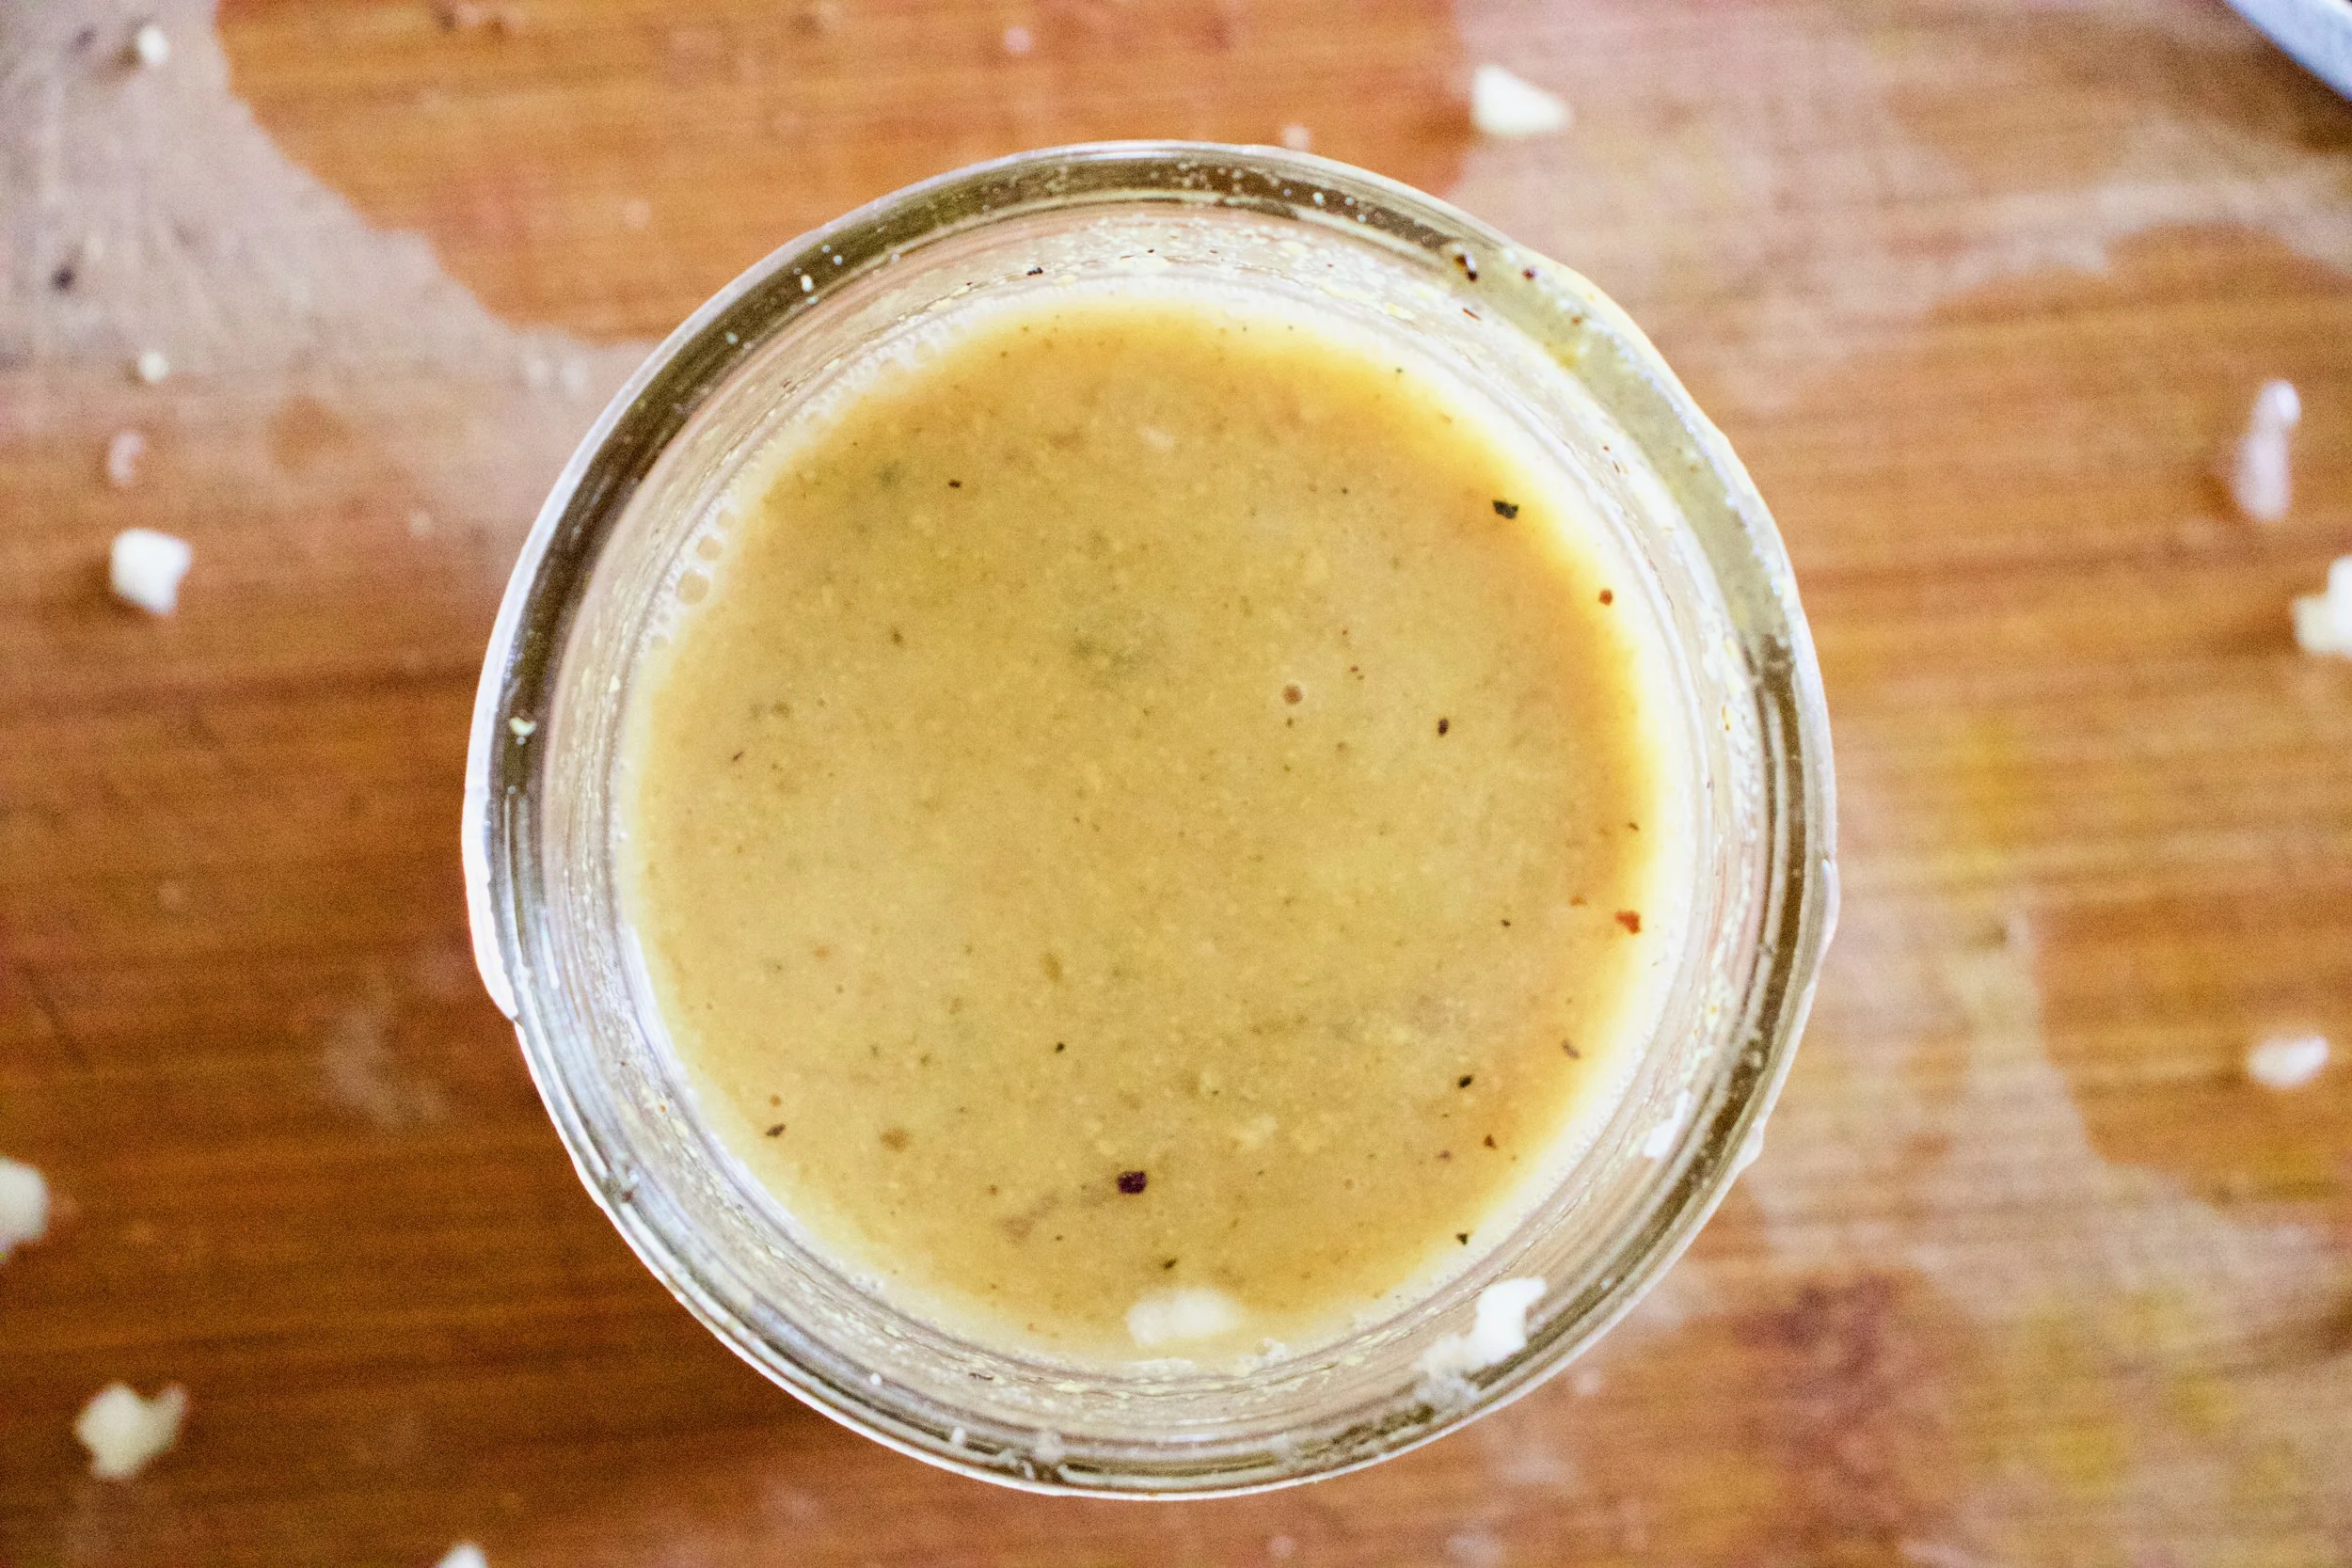
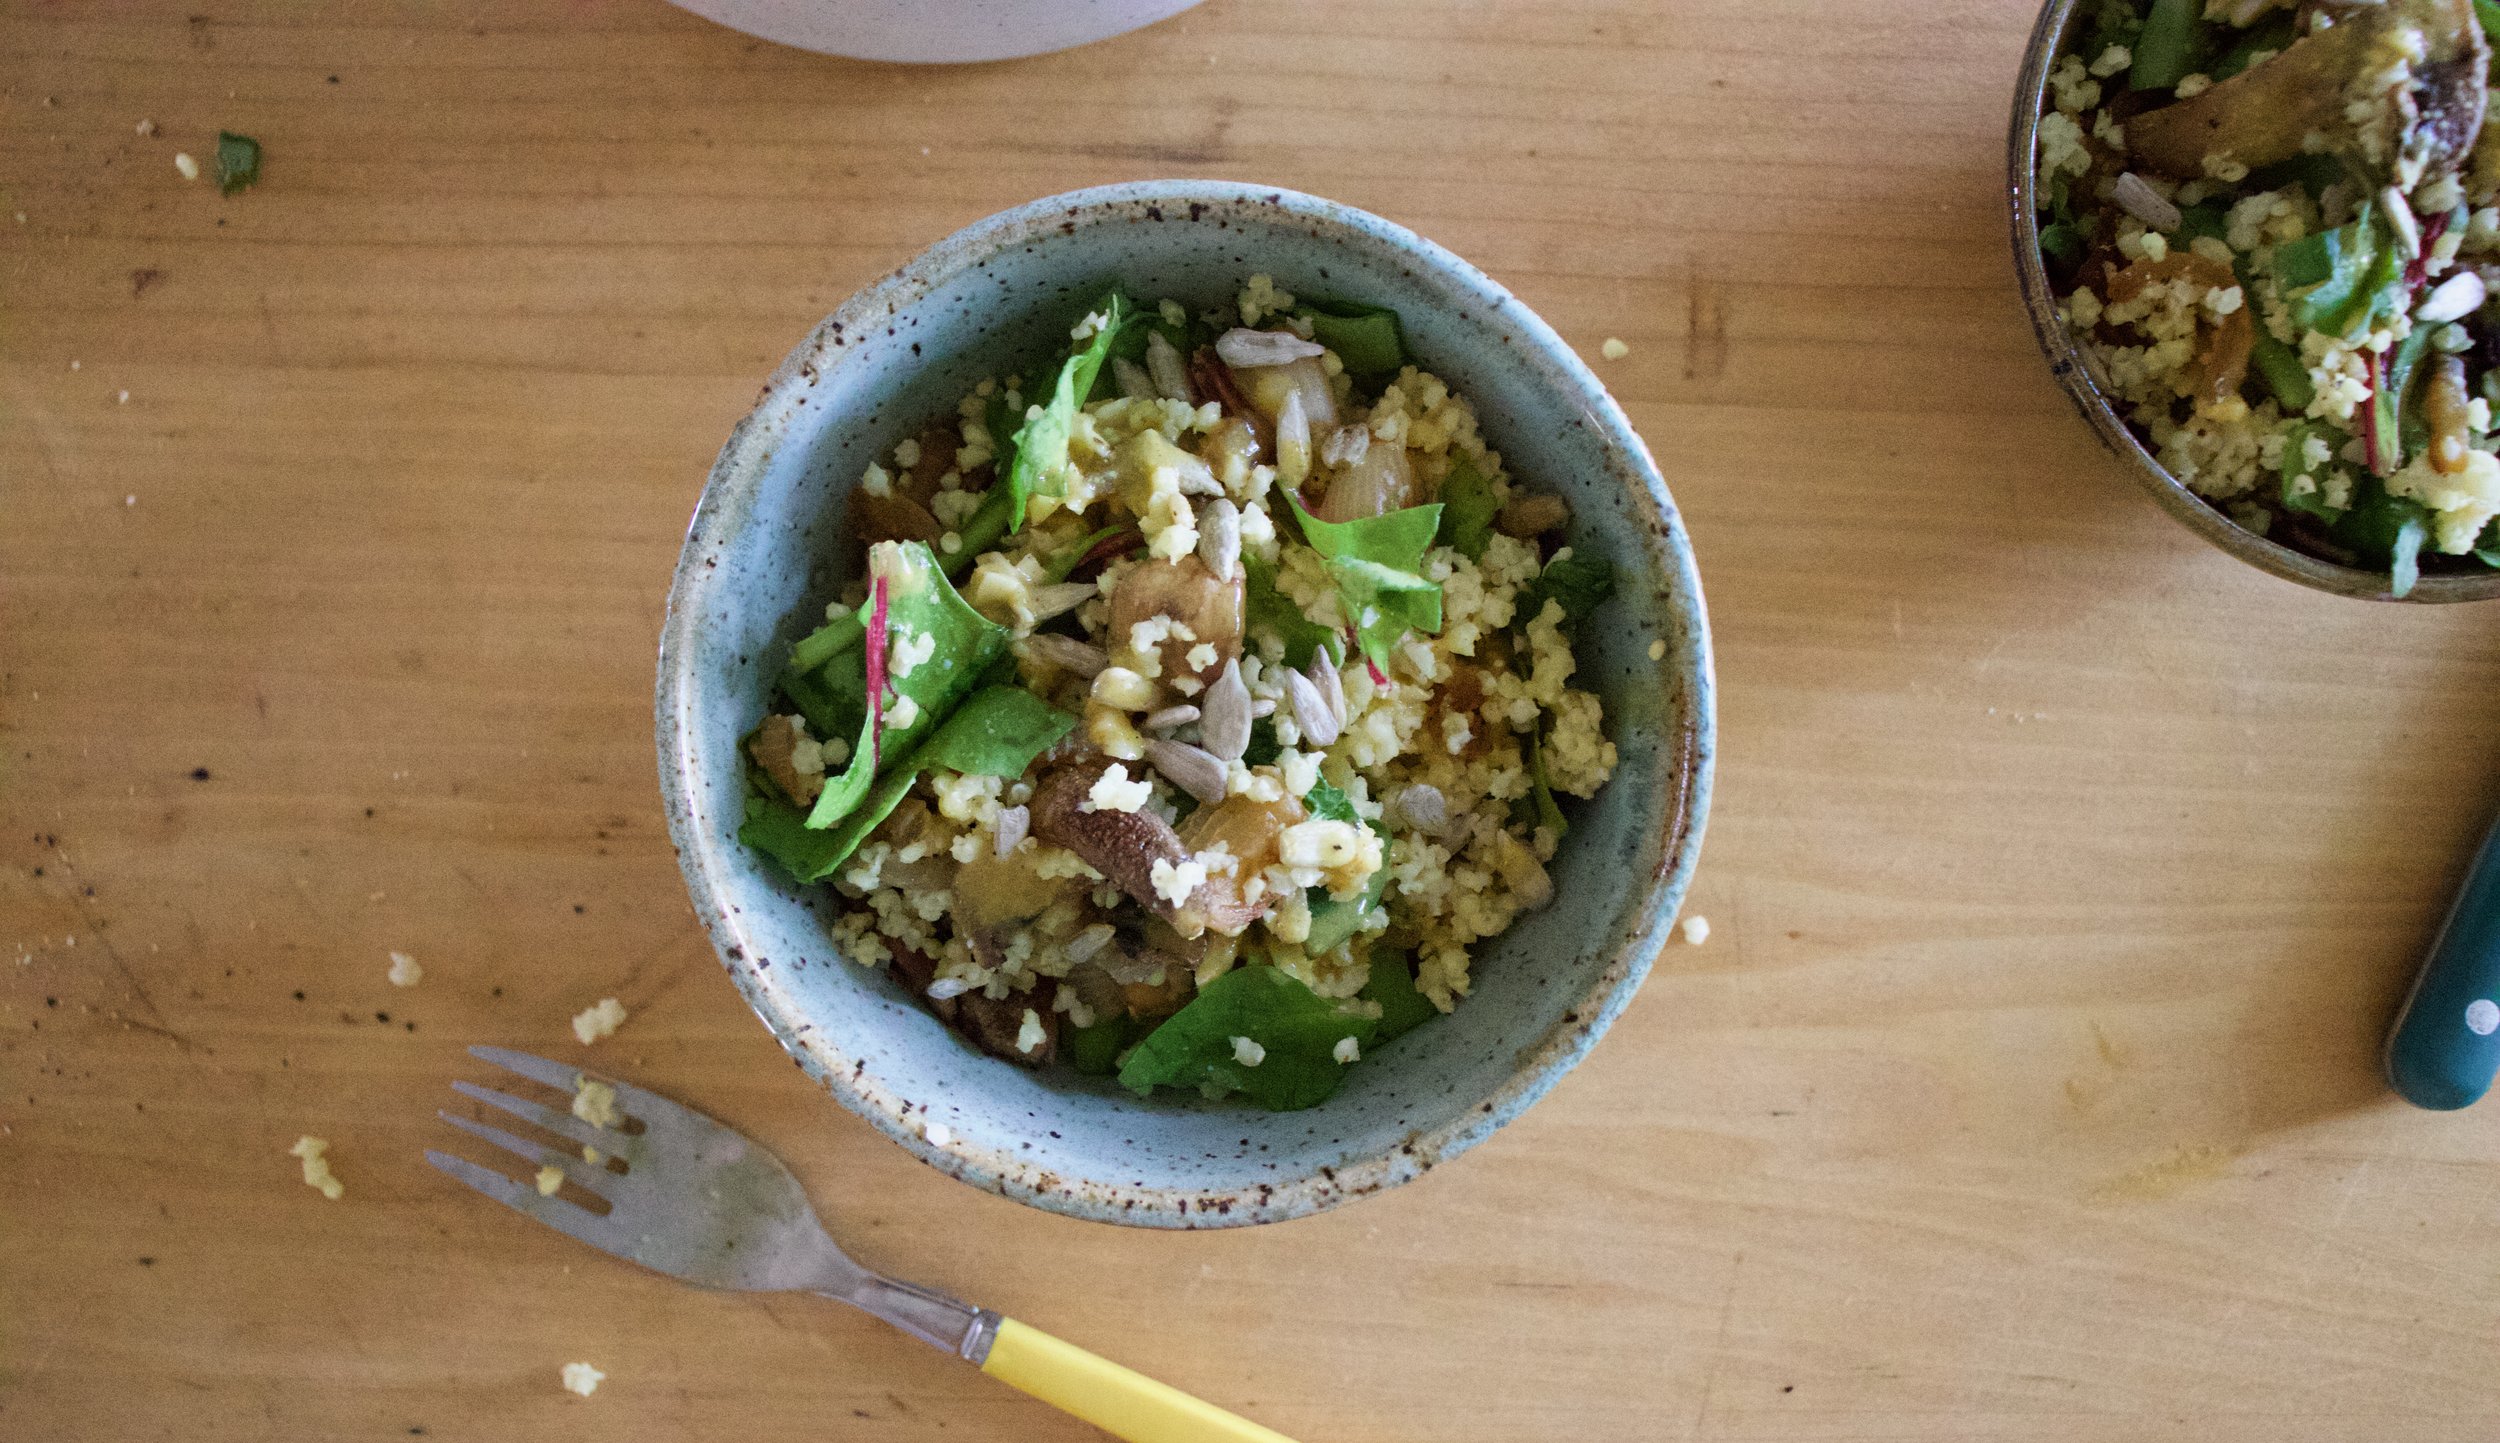
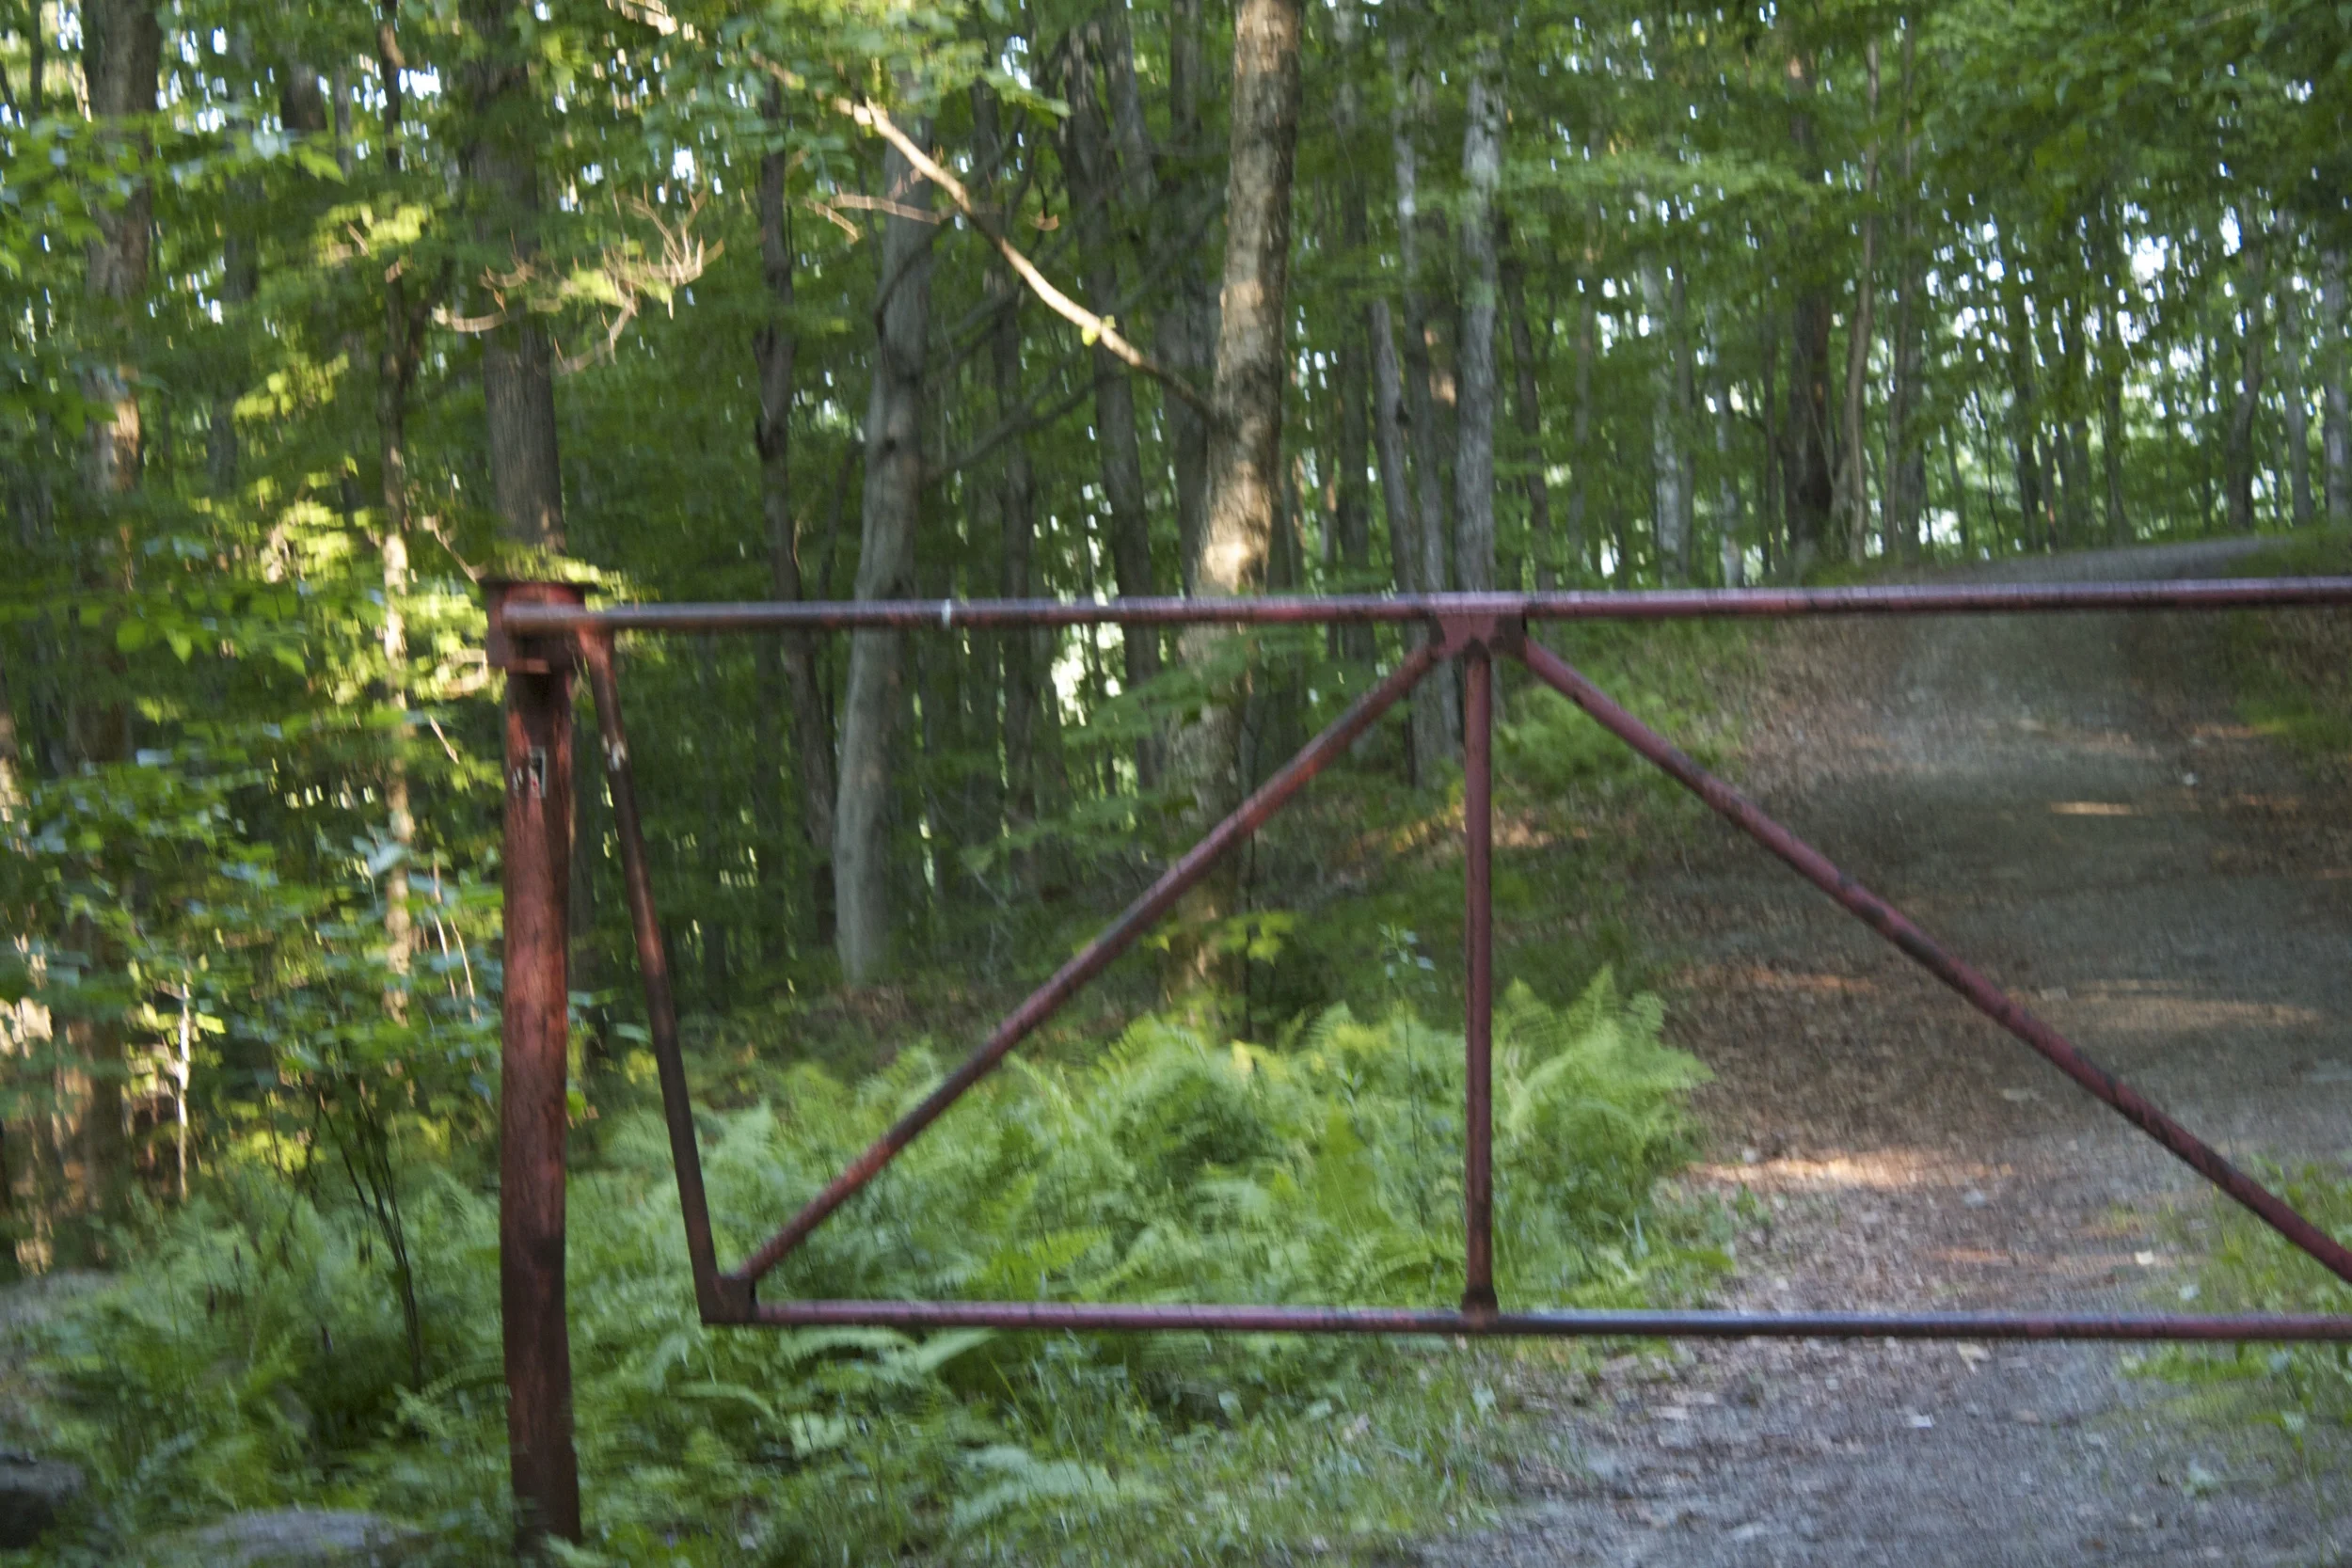
This past weekend, the mr, the pup, and I grabbed our stuff, chucked it into the back of the car and took of to the wood.%u00a0
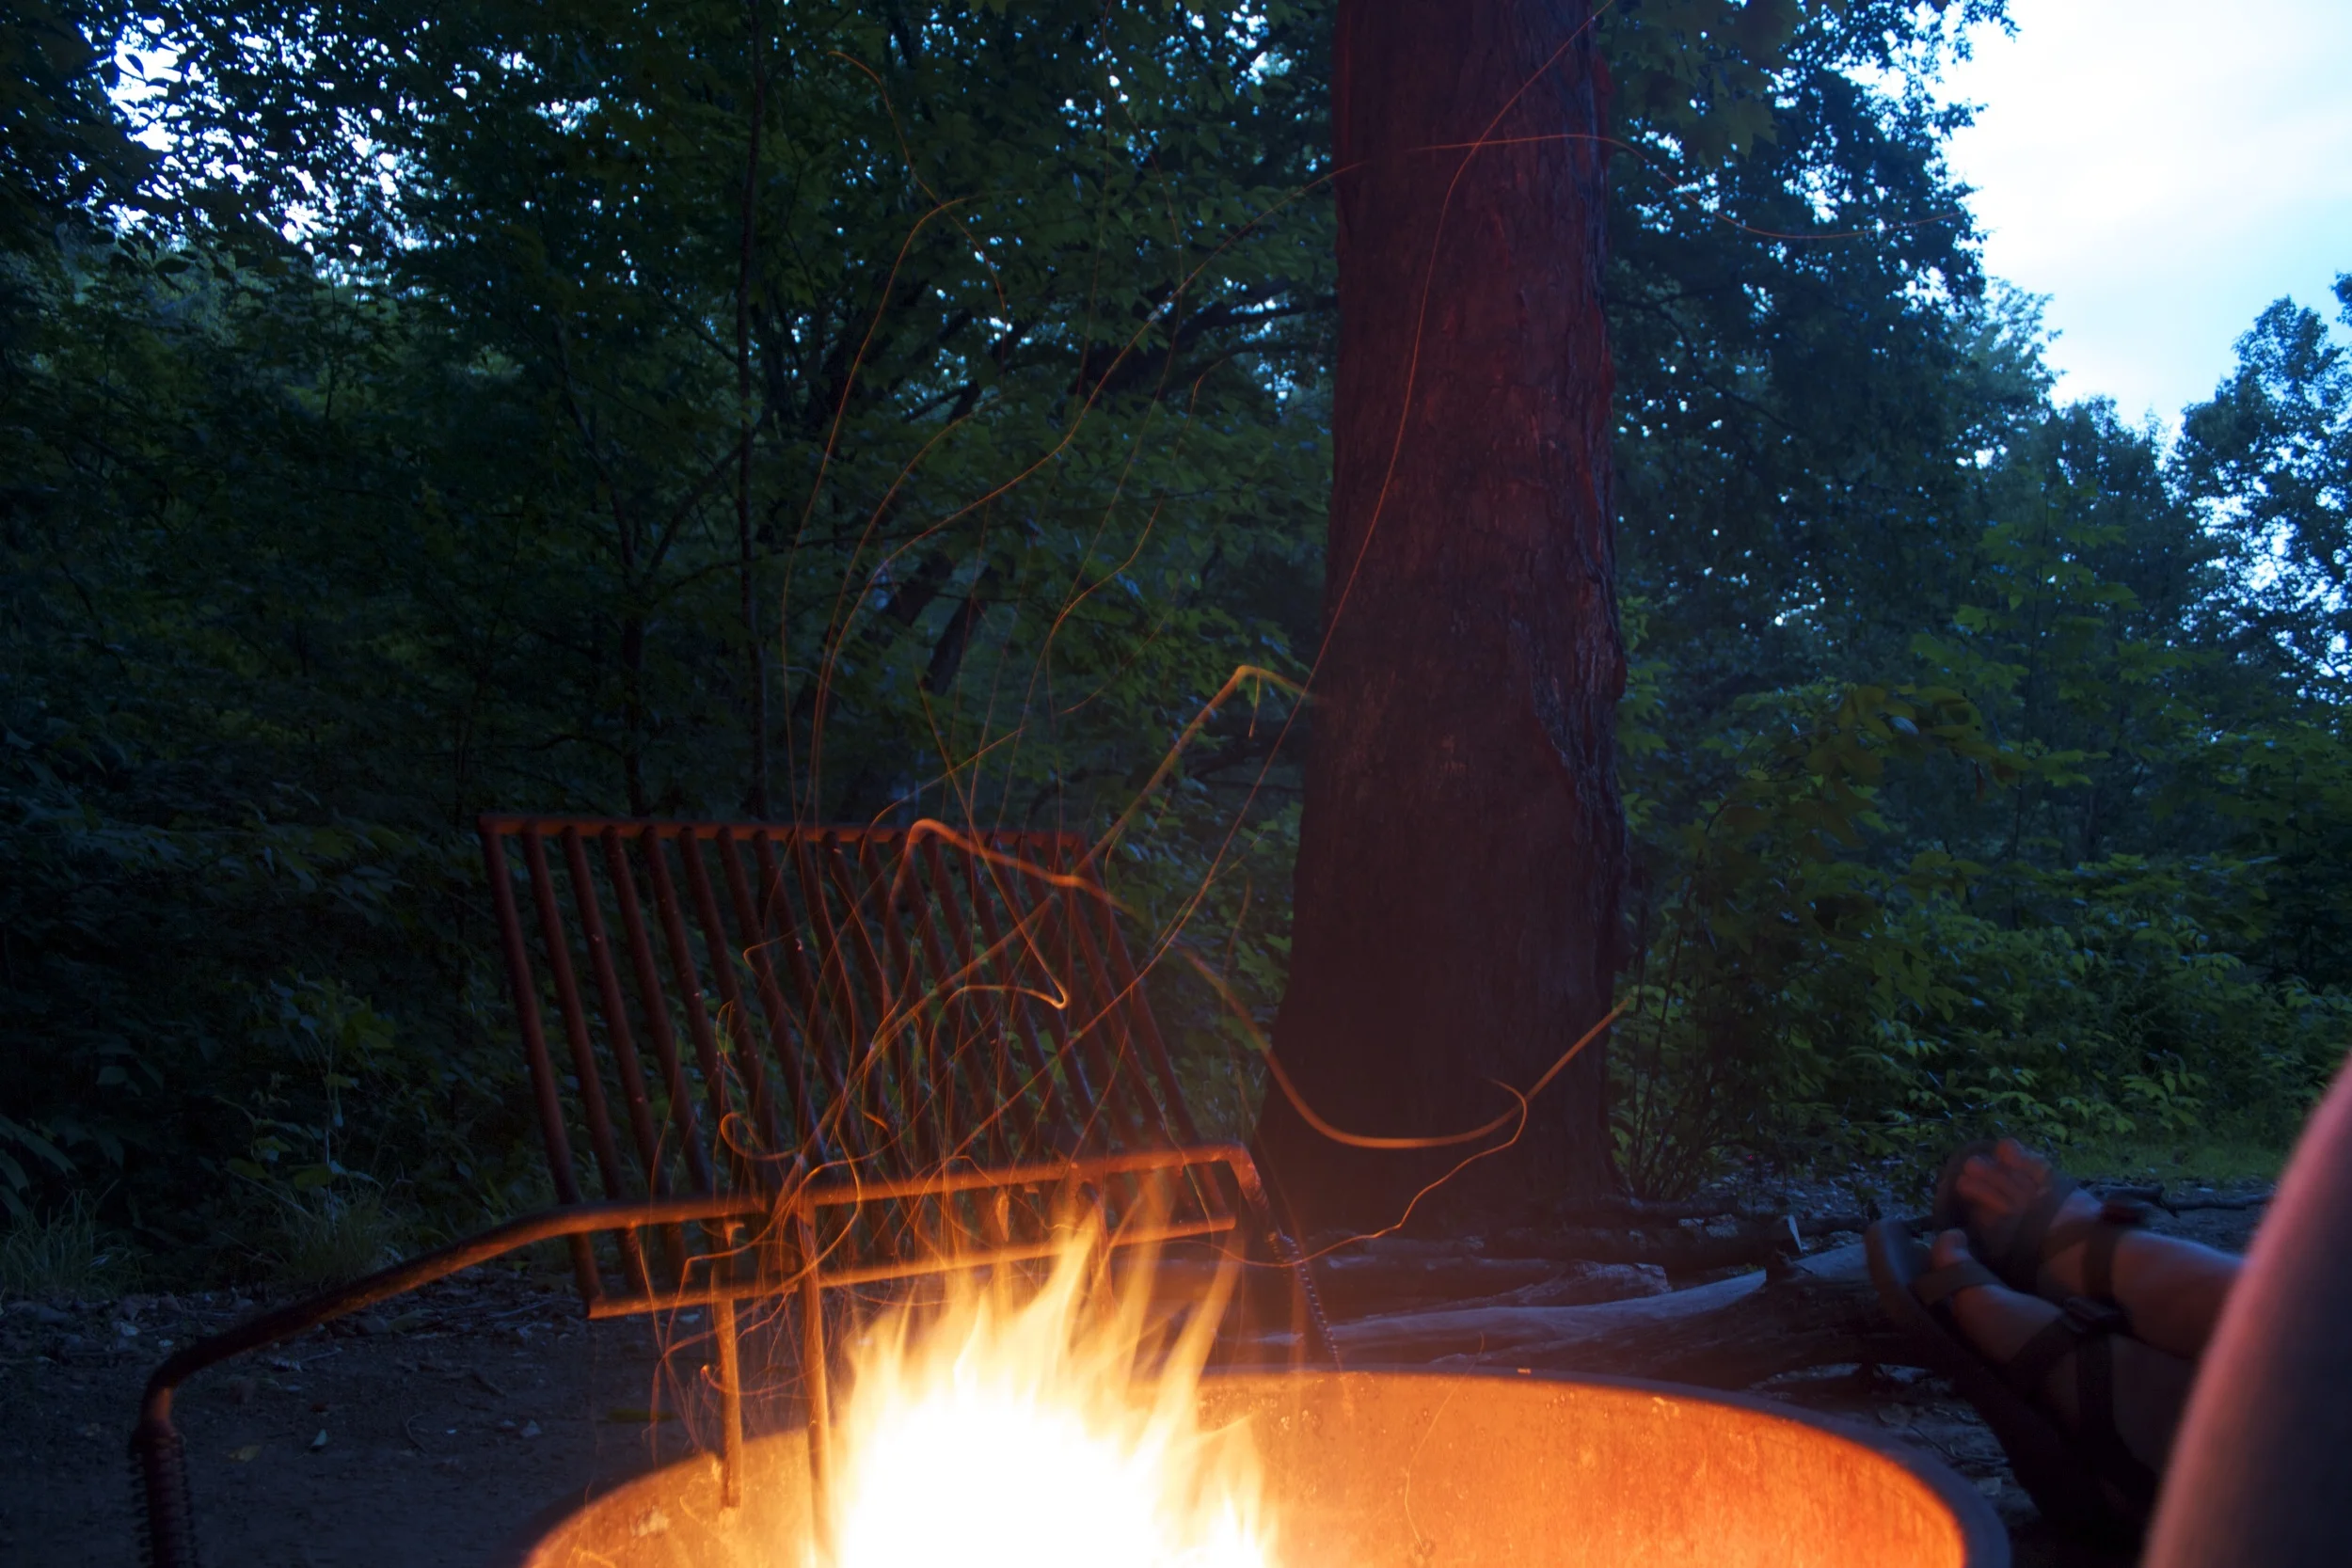
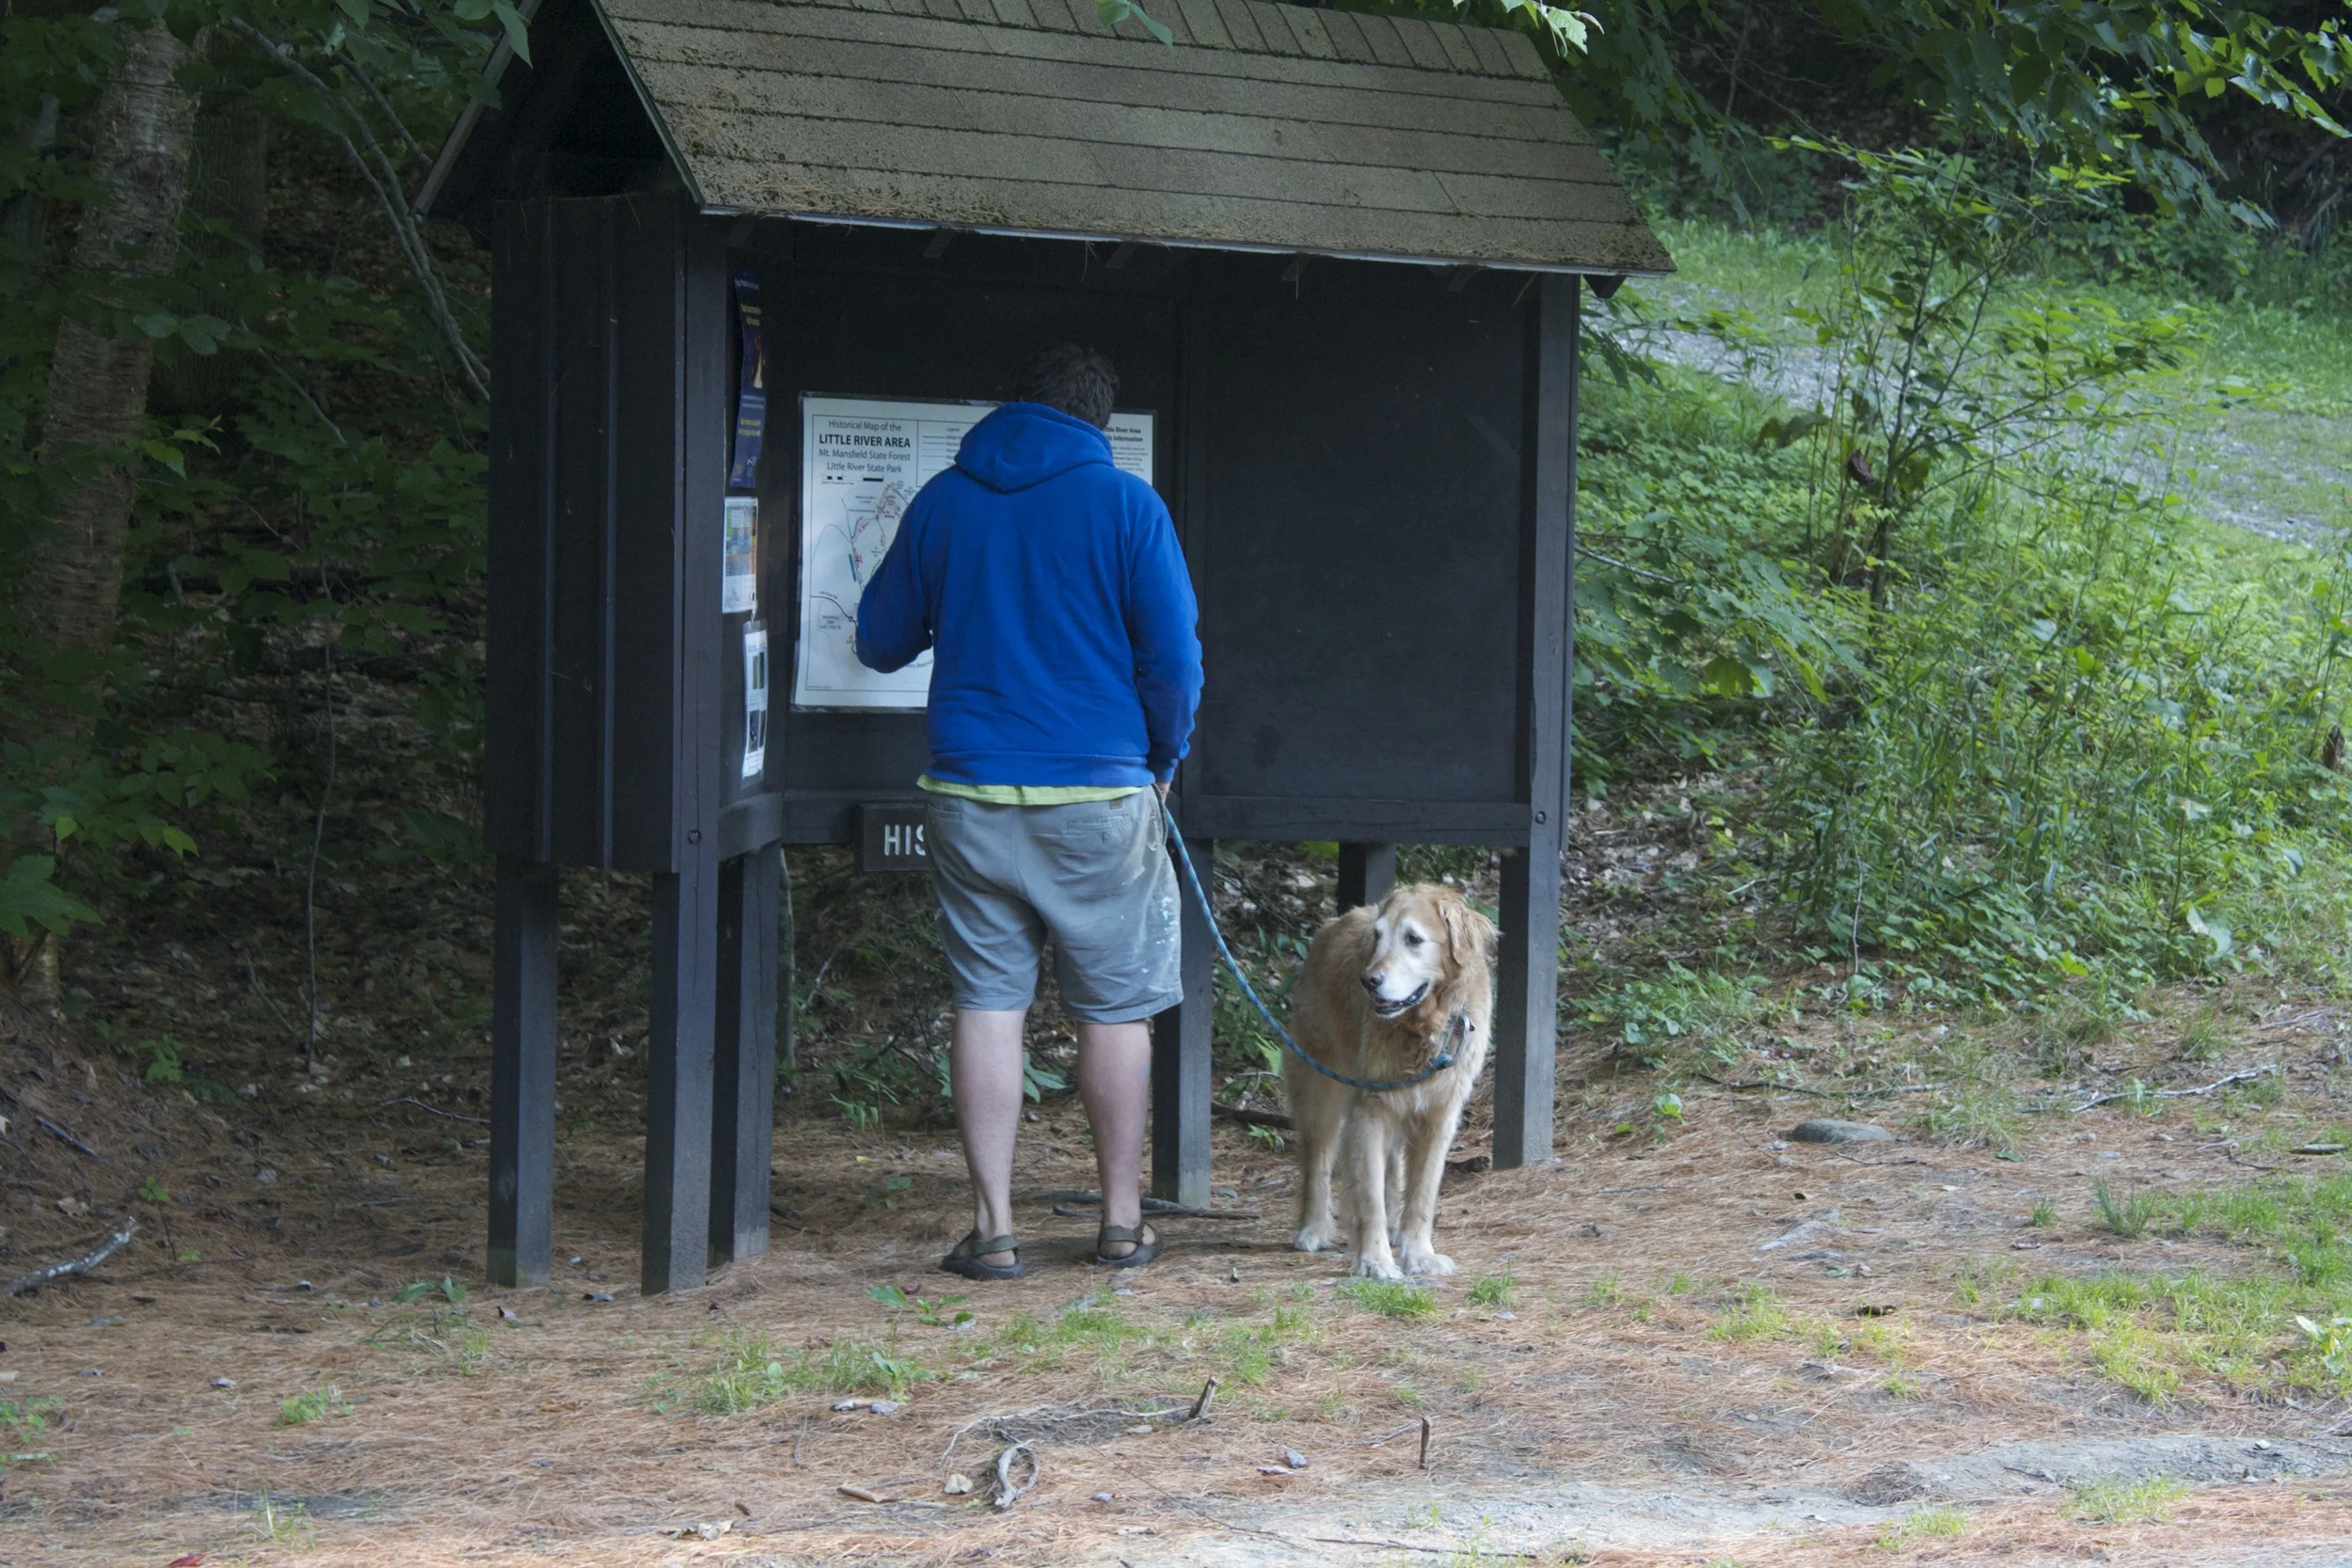
We ended up in Waterbury, at Little River State Park. Campsite 77 (the last one they had available!!) And from that we think, the best spot in the park.%u00a0
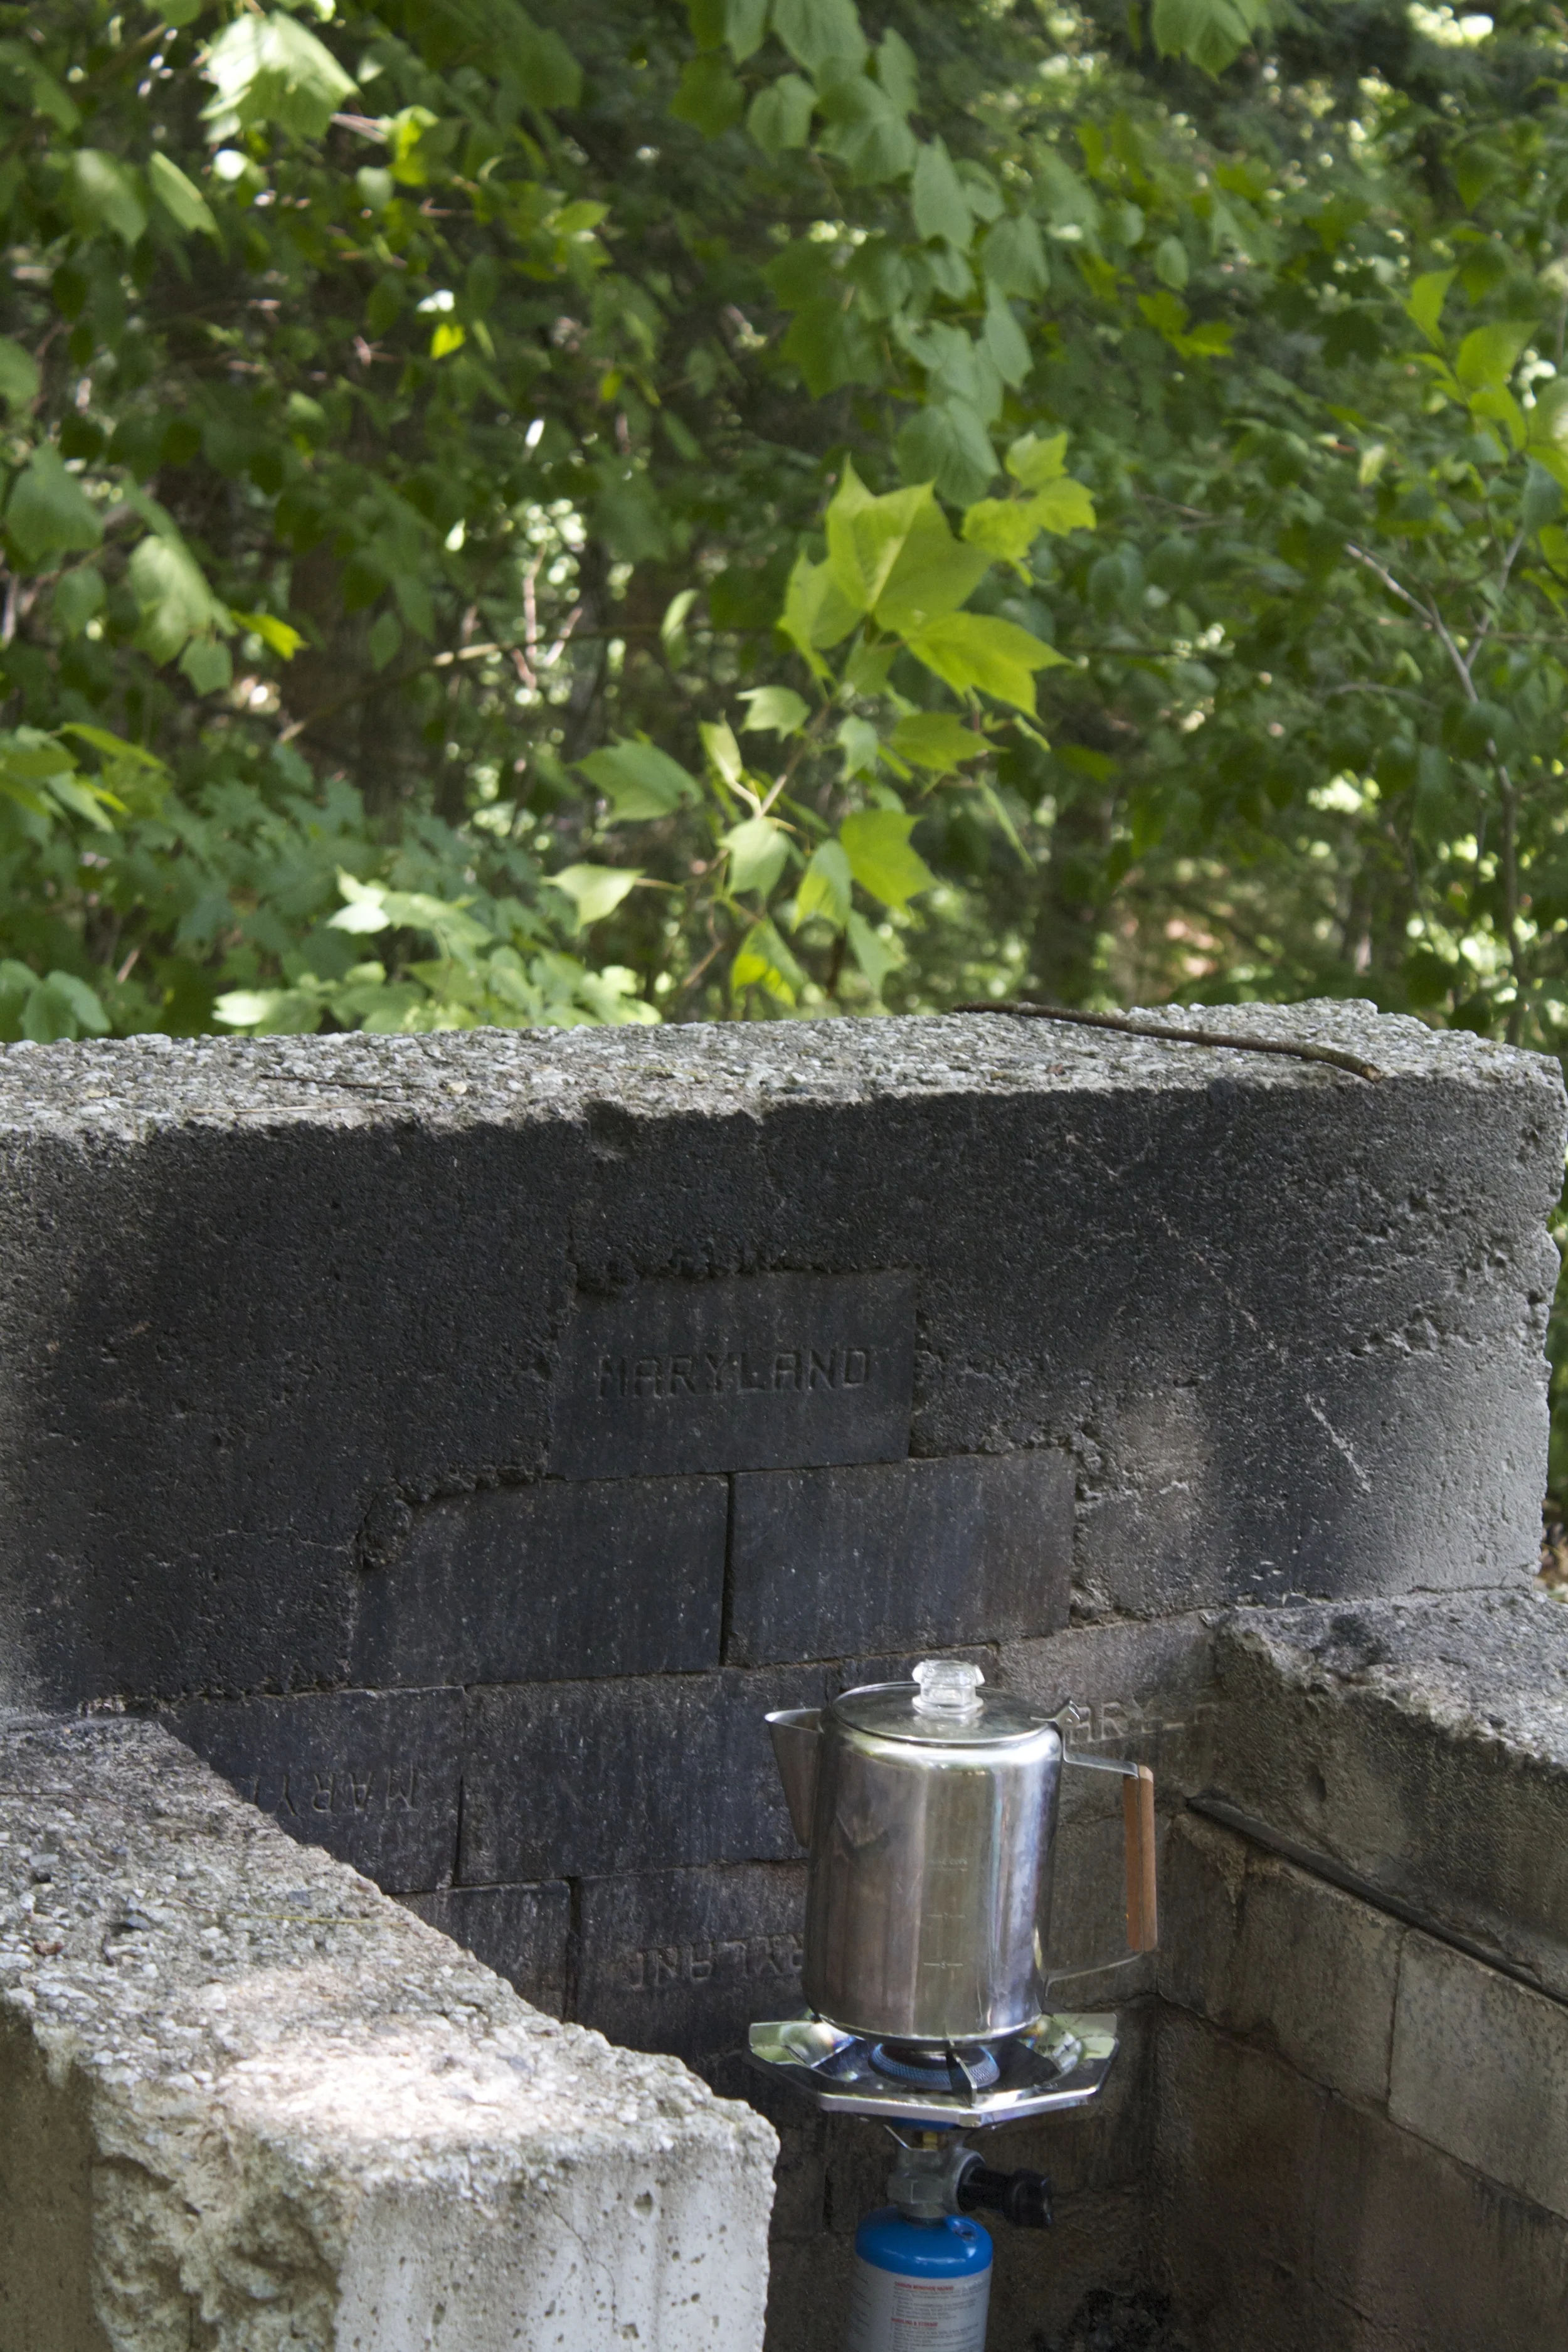
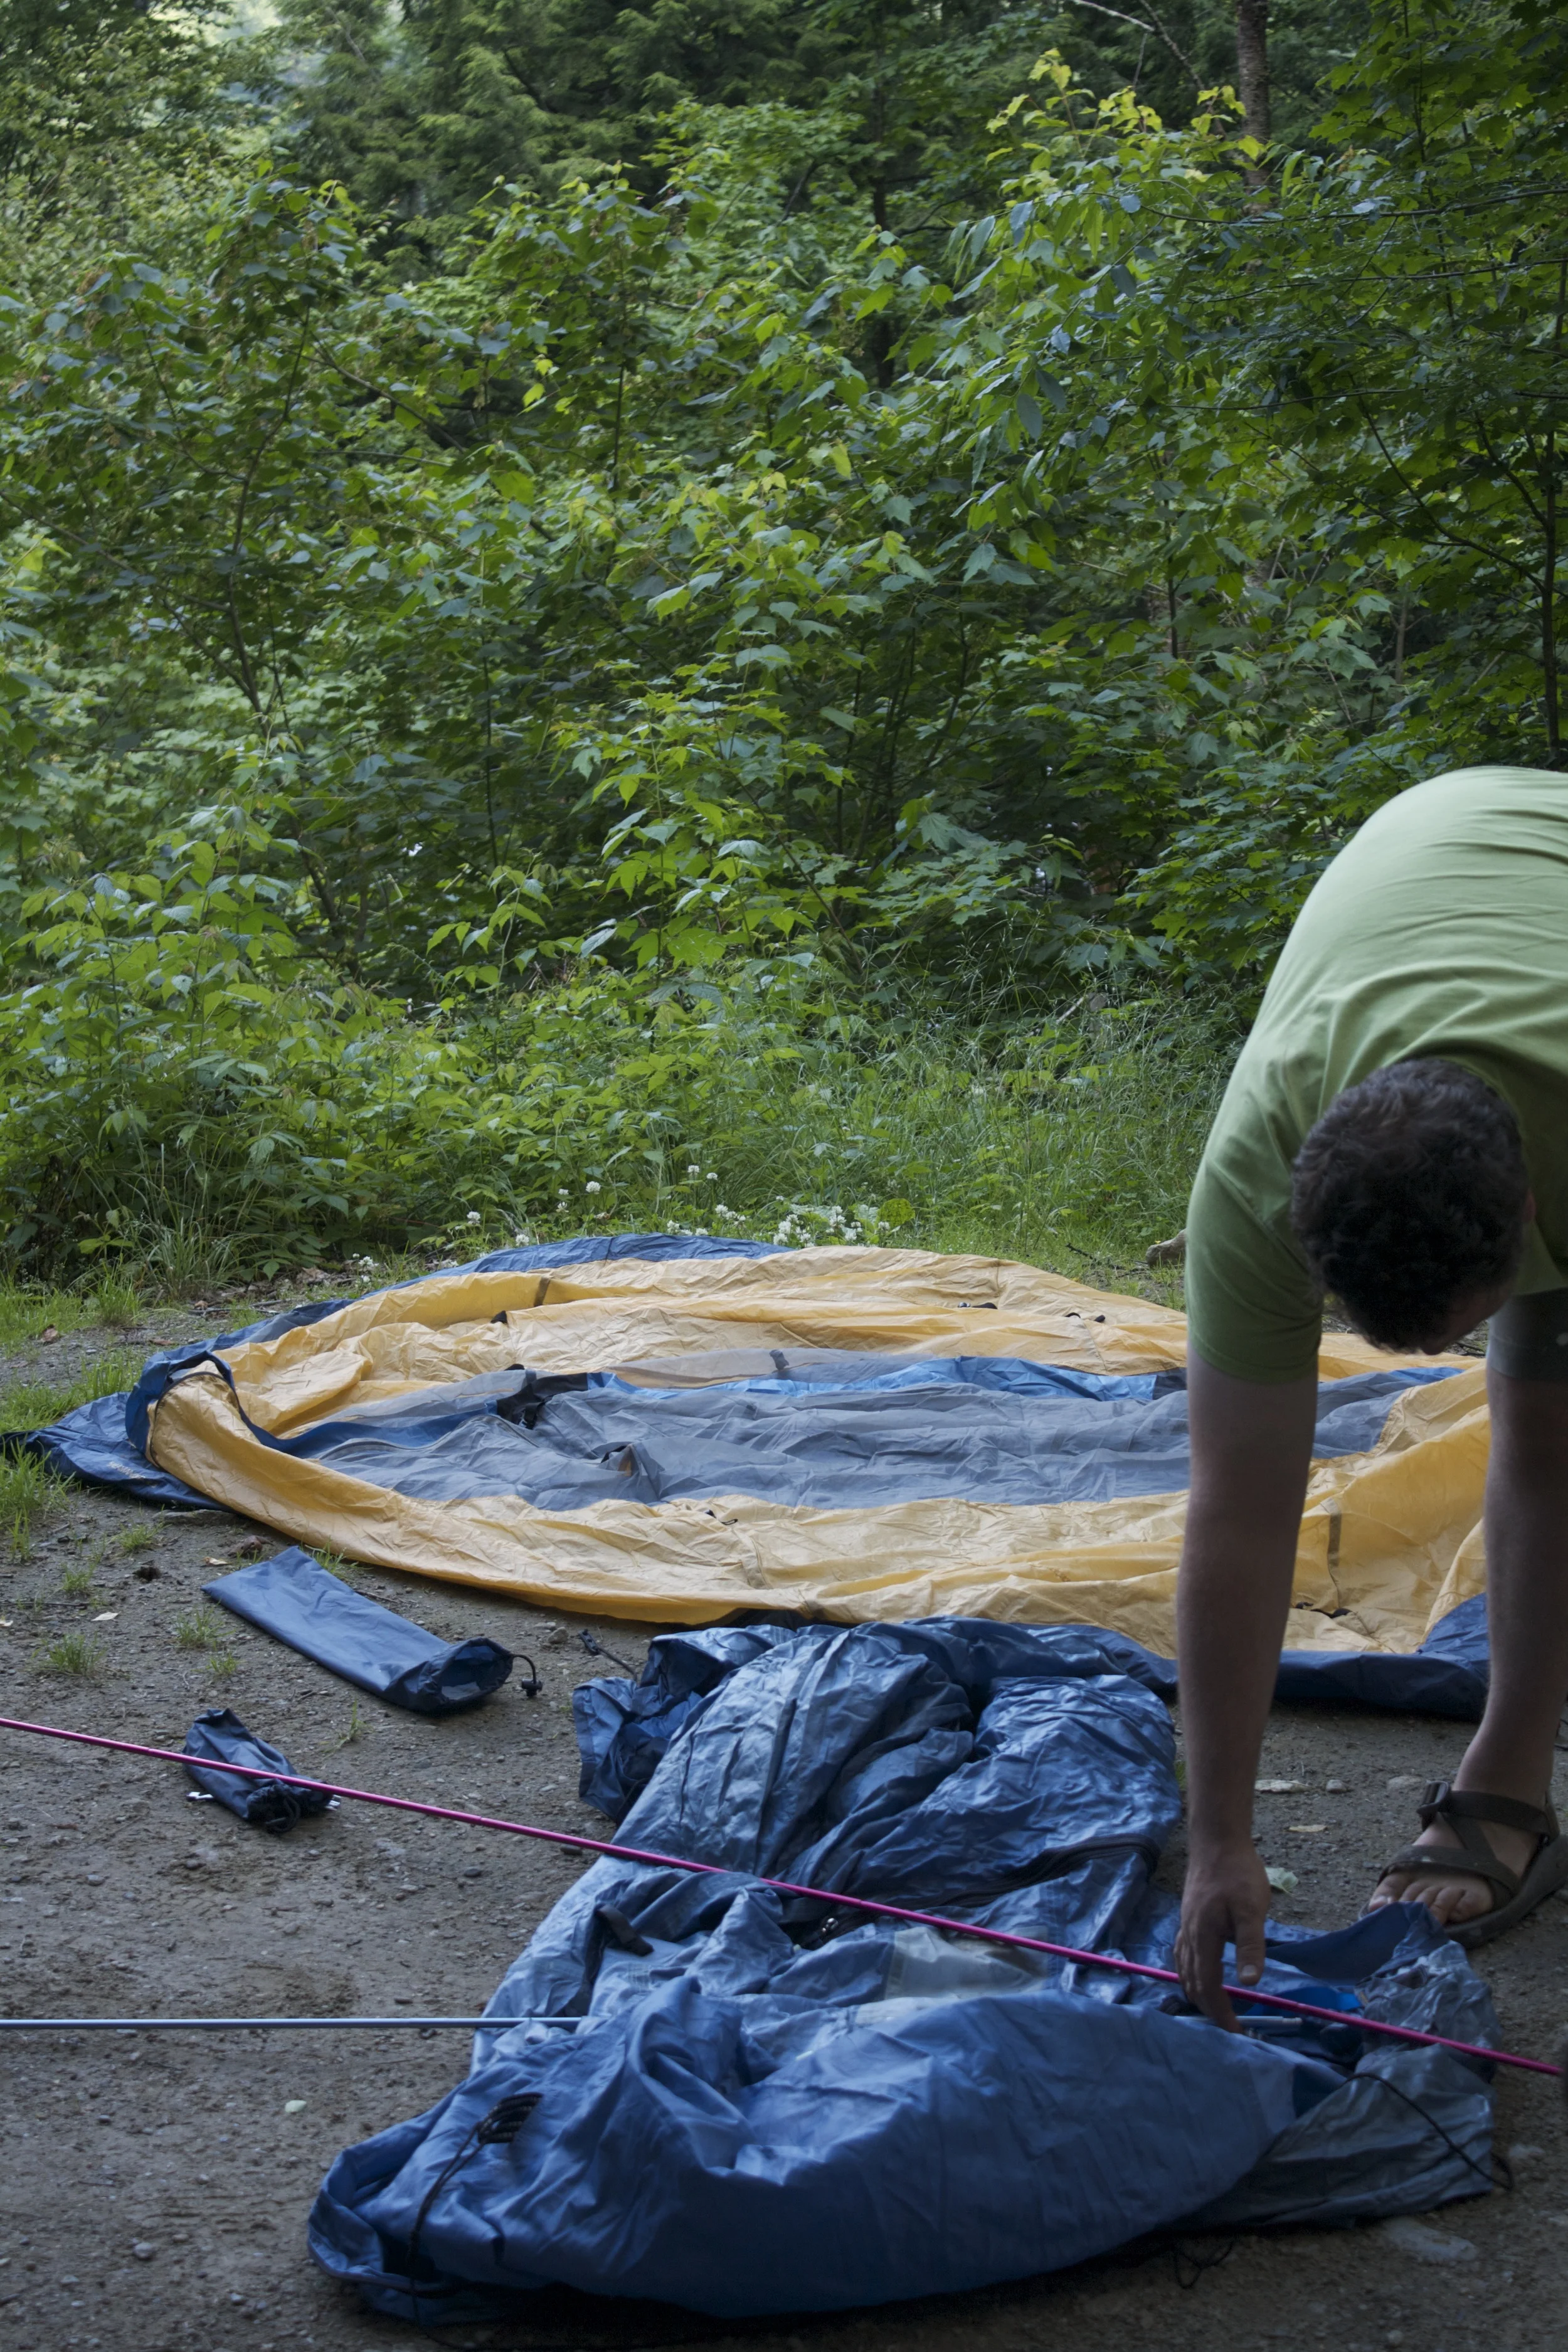
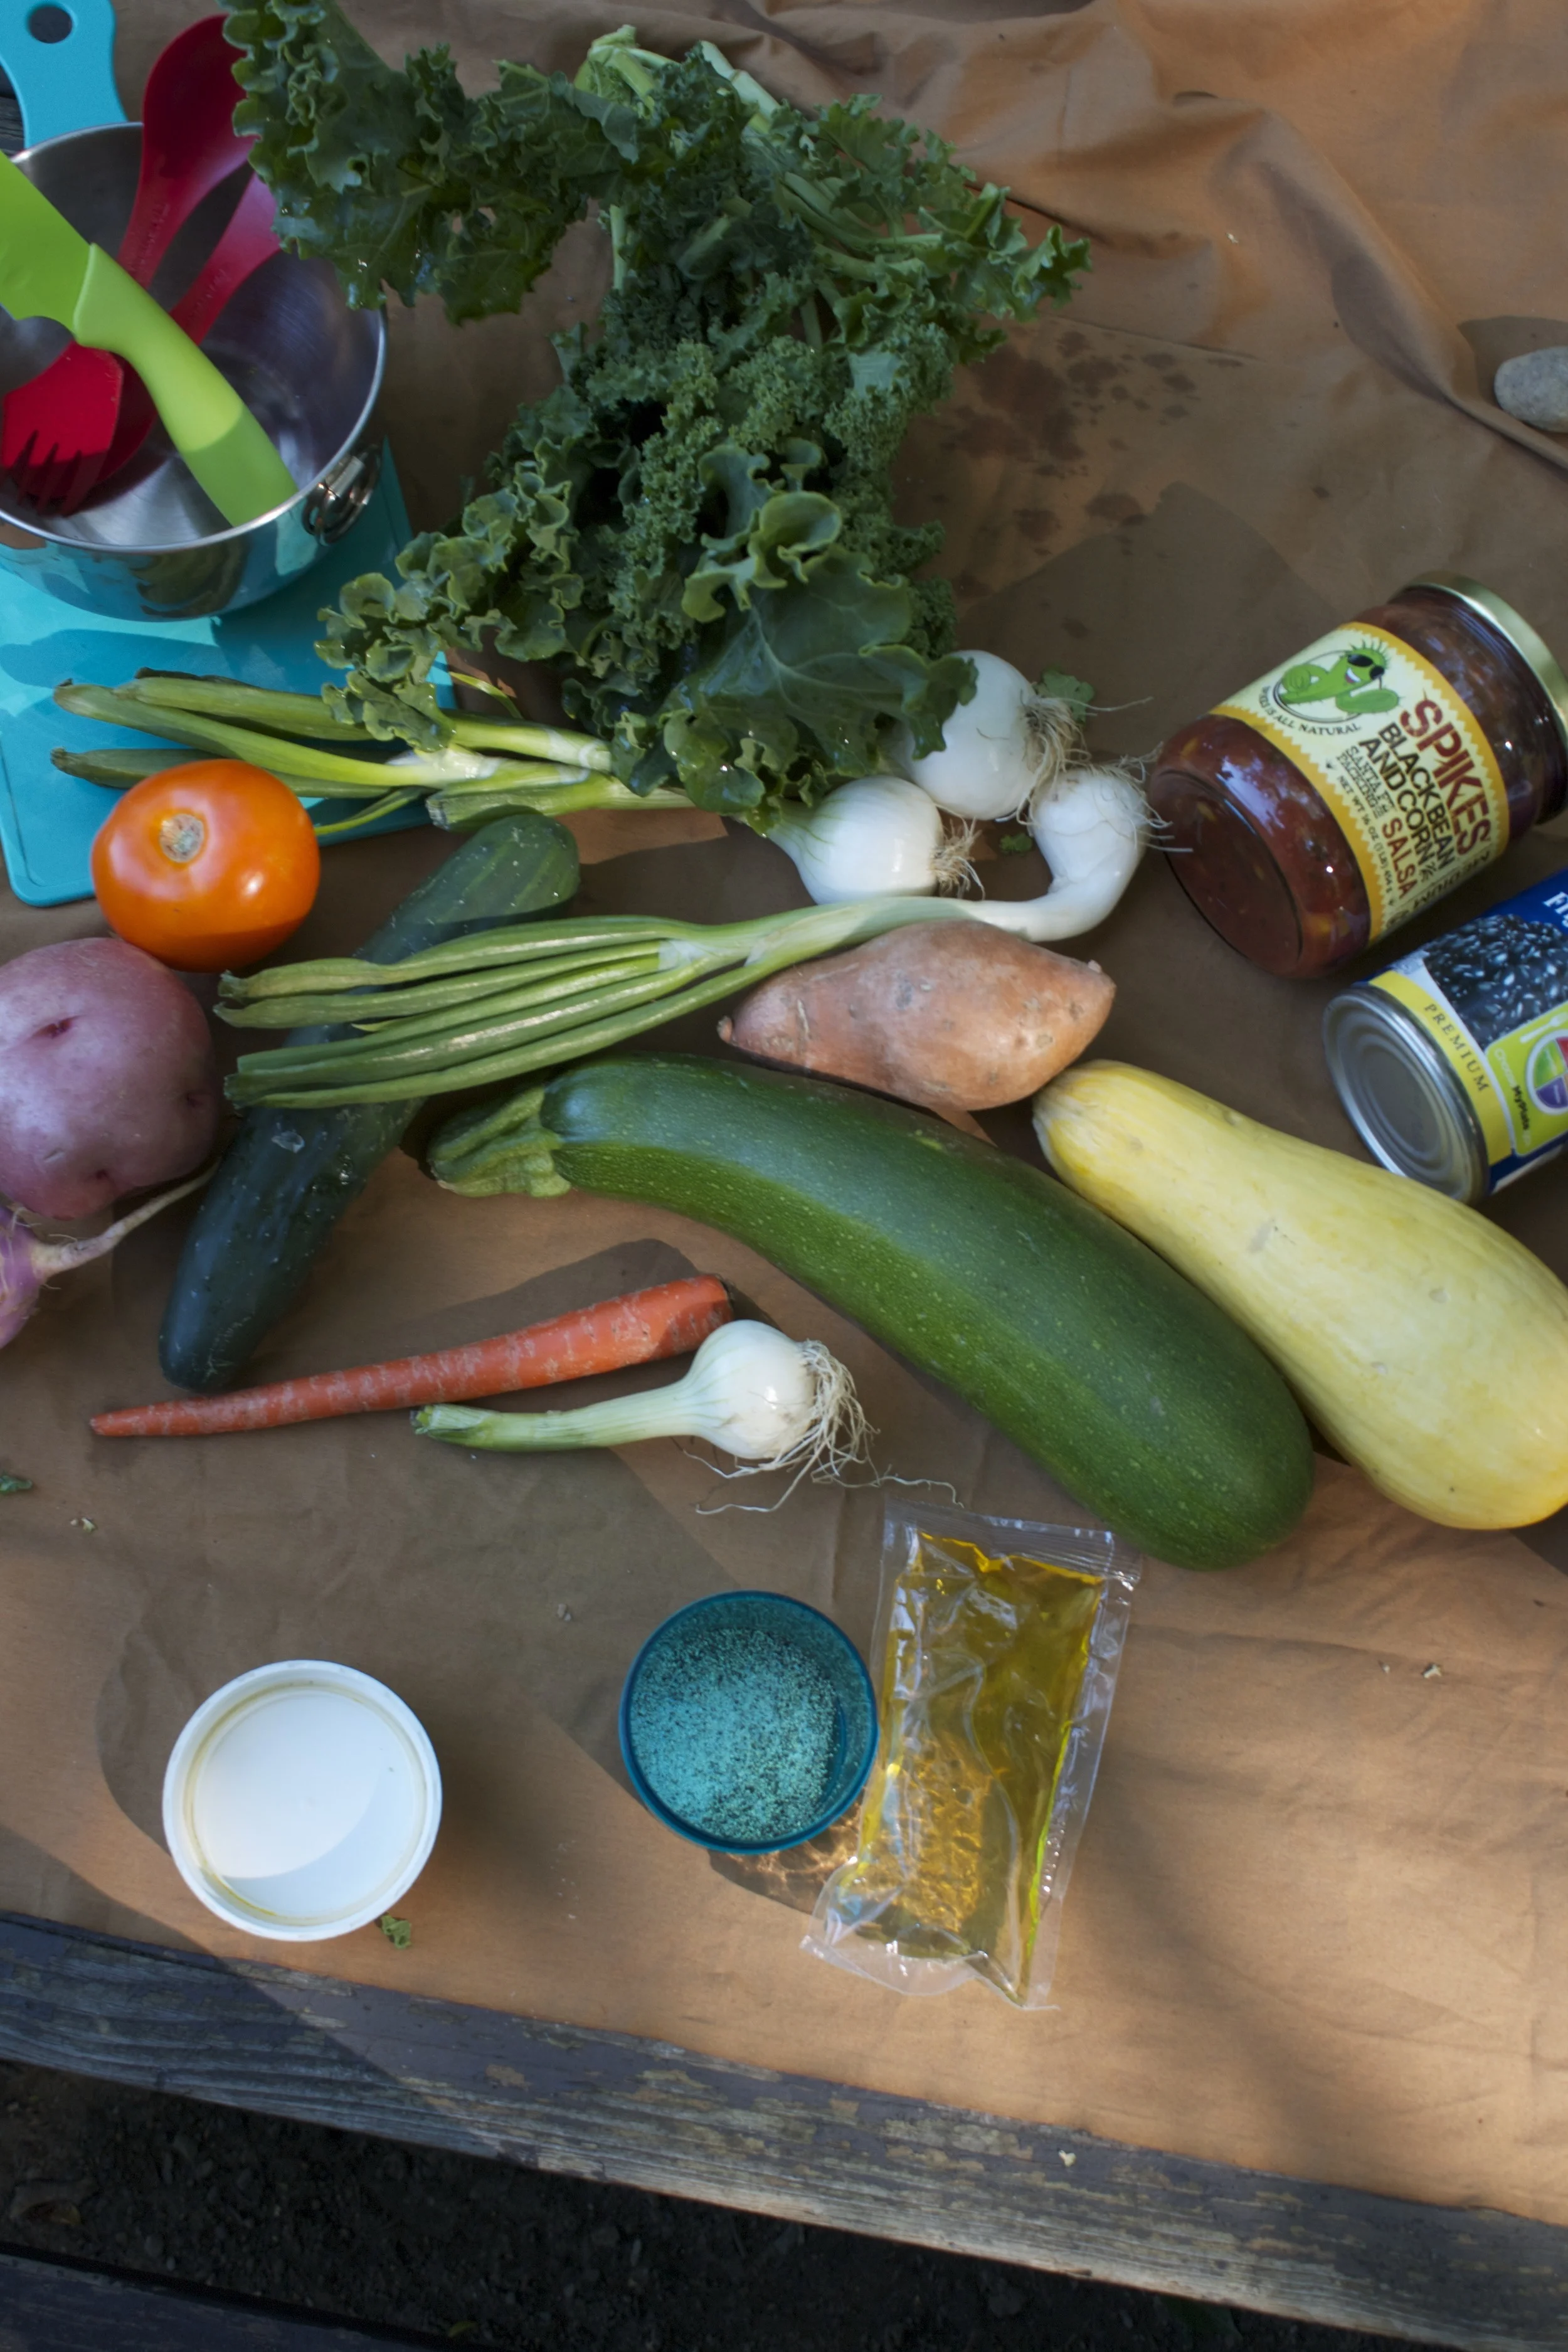
First things first,%u00a0set up camp. which involved the mr.%u00a0popping%u00a0up the tent and me making coffee and setting up the table.. Just cause we are in the woods doesn’t mean we can’t have a fruit bowl, right.
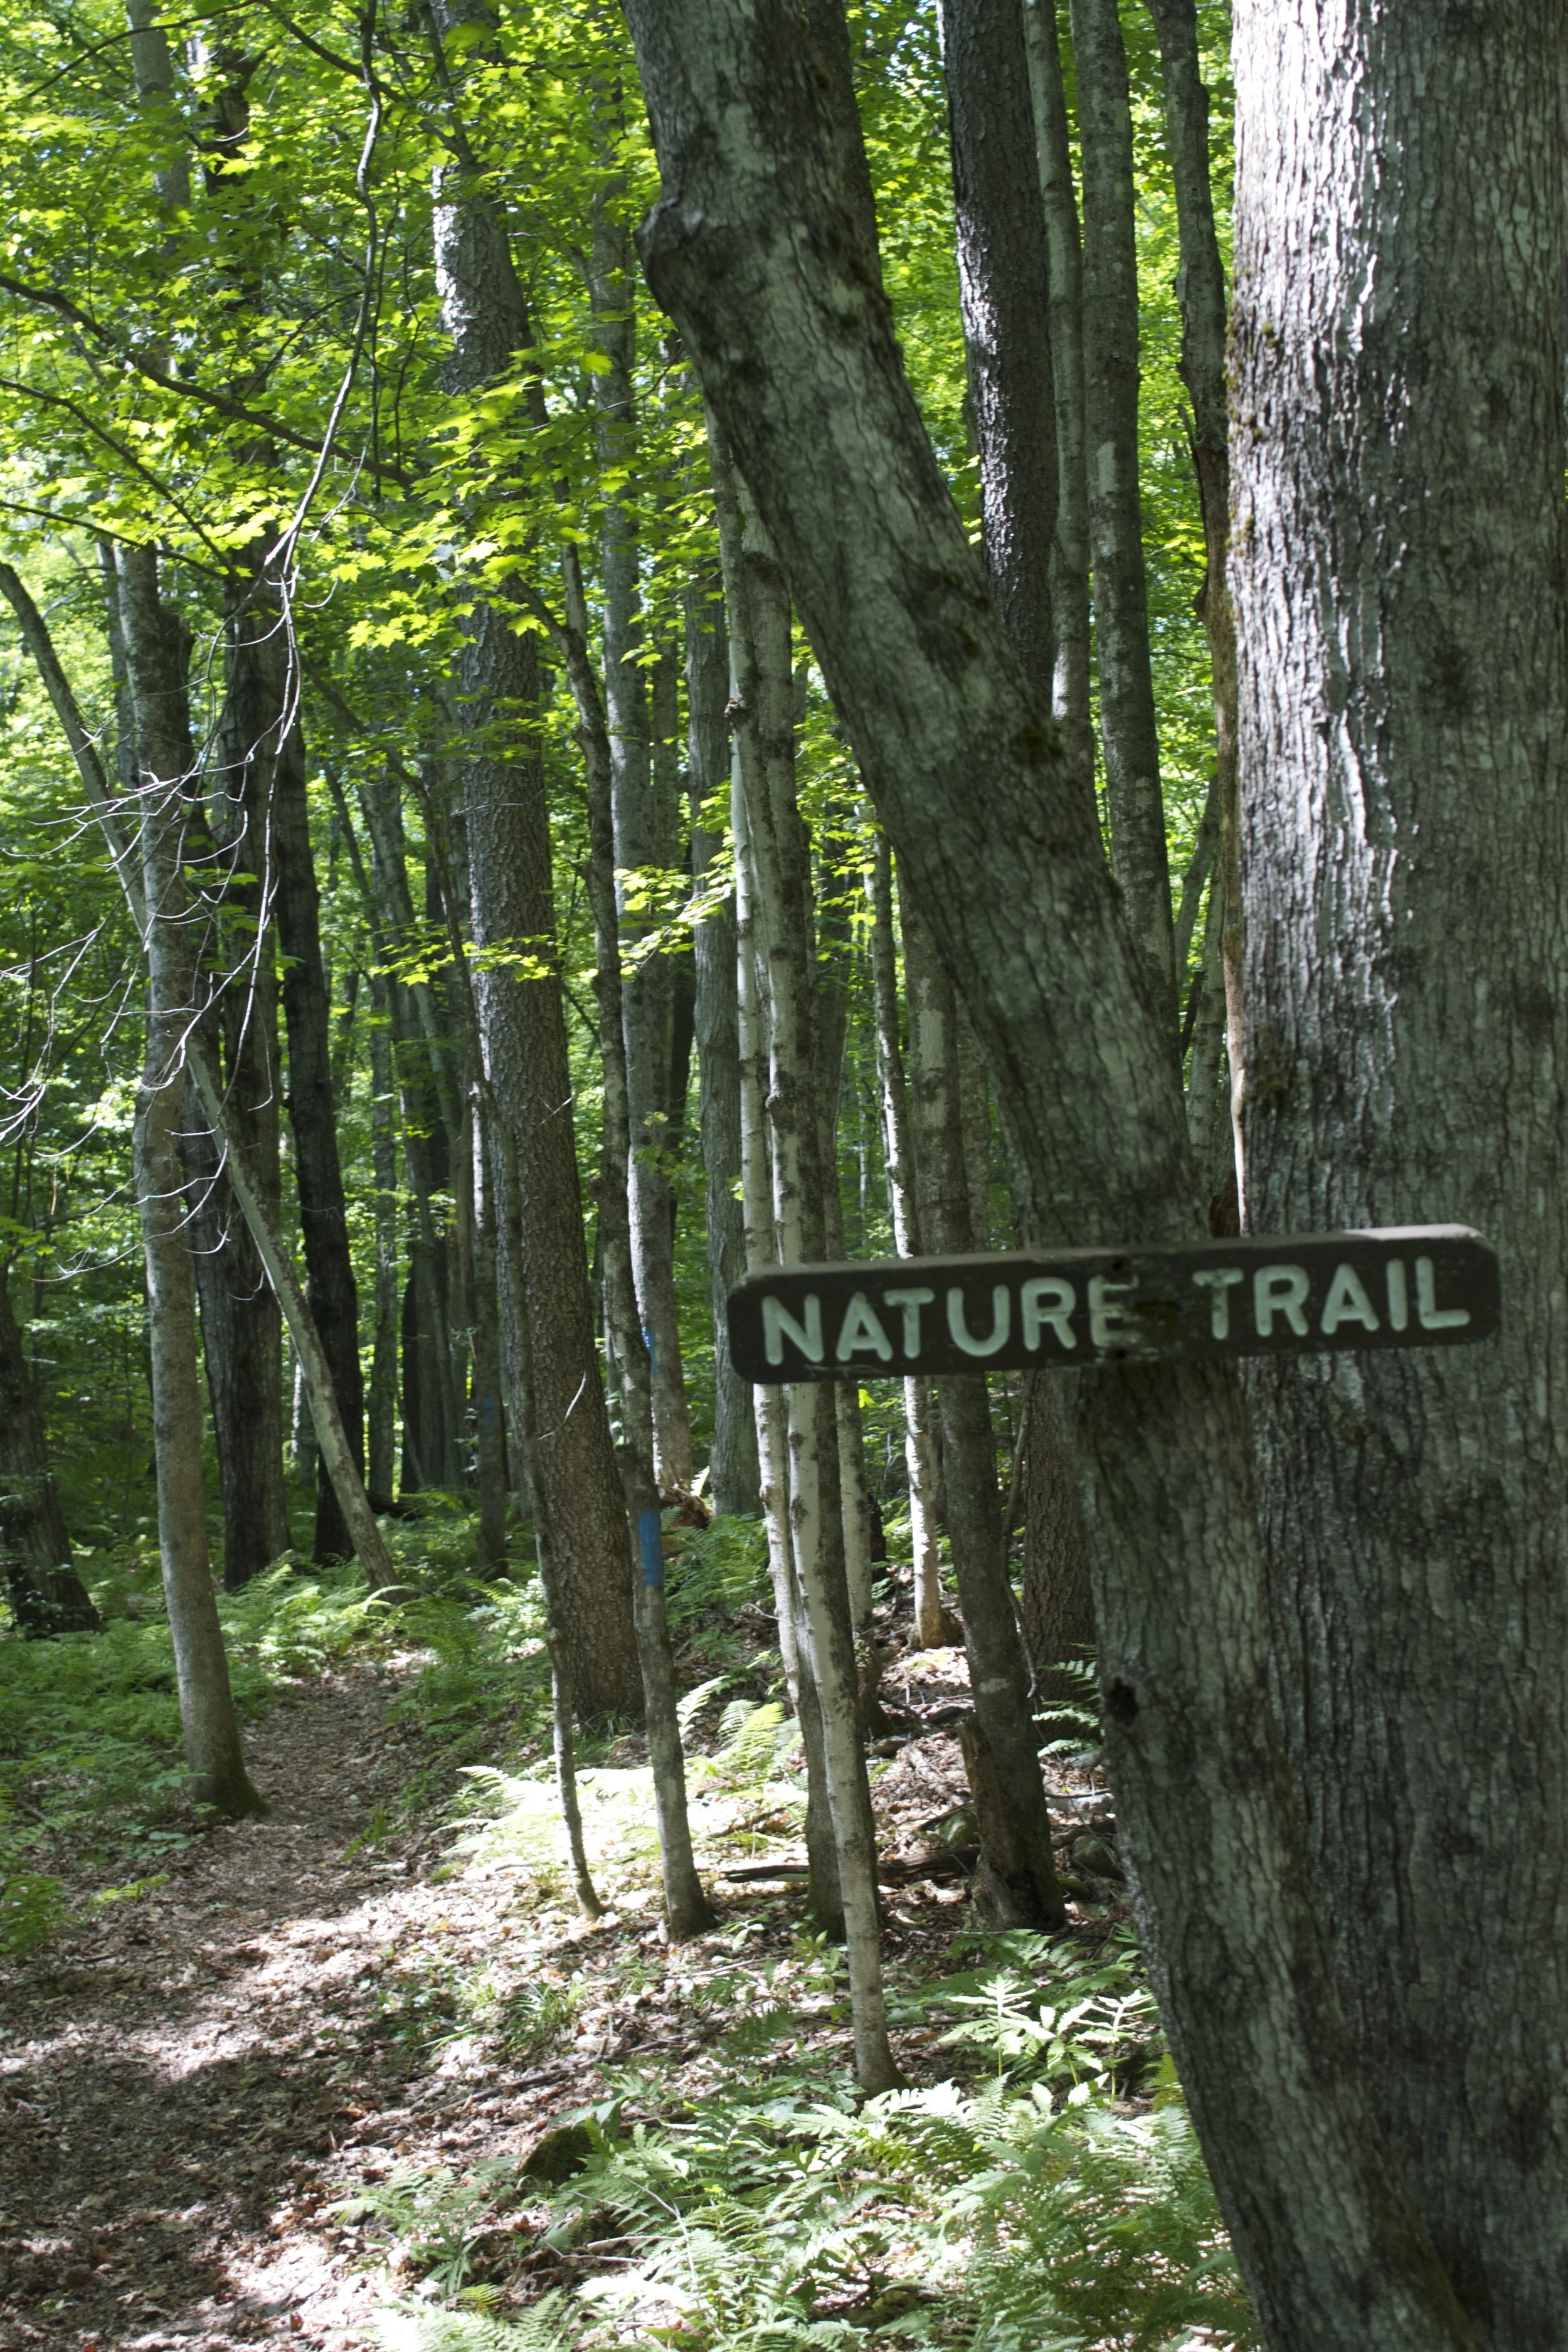
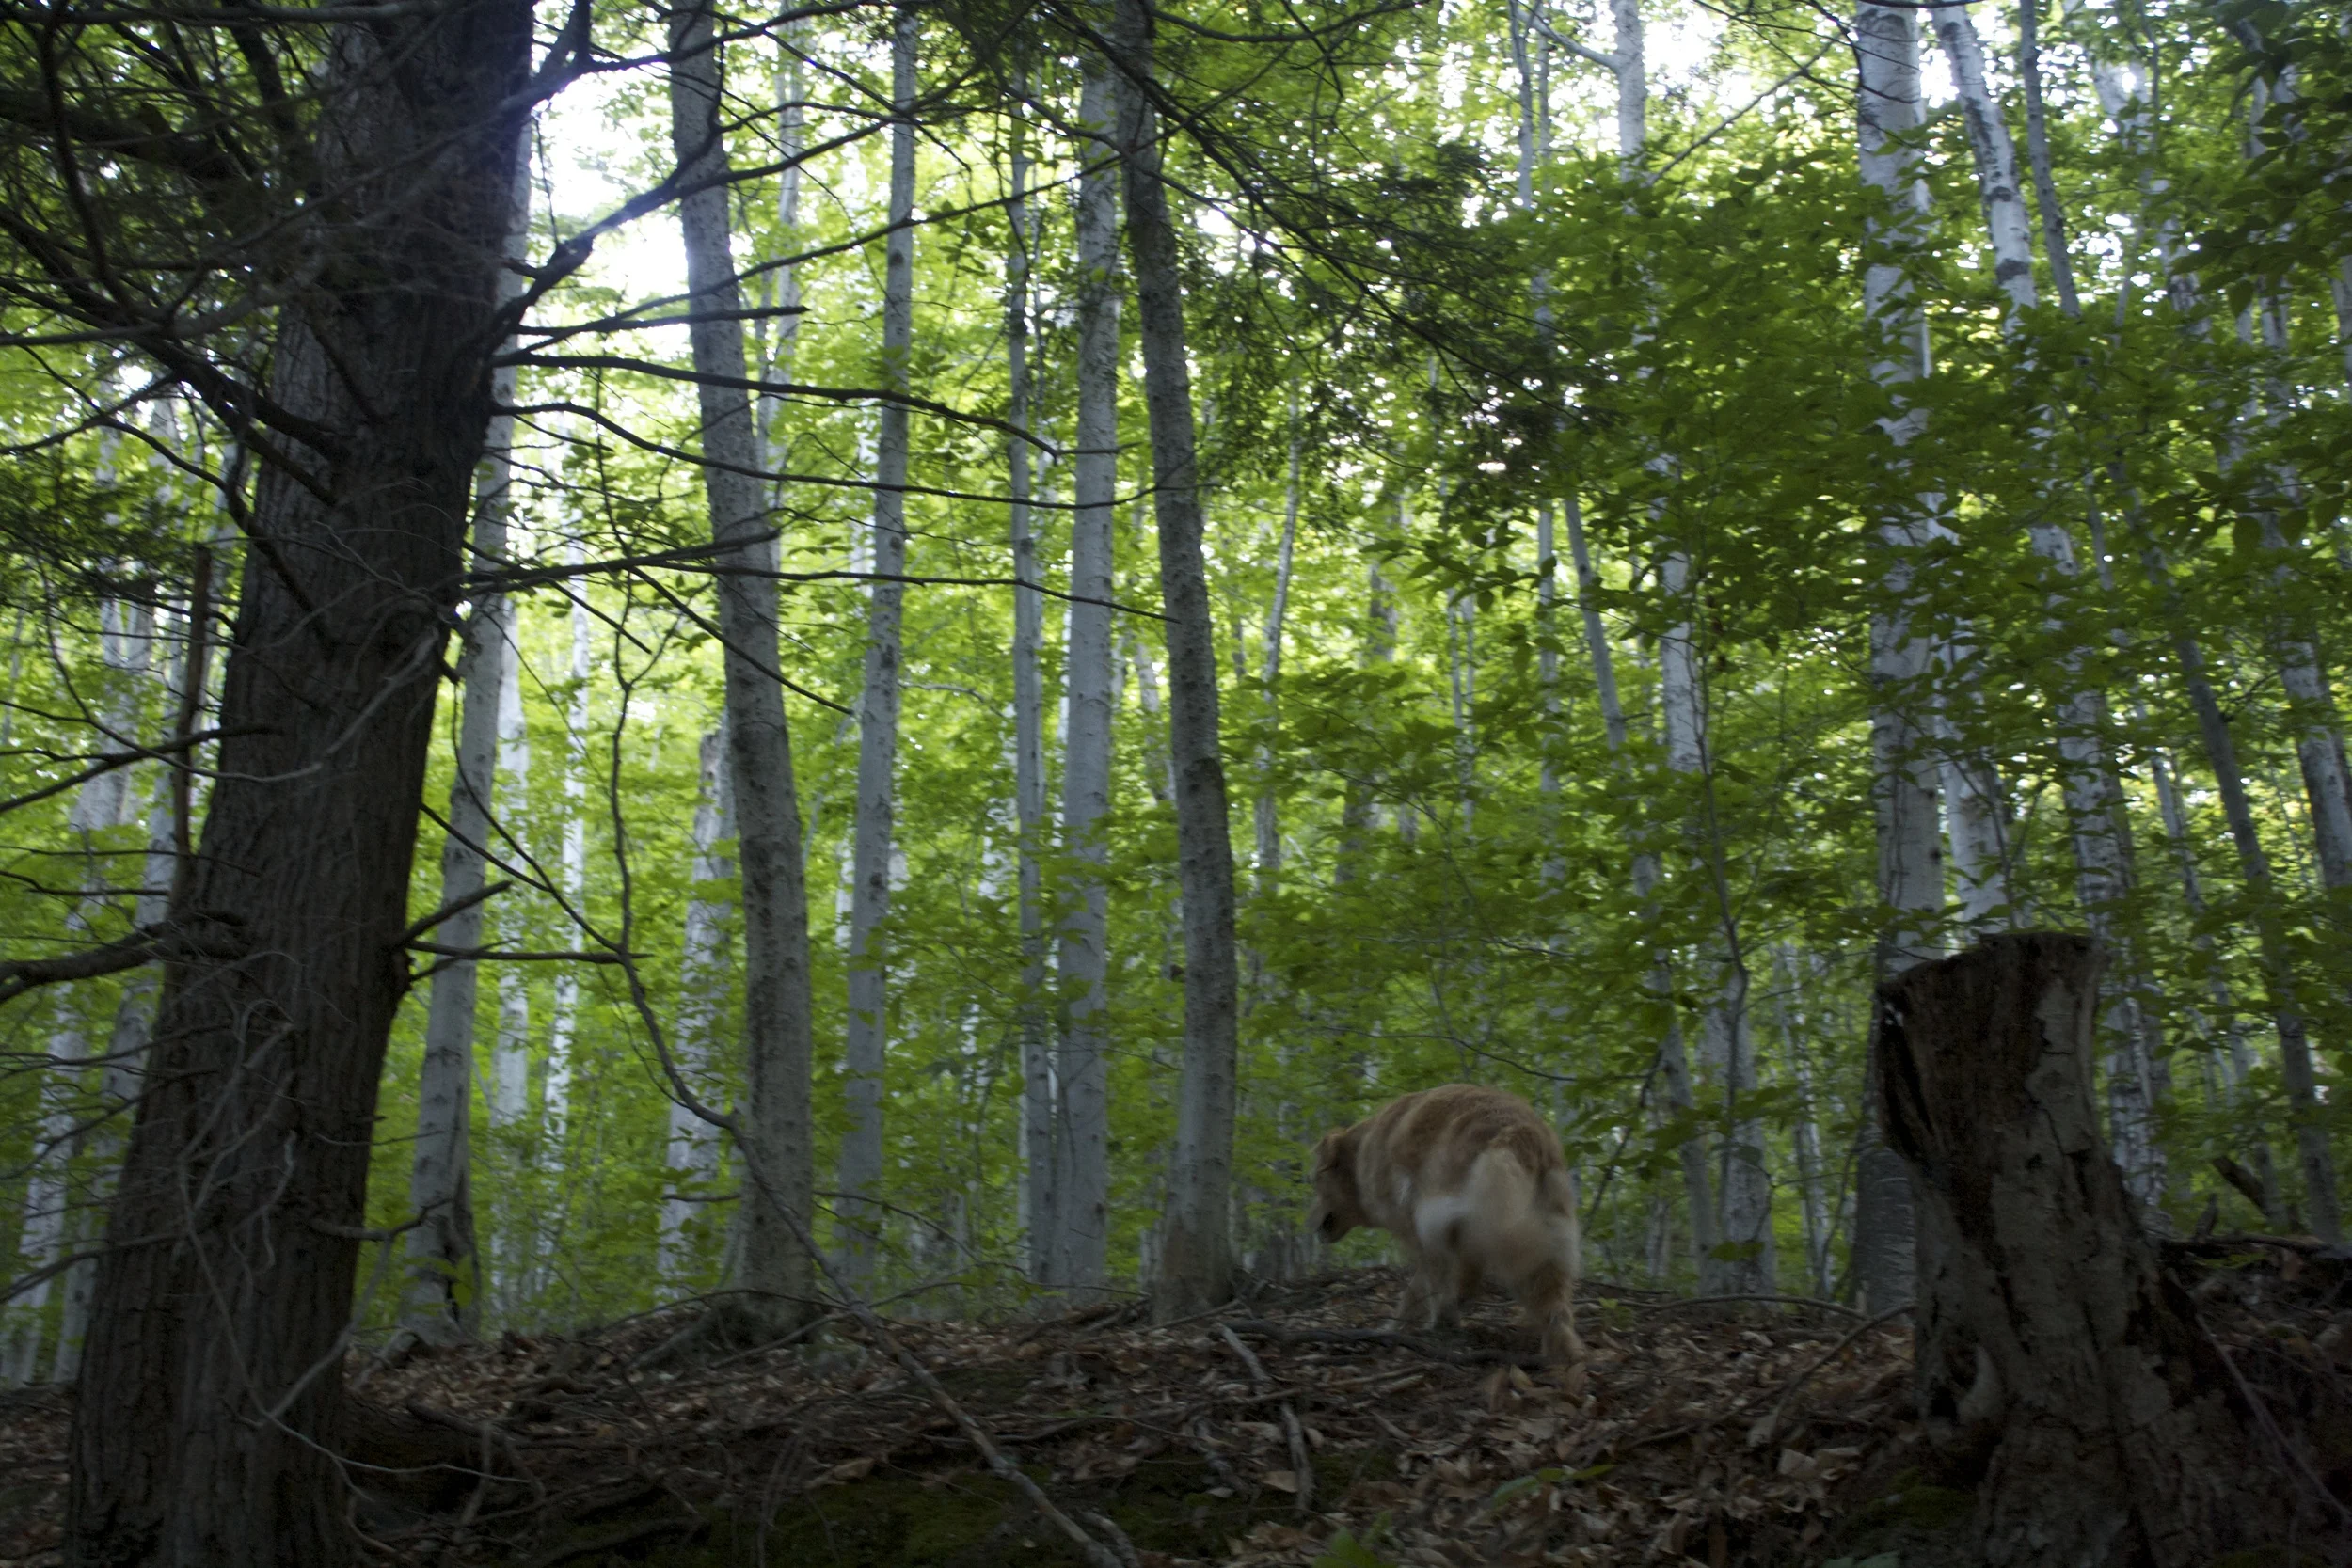
Then we spend the afternoon kicking%u00a0around.. Into the woods we went. This place had so many hiking%u00a0trails, we just let%u00a0the pup lead%u00a0the wayHe usually knows where he is going.
After a long afternoon of hiking and romping, we make our way back to our outdoor home for food. Dinner consisted of potato and%u00a0sweet potato, squash and onions, kale, salsa and beans.%u00a0%u00a0It couldn’t have been any better. We did forget plates, but no matter, we managed.
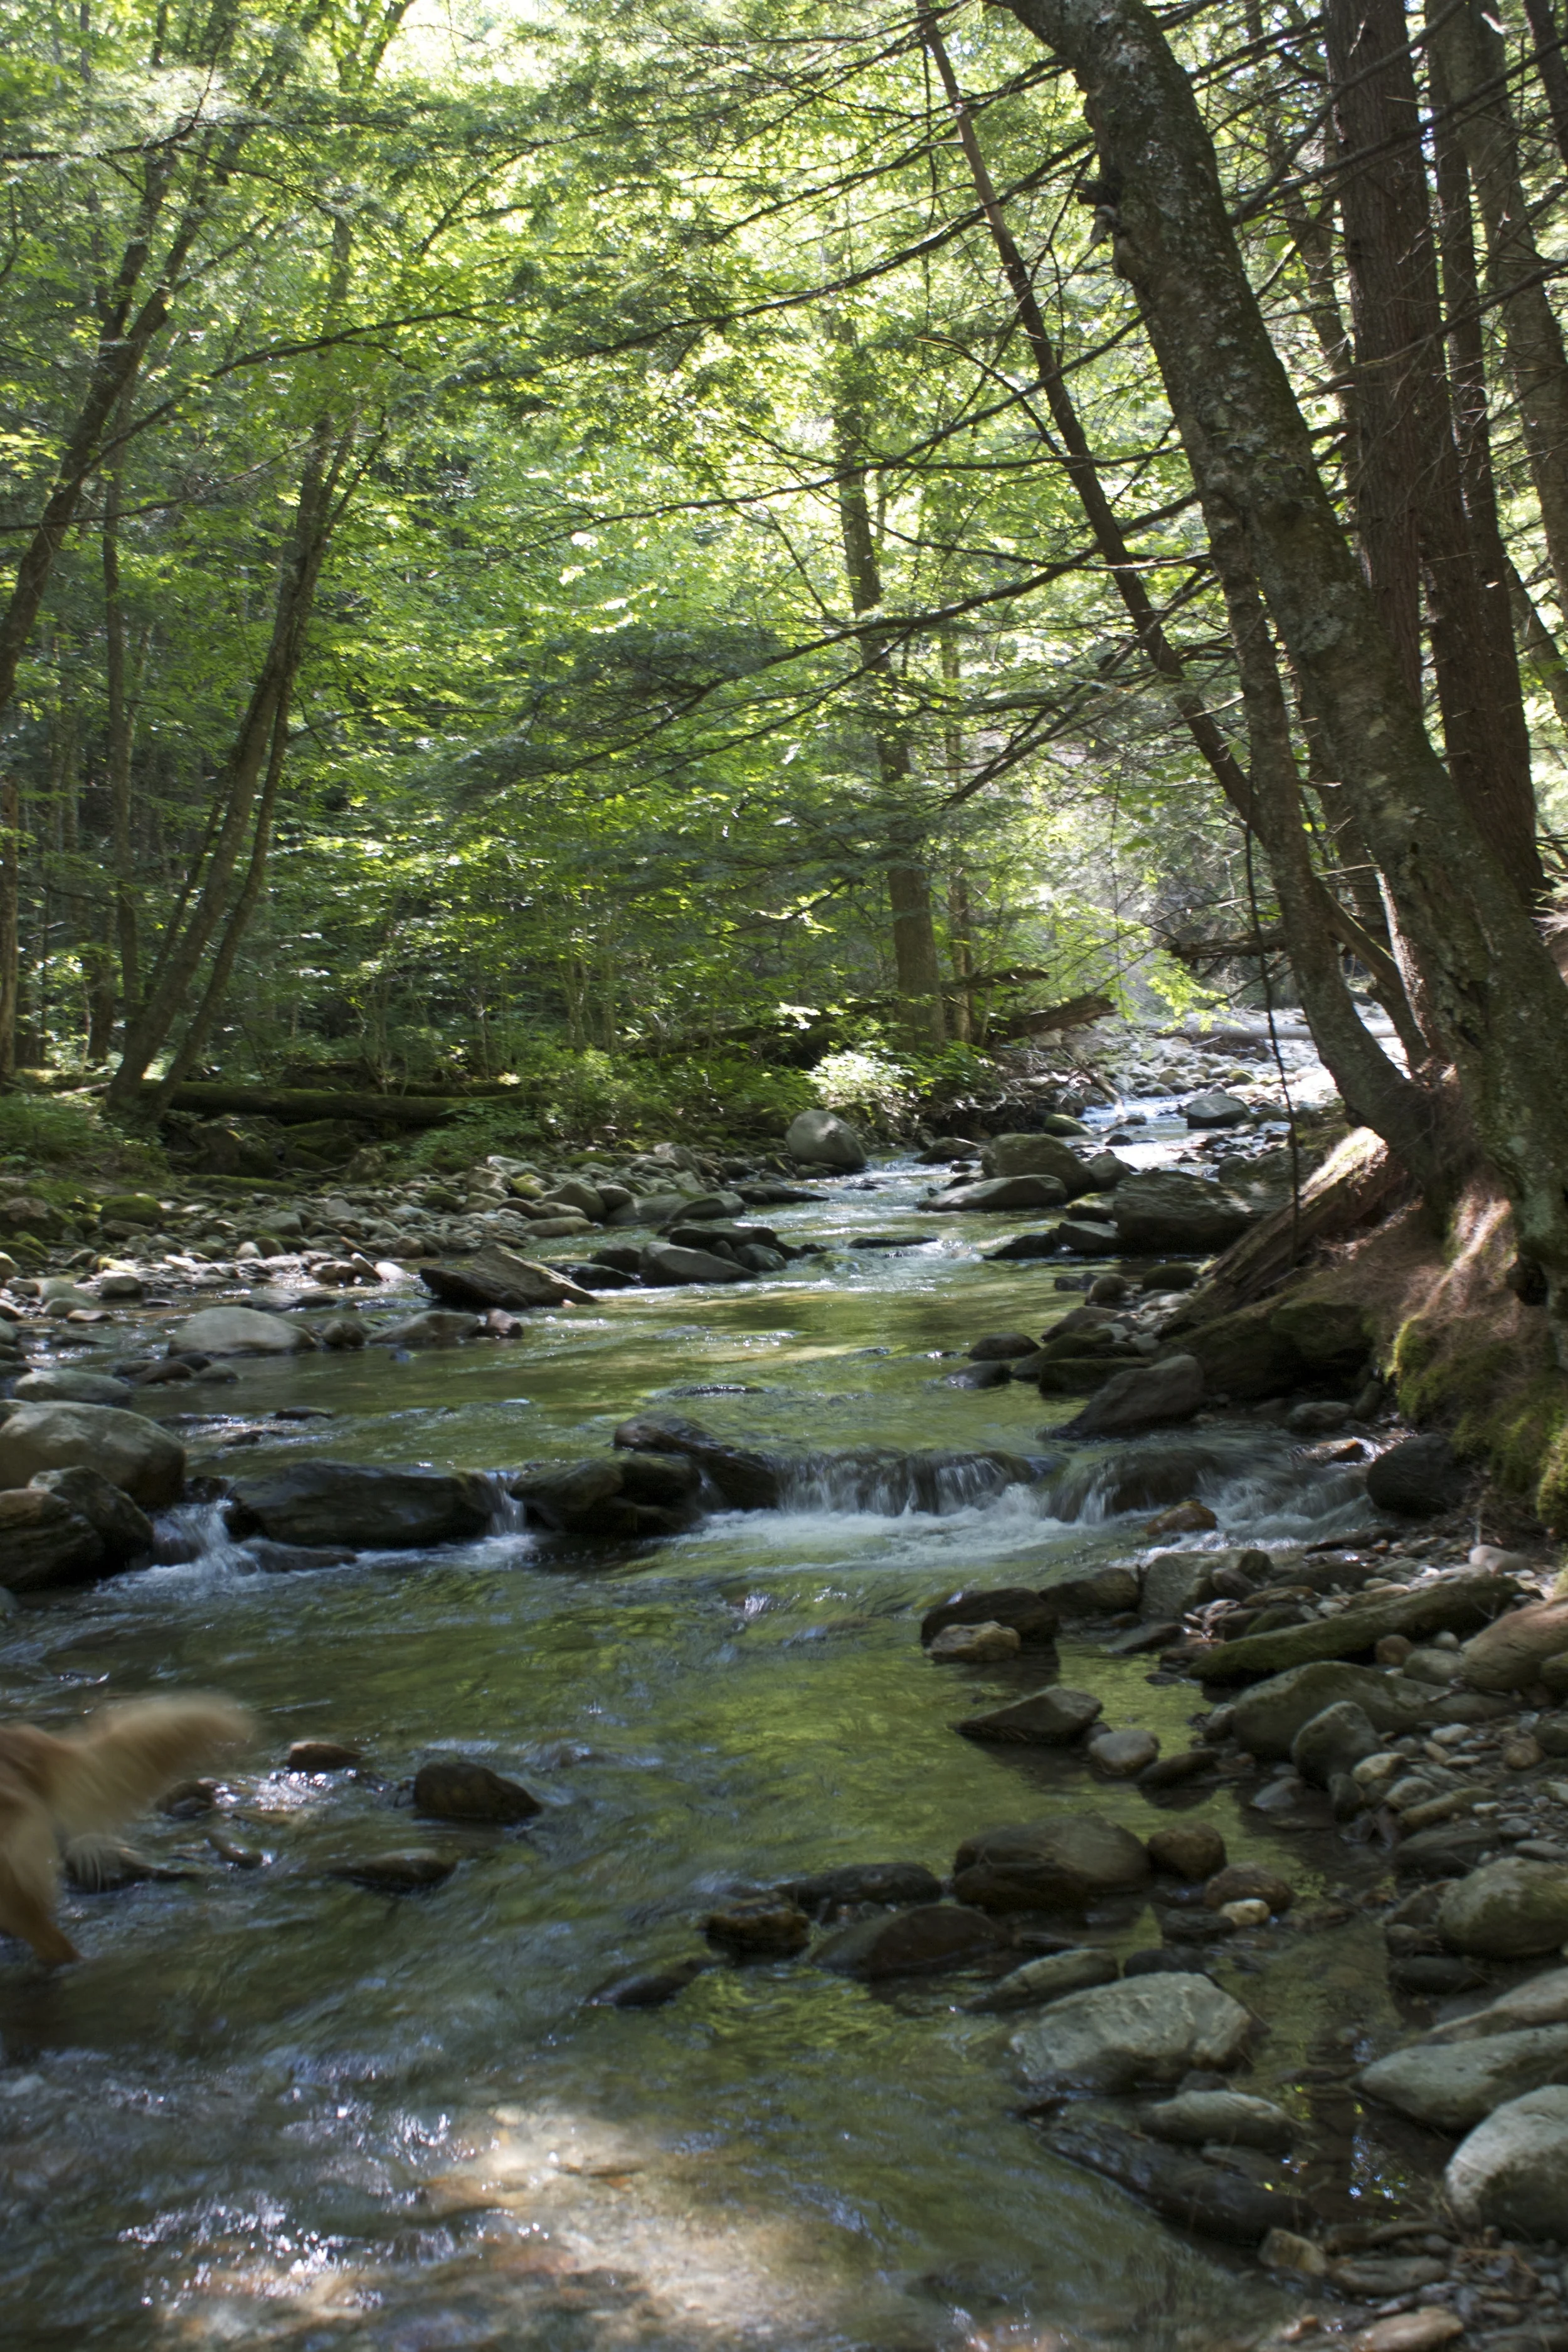
Of course we needed to take an after dinner hike to the river and swim the pup. (We think he might be part fish)
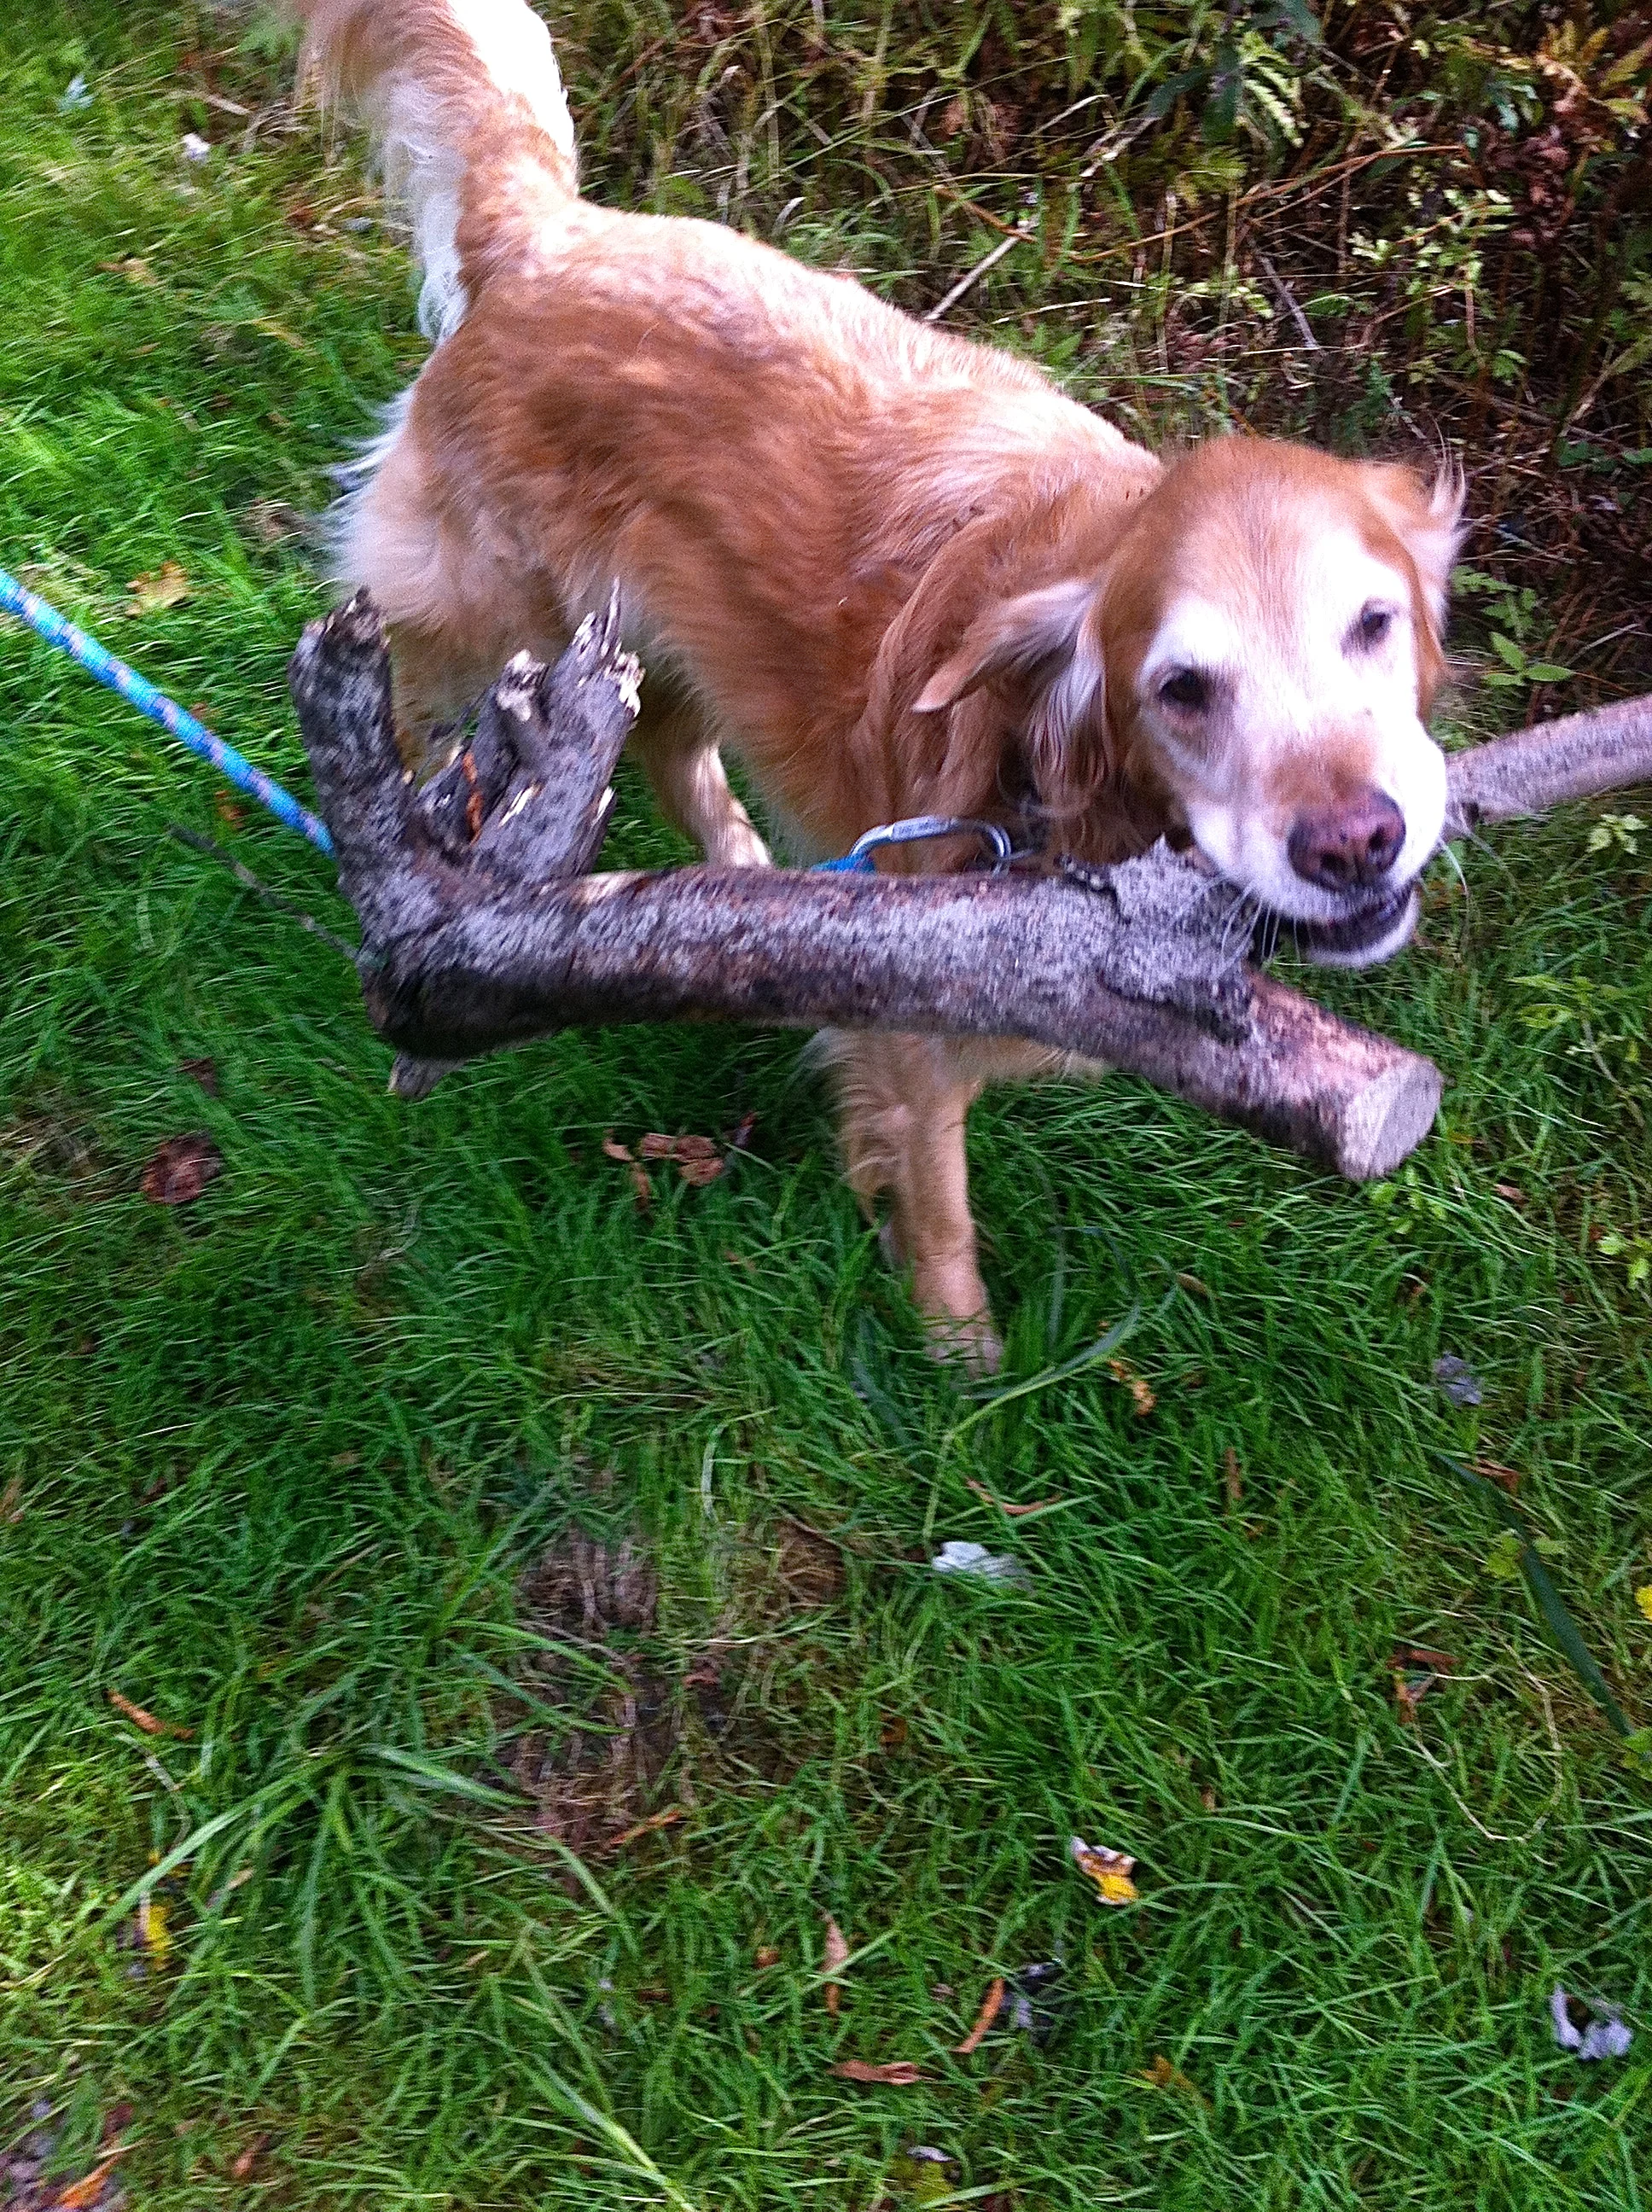
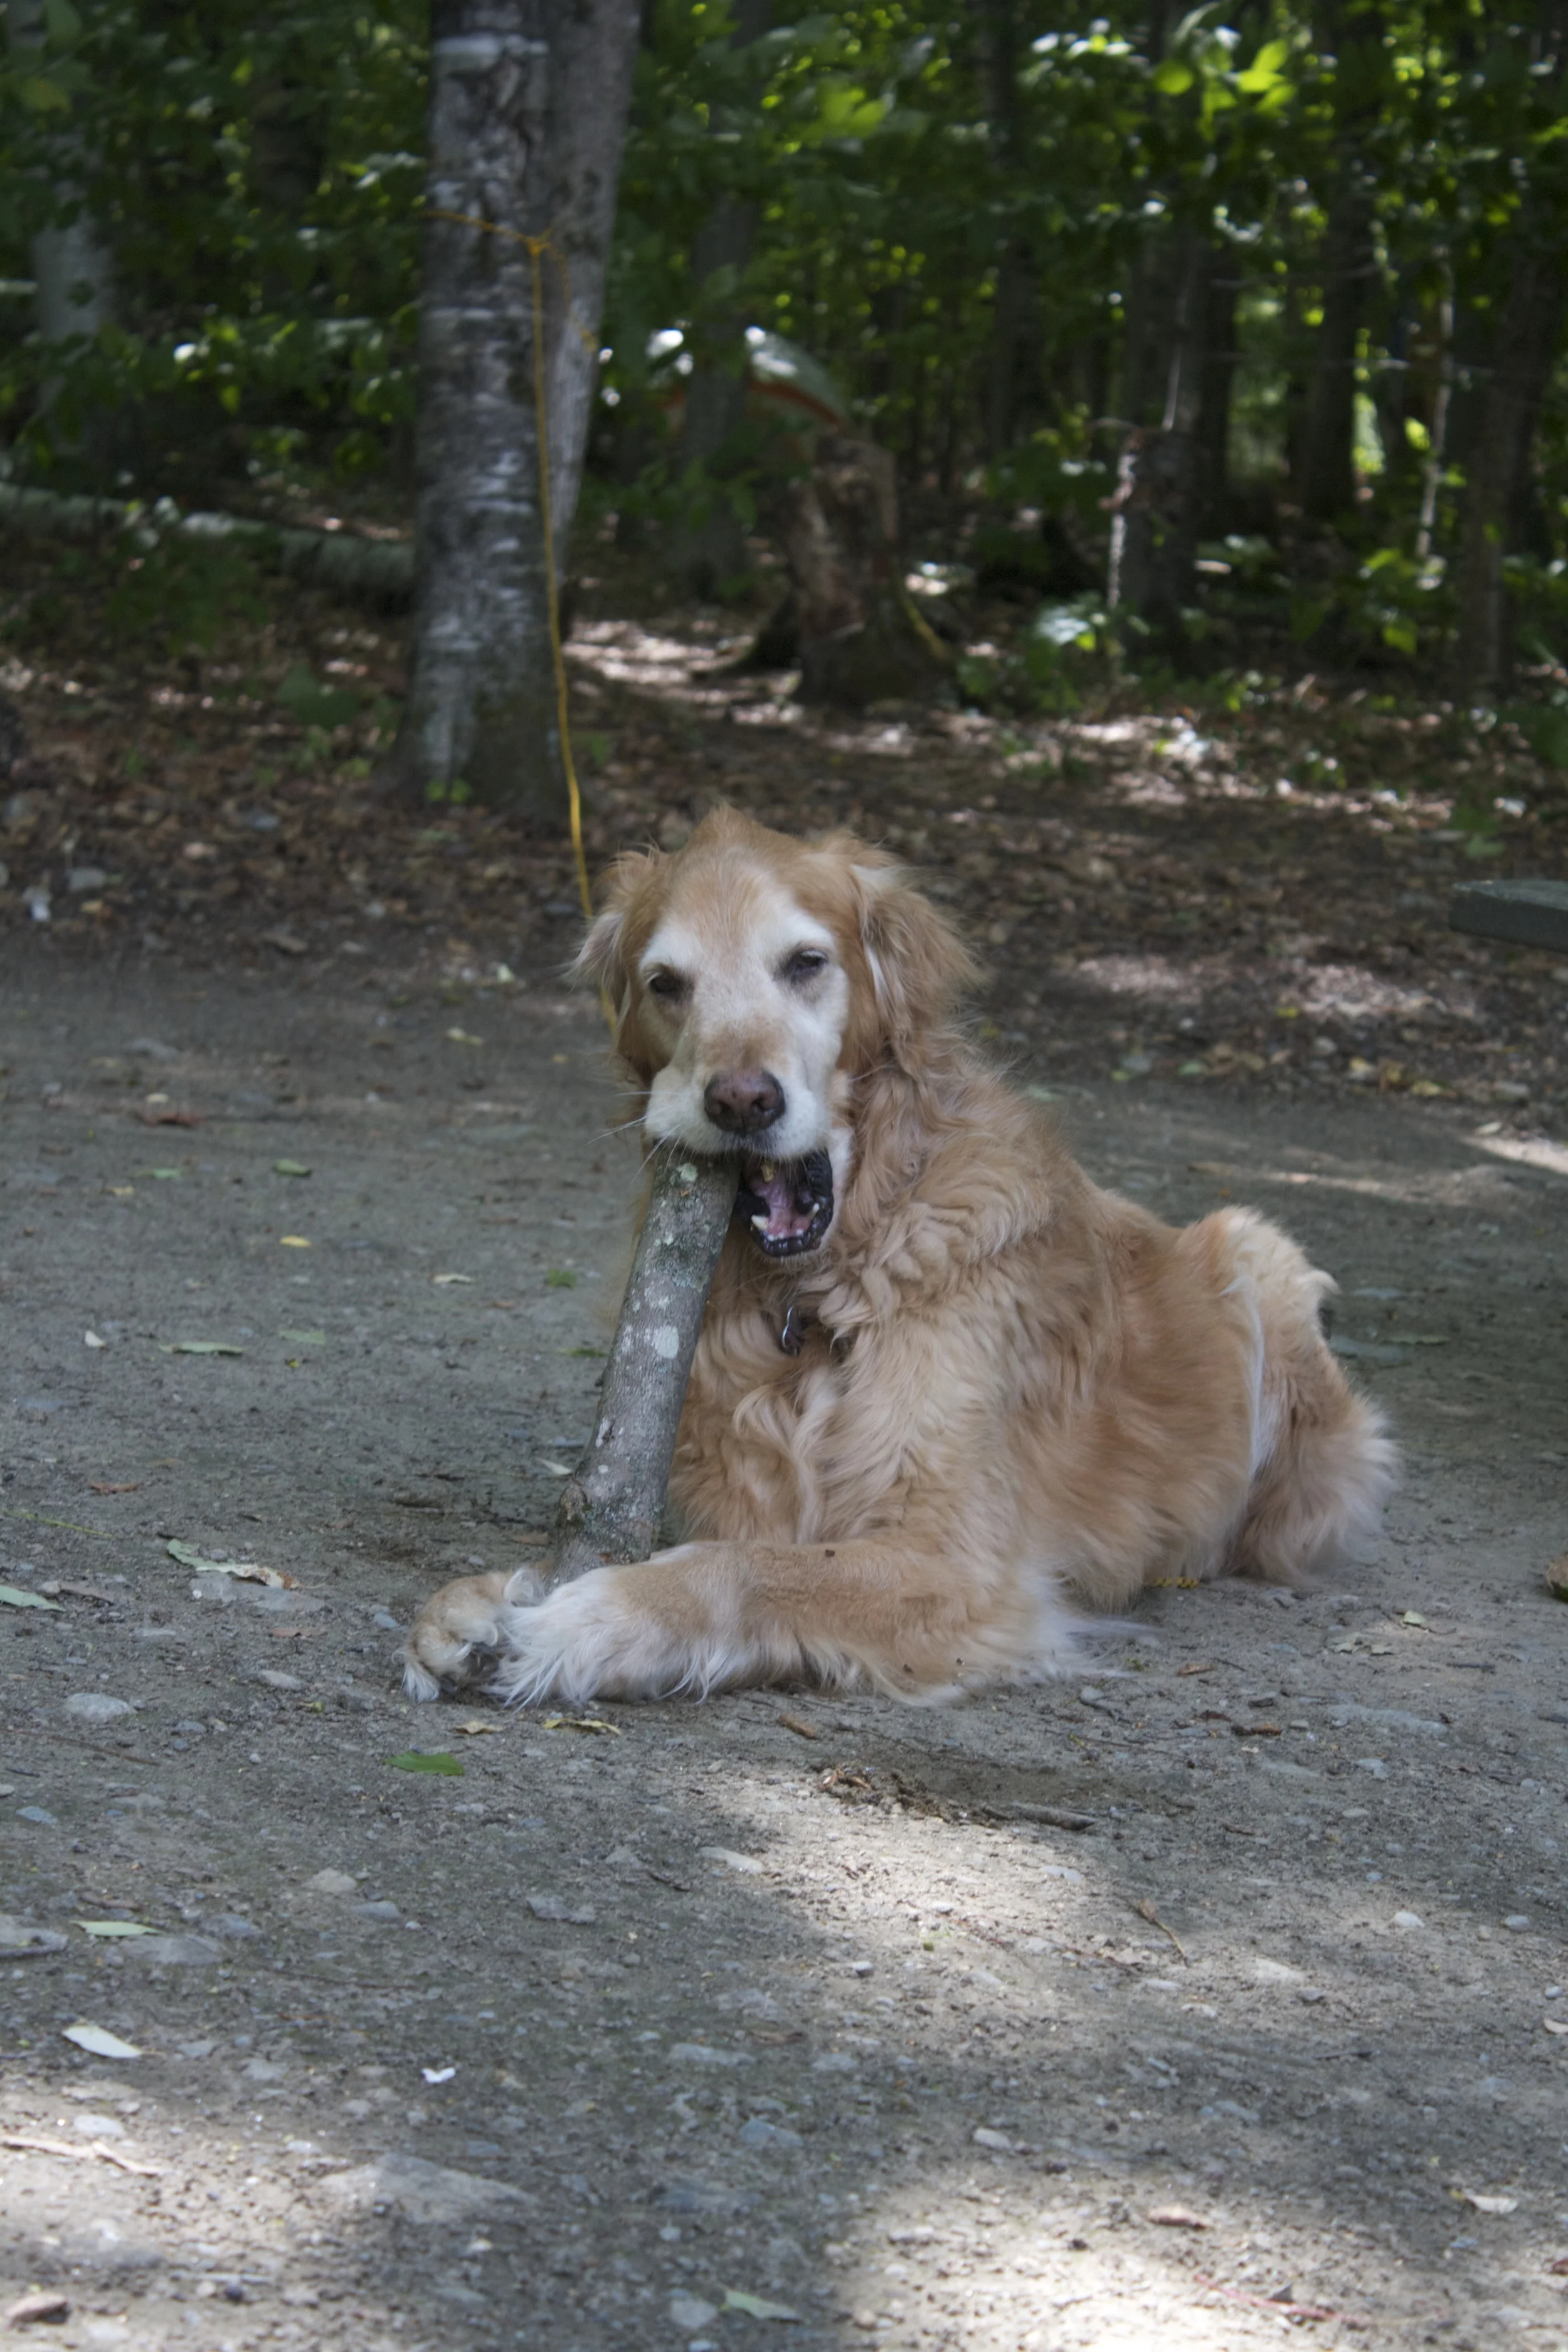
He spent about an hour fetching stick and making sure that he couldn’t possibly smell any worse.
Playing with my camera and sticks. Then off to the tent for the three of us.%u00a0(holy hell did the dog smell like shit)
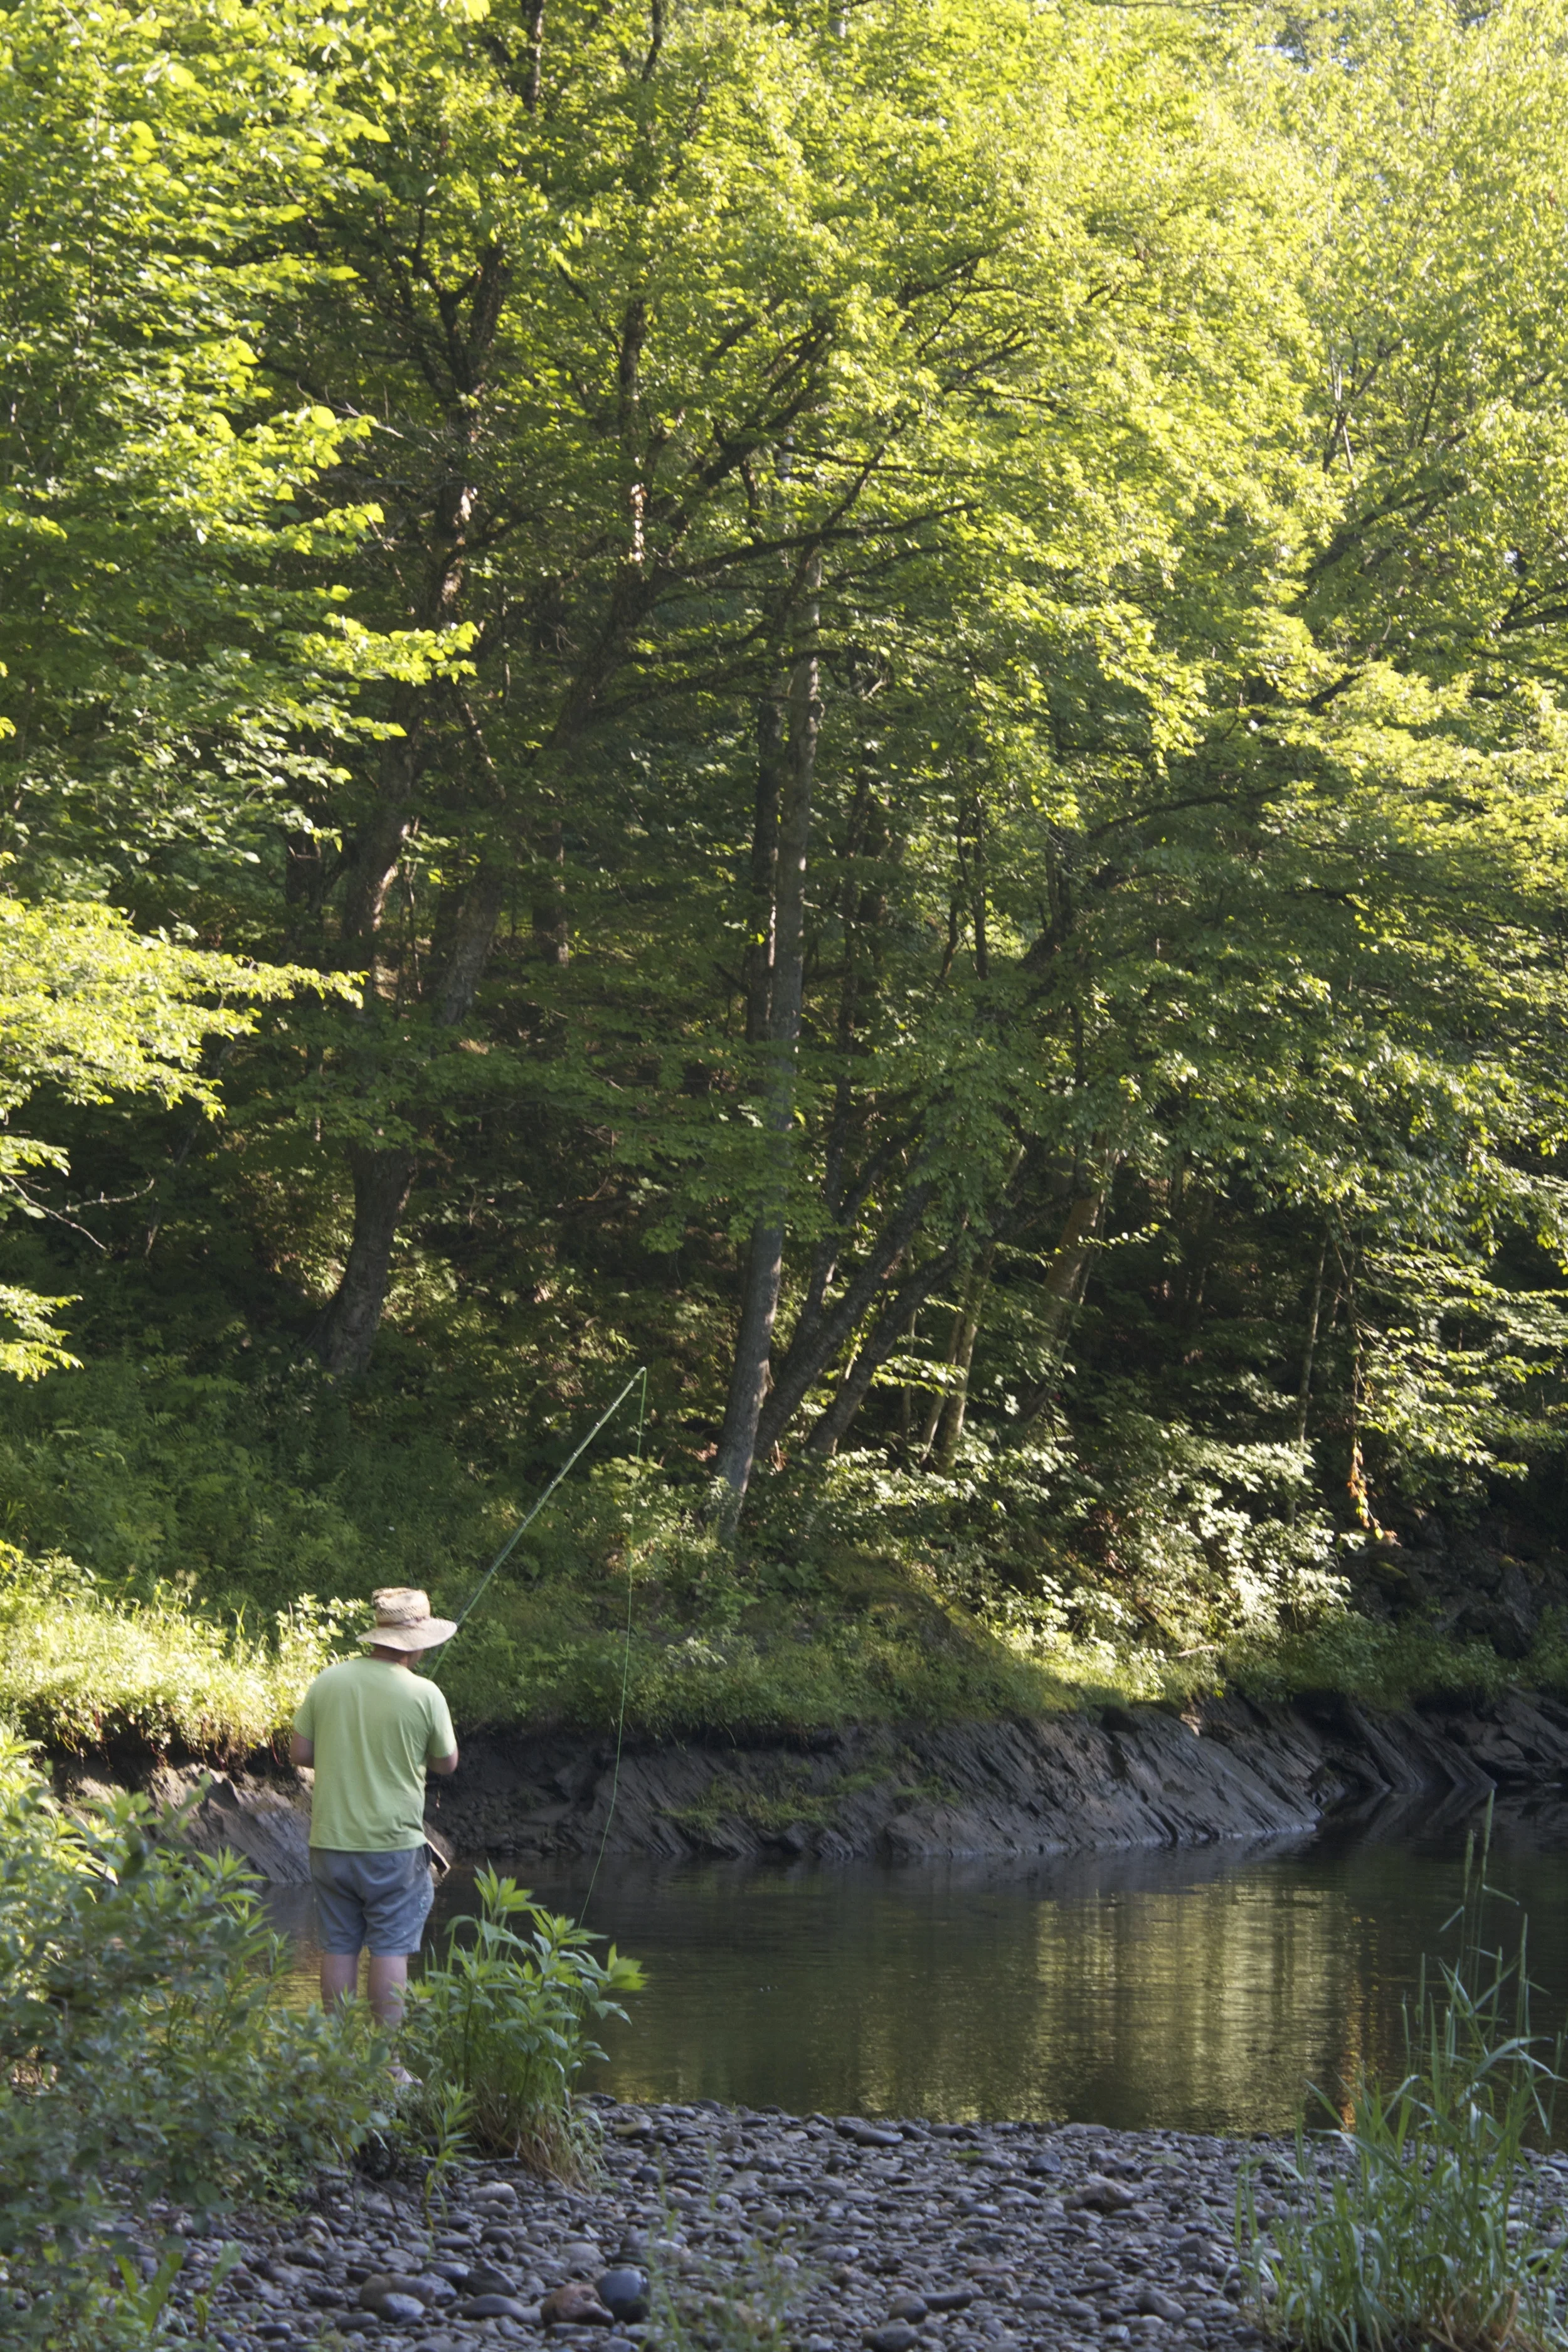
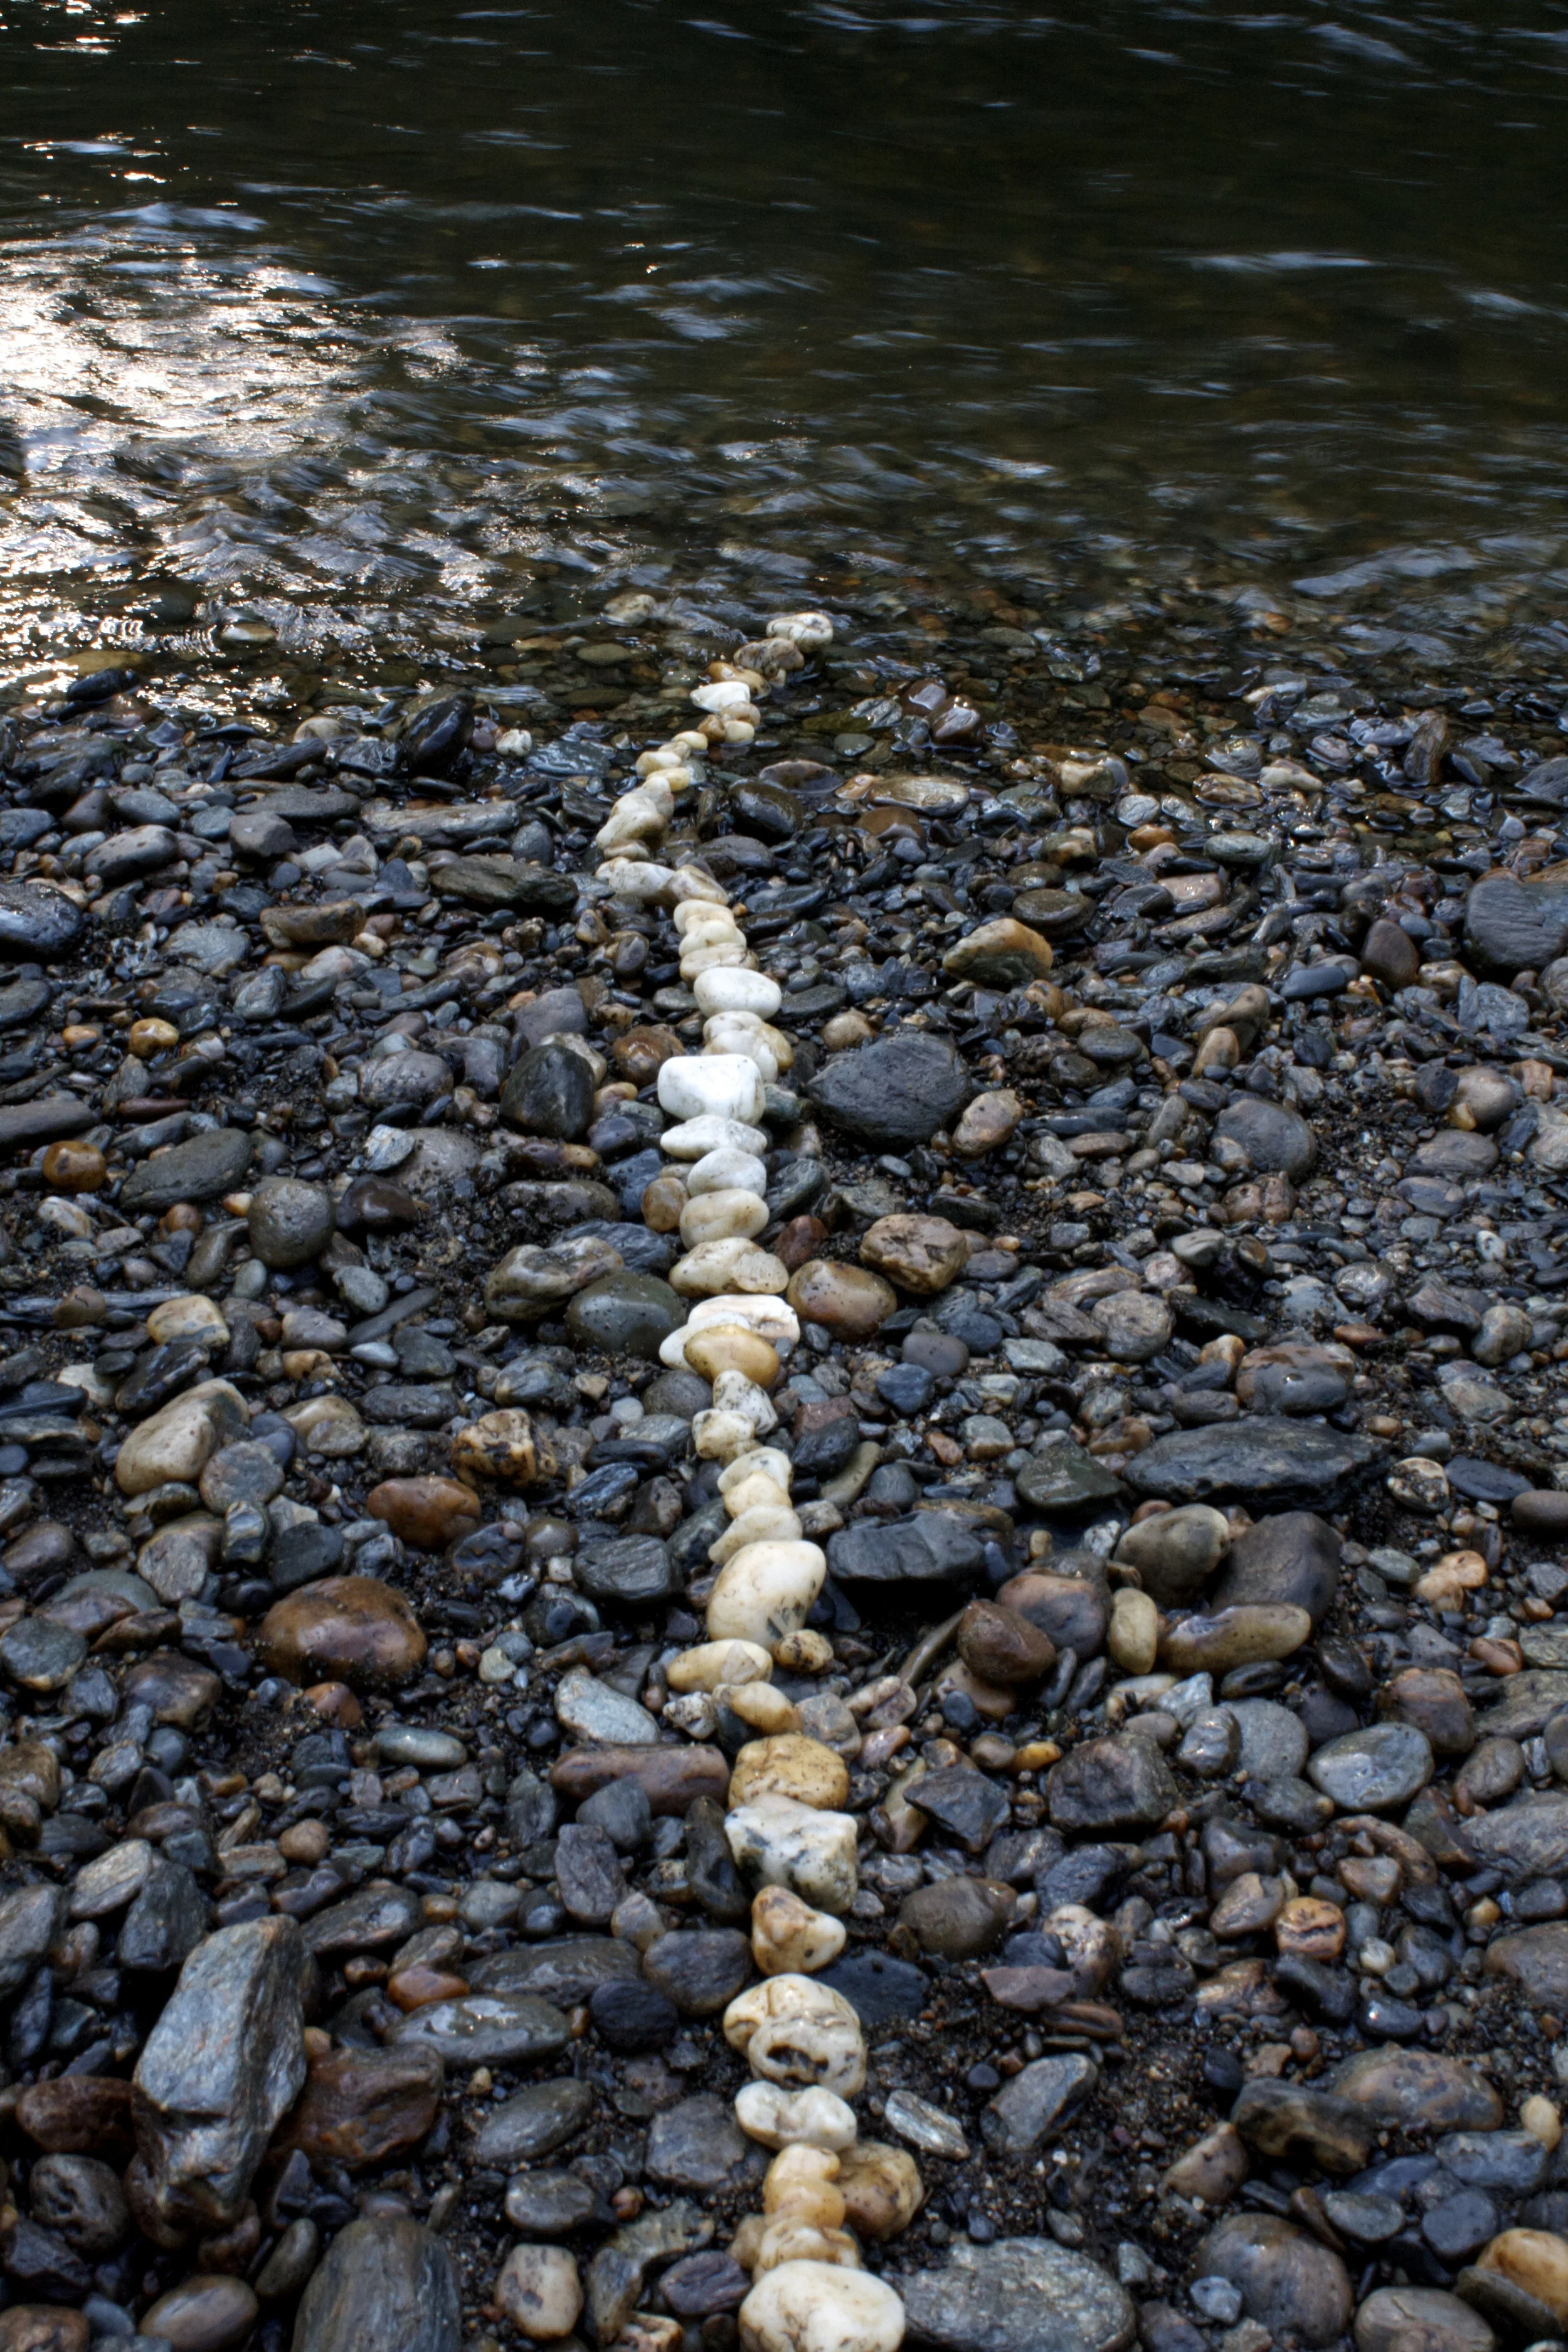
Another morning hike and some time spent just hanging on the river. The mr fished, the pup swam and I collected rocks.
And then we went home, washed off the filth,%u00a0and assed out%u2026Then%u00a0Washer got sick, but%u00a0that’s a whole other story.
Camping is the best. I could live in a tent all year long. (not really%u00a0all year long.. I would surely freeze to death)
So if you are thinking of camping, I highly recommend going to Little River State Park.
I’ve gone on a complete split pea binge. I have been making it (or reheating it if I have left overs) every day for the last two weeks, no joke. (This lady needs her protein) I get home, grab what ever veggies I see first in the fridge, a few jars of some spices, the giant jar of dried peas, and make quick work of lunch. Chop chop, dump, splash, stir. I am a soup (stews and bisques too) master. Soup for lunch. Right in all ways and just needs to happen.
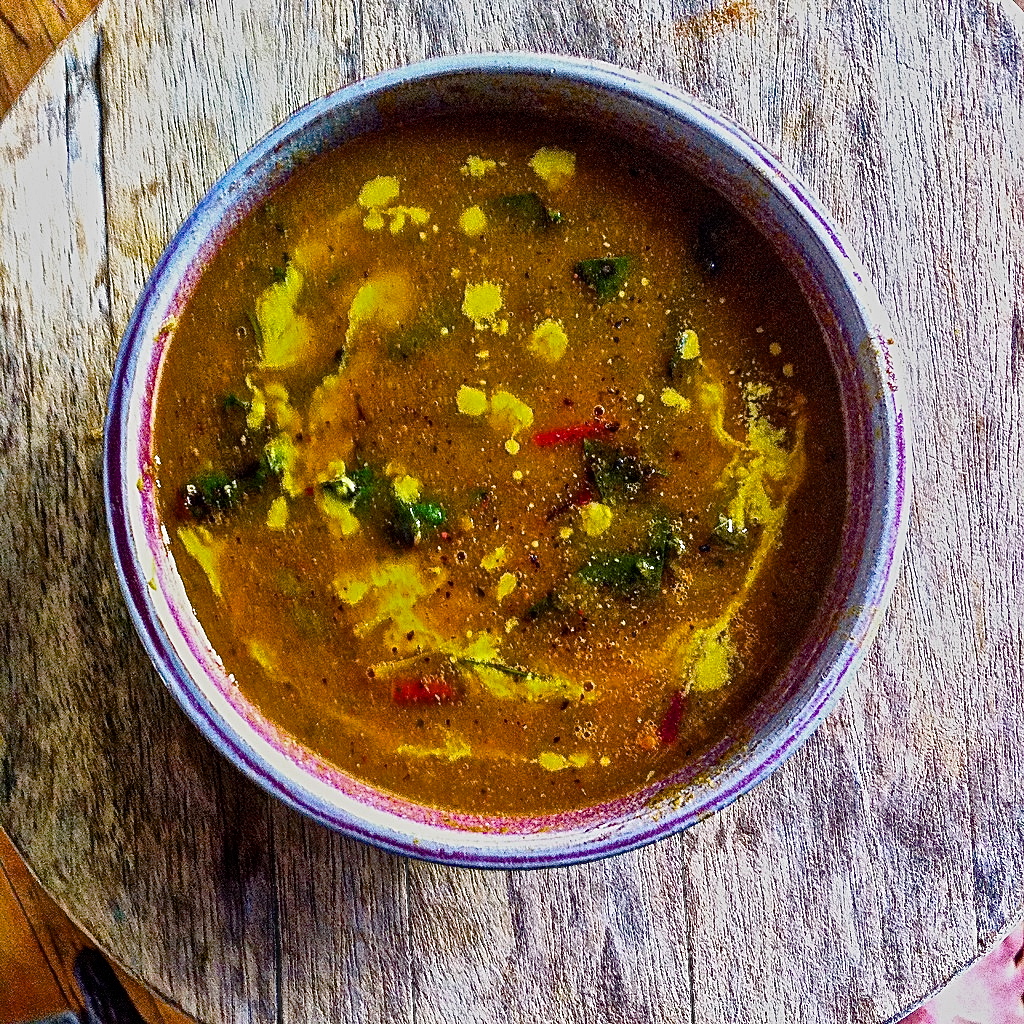
Sometimes I’ll make soup and it’s just good soup.%u00a0 Sometimes it will end up being really good .This soup, well this soup is really freaking awesome and is my new go to for split peas. Thick and creamy, mildly sweet from the parsnips and ginger, but mellow at the same time. Add a little or a lot of pepper (lots of pepper here) and you got yourself perfection.
Soup that warms you up from the inside out and leaves you happy and full.
Split pea for life!
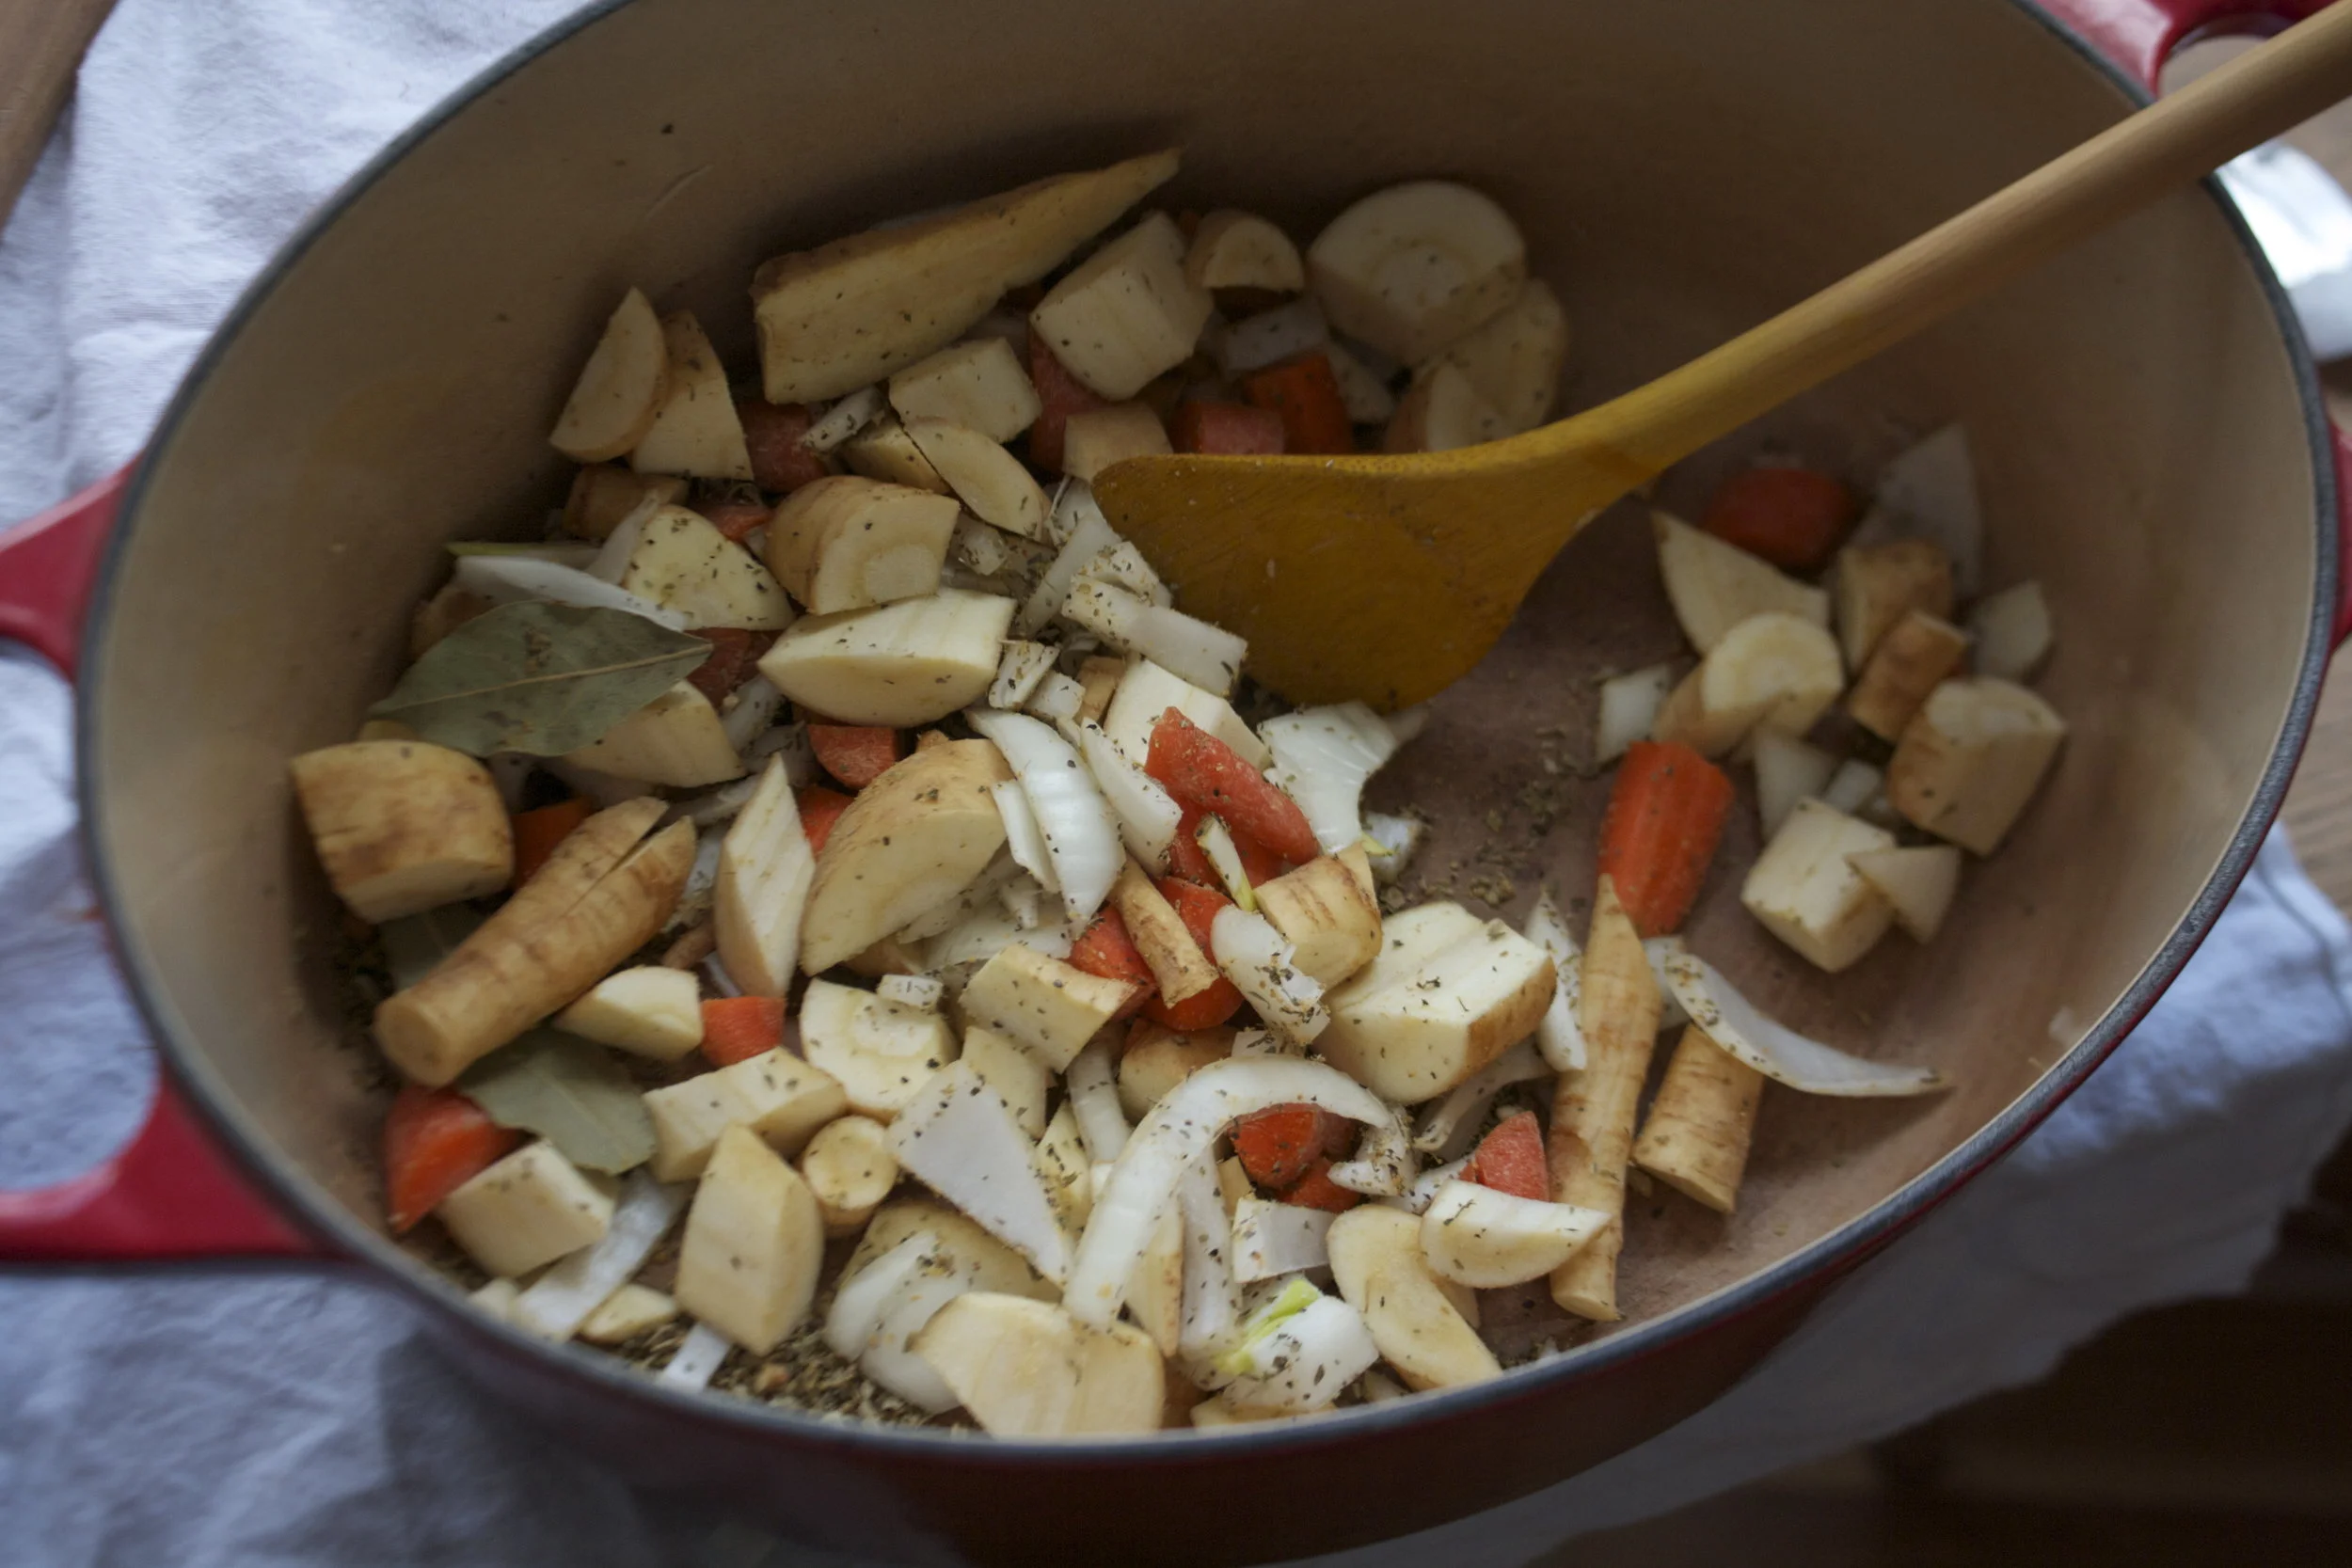
The stuff. Dried split peas, parsnips, a carrot, and onion, some Italian seasoning, ground ginger, bay leaves, and salt and pepper. Also need water.
Chop the veggies. Smaller chunks are good, but don’t worry to much, it’s all getting blended up anyway.
Now toss all those veggies into a big heavy bottom pot and mix in all the spices. Stick o stove with a splash of water and turn up the heat to give the veggies and spices a few minutes alone to active all the goodness.
Once the smell hits you nose and the veggies look like they need some water, dump in the split peas and add enough water to completely cover everything plus a few extra inches. Bring the pot to a boil then turn down to low, stick a lid on pot, and let cook. Check an stir every 10 minutes or so. If it starts to look dry, add in another few cups of water.
Peas are soft, veggies are cooked and now soup is almost ready to go.
Just blend it until smooth. Take liberty hear and smooth it as much or as little as you like. Also if you want to thin it out, just add more water. Want to thicken it up, just cook for a little while longer. ( spit pea is so easy).
And that is it.
You know what to do from here.
Soup time!
Stay warm and have a great weekend.
-C
makes a large pot of soup that will feed 4-6
1 pound dried split peas
1 medium yellow onion
1 large carrot
1 pound (about 4-5) parsnips
2 tablespoons Italian seasoning*
2 teaspoons ground ginger
2 bay leaves
salt and pepper
water
*Note. Italian seasoning is pretty basic and you probably have it, but if not you can make your own by mixing equal parts thyme, oregano, basil, and rosemary.
Start by rough chopping all the veggies and placing them in a large heavy bottom pot. Mix in the spices and bay leaves. Stick on the stove with a splash of water and cook for a few minutes to let the spices ans veggies heat up and smell all nice. Add in peas and enough water to completely cover everything in the pot plus a few inches. Bring to a boil, them turn heat to low, cover pot, and let cook for about 1/2 hour-45 minutes, checking and stir ever 10 minutes. If the soup seems to get too dry, just add in a few extra cups of water.
Once the veggies and peas are soft, turn heat off and using the blending device of your choice, blend until smooth. Season with salt and pepper to taste and eat hot but watch your tongue.
My winter farm share is coming to an end this week. One more pick and then a three week stretch until the summer share starts%u2026 WHAT AM I GOING TO DO!!! Stock up as much as I can is what.
I have been strategic about the roots and veggies that I have chosen to bring home the past few weeks.(My farm lets you pick what you want) %u00a0I know what I can buy at the store, things like carrots and potatoes, so I have been passing those up, but the roots like beets and celeriac%u2026 I have been bringing home baskets of those and hoarding them in the fridge and basement in preparation for the laps in farm fresh food and knowing that if I want to by these at the store it s going to coast me a million dollars %u00a0a pound. (a for real million dollars)
Yup, lots of roots around here, especially celeriac root which is fantastic.%u00a0I am kind of obsessed with celeriac, with its fibrous, knobby exterior, soft but almost meaty texture inside, and a flavor that %u00a0is close to celery but so much better. %u00a0I don’t know why it has taken me so long to do a posting featuring this amazing root vegetable %u00a0(I eat it almost every day)
So here, an amazingly tasty, hearty but not heavy, celeriac recipe. %u00a0Perfect for spring and the change into summer%u2026. Mustard roasted celeriac with an fanatic split peas gravy that will have you licking you bowl clean.
%u00a0The stuff%u2026.For the split pea gravy we have a carrot, a parsnip and a large onion chopped into small chunks. %u00a0Salt, thyme, a bay leaf and of course the split peas. Then there is the celeriac root* sliced into 1/2 inch thick rounds and some plain old yellow mustard .
*Note. I don’t peel my celeriac root. I really enjoy the fibrous exterior but realize that some don’t(The mister does not like it) so peel it if you want.%u00a0
Toss the chopped parsnip, carrot, onion and the spices into a pot on medium heat and let veggies sweat a few minutes until tender. %u00a0Add in the split peas and enough water to cover everything. %u00a0Turn pot on high and bring to a boil, then cover and turn to low. Make sure to give the pot a good stir ever few minutes and add more water if needed%u00a0
While the gravy is cooking, %u00a0take the celeriac rounds and brush each side with yellow mustard, sprinkle with pepper, and place on a baking sheet. Stick into the oven to roast for about 25 minutes, flipping the rounds after about 10 minutes.
Once the peas have soften, remove the bay leaf and puree until smooth and oh so creamy. Taste and add more salt and pepper if needed. If you find that the gravy seems to thick, just add in more water until it’s the consistency that you want.%u00a0The gravy is made, the celeriac is roasted%u2026 now we are ready to eat!!%u00a0Stick the celeriac on a plate and dump good amount of that gravy right on top. Feel free to add a bed of spinach, or a grain or anything you want, because why not, and also some chopped tomatoes for a little acid and prettiness.
Serve with the fanciest knife and fork you can find. Extra yellow mustard and sriracha sauce are great condiments to have close by.
Happy Tuesday!
-C
Mustard Roasted Celeriac with Split Pea Gravy
2 medium celeriac roots
6 tablespoons mustard
1 large carrot
1 medium parsnip
1 large yellow onion
2/3 cup split peas
2-3 cups water%u00a0
1 bay leaf
2 teaspoons thyme or italian spice mix
salt and pepper
spinach (optional)
diced tomatoes(optional)
Preheat oven to 400 degrees
Small dice the carrot, parsnip and onion and throw into a large pot. Spinkle with salt and pepper, add in the thyme and bay leaf and add a splash of water. Stick on stove on medium heat and stir. Let cook until the veggies become soft and fragrant. Now add in the split peas and 2 cups of water. Bring to a boil then cover and turn heat down to medium low. Let cook until the split peas become tender (about 25 minutes) string on occasion and adding more water if the peas are not completely summered while cooking.
Once the peas are tender, let cool for a few minutes, remove bay leaf, and either dump into a blender or blend with an immersion blender until nice and creamy. If gravy seems to thick, add in more water.%u00a0
Scrub or peel celeriac roots and slice them into 1/2 inch think rounds. Place on a baking sheet and brush mustard on both sides and spindle with pepper. Stick into oven for about 10 minutes, flip, then back into the oven for another 15 or so minutes, or unit the celeriac is tender.
When the celeriac is done remove from oven and %u00a0stick a few rounds on a bed of spinach (or not, or any kind of grain or green you like) Top with a hearty helping of the gravy and toss on some chopped up tomatoes.
Eat with at knife and fork like a fancy person.
I am a no fuss soup extraordinaire. %u00a0Whats in the fridge or freezer is whats going into the pot. Adding water, spices, tomato chunks or paste. Lentils or beans. Anything from creamy tomato, eggplant zucchini bisque, to one of my favorites%u2026 Split pea. There is no limitations to the soup combinations that can be created.
During these cold winter days in Vermont, I always have soup in my house. It’s a lunch time staple. .%u00a0I have a weekly standing lunch date with my sister and her little for soup. The fussy 2-year-old will dig right into her little bowl. Once she has thoughtfully emptied the contents of her bowl on herself and table, she goes in for everyone else’s. That’s%u00a0when you know it tastes good, when a 2-year old robs your soup bowl.
Today I%u00a0need a warm, comforting soup. Something to eat curled up on the couch with a good book and a cup of tea. Today its split pea!
Start with your veggies. Chop chop chop. You can do once consistent size, or a messy chop. It’s nice to have different sized bites in your soup. %u00a0This recipe calls for certain roots, but really, use whatever you want. I wouldn’t omit the carrots or onion, but anything else. Why not right?
Cooking down the veggies with the spices before adding the water and peas help to really bring out the flavors. I love a good spoonful or to of slightly%u00a0cooked vegetables. I could eat it just like this. But you really should add the peas and water%u2026 Its so worth it.
Added peas and water, this soup takes on a sewage type look. Hooray, that is exactly what we are going for! This point you %u00a0can let the liquid cook down even more or leave it a little thin.%u00a0%u00a0The consistency is up to you. If you choose to keep it on the thicker side just know that if you save any in the fridge, it will get considerably thicker. When going to heat up, just add more water and maybe another pinch of salt.
I like to add a little bit of texture to the last stage of my soup. Throw in a handful of finely chopped cabbage and let that sit for a few minutes, just to get the tiniest bit tender%u2026. Right! You want to make this so bad and you can. It a saturday. So have fun, this soup is all about warmth and comfort and what makes you happy.
Split Pea Soup
Ingredients
2 large%u00a0carrots
2 stocks celery
1 parsnip
1 medium onion (any kind will do)
small head of cabbage
1 pound of dried split peas
teaspoon thyme
teaspoon marajoram
1 teaspoon rosemary
2 bay leaves
salt and pepper
Clean and chop carrots, celery, onion, and parsnip into smallish chunks. Shredd cabbage , leaving a handful or two to the side for later. %u00a0Place in a 8 quart pot on low heat. %u00a0Add in all spices and a pinch or two of salt and pepper. Let cook for 10 minutes giving it a stir or two.
When vegetables have cooked down a bit, add in split peas and enough water to cover the contents. Bring to a rolling boil, half replace lid and turn heat down to low %u00a0Let simmer for about 45 minutes, stirring occasionally. The split peas will expand and will suck all the water or of the pot so add water when needed. Simmer until %u00a0soup is at %u00a0desired consistency, The last few minutes of cooking, add the rest of the chopped cabbage and replace lid. Salt and pepper to taste.
I have never in my life seen, let alone received, a kohlrabi as big as the one I picked up from my farm share last week. It was, no joke, bigger then my head. (completely nuts) If I didn’t know the farm and the farmers of my CSA, I would have to question whether or not it was grown in radioactive sludge…(kind of like the dandelions in the Teenage Mutant Ninja Turtle movie from the 90’s)
What is a kohlrabi you ask? It’s kind of a cross between a turnip and a cabbage that is usually the size of a baseball. It can be eaten raw (I like chunks dipped in mustard) or cooked. (roasted chunks dipped in mustard) It pairs well with sweet stuff like apples and honey, or in any savory stuff. Its one of my favorite vegetables (I say that about them all!)
So now that you know about kohlrabi (if you didn’t already) its time to get yourself some and make this soup. Because for real, I am not kidding when I say that this is one of the best soups that I have ever made. You really must try it. And do it soon because hopefully in the next few weeks the soup weather will turn into fresh pea weather and we might not want soup as much (I eat soup all year long)
A gigantic kohlrabi cut in half ( I only used one of the halts) A whole yellow onion and 2 large carrots. I also added in 4 cloves or garlic
Peel the kohlrabis tough skin off and chop up into chunks. Chop the carrot, garlic and onion as well .
All of those chopped veggies get thrown into a pot with two cups of water and a good sprinkle of salt and pepper. Cover and place on medium heat for about 20-25 minutes. (give a stir ever now and then) Keep cooking until the veggies are fork tender.
Once the chunks are all cooked up, its time for the immersion blender. (or into a regular blender) Add in at least 3 cups of water, but more to thin out to your desired consistency and let it rip. Stop blending once the soup is nice and creamy. Taste and season with salt and pepper to taste. Leave on low heat to bring back to a good soup eating temperature.
Now the soup is done.. and you can eat it just as it is, but you should really add in the asparagus. It is just so f*ing good. Just grab a few spears, dice them nice and small, and throw into the soup pot. Let it cook for another 5 minutes and wa la.. Soup is done. Ladle into bowls and if you want a little fancy presentation, add a swirl of mustard (it’s so good) and a whole cooked asparagus spear.
And eat one of the greatest soups ever!
Happy Day Wednesday!
-C
3-4 kohlrabi (or 4 cups chopped Kohlrabi)
2 large carrots
1 large onion
4 or more cloves of garlic
Salt and Pepper
4-6 spears of Asparagus (extra if you want to garnish)
Yellow Mustard (optional)
Peel outer layer of kohlrabis. Roughly chop the onion, carrot, kohlrabi and garlic and stick it all into large dutch oven or stock pot. Add water until veggies are half submerged . Add a good sprinkle of salt and pepper and place on burner on medium heat and cover. Check ever 5 or so minutes and give the pot a good stir. After about 25 minutes, all the veggies should be very tender and almost fall apart when stuck with a fork. With an immersion blender or regular blender, blend till smooth, adding water until soup is at your desired constancy. Return soup to medium heat. Small dice asparagus and add to pot. (I added 2 extra whole pieces and fished them put once cooked for garnish.) Keep on heat for another 5-10 minutes until asparagus is cooked.
Scoop into bowl and squirt top with yellow mustard and top with a spear of cooked asparagus.
The Mr. and I went and took ourselves on a rainy day nature adventure. He did some fly%u00a0fishing%u00a0(worst day ever for fishing) and%u00a0I did some wondering. %u00a0It was fantastic. And the Mr, only lost one fly and%u00a0I managed only%u00a0about a dozen mosquito%u00a0bites! %u00a0 Nature days are the best!
And then as we were leaving, the clouds broke and the sun came out. It was kind of perfect.
This past weekend, the mr, the pup, and I grabbed our stuff, chucked it into the back of the car and took of to the wood.%u00a0
We ended up in Waterbury, at Little River State Park. Campsite 77 (the last one they had available!!) And from that we think, the best spot in the park.%u00a0
First things first,%u00a0set up camp. which involved the mr.%u00a0popping%u00a0up the tent and me making coffee and setting up the table.. Just cause we are in the woods doesn’t mean we can’t have a fruit bowl, right.
Then we spend the afternoon kicking%u00a0around.. Into the woods we went. This place had so many hiking%u00a0trails, we just let%u00a0the pup lead%u00a0the wayHe usually knows where he is going.
After a long afternoon of hiking and romping, we make our way back to our outdoor home for food. Dinner consisted of potato and%u00a0sweet potato, squash and onions, kale, salsa and beans.%u00a0%u00a0It couldn’t have been any better. We did forget plates, but no matter, we managed.
Of course we needed to take an after dinner hike to the river and swim the pup. (We think he might be part fish)
He spent about an hour fetching stick and making sure that he couldn’t possibly smell any worse.
Playing with my camera and sticks. Then off to the tent for the three of us.%u00a0(holy hell did the dog smell like shit)
Another morning hike and some time spent just hanging on the river. The mr fished, the pup swam and I collected rocks.
And then we went home, washed off the filth,%u00a0and assed out%u2026Then%u00a0Washer got sick, but%u00a0that’s a whole other story.
Camping is the best. I could live in a tent all year long. (not really%u00a0all year long.. I would surely freeze to death)
So if you are thinking of camping, I highly recommend going to Little River State Park.
Is it really for real April? Where has all the time gone and where the hell is the warm weather? It’s not funny anymore. I am officially OVER winter! Ok, so now that I got that off my chest…..
Last night the misters Dad came over for a long awaited dinner accompanied by talk of life goals and what her referred to as “narratives” or the story of our lives. Some deep shit to be talking about at dinner, especially with zero alcohol to be had.
Me, being so super awesome, was all up in taking charge in making the food. Except that last night I didn’t have a bunch of time and honestly, much energy to be doing anything. And sure, I could have just made a pot of spaghetti, but that just felt like cheeping out. So Polenta it was. And because I just made a hug pot of navy bean, those were going into the polenta too.
Beany polenta baked in the oven with a tomato sauce cooked on the stove. About 5 minutes of hands on time and an hour to cook it all. It’s the perfect meal to make when you have guests coming over. Fast prep, into the oven and on the stove, and then you have an hour to clean and make yourself presentable. See, I am a thinker. (I ended up skipping the making myself presentable part… I stayed in my gym clothes.. no need to impress family right?) Then after about and hour you end up with a hearty healthy pretty meal, all from scratch, that seems like you spent the afternoon cooking. When in fact you spent the past hour vacuuming and watching Gilmore Girls.
The Stuff. Cornmeal, water, navy beans and parmesan for the polenta. Crushed tomatoes, garlic, dried basil, onion, carrot, zucchini, and summer squash for the sauce. Salt, pepper, and olive oil all around.
Cornmeal and water go into a cast iron skillet (or any oven safe dish) with a pinch of salt and pepper. Give it a little mix and stick it into the oven at 400 degrees .
Once the polenta is in the oven, make the sauce. Chop up all the veggies and stick into a dutch oven or sauce pot with a pinch of salt, the basil and a good drizzle of olive oil. Stick on medium heat and let veggies cook down a bit. When the veggies are tender, add in minced garlic, crushed tomatoes and another drizzle or oil. Turn burner to lowest setting and simmer (giving it a stir every now and then) for about 45 minutes or until the polenta is done. After about 30 minutes when the water had pretty much all cooked down, take the polenta out of the oven and stir in the beans, the parmesan, a tablespoon or two of olive oil and salt and pepper. Smooth top out and sprinkle with more pepper, parmesan and drizzle with a bit more oil. Stick back into oven for another 1/2 or until polenta has formed a crust and no longer giggles when you wiggle the pan.
Pull polntna from the oven and let sit for at least 1o minutes.
Two big spoons and a pile of plates. Have the people serve themselves!
Have a Happy Day!
-C
Baked Navy Bean Polenta with Chunky Tomato Sauce
Serves 4 hungry people
For the Polenta
1 1/2 Cups Course Ground Corn Meal
4 Cups Water
3 Cups Prepared Navy Beans (Or just use to cans)
1/2 Cup Parmesan Cheese or Vegan Parmesan (Optional)
3 Tablespoons Olive Oil
Salt and Pepper
For the Sauce
One 28oz Can of Crushed Tomatoes
1 large Carrot
1 Small Onion
4 (or more ) Cloves Garlic
1 teaspoon Dried Basil
1 Small Zucchini
1 Small Summer Squash
Olive Oil
Salt and Pepper
Preheat oven to 400
In a large skillet, mix together the cornmeal and the water and add a good pinch of salt and pepper. Place into oven for about 30 minutes or until the polenta starts to congeal at the edge of the skillet nd most of the waster has cooked down.
Remove skillet from oven and with a whisk or wooden spoon, mix in the beans, the parmesan (if using) and 2-3 tablespoons of olive oil. Smooth out mixture, sprinkle with salt, pepper, parmesan and drizzle with olive oil. Stick back into oven for another 30 minutes or so. Polenta is done when it no longer wiggles when you giggle the skillet.
For the sauce
Small dice the carrot and the onion and stick into a medium dutch oven oor sauce pan with a drizzle of olive oil. Place on medium heat and cook until the veggies are tender. Add in tomato, minced up garlic and basil. stir and let simmer on stove top for about 45 minutes. When you place the polenta back into the oven for the second bake, dice up zucchini and squash and add to sauce. Stir and keep on simmer until ready to serve.
Once the polenta has completely cooked, remove from oven and let sit for at least 5 minutes…10 is better to solidify.
Spoon big piles of polenta on a plate or in a bowl, top with a big heap of tomato sauce. Sprinkle with a little more parm and maybe another dash of pepper .
It is getting oh so much nicer out yeah? Springing and such, well kind of. Still a wee bit chillier then it should be around here but still, it is spring and I am taking it.
And with the spring, I feel the itch, the itch to spend all of my free time outside. Out doing things that are not inside because I spent the last 7 long months inside way too much. I needed to be outside as much as possible and as it gets even nicer and warmer and garden temperature-able, I am basically going to be living outside.
Bring in sesame noodles. Super fast, super easy, super duper in every way. Make a big old batch and eat now, eat later, eat hot or eat cold. Everyone loves them, they love you, etc. etc%u2026 A perfect meal to have in rotation when you know that you are not going to have or want to spend much time cooking in the kitchen because you will be outside playing in the dirt and soaking up the sun. And think about all the picnics and BBQ%u2019s to come. These suckers are fantastic to have at any outdoor eating event. They are even peanut free so you can safely bring them to potlucks and such and don%u2019t have to worry about accidentally kill a peanut allergy person. And you can make them gluten free as well if you sub in your favorite gluten free pasta. These noodles, I am telling you. They are a winner in every way.
So with out further ado, the noodles!
The stuff. Spaghetti noodles, tahini, a few cloves of garlic, some toasted sesame oil, soy sauce, red wine vinegar, honey (used whatever sweetener you like), red pepper flakes, tasted sesame seeds some cabbage, half a red onion and a carrot.
Get pasta cooking. Boil water, drop noodles in, you know the drill. Cook as long as the the noodles need cooking, just make sure to not over cook them cause soggy noodles are nasty.
Chop, shred and julienne the cabage, onion and carrot. Nice and thin.
Mince the heck out of the garlic. Or use a garlic press if you want.
Now make the sauce. Add the minced garlic, along with the soy, sesame oil, vinegar, sweetener, and chili flakes to the bowl with the tahini. Mix, mix, mix until it is all incorporated and not lumpy. And that is that.
Noodles should be done by now so strain them out.
Add the prepared veggies to a big bowl.
Add in the cooked noodles
Cover with sauce and toss all around until all the noodles are coated and delicious. Sprinkle with sesame seeds and a pinch or so more of pepper flakes.
And then it is time. Eating time.
Happy spring!
-C
serves 3-6
3/4 lb (3/4 of a package) of your favorite spaghetti noodles (or linguine or similar noodle)
2 tablespoons toasted sesame oil
1/4 cup soy (low sodium if you have it and gluten free tamari if needed)
3 tablespoons red wine vinegar
3 tablespoons tahini
2-4 teaspoons red chili flakes
1-2 teaspoons sweetener of choice (maple, honey, or brown sugar)
4-5 cloves garlic
1-2 tablespoons toasted sesame seeds
about a 1/4 head of cabbage
a carrot
small red onion
Bring a pot of water to a boiling cook the noodles as directed on package. You want them al dente, cooked all the way, but barely. No soggy noodles. (unless you like them soggy)
In the mean time, shred the cabbage, julienne the carrot (or shred it) and slice the onion so very thinly. Place into a large bowl. Now mince garlic and place into a bowl along with the soy, sweetener, vinegar, tahini, sesame oil and a teaspoon or two (more for spicier) of chili flakes and whisk until completely incorporated. Taste and adjust if needed. Add more tahini for more body, more sweetener if needed or more hot pepper flakes for more spice.
Once noodles are cooked, drain and place into large bowl along with the shredded and julienned veggies. Pour in the sauce and toss it all around until all the noodles are covered. Sprinkle in the toasted sesame seeds and a small pinch more of the red pepper flakes.
Eat. Eat warm, room temp, or cold. They are delicious any way.
Any left overs just stick in fridge. Can be reheated or not. Also, you can make the sauce and the noodles a few day ahead of time of when you want to have the dish Just mix the sauce with the noodles when you are about to serve them%u2026 So simple!
Once in a while I make a dinner that the mr does not want to eat, like anything with too much corn or things made with lots of vinegar… not his taste. Don’t get me wrong, most of the time, he will eat what I make (casue he loves me) but he clearly doesn’t really like it. And that’s when pup usually gets left over for dinner. (He always likes everything that I cook)
One of those things that I know the mr doesn’t like are beets. Sure, he will eat things that has a few beets in it, but once he found out that this casserole starred beets, his eyes widened and he looked worried, like “oh great, but please don’t make me eat this”. Not to worry. He was getting pasta for dinner because this casserole was not for him. It was for me. It has everything that I love in the word (food wise ) tossed together and baked into a pretty skillet, just for me. Plus the beets, sweet potato and kale were the last from the farm share.%u00a0 So it was my good by farm food, casserole of greatness. And I didn’t want to share.
So yeah, if you are not a fan of beets, or any of the other stuff in this casserole for that matter, then don’t make it. But if you are awesome and know the greatness of the beet, especially paired with lentils and sweet potato, well I suggest you go and make this right away. And bonus… it’s super healthy and hardy which make for a great dinner on a cold night and after all the holiday food last week.%u00a0
The stuff. A large sweet potato, a couple of big beets and some dried lentils.%u00a0 Gonna want some veggies, like an onion, carrots, cabbage and kale. Also want garlic, some salt and pepper, water and tiny bit of olive oil.
First thing first, get the beets and the sweet potato in a pot to boil* Just dice then up and toss into a pot with enough water to submerge the roots. Sprinkle in a bit of water ad bring to a boil, stick a lid on pot, and turn hat to medium.%u00a0
*Note. I boiled my beets and sweet potato in one pot because well, I just didn’t want to have one more pot to wash. But if you do this, your sweet potato will turn slightly pink, whichI think is really pretty. If you want your sweet potato puree to look orange, gonna have to dirty another pot and boil the beets separately.
And chop up our veggies and mince the garlic. Drizzle a tiny amount of oil into a skillet or pot, toss in veggies (minus the kale) and cook on medium heat just until they start to soften a tiny bit. Once the veggies are cooked, remove them from heat, add in chopped kale, and set aside.
And make your lentils. (i used the pot I just cooked the veggies in. The less dishes the better!) Water and lentils into pot with a pinch of salt, bring to boil, cover and place on low until lentils are tender.
When the beets and sweet potato are fork tender, drain water into a jar and separate the beets from the potato (if you boiled them together). Blend the beets then the sweet potato until it%u2019s the consistency that you would enjoy eating it (I like a little bit of chunk, not completely smooth) Use the drained water to thin out as much as you need/want.
All the stuff ready to compile.
Grab the cooked veggies and toss them into a oven safe skillet or casserole dish and mix together with the lentils. Sprinkle with salt and pepper.
Now evenly spread the beet puree on top of the veggies
Then ever so gently, spread the sweet potato on top of that.
Give the top a good pinch of salt and pepper and stick the thing into the oven.
Remove from oven when the sweet potato has browned andis slightly crispy.
And scoop a big old scoop into a bowl, grab a fork, and stuff your face!
Happy today day!
-C
Remove from oven, let cook for a few minutes then eat it with a fork, a spoon, or your fingers.
Beet Sweet Potato and Lentil Casserole
Make 3-4 servings (or one serving for me!)
1 large sweet potato
2 medium beets
1 cup cried lentils
2 cups water
3-4 cloves garlic
a medium yellow onion
2 carrots
%u00bc head of cabbage
a few kale leaves
salt and pepper
olive oil
Note.. I did not add extra seasoning to this because I love the taste just as it is. But if you are feeling like it needs some seasoning, just add some in.
Start by chopping the beets and sweet potato into medium sized chunks and boiling them until they are fork tender. You can do this either in two separate pots or in one large pot. (if in one pot, the sweet potato will turn a little pink)
Once those are boiling, chop up all the veggies (not the kale yet) and the garlic and toss into a pot or skillet with a drizzle of olive oil and cook on medium heat until the veggies are slightly tender. Remove from heat, add in chopped kale and set aside.
And make the lentils ( I cooked the veggies in the pot, removed them ans used the pot to make the lentils… less dishes). Dump the 2 cups water, a pinch of salt, and the lentils into a pot.%u00a0 Bring to boil, cover, then turn heat to low. Cook for about 20 minutes until the lentil are tender.
Preheat oven to 400
Once everything is cooked and ready to go, dump the lentils and the veggies into oven safe skillet or casserole dish and mix around. Take beet puree and spread evenly over the mixture. Then do the same with the sweet potato puree. %u00a0Sprinkle the top with salt and pepper and stick the casserole into the oven to bake until the top is all browned and slightly crunchy (about 30 minutes)
Remove from the oven, let it cool for a few minutes, then eat it. Fork, spoon, or your fingers work.
Guess what guys %u2026.I got myself a sick vintage waffle/ griddle iron. I couldn’t be more thrilled!!!%u00a0I found this thing at the local recycled goods store the other day, along with a very beautiful old white pyrex mixing bowl. It was one of my best thrift store scores! (Checking out the inventory and the condition of all the old things that day, I would say an old lady had just died and all her perfectly keep, mint condition kitchen stuff had just been donated. %u00a0But it’s cool, cause I get the feeling that she was at least 90, with a big loving family, and was happy until the day she died. And I am sure she would be pleased that I have taken over the waffle maker. Thanks old lady!)
%u00a0And now I am pretty sure that %u00a0everything I make for the next week will be cooked on said waffle/griddle. I am serious, I already have a list of things to try and cook on it; cookies, biscuits, granola bars, potatoes, fruit, some type of pasta situations%u2026. the list of possibilities is endless and I bet that at least 1/2 of these things will be totally awesome and amazing.
But first thing first. I need to make dinner.
So waffles for dinner!!%u00a0
Note. These waffles are completely 100% fantastic for any meal you want to make them for. They consist of nothing more then beans, a shit ton of veggies, and just a bit of cornmeal. But don’t let that fool you because they are super packed full of so much flavor, have a really soft tender inside, with a nice crispy outside and are so super pretty. They are wonderful!%u00a0The stuff. First, we got a big old pile of shredded up veggies which include; carrot, beet, sweet potato, onion, parsnip, celeriac, and a little bit of kale. %u00a0A we got a bowl of rinsed and strained white beans, a little bit of cornmeal and salt, pepper, and garlic powder.%u00a0
The makings of something amazing!Before you do anything. get your waffle iron out and preheat it.%u00a0
While thats going on, take you beans, %u00a0add 3/4 cup water and puree until smooth with whatever blending device want to like to use. (I used my hand blender%u2026less to clean)Now collect all the shredded veggies and dump into a big bowl with the bean puree, the spices and the cornmeal. Mix until combined. The batter should be thick, but not dry. If its seems to wet, add more corn meal, or too dry, add a little more water.
Note how my batter turned a magical pink%u2026 I love beets, they make everything pretty! And check out that bowl!When your waffle iron is preheated, oil it if needed (if your not sure, add a little oil just to really make sure your waffles don’t stick) and take appropriate size spoonfuls of the batter and stick on iron. Close it and wait%u2026..My iron has a little light that turns on when the waffles are done cooking, so I waited patiently (ok iI did open it a few time) until light tuned on and removed the perfectly cooked waffles.
Did I mention how awesome my new/old vintage iron is?
SO AWESOME!!
I made a little gaucamole and gave the mister and little bowl of plain Greek yogurt with lemon juice, but feel free to top, drizzle, or dump whatever you want onto these beauties%u2026%u00a0
Happy waffle Wednesday!!!
-C
Veggie Bean Wonder Waffles
Makes 8-10 waffles (in my iron) feeds 2-3 peeps
1 small carrot shredded
1 small parsnip shredded
1/2 a small celeriac root
1 small beet shredded
2 kale leaves chopped into tiny bits
1/2 an onion, shredded
1/2 a small sweet potato shredded
1/2 cup cornmeal
2 cups(or 1 can) cooked, rinsed and strained white beans
2 teaspoons garlic powder
teaspoon each salt and pepper
oil for iron(if needed)
Note on veggies%u2026 I used what I had in the fridge and shredded, it came to about 3 cups. If you don’t have these specific veggies or only want to use a few.. go for it. Just make sure to have 3 cups of whatever veggies you use.
Take you beans and blend them up with whatever device you would like to use. Once creamy, add to a bowl with the rest of the ingredients. Stir until combined.
Once the waffle iron is preheated, oil it( if needed) and place the recommended amount of batter right on it there. Close and cook until golden brown and waffly.
Serve on a plate with topping of your choice, A few suggestions.. Guacamole, salsa, hummus, mustard, greek yogurt%u2026 anything that tastes good to you.
Eat as breakfast, lunch or dinner…
Fork into face
%u00a0%u00a0You ever make dish, completely on the fly, just to use something up (I have a lot of ripe tomatoes) with no real expectation, just because%u2026 Then have it be one of the best freaking things that you have ever made?%u00a0This salad is one of those things.. maybe not the best thing I have ever made, but definitely the best salad I have ever made%u2026. this week.
A salad compiled of all things amazing, taking just a few minutes to make and is the perfect balance of uber fresh with baby spinach, raw kale, and crunchy quick pickled onions. Then adding a touch of warmth with the sweet and juicy seared tomatoes and big chunks of creamy avocado.
I mean, for reals. %u2026…Best Salad Ever !!!! (this week)
Now let’s do this.
%u00a0The Stuff. A big bowl of baby spinach and chopped up kale, a few sliced up roma tomatoes, some super thinly sliced red onion, half an avocado, red wine vinegar and salt and pepper.%u00a0%u00a0Before you do anything, place the sliced onions into bowl, sprinkle with a pinch of salt and add a few glugs of the red wine vinegar. You want the onions to sit in the vinegar for at least 5 minutes on the counter cause the longer they sit the more crispy pickly they get. (after eating onions like this, you will never want to eat them any other way)%u00a0Lightly oil a skillet and preheat to a medium heat. Once the skillet is hot, sprinkle the tomato slices with salt and pepper and %u00a0place tomatoes right on in, snugly, but not overlapping. Let cook for about 3-4 minutes, or until the bottoms start to brown. Flip and cook other side for another few minutes.Once the tomatoes are seared on both sides, remove them gently from skillet and toss them on top of the bowl of greens.
Take the pickled onions and toss those right on top, with any of the residual vinegar, add dice and scoop the half of avocado and toss that on in as well.And now eat the best salad ever (this week).
Make the day good!
-C
Skillet Seared Tomato and Quick Pickled Onion Salad
Serves 2 as a side, 1 for a hungry eater
2 large or 3 smaller roma tomatoes
1/2 of a red onion
2-3 tablespoons red wine vinegar
1 1/2 cups baby spinach
1 1/2 cups chopped kale
salt pepper
1/2 a ripe avocado%u00a0
olive oil (to grease pan)
Thinly slice red onion and place in a bowl. %u00a0Add vinegar into a and sprinkle with salt. Let sit on counter for at least 5 minutes, if not longer,
Slice tomatoes into 1/2 inch thick rounds and sprinkle with a pitch or salt and pepper. %u00a0Lightly oil a skillet and preheat it on medium heat. Once the skillet is preheated, stick the tomatoes on it (watch out for splattering tomato juice) Cook first side for about 3 minutes or until the bottom has browned, then flip and do the same for other side.%u00a0
One tomatoes are seared, place directly onto the greens. Now dump the pickled onions and residual vinegar on top. And %u00a0dice up %u00a0avocado and add that on top too.%u00a0
Now eat your salad, fork or fingers%u2026 %u00a0
And I know, ba-daaaamn. So good.
%u00a0Being that it was St. Patricks day this week and lots of folks buy up a good amount of cabbage, I figured that this is a good time to get people to try one of my most favorite of favorite meals%u2026..Beet bean and cabbage steaks. I love to play around with food, how to pair textures and colors plus tastes while trying to make whatever I am making healthy and balanced. This is one of my fav creations. And sure, %u00a0this may seem like a somewhat weird combo, maybe a little like a extremely hippy dippy vegan fake meat thing, and you might be kind of right, but screw if it doesn’t taste like A-mazing. First off, notice how freaking dang pretty this thing is. The roasted beets bring a earthy hearty flavor but also pack a huge punch of color, especially when blended together with the ever so sweet white bean, which %u00a0brings a nice mellow taste and a great serving of protein. (Beets and beans are meant for each other). Spread that %u00a0brightly colored, tasty mixture onto of a huge slab of one of my favorites, roasted cabbage with all its crunch and cabbagy flavor and you got yourself a hearty healthy meal of deliciousness. %u00a0
So maybe this might seem a little out of your normal food routine, but why not try it? Trust me%u2026.you will love it and everyone you make it for will think you are a number 1 badass too.
Cabbage, white beans, and beets. There is a lemon involved, but it didn’t make it into the picture.
Notes…. I used white beans, but I have also done this with chick peas and lentils. All are fantastic. Also, I did not peel my beets because I never do.(I do not peel anything the skin is full of goodness and I love the taste) If you don’t want to eat the skin, then peel them.%u00a0Cabbage is cut into inch thick slabs%u2026 I like to us the inter most part of a cabbage head cause I like the core. But use any cut that you want. %u00a02 beets are chopped into chunkers and both the cabbage and the beets are placed on a lightly oiled baking sheets, seasoned with salt and pepper, %u00a0and stuck into the oven for 20-25 minutes at 400 degrees.
Once the beets are tender and the cabbage is cooked to a nice withered golden pretty, take out of the oven, but leave the oven on. %u00a0Leave the cabbage on the pan but throw the beets into a blender or a big bowl if using a hand blender %u00a0with the white beans
%u00a0 %u00a0%u00a0Beans and beets get pureed together. Add the juice of 1/2 a lemon (or the whole lemon, depending on your taste) and a pinch of salt and pepper. With a big spoon or spatula, scoop equal amounts of the bean/beet mixture on top of the cabbage steaks and spread around. Sprinkle with cracked pepper and place back into oven for another 5-10 minutes. (You could totally skip the second bake, but I like my cabbage well done and crispy)
Oh ho boy%u2026 And with a good squirt of mustard to finish off%u2026%u00a0I could eat this all day, everyday%u00a0
And now I am #1
Happy Wednesday… Keep it good!
-C
Beet and Bean Cabbage Steaks%u00a0
Makes 2 Thick Cut Steaks
1/2 head of cabbage (green or red)
2 cups or 1 can of cooked white beans
2 medium beets
1 lemon
salt and pepper
Mustard (Optional)
Preheat Oven to 4oo degrees
Cut two 1 ish inch thick rounds of cabbage from the widest part of the head. Place on a lightly oiled baking sheet. Chop beets into chunks and toss on same baking sheet.(Peel if you want) Sprinkle everything with salt and pepper. Stick into oven for 20-25 minutes or until the beets and cabbage %u00a0are tender. Remove veggies from oven and place roasted beets into a %u00a0blender (or bowl if using a hand blender) but leave the cabbage on the baking sheet. Add the white beans, the juice of half a lemon, and salt and pepper to the beets and puree until smooth. Scoop equal amounts of the mixture to each cabbage steak, sprinkle with pepper and place back into oven for another 5-10 minutes to give the beans and beets a nice crunchy crust (You can skip this step if you don’t want to be crusty)
Remove from oven, stick on a plate and drizzle with mustard%u2026.Fork and knife are good ways to eat it, but eating it with you fingers makes less dirty dishes.
I am running extremely low on food in my house, like there isn’t a can of beans or a box of pasta left. Yeah, I have a few zucchini left, but I think that mr might be getting a bit sick of it. (He has had zucchini noodles for lunch and dinner for the past few day). And I was going to go to the grocery store before dinner, but then I didn’t. Why? well because I didn’t really feel like it.
Turns out that I didn’t need to go to the store for dinner.I had a few mushrooms, an onion, and a few stalks of chard left in the fridge. (but pretty much nothing else) I just bought a 25 lb bag of flour so I am all stocked up on that and last minute I found a avocado that I thought was a beet in the fridge. All I needed to make a dinner, and a quick and easy, and really tasty one to boot. Plus being so mother F*ing hot, it was perfect because there was no need to turn on the oven.
Now the question is,now that dinner was made and being that the fridge is so empty, should I clean and defrost it? Answer is yes, yes I should, but am I going to? Probably not. I just don’t have it in me to stand in font of the fridge, hacking ice away with a large spoon and boiling water for an hour. It’s to hot. I’ll do it later.
The stuff. Flour, baking powder, olive oil, salt ans water for the skillet bread. A few humngo stalks of red chard, a couple mushrooms (I would have used a few more if I had them). an onion, and a few cloves of garlic.%u00a0 Missing is the pepper and the avocado and lemon that I found while rummaging the fridge.
The bread is super easy. Just whisk together the flour salt, and baking soda then add in the oil. Mix until it’s crumbly then mix in the water until it turns into a soft dough. Gather into a ball and stick in bowl then into fridge for a few minutes to let the dough rest.
After the dough has rested, take it and cut into 4 equal pieces. Roll each piece into ball and then roll out as flat as you can. Heat up a skillet to high heat and once hot, place rolled out flat onto (dry) skillet. Cook first side for about 3-4 minutes or until browned and cook, then turn heat down a bit, flip and cook other side until browned. Remove bread, turn heat back up, and repeat with remaining flats.
For the rest. Remove the leafy part of the chard and set aside .Thinly hop up the mushrooms, onion, and the chard stalk. Mince up the garlic. Toss it all (not the garlic yet)into a lightly oiled skillet , season with salt and pepper, and cook on medium heat until starting to brown. Now toss in a few splashes of water and the minced garlic, mix around, and cover wit a lid. Cook for another 8-10 minutes until the veggies are nice and soft.
Cooked and ready, but wait, chop up the chard leaves and toss them into skillet. Another splash of water and a few more minutes under a lid will wilt them up real quick.
Skillet beads are made, veggies are all nice and cooked up. The avocado and lemon where found, sliced.
Not bad for a last minute-lean out the fridge of all food-dinner. Not bad at all.
Don’t melt
-C
Make 4 flatbread
For the skillet bread
1 cup all purpose flour
1 teaspoon baking powder
1 teaspoon salt
2 tablespoons olive oil
4-5 tablespoons cold water
For the rest
2-4 white mushrooms
2-3 large stalks of chard (any color)
1 sweet onion
2-3 cloves garlic
salt and pepper
olive oil
water
An avocado and a lemon (optional)
To make the skillet bread. Mix together the flour, salt, and baking soda in a large bowl. Pour in olive oil and mix until crumbly then add in 4 tablespoons of water (5 if it seems to dry) until a dough forms. Gather dough into a ball, stick in bowl and cover, and place in the fridge to rest for about 10 minutes. Once dough has chilled, remove and cut into 4 equal sized pieces. Roll each piece into a ball then, on a clean surface, roll out as flat as you can. Grab a skillet and place on high heat. Once skillet has heated up, place a rolled out dough on hot, un-oiled surface and let cook for about 3-4 minutes or until the bottom cooked with golden brown spots. Turn heat to medium and flip bread. Cook the other side for another 4-5 minutes or until browned. Remove flat and turn heat back up. Cook the rest of the bread like the first one.
For the rest. Remove leafy parts of the chard from the stalk and set aside. Take stalk and chop into pieces about 1/ 2 inch think. Slice onion and mushrooms up as thinly as you can. Mince garlic. Garb a skillet, stick on medium heat and drizzle with a little olive oil. Toss in chard stalk, onions, and mushrooms, sprinkle with salt and pepper and mix around until the stuff starts to brown a bit. Add in a few good splashed of water and the garlic and then place a lid on the skillet. Cook for about 10 minutes, giving the mixture a good stir every few minutes. Once the veggies are all soft and yummy, chop up the remaining chard leafs and place them into the skillet. Add another splash of water and place the lid back on. Cook until the leaves have wilted.
To assemble. Flat bread on plate. Scoop some of the sauteed veggie mixture on top. A few slices of avocado on top with a squeeze of lemon juice and a bit of cracked pepper…You are good to go.
What a week, what a week. I have barely had time to think, let alone cook food.%u00a0
I had the rhubarb that was in need of cooking, the corn is all over the place all super fresh, and I had me a few minutes in between running around to make some food.
%u00a0I made this (what I now realize is succotash, which is such a fantastic word for food) a few weeks back, fell in love with it so I wanted to make it again. I also wanted to see if the mr would like it this time (he didn’t so much the last time) Says he is not a corn fan. But I don’t know, I still think he loves corn and just wants to be a pain in my ass and tell me he doesn’t. I figured that this time I made it, he would finally declare his love of corn, I mean, there is butt load of rhubarb in it too. And big creamy lima beans and nice sweet onion, and tomatoes. Yes it has a lot of corn, but it has so much more.
Well, he didn’t declare his love of corn.%u00a0 He did have a big scoop on his dinner plate, ate a bite or two then, picked out all the lima beans and chunks of rhubarb then told me that corn love wasn’t going to happen. He also aid that I should stop messing with the rhubarb and just make another pie.
What a butt face.
Whatever, more for me! And if you are awesome and you like sweet corn, tart rhubarb (corn and rhubarb together is the best) ,and are in need of a great summer side for any and all of your summertime food time needs, this is a winner.%u00a0 Super fast and easy to make, eaten warm or cold, and keeps well. It screams BBQ time. (Or 10 o’clock at night, standing in front of the fridge, eaten with a big spoon) It’s good whenever.
The stuff. Rhubarb, fresh corn, and some cooked lima beans. Also need a tomato, a sweet onion, red wine vinegar, salt ans pepper, a little olive oil and water (not pictured) and a few sprigs of fresh parsley.
The onion and rhubarb gets chopped up and tossed into a big skillet with a tiny bit of olive oil and a few splashes of water and place on the stove to cook a bit.
Corn needs to come off the cob. Do it the way you like, but I find holding corn vertical in a big bowl and cutting it down works best.
Slightly soft rhubarb and onions, ready for the other stuff.
Dump the corn, the tomato (chop it up first) the lima beans(drained) and a few splashes of vinegar into the skillet. Stir it all up and keep on heat for a few more minutes until the corn is just barely cooked and all the flavors have had a few minutes to meld.
Toss in some fresh chopped up parsley and season with salt and pepper…..
Into a pretty bowl for eating now or eating later.
This big ass bowl is all for me!!!!
Have the greatest weekend!
-C
2 ears of corn
4 fat stalks rhubarb (mine where about 10 inches long)
2 cups cooked lima beans
1/2 a sweet onion
1 tomato
fresh parsley
salt and pepper
few tablespoons red wine vinegar
olive oil
a few splashes of water
Chop the onion into small pieces then chop the rhubarb into smallish chunks. Toss the rhubarb and onion into a skillet with just a tiny bit of olive oil and a few splashes water. Place on the stove on medium heat and cook until the onion and rhubarb are slightly tender, but not to soft.%u00a0 If you need to, add a bit more water to the skillet to keep the stuff from browning or burning.
While the rhubarb is cooking, remove the corn from the cob and chop up the tomato into small chunks.%u00a0 Toss the corn, the tomato, the lima beans (drained) into the skillet with the rhubarb and onion. Pour in about 2-3 tablespoons of vinegar and season with salt and pepper. Mix and cook for another few minutes just until the corn get slightly cooked and all the flavors have had a few minutes to meld.
Remove from heat and dump into a bowl. Chop up a handful of fresh parsley and sprinkle all over
Serve right away warm or stick in the fridge and serve cold later.
For a quite a while now (like at least a year)%u00a0%u00a0the mr and I have had a standing Tuesday night dinner date with my sister Shannon. It’s been great. We don’t get to see each other as much as we would like so having a day where we can catch up and hang out is really nice. Plus, I get to make her dinner and I love to make her food cause she really likes the stuff I make.
%u00a0Well over the course of the past month we have not had our Tuesday dinners (always her fault%u2026 sick kids or some shit)
But last week, I was determined. I miss my sister and was real pumped to make her some food. So I sent her a text a few days before, saying dinner for sure no excuses! Then texted her again that Tuesday morning%u2026 just to make absolutely sure%u2026. And she said yes Hooray! Sister time, I was excited.
But then sometime around lunch she sent me this %u00a0″I know I am really lame, but going to have to cancel tonight.”.
Thoughts that ran through my head.. “That BITCH!.. and What the FU*K!.. and can she be anymore of a butt hole?”
But it ok, I get it. She is constantly working and taking care of monsters (the kids) and things happen.%u00a0%u00a0I am really not mad, I just really miss my sister, So whatever, she canceled, but I still wanted to make what I planned on making and that’s %u00a0what I did. These enchiladas, so freaking good, ! And it’s really to bad that she ditched us cause I know that she would have been all up in these.
So it’s Tueday again. I talked to her last night. She says we are on for dinner tonight%u2026 My hopes are high, but I think I am going to have a back up dinner plan. And if she cancels tonight, I am going to spray paint boobs on her front door.
I’ll let you know how it goes.
Now to the enchiladas!
The stuff. Pumpkin of course!.plus the seeds in that pumpkin. We also need black beans, red onion, garlic and kale. Paprika, cumin, chili powder, salt pepper and olive oil %u00a0Thats for the filling. Now for the sauce we need tomatillos, another onion, jalaepnos, lemon, parsley (I wanted to use cilantro, but couldn’t find any so you can use either) We are going to use salt, pepper and oil in this too. And some tortillas to wrap it all in!
First off, turn the oven on to 400.
Now grab the tomatillos and remove the outer skins. Chop up the white onion and the jalape%u00f1os and toss everything into a lightly oiled skillet. Sprinkle l with a bit of salt and stick it into the oven to roast.
Now we need the seeds from the pumpkin so slice the pumpkin in half and remove all the seed and guts.%u00a0
Gather the seeds, rinse and dry them and toss them into a lightly oiled skillet (or baking sheet) and stick those into the oven too.
While the stuff is in the oven roasting, grab a chunk of pumpkin (with skin on, or if you want you can peel it, but it really is pointless) and shred.. and shred until you have about 2 1/2- 3 cups worth or pumpkin. Also , small dice the red onion and mince up the garlic while you are at it.
Place the onion and garlic in lightly oiled skillet and cook for a few minutes, then toss in the pumpkin with a few splashed %u00a0of water. Cook a bit longer until the pumpkin is starting to become tender. Now toss in the spices and the beans and mix it all around.
And lastely, chop up the kale and mix that into the skillet as well.%u00a0
After the filling is made, the stuff in the oven is most likely done. When the tomatillos and onions are all soft and roasted and the seed are golden brown and crunchy remove them from the oven.
Pour the roasted tomatillos noon and peppers, the juice of the lemon, a handful of roasted seeds, and the fresh herbs into a blender with a drizzle of olive oil and blend until smooth.
Now all the stuff is ready to go.
A big scoop of pumpkin bean mixute in a tortilla. Wrap it up and stick into pan seam down (I used the same skillet that I roast the tomatillos in)%u00a0.%u00a0Repeat until stuff is gone (make sure the enchiladas are all nice and snug)%u00a0then pour sauce all over.(you can use all the sauce or save a little for to serve with)
And into the oven goes!
After about 20 minute, the sauce is thick, the edges of the wraps are a little crispy, and it is all ready for eating
Garnish with more roasted seeds and some chopped up green stuff!
%u00a0And eat you heart out!
And this is why you don not want to cancel dinner plans with me!
Happy Tuesday People!
-C
1 small sugar pie pumpkin (only going to use about 3 cups shredded so you are going to have some left over,Maybe Pie?)
2 cups cooked black beans
1 small red onion
3-4 cloves garlic
few kale leaves
1-2 teaspoons Paprika*
1-2 teaspoons chili powder*
1-2 teaspoons cumin*
salt and pepper to taste
5-6 medium sized flour torilttas (or any kind you like)
For the Tomatillo Sauce
1 pint tomatillos %u00a0
1 medium yellow onion
1-2 jalape%u00f1os %u00a0(or none if you don’t want them)
1 lemon
handful of toasted pumpkin seeds%u00a0
A bunch of fresh cilantro or parsley%u00a0
salt and pepper to taste
olive oil%u00a0
*Use a teaspoon of each, taste, then add more if you want%u2026 I like a lot of spice so I used a lot.%u00a0
Preheat oven to 400
Chop your pumpkin in half and coop out the seeds. Rinse them, dry them and toss them onto a lightly oiled skillet or baking pan and stick into the oven to roast until golden brown and crispy, giving them a little stir after about 15 minutes %u00a0%u00a0Should take about 20-30 minutes.%u00a0
For the sauce …
Grab the tomatillos, the yellow onion, and the jalape%u00f1os. Remove papery skins from the tomatillos and toss into a lightly oiled skillet. Cut the jalape%u00f1os in half (remove seeds and ribs) and chop up the onion into a few chunks. Toss that into the skillet too. Sprinkle with salt and stick that into the oven . Cook until tomatillos are soft, (stab them with a fork, if they kind of pop, they are done)%u00a0and the onion iand pepper is tender.. about 25-30 minutes. %u00a0 When done, remove form oven, let cool for a few minutes, then transfer to a blender. Add in a handful of toasted pumpkin seeds, the juice of the lemon,, and the pare sly or cilantro. Blend until smooth.%u00a0
For the filling… (I do this while the stuff is in the oven)
%u00a0Grab the red onion dice it small, and grab the garlic and mince it and toss into a skillet.%u00a0%u00a0Drizzle with a tiny oil. and a pinch of salt and place on the stove on medium low heat to soften a bit.%u00a0%u00a0Take a chunk of pumpkin and shred it until you get about 2 1/2- 3 cups of pumpkin. Toss the shredded pumpkin into the skillet with the cooking onion and mix in the spices and a splash or two on water. Let cook on stove for about 8-10 minutes, or until pumpkin is slightly tender. Now mix in the beans and chop up the kale leaves into little pieces and toss that in too. Mix it all around and remove from heat.%u00a0.
To assemble.%u00a0
Take a big scoop of the filling and place in a flour tortilla. Roll up and place,seem down,%u00a0into a skillet or roasting pan (I used the skillet I roasted the tomatillos in) Repeat until you have used up all the filling. The enchiladas should be snug.
Now pour the sauce all over eht op, spreading it over the sides. You can use all the sauce you made, or save little for serving)
Place into oven and bake for about 20 minutes or until the sauce is starting to become a lithe golden brown. Remove, let cool for a few minutes, and finsih with a handful of toasted pumpkin seeds and some pretty green stuff.
And eat. A fork an knife are handy.
As I sit here writing this, mind you typing is not a terribly labor intestive activity, I am drip drip dripping sweat%u2026 It’s just not right.
%u00a0And today will be as hot as shit fuck. But its support to get so much better tomorrow. So that’s it, not more complaining. Everything is all good.
Now lets talk about this salad. This is such a fresh, clean, and full flavor salad made of just a few simple ingredients,%u00a0the star being the fennel.%u00a0%u00a0Almost licorice-y and sweet, yet still has a crisp earthiness, it pairs so well with onion and kale and dressed with just lemon juice.%u00a0Simple, easy, and very much satisfying. Kind of the perfect salad to make when you don’t want to make anything because the world is a sauna and nothing hurts you soul more then to think of turning on the oven.(full disclosure.%u00a0Stove burn does go on for a few minutes.. but only a few)
Maybe you have never had fennel or think you don’t like it, Well if you haven’t had it, you must, and if you think you don’t like it, you should try it again.%u00a0Up until recently, I kind of discarded fennel as a mah veggie. I didn’t hate it, but I never really cared for it, and I definitely did not seek it out. But this past year, for some odd reason (I blame/thank old age) I have really gotten into the yummy bulb. I have even gone out of my way to find it.%u00a0%u00a0And last week I was much excited when I went to farm share pick up and found that there was crate of fennel.%u00a0Woo HOO!%u00a0
Sweet fennel+hot weather and no desire to move = Fennel onion carrot salad
The stuff. A bulb of fennel (this was a big one so I use half of it),a medium onion , a big carrot, a bunch of kale, salt, pepper, a little olive oil and a lemon (I ended up using 2 smallish lemons)
Take you fennel and either with a mandolin or a knife, thinly slice the bulb. Do the same with the onion.
Toss the sliced fennel and onion into a lightly oiled skillet and sprinkle with a dash of salt. Place on medium low heat and cook jjust until the veggies are soften and starting to brown.
Chop the kale into pieces small enough to fit into your mouth and julienne or shred the carrot.
Compile the stuff. Juice the lemon.%u00a0Kale into a bowl, dump most tot the lemon juice on that and sprinkle with salt and mix around (I used my hands).%u00a0Dump the saut%u00e9ed fennel onion onto of that and top with the carrot and the rest of the juice.%u00a0
TA DA! Now that’s some pretty.
And toss it all around. I like to add a few thinly slices of raw fennel and lots of fresh cracked pepper.
Share with a friend. Or not. (a not for me)
Happy hump de dump day. Stay cool friends!
-C
Makes a big salad for one, or a few smaller sized side salads.%u00a0
1 small or half of a large bulb of fennel
i medium white or hello onion
1 large carrot
a bunch of kale (like 3-4 cups chopped)
1 large juicy lemon (or two small lemons)
With either a mandolin or using a knife, slice up the fennel and onion super thin. Toss into a lightly oiled skillet, sprinkle with salt,%u00a0and stick on the stove on medium low heat. Stir and let cook down for 5-8 minutes or until the fennel and onion have soften and are starting to brown.
While thats cooking, chop up the kale into small pieces and julienne or shred the carrot.%u00a0
Place kale into bowl, juice the lemon and drizzle most of the juice all over the kale and give it a good mix. Dump on the cooked fennel onion and top with the carrots and a the rest of the lemon juice.. Sprinkle with salt and pepper to taste and give it a good toss. Top with a few fresh shaving of fennel.
My winter farm share is coming to an end this week. One more pick and then a three week stretch until the summer share starts… WHAT AM I GOING TO DO!!! Stock up as much as I can is what.
I have been strategic about the roots and veggies that I have chosen to bring home the past few weeks.(My farm lets you pick what you want) I know what I can buy at the store, things like carrots and potatoes, so I have been passing those up, but the roots like beets and celeriac… I have been bringing home baskets of those and hoarding them in the fridge and basement in preparation for the laps in farm fresh food and knowing that if I want to by these at the store it s going to coast me a million dollars a pound. (a for real million dollars)
Yup, lots of roots around here, especially celeriac root which is fantastic. I am kind of obsessed with celeriac, with its fibrous, knobby exterior, soft but almost meaty texture inside, and a flavor that is close to celery but so much better. I don’t know why it has taken me so long to do a posting featuring this amazing root vegetable (I eat it almost every day)
So here, an amazingly tasty, hearty but not heavy, celeriac recipe. Perfect for spring and the change into summer…. Mustard roasted celeriac with an fanatic split peas gravy that will have you licking you bowl clean.
The stuff….For the split pea gravy we have a carrot, a parsnip and a large onion chopped into small chunks. Salt, thyme, a bay leaf and of course the split peas. Then there is the celeriac root* sliced into 1/2 inch thick rounds and some plain old yellow mustard .
*Note. I don’t peel my celeriac root. I really enjoy the fibrous exterior but realize that some don’t(The mister does not like it) so peel it if you want.
Toss the chopped parsnip, carrot, onion and the spices into a pot on medium heat and let veggies sweat a few minutes until tender. Add in the split peas and enough water to cover everything. Turn pot on high and bring to a boil, then cover and turn to low. Make sure to give the pot a good stir ever few minutes and add more water if needed
While the gravy is cooking, take the celeriac rounds and brush each side with yellow mustard, sprinkle with pepper, and place on a baking sheet. Stick into the oven to roast for about 25 minutes, flipping the rounds after about 10 minutes.
Once the peas have soften, remove the bay leaf and puree until smooth and oh so creamy. Taste and add more salt and pepper if needed. If you find that the gravy seems to thick, just add in more water until it’s the consistency that you want. The gravy is made, the celeriac is roasted… now we are ready to eat!! Stick the celeriac on a plate and dump good amount of that gravy right on top. Feel free to add a bed of spinach, or a grain or anything you want, because why not, and also some chopped tomatoes for a little acid and prettiness.
Serve with the fanciest knife and fork you can find. Extra yellow mustard and sriracha sauce are great condiments to have close by.
Happy Tuesday!
-C
Mustard Roasted Celeriac with Split Pea Gravy
2 medium celeriac roots
6 tablespoons mustard
1 large carrot
1 medium parsnip
1 large yellow onion
2/3 cup split peas
2-3 cups water
1 bay leaf
2 teaspoons thyme or italian spice mix
salt and pepper
spinach (optional)
diced tomatoes(optional)
Preheat oven to 400 degrees
Small dice the carrot, parsnip and onion and throw into a large pot. Spinkle with salt and pepper, add in the thyme and bay leaf and add a splash of water. Stick on stove on medium heat and stir. Let cook until the veggies become soft and fragrant. Now add in the split peas and 2 cups of water. Bring to a boil then cover and turn heat down to medium low. Let cook until the split peas become tender (about 25 minutes) string on occasion and adding more water if the peas are not completely summered while cooking.
Once the peas are tender, let cool for a few minutes, remove bay leaf, and either dump into a blender or blend with an immersion blender until nice and creamy. If gravy seems to thick, add in more water.
Scrub or peel celeriac roots and slice them into 1/2 inch think rounds. Place on a baking sheet and brush mustard on both sides and spindle with pepper. Stick into oven for about 10 minutes, flip, then back into the oven for another 15 or so minutes, or unit the celeriac is tender.
When the celeriac is done remove from oven and stick a few rounds on a bed of spinach (or not, or any kind of grain or green you like) Top with a hearty helping of the gravy and toss on some chopped up tomatoes.
THE LOVELY CRAZY
September 18, 2019 by maximios • Blog
This past weekend, the mr, the pup, and I grabbed our stuff, chucked it into the back of the car and took of to the wood.%u00a0
We ended up in Waterbury, at Little River State Park. Campsite 77 (the last one they had available!!) And from that we think, the best spot in the park.%u00a0
First things first,%u00a0set up camp. which involved the mr.%u00a0popping%u00a0up the tent and me making coffee and setting up the table.. Just cause we are in the woods doesn’t mean we can’t have a fruit bowl, right.
Then we spend the afternoon kicking%u00a0around.. Into the woods we went. This place had so many hiking%u00a0trails, we just let%u00a0the pup lead%u00a0the wayHe usually knows where he is going.
After a long afternoon of hiking and romping, we make our way back to our outdoor home for food. Dinner consisted of potato and%u00a0sweet potato, squash and onions, kale, salsa and beans.%u00a0%u00a0It couldn’t have been any better. We did forget plates, but no matter, we managed.
Of course we needed to take an after dinner hike to the river and swim the pup. (We think he might be part fish)
He spent about an hour fetching stick and making sure that he couldn’t possibly smell any worse.
Playing with my camera and sticks. Then off to the tent for the three of us.%u00a0(holy hell did the dog smell like shit)
Another morning hike and some time spent just hanging on the river. The mr fished, the pup swam and I collected rocks.
And then we went home, washed off the filth,%u00a0and assed out%u2026Then%u00a0Washer got sick, but%u00a0that’s a whole other story.
Camping is the best. I could live in a tent all year long. (not really%u00a0all year long.. I would surely freeze to death)
So if you are thinking of camping, I highly recommend going to Little River State Park.
-C