I am so happy for spring. It is my favorite season for sure. All the new, green things popping form the ground.. Warmer but not hot days, rain and sun then rain and more sun. No more winter jackets but sweaters are still good. People are in good moods. Flowers are coming out of the ground. The world is just a delight.
The week started off with a bang. I turned all of the garden beds over and did a great big yard rake and cleaning so things are looking pretty good back there right now. I repotted my tomatoes and peppers and started a bunch of greens and peas which makes me feel awesome. I think this might be the first year that I am actually on top of the planting season like I want to be. Yeh me. I also busted out the bike and went for the first ride of the year. Sure it was only a few blocks, but it was still fantastic. Now what I really need to do is give the old gal a tune up cause the chain was grinding and the tires need air and maybe new brakes? Not sure but I need to get to it, like asap because I plan on making the bike my means of transportation for the summer.
aside from all the that stuff, we also did some work, the mr did even more work (he is always working). I finished up a couple clay projects that have been lingering for a while. We went for lots of walks without jackets and I wore sandals all week. We managed a good stop by to see the littles and bring them carrot cookies. They ate all the cookies (2 dozen), beat the shit out of the mr, and managed to clean while they were doing it. We were impressed to say the least. The mr was sore from getting wacked a bunch.
Then Wednesday was Seans birthday. Would have been 30 years old…Whoa. The family, friends, all of Seans friends went to the basketball court for a little pick up basketball game to celebrate and be together. It was fun, and sad, and good to see all the boys, but sad, but good. Never going get used to it. You know what I mean? Life.
Rest of the week came and went with the usual plus lots of rain and gray, but again, I was all about it because it is spring. worked at the studio on Friday where I moved all the clay in the world, got stabbed so hard by a stray pointy tool that was in slop bucket and got blood everywhere. I also managed to get so much clay in my hair and was overly praised for my height by all the studio ladies. They really appreciate my abilities at grabbing things on high shelves.
And the weekend. Yesterday we woke and basically ran out of the house to moms to borrow her truck (still haven’t found a car to buy). We then drove the truck up to the greater north of Vermont and picked up all the cedar wood we need for the porch. Loaded up, drove back to the porch and unloaded all the wood. I came home for a few hours of power cleaning while the mr ran around all over some more and then back to moms for dinner. (Mom made ham, I brought my own dinner) We ate, Mom brushed my hair and then Barb breaded it which I love love and will never be able to do myself. I raided moms books (found nothing I haven’t read already), searched for a missing bowl, made fun of the boys. Then I came home just in time to passed out.
Today, well today is Easter so after the gym and a few Sunday errands I need to do this morning, we are going to be doing a little easter lunch thing and an egg hunt for the littles at moms with the fam. After that I am coming home and continuing my quest for perfection in the yard, maybe tinker with the bike a bit, take a nap, read, drink all the coffee.. Looking at some sunshine and 70 degrees for the afternoon.. It’s going to be a fine fine day.
And I still have not washed my hair so I need to do that. Most of the clay dried and fell out, but there still is some left….SO yeah, I need to do that today. I really hate washing my hair.
Internet links to check out.
–Fireflies Will Soon Light Up the Skies In Mesmerizing Harmony— Here’s How to See Them. I love me some fireflies, how cool would it be to see this.
– The Single Most Useful Snacking Rule I Give My Kid. I don’t have my own kids, but when I have other peoples, I go by a rule like this too except my rule is you can eat veggies any time all the time.
-Want to grow your own avocado tree, here is how. Good luck.
–THE VINTAGE ROMANTIC BATH.. All the clawfoot tubs. Can’t go wrong
-I am so ready. The first official “Stranger Things” Season 3 trailer
–4 Natural Ways To Fertilize Houseplants. Now is a good time to fertilize!
-Hate the dentist? Read this and you will only hate it that much more. The Truth About Dentistry
-If ever I was to live on a house boat, this boat would be the one. And the floors in this place… swoon!
–How One Woman’s ‘Magically Delicious’ Pot Brownies Changed History. Brownie Mary, what a lady.
-What the freaking f@ck? I am pretty sure I don’t like where this could go. Neuroscientists just brought pig brain cells back to life.
It%u2019s not too late to get in a little end of the year baking. It is actually the perfect time to bake. All the holiday hub bub is still going on so there is usually still people all around still willing and able to eat your offerings (if you were so inclined to share), the days just feel more slow and of need of warmth and lovely smells. Plus we need something to do while while waiting for New Years, because we are just all sitting around waiting for that ball to drop, right? HAHAHA. No.
Anyway, I have been wanting to make some version of a boiled clementine cake for a while now. I love that fact the the whole clementine goes into the cake, that there is no peeling or zesting or juicing. It is just boil the clems for a little while to get the bitterness out and you are good to go. And it doesn%u2019t hurt that right now is citrus season so I have a humngo bowl of clementines, plus a shit load of other oranges and other citrus to go through so the thought of tossing a good few clementines into a cake, well it was just what needed to be done.
And the family is coming over to eat and trash my house so I needed another dessert besides the half eaten ice cream cake left in the freezer from Camereon%u2019s birthday/Christmas. So I baked that they will eat. And there we go. Win win.
Now to the clementine cake.
The stuff. Flour, baking powder and soda, salt, sugar, oil, cinnamon, vinegar, clementines, and powdered sugar.
First you need to boil the clementines. Big pot, fill with water, place clems inside, bring to a boil, then simmer for 2 hours. Seems like a long time but just do it while you are making and drinking coffee or doing laundry or whatever. You don%u2019t need to keep an eye on them, other then to check that the water hasn%u2019t evaporated, and it smells so nice.
After the 2 hours are up, remove clementines from water and let cool enough to handle. Cut in half. If there are giant seeds, remove them.
Place the clementines into blender and blend until silky smooth.
Now the other stuff. Flour, sugar, salt, baking powder and soda, and cinnamon. All into big bowl.
Whisk together until incorporated then add in the clementine puree, the oil, and the vinegar. Whisk together until it becomes a uniform batter.
Scoop batter into a very well greased bundt cake pan and bake, 50-60 minutes, until tester comes out clean.
The big revel%u2026. And it went perfect! Now time to let this sucker cool a bit on a wire rack.
While the cake is cooling, make a simple glaze. Just powdered sugar and fresh (not boiled) clementine juice. Mixed unit glaze consistency.
Once the cake is pretty much cooled, pour on the glaze.
And now it is cake time.
-C
Makes one bundt cake
2 1/4 cups all pupose flour
1 cup white sugar
1/2 teaspoon salt
1 teaspoon baking powder
1 teaspoon baking soda
1 tablespoon vinegar
1/2 cup any neutral oil
1 teaspoon cinnamon
6 clementines (you need 2 cups pureed)
For the glaze
1 cup powdered sugar
1 clementine
To start, place 6 clementines into large pot and fill with water. Place on stove and bring water to a rapid boil then reduce heat and continue to simmer clementines for about 2 hours.
Once clementines are cooked, cut in half and check and discard any large seeds. Place the clementines into a blended and blend until smooth. Should have about 2 cups puree. If you are short on volume, add water to make up the difference.
Preheat oven to 350
Grab a large bowl. Dump the flour, baking powder and soda, salt, cinnamon, and sugar and whisk together until completely incorporated. Now add in the clementine puree along with the oil and the vinegar. Mix until completely incorporated. Scoop batter into a well greased burnt pan (at least 10 cup capacity) then place into oven on middle rack and bake for 50-60 minutes until a tester (or a fork) stuck in to the deepest part of the cake comes out clean.
Once baked, remove cake from oven and allow to cool for a few minutes in pan, then flip the cake out of pan, gently of course, and hope you greased it well enough for it to just pop out. Once removed from pan, allow to cool on a wire rack.
While cake is cooling, make the glaze. Powered sugar into a bowl along with the juice of a clementine. Mix together. If the glaze is to thick, add more juice (or water), to thin, a little more powdered sugar until you reach your desired consistency (pourable but not runny is good) and once cake is cooled, pour glaze all over.
And then eat cake.
Do you have a gazillion tomatoes, like so many that they are practically coming out of your ears? Me too…. Me too. This year the tomatoes have been gang busters, a explosion of the sweetest and most delicious fruit and now I have tomatoes littered everywhere, tucked into all the corners and baskets all over the house. It’s getting kinda tomato crazy over here.
%u00a0I can only eat so many tomatoes a day before all I have eaten are tomatoes and I start to feel slightly sick. Same with the mr, he has been a tomato eating champ as well but I think he was getting a little bored with all the tomato salads that I have been making. So I thought I would try something new and make a tomato cake. I figured why the heck not, tomatoes are technically a fruit and fruit and cake are great together and yeah. So tomato cake is going to be fantastic. I also wanted to make something that the mr would eat for breakfast. I have been doing this new thing in the mornings for the mr. I have coffee ready, some breakfast food (its been zucchini bread for a while), and a little vase of fresh flowers that I pick on my morning walk, all set out on the counter for when he wakes up. I know, I am so great right. Really I do it cause I want him to eat something before working all morning and plus if I am all sweet in the morning, he can’t be an old man cranky pants (at least he tries not to be).%u00a0 Now for the next few days the tomato cake is breakfast cake and all is good.
Anyway, the cake come out great. Bright reddish orange, dense but fluffy and most, and smells so good. The mr tells me it’s amazingand I shared a chunk with some of my family and everyone (minus a little) where fans. I am for sure going to be making this again soon, although I have been toying with the idea of eggplant sweet bread (too far??) but I’ll get to that later.
Now for the tomato cake!
The stuff. Flour, baking soda, baking powder and salt (all in the bowl). Brown sugar, oil, vanilla, apple cider vinegar and a few nice and juicy tomatoes.
First off, remove the core from tomatoes and cut into some chunks. Stick the chunks into a blender and blend.
Fresh and smooth tomato puree.
Now just dump the rest of the liquid stuff into the blender now and give it a whirl to mix it all up.
And pour the blended wet into the dry and mix until incorporated.
Pretty pink batter goes in a well greases bundt pan. I had got brown sugar everywhere while I was measuring it out and decided to just toss it on the cake as not to waste it…doesn’t hurt.
And now the batter goes into a preheated oven to bake .
A bit of time later you have yourself a cake.
The scary part. Flip the pan and hope all that grease does it’s job and the cake pops out. Lucky me this one popped out like a champ.
One de-panned, let the cake cool for a bit before cutting into it.
And now all you have left to do it eat it, so eat it.
Have a great weekend. Eat lots of tomatoes and make lots of cake.
-C
Makes one bundt cake
2 -1/3 cup all purpose flour
1 teaspoon baking soda
1 -1/2 teaspoon powder
1/2 teaspoon salt
2-3 large tomatoes (2 -1/2 cups after blended)
1/2 cup brown sugar (for a tad sweeter, add another 1/4 cup)
1/2 cup of any neutral flavored oil
1 teaspoon vanilla
1 tablespoon apple cider vinegar
Preheat oven to 350
Start by whisking together all the dry ingredients into a big bowl. Take tomatoes, remove core, chop into chunks, and place into a blender. Blend tomatoes until a smooth and frothy puree. Now add in the sugar, oil, vanilla, and apple cider vinegar and blend until incorporated. Pour wet mixture into dry and stir until combined.
Pour the cake batter into a greased (and floured if you want. I find it helps to make sure all the nooks are greases) and stick into preheated oven. Bake for 45-50 minutes until it’s a dark reddish golden brown and a tester (I use a fork) comes out clean when stabbed.
Remove from oven and let cool for a minute or two then invert cake, give the pan a few tap taps and hope that it comes out all nice and clean. (don’t worry if a piece gets stuck, you can just dust the top with some powdered sugar)
Let cake cool and when ready, cut a slice and eat it up. I was told no glaze, but I was going to make a simple lemon glaze (lemon juice and powdered sugar) for the top. The mr said it was perfect, but glaze would have been pretty.%u00a0 So glaze it up if you want.
I don%u2019t think I can ever eat potatoes any other way ever again.
It started with me, doing my weekly pantry cleaning, you know, when I wipe down ever surface, count all the beans and lentils in the jars to make sure I am not running low, and inspect every squash for soft spots. I was just going about my thing when I looked over at my waffle iron. Poor, sad, underused. And it hit me. When was the last time I waffled anything? I remember how excited I was when I found it a few years back at a thrift store. Such a cutie little iron. When I brought it home, I used it a bunch of times for maybe a week or two. And then it was put away and I think I have busted it out like 3 times in the past 2 years. So not cool.
I also noticed I had a shit load of potatoes left from thanksgiving.
And there I had it, a reason to use the waffle iron and a way to use up the potatoes. And now, now I am a potato on the waffle iron addict, which is weird because I am not a overly potatoy person in general. But now with this new waffled hash brown thing, well I might just be eating potatoes all day, every day. (At least until I get sick of them or I run out of potatoes.) They come out soft and fluffy inside, super crispy in ever little nook and cranny, outside. Evenly, perfectly cooked. It%u2019s hard to explain, but they are just, ugh, so good, especially dipped in mustard for a fantastic hash brown snack. (Yes mustard, no not ketchup. Let me do me, you do you.) Or smothered in refried black beans topped with salsa and avocado (that was the dinner version). These hash browns. Just make some and you will see.
And no matter what happens with my hash brown phase, I will be damned if I ever let the waffle iron go so long without use. It deserves better then that.
To the best hash browns EVER!
The stuff. Potatoes, salt and pepper, and a little oil.
Shred potatoes. Simple, easy.
Place the shredded potatoes into a clean dish towel (avoid paper towels because paper towels are the devil) and squeeze as much of the liquid out as you can.
Dump the squeezed out shredded taters back into the bowl and sprinkle with salt and pepper and mix it around.
Oil your hot iron and pile on the potatoes. Then close it and press it down. It%u2019s a bit dependent on your iron how long they will need to cook fully, mine took about 9 minutes on high. But maybe just stand close by and check yours after 7ish minutes but expect maybe 10 or so.
Deep golden brown and crispy all over.
I mean, really look. Every surface browned and crispy. It is freaking perfection!
And then like any good waffled food, you plate it, and eat it. Me, with horseradish mustard and a big stupid smile.
Thank you waffle iron. You done good.
-C
makes 2-3 servings
2-3 small to medium sized starchy potatoes (Russet or Yukon Gold)
couple teaspoons olive oil
teaspoon each of salt and pepper
Preheat your waffle iron to high
Shred potatoes on a box grater. Once shredded, gather in a clean kitchen towel and squeeze as much of the liquid as you can from the potatoes. Place potatoes back into bowl and add in about a teaspoon of each salt and pepper and mix around.
Open iron and brush with oil. Place shredded potatoes on the iron, kind of pack together, and close. If it locks, lock it shut, if it doesn%u2019t push it down. And let cook, for about 10 minutes, checking after 7ish (you iron might have more power the mine does). Once the potatoes are a deep golden crispy brown, remove from iron.
Then eat. Any way you want. Plain, with mustard or ketchup. Next to some scramble something or another. Piled high with some black beans and salsa. Whatever. Just eat them and be happy for the waffle iron.
December my friends. No way around it. But I am excited because I love Christmas time with all the fun christmasy things that we can do in next few weeks (there is an A Frame gingerbread village planned !). Also it%u2019s birthday season so I have already made one cake and stuck it in the freezer and only have like 10 more to make. And then there is snow, and lights, and trees%u2026 How can you not like December? Plus cookies. Need to start making cookies because what is December with cookies?
The week was good. After spending all of Sunday cleaning and putting up the Christmas lights, things went as usual with the ways of world. Tuesday Barb and I had lunch and went for a hike, just us girls, to take in nature and talk life things. She hugged trees while I deposited my knowledge that comes with my old age. HA. Later that day, Emma (the mr%u2019s sister), came over to catch up on life and teach the mr how to embroider. She was a great teacher and , I must say, the mr did a really good job being a learner. Although I was not surprised because he picks up everything so fast.
Then Thanksgiving eve. The mr gone for the day, me hanging hanging at home taking phone calls and going through the stack of papers that has been mocking me for the past few weeks. On his way home he picked up Miley so she could sleep over. We made a spaghetti dinner, she watched Nailed It Holidays and I walked her through making cinnamon star bread. The little lady kneaded, rolled, and shaped the whole thing pretty much all by herself. It was for sure a proud aunt moment for me. And then we watched Juno (I hadn%u2019t seen that movies in forever. I forgot how good it was) and I passed out. Bed for me and the mr. Miley, well I am not sure what time she actually went to bed. We let her stay up and watch whatever.
Thanksgiving day I woke up, cooked the star (Miley finished it by making and drizzling the glaze) and we just hung out until Erin and the other two littles showed up. We fed them, played them, and off they went to the Grandparents. The rest of the day was just me and the mr. We went for a nice, if not blustery cold, hike, then just putzed around the house. I read, he hung a new light fixture, then we made dinner. Being thanksgiving and all he felt the need to grill some turkey breasts and if you really want know how that went you can ask him. Me, I ate a humongous bowl of veggies and lentils and hand fulls of spinach. After an after dinner walk we crawled into bed and tried to watch a movie, but I passed (again) out and that was that.
Then the rest of the weekend has been pretty slow. Basically just hanging around the house doing little chores and some little projects. Mellow. And it has been pretty nice.
I am really excited for today. We are going to the Green Mountain Nation Forest to find us our Christmas tree!!!! My most favorite part of Christmas . And so we will head out late morning with our lunches packed, our snow pants tossed into the truck, the saw nice and sharpe, and head out into the mountains.And better yet, tt is suppose to snow later today and I am so very much hopping that we get a nice, (safe) amount of snow on our hike and tree cutting adventure. That would just be the best. YAY!
Internet links from the week, if you want to know what I know now.
-I didn’t know this about thanksgiving. And now I do. Why We Celebrate Thanksgiving On The 4th Thursday Of November
-Uh Duh, I could have told you this. Want to live longer? Surround yourself with plants
–A Brief History of Word Art, the Decor Everyone Loves to Hate. And I really REALLY hate it.
-I have been known to sit in front of the oven and watch the bread bake. Super satisfying. Here’s 36 Blissful Seconds of Bread Rising in the%u00a0Oven
–Photos of How Families Eat In The Arctic. And that is why I don%u2019t live there, it%u2019s a lot of meat.
-This makes me happy to look at. A Multicolored Library of the World%u2019s Ochre Pigments%u00a0
–Here’s To Grown-Up Siblings And The Ties That Bind. Siblings. Even when I want to punch them in the face, I still love them.
-I guess I just don%u2019t understand. Meet the $50 Strawberries That NYC%u2019s High-End Chefs Are Fawning Over
–Homemade Christmas baking is a joy %u2013 even if it is not to your taste. Agreed. Something about baking this tie of year, it is just so, well, joyful.
-On my reading list. Good Husbandry: A Memoir by Kristin Kimball. I read her first Memoir, The Dirty life, and it was A+
And pictures from the week…
It is June. Already. That was fast.
The week started off great. We spent Sunday in Belvedere with family. The weather was perfect. There were barely any life sucking mosquitoes. Not to sunny, no rain. We just hung out, ate food, walked to the water falls, and basked in the glories of the world. Not to mention Judah invented a watch cookie, Shannon read my telepathically read my mind and picked me up the heart shaped baking tins that I was thinking about at a garage sale, and Sophia. She ate all my broccoli. All the littles played without fighting. All the adults talked without fighting. It was really nice.
And then we came home and by Monday afternoon, the shit starting to hit the fan. First off, it was the week before the June first rental turnovers. Always a hectic week. Always a lot of running around. It has been especially crazy for the mr this year because he was dealing with not only our tenant turn over, but a bunch of other apartments for other landlords. Painting, getting rid of garbage, fixing broken things. That in itself was not the issue. The issue was Monday afternoon, after the mr had been working all day, pulled into one of our driveways with the car to grab some paint, got back into the car, and the key wouldn’t turn. And the wheel wouldn’t turn. The car was stuck. Our newish (3 1/2 year old) car. The mr spent more then an hour trying to turn the key. I sent more then an hour on the internet trying to figure out what the heck was wrong. In the end, the car was just left for the night, the mr hitched a ride, and we ended up getting the car towed to the garage. (Note that this is the second tow in within a week.) After getting off the phone with the mechanic the next day, we were told it was going to be a few days before they can even look at it because they were so busy. We were feeling pretty screwed. Luckily for us, my mom is awesome and lent us her truck which if she didn’t , well we would be stuck with the rental car that I rented one afternoon, drove home, had a massive anxiety attack about crashing (we are having bad car juju right now), turned around and returned. I just had a bad feeling about it. So yeah, I rented a car, for about an hour. They laughed at me. I laughed at me too. Then cried a little. HAHA.
By Thursday the shop was able to look at the car. After the mechanic took a look at the car, he told us the master cylinder was stripped and needed to be replace. Or better yet needs to be. Almost a week later. The car is still there. They had to order the part and it won%u2019t be in until Tuesday. Yup. Just a week ago we were sitting pretty with a car and a sweet ass van and now, no cars. Oh, and the lawn mowers stopped working mid mowing. We think its the gas line or something.
Anyway. The week, hectic but not all bad. I found a bike on craigslist that I am going to fix up and call my new bike for a while (I am done bike shopping for the time being). Barb came over for a lunch and a walk one day. I made rainbows and popsicles another afternoon. Working at the studio was calm. That was nice. And the weather. I can%u2019t complain about that at the least bit.
Then yesterday. June first. Tenant moving day. It was cray cray. New tenants moving in and out usually isn%u2019t a big deal because most of the time our tenants are great and leave without issue. But yesterday the mr stopped over to check on all the apartments and found one in pretty awful condition. Long story short, we spent the day scrubbing filth and paint and hair (so fucking gross) off every surface then repainting the apartment while the new tenants were moving in. We did manage to have a little lunch picnic in th park with Miley and I took her on her first ever bike ride across town. That was good, but then it was back to the crazy apartment. Then we came home, ate dinner, cleaned our house, then passed the f out.
Today is going to be good. Why? I don%u2019t know yet, but we need it to be. I am not looking for anything spectacular, maybe just to find a few new good books at the library. Maybe go the day without getting 100 mosquito bites. Or maybe even just be able to take a nap. Just a mellow day. Wish us luck.
Stuff I looked at and read about on the internet this week.
–There Is Too Much Stuff. I couldn’t agree more and I hate it. Too much stuff makes me so anxious. And maybe a little angry. The piles of shit just keep getting bigger. AAGGHHH!!!!
-As a person who makes a lot of mugs with handles, this is very important. I have kept myself up all night on many occasions just thinking about mug handles. Shape, feel, visual ascetics. So much goes into a well made mug handle. But it is worth it and when you have a good one, you know.. Let%u2019s Talk About Mug Handles
–Why You Should Use a Wooden Spoon to Taste Your Food. What about a wooden fork, would that work too?
-Bad making bad worse. How pesticides can actually increase mosquito numbers
-Simple and clean%u2026 My kinda place. A HOLIDAY HOME IN PORTUGAL.
–Would you leave your life behind for a house you saw on Instagram? These people did. I love the instagram account CHEAP OLD HOUSE. And yes, I have definitely imagined buying half of them because some of them really are amazing. Maybe one of these day. Drafty windows and crumbling foundations don%u2019t scare me.
–Your Walls Need This Whimsical Magnetic Wallpaper. I don%u2019t need it, but oh boy would it be cool.
-If Ikea is doing it, then it%u2019s for real. Everyone is going vegan. HAHAHAHA. Ikea%u2019s Meatballs Will Officially Go Vegan This Fall
-As avid outdoors people, we really make evey effort to leave the outdoors exactly (if not better) as we found it. How to leave the great outdoors exactly how you found it. How pissed would you be if someone cam into your place and trashed it and moved things and picked at you?
-I eat beets eveyr single day and my pee has never turned pink but I know everyone I feed beets to pees pink. Hum? Why Do Beets Make Your Pee Turn Pink?
And pictures from the week
What a week. What a year. So much has happened and is happening and is about happen. I guess that is the nature of life and time and all that good stuff.
The week started off fantastic. On Sunday the mr and I grabbed Judah, Emerson, and Barb, piled into the car, and went for a light drive. We walked around a light filled park, drove some more, then ended up at, of all places in this world, Burger King. And they loved it (I packed my own dinner because I do not, will not, eat at almost any place that the littles prefer) Funny, I don%u2019t know if I have ever been inside of a Burger King before, and if I have, it was long before I had a choice in what I ate. Again, they loved it, even though it was trash food, they got their crowns. Coco cheered just about every French Fry that went into his mouth, and the mr got to use Burger King coupons that he had hiding in his pocket (that is basically why we ended up there) It was a fantastic evening and is now going to be a Christmas Eve eve tradition. Light drive with dinner (never Burger King again thank you very much)
After we dropped them off at home, we went home and that is when the mr succumbed to it. IT being the stomach flu. That was fun.
Christmas Eve the mr was an ill man so I forged it alone. With the help of all the Christmas music I could handle, I baked a bunch, prepared the house for the next day when the family came over. I cut up all the fruits and veggies, wrapped the few little presents I had, did bills and a bunch laundry, ran to the grocery store. My mom stopped by and brought me a lemon tree because just because. I just was so freaking productive. And best part, it SNOWED, like a good amount. What I thought was going to be a completely snow free Christmas turned into the most magical snow ever. Christmas Eve afternoon, Big fat fluffy flakes covering the world. I bundled myself up and walked around the neighborhood just taking it all in. It truly was the best Christmas Eve snow ever. And after a full on day of resting , the mr was feeling a bit better so that was good. And then both to bed by 7 because thats our life these days.
Christmas morning had all the right stuff. Woke up and watched the sun rise while drinking a butload of coffee. The house was all clean and glittery and the ltree lights were on and the ground glittered with the fresh snow. After the mr woke up and was feeling a little worse for ware but ok, we bundled up and went for a little stroll on the beach. We usually go for a hike but I was not trying to push the mr too hard. The beach, oh man, was that amazing. The water was still, the snow was like diamonds, and the air was crisp and clean. Not a sound to be heard other then the lapping of water. It was so good. We left before I decided to stay forever and because the mr thought he could walk on ice and ended up with a his foot in a foot of water so we headed on home to meet the hoard of family. Just about everyone came (minus Ryan and the girls and Anthony.. we missed them all) ate food, did a little gift exchange thing (I got some sweet new house plants), plastered Jackson with a very nice shade of lipstick that might have been called whore red, and had a Happy Birthday celebration for Cameron because it%u2019s was Christmas, but it really was his birthday.
Then for the saddest part. We got the news that our uncle had passed away.
Oh Uncle Seth. He had been sick for a while now with Parkinson%u2019s disease, but the past month or so it got so bad. His death was not unexpected but never the less it was not any less painful. My only uncle, the guy who gave me my first car, the man who built a cabin from nothing in the woods and turned it into a place that you could only imagine (or see in a design magazine) A man who taught (he was as professor at RISD), loved the world, loved to travel, loved his work, was so fierce in emotion. SO many little qualities that I saw in him, I see in me. ( I feel like I get a lot of who I am from my dad and my uncle and aunt) The world lost a great man, I lost a great uncle. He is and will always be loved and I know I was just lucky to have been able to have him as an uncle. It is still hard, I don%u2019t think I have fully processed it still, It is kind of a not quite real feeling. Just an overall heaviness that has settled in on my mind and heart. It is so hard to loose any family, but especially hard when they were so full of life and had so much to give to the world. Agh. The words are not even close to adequate here, the full measure of him as a person not explained. To put it simply, he was an amazing, loving and generous person. I am so going to miss him, his creativity, his lust for life. And what I am going to miss most is his hugs and smiles and overall presences in my life. RIP Seth. You really were a fucking awesome uncle.
We got word of the funeral on Wednesday (which was also Anthonys 17th birthday%u2026.So old! I stopped by to see him and give him a big hug. Didn%u2019t want a party or cake this year so I owe him granola bars.) and were in the car driving down to RI by Thursday morning. Shannon, Megan, the mr, and me, all packed into the car and off we went. A small family funeral which was very beautiful and full of love, then food with the family. Not a long stay, but we are all going back down next weekend for Seths memorial celebration bash.
We got home and it hit hard. I started to feel kind of crappy (sick wise) and have been feeling blue ever since. Driving to RI really kicked the mr down again. He was so good, no complaining about anything, not the cranked up car heat or driving straight while us ladies spent the entire time talking of childhood memories. He didn%u2019t even put on the music. And by the time we came back home, the guy was sick again, or maybe never was not sick, but he has been down for the count ever since.
So yesterday we did a few morning chores together like got rid of the recycling and retuned amazon stuff to UPS, but by afternoon the mr was out. So I cleaned house, made another ice cream cake for Judah, and did more and more laundry. Another one of those feeling super productive days. Weird, but I am starting to see a pattern here. When the mr is really sick, I get a lot done. I think it%u2019s mainly because. a) I want to stay away from him as to not get sick too. b) I am afraid that if I do get sick none of what needs to be done will get done so I need to do it fast. And c) I don%u2019t have to worry about what he needs to do, it%u2019s all me. Ha.
Today is Judah%u2019s birthday. Nine years old! What an age to be. So basically I am going to the gym then coming home to do a few things and finish making his cake, then heading over to his house for a birthday dinner celebration. I told him and his sister I would go over early and give them haircuts (the boys hair is so long it covers his eyes, He looks cool, but if you can%u2019t see, well looking cool isn%u2019t gonna get you anywhere). It%u2019s gonna be fun.
Goodness, is that it. The end of another year. Hard to wrap my head around so I am just going to ease on in to 2019. Low key and cool. Just like me. Ha.
Happy New Years Friends! Be safe. Be happy. Be good. Be kind.
Interent links from the week
–Just Admit It, You%u2019re in a Bad Mood. All the lead up to Christmas then BAM, its over. Gets me every time.
-I am defintially one of those people who likes to bake when I am feeling anxious. The Rise of Anxiety Baking. Cookies are my favorite to bake too.
-Speakig of cookies. When ‘Cookiers’ Take Holiday Cookie Decorating To A Whole New Level. I had no idea there was a cookie cutter factory in Vt. I must see this place!
-Who doesn%u2019t love a good tree picture? Black and White Photographs Capture the Striking Appearance of Bare Trees Against Snow-Filled Landscapes
–Explorer completes historic Antarctic trek. Some people do crazy things that make me jealous. Not that I want to ski Antarctica, but something crazy would be cool.
-How did I not know until now that there was a monthly round up of trucks spilling shit. We all need this information. This month in overturned trucks: Cash, Christmas trees, cooking oil
–How A Little Science And A Lot Of Shady Advertising Boosted Yeast’s Popularity. I have never eaten a yeast cake, but I eat a shit load of nutritional yeast. MY favorite is a spoonful in the mouth where it gets stuck in my teeth and the roof of my mouth. For real.
-I am going to get a scale sometime soon. I just need to find the right one for the right price (free or very cheap at the thrift store) Until then, this is handy. Weight Conversions for Flour, Sugar, and Other Common Baking Ingredients
-This is something that I have wondered about. I am really happy that it doesn%u2019t get wasted. We Finally Know What Happens to the Leftover Cake on the Great British Bake Off
–The year vegan junk food went mainstream. Yup. Just cause it%u2019s vegan doesn%u2019t mean it is good for you.
And pictures from the week.
What are you doing today? Not last minute shopping and freaking out about silly holiday stuff that doesn%u2019t matter right? And if that is you, well I am sorry. May I suggest you just forget about it all and stay home and make cookies? You can give them as presents too and skip any more of the shopping hell. I give you all the permission and people love them some cookies.
The week went as usual. Nothing special or fantastic. We did finish the Christmas cards and sent or delivered most of them (still have a few to hand deliver). I spent a bit of time at the studio trying to get things glazed and fired before the holiday, organized all my kitchen towels, spices, and storage containers, and soaked and scrubbed the grease trap vent screen things that are in the hood vent above the stove. Low key but productive. We were intentionally keeping things quite as the littles and everyone that is usually around us is or has been getting sick with strep or the flu. We pumped the fluids, took the vitamins, and got our sleep. No need to get sick too right?
So nothing exciting. We went for a hike, had Barb over for a dinner where I might have had a slight anxiety attack that sent me to run and hide (I am blaming the weather, it is screwing with my mind) I worked the studio and loaded the kiln twice. Once and it was amazing then realized I loaded all the pots into the wrong kiln, had to unload it and reload it, cutting my hand open in the process . I was totally kicking myself in the ass, but again I blame the weather. (I will blame everything on the crappy, warm rainy shit we got this week. It really did mess with my brain)
We had the littles came over Friday night to do a little Christmas present crafting. They were going to sleep over, but the little lady wasn’t feeling well and what with them just being sick wit strep and all, they went on home because they need to be home when they are sick and I am not doing sick. But I did feel bad, and I did miss them Saturday morning. Oh well, not like they won%u2019t be at my house all this week. No school so it%u2019s gonna be party time.
I need to do a few things today, like start making an ice cream cake for Camerons birthday and go grocery shopping with my mom for Christmas Day food. And I definitely need to wash my hair (hat season does some shit to my head). Then it%u2019s basically getting things ready for Christmas for when the entire family comes over. Going to be proactive and move some plants so they don%u2019t get bumped into or knocked over, bring in extra chairs and a table to sit and eat at, and set up a drawing station for the littles. (Look at me, I am becoming quite the party host if I do say so myself.) Other then that, I am looking forward to a quiet evening of lounging and reading and maybe even an after dinner drive to check out some more Christmas lights. We tried for a Christmas light walk last night but got little in the way of lights, and we were walking for quite a while. So drive it is.
Hope you are having a great holiday weekend. Happy and Merry Christmas!
Internet to look at if you so do desire.
–The Joy of No-Gift Christmas. The mr and I stopped doing big Christmas gift things a long time ago. Now we each have stocking that we put a few little things in (like purple carrots and chap stick for me, candy and socks for him) and that is it. It is so so so much less stressful then trying to get a bunch of crap.
-Just in case you have that family member or two that make you want to take off running in the opposite direction. 9 Ways to Deal with a Toxic Family at the Holidays. Don%u2019t let them get to you.
-It is so true. Everyone ends up in the kitchen. And when the party is at my house, I almost never leave it, its my comfort zone. Like Moths To A Flame: Why Modern-Day Guests Always Gather In The Kitchen
–We%u2019re losing monarchs fast%u2014here%u2019s why. This makes me really sad. Humans, we need to stop screwing things up.
–Pedialyte embraces hungover-adult market. Ha. I remember going into the baby food section at the grocery store and buying it for my sister and her friends. Or better yet, stealing it from my mom when the twins were babies.
-I think I would be good at this, dealing with the weird crazy phone calls. I would be like%u201dYup, he is your cousin all right: Ooops!%u201d. Surprise DNA Results Are Turning Customer-Service Reps Into Therapists
–Can Hot Peppers Make Me Happy? They make me happy, to a point, then they can make me sad (too hot is not a happy feeling)
-San Francisco Orders Man To Rebuild His Iconic Home After It Was Demolished. That sucks.
–What are frankincense and myrrh? Not just incense you burn.
– Read article first before you go jumping out of a plane without a shoot. Researchers Show Parachutes Don’t Work, But There’s A Catch.
And Pictures from the week.
It always happens. One minute it is snowing and freezing, the next it is sunny and warming up, and then blink and everything is all lush and green and amazing. Summertime (basically) and the weather has been fine fine fine and all the green and colors are here and I am taking it all in. The world is a pretty amazing place.
A good, never a dull moment, packed to the brim, week.%u00a0It’s crazy how much stuff you can pack into a day, especially a, soon to be, long summer day. Fishing, bike rides, read a book, did all the bills,%u00a0work, running around here, getting that there. We have been all over and all out. Started %u00a0the week with the first of the summers farm share. %u00a0I picked it up, I ate it all, and obviously I am hungry because all I can think about is food right now and what is coming in the share tomorrow. Ha. Besides farm food, I had Anthony came over for a afternoon of crafting that had something to do with homework. He made a felt rocket ship and I taught him how to use a sewing needle. It was a good use of glue and thread.%u00a0%u00a0I also hung out with the Miley, Judah, and Coco and all the rubix cubes anyone could ever handle. Me and the two big ones tried to figure those out for a while and Coco just sat there eating chips like it was his job. %u00a0Good stuff. I have also been spending time at the ceramic studio for now I am a studio assistant and will be assisting the studio with all of it’s needs. That has been exciting for me because I haven’t worked in a studio for a good while and it’s been great to get back into it. Let see, what else. The mr has been working like crazy nuts, 14 hour days, all week. One of the houses in town got a nice scrape and is primed and ready for me (and the mr)%u00a0to start painting, which will happen if we ever pick a freaking paint color. The gardens going well ( beside the war I have started %u00a0on slugs and squirrels),%u00a0I need to mow the lawn again, and I still haven’t found the vacuum attachment but have come to terms with it, and with all that and more we ended up missing %u00a0little So’s dance recital.%u00a0I feel bad,%u00a0but not so bad because she spends half of her time twirling around and dancing around anyway. If I want to see her dance, all I got to do is start dancing and he will bust a move. %u00a0No harm, no foul and I’ll make her some cookies so she really won’t care.%u00a0
The big reason we busted ass so hard this week to get shit done was because we left for the weekend to Rhode Island for a quick visit with %u00a0the uncle and the cousins. We basically zoomed down there, ran around,%u00a0checking out their amazing collection of houses and salvaged materials. (The mr and I are very very jealous)%u00a0We hung out with my uncle Seth, took him%u00a0 for a walk and got him in a few chuckles which made my heart swell. Then we spend an afternoon at the Providence Art and Music festival and watched David’s band play a sweet little gig. Lots of sunshine, lots of cool art, lots of street performers and fun things. Then we jumped back into the car and zoomed home. %u00a0It was a short visit but a good one.%u00a0But it is always good when I am with my family.%u00a0They are my people, they get me.%u00a0
Today is going TBD. I am very much tired and am feeling like I might be getting an ear infection so that is not good.%u00a0Not exactly sure the plan for today, but there is a plan for a plan for some stuff and once I get a little, or a lot, more coffee in me %u00a0I am sure I will be able to figure it out. And maybe some mullein and garlic oil and a warm almond for the ear and maybe just a short, few minute nap to help clear the fog.%u00a0First things first, coffee (then maybe I won’t need the nap)%u00a0oh and water the all the plants and the garden like right this minute. %u00a0I am going to go do that now.%u00a0
Internet happenings on the internet.%u00a0
-As soon as I touch the shit I am done for.%u00a0Don’t Touch! A Scientist’s Advice For Spotting Poison Ivy Before It Ruins Your Summer.%u00a0
-Shocking and so sad. . He seemed like one of coolest and genuine people.. The world will miss him.%u00a0InAnthony Bourdain, the Food World Found One of Its Strongest Voices
–5 Ways to Help Your Kitchen Stay Cooler This Summer
–Being Hangry Almost Destroyed My Relationship. I know the mr really loves me when he doesn’t kill me in my moments of complete and utter blind rage when I am hungry. It can get bad.%u00a0
-I am really into the cots as couches.%u00a0LOUNGE-WORTHY.
-Someone (one of the littles I think) asked me what AM and PM meant. I had no answer.%u00a0What Do AM and PM Stand For?. Now I know.%u00a0%u00a0
–WE MADE PLASTIC. WE DEPEND ON IT. NOW WE%u2019RE DROWNING IN IT.%u00a0Yup,%u00a0and it sucks.
%u00a0-It really is about how we raise the littles and the Mommas have been doing it for ever.%u00a0Why Grandmothers May Hold The Key To Human Evolution
–Bees understand the concept of zero. I think that bees, and all other living things for that matter, understand a lot more then we could even imagine.%u00a0
–Vermont state parks and historic sites free this weekend. Hurry, you still got time today to get some Vermont in.%u00a0
Pictures from the week%u00a0
An Easter April Fools Day all in one. This probably doesn’t happen too often.%u00a0%u00a0I could imagine that things could get pretty crazy with the holiday combination.%u00a0I am picturing lots of little littles opening empty Easter eggs, or eggs with rocks, or (fake) bunny poop…%u00a0because April fools %u00a0Ha. That would so be pretty fun to watch and is totally something that I would (and might) do. Would that make me a jerk? Maybe a little but I think it might be worth it.%u00a0
The week has been and up and down kind of week. Officially 2 years since Sean passed so I have been a little quite, sad, and maybe a little bitchy. Doesn’t help that it was just an annoying week in general. Like I almost broke my leg with a 35 lb weight at the gym, but not really. (Word of advice, don’t drop heavy shit on your leg, it doesn’t feel good and hurts all week). Had to get the oil change and ended up waiting for 2 hours. And I guess I am starting to get spring allergies making me feel heady and tired and Oh, I had to go to the dentist. Still no camera so pictures are are still all off my phone which is driving me nuts and I still haven’t finished the taxes that promised myself that I would have done before April 1…Ok, I am done bitching.
But it definitely was not all bad. We had dinner with Shannon and got to harass Jackson for a little while.%u00a0I won a bag of literal shit (compost) from a library raffle. Then there was farm share pickup where we %u00a0talked spring greens with the %u00a0farmers because we are all getting a little tired of the roots and very excited for spring. I did some seed planting and cleaned up the yard a bit. The mr and I have been taking some pretty good walks and trying to embrace any nice weather that we can. I talked to Barb about talking to her plants to keep them alive and while Mark was home for the weekend I got to harass him about applying for jobs where he is expected to wear short shorts and be a prick….. I think got some joy in harassing people this week.%u00a0
Then it was Moms birthday. (HAPPY BIRTHDAY MOM) The whole family came over and I made a birthday dinner and cake and cupcakes. The cake was for mom (blueberry coffee cake), who I know well enough to know that she was going to want to take half of it home so I made cupcake too. Those were basically for the little so I made them very neon pink.%u00a0Shannon hid some candy filled eggs in the yard to keep the littles busy (for like a second) and we all just basically had one big dance party because that’s what we do.%u00a0After dinner we all headed down to the YMCA for the annual pick up basketball game in honor or Sean with all of Sean’s friends. A bunch of younger dudes all getting a little older, playing a pretty intense and sweaty game of ball while all the littles and maybe some of the adults (Erin) proceeded to eat their weight in candy. This after all the cake they had just consumed. (The sugar highs were getting intense.).%u00a0%u00a0There was a lot of emotions, but mostly it was a lot of fun and was really good to see everyone.
And then we went home to the trashed house with pasta and cake all over. Like for real everywhere. I don’t know how the littles managed to smear pink frosting BEHIND and UNDER the couch, but they did and I am never going to let them eat %u00a0in my house again. All food outside from now on. %u00a0I then spent half of my day yesterday cleaning up after it all. Pink frosting and pee because apparently there are some boys that have a hard time aiming into the toilet. Fun stuff.%u00a0
Now it is Easter and I am not quite sure whats going on. I know that I am needed to fill (or not fill, or fill with (fake) poop) eggs and then hide them at some point this morning,%u00a0but other then that….. There are things and people and Easter stuff, but I am not putting any pressure on myself to participate in anything. I am feeling a bit antisocial and could use quite day.%u00a0I might just stay home and plant more seeds and pretend that it is not going to get mother f-ing cold out again next week and so I can pack away the last remaining bits of winter. And maybe bunny proof the garden because the bunnies have been hopping around a little to close to my garden beds these days an I am not particularly fond of sharing my food with them.What better way to spend Easter then to keep the bunnies away. Ha. %u00a0Maybe when we get chickens back there they bunnies will just stay on the other side of the fence. I’ll figure it out one way or another.
Have a Happy Easter April fools.
Internet excursion from the week
–Here’s Why Easter Eggs Are a Thing. Oh.%u00a0
-Seriously no. Just no.%u00a0Peeps-Flavored Beer Is Reportedly Being Released For Easter%u00a0
-The Last Conversation You%u2019ll Ever Need to Have About Eating Right. It really is.%u00a0
-Well son of a bitch.%u00a0Does Coffee Really Need A Cancer Warning? California Judge Decides So
-I am in love with this serving %u00a0board. It’s on my have to do list of things I have to do.%u00a0DIY Celestial Wood and Brass Inlay Serving Board
-A Tiny Cabin is This Writer’s Off the Grid Getaway. That toilet…It’s a good one.%u00a0
–New Human ‘Organ’ Was Hiding in Plain Sight.%u00a0Whoa dude.%u00a0
-I am always trying to make sure that I have enough protein in my diet, but I would never drink that muscle milk shit.Whole foods my friends. %u00a0How Protein Conquered America
-My sister Erin lived in a place for a while that had carpets in the bathrooms.. It was freaking disgusting.%u00a0Why Did Anyone Think Carpet in the Bathroom Was a Good Idea?
–Oh, and watch the fuck out.%u00a0Falling Chinese Space Station to Crash This Weekend
Pictures from the week
So much to catch up on. Skipped last Sunday because the mr and I were in RI visiting my family. After a fantastic visit with the fam (more to come in a separate post, I need to go through the pictures) we came home all happy and full of love and amped for the week which was a good thing becausethe past week was packed.
The school system was still on strike so we spent a bunch of time with the littles, playing with chalk and trashing my house. Then there was the afternoon fun run out to the islands for ice cream with Barb. A strike day cone with all the sprinkles because why not.%u00a0 The teacher strike ended and they all went back to school.(finally)%u00a0 I spent a lot of time over at the loft going through all the shit in the basement and getting rid of things that are not and do not and should not. Which lead to me home cleaning out my closet and getting rid of a bunch of clothes as well. I am on a purge right now and if it (whatever it is) hasn’t seen any action recently it’s gone. And the garden. still so many tomatoes. I have never had or seen so many tomatoes come from one persons back yard before and beside a bed of beets and kale, are the only thing left standing in garden now because I pulled up the rest of the garden. The purge continued on the outside of the house too. I basically just want to get rid of everything. Fresh and clean and minimal and covered in tomatoes.
Up until just this past week, the mr and I have been doing our laundry over at the loft. It is annoying to shlep dirty clothes but we just figured that we are getting a new washer and dryer so no need to kill ourselves moving them from one basement to another. We shelp, we deal, it’s fine. But what is not fine is that we no longer have a washer!!! One of our tenants washers one of the other buildings broke. so what was the solutions? Give them our washer. AAHHH! And me being me will not buy a new washer/dryer until they are sale which will be black Friday sales that happen in November. 6 weeks, at the very least, but it’s cool. I will just go back to doing what we did before we got a washer and dryer, I’ll just got do it at Shannon’s house, which a win win because I get my laundry done and Shannon gets to hang out with me! HA
On top of the washer situation , the mr computer crashed. Of course right? He is dealing like a champ and functioning very well with just using his phone for all of his email and communication needs. I am impressed because when my computer crashed a few years ago I flipped my shit. And now I am really worried that my computer is going to die too because we have the same computers. Eek!
Jackson, my oldest nephew turn 16!!!. I can’t even believe how old he is. The mr and I were just reminiscing about when we first starting dating (15 years ago) that we would go on “dates” that actually were us babysitting Jack. Little Jack and his hockey stick that he used as a weapon. Those were some crazy days. And now he is old and tall(er) and one of my favorite 16 year old kids. And how cute, he actually wanted a family birthday party. So I made a giant oreo cookie cake, the entire family packed into Shannon’s house and no one fought or got injured! Best part, Shannon wrapped up a set of car keys and gave it to Jack. AFter he opened them he got so excited and ran outside to check out his new car. As he opened the door he stepped on something and looked down. He stepped on his new toy car.. HAHAHAHAHA. The look on that kids face. He was crushed and it was amazing. We are asshole people but it’s ok because it is with love.
Yesterday the mr and I went to the annual harvest market in Underhill and did a little road side apple picking. It was a sunny and hot day which kind of killed the fall vibe. I was sweating and we passed on hot apple cider because it 80ish and just to hot. But I did score a pretty cool jar with ducks on it so it was not a complete wash.
And topper. Got home from a day out, kind of tired and just want to clean and relax and the mr gets all excited and crazy. There is a shasta camper for sale and he wants it gone now. “Oh yeah, well go and get it” is what I said and so we did. Drove out to up there Vermont and paid a young man a very very tiny fee to tow a pretty beat up, but still tow-able 1970’s shasta camper home. Huh, that just happened didn’t it? Oh jeeze, we have a freaking (non functional because it needs to be renovated)%u00a0 camper in the driveway.
And that was just some of the past 6 day.
Today is going to be a lax day? I need to be able to have no set plan and just kind of do what comes to me (except I need to go to grocery store and return library books pick out tile because we are finally finishing off the downstairs bathroom this week) But other then that.
Internet fun from the past weeks
-This sucks. USDA Warns That Millions of Pounds of Fake %u2018Organic%u2019 Imports Are Pouring Into U.S And this is why it is important to know your farmer and buy local.
-How Has The Geology Of Vermont Affected Its Character?
-I love Melissa McCarthy (who doesn’t) Trailer for %u2018Cook-Off!%u2019
–Shasta campers. Our is a 14 ft? Maybe, It was dark and weird and I haven’t really even gotten a good look.
–Restoring VW Beetles, Buses … And Dreams. Is it crazy that we still want a bus? Maybe the camper will quench our dreams.
-Nugget ice is pretty fantastic and this ice machine makes it for you at home. No more stealing ice from the hospital (the mr got hooked on the nugget ice from all the hospital trips over the years)
–Vegan hard boiled eggs….. Don’t really understand it.
–Does Happiness Really Make You Healthier? It Depends on Where You Live.
-The view from the top is fantastic. The birds get it all.%u00a0 Aerial Images of Vibrant Landscapes
Ans some pictures from the week.
What, you don’t have a large trough full of kittens?
Yup, that’s right, the mr and I are currently foster parents to 4 little itty bitty kitties and oh hell are they cute and stinky and all sorts of crazy. But lets back it up here. The beginning of the week started off like any other. Did some work, picked a shitload of berries and all the cucumbers, had the kiddos over for brinner (breakfast for dinner), you know, the usual.%u00a0 Then on Wednesday we went to Belvidere and spent some time with my family in the most magical place..We played in the waterfall, the mr went fishing, we found some cool rocks, just hung out with my people. Then it happened. Thursday, the mr and I were over at one of our apartment buildings where we have a barn that we keep all of scrap wood looking for well, wood. And there they were, a pile of freaking kittens, tiny as can be, living in the pile of wood in the barn. Long story short ,a few hours of super carefully moving wood, we managed to grab them all and get them in a box. And now they are living with us until they can find new homes. We have four crazy kitties that went from swatting and hissing to snuggles and love and now are the neediest little things ever.%u00a0 Only is mad at us and doesn’t want to come inside. I think he is jealous. We feel kinda bad so he got a can of tuna.
Barb came over Friday night to have a sleep over kitten party.%u00a0 I had planned an epic night of Wayne’s World watching (she hasn’t seen them..Asphinctersayswhat?) before the morning trip to Ikea, but the evening turned into kitten time. And honestly, it’s all turned into kitten time, but that’s ok, we will Wayne’s World party time, excellent soon.We did end up named them; Farro (the only boy) Quinoa, Tofu, and Jumper. Tofu because she is the runt and barb so tofu is the runt of the meat world. Jumper because she is constantly trying to jump out of the box, and Farro and Quinoa because we were talking dinner and that happened.
After finally settling down and getting a little sleep,%u00a0 we woke up. played with kitties, the headed north of the border to Ikea where barb and the mr eat handfuls of hot dogs, we got a new kitchen faucet and some clothes hangers, then drove back through the craziest rainstorm any of us have ever seen. We all thought we were going to die. But we didn’t because we needed to get back to the kittens..
Needless to say that today is probably going to a kitten heavy day. The mr made a little playpen for them to play in and I found that last night I ended up watching them for like an hour without even noticing.%u00a0 Plus they all pooped last night next to the litter and managed to walk all in it so now all the kitten are covered in poop and I have to wash them all. So cute, so nasty….this is my new life for a little while.
Email me if you want a kitten. (seriously)
Stuff I saw on the internet that isn’t about how to bath kittens.
–Gnawing Questions: Is Sugar From Fruit The Same As Sugar From Candy? Candy bar or bag of grapes…. Go with the grapes.
– How to Be Better at Stress. We could all be better.
-I have been on the seltzer wagon for a long time now. I drink Polar. Vanilla, grapefruit , and the new pineapple grapefruit are my favorites. Seltzer’s Popularity Bubbles Up In The U.S.
-100 Years in the Kitchen: A Century of Kitchen Color Trends. I am all about the70’s colored appliances. My fridge is harvest gold with wood accents and it’s the best. 100 Years in the Kitchen: A Century of Kitchen Color Trends
-I want one of these. I have a very real fear that me or the mr are going to lose some fingers. Despite Proven Technology, Attempts To Make Table Saws Safer Drag On
–A 100-YEAR-OLD, PERFECTLY PRESERVED FRUITCAKE WAS DISCOVERED IN ANTARCTICA. Eat up!
-My sister wore this shirt all throughout her tween and early teen years. This shirt and kissing Steven Tyler posters. She was scary.
–What Brands Are Actually Behind Trader Joe%u2019s Snacks? I knew it!!!
-So much neon light. Ultraviolet Break of Day: A Midnight Walk Through the Neon-Hued Streets of Asian Cities
–Traffic Accident Leaves Arkansas Highway Covered in Frozen Pizzas
December my friends. No way around it. But I am excited because I love Christmas time with all the fun christmasy things that we can do in next few weeks (there is an A Frame gingerbread village planned !). Also it’s birthday season so I have already made one cake and stuck it in the freezer and only have like 10 more to make. And then there is snow, and lights, and trees… How can you not like December? Plus cookies. Need to start making cookies because what is December with cookies?
The week was good. After spending all of Sunday cleaning and putting up the Christmas lights, things went as usual with the ways of world. Tuesday Barb and I had lunch and went for a hike, just us girls, to take in nature and talk life things. She hugged trees while I deposited my knowledge that comes with my old age. HA. Later that day, Emma (the mr’s sister), came over to catch up on life and teach the mr how to embroider. She was a great teacher and , I must say, the mr did a really good job being a learner. Although I was not surprised because he picks up everything so fast.
Then Thanksgiving eve. The mr gone for the day, me hanging hanging at home taking phone calls and going through the stack of papers that has been mocking me for the past few weeks. On his way home he picked up Miley so she could sleep over. We made a spaghetti dinner, she watched Nailed It Holidays and I walked her through making cinnamon star bread. The little lady kneaded, rolled, and shaped the whole thing pretty much all by herself. It was for sure a proud aunt moment for me. And then we watched Juno (I hadn’t seen that movies in forever. I forgot how good it was) and I passed out. Bed for me and the mr. Miley, well I am not sure what time she actually went to bed. We let her stay up and watch whatever.
Thanksgiving day I woke up, cooked the star (Miley finished it by making and drizzling the glaze) and we just hung out until Erin and the other two littles showed up. We fed them, played them, and off they went to the Grandparents. The rest of the day was just me and the mr. We went for a nice, if not blustery cold, hike, then just putzed around the house. I read, he hung a new light fixture, then we made dinner. Being thanksgiving and all he felt the need to grill some turkey breasts and if you really want know how that went you can ask him. Me, I ate a humongous bowl of veggies and lentils and hand fulls of spinach. After an after dinner walk we crawled into bed and tried to watch a movie, but I passed (again) out and that was that.
Then the rest of the weekend has been pretty slow. Basically just hanging around the house doing little chores and some little projects. Mellow. And it has been pretty nice.
I am really excited for today. We are going to the Green Mountain Nation Forest to find us our Christmas tree!!!! My most favorite part of Christmas . And so we will head out late morning with our lunches packed, our snow pants tossed into the truck, the saw nice and sharpe, and head out into the mountains.And better yet, tt is suppose to snow later today and I am so very much hopping that we get a nice, (safe) amount of snow on our hike and tree cutting adventure. That would just be the best. YAY!
Internet links from the week, if you want to know what I know now.
-I didn’t know this about thanksgiving. And now I do. Why We Celebrate Thanksgiving On The 4th Thursday Of November
-Uh Duh, I could have told you this. Want to live longer? Surround yourself with plants
–A Brief History of Word Art, the Decor Everyone Loves to Hate. And I really REALLY hate it.
-I have been known to sit in front of the oven and watch the bread bake. Super satisfying. Here’s 36 Blissful Seconds of Bread Rising in the Oven
–Photos of How Families Eat In The Arctic. And that is why I don’t live there, it’s a lot of meat.
-This makes me happy to look at. A Multicolored Library of the World’s Ochre Pigments
–Here’s To Grown-Up Siblings And The Ties That Bind. Siblings. Even when I want to punch them in the face, I still love them.
-I guess I just don’t understand. Meet the $50 Strawberries That NYC’s High-End Chefs Are Fawning Over
–Homemade Christmas baking is a joy – even if it is not to your taste. Agreed. Something about baking this tie of year, it is just so, well, joyful.
-On my reading list. Good Husbandry: A Memoir by Kristin Kimball. I read her first Memoir, The Dirty life, and it was A+
December in action and we are taking it at full speed. All the activities, the birthdays, the holiday celebrations%u2026 So much and I love it all, even if I feel like a crazy lady and want to run screaming from groups of people bigger the 2. I%u2019ll deal with the interactions now and just plan to spend the month of January hiding and recovering. I%u2019ll be ok.
The week started with the hunt for our Christmas tree. The Green Mountain National Forest, seventh year running, and this year did not disappoint. A fantastic hike into the woods near a beaver pond with lots of trees, snow on the ground, and no people. Exactly how I like to find our tree. And find it we did, the most perfect (too perfect?) tree. And it only took about an hour of almost cutting down like 20 other trees. Once we were positive, the mr cut it down, we said our thanks to the world, then hiked our tree out of the woods and slid it into the back of the car. Hopped in, cranked the Christmas music, and we were good to go. A perfect Christmas tree expedition.
Then life. Kind of a busy week in terms of birthdays. The beginning of the week Justin turned older by a year, then the next day Sophia did to so we partied with spaghetti, chocolate chocolate cake with tiny apples (she wanted it to be apple shaped but I just made little apples instead), and ballerina style dancing. Then there was a little lull in activities as far as birthdays where the mr and I did some stuff like work stuff, (more him then me), decorated, hung out with Barb, did the doings.
And then Friday. After an afternoon of loading kilns next to other kilns that were 2100 degrees and almost burning my face off, it was a rush to get home and prepare for the masses. Not technically the mr%u2019s birthday, but we had his annual grilled cheese and soup birthday celebration. Pretty much the whole fam at the house again. Lots of grilled cheeses sandwiches were made, so much soup was scooped (tomato and split pea per usual), and cake and ice cream concluded the night. And I only found half a grilled cheese sandwich under the couch when I was cleaning yesterday%u2026 Progress? I don%u2019t know, but there definitely was a few big dried soup puddles on the floor. But not on the couch! So there is that.
Back to Sunday. Not sure whats on the agenda for today but I have some stuff I need to do and I know that the mr has some stuff he needs to do. Plus together we have some stuff we need to do so we will see what gets done. Mostly though, I think I am shooting for a small hike, some coffee, and a chill afternoon of reading on the couch, facing the lit up Christmas tree. That would be swell.
Check out what I checked out from the internet this week.
–The Farmers’ Almanac Winter Forecast Is Here%u2014and Brrr!. Give me all the snow!!!!
-I can%u2019t imagine a life without reading. Not A Regular Reader? 4 Strategies To Make Reading A Habit
–Why Your Kid Loves the Garbage Truck So Much. I liked the cement trucks%u2026they don%u2019t stink an they spin.
-I am sorry, but this is some bullshit. Italian Artist’s Duct-Taped Bananas Are Selling for $120,000 Each
–How to Stop Making Excuses and Start Composting Already. And in Vermont, it%u2019t the law!
-Netflix is perverted. Ha! The Brands Are (Literally) Too Horny and Must Be Stopped
–Food delivery and takeout are on the rise. So are the mountains of trash they create.I like the idea of reusable metal tin. Could we get there?
–Here’s Why Your Favorite Headband Always Leaves You With a Headache. I used o wear headbands all the time, but had to stop because of the head pressure it caused.
–How Often, Really, Do You Follow This Recipe%u00a0Instruction?. Never but always. I like to add color to food, but only when it is edible and adds flavor.
-The sink that looks kind of like a mini tub%u2026. Swoon. For a Long Winter%u2019s Nap: A Manor House and a Schoolhouse in the German Countryside, Available for Stays
And pictures from the week
YEAH! We got our tree this past weekend and now there is even less room to move around. (It takes up approximately1/4 of our living space, but I don’t care. I love it!. We ventured south toth e rangers station, picked up our tree permit, and drove into the great mountains to find the smallest amount of (but still some) snow and the most perfect (so not even remotely close) tree growing snug, deep in the woods. We have been dong this for at least the past 5 years and every year, the trees we pick out get fatter and a little funnier. But they are always awesome and beautiful and make me the happiest! And now that we got our tree, I finally got to watch Elf. I say finally because me and the mr have a tradition where we string popcorn for the tree while watching it, so I usually wait until that night to watch it.(then I can watch it as much as I want after that)%u00a0 Along with the popcorn,%u00a0the mr suggested we do a paper chain (he is so smart) which came out so good and really classys up the tree.. I haven’t taken any pictures of the decorated tree, but I will be sure to take some and show you later.
Other then the tree, this week was a world wind. Birthday parties, family crazy, new house stuff.%u00a0 I powered through a couple of long nights and finished a quilt for one of the littles birthday. We have been going over to the new house almost everyday and doing a little this and a bit of that, on top of whatever else we do. Yup, another busy, fun and good, but very busy week. And now it’s finally Sunday and all I am hopping for is a few hours of couch sitting with my book, and coffee, and some snow. (I have given up a little on winter here. What the F… Its just not right!)%u00a0 And that’s what I hope for you today, well I hope you take some time to do you and relax a bit. Maybe not go shapping ALL DAY or even feed the kids left over popcorn,%u00a0%u00a0peanut butter sandwiches , and cookies for dinner tonight and just take some time to kick back. We all need it.
Oh, and to all of those celebrating.. Happy Hanukkah!
Internet things from the week to check.
-Just in case you need to know, here is a step by step to paper snowflakes%u00a0
-%u00a0Research says, having a dog as a kid is amazing for your mental health
–Super into this interior look
-Speaking of interiors…
%u00a0-survival food%u2026. not something I want to ever have to get down with
-$5 CHRISTMAS TREES AVAILABLE IN THE GREEN MOUNTAIN NATIONAL FOREST… This is what we do.
-Now I understand why some rugs cost like a million bucks..%u00a0Gorgeous Geometric Carpets Modernize An Ancient Weaving Technique
-The dutch, they know what they are doing.%u00a0The many treats of a Dutch pre-Christmas celebration.
–See a salt shaker in a menu? Think twice.%u00a0Sodium Warnings Hit New York City Menus
I don%u2019t think I can ever eat potatoes any other way ever again.
It started with me, doing my weekly pantry cleaning, you know, when I wipe down ever surface, count all the beans and lentils in the jars to make sure I am not running low, and inspect every squash for soft spots. I was just going about my thing when I looked over at my waffle iron. Poor, sad, underused. And it hit me. When was the last time I waffled anything? I remember how excited I was when I found it a few years back at a thrift store. Such a cutie little iron. When I brought it home, I used it a bunch of times for maybe a week or two. And then it was put away and I think I have busted it out like 3 times in the past 2 years. So not cool.
I also noticed I had a shit load of potatoes left from thanksgiving.
And there I had it, a reason to use the waffle iron and a way to use up the potatoes. And now, now I am a potato on the waffle iron addict, which is weird because I am not a overly potatoy person in general. But now with this new waffled hash brown thing, well I might just be eating potatoes all day, every day. (At least until I get sick of them or I run out of potatoes.) They come out soft and fluffy inside, super crispy in ever little nook and cranny, outside. Evenly, perfectly cooked. It%u2019s hard to explain, but they are just, ugh, so good, especially dipped in mustard for a fantastic hash brown snack. (Yes mustard, no not ketchup. Let me do me, you do you.) Or smothered in refried black beans topped with salsa and avocado (that was the dinner version). These hash browns. Just make some and you will see.
And no matter what happens with my hash brown phase, I will be damned if I ever let the waffle iron go so long without use. It deserves better then that.
To the best hash browns EVER!
The stuff. Potatoes, salt and pepper, and a little oil.
Shred potatoes. Simple, easy.
Place the shredded potatoes into a clean dish towel (avoid paper towels because paper towels are the devil) and squeeze as much of the liquid out as you can.
Dump the squeezed out shredded taters back into the bowl and sprinkle with salt and pepper and mix it around.
Oil your hot iron and pile on the potatoes. Then close it and press it down. It%u2019s a bit dependent on your iron how long they will need to cook fully, mine took about 9 minutes on high. But maybe just stand close by and check yours after 7ish minutes but expect maybe 10 or so.
Deep golden brown and crispy all over.
I mean, really look. Every surface browned and crispy. It is freaking perfection!
And then like any good waffled food, you plate it, and eat it. Me, with horseradish mustard and a big stupid smile.
Thank you waffle iron. You done good.
-C
makes 2-3 servings
2-3 small to medium sized starchy potatoes (Russet or Yukon Gold)
couple teaspoons olive oil
teaspoon each of salt and pepper
Preheat your waffle iron to high
Shred potatoes on a box grater. Once shredded, gather in a clean kitchen towel and squeeze as much of the liquid as you can from the potatoes. Place potatoes back into bowl and add in about a teaspoon of each salt and pepper and mix around.
Open iron and brush with oil. Place shredded potatoes on the iron, kind of pack together, and close. If it locks, lock it shut, if it doesn%u2019t push it down. And let cook, for about 10 minutes, checking after 7ish (you iron might have more power the mine does). Once the potatoes are a deep golden crispy brown, remove from iron.
Then eat. Any way you want. Plain, with mustard or ketchup. Next to some scramble something or another. Piled high with some black beans and salsa. Whatever. Just eat them and be happy for the waffle iron.
Barb has been bugging me for a few months to make her pierogi and I keep telling her I will. But for some reason I just kept forgetting and ever time she came over for dinner I would just end up making her lentils . I make lentils for people when I care about them because lentils are perfect and I always figure she could use the nutrients. But finally, FINALLY, I remembered and figured it was about time. Time for Barb to get her pierogi. I got the ingredients, made up a plan, and went about making them thinking she was coming over for dinner. But guess what. She didn’t come over. After all that, she decided it was better for her to go to her classes and then go to her shift at work, that it was not a good idea to skip out on all that just because I decided to finally make her pierogi. Well whatever I guess.
And full disclouse, I don%u2019t think I made actual plans with her for the particular day that I made these pieorgi. I might have just assumed she was coming over%u2026. So maybe my bad. Good thing these things can be made ahead and cooked whenever. So I saved her half for whenever she does come over (today I think). I did make them for her after all.
Anyway. Pierogi. Pretty much a stuffed ravioli I filled these with the potato, chickpea, and onion mixture, tossed a little dill in for the hell of it, and there they were. The mr got the first half, covered in cashew cream. But I bet these would be equally fantastic with marinara sauce. Or ketchup? I could see that if you are into that sort of thing. Ha.
Also have to note. I keep wanting to write pierogies but I think that is wrong. Pierogi is the plural for pierog.. I think.
To the pierogi.
The stuff. Flour, oil, salt and pepper. Cooked chickpeas, a couple russet potatoes, a big onion, some dried dill (optional), warm water, soaked cashews, and a little red wine vinegar.
First make the dough. Flout, salt, water, and oil get mixed together until la shaggy dough is formed. Dump onto a floured surface ans give ut a good knead for a minute until lit comes together into a nice ball. Place dough back into the bowl (clean it out), cover it with a towel, and set aside to let the dough have little rest.
Meanwhile get the potatoes boiling. You are more then welcome to peel your potatoes but I don%u2019t. Chop the potatoes into small pieces, dump into a pot of cold water and cook them (boil until fork tender)
And cook the onions too. Chop the onion into small little bits and place in a skillet with a couple slashes of olive oil. Medium heat and a good stir until they are nice and golden brown.
Cooked onions and cooked ans drained potatoes.
Now to make the filling. Add the potatoes, onions, chickpeas, and ill to a bowl. Sprinkle in salt ans pepper
Mash it all together, small chunks are ok, but not big.
Taste and season with more salt and or pepper if needed. And stop eating all the filling, you need it.
Wen the filling is made, grab the dough, rolling pin, and a large biscuit cutter or a cup.
Roll out dough, then cut out circles.
And to make a pierogi, grab a dough disk, add a mound of filling, then fold in half and pinch closed. Simple. IF the dough doesn%u2019t want to seal, run a wet finger around the edge of the dough. That will do the trick.
All made, and not perfect by any means but perfect to me. Once you have made them, they need a little rest before cooking. Just a half hour or so. Enough time to clean up the mess that you just made and ge ta pot of water boiling on the stove. This is also a good time to prepare some to save for freezing. Any that you do not plan on eating in the next few days, place on a lightly floured baking sheet and stick in freezer. Once frozen, remove from sheet and place in an airtight container or freezer bag and stash away for another day. They can also go I the fridge for 3-4 days without being frozen, just make sure that you give each one a good dusting of flour so they don%u2019t stick to each other.
Oh, and before you finish cooking the pierogi, make a the cashew cream. Place soaked cashews into blender with the vinegar and a splash of hot water. Blend into creamy and smooth. Season with salt and pepper and that is that.
Now to cook those pierogies. Bring a pot of water to a rolling boil. Once boiling, drop (gently) the pierogies one by one into water. A few at a time as to not over crowed, boil until they start to float to the top, which should take 4-5 minutes. Once cooked, scoop them out and place them on a plate or pan while you boil more (if you are indeed cooking more)
After the pieogies had a boil, they then need a little crispness (you can skip this step if you don%u2019t want them crispy). Use the frying pan you cooked the onions in and add a splash more oil. Heat on medium and when pan is hot, add in the boiled (not sopping wet) pierogies. Cook each side for 3-5 minutes or until nice and and browned then flip and cook the other side.
And then all is left is eating. layered on a bed of cabbage carrot slaw and dolloped with a good dollop of the cashew cream. Done and done and ready to for the face.
I don%u2019t know. Maybe Barb should have skipped school and work for dinner.. Just saying
-C
makes about 25
For the dough
2 3/4 cups all purpose flour plus more for dusting
1 cup warm water
1 teaspoon salt
3 tablespoons olive oil
For the Filling
1 large sweet or vidilla onion
2 medium sized russet potatoes
1 cup cooked chick peas
2-3 teaspoons olive oil
1 teaspoon dill (optional)
salt and pepper
For the Cashew Cream (Optional for serving)
1/2 cup soaked cashews (soaked for at least 1/2 hour)
2 tablespoons red wine vinegar
3 tablespoons hot water
salt and pepper
First off, make the dough. Mix the flour with salt then add in oil and water. Mix together until a shaggy dough forms then dump out onto a lightly flour surface and knead a few times to form a uniform ball. Place dough back into (cleaned) bowl and cover. Set aside to rest.
Once dough is made, chop onion into small little pieces and place in a large skillet with 2-3 teaspoons of oil. Stick on medium heat and cook until tender and browned. Also cook the potatoes. Chop the potatoes into small pieces (peel if you want but you don%u2019t need to) and place into a pot of cold water. Bring potatoes to a boil and cook until they are fork tender, almost falling apart.
Once potatoes are cooked, strain from water and place in a big bowl. Add in the cooked onion and the chickpeas. Sprinkle in dill if you are using and season with salt and pepper. Grab a potato masher or a fork and mash the mixture together. It can be a little chunky, but you don%u2019t want really big chunks. Taste and season if it needs it.
Filling is done so now grab the rested dough. Place dough on a lightly floured surface, cut in half, place one half back in bowl and roll the other out about 1/8 inch thin. Take a large biscuit cutter or a large cup and cut out circles. Gather remaining dough and re roll out. Do this until you can%u2019t. Repeat with second half of dough.
Once the circles are cut out, place about a tablespoon of filling into the center of each. Fold the dough in half and pinch closed. If the dough has dried out to much, brush a little water on the edge of circle to help it seal. Place the pierogi on a floured surface (so they don%u2019t stick) And don%u2019t worry if you have a little extra filling.. Just eat it.
When all the pierogi are made, let them rest for about 1/2 an hour. There are a good amount of pierogi here so if you want, stick some in a container and in the fridge to have in the next few days. Just make sure to flour them so they don%u2019t stick together. Or if you prefer, place however many you to want to save on a lightly floured baking sheet and stick in the freezer until frozen. Once frozen, place into a freezer safe bag or container. They will keep for a few months.
Also, before you finish cooking, make the cashew cream (if you want it) Just add soaked cashews to a blender with vinegar and the water. Blend until smooth and creamy then season with salt and pepper to taste. If the mixture seems to thick, just add a splash more water until it is a desired thickness.
To cook the pierogi, bring a large pot of water to a boil. Place pierogi, one at a time, into pot. 5-7 at a time as to not crowd them, and cook until they start to float. Remove the cooked ones with a slotted spoon and stick on a plate. Boil as many as you are going to eat. Grab a skillet and add a few teaspoons of olive oil. Heat to a medium heat and place the pirogies into pan. Cook each side for 4-5 minutes or until browned and crispy. Flip and cook the other side.
Remove form pan, place on a plate, dollop with cashew cream (if desired) and eat.
I picked up the first summer farm share this week. (Whoo Hoo!!)%u00a0In it included lettuce, spinach, kale, cilantro, and potatoes. A heavy on the greens,%u00a0start to the season, but I am never going complain when it’s heavy on the greens. I could eat greens, any greens, by the bucket full (and basically do).%u00a0And there was pyo cilantro, which I wasn’t expecting for a least a week or two so that was just fantastic because oh how I have missed fresh herbs.%u00a0
So greens went directly to my stomach without a chance, but the potatoes and cilantro I left so I could make something to share with the mr. Roasted potatoes because that’s my favorite way to eat a tater and covered in lots and lots of cilantro because yes, and when you eat cilantro, you must eat a lot of it. Lime juice for good measure and you got yourself a dank little potato dish if I do say so myself.%u00a0
The stuff. Potatoes, cilantro, limes (you probably only need one), garlic, olive oil, and salt and pepper.
After washing your potatoes, dice them into mouth sized pieces and place them into a pot of cold water%u00a0
Dice potatoes go into pot and need a little boil. If you have a pinch of salt to toss into the water, well you should do that.
After boiling for a few minutes, give the poe test, if you can kind of pierce a potato with a fork, they are done.%u00a0%u00a0You don’t want to completely cook the potatoes, you just want them juuuust barely fork tender.. Once they get there,%u00a0strain them.
Let the potatoes drain for a minutes or two to make sure all the water is gone. In the mean time, mince up the garlic.
Add the garlic with a big pinch of salt and pepper and a glug glug of olive oil back to the pot (you could use a new bowl, but why dirty another dish?)
Add in the drained potatoes and toss around until they are all evenly coated.
Dump potatoes onto a baking sheet (if you think of it, preheat the oven with the baking sheet in it… just make sure to be careful when handling hot pans)
Into the oven those taters go to roast and be great.
And sometime between putting the potatoes in the oven and taking them out, chop up the cilantro.
Once potatoes are all nice and golden roasted, remove from oven and drizzle and toss the juice of the lime all over. Place the potatoes back into the oven for a few minutes to let them crisp up again.
And then you toss all that chopped cilantro all over those potatoes.
And then eat them. Maybe serve with salsa and whipped avocado because that is what I did and I did good.
-C
Serves 2-4 peoples
2 1/2 %u00a0pounds small yellow potatoes
1 bunch cilantro
4-6 cloves garlic%u00a0
1 juicy %u00a0lime
2-3 tablespoons olive oil
salt and pepper
Preheat oven to 425 with the baking sheet preheating in the oven as well.
Wash potatoes well and chop into pieces about an inch or so big and place in a big pot of cold water. Once you got all the potatoes in the pot, add a pinch of table salt and bring the potatoes to a boil. Cook for 5-8 minutes or until the potatoes are just barely fork tender.. don’t over boil them. Drain potatoes.
In either the empty pot (less dishes) or a bowl, combine 2 tablespoon oil with the garlic, a good pinch or two of pepper, and same with salt. Mix around then add in the potatoes. Toss to coat and if you feel that you might need little more oil, drizzle in a bit more.%u00a0
Dump coated potatoes onto a %u00a0preheated baking sheet and place in oven for about 40-50 minutes, giving the potatoes a good stir after 30. You want the potatoes to be a nice roasted brown. Once roasted, pull potatoes from oven and squeeze the juice of the lime all over the potatoes. Toss and place the potatoes back into the oven for a few minutes just to crisp up a bit. While the potatoes are crisping up,%u00a0chop the cilantro. After the few minutes, pull the potatoes back out and toss with the cilantro. Season with more salt and pepper if needed and then just eat them. I like to serve with salsa and some avocado situation, but ketchup or naked works too.
%u00a0
Three things%u2026 One. I have a ton of beets, but that is because I have been taking mostly beets at the farm share pickup (I am scared I will run out so I hoard them) Two. %u00a0See that roasting pan? I got it a couple weekends ago %u00a0at a barn sale for 75 cents. Isn’t it awesome! (it is so awesome) So I really wanted to roast something in it. And three.%u00a0Roasting means the oven is on and it has been chilly chilly at night (LOVE IT) but I am not willing to turn the heater on in my house until at least the first %u00a0of November. Until then, we will just roast all of our food for warmth.
But really, there is no better reason then that beets are tasty and potatoes are tasty. Together, they are super duper tasty. The combination, with the lemon and rosemary giving the dish %u00a0a fresh and vibrant boast,%u00a0%u00a0satisfies that person who says he doesn’t like beets (the mr,%u00a0but he eats them so yeah.) and me, who would rather just eat all beets (I ate some of the potatoes)%u00a0%u00a0
Yup, rosemary lemon beets and potatoes.%u00a0%u00a0A simple dish that screams fall, warm comfort food, and just happens to be really pretty too.%u00a0(especially served in my awesome roasting pan)
The stuff. A couple of beets and a couple of potatoes. Some fresh rosemary (can use dried), a lemon, salt and pepper and olive oil.%u00a0
Preheat the oven to 450 and chop up the potato and beets into chunks that will fit in your mouth and dump the chunks into a bowl.%u00a0
Mince up the rosemary.. unless you don’t mind eating long, kind sharp pieces
Drizzle a bit of olive oil, add in the zest of the lemon, add a good few pinches of salt and pepper and toss in the rosemary and give it a good mix.
Dump onto a baking sheet or in a roasting pan (seriously, this roasting pan is SO PRETTY) Cut the lemon in half and squeeze on half of the lemon juice on the veggies.%u00a0
And into the oven it goes.%u00a0
All roasted up and ready to go.
%u00a0Those colors.. the smell. So good!
Happy weekend people!%u00a0
-C
Serves 2-3 as a side%u00a0
2-3 large beets
2-3 large white or red potatoes%u00a0
a few sprigs of fresh rosemary( about 2 tablespoons.. can used dried, just decrease quantity a little)
1 lemon
salt and pepper to taste
olive oil
Preheat oven to 450
Wash beets and potatoes well then dice them up into mouth sized pieces and toss into a bowl. Drizzle with %u00a0enough olive oil to coat the stuff,%u00a0zest the lemon and add the zest to the bowl, and %u00a0cut lemon in half and squeeze half of the lemon juice in.%u00a0%u00a0Oh, and mince up the rosemary and toss that in too. Season with salt and pepper to taste (potatoes like salt) toss it all around until everything is all coated and dump onto a baking sheet or into a roasting pan and stick into the oven for about 45-50 minutes or until golden brown and crunchy tender.
Remove, squeeze the remaining half of lemon on top and serve!
Whenever my little sister comes over for dinner, I always end up making lentils in some form or another because she, like me, is awesome and loves a good lentil. It makes me so happy that she has such great taste in food and wants to eat what I make. %u00a0It’s validation from a teenage girl which is the best kind of validation.%u00a0
So last night when she came over after school for dinner and trash talk (she likes to verbally abuse Nick) %u00a0we decided %u00a0to make both of our favorites %u2026 Lentils AND sweet potatoes. How can you go wrong with that combo? Well I am telling you that you can’t. The rich creamy soft and slightly sweet sweet potato mixed up with the hearty, earthy, oh so fantastically tasty lentil. Add in a bit of kale and cheese if you wish and serve with salsa and guac… Whoa, it’s the best!!!
Such a great evening, I get to the cooking, the sister gets to the verbal abuse and the mister, begin the champ that he is, takes it and dishes it right back.%u00a0
I am the greatest(coolest)%u00a0sister.%u00a0
Baked sweet potatoes, cooked lentils, chopped up kale and monetary jack cheese (Cheese is optional.. and make it vegan cheese if you want) And you don’t need then, but salsa and guacamole are the best toppings.. So you have them.%u00a0
Cut the cooked potato in half lengthwise and scoop the flesh out into a bowl. With a fork, smooth%u00a0the potato , sprinkle with salt and pepper and mix in lentils and kale.
Stuff the mixture back into the skins of the potato.
And add some cheese (The mister and the sister wanted lots of cheese, no cheese for me) and stick the potatoes into the oven and let bake for another 5 or so minutes or until the cheese is all melty or the top is nice and crispy.%u00a0
Remove and plate%u2026 Serve with salsa and guacamole and maybe some corn chips. %u00a0
I am the greatest sister
-C
Makes 2 serving
1 Large Sweet Potato
1 cup Prepared Lentils
1 cup Chopped Kale
1/2 cup Grated Monetary Jack Cheese (Vegan style or not)%u00a0
Salsa (optional)
Guacamole(optional)
Place potato in oven at 400 degrees for 30-40 minutes or until soft a baked throughout.
While potato is baking, prepare lentils. %u00a02 cups water to 1 cup lentils. Add water and lentil to pot, bring to a boil, add a sprinkle of salt, and reduce to simmer until lentils are tender.%u00a0
When potato is cooked, remove potato %u00a0and let cool for a few minutes.%u00a0Cut in half lengthwise and scoop out most of the flesh out of the skins and place into a big bowl. WIth a fork, mash the potato a bit %u00a0Add in the lentils and the kale, a sprinkle of salt and pepper, and mix to combine. Stuff the mixture back into the skins of the potatoes and top with cheese. (if using ) Place potatoes back into oven for 5-10 minutes until cheese is melty and bubbly or the top of the potato is a bit crispy. Remove from oven and serve on a plate with salsa and guacamole.
I don%u2019t think I can ever eat potatoes any other way ever again.
It started with me, doing my weekly pantry cleaning, you know, when I wipe down ever surface, count all the beans and lentils in the jars to make sure I am not running low, and inspect every squash for soft spots. I was just going about my thing when I looked over at my waffle iron. Poor, sad, underused. And it hit me. When was the last time I waffled anything? I remember how excited I was when I found it a few years back at a thrift store. Such a cutie little iron. When I brought it home, I used it a bunch of times for maybe a week or two. And then it was put away and I think I have busted it out like 3 times in the past 2 years. So not cool.
I also noticed I had a shit load of potatoes left from thanksgiving.
And there I had it, a reason to use the waffle iron and a way to use up the potatoes. And now, now I am a potato on the waffle iron addict, which is weird because I am not a overly potatoy person in general. But now with this new waffled hash brown thing, well I might just be eating potatoes all day, every day. (At least until I get sick of them or I run out of potatoes.) They come out soft and fluffy inside, super crispy in ever little nook and cranny, outside. Evenly, perfectly cooked. It%u2019s hard to explain, but they are just, ugh, so good, especially dipped in mustard for a fantastic hash brown snack. (Yes mustard, no not ketchup. Let me do me, you do you.) Or smothered in refried black beans topped with salsa and avocado (that was the dinner version). These hash browns. Just make some and you will see.
And no matter what happens with my hash brown phase, I will be damned if I ever let the waffle iron go so long without use. It deserves better then that.
To the best hash browns EVER!
The stuff. Potatoes, salt and pepper, and a little oil.
Shred potatoes. Simple, easy.
Place the shredded potatoes into a clean dish towel (avoid paper towels because paper towels are the devil) and squeeze as much of the liquid out as you can.
Dump the squeezed out shredded taters back into the bowl and sprinkle with salt and pepper and mix it around.
Oil your hot iron and pile on the potatoes. Then close it and press it down. It%u2019s a bit dependent on your iron how long they will need to cook fully, mine took about 9 minutes on high. But maybe just stand close by and check yours after 7ish minutes but expect maybe 10 or so.
Deep golden brown and crispy all over.
I mean, really look. Every surface browned and crispy. It is freaking perfection!
And then like any good waffled food, you plate it, and eat it. Me, with horseradish mustard and a big stupid smile.
Thank you waffle iron. You done good.
-C
makes 2-3 servings
2-3 small to medium sized starchy potatoes (Russet or Yukon Gold)
couple teaspoons olive oil
teaspoon each of salt and pepper
Preheat your waffle iron to high
Shred potatoes on a box grater. Once shredded, gather in a clean kitchen towel and squeeze as much of the liquid as you can from the potatoes. Place potatoes back into bowl and add in about a teaspoon of each salt and pepper and mix around.
Open iron and brush with oil. Place shredded potatoes on the iron, kind of pack together, and close. If it locks, lock it shut, if it doesn%u2019t push it down. And let cook, for about 10 minutes, checking after 7ish (you iron might have more power the mine does). Once the potatoes are a deep golden crispy brown, remove from iron.
Then eat. Any way you want. Plain, with mustard or ketchup. Next to some scramble something or another. Piled high with some black beans and salsa. Whatever. Just eat them and be happy for the waffle iron.
Farm share started last week (HOORAY!!!!) but always, at the beginning when things are still getting on growing, we are only getting a few things. Lot of greens which I will never get enough of, and lots of potatoes. Also, I made the mistake of buying a very large bag of potatoes last week right before farm share and now I am basically swimming in potatoes. And so the story goes%u2026.
So what do you do with a shit ton of potatoes? Yeah, I thought potato cannon to but then I realized that I would have to use my potatoes and sure I have a lot, but I am not wasting them on that. So gnocchi they became. Gnocchi. Basically a boiled french fry or a mashed potato meat ball. Or maybe more like a ravioli. Whatever they are, they are loved by potato loving people and are fun to make. I mean, when do you ever get to use the ricer? ( Don%u2019t worry, you can make gnocchi without a ricer.)
To the gnocchi.
The stuff. Potatoes, flour, an onion, some tomatoes, a few cloves of garlic, salt, pepper, and olive oil.
Note. Make sure to use russet potatoes because they make the lightest, fluffiest gnocchi. You could probably use Yukon gold, but any hard wax potato just won%u2019t do.
First step is to make baked potatoes. Place potatoes in oven, directly on rack, and bake for 30-45 minutes until nice and soft and tender. Just like you would when you eat it as a baked potato. Once cooked cut them in half and let them cool off for a few minutes.
Once potatoes are cool enough to handle, scoop all the flesh out of skins. Keep skins for soup or a snack for later.
And the fun part. Flour the counter then rice the potatoes. You can also do this with a food mill or even grate the potato with a box grater. Once all riced, cover with flour and start to fold and mix the potato into the flour gently until the dough starts to come together. If the dough seems really sticky and wet, add in a tablespoon or two of flour, to dry and crumbly, add in a tablespoon or two of water. The goal is a nice fluffy dough that hold it shape but is not overly dense.
Cut off a potion of the dough, roll it into a rope about an inch thick, then cut into inch long pieces.
To cook gnocchi. Bring a big pot of water to a boil and carefully drop in a handful of gnocchi into the water. They are gonna sink, but after a minute or two they start to float. Once floating, remove them from the pot with a slotted spoon and place them on a lightly oiled baking sheet. Repeat until all the gnocchi are cooked.
Cooked and ready%u2026 Ready for what? For anything you want but these are going into a tomato and onion situation.
Mince garlic and dice tomatoes and place into skillet with a good pinch of salt and a splash of olive oil. Place on stove and cook until slightly tender. Dice up tomatoes into small chunks and add to skillet along with a cup of water (if you have gnocchi water, use that) Turn heat up and cook until mixture start to bubble, then turn heat down to low and cook until the tomatoes are mushy.
And then drop in gnocchi. Keep on heat until the gnocchi are warmed completely all the way through.
Sprinkle of salt, lots of pepper, and something green if you want to be fancy.
And then you eat them.
-C
Makes 3-4 servings
2.5 pounds russet potatoes
2/3 cup of all purpose flour
1 large onion
3-4 tomatoes
few cloves garlic
salt and pepper
olive oil
water
Place potatoes directly into oven on one of the oven racks and bake on 450 degrees until soft and tender. Should take about 1/2 hour to 45 minutes, depending on size of potatoes.
Once cooked, remove from oven carefully, cut in half, carefully, and let cool for a about 10 minutes, just so you can handle the potatoes without burning yourself. In the mean time, get a large pot, fill it with water, and set it on the stove to boil.
When the potatoes are not to hot to touch, grab them and with a spoon, scoop out all the potato flesh from the skin (keep skin for a snack or for soup). Lightly flour the counter and start ricing the potatoes directly onto the counter. (You can also use a food mill or a box grater if you don%u2019t have ricer). Once all potato is rices, cover with floor and gently fold potato over into flour, over and over, even using a knife, to kind of cut the potato into the flour, until it all mostly comes together. Be careful to not overwork the dough or else it will become dense make the gnocchi chewy. If the dough seems is sticky, add in a few more tablespoons of flour, to dry and seems crumbly, add a few tablespoons warm water.
Once you have the dough, make sure the water on the stove is still there and has not evaporated and is at a gentle boil. Cut dough in thirds then roll out a portion into a rope about an inch thick. Cut the rope into inch long pieces. Repeat with the rest of dough.
When all the gnocchi are made, grab a rimed baking sheet, coat with oil, and place close by the boil water.
Now to cook them. Drop a handful of gnocchi into water carefully. They will sink. Watch and after about a minute or two, they will start to float. Once floating, take a slotted spoon and take them out of water. Place them on the greased baking sheet. Repeat until all the gnocchi are cooked. (when done cooking, save a cup of the cooking water)
After the gnocchi is cooked, you can do whatever you want with it, like eat it right away with salt and pepper or whatever, but to make the quick tomatoes onion situation, dice up the onion and mince the garlic. Place into a skillet with a drizzle of olive oil and a pinch of salt and place on stove and start to cook. Dice up the tomatoes and once the onion is tender, add in the dice tomatoes and about a cup of the gnocchi cooking water. Turn the heat up until the water is bubbling then reduce to low and cook until the tomatoes are mushy and tender. Once cooked, add in the gnocchi, toss them around, and cook until the gnocchi are fully warmed through.
And then eat it. Maybe a little more salt if needed, definitely lots of pepper, and whatever else you want.
What with all the holiday and family get togethers we have had over here at my house the past few week, we have had quite a few bags of chips and pretzels left over. Always almost empty%u2026 Always dumped into the compost because I mean, I am not so keen on seeing bags of little bits of chips and pretzels in the pantry that I know will never get eaten. Plus it is not like I am saving carrots or grapes or anything I would eat, it%u2019s junk food. But still. I hate the food waste. That is why I made these cookies. To not waste food. And because we had people coming over to the house for dinner and I cannot not have something for dessert. That would be just wrong. And lastly because I am pretty sure that chips and pretzel pieces only make a plain chocolate chunk cookie into an amazing sweet and salty cookie that will just blow your mind.
And I was right. I made the cookies, I feed them to the mr, the sister, friends and all the littles and they just couldn%u2019t get enough.
Current thought. I am sitting here typing and have come to the conclusion that I should start a bakery that makes cookies out of people almost empty bags of chips, like a Cheeto dust cookie, or a peanut butter Funyun cookie or chocolate chocolate chip Dorito cookie.
Yes. this is a good idea. Oh man, I am a genius.
But back to theeese cookies. Start with these. I%u2019ll let you know when I open the storefront to Garbage Cookies (that is what I’ll call the place) You can stand in line for the peanut butter Funyun cookies. I have a feeling about that flavor. Until then%u2026
To the cookies!
The stuff. The small bowl has flour, baking powder and baking soda. The big bowl has brown and white sugar. Then you need oil, almond milk, vanilla, chocolate chunks, some pretzels and some plain salted potatoes chips.
Start with the wet. Mix the oil, the milk, and the vanilla into the sugars until completely smooth
Whisk together the dry stuff.
And mix until its a cookie dough. Now here is the thing, you need to stick the dough in the fridge for a couple hours and if you mix in the chips and pretzels now, well I think that might make them extrealemy soggy, so hold off. For now, cover dough and refrigerate for 2-4 hours.
When the time comes for baking, grab the mix ins and with whatever method you chose, crush the chips and pretzels into small bits. (avoid turning into a dust, you want bits)
All salty and crumbly and ready to go
Grab the dough from fridge and dump in the stuff that needs to go in (crushed chips and pretzels and chocolate chunks).
Scoop dough into balls and place on a baking sheet.
Into the oven and out they come all golden brown and smelling like yes and mmmmmm.
Get those cookies on a wire rack to cool and to free up the baking sheet to keep baking.
Look at this proud cookie. Chips, pretzels, and chocolate chunks all on display.
Now is when you get yourself a plate, pile it up high, and eat.
Remember, sharing is caring so maybe share a cookie or two. (but like you don%u2019t HAVE to)
Stay happy this weekend.
-C
makes about 2 dozen cookies
2 cup all purpose flour
1 teaspoon baking soda
1/2 teaspoon baking powder
1/2 cup packed brown sugar
1/2 cup white sugar
1/2 cup canola oil
1 teaspoon vanilla
6 tablespoons plant milk
1/2 cup crushed potato chip
1/2 cup crushed pretzels pieces
3/4 cup chocolate chunks or chips
In a large bowl, mix together the sugars, oil, milk, and vanilla until completely combined. In a separate bowl, whisk together the flour, baking powder and soda. Dump the dry into the wet and mix until the dough comes together. Gather the dough together in the bowl and cover with plastic and stick in the fridge to rest for at least 2 hour and up to a day.
When ready to bake, preheat oven to 350
Right before you take the dough from fridge, get your chocolate chunks, pretzels, and chips out. If the chips and pretzels are not already in little bits, place them in a bag (just use the chip bag if you have it) and smash with a heavy object until you turn the chips and pretzels into bits. Be carful that you don%u2019t turn it all into a dust, look for small bits. Pull dough from fridge and mix the stuff in. Scoop out balls of dough and place on baking sheets. Bake cookies in oven for 11-12 minutes or until lightly browed. Remove from oven and immediately transfer cookies to a wire rack to cool.
And now you eat.
Store uneaten cookie in a airtight container for up to a week or freeze them but I doubt you will have too. The cookies went fast.
I picked up the first summer farm share this week. (Whoo Hoo!!)%u00a0In it included lettuce, spinach, kale, cilantro, and potatoes. A heavy on the greens,%u00a0start to the season, but I am never going complain when it’s heavy on the greens. I could eat greens, any greens, by the bucket full (and basically do).%u00a0And there was pyo cilantro, which I wasn’t expecting for a least a week or two so that was just fantastic because oh how I have missed fresh herbs.%u00a0
So greens went directly to my stomach without a chance, but the potatoes and cilantro I left so I could make something to share with the mr. Roasted potatoes because that’s my favorite way to eat a tater and covered in lots and lots of cilantro because yes, and when you eat cilantro, you must eat a lot of it. Lime juice for good measure and you got yourself a dank little potato dish if I do say so myself.%u00a0
The stuff. Potatoes, cilantro, limes (you probably only need one), garlic, olive oil, and salt and pepper.
After washing your potatoes, dice them into mouth sized pieces and place them into a pot of cold water%u00a0
Dice potatoes go into pot and need a little boil. If you have a pinch of salt to toss into the water, well you should do that.
After boiling for a few minutes, give the poe test, if you can kind of pierce a potato with a fork, they are done.%u00a0%u00a0You don’t want to completely cook the potatoes, you just want them juuuust barely fork tender.. Once they get there,%u00a0strain them.
Let the potatoes drain for a minutes or two to make sure all the water is gone. In the mean time, mince up the garlic.
Add the garlic with a big pinch of salt and pepper and a glug glug of olive oil back to the pot (you could use a new bowl, but why dirty another dish?)
Add in the drained potatoes and toss around until they are all evenly coated.
Dump potatoes onto a baking sheet (if you think of it, preheat the oven with the baking sheet in it… just make sure to be careful when handling hot pans)
Into the oven those taters go to roast and be great.
And sometime between putting the potatoes in the oven and taking them out, chop up the cilantro.
Once potatoes are all nice and golden roasted, remove from oven and drizzle and toss the juice of the lime all over. Place the potatoes back into the oven for a few minutes to let them crisp up again.
And then you toss all that chopped cilantro all over those potatoes.
And then eat them. Maybe serve with salsa and whipped avocado because that is what I did and I did good.
-C
Serves 2-4 peoples
2 1/2 %u00a0pounds small yellow potatoes
1 bunch cilantro
4-6 cloves garlic%u00a0
1 juicy %u00a0lime
2-3 tablespoons olive oil
salt and pepper
Preheat oven to 425 with the baking sheet preheating in the oven as well.
Wash potatoes well and chop into pieces about an inch or so big and place in a big pot of cold water. Once you got all the potatoes in the pot, add a pinch of table salt and bring the potatoes to a boil. Cook for 5-8 minutes or until the potatoes are just barely fork tender.. don’t over boil them. Drain potatoes.
In either the empty pot (less dishes) or a bowl, combine 2 tablespoon oil with the garlic, a good pinch or two of pepper, and same with salt. Mix around then add in the potatoes. Toss to coat and if you feel that you might need little more oil, drizzle in a bit more.%u00a0
Dump coated potatoes onto a %u00a0preheated baking sheet and place in oven for about 40-50 minutes, giving the potatoes a good stir after 30. You want the potatoes to be a nice roasted brown. Once roasted, pull potatoes from oven and squeeze the juice of the lime all over the potatoes. Toss and place the potatoes back into the oven for a few minutes just to crisp up a bit. While the potatoes are crisping up,%u00a0chop the cilantro. After the few minutes, pull the potatoes back out and toss with the cilantro. Season with more salt and pepper if needed and then just eat them. I like to serve with salsa and some avocado situation, but ketchup or naked works too.
%u00a0
Easy quick dinners are no joke because sometimes life happens and then you are hungry, then hangry, %u00a0then maybe yelling and or tears start and nothing is ever going to be good again. And then you eat and everything is A OK, but that time between tears and food can be long, especially when you just can’t think so one should have a least a good 2 or 3 good dinners up there sleeve (besides pasta) that can be made quick and easily to avoid the fallout of food deprivation.%u00a0This bowl of goodness here is one of those. And sure some people might not always have a sweet potato,%u00a0tahini, or chickpeas is the house %u00a0(I ALWAYS have a sweet potato or some type of winter squash and tahini and chickpeas…%u00a0they are staples here)%u00a0but with a tiny it of foresight, you can make these things happen too. And then you will make it and realize that you must have these ingredients on hand at all times because yeah, a good go to meal that will prevent the tears.
Admittedly I have made this for the mr but he is not that into it. Says he is not a huge fan of sweet potatoes. (what the fuck is wrong with him?) But me, I eat is and I eat it all.. The sweet potato/chickpea/tahini combination is classic fantastic. This hash is sweet potato sweet, a little chickpea crunchy, salty, savory,%u00a0and creamy citrusy. %u00a0It’s all sorts of goodness. I tossed this hash on a big bed of kale (any sturdy green would be good) and only good things happen in my mouth. So the mr.%u00a0might not like it but I am starting to realize (after 15 years) that my taste is far superior to his. Haha. (but really) %u00a0Quick and easy (and healthy) and good. %u00a0Make it once and it will turn into on of your go to dinners, unless you don’t like sweet potatoes. In that case there is pasta.%u00a0
The stuff. Chick peas (I had just made a batch but if you don’t have any made already, grab a can) a sweet potato, an onion, a lemon, some tahini, and garlic Also some cumin and chili powder, olive oil, and salt and pepper.%u00a0
Preheat your oven and chop up the onion and sweet potato into mouth sized pieces.%u00a0
Toss the chopped stuff onto a baking sheet with the chickpeas.
Drizzle the whole shebang with olive oil and toss with cumin, chili powder, and salt and pepper. %u00a0
Into the oven it goes.
Half hour later it is all roasted and ready.
Oh quick, make this before the stuff is out of the oven. Tahini, minced garlic, a dash of salt, a bit of the liquid from the chickpeas and the juice of a lemon. Just stick it all in a cup or bowl and mix it around. Then it’s done.
Scoop the hash into a bowl (I like a large pile of greens underneath) and cover with the tahini sauce.%u00a0
Eat is all to your face.
-C
dinner for one, a side for two.%u00a0Very easily doubled or tripled.%u00a0
1 sweet potato
2 cups or 1 can cooked chickpeas drained but liquid reserved%u00a0
1 medium yellow onion
1 tablespoon cumin
1 teaspoon chili powder
salt and pepper
2-3 tablespoons olive oil
3 tablespoon tahini
1 lemon
1/4- 1/2 cup of aquafaba (chickpea liquid)
2-3 cloves garlic
Preheat oven to 425
Chop sweet potato and onion into mouth sized cubes and place on a baking sheet. Add the drained chickpeas and drizzle with olive oil and toss around. Sprinkle on the cumin, chili powder,%u00a0salt and pepper, and toss that around again. When the oven is preheated, slide the baking sheet on in.%u00a0
While the stuff is baking, mince the garlic and place it in a bowl with the tahini, the juice of a lemon, and a pinch or two of salt to taste. Add in 1/4 cup of aquafaba and mix it all around.%u00a0If to thick for your liking, add a little more of the aqaufaba until its a good consistency.%u00a0
Check the stuff in the oven after 20 minutes and give it a toss.%u00a0%u00a0Keep baking for another 5-10 minutes or until the sweet potato is cooked and starting to brown. Remove from oven and dump into a bowl (maybe on a bed of greens or rice) and drizzle all over with the tahini sauce.
Eat
I am finally getting to the point in the kitchen that I have stuff for food other then lentils and carrots. Slowly I am restocking all the food and spices that I have let myself run out of when we started the moving out process. It has been a great purge, especially for all of my spices, which I have (or had) so many of and some where maybe not as fresh as they should be. Slowly I have been dumping those not so fresh spices into the crock pot with beans and replacing with freshy fresh ones.
The other day I did a spice run at the coop. Bulk spices are the way to go but sometime I can get a little out of hand. A pinch of this, a cup of that. I want them all, but I was pretty good. Just a few for now, and nothing to crazy.%u00a0 One that I did get was dill, lots and lot of freshly dried dill (I might have gone a little overboard with the amount I bought. I guess I was worried I might run out of dill, but its ok, I will for sure use it.). What to do with dill? Well toss pretty much anything with some dill and vinegar and you got yourself a dill pickle of sorts which is great.%u00a0 I just so happen to have a pickle craving and not a pickle in the house so me and my abundance of dill went and pickled potatoes to make french fries. And I must say, these fries are freaking amazing.%u00a0 Everything fantastic about dill pickles and french fries all in one. Baked because I don’t fry things, and not at all french. These fries are just what I needed to hit my dill pickle craving and use up some of my abundance of dill.
Here’s to the pickle fries. Mouth puckering goodness!
The stuff. A few russet potatoes and some vinegar. Salt, pepper, garlic powder, onion powder, and dill are the spices to use. And olive oil, which is not pictured but necessary.
First off, cut up the potatoes into fries. Cutthe potato in half, then cut that half in half, then each half of half into strips… easy easy. Toss the now fries into a big bowl of cold water as you go. (It removes some of the starch so your fries are not soggy)
Stain the starchy water from the bowl then dump the vinegar in with the potatoes, tossing as you go. And now you wait. Stick the potatoes into the fridge for about 1/2 hour to an hour, tossing the them around ever 10 minutes or so. (the longer they are in there, the more vinegar they will absorb)
Now preheat. Strain the vinegar out of bowl, drizzle potatoes with olive oil and toss until evenly coasted then sprinkle on the spices.
Pretty potatoes, looking good enough to eat(but don’t eat raw potatoes, that is gross and will make you sick)
Single layer on a baking sheet, ready for the oven.
Baked until golden crispy and nice. Didn’t even wait for a plate, just some mustard and off we go.
Dill pickle french fries. So good.
Bye
-C
should serve 2 people
3 Russet Potatoes
1/4 cup white vinegar
2 teaspoons dill
1 tablespoon salt
1 teaspoon onion powder
1 teaspoon garlic powder
i teaspoon pepper
2-3 tablespoons olive oil
Rinse potatoes then cut lengthwise into 4 equal pieces. Then cut each slice into long strips about 1/2 inch . Place the cut potato into a bowl of cold water and toss them around to remove a bit of the starch. Drain the water then dump the vinegar onto the potato and toss around. Let sit for 30- 60 minutes in the fridge, tossing ever 10 minutes or so.
Preheat oven to 400.
Once the oven is hot, pour off the vinegar from the potatoes (can be reserved for cleaning) Drizzle the potatoes with olive oil, making sure they are evenly coated, then mix all the spices together and sprinkle all over potatoes. Place coated fries single layer on a baking sheet and into the oven they go. Bake for about 45 minutes flipping after about 25. Fries are done when they are golden brown and crispy.
Serve with ketchup, mustard or whatever you like on fries or pickles.
Hey there friends! You doing alright? You good? Just checking in because I care.
My week was good, even if it did blow on by super fast. That’s the way it always goes for me. The closer to the end of the year, the faster time seems to fly. You too? Anyway. I am talking it all in, trying to stay sane and not get pulled into the crazy that can happened this time of year. Mostly just talking all the long walks I need and staying out of the way but still enjoying the ones around me. There is a balance you know. And I am not afraid to run away when I need to.
So besides the norm of life, Tuesday was the mr’s actual birthday so we celebrated. Just the two of us. After breakfast and heart shaped balloons, we went for an awesome drive to an awesome hike in the national forest. Yes it was a little rainy and the ground was so icy and I fell and jammed by arm, but it was still so so so nice. The waterfalls we saw we raging and there was not another human soul around. It was superb. Then we got lunch (he got lunch, I packed my own) and we ate our food near a much smaller waterfall. After that, coffee and then home where we watched a movie and finished making Christmas cards. Lasagna for dinner (for him, I ate chili) and a little heart shaped ice cream cake I made him (I am the best), gave him his pencil painting, and then we just hung out, I fell asleep, and that was that. Delightful, calm, and just really nice to spend the day together.
Rest of the week went on. Me, I was trying to get a few projects done. Worked at the studio, watched all the lovely snow completely melt. The mr has been working away at this and that and is keeping itself more then.
Yesterday was the 2nd annual sugar cookie house decorating extravaganza. And what a blast we had. A bunch of littles, a bunch of cookies and a bunch of candy. Amazingly enough, everyone ate all there lunches and refrained from eating all the candy. The restraint and force I saw in these littles eyes…Gave me hope for the future. HA. But seriously, they were so into it and everyones turned out so great. Even the mr got into it and made a house topped with marshmallows and cauliflower. And after the houses were built, everyone left and I turned up the Christmas jams, grabbed the vacuum and all the cleaning rags, and set to work. Turns out tootsie rolls smashed into the floor is not easily removed.
Today is a day of catch up and errands. The mr is trying to finish up a project he needs to send off to the world, I need to get on finishing off some more rainbows. And maybe we should do some grocery shopping. And maybe I’ll take a trip to the library. Stuff to do yes, but hopefully still a semi relaxing day. Maybe it will even get cold enough and start to snow. I need a walk in the snow.
Interesting internet from the week.
-I am kind of shocked the the number is so low. Come on people, cooking is awesome and makes you awesome. The Grocery Industry Confronts a New Problem: Only 10% of Americans Love Cooking
–Winter camping is a great way to see more nature and fewer people. I am going to start working the mr to get him to agree to go soon.
– Is it crazy that I miss landlines? OR more so, I think I miss that says of no cell phones. And now with cell phones, you can’t eavesdrop on other people conversations , or like legally and easily anymore. How the Loss of the Landline Is Changing Family Life
–These 3 supertrees can protect us from climate collapse. But can we protect them? Trees are everything so of course trees are part of the answer to helping the planet. Hopefully humans don’t fuck them up too.
-Did you get into the “finding joy” of all your shit? How did that go? Did Marie Kondo fans keep their houses tidy all year?
–Shopping Sucks Now. I have always though shopping sucks, but I agree, it sucks even more. There is just to much!
–Drink Up, Calm Down. Fancy expensive drinks for wellness…. I don’t know, I totally believe that food is medicine but some of the shit out there…. I guess just beware and don’t fall for fancy pants weird language saying miracle and shit.
-imoprtant. How To Reduce Food Waste
–Do I Really Have to Clean My Sheets Every Week? And 9 Other Things We Were Told Are Mandatory. Yes YES YES to the sheets!
-Lovely. ‘The Bird & the Whale’ Tells a Short and Sweet Tale Using Paint-on-Glass Animation
I don%u2019t think I can ever eat potatoes any other way ever again.
It started with me, doing my weekly pantry cleaning, you know, when I wipe down ever surface, count all the beans and lentils in the jars to make sure I am not running low, and inspect every squash for soft spots. I was just going about my thing when I looked over at my waffle iron. Poor, sad, underused. And it hit me. When was the last time I waffled anything? I remember how excited I was when I found it a few years back at a thrift store. Such a cutie little iron. When I brought it home, I used it a bunch of times for maybe a week or two. And then it was put away and I think I have busted it out like 3 times in the past 2 years. So not cool.
I also noticed I had a shit load of potatoes left from thanksgiving.
And there I had it, a reason to use the waffle iron and a way to use up the potatoes. And now, now I am a potato on the waffle iron addict, which is weird because I am not a overly potatoy person in general. But now with this new waffled hash brown thing, well I might just be eating potatoes all day, every day. (At least until I get sick of them or I run out of potatoes.) They come out soft and fluffy inside, super crispy in ever little nook and cranny, outside. Evenly, perfectly cooked. It%u2019s hard to explain, but they are just, ugh, so good, especially dipped in mustard for a fantastic hash brown snack. (Yes mustard, no not ketchup. Let me do me, you do you.) Or smothered in refried black beans topped with salsa and avocado (that was the dinner version). These hash browns. Just make some and you will see.
And no matter what happens with my hash brown phase, I will be damned if I ever let the waffle iron go so long without use. It deserves better then that.
To the best hash browns EVER!
The stuff. Potatoes, salt and pepper, and a little oil.
Shred potatoes. Simple, easy.
Place the shredded potatoes into a clean dish towel (avoid paper towels because paper towels are the devil) and squeeze as much of the liquid out as you can.
Dump the squeezed out shredded taters back into the bowl and sprinkle with salt and pepper and mix it around.
Oil your hot iron and pile on the potatoes. Then close it and press it down. It%u2019s a bit dependent on your iron how long they will need to cook fully, mine took about 9 minutes on high. But maybe just stand close by and check yours after 7ish minutes but expect maybe 10 or so.
Deep golden brown and crispy all over.
I mean, really look. Every surface browned and crispy. It is freaking perfection!
And then like any good waffled food, you plate it, and eat it. Me, with horseradish mustard and a big stupid smile.
Thank you waffle iron. You done good.
-C
makes 2-3 servings
2-3 small to medium sized starchy potatoes (Russet or Yukon Gold)
couple teaspoons olive oil
teaspoon each of salt and pepper
Preheat your waffle iron to high
Shred potatoes on a box grater. Once shredded, gather in a clean kitchen towel and squeeze as much of the liquid as you can from the potatoes. Place potatoes back into bowl and add in about a teaspoon of each salt and pepper and mix around.
Open iron and brush with oil. Place shredded potatoes on the iron, kind of pack together, and close. If it locks, lock it shut, if it doesn%u2019t push it down. And let cook, for about 10 minutes, checking after 7ish (you iron might have more power the mine does). Once the potatoes are a deep golden crispy brown, remove from iron.
Then eat. Any way you want. Plain, with mustard or ketchup. Next to some scramble something or another. Piled high with some black beans and salsa. Whatever. Just eat them and be happy for the waffle iron.


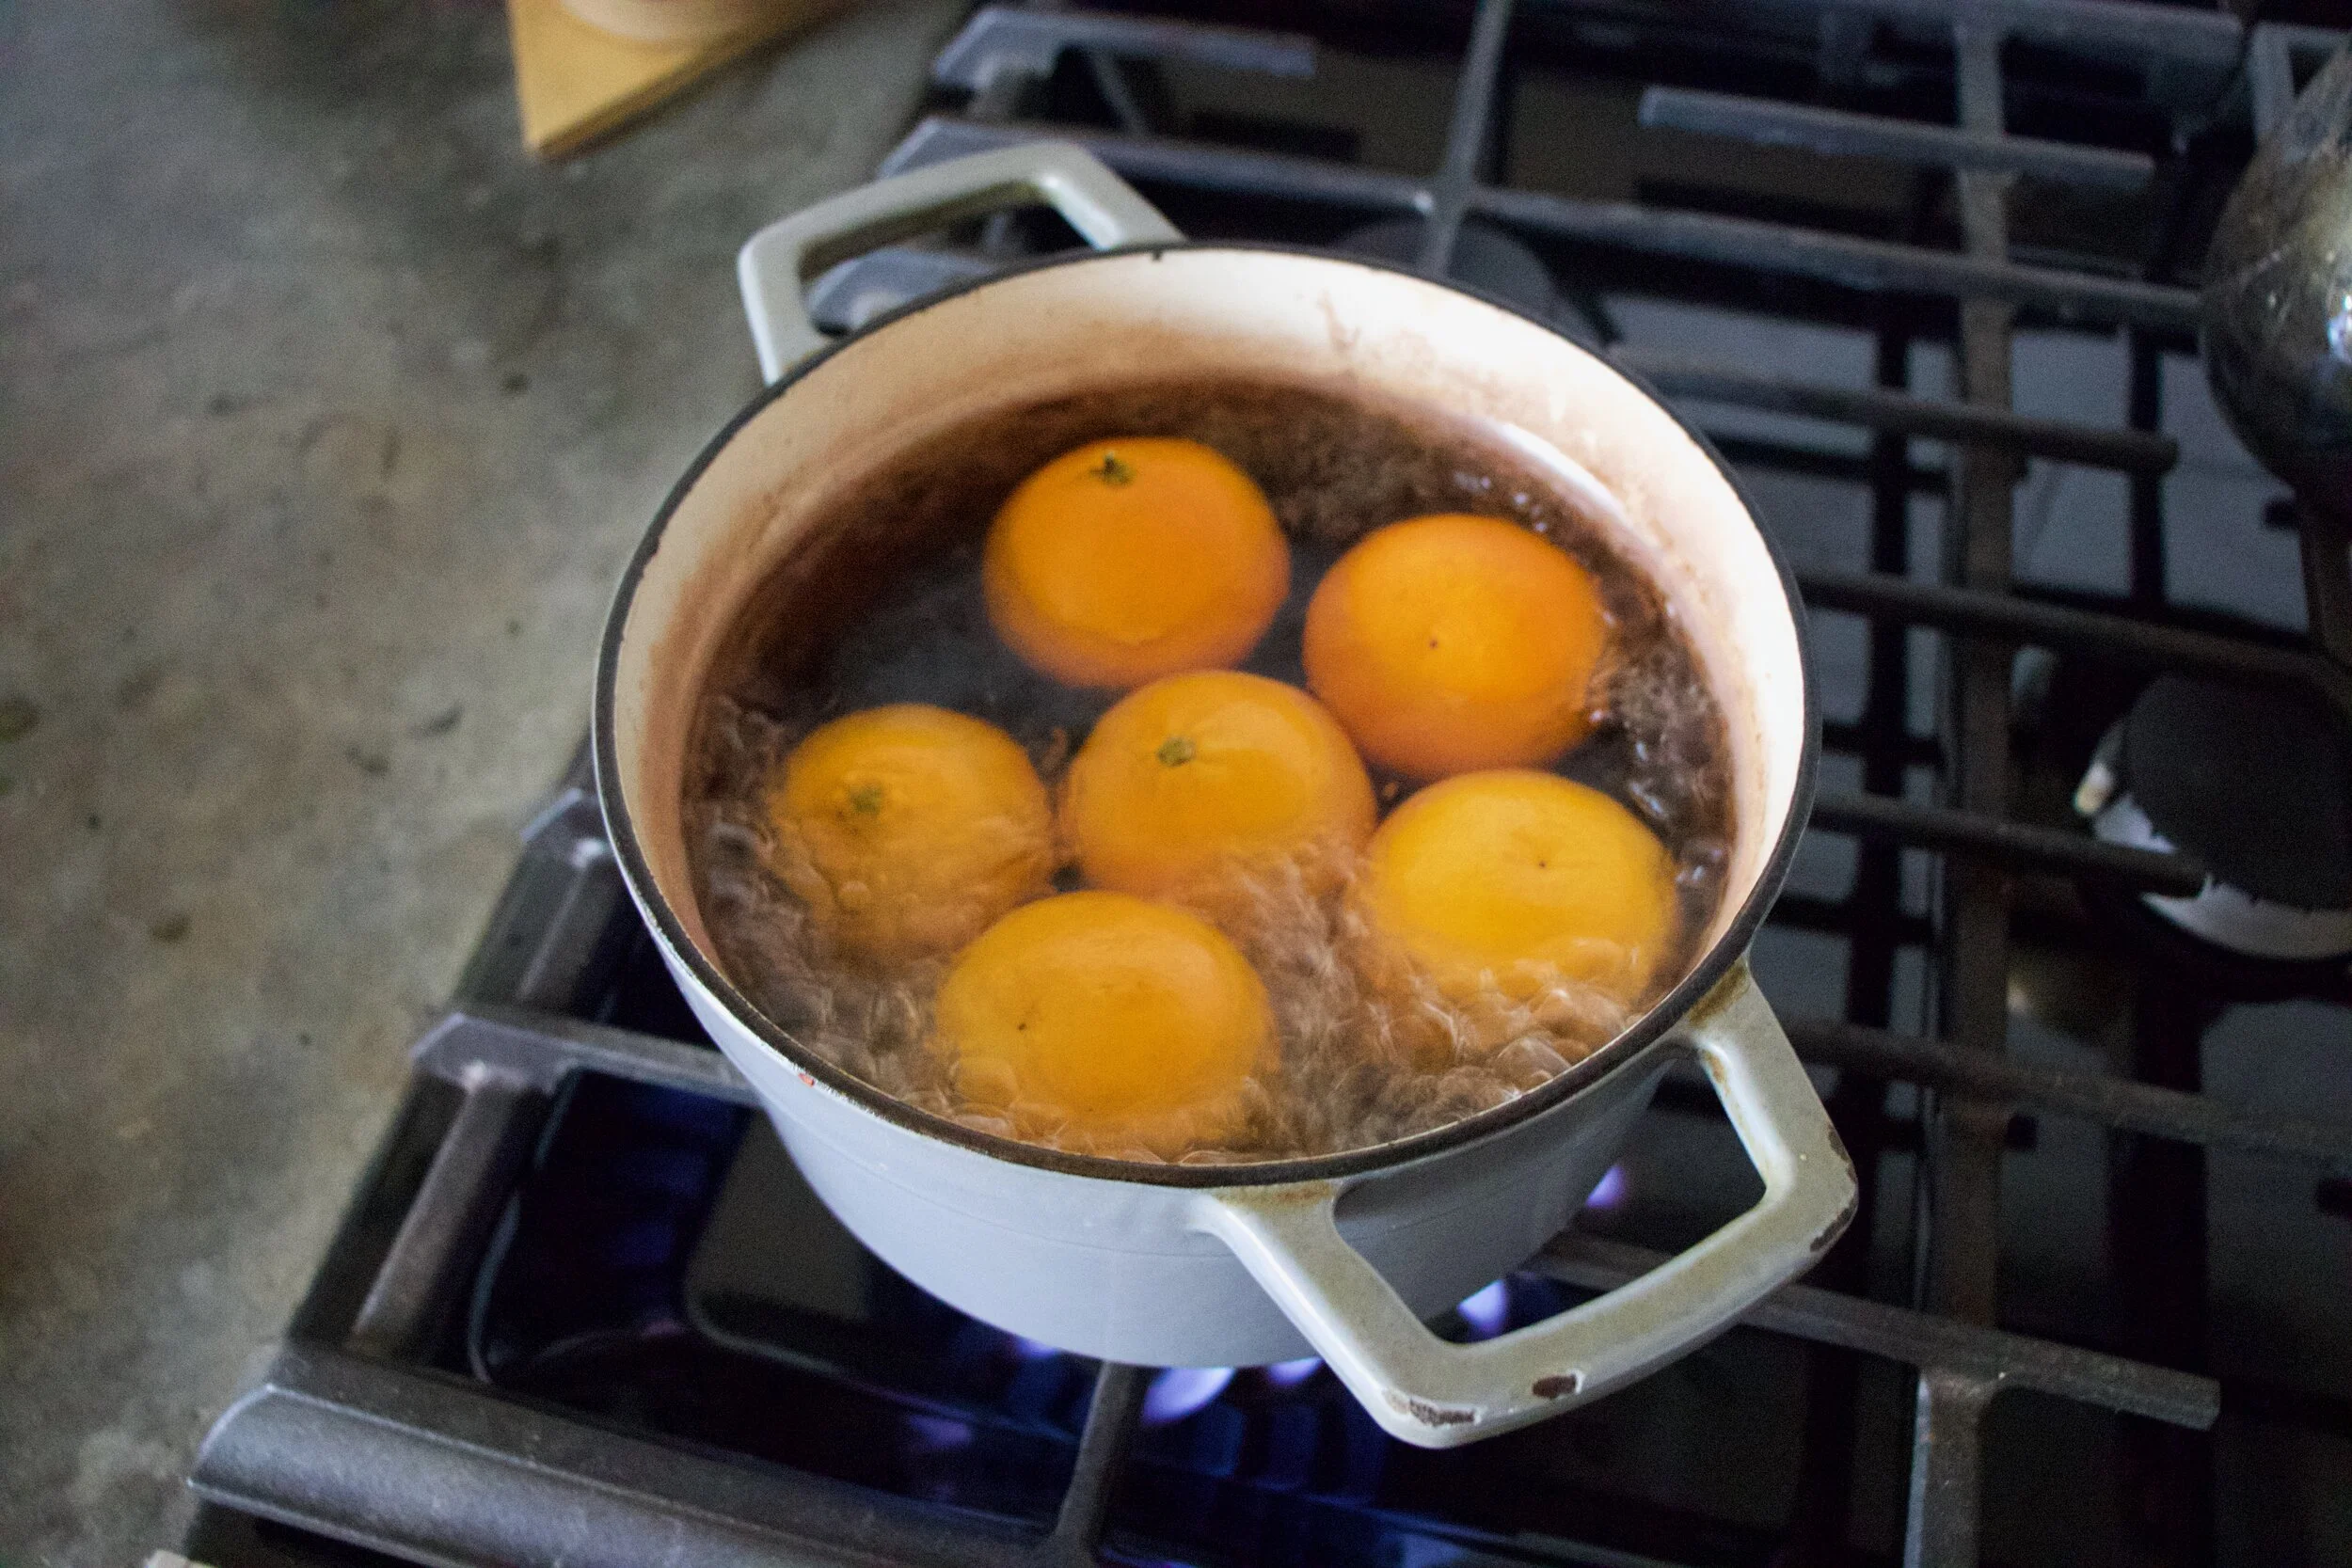

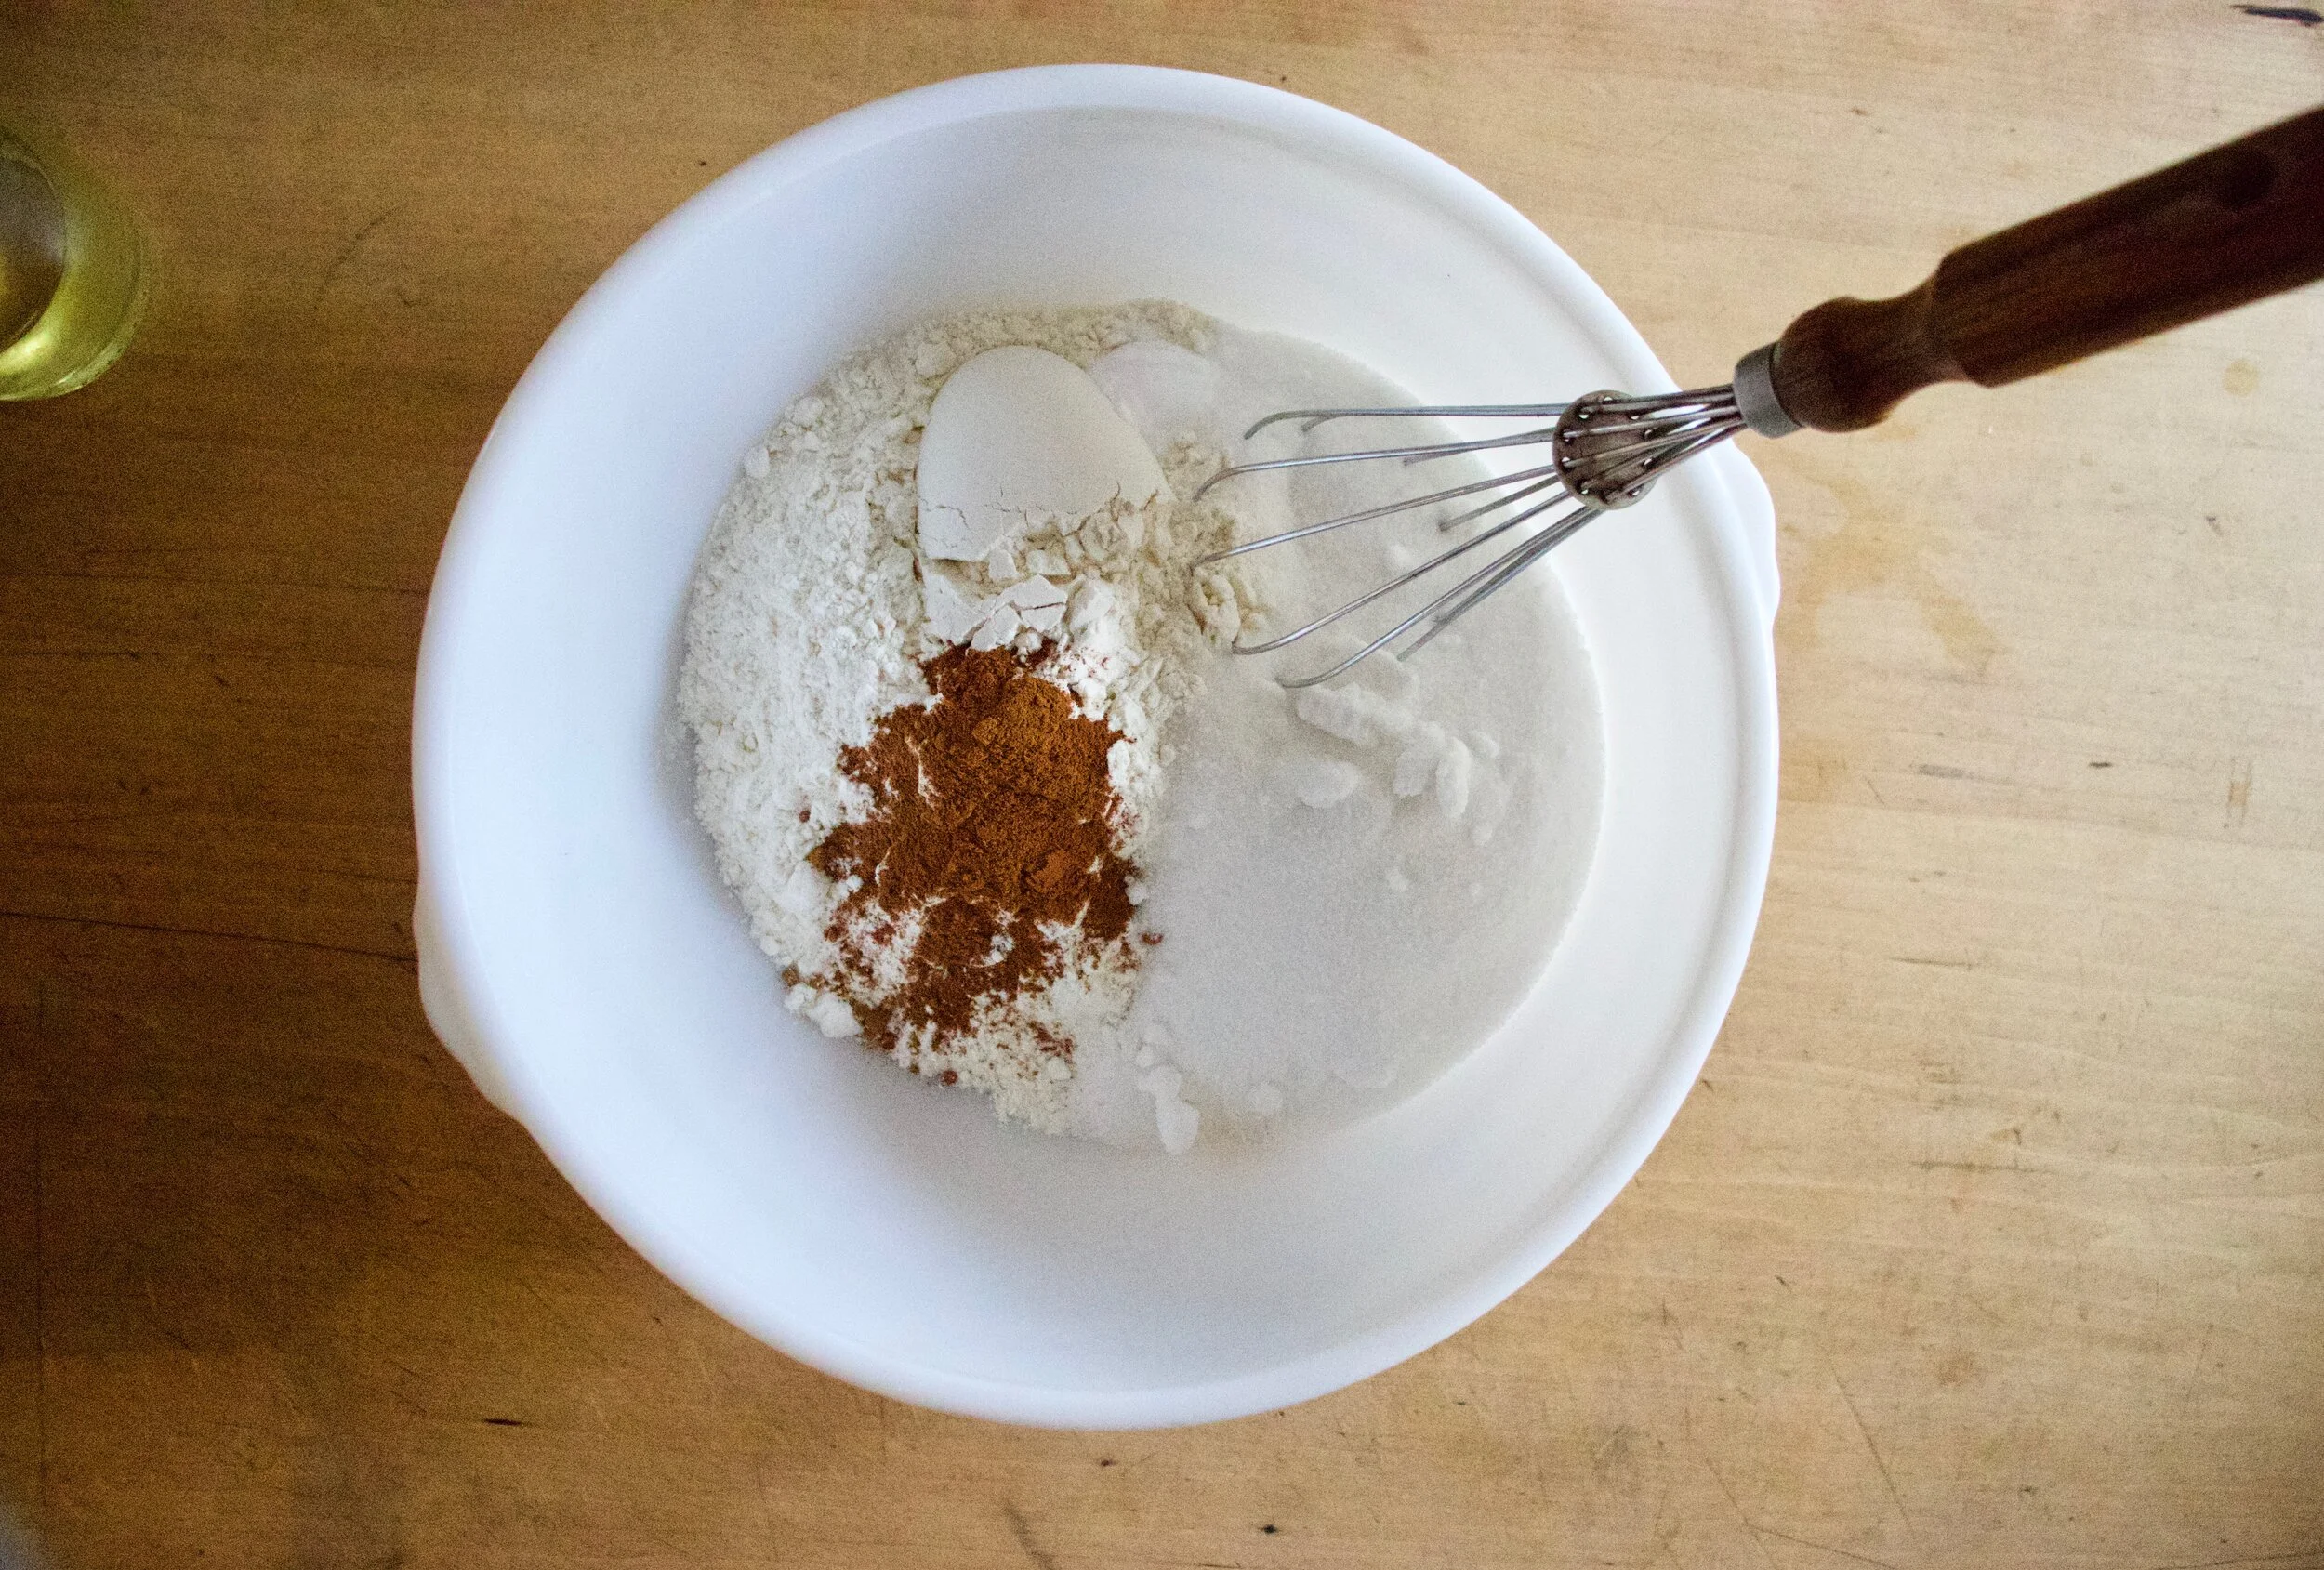
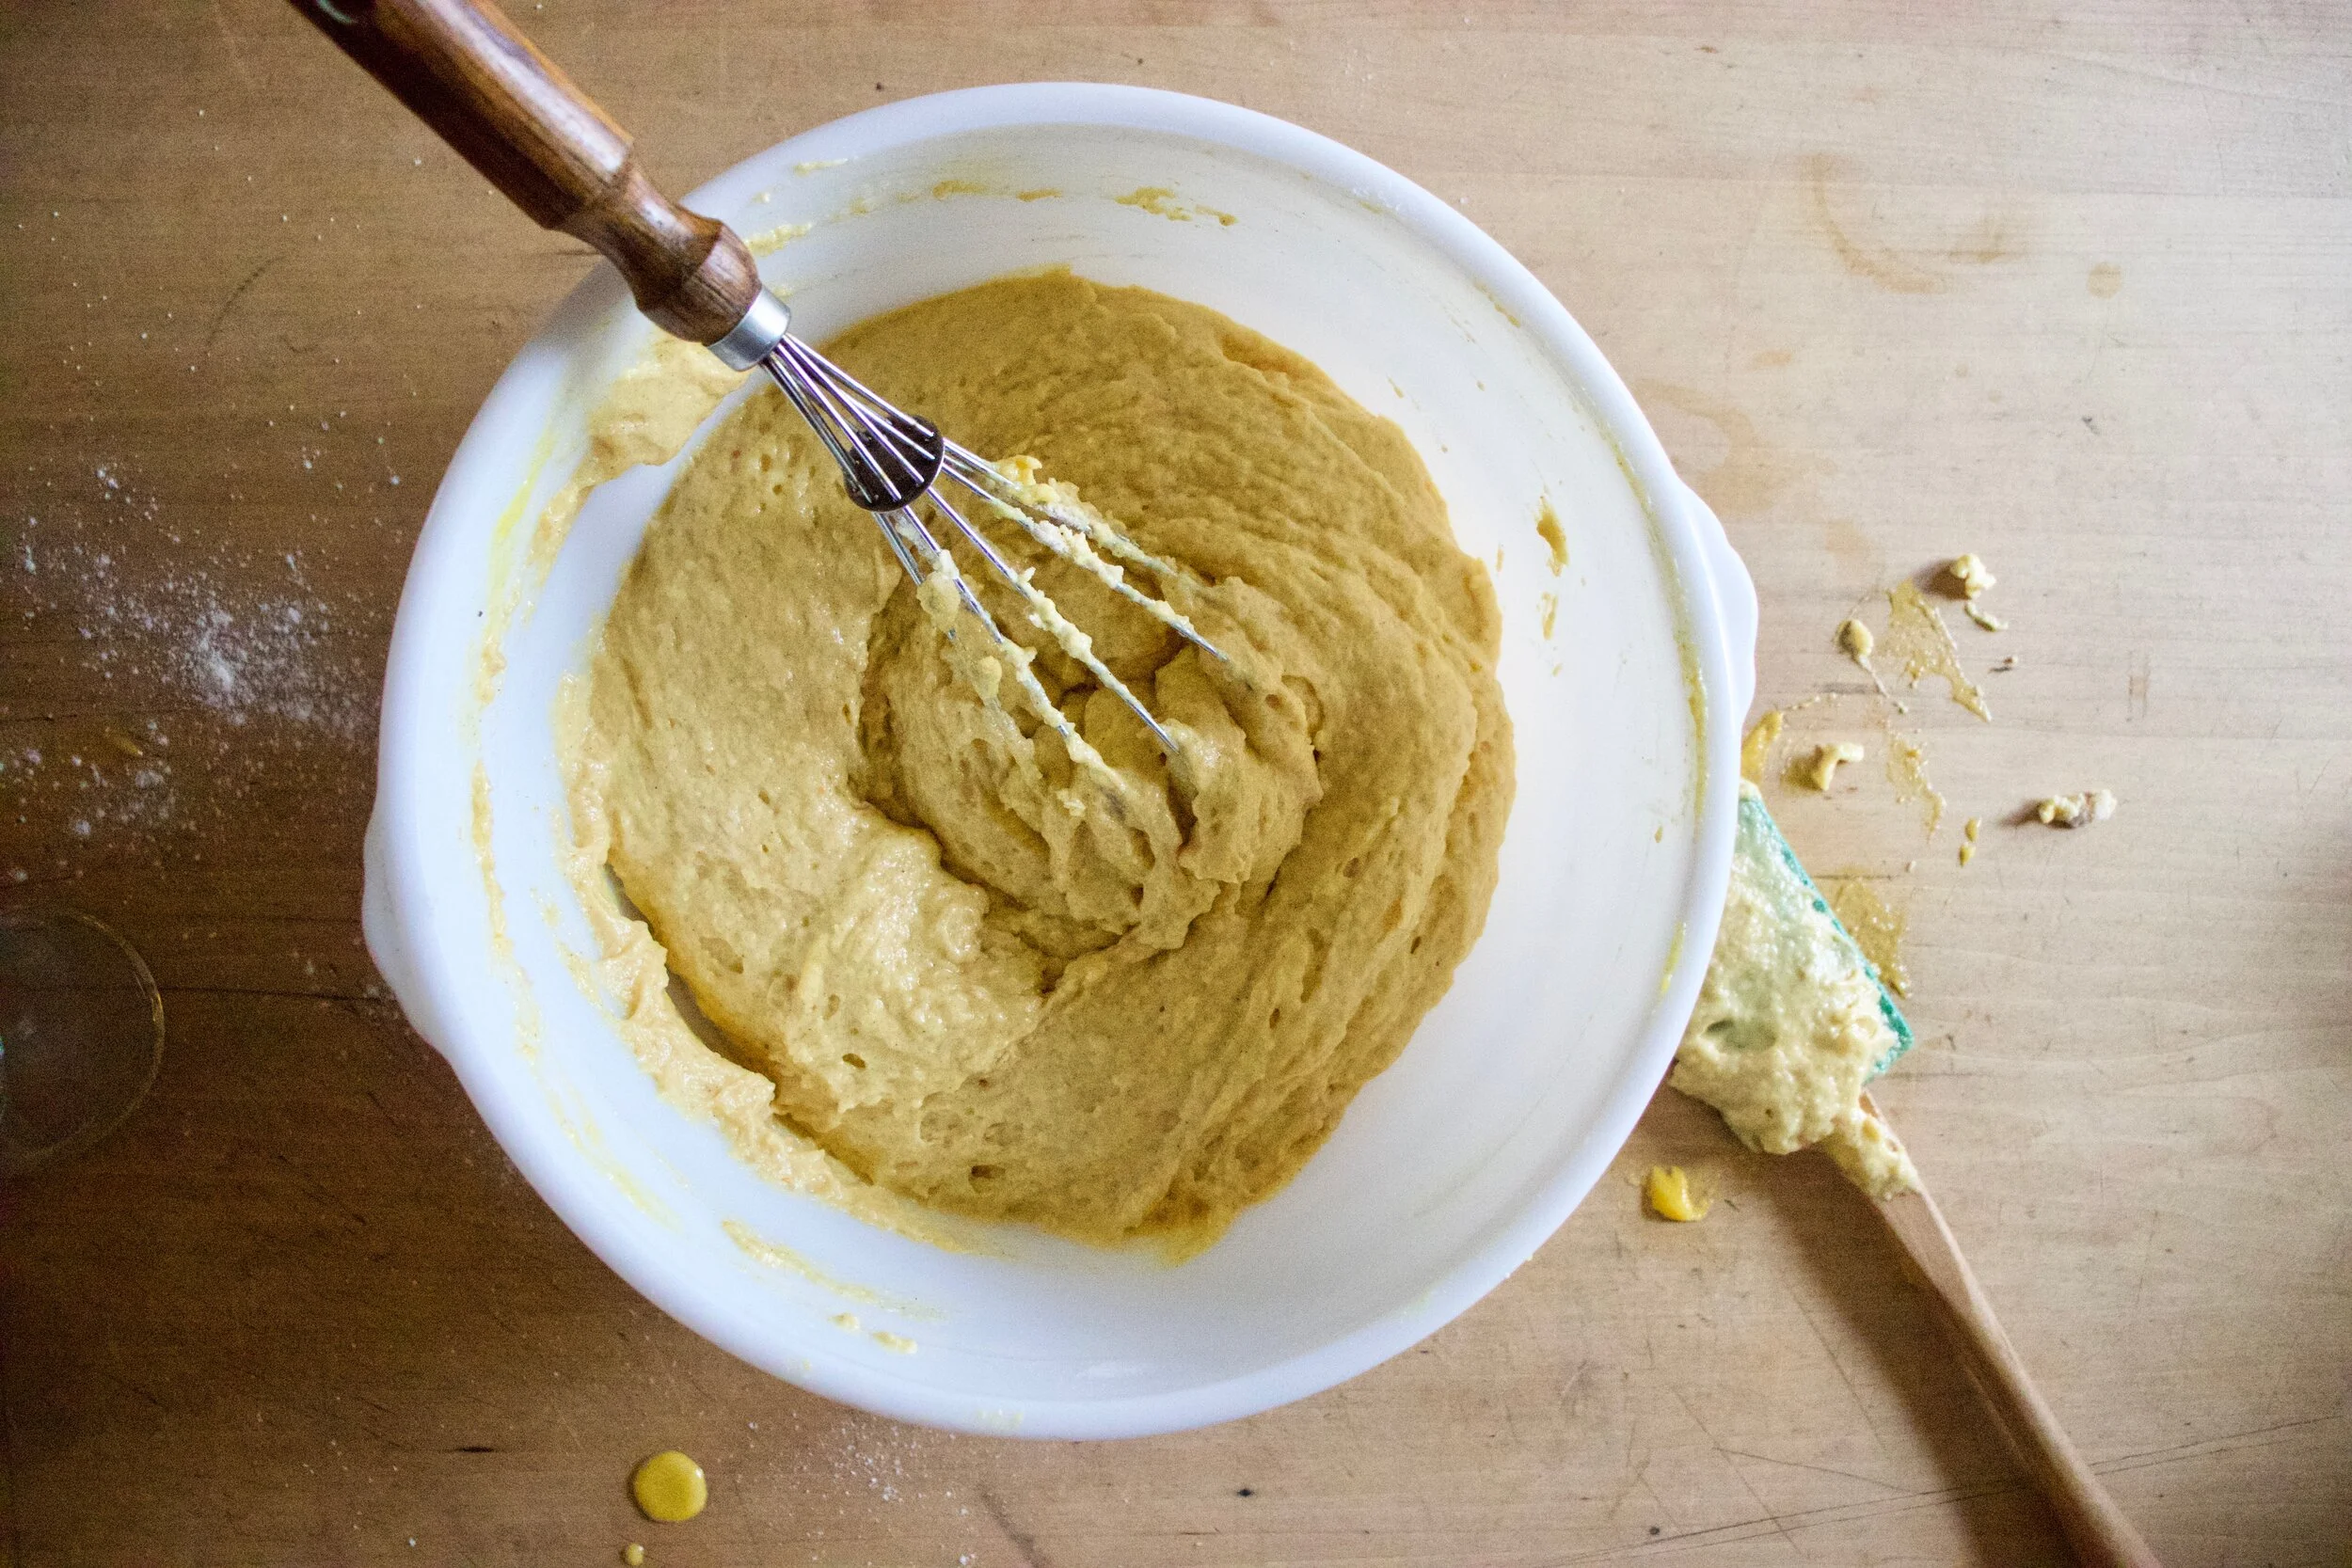
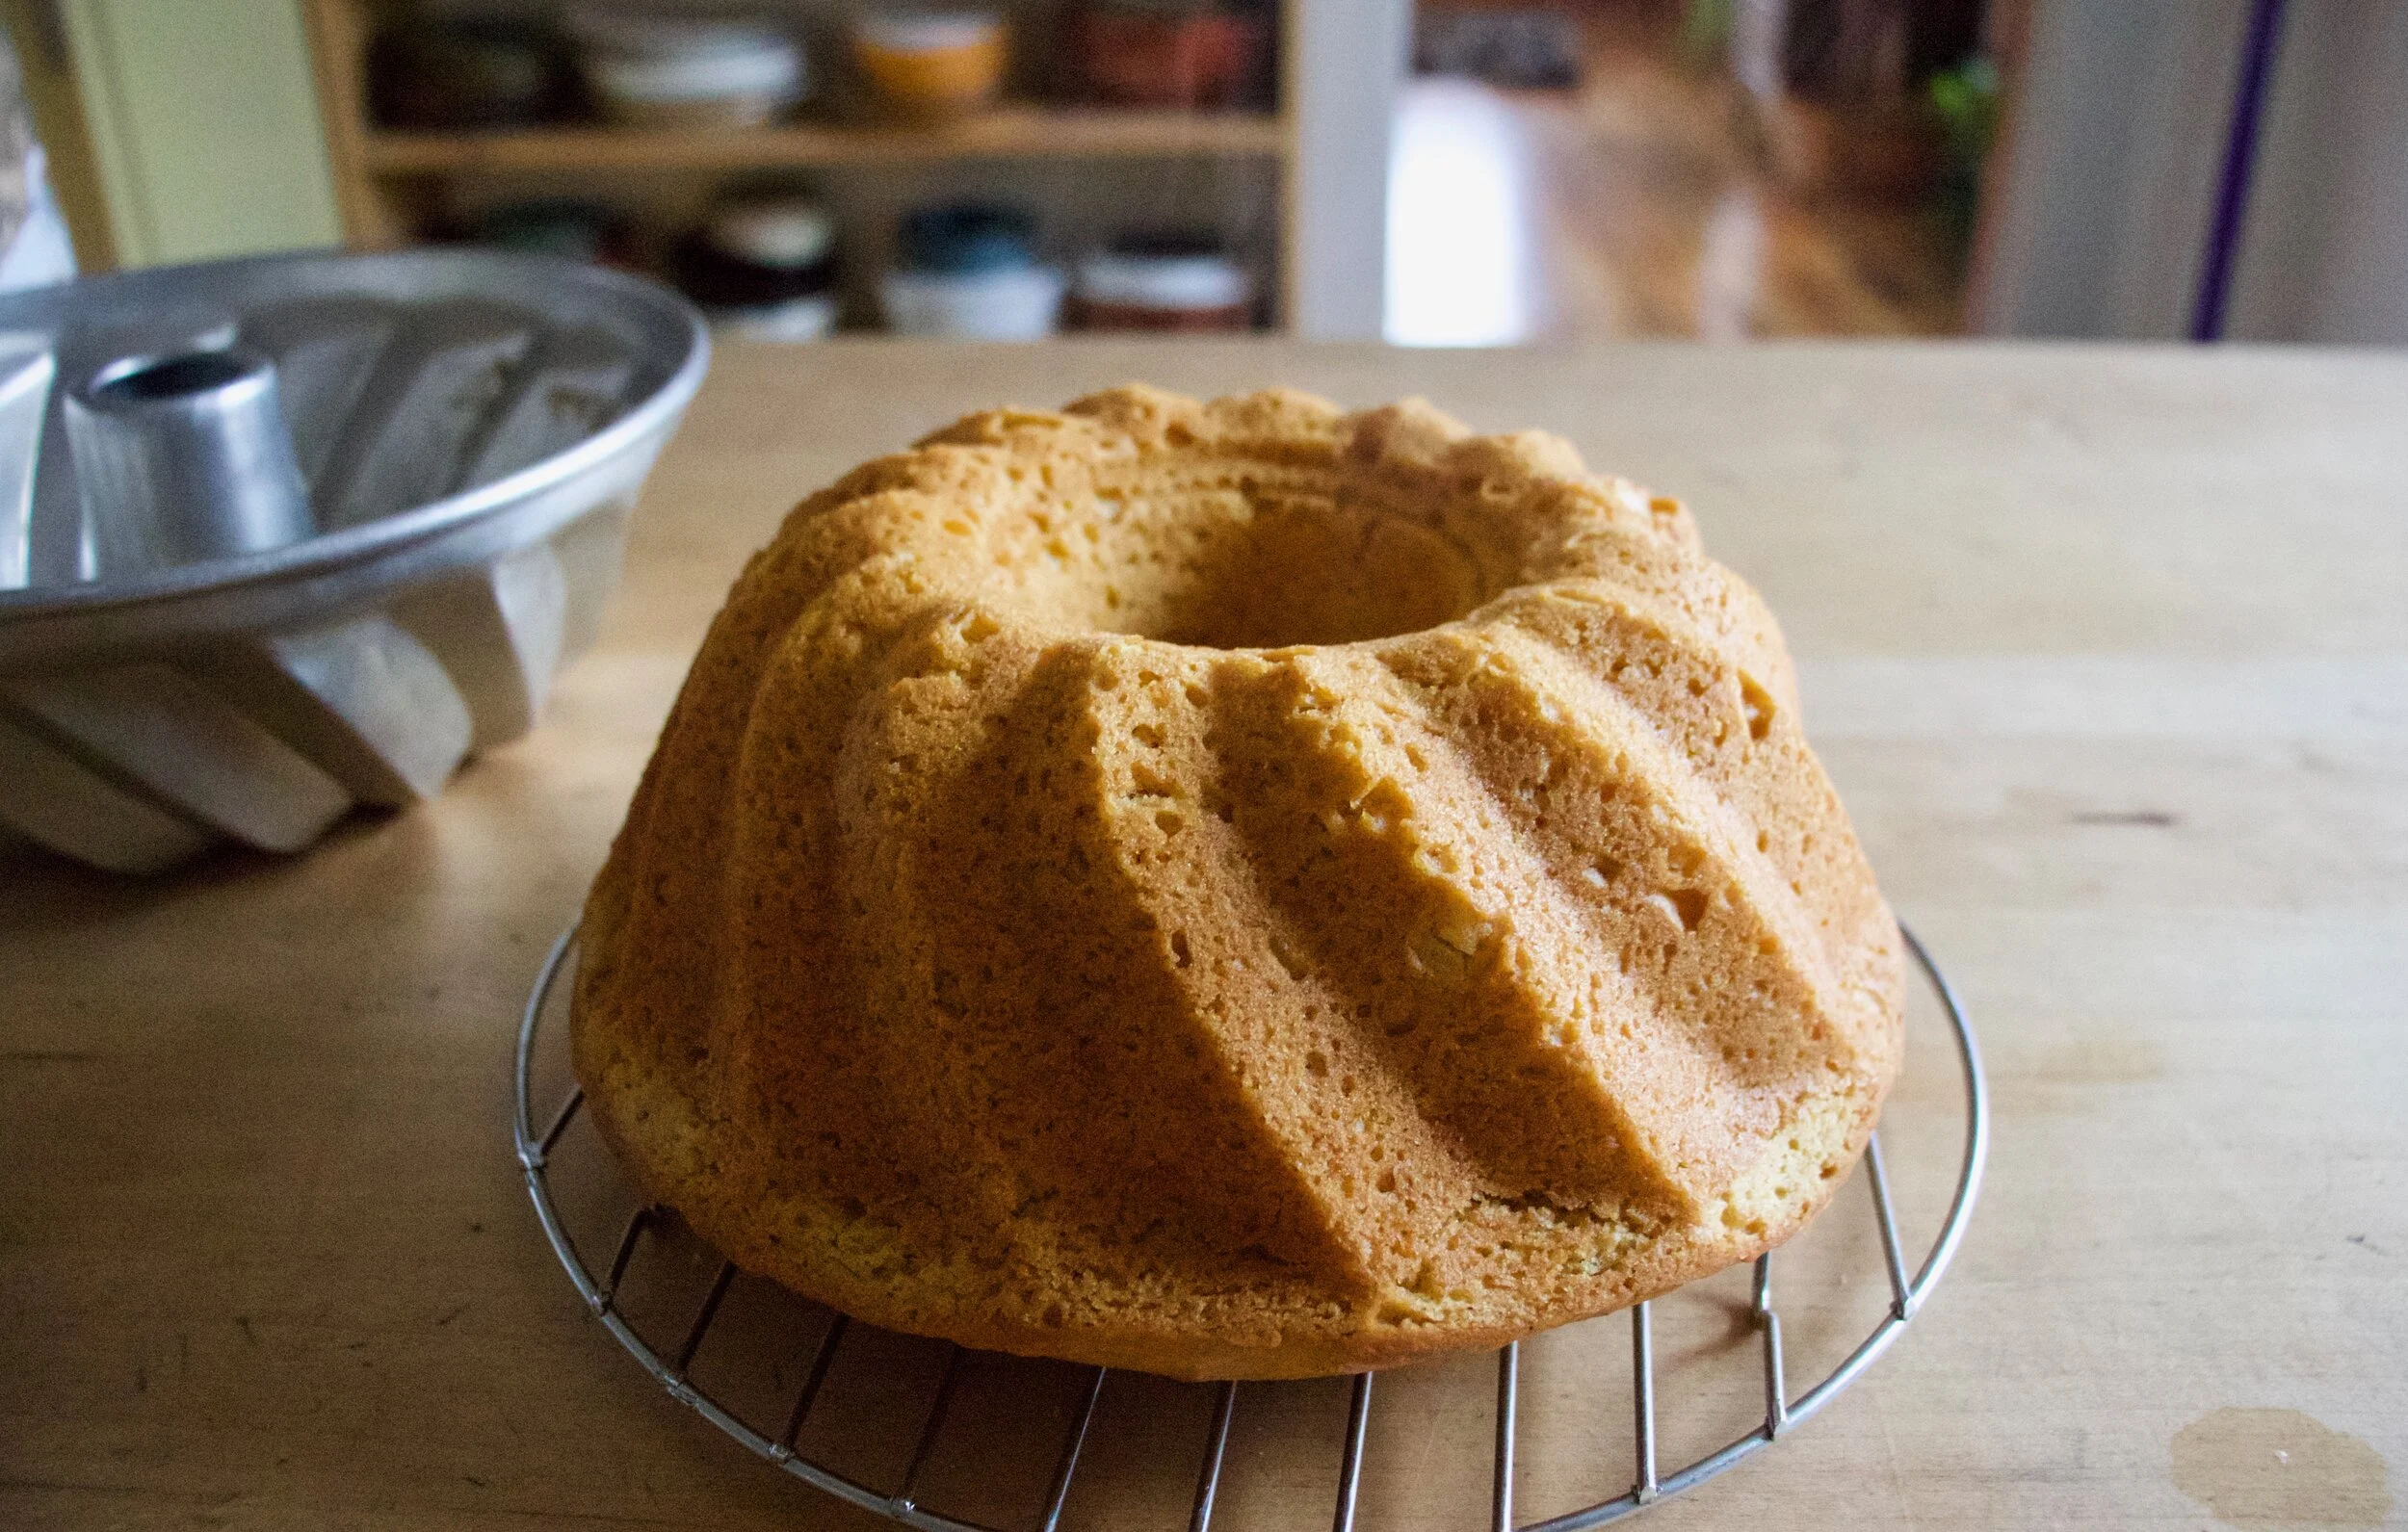
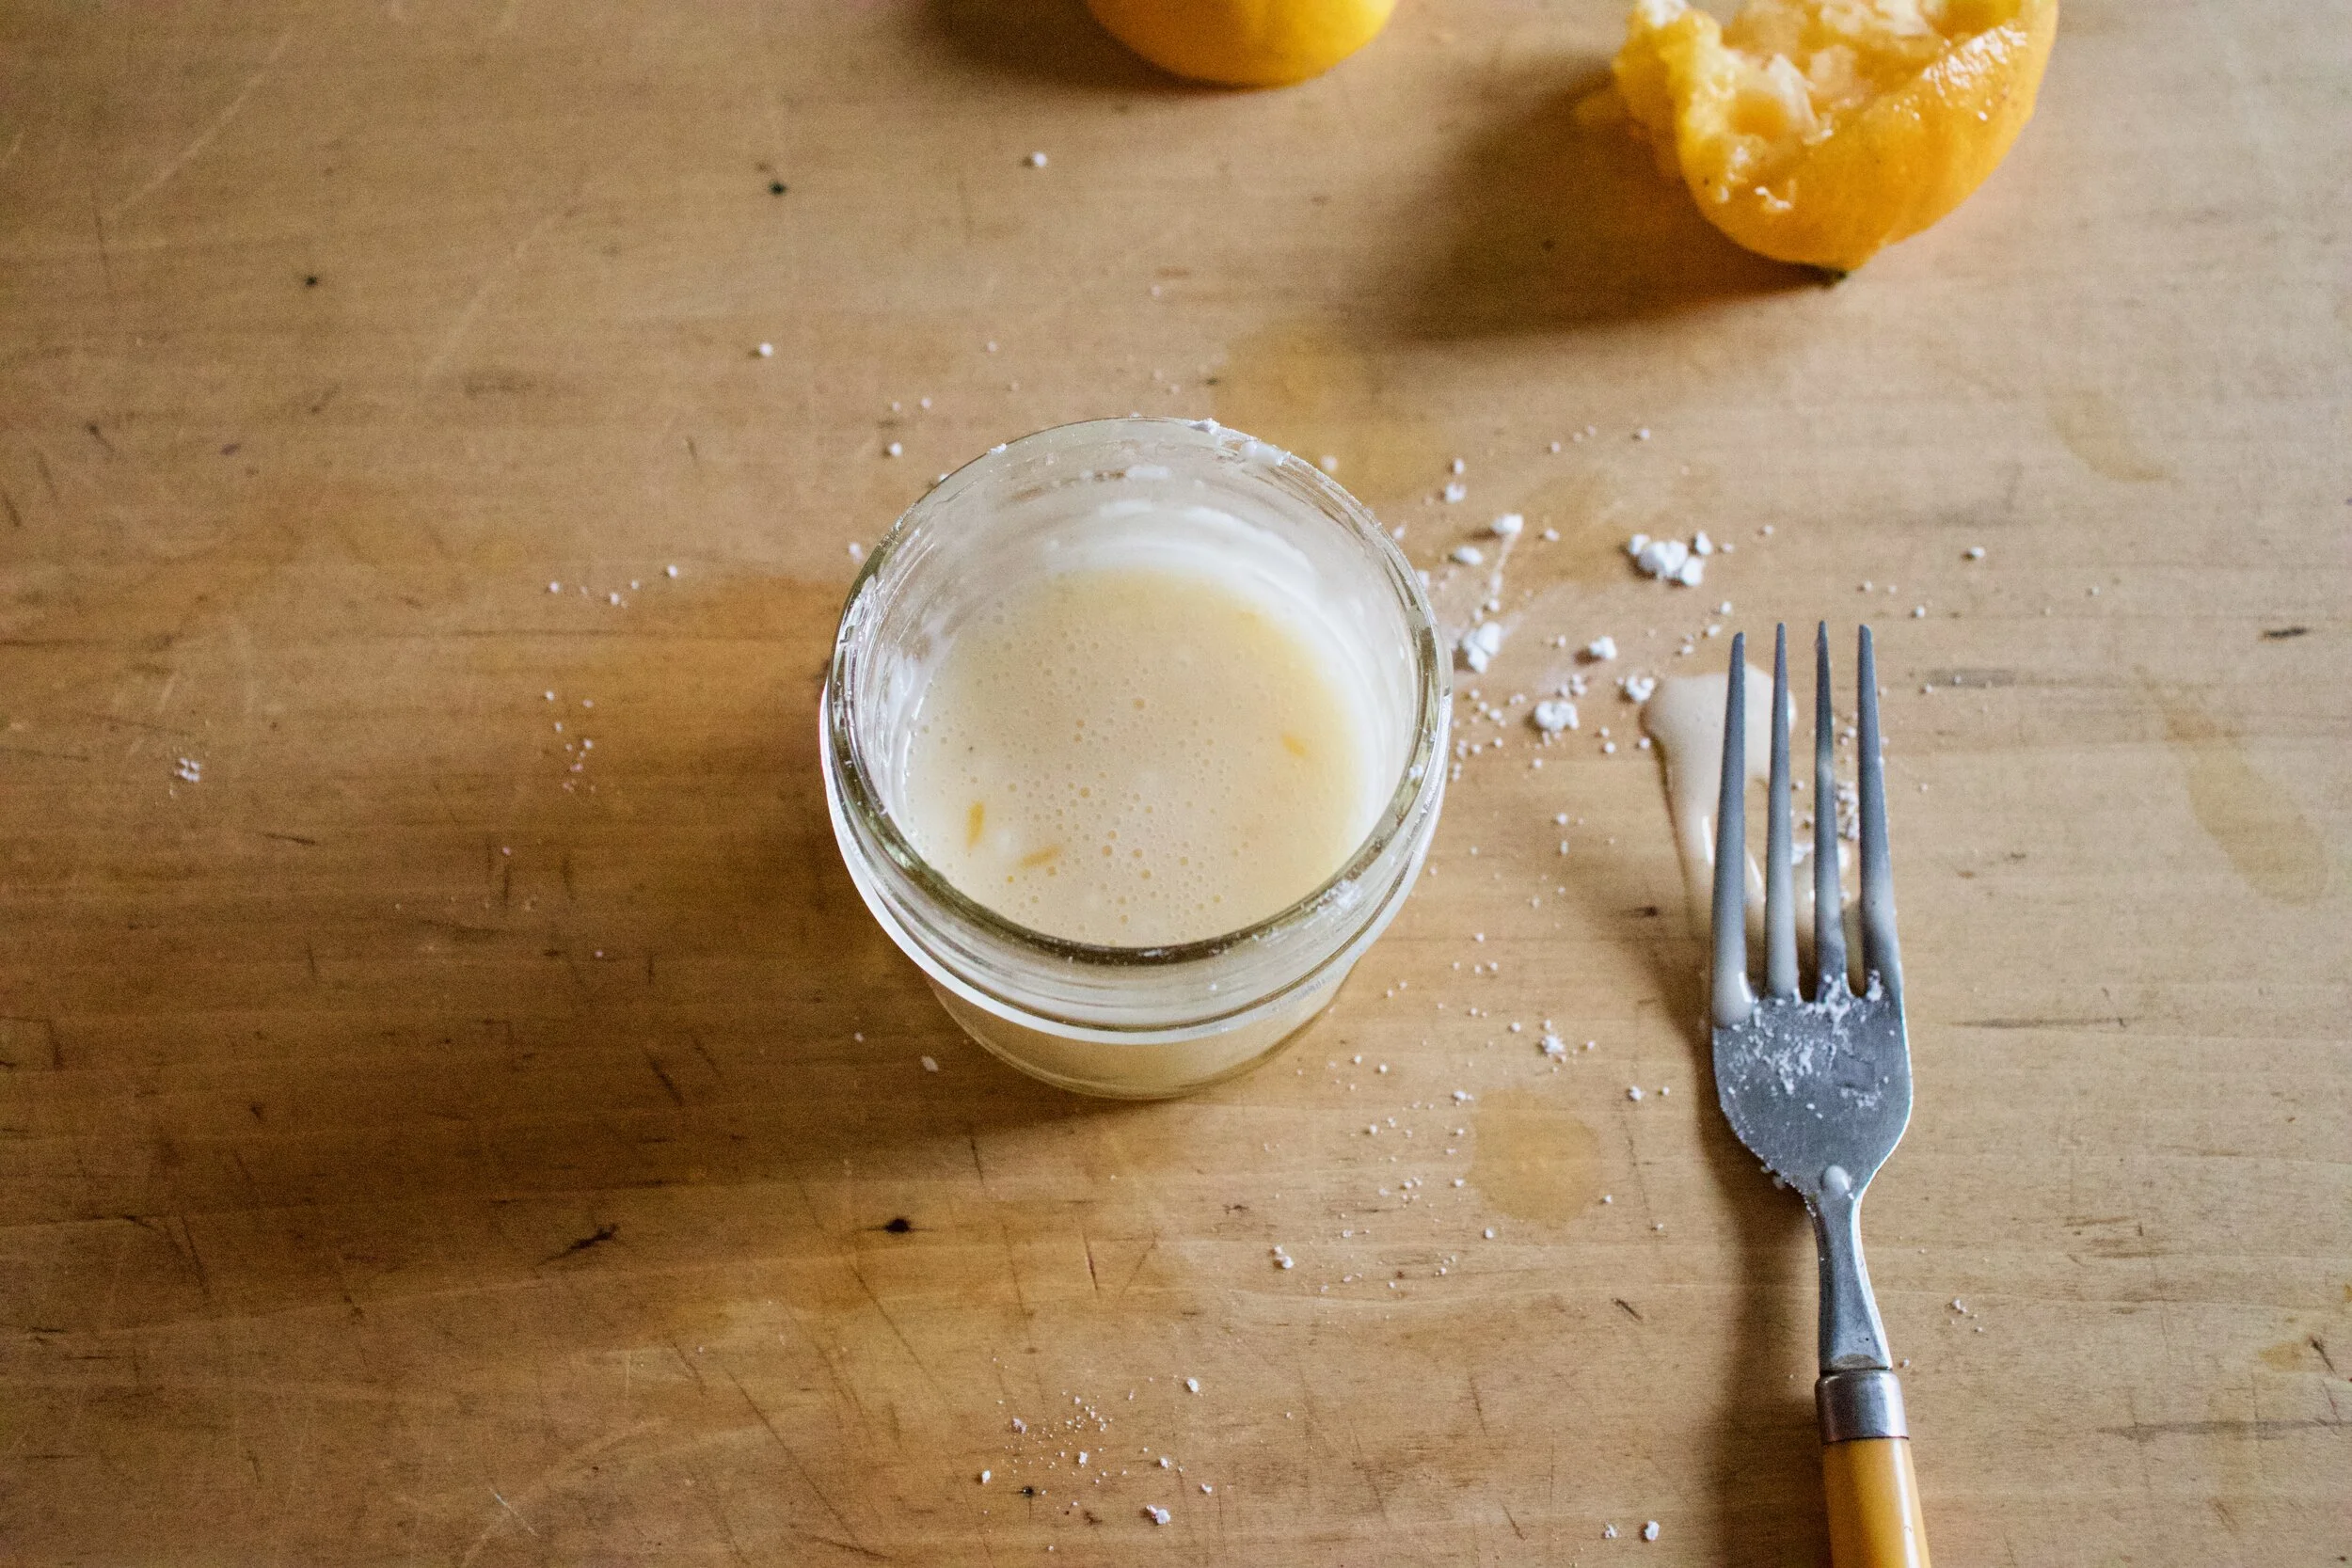


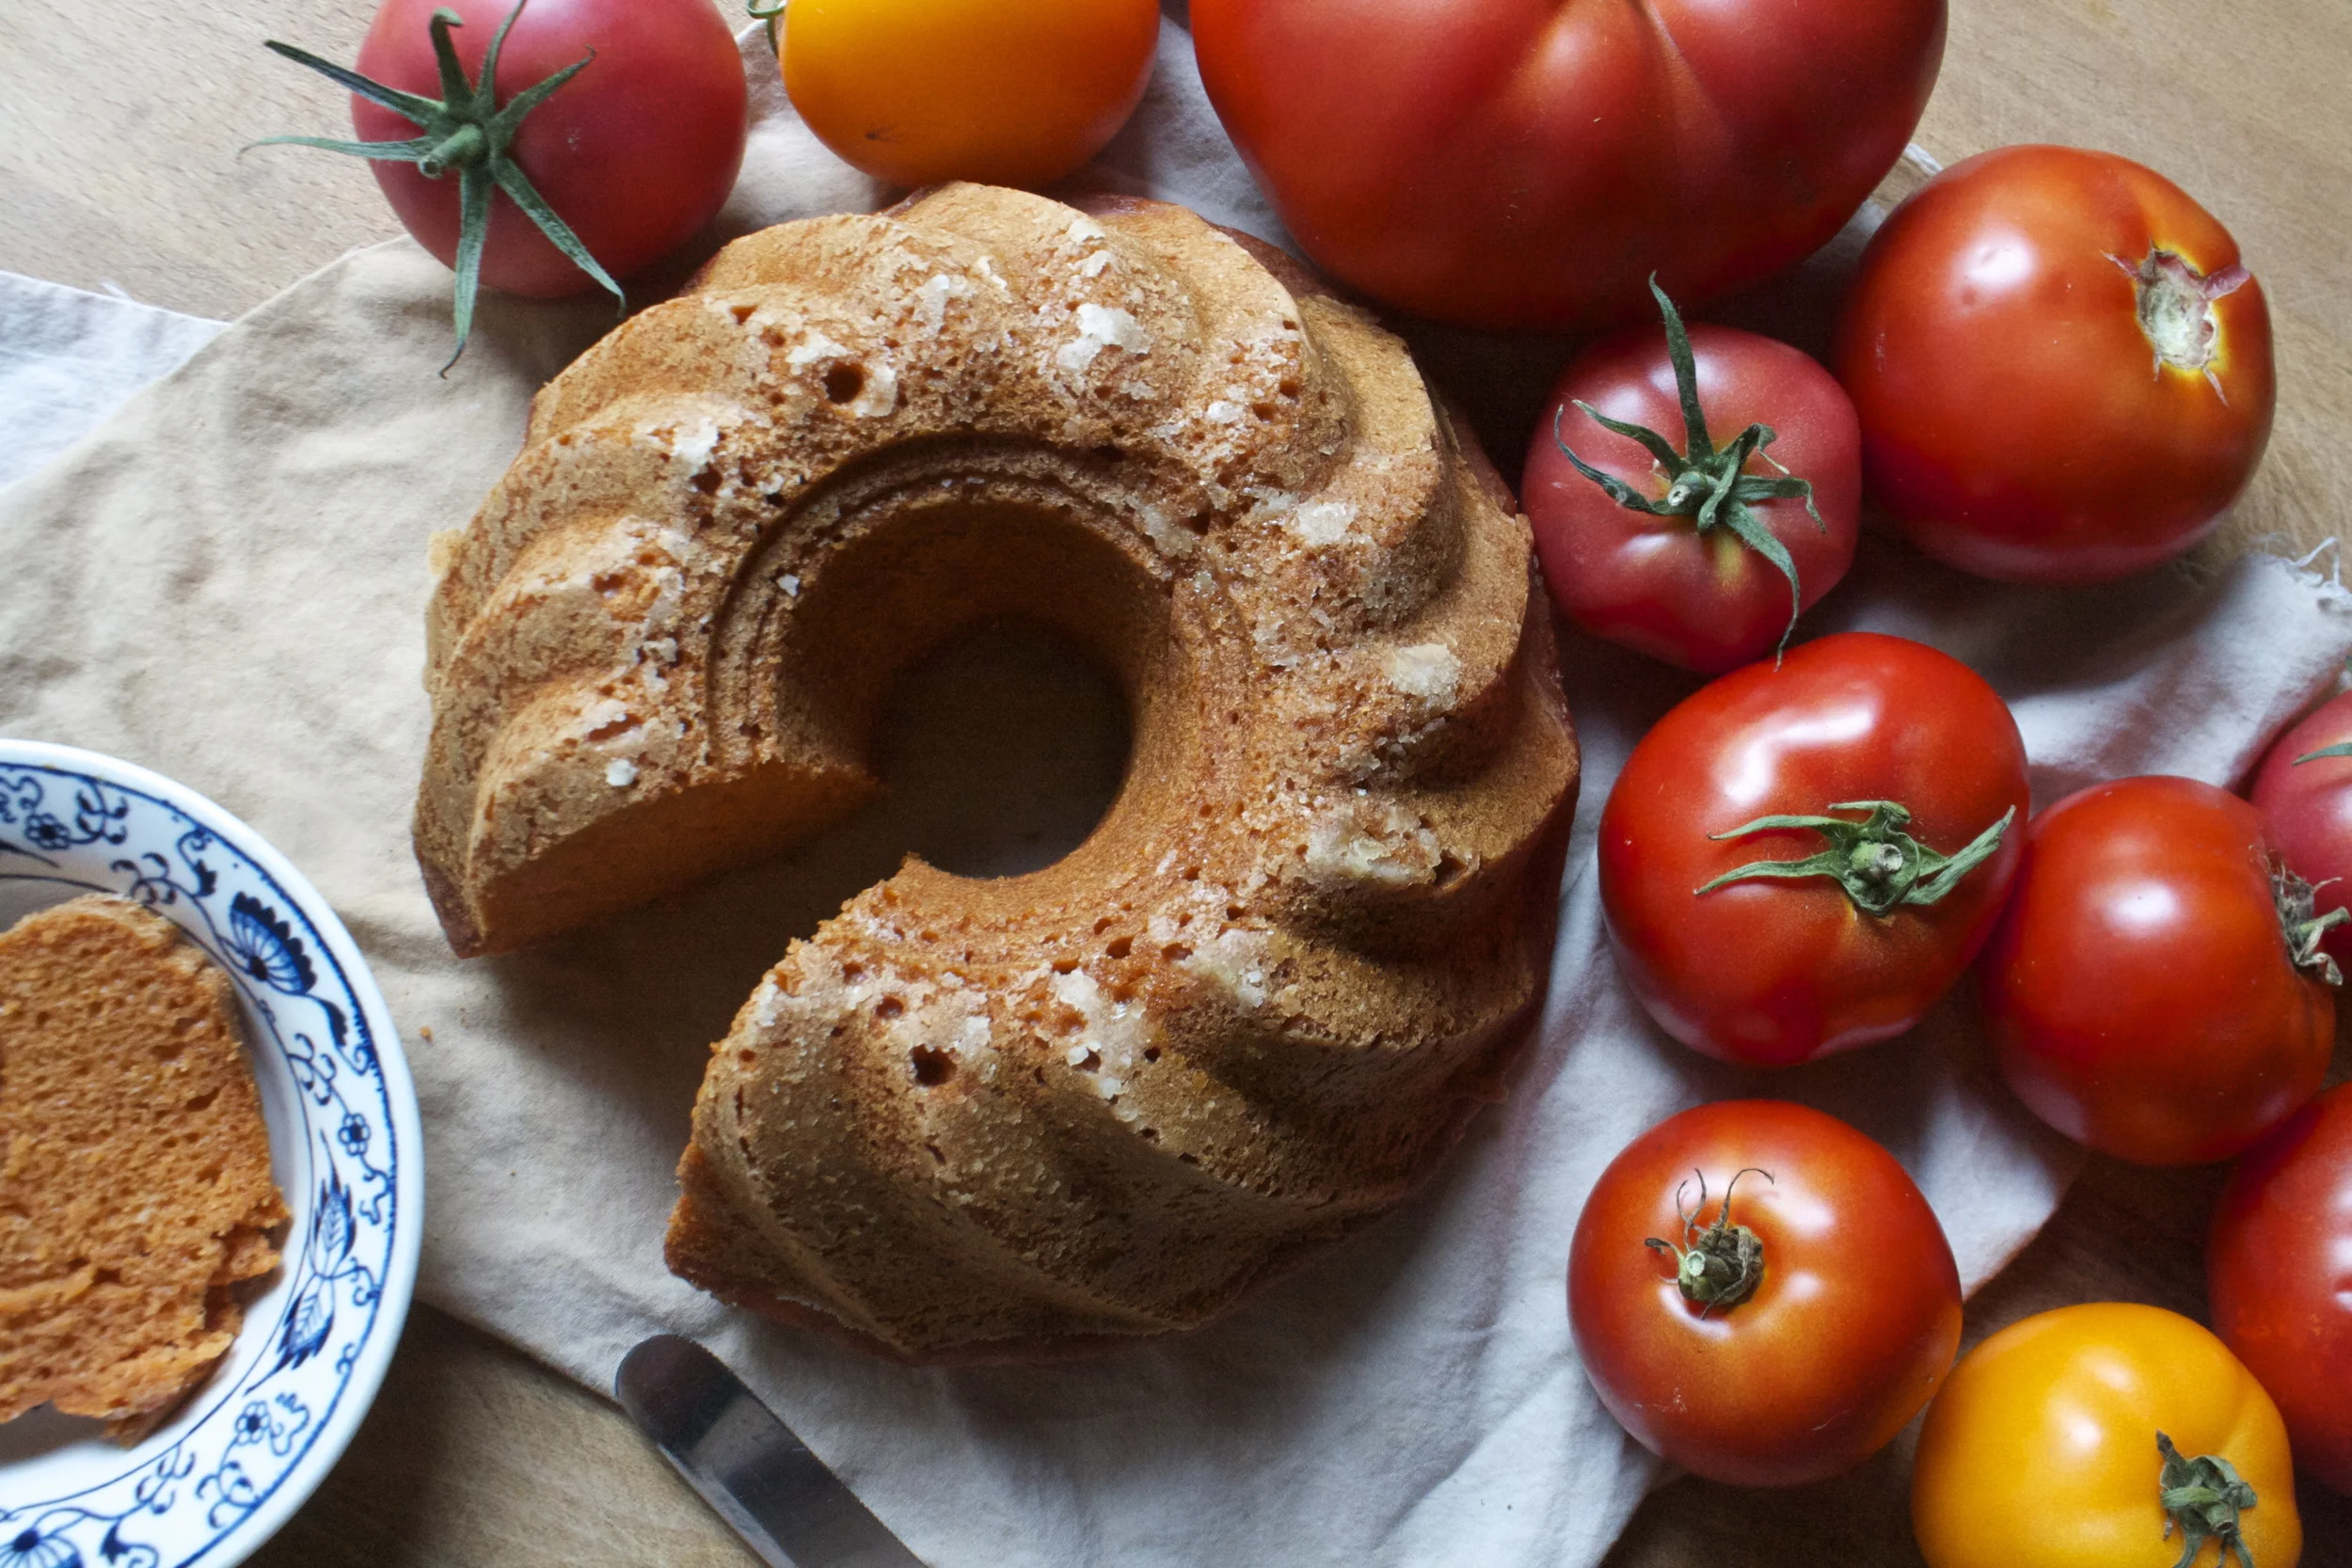
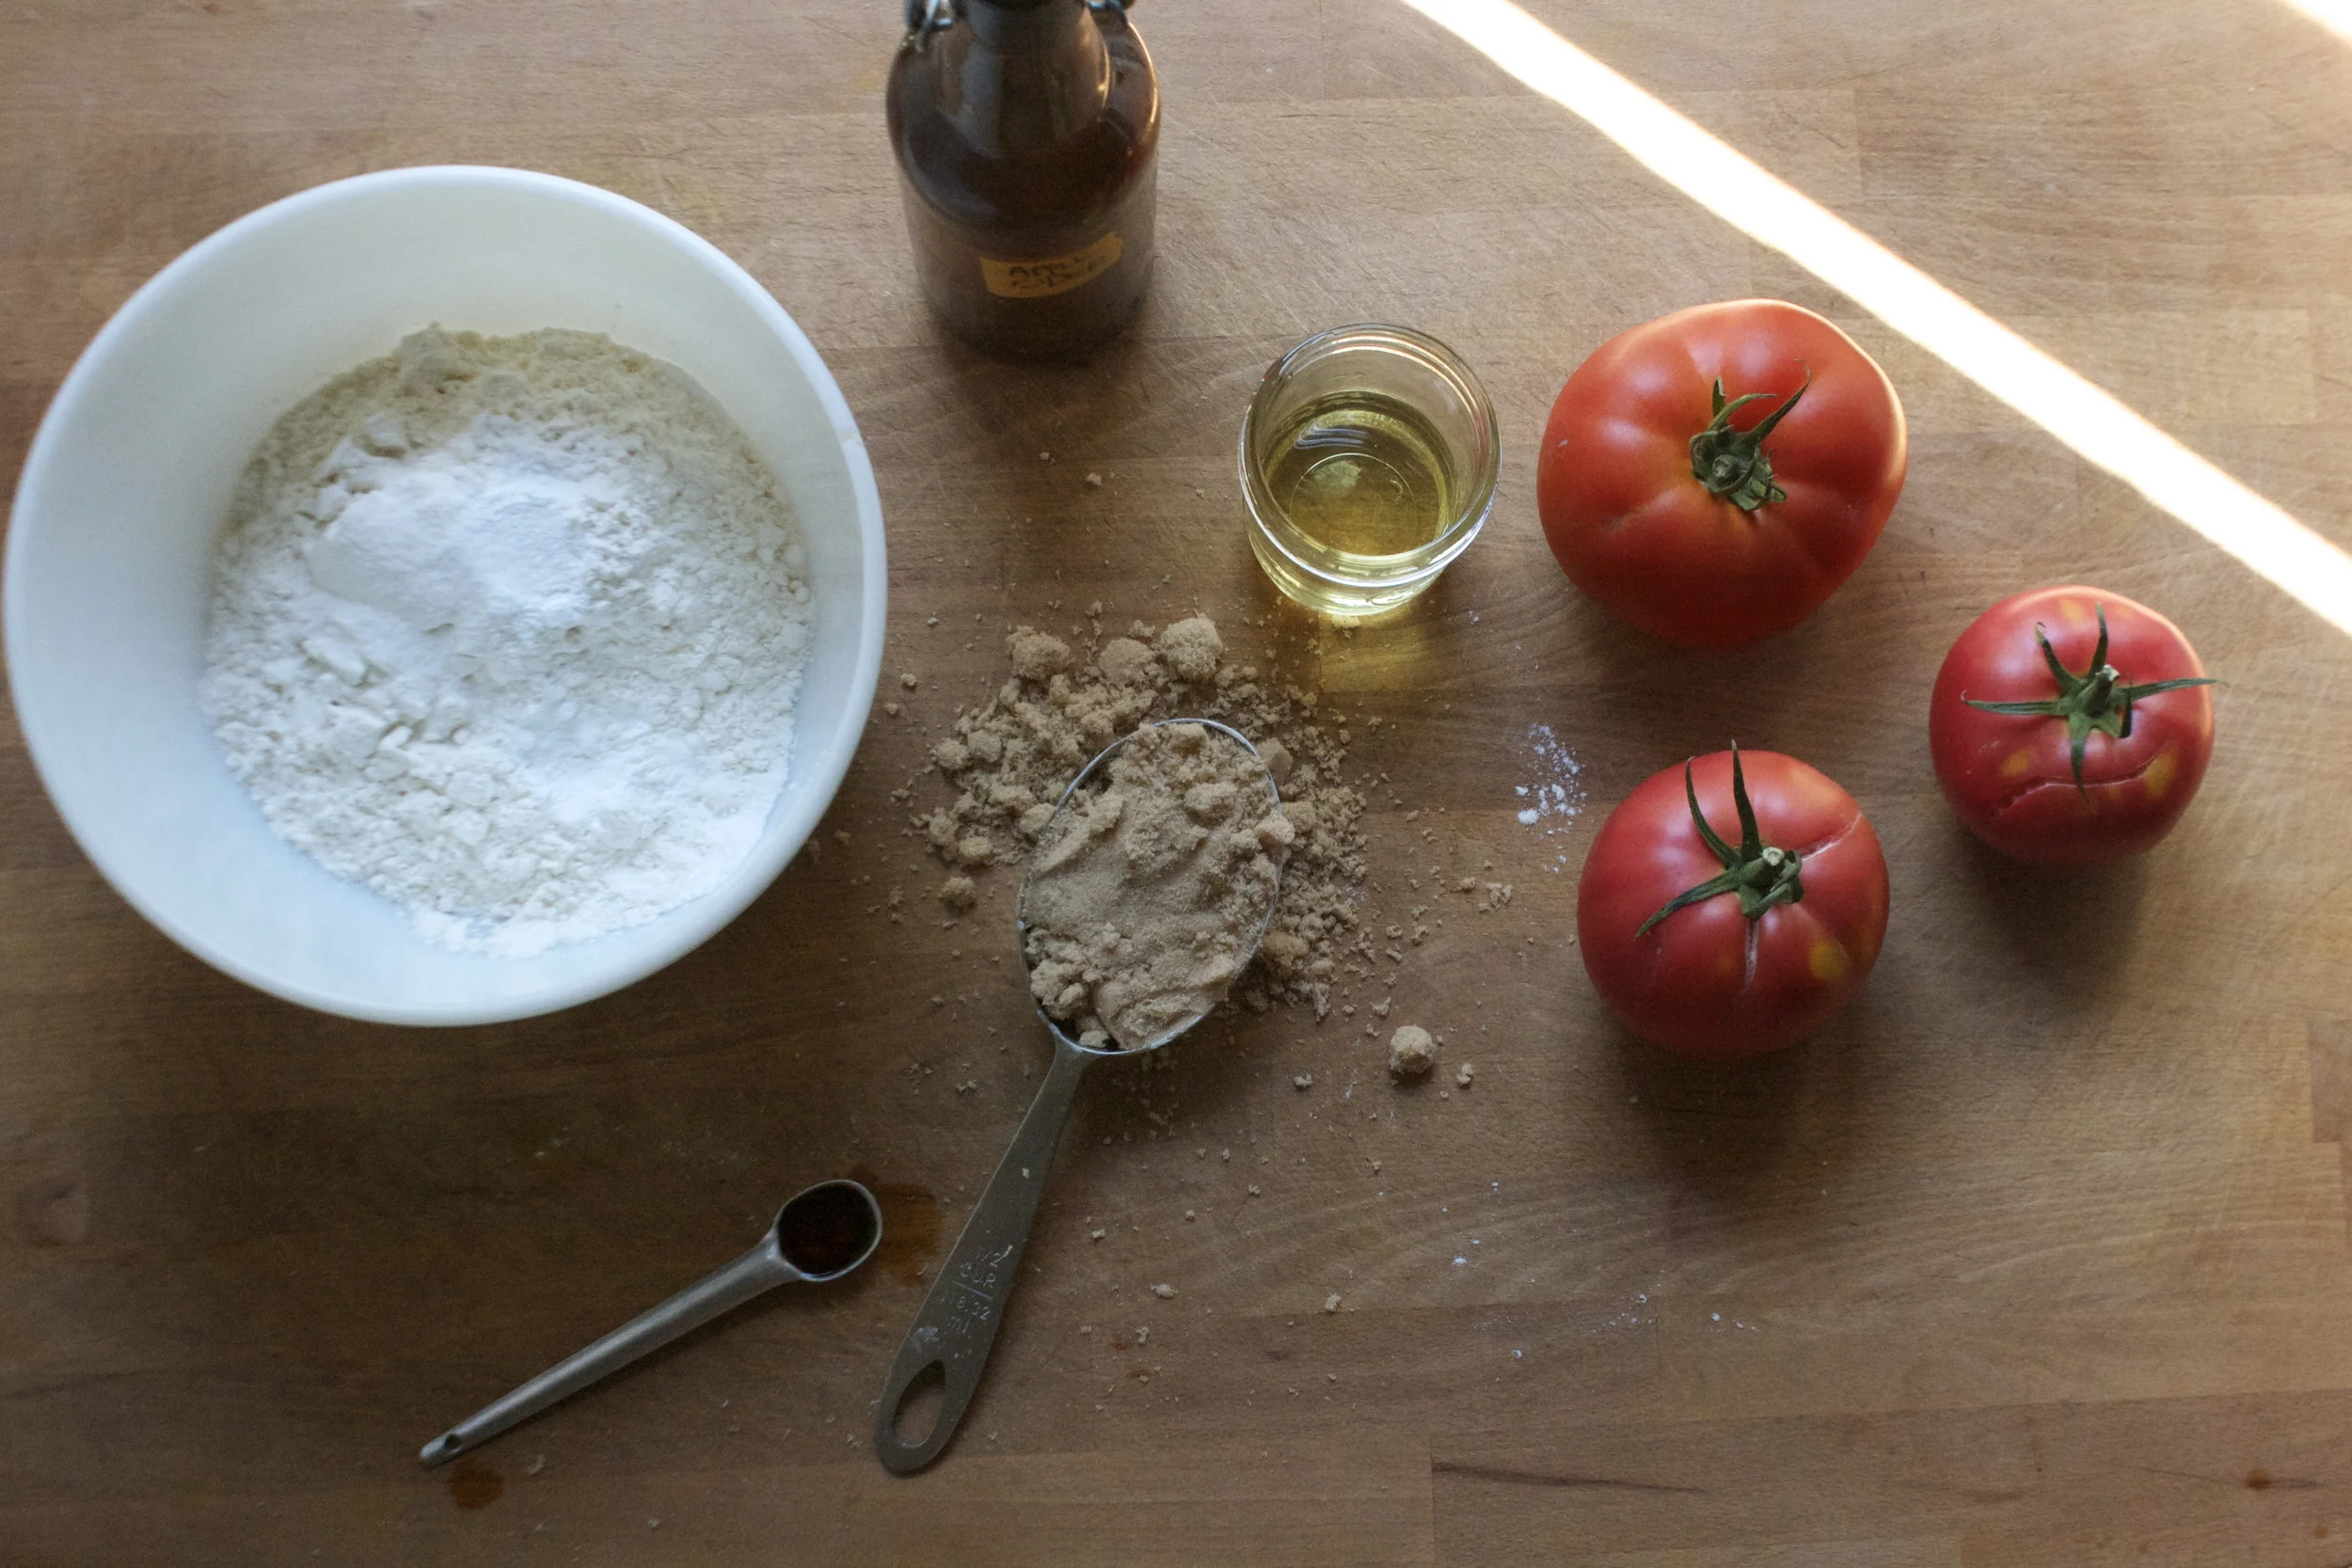
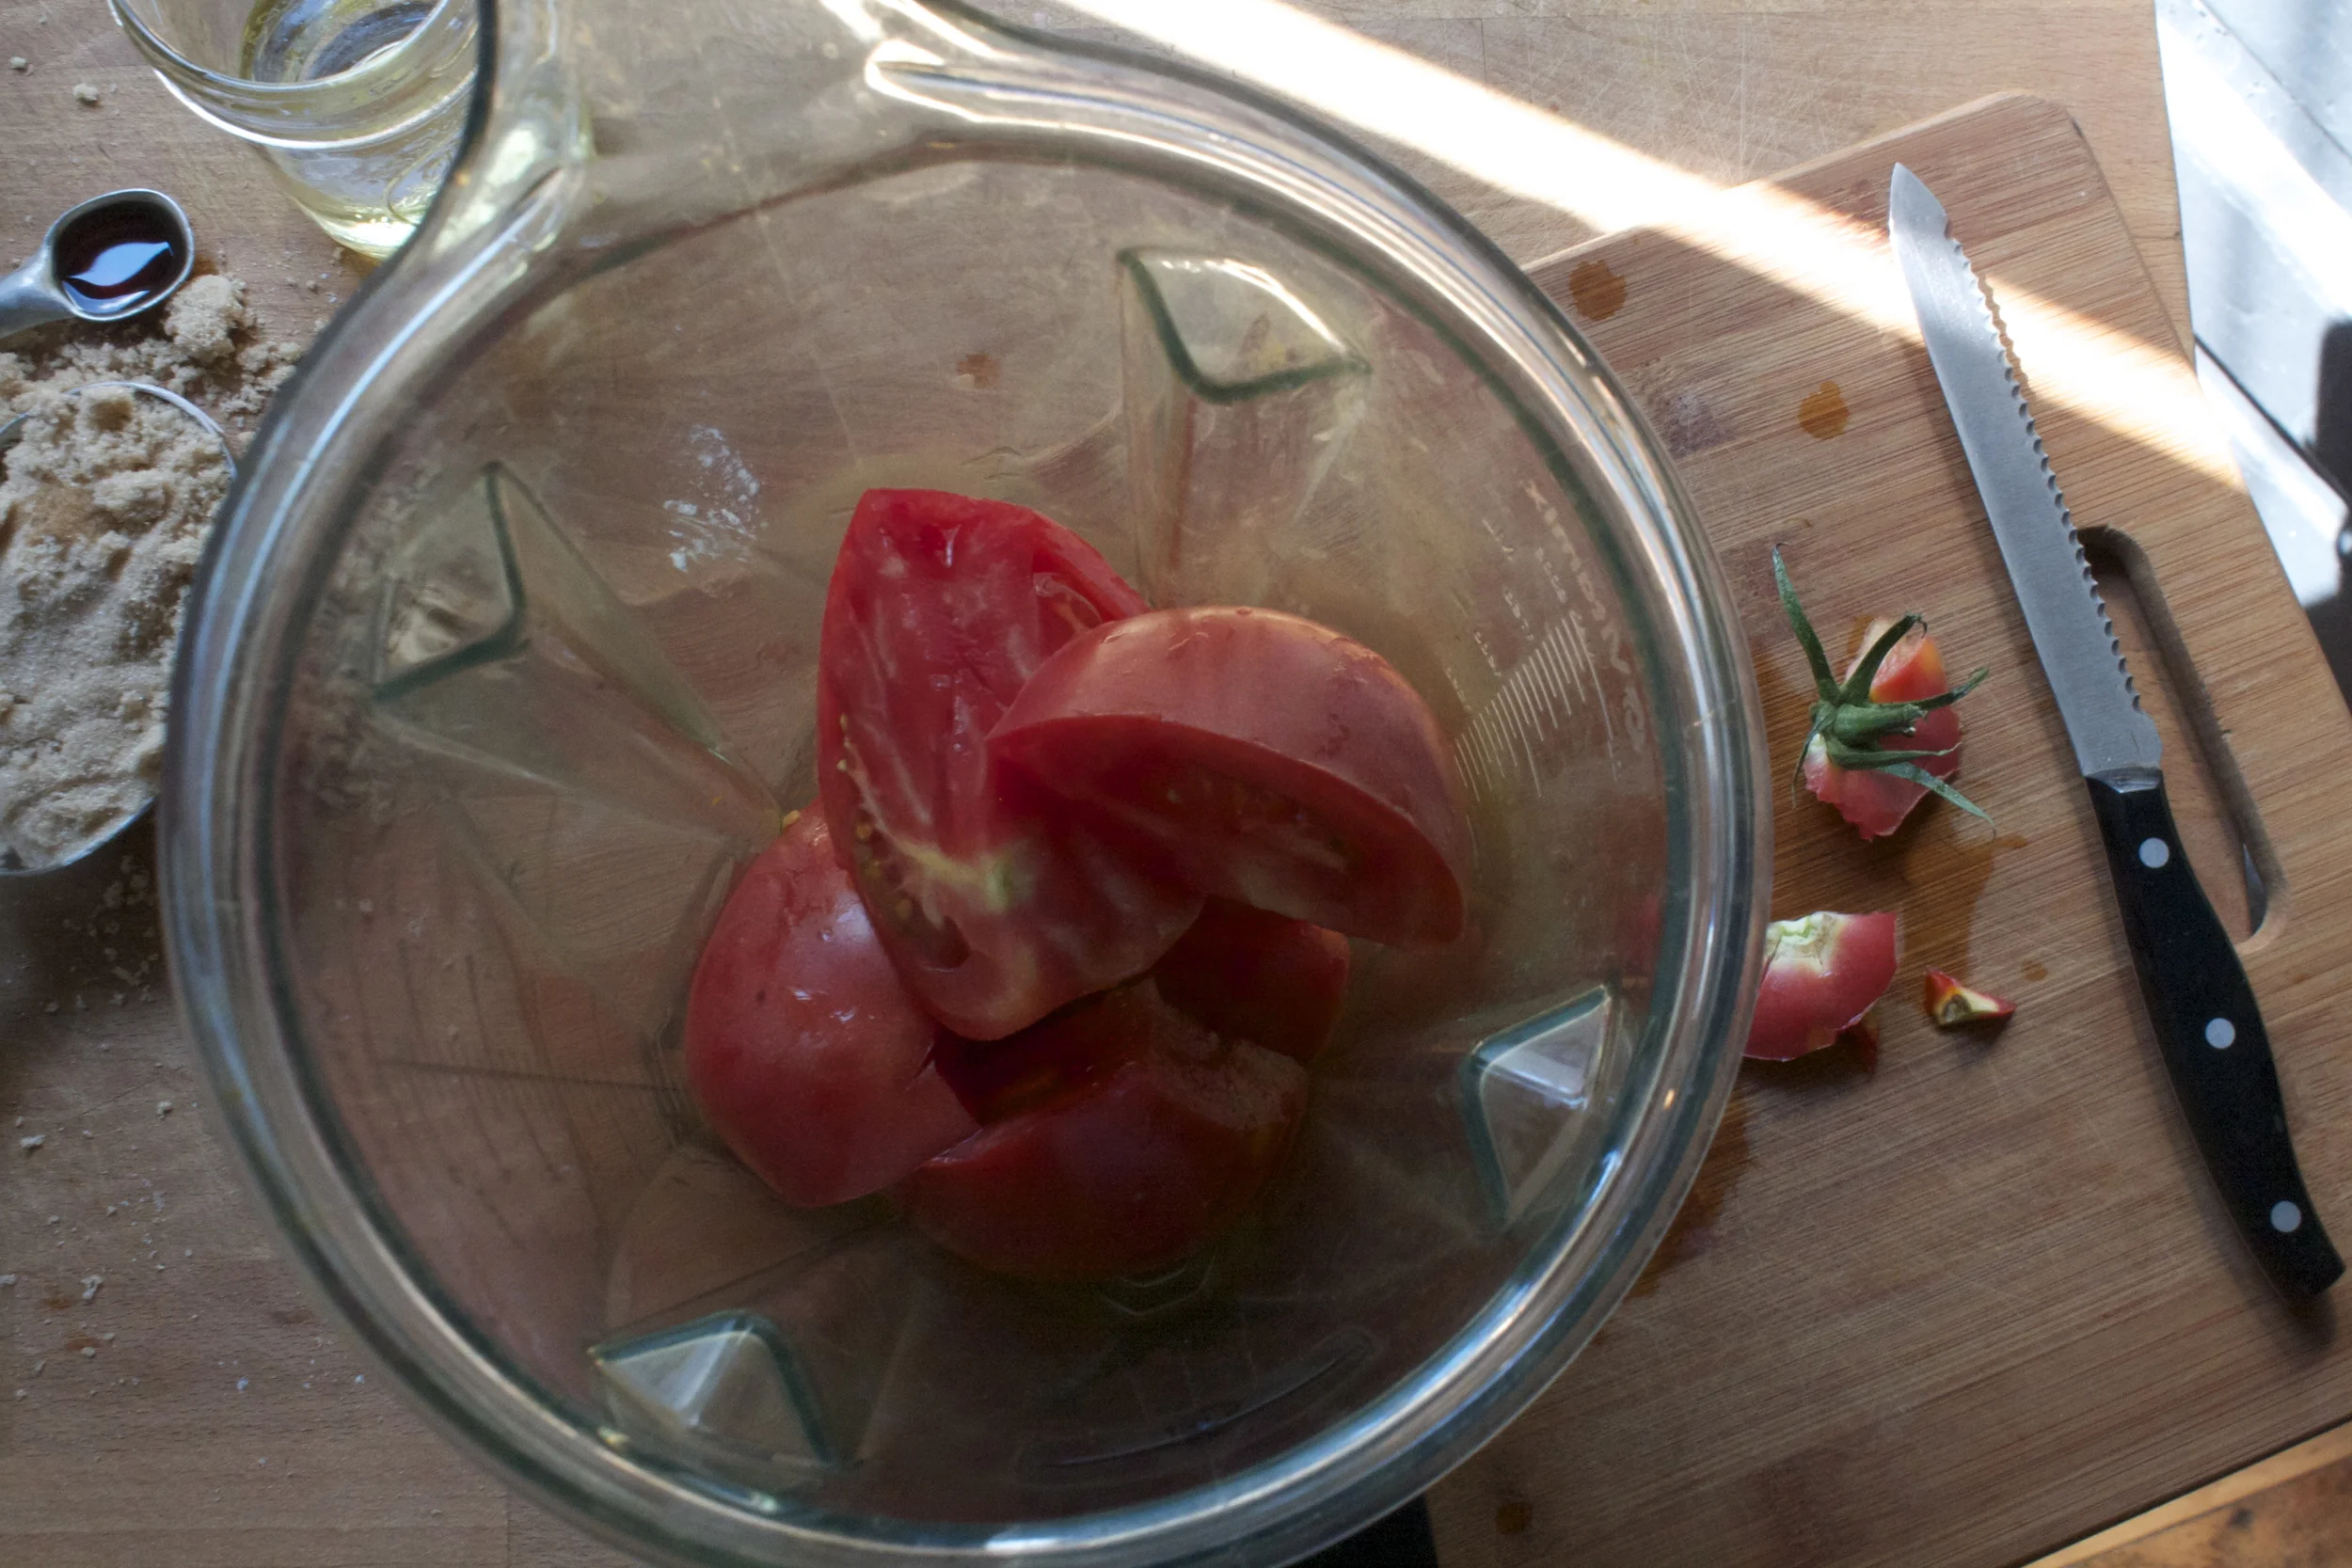


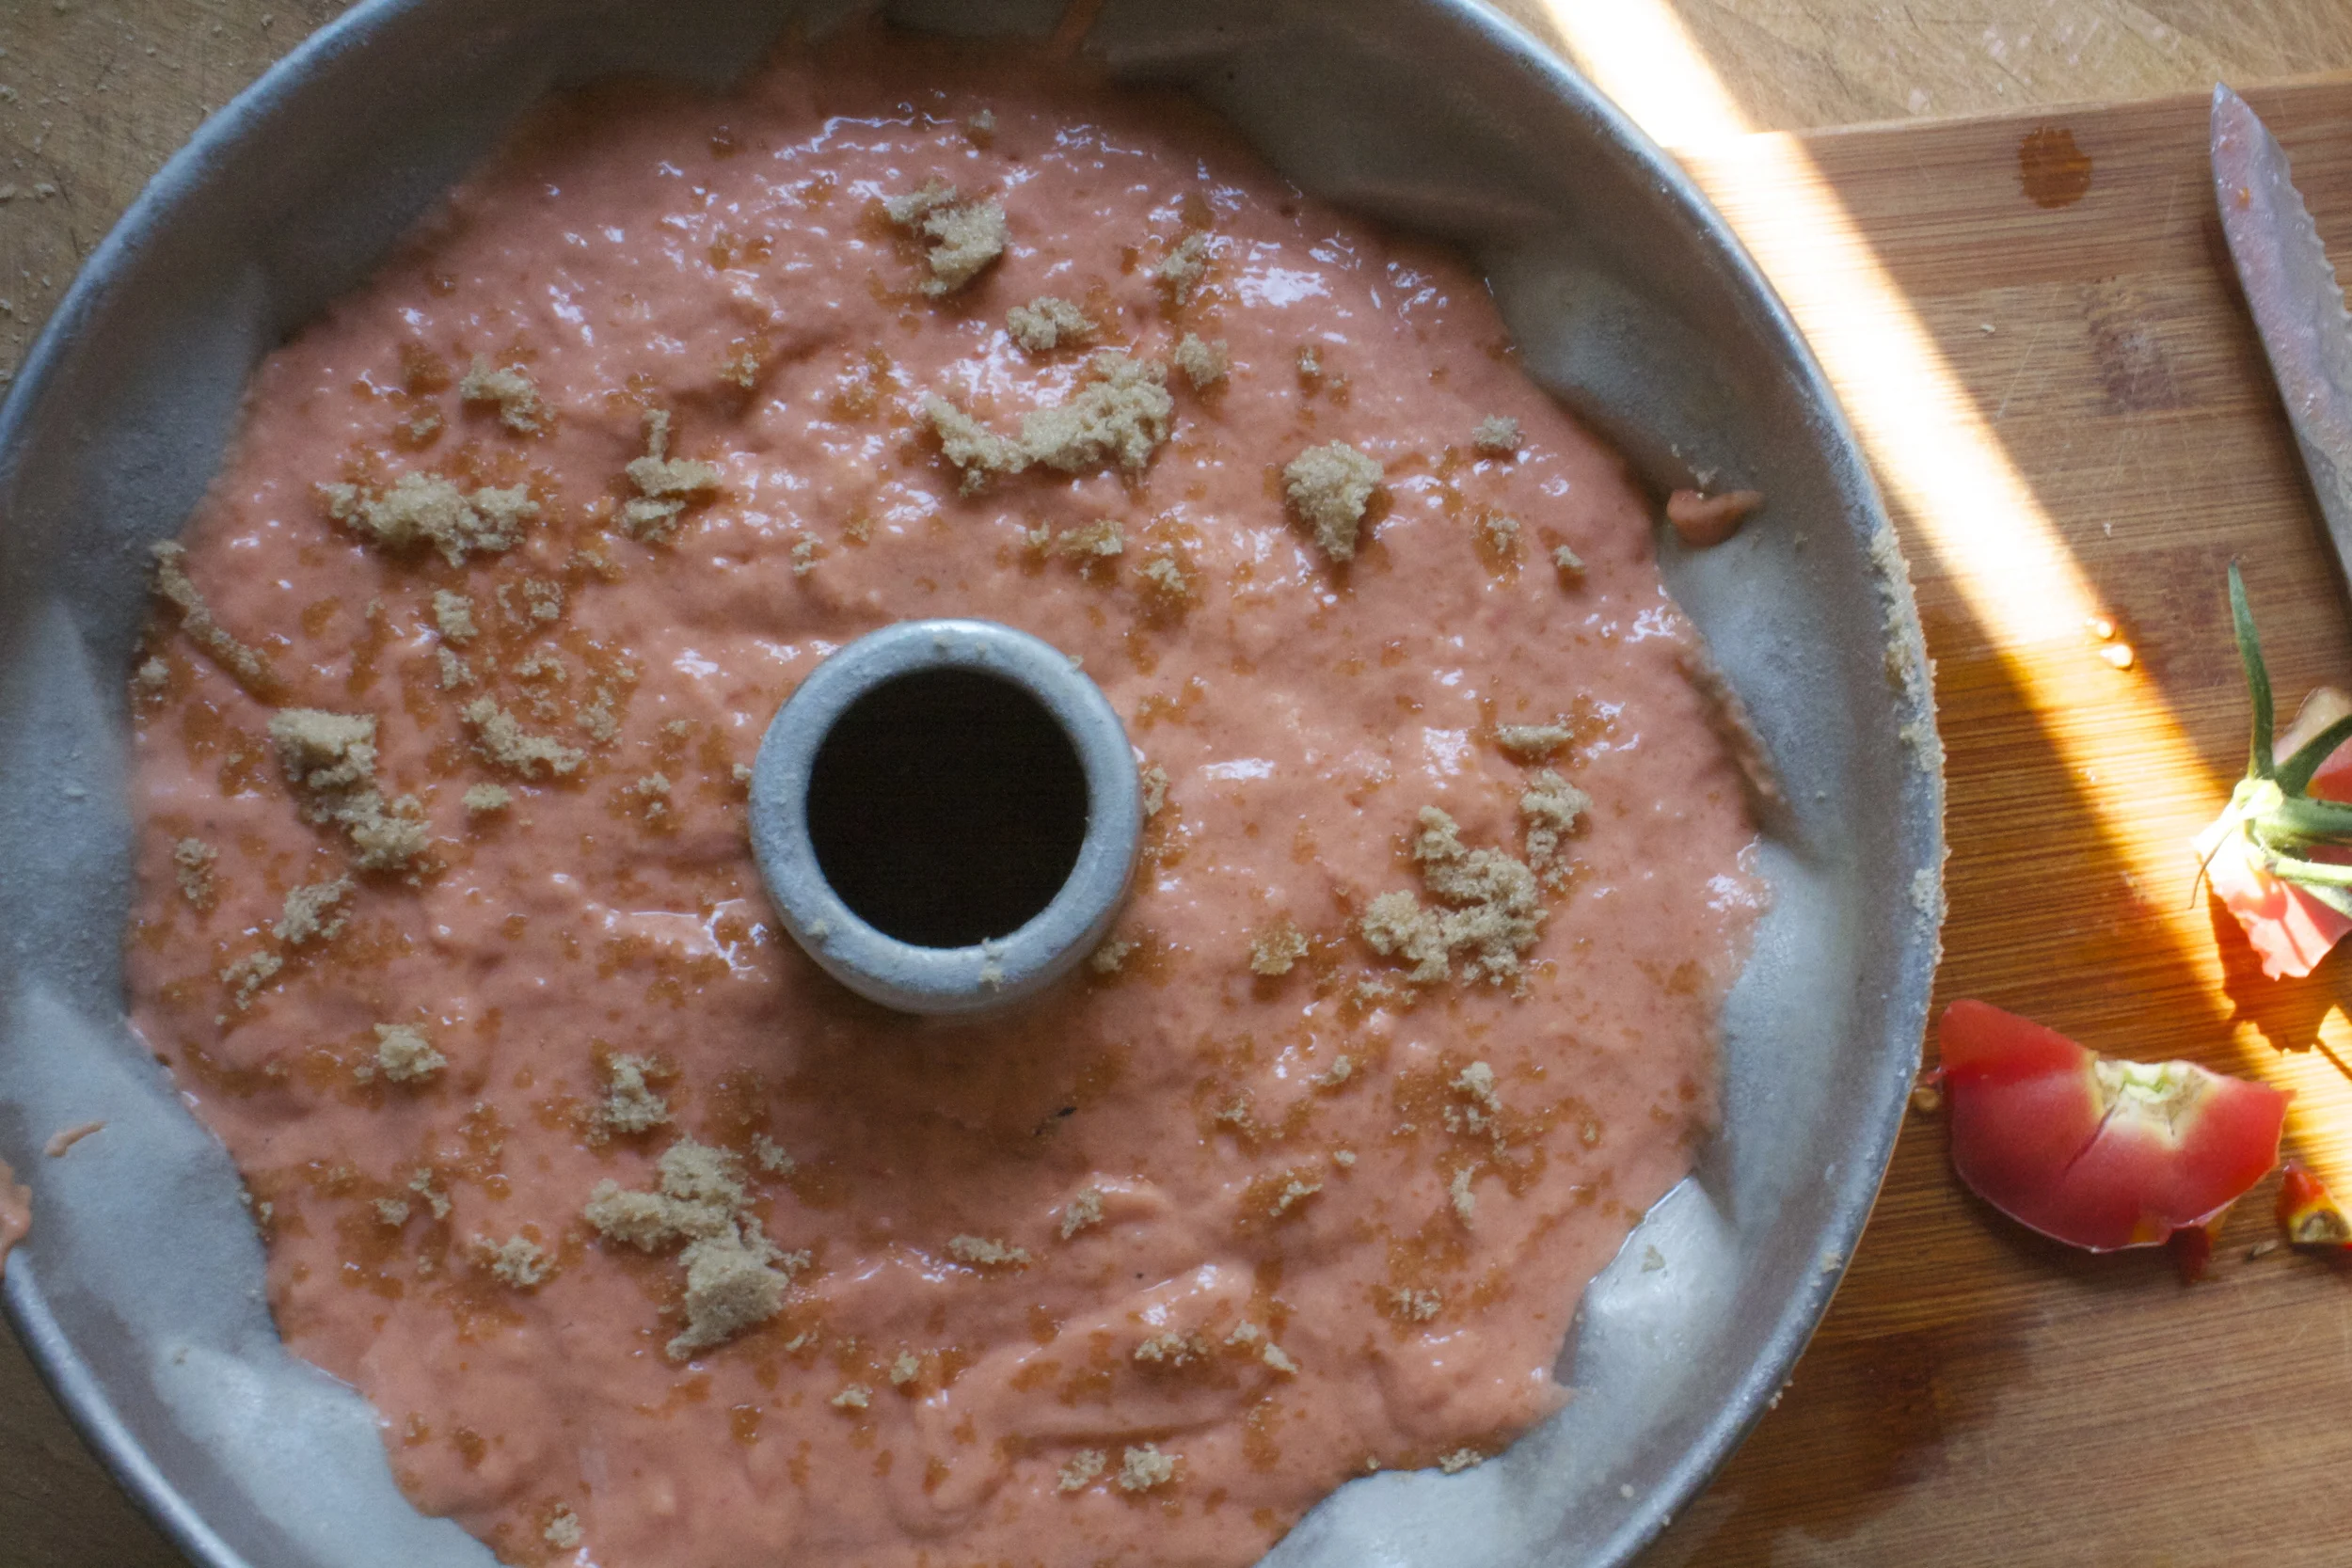

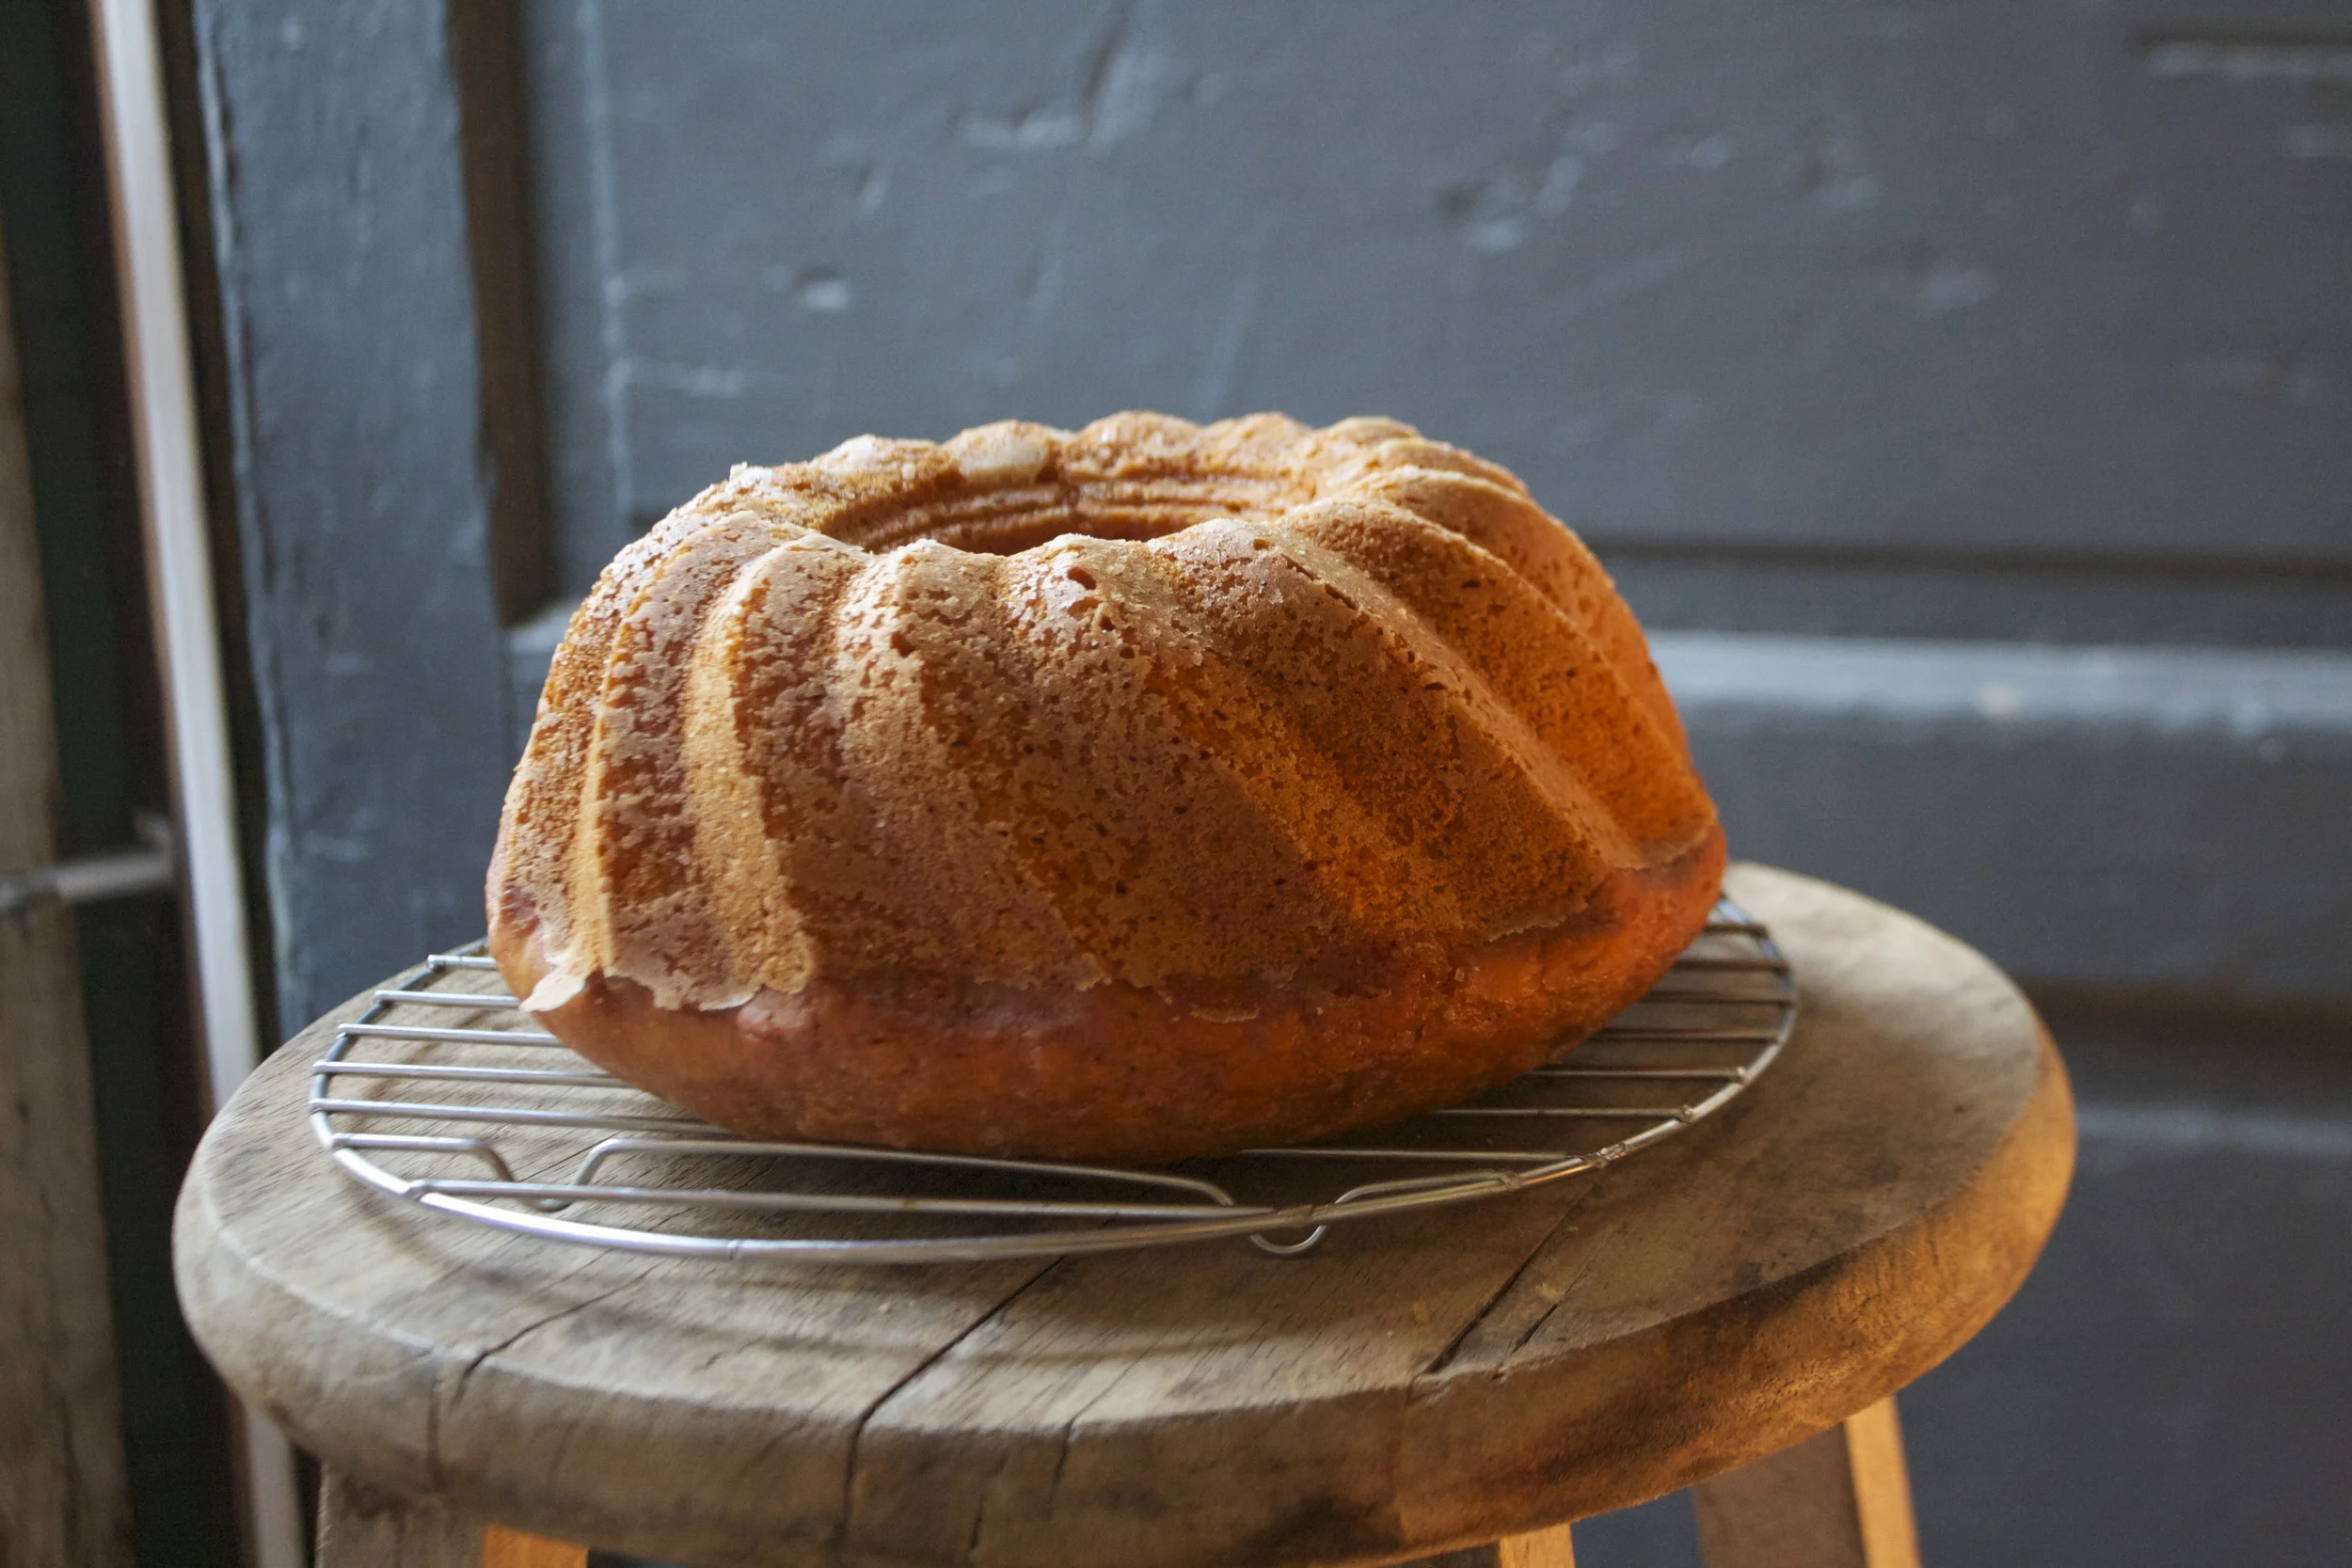
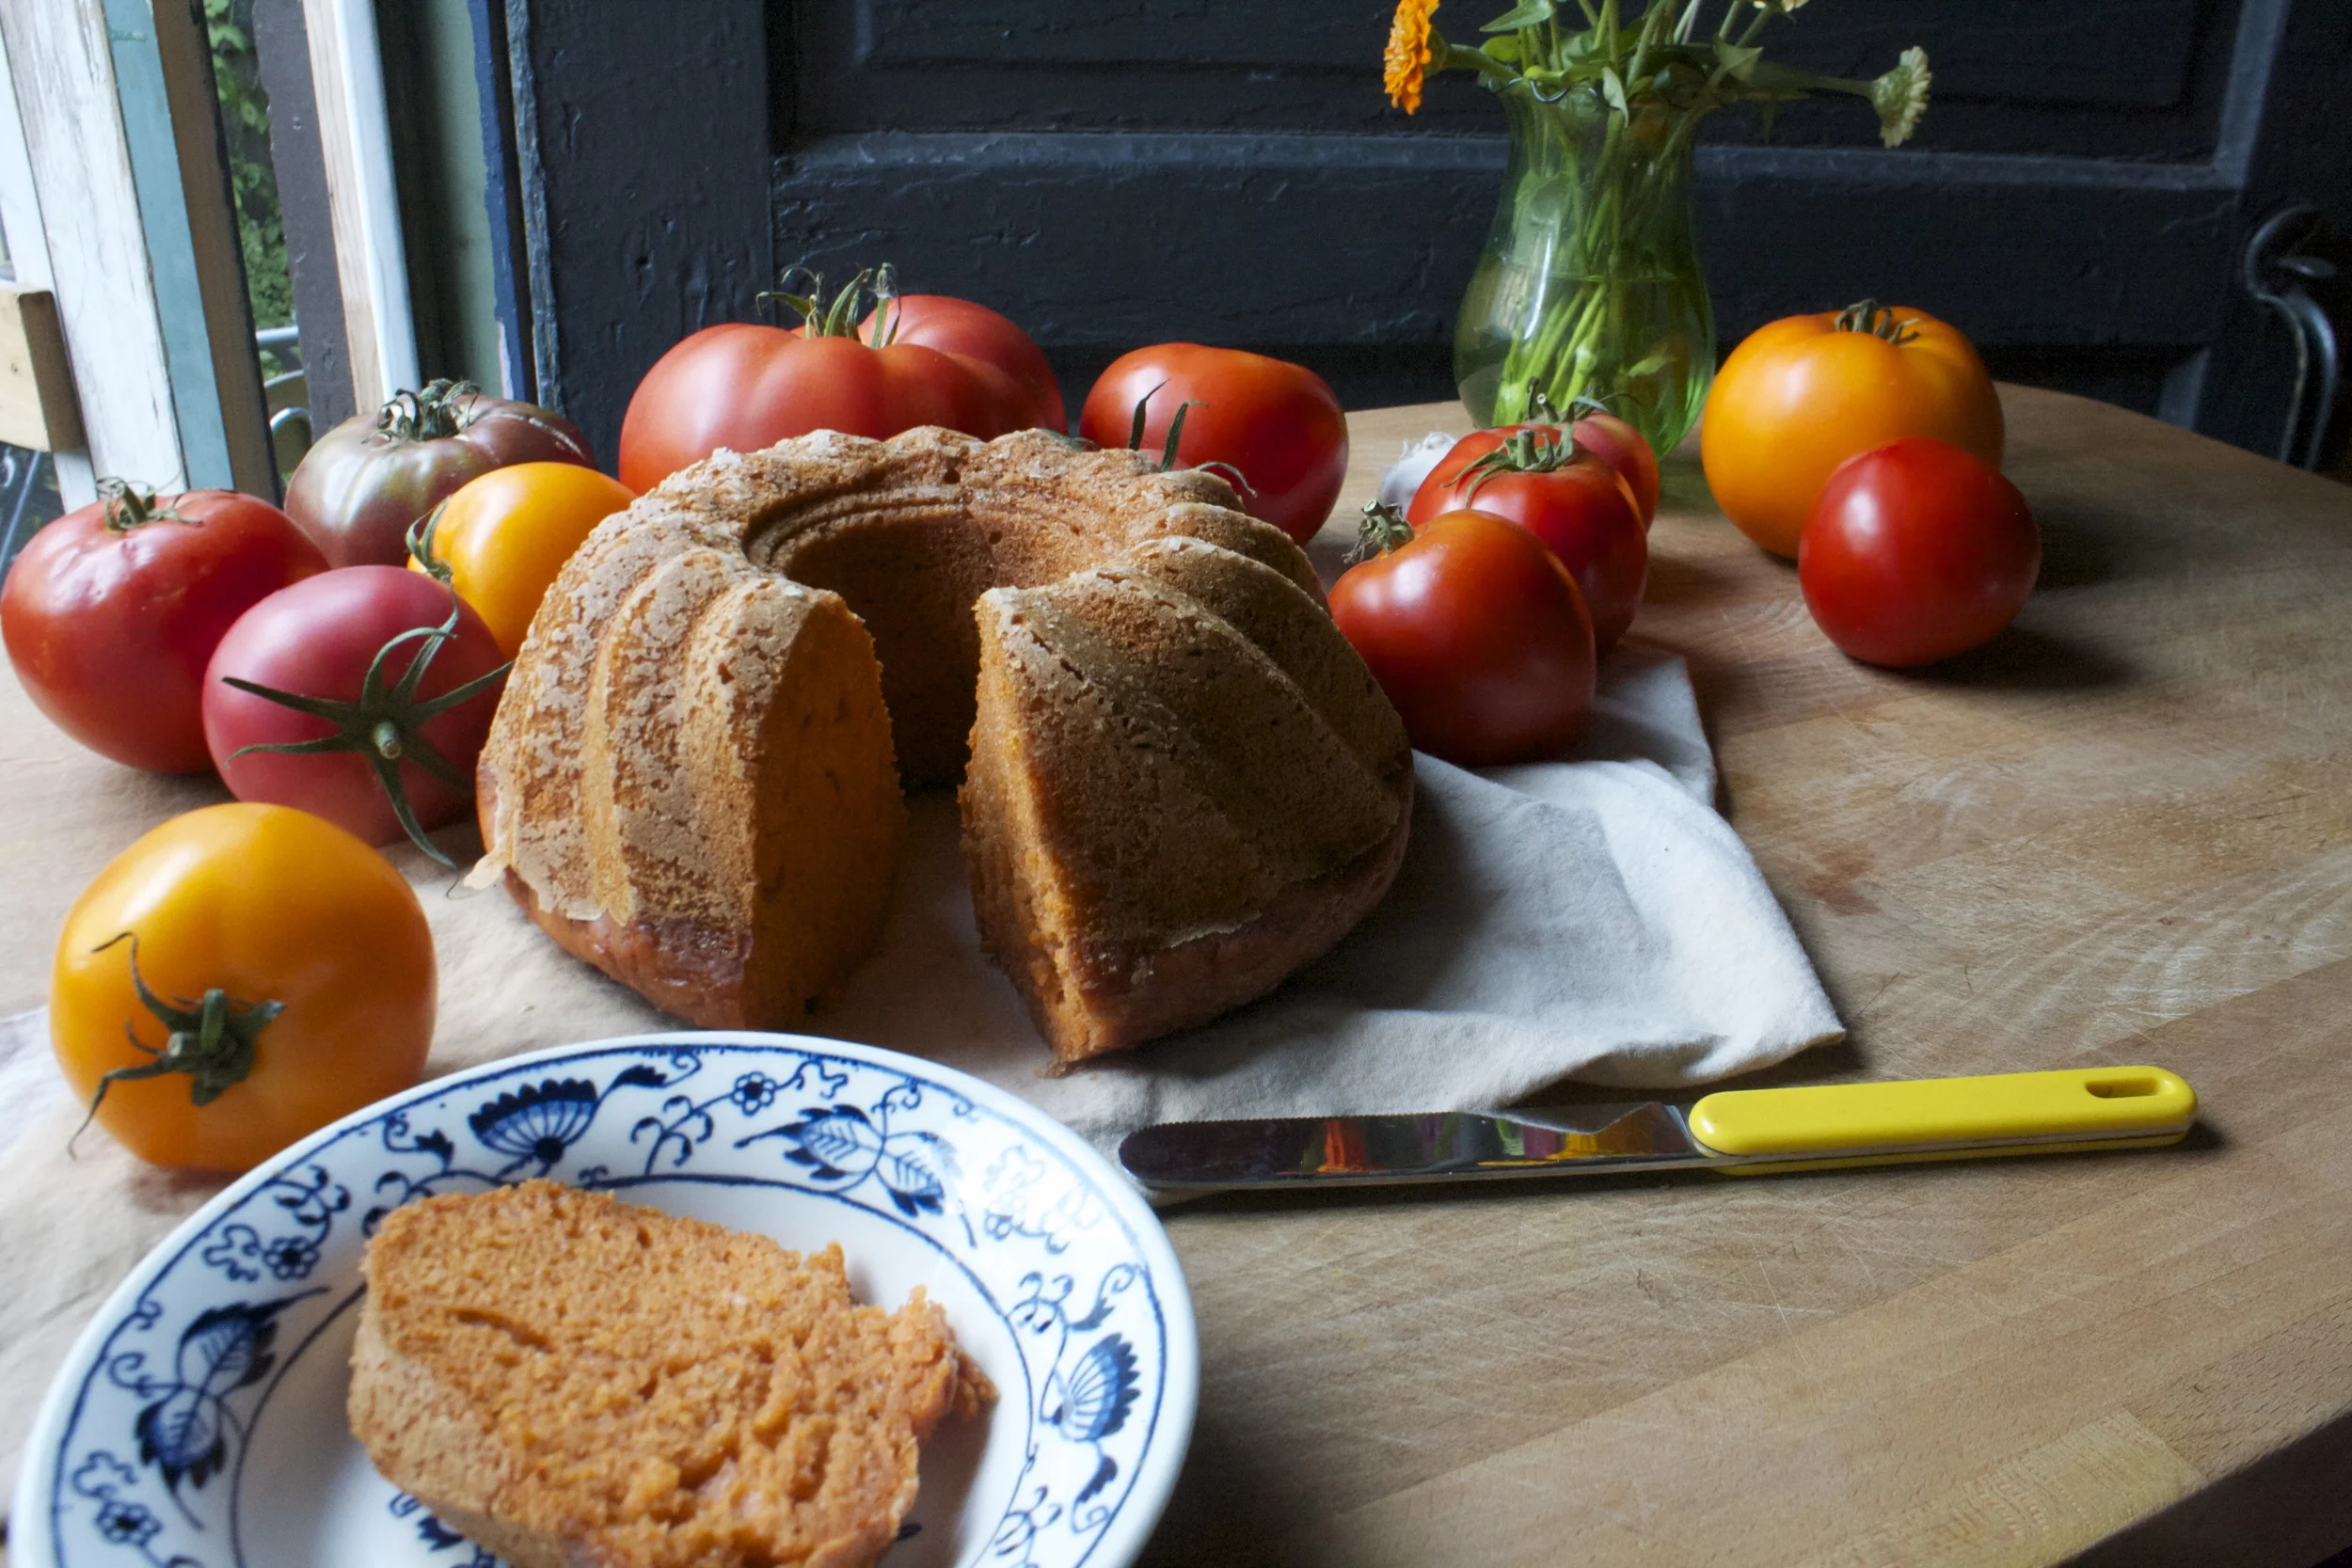
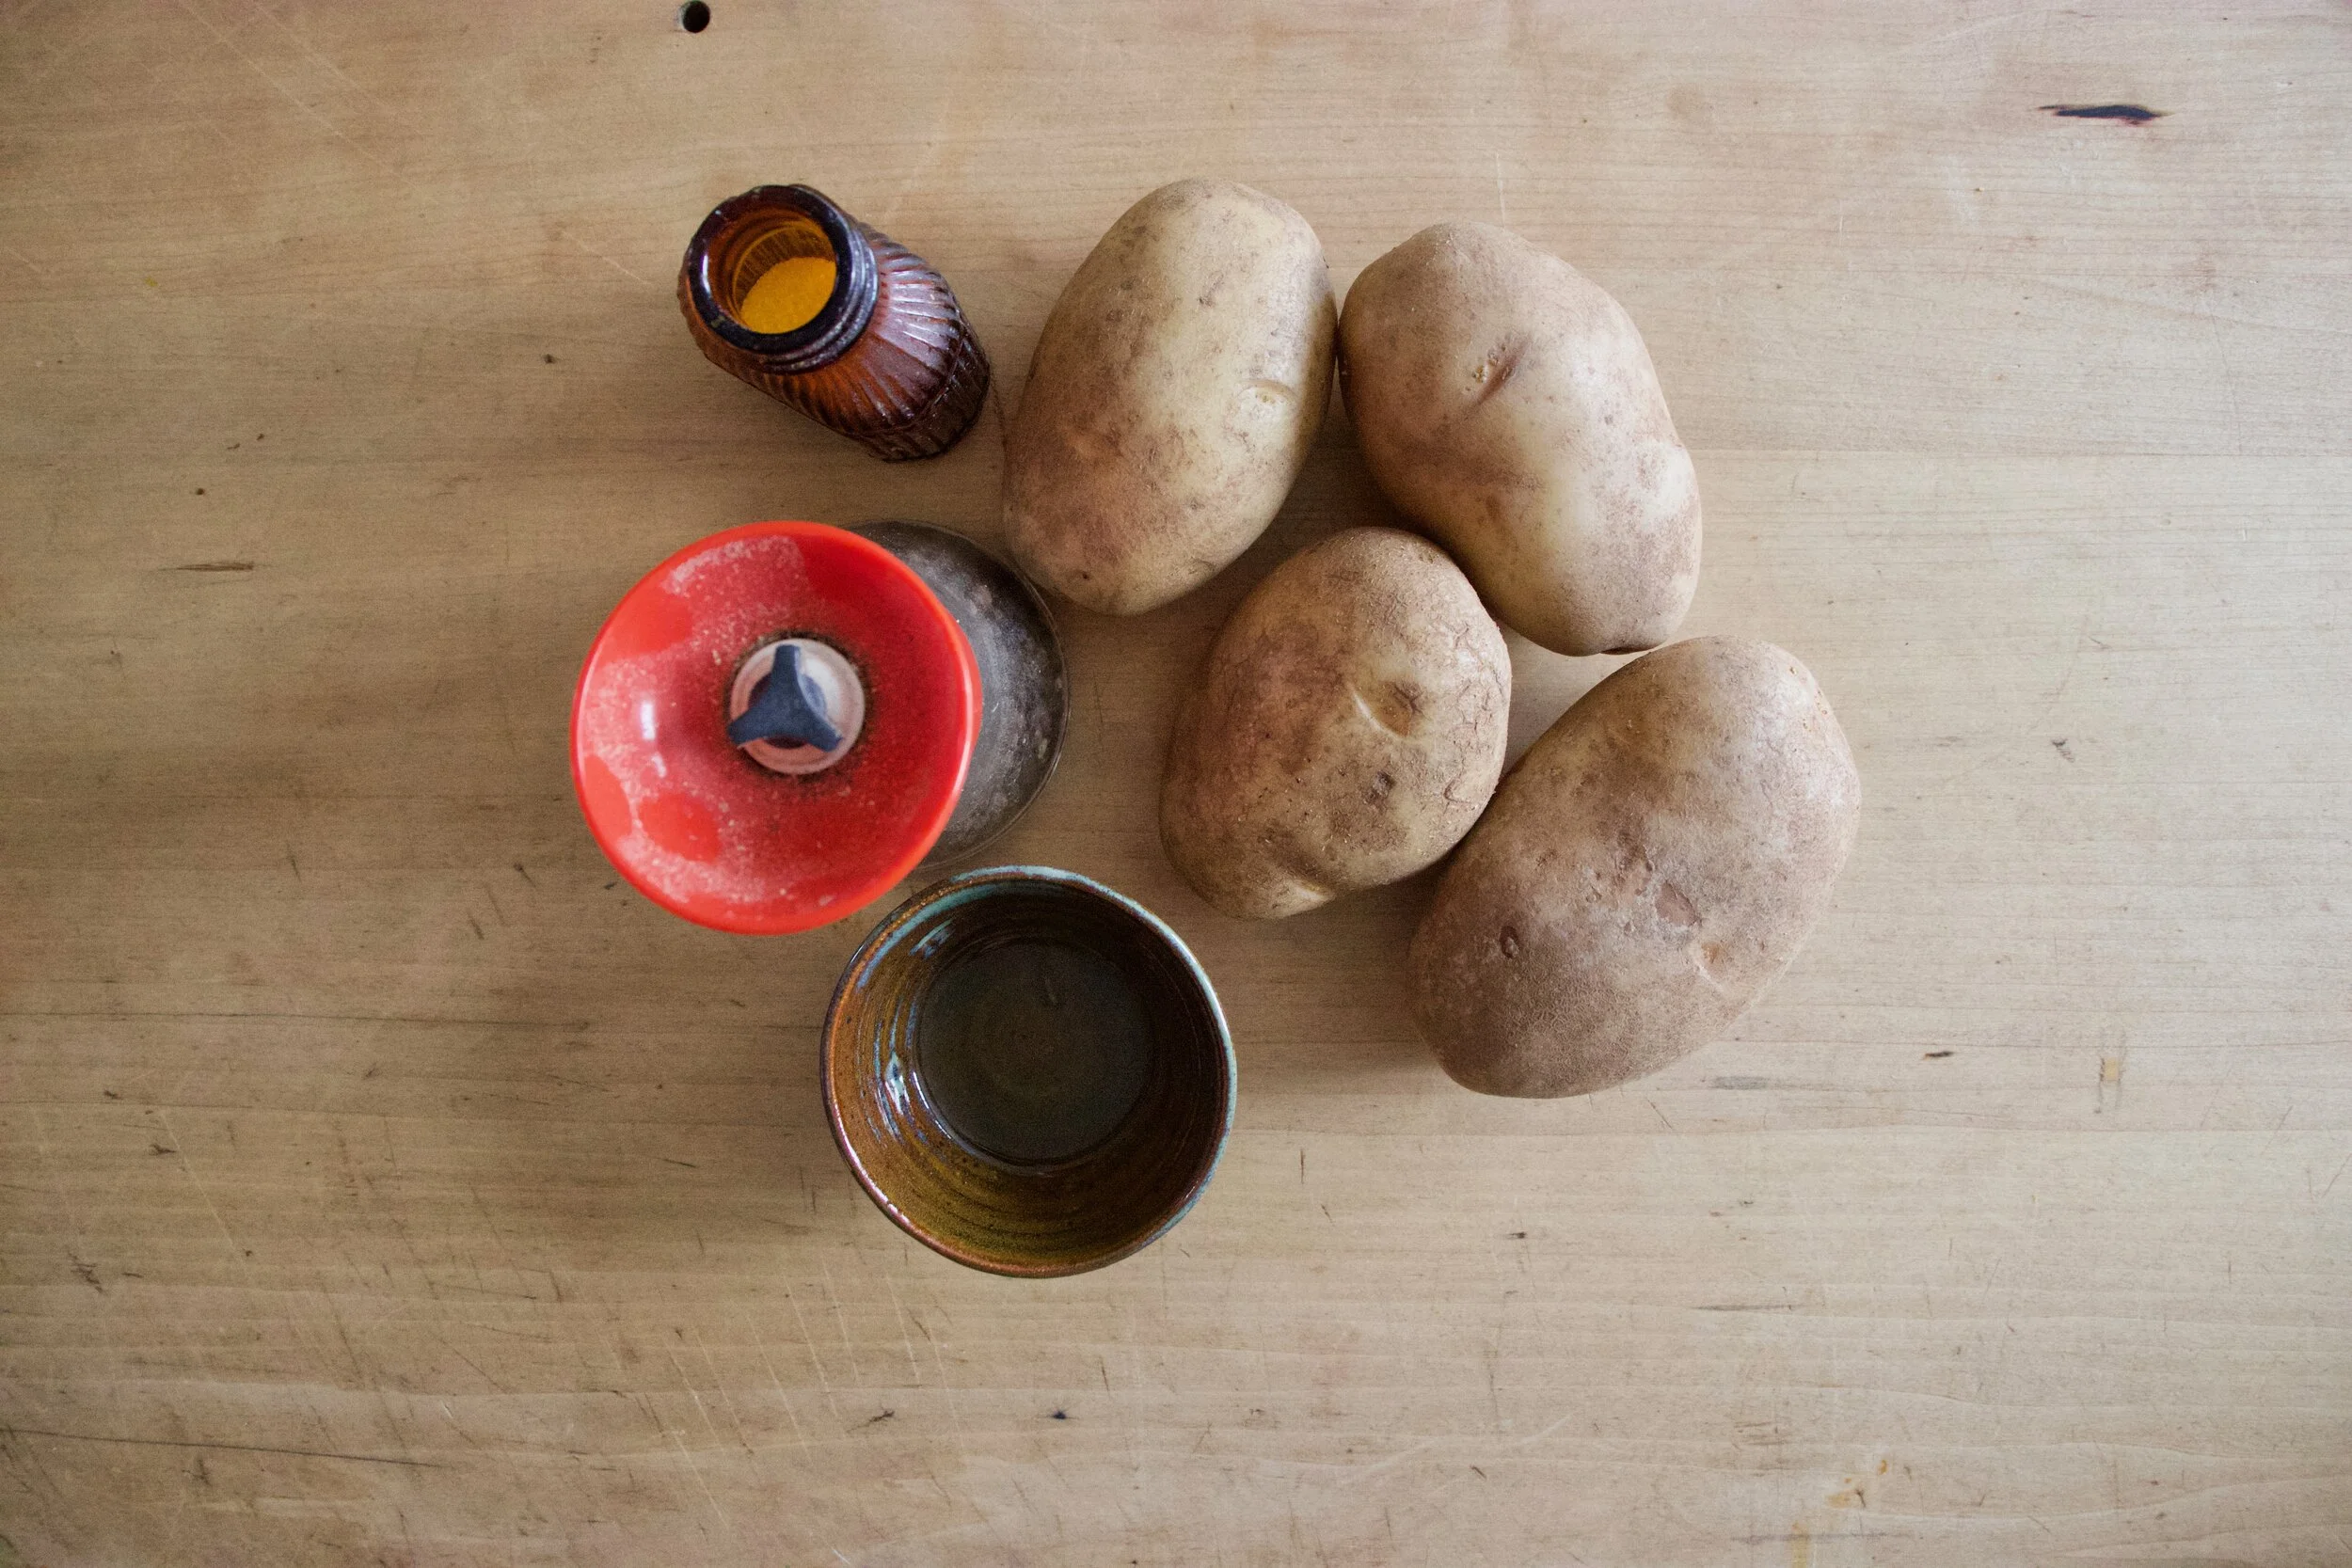

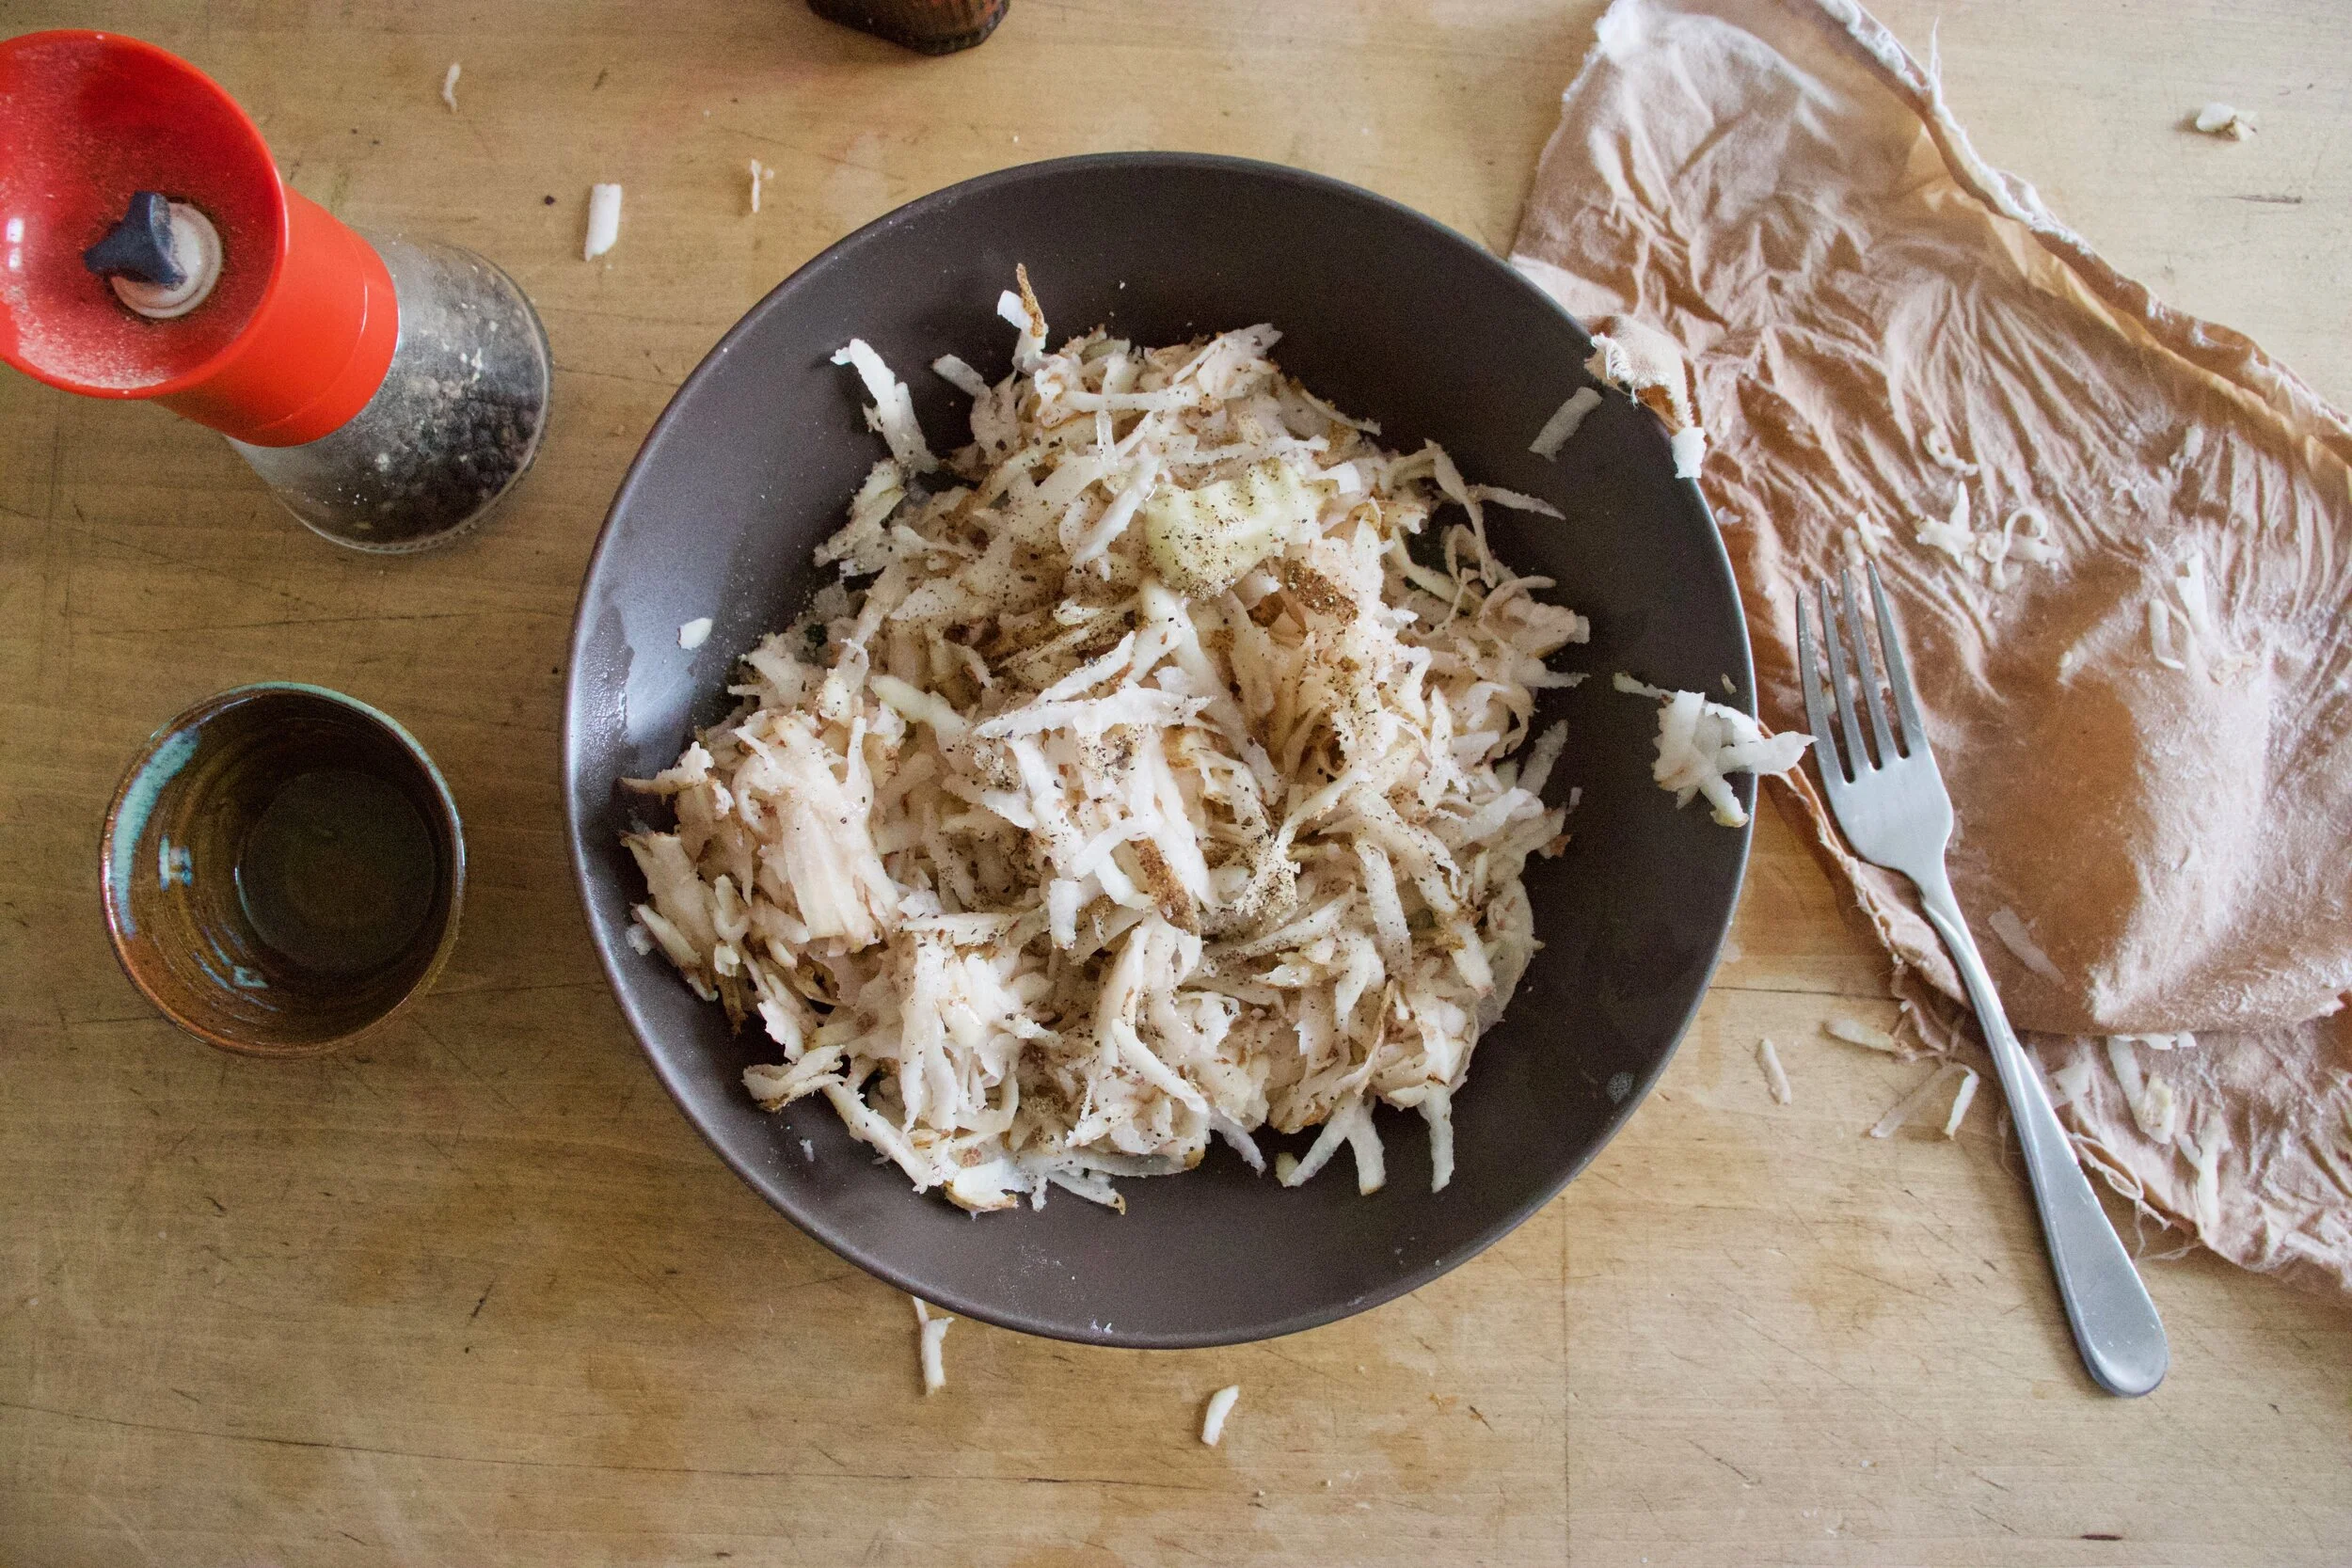
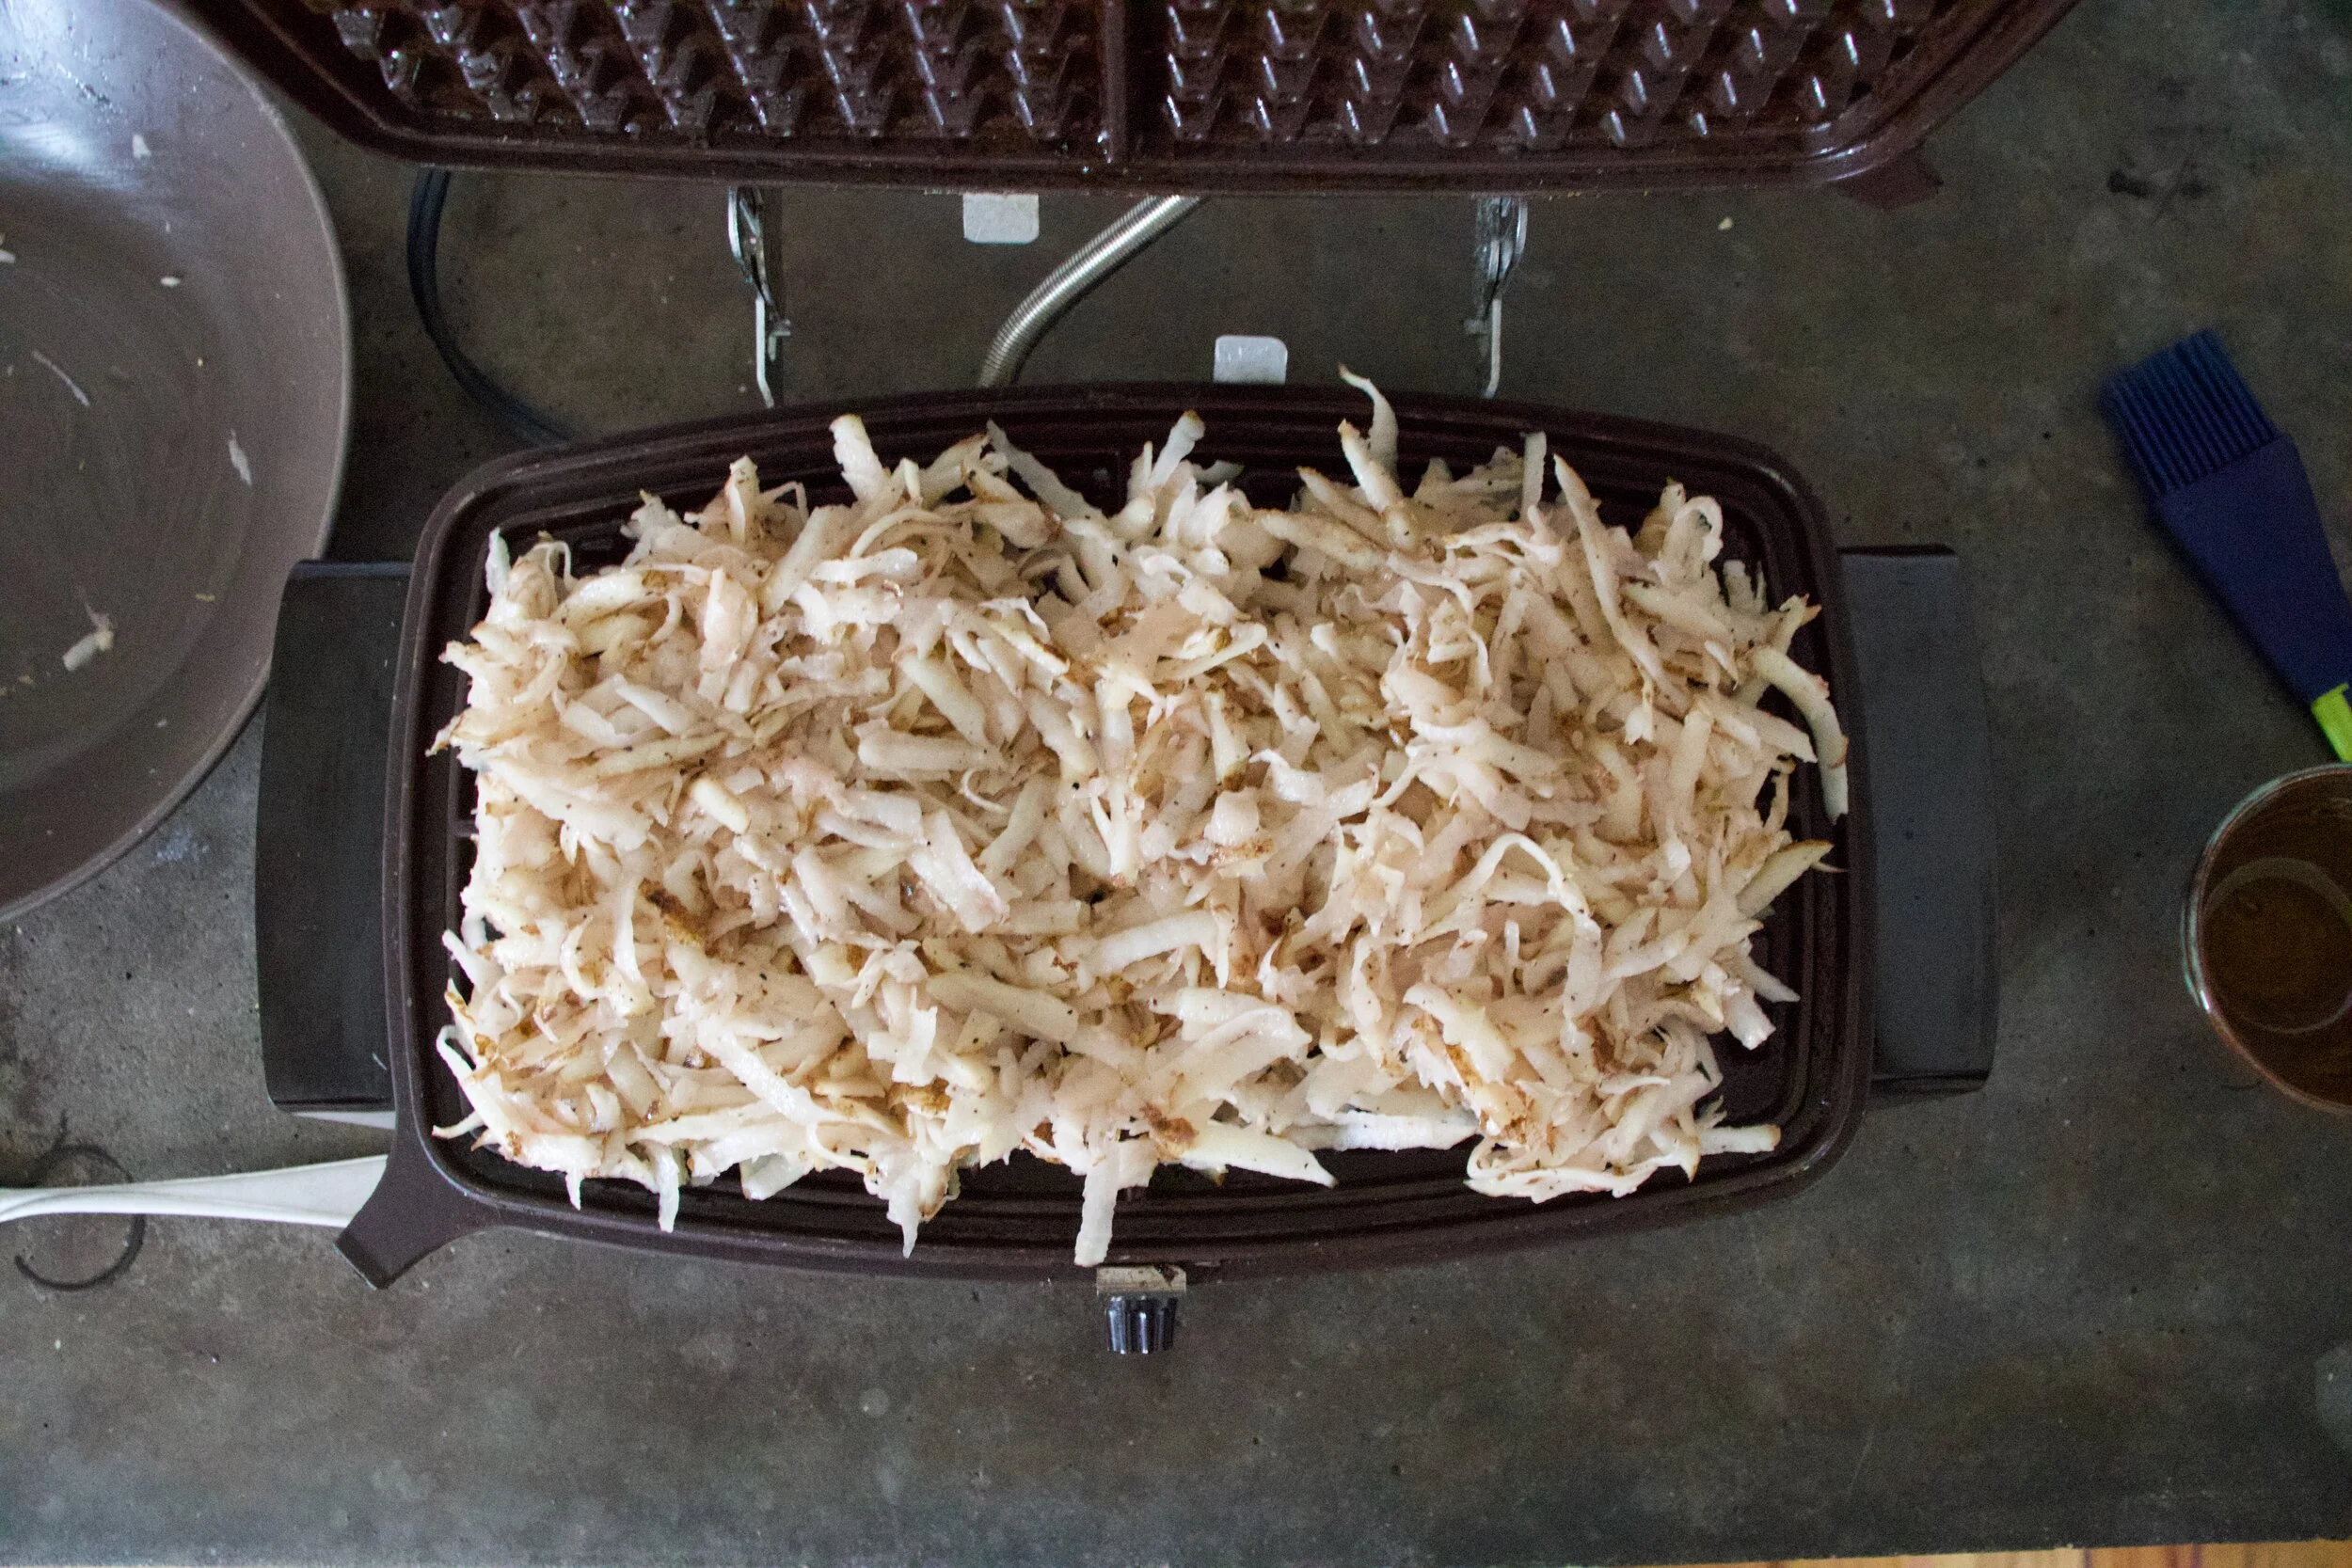

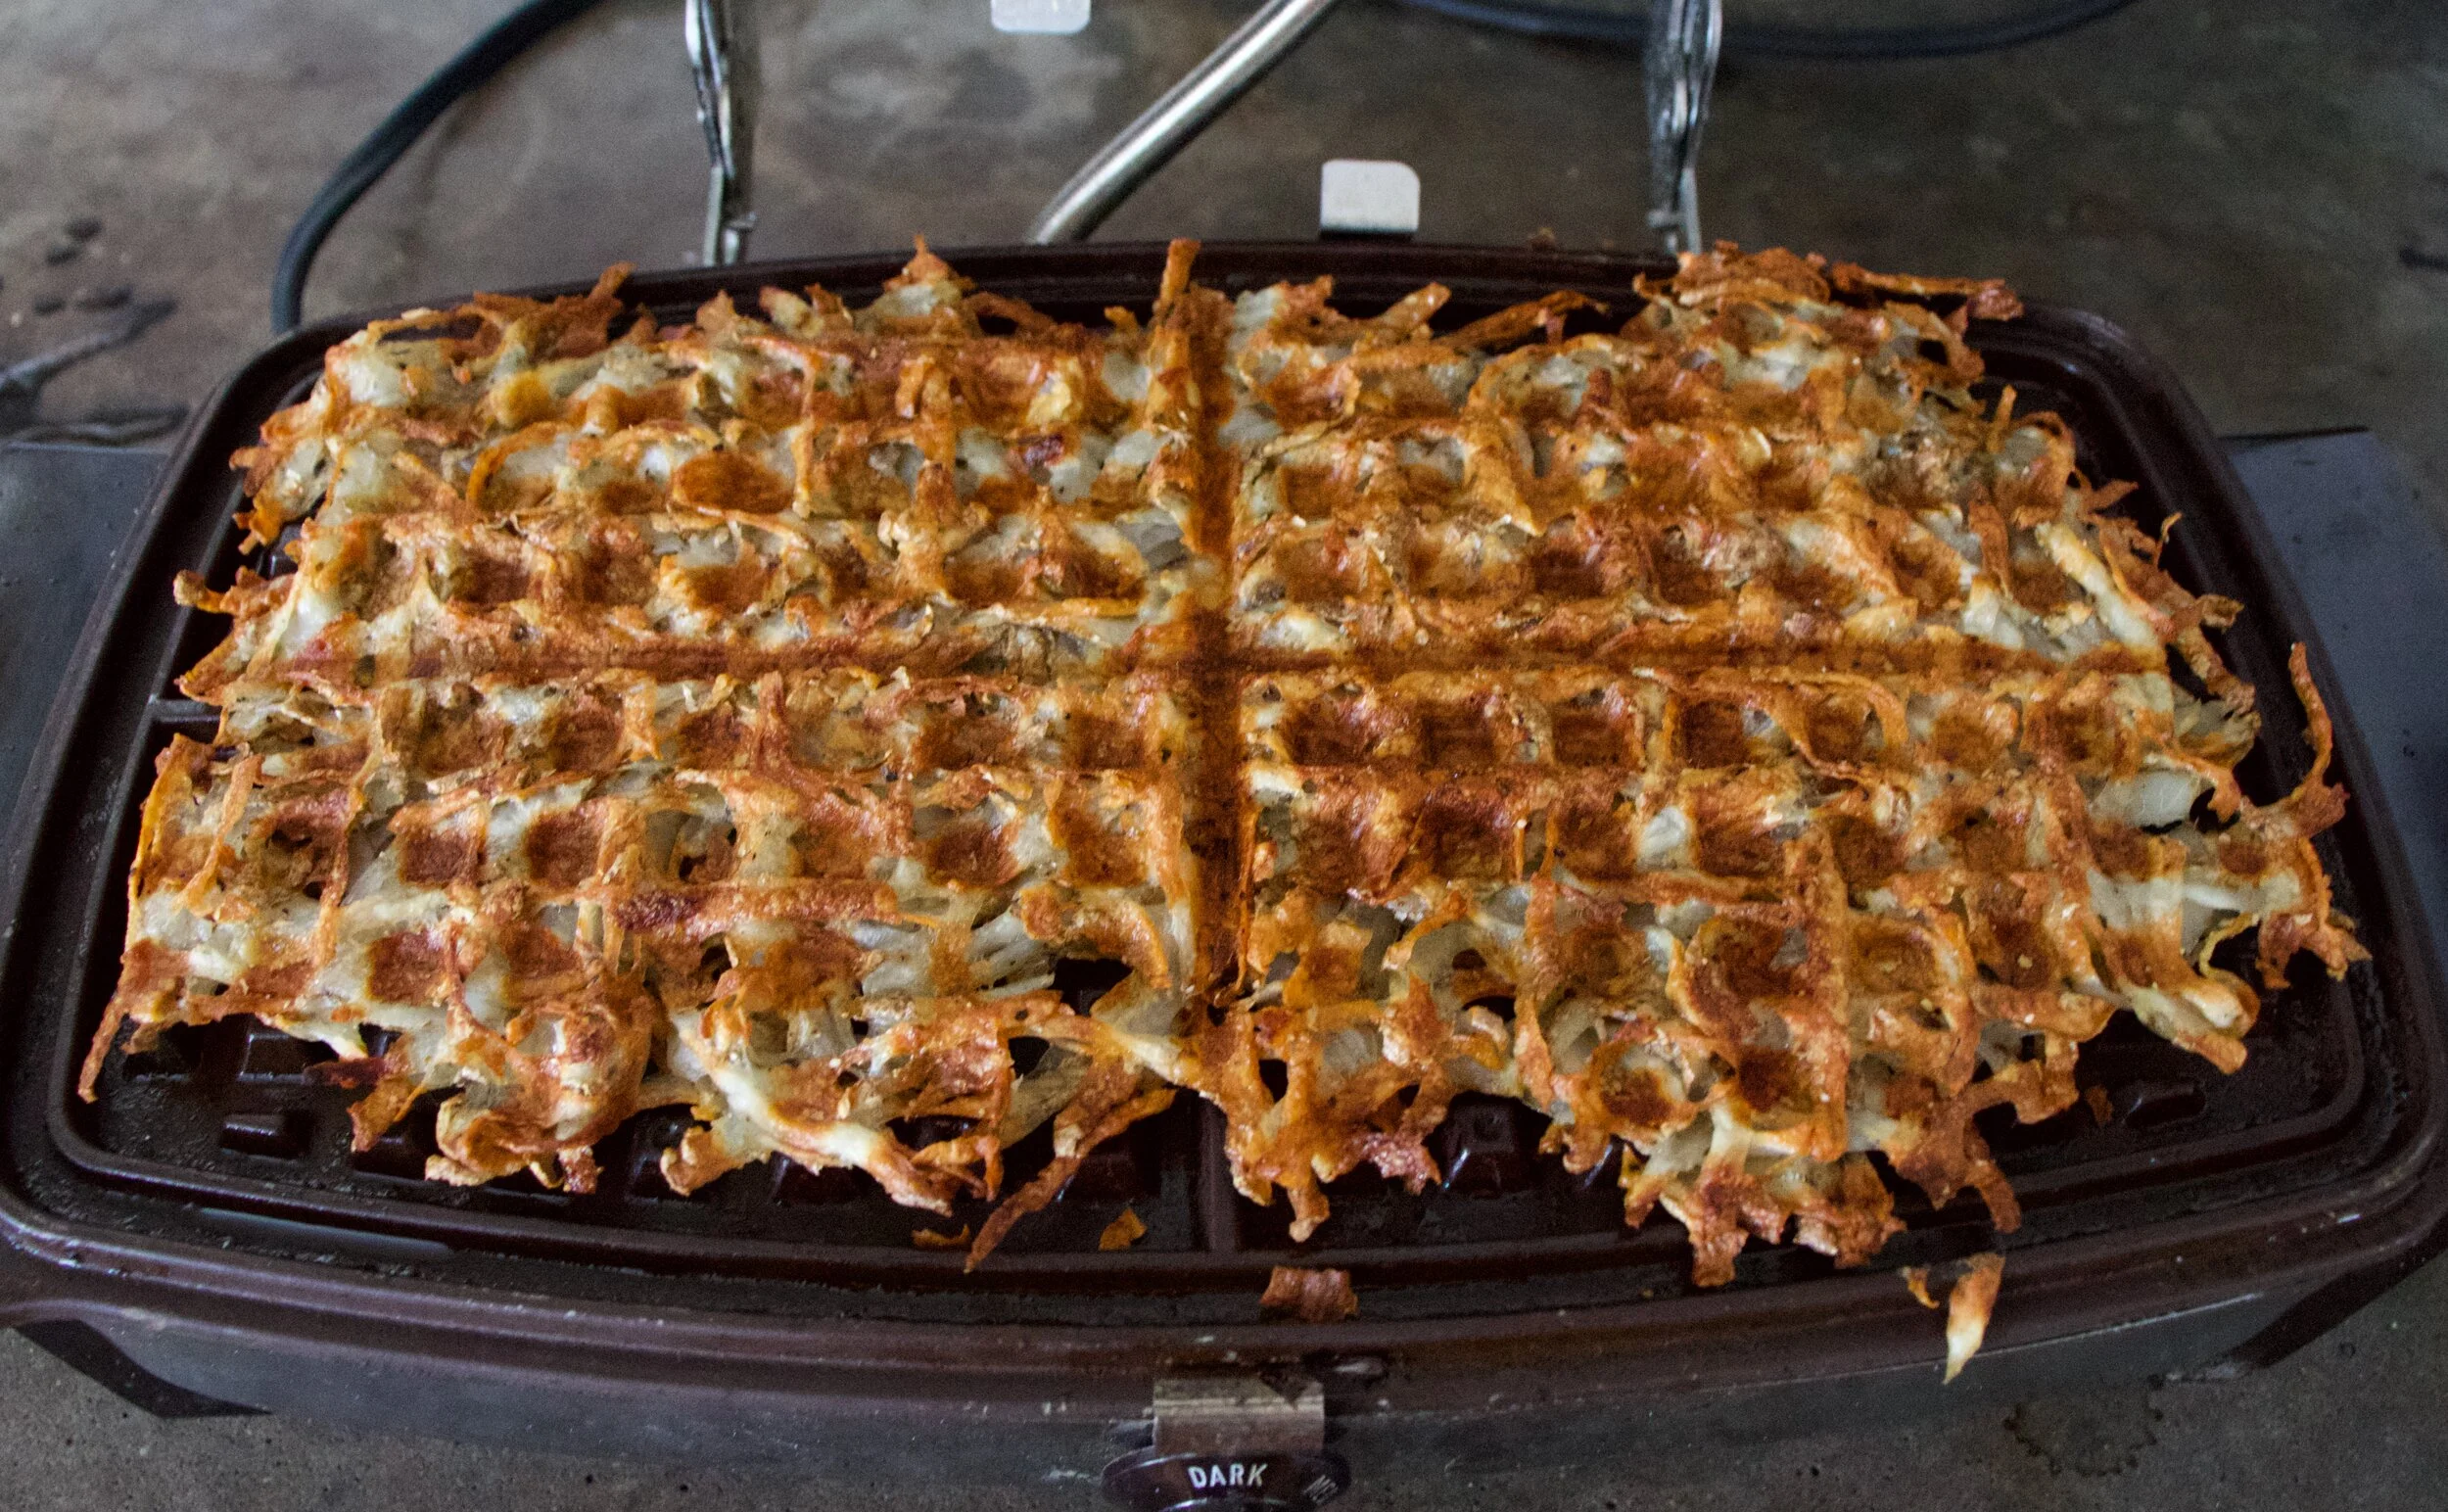
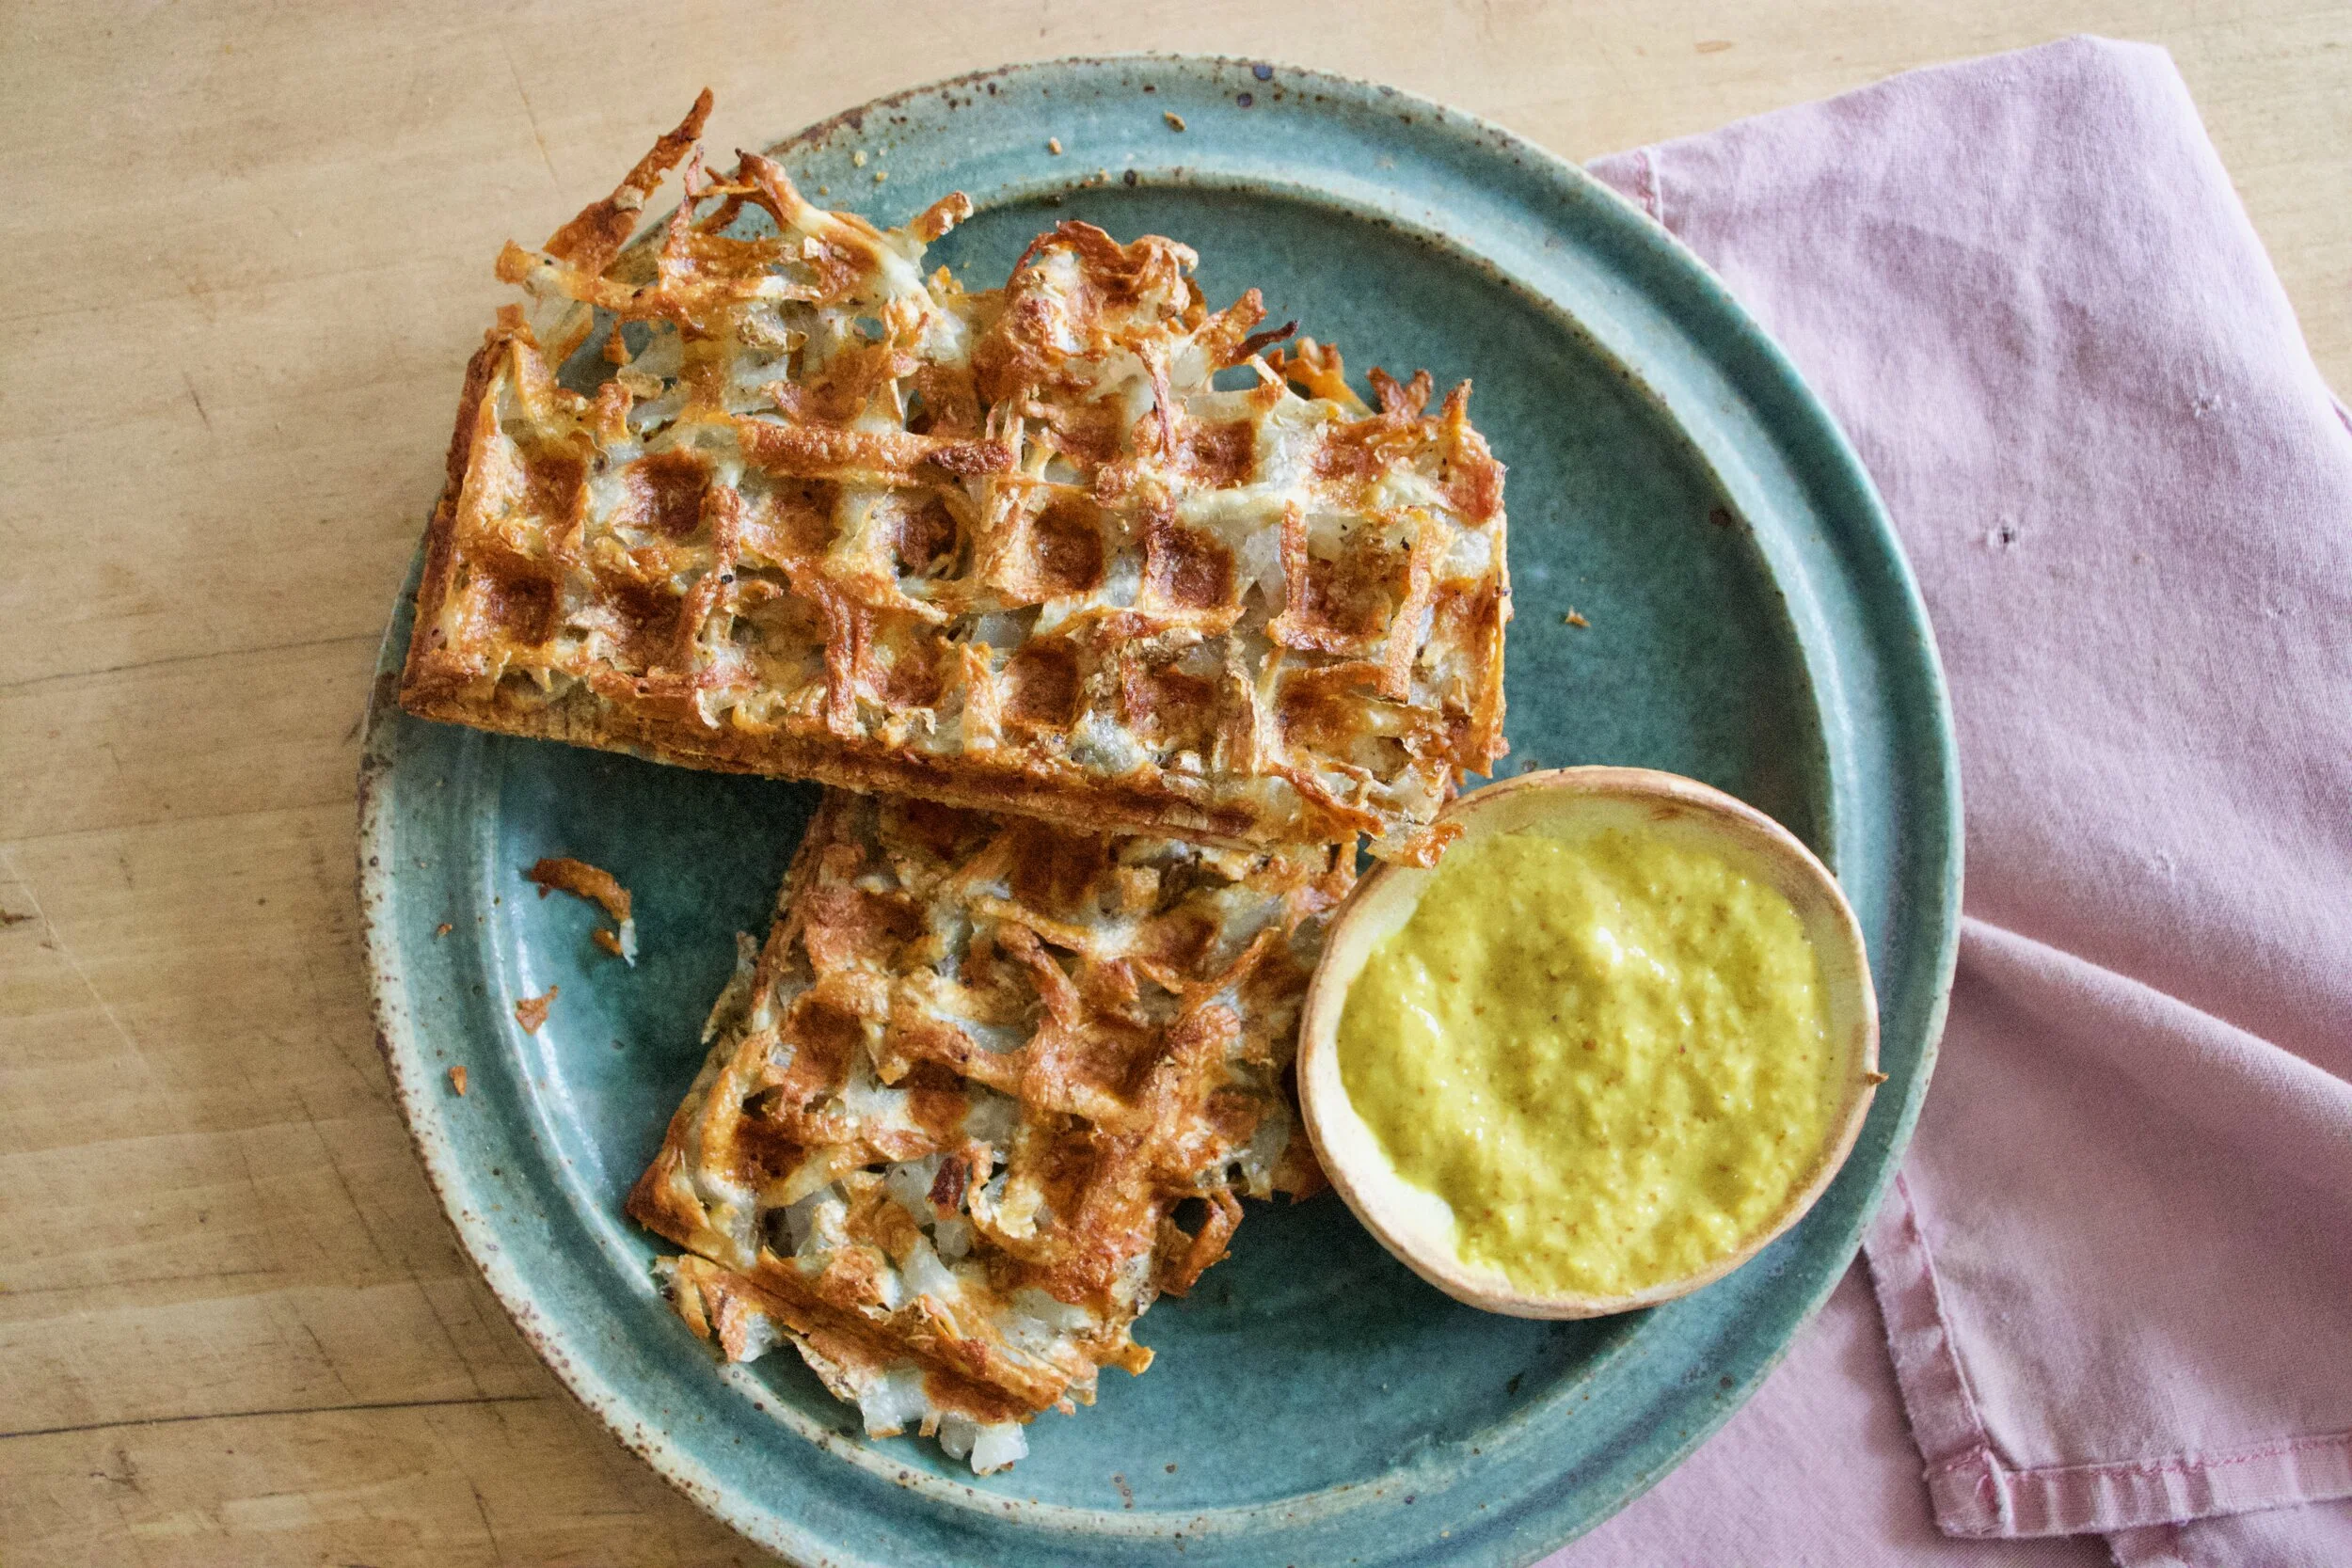
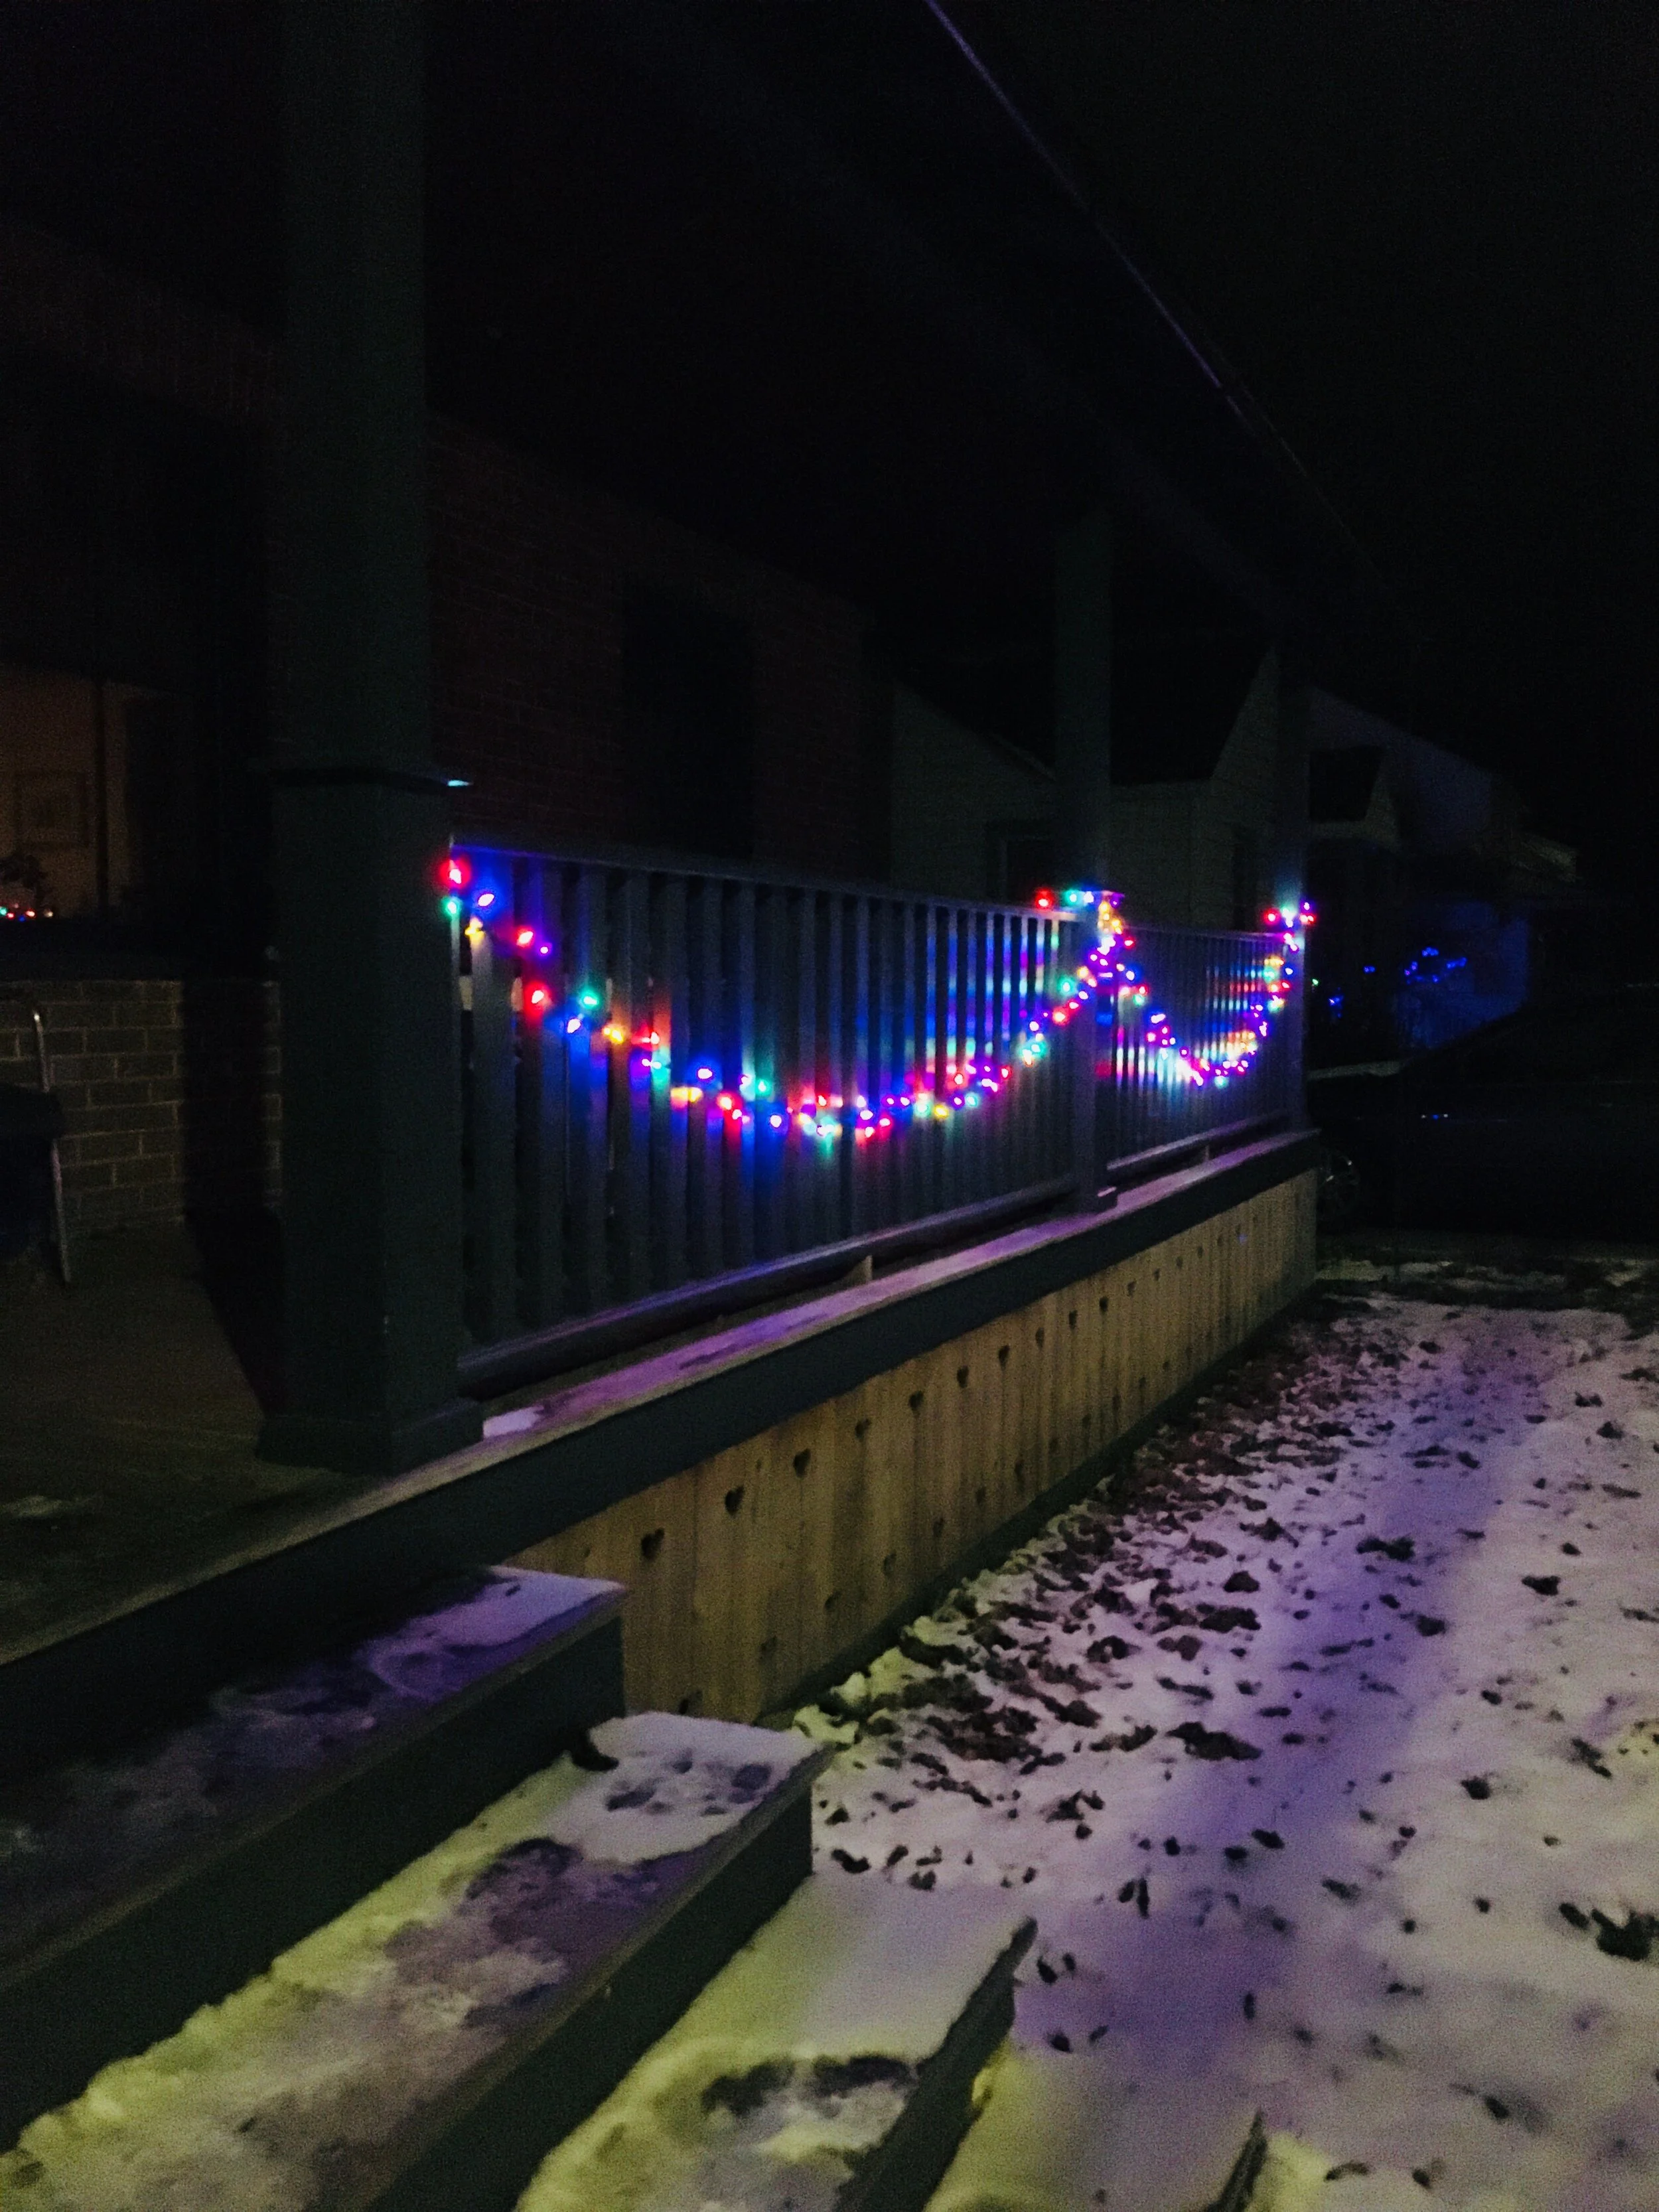
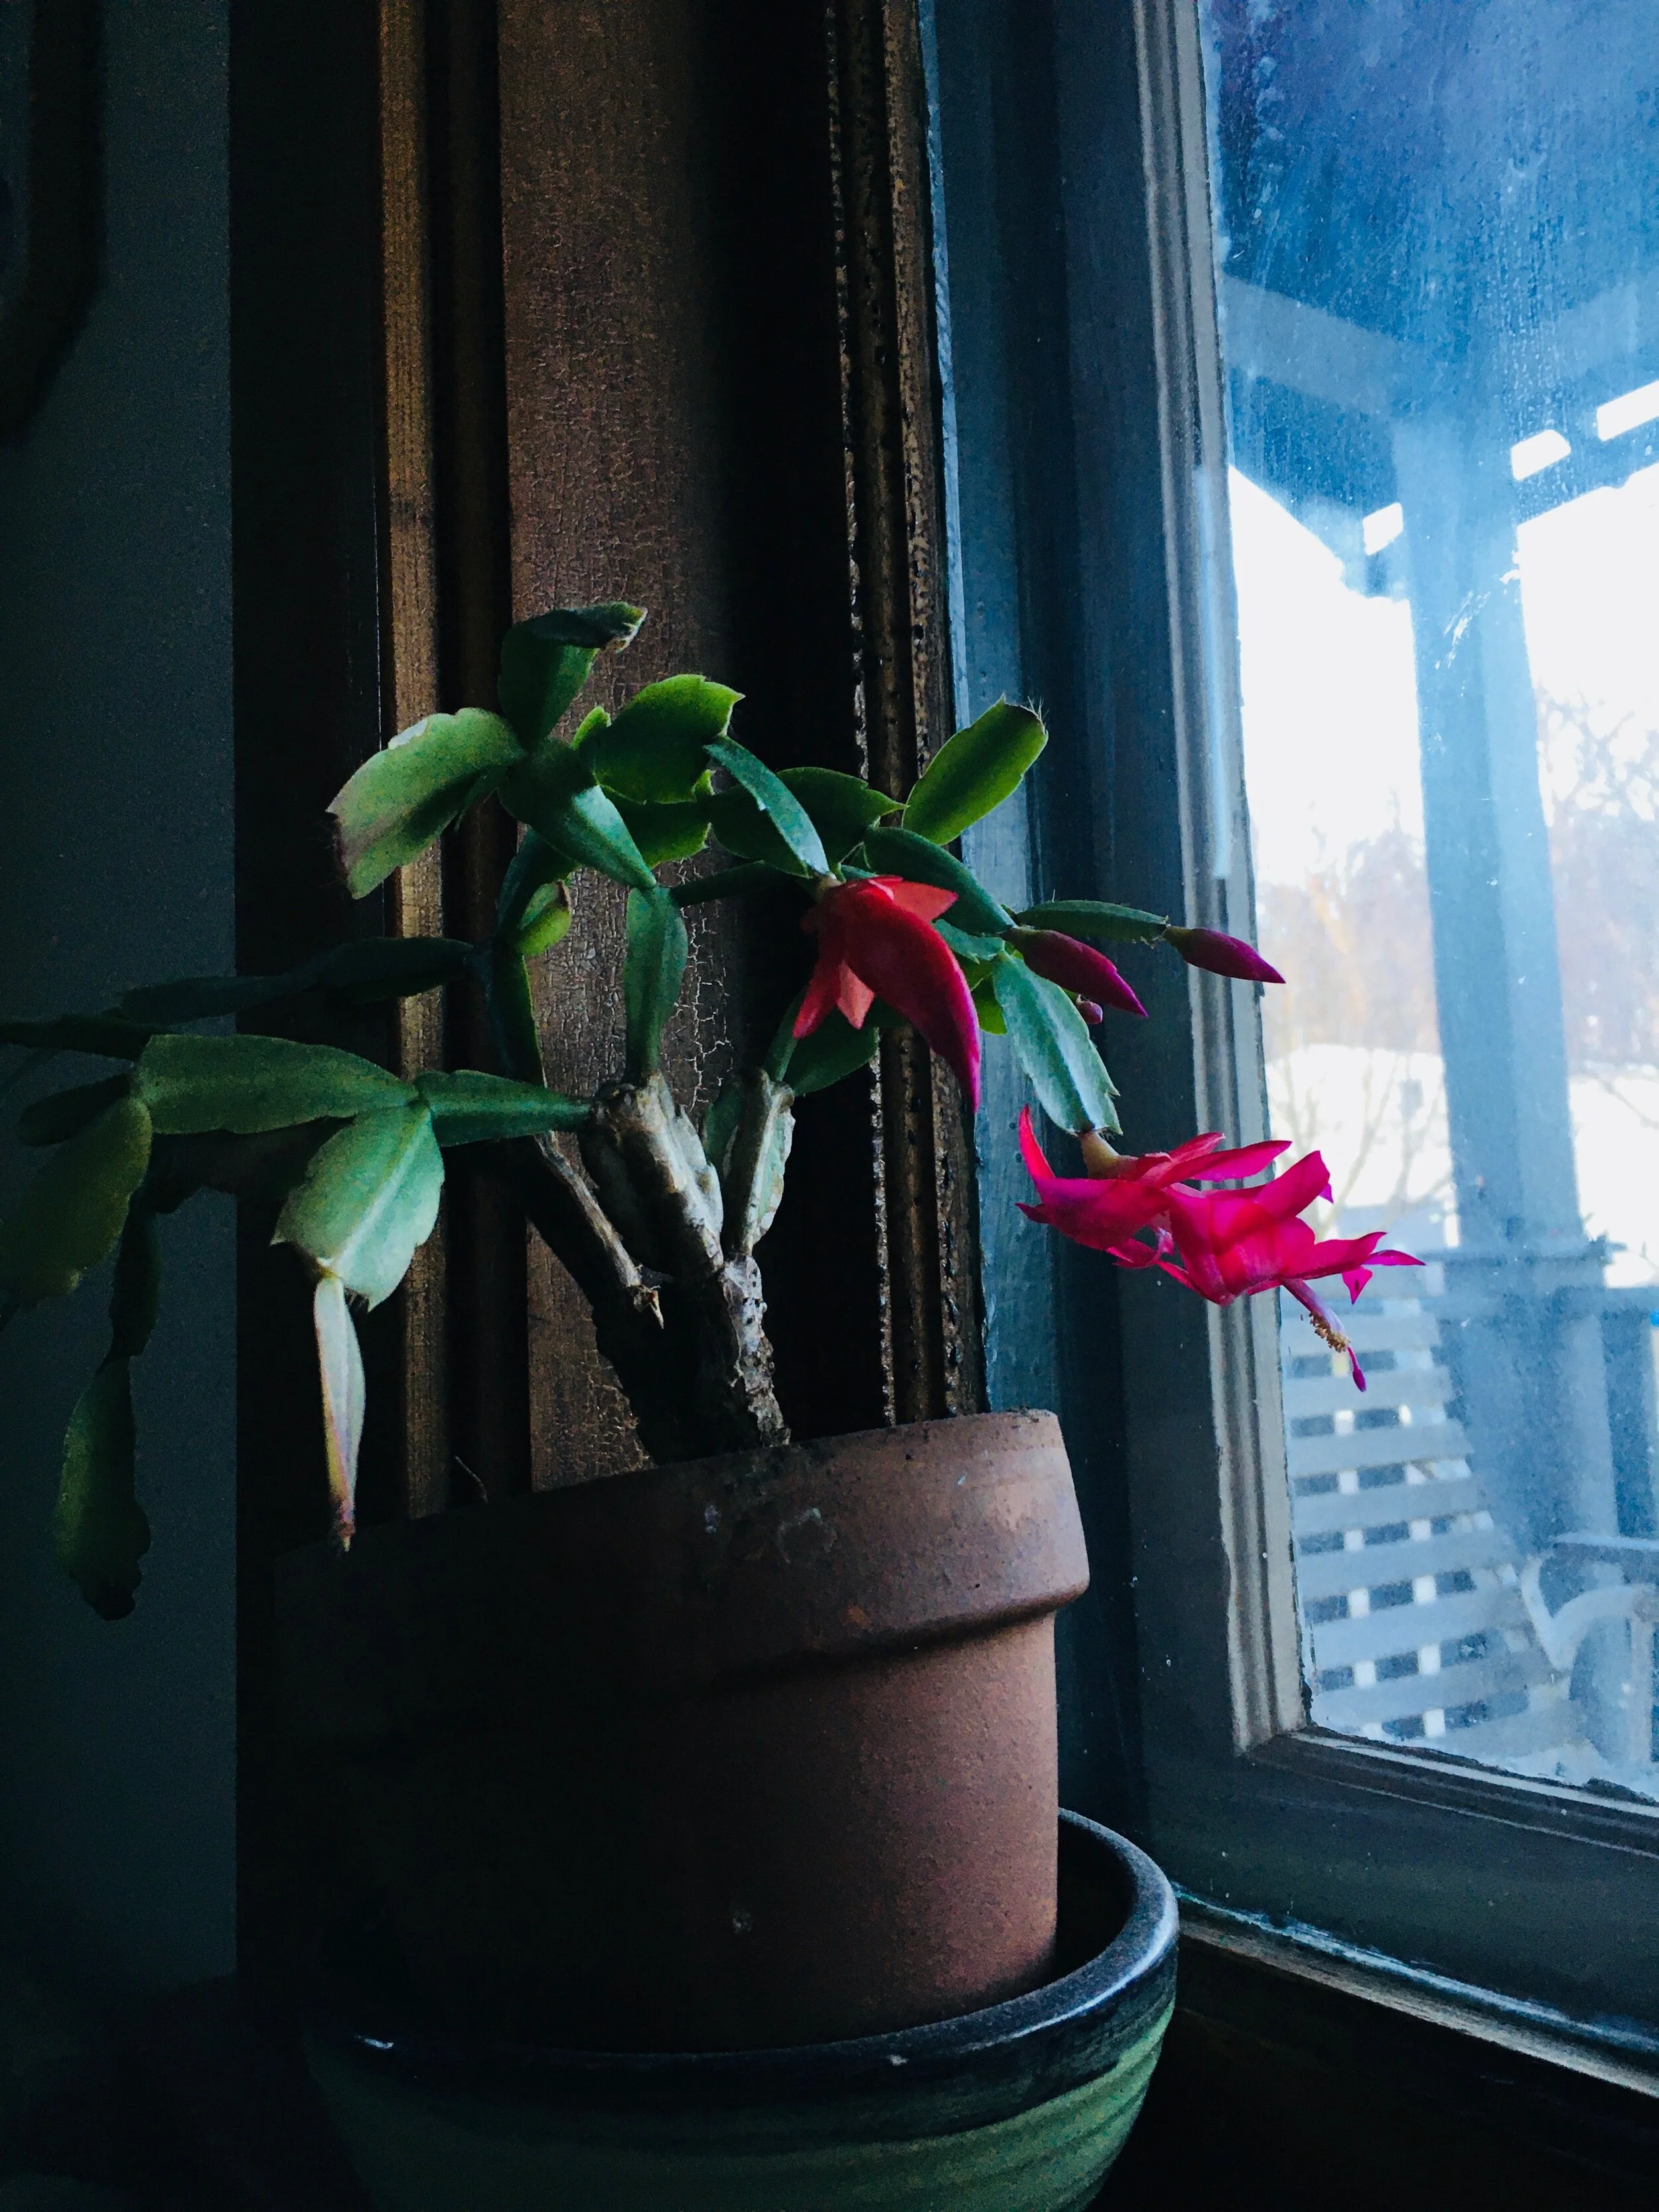








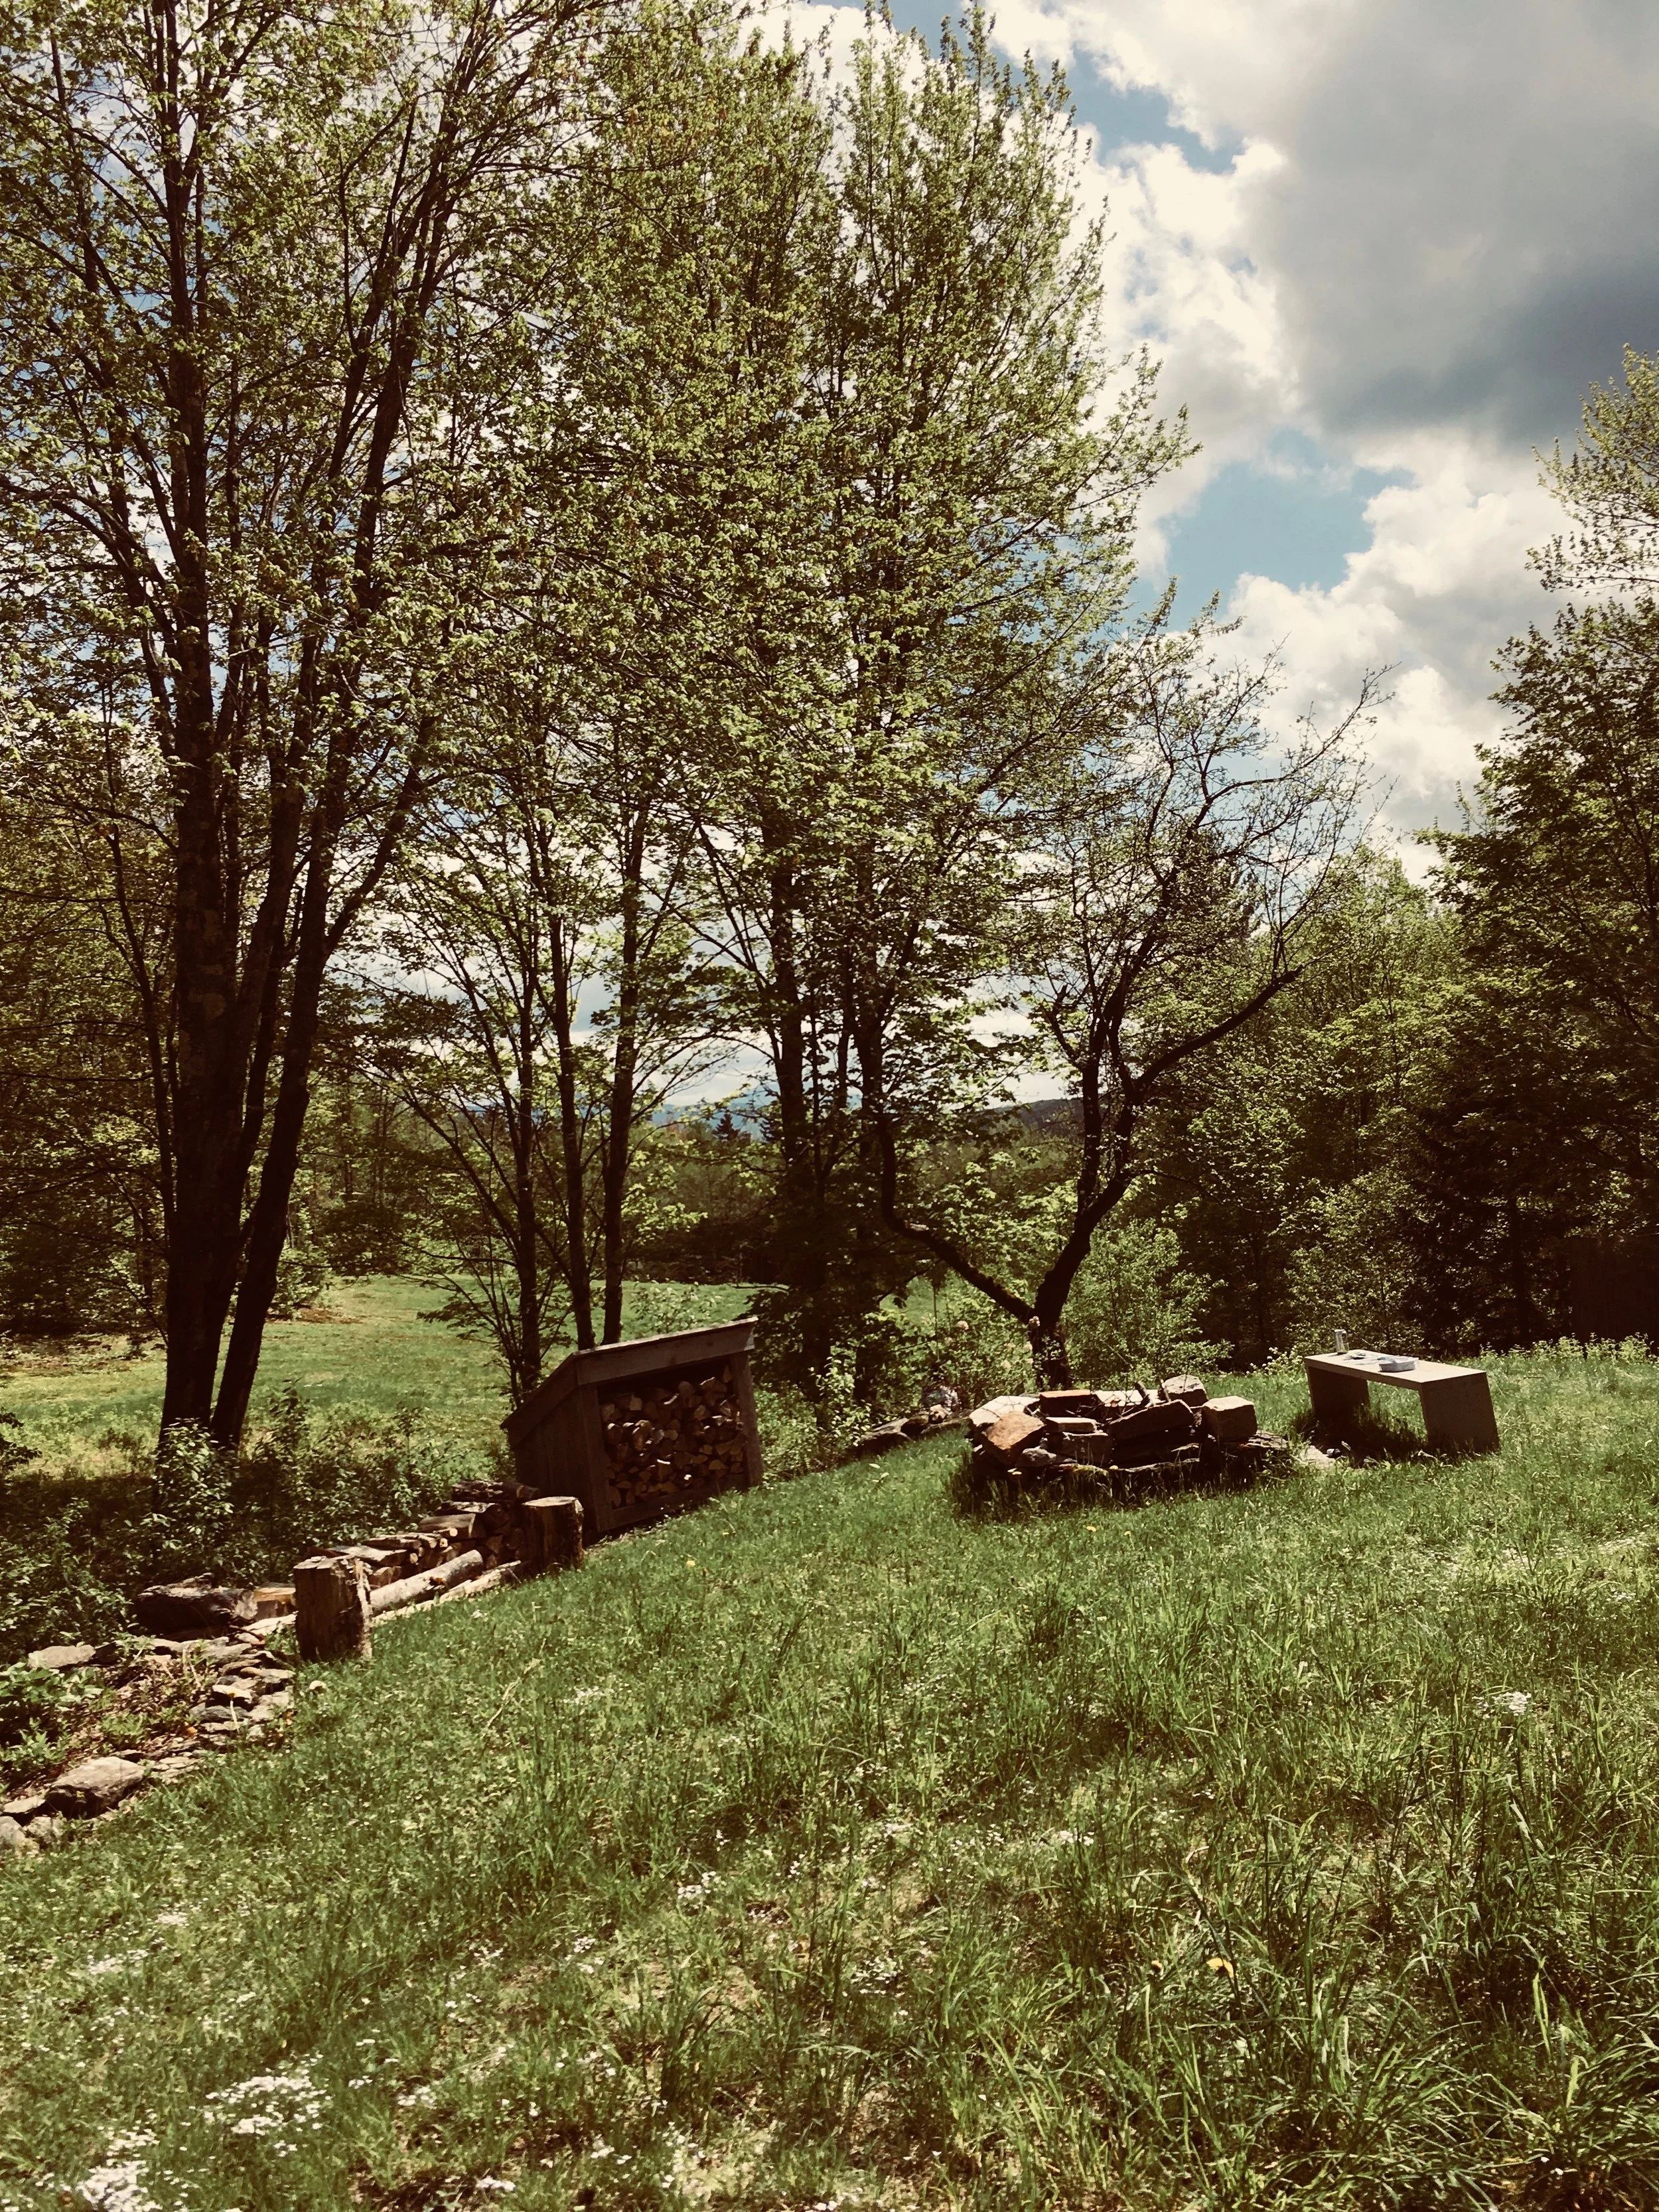
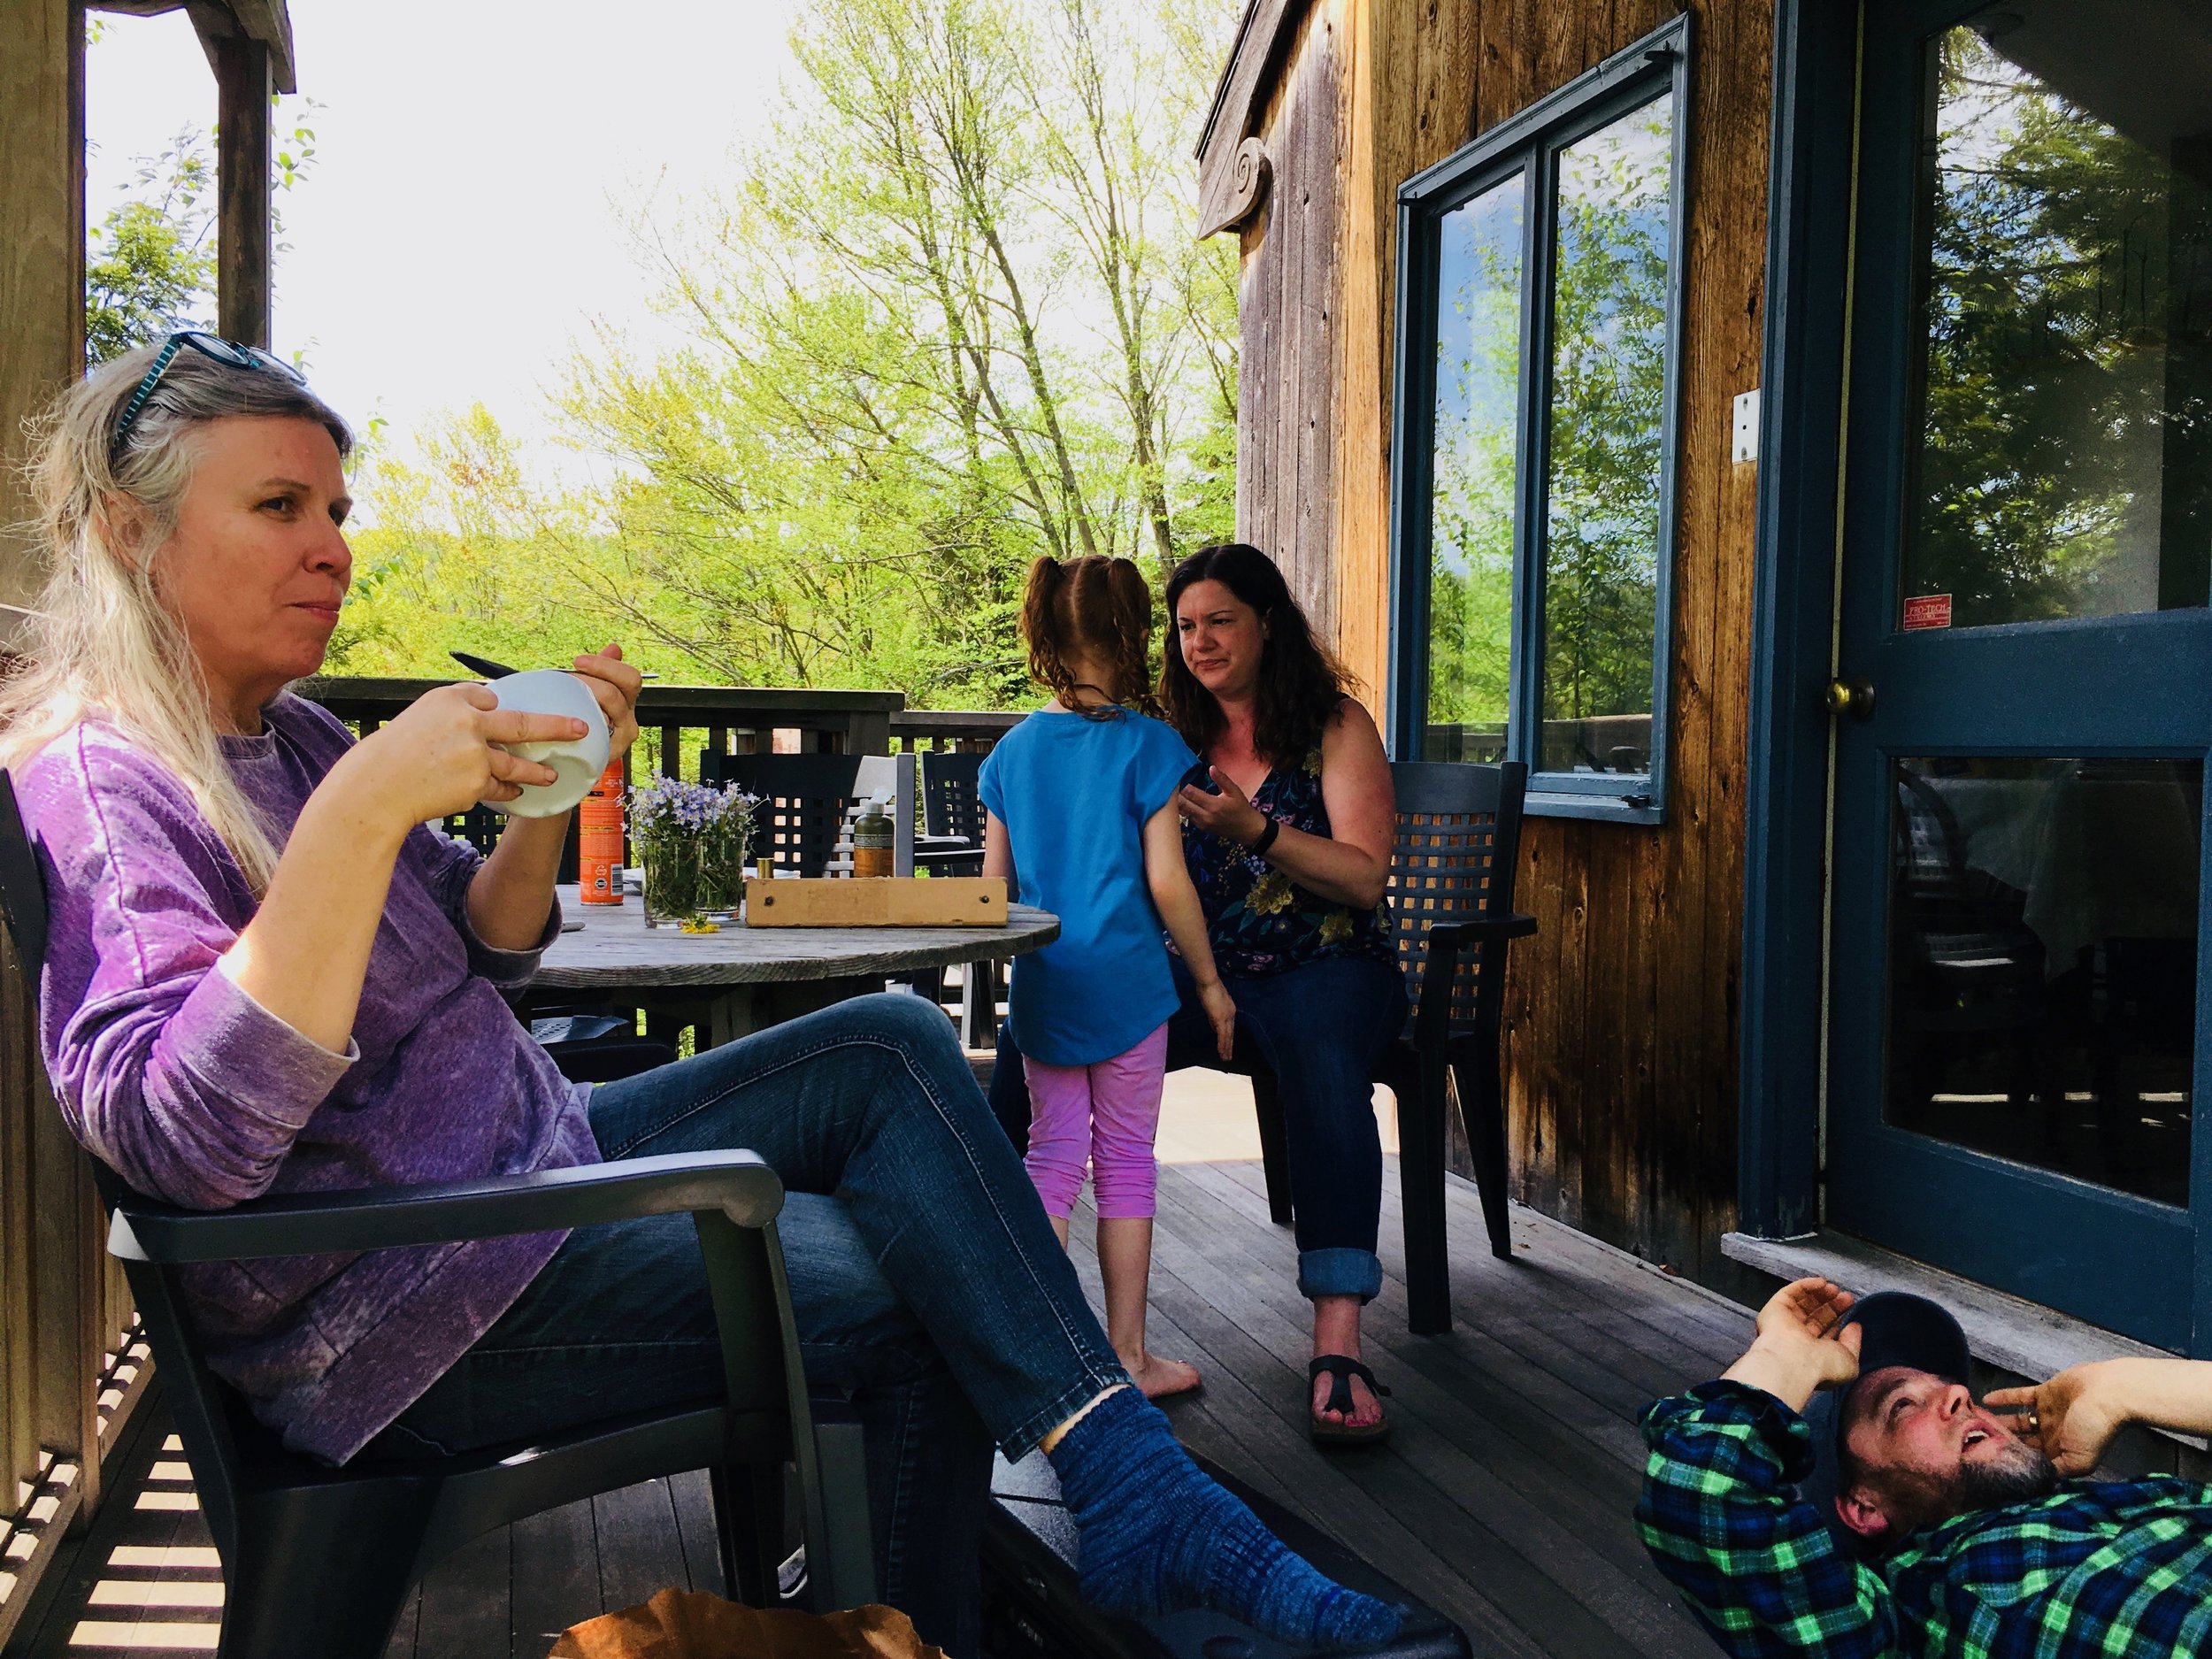






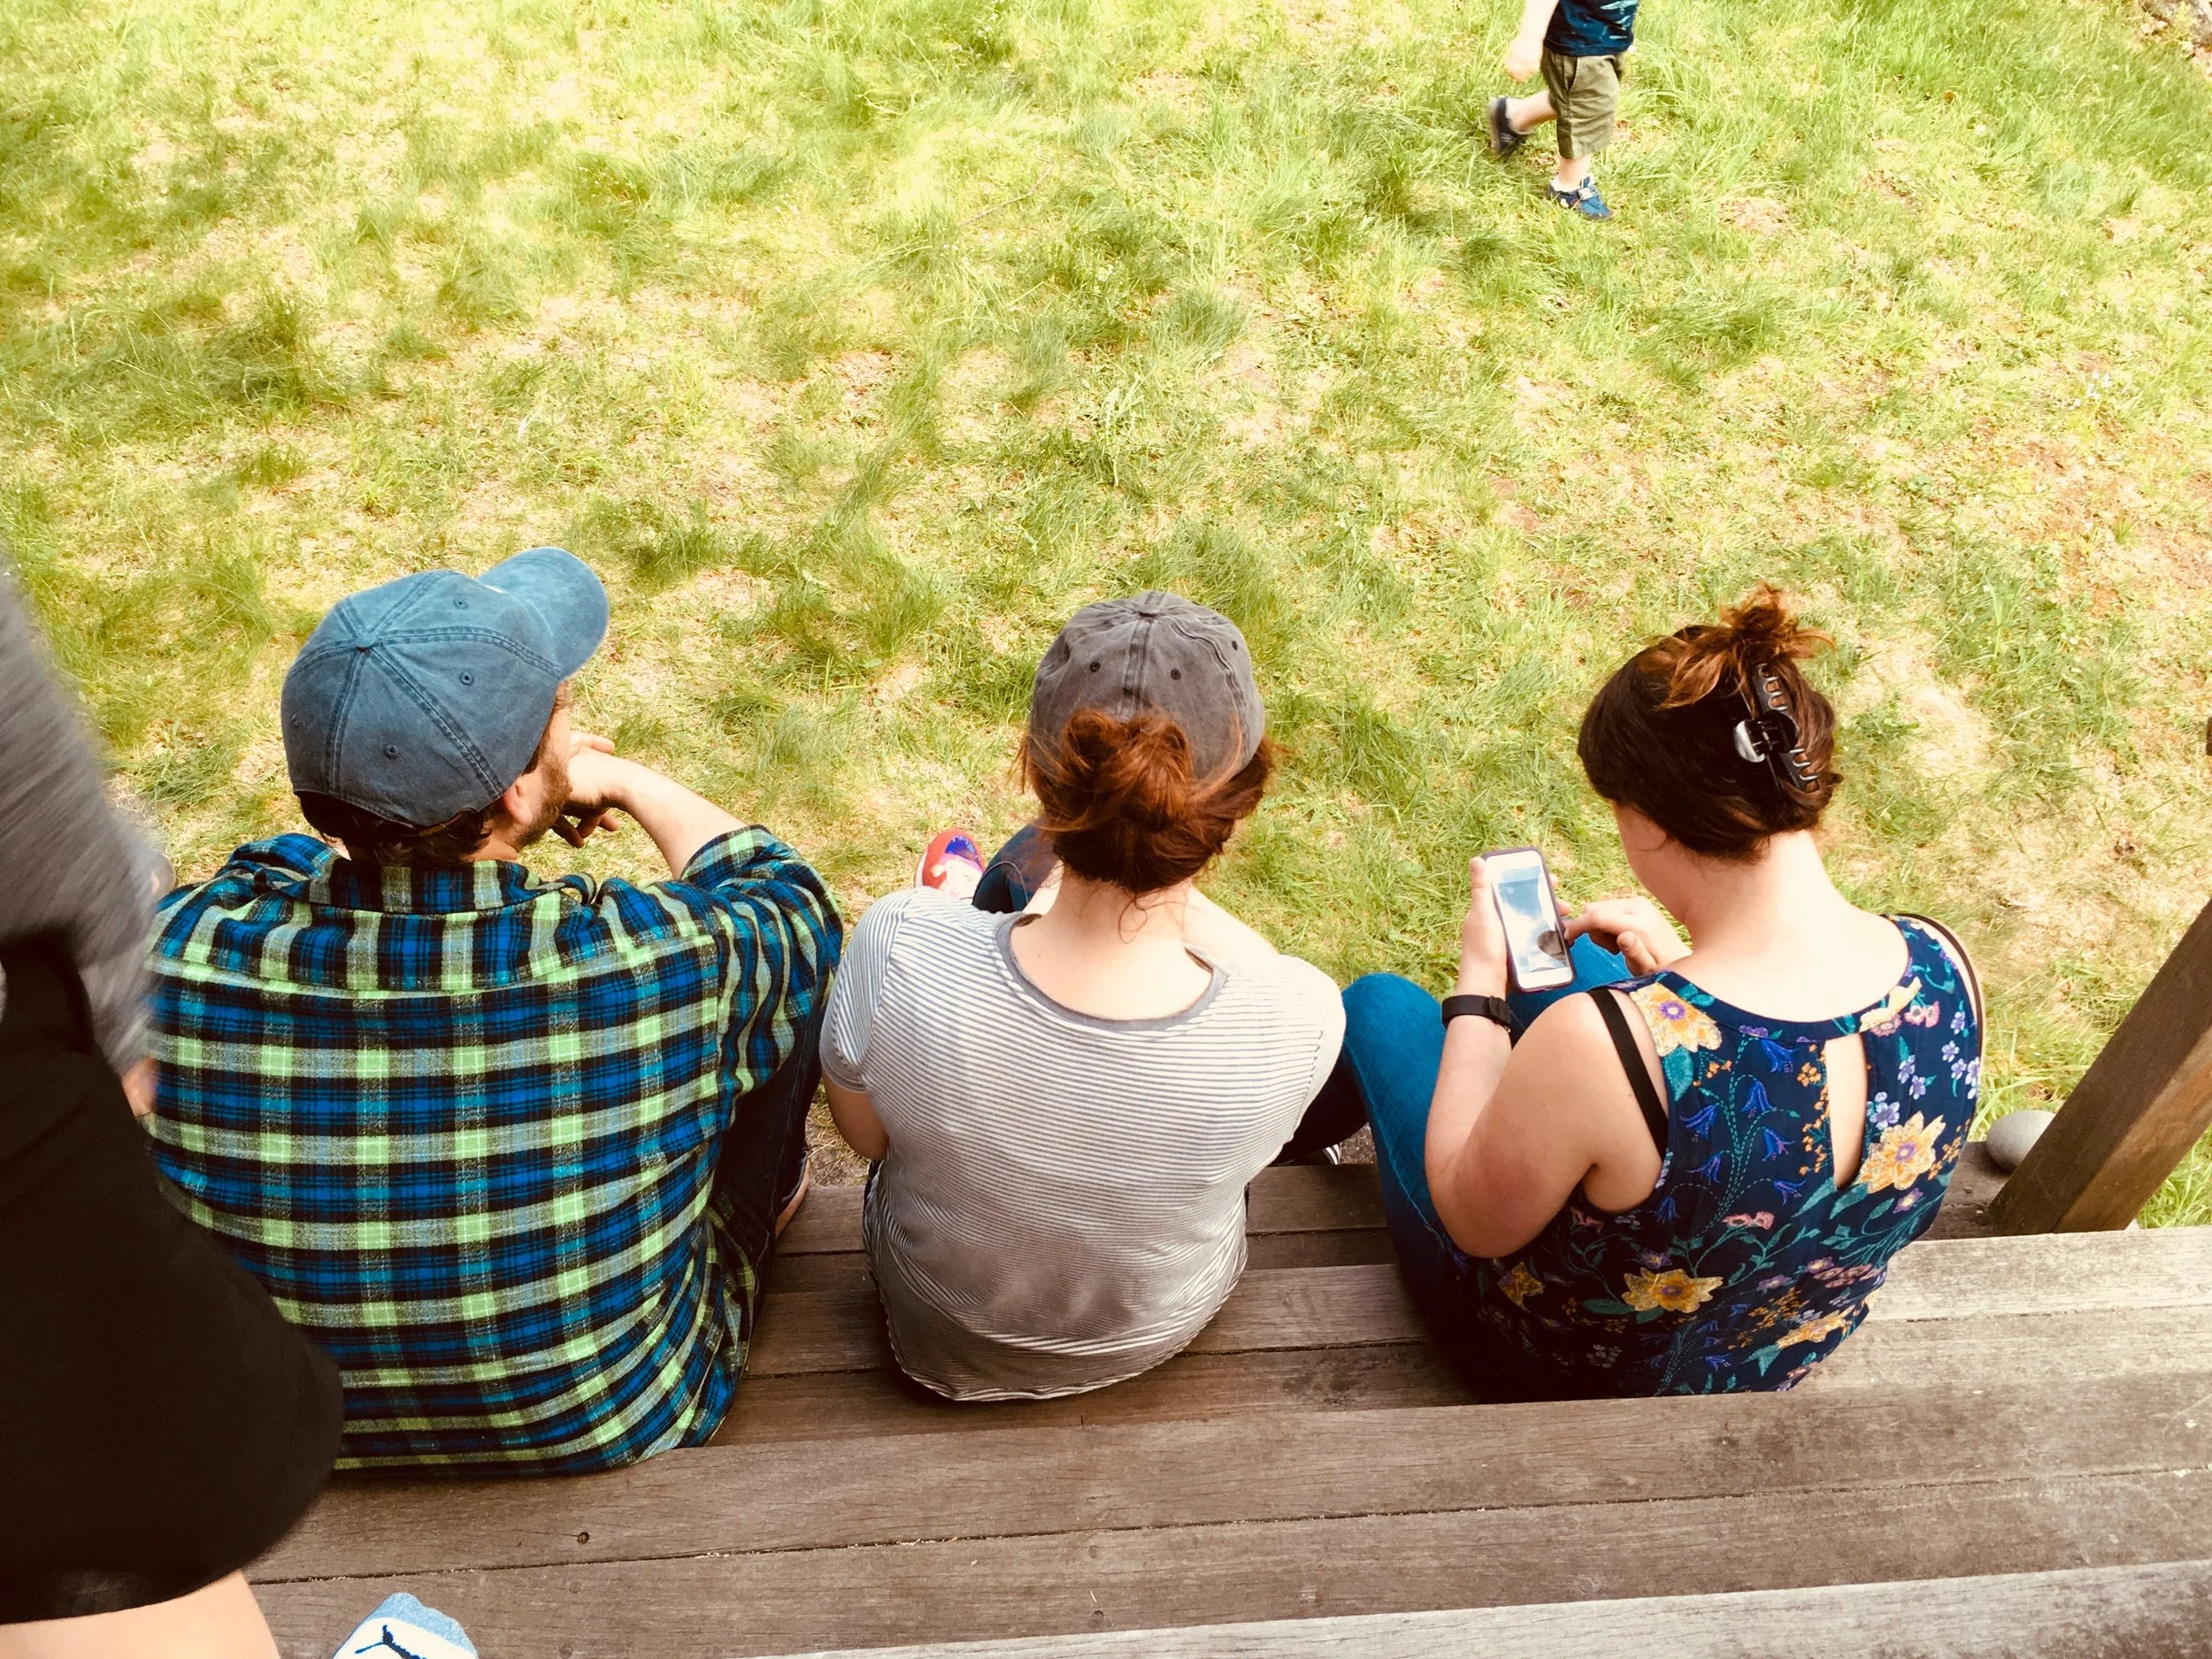

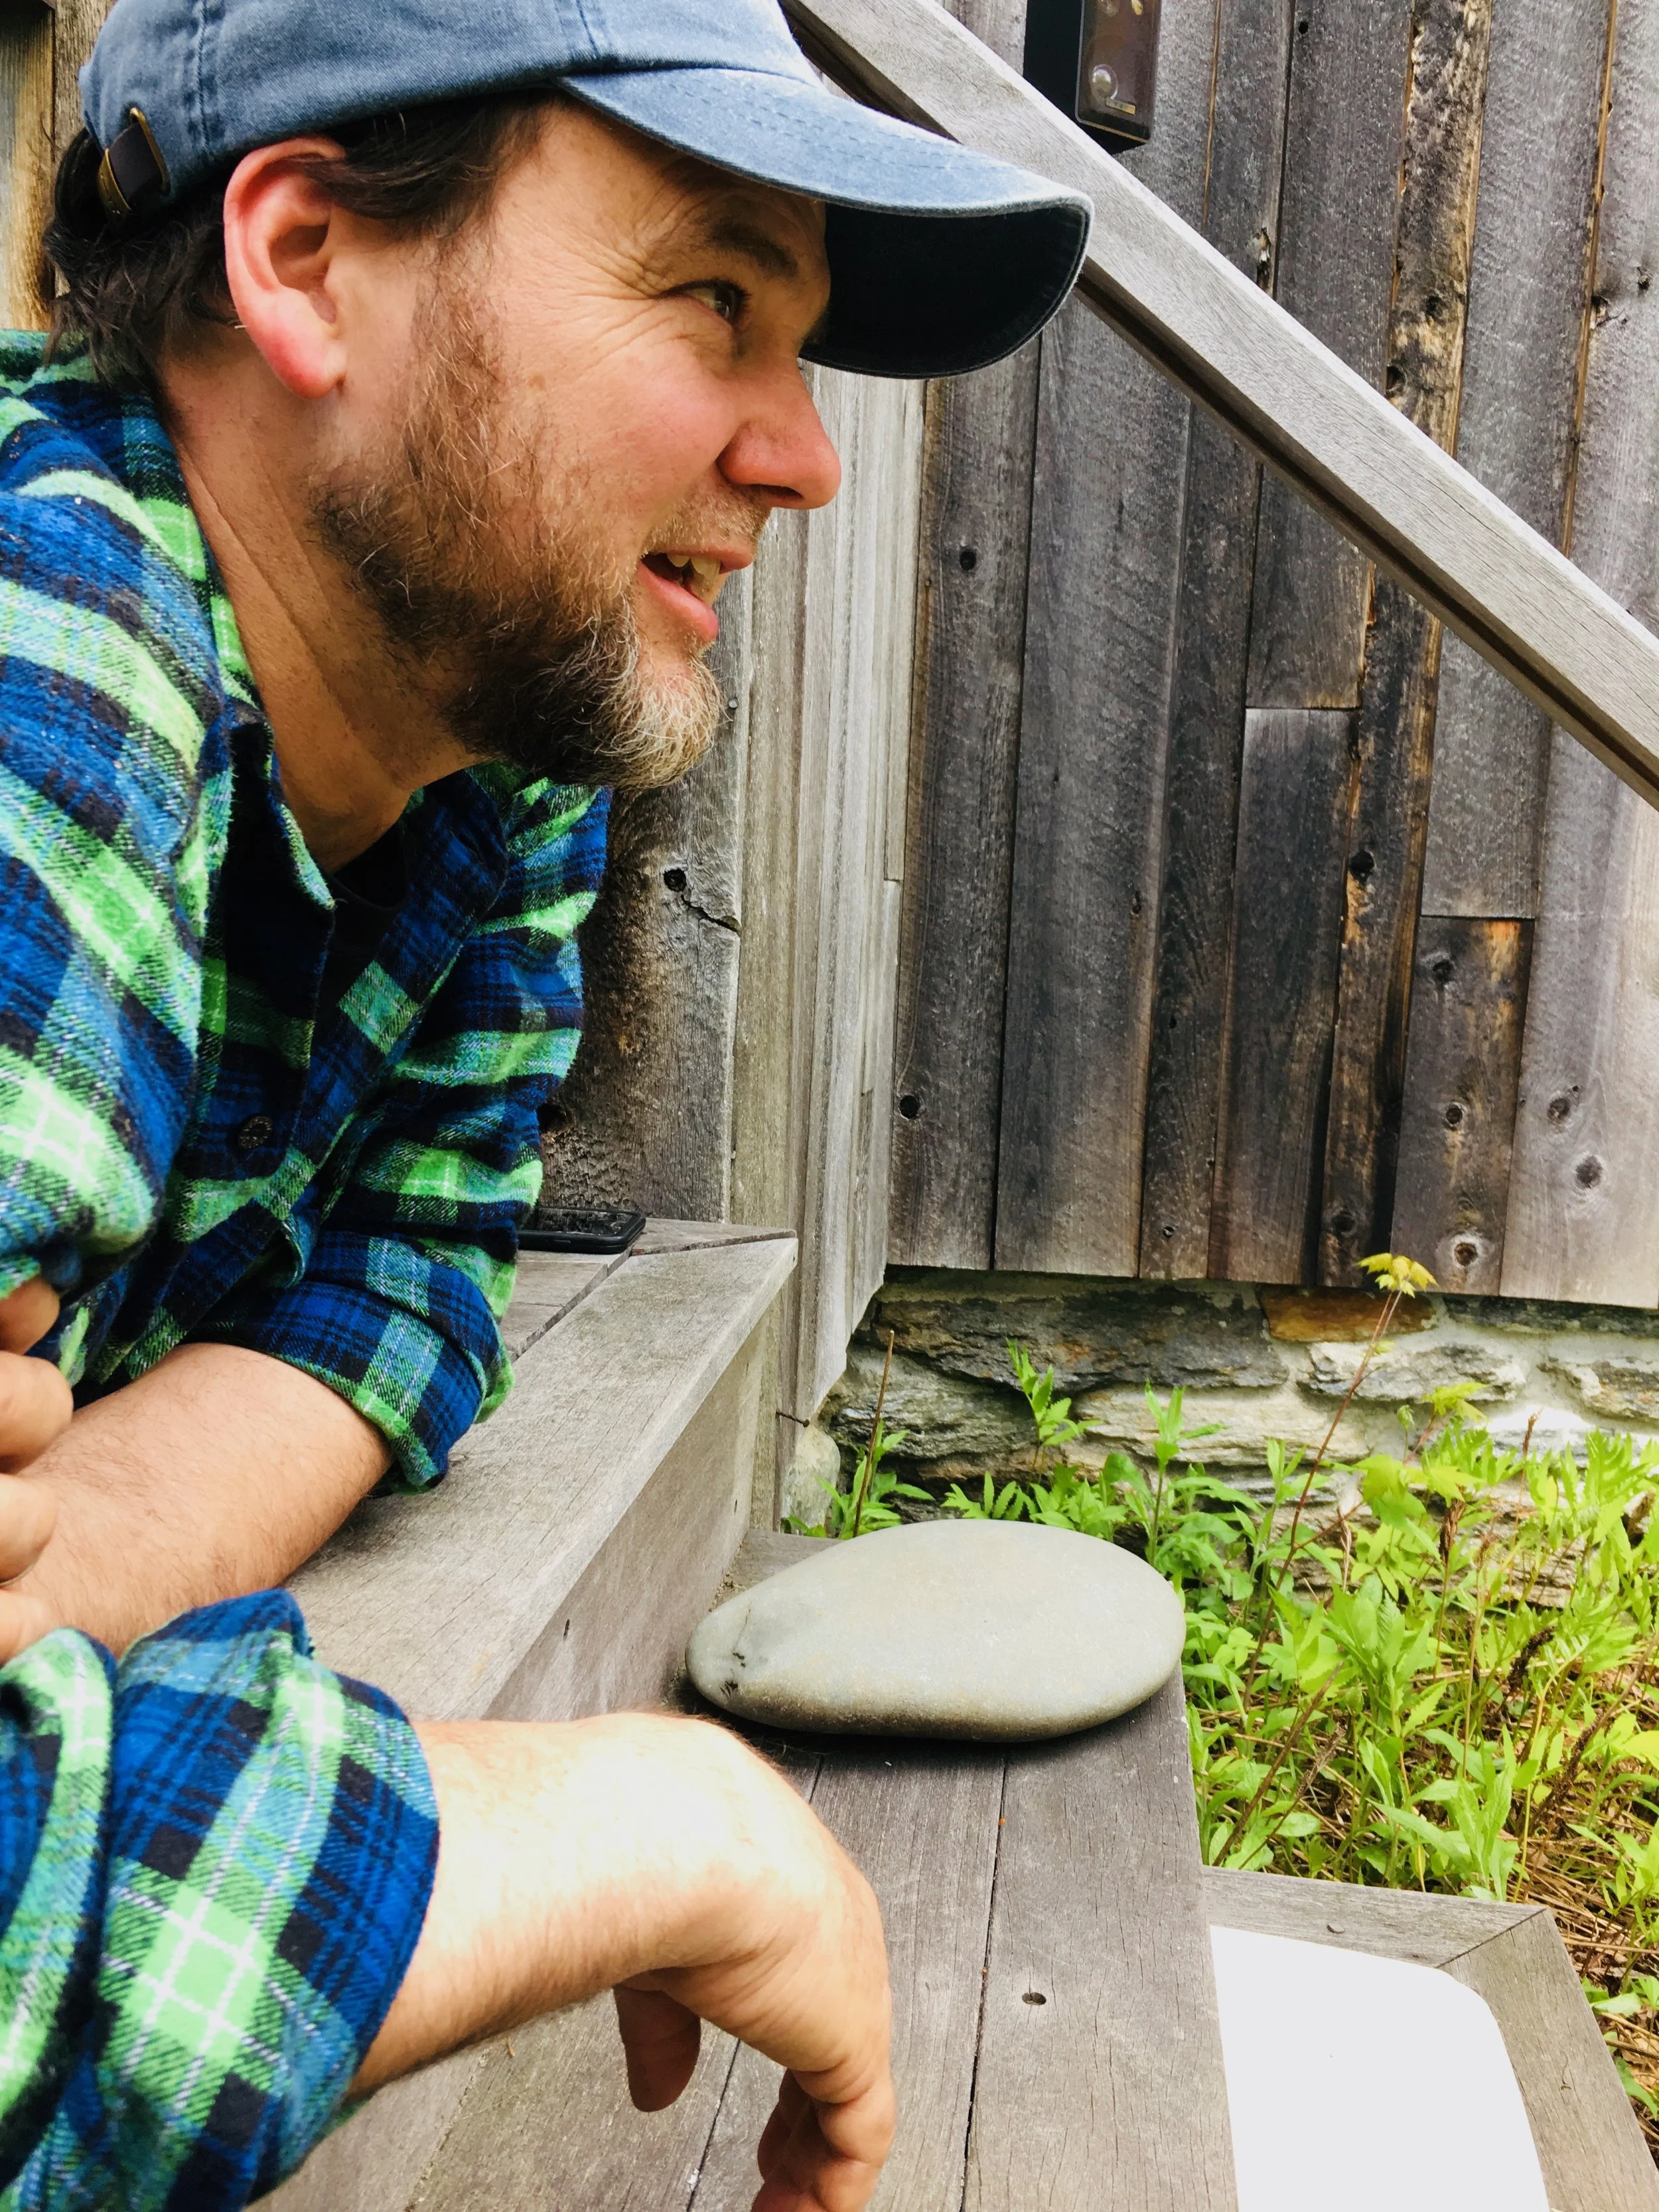

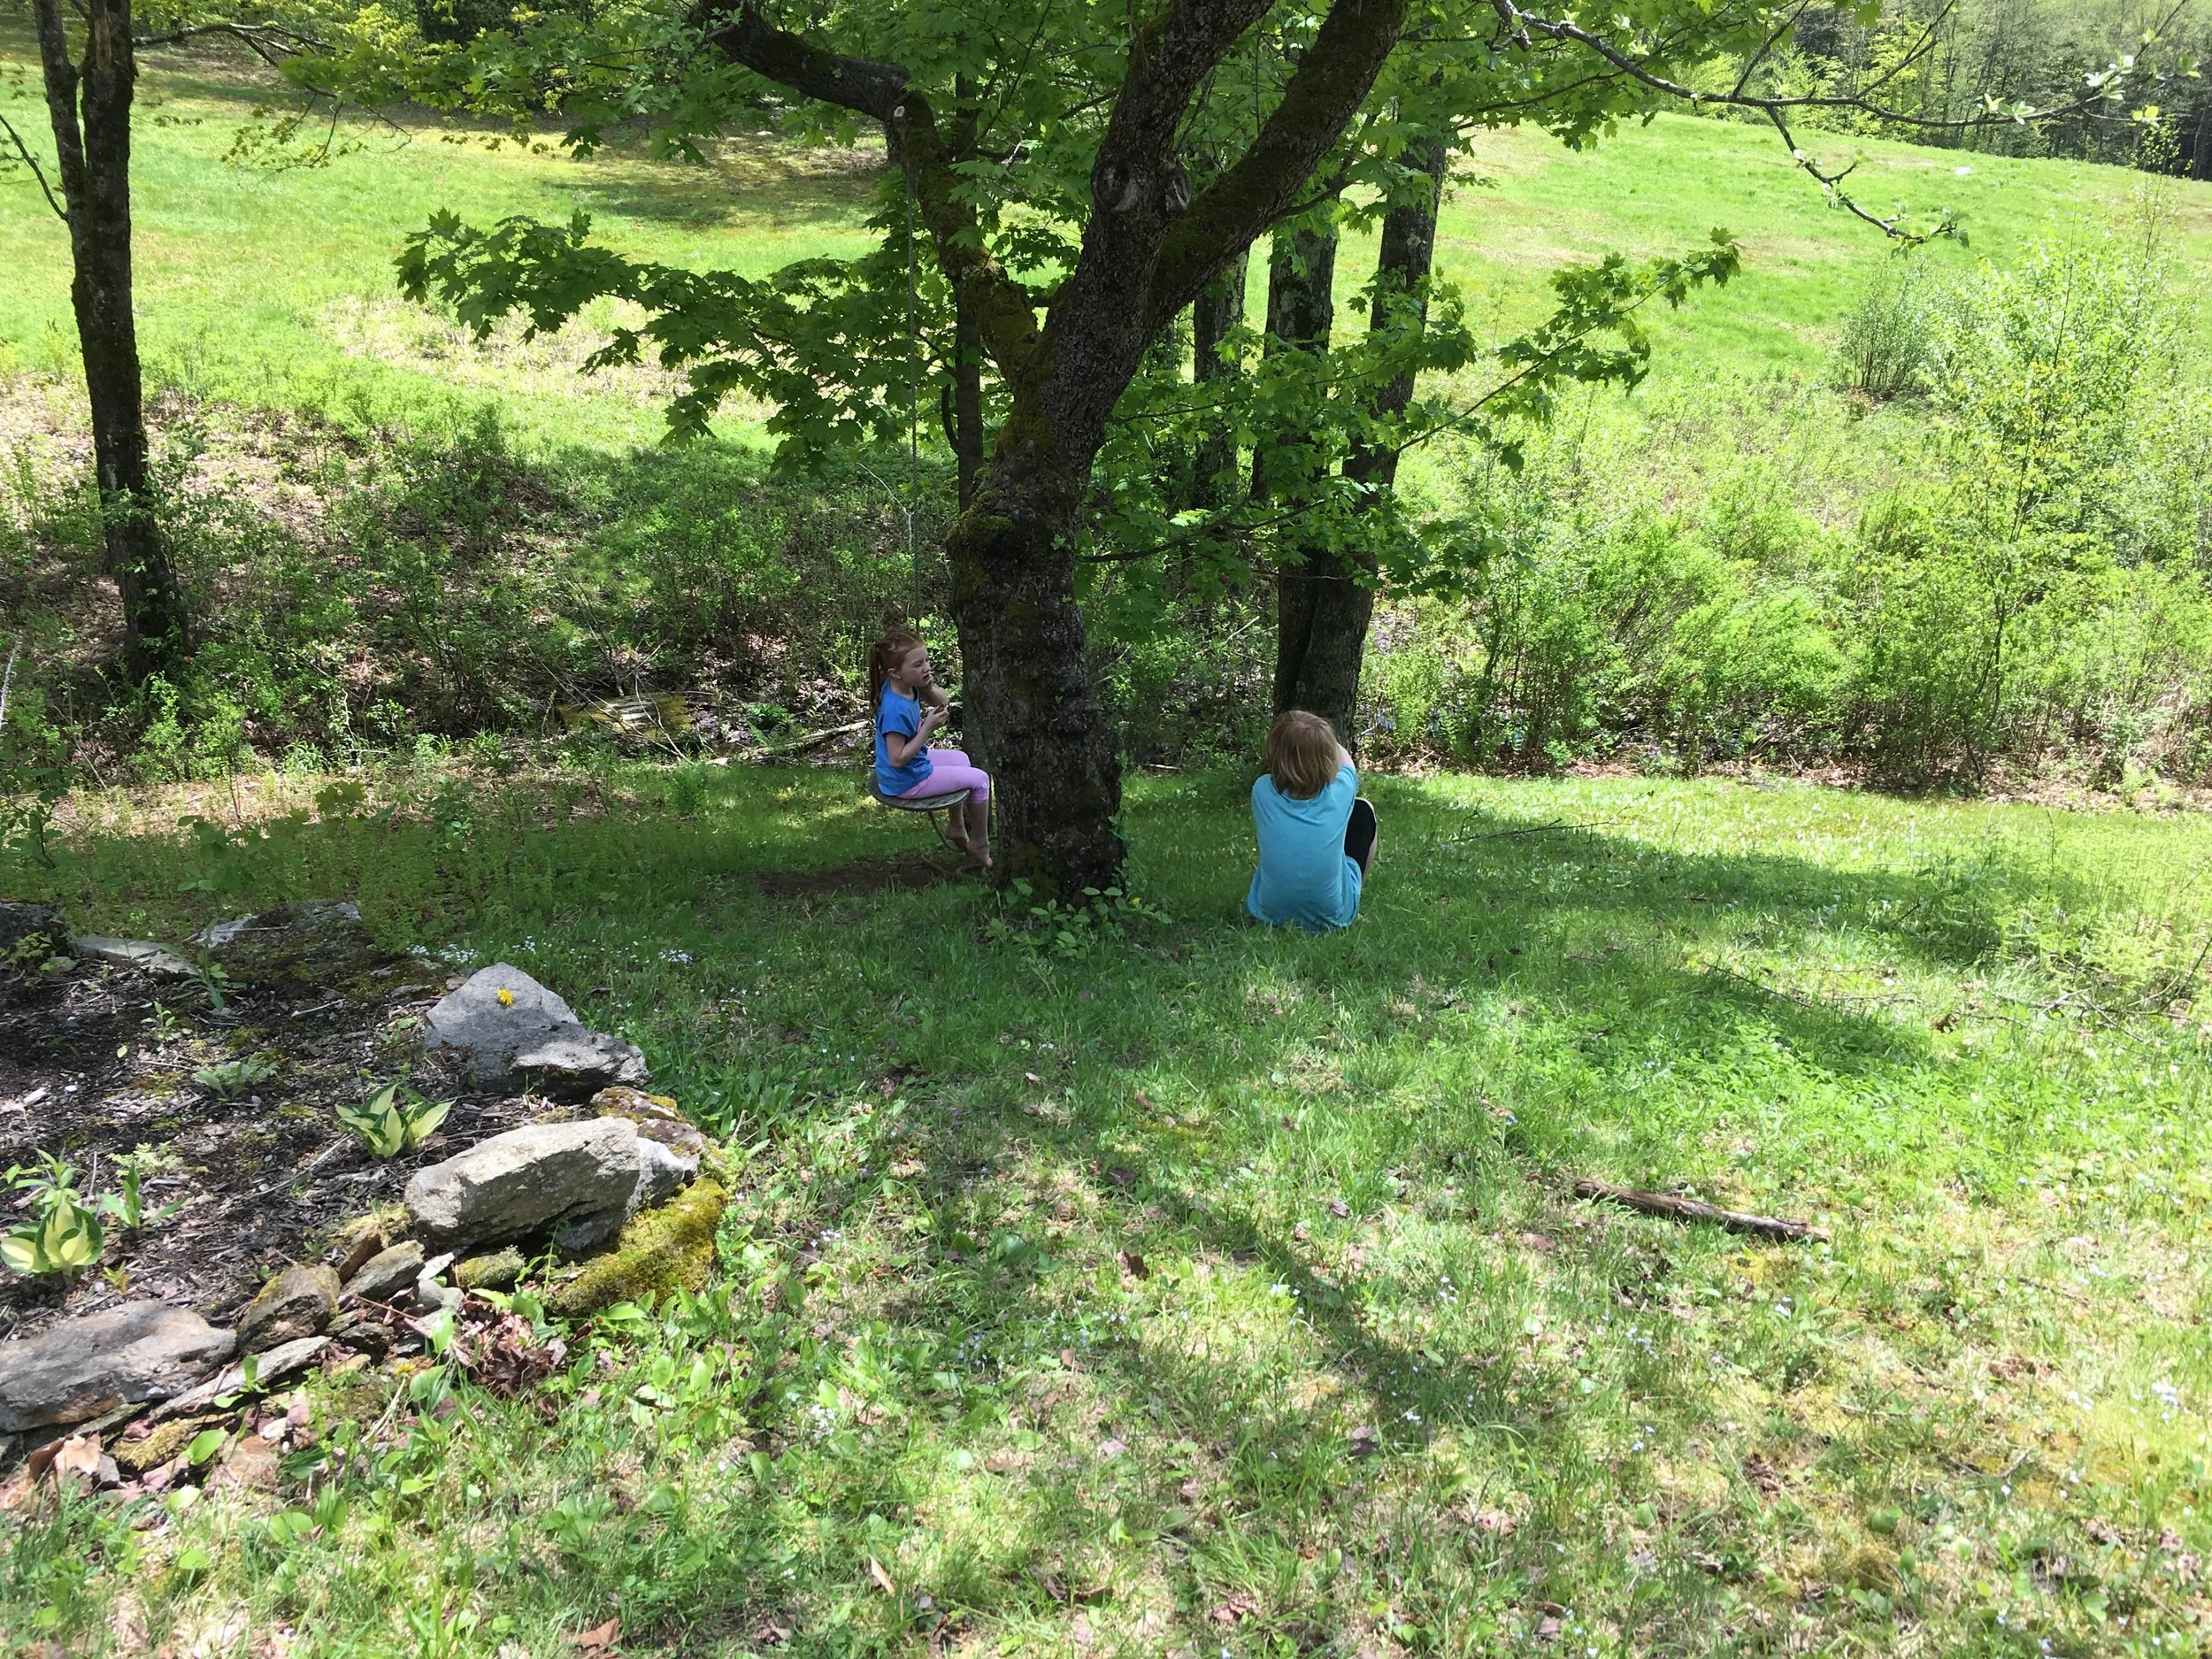
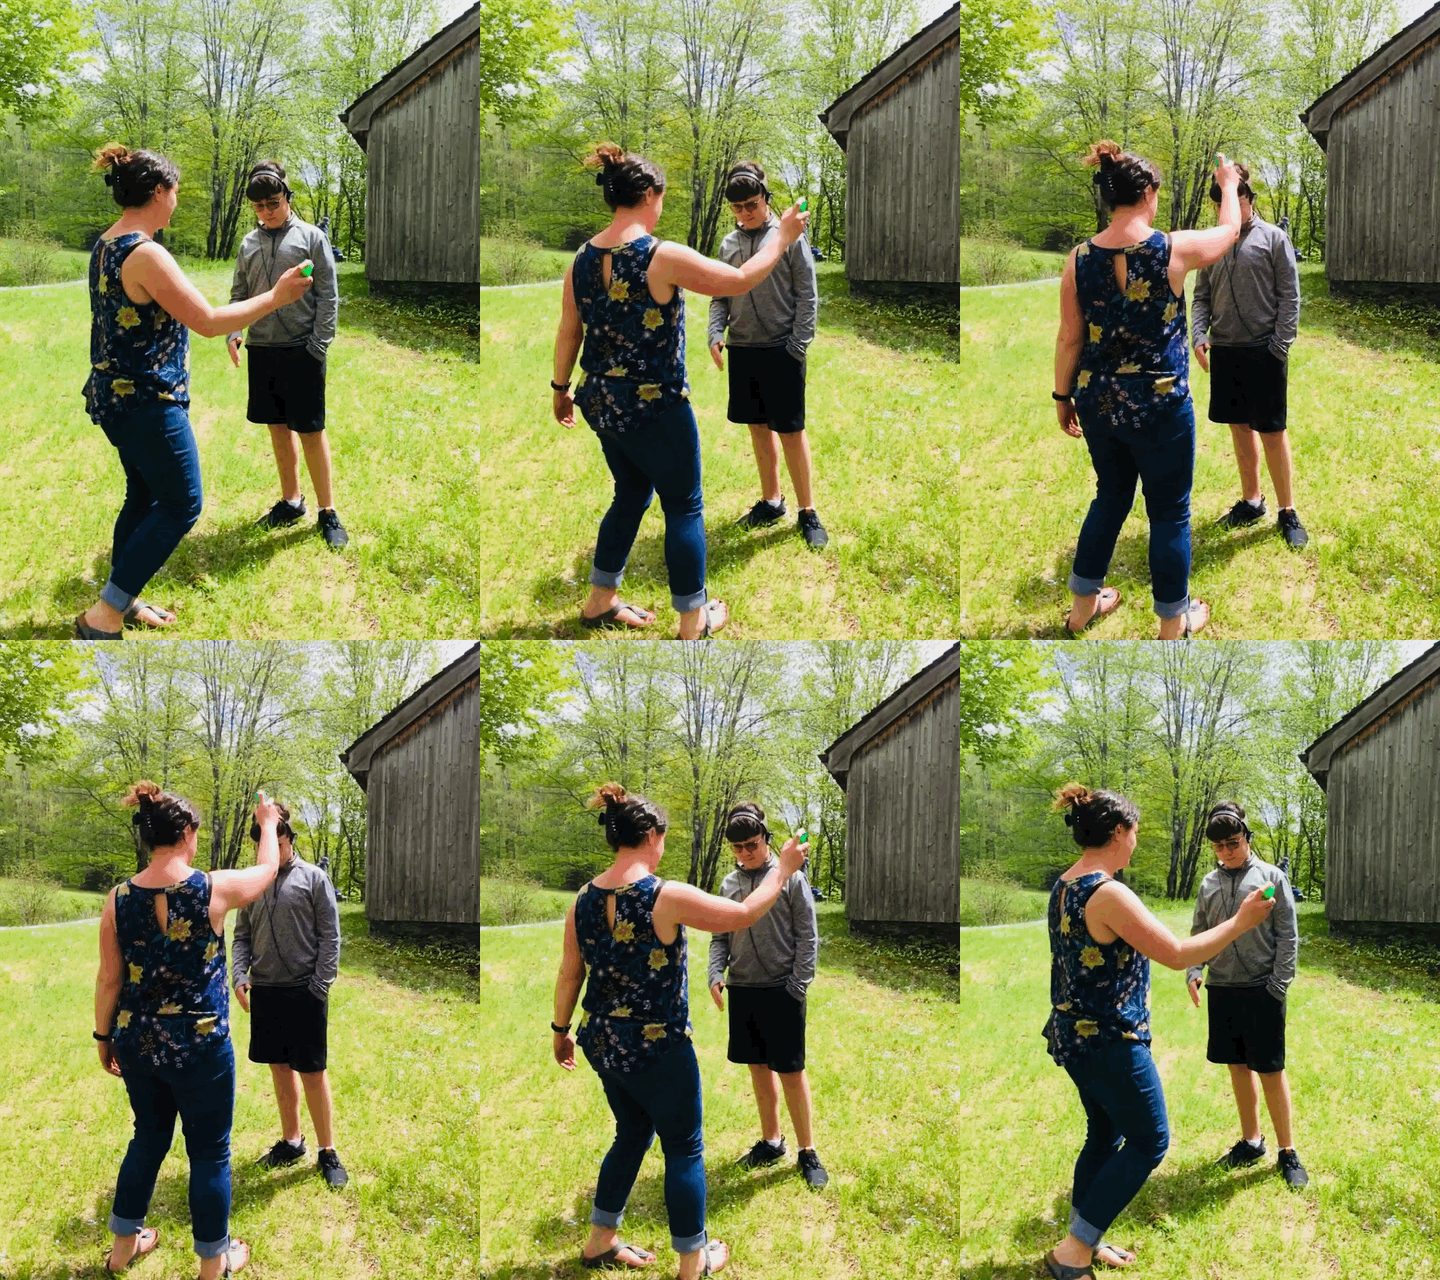








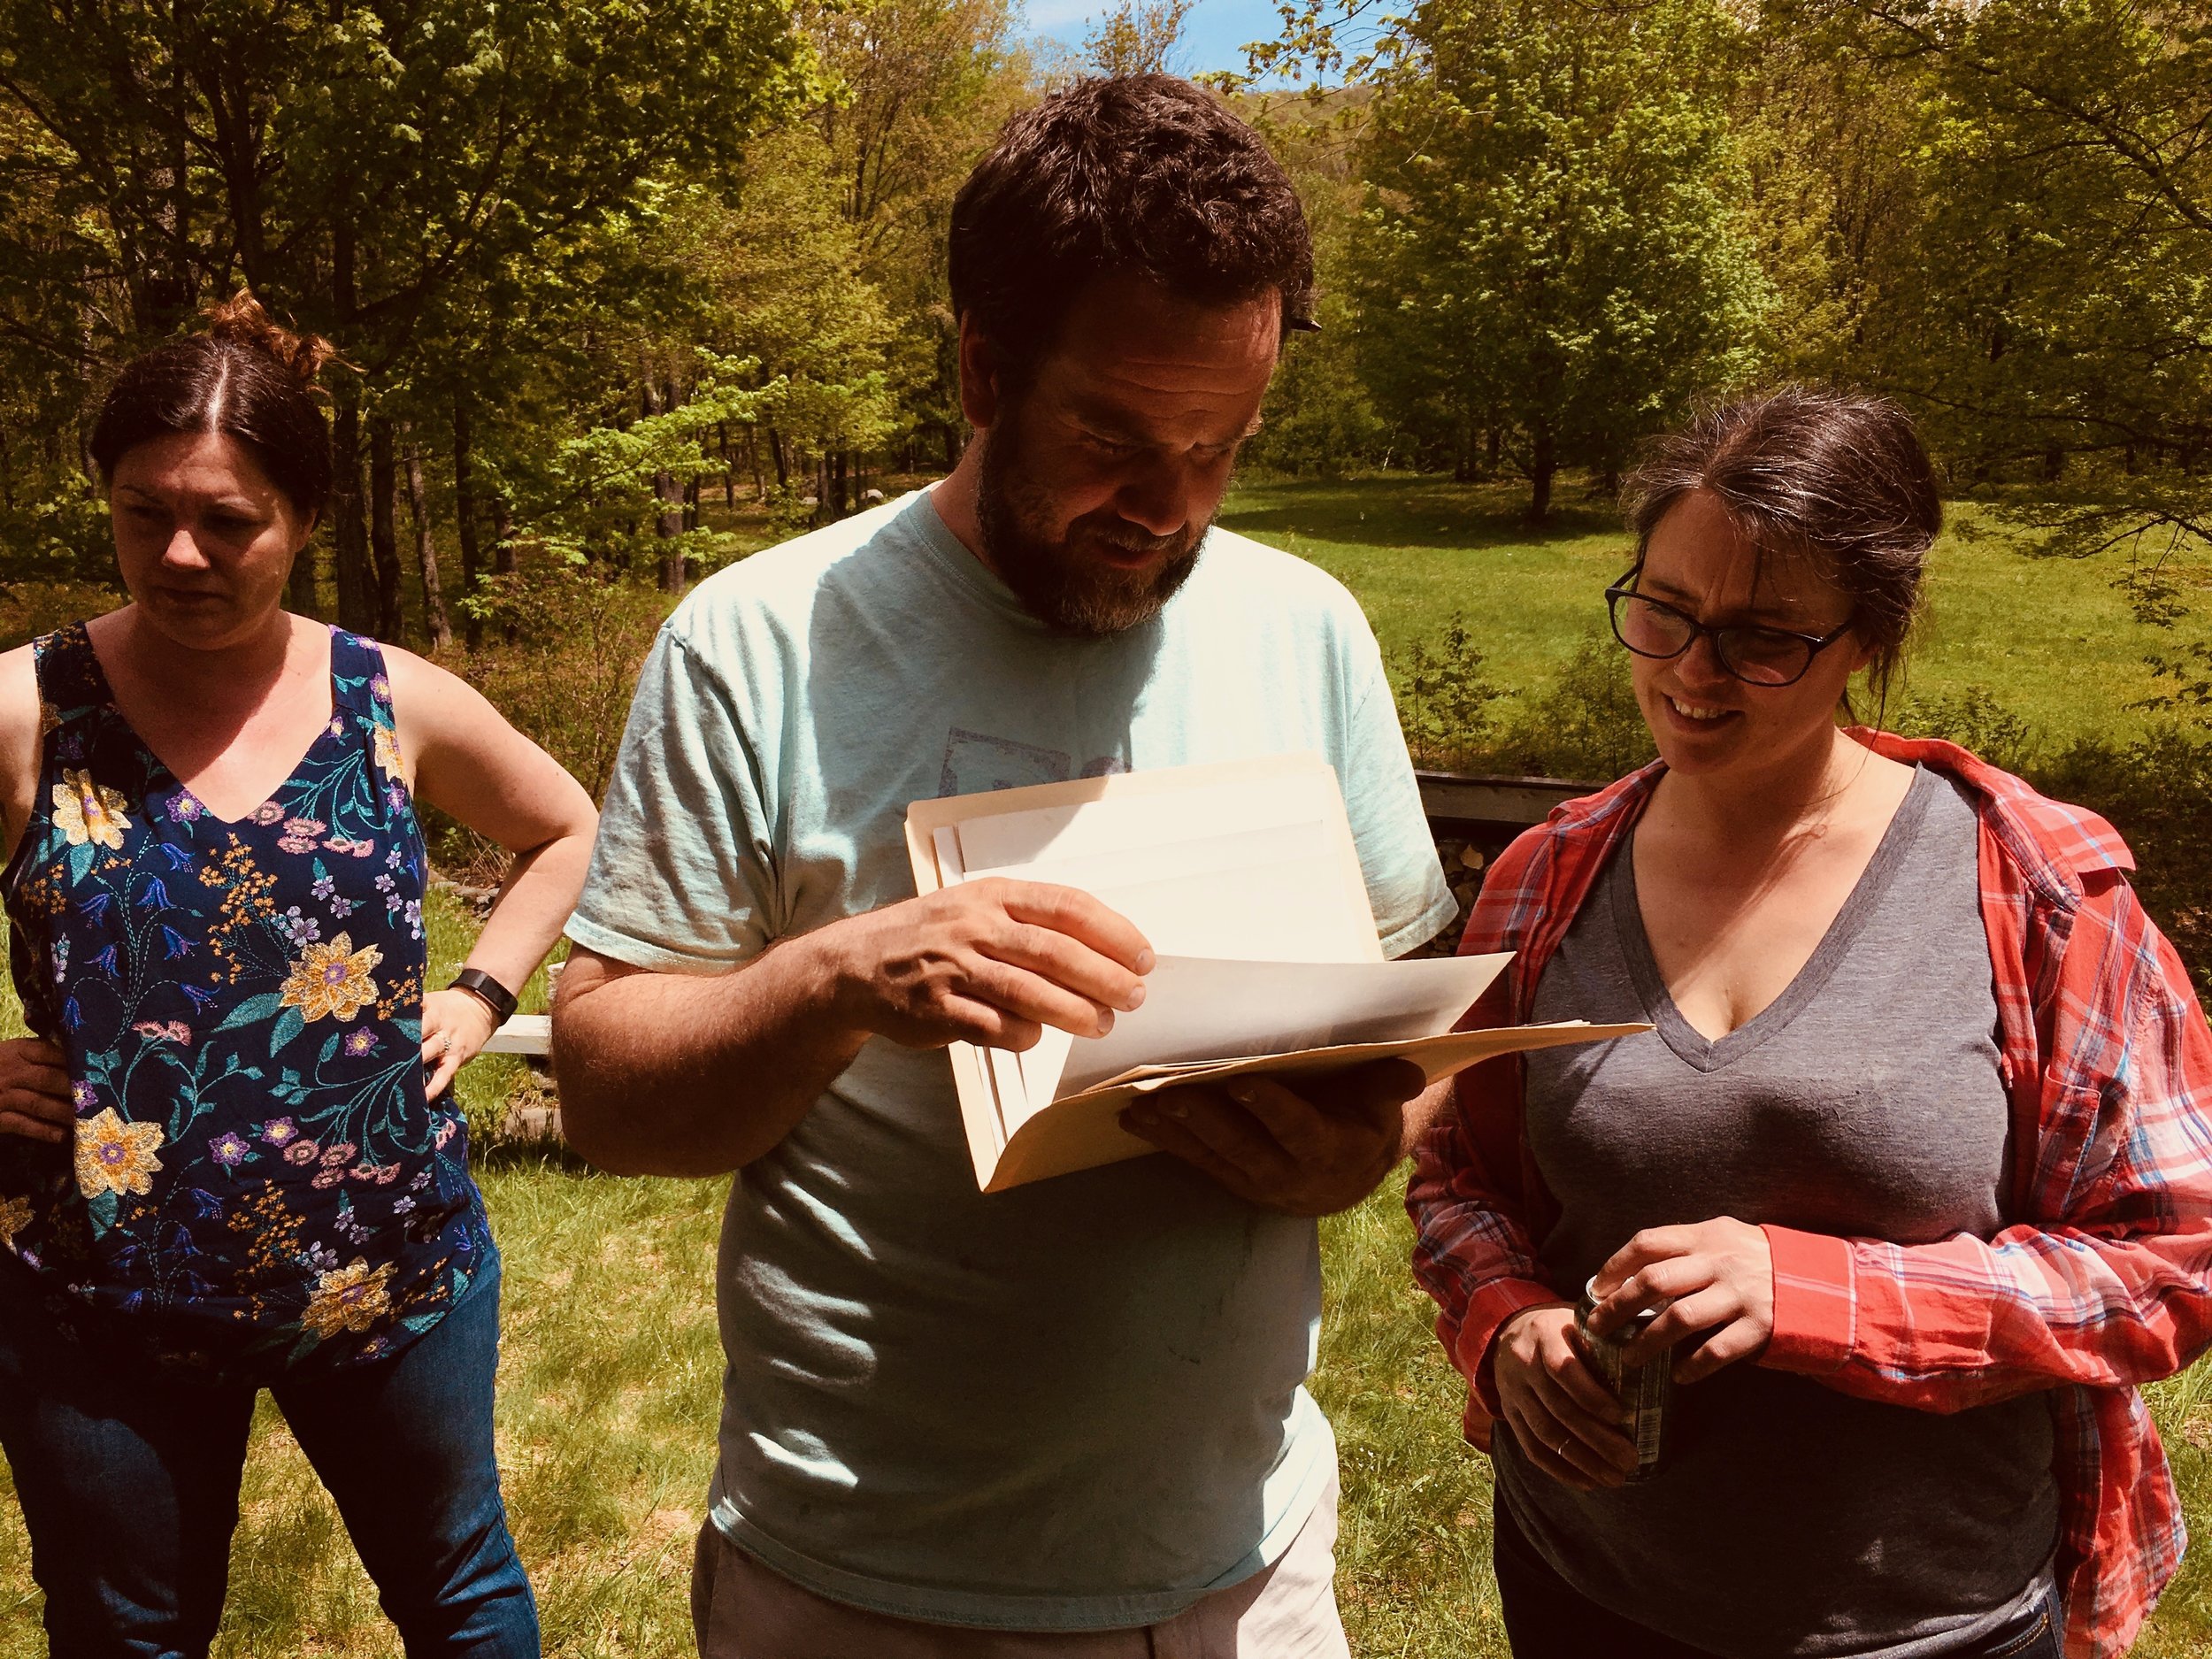





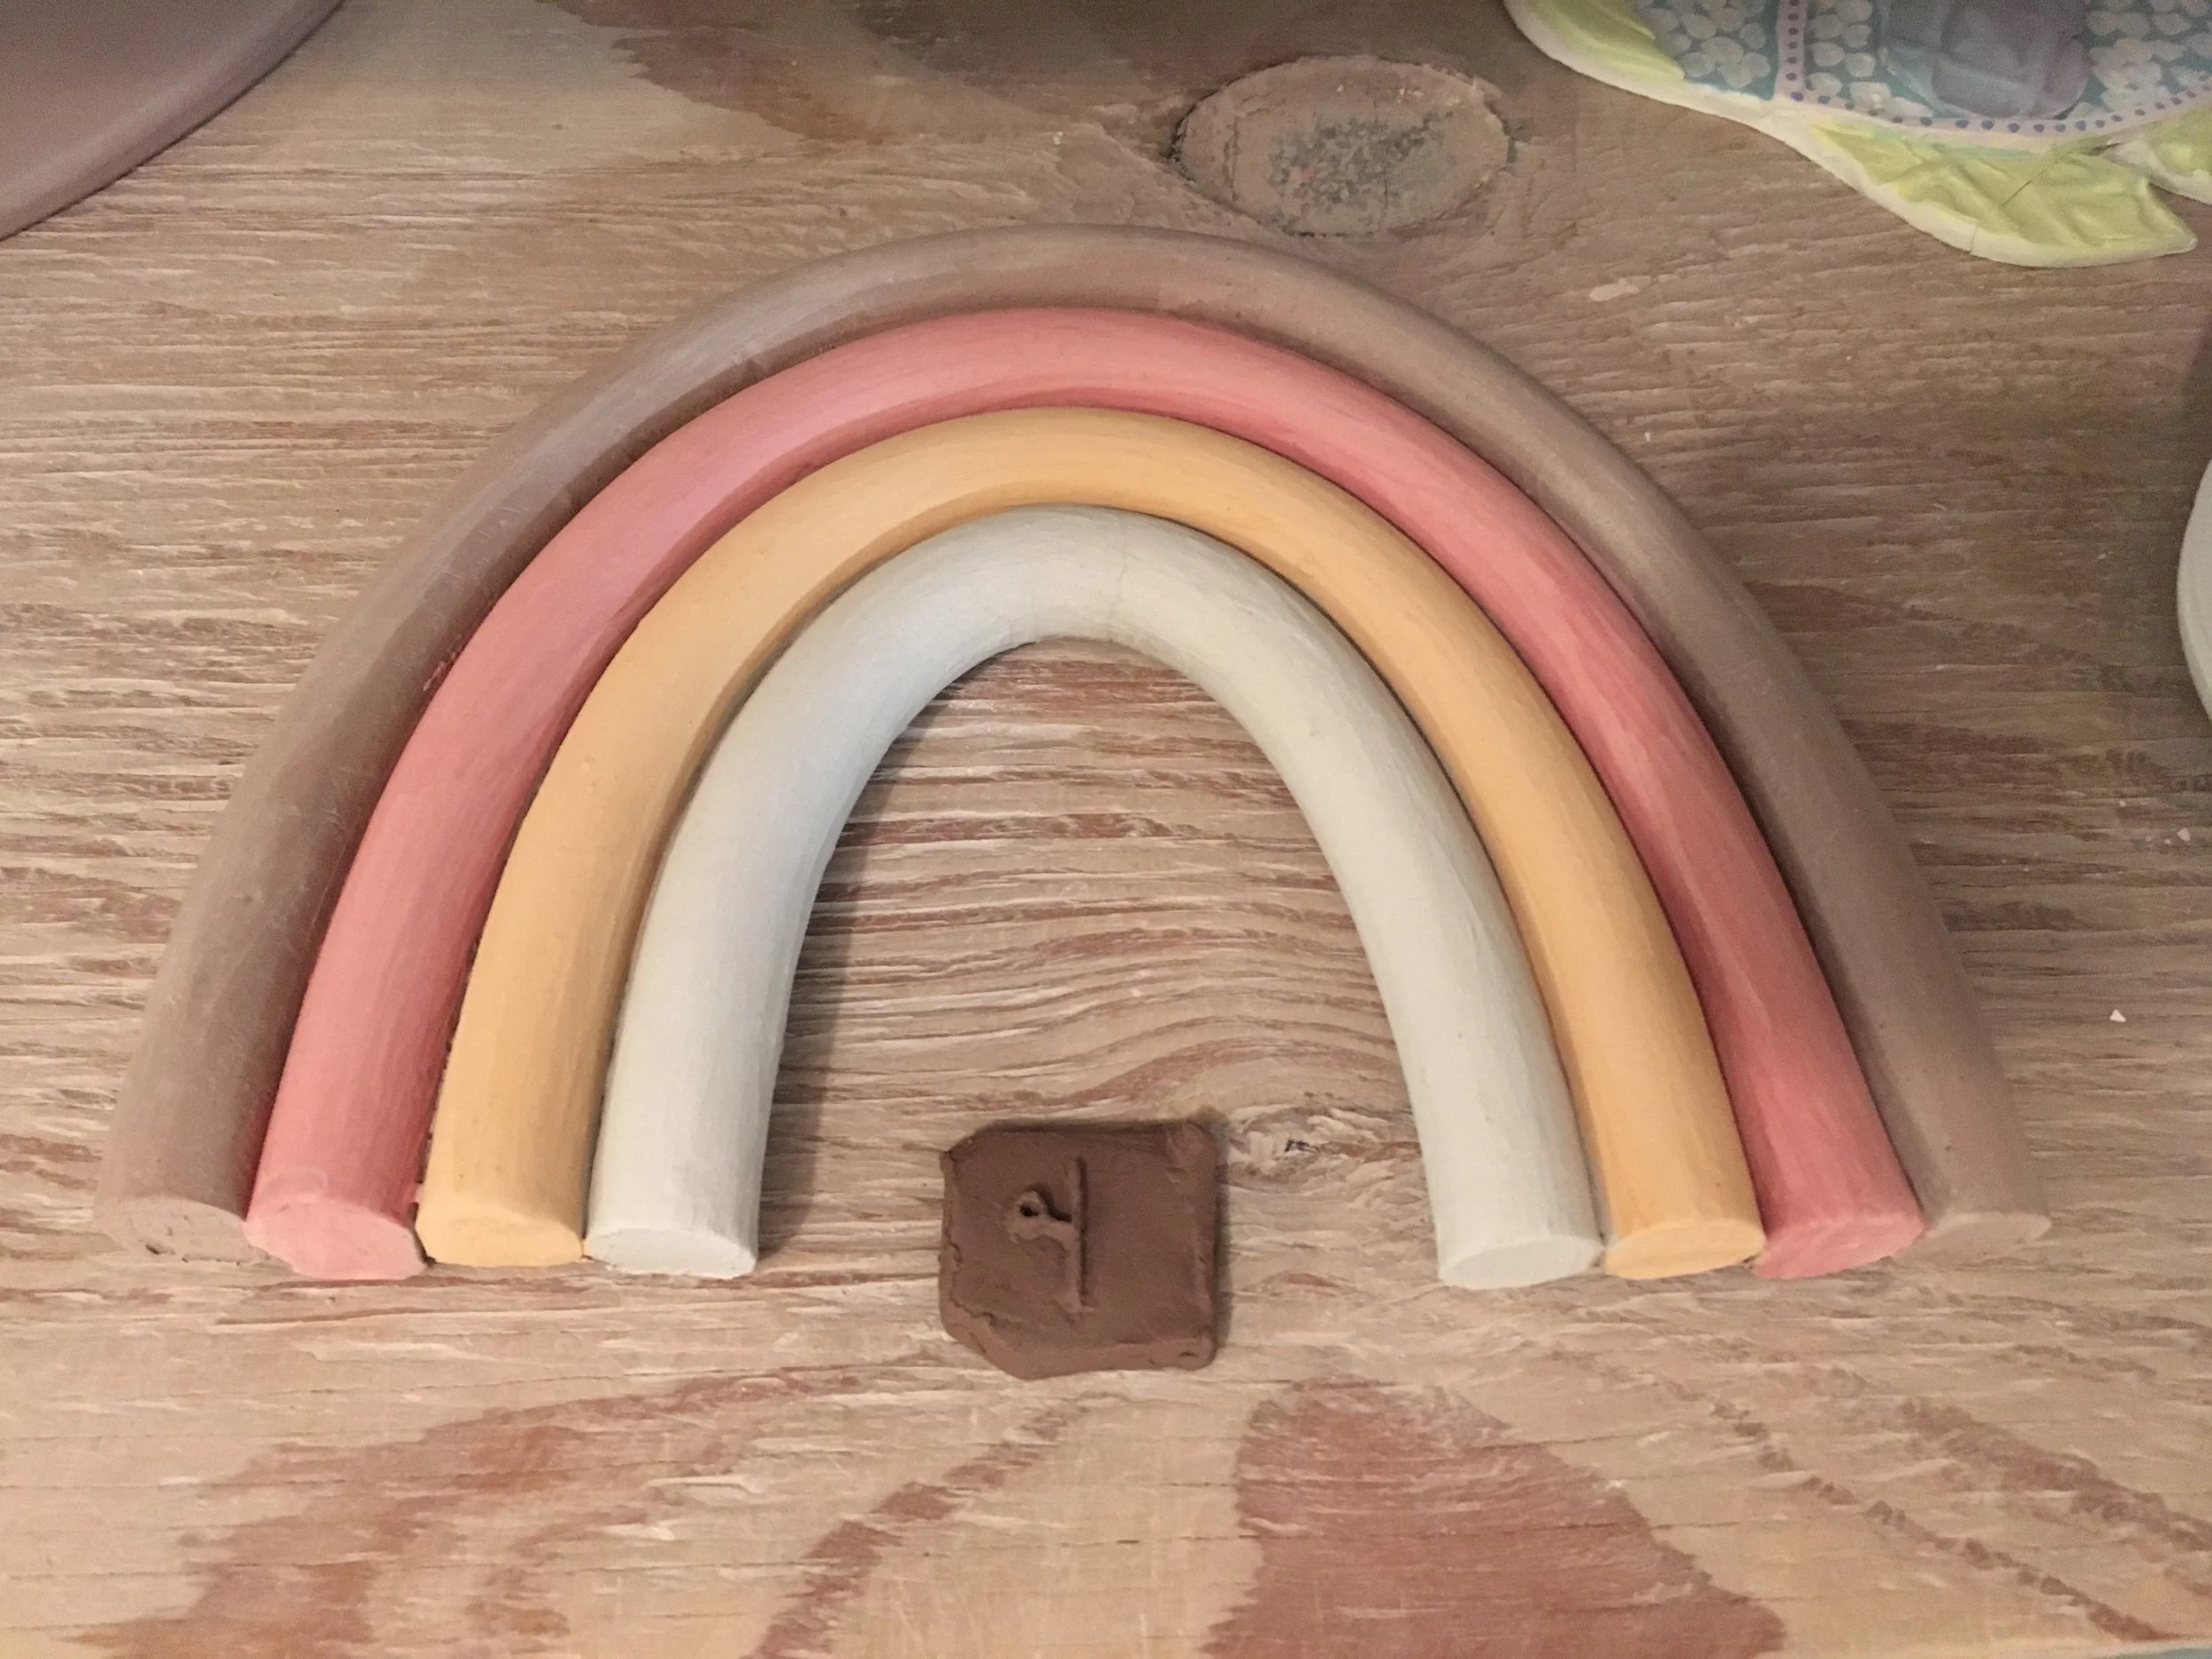


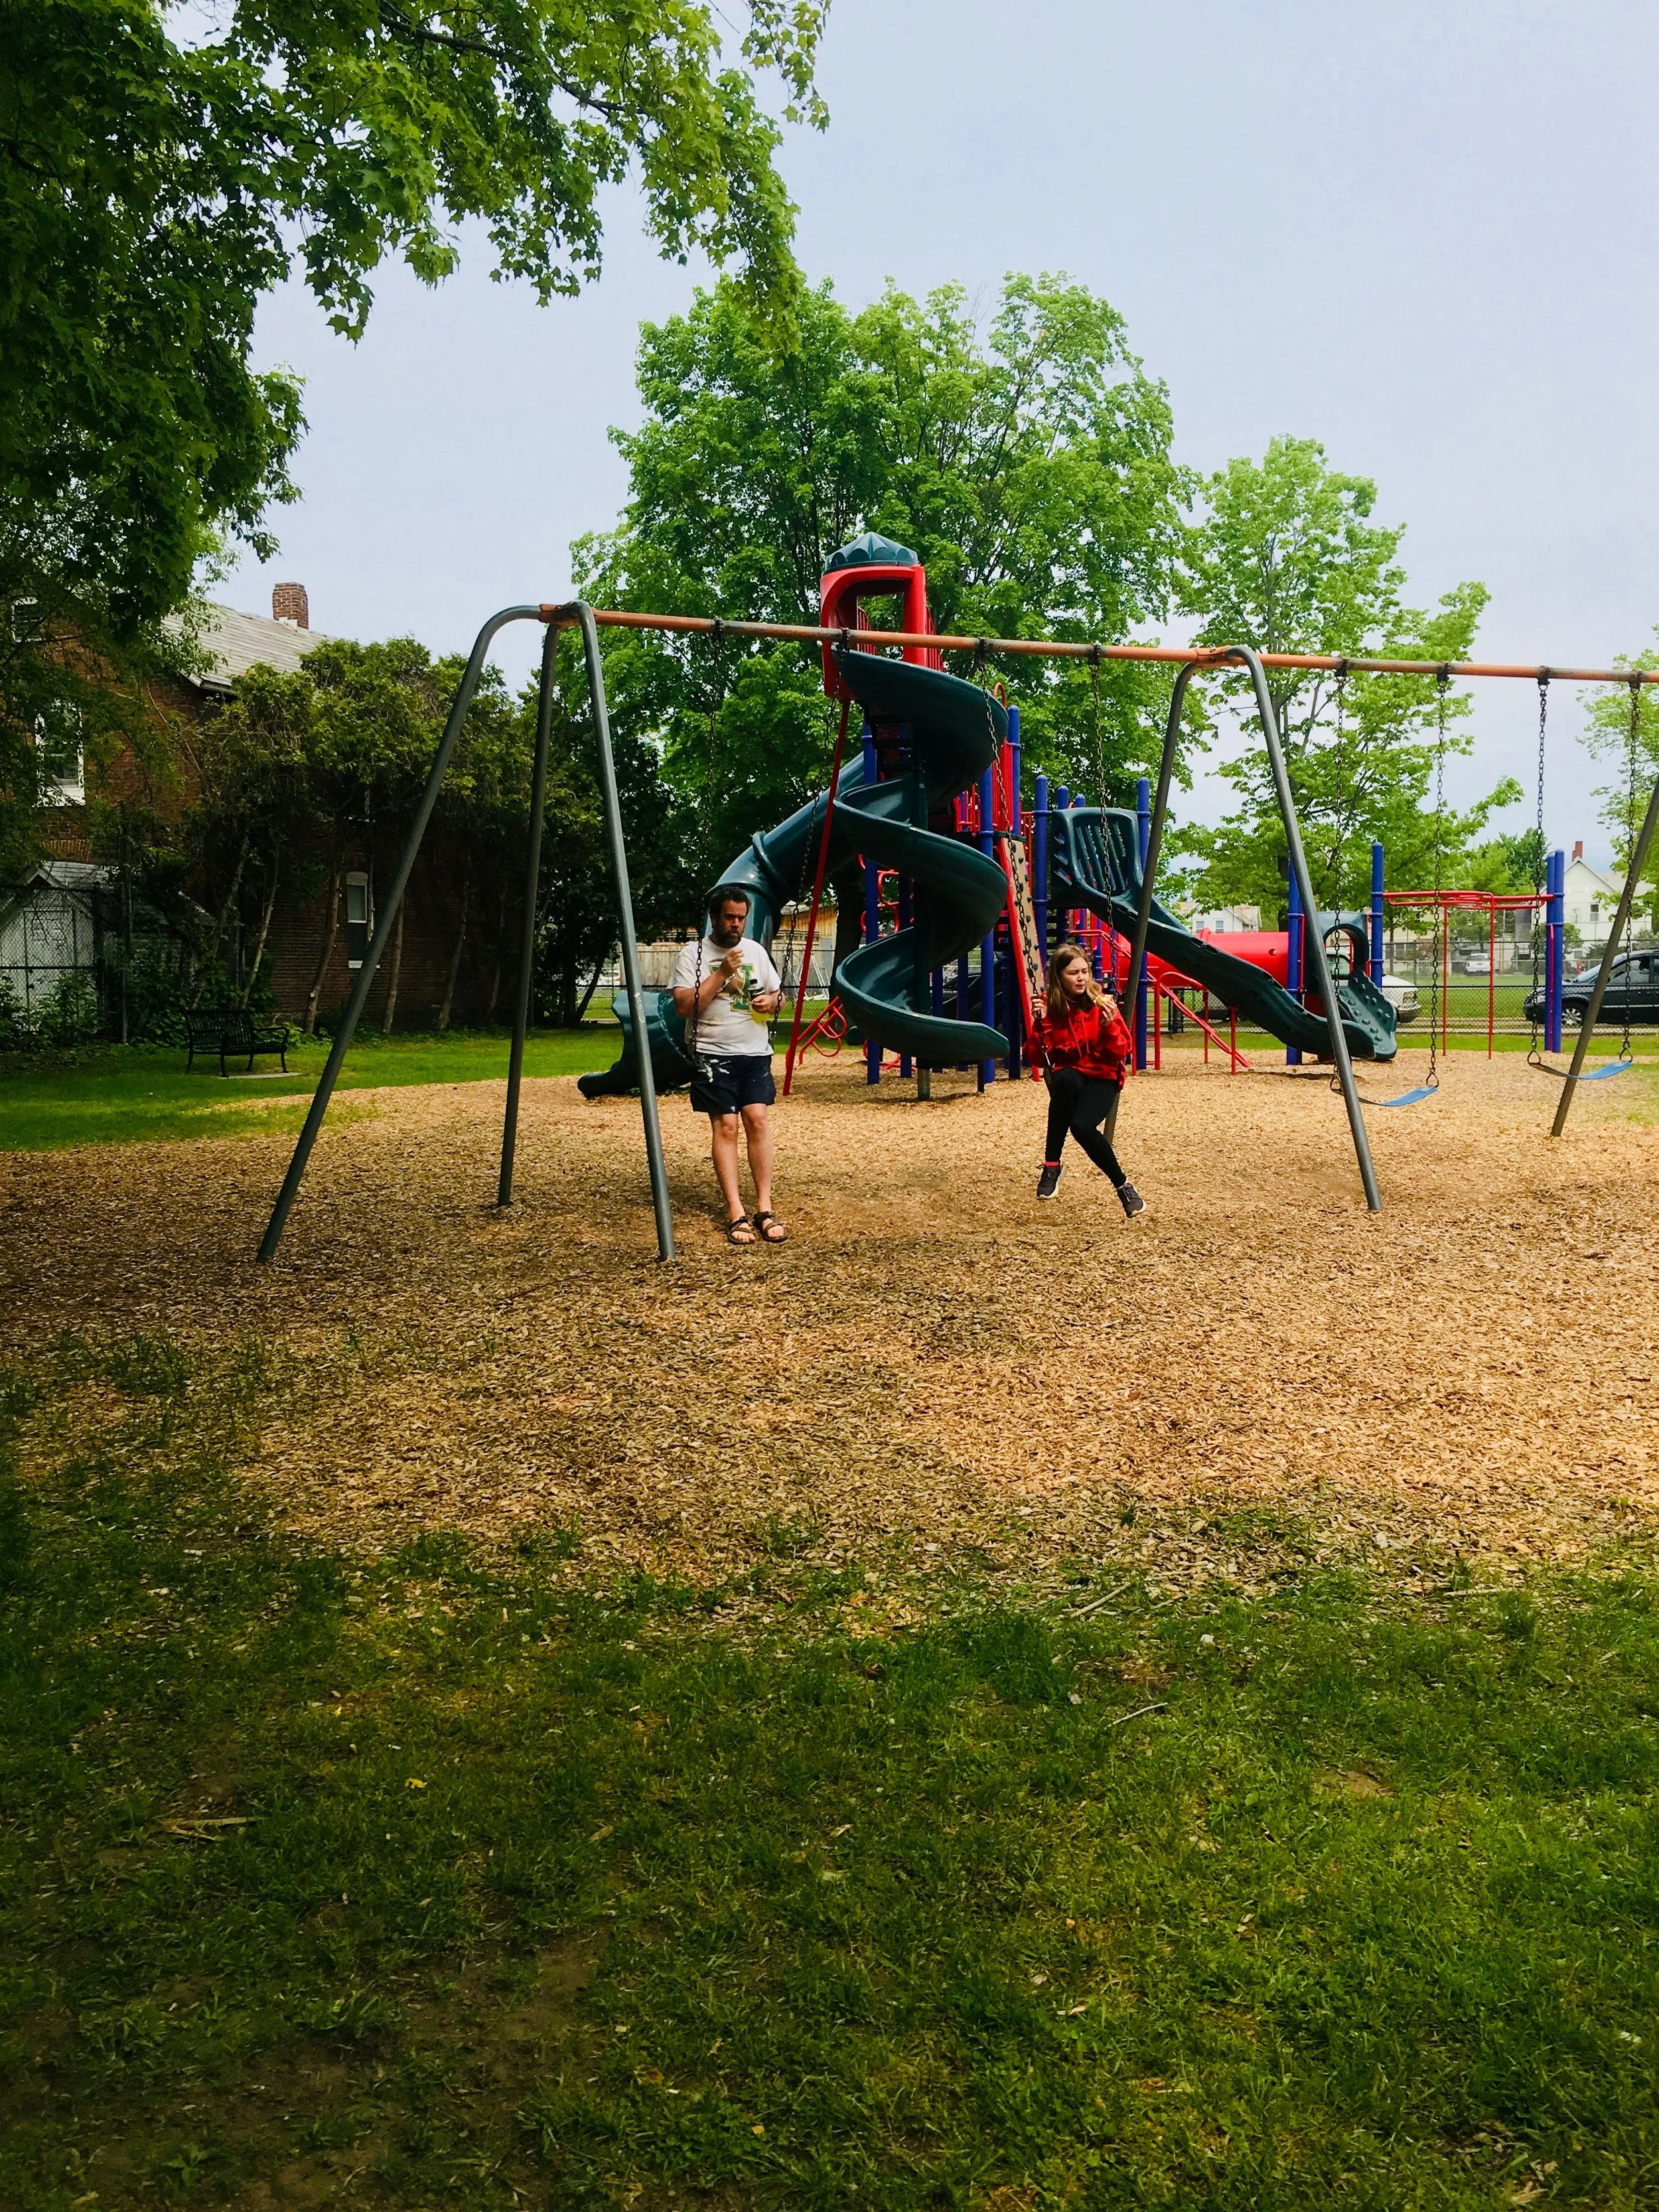
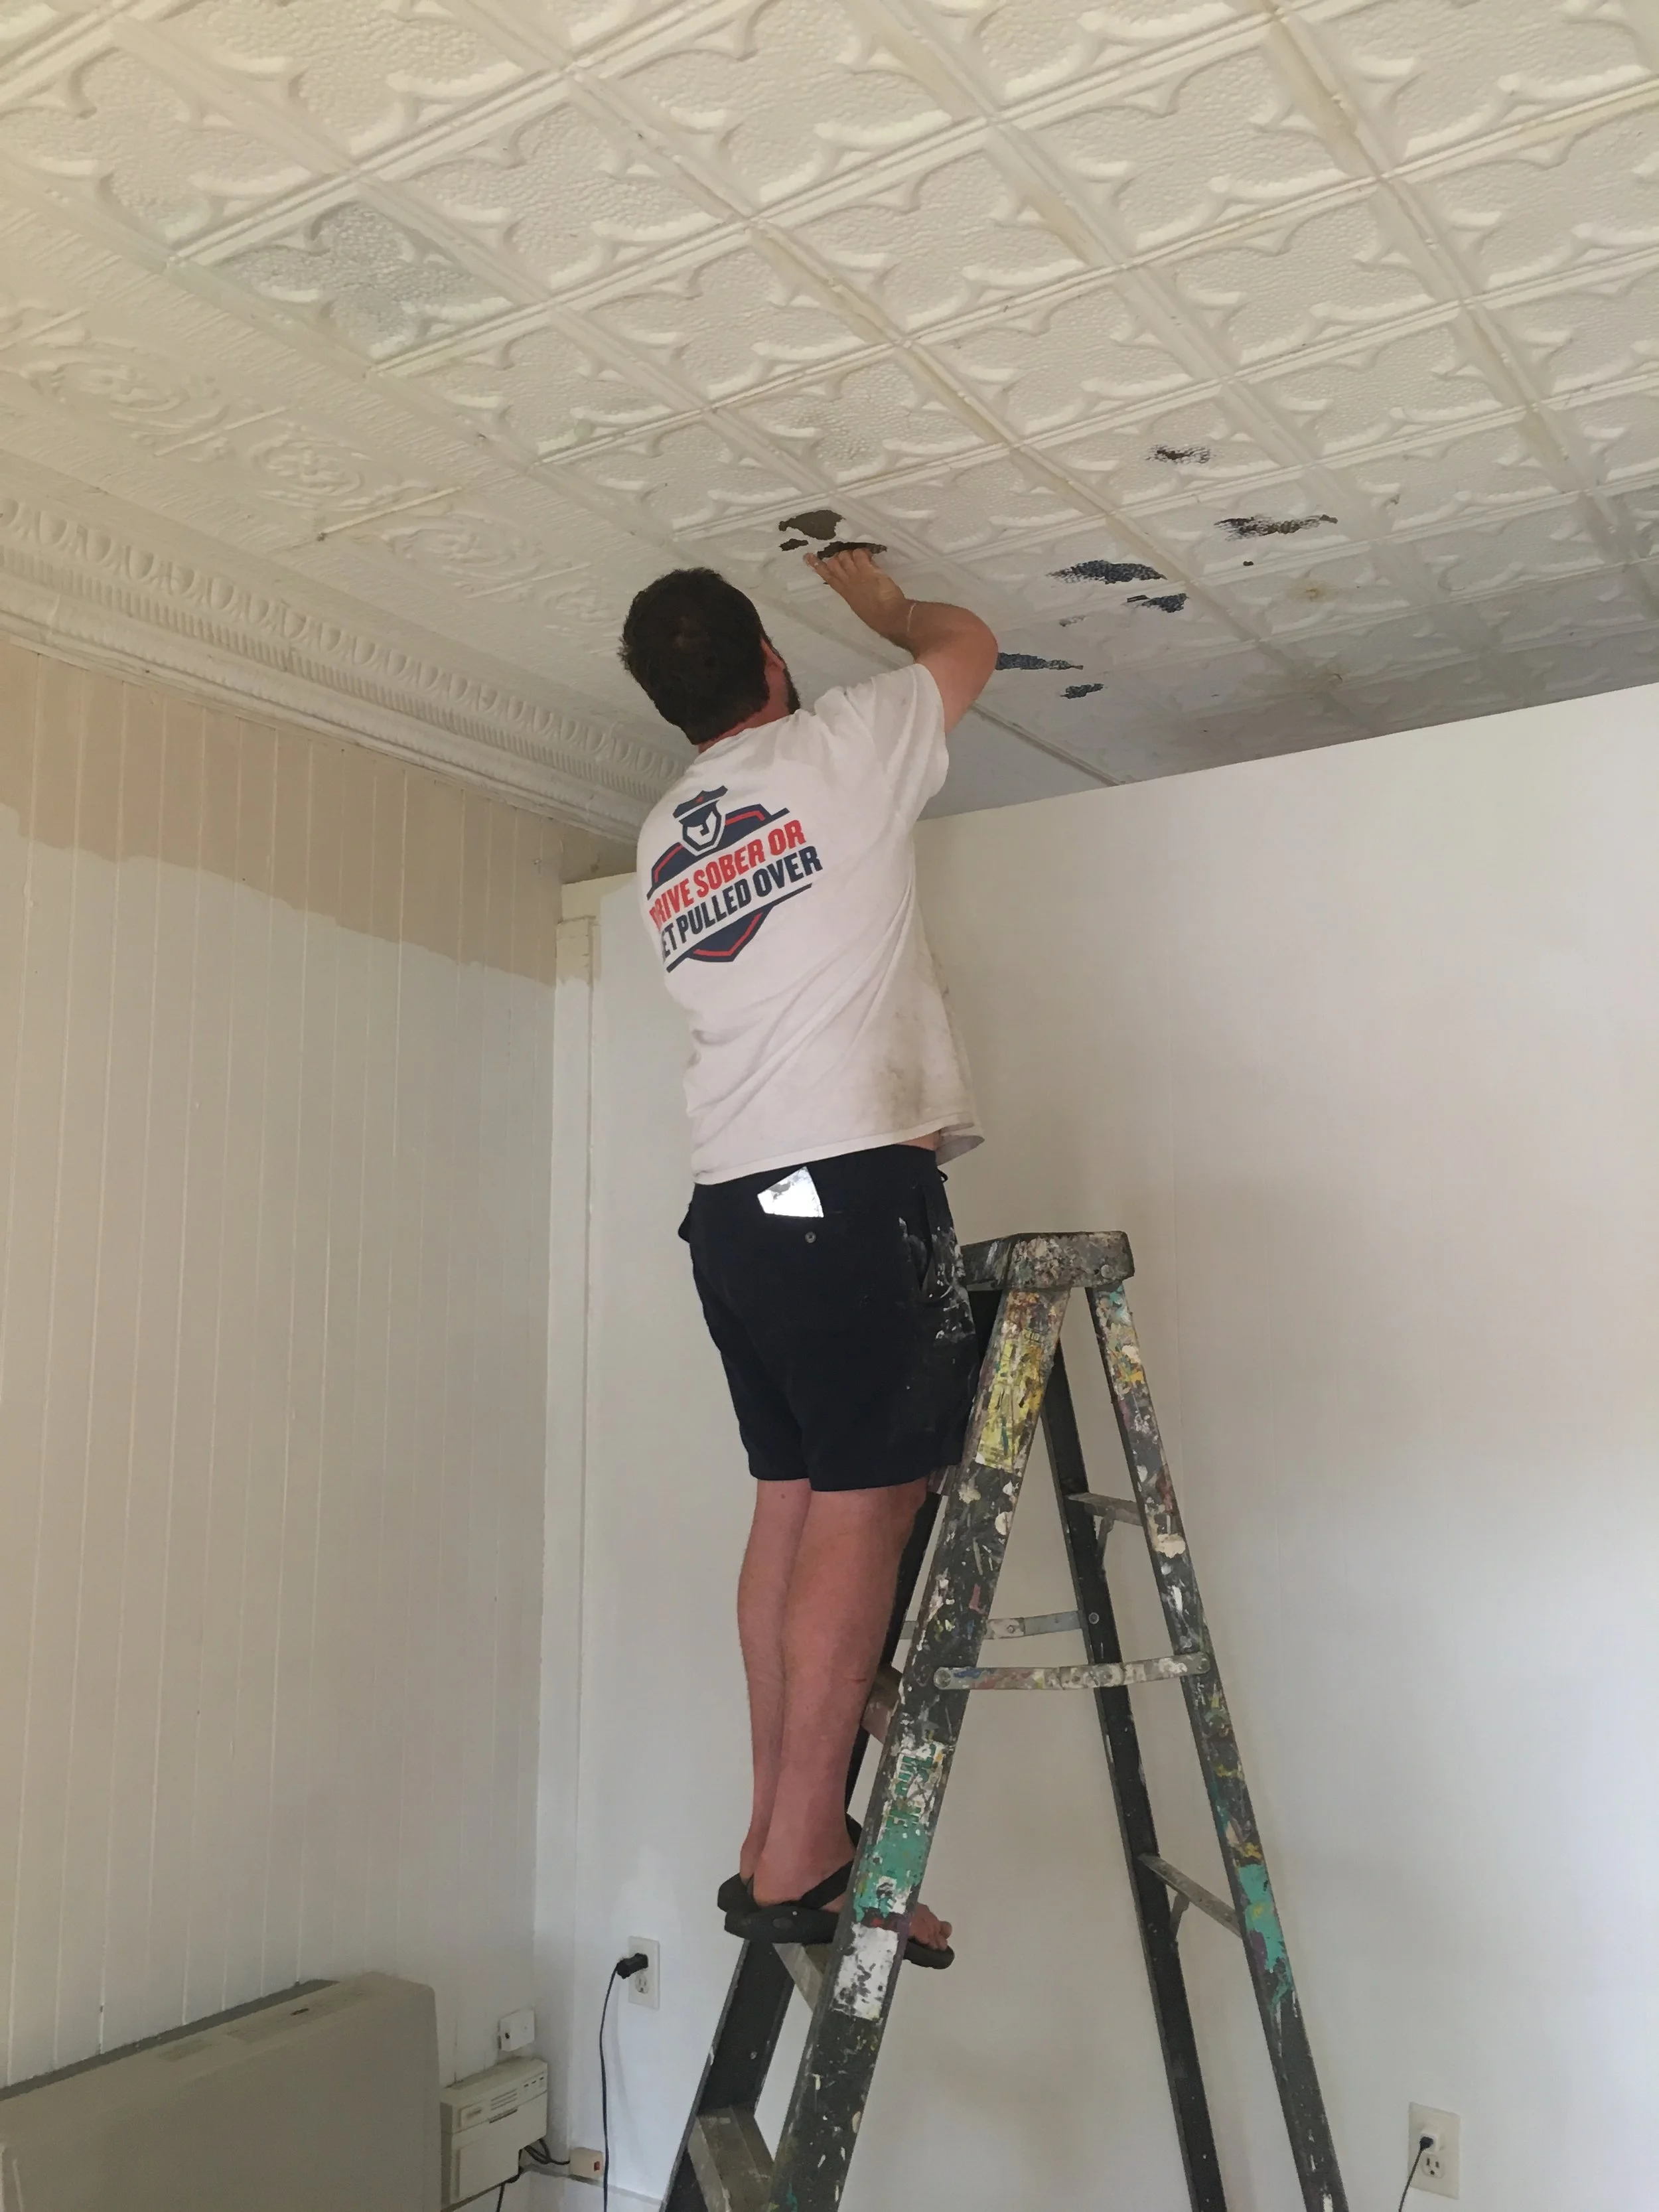
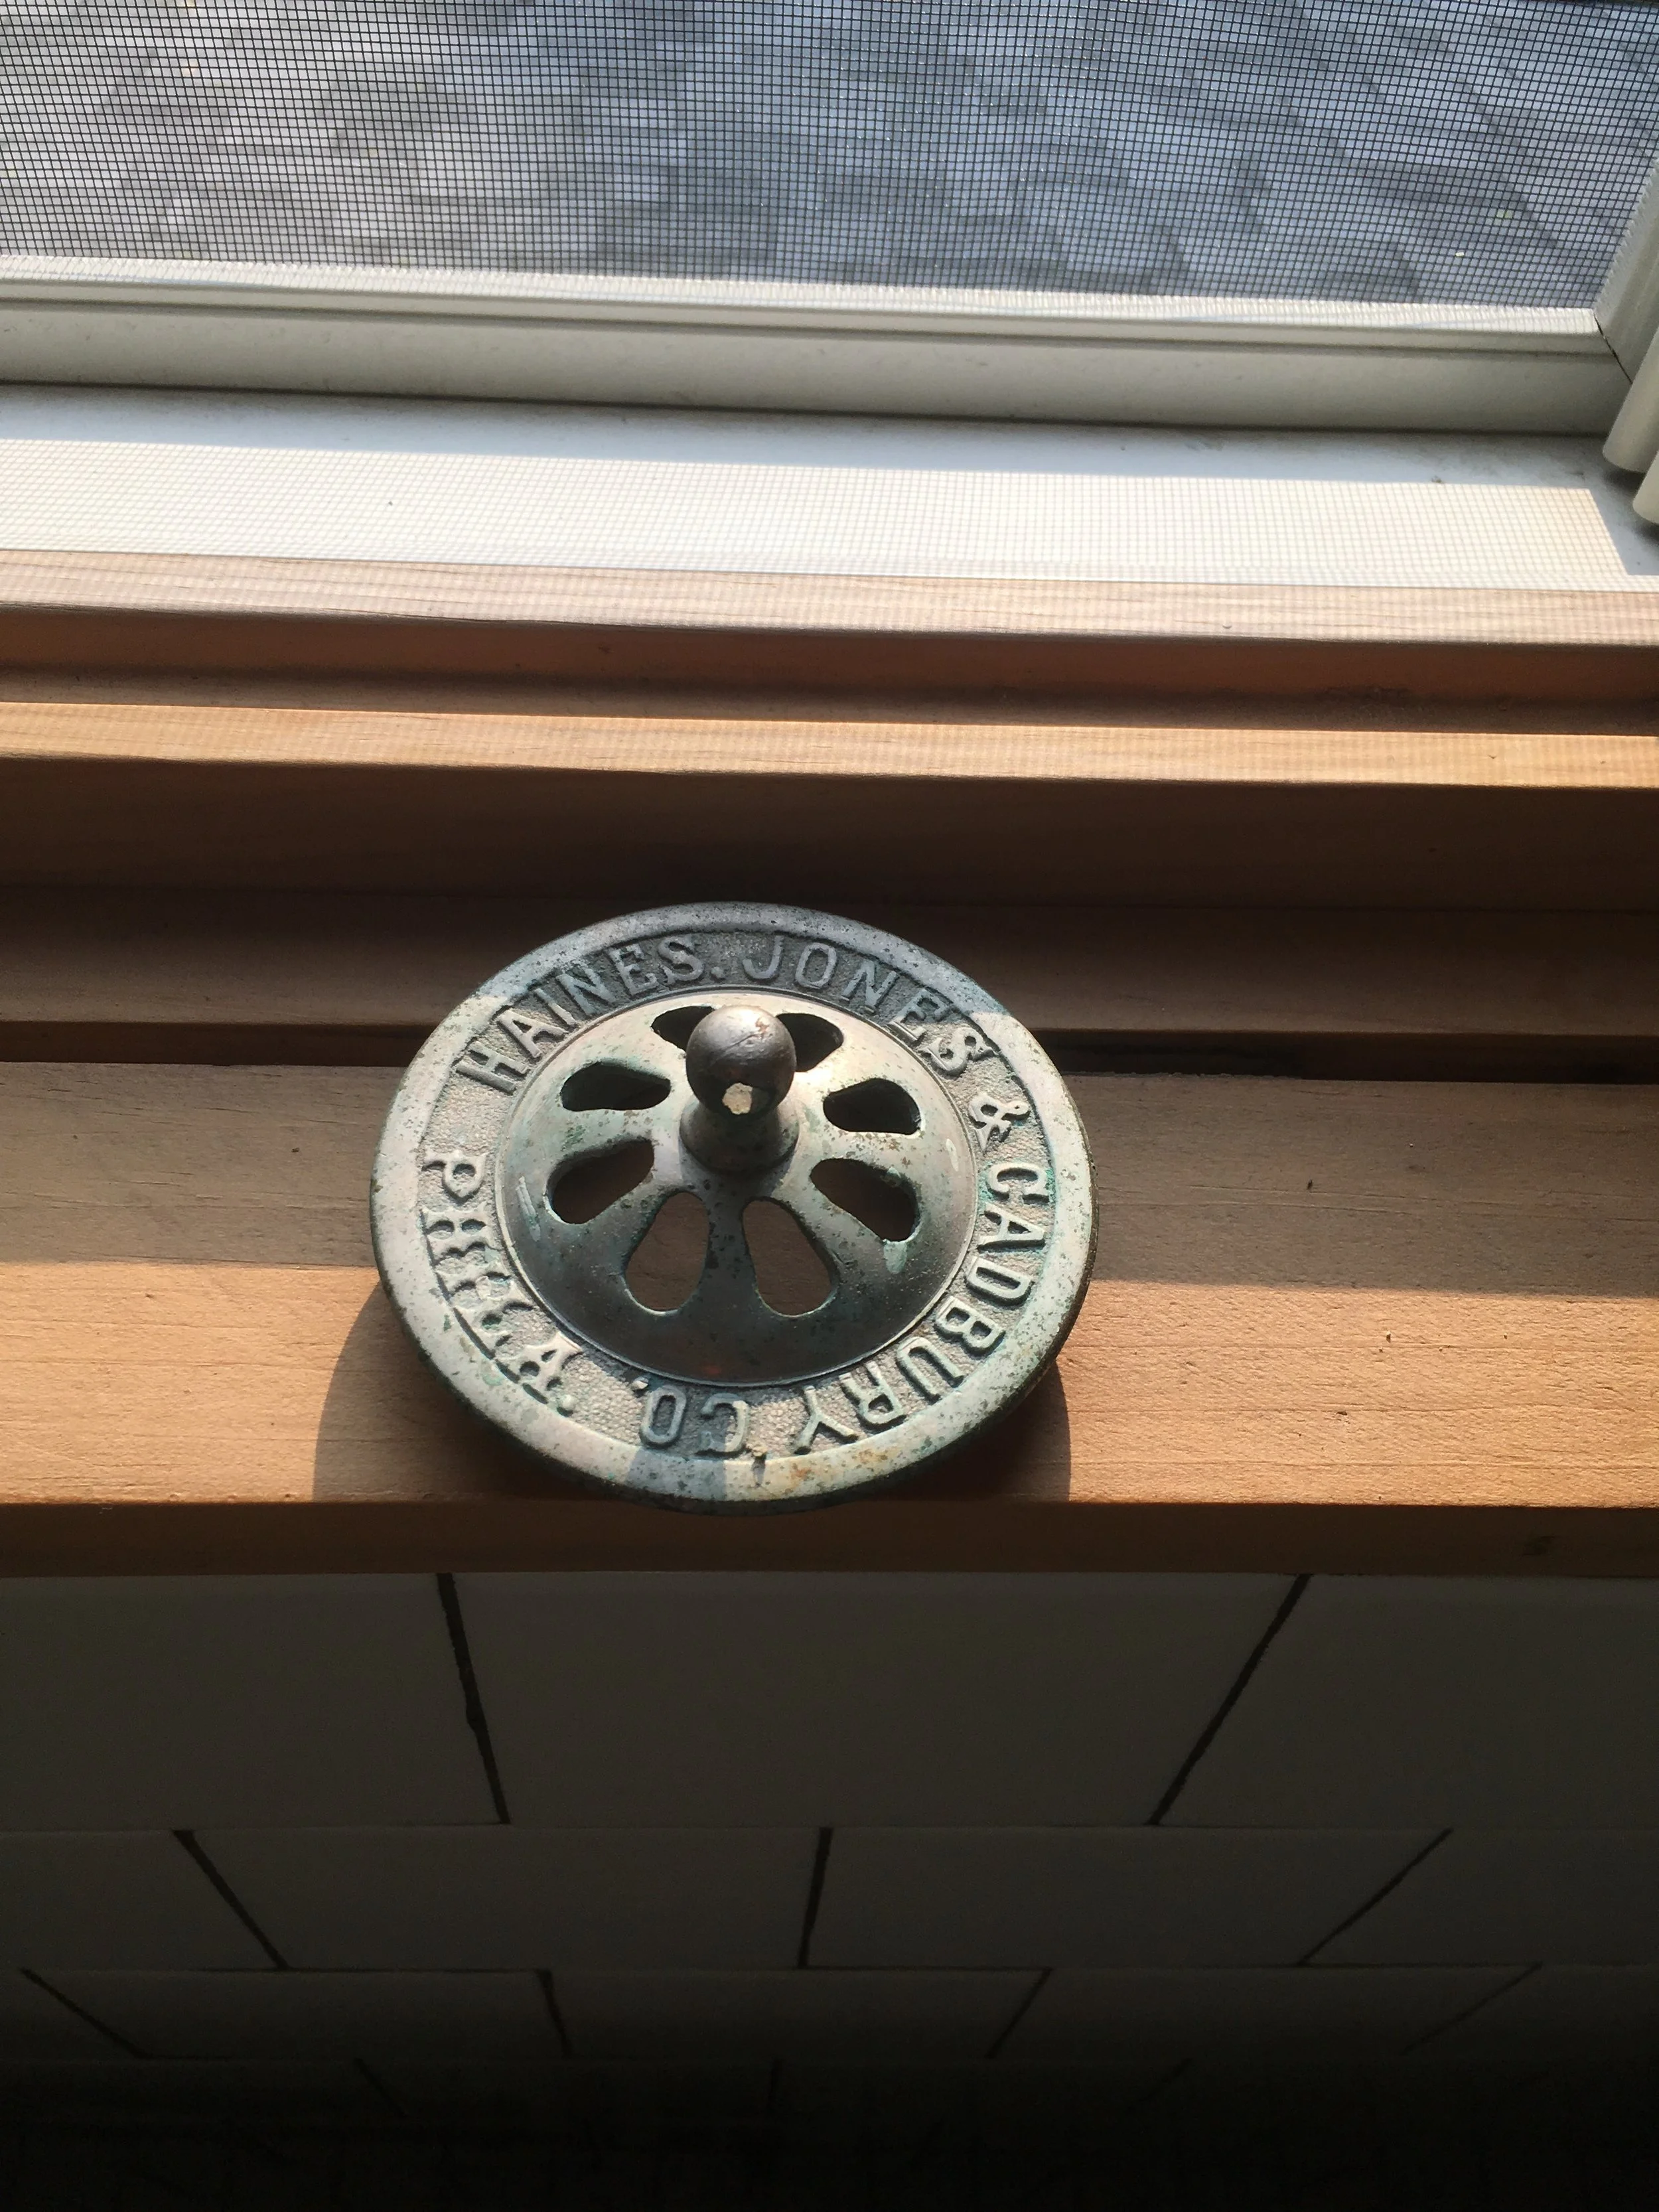


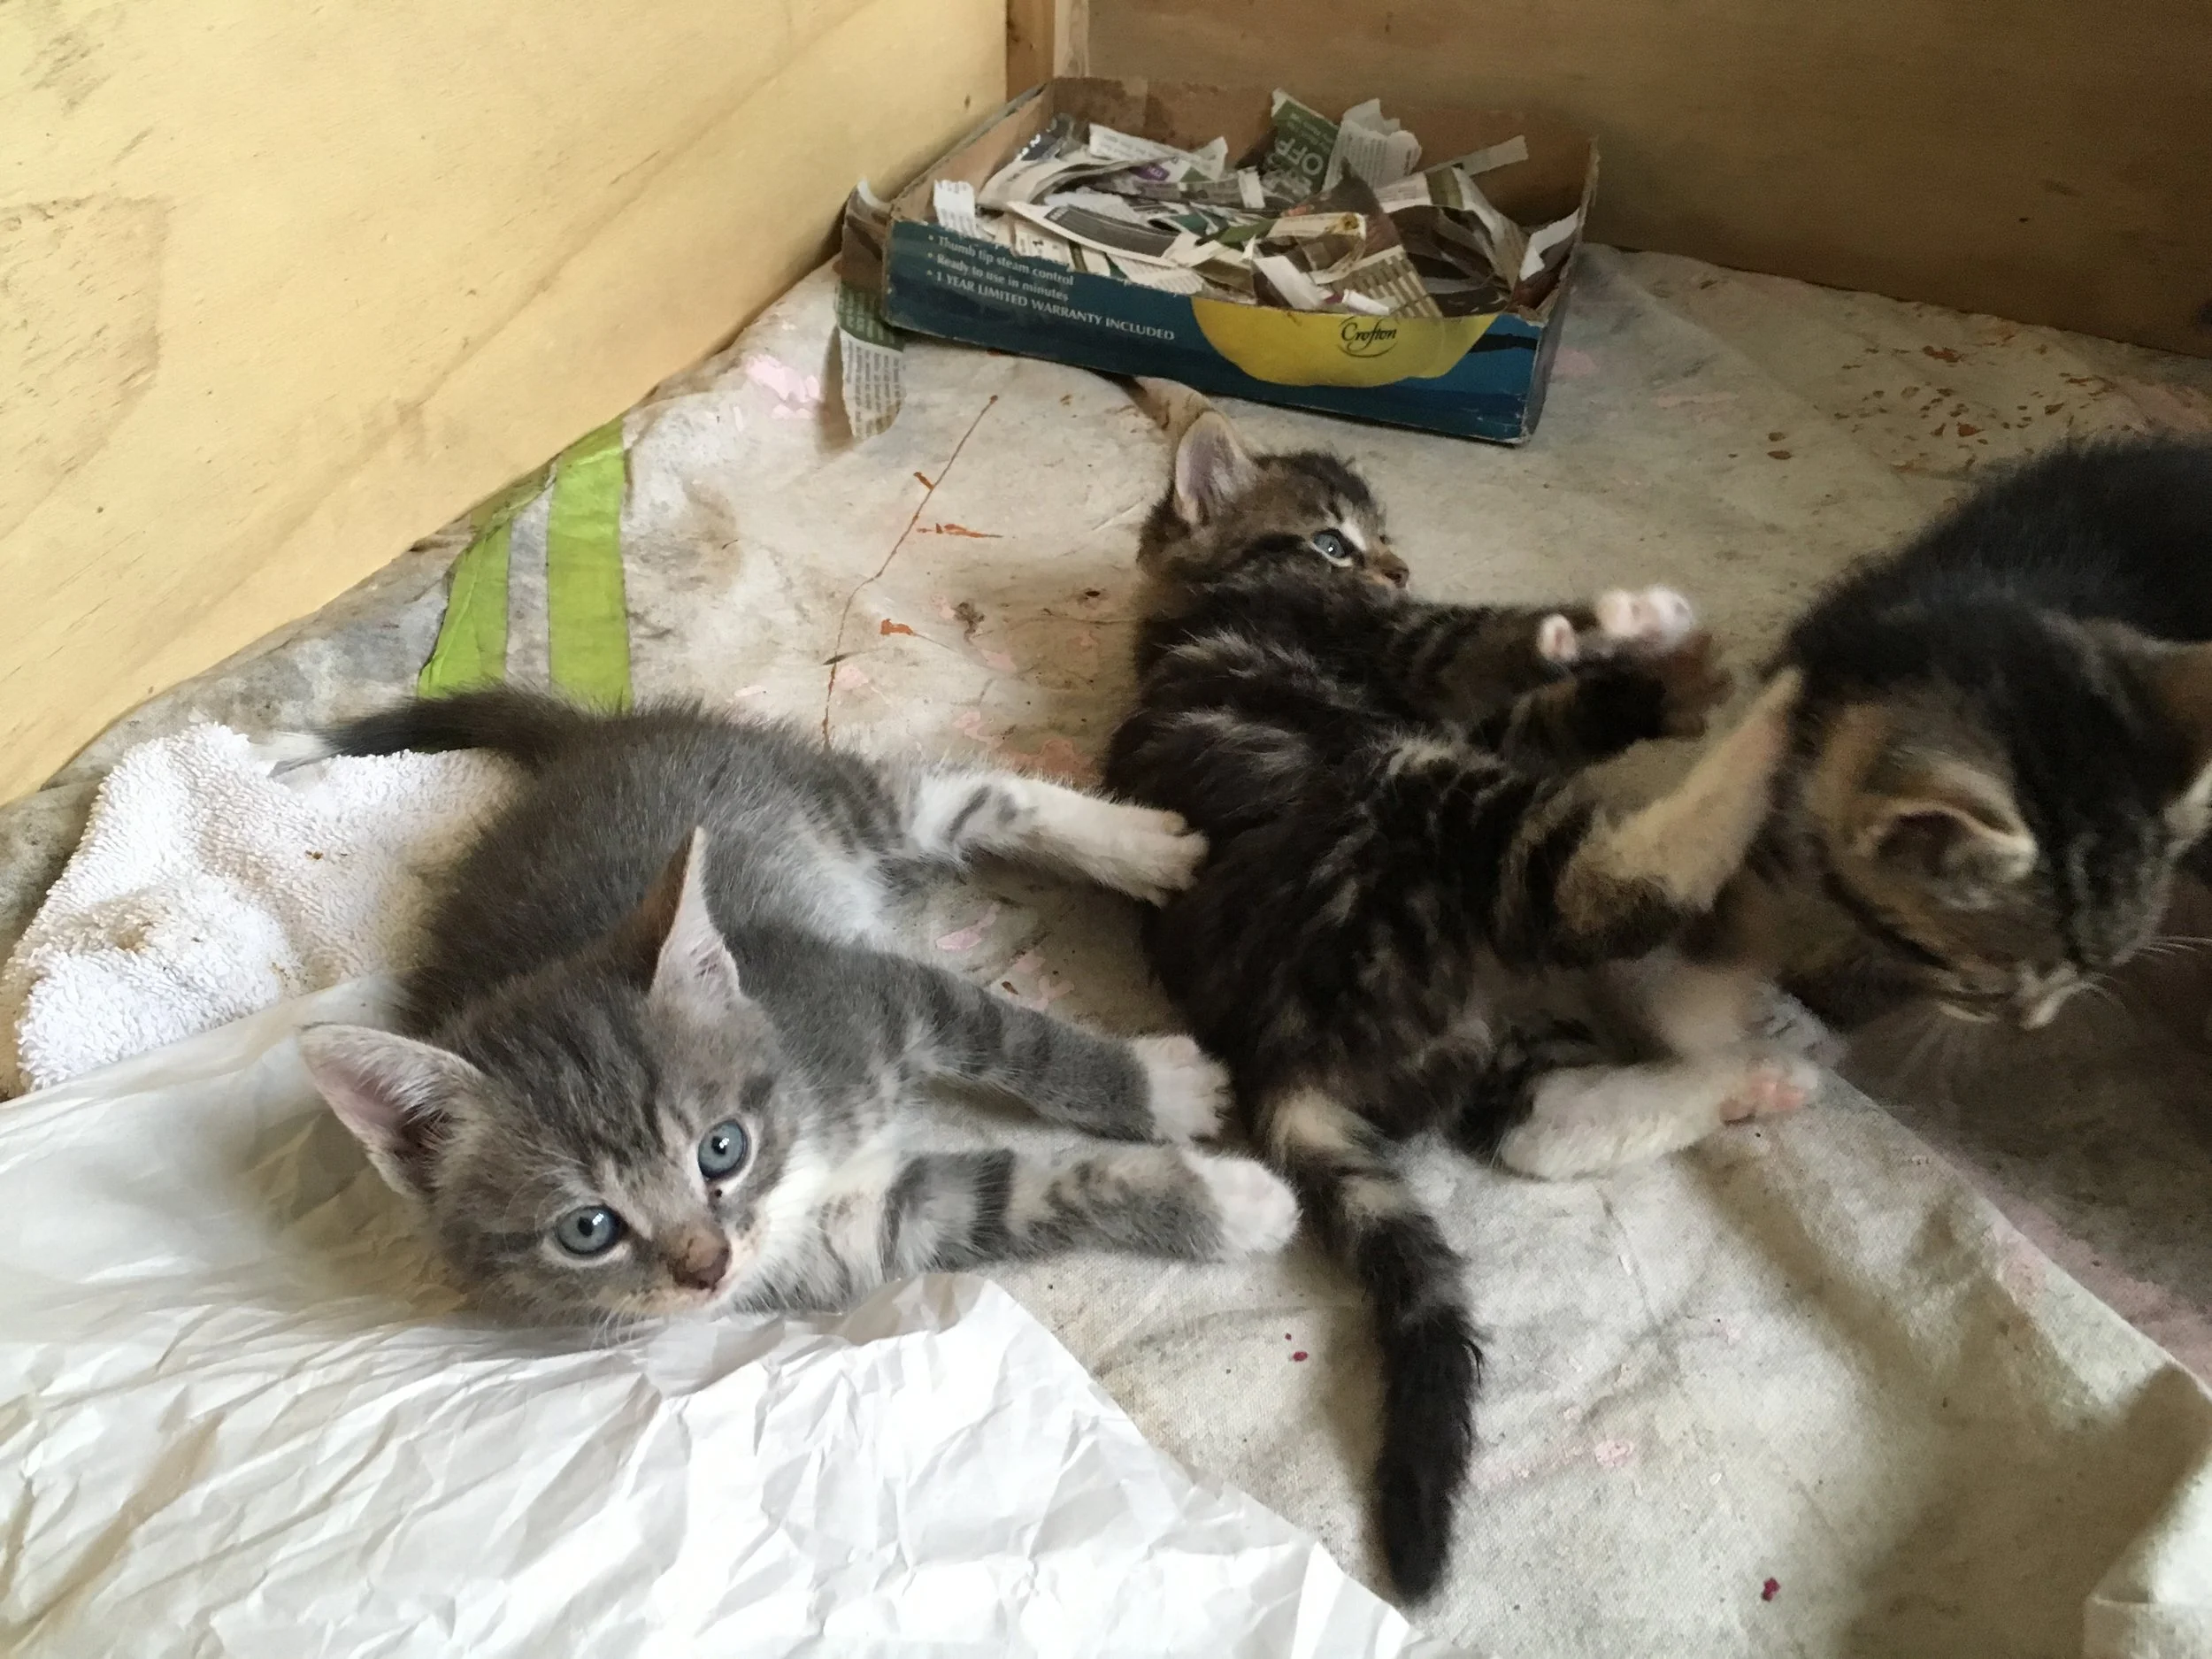


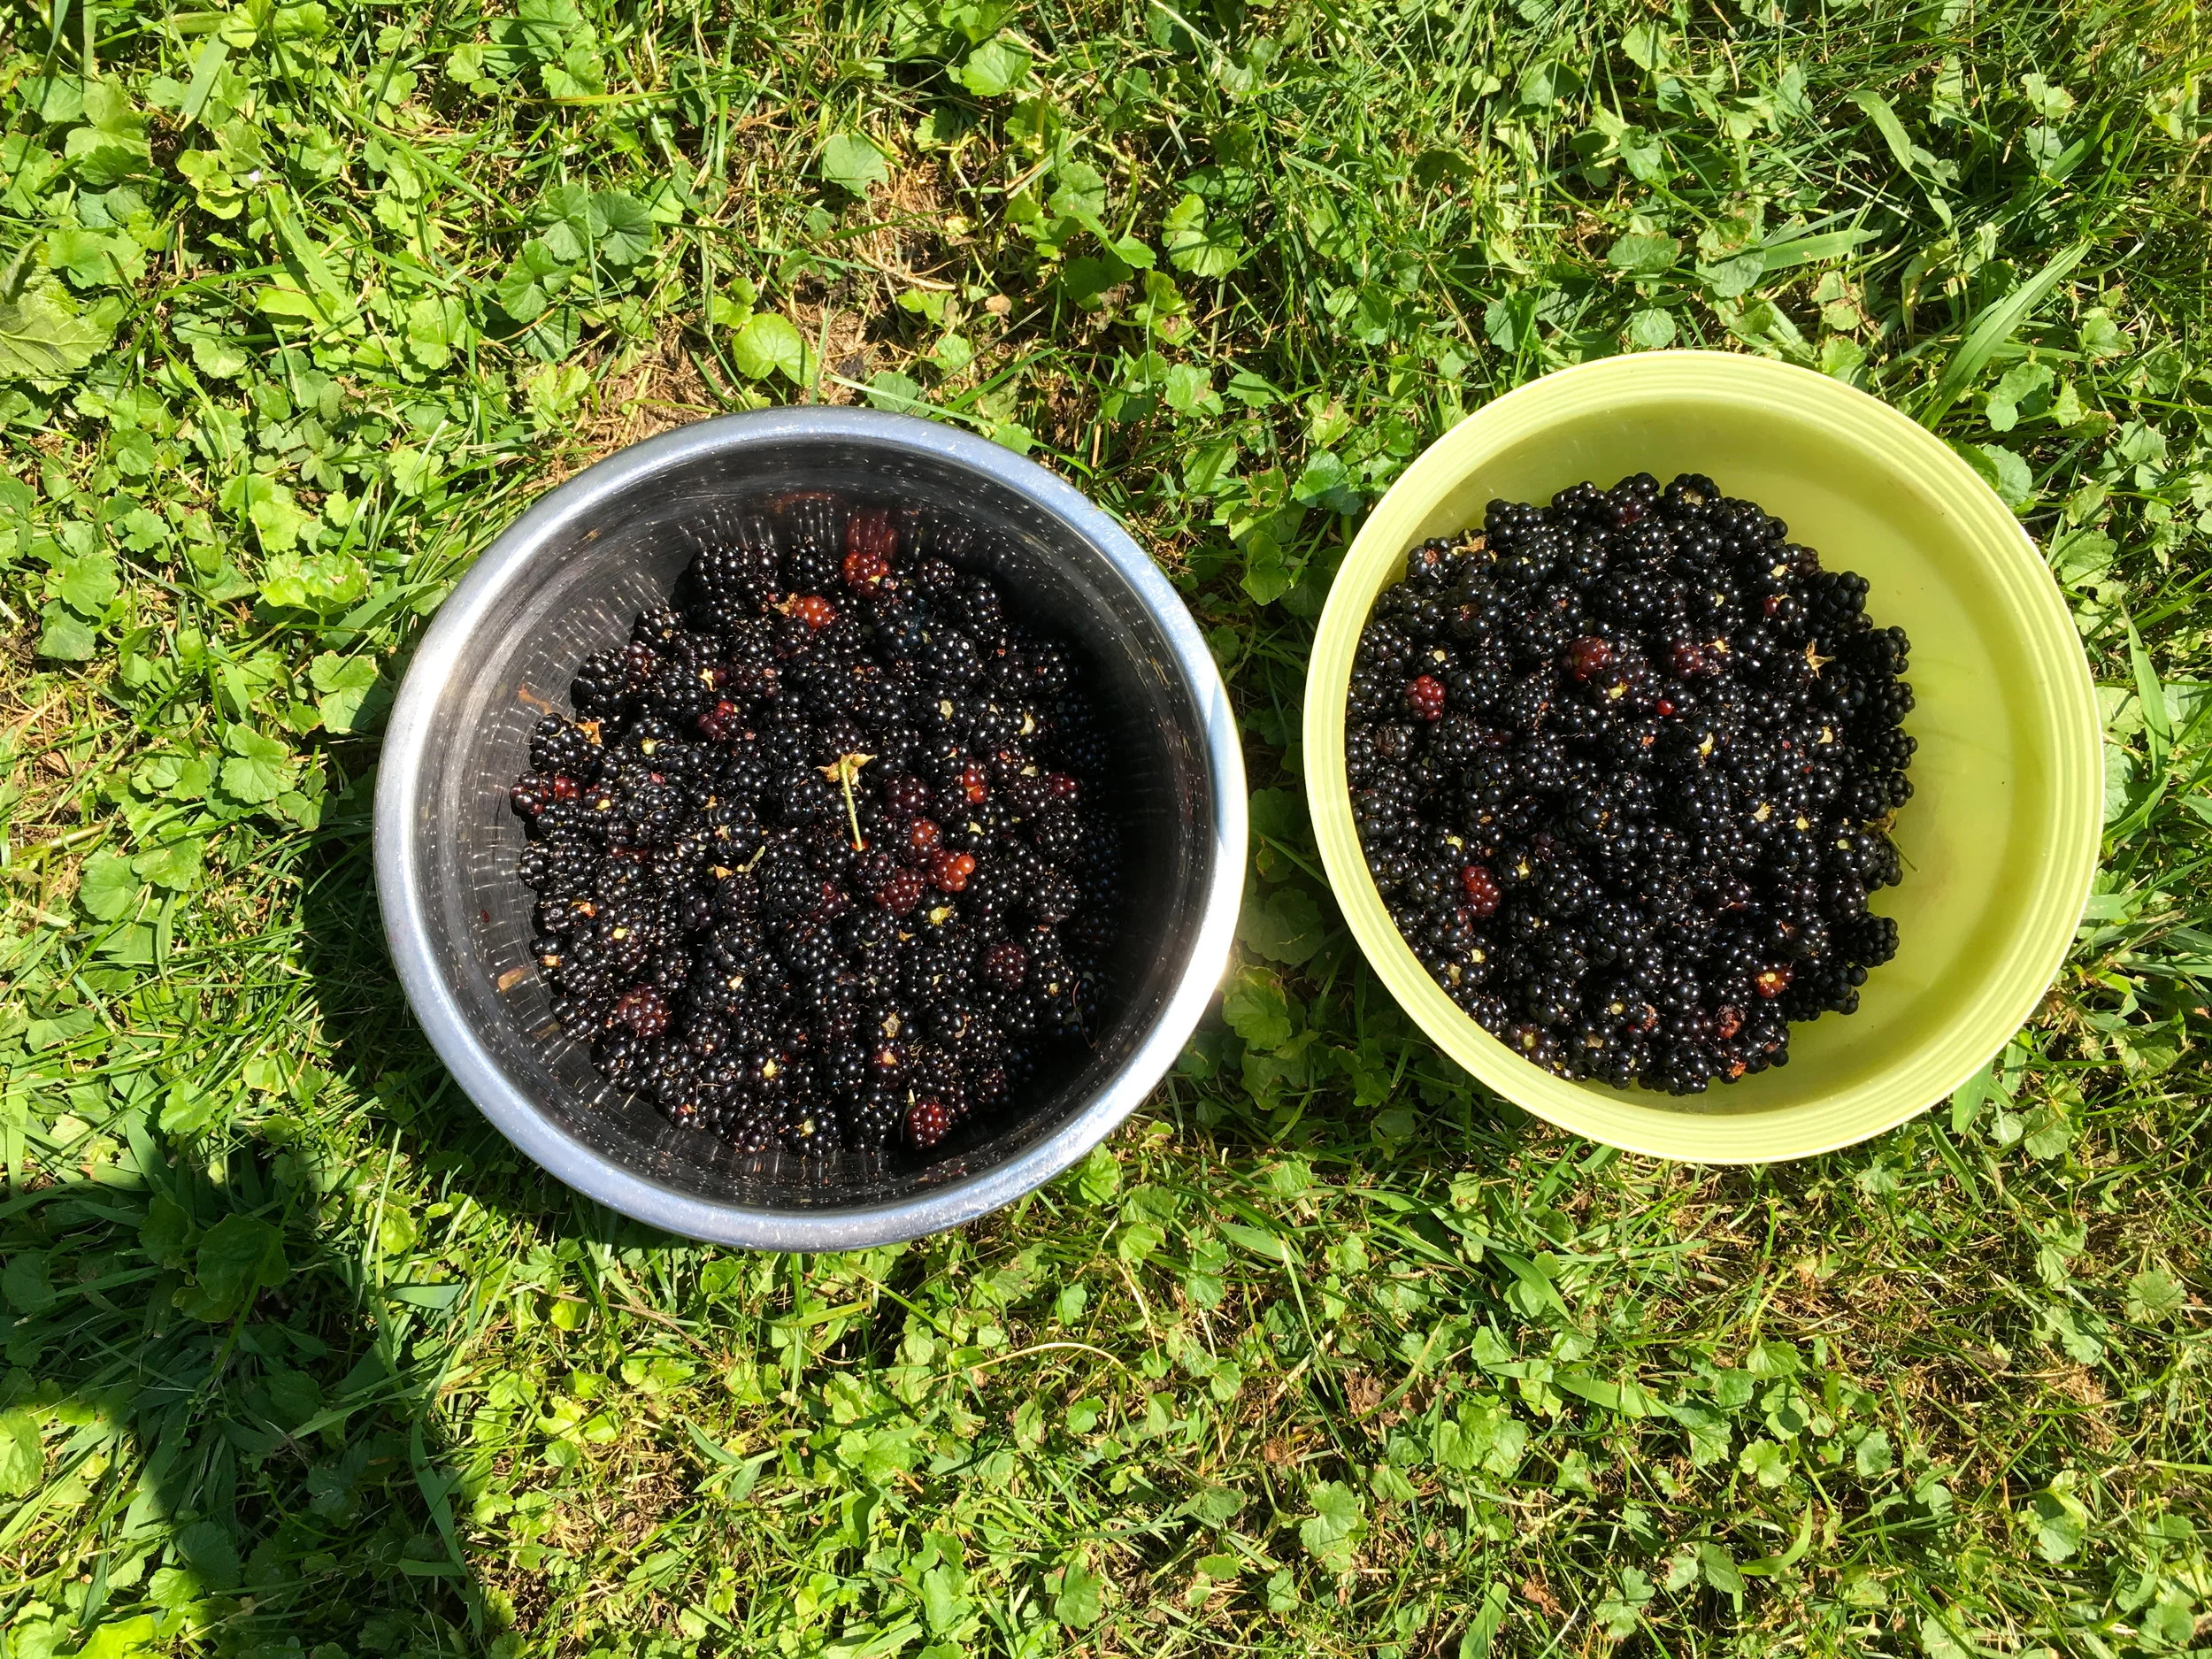

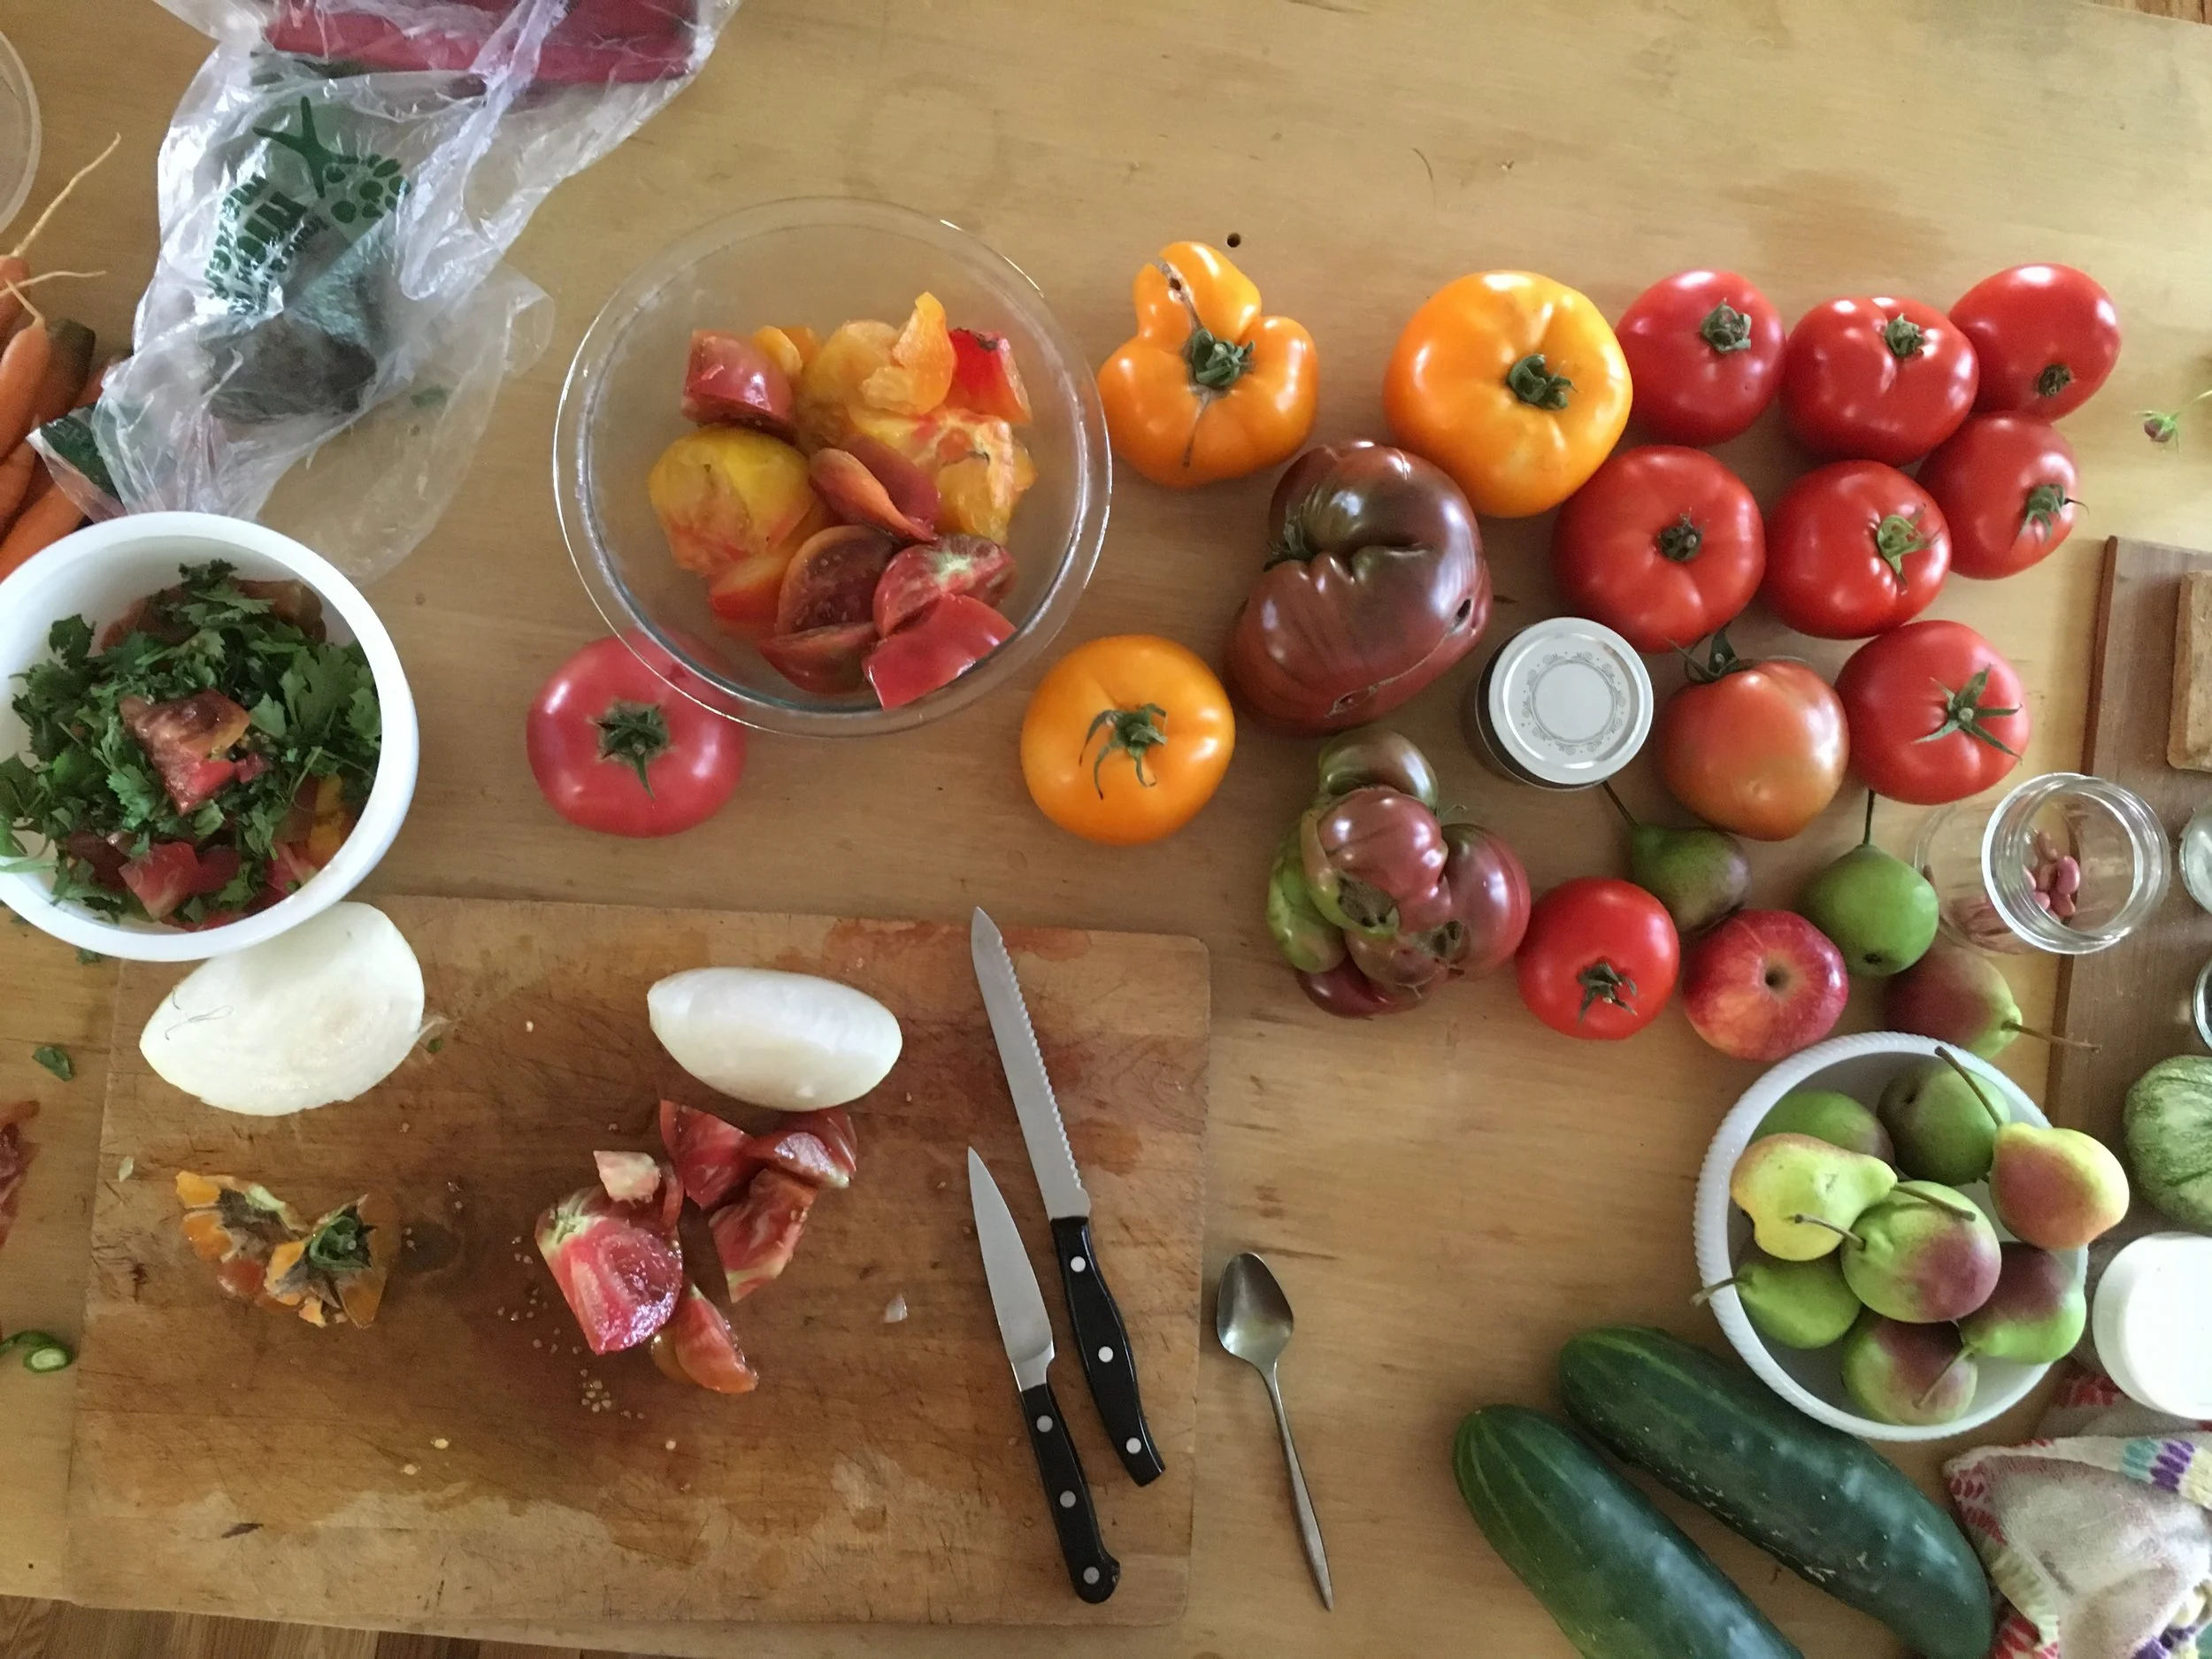
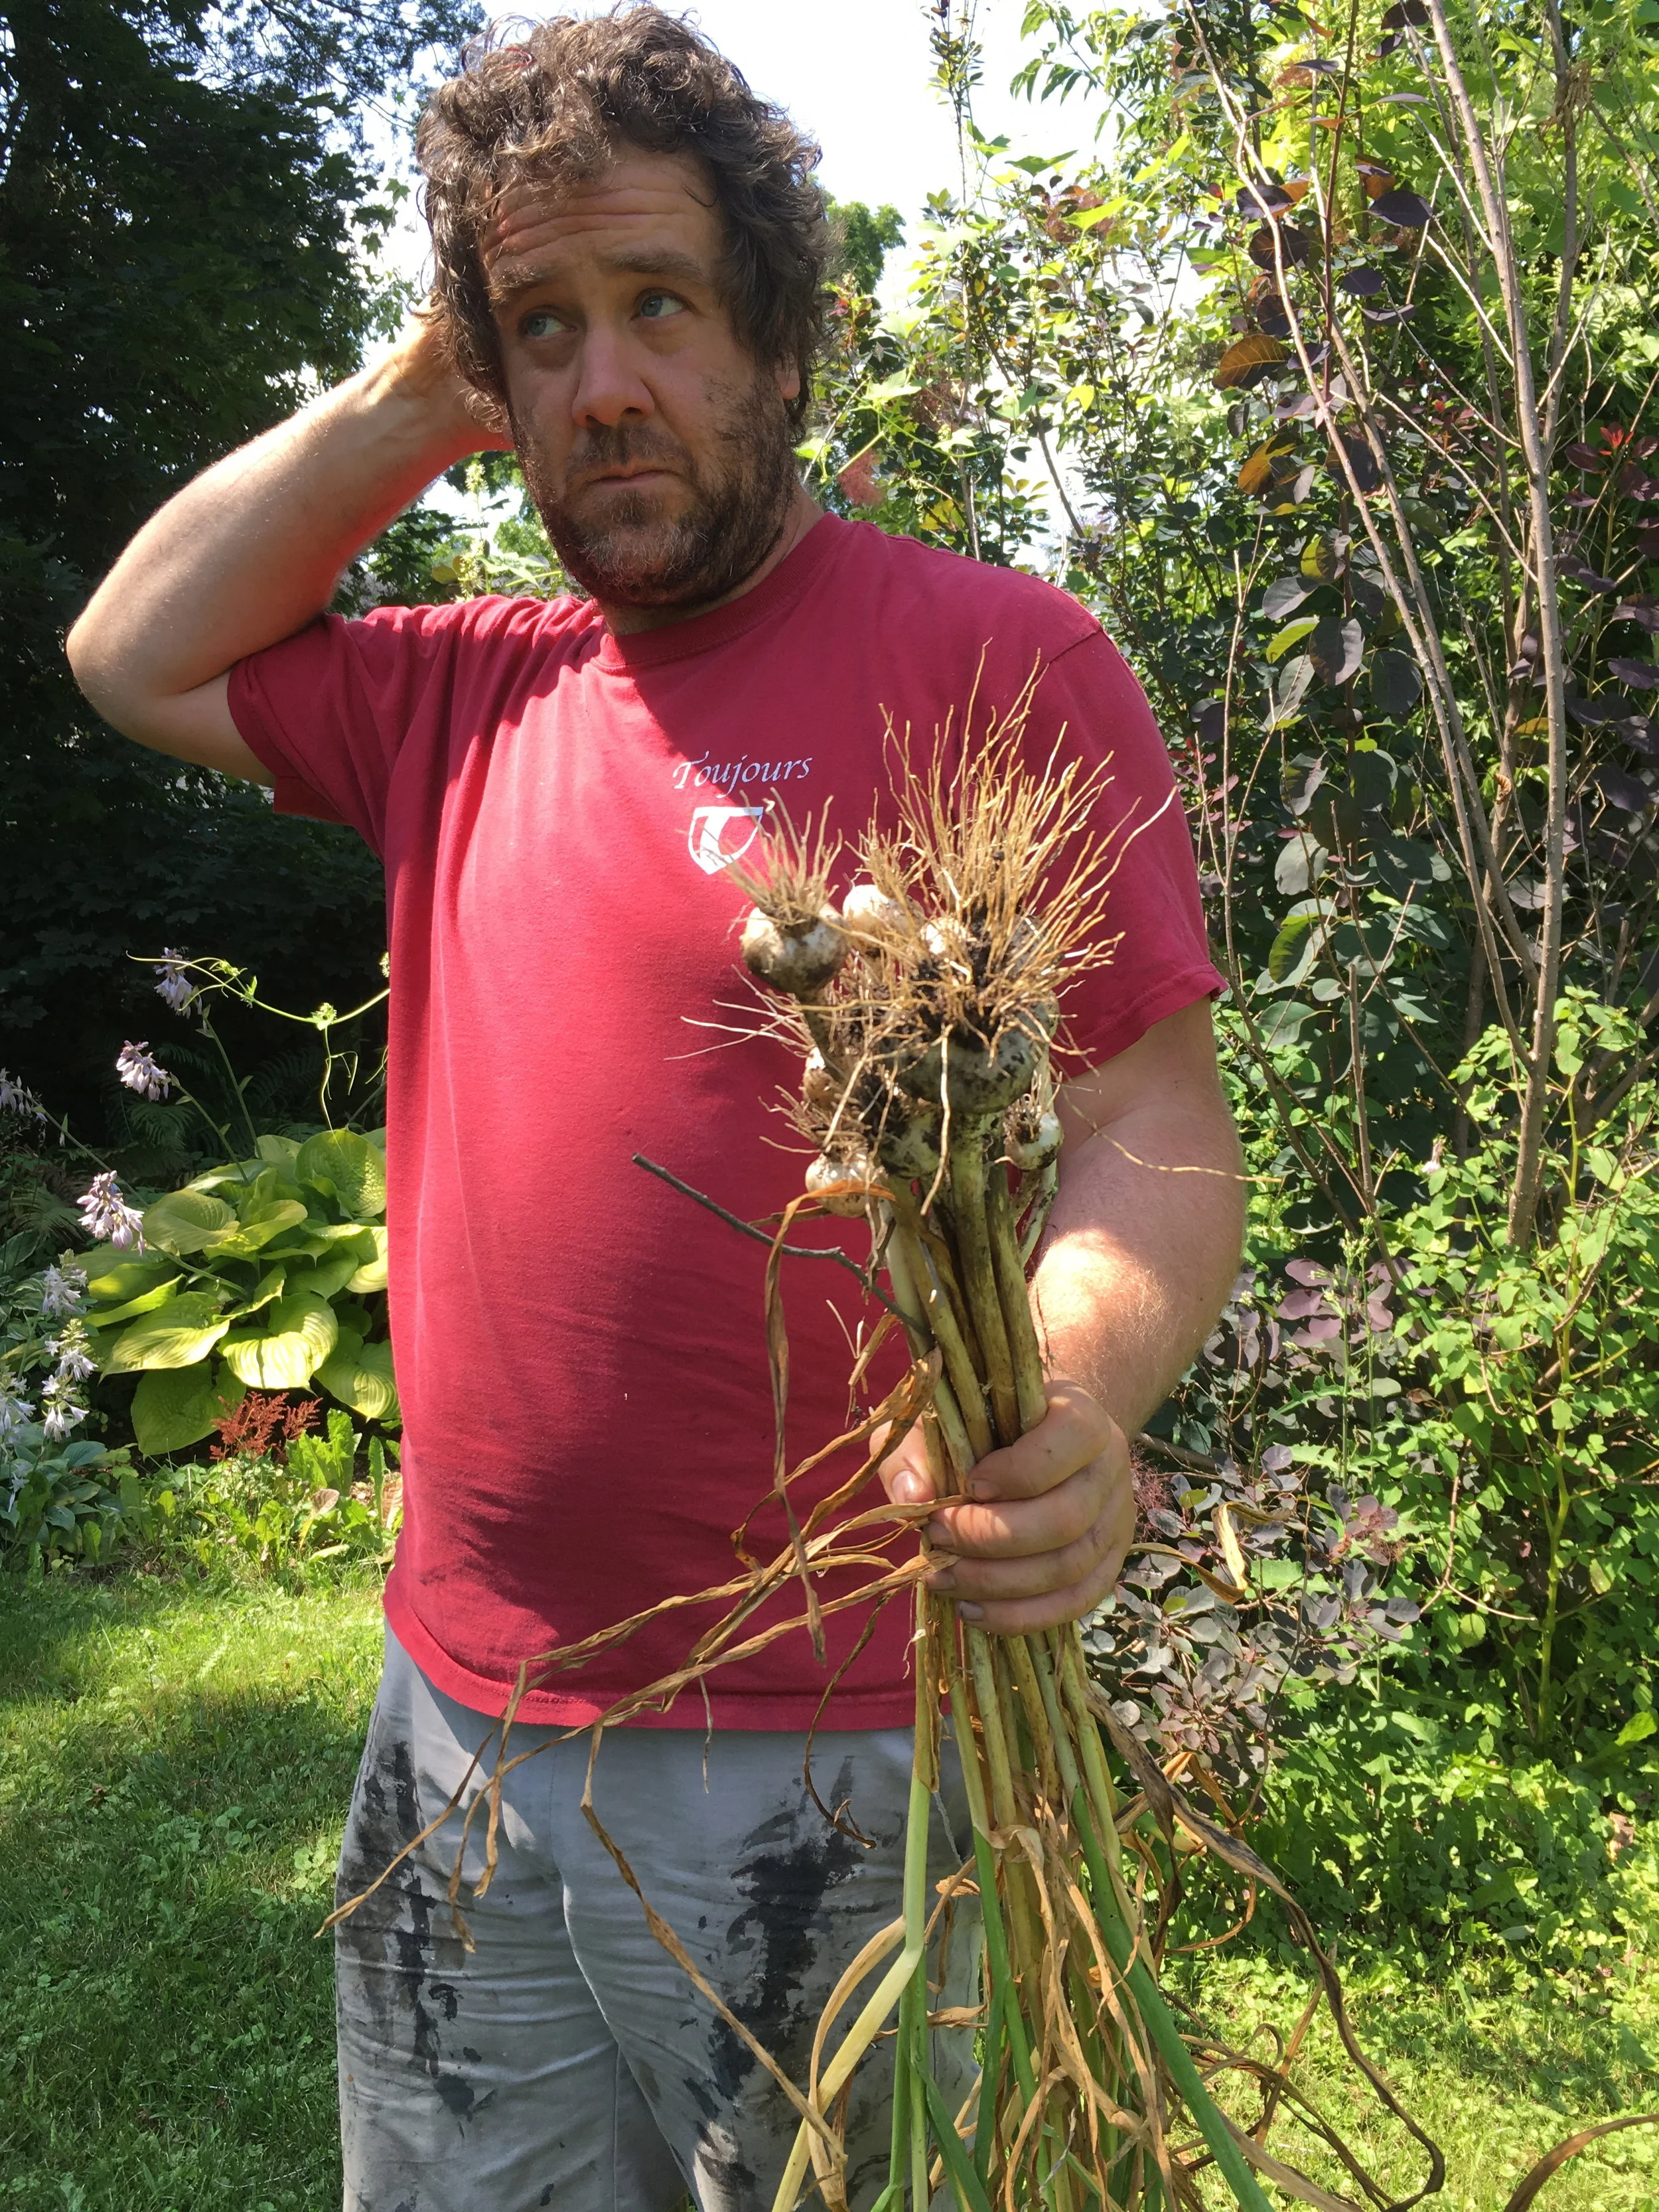

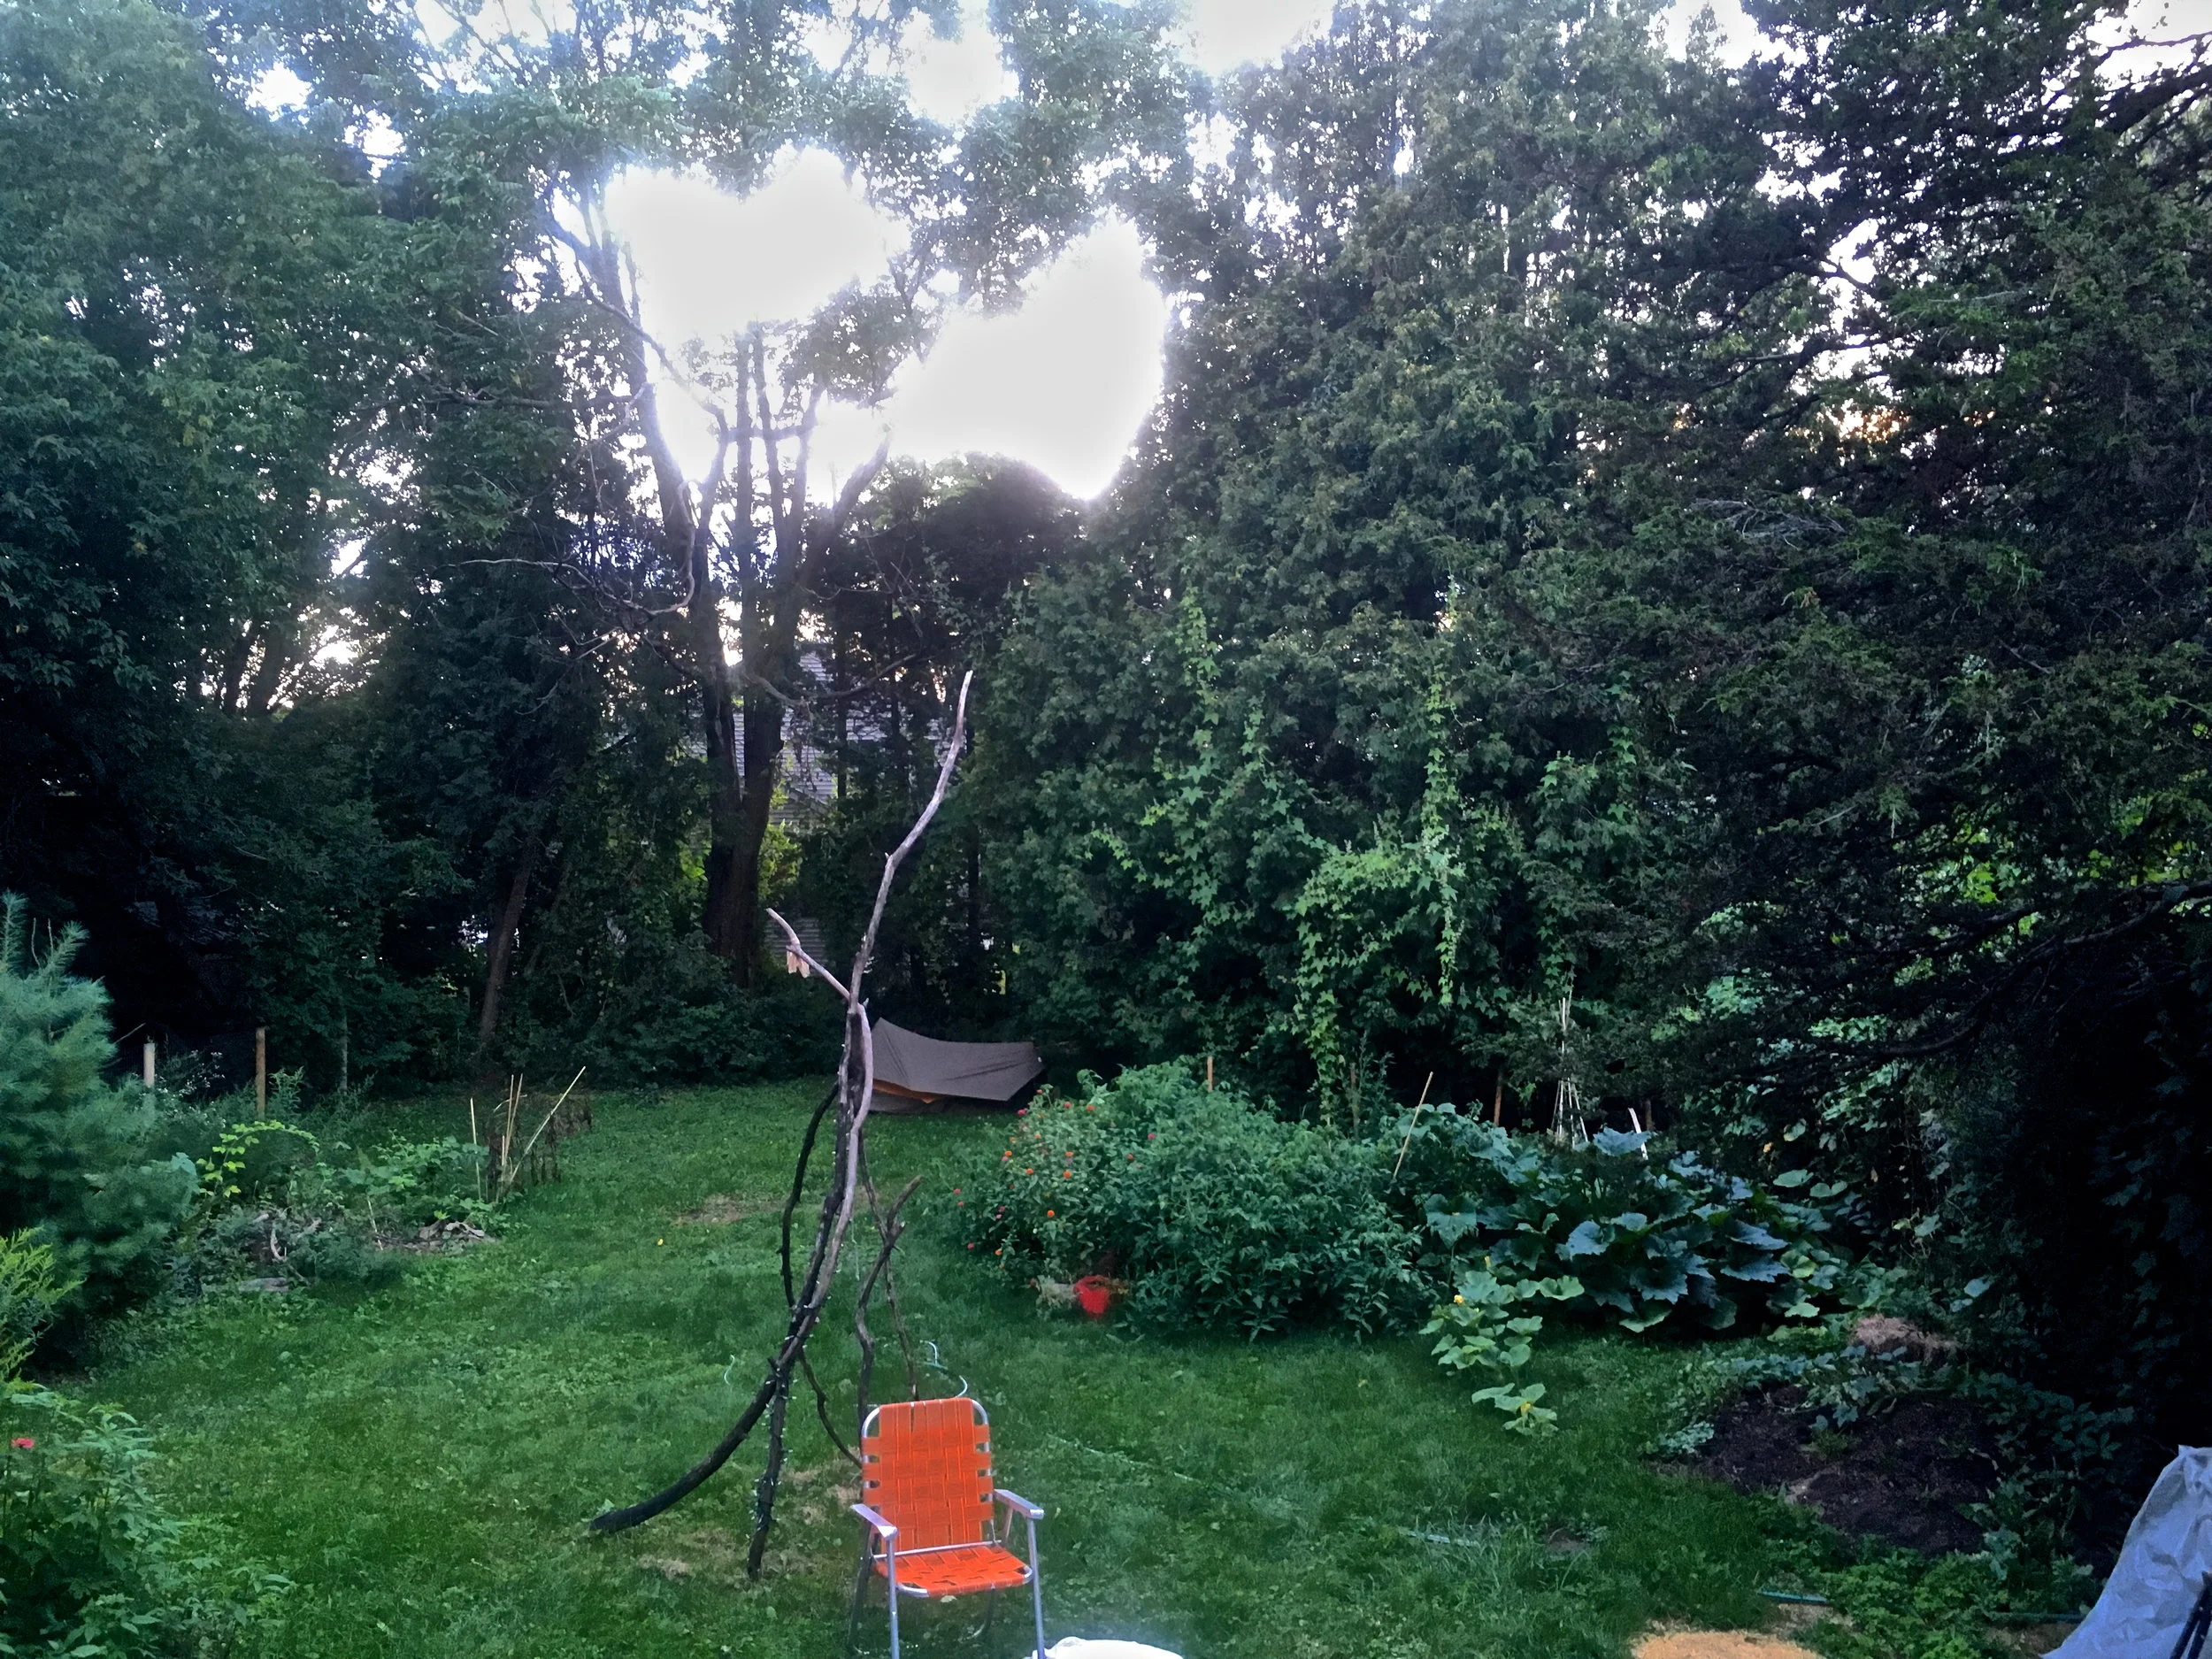






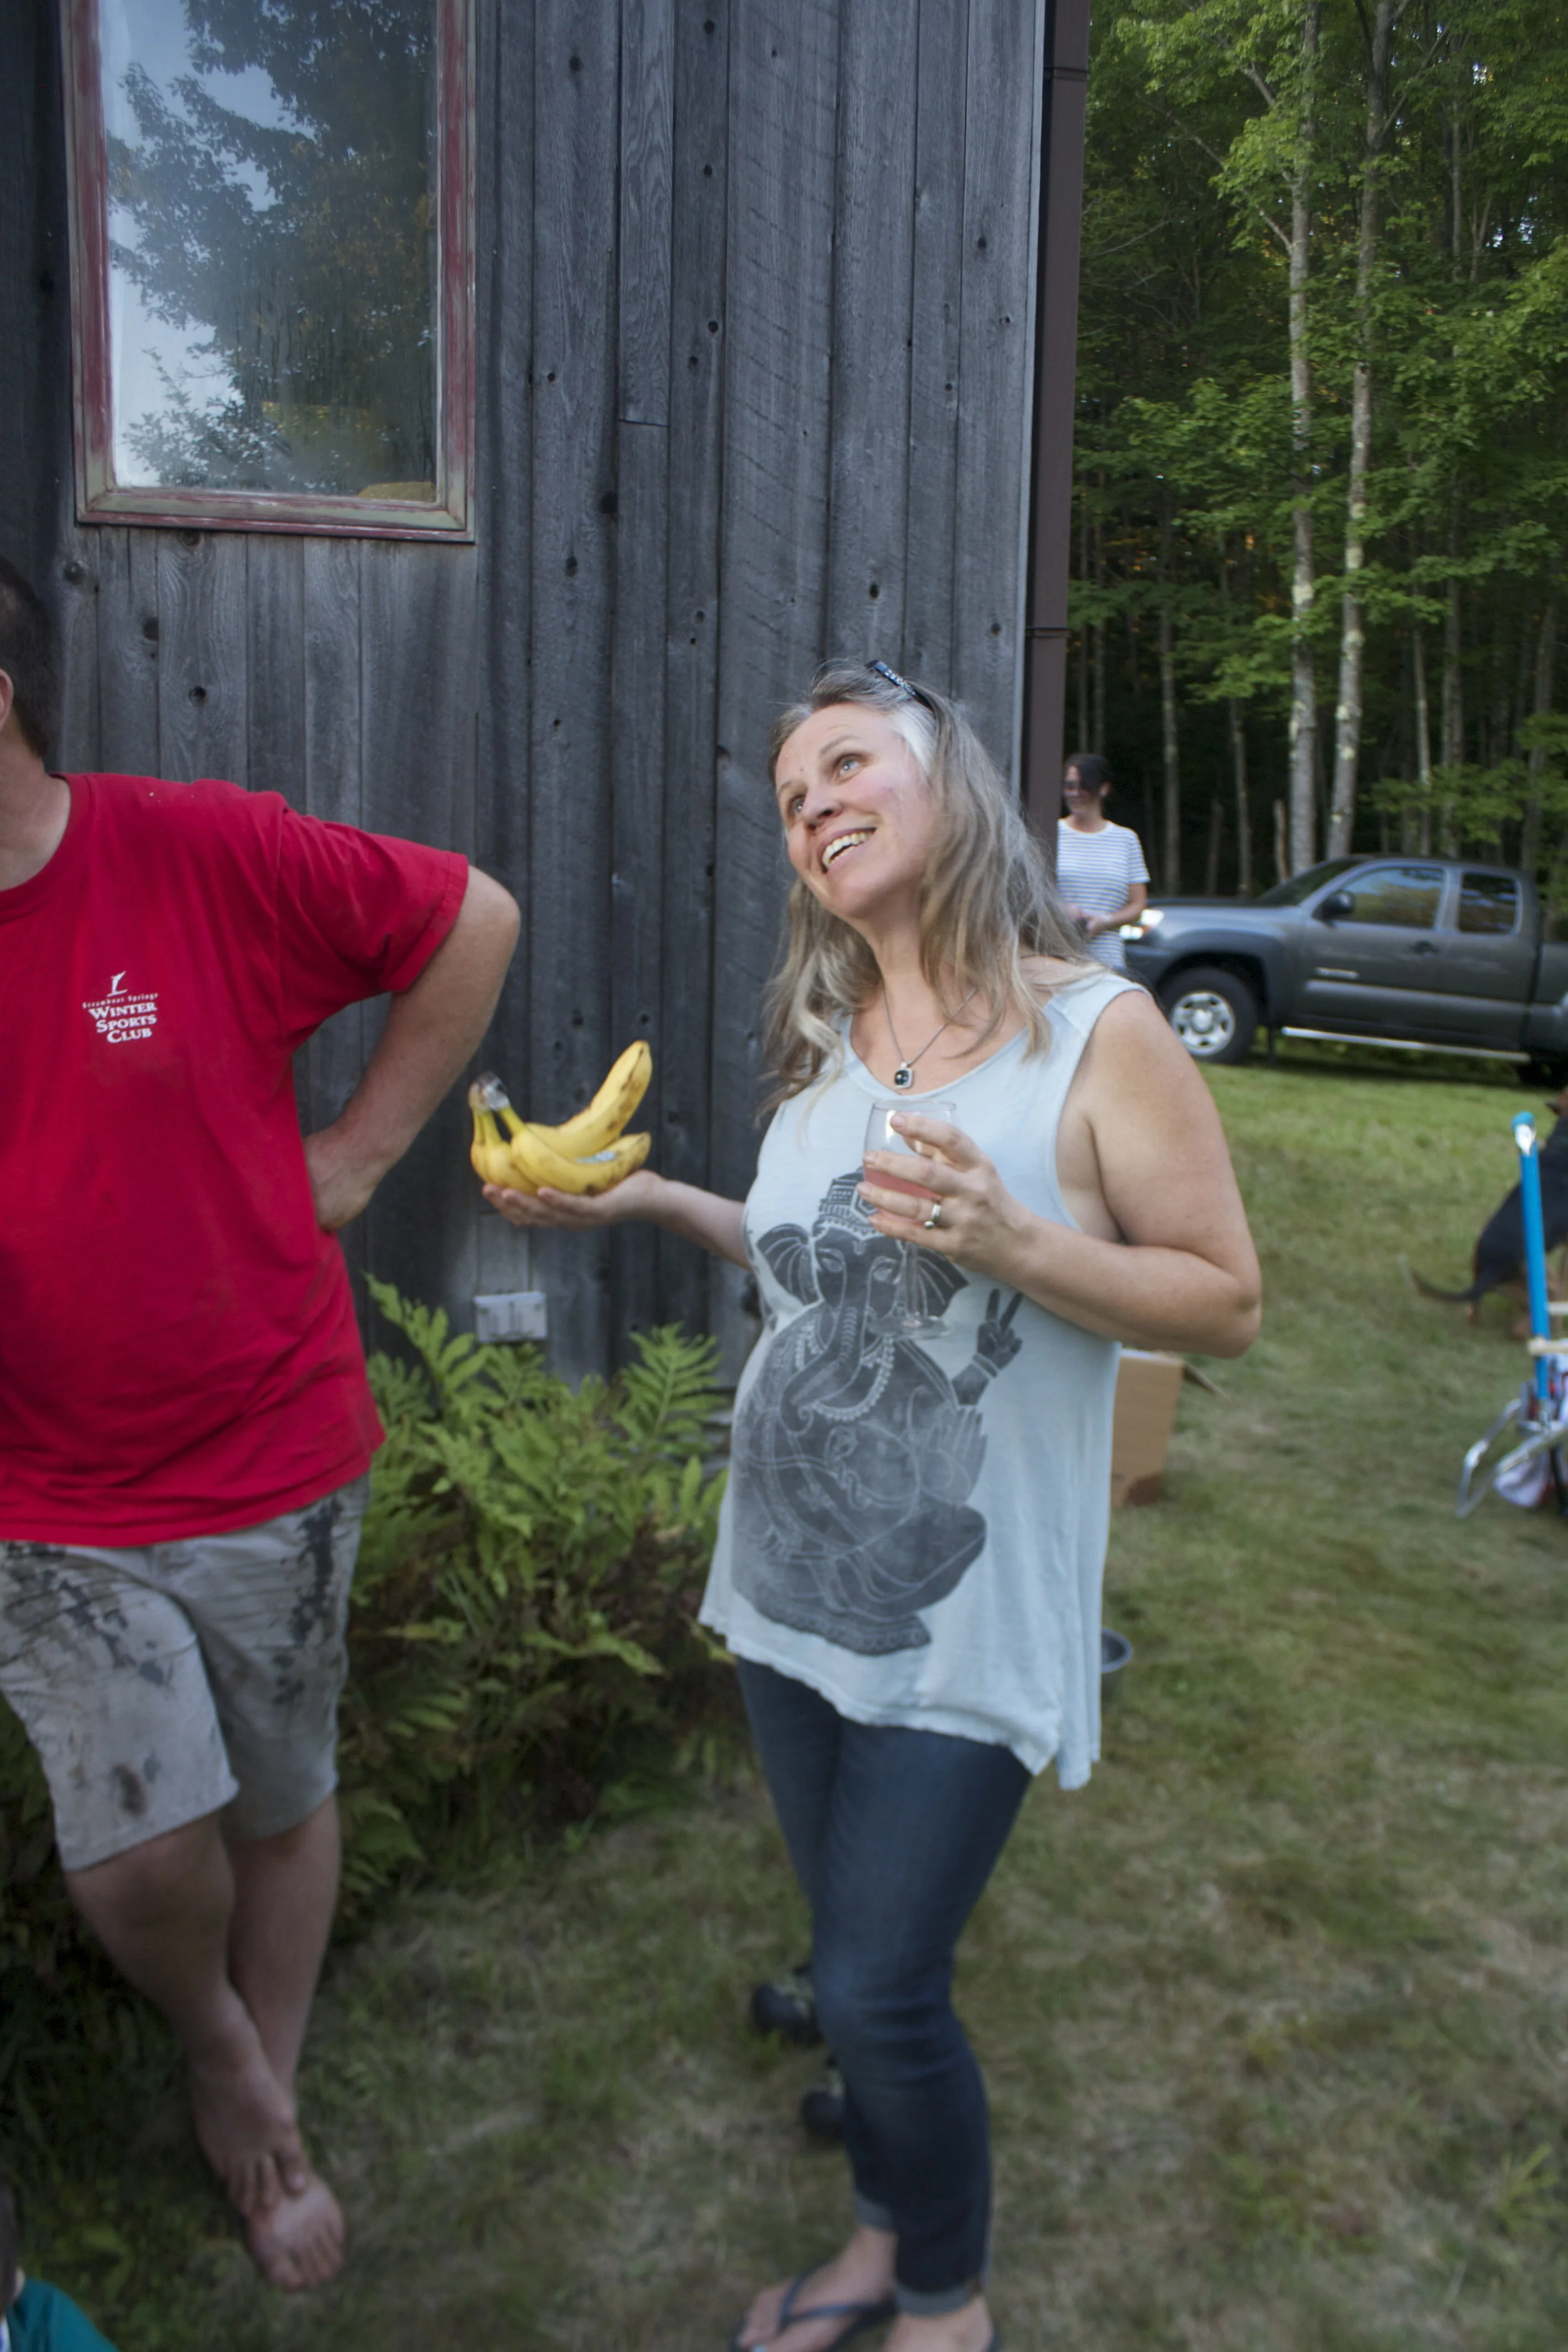
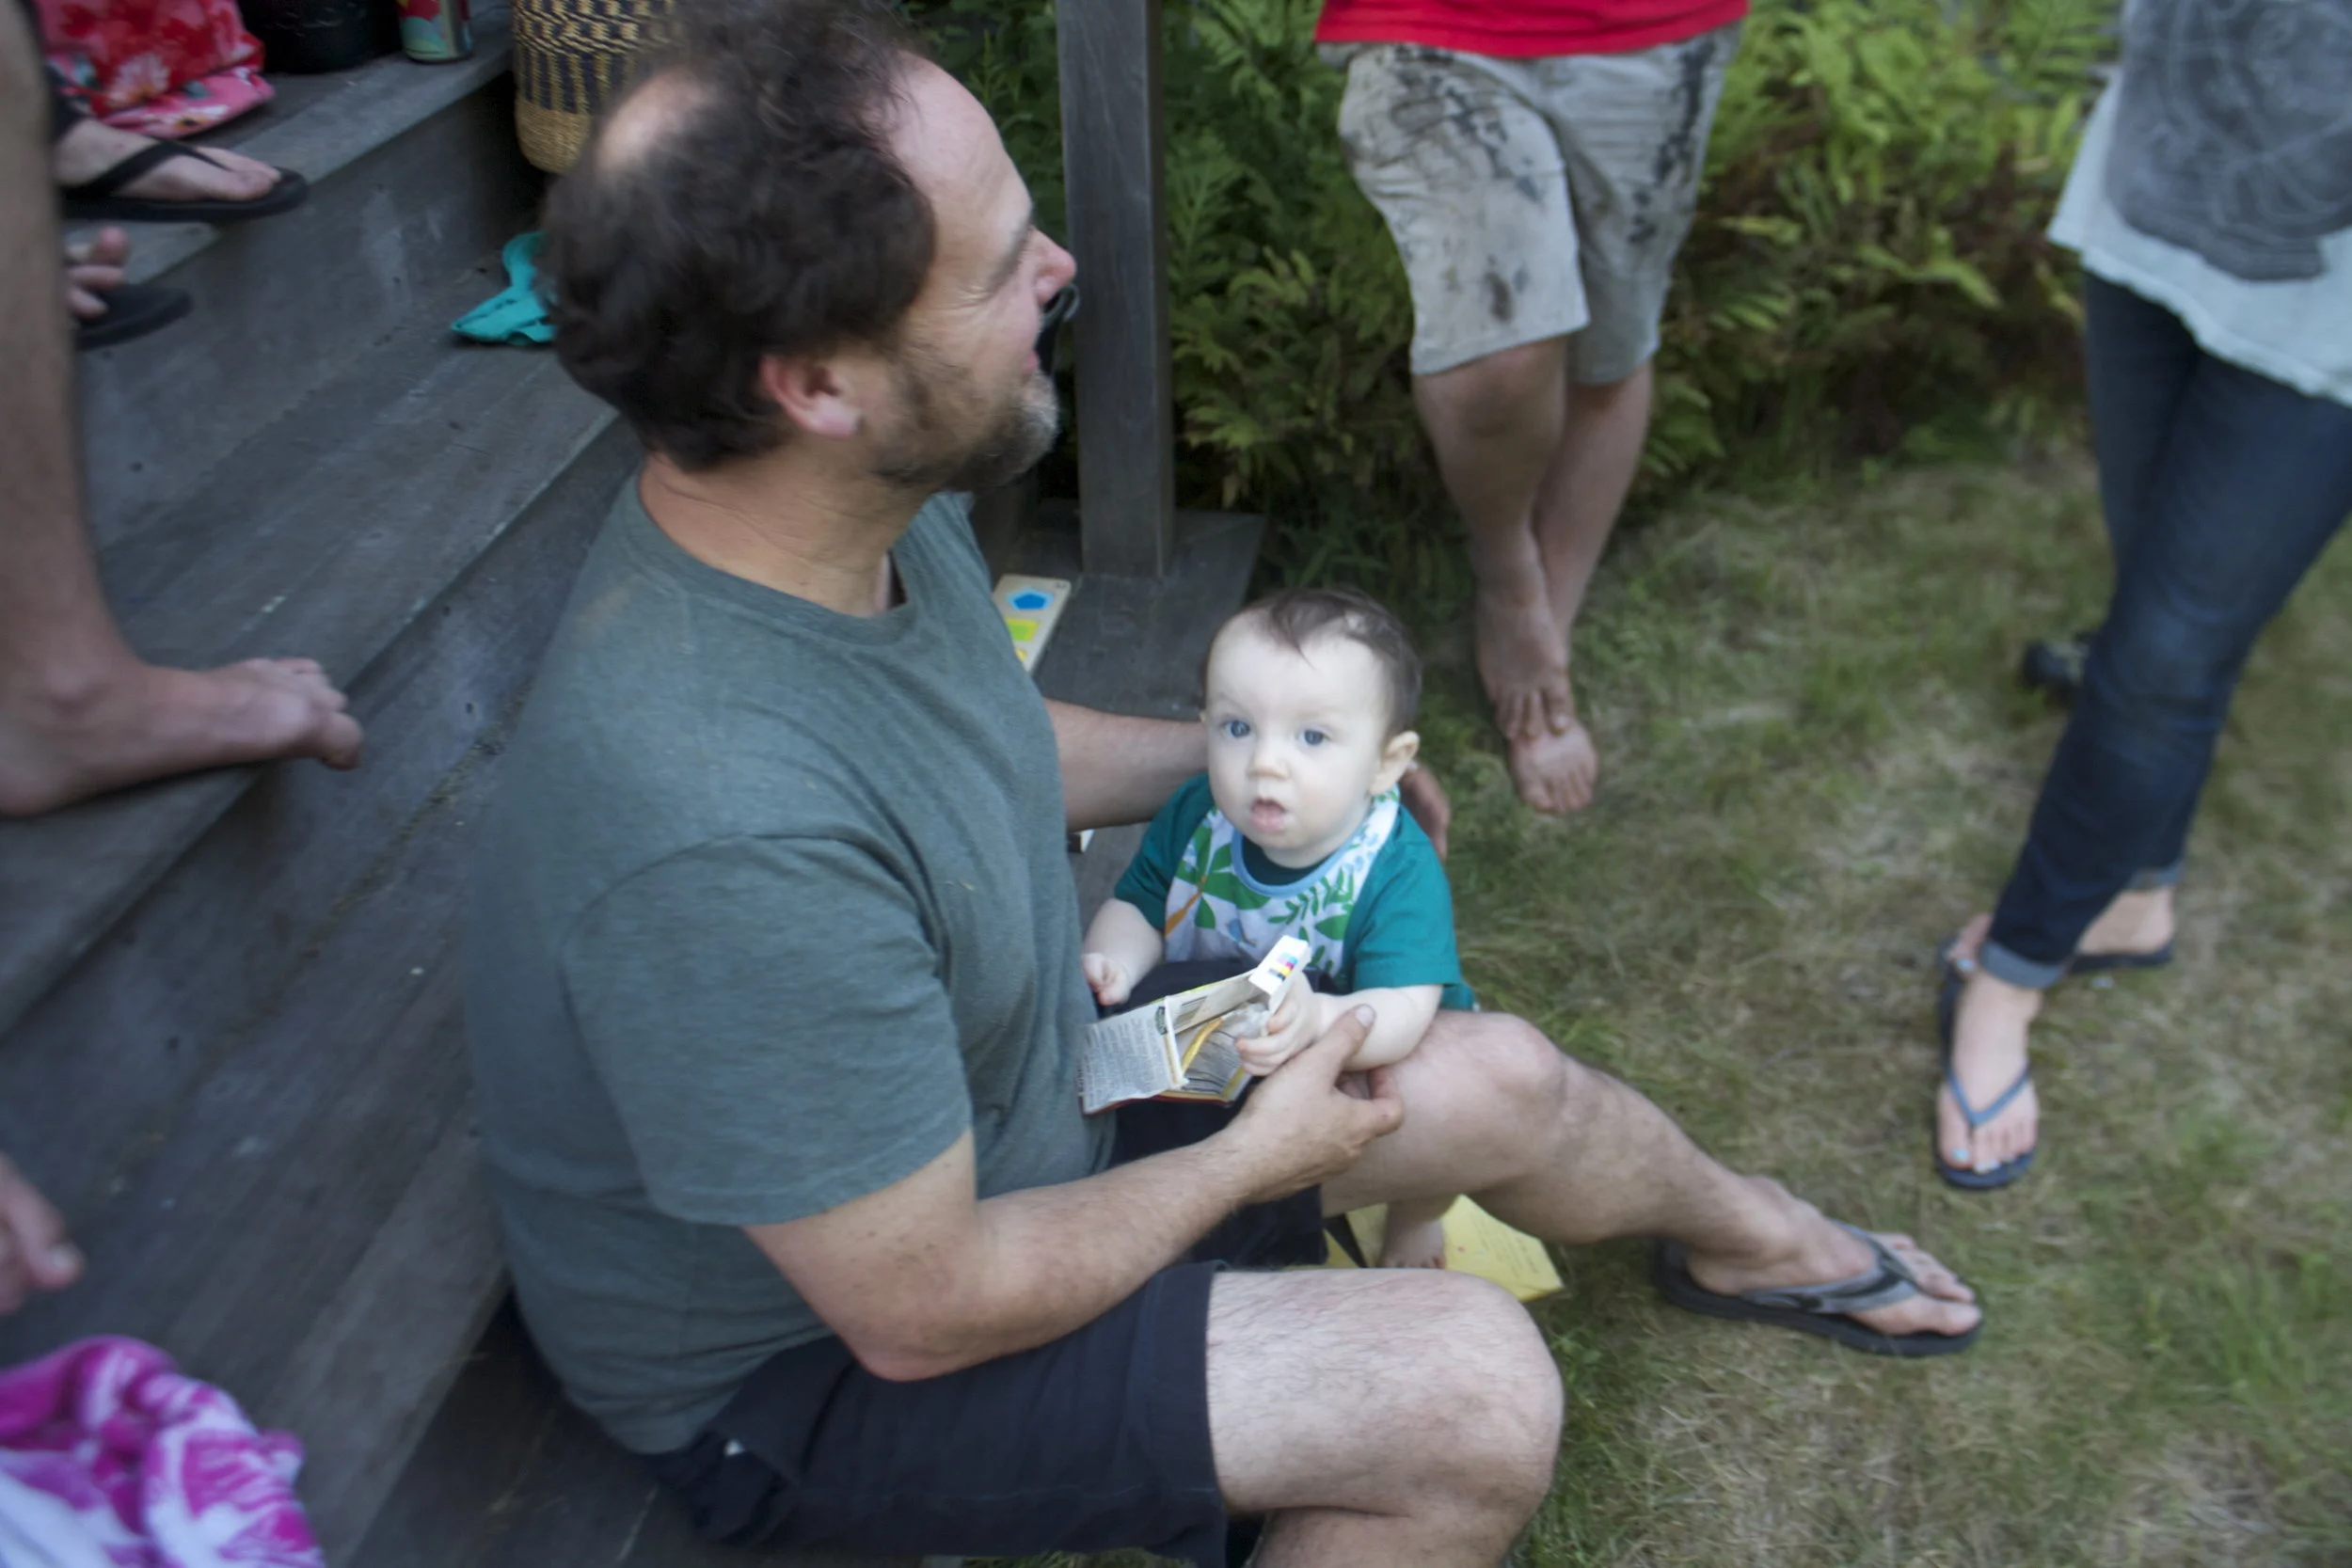



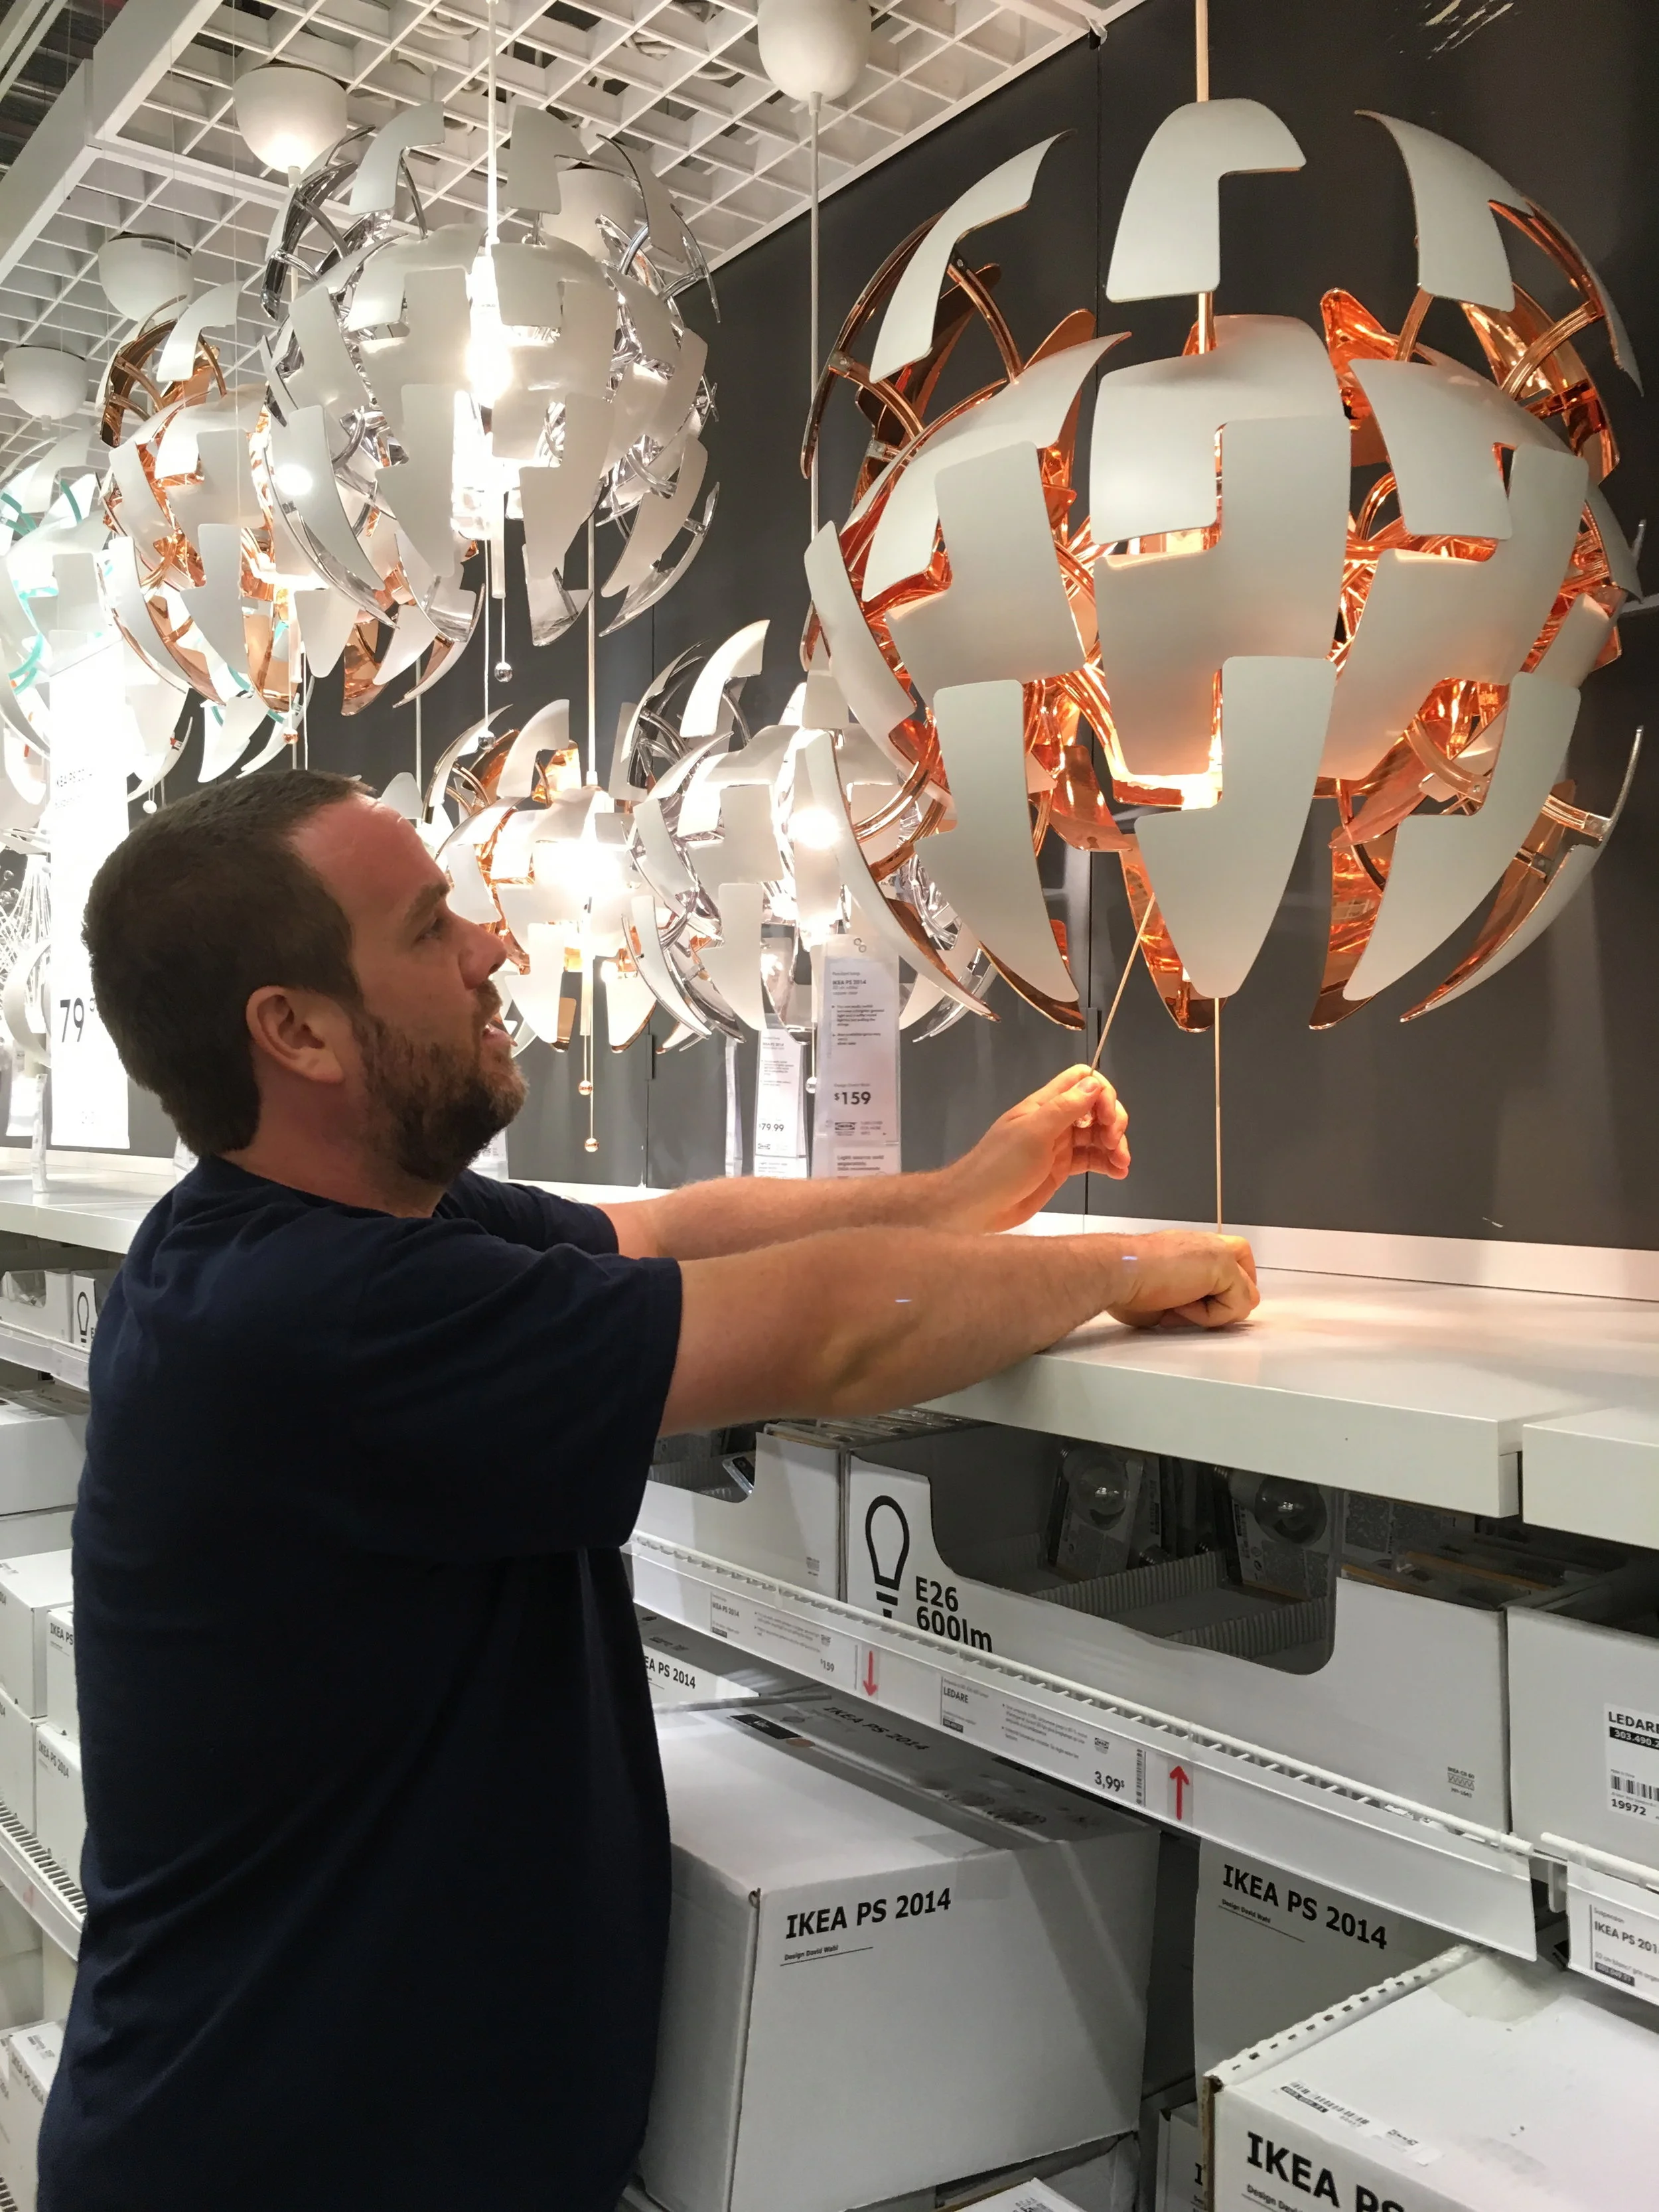







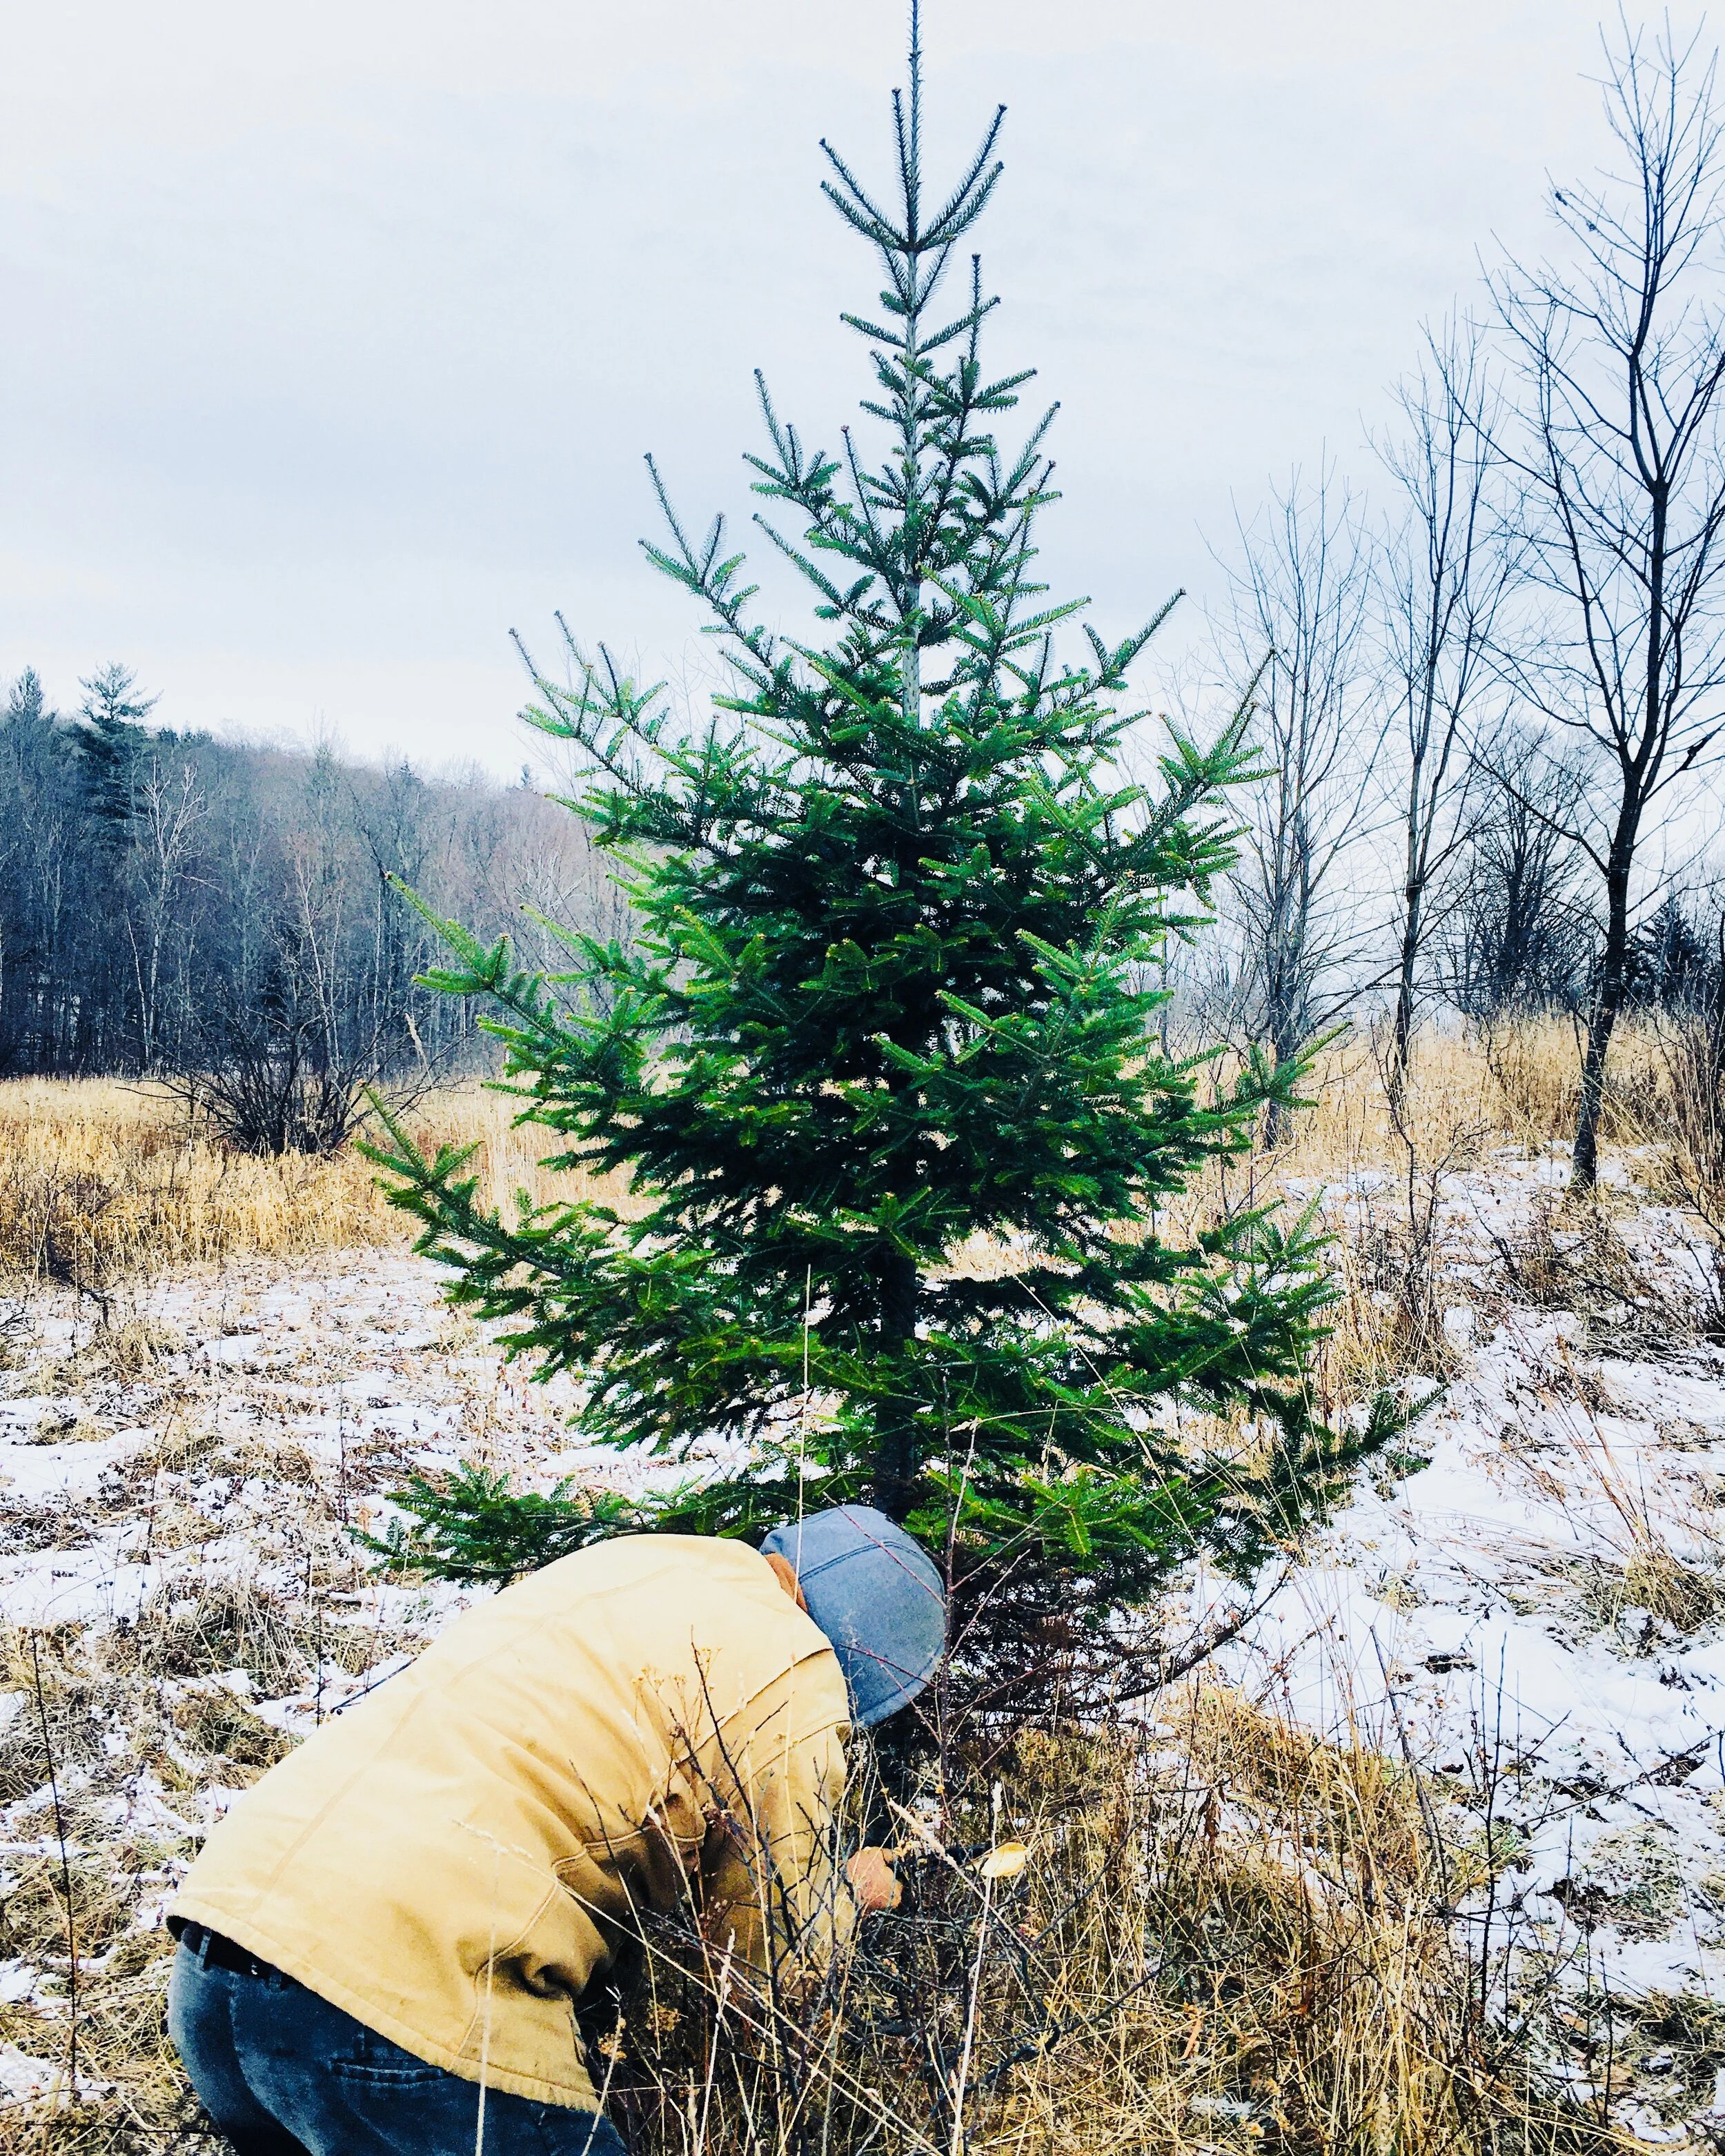




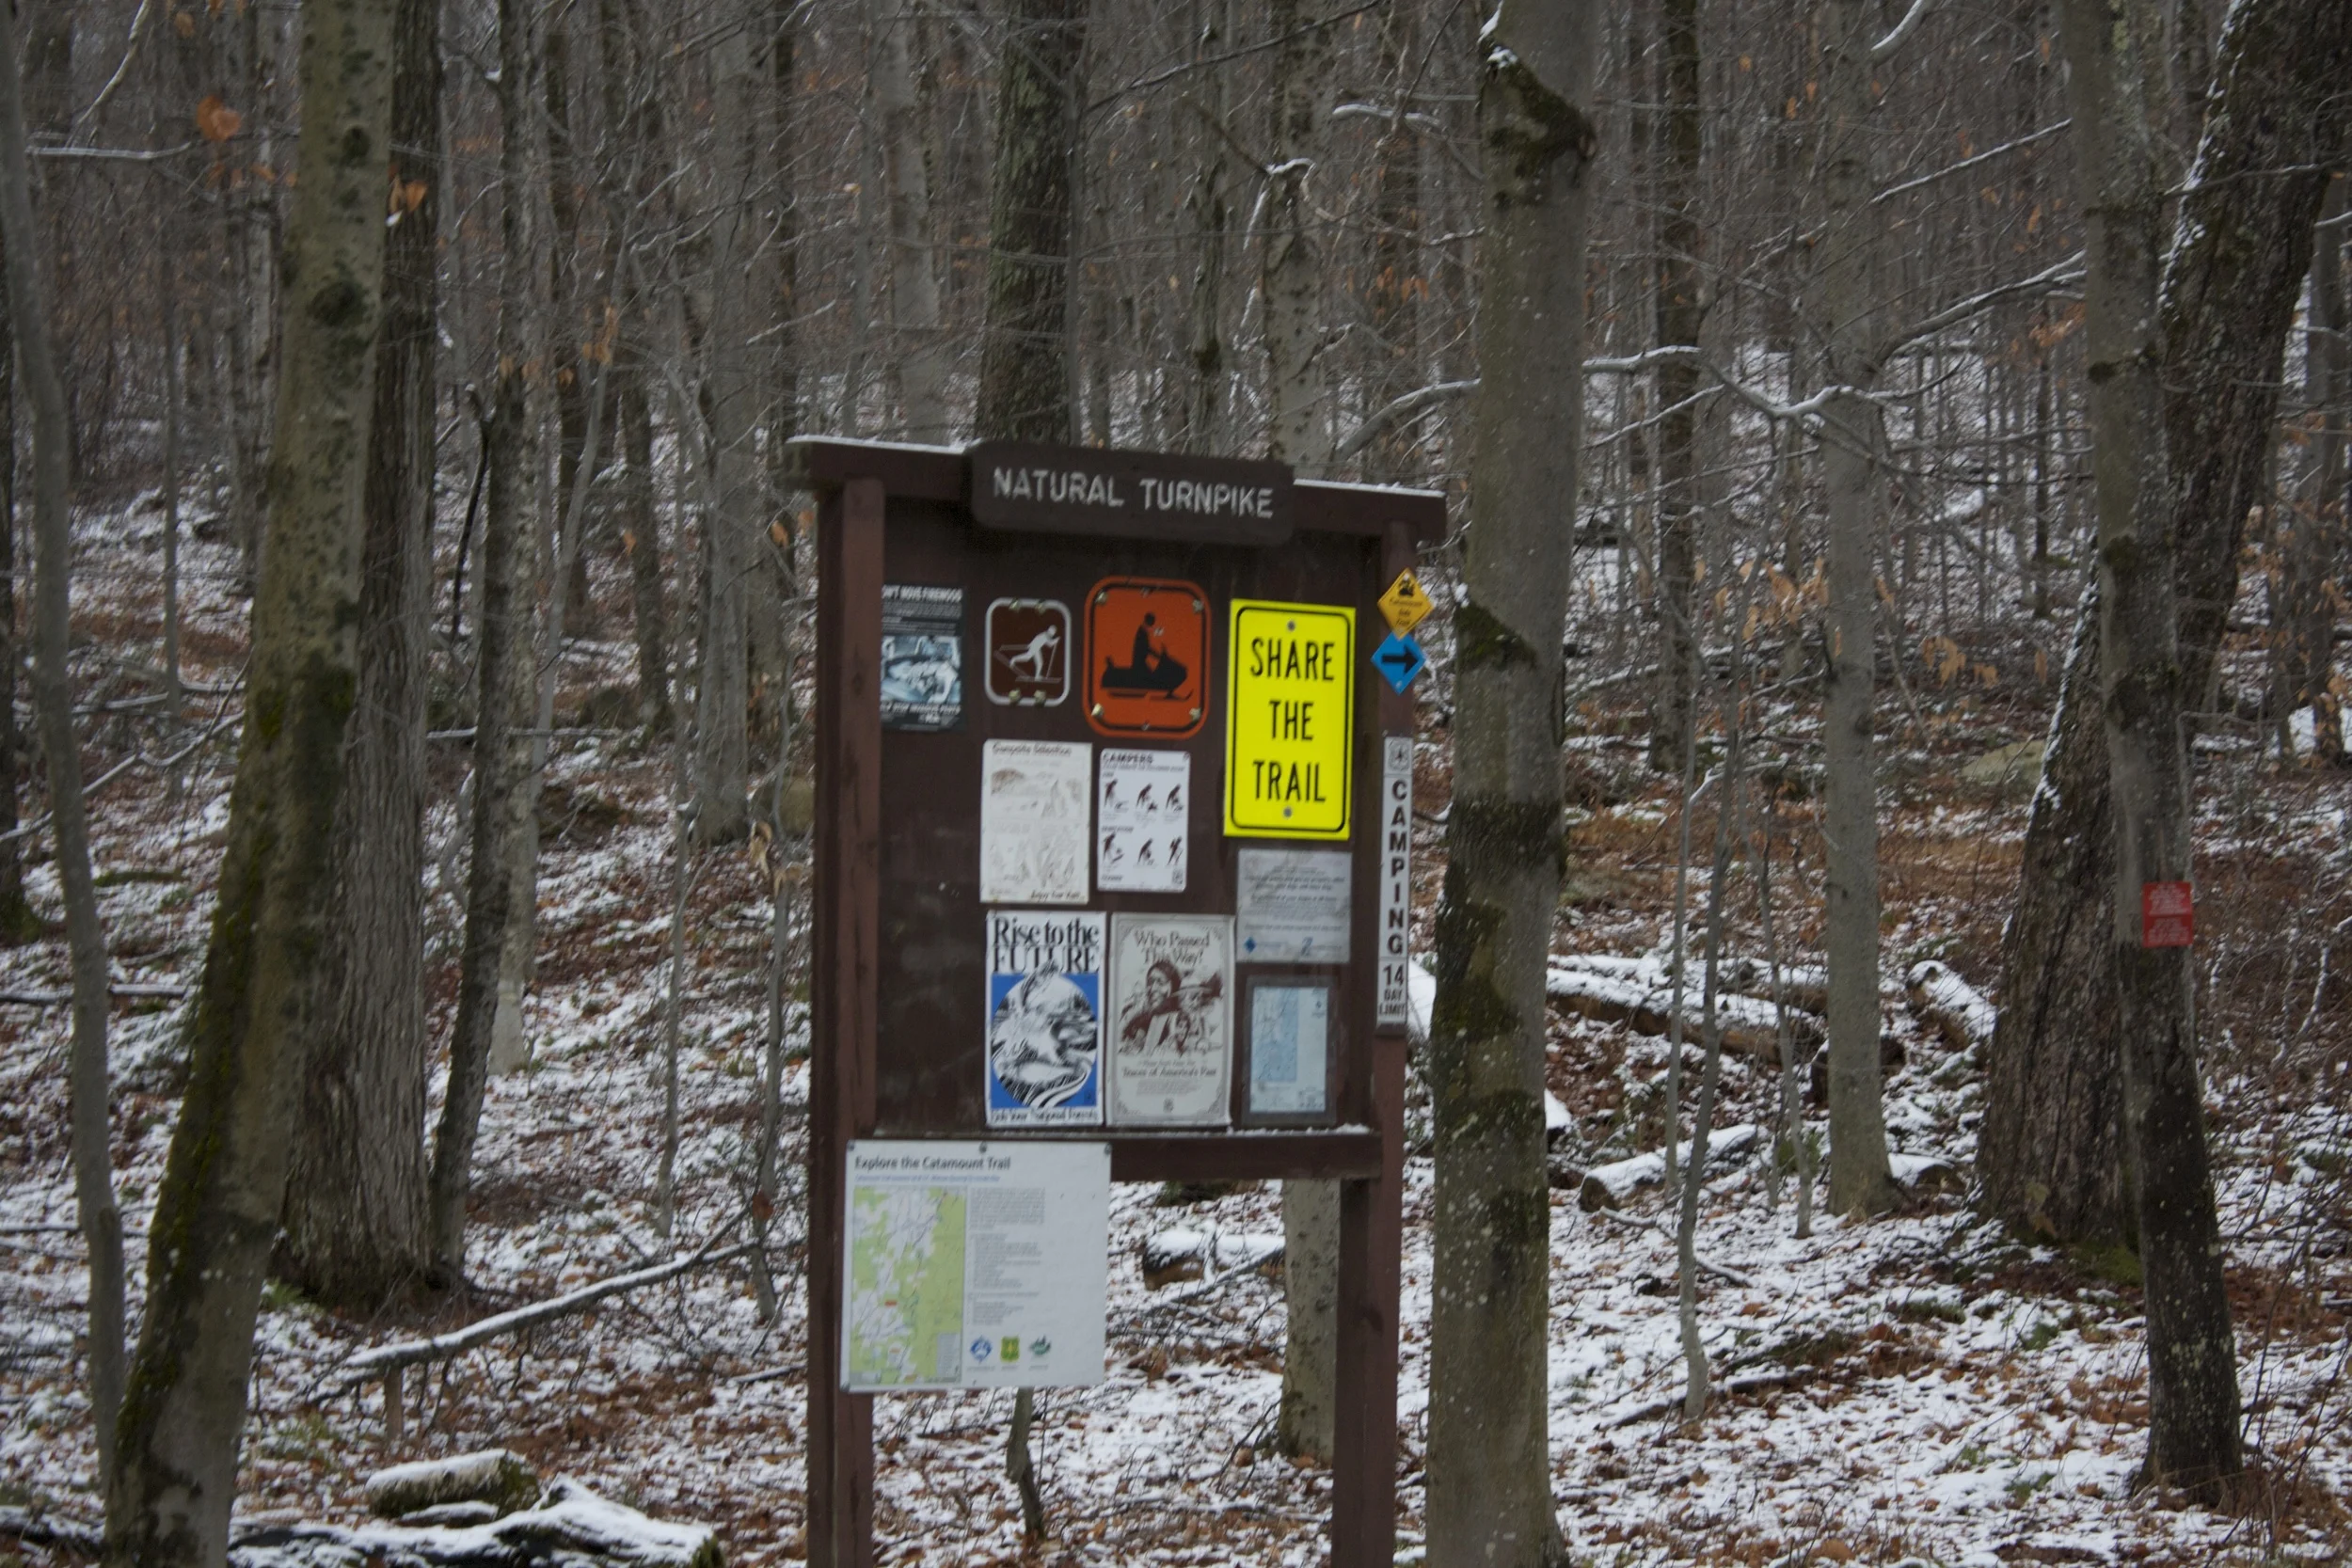
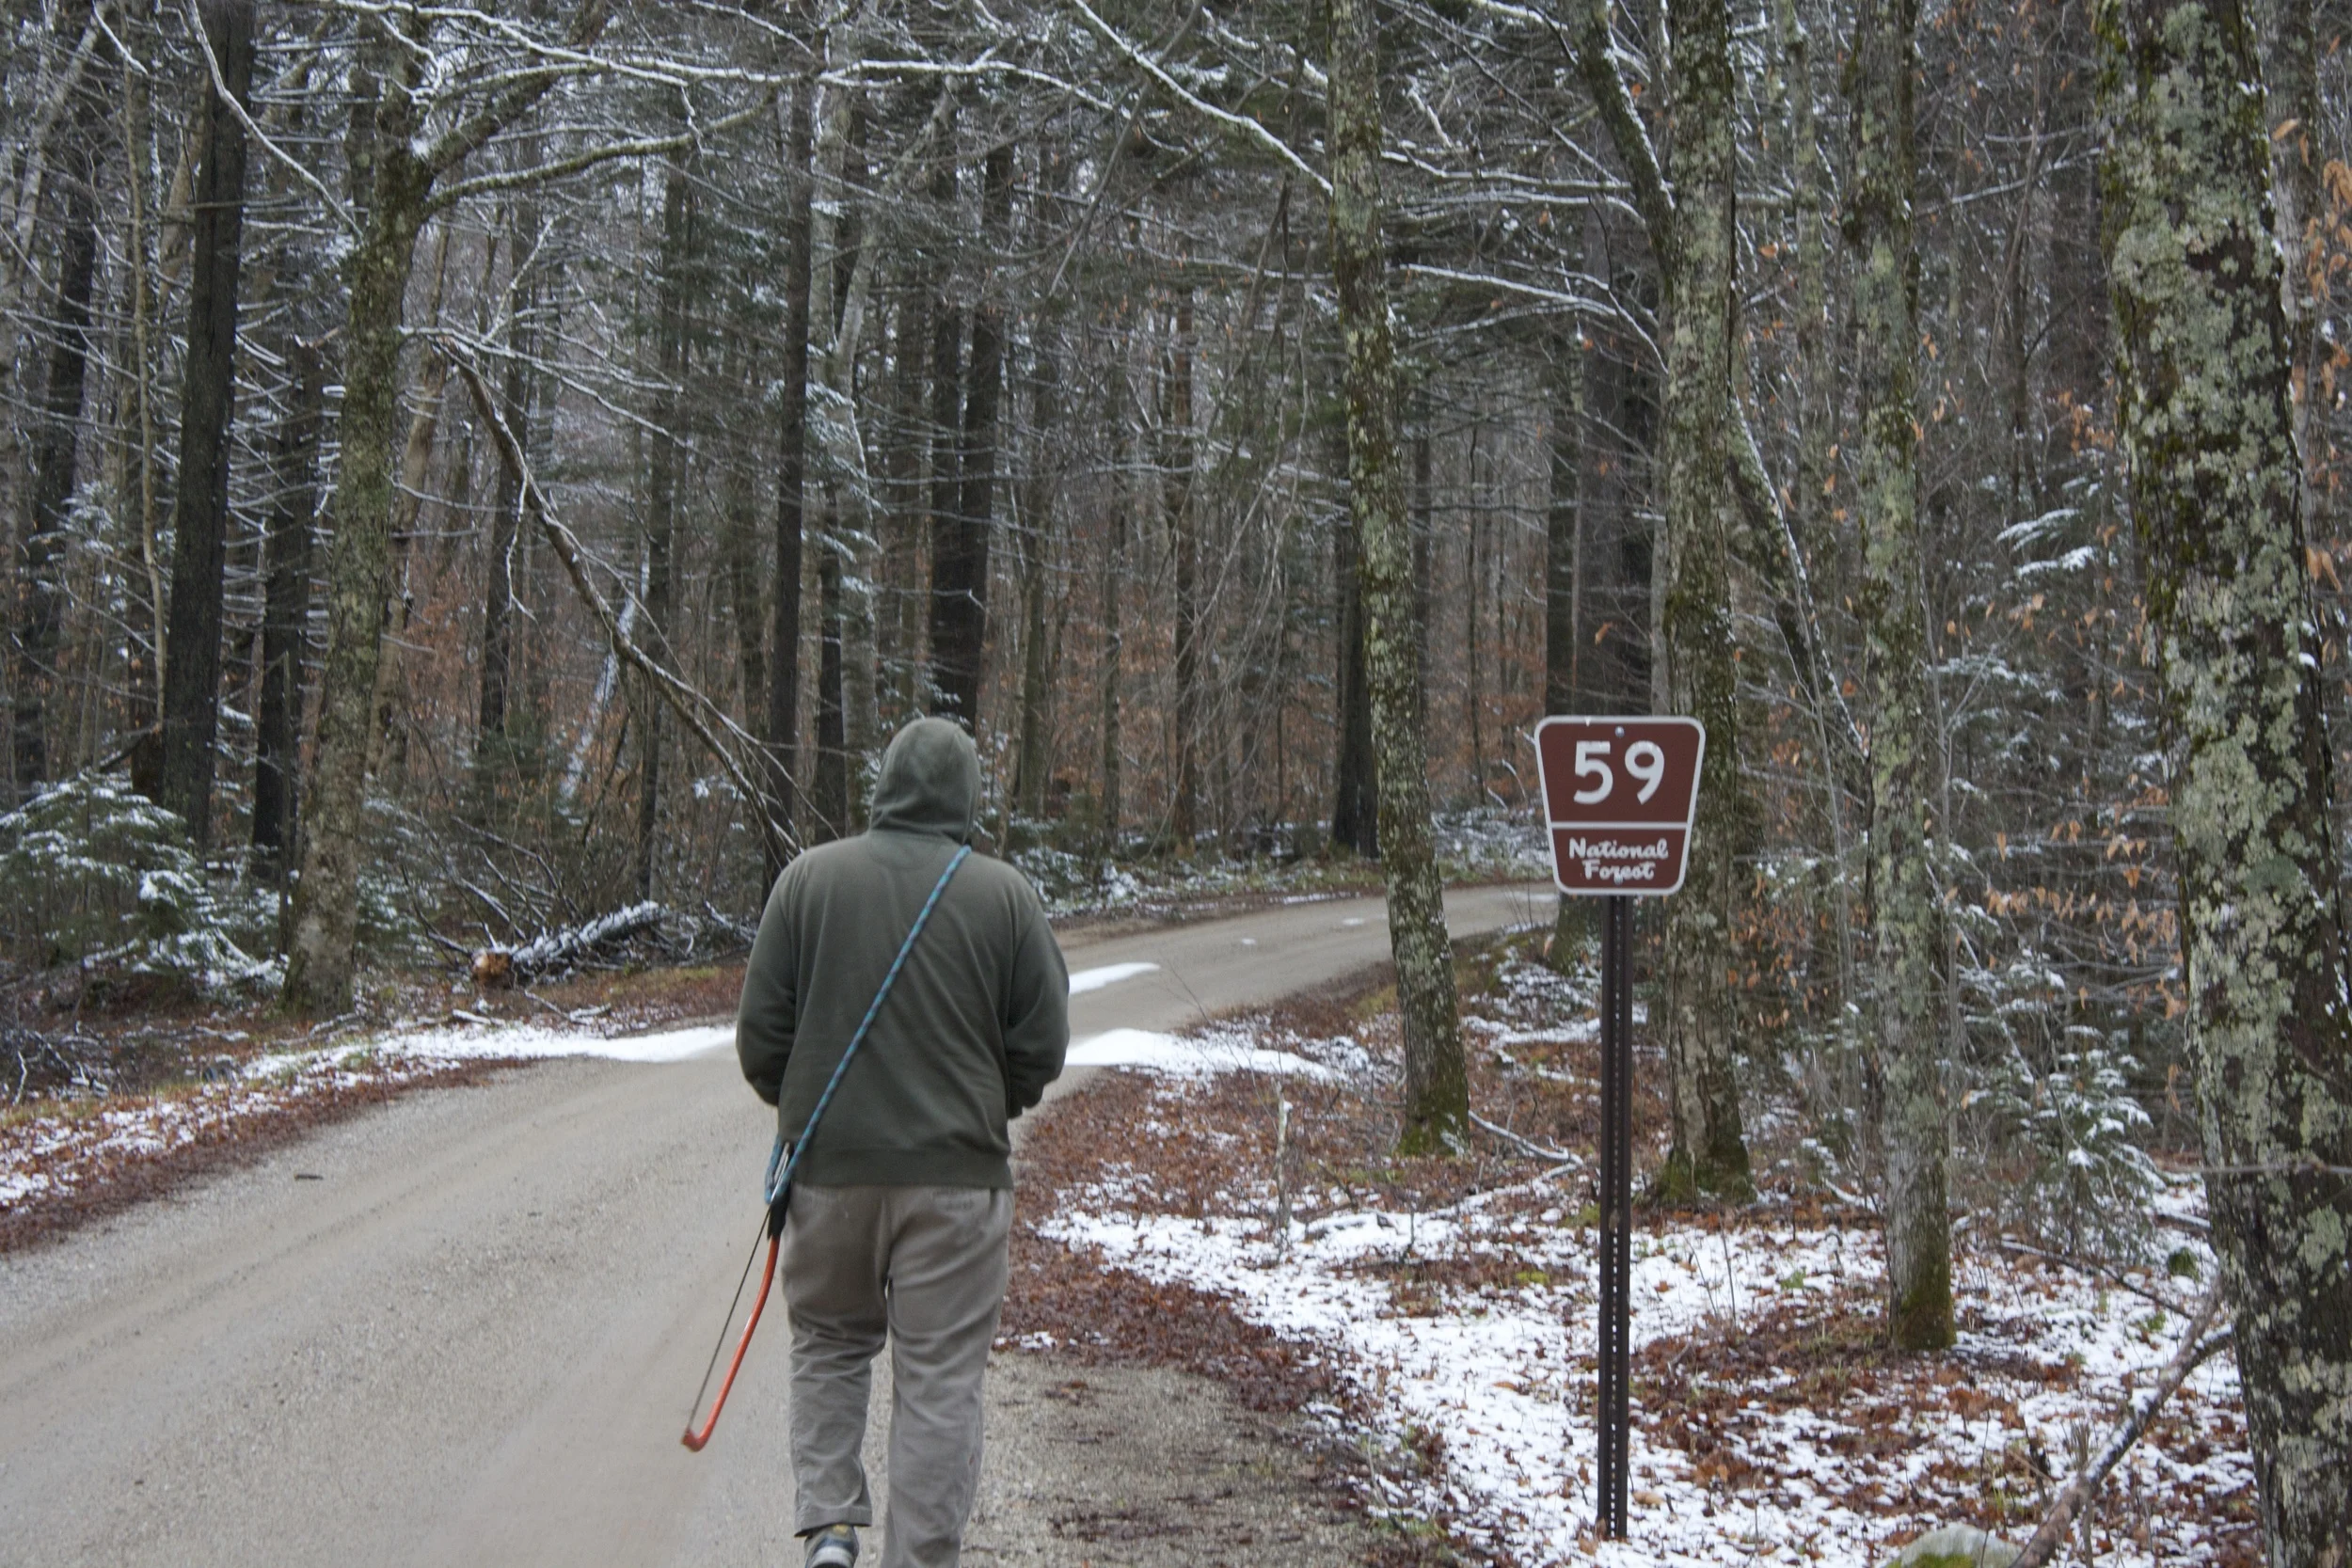


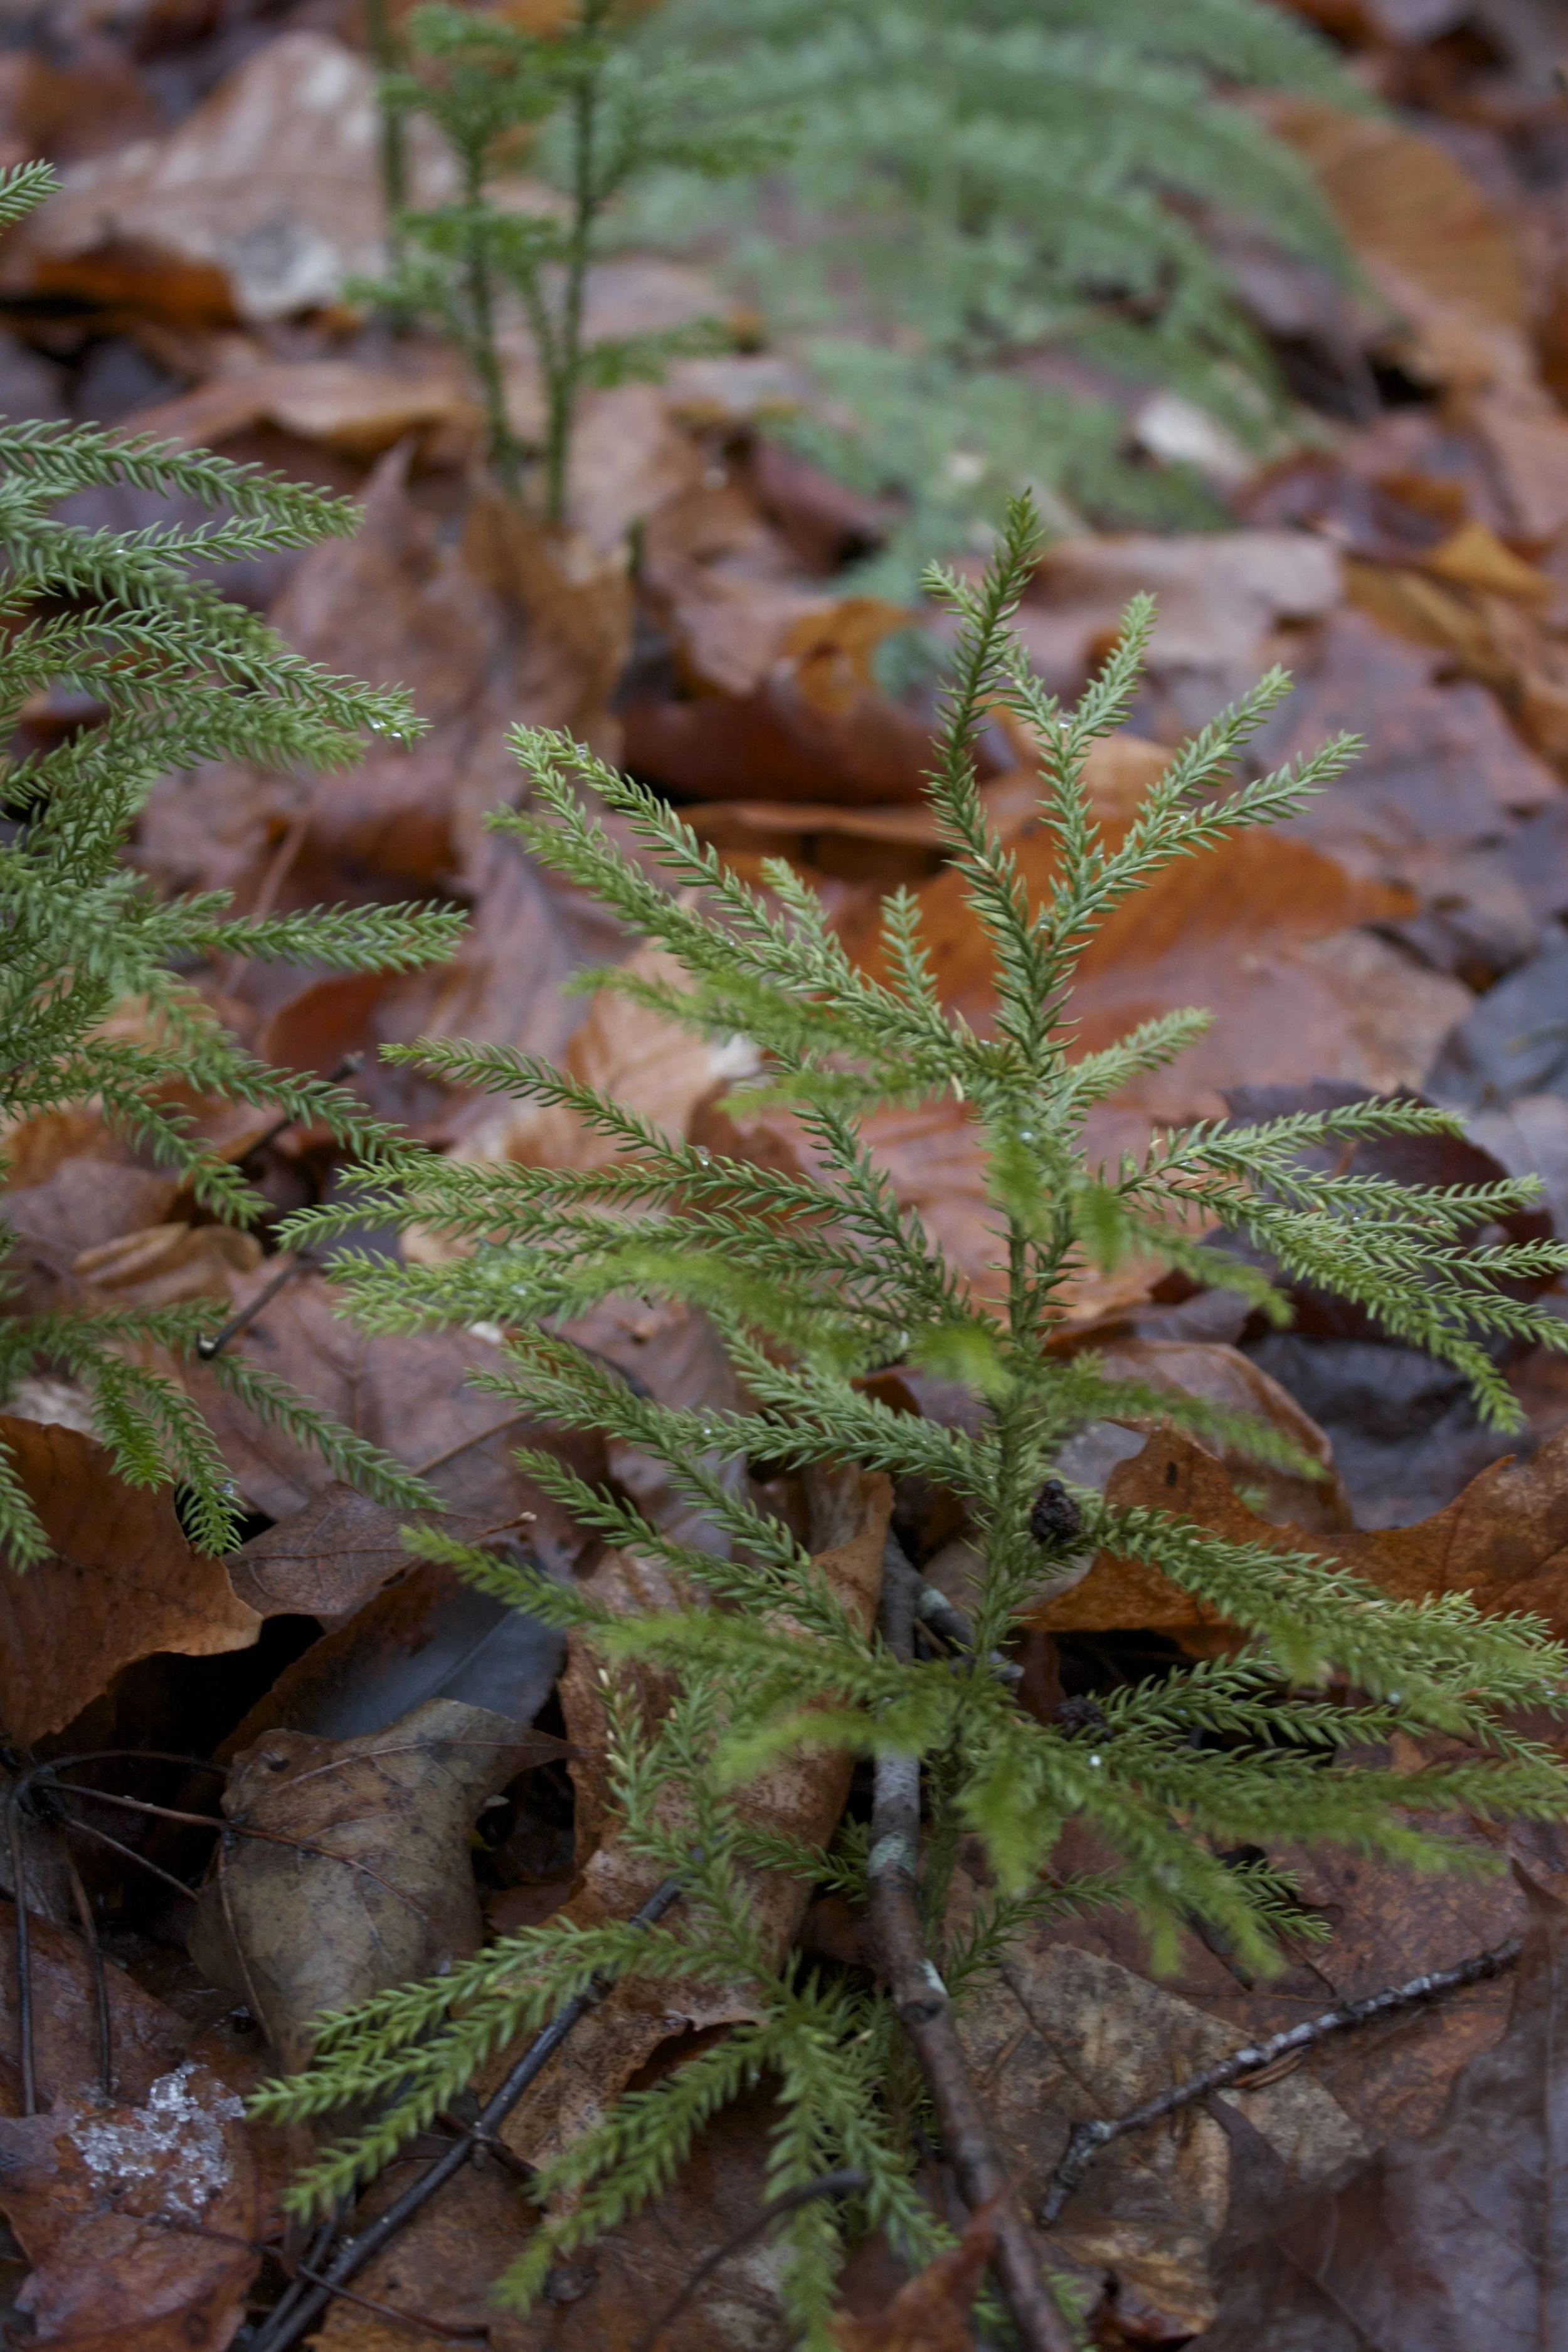
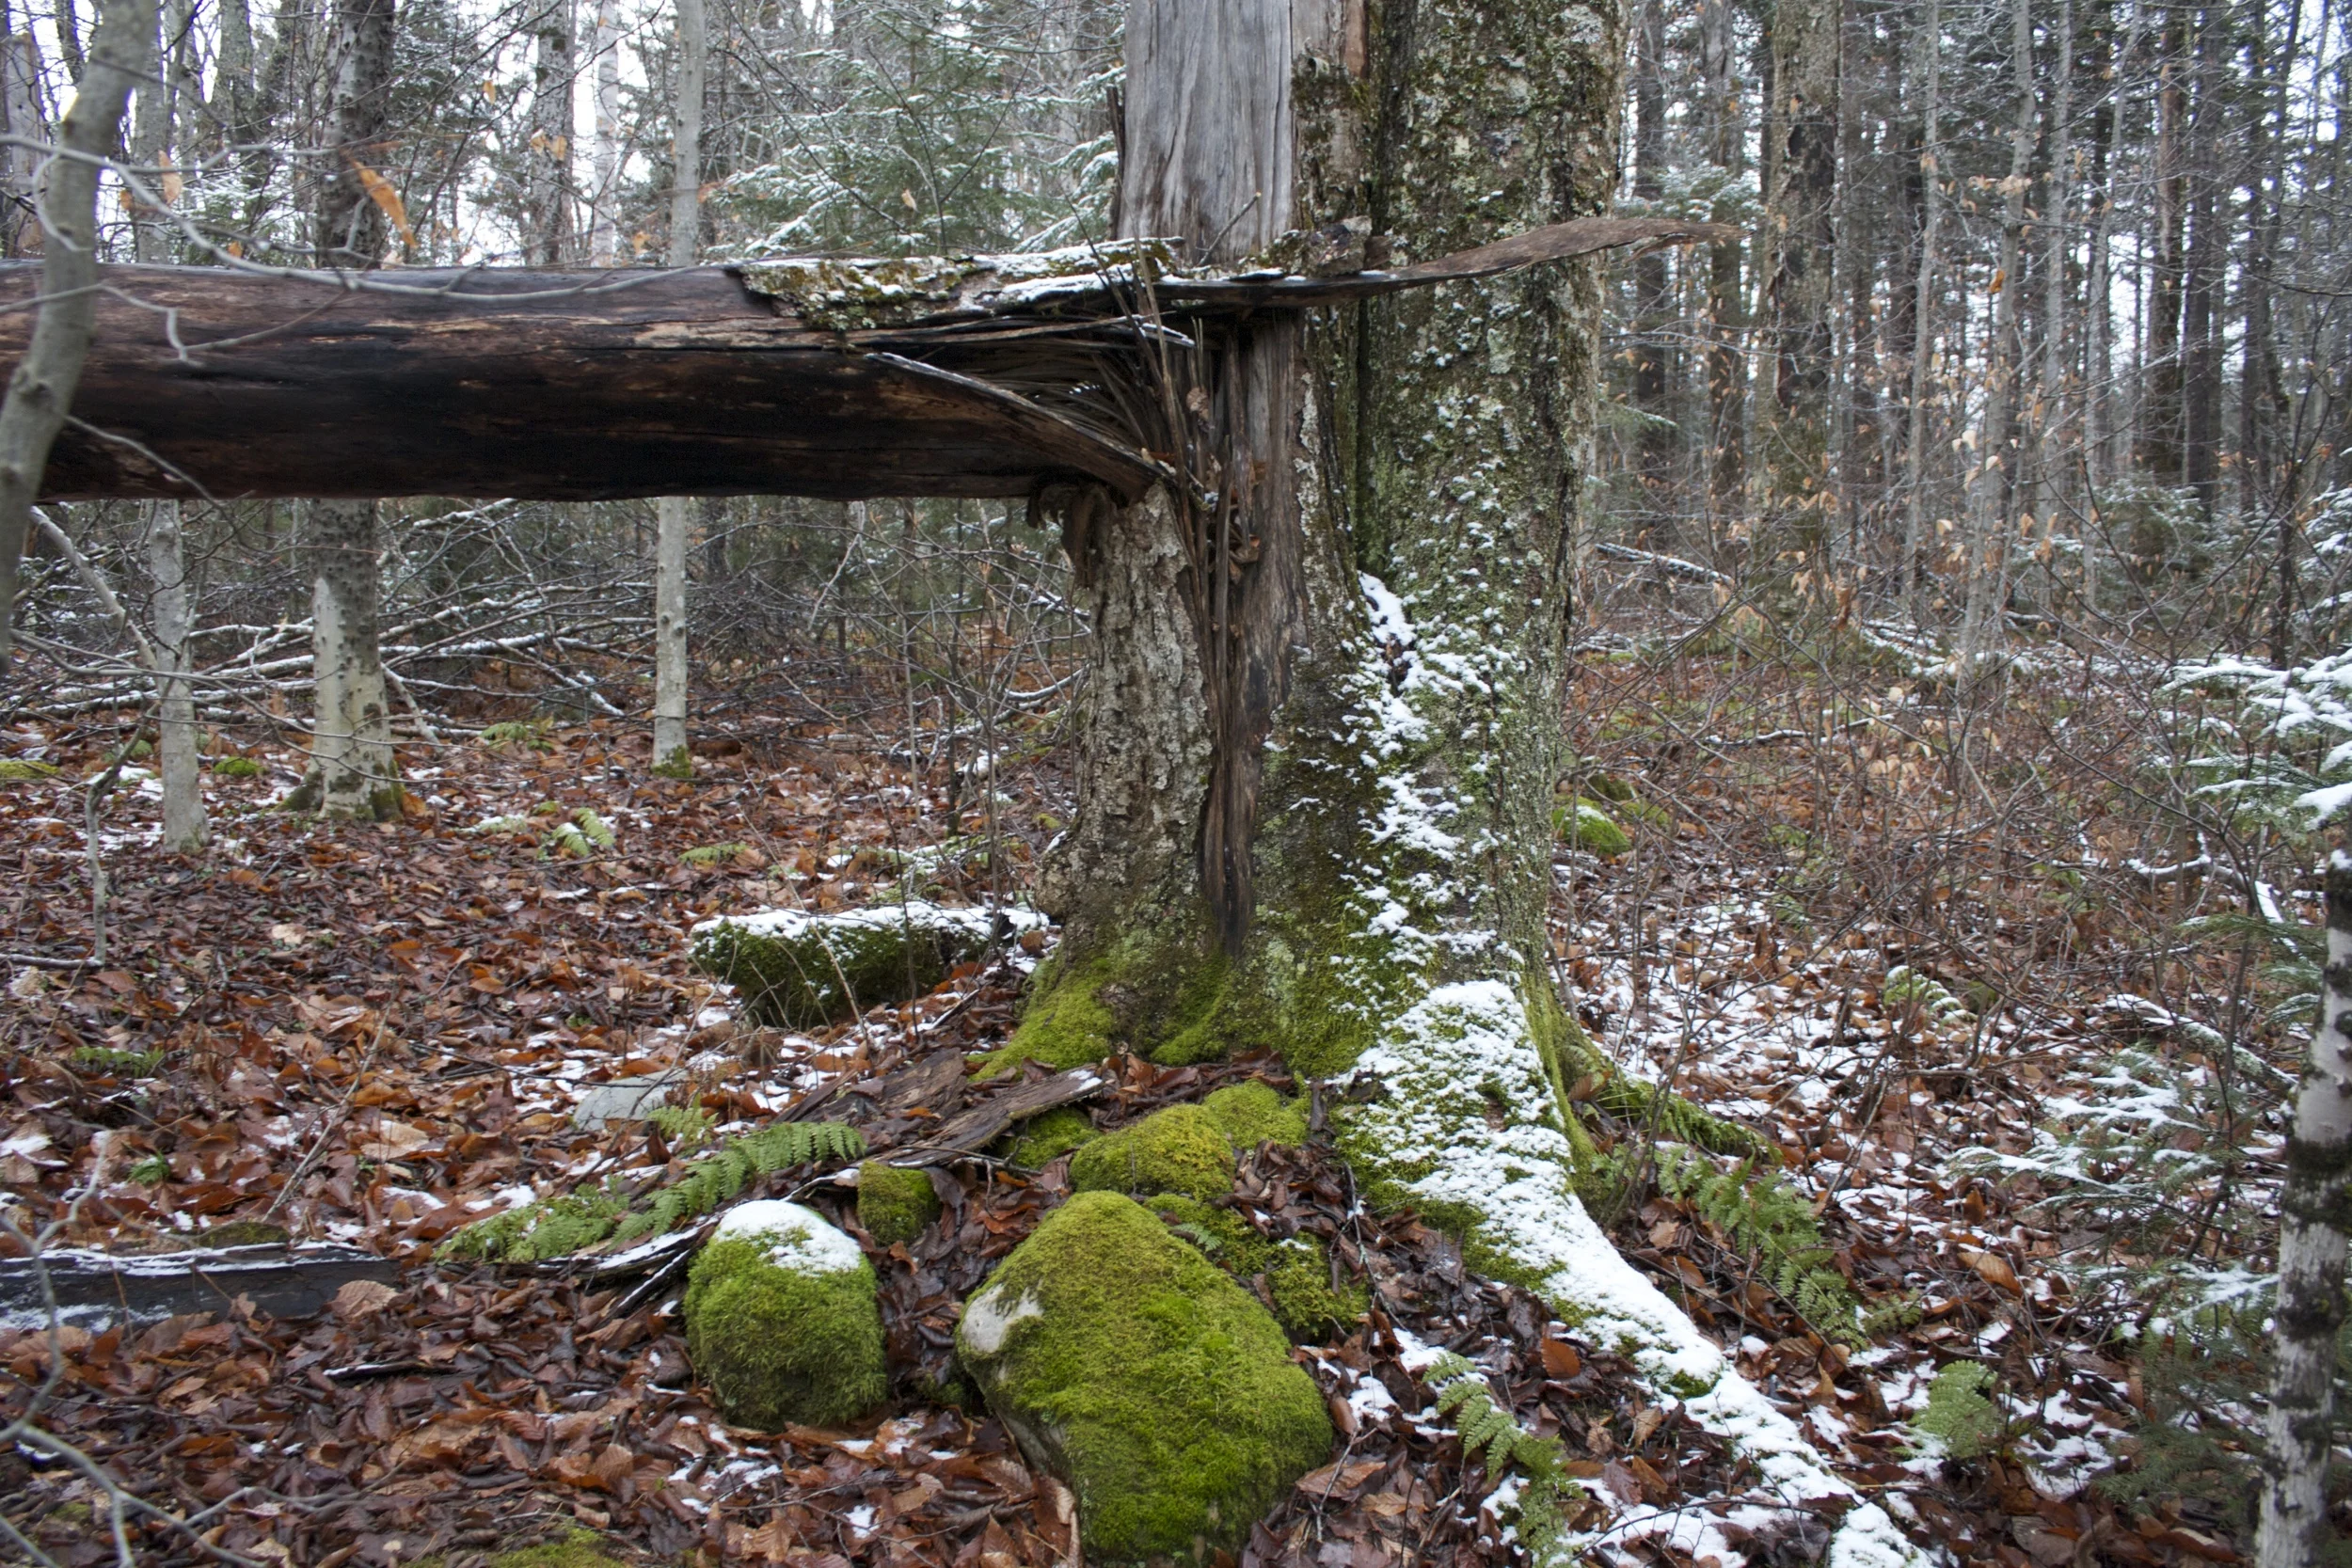

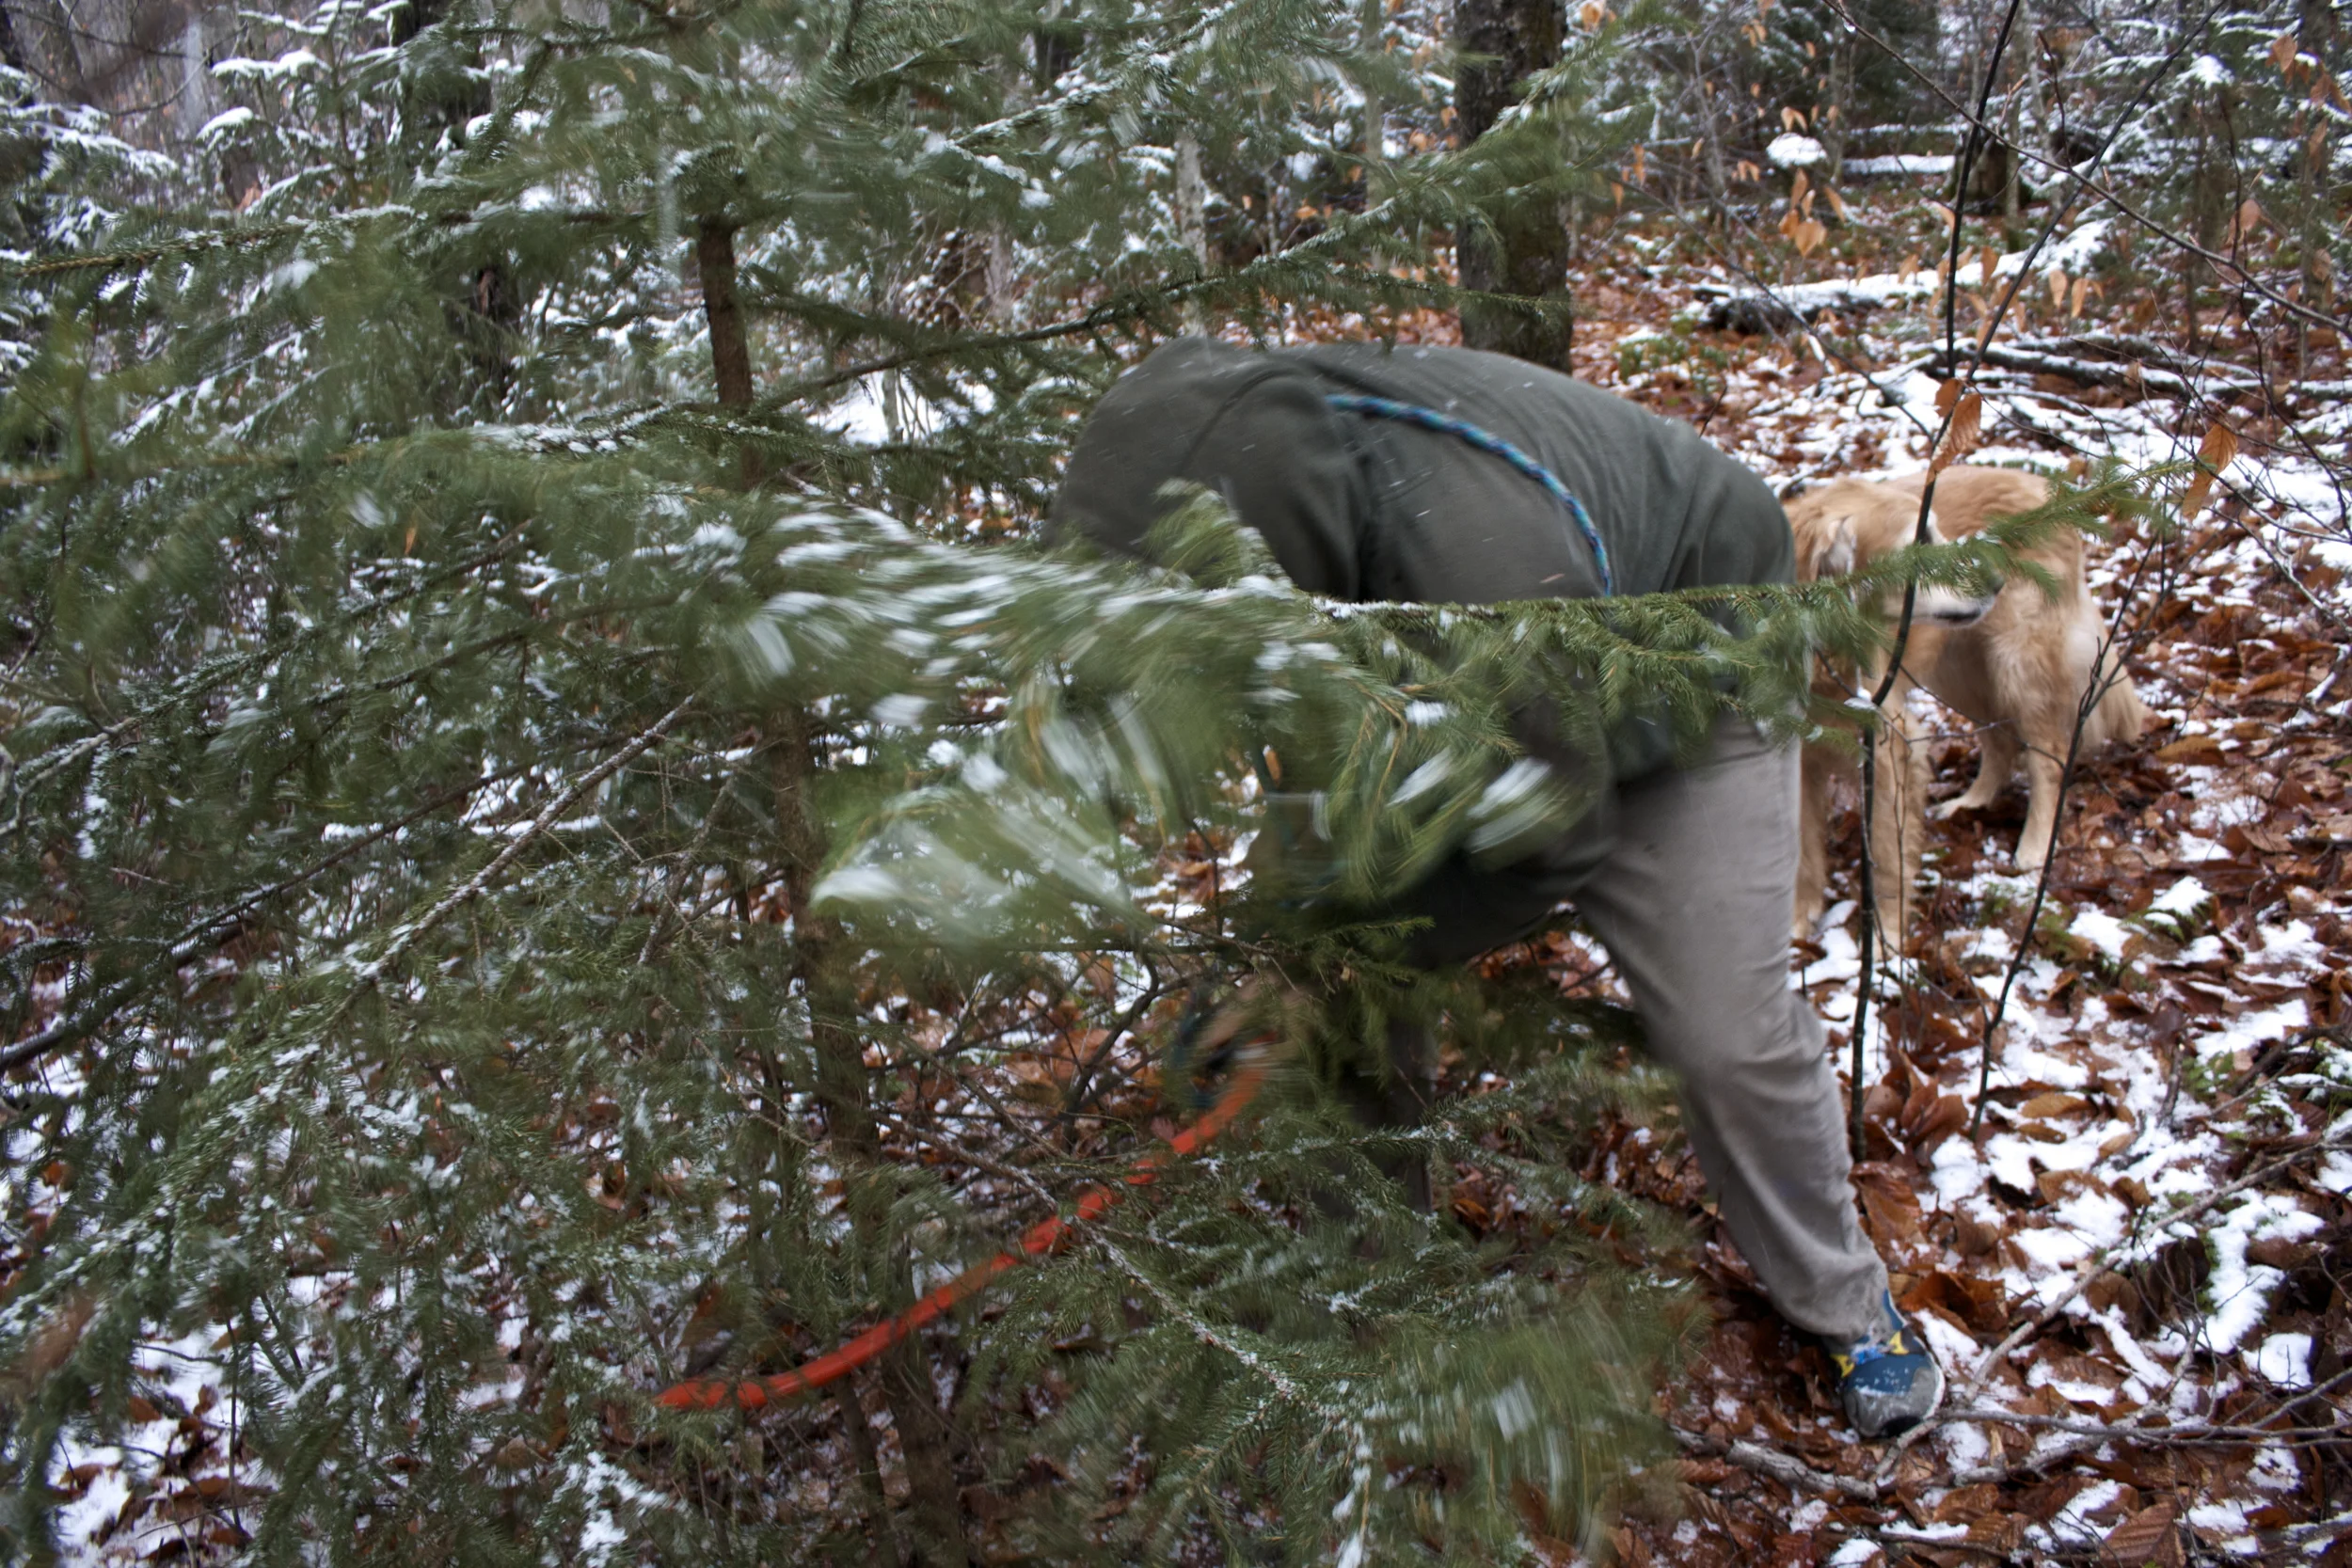
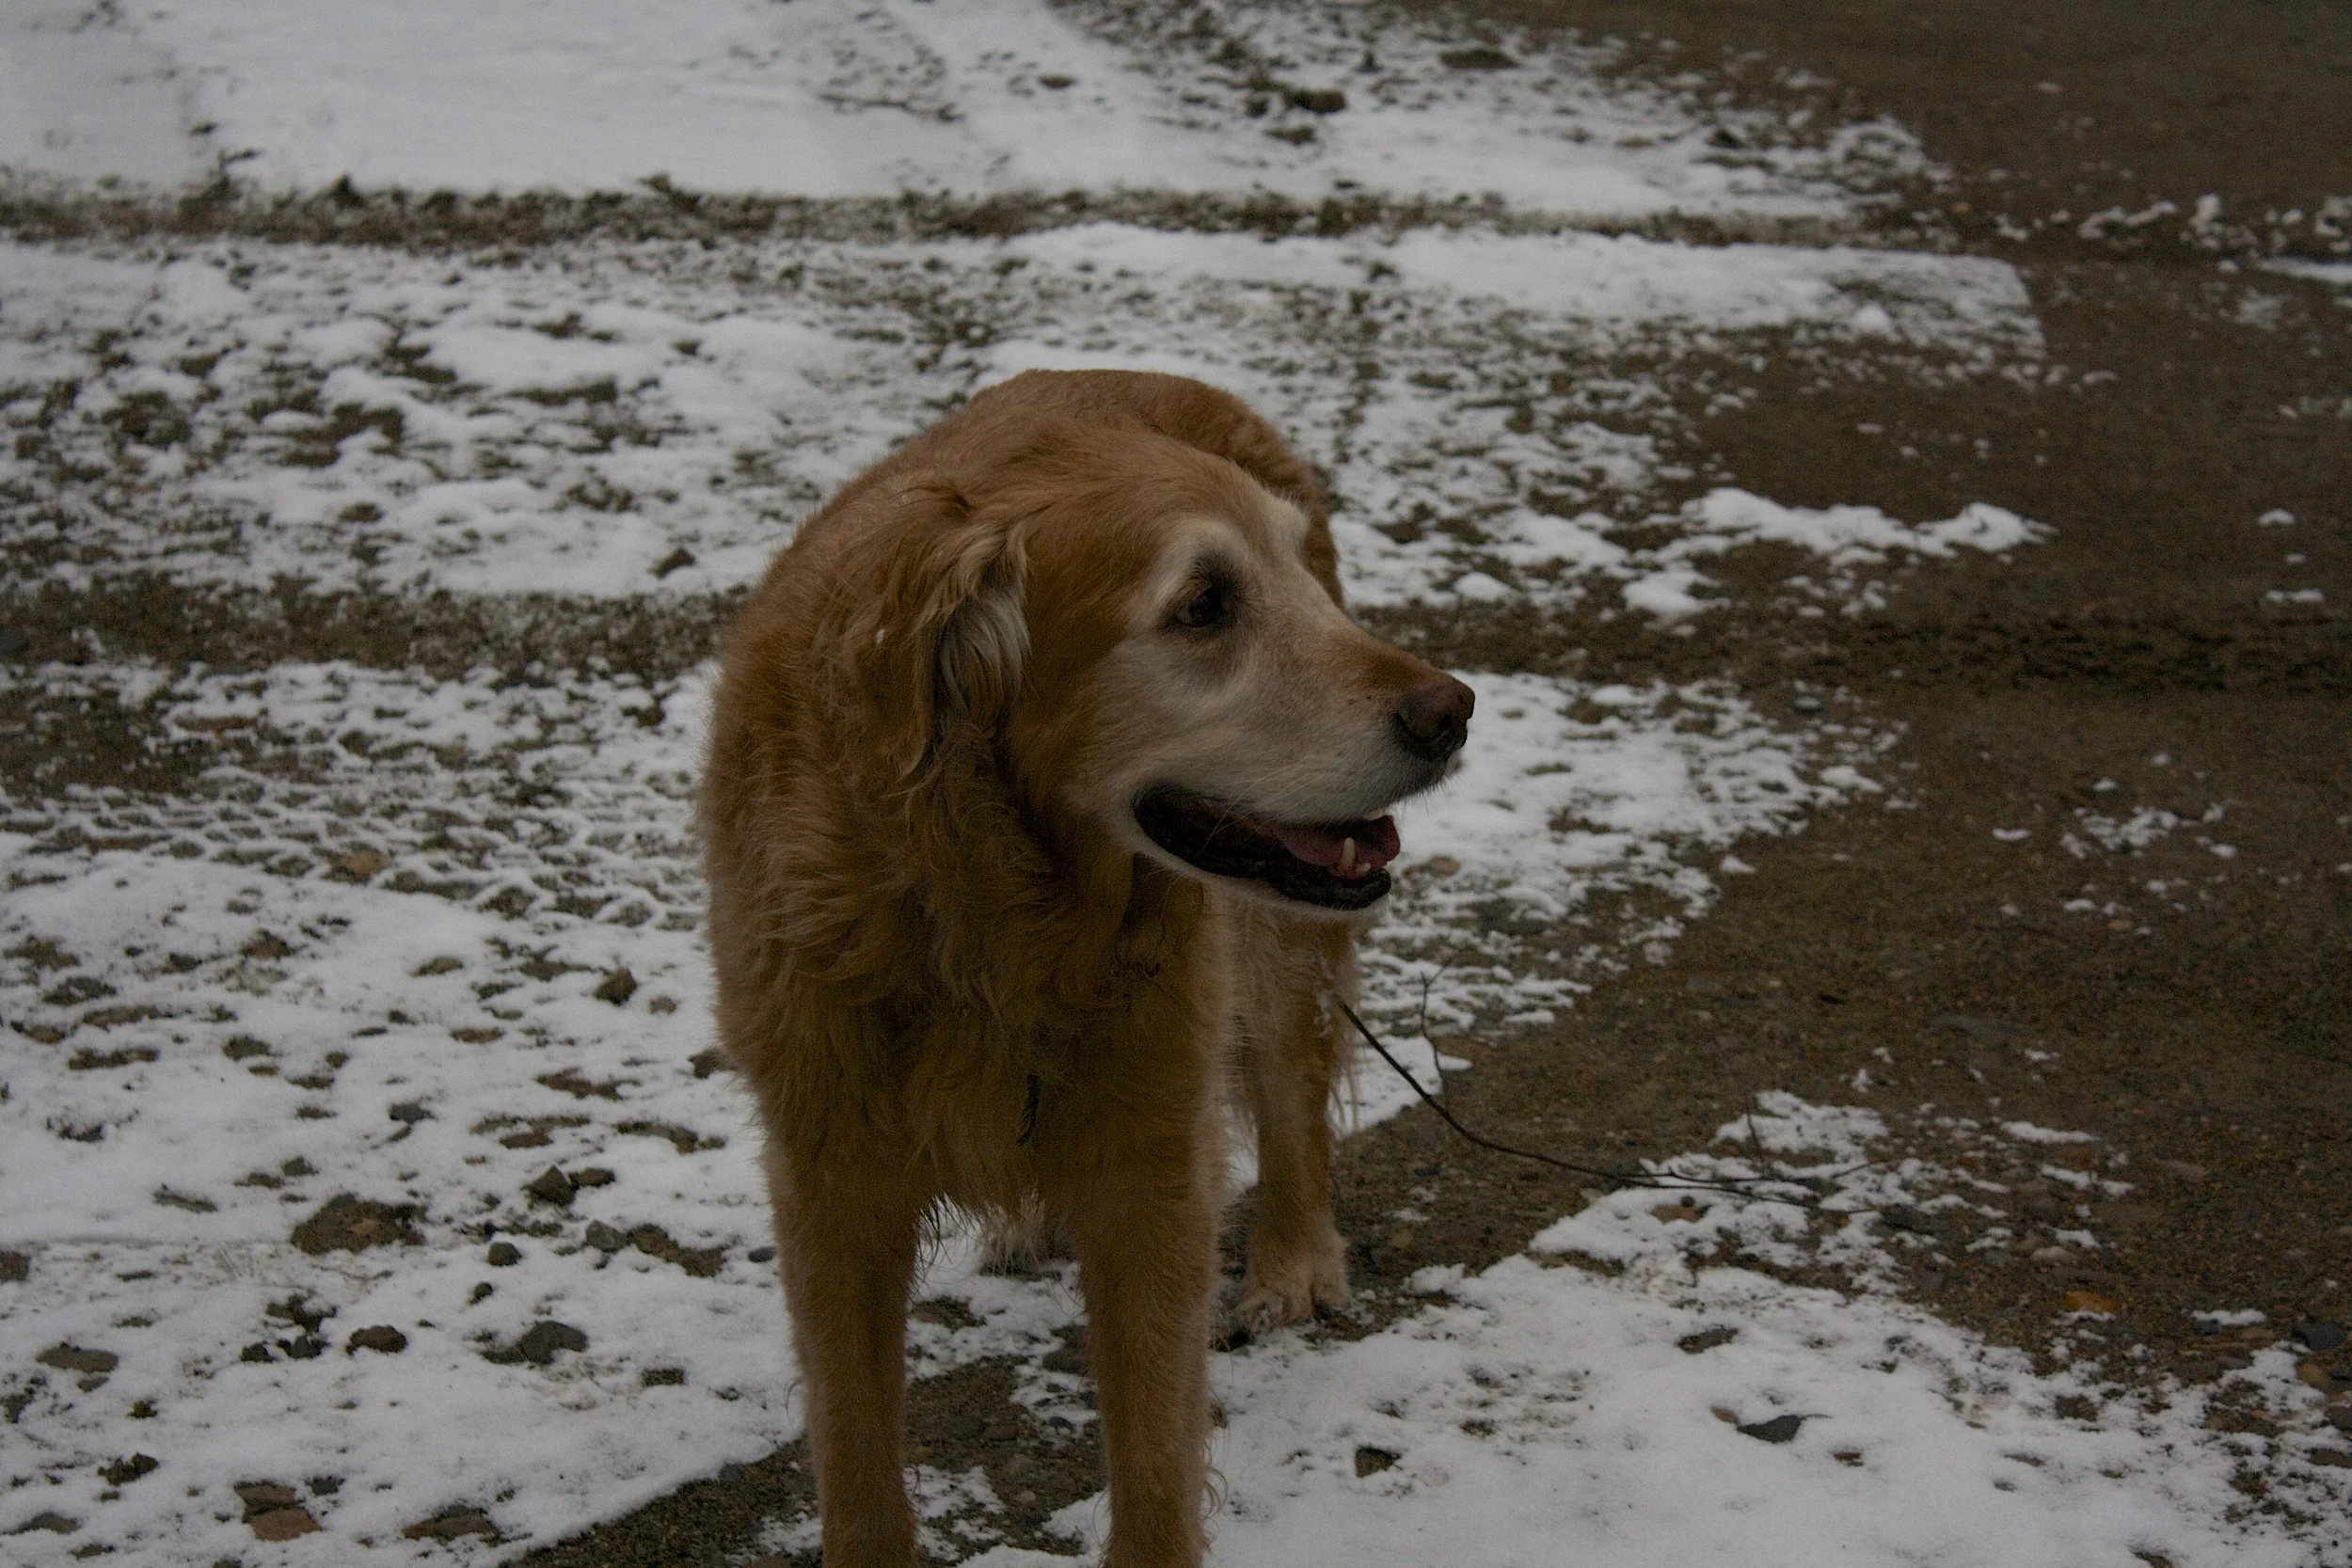
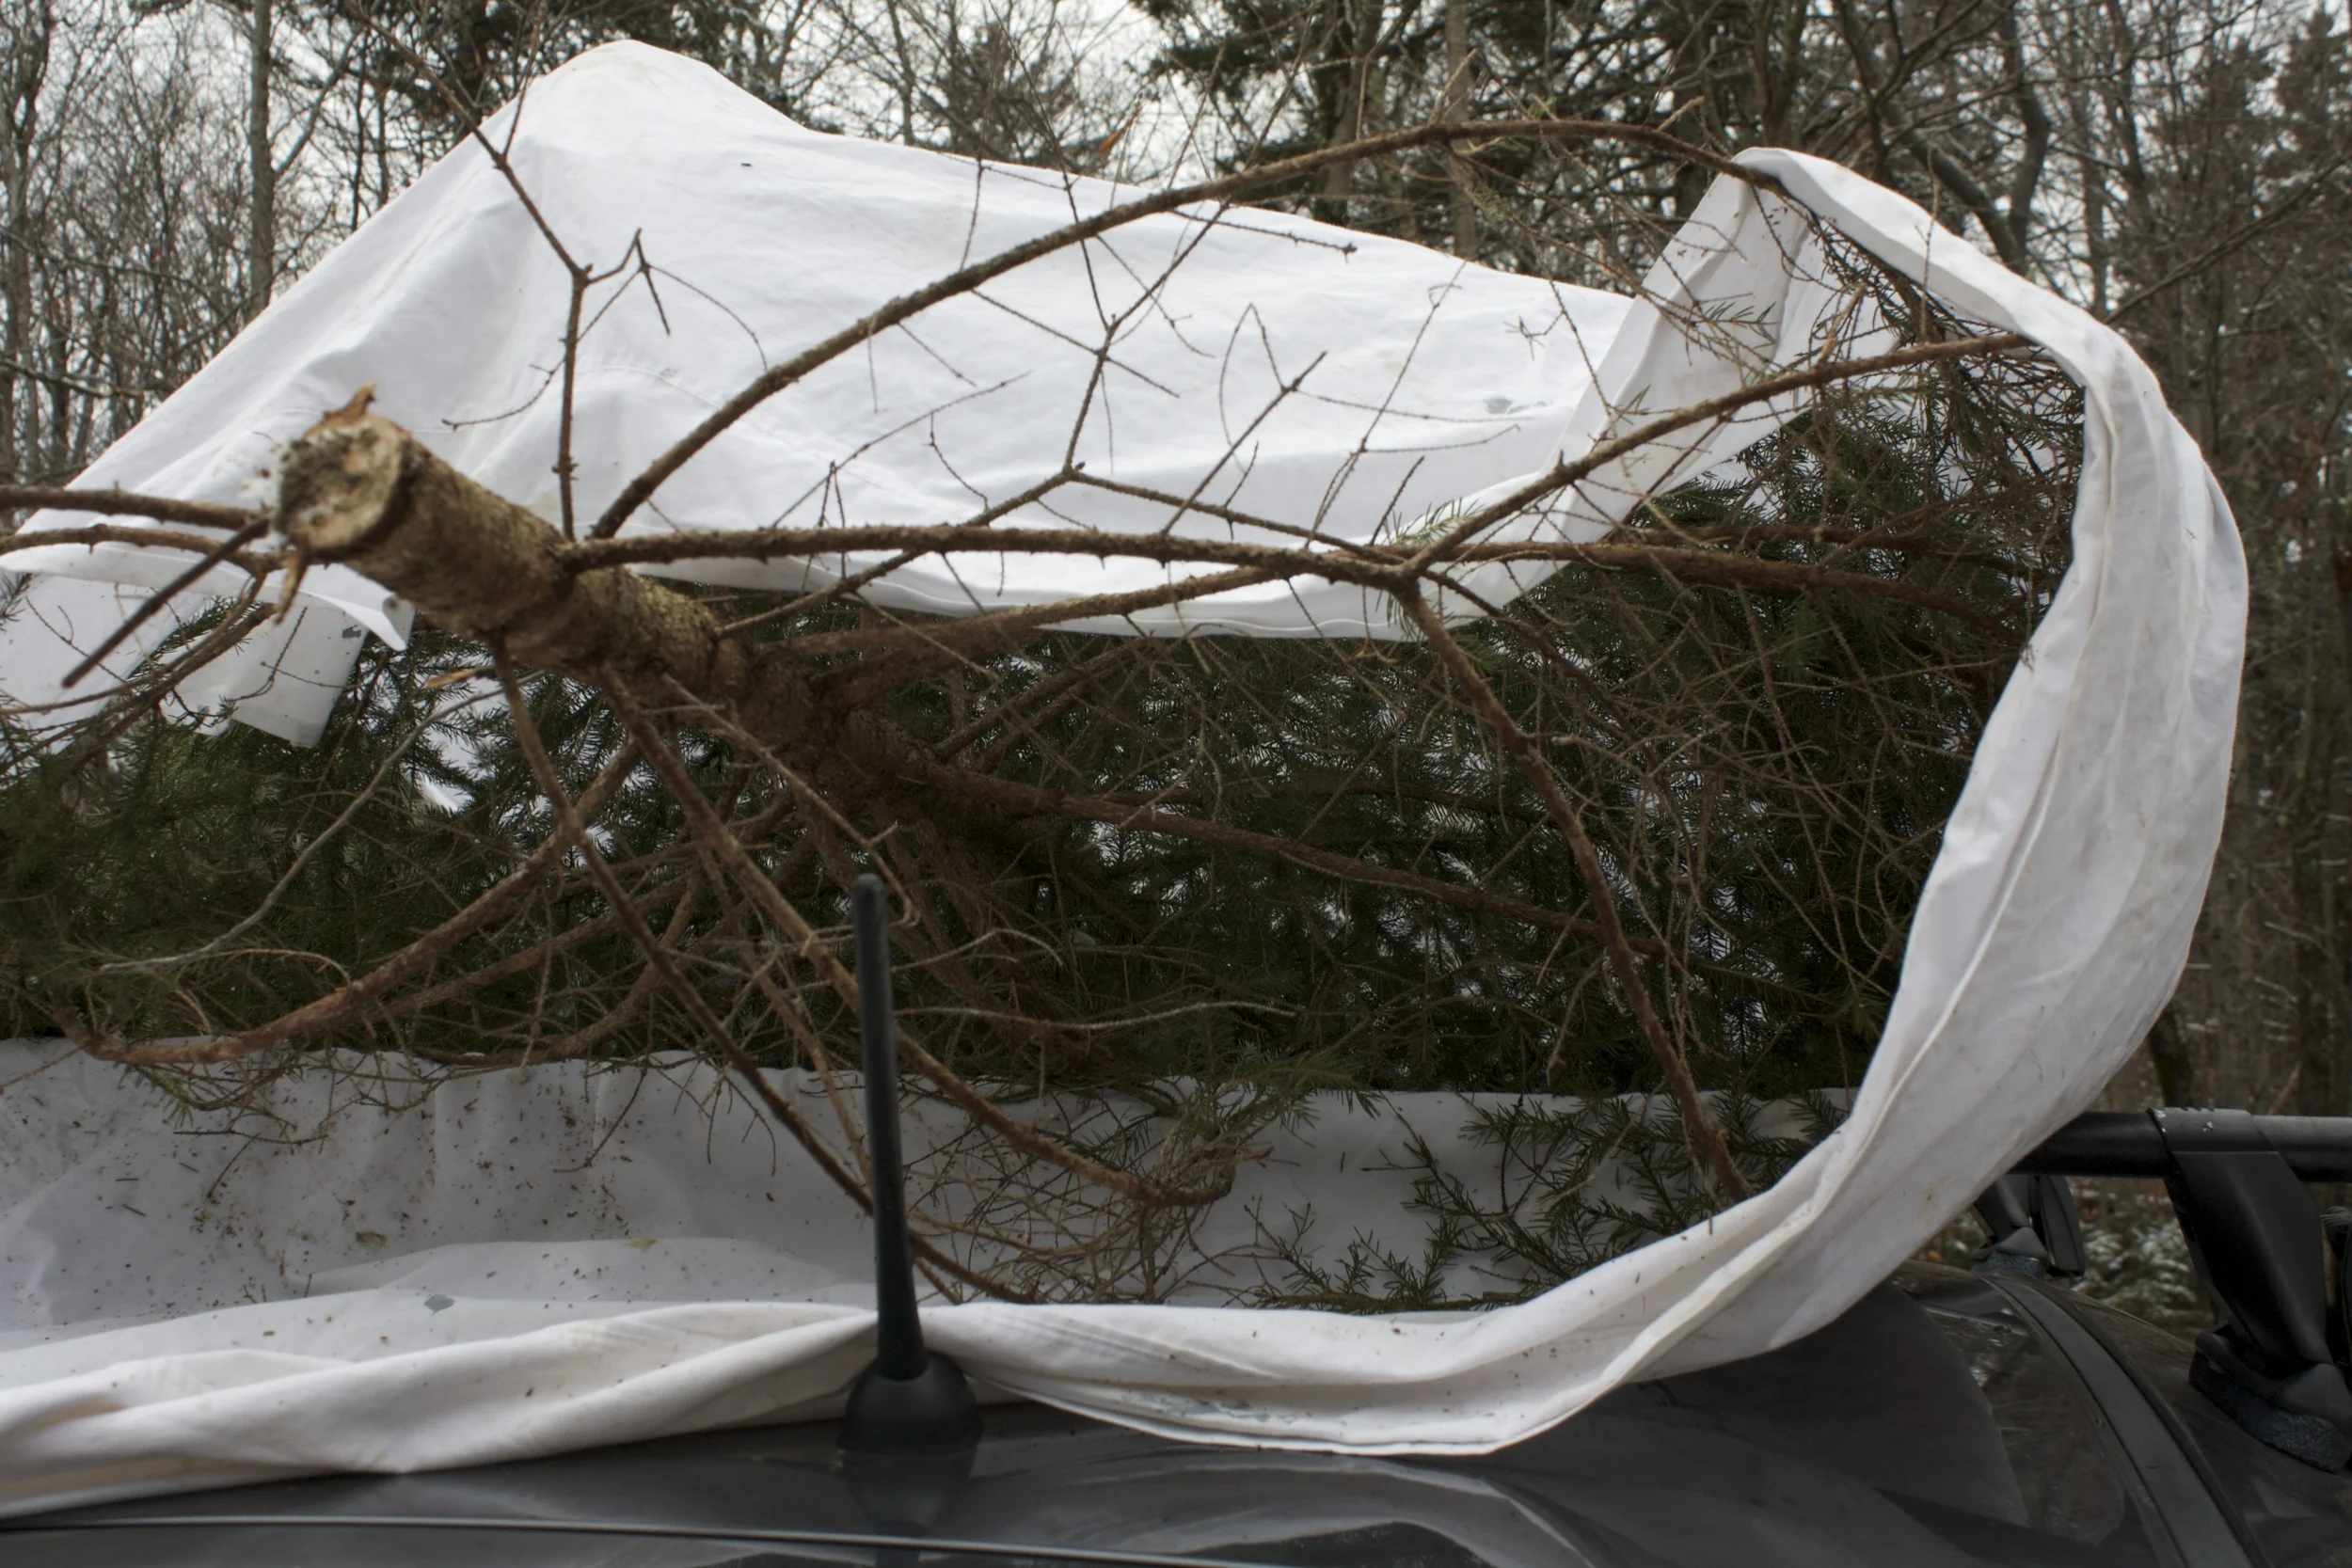


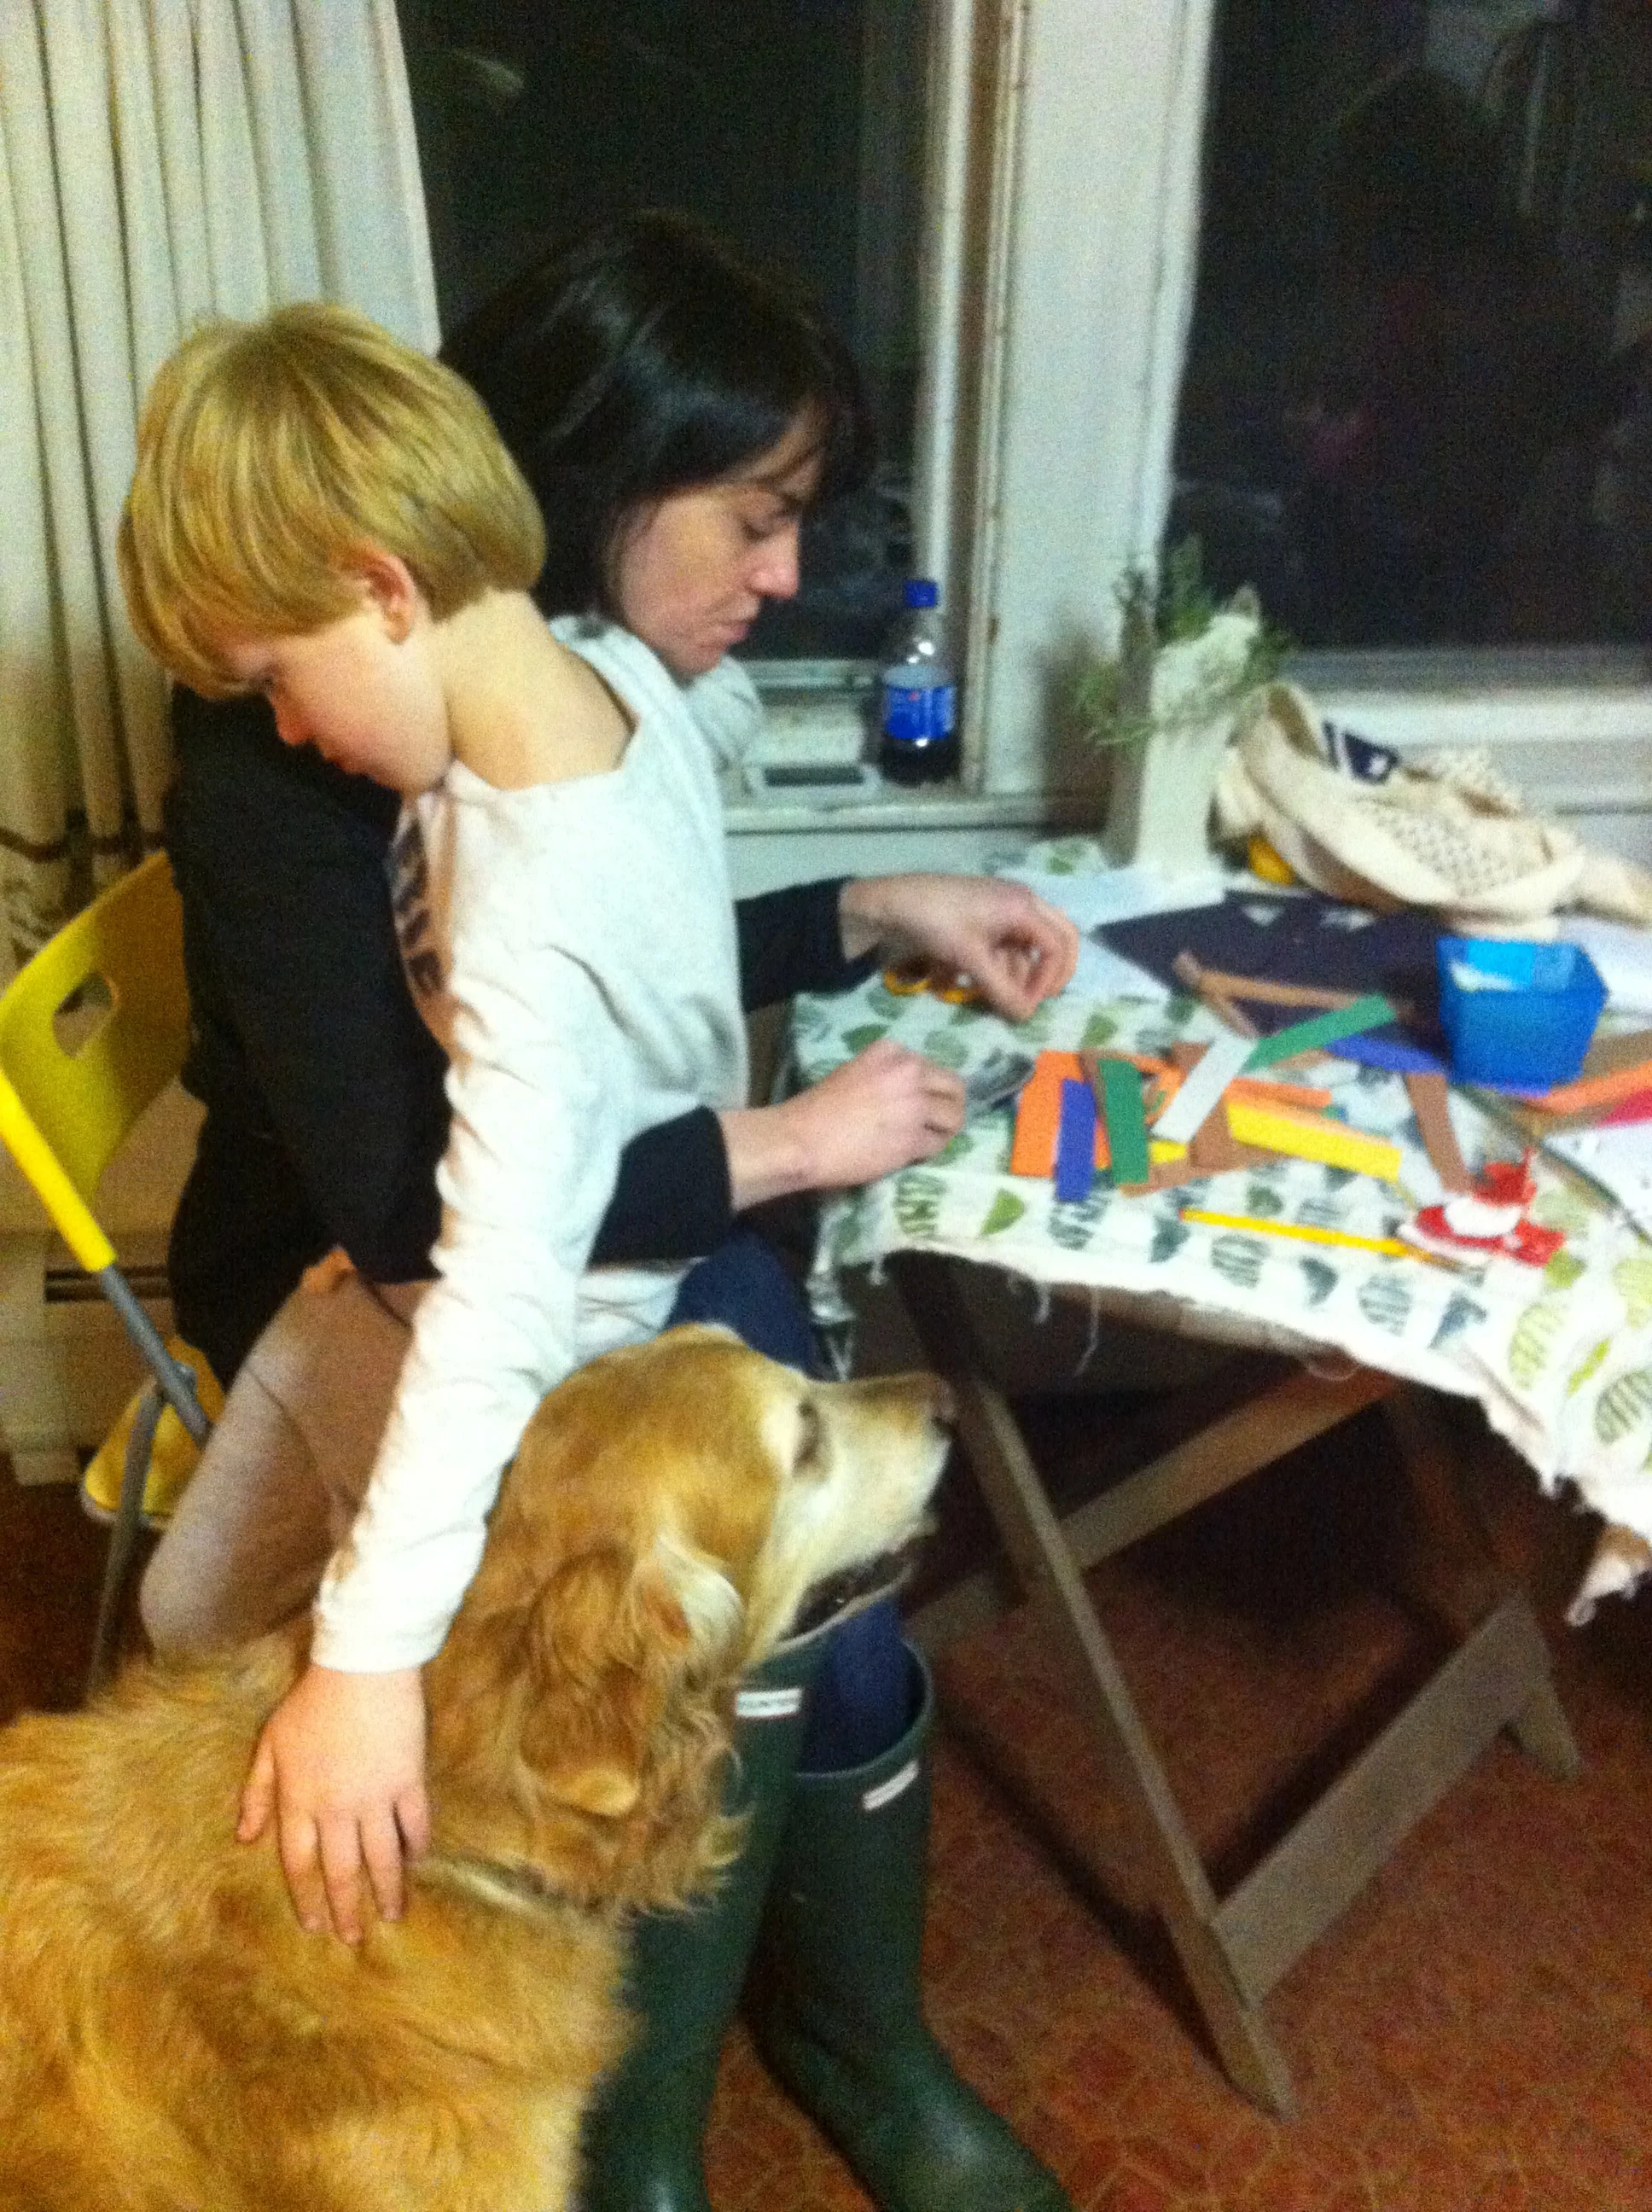

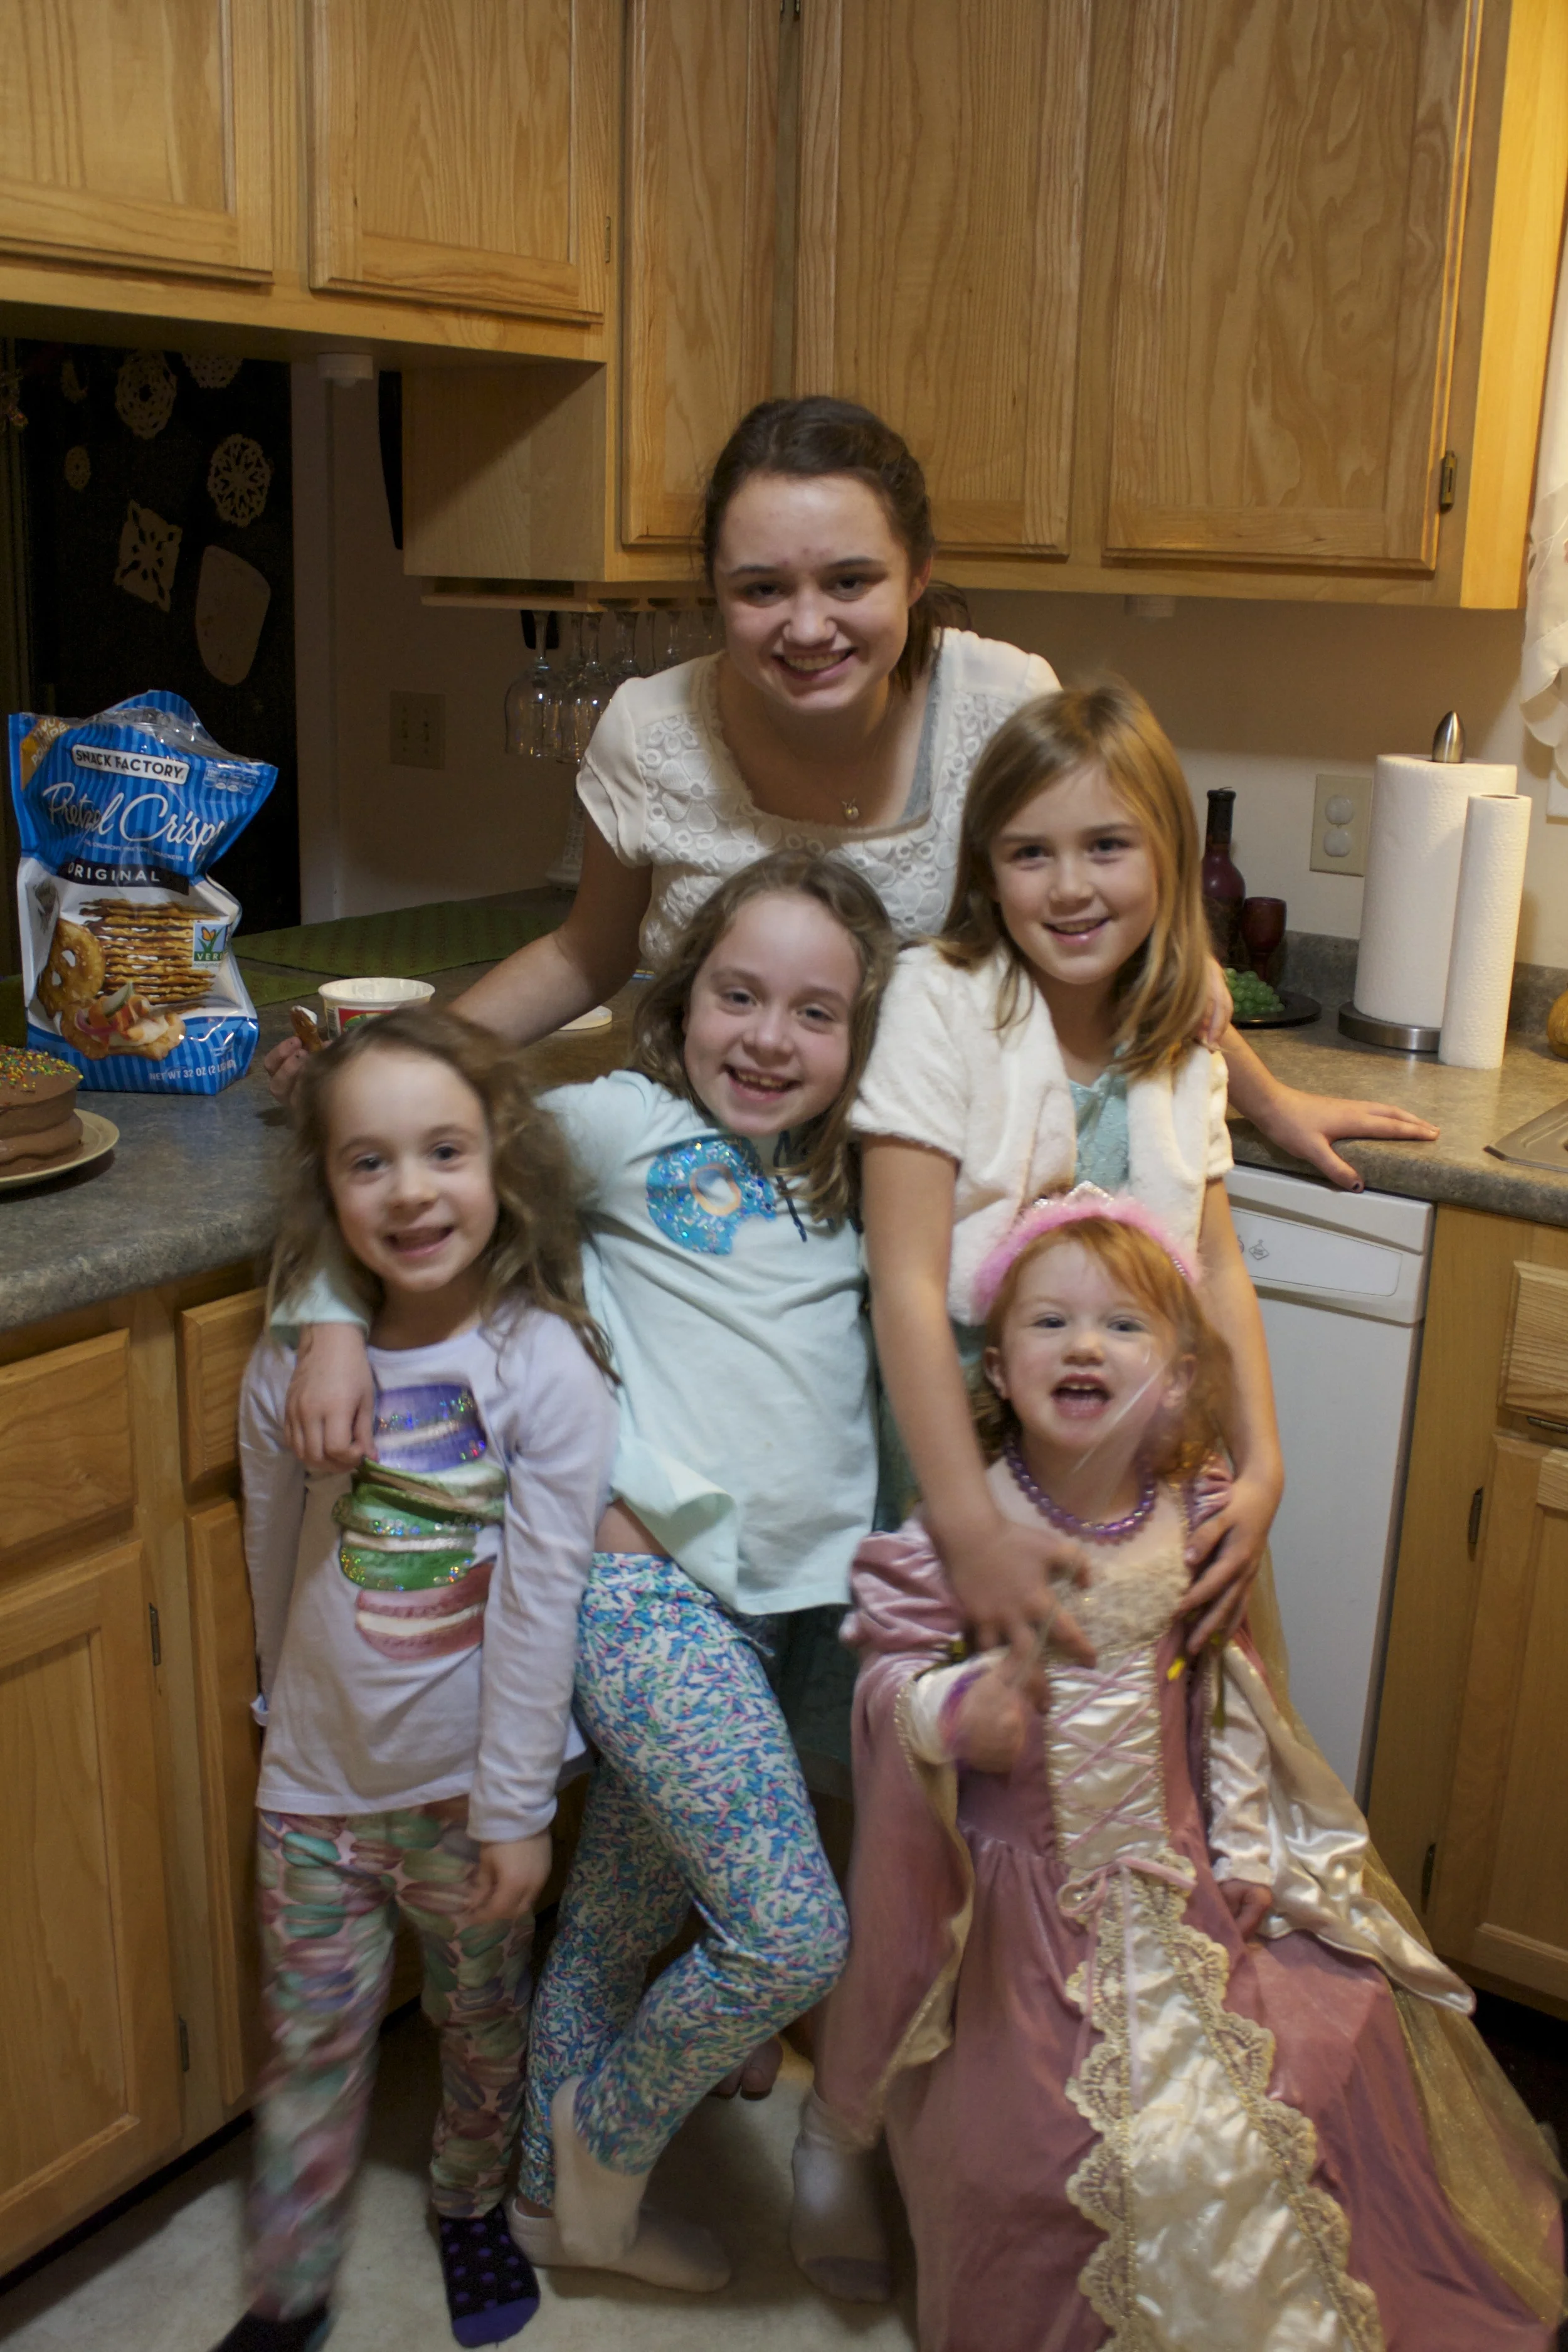
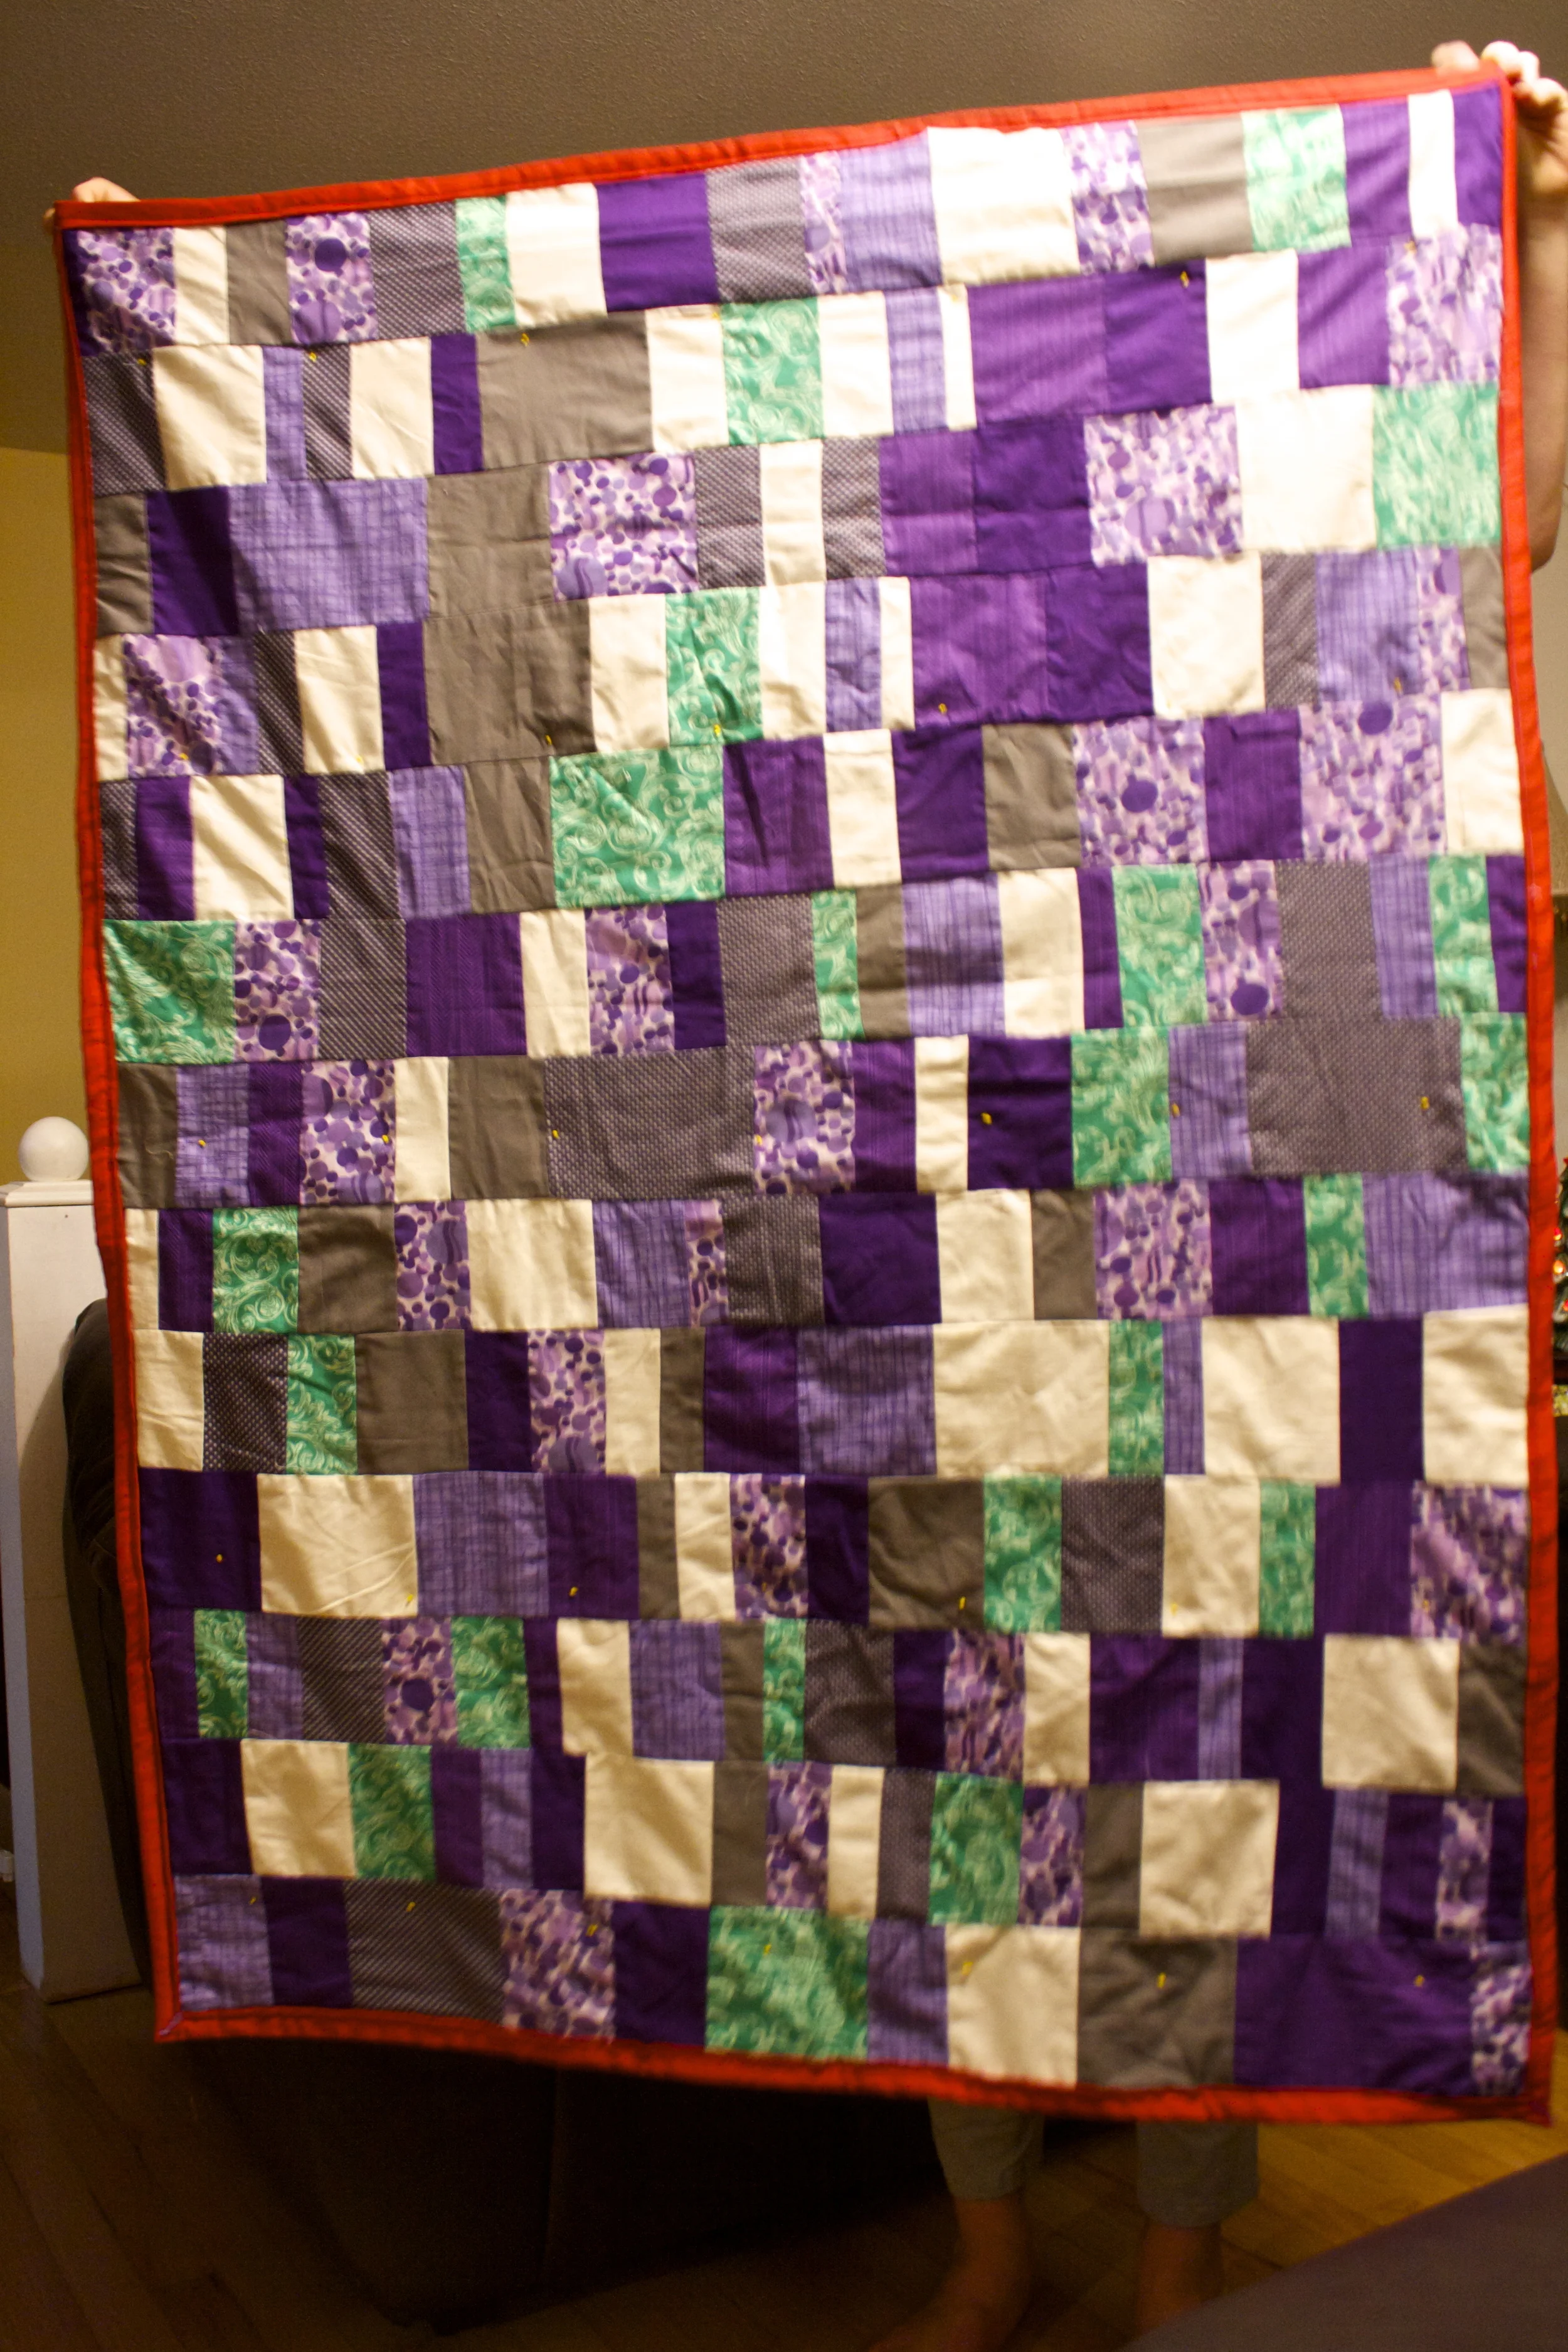


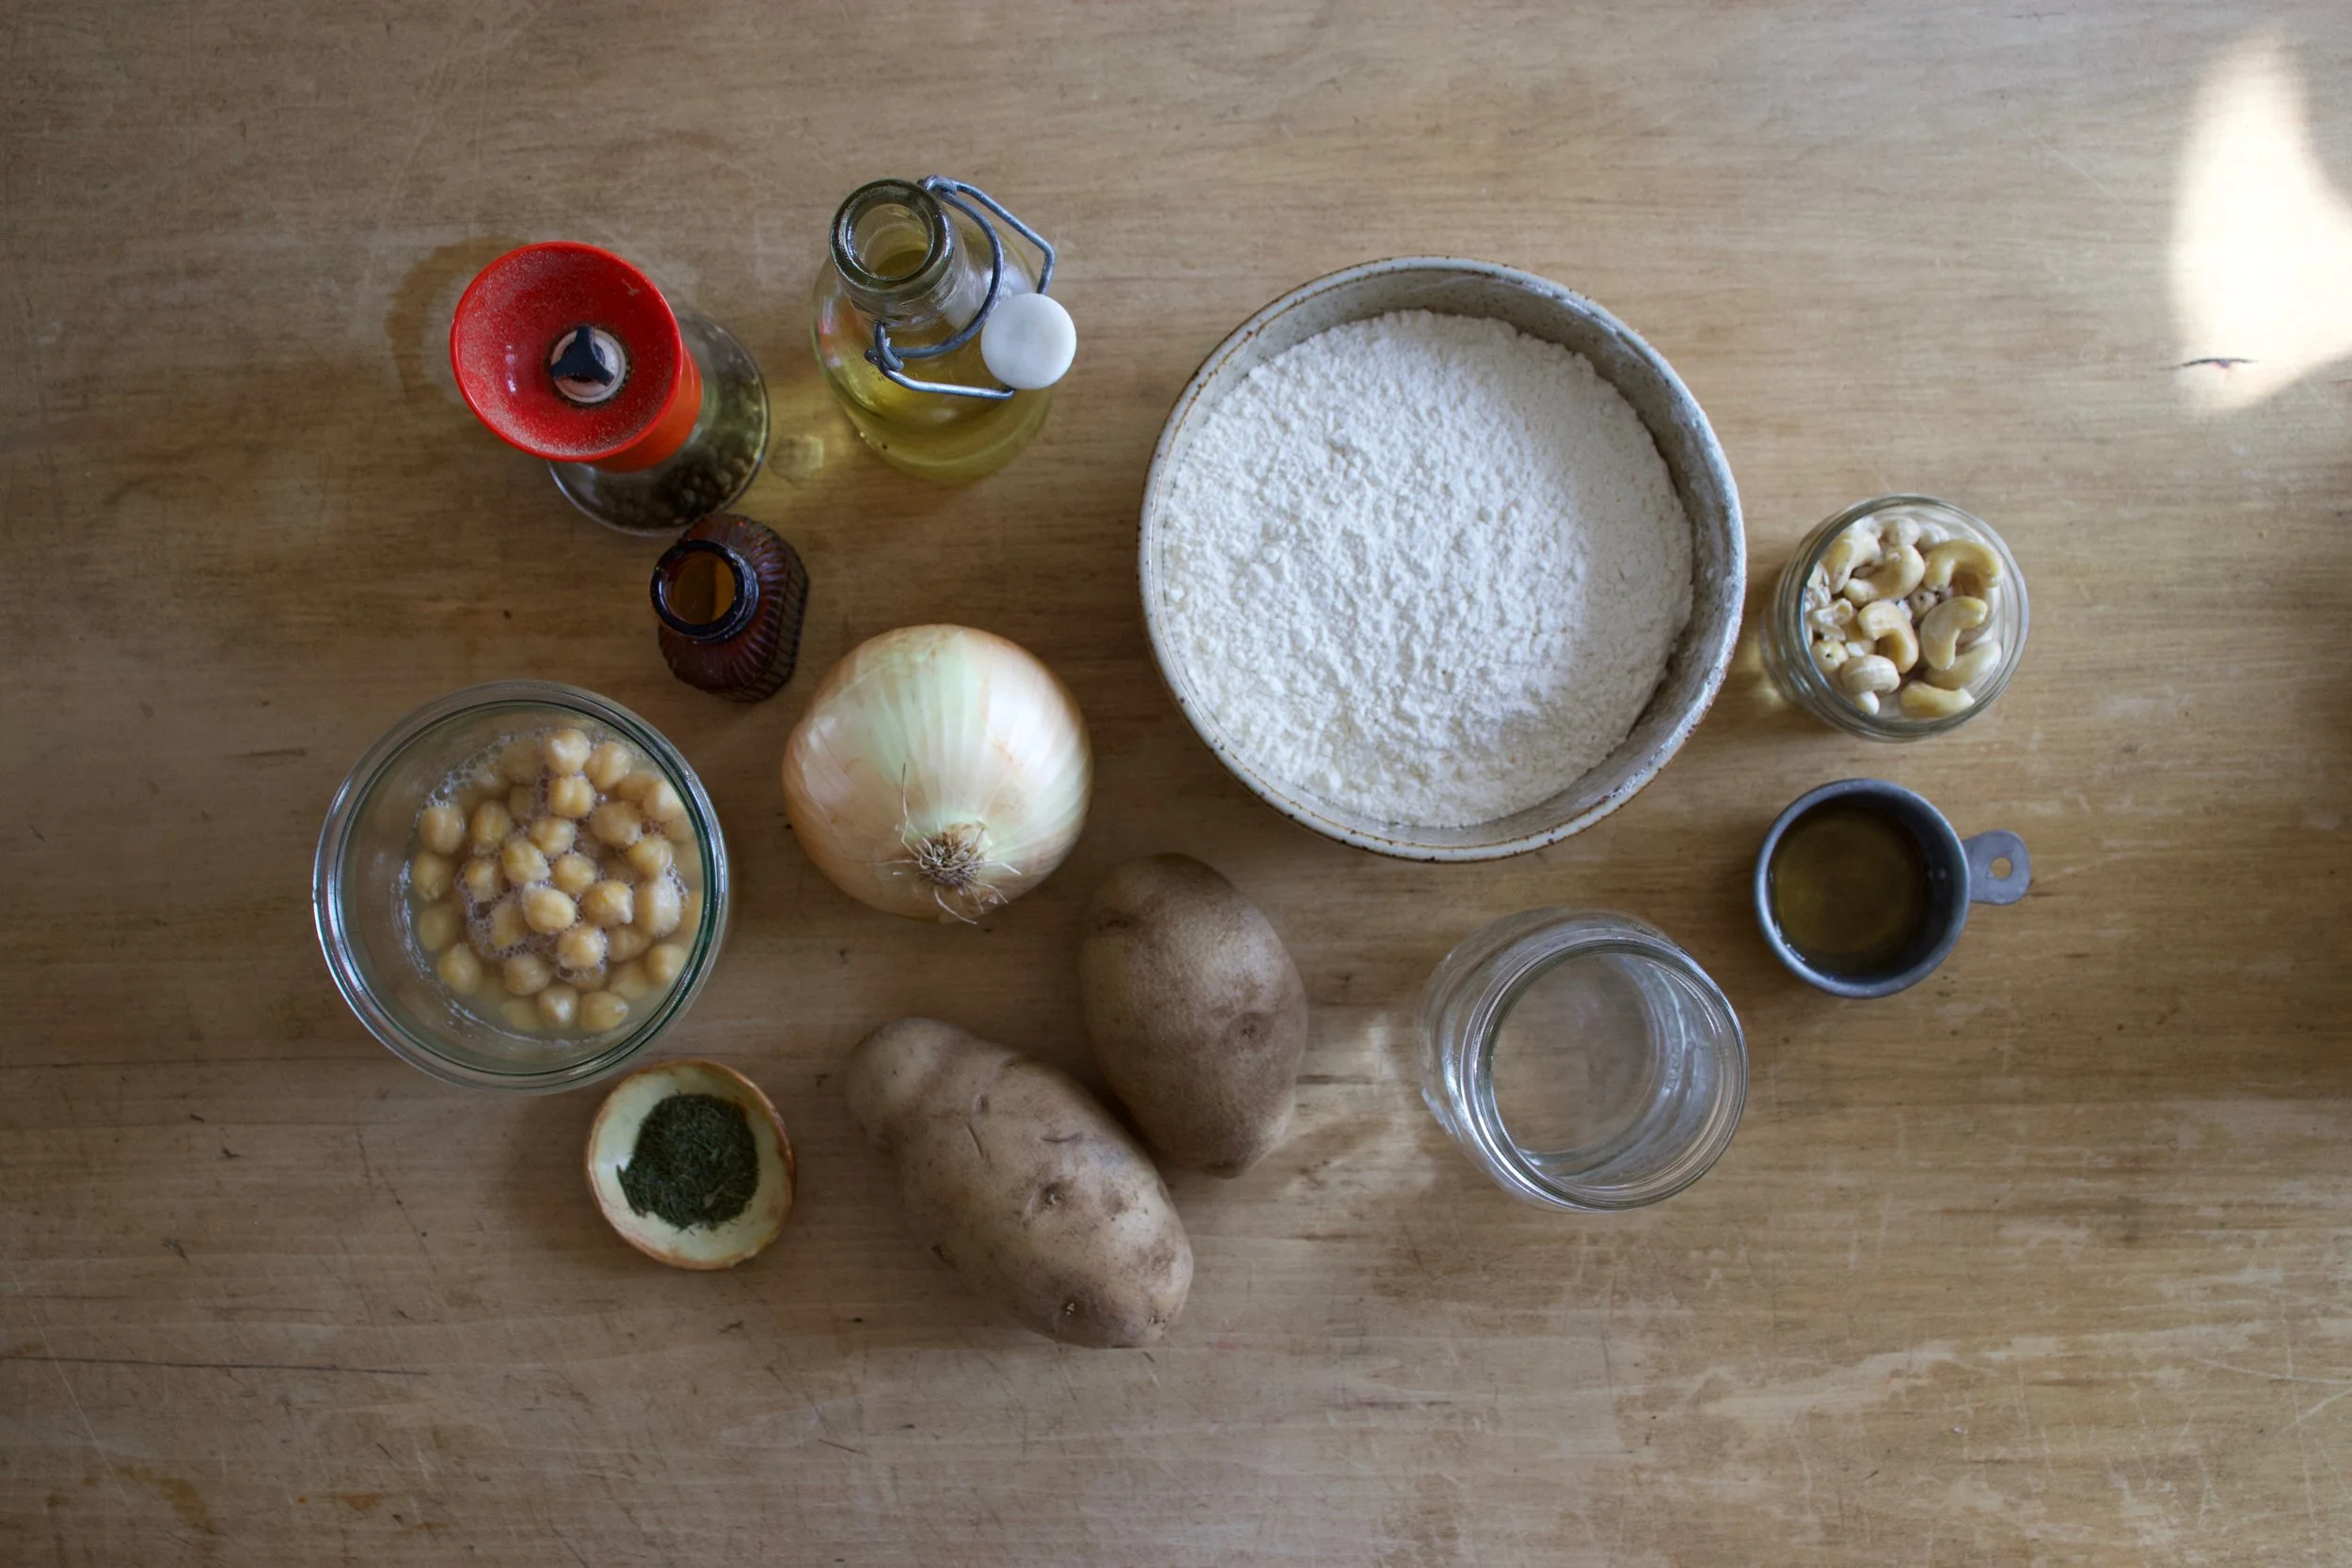
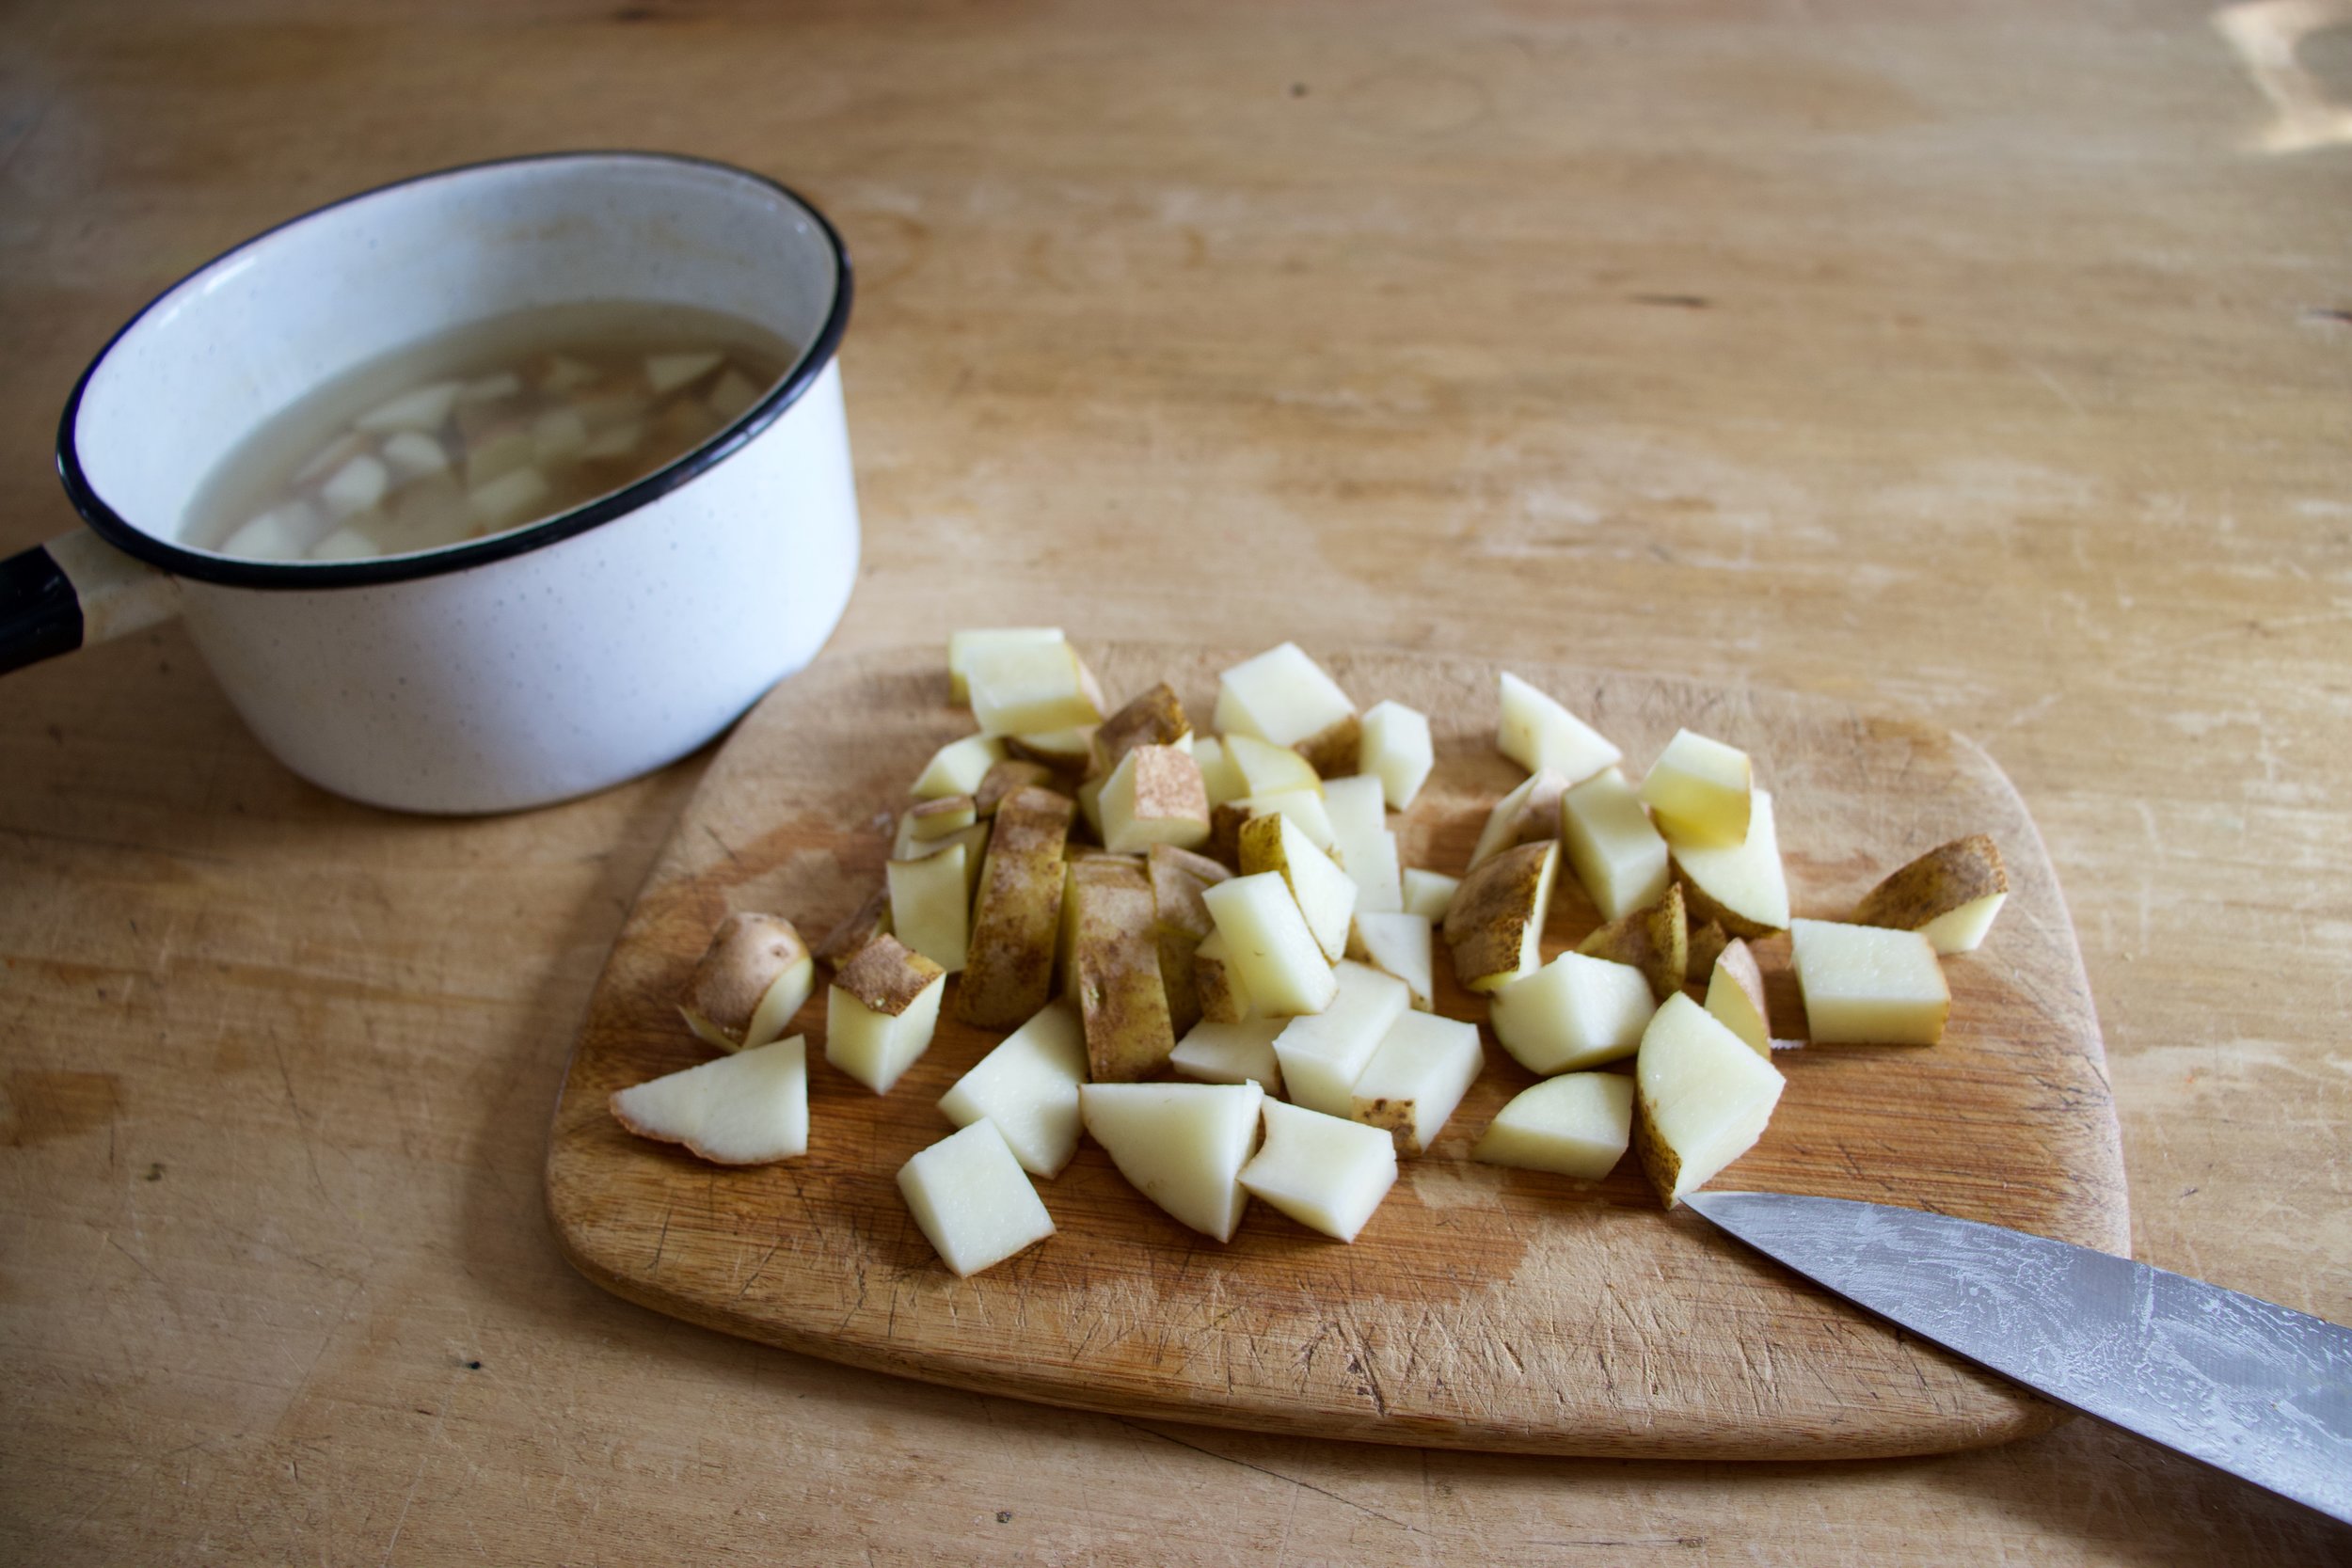
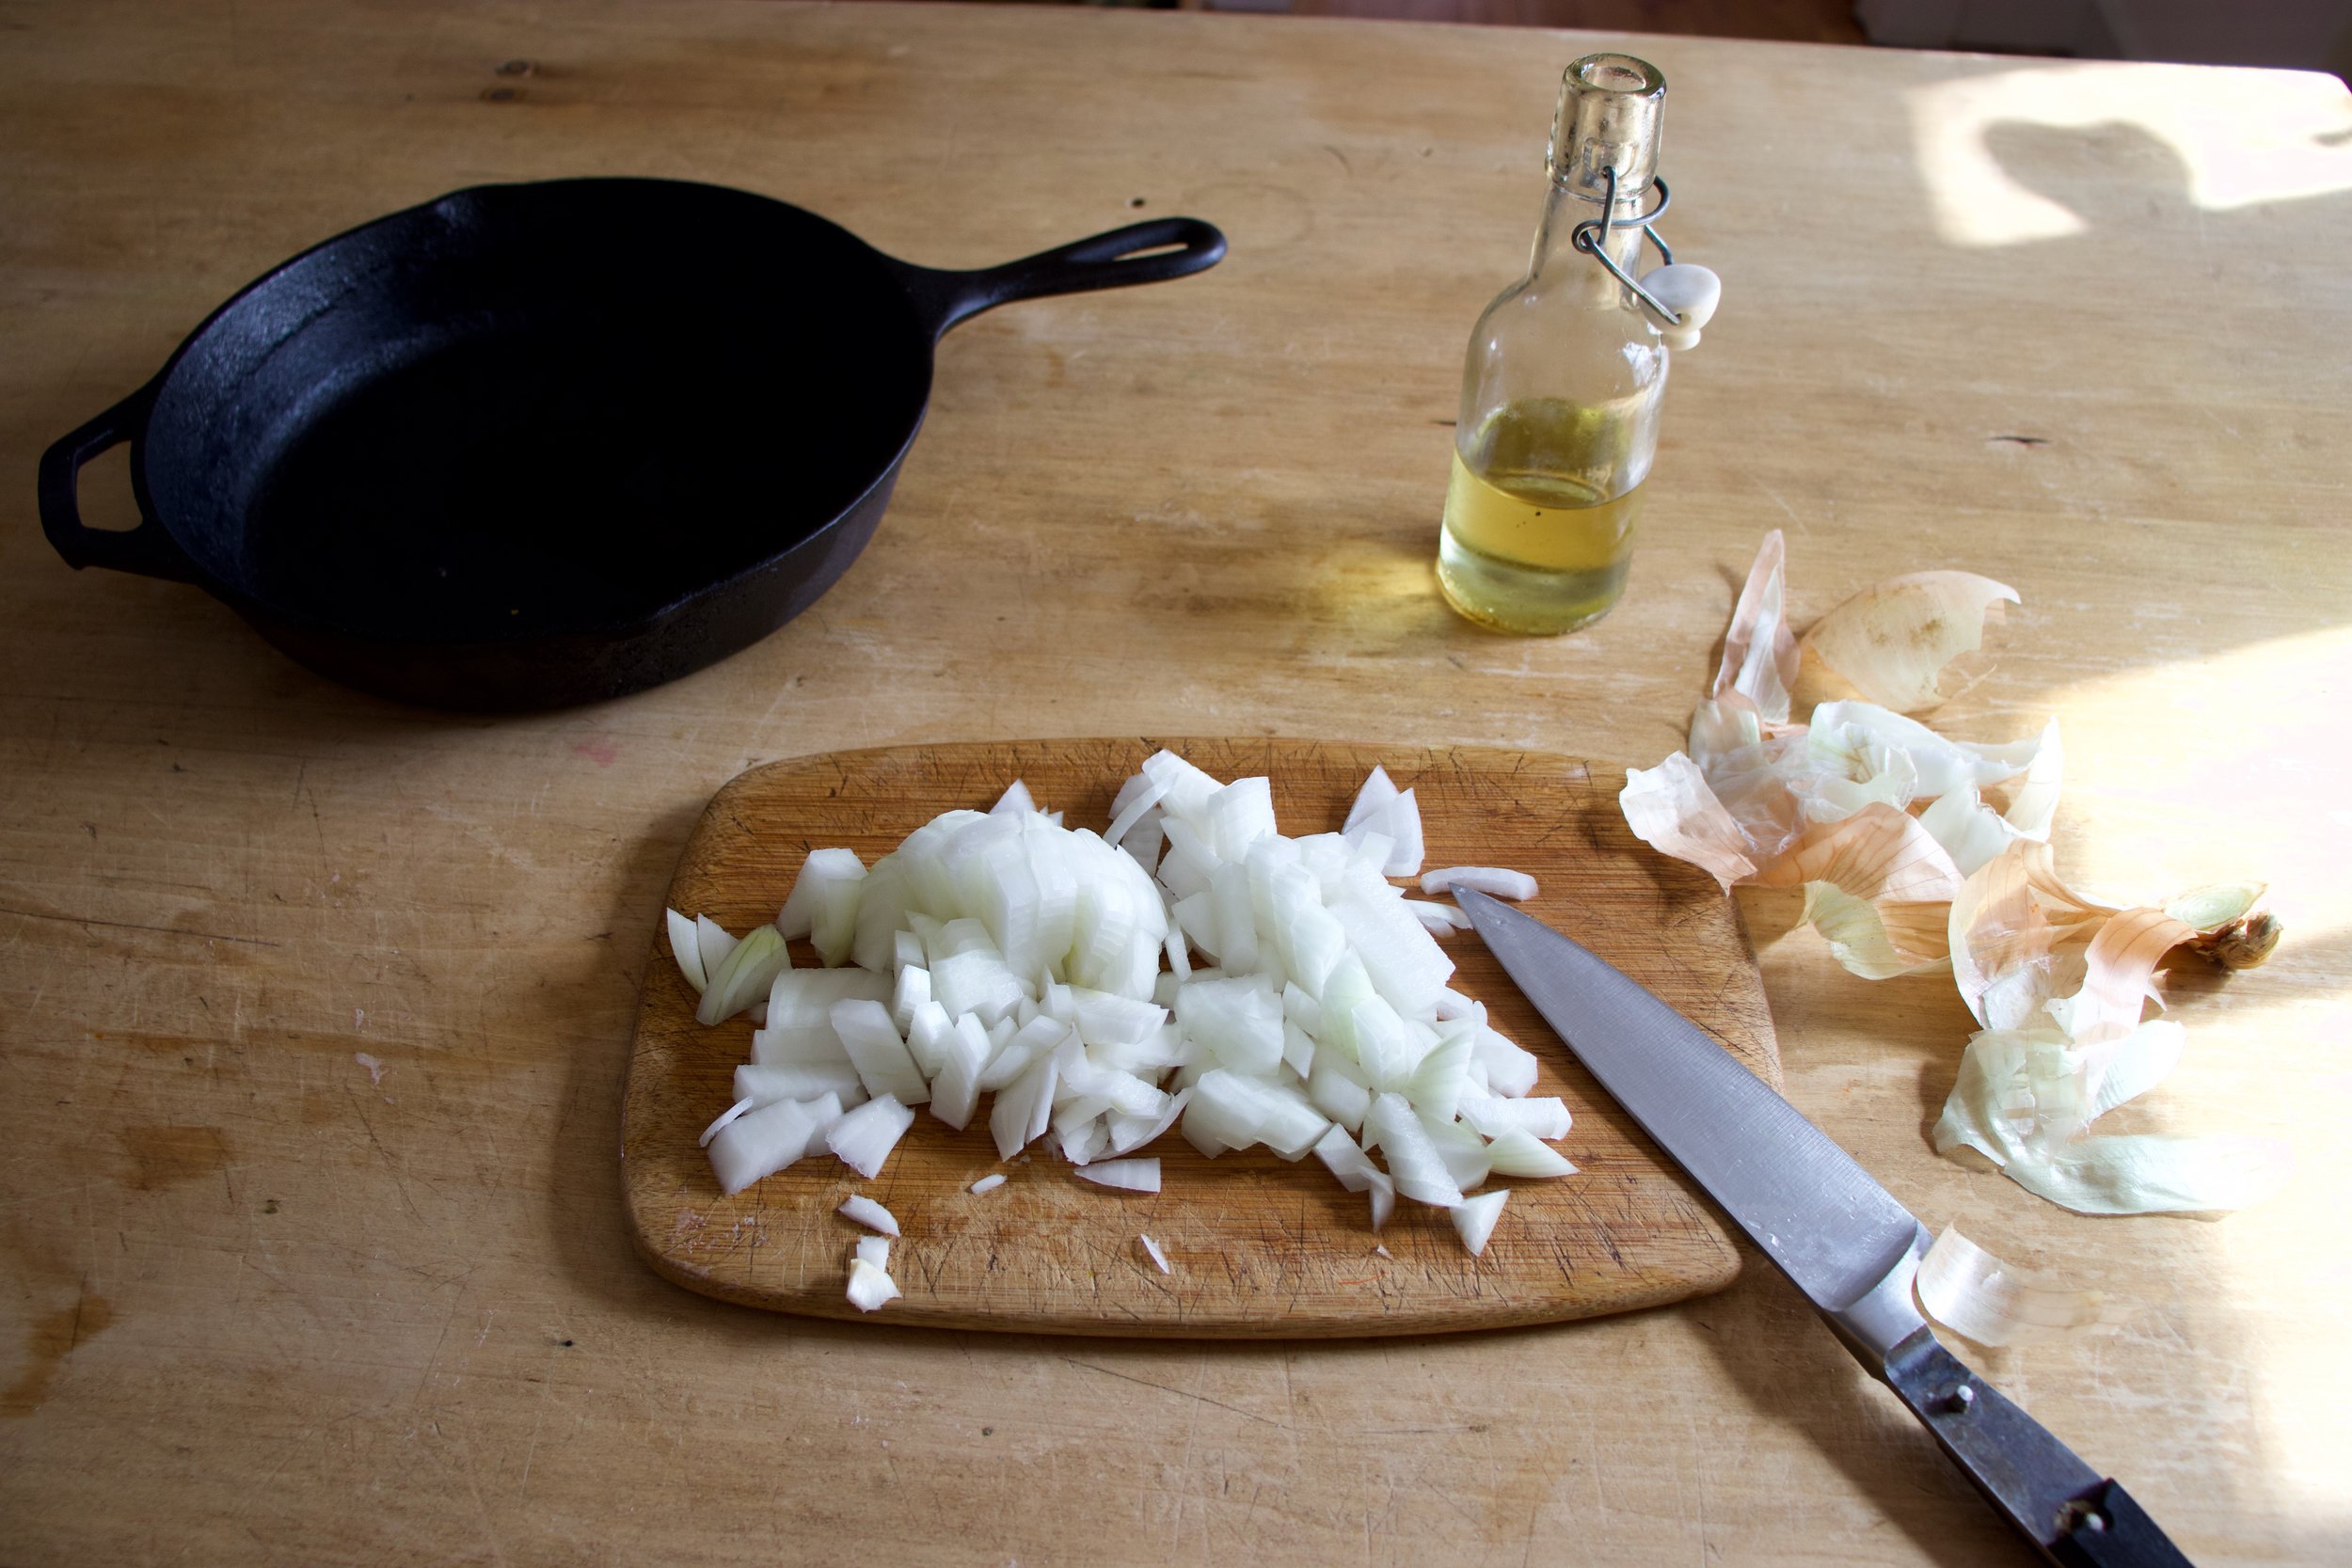
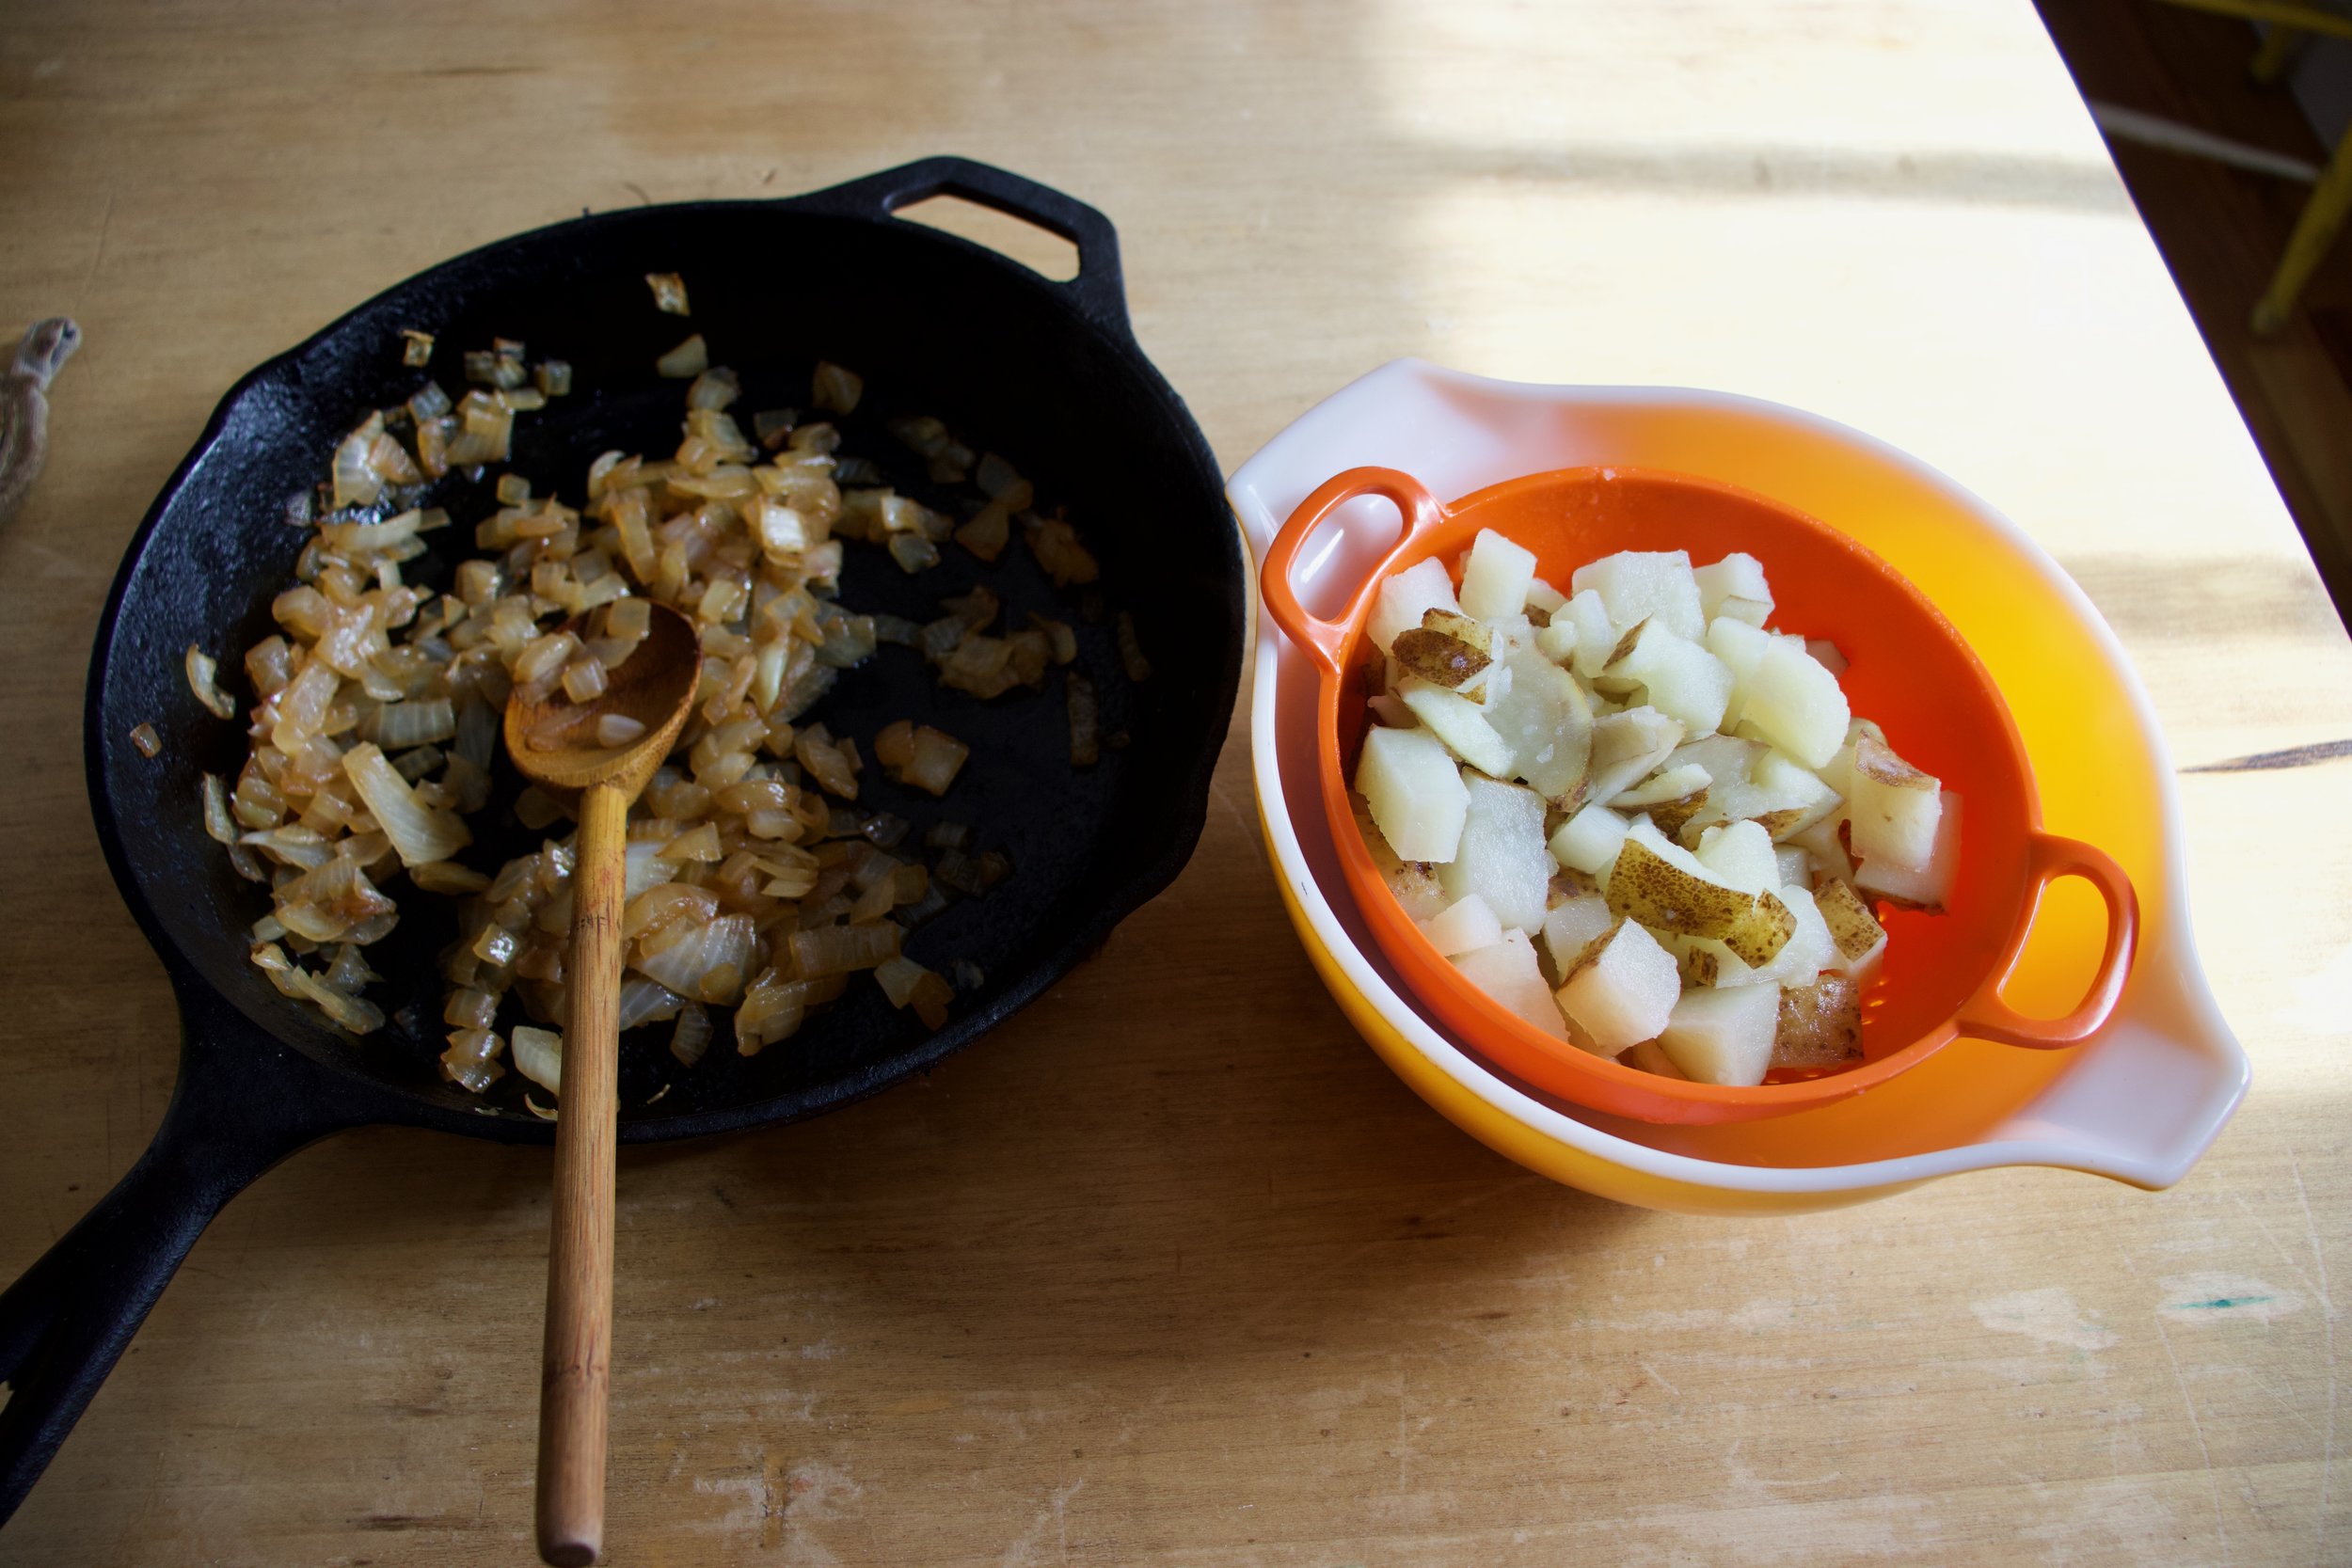
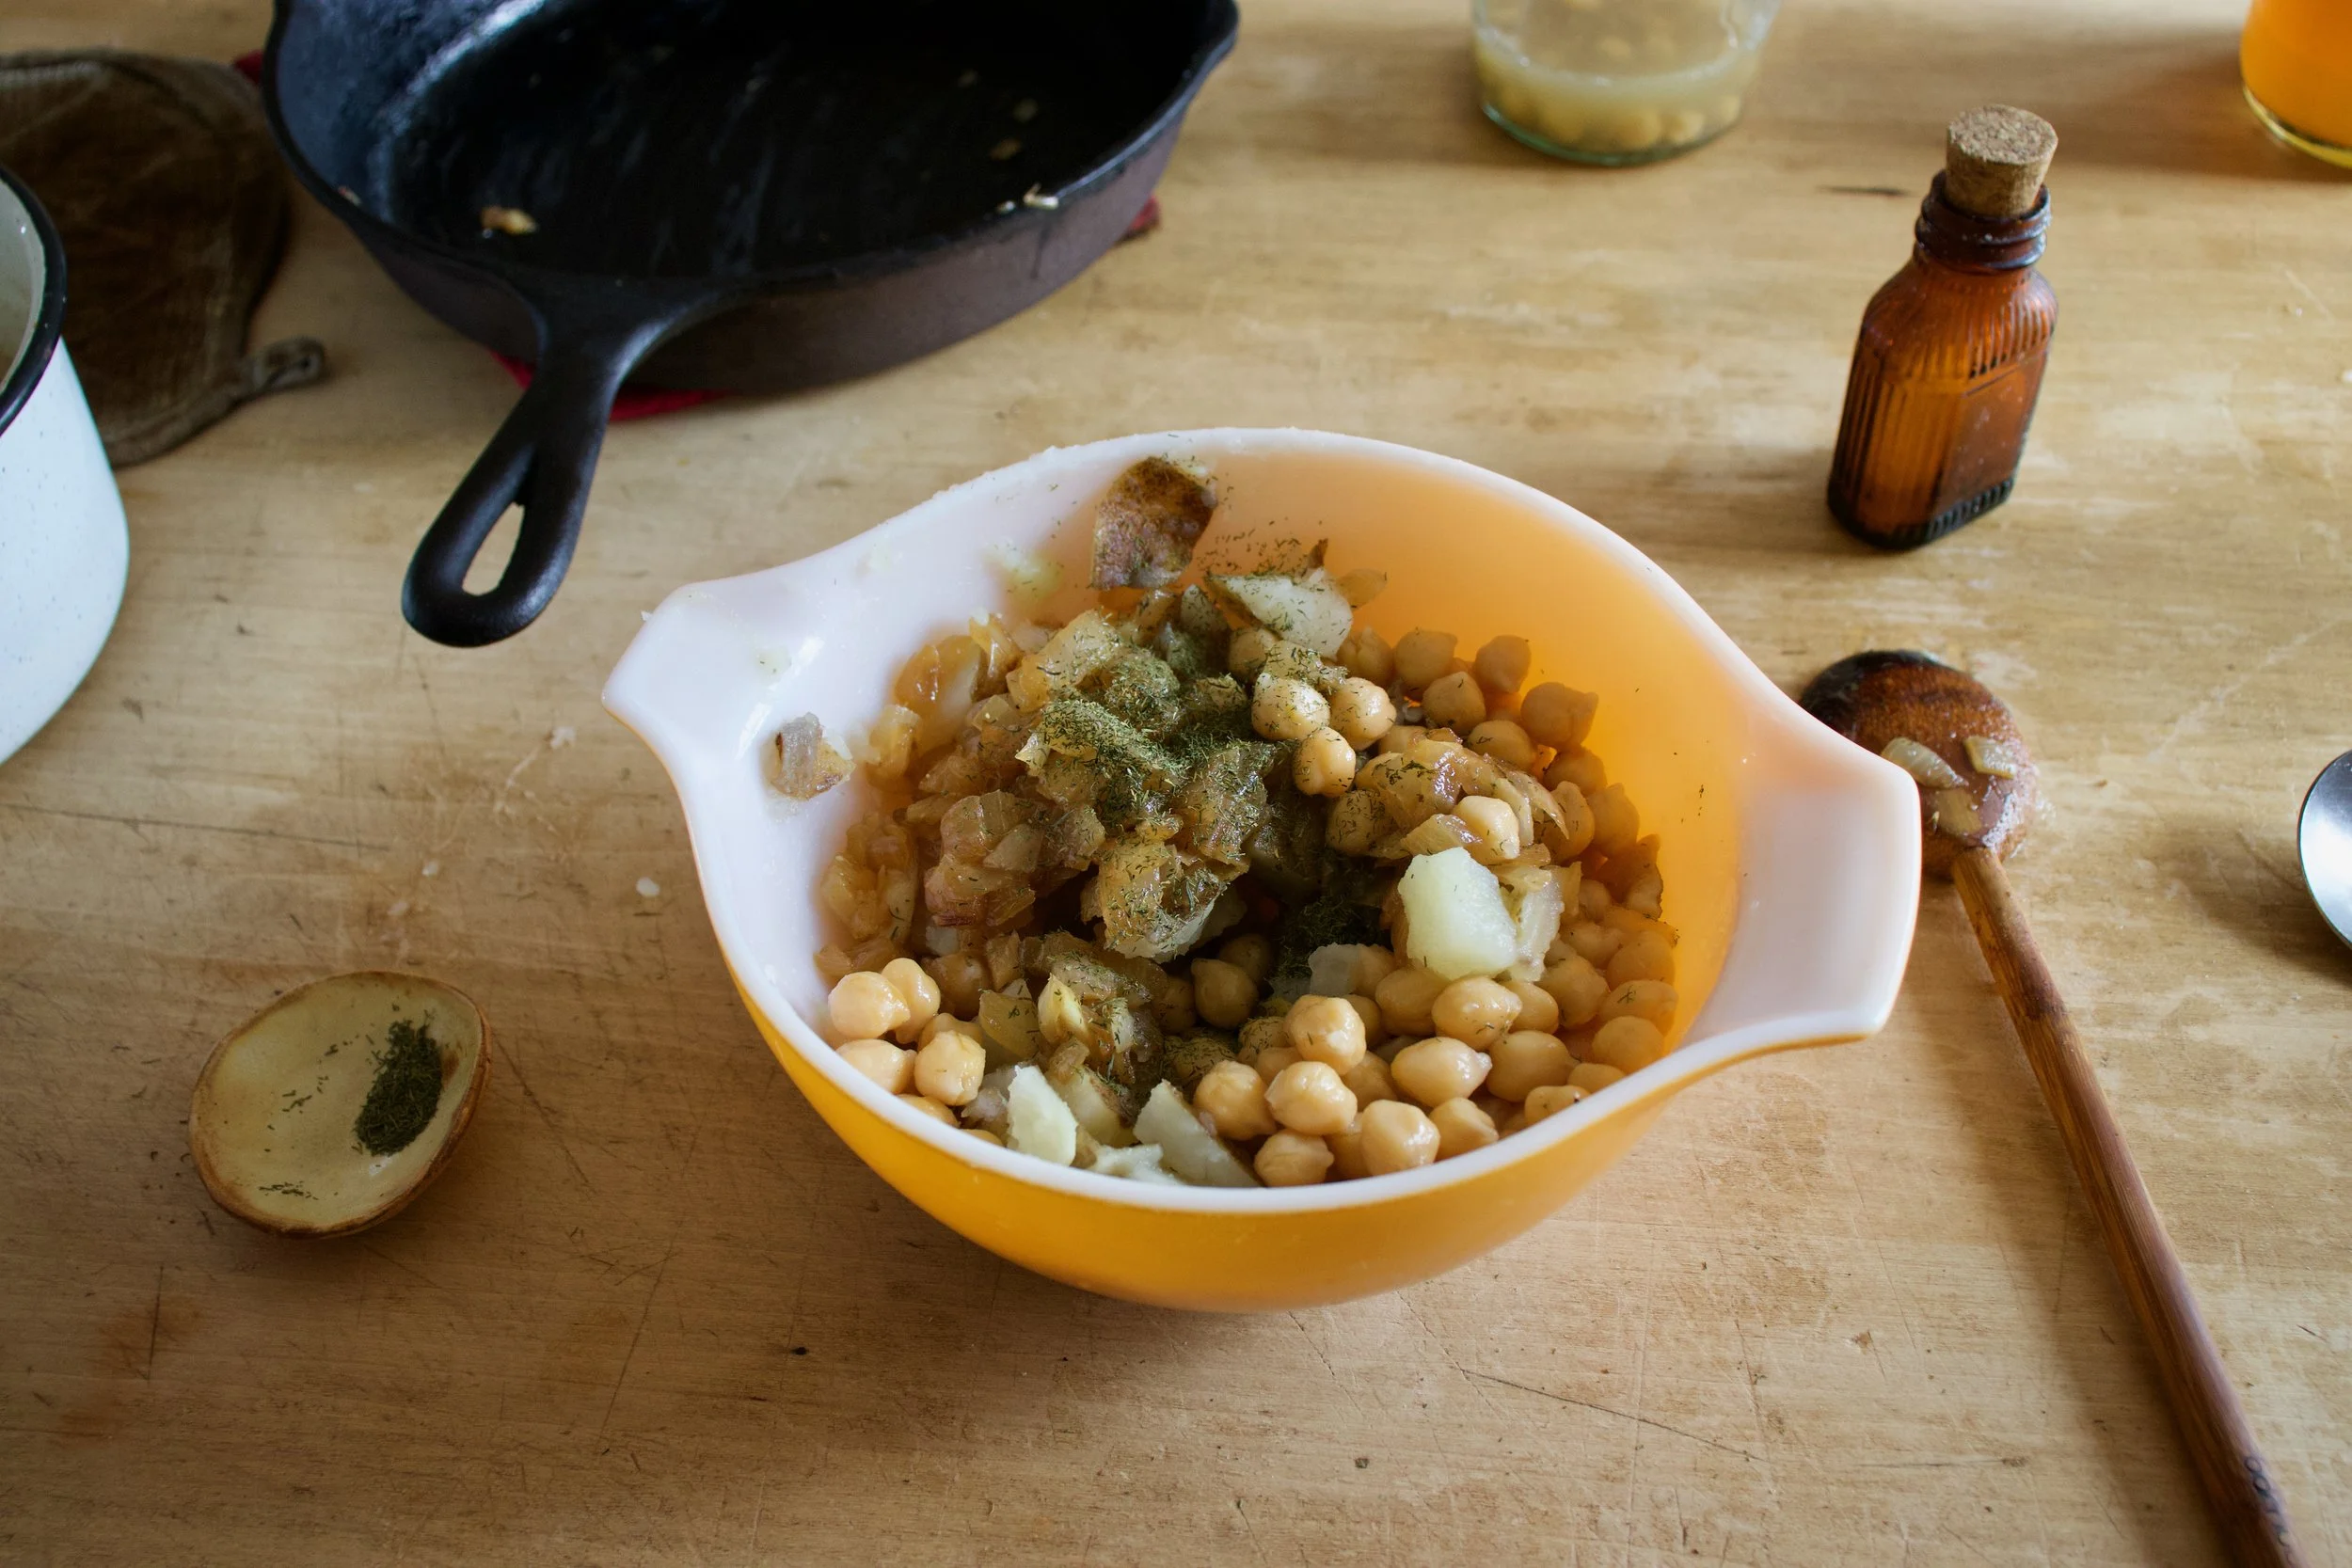
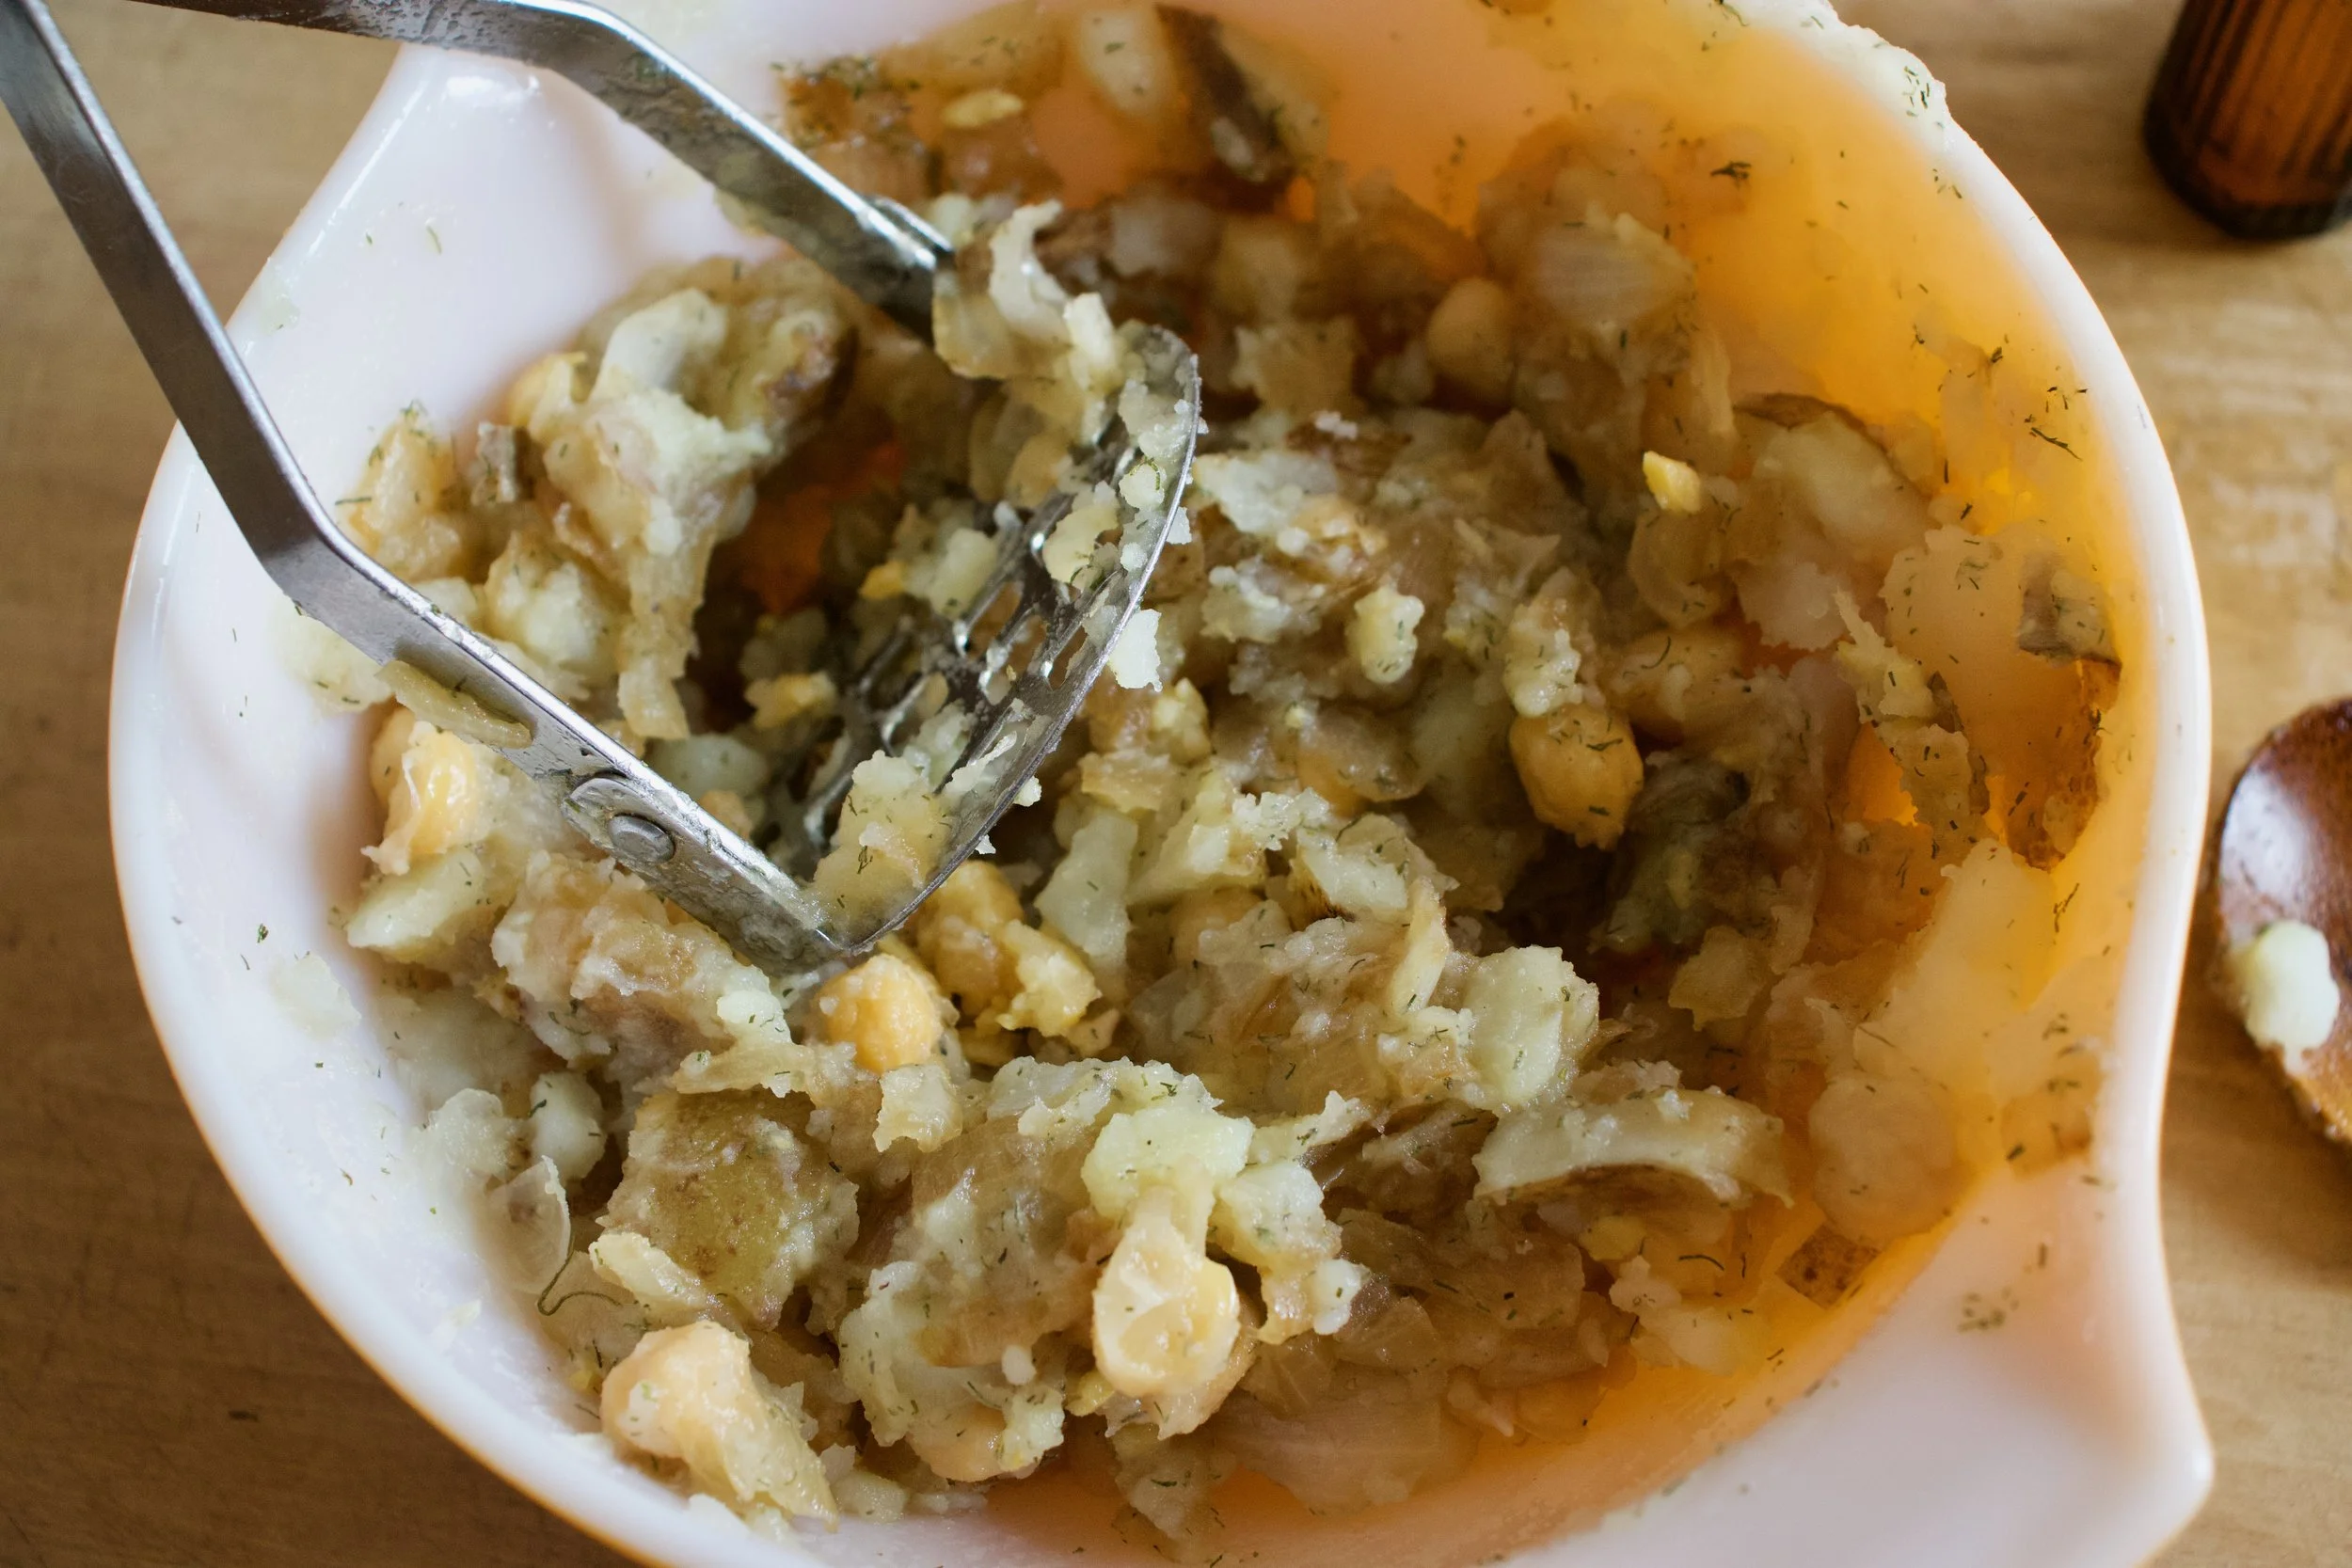

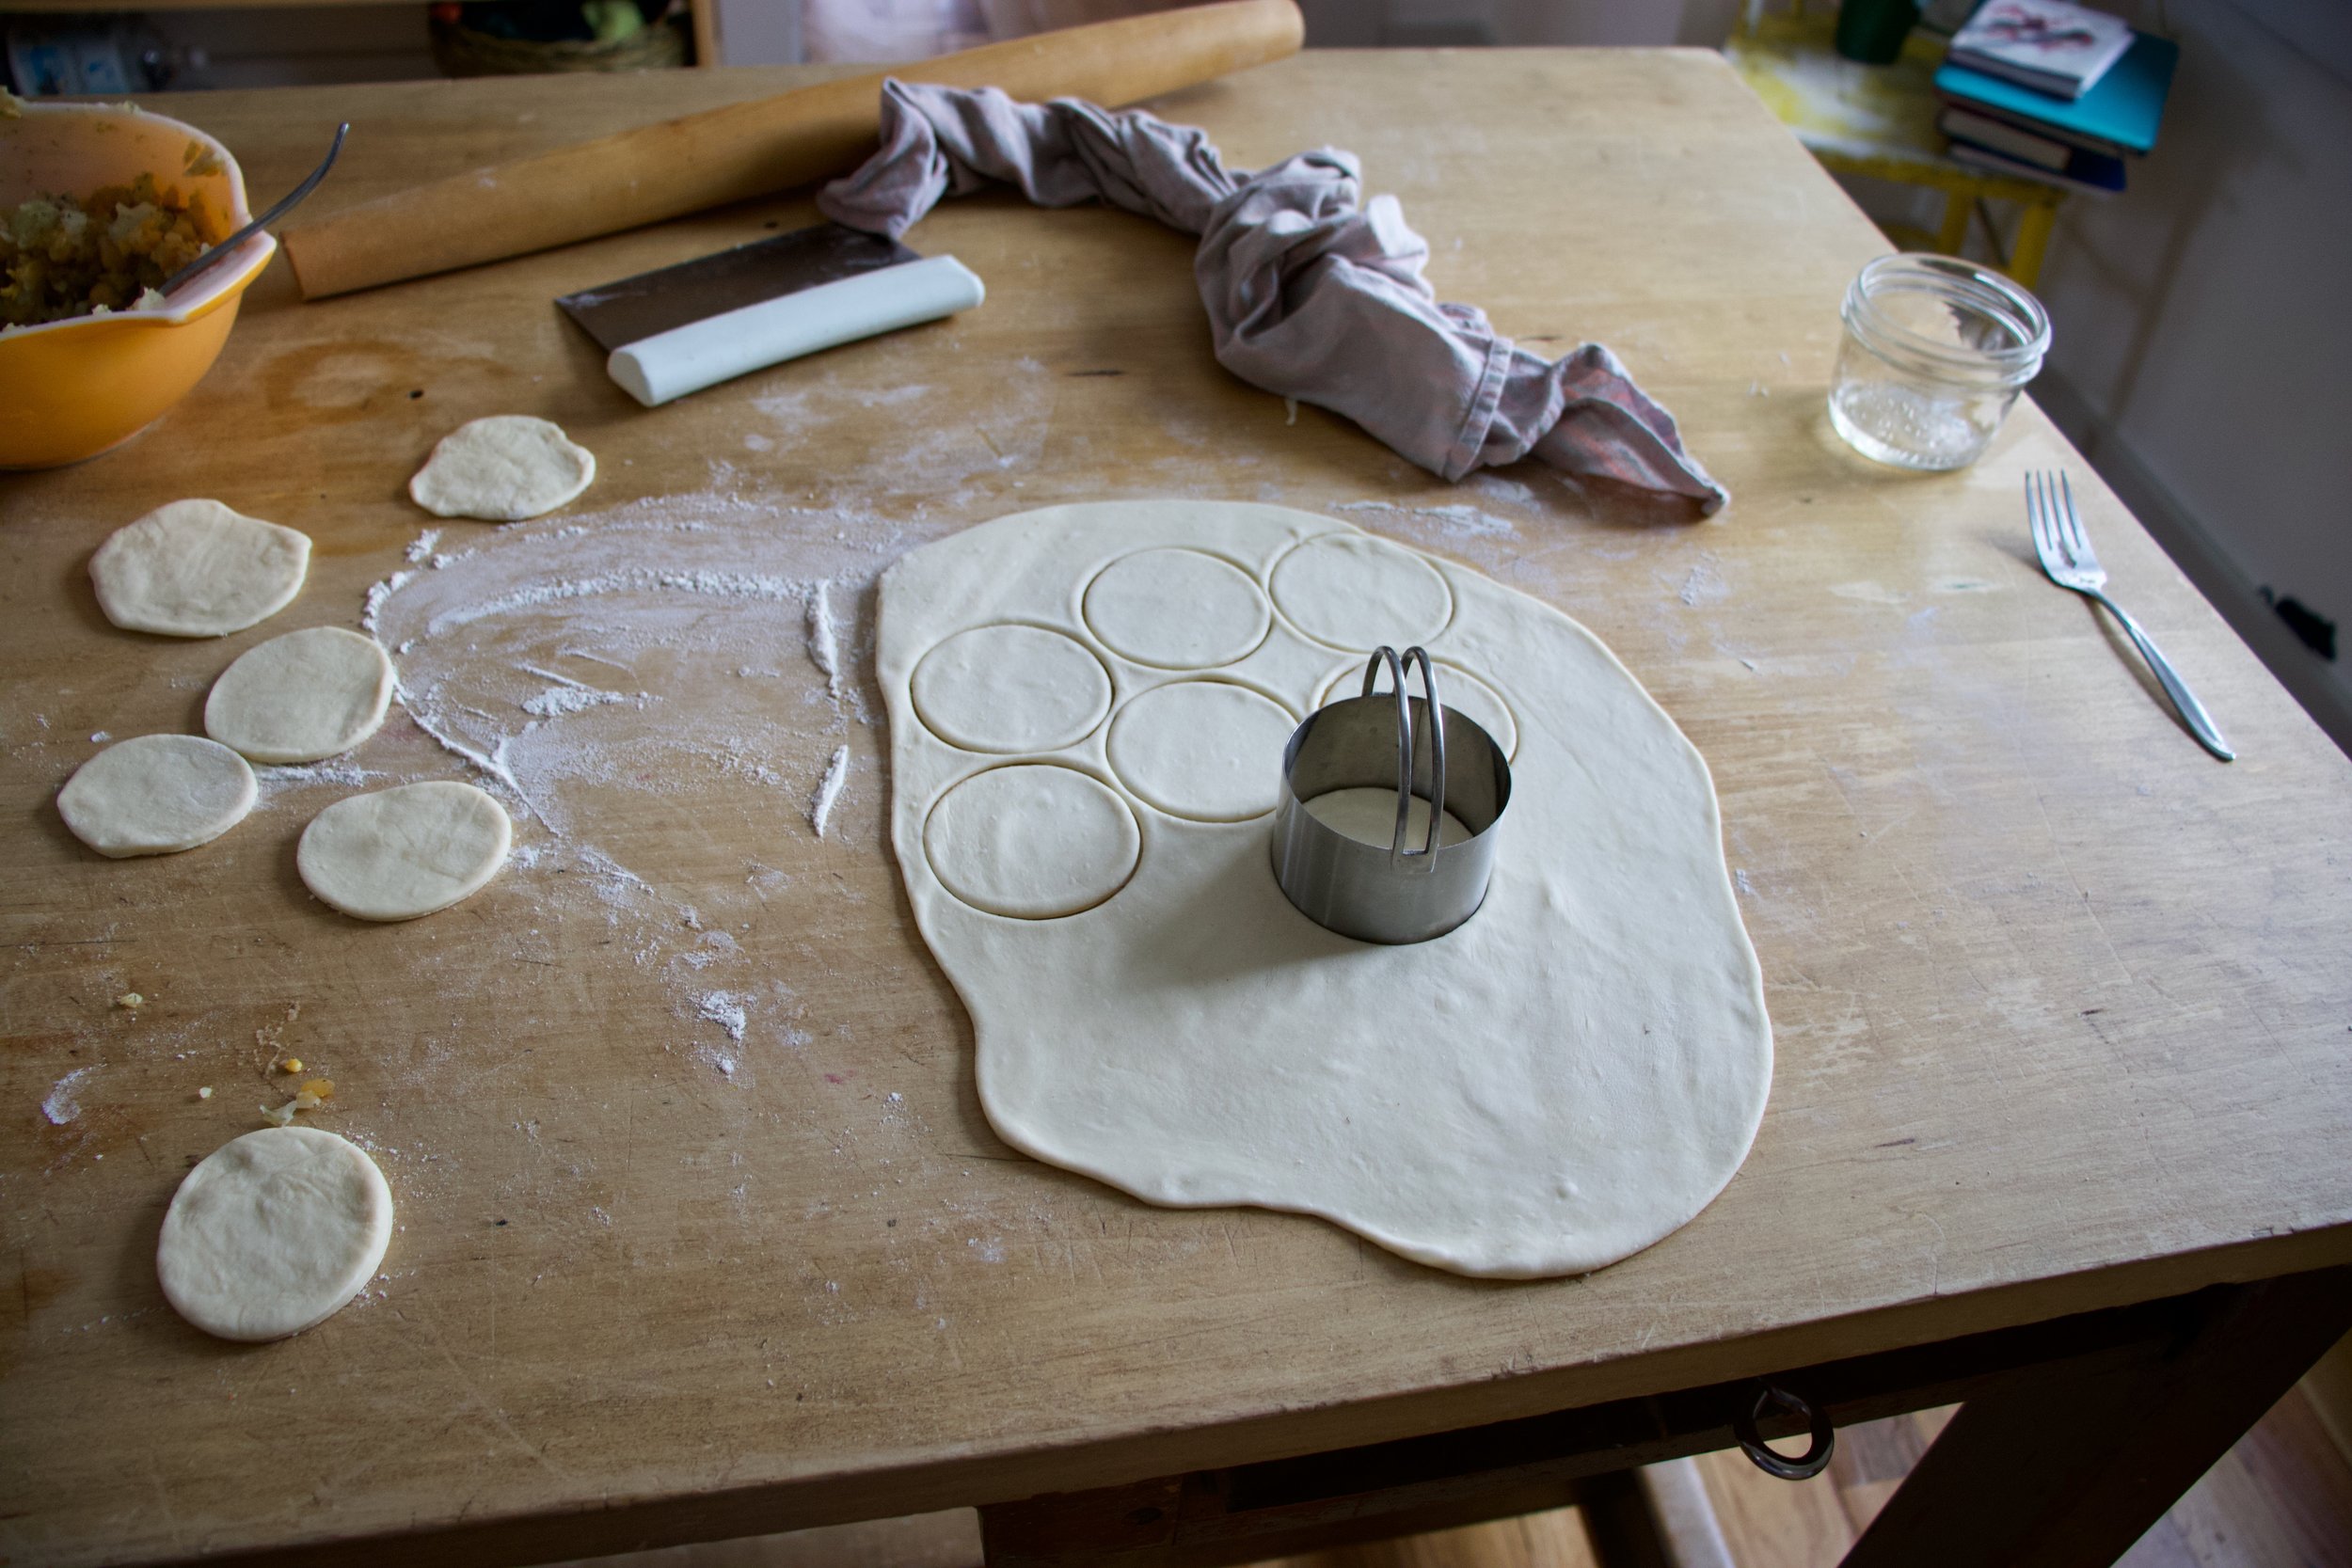
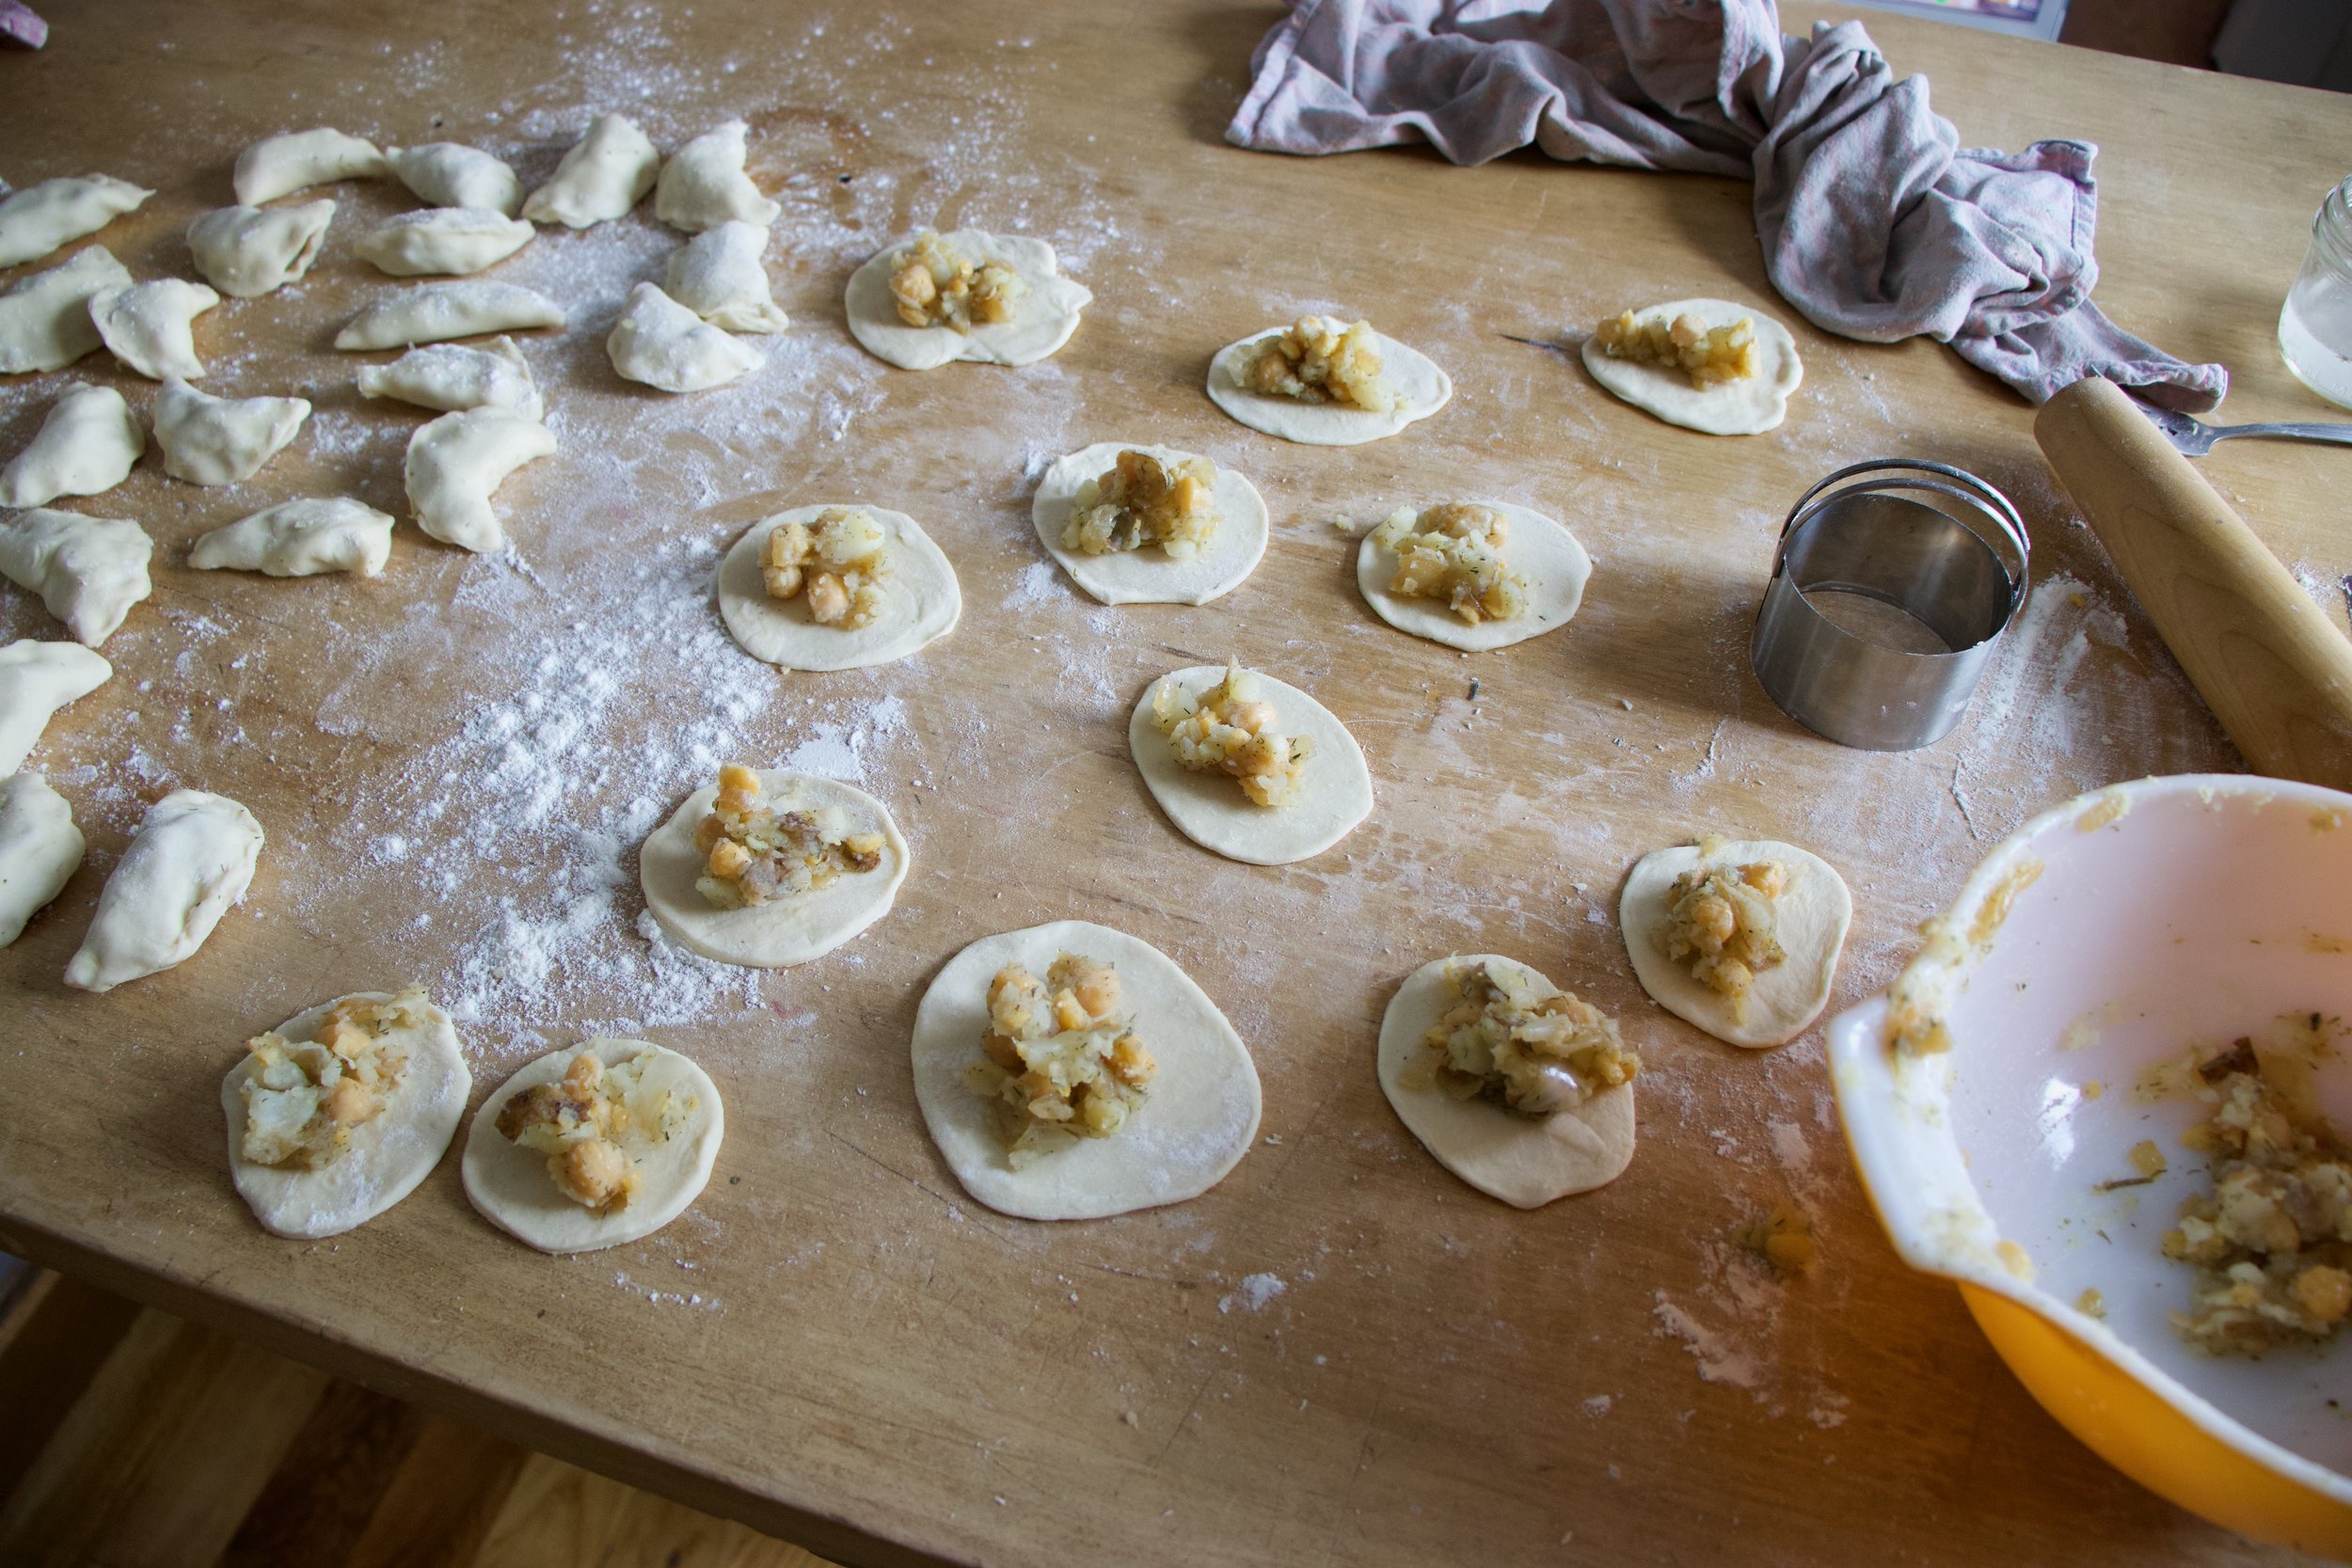
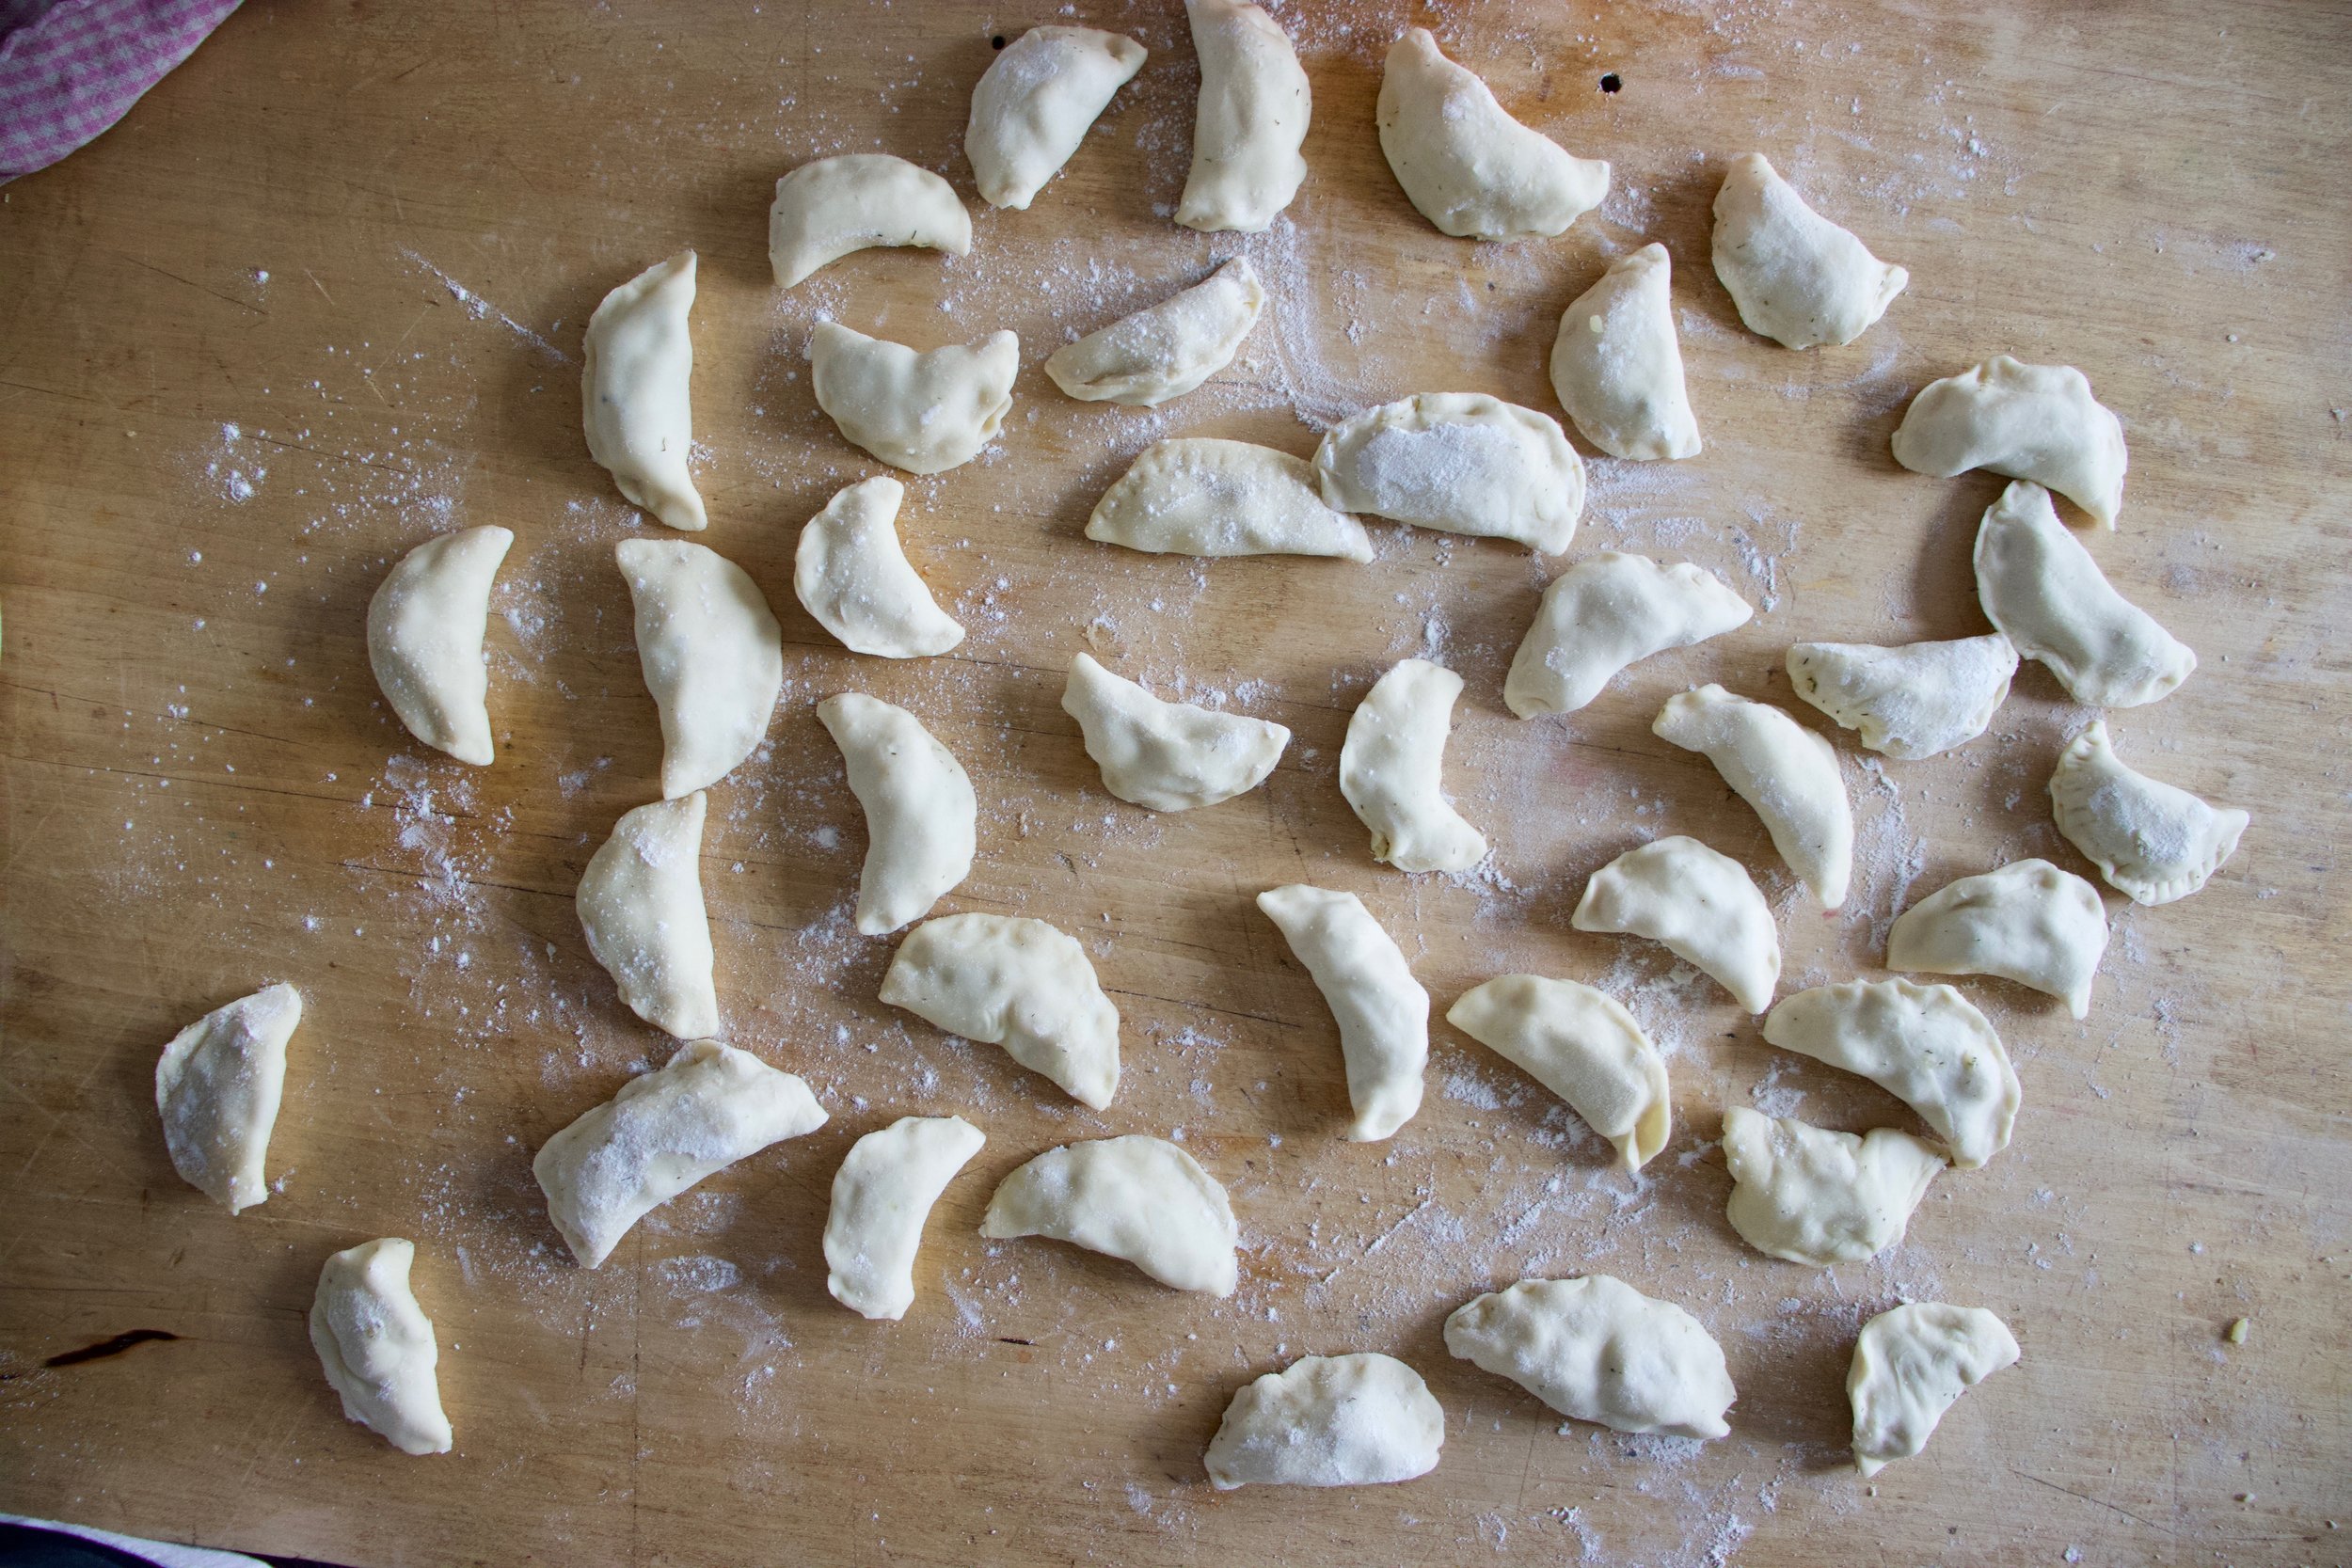
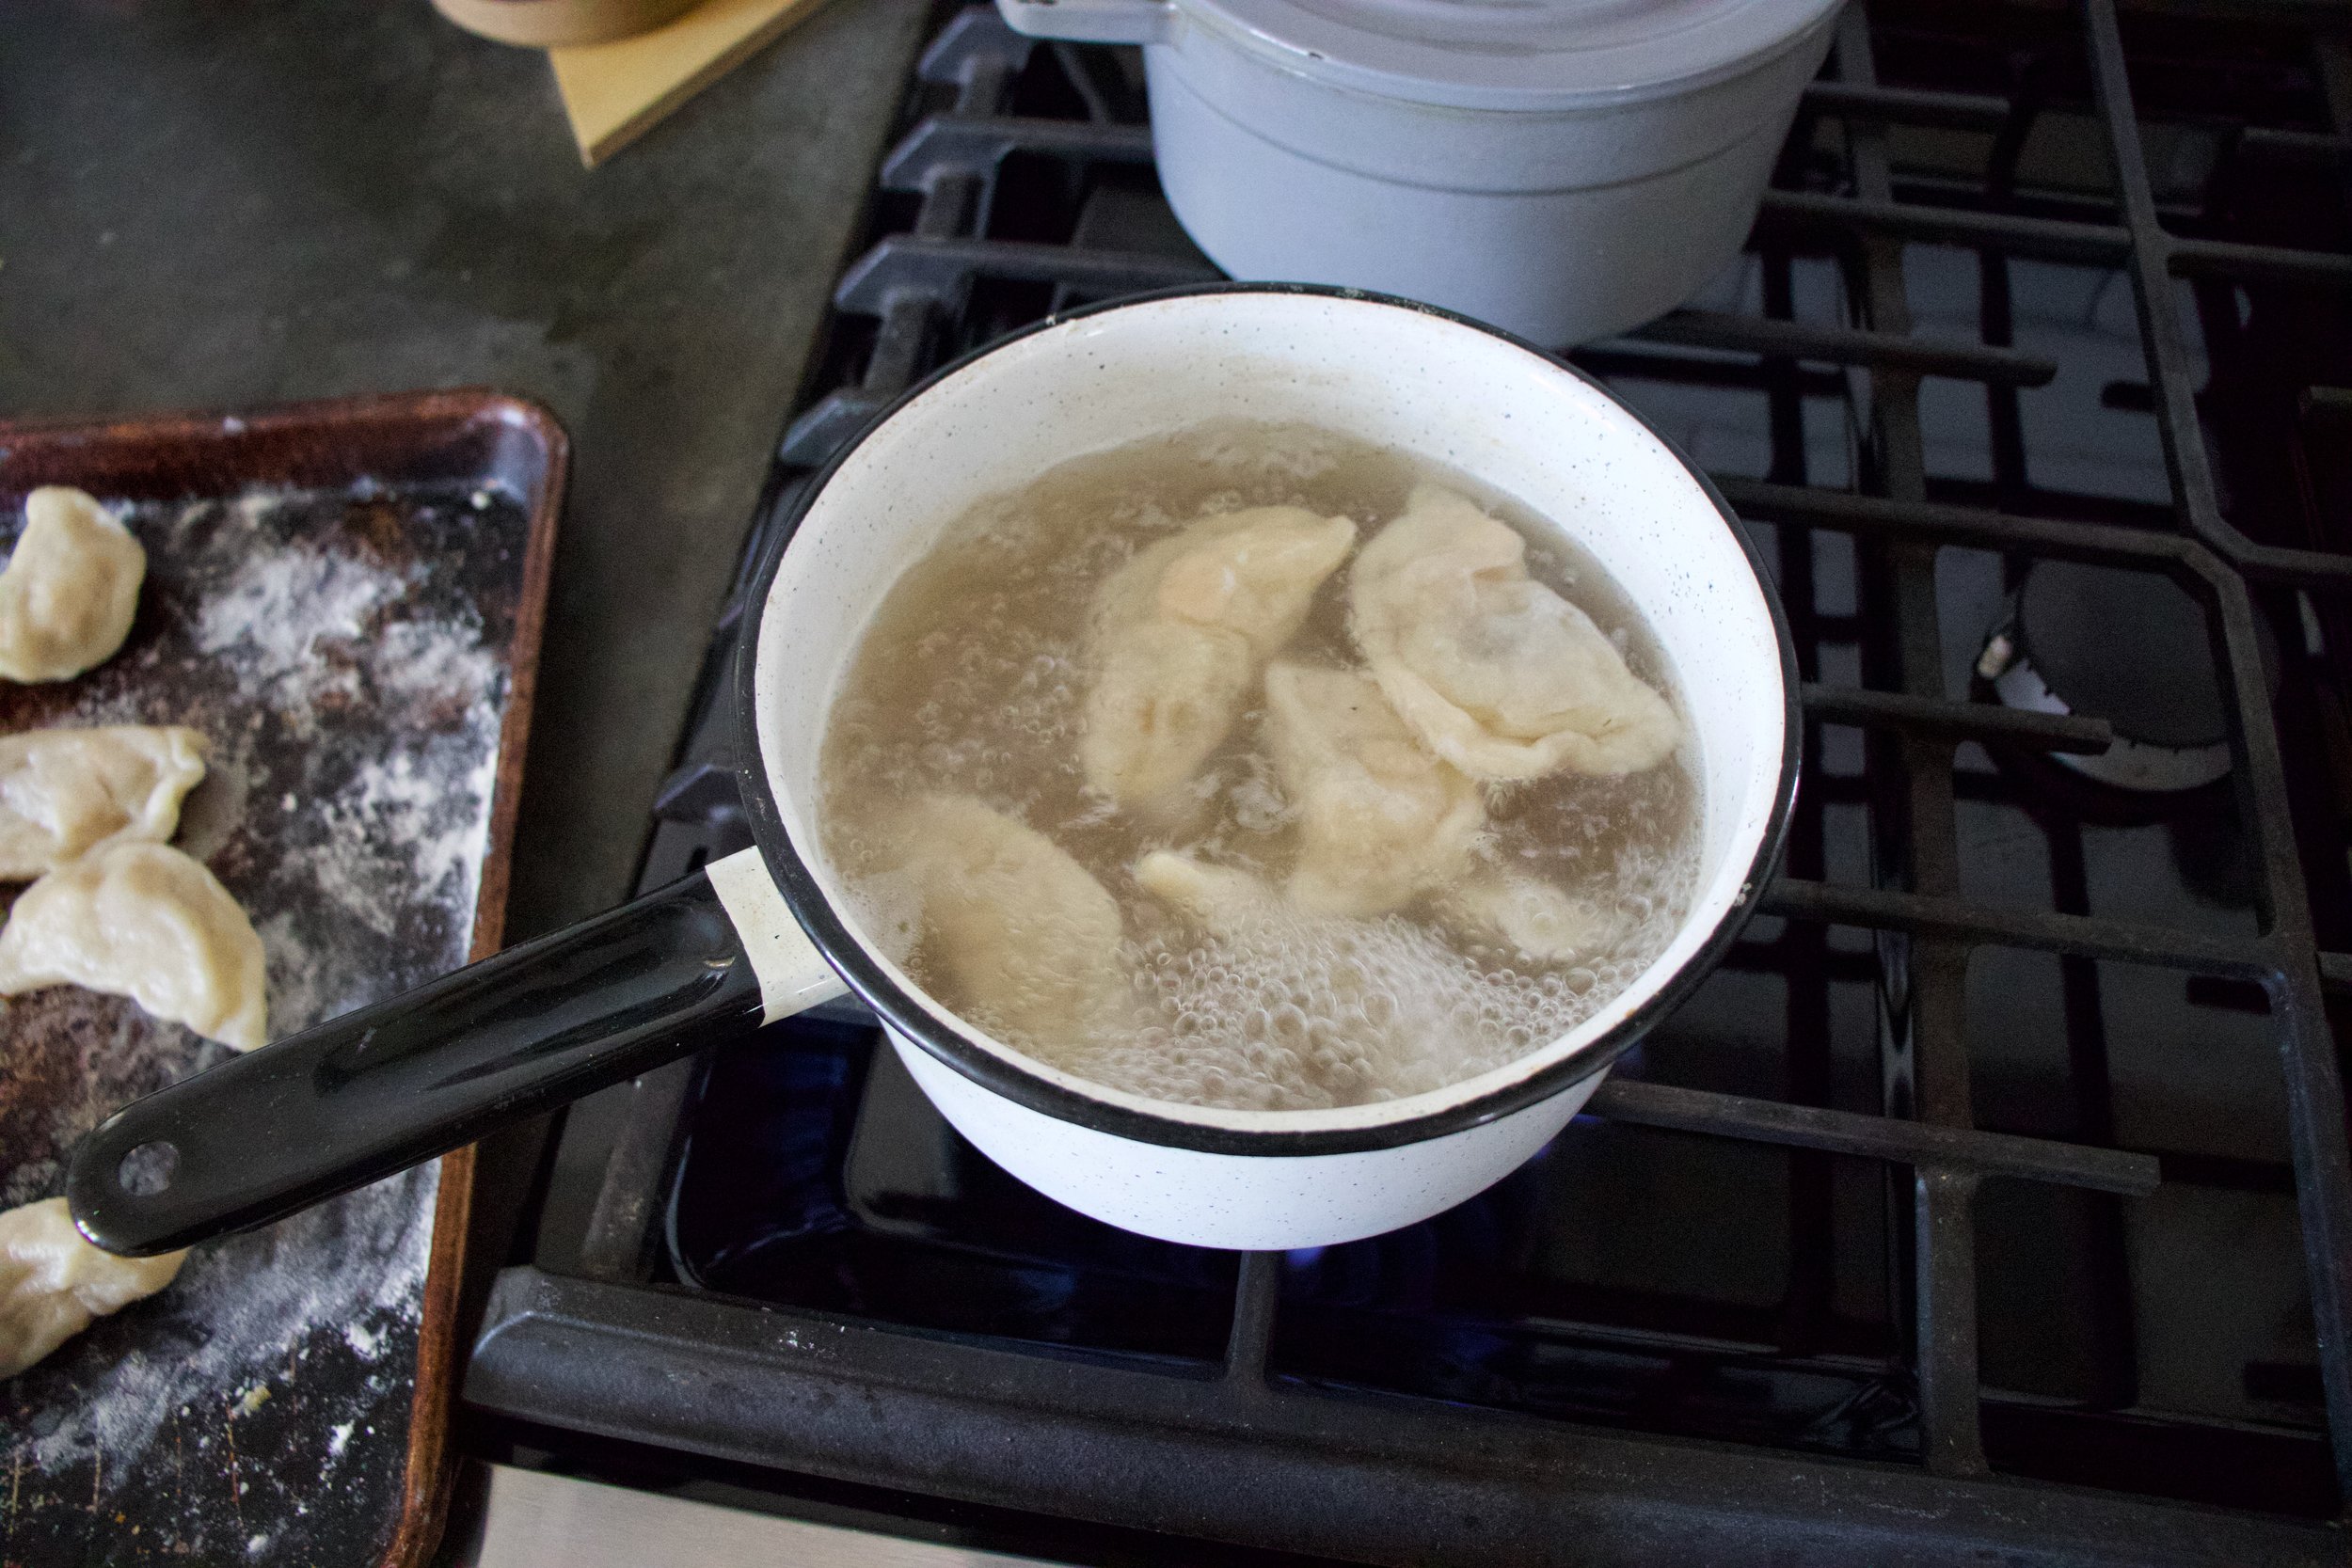
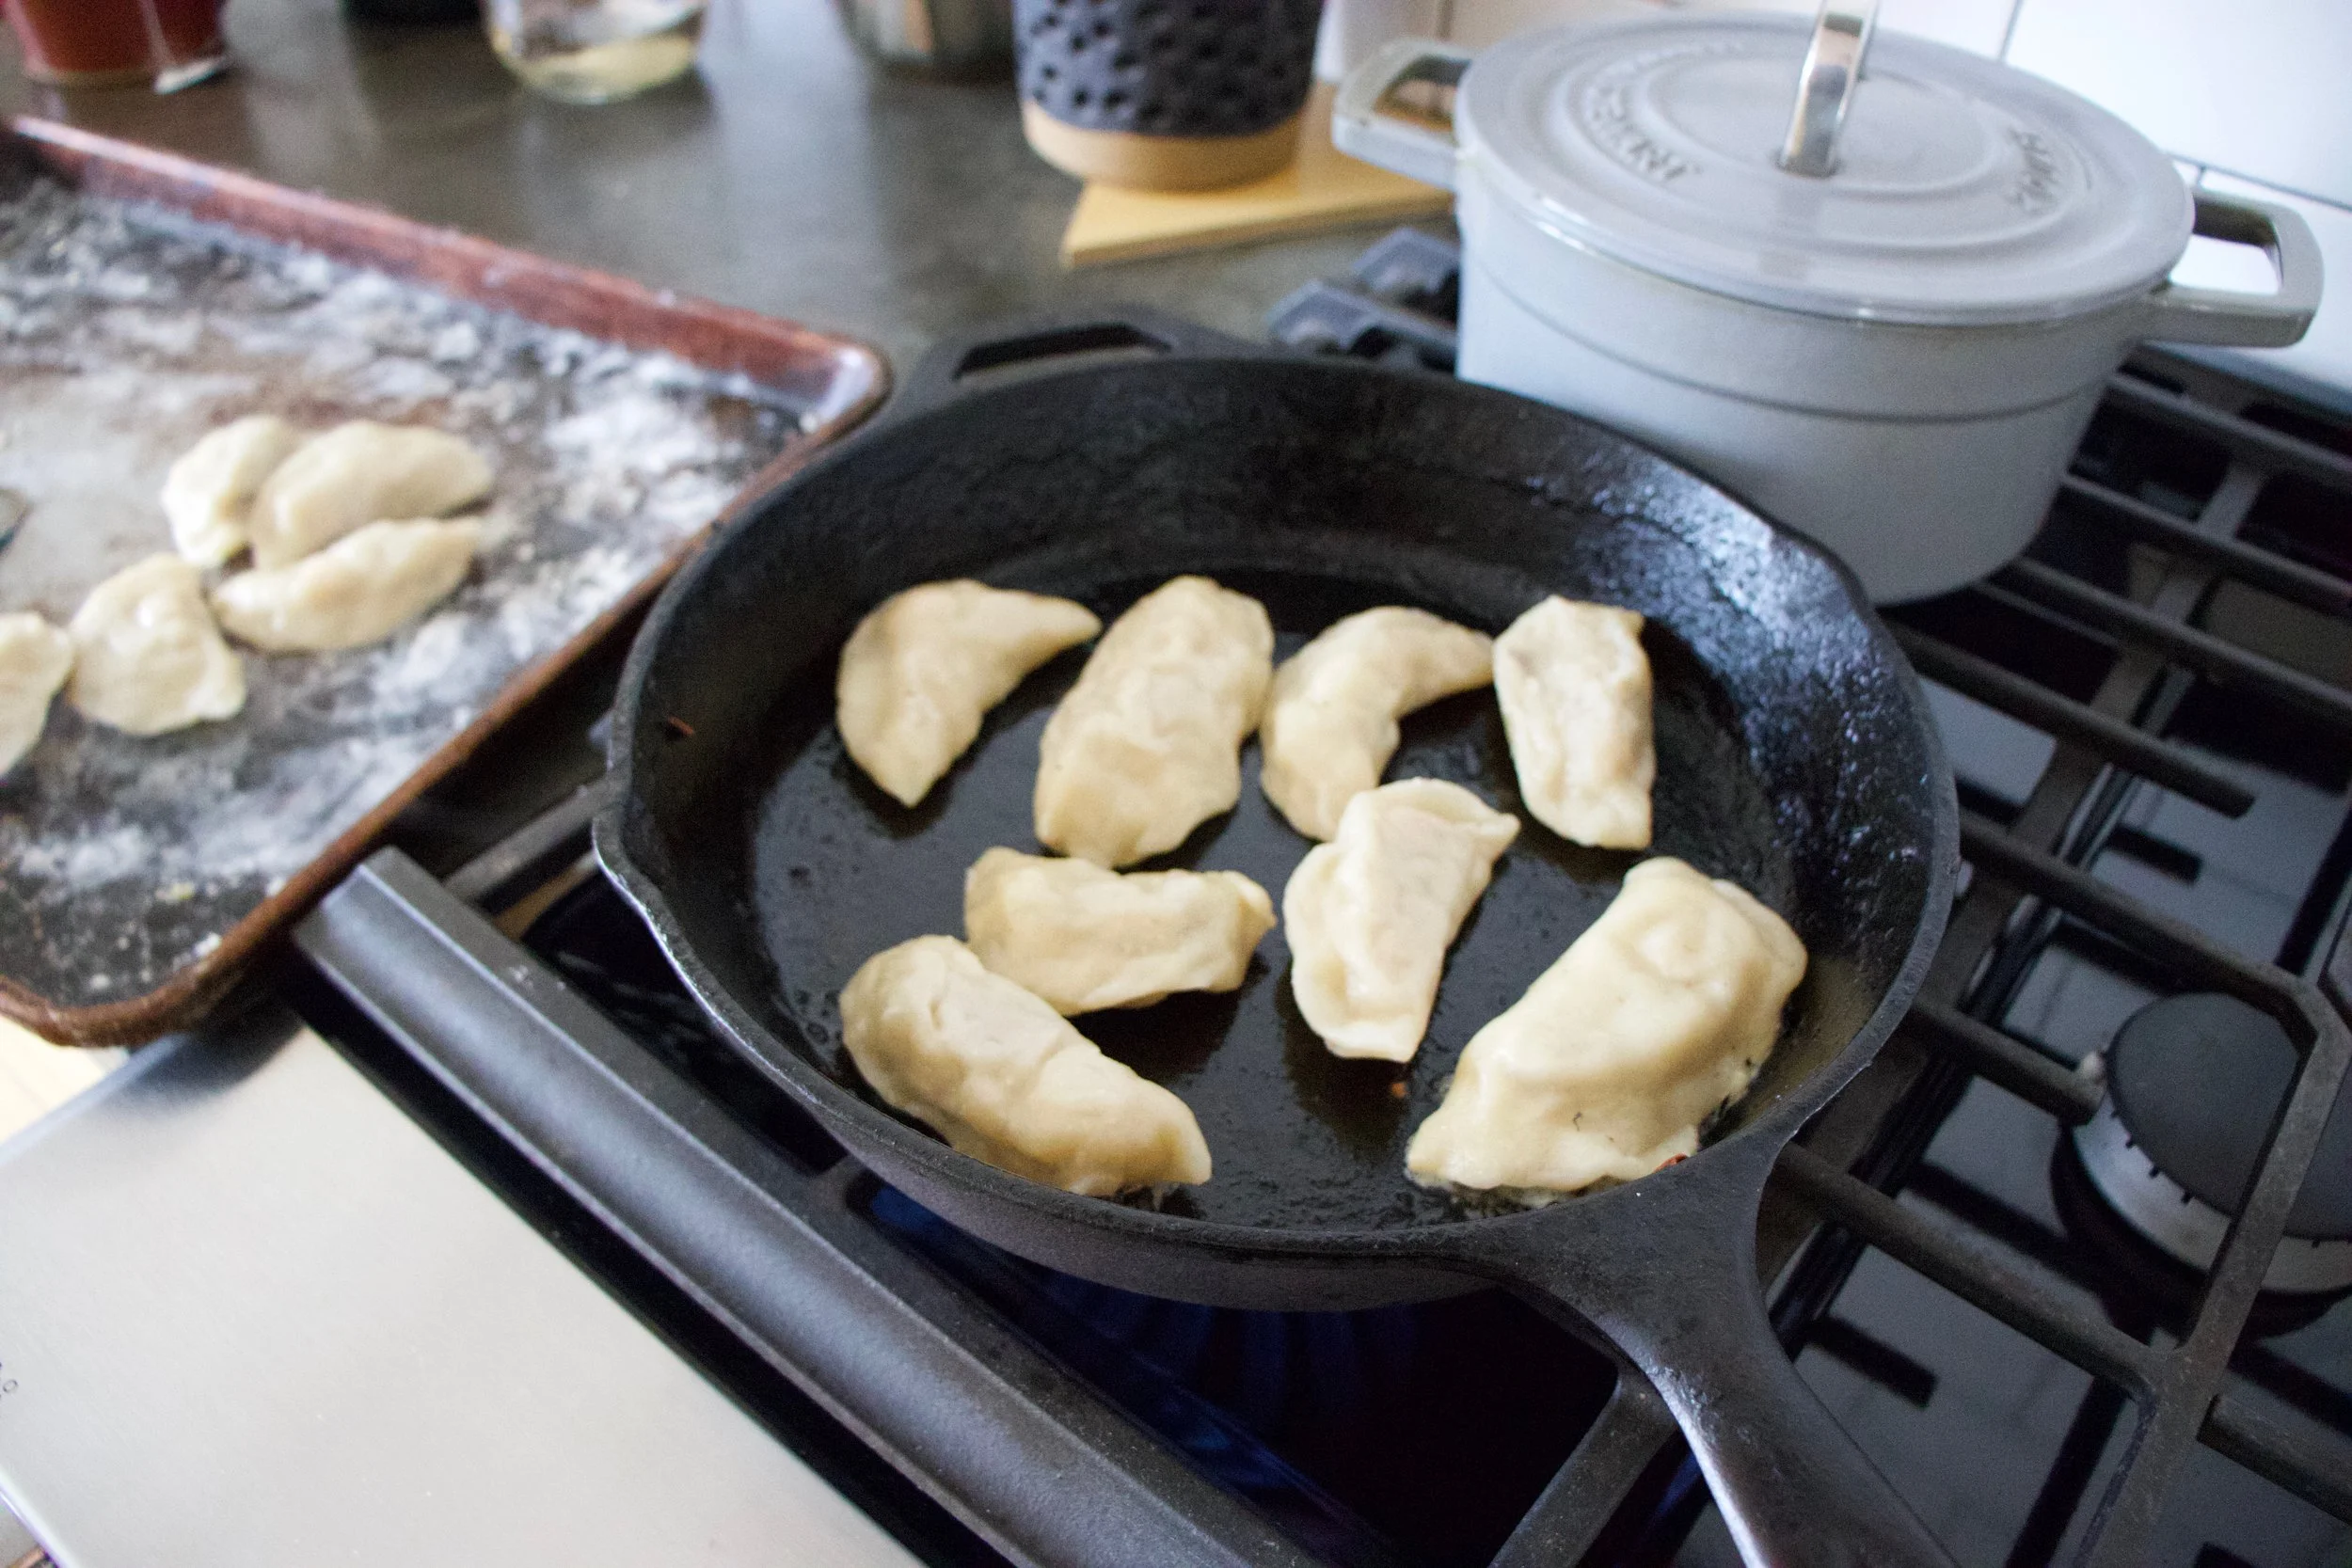
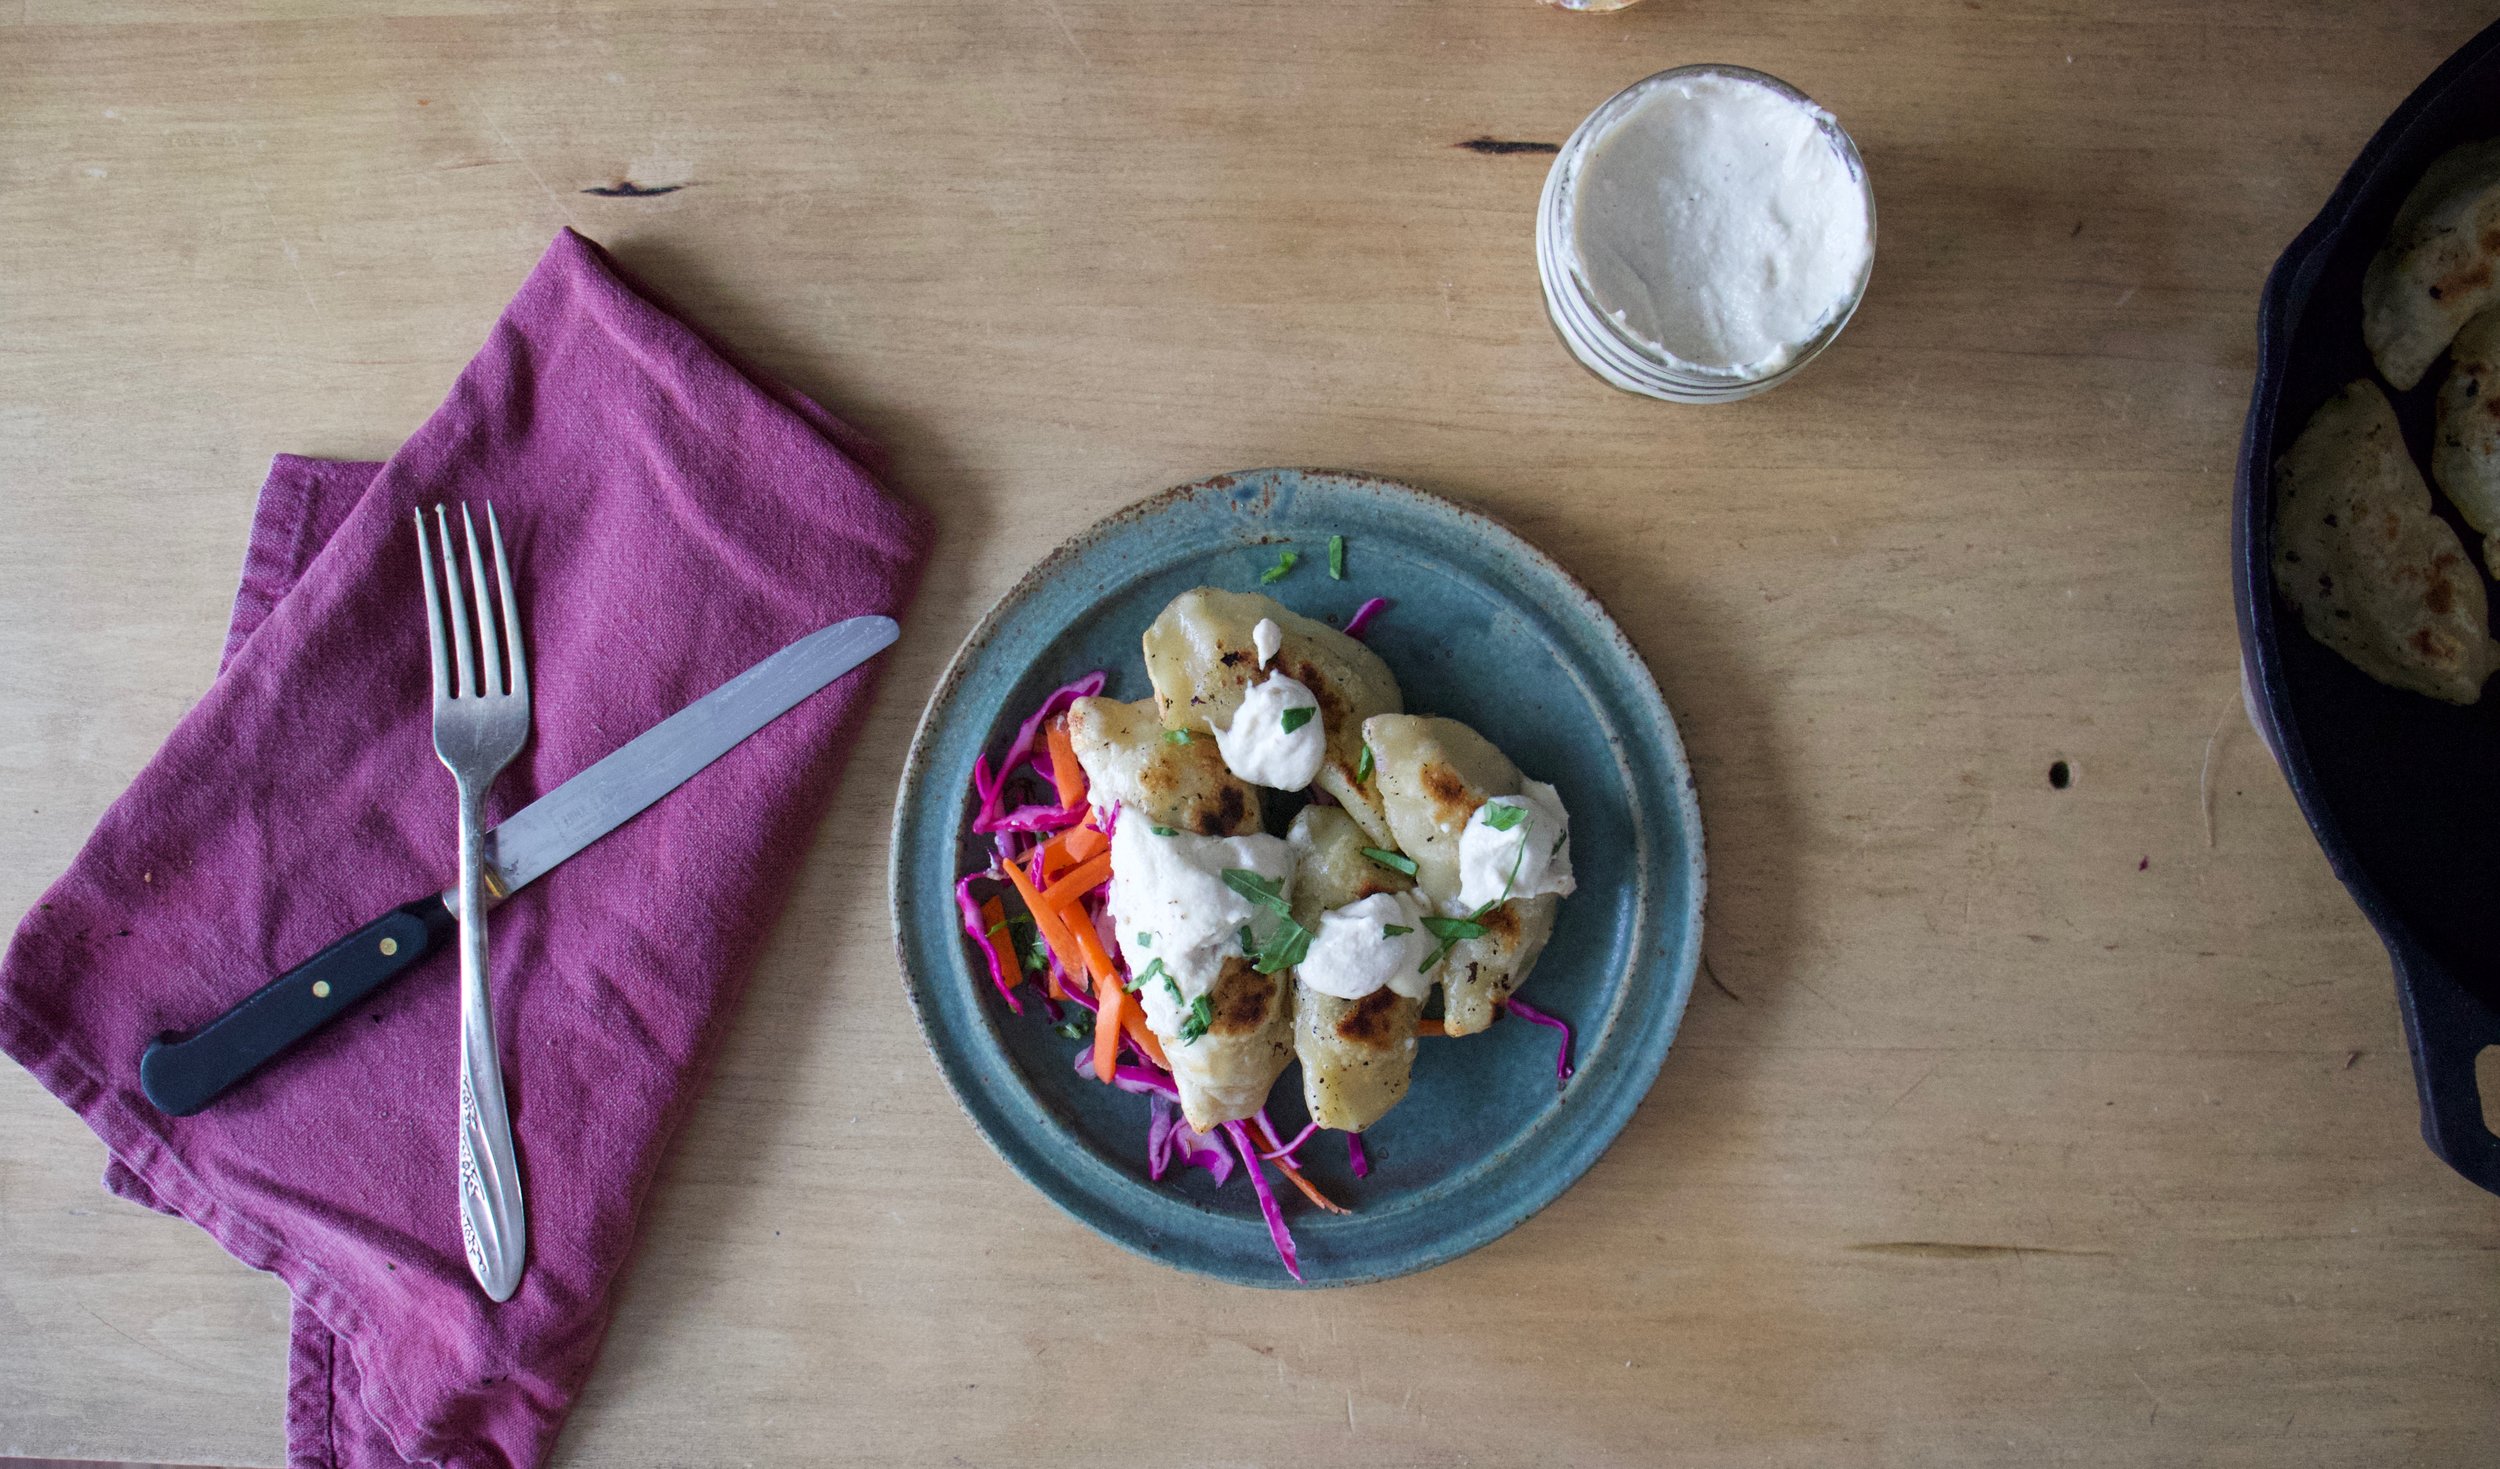


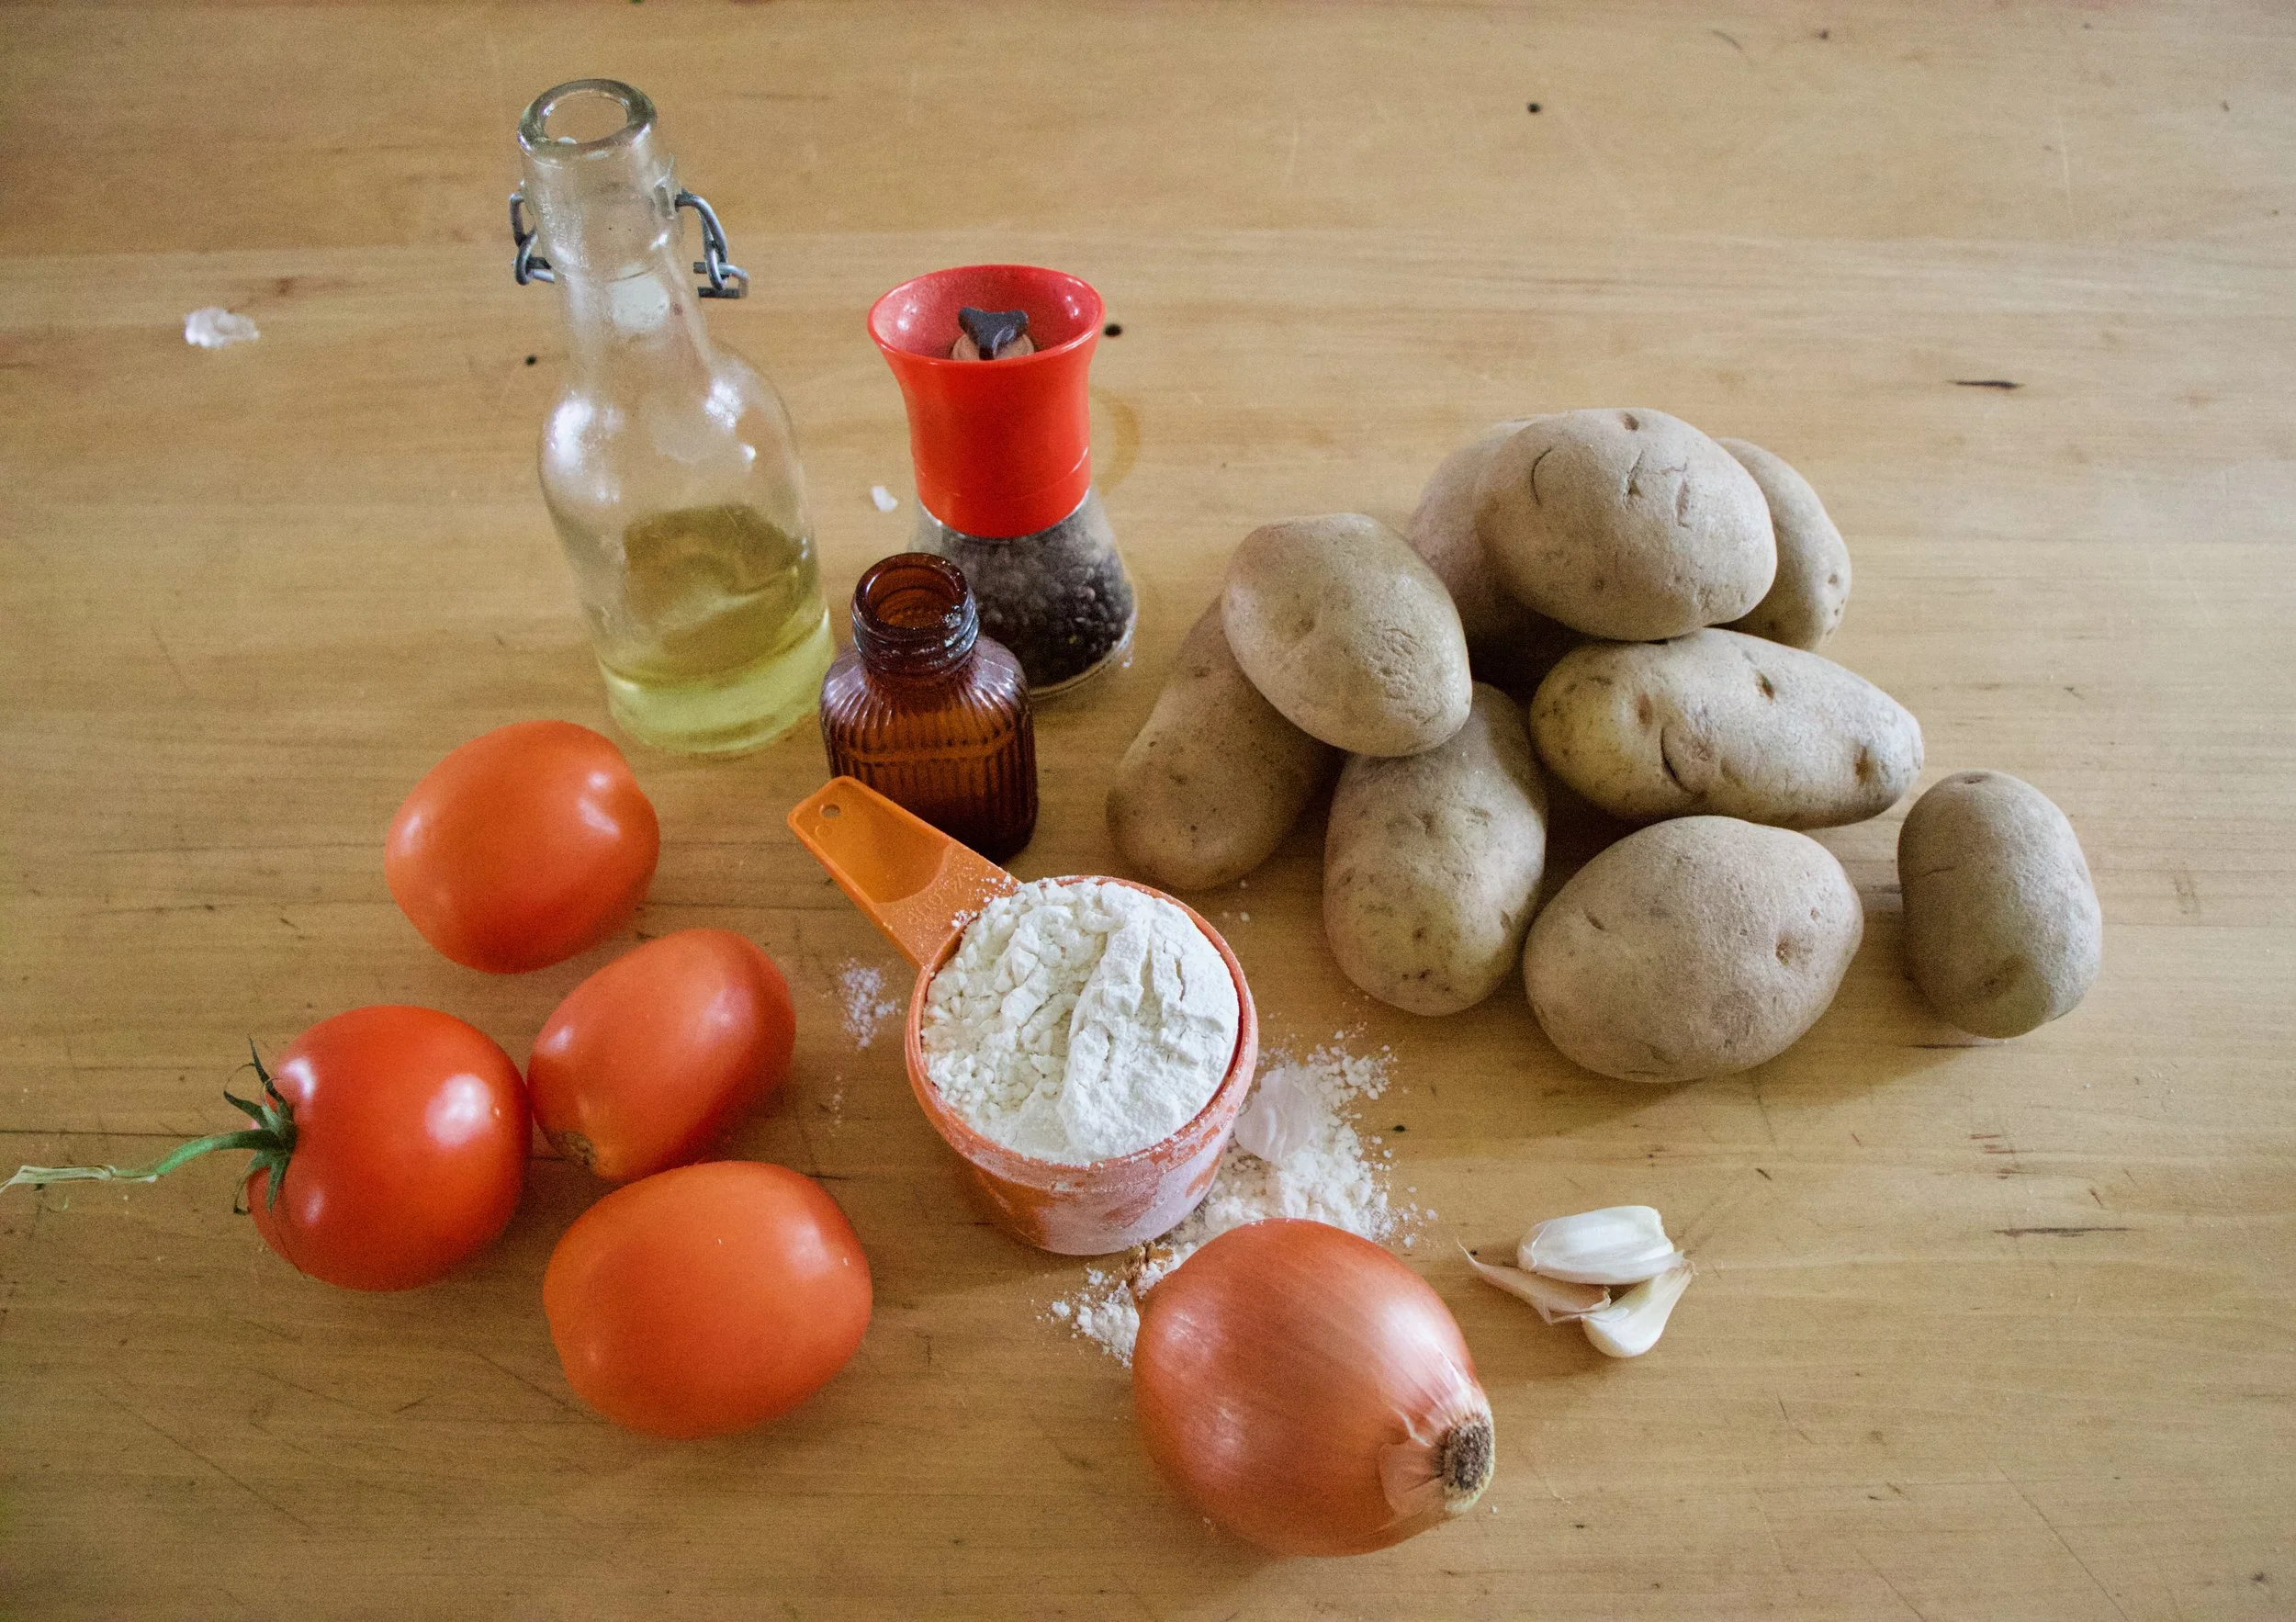


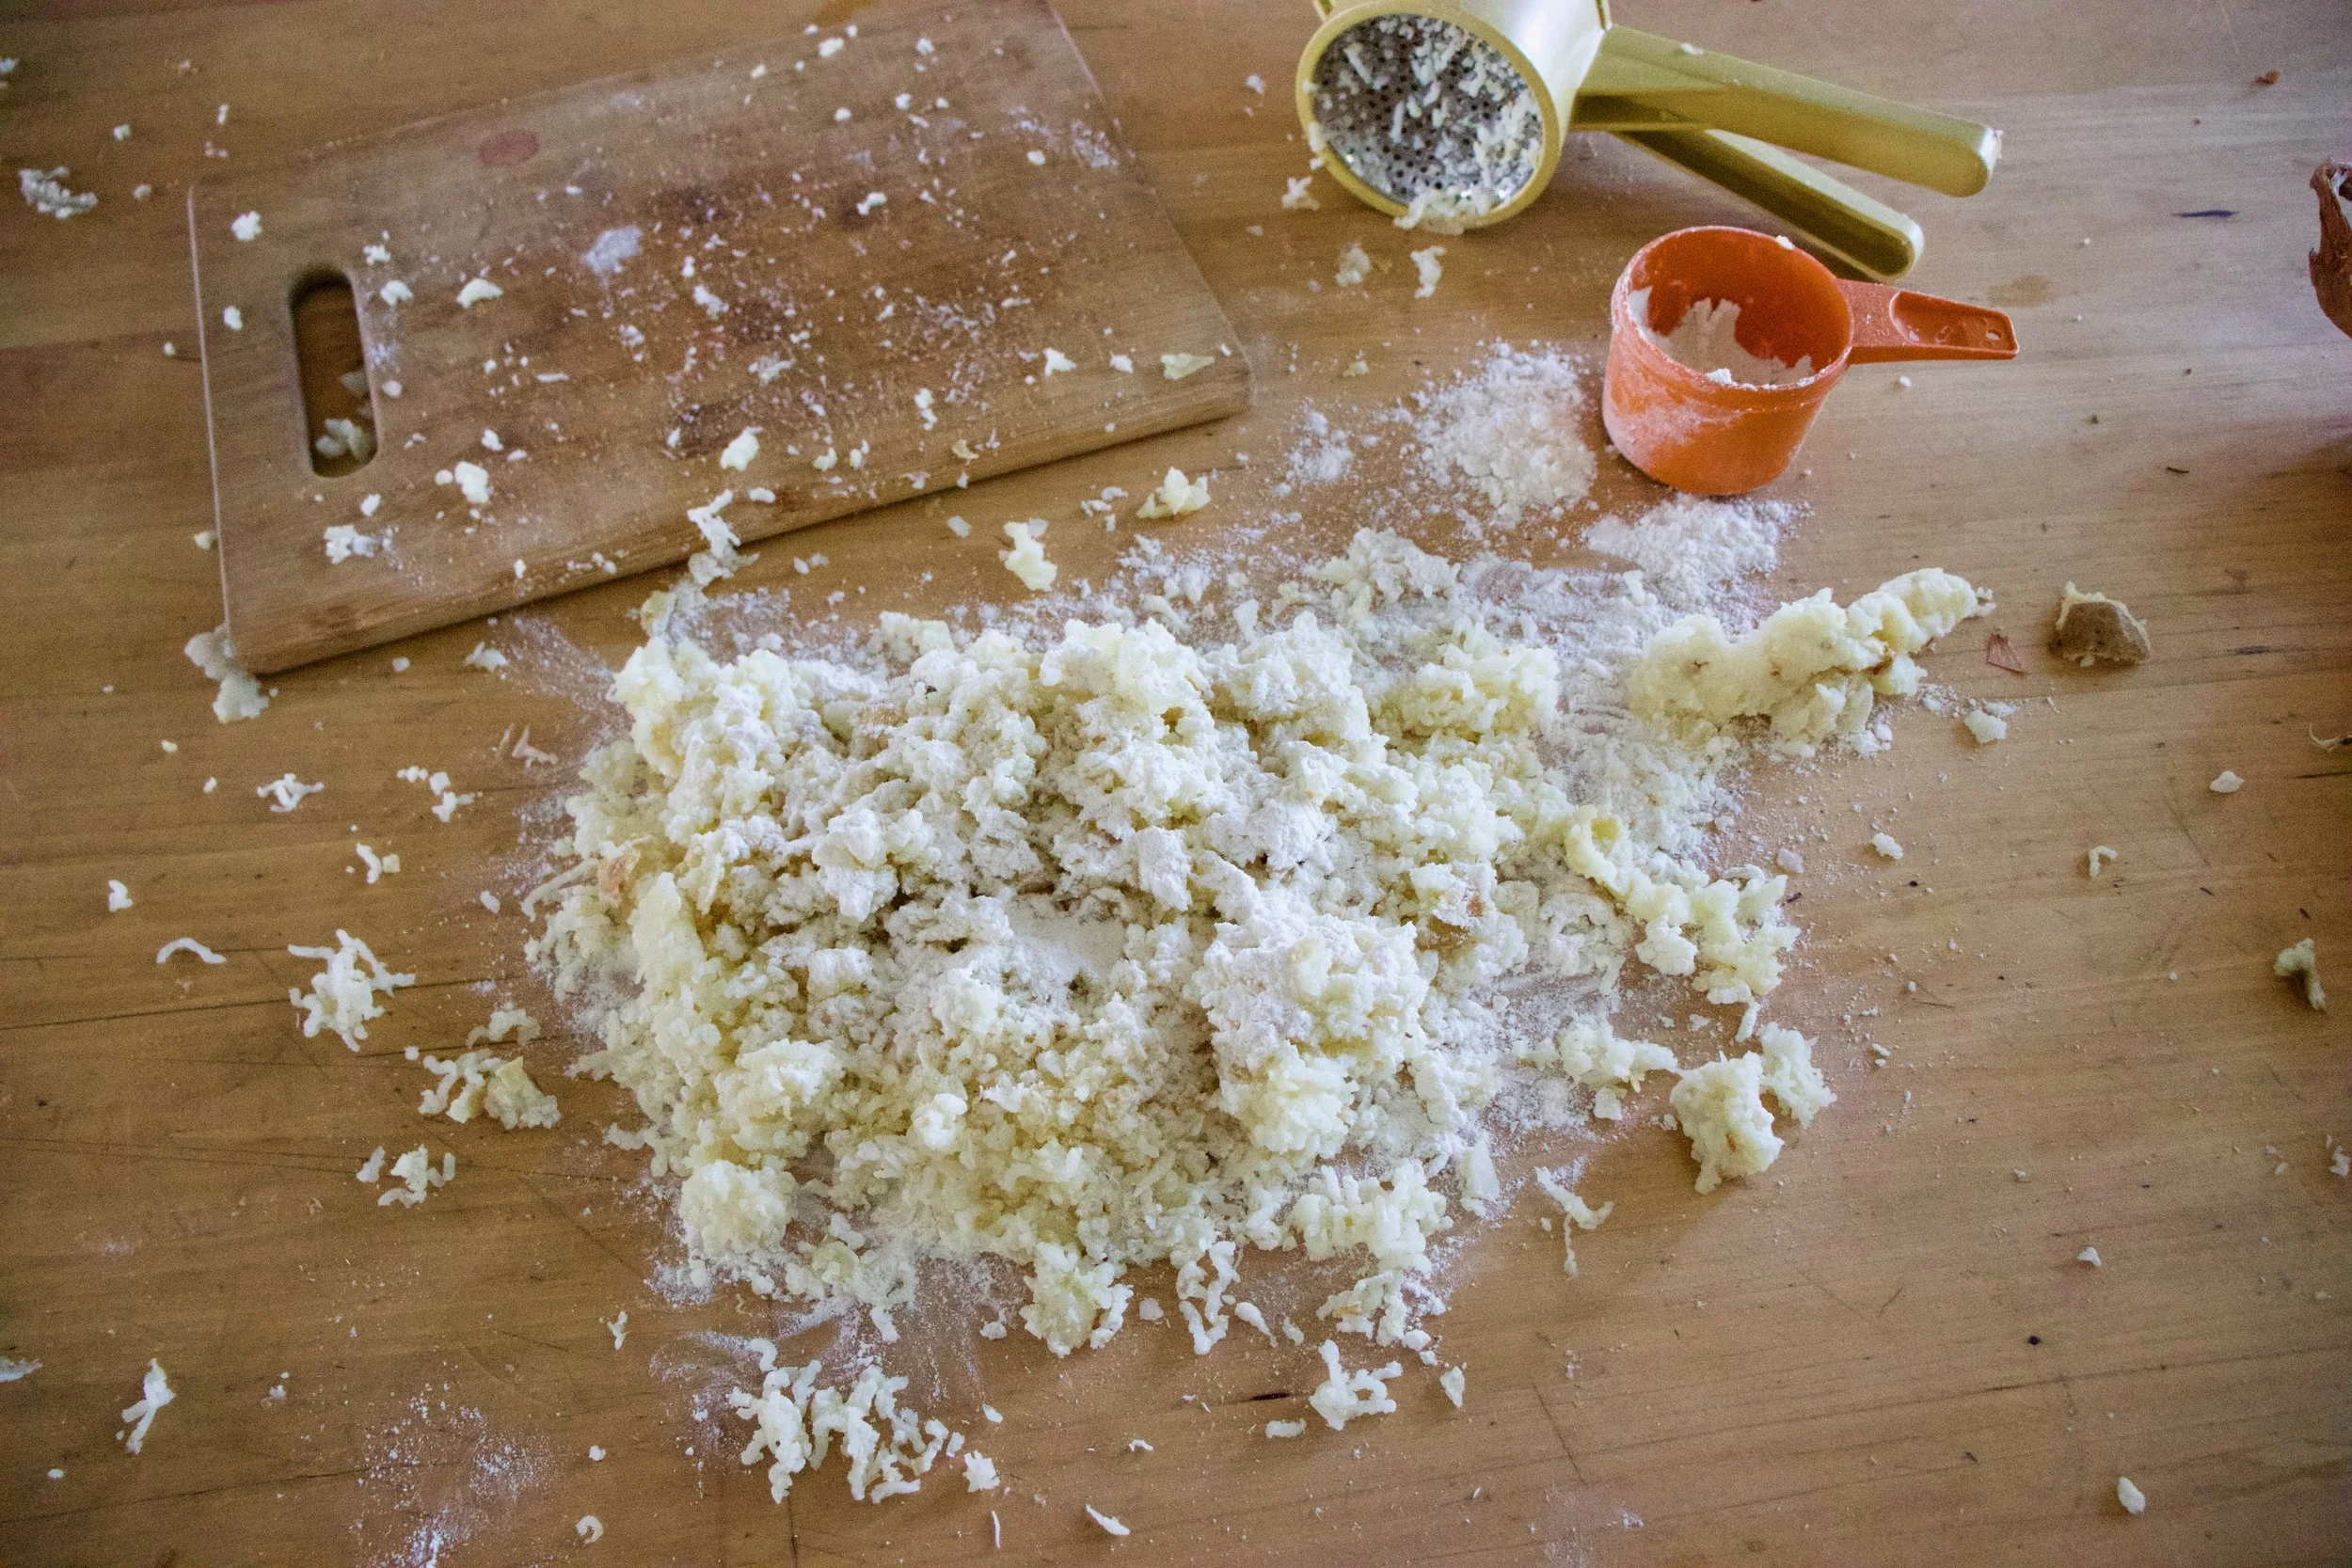
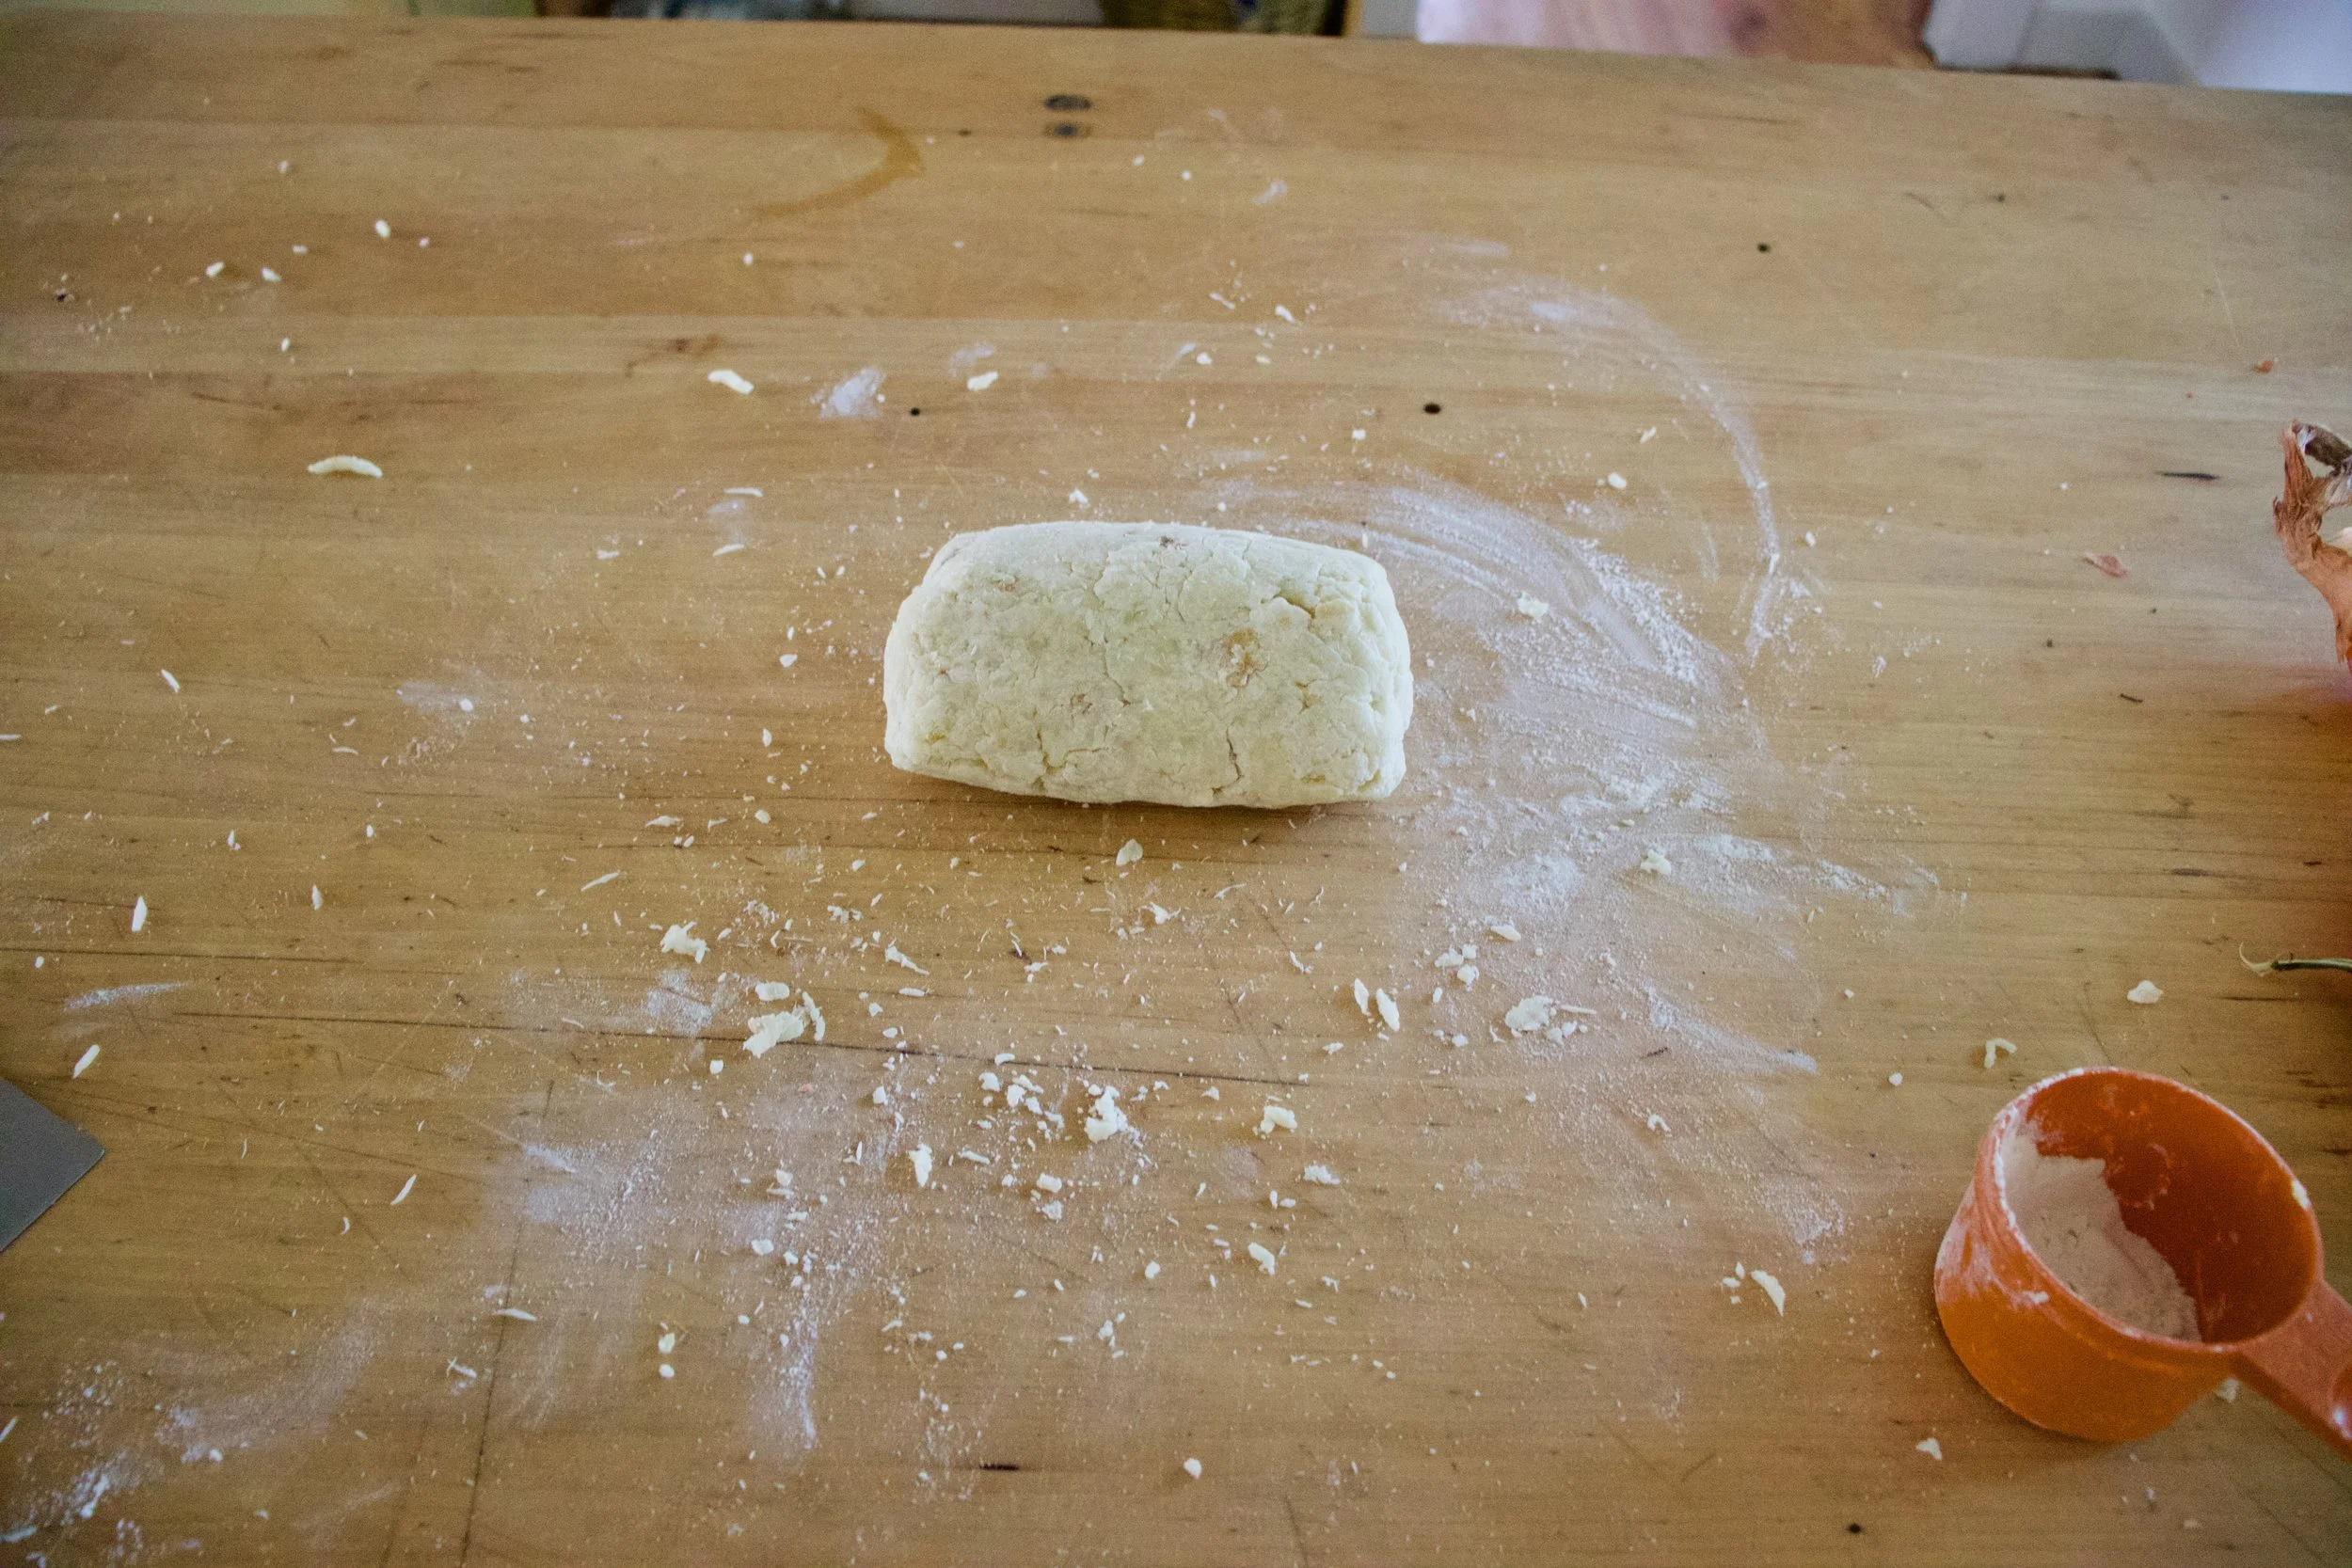


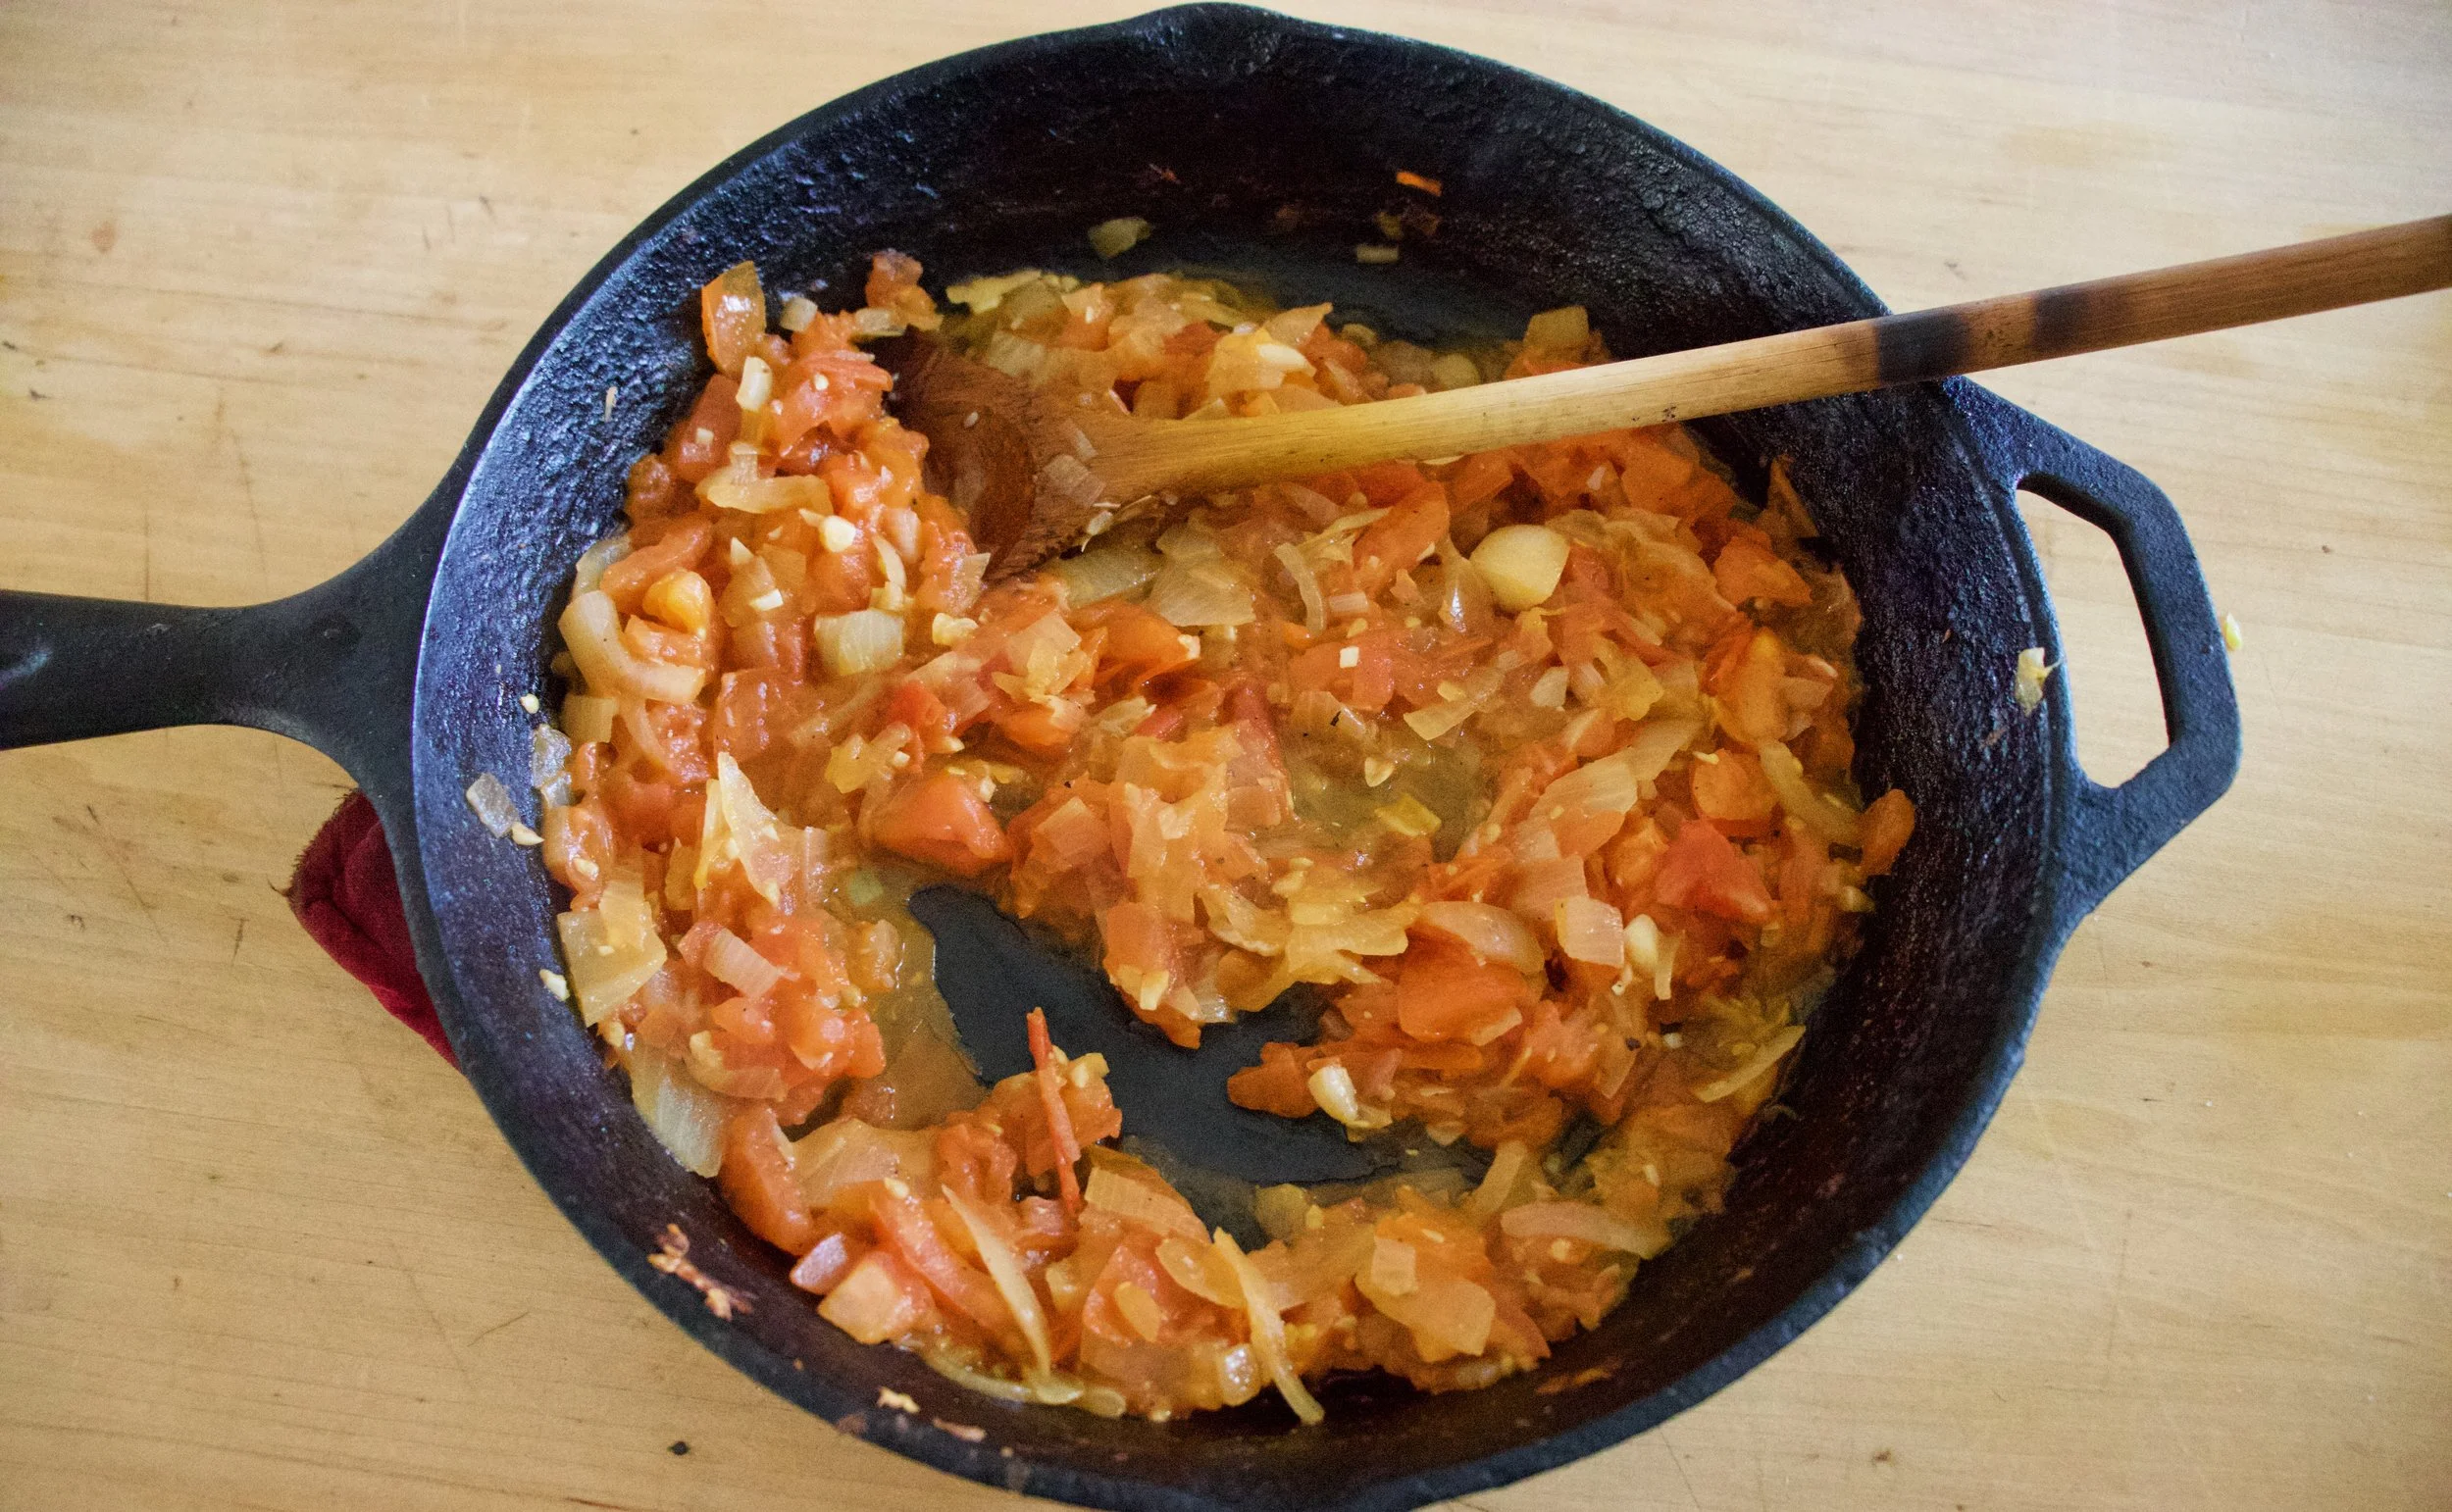
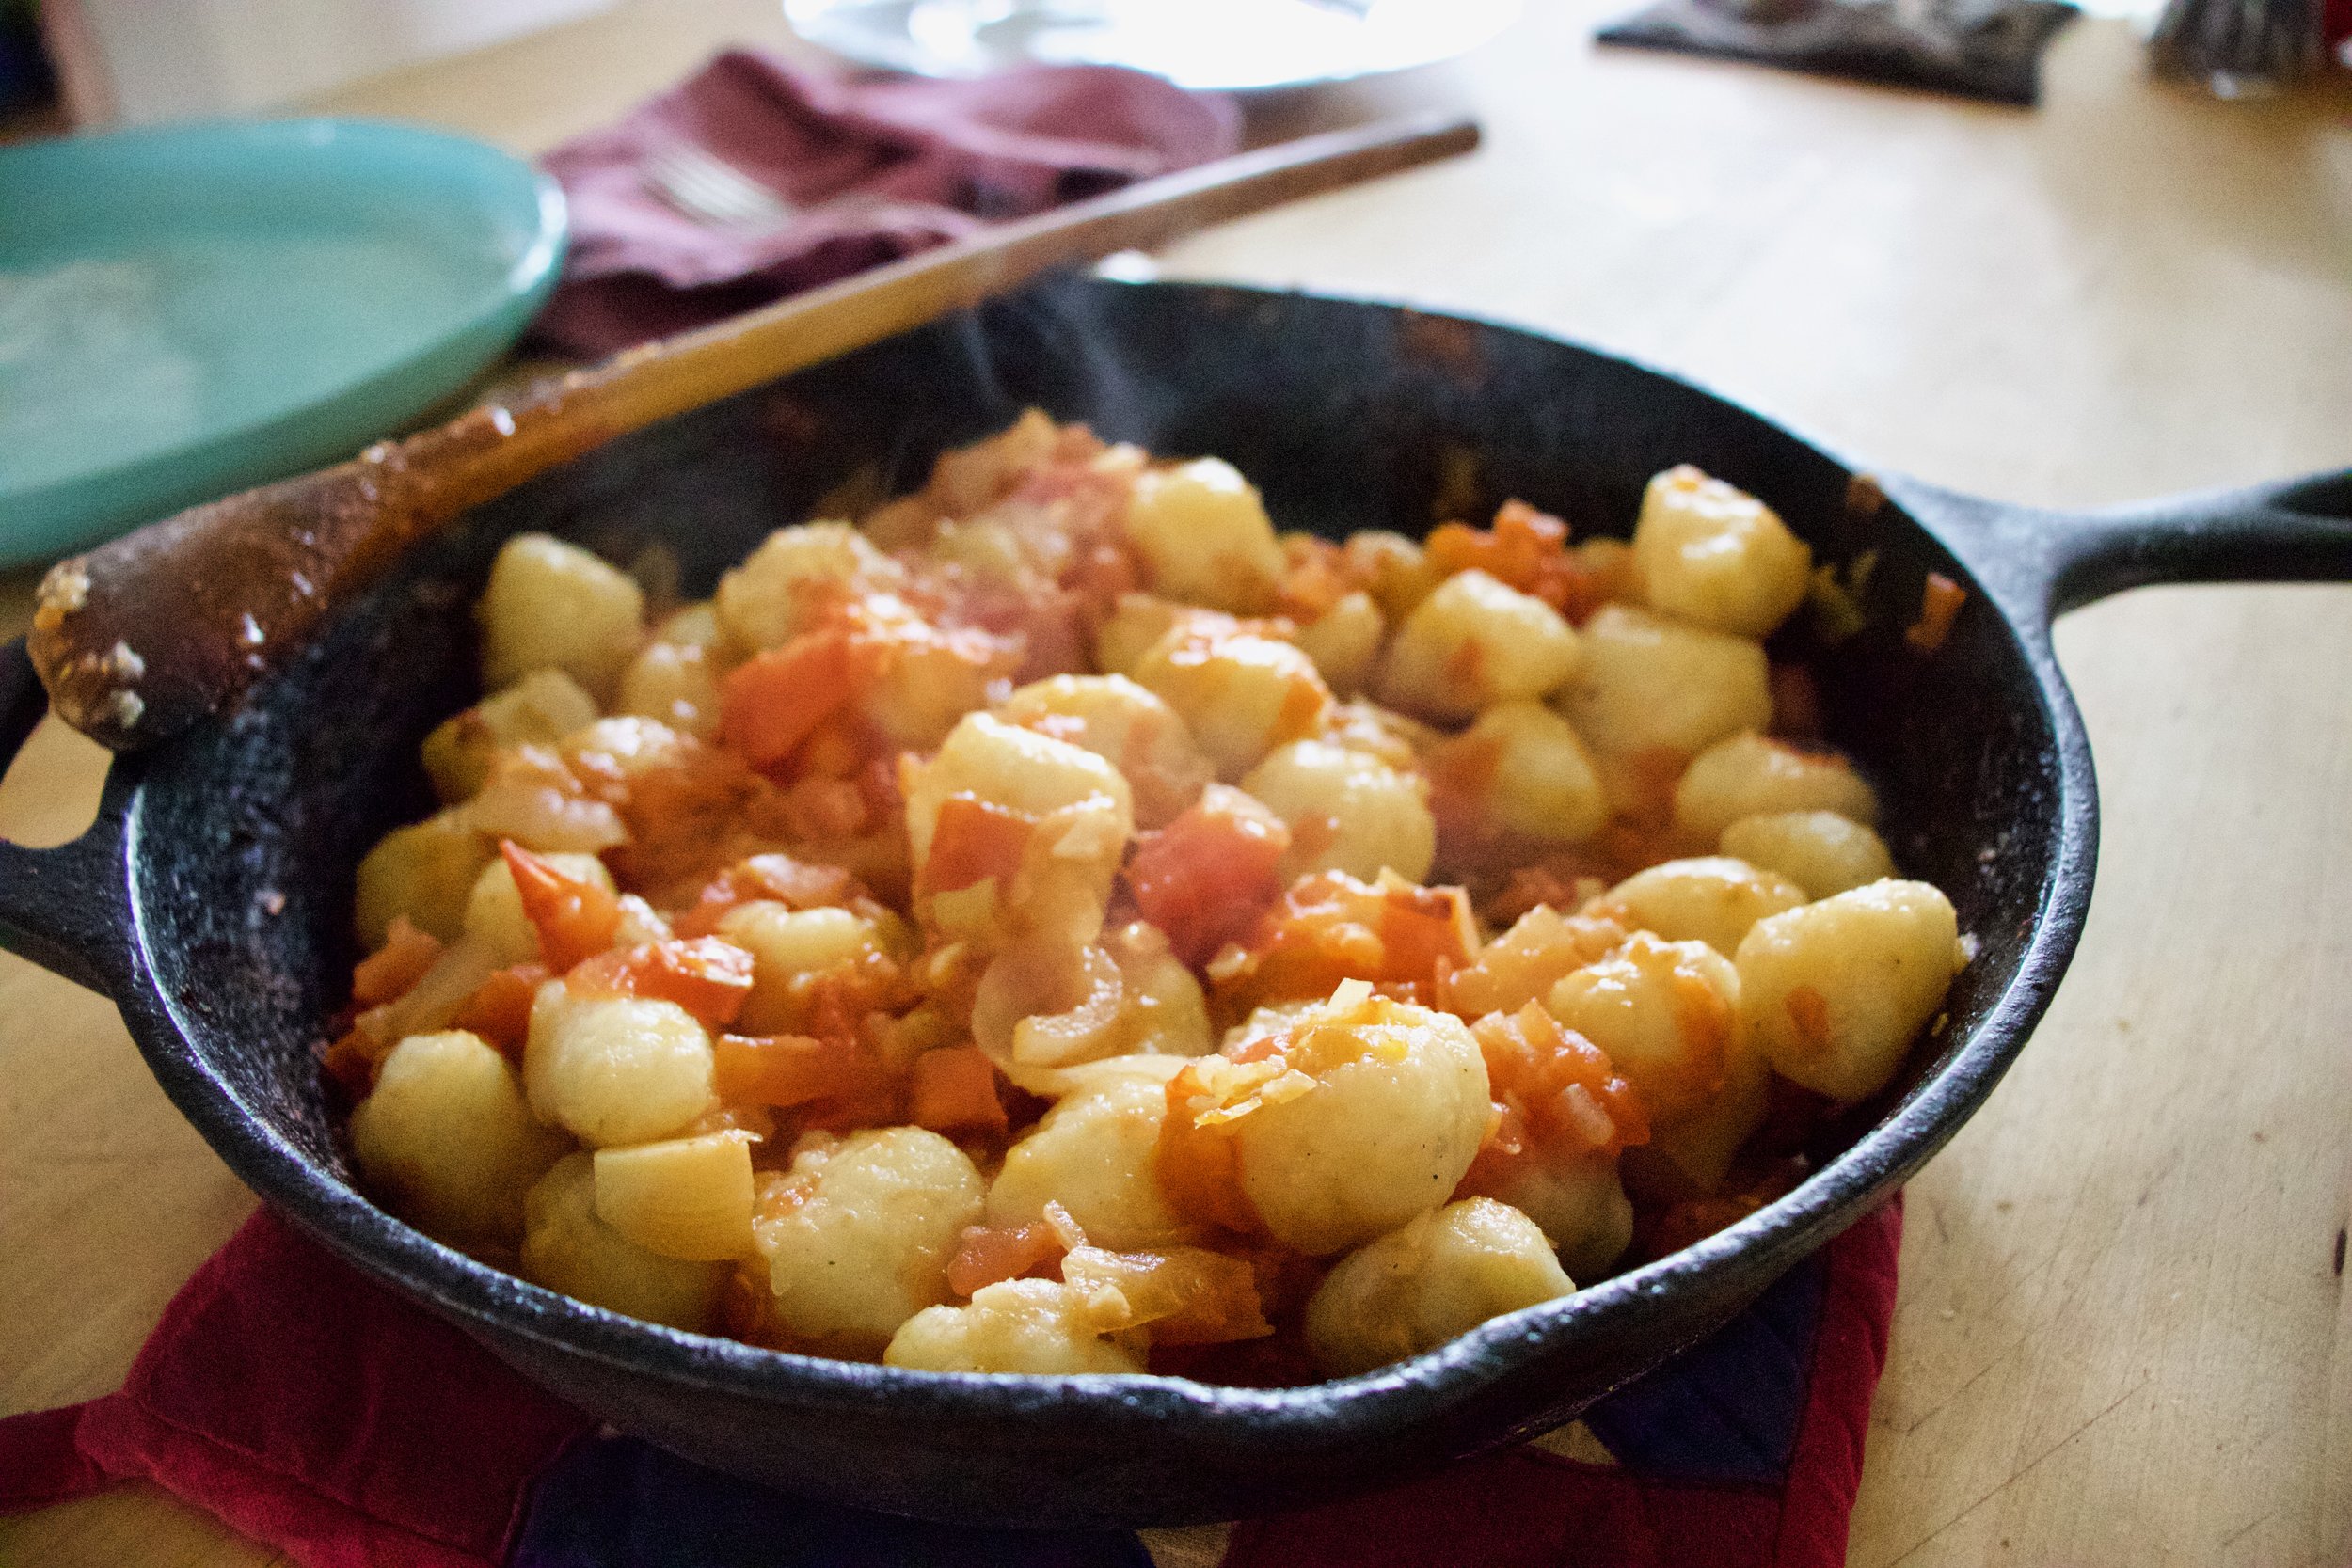
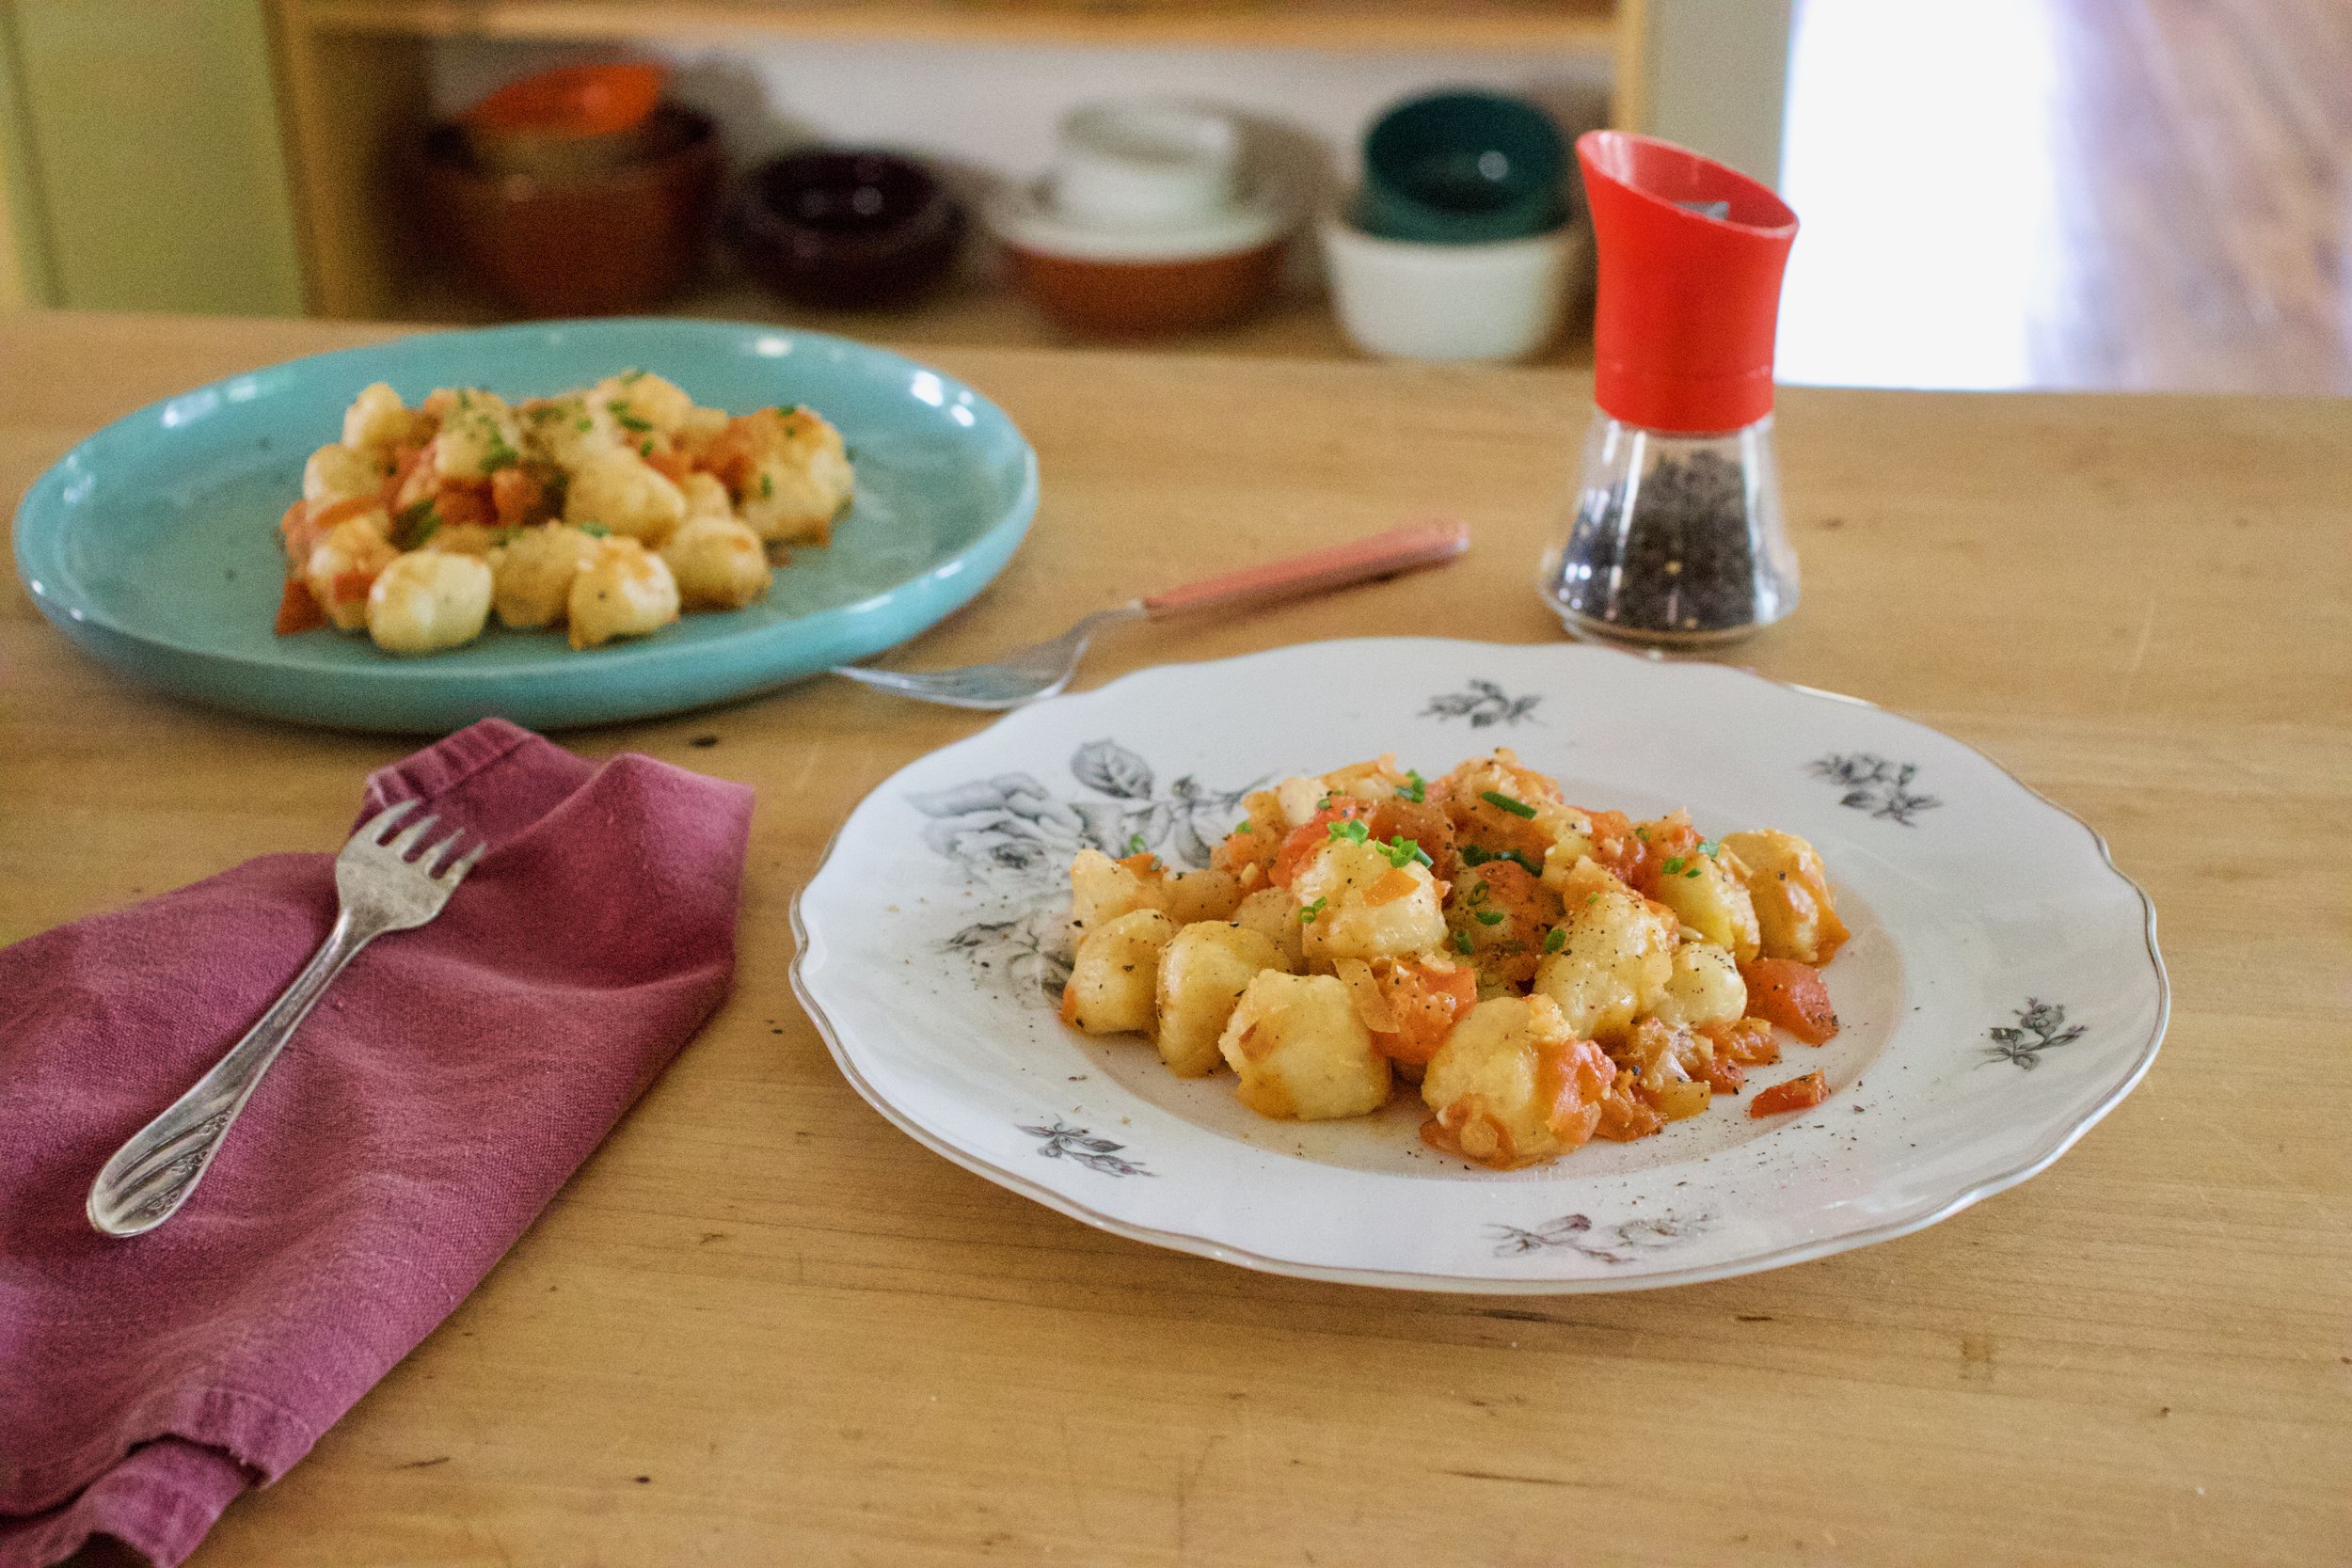


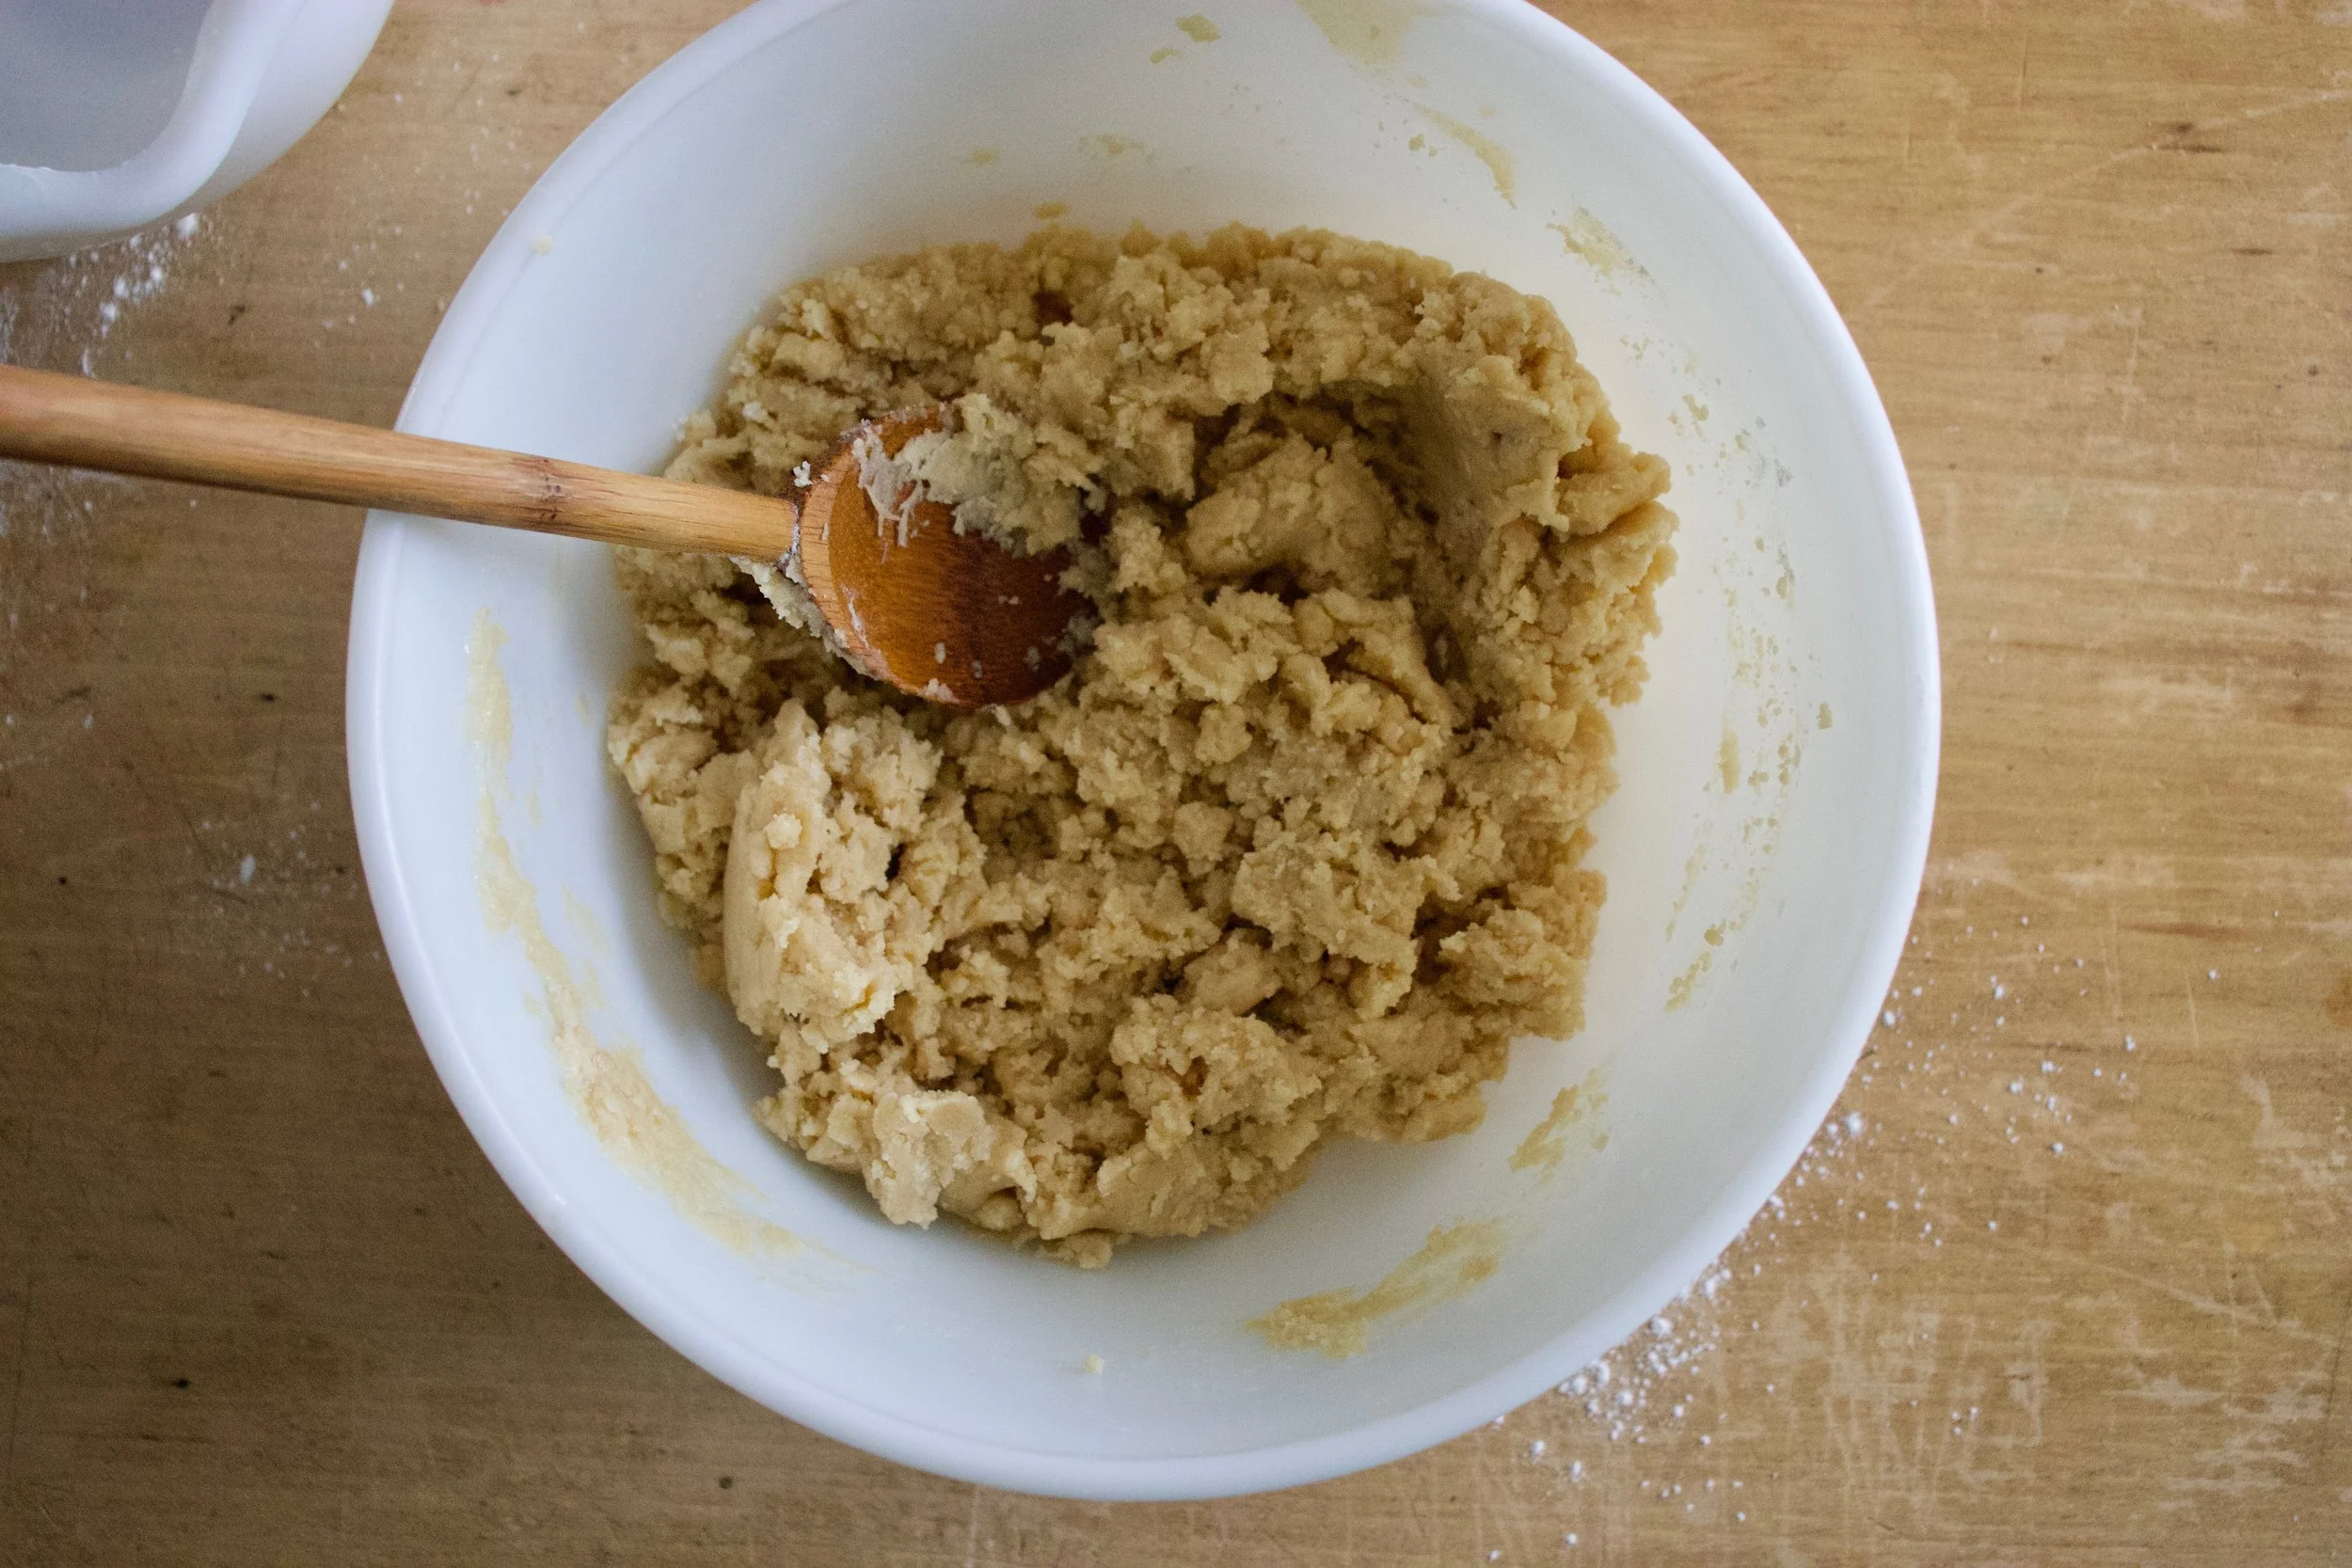
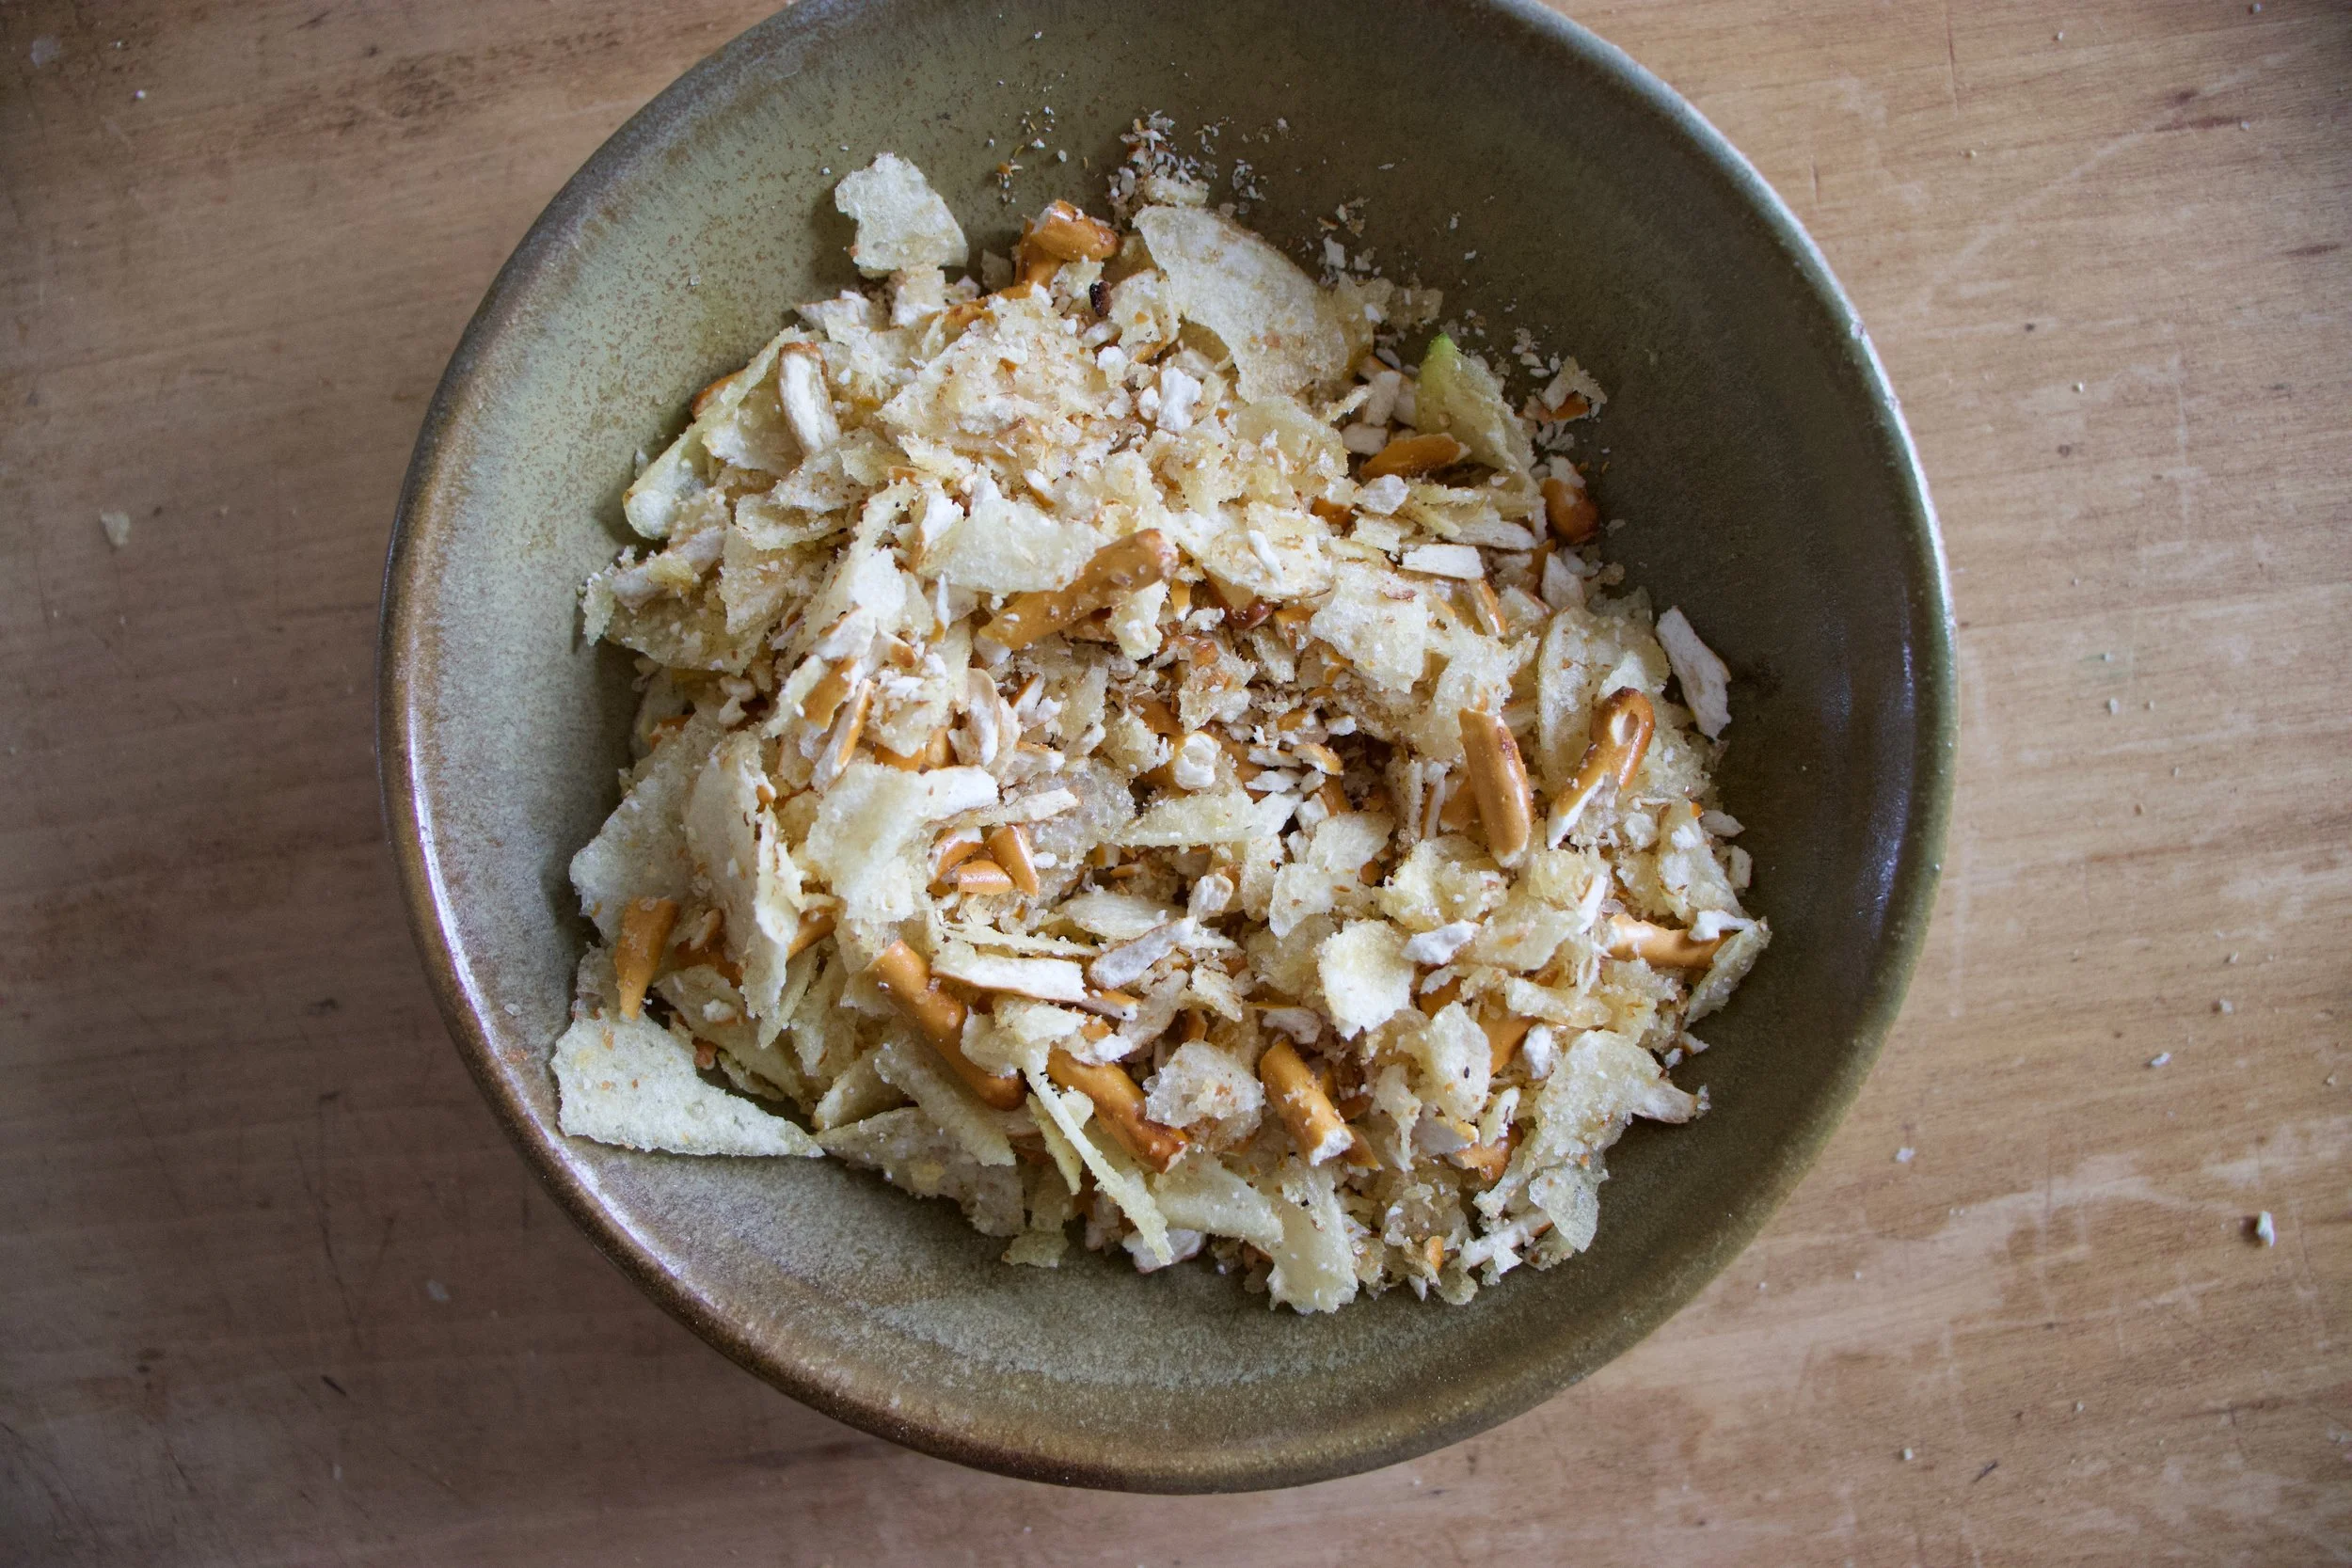

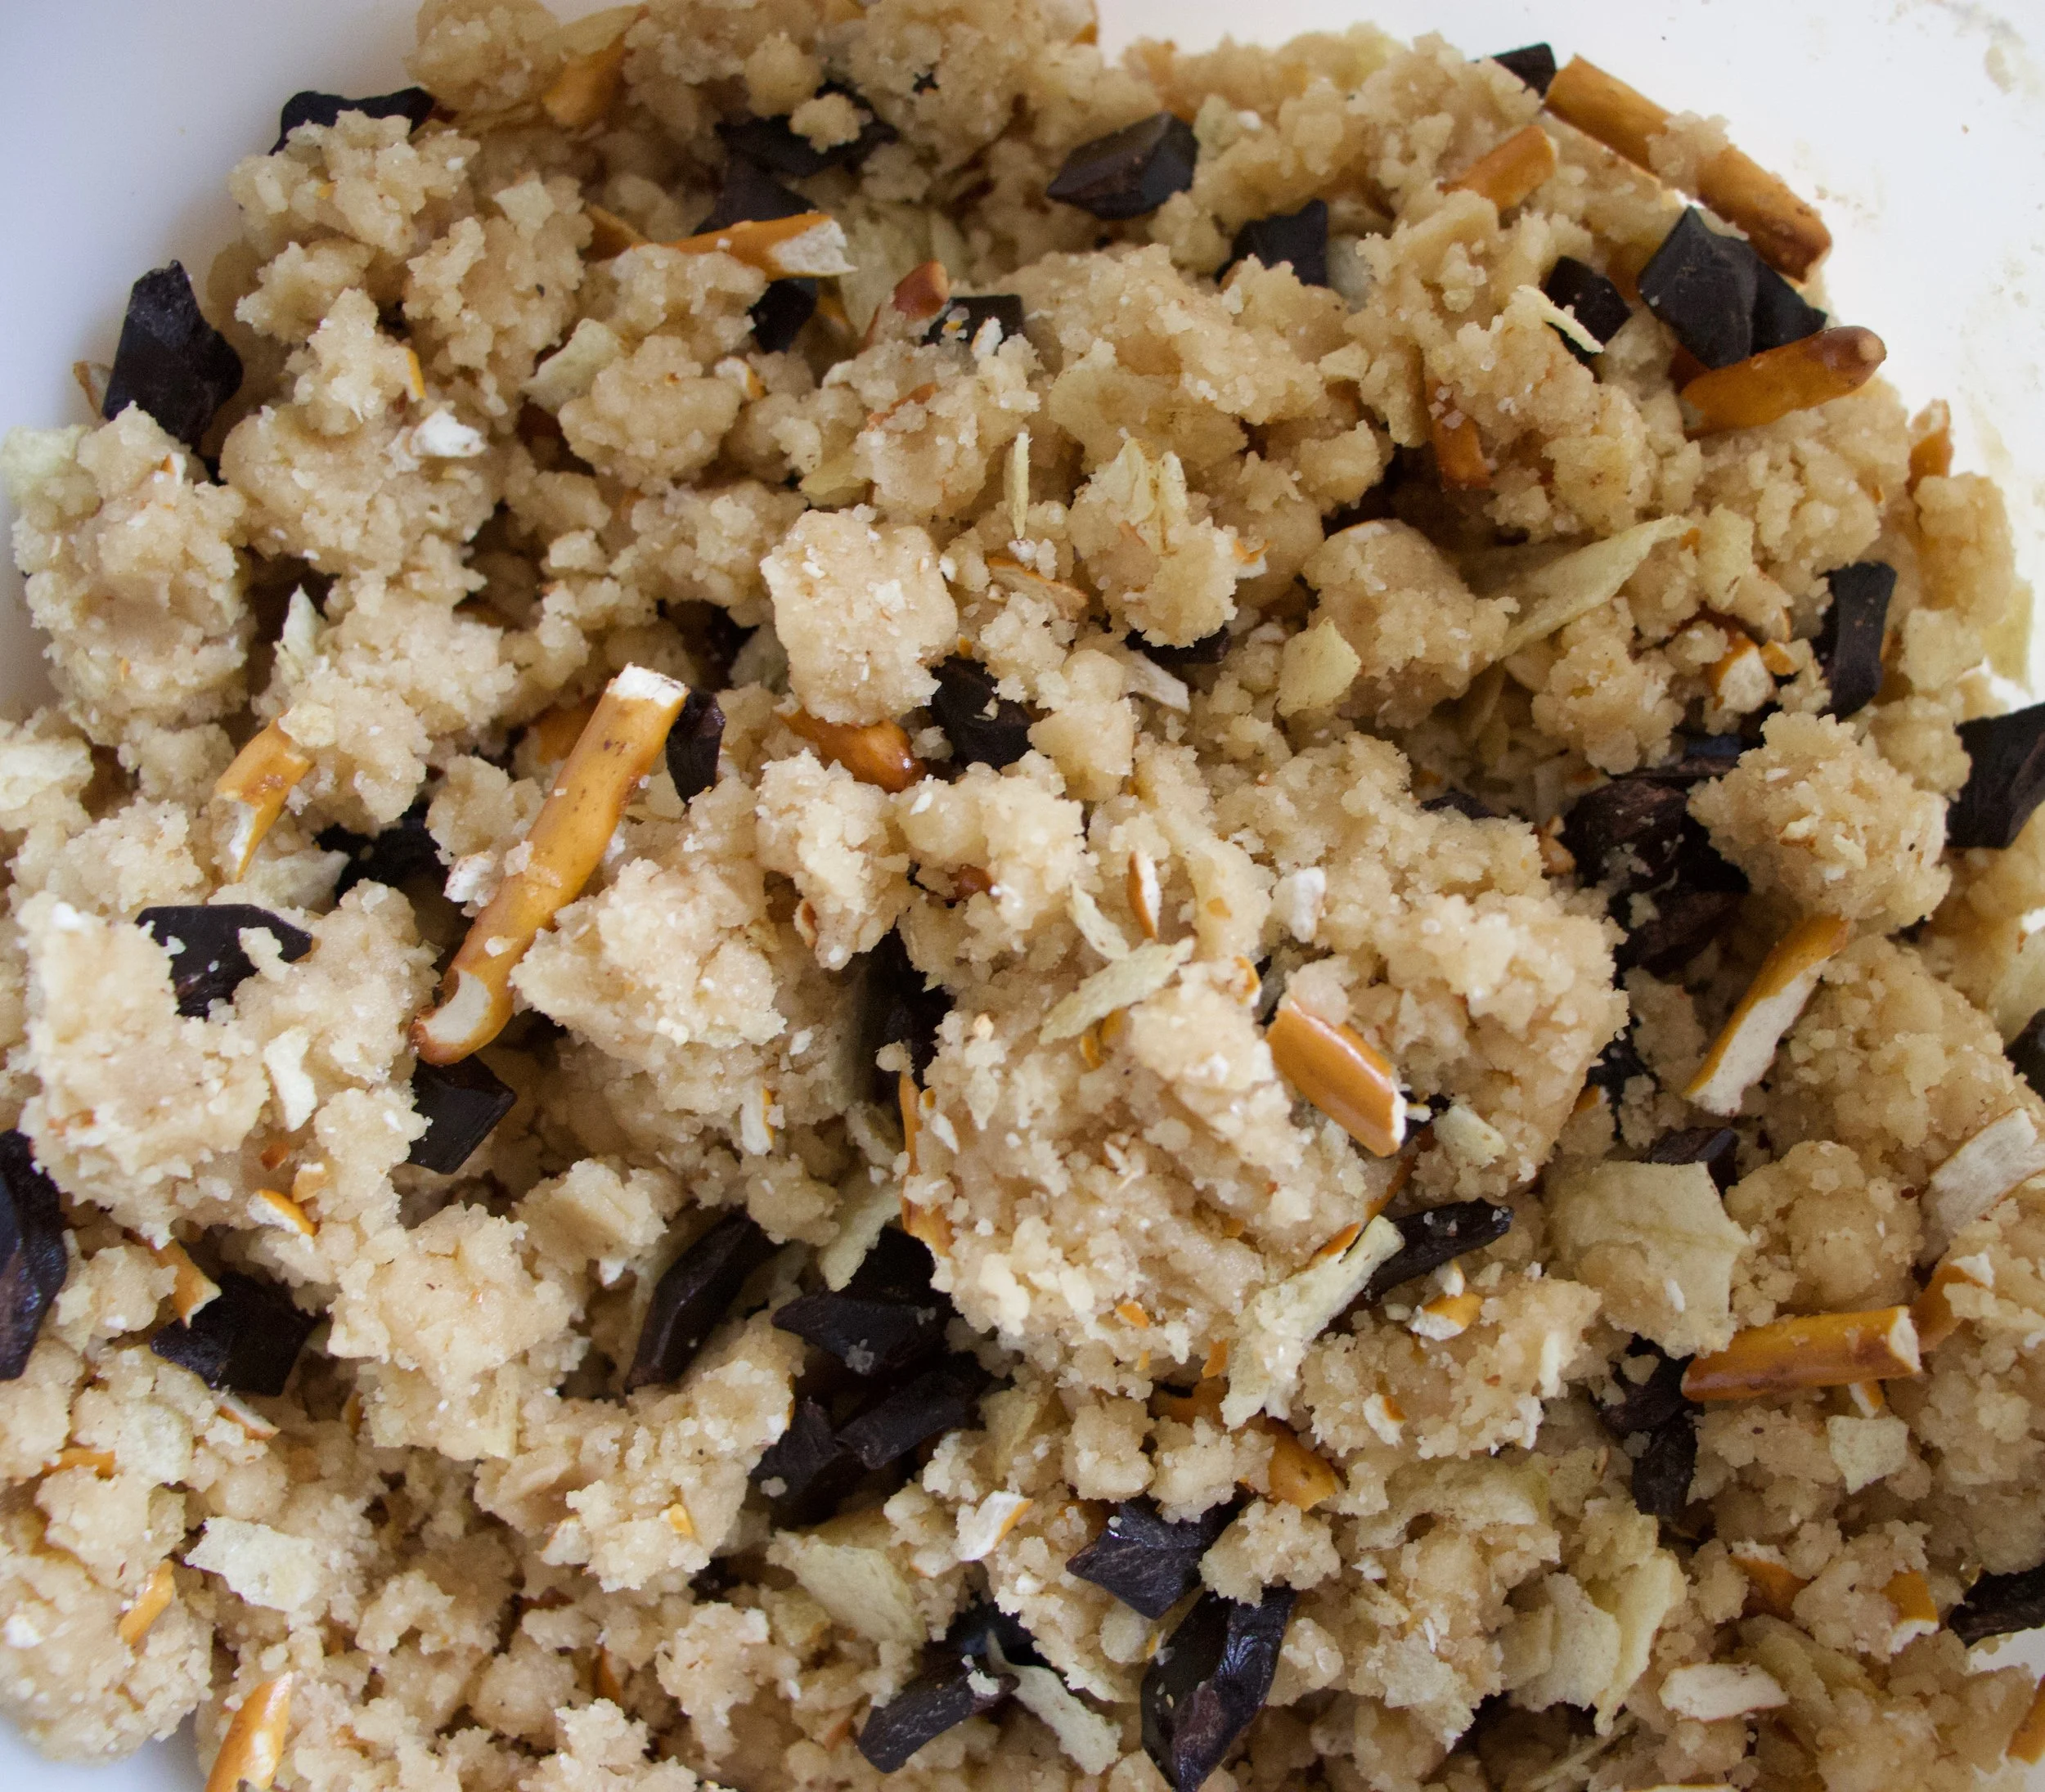
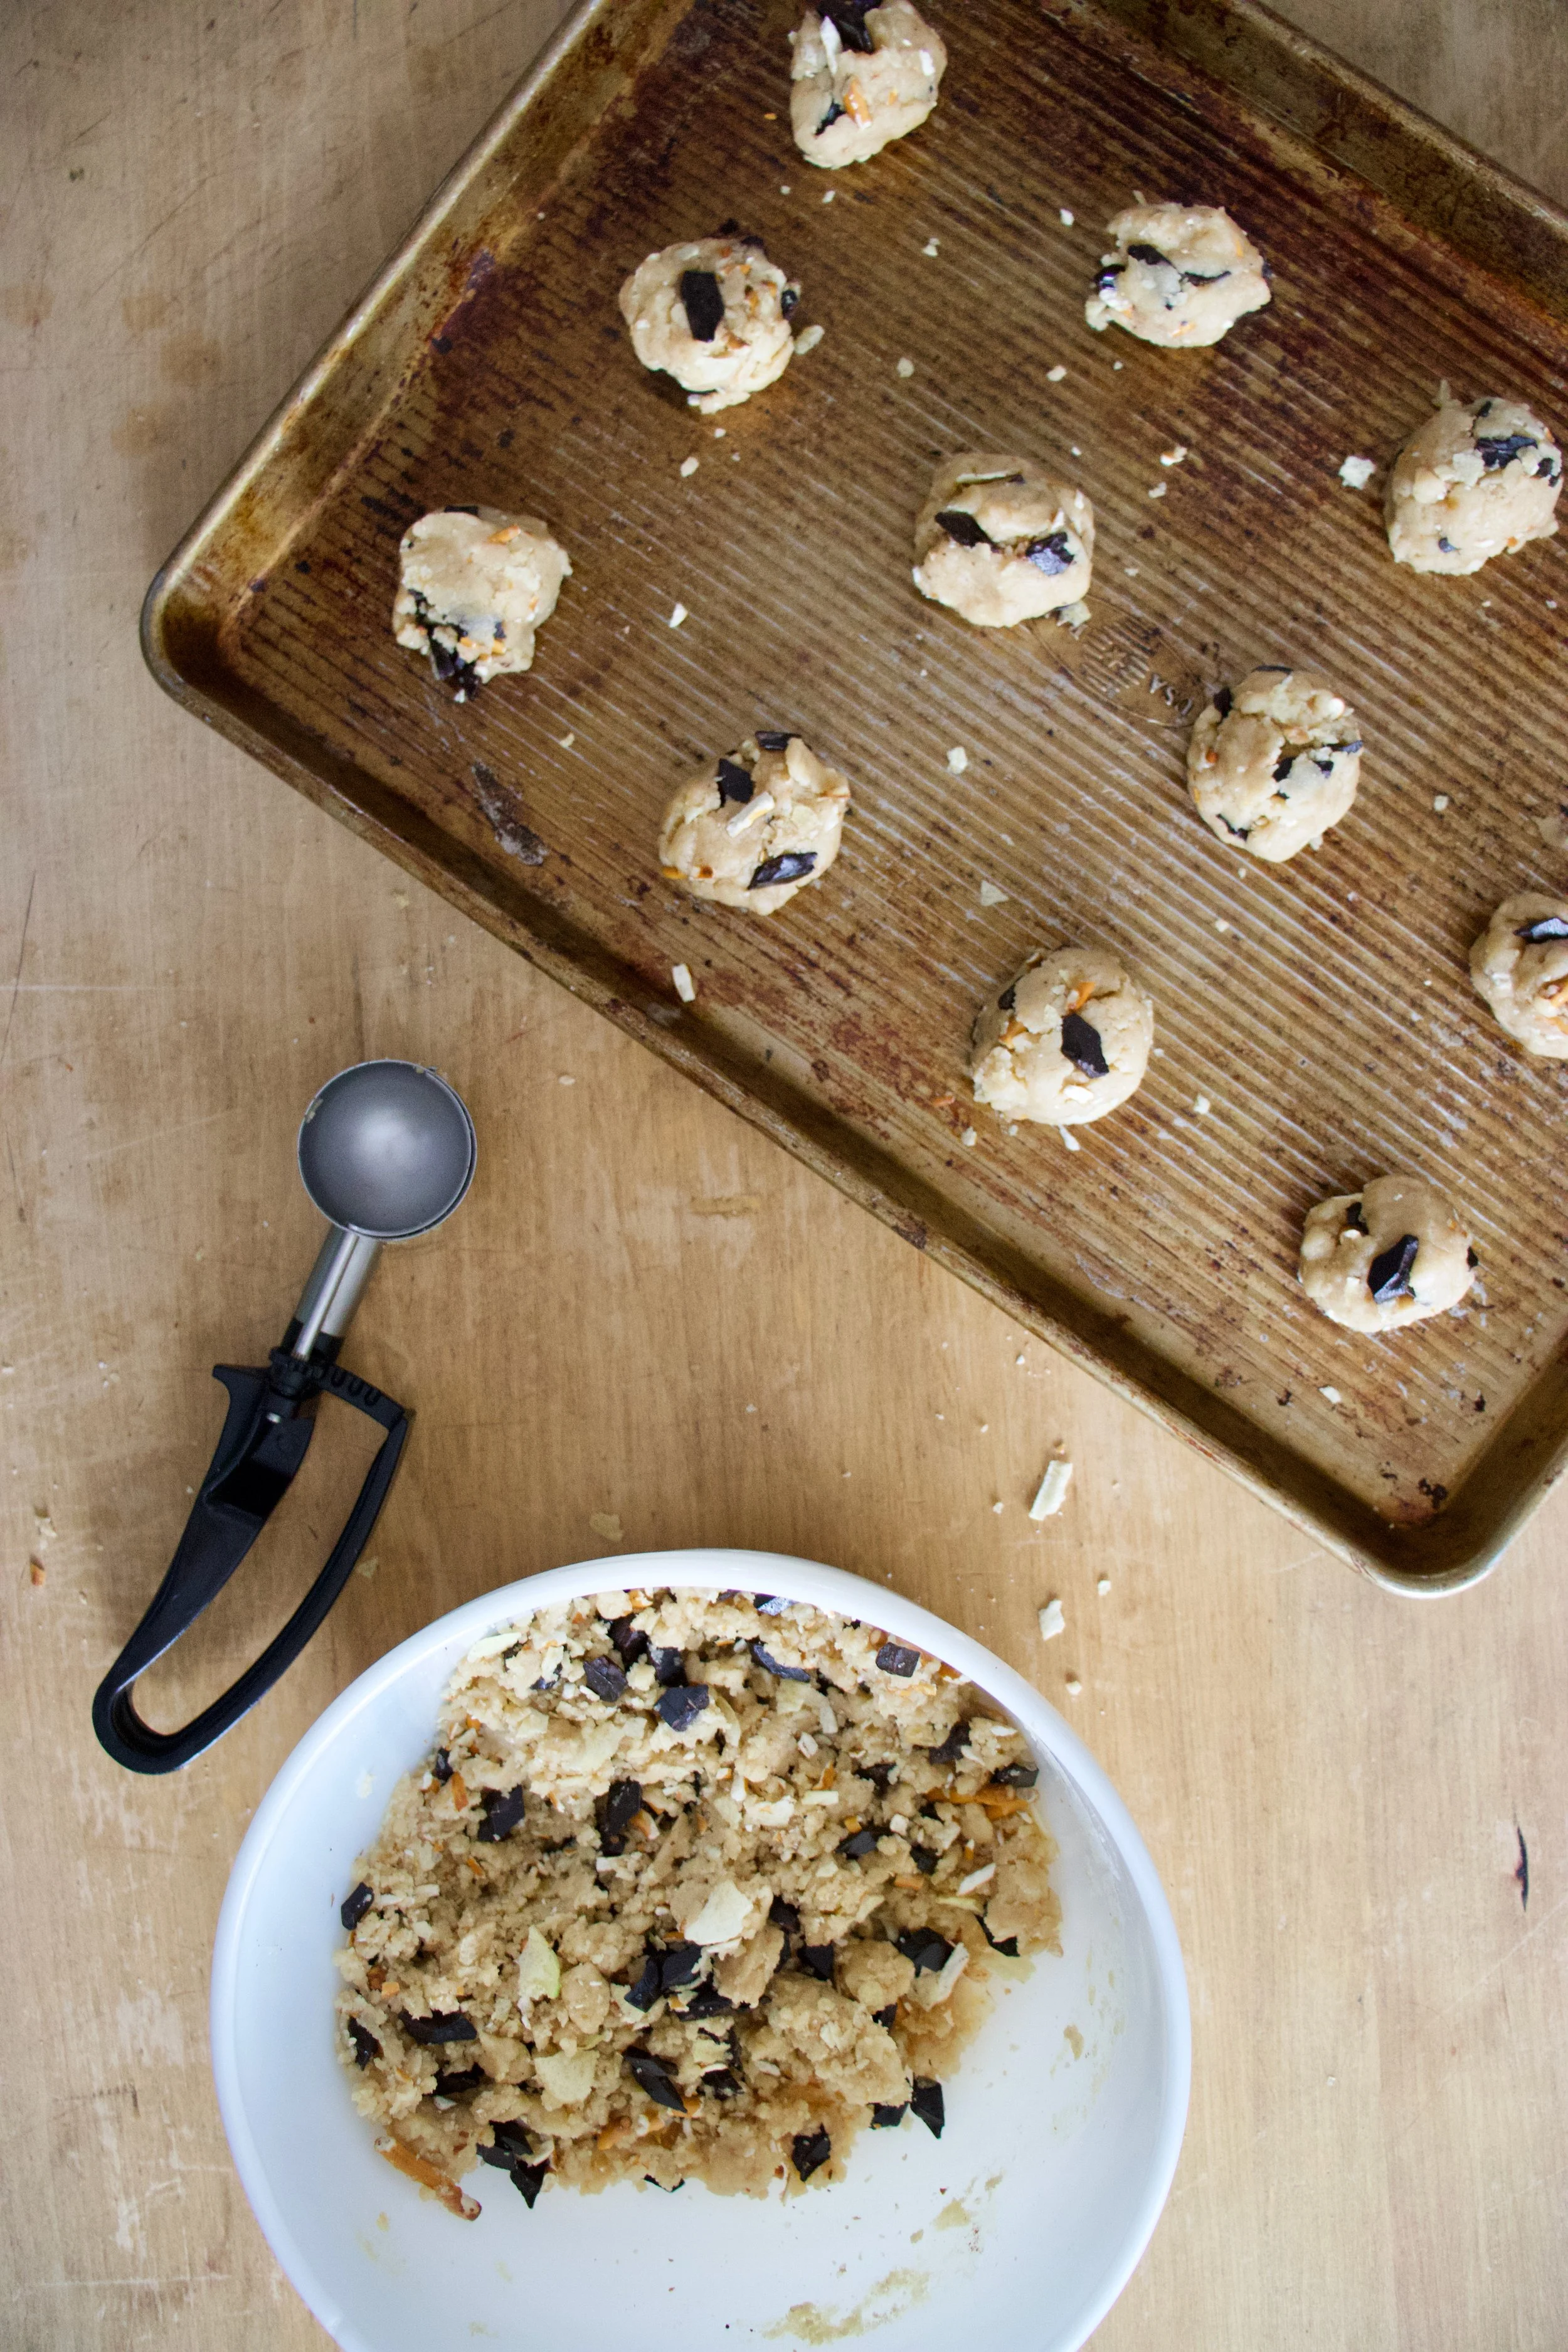
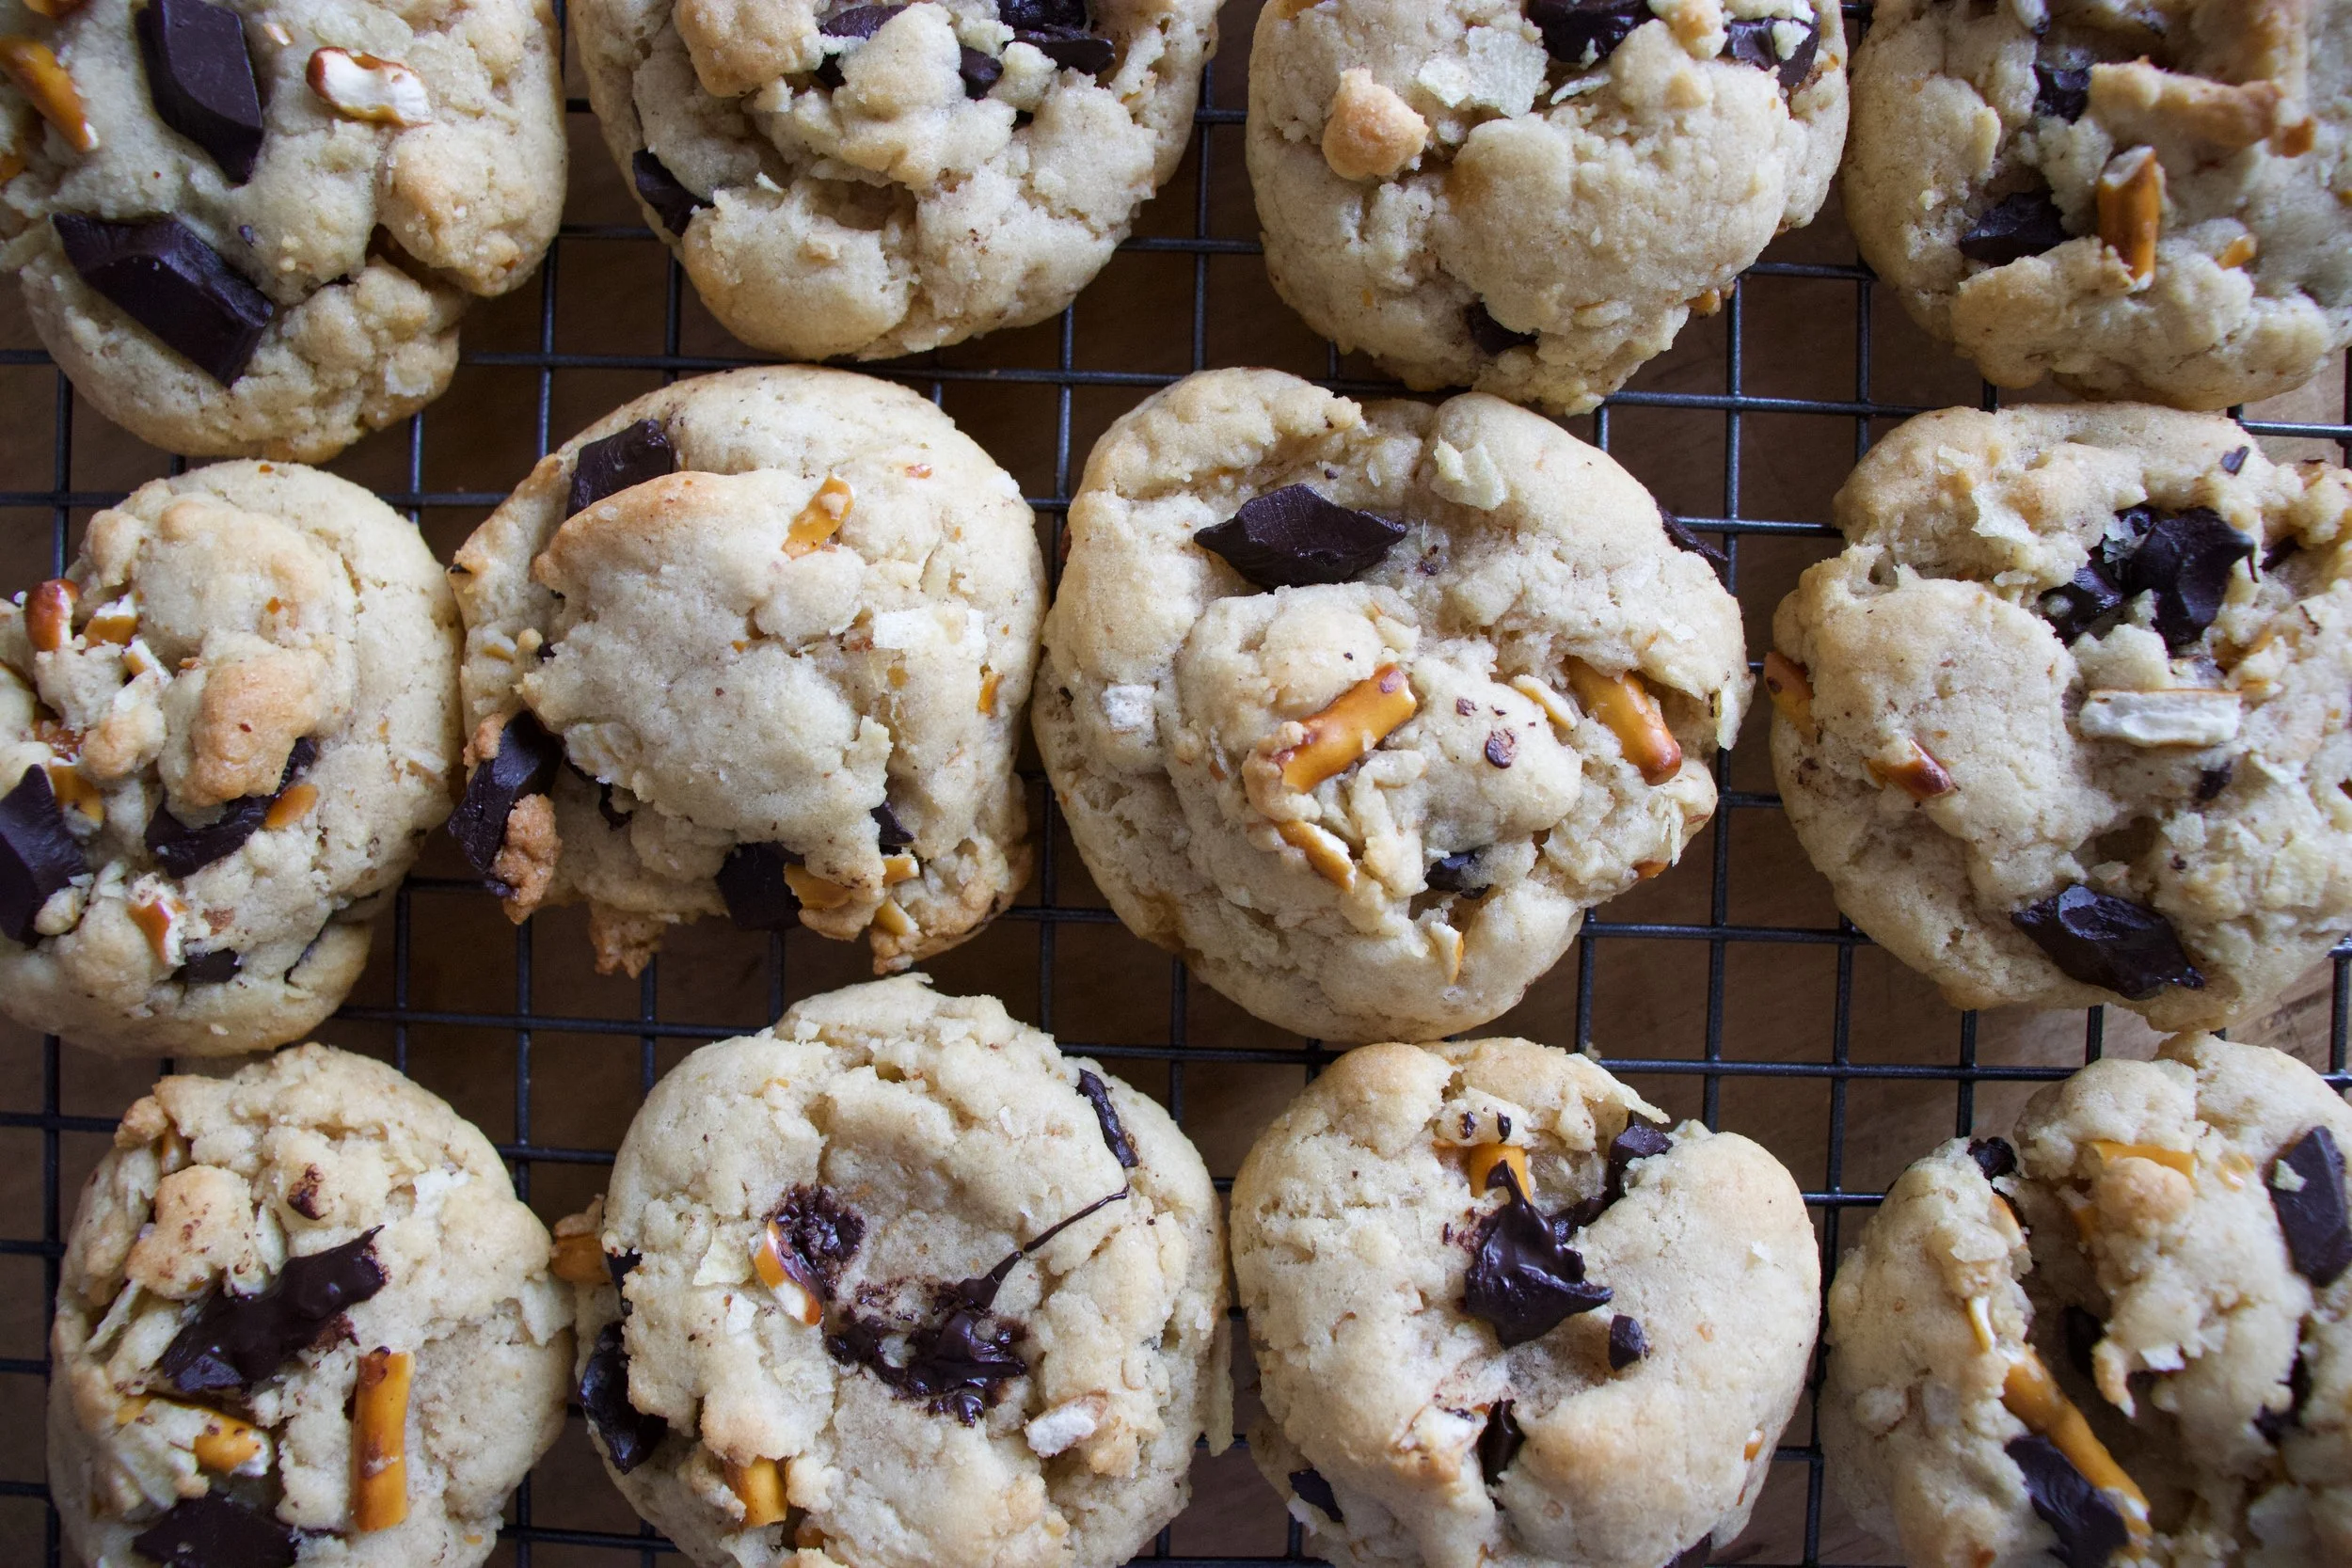
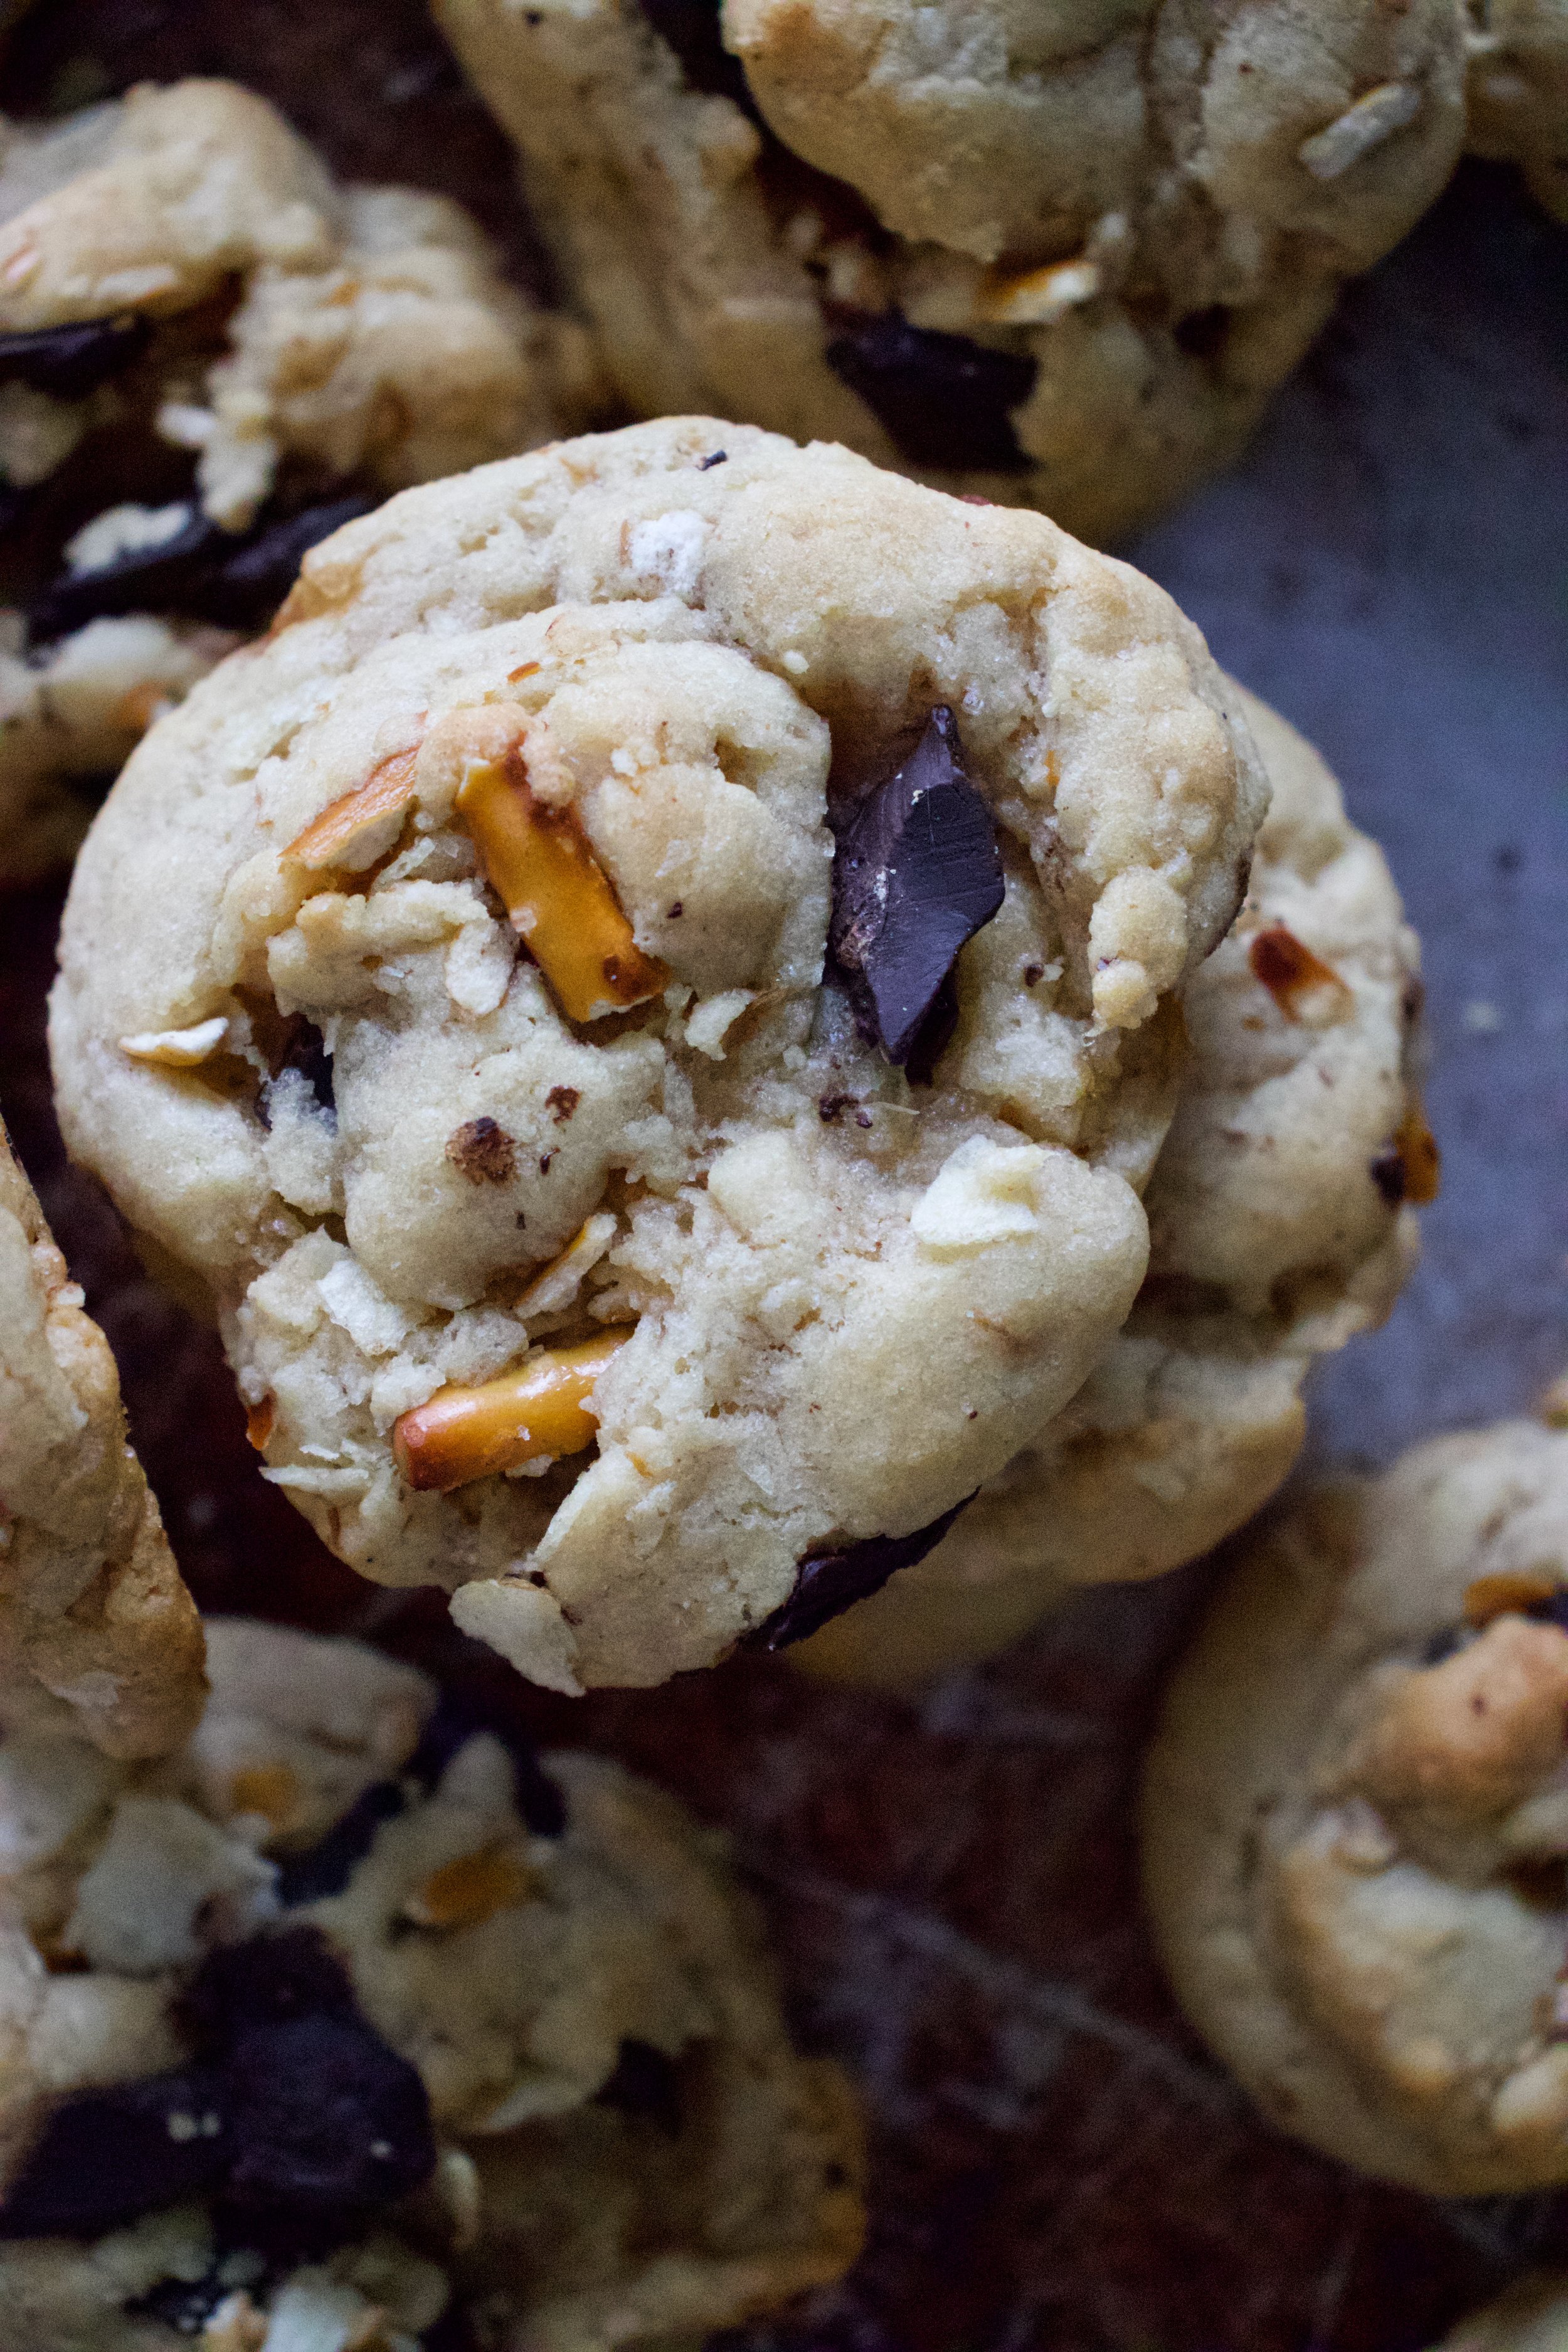

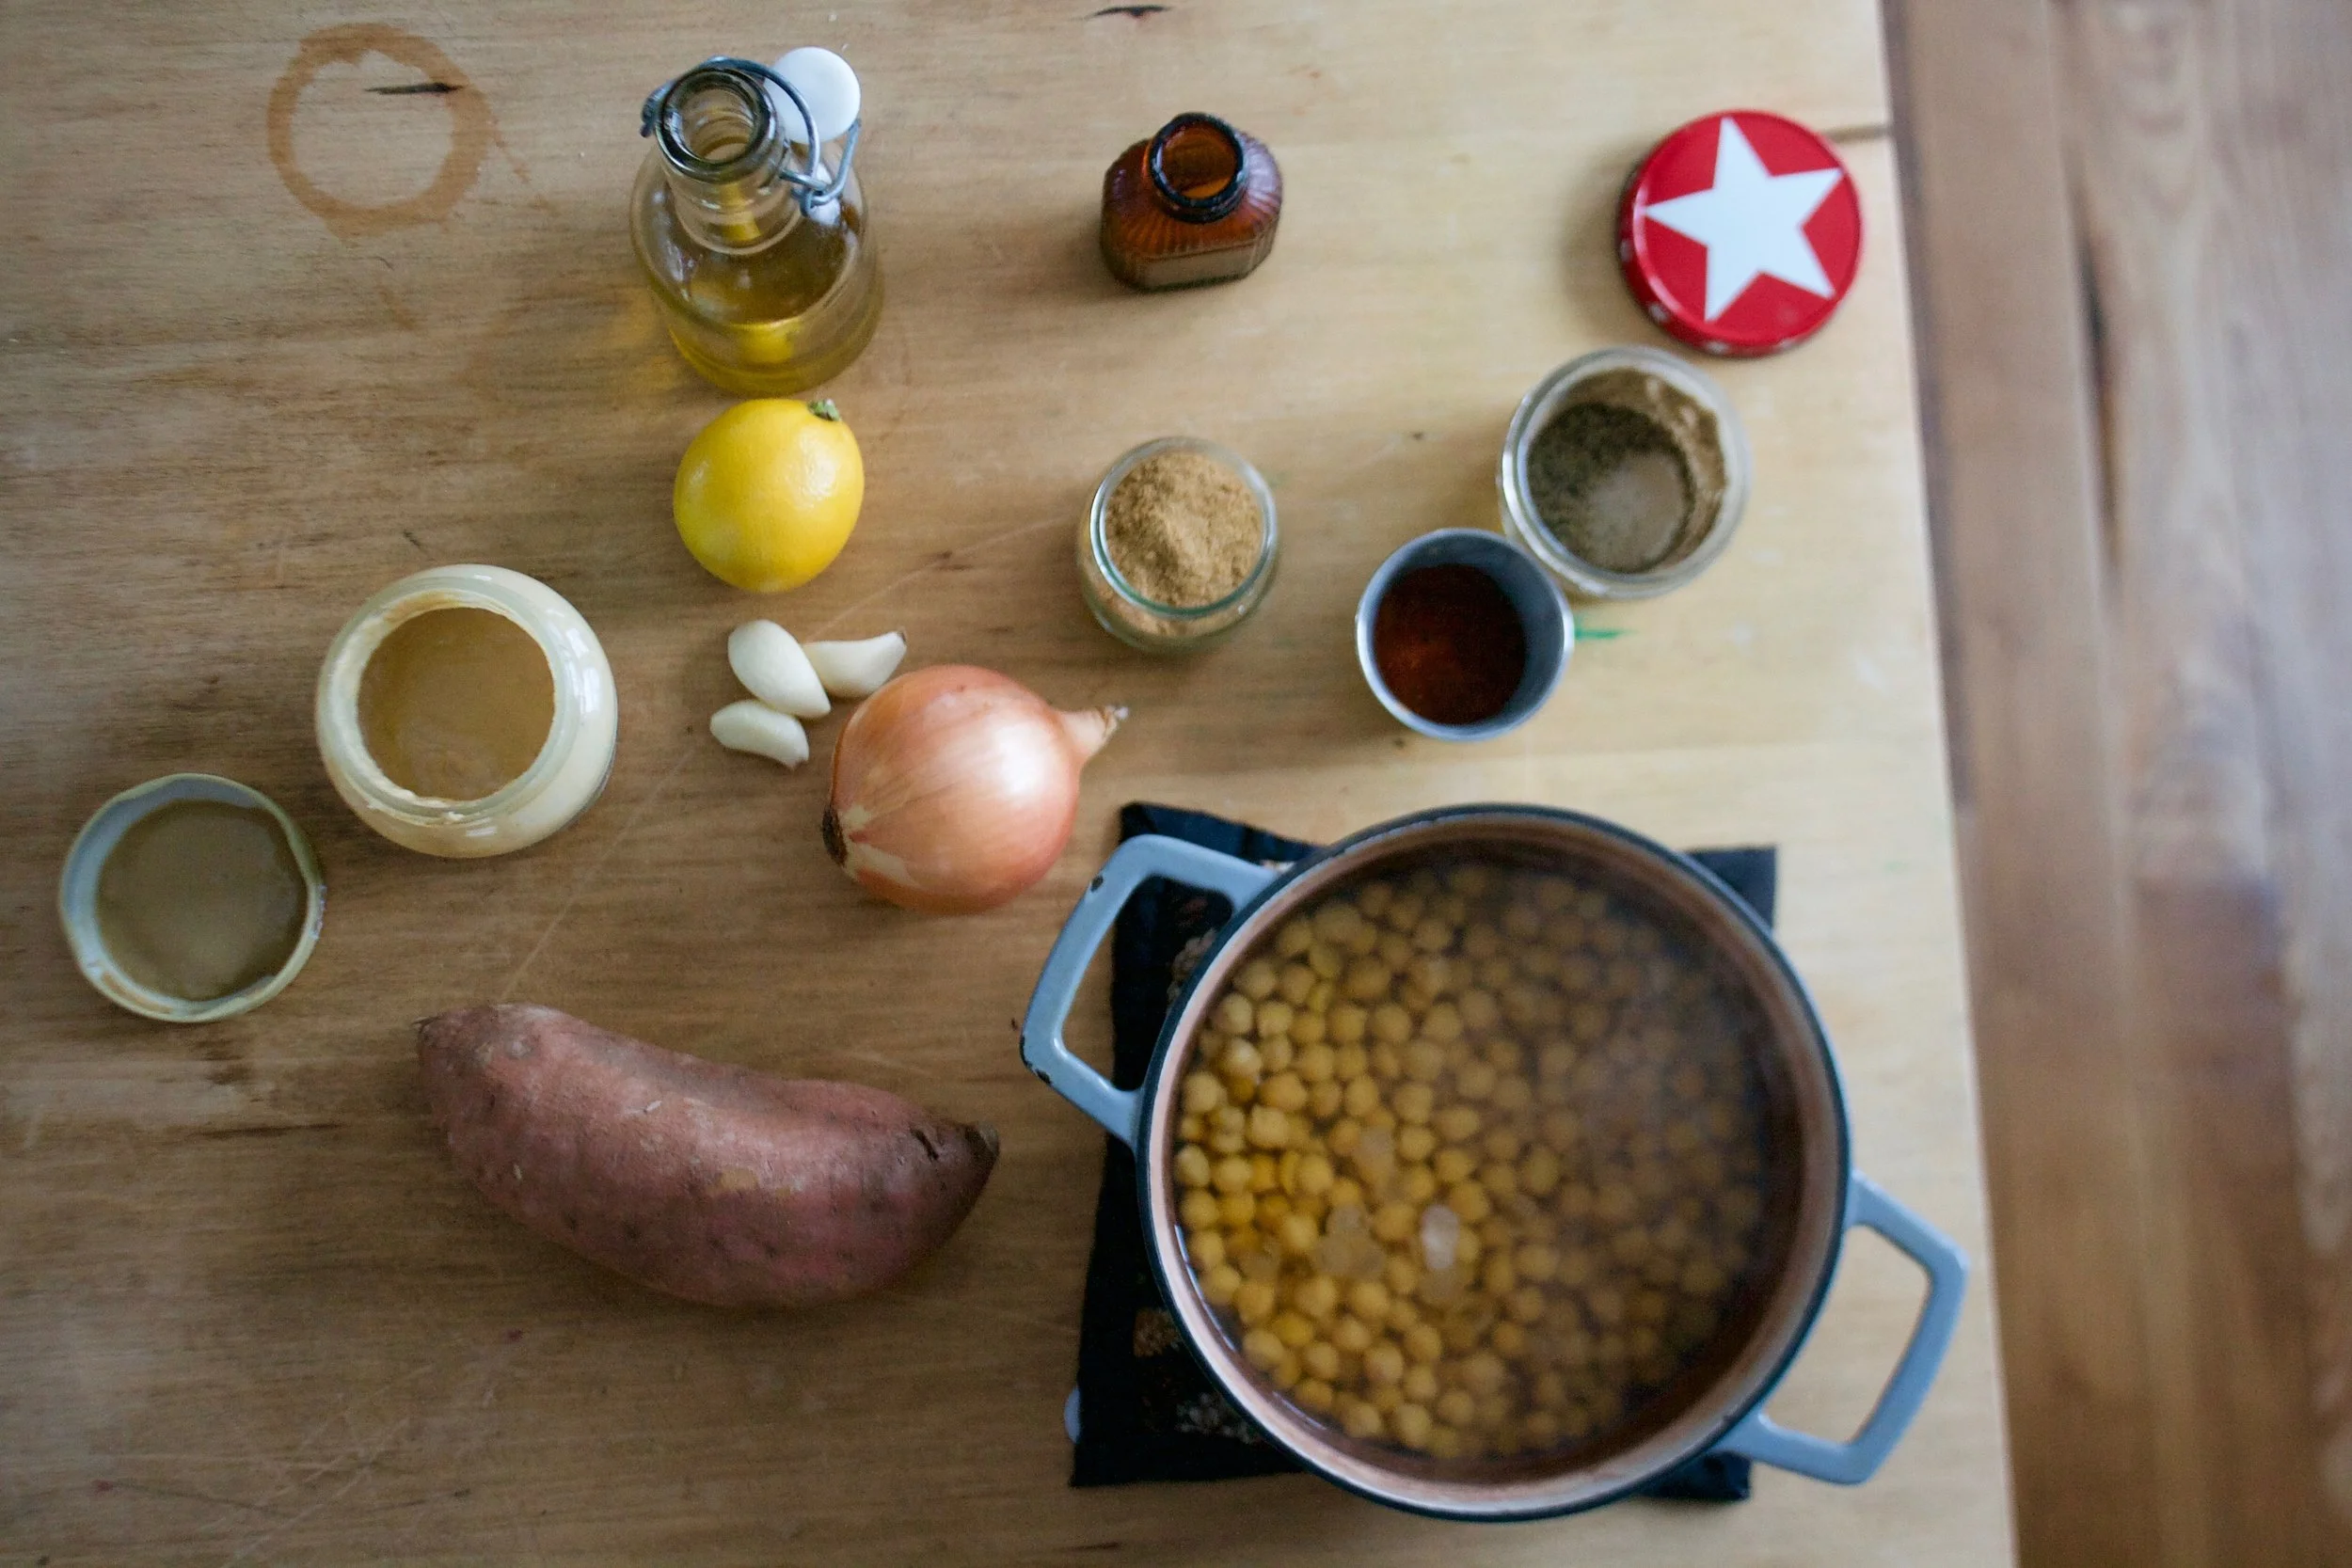
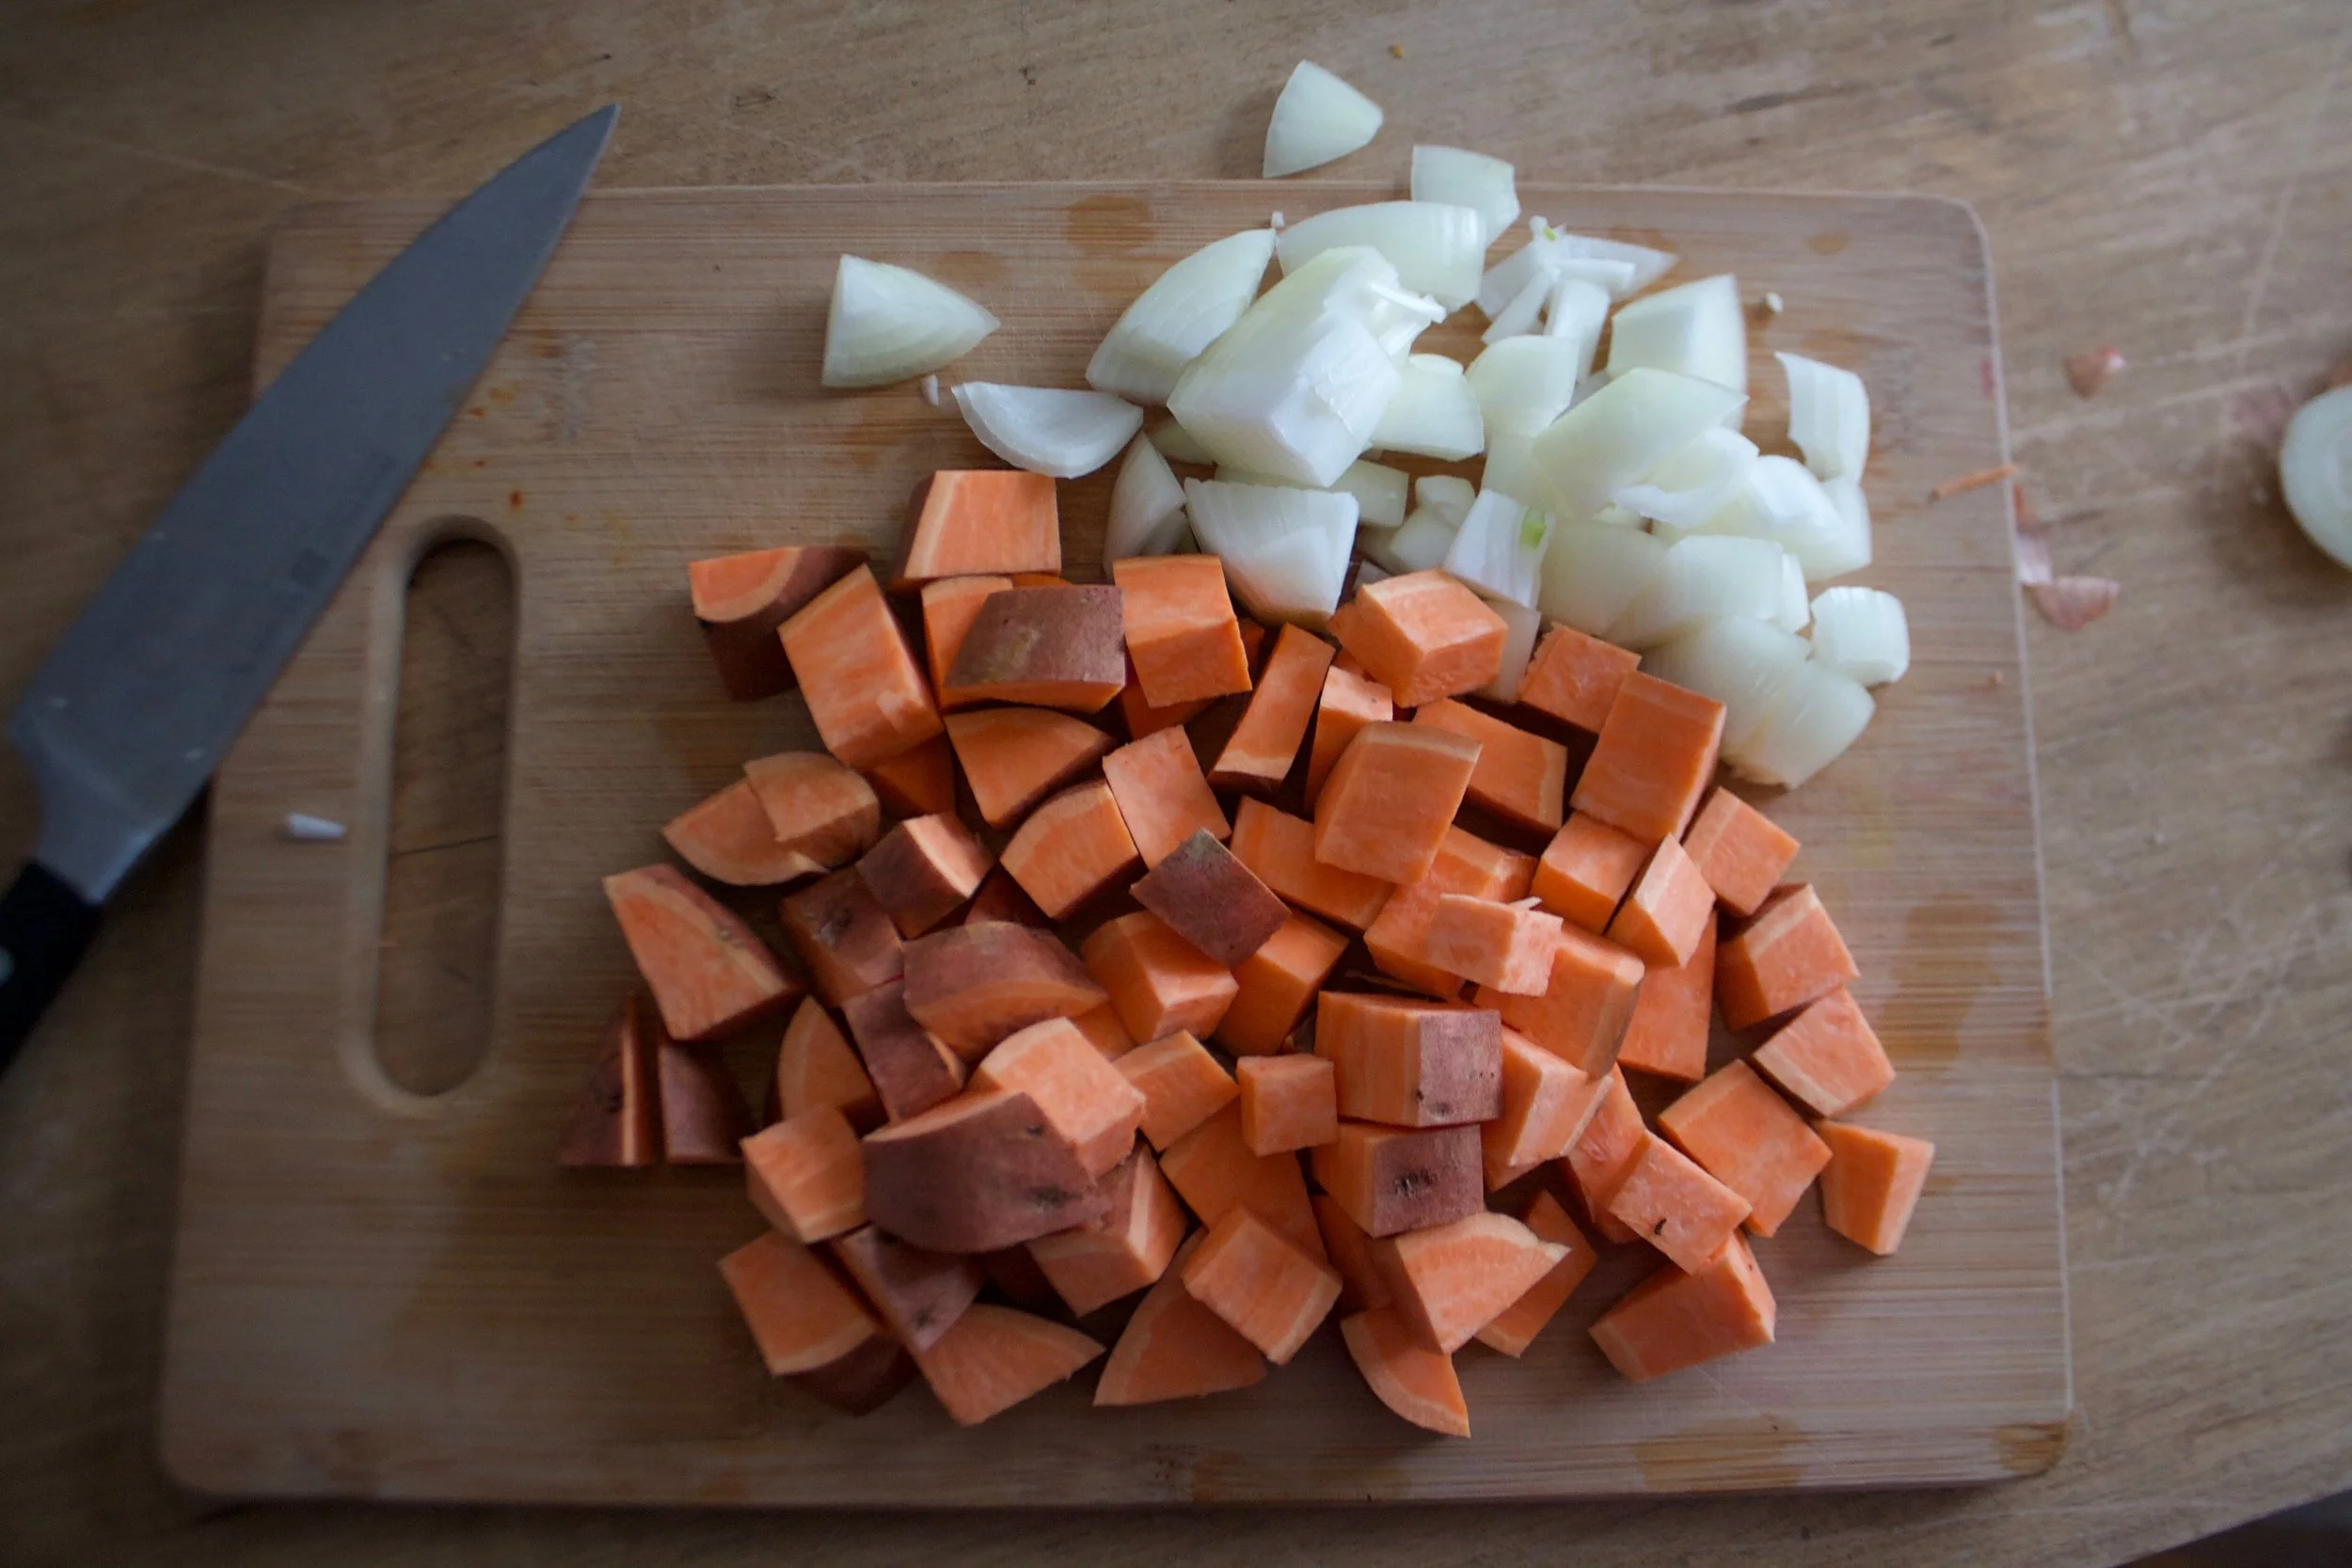
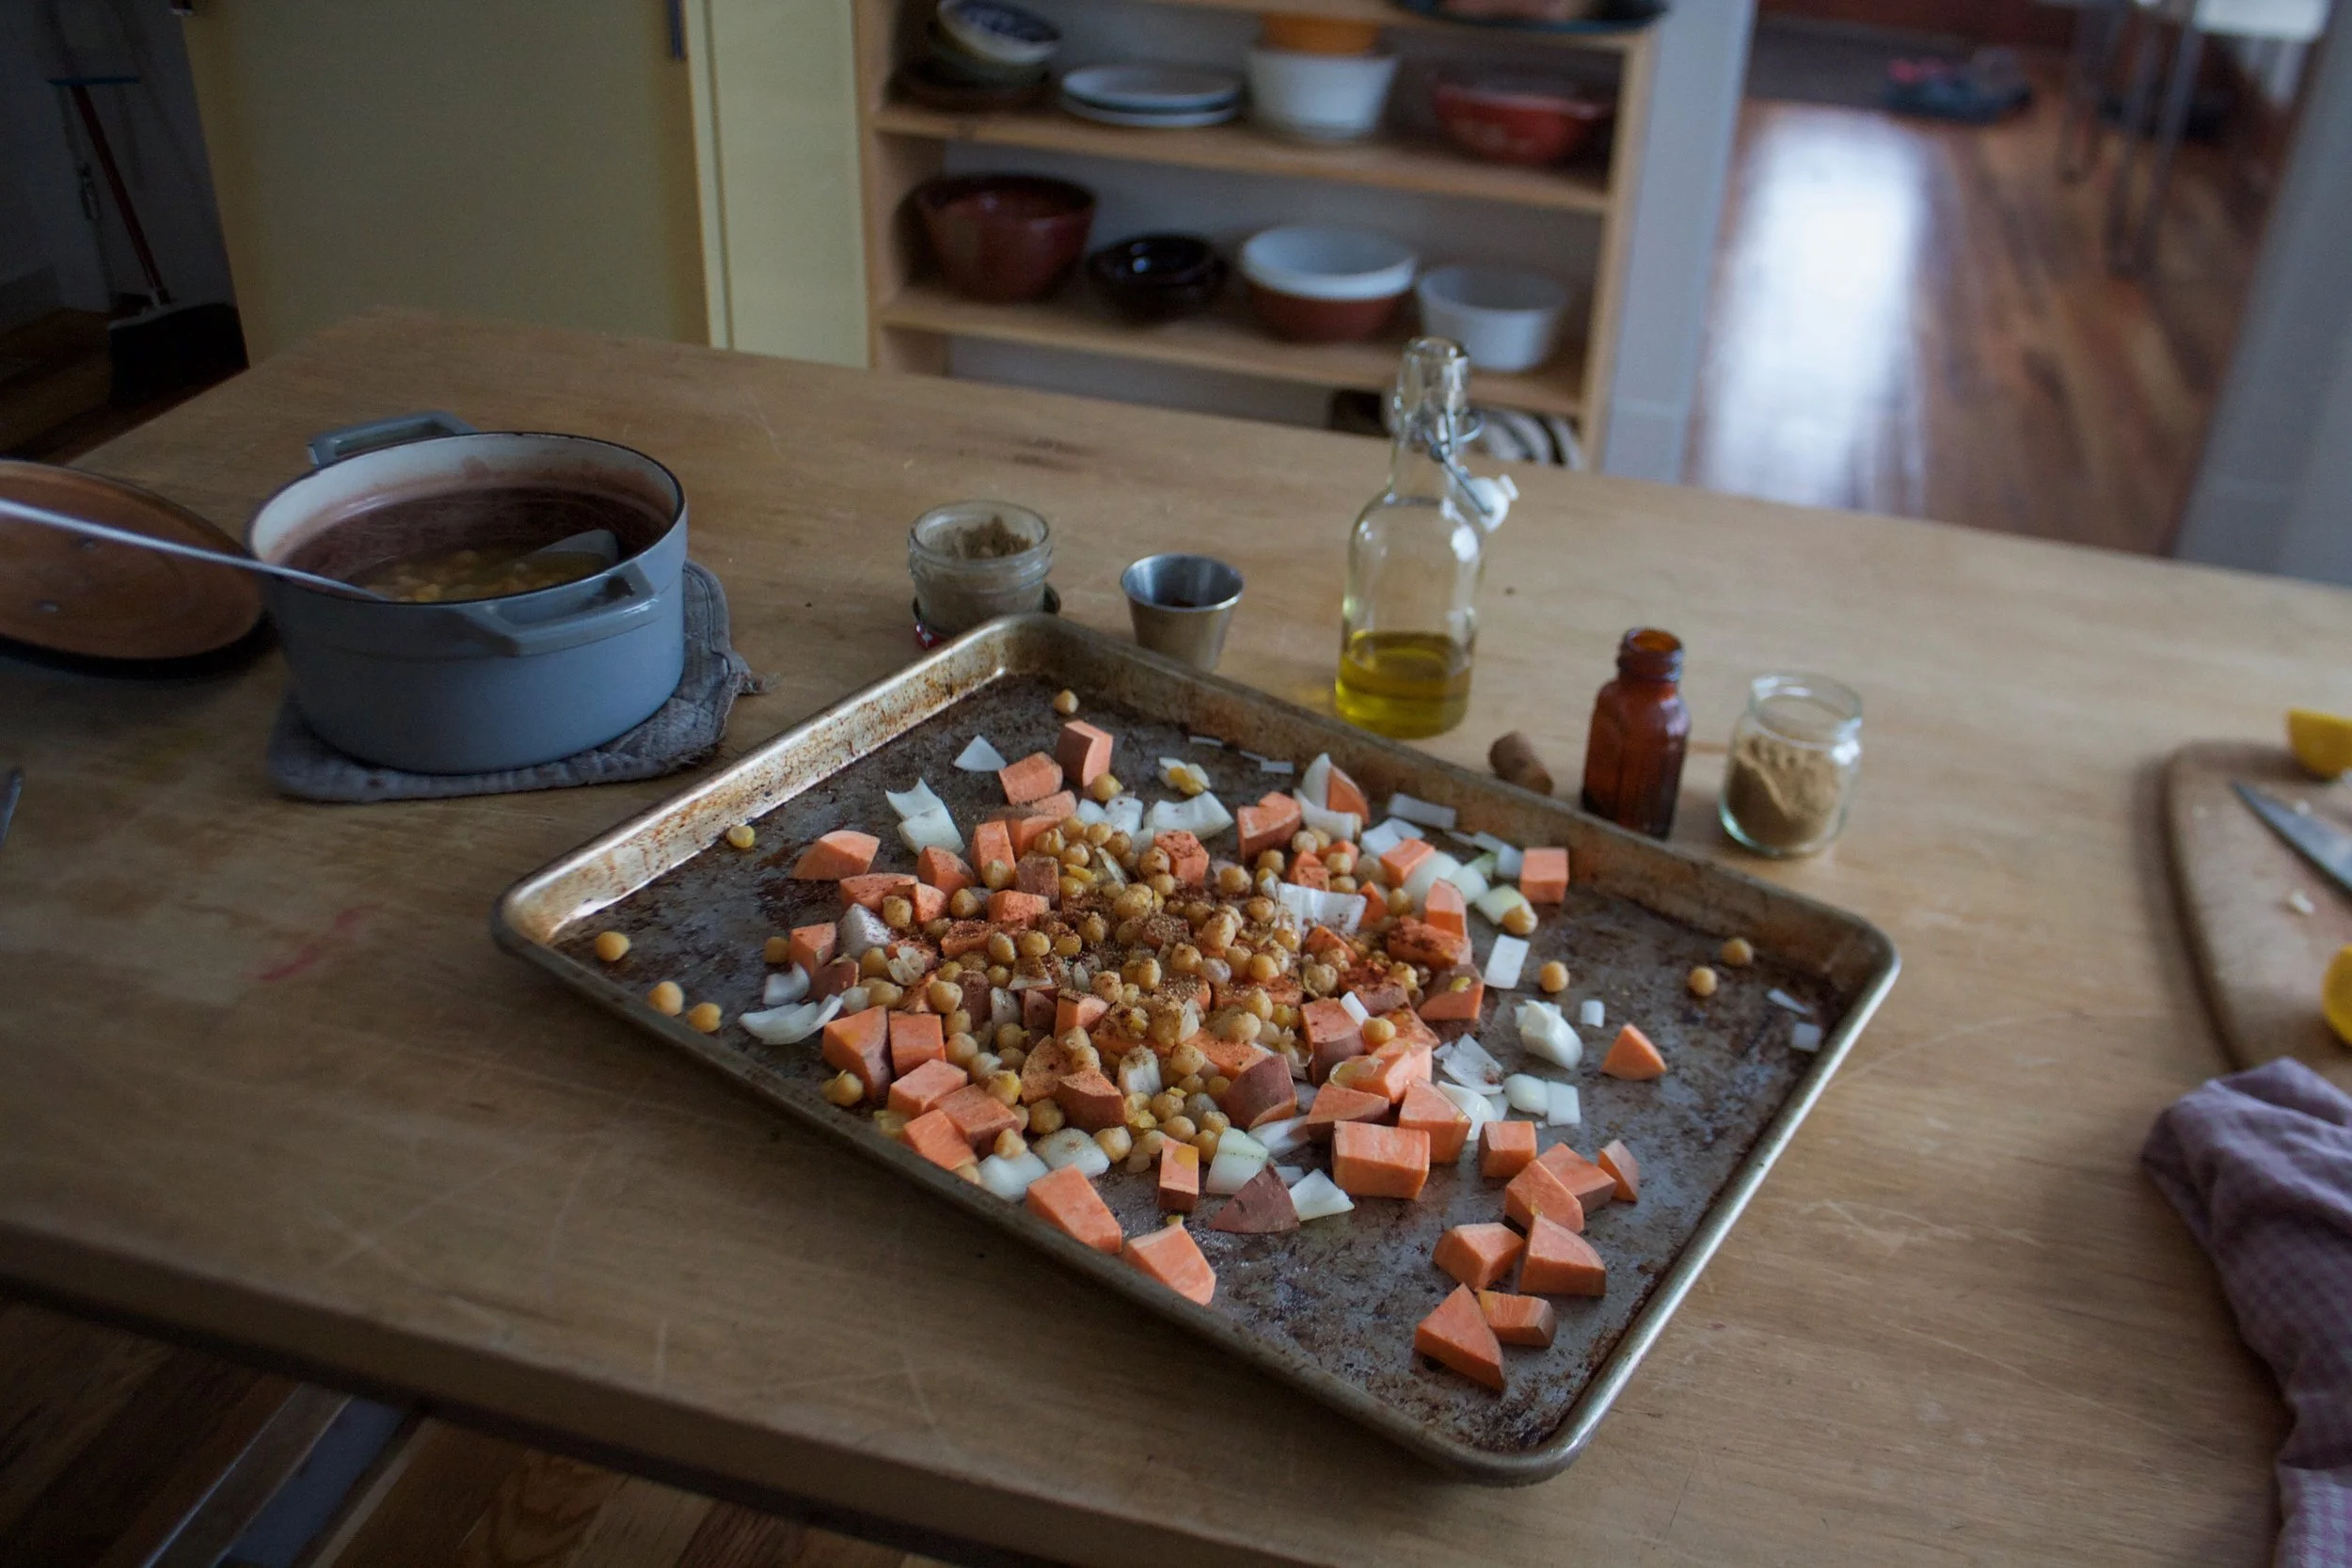


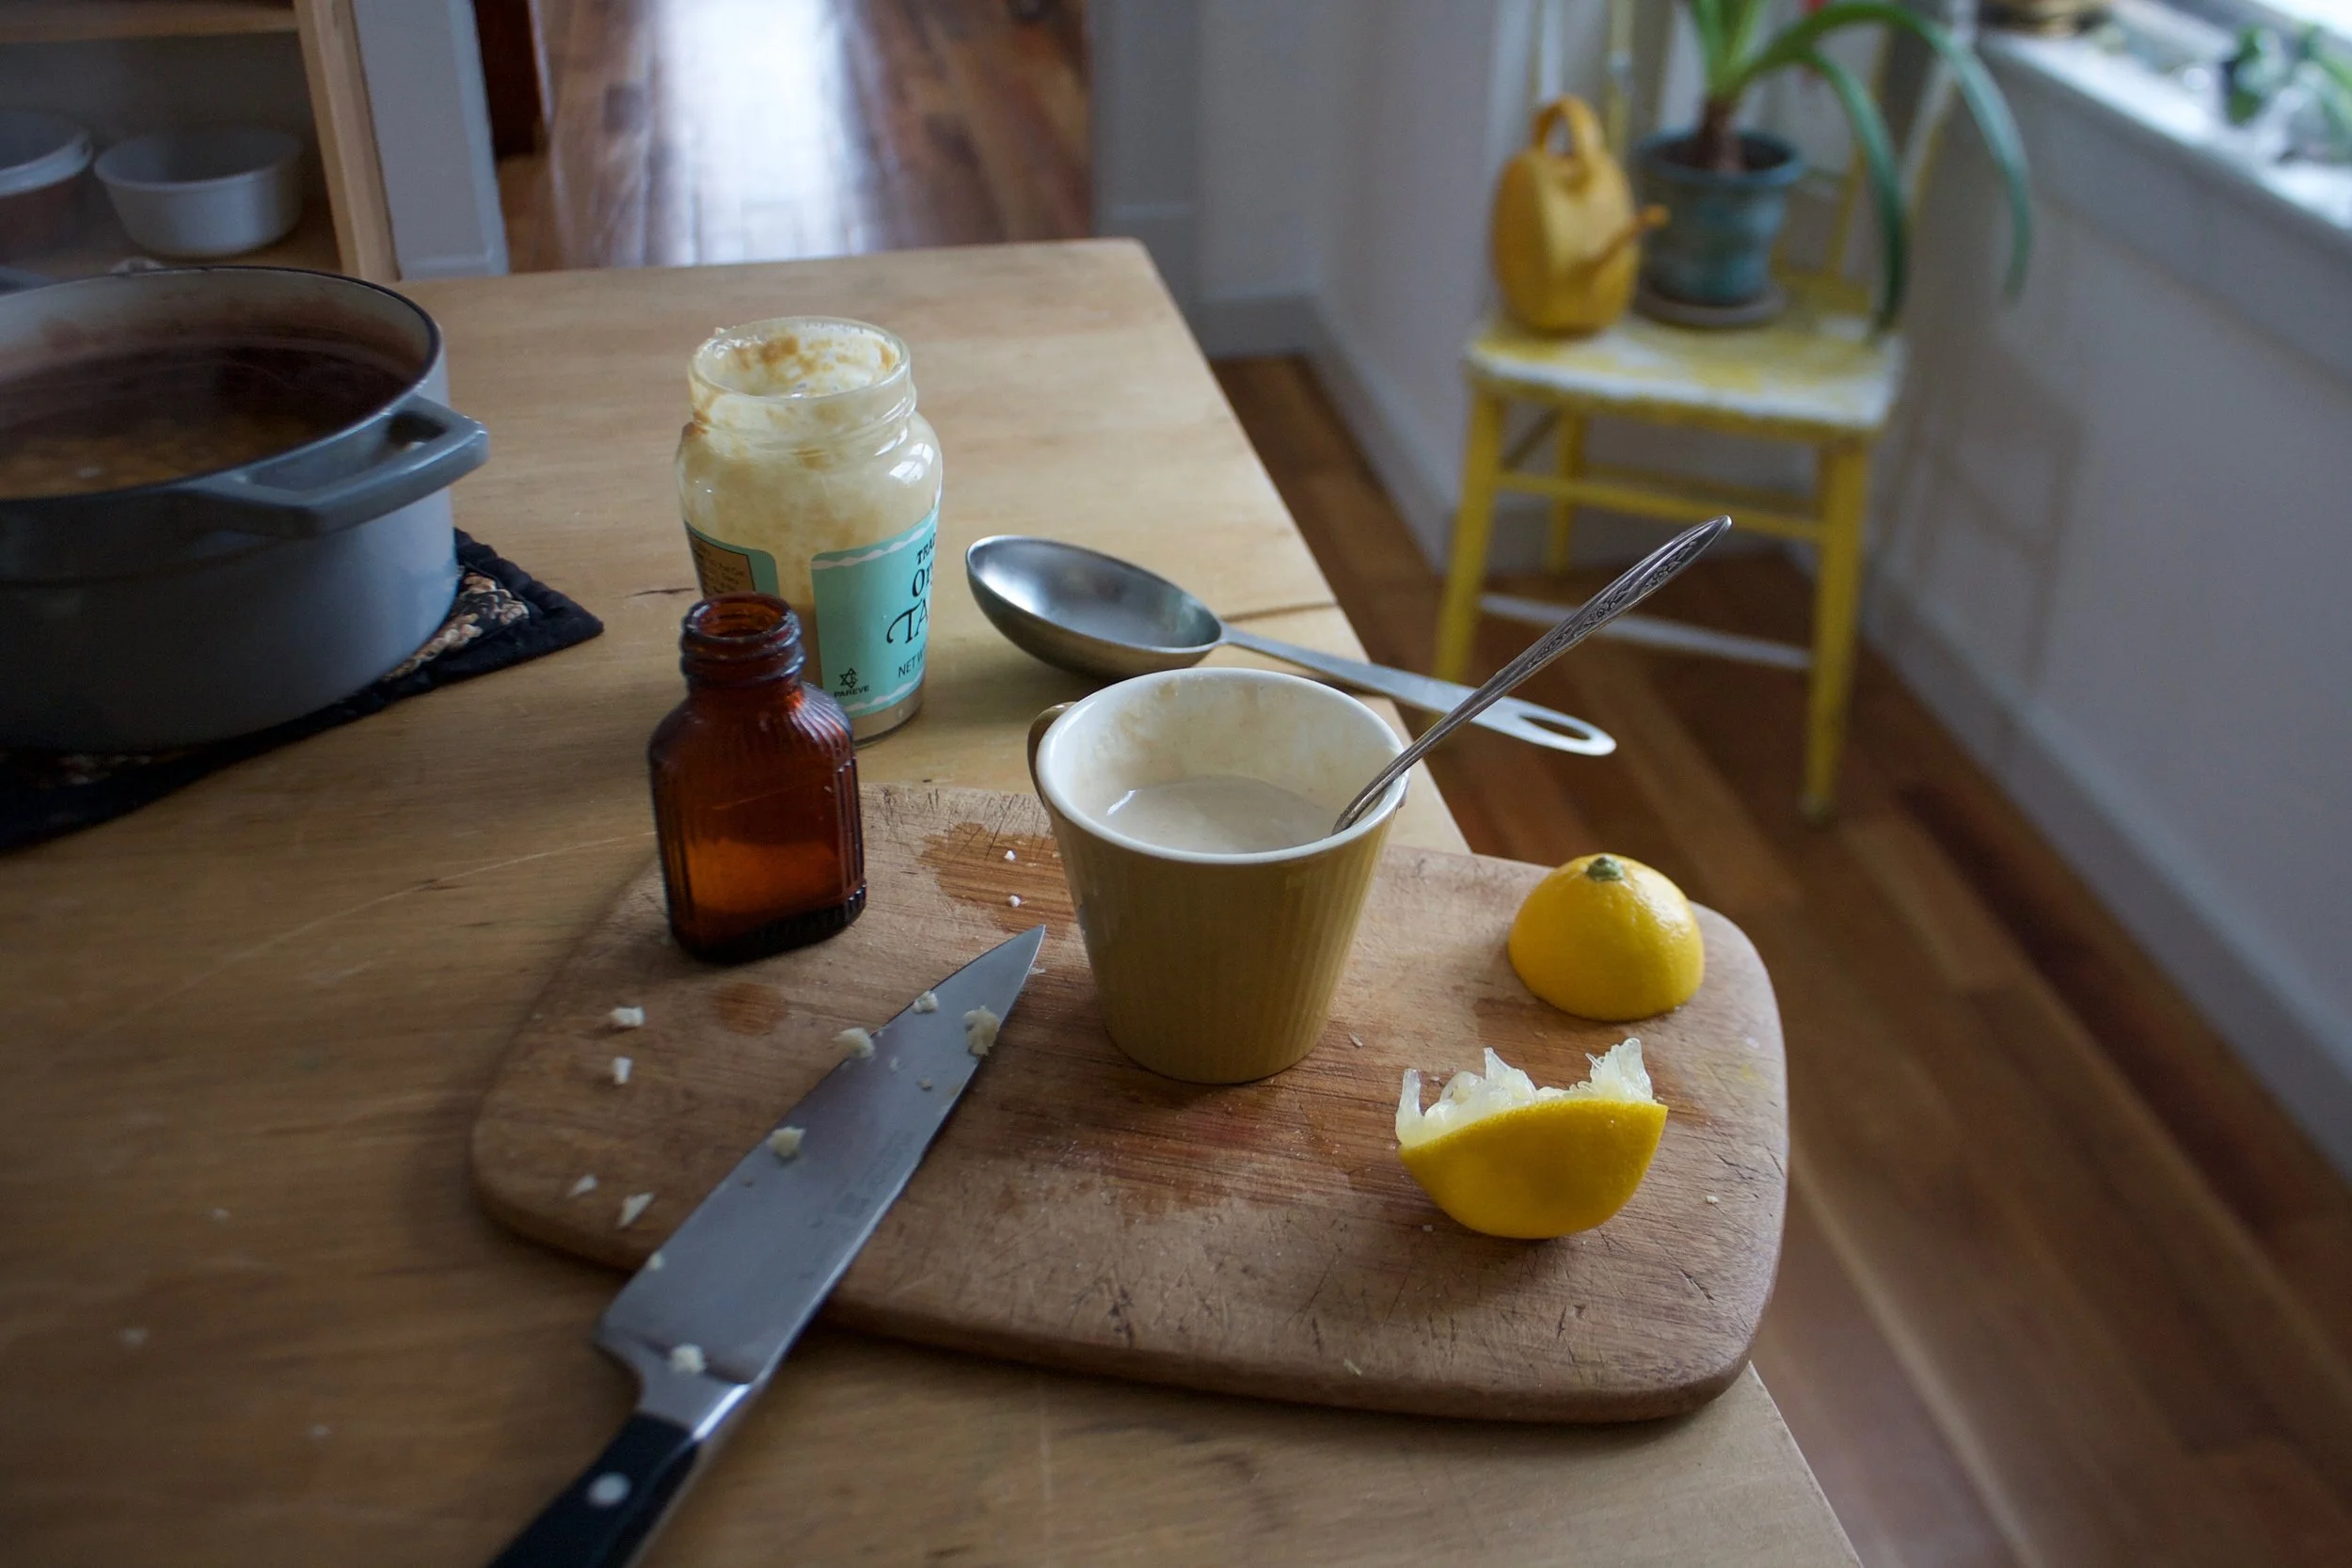

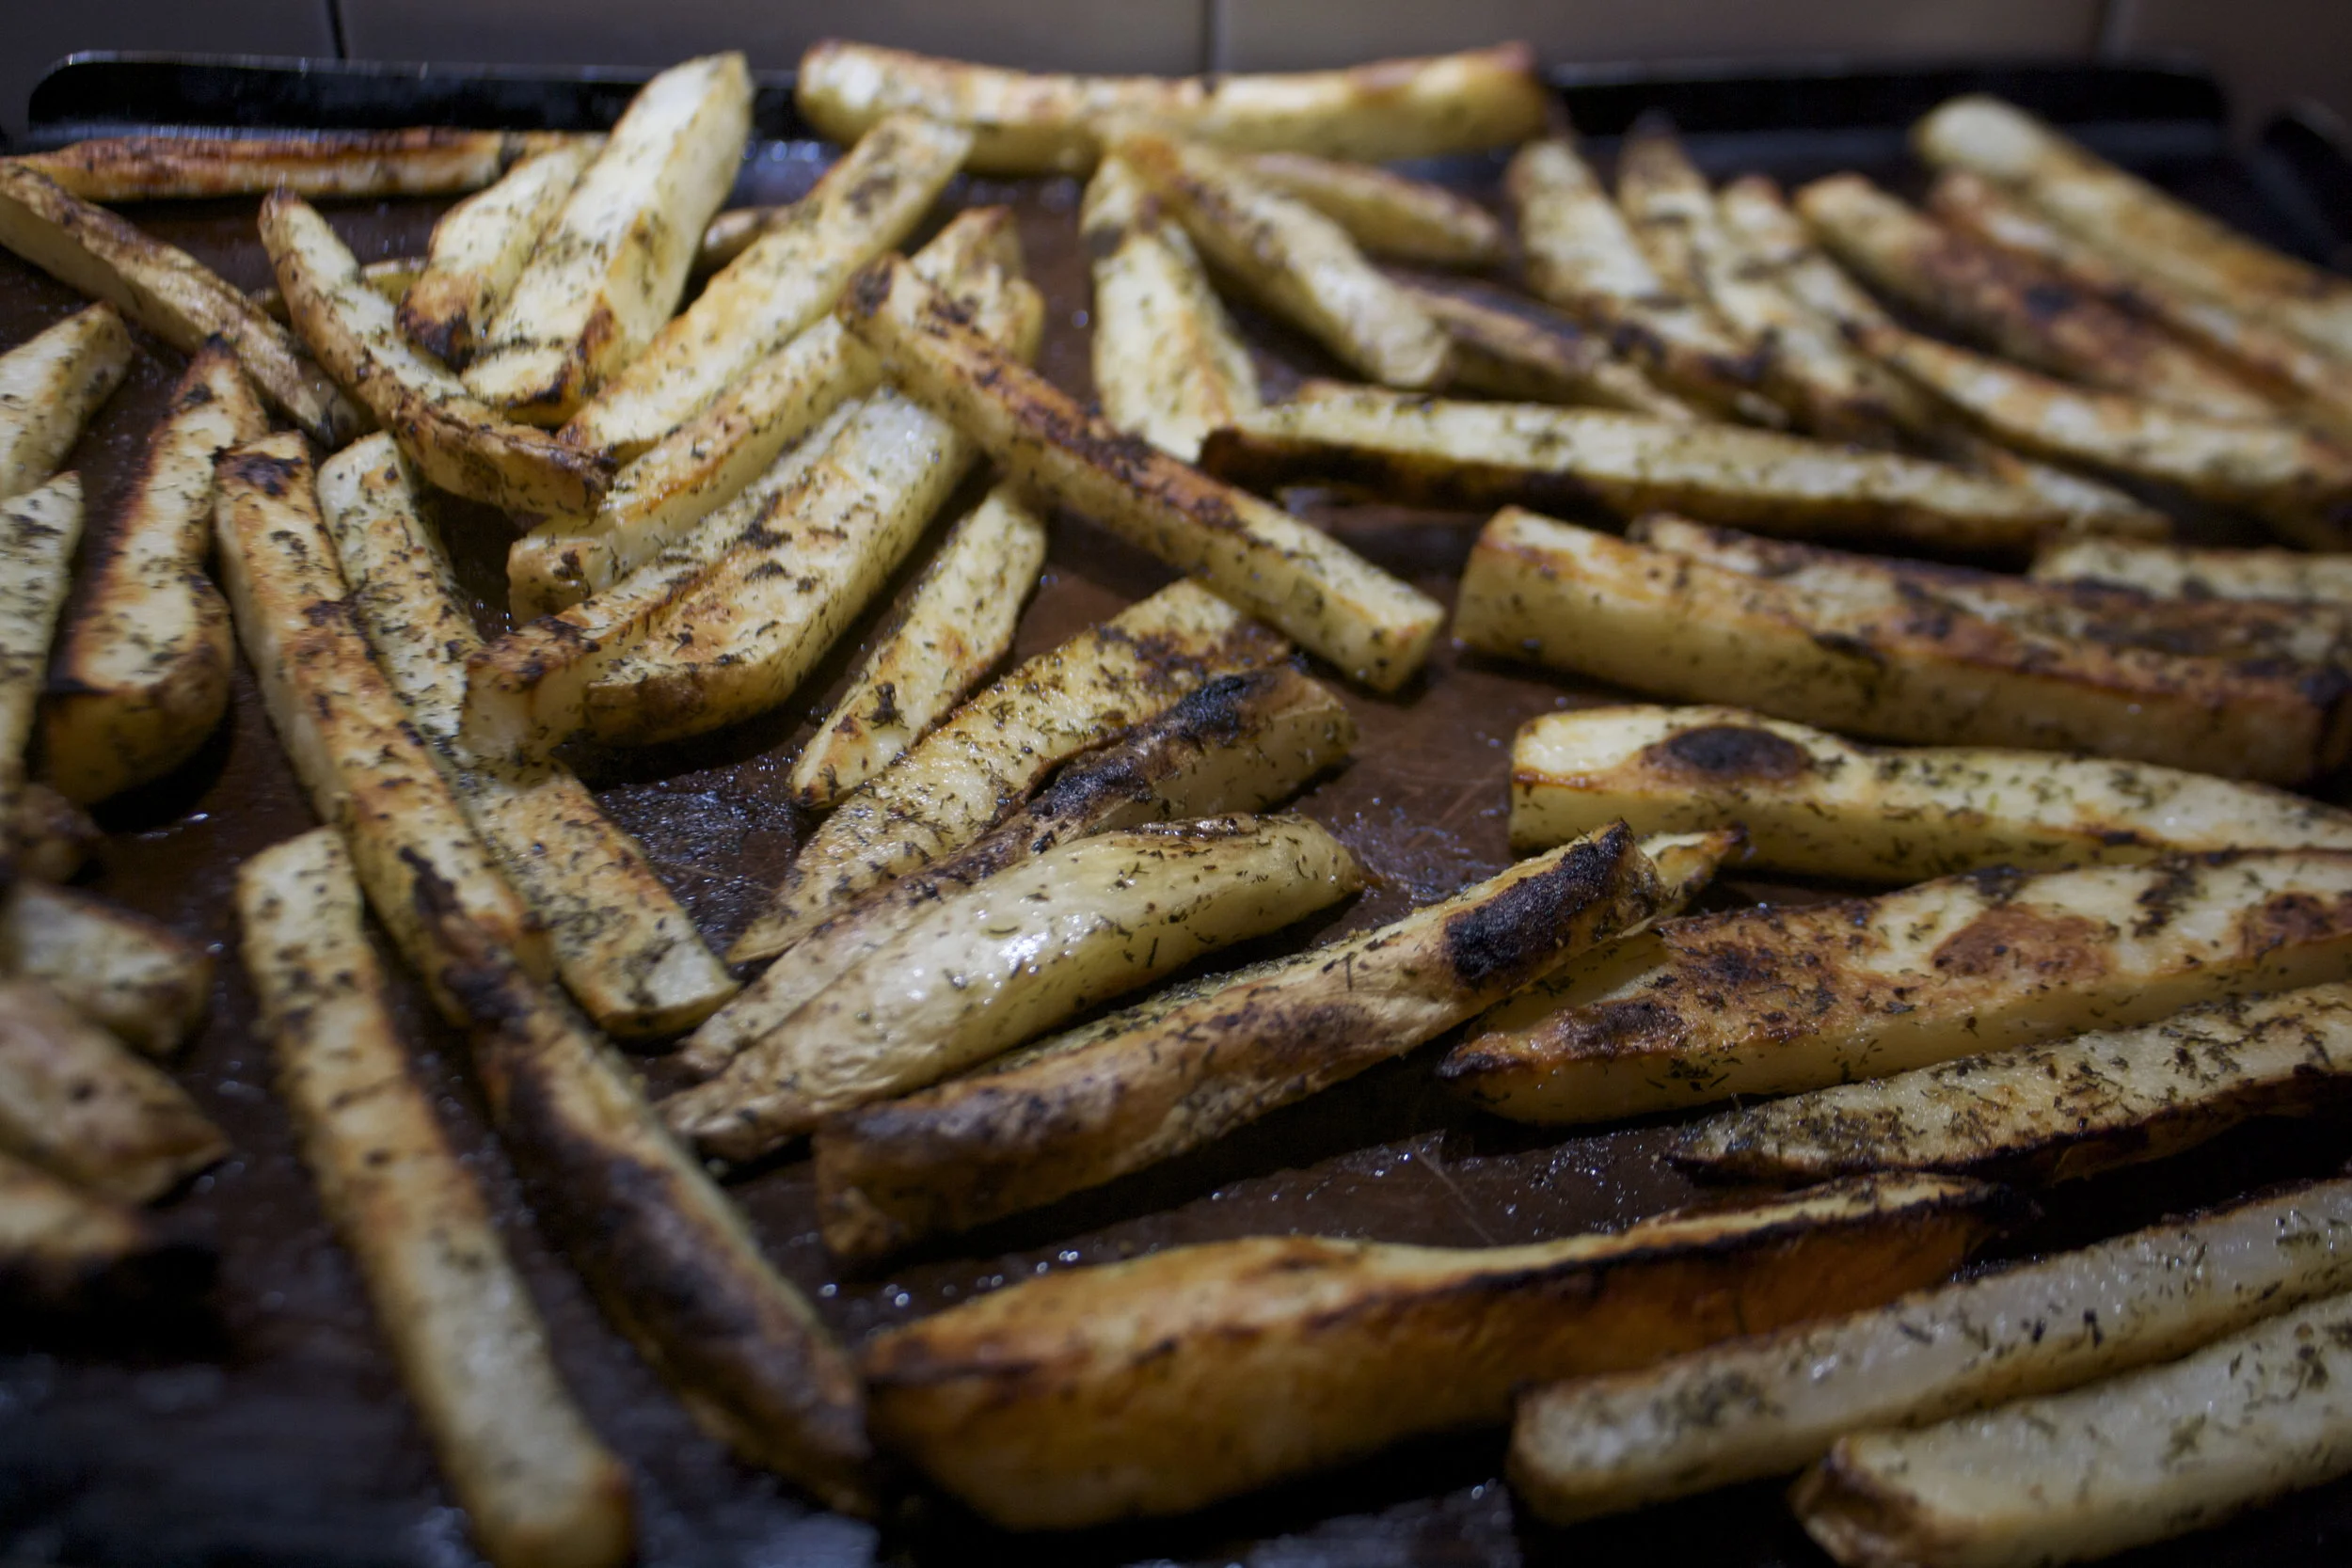


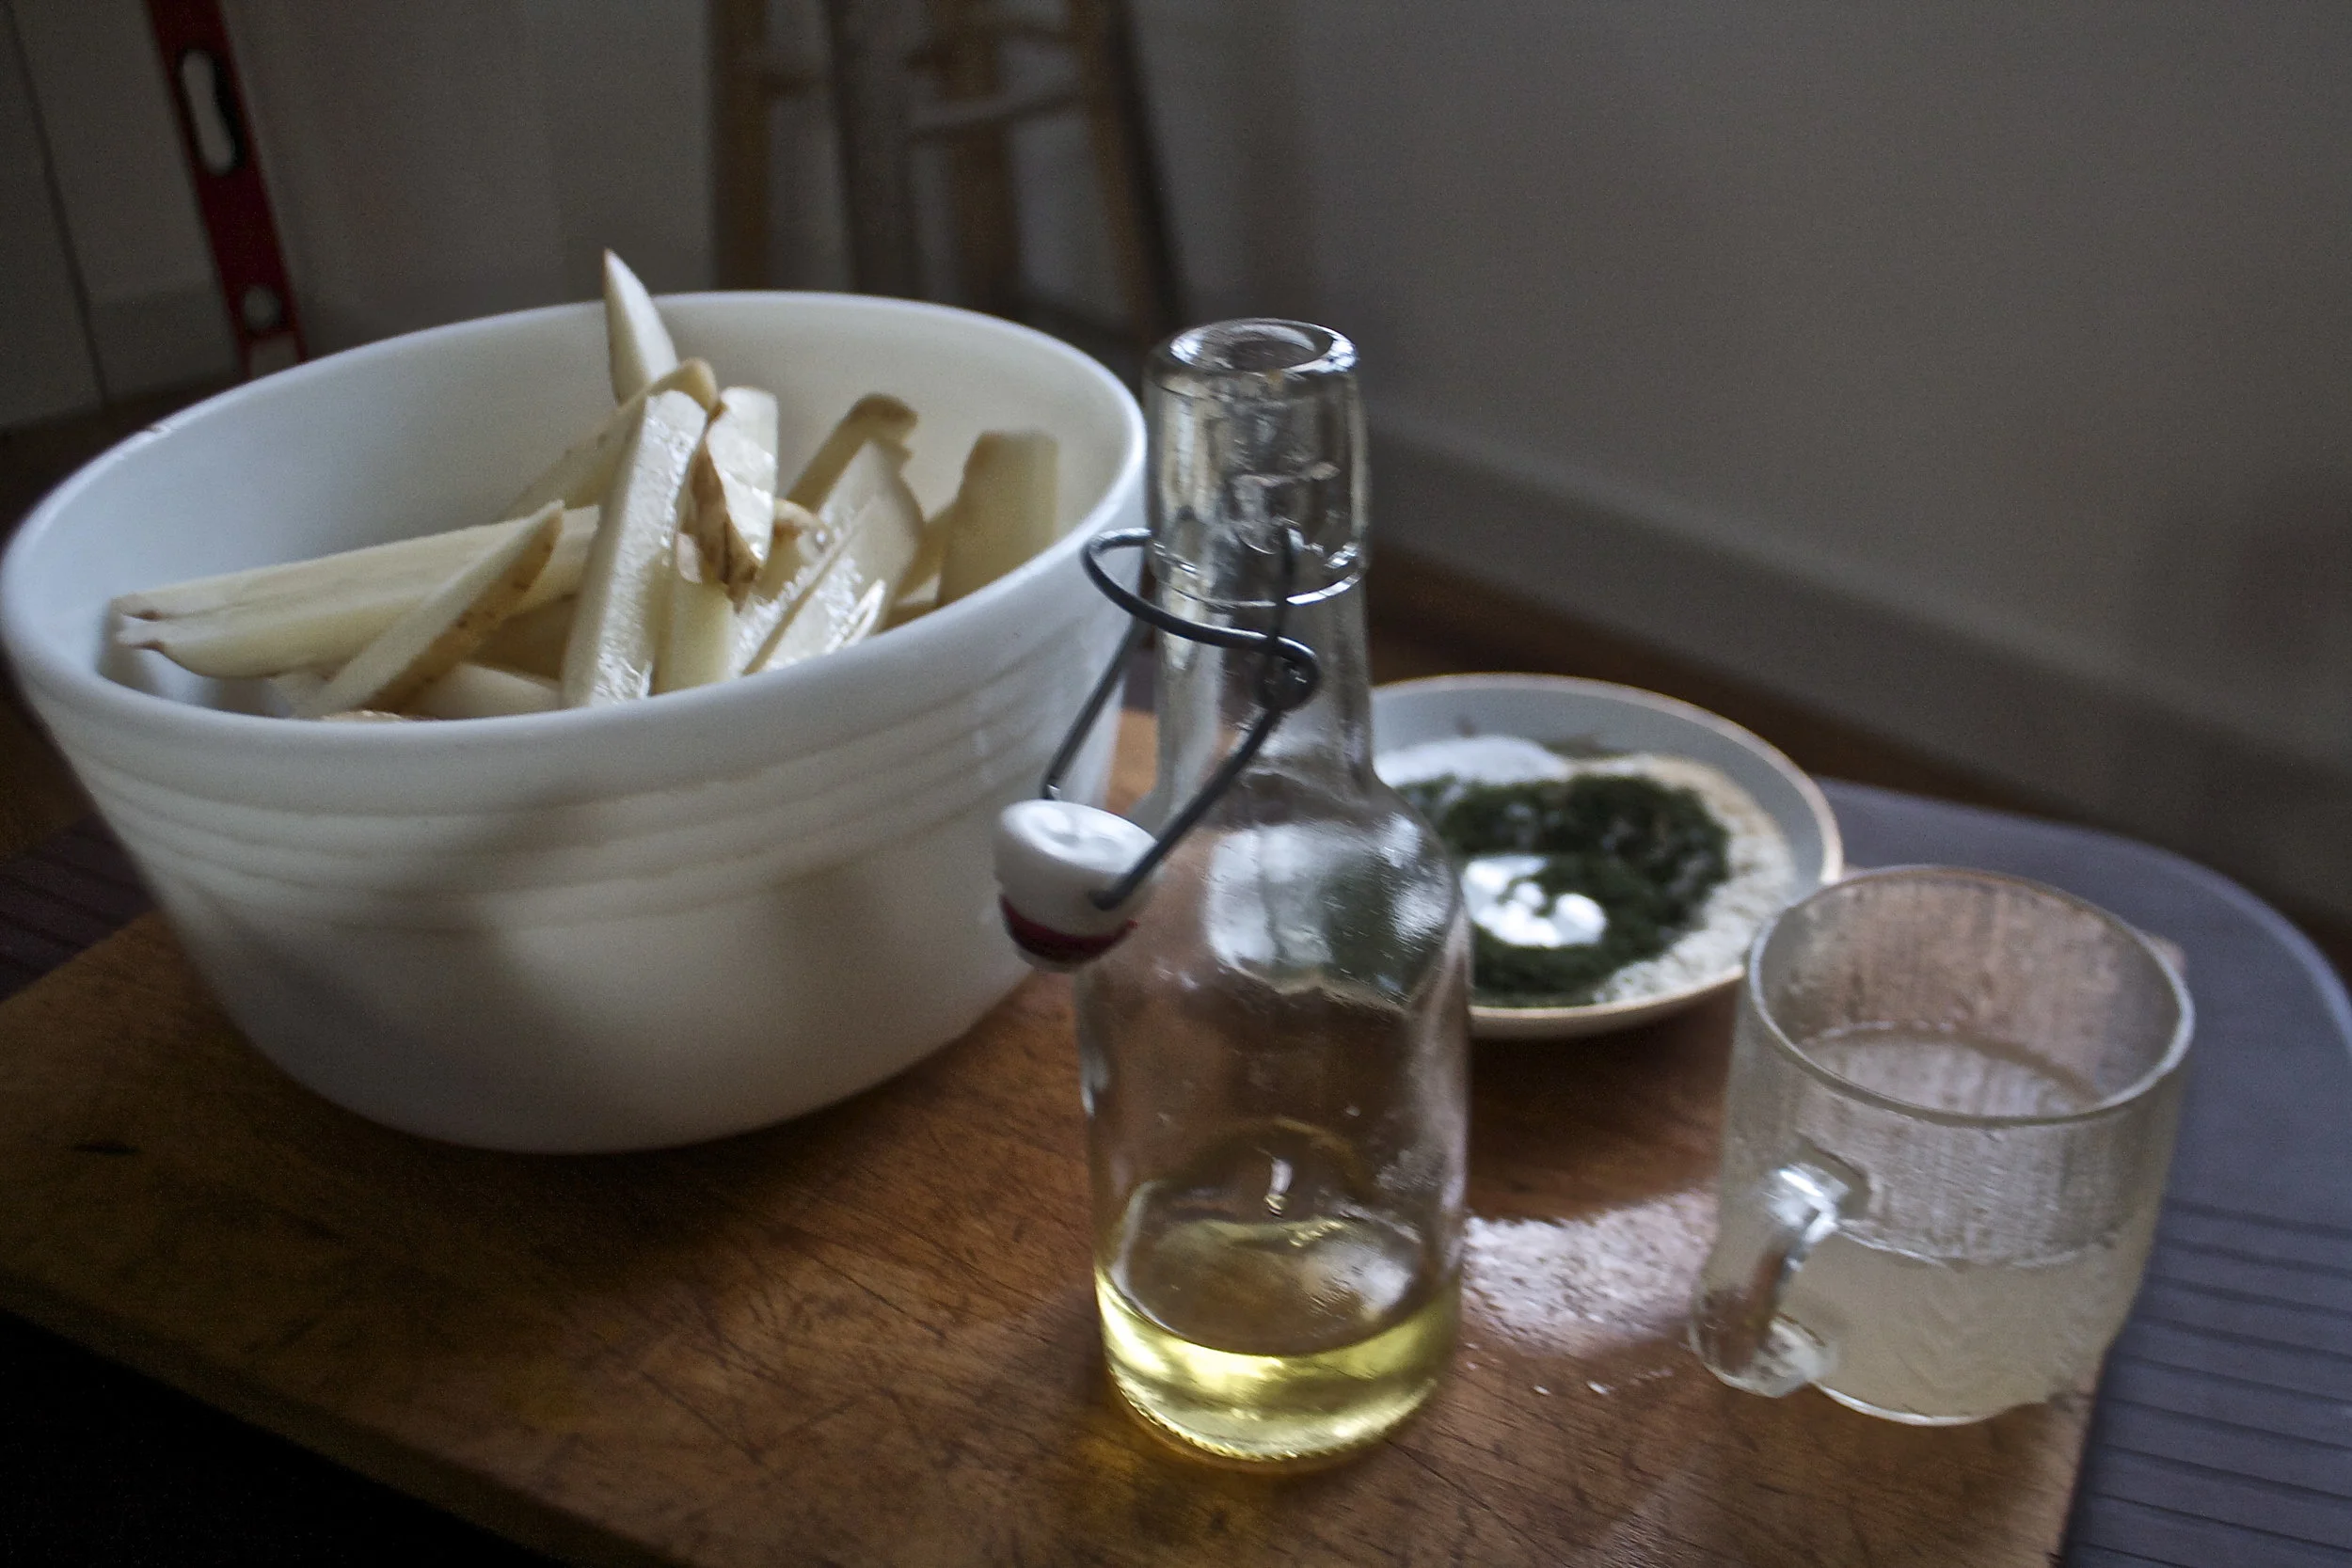
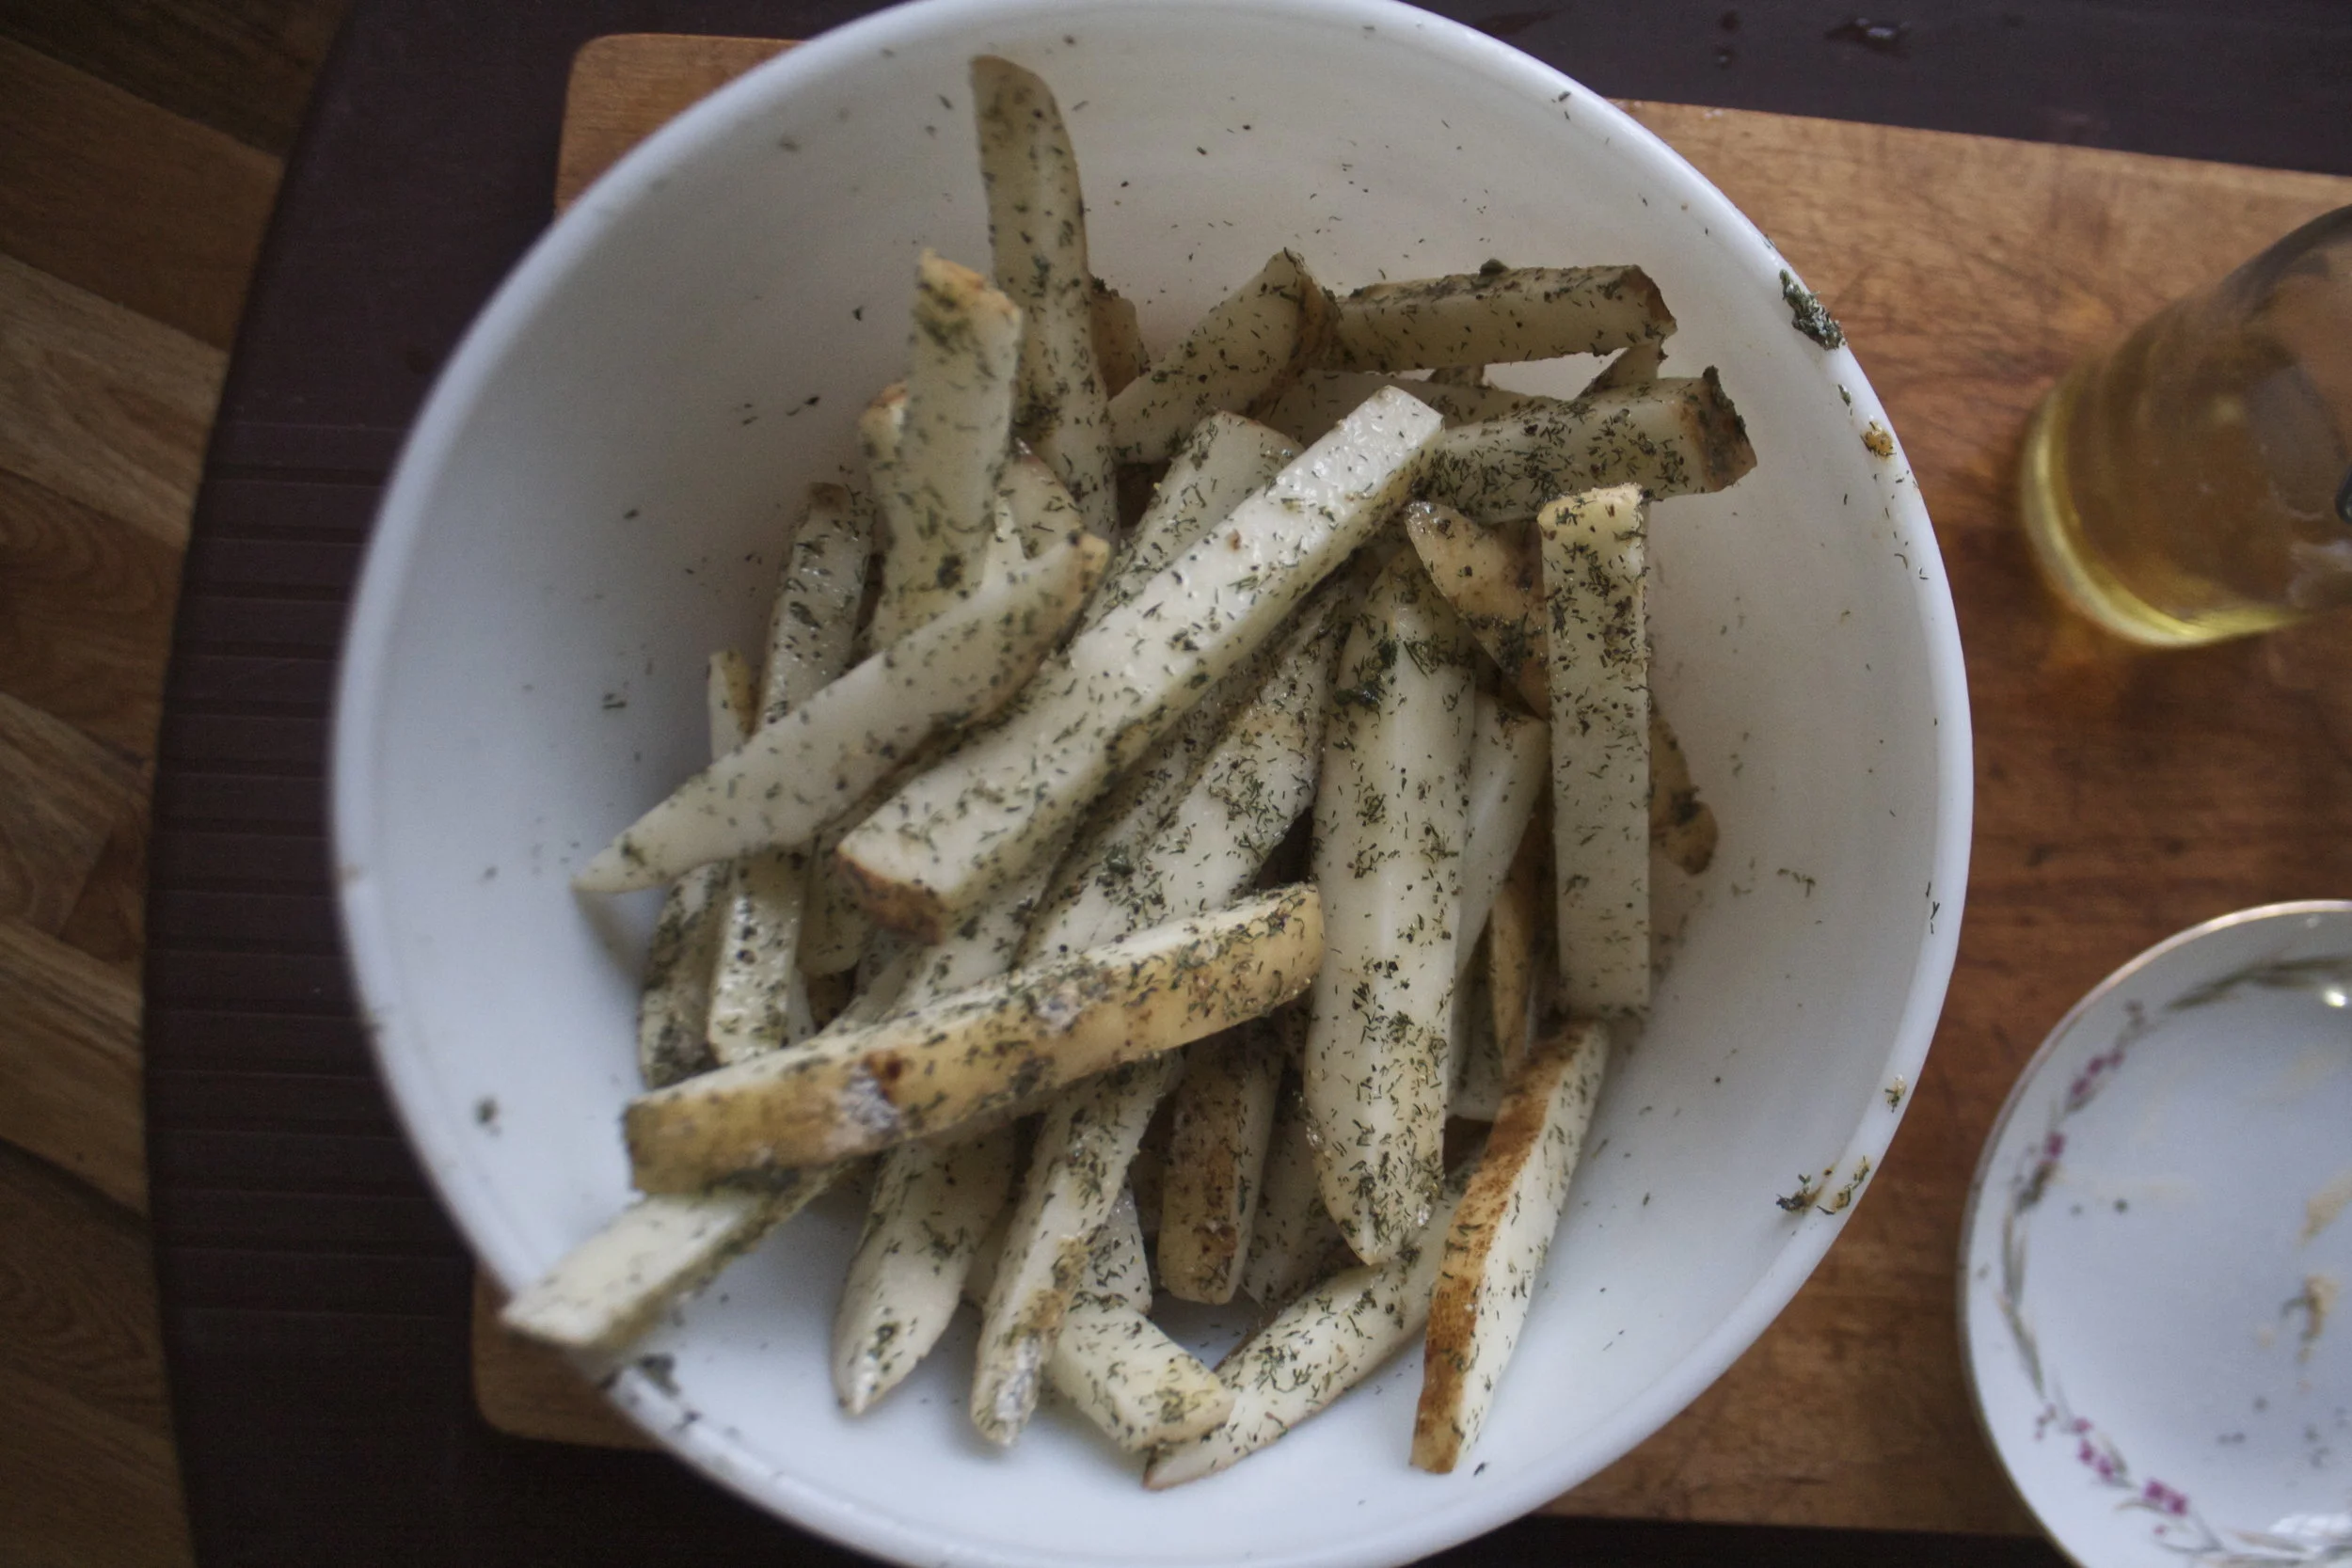
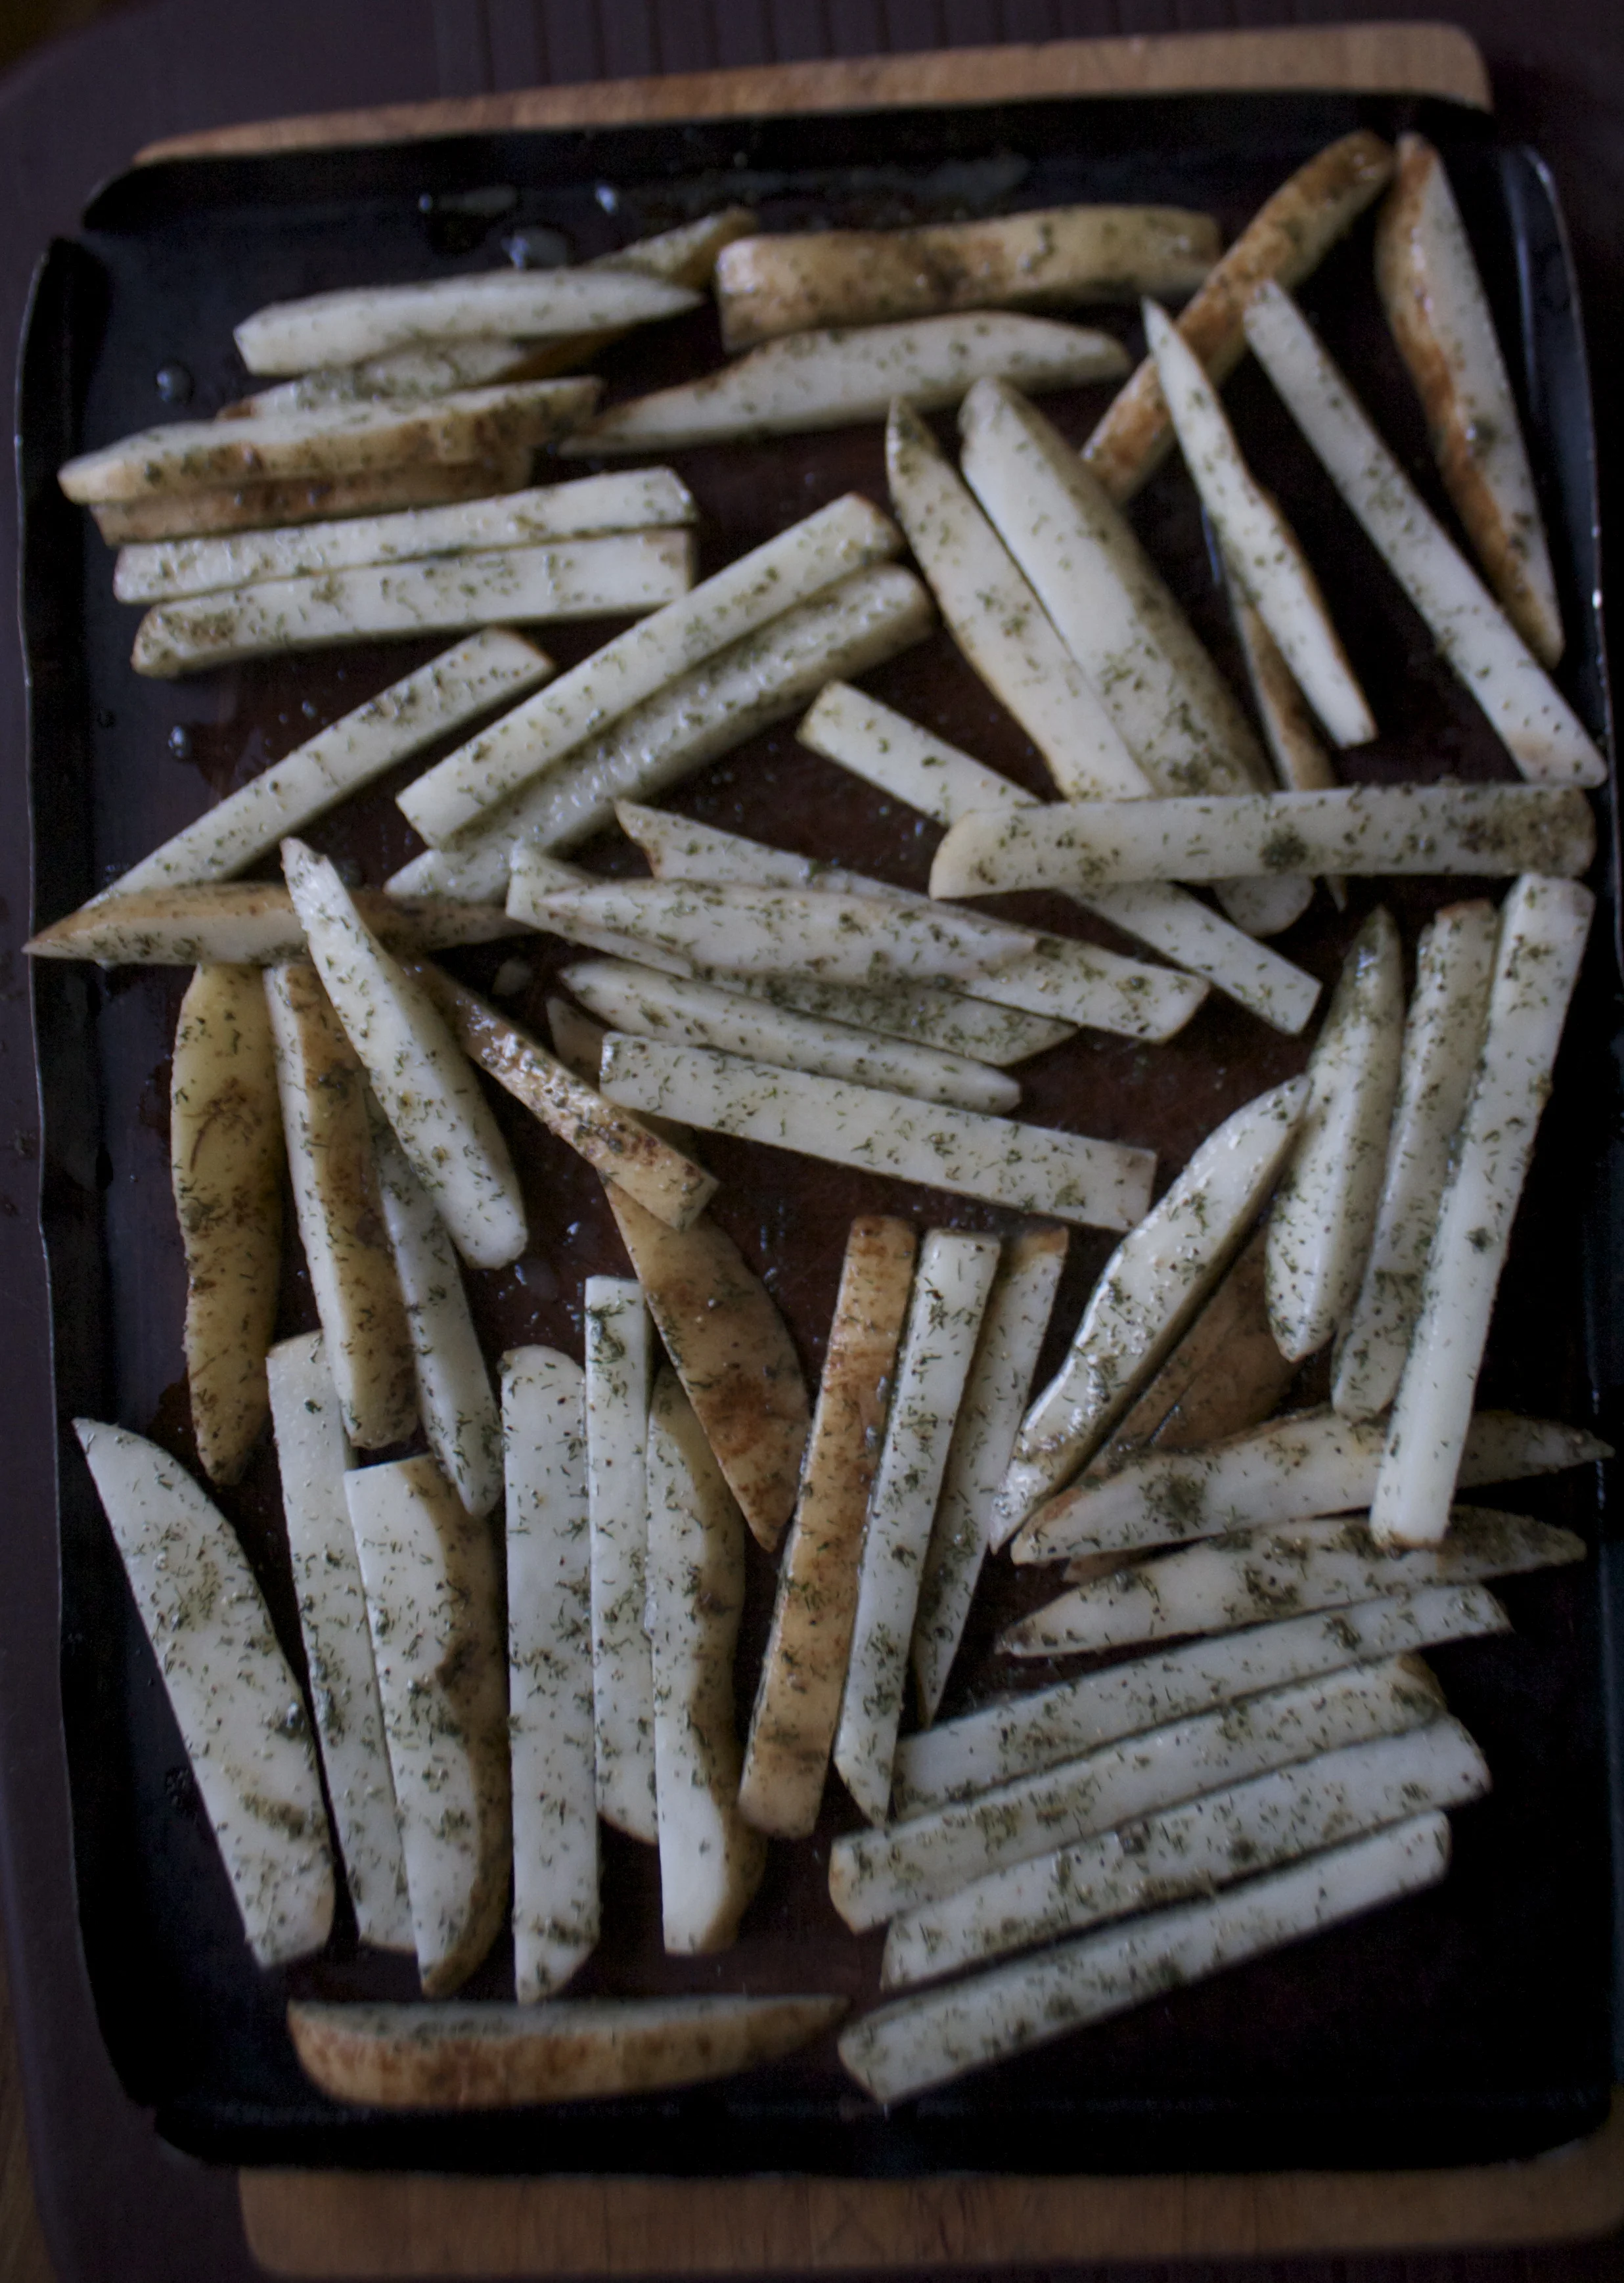
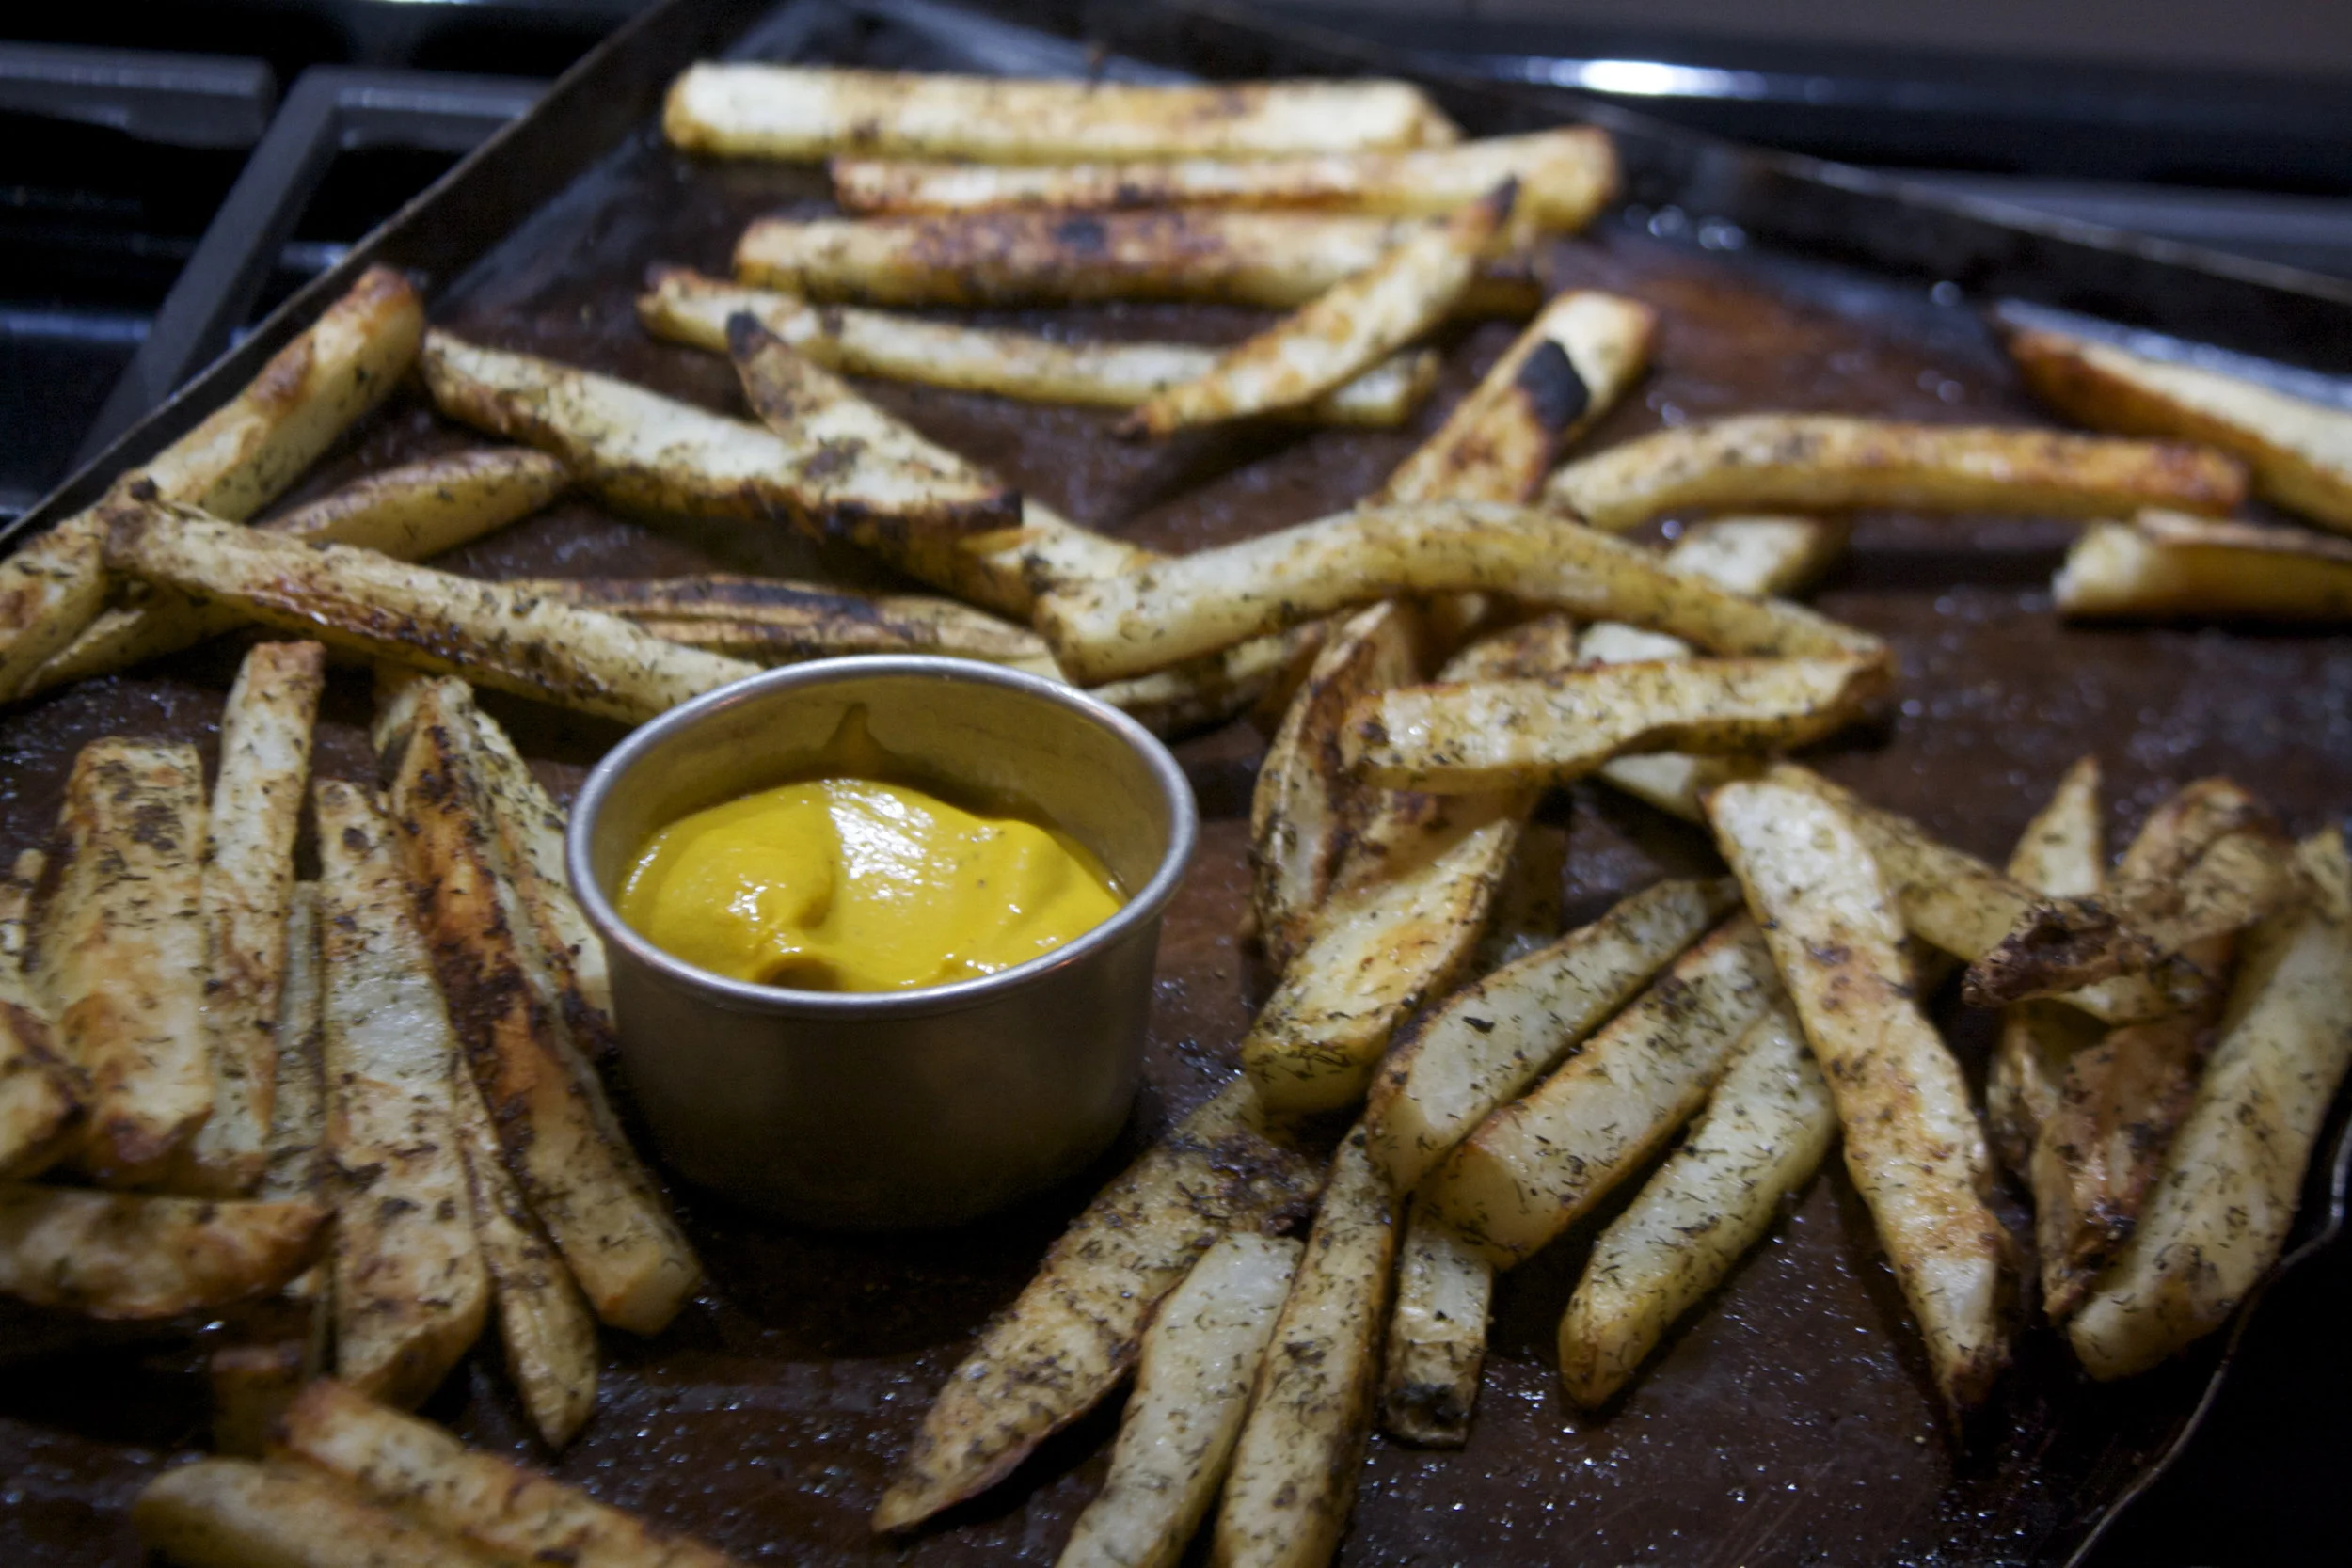
THE LOVELY CRAZY
December 30, 2019 by maximios • Blog
I am so happy for spring. It is my favorite season for sure. All the new, green things popping form the ground.. Warmer but not hot days, rain and sun then rain and more sun. No more winter jackets but sweaters are still good. People are in good moods. Flowers are coming out of the ground. The world is just a delight.
The week started off with a bang. I turned all of the garden beds over and did a great big yard rake and cleaning so things are looking pretty good back there right now. I repotted my tomatoes and peppers and started a bunch of greens and peas which makes me feel awesome. I think this might be the first year that I am actually on top of the planting season like I want to be. Yeh me. I also busted out the bike and went for the first ride of the year. Sure it was only a few blocks, but it was still fantastic. Now what I really need to do is give the old gal a tune up cause the chain was grinding and the tires need air and maybe new brakes? Not sure but I need to get to it, like asap because I plan on making the bike my means of transportation for the summer.
aside from all the that stuff, we also did some work, the mr did even more work (he is always working). I finished up a couple clay projects that have been lingering for a while. We went for lots of walks without jackets and I wore sandals all week. We managed a good stop by to see the littles and bring them carrot cookies. They ate all the cookies (2 dozen), beat the shit out of the mr, and managed to clean while they were doing it. We were impressed to say the least. The mr was sore from getting wacked a bunch.
Then Wednesday was Seans birthday. Would have been 30 years old…Whoa. The family, friends, all of Seans friends went to the basketball court for a little pick up basketball game to celebrate and be together. It was fun, and sad, and good to see all the boys, but sad, but good. Never going get used to it. You know what I mean? Life.
Rest of the week came and went with the usual plus lots of rain and gray, but again, I was all about it because it is spring. worked at the studio on Friday where I moved all the clay in the world, got stabbed so hard by a stray pointy tool that was in slop bucket and got blood everywhere. I also managed to get so much clay in my hair and was overly praised for my height by all the studio ladies. They really appreciate my abilities at grabbing things on high shelves.
And the weekend. Yesterday we woke and basically ran out of the house to moms to borrow her truck (still haven’t found a car to buy). We then drove the truck up to the greater north of Vermont and picked up all the cedar wood we need for the porch. Loaded up, drove back to the porch and unloaded all the wood. I came home for a few hours of power cleaning while the mr ran around all over some more and then back to moms for dinner. (Mom made ham, I brought my own dinner) We ate, Mom brushed my hair and then Barb breaded it which I love love and will never be able to do myself. I raided moms books (found nothing I haven’t read already), searched for a missing bowl, made fun of the boys. Then I came home just in time to passed out.
Today, well today is Easter so after the gym and a few Sunday errands I need to do this morning, we are going to be doing a little easter lunch thing and an egg hunt for the littles at moms with the fam. After that I am coming home and continuing my quest for perfection in the yard, maybe tinker with the bike a bit, take a nap, read, drink all the coffee.. Looking at some sunshine and 70 degrees for the afternoon.. It’s going to be a fine fine day.
And I still have not washed my hair so I need to do that. Most of the clay dried and fell out, but there still is some left….SO yeah, I need to do that today. I really hate washing my hair.
Internet links to check out.
–Fireflies Will Soon Light Up the Skies In Mesmerizing Harmony — Here’s How to See Them. I love me some fireflies, how cool would it be to see this.
– The Single Most Useful Snacking Rule I Give My Kid. I don’t have my own kids, but when I have other peoples, I go by a rule like this too except my rule is you can eat veggies any time all the time.
-Want to grow your own avocado tree, here is how. Good luck.
–THE VINTAGE ROMANTIC BATH.. All the clawfoot tubs. Can’t go wrong
-I am so ready. The first official “Stranger Things” Season 3 trailer
–4 Natural Ways To Fertilize Houseplants. Now is a good time to fertilize!
-Hate the dentist? Read this and you will only hate it that much more. The Truth About Dentistry
-If ever I was to live on a house boat, this boat would be the one. And the floors in this place… swoon!
–How One Woman’s ‘Magically Delicious’ Pot Brownies Changed History. Brownie Mary, what a lady.
-What the freaking f@ck? I am pretty sure I don’t like where this could go. Neuroscientists just brought pig brain cells back to life.
Some pictures from the week