
THE LOVELY CRAZY

We have been super busy the past few weeks and haven%u2019t seen any of the littles for a while and I am starting to miss them. So the other day, (when it was actually kinda cold. its been way to warm here!) when I was in the neighborhood, I stopped by my sisters house after the kids got out of school with pumpkin hot chocolate supplies and to hang out. Unfortunately, one of those littles (Miley Lu) was to cool for me and went to hang out with her friend, but whatever, that just left enough hot chocolate supplies to make the one that stayed the biggest cup he could handle, look through all his pictures, and sit around talking about his fart hole.%u00a0
Pretty great visit it I do say so myself.
This hot chocolate is just a little seasonal twist on regular old hot chocolate. I bet that some of you out there might end up with a bit of extra pumpkin puree come next week and this is a great way to use some of that up. The pumpkin make the hot chocolate a little thicker, a bit more hearty,%u00a0and adds a nice smooth creaminess to the drink. And some fiber, which is always good.
%u00a0Now all we need is some snow.
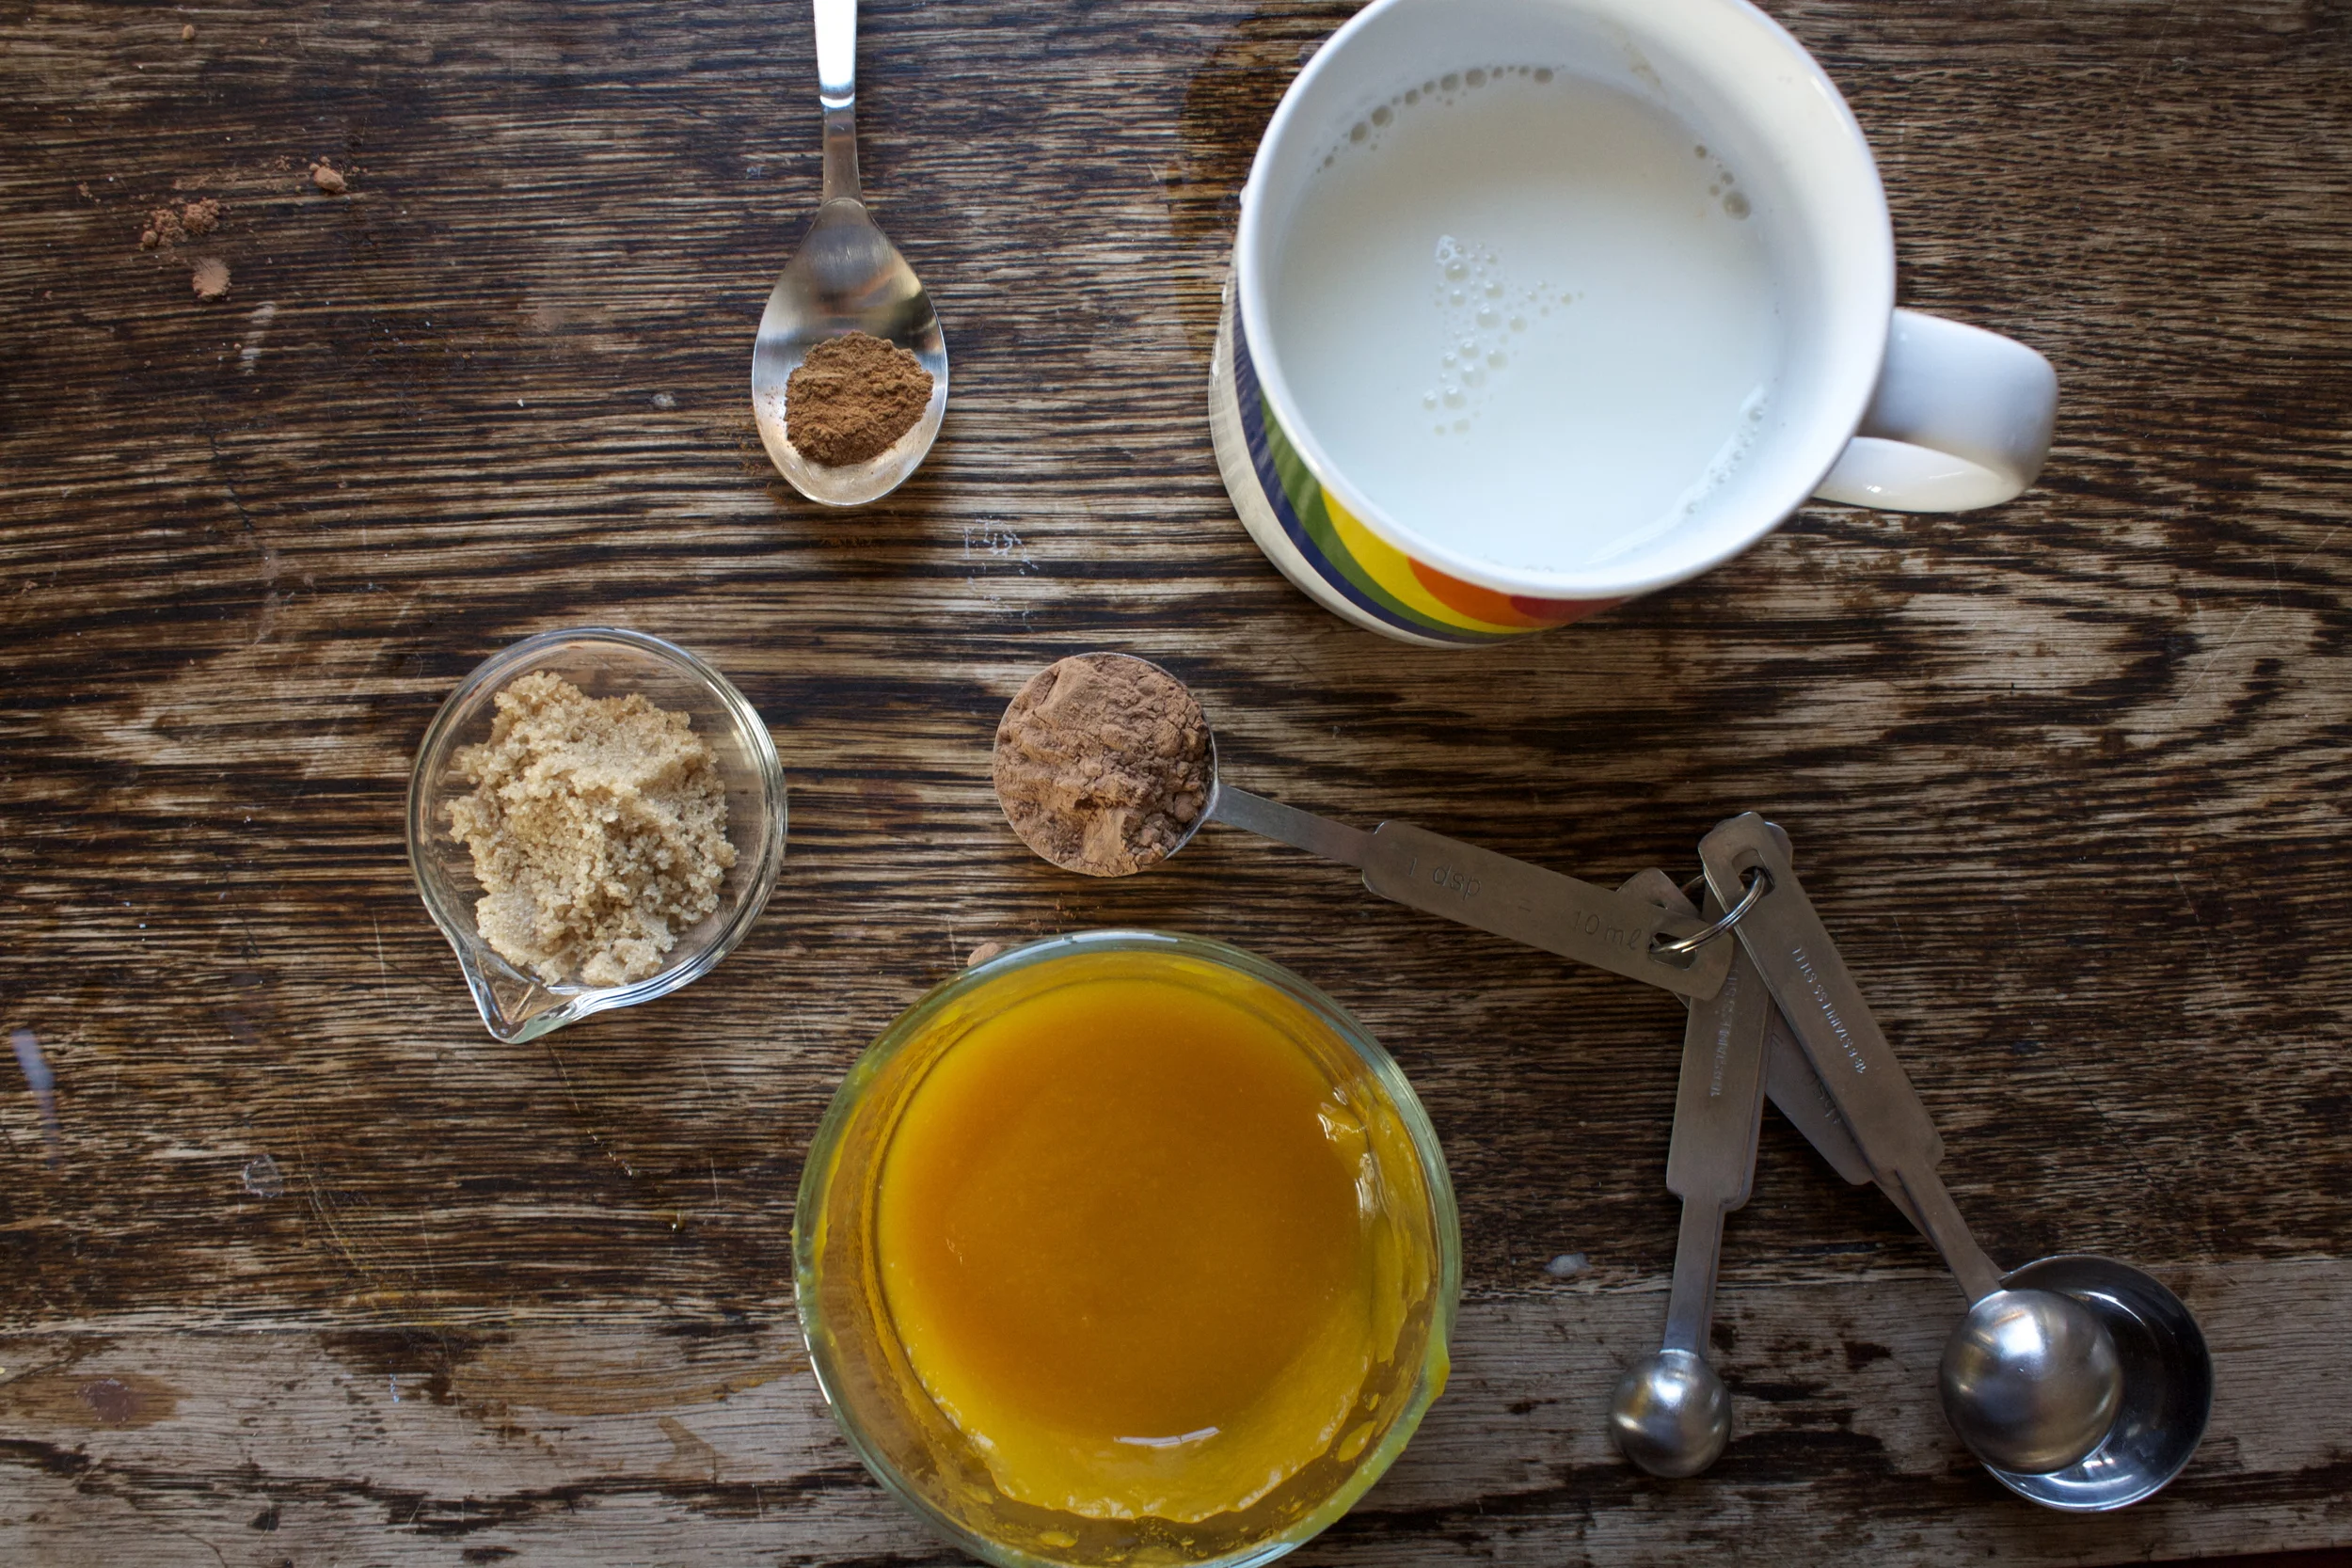
The stuff. Milk (any kind you drink) pumpkin puree, cocoa powder, crown sugar, and a pinch or so of cinnamon.%u00a0
Oh, and pick out your most favorite kick ass mug (it will just sate better that way).%u00a0I brought over the rainbow bug cause Judah loves him some rainbows.%u00a0
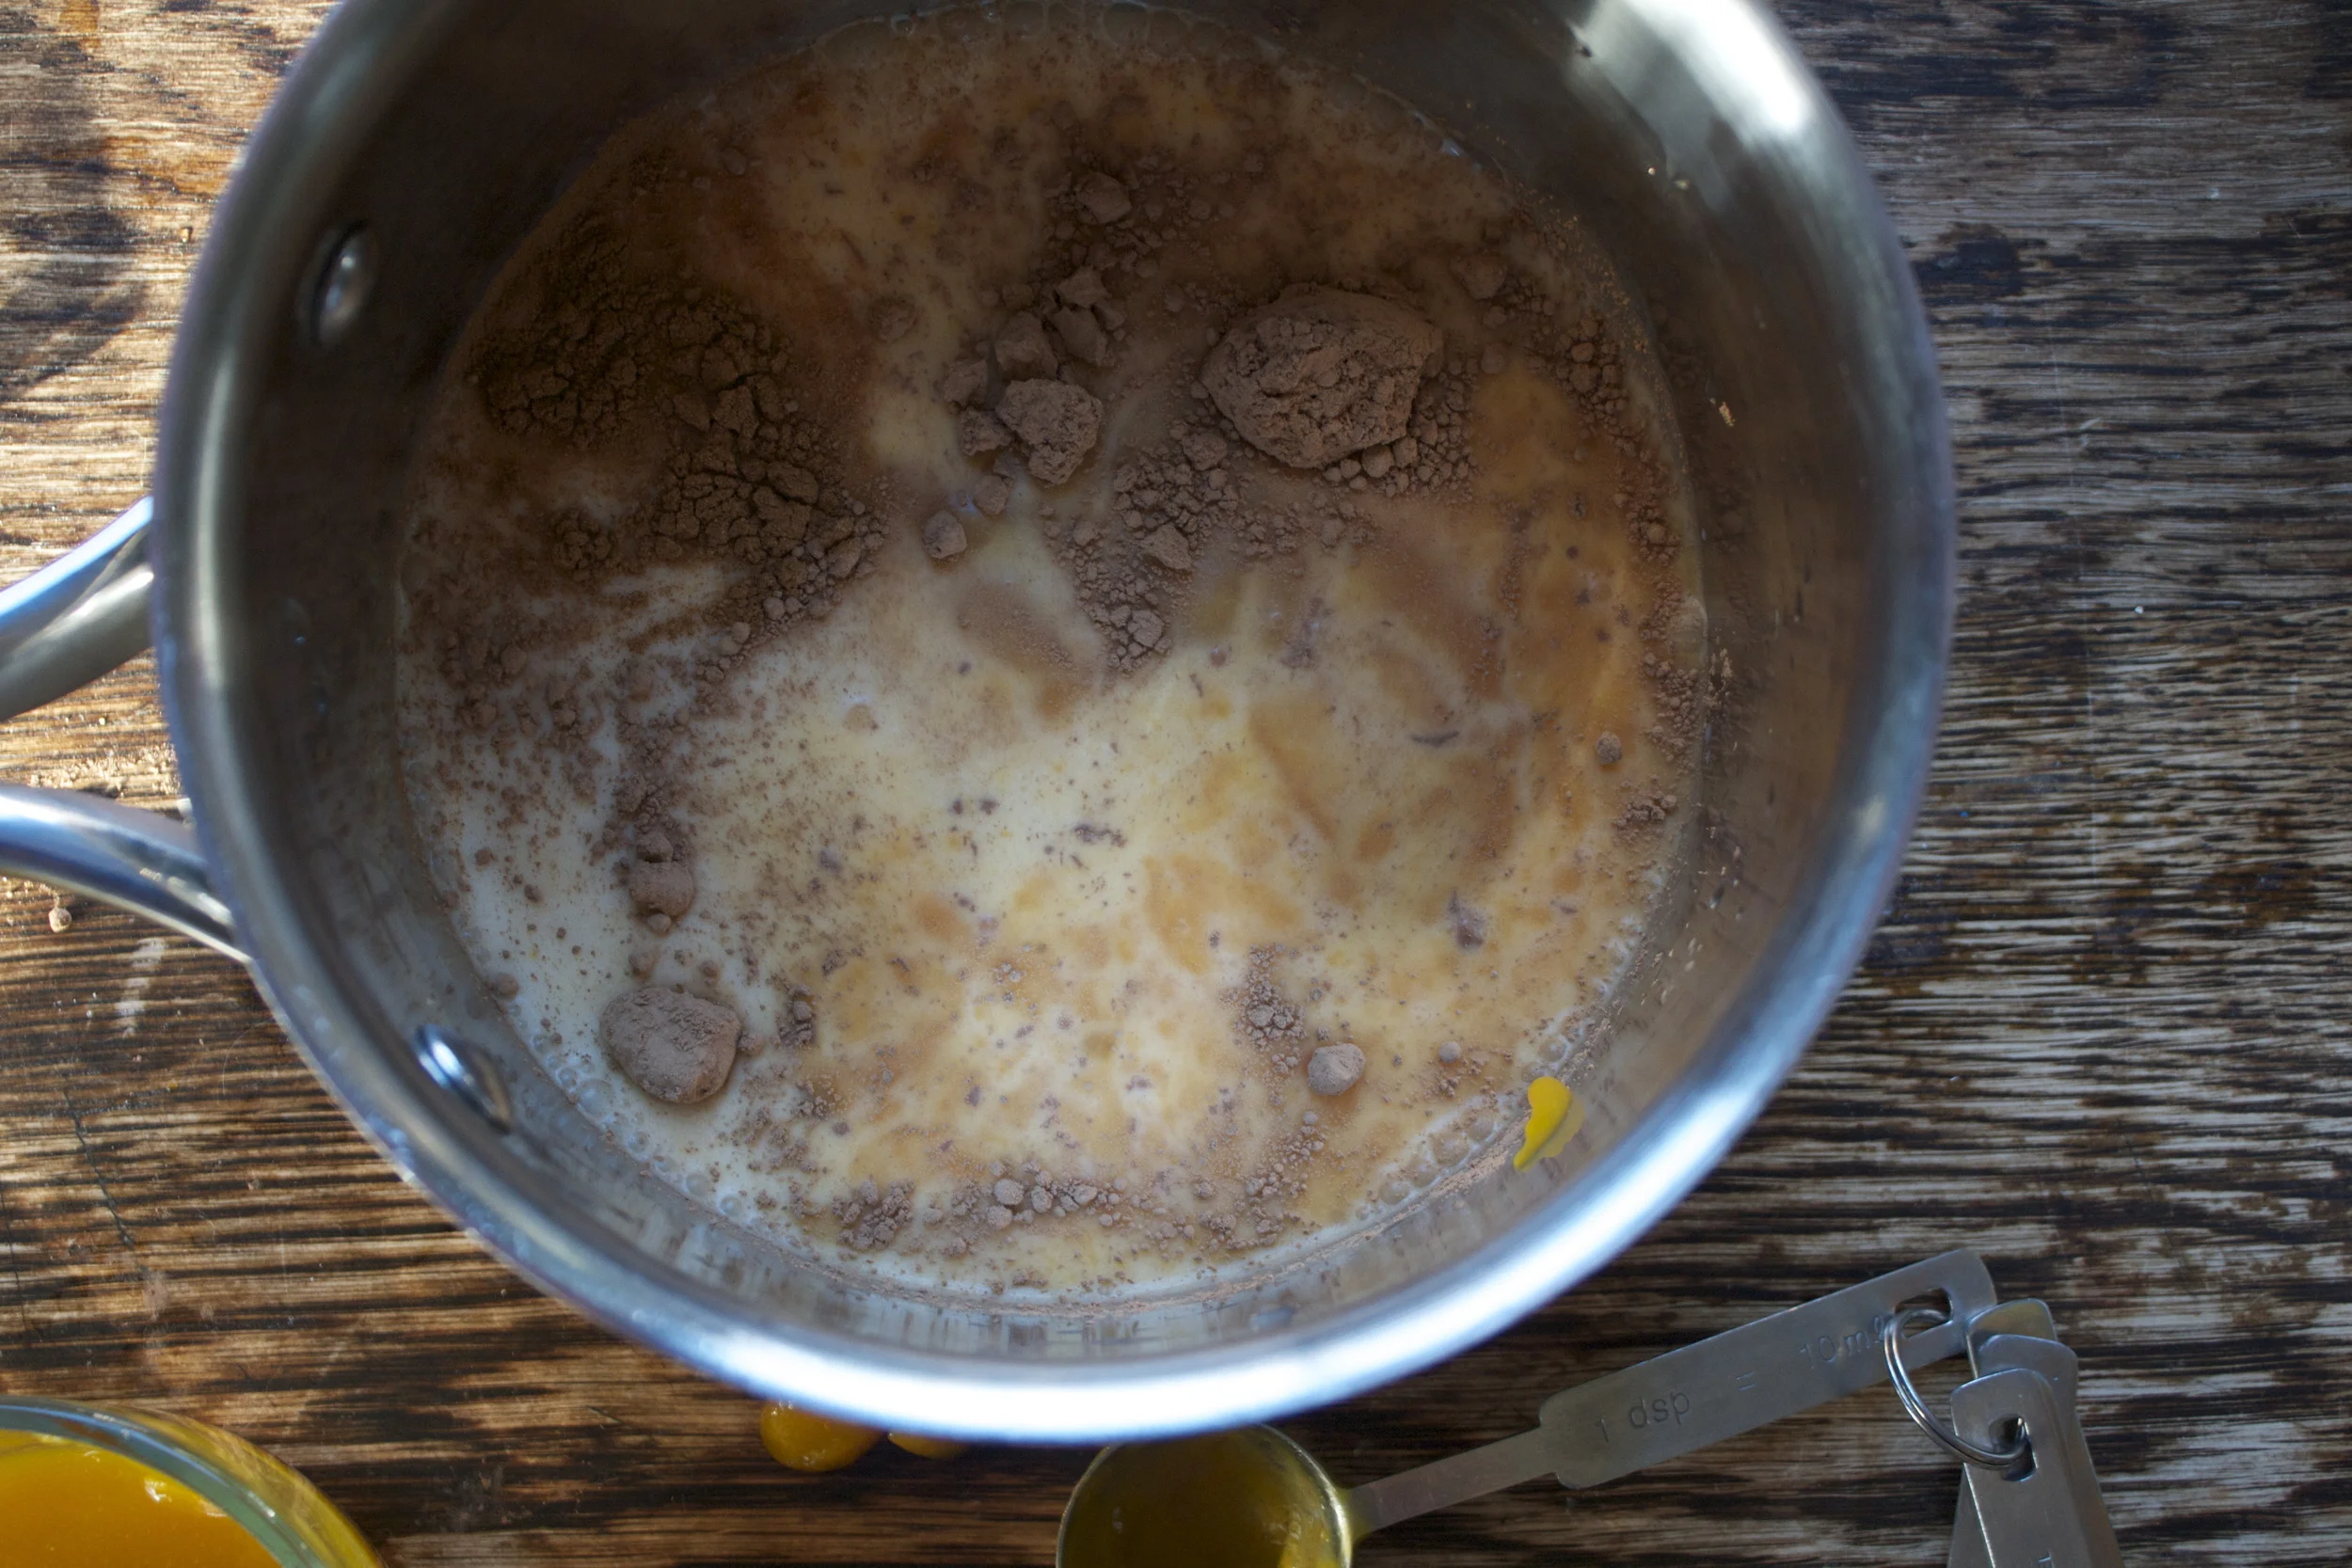
Dump all the stuff into a pot and stick it on stove on medium heat.
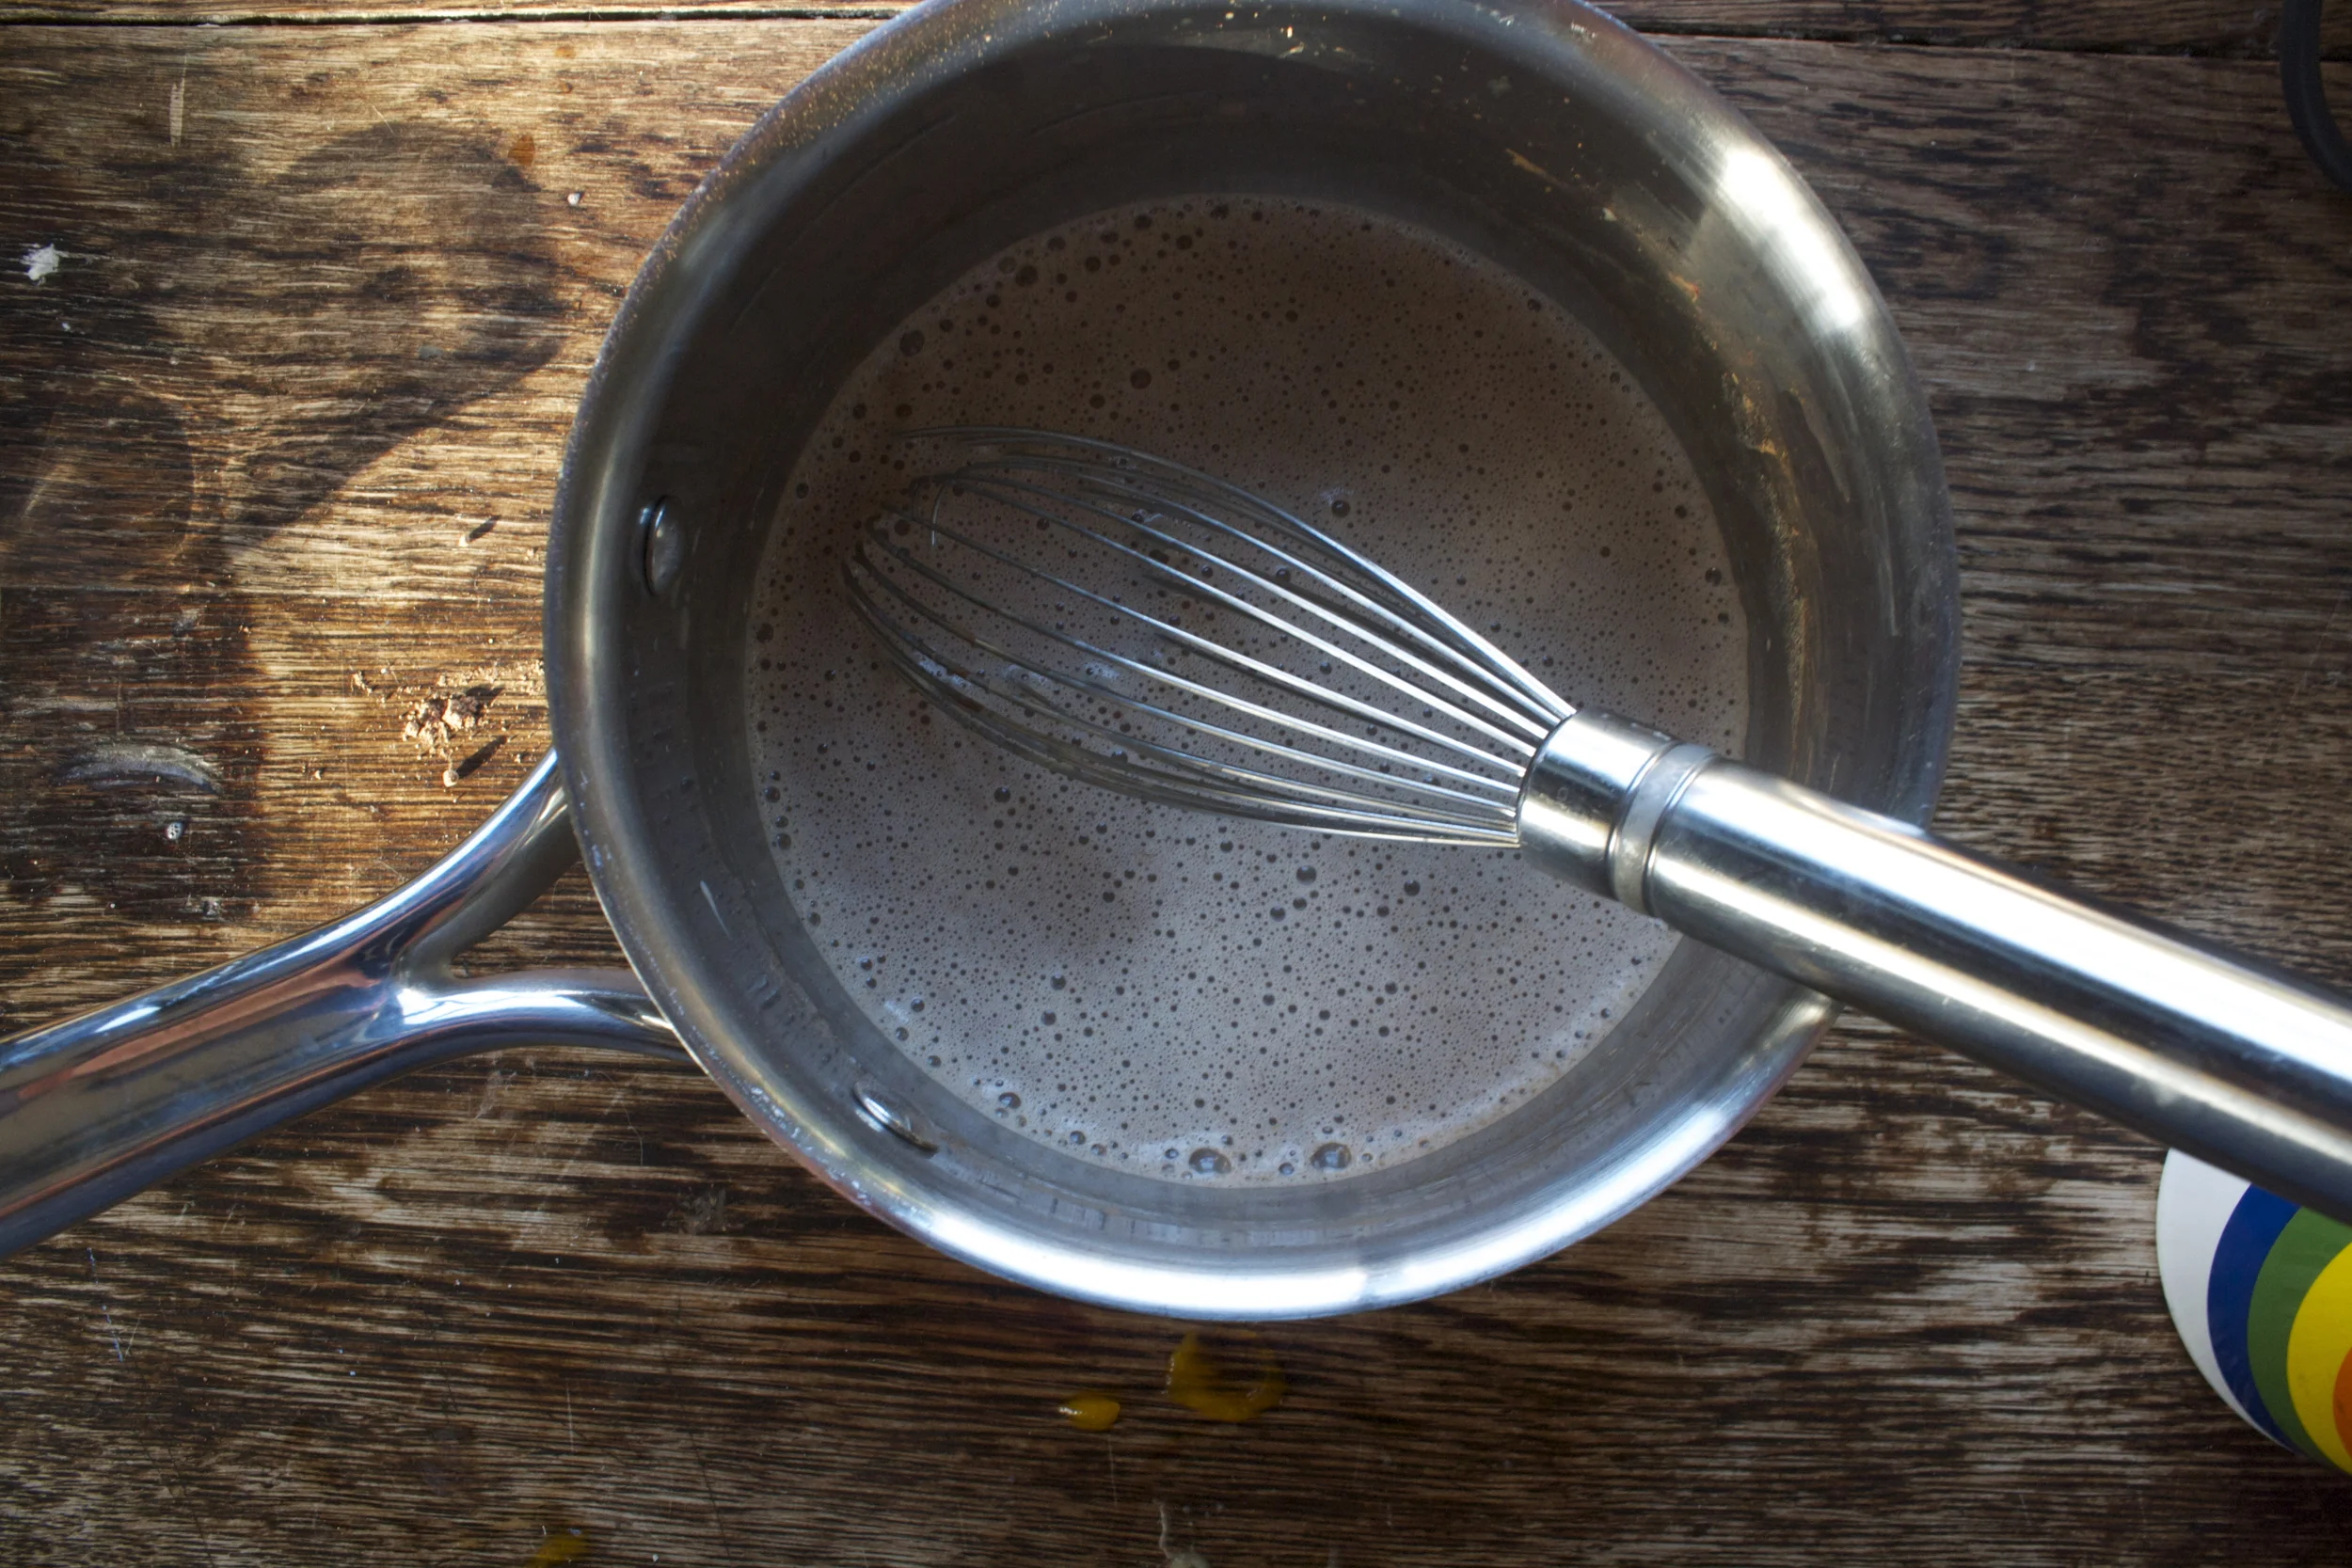
Whisk it all around, and continue to whack until the its as hot as you want it to be.

Pour it into a cup (preferably one with rainbows on it)%u00a0and %u00a0top it off with whatever you like on top of your drink %u00a0(I added a bit more milk froth and a spinkle more of cinnamon)

And serve up, to yourself, or to the monster little waiting for his chocolate fix.
Have a great day!
-C
Makes 1 cup%u00a0
- 1 1/4 %u00a0cup milk (cow, nut, soy.. whatever)
- 1 heaping tablespoon cocoa powder
- 3 %u00a0tablespoons pumpkin puree
- 1 tablespoon brown sugar(more if you like it sweetness)%u00a0
- a pinch or two of pumpkin spice blend (or just some cinnamon works)
Take all ingredients and place into a pot. %u00a0Whisk everything together until fully incorporated. Place pot on medium heat and keep whisking until the hot chocolate is heated to your preferred temperature.
Pour into a mug and feel free to top with whipped cream, sprinkles, marshmallows or whatever you heart desires.

I have so so so many winter squash. It’s getting kind of out of hand. The mr is even making me a couple of wall shelves specifically for the squash so we can get our table back (it is currently covered in squash and tomatoes).%u00a0I hoard them and I can’t exactly tell you why. I think there is a part of me that is afraid that sometime durning the winter I am going to ran out of squash and am going to be forced to eat, I don’t know, other food. And there also the part of me that knows that I will eat it all and why the hell not hoard them.. they are so pretty and lovely and%u2026..well because I can!%u00a0When I sit here and think about it, %u00a0there is no real logical reason for me to have so many, especially sense I will be doing a winter farm share and we get squash at each pick up all winter long.%u00a0
Hum%u2026.Things to think about..Oh well. I’ll just call it a little werido quork of mine%u2026 squash hoarder, which is much better then a trash hoarder or a “stupid shit I found on the side of the road” %u00a0hoarder (that would be the mr.. but I don’t judge).
So yeah, %u00a0I might need a squash intervention, or I can just make everyone around me happy by baking them sweet ass squash treats. I have shared and I always like to share my squash loot (see, another resin to have so many)%u00a0but I found that most of the people in my life do not have the same kind of hunger for savory cooked squash.(weirdos) But you know what they do like? Cake Everyone will eat cake.
And for this cake I used delicata. It is really sweet,(I think all on its own it taste like a sweet dessert)%u00a0so tasty, and easy to cook, The perfect squash for a cake. Add in the warm fall spices and you got yourself a winner. And bonus.. if you have heard that there is a canned pumpkin shortage this year and are are worried about you pumpkin fix. Stop. You don’t need canned pumpkin. Just make your own puree and make it with all the squashes, especially delicata.%u00a0
Now go bake a cake.. I will probably make another one this weekend while I start on eating/baking with the sweet dumplings and buttercups that are piled on the fridge (seriously.. I have squash EVERYWHERE!)
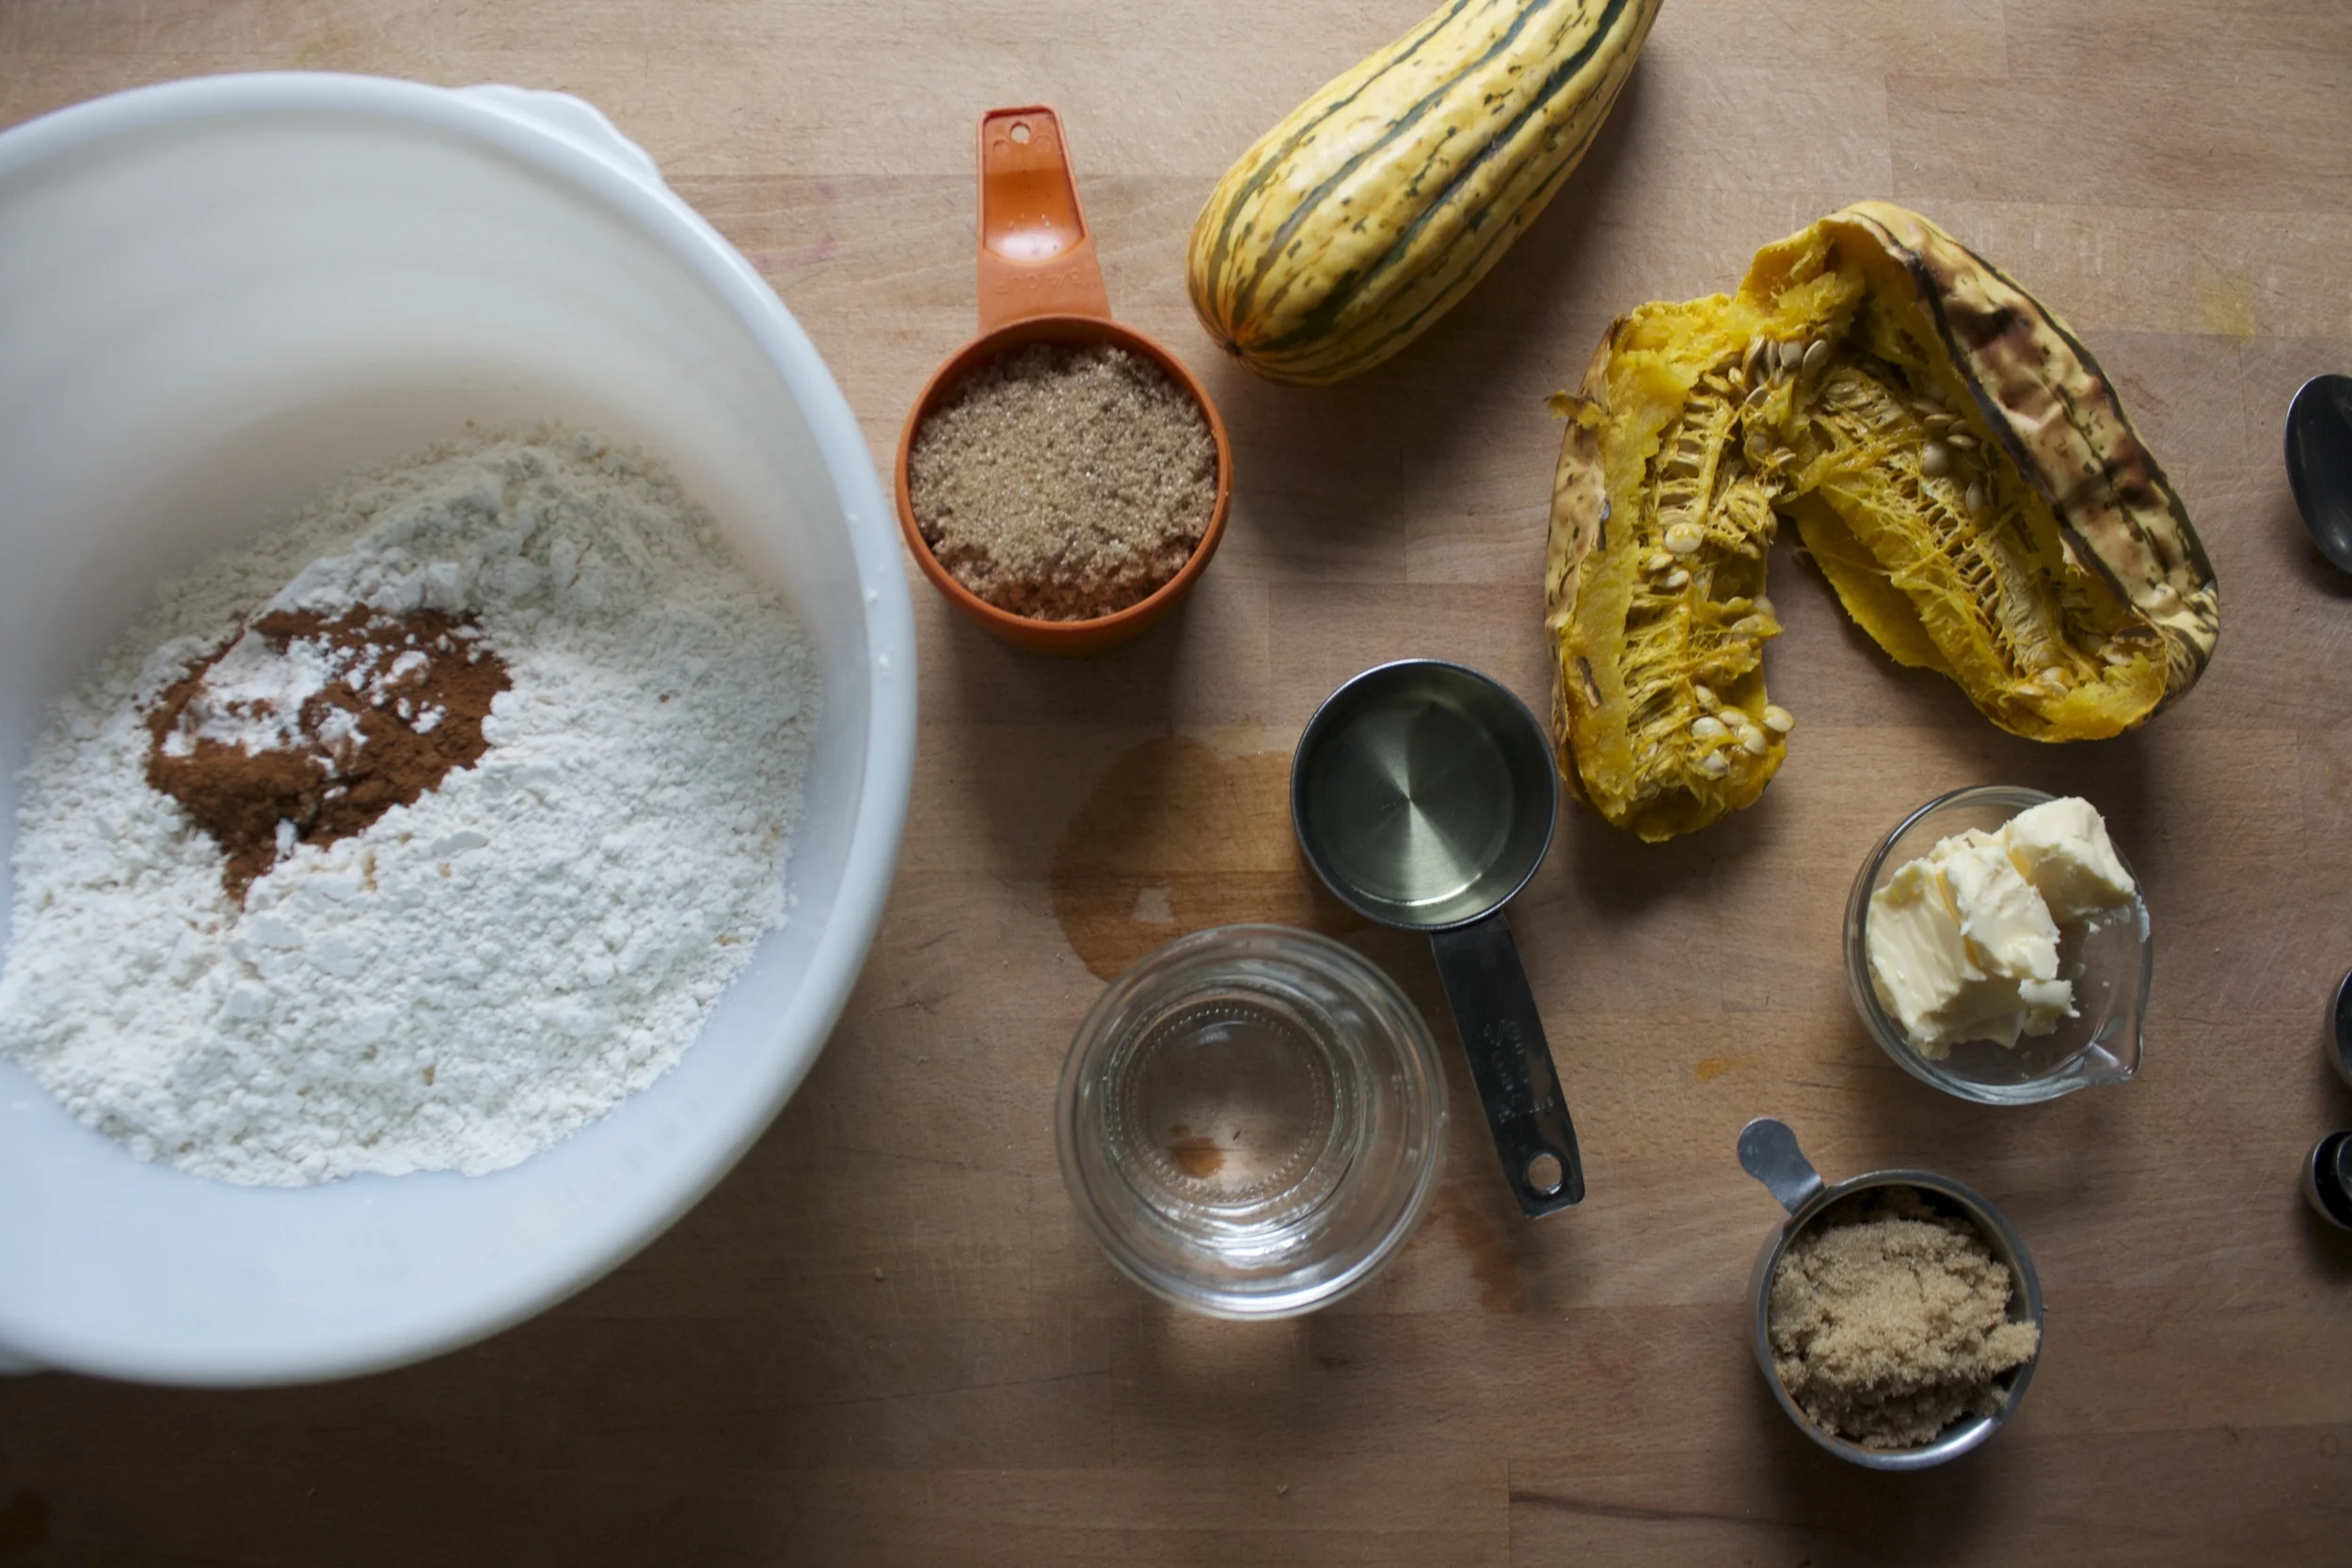
The stuff. In the big white bowl there is white whole wheat pastry flour, baking soda and powder, salt, cinnamon and nutmeg. Then we have some brown sugar, oil, water with some vinegar and a already baked delicata squash. Also going to need another uncooked squash, earth balance and a little more brown sugar for the upside down part.
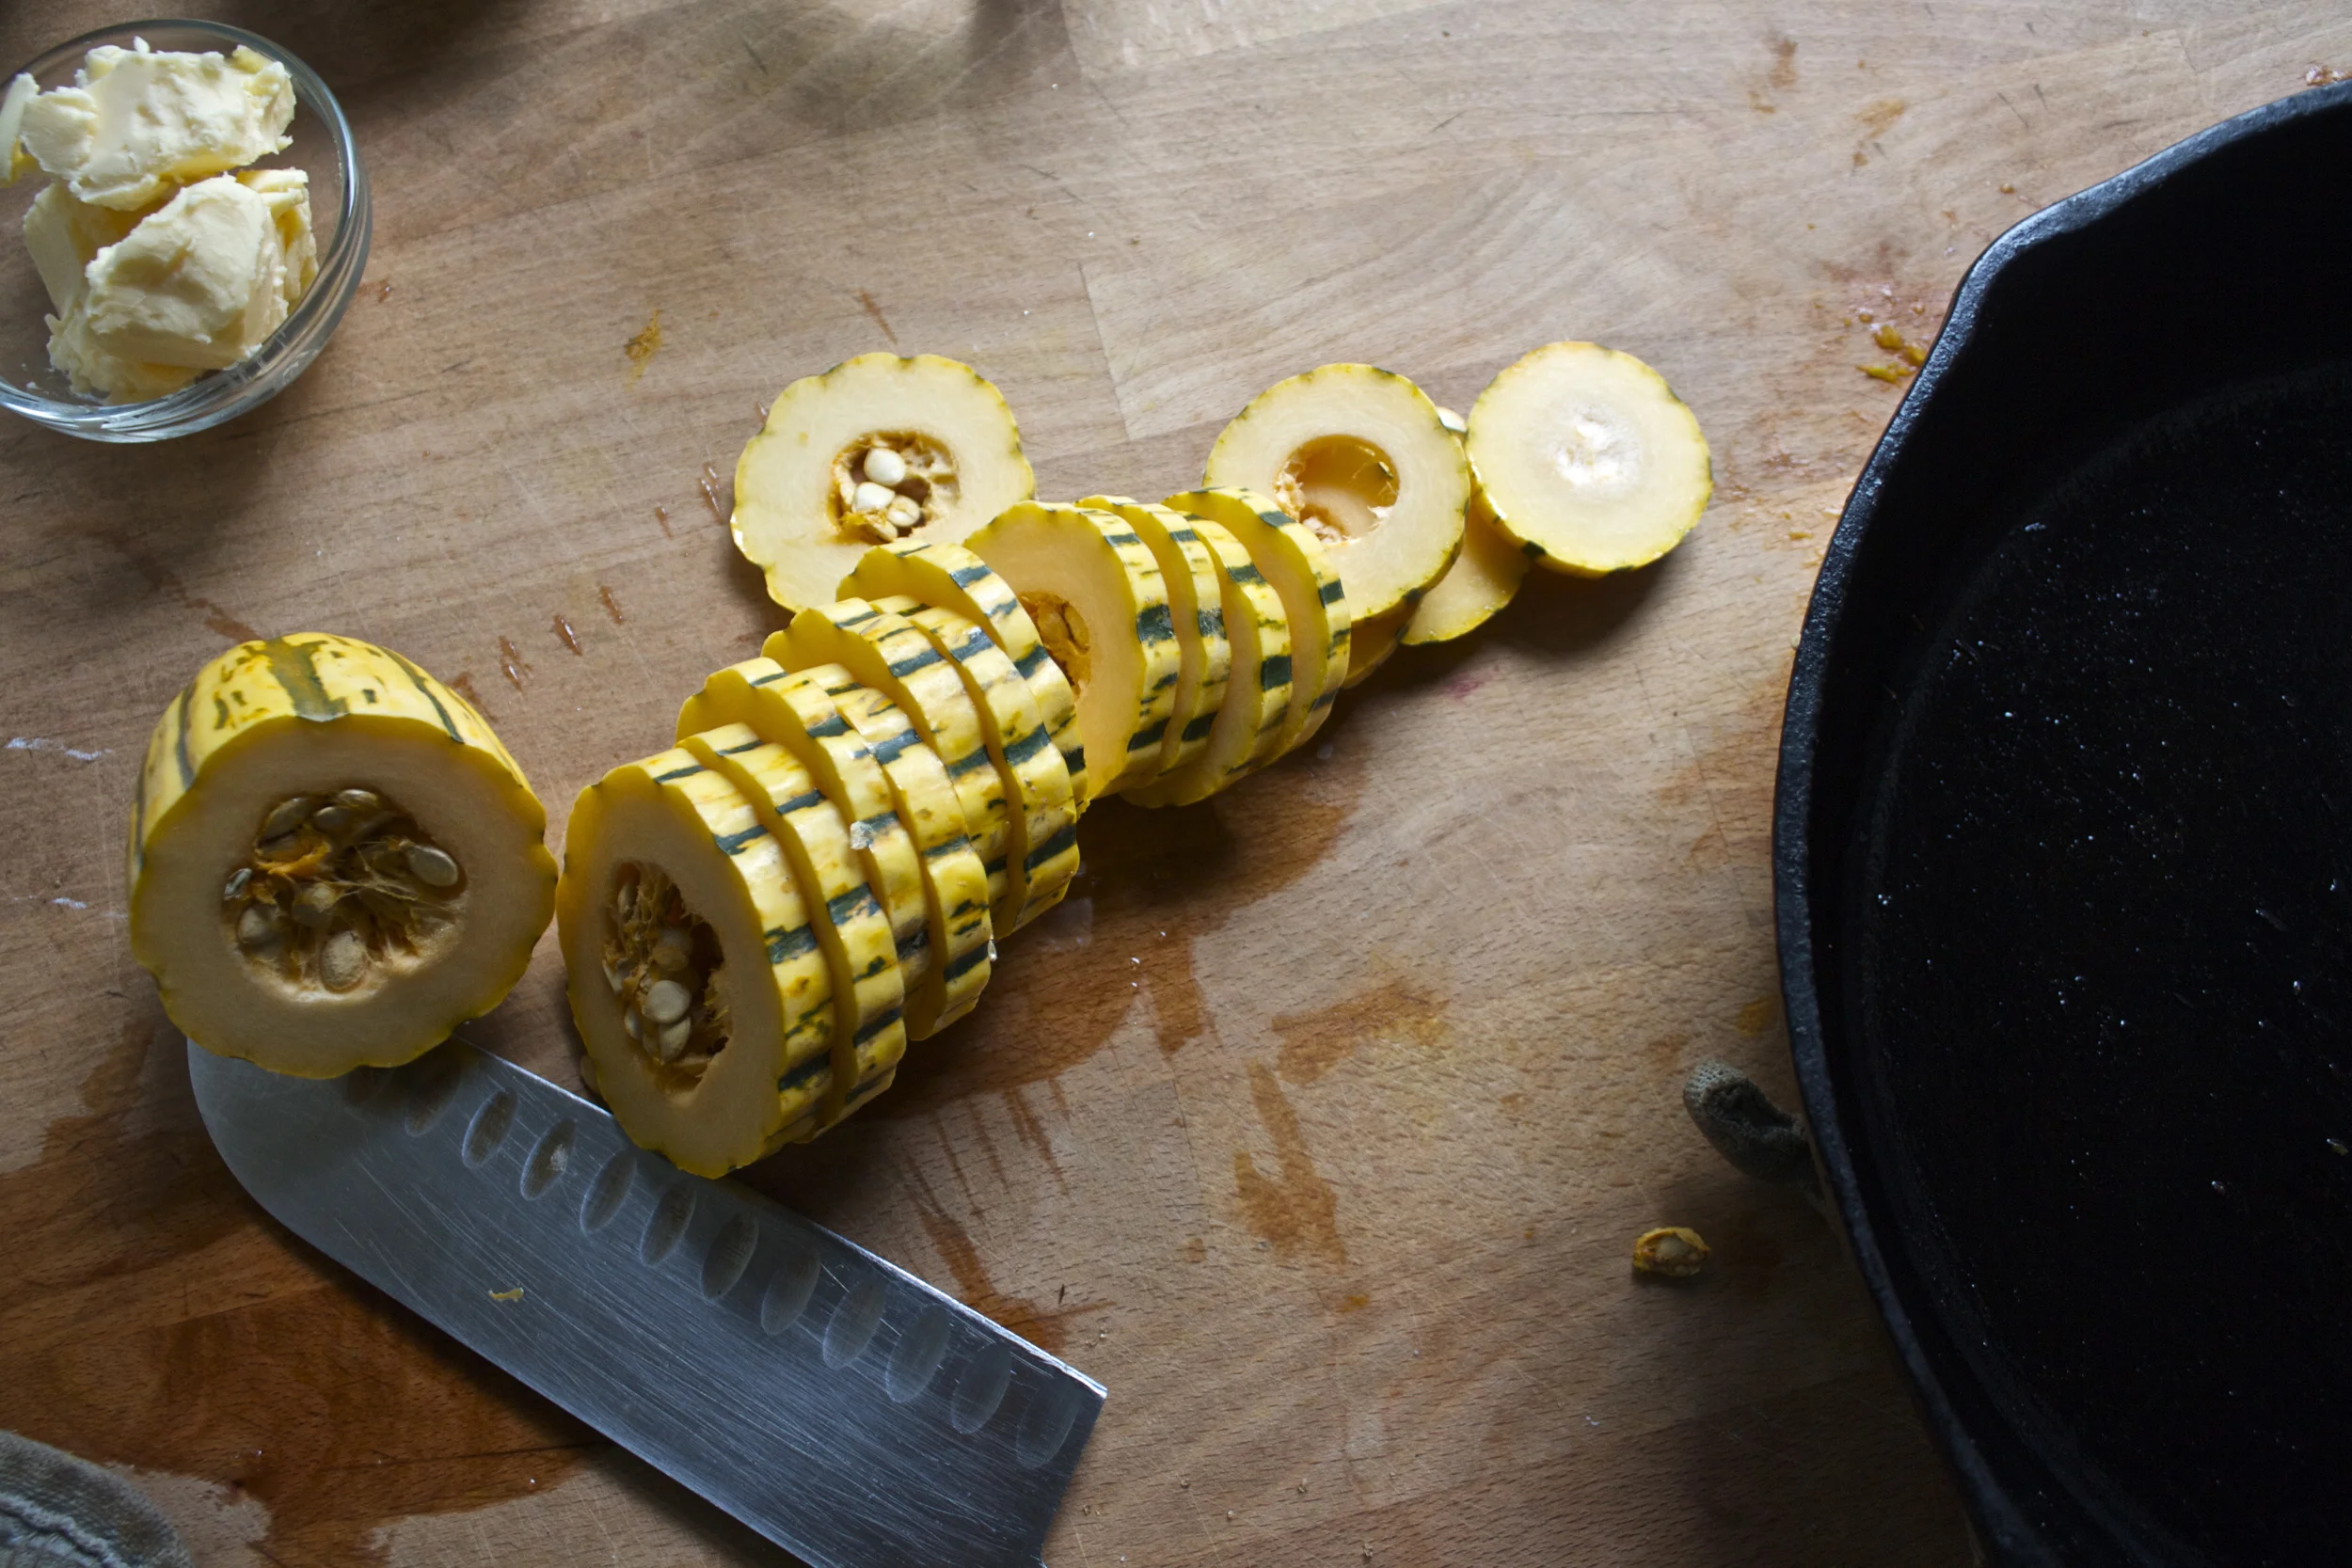
First off, grab yourself 10-12 inch skillet, preferably one that you have not just cooked garlic in.%u00a0
Slice up the uncooked delicata into 1/2 inch slices and remove the seeds (to roast later)

Stick the earth balance and the lesser amount of brown sugar into the skillet and place it on low heat, just to melt the butter and sugar down to form a sauce.

Now layer the squash rounds in the sauce. Fill in the skillet as much as you can. (%u00a0any left over can be for %u00a0cooked for lunch)
The already baked delicata squash (minus the seed and skin.. save the seeds to roast, skin you eat right away) goes into a bowl with the brown sugar and oil. Mix it all together until combined.%u00a0
Note.. My squash was still warm when I mixed it with the sugar and oil. which really helped the sugar resolve and for the mixture to be smooth. If you squash is cold,%u00a0warm it up a bit..
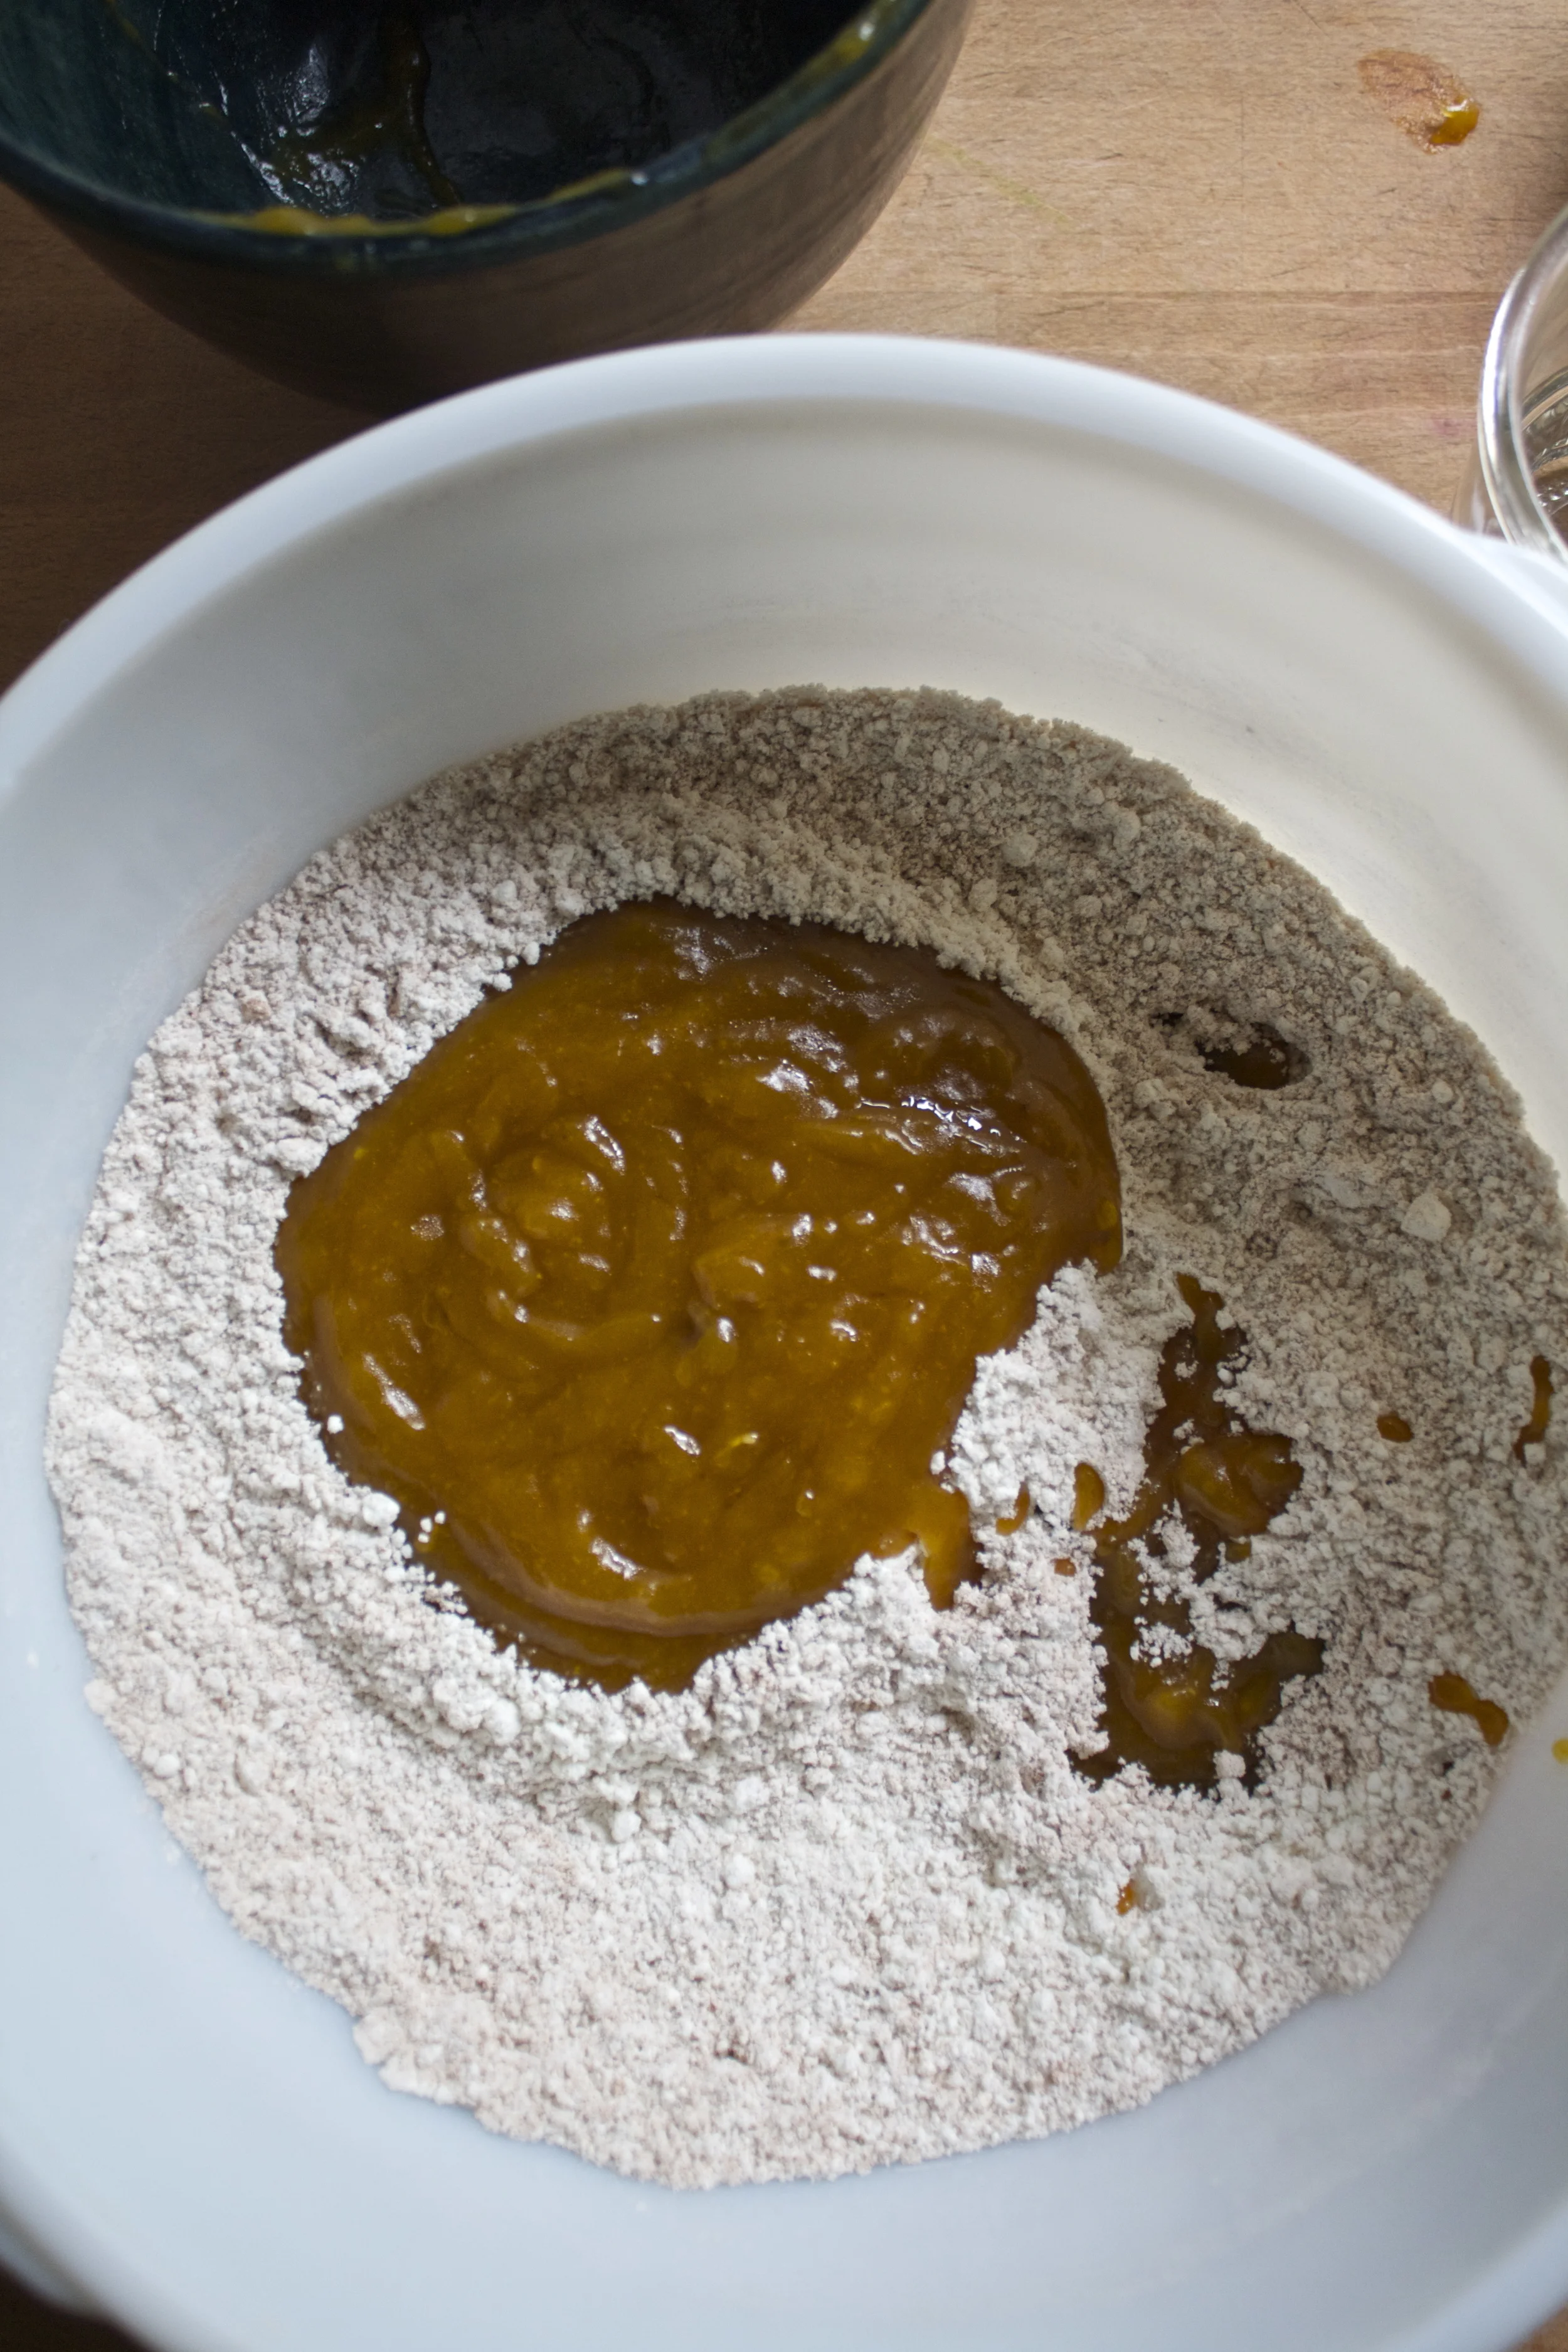
Whisk together all the dry and dump in the squash mixture and mix.

And slowly pour in the water/ vinegar mixture and mix until just incorporated.
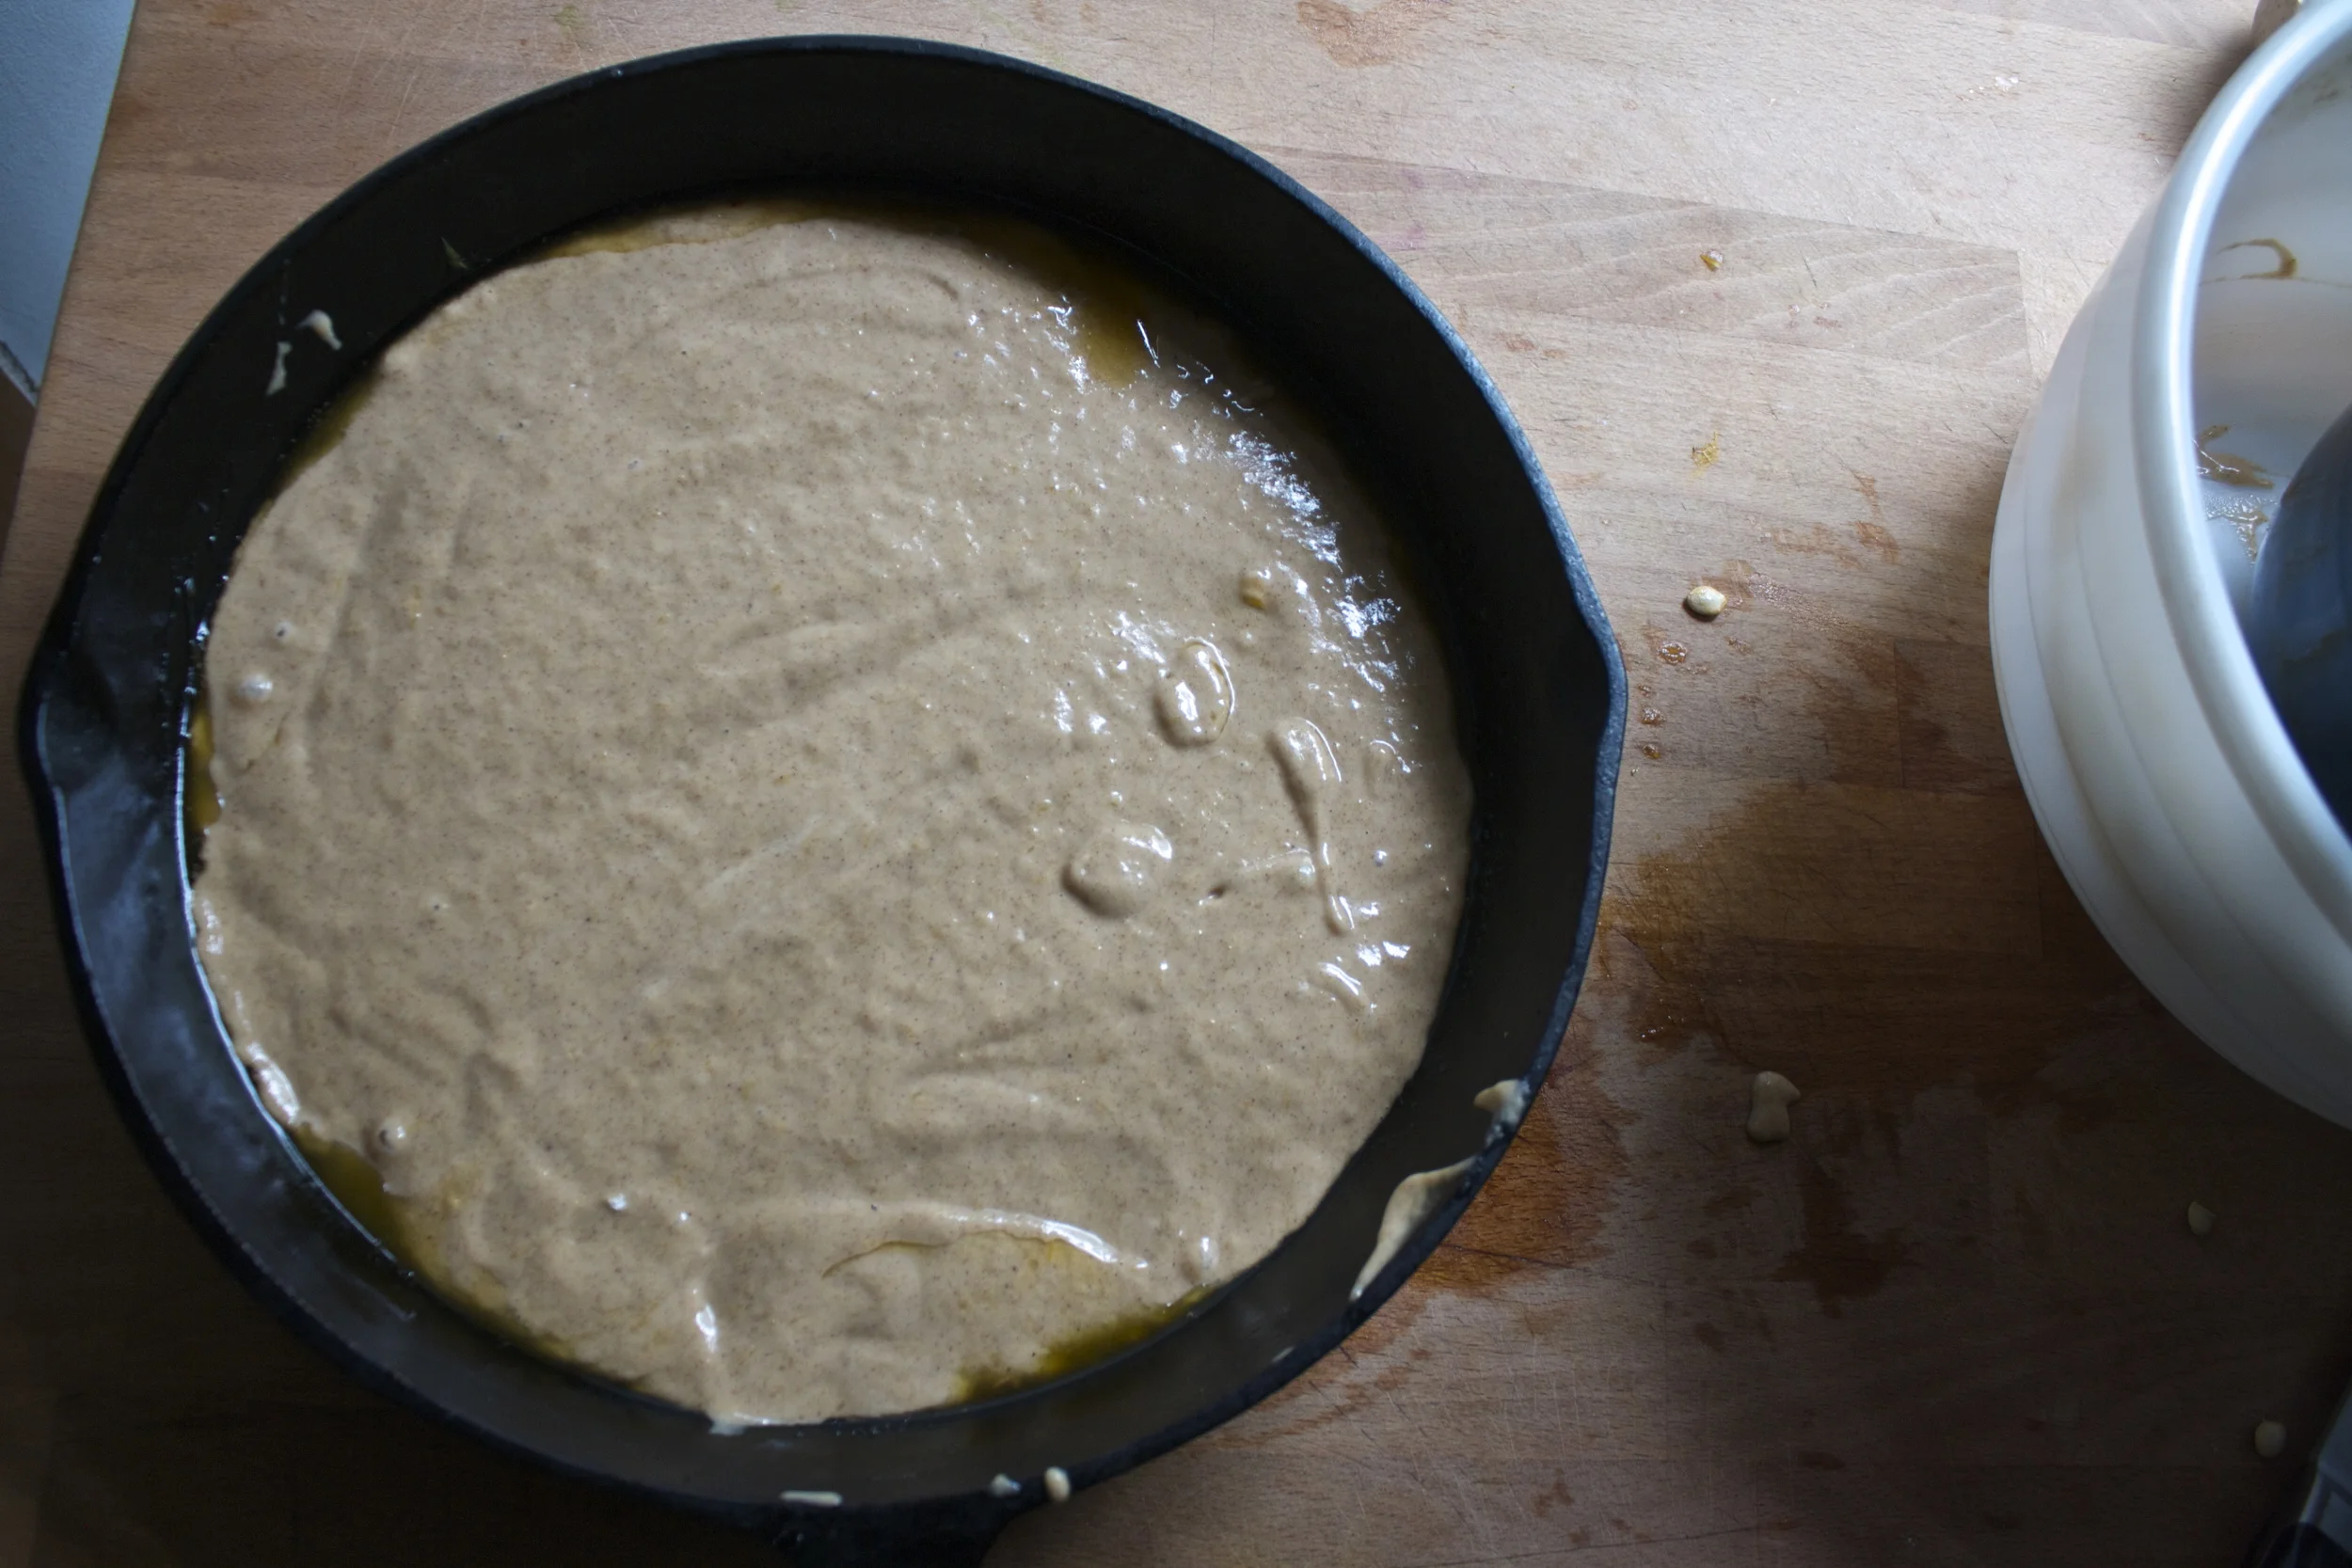
Now slowly pour batter over the delicata in the skillet.
And into the oven it goes!

After 45-50 minutes, the cake should be browned and beautiful and a tester should come out clean when stuck in the middle. Remove the cake and place on cooling rack for about 8-10 minutes to cool. Don’t get to excited and do it to soon or else the caramelization on the bottom will still be too liquid and completely soak into cake. Giving it a few minutes will let it cool enough to set up and stick to the top%u2026.so just wait!
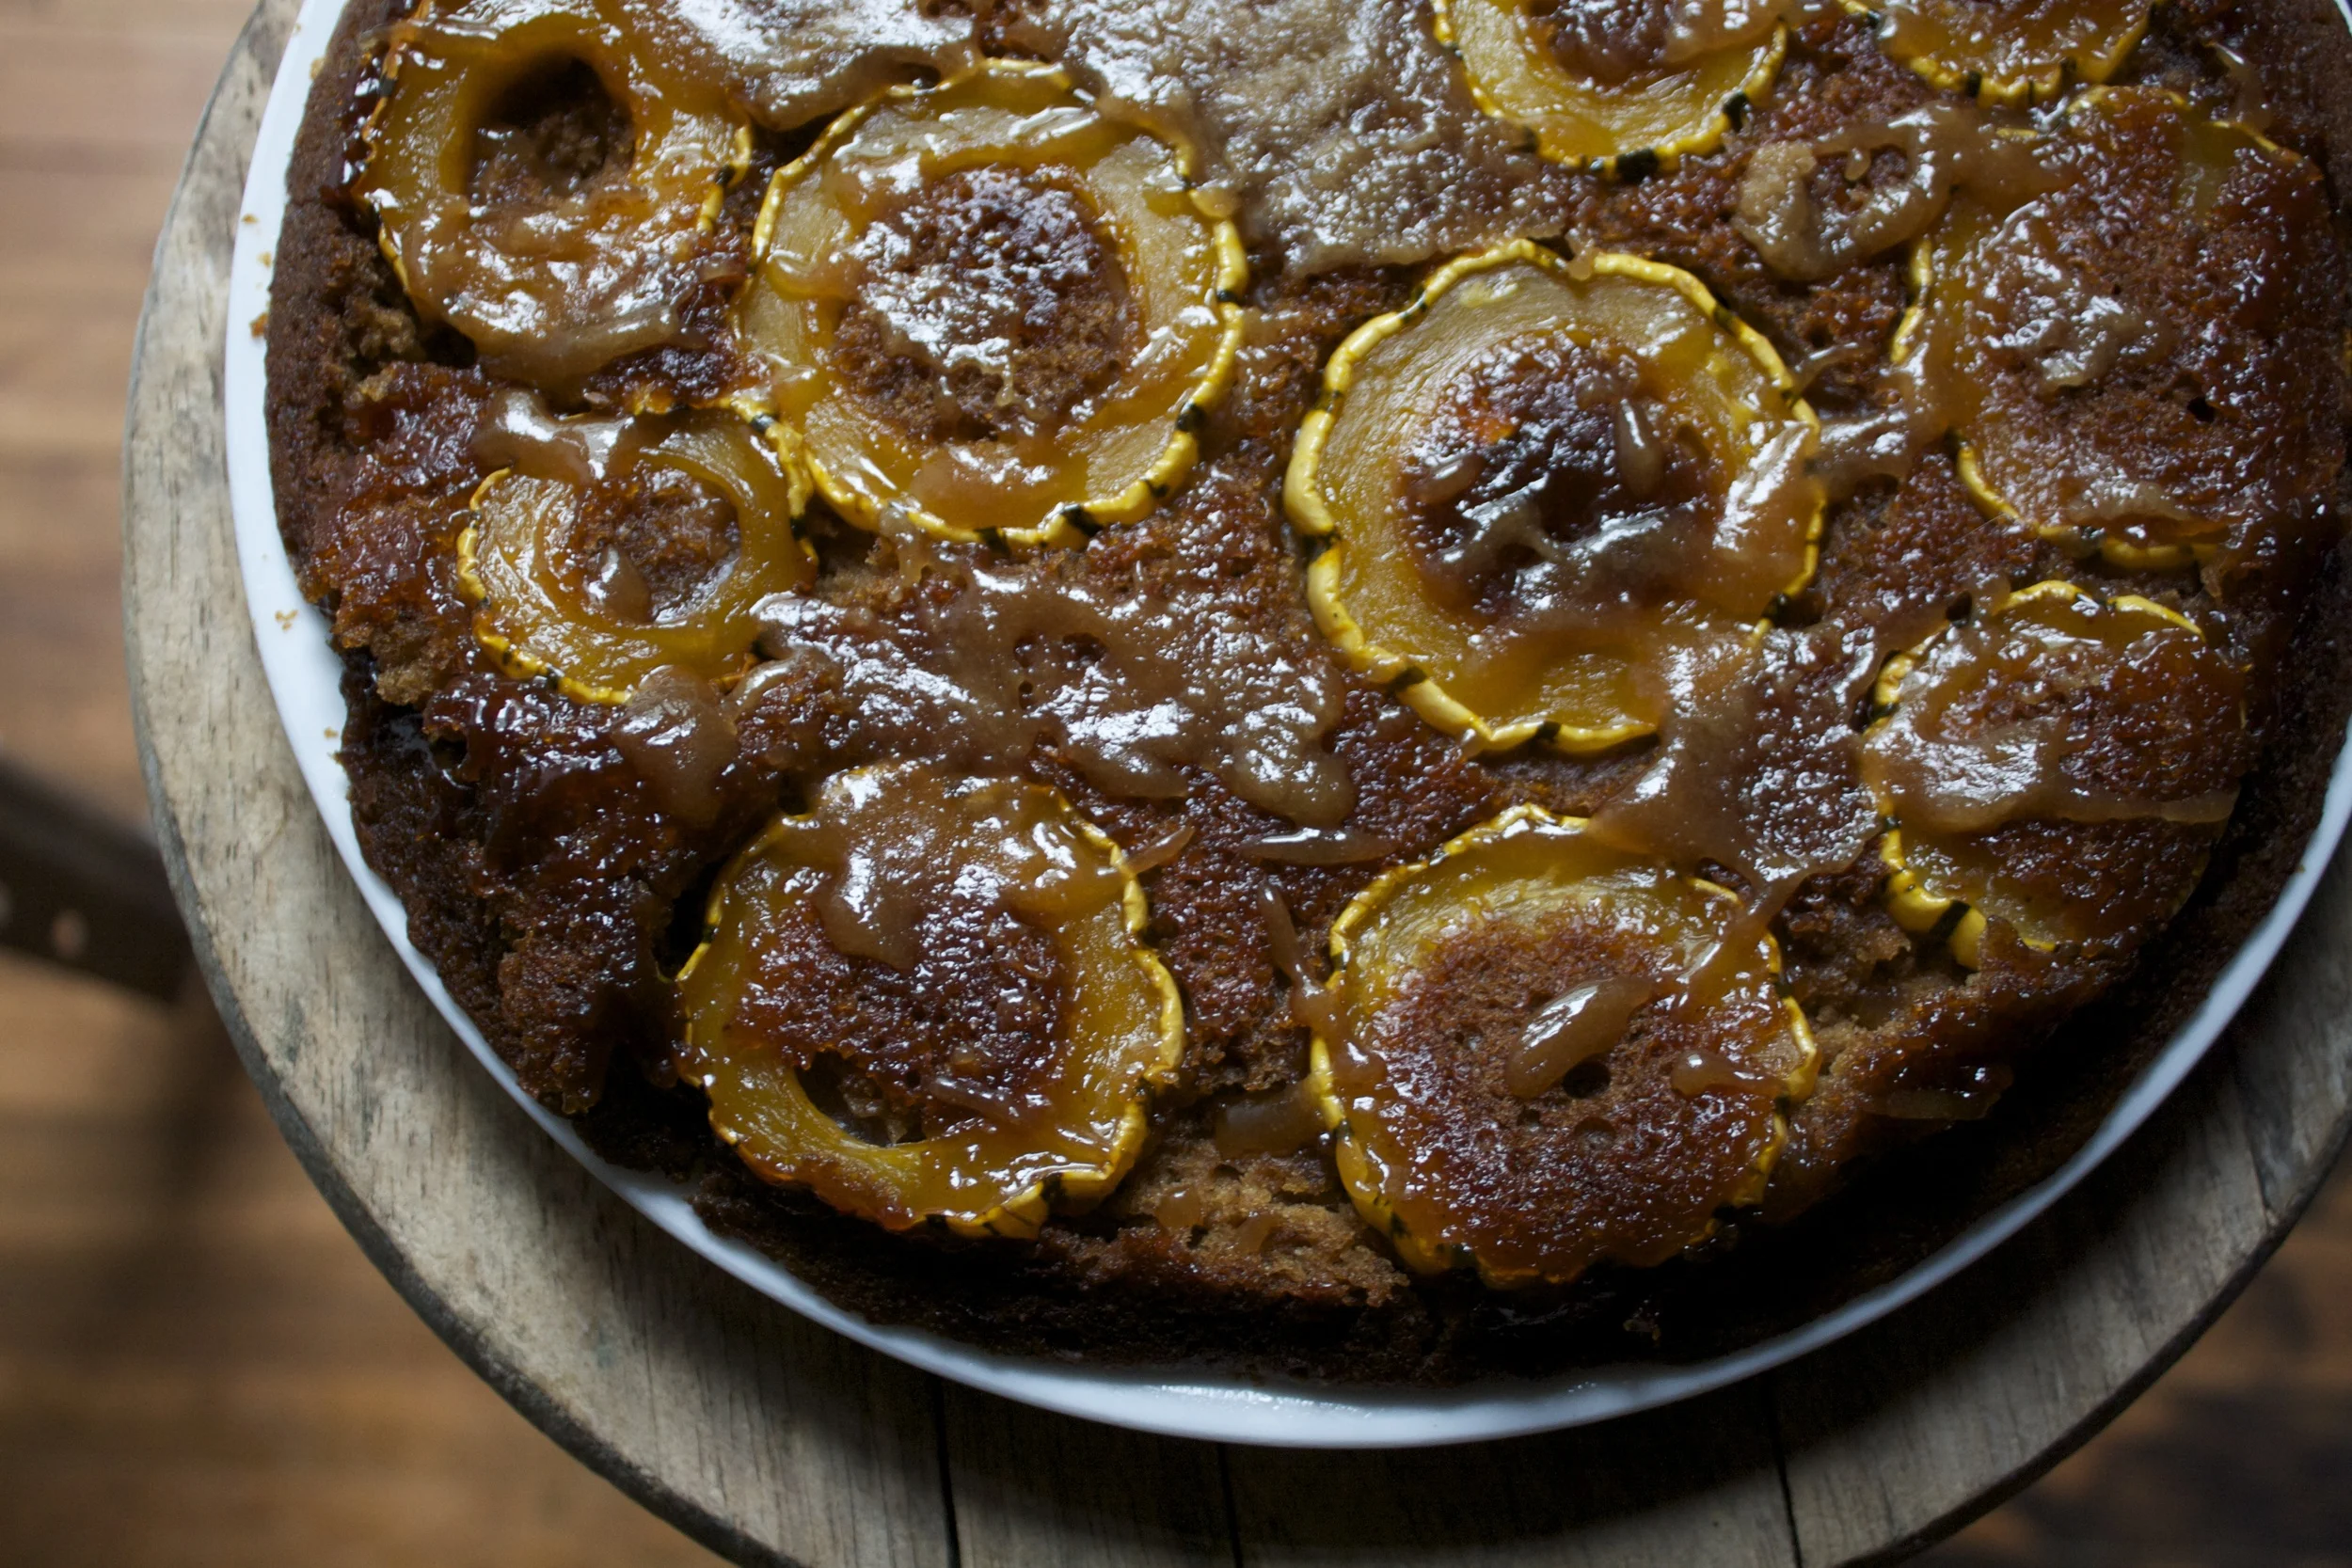
And for the best and scary part%u2026flip the skillet onto a plate or cutting board and be amazed. oh, but right before you do, run a spatula or knife around the edge to make sure the cake is loose.
It really should have no problem coming out of the skillet, but if any of the squash sticks (one piece of mine did) just scrap it out and place it back on the cake%u2026 no one will notice)
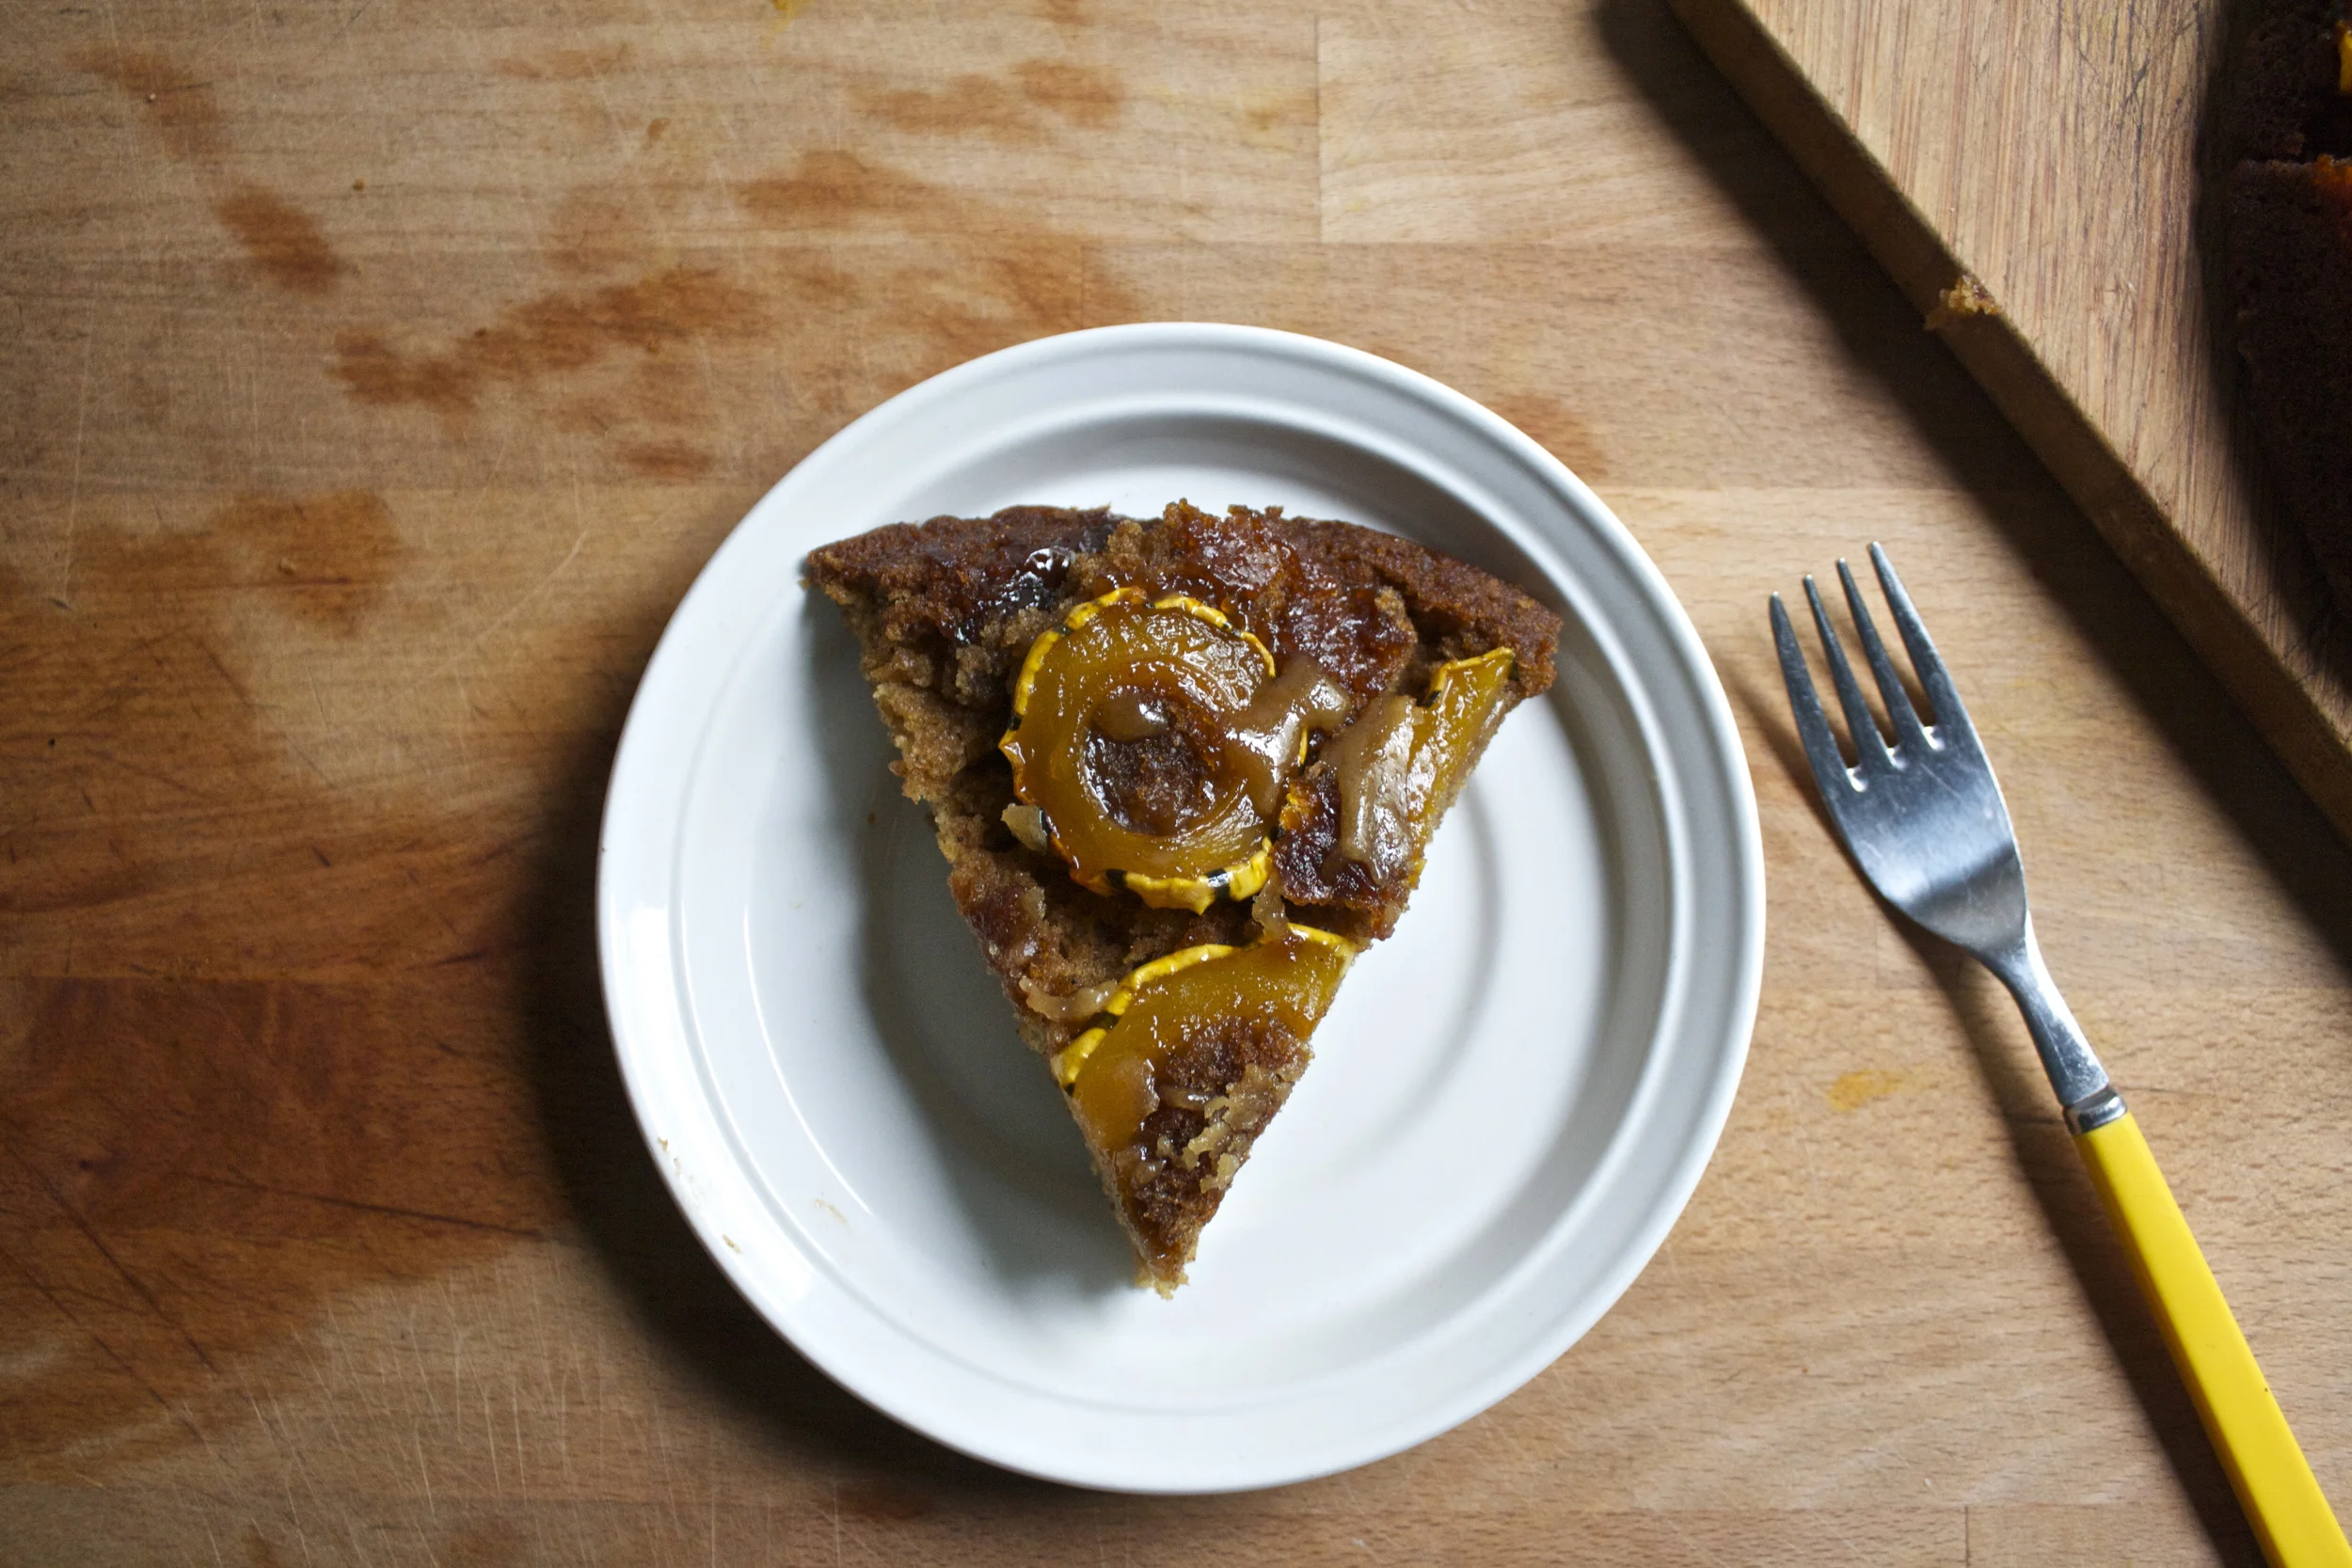
Now time for a slice%u2026 or maybe two!
And for reals, go get yourself lots of squash, even if it’s just to make cakes with!
Have a fantastic weekend!
-C
Makes a 12 inch skillet cake (can be made in a can pan)
For the cake
- 1 3/4 cup white whole wheat pastry flour (can use white pastry, wheat pastry, or all purpose)
- 3/4 cup brown sugar
- 1 cup warm delicata squash puree*
- 1 teaspoon baking soda
- 1 teaspoon baking powder
- 1/3 cup mild flavored oil (canola or veggie)
- 1 cup water%u00a0
- 1 tablespoon apple cider vineagr
- 1 teaspoon salt
- 2 teaspoons cinnamon
- 1/2 teaspoon nutmeg%u00a0
For the upside down part
- 1/4 cup of brown sugar
- 3 tablespoons earth balance]
- 1 small uncooked delicata squash%u00a0
*Note.. To make delicata puree, simply stick the whole squash into the oven and roast until fork tender. Remove and let cool enough to handle. Cut in half, scoop to the seeds and scoop the flesh into a bowl%u2026.thats it. Oh, save seeds to roast and eat the skin as a snack (skin is my favorite part and the seeds are almost better then pumpkin!)
Preheat oven to 350 degrees.%u00a0
Grab yourself a 10-12 inch clean cast iron skillet (maybe don’t cook garlic in it before you make this cake). Stick the earth balance and the brown sugar in it and place on low heat until the butter and sugar melt together and form a sauce. Remove pan from heat. Take the raw delicata squash and slice it into 1/2 inch rounds. Remove the seeds(save for roasting) and place the rounds into the bottom of the skillet, fitting in as many as you can, without overlapping. Set aside and make cake batter.
In a large bowl, whisk together the flour, salt, baking soda and powder and the cinnamon and nutmeg. In a separate bowl, combine the cooked warm squashwith the oil and the brown sugar. (if you squash puree is cold, warm it up. It mixes better warm)%u00a0Mix until completely combined. Dump wet into dry and whack together then slowly pour in water/ vinegar mixture and whack until everything is full incorporated.%u00a0
Pour cake batter over the stuff in the skillet and place into the oven. Bake for 45-50 minutes , until a nice golden brown and tester in middle comes out clean. Remove and place on a cooling rack or ontop of the oven to cool for 8-10 minutes. Once %u00a0cooled, take a plate, cooling rack, or cutting board that is a least a little bigger therm the skillet, place it ontop pif the killet, and flip. The cake should drop right out%u2026. if anything sticks in the skillet, trust scrap it off and stick it back on the cake.
Now the cake is ready to eat.. so grab a knife, cut a slice and do it.
 It’s Mother’s Day weekend which means that you and I and everyone out there should feel the slightest bit obligated to at least do a little something nice for your mom for the mere fact that you were borned. And really what better way to celebrate mom than with food%u2026 It really is the least that you can do. (I think mom’s also like flowers and cards and handmade pasta necklaces) My mom is defiantly about the food. (she has had her fair share or pasta necklaces) %u00a0A many years back on Mother’s day, this sweet little girl (me) made her mother a special %u00a0breakfast treat%u2026blueberry scones. And ever since that day, for every freaking holiday, birthday, whatever day, my mother requests (demands) a batch of those scones. She is always saying that these are her favorite treat and that no one has ever made them as good as I do. (I guess that just reiterates that I am her number 1 child)
And for the last few months my mom has been up my butt, trying to get me to make her some. Not going to lie, I have been saying I’ll get her a batch, but for some reason, I haven’t gotten around to making them. So two birds here.. Make the scones and she gets off my back for a least a little while (a month.. maybe 2) and I give her a fantastic Mothers day gift that I know she will love.
So here they are , oh mother of mine. Blueberry scones!
 The stuff. Flour, baking soda, baking powder and salt. A bit of sugar, vanilla, buttermilk, and butter (use vegan butter and nut milk if you want to make them vegan) And of course we need the blueberries which can be fresh or frozen. I usually use fresh, but the store I stopped at only had really big containers of fresh that were like $1000 dollars a piece and the organic frozen happen to be on super sale. So you know, the cheap in me won that battle.%u00a0
 So into the bowl goes all the dry stuff; flour, baking powder and soda, salt, and the sugar. Give it a good whisk.
Now for my special trick for a perfectly distributed cold butter in a pastry. Freeze your butter and grate it!
With a large wholed grater, grate the frozen butter directly into the bowl with the dry, stoping a few times to toss the butter chunks around so you don’t end up with a huge pile of grated butter. When it’s all grated, gently toss around so the butter is evenly distributed.%u00a0 Now dump the blueberries into the flour mixture. Toss them around to give them a coat of flour. Add in the buttermilk and vanilla and give a little mix until liquid is absorbed. We are trying to handle the dough as little as possible.
 Turn mixture onto counter. It’s very loose, but thats what it should look like.
  Very gently and with as little handling as possible, gather dough up, knead a few times till everything %u00a0just comes together. Press dough into a disk that is roughly an inch thick%u2026. and it doesn’t need to be perfect.%u00a0
 Cut the disk into even sized pieces. Do 6 big, 8 normal, maybe even 10 smaller. Whatever size you like. (I did 8) Place the scones onto a baking sheet, using a spatula to transfer, and sprinkle the tops with a little bit of sugar. Into a preheated oven for about 20 minutes.
 And when the scones look all nice and browned and a tester comes out clean. remove and either serve right away warm, preferably with huge cup of coffee or tea, or stick on a rack to cool before storing in %u00a0air tight container.
Perfect to serve as a breakfast pastry, at brunch, or even as a dessert. A nice little treat for a special lady. (dudes can eat them too)%u00a0
Happy Mothers Day Mom! Thanks for having me!
And Happy Weekend!!!
-C
Blueberry Scones%u00a0
- 2 cups all purpose flour
- 1/3 cup sugar plus%u00a02 tablespoons %u00a0to sprinkle on top
- 1 %u00a0teaspoon baking powder
- 1 teaspoon baking soda
- 1/2 teaspoon salt
- 1/2 cup (1 stick) unsalted %u00a0butter frozen or really cold (use non dairy butter like Earth Balance for vegan)
- 1 cup blueberries (fresh or frozen)
- 1 teaspoon %u00a0vanilla%u00a0
- %u00a03/4 cup buttermilk (use non dairy milk for vegan)
Preheat oven t0 400 degrees
In a large bowl, whisk together flour, baking soda, baking powder, sugar, and salt. Take the frozen butter and grate directly into flour mixture, tossing around to evenly disrupted. Add in blueberries and toss around till coated with flour, then lastly, add vanilla to buttermilk and mix into mixture until just barely coming together. Turn mixture out onto counter and with your hands, knead mixture a few times until it forms a solid dough. Shape into a disk and smoosh down until about an inch thick. Cut into 6-10 triangles %u00a0and place on a non greases baking sheet and sprinkle tops with remaining sugar. Stick into oven and bake for 20 minutes or until tops start turning a golden brown and a tester in the middle of a scone comes out clean.%u00a0
Remove from baking sheet and serve warm or let cool on a rack.
Mom gets first dibs, and if she is willing to share, eat one yourself with%u00a0your face.%u00a0
 Last week pineapples were on sale everywhere%u2026%u2026So I bought 5. Don’t judge%u00a0
And I bet I am not the only one that got overly excited at $1.50 pineapple and bough themselves a few. We will just call ourselves opportunists. %u00a0Now we have plenty of pineapples and don’t have to pay %u00a0the $4 a piece prices. (Justification) %u00a0
But if you don’t have a pineapple laying around, you must go get one. (Maybe if your lucky, there might still be some sales going on) because you must make this salad. I am on a mission to make everyone I know eat it because, for lake of a better way to say it%u2026%u2026.It will rock your world.
Dill and pineapple are a serious match made in heaven. Pineapple, with its sweet, tangy, citrusness %u00a0and dill with it’s super fresh earthiness. Mixed together with a few other helpers to create a fresh, clean, chunky, tangy, over the top, flavor. I could stop right there, but toss in a handful of lentils, some creamy avocado and a bed of kale%u2026It’s like the best spring time, celebration on you tongue, happiness in you tummy, kind of salad.
A salad that will make you smile. (and maybe buy %u00a05 pineapples)%u00a0
 %u00a0Stuff for the goodness. We got the kale, some avocado because all salads should have avocado and some cooked lentils because, well, all salads should have lentils (or beans or nuts.. so you could totally something else) Then a few sprigs of fresh dill, a clove of garlic, red wine vinegar, salt and a bowl of chunked up pineapple.%u00a0
 The pineapple, dill, garlic, red wine vinegar, a splash of water and a pinch of salt get blended in a blender or whatever blending device you use. Go as smooth or chunky as you like, I recommend going smooth, but leaving a little chunk, like half blended.
The prep is done, now compile. %u00a0Kale in bowl, top with lentils,. Toss on avocado chunks, and, last but not least, the blended pineapple dill mixture. So good%u2026%u2026So so good.
Happy Friday!!
-C
So Good Pineapple Dill Kale Salad
Serves Two
- 3 cups washed and chopped Kale
- 1/2 a avocado, diced
- 1 cup fresh pineapple chunks
- 1-2 springs fresh dill
- 1 tablespoon Red Wine Vinegar
- Salt%u00a0
- 1/2 cup cooked lentils%u00a0(or any bean or nut will do)
Note. No fresh dill? You can use dried, just sub in 1 teaspoon for the fresh and after blending with the pineapple, let sit a little longer to really let the flavors meld together.%u00a0
Place pineapple, dill, pinch of salt, vinegar and garlic into a blender or whatever you own that blends and blend stuff together, leaving it a little chunky. Let sit for 5-10 minutes.
Kale goes into a bowl and add the lentils and diced avocado. Pour the blended pineapple on. Toss around.%u00a0
Now eat.
 When something goes on sale at the grocery store, I tend to buy it. Being that it is Valentines Day this week, all the stores are having specials on all sorts of sexy things%u2026 and strawberries are one of them.%u00a0 Now I am not a huge fan of buying produce that is terribly out of season, but I can’t help myself%u2026a good deal is a good deal and the strawberries were a super good deal. I was just going to make some sweet ass strawberry jam or maybe a lovely strawberry cake with them (and I probably still will), but these strawberries are actually super juicy and full of flavor, and it’s always nice to eat some full flavor freshy strawberries%u2026 especially soaked in balsamic vinegar. %u00a0And yeah, %u00a0I think that this salad is pretty sexy, so it makes for a perfect Valentines day dish.
 A handful of ingredients and 5 minutes will get you to a fantastic salad experience.
A bowl of %u00a0baby spinach, a few chopped up strawberries*, %u00a0half a sliced avocado and a small handful of toasted almonds.. Oh, and don’t forget the balsamic vinegar%u2026.%u00a0
*Note.. Strawberries are kind of heart shaped already so if you want, reserve a few slices to fancy up you salad presentation, but chop up the rest into smaller pieces.
 Pour the vinegar on the strawberries and let sit for at least 5 minutes. (the longer the strawberries can sit with the vinegar, the better)
 %u00a0
 Pile it on.. %u00a0thinly slice avocado.. rough chopped toasted almonds%u2026 It’s pretty much as easy as it can get.
 And last but not least, toss on the balsamic soaked strawberries and drizzle the remaining vinegar. (if you made hearts, place on top to make pretty) Sprinkle with a pitch of salt and pepper and pow! Fancy, sexy, delicious salad.
Not to shabby for %u00a05 minutes and a handful of ingredients. %u00a0Anyone (don’t feed to a person with nut allergies) would be so syked to be fed a salad like this%u2026 You yourself should be pretty excited to eat a salad like this. Heck, I am excited to eat a salad like this!
A love salad for everyone and everyday!
YAY for Thursday and Happy meal planning!!!!%u00a0
-C
%u2665 Balsamic%u00a0Strawberries on Spinach Almond Avocado Salad%u00a0%u2665
Ingredients for 1 large or 2 small salads
- 3-4 ripe strawberries
- handful of roasted almonds (slivers or whole)
- 1/2 avocado
- 2 tablespoons Balsamic Vinegar%u00a0
- 3 cups baby spinach
- Pinch of salt and pepper%u00a0
Dice strawberries into small pieces (reserve a few whole slices for heart shapes if you want) and toss in a small bowl %u00a0with the balsamic vinegar. Let sit for at least 5 minutes. Rinse and dry spinach. Place in a bowl(s) and top with thinly sliced avocado, chopped almonds and balsamic soaked strawberries. Drizzle the residual vinegar on top and sprinkle with a pinch of salt and pepper.%u00a0
Eat with a fork
 I needed something quick, something everyone would like and I needed it to come from food I had in the house%u2026%u2026Pretzels, peanut butter and chocolate chips turned into little nutty nuggets. A last minute christmas treat. %u00a0I have stumbled apron something that I am sure to make many more times to come. People were really into them and for real, so easy and %u00a0took so little time to make..%u00a0Fast, happy, peanut butter and pretzels dipped in chocolate, I mean, do you know anyone that would say no to that? And just because I made them for Christmas does not mean that we cannot make these for any occasion, like New Years, %u00a0maybe a birthday party or even laundry day. You can even make these as a fun afternoon activity with the kiddos.%u2026Make them whenever you need a fun little treat!%u00a0 Note%u2026.This is one of those treats that is vegan, gluten-free%u00a0(just get gluten-free pretzels) and doesn’t have a ton of sugar..Eveyone can eat them! Hooray!!!!!! (Maybe don’t feed them to a child with a peanut allergy)
 Simple as this%u2026.Half a bag of pretzel rods(any shape would work)%u2026 A big scoop of peanut butter and some chocolate chips%u2026
. %u00a0
 %u00a0 %u00a0 %u00a0 %u00a0 %u00a0 %u00a0 %u00a0 %u00a0 %u00a0 %u00a0 %u00a0 %u00a0 %u00a0 %u00a0 %u00a0 %u00a0 %u00a0 %u00a0 %u00a0%u00a0Pretzels go into the food processor and pulsed until a mostly fine crumbly crumble. Now in goes the big ol scoop of peanut butter. Pulse until mixture comes together
 Go ahead and take a bite%u2026%u2026so good right?..Start turning the mixtures into small balls..think grape sized.
 Once the mixture is all rolled out, stick into the fridge or freezer for a little about a 1/2 hour to set up.
 Right before you take the balls out of the fridge%u2026melt down the chocolate. %u00a0Like my make shift double boiler? I know%u2026.jealous. If you have one, use it, but if not, a big pot with water and a smaller thin metal or a glass bowl works.. The pot or bowl should fit onto the big pot, but I was having a hard time and couldn’t find any of my bowls%u2026..so i did what I could. Bring water to a boil then turn to simmer. Place chocolate in small bowl on big pot and stir until chocolate is melted, silky and smooth. Remove bowl from boiler and start to dip those balls! Reheat chocolate if needed but be careful to not get any water into chocolate or else it will seize up and you won’t be able to melt it anymore.
 Drop a few balls into the melted chocolate. I%u00a0was doing 2-3 at a time. Take a spoon or spatula and gently roll %u00a0or coat entire nugget. Remove and place on a parchment lined baking sheet.

That’s it…Imperfect little perfect candy nugget truffle thingys%u2026.I sprinkled the tops with colored sugar.. you know, for a little holiday fun.. 3 simple ingredients( oil doesn’t count).. and 10 minutes of hands on time%u2026can’t get much better then that.%u00a0
Peanut Butter Pretzel Truffles
Ingredients
- 3/4 cup Peanut Butter
- 10-12 Pretzel rods
- 1 1/4 cup chocolate chips
- tablespoon coconut oil
Pretzels go %u00a0into food processor and pulse until a fine mealy constancy.. Add peanut butter and pulse until combined and is easily handled. Add a bit more peanut butter if the mixture seems to dry or another pretzel if mixture is too loose.
Line a baking sheet with wax paper. Roll mixture into small grape sized balls. Pace in the fridge or freezer for 1/2 hour.
After the balls have chilled, place chocolate chips and coconut oil into %u00a0a double boiler and heat until chocolate is fully melted. Place balls 2-3 at a time into melted chocolate, roll around to completely coat, then transfer back %u00a0onto wax paper. Once all balls are chocolate coated, sprinkle with something( if you want) and place back in fridge to set up.
Share(if you feel like it) and Enjoy!!!
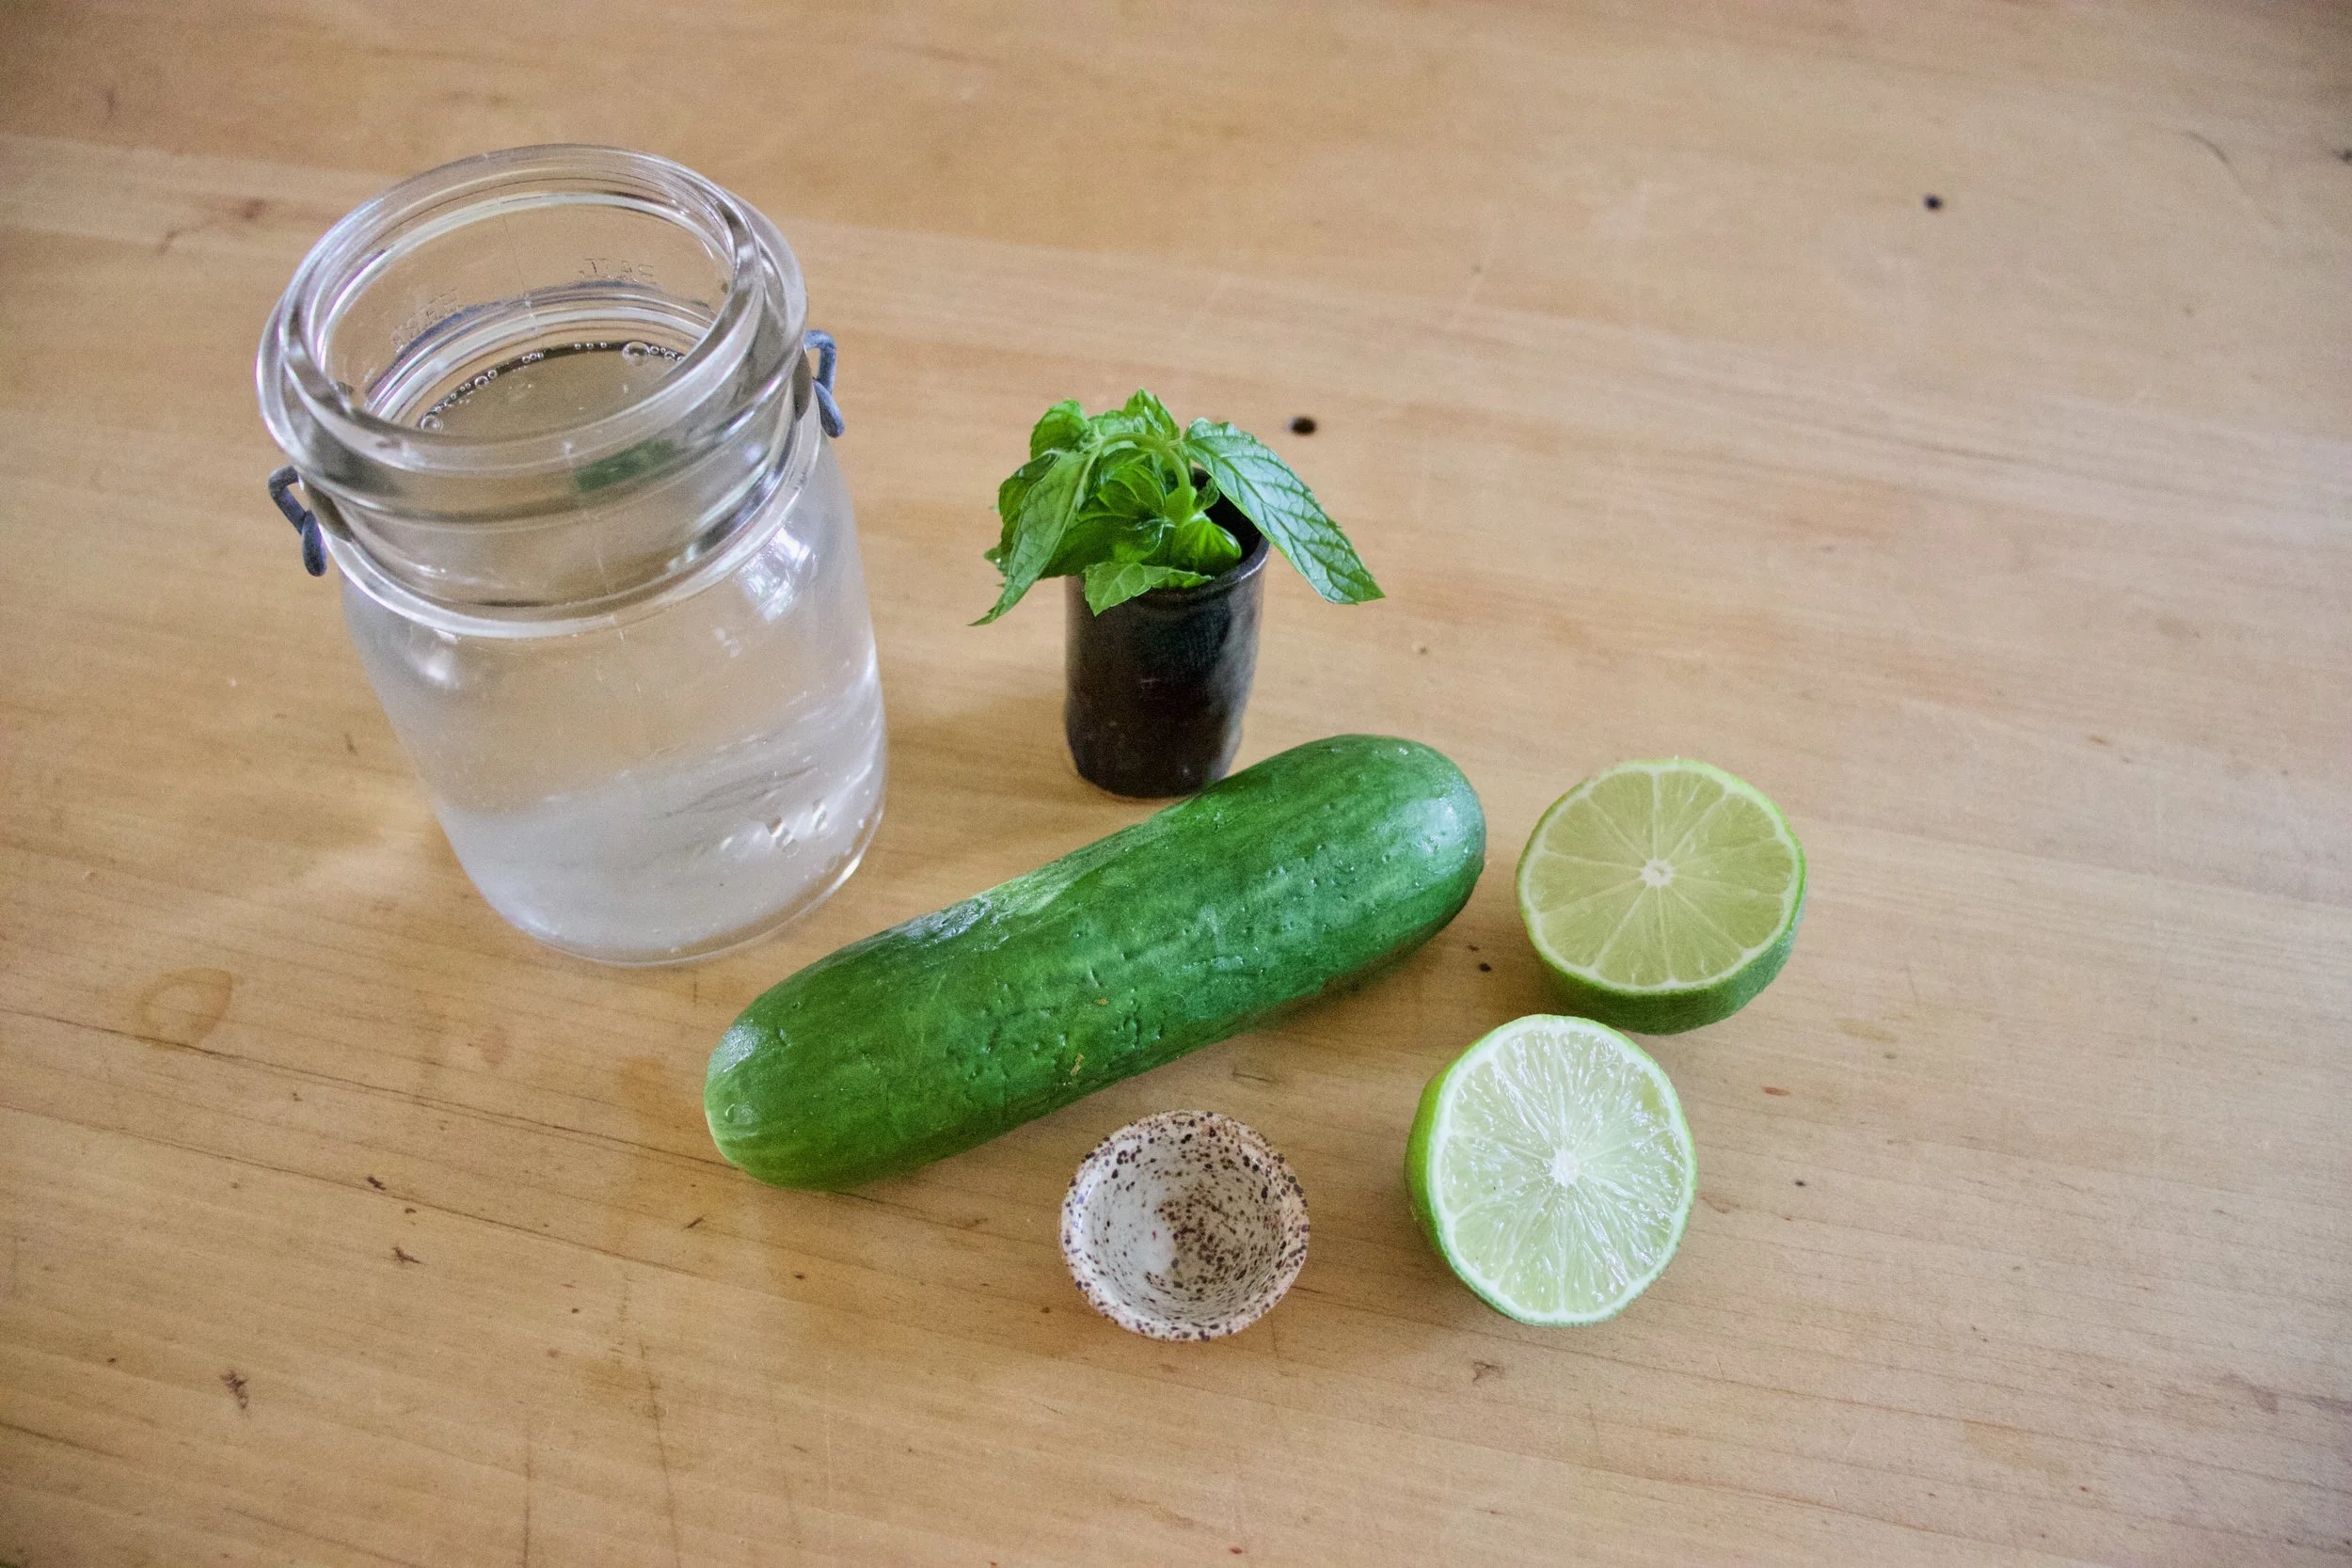
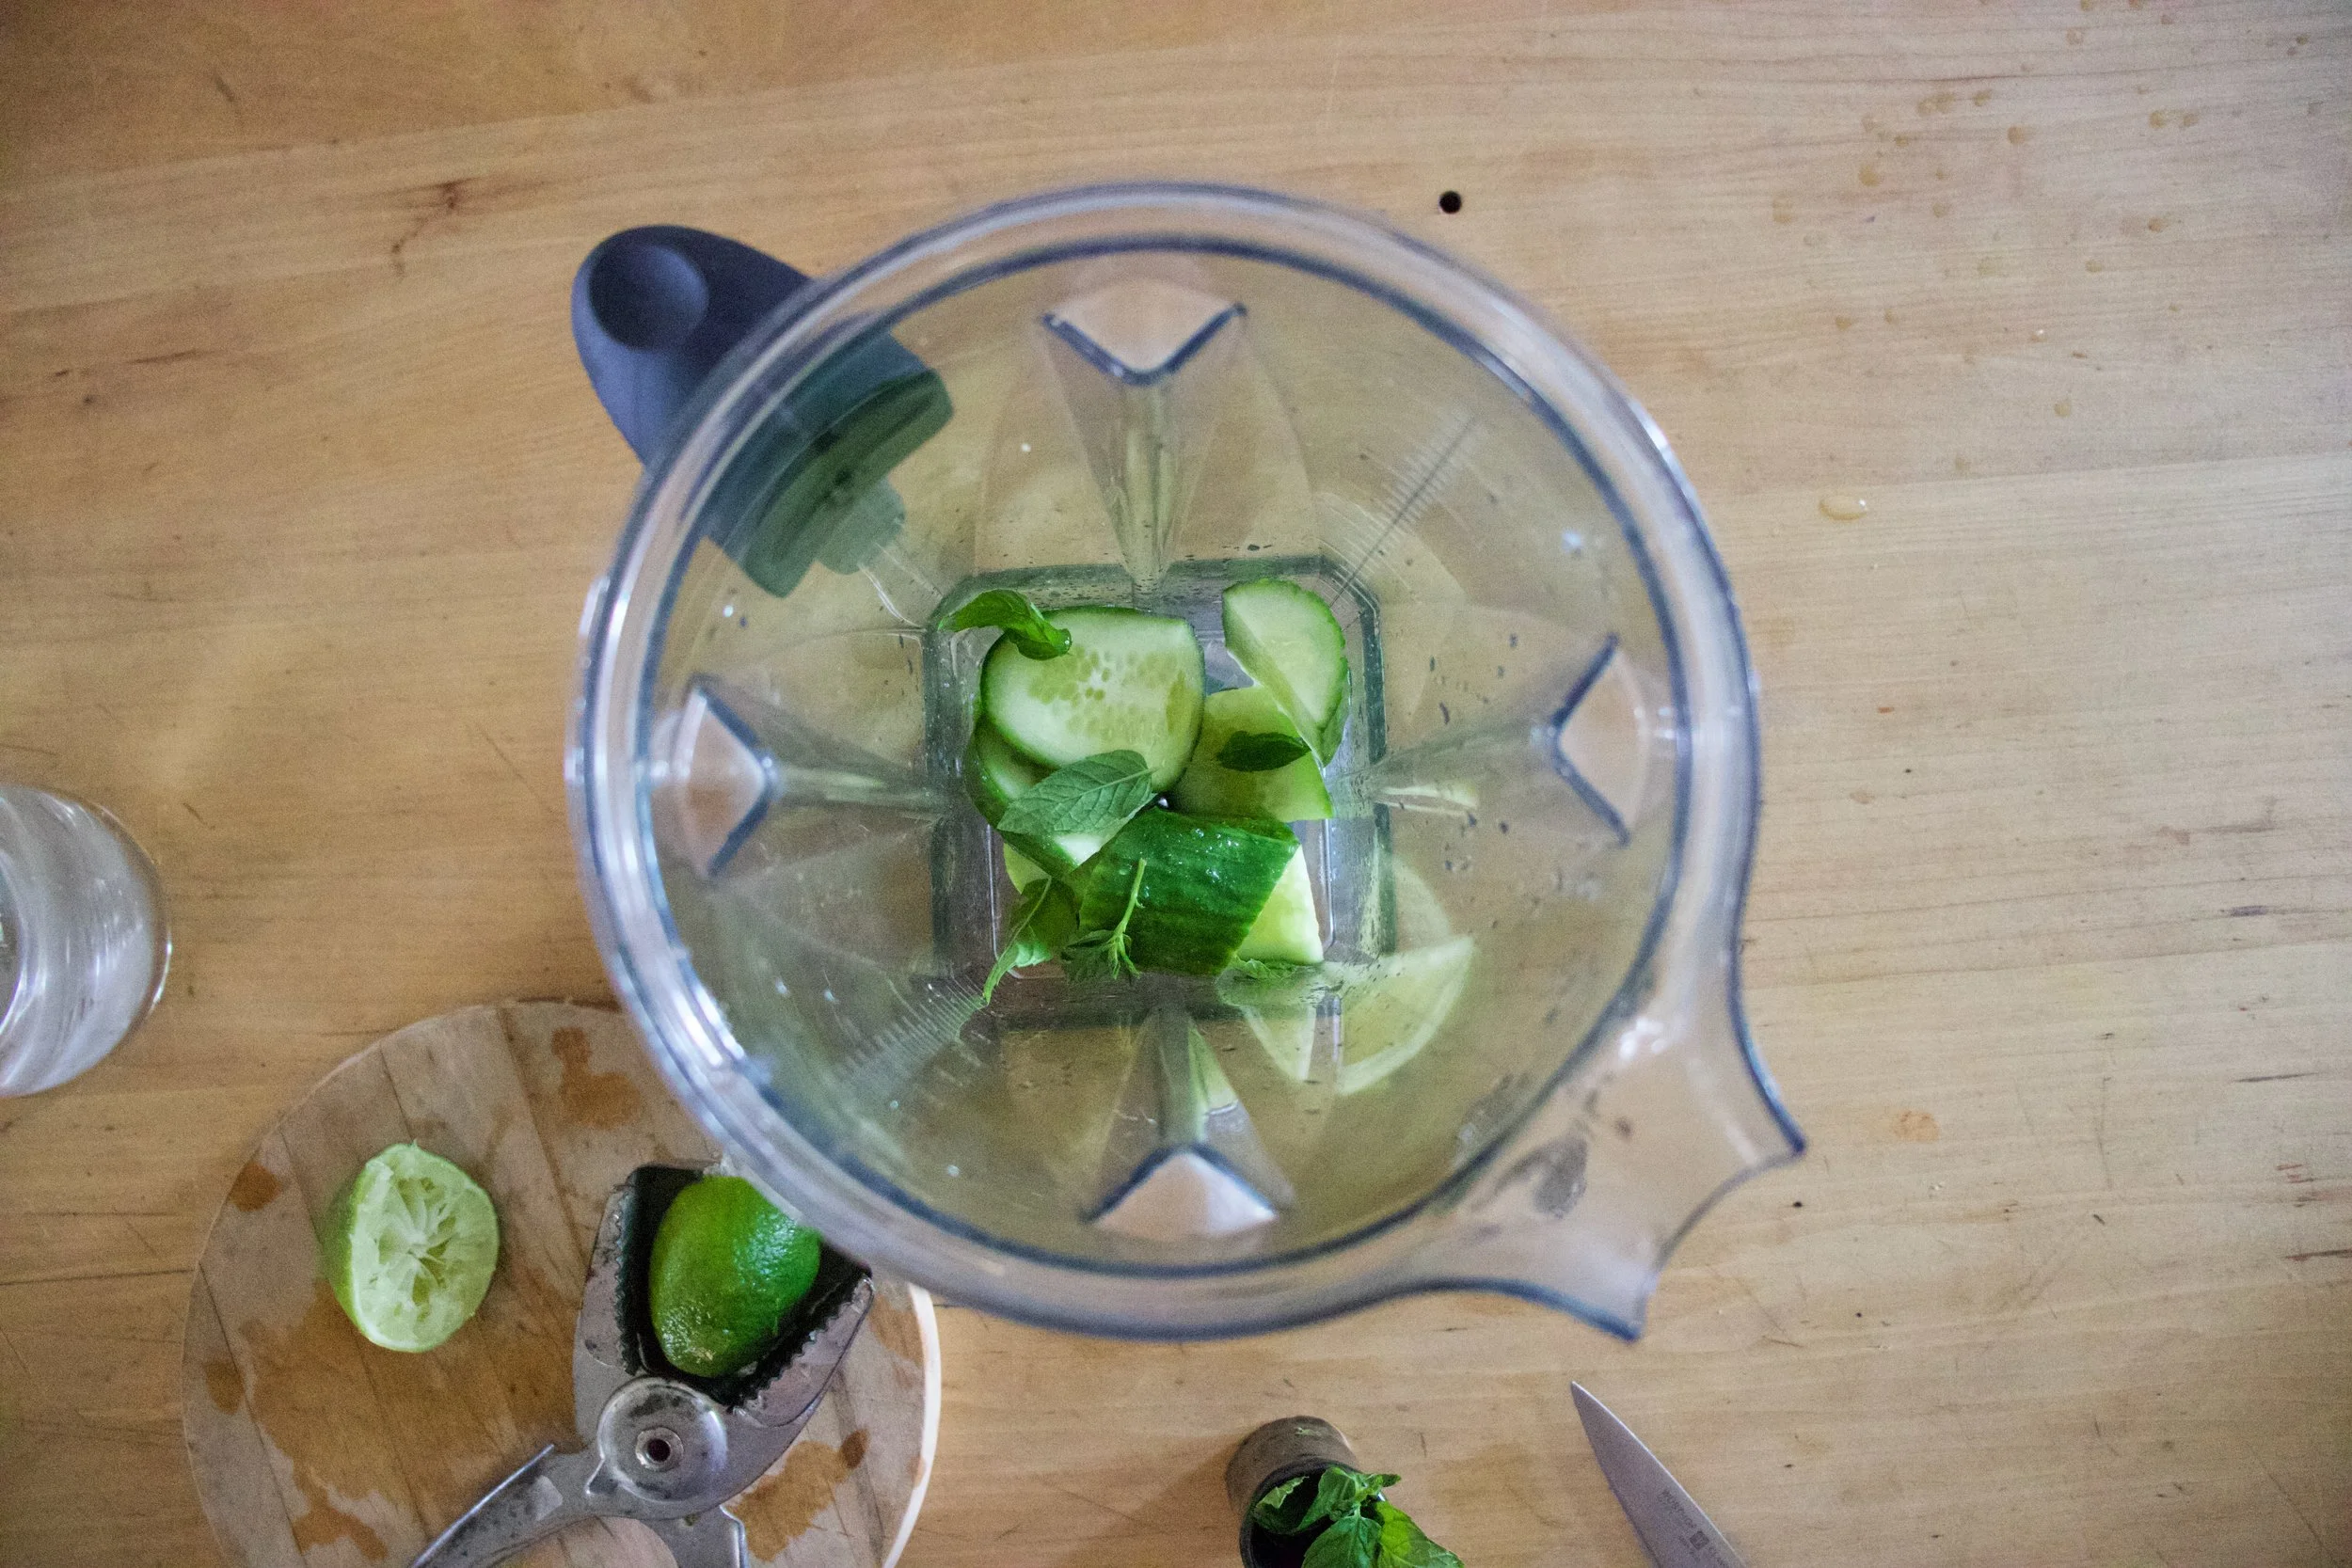


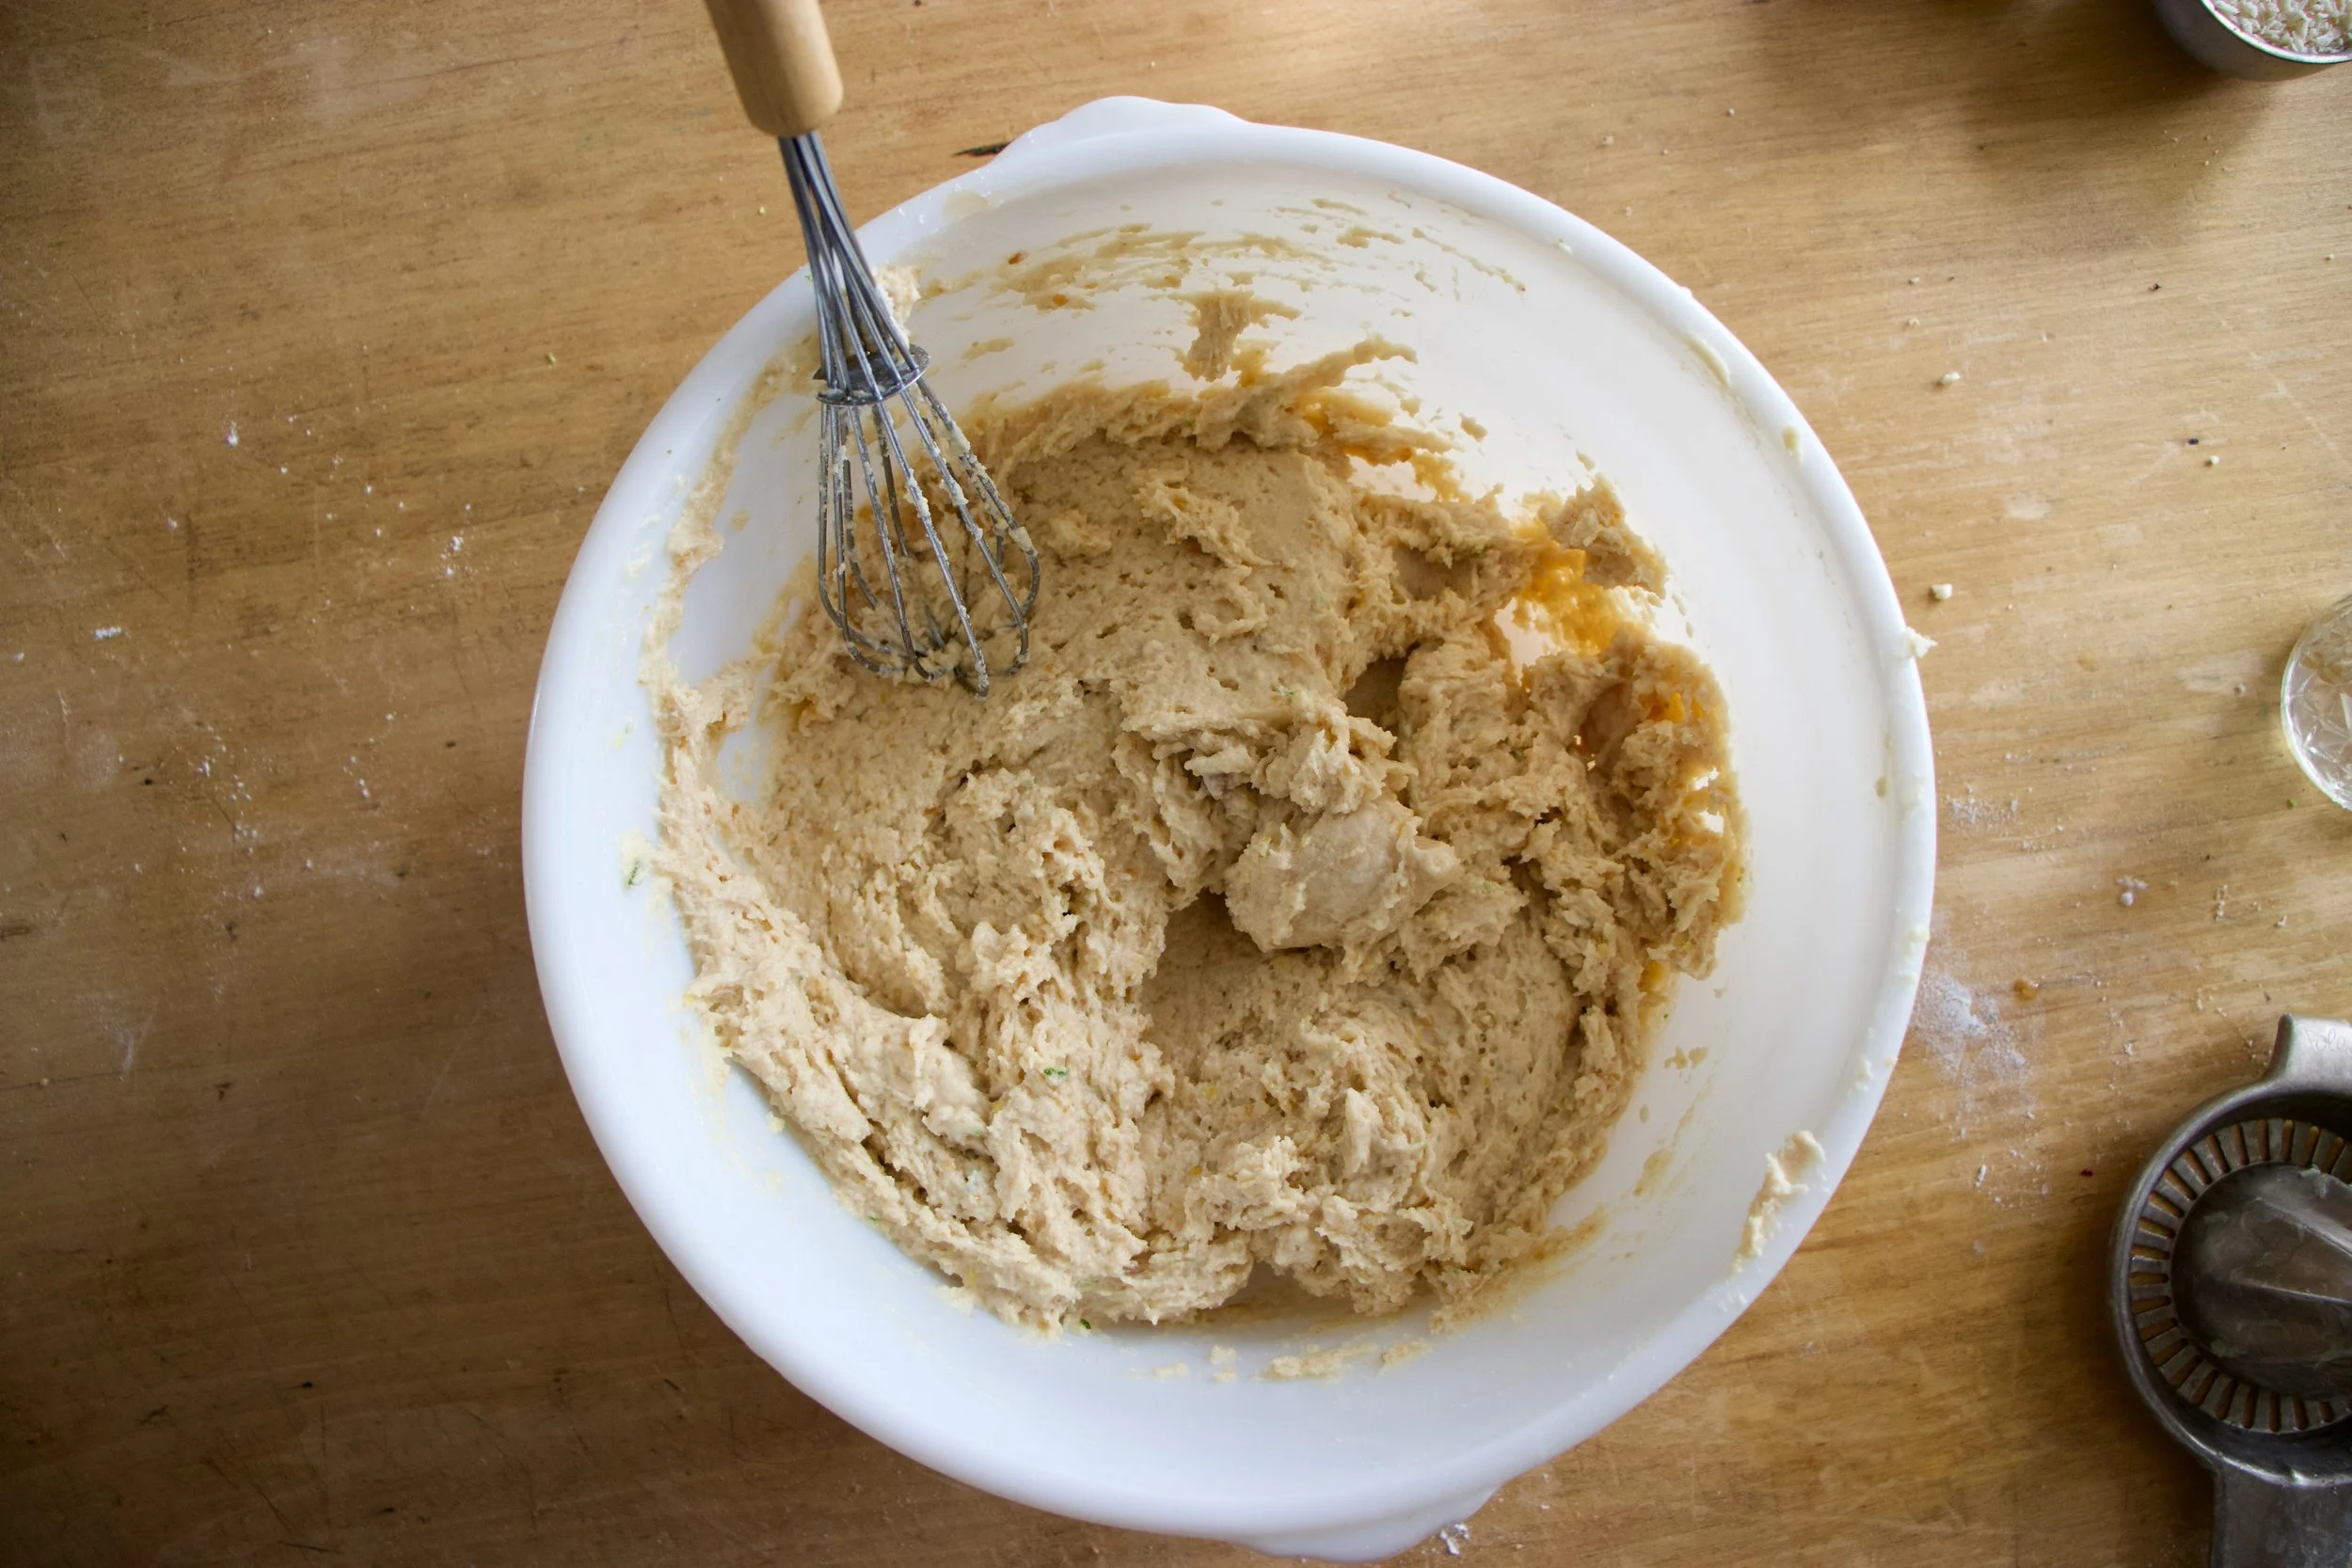
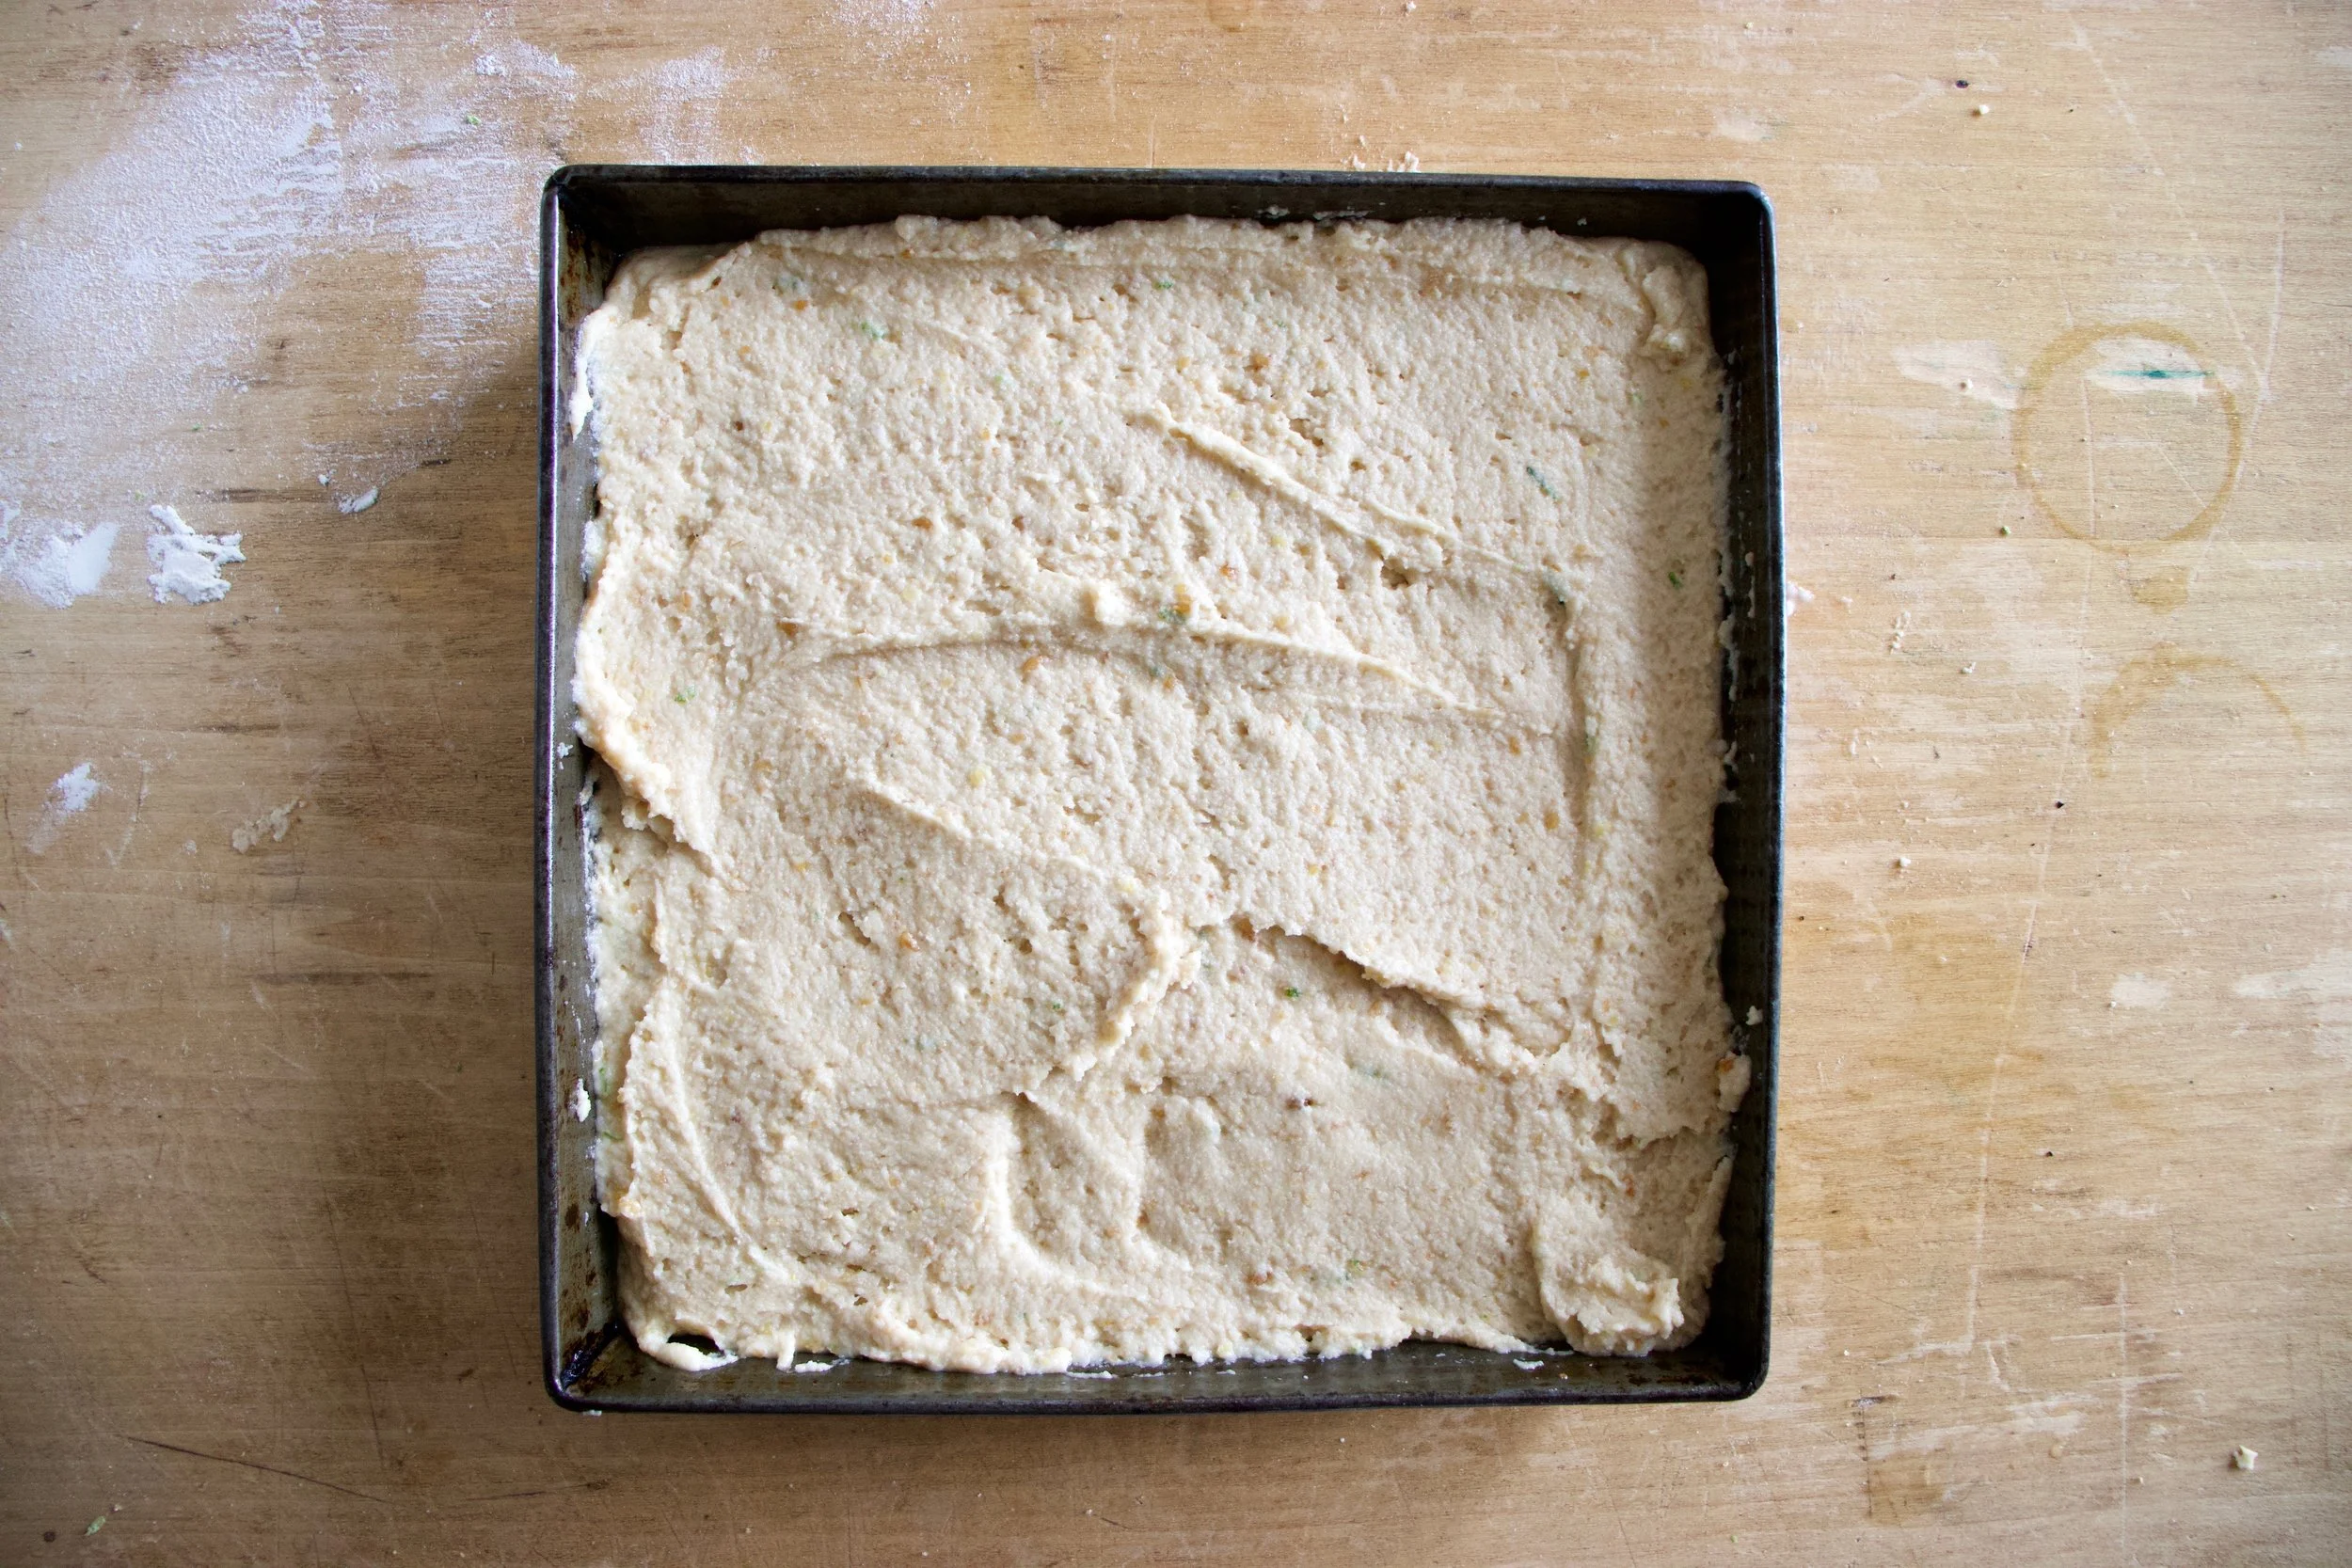
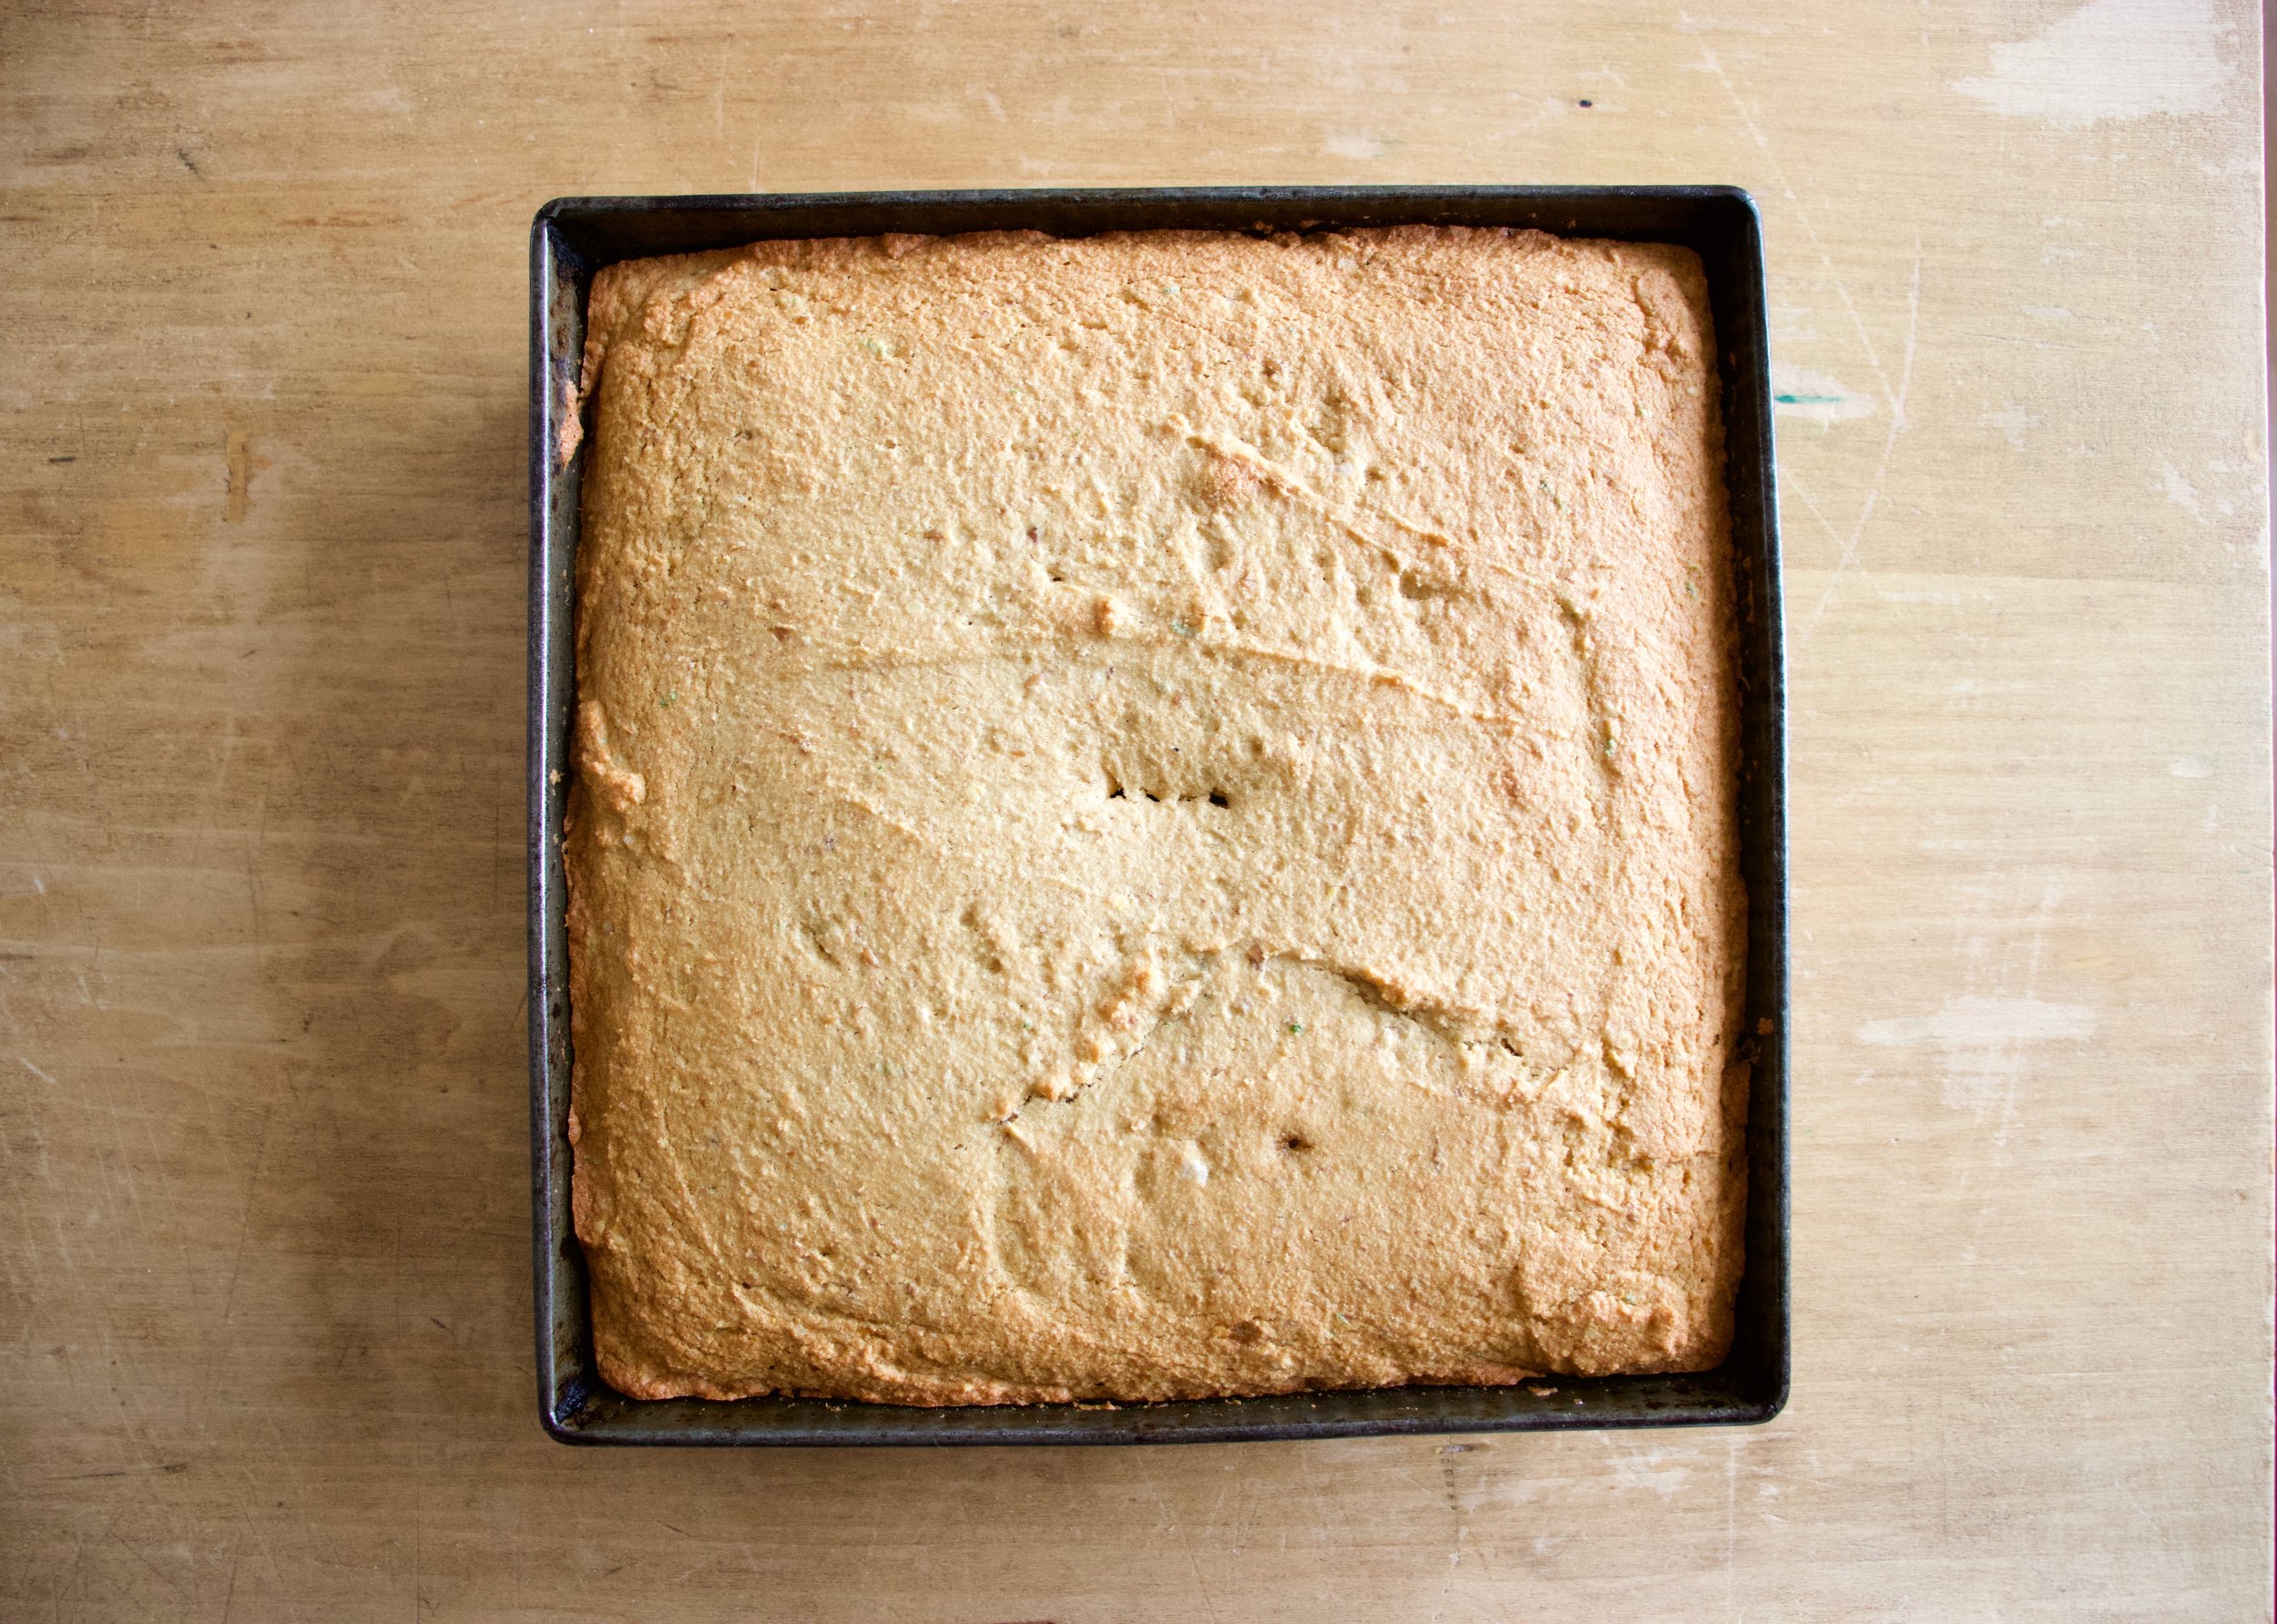


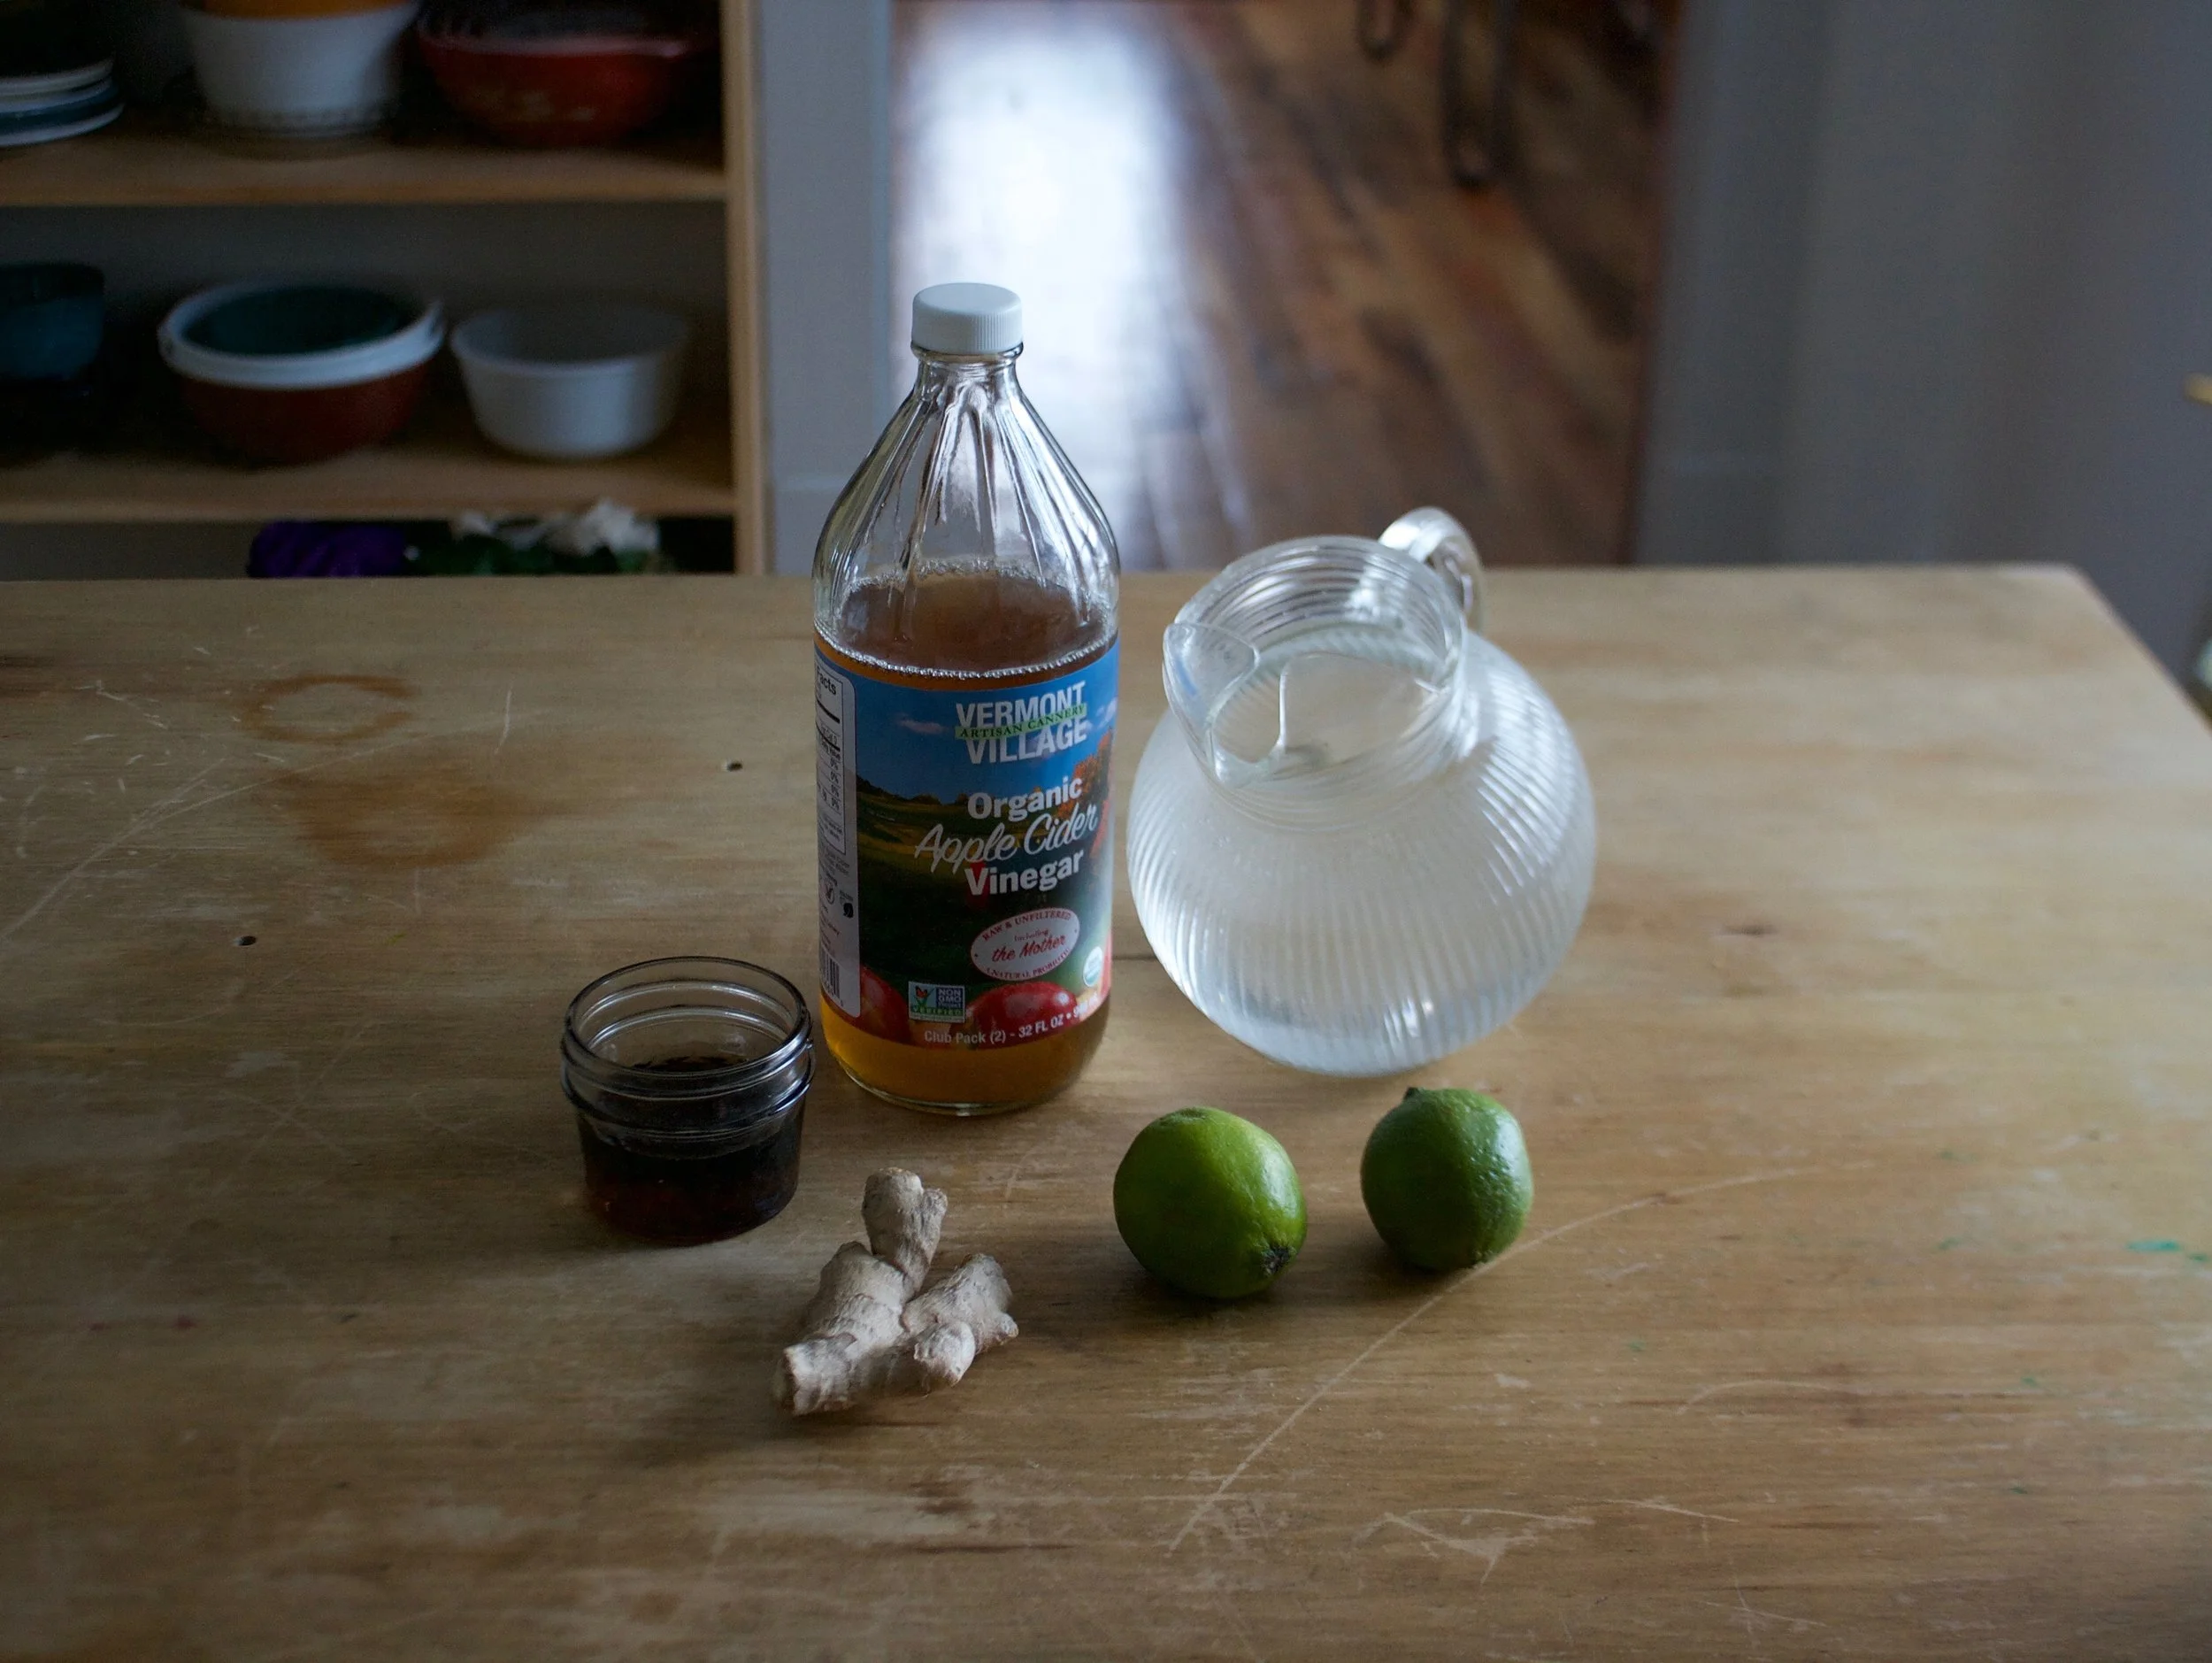
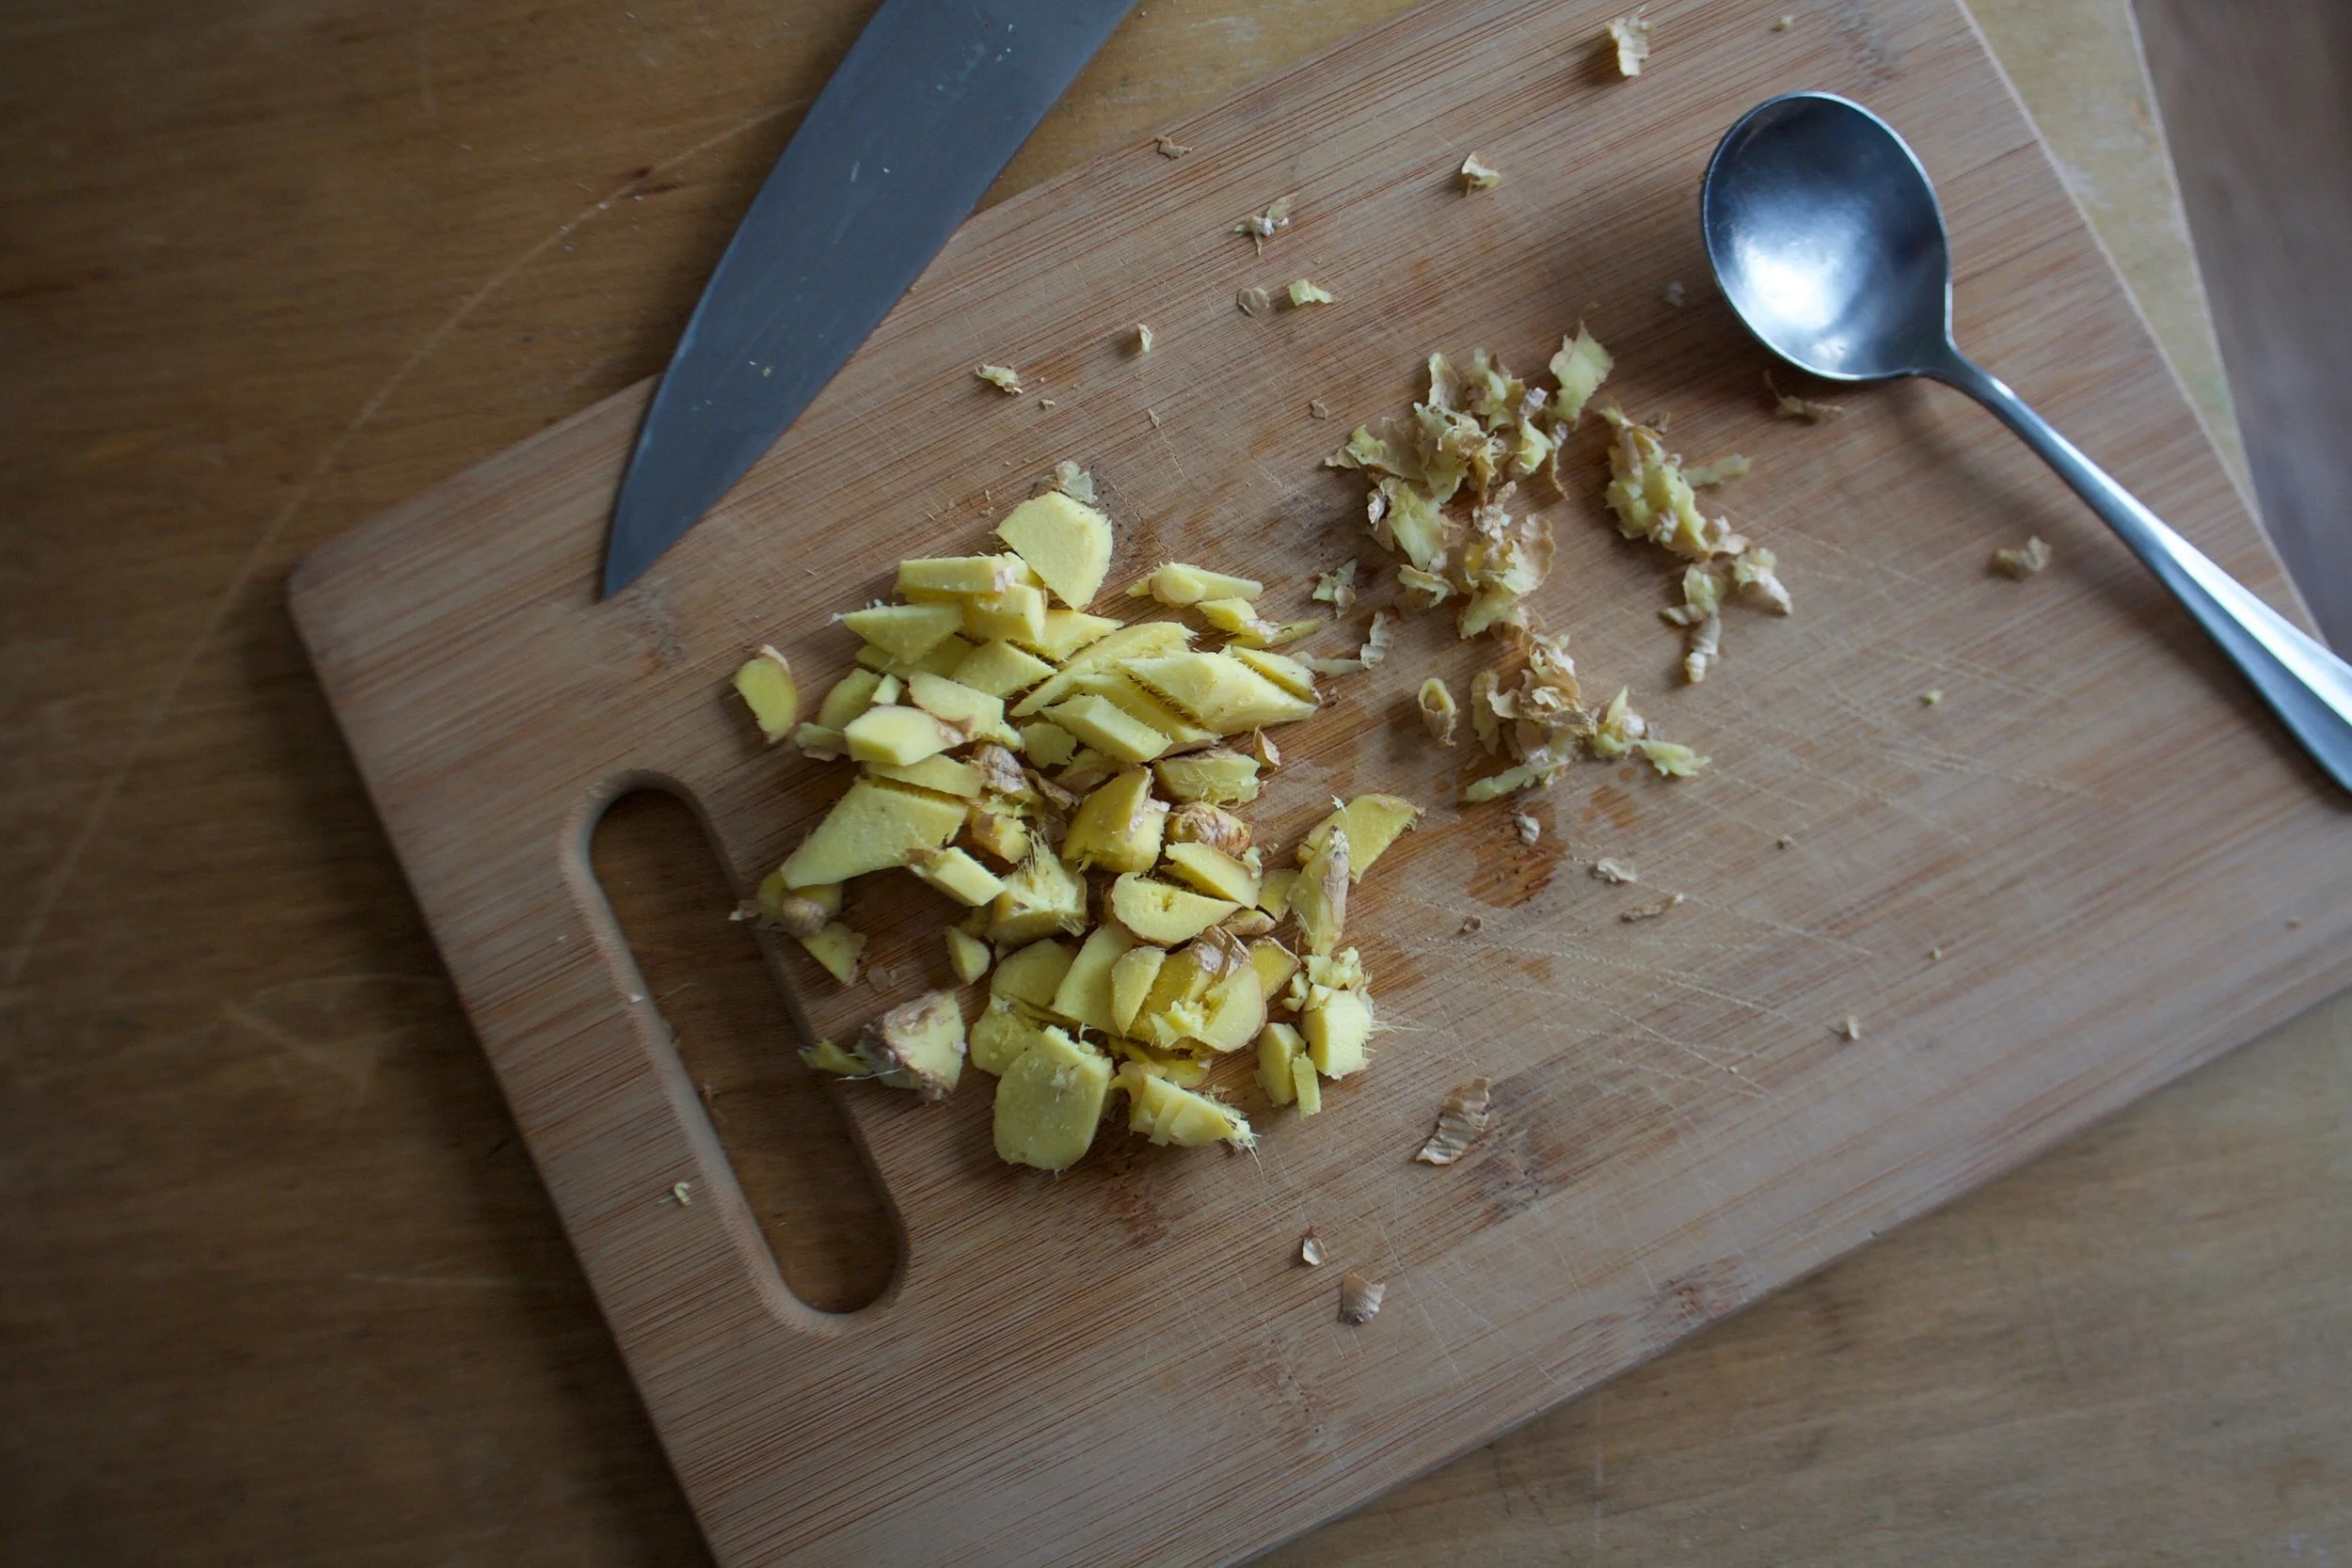


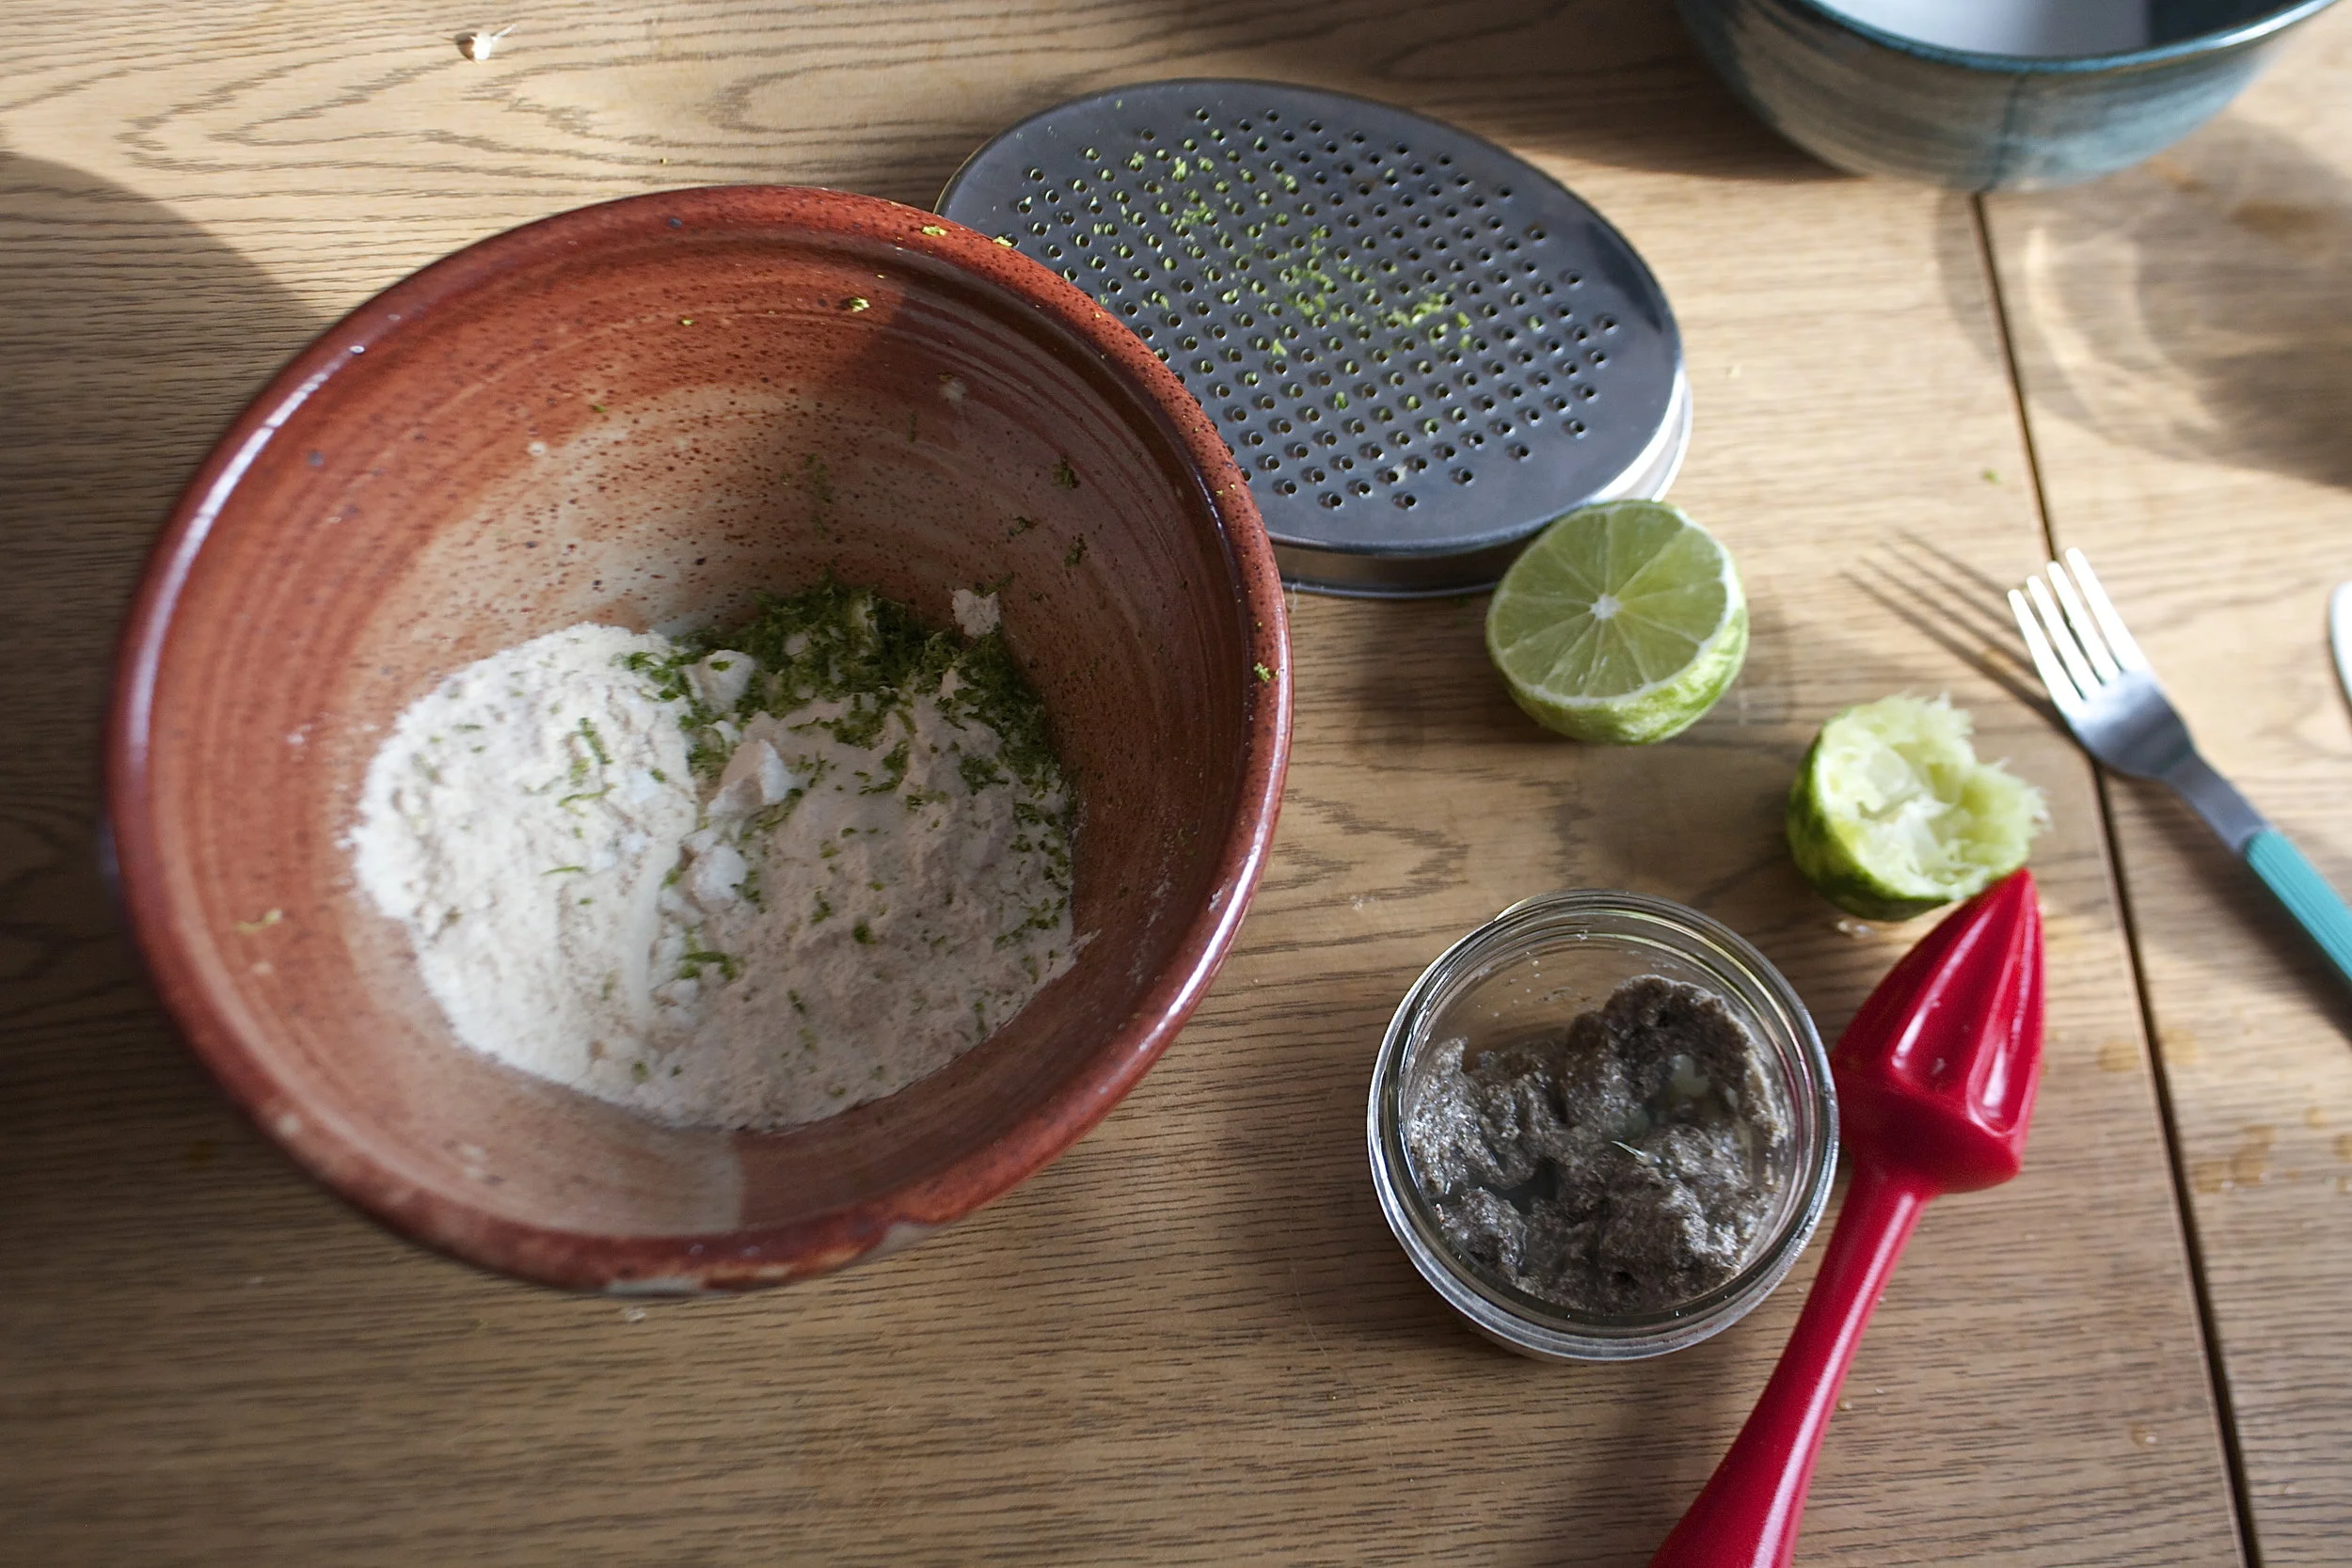
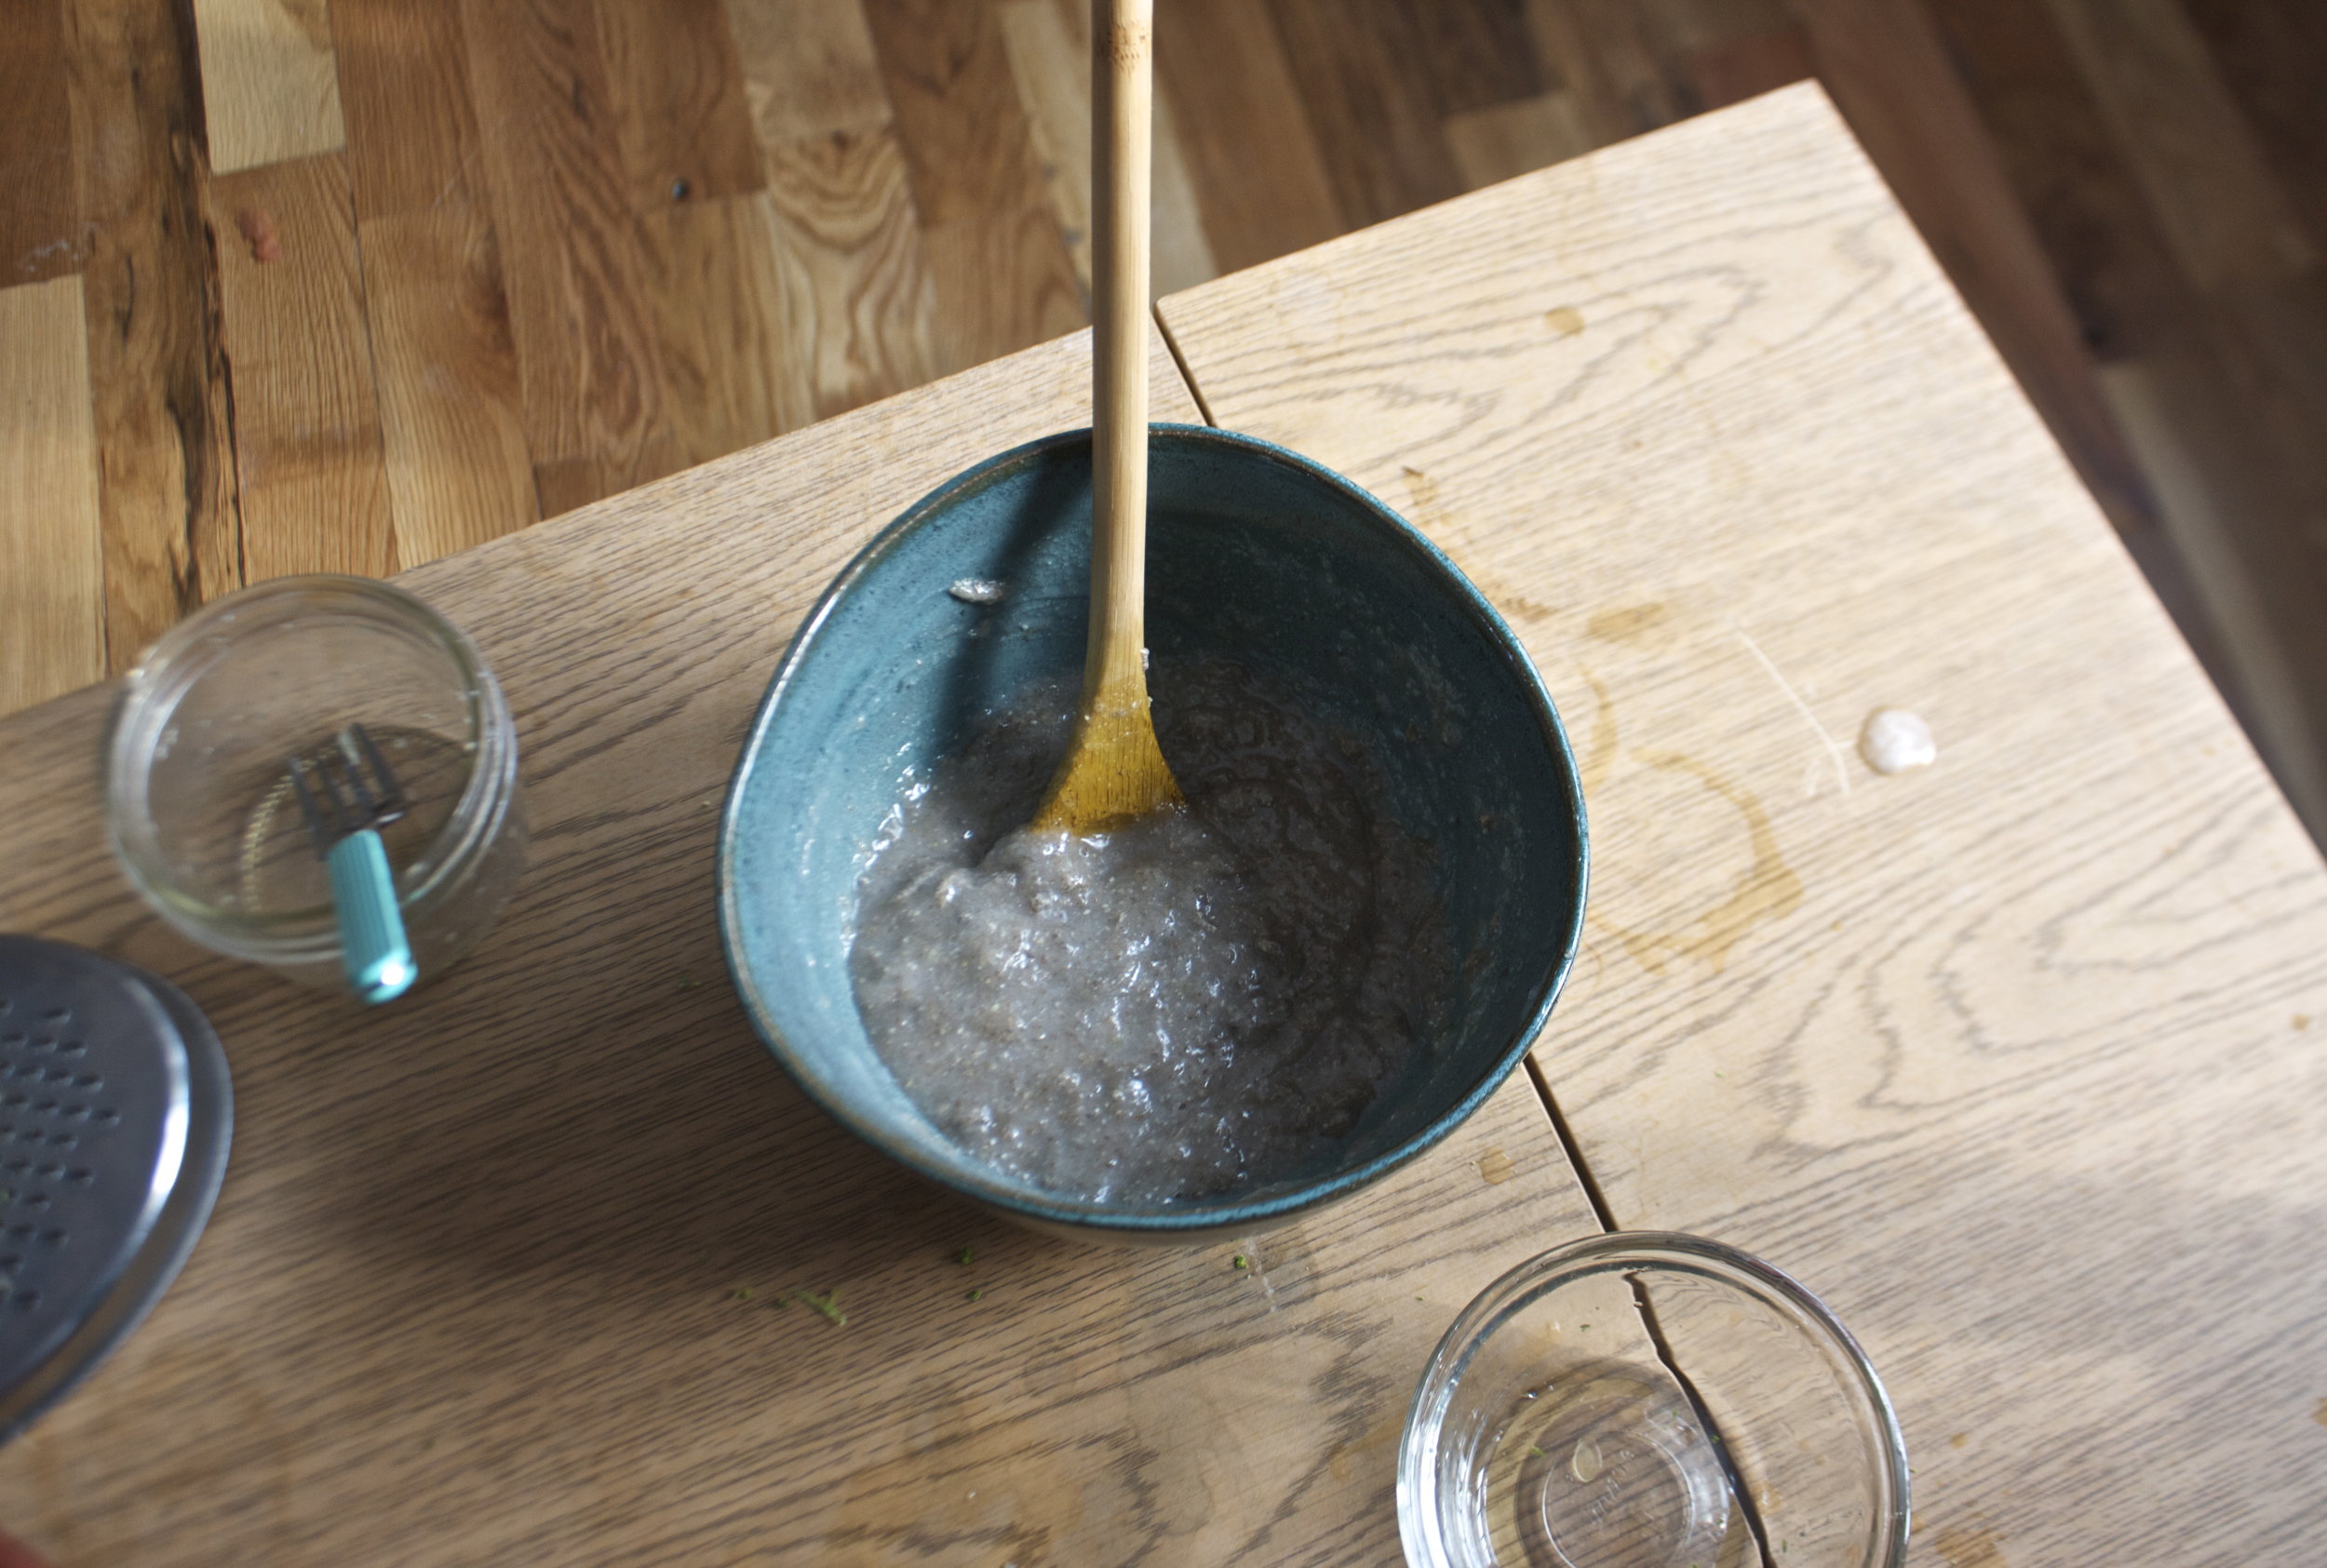
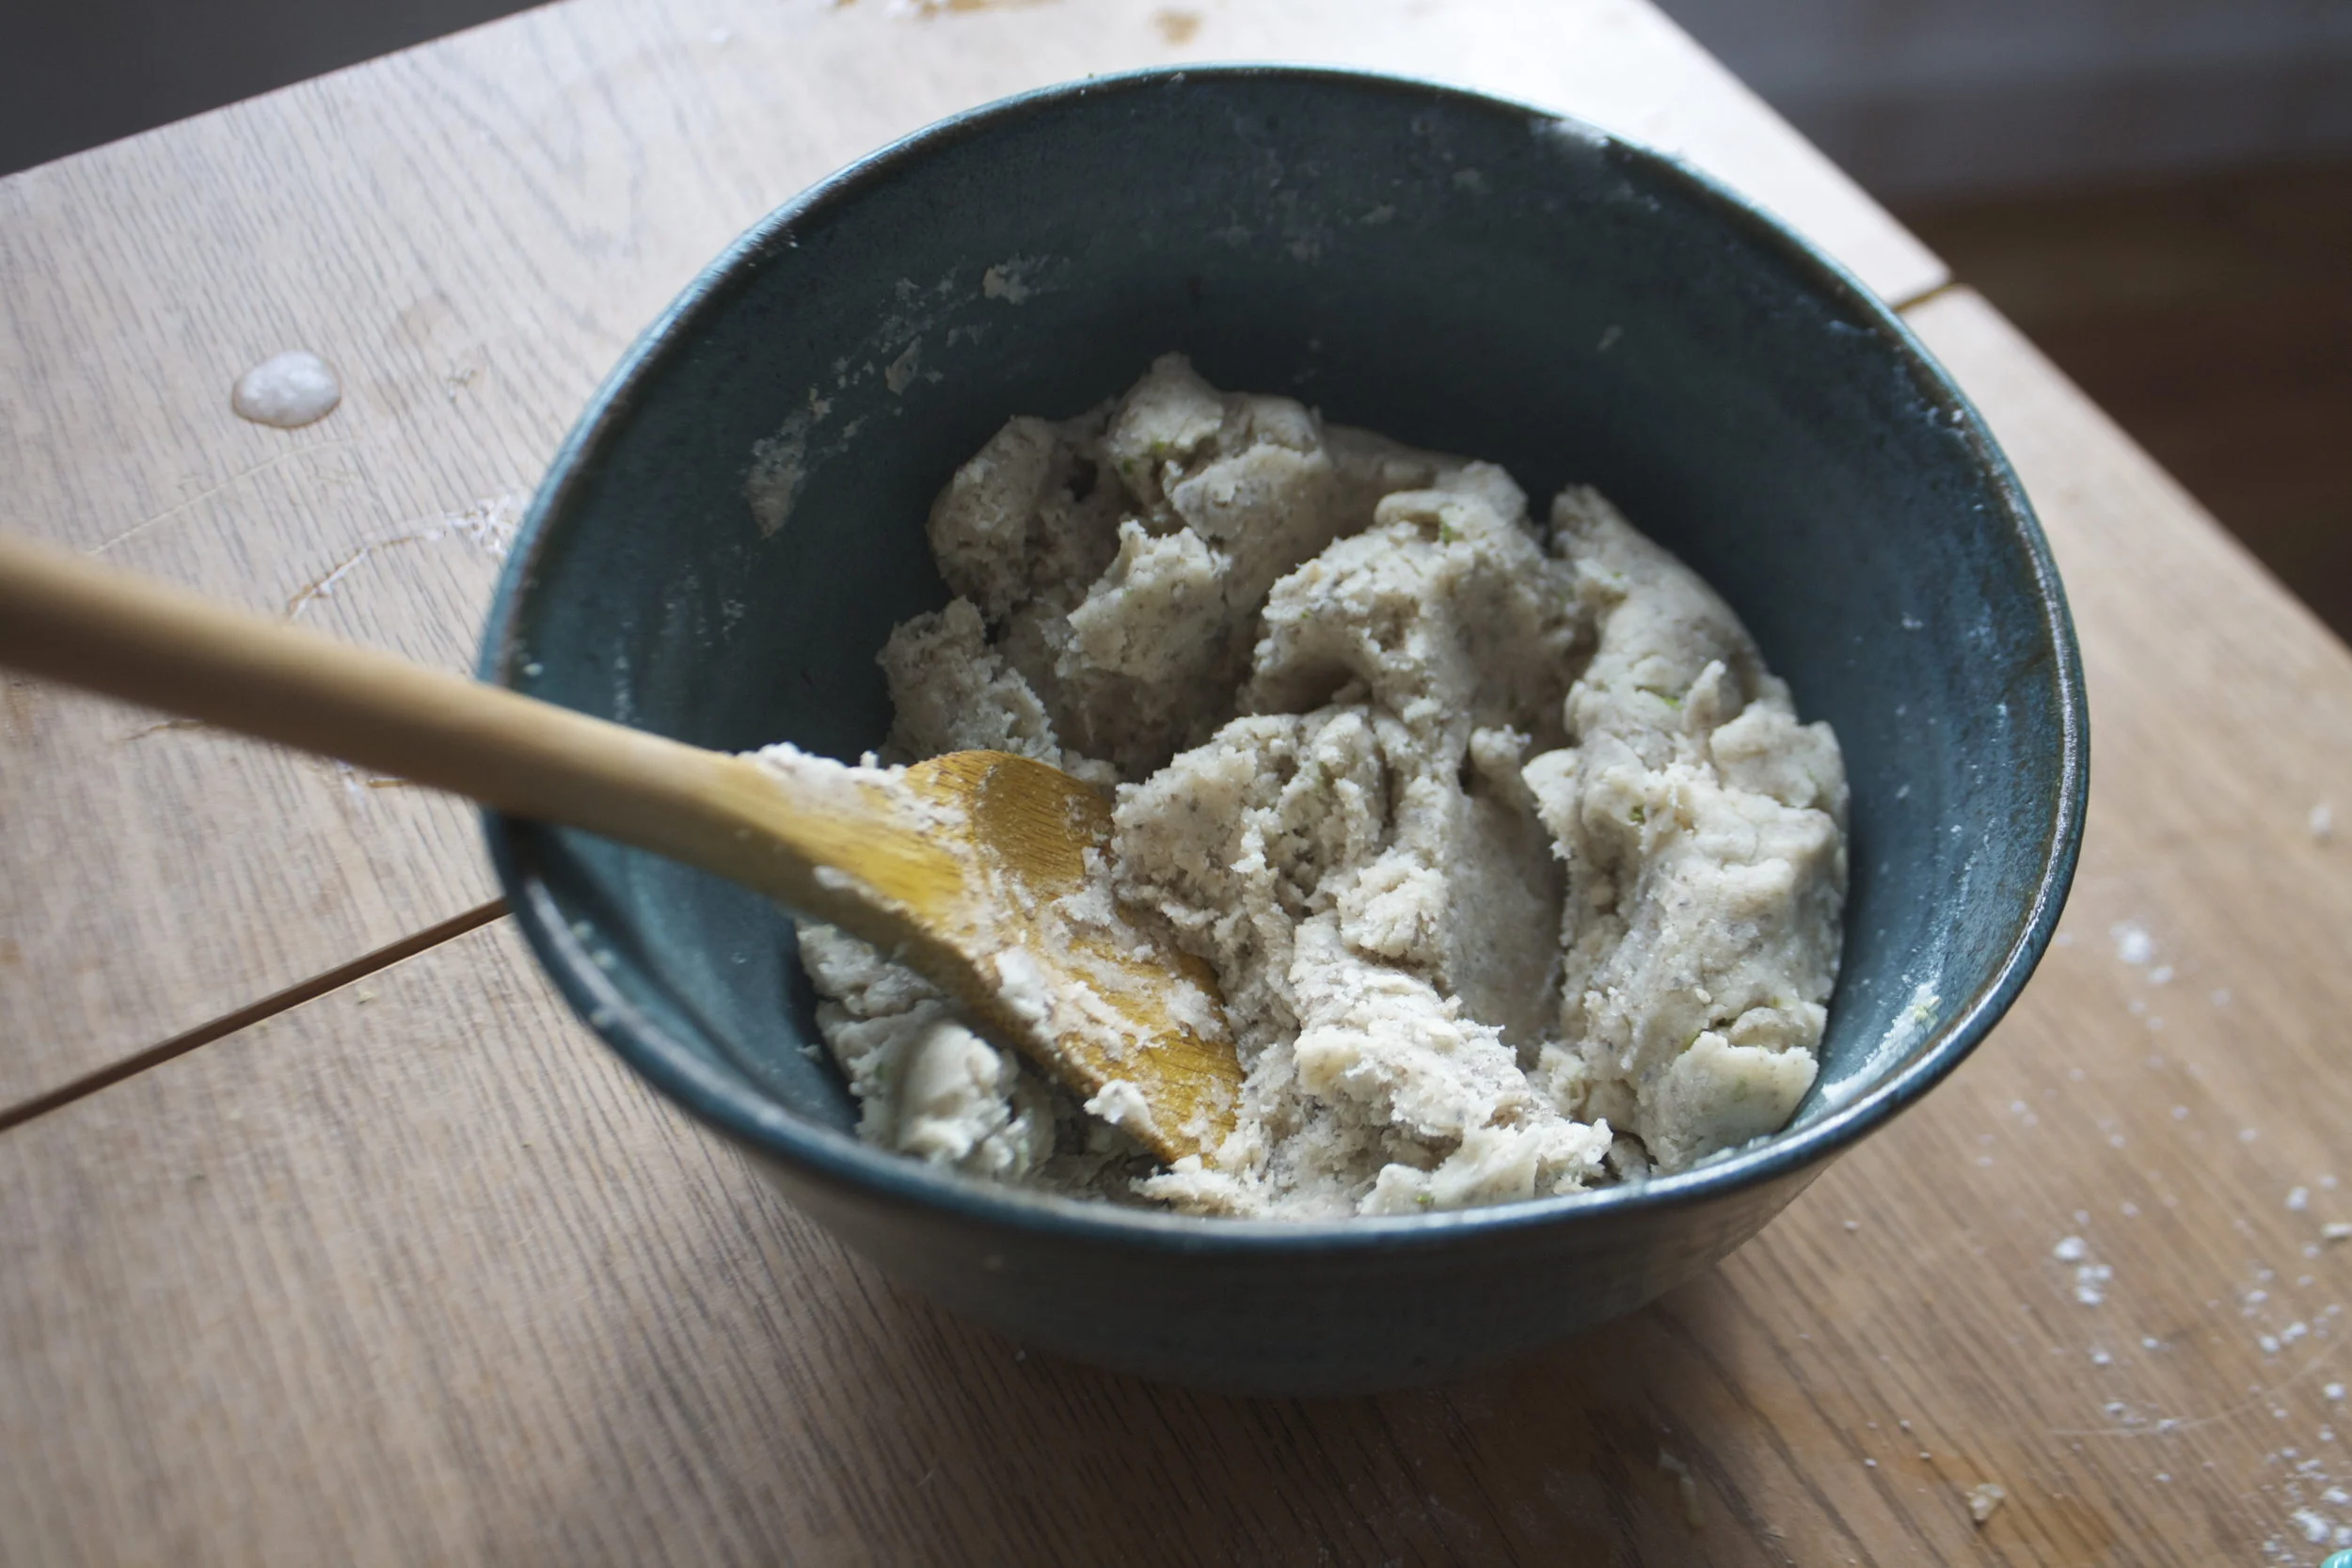
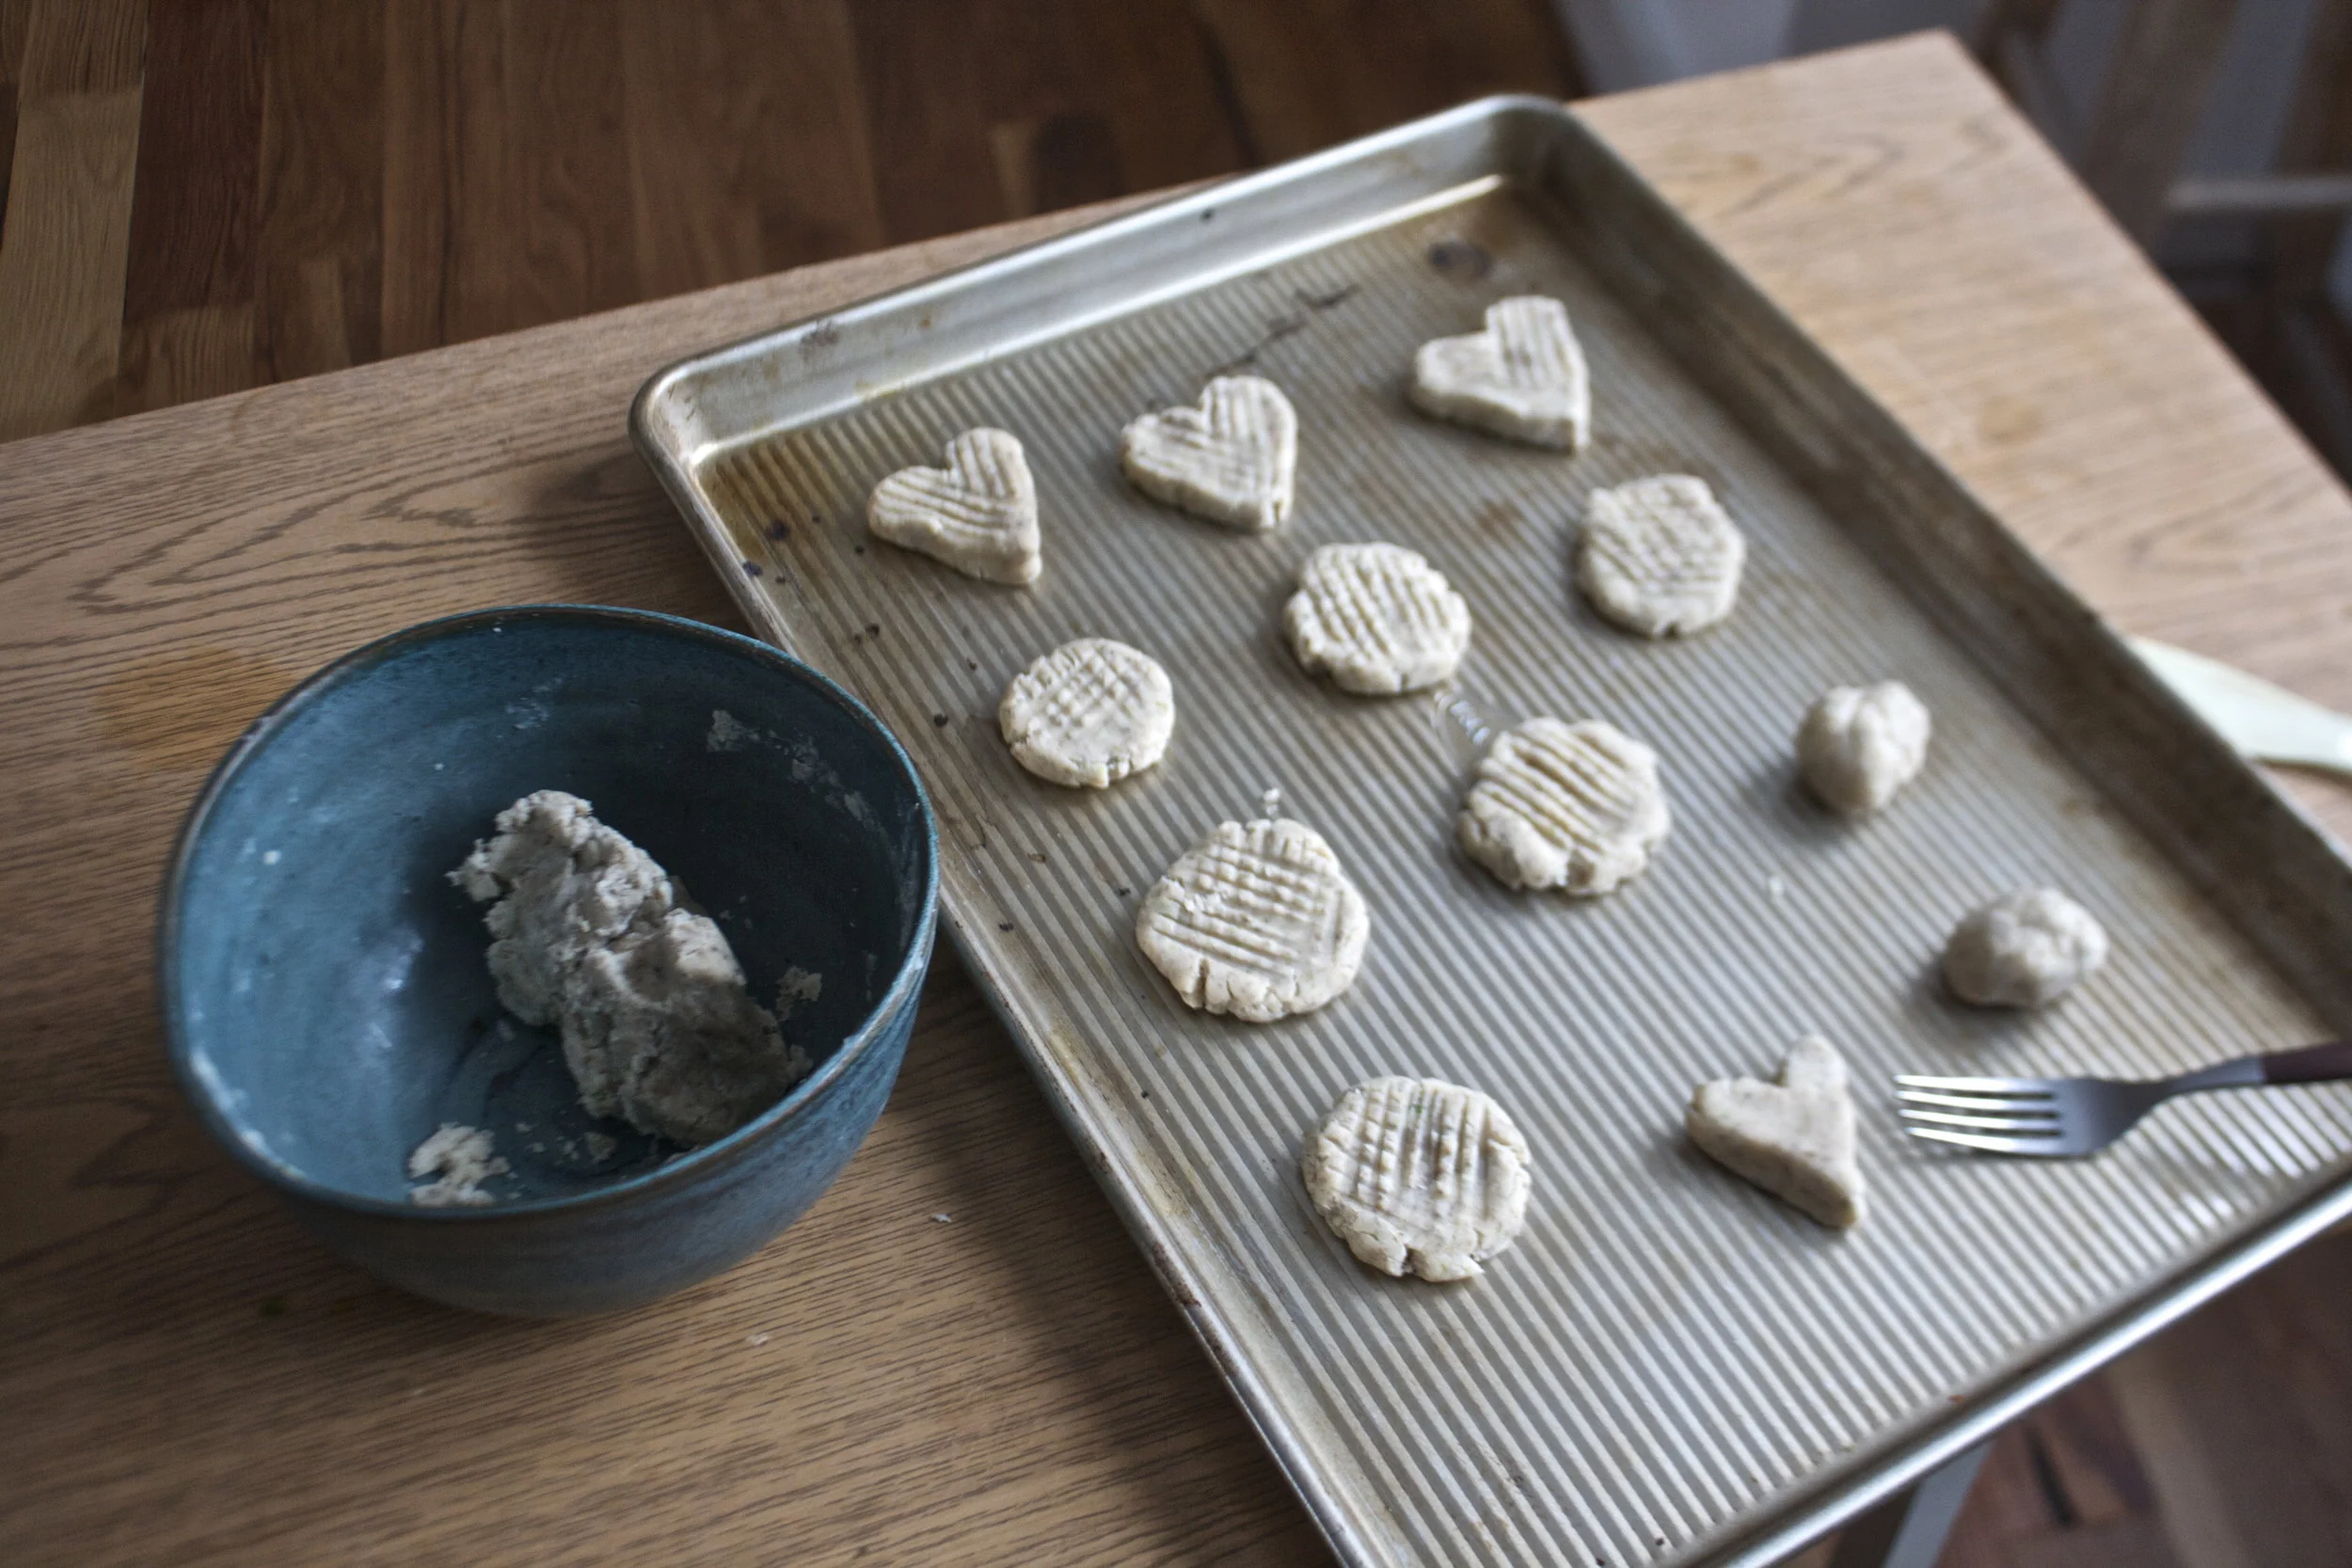




 %u00a0How awesome will you be when you bring the most freaking amazing tortilla chips to the party this weekend? You will be like..”what, it ain’t no thang.. I am just good like that” Yes, yes you are.
 %u00a0 %u00a0 %u00a0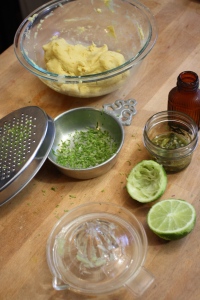
 Knead dough a few times just to make sure it’s completely uniformed and divide %u00a0into 12-14 equal pieces. Place balls on a plate and cover with a wet paper towl to keep from drying out.
 My%u00a0cast iron skillet is big enough to cook 2 -3 at a time, but doing one at a time is cool too. Preheat the skillet to medium heat. Cook each tortilla for about 2-3 minutes ( or until starting to brown) on each side.
  Half way there to chips!!!
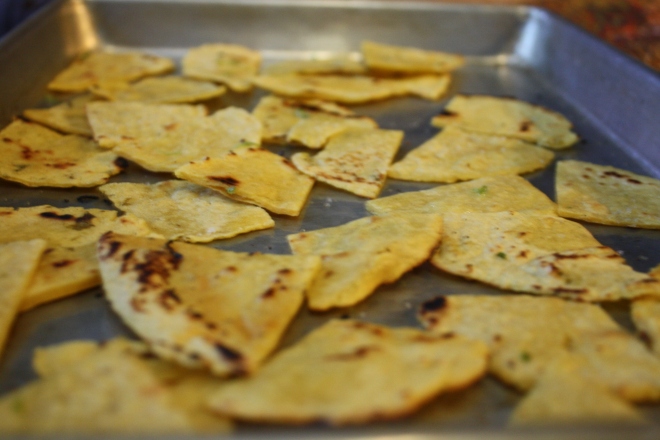 Placed all nice and cozy on a baking sheet. trying not to overlap. Into a 400 degree oven for about 20 minutes to complete the chip making process.. After about 15 minutes, check for doneness. When nice a crispy, remove from oven, squeeze %u00a0lime juice all over and sprinkle with salt. I then stuck them back in the oven for a few more minutes just to dry the lime..
 After cooling down, take those chips and stick them in a bowl.%u00a0
 %u00a0
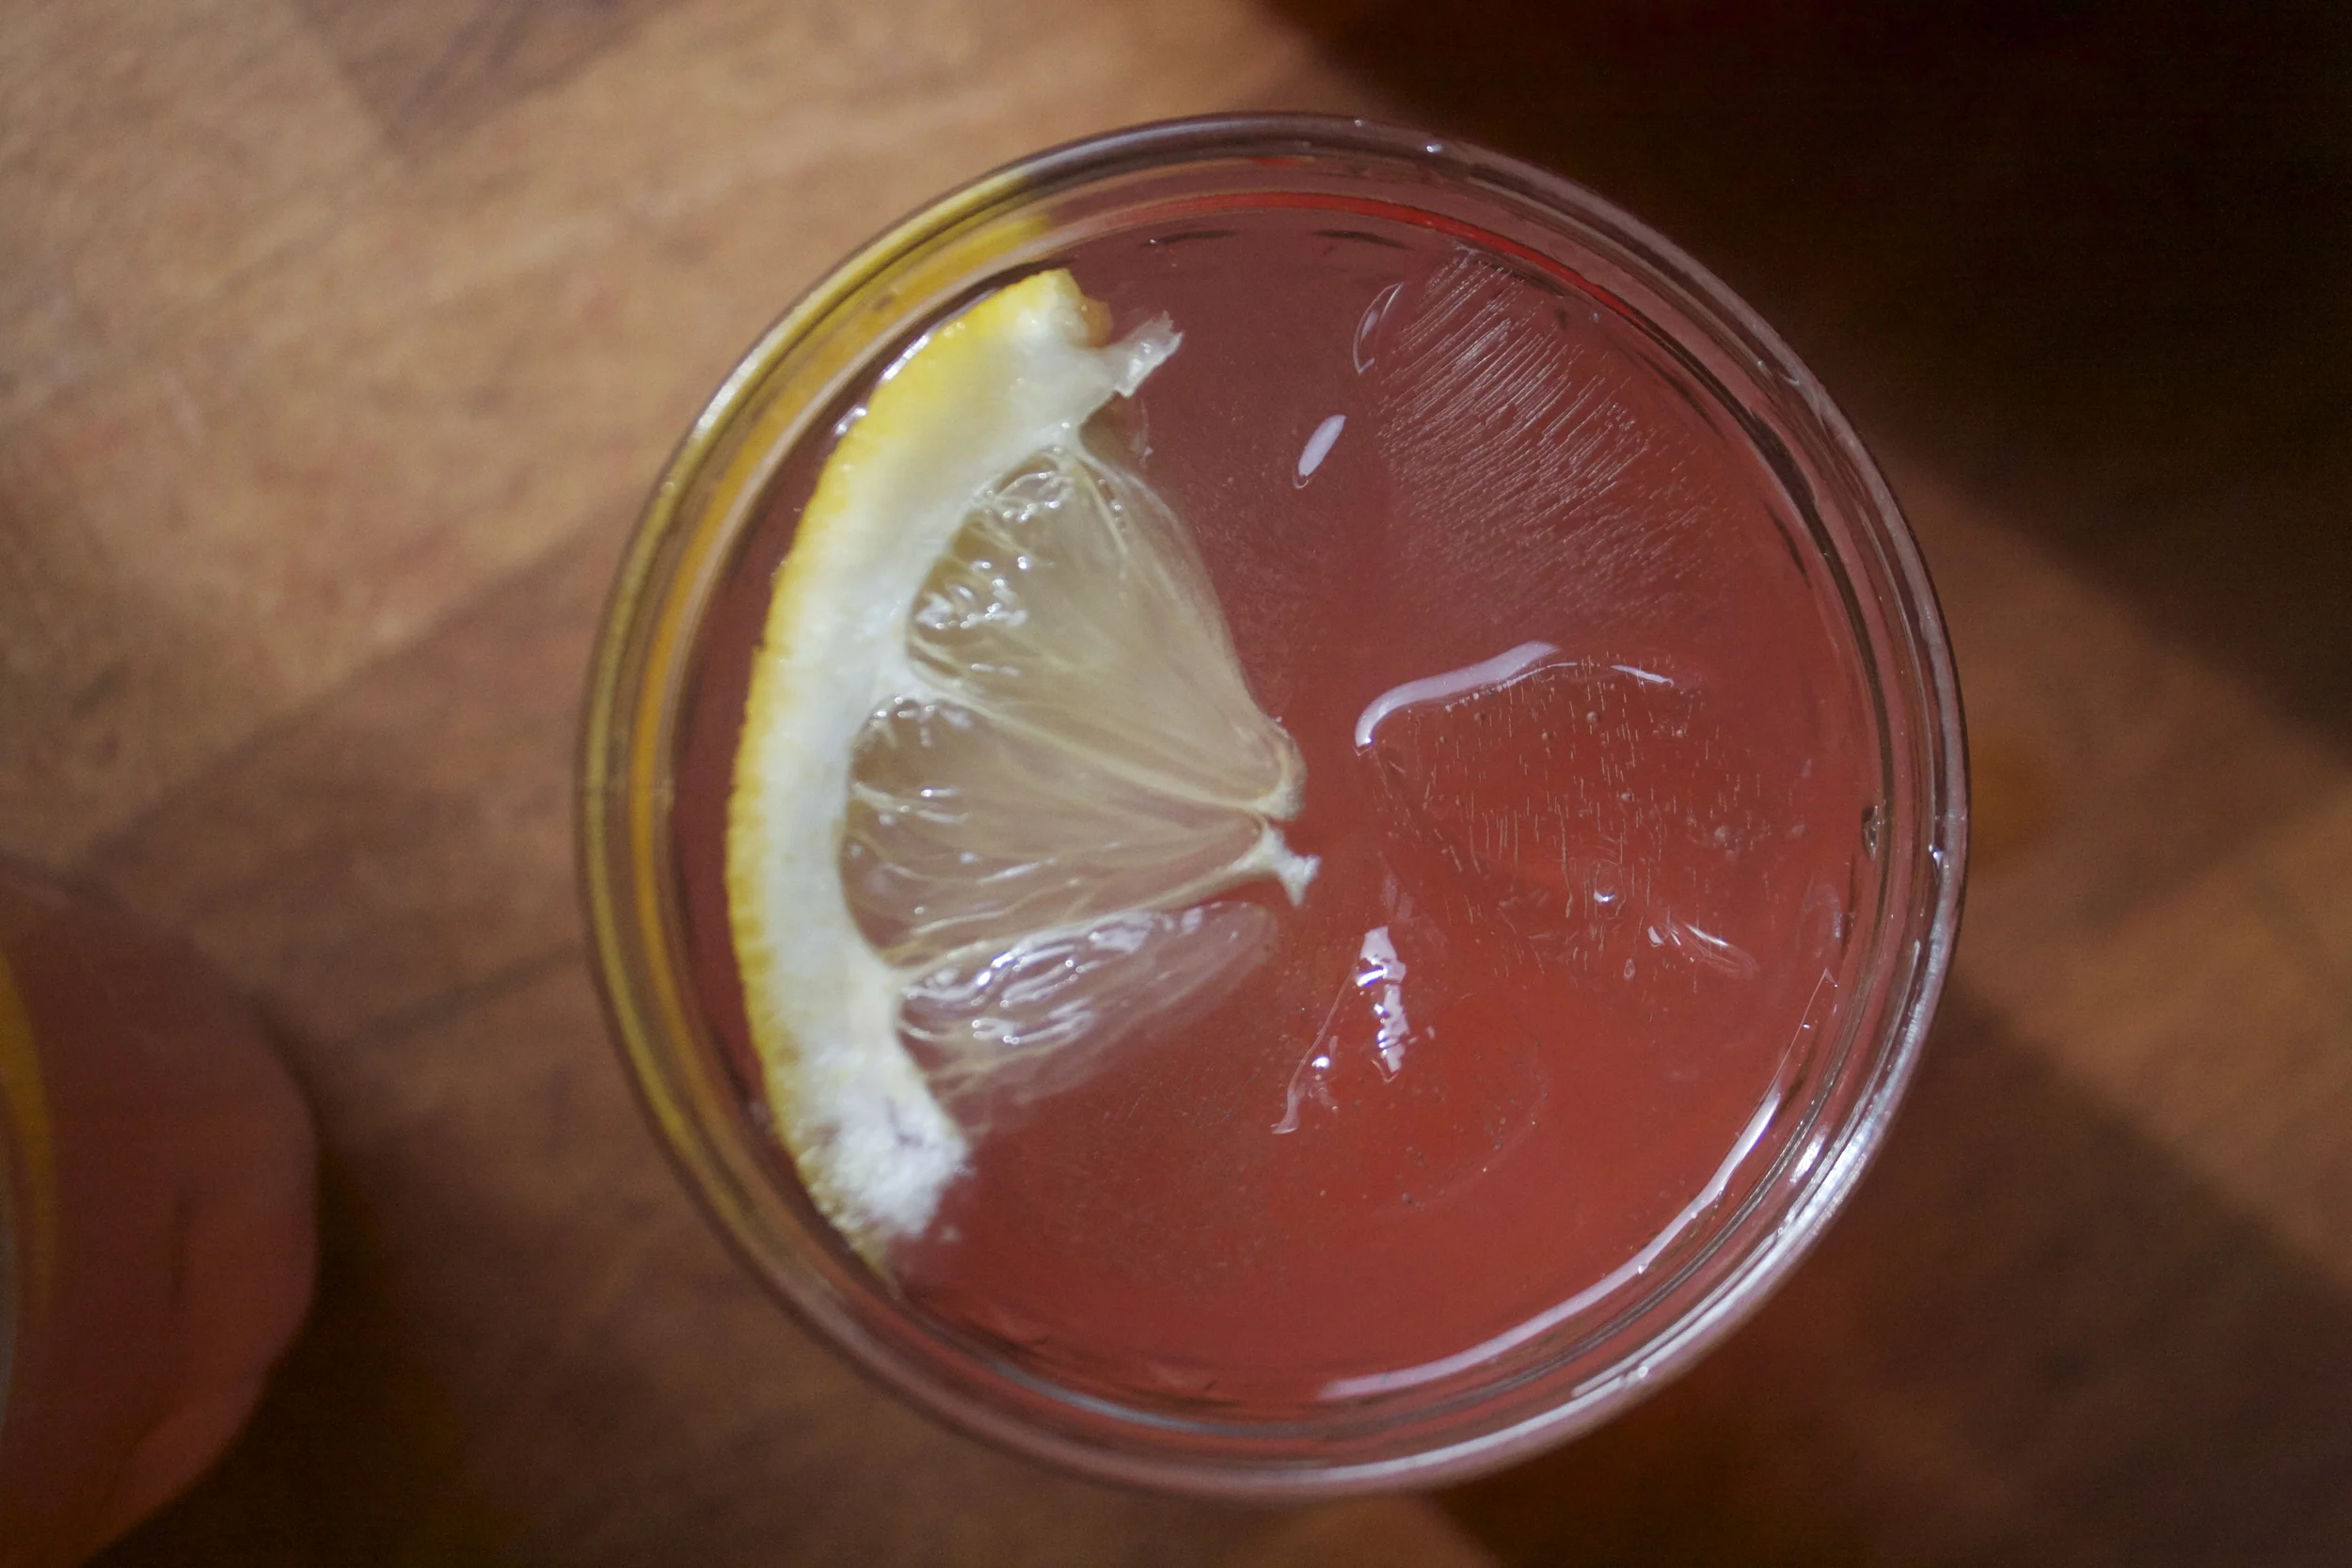
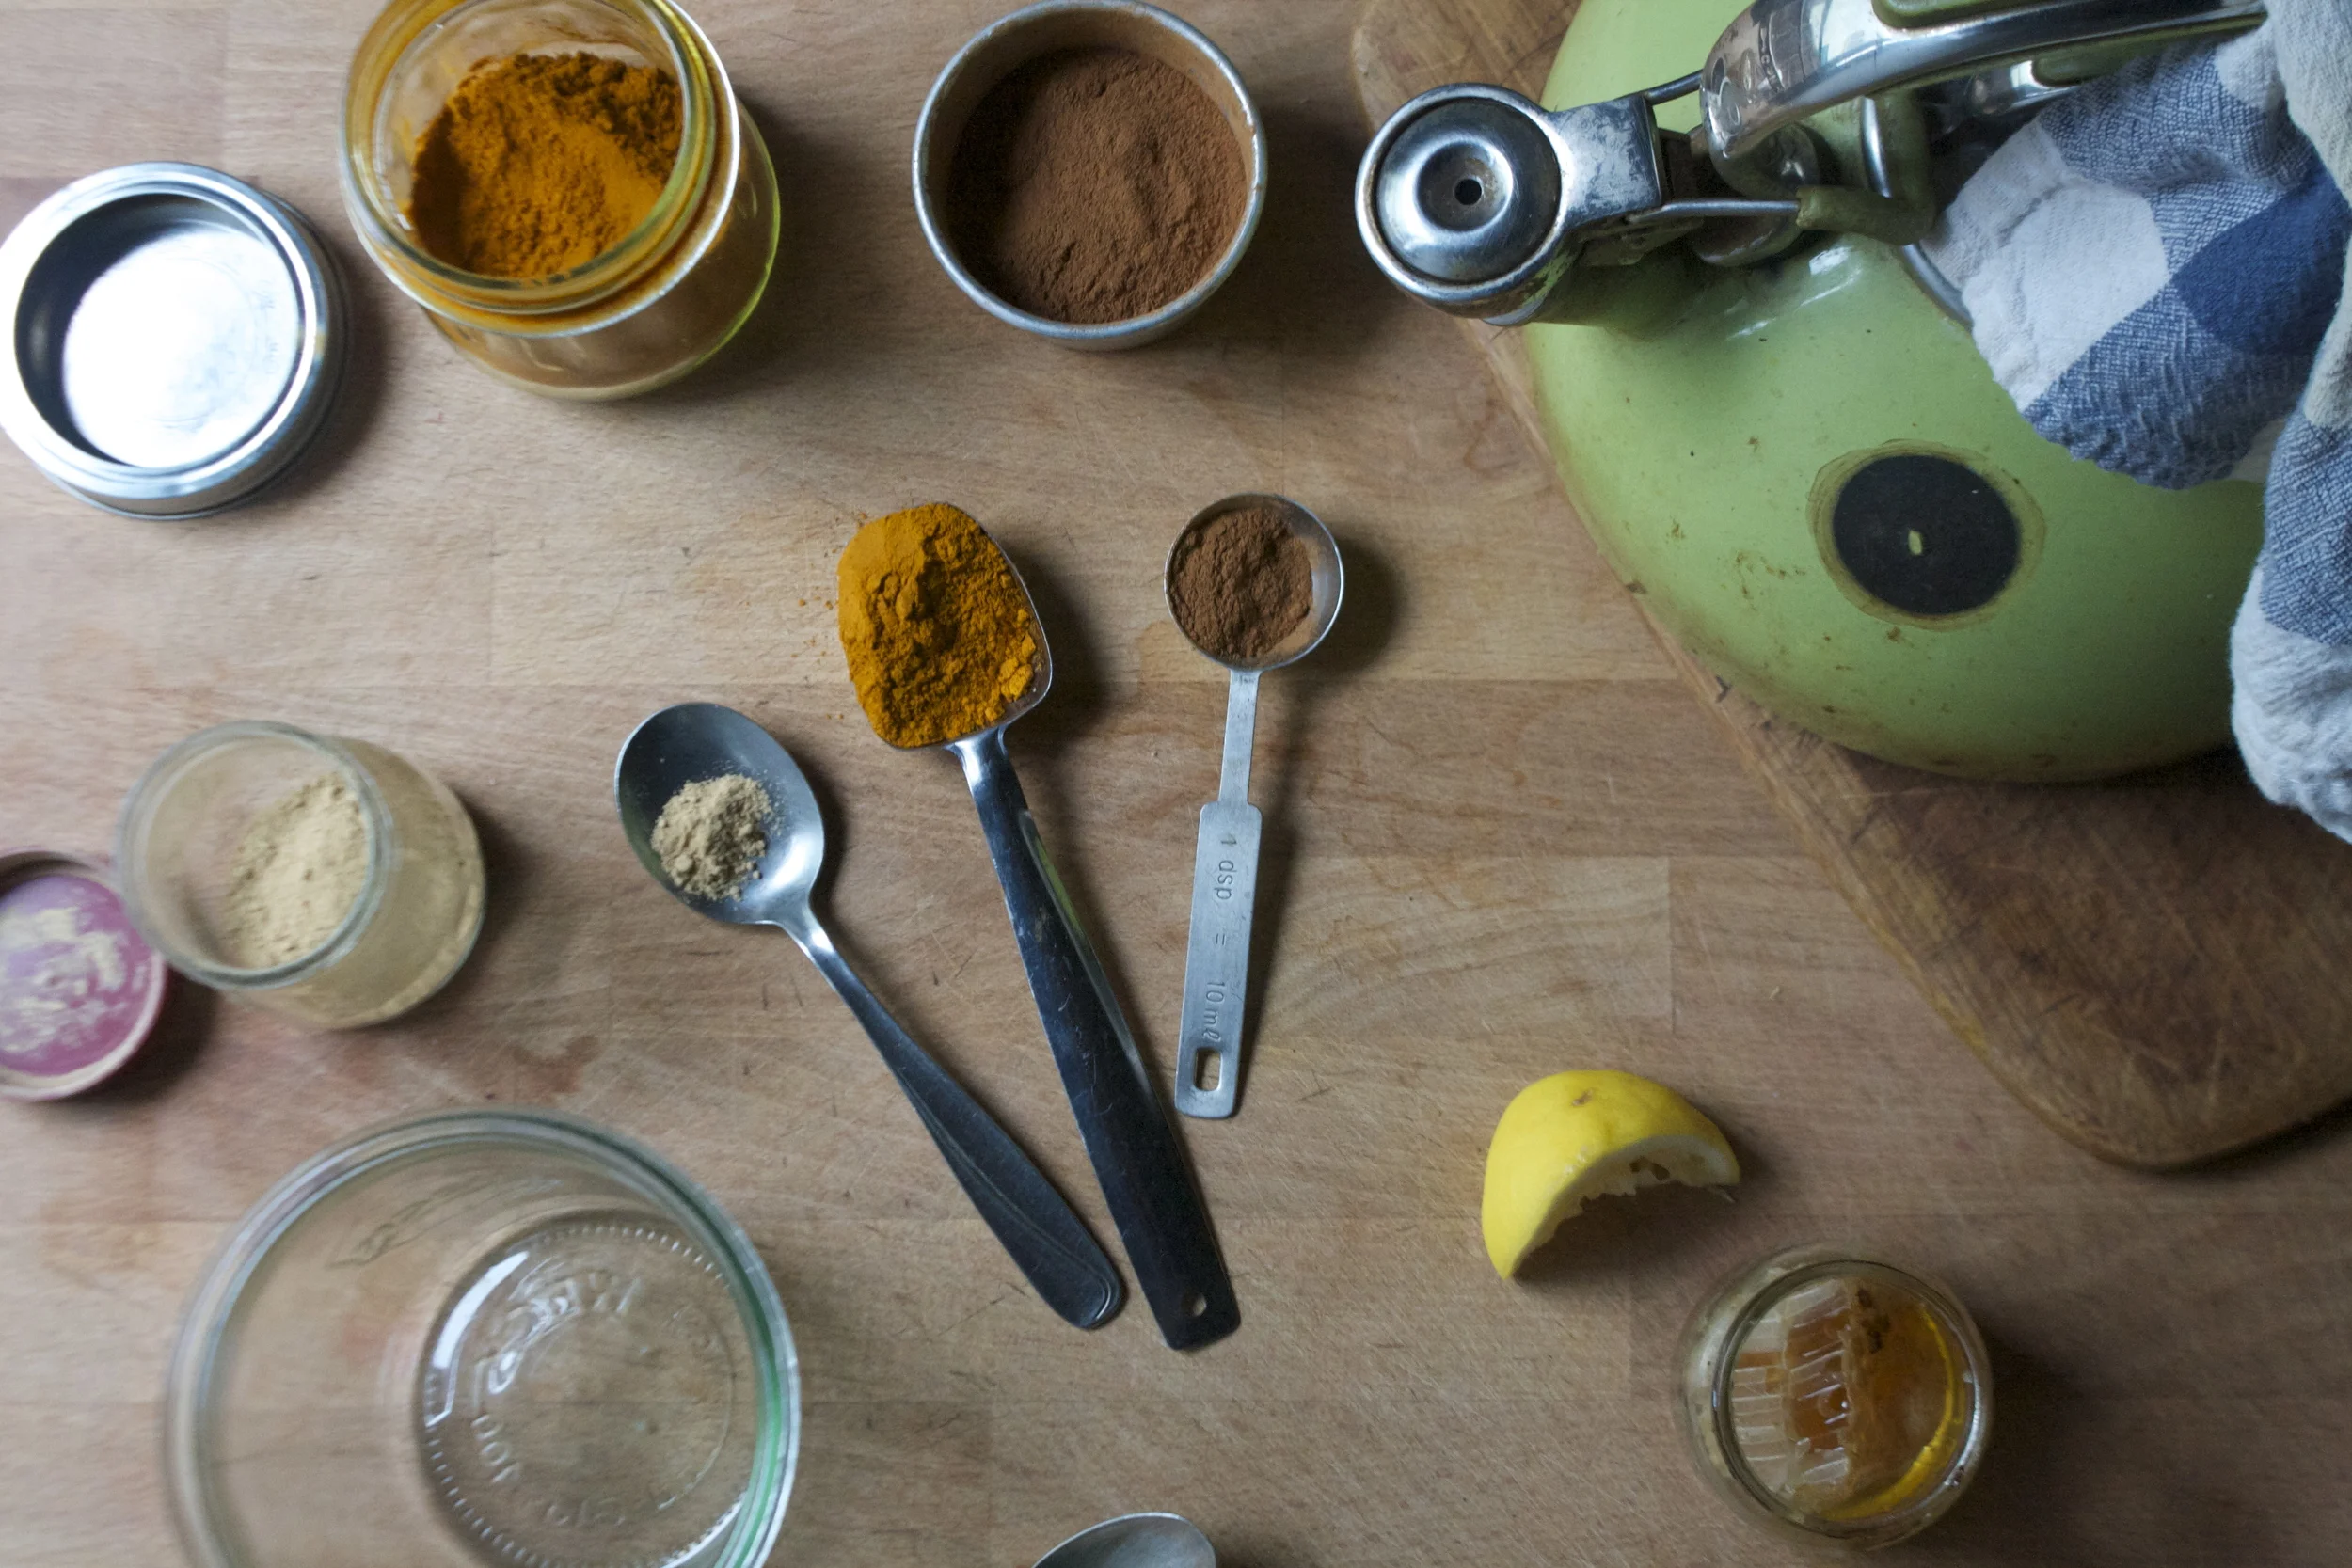
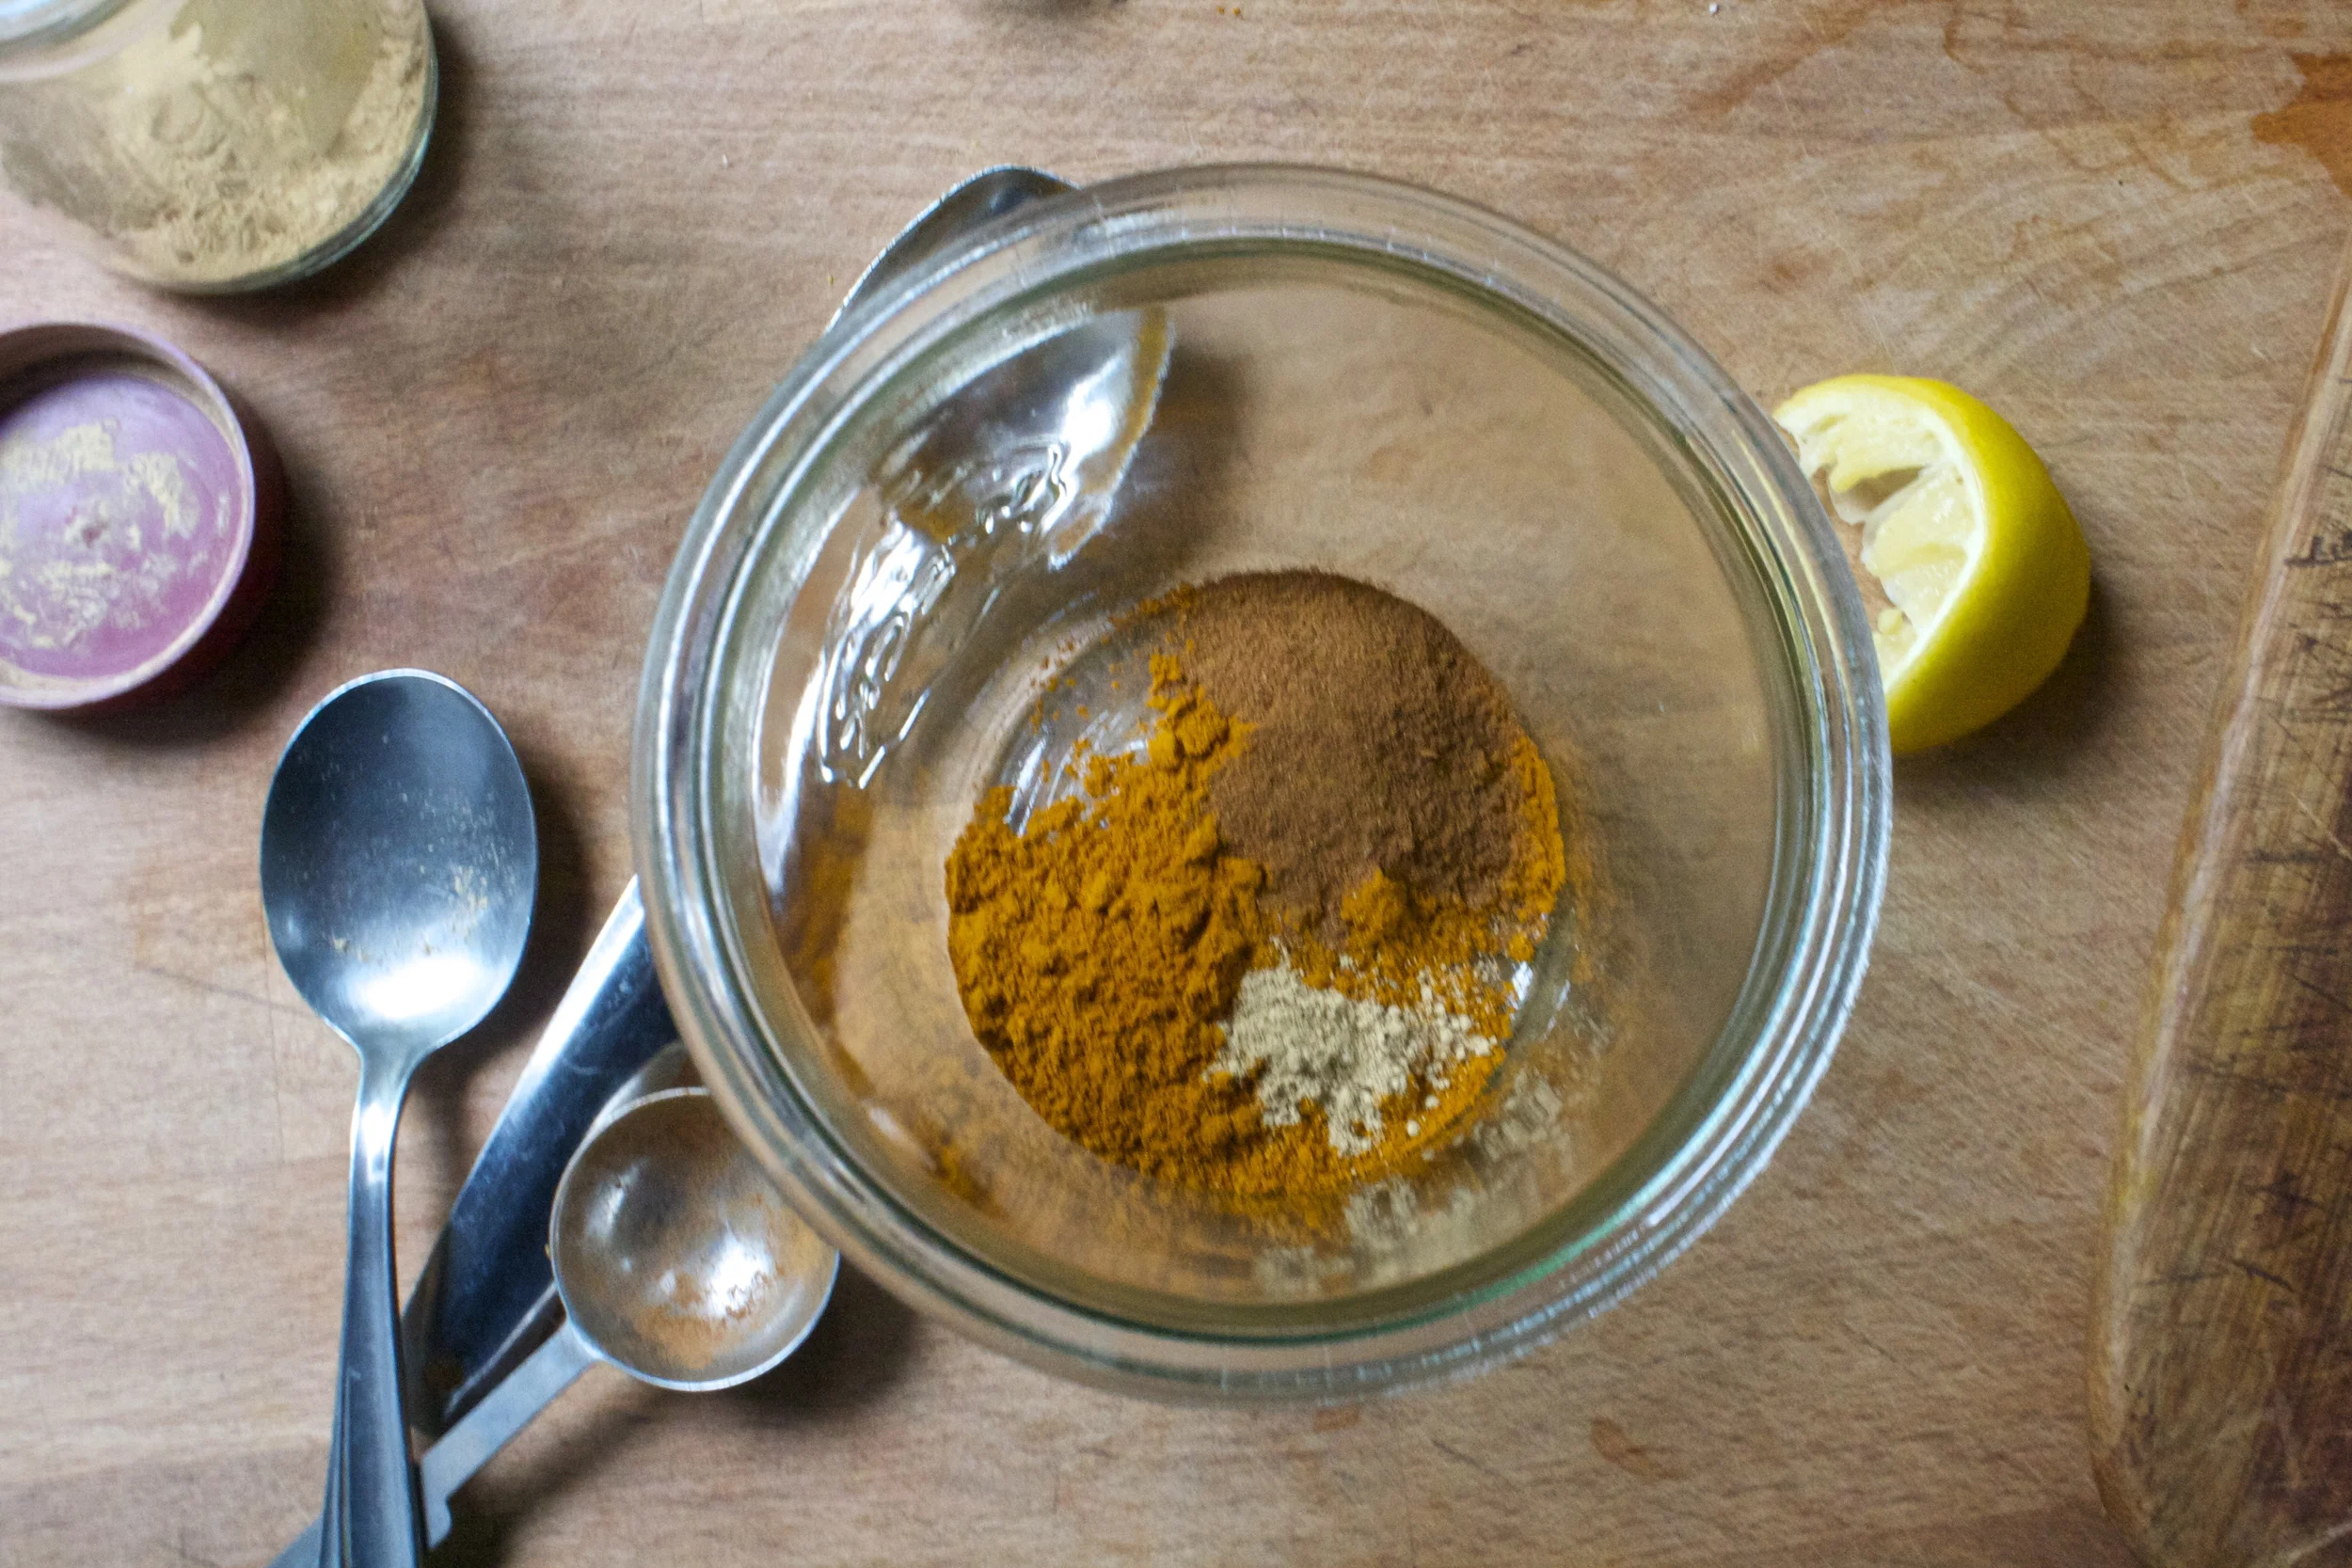
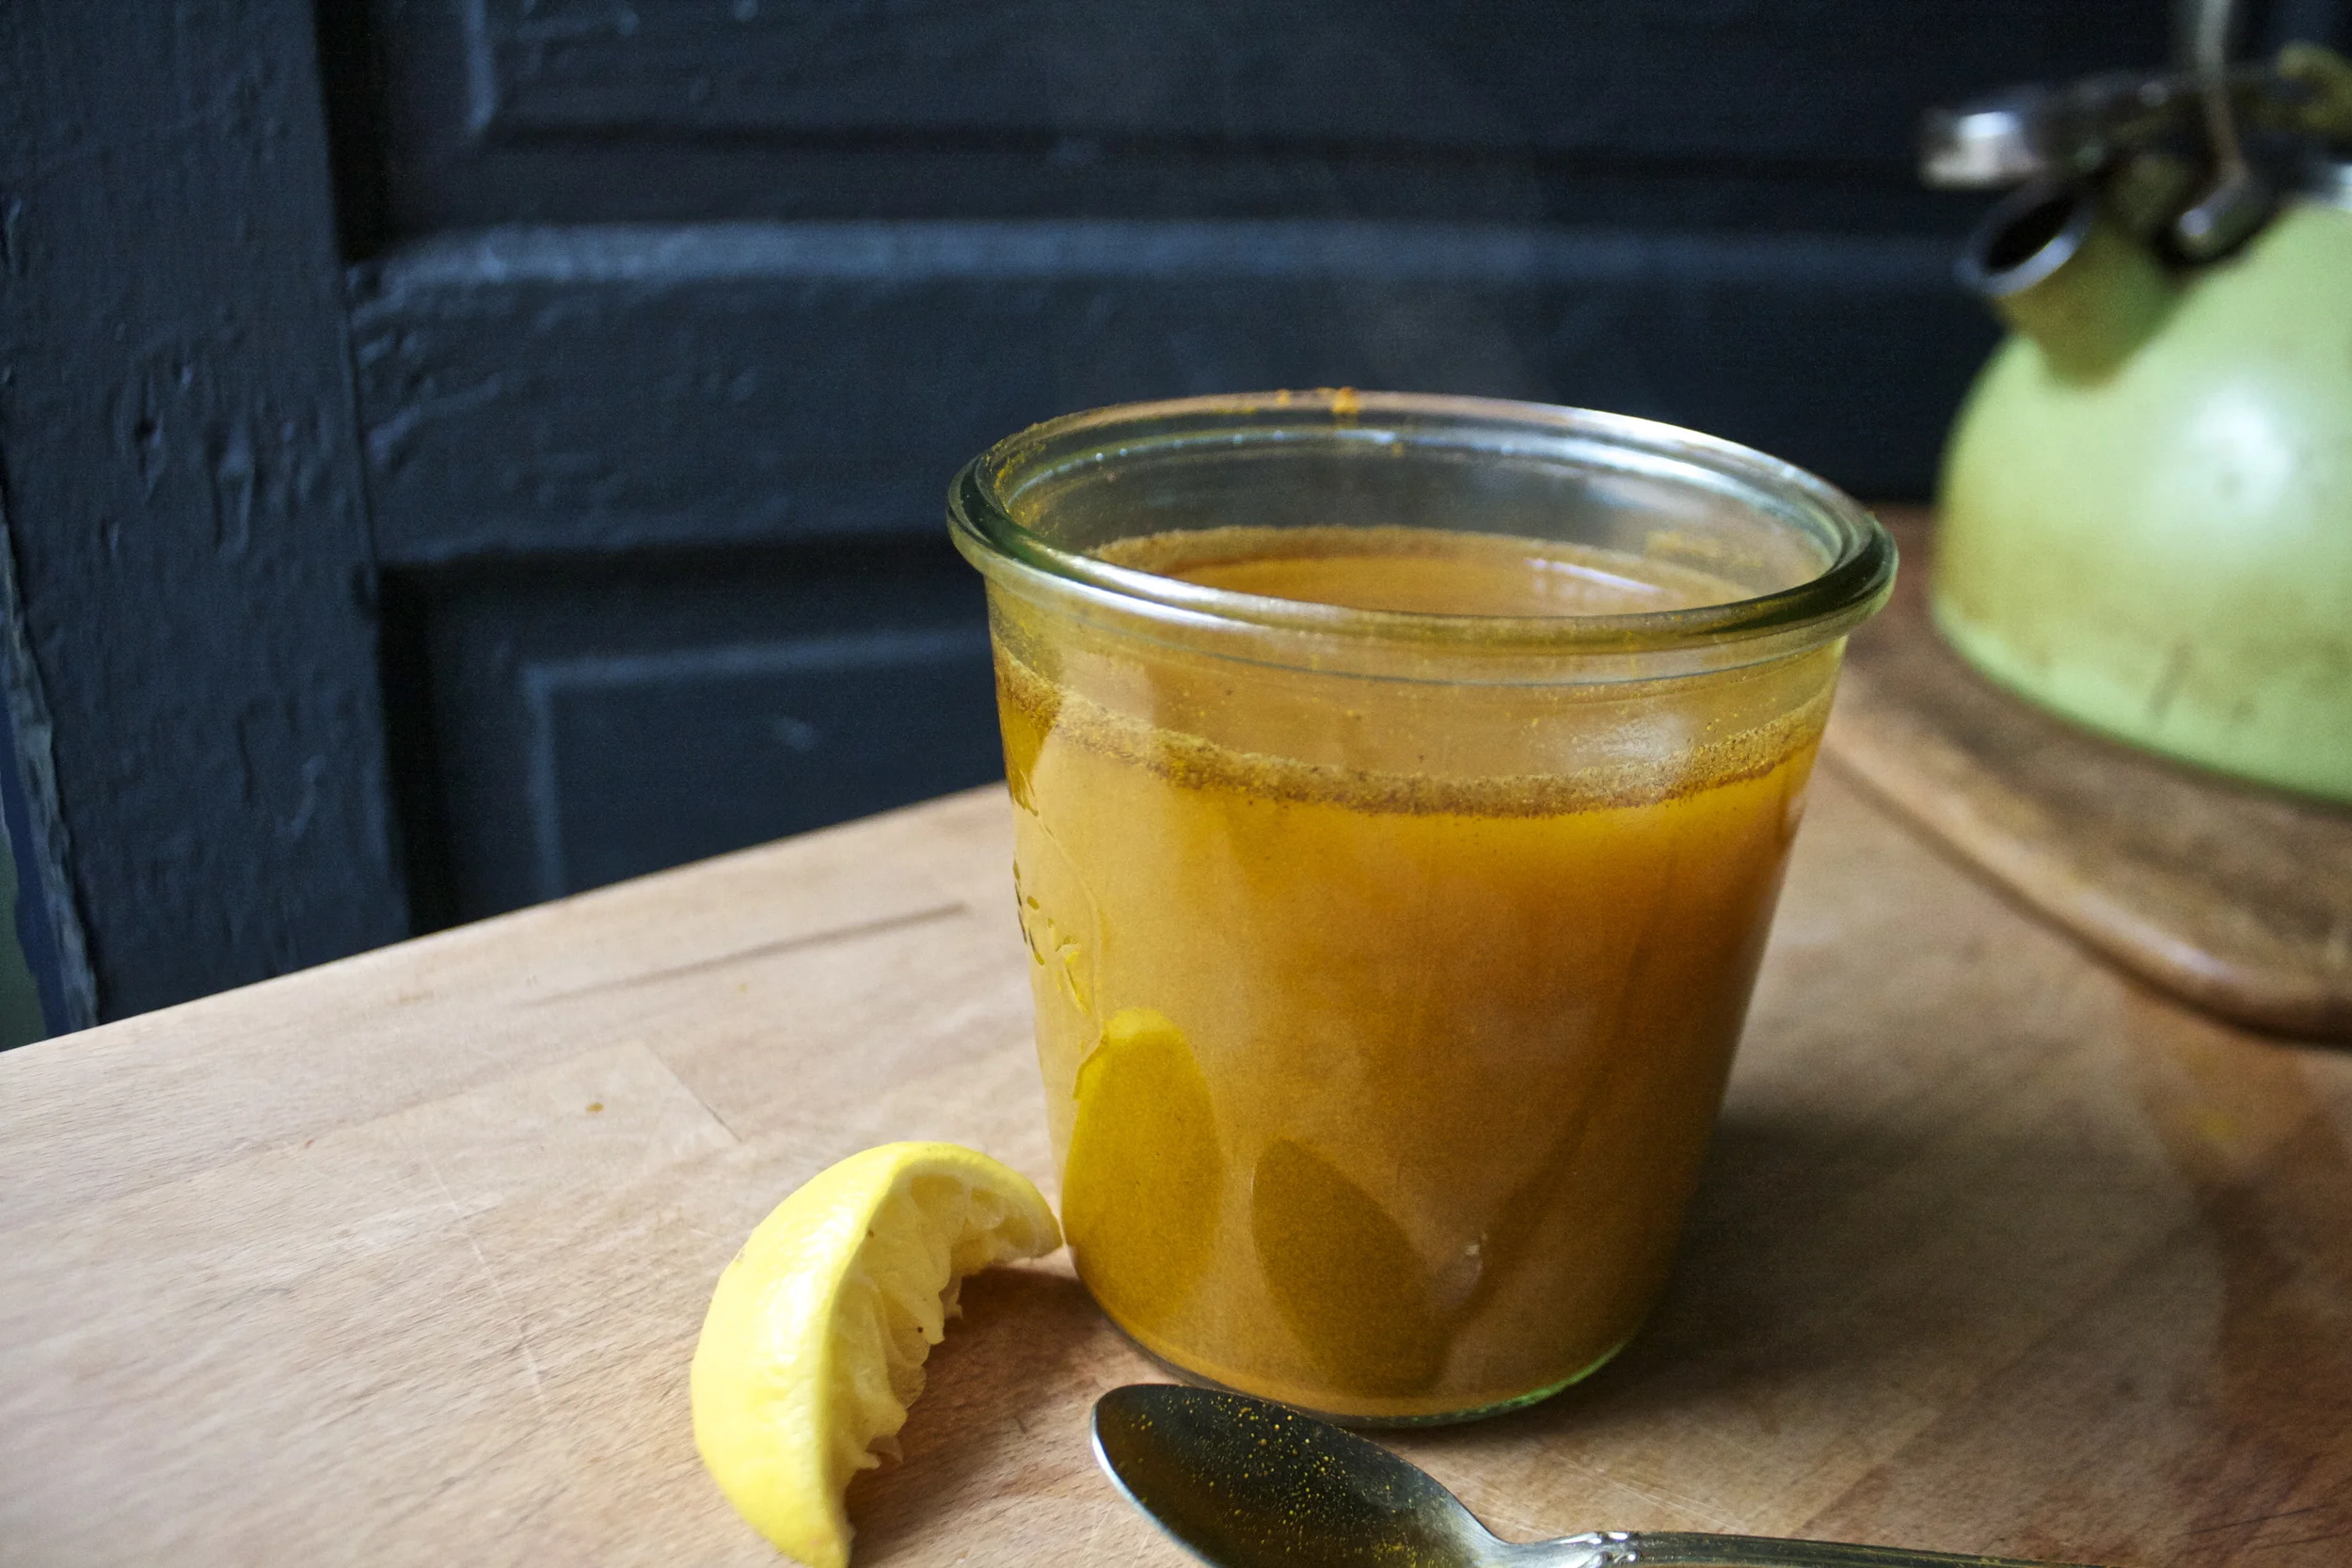
  %u00a0 I have been meaning do a post on seltzer and syrups for a while now and this one is perfect%u2026 Everyone around me has been getting sick and I am trying my hardest to not get anything.%u00a0


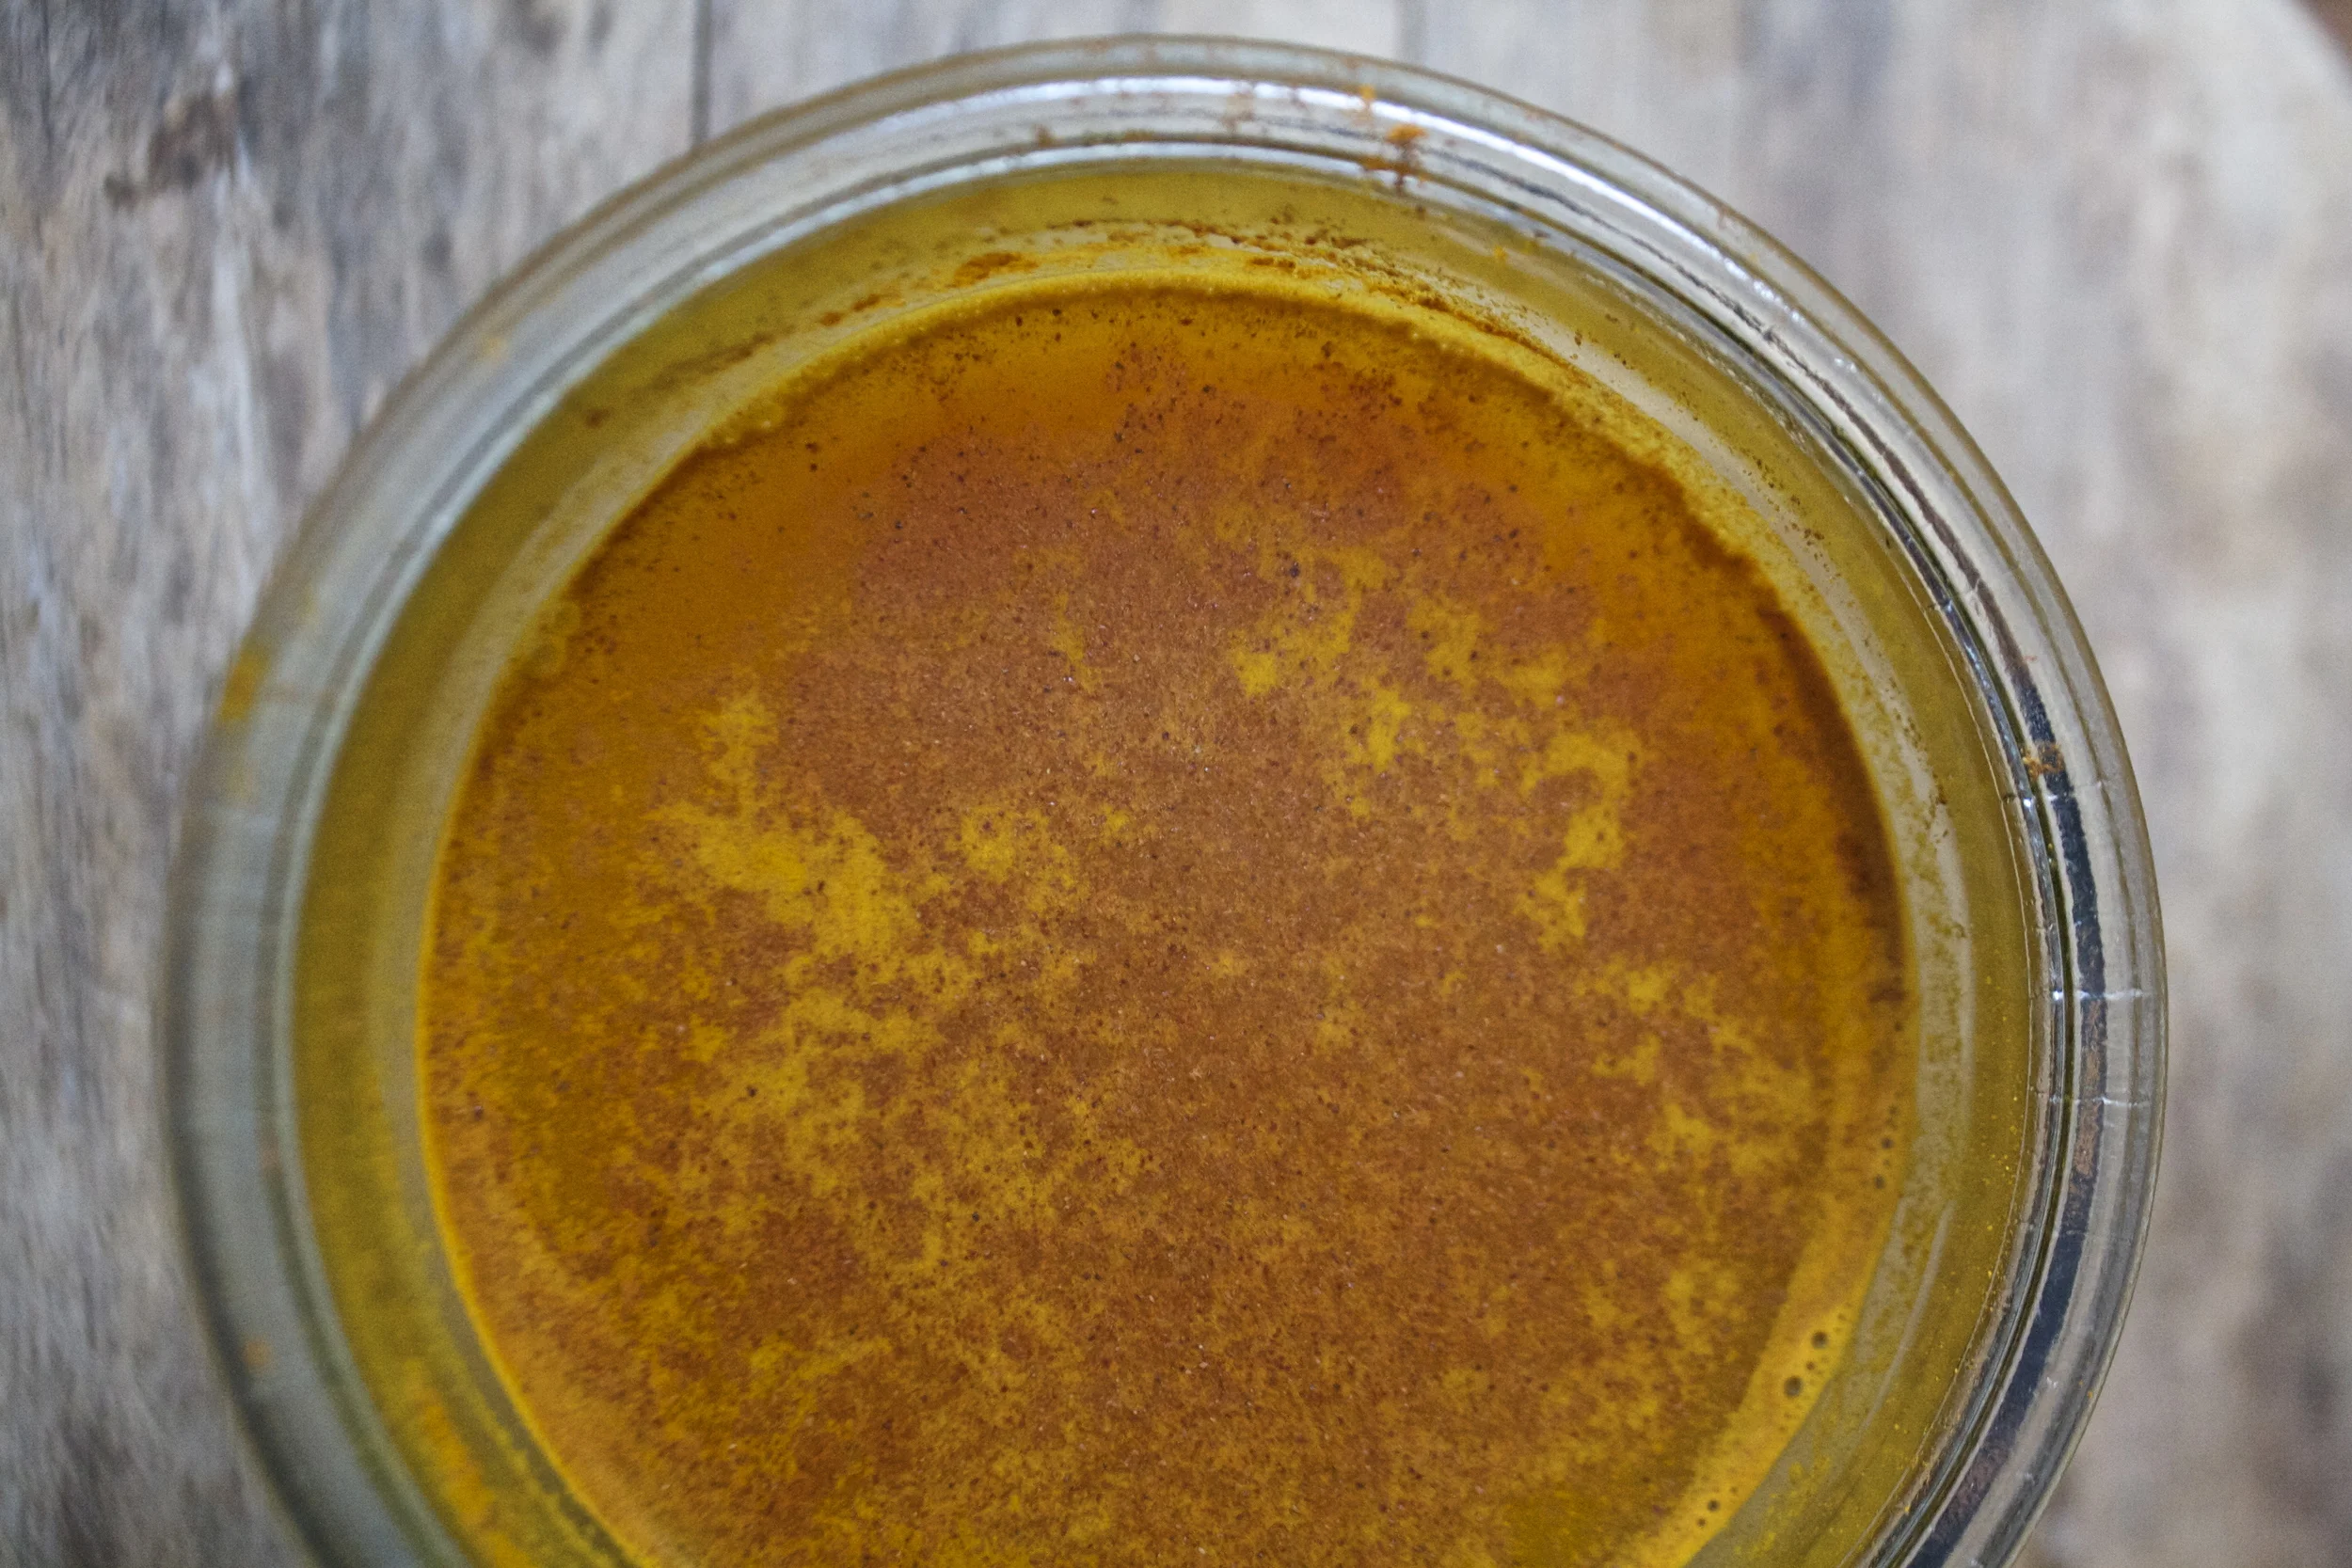
 So lovely%u2026. so nice.%u00a0I really got into these flavors. This drink has the ability to make you feel warm and cozy while being cold and fresh. It makes me happy.





















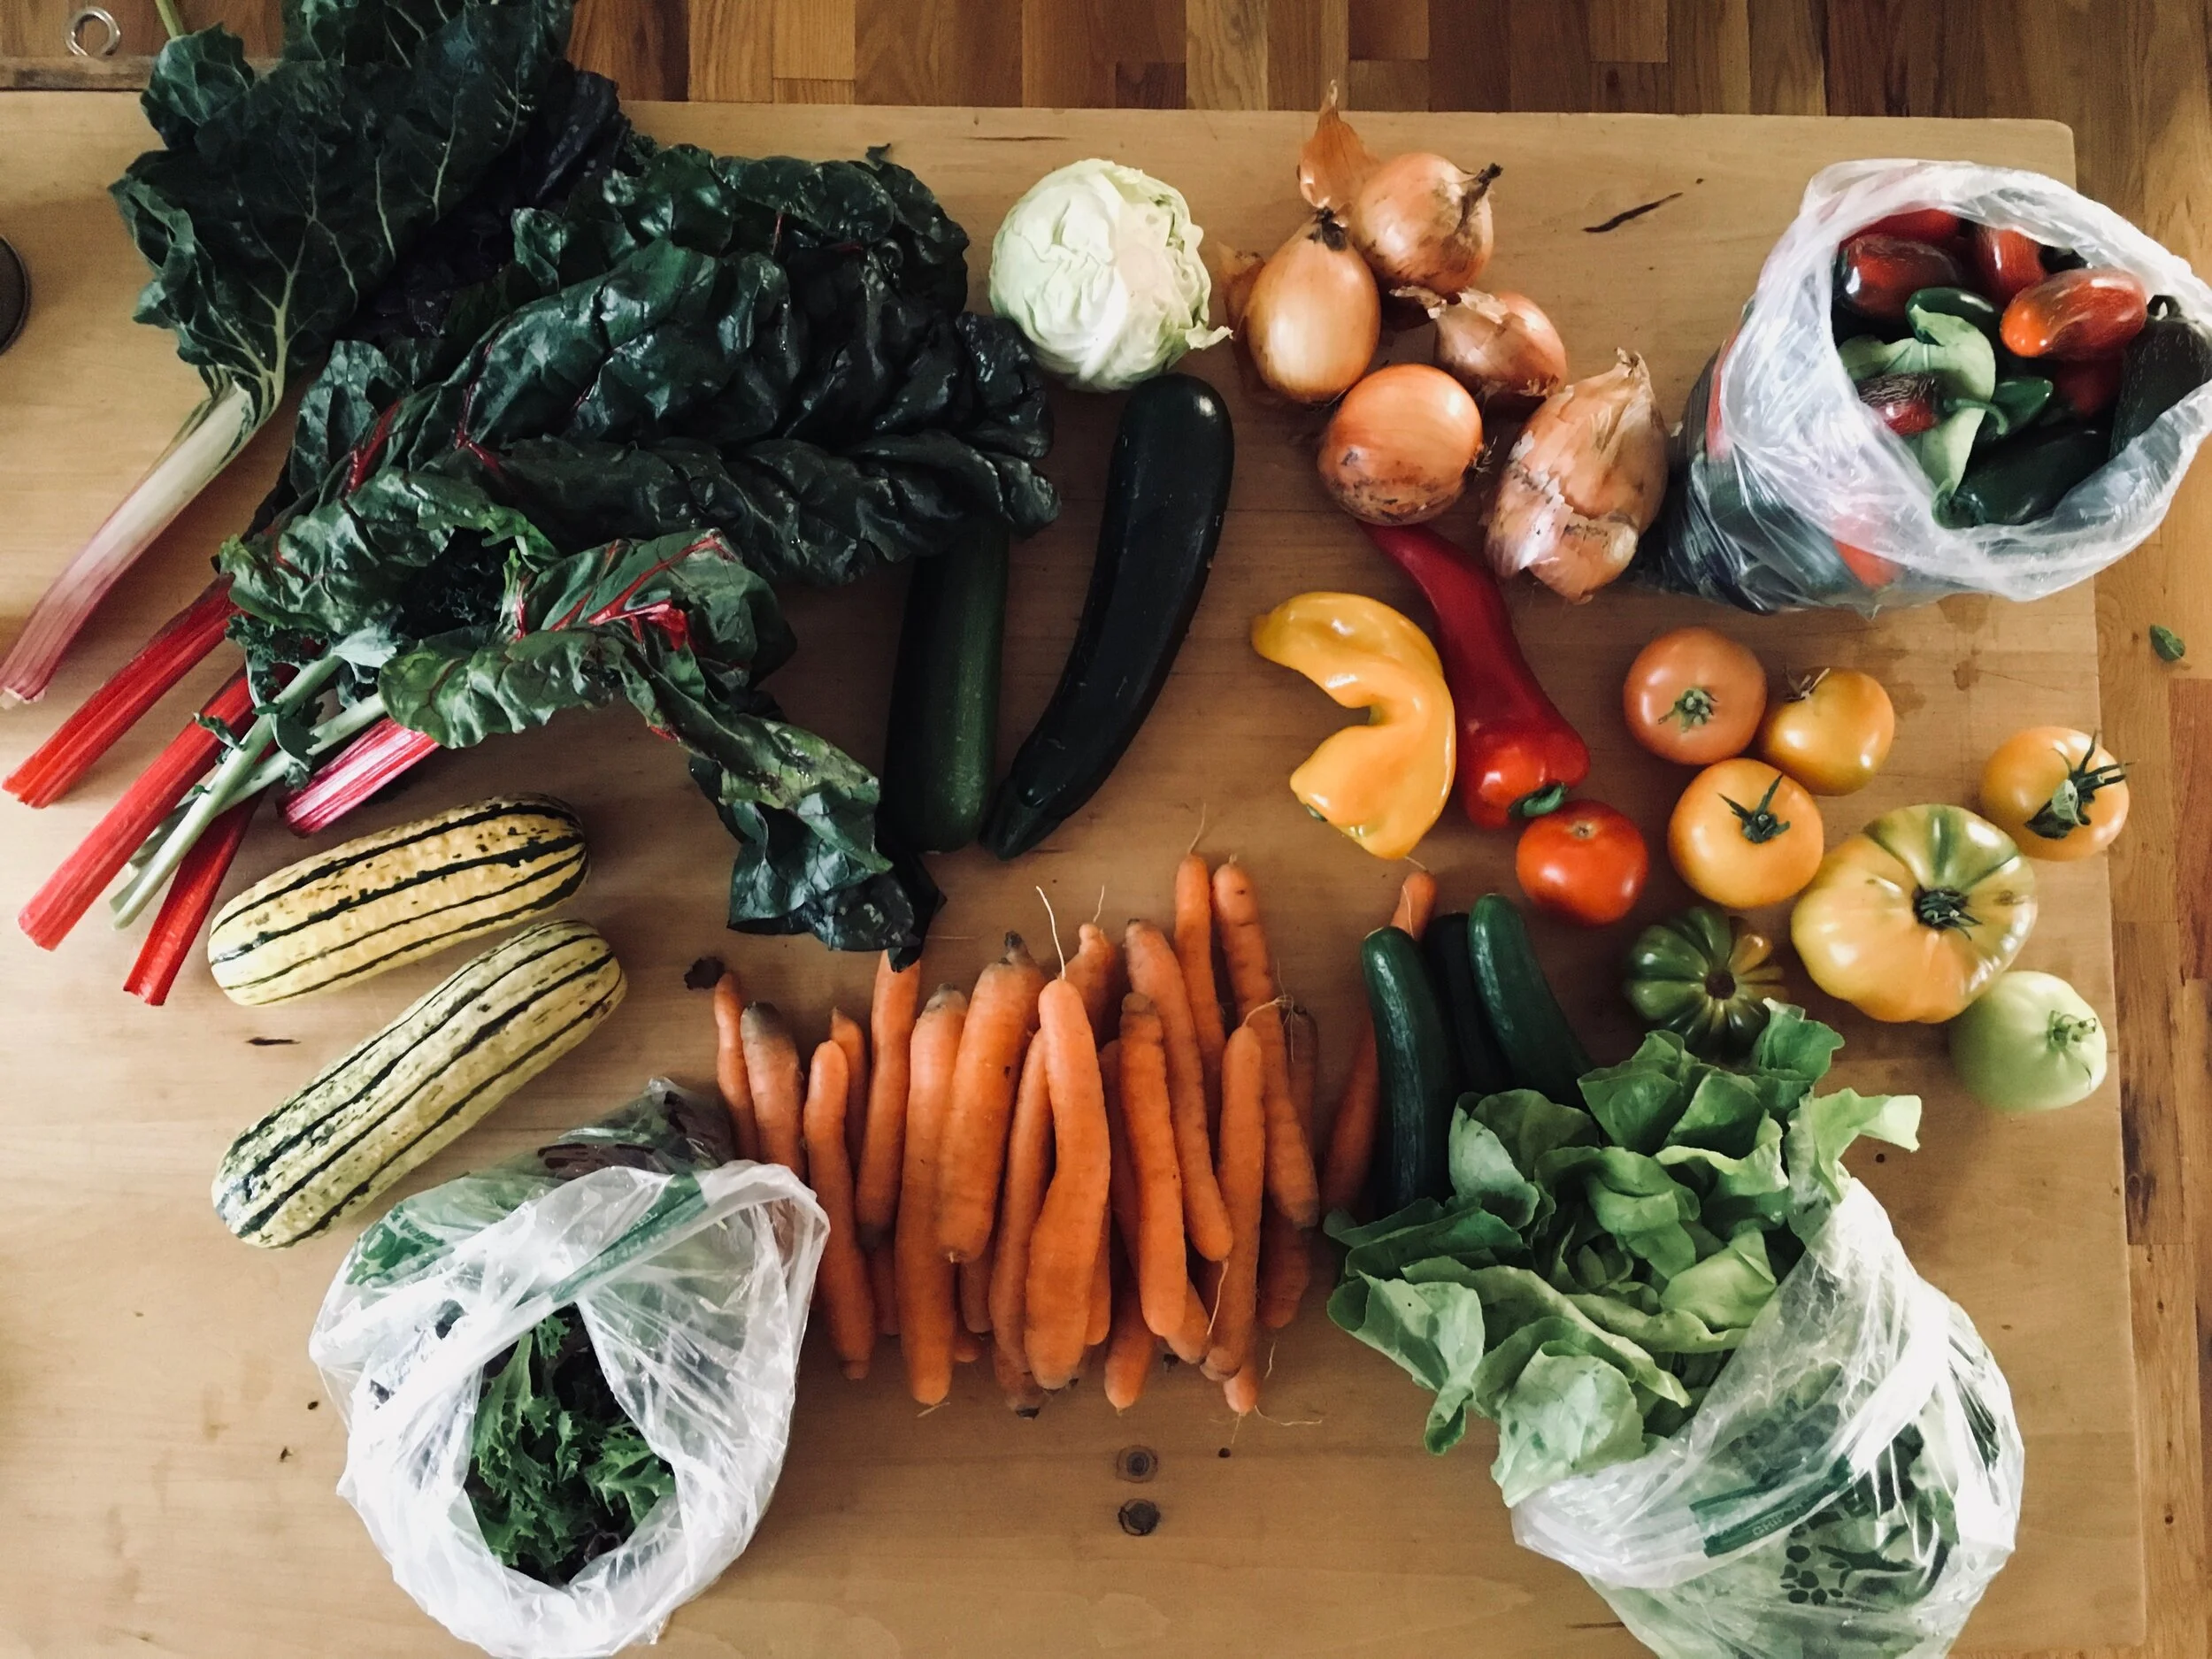


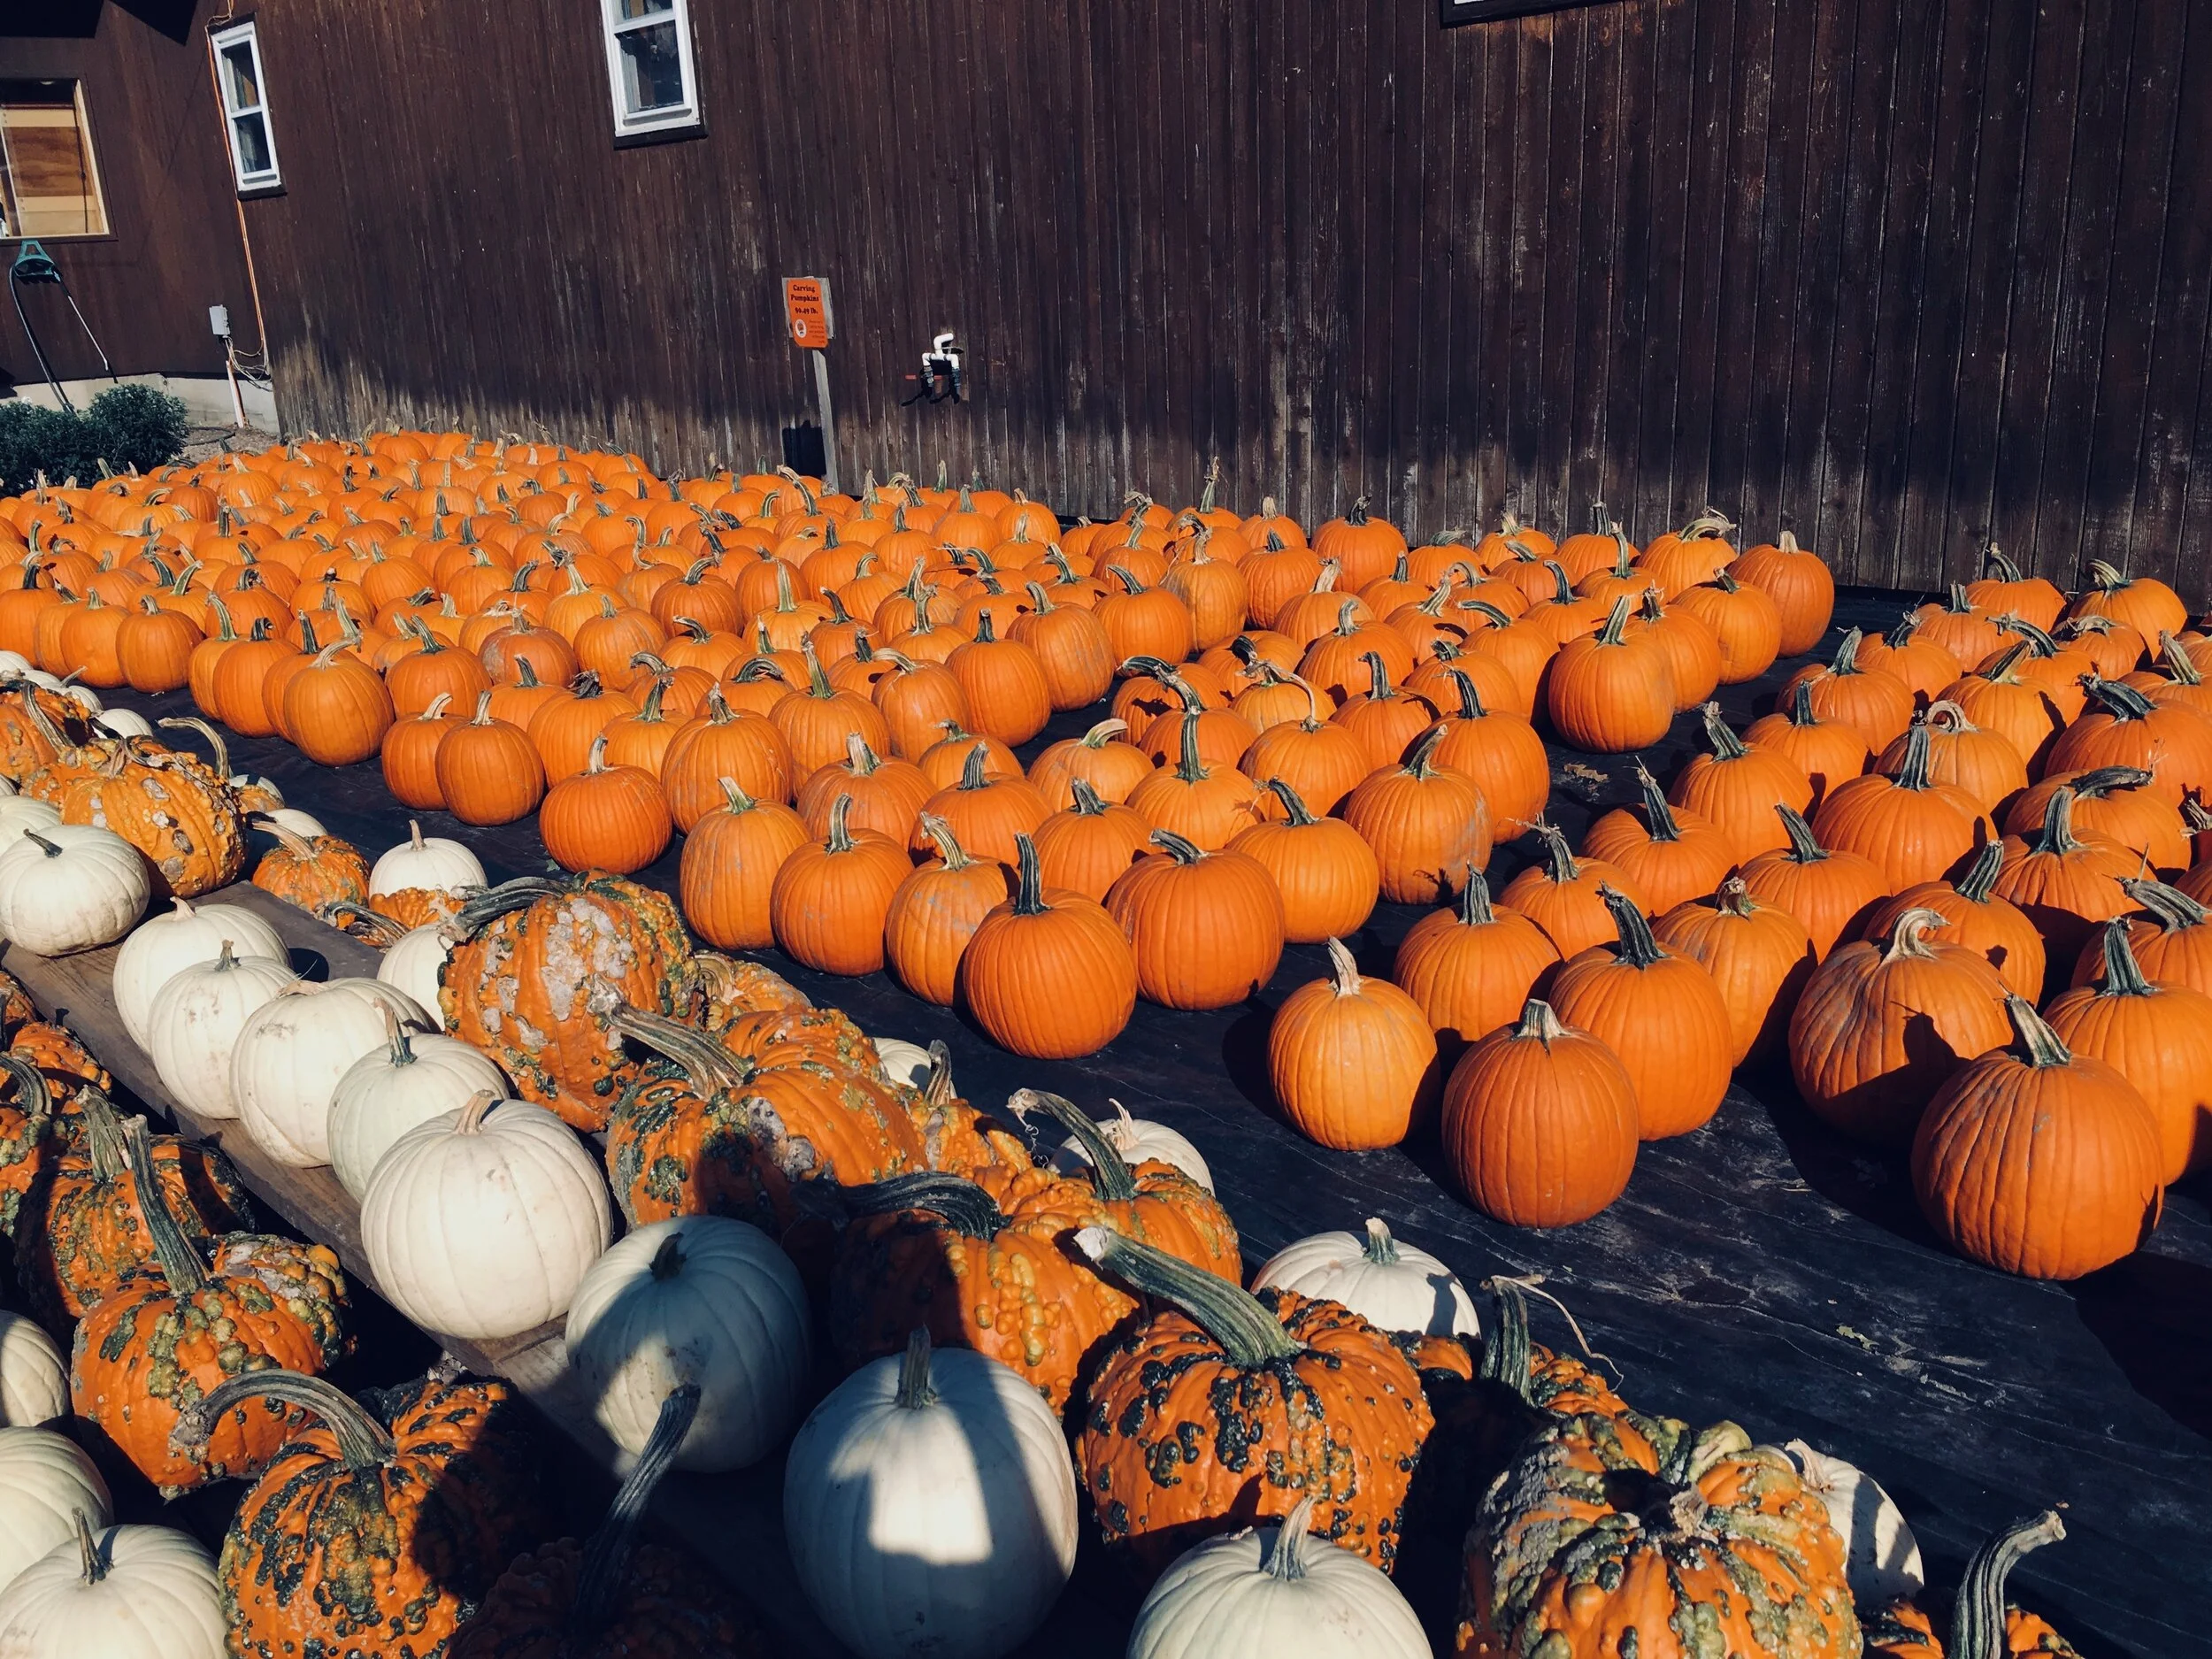
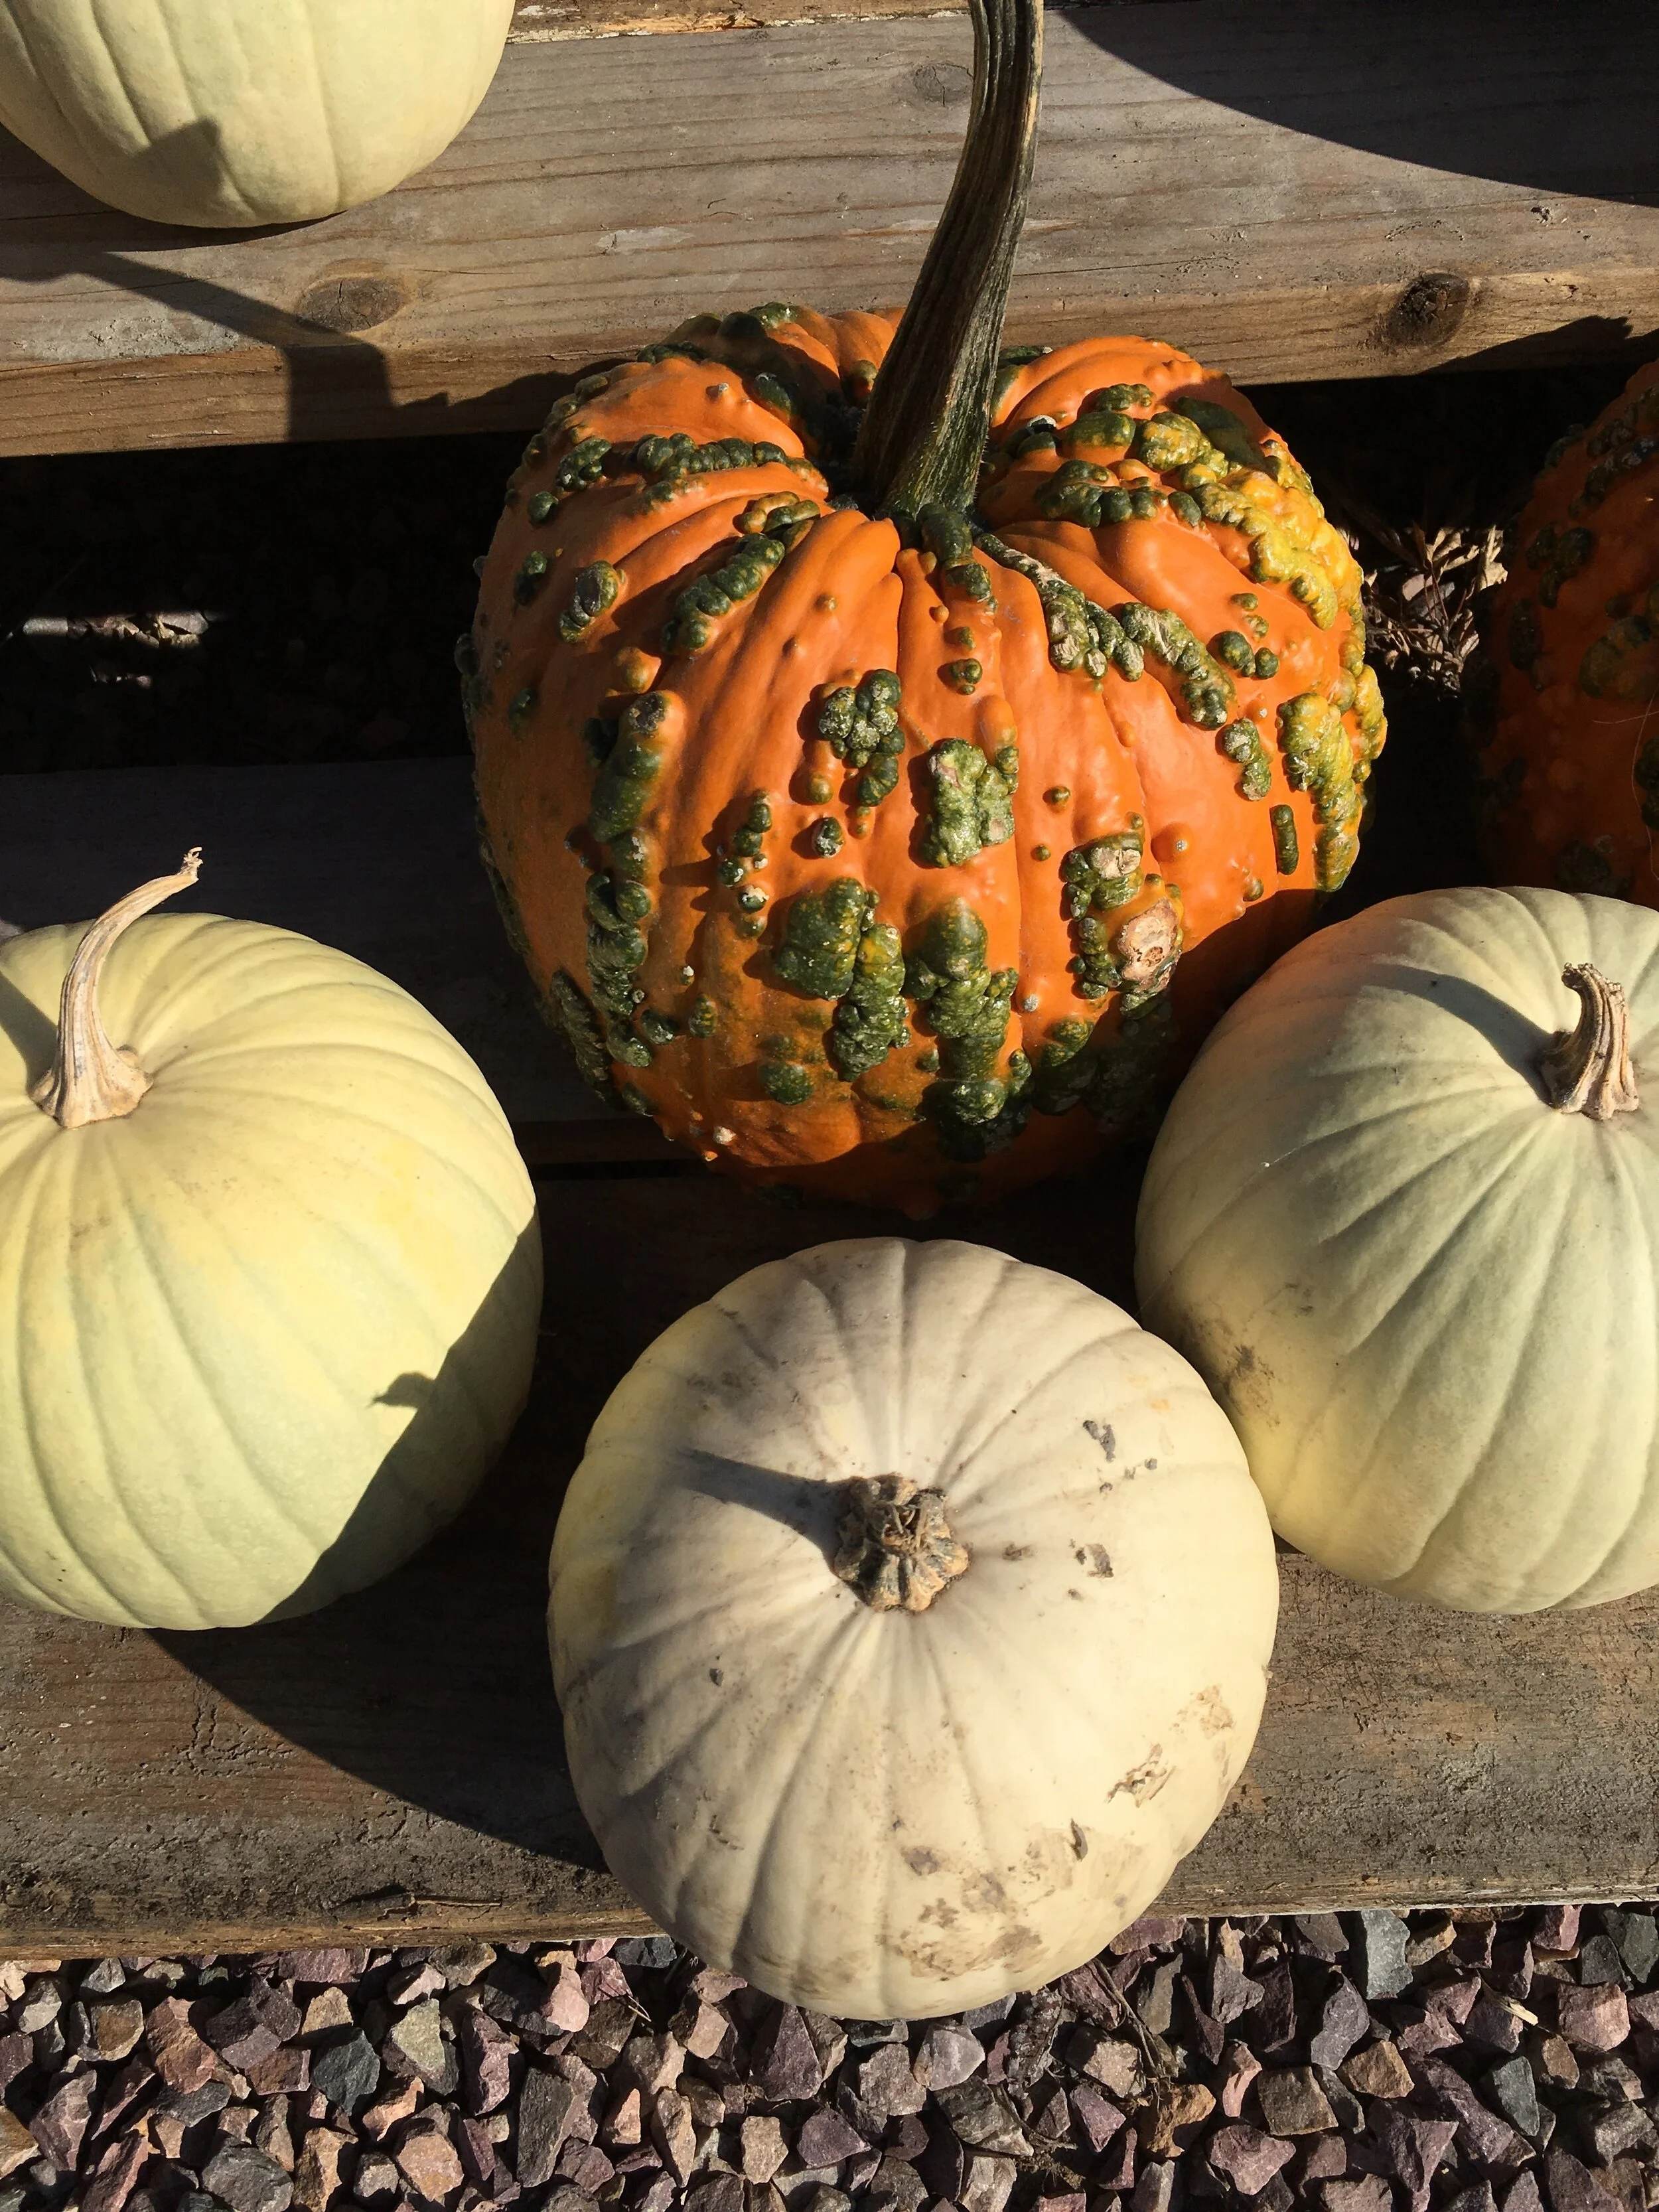






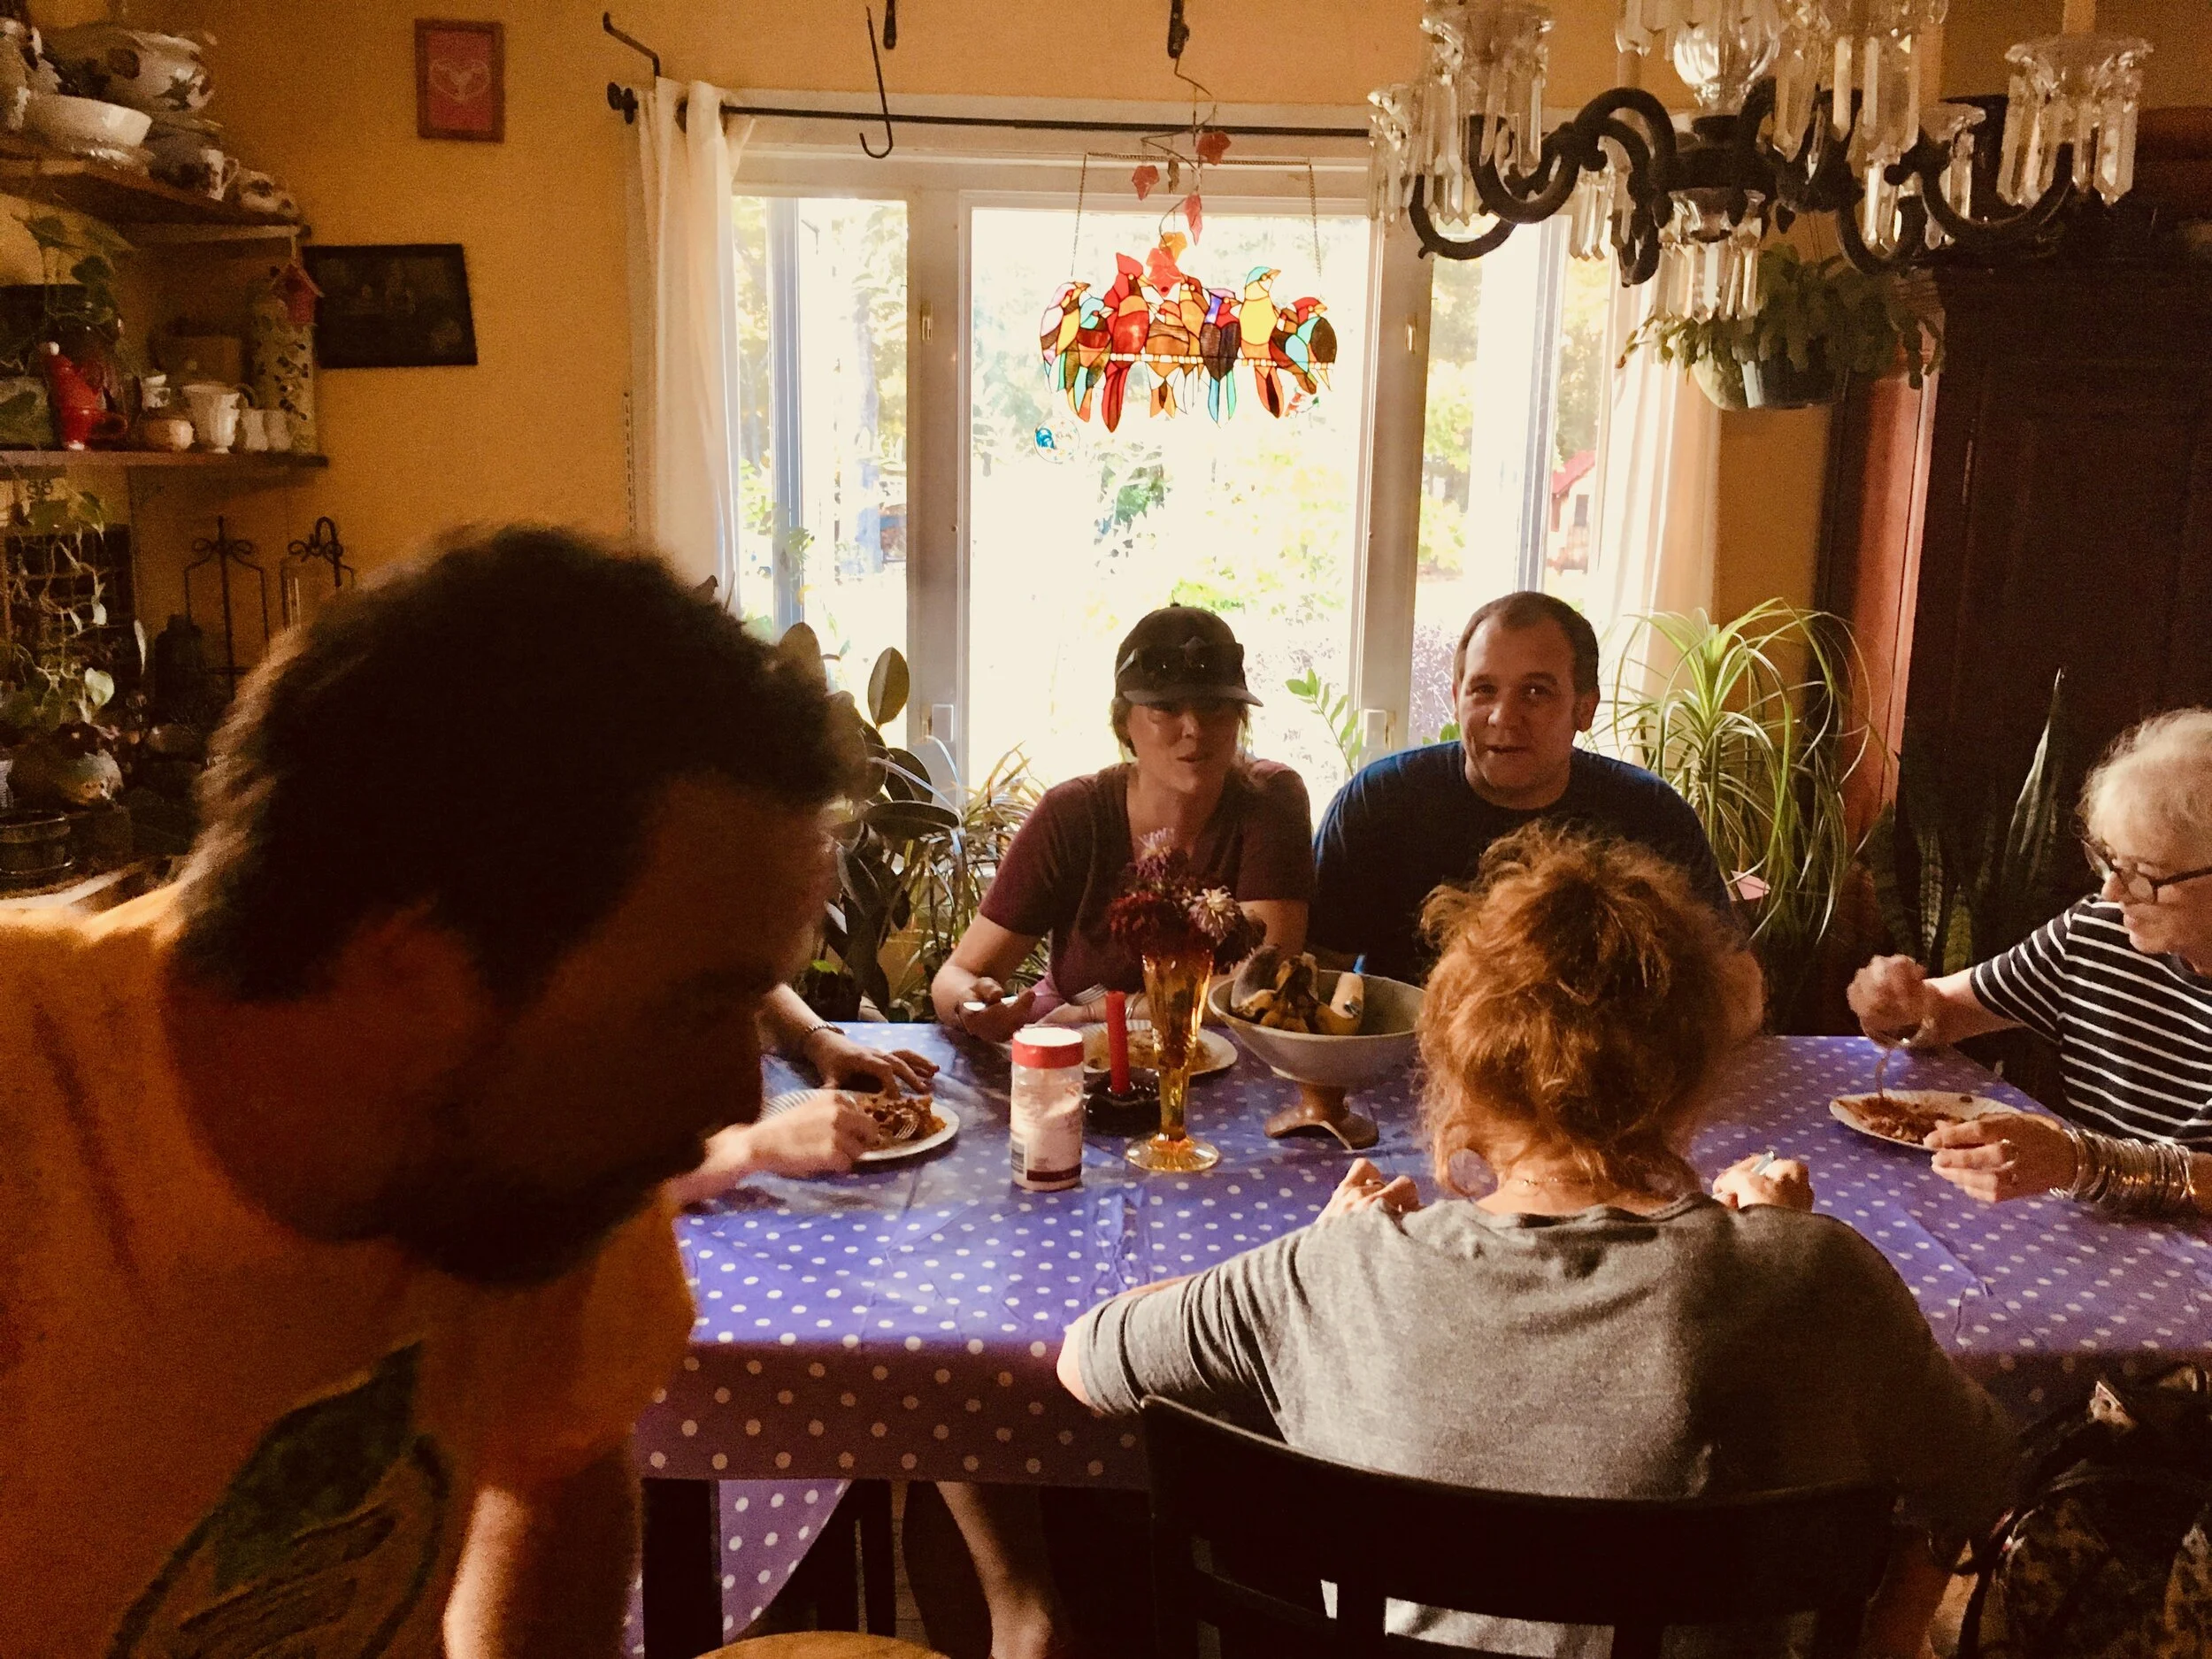
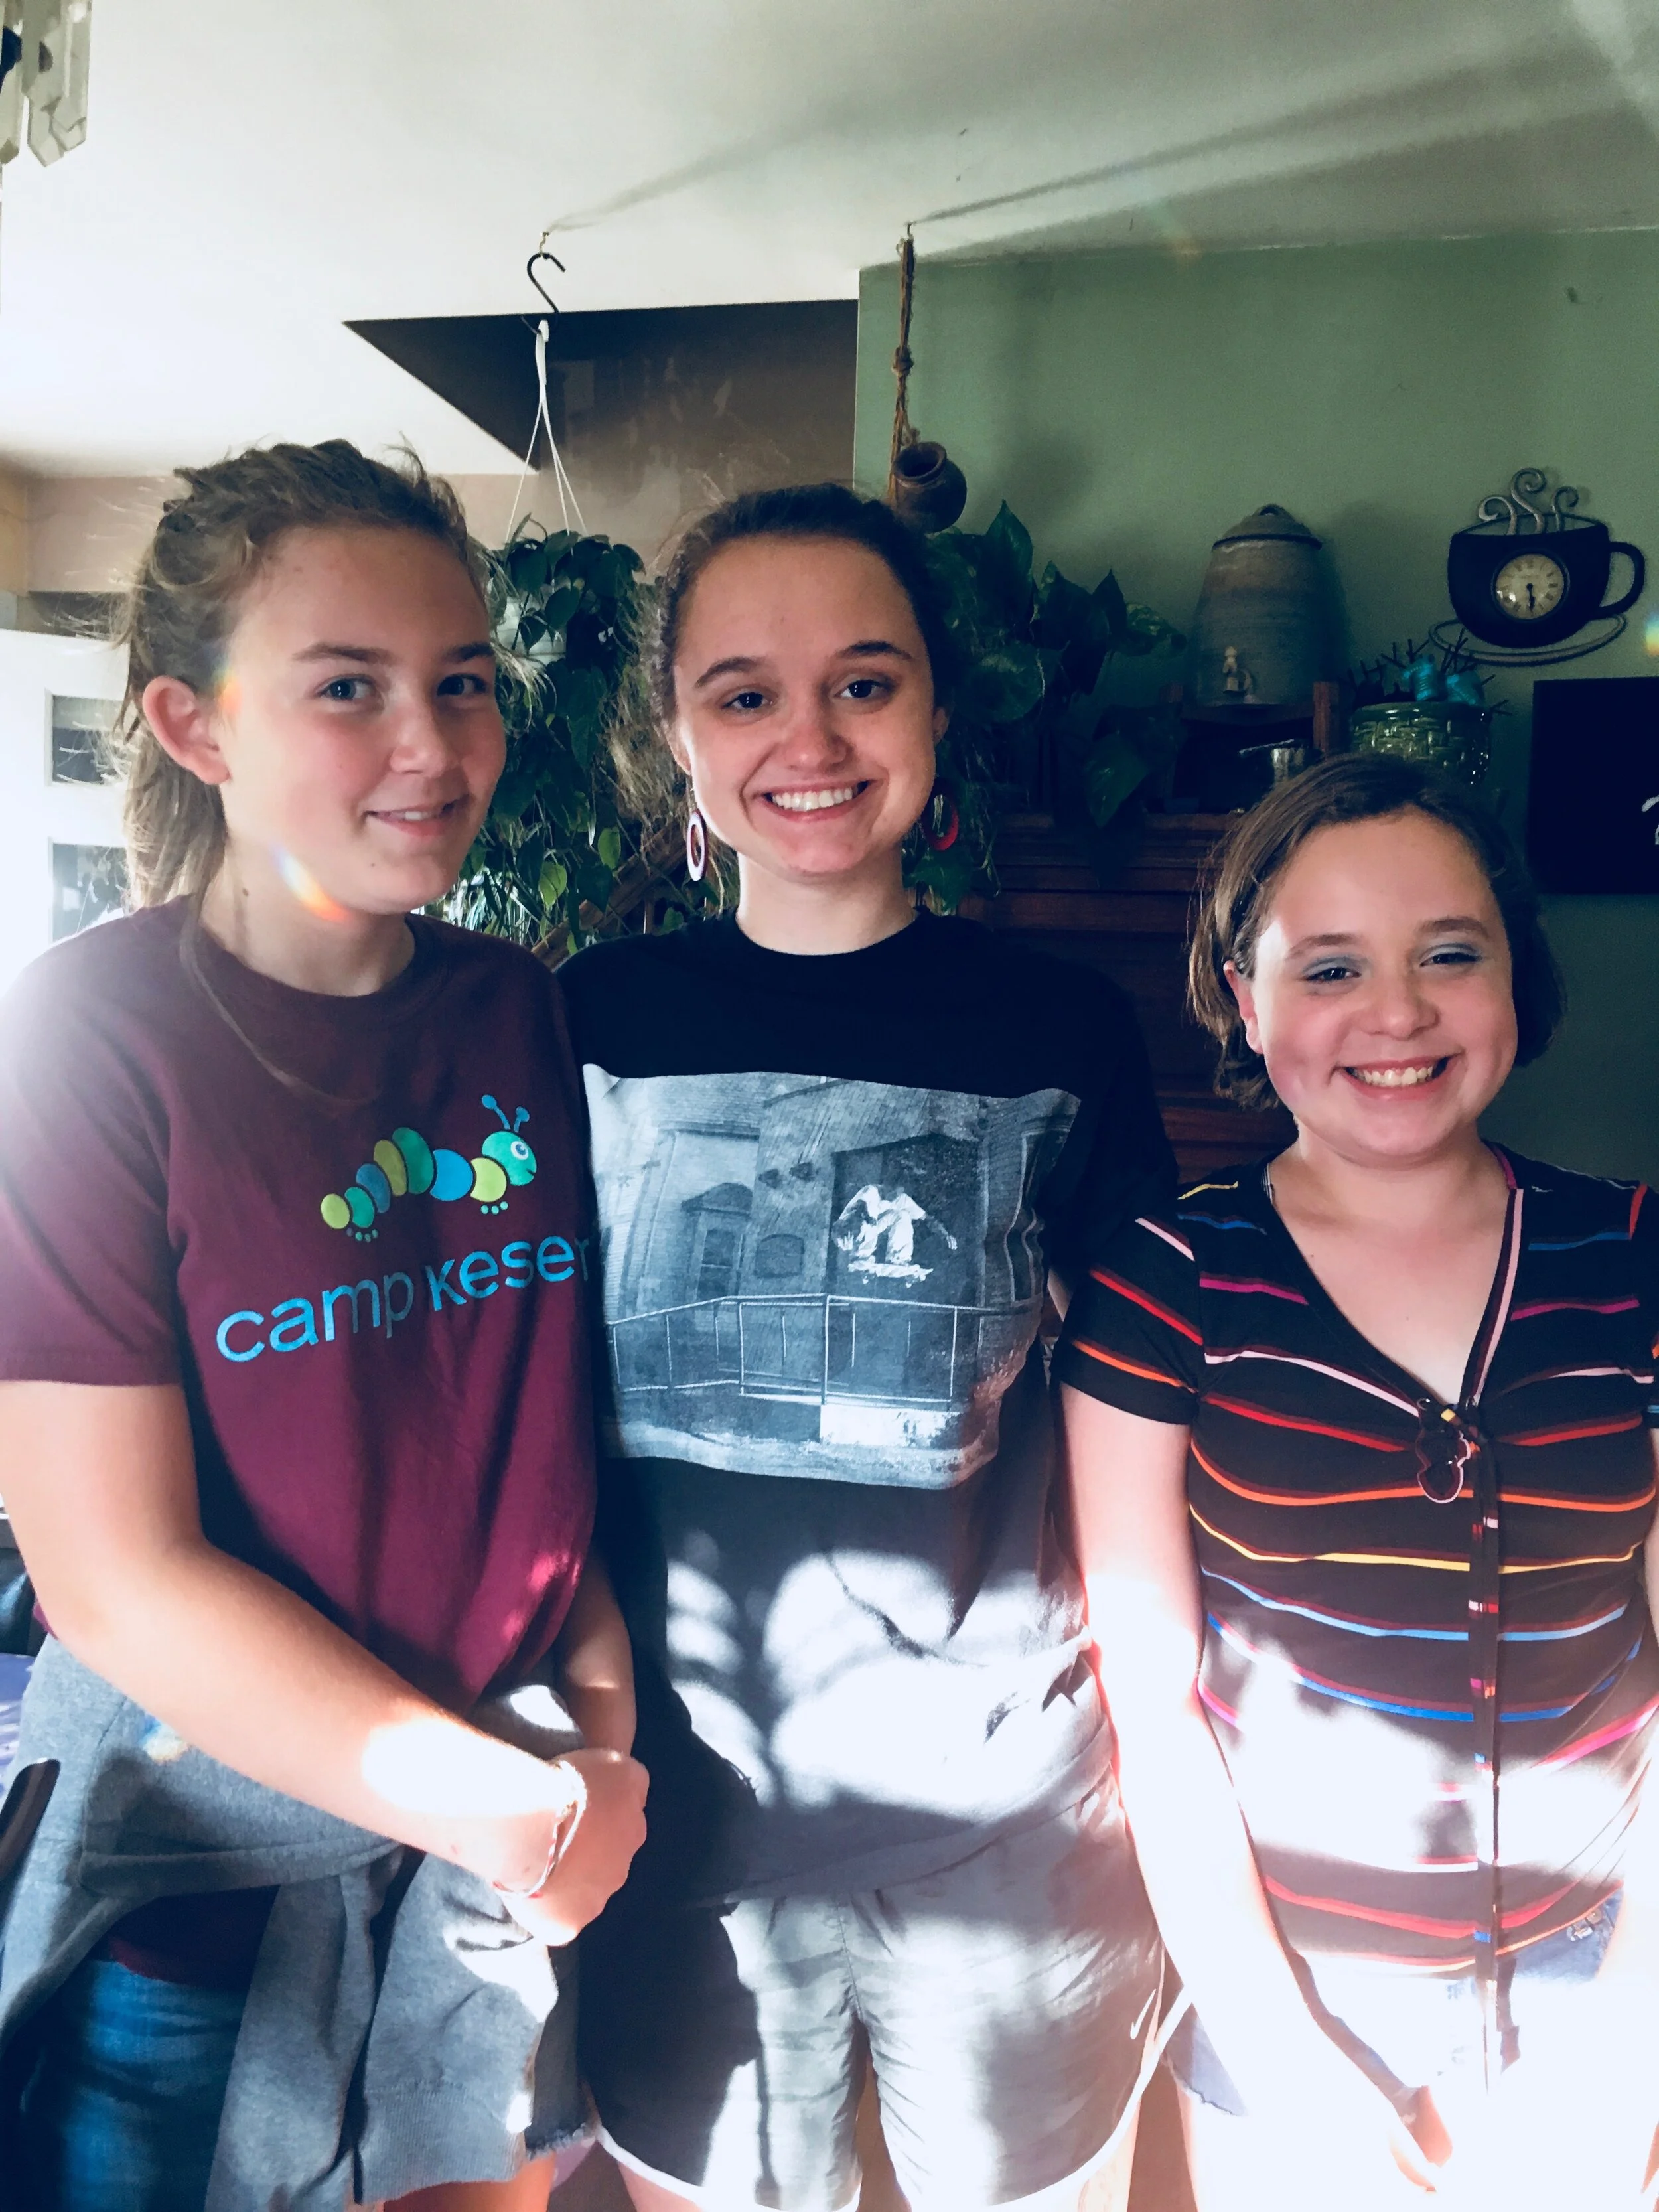
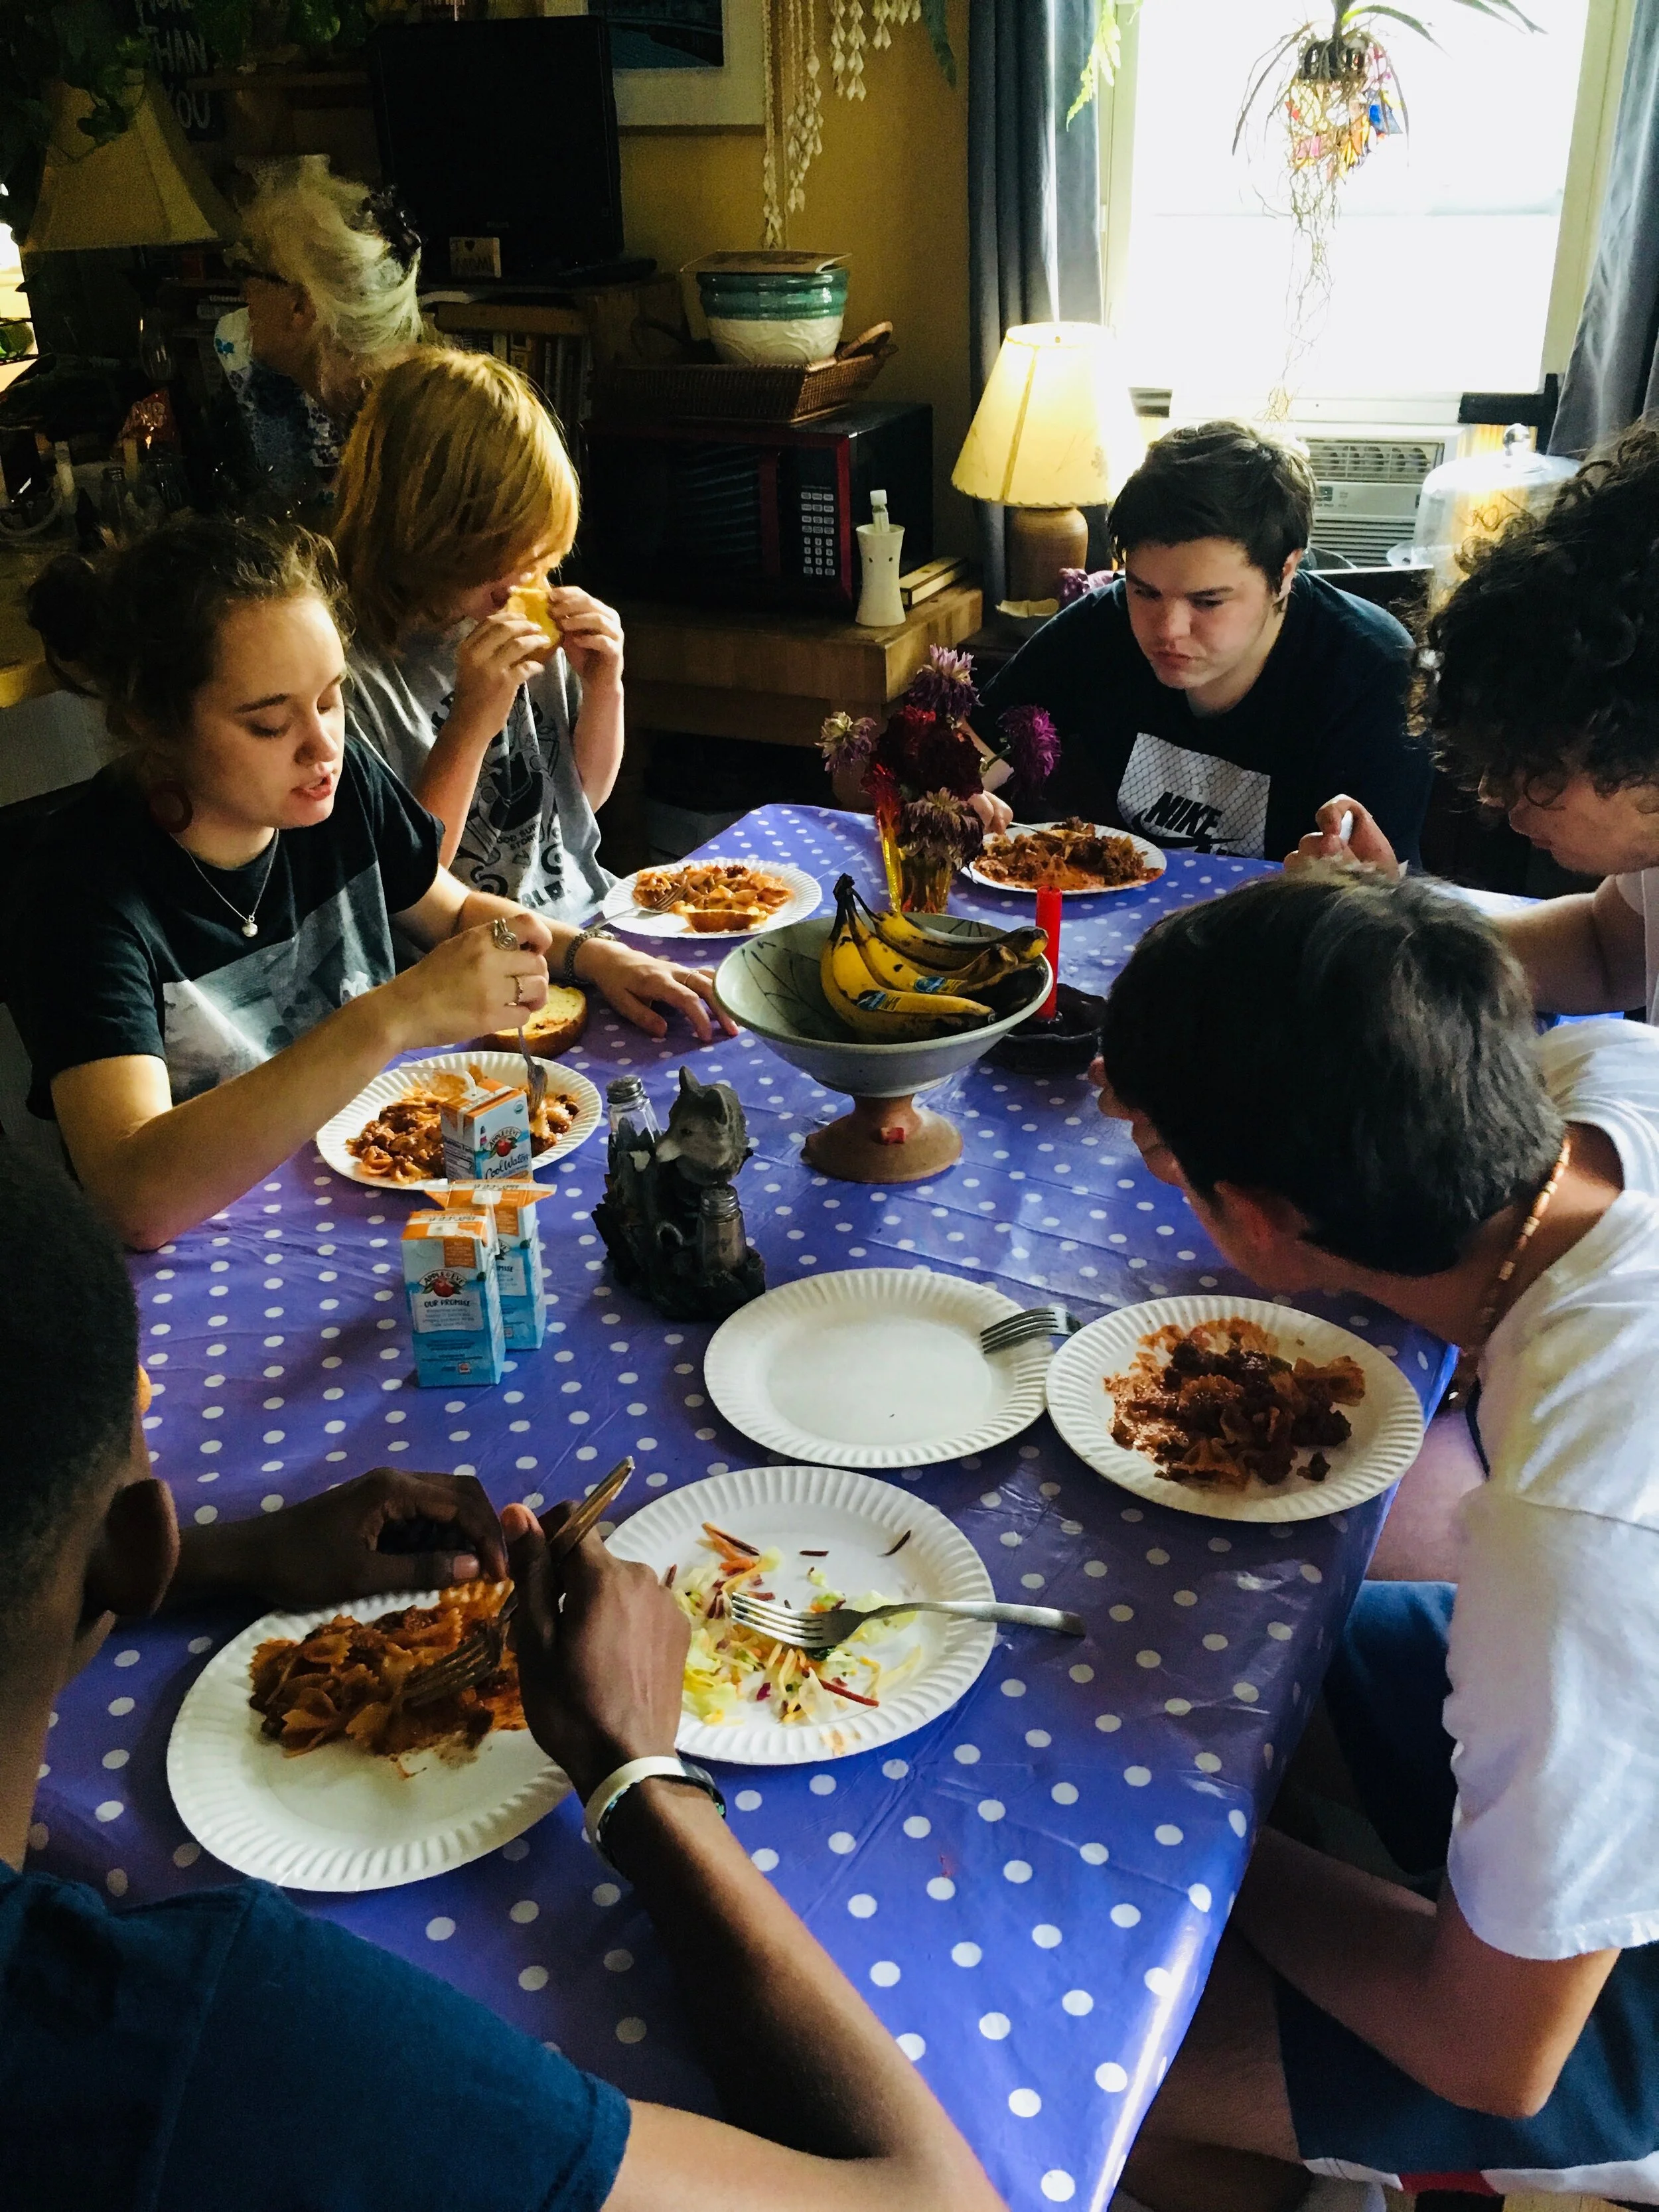
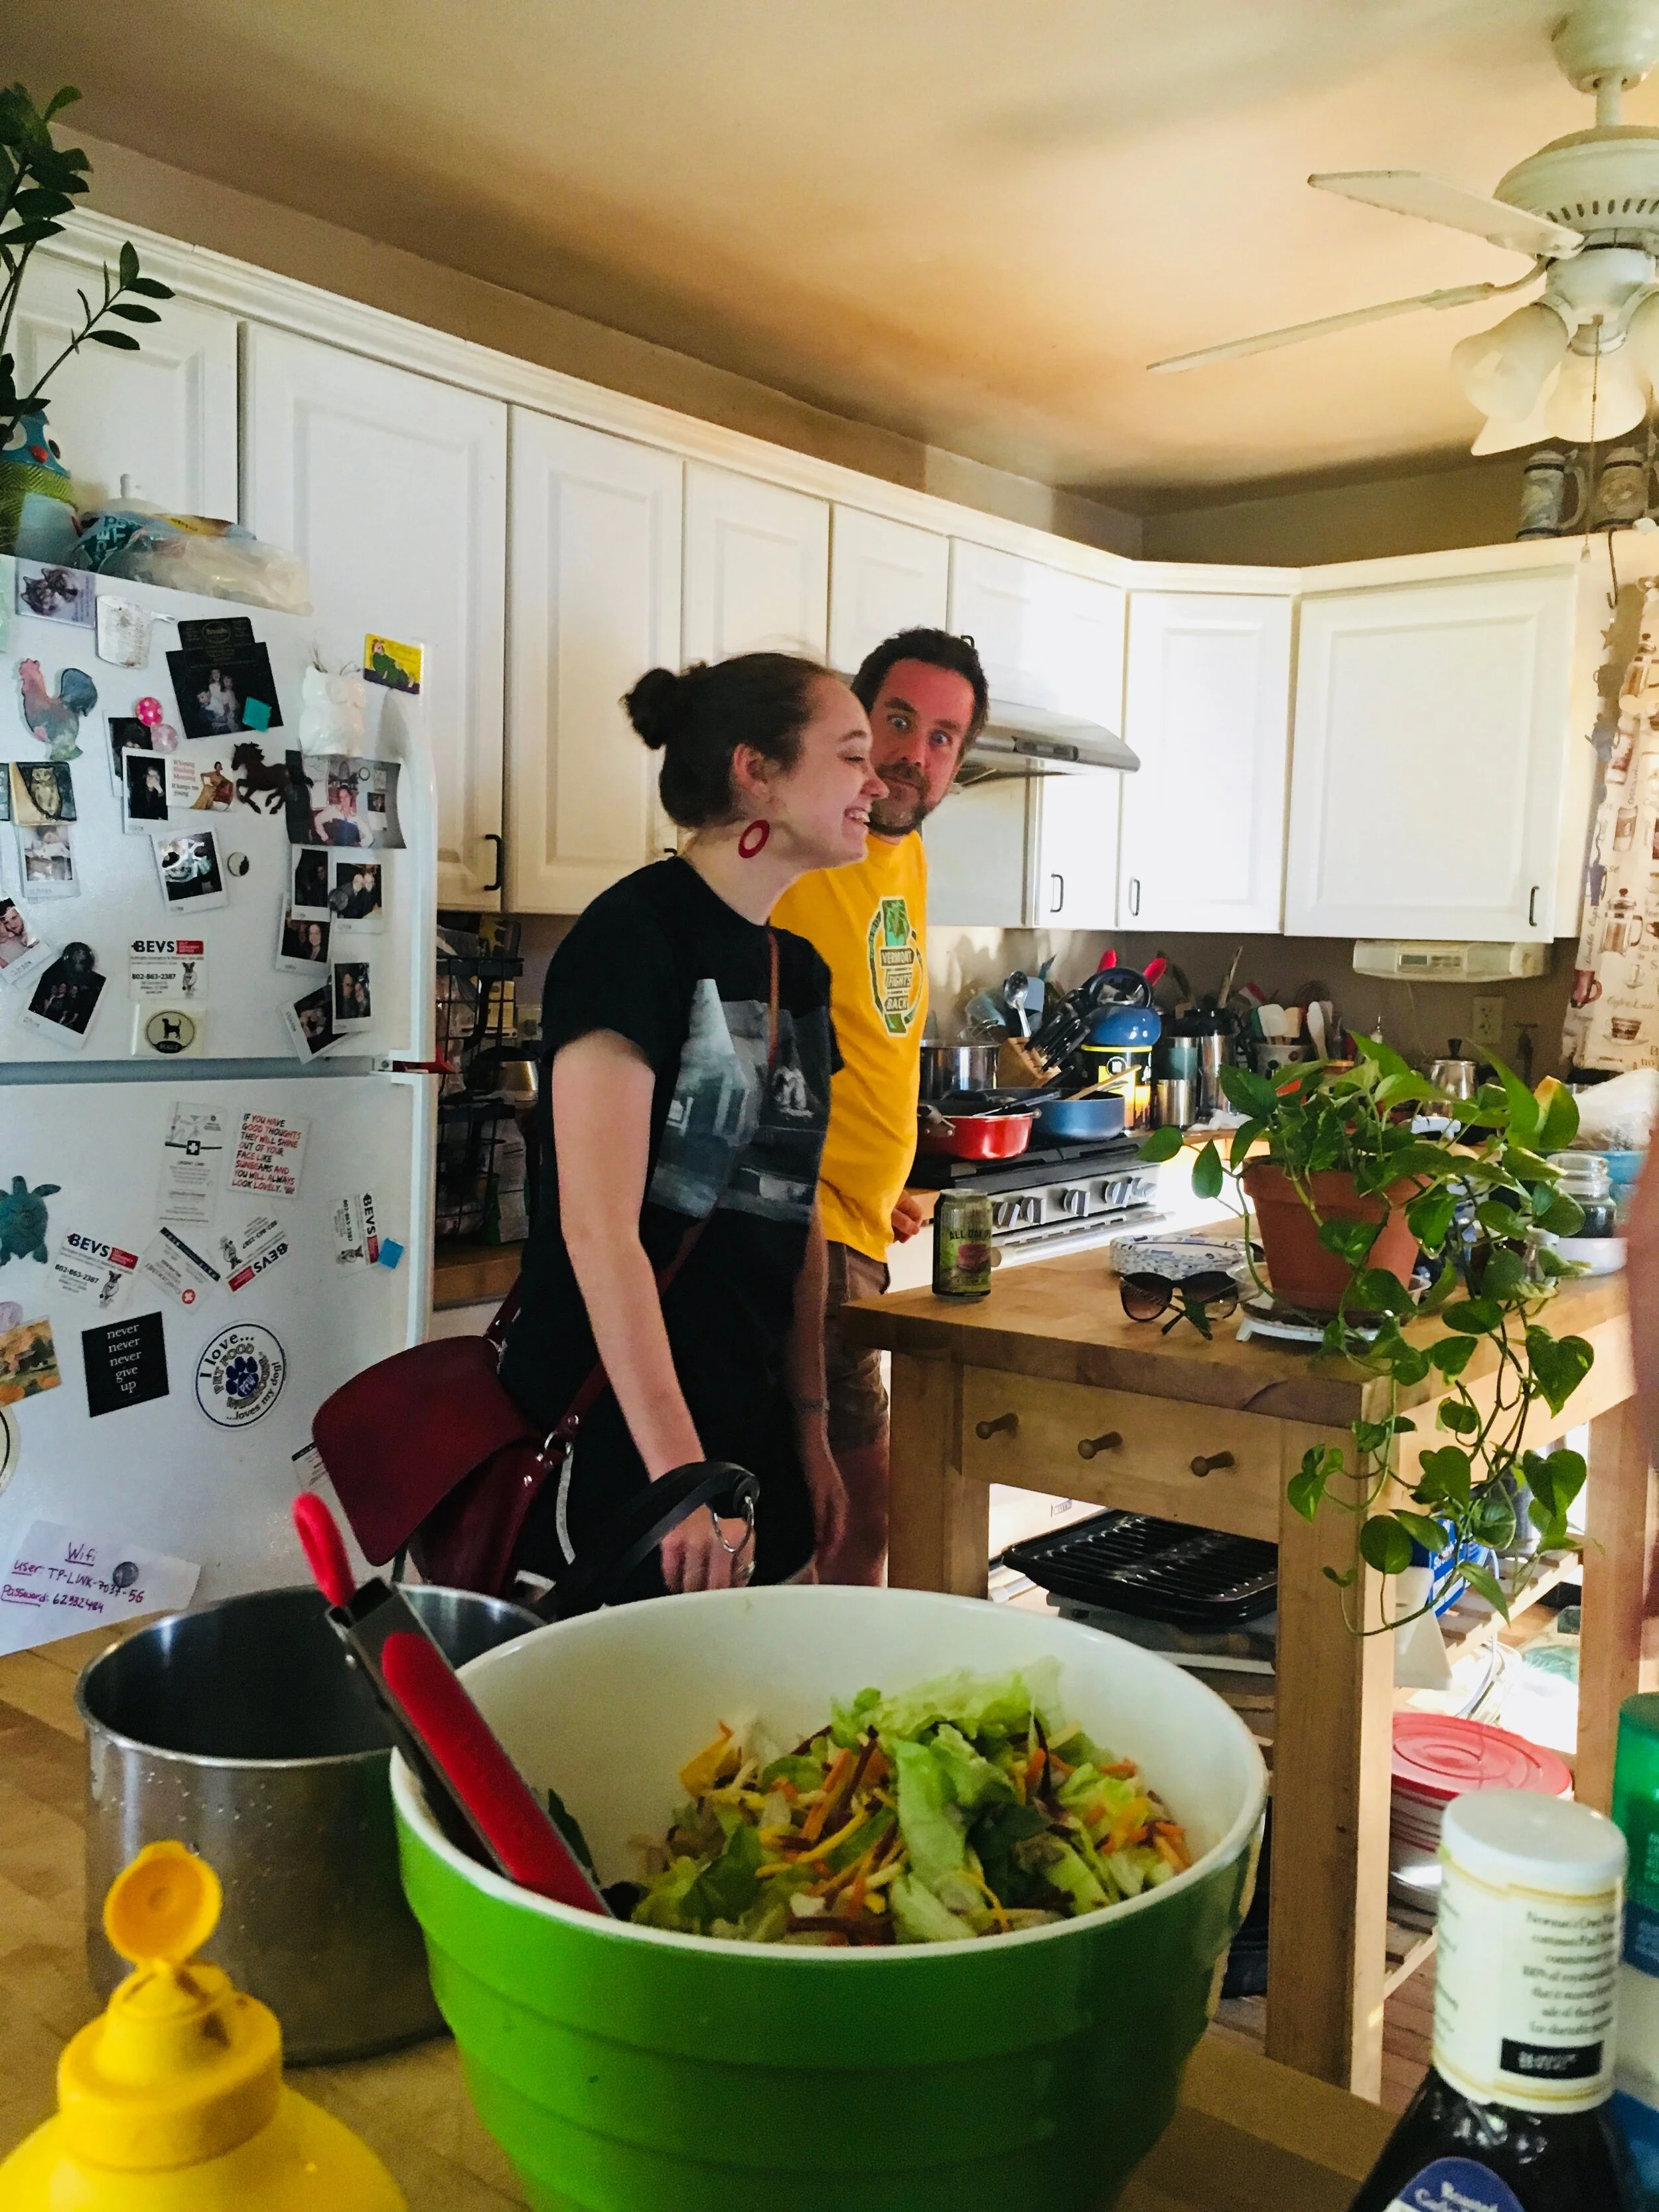




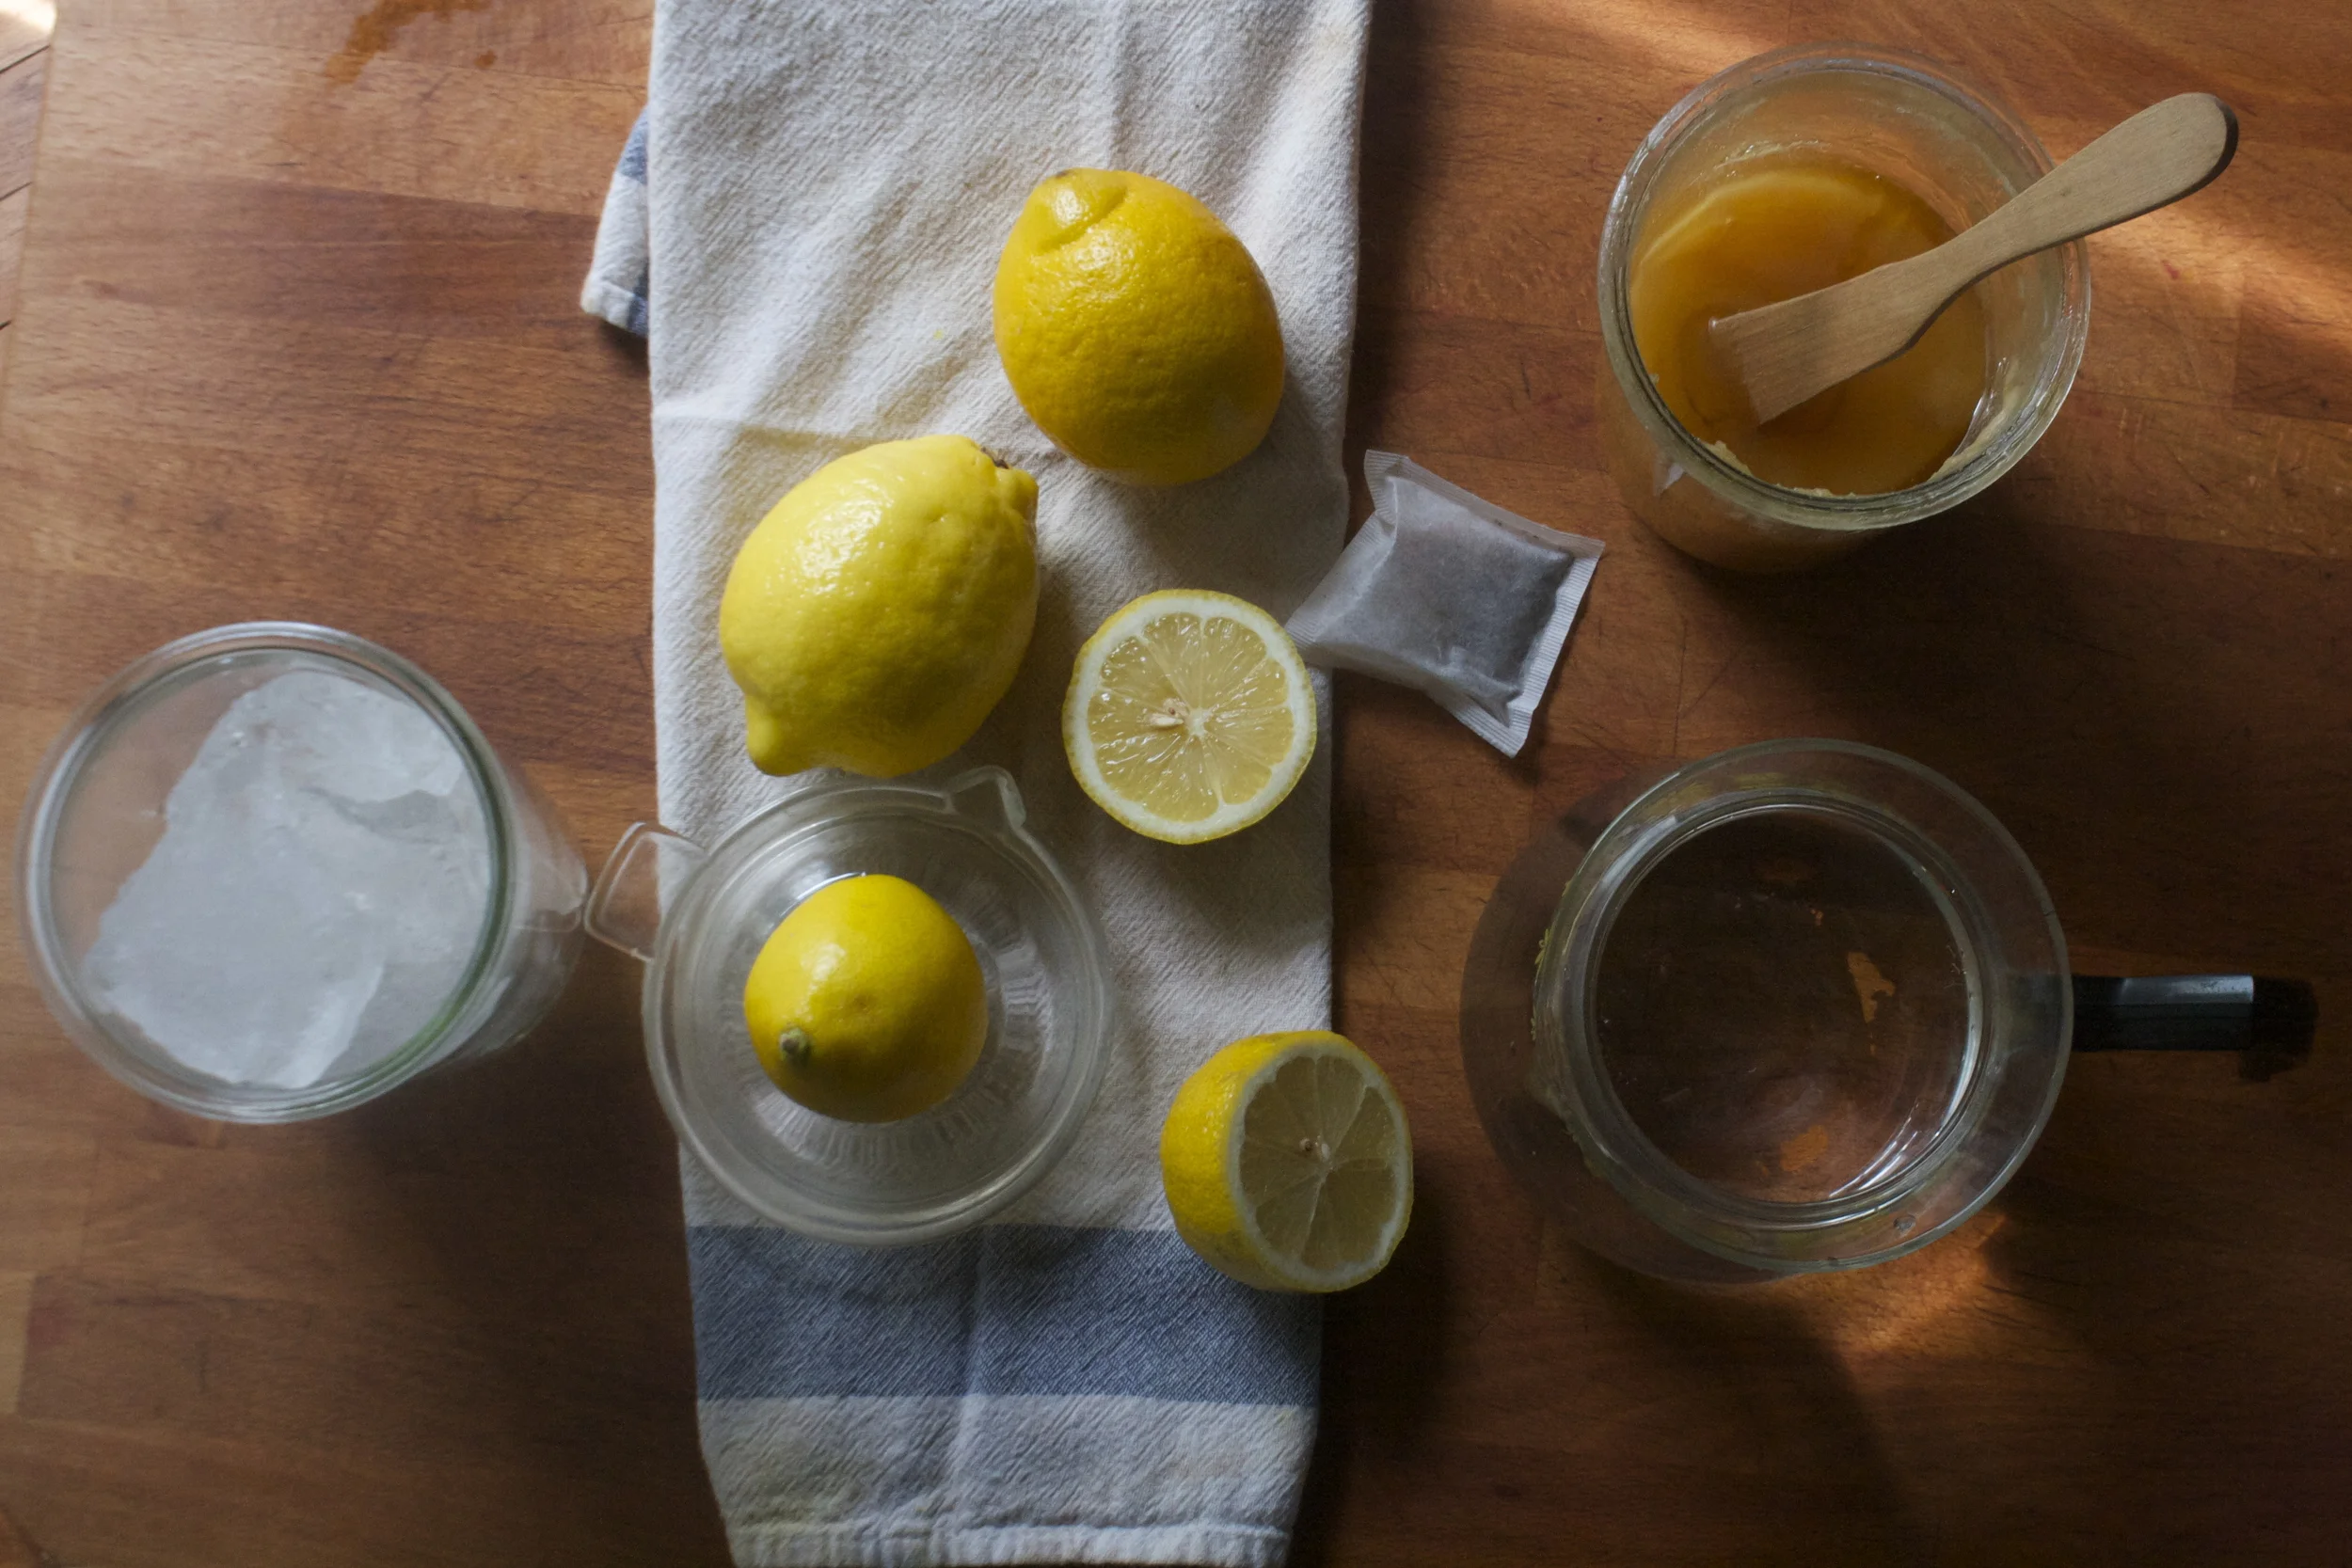

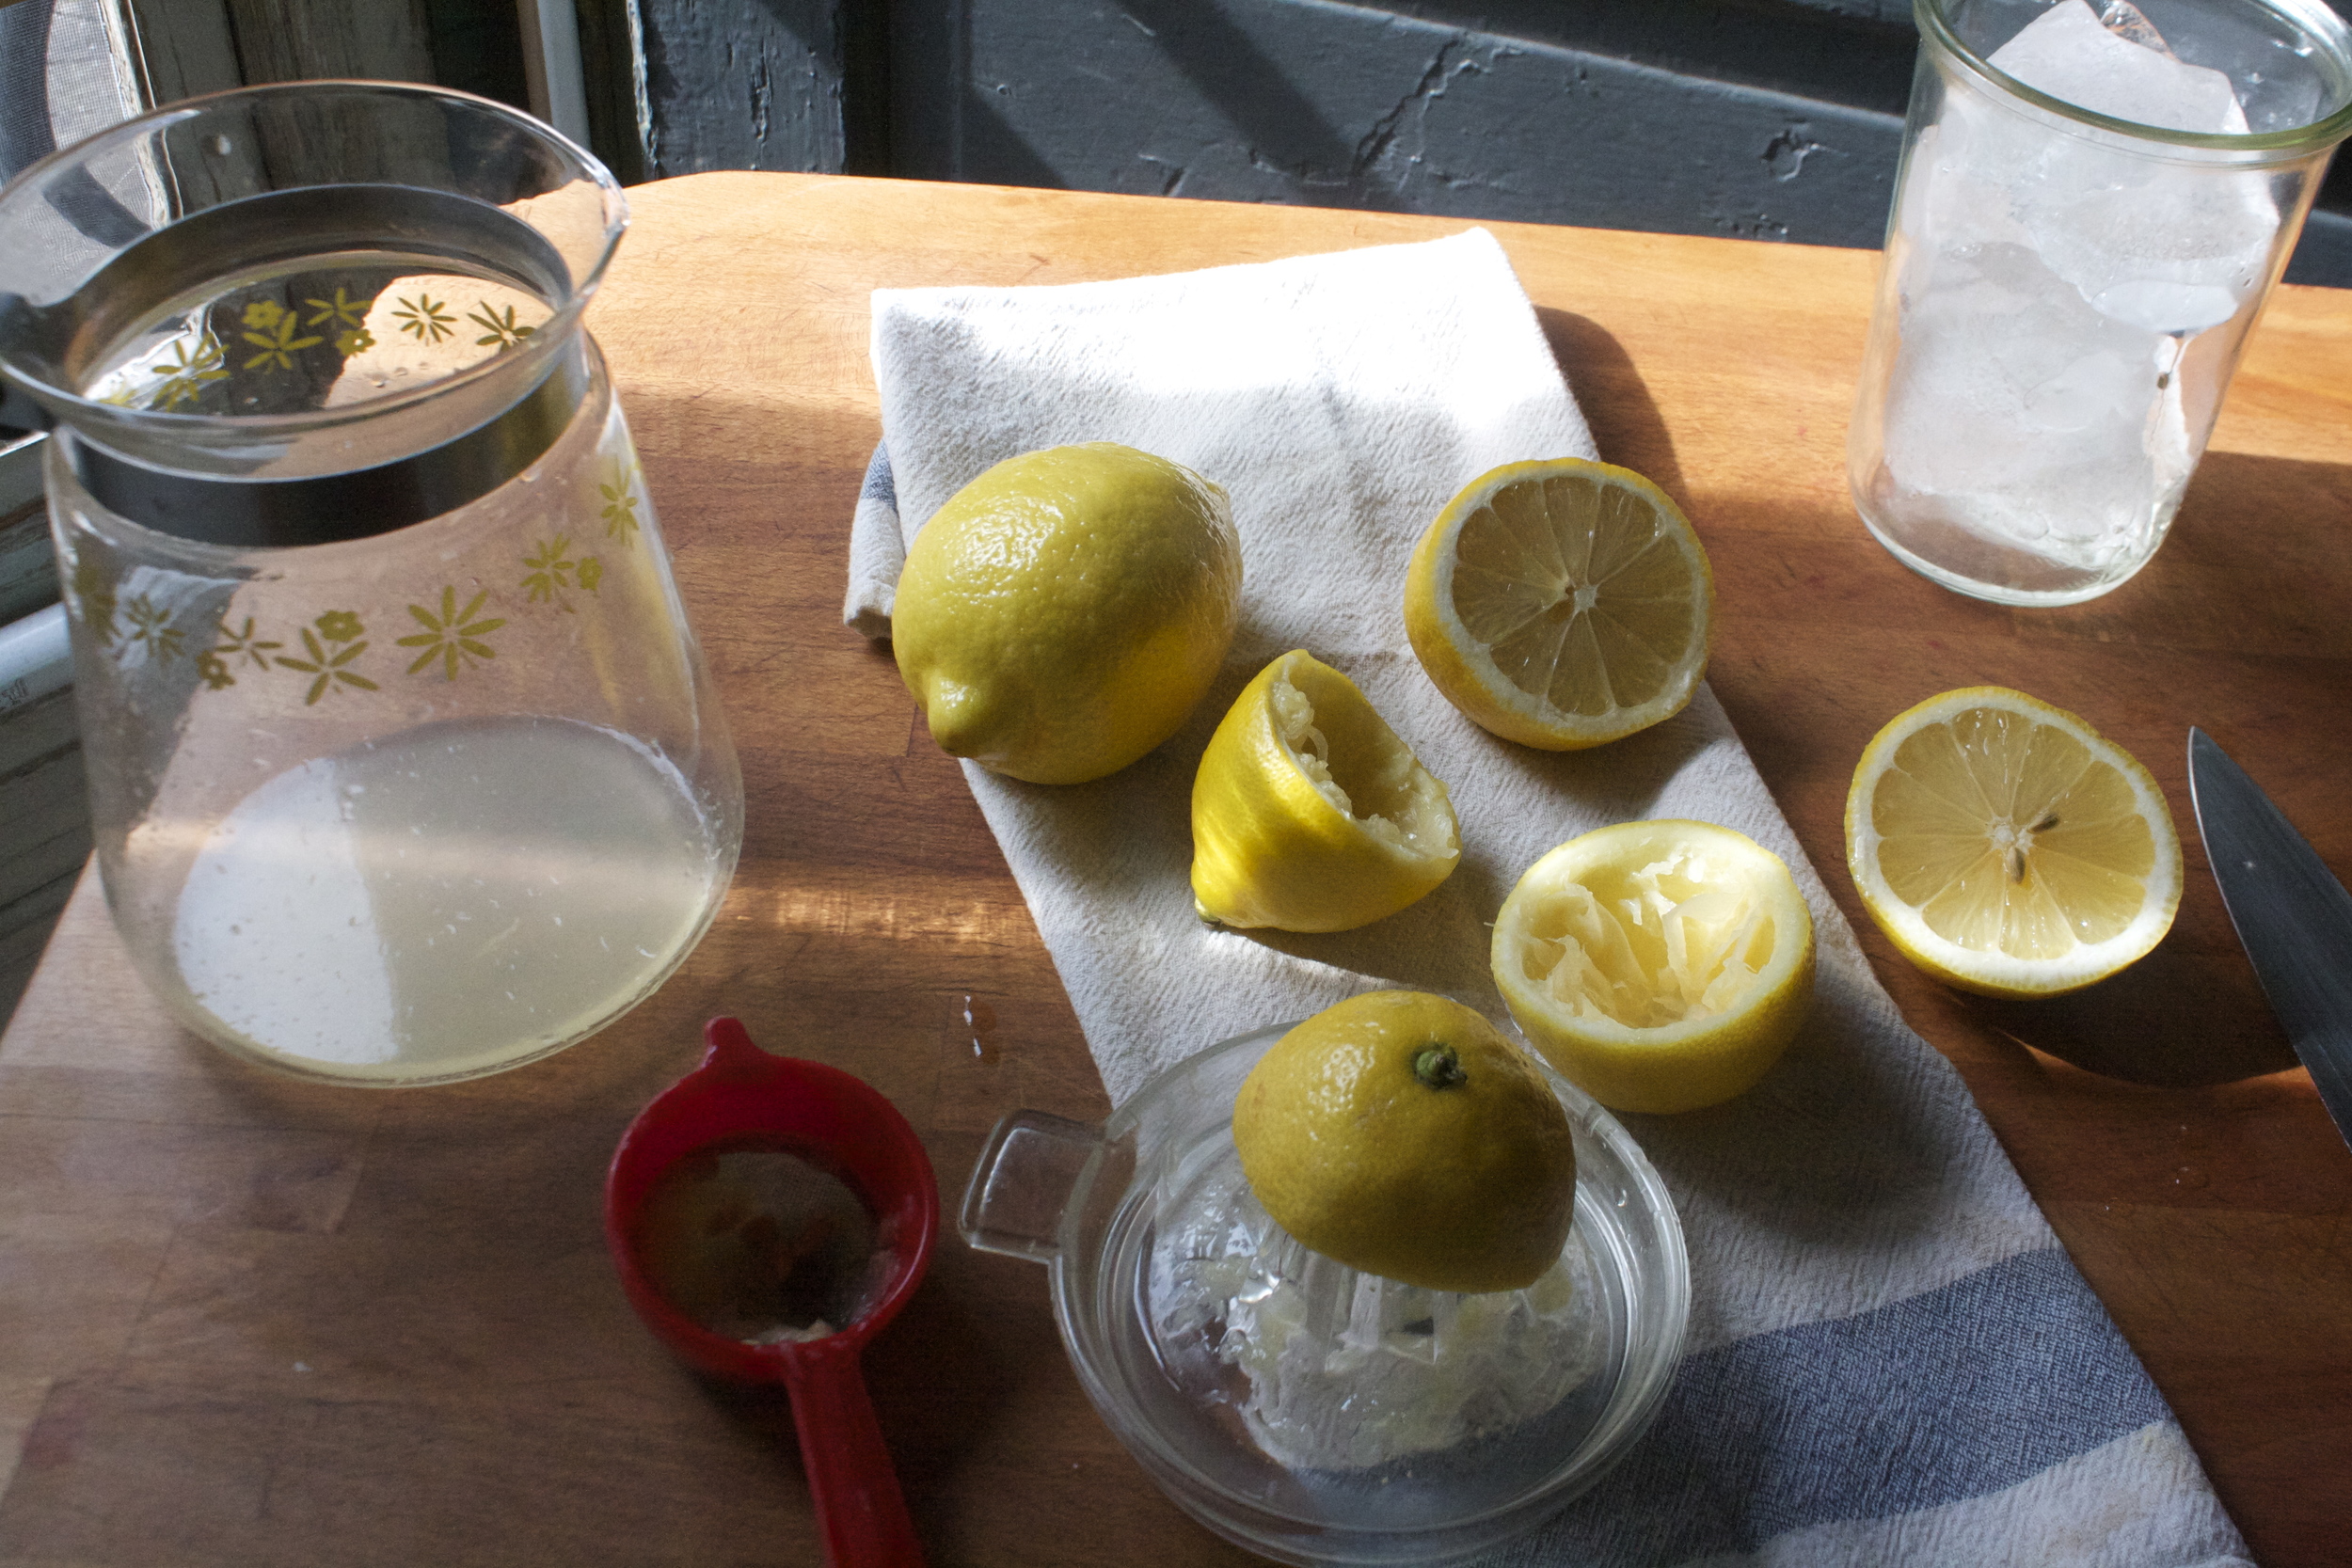
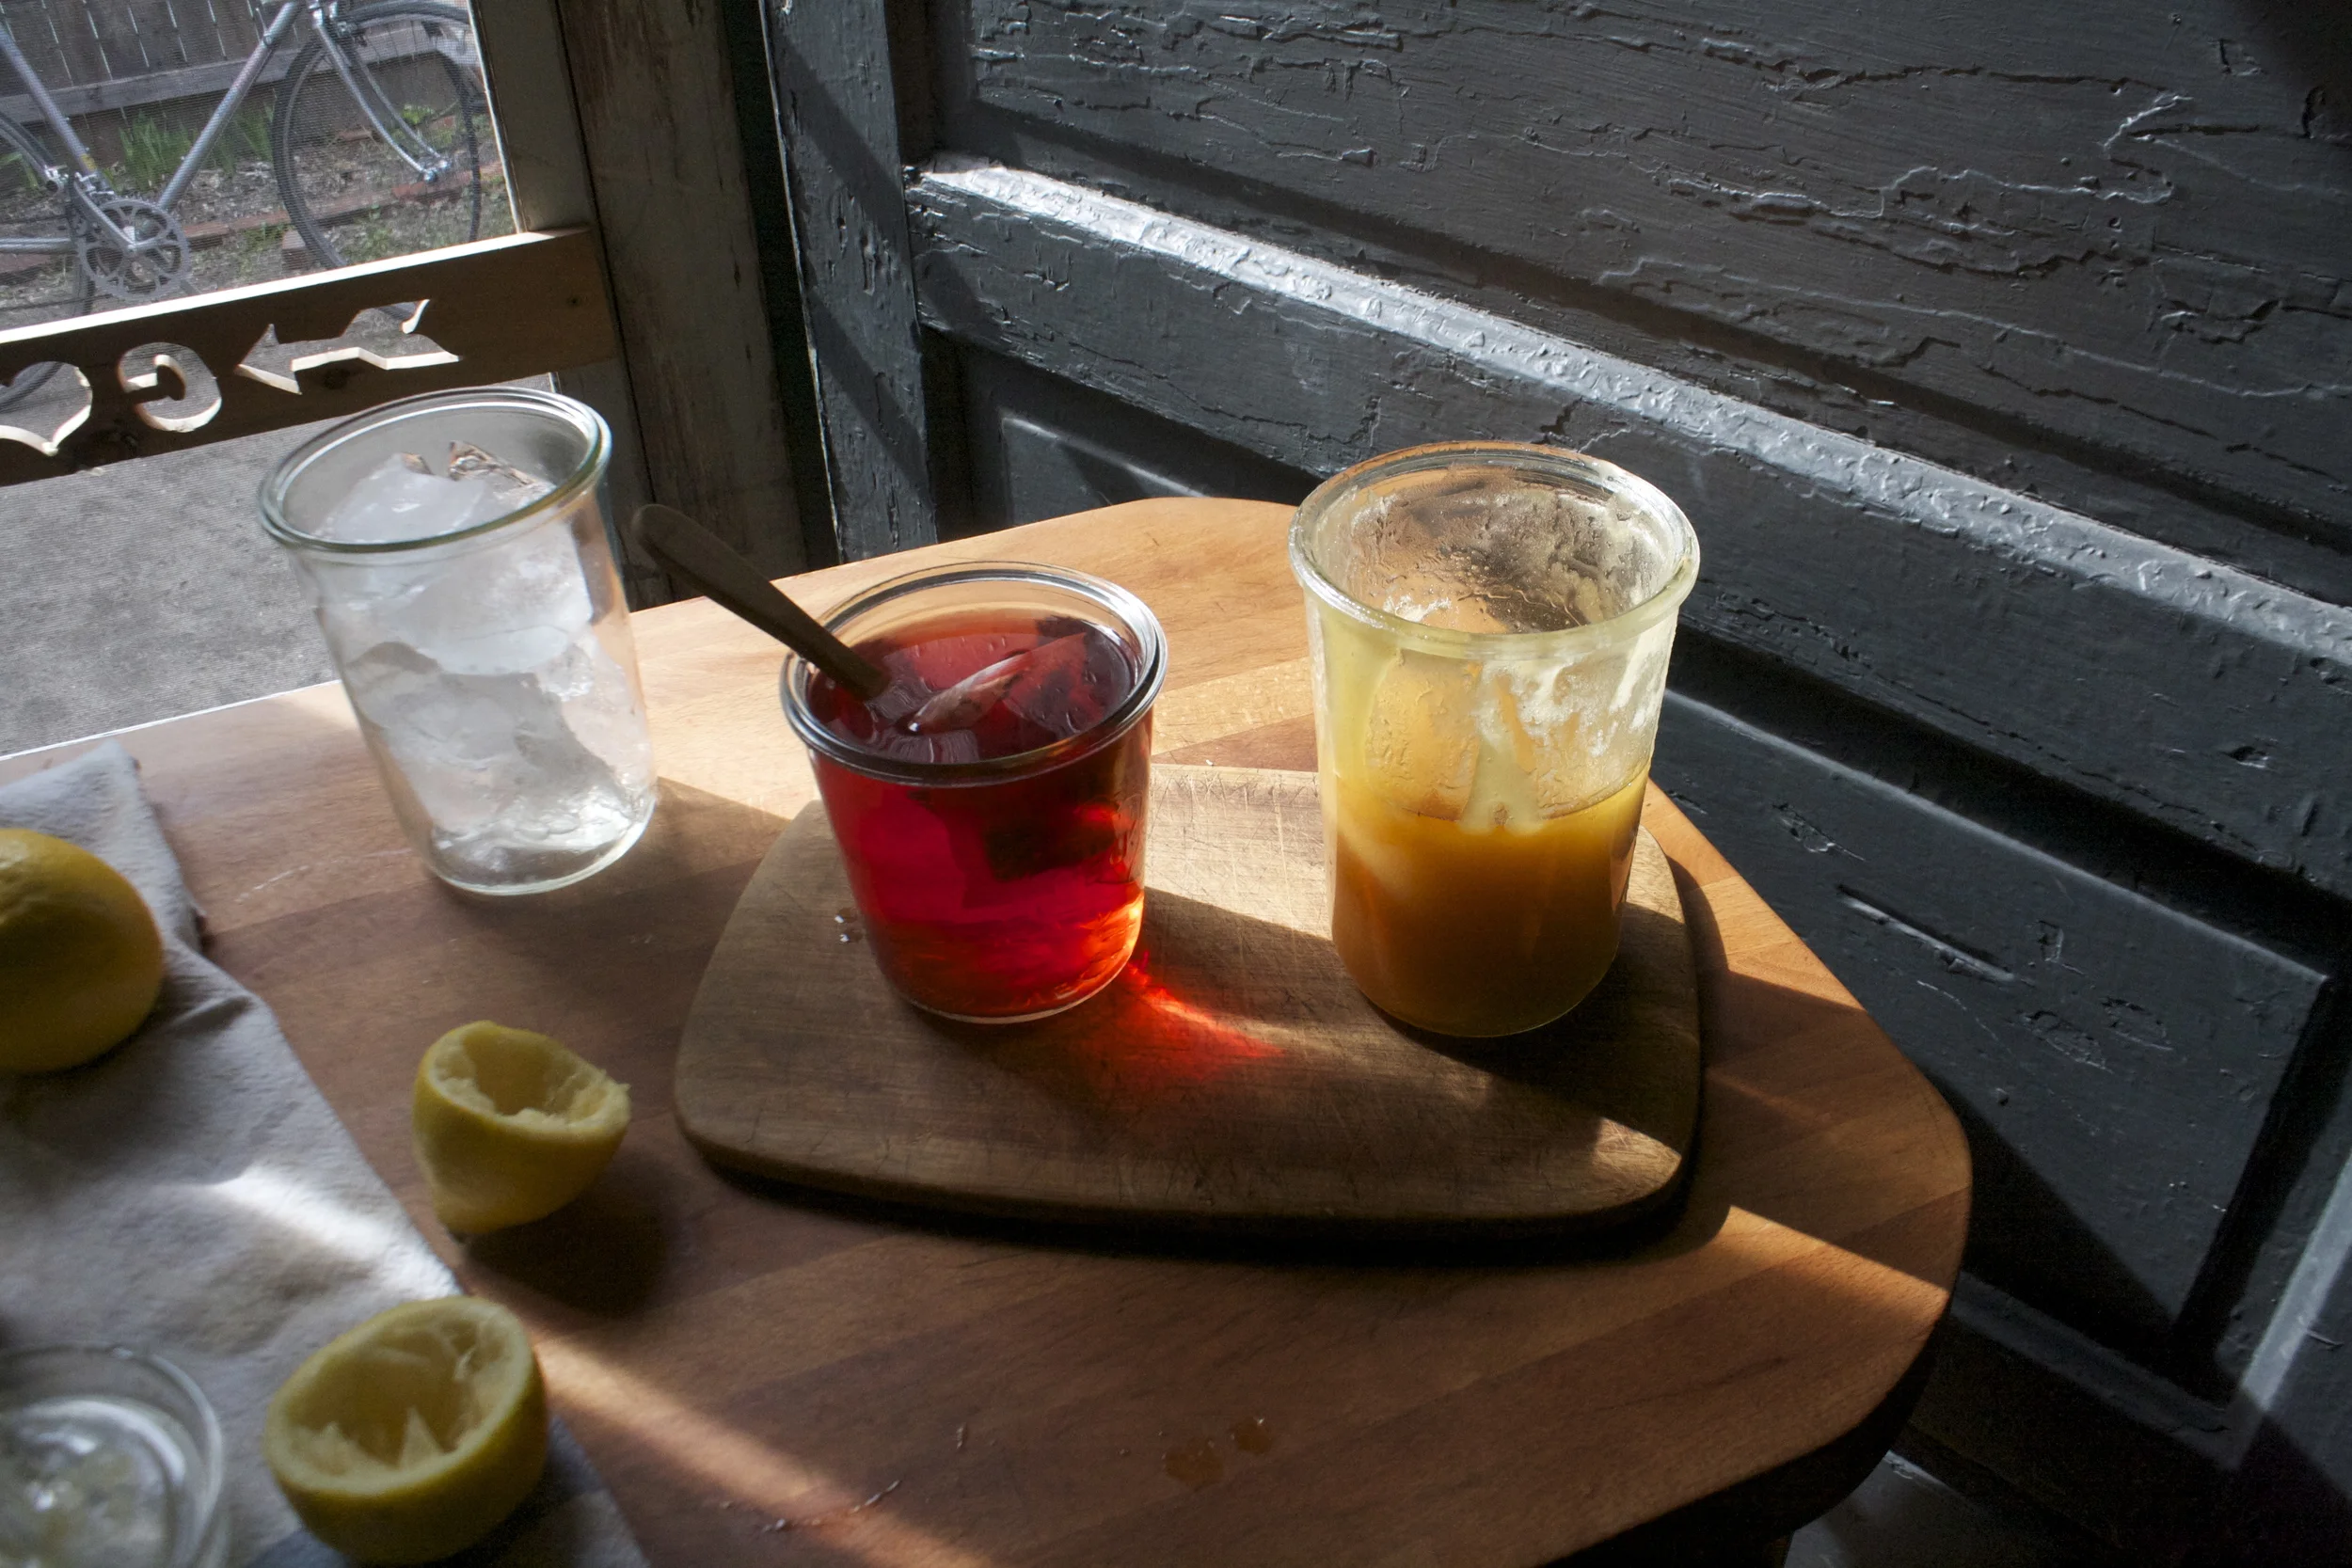
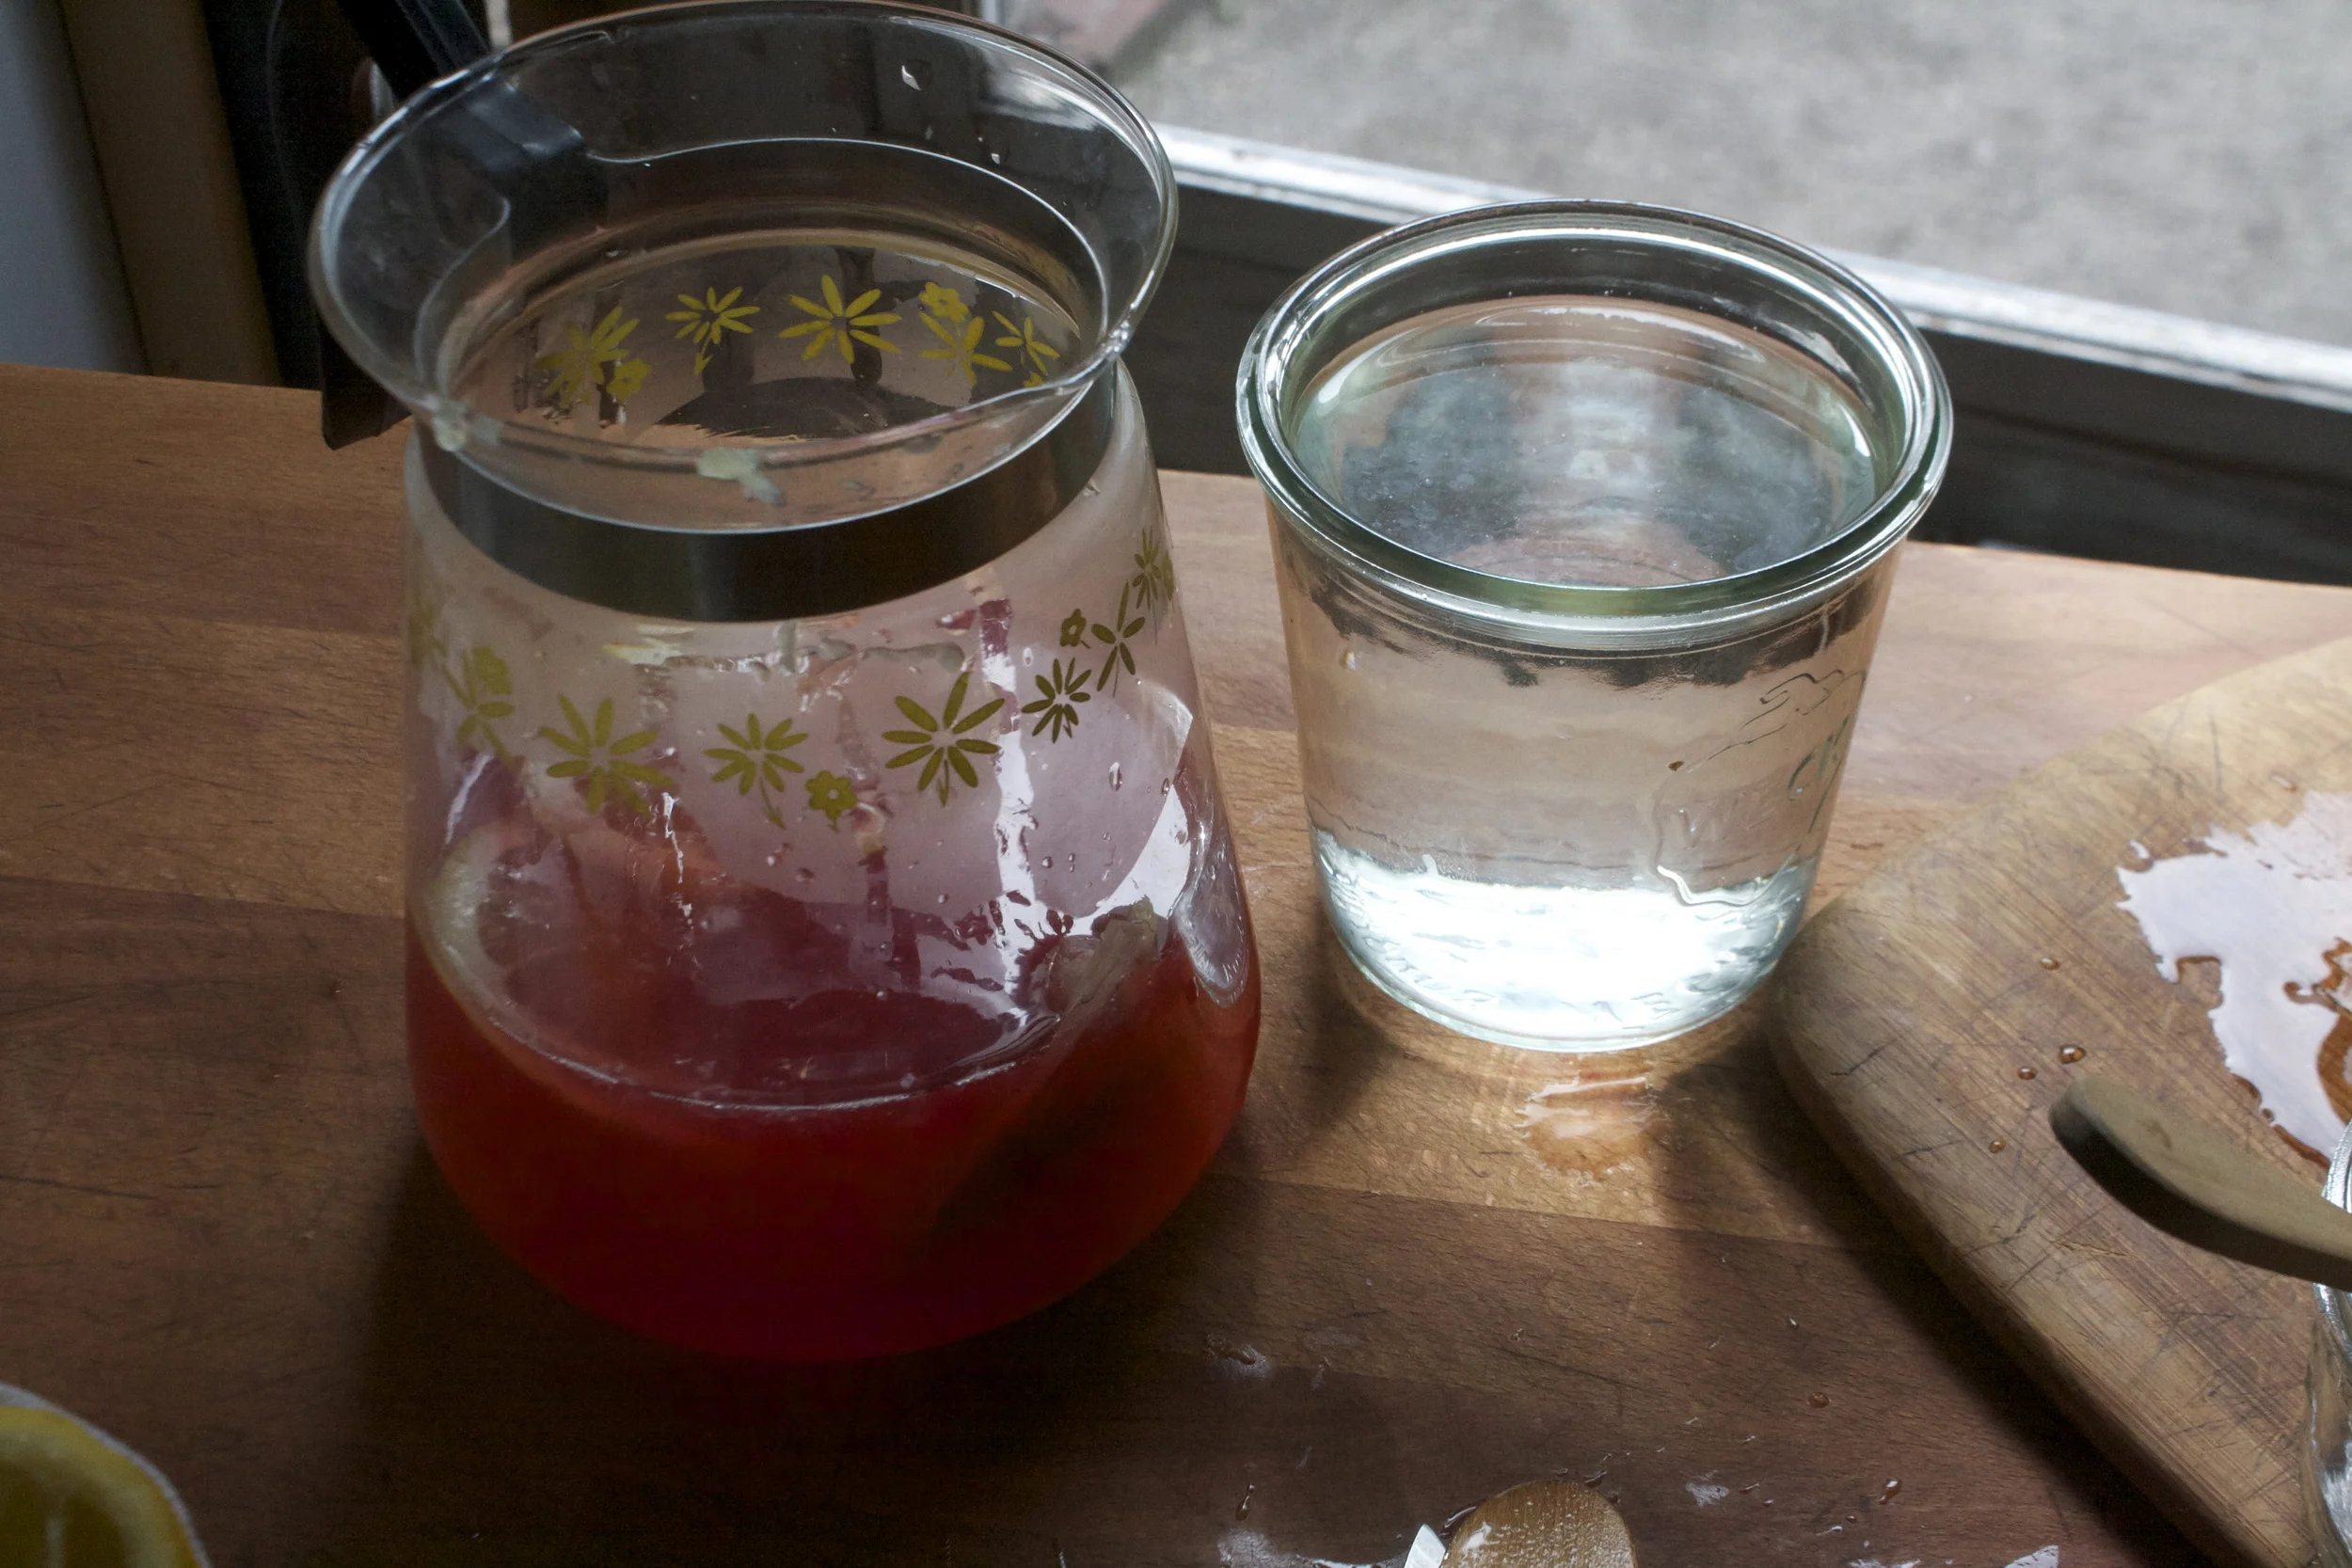












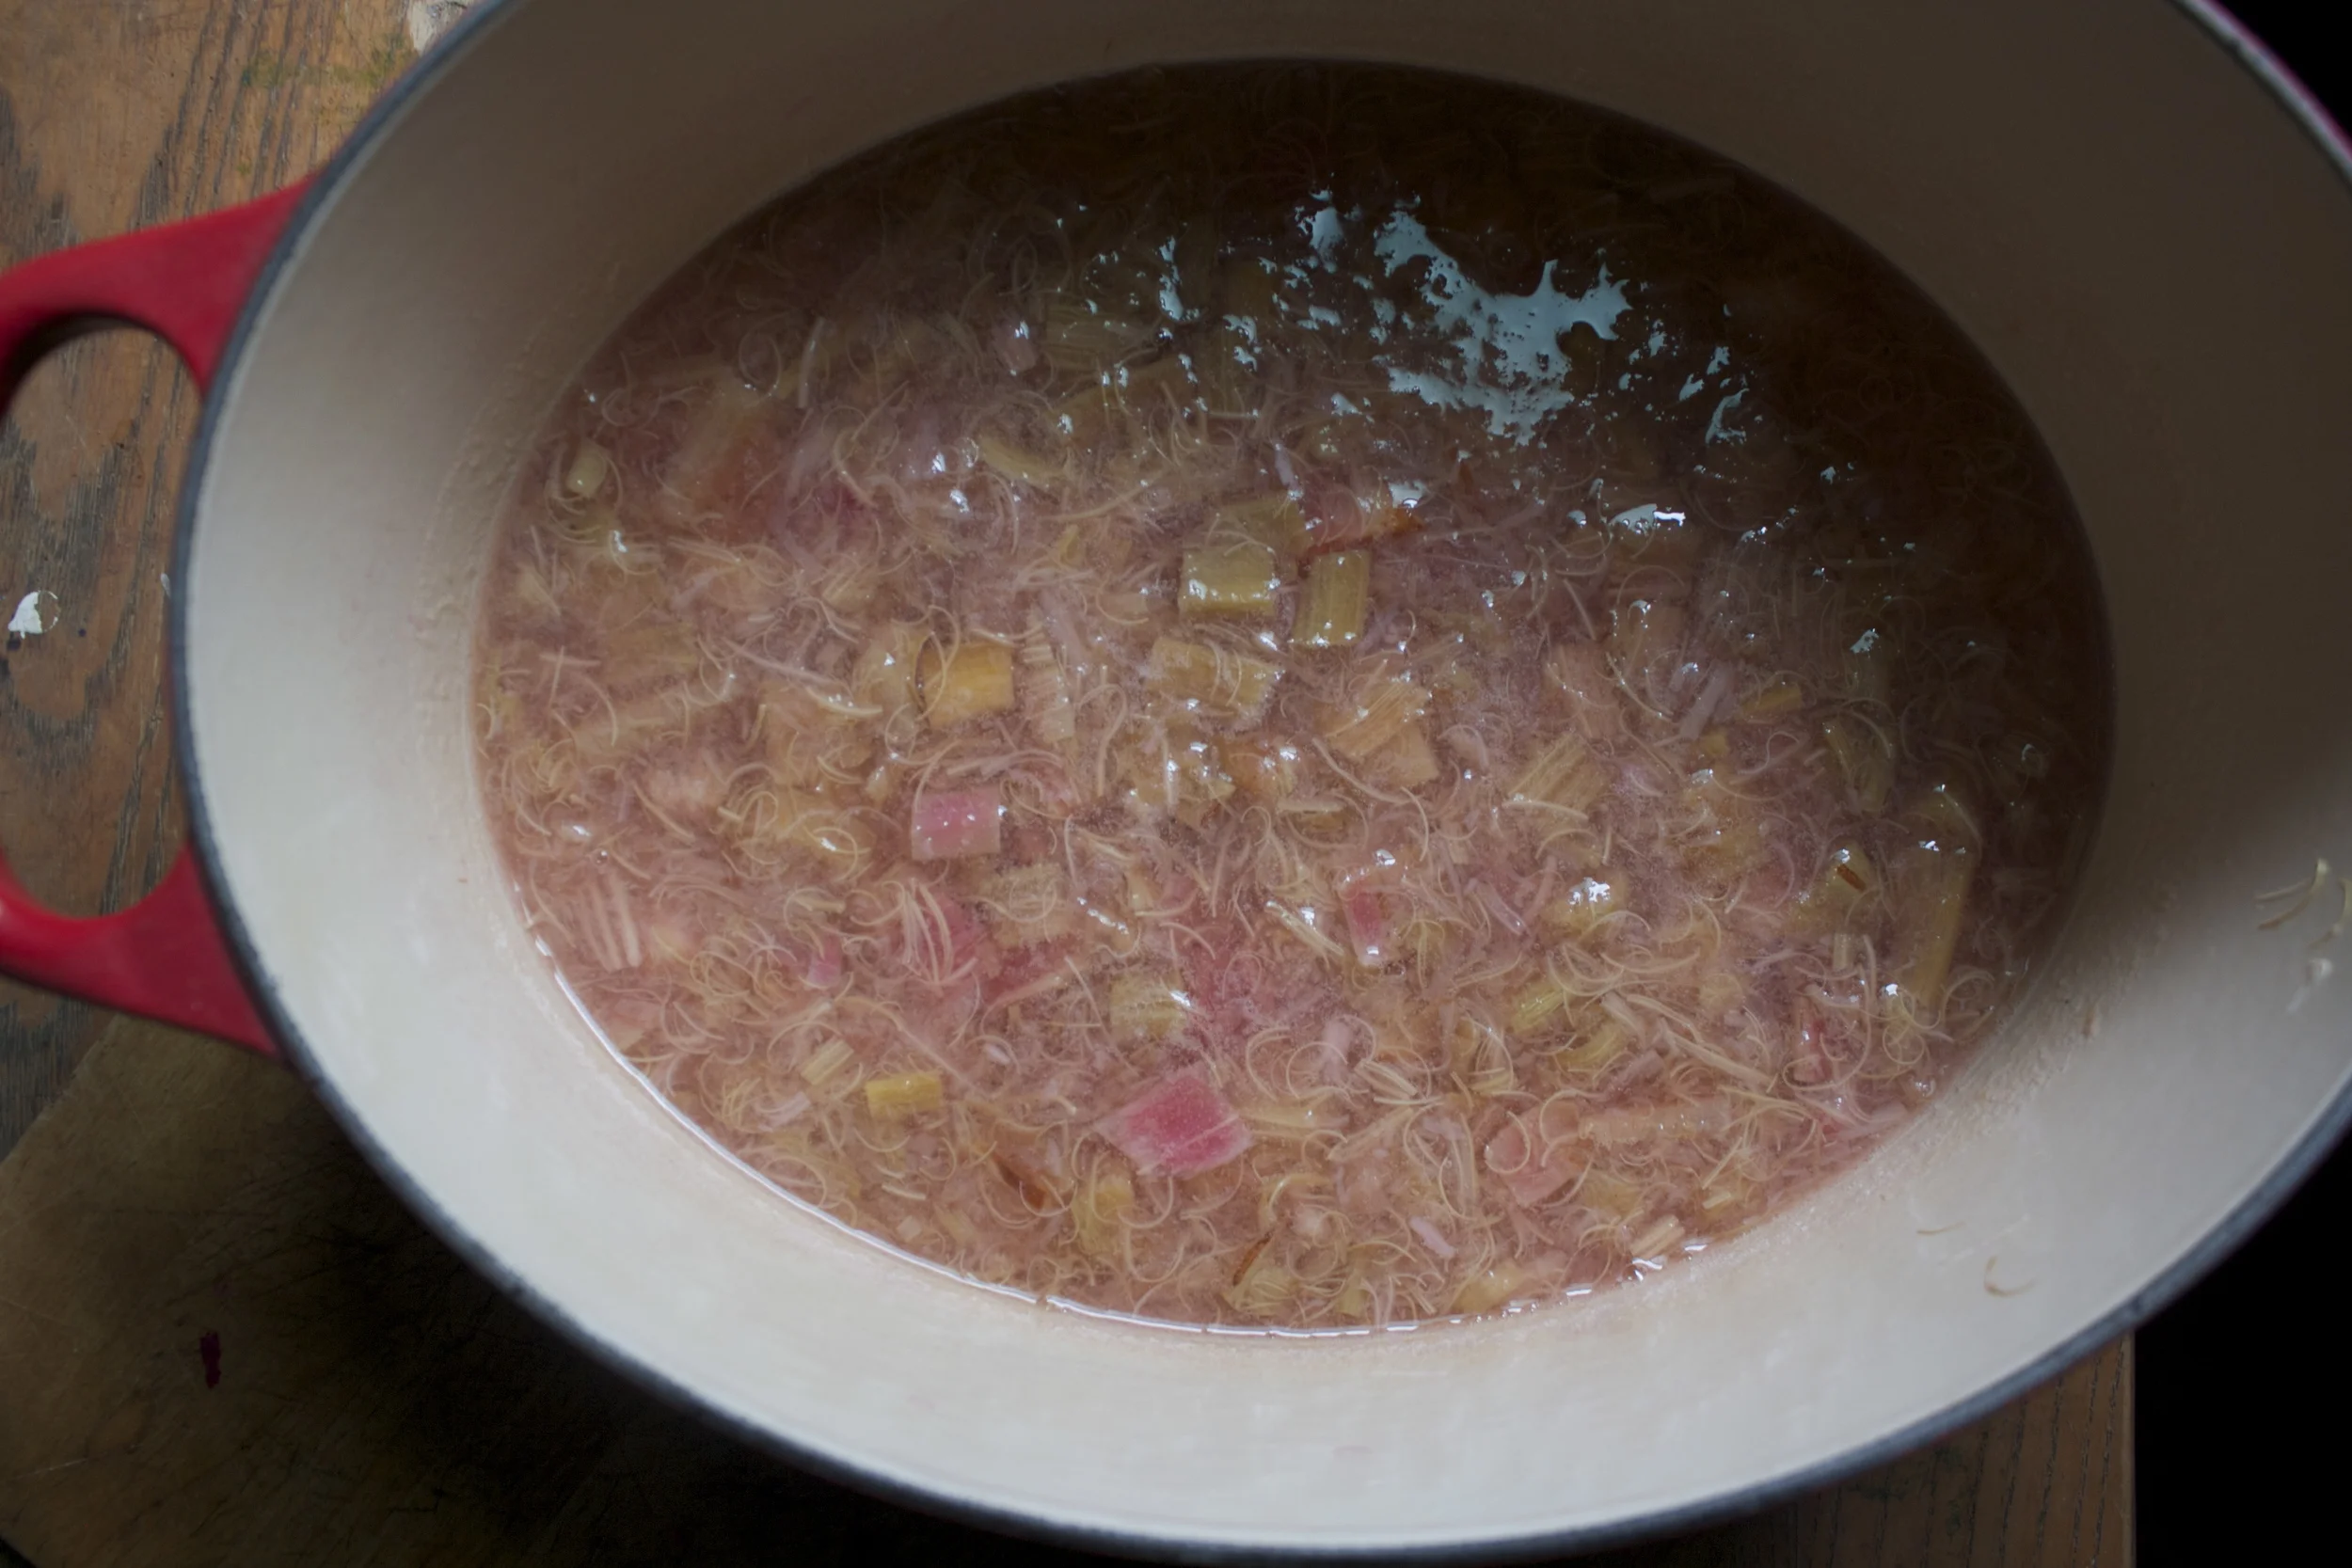
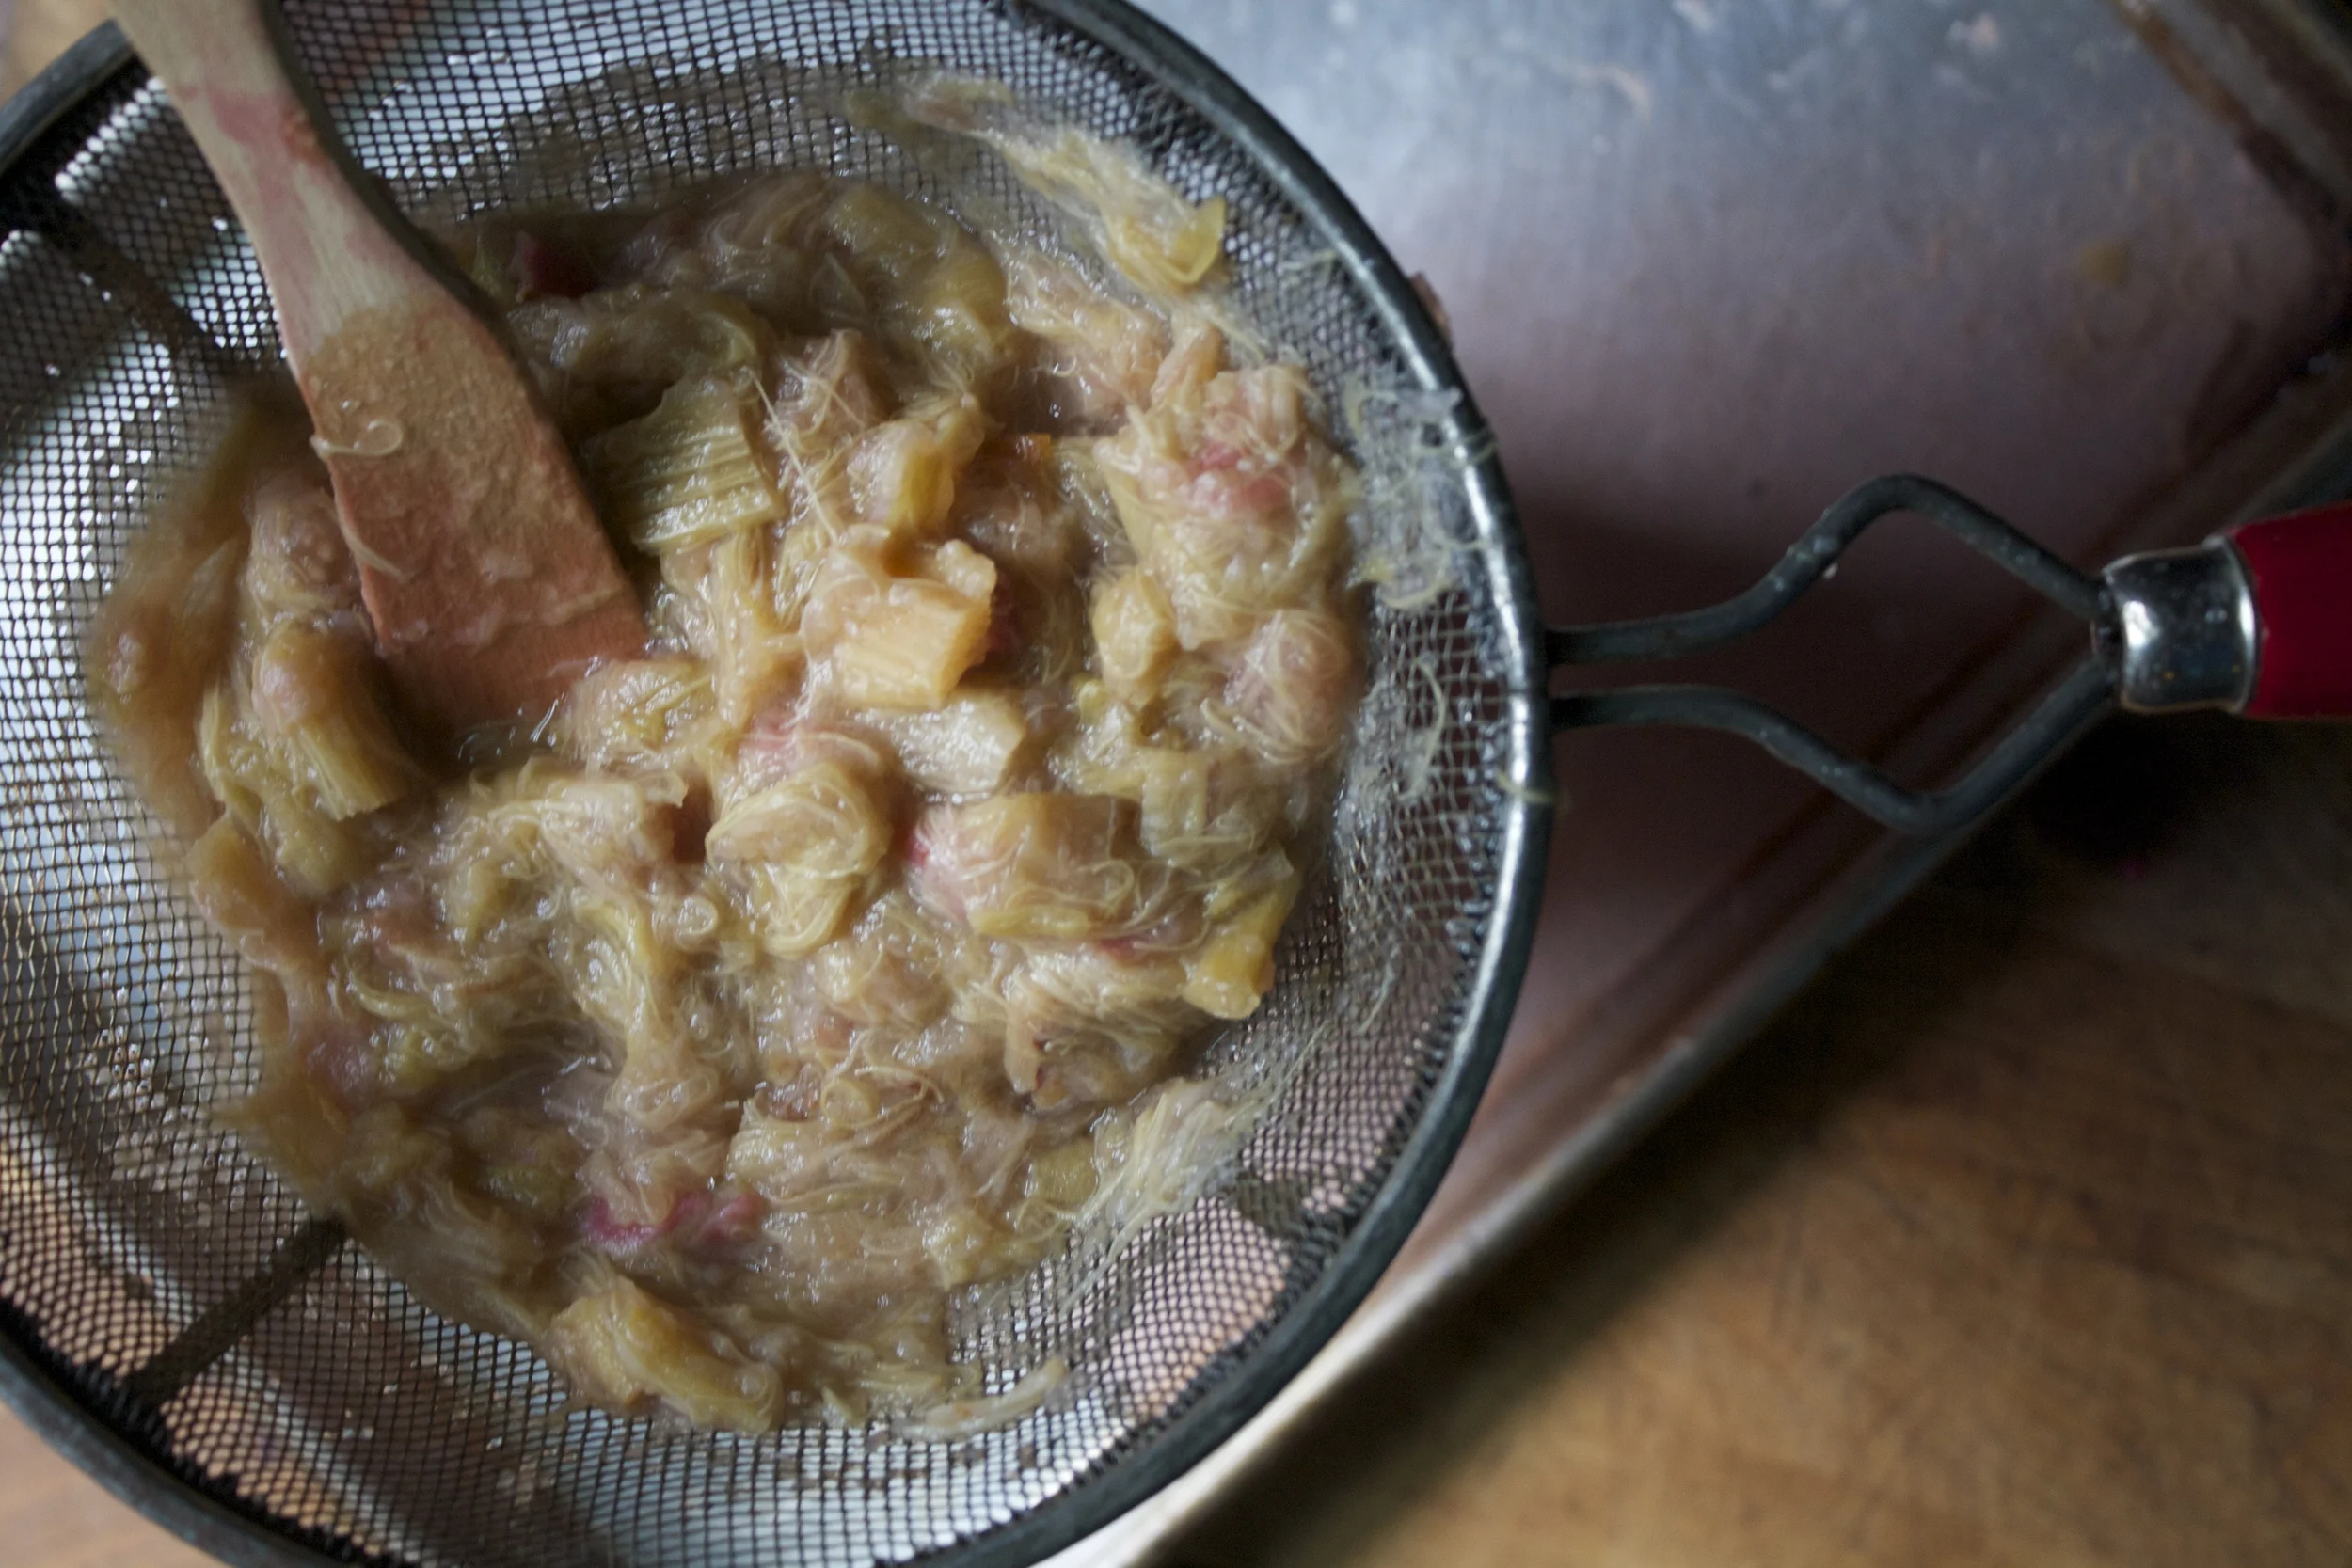
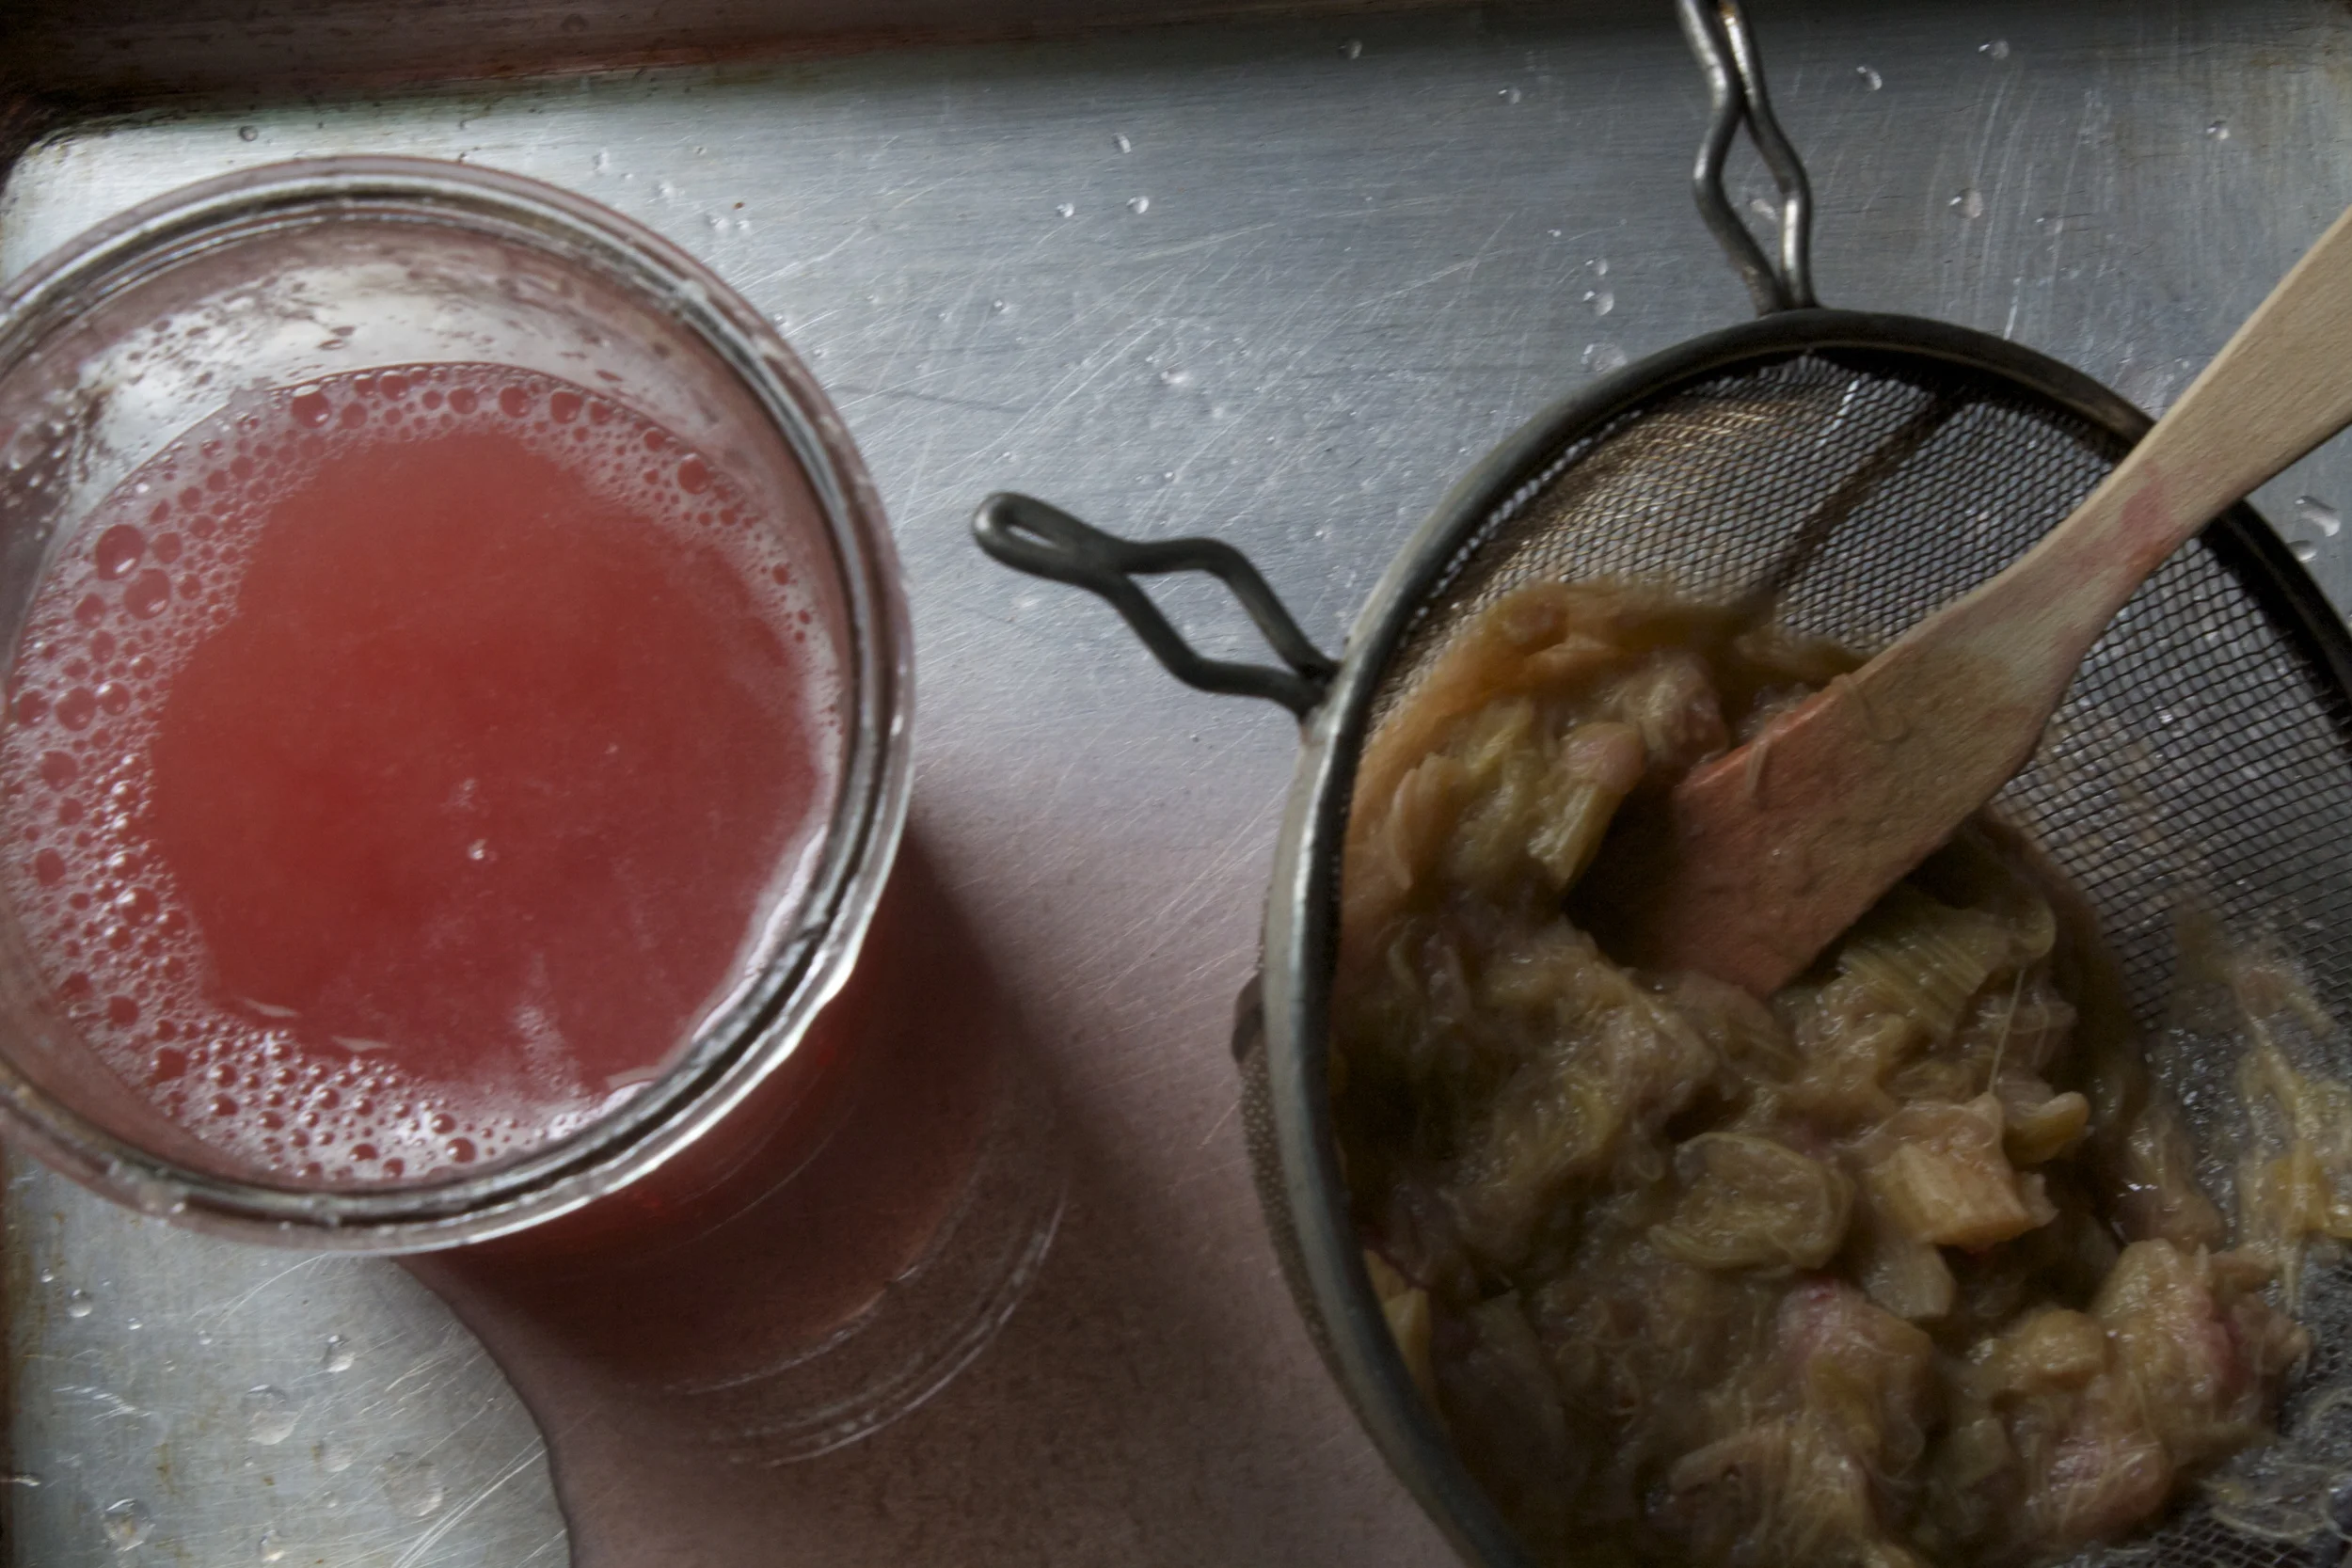




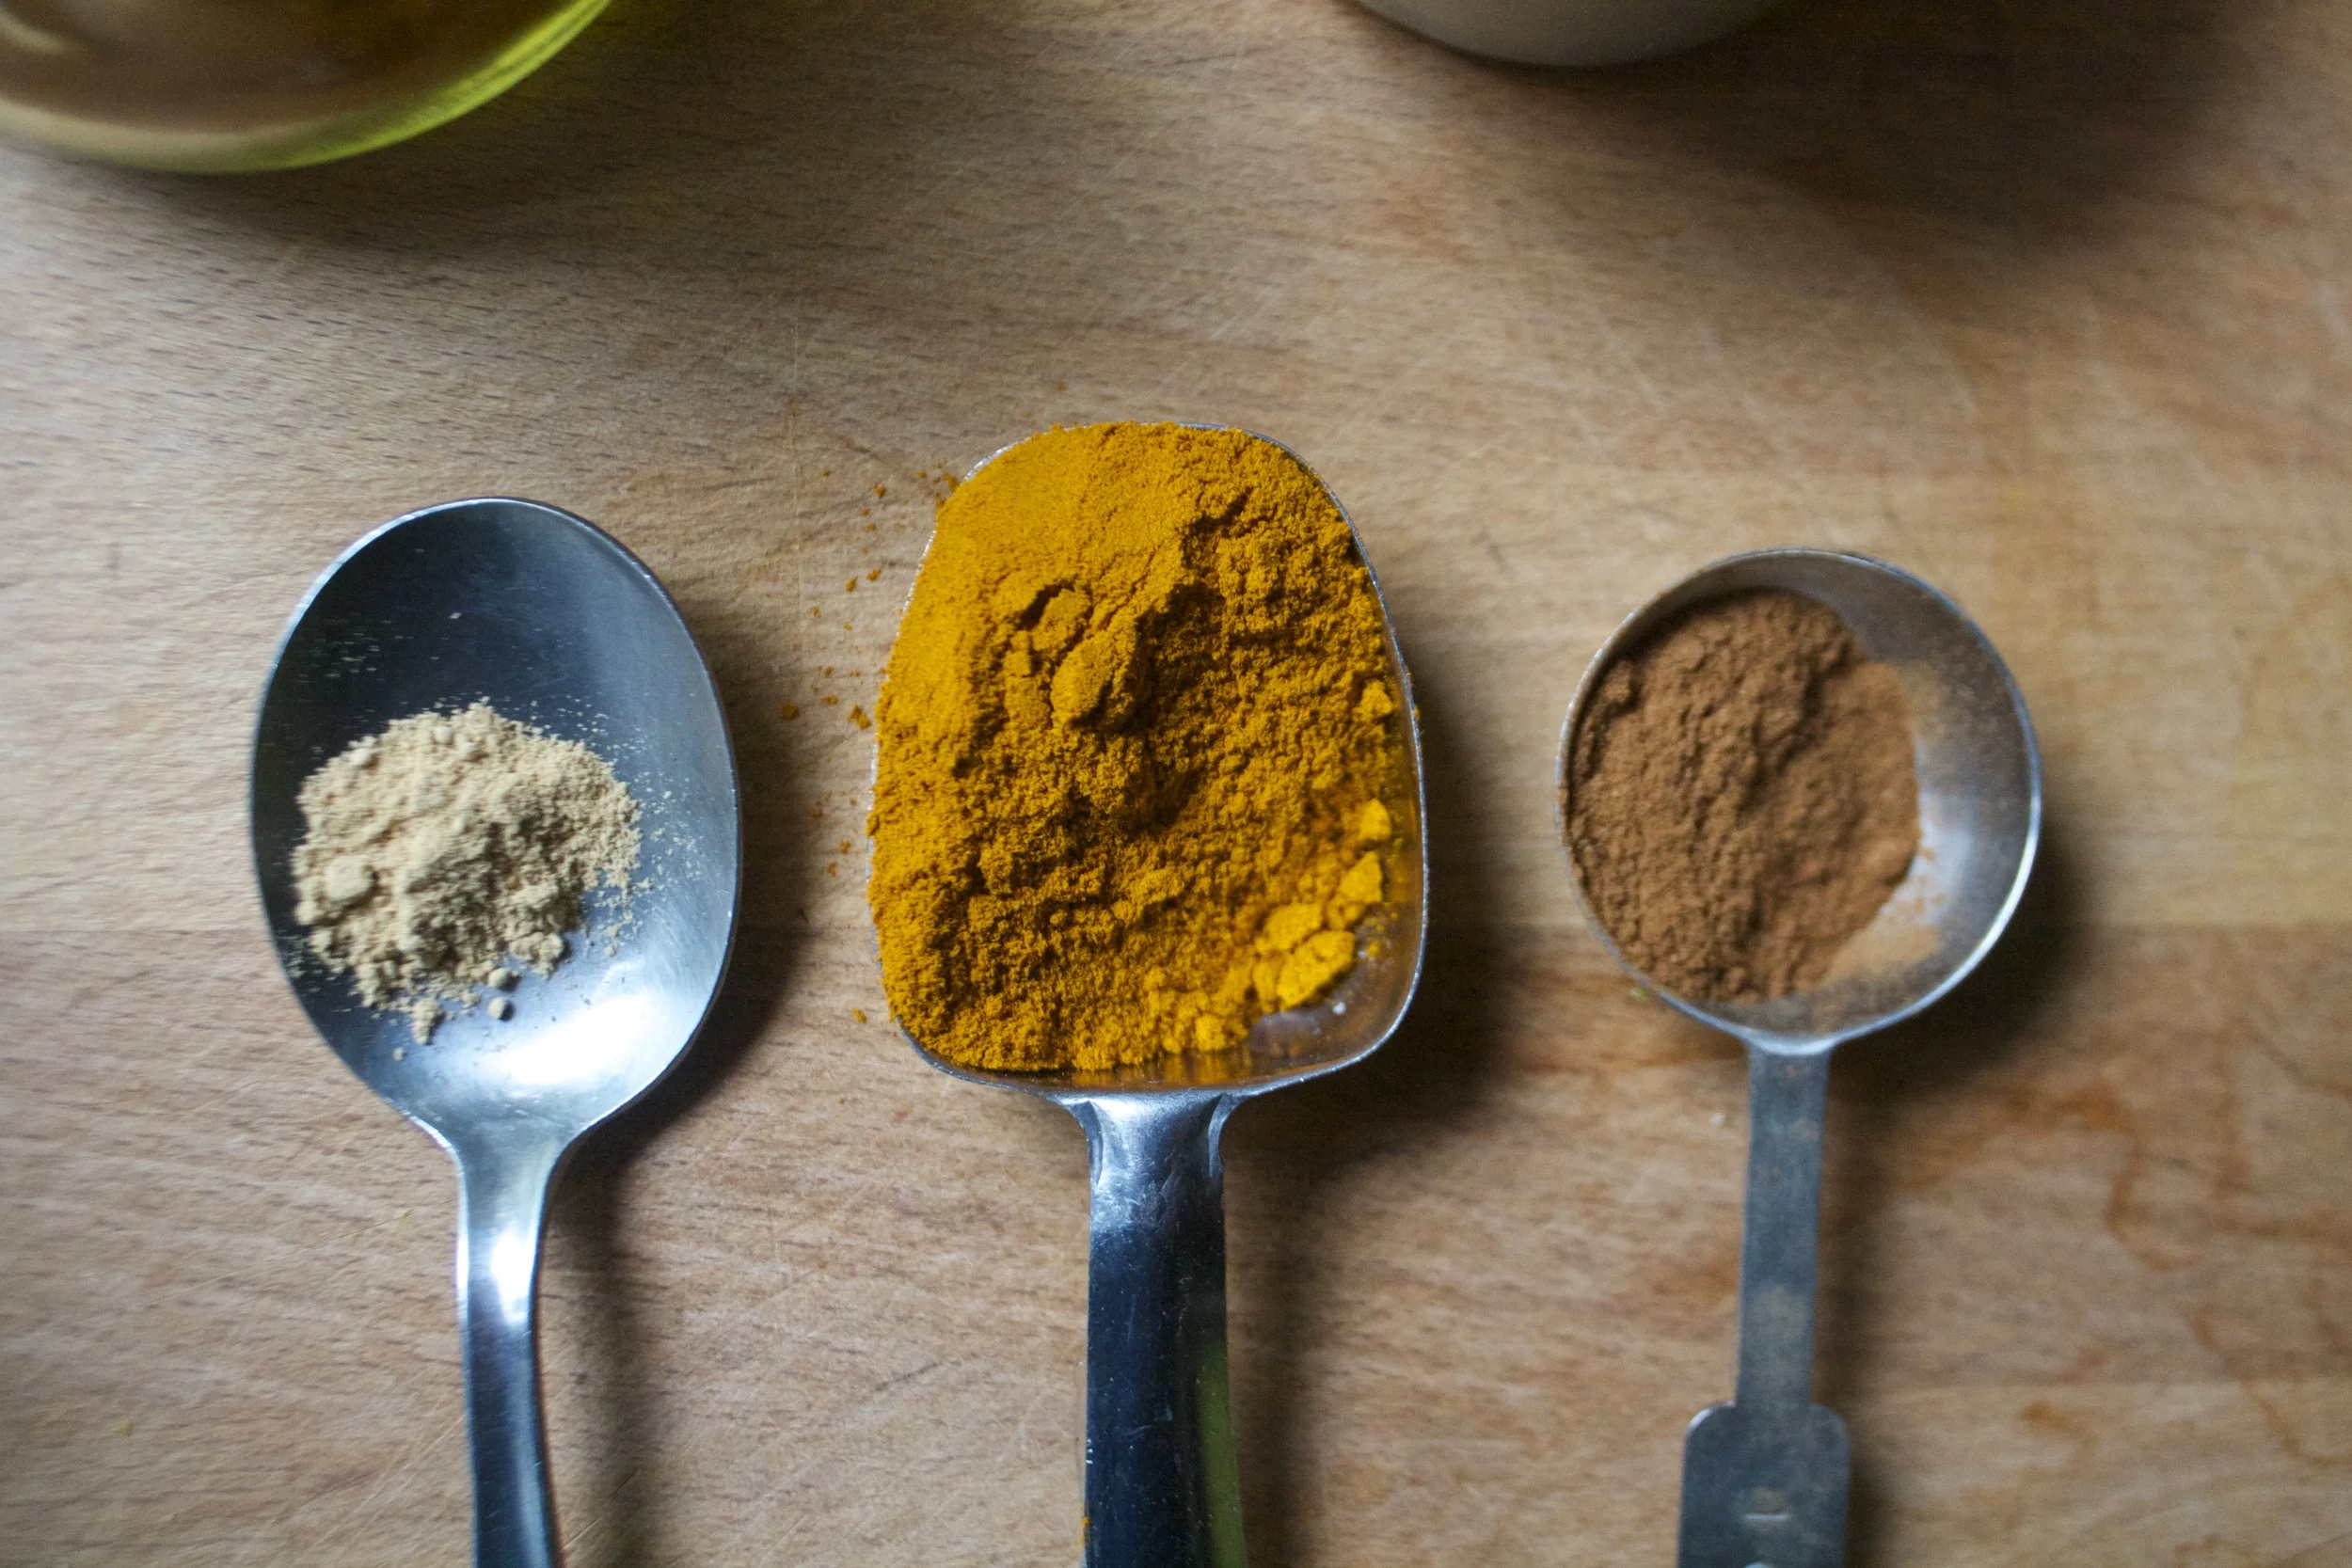

 TGIF!!!! For reals, because Monday-Thurday were monster days. And now that its friday, I can dig a hole and hide in it until it’s at least 30 degrees with some sunshine. (I might never get to come out.)
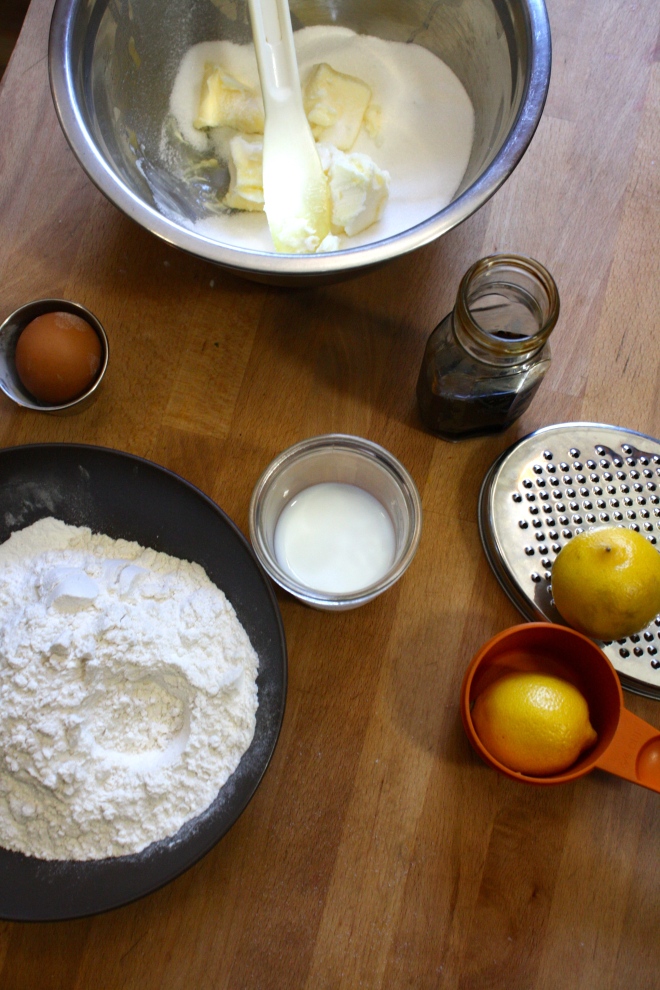 Simple lemon cake stuff. Flour, baking powder and salt whisked together, Sugar and soft butter in a bowl. An egg, some vanilla, milk, and of course, the lemon.
  Frozen bites ready for the chocolate coating… Bittersweet chocolate chips and a little bit of coconut oil. Melted together all nice and shiny smooth.
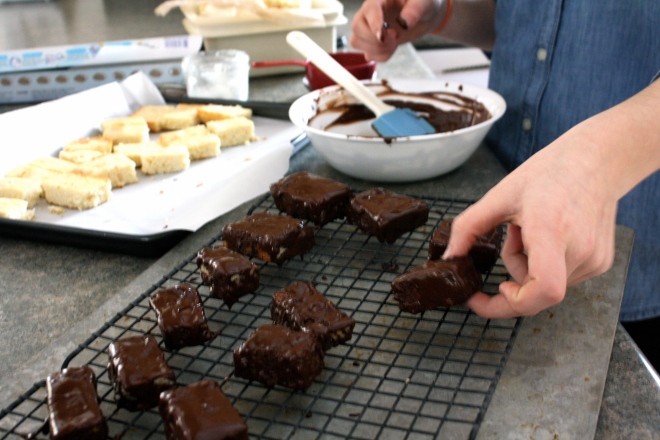 Now dip and slather those bites in the melted chocolate.
  Fully coated and placed on a rack for the chocolate to harden. I ended up sticking the rack in the freezer for 10 minutes…They harder really fast in there.
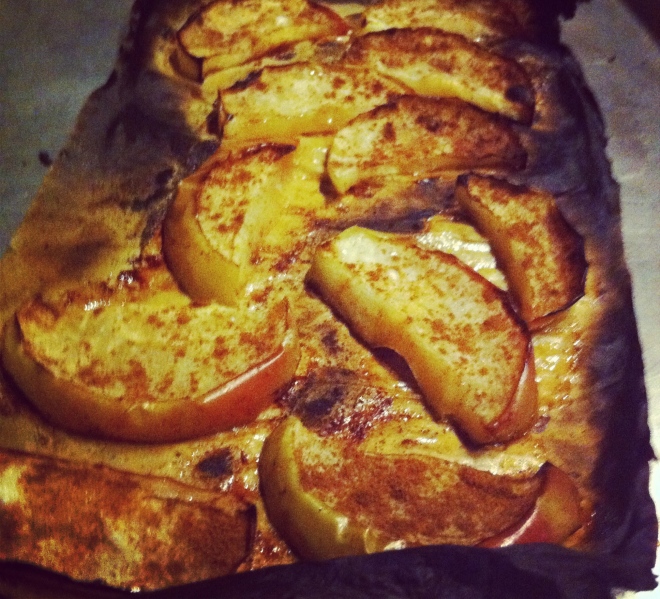 Nothing to fancy….. just a little warmth and spice to fancy up a quick snack. Word!
 Oh boy we made it! Ate our way through another Thanksgiving. I hope yours was a good as mine, lot of family and friends…an abundance of pies, and lot of warm lovely goodness.
THE LOVELY CRAZY
October 18, 2019 by maximios • Blog
What a busy week.
Sunday we spent that day getting our tree which was an experience to say the least. Up in the Green Mountain National Forest, there was 2 feet of snow in places, and it ws freezing pouring rain. It was freaking miserable and I was so so so cold. It was the fastest we have ever picked a tree. We didn’t even hike in to the woods very far. We were drenched and cold (did I say that already) so it was a %u201c find a tree and get the F out of there before we die%u201d type of deal. But we did it, found a snow laden tree, cut it down, dragged it out, wrapped it up in a sheet of plastic (not recommended) and got it on the car before we froze. In the end, we came home with a pretty nice, normal sized tree which we in turn cut to the cutest little tree. Short and fat and a little on the lithe side. Absolute perfection.
And the week was off. Started with a b-day party for So who turned 6 . Baked her a cake but her being so awesome helped me frost and decorate it like a professional. It was also the unofficial start of the mr%u2019s birthday week which means all week I have had to be extra special nice, not nag too much about all the extra coffee cups lying around and to not say anything about the amount of cheese he is eating. I am doing my best but not bitching about the dirty cups has proven to be very much difficult. Ha
Beside it being the mr%u2019s birthday week, we have been busy. I have been running into the studio a lot. Unloading a few kilns, loading them up and trying to get some of my own work done before the holidays. There has been some annoying work and apartment stuff that has had to be dealt with, tire troubles, the mr%u2019s lingering illness. But all is good. And we have had the littles over a few extra times this week for food (always food) and snow flake making. Barb came over to eat. I baked special breakfast scones to smell the good smells and basically tried to stay sane and warm. Oh, and I have been listening to all the Christmas music because yes!
Friday night we had a birthday party for the mr, the kick off of his birthday weekend. I spent the day working then came home really fast to finish making whoopie pies (perfect party dessert). Dinner was grilled cheese and chunky veggie soup because it%u2019s tradition and because the mr really likes to make grilled cheeses. Everyone in the house, kids running around, Christmas tree lit, music playing. We sure do know how to have a good time. And with that my house was trashed, All the dishes dirty, Coco drew all over the floor with crayons, and there was little bits of whoopie pie all over the house. It was very successful and everyone and the mr most importantly, were happy.
Yesterday instead of spending the day cleaning (because it is the mr%u2019s birthday weekend remember. But I did get a 1/2 hour while he had to run out to vacuum up the cake ) we went for a little drive to see the giant middle finger sculpture and get out of the house. Then the littles came back over for a sleep over. Pizza, left over whoopie pies, and stringing popcorn while we watched home alone. (there is popcorn EVERYWHERE!) A perfect birthday slumber party for a 36 year old if I do say so myself. Ha ha But oy, the mess is getting dangerous. There is a serious day of cleaning going on in the near future for sure.
Today is the mr%u2019s birthday eve. Not sure what we are doing today or tomorrow for that matter, but I do know we will have some fun. The littles are still a sleep so I am going to skip on over to the gym until someone wakes up and tells me to come back. Last night Miley and I rolled out a cinnamon bun sitiation so I am baking them off as we speak for them to eat when they do decide to wake up. Hopefully by the time I get back they will be fed and ready to do something. Or not. It all depends on how late they really stayed up (I told them they could stay up and watch Nailed It when I went to bed. I am pretty sure they were up til at least midnight, if not later) So who knows, maybe they will all still be asleep when I get back. And then, well, I%u2019ll just start vacuuming.
Morning Update.. Just got back from gym. Littles are still asleep. Time to vacuum.
Some internet surfing from the week.
-Trying to save some money? Pretty simple place to start is to cook your own food. Simply Abundant Living %u2013 Frugal Food edition
–If you’re an average American, you’ll live to be 78.6 years old. Vermonters have a year or two more%u2026 Good to know where I stand in life I guess.
-Fucking idiot.. Trump, Noted Garbage Enthusiast, Wants Kids to Be Free to Eat More Garbage
–How to Eat Dinner in Bed Like an Absolute%u00a0Champion. And with this I say HELL NO. I am 100% against food in bed. But that be me.
–Dear Internet: Goats In Sweaters Are Cuter Than Kittens In Mittens There are some pretty rad goats pictured here.
– I am in love with this SUNDERLAND QUILTED CAR COAT.
–Now if this cup was a bottomless magic cup I would be all about it. Ember Temperature Controlled Mug
–MEET GEORGES STORE.. All the pretty light fixtures and colors. So nice.
-What does grade B ketchup look and taste like? 12 weird science facts to share with your family this holiday
–Geometric Animals Come to Life in DIY Lamp Kits by OWL. I%u2019ll take the rhino please and thanks.
Pictures from the week.
Are we all ready for it? Mid November and all. The holidays are creeping up fast and furious and I am starting to feel that bit of excitement and anxiety and over all buzz that one gets this time of year. I think seeing the neighbor putting their Christmas tree up in the window the other day (Which in my opinion is way to early. You need to wait until after Thanksgiving for the tree) really hit it home for me. So I located my boxes of decorations and pulled the box of glue and glitter for holiday arts and crafts. I restocked all my flours, sugars, and chocolate chips, and I already have a few of those cake orders in. It%u2019s go time. Now all we need is a snow storm. Or all I need anyways.
The week has been slow. Daylight savings has did a little number on me. I have been waking up at like 415 but my ass is in bed by 830. I could probably get myself to adopt a later bedtime and maybe wake up a little later, but you know what? It works for me. I am nothing, if not an old lady.
Other then a little bit of work, nothing to exciting happened. The mr and walked in the rain to vote. We went for a nice mid week hike , then stopped at the new Harbor Freight store to play with axes. I spent some time throwing, loaded kilns at the studio, grocery shopped, and scraped ice off my car for the first time this season. The littles were over for food and play. Judah and I stating making turkey hand prints that we are going to finish this week. Coco just got snot everywhere and Miley just wanted to get our nightly walk over so I would giver her candy. Then Barb came over for baked beans (amazing baked beans), and Megan stopped by one day to hang with me for a while. It%u2019s nice getting a little human interaction once in a while. HA.
The mr and I finally trapped Only in the house, gave him a bath and even tried to brush his ratty ass out. He is pretty much 100% an outdoor cat in the summer months, but I don%u2019t like him out during the winter so he gots to stay inside. And he hates it. Meows all night long, try to sneak in between legs out the door. But I think it%u2019s better for him and he will get used to sitting around all day on the heated floors again. The guy is to old to be hanging out there like a young cat.
And the leaves. So many leaves. The mr has been doing battle with the trees in the driveway. He spent a day raking and mowing, all pretty much in vain because the next day the driveway was just as bad, if not worse, covered in leaves. My suggestion was just to wait a few more days, let all the leaves fall, but he is a determined man. Plus he noted that the dents in leaves actually help the over all mission.
That was the week.
Today the mr and I are heading to the mountains. We (well I) want to see some snow and really, we just want to get out of town for a few hours. I am feeling a little crazy.
Hope today finds you happy and cozy. Doing you.
Interenting from the week.
-Antarctica scientist allegedly stabs colleague for spoiling the endings of books. I do not condone violence in any way but, I mean, I kind of get it.
–The best way to deal with fall leaves. The mr needs to read this.
-Take it from someone that burns herself on a daily bases. Be prepared in the kitchen. I keep burn cream (propolis calendula salve) right next to the knives. I use it all the time. How to Soothe a Kitchen Burn,%u00a0STAT
–10 Things to Clean Now Before the Holiday Season Gets Going. Add to list%u2026A good place to hide and a good alibi if needed.
-Interesting idea. A Meat Tax Sounds Nice to Me
-Knowing your flours is important. What%u2019s the Difference Between Cake Flour, Pastry Flour, All-Purpose Flour, and Bread Flour
-I play sudoko when I am feeling worried or anxious. Can’t Stop Worrying? Try Tetris To Ease Your Mind
–Meet the Plantfluencers. I could totally be one, I have like 70 plants and counting. And if people are liking and then getting house plants, well heck yeah. Plants are the best.
-I don%u2019t neeeeed , but I really, really want these sheets. They are amazing.
–Does stress eating actually make you less stressed? Whats your stress eating food? Mine is cabbage. I think there is something about peeling back cabbage leaves that I find soothing, and I a weirdo.
And pictures from the week.
Walking around the neighborhood yesterday morning in a big heavy sweater, I noticed that there is color touching a lot of trees and that there is even brightly colored leaves falling to the ground. This is the weekend to really enjoy the last bit of summer cause fall about to burst. I know its technically summer for a few more weeks, but I gauge the season by food cravings and extra curricular activities.%u00a0 I bought my first winter squash (a butternut) this week, roasted it whole and then ate the whole thing, and then stared to knit a new hat for the mr.%u00a0 It was all fantastic and all fall like and I am now happy to trade in tomatoes for all the root veggies, I am ready. Are you?
Progress on the house. I spent a few days meticulously cleaning up and sanding exposed wooden beams in one of the bedrooms (they look so good) This while I battled a ear infection that I treated by stuffing large amounts of garlic infused coconut oil into my ear and walked around smelling like dinner and oozing oil from my head. All the fun stuff happens to me no? But I am feeling much much better now so I can stop complaining so much. And no more shoving ear phones into these ears. Pretty sure that is why I got the infection in the first place.
The mr has been doing everything and testing out all the electrical.%u00a0 And guess what, ever freaking thing works! We now have lights in each room, even a light in the windowless bathroom we use ( the unfinished bathroom that is actually just a toilet on a sub floor with a door) And instead of having to run extension cords for every freaking thing, we can now use outlets! It’s been a fine fine week. Little sister Barb and I even spent all of yesterday painting the upstairs. Unfortunately after so many days of pouring over color samples and finally thinking I found the color, buying the paint and getting most of the painting done, I have realized that I don’t like the color. (it’s a off white, but just too yellow) BALLS! The mr is being super sweet about it and telling me it’s not big thing and that the walls needed a base coat anyway (no they didn’t, we already primed that walls)%u00a0 and that we will just repaint together and it will take no time and be great. So back to square one with the paint samples (looking for more of a greyish white). AM I crazy? Yes I am, but I would rather repaint now and be really happy with the color then waiting until we move, hate it then, and repaint around furniture and nice clean floors. That would suck even more.
Today the mr and I are going to pick out the new color, get the paint, and clean clean clean!%u00a0 Empty mud bucket piles, pieces of scrap sheetrock and tools everywhere.%u00a0The house is a pig pen and it’s getting a little much for my liking But after a good clean, if I have some time, I will plant my butt outside on the porch with a enormous cup of coffee and read the rest of the day away. Sunday goals.
If you are interneting (is this a word? If not, I think it should be), here are a few links from the bit of interneting I did this week (didn’t do to much)
-Thinking ahead. Peak Fall Foliage Dates
-A in for science and for all of us. A Lifesaving Transplant for Coral Reefs
– This will be my life someday (hopefully sooner then later) STUDIO TOUR: A QUESTION OF EAGLES.
-I grew up watching Bob Ross, such a big influence. The Real Bob Ross: Meet The Meticulous Artist Behind Those Happy Trees–
-If you know me, you know I have a thing for chairs (I have way way to many and I love the all) This book is for me. Better Sit Down For This One: An Exciting Book About The History Of Chairs
-I avoid antibacterial shit like the plague (I like me some germs) so this makes me happy. Within a year, antibacterial soaps as you know them will disappear from the market
A few pictures of the awesomeness of the week.
Have a great weekend. Hope you get a long one.
-C
Sunday Happy…more like crazy Sunday. I think I am about to crack with all the last minute things that we have to do before we leave. I have been such an ass, procrastinating and putting off all the details of traveling and now all of a sudden we are leaving in 2 days.
Whoa shit! So much to do.
On that note, this past week really was nuts. Full of stupid things like a day at the DMV renewing expired driving licenses and spending an afternoon at the phone store only to walk our empty handed and pissed. We actually haven’t really been that bad at putting the traveling stuff off, it’s just that we have been busy with the normal life too.%u00a0 But yesterday we got a lot of the booking done (our credit card finally came in), and all of what we want to pack out so all we need to do now is shove it all into backpacks, figure out the car rental thing (I am confused. why? I am not sure) and chill out a little tonight
We both need to chill.
But until then, I will be drinking too much coffee, spending too much time comparing rental cars and throwing things around like a lunatic. Fun fun..%u00a0
You guys. We are leaving in 2 DAY!!! AAAAAAHHHHI am so excited I might just pee myself!
Some if the Internet stuff that I have been looking at while I should be researching car rentals and how to translate the phrase “where’s the toilet” into danish.
–United States favorites by state.. Phish, Volvos and maple syrup. Yup, that’s Vermont
-I think I am going to have to make this chocolate tofu tart when we get back
-Do you use your coffee grounds? I like to de-stink smelly things with them. Your Coffee Grounds Have a Much Better Fate Than the Compost
–Top 10 most desirable Air bnb’s in the world. And we are not staying in any of them.
-I am really super sad that David Bowie dies. I have always had an old man crush on him ever sense he danced around in those tight pants in Labyrinth. I guess I can still hallucinate about him. David Bowie Is Apparently a Frequent Guest Star in People%u2019s Hallucinations
-This is good new to me. I am not the biggest fan of the LED light, it looks to white. Return of incandescent light bulbs as MIT makes them more efficient than LEDs.
–What is Flour?
-10 Things You Need to Know About Gluten-Free Baking, Cooking & Eating..
-What!! A LIFE-SIZED CARAVAN MADE FROM 215,158 LEGO BRICKS . I would live in it for sure
And just a few pictures from the week
Happy 2016! Happy Winter! Happy Snow!(a few weeks late, but super happy for it to come at last)
So did you have a great week off, or a slower then normal week? Lots of lounging, binge watching of the Netflix and eating all the left over cookies? Or was it back to work and back to reality? We go from holiday madness to all out crazy the week after Christmas.. There are birthday parties, littles out of school that need babysitting, and work. We keep on working cause that’s what we do. And remember last week how I told you I was losing my voice. Well it turned out that I lost it for the entire week. So I was a little sick and really quite which made for a weird and interesting one fore sure.. (especially babysitting without a voice. That got crazy)
And it happened again. New years. Did you party party and stay up til midnight to watch the (fill in the blank) drop? Not going to lie, the mr and I brought in the new year trying to watch tv together, but I just ended up reading. Then I actually fell asleep at 930. What can I say. I am an old lady. And no resolutions, just the average everyday, I need to do “this” or ‘that’ a little better/faster/cleaner or what not. Goals are what I have and there is not time line. But if you have resolutions, well good for you.
Today is actually the first day off we have taken since last Sunday.%u00a0 As of now, there are a few little things we are going to work on over at the house but we are not getting into the nitty gritty of it all until we get back from our plane rides of fun in February. Last week we got the ceilings sheet rocked and the mr is now doing the tape/mud this week. (I don’t even try because 1. I suck ass at it. 2. he is so good and3. he really likes doing it) I’ve got a butt load of paper/ bills/ things people want, to go through so this will be a good week to do that and to start whittling away at my spoon. Plus we have a lot of things that need to be done before we depart, like watching scary you tube videos of people trying to drive around Ireland on the right side of the road, figure out whether or not I can bring dried lentils in my carry on, and gather enough reading material to last me plane rides and early mornings spent drinking tea by the sea side.
So much. But not today. Today is for reading, coffee and tea,%u00a0 a warm cozy sweater and most likely some ice on the old back (sheet rocking ceilings kinda sucks)
I hope your day is spend well, doing good things and being happy.
Stuff I liked on the internet this week.
– I think this could work. The Taco Cleanse Is a Thing, So 2016 Will Be the Best Year Ever
–Keep Your New Year%u2019s Resolutions to Yourself, Please.
-I’ll take this cabin , just stick it in the woods
To all you party peoples out there. Want To Avoid A Hangover? Science Has Got You Covered
-Winners & Honorable Mentions of the 2015 National Geographic Photography Competition
-The hottest food trends in 2016 according to Whole Foods and even better… Grandparents Predict the Food Trends of 2016
–These toys are the greatest!
-Keep Things Simple For A Healthy, Long Life
-If you stuck wheels on our living space now, it would kinda look like this.
And some pictures from the week.
November 1..%u00a0this is some crazy shit. But at least today we get an extra hour, so that’s something.%u00a0
I am a slightly broken lady. Friday afternoon, after coming home from Washer’s birthday hike, I managed to fall backwards off %u00a0the middle of my staircase (it’s was a pretty high fall). Bam, right on my ass then into a pile on the floor. %u00a0Needless to say that it really freaking hurt and the past two days have been a little on the slow side. I have adapted a slight limp, my thumb on my hand got severely jammed so I can barely bend it, and I am sore all over. STUPID STAIRS! %u00a0I am not a graceful hurt person, more like a pissed off, want to break things, angry that I am hurt type. I also get kinda mean. I know it’s night a very becoming trait, but when I am sick or hurt, I want to be left alone to lick my wounds and anyone trying to be nice and do things for me makes me crazy. I know, I sound like an asshole, but when I am sick or hurt, I think I kinda am.%u00a0
But before the fall, my week was going pretty good. We had a pumpkin cookie decorating night which was pretty fun. A couple littles came over and we ate mac and cheese, decorated pumpkins blue (I could only find blue food coloring) and watched the Adams family. It was also Washers Birthday on Friday and we took him for a long birthday hike.%u00a0The old man is 10, which just blows my mind. I can’t believe we have had him and been able to keep him alive for this long (just kidding). But for real, 10 years. And he still acts like a stupid puppy, except a slower moving, more distinguished %u00a0looking one. And he doesn’t chew the windows or floors anymore. He has some so far.
%u00a0What %u00a0else? There was some other stuff, but man, my brain is not working properly today so I’ll just leave it at that.%u00a0
So it’s Sunday and my plans include drinking a lot of coffee,%u00a0making a tasteful playlist of all of my favorite christmas music, then listen to it while making washer dog cookies and more or less, kind of just bumming around all day. You know, to heal my ass. I’ll probably pick up a new book and make food as well, but no expectations.. I already told myself that if i didn’t move off the couch today, that that would be ok.
How about you? Got any exciting plans for the day? What are you planning on doing with your extra hour?%u00a0
If you are looking for something to do, here is some stuff to check out on the world wide web.
-I always think about this.%u00a0Do We Waste A Lot Of Pumpkins We Could Be Eating?%u00a0
-A look inside the pottery studio if Brooke Winfrey.. Love her pieces!
-How to Keep (Most) of Your Herb Garden Going When It’s Cold%u00a0
-Going%u00a0here is on my lifetime bucket list
-Where to Store Your Worn (But Not Dirty) Clothes%u00a0This is something we struggle with.
-In Praise of the Humble Lentil%u2026 And praise I do, cause I eat like 4 lbs a week (no joke)
-Some great information of the science of cookie baking%u00a0
– I want these boots!%u00a0
–Oh so lovely Greenhouse Love
–I want a fireplace anywhere in my house, but a fireplace in the kitchen.. that would be fantastic.%u00a0
-Beautiful Pictures of a desert after a rain fall%u00a0
And pictures from the week
The past week has been a ok. Besides from the great SFCD (stupid fucking computer day)%u00a0fiasco, nothing too crappy has happened. We had a family birthday get together for my (now 16 years old) sister where every single sibling, niece and nephew was in attendance at the same time. We got in some.dinners with family members, had a night at the park with some littles for a moonlight play date, even got in a bit or light hiking with the pup. An all around pleasant sort of week.
As for this weekend so far%u2026%u00a0Not going to lie,%u00a0I am a bit of a cranky pants.%u00a0It started out ok. Yesterday morning I woke up super early, read for a little, then me and the pup went for a nice long walk and watched the sun come. My only complainant there was that I was wearing sneakers tha did not keep my feet warm so I was freezing. After getting home and %u00a0unsuccessfully trying %u00a0to warm my feet up,%u00a0%u00a0I %u00a0went about getting to what I had planned doing. I got my baking stuff together and turned on the oven, only to realize after 10 minutes that the oven was not hot.%u00a0MOTHER F ing FREAK!%u00a0
Not again! Not a-freaking-gan. Luckly the mr was home and %u00a0jumped to the rescue, well kind of. We pulled the sucker out from the wall and basically took it apart. It turns out that I have blown the igniter%u2026 again. Yup, this is the second stove, third time, that I have blown the little mechanism inside the stove that lights the fire to make it hot %u00a0(And no, %u00a0this stove will not let me manual light it for there is a build in safety lock or some shit) The third %u00a0time! And this stove is only a year freaking old!
It’s official, I am a stove killer.
So not havving a stove just threw out my days plans, plus dinner plans, not to mention I was still really cold and was counting on the stave for heat. And to top it all off, I did something to my back and am walking around in a constant state of pain. But %u00a0the worst part is that %u00a0the mr had to order the part and it’s not coming in until monday. AAAAGGGHHH!
So today, tI don’t even know. Again, I have oven plans, but not anymore. But I am determined to make today good.. No I will not be able to bake lots of bread and cookie, and maybe I might have to wear 5 sweaters and my wool socks plus slippers while in the houses, but it’s cool. I won’t let that ruin my day. I’ll just boil some cinnamon sticks (at least the burners works) to make the house smell nice, make lots of coffee, grab my book (Mindy Karlings new book Why Not Me!) my knitting, and my big wool blanket and park it on the couch for the day.(When I think about it, it’s proabaly going to a grew day!)
Anyways hows your weekend going? Cold yet? Have you tuned on you heat or have %u00a0you been using your stove for warmth instead of tuning the heater on like me? Well, whatever your doing, I hope your enjoying it and that you are not freezing your butt off.%u00a0
Some internet links and stuff to check out.%u00a0
-I am so in love with this quilt
-The History Of Our Love-Hate-Love Relationship With Leftovers
–A cozy bright home I could live in%u2026 I think I need a strawberry wall too!
–Cool felted food
– I’ll live in this triangular villa
-30 Qualities of a Good Home Cook
-I am so EXCITED!!%u00a0Gilmore Girls%u2019 Revival in the Works at Netflix
-As Schools Buy More Local Food, Kids Throw Less Food In The Trash
-Good to know,%u00a0What to Do When Your Chocolate Seizes
–I have been a follower of this ladies blog for a while and loved seeing this.%u00a0A Look Inside the Smitten Kitchen
And a few pictures from this weeks happenings
Yesteray the mr and I took a couple littles( and one not so little) to the farm for a tracker ride and pumpkin picking! It was fantastic. The sun was out, but it was still fall chilly. The pumpkins were amazing and we were the first one there so we had an the first pick of the lot! But before we went to the pumpkin patch, we went to the raspberry patch for some breakfast raspberries %u00a0and the littles stumbled upon a super friendly, lovey black cat. Needless to say, they picked no raspberries and just ended up playing with the cat.%u00a0%u00a0I asked one of the farmers if they knew the cat and she told us it’s kind of the farms cat and her name is%u2026wait for it%u2026. Super Friendly.. Best name ever.
This week also included a birthday party, a solar eclipse (did you see it?) a little drive to check our some tree colors (wasn’t much at the time, but this week will be good) and some more apple picking (I can’t stop!). We also took one of the last trips to the garden to harvest some greens and got crushed. I have been babying a bed of rainbow chard all summer and was so excited to do one big-ass harvest. But when we got there, all the leaves have been eaten off. A Fuckface deer ate my chard! I was so mad and am still a little pissy about it, but what can I do? And really, If I was a deer , tI would have muched the shit out of that chard too.
Also, it seems that everyday I am digging/riffling through the basement for just one more long sleeve shirt, pair of wool socks,%u00a0or a warmer pair of mittens. I have’t pulled out the jacket yet, but I think that it’s going to happen soon. I mean, wearing 2 long sleeve shirts and 2 sweaters is getting kind of annoying when I leave the house to walk the dog, So yeah, might do that today.
But this weather%u2026 SO GOOD right! Blankets, sweaters, tea and coffee, knitting and reading. If I could live in a fall state for my entire life. Oh man that would be great.%u00a0
Anyways, enough about me, how about you? Are you enjoying the weather where you are? Are you getting out and doing all the fall things that one does? Are you at least getting in some r and r toady? I hope so. cause we all deserve it!%u00a0
Here, the Internet stuff from the week if you feel so inclined.
-Someone get me a ticket! Harry Potters Christmas Dinner in the Great Hall%u2026. I must go!
–I have a thing for clouds.%u00a0What’s at the edge of a Cloud?%u00a0
-This house%u00a0is so amazing
-And love this place too.
-Pretty trees dripping light.%u00a0
-I am trying to get the mr to go with me.. but I am going. (heights are a bitch)%u00a0%u00a0Wild Walk. A walk through the %u00a0Treetops.%u00a0
-Are you a sweet of sour person? Me, I think I am sour.%u00a0Power Of Sour: How Tart Is Reclaiming Turf From Sweet
-Clone your dog?%u00a0%u00a0I think I’m gonna pass on that.%u00a0
-A myth about Refreezing food.%u00a0%u00a0Good, cause I a freezer, refreezesr of food.%u00a0
And some picture from all the fun..%u00a0