
THE LOVELY CRAZY
Salad season is here. Green salads, fruit salads, potato salads, and grain salads. All the salads and we are not mad about it.
This is a good grain salad using millet, which I am sightly surprised to hear that a lot of people have never had. Millet is kind of like quinoa, but not. I cooks fluffy and looks kind of the same, and is gluten free like quinoa. I think the biggest difference is that millet is slightly softer and tastes a bit more nutty. It also is really good at absorbing liquid flavors.
But who are we to compare. The main thing is that it is nutritious and delicious so we will eat it.
Back to the salad. This is one of those grain salads that is good cooked and served warm but only gets better with a little age (like an hour or a day) in the fridge. Served hot or cold or room tempature, and is hearty enough to be meal like but is also a fantastic addition as a side to any of you meal plans. Like maybe a BBQ? Whatever the occasion, or non occasion, this is just a really good grain salad situation and I think you will be pleased, smiling all smiles while eating it.
To the millet salad.

The stuff. Millet, a couple handful of greens, a few mushrooms, an onion, dijon mustard, a little maple syrup, red wine vinegar, a lemon, a couple cloves or garlic, some toasted sunflower seeds, and salt and pepper.

Start by giving the millet a little toast, just enough to really up the nutty flavor and make it that much more yummy. It only takes a few minutes in a skillet on medium heat. Not an entirely necessary step, but you should do it.

Toasted millet goes into pot with water. Bring pot to a boil and then turn to the lowest simmer and cover.
While millet is cooking, get to the mushrooms and onions. Chop the onion thin and small and the mushrooms thin and small as well. Place them into the skillet with a drizzle of oil and place on medium heat. Mix around every now and then and cook until the mushrooms and onions are soft and a nice golden brown.
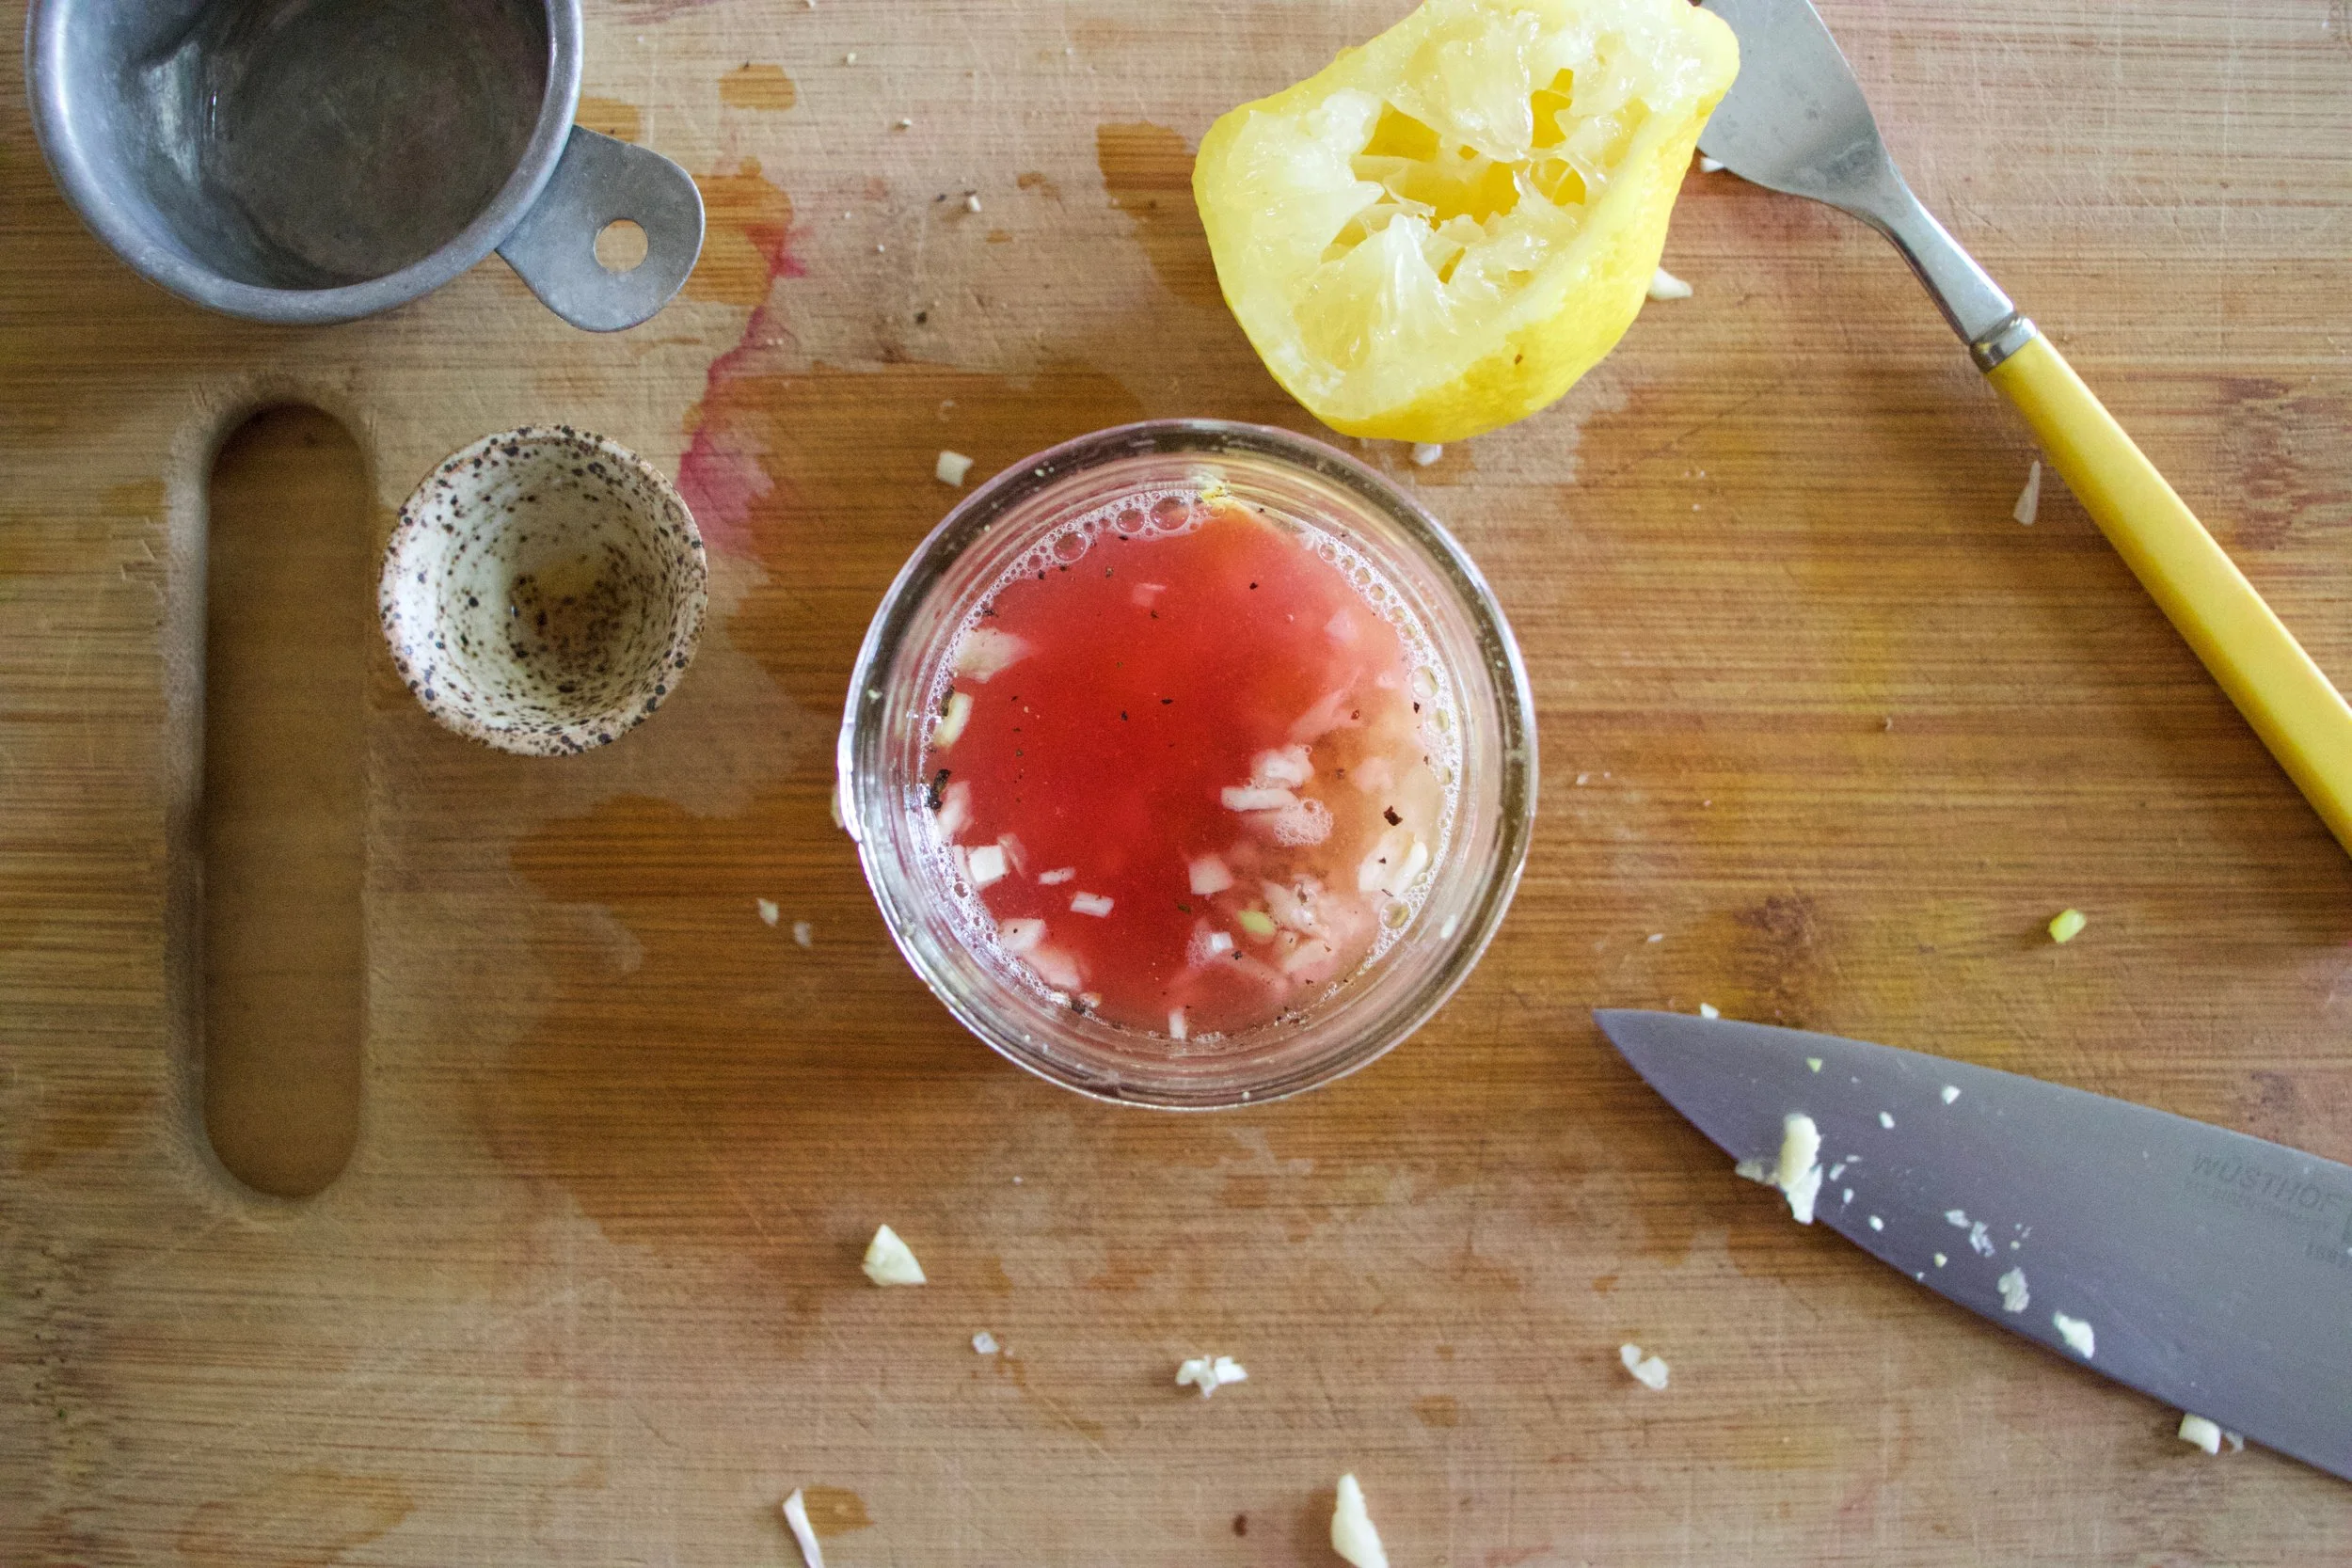
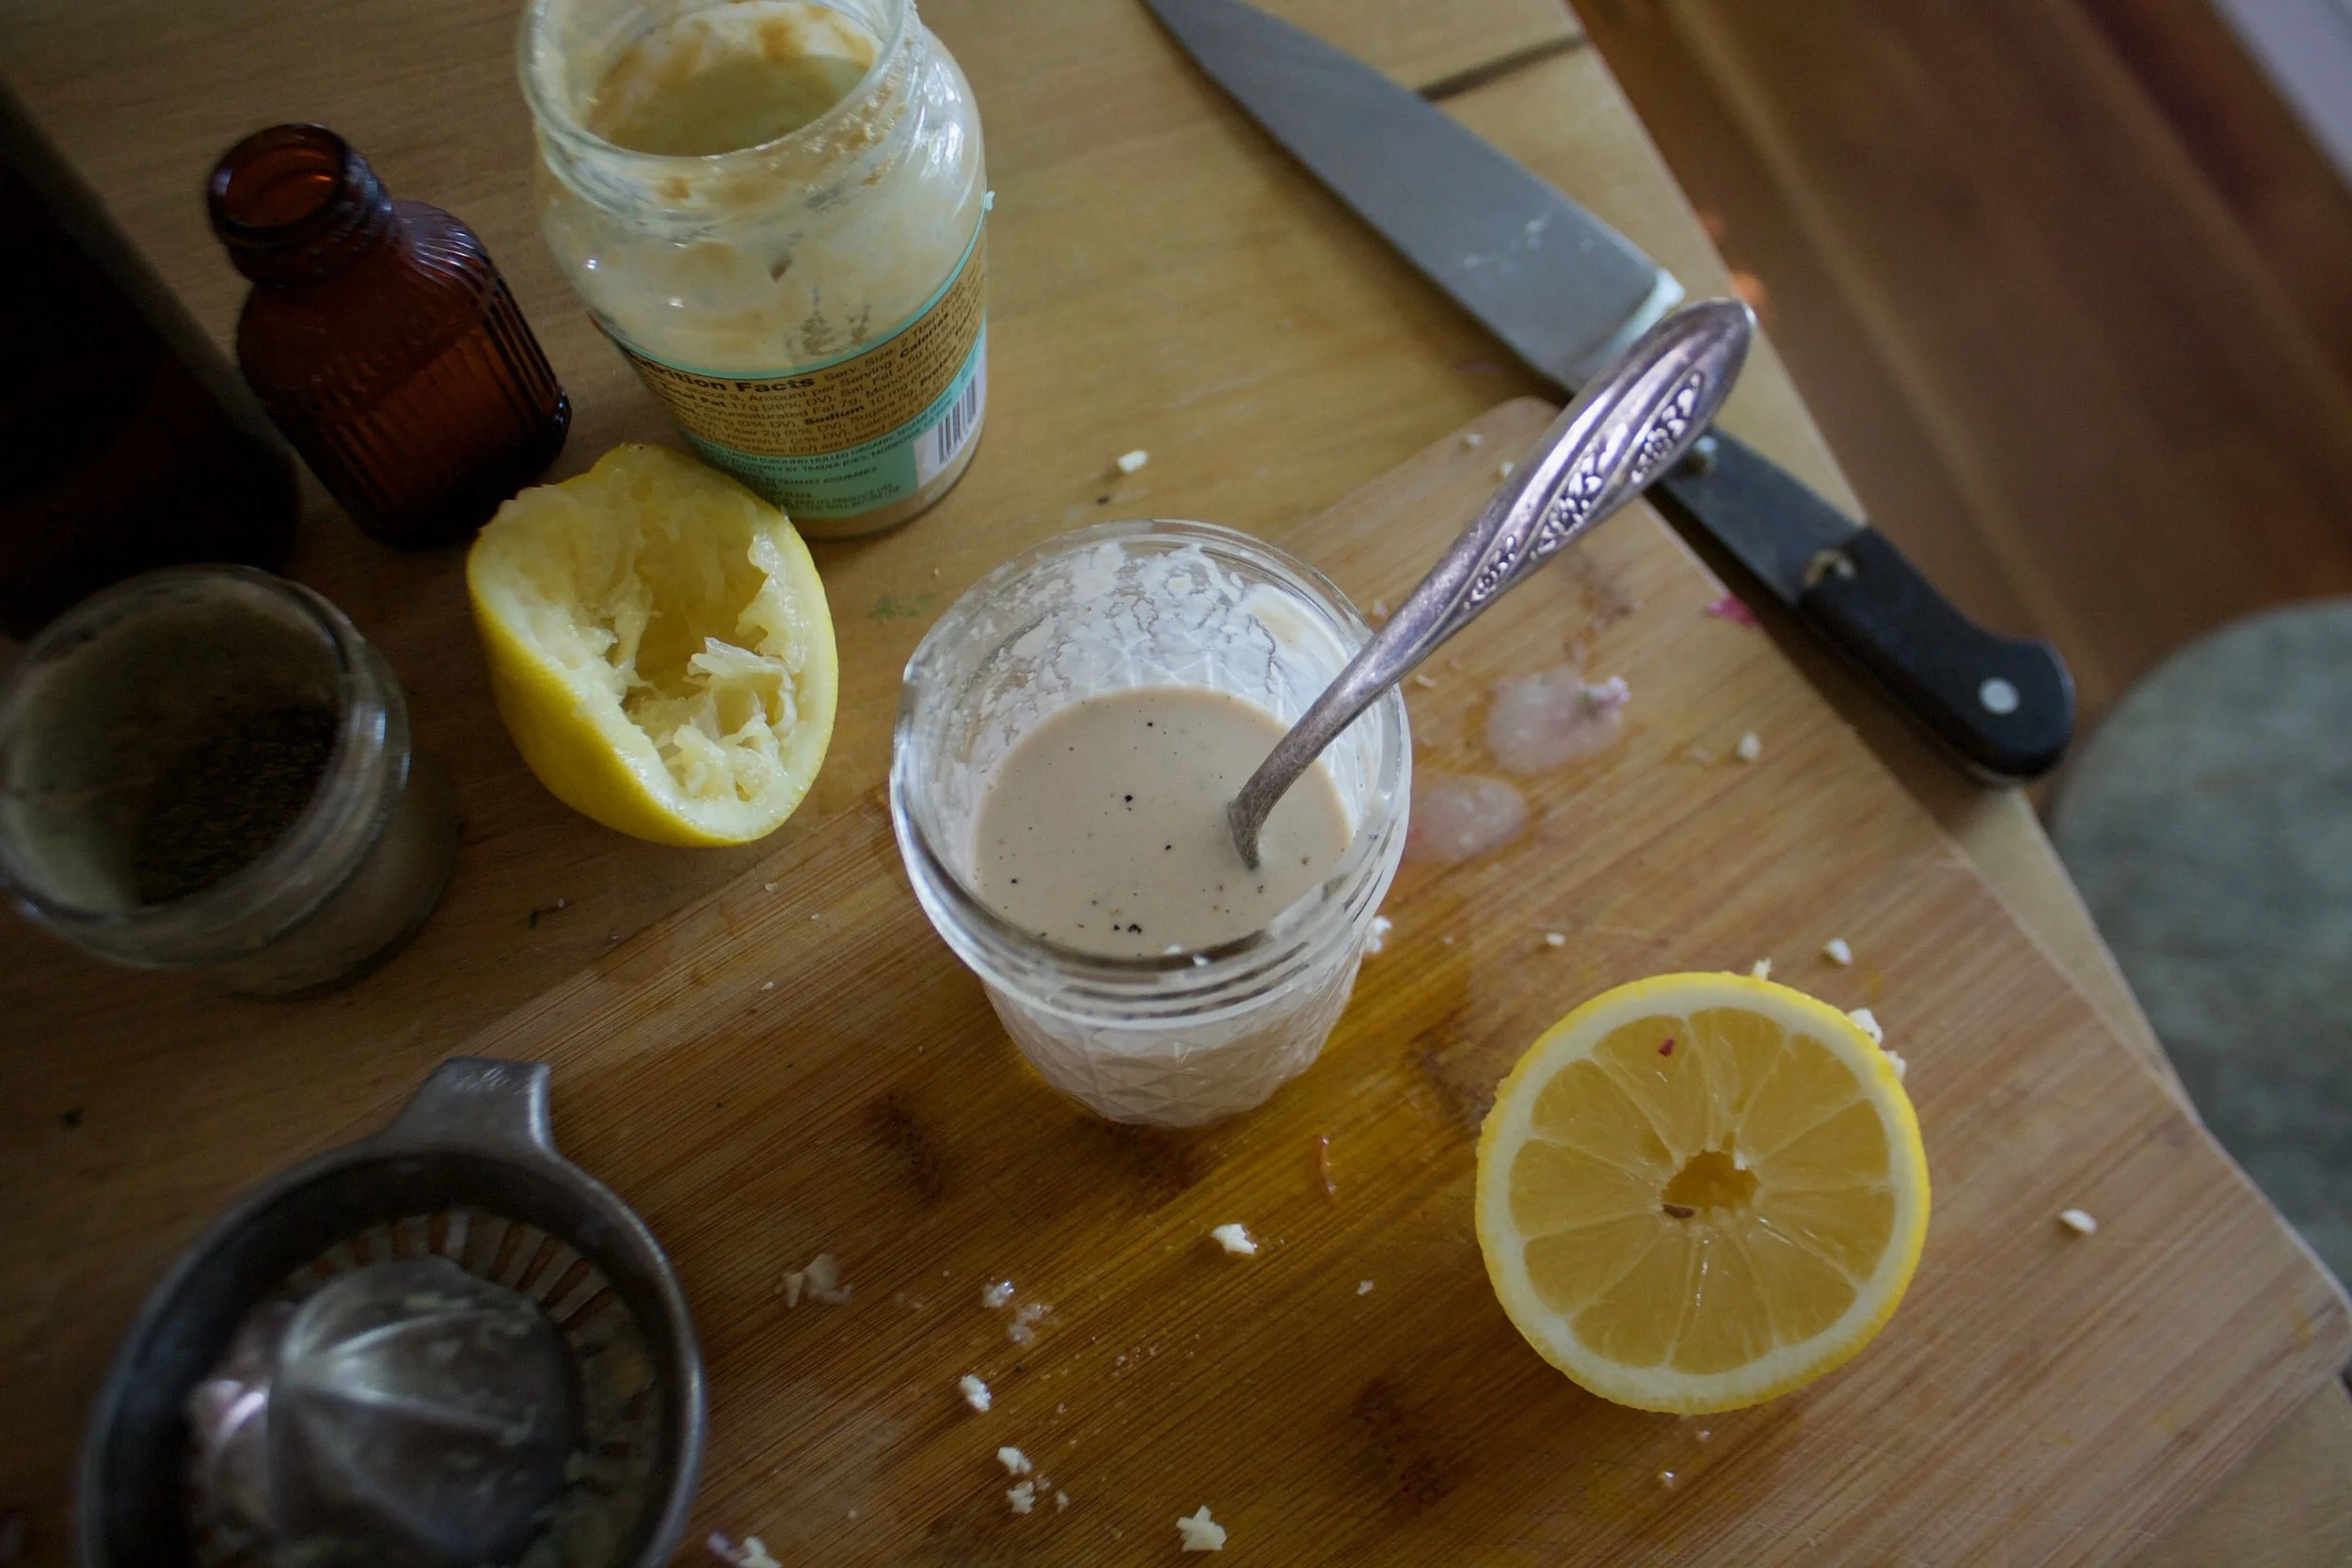
And make the vinaigrette. Minced garlic, mustard, vinegar, the juice of the lemon, and maple syrup get put into one place.
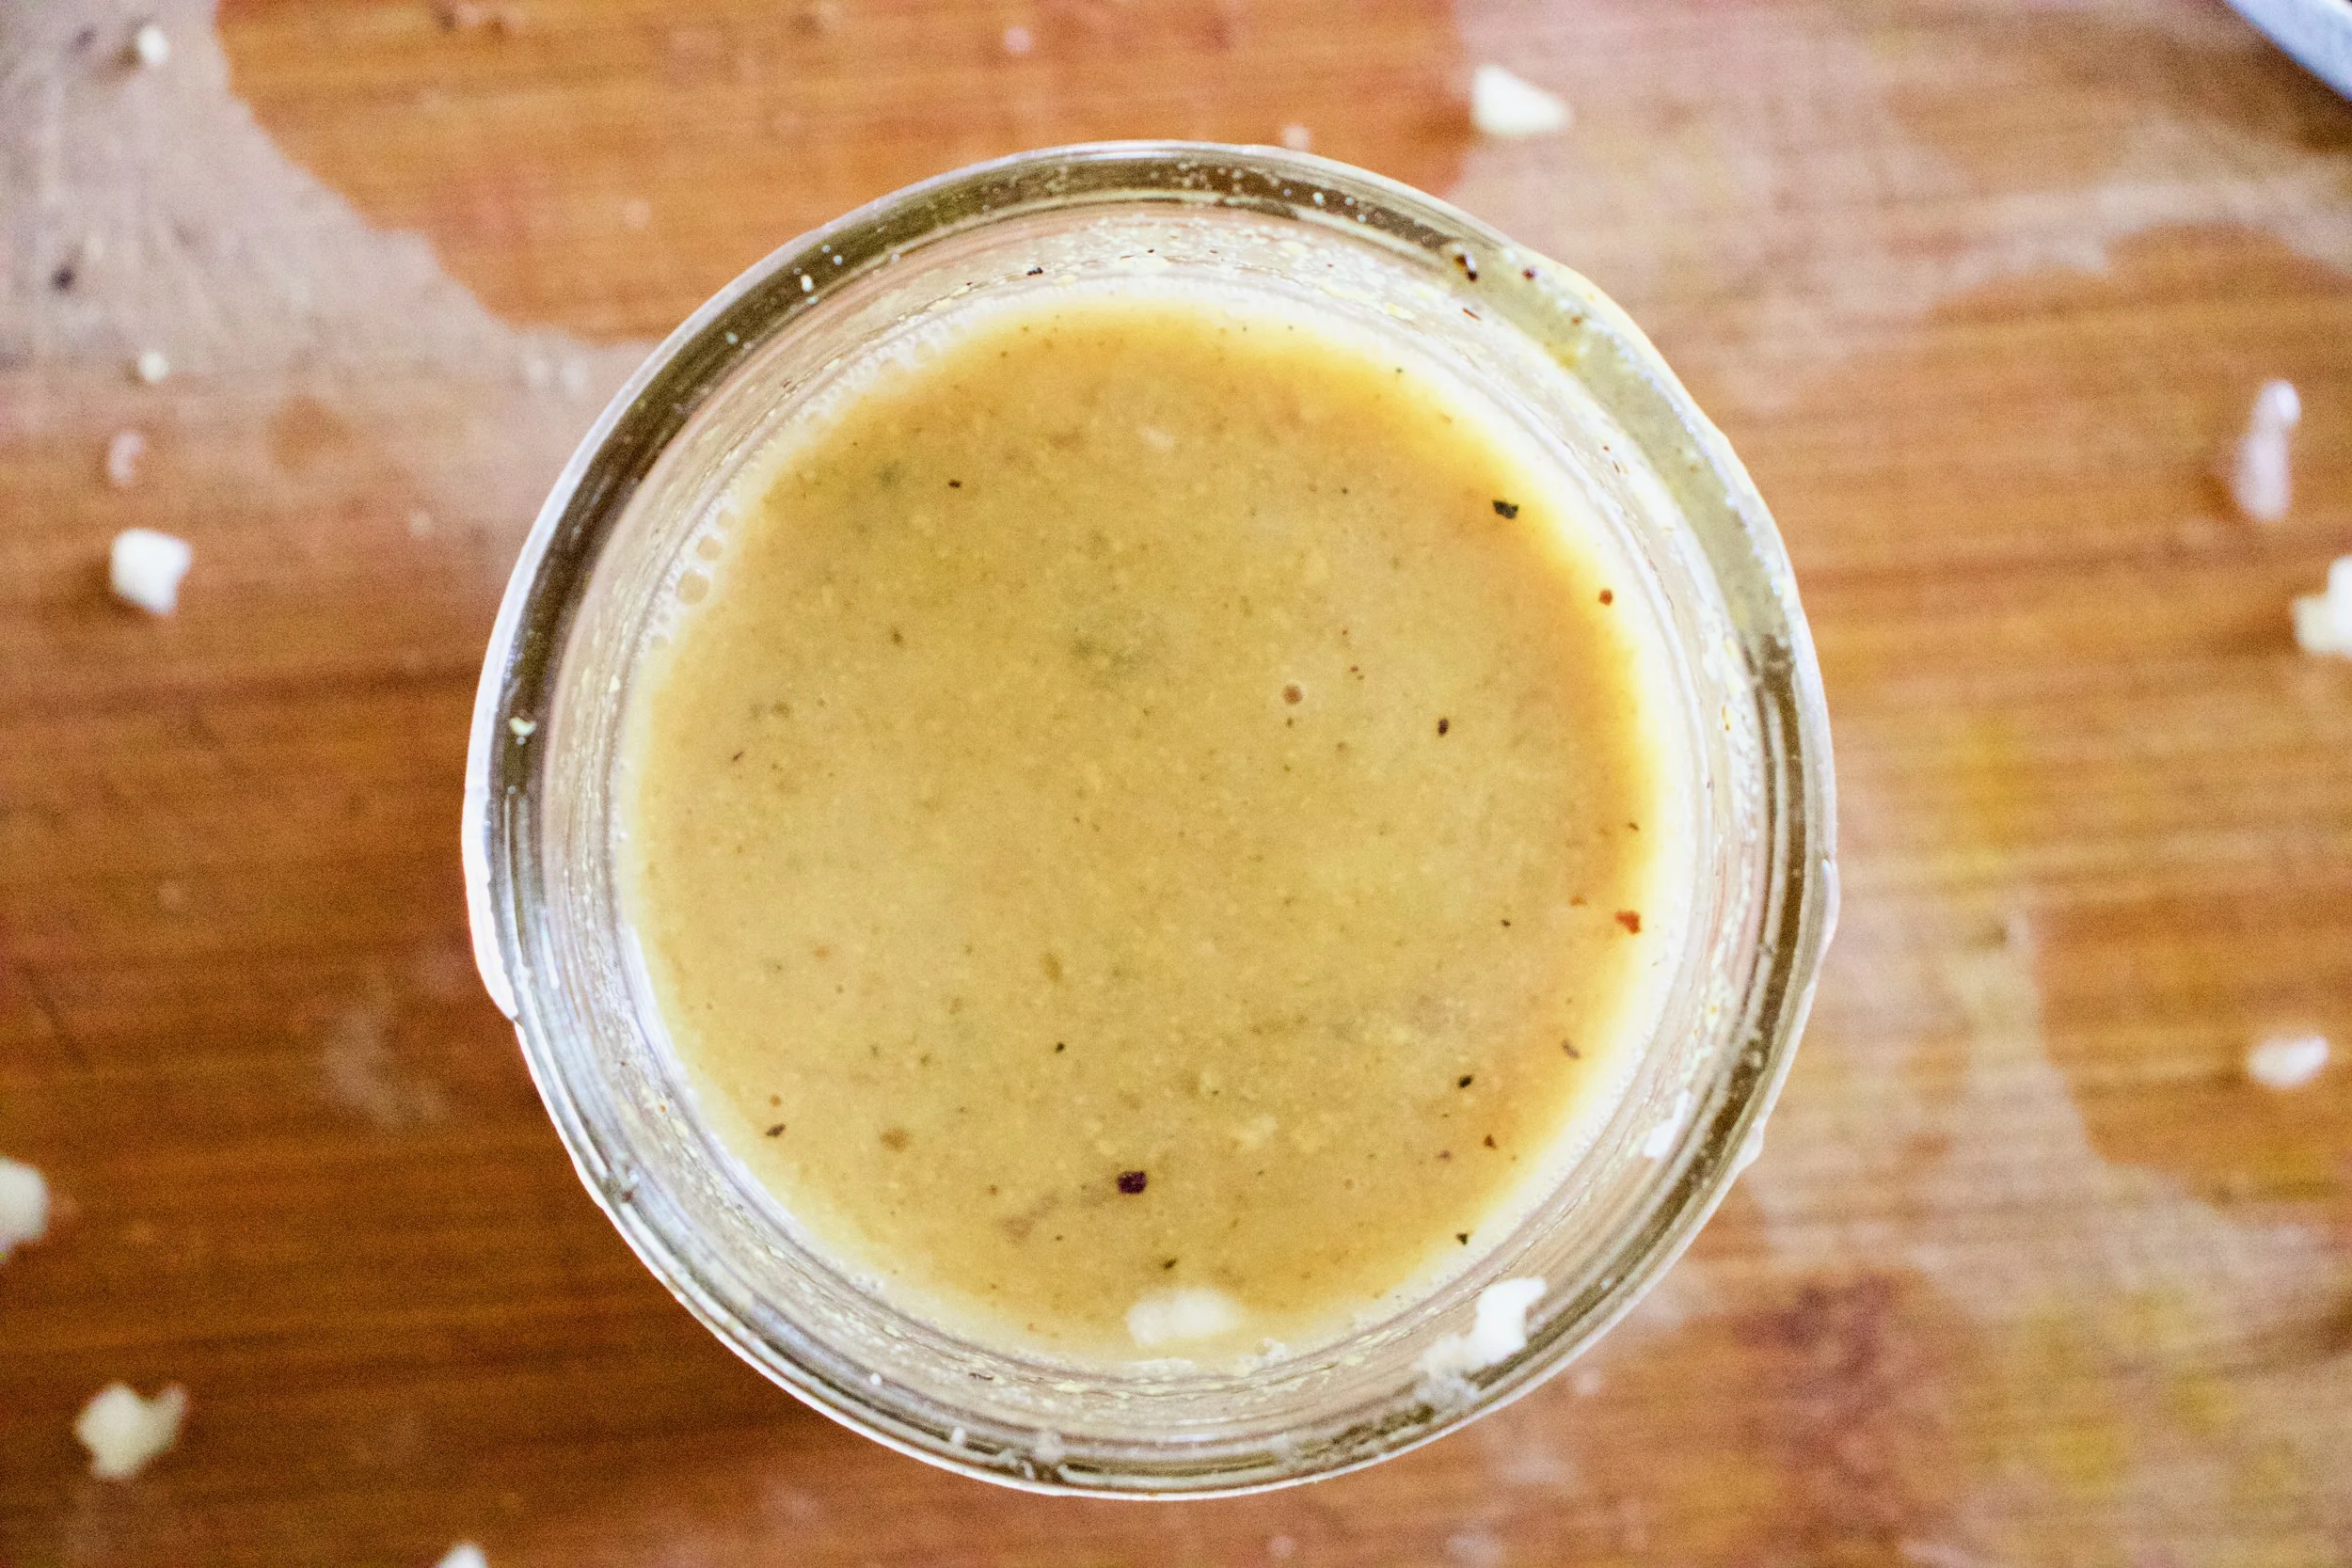
Mixed and now all is one.

Millet. Cooked and fluffed and ready to go.
Cooked mushrooms and onions go into the pot, along with the greens, the sunflower seed, and the vinaigrette. This step can be right away or you can wait a little while for things to cool as to not wilt the greens. Up tp you.

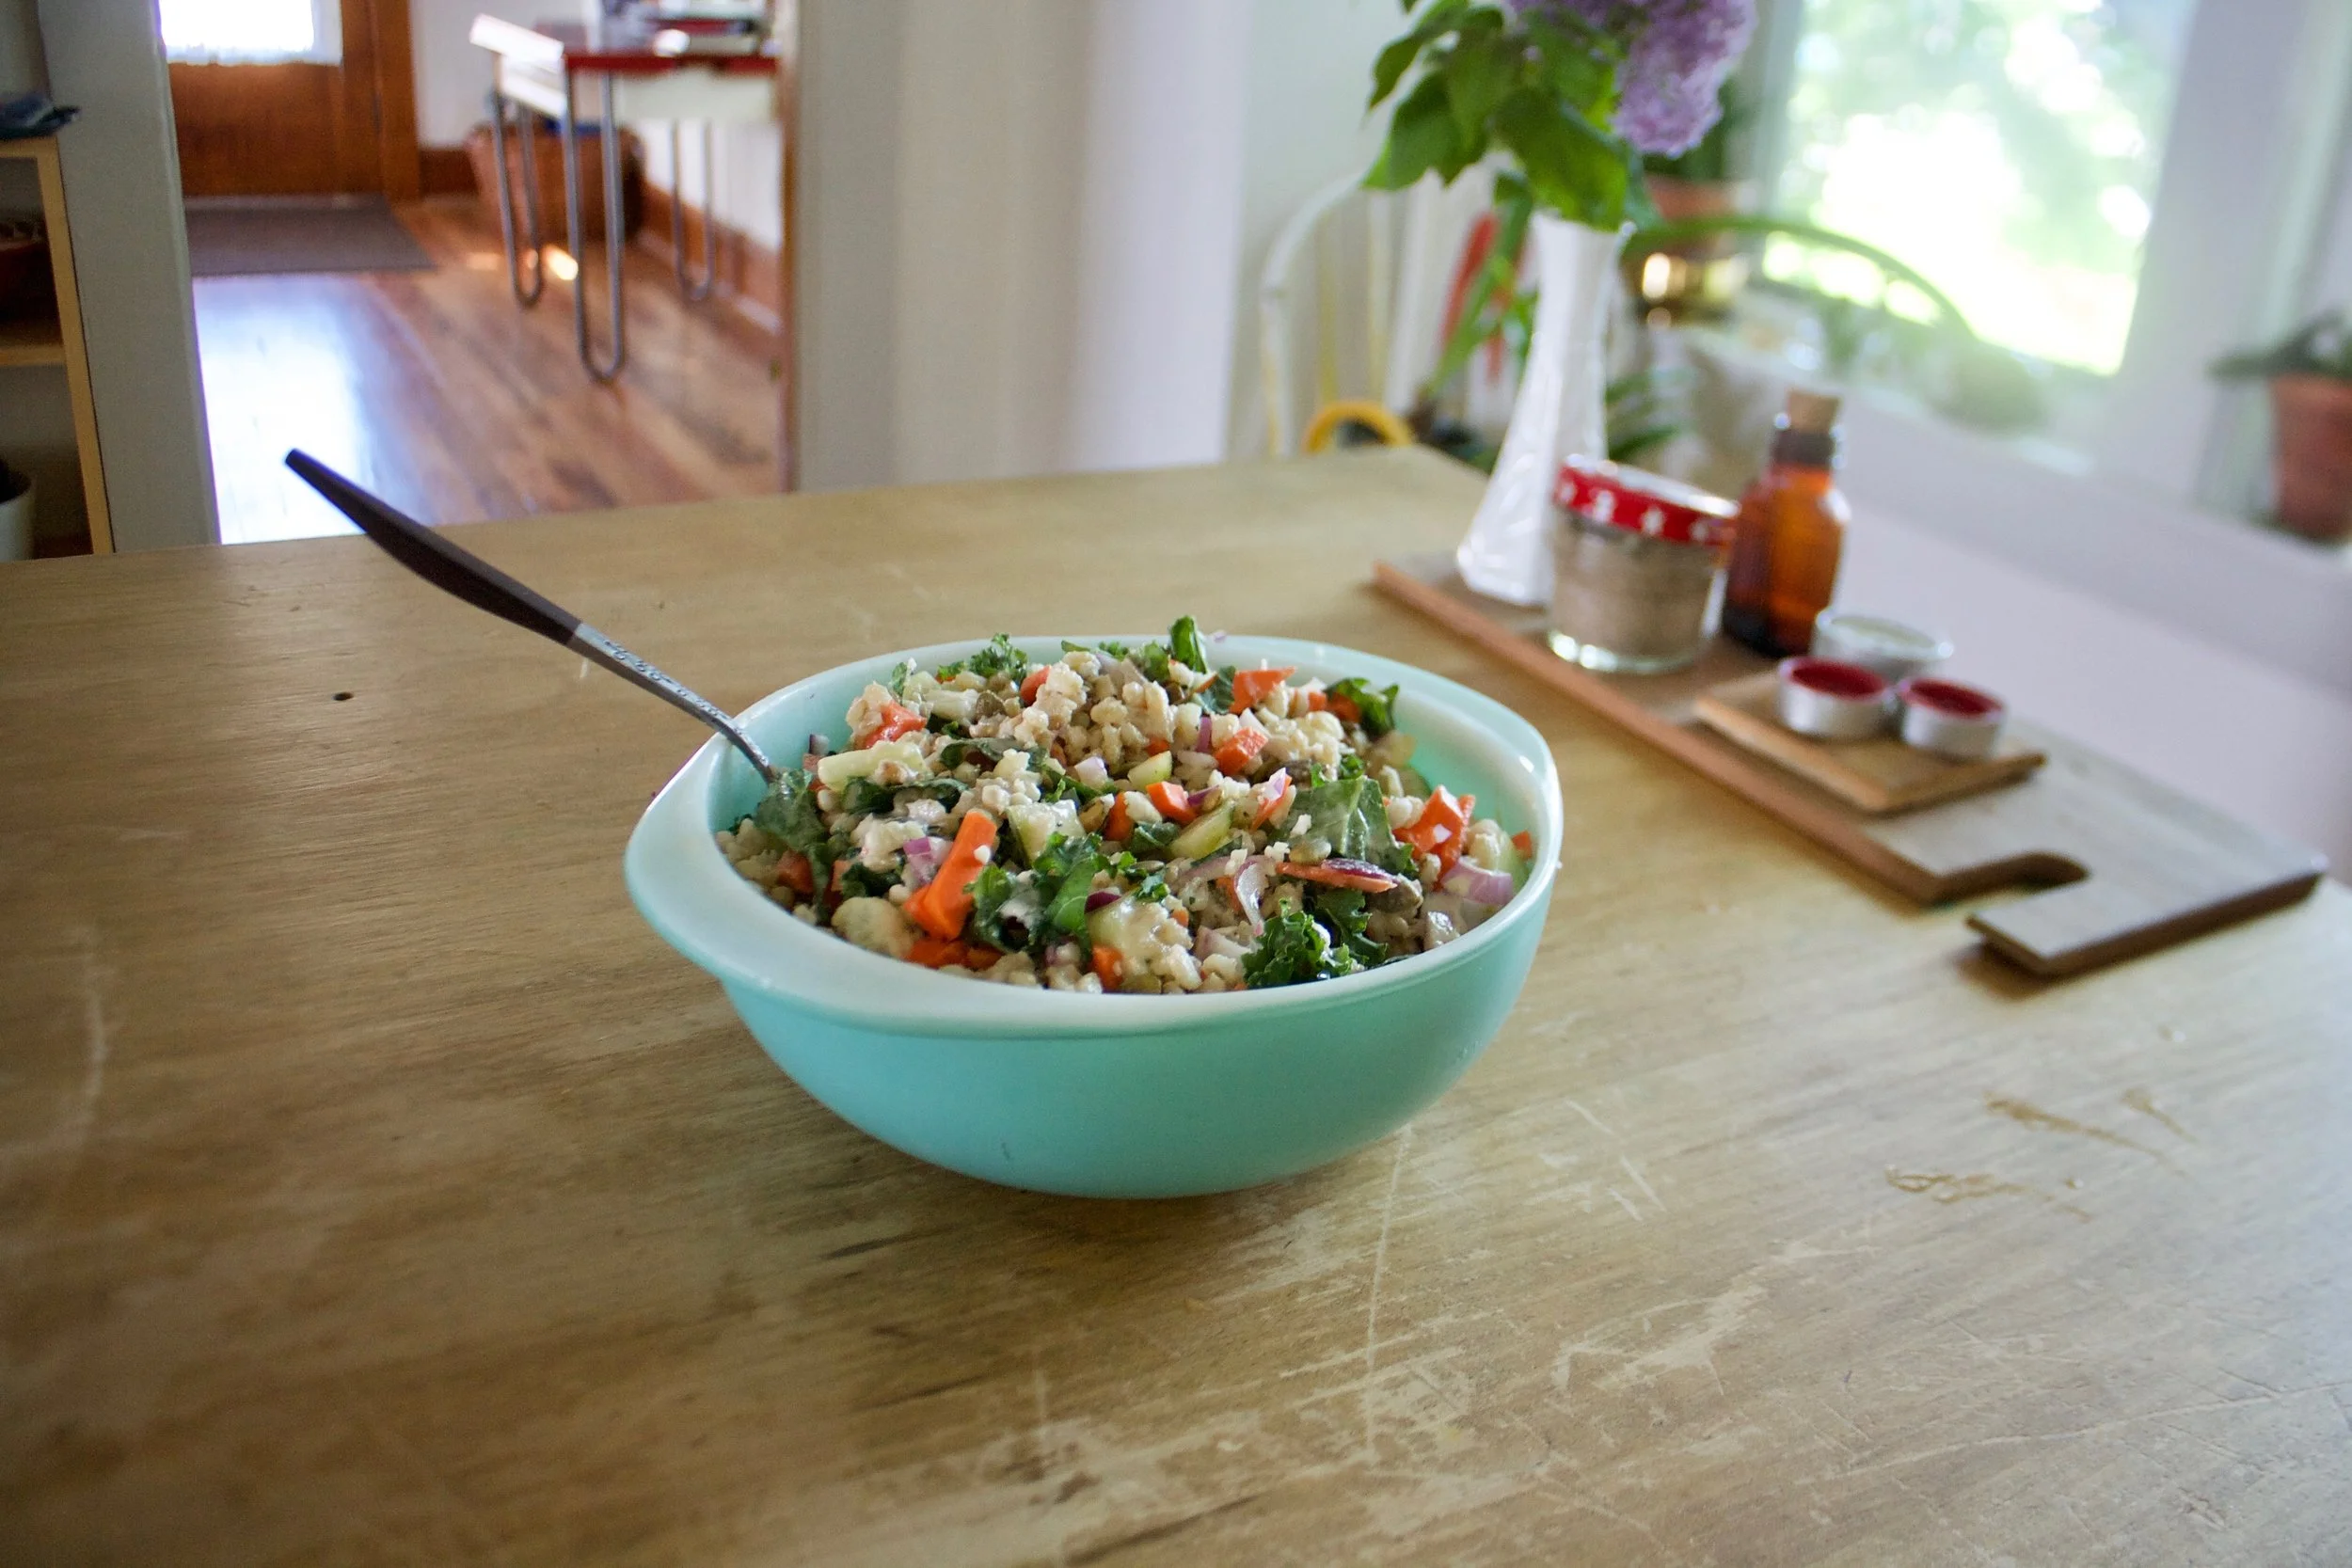
Mixed with love and hunger.
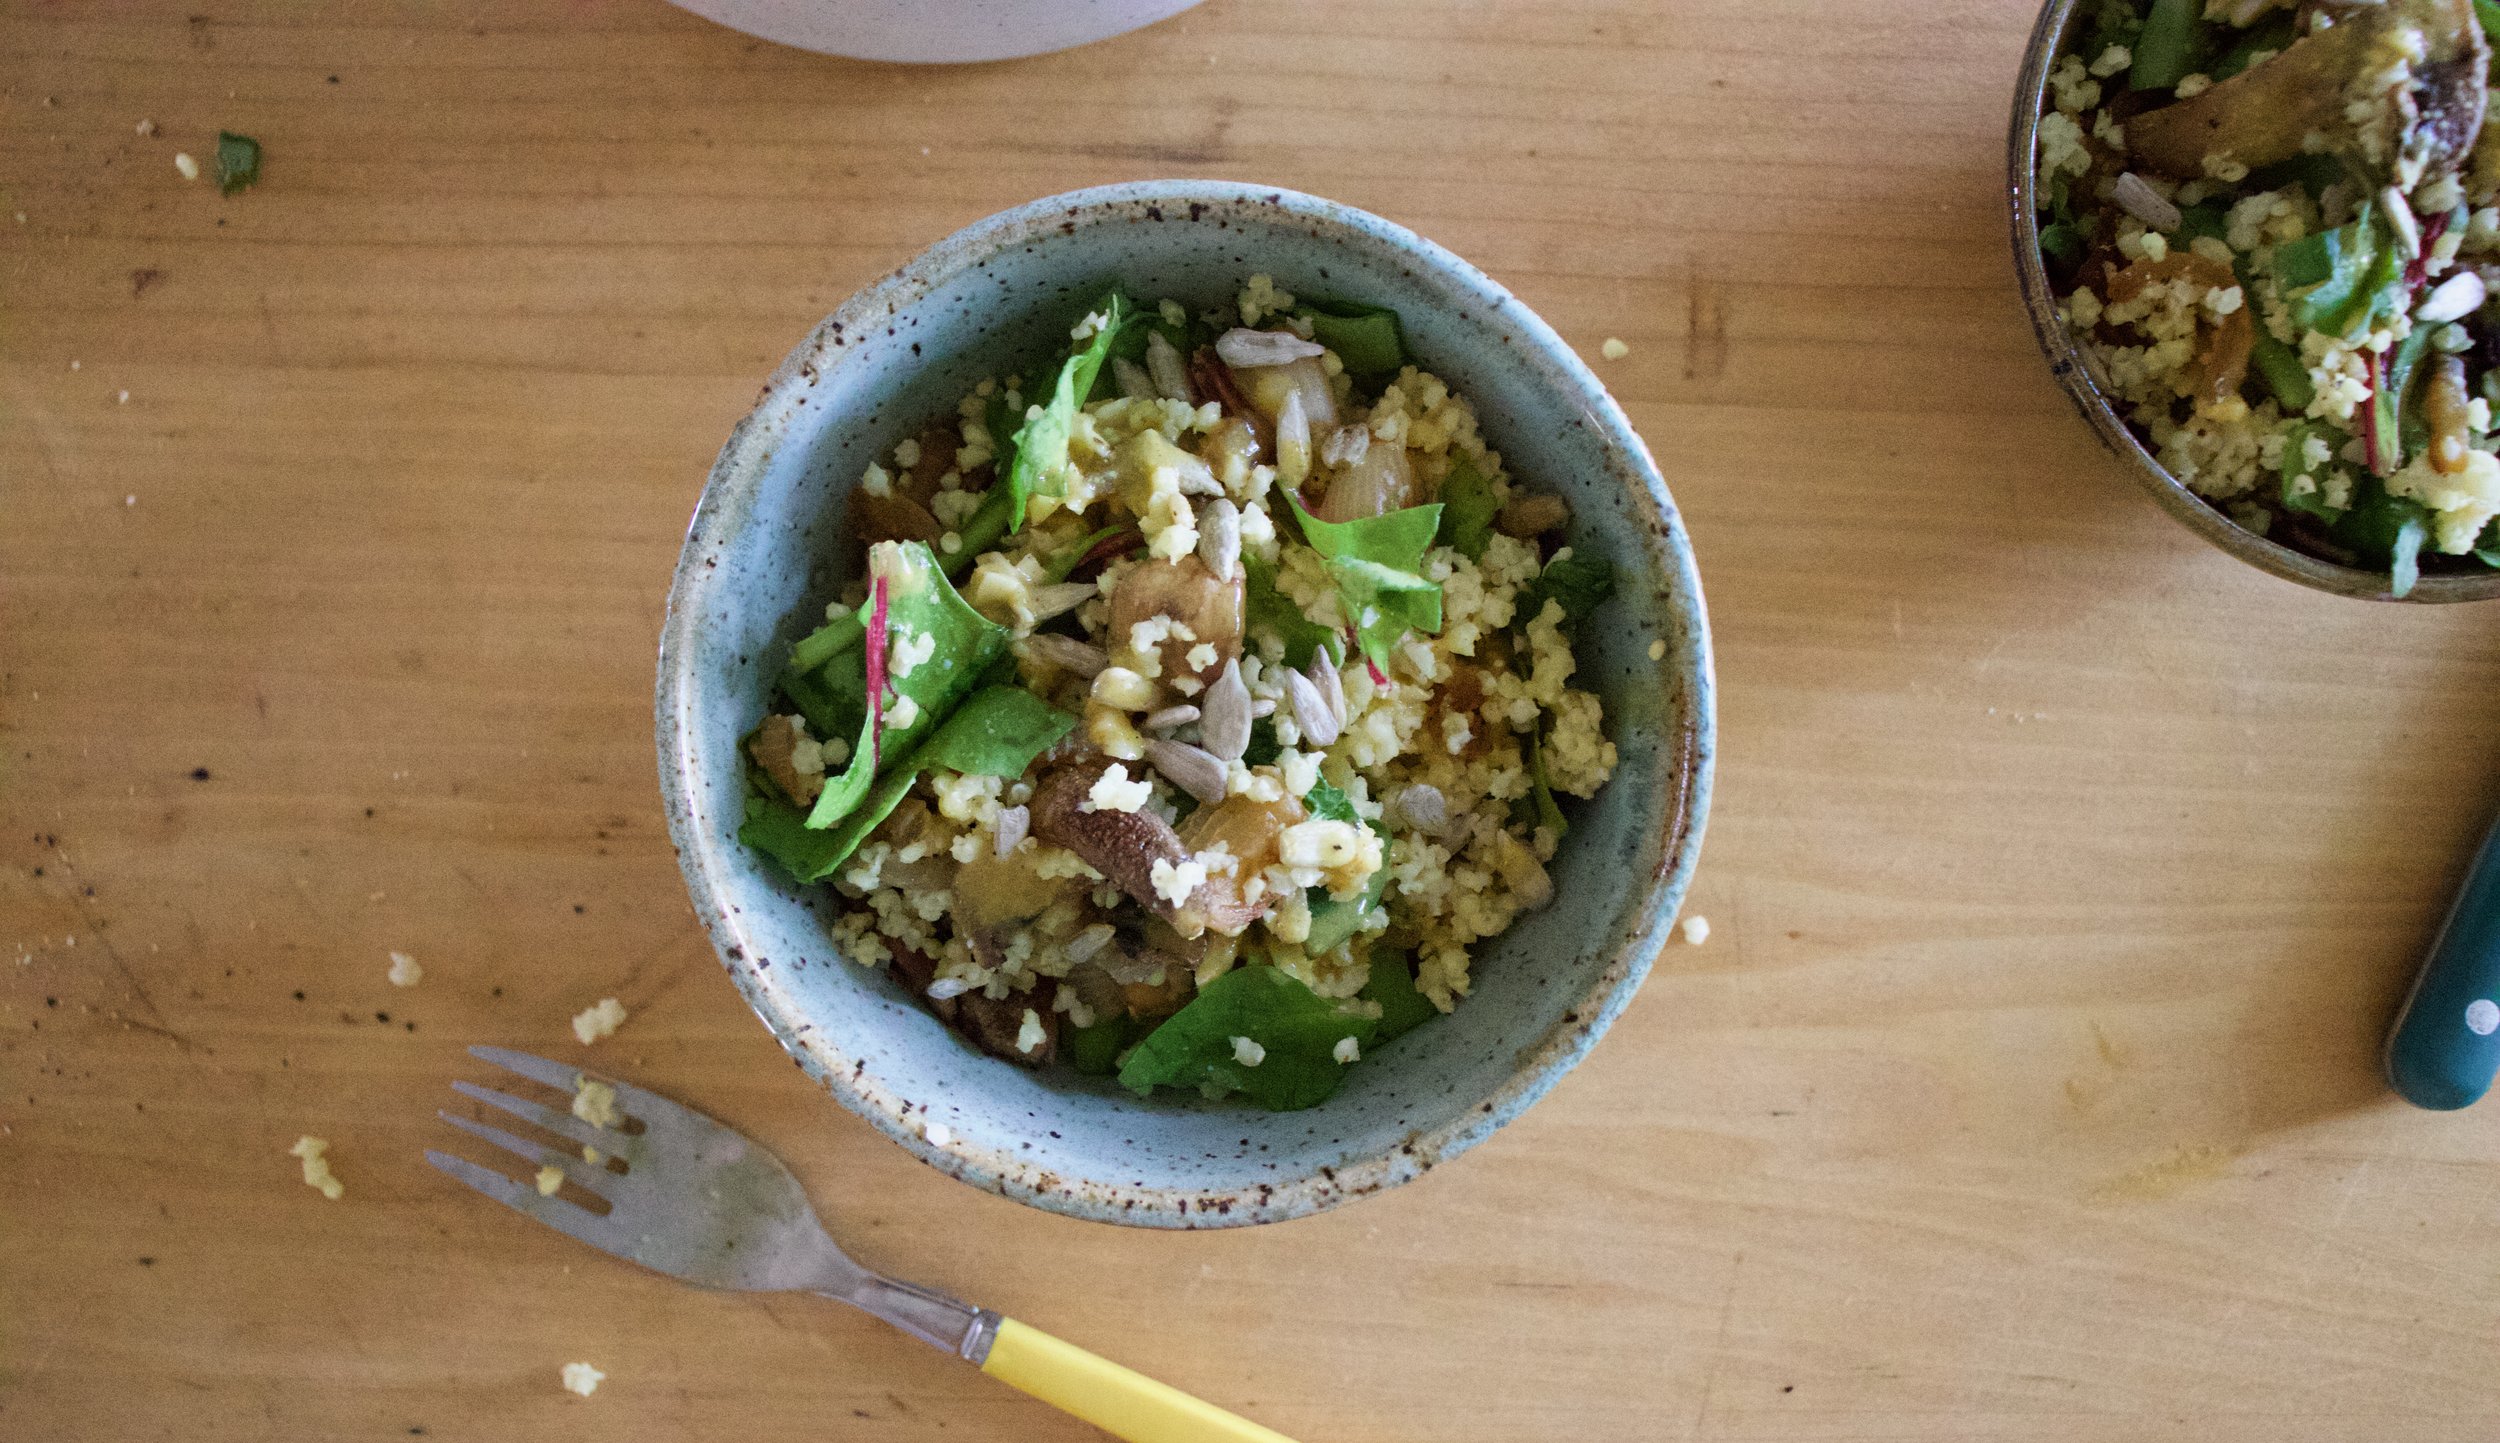
Even if you are making it ahead of time, just do yourself a favor. Grab a bowl, grab a fork, and get down on it.
-C
Seves 4-6
-
3/4 cup uncooked millet
-
2 cups water
-
1 sweet onion
-
3-4 big button mushrooms
-
Large handful or two of bitter greens like arugula, spinach or a mixture.
-
2 tablespoon brown or dijon mustard
-
2 tablespoon red wine vinegar
-
1 teaspoon maple syrup
-
2 cloves garlic
-
salt and pepper
-
handful toasted sunflower seeds
To start, toast millet. Dump the uncooked millet into a pan and place on a medium heat tt for about 5 minutes or until you start hearing the millet crackle.This gives the millet a slightly more nutty flavor but you can skip this step if you don%u2019t care.
Dump millet and water into medium pot. Place on high heat until water starts to boil then tun heat down to simmer and over. After about 15 or 20 minutes, when most of the water is gone, turn pot completely off. Let sit, covered for another 10ish minutes then take a fork and fluff it.
While the millet is cooking, cook the veggies. Grab the onion and slice it up into thin pieces. Clean off the mushrooms and chop them into small thin pieces too. Place the chopped stuff into the skillet with a drizzle of olive oil and a pinch of salt and place on a medium heat. Stir occasionally and cook for about 15 minutes or until the onion and mushroom are a nice dark, golden brown.
And make the mustard vinaigrette. Mince garlic and place into a jar or bowl with the vinegar, the mustard, the maple, and the juice of the lemon. Mix and set aside.
Once the millet is cooked, the mushrooms and onions are cooked, and the vinaigrette is made, all you have left to do is mix everything together. You can do this while things are slightly warm which will wilt the greens a bit, o let them cool so the greens stay fresh. Up to you. (I like the greens fresh)
Finally, dump cooked mushrooms and onions into pot with cooked millet. Add in the greens and sunflower seeds and drizzle the vinegertte all over. Toss around until fully mixed. Sprinkle with lots of fresh cracked pepper.
Then eat. Or place in a container to bring to the BBQ.
What are you going to be doing this weekend? Are you dressing up all crazy, taking a little or two door to door for bite sized pieces of candy, or are you maybe giving out candy? Are you going to some spectacular Halloween party, or are you thinking more tricks then treats and are planning on TP-ing the neighbors or creating some mischief around town.%u00a0
Whatever you are doing, it’s sounds like it’s going to be a blast. Just note,%u00a0if you are being mischievous %u00a0don’t be an asshole about it. Stealing candy from kids is wrong,(steal your candy from adults) and TP is cool but spray paint and things that are permanent are not. And stay away from my houses!%u00a0
Anyway, the Halloween situation %u00a0is always the same with me and the mr. We say that we need to do something fun and different every year. Maybe a party, or even just some human intreat ion. But just like every year, we give in to our inner hermits. Our Halloween night will be as followed: Lock ourselves in the house, drawing the shades,(note that we would totally give out candy, but our door is down a very narrow and dark driveway, behind a fence, and pretty much inaccessible to people) watch a movie %u00a0(thinking Donnie Darko or maybe even old reruns of Halloween Rosanne.)%u00a0eat popcorn,and go to sleep at a very reasonable hour. %u00a0And now that I say it out loud, our evening sounds like the most perfect way to spend the night. Especially because of the popcorn.
Let’s just stop and think about this popcorn a minute%u2026%u2026…
Ok, so do you get it now?. This is an epic popcorn combo.%u00a0Mustard is for everything. A slightly sweet honey mustard all drizzled on %u00a0popcorn, well that’s just craziness. And if you are like the mr., the pretzel crumble just takes it over the top. If we had made plans, I would probably have to cancel just so I can stay in an eat this popcorn.
And I have a hunch that this flavor combination will pair very well with a handful or two of some halloween candies.%u00a0
POPCORN TIME!!!!!
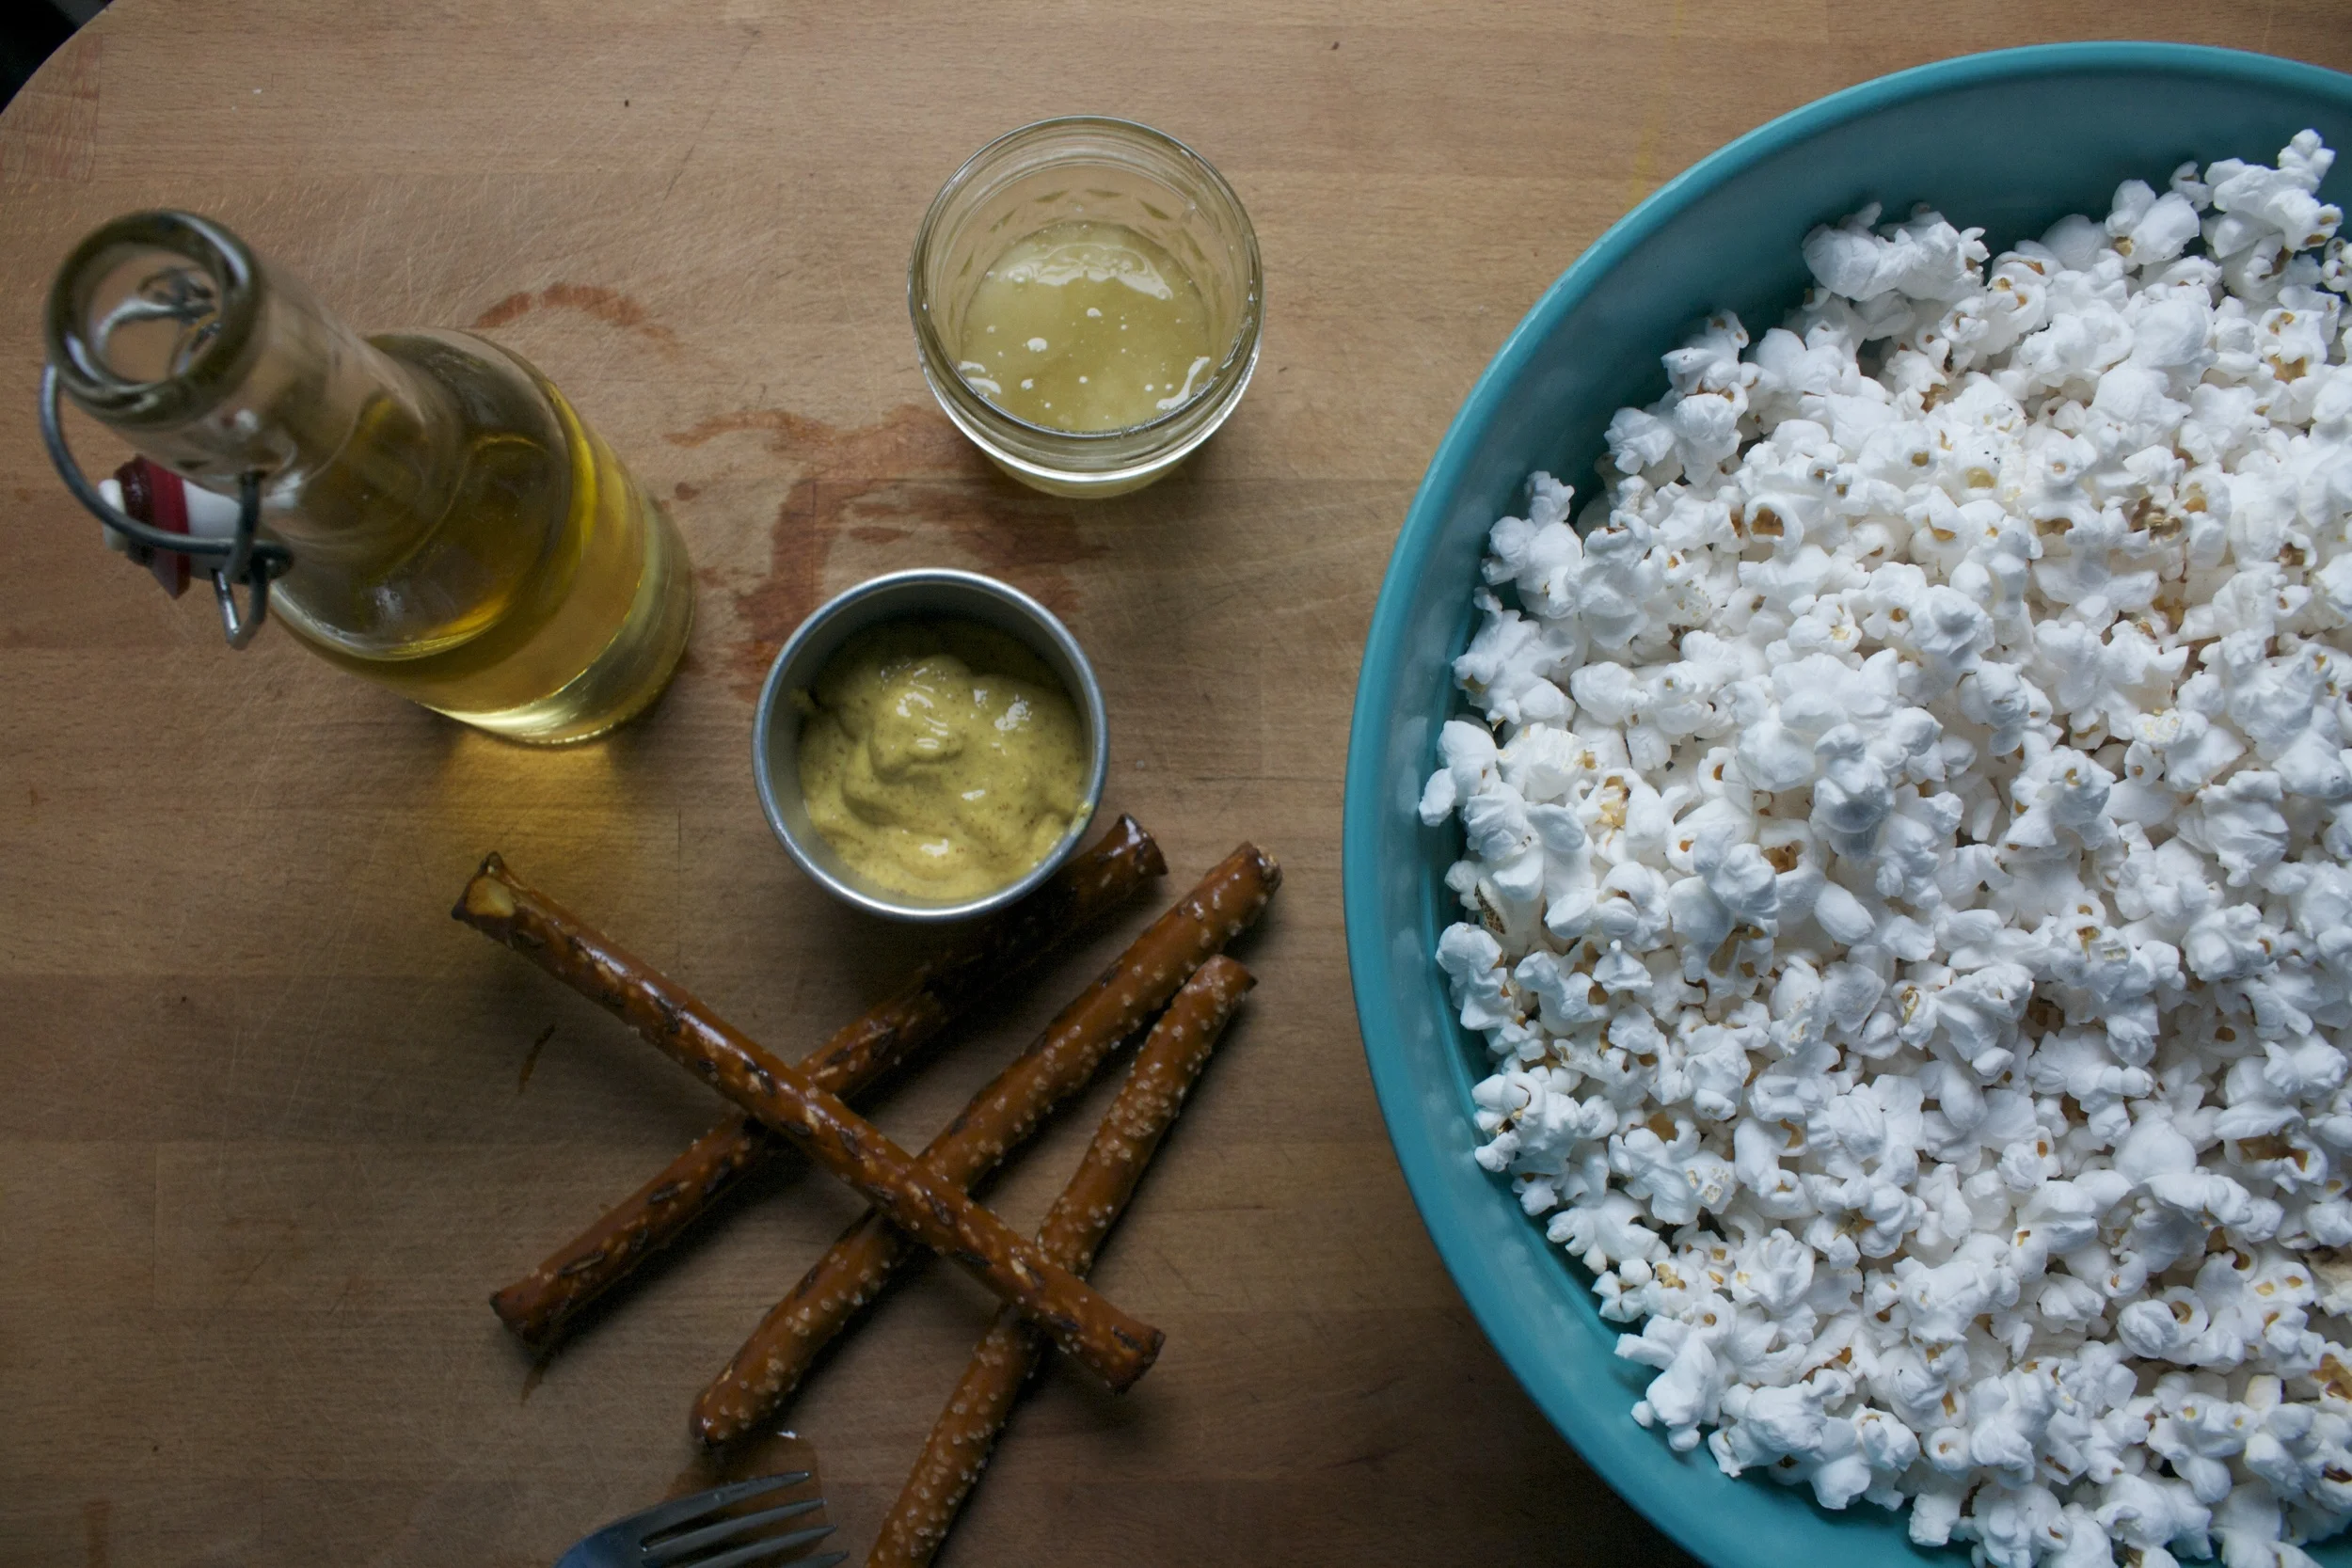
The stuff. A big ass bowl of air popped popcorn. %u00a0Spicy brown mustard (can use any mustard) honey (can use maple) a little olive oil and a few pretzel sticks. (can use any pretzel shape you like)
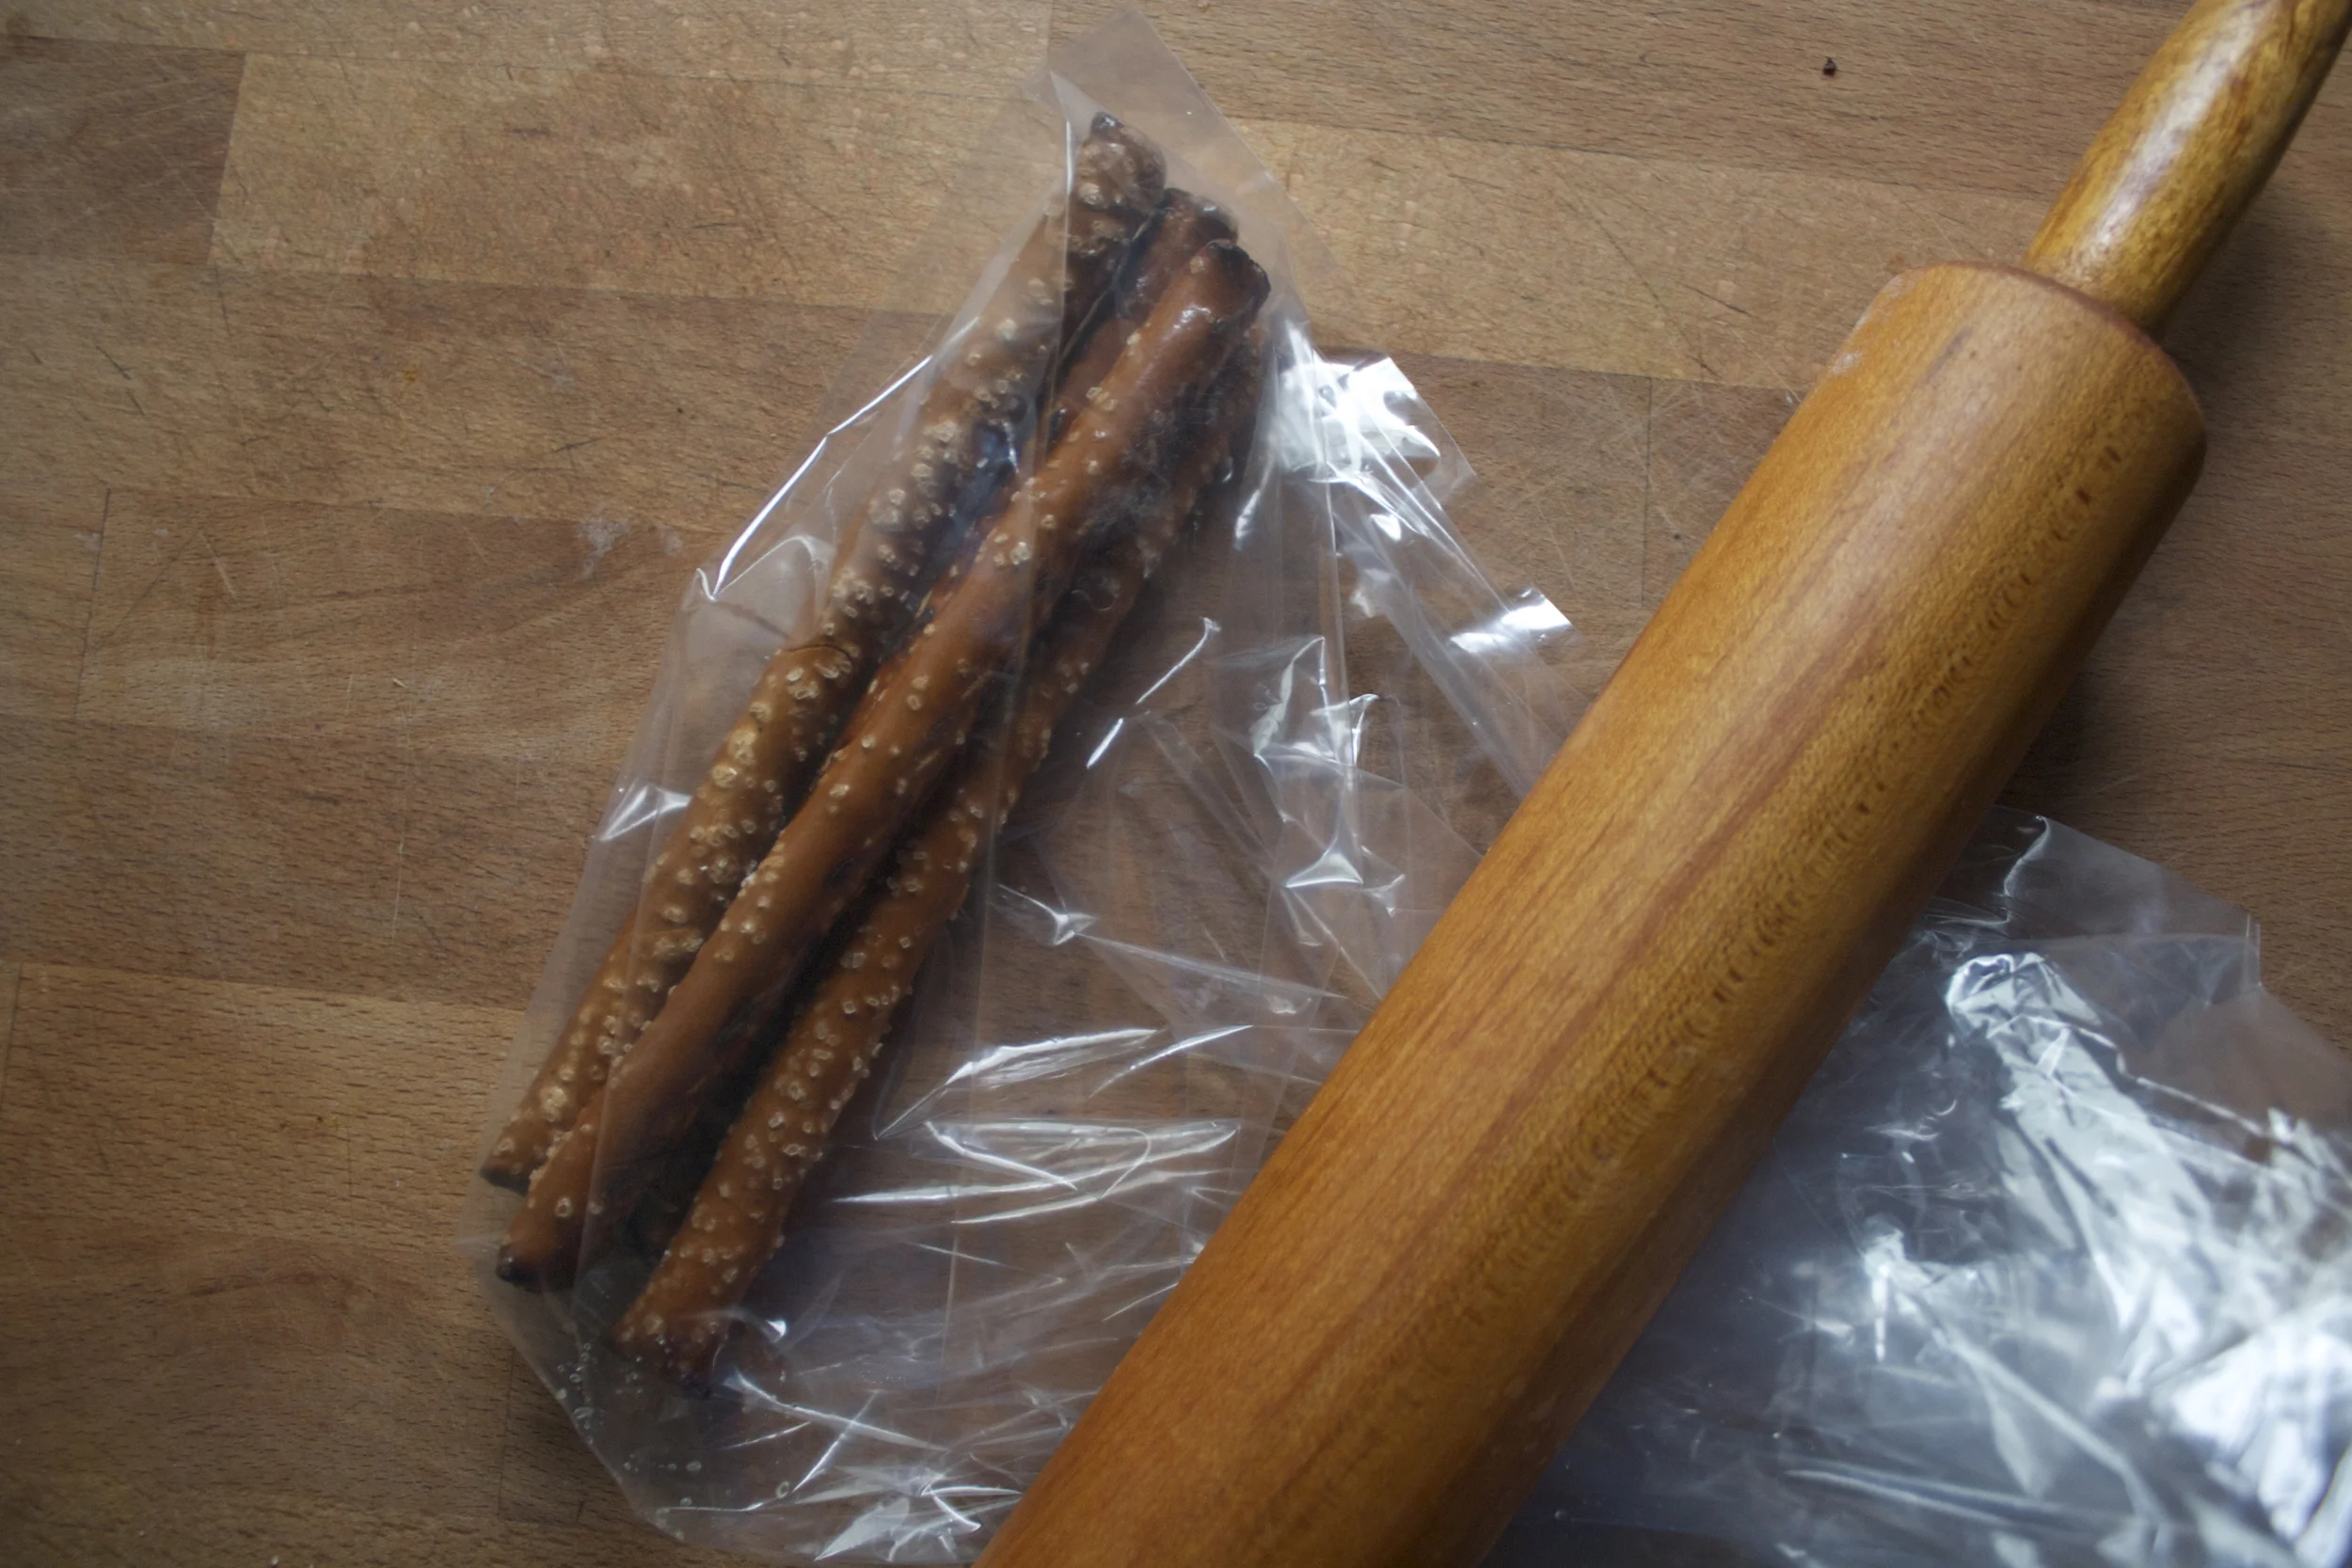
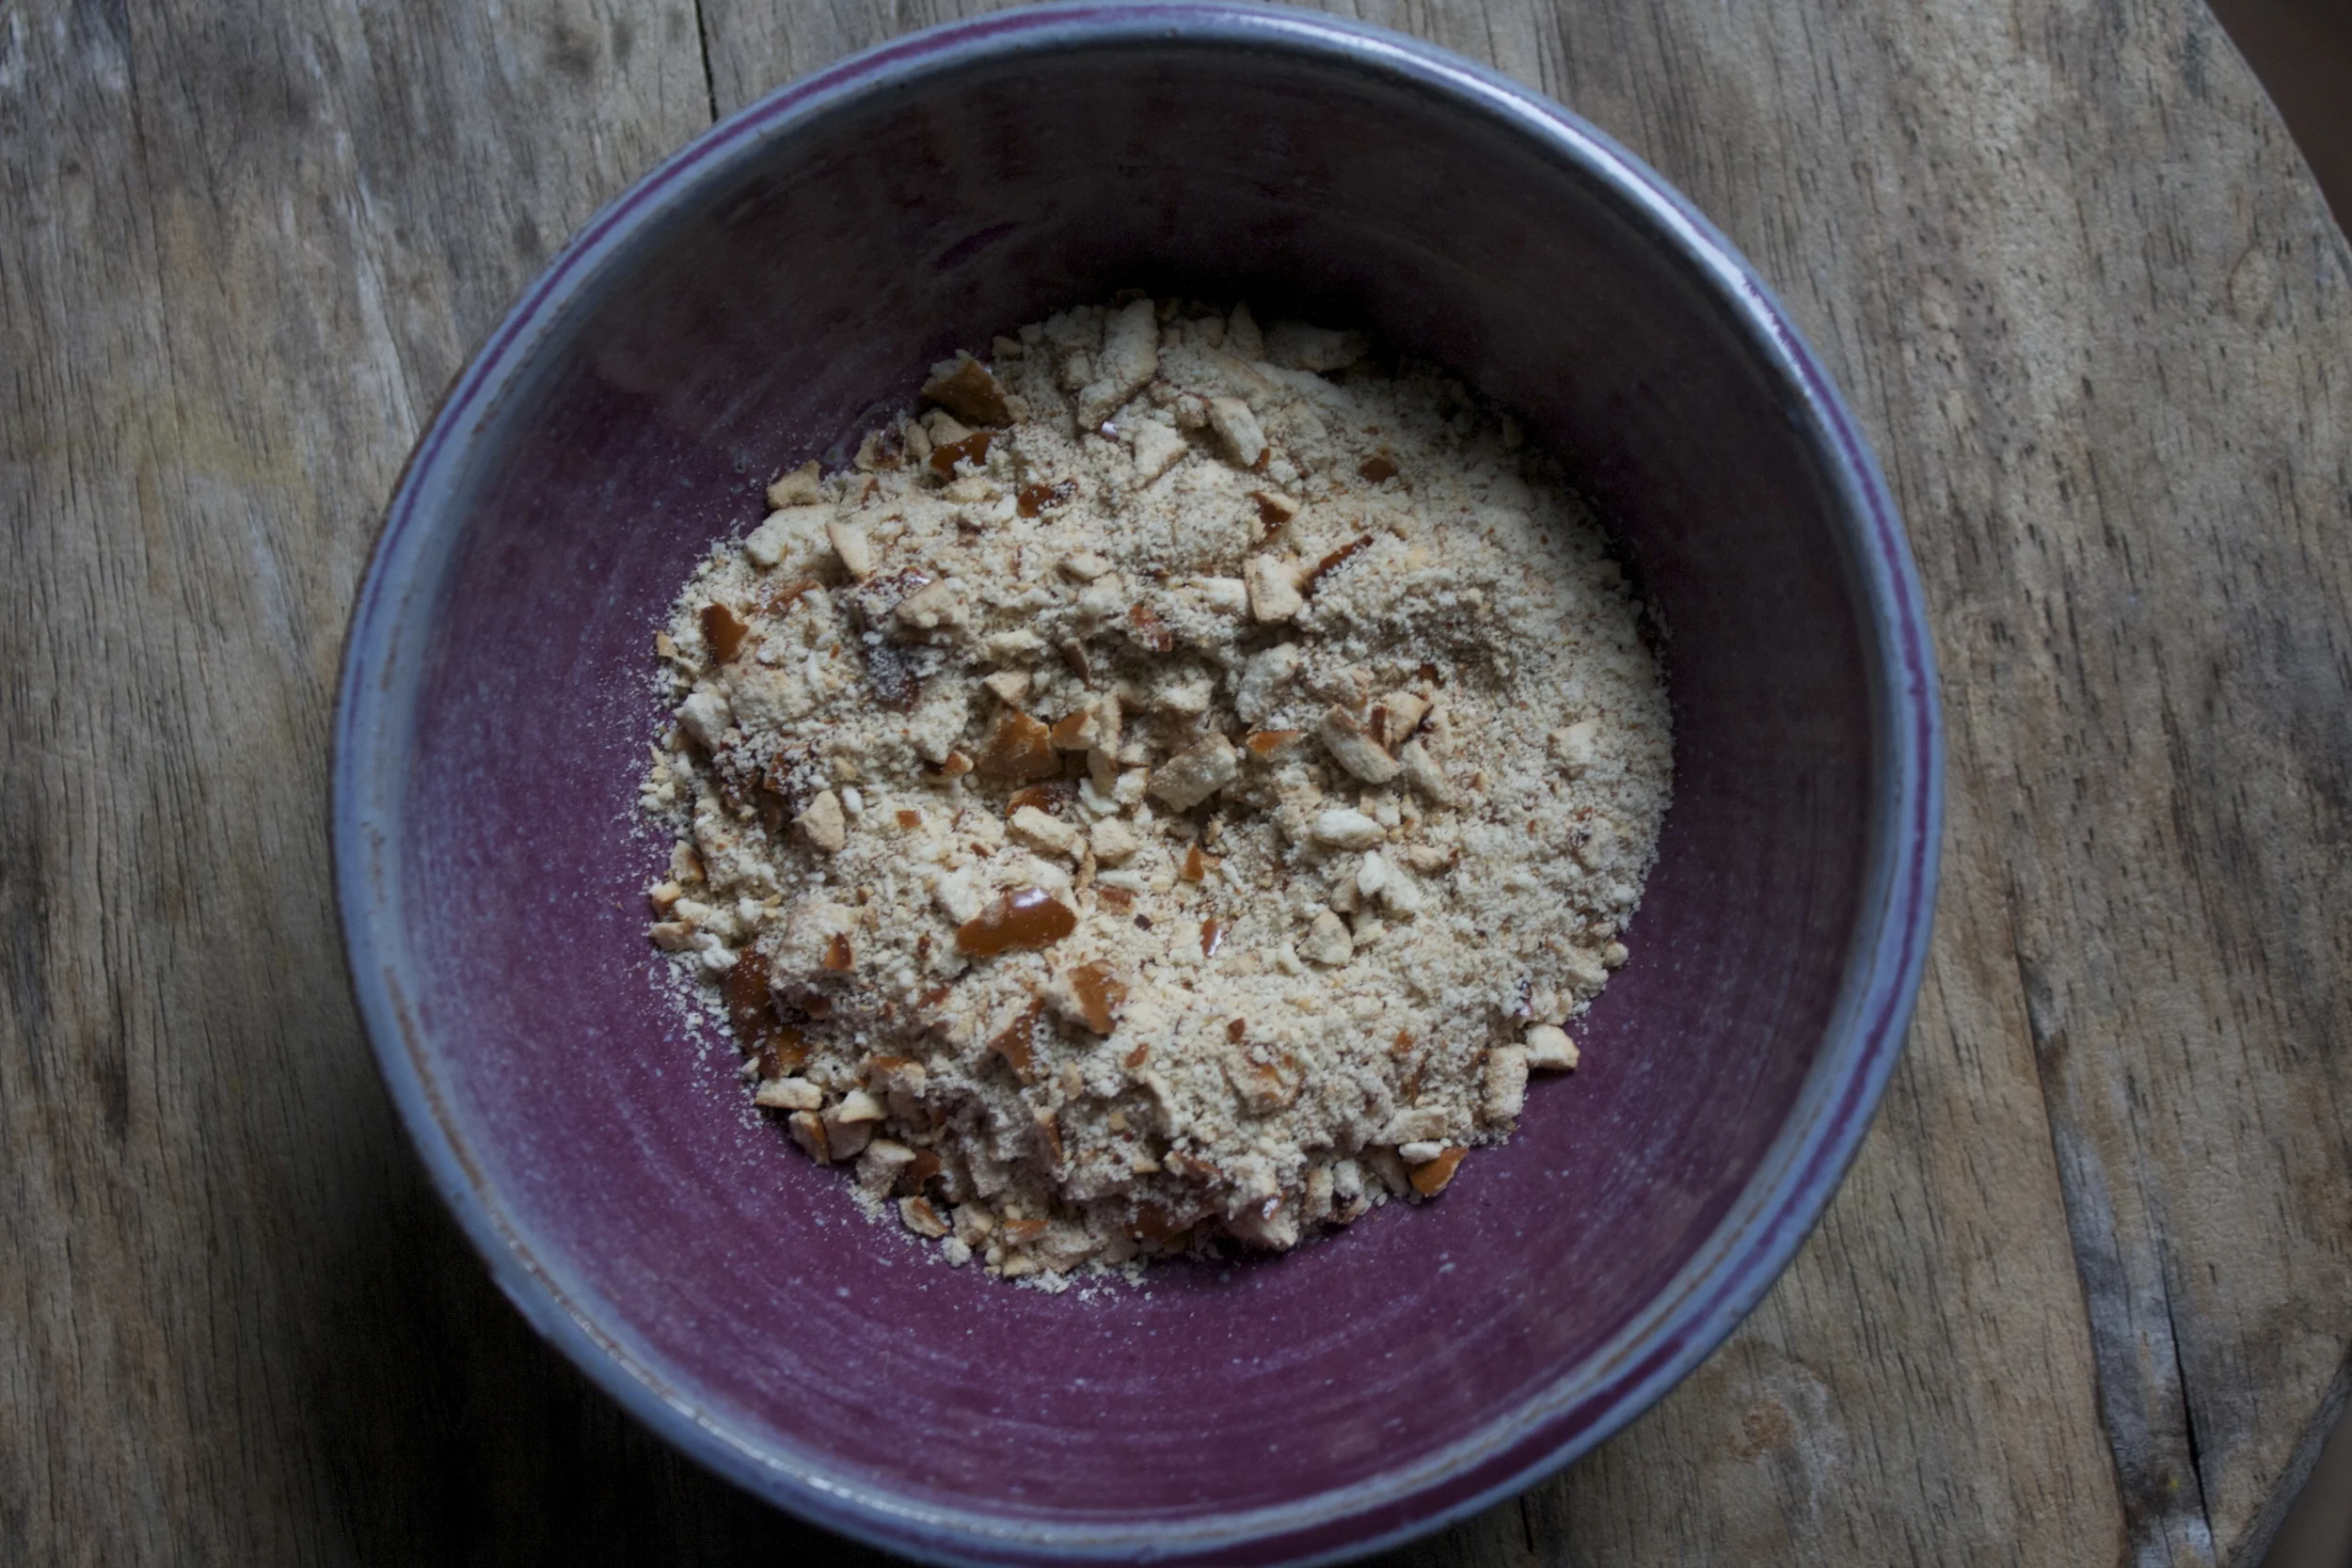
Bag the pretzels, grap something heavy (rolling pin works great) and smash the pretzels into tiny little bits.
In a little pot ) mix mustard, oil and honey together. Place on medium %u00a0heat and mix continuously until the mixture is hot and a nice liquid pourable consistency.%u00a0

Now you can do this any way you want, but my way is probably the best. Dividie popcorn in two bowls and drizzle each bowl with equal amounts of mustard sauce.

Flip one of the bowls ontop of the other and shake the crap oiut of it.(or until the popcorn is evenly coated)

And the popcorn is all nice and evenly coasted.%u00a0Now dump in the crushed pretzel and repeat the double bowl shake.

Check it out%u2026 Some fantastical popcorn

Now don’t you want to turn the lights off and snuggle on the couch with this bowl?
Share if you want, but hey, it’s just popcorn so you can taotally eat it all yourself.%u00a0
Happy Friday.. And Happy Halloween
-C
makes 10 cups (enough to share between 2 people)
- 10 ish cups of air popped popcorn
- 3 tablespoon spicy brown mustard
- 2 tablespoons honey (sub maple or agave if vegan)
- 1 tablespoon olive oil
- 3-4 pretzel rods (or whatever shape) which makes about 1/2 a cup smashed (use gluten free if needed)
Take pretzels and place them in a bag of some sort and using something heavy (like a rolling pin)%u00a0smash the pretzels until they are a smallish crumb (some big shanks are good too)
In a small sauce pot, combine the mustard, honey, oil, and mix to combine. Stick pot on stove and heat on medium until sauce is hot and liquidy. (can get the same result by using a microwave safe bowl and sticking it in a microwave at 20 second intervals until %u00a0hot)
Evenly distribute popcorn into two big bowls. Take the warmed up sauce and drizzle all over popcorn in %u00a0each bowl the, for the fun part,%u00a0flip one bowl onto the other and shake the popcorn all around to evenly coat. Remove a bowl, toss in the pretzel crumbs and pieces and place the bowl back on. Shake again.
Popcorn is ready,%u00a0now eating it!
 My winter farm share is coming to an end this week. One more pick and then a three week stretch until the summer share starts%u2026 WHAT AM I GOING TO DO!!! Stock up as much as I can is what.
I have been strategic about the roots and veggies that I have chosen to bring home the past few weeks.(My farm lets you pick what you want) %u00a0I know what I can buy at the store, things like carrots and potatoes, so I have been passing those up, but the roots like beets and celeriac%u2026 I have been bringing home baskets of those and hoarding them in the fridge and basement in preparation for the laps in farm fresh food and knowing that if I want to by these at the store it s going to coast me a million dollars %u00a0a pound. (a for real million dollars)
Yup, lots of roots around here, especially celeriac root which is fantastic.%u00a0I am kind of obsessed with celeriac, with its fibrous, knobby exterior, soft but almost meaty texture inside, and a flavor that %u00a0is close to celery but so much better. %u00a0I don’t know why it has taken me so long to do a posting featuring this amazing root vegetable %u00a0(I eat it almost every day)
So here, an amazingly tasty, hearty but not heavy, celeriac recipe. %u00a0Perfect for spring and the change into summer%u2026. Mustard roasted celeriac with an fanatic split peas gravy that will have you licking you bowl clean.
 %u00a0The stuff%u2026.For the split pea gravy we have a carrot, a parsnip and a large onion chopped into small chunks. %u00a0Salt, thyme, a bay leaf and of course the split peas. Then there is the celeriac root* sliced into 1/2 inch thick rounds and some plain old yellow mustard .
*Note. I don’t peel my celeriac root. I really enjoy the fibrous exterior but realize that some don’t(The mister does not like it) so peel it if you want.%u00a0
 Toss the chopped parsnip, carrot, onion and the spices into a pot on medium heat and let veggies sweat a few minutes until tender. %u00a0Add in the split peas and enough water to cover everything. %u00a0Turn pot on high and bring to a boil, then cover and turn to low. Make sure to give the pot a good stir ever few minutes and add more water if needed%u00a0
While the gravy is cooking, %u00a0take the celeriac rounds and brush each side with yellow mustard, sprinkle with pepper, and place on a baking sheet. Stick into the oven to roast for about 25 minutes, flipping the rounds after about 10 minutes.
 Once the peas have soften, remove the bay leaf and puree until smooth and oh so creamy. Taste and add more salt and pepper if needed. If you find that the gravy seems to thick, just add in more water until it’s the consistency that you want.%u00a0
 The gravy is made, the celeriac is roasted%u2026 now we are ready to eat!!%u00a0
 Stick the celeriac on a plate and dump good amount of that gravy right on top. Feel free to add a bed of spinach, or a grain or anything you want, because why not, and also some chopped tomatoes for a little acid and prettiness.
Serve with the fanciest knife and fork you can find. Extra yellow mustard and sriracha sauce are great condiments to have close by.
Happy Tuesday!
-C
Mustard Roasted Celeriac with Split Pea Gravy
- 2 medium celeriac roots
- 6 tablespoons mustard
- 1 large carrot
- 1 medium parsnip
- 1 large yellow onion
- 2/3 cup split peas
- 2-3 cups water%u00a0
- 1 bay leaf
- 2 teaspoons thyme or italian spice mix
- salt and pepper
- spinach (optional)
- diced tomatoes(optional)
Preheat oven to 400 degrees
Small dice the carrot, parsnip and onion and throw into a large pot. Spinkle with salt and pepper, add in the thyme and bay leaf and add a splash of water. Stick on stove on medium heat and stir. Let cook until the veggies become soft and fragrant. Now add in the split peas and 2 cups of water. Bring to a boil then cover and turn heat down to medium low. Let cook until the split peas become tender (about 25 minutes) string on occasion and adding more water if the peas are not completely summered while cooking.
Once the peas are tender, let cool for a few minutes, remove bay leaf, and either dump into a blender or blend with an immersion blender until nice and creamy. If gravy seems to thick, add in more water.%u00a0
Scrub or peel celeriac roots and slice them into 1/2 inch think rounds. Place on a baking sheet and brush mustard on both sides and spindle with pepper. Stick into oven for about 10 minutes, flip, then back into the oven for another 15 or so minutes, or unit the celeriac is tender.
When the celeriac is done remove from oven and %u00a0stick a few rounds on a bed of spinach (or not, or any kind of grain or green you like) Top with a hearty helping of the gravy and toss on some chopped up tomatoes.
Eat with at knife and fork like a fancy person.


Yesterday I spent the entire day (ok maybe not the entire day), but a the better part of the afternoon defrosting my freezer. Sure, I do the occasional chip chop here and there, just enough from around the freezer door so it will close, but ever few months I notice that everything in the fridge is not staying cold and that the freezer is not freezing stuff. Thats when I know its for real time to defrost. So a few days ago when I noticed my bananas were turing to liquid in the freezer, I knew it what I had to do%u2026.Completely empty the fridge %u00a0and melt/hack away the 2-4 inches of ice build up that accumulated. It is such a freaking pain in the ass.So on this defrosting day, I took all the stuff from the freezer, stuck it in a cooler, and the rest of the stuff, which is basically all veggies, I just tossed on the table.%u00a0As I am hacking away with a metal spatual, a wooden spoon, and a constant rotation of pots of boiling water, I was thinking about dinner. I figured I might as well just eat up as much of the veggies as I could, you know, so I didn’t have to put them back in the fridge. And also, I was getting pretty annoyed because this particular defrosting session was taking way longer the anticipated, which made making dinner seem like another pain in the ass. %u00a0I figured I might as well just eat everything that is already out on the table, which pretty much narrowed down the “whats for dinner” conversations because it was already all over the place. And so dinner was a humongo salad for me, and for the mister, I made him a monster of a veggie sandwich. (my salad was exactly the same stuff as the sandwich, minus the bagel) Easy, fast, super duper yummy, pretty and piled so high with tons of veggies that the fridge is pretty much empty now.%u00a0
Look at the is beast. I don’t call it a monster sandwich for nothing.

The stuff included in this monster veggie sandwich..

Romaine lettuce, tomato, avocado for there is not real sandwich without them. Thinly sliced radishes, cucumber,a and onion for nice crispy crunch. Shredded beets, carrots, and purple cabbage to give %u00a0more crunch and a bit of sweetness. Then of course there needs to be something pickled, so I used banana peppers cause they are the SHIT!! And lastly some hummus for a nice creamy finish (plus a bit of protein) and yellow mustard because mustard on everything is just right. %u00a0Heres to a mountain if goodness that is no longer in the fridge! Served with a another mountain of roasted parsnips and carrots (more stuff from the fridge) and a tall glass of iced tea.
Lucky that today is farm share pick up cause the fridge is pretty much on empty.%u00a0
Yea it’s Thursday!!!!
-C
A Monster Veggie Sandwich
Note. This is just a guide.. Feel free to use whatever veggies you fancy.%u00a0
- Either a bagel, 2 slices of bread, or a big chunk of baguette (use a gluten free bread if you want or need too)
- Hummus- Homemade or store bought
- Mustard
- Something pickled like pickles, banana peppers , jalape%u00f1os or all three%u00a0
- Lettuce, spinach or some kind of leafy green
- Tomato
- Avocado
- Onion
- Radishes
- Cucumber
- Shredded Carrots
- Shredded Beets
- Shredded Cabbage
To assemble. Ready your bread.. Toast if you want, and stick it on a plate
On either side, smear the hummus and the mustard. %u00a0
Pick a side, start to stack by evenly disrupting veggies on top of veggies. Place the second piece of bread on top and %u00a0giving a little smooth to keep it together.
And go at it. Cut in half or don’t. Have a napkin or a long sleeve ready to wipe your face.
 %u00a0 %u00a0%u00a0
 %u00a0I love mustard, and when I say love, I mean LOVE. I eat it on anything and everything. And not just small quaintites, I buy jumbo sized containers of the stuff because I go through it so fast. %u00a0Over the past few years I even %u00a0started taking down others with my mustard eating obsession. Sisters, brothers, even some of the littles are now mustard eating feens. %u00a0One of my little nieces is now just as bad as me. I don’t think I have seen her eat a single meal without a side of mustard. Her favorite snack, clementines and mustard, %u00a0although sometimes she skips the clementines and just goes in with her fingers. Oh so good. I think that child could possible be mine.%u00a0 And yes, it’s mostly the yellow grocery store variety of mustard being consumed, but yellow mustard is just the tip of the ice berg. There is a whole world of flavors, textures and colors when it comes to the humble mustard seed. Whole grain mustard, to me, is one of the best and easiest to adapt to any persons specific taste. You can make it plan or add in just about any spice, vinegar, even a little sweetness that you might like. One of my favorite variations of this mustard is to skip the vinegar and use picked jalape%u00f1o juice. Aah, my mouth is watering just thinking about it.
So if you are anything of a mustard connoisseur, you really must, at least once, make your own batch.(It’s so easy!) And you will love it and share it with all your friends and they will think you are a bad ass for making your own mustard and your life will just be so great. All because you are now a mustard maker. %u00a0Yes.%u00a0
 Yellow mustard seeds, brown mustard seeds, apple cider vinegar and salt. The most basic ingredients.
Note- If you want, add in a pinch of any spice that you want.. Chili flakes, granulated garlic, turmeric…. And you can use the vinegar of your choice. I like apple cider because its mellow with a slight sweetness but white or sherry or any vinegar would be great. Even left over picked juice is fantastic too.
 %u00a0 %u00a0
 %u00a0In a large jar, combine the mustard seed , twice as much vinegar and a pinch of salt. Cover and let sit for on the counter overnight until the seeds have soften and look almost like caviar.%u00a0
 Now blend those seeds. You might want to add another splash or two of vinegar to help %u00a0blend and to thin out a bit. Chose how creamy or seeded you like you mustard. I like to make it creamy but seedy so I blend it half way to creamy.
Taste and add another pinch of salt if its needed and%u2026%u2026..
 You have got mustard! Make sure you have a good snack ready to eat with it.. My go to is carrots. I could eat this all day long. %u00a0
Enjoy and have a great Tuesday full of mustard and stuff!
-C
Whole Grain Mustard
- 1/4 Cup Brown Mustard Seeds
- 1/4 Cup Brown Mustard Seeds
- 1 Cup Apple Cider Vinegar
- 1 Teaspoon Salt
- Optional..A pinch of %u00a0Garlic Graduals, Red Pepper Flakes, Curry Powder (Anything you want)%u00a0
Combine all ingredients into a large jar that has at least a few extras inches for the seed to expand. %u00a0Leave on counter for 8-12 hours.
Once seeds are nice and soft and have expanded, either eat as is (Mustard seed caviar) or blend the seeds to desired consistency (I like it half smooth, half seedy) Add a pinch more or salt and another splash or two of vinegar to help blend.
Refrigerate and use on anything and everytihng.
 %u00a0Being that it was St. Patricks day this week and lots of folks buy up a good amount of cabbage, I figured that this is a good time to get people to try one of my most favorite of favorite meals%u2026..Beet bean and cabbage steaks. I love to play around with food, how to pair textures and colors plus tastes while trying to make whatever I am making healthy and balanced. This is one of my fav creations. And sure, %u00a0this may seem like a somewhat weird combo, maybe a little like a extremely hippy dippy vegan fake meat thing, and you might be kind of right, but screw if it doesn’t taste like A-mazing. First off, notice how freaking dang pretty this thing is. The roasted beets bring a earthy hearty flavor but also pack a huge punch of color, especially when blended together with the ever so sweet white bean, which %u00a0brings a nice mellow taste and a great serving of protein. (Beets and beans are meant for each other). Spread that %u00a0brightly colored, tasty mixture onto of a huge slab of one of my favorites, roasted cabbage with all its crunch and cabbagy flavor and you got yourself a hearty healthy meal of deliciousness. %u00a0
So maybe this might seem a little out of your normal food routine, but why not try it? Trust me%u2026.you will love it and everyone you make it for will think you are a number 1 badass too.
 Cabbage, white beans, and beets. There is a lemon involved, but it didn’t make it into the picture.
Notes…. I used white beans, but I have also done this with chick peas and lentils. All are fantastic. Also, I did not peel my beets because I never do.(I do not peel anything the skin is full of goodness and I love the taste) If you don’t want to eat the skin, then peel them.%u00a0 Cabbage is cut into inch thick slabs%u2026 I like to us the inter most part of a cabbage head cause I like the core. But use any cut that you want. %u00a02 beets are chopped into chunkers and both the cabbage and the beets are placed on a lightly oiled baking sheets, seasoned with salt and pepper, %u00a0and stuck into the oven for 20-25 minutes at 400 degrees.
 Once the beets are tender and the cabbage is cooked to a nice withered golden pretty, take out of the oven, but leave the oven on. %u00a0Leave the cabbage on the pan but throw the beets into a blender or a big bowl if using a hand blender %u00a0with the white beans
 %u00a0 %u00a0%u00a0
 Beans and beets get pureed together. Add the juice of 1/2 a lemon (or the whole lemon, depending on your taste) and a pinch of salt and pepper. With a big spoon or spatula, scoop equal amounts of the bean/beet mixture on top of the cabbage steaks and spread around. Sprinkle with cracked pepper and place back into oven for another 5-10 minutes. (You could totally skip the second bake, but I like my cabbage well done and crispy)
 Oh ho boy%u2026 And with a good squirt of mustard to finish off%u2026%u00a0I could eat this all day, everyday%u00a0
And now I am #1
Happy Wednesday… Keep it good!
-C
Beet and Bean Cabbage Steaks%u00a0
Makes 2 Thick Cut Steaks
- 1/2 head of cabbage (green or red)
- 2 cups or 1 can of cooked white beans
- 2 medium beets
- 1 lemon
- salt and pepper
- Mustard (Optional)
Preheat Oven to 4oo degrees
Cut two 1 ish inch thick rounds of cabbage from the widest part of the head. Place on a lightly oiled baking sheet. Chop beets into chunks and toss on same baking sheet.(Peel if you want) Sprinkle everything with salt and pepper. Stick into oven for 20-25 minutes or until the beets and cabbage %u00a0are tender. Remove veggies from oven and place roasted beets into a %u00a0blender (or bowl if using a hand blender) but leave the cabbage on the baking sheet. Add the white beans, the juice of half a lemon, and salt and pepper to the beets and puree until smooth. Scoop equal amounts of the mixture to each cabbage steak, sprinkle with pepper and place back into oven for another 5-10 minutes to give the beans and beets a nice crunchy crust (You can skip this step if you don’t want to be crusty)
Remove from oven, stick on a plate and drizzle with mustard%u2026.Fork and knife are good ways to eat it, but eating it with you fingers makes less dirty dishes.
 %u00a0 %u00a0%u00a0
 I have never in my life seen, let alone received, a kohlrabi as big as the one I picked up from my farm share last week. It was, no joke, bigger then my head. (completely nuts) %u00a0If I didn’t know the farm and the farmers of my CSA, I would have to question whether or not it was grown in radioactive sludge%u2026(kind of like the dandelions in the Teenage Mutant Ninja Turtle movie from the 90’s)
What is a kohlrabi you ask? It’s kind of a cross between a turnip and a cabbage that is usually the size of a baseball. It can be eaten raw (I like chunks dipped in mustard) or cooked. (roasted chunks dipped in mustard) %u00a0It pairs well with sweet stuff like apples and honey, or in any savory stuff. Its one of my favorite vegetables (I say that about them all!)
So now that you know about kohlrabi (if you didn’t already) its time to get yourself some and make this soup. Because for real,%u00a0%u00a0I am not kidding when I say that this is one of the best soups that I have ever made. %u00a0You really must try it. And do it soon because hopefully in the next few weeks the soup weather will turn into fresh pea weather and we might not want soup as much (I eat soup all year long)
 A gigantic kohlrabi cut in half ( I only used one of the halts) A whole yellow onion and 2 large carrots. I also added in 4 cloves or garlic
Peel the kohlrabis tough skin off and chop up into chunks. Chop the carrot, garlic and onion as well .
 %u00a0 %u00a0
 All of those chopped veggies get thrown into a pot with two cups of water and a good sprinkle of salt and pepper. Cover and place on medium heat for about 20-25 minutes. (give a stir ever now and then) Keep cooking until the veggies are fork tender.%u00a0
 Once the chunks are all cooked up,%u00a0its time for the %u00a0immersion blender. (or into a regular blender) Add in at least 3 cups of water, but more to thin out to your desired consistency and let it rip.%u00a0Stop blending once%u00a0the soup is nice and creamy. Taste and season with salt and pepper to taste. Leave on low heat to bring back to a good soup %u00a0eating temperature.
 %u00a0Now the soup is done.. and you can eat it just as it is, but you should really add in the asparagus. It is just so f*ing good. Just grab a few spears, dice them nice and small, and throw into the soup pot. Let it cook for another 5 minutes and wa la..%u00a0
 Soup is done. Ladle into bowls and if you want a little fancy presentation, add a swirl of mustard (it’s so good) and a whole cooked asparagus spear.
And eat one of the greatest soups ever!
Happy Day Wednesday!
-C
Creamy Kohlrabi Soup with Asparagus
- 3-4 kohlrabi (or 4 cups chopped Kohlrabi)
- 2 large carrots
- 1 large onion
- 4 or more cloves of garlic
- Salt and Pepper
- 4-6 spears of Asparagus (extra if you want to garnish)
- Yellow Mustard (optional)
Peel outer layer of kohlrabis. Roughly chop the onion, carrot, kohlrabi and garlic and stick it all into large dutch oven or stock pot. Add water until veggies are half submerged . Add a good sprinkle of salt and pepper and place on burner on medium heat and cover. Check ever 5 or so minutes and give the pot a good stir. After about 25 minutes, all the veggies should be very tender and almost fall apart when stuck with a fork. With an immersion blender or regular blender, blend till smooth, adding water until soup is at your desired constancy. Return soup to medium heat. Small dice asparagus and add to pot. (I added 2 extra whole pieces and fished them put once cooked for garnish.) Keep on heat for another 5-10 minutes until asparagus is cooked.%u00a0
Scoop into bowl and squirt top with yellow mustard and top with a spear of cooked asparagus.
Eat with a spoon and lick bowl clean.
 Mustard and carrots. %u00a0It’s that simple.
Yup, I eat this at least once a day. It’s that good (and easy). %u00a0Now I must admit that I don’t usually have such pretty carrots (The mister gave me this rainbow of carrots for my birthday) and I usually don’t chop the carrots oh so nicely or have a little vessel of mustard, but I figured for the sake of a picture, you would rather see this then a picture of me standing with the fridge open, chomping on a huge unpeeled carrot, squirting mustard directly in my mouth. (that’s how I usually eat most of my snacks)
Today I kept it simple with plain yellow mustard, %u00a0but I sometimes spice it up with horseradish or jalapeno mustard. Or once in a while I’ll do mustard and sprinkle on (or in my mouth) some nutritional yeast, garlic powder or even red pepper flakes for a little kick. The possibilities of mustard on carrots it endless.
You might be saying to yourself that this is crazy, but really, is it any weirder then some of the things that you eat that others find kind of strange? So maybe just try it. %u00a0I promise, you won’t be disappointed.
Happy Monday!
-C

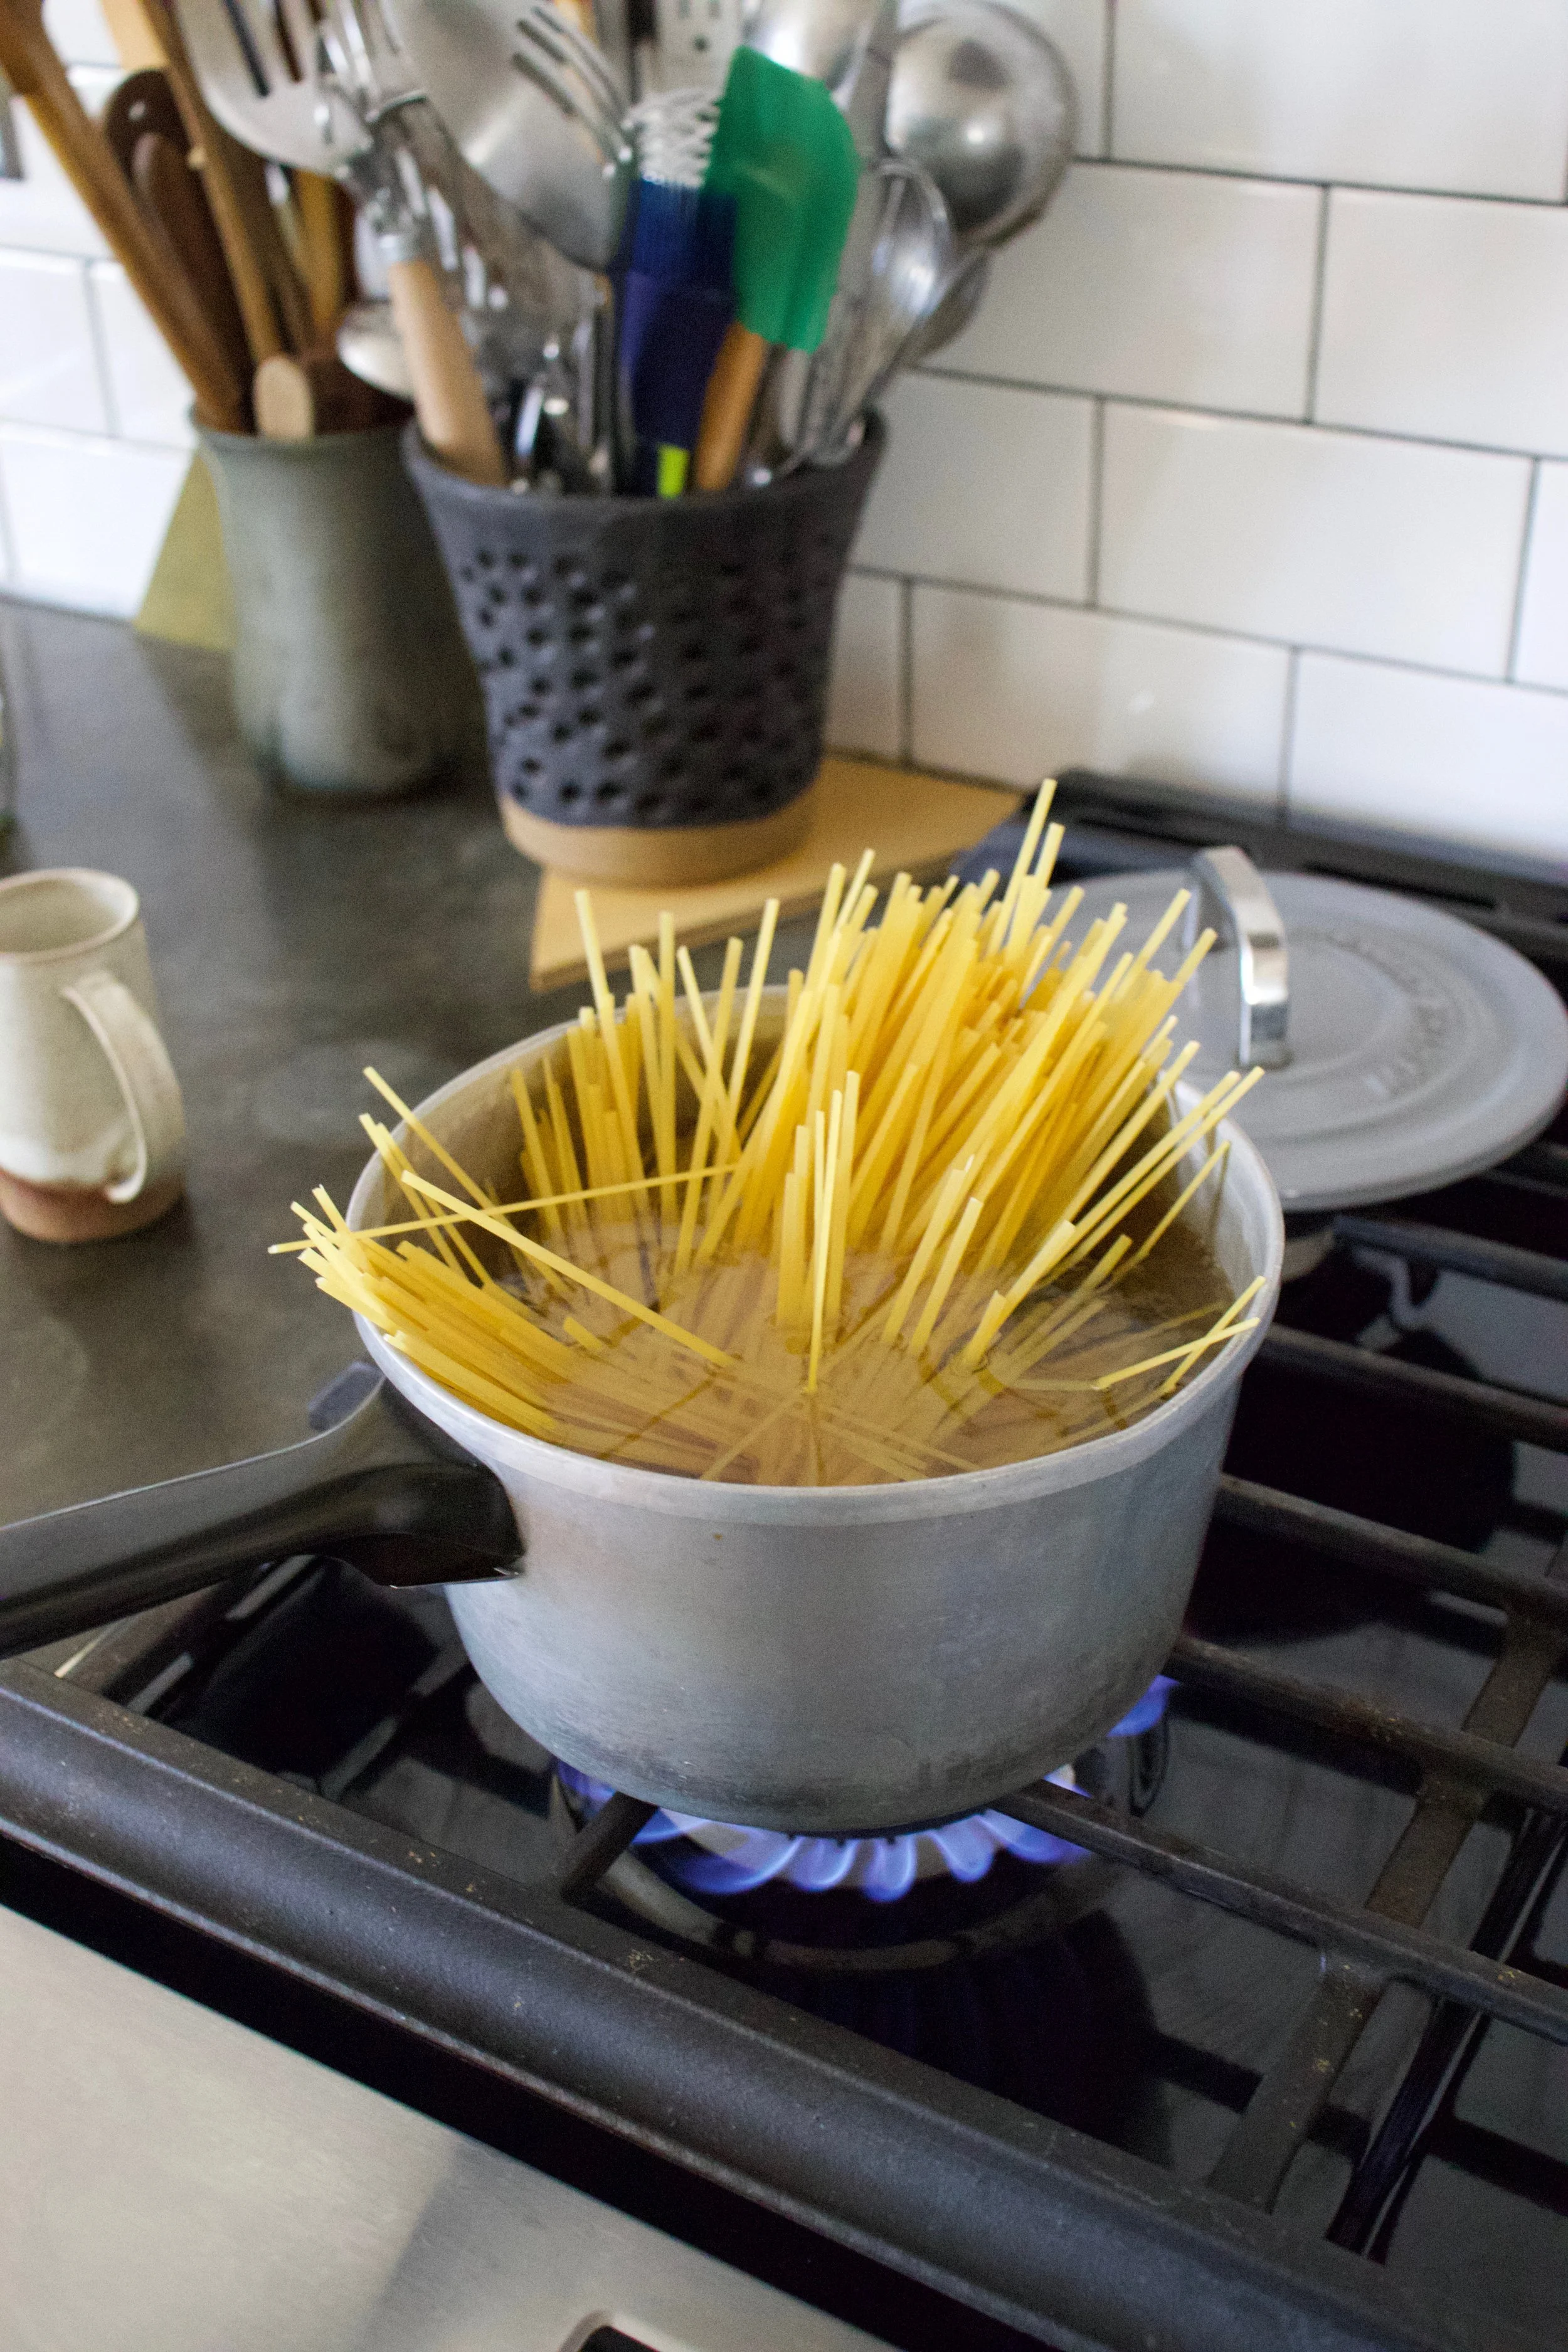
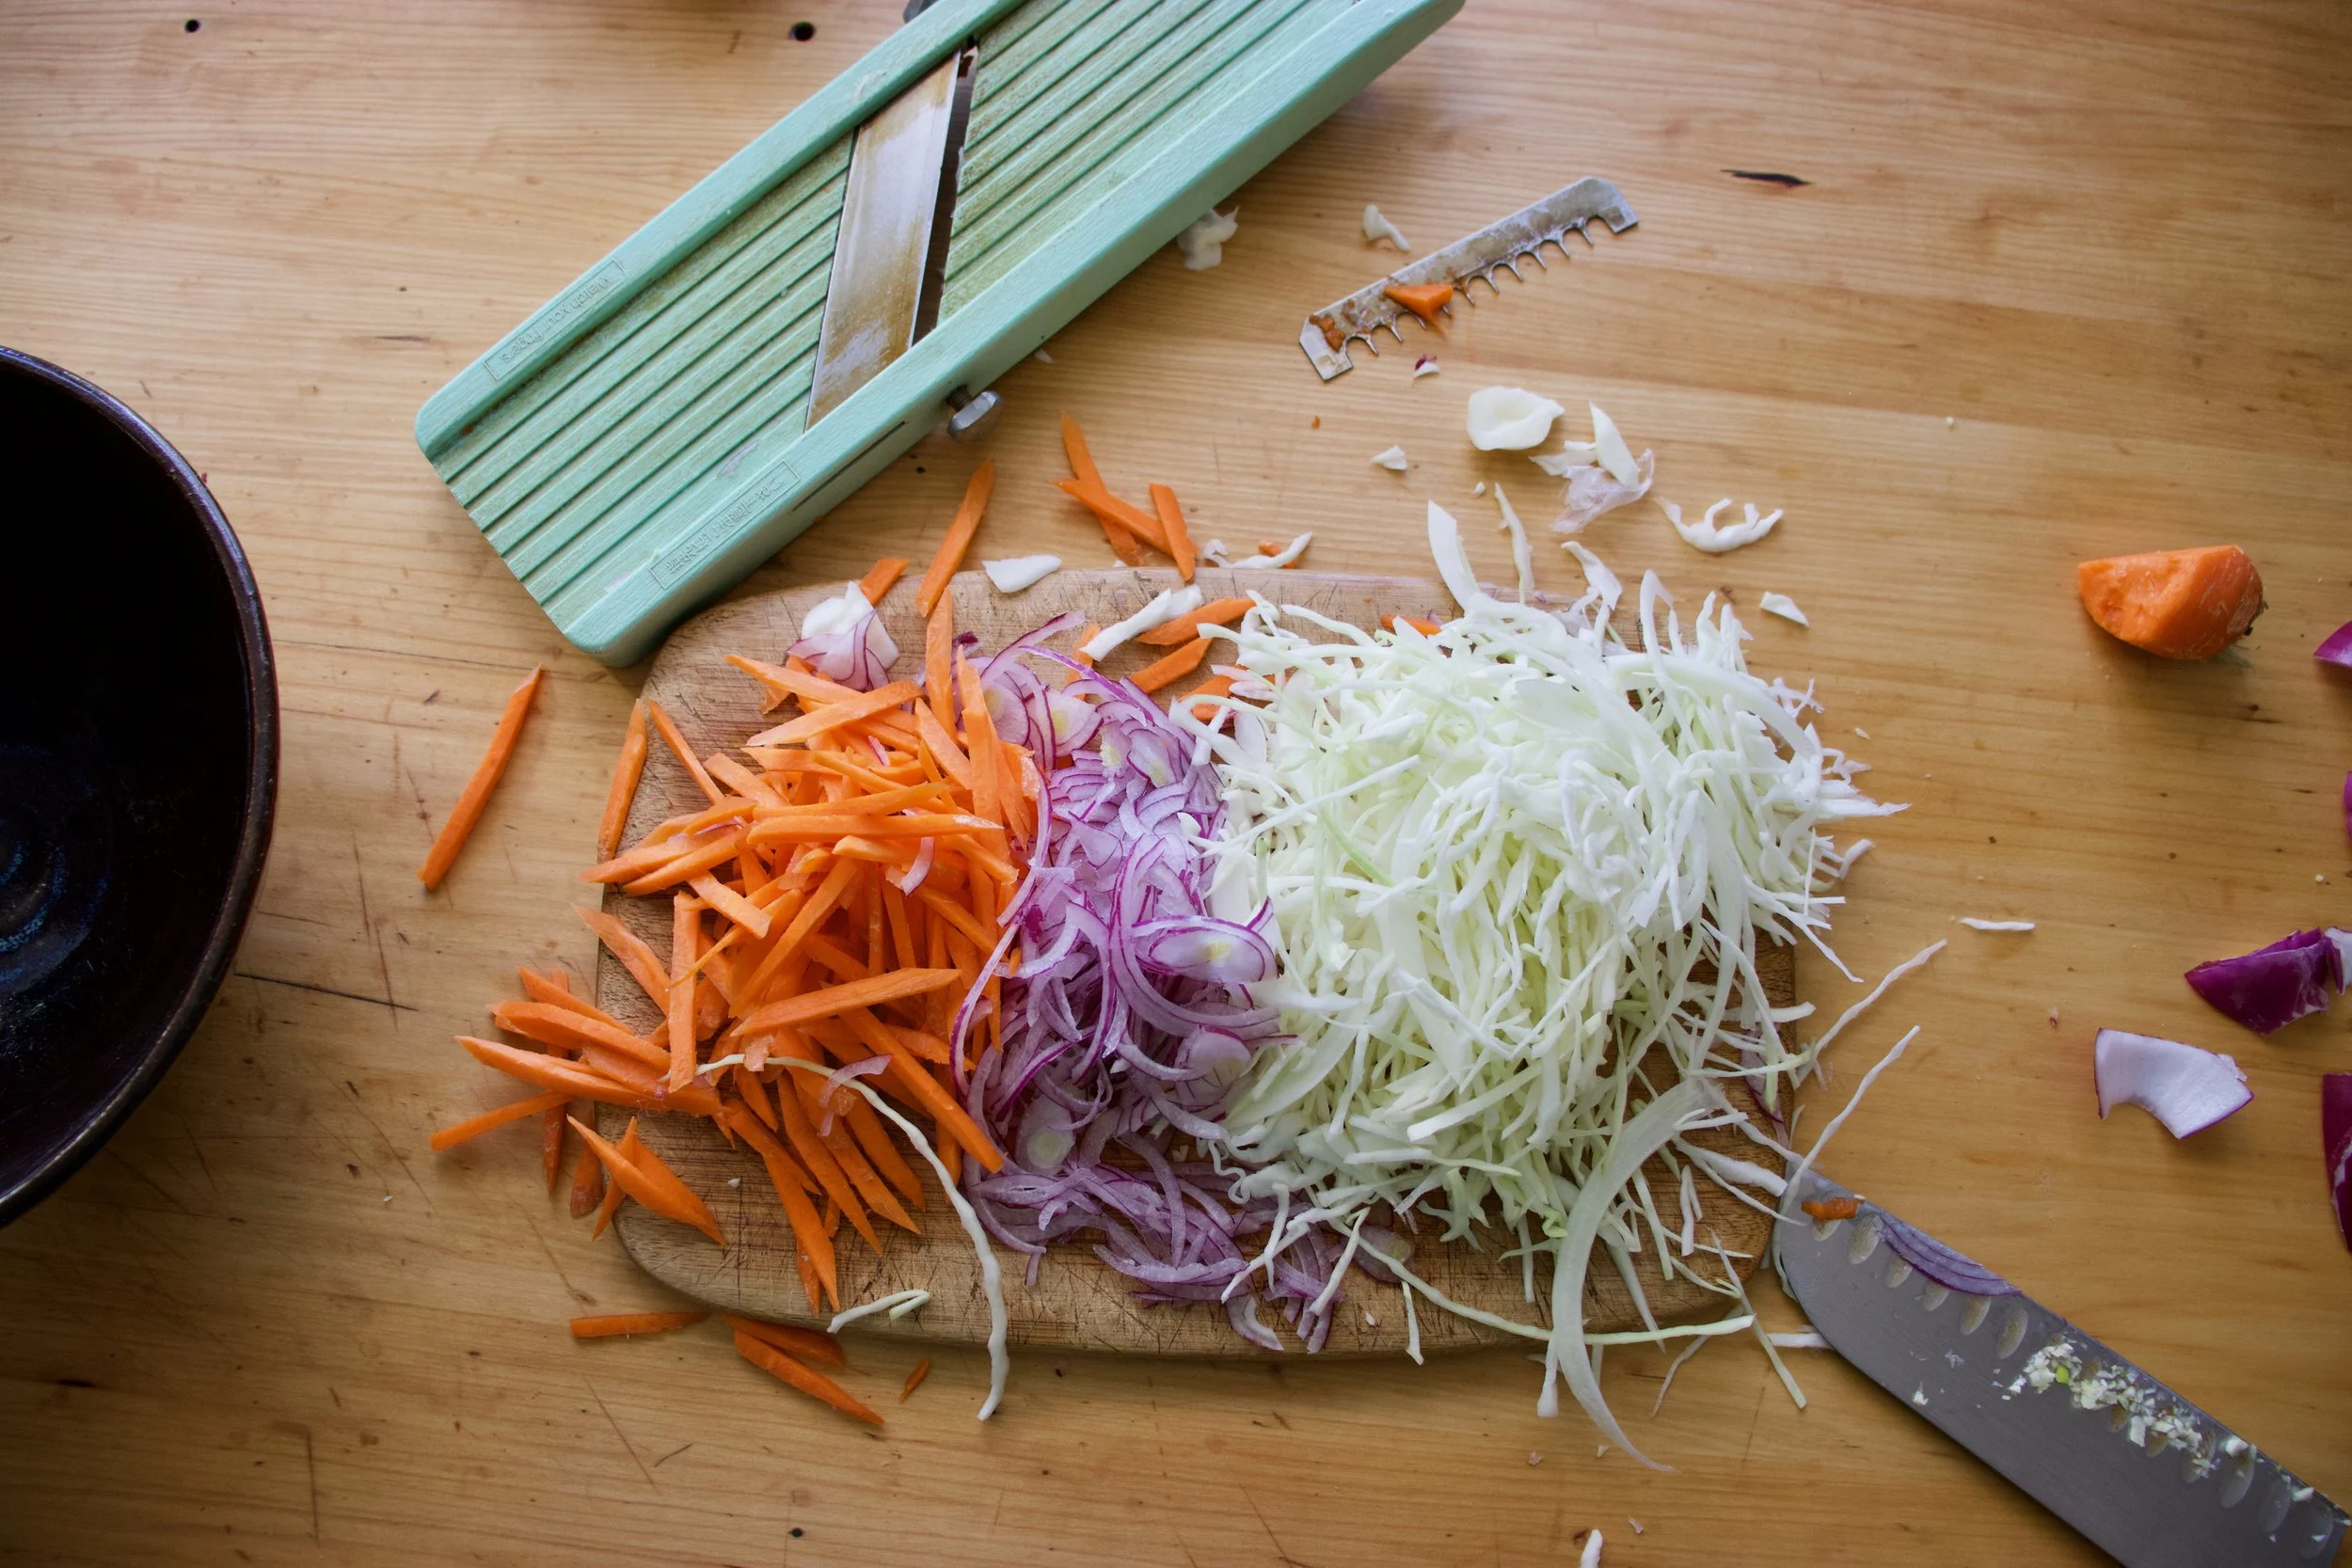


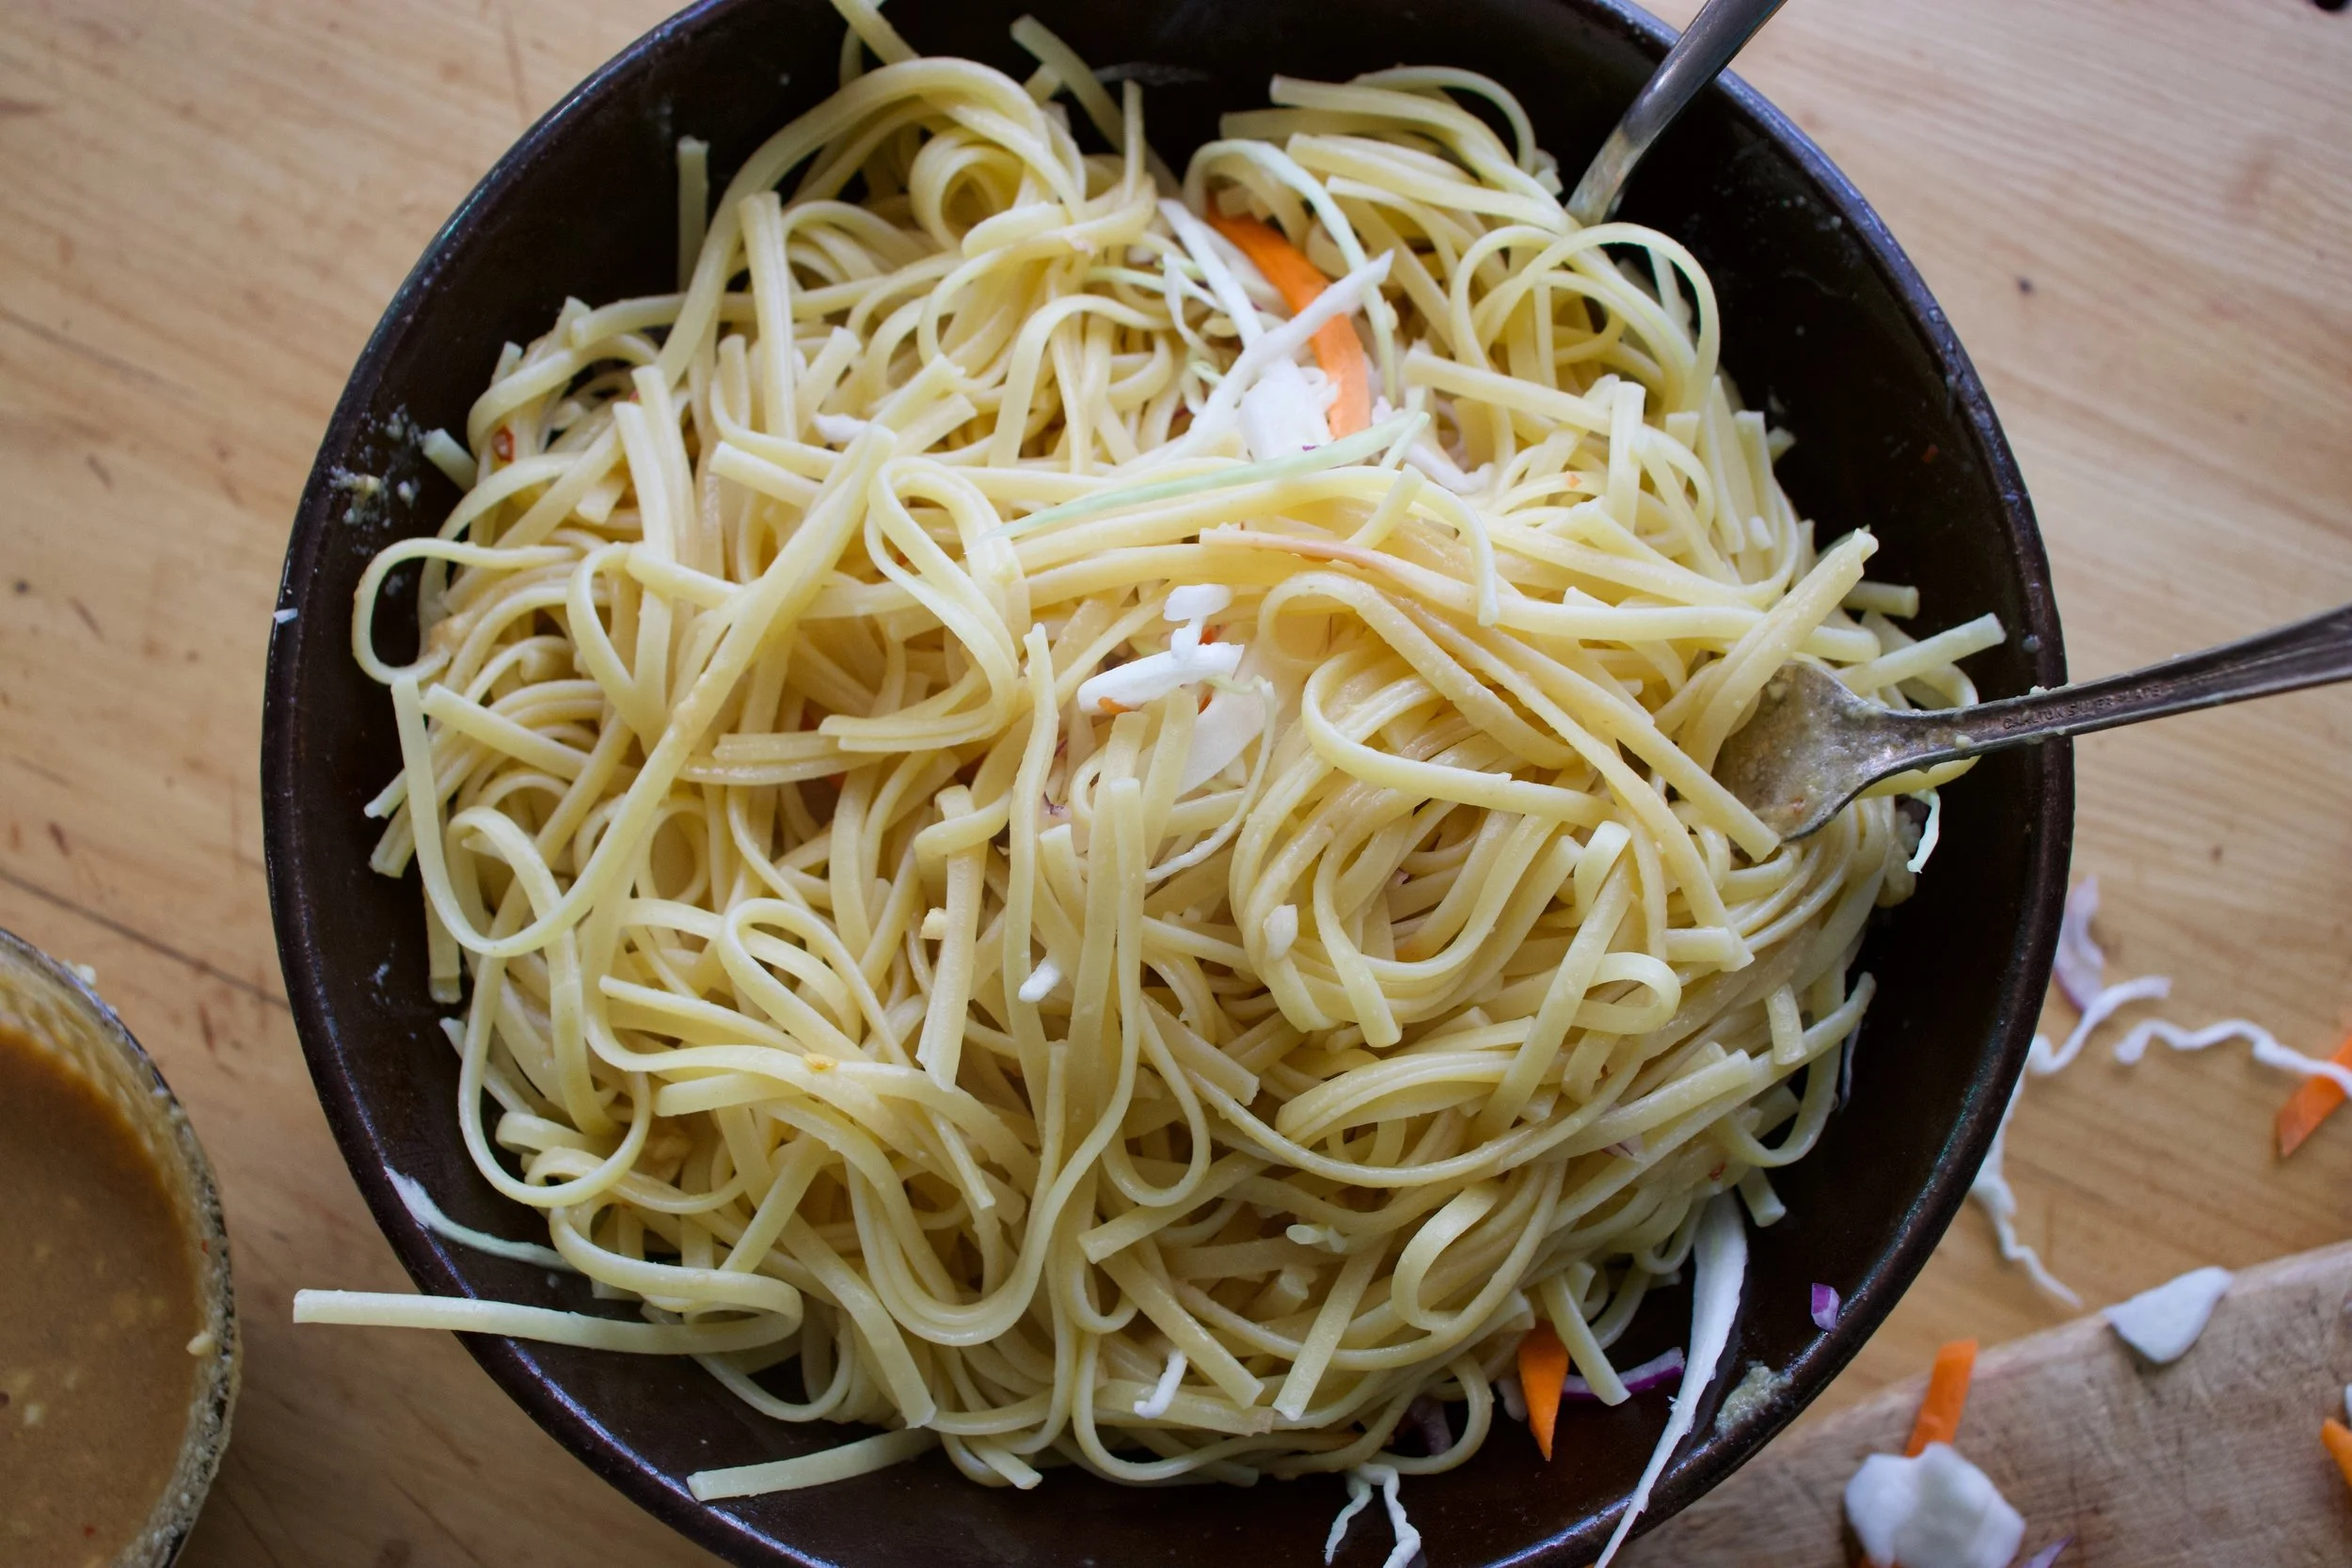
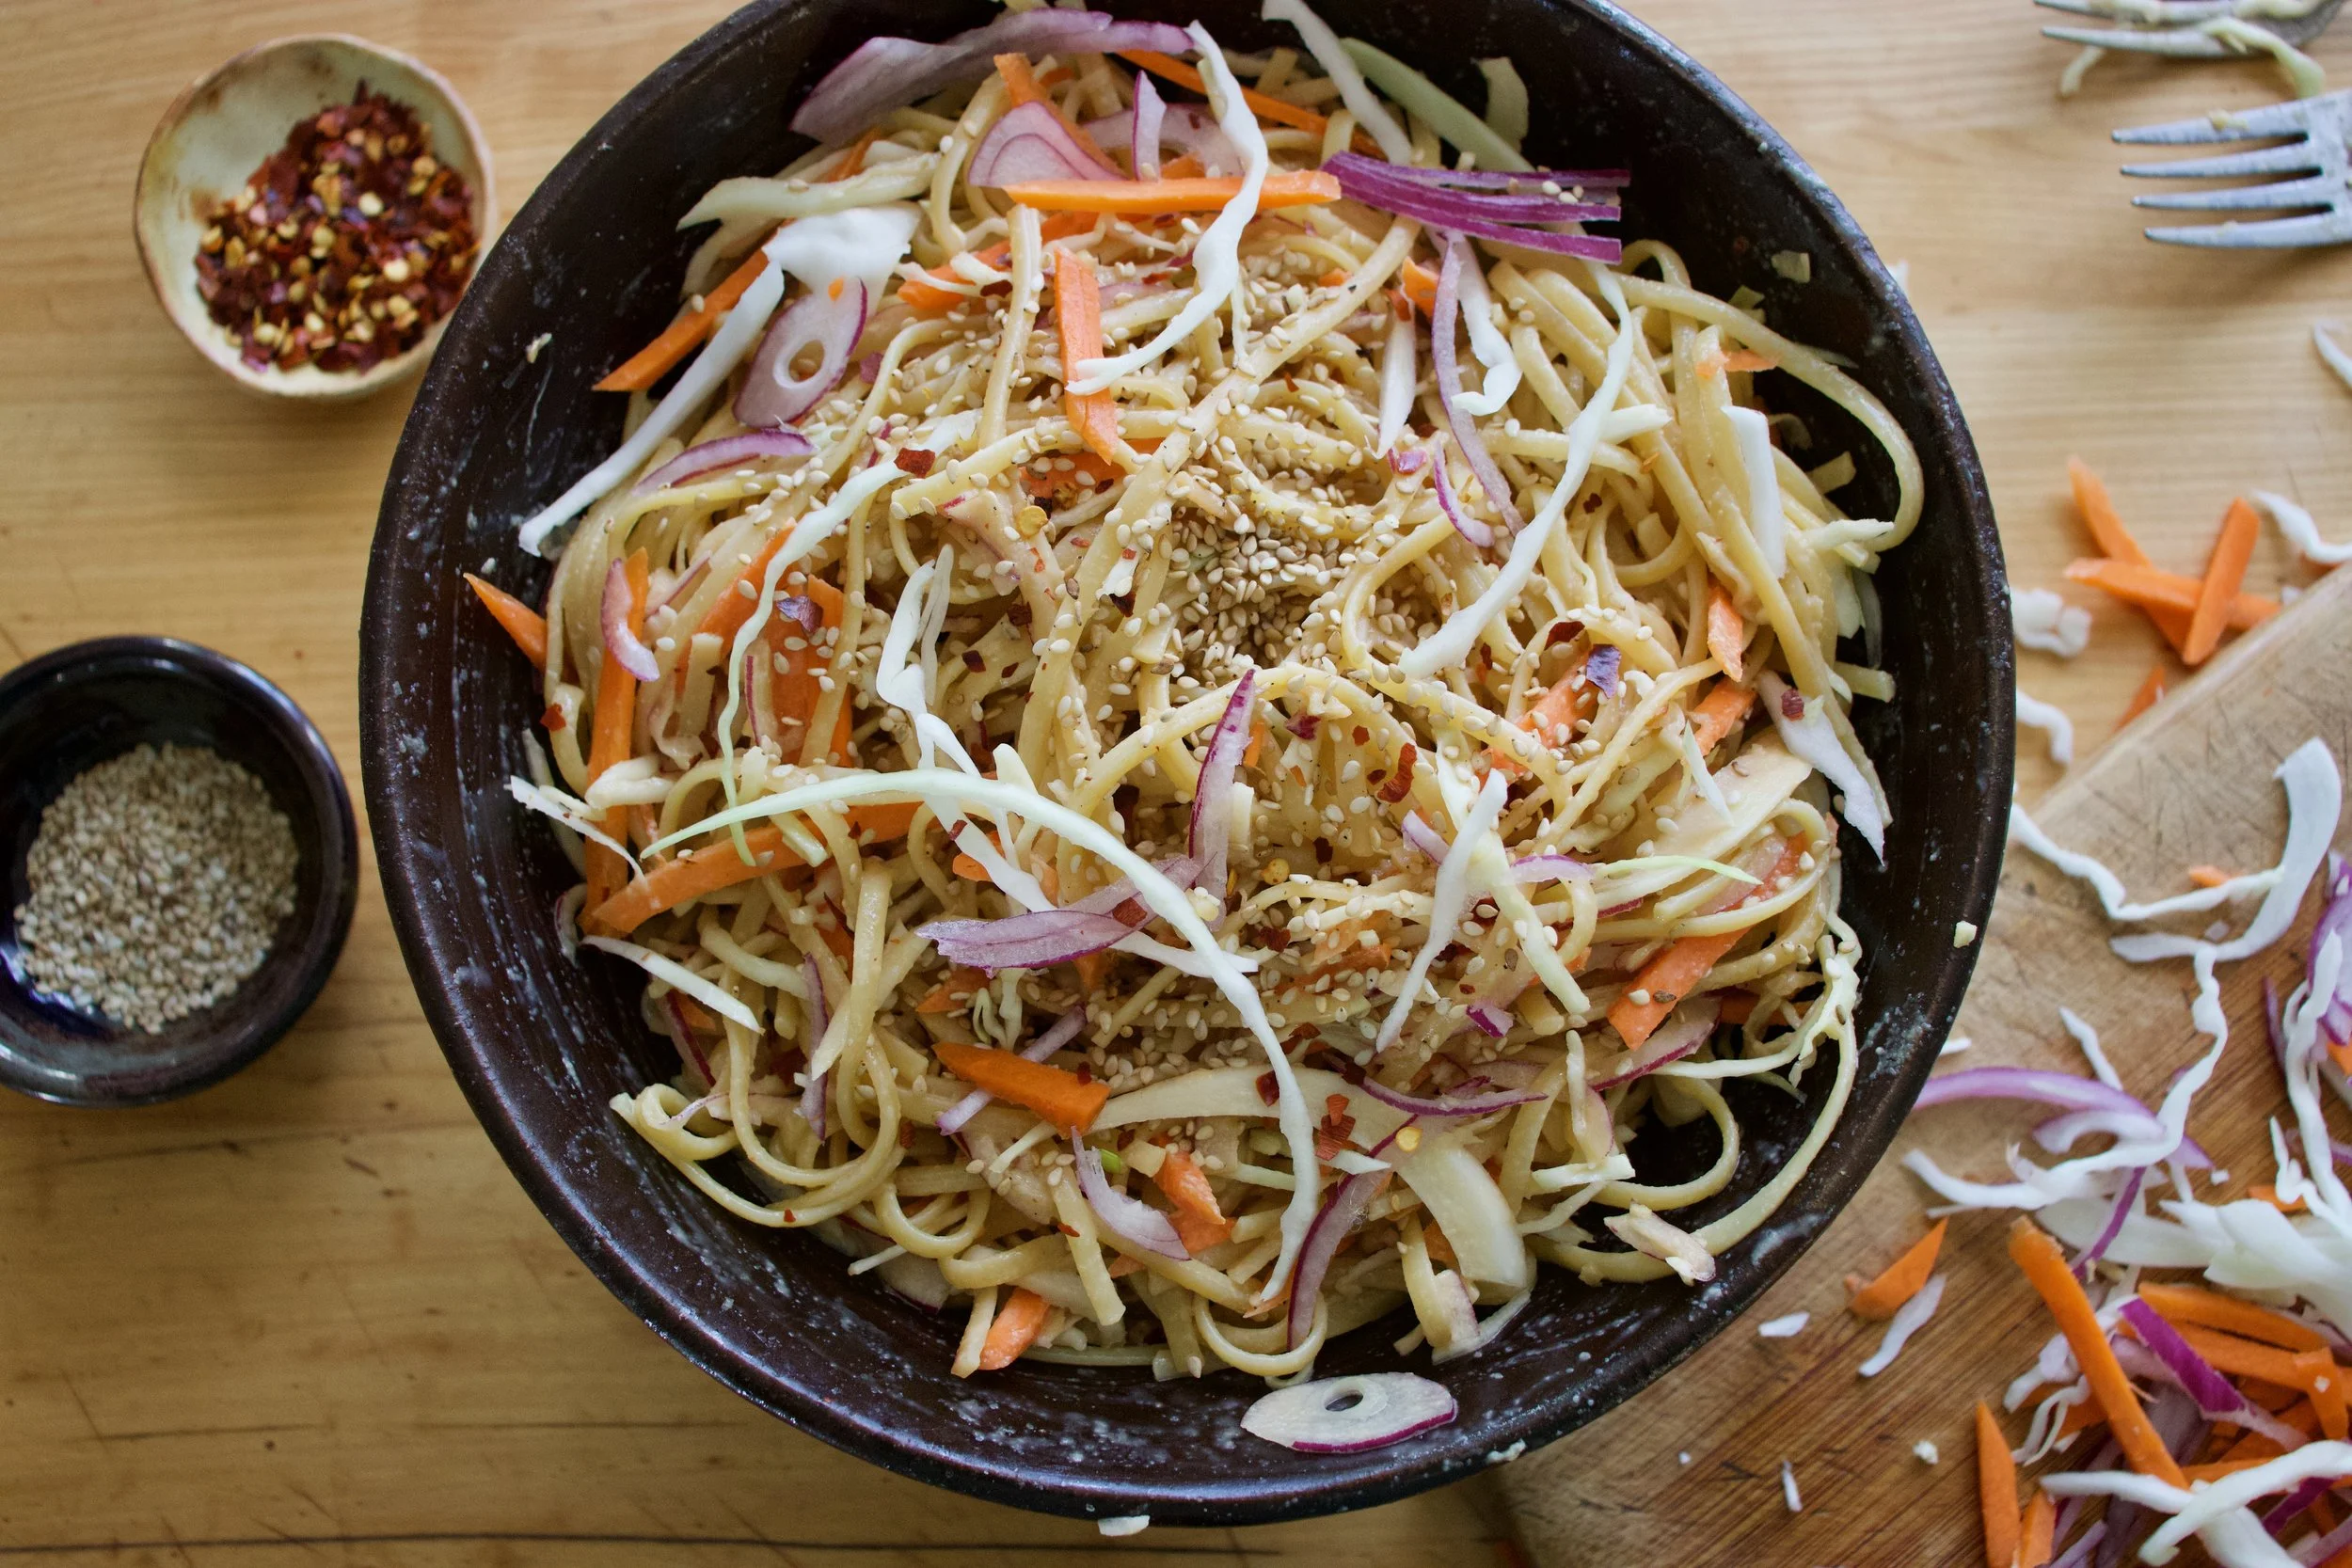


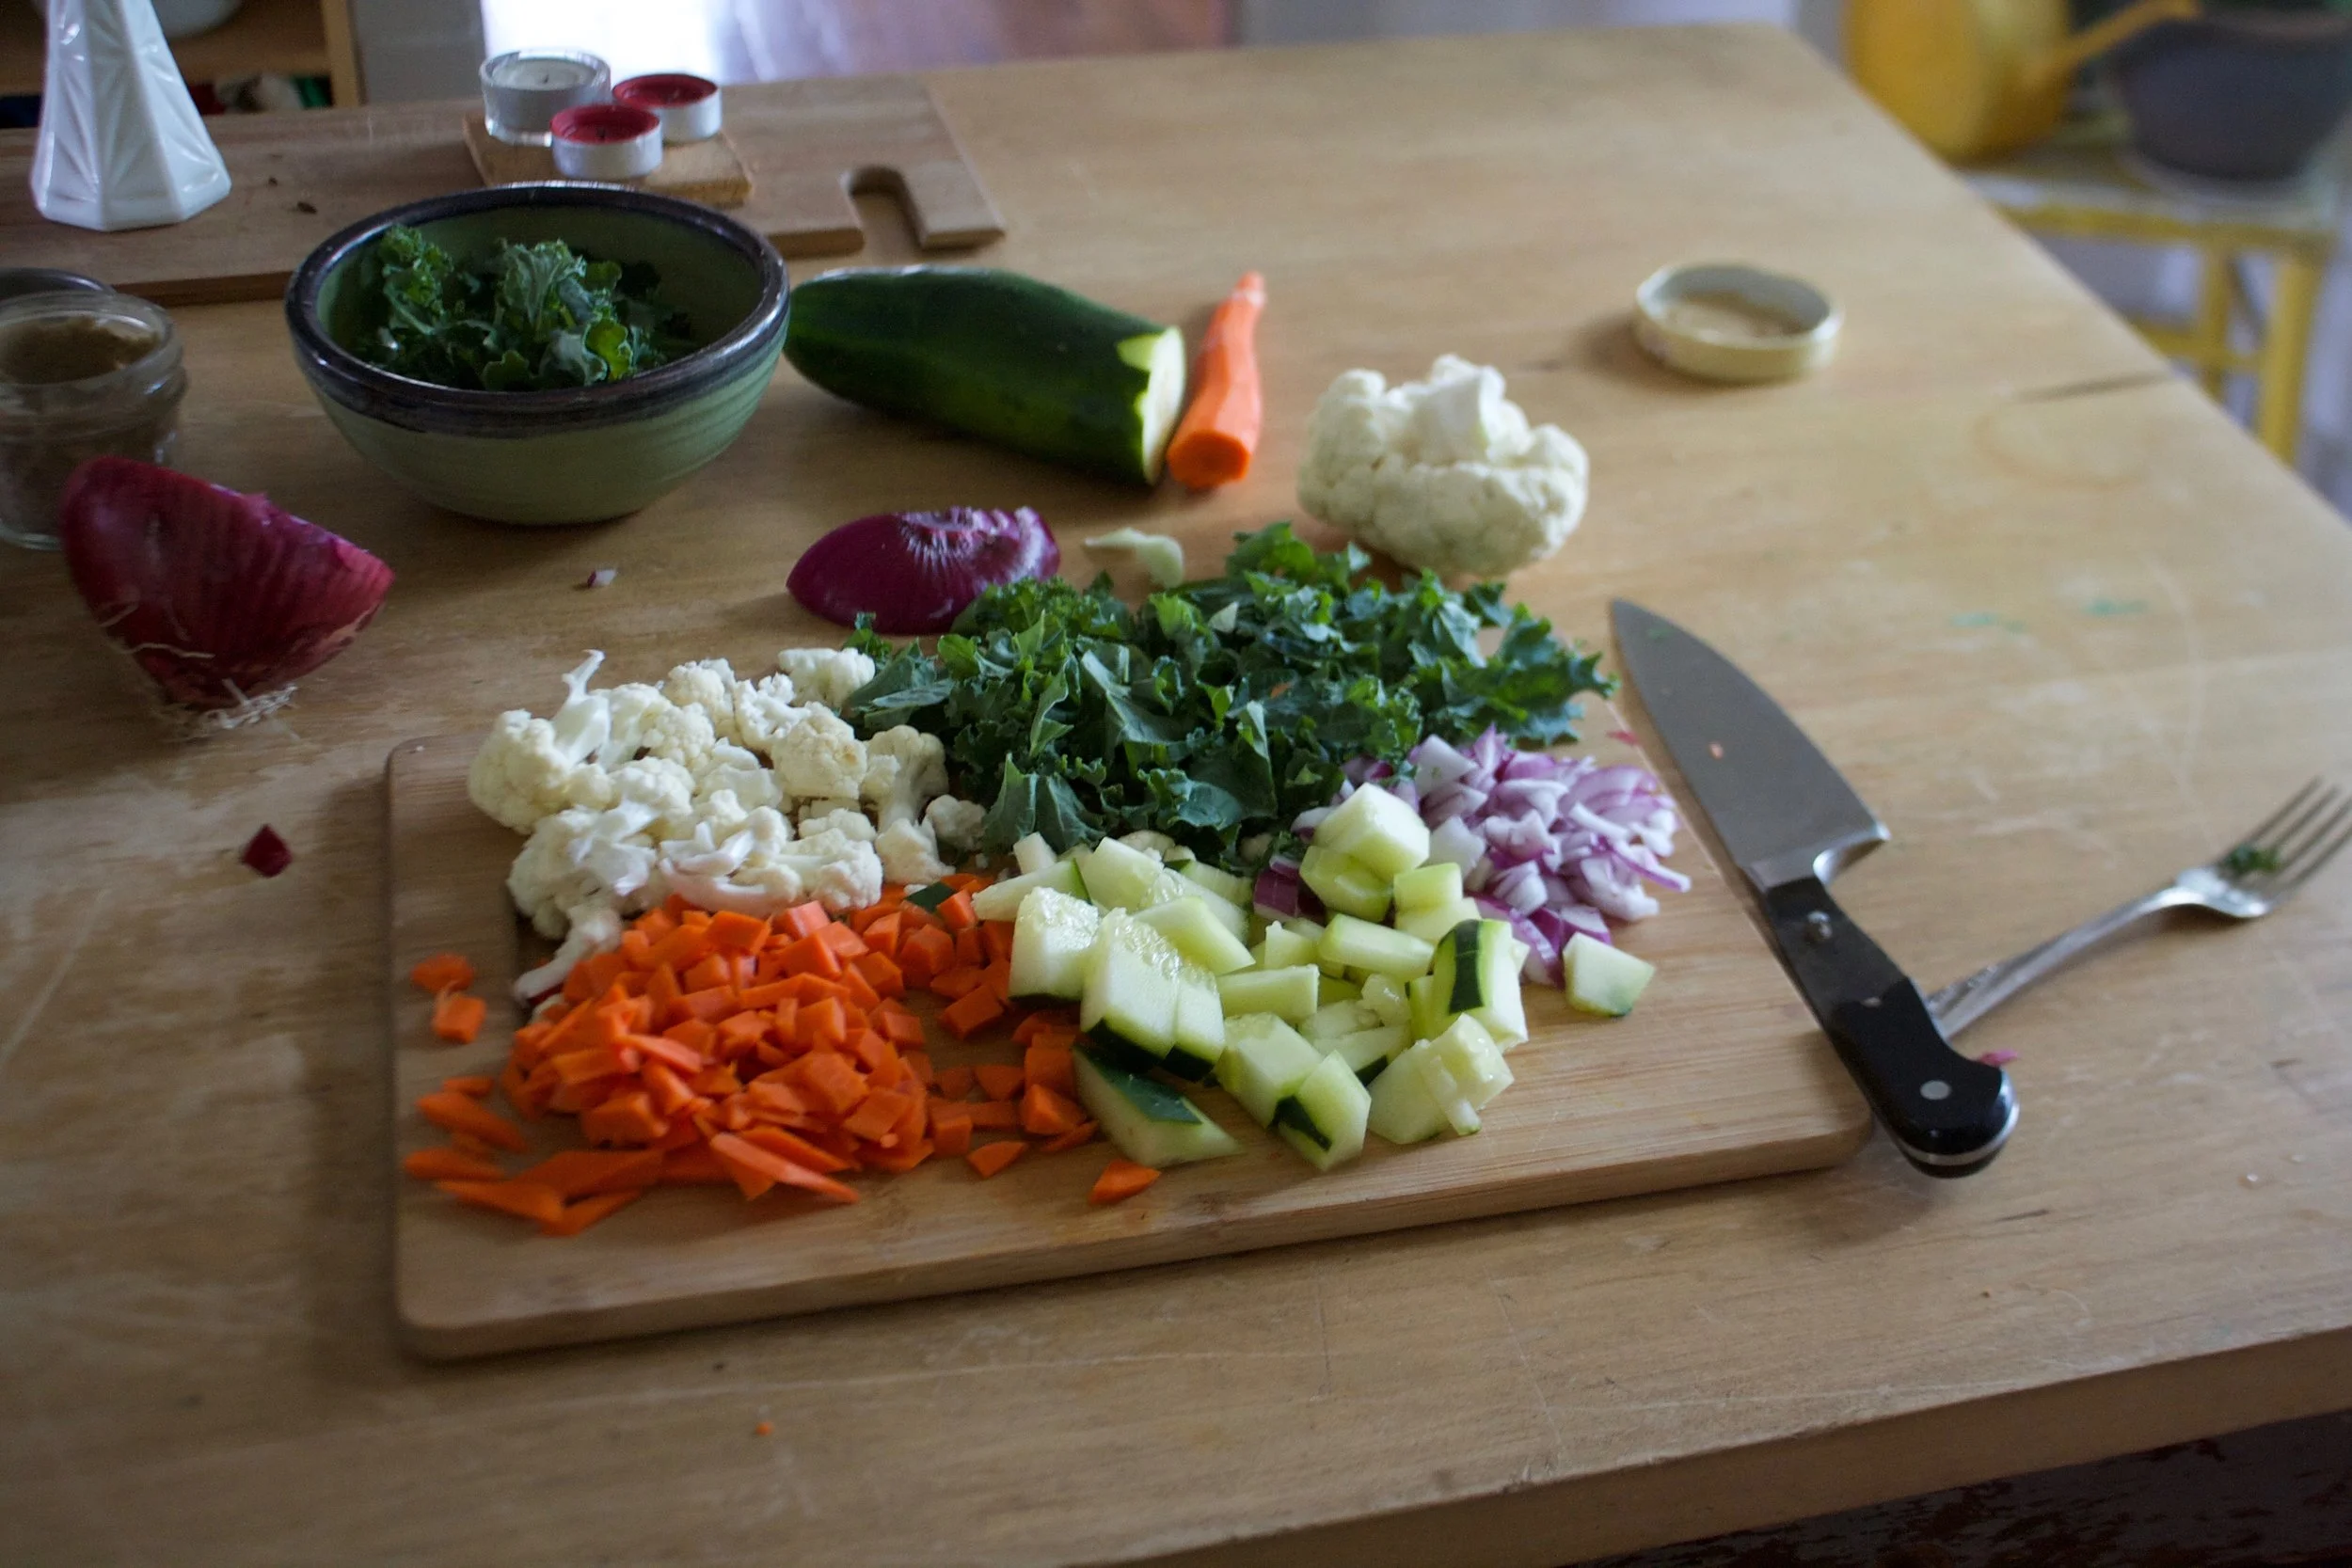

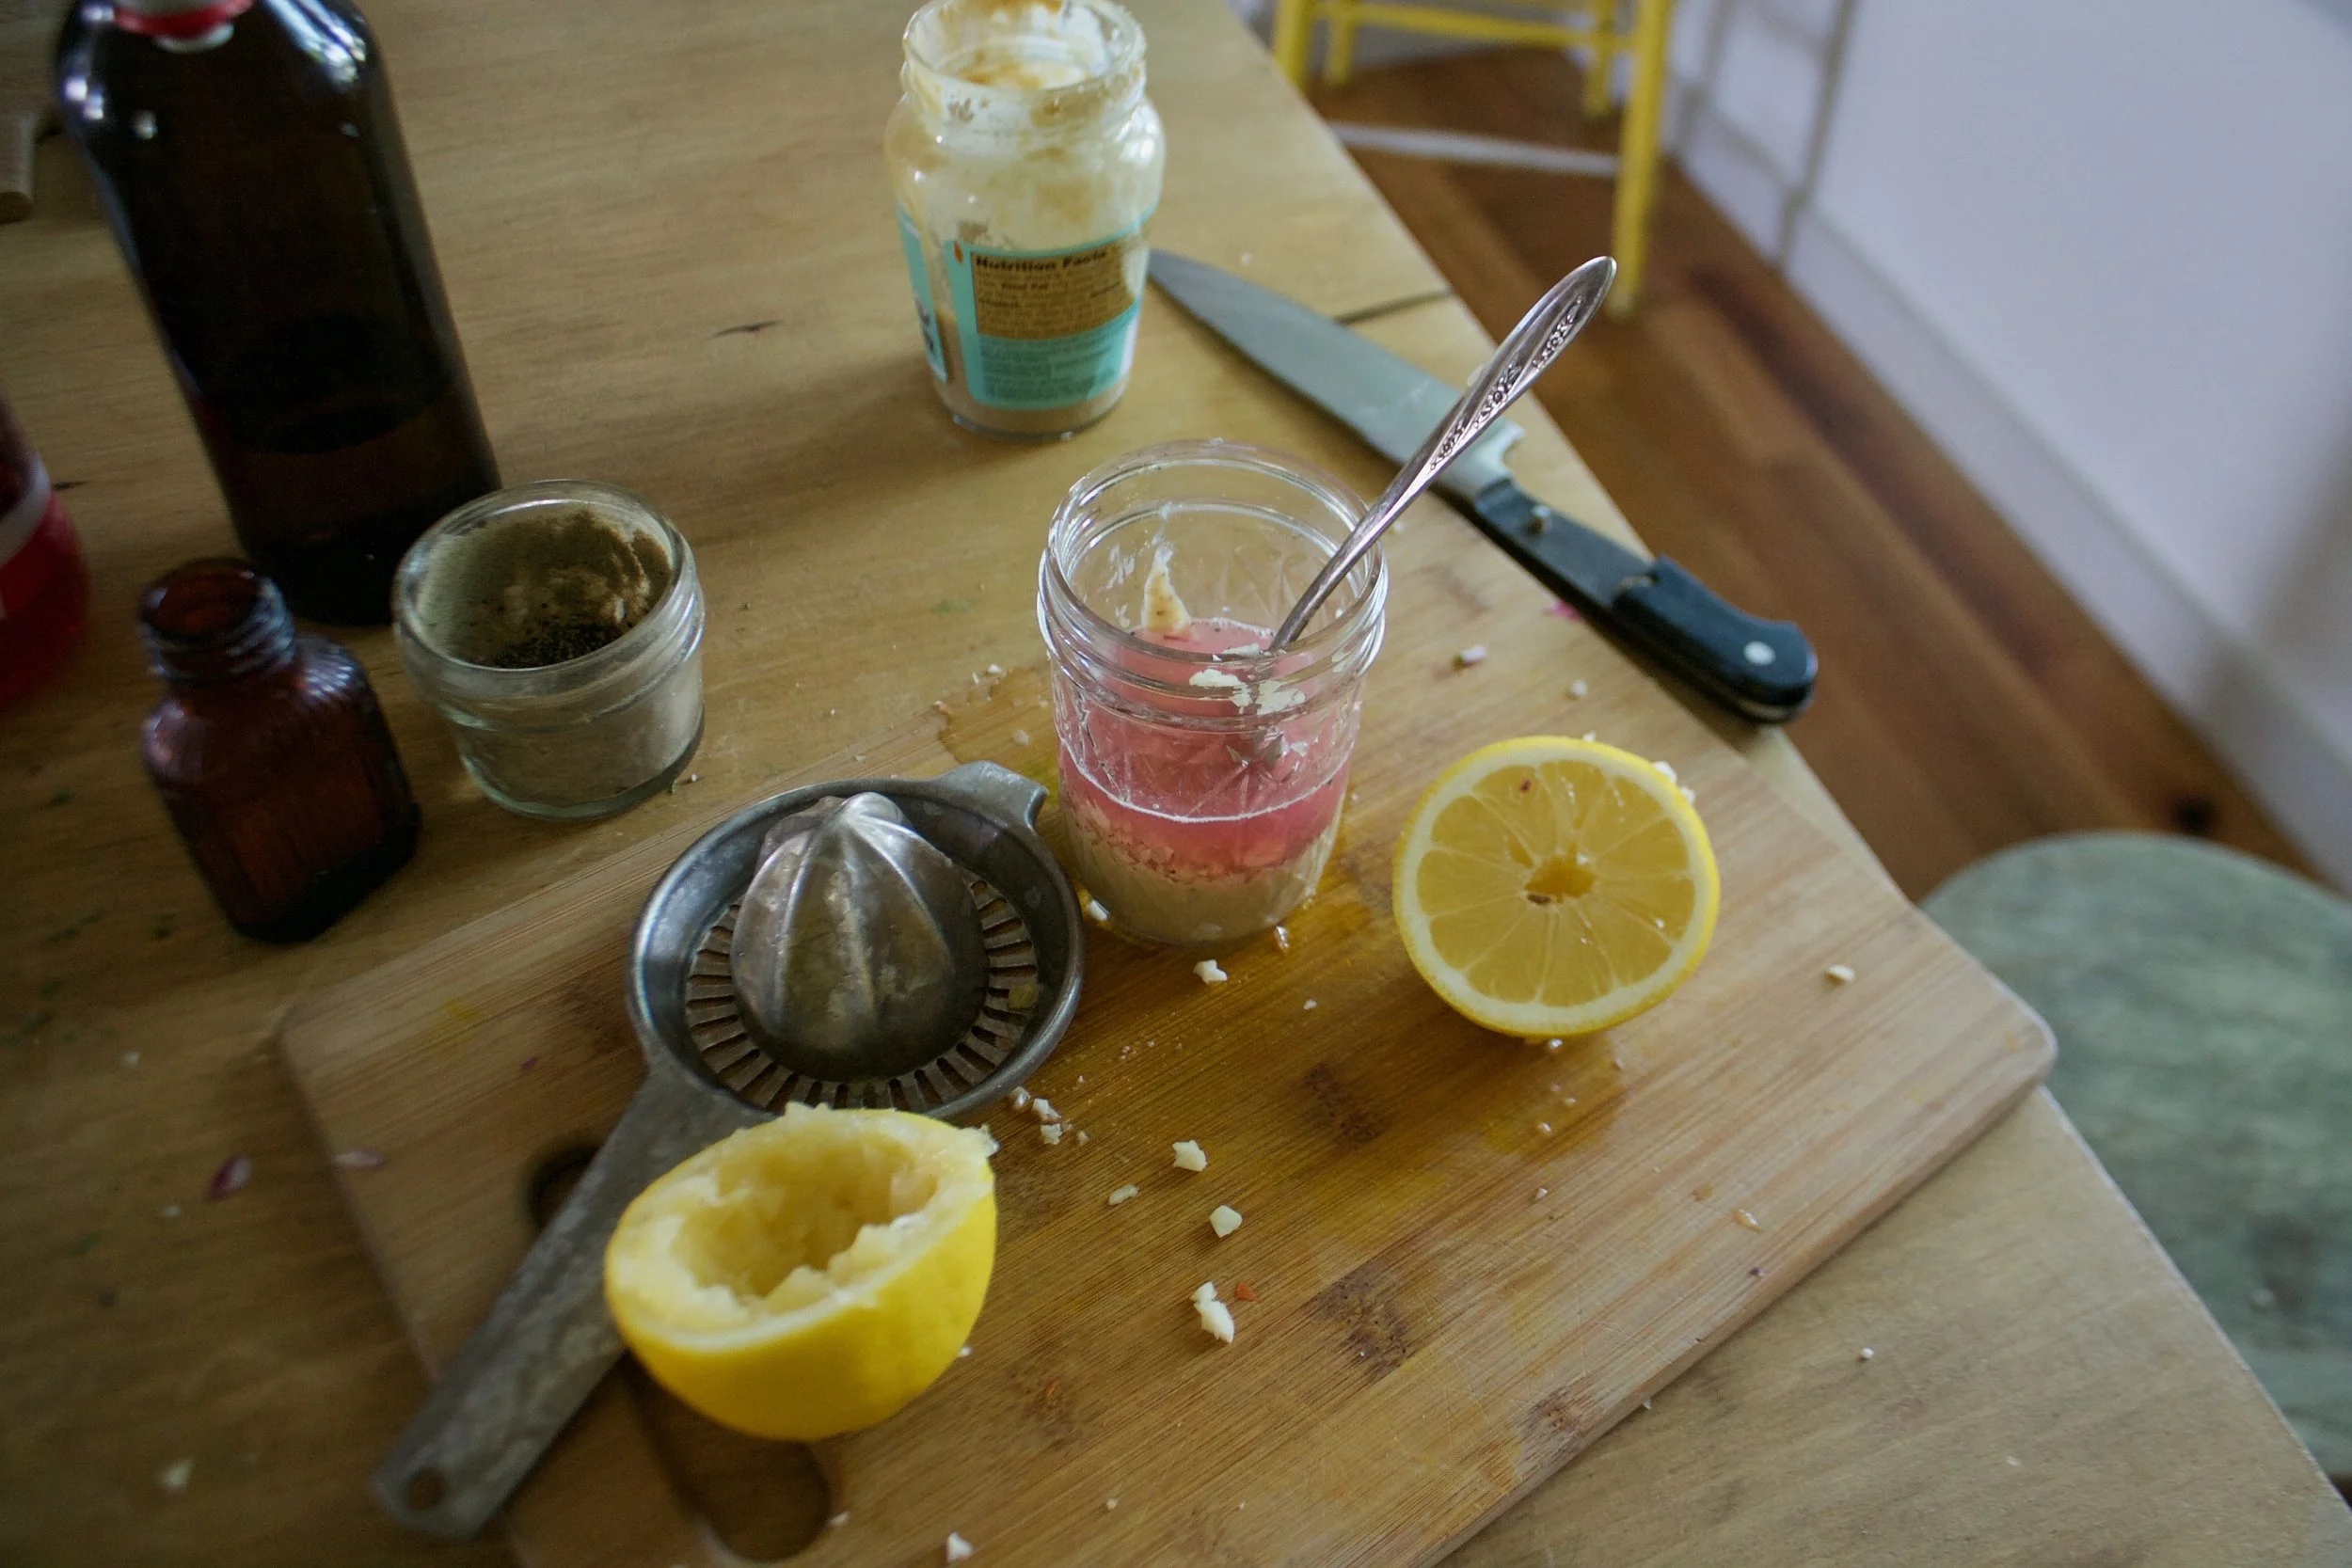




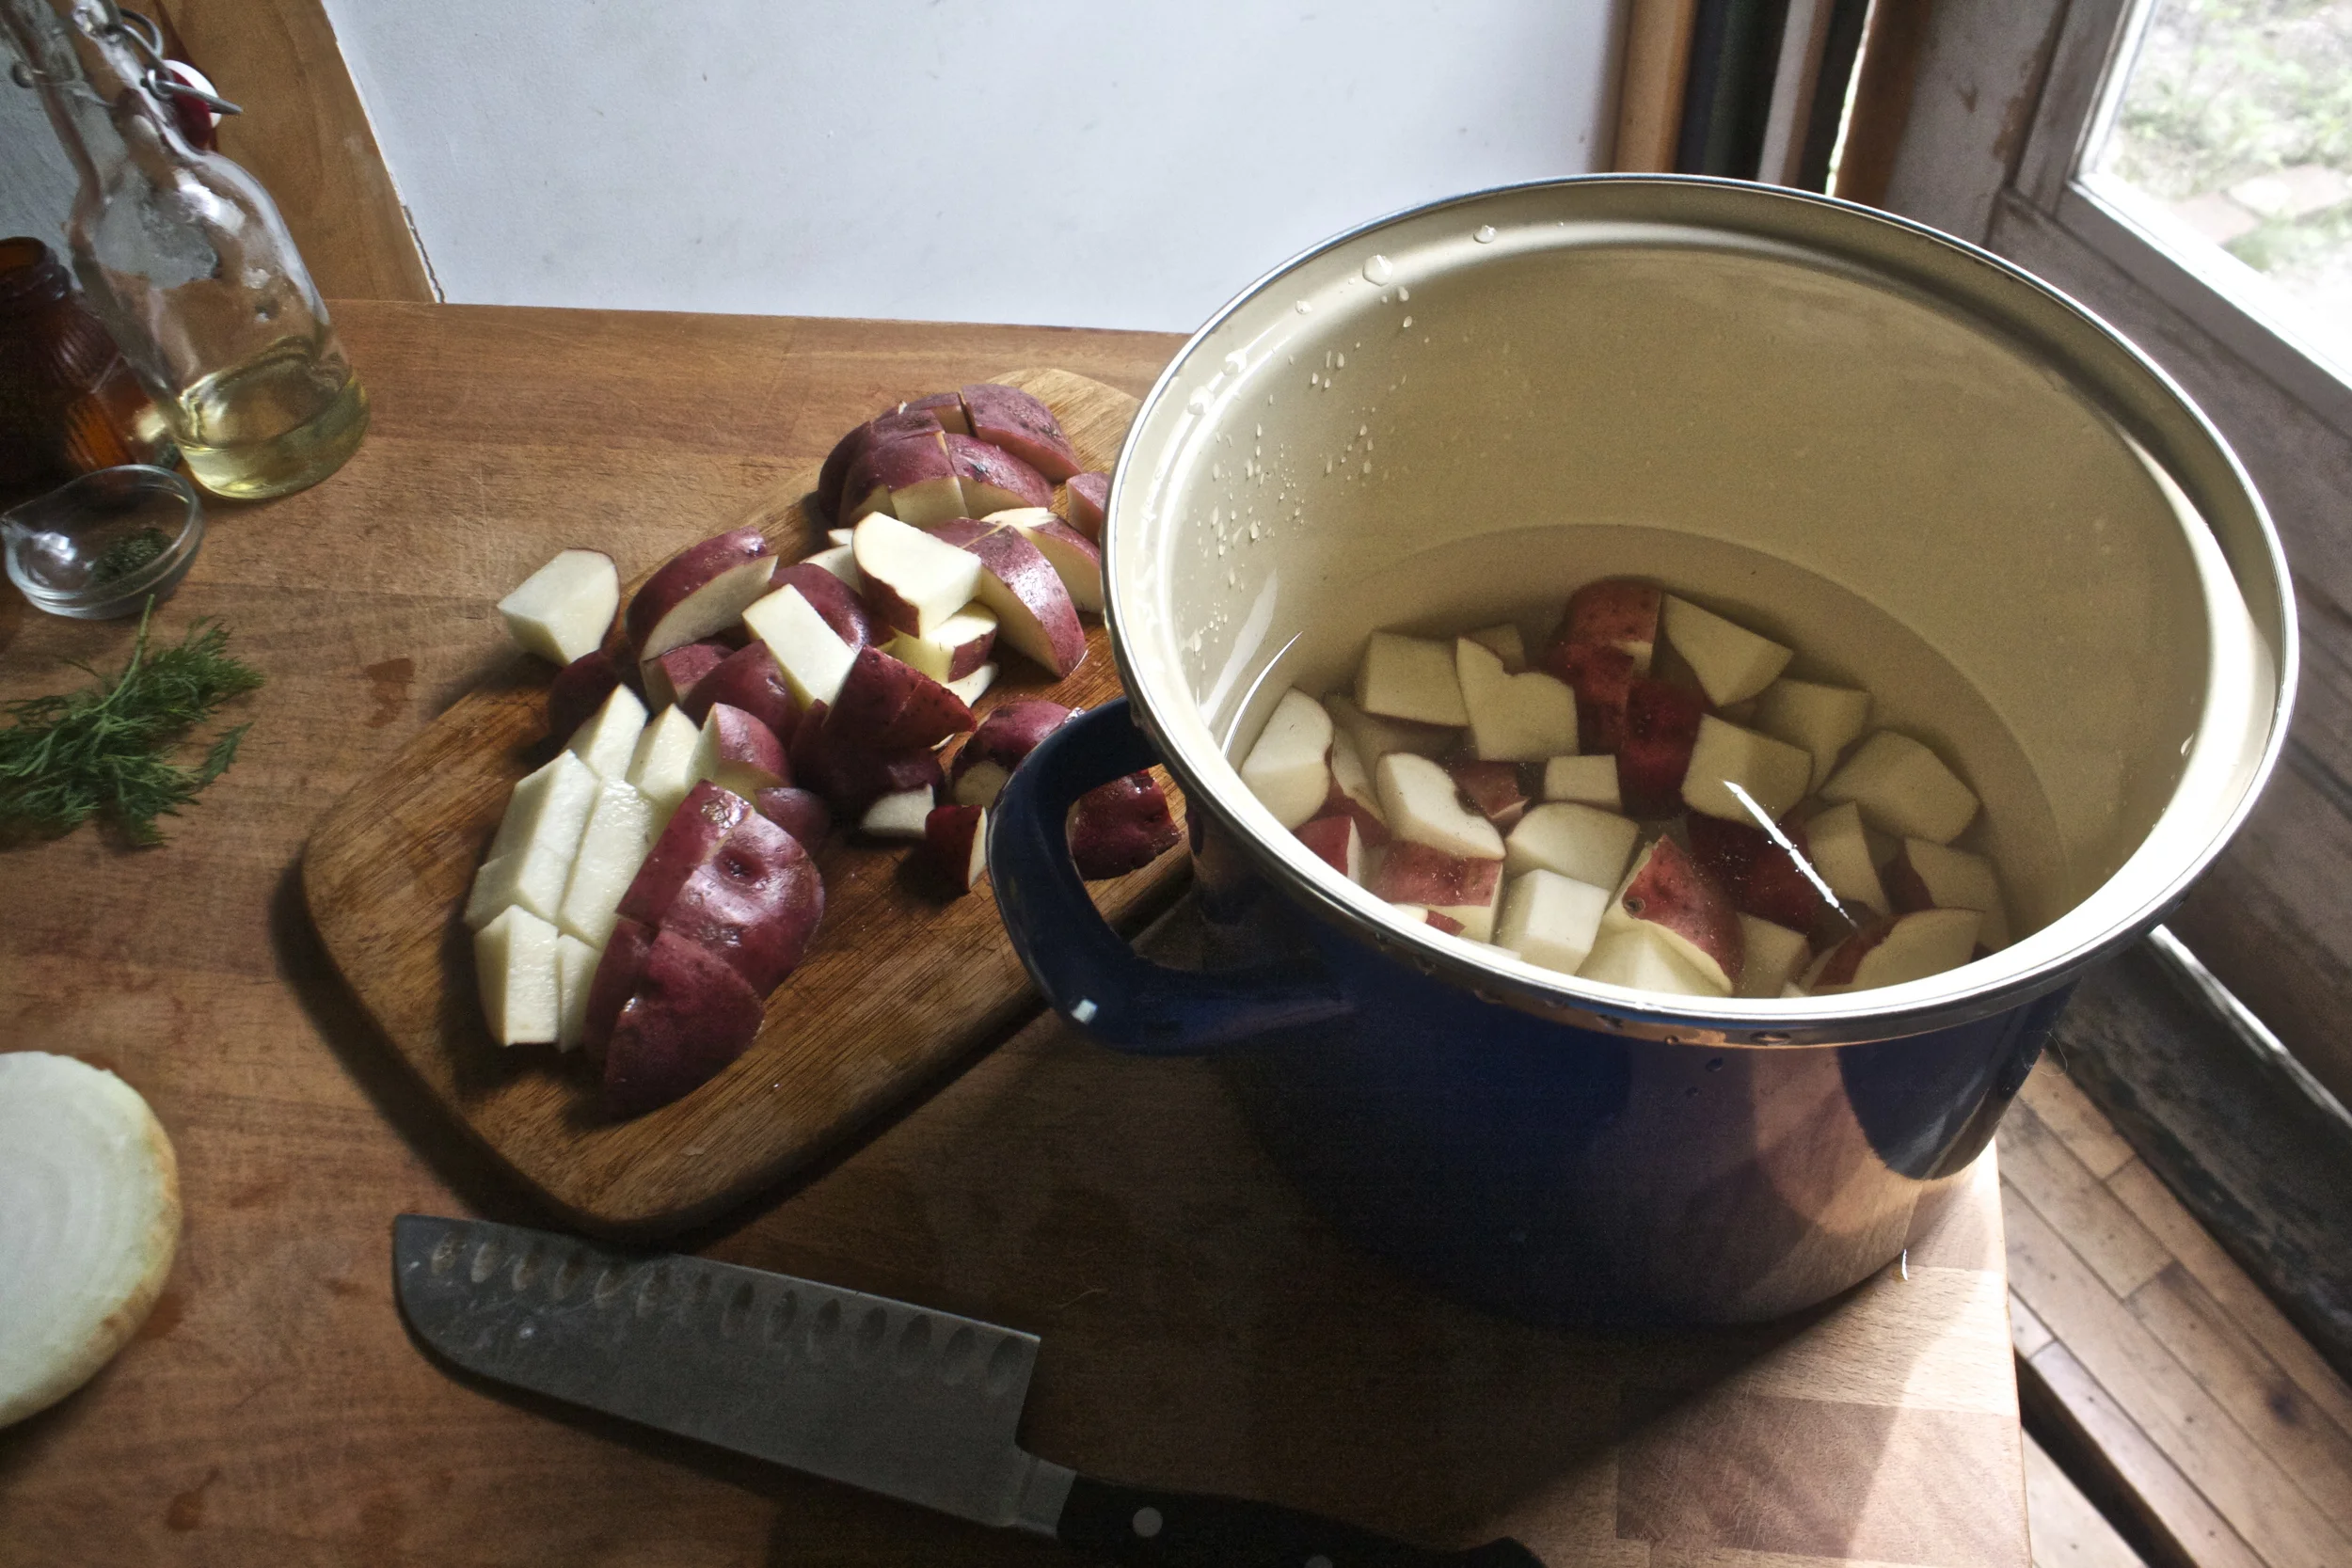
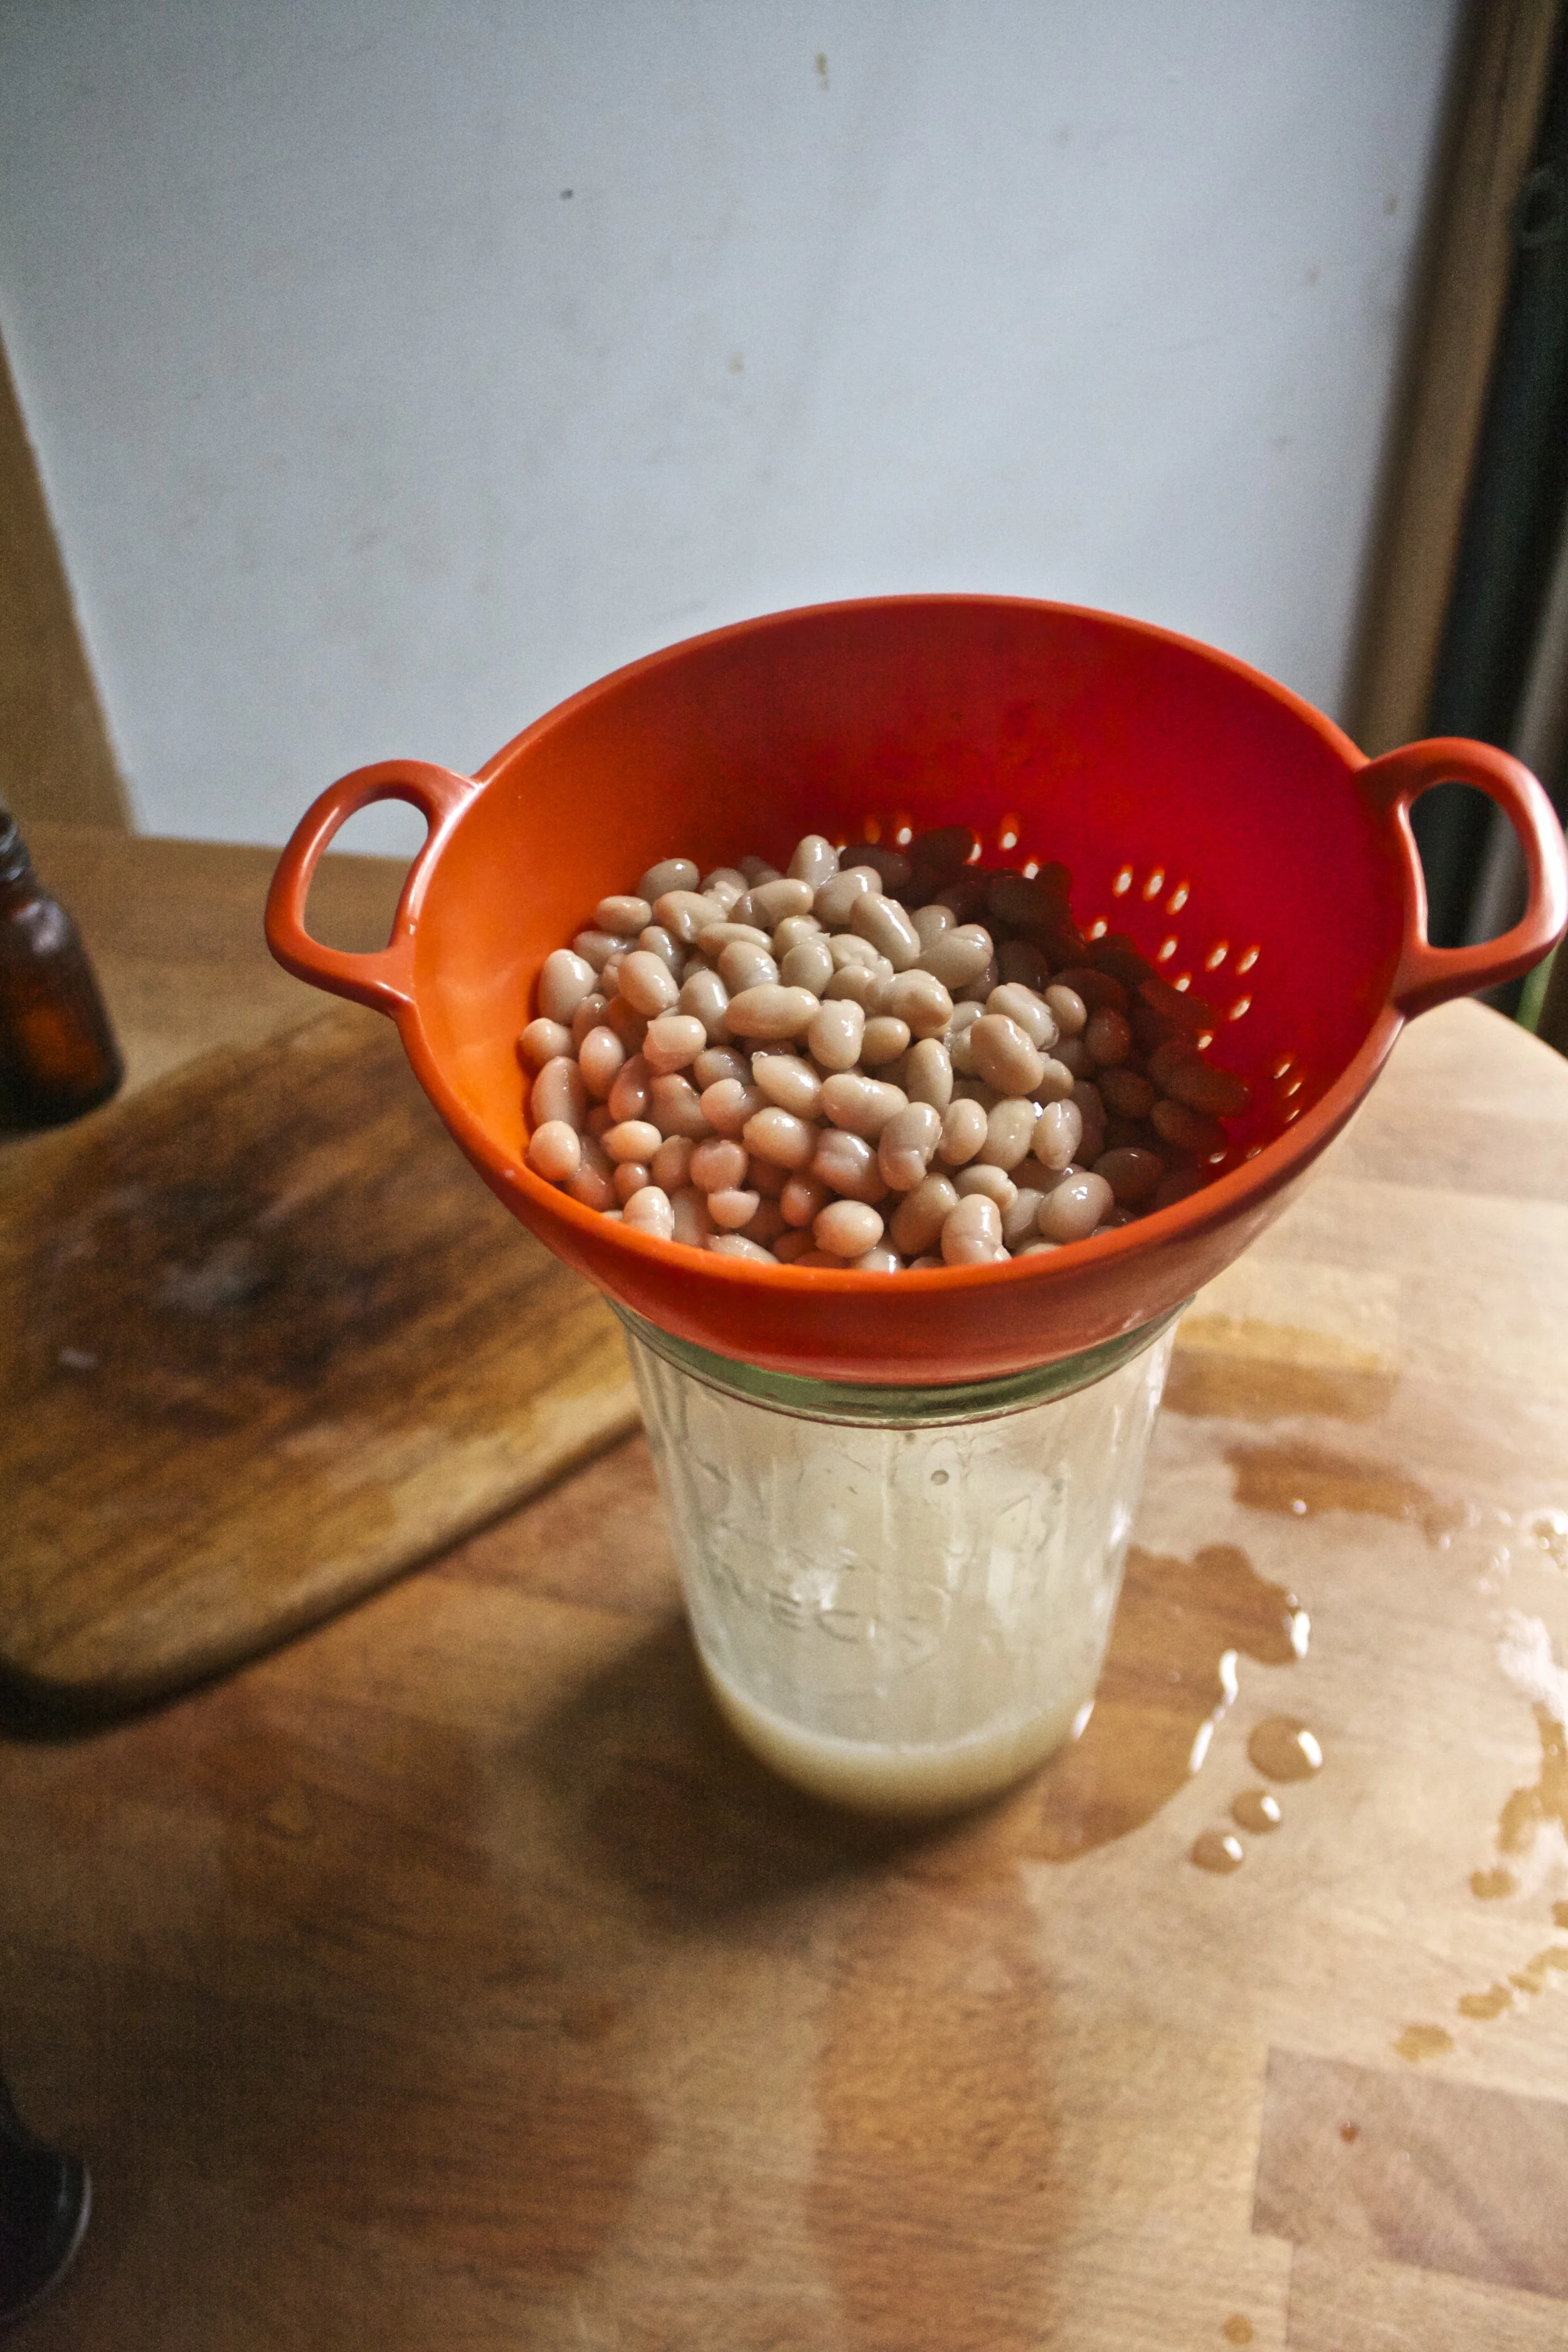

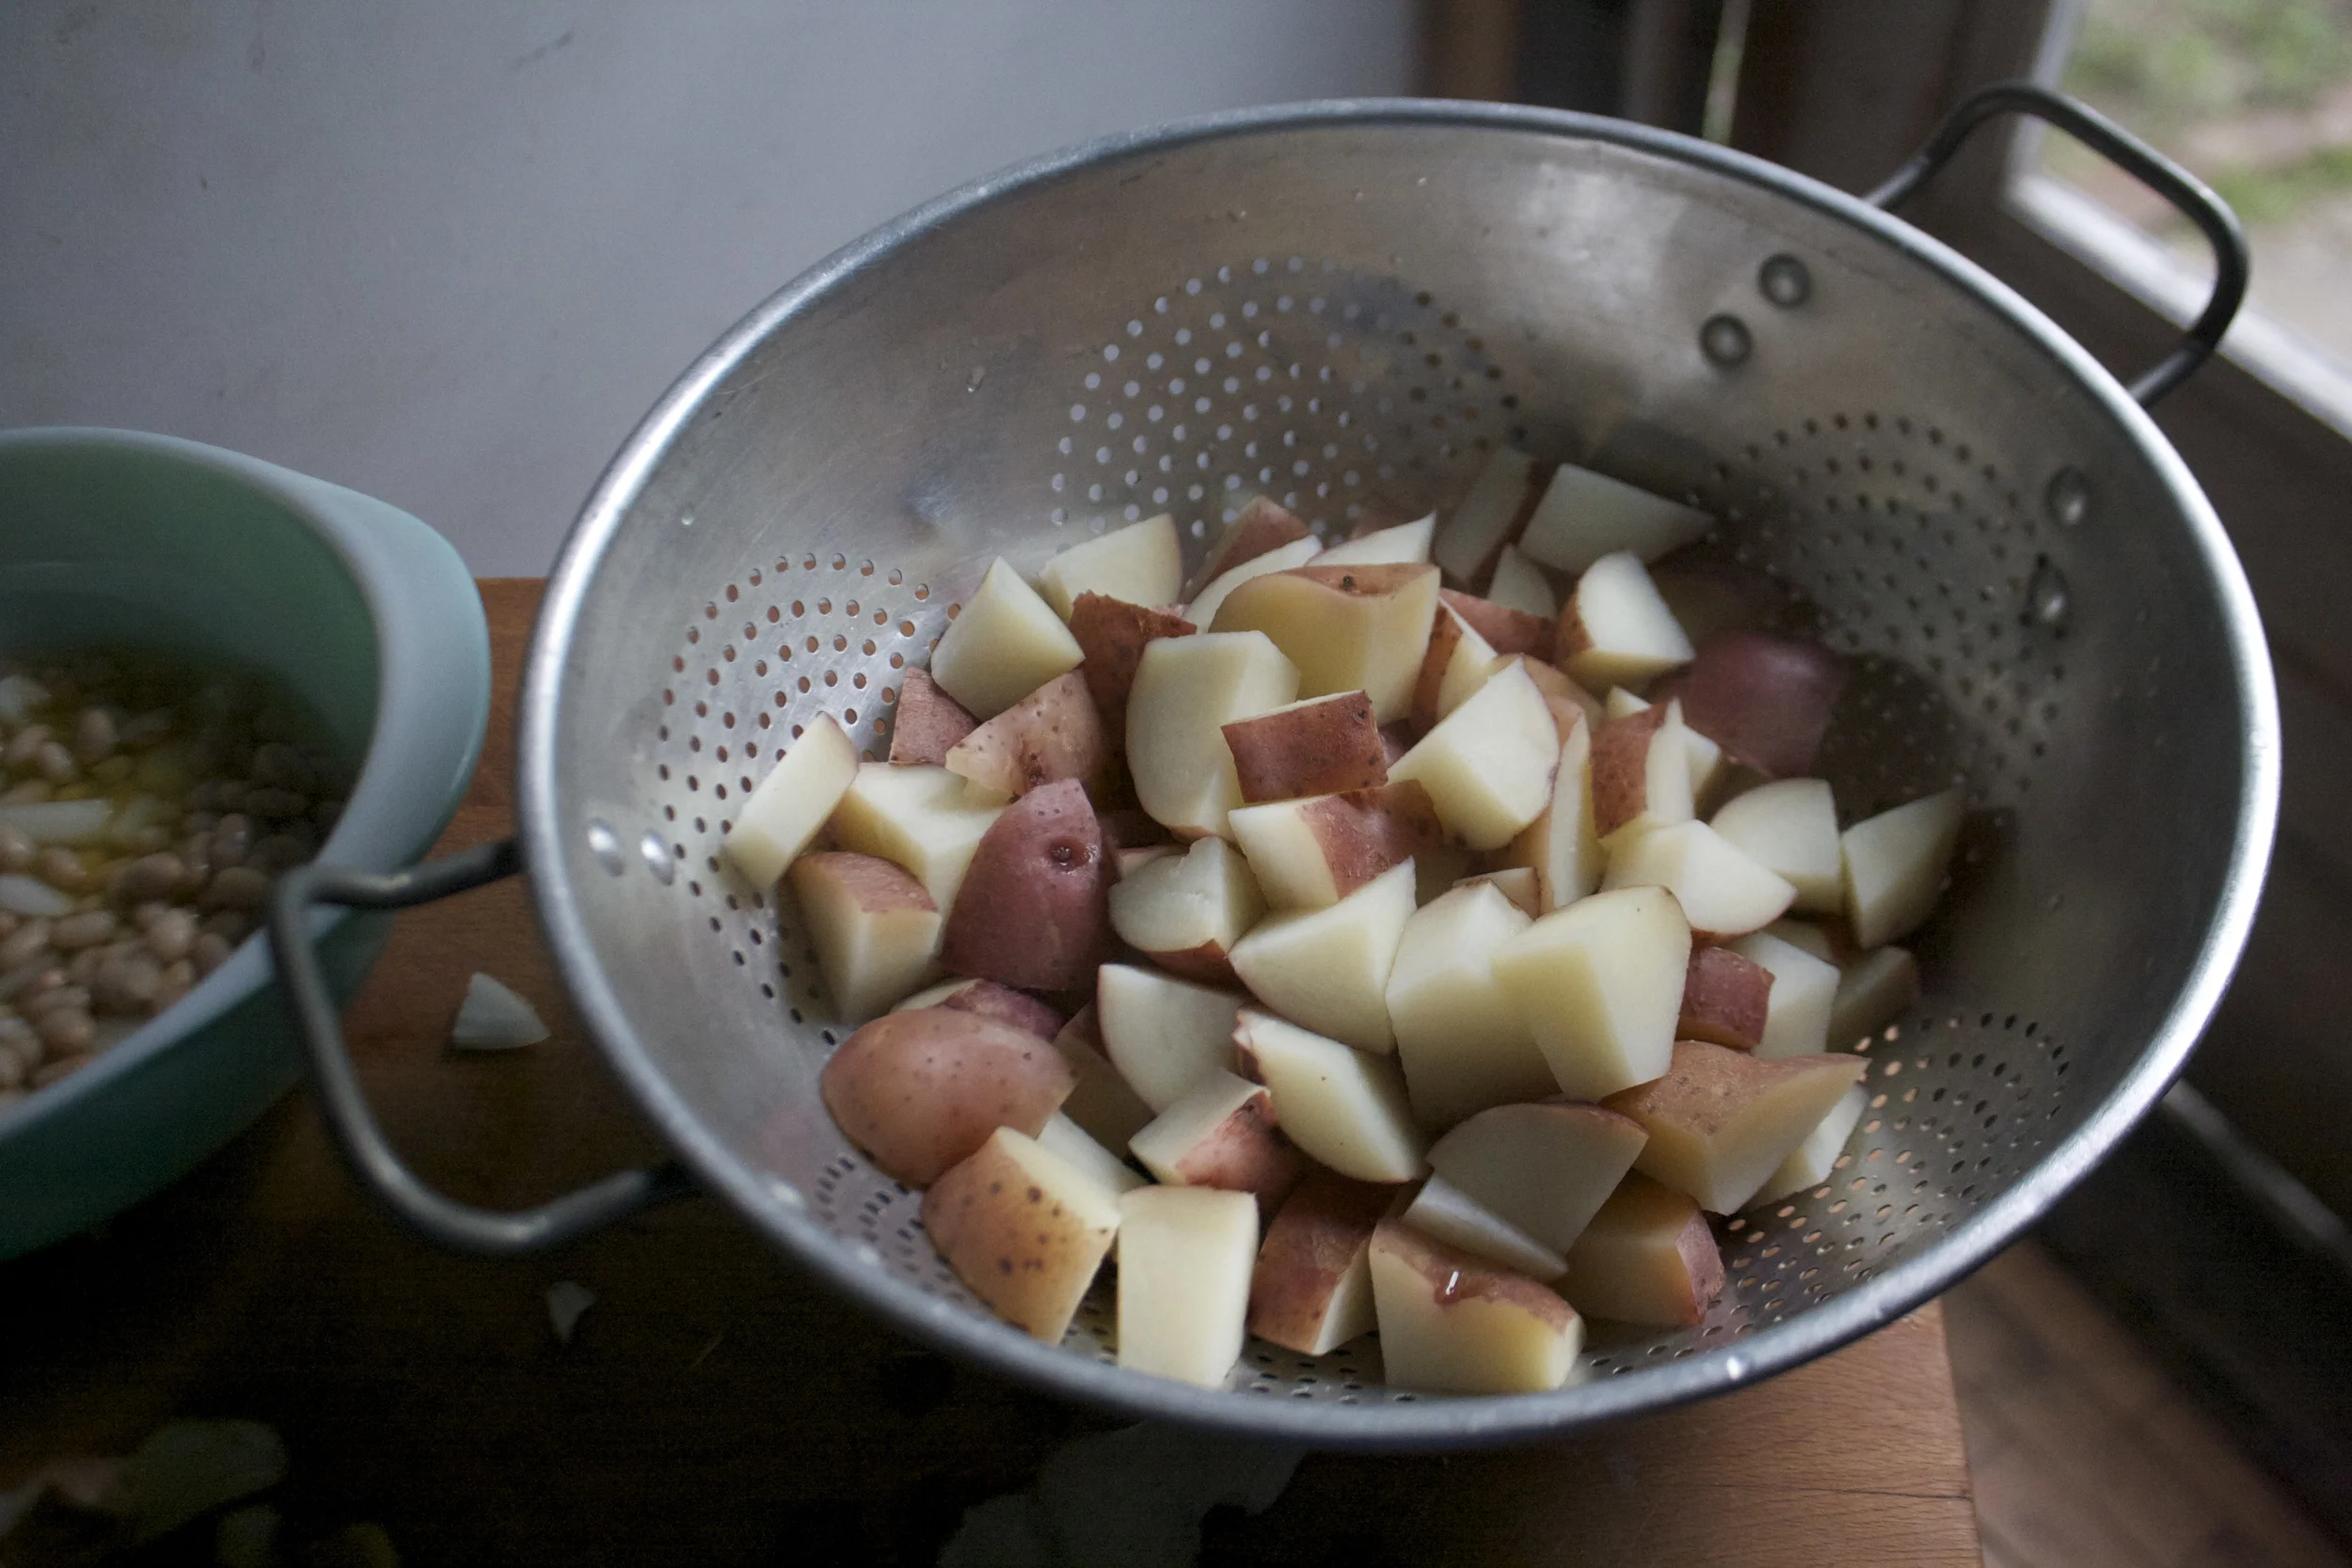


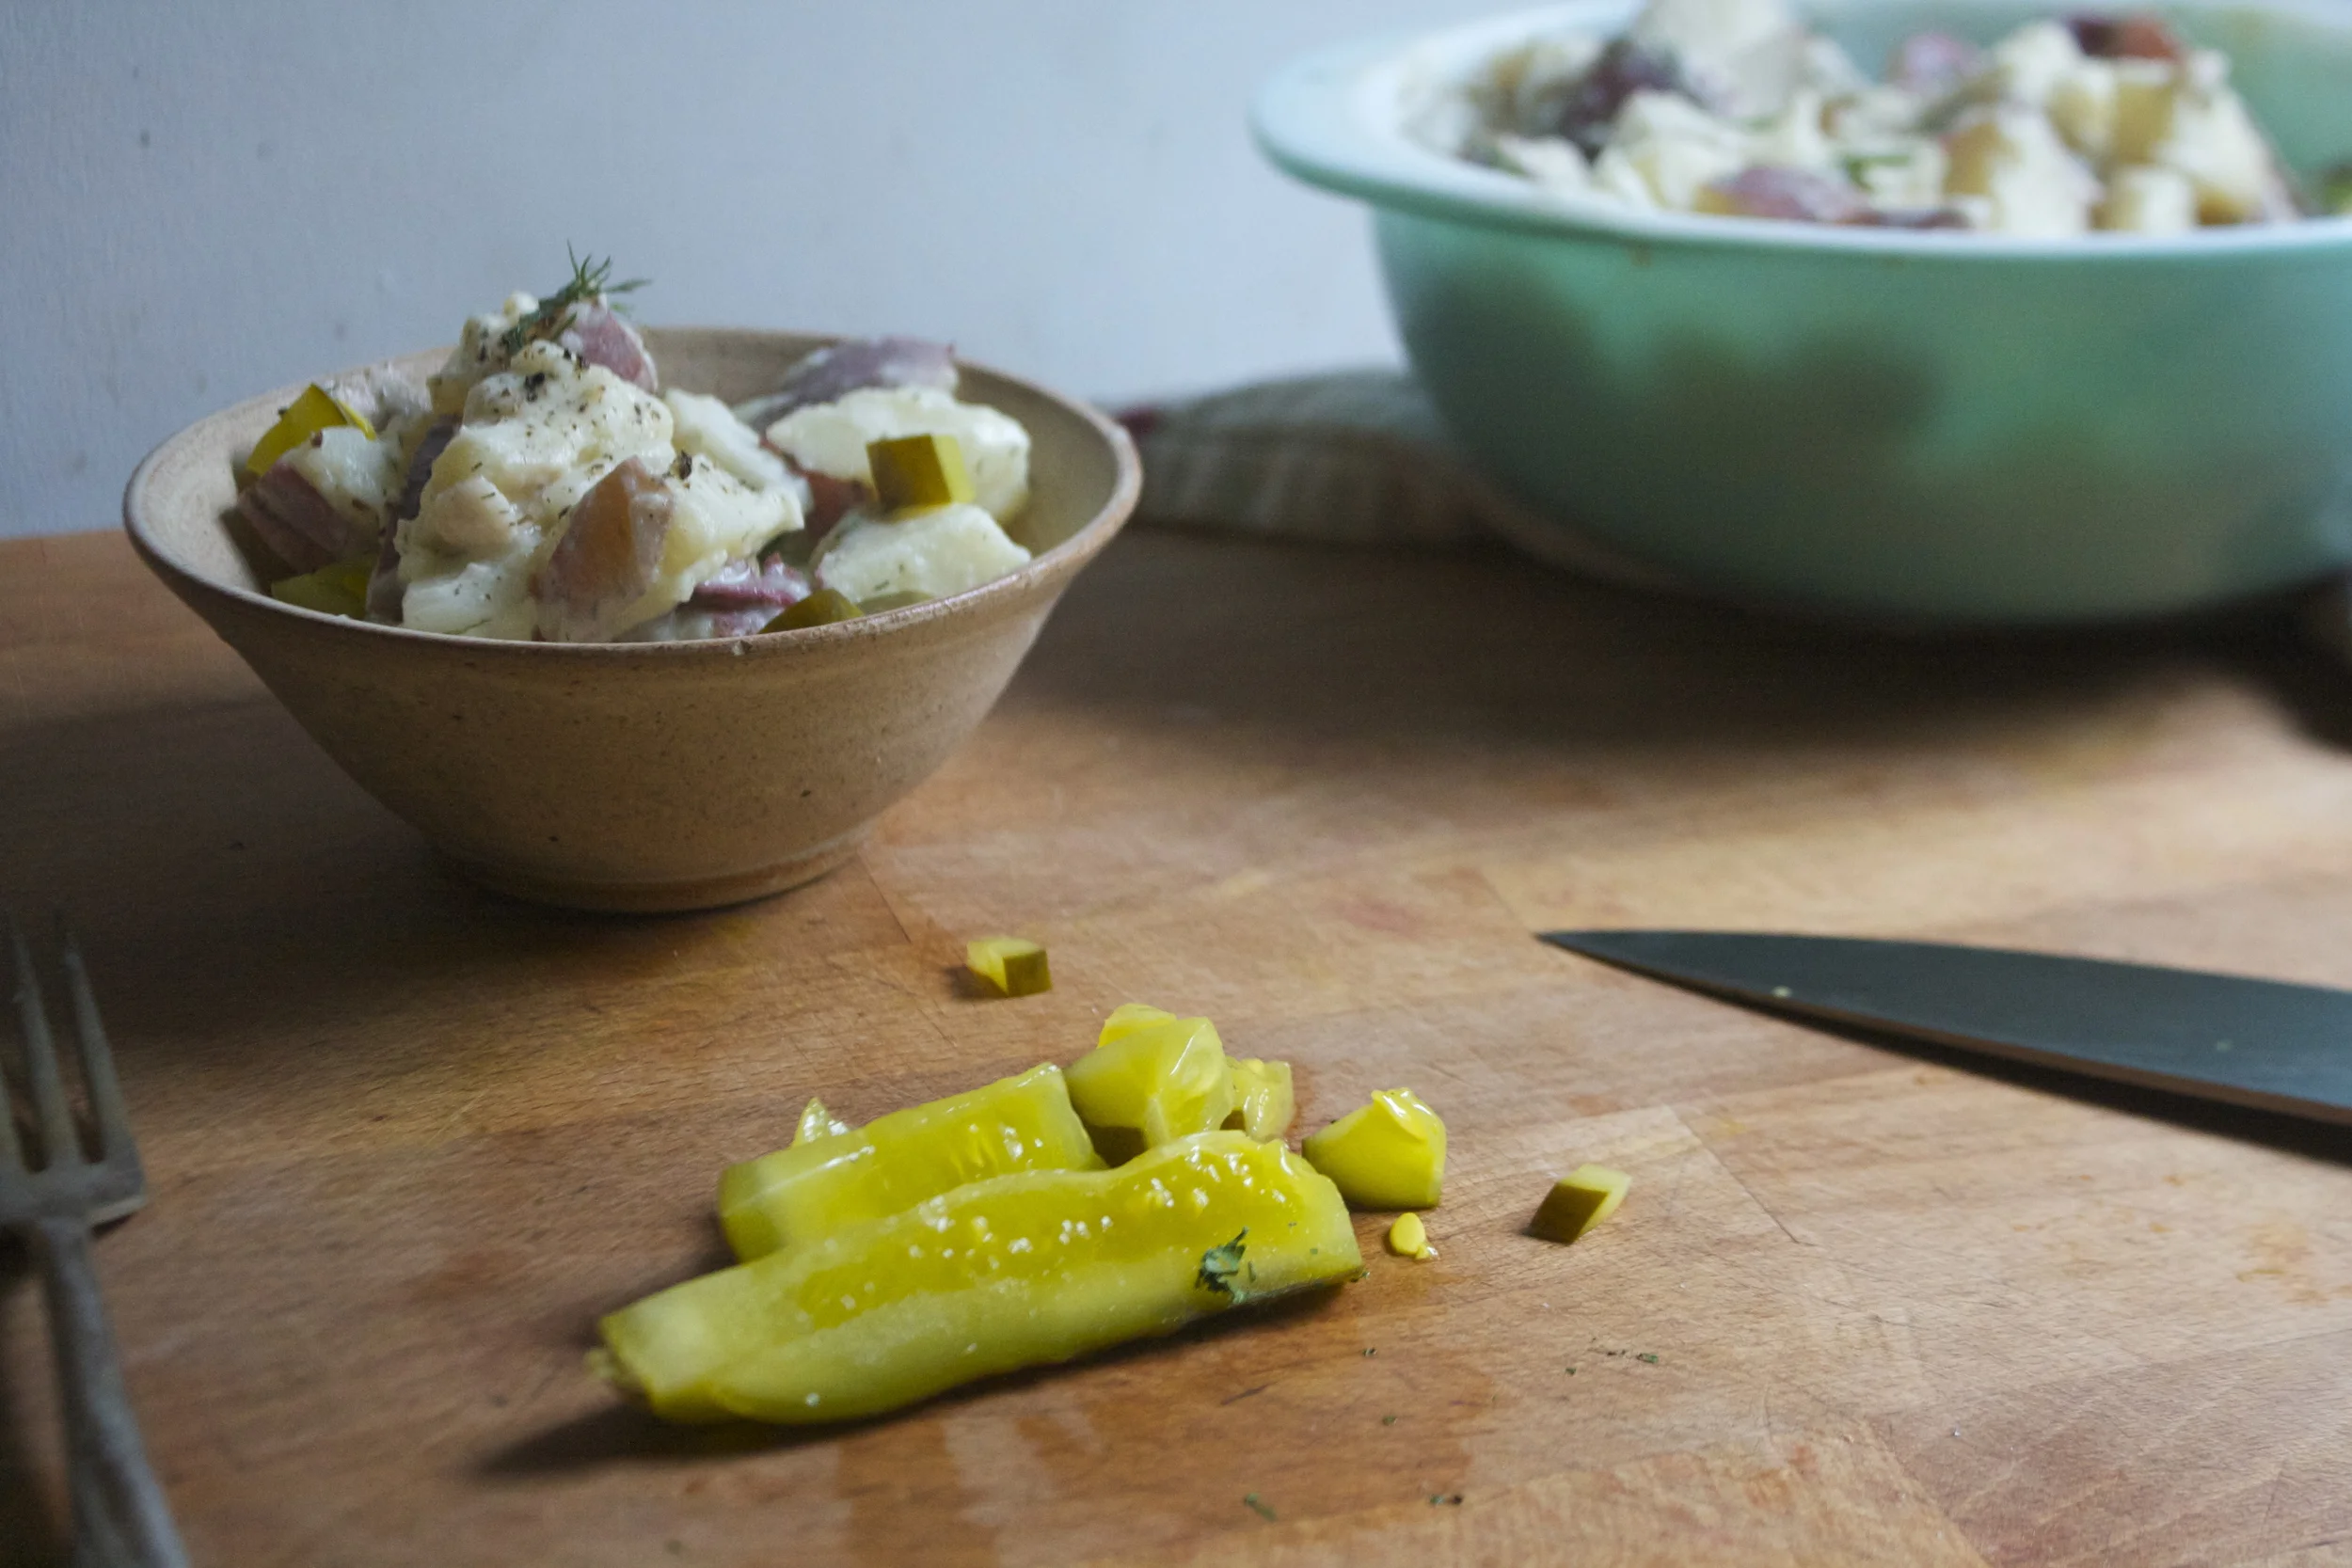

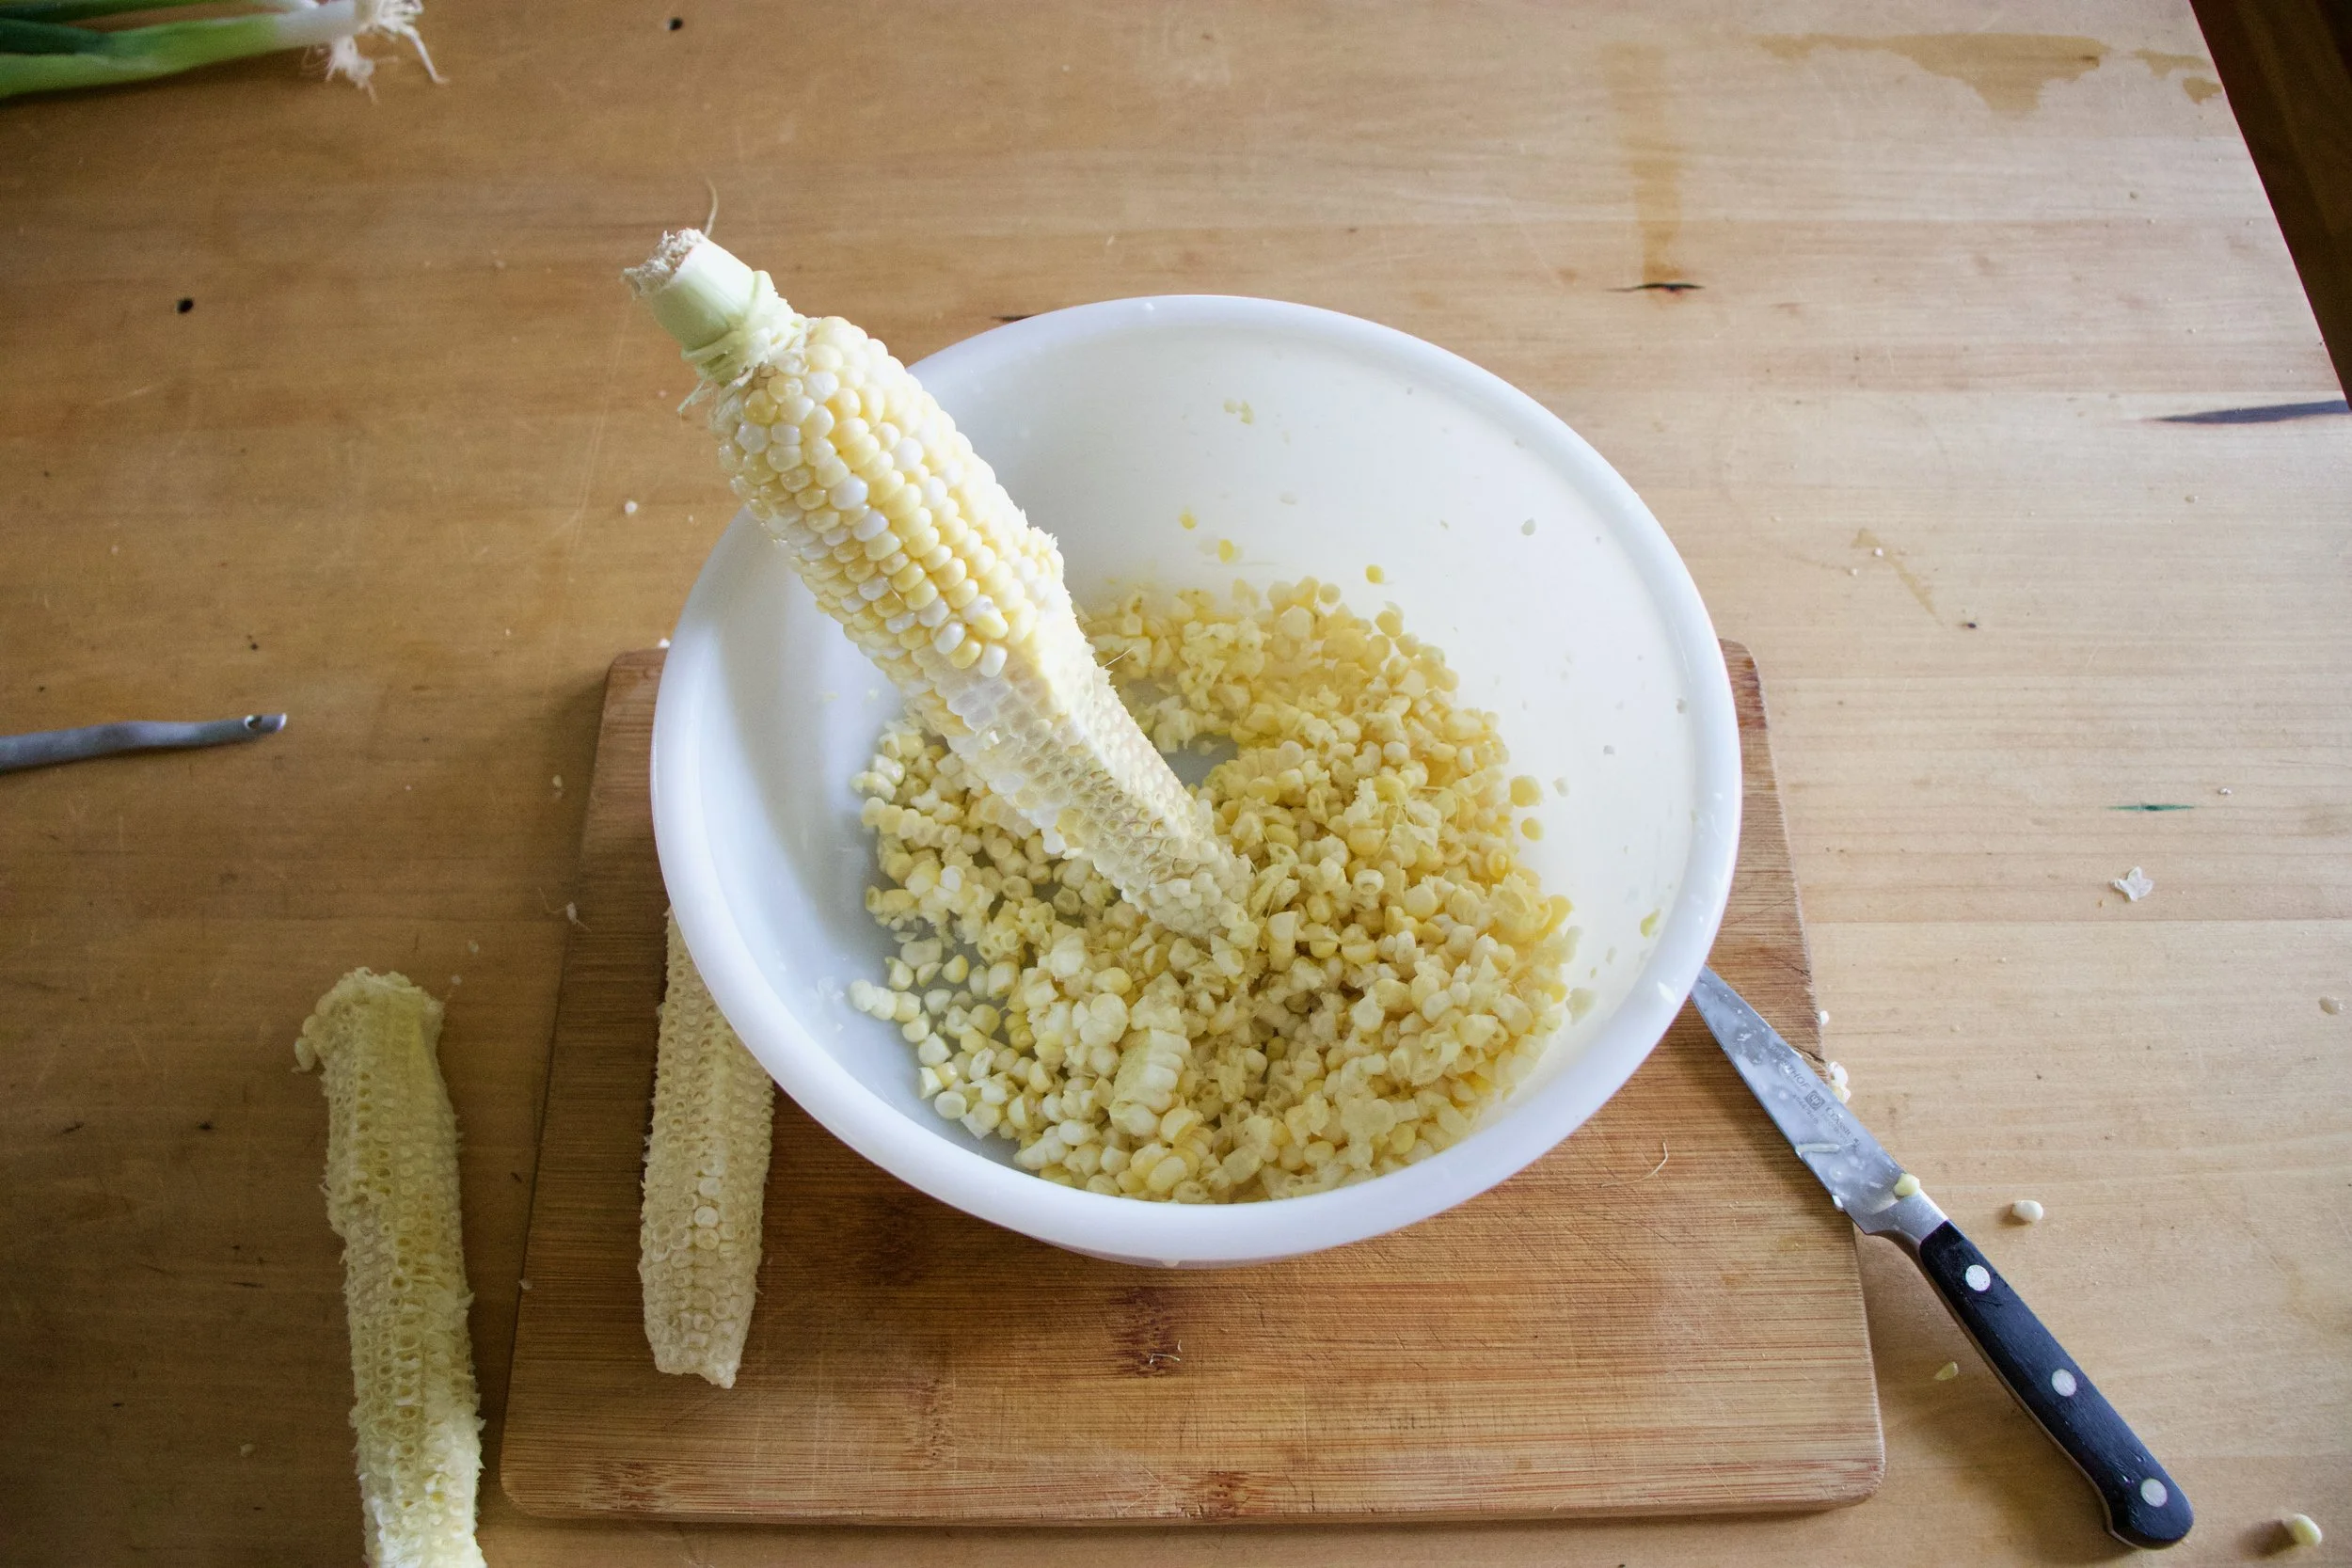
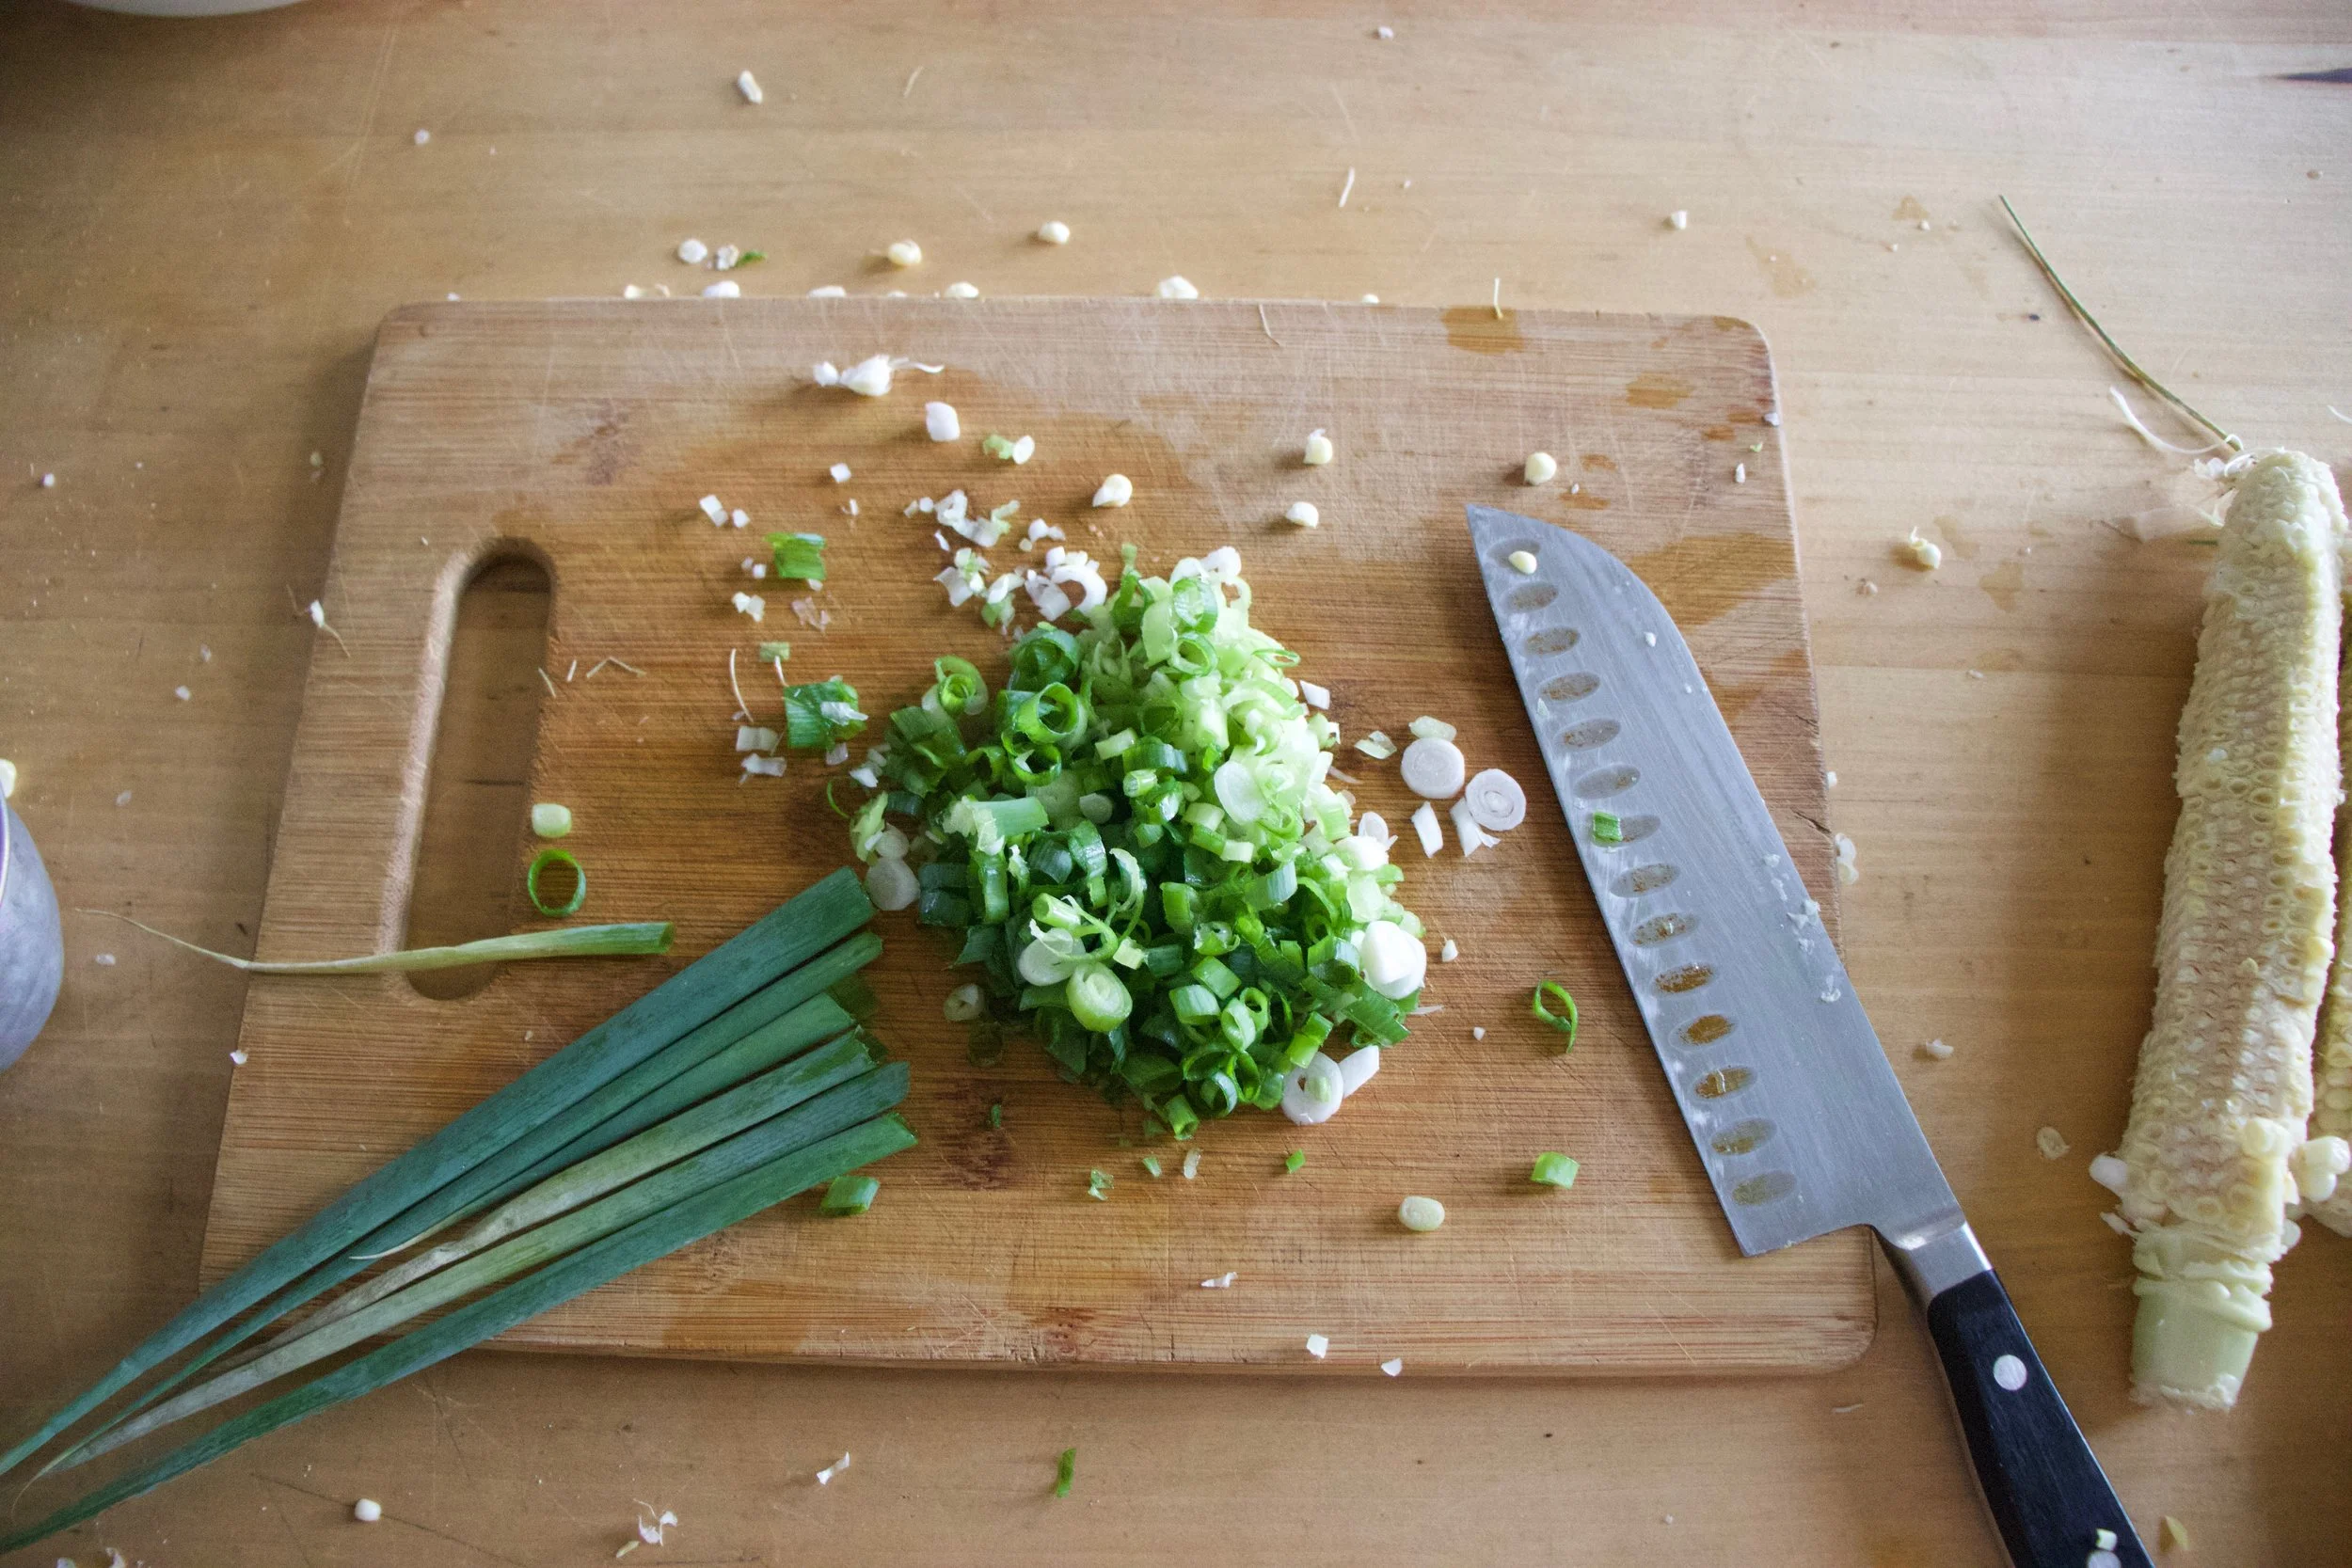


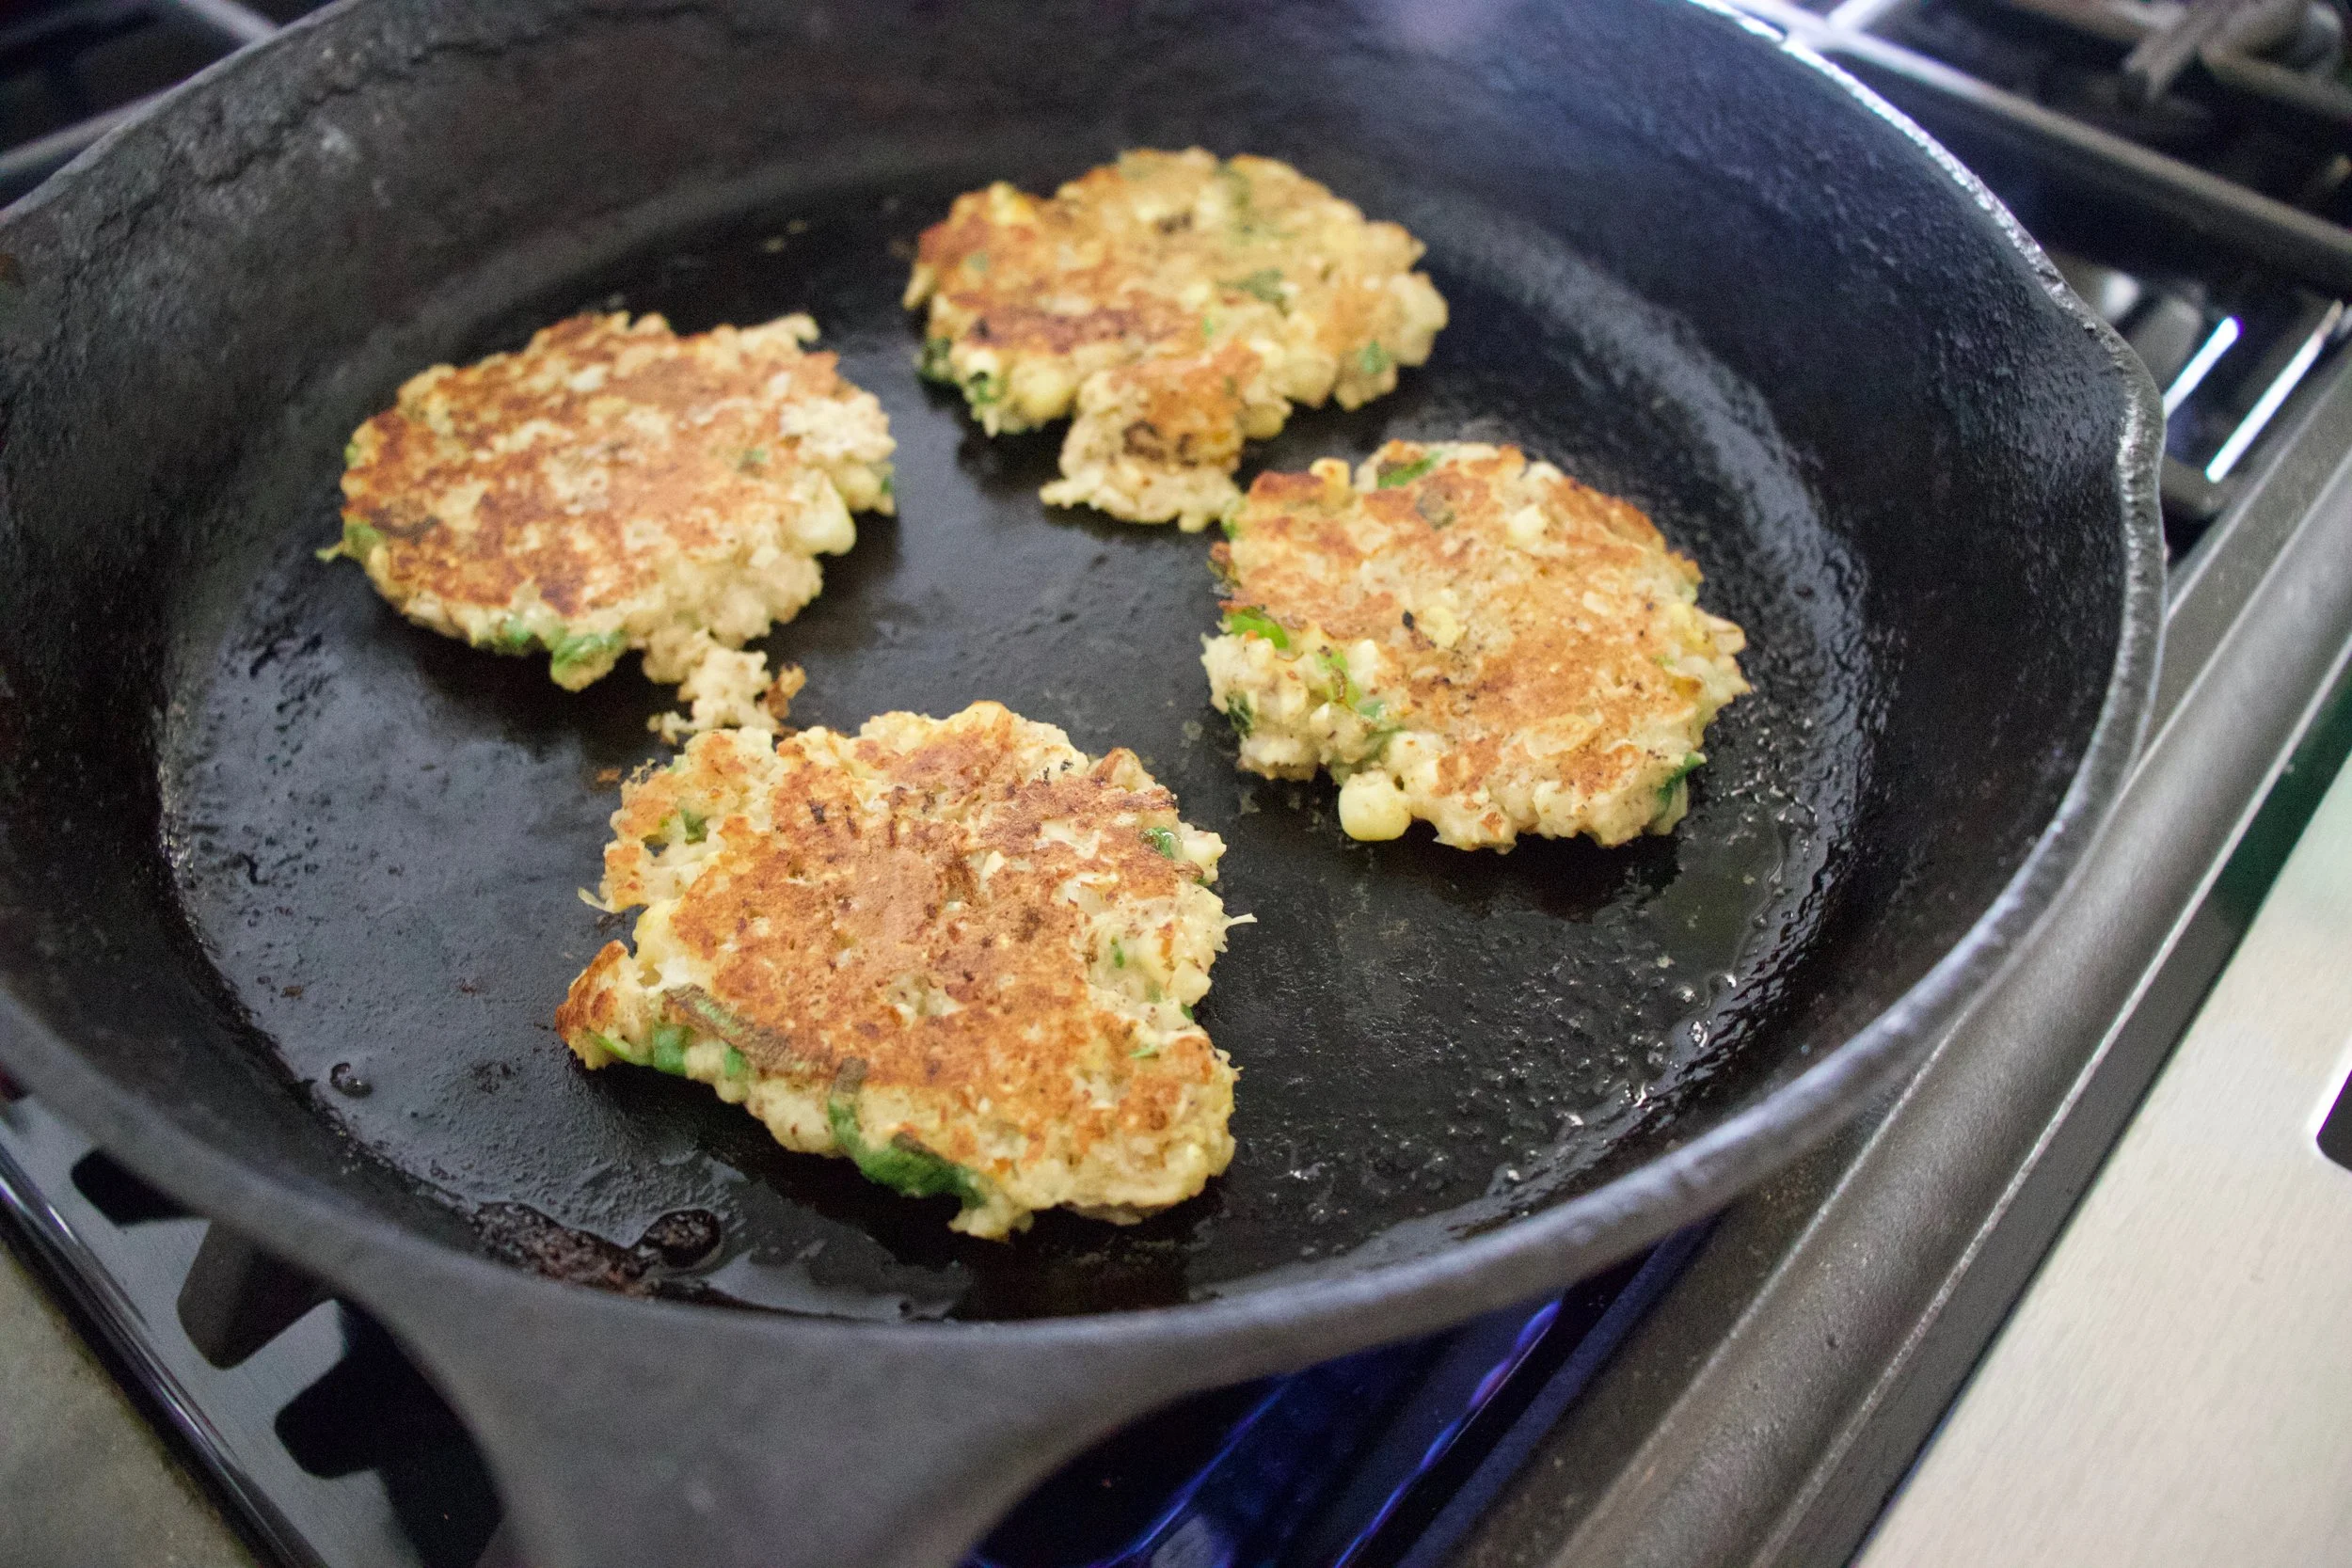
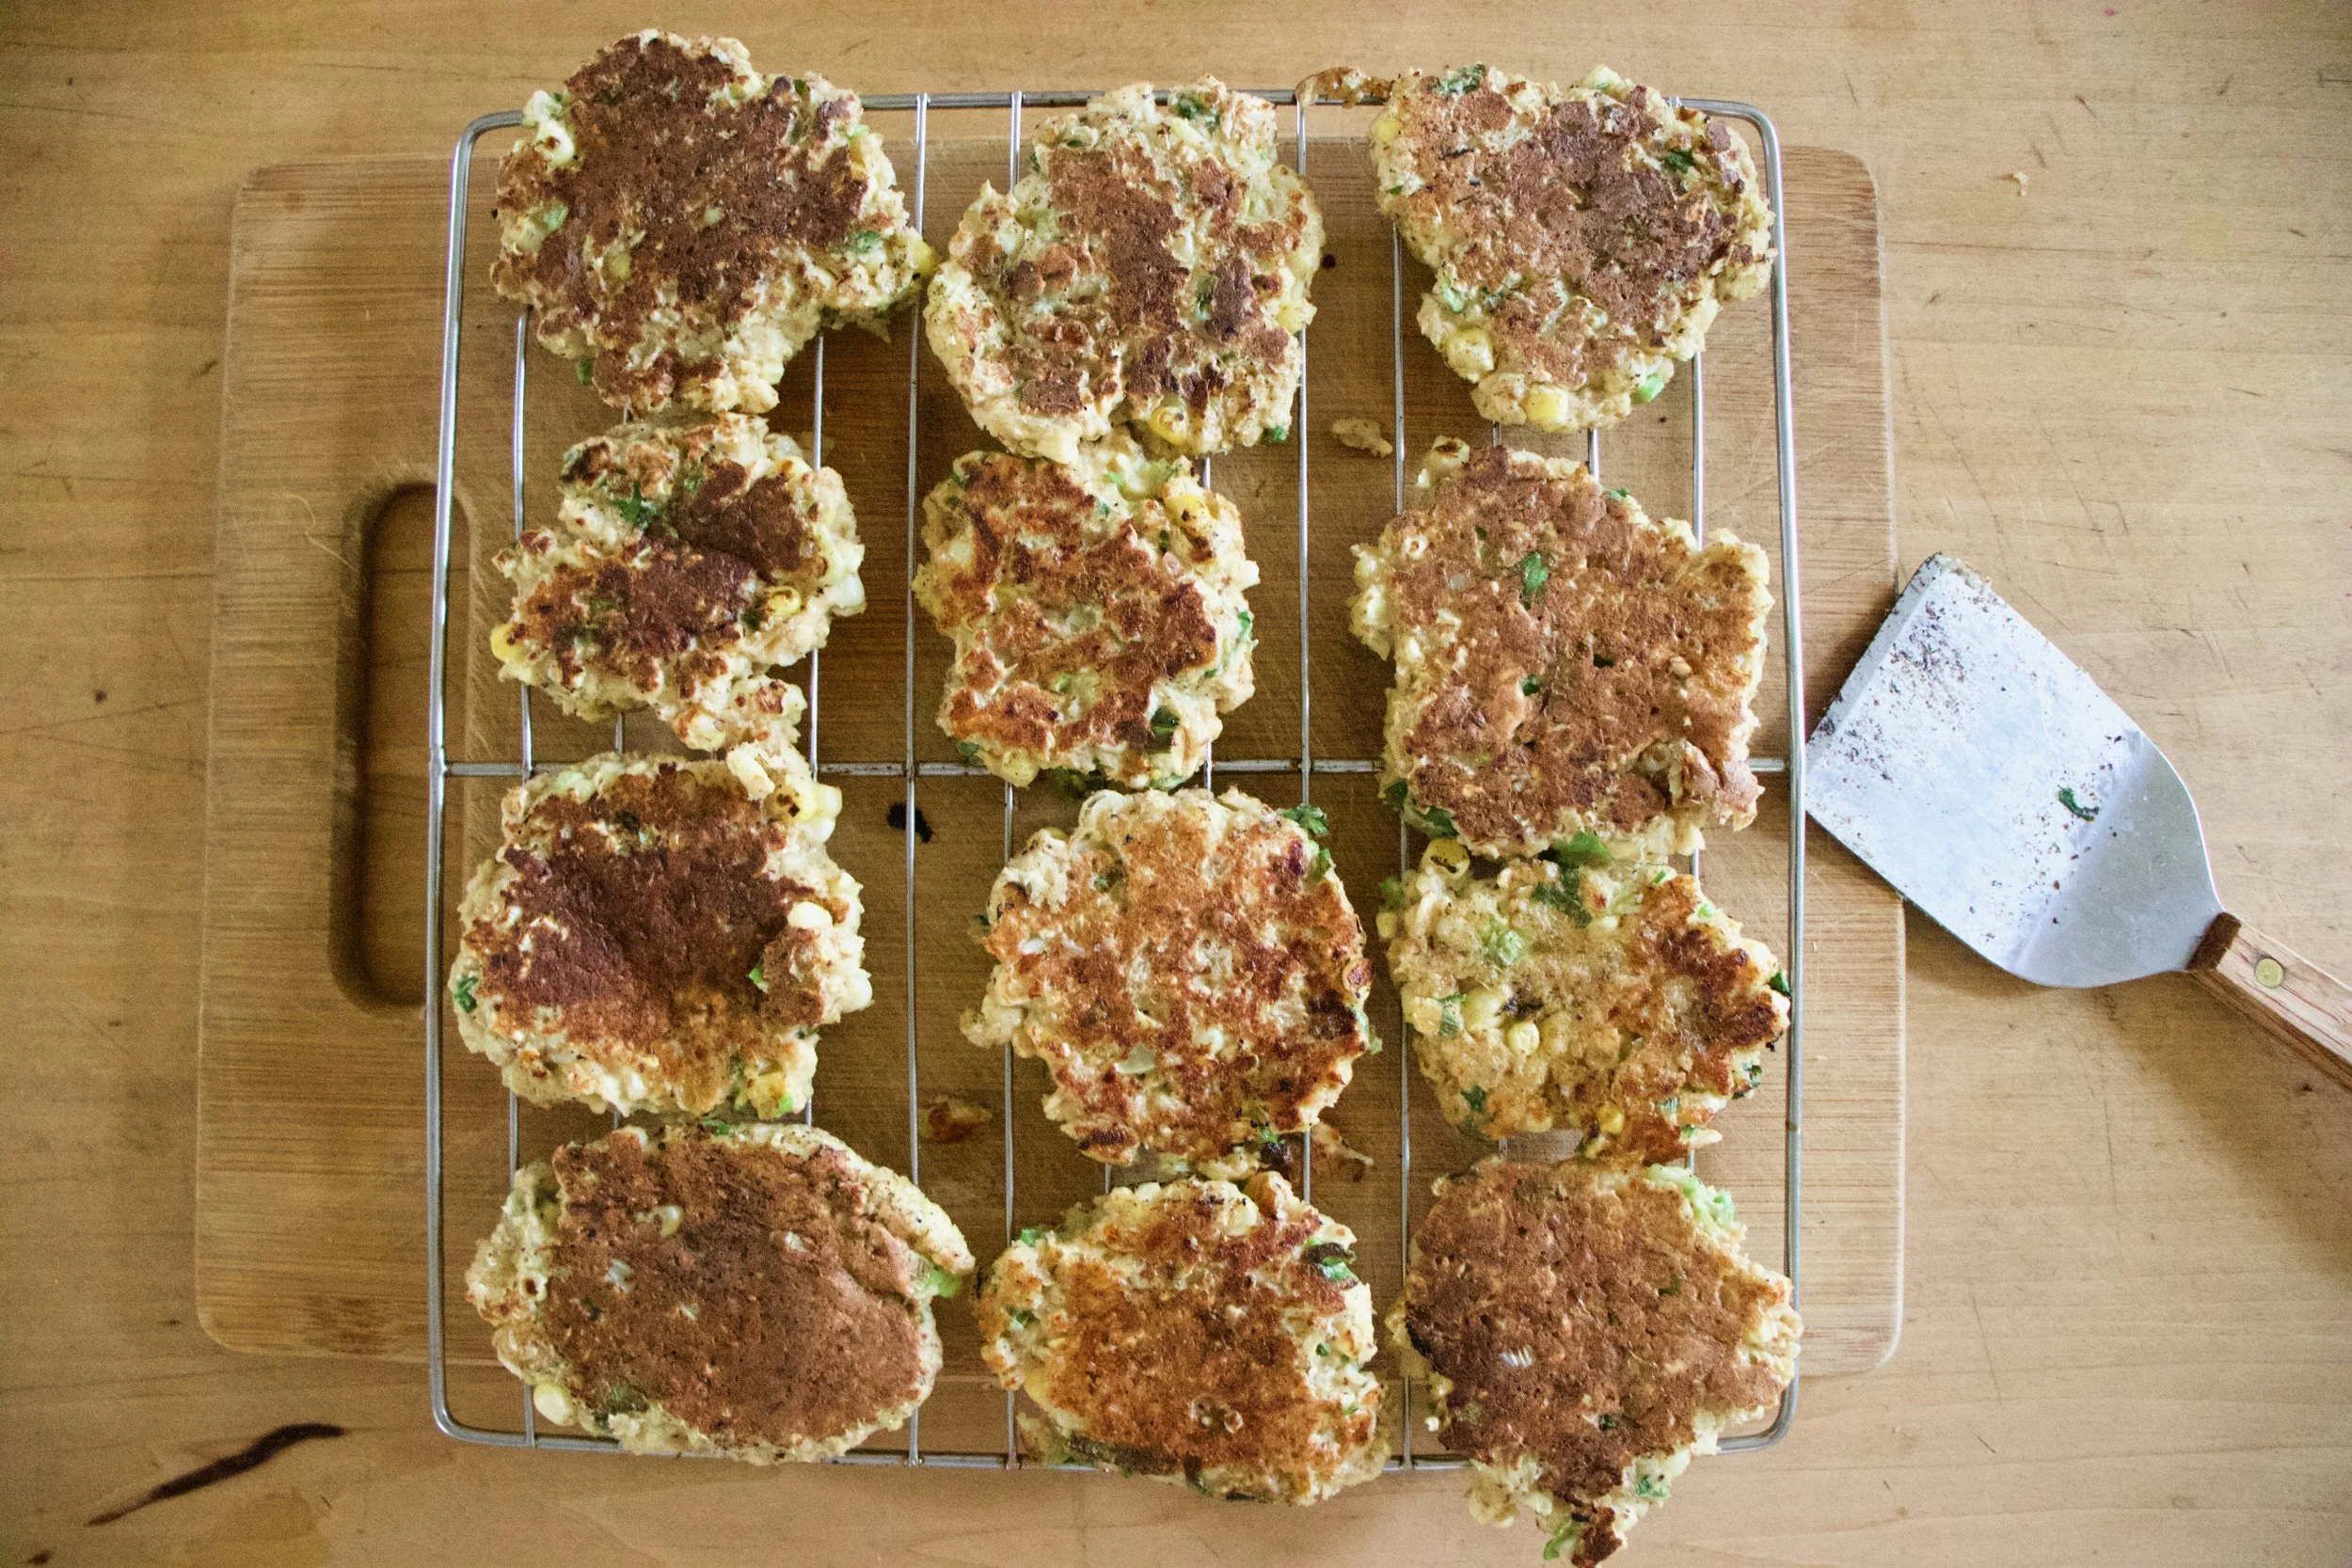


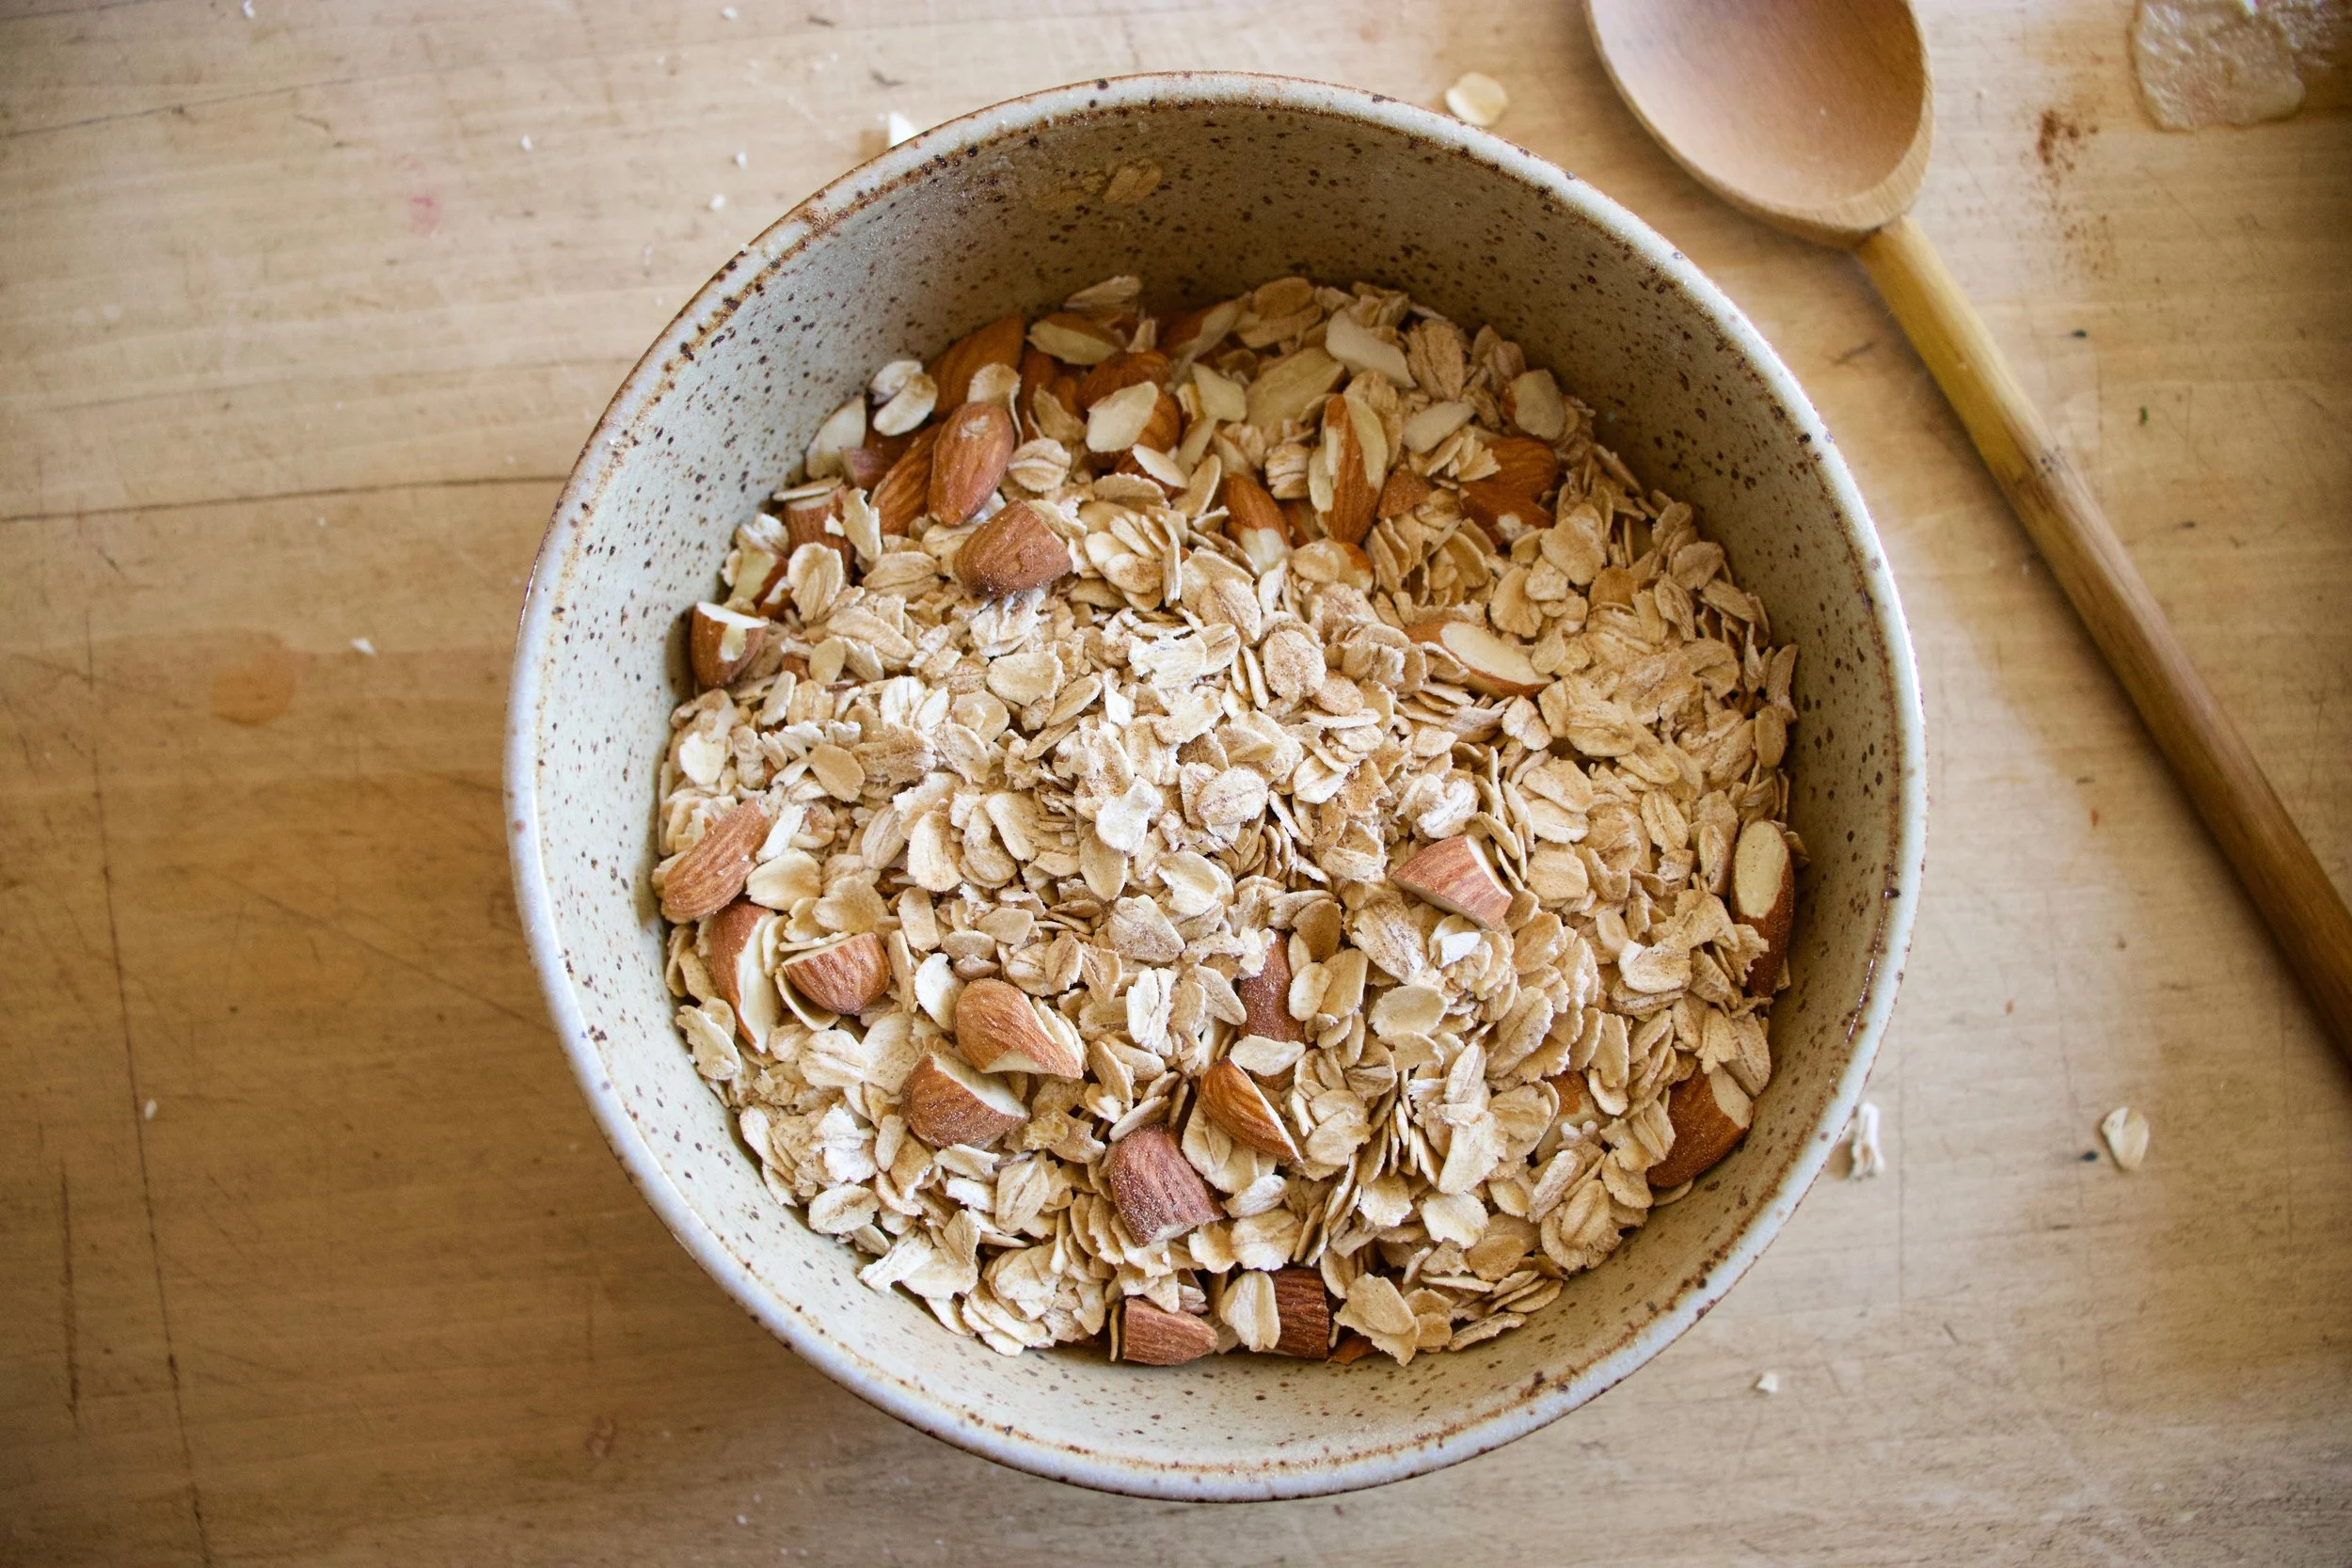


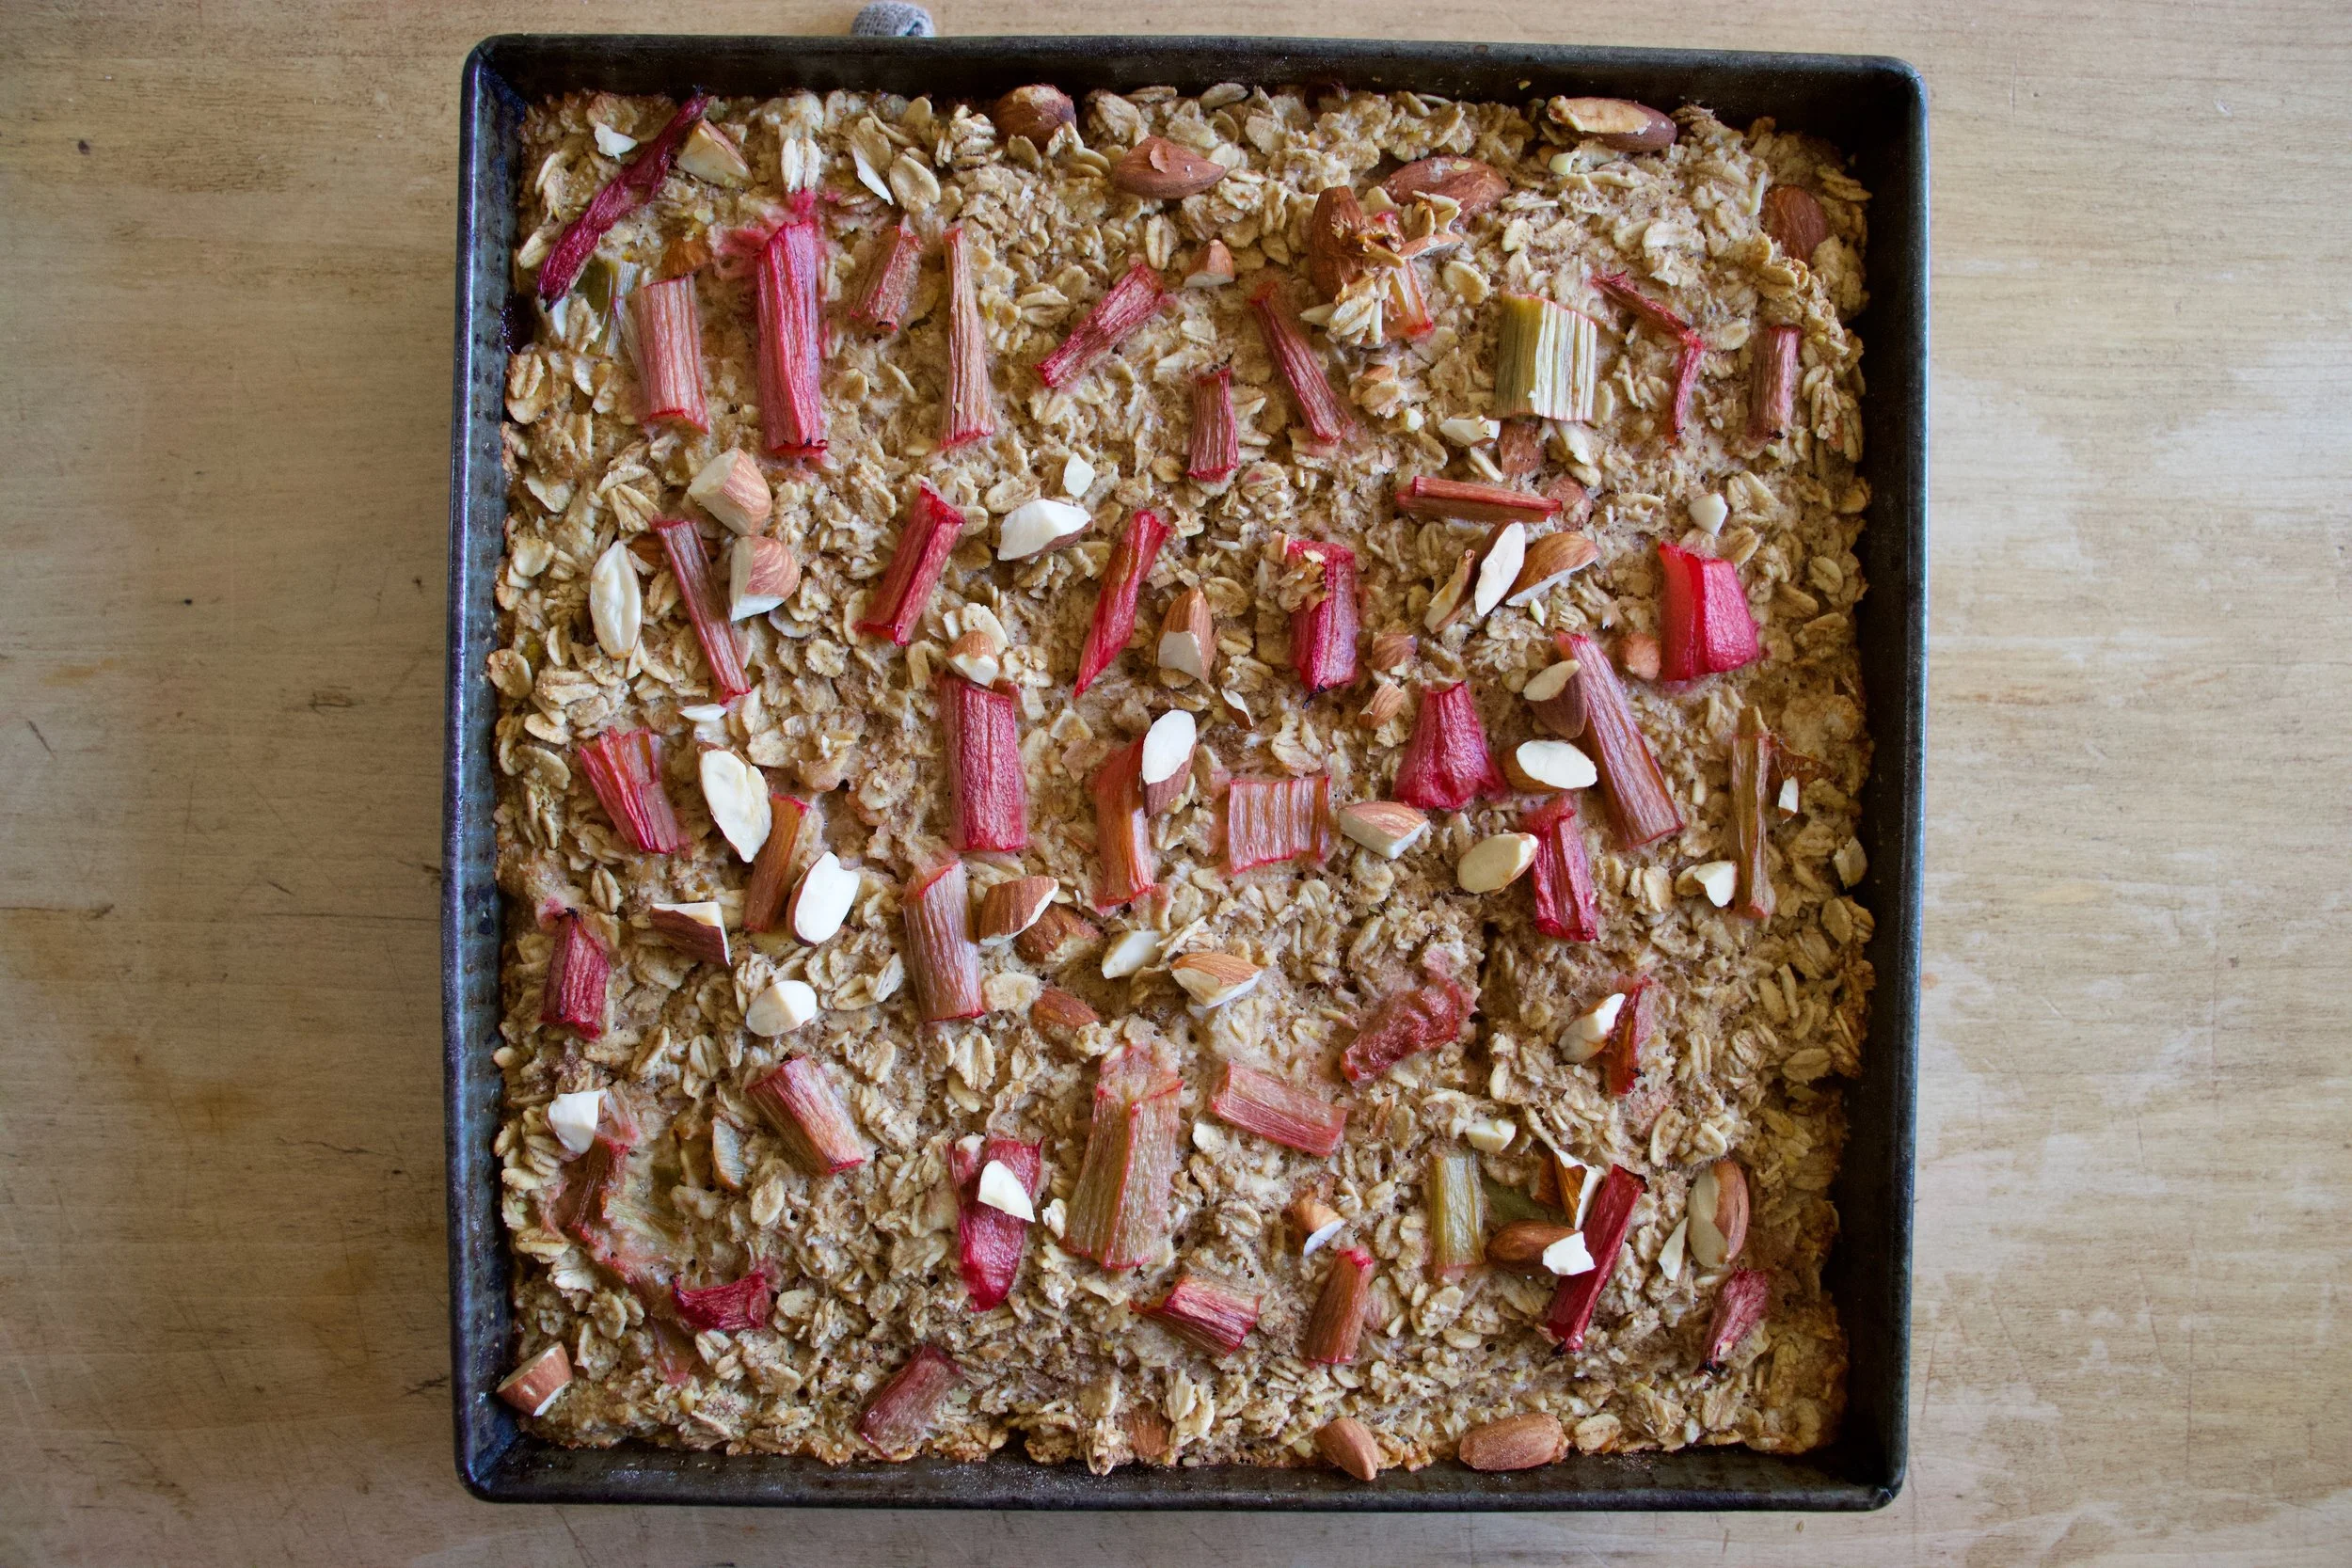
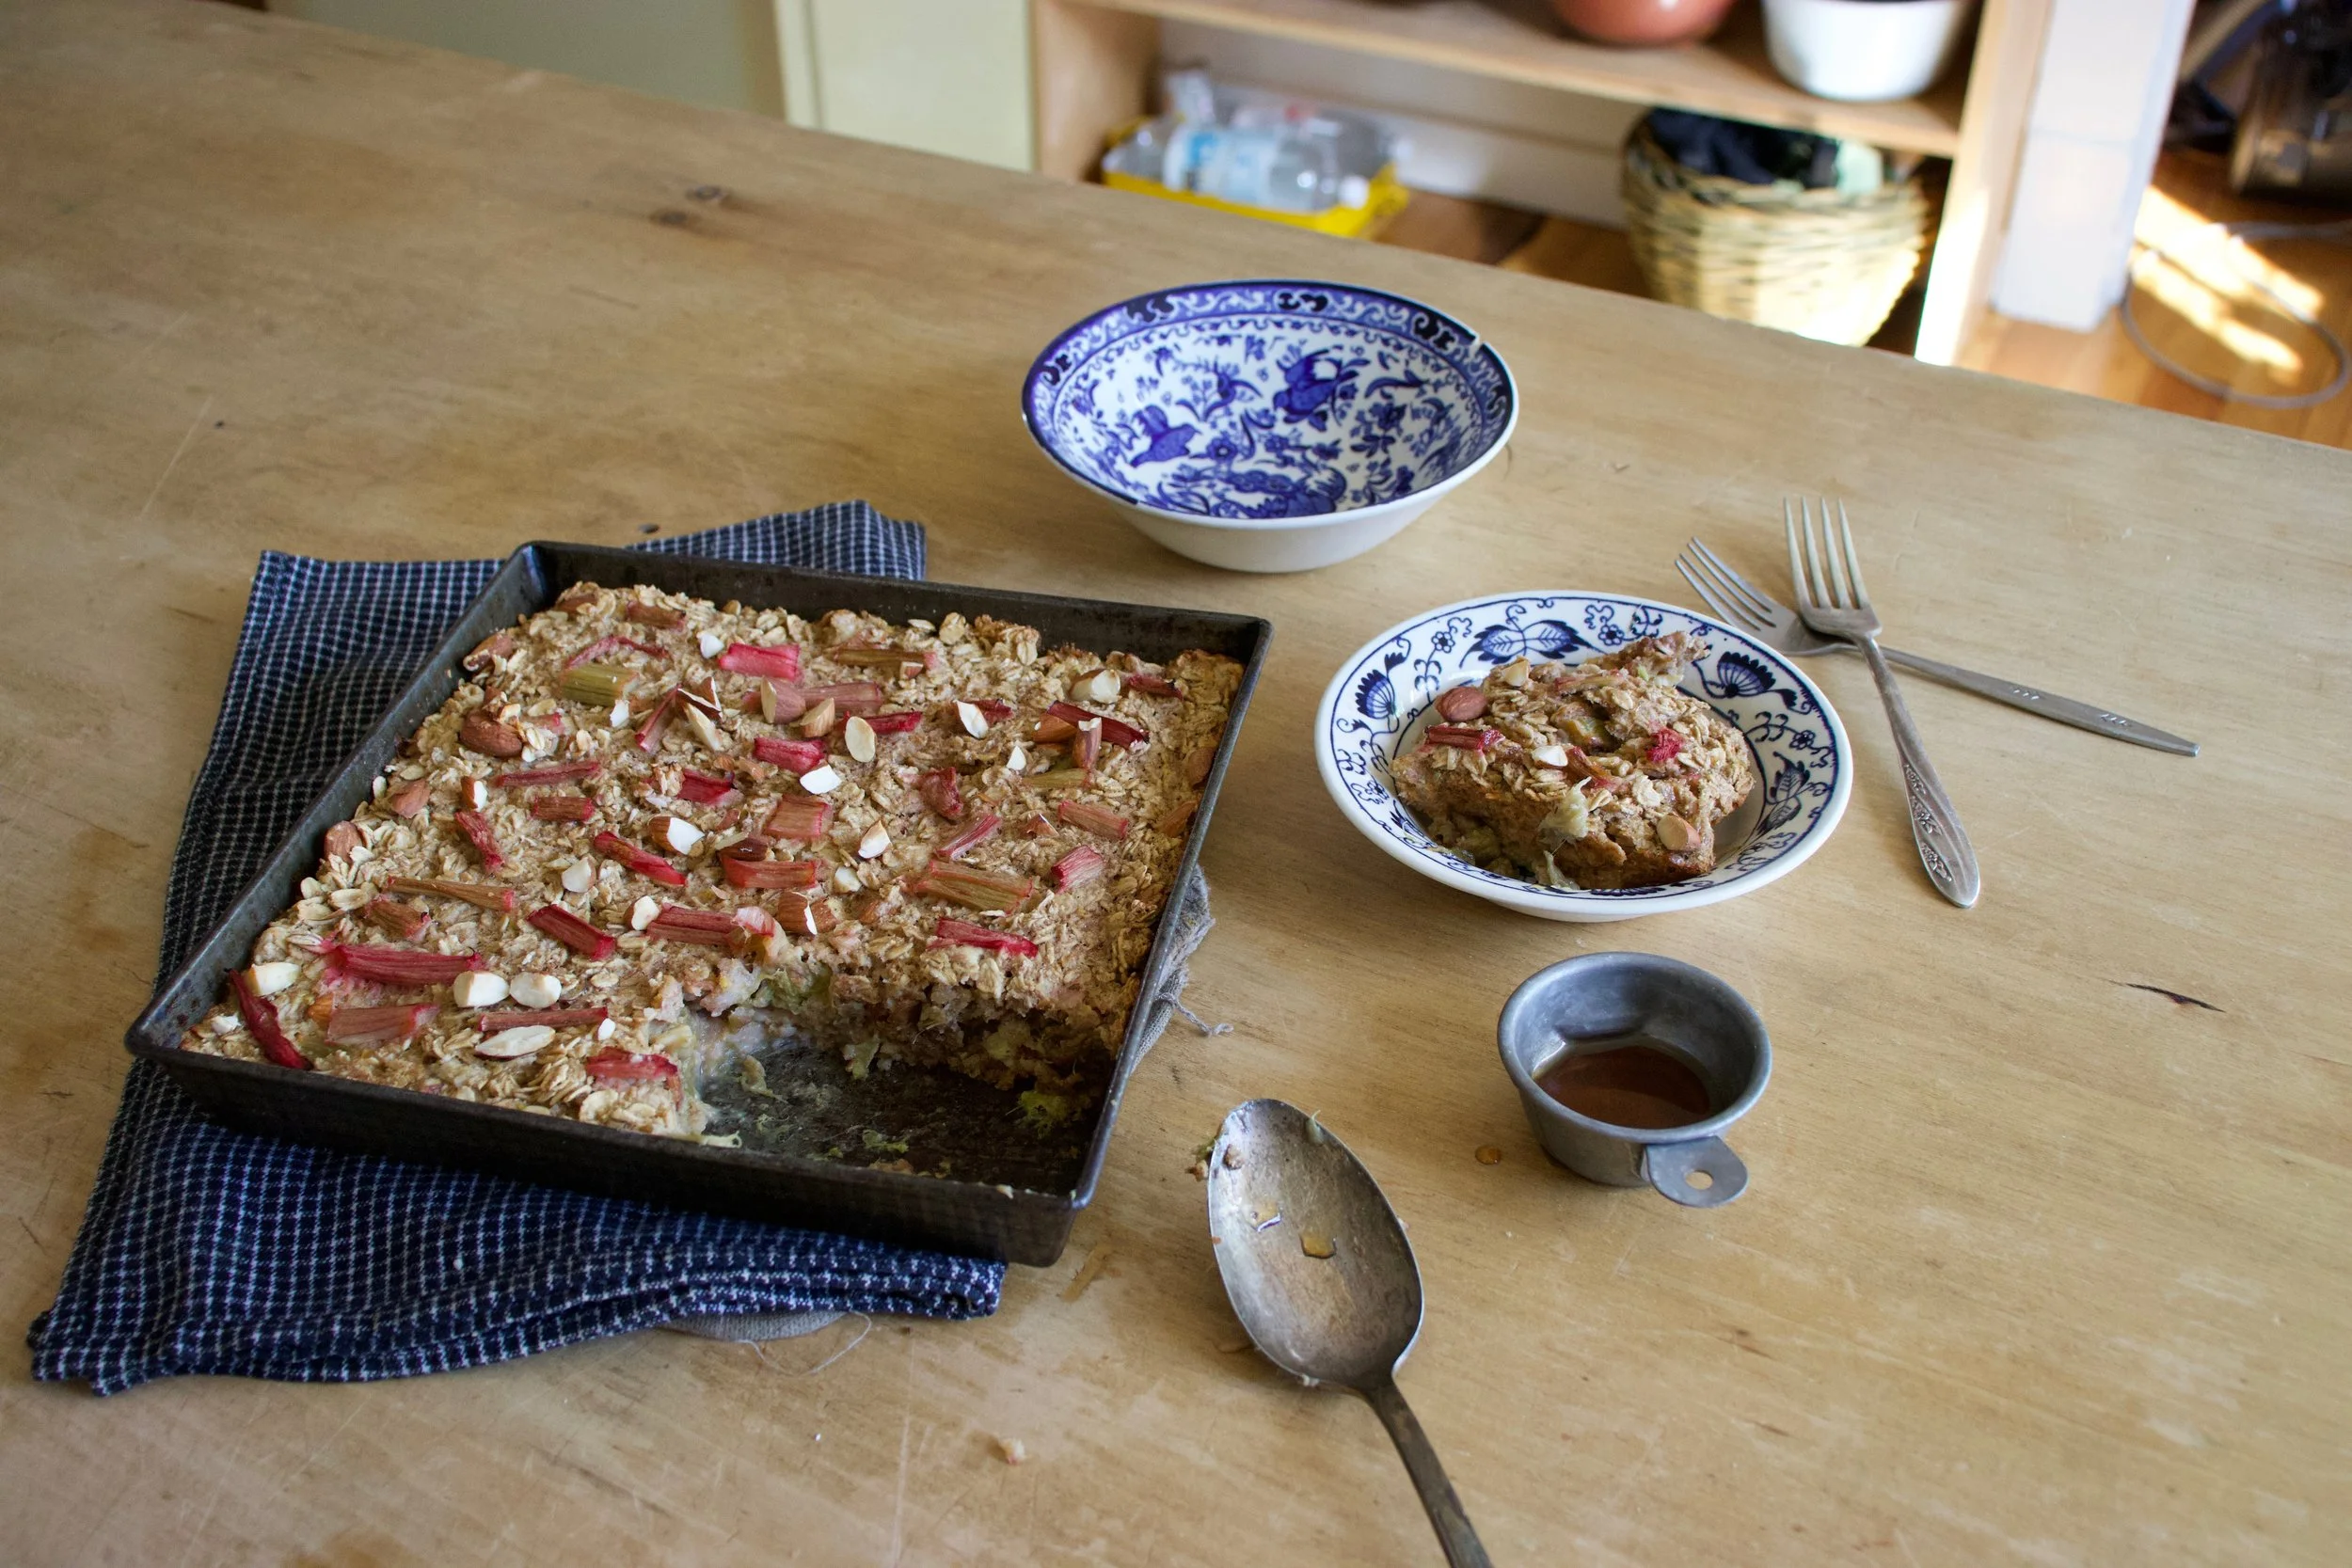
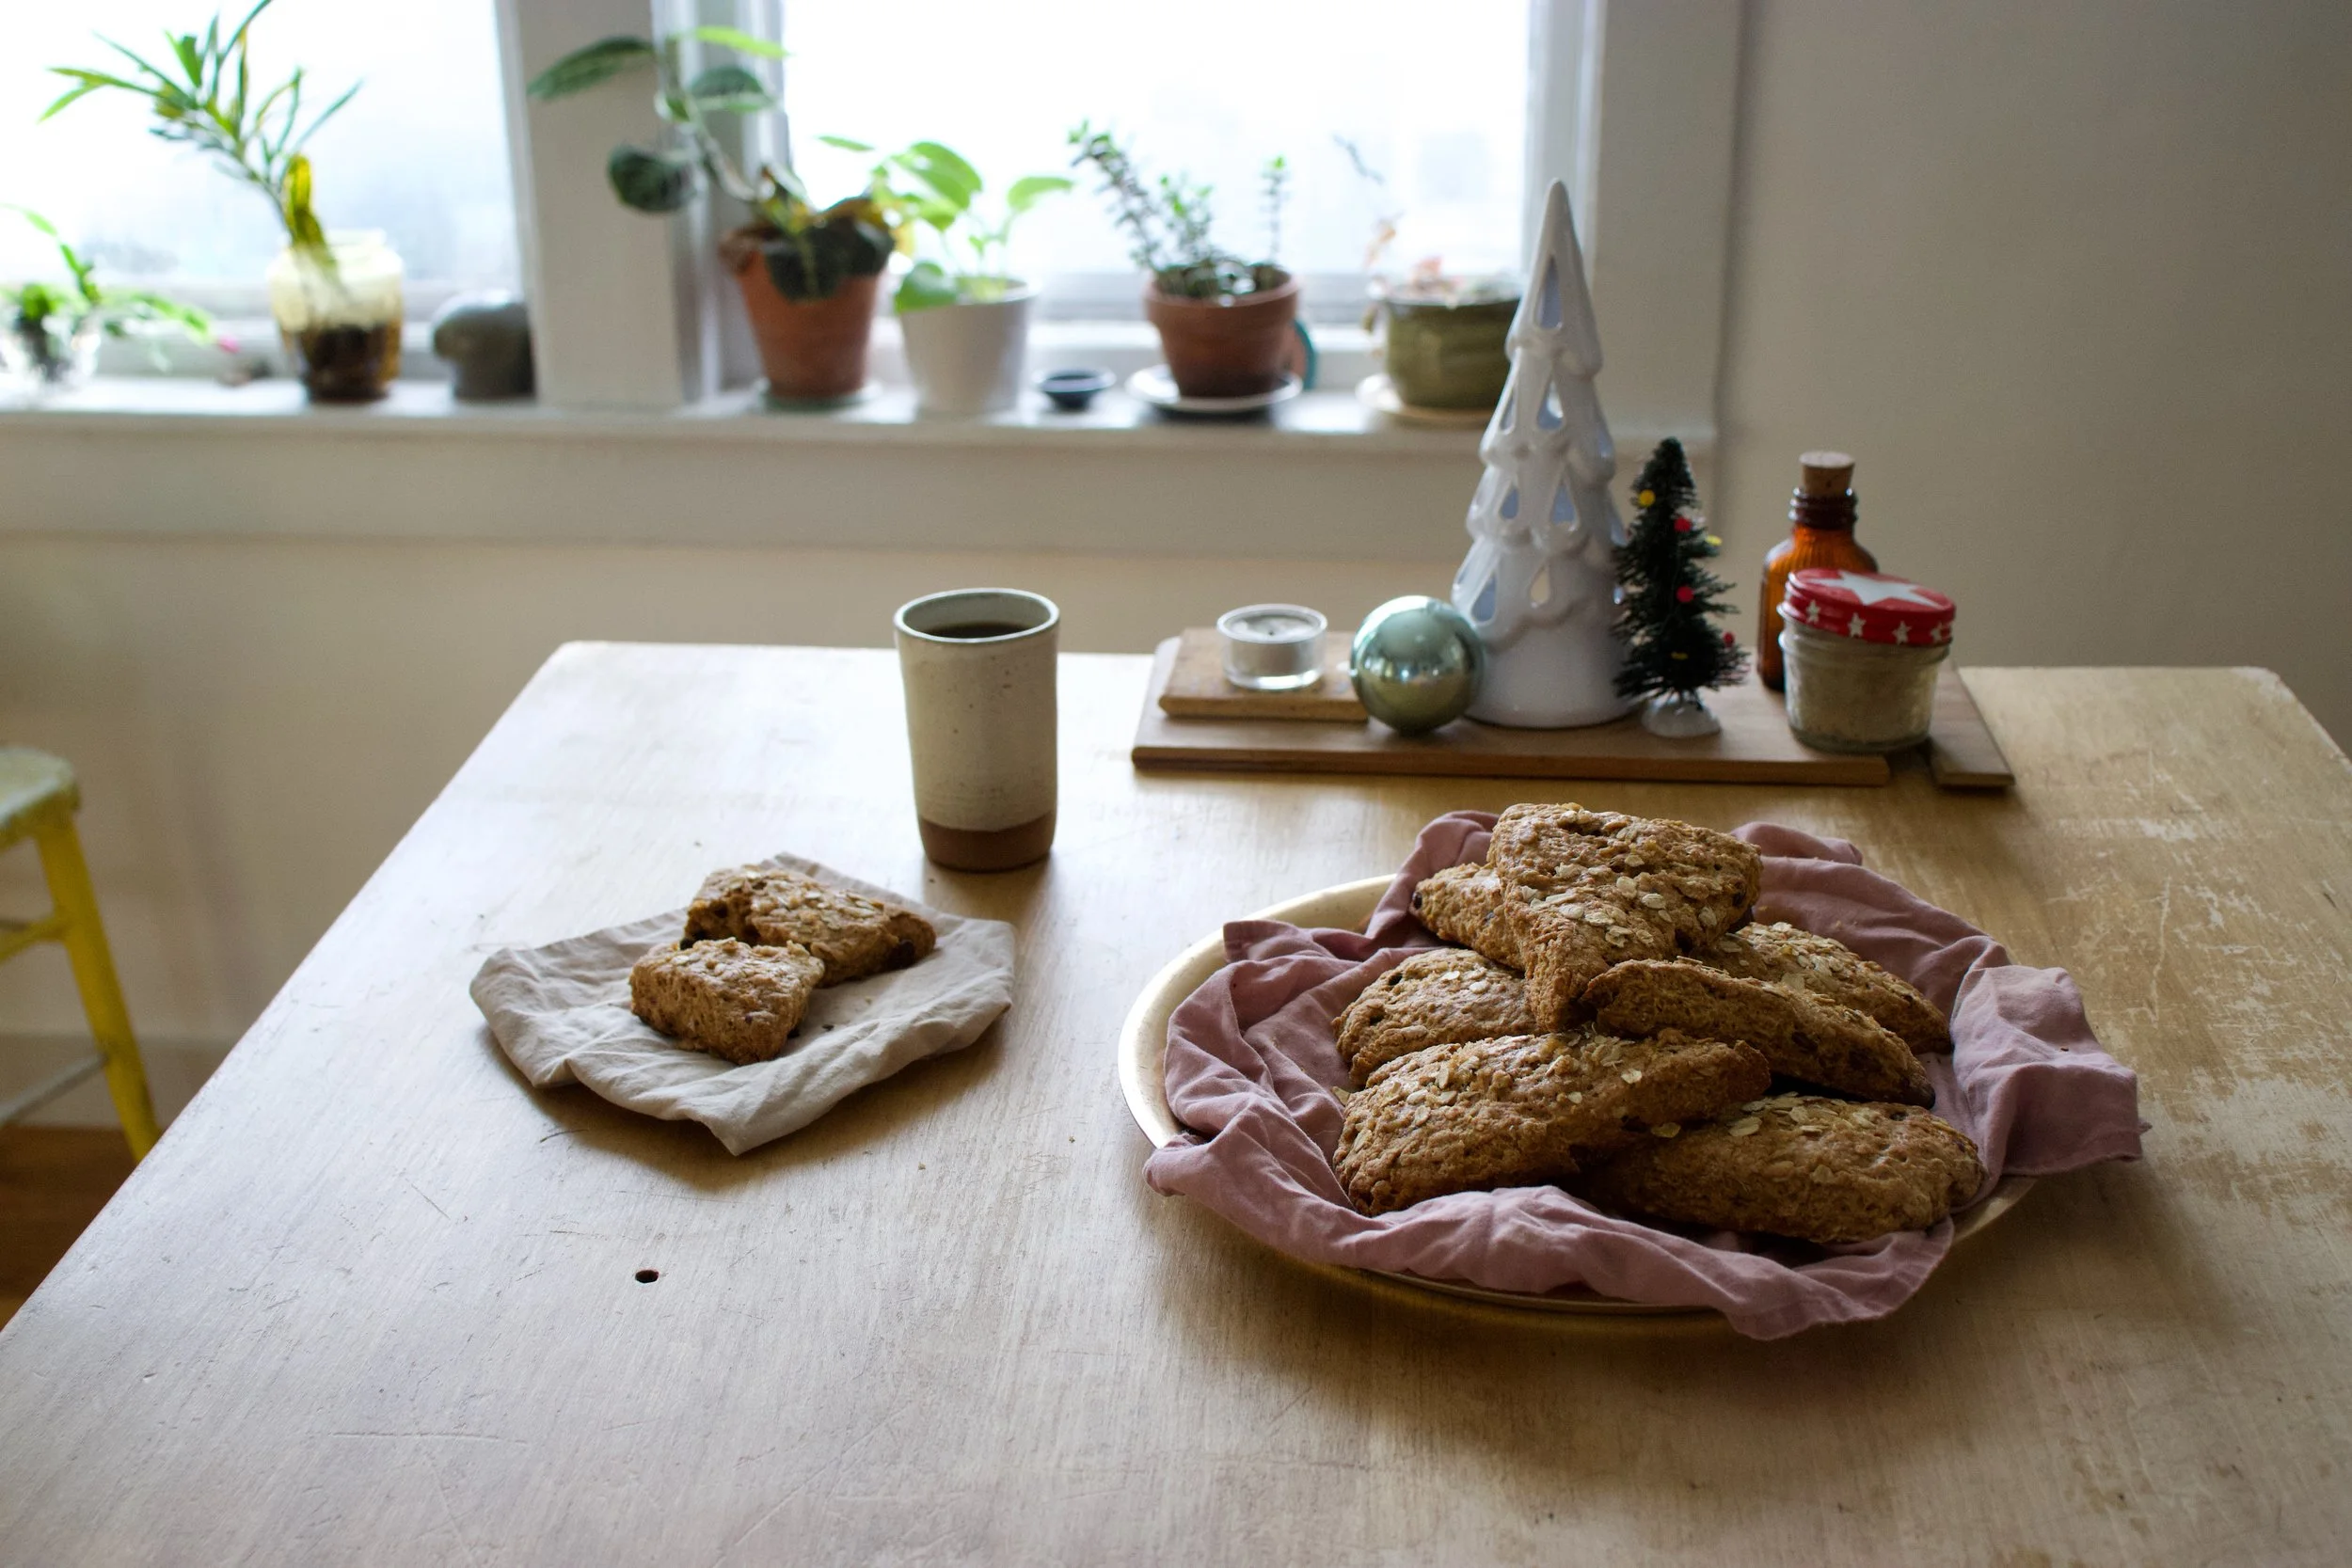
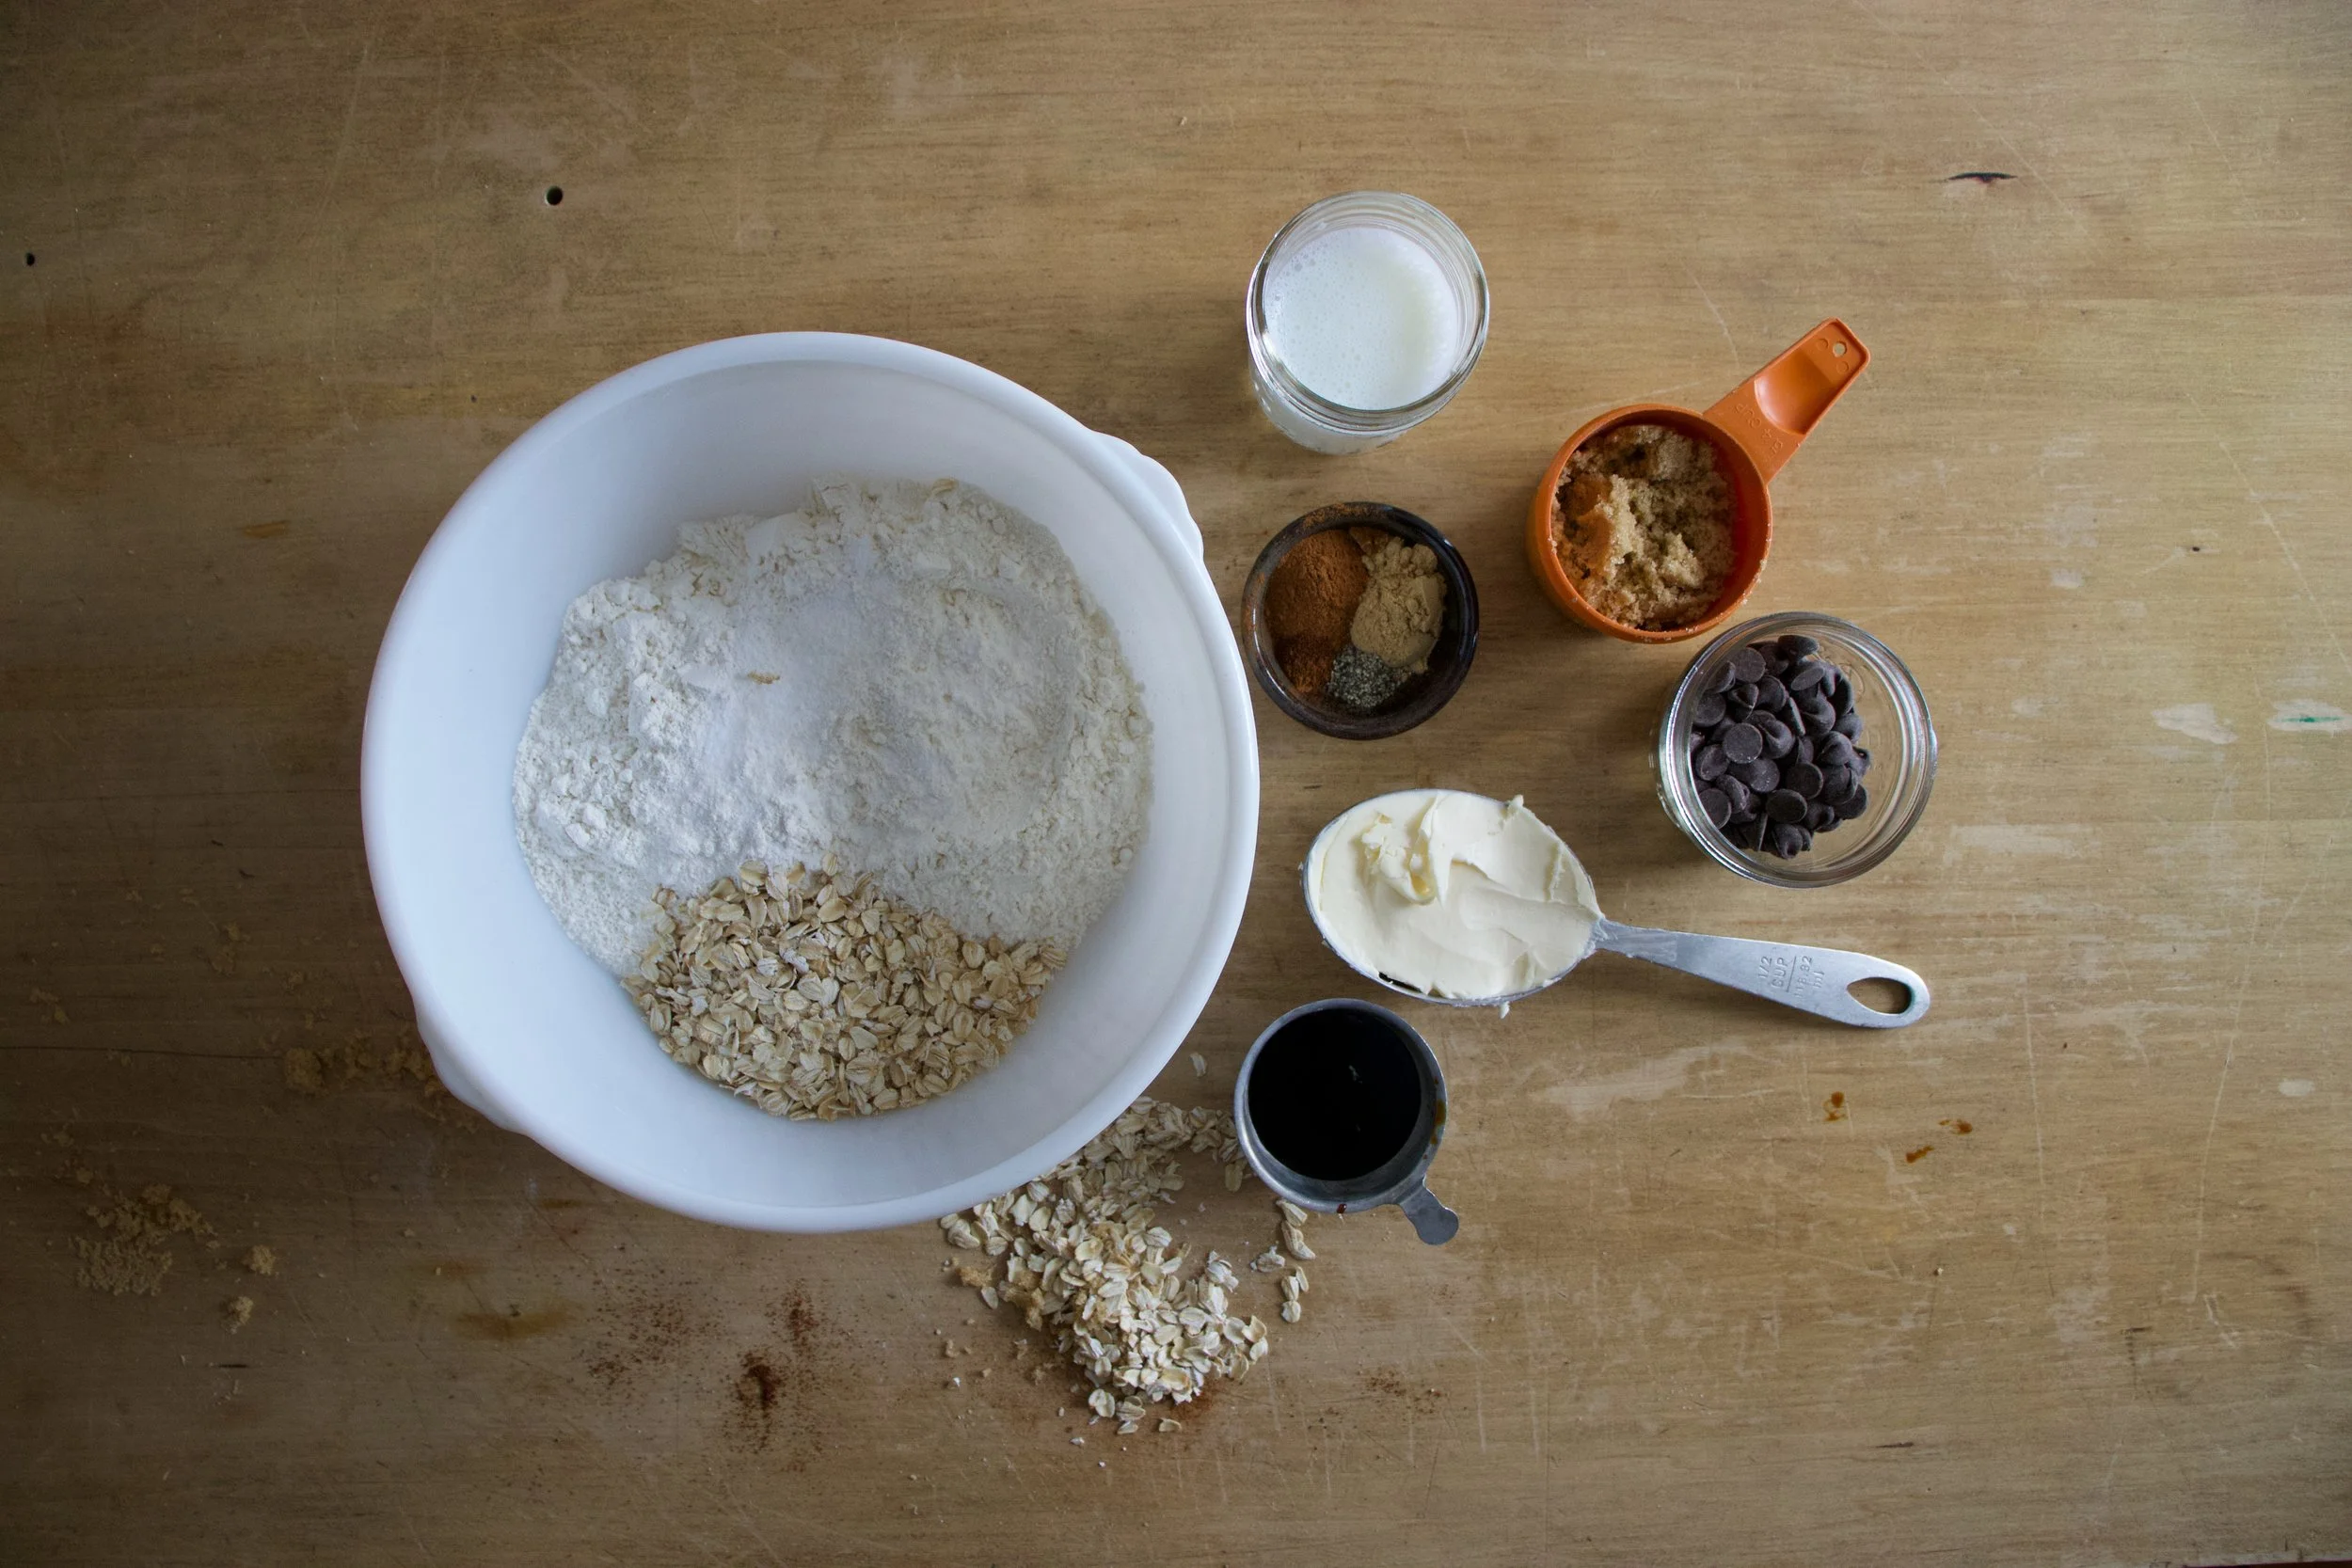





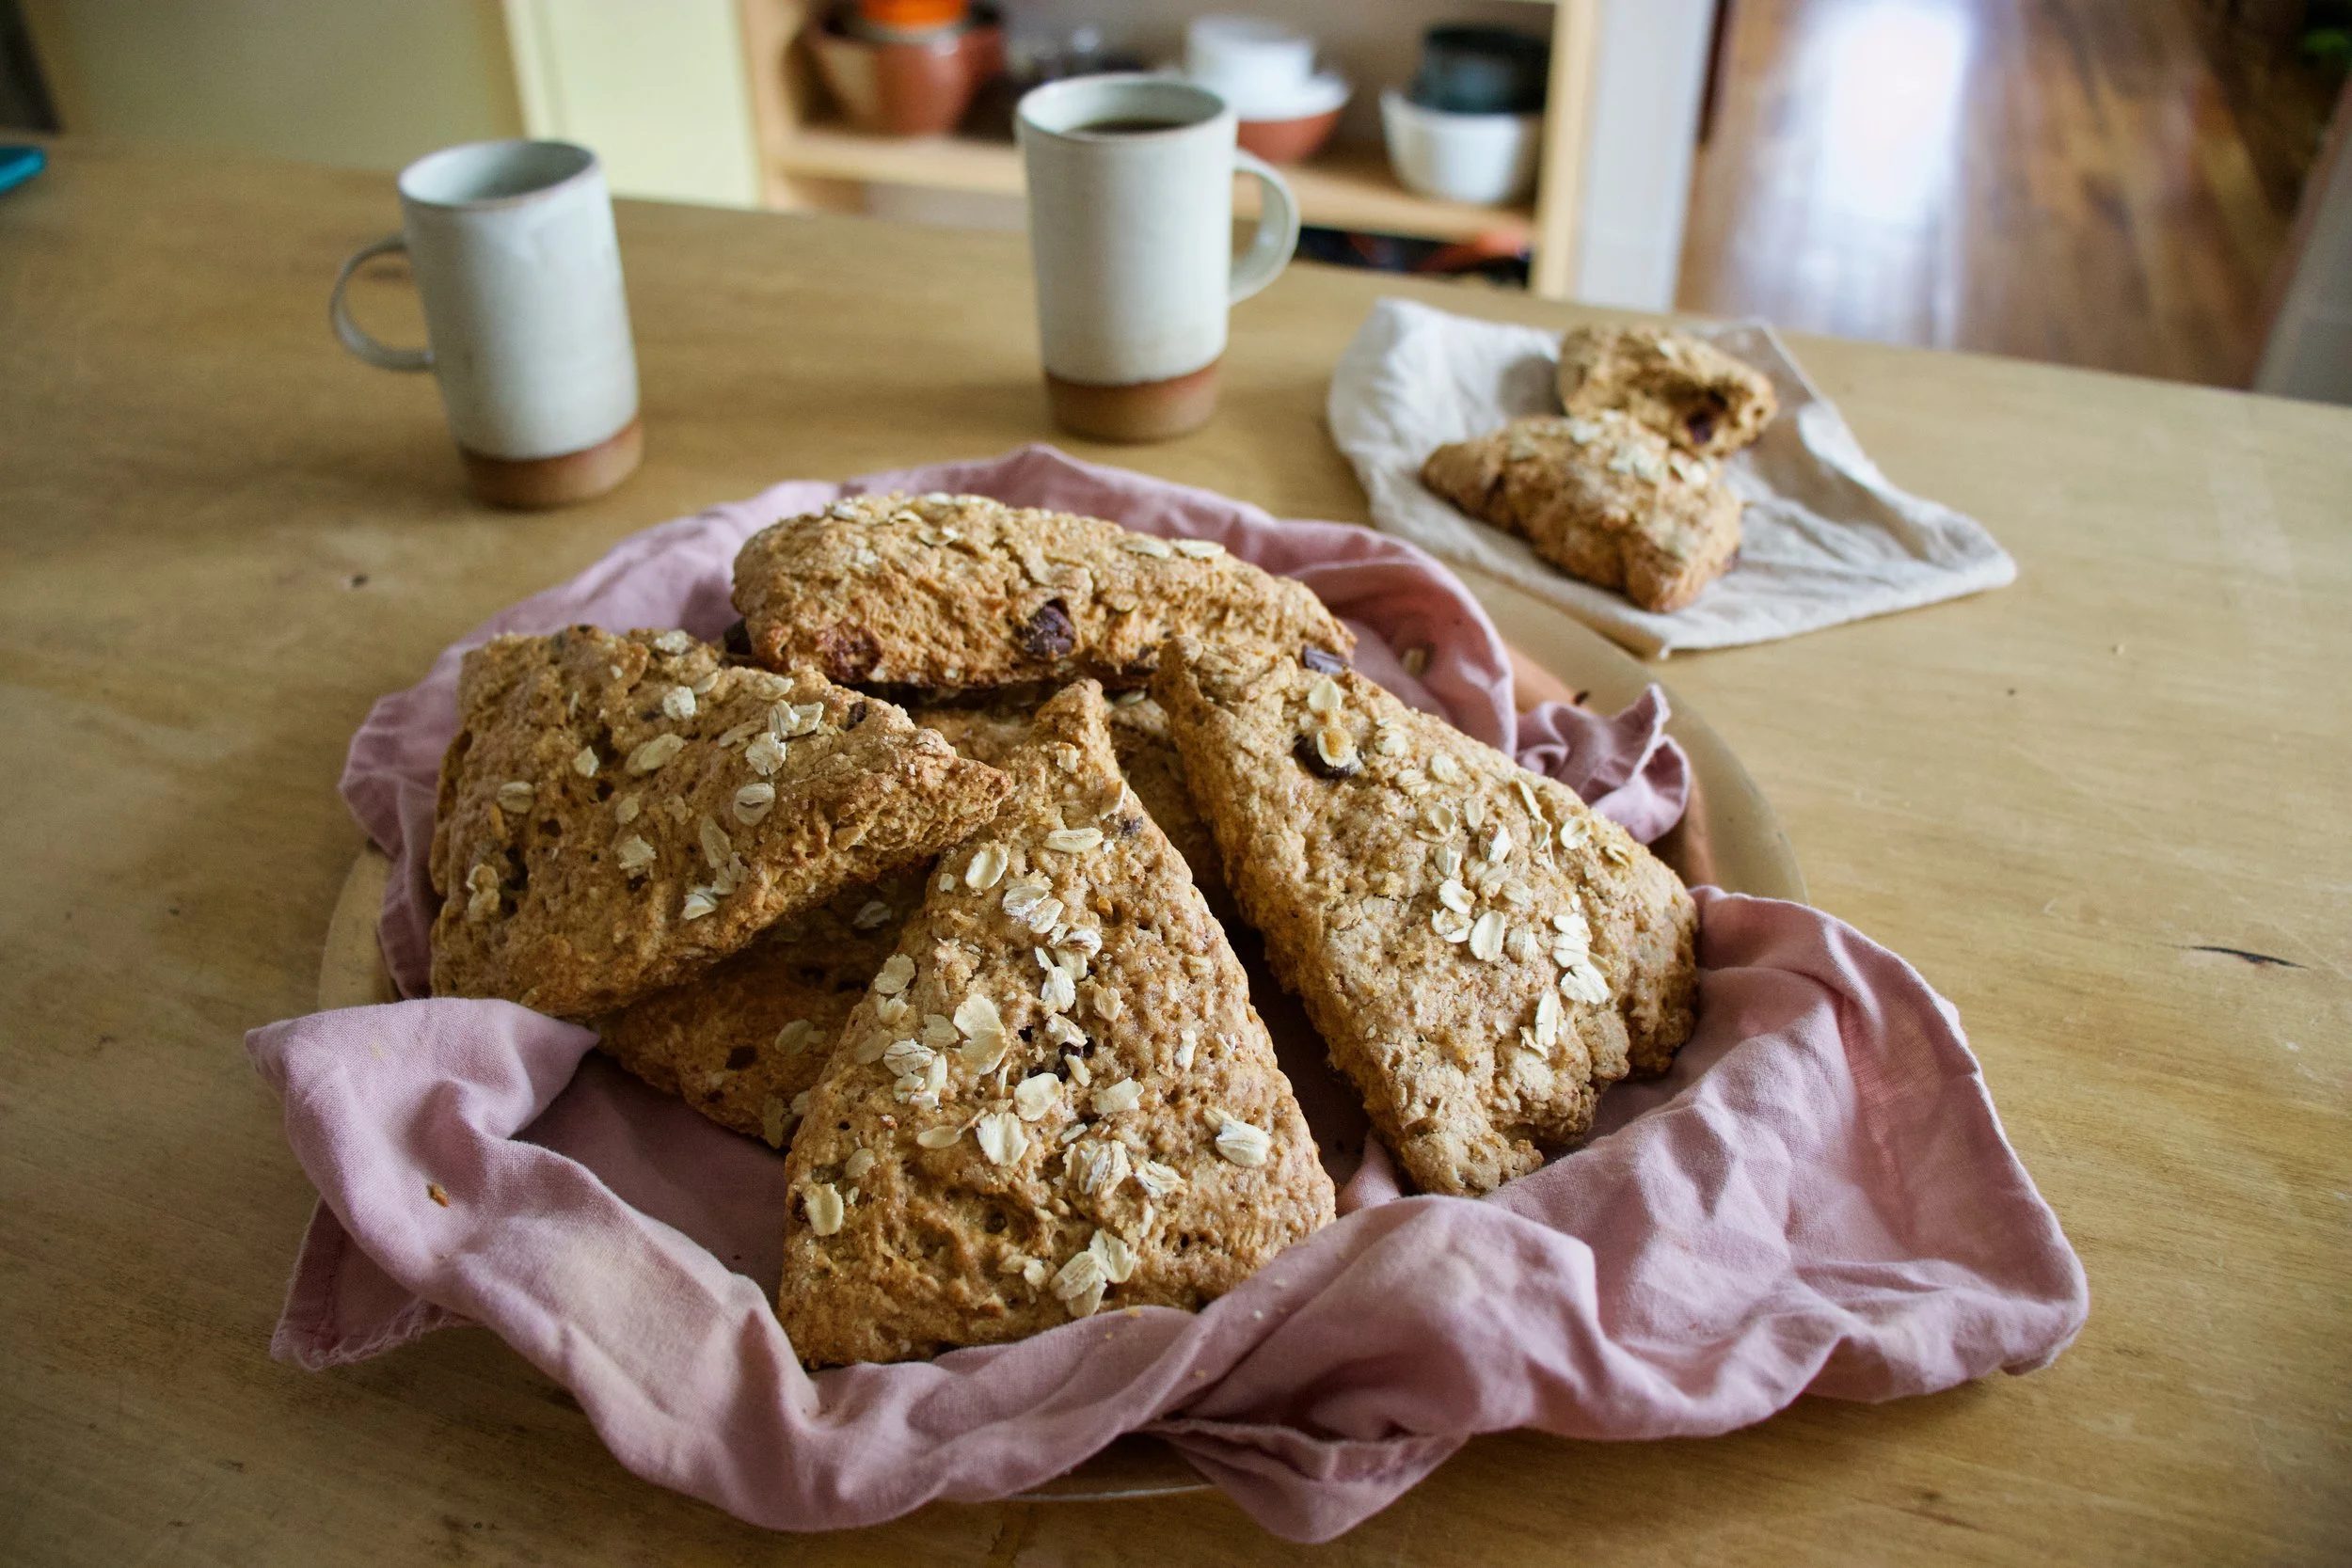
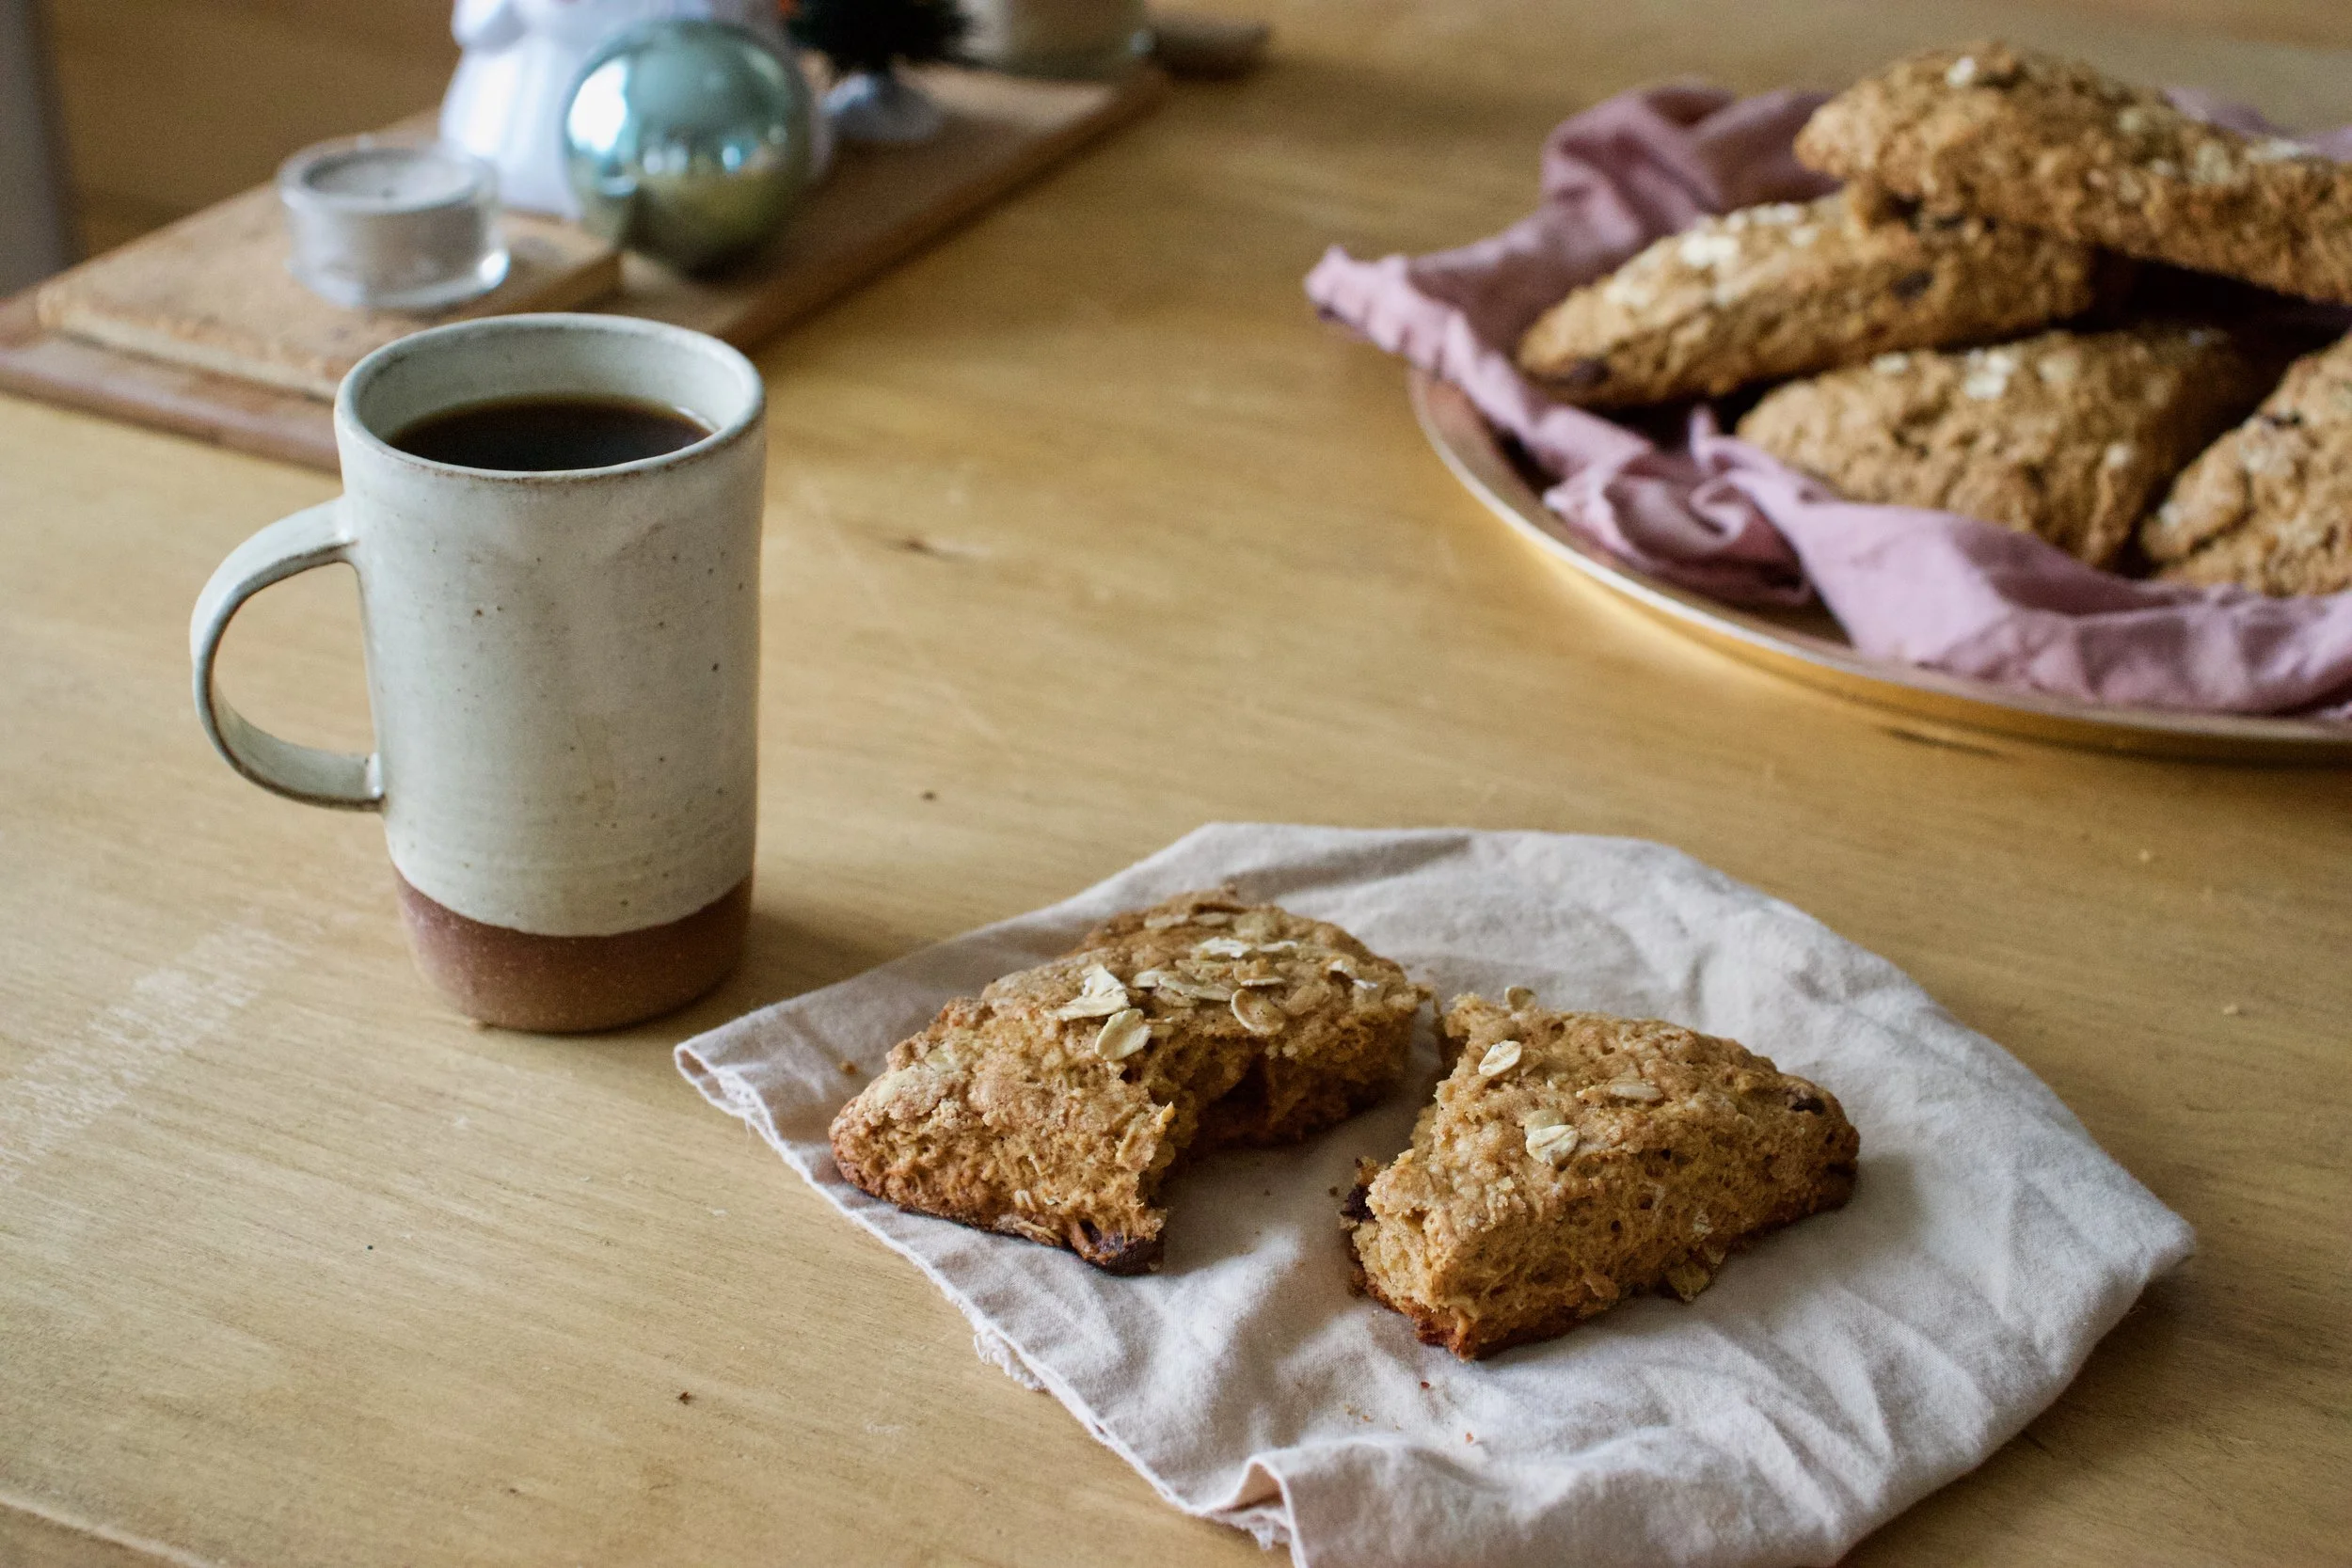


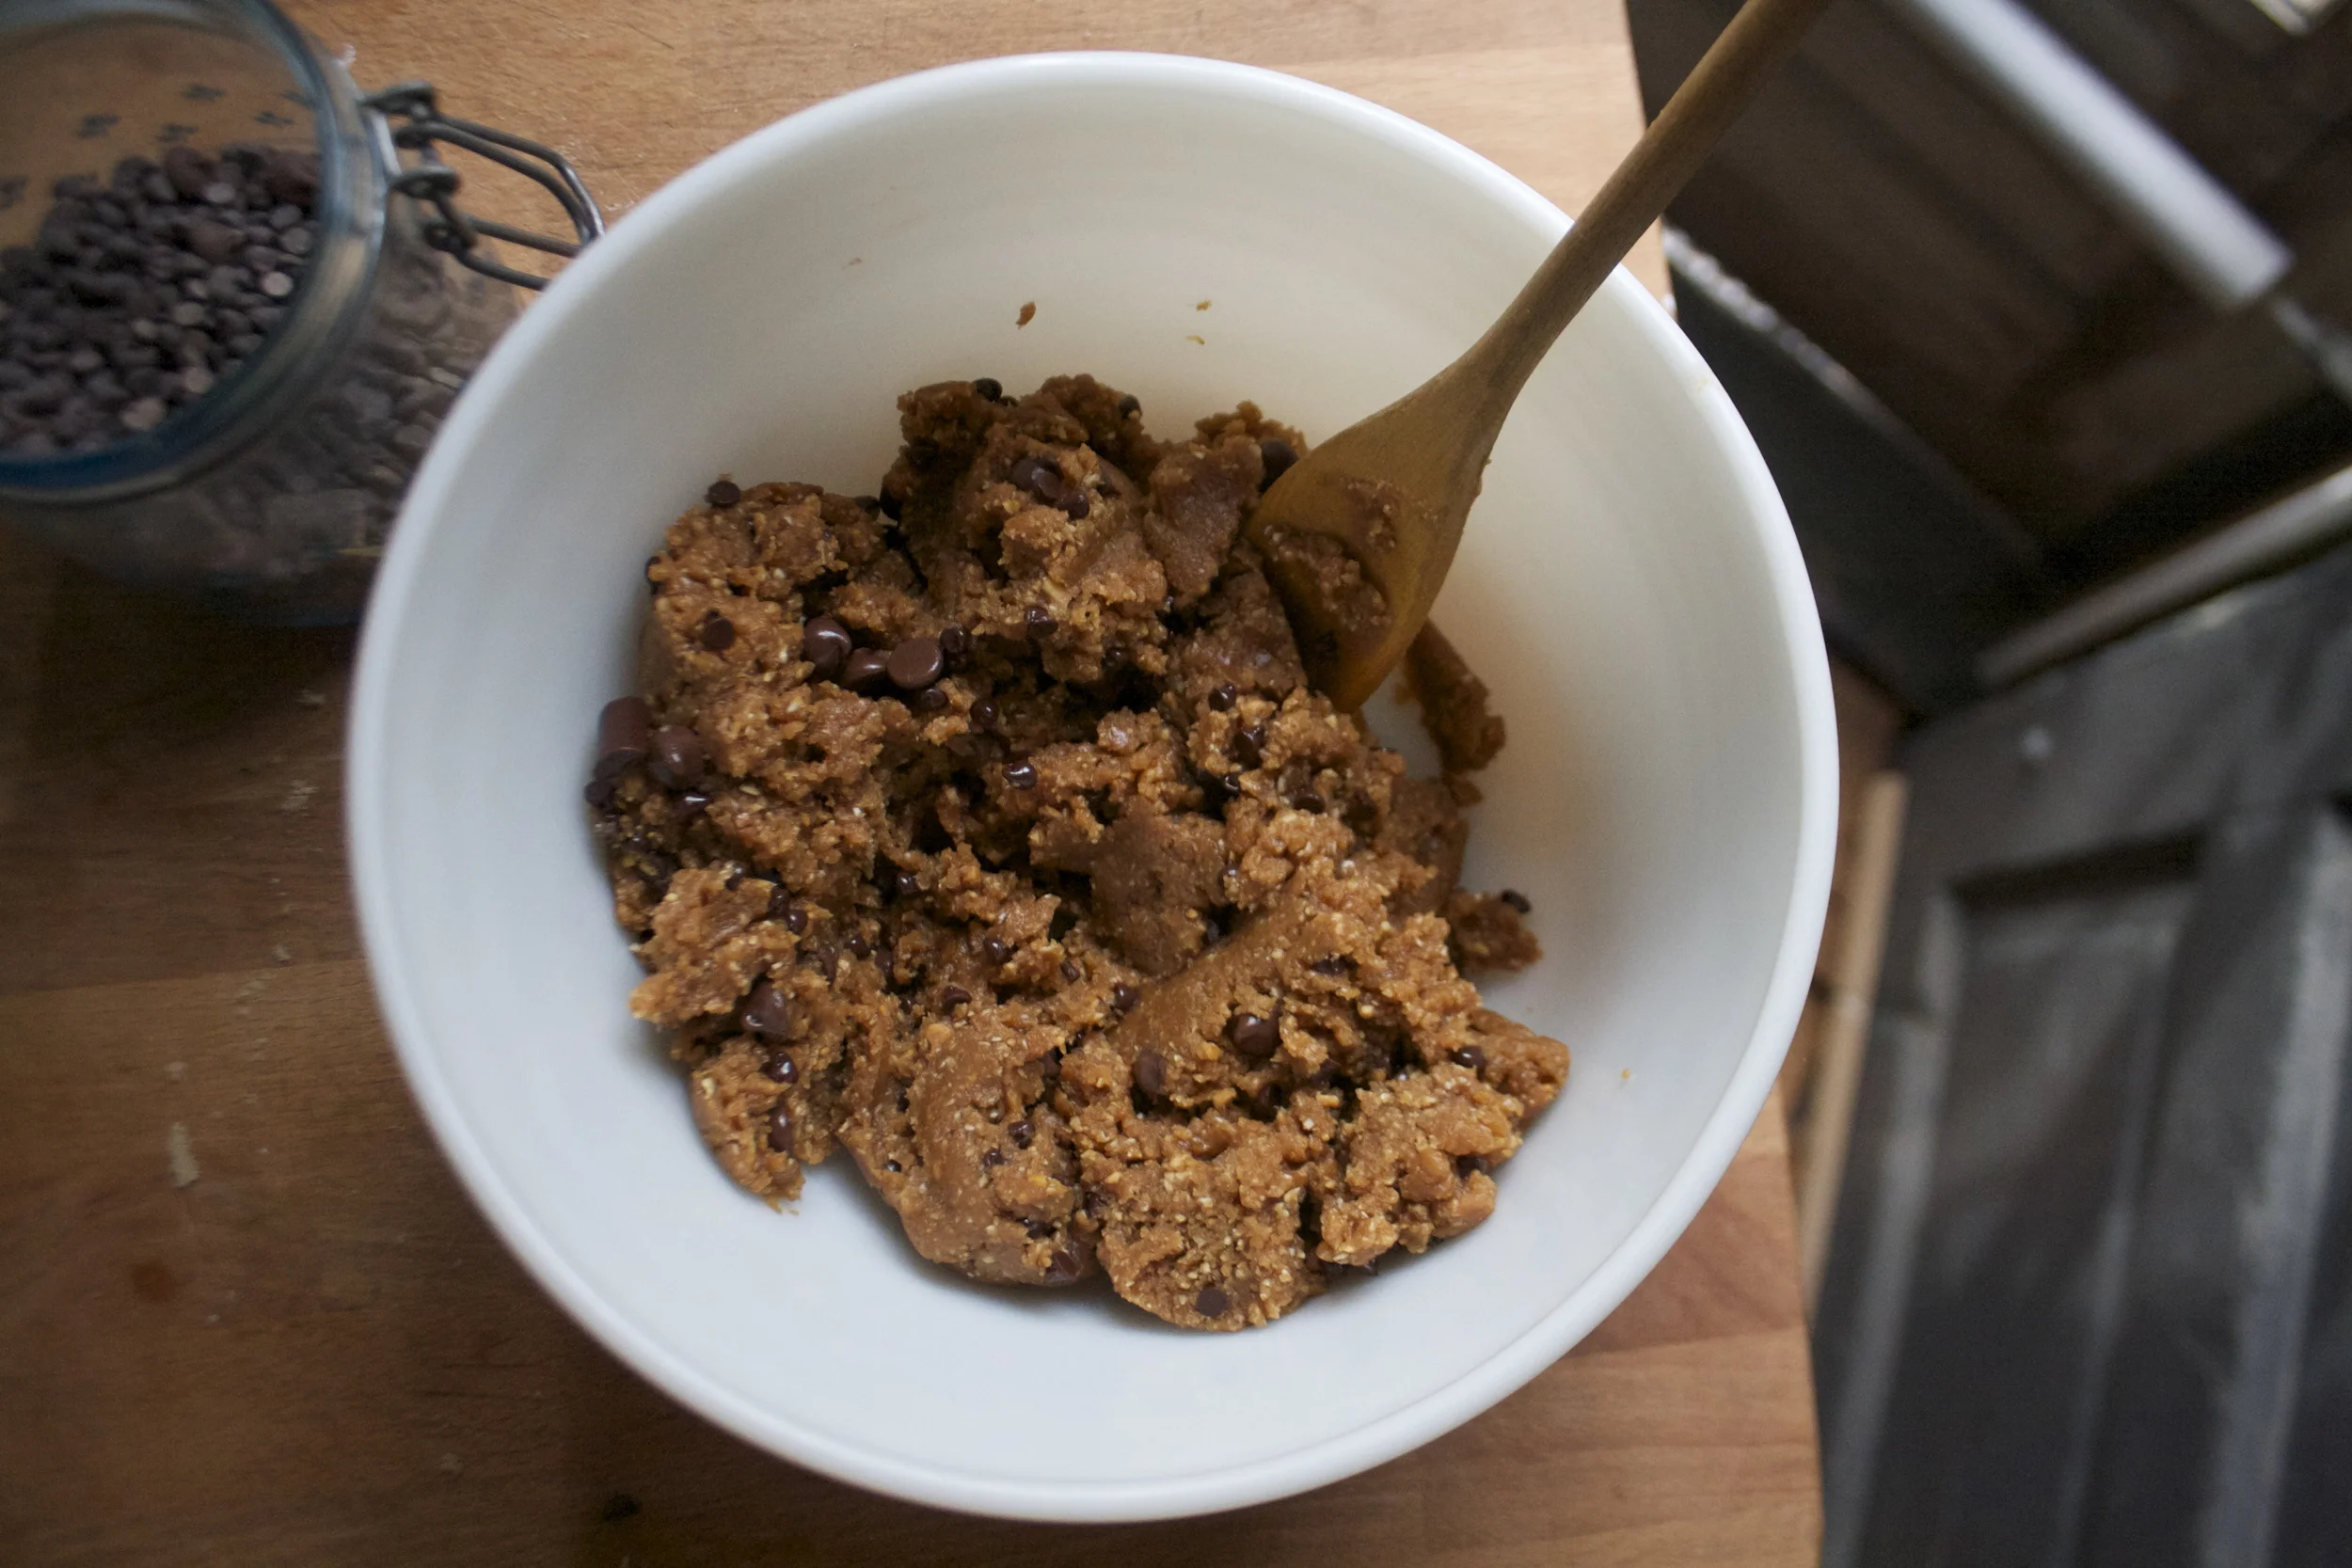



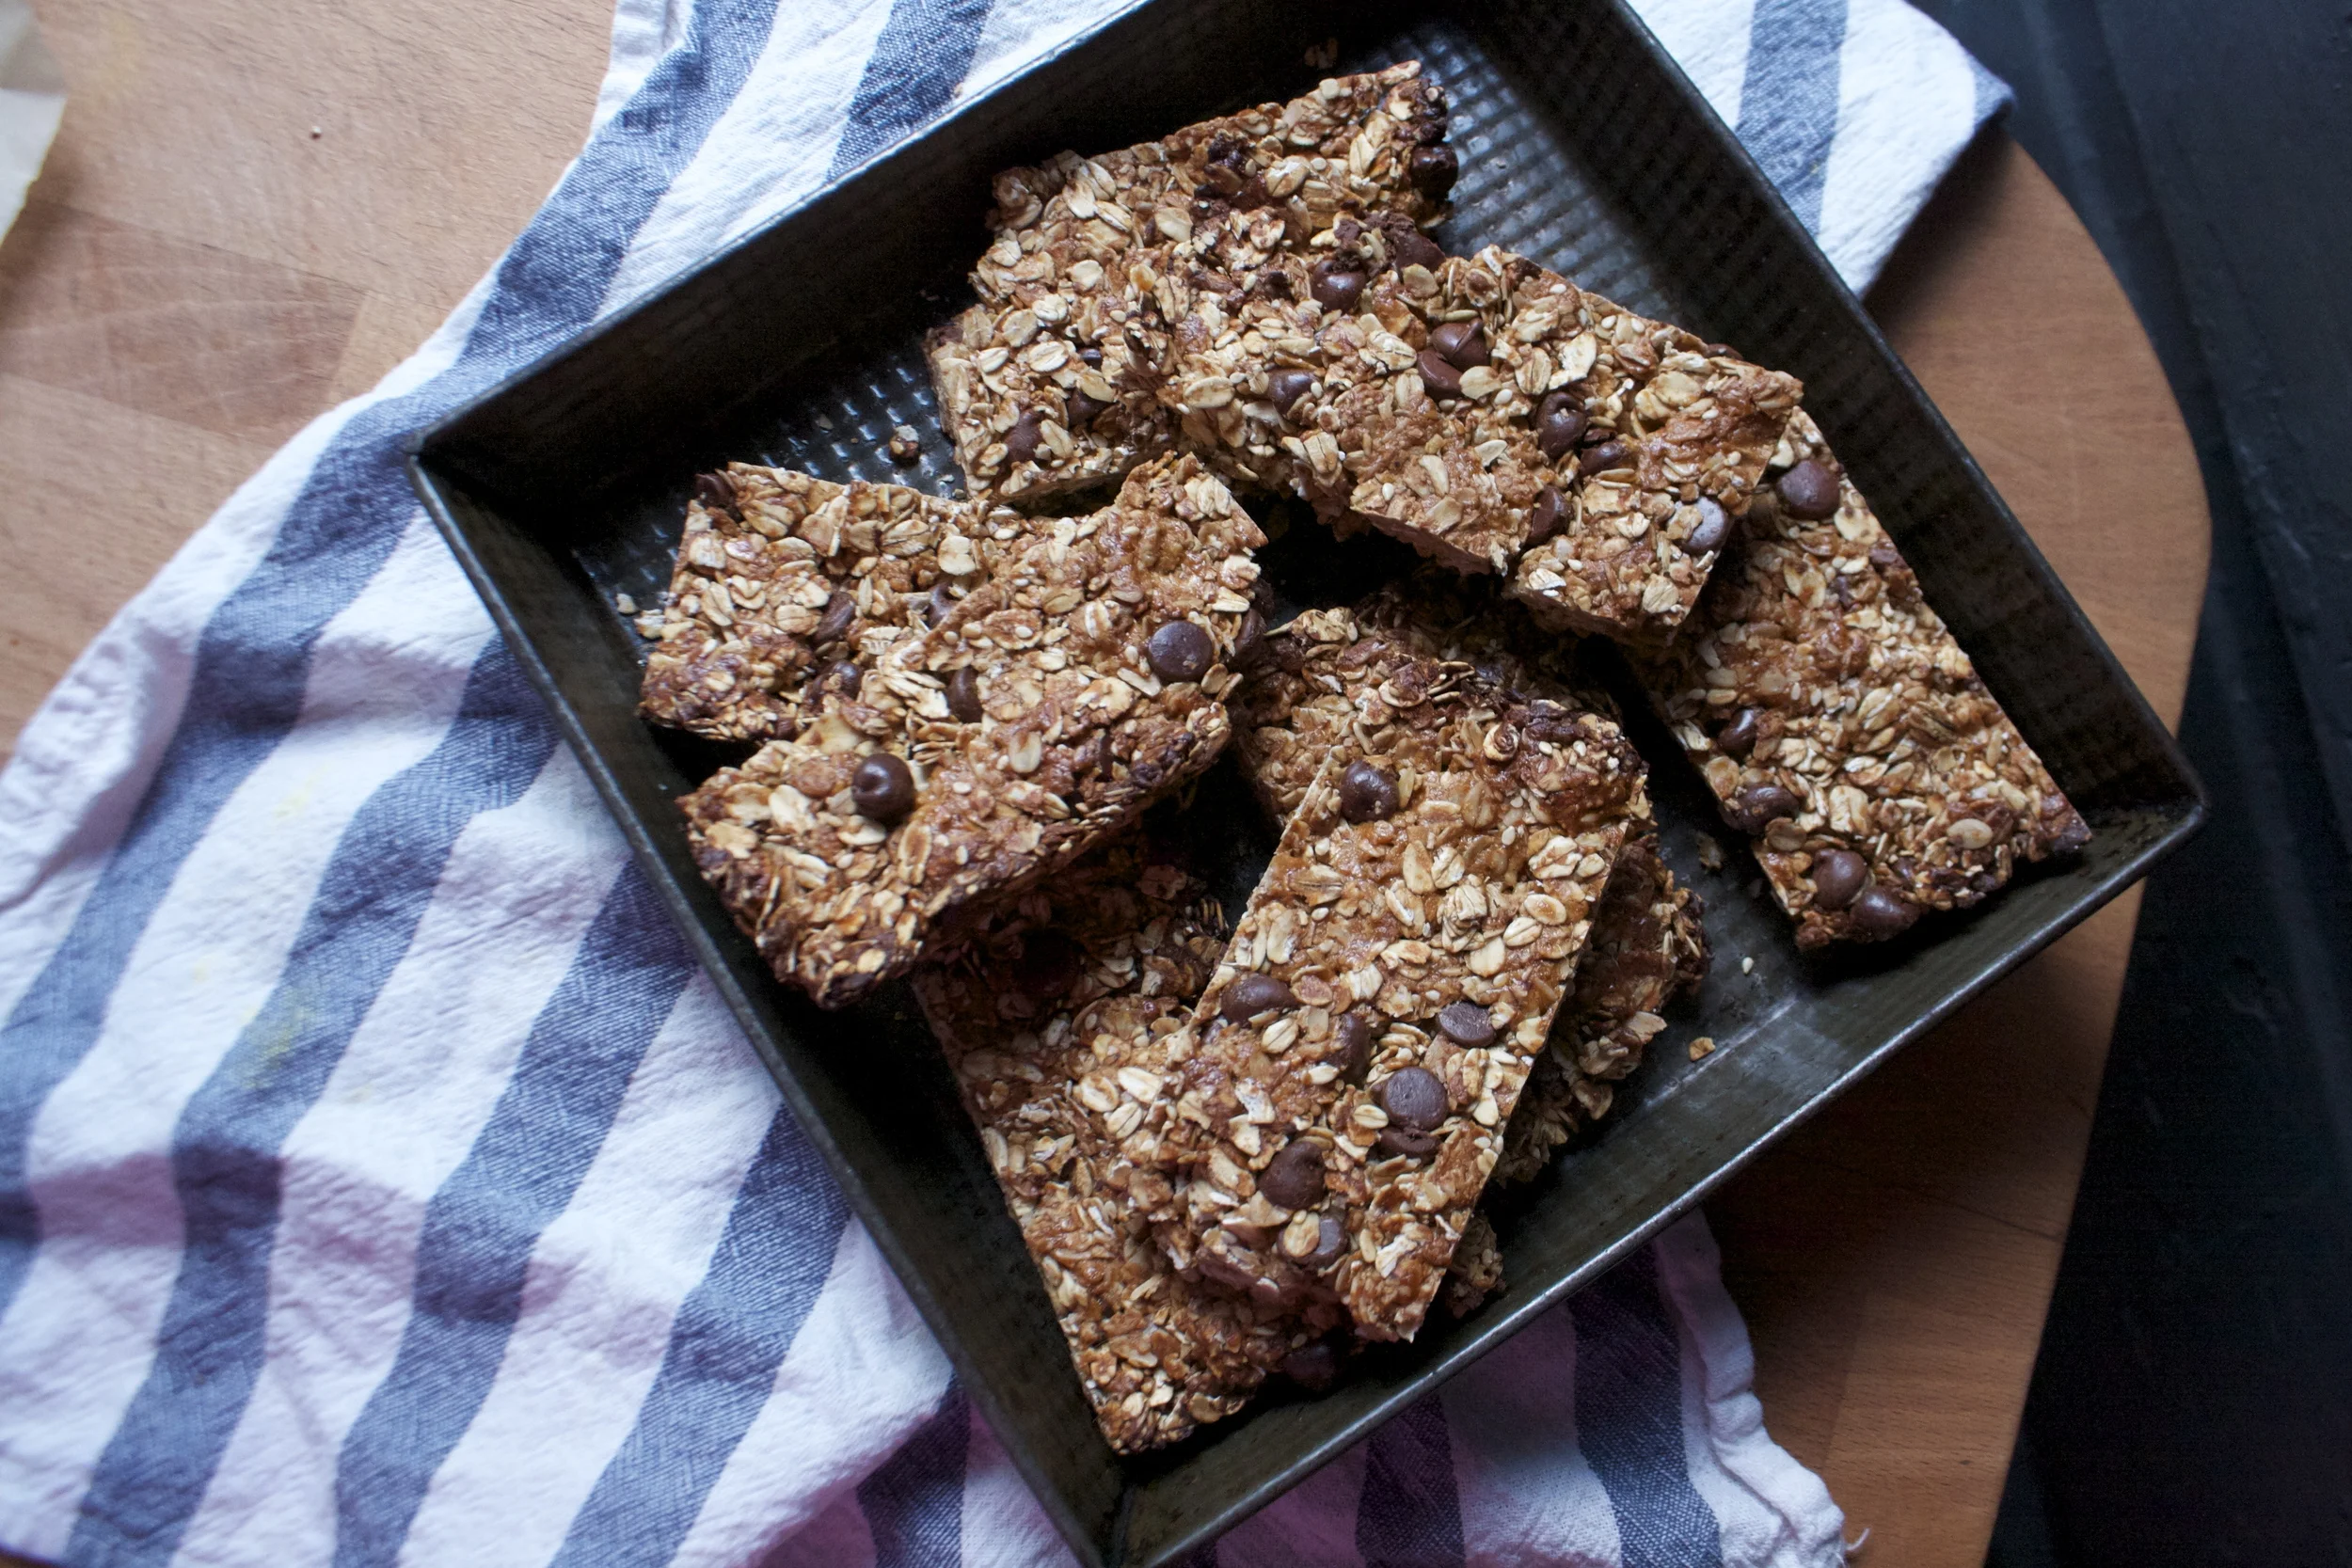

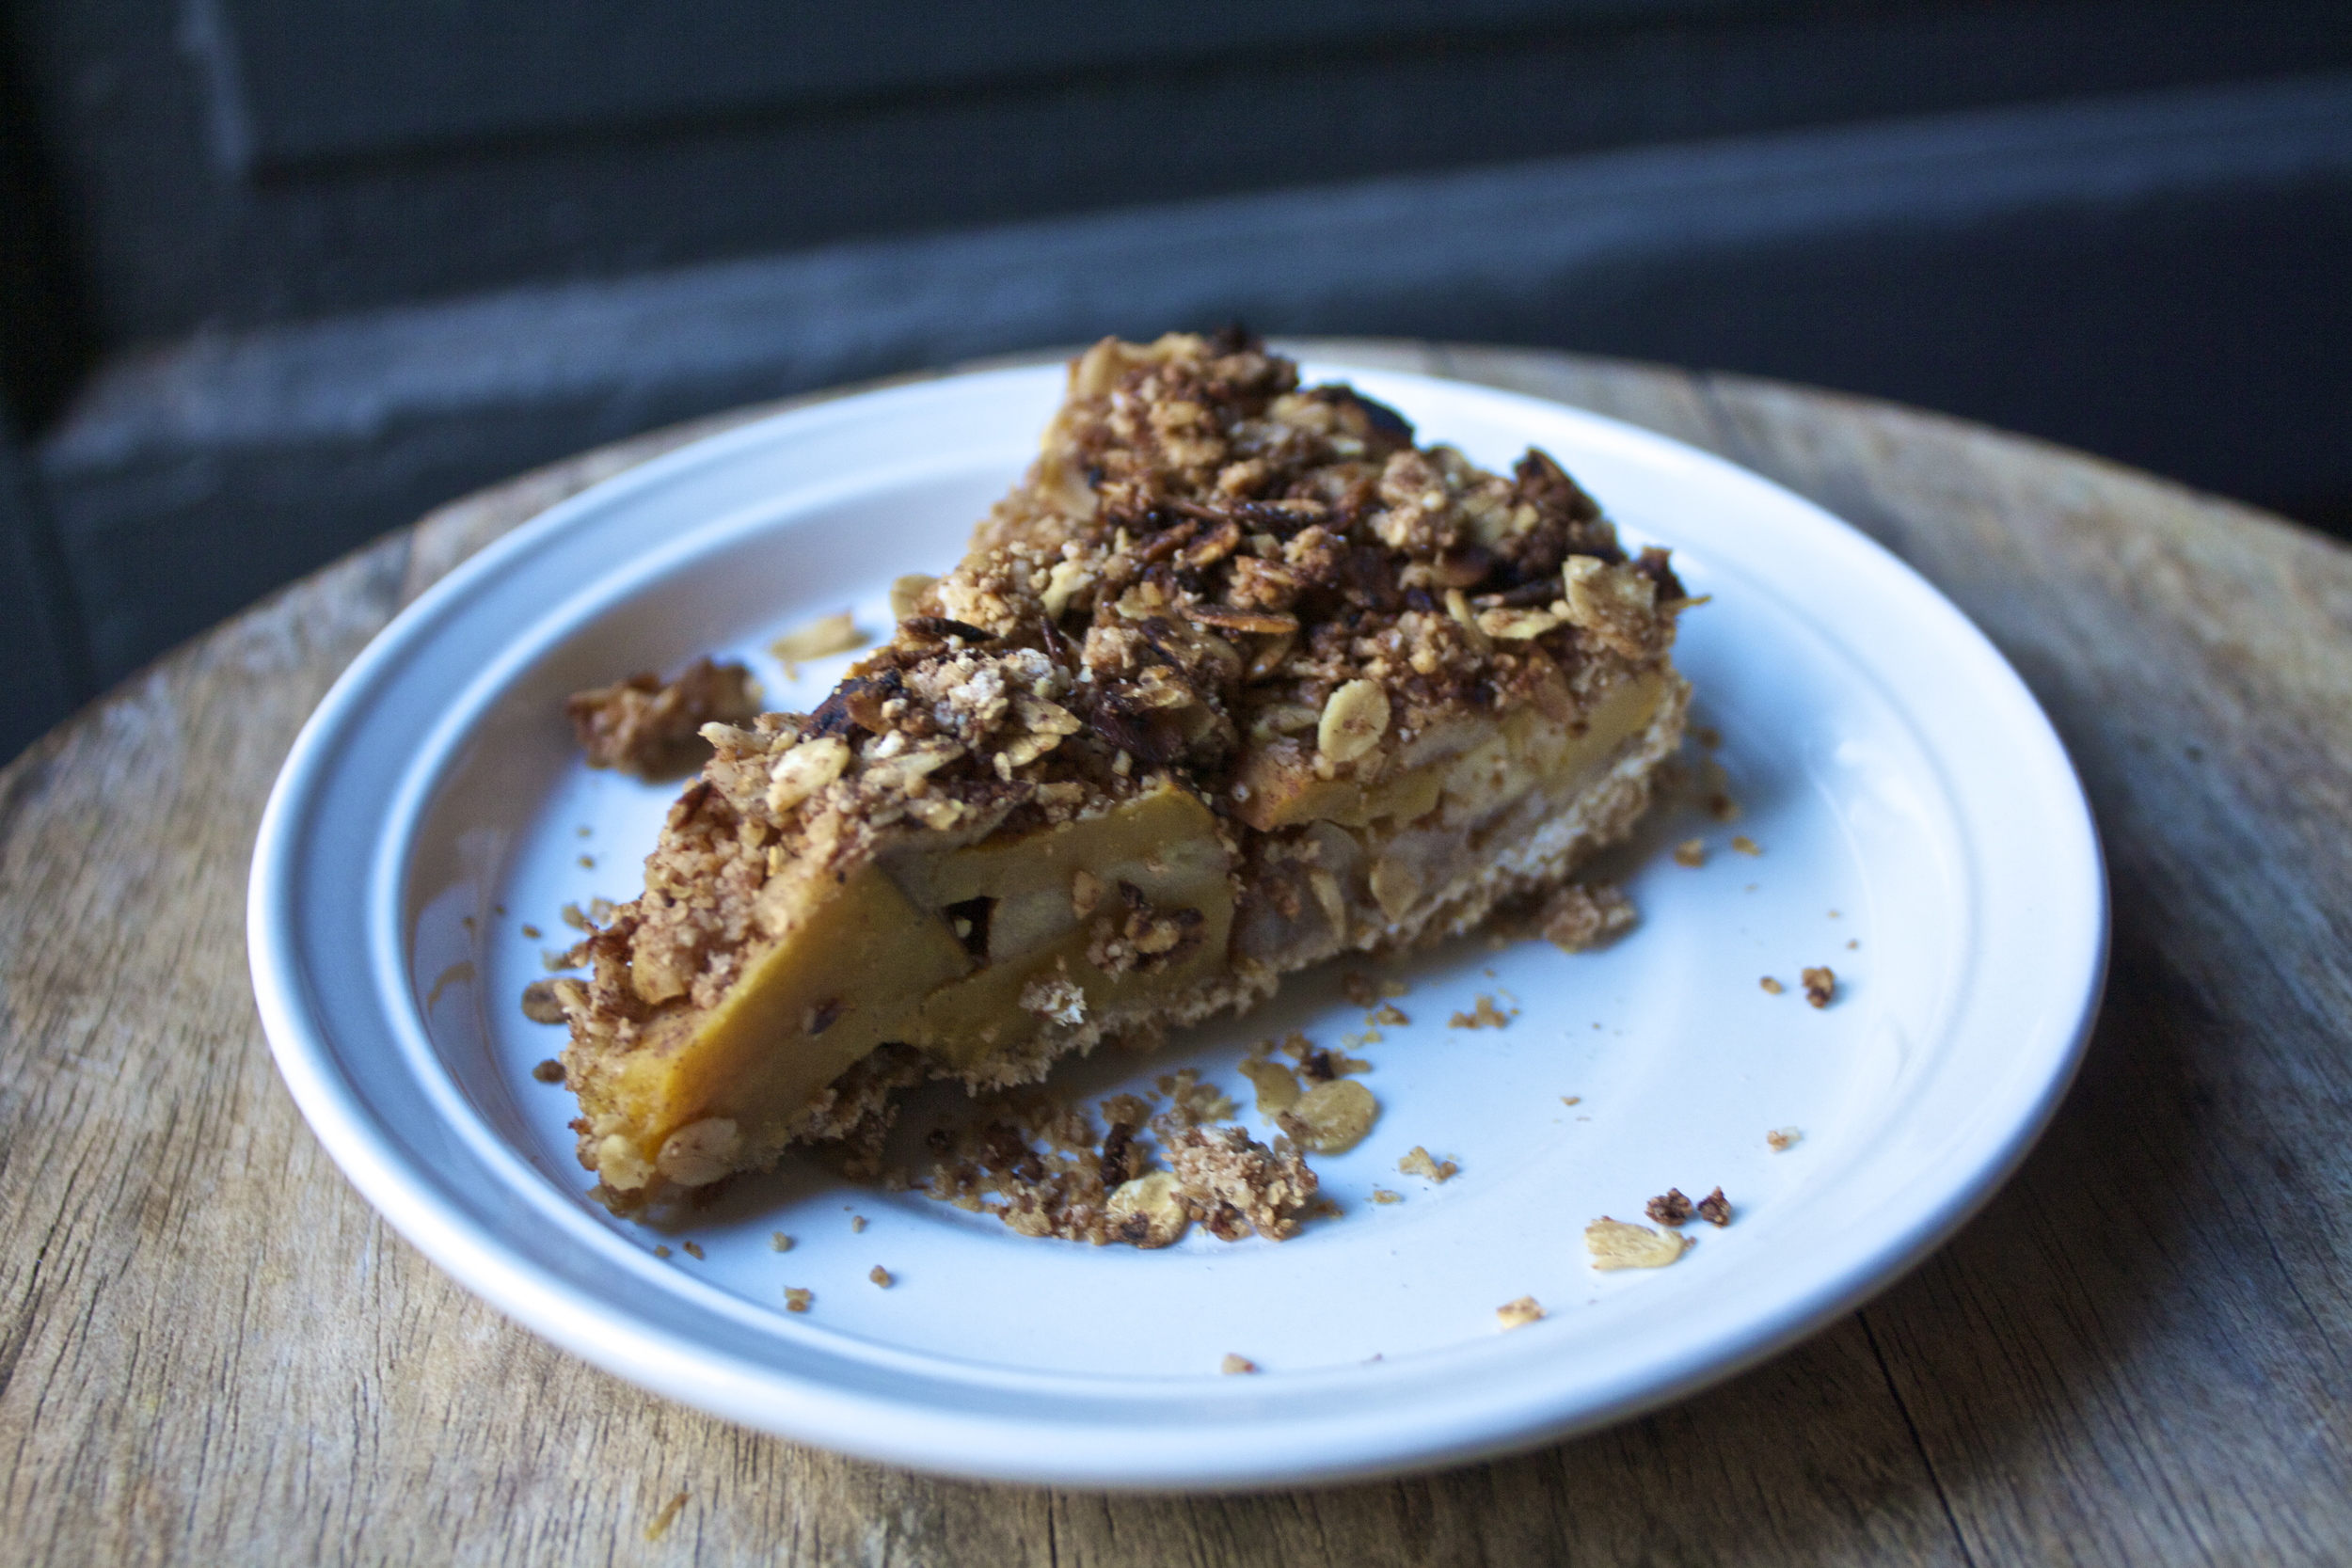


 Chomp Chomp Chomp%u2026 The sound I make as I eat this freaking fantastic crunchy granola. You know it’s good when the person sitting next to you is annoyed by the sound of you face while eating.%u00a0 I eat a lot of crunchy stuff. And I am pretty sure I annoy the mister a lot.%u00a0
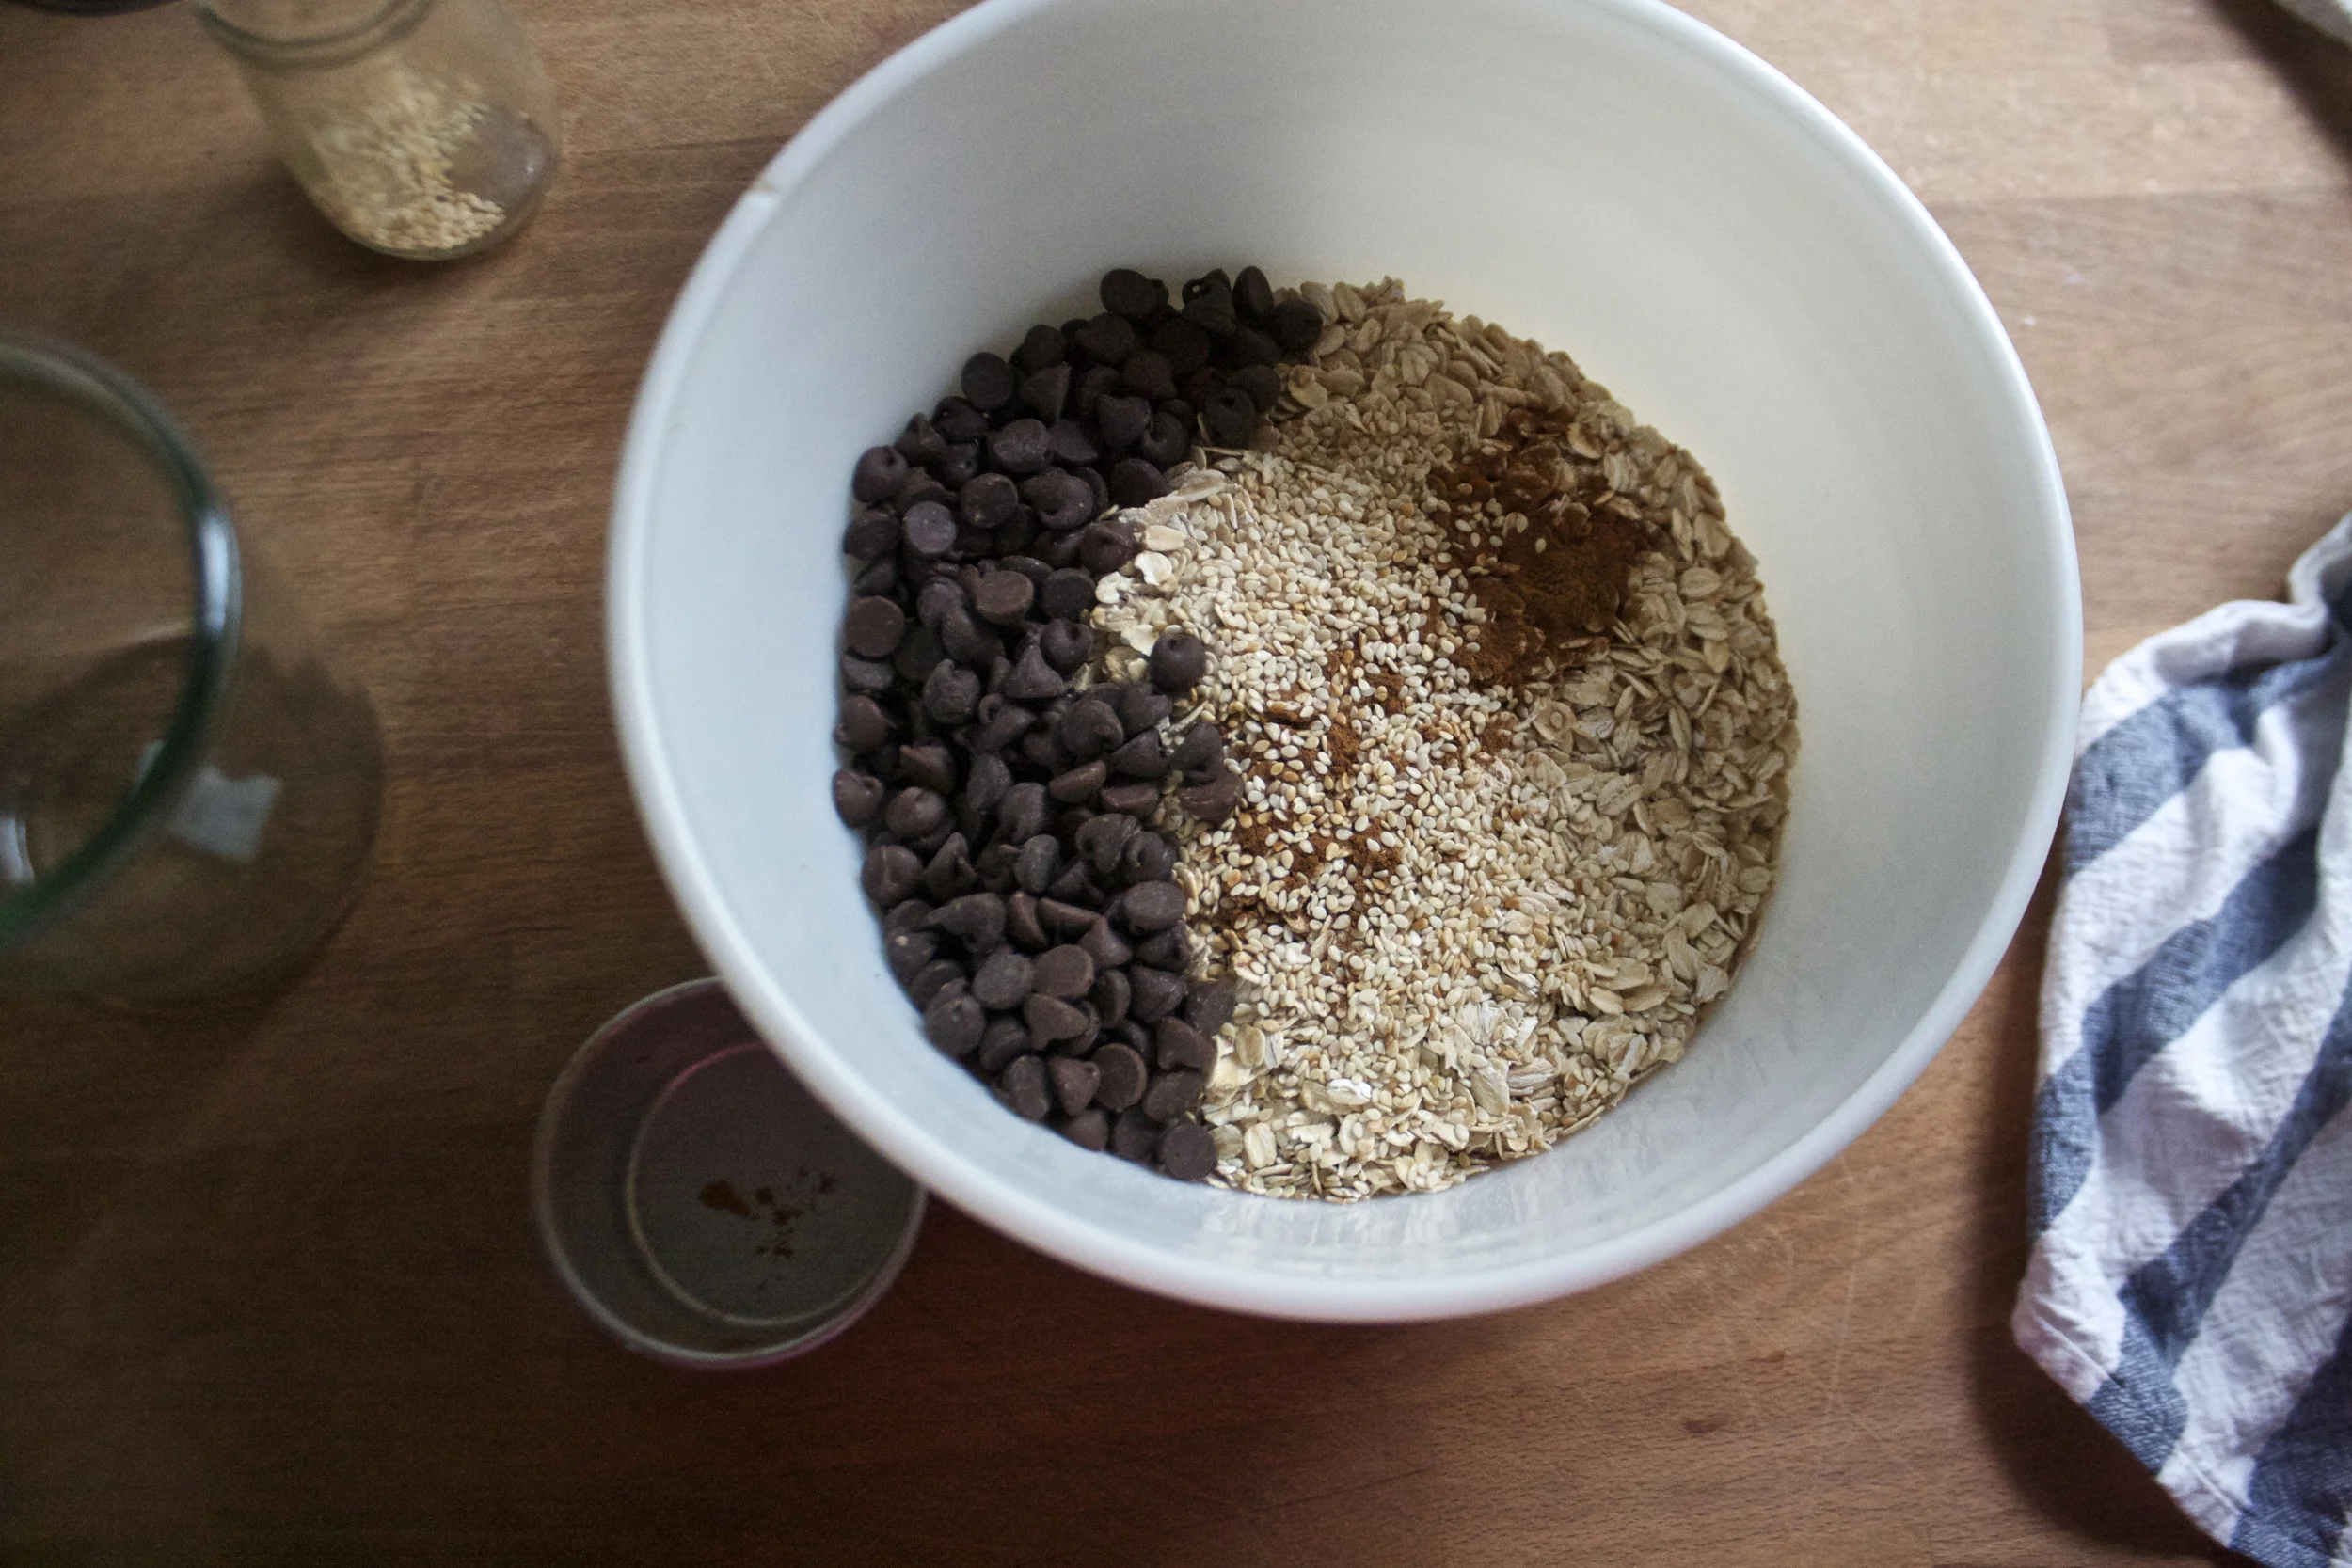
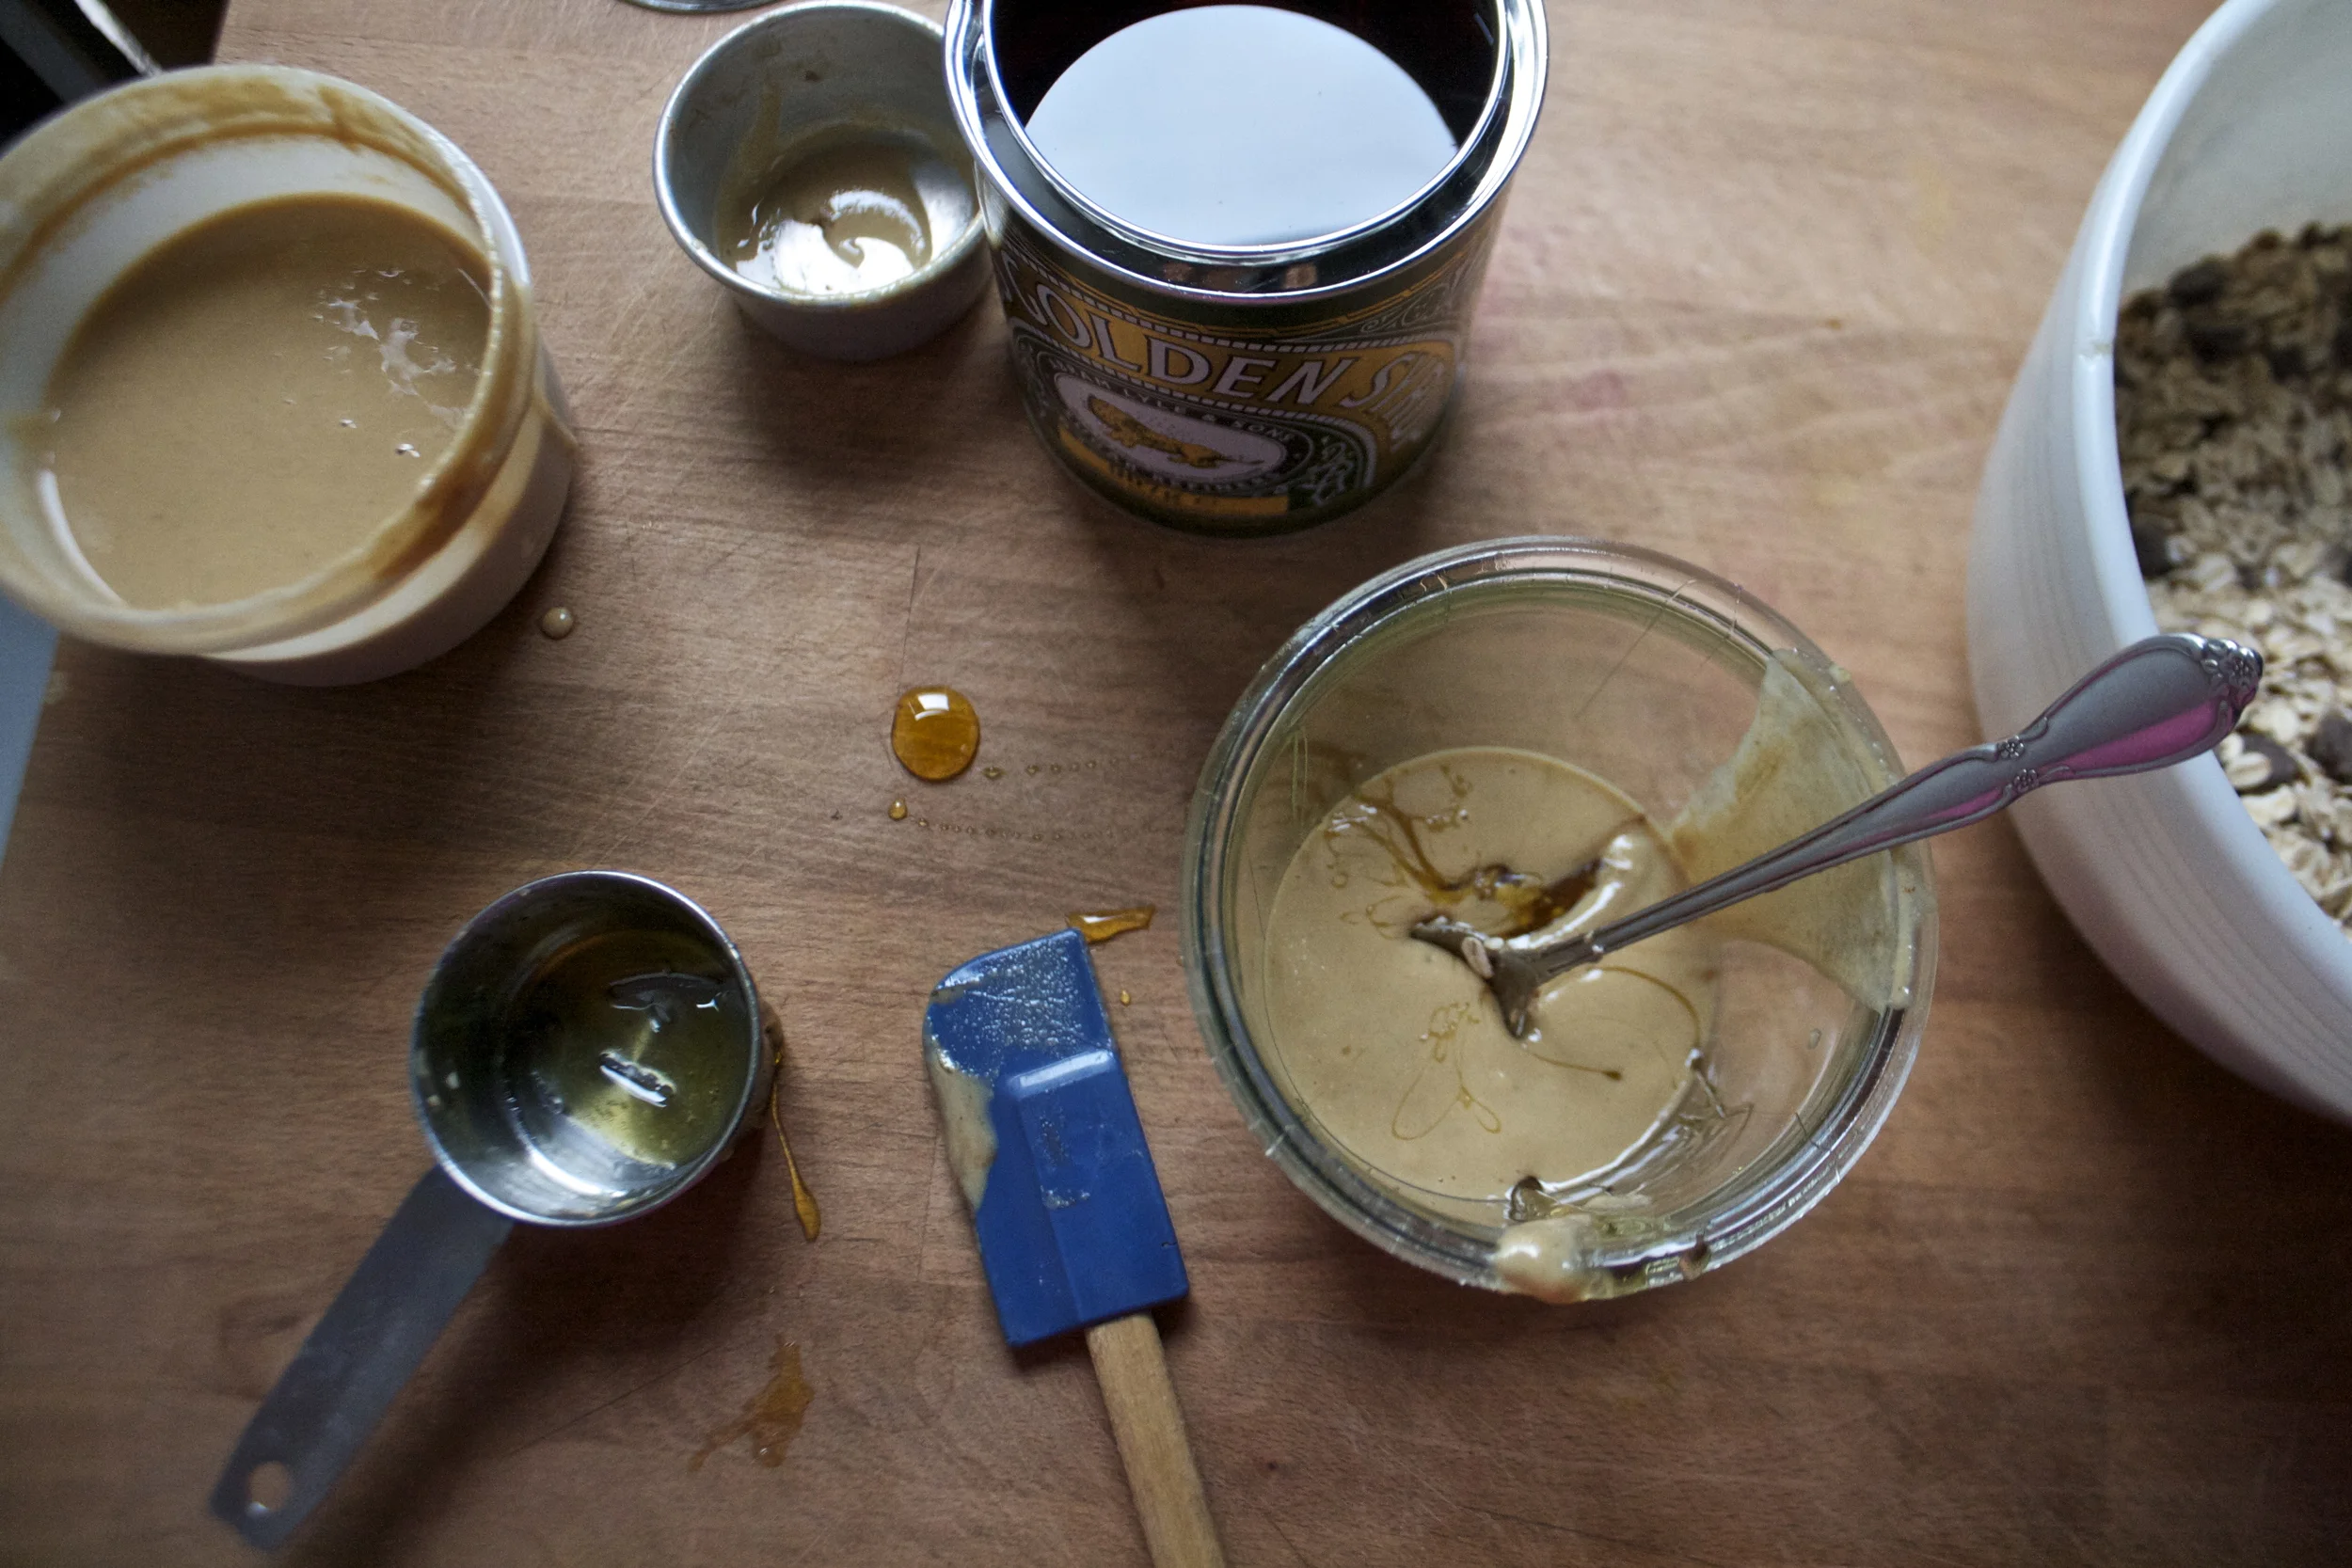
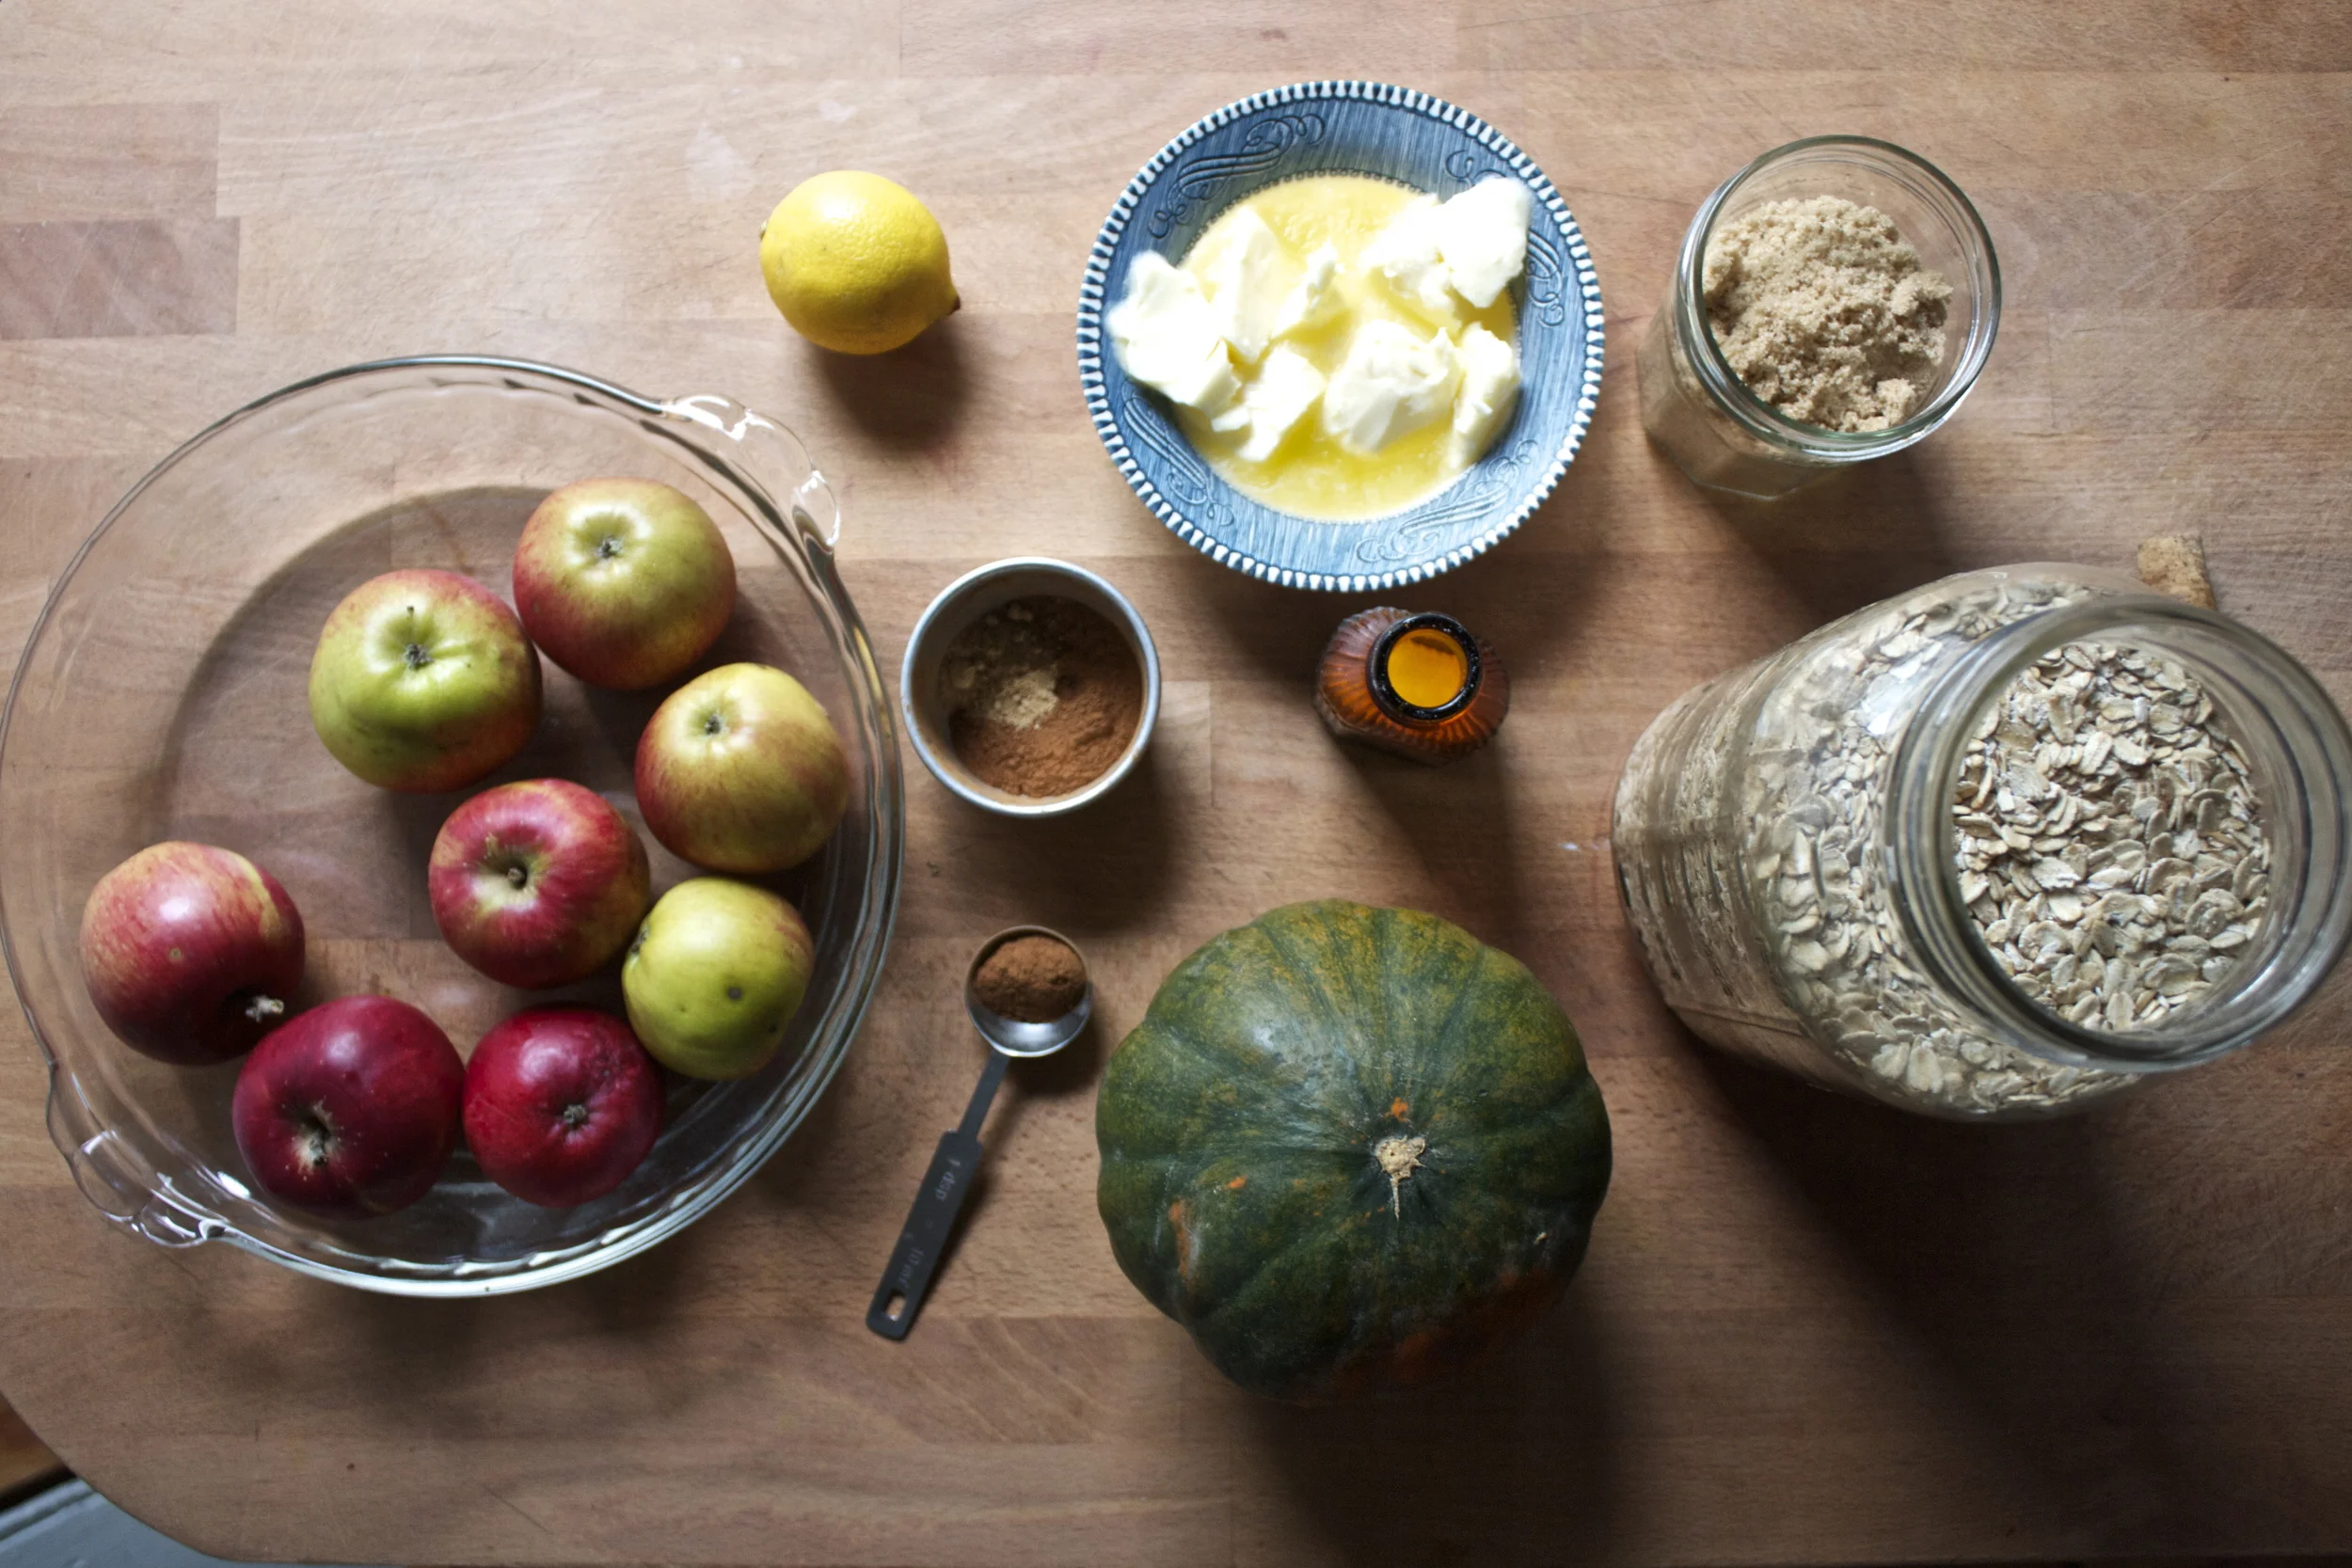
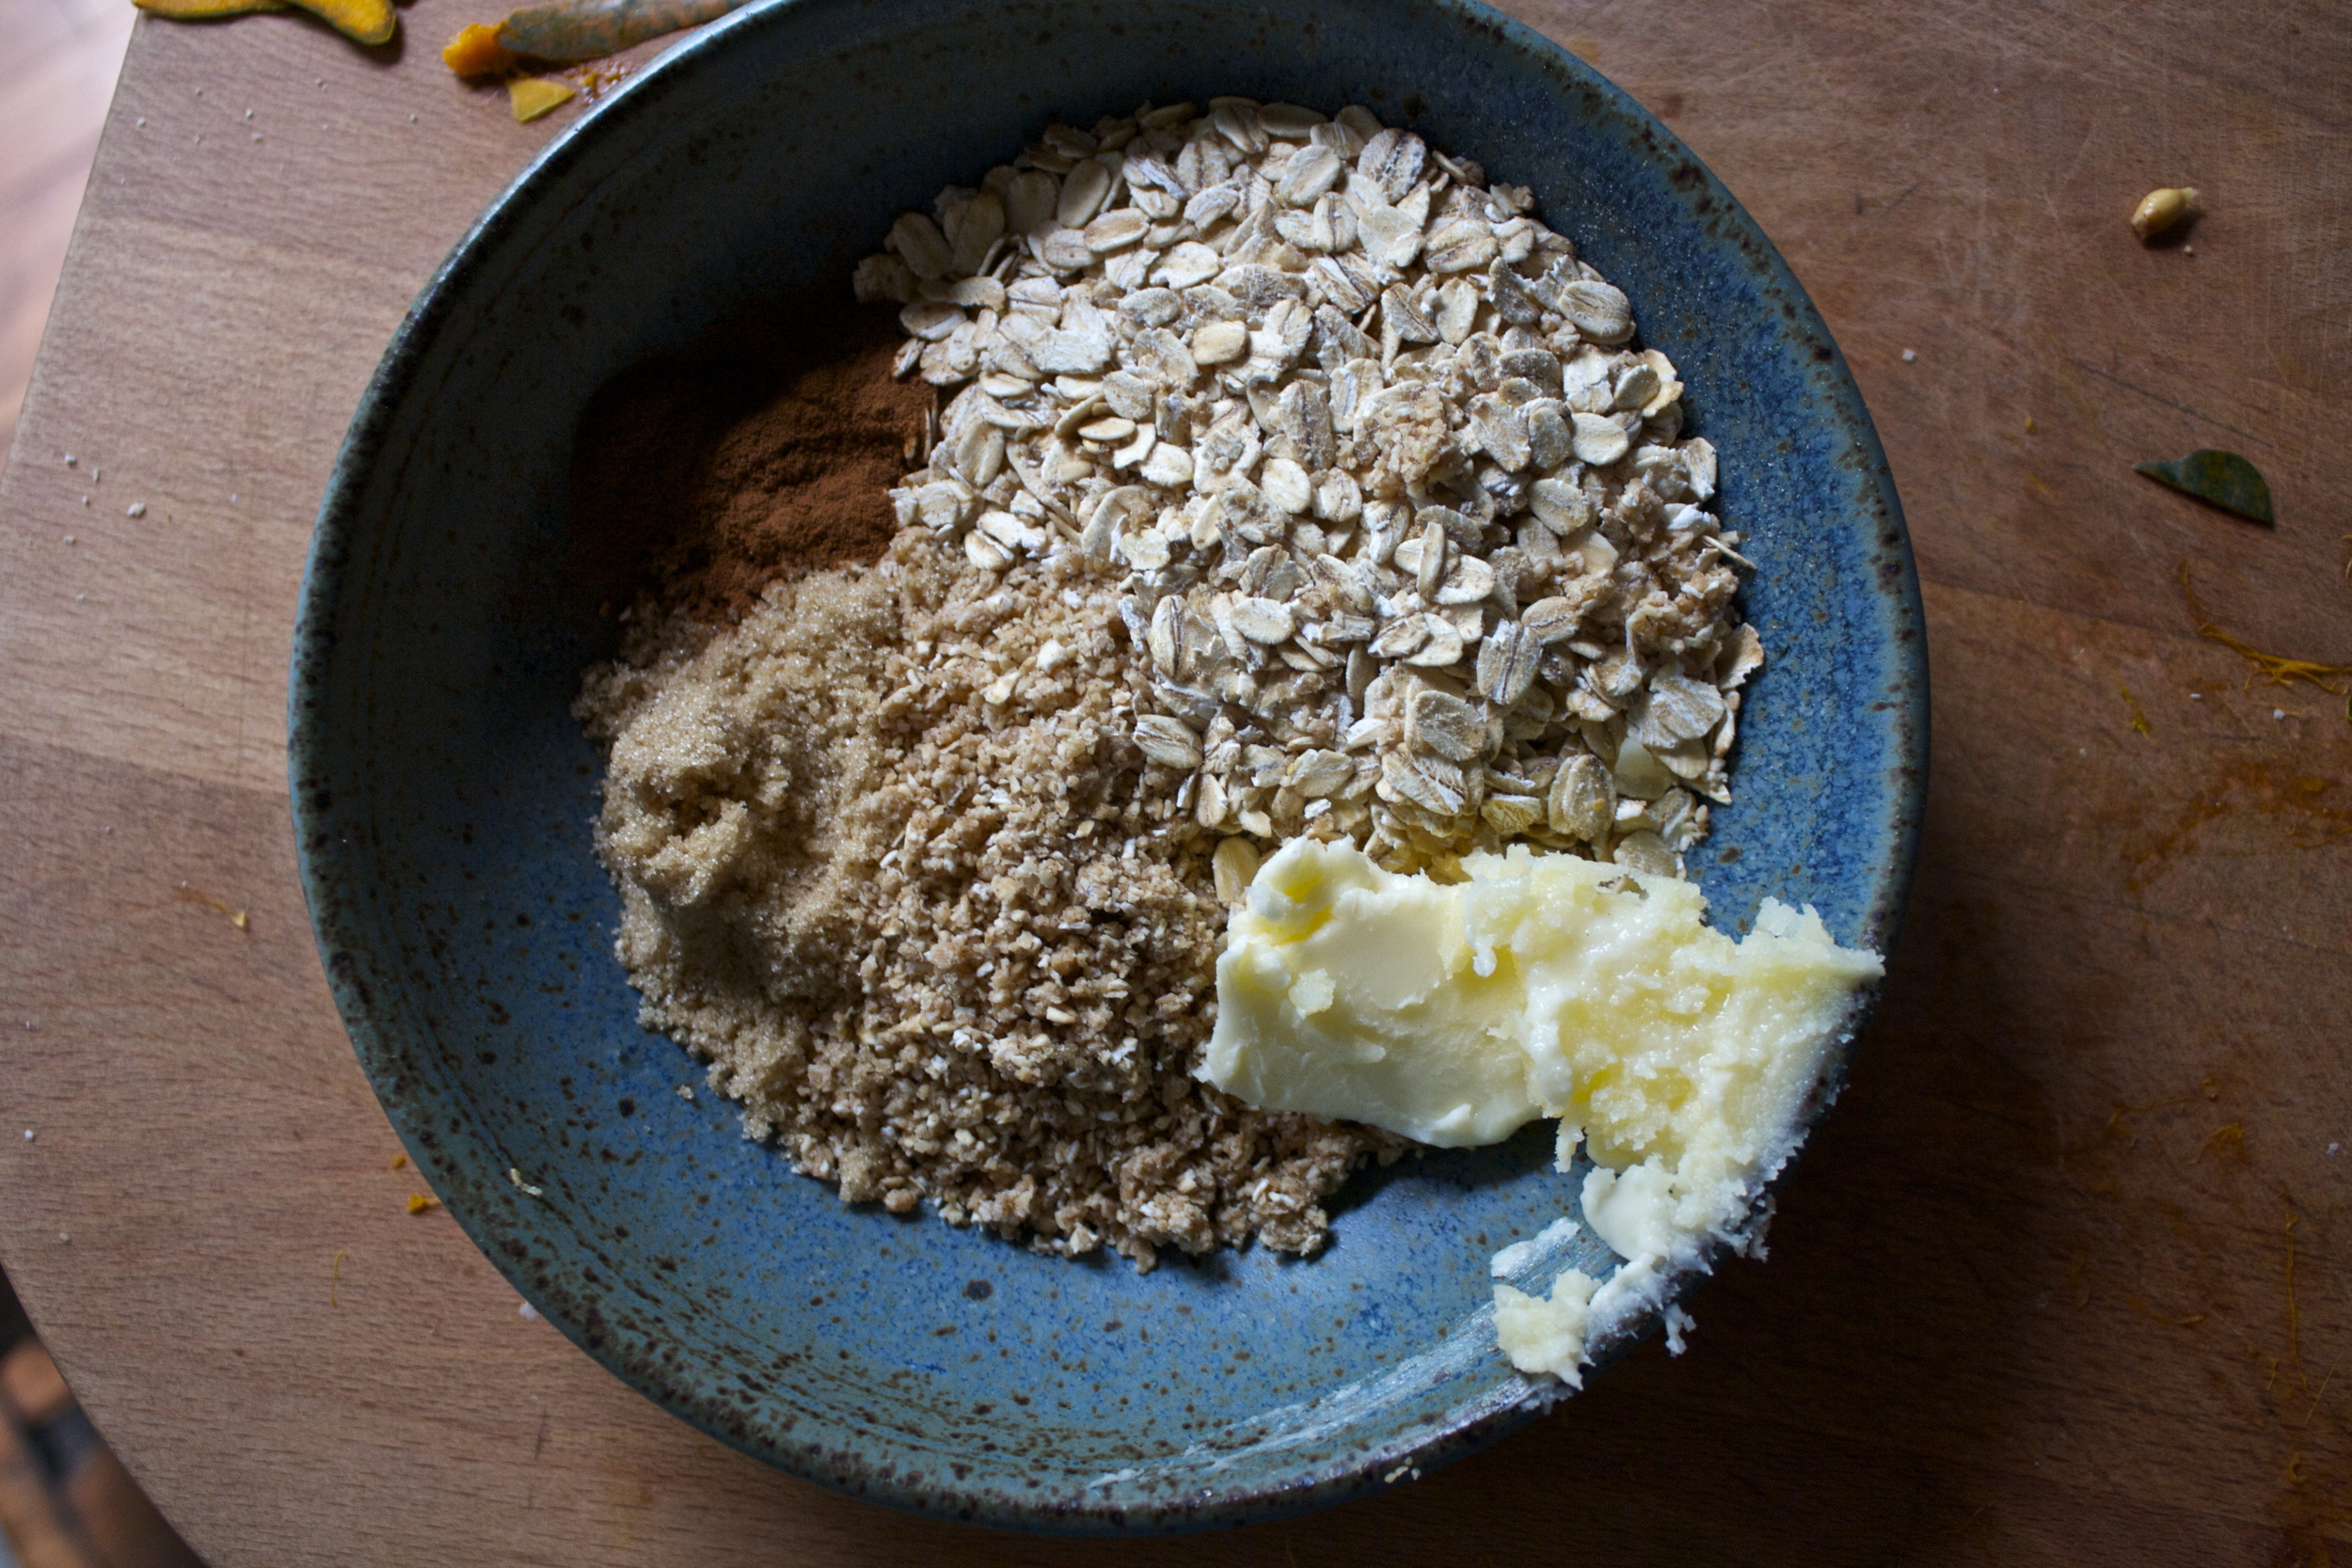
 The simplest of stuff. 1 smashed banana, a cup of pureed butternut squash, Vietnamese cinnamon*, honey, and old fashion oats. (and a dash of salt, not shown)
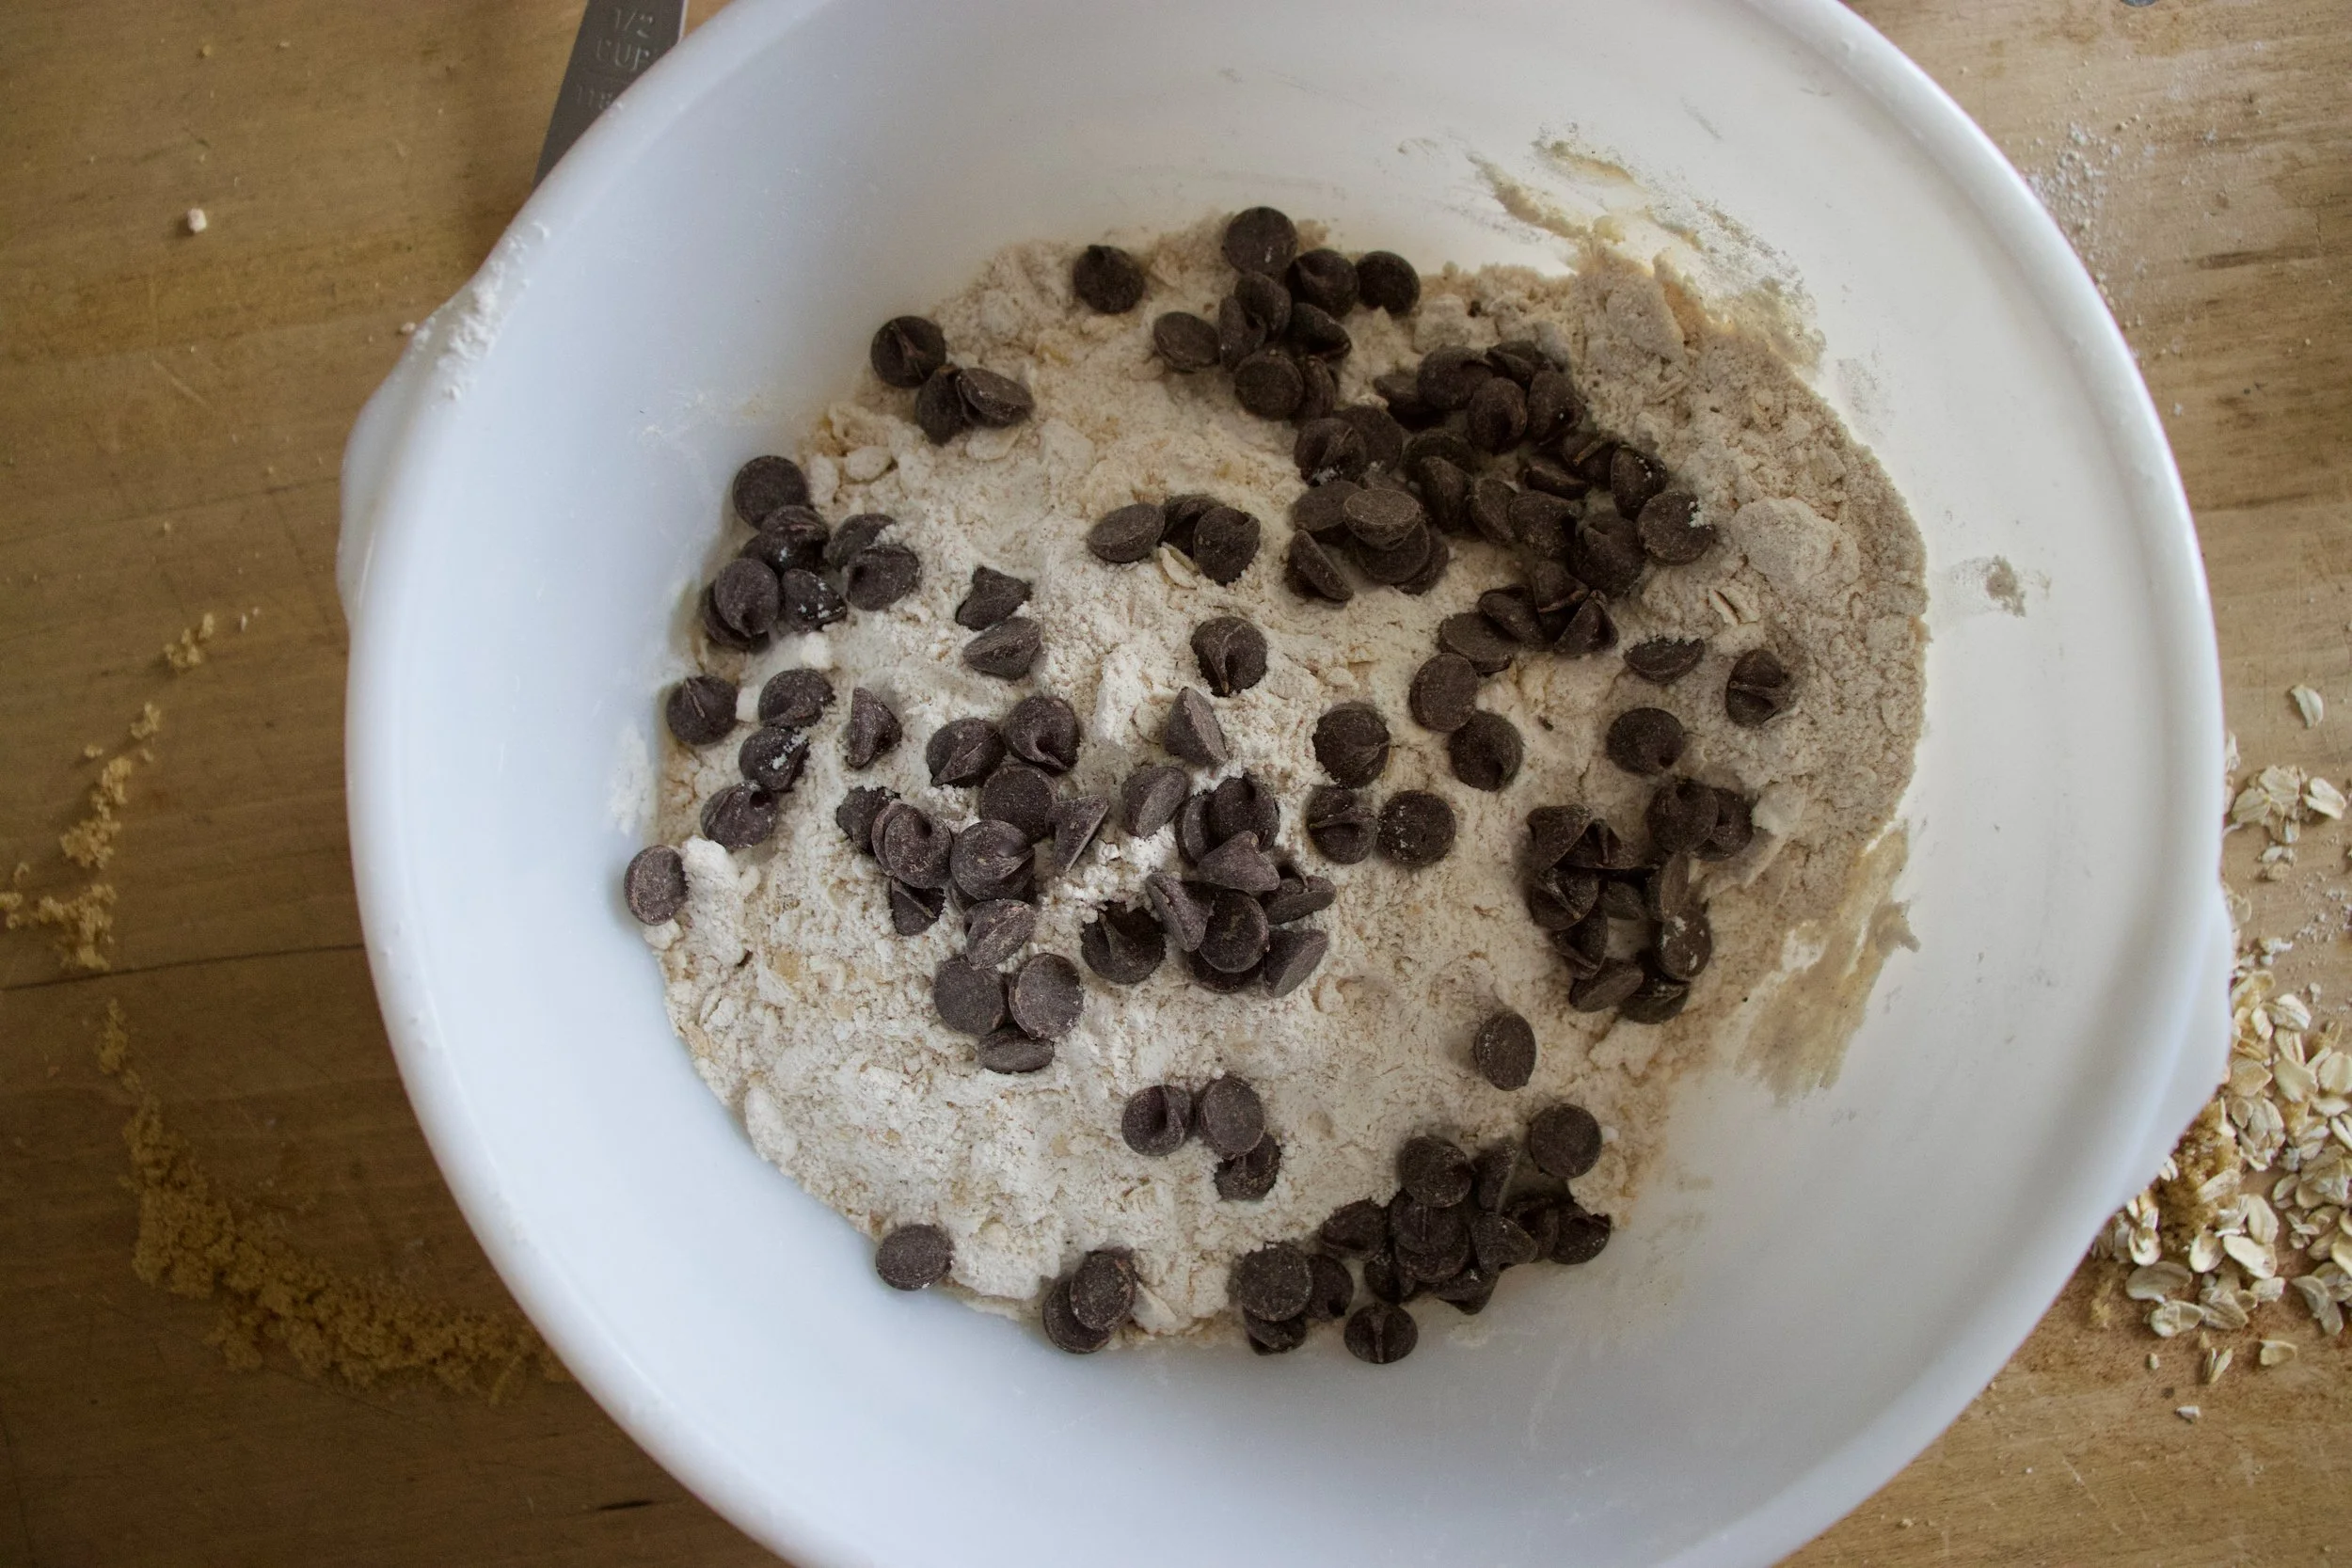
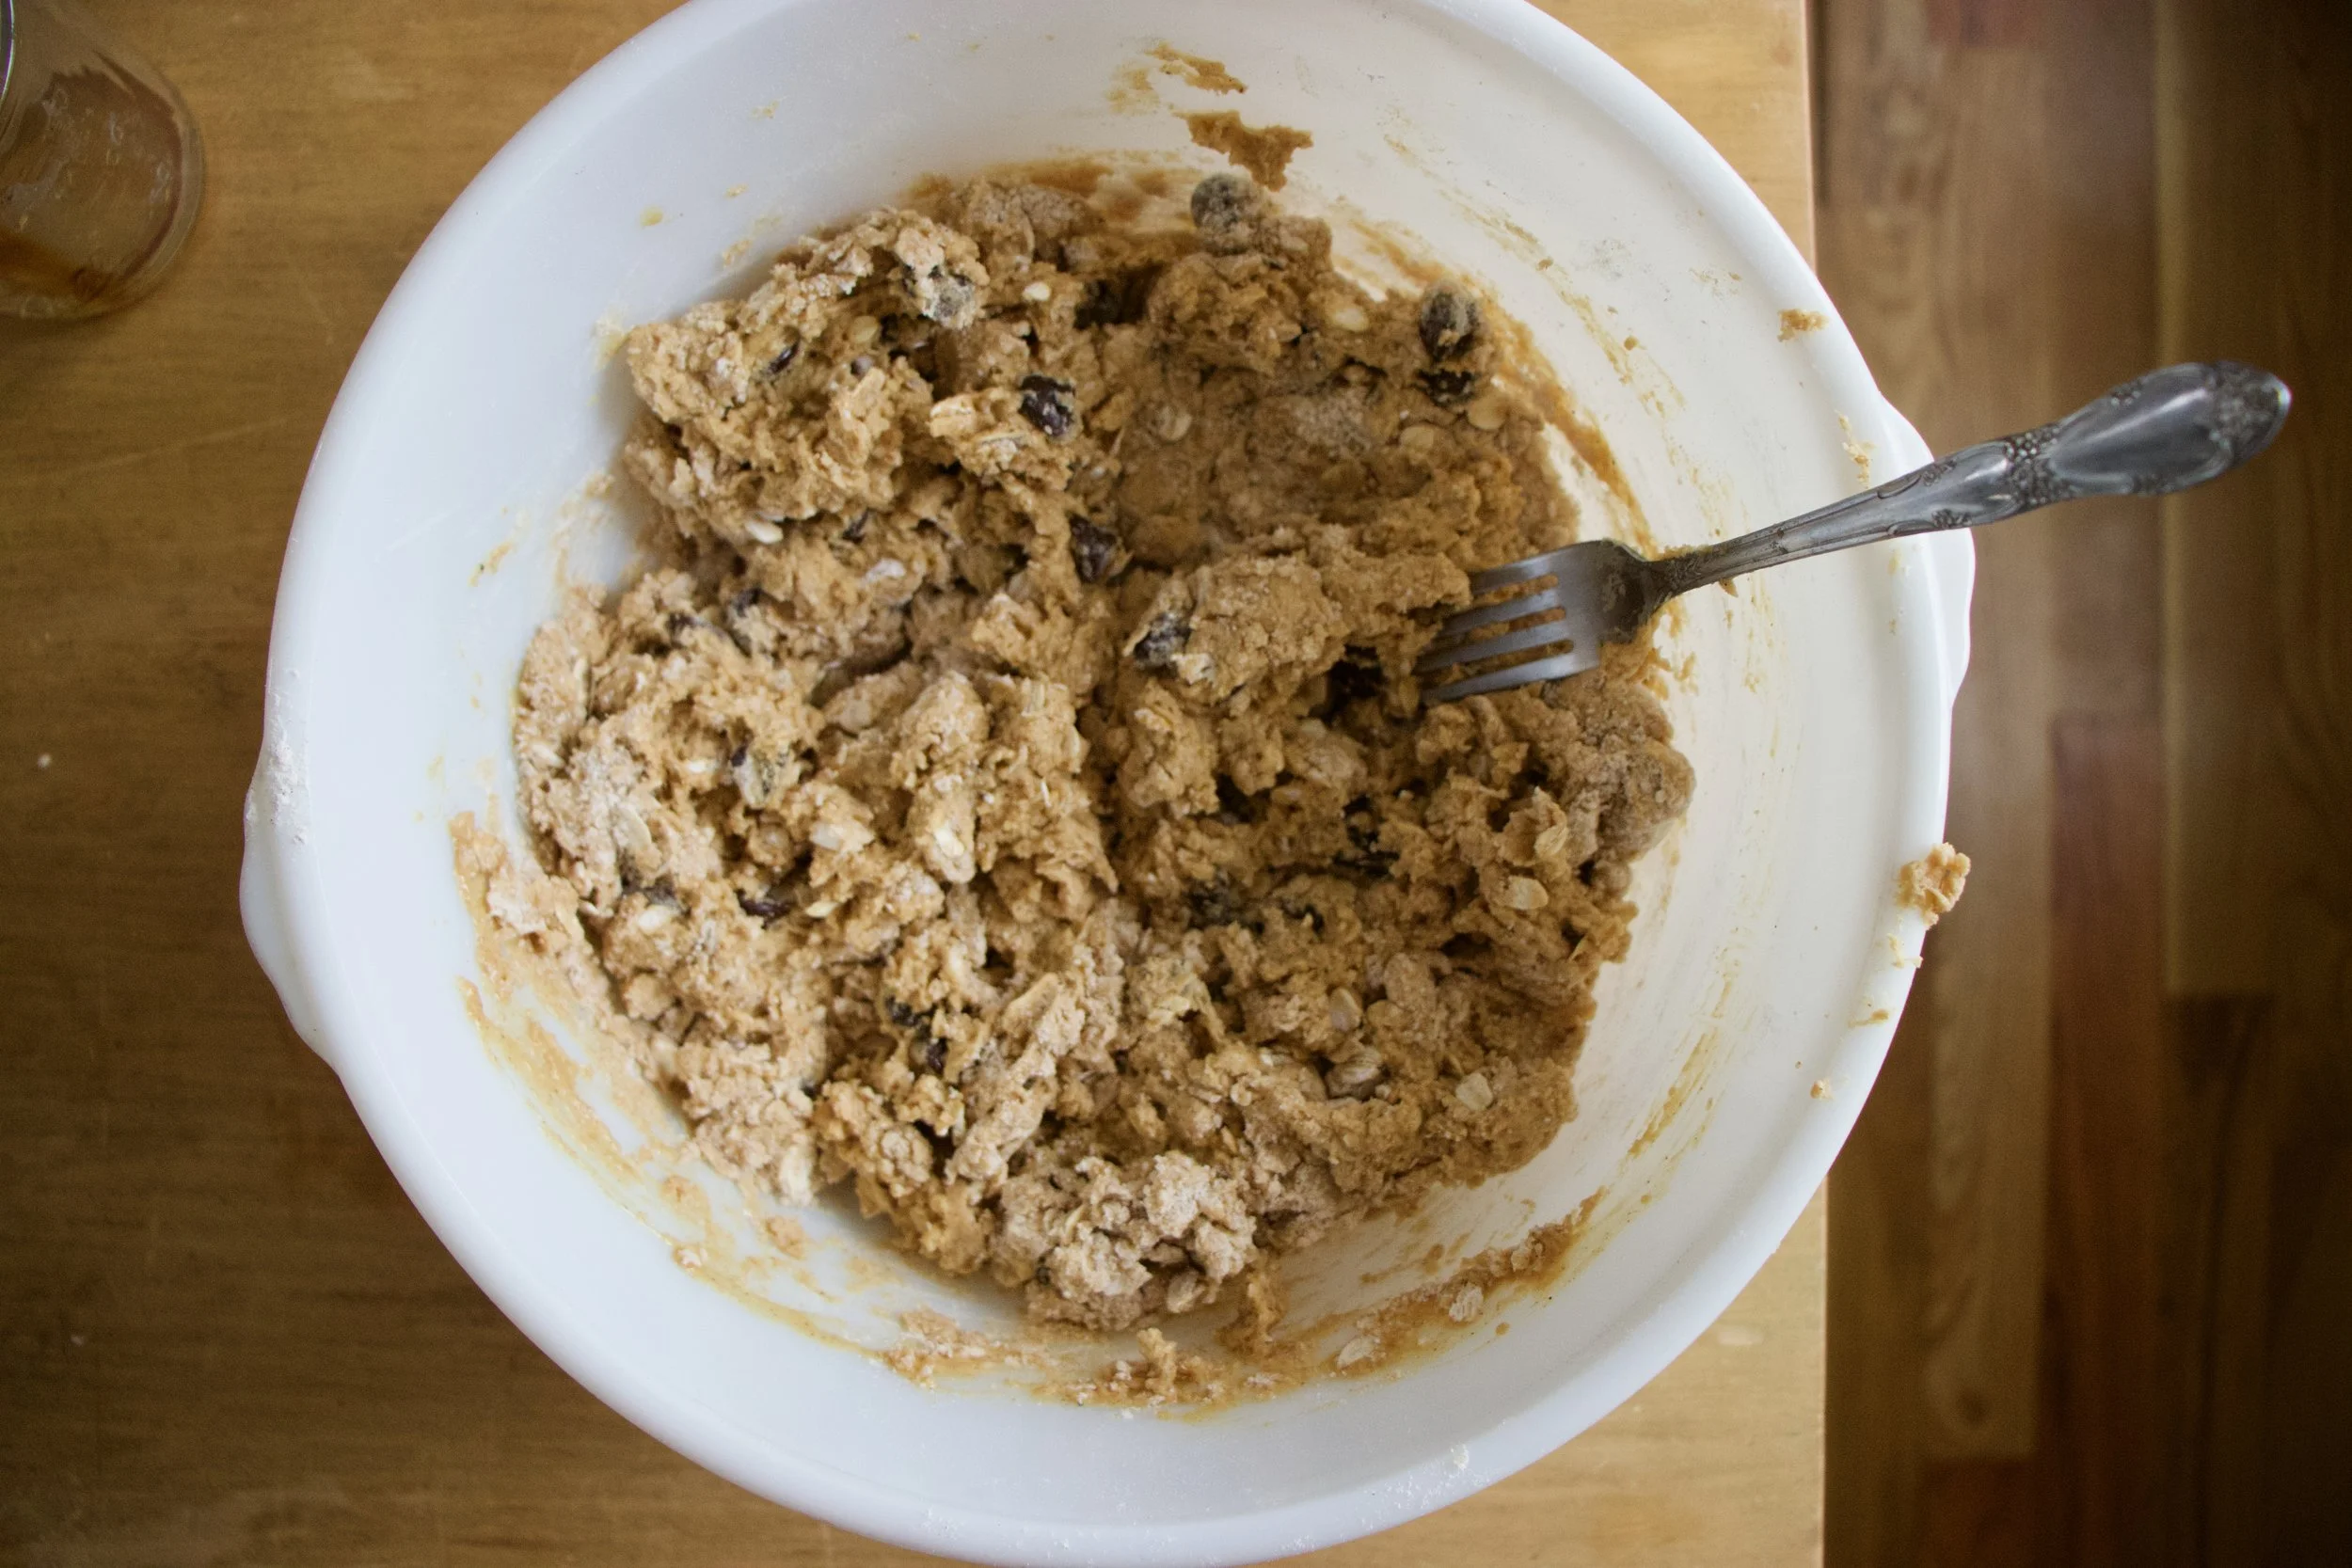
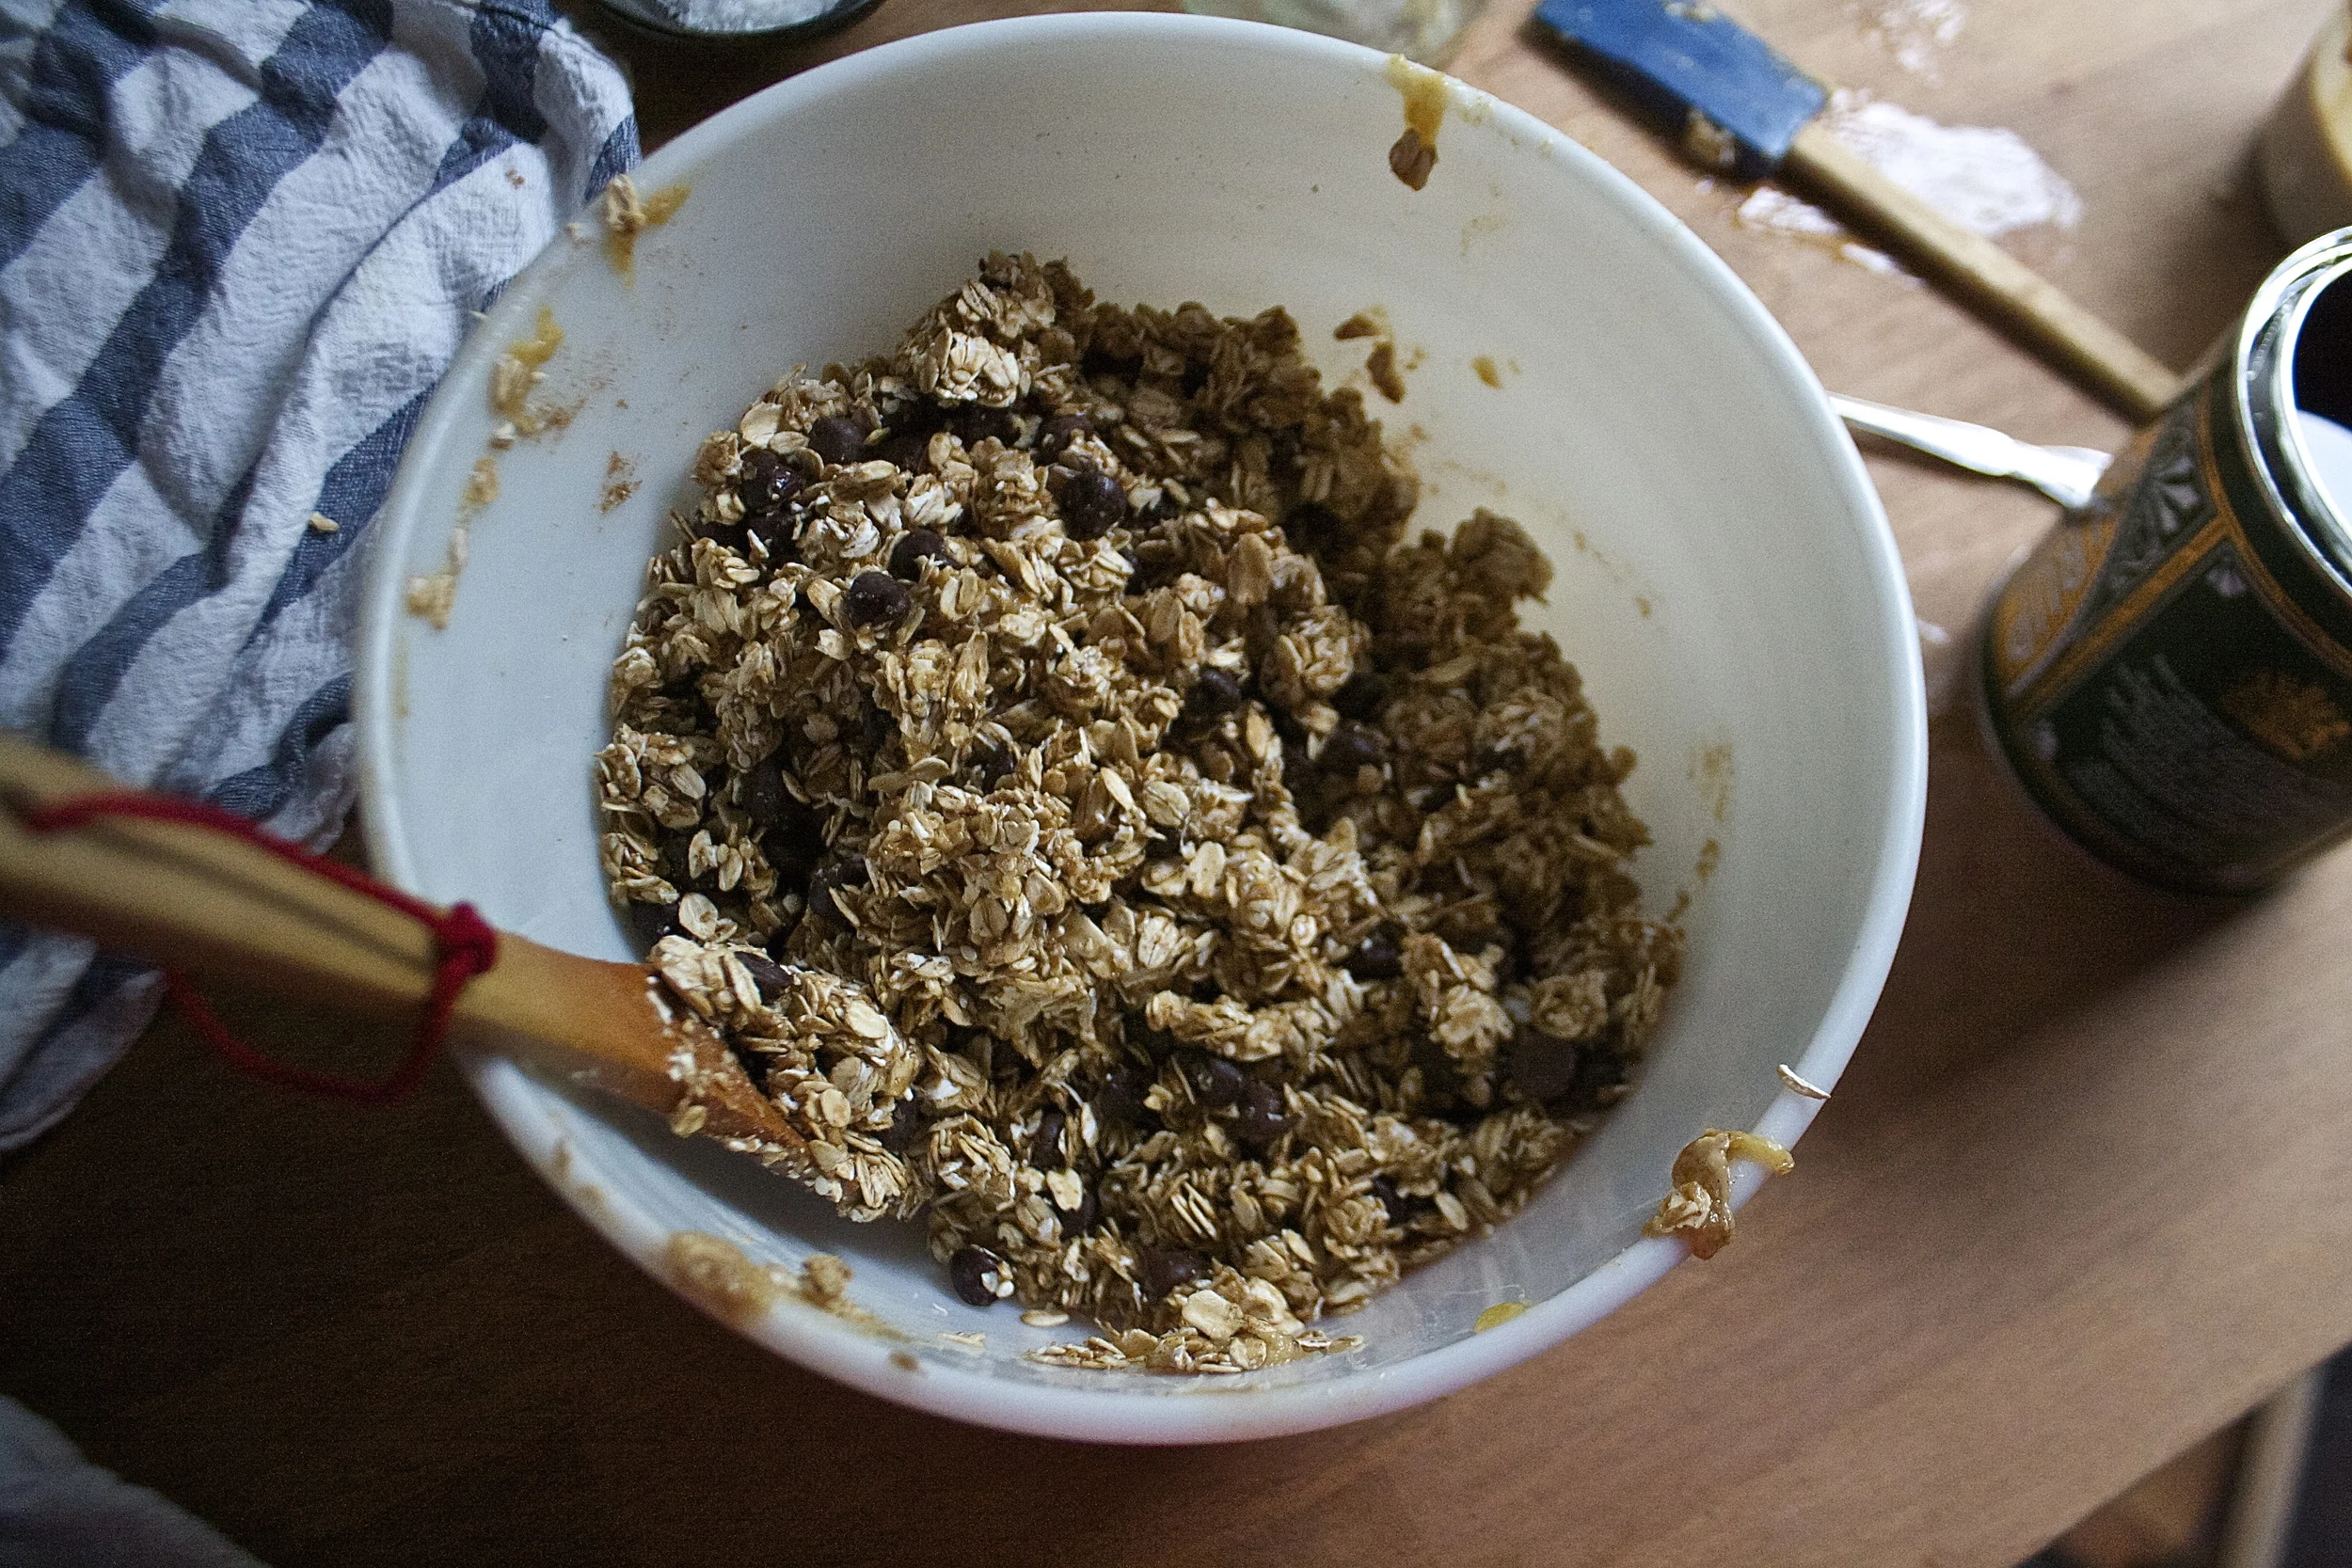
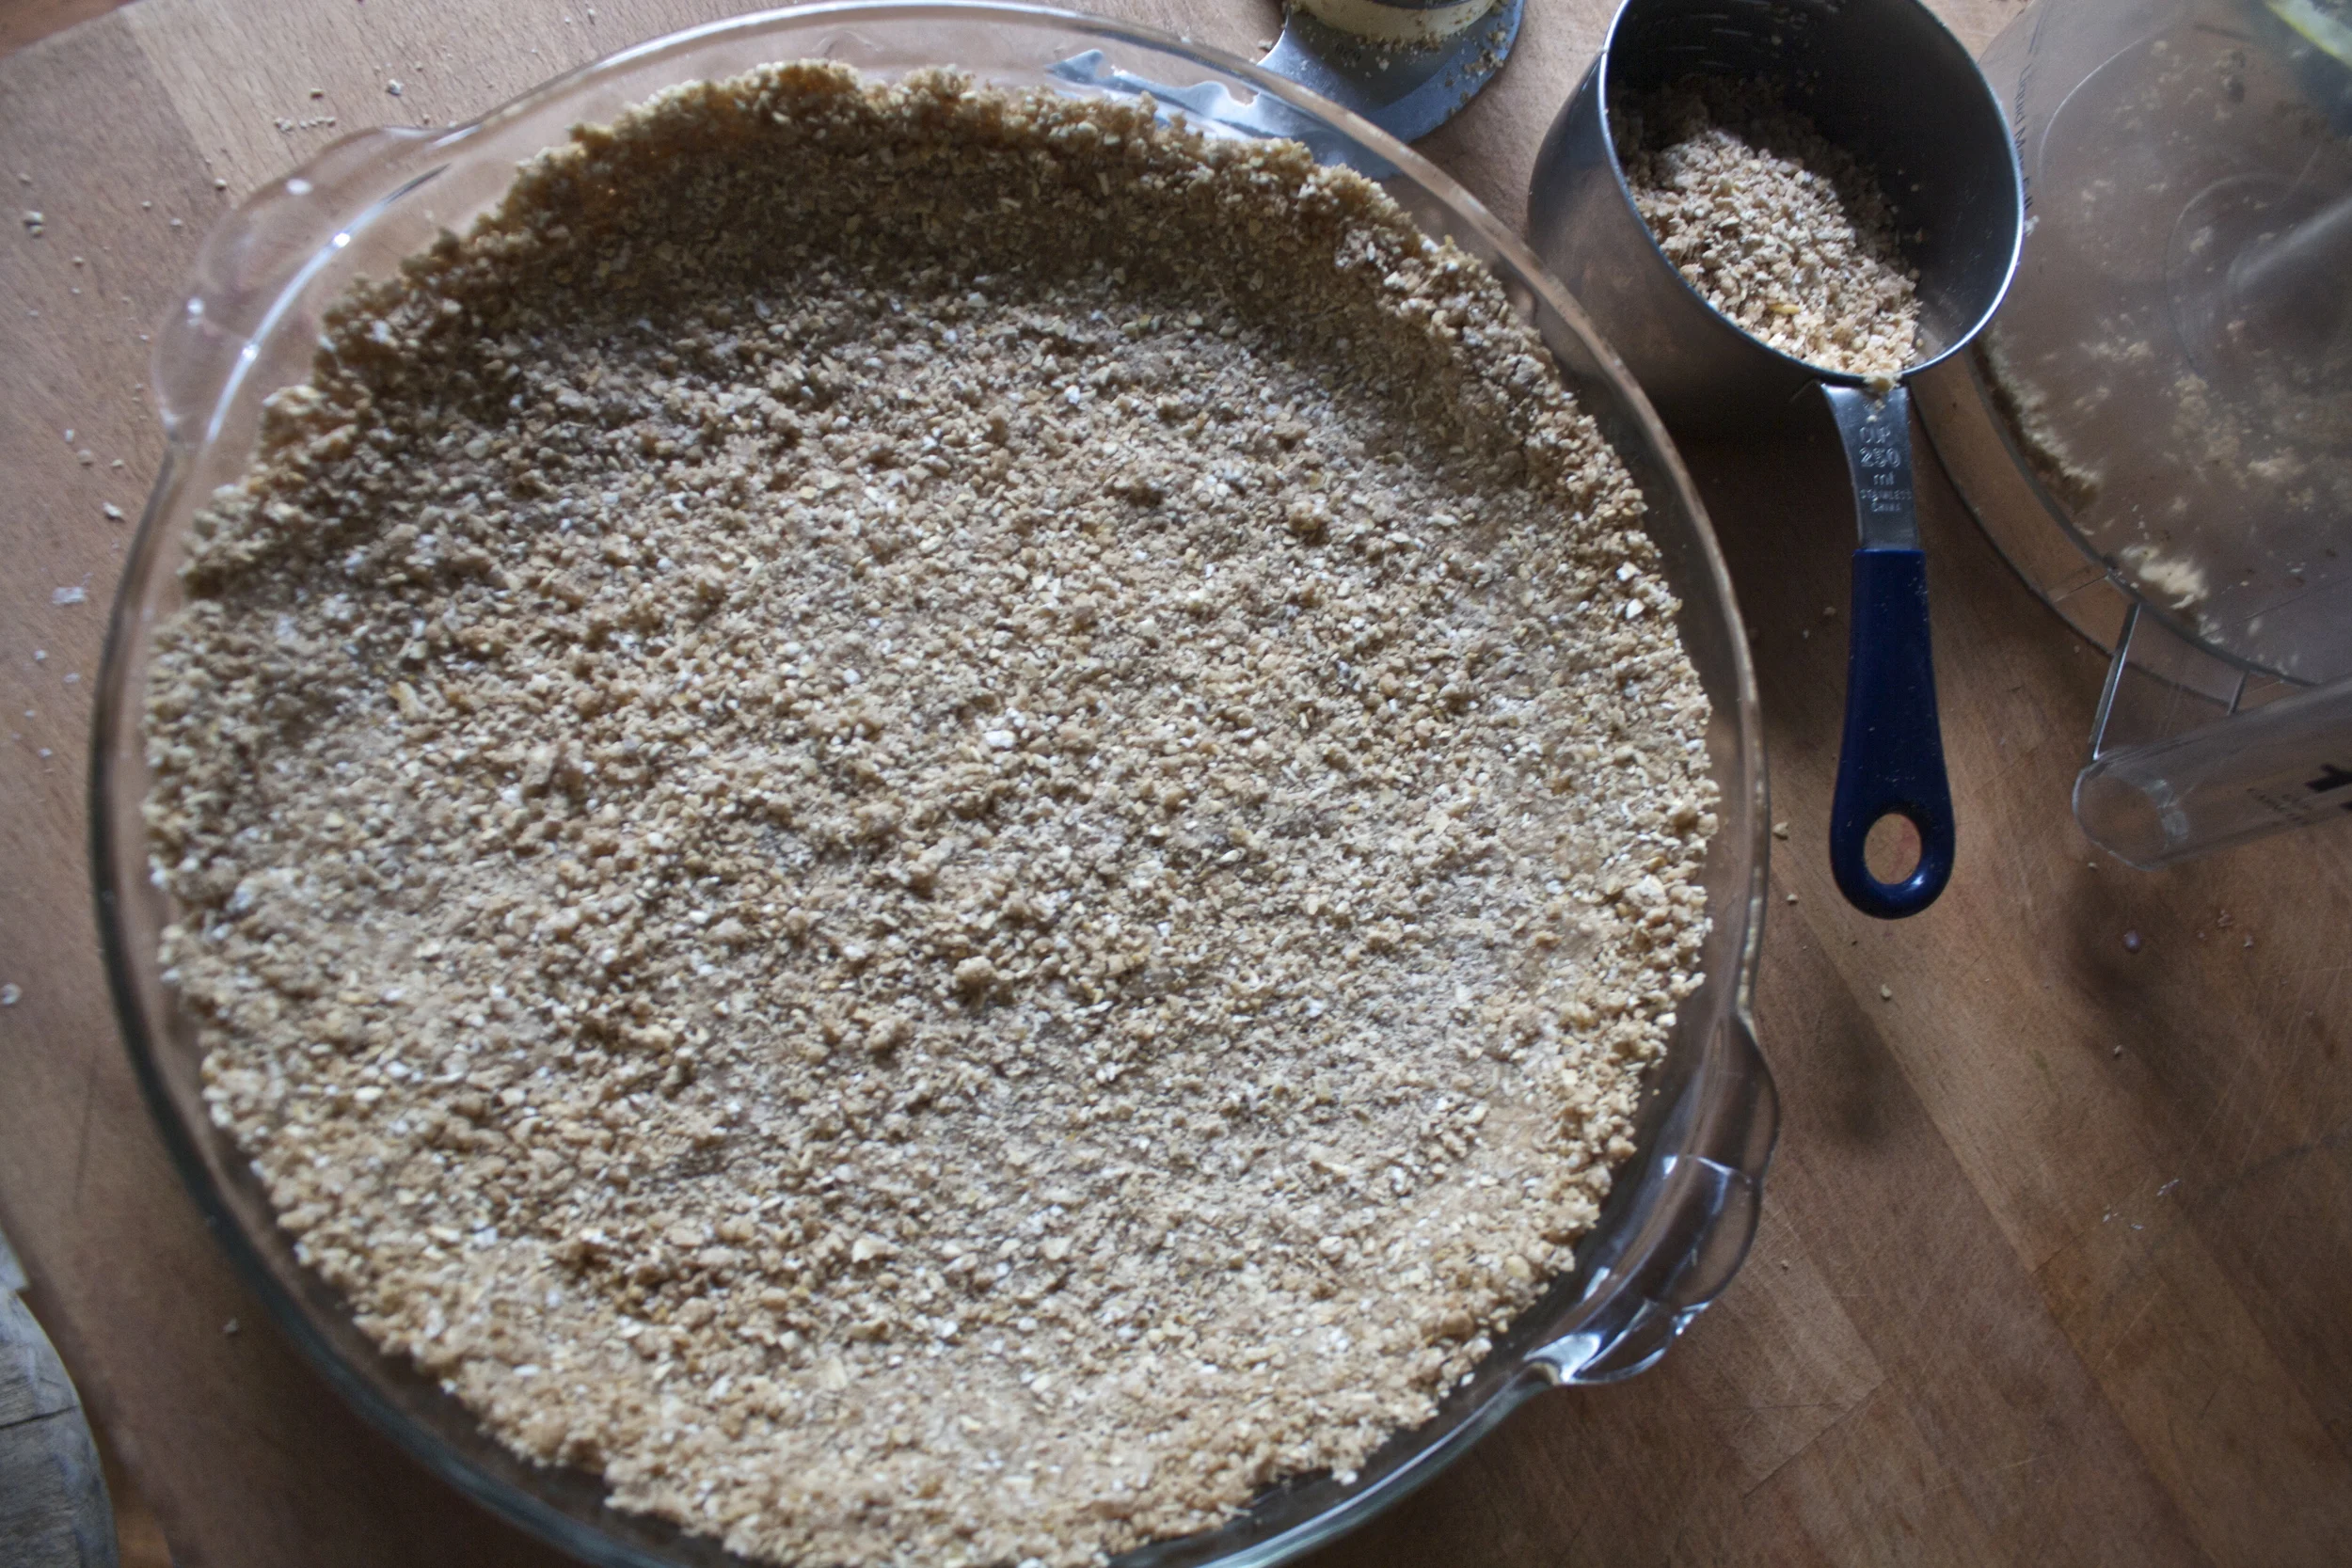
 Toss the cinnamon and salt with the oats. Mix together the banana, squash and the sweetener and combine with the oats until full incorporated.%u00a0
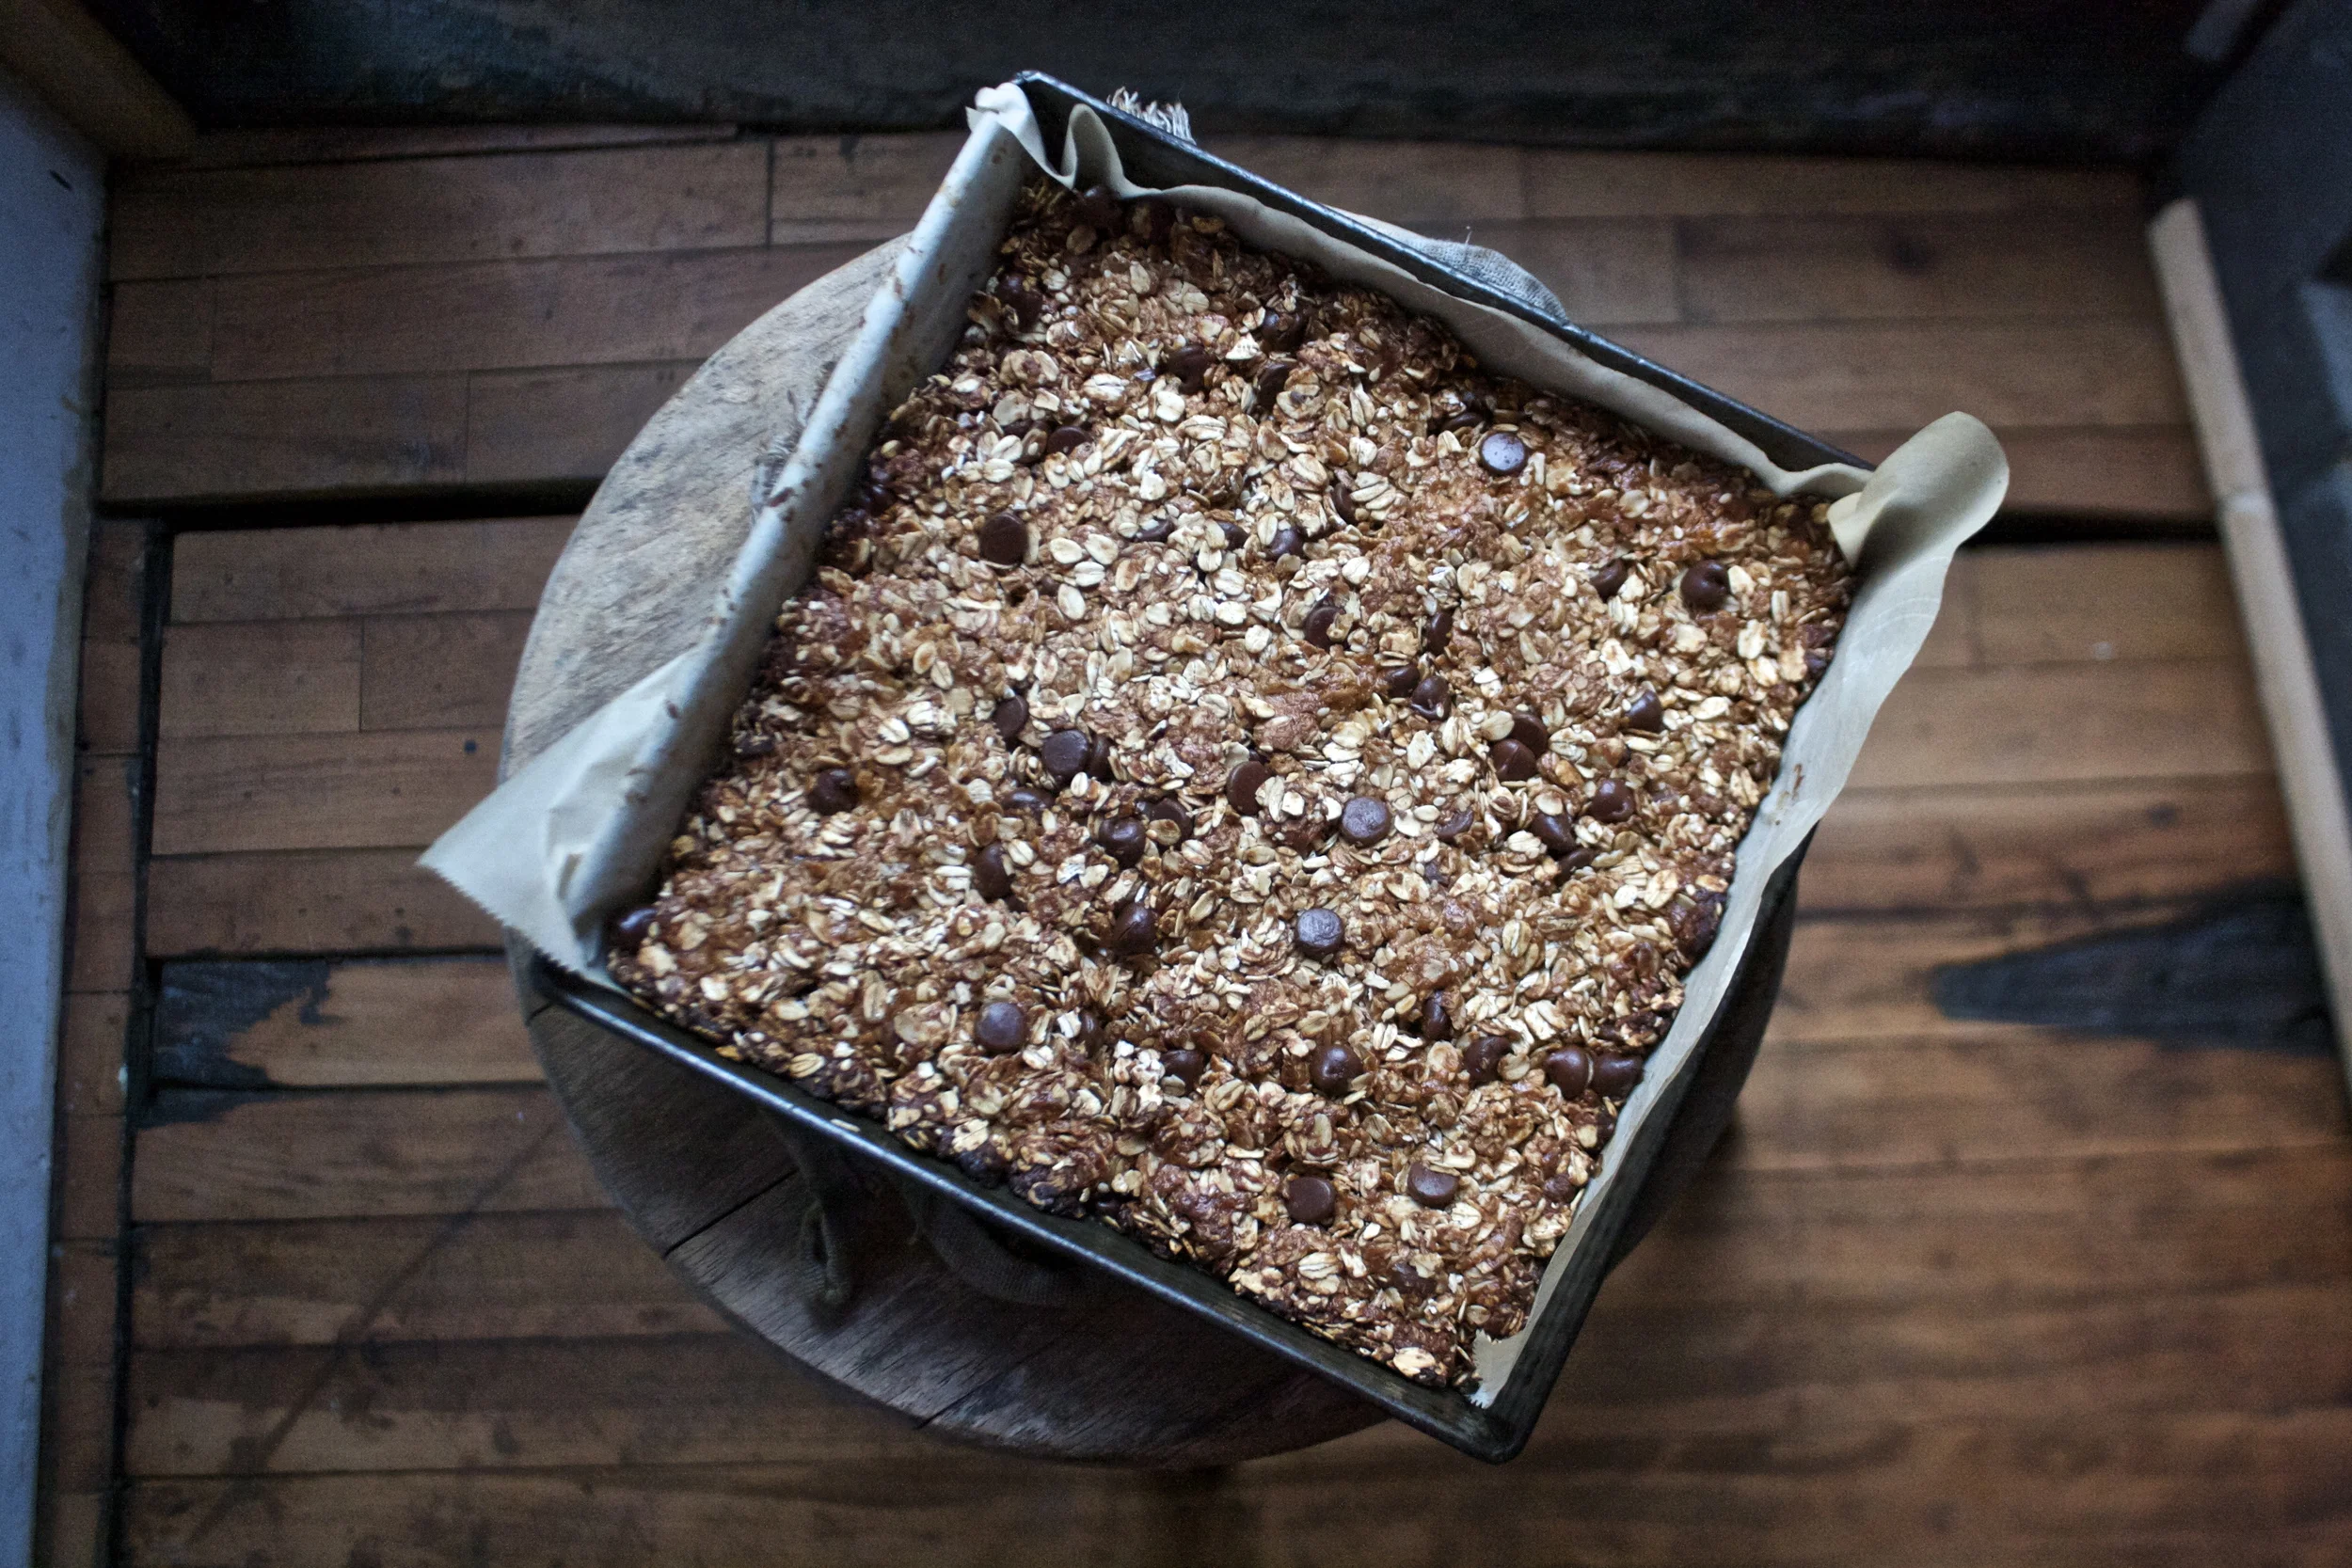
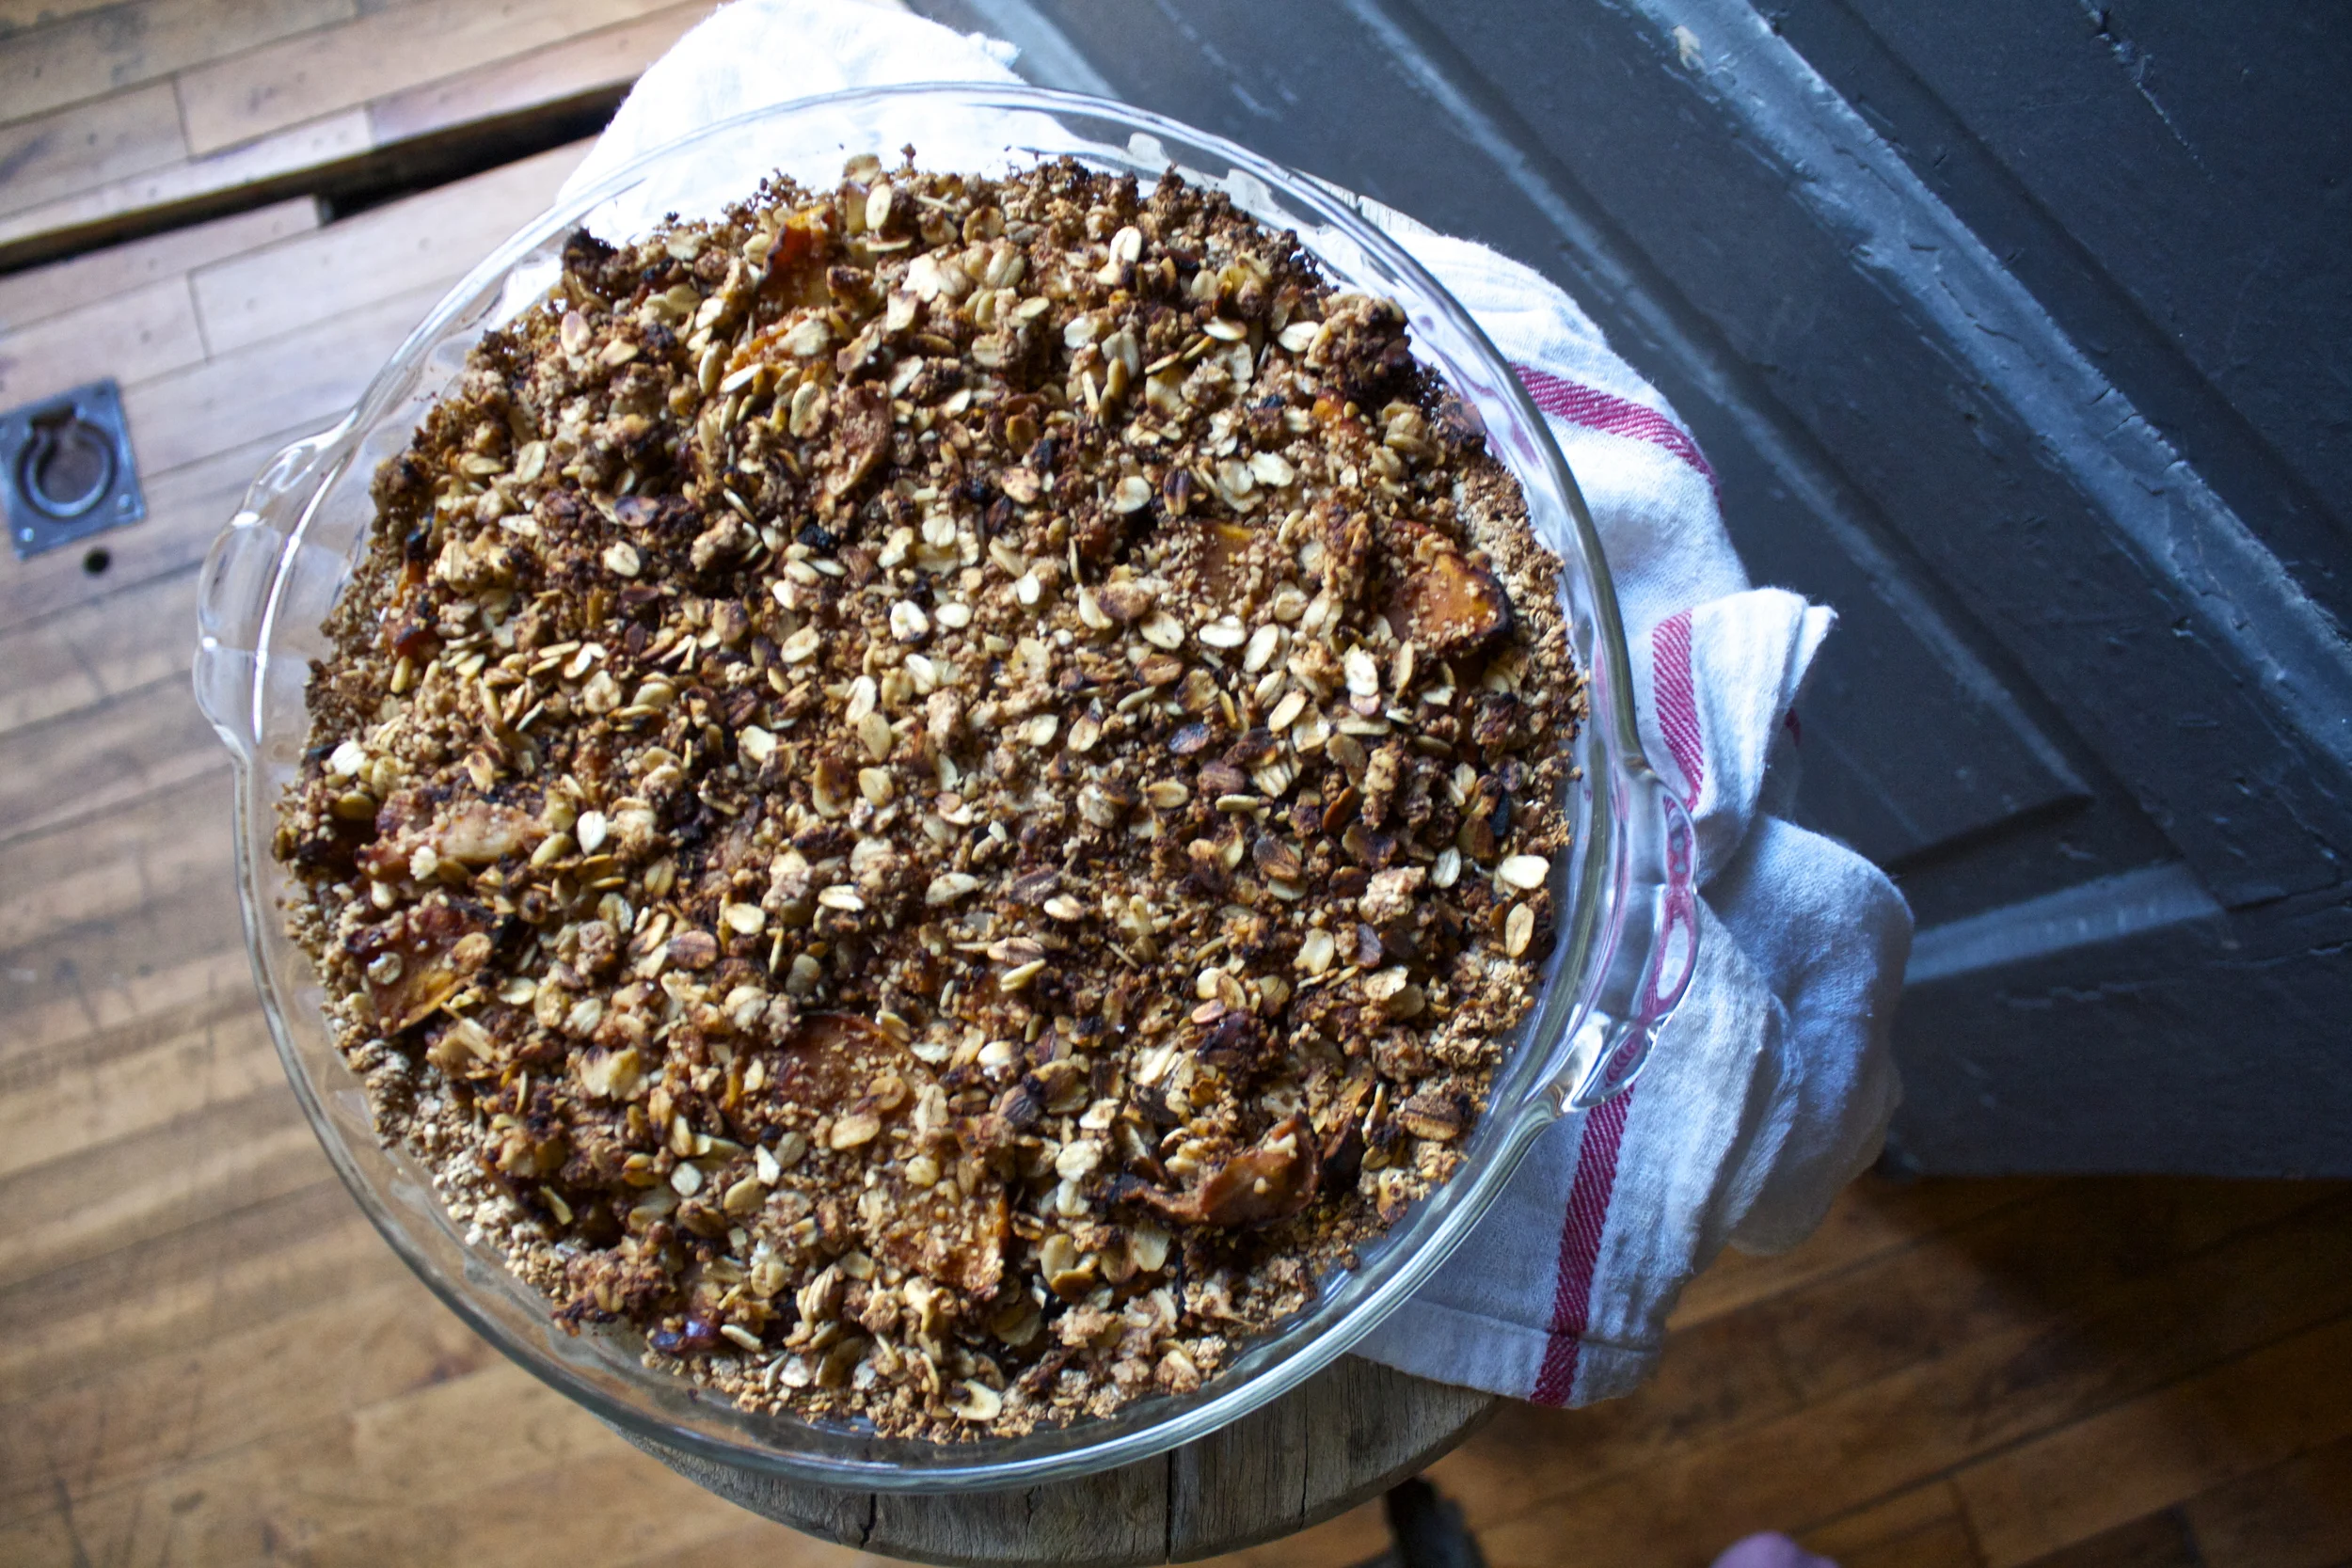
 Dump the mixture on a parchment lined baking sheet and give it a little pat, you know, to settle all the bit and pieces together, all cozy and evenly spread out. Now stick into a preheated oven and after about 20 minutes, take out of oven and give the granola a toss, breaking apart any super big chunks or overly wet pieces. Put back into oven for another 20 minutes. (I like my granola super crispy crunchy so I cook it a little longer, like 30 more minutes)
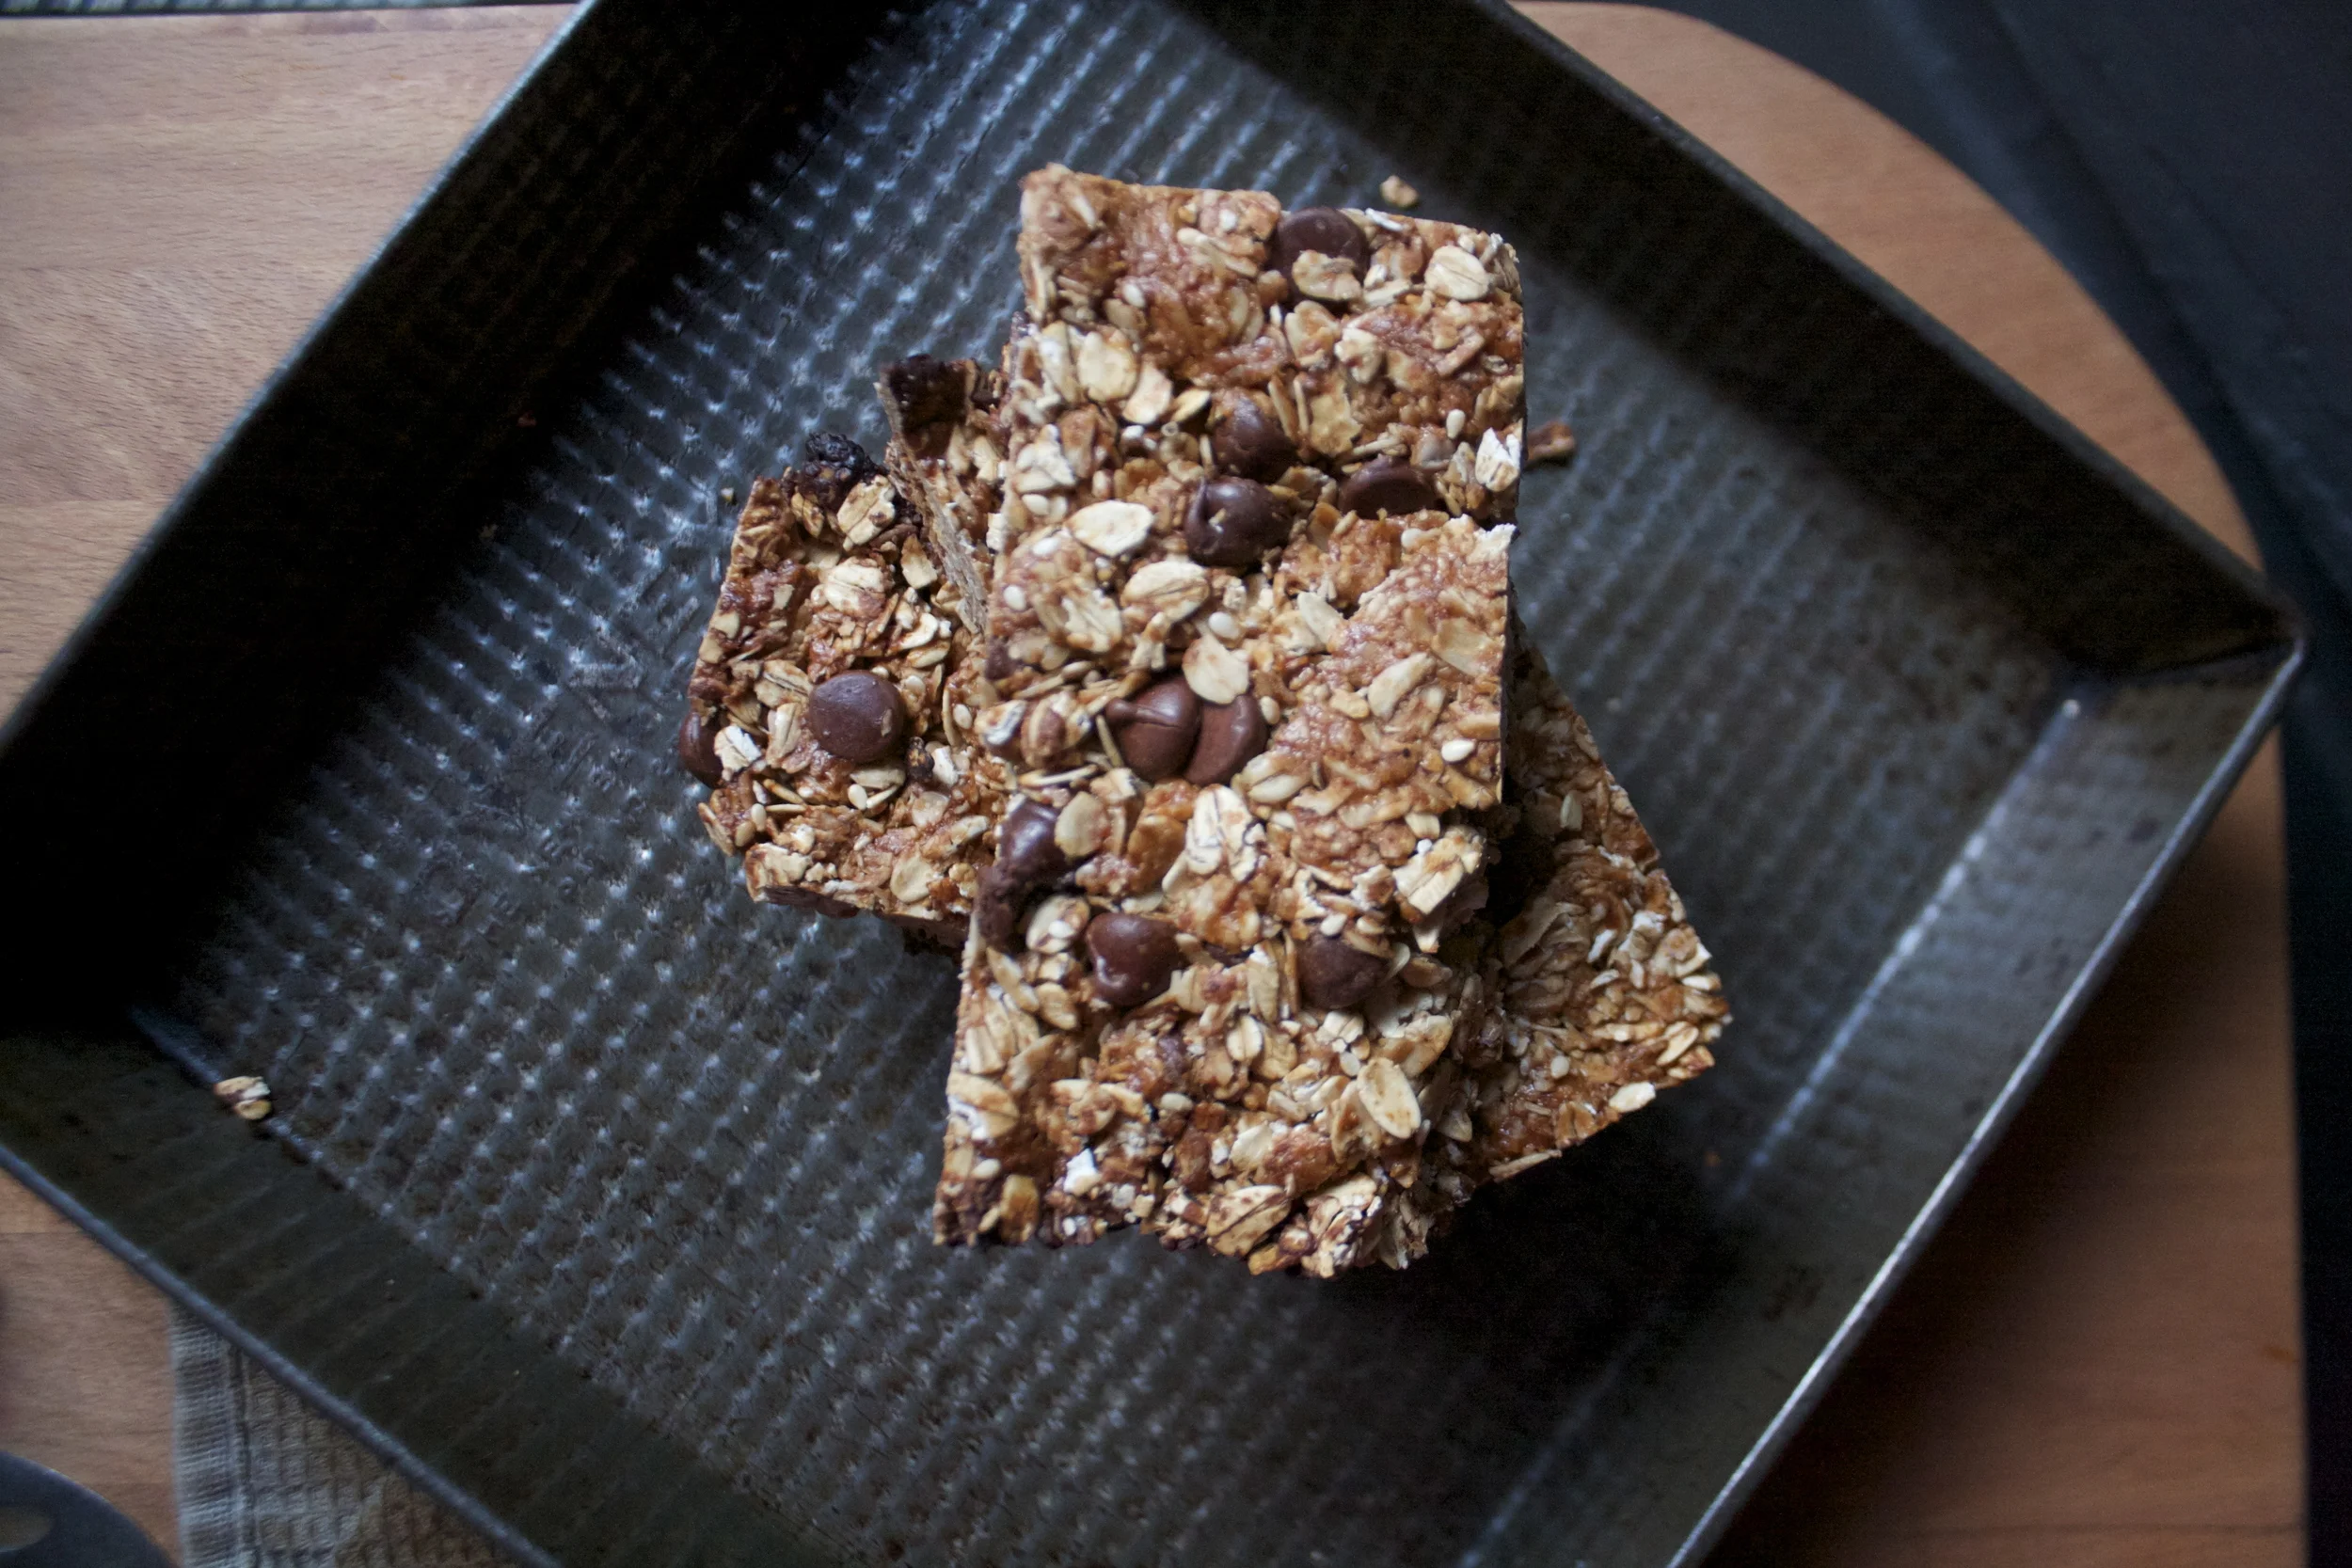
 And when you are happy with the crunchiness of you granola, remove from oven and let cool, trying not to eat all of it while it sit’s on the counter looking all pretty and smelling like happiness.%u00a0


 You ever have one of those days where its 9 am and your ready to call it a day? . Yesterday was one of those day for me. Its spring vacation around here (more like an arctic vacation) and I had volunteered my day to babysitting/ hanging out with 2 of my nephews, ages 11 and 13. (I know, I am the greatest sister). I had all of these great ideas and plans of things to do, but when it came down to it, they wanted to do nothing but play video games and not really listen to anything I said. I basically had to drag them outside to go for a walk we me and that’s all I could get them to do My great little nephews, I love them so much, but yesterday they had their minds set on being little monsters.
 What we have going here…… Chopped up onion, celery, and carrot in a pot. Stick that pot on the stove for a few minutes on medium heat to start the cooking process. While that happening get the other stuff ready. A big can of diced tomatoes, hot sauce, worcestershire sauce*, prepared horseradish*, celery salt, garlic powder, salt and pepper And last but not least a good squirt of yellow mustard. Now add it all to the pot and bring to a boil. Turn down to low and stick a lid on it.
 After about 20 minutes the veggies should be soft and the flavors should all have melded together. Taste soup as it is cooking and add any more spice that you want.
 I stopped when I got to a smooth consistency with the littlest bit of texture.
 And there it is…served with a stock of celery and a wedge of lemon (I forgot to add them to the pictures!) A bloody Mary to take the edge off any drag of a cold weather day. And best part.. left over soup is great served chilled with a shot of vodka to loosen this Mary up!
 Happy Friday!
 The Stuff. A medium sized butternut squash, seeded and diced (no need to peel, but go for it if you want) About a pound of broccoli, (fresh or frozen) and a few shallots. Salt, pepper and a few cups of water.
 The chopped squash and broccoli go into a big pot with about 2-3 cups of water. Add about a tablespoon of salt and pepper. Lid up the pot and place on medium low heat for about a half hour, or unitl squash and broccoli is fork tender. Now blend together with either a emulsion stick blender or place in a blender for 3-5 minutes until completely smooth. Add enough water to keep things moving. Add more water if you want a thinner soup, less for a thicker soup. Season with more salt and pepper to taste. Once blended, place back in pot on simmer until ready to serve.
  Finish off with a drizzle of balsamic vinegar and top with the sautéed shallots.

 Before we get to the fries, I just want to mention that yesterday was one of those fantastic winter days that reminds me why I love living in Vermont. Pretty white snow everywhere, the sun was out, and 20 degrees without a gust of wind. The trash dog an I were even able to go for a little hike. It was so nice and soooo sooo needed! Anyways, the other day as me, my sister and the mister where putting together one more piece of Ikea furniture, (I am the master at Ikea assembling!) a little runs into the room and presents the mister with a Dominos pizza. Yup, a whole pizza just for him. Why you might ask? Well I guess my sister was delivered the wrong pizza and the place didn’t want it back and she didn’t want it, so she gave it to him.
 The carrots and the parsnips are all sliced up into big matchsticks and ready to be baked to crispy browned perfection. I added the oil to the pan to toss the fries in and then sprinkled with a fair amount of salt and pepper. If you don’t have and or want to use a cast iron pan, a baking sheet works just the same.
 Oh saucy sauce stuff. Tomato puree, sriracha, and yellow mustard. Add a little bit of honey to lighten it up (can use brown sugar if keeping it vegan), a splash of apple cider vinegar and a couple minced cloves of garlic. Topped off with the smokey delightful spice of cumin. I cold eat this on everything…and I kind of did.
  Fries are done, Sauce is ready. Served in super cute tea cups.(from now on I want to serve everything in tea cups.) A perfect side dish, snack, or even a light meal. It lead the mister to ask the question…What pizza?
  WOO WHOA!! MARDI GRAS! I wish I was down in New Orleans today celebrating… and soaking up some warmth and sunshine, catching beads, maybe even taking my shirt off(?!!?)

 Beans are in a pot filled with water unit beans are completely sumerged. Add in the onion, jalapeño, tomato paste and cajun seasoning. Bring to a boil then cover with a lid and simmer for about 45 minutes….. After about a half hour, start up the rice. Water in pot with rice, bring to a boil, cover and simmer for 15-20 minutes.
  The rice is done and fluffed with at fork. The beans are cooked with just the tiniest bit of bite, bathing in a thick spicy tomatoey sauce. The chunks of onion and jalapeño have broken down and are hiding in every bite…. Oh so good!
 Bringing a little spice and nice to this crazy cold winter day or any fun festivities you may have planned.




































 I don’t think I need to tell anyone about how weird the past few weeks of weather have been, so I will just leave it alone because we don’t need to keep thinking about how stupid cold it is outside or that the next week is only suppose to get worse. Booooo, but oh well. More time for cooking, reading, and trolling the internet (I have spent a little more time then usual getting sucked into the world-wide web.) Beacause I have been spending a little more time interneting, I have added an addition to %u00a0my usual happy bits, %u00a0a%u00a0few links that I have stumbled upon that I think are cool and of things that I want or want to make%u2026 Cool internet stuff%u2026..a bit of internet happy.%u00a0
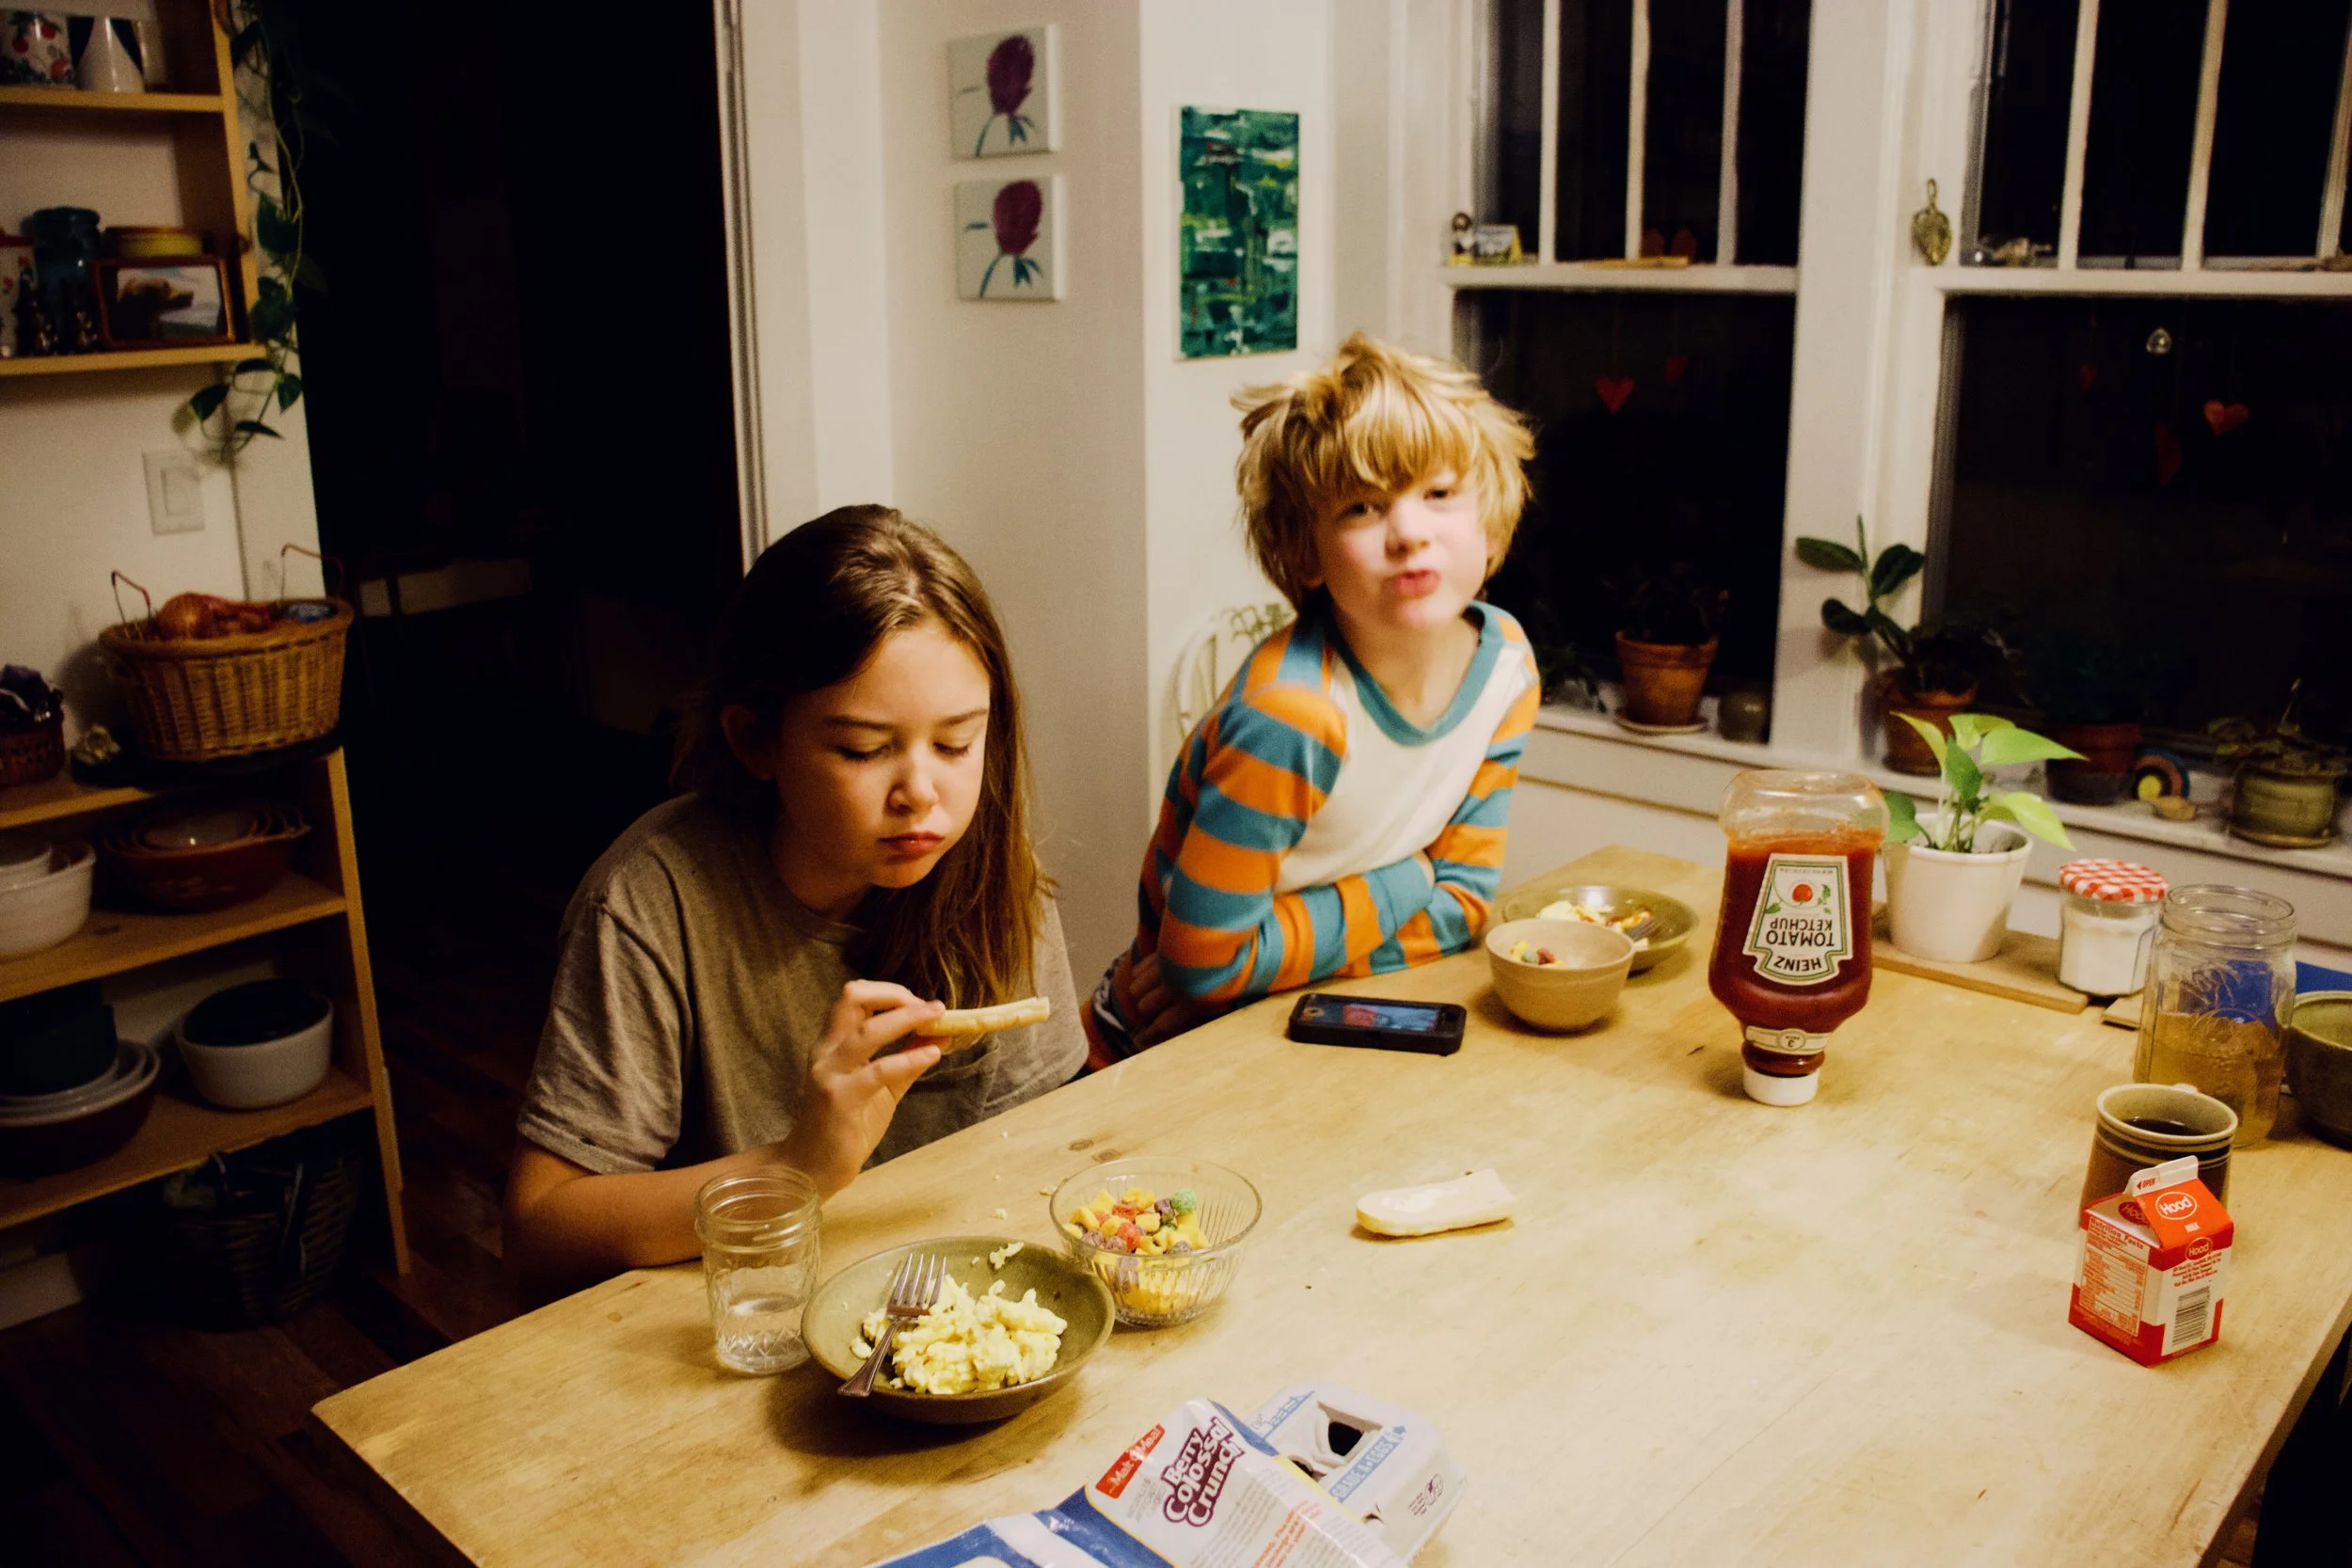
 I got to%u00a0hang out with my little sister for the first time in like a month%u2026 She is just so busy being busy. I guess high school,play practices and boys and friends can fill up ones time at 15%u2026 but I miss her so much! I was very excited that she was able to hang out with me this week. %u00a0What did we do? Well we spent most of out time together taking pictures of her in my glasses, making food and then taking pictures of her eating food. %u00a0(She is eating whipped carob moose%u2026 like one should eat it) A fantastic day of silliness.%u00a0
 I have been feeling like I might be fighting off an illness so I have been eating this Turmeric Ginger Garlic Carrot soup%u00a0which I have been adding cabbage and topping with these pickled heart beet, all week long. So tasty and full of so much good.
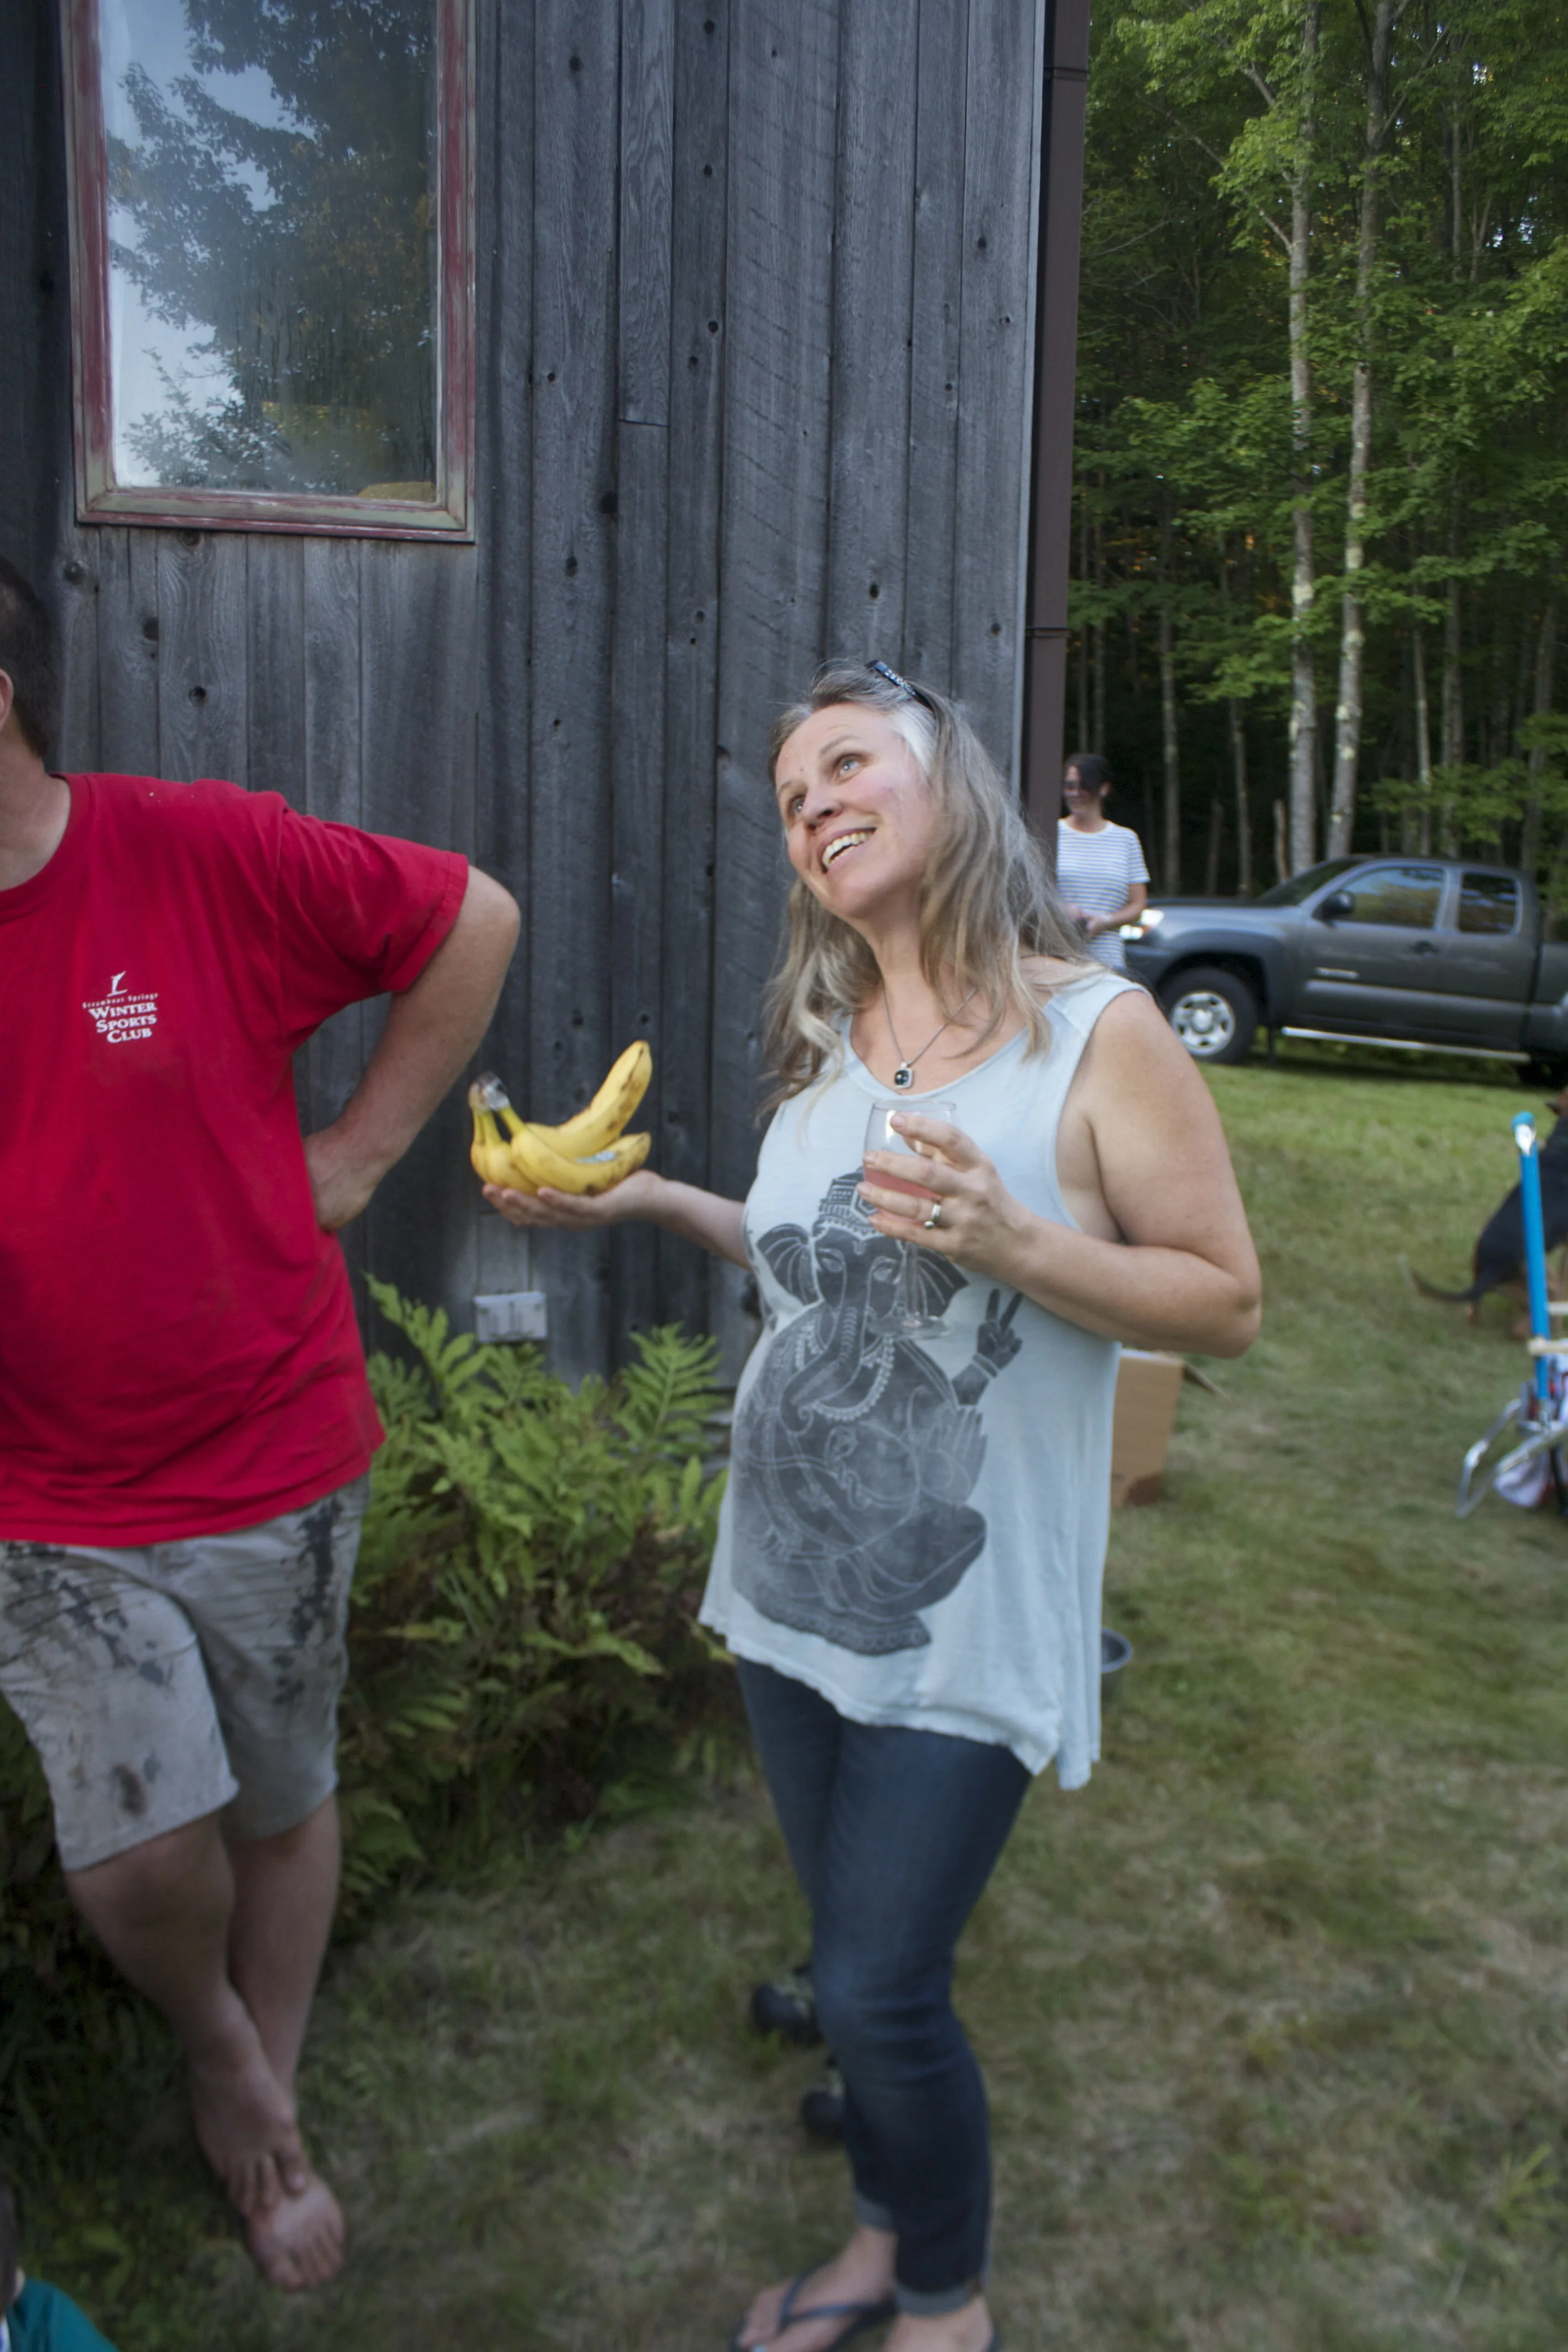
 %u00a0Oh yeah. Me, the mister, my sister, and her lovely little little went to Ikea this week. (the littles first international trip!!! Over the border and into Montreal) And of course at the end of any good shopping trip there is some type of food%u2026. She %u00a0was so excited for the hot dog and frozen yogurt cone at check out. Champion food eater this one is.
 And what’s not to love about pretty flowers (primrose)%u2026..Sadly this is not a current picture. I need to get me some color today.%u00a0






THE LOVELY CRAZY
October 15, 2019 by maximios • Blog
And I bet I am not the only one that got overly excited at $1.50 pineapple and bough themselves a few. We will just call ourselves opportunists. Now we have plenty of pineapples and don’t have to pay the $4 a piece prices. (Justification)
But if you don’t have a pineapple laying around, you must go get one. (Maybe if your lucky, there might still be some sales going on) because you must make this salad. I am on a mission to make everyone I know eat it because, for lake of a better way to say it…….It will rock your world.
Dill and pineapple are a serious match made in heaven. Pineapple, with its sweet, tangy, citrusness and dill with it’s super fresh earthiness. Mixed together with a few other helpers to create a fresh, clean, chunky, tangy, over the top, flavor. I could stop right there, but toss in a handful of lentils, some creamy avocado and a bed of kale…It’s like the best spring time, celebration on you tongue, happiness in you tummy, kind of salad.
A salad that will make you smile. (and maybe buy 5 pineapples)
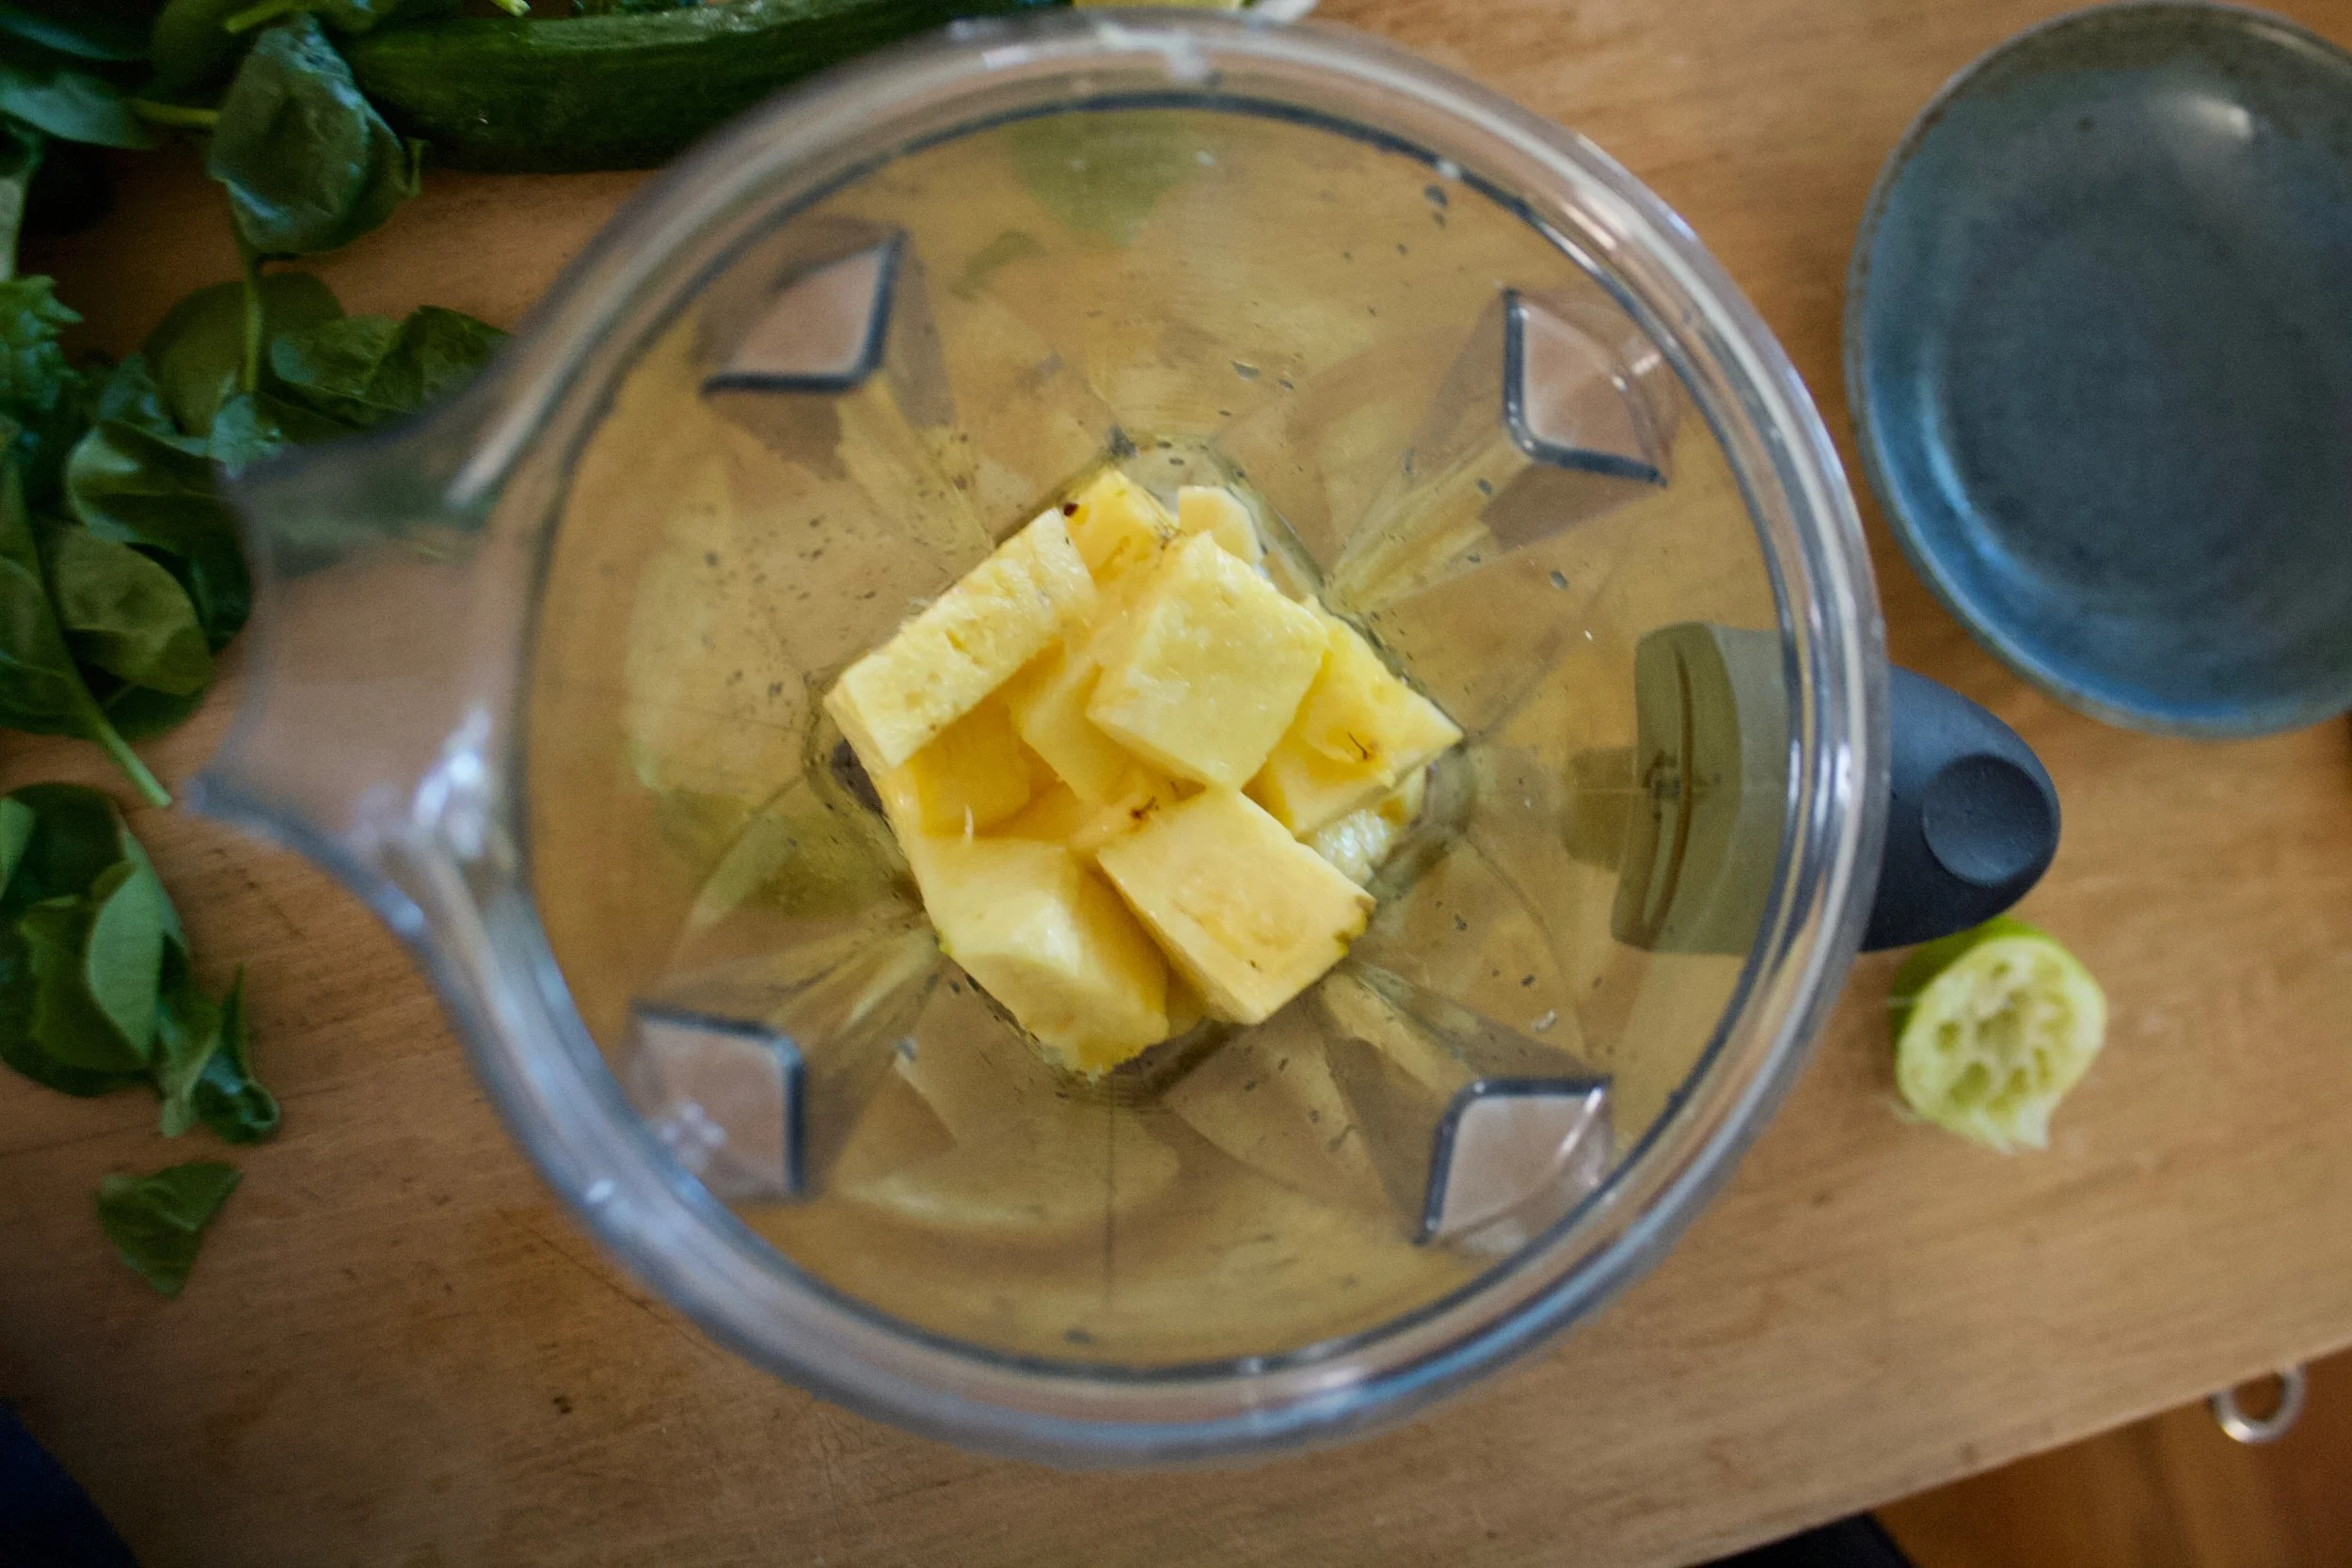
The prep is done, now compile. Kale in bowl, top with lentils,. Toss on avocado chunks, and, last but not least, the blended pineapple dill mixture. So good……So so good.
Happy Friday!!
-C
So Good Pineapple Dill Kale Salad
Serves Two
Note. No fresh dill? You can use dried, just sub in 1 teaspoon for the fresh and after blending with the pineapple, let sit a little longer to really let the flavors meld together.
Place pineapple, dill, pinch of salt, vinegar and garlic into a blender or whatever you own that blends and blend stuff together, leaving it a little chunky. Let sit for 5-10 minutes.
Kale goes into a bowl and add the lentils and diced avocado. Pour the blended pineapple on. Toss around.
Now eat.
We made it ! FRIDAY!!! Fridays always make me think about Steve Urkel, you know, the geeky guy from the show Family Matters who’s catch phrase was “Did I do that?. Weird, I know, but when I was a kid, Fridays meant TGIF on abc (the Tv show line up) It was something I looked forward to all week. Get out of school, go home, have dinner (usually pizza) and spend the night in front of the Tv. And honestly, not mush has changed. We still keep Fridays the same. Work, Pizza, and Tv.. Just now its not Family Matters and Urkel, but Netflix binge watching and me making the mister a fancy ass pizza. But if Family Matters makes it to Netflix… I will for sure be watching that!
So anyways, This particular pizza was inspired by a small batch of kohlrabi and red cabbage sauerkraut I made, plus a block of swiss cheese that I found hidden in the back if the fridge. I guess it was meant to be. The mister was much into this concoction… like I will be making this again and maybe again after that. Its kind of like a reuben, but without the corn beef, which you could totally add if you wanted, or the mayo and ketchup dressing, which you could swap in instead of the mustard sauce. You can even make it vegan if you use vegan cheese. Do what ever you need to do here cause hey, its your pizza to eat.
The stuff. Pizza dough, stone ground mustard, shredded swiss cheese, kraut, and caraway seeds.
The dough is rolled out and smeared with the mustard. (The mister said I could have added more)
Cheese goes next and a good sprinkle of caraway seeds too. Now stick that lovely into the oven.
And after 15 minutes, this is what you get… Bubbly, cheesy, crusty pizza.
And it’s for real one of the prettiest pizzas that I ever have made. Slice and serve…. and eat in front of the TV.
HAPPY WEEKEND!!!!
-C
Kind of a Reuben Sauerkraut and Swiss Pizza
This is the stuff you will need..adjust the amounts to you liking
Preheat oven to 450
Roll out the pizza dough to desired thickness and place on skillet or baking sheet. Smear with mustard, then layer the sauerkraut then cheese, and sprinkle with caraway seeds. Place into oven to cook for about 15 minutes. Pizza is done when dough s cooked and cheese is all nice and bubbly.
Remove from oven, let cool for a minute, cut into slices, and eat.
A few things I will bring in my hole:
But before I leave for my hole in the ground, I made these little cake bites to get my people through the weekend. Sweet little lemony bites of rich dense cake dipped into bittersweet chocolate. (I am just so nice) They have all the pleasure or cake without the need of a fork and are much easier to give away then a big slice of cake. Plus, they are fun to make. My little sister helped and did most of the chocolate dipping. Then she and another little used their mouths to clean up the chocolate mess. It was an afternoon of chocolate all over the kitchen fun day.
So make some bites to have and to share. Or if you, like me, are digging a hole to hide in, make a batch of bites to bring with you. That’s the beauty of cake covered in a harden chocolate shell, they travel really well.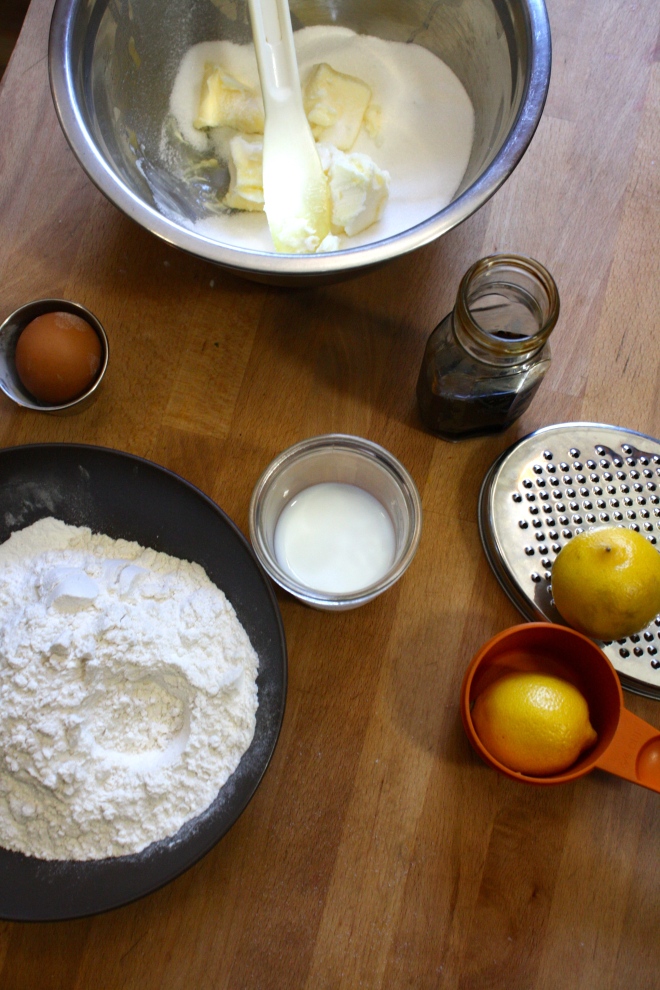 Simple lemon cake stuff. Flour, baking powder and salt whisked together, Sugar and soft butter in a bowl. An egg, some vanilla, milk, and of course, the lemon.
To make the batter, cream the soften butter with the sugar until light and fluffy. Zest lemon(1 big or 2 small) into bowl with the juice of the lemon(s), the vanilla and the egg. Beat until combined. Now beat in the dry and then the milk. Keep beating for another minute until all mixed. Batter should be light and fluffy.
Batter goes into a greased and floured 9×13 baking sheet and stuck into a 375 degree oven for about 30 minutes (You can use a 9×9 baking pan. Just bake fir another 10 minutes and you will end up with thicker bites). Remove from oven and let cool for a few minutes and flip to remove cake from baking sheet. Cut cake into small pieces (I cut 4×6 to get 24 bites) and place bake into sheet and into freezer (I stuck mine outside, it was -2 degrees ) for at least 2 hours.
Oh what a lovely sister I have.. Look at her dunk….. like a boss! Fully coated and placed on a rack for the chocolate to harden. I ended up sticking the rack in the freezer for 10 minutes…They harder really fast in there.
And now you have some it, bites of cake covered in chocolate. 1 bite, 2 bites…5 bites. Eat however many you want because its Friday and because there small little bites and just because you can.
Now if you need me, I’ll be in my hole.
-C
Chocolate Lemon Cake Bite
Add butter and sugar to a large bowl and beat on medium unit light and fluffy. Ass in vanilla egg, the zest of the lemon and the juice of the lemon. Beat to incorporate. Now beat in the dry and lastly the milk.
Grease and flour either a 9×9 pan or a 9×13 baking sheet. dump batter in and smooth out. Stick in oven and bake for about 3o minutes or until a toothpick stuck into the middle comes out clean. Remove and let cool for a few minutes on a wire rack. Flip cake to remove from pan. Cut cake into bit sized pieces, 4×6 is a good size, and place back on baking sheet and stick into freezer for at least 2 hours.
When cake bites are as good as frozen, get the chocolate ready. Take the chocolate and the coconut oil and either melt in a double boiler or the microwave. Mix until smooth and make sure to full incorporate the oil. Now remove the cake bites from the freezer and dip each bite into chocolate, trying to full coat all sides. Stick onto a wire rack or a parchment lined pan to harden. They can be stuck back into the freezer to harden faster.
Once chocolate has harden, your good to go!