It’s strange to think that only a few years ago I was not a big eggplant fan. Before I started to experiment with cooking it myself, the only time I had ever really had it was when I was young and it was deep fried, like eggplant parm style. It just wasn’t for me.
So when I started doing my farm share 5years ago and were getting lots of eggplants, I knew I had to figure something out and try new ways of eating it. Well it turns out that I actually love eggplant, like a lot.%u00a0 I went eggplant crazy and for a while was eating a eggplant a day, either roasted or tuned into soup or cooked crispy into chips. And lots of baba ganoush, or what I think of as eggplant hummus (all the hummus stuff minus the chick peas). Smooth, creamy, rich and tangy. I have been know to make a batch and eat it all to my face in a sitting.( there is absolutely nothing wrong with that) It’s that good. And bonus. Being so super busy busy, this is just so dang fast and easy to make. 25 minutes and 20 of those minutes are the eggplant roasting, and you got yourself something tasty to eat. Plus if you have a few eggplant in the fridge that might have seen better days, turning them into the baba ganoush is a great way to go.
Baba ganoush, The name just says it all cause how could something called baba ganoush be anything other then awesome.
The stuff. A couple (or three) eggplants, a lemon, some tahini, garlic, olive oil and salt.
Eggplant get sliced in half and stuck onto a baking sheet to go into a super hot oven to roast. Some people oil it, I don’t, but you can if you want.
Brown and tender. Roasted to perfection.
Toss the roasted eggplant and the garlic into a blender. Add in the juice of the lemon, tahini, olive oil and a pinch of salt.
Blend.
So silky smooth. Taste and add any more tahini, salt, lemon that you want until it taste like it should taste to you.
And into a bowl it goes. Baba ganoush all up in your face. I highly enjoy a good dusting of some zataar on top, but even just a sprinkle of pepper, or sumac, sesame seeds or even thyme is nice. Or nothing, you don’t need anything.
A big bowl of baba served with some chippers (for the mr) and cut up veggies (for me!) I wanted to make pitas but just didn’t have the time. Oh well, next time.
Be careful, this stuff is addictive!
-C
Make about 2-1/2 cups
2 eggplants (or 3 smaller sized eggplant)
1 lemon
3-4 cloves garlic
3 tablespoons tahini ( more if you like)
1 tablespoon olive oil
salt
Zataar (optional)
Crank up the oven to 450
Slice eggplants in half and place on a cooking sheet and into the oven they go.
Bake for 25ish minutes, flipping over after 15 or so minutes, until the eggplant browned is nice and tender then remove from oven.%u00a0 Take the cooked eggplant and dump into a blender.(skin and all)%u00a0 Add in the juice of the lemon, the tahini, the olive oil, and a pinch of salt. Blend it all together until smooth. Taste and add more tahini and or salt if needed.( can even add more lemon too) Once you are happy with the taste, scoop into a bowl and serve with a good pinch of zataar seasoning (if your into it) and a butt load of veggies, pitas, chips or whatever you dip into you baba ganoush.
Nothing here but a mere craving, the fact that I had a fresh head of cauliflower, and I really wanted tahini. TA DA. I made exactly what I wanted and it was so so sooooo good. Maple Cumin is one of those super A+++ taste pairings and anything roasted cover in tahini is basically going to be a win so I had no fear when making this dish that it was going to be anything but fanatic.
And of course I was right. It was so freaking good, like now I am going to make it again and again because I don%u2019t want make cauliflower any other way ever or at least until I get sick of it or of roasted vegetables. But that probably won%u2019t happen for a while.
So if you like cauliflower and tahini and amazingness, here, make this.
To the cauliflower
The stuff. A head of cauliflower, tahini, maple syrup, cumin powder, red wine vinegar, salt and pepper, and olive oil.
Break or cu the head of cauliflower up into florets and toss with a little oil, the maple and cumin, and a little salt and pepper.
Scatter on a baking sheet and stuff it into a hot oven.
Meanwhile mix tahini with vinegar, salt and pepper, and enough warm water to thin out.
Roasted all nice and crisp and delightful.
And now you gather up all that cauliflower and cover with all the tahini you want. Grab a bowl, or just eat off baking sheet, and get to it.
And there is no shame in eating a whole head of cauliflower because hey, its cauliflower.
-C
Makes a meal for one or a side for a few
a head of cauliflower
3 teaspoons cumin
2 tablespoons maple syrup
olive oil
3 tablespoons tahini
2 tablespoons red wine vinegar
2-3 tablespoons warm water
salt and pepper
Preheat oven to 450
Break or cut the cauliflower into medium sized florets. Place in a bowl and drizzle with a teaspoon or so olive oil and toss around. Drizzle in maple, add in the cumin, and a pinch of salt and pepper. Toss until coated then dump the cauliflower onto a baking sheet. Place in hot oven for 25-30 minutes or until roasted to your liking.
While that%u2019s roasting, mix up the tahini, vinegar, and a pinch of salt and pepper. Add in warm water until the mixture is a drizzlable consistency.
Once cauliflower is out of oven, cover with tahini.
Now eat.
There will be no left overs so don%u2019t worry about it.
HEY Hey Hey%u2026 It’s Taco TUESDAY, which means that you are obligated as consumer of food to eat some tacos today!
So ok,%u00a0I am not going to lie, these tacos were not actually made on a Tuesday (GASP) but were made in lu of pizza Friday (another GASP!!)%u00a0
But guess what? No one died. People were happy. Food was fantastic, and there was no mention of the pizza that was not.%u00a0 So sure, taco tuesday is totally a thing around here, but %u00a0you know how “Nobady puts baby in a corner”.. %u00a0well nobody buts tacos in a corner. We don’t let the day of the week depict when tacos are eaten cause we think tacos are for everyday!
And these tacos, well, I got down with these. Made with lentils, cause lentils are the best, and topped with a hearty scoop of super fresh, chunky veggie salsa%u2026. Not much is better then that. Easy and fast with lots of pretty in every bite, these tacos are a great addition to any taco dinner rotation!
Now lets get taco-ing!!!
The stuff. First off, you are going to need some type of taco shell.. soft or hard or both , that is entirely up to you.( I made taco shells a little early in the day, but store bought is totally cool.) Also need lentils, water to cook the lentils, a jalape%u00f1o (optional), taco seasoning (pre blended or your own blend)%u00a0and onion. Also needed is a gigantic tomato, some red cabbage, a few kale leaves, a lime, and salt and pepper.
To get this party started, chop up half the onion, the tomato,%u00a0cabbage ,and kale and toss into a big bowl. Oh, and chop up the cilantro and toss that in as well.
Sprinkle with salt and add the juice of the lime. Mix oh mix and set aside to let all the flavors meld.
Now that the salsa is doing it’s thing,%u00a0chop up the jalape%u00f1o and the other half of onion and toss into a big skillet and place on medium heat.
And when the bits start to brown like so…
Dump the lentils in to the pan with water.Bring it all %u00a0to a boil then turn heat down to low.. Add in the taco seasoning and sprinkle of salt and pepper and place some type of lid on ithe pan.
And simmered until cooked.
Note. Check the lentils every few minutes while they are cooking. If you think they seems to dry, add in another 1/2 cup of water.
Now it’s ssembly time! Lentils in shell, topped with a generous amount of %u00a0salsa. That’s it!%u00a0Maybe some guacamole would be nice (I had an avocado saved for guac, but it was rotten on the inside.. I was super pissed) But with or without, these are some freak yeah yummy tacos! I served my next to a bed of some jasmine rice which was nice, but do what you want my friends.%u00a0
Happy Taco Tuesday! (or any taco day!)
-C
Makes about 8 -10 tacos
For the Lentil Filling
1 cup dried lentils
2 1/2 -3 cups water
2 tablespoons taco seasoning*
1/2 of an onion
1 jalape%u00f1o%u00a0
Fot the Garden Veggie Salsa
2 big tomatoes (or one gigantic tomato)
1/4 head of red(or green)%u00a0cabbage (about 2 cups shredded)
1/2 %u00a0of an onion
4-5 kale leaves
1 juicy lime (2 if they are not very juicy)
a bunch of cilantro%u00a0
salt and pepper
And don’t forget the taco shells!
*Note. You can use any type of taco seasoning that you like, store bought or home made. I make my own with cumin, chili powder, onion powder, garlic powder, and a little coriander.%u00a0
Dice the tomato and 1/2 the onion into small chunks and toss into a big bowl. Finely chop the cabbage an the kale into small shreds and toss that into the bowl. And chop up as much cilantro as you would like and that goes into the bowl as well. Spinkle with some salt and add in the juice of the lime. %u00a0Mix everything all around and set aside.
Once the salsa is made and sitting, chop the jalape%u00f1o and other half of onion and toss into a large skillet. Place on medium heat for a few minutes until the pepper and onion start to brown. Now dump in dried lentils and 2 1/2 cups of water. Turn heat to high and bring to a boil, them back down to low. Seaosn with salt,%u00a0add in the taco seasoning, and stick a lid (or cover with something),%u00a0and let simmer for about 20- 25 minutes or until the lentils have absorbed %u00a0all the water and are nice and soft. If you find the lentils are still hard and there is no liquid,%u00a0, add in another 1/2 cup of water.%u00a0
Once the lentils are cooked to your liking, remove from heat and get assemble tacos.%u00a0
Scoops some lentil mixture into shells. Add on a big scoop of the fresh veggie salsa and eat with you face.
Guacamole, cheese, sour cream, or whatever are optional topping that you may consider adding but are definitely not necessary.%u00a0%u00a0.%u00a0
I probabaly have already told you, but August is for sure my favorite month of the year (well,one of my favorites)
There is bounties of bounties of fresh, sweet and colorful, oh so juicy, crispy crisp, just so f ing %u00a0amazing, produce exploding all over the place. I have probably gained like 75 thousand pounds in the past month due to all of the fruits and veggies that I have been consuming. I am starting to consider it a full time job just to keep up with the eating.
%u00a0Another reason why I love August so much is becauuse the days are still nice and warm, but the nights are starting to cool which means I get to make so much soup!!!!!.%u00a0
This soup is the freshest freshy soup yet. Everything is from the farm and or the garden (except the salt pepper, vinegar and oil), some picked within hours of me making this.
. I am a lucky/spolied veggie brat.
Anyways. This soup. The fresh tomato base gives it a sweet, slightly acidic kick.%u00a0So super creamy due to the lovely earthy stocks of the chard. Slightly spicy and earthy from the arugula* and chard green green. This soup…%u00a0it just tastes so fresh and clean, yet hearty and satisfying. A perfect soup for a mid August night, eating outside, watching the sun slide behind the mountains and the temperature dropping just enough that you might want a light sweater. Or you can just eat it from the pot in the kitchen while watching TV. It’s good eating anyway you want.%u00a0
*Here in America, it’s called arugula.%u00a0%u00a0Else where , it’s %u00a0called rocket. I wish we all called it rocket, although I do like the name arugula, but for like my first born child or maybe a pet goldfish. Anyway, rocket is arugula,%u00a0%u00a0or vice versa.
Soup time!.
The stuff. Some big %u00a0fresh tomatoes, a few stalks of chard, and a few handfuls of arugaula (aka rocket). A couple carrots, an onion, some garlic, salt and pepper and a bit of olive oil.. Oh, and I added some balsamic vinegar, which for some reason didn’t make it into the picture (sorry vinegar)
Start by removing the chard leaves from the stalks. Set aside leave with the arugula. Chop up the carrot, chard stems, onion and garlic and toss into a big pot with a drizzle of olive oil, a splash of water,%u00a0and a sprinkle of salt and pepper. Stir around and stick o nthe stove on medium heat for about 10 minutes until the veggies start to soften up.
Now chop up the tomatoes into chunks and toss those right into the pot with the other stuff. Add in a few cups water and a few glugs of balazmic vinegar. Bring everything to a boil and then turn heat to medium low and place a lid on pot and let cook at medium heat for another 20 ish minutes, or until the tomatoes are falling apart.
Now that everything is all cooked up, blend it up.
And now take the chard leaves and the aruglula and chop into little pieces%u2026.into the pot they go.
Mix it all up.. and take the blender to the soup again%u2026.if you want a smaller sized bite.
To start, remove stalks of chard from leaves and chop stalks, onion, carrot and garlic into chunks and place int a big pot with a drizzle of olive oil, a splash or water,%u00a0and spinkle of salt and pepper. Place on stove on medium low heat sand cooke the veggies down until starting to soften and garlic is becoming fragrant. While that cooking, remove core from tomatoes and dice them up. Toss into pot with the cooked down veggies with the vinegar and water. Place a lid on the pot and let cook for about 20-25 minutes or until the tomatoes are falling apart.%u00a0
When cooked, using with a hand blender or a normal blender, blend the soup until smooth. (if using blender, pour back into pot)
Now take the arugula and chard leaves and chop them into wee little picese and mix into soup. If you want to, blend the greens into the soup.. but not until smooth, unless thats what you want.%u00a0%u00a0Cook for another 5 minutes. Taste and season with more salt and pepper to taste.
Ladle into bowl and serve with lots of fresh cracked pepper, maybe a little balsamic drizzle or even some mustard (I at left overs with mustard and it rocked my world)
Yesterday I spent the entire day (ok maybe not the entire day), but a the better part of the afternoon defrosting my freezer. Sure, I do the occasional chip chop here and there, just enough from around the freezer door so it will close, but ever few months I notice that everything in the fridge is not staying cold and that the freezer is not freezing stuff. Thats when I know its for real time to defrost. So a few days ago when I noticed my bananas were turing to liquid in the freezer, I knew it what I had to do….Completely empty the fridge and melt/hack away the 2-4 inches of ice build up that accumulated. It is such a freaking pain in the ass.So on this defrosting day, I took all the stuff from the freezer, stuck it in a cooler, and the rest of the stuff, which is basically all veggies, I just tossed on the table. As I am hacking away with a metal spatual, a wooden spoon, and a constant rotation of pots of boiling water, I was thinking about dinner. I figured I might as well just eat up as much of the veggies as I could, you know, so I didn’t have to put them back in the fridge. And also, I was getting pretty annoyed because this particular defrosting session was taking way longer the anticipated, which made making dinner seem like another pain in the ass. I figured I might as well just eat everything that is already out on the table, which pretty much narrowed down the “whats for dinner” conversations because it was already all over the place. And so dinner was a humongo salad for me, and for the mister, I made him a monster of a veggie sandwich. (my salad was exactly the same stuff as the sandwich, minus the bagel) Easy, fast, super duper yummy, pretty and piled so high with tons of veggies that the fridge is pretty much empty now.
Look at the is beast. I don’t call it a monster sandwich for nothing.
The stuff included in this monster veggie sandwich..
Romaine lettuce, tomato, avocado for there is not real sandwich without them. Thinly sliced radishes, cucumber,a and onion for nice crispy crunch. Shredded beets, carrots, and purple cabbage to give more crunch and a bit of sweetness. Then of course there needs to be something pickled, so I used banana peppers cause they are the SHIT!! And lastly some hummus for a nice creamy finish (plus a bit of protein) and yellow mustard because mustard on everything is just right. Heres to a mountain if goodness that is no longer in the fridge! Served with a another mountain of roasted parsnips and carrots (more stuff from the fridge) and a tall glass of iced tea.
Lucky that today is farm share pick up cause the fridge is pretty much on empty.
Yea it’s Thursday!!!!
-C
Note. This is just a guide.. Feel free to use whatever veggies you fancy.
Either a bagel, 2 slices of bread, or a big chunk of baguette (use a gluten free bread if you want or need too)
Hummus- Homemade or store bought
Mustard
Something pickled like pickles, banana peppers , jalapeños or all three
Lettuce, spinach or some kind of leafy green
Tomato
Avocado
Onion
Radishes
Cucumber
Shredded Carrots
Shredded Beets
Shredded Cabbage
To assemble. Ready your bread.. Toast if you want, and stick it on a plate
On either side, smear the hummus and the mustard.
Pick a side, start to stack by evenly disrupting veggies on top of veggies. Place the second piece of bread on top and giving a little smooth to keep it together.
And go at it. Cut in half or don’t. Have a napkin or a long sleeve ready to wipe your face.
Sometime you look back at a week and think, blah, or whatever, or that sucked. This week I look back and smile. It was a good week. Nothing to special, just springy and warm. I got to hang out with my peoples, see the world turn green and lush, and I didn’t stress too much about anything because what is the point? Plus I bought a single pink carnation at the grocery store at the beginning of the week for the mr. and every time I see it, I smile a little. Sometimes just a little something something is all we need.
So yeah, the week was good. There was the normal stuff of work and what not but also a fair amount of not work stuff. I saw my moms for Mothers day and brought her food. The mr and I went for some long walks that did not involve any outdoor clothing (just normal indoor clothing) We hung out with the littles for a good afternoon of tree house chilling, baby running, three wheeling, and all sorts of other fun. Miley was super pumped to show off her new shoes that are partially gold. She was obsessed and needed to wash them off at the end of the day. Those were the days,when you cared about your shoes? (I am assuming you don’t now , like me, but maybe you do.) Also Barb finally come back to me (school is over so she has time again) me and I feed her soup. Megan also came over for a soup lunch and a walk because that is what we do. (We are a family of eaters and walkers.) I worked on some clay rainbows, planted some more plants, and cleaned under my fingernails. The one big thing that I tried to accomplish and haven’t yet managed is the bike thing. I have been shopping for a new bike and it is so so so HARD! I am not good at buying anything in general, especially when it is for me, and not food, and costs more than 5 bucks. But not just that, it’s that there are so so so many bikes to choose form. I am all like , YIKES! And so I did myself a favor and just gave myself another week to ponder and look and decide. The right bike will present itself when it is suppose to, or when I finally break down and just buy this one.
Yesterday was a good solid day of getting shit done. I got the winter tires changed to summer (thanks Justin!) and hung with Alex while it was happening. We talked music and cassette tapes and how music is everything. Then I went home to the yard and all the massive piles of leaves, dead tree(so sad) and over all lawn degree and the mr and I got it all into the truck to send off to compost land. After hitting the transfer station to offload we made a really quickly stop over to see Anthony getting ready for his prom….Oh my shit. The kid is like not a kid anymore and was wearing a tux and looking all old and what not. The shinny ass shoes alone were too much for me. (more shoes that need cleaning). How is it possible that I have a sister that is old enough to have a kid that is old enough to be going prom? OH, because I am getting old. That is how. Ha.
And after that, it was back home to finish cleaning and eat dinner and water the garden and feel exhausted but accomplished. I don’t mind being super tired, just as long as I have something to show for it (The yard looks A+ so I am happy)
I think today mainly going to be a work day. The mr has a project that he is in the middle of so he is going to be doing that all day and I have a few things I need to get done and then a ton of other things that need doing as well. Don’t worry, I will be spending some of that time outside with the green things in the dirt, making sure I have sun screen on, listening to some good tunes and drinking coffee like it is going out of style.
The ways of the internet this week.
– The news of abortions and women reproductives rights has been front and center this week. The lengths women have to go to to do what is right for themselves is shameful at best, but basically pretty fucking grotesque. These are the people that are trying to help. The Secret Baby Catchers of Alabama.
–Report: U.S. Navy Cracks Case Of Majestic Sky Dick. Phew. Now we know who to hire for our own sky dick.
-Can’t wait for that new pool to be build around the corner…NOT. And really, didn’t we all know this already? Your Neighborhood Pool Is Full of Unshowered Pee-ers
-A lot of breakfast food in America is basically junk food if you really think about it. Muffins (really cupcakes), pancakes (really cake covered in maple sugar), Pop tarts (pie) yogurt (almost ice cream)… Its all just desert with a different name. I Broke Breakfast. Americans eat a narrower variety of foods for breakfast than anyone else.
-Imagine the magic.. I get feels just thinking about this place. A Fleeting Dandelion Wish Processing Facility Appears For Two Days Outside of Los Angeles
–ECLECTIC DINING STYLE.. I want all the tables and chairs. Just where to put them……????
-After reading the list, I feel pretty dang awesome cause I clean all that shit! Cleaning Supplies Might be Spreading Dirt Around Here’s How to Clean Them This Weekend
–How Did Chickpea Flour, A Staple Of Indian Cuisine, Become A Health Food Sensation? Because it is amazing. See recipe for Socca.
–Have you tried plogging, the Instagram trend that might be the sustainable sport of the future?. Even if it’s trendy and a way to be cool, well it is pretty cool and great and I am all for it.
–Can “Indie” Social Media Save Us? Something needs too.
I bought a tub of ricotta cheese about a month ago to make the mr his birthday lasagna, and for some reason, I can’t seem to get rid of it. I have been adding spoonfuls of the stuff into his food every now and then, but I still have not managed to go through it. I am starting to think that I bought a magic container that will never empty. And if that is that case, is there a never ending tub of hummus I can buy?
Yesterday I cleaned out the fridge.%u00a0 The cleaning that involves defrosting, washing the shelves, removing the stuck on crap that has so steadily hung on for the past few months and using any food that needs to be used up. To be honest, there isn’t much in the fridge at the moment(which is why I am cleaning the it) but there is the freaking tub of ricotta, ans I want it gone, it is taking up to much space. (for real,. my fridge is tiny) And because we all know that I am the worlds greatest girlfriend lady person in all the land, I decided to, once ans for all, get rid of the ricotta and make the mr some biscuits.
Off topic here but… It’s SNOWING!! And not just a tiny bit, we are going to have a couple of inches of white stuff. I am so excited! I must get my winter boots out (I have to find them first)
But the biscuits. These biscuits are super freaking easy. Just a few simple ingredients and 15 minutes and you got yourself home made goodness to make your people(or yourself) happy. They would make a great breakfast thing, made for a brunch situation, or even made with the help of the littles that may or may not be hove from school and eaten as a afternoon snack.%u00a0 As for me, I am just thrilled to have the space back in the fridge and an empty container that may or may not be magical.
The stuff. A bowl of self rising flour, ricotta cheese, a little bit of honey, and an orange.
Dump the ricotta, a few couple tablespoons of honey, and the zest of the orange into the flour.
And say hi to my new amazing bowl! (Hi bowl, you are so pretty!)
Juice the zested orange and add in 1/2 a cup of the juice.
Now mix everything together until just incorporated.
Scoop dough onto a baking sheet in 12 similar sized balls. Brush the tops with any remaining orange juice you have (if you don’t have any, use water) and stick those puppies into the oven (not actual puppies please)
After a quick 9-10 minutes, the biscuit cooking is complete! Golden brown and smelling all biscuit like.
Bust one open, maybe a smear of honey or jam…
And so the things you do with biscuits.. Eat them. I served the first one up tothe mr with a little drizzle of honey (cause I am sweet like that)
Keep on people!
-C
makes 12respectable sized biscuits
1 1/2 cups self rising flour
1 navel orange (1/2 cup juice and 2 teaspoon zest)
2 tablespoon honey
1 cup ricotta cheese
In a large bowl, mix together the flour, honey and ricotta. Zest in the rind of the oragne (about 2 teaspoons) then juice the orange and hopefully get at least 1/2 a cup of juice. Add in the 1/ 2 cup of juice and mix until everything is just combined. Scoop out dough into 12 similar sized blobs and place onto a baking sheet. Brush tops of biscuits with any remainingorange juice or water if you don;t have it
Place in oven and bake for 9-11 minutes or until the tops are golden brown and the insides are completely baked.
Remove from baking sheet and let cool for a few minutes.
Bust one open and either eat as is or slather with honey, butter, jam, or all three.
Any left overs can be stored in airtight container for 2-3 days. Can be frozen.
I am so happy for spring. It is my favorite season for sure. All the new, green things popping form the ground.. Warmer but not hot days, rain and sun then rain and more sun. No more winter jackets but sweaters are still good. People are in good moods. Flowers are coming out of the ground. The world is just a delight.
The week started off with a bang. I turned all of the garden beds over and did a great big yard rake and cleaning so things are looking pretty good back there right now. I repotted my tomatoes and peppers and started a bunch of greens and peas which makes me feel awesome. I think this might be the first year that I am actually on top of the planting season like I want to be. Yeh me. I also busted out the bike and went for the first ride of the year. Sure it was only a few blocks, but it was still fantastic. Now what I really need to do is give the old gal a tune up cause the chain was grinding and the tires need air and maybe new brakes? Not sure but I need to get to it, like asap because I plan on making the bike my means of transportation for the summer.
aside from all the that stuff, we also did some work, the mr did even more work (he is always working). I finished up a couple clay projects that have been lingering for a while. We went for lots of walks without jackets and I wore sandals all week. We managed a good stop by to see the littles and bring them carrot cookies. They ate all the cookies (2 dozen), beat the shit out of the mr, and managed to clean while they were doing it. We were impressed to say the least. The mr was sore from getting wacked a bunch.
Then Wednesday was Seans birthday. Would have been 30 years old%u2026Whoa. The family, friends, all of Seans friends went to the basketball court for a little pick up basketball game to celebrate and be together. It was fun, and sad, and good to see all the boys, but sad, but good. Never going get used to it. You know what I mean? Life.
Rest of the week came and went with the usual plus lots of rain and gray, but again, I was all about it because it is spring. worked at the studio on Friday where I moved all the clay in the world, got stabbed so hard by a stray pointy tool that was in slop bucket and got blood everywhere. I also managed to get so much clay in my hair and was overly praised for my height by all the studio ladies. They really appreciate my abilities at grabbing things on high shelves.
And the weekend. Yesterday we woke and basically ran out of the house to moms to borrow her truck (still haven%u2019t found a car to buy). We then drove the truck up to the greater north of Vermont and picked up all the cedar wood we need for the porch. Loaded up, drove back to the porch and unloaded all the wood. I came home for a few hours of power cleaning while the mr ran around all over some more and then back to moms for dinner. (Mom made ham, I brought my own dinner) We ate, Mom brushed my hair and then Barb breaded it which I love love and will never be able to do myself. I raided moms books (found nothing I haven%u2019t read already), searched for a missing bowl, made fun of the boys. Then I came home just in time to passed out.
Today, well today is Easter so after the gym and a few Sunday errands I need to do this morning, we are going to be doing a little easter lunch thing and an egg hunt for the littles at moms with the fam. After that I am coming home and continuing my quest for perfection in the yard, maybe tinker with the bike a bit, take a nap, read, drink all the coffee.. Looking at some sunshine and 70 degrees for the afternoon.. It%u2019s going to be a fine fine day.
And I still have not washed my hair so I need to do that. Most of the clay dried and fell out, but there still is some left%u2026.SO yeah, I need to do that today. I really hate washing my hair.
Internet links to check out.
–Fireflies Will Soon Light Up the Skies In Mesmerizing Harmony%u2014 Here’s How to See Them. I love me some fireflies, how cool would it be to see this.
– The Single Most Useful Snacking Rule I Give My Kid. I don%u2019t have my own kids, but when I have other peoples, I go by a rule like this too except my rule is you can eat veggies any time all the time.
-Want to grow your own avocado tree, here is how. Good luck.
–THE VINTAGE ROMANTIC BATH.. All the clawfoot tubs. Can%u2019t go wrong
-I am so ready. The first official %u201cStranger Things%u201d Season 3 trailer
–4 Natural Ways To Fertilize Houseplants. Now is a good time to fertilize!
-Hate the dentist? Read this and you will only hate it that much more. The Truth About Dentistry
-If ever I was to live on a house boat, this boat would be the one. And the floors in this place%u2026 swoon!
–How One Woman’s ‘Magically Delicious’ Pot Brownies Changed%u00a0History. Brownie Mary, what a lady.
-What the freaking f@ck? I am pretty sure I don%u2019t like where this could go. Neuroscientists just brought pig brain cells back to life.
Some pictures from the week
These are definitely my favorite shaped cutout cookies I have ever made. I mean seriously, carrot shaped carrot cookies, what could possibly ever be better? Nothing, and that%u2019s truth for you.
Not only are they carrot shaped, they are also carrot flavored. Yup, Carrot shaped, carrot flavored, awesomeness. A little cinnamon added to the cookie for little extra boost of flavor and an orange glaze because it works and orange is good and fresh and springing. All good stuff.
You might be thinking, huh, carrot puree in a cookie, well that doesn%u2019t sound right. But it is, it is right. And you know how I know that these cookies are awesome? Well I packed them up, (2 dozen of them) and took them over to the littles house for an after school treat. When I got there, the two older ones had friends over. I asked them if they wanted a carrot which earned me that look that said %u201care you serious%u201d but them showed them the cookies. Of course the wanted a carrot so I gave them each one. They ate their cookies then proceeded to beat the shit out of the mr. Then they asked for another cookies and beat the shit out of the mr some more. This when on and on for about a 1/2 hour until all the cookies were gone and the mr was crouched in the corner with a broom trying to defend himself against 4 rulely kids who where slashing at him with light sabers and spraying him in he face with kitchen cleaner. It%u2019s because they wanted more cookies. (and yes, the littles are getting crazy). So yeah, the cookies are good. Ass kicking good.
Anyway, a cookie with some goodness mix into it, shaped into a great shape, that will make everyone smile and happy. You could make them by yourself, make them with your friends, make them with some kids, with some old people. They are the perfect cookie to leave out for the easter bunny(do you leave carrots out for the easter bunny?) or to serve up at any easter party, spring party, or any garden party you might be attending. This cookie is pretty much perfect for any and every occasion that required a cookie. Or a carrot because carrots are always welcome.
To the carrots! I mean, the cookies!
The stuff. Flour, baking soda, salt, sugar, vegan butter, carrot puree, cinnamon, an orange, some powdered sugar, and food coloring.
Into a big bowl the sugar, vegan butter, and carrot puree go.
Beat for a minute or two until completely incorporated.
Add in all the rest of the dry stuff and mix by hand until it turns to dough.
This is the dough it turned into.
Gather the dough and wrap it or place in a plastic bag and stick it Into the fridge for a few hours or overnight. The dough NEEDS to chill.
After you let the dough be, remove from fridge, liberally dust counter, and roll out dough about 1/4 inch thick.
And then it%u2019s time to cut the cookies out. I unfortunately do not have a cookie cutter so I improvised and make 2 carrot cutouts from paper and hand cut each cookie. That worked but took forever so I got crafty and used a fat Christmas tree cookie cutter then just did a little trim and pinch to make it into a cookie. (I am a genius for that). Any way works, and you can also do other shapes too, the cookies don%u2019t change taste in different shapes. (but that would be so cool if they did)
Carefully place cut out cookies onto a baking sheet, giving them a little space because they do spread a tiny bit.
And into the oven to bake they go.
Out in 10 minutes looking all carrot like.
Carrots waiting to cool so they can be glazed.
The glaze. Pretty straight forward. Just zest orange into powdered sugar and juice the orange into the sugar and mix.
Divide glaze and dye one orange and one green
And glaze away. I recommend doing it over a rack and baking sheet to minimize mess because they do drip a bit.
Now just you look at that, carrot shaped carrot sugar cookies .What a sight!
And of course, carrots come in bunches. HA
Enjoy some carrots!
-C
makes about 2 and a half dozen (depending on size)
2 1/4 cups all purpose flour plus more for dusting
1 teaspoon baking soda
1/2 teaspoon salt
1 teaspoon cinnamon
1/2 cup vegan butter
3/4 cup granulated sugar
1/2 cup carrot puree ( see note about how to make puree)
For the glaze
2 to 3 cups powdered sugar
on orange
orange and green food coloring
Note. To make carrot puree, steam a couple carrots until completely soft them blend until smooth.
Place sugar, vegan butter, and carrot puree into a big bowl. Beat with a beater until light and fluffy. Add in the flour, baking soda, salt, and cinnamon and mix by hand until completely incorporated and mixture tunes into dough. Gather dough into a disk and wrap in plastic or place in a plastic bag and refrigerate for at least 2 hours or up to overnight.
Once dough has chilled enough and you are ready to go, preheat the oven to 350.
Place dough on a flour dusted counter and roll out about 1/4 inch thick. Cut out the cookies with a cutter or by hand and place on a baking sheet. Bake cookies for 10-11 minutes or until just starting to turn slightly brown around the edges. Remove from oven and place on a wire rack to cool.
Once cookies are all baked and cooling, make the glaze. Place powered sugar into a big bowl, zest in the orange then add in the juice od half the orange. Mix completely and check consistency. You want it to be slightly running but not liquid, but also not to stiff. Add more juice or more sugar to get it right. Once it is the right consistency, separate into 2 bowls. Dye one green and one orange. Now glaze you cookies. A knife or small spatula works best and yes, the glaze drips a little so do it over a baking sheet, but after about 10 minutes the glaze hardens.
And then you have carrot cookies and all is good. Now go eat a carrot cookie!
Store uneaten cookies in an airtight container for up to 5 days. They can be frozen too.
I think we did it, we made it through the winter. That little bit of snow the other night, well that was it. Until next winter!!!!! Now lets all just do all the spring things and enjoy the niceness of moderate temperatures and the sight of green things growing. We are in it and it is wonderous.
The past week flew by so fast. A lot of being everywhere at once and alll over. Now that spring has sprung there has been much to do. Besides working and the usual (the little apartment projects are just piling up) we have looked at not 1, but 3 different cars. The one van on Sunday was a bust (the guy was crazy and the car was dead. Craigslist. A definite miss there), and two others. Those were not good either (but not nearly as bad) so the hunt continues, as does the back and forth car sharing situation. We are definitely getting to our limit with sharing one small car but I have faith we will find something soon. Our poor car. It%u2019s getting trashed.
In between the work and life stuff we got to spend the most magical raining morning harvested wood from an apple orchard for future spoon projects. That might have been the highlight of the week, especially because I have now realized that I am suppose to live and work on apple orchard. I think it is my calling so I got to get on that. Other fun things included an evening of egg dying with Qui, Adrianna, and the littles which was fun and gross and I actually hate the whole real eggs and dying them thing, but the mr was all about it so%u2026.We also got to spend (babysit) an afternoon with So where she basically spent the entire time to beating on the mr and feeding us unicorn jellybean soup. Good times with that one.
And then there were taxes. I spent ever single free minute attempting to finish the stupid taxes and learn all about tax laws and try to be component. It got to the point where I was almost in tears%u2026 then I gave up. As of Friday morning, I now have until October to get those stupid things done. And I think we are just going to find a new accountant because really, I don%u2019t want to spend all my time learning tax law. Not my thing. I mean, when it takes me twenty minutes to figure out that the form won%u2019t summit because I am entering the wrong date (2018, not 2019), well, I should just leave it to a professional.
Saturday was the gem. Woke up to temperatures in the mid 50%u2019s, went for a nice walk, spent the morning throwing pots, and did some light cleaning. For the afternoon we met up with all the sisters, the littles, Mom and had lunch. The boys went away (they hung out at the park being dangerous) while us ladies went to the theater%u2026..Mamma Mia. Us girls bought the tickets for Mom%u2019s birthday present a few weeks ago. Not exactly my thing, but I was game.. And it was better then I was expecting, although I was%u2019t sure what I was expecting. I don%u2019t think I would have gone if not for many other circumstances, but it was fun and my mom had a great time. My biggest complaint was it was really loud and there were a ton of people. Oh, and that I have a Dancing Queen ear worm. But other then that, not bad.. After the show, the mr picked me up, we rushed to get some more things done before going home to finish cleaning. That might not sound fantastic but it was still light out, the world was still warm, the doors and windows were open and it just felt so good. Oh yes. Spring is finally here!
Today is going to be good. I plan on spending most of it out in the yard doing yard work. I am going to lather on the sunscreen, grab the tunes, the rake, hoe, and the shovel and get to it. Then hopefully I%u2019l be able to throw some seeds into the ground which I am already getting concerned about. The squirrels have come out full force and are looking hungry!.
Let the garden battles begin!
Some stuff I read on the internet from the week.
Again, I filed an extension. Why do they have to be so freaking hard? Another thing they have right in the Netherlands. Filing Your Taxes Is an Expensive Time Sink. That%u2019s Not an Accident.
-So my kind of home. This 650-Square-Foot Family Home in Ohio Is Off-Grid %u2018Country Minimalism%u2019
–Day hikers are the most vulnerable in survival situations. Here’s why. We have lost the trail before and it was actually kind of scary. Luckly we were on a small mountain and we knew there was a road at the bottom. We just kept going down until we hit the road. Ever since I stay very away of the trail.
-Genius. Pure genius And they are Vermont students too!. SheFly: Answer Nature’s Call
–How to Get Out of Your Own Head. I spend a lot of time in my head but that is where I feel the least crazy.. Or is that crazy. People make me crazy. They can%u2019t get me in my head.
-I exclusively clean with vinegar. Even my hardwood floors. Vinegar Is the Only Floor Cleaner You Need (Even for Carpet!)
–Oprah Bought an Avocado Orchard Because Grocery Store Avocados Were Too Expensive. The lady has got her priorities straight. For real, I would buy an avocado orchard too if I was Oprah rich too.
–Are Plastic Bag Bans Garbage? We (humans) just need to stop making more and reuse all the junk we already have. Reusable bags made out of all the old clothing and shit has no purpose anymore.
–“Do Skunks Like Their Own Smell?” And Other Stumpers! I always thought that skunks deals with their stink kind of like a person deals with their own farts%u2026 They just deal. HA
And pictures from the week.
It is spring yes? I know it is officially spring but around here it has been more or less still winter which is to be expected but is, at this point, no longer welcomed. I, as well as everyone else I talk to, are over it. Enough snow. enough of the hats and jackets. Just enough.
But the bright side of the chilly, cold weather is that we can and still want to turn the oven on and cook things. And because I turned the heat off a little prematurely, I am cold so I really want the oven on.
One skillet, a little chop action, a stir, some good time in the oven and there you go, food for your belly. Not a ton of dishes to do, steps to fallow, thoughts to think (other then eating thoughts). A good old, hearty, simple to toss together, spicy, delicious skillet of goodness. Prepare it fast, pop into warm oven, sit in kitchen drawing up plans for the spring veggie garden, and then eat yourself warm. What more can we ask for?
We can ask for spring weather because seriously. But other then that.
To the goodness of cajun lentils and rice!
The stuff. Lentils, brown rice, cajun seasoning, some crushed tomatoes, an onion, a carrot, a few cloves garlic, some cauliflower, water, oil, and salt and pepper.
First off, mince garlic and chop up the cauliflower, carrot, and onion into small pieces.
Toss it all into a good sized oven safe skillet with a splash of oil. Mix in the cajun seasoning too and stick o nth stove on medium heat for a few minutes.
Cook until fragrant and slightly tender. Taste it, it is good.
Dump in the lentils and rice. Then dump I the tomatoes and the water. Give it all a mix.
And after. All done. Now dinner.
Grab some green thing to chop and toss on for some color.
Now grab some bowls, a few forks, and get to eating.
-C
Serves 4-6
3/4 cup uncooked brown or white rice
3/4 cup dried green lentils
2 cups crushed tomatoes (preferably not salted)
2 1/4 cups water
3 tablespoons cajun seasoning (see note)
1 large carrot
1/4 head of cauliflower (about 2 cups chopped)
1 large yellow onion
2-3 cloves garlic
1 tablespoon olive oil
salt and pepper
Note. Store bought cajun seasoning usually contains salt and pepper so when seasoning, be aware of the amount of salt (if any) you choose to use.
Preheat oven to 350
Start by chopping the carrot, onion, and cauliflower into small pieces. Mince the garlic and toss it all into the skillet with the olive oil. Stir in the cajun seasoning and sprinkle in salt and pepper if it needs it. Place skillet on medium high heat and cook veggies until fragrant and slightly tender which should take about 5 minutes then remove from heat. Dump in the lentils, rice, water and tomatoes. Stir until mixed then either place a lid or foil over the top. Place into preheated oven for about an hour, removing the lid or foil after 40ish minutes and giving it a stir when you do. The bake is done when the rice and lentils are fully cooked, but if you are into a crispy top and crunchy sides, by all means, cook a little longer.
Remove from oven when fully cooked and you are happy with crispness. Let cool for a few minutes, toss on some chopped green something or another if you want, and serve it up.
Left overs store great in the fridge for a few day and freeze well too.
I think we are pretty much out of the clear. Yes I woke up yesterday morning to a light coating of snow on the ground, but I feel like that was it. It has got to be because I have to wash my winter jacket that is as of now, covered in dirt and concrete so it needs to be washed. And once it is washed, it is getting packed away with all of the other winter stuff. So you see, we really cannot have any more winter jacket weather because I won%u2019t have a jacket anymore. It must be sweater weather or warmer and that is that. Are you listening weather?
The week good, if not a bit hectic and all over. There was work, paper work, the %u201cmust not be mentioned%u201d and no they are not done yet but must be by next Monday or else. The mr has been running around all over town doing this and that which has been a slight pain because when he is super busy and I am busy and we only have one car and my bike needs a good tune up before it is safe%u2026 Well it makes things some what difficult. But so far we have managed and there wasn%u2019t too much arguing over car. We did manage to take a nice walk down by the lake, I also was able to sneak in a warm afternoon of clearing out the garden and picking up yard trash. The back porch is almost ready for summer living and green things are popping up all over the place making me ache for more more more. Think of it, trees with leaves. I am getting more excited every day.
Friday was a crazy day. Woke up, went to the gym with no plans other then work at the studio and having the littles over for dinner. By the time I came home I had plans to quickly make a cake before work because the littles pizza party turned into a family birthday party for Megan. So I made that cake, ran to work, moved 700lb of clay and loaded kilns. The mr picked me up with littles in tow, we ran home in time for all the family and partied partied until I kicked everyone out of the house at 7 because I was exhausted and plus Megan needed to go to Costco so she needed to leave anyway. Ha.
Yesterday, after a near sleepless night due to a racing mind, we woke up (again, to snow. BLAH), I bundled up and out we went to spend half the day pouring wet, heavy, cold concrete. I must say, pouring concrete usually isn%u2019t the worst, but yesterday, well it was. First off, we were working in very tight quarters making moving somewhat difficult.. Secondly, I was sore from all the clay moving the day before. And I was freezing. And tired, so so tired. By mid morning my fingers and toes had tuned to ice, I was covered in so much dirt and concrete, the mr was basically rolling around in dirt (reference picture above) so was trashed worse then me, but we were getting it done. The mr was brilliant and saved us so much time and hassle by coming up with a tarp and jostle concrete mixing technique so that was good. Anyway, the concrete was all poured and it is over. (Now we wait for it to set to finish porch construction) The rest of the day was short and went by with cleaning the house. I don%u2019t know how my family does it but there were sprinkles from the cake EVERYWHERE!
Today, after a quick romp to the gym, the library, the grocery store, and all the other little chores I need to do, the mr and I are going for a drive to look at a van. We need a work car. The life car is getting trashed, we have been having to get materials delivered (which costs money and stupid time) because we cannot fit wood and big stuff in the car, and it is just not practical for us to share. So van. A van for work, A van for cross country travel. A van for sanity. Hopefully this van is the one. Wish us luck.
Some stuff from the internet that you might care to look at.
-Thinking real hard about buying these Birkenstocks%u2026but not sure. Any opinions?
–Stop Asking Kids What They Want to Be When They Grow Up The question forces children to define themselves in terms of work. And really, what do you consider grown up?
-Gluten sensitive? Try sourdough. Why Some Gluten-Sensitive People Can Still Eat Sourdough Bread.
–Kitchen spices look startlingly different in the wild. So pretty
–Brown is one of my favorite colors
-Got a power drill? If yes, you also have a oven cleaner. I Cleaned My Oven with a Power Drill
–All Right. Some Cats Do Fetch. Only never fetched. That would have been beneath him. But he did respond to his name. Cats Might Not Act Like It, But They Know Their Names As Well As Dogs
-I very much like this house.
-Will Kevin Costner be my neighbor? Floating cities could ease the world%u2019s housing crunch, the UN says
–10 Things Nobody Tells You About Plywood. I love a good application of ply wood. We have plywood floor tiles in the pantry and our kitchen cabinets are plywood and they are great.
And some pictures from the week.
It%u2019s a smoothie. And no, we have never really been smoothie people in this house, but what can I say, sometimes smoothies happen, especially when you have about 20 ripe bananas in the fruit bowl with no room in the freezer and no need for 7 loafs of banana bread.
So I smoothied. And I like it (a lot).
This is a smoothie of simplicity. Nothing fancy. Simplest of simple. Straight to the point. And all sorts of good.
You might think, does this simple smoothie you speak of taste very good? Yes, yes indeed it does. It is all sorts of fantastic. Basically if you like creamy, nutty, oaty, bananery things, you will like this. And it%u2019s a perfect breakfast, snack, dessert, or just wanting a little treat like thing that is not garbage food. A smoothie of all smoothies with the most basic ingredients. And takes about 15 seconds to whip up. Can%u2019t complain about that.
To the smoothie goodness!
The stuff. A ripe banana, some old fashion rolled oats, a pinch of salt, water, and a smidge of maple syrup if you want it.
Everything goes into blender.
And blended until smooth. Hence the word smoothie.
Pour it into a cup (or if you are feeling primal, drink it straight from the blender%u2026 it%u2019s totally cool)
And done.
A banana oat smoothie.
Let the good time roll!
-C
makes 1 smoothie
1 very ripe banana
1/3 cup raw old fashion oats
1 1/2 cups water
pinch of salt
a tablespoon or two of any sweetener you like (optional)
a pinch of cinnamon (optional)
Place everything into a blender and blend until smooth. Pour into a cup, sprinkle with cinnamon if you wish, and drink right away.
Hey there people. Happy end of March. Yes, it is true, already a quarter at the way through the year. And no, I don%u2019t know how it happened either. But so that is the way of time now isn%u2019t it.
A week, oh what a week. Not going to lie and say it as all to fanatic to start with. We have been so busy with work and other stuff. Other stuff being bills and paperwork and me trying to get the taxes done. (New rule. We just not mention taxes again until they are done). We did manage a warmish walk to with the littles to spend an hour arguing over weather they can get a king sized candy bar at the store over a lollipop (ended up with gummy worms). There was also a little wood carving, yarn weaving, library pursuing , and neighbor visiting to be had, but other then that, not much else of interest. The week just came and settled into what it was.
And then it was Friday which was a shit day. First off, it was the anniversary of Seans death so you know, already a not great day. But better yet, I Woke up at 4, stub my toe hard on the way back from the bathroom, laid in bed in pain until the throbbing subsided, went to the kitchen to start coffee. As soon as a I turned the faucet on, a little mouse ran across the counter. It took me a good minute of just staring at counter before I registered what happened and started to scream FUCK, FUCK FUCK! I woke the mr up with my profanity. Yup, a mouse in the house, munching on the a bowl of squash seeds I left on the counter. So what can you really do at 4 in the morning? Not much so I went to the gym. I then came home and started cleaning before I had to work at the studio but as I started in on cleaning, the vacuum decided to stop working. Agh. And so the cleaning ceased, I went to work, came home, ate dinner, emptied all the food from the pantry into bags and boxes, then felt all to defeated and sad to do much of anything so just crawled into bed. I figured I would just deal with it all Saturday and I just really needed the day to be over.
Yesterday was the lady, my moms, 60th birthday. Whoop whoop!!( HAPPY HAPPY TO MY MOM). I woke up, baked two cakes, two batches of focaccia, and home made mac and cheese, salad, prepared other foods, and then something for my dinner (my breath still have not recovered from the funk that is of a red onion eaten raw).There was a quick detour during the bake-a-thon to the library for the annual seed swap plus I definitely took out everything from the pantry and vacuumed and sprayed every surface and inspected every piece of food for mice disturbance. (I pretty much have the cleanest pantry ever now.) As for the rest of the house, it is still a mess. Not anything to do with mouse mess, just my Saturday, tear the house apart before I clean and put it back together, mess. While baking I starred in on my weekly clean but things happen and all of a sudden it was time for the mr and I to pack up all the food and head over to my moms house. There we finished food preparing, helped Erin decorate and clean up the house, and then lost my mind a bit. After a near breakdown due to lack of sleep, I mellowed out in time for everyone to show up while Mark and Paul were out with my mom for coffee. When they came home, Mom walked into a house full to the brim with all her kids and most of the grandkids. She was so very happy, I think%u2026.. Ha, no, she was. We then ate the dinner I spent the day slaving over, played outside, went for a walk that looked like a parade, came back for cake and ice cream and presents (everyone got her plants.), and whoa, before I knew it it was 7:30 pm and I was still awake and not in bed. Craziness. But that was it, I lost all steam. We came home to a half trashed house and I basically just assed the f out. The mr set the mouse traps. Have- a-heart, but also some not. I don%u2019t want to know. I just can%u2019t.
Today I am going to clean clean clean. Then maybe clip my toes nails, brush my hair, and get my head ready for the hectic week to come. It%u2019s going to be a full one. There is concrete pouring, the dreaded %u201cnot the be mentioned until they are done%u201d papers, I have a shit ton of stuff that needs to be glazed, seeds to start, yards to clean. It%u2019s spring. Everything needs to be done. Good thing the world has coffee. I am going to need it all.
P.S. It is official. The sandals are out. No more shoes for the next 6 months!
Here are some interesting reads from the interent this week. Read what you want.
-The most significant event in the history of earth. Thats some shit. The Day the Dinosaurs Died
–Why Do I Put Off Doing Things I Love? I know I have been guilty of doing before but I really try to use what I have, especially it is my favorite. Having shit just stashed away is pointless. Use it (whatever it is)
-I want to experience the greatness of the cherry blossom. 25 gorgeous photos of cherry blossoms
-Life we would be something with giant cats. Japanese Illustrator Imagines A World Where Humans Live Among Giant Animals
-I love airbnb but this is definitely something that has crossed my mind and kind of freaks me out. Airbnb Has a Hidden-Camera Problem. But there are cameras and hidden cameras everywhere so%u2026.
–Why Rewatching the Same Shows Is Actually Good For You. I get this. I barely watch tv, but when I do, I like to watch old shows that I have watched before. Gives me good feels and plus I don%u2019t have to pay attention. Plus. Too Much Video Streaming To Choose From? It’s Only Going To Get Worse
-Whoa dude. Yep, You Can Juice a Lemon Without Cutting It%u2014Here’s%u00a0How
–14 ways to break your plastic habit. Even doing a few of these things will make a difference.
-Awesome.KAWS Floats a Massive Inflatable Sculpture in Hong Kong%u2019s Victoria Harbour
–GREEN IN THE KITCHEN. Yes to all of them.
Pictures from the week.
It is getting oh so much nicer out yeah? Springing and such, well kind of. Still a wee bit chillier then it should be around here but still, it is spring and I am taking it.
And with the spring, I feel the itch, the itch to spend all of my free time outside. Out doing things that are not inside because I spent the last 7 long months inside way too much. I needed to be outside as much as possible and as it gets even nicer and warmer and garden temperature-able, I am basically going to be living outside.
Bring in sesame noodles. Super fast, super easy, super duper in every way. Make a big old batch and eat now, eat later, eat hot or eat cold. Everyone loves them, they love you, etc. etc%u2026 A perfect meal to have in rotation when you know that you are not going to have or want to spend much time cooking in the kitchen because you will be outside playing in the dirt and soaking up the sun. And think about all the picnics and BBQ%u2019s to come. These suckers are fantastic to have at any outdoor eating event. They are even peanut free so you can safely bring them to potlucks and such and don%u2019t have to worry about accidentally kill a peanut allergy person. And you can make them gluten free as well if you sub in your favorite gluten free pasta. These noodles, I am telling you. They are a winner in every way.
So with out further ado, the noodles!
The stuff. Spaghetti noodles, tahini, a few cloves of garlic, some toasted sesame oil, soy sauce, red wine vinegar, honey (used whatever sweetener you like), red pepper flakes, tasted sesame seeds some cabbage, half a red onion and a carrot.
Get pasta cooking. Boil water, drop noodles in, you know the drill. Cook as long as the the noodles need cooking, just make sure to not over cook them cause soggy noodles are nasty.
Chop, shred and julienne the cabage, onion and carrot. Nice and thin.
Mince the heck out of the garlic. Or use a garlic press if you want.
Now make the sauce. Add the minced garlic, along with the soy, sesame oil, vinegar, sweetener, and chili flakes to the bowl with the tahini. Mix, mix, mix until it is all incorporated and not lumpy. And that is that.
Noodles should be done by now so strain them out.
Add the prepared veggies to a big bowl.
Add in the cooked noodles
Cover with sauce and toss all around until all the noodles are coated and delicious. Sprinkle with sesame seeds and a pinch or so more of pepper flakes.
And then it is time. Eating time.
Happy spring!
-C
serves 3-6
3/4 lb (3/4 of a package) of your favorite spaghetti noodles (or linguine or similar noodle)
2 tablespoons toasted sesame oil
1/4 cup soy (low sodium if you have it and gluten free tamari if needed)
3 tablespoons red wine vinegar
3 tablespoons tahini
2-4 teaspoons red chili flakes
1-2 teaspoons sweetener of choice (maple, honey, or brown sugar)
4-5 cloves garlic
1-2 tablespoons toasted sesame seeds
about a 1/4 head of cabbage
a carrot
small red onion
Bring a pot of water to a boiling cook the noodles as directed on package. You want them al dente, cooked all the way, but barely. No soggy noodles. (unless you like them soggy)
In the mean time, shred the cabbage, julienne the carrot (or shred it) and slice the onion so very thinly. Place into a large bowl. Now mince garlic and place into a bowl along with the soy, sweetener, vinegar, tahini, sesame oil and a teaspoon or two (more for spicier) of chili flakes and whisk until completely incorporated. Taste and adjust if needed. Add more tahini for more body, more sweetener if needed or more hot pepper flakes for more spice.
Once noodles are cooked, drain and place into large bowl along with the shredded and julienned veggies. Pour in the sauce and toss it all around until all the noodles are covered. Sprinkle in the toasted sesame seeds and a small pinch more of the red pepper flakes.
Eat. Eat warm, room temp, or cold. They are delicious any way.
Any left overs just stick in fridge. Can be reheated or not. Also, you can make the sauce and the noodles a few day ahead of time of when you want to have the dish Just mix the sauce with the noodles when you are about to serve them%u2026 So simple!
This summer has been weird. And when I say weird, I mean too stupid freaking hot and humid and it’s screwing up my life.%u00a0I think I have gone a month, maybe more, without making soup.%u00a0That is just not right. For as long as I can remember I have made soup, or at least eaten soup, just about everyday, even all summer long. But the terrible heat and humidity this year, I just have had no desire. It has been straight up shredded zucchini and whole tomatoes for some time now. I just don’t want to have any residual added heat to my life.%u00a0%u00a0But the other day, oh how lovely. I woke up with a chill, %u00a0enough that I needed to grab a long sleeve before leaving the house, and had the very strong urge to return home and get my soup on. And soup on I did!
For my first trip back into soup (oh how I missed soup!),%u00a0I went simple and used what I, and many, many people have ample supplies of right now.%u00a0Tomatoes. And beans because I wanted my soup to be thick and creamy and I had the beans so why the heck not.
This soup really requires very little and you get the most thick, delicious, creamy, tomatoey soup. Perfect to eat alone, but is fanatic with some crackers, or a hunk of crusty bread. And it uses a lot of tomatoes which is nice because I am (as are many of you.. My neighbor is bringing me HER tomatoes now too) trying to make a dent in the ever growing pile or these beauties on the counter. This soup dented it, until I went out to the garden a few minutes later. My pile is bigger then ever, which is fine because I am back on my soup game.%u00a0
The stuff. Lots of tomatoes, some white beans (I used navy, but any white bean would be good) a large onion, a carrot, salt and pepper, a lemon, some olive oil, and honey (optional).
First off, chop the carrot and onion into chunks.
Toss the chopped stuff into a big ol’ pot with a drizzle of olive oil and cook on a medium heat until nice and soft.%u00a0
While veggies are cooking, core and cut up all those tomatoes.%u00a0
When the veggies have cooked up a bit, add the tomatoes, the beans, and a sprinkle of salt and pepper to the pot and give it a good mix. Return to high heat, stirring even so often, until the tomatoes give off enough juiced to start boiling then turn heat down to medium and cook for a little while, like 1/2 an hour or 45 minutes.
Until it looks lit this. The tomatoes have all fallen apart and the beans, carrots and onions are mushy.%u00a0
Blended with the juice of the lemon and a sprinkle of pepper and more salt if needed.%u00a0
Now serve into a %u00a0bowls. Garnish with a drizzle of honey if you are feeling it. Sliced cherry tomatoes make for fancy garnish.%u00a0
Creamy tomato bean soup for everyone!
Hurray for soup!
-C
Makes about 1/2 gallon (enough to serve a crowed or enough to serve one for a few days and maybe freeze some for later)
10-12 large tomatoes%u00a0
2 1/2 cup or 1 can of cooked white beans (I used navy but any white bean will be good)
1 large onion
1 large carrot
I lemon
olive oil
salt and pepper
honey (optional)
Start by chopping the onion and carrot up into small chunks. Grab a large heavy bottom pot, drizzle a teaspoon or two of olive on the bottom then toss in the chopped veggies. Place the pot on a medium heat, stirring occasionally until the onion and carrot start to soften.%u00a0
While the veggies are cooking, core and cut up all the tomatoes. Once the veggies are soft, dump in all the tomatoes, along with the beans and all the liquid they are in. Sprinkle with salt and pepper and turn heat up to high, giving it a good stir until the tomatoes start to get super juicy then bring the pot to a boil. Once boiling, reduce heat to medium and cook for another half hour to 45 minutes, giving it a stir ever so often. %u00a0When the tomatoes have completely fallen apart and the carrot, onions, and beans are mushy, you know its done.%u00a0
Remove the pot from heat and dd in the juice of the lemon. Using a hand blender, blend until it’s a smooth creamy consistency. If you only have a counter belnder, let soup cool a little before handling and %u00a0be really freaking careful and blend a few cups at a time, making sure to have the blender lid on. Hot soup in the face is no fun.
Once soup is creamy and smooth, serve in bowls with a drizzle of honey (totally optional, but some people really like a touch of sweetness to their tomato soup) and more pepper to a taste. Garnish with thinly sliced cherry tomatoes if you are feeling fancy.%u00a0
Any extra soup can be refrigerated for up to a week. Can also be frozen.%u00a0
I am one of those people that when traveling, likes to pick up a cool rock%u00a0or piece of %u00a0driftwood to being home as a momento of my trip. %u00a0Over the years I have gathered an%u00a0extensive%u00a0rock collection and have%u00a0many baskets %u00a0of%u00a0he coolest pieces of drift wood.%u00a0
And I am also a lady that likes to wear a necklace, except I am very much not into metals (gold, silver) or anything %u00a0fancy. Up until about a year ago I had a smooth piece of amber about the size of an apricot%u00a0that the mr. got me a long time ago, but sadly that broke and I have been on the hunt for something %u00a0pretty and%u00a0something special to make my new necklace.
A couple weeks ago, I was playing with the rocks and driftwood ( a little and I were building rock towers while she wacked me %u00a0with a large piece of wood)%u00a0when I%u00a0got that “ah ha” moment and few things crossed my mind.%u00a0%u00a01. My future children will only be allowed to play with big baskets of rocks and driftwood cause they make the best toys. 2. I know I can’t, but I%u00a0%u00a0kind of want to %u00a0wack her back, and 3. I want that%u00a0chunk of pretty driftwood that I got %u00a0from a beach off the coast or Washington (we LOVE Washington)%u00a0around my neck.%u00a0
And so I made a awesome driftwood necklace.%u00a0
You should too.
The stuff you’ll need
A cool ass piece of driftwood that you want to wear on you neck (make sure it’s smooth or else you may end up with a sliver)
some hemp or cord the length you want you necklace plus%u00a0a%u00a0few extra inches
a cool button
a drill and a 3/8 (a small) bit
This project is going to take you all of about 5 minutes%u2026 so hold on tight.
Hole in wood%u2026.hemp%u00a0through hole…
Make a loop and knot on one end and sting the button and knot it onto the other end. Trim away excess hemp.
Spit peas are one of my go to%u2019s when camping. Besides taking up no room at all to pack, they are also super easy to make. Plus they only take about an hour to cook, which is the perfect amount of time to prepare the rest of the food for a meal and sit and chill out before eating. Not to mention that they are damn freaking tasty, especially after a day frolicking through woods and paddling on water. I mean, who doesn%u2019t like split peas? (If you say you don%u2019t, you probably should try again because I bet you would like these)
Constnaly thinking of our next hiking, kayaking, and camping adventure has got me with split peas on the mind. Especially now that the nights are getting a little cooler. Knowing that I am gonna have a hearty, protein pack and filling meal after a day of activity is just the greatest.
And collard greens. A green that gets overlooked a lot. No super popular, well, not around these parts, which is crazy because they are SO good! They have a more pronounced flavor (in a good way) then most greens. More pungent and earthy, and slitghy salty, if that makes sense. And hold up better then any green when cooked making them perfect to toss into pots with things like spit peas . Plus they travel well. I can bring a bunch camping with me and not worry that if I leave them out for to long they will turn into slimy green mush. If it is really hot, sure they might wilt up a bit, but stick the stems in a little water, they will last all day fine. And that is all you need them to do.
So yeah, this dish is perfect for camping, but also perfect for not camping and just making at home too. Again, super easy, fast and is just a great tasting dish.
Split peas and collard greens. Topped off with mustardy cabbage slaw. Can%u2019t wait to make this again this weekend!
To the spit pas and collard greens!
The stuff. A bunch of collard greens, some split peas, an onion, a couple carrots, some cabbage, stone ground mustard, spices which include garlic, ginger, dill, thyme, and ground mustard. And salt and pepper. And you are gonna need water too.
Start by removing the stems from the leaves of the collards. Then small dice up the carrots, the onion and the stems. Grab the collard leaves, roll them up together, then slice then into thin ribbons.
All that stuff you just cut up now gets tossed into big pot, along with all the spices.
Add in the dried peas and water. Lots and lots of water. Bring pot to boil, then reduce heat to low and loosely cover pot. Cook foe 45-50 minutes or so.
While the peas and greens are cooking, shred up some cabbage.
Add a good dollop or two of some good stone ground or Dijon mustard and mix.
Cooked until the split peas are tender and starting to fall apart. Taste and season with salt and pepper.
And then you eat. A big bowl full of the slpit peas and greens, topped with some mustardy cabbage slaw.
This is good food. Really freaking good.
-C
serves 4-6 folks
2 cups dried split peas
8-9 cups water
1 large onion
2 carrots
1 bunch collard greens (about 6-7large leaves)
1 teaspoon garlic powder
1 teaspoon ginger powder
1 tablespoon dill
1 tablespoon thyme
1 teaspoon ground mustard
salt and pepper
2-3 tabespppms Dijon or stone ground mustard
1/2 head of cabbage (red and or green)
Start by removing the stems from the collards. Grab the carrots and onion and dice them up small, along with the stems. Then take the leaves of the greens and stack and roll them up together. Slice the roll into thin ribbons. Place all of it, carrots onions stems, and greens, into large pot, along with all the spices, (don%u2019t add any salt until the end) and stick o the stove. Add in the split peas and 8 cups of water. Bring pot to a boil, then reduce to low and place a loose lid on pot. Let cook for 45 minutes to an hour, or until the spit peas are tender and just about to fall apart. If you think you might need to add more water to cook the peas through, then add another cup.
Once cooked, season with salt pepper to taste.
For the cabbage slaw,which you can make right after your start the peas, just shred up cabbage and mix it together with the mustard and set aside.
And once the split peas and collard greens are all cooked, scoop into bowls, top with some of the cabbage slaw, and eat to your face.
Let%u2019s talk about how soup is the perfect food. It can be light and fresh, hearty and deep, chunky or smooth. You can eat it with a spoon, or somtime a fork if warranted, or just drink it from a mug. It%u2019s usually a one pot meal, a small pot for one, a big pot for many. Make a pot of soup and eat some now and save some for later. It freezes amazingly well. Got a few extra sad carrots and wilted greens? Toss them into a pot with whatever you have on hand, maybe those veggies scraps and you got yourself a meal. Want something more filling, just add in some grains. Feeling sick, warm soup will make it all better. Feeling fresh and springy, well soup is there for you too. Seriously soup, you can do anything. If I could, I would marry you. %u2665%ufe0f
This soup is one of this velvety smooth, light but rich, delicious beyond delicious soups. A fresh spring time soup. Not to hearty or heavily spiced. Super rich and creamy and flavorful. Bright ass green which makes it amazing in itself, but then with a nice tangy sumac tahini swirl on top, well it is just about the most perfect soup. I made to share, which I did, (and everyone licked their bowls clean) but then hoarded the little bit left over and ate it cold for a late afternoon snack. That is another thing about soup, you can eat is cold and it is still amazing.
Tasty and delicious, and nutritious. This soup does it all.
To the soup!
The stuff. Peas, chopped broccoli, and chopped cauliflower which are all frozen and slightly thawed. You can totally use fresh here too, but I just so happen to have it frozen so you might as well save the fresh stuff for fresh eating. Also have a big yellow onion, a few cloves garlic, some tahini, a lemon, sumac, and salt and pepper. You need water which I did not picture here.
A pot, some water and a roughly chopped onion and the garlic start off this soup. Bring the pot to a boil, then turn to medium and let the onion and garlic cook until very tender. I have been making a lot of soups starting with this step lately. Boiling the onion and garlic until tender and fragrant really make for a super flavorful and clean soup base. Or soup in itself.
Now add in the broccoli and cauliflower to the pot and cook until tender.
Mid soup cooking time is a good time to make the sumac tahini sauce for the swirl. Basics here, just mix the tahini, the sumac, a pinch of salt and pepper, the juice of the lemon and a tablespoon of warm water together until smooth.
Last but not least, the peas. Add them in and they just need a few minutes to cook through.
And then it all gets blended to become this green creamy goodness.
Ladle into bowls, grab the sumac tahini sauce and swirl it on in. A tablespoon or so is good. And don%u2019t forget a little more pepper and another pinch of sumac for good measure.
Just appreciate for a moment. That is one good looking bowl of soup. And it taste even better then it looks.
-C
Makes about 4 serving
1 1/2 cups fresh or frozen peas
1 1/2 cup chopped fresh or frozen cauliflower
1 1/2 cup chopped fresh or frozen broccoli
1 large onion
3-4 cloves garlic
4-5 cups water
Salt and pepper
1 teaspoon sumac
2 tablespoons tahini
2-4 tablespoons warm water
Start by removing the papery skin from the onion and chop into a few big chunks. Remove the skin from garlic too. Place into pot with 4 cups water. Turn heat on high and bring to a boil then turn heat to medium and let onion are garlic cook until tender which should take about 15-20 minutes
Once the onion is cooked, add in the broccoli and cauliflower. Turn heat back to high and bring to a boil again then turn back down to medium heat. Keep cooking until tender (another 15 minutes or so) then add in the peas. Keep on heat until peas are cooked through then remove the pot from heat and either transfer to a blender or use a immusrian blender to blend the soup until smooth. Add a little more water if needed to get to the right consistency to blend right. Or if you want a thinner soup.
For the tahini sumac swirl just mix the tahini and sumac together along with the juice of the lemon, two tablespoon warm water and a pinch of salt. Mix together until smooth. If the mixture is to thick, add another tablespoon of water.
To serve. Ladle or pour soup into bowls and drizzle and swirl the tahini sumac on top. Sprinkle with pepper and a pinch more sumac and you are good to go.
I can%u2019t remember the last time I have gone a day without eating lentils. Seriously, even when we travel I buy or bring along a bag of lentils. Or when we are camping, its basically all we eat. So it is safe to say that I know my way around a lentil or two. They are probably my favorite food (I say that about all my favorites)
Other then lentils being amazing delicious, the are so versatile. I am sure I say it all the time, but there is nothing you cannot make with lentils, sweet or savory. And nutritional as all heck. So much iron and a super amount of protein. Lentils are basically the perfect food in tiny little coin shaped form. Take it from this vegan lady here. Lentils help keep me alive. HA.
But enough about how many lentils I eat, what we need to address is this chili. It doesn%u2019t matter if you are a lentil feen or not, you will very much enjoy yourself a big bowl of this hearty, slightly spicy, warming goodness. Especially now, when it%u2019s cold outside and the days are short and you just want to eat something filling and healthy and that is not left over holiday cookies. And big bonus, this is a chili that you could come home to start at 5 and basically have it ready to eat by 6. That is just one bit of the magic of lentils, they so cook so fast.
And it%u2019s chili and chili is the best so you really should just get it made. It%u2019s what you need, I can tell.
To all the lentil goodness!
The stuff. Green lentils, crushed tomatoes, a cubanelle pepper, an onion, a couple carrots, and some cauliflower. Also a few cloves or garlic, cumin, chili powder, ground ginger, a red jalape%u00f1o, and salt and pepper.
Get started by small choping the carrot, onion, and pepper. Mince up the garlic too.
Grab that jalape%u00f1o and remove steam (and seeds if you want heat) and dice into very very small piece.
Into a big old pot it all goes, along with the cauliflower and all the spices. Add a splash of water and a sprinkle of salt and pepper and stick it on the stove for a few minutes to warm up the veggies and spices.
Looking good.. So good I wanted to eat it all, but don%u2019t, it%u2019s for the chili.
Now add all the tomatoes and water and place back on stove on high heat until it starts to boil, then reduce heat to a medium and cook until lentils are tender.
Well look at that, chili.
And why not top with a little avocado while you are at it. It is a very good addition, to the spiciness.
Very little amount of works for such great rewards. Probably going to be your new favorite chili recipe just so you know.
Lentil chili. Grab a bowl, kick up your feet, and dig on it.
-C
makes a lot of chili, like 10-12 servings
1 pound green lentils
1 large onion
5-6 cloves or garlic
1 cubanelle pepper (or any green or sweet pepper)
2 large carrots
3 cups chopped cauliflower (fresh or frozen)
6 cups (two 28 oz cans) crushed tomatoes
2 hefty tablespoons cumin
1 hefty tablespoon chili powder
1 teaspoon ground ginger
1 jalape%u00f1o pepper
6-8 cups water
salt and pepper
diced avocado for serving (optional)
Remove steam and seeds from cubanelle pepper and small dice it along with the carrots and onion then place int all nto a large heavy bottom pot. Mince the garlic add into pot. Remove steam and seeds from jalape%u00f1o pepper and finely dice it and add to pot. Last but not least, add the spices to the mix. Add a splash of water and place on high heat and cook the veggies and spices until for 5 or so minutes, just to give them a little heads start and to activate the spices.
Once the veggies have had a few minutes of heat, dump in the dried lentils, the tomatoes, and 6 cups of water. Stir around and keep on high heat until it starts to boil then turn down to medium and continue to cook, stirring once in a while, until the lentils are tender and the chili has thickened, which should take about 35-40 minutes. If at any time you the lentils are not submerged in liquid but are not cooke through, add more water. And once the lentils are cooked you can thicken bu continuing to cooke does or thin it out by adding more water. Taste soup and season with salt and pepper as you see fit.
To serves, ladle into bowls and tope with diced avocado.
Left overs are fantastic hot or cold and will last in the fridge for about a week. Or if you want, you can freeze a few servings.
Have I told you how amazing my farmshare is? I am sure I have, but if I haven%u2019t lately, well let me just tell you, it is. All summer long we (the members) get to pick a bunch of fresh herbs every week. Basil, scallions, dill, parsely, and cilantro. Planted every few weeks to keep us in the herbs all summer long. And every few weeks there is a herb free for all. Pick unlimited amounts of whatever herb is plentiful. Last week it was unlimited parsley. Yeah there was unlimited basil and that was nice too, but the parsley, the underrated, overlooked herb. That was what I wanted and I picked the shit out of it.
Parsley. No I is not just a green sprig that garnishes your plate at a restaurant. It is a great spicy, fresh, clean tasting herb that plays so well with everything. I really think parsley can, and should, make it%u2019s way into almost any dish. It adds a touch more brightness to any spice blend. And there is just something about munching on some fresh parsley, it just works for me. Parsley is good friends. No. Parsley is great.
So now we match said parsley with another bright herb, mint, and blend it up into a pesto. Magic on the tongue. And a no brainer for pesto is pasta, although this pesto would make a great spread or smothered on grilled veggies or scooped into soup.
A summery pesto pasta salad dish situation. Perfect for all the times that you are hungry and need food.
To the pesto pasta salad!
The stuff. Parsley. mint, a few scallions, toasted almonds, garlic, a lemon, nutritional yeast, salt and pepper, and olive oil. Also pasta, a cucumber, and a big handful of cherry tomatoes.
First for pesto. Start by pulsing the almonds in a food processor until they become a nice crumb. Remove about 1/4 cup and set aside.
Grab the herbs and scallions and remove any really wooden stems (keep the more tender ones) and rip the herbs into smaller pieces.
All the parsley, mint, and scallions now go into food processor with almonds, along with the garlic, nutritional yeast, the juice of the lemon, and a pinch of salt and some crack pepper. Pulse the food processor and stream in the olive oil until everything comes together. You might need to stop and scrape the sides a few times.
Now you need pasta. Cook it to the directions on the package you got it from. Cook it all the way through then when you strain it, rinse it with a little cool water.
Chop up the cucumber into small chunks and half or quarter the cherry tomatoes.
And to put it all together. Pasta goes in a bowl. Add in the pesto. If the pesto seems a little on the thick side and not easily mixes, add in a little warm water to thin it out a bit.
Add the cucumber and tomatoes.
Mix some more, sprinkle on lots of the crumbled almonds you set aside, maybe a few more springs of parsley and a few more leaves of mint for good measure and call it done.
Be ready to eat cause this salad is ready to be eaten.
-C
Makes a pound of pasta
2 cups packed parsley (Curly or flat. I used curly)
1 cup packed mint
a few scallions if you have them
3/4 cup roasted almonds
3 cloves garlic
a lemon
1/4 cup nutritional yeast
1/2- 3/4 cup olive oil
salt and pepper
1 pound bow tie pasta
Big handful cherry tomatoes
a tender skinned cucumber
Note. This recipe makes a big batch of pesto and big pasta salad. You can totally make the all the pesto and only use half and only boil half of the pasta. Just stored left over pesto in a jar in the fridge for about week or so or stick it in the freezer for a few months. And you can use it for all sorts of great things like sandwiches, salads, as a dip%u2026 whatever you want.
To make the pesto. Place almonds in food processor and pulse until crumbly then remove about a 1/4 cup and set aside. Add in the garlic and pulse a few times. Then grab the parsley, mint, and scallions. Remove any tough stems and rip the herbs into smaller pieces. Add them to food processor along with the nutritional yeast, the juice of the lemon, and a good pinch or two of salt and lots of pepper. Pulse while slowly adding in the olive oil. Stop, scrap sides, then pulse until smooth. Taste and add more salt if needed.
Half or quarter cherry tomatoes and cut cucumber into small chunks
Cook the pasta. Big pot of boil water with a pinch pf salt. Cook until fully cooked, then drain. Give it a quick rinse of cool water. Dump the pasta into a big bowl.
To make the pasta salad. Scoop pesto into bowl with the pasta and mix it until all the pasta is evenly coated. If pesto is really thick, just add a little warm water to thin it out. Add in the cut up tomatoes and cucumber, mix, then top with the reserves ground up almonds and a handful more of chopped fresh mint and parsley.
Eat.
Left overs should be stored in fridge for a a few days. Left over pesto a week or so and or in the freezer for a few months.
Salad season is here. Green salads, fruit salads, potato salads, and grain salads. All the salads and we are not mad about it.
This is a good grain salad using millet, which I am sightly surprised to hear that a lot of people have never had. Millet is kind of like quinoa, but not. I cooks fluffy and looks kind of the same, and is gluten free like quinoa. I think the biggest difference is that millet is slightly softer and tastes a bit more nutty. It also is really good at absorbing liquid flavors.
But who are we to compare. The main thing is that it is nutritious and delicious so we will eat it.
Back to the salad. This is one of those grain salads that is good cooked and served warm but only gets better with a little age (like an hour or a day) in the fridge. Served hot or cold or room tempature, and is hearty enough to be meal like but is also a fantastic addition as a side to any of you meal plans. Like maybe a BBQ? Whatever the occasion, or non occasion, this is just a really good grain salad situation and I think you will be pleased, smiling all smiles while eating it.
To the millet salad.
The stuff. Millet, a couple handful of greens, a few mushrooms, an onion, dijon mustard, a little maple syrup, red wine vinegar, a lemon, a couple cloves or garlic, some toasted sunflower seeds, and salt and pepper.
Start by giving the millet a little toast, just enough to really up the nutty flavor and make it that much more yummy. It only takes a few minutes in a skillet on medium heat. Not an entirely necessary step, but you should do it.
Toasted millet goes into pot with water. Bring pot to a boil and then turn to the lowest simmer and cover.
While millet is cooking, get to the mushrooms and onions. Chop the onion thin and small and the mushrooms thin and small as well. Place them into the skillet with a drizzle of oil and place on medium heat. Mix around every now and then and cook until the mushrooms and onions are soft and a nice golden brown.
And make the vinaigrette. Minced garlic, mustard, vinegar, the juice of the lemon, and maple syrup get put into one place.
Mixed and now all is one.
Millet. Cooked and fluffed and ready to go.
Cooked mushrooms and onions go into the pot, along with the greens, the sunflower seed, and the vinaigrette. This step can be right away or you can wait a little while for things to cool as to not wilt the greens. Up tp you.
Mixed with love and hunger.
Even if you are making it ahead of time, just do yourself a favor. Grab a bowl, grab a fork, and get down on it.
-C
Seves 4-6
3/4 cup uncooked millet
2 cups water
1 sweet onion
3-4 big button mushrooms
Large handful or two of bitter greens like arugula, spinach or a mixture.
2 tablespoon brown or dijon mustard
2 tablespoon red wine vinegar
1 teaspoon maple syrup
2 cloves garlic
salt and pepper
handful toasted sunflower seeds
To start, toast millet. Dump the uncooked millet into a pan and place on a medium heat tt for about 5 minutes or until you start hearing the millet crackle.This gives the millet a slightly more nutty flavor but you can skip this step if you don%u2019t care.
Dump millet and water into medium pot. Place on high heat until water starts to boil then tun heat down to simmer and over. After about 15 or 20 minutes, when most of the water is gone, turn pot completely off. Let sit, covered for another 10ish minutes then take a fork and fluff it.
While the millet is cooking, cook the veggies. Grab the onion and slice it up into thin pieces. Clean off the mushrooms and chop them into small thin pieces too. Place the chopped stuff into the skillet with a drizzle of olive oil and a pinch of salt and place on a medium heat. Stir occasionally and cook for about 15 minutes or until the onion and mushroom are a nice dark, golden brown.
And make the mustard vinaigrette. Mince garlic and place into a jar or bowl with the vinegar, the mustard, the maple, and the juice of the lemon. Mix and set aside.
Once the millet is cooked, the mushrooms and onions are cooked, and the vinaigrette is made, all you have left to do is mix everything together. You can do this while things are slightly warm which will wilt the greens a bit, o let them cool so the greens stay fresh. Up to you. (I like the greens fresh)
Finally, dump cooked mushrooms and onions into pot with cooked millet. Add in the greens and sunflower seeds and drizzle the vinegertte all over. Toss around until fully mixed. Sprinkle with lots of fresh cracked pepper.
Then eat. Or place in a container to bring to the BBQ.
I am one of those people that hangs out for far to long in the grocery store, mostly in the bulk section, looking al all the types of rice, and grains, and beans, and seeds, admiring the variety and colors and also wishing I was one of those people that had an extra $25 to drop on a pound of pistachios.%u00a0%u00a0(Them were some pricey pistachios fo sho.) I take my time, peruse the bins, maybe take a little taste or two, %u00a0and go for what I need. And maybe if something is on sale, get a little of that too. Things that usually make the list are spices,%u00a0oats, beans, maybe rice or quinoa, flours, and seeds. Pumpkin seeds were on sale so those were the seeds of choice and I also got some barely because when I was starting at all the grains,%u00a0it dawned on me that I don’t know many people that eat barley, or even care about it, which is a shame because it is awesome. It might not be trendy like farro or freekeh, but it is just as good, and damn if it is not a hell of a lot cheaper.%u00a0
With the barley and pumpkins seed in hand, I had the start of a salad. So I grabbed some oats, a few spices, some beans and ran away from the builk section, past the nuts before things got bad and I either a) got kicked out for eating my weight in cashews and almonds,%u00a0pretending to just need a taste, or b) paid the $25 for a pound of pistachios that I might not eat because I would need to save them for something really special because they cost $25 a pound. Then I grabbed veggies, walked around the wellness section for good measure, did another lap around the store just in case I forgot something, then finally made my way out of the store only to realize when I got home that I forgot something. (I always forget something)%u00a0
But I had all I needed for a barley salad situation so things went well. This is a fantastic salad. It’s quick and easy and tasty and good. Barley, tahini, veggies and pumpkin seeds… It’s all you need for a just right dinner, or a fantastic side to any meal. Or as a snack at anytime. Bring it to a BBQ, a graduation party, or a pot luck. it will get eaten, and if by chance you end up with a little left over, bring it on home and eat it for breakfast. It will still be just as good.%u00a0%u00a0
The stuff. Pearled barley, tahini, pumpkin seeds and garlic. And some red wine vinegar, salt and pepper, kale, a carrot, some cauliflower, a lemon, a red onion, and a cucumber. (you are not going to need the full amount of all these veggies)%u00a0
First off, cook the barley. The barley and water go into a pot, brought to a boil, then left on low %u00a0to cook until tender. Once cooked, strain away excess water
While barley is cooking (or is cooked) chop up the veggies into mouth sized pieces. I used half the cucumber, half the onion, some of the cauliflower, all the kale, and all the carrot. It’s not an exact measurement, you just want a good amount to toss into the salad.%u00a0
Barley in bowl, topped with the veggies and pumpkin seeds…. The pretty before the mix. You don’t need to add it like this, I just did it cause it looks good.
And the tahini sauce. Mince garlic and add to a jar or bowl with the juice of the lemon, vinegar, a pinch of salt and pepper and give it a really good mix.
Creamy, zippy, oh so good.%u00a0
Drizzle and toss the dressing with the barley and veggies.
And that’s that. Now you are ready for eating.%u00a0
Enjoy wherever this salad takes you.%u00a0
-C
If eaten as a meal, serves 2-3. As a side dish, serves 6-8
1 cup pearl barley%u00a0
3 cups water
1/4 cup tahini%u00a0
1 large lemon%u00a0
3 tablespoons red wine vinegar
2 cloves garlic
salt and pepper
1/2 of a cucumber%u00a0
1 small carrot
2 large kale leaves
1/2 of a red onion
1 cup of cauliflower florets%u00a0
1/4 cup toasted pumpkin seeds
Note. The vegetable amount and type is more of a preference. You could use all cucumber and onion or add %u00a0broccoli and pepper, just make sure to have a least 3 good cups of some chopped up color.%u00a0
Place barley and water into a pot and bring to a boil. Turn heat down to low and continue to cook until barley is tender, but not mushy, which should take about 45 minutes. Once cooked, strain excess water.
While the barley is cooking, chop all the veggies into small mouth sized pieces.%u00a0%u00a0And make the tahini sauce. Mince garlic and place in a bowl or jar. Add in tahini, the juice of the lemon, and the vinegar. Mix well until smooth then season with salt and pepper to taste. %u00a0
When barley is cooked and drained, let cool for a few minutes then place in a big bowl. Add in all the veggies and the toasted pumpkin seeds, then drizzle with the tahini sauce and toss all around. Season with salt and pepper to taste..%u00a0
Now eat still warm, or later at room renature, or place in fridge for it to get cold. It can be a filling meal or a great side dish.%u00a0It’s good all ways, any way.
Another note. This salad is great for parties and BBQ’s and can be made a day or two ahead. If you do make ahead, hold off on mixing the pumpkin seeds and the tahini sauce with the rest of the salad until you are about to serve it.%u00a0

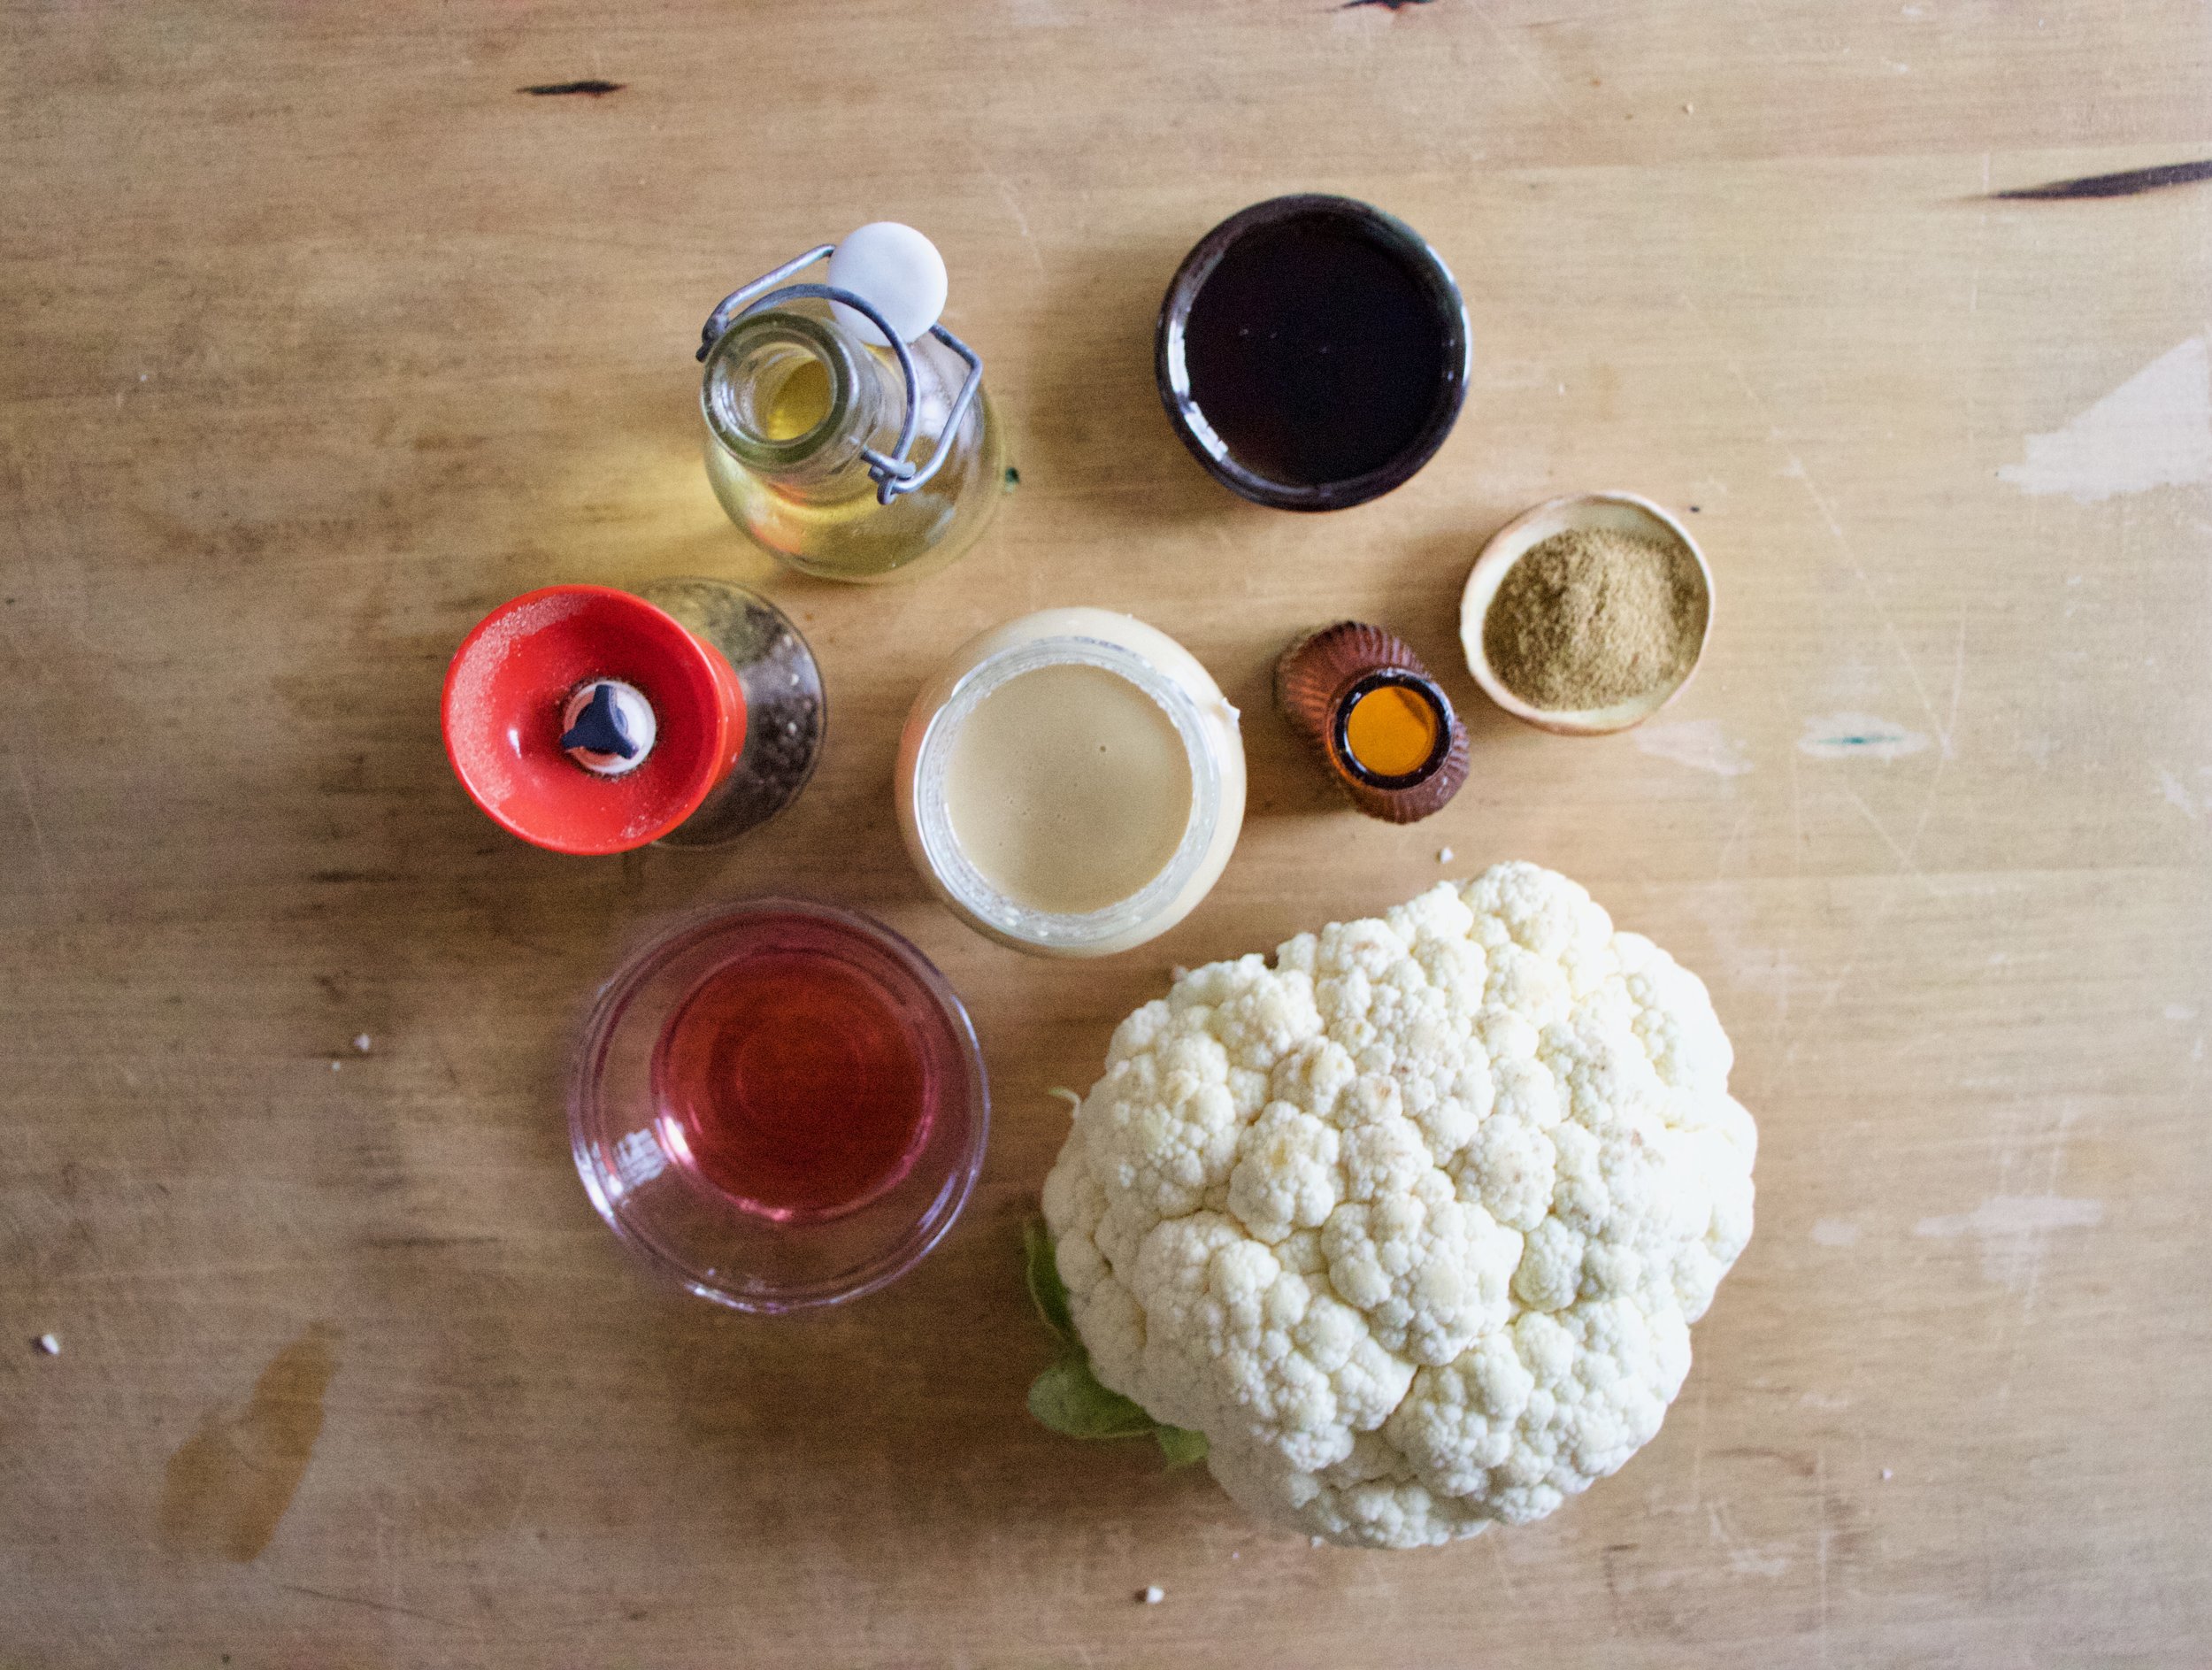


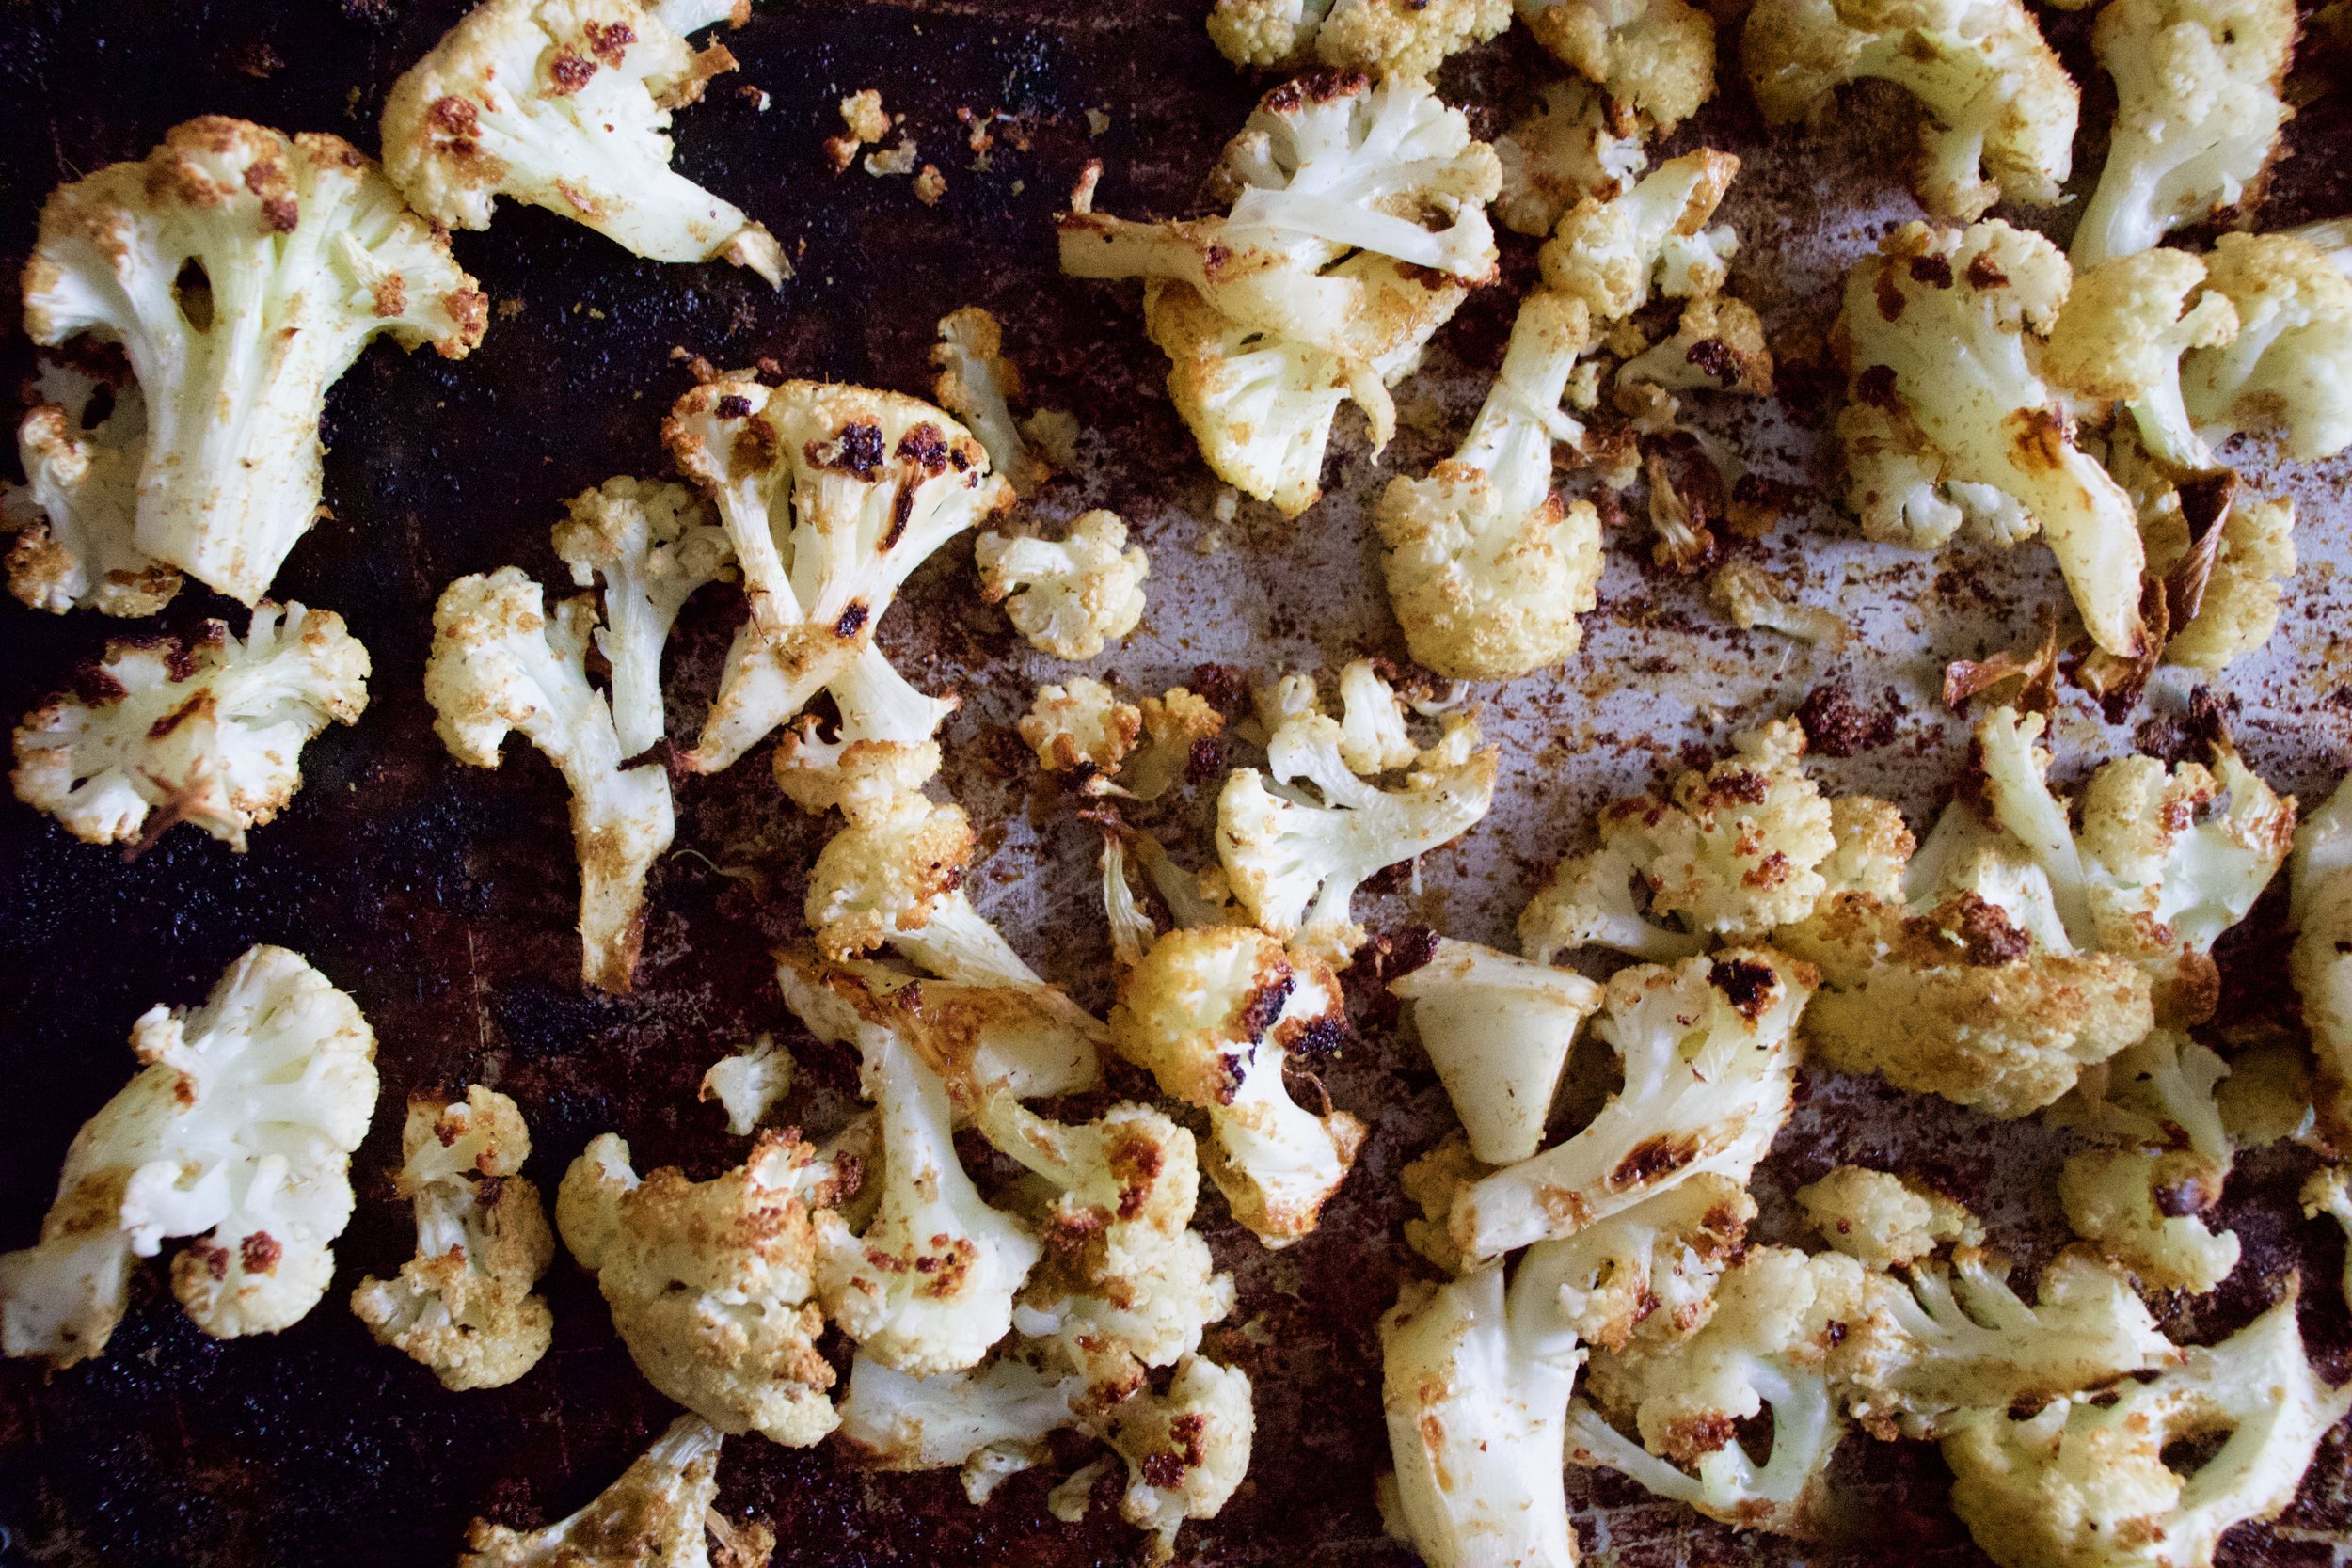
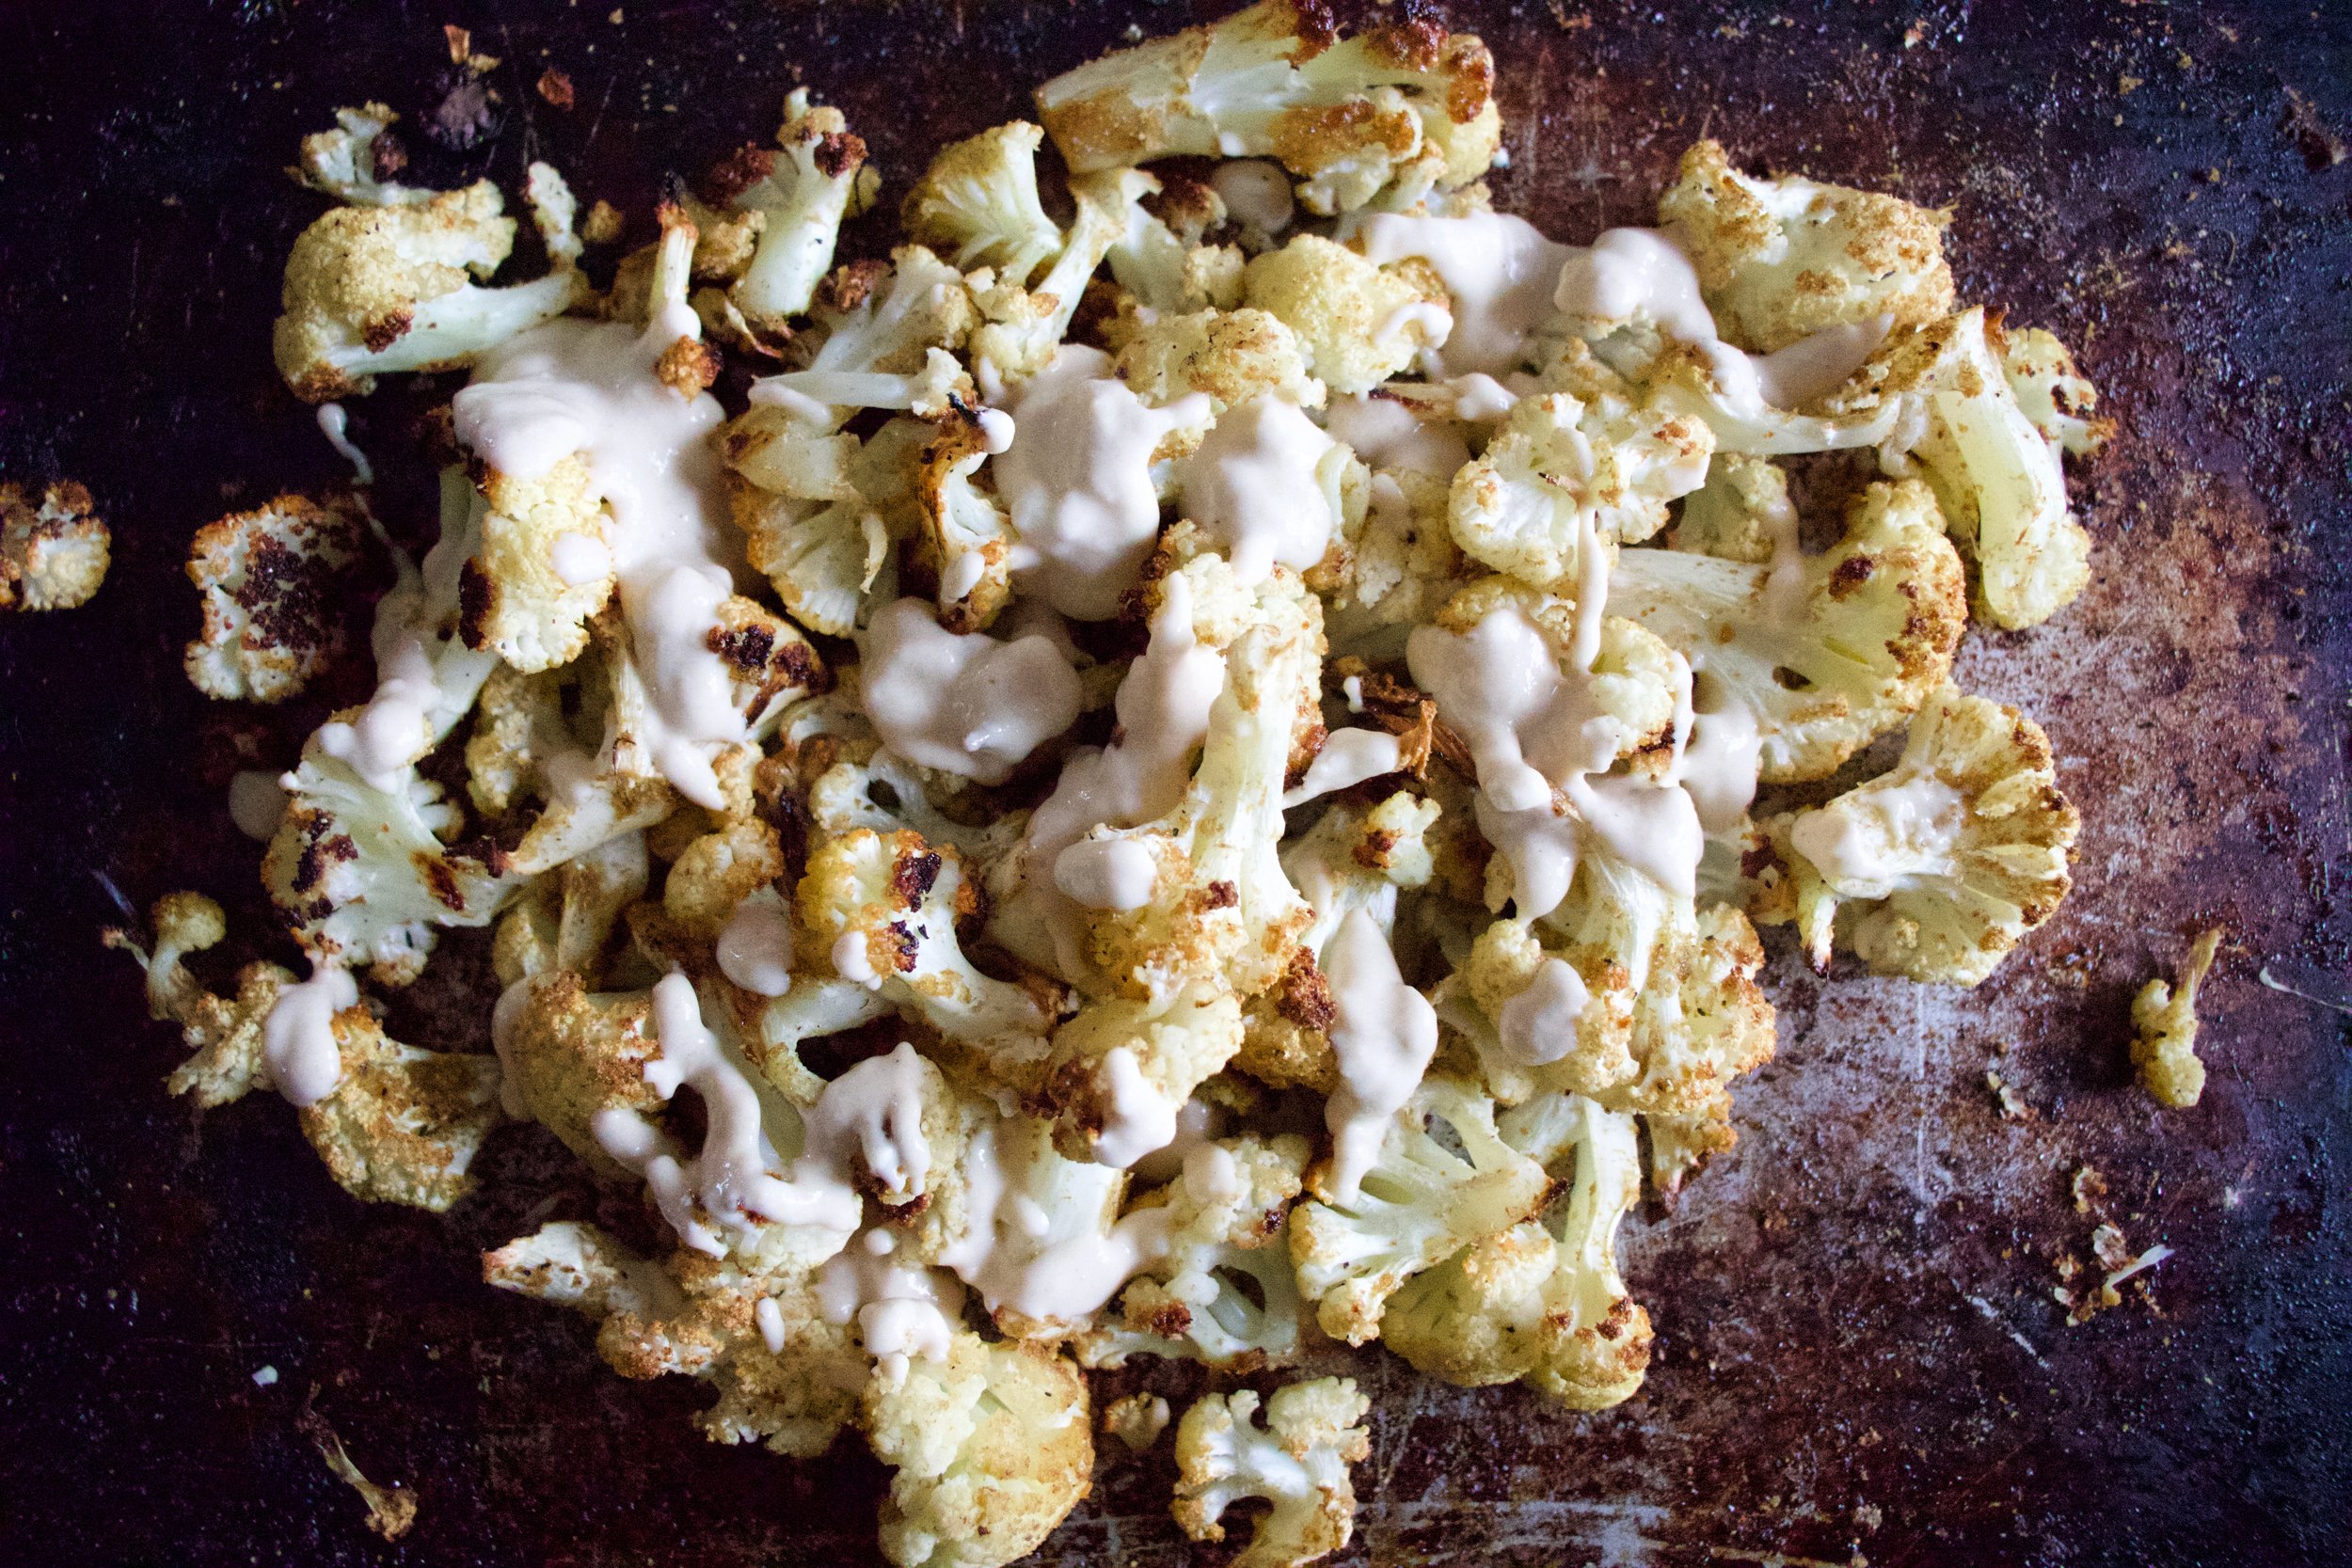
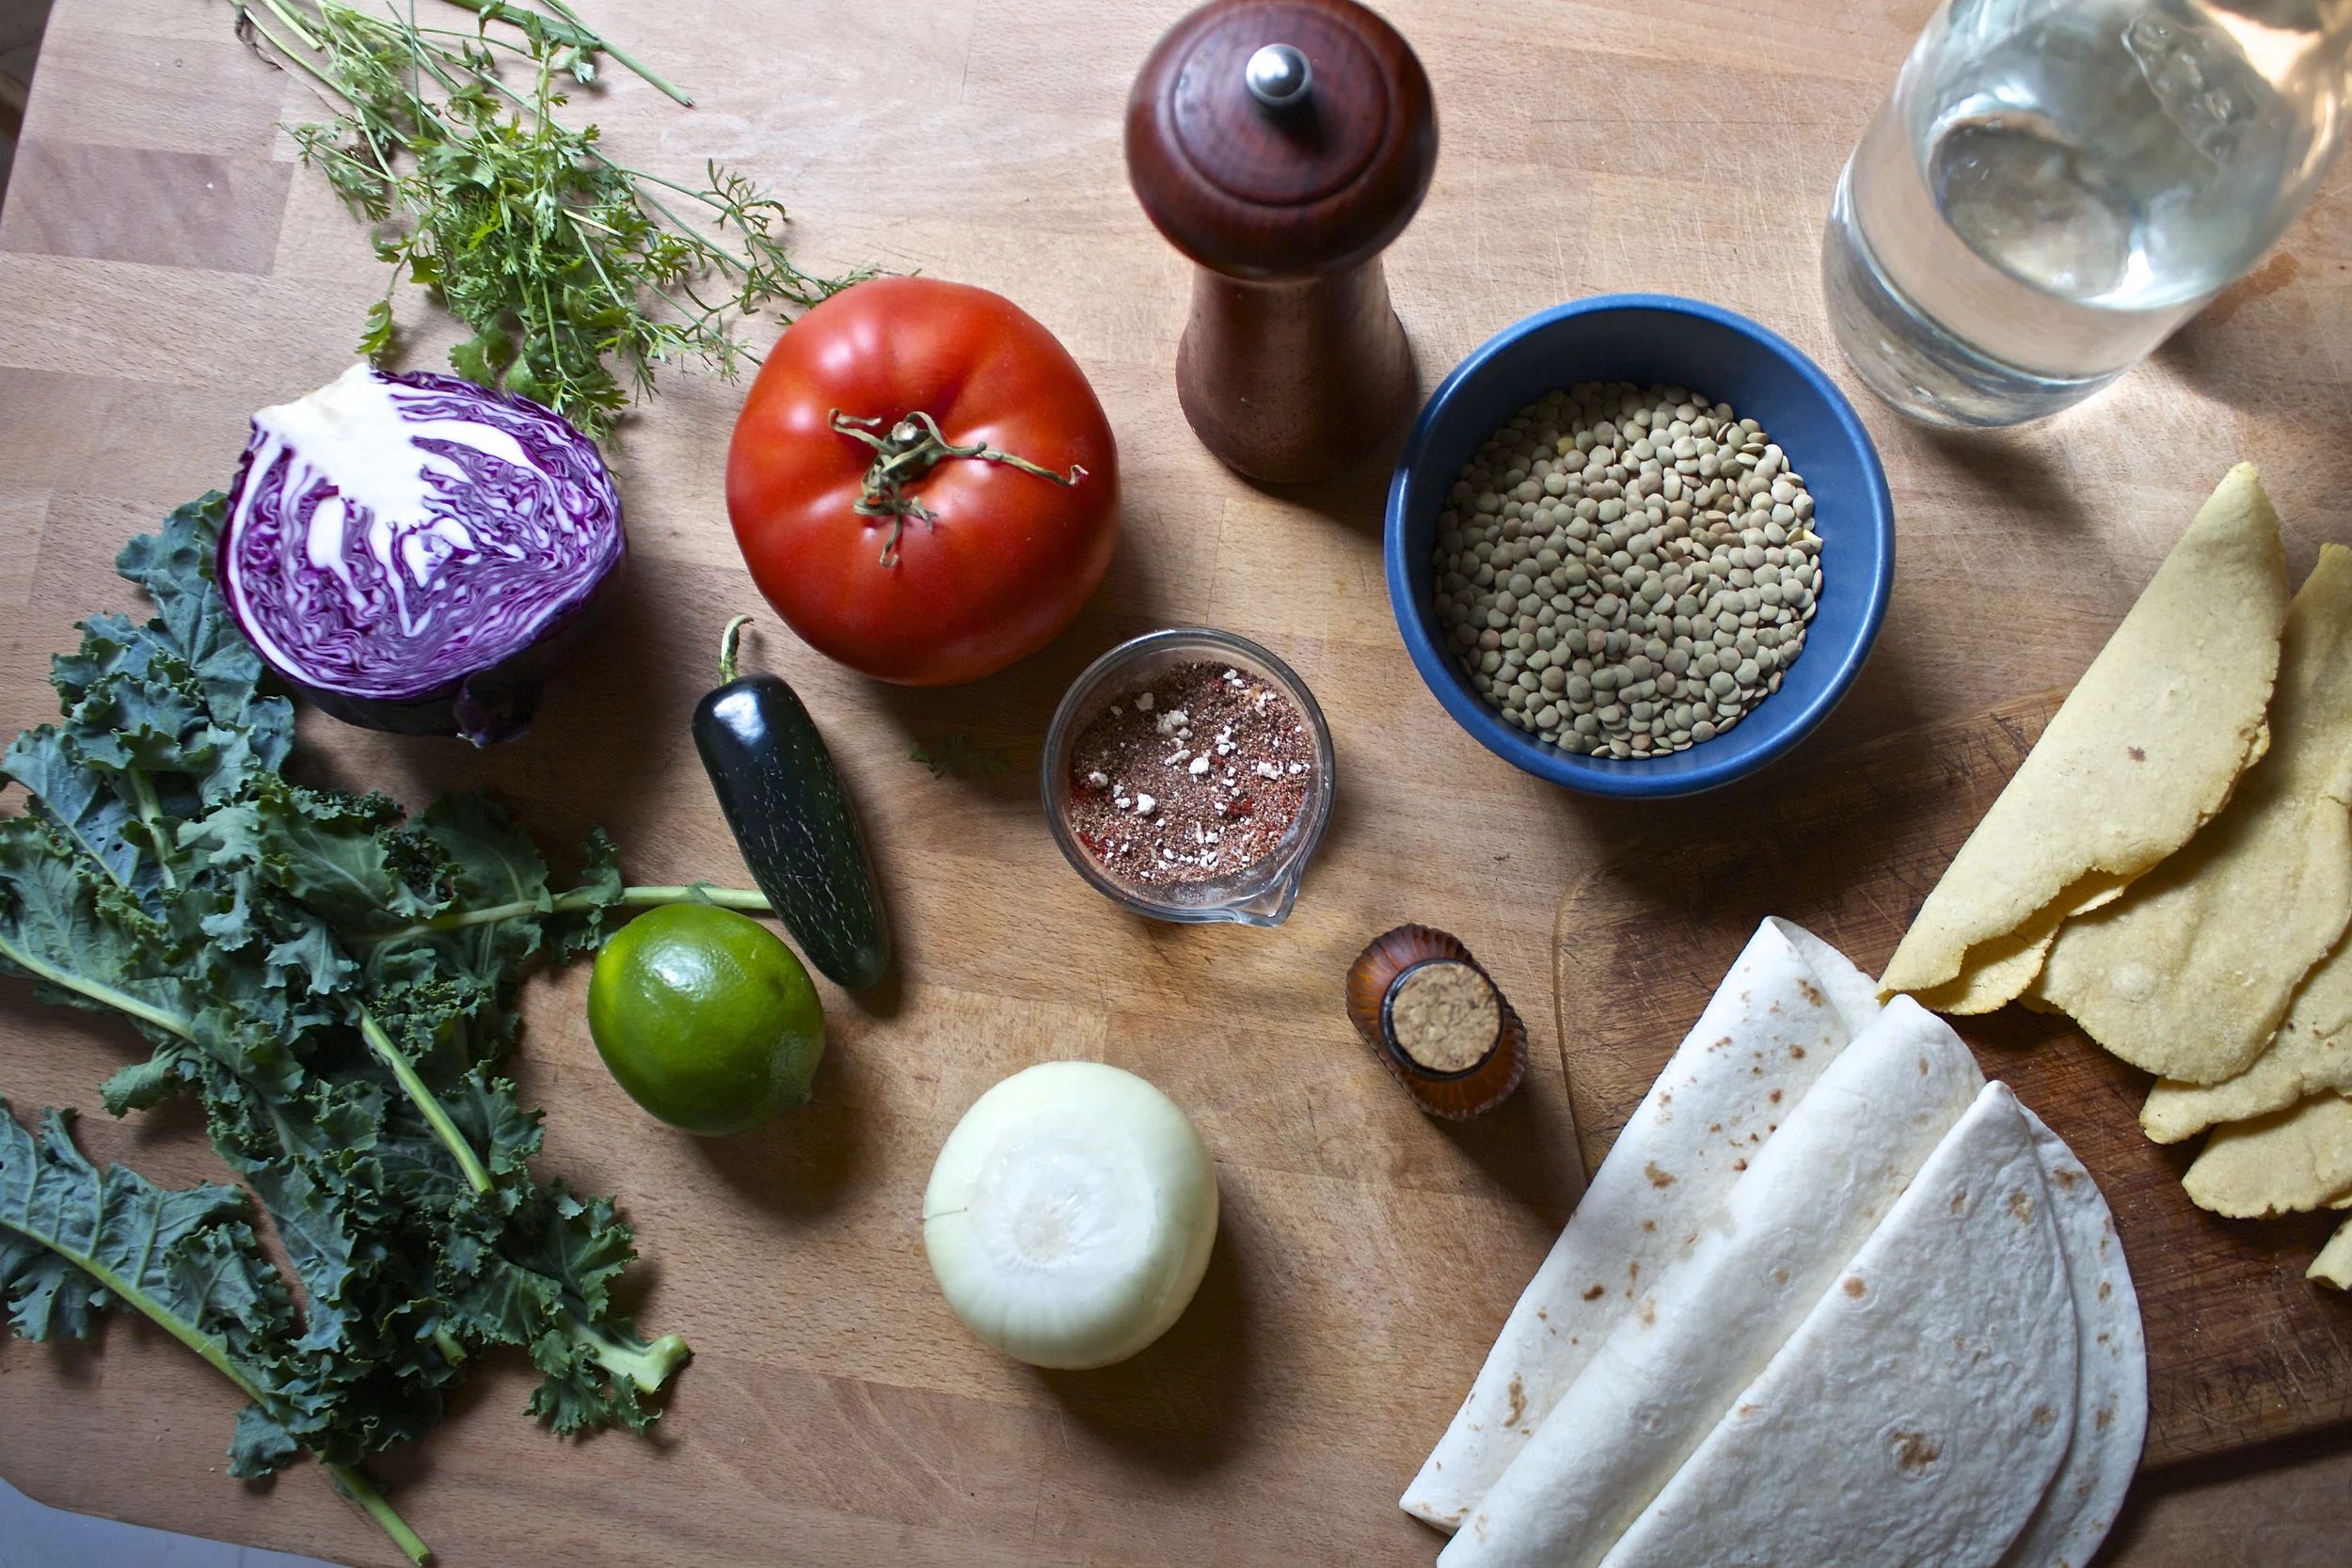
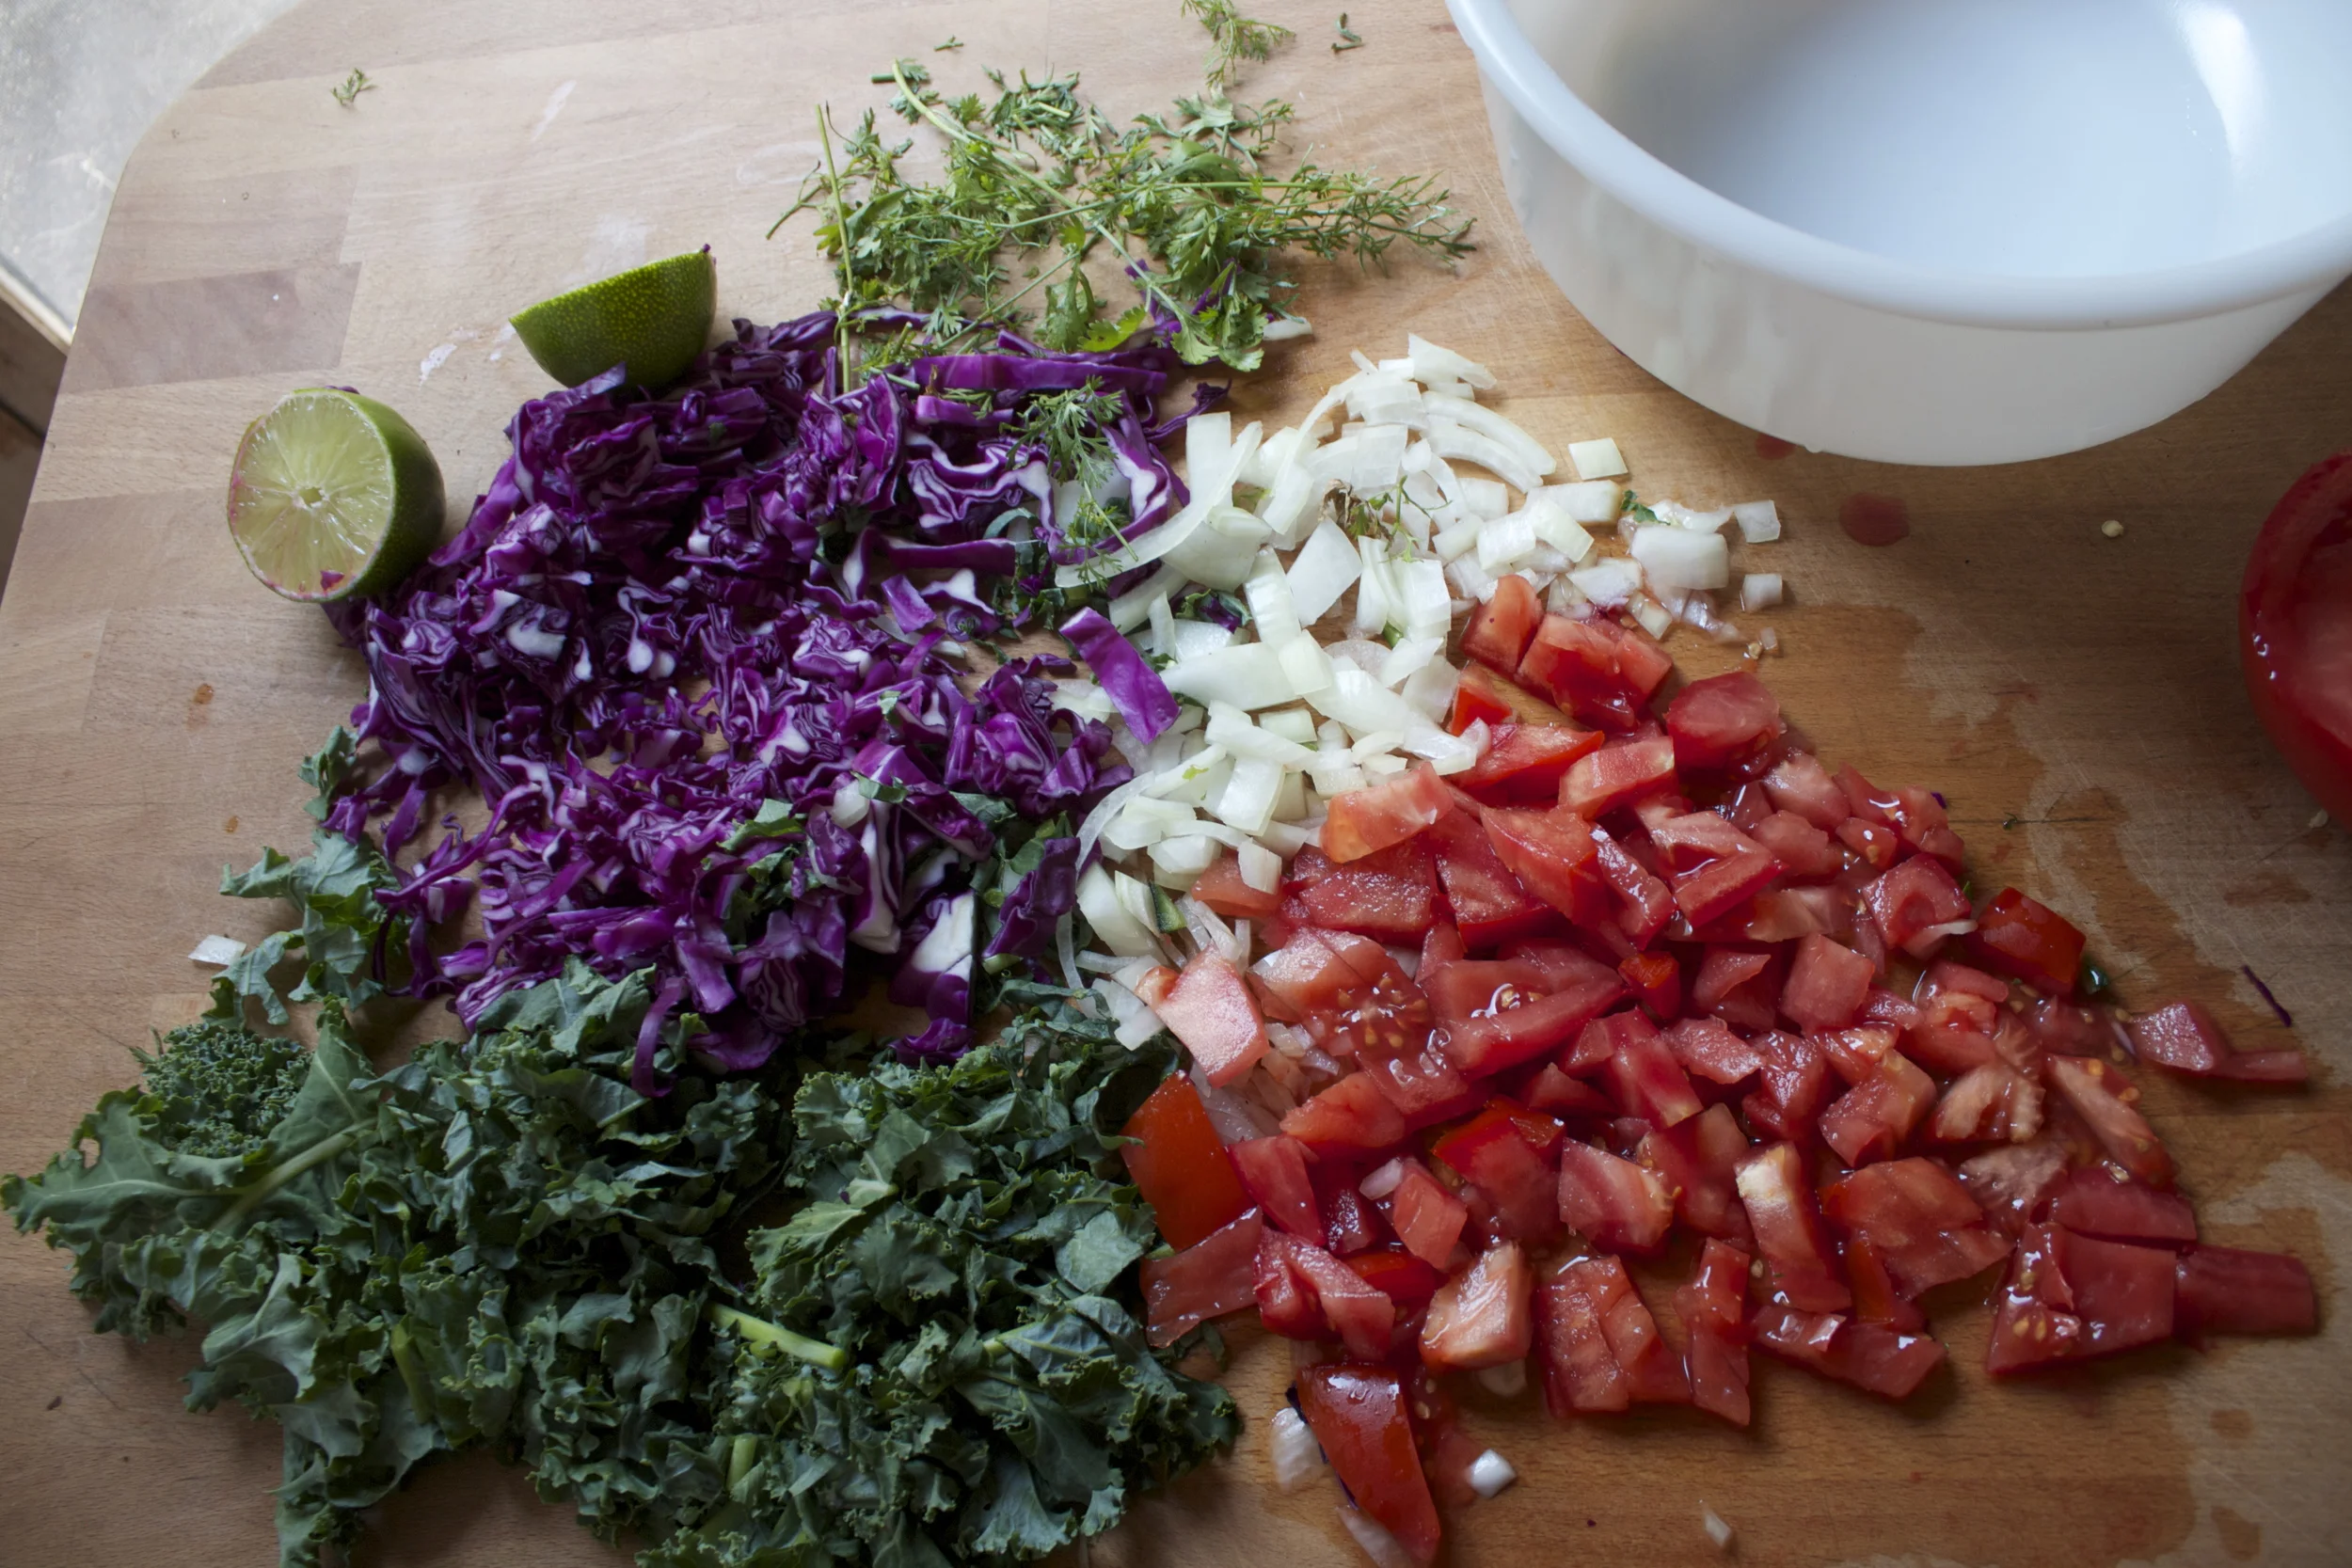
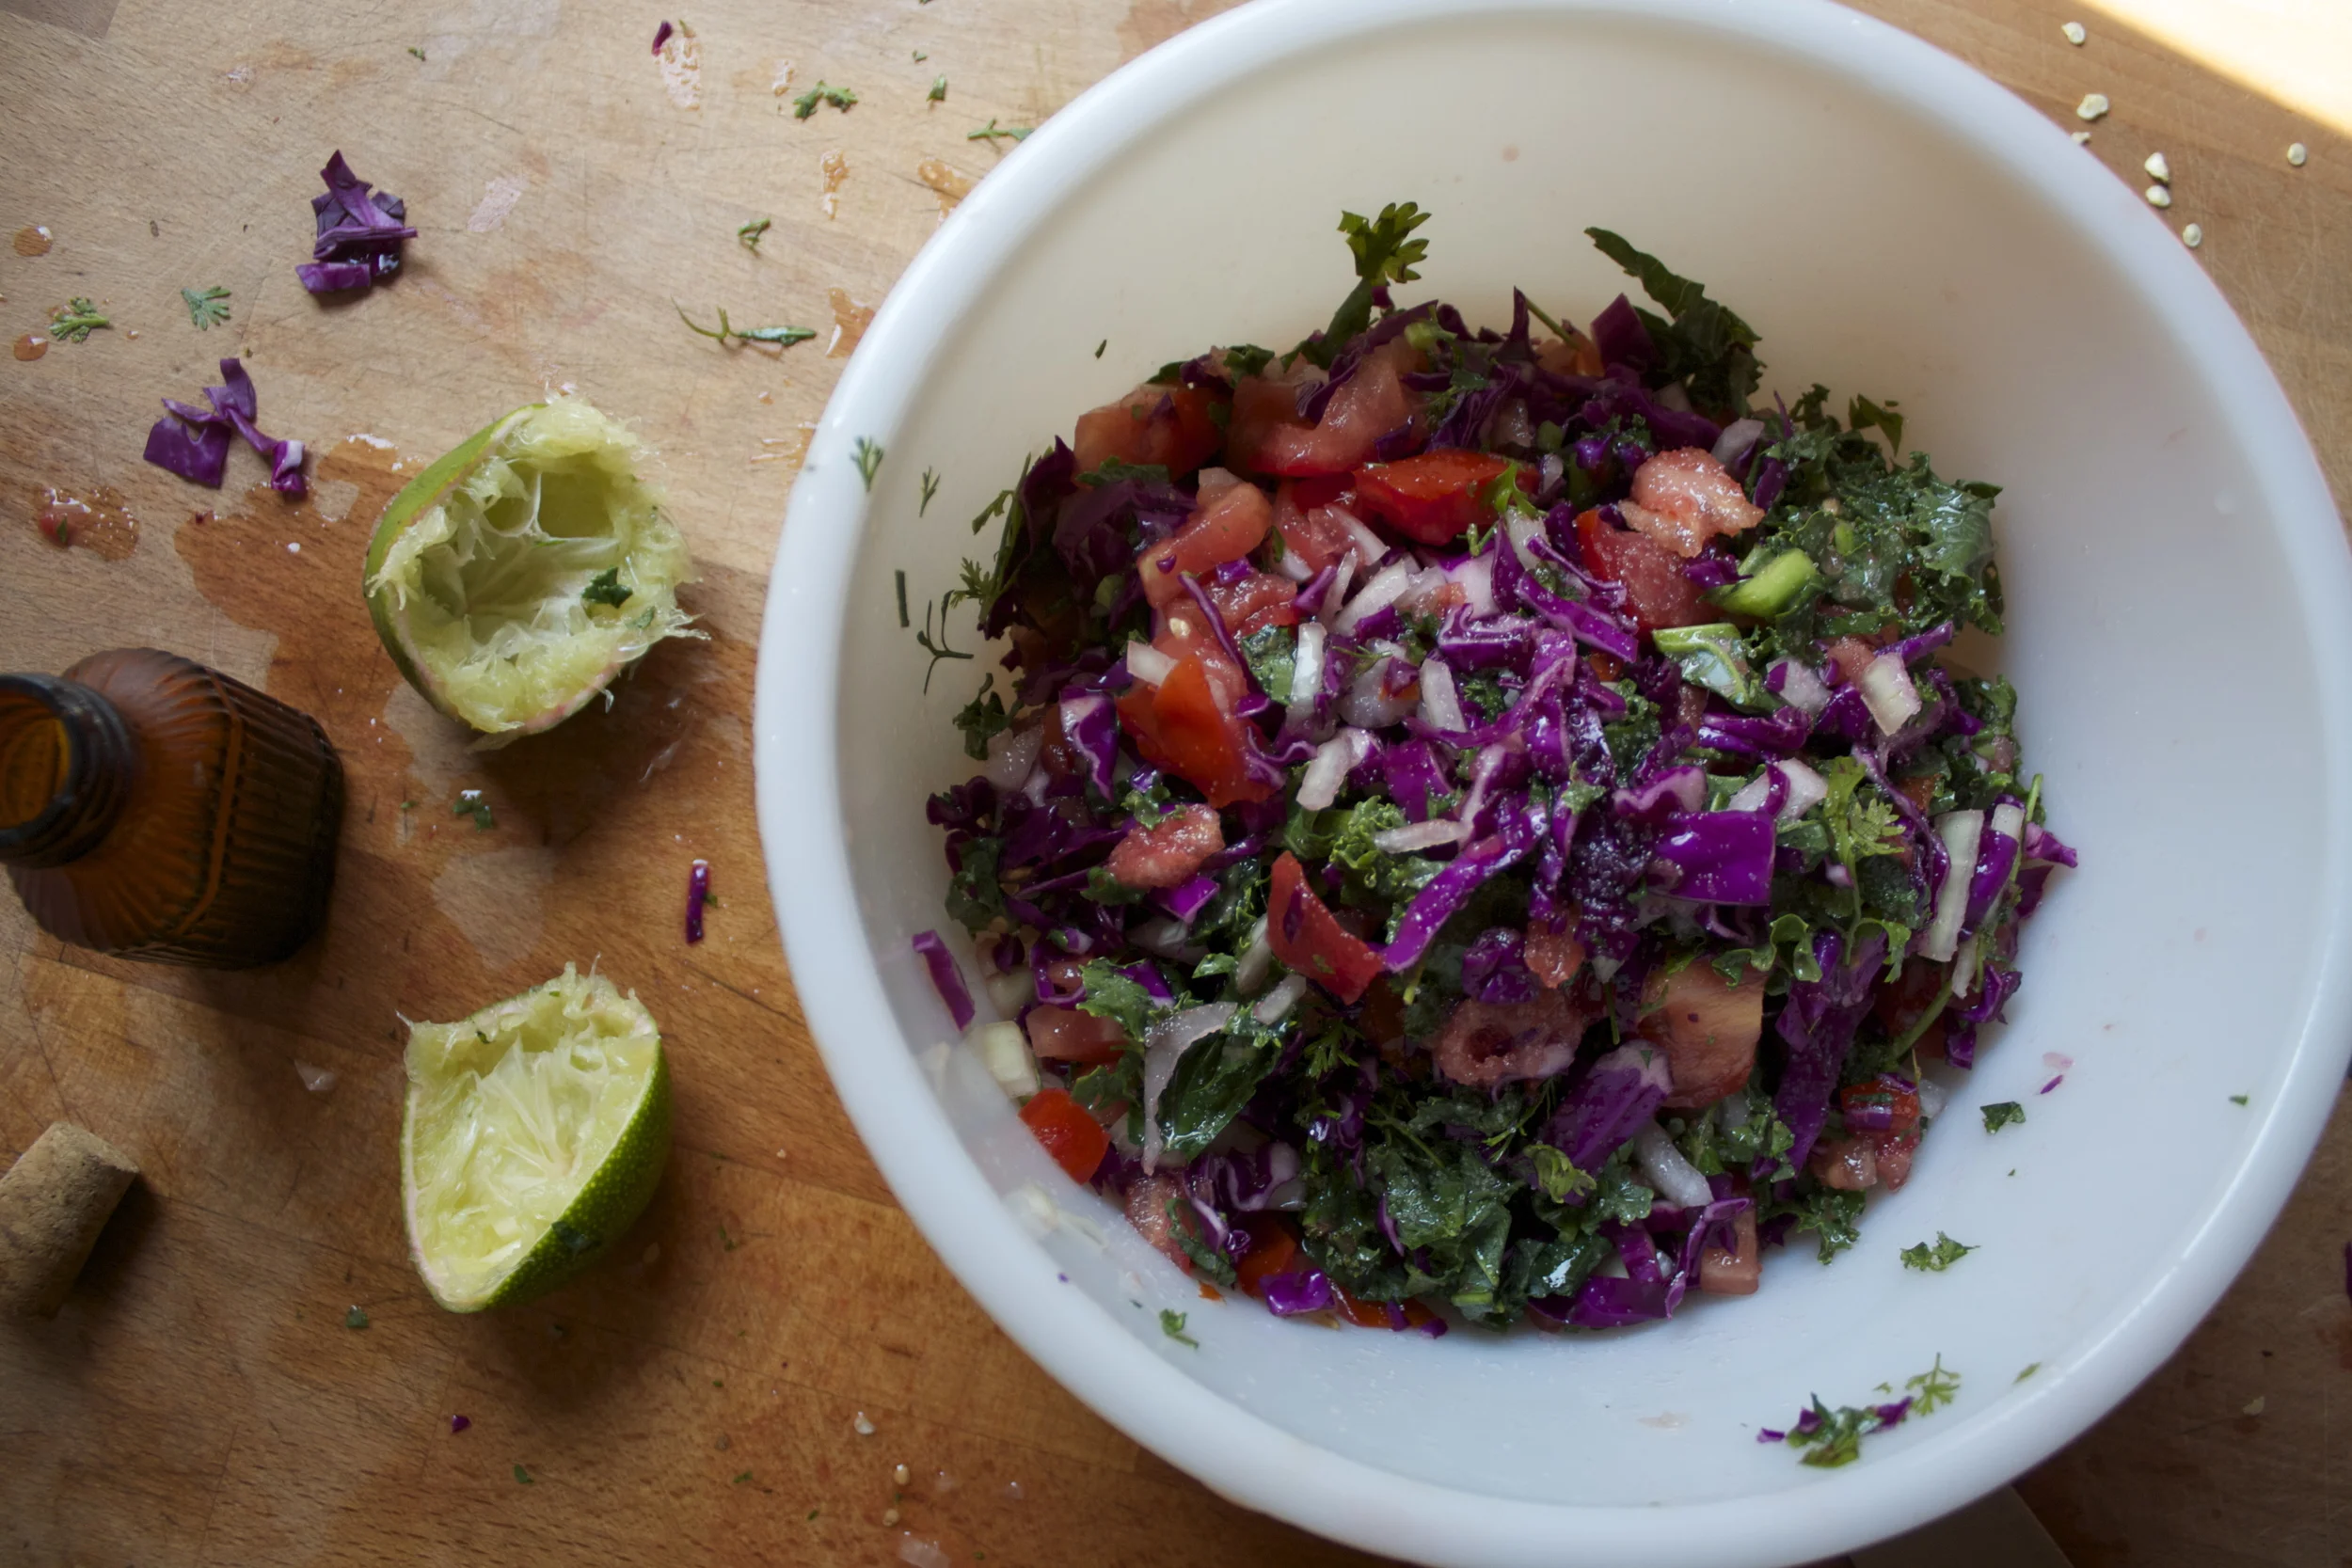
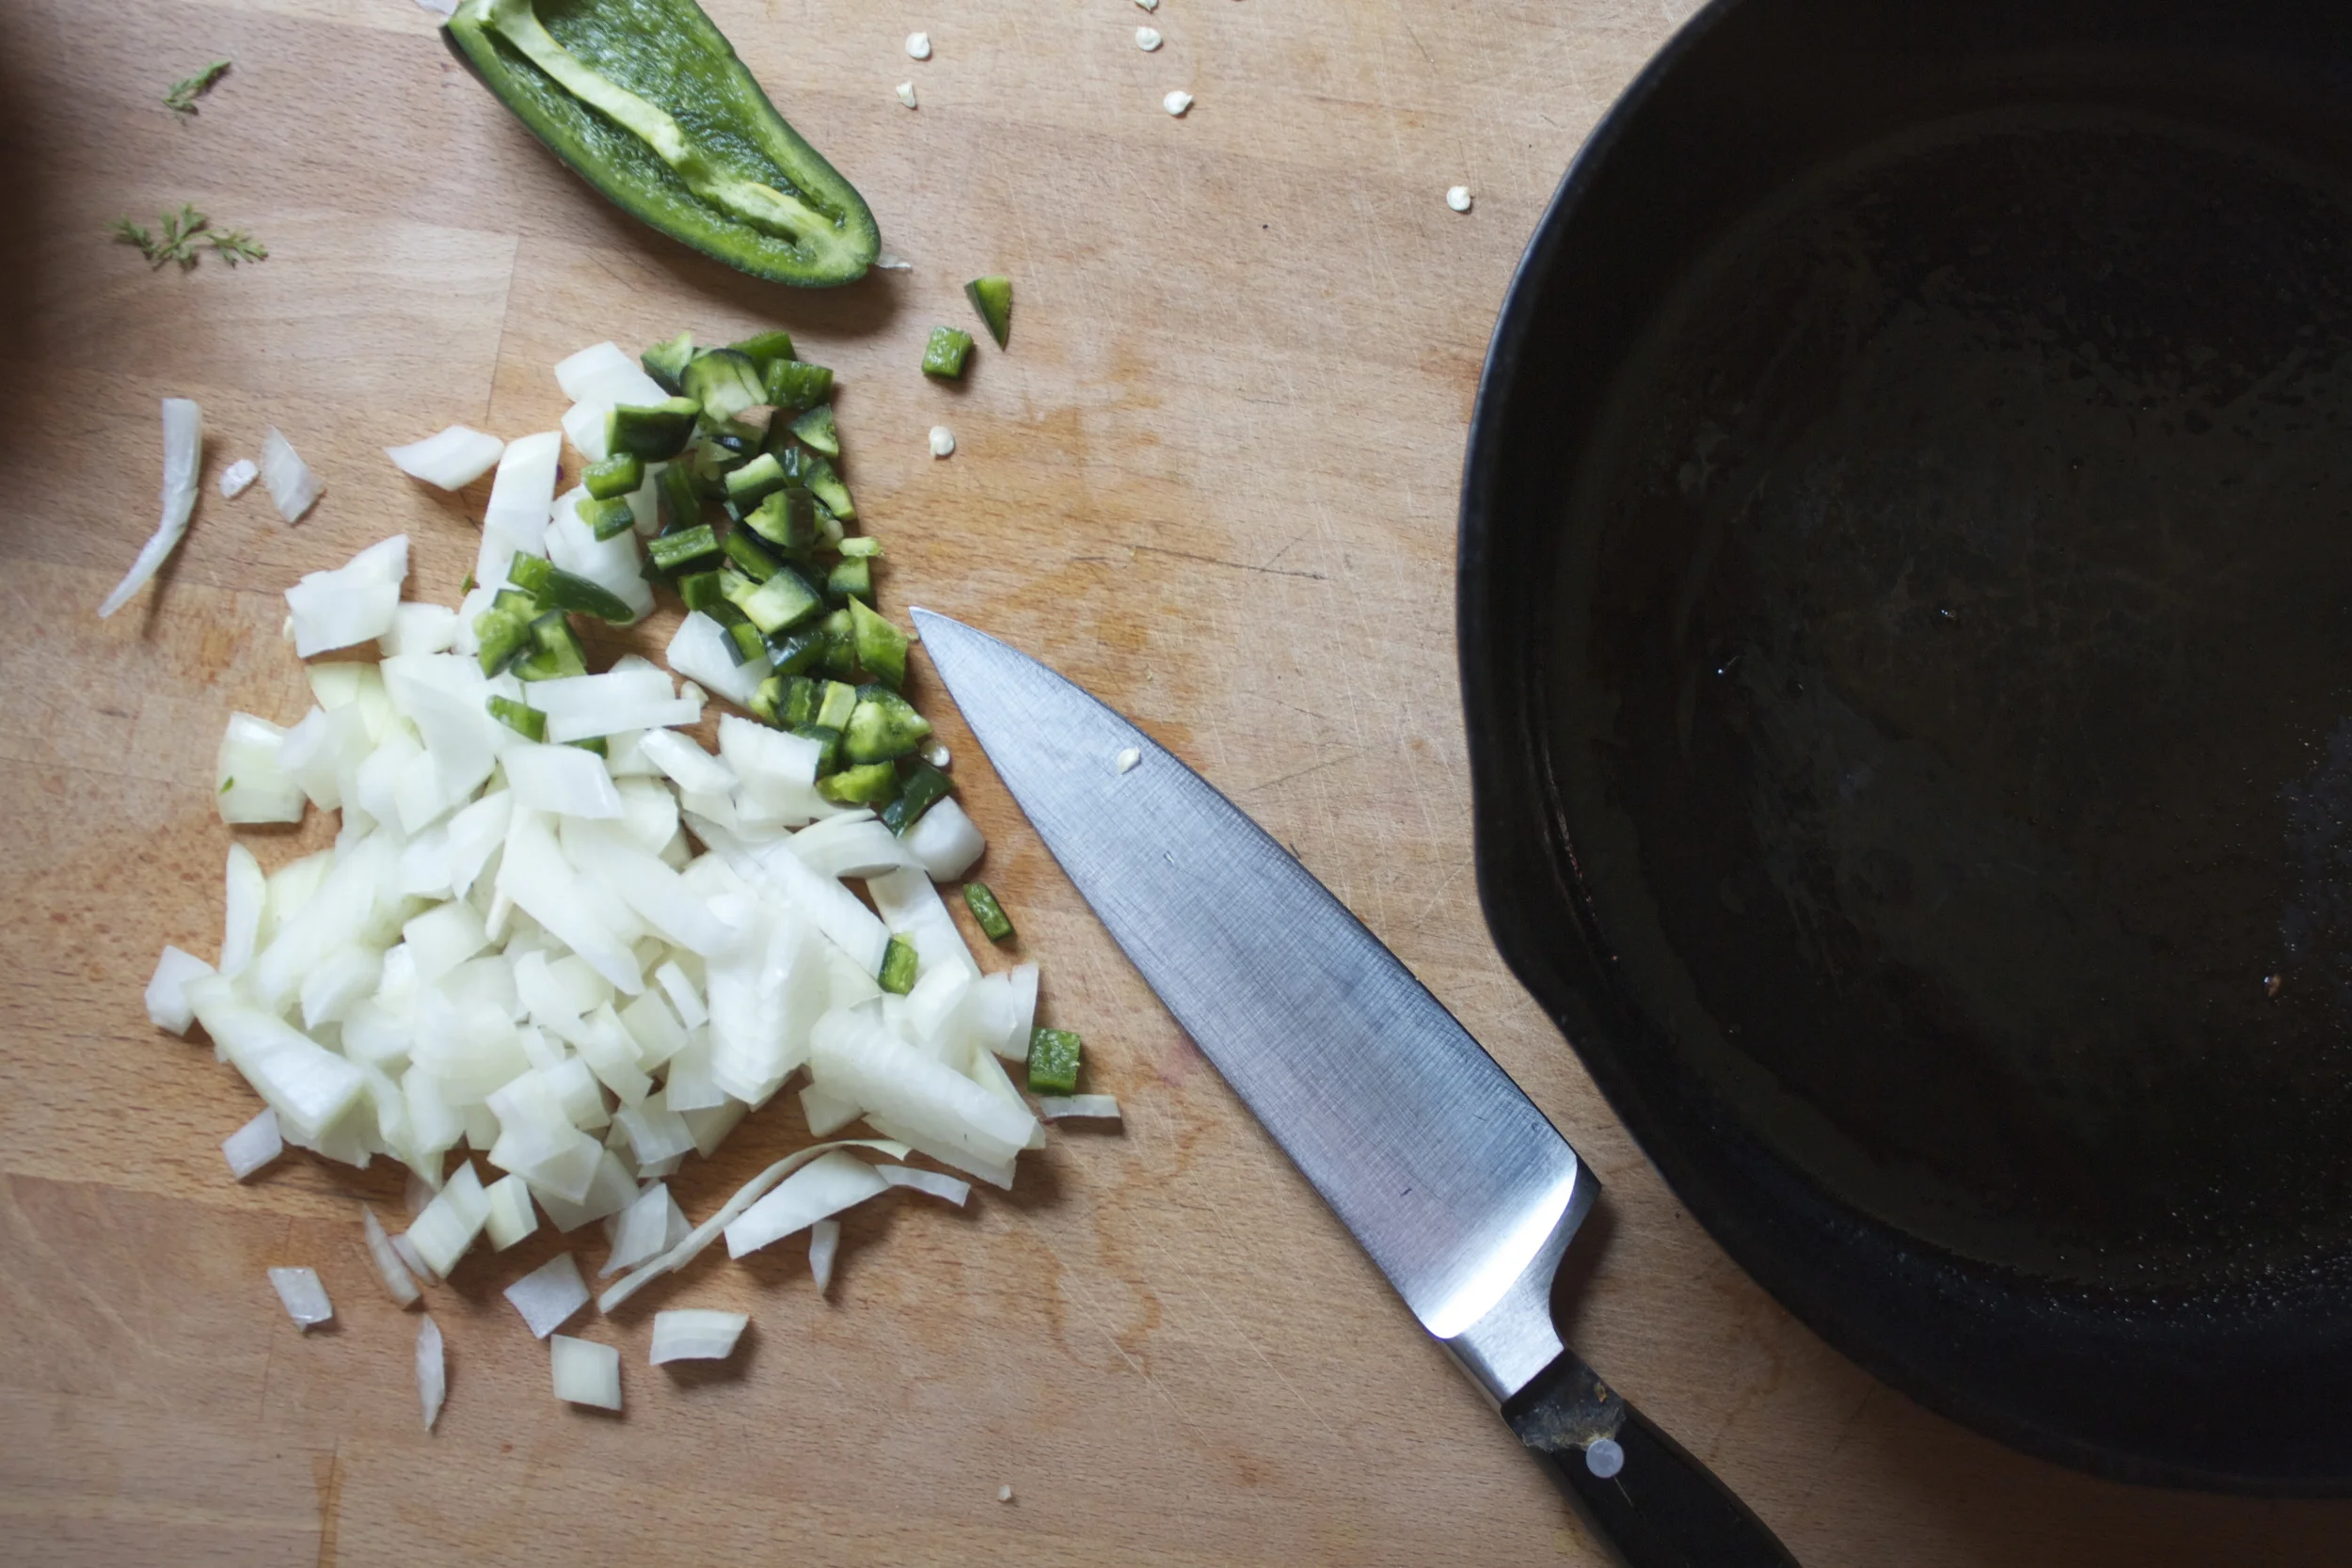
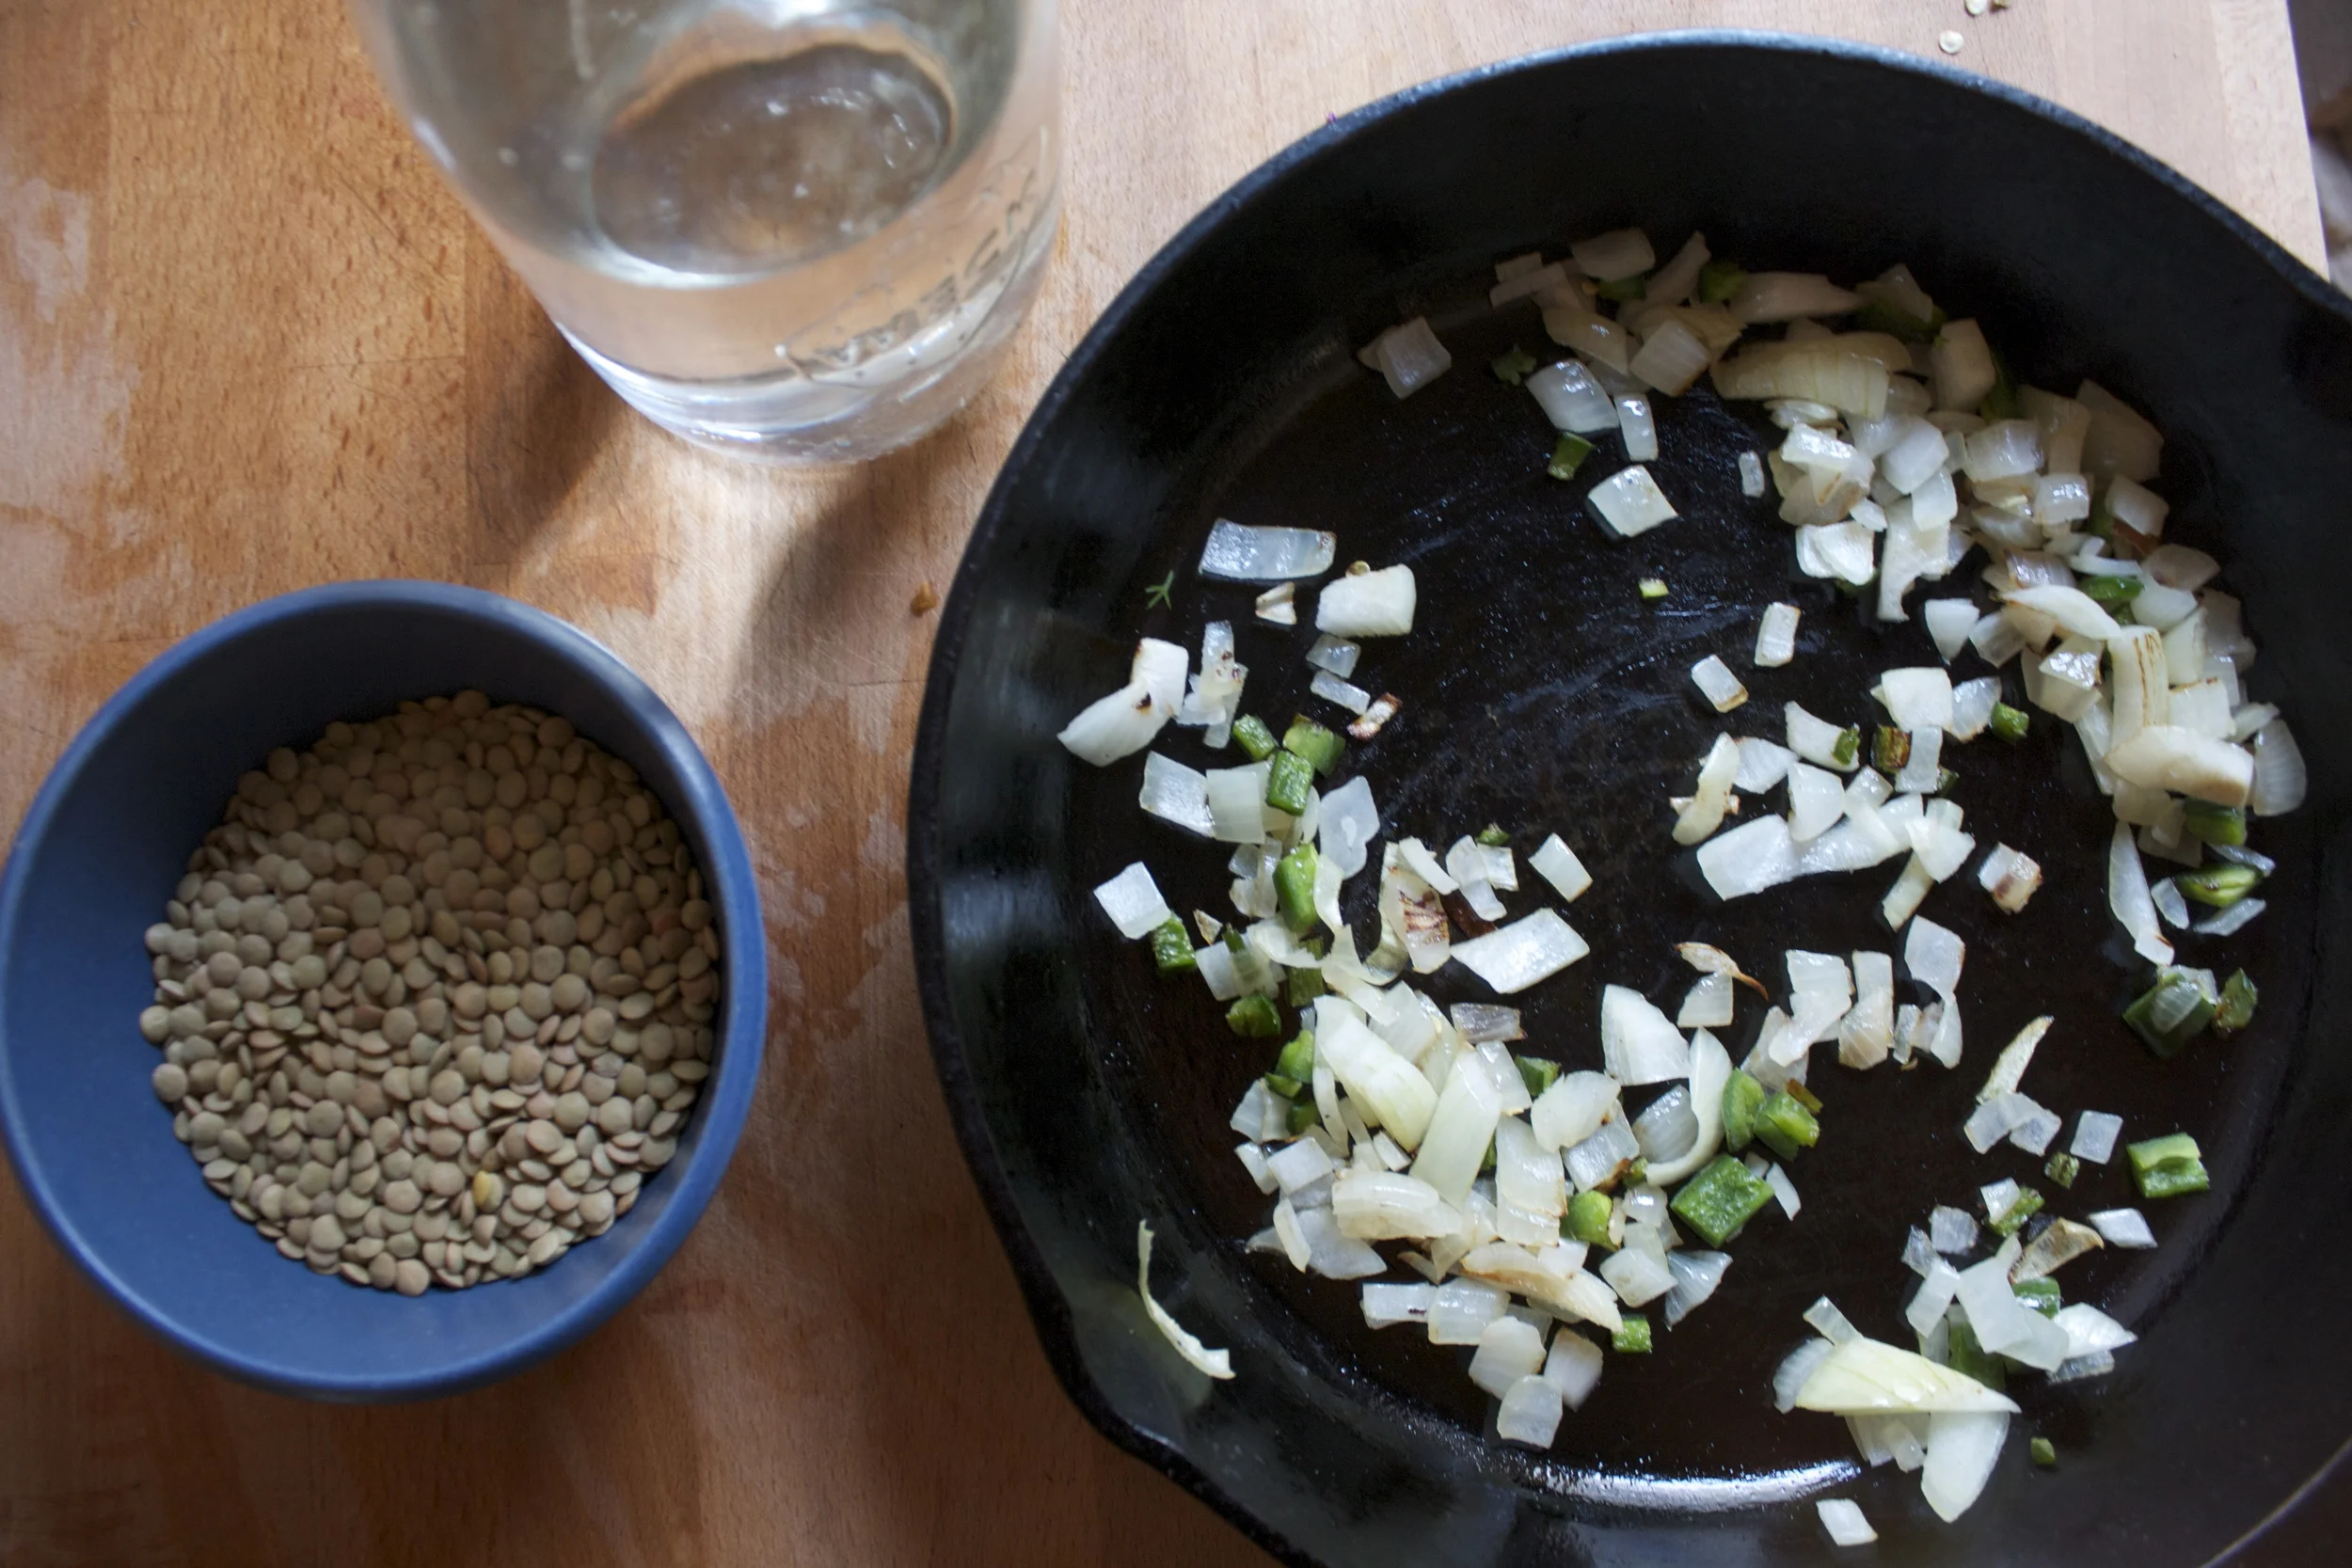


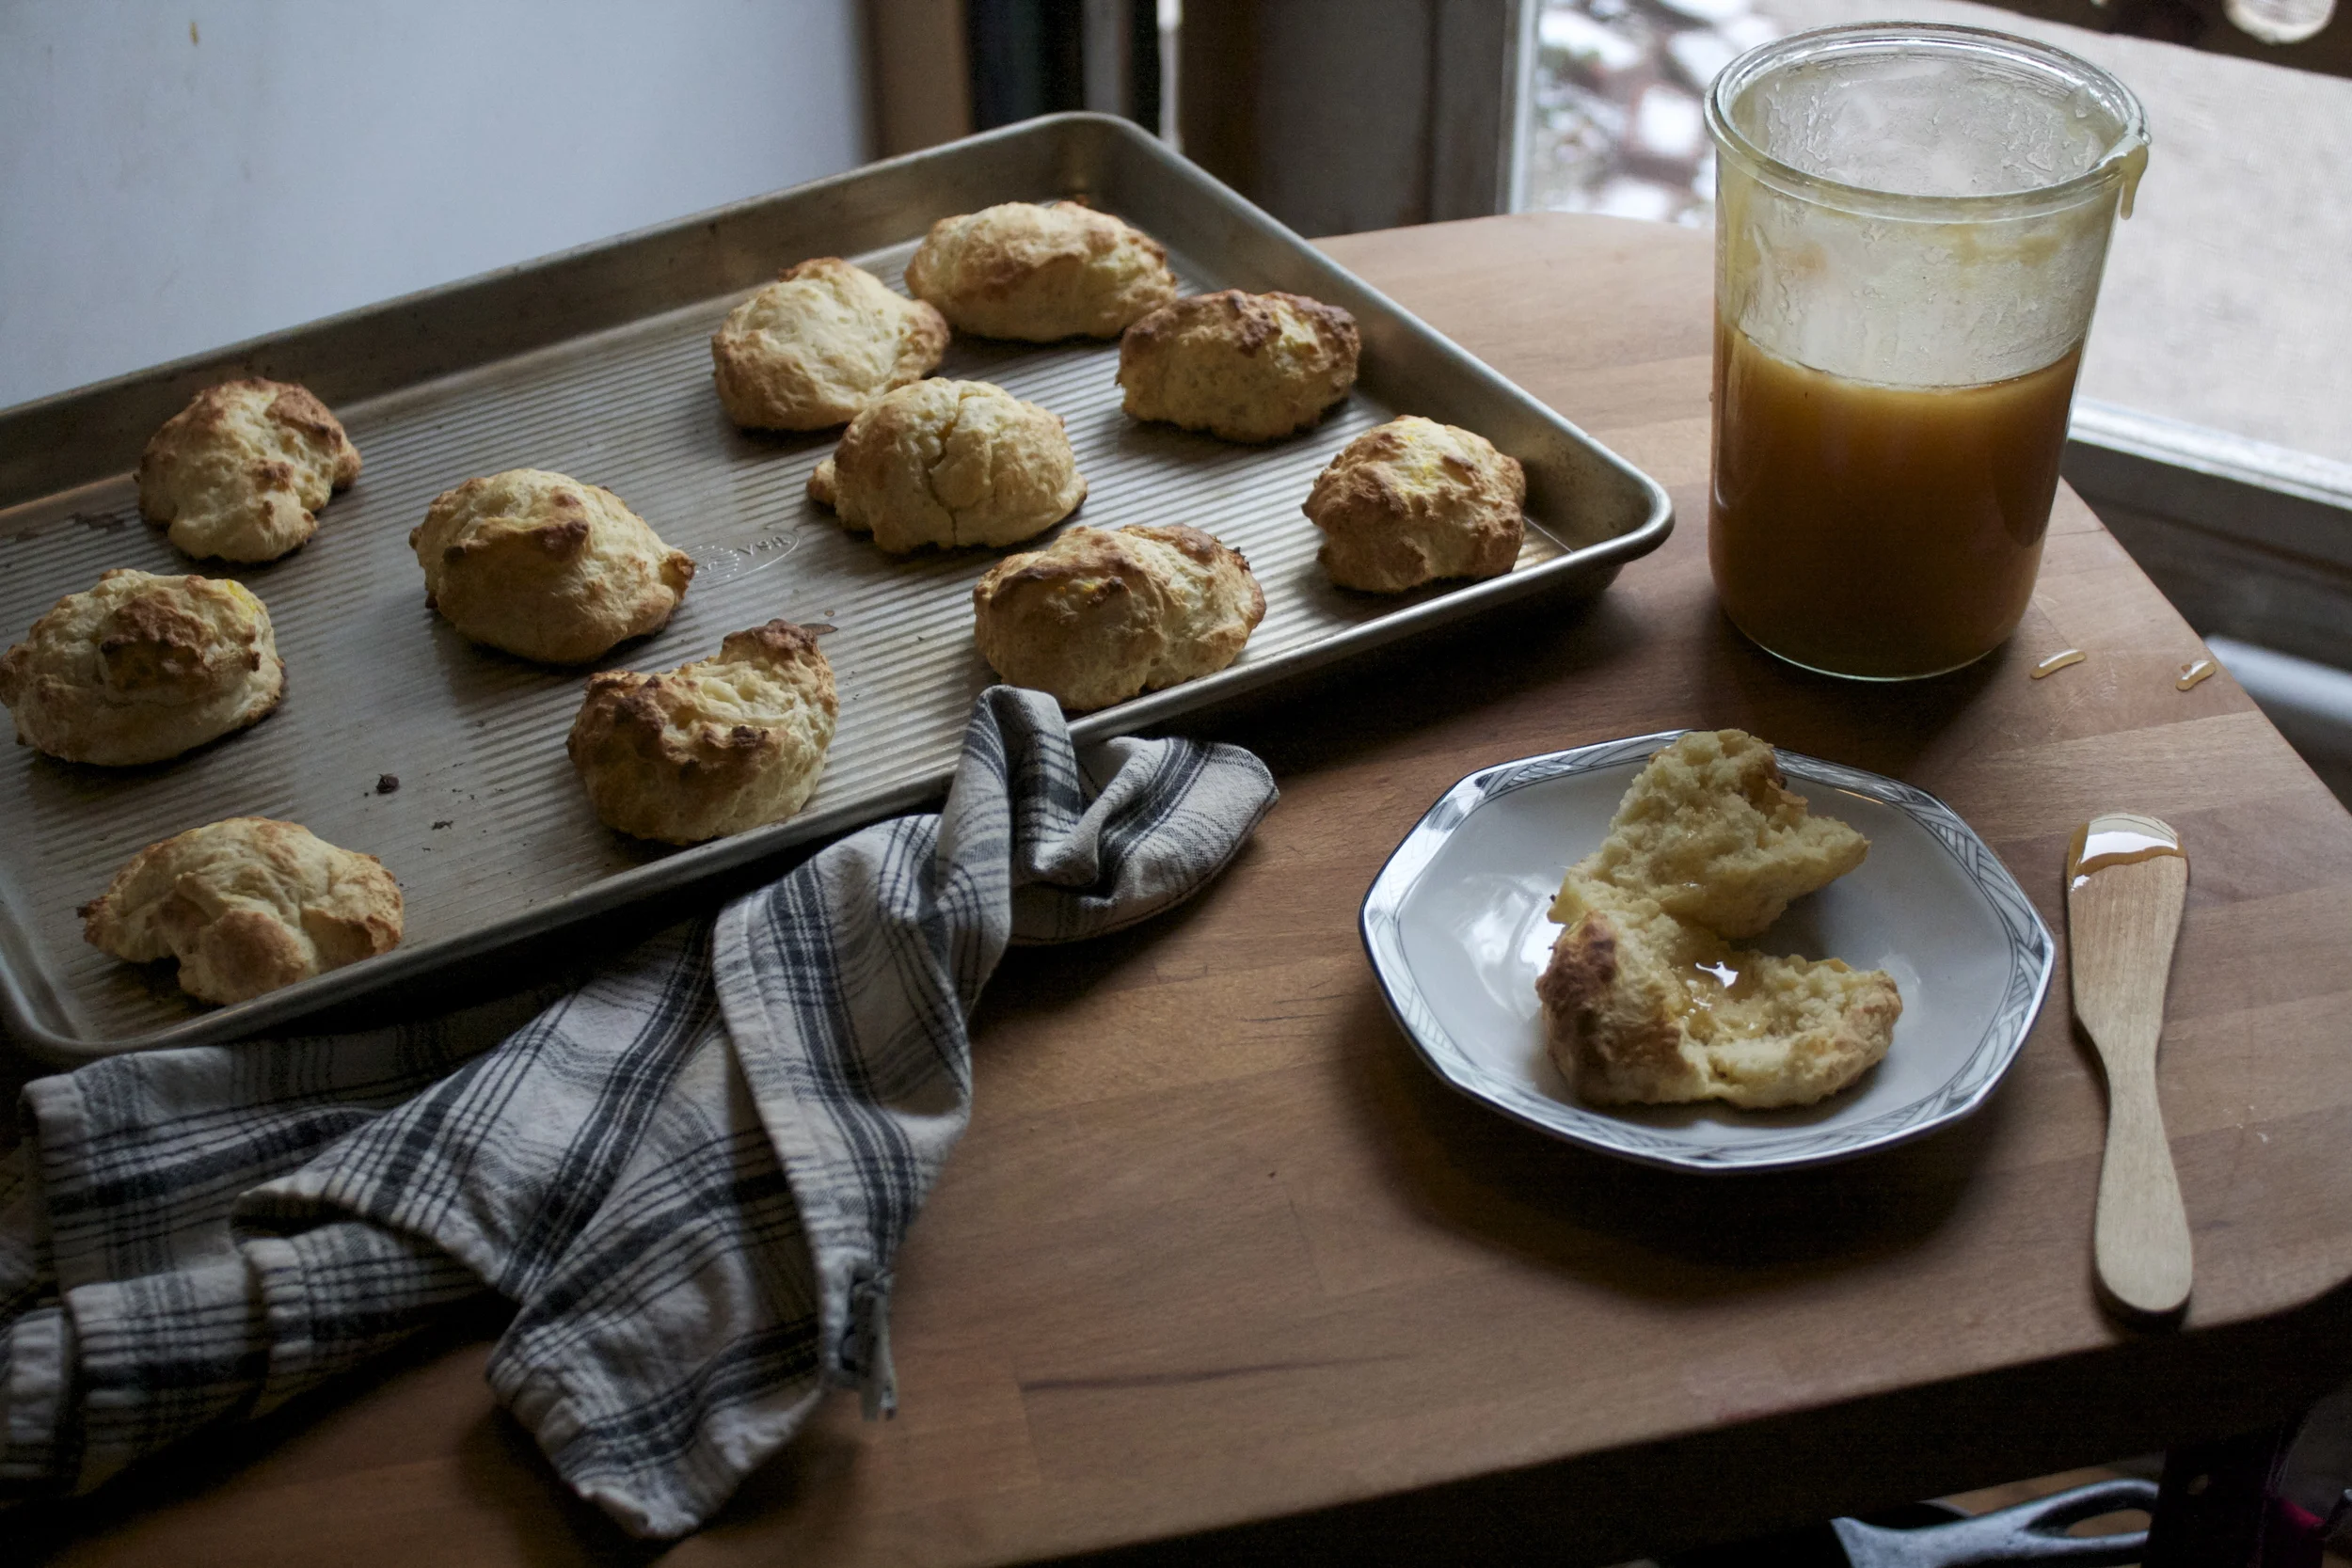
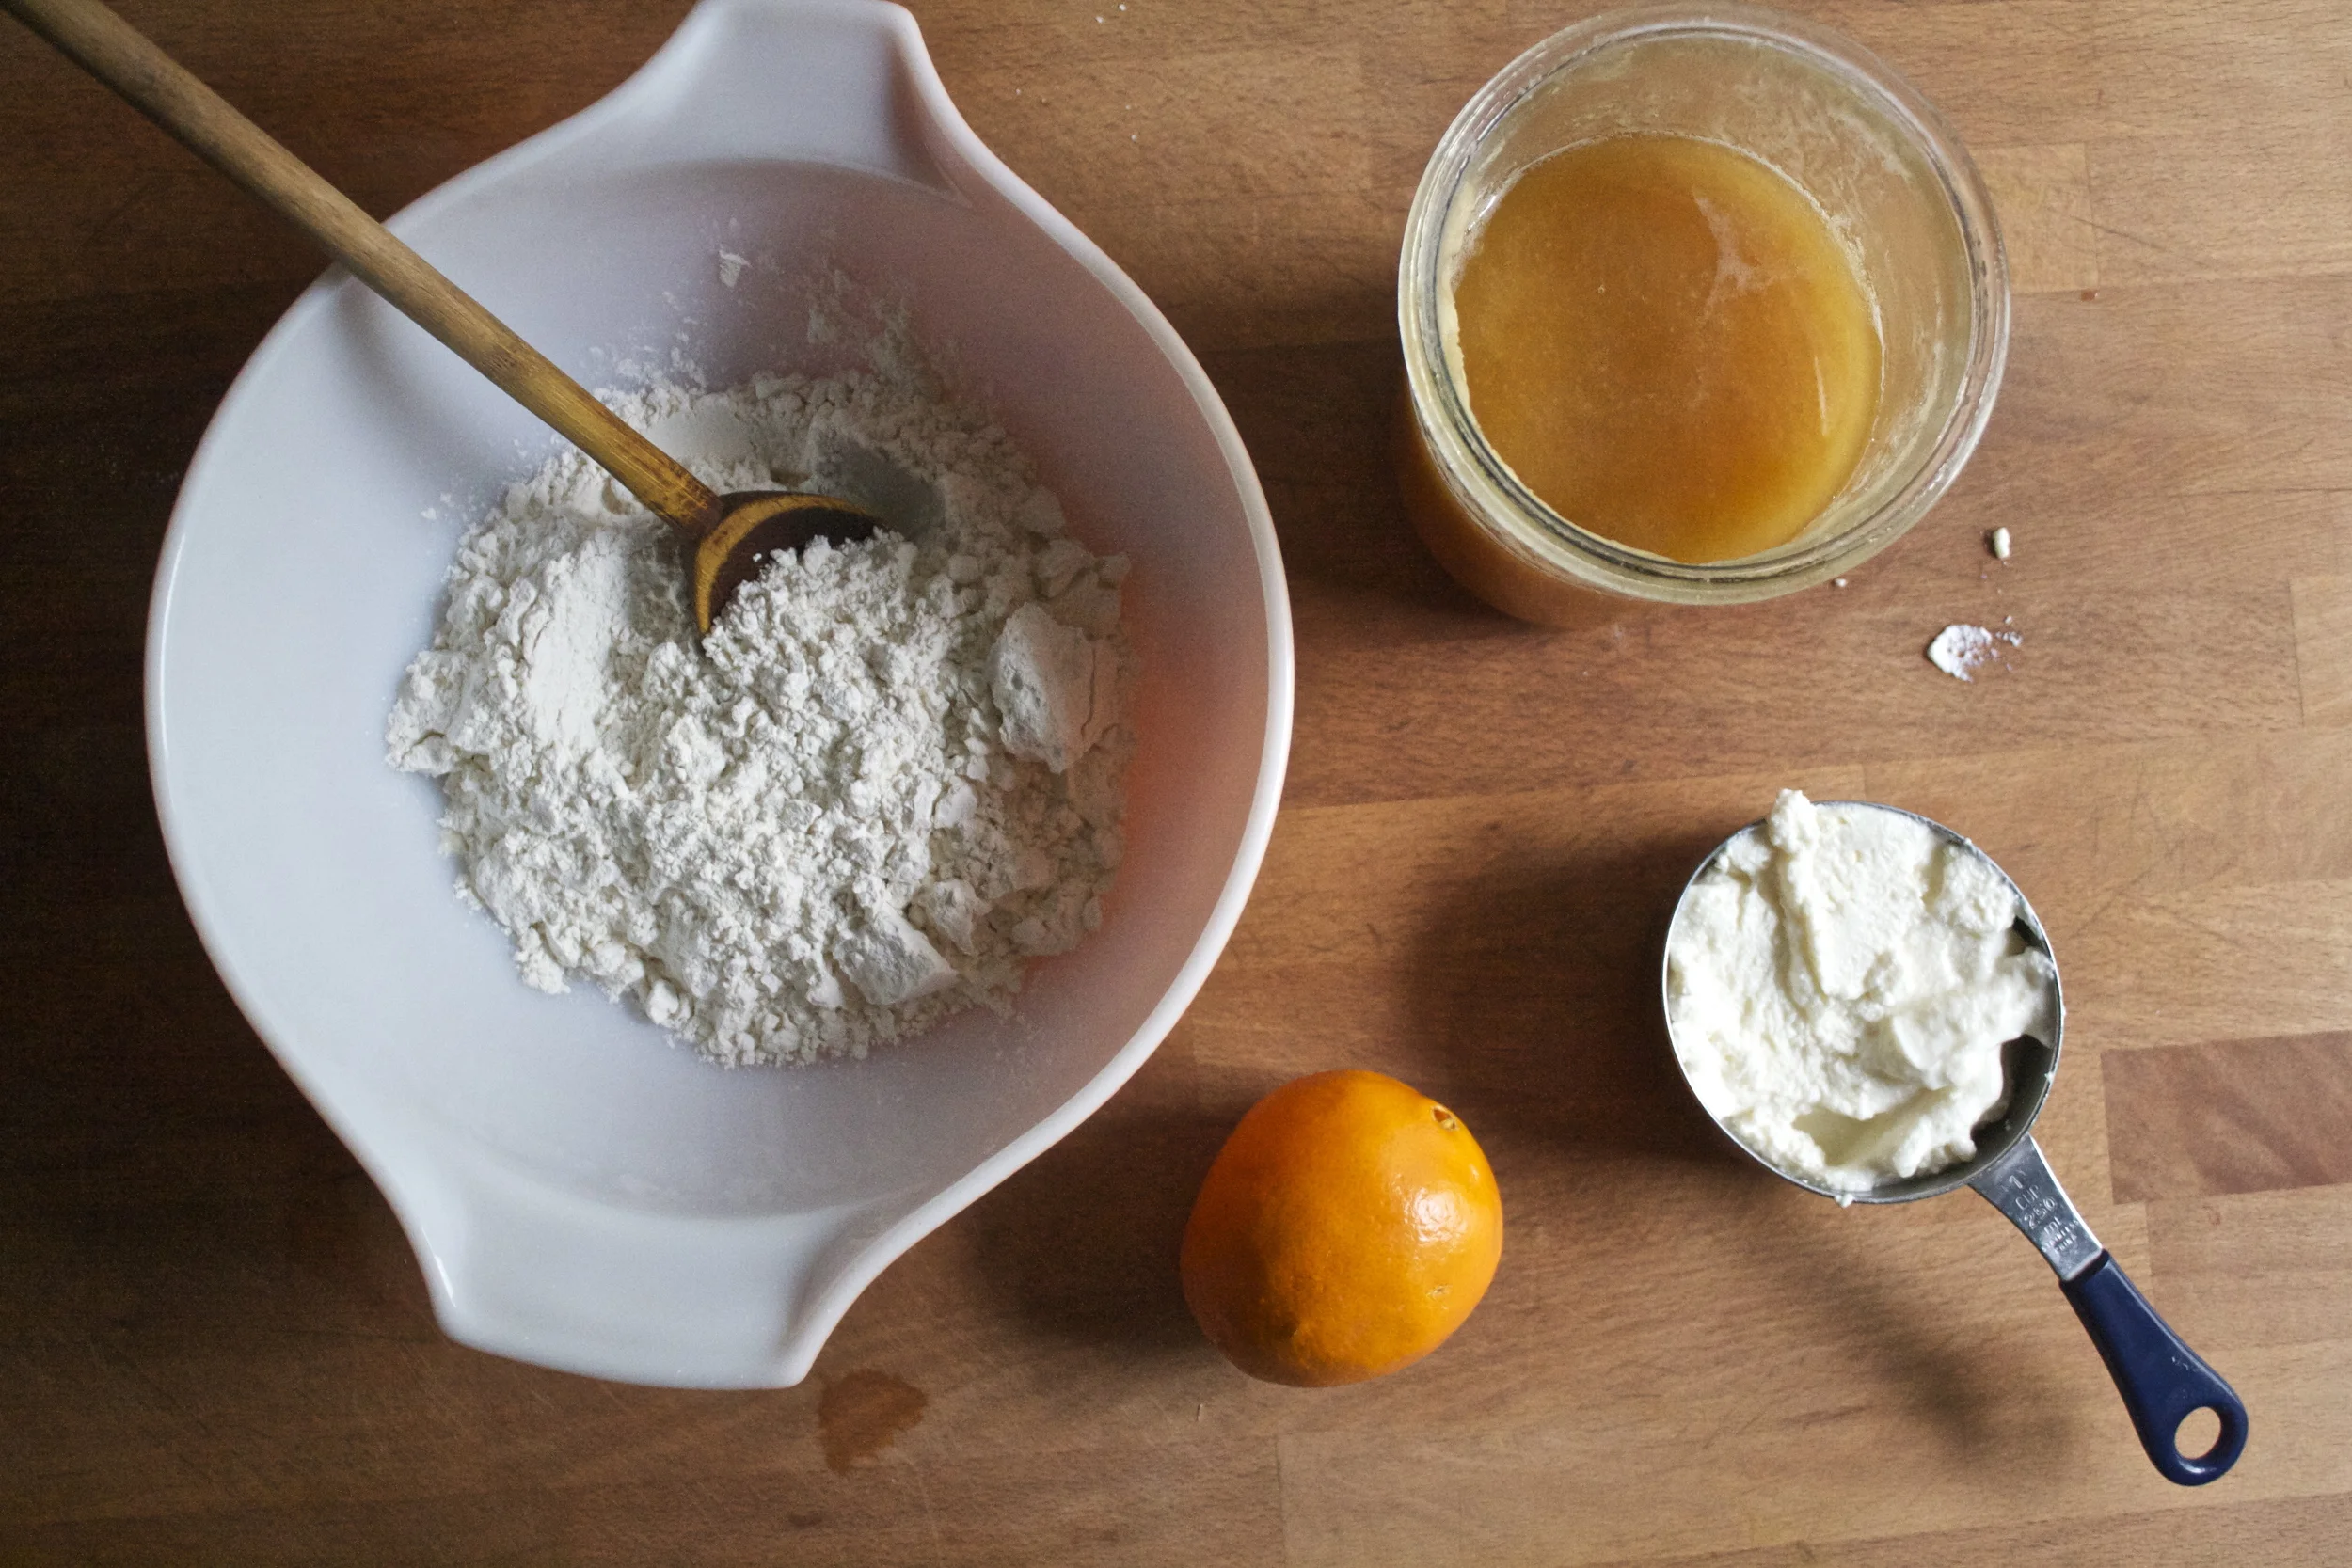
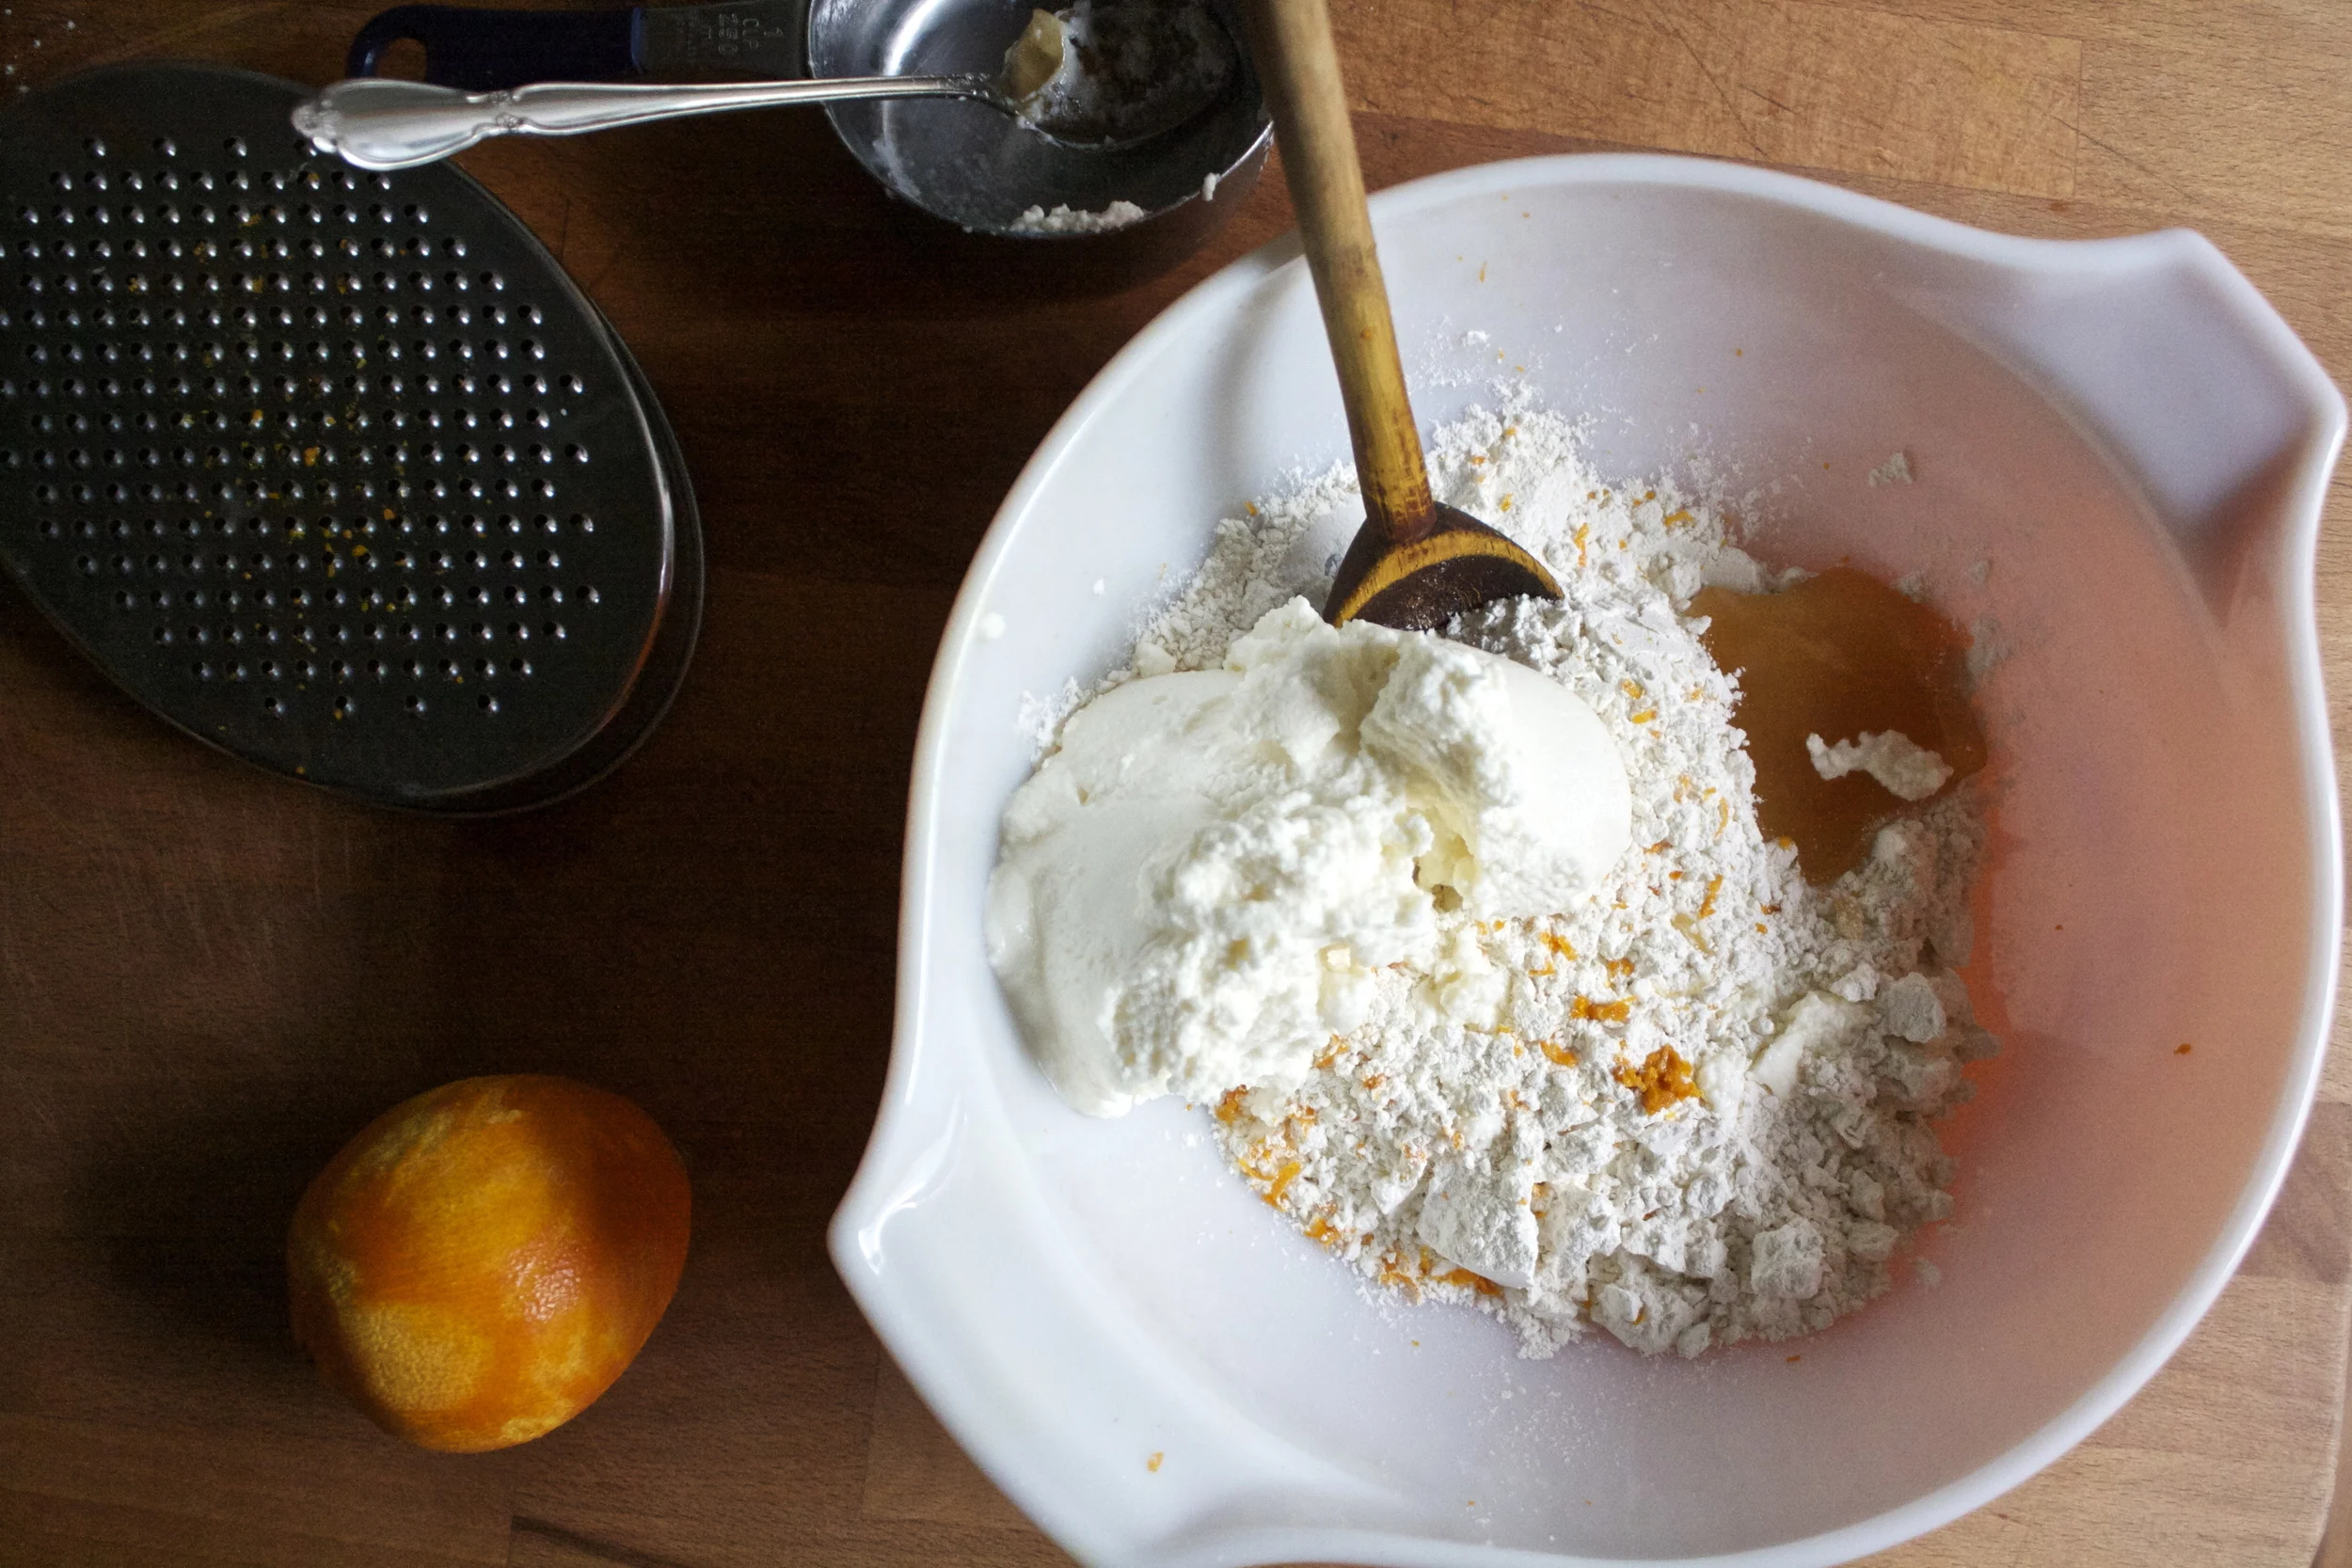
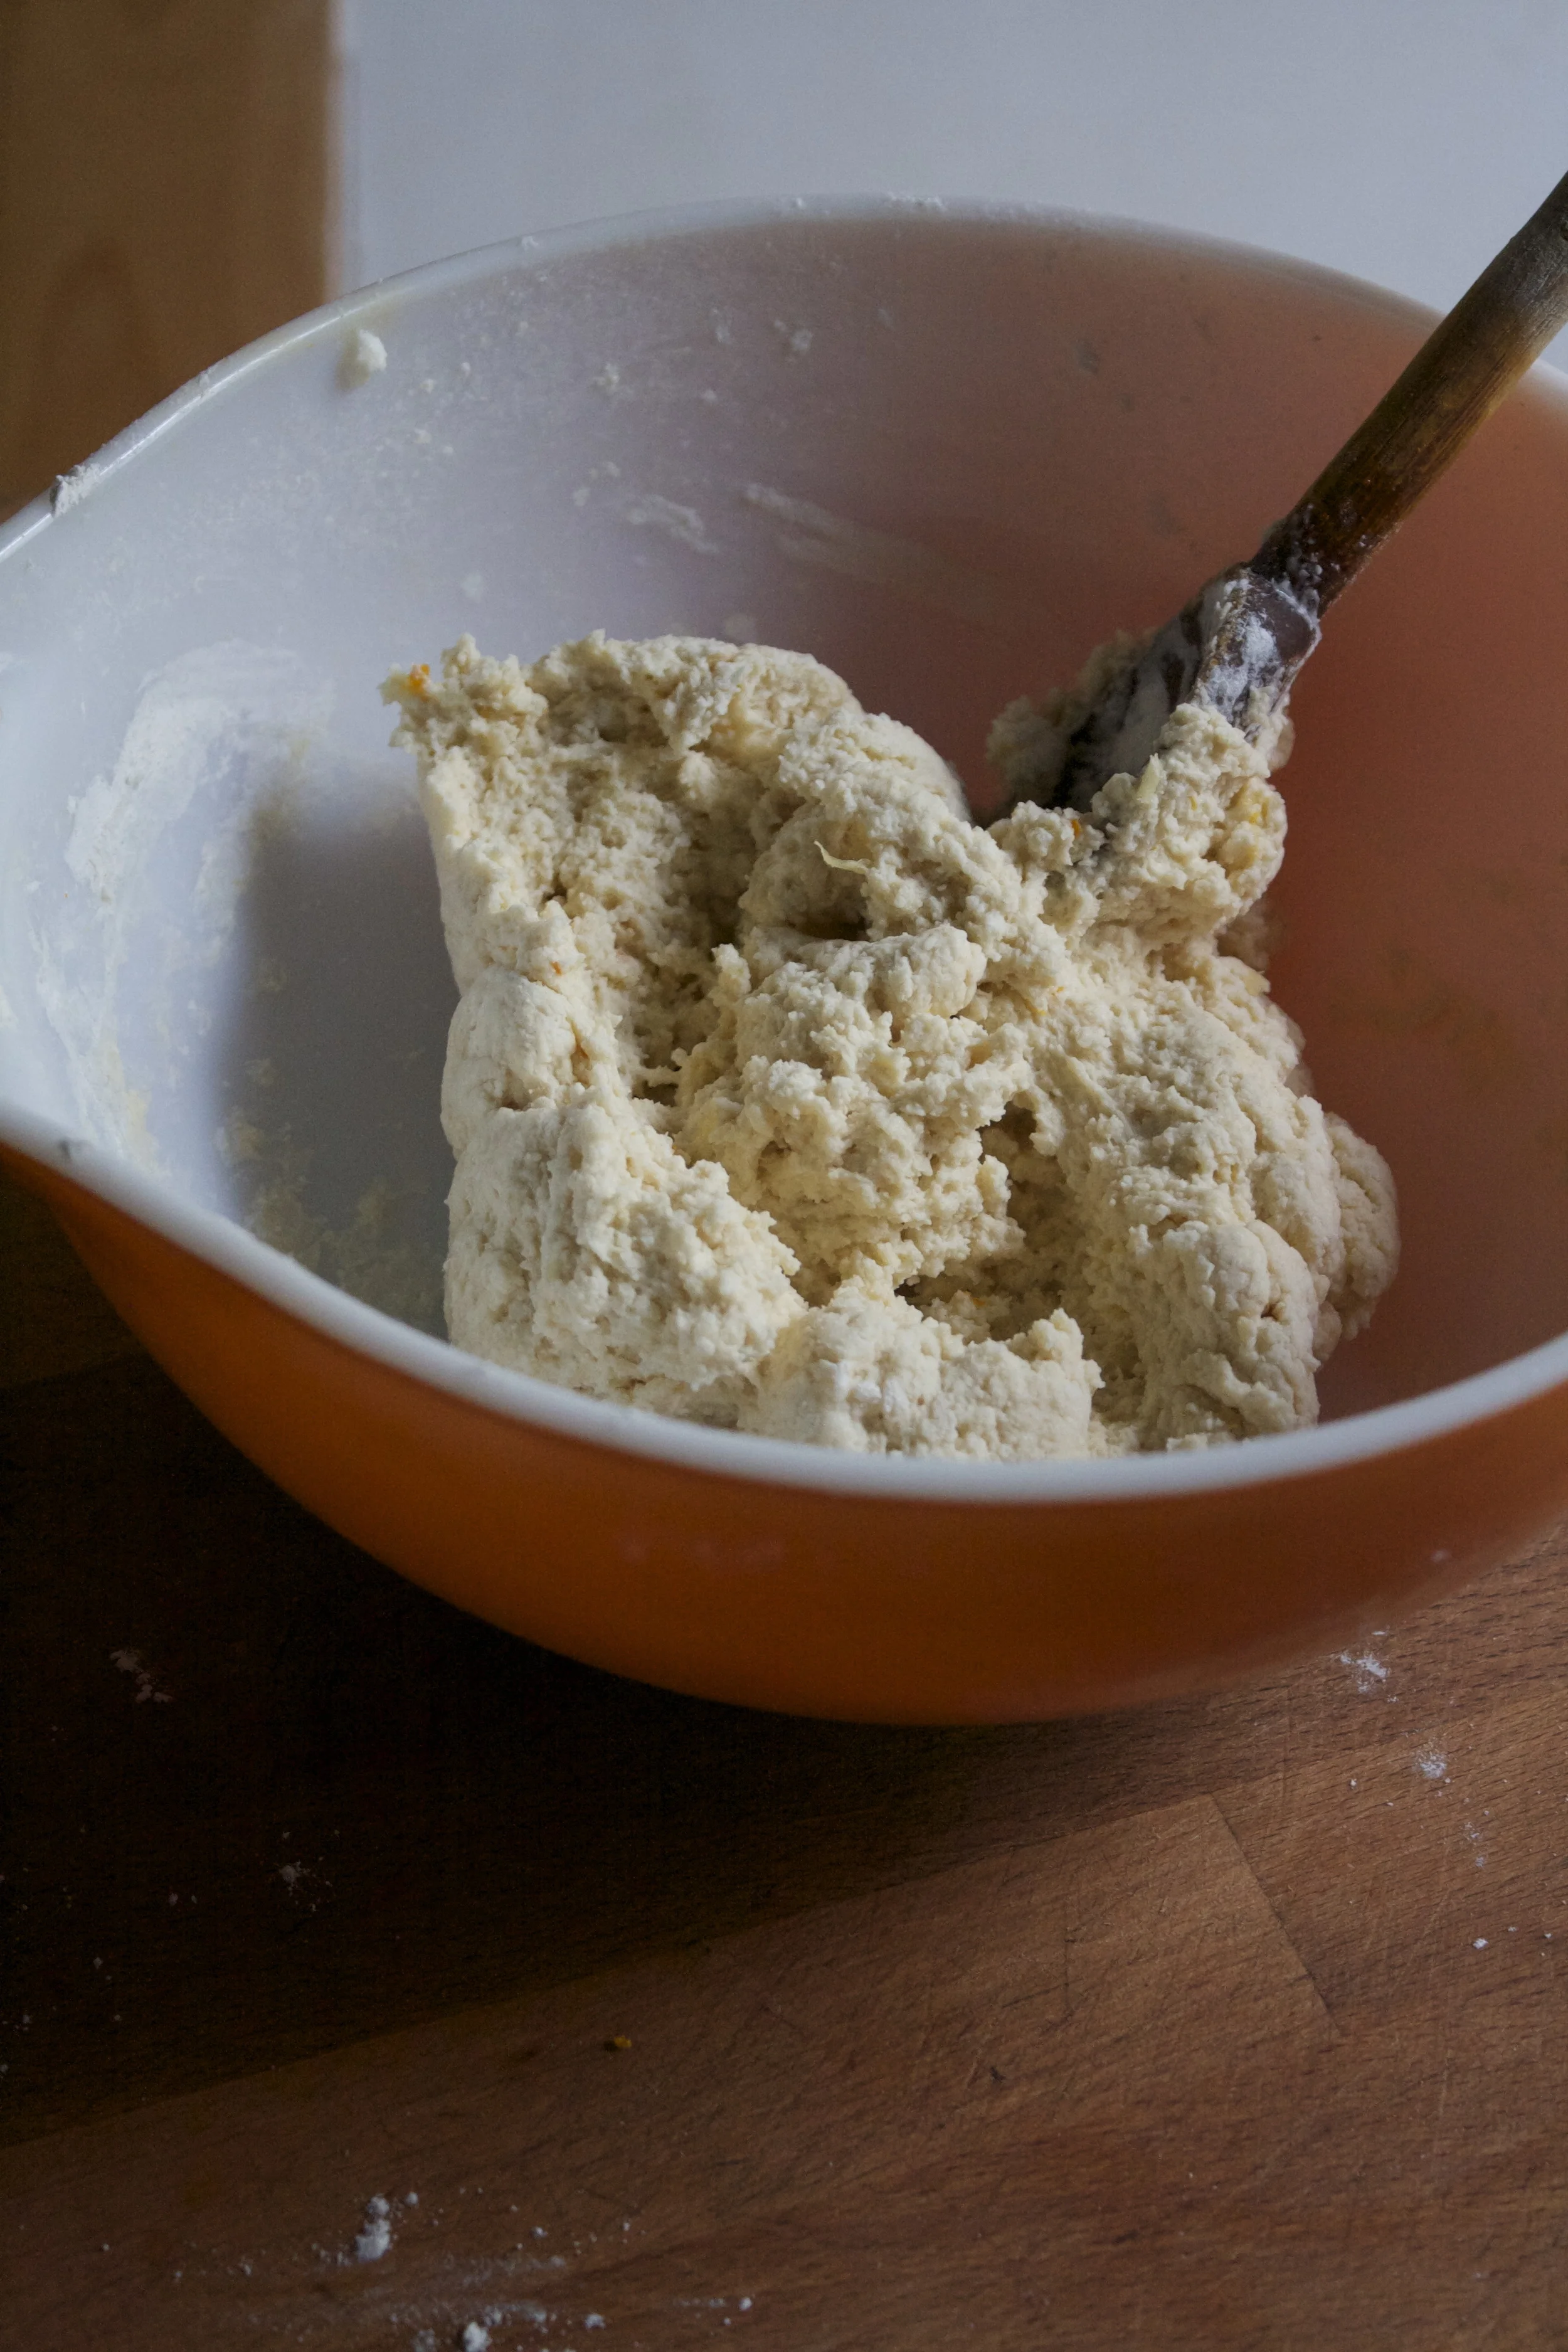



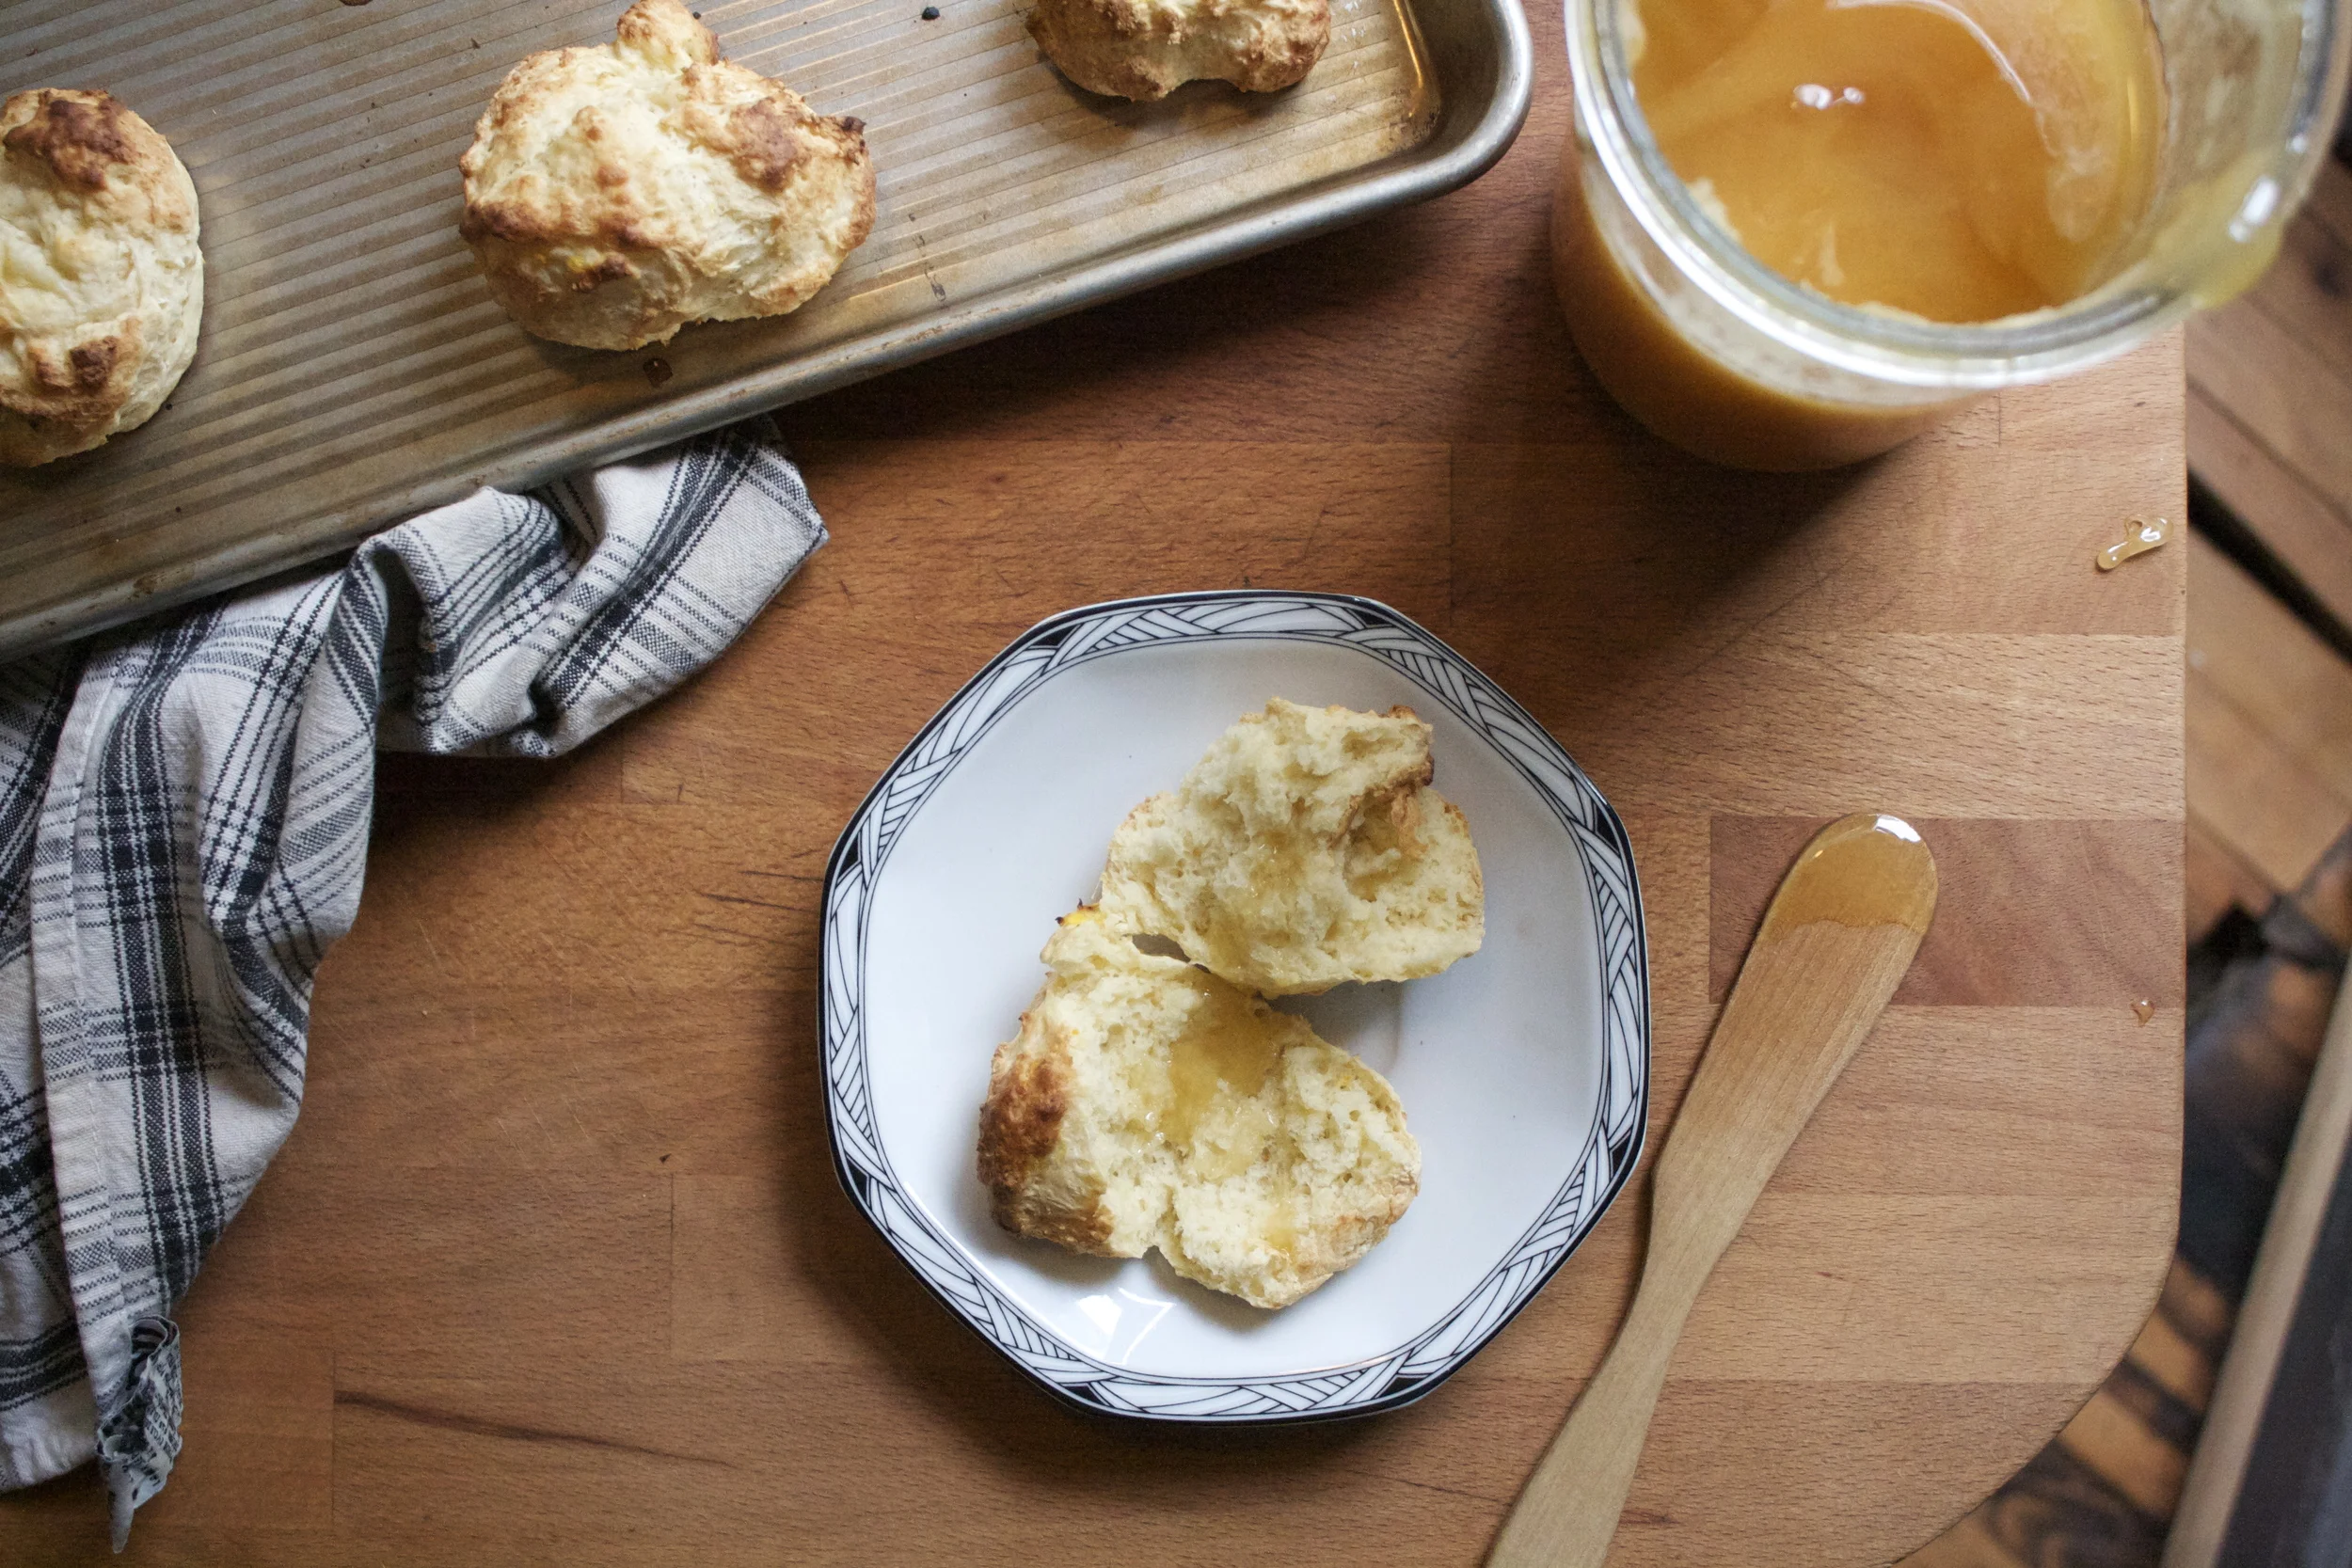
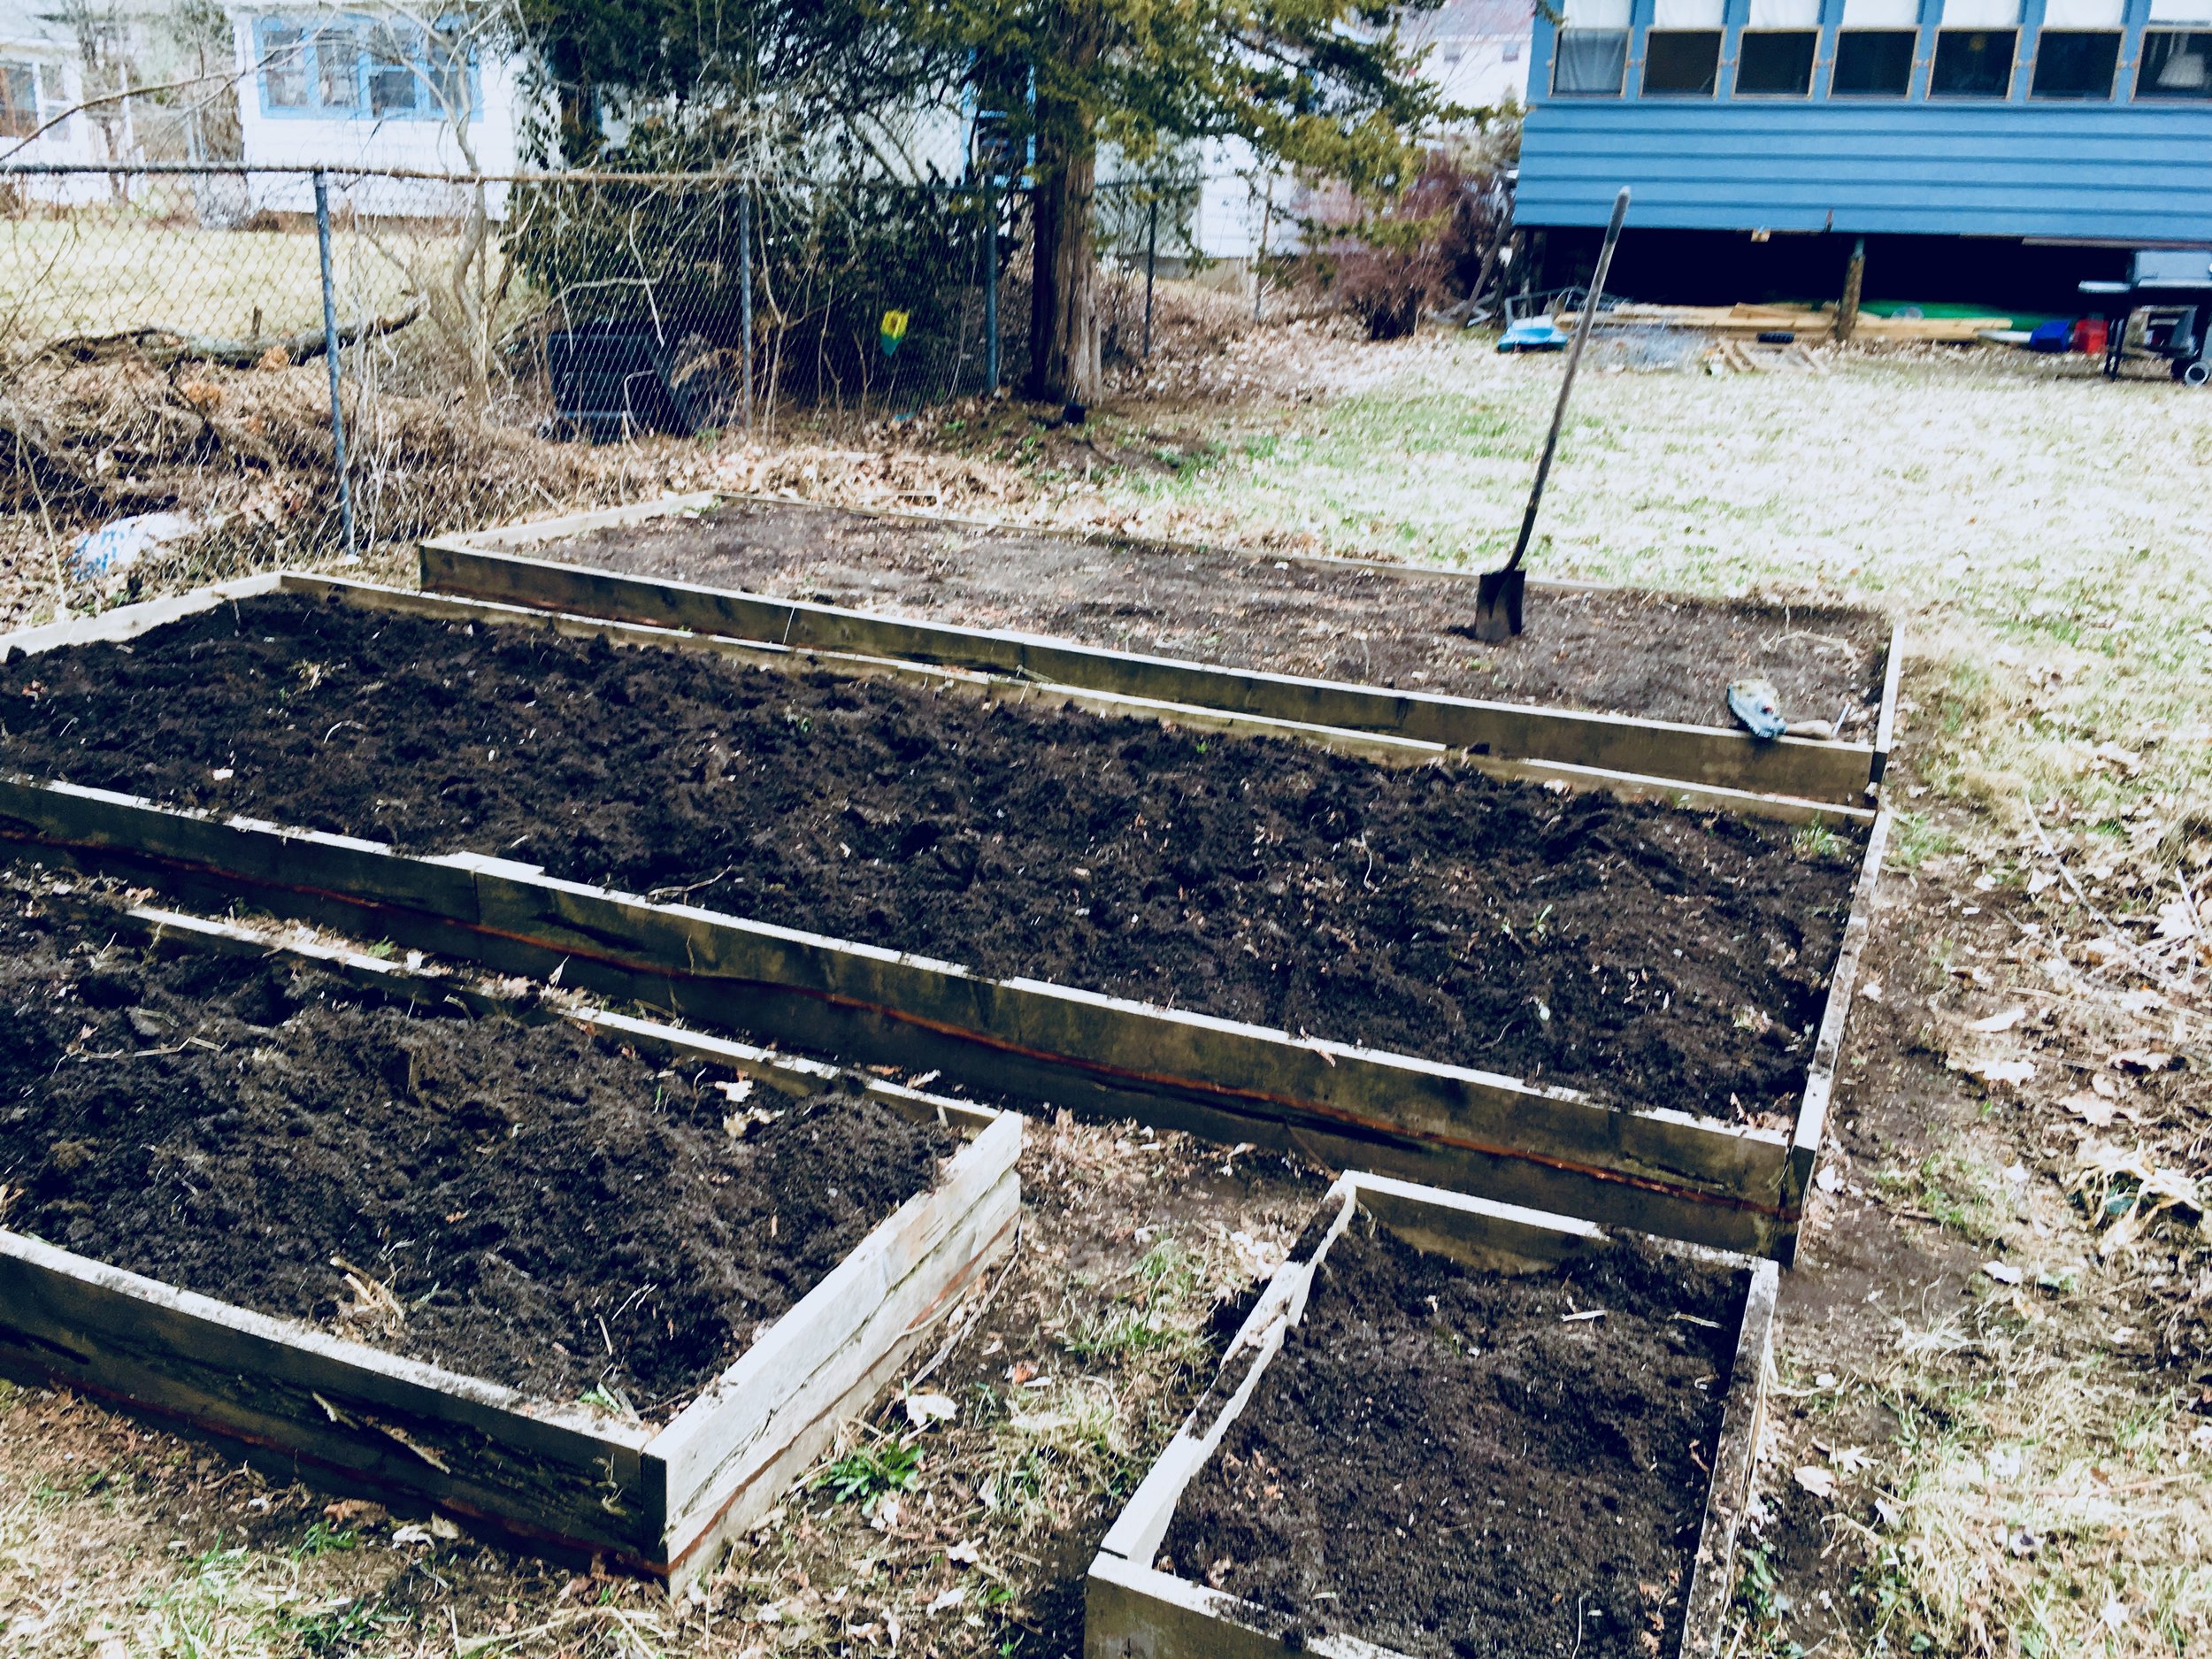











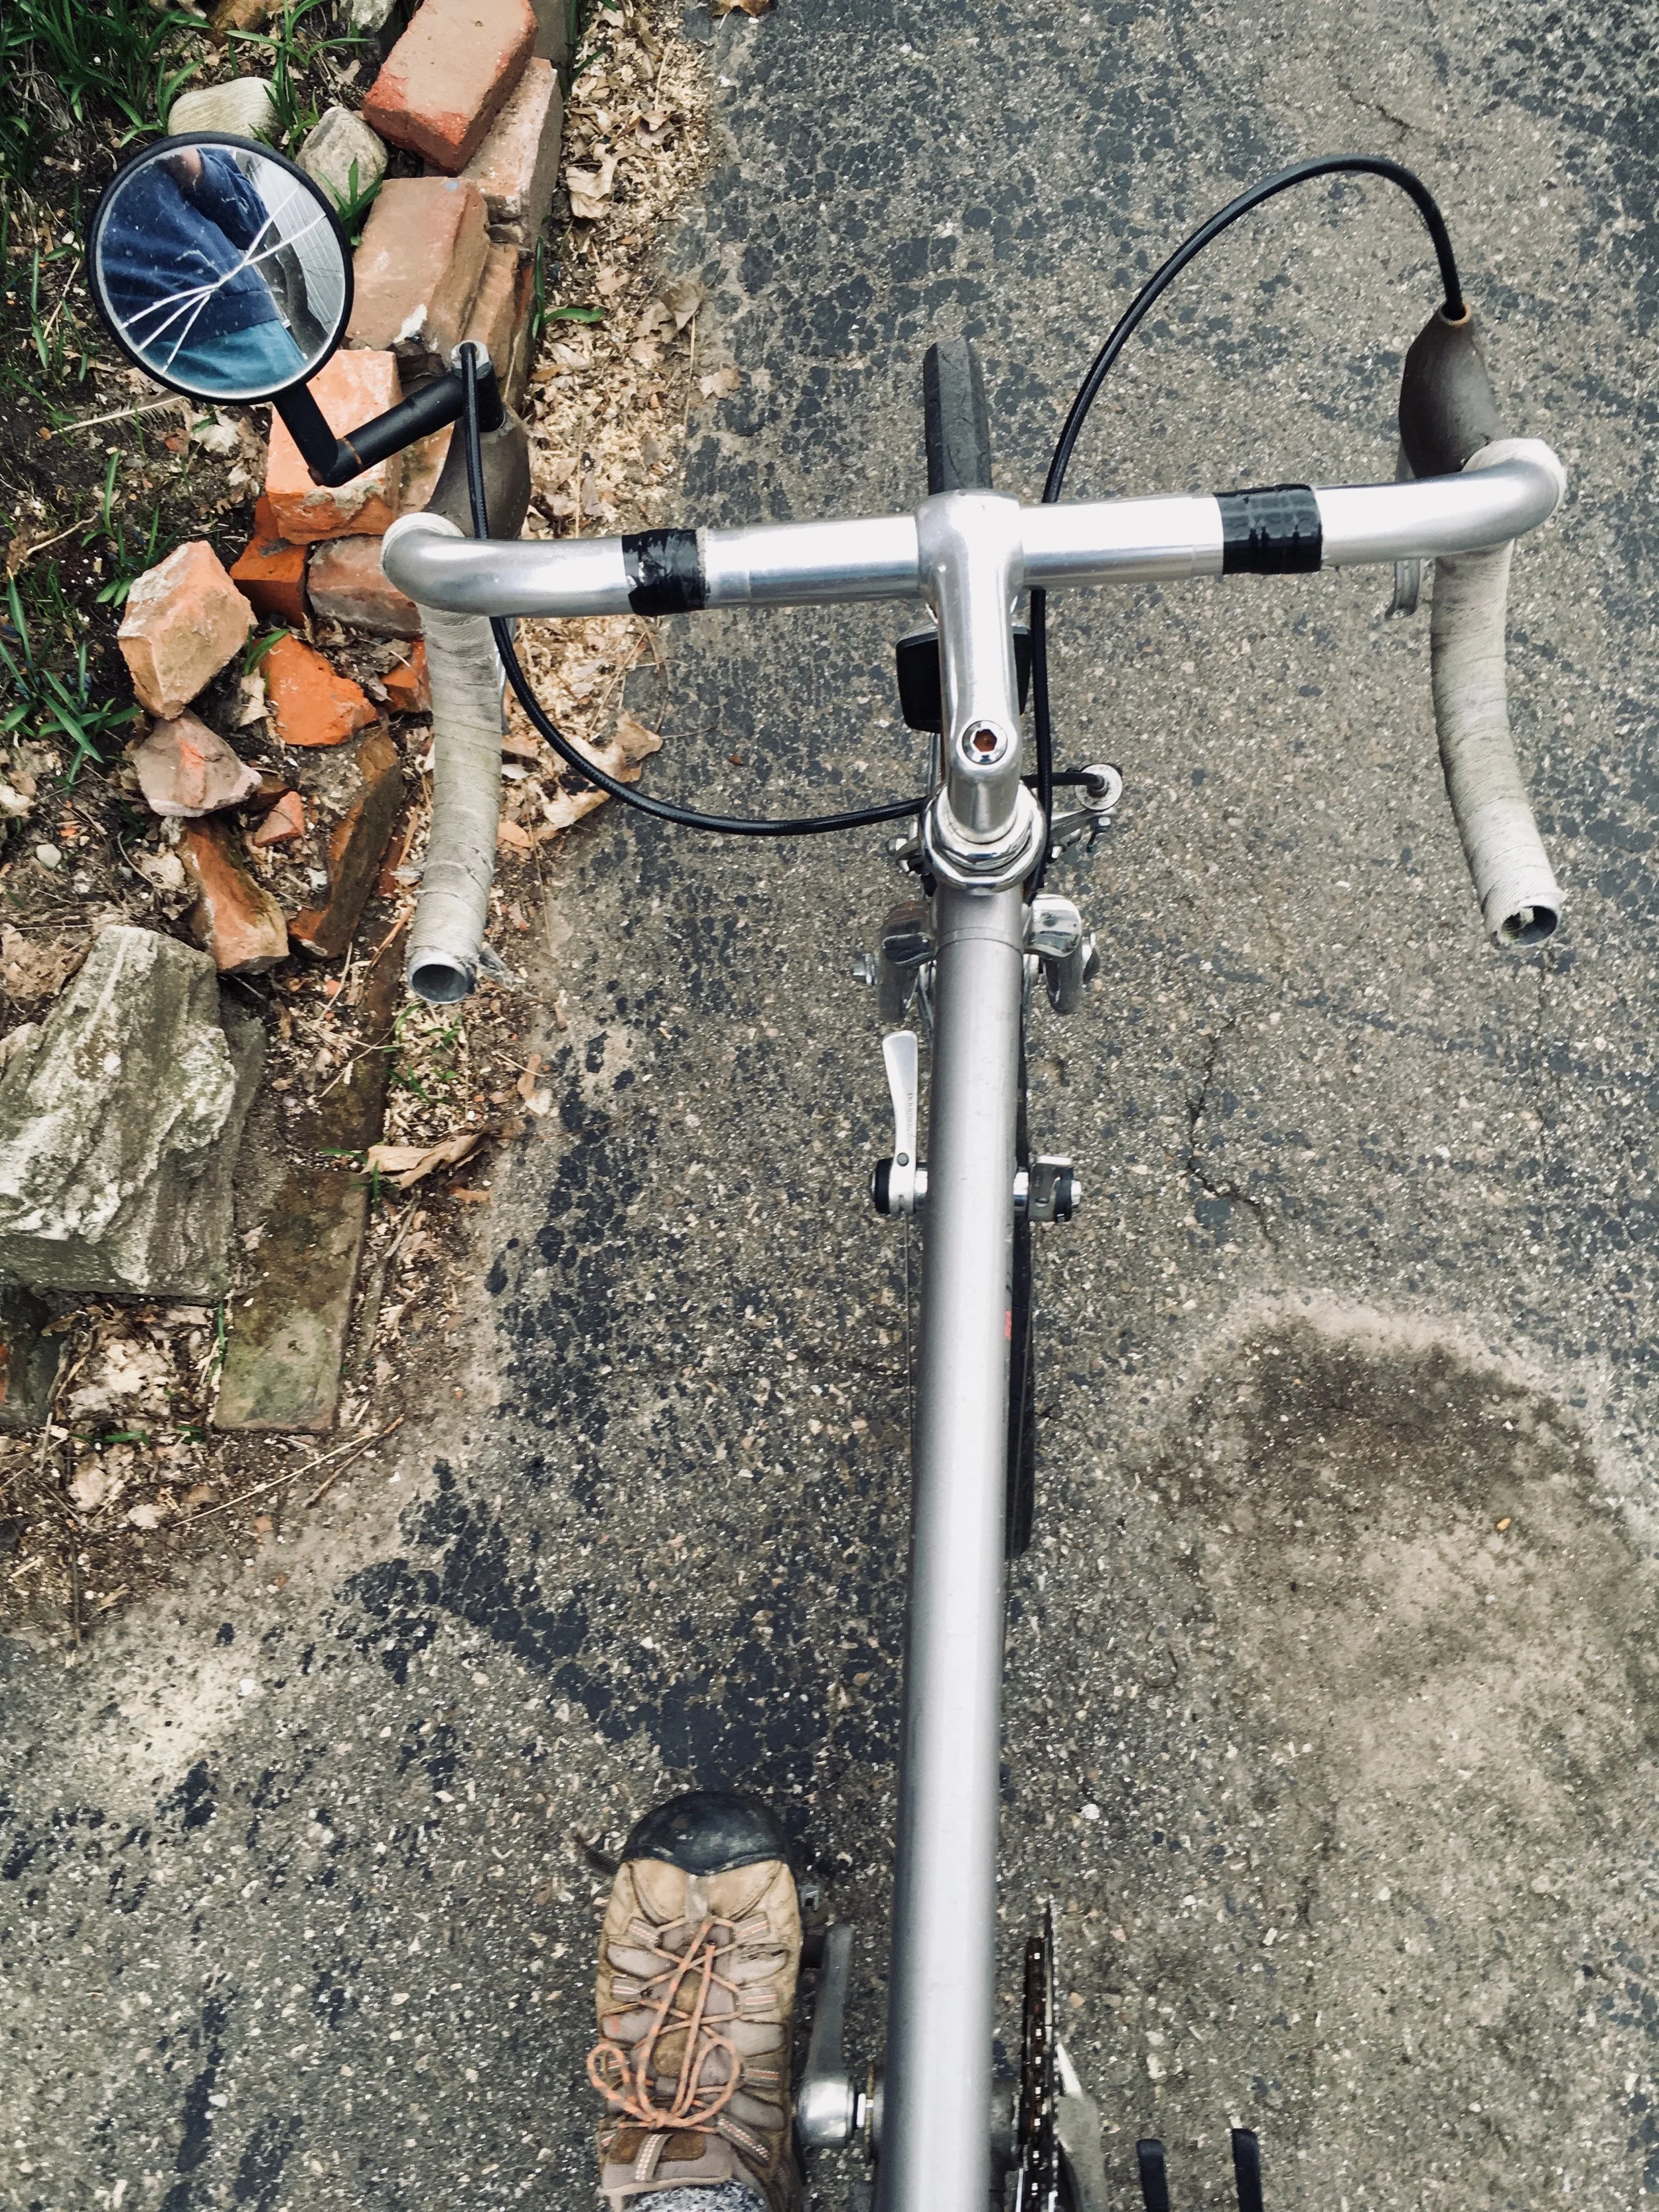
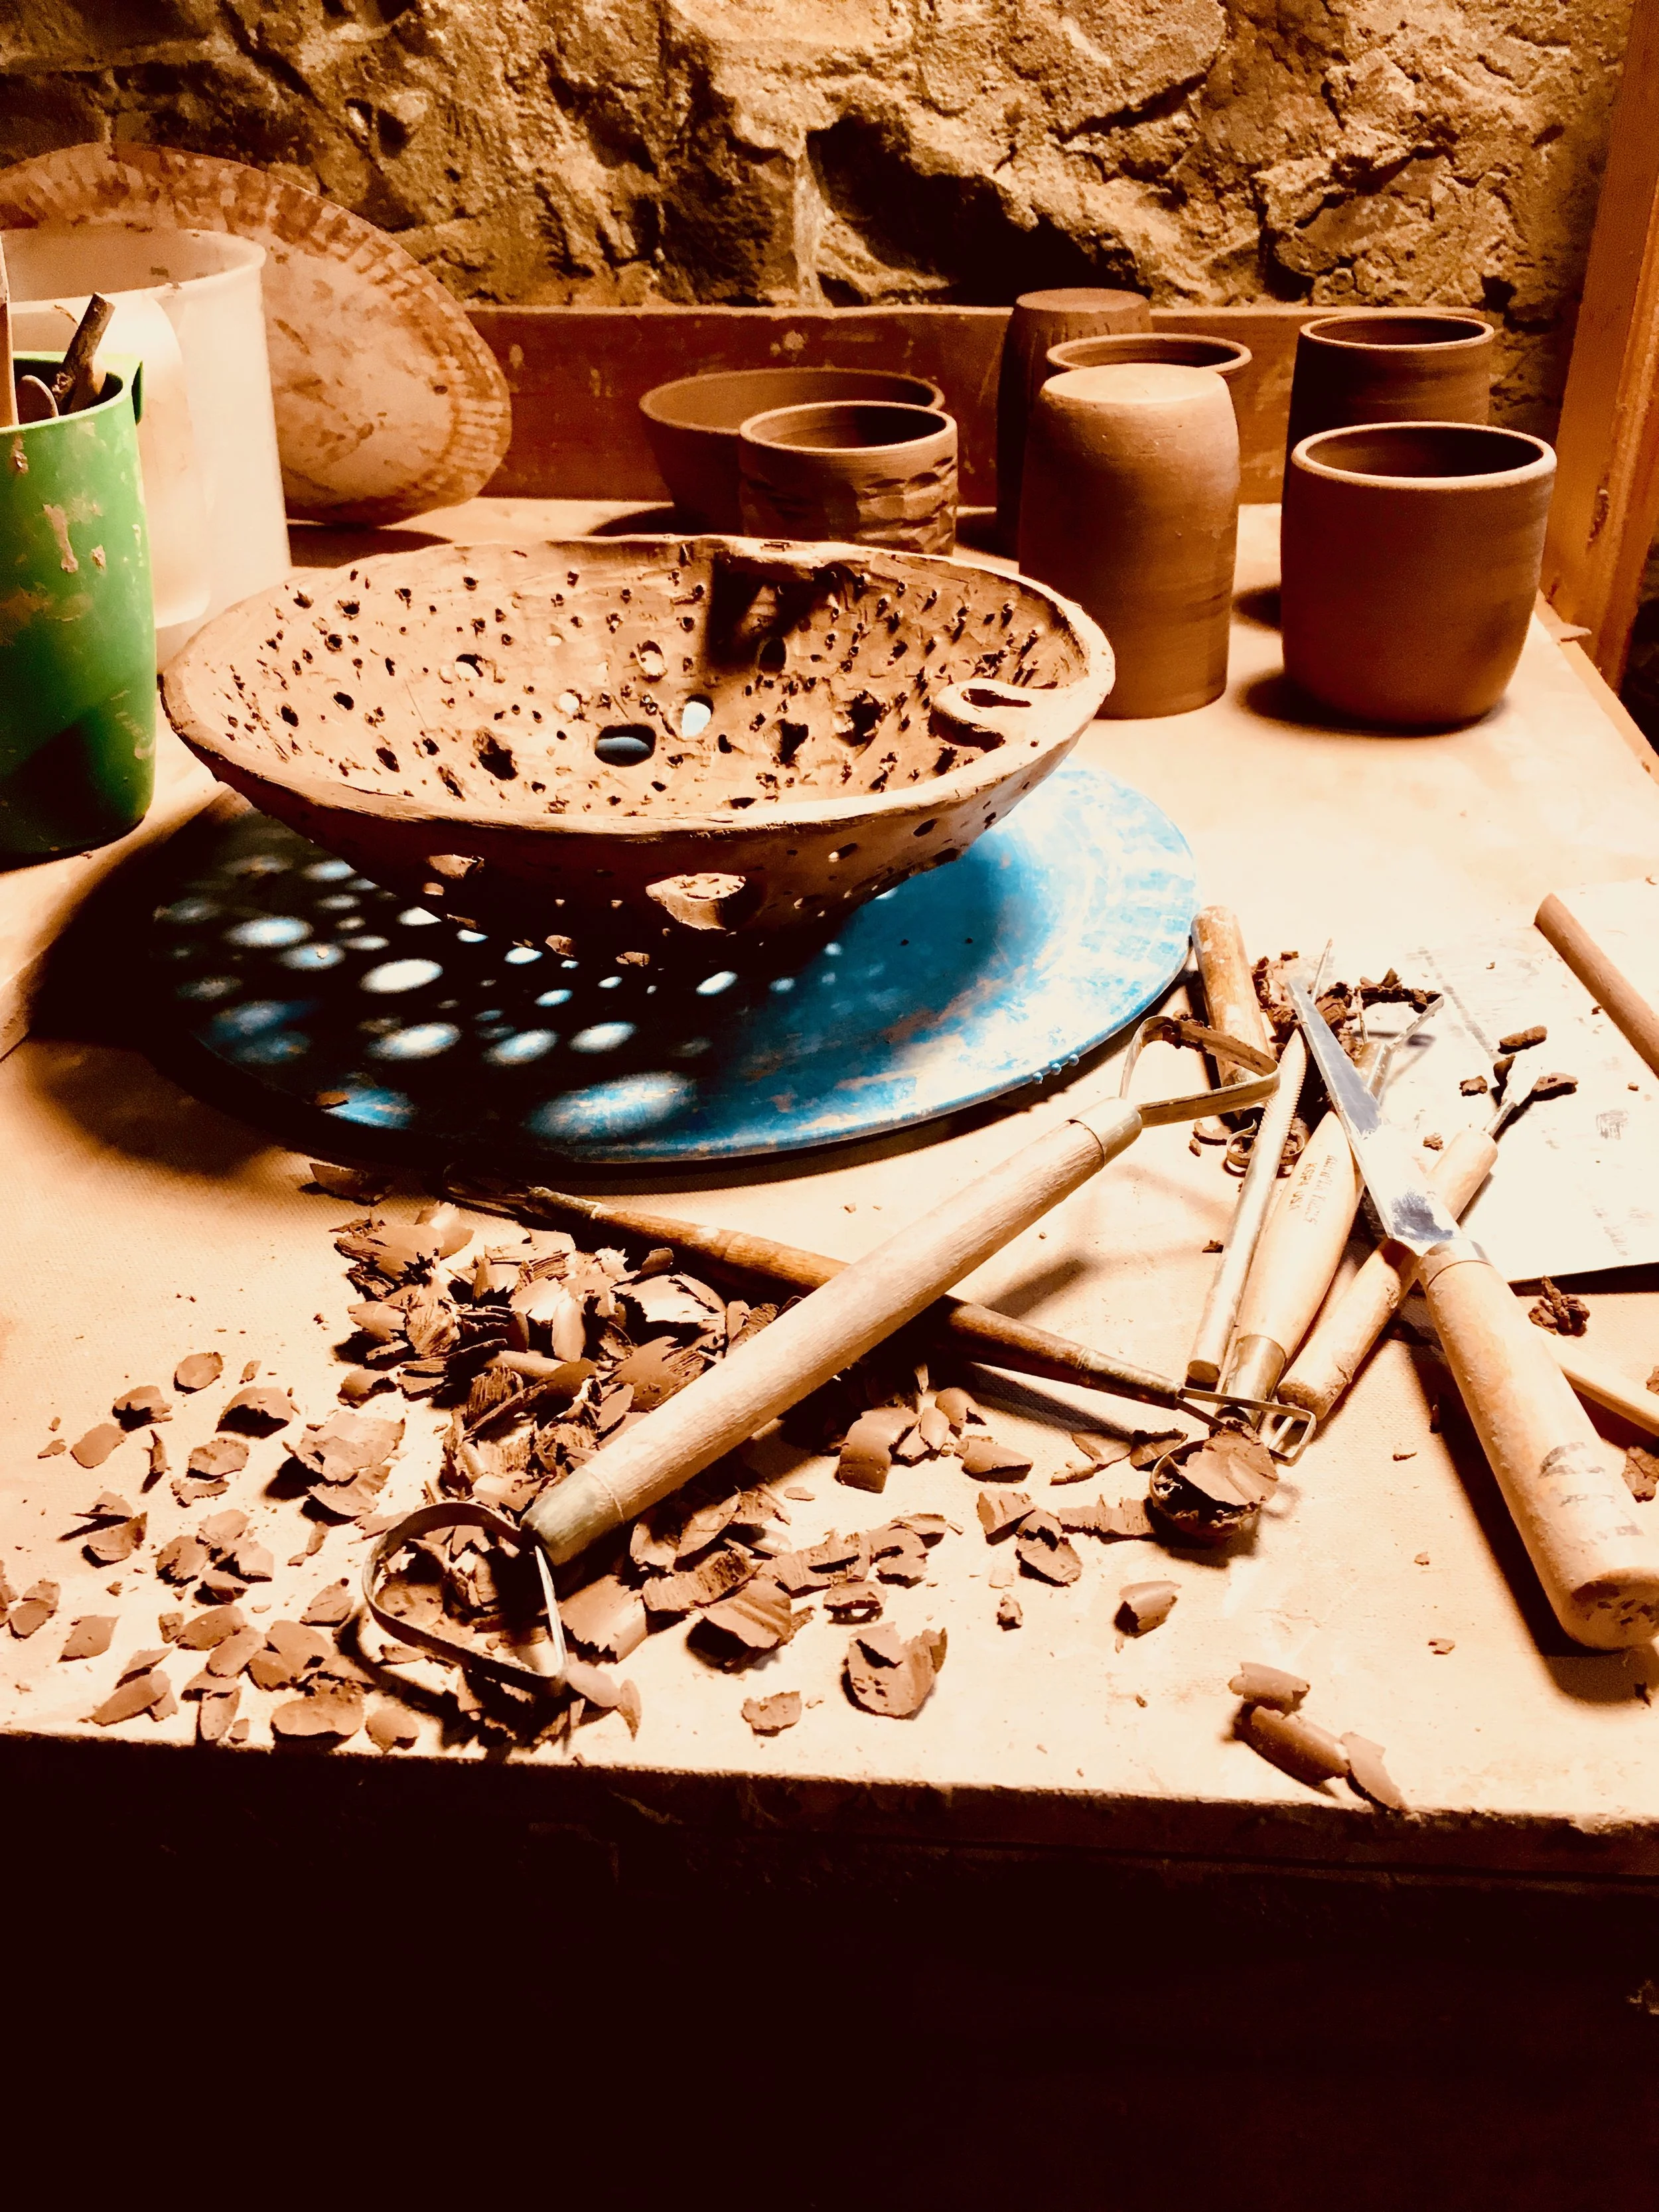

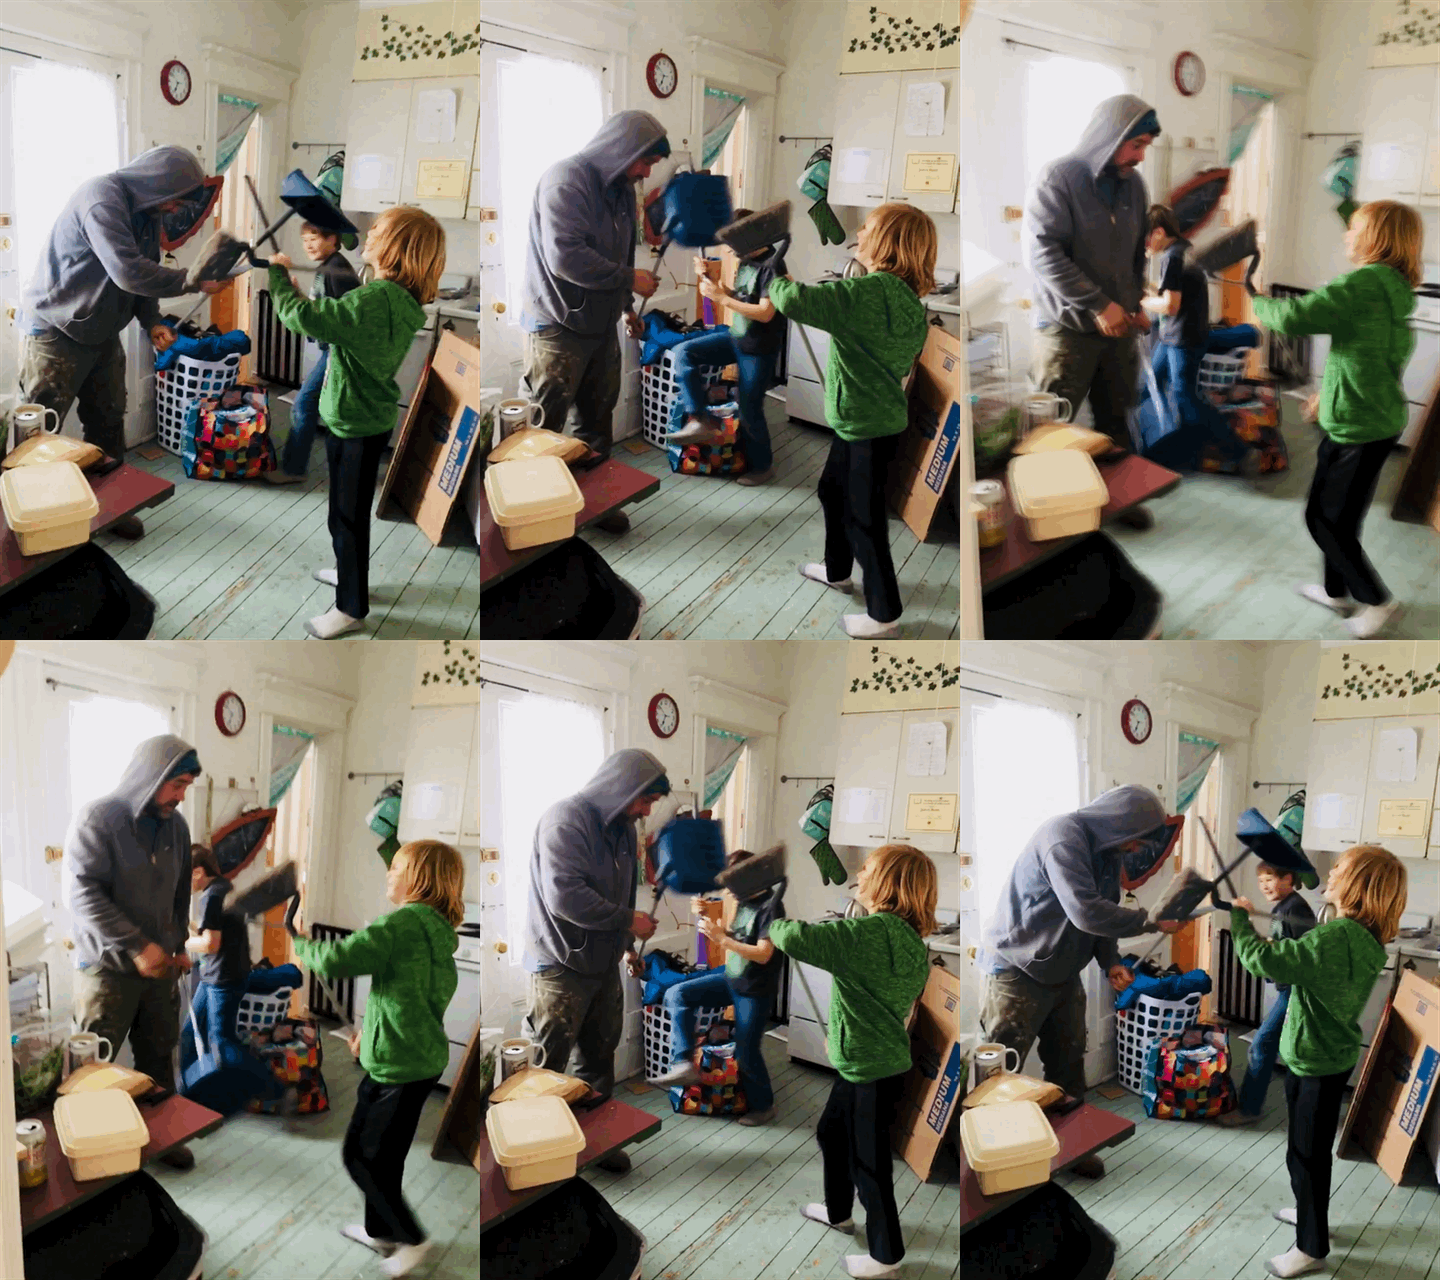





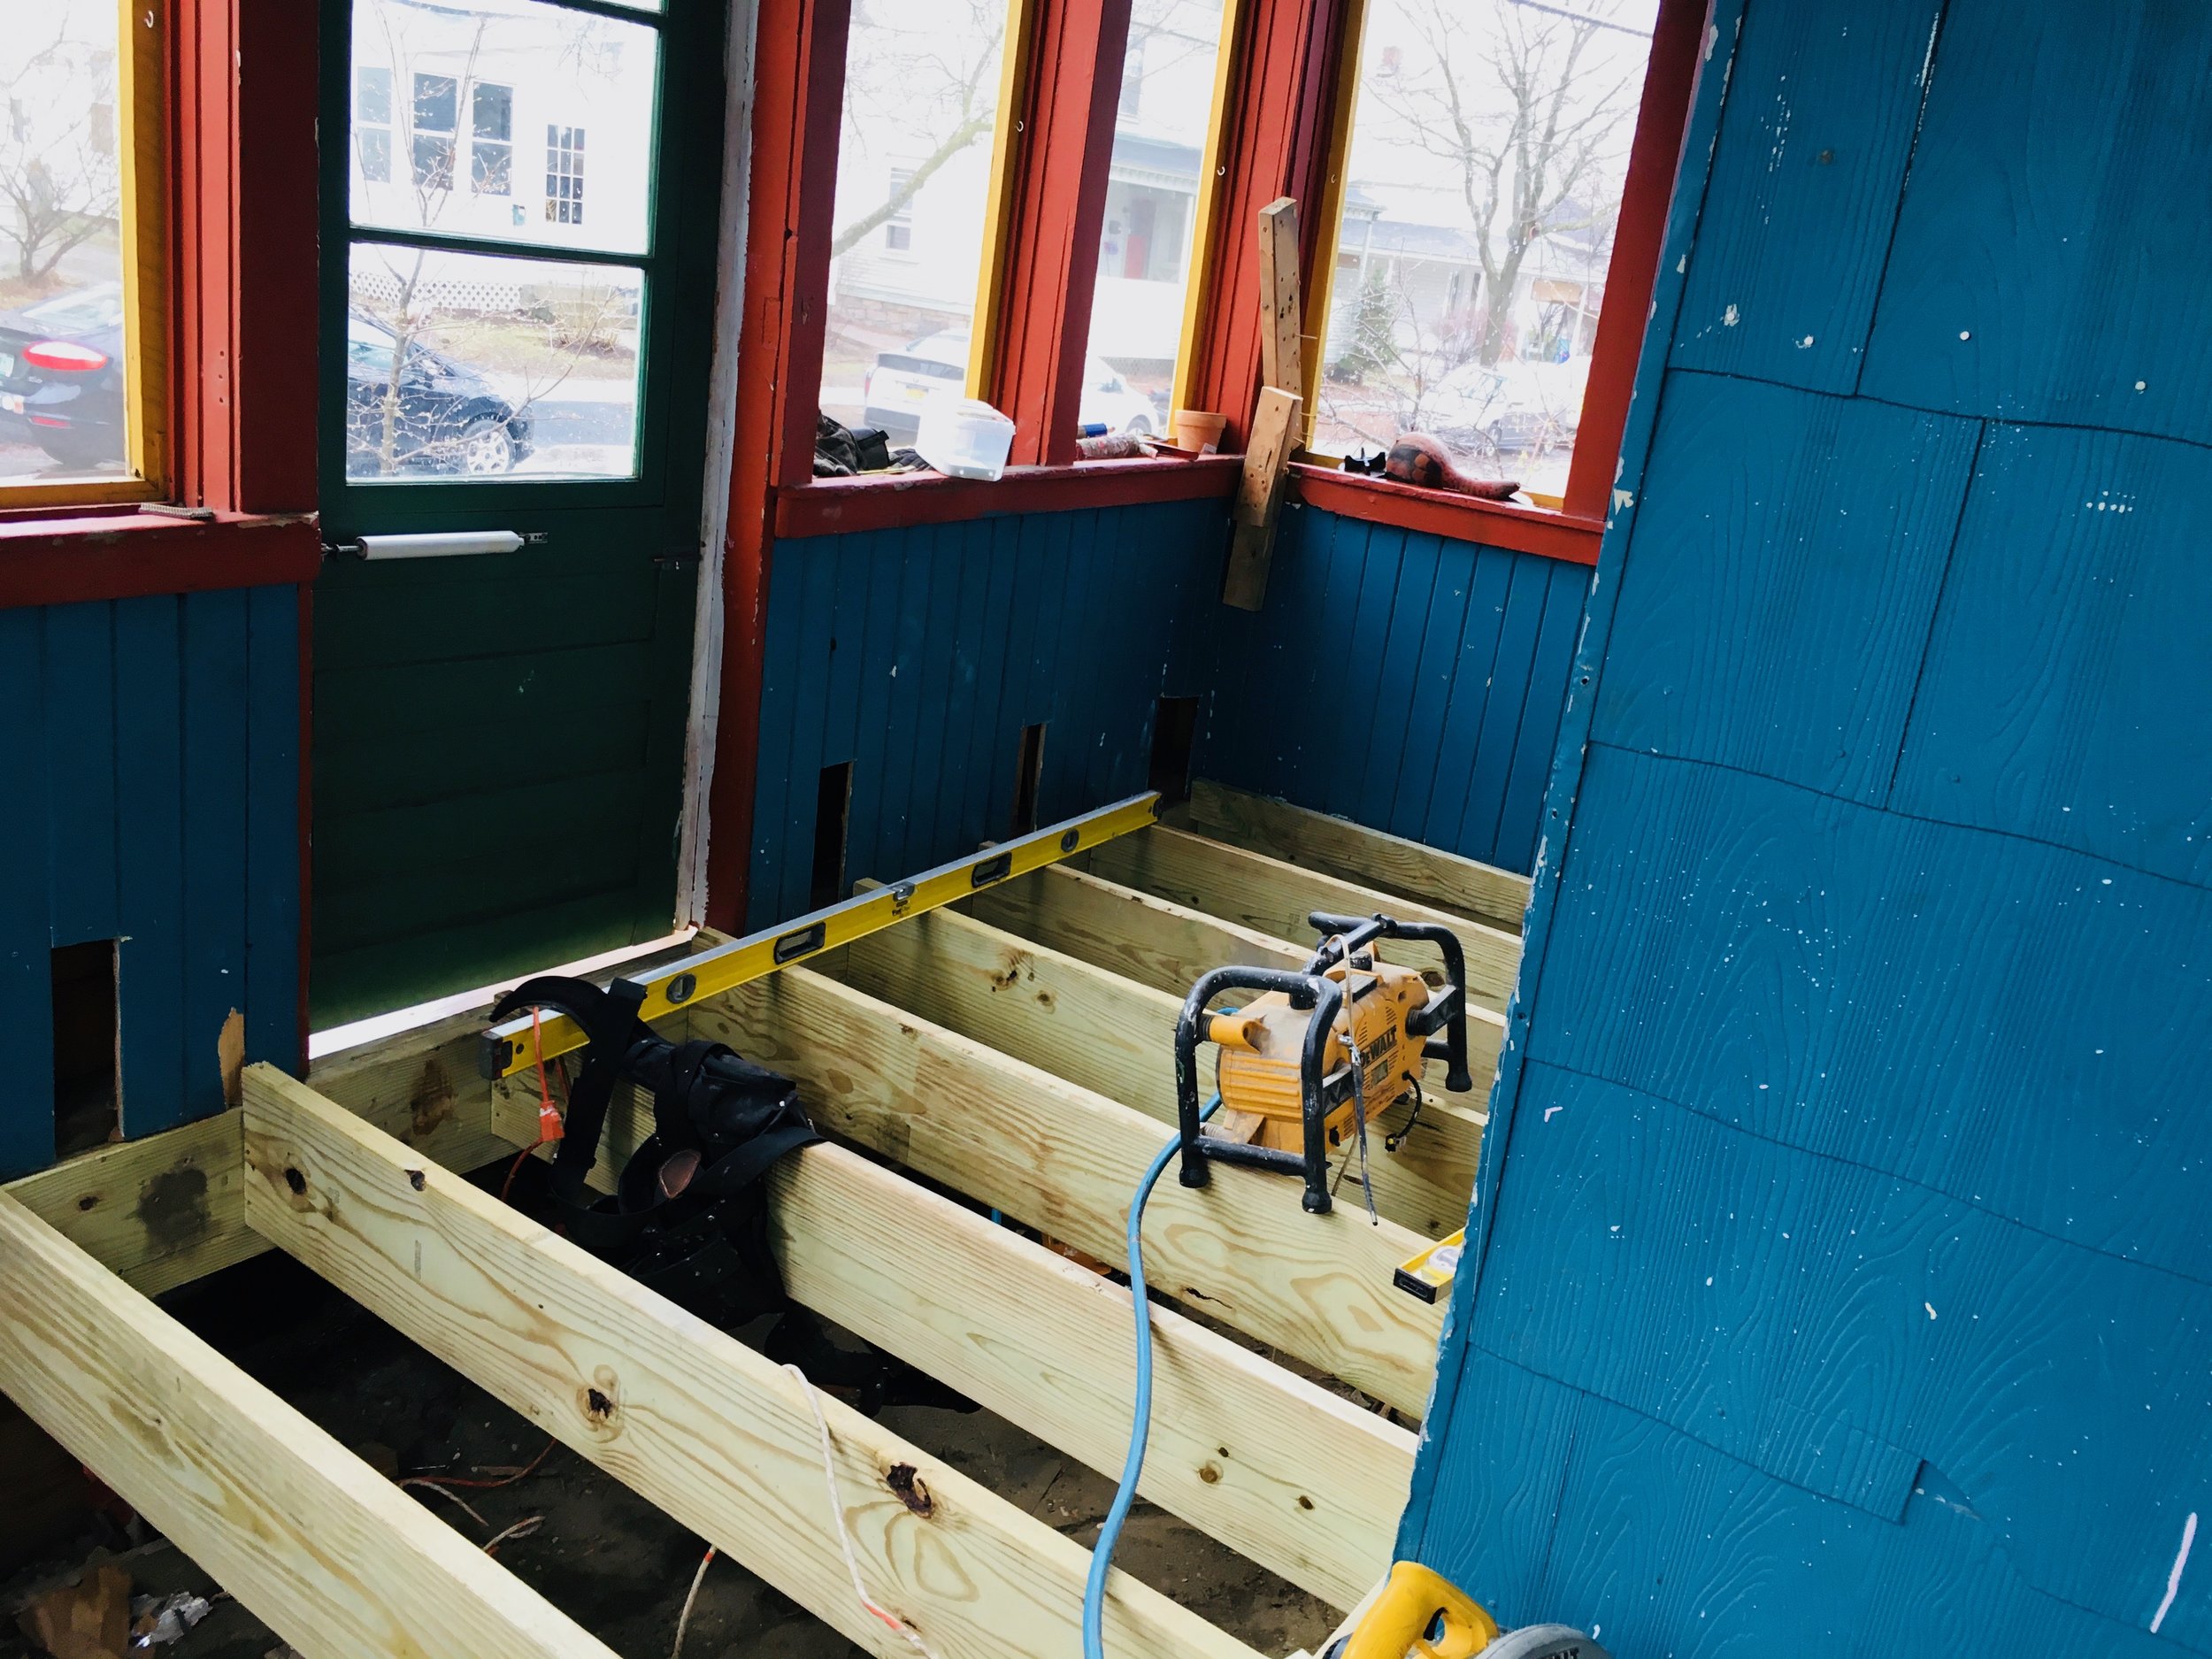



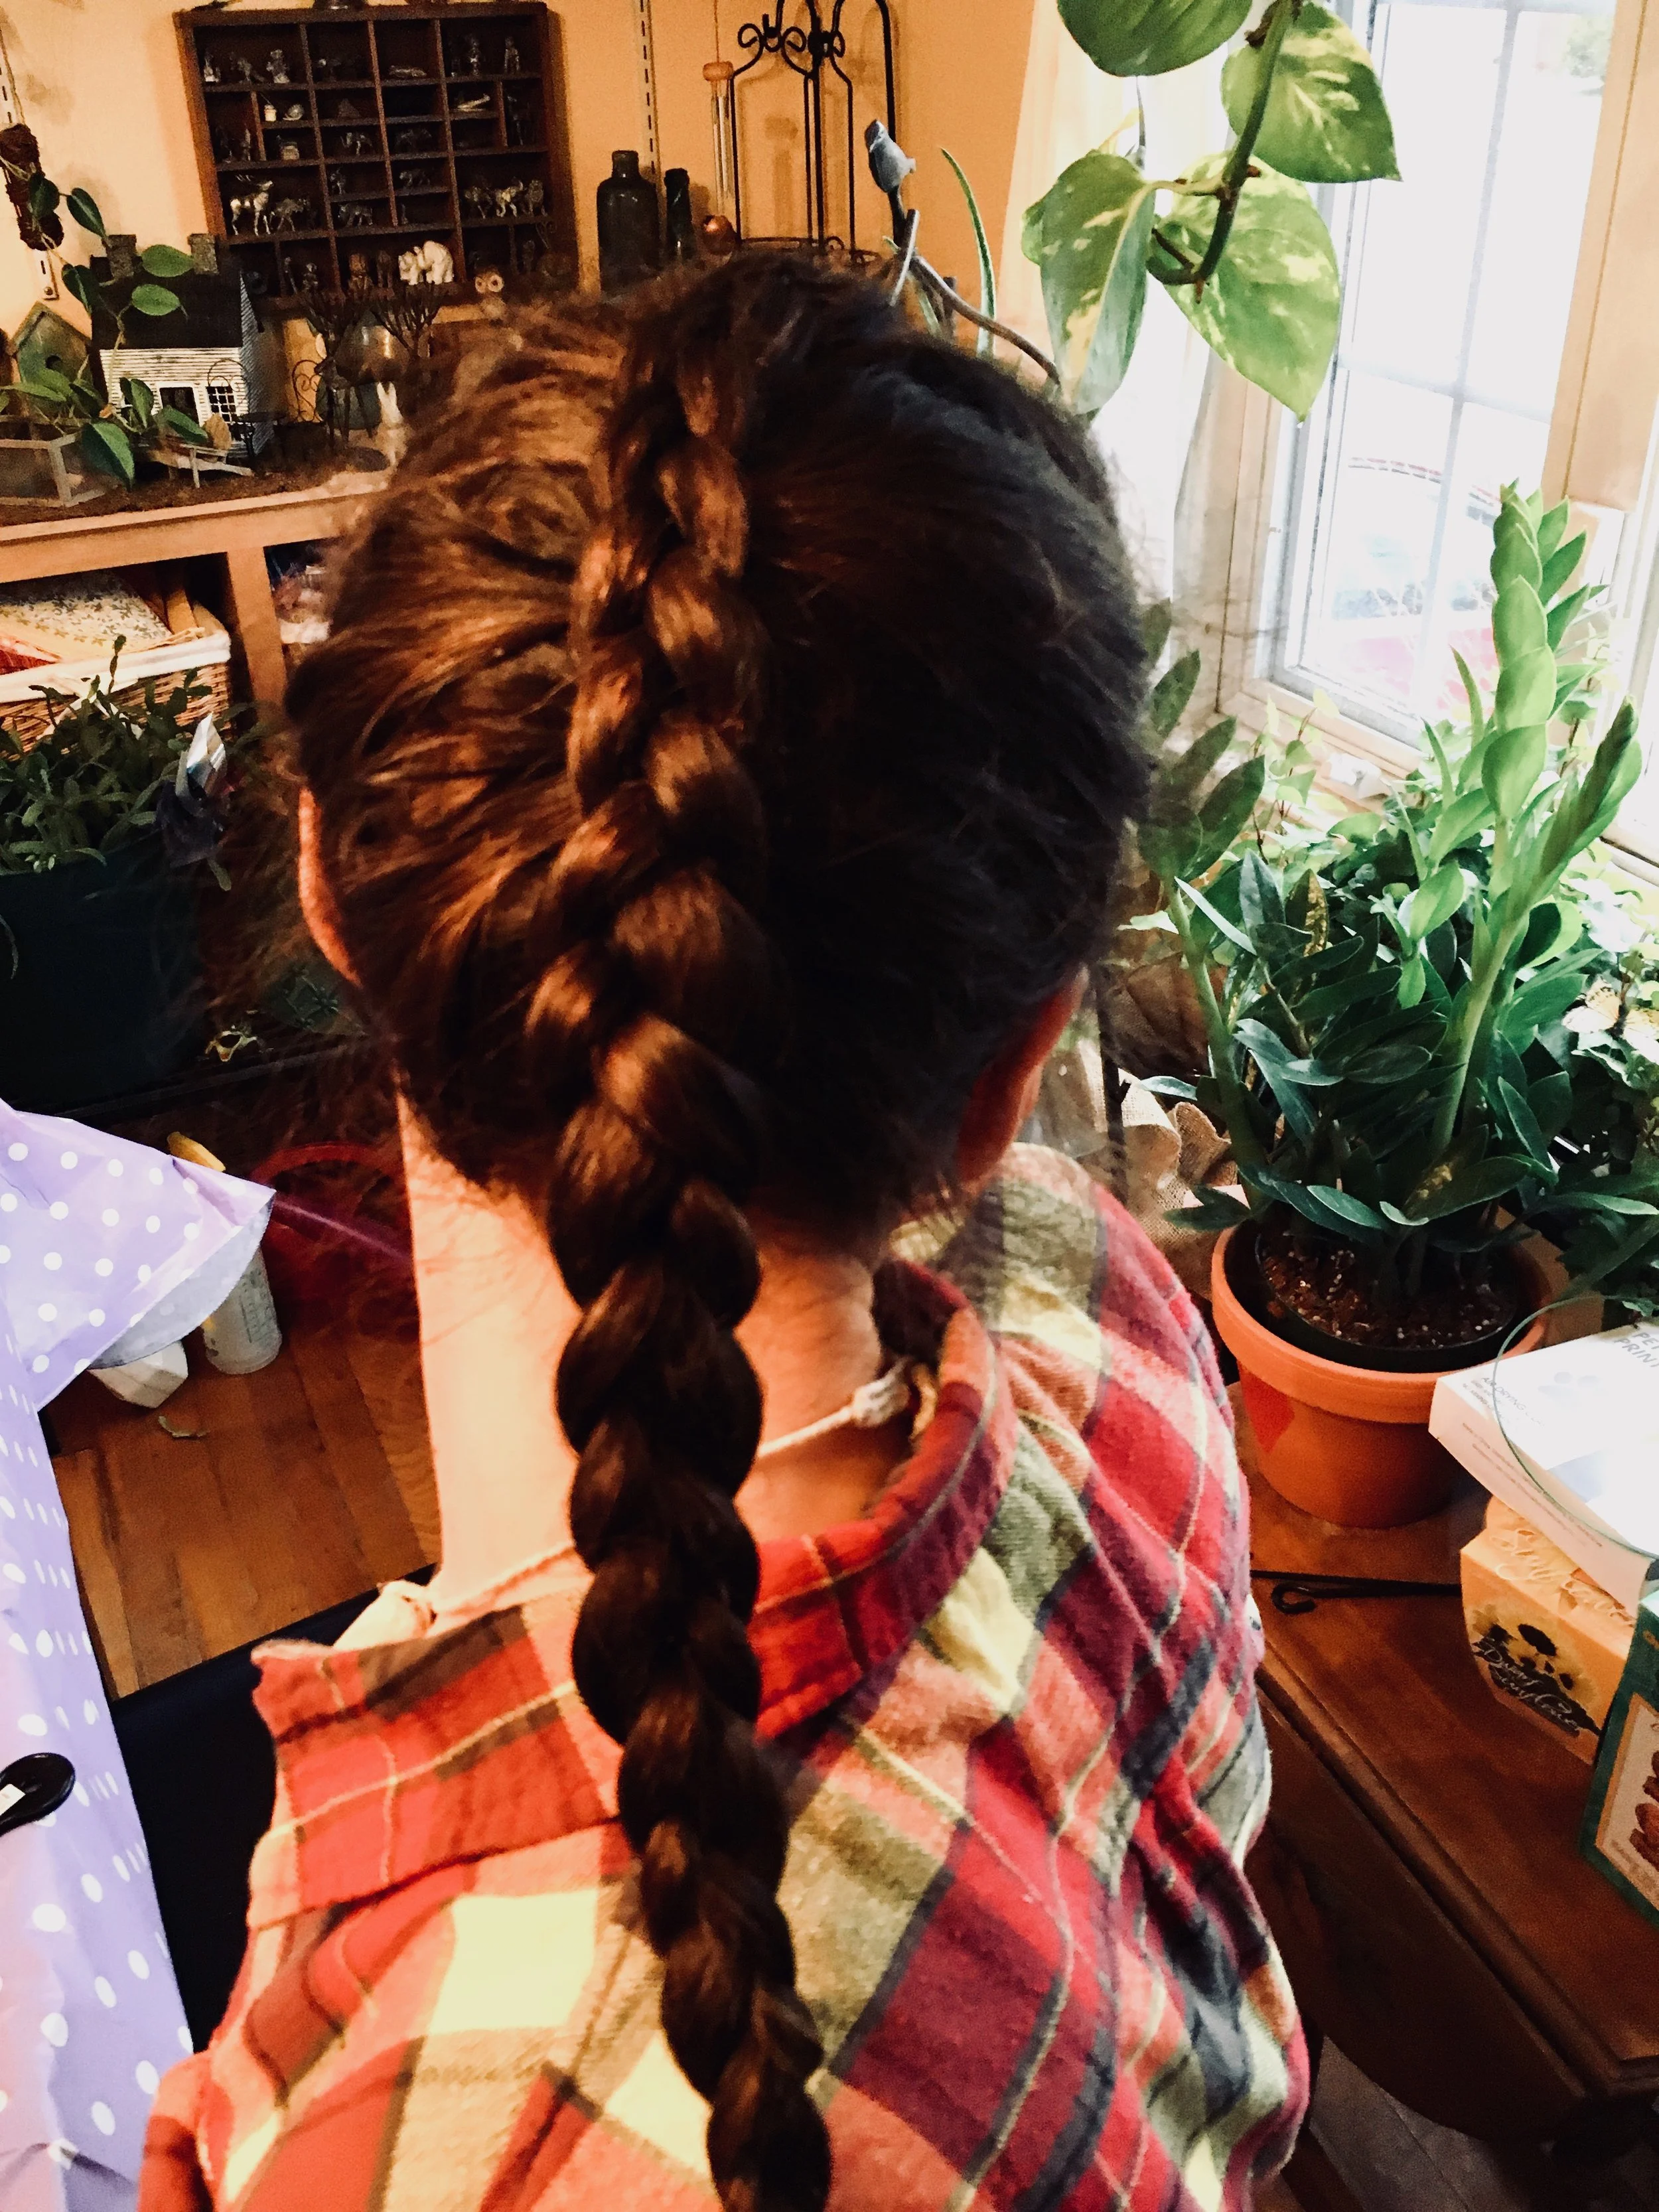



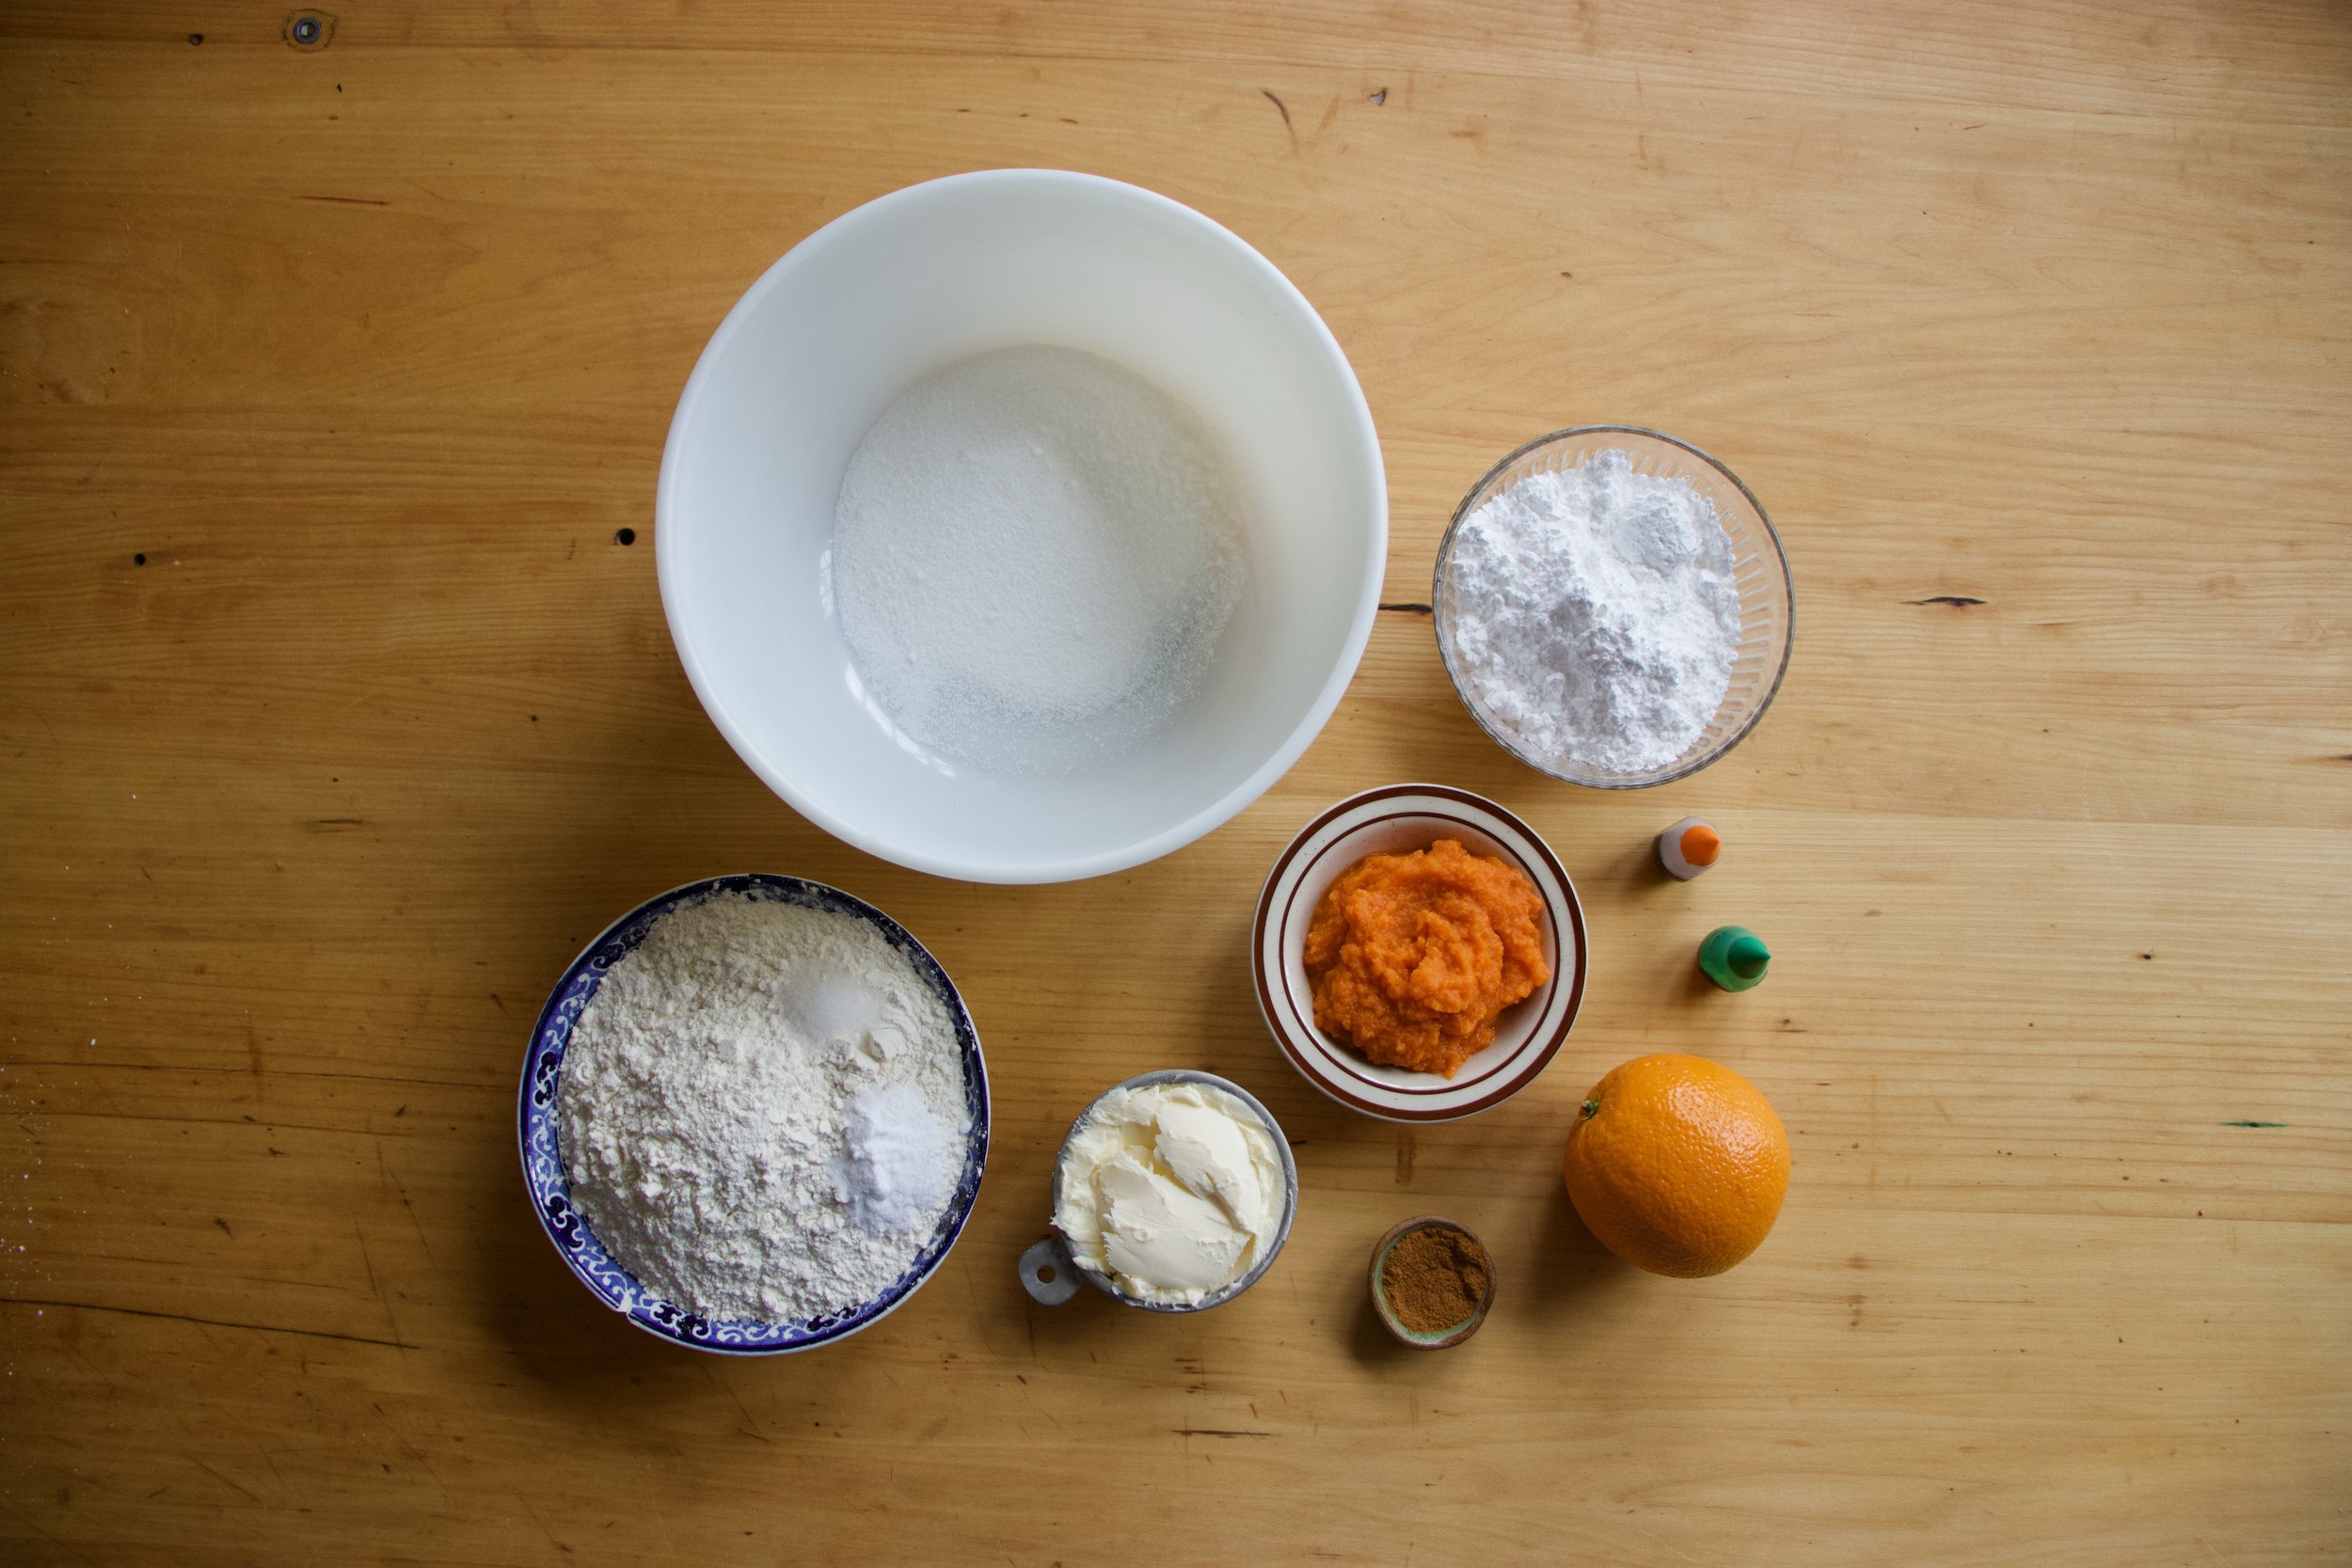

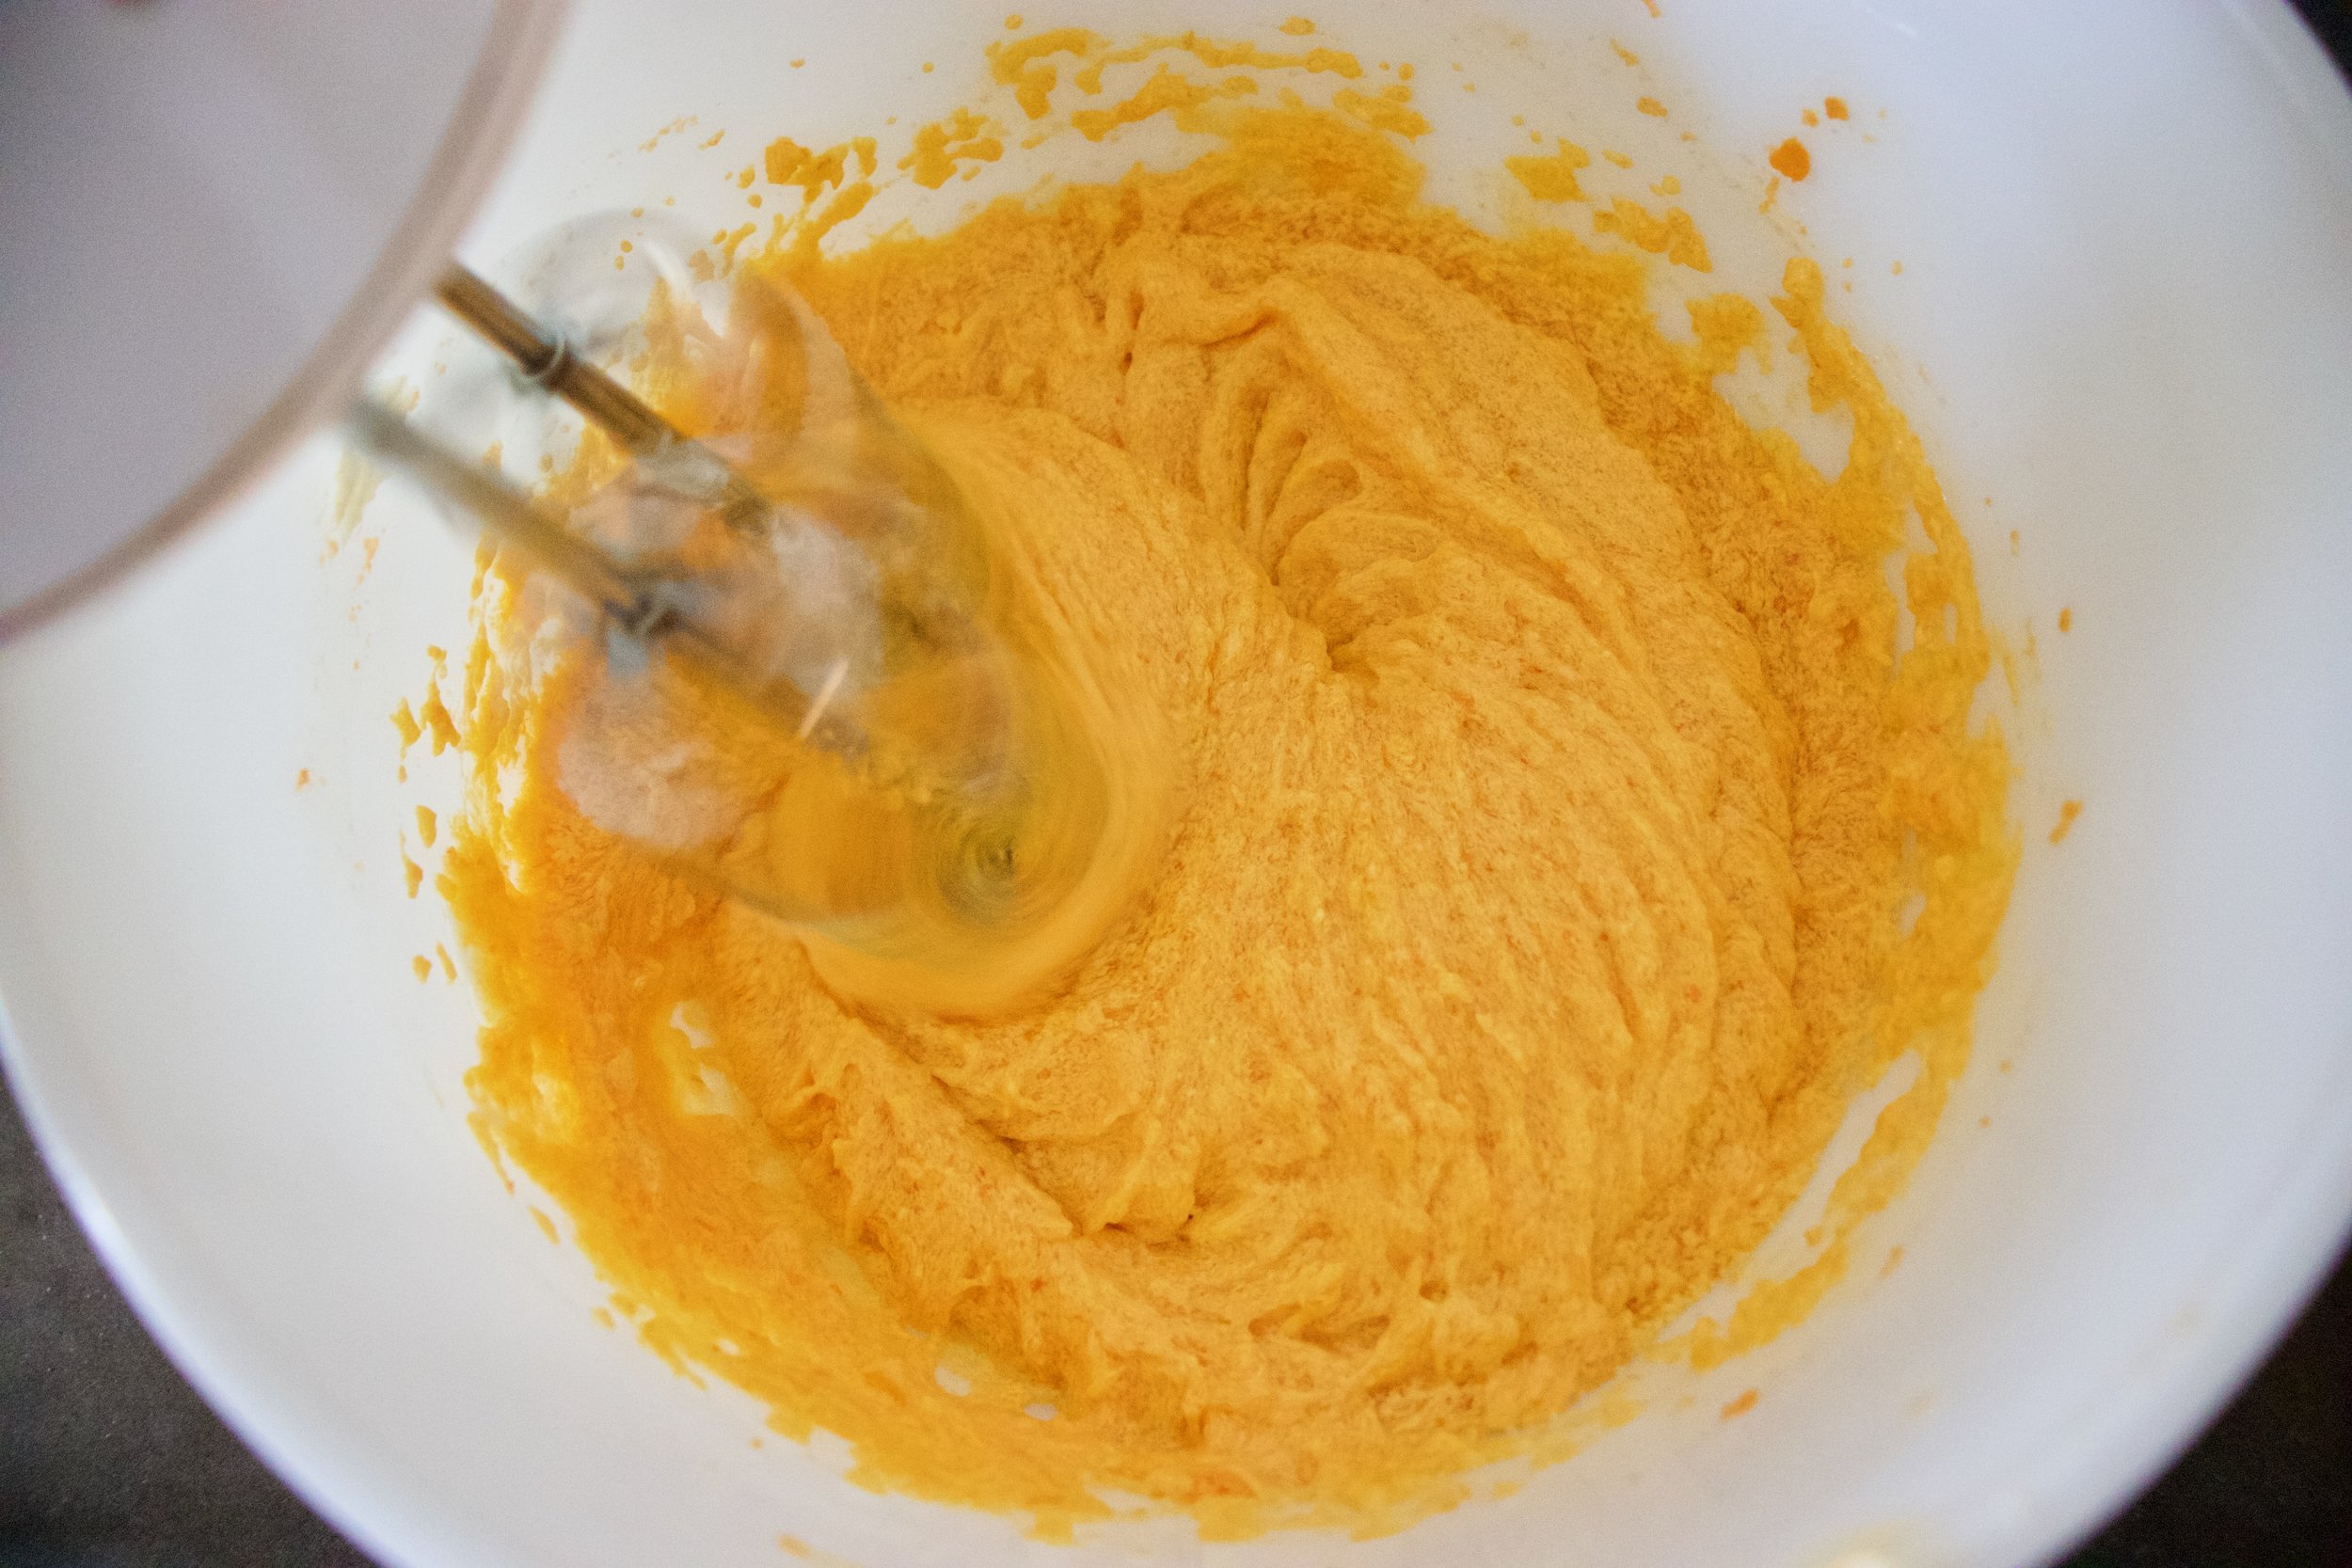


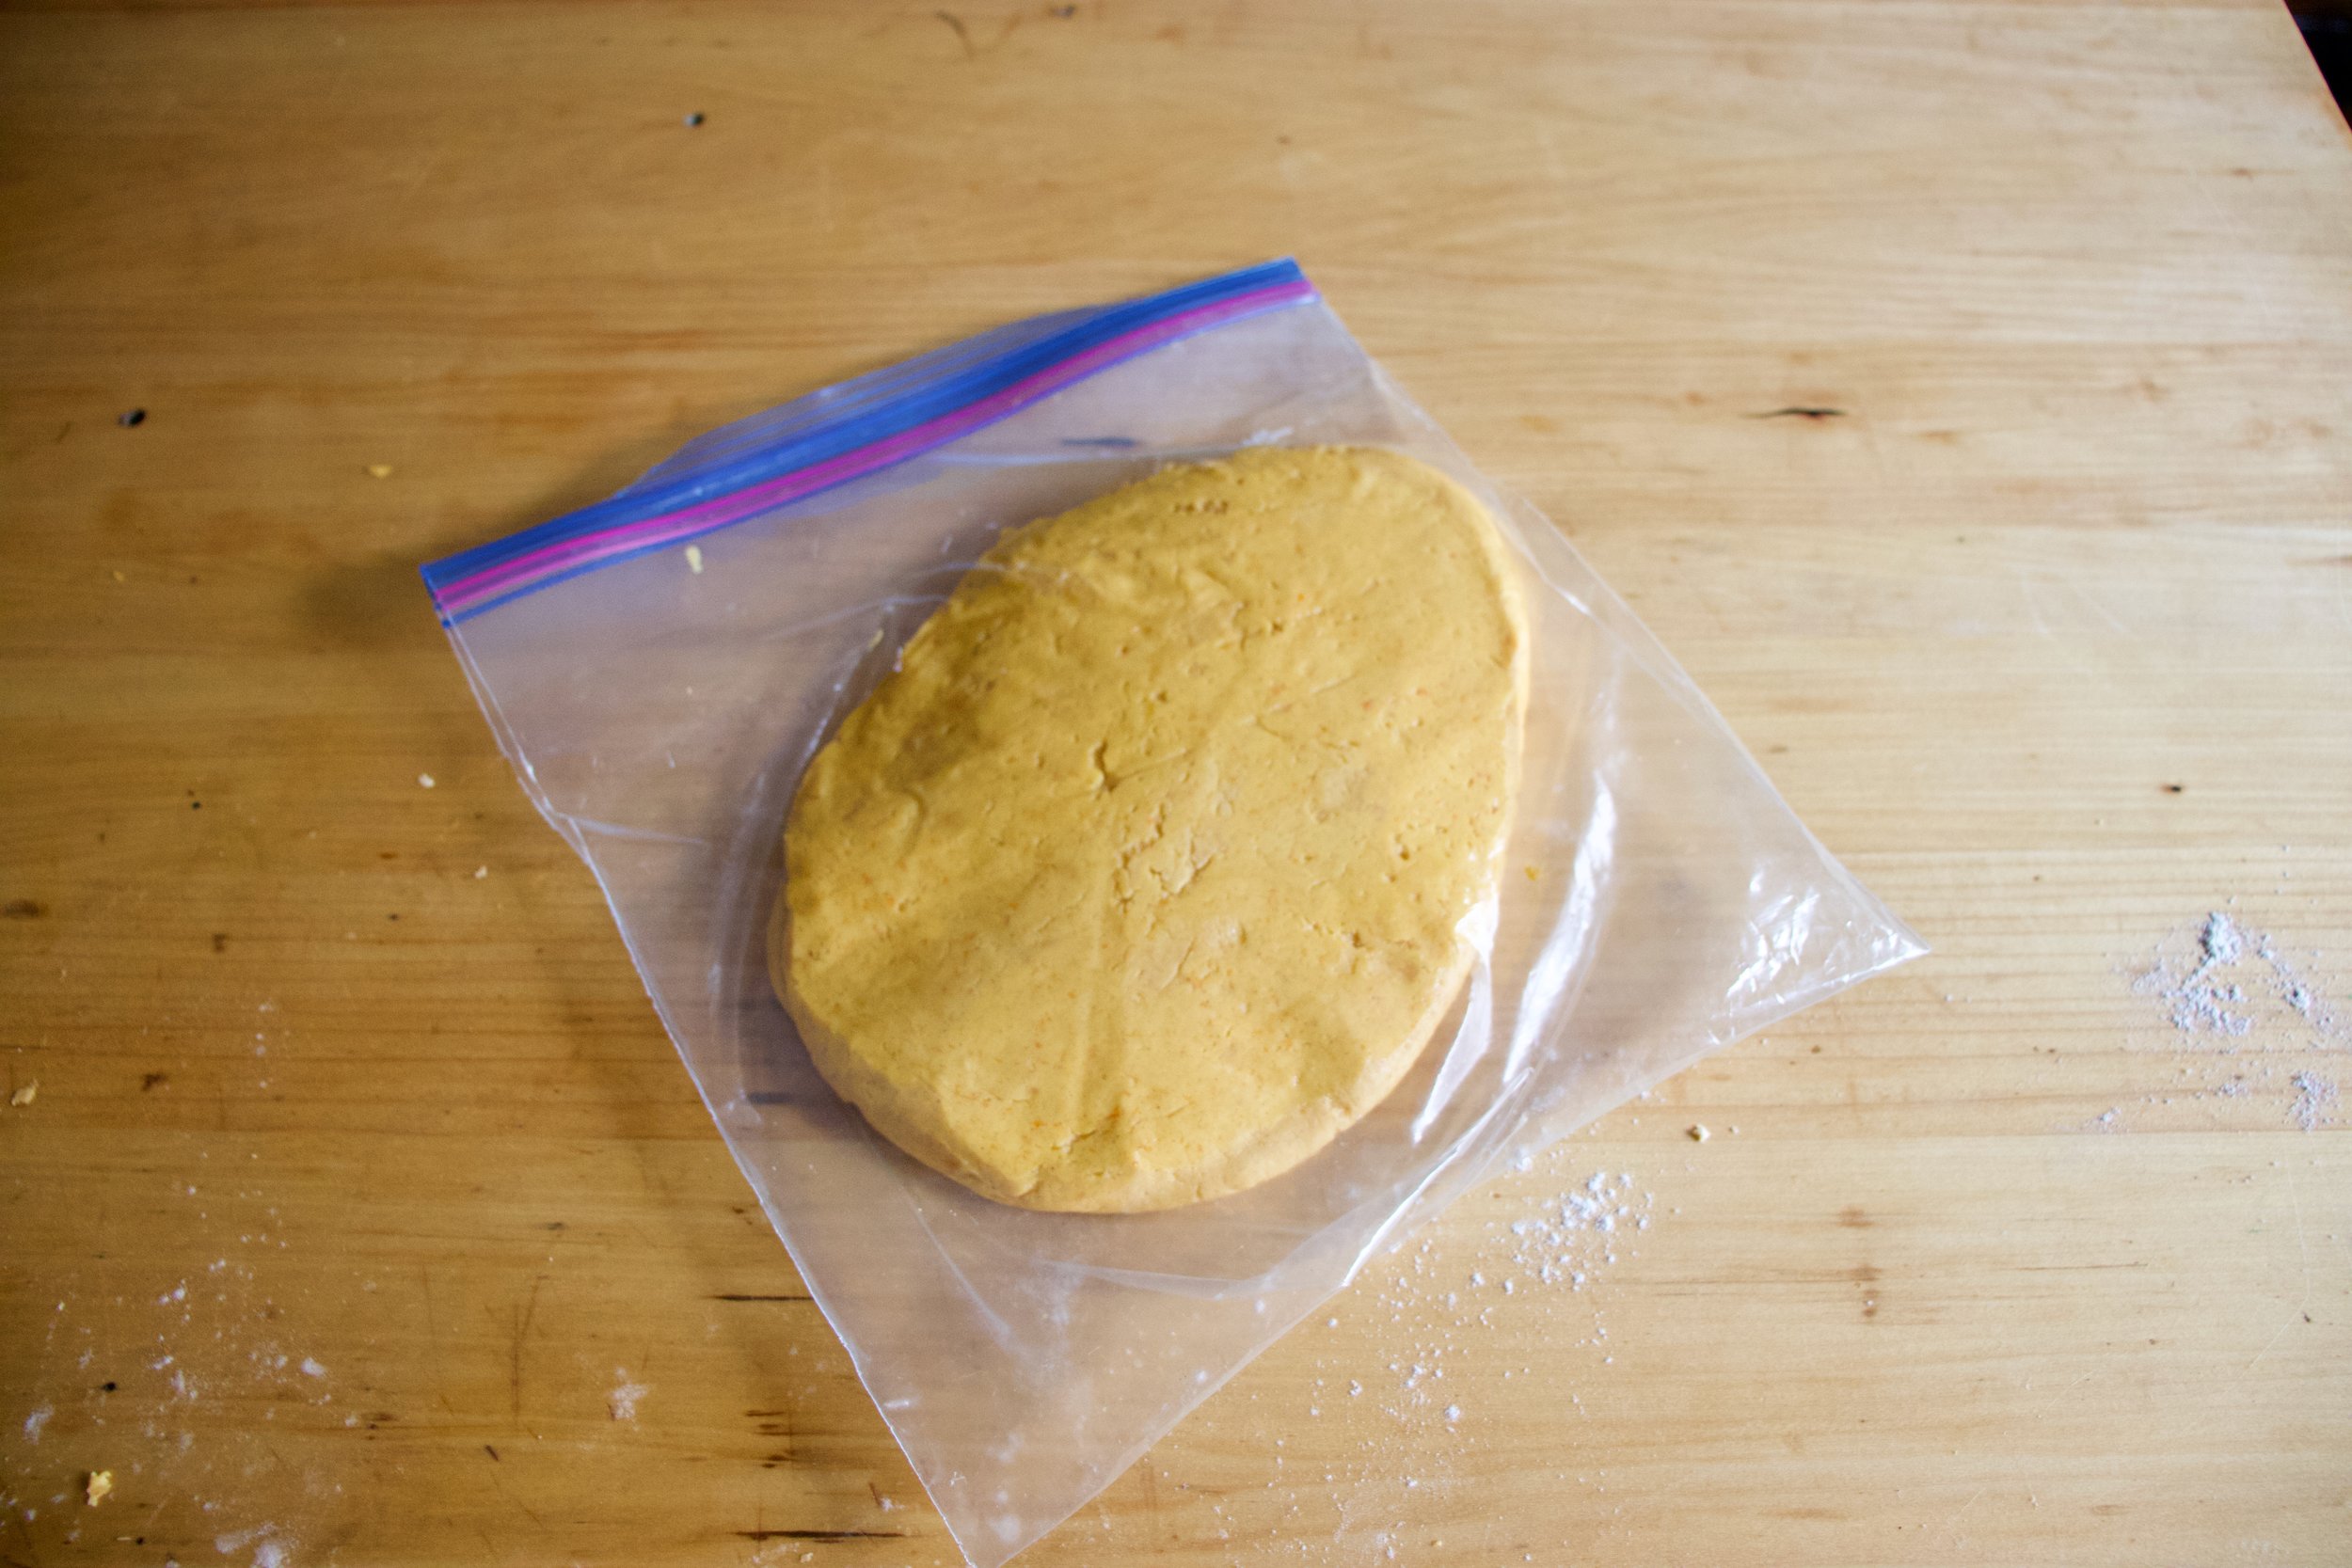




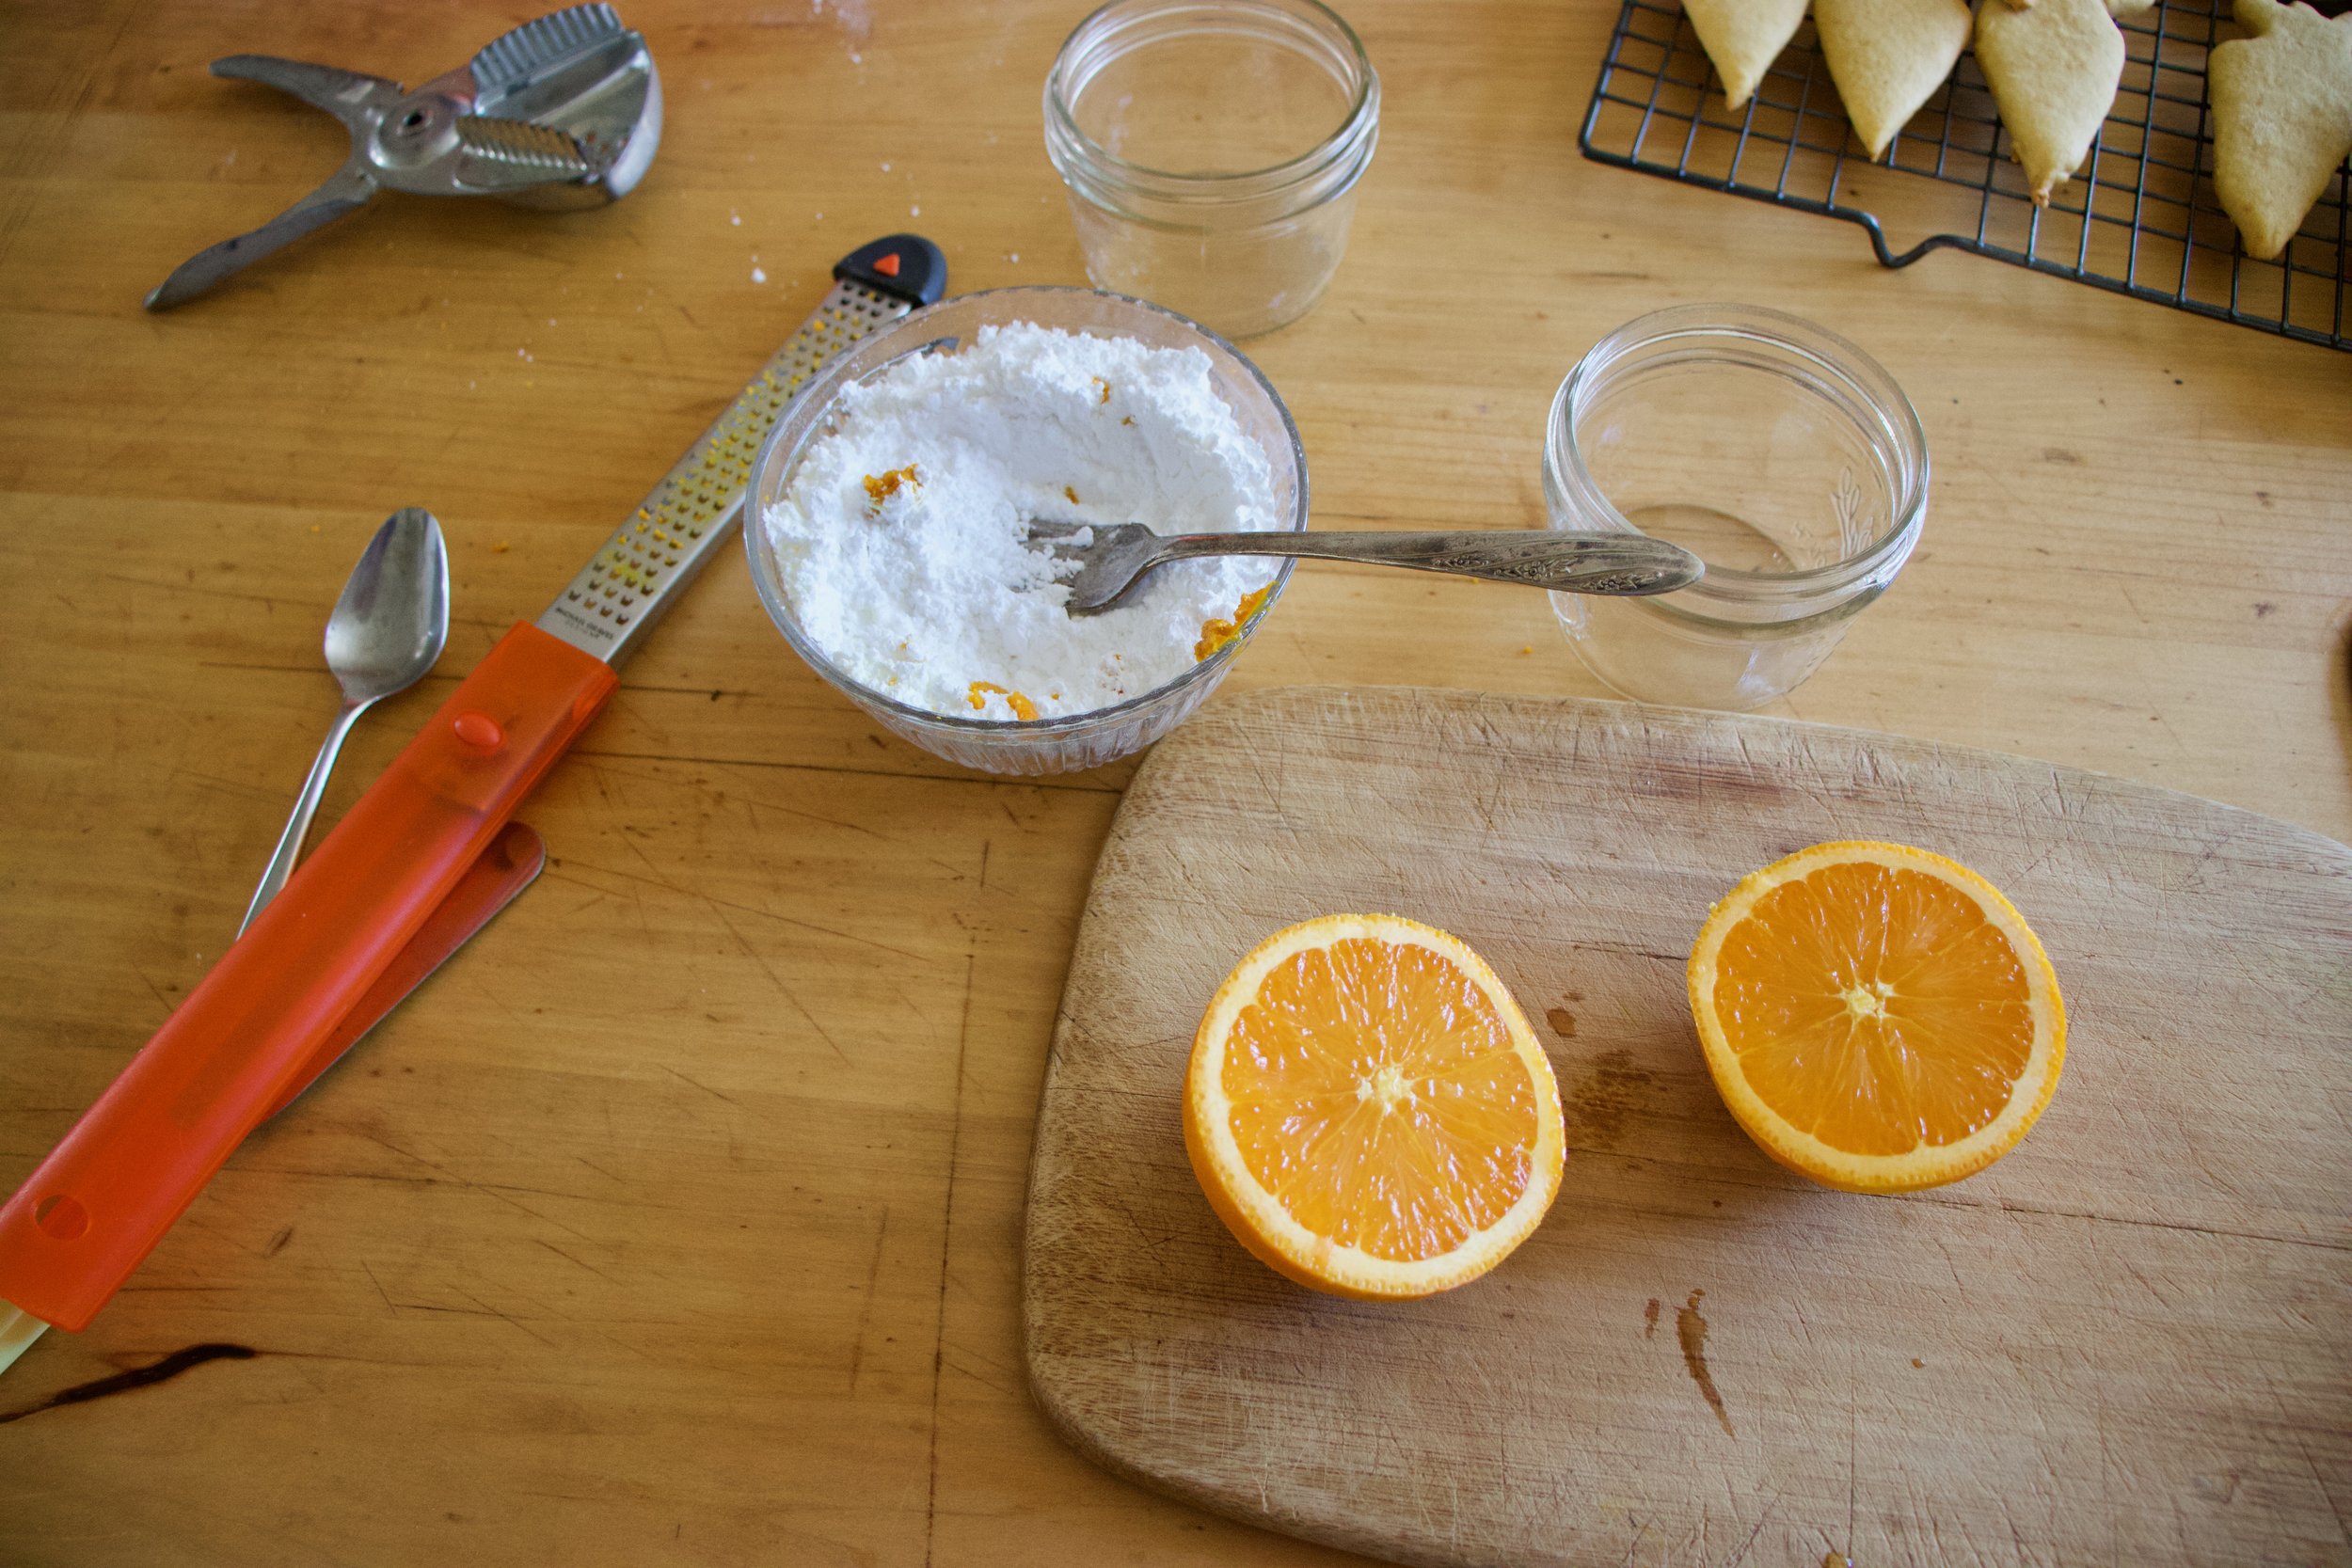
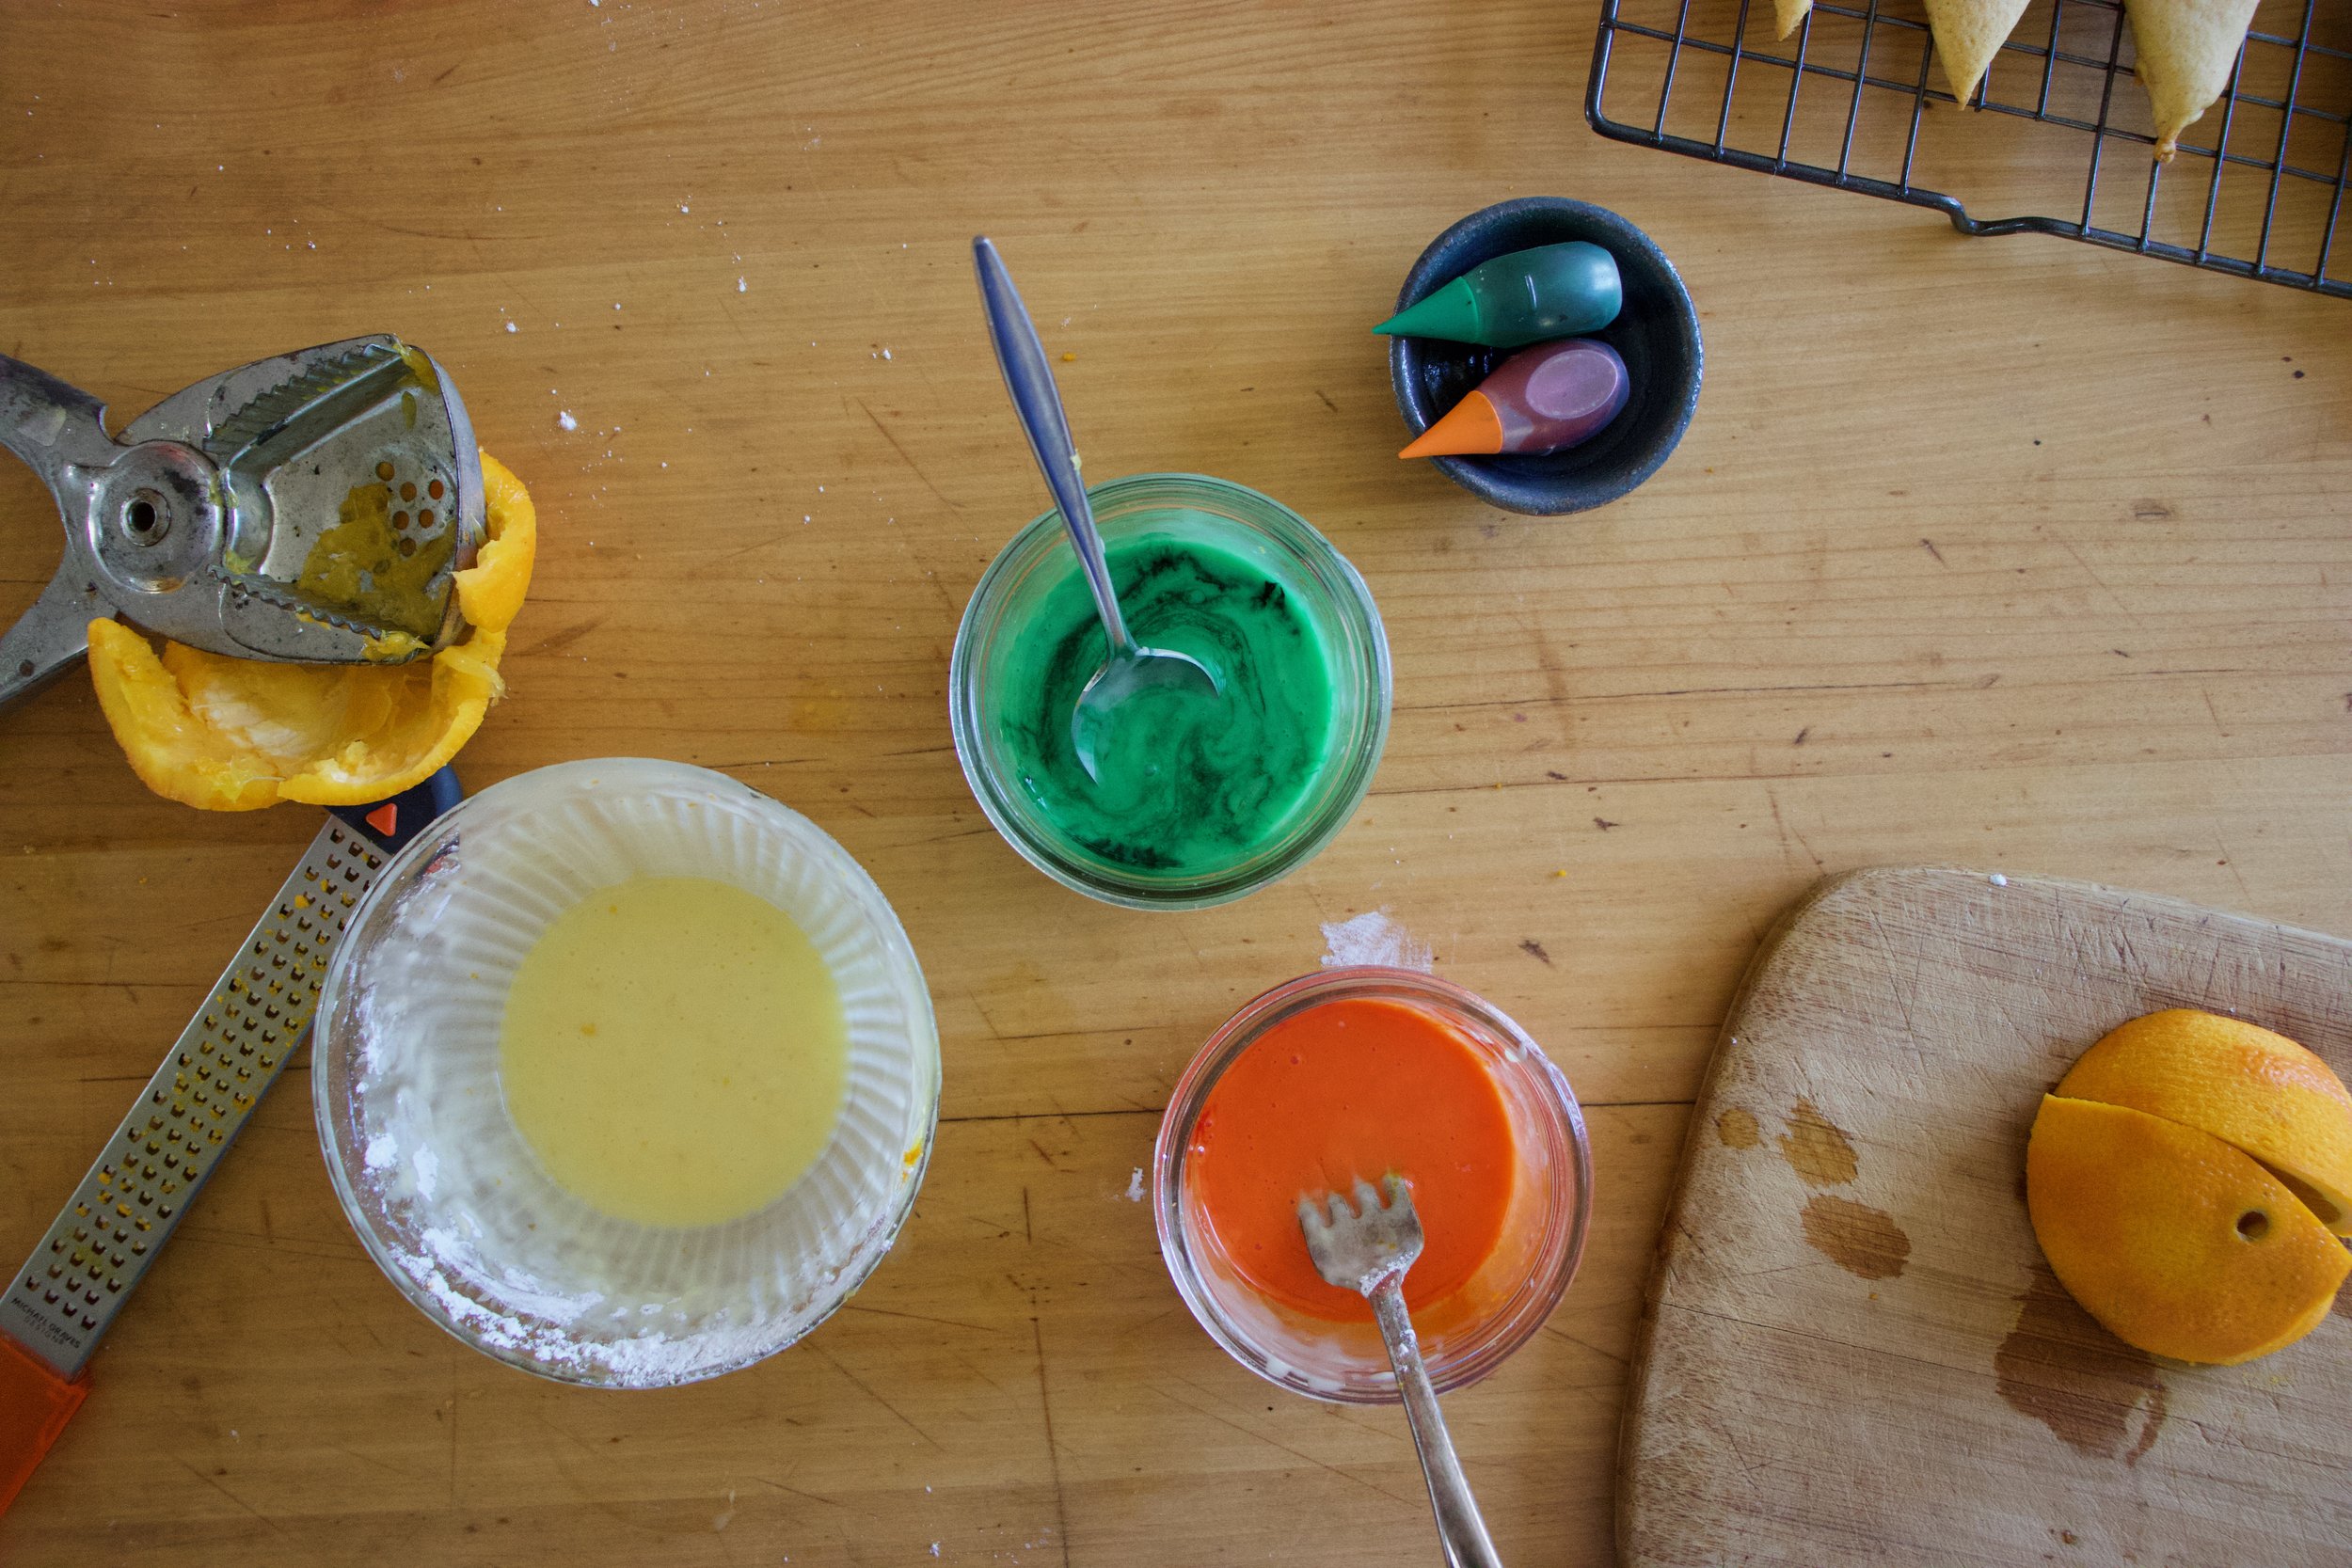




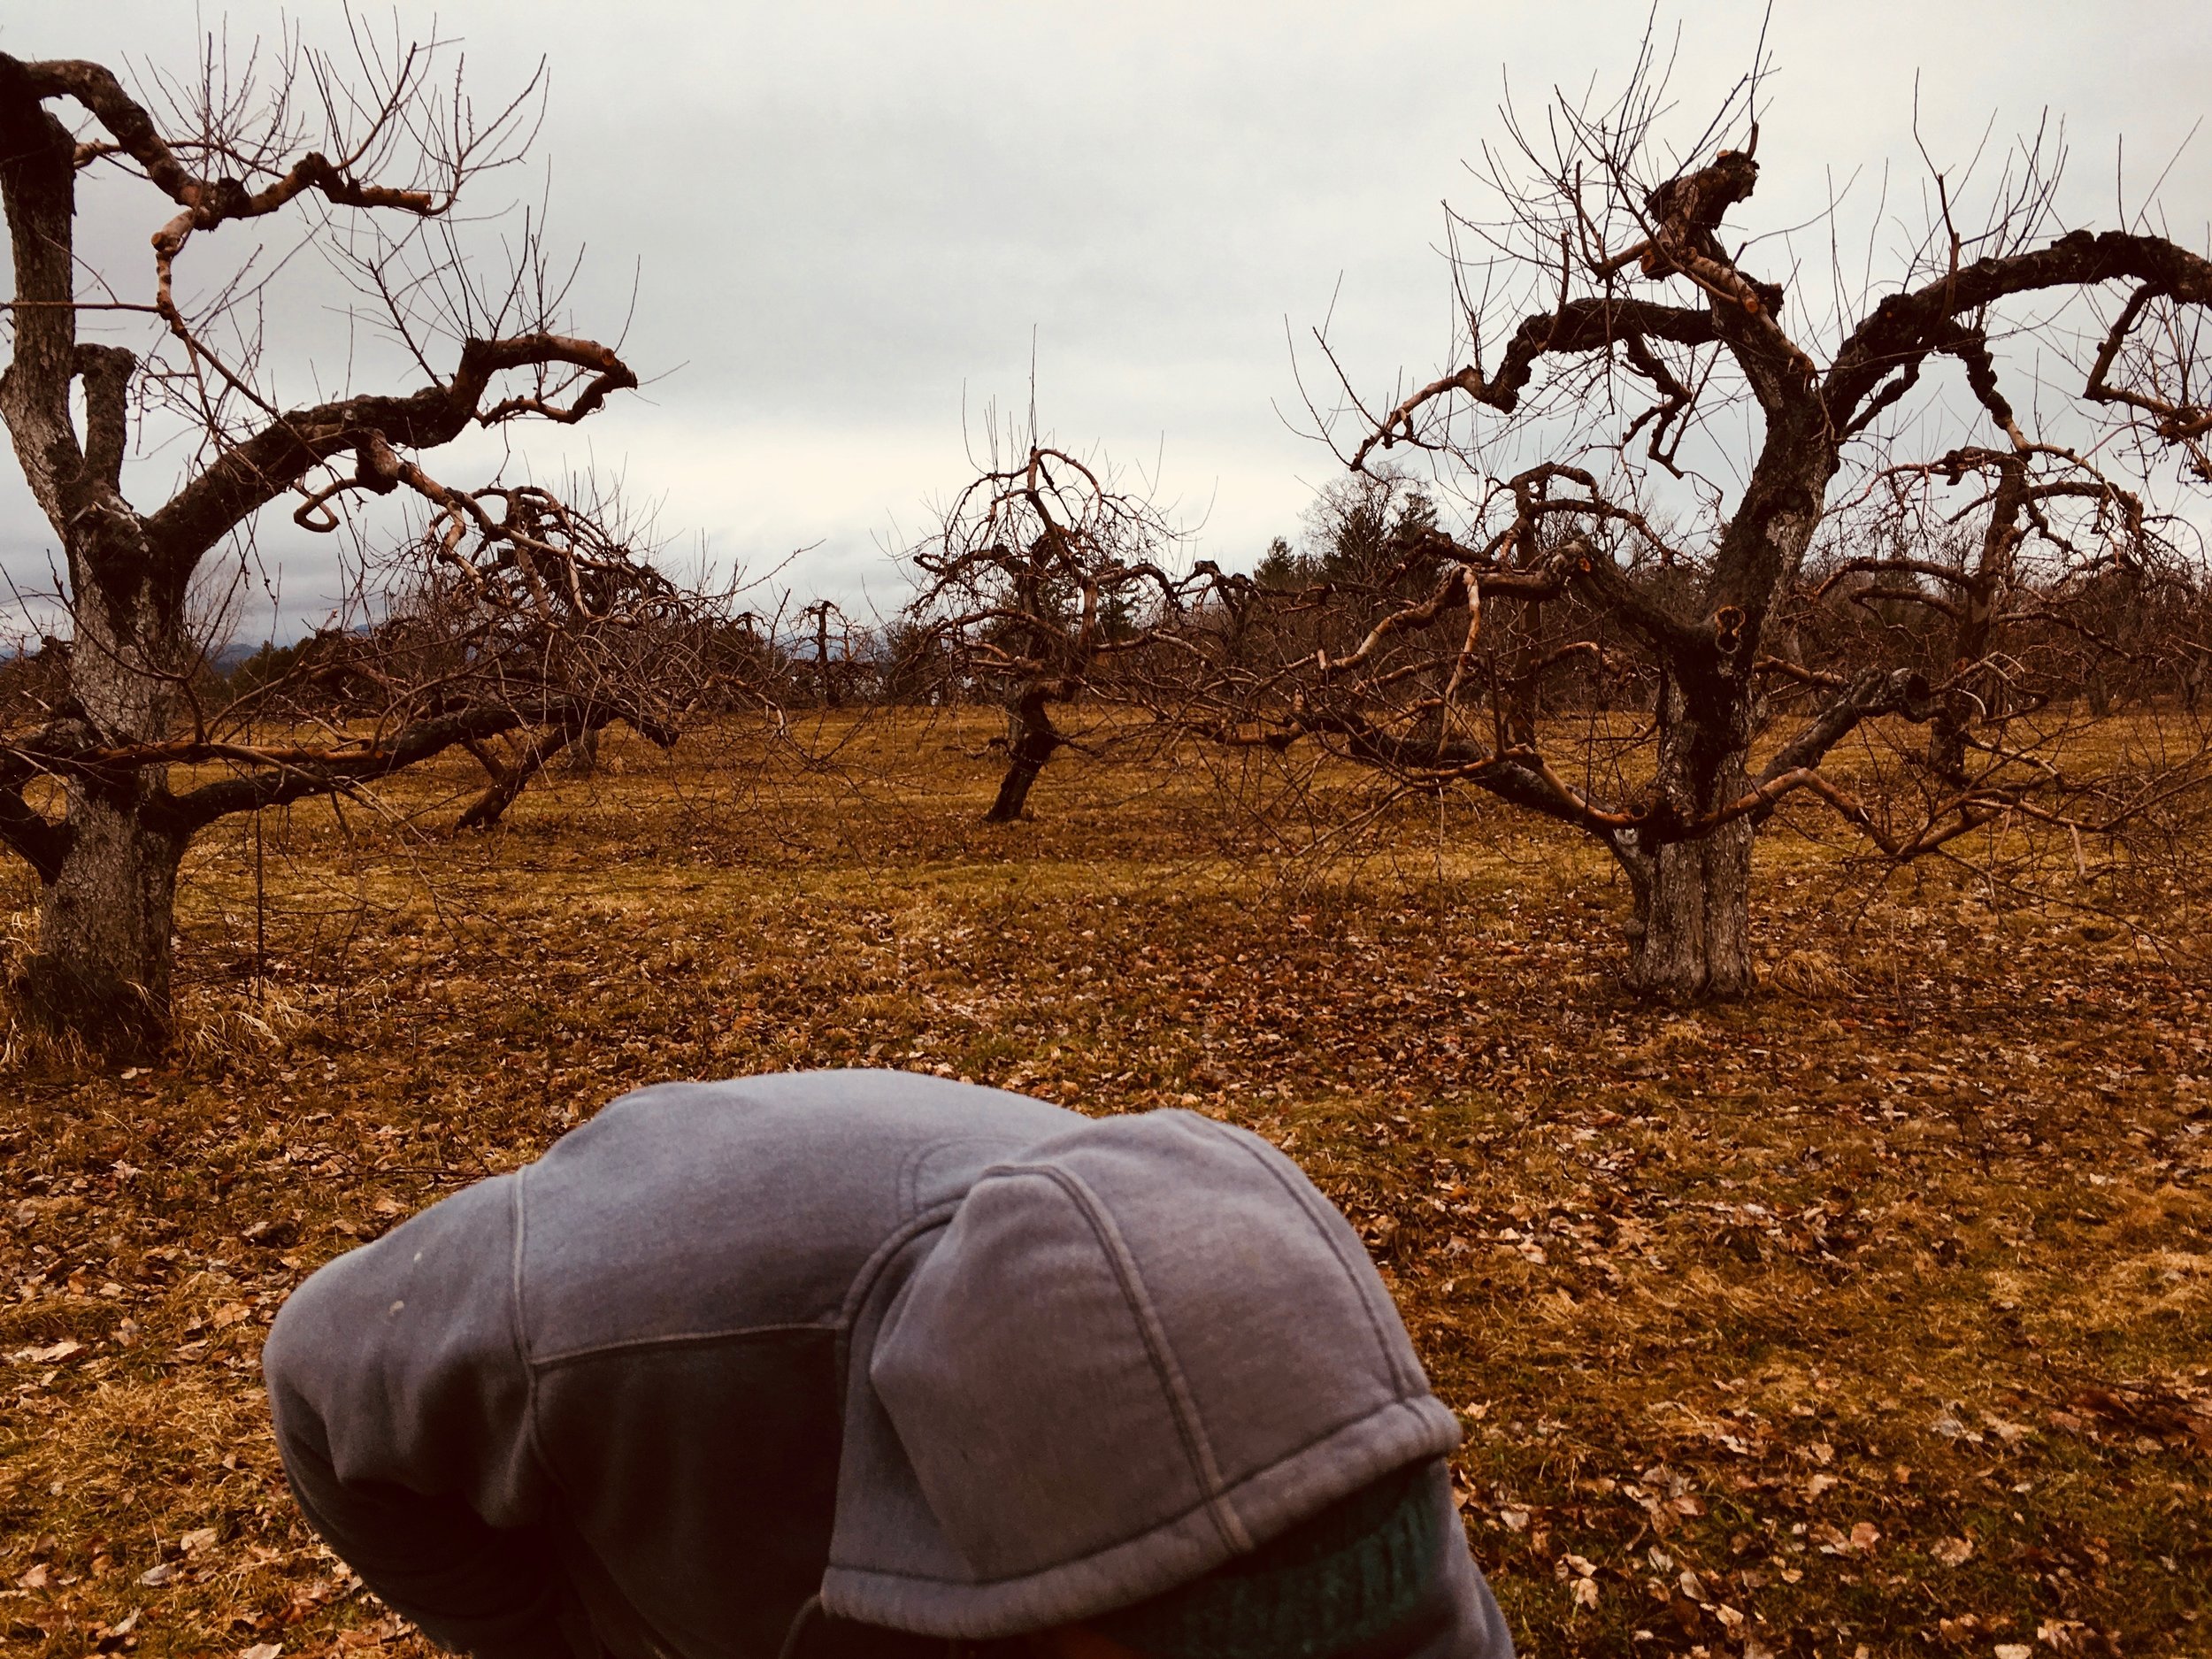
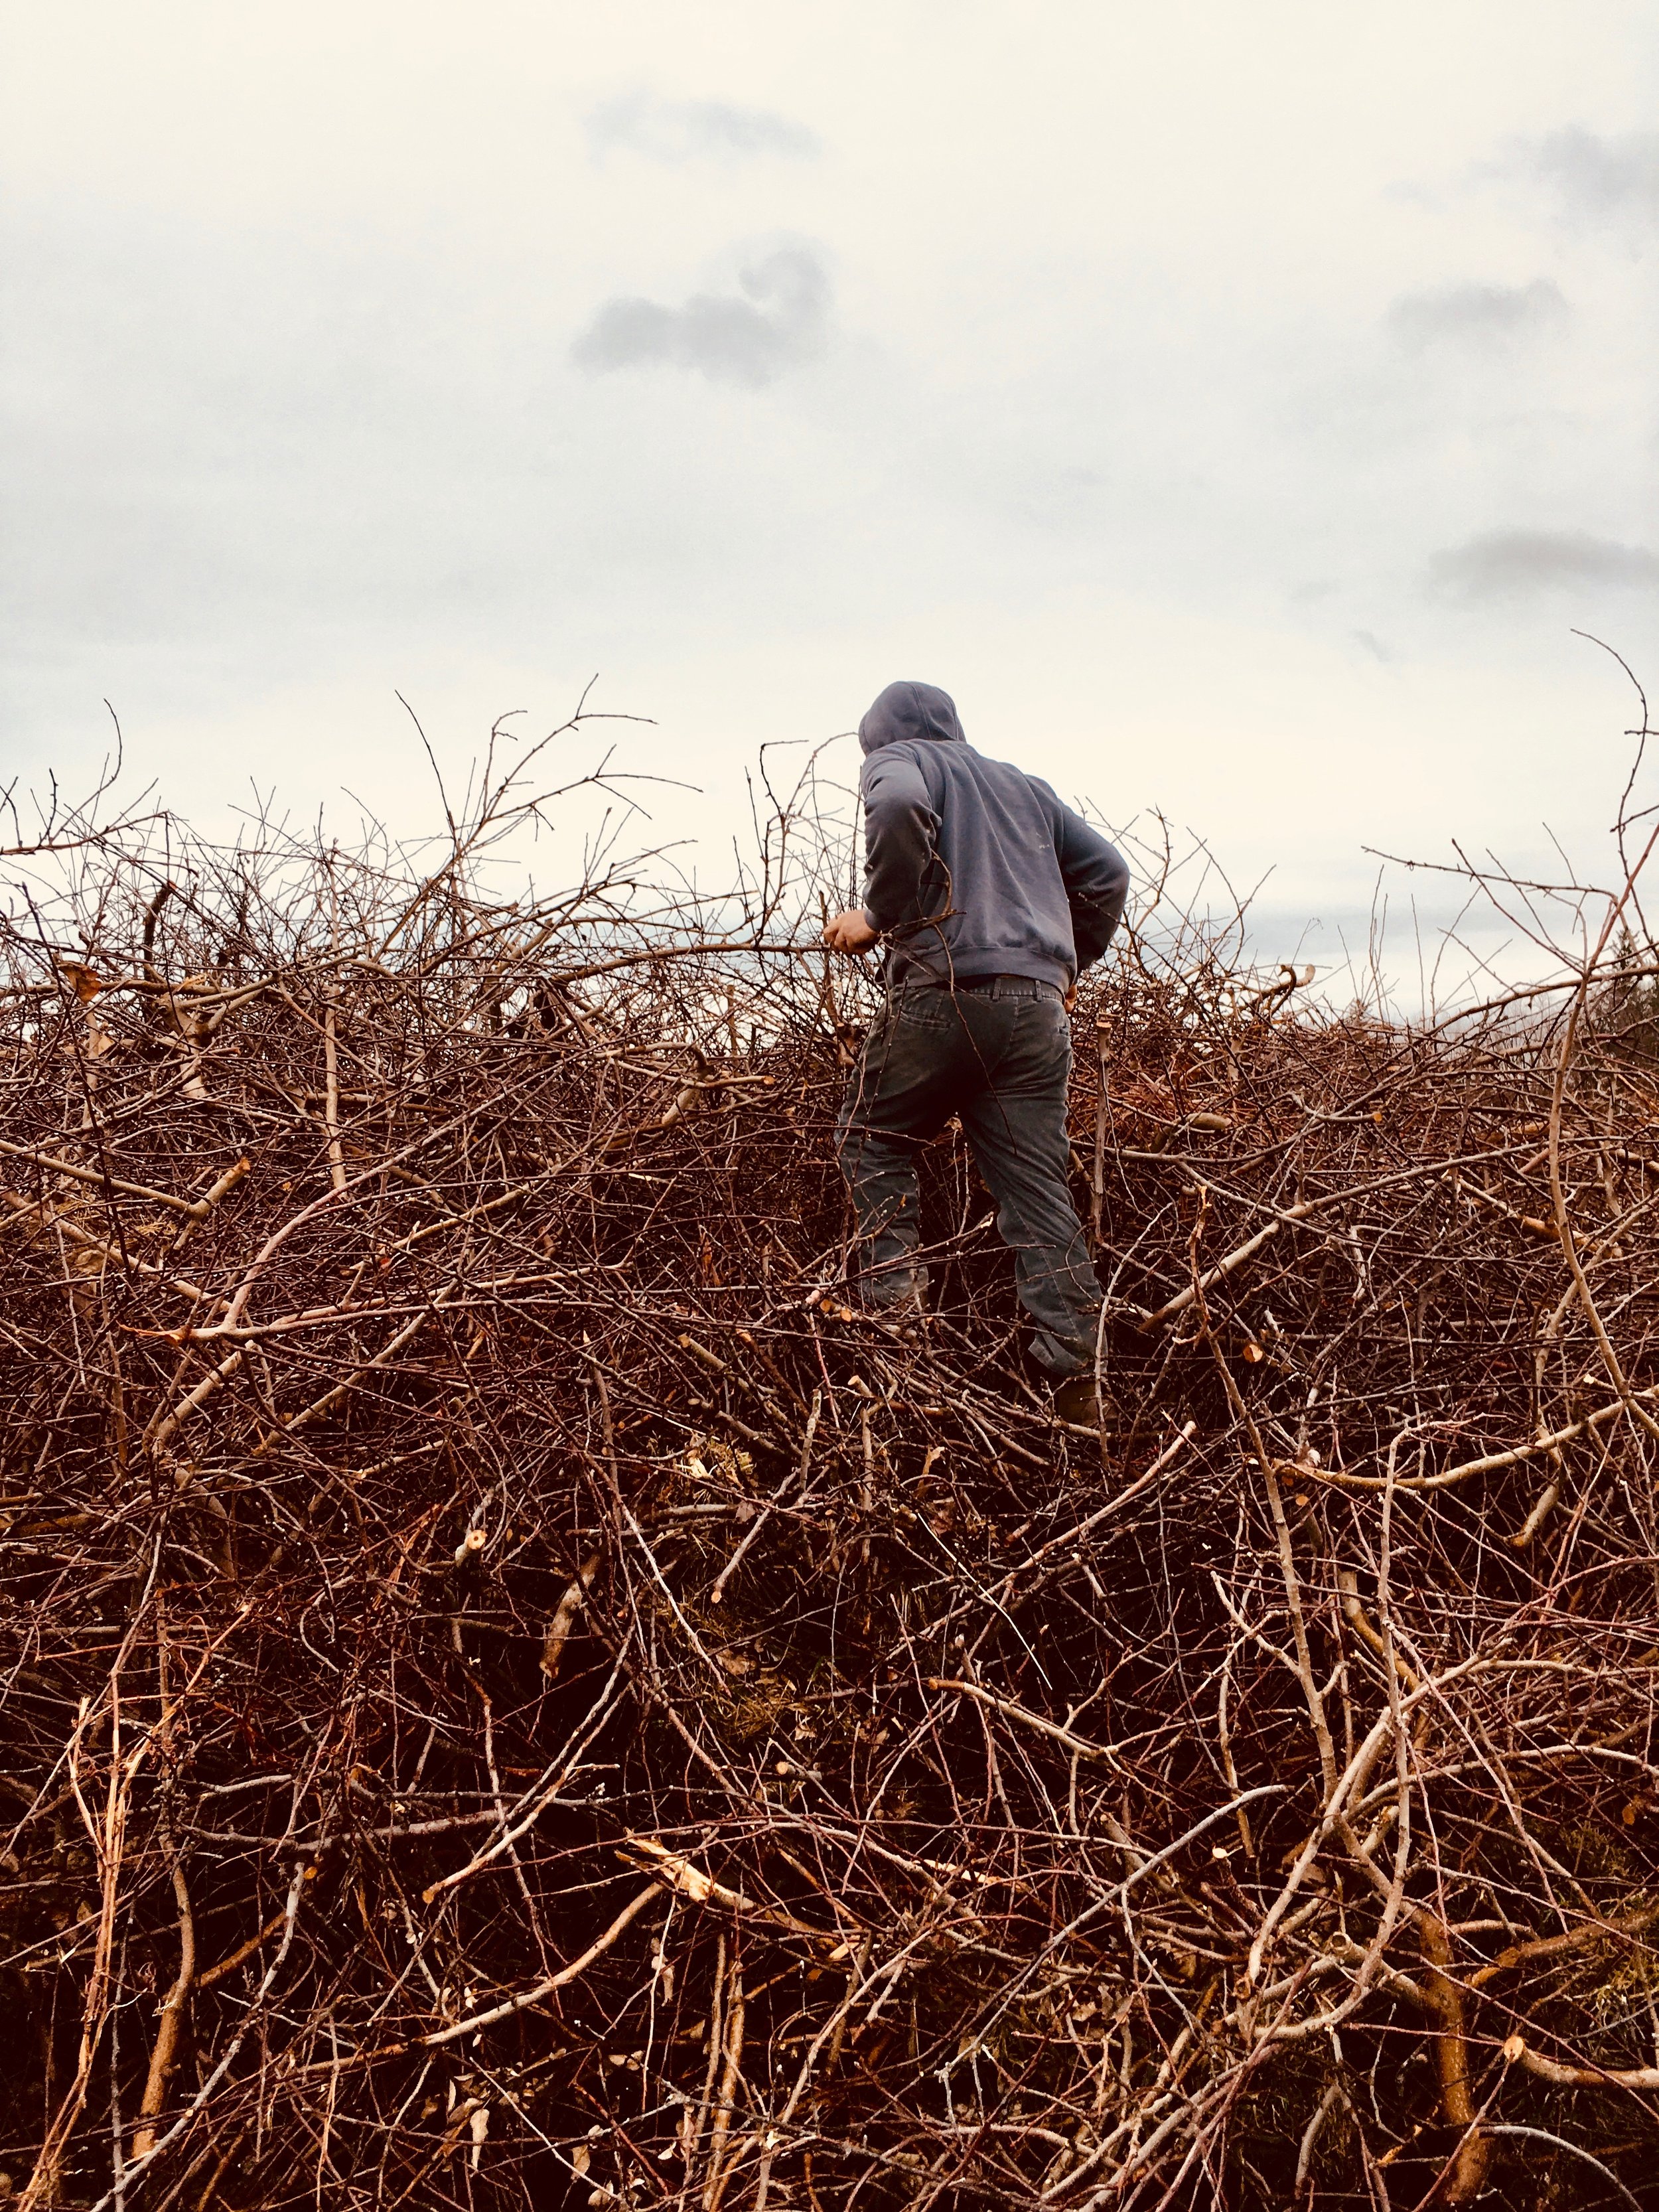





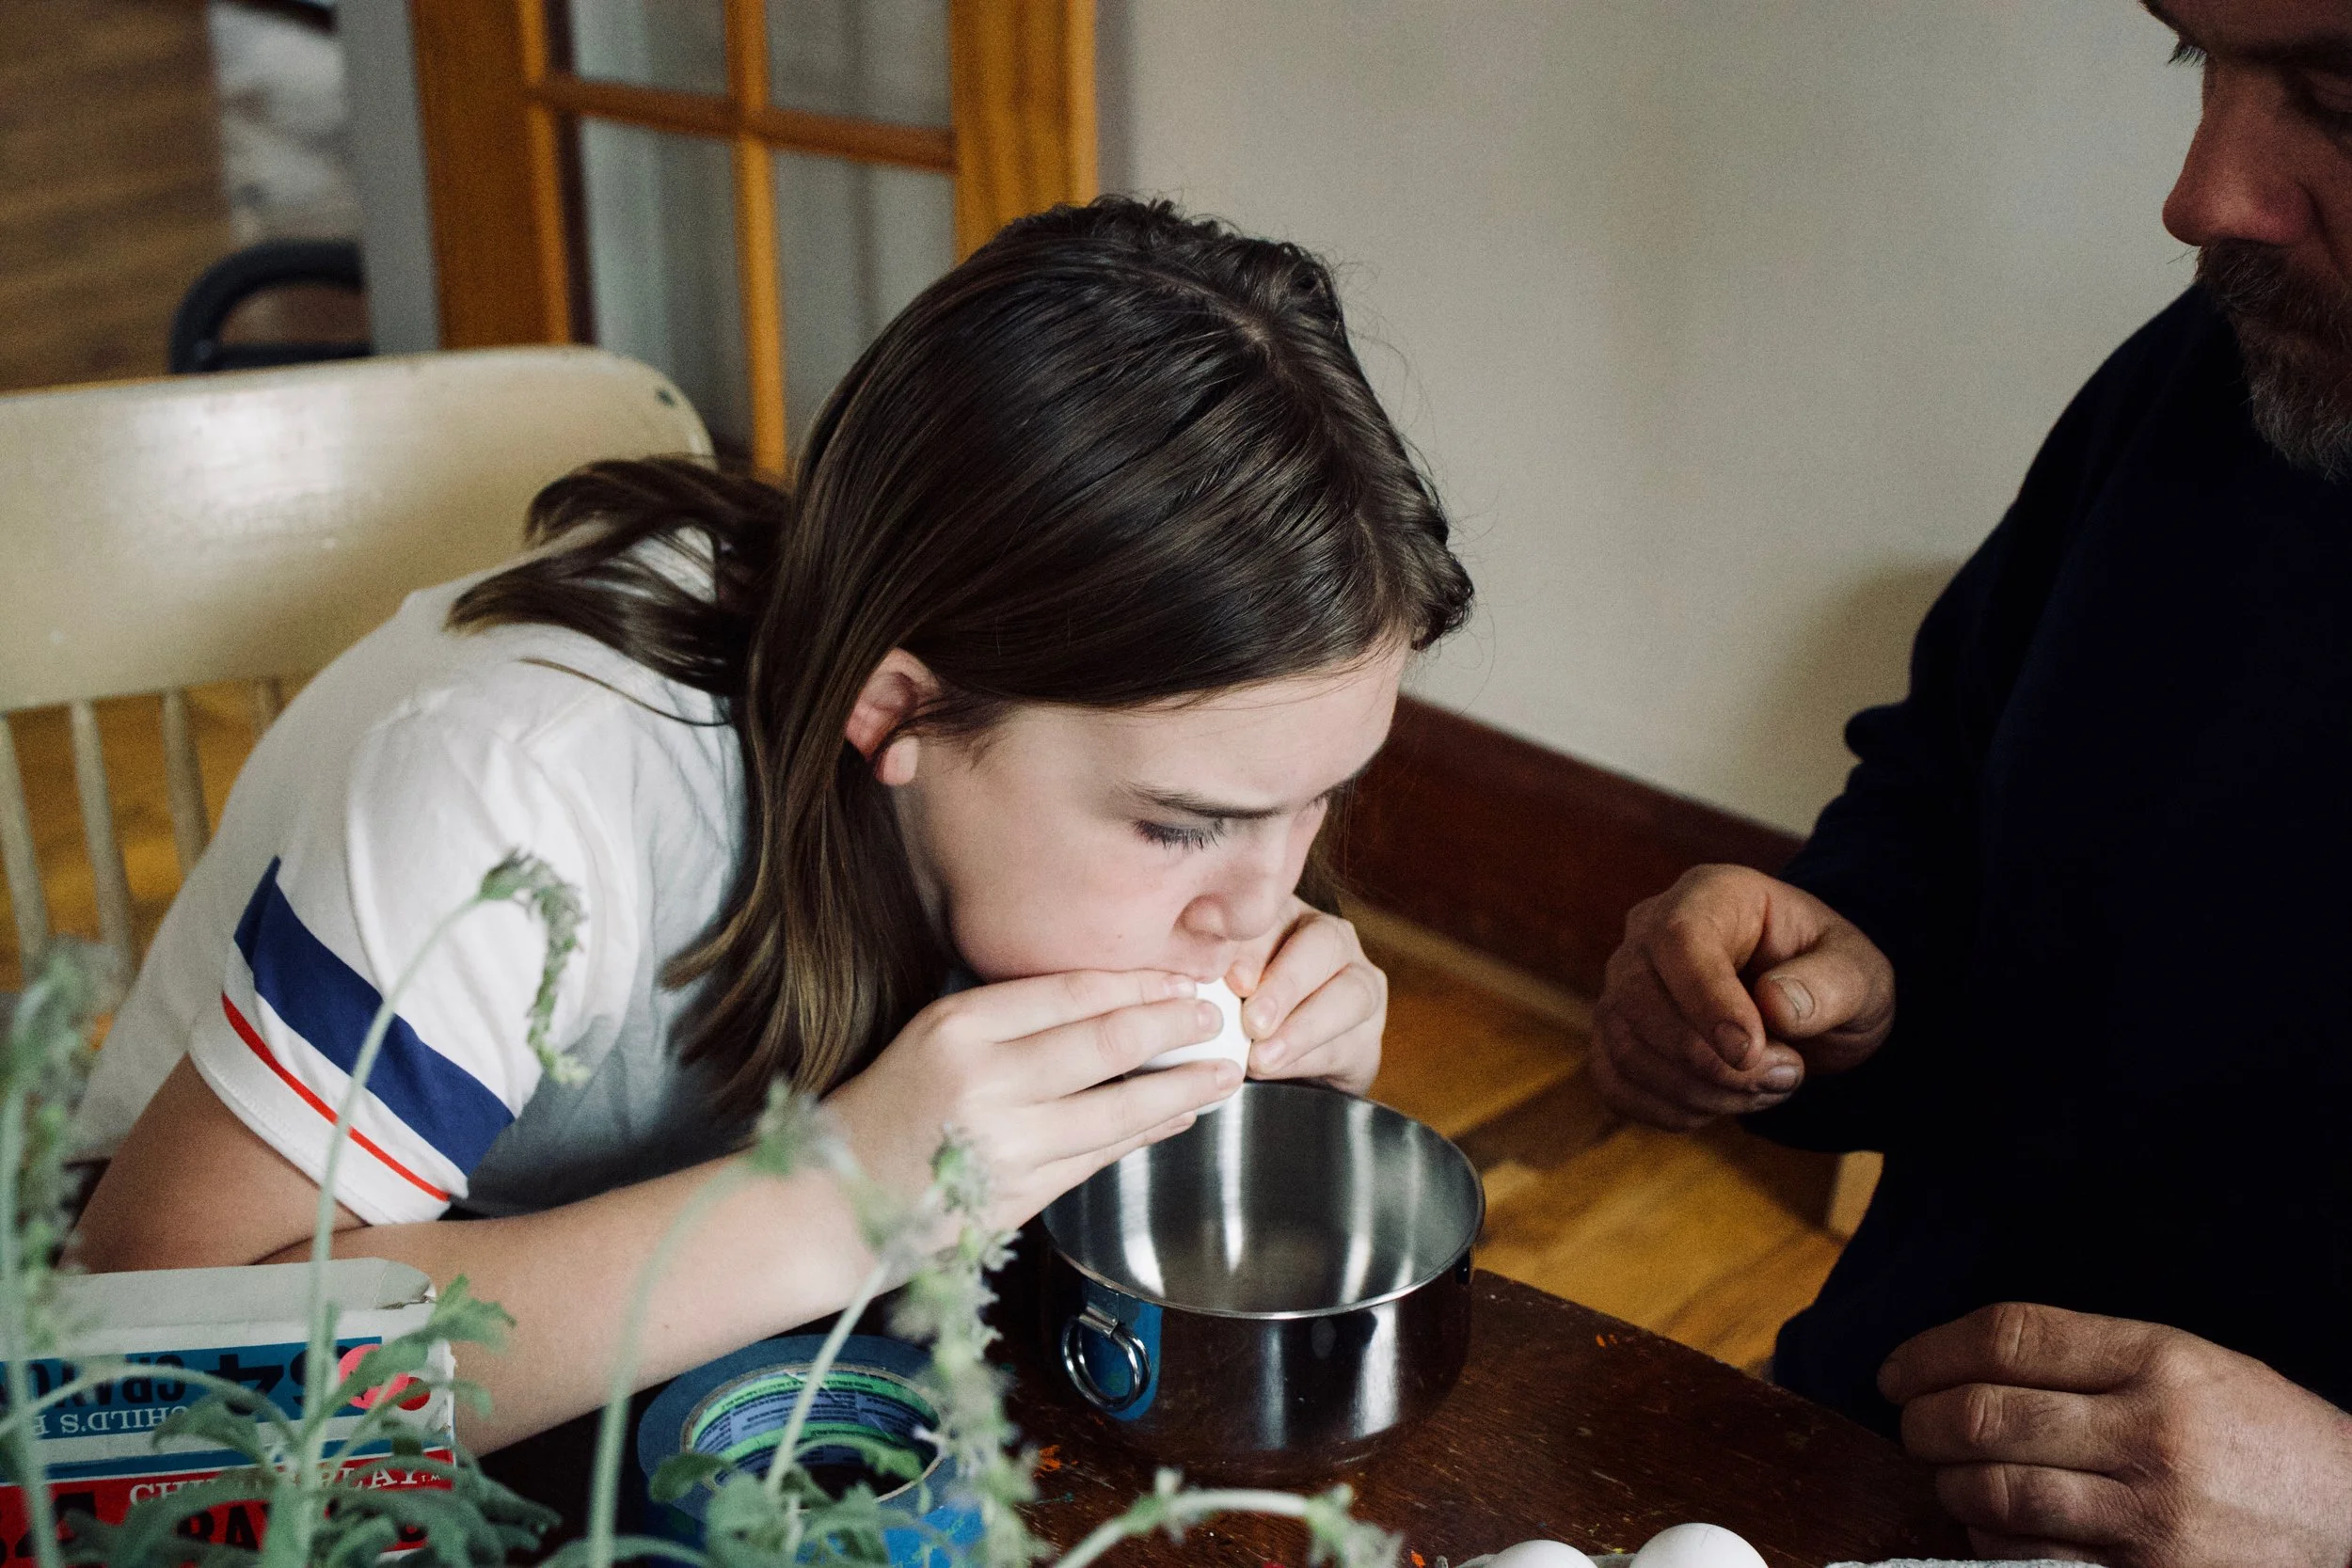


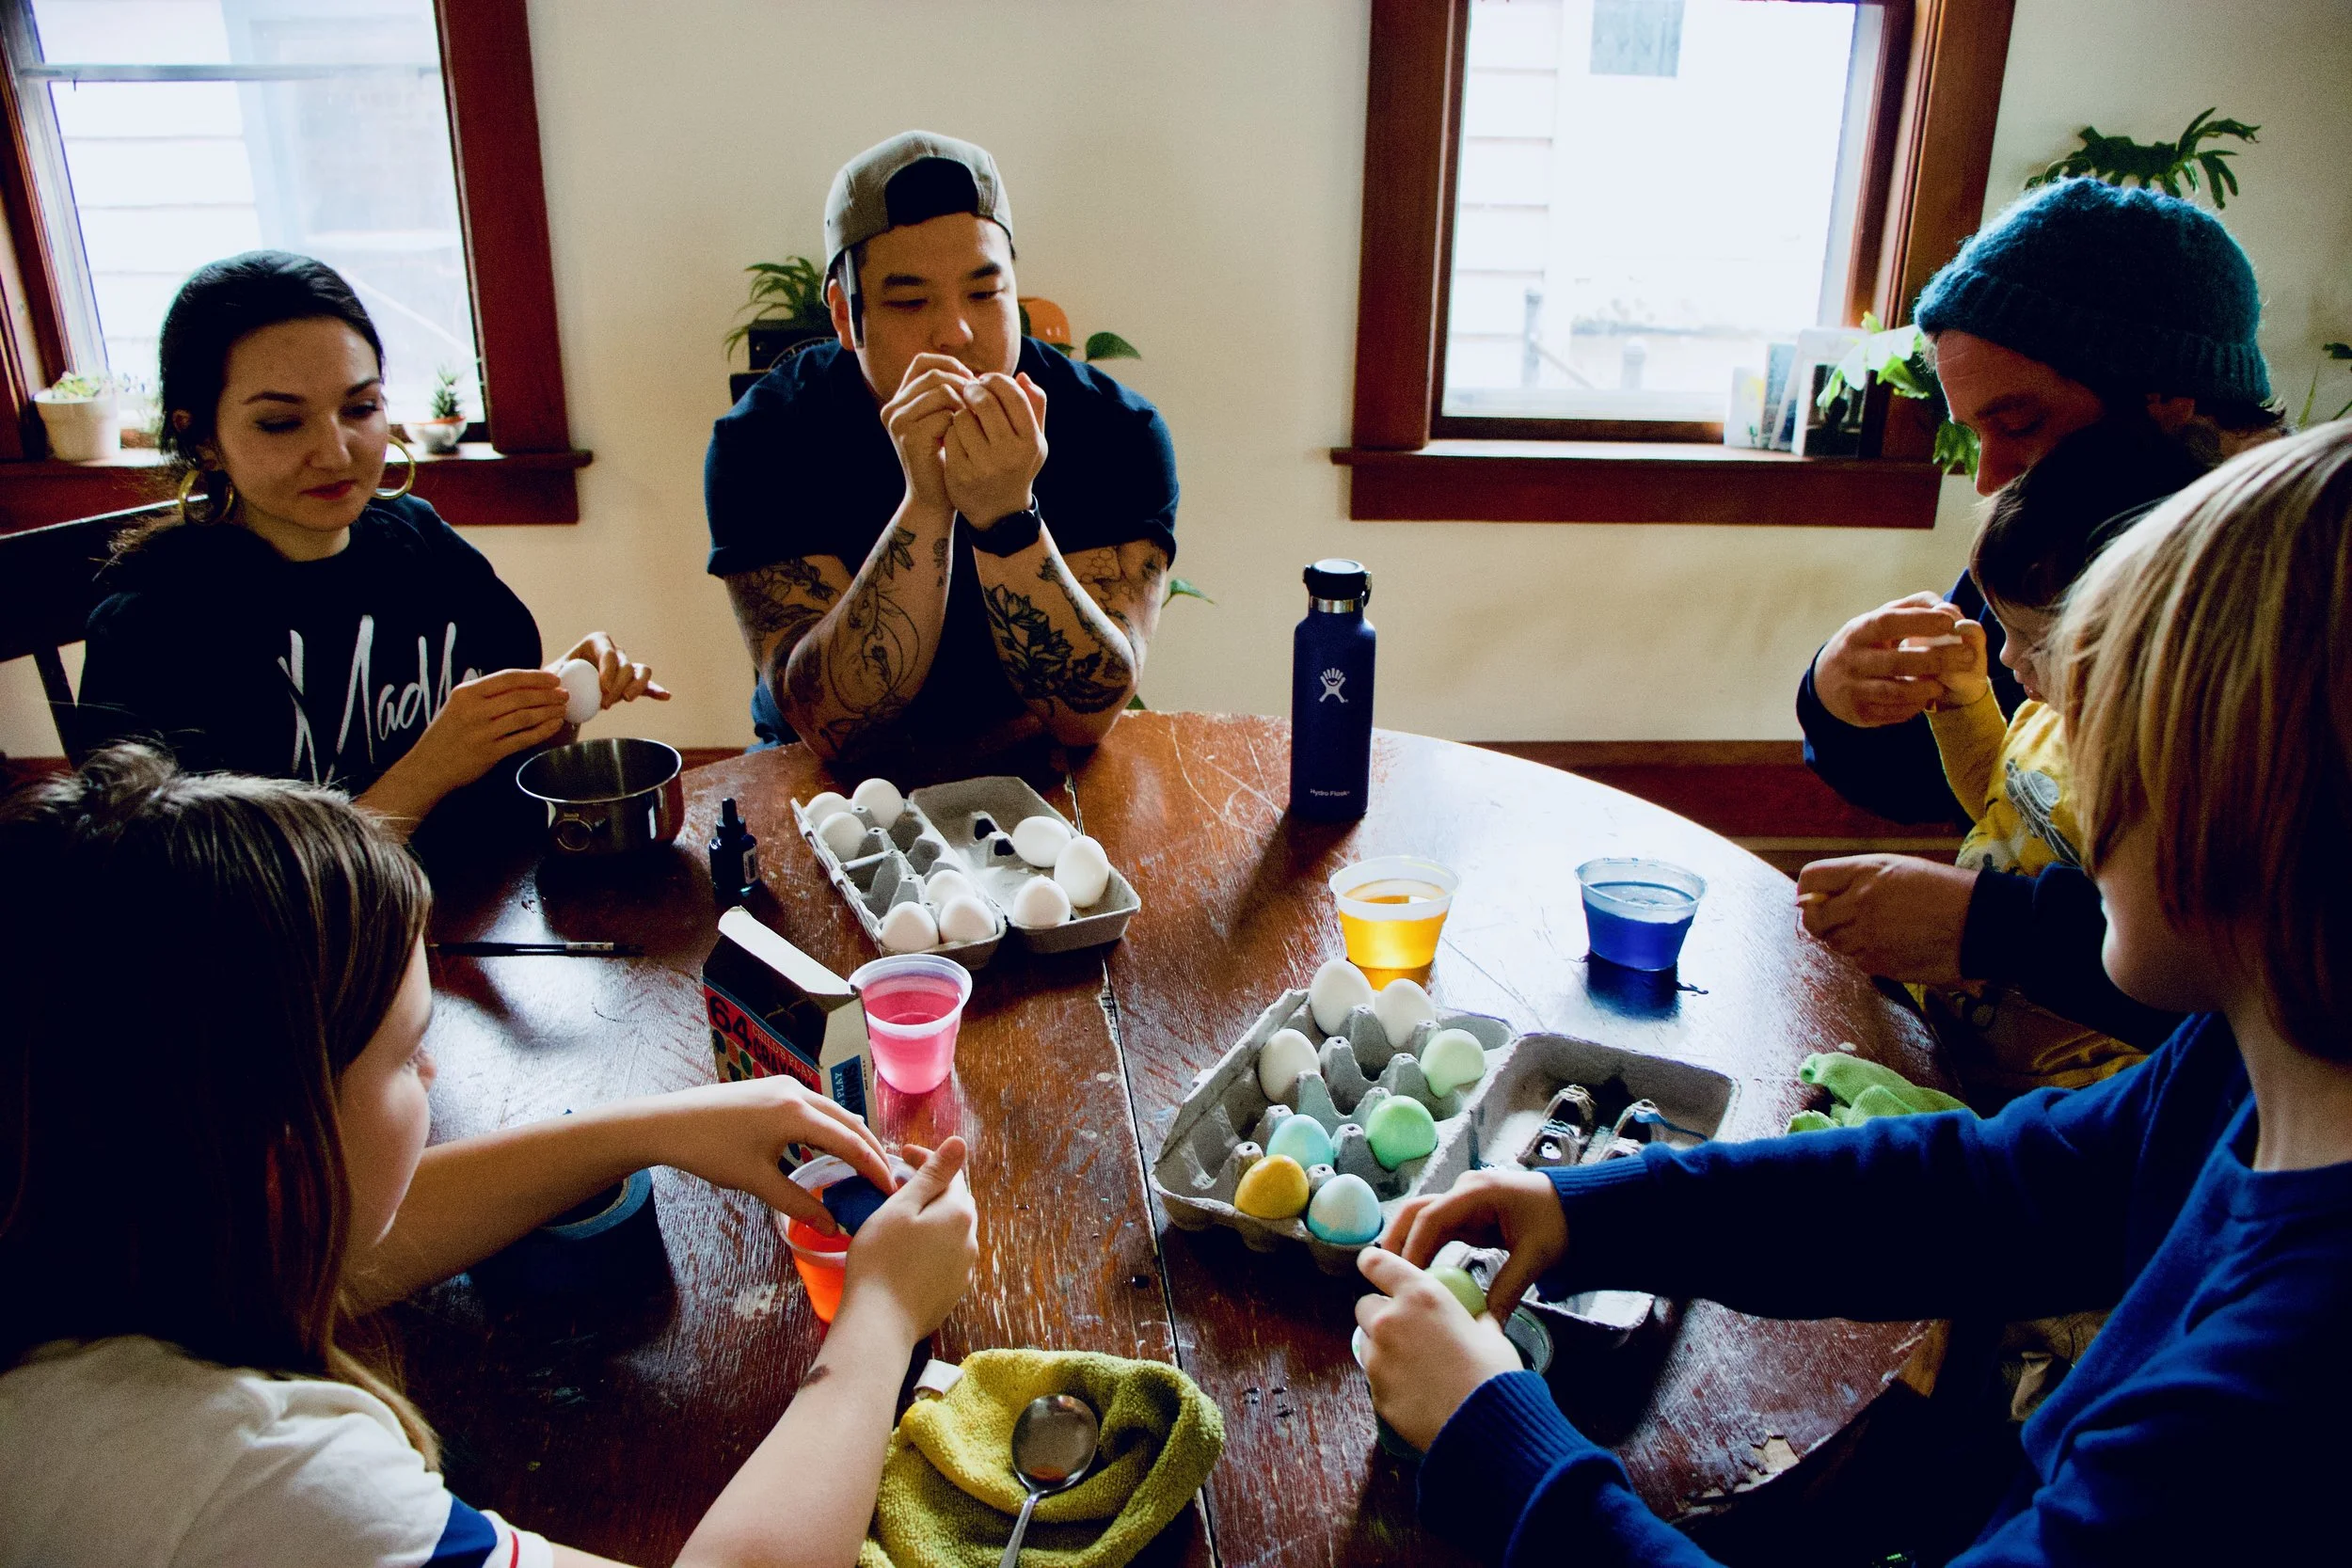


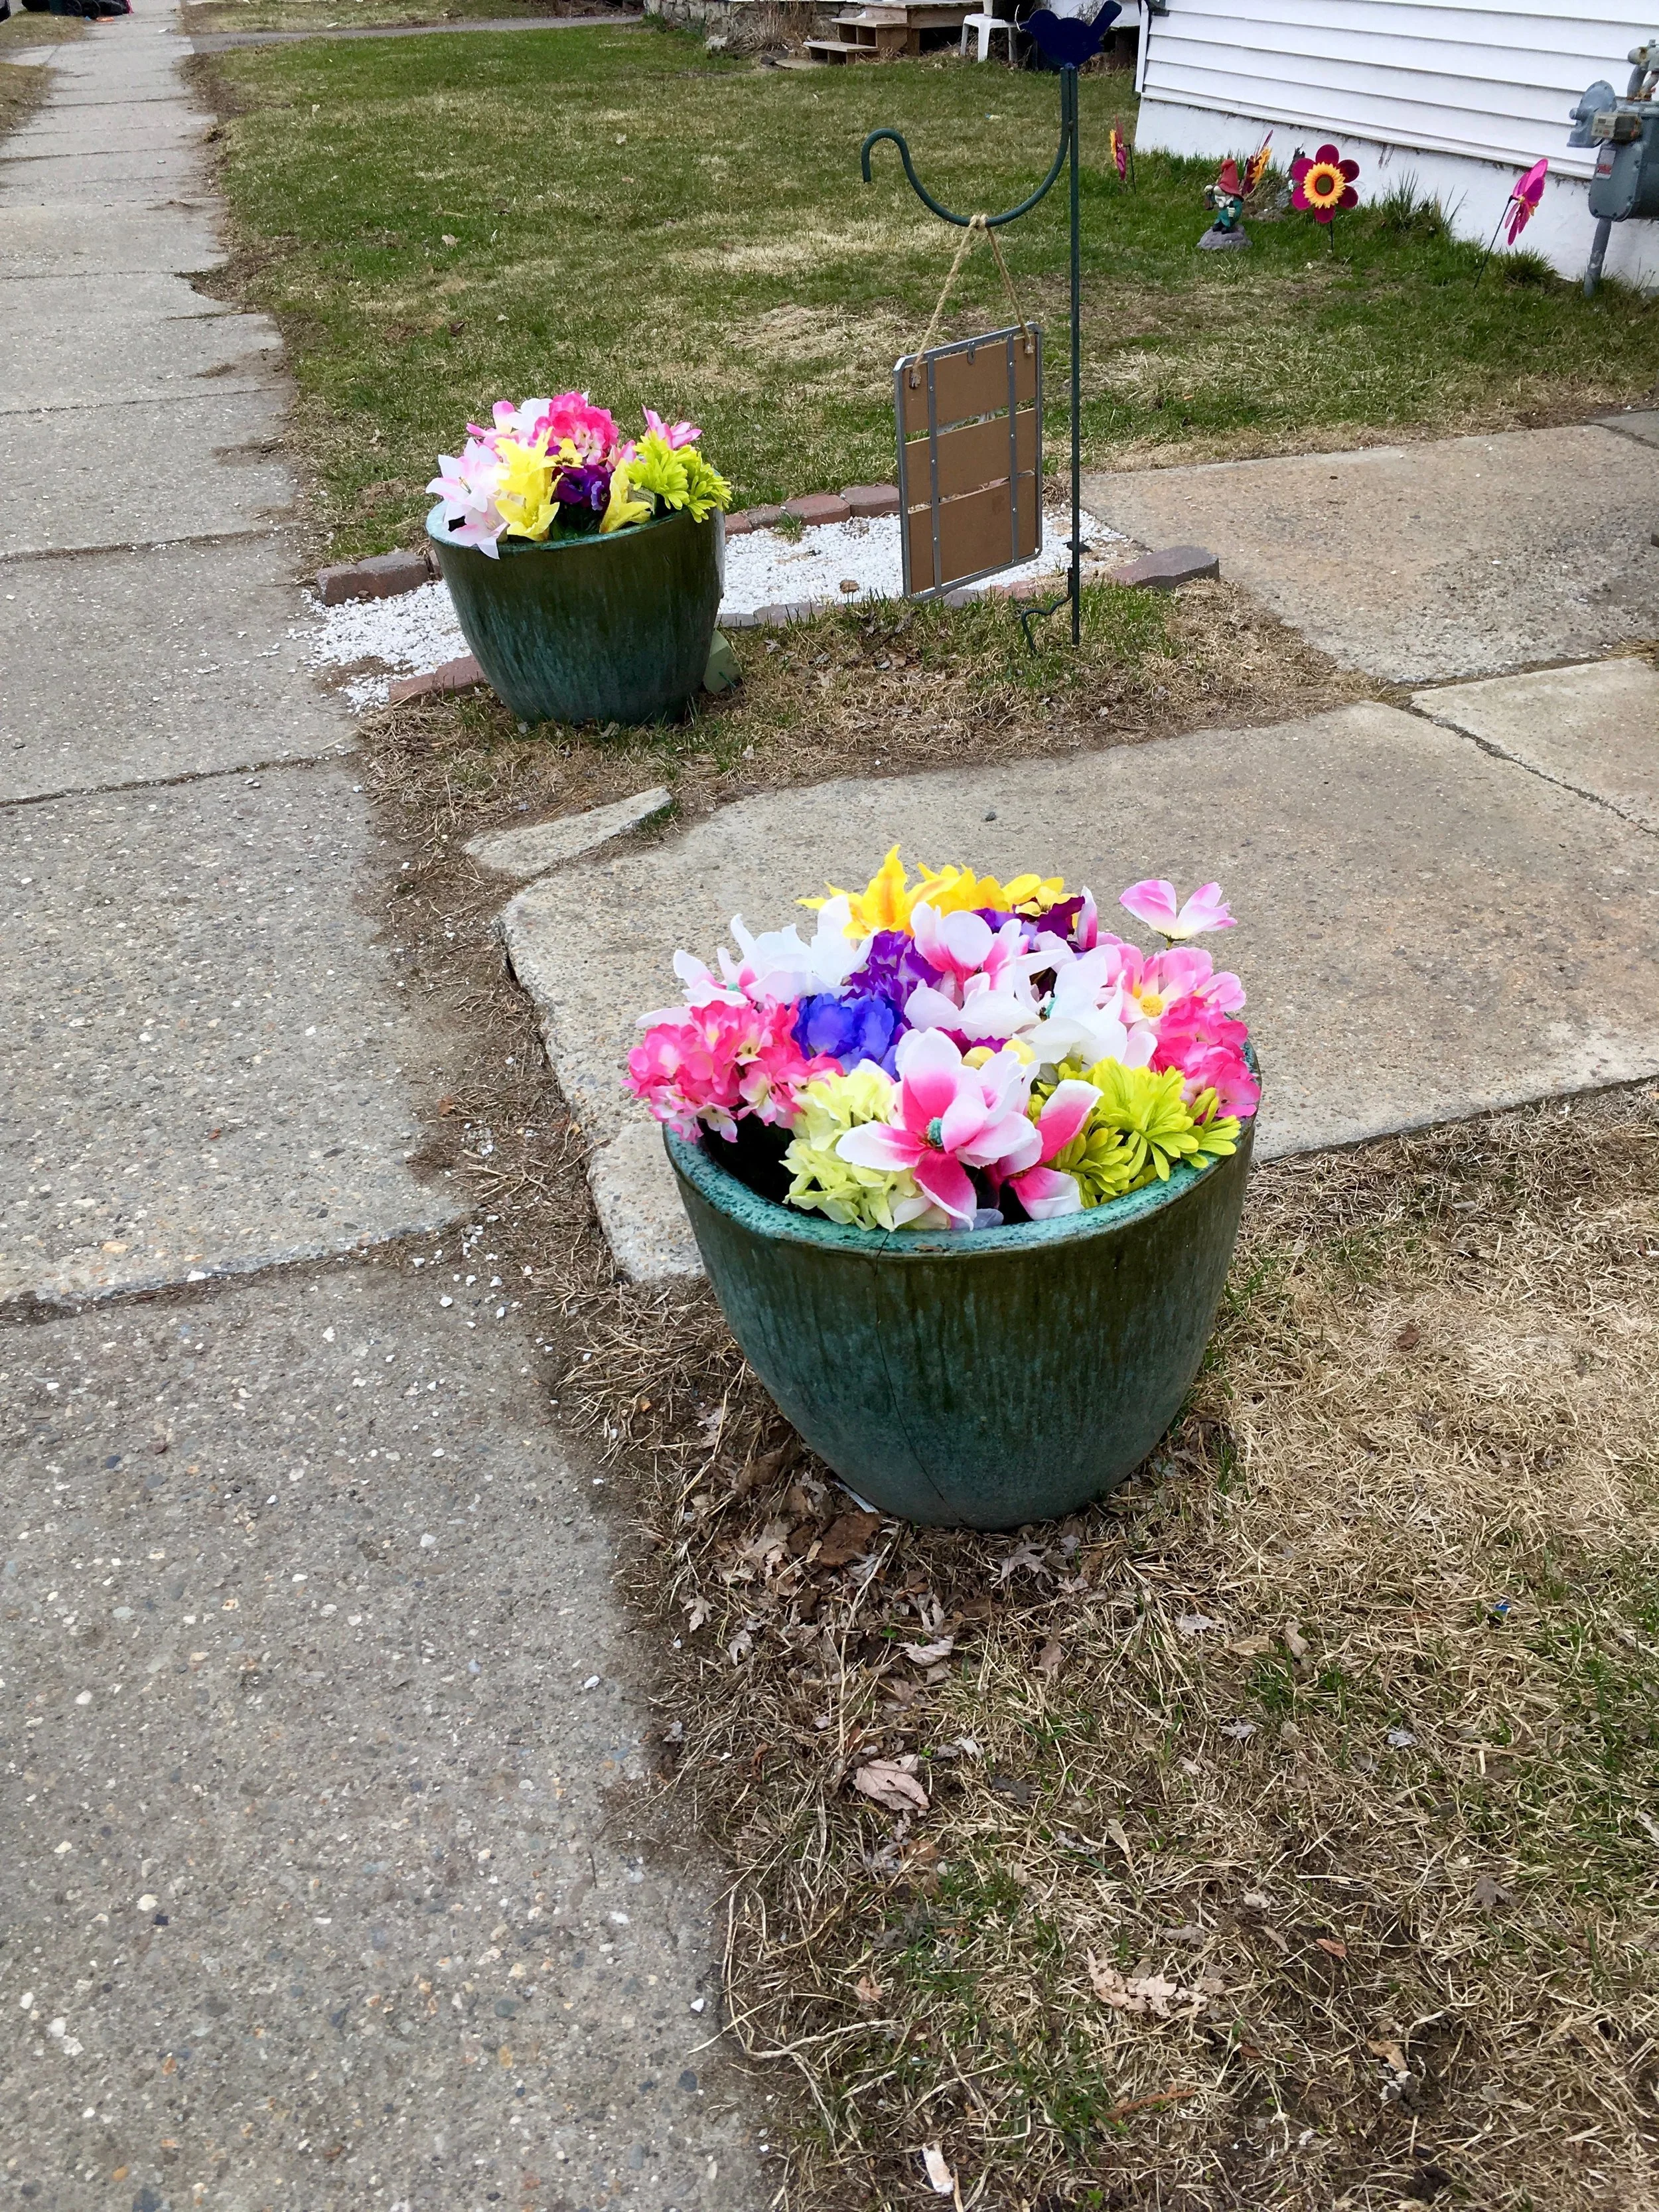
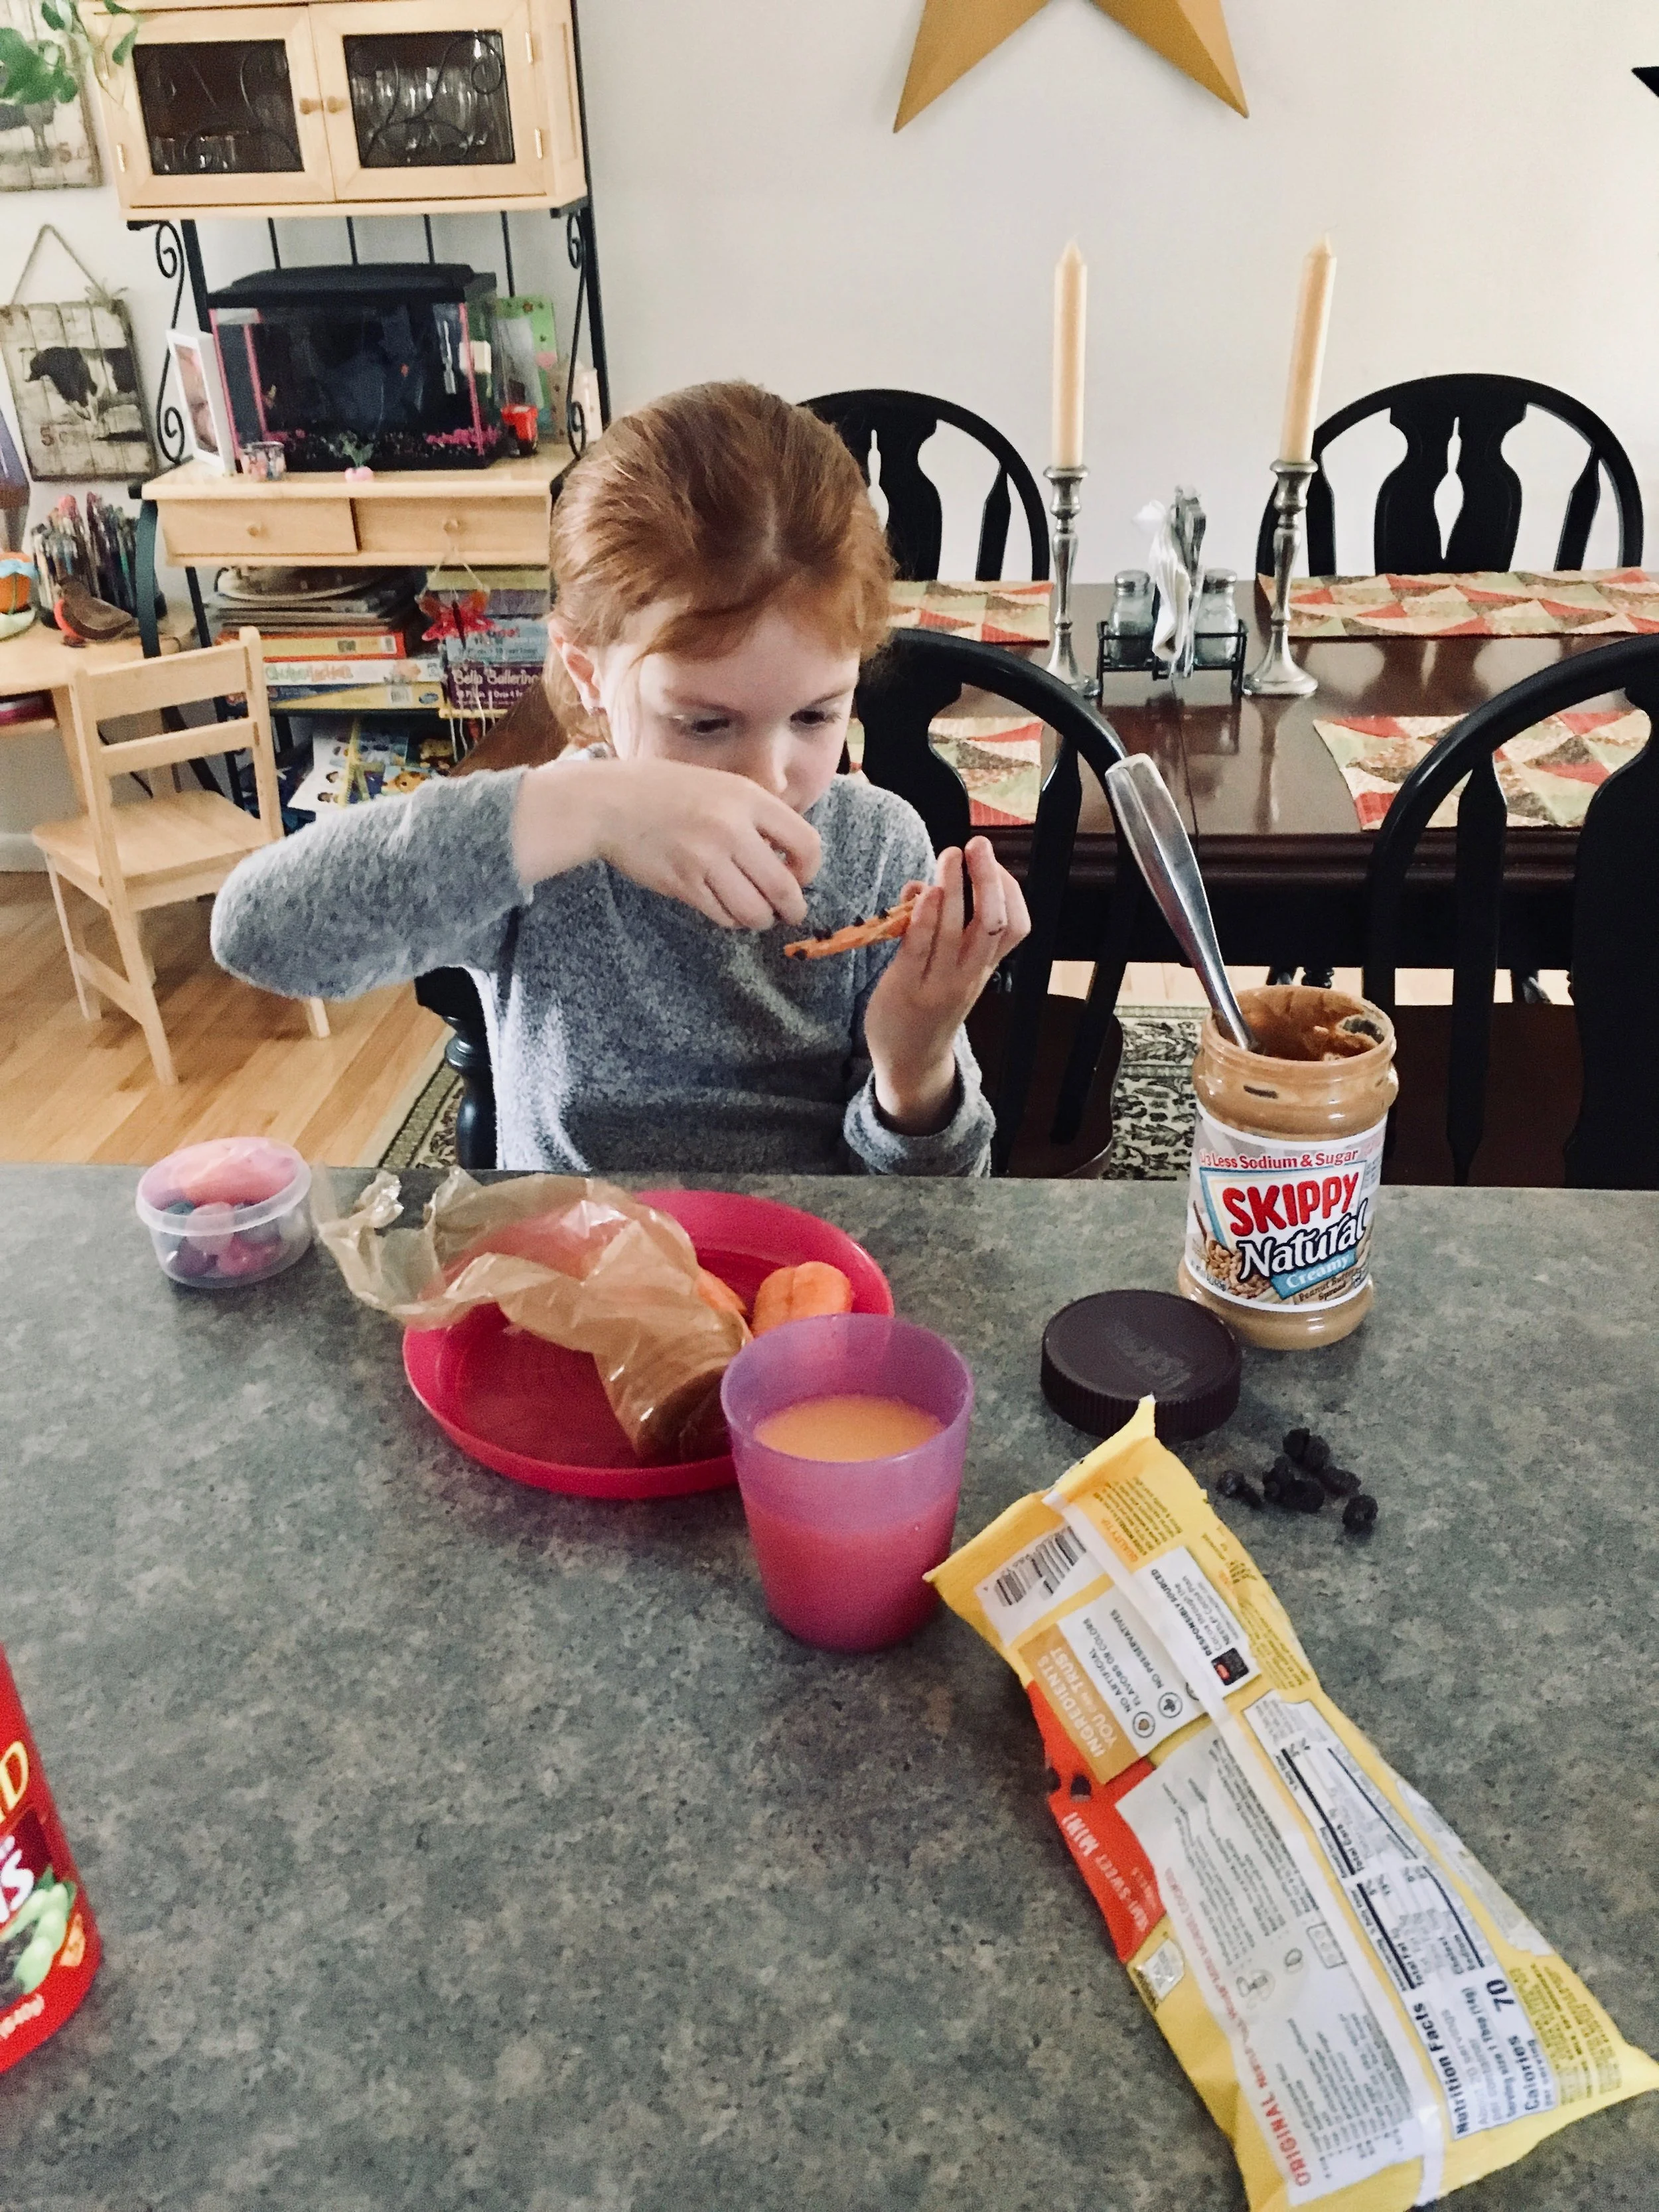

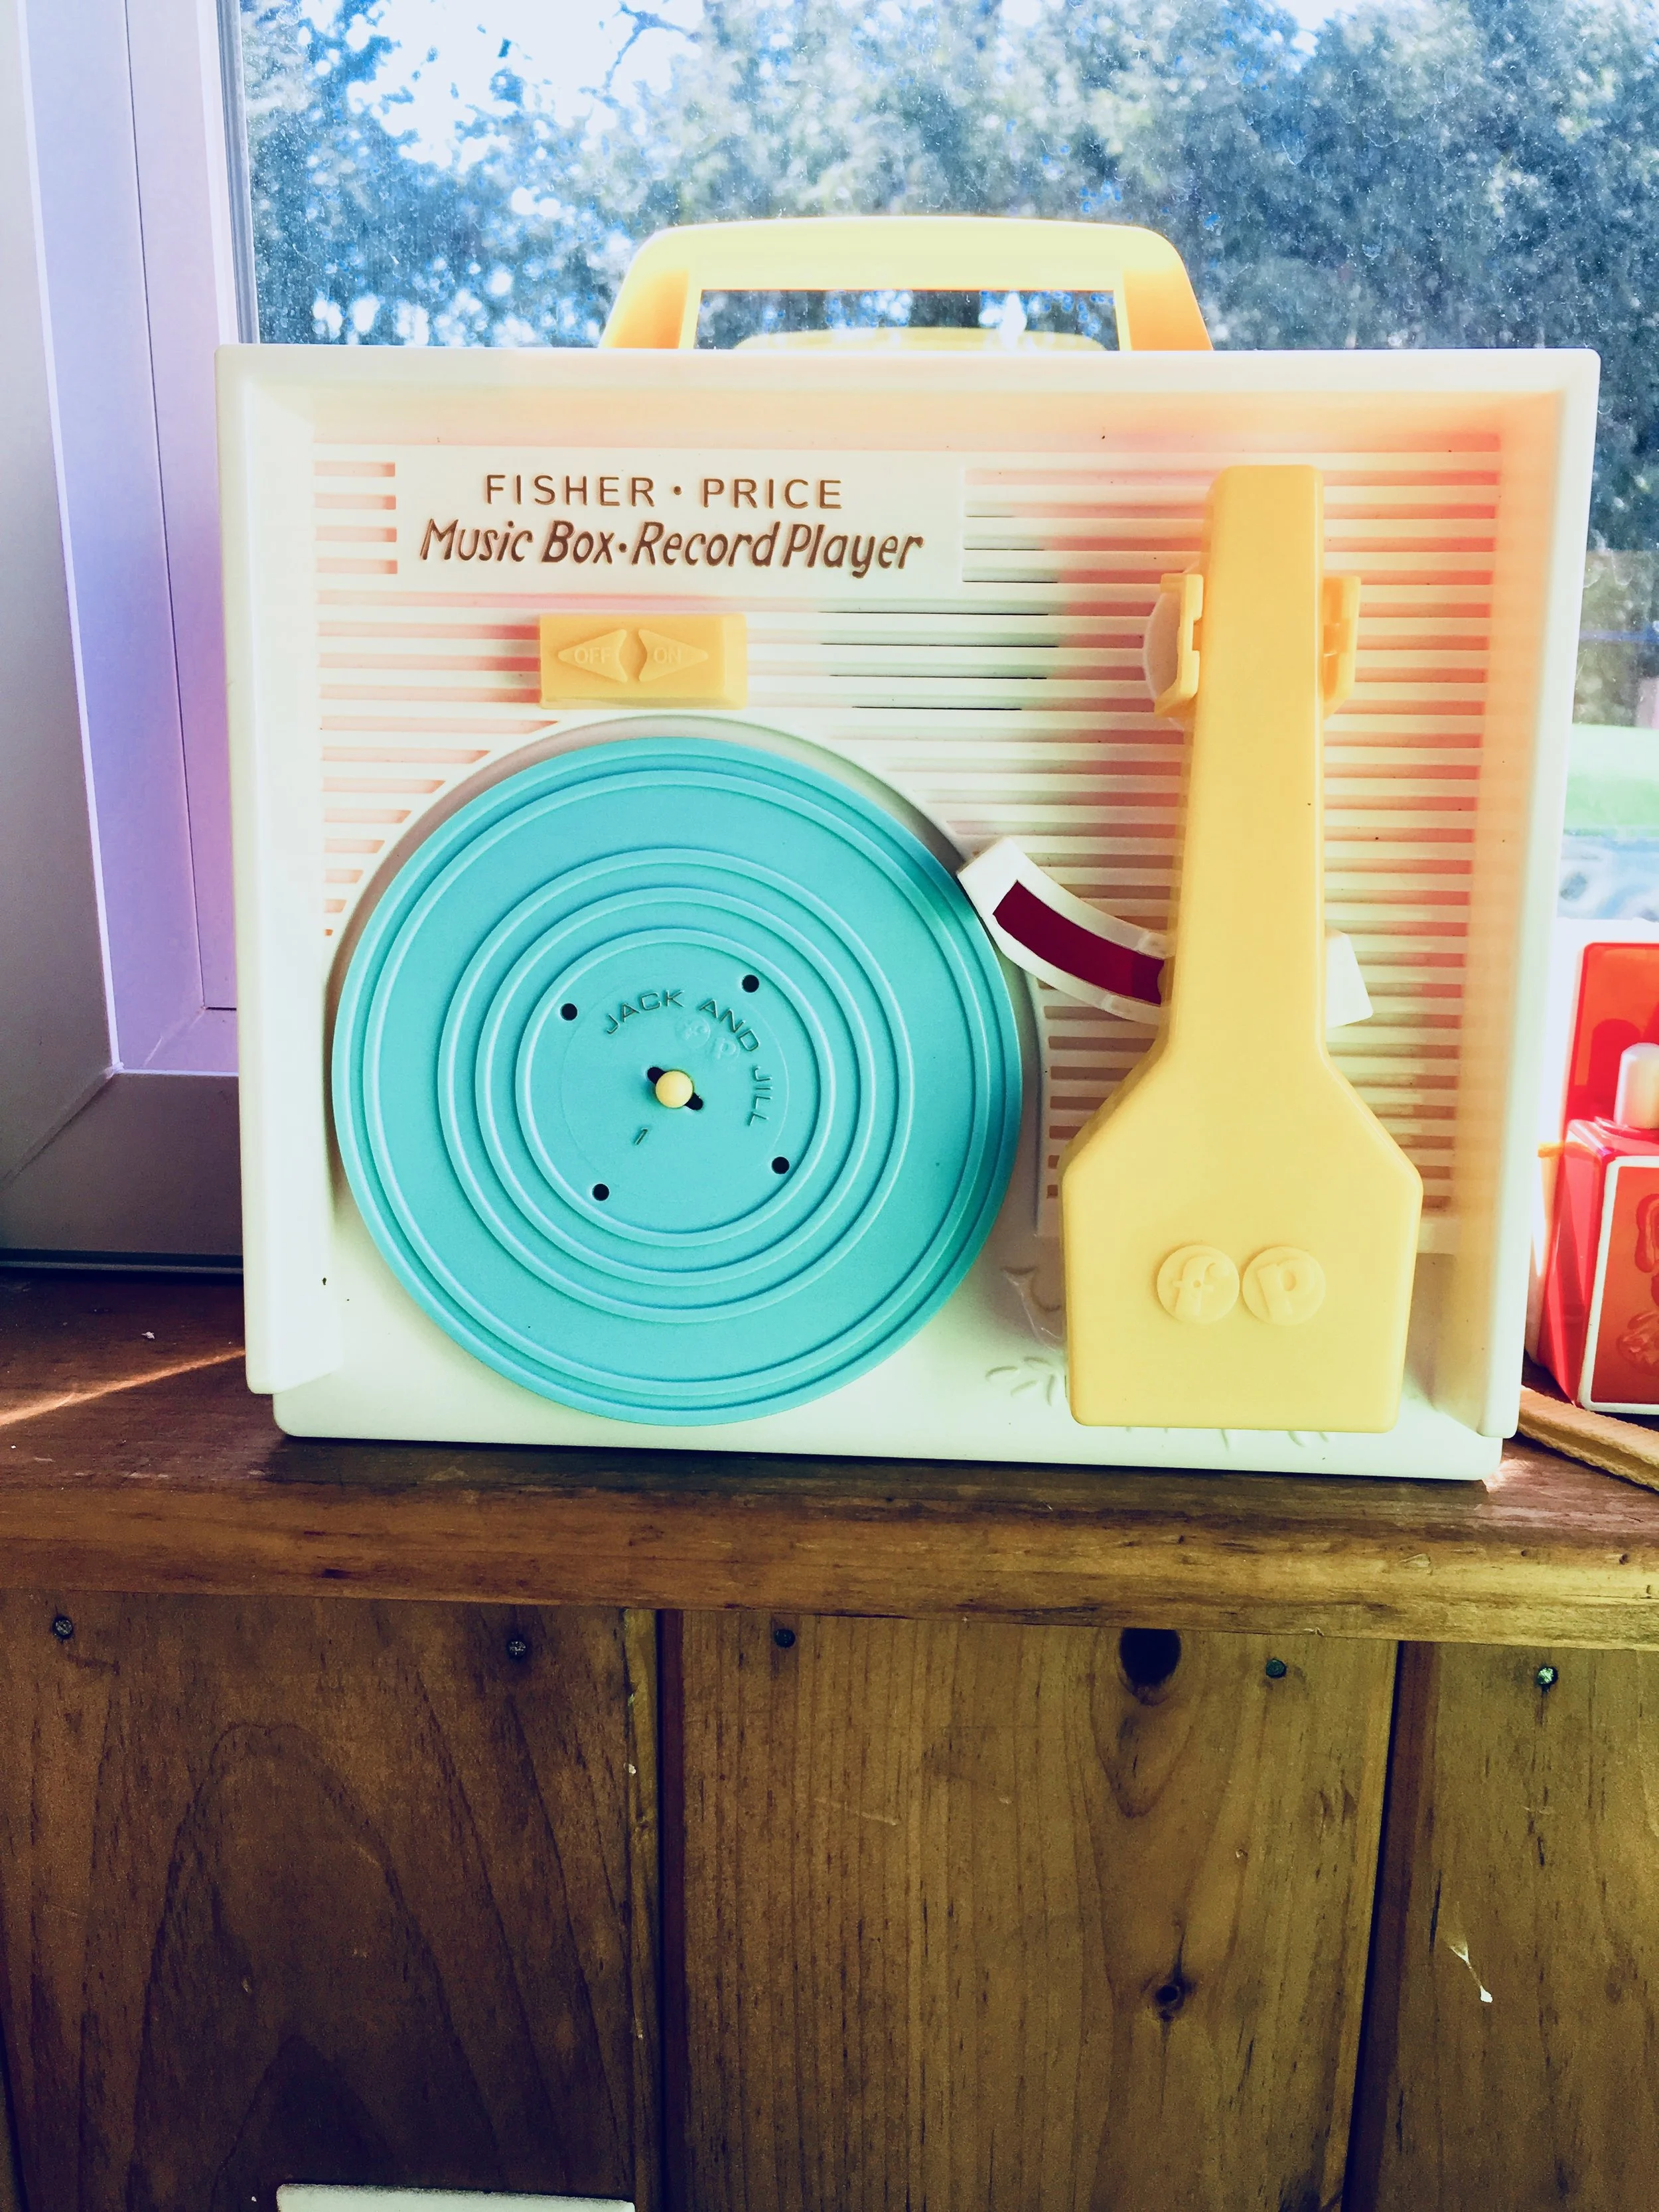











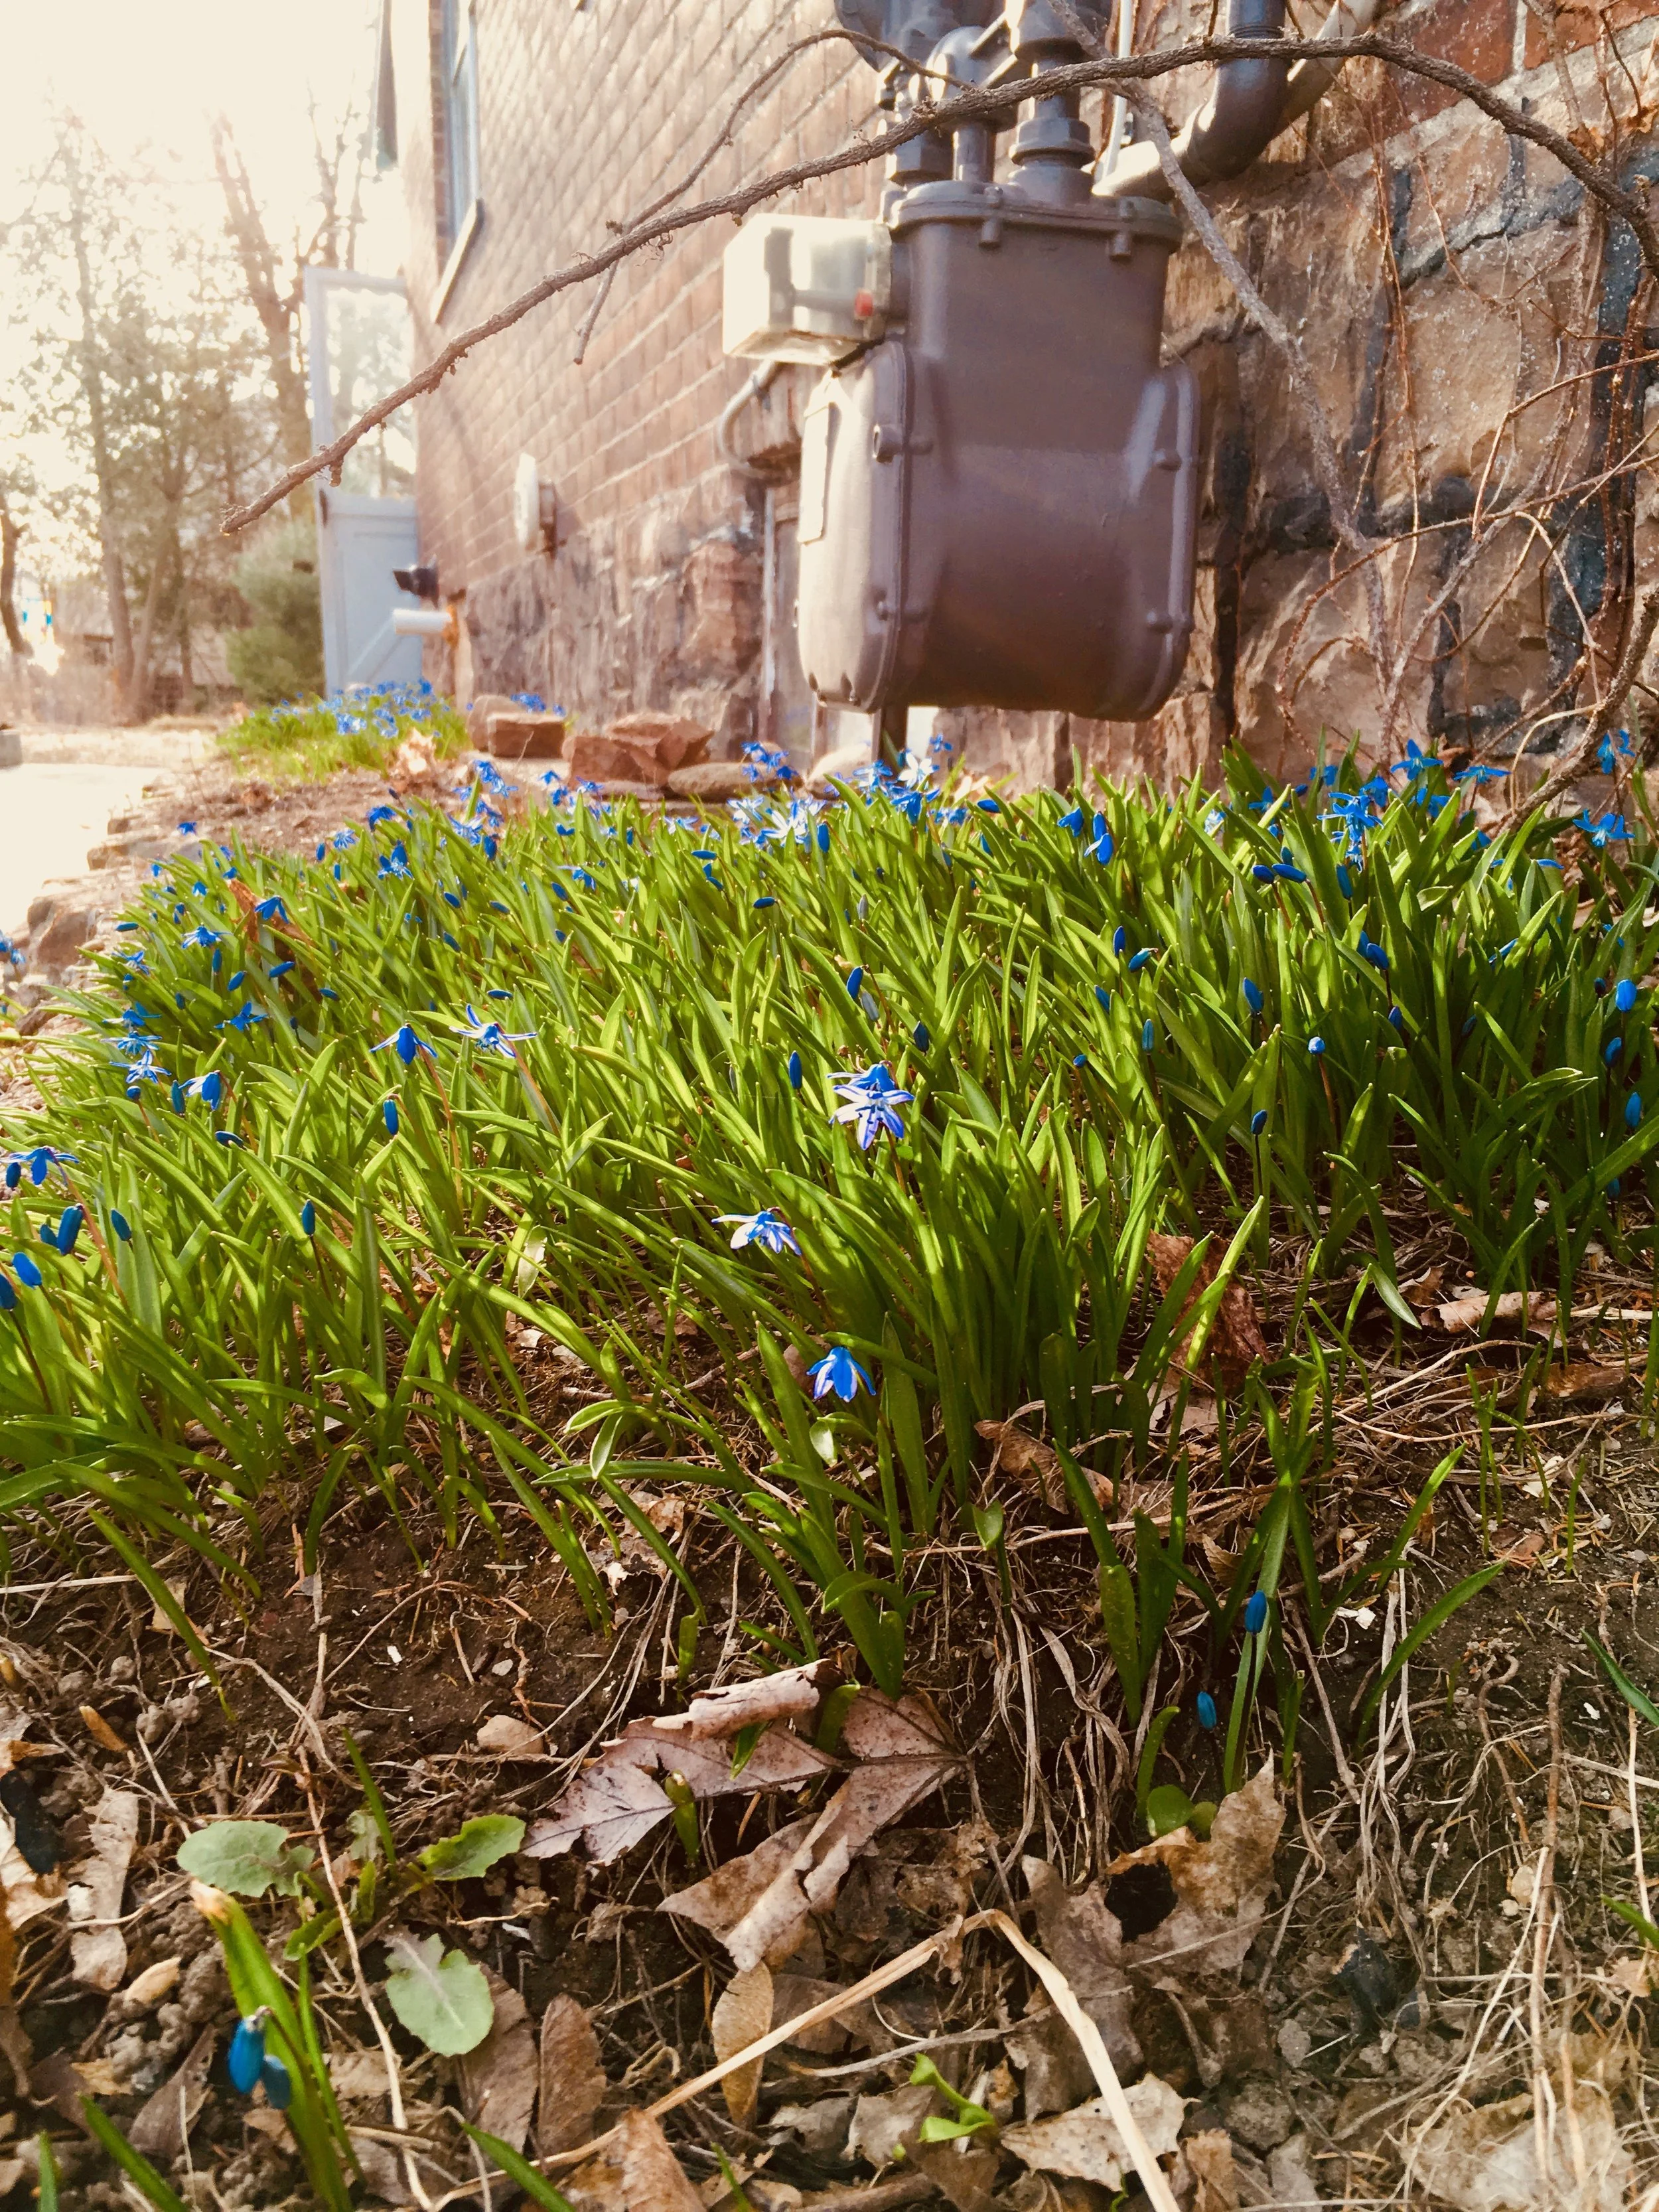
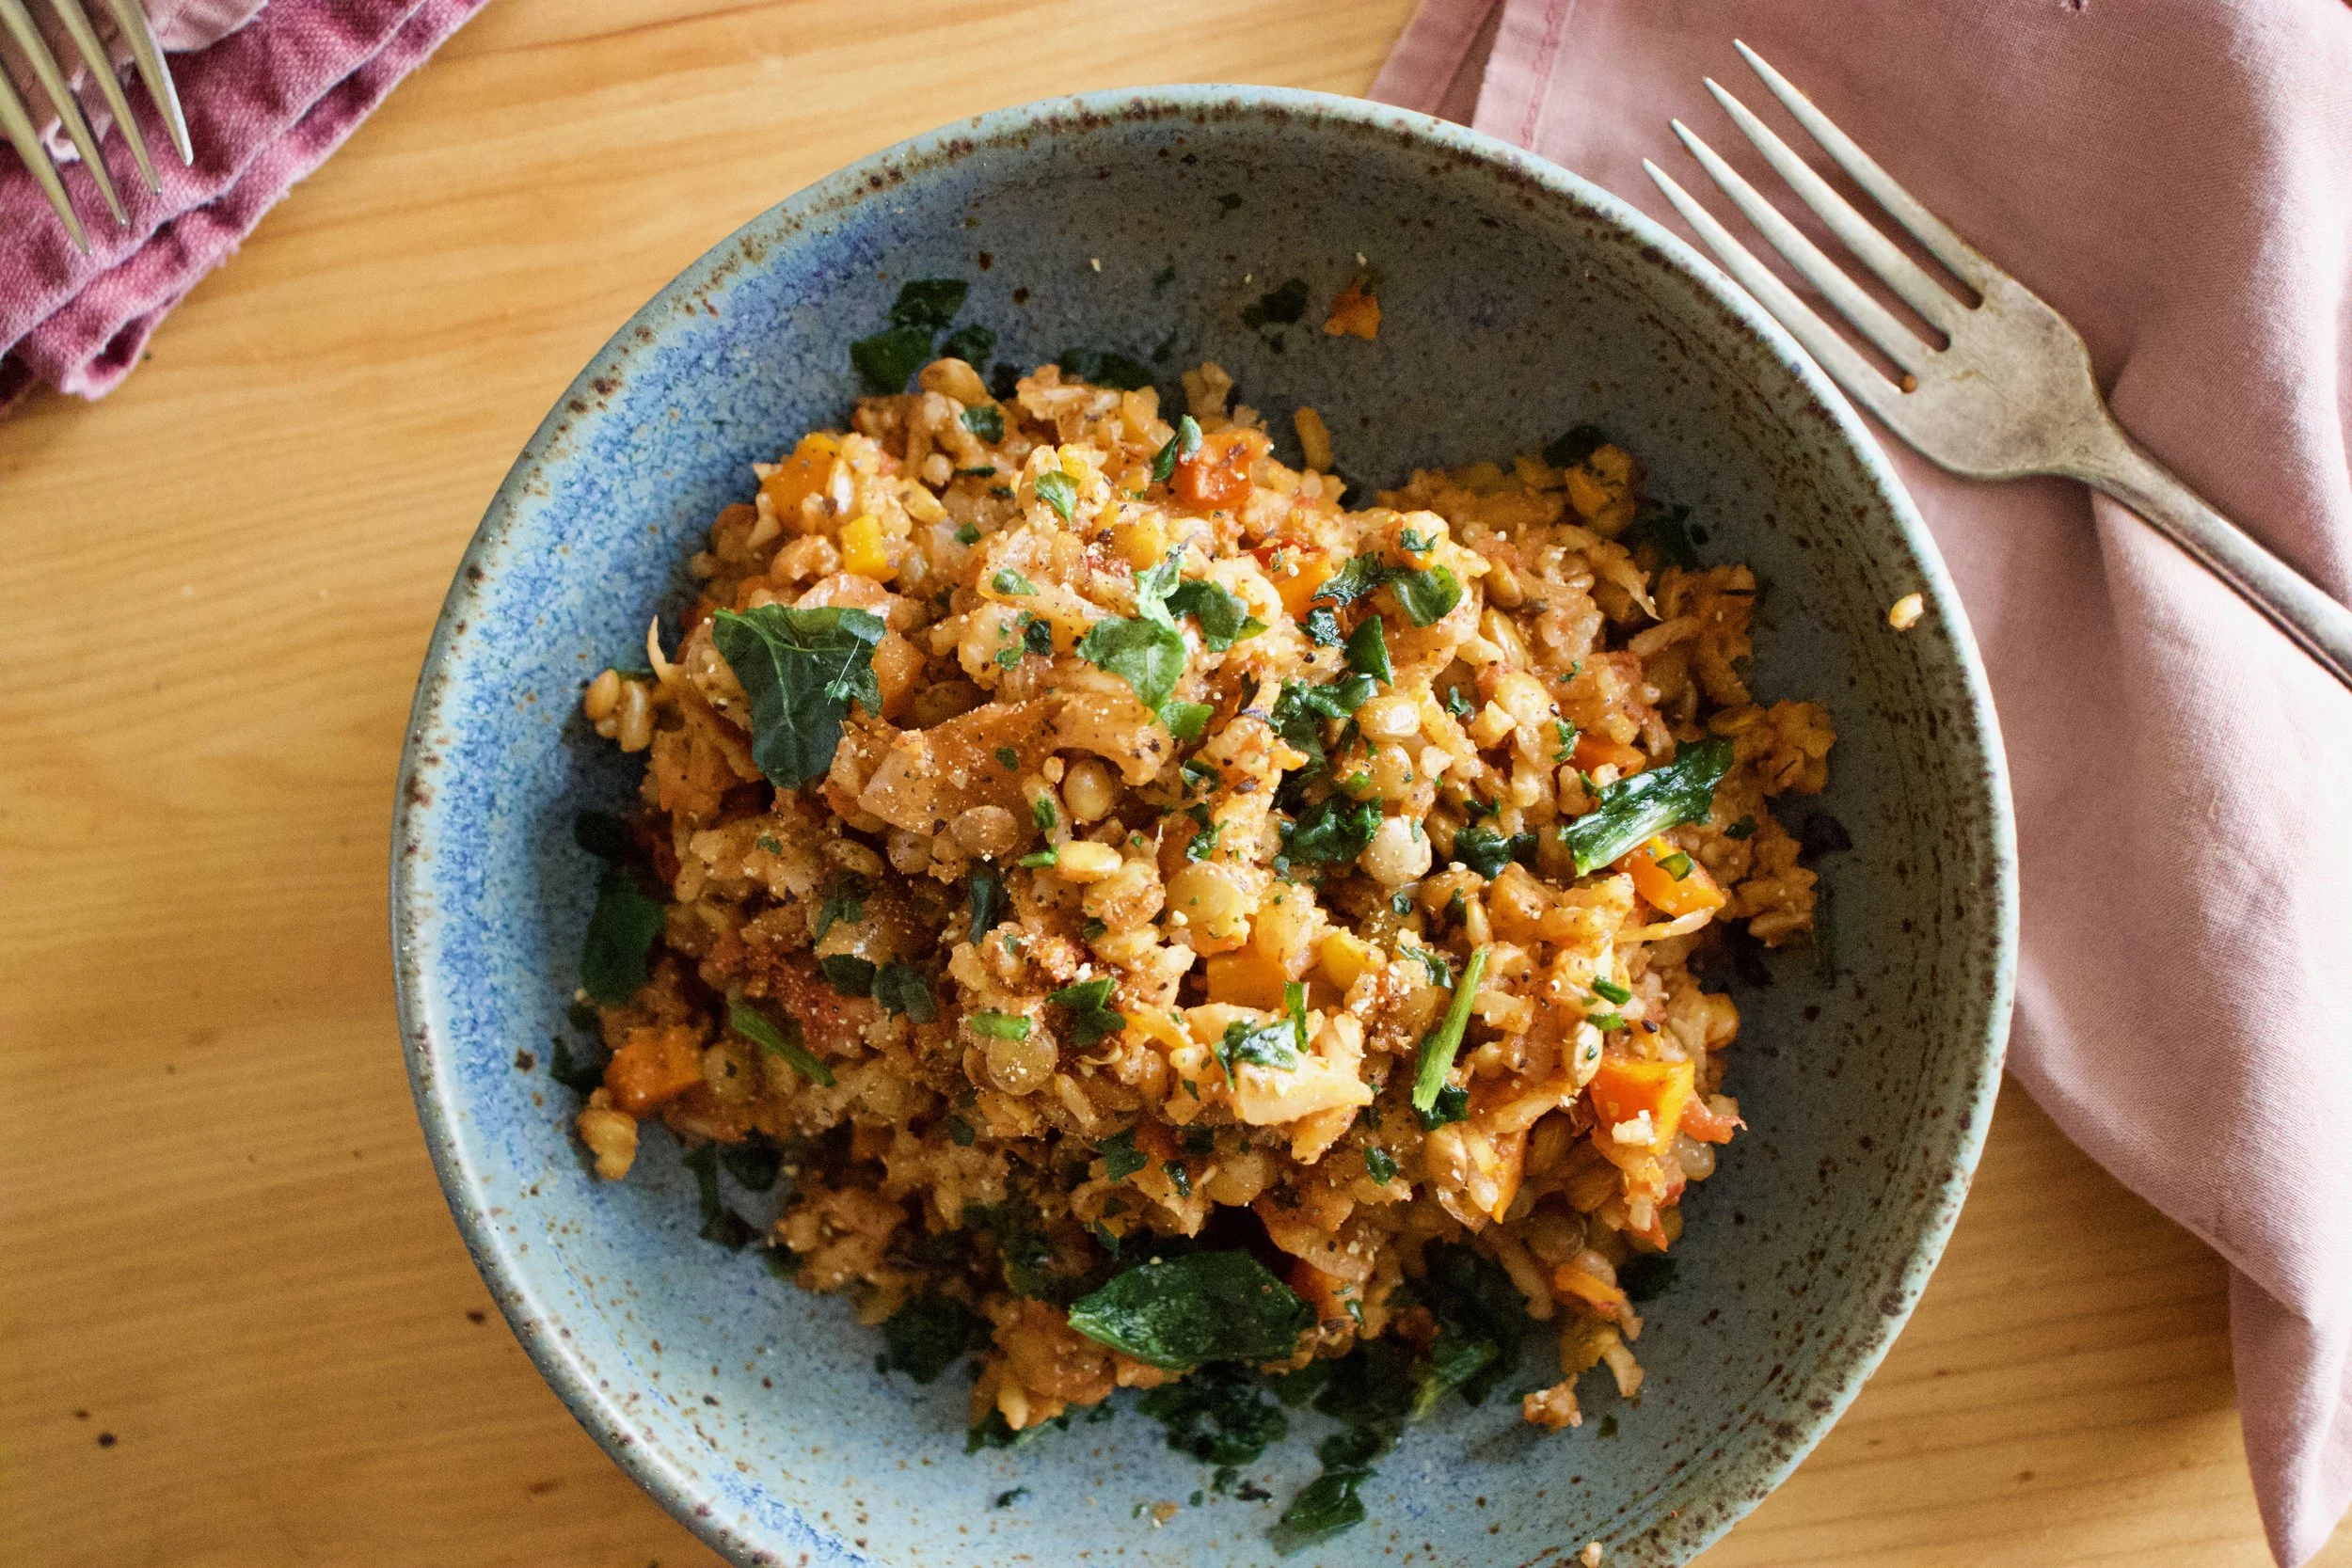




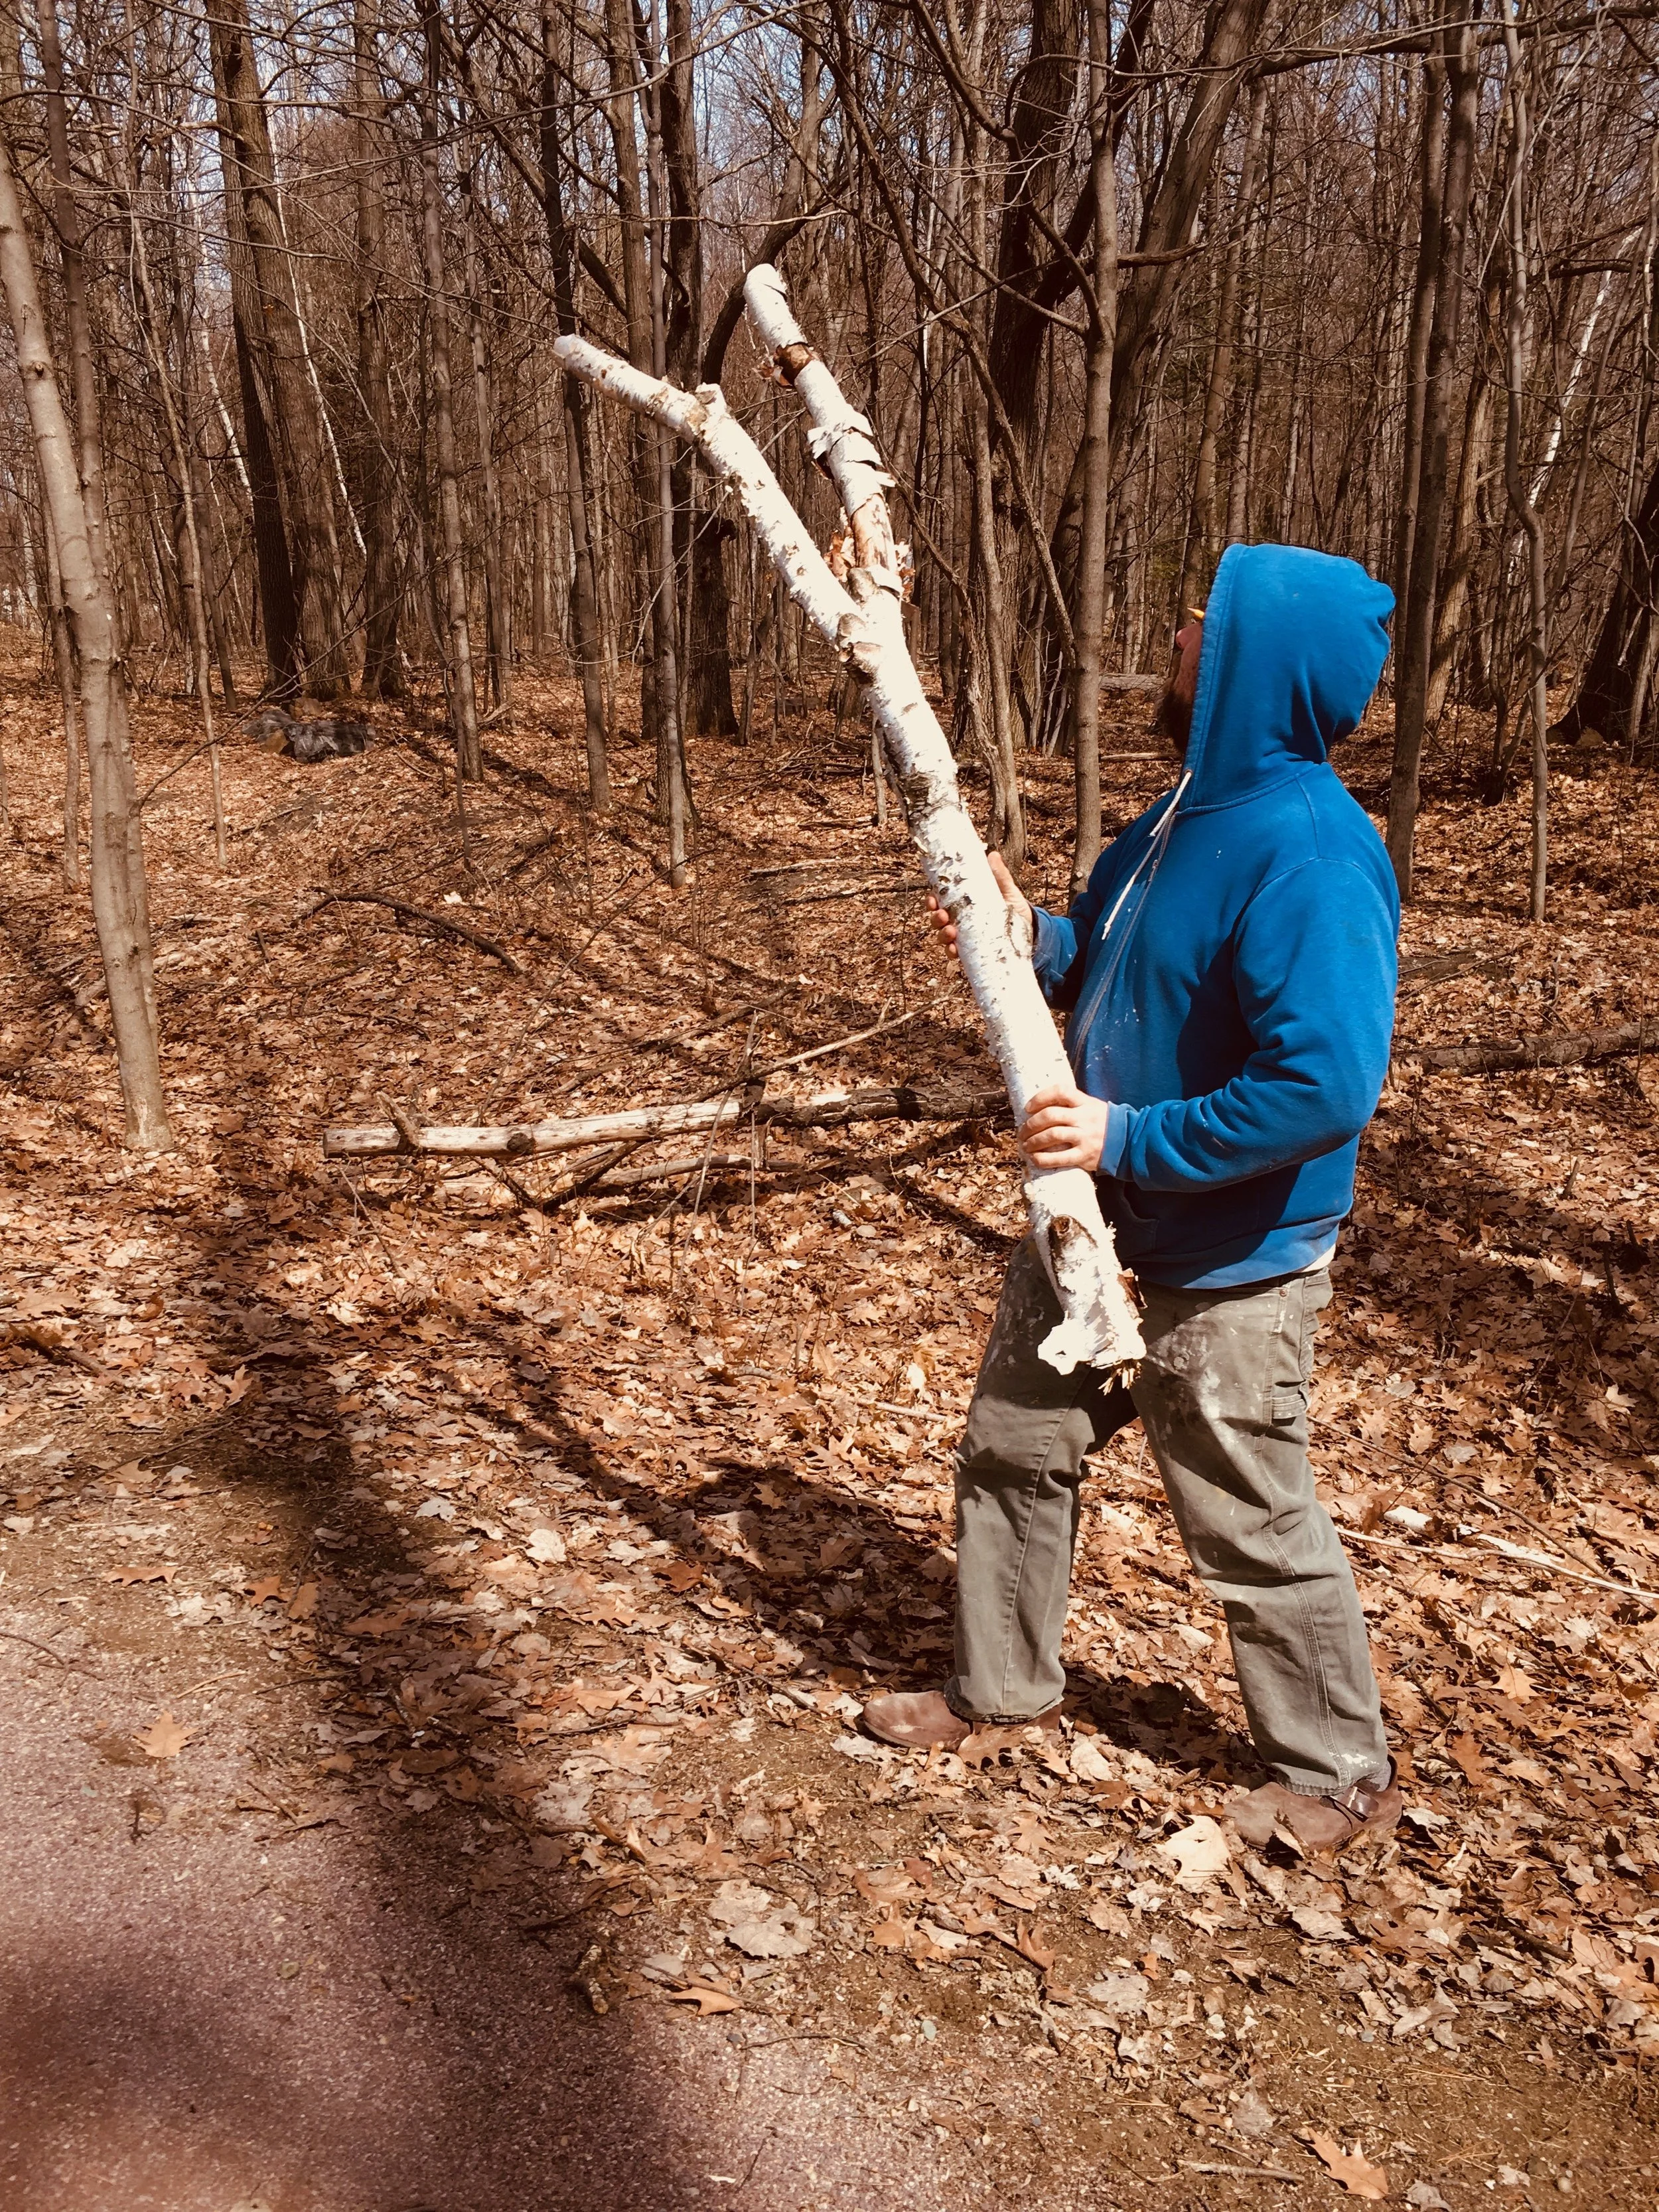

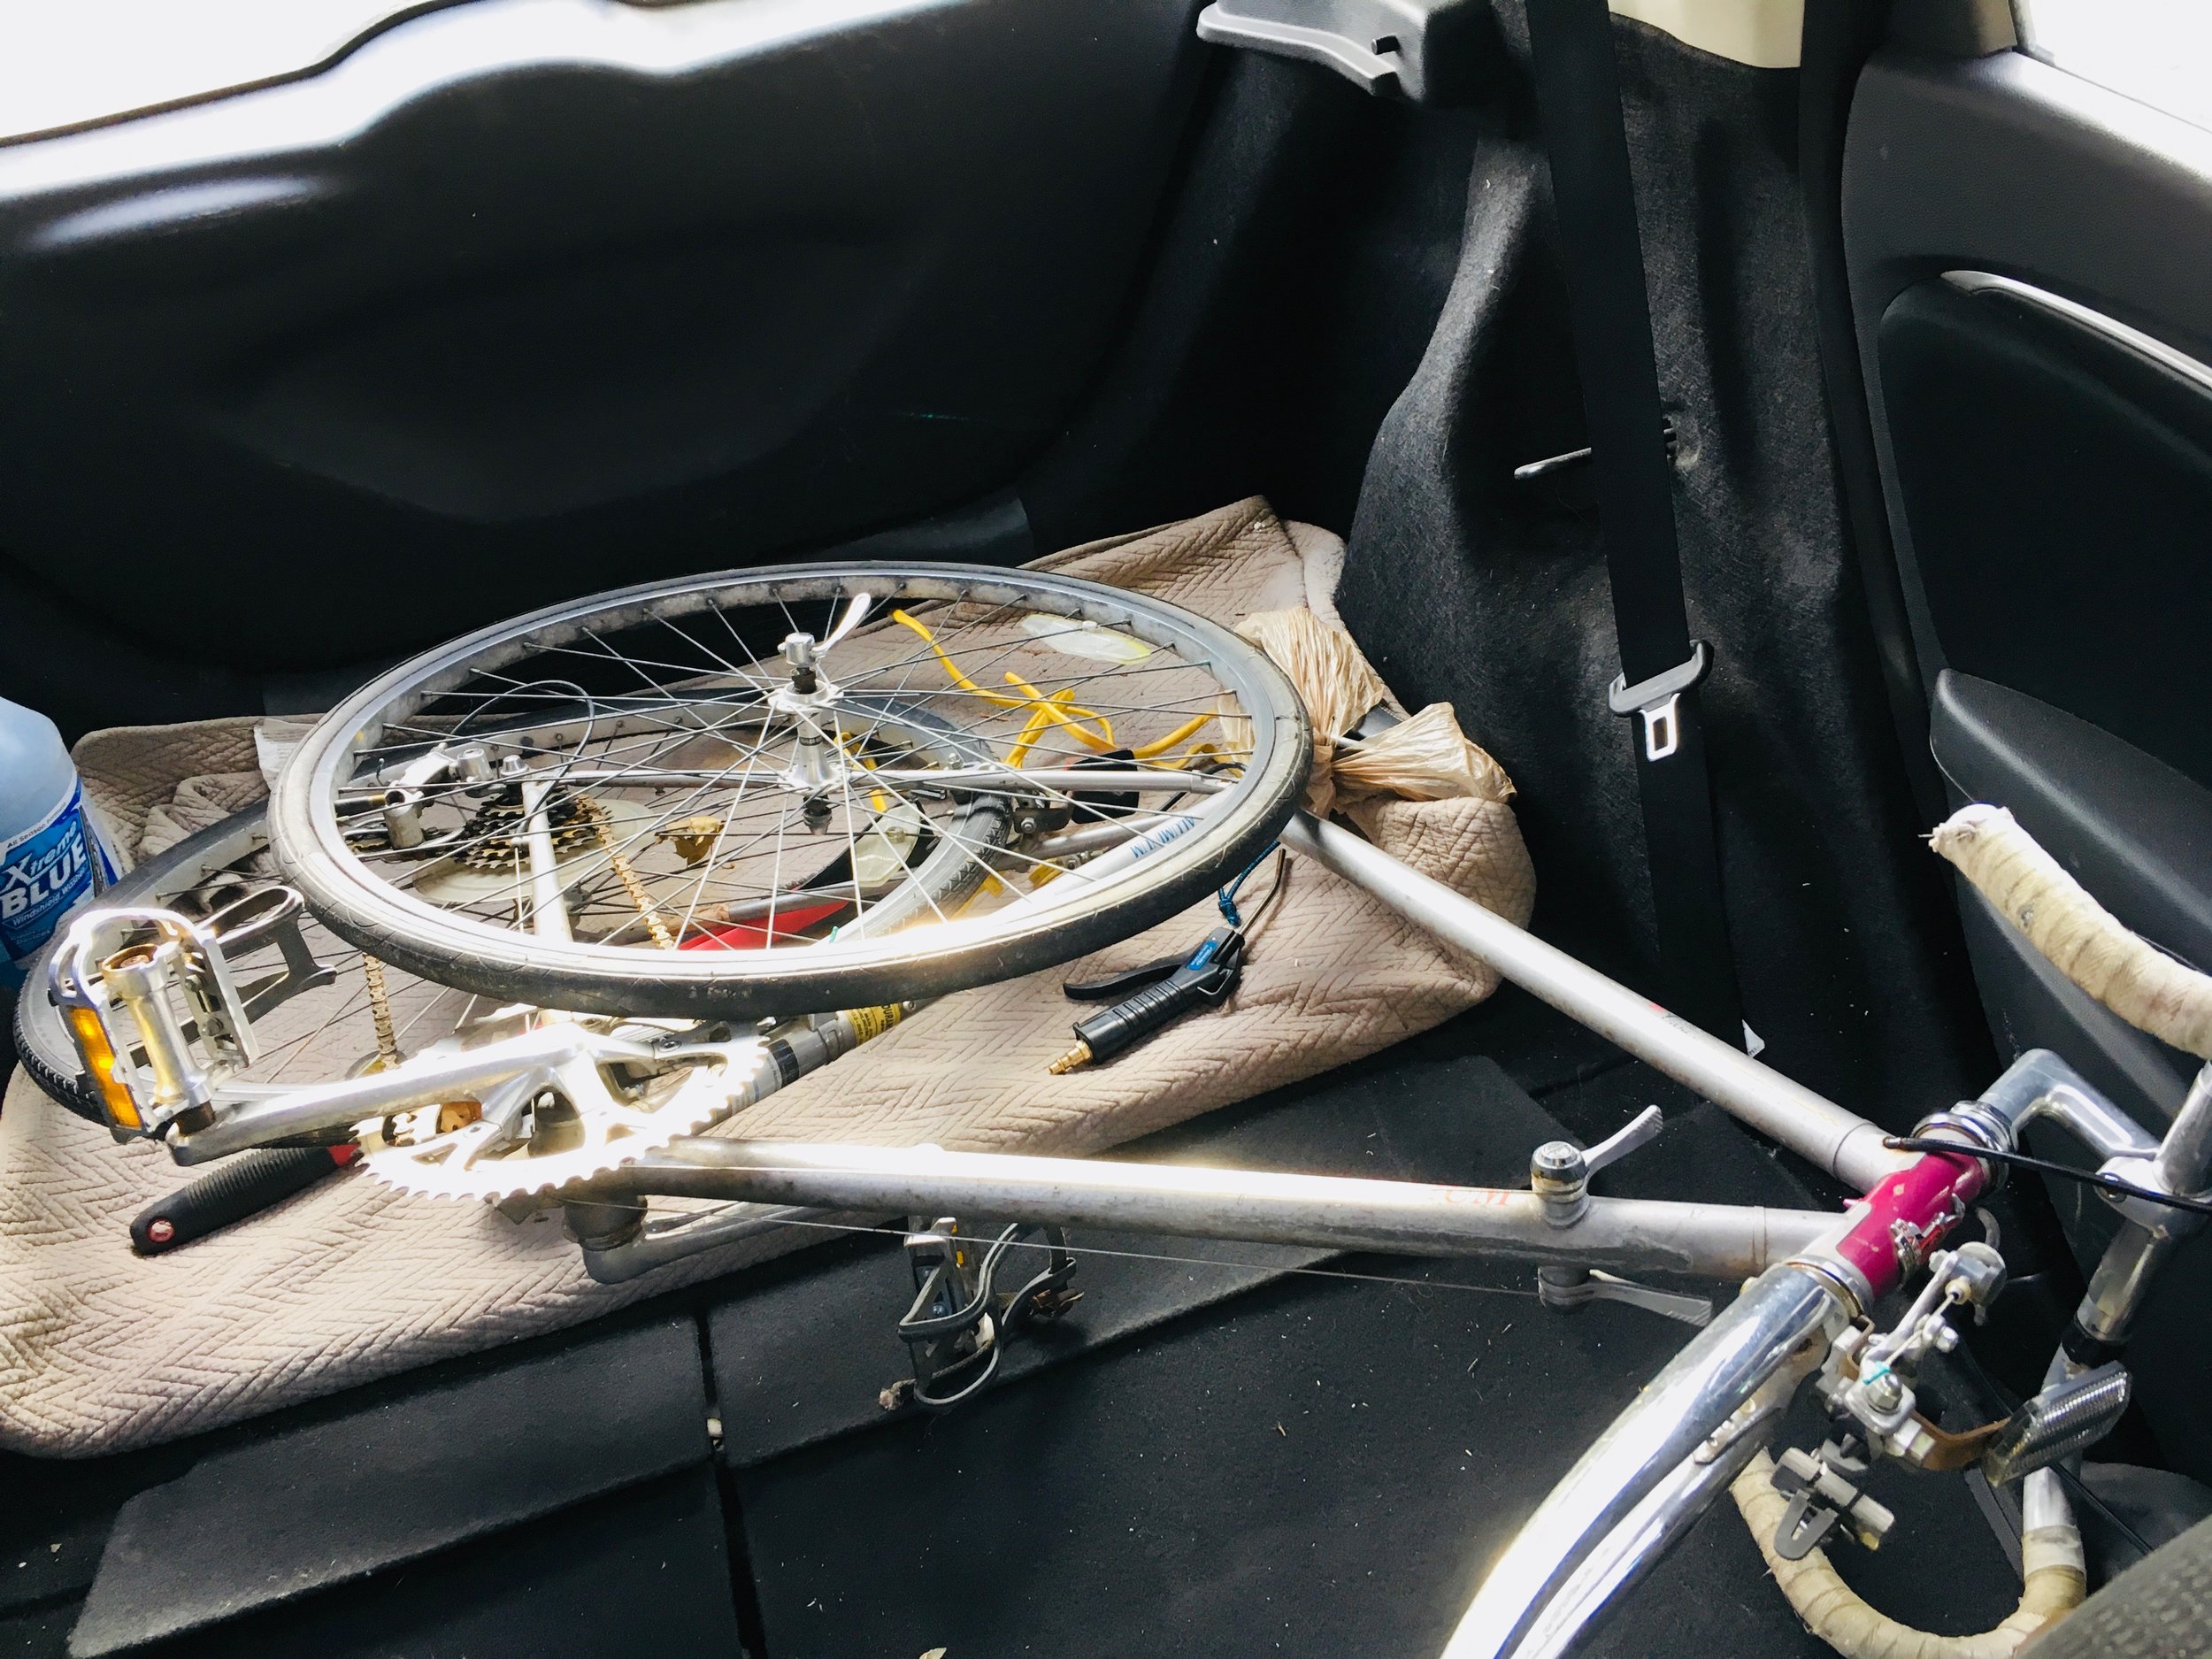
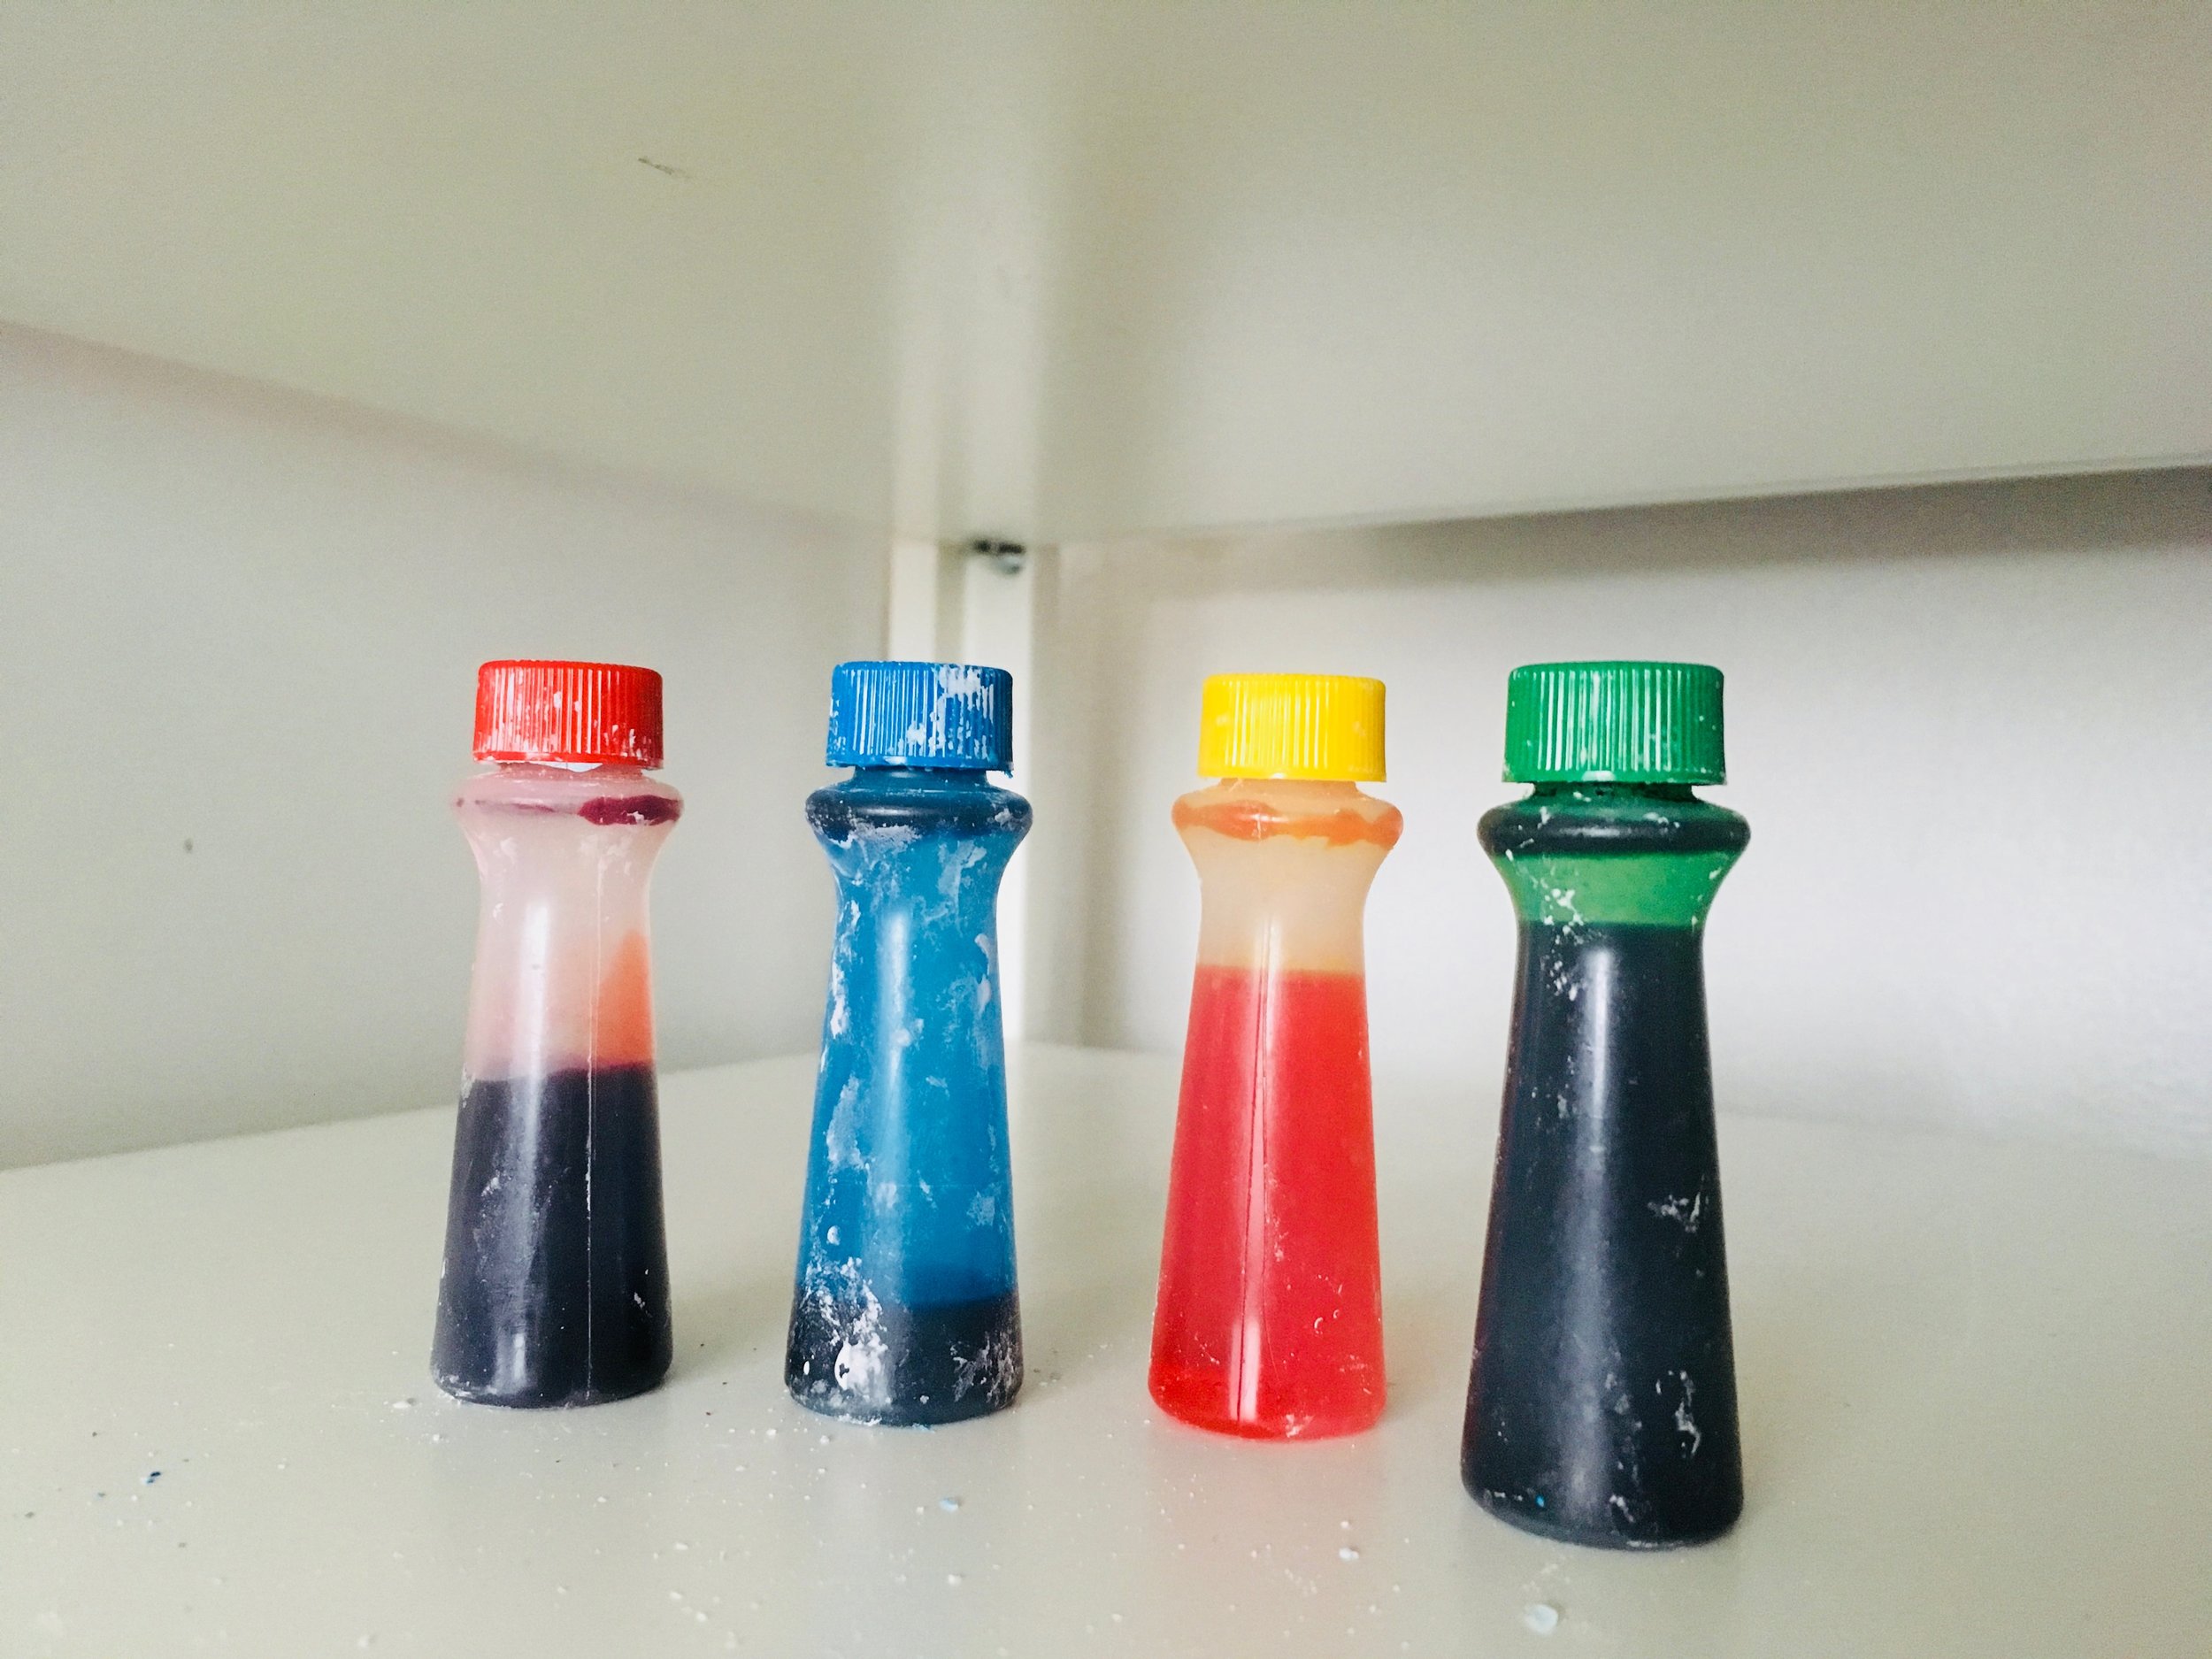







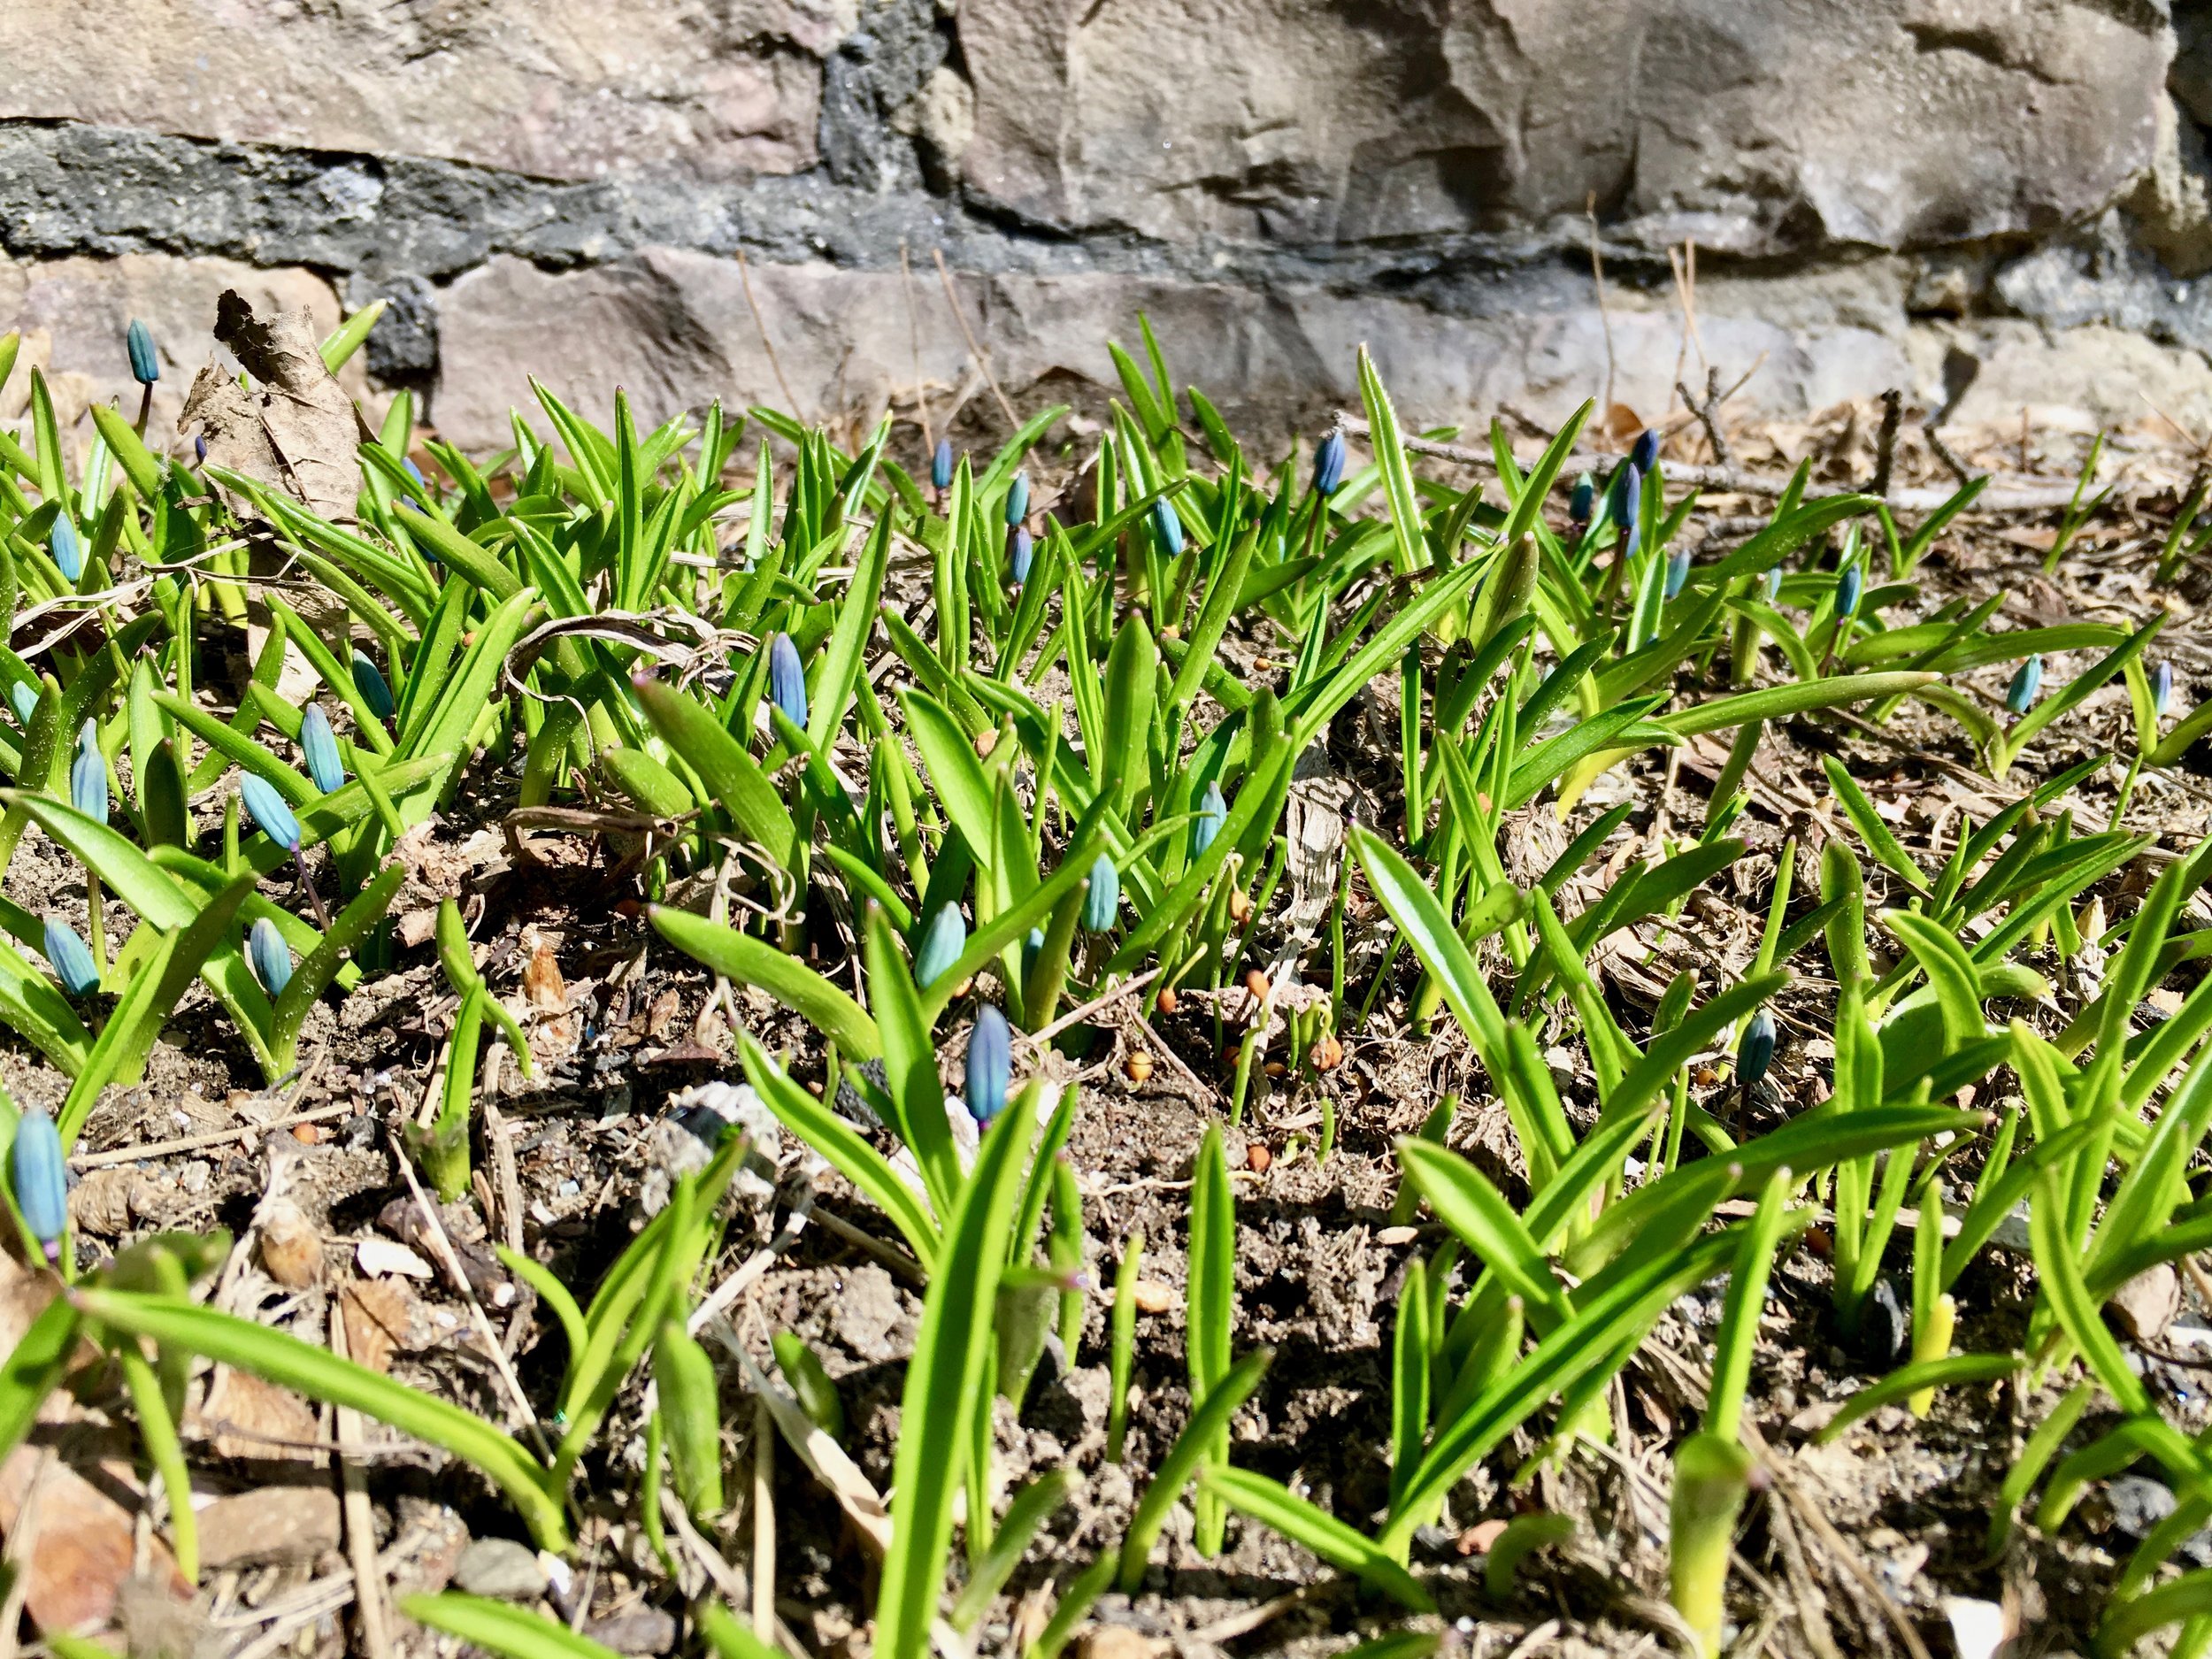







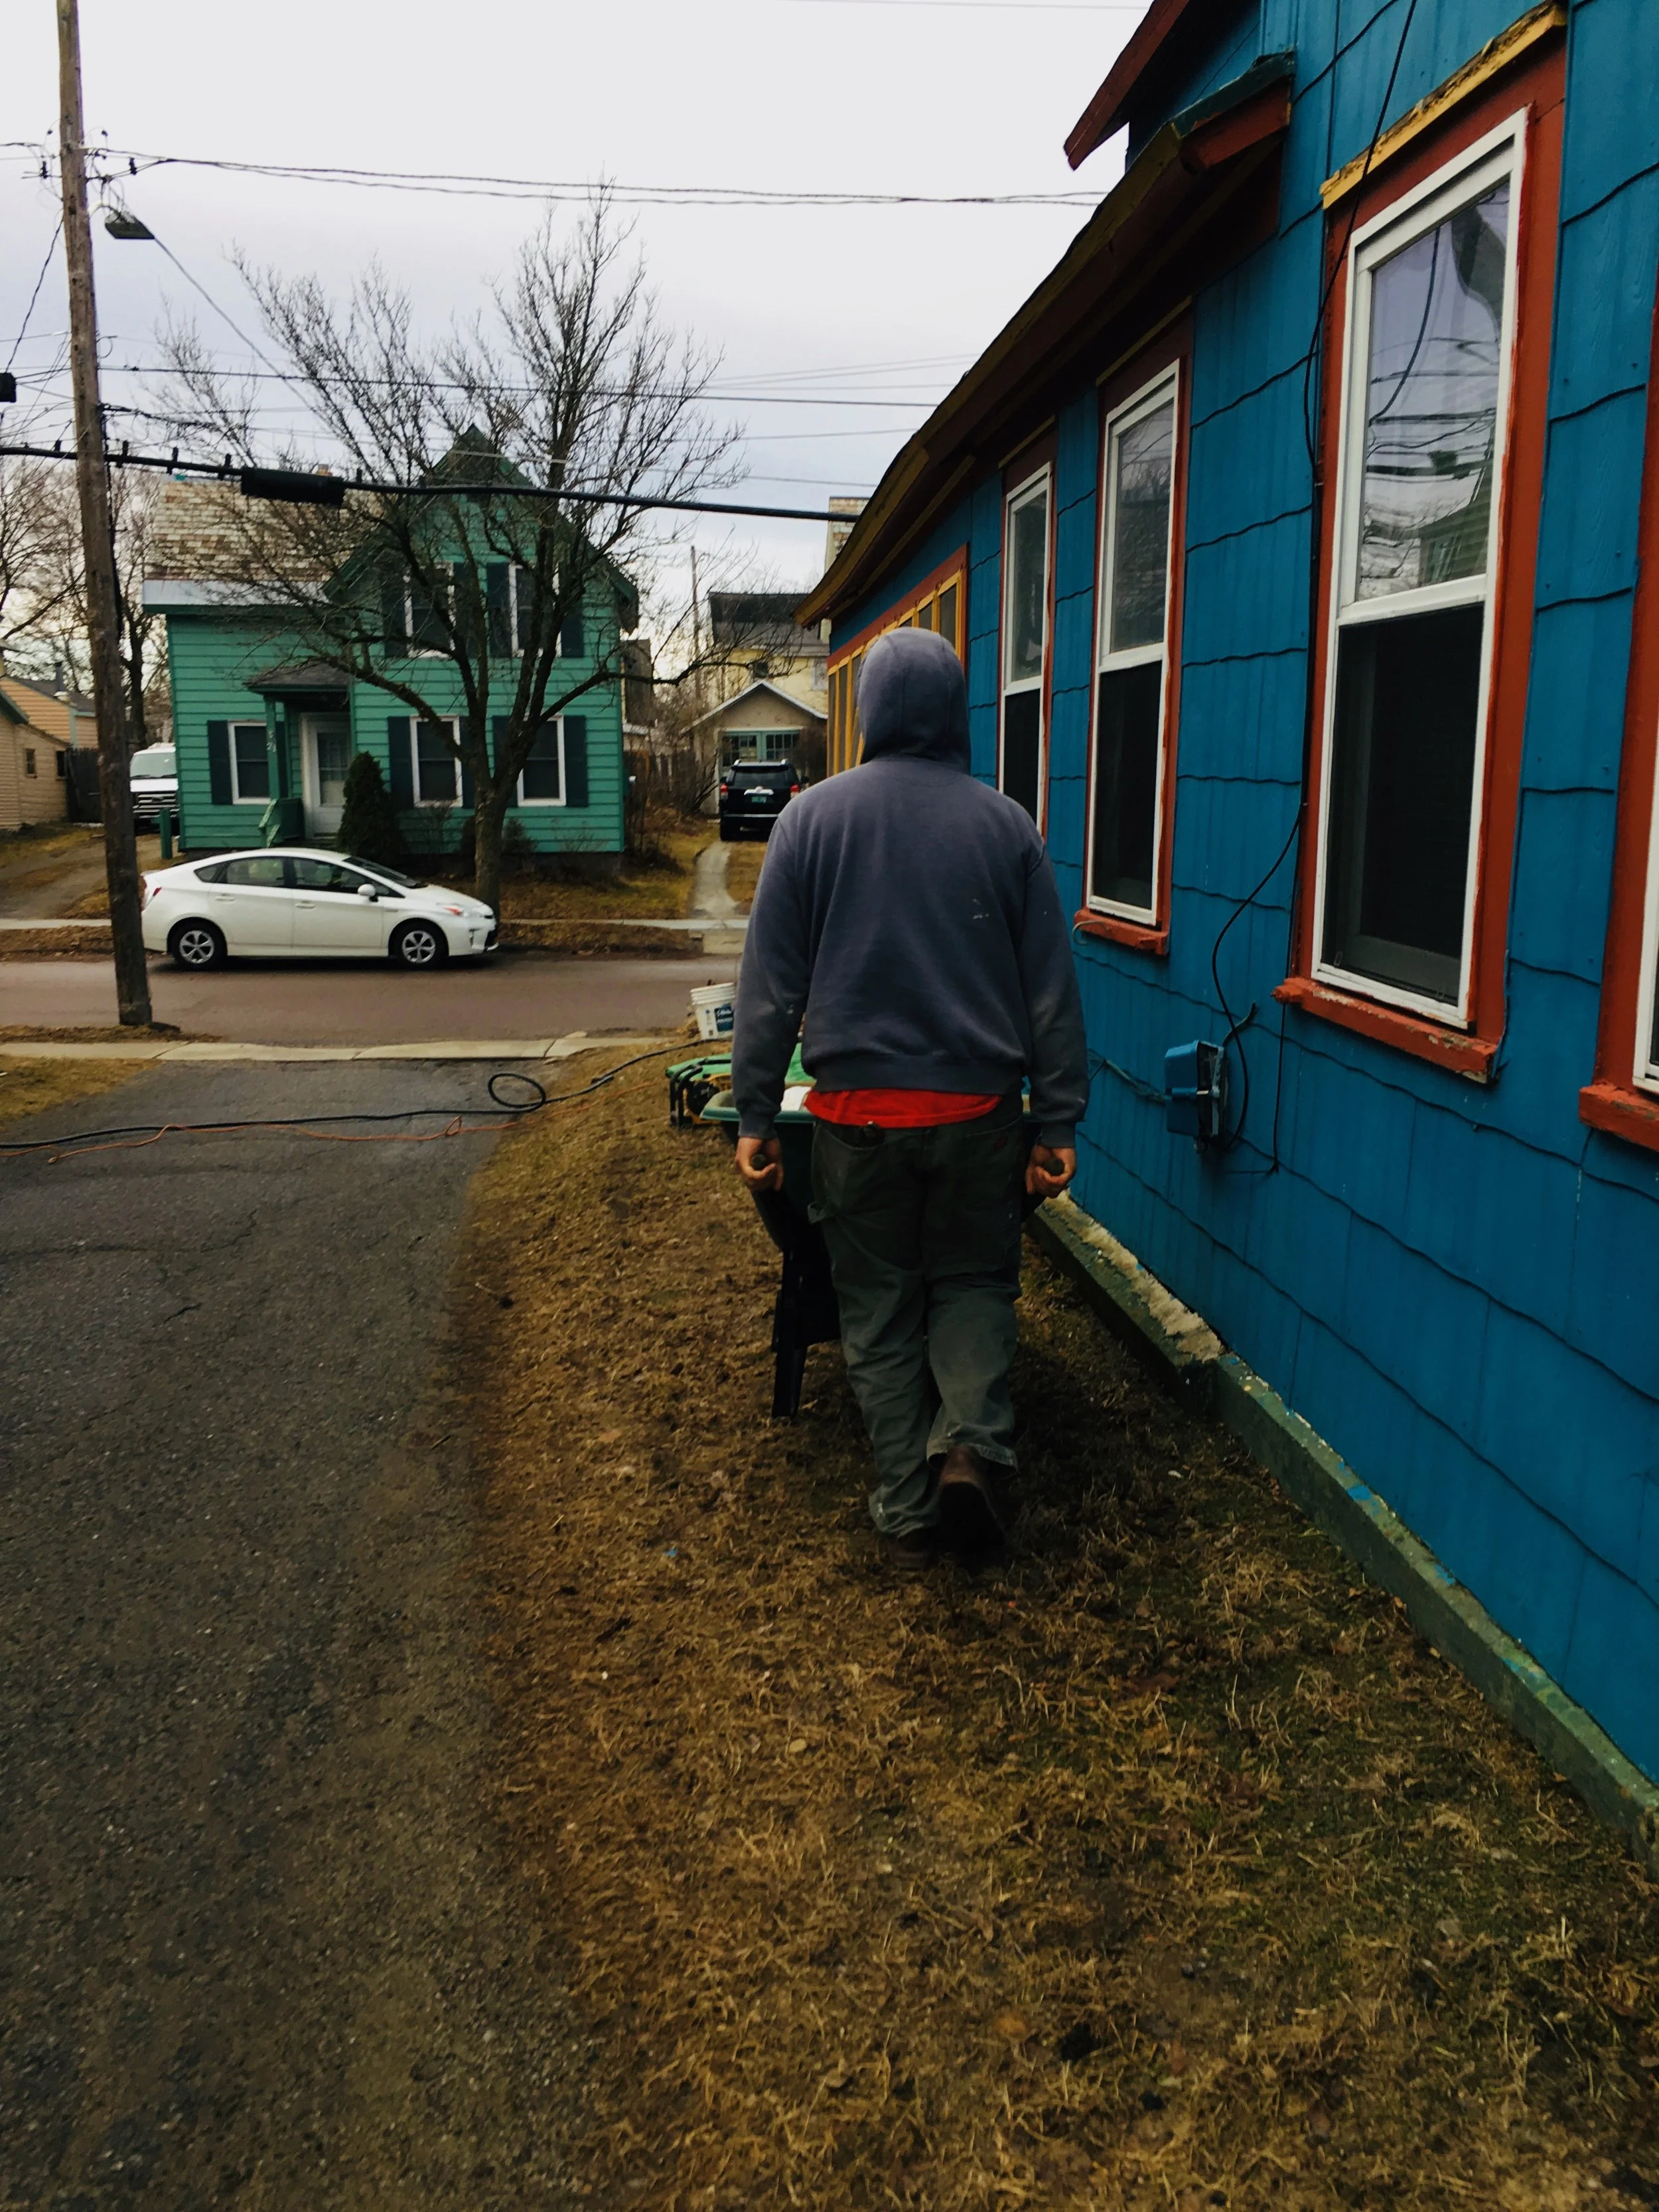

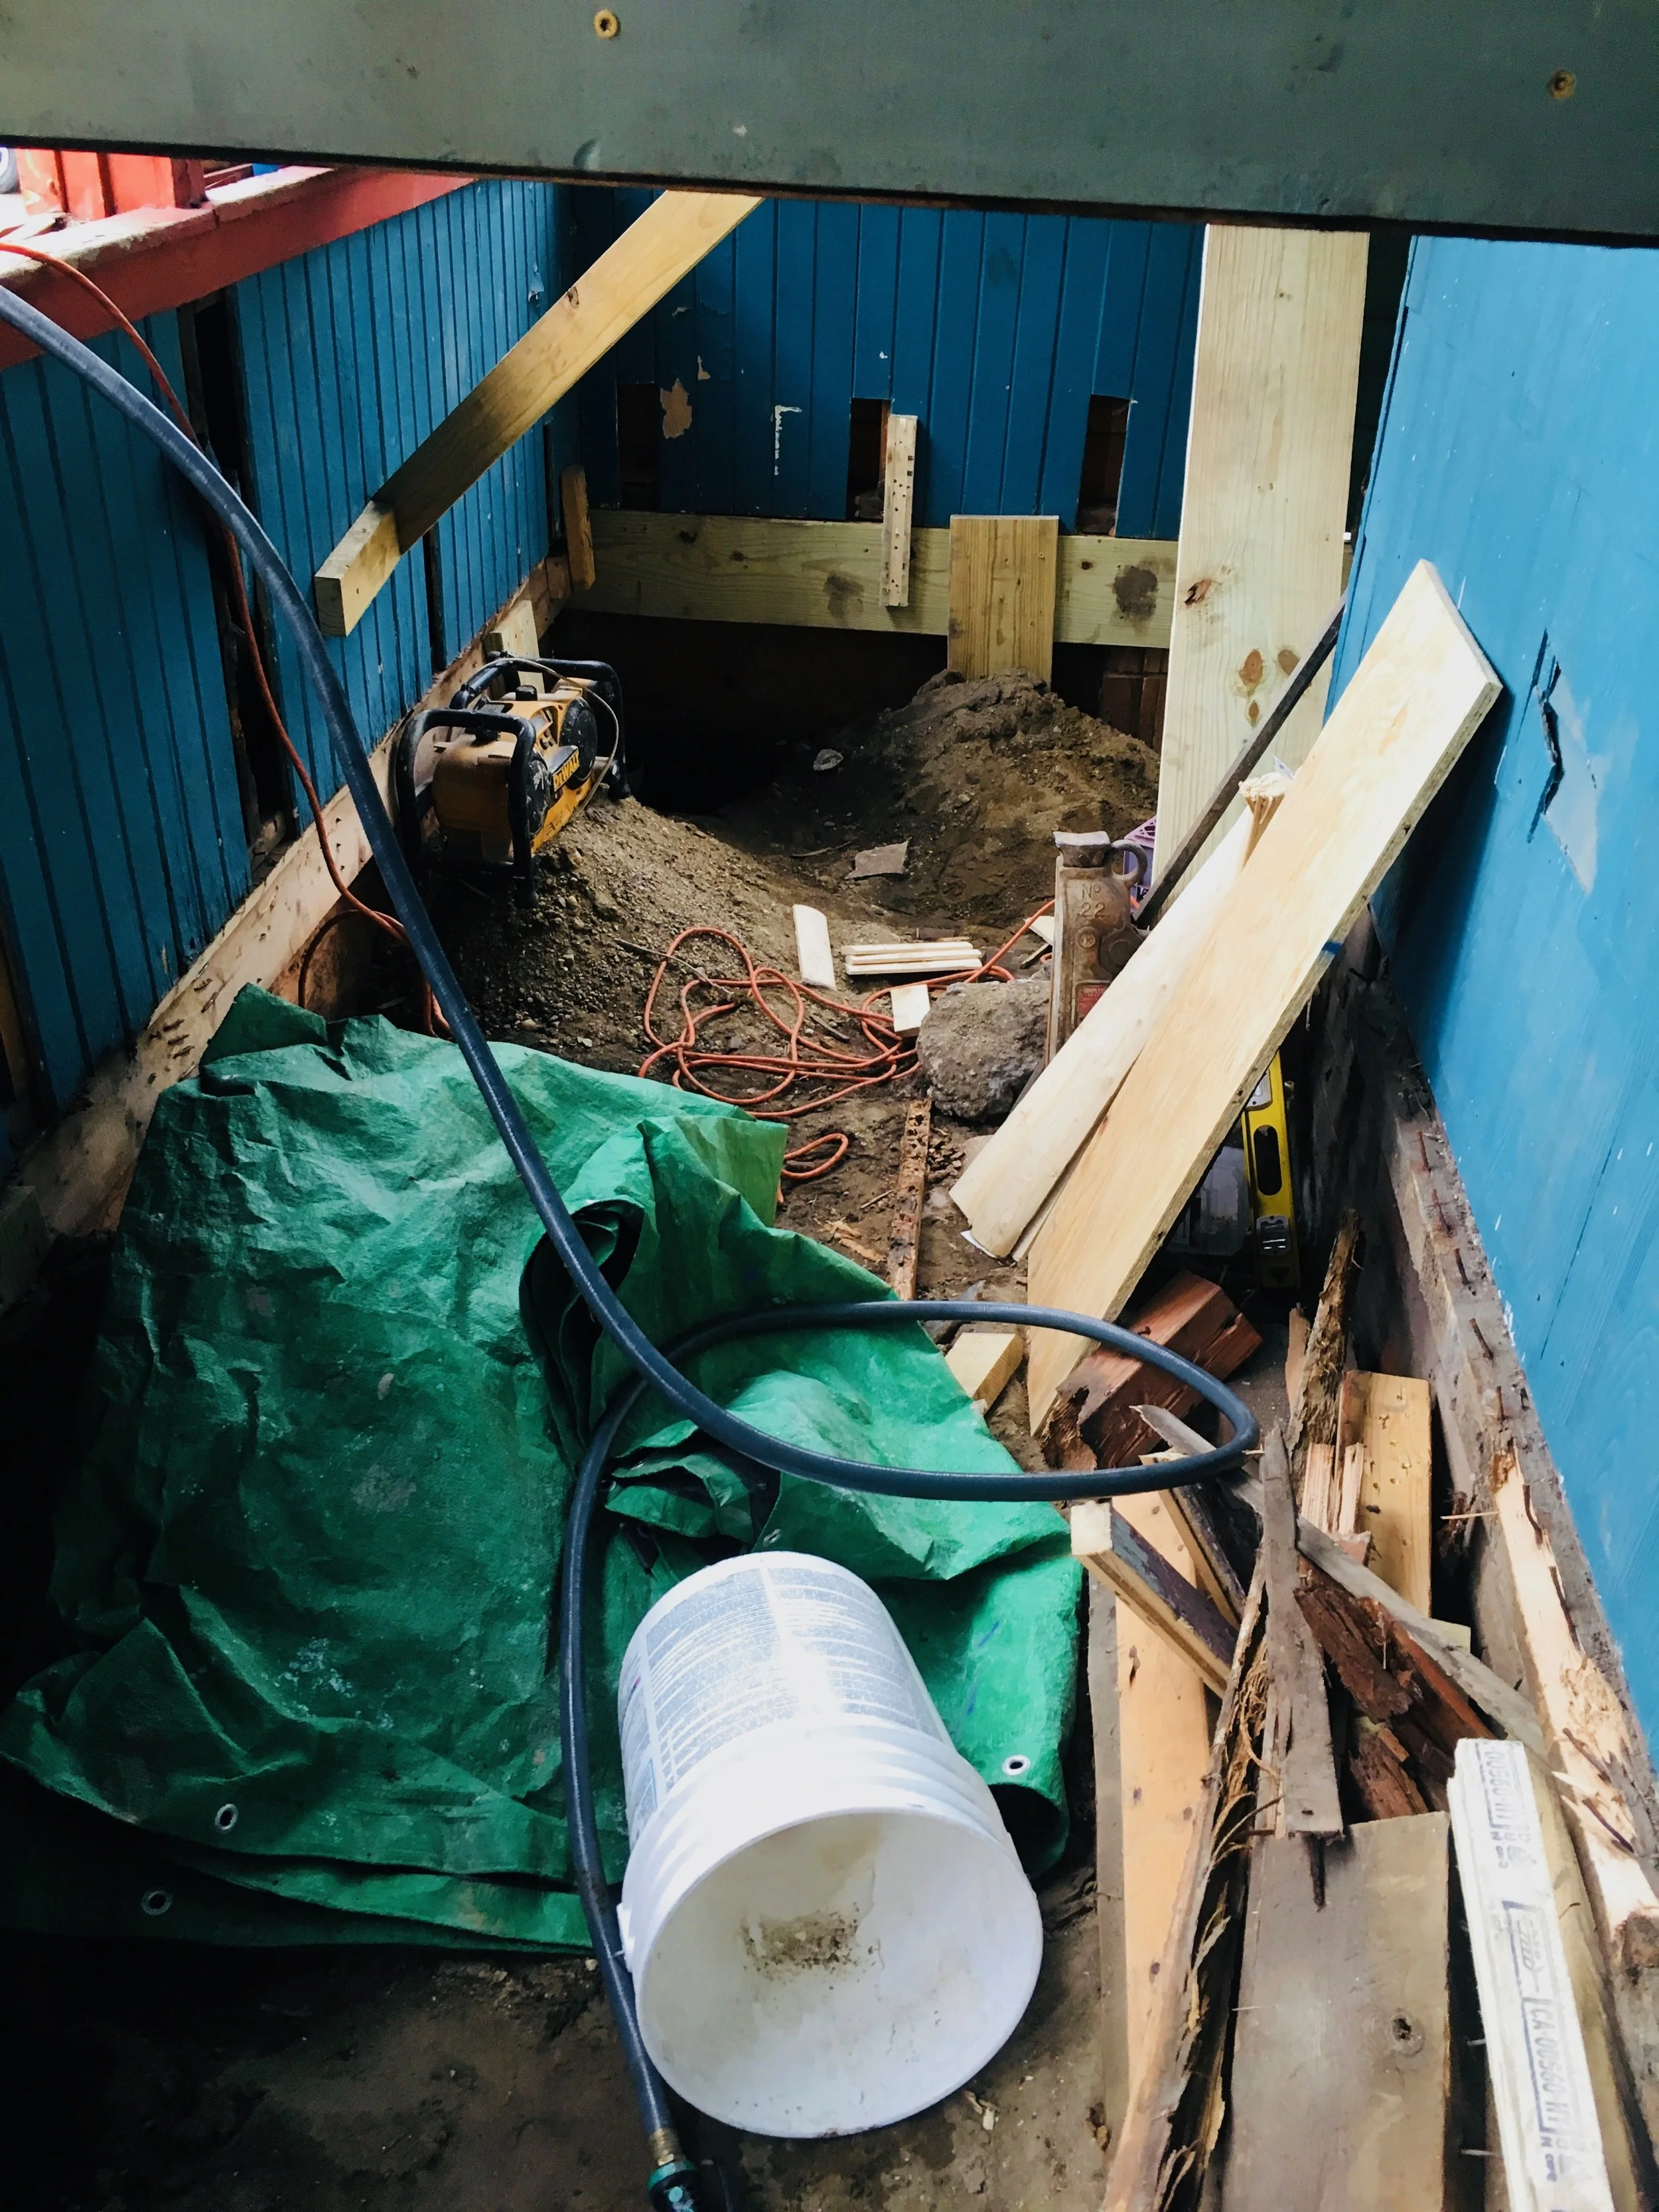


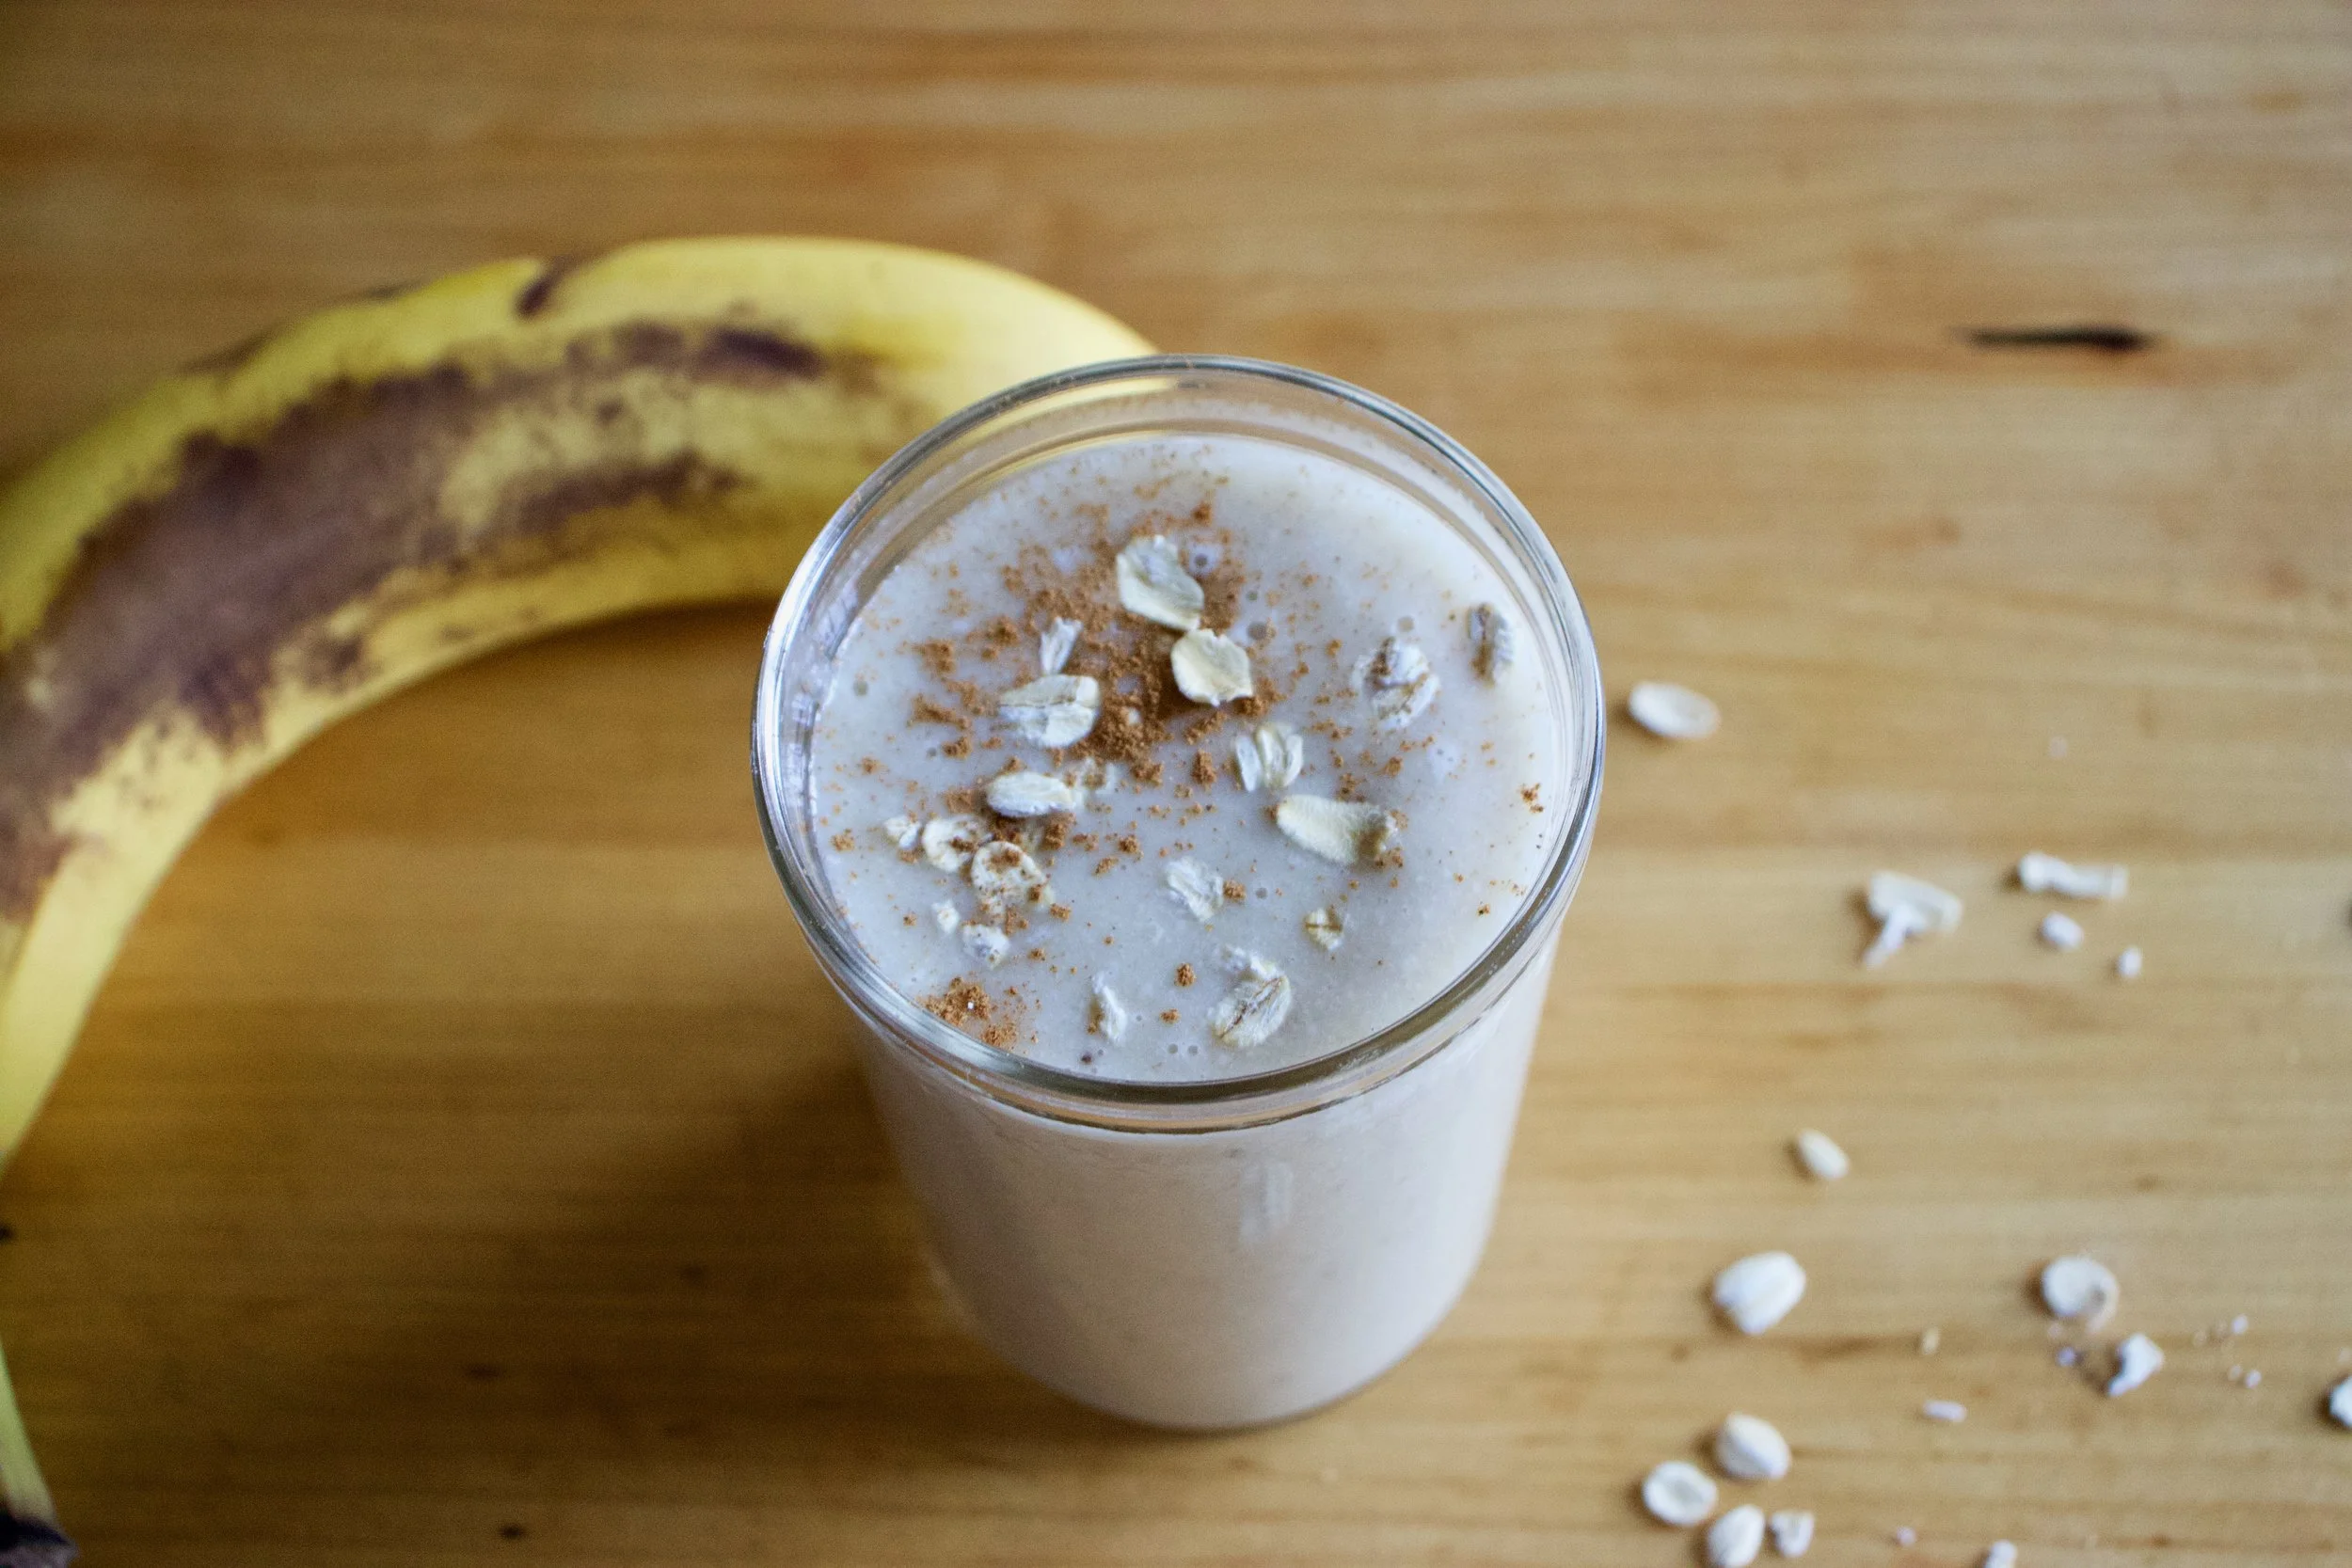

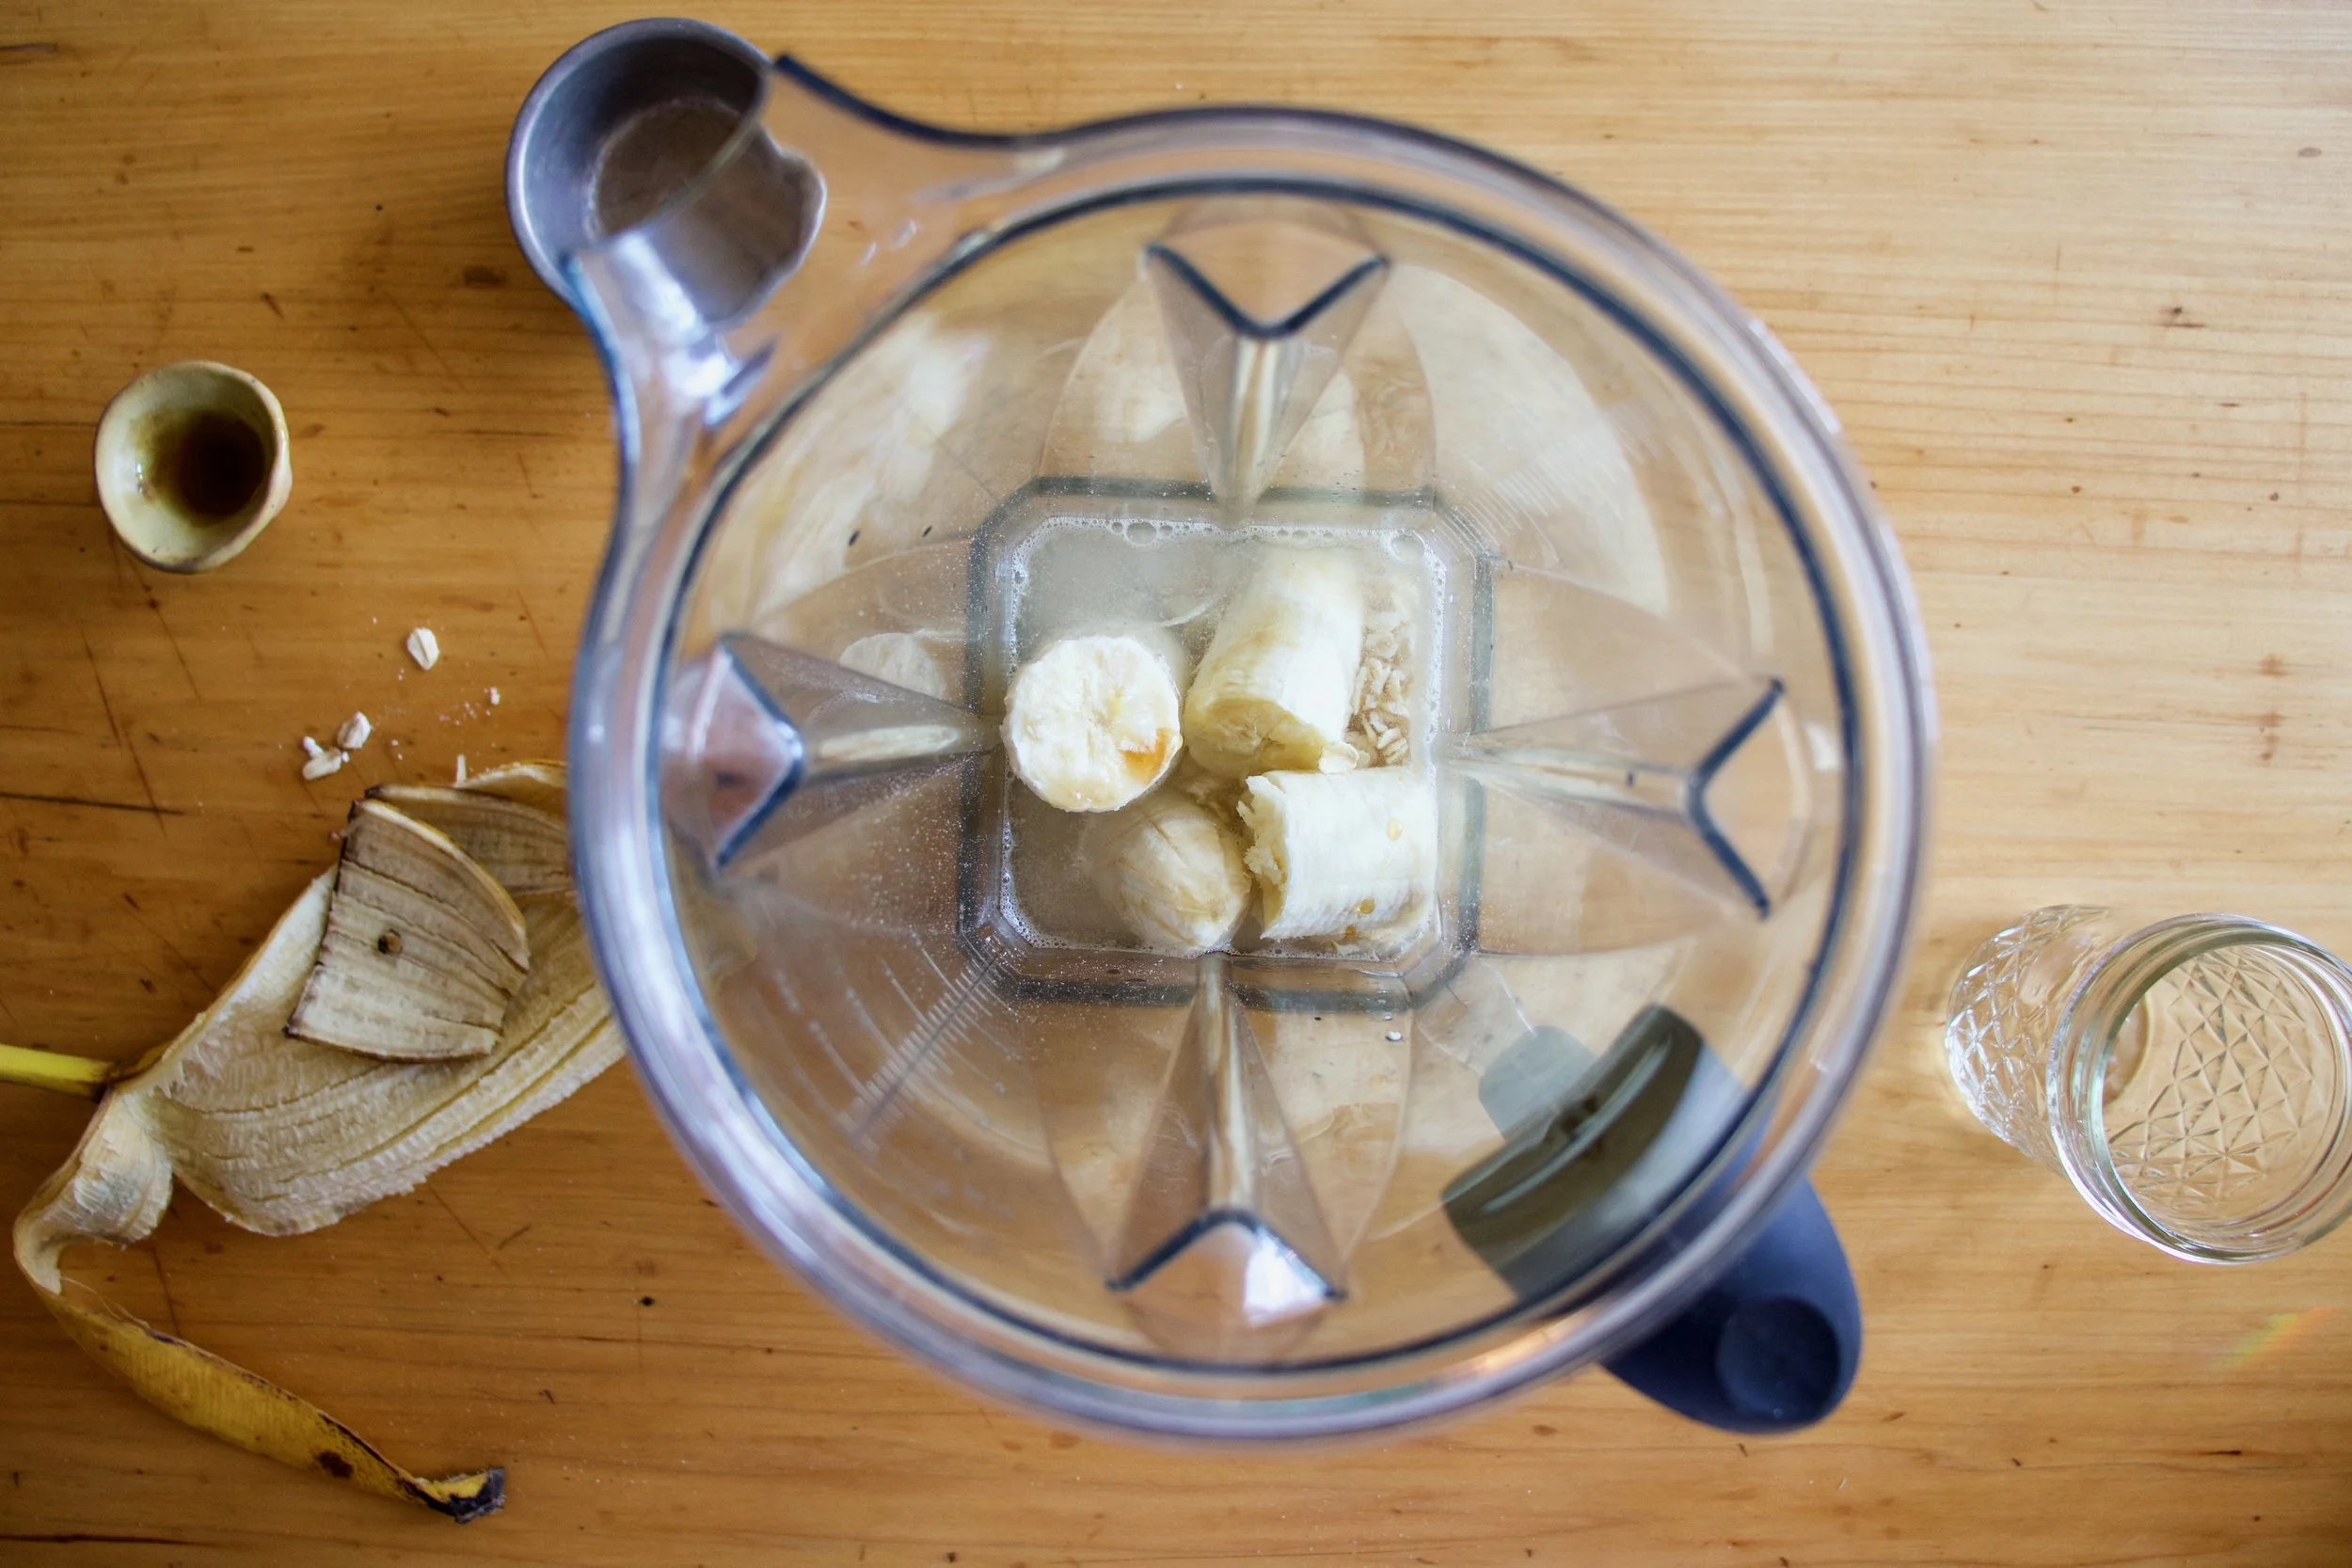

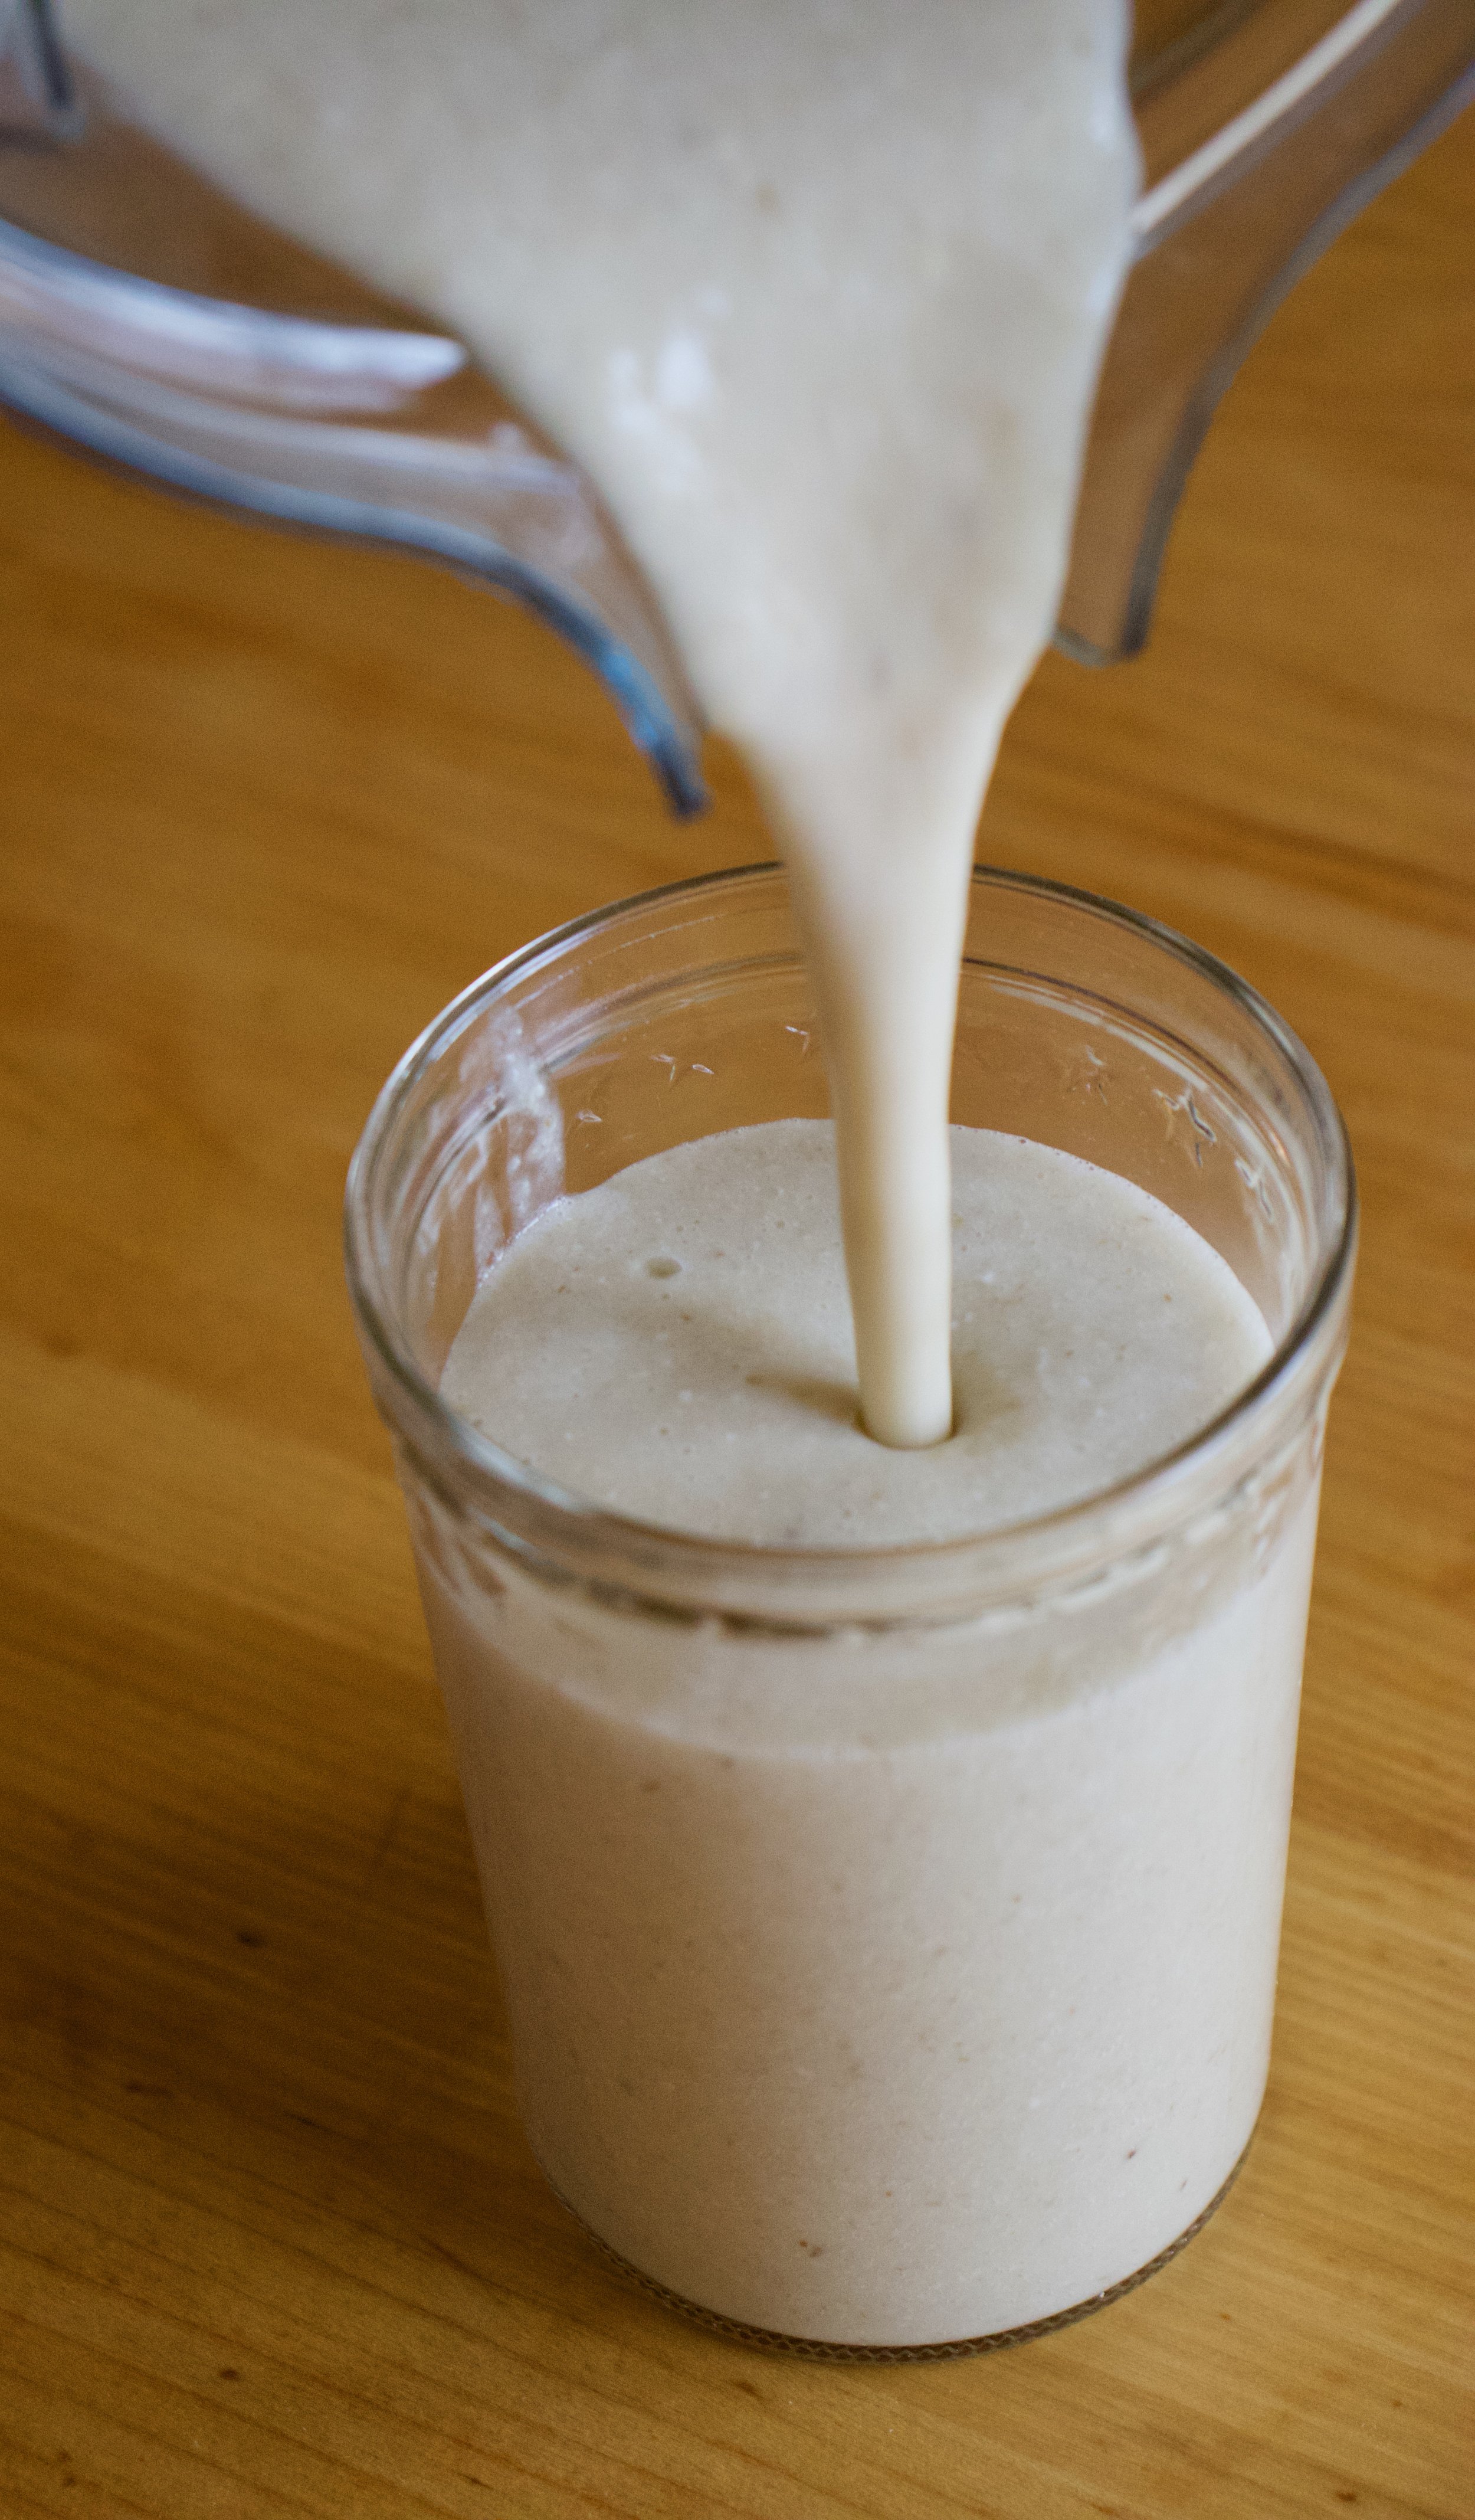

































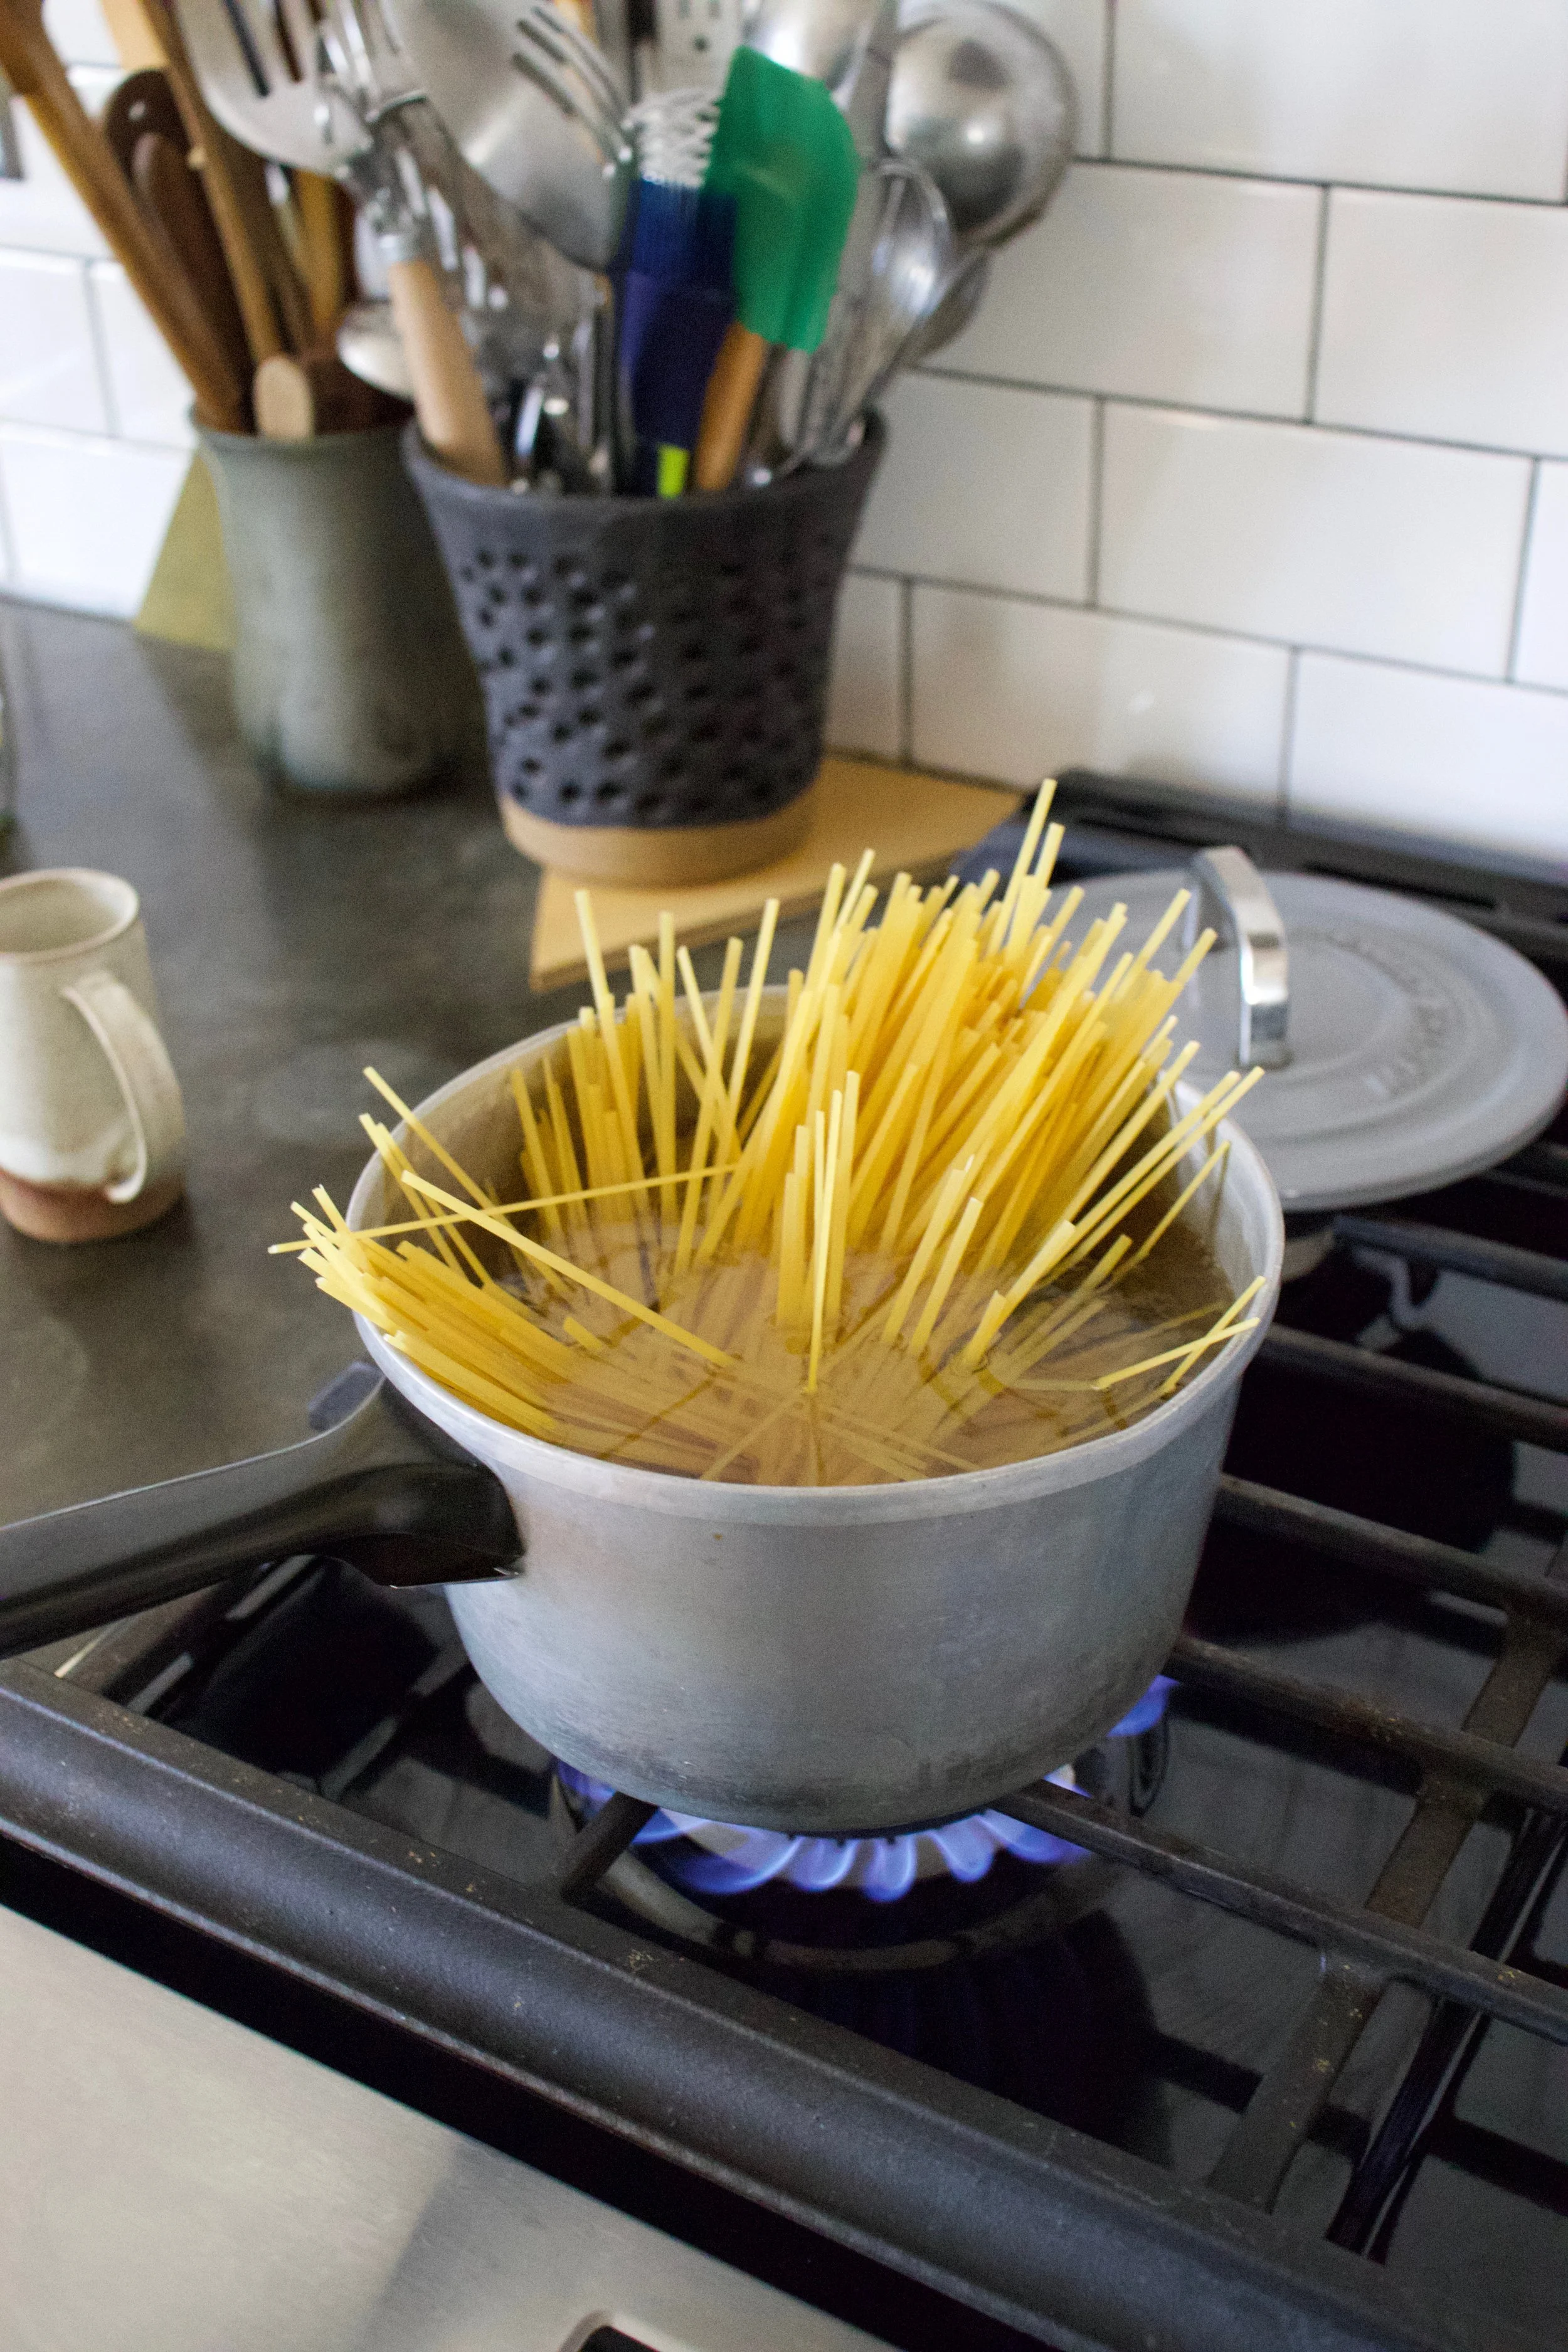
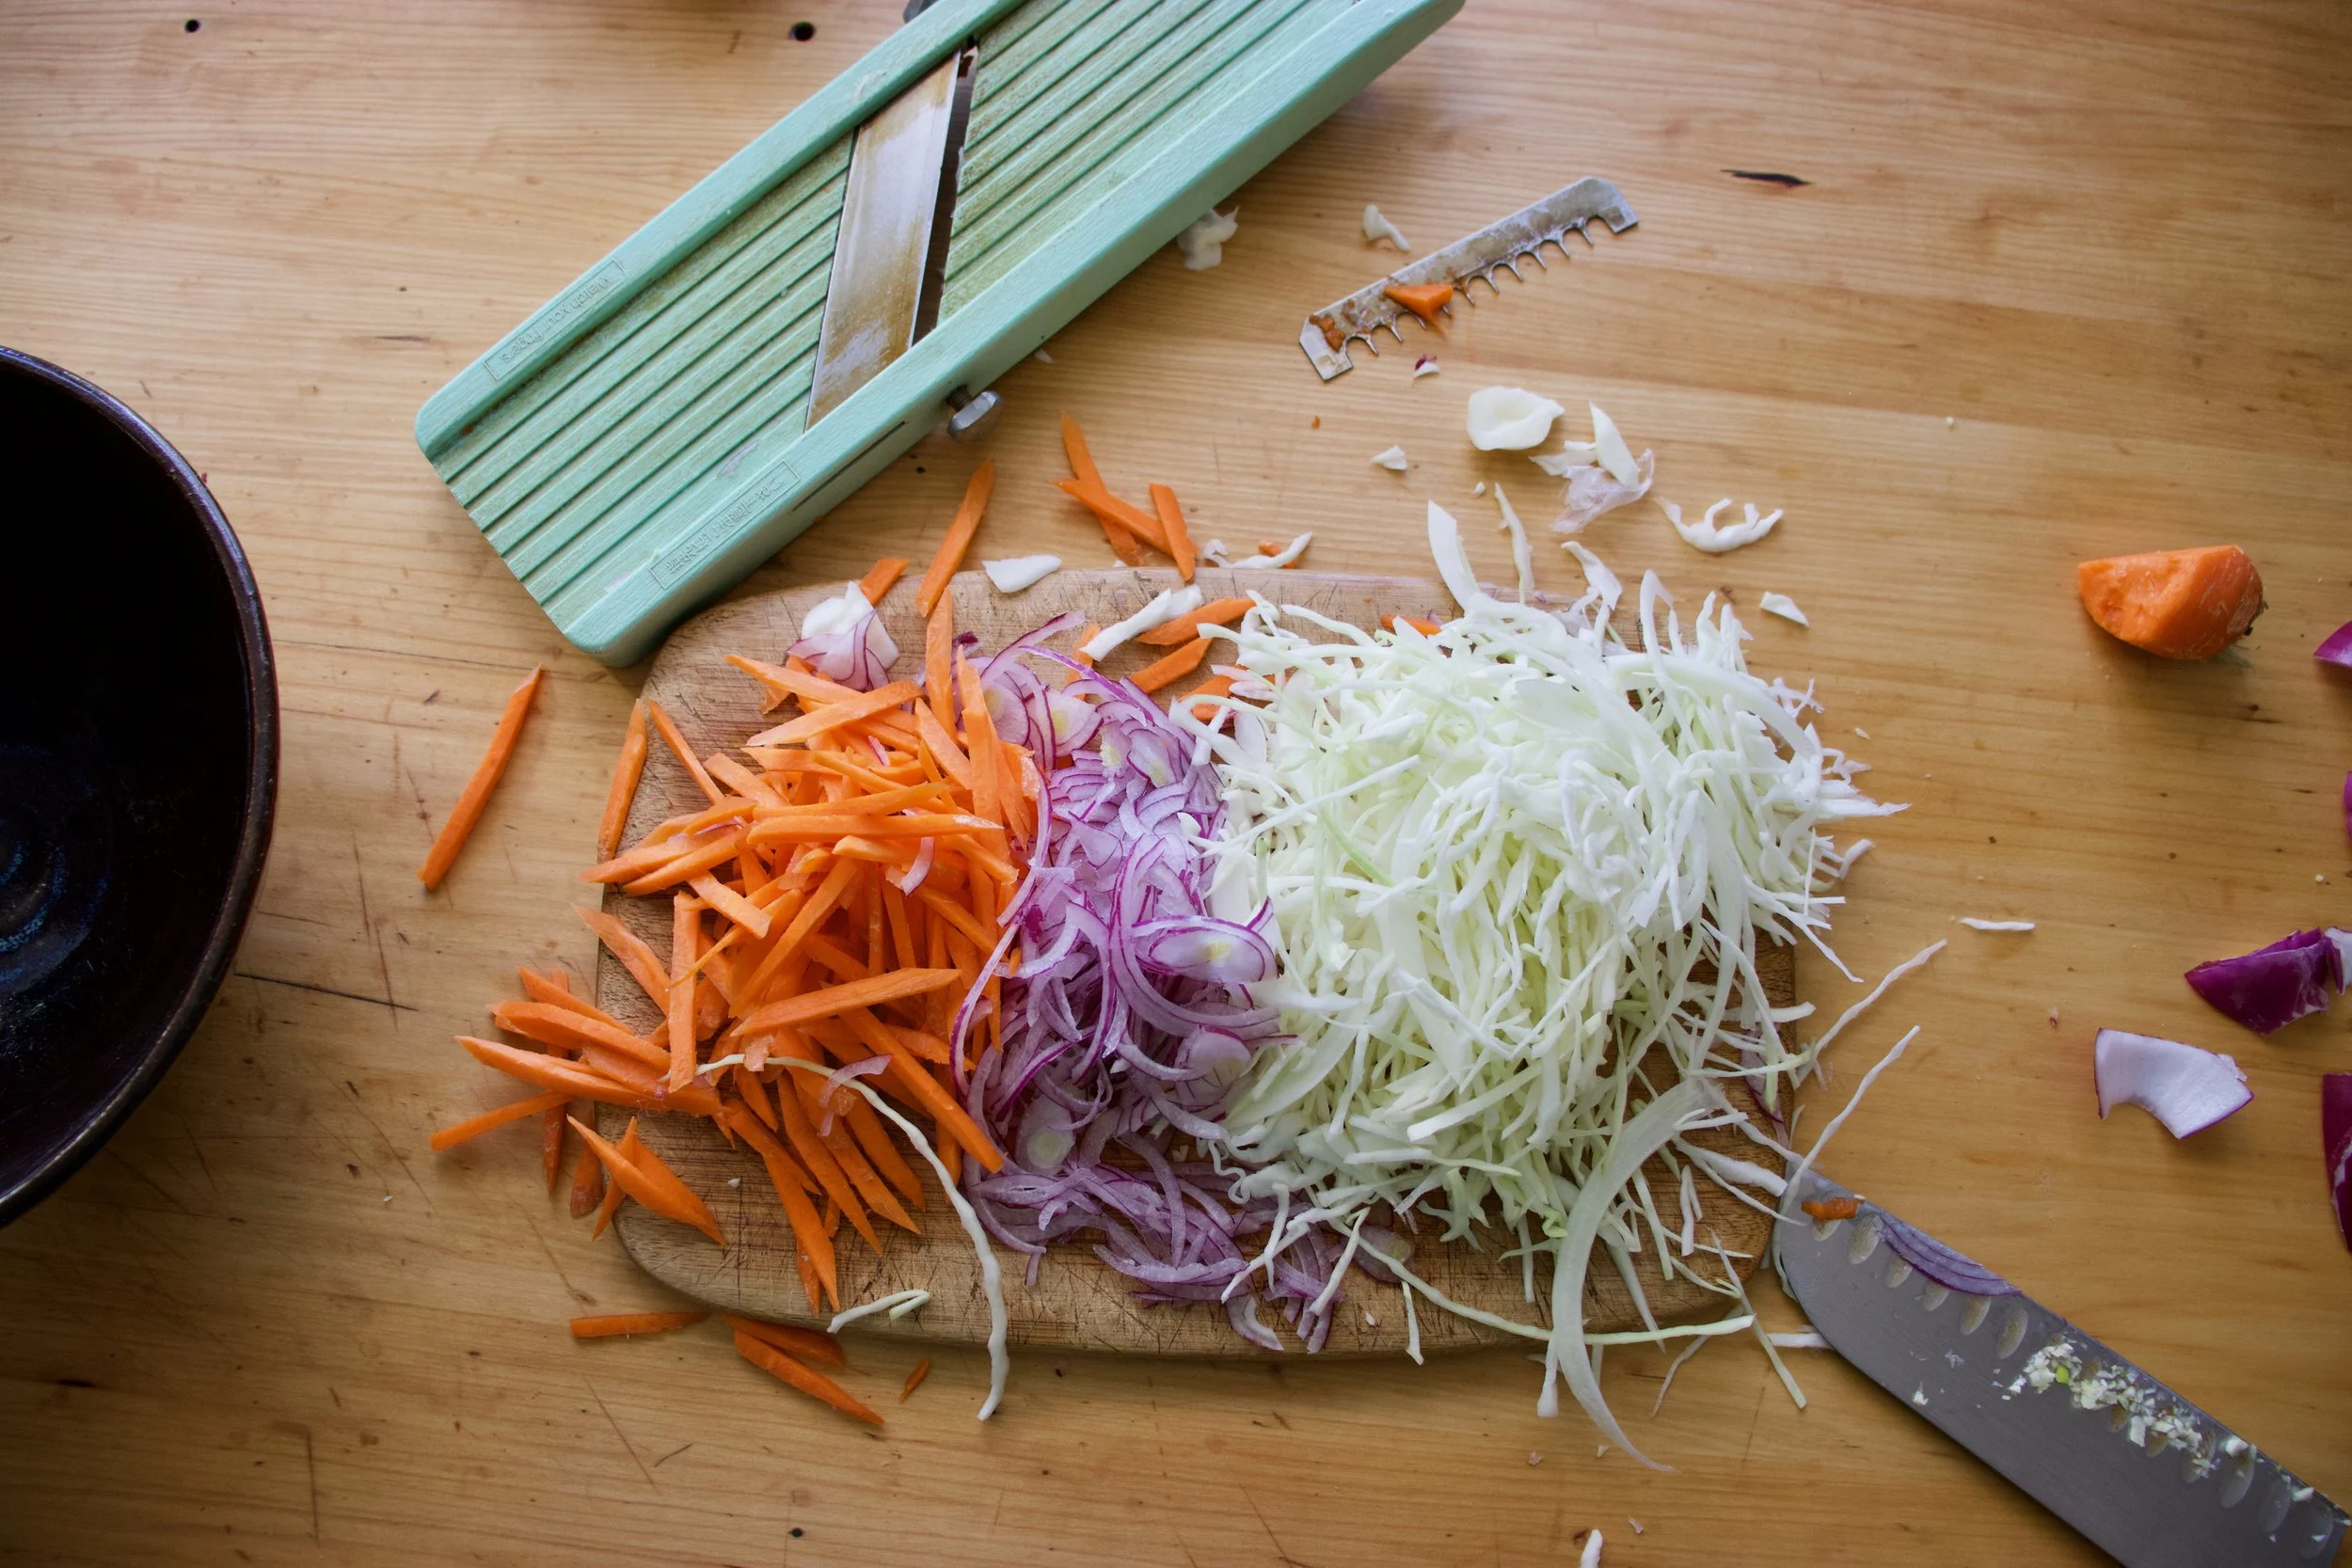


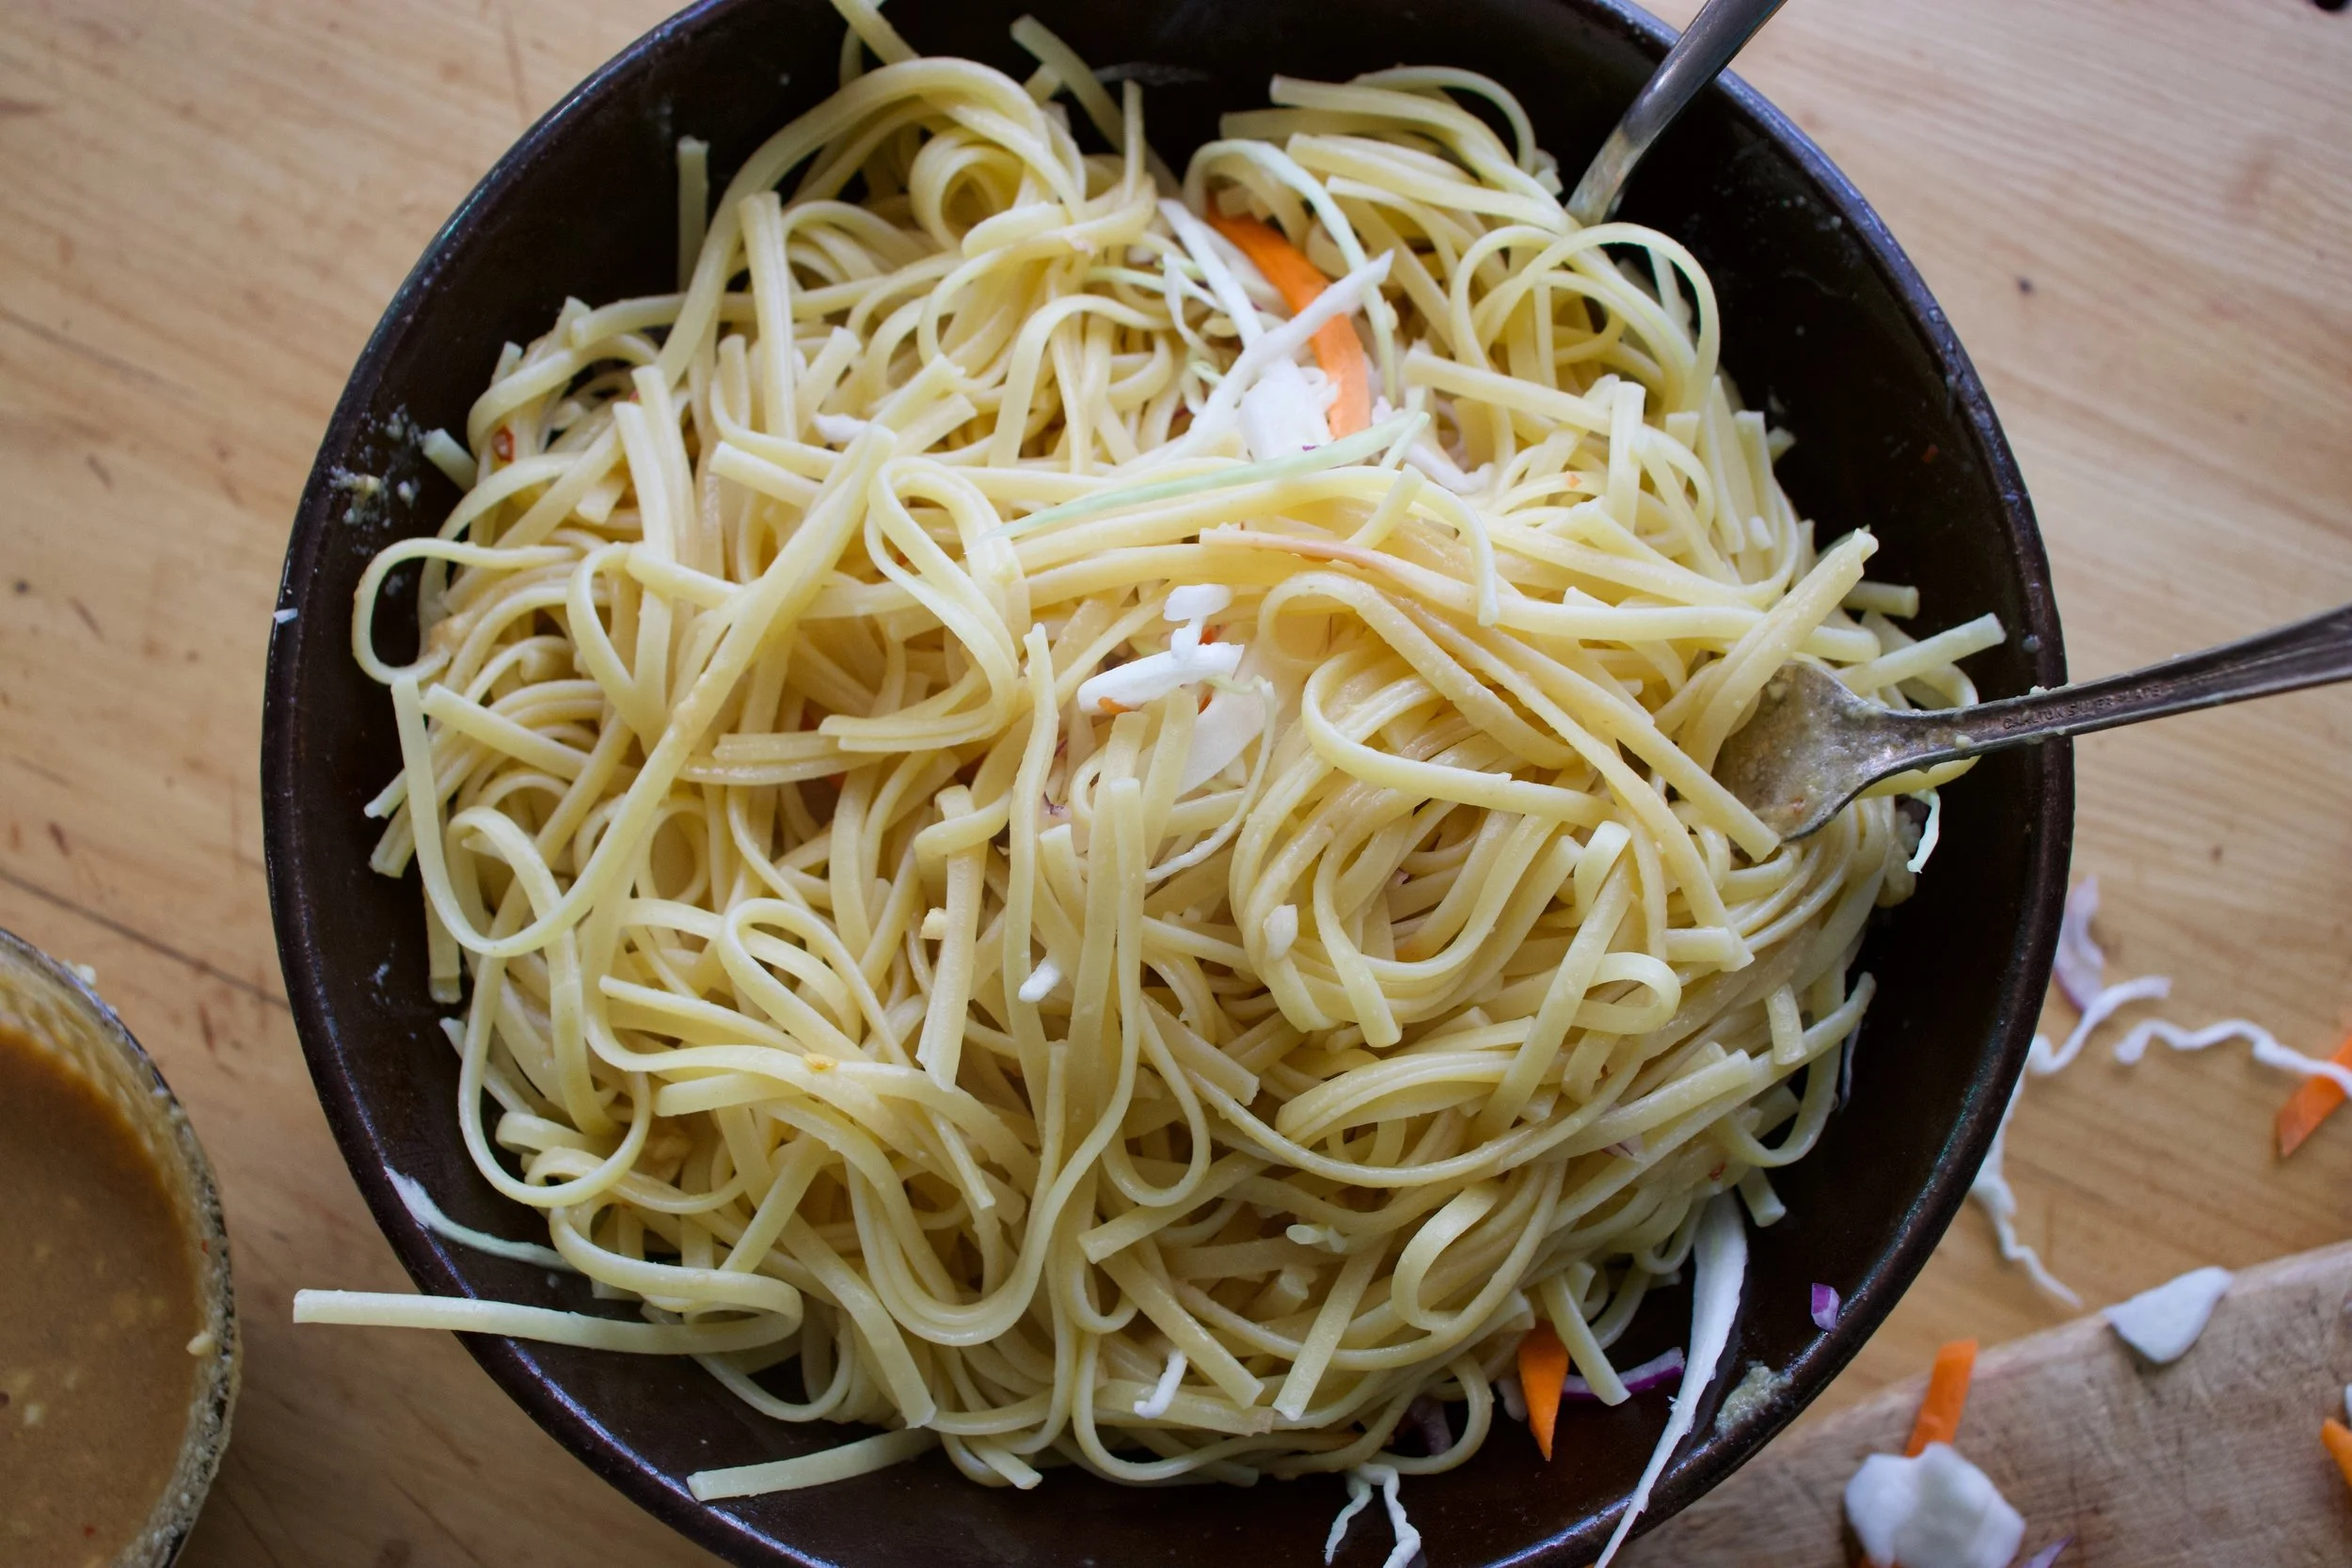
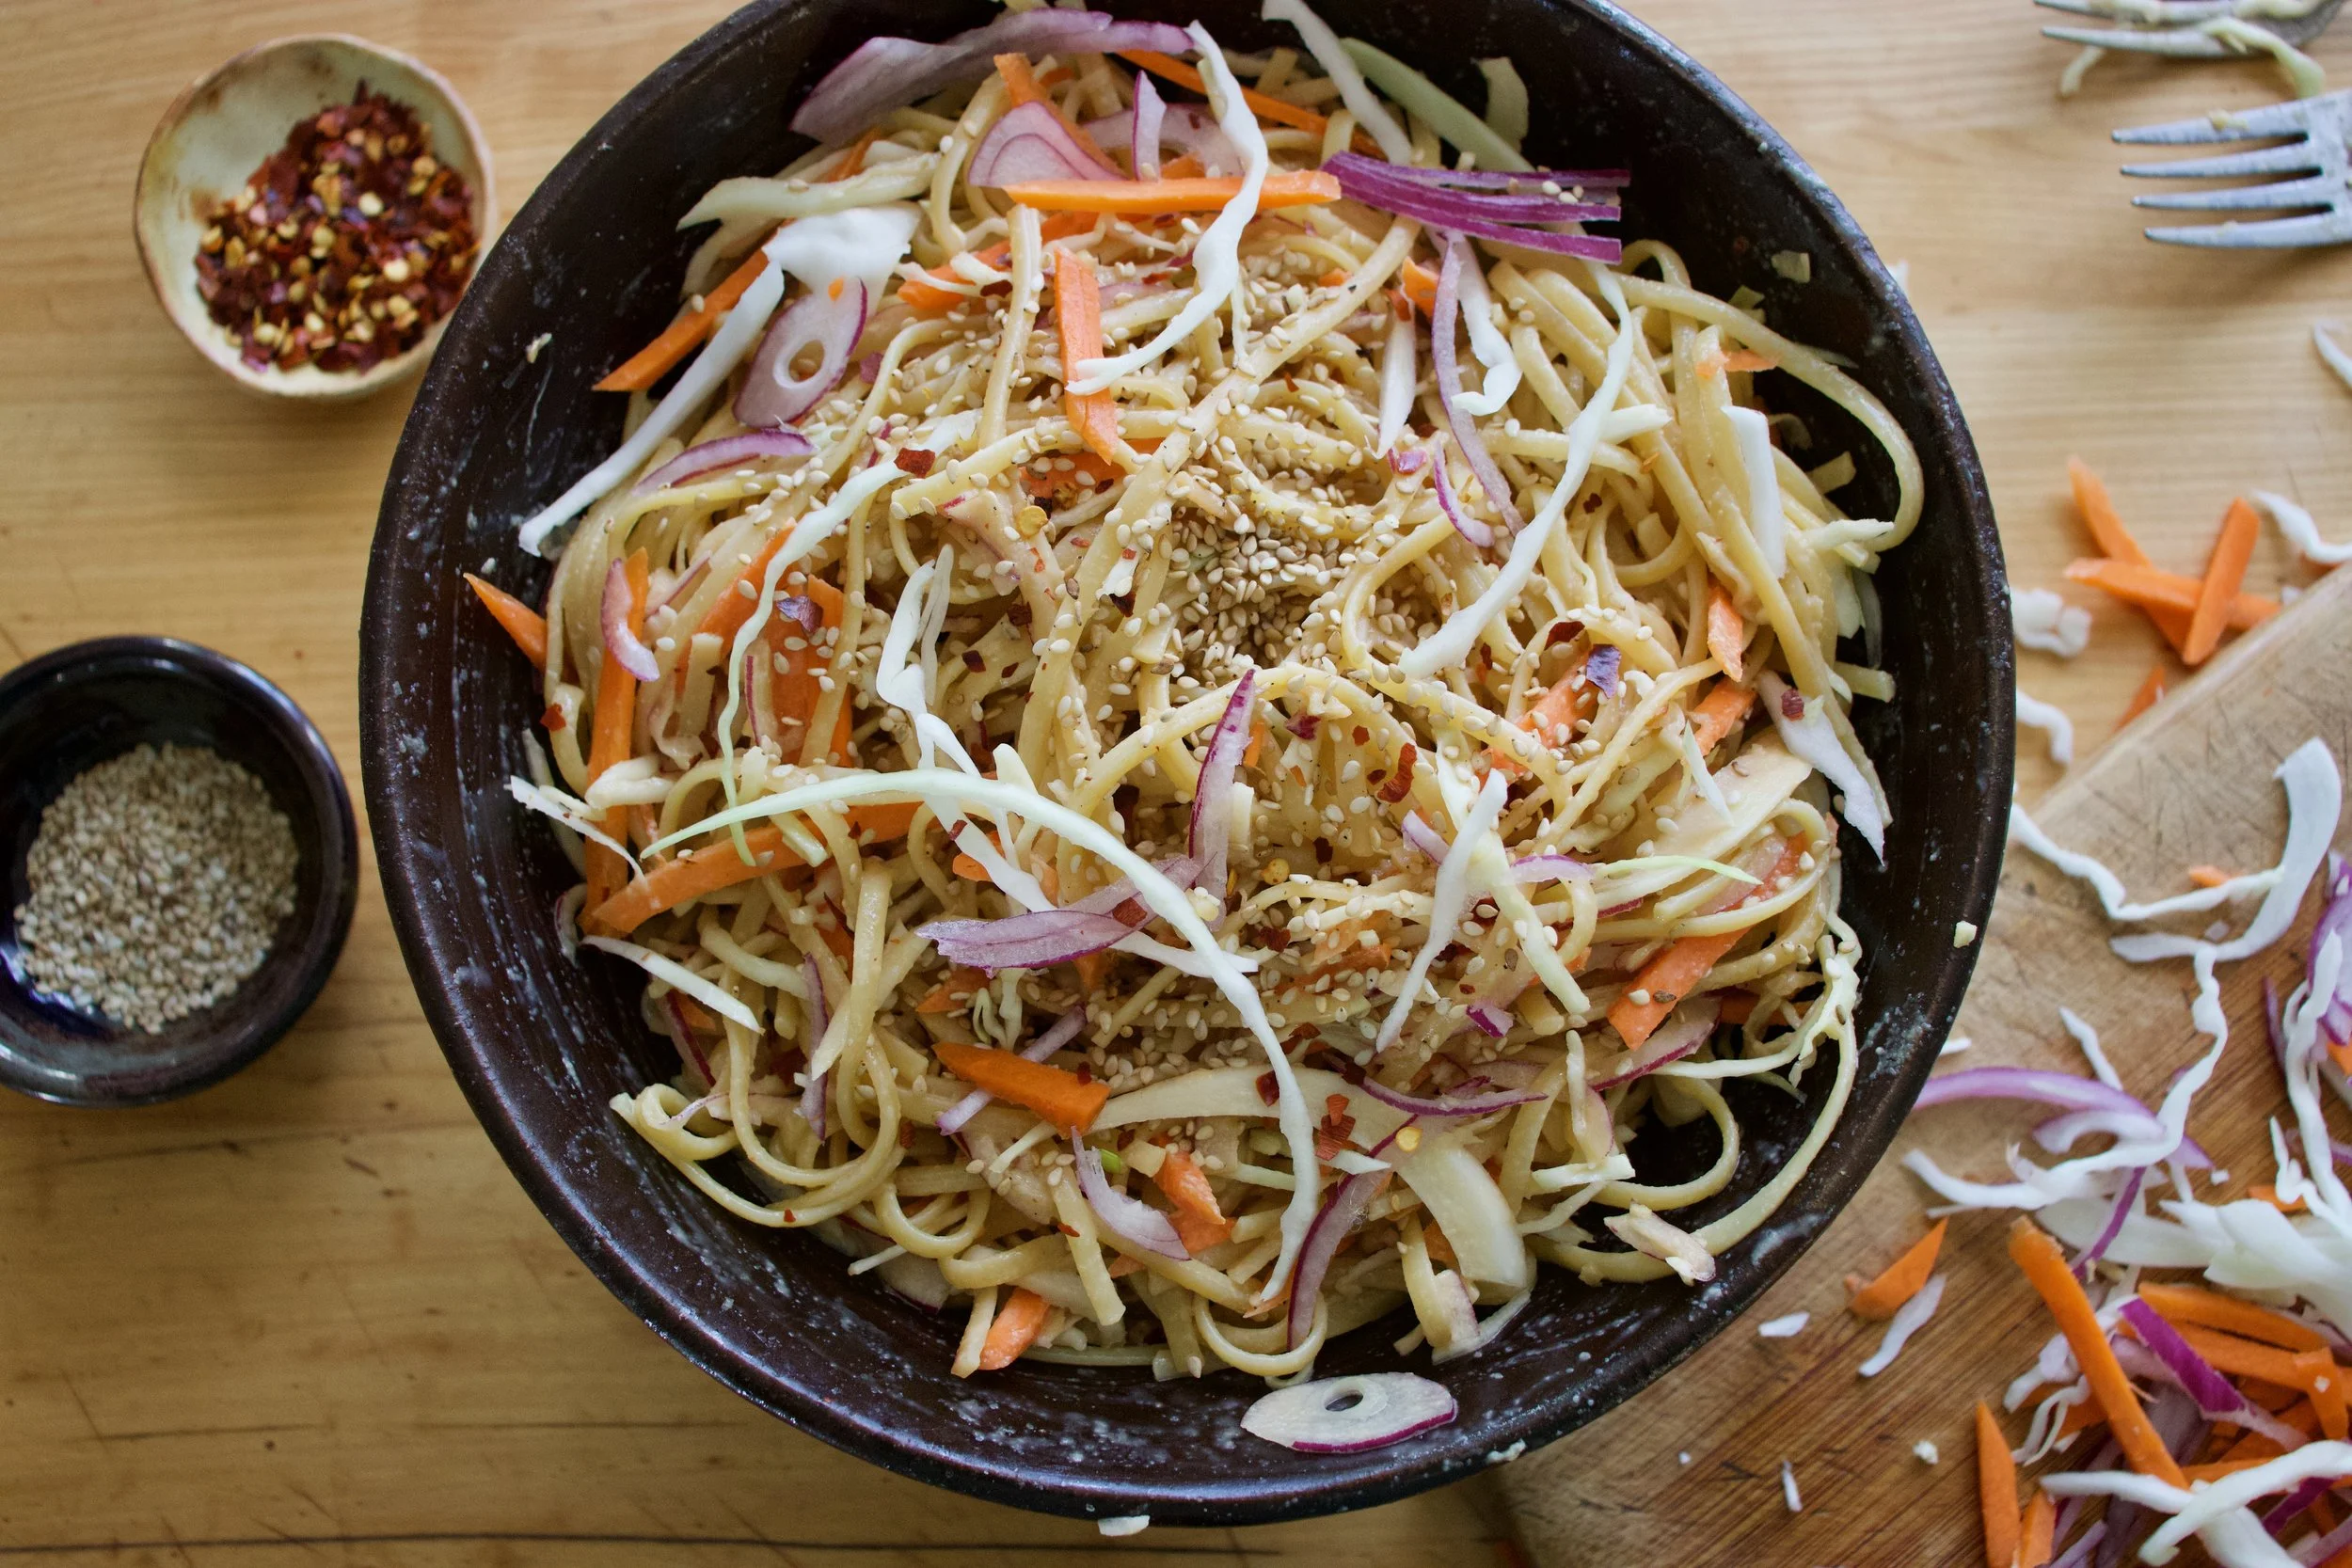


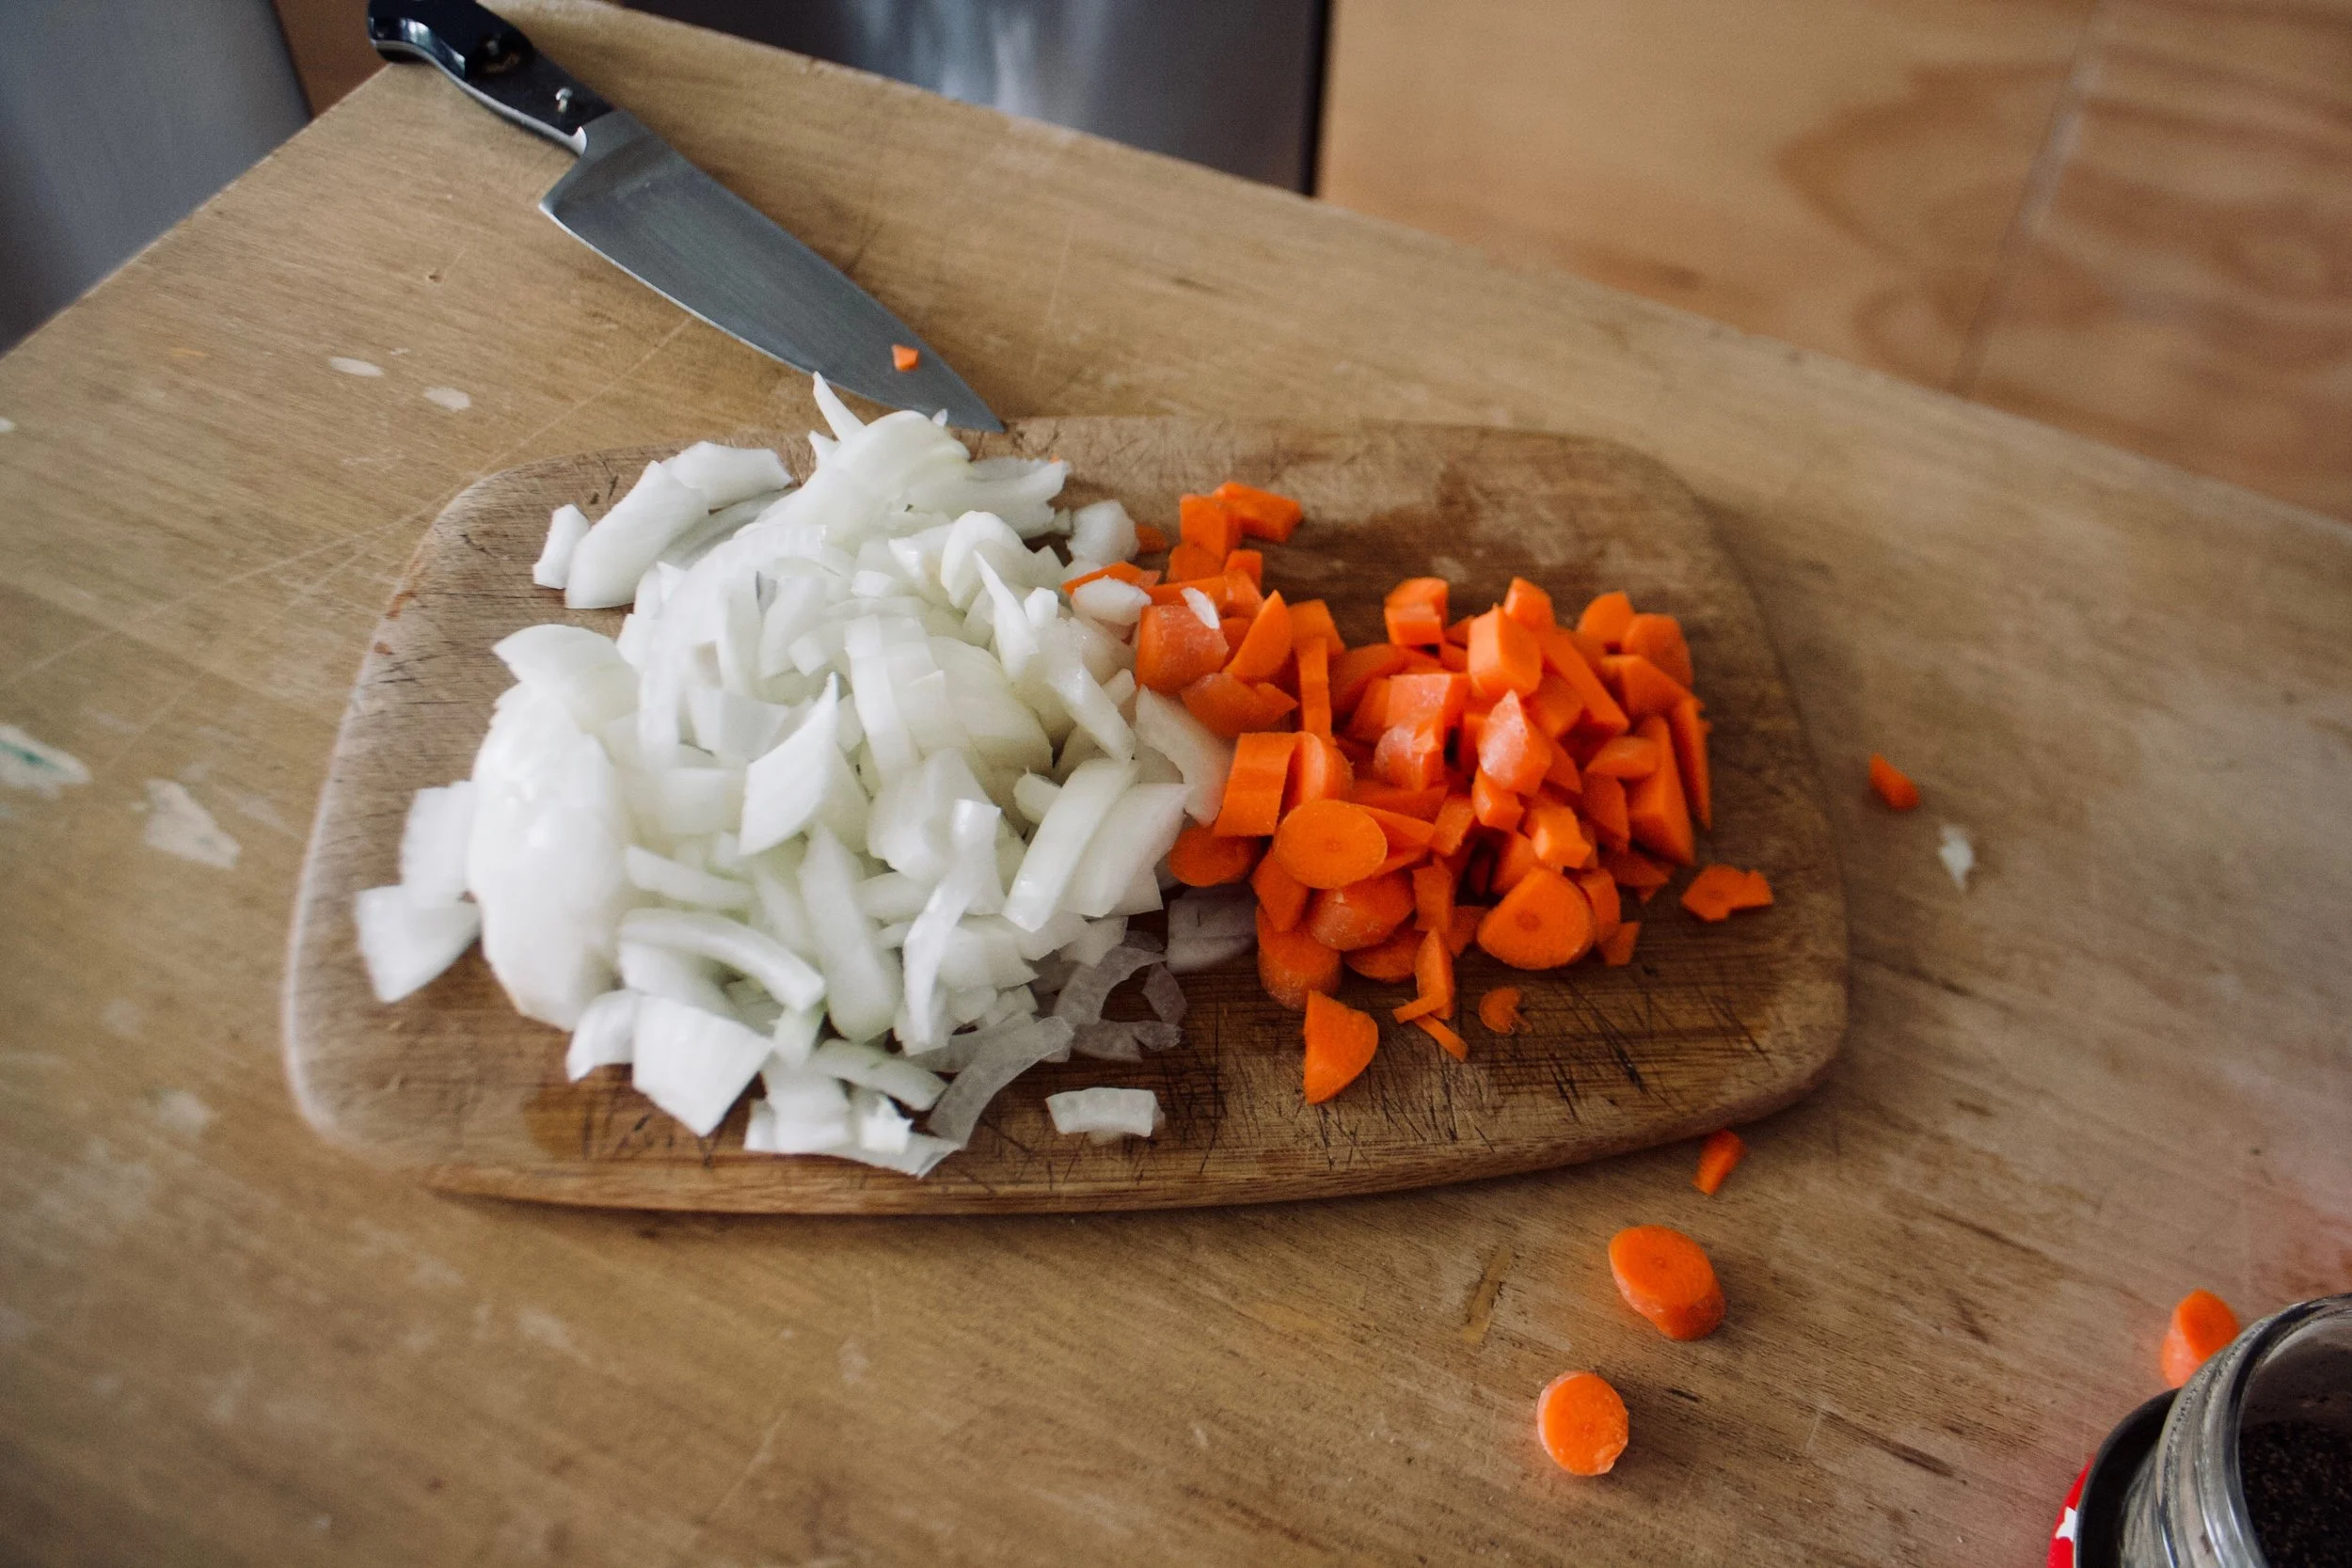


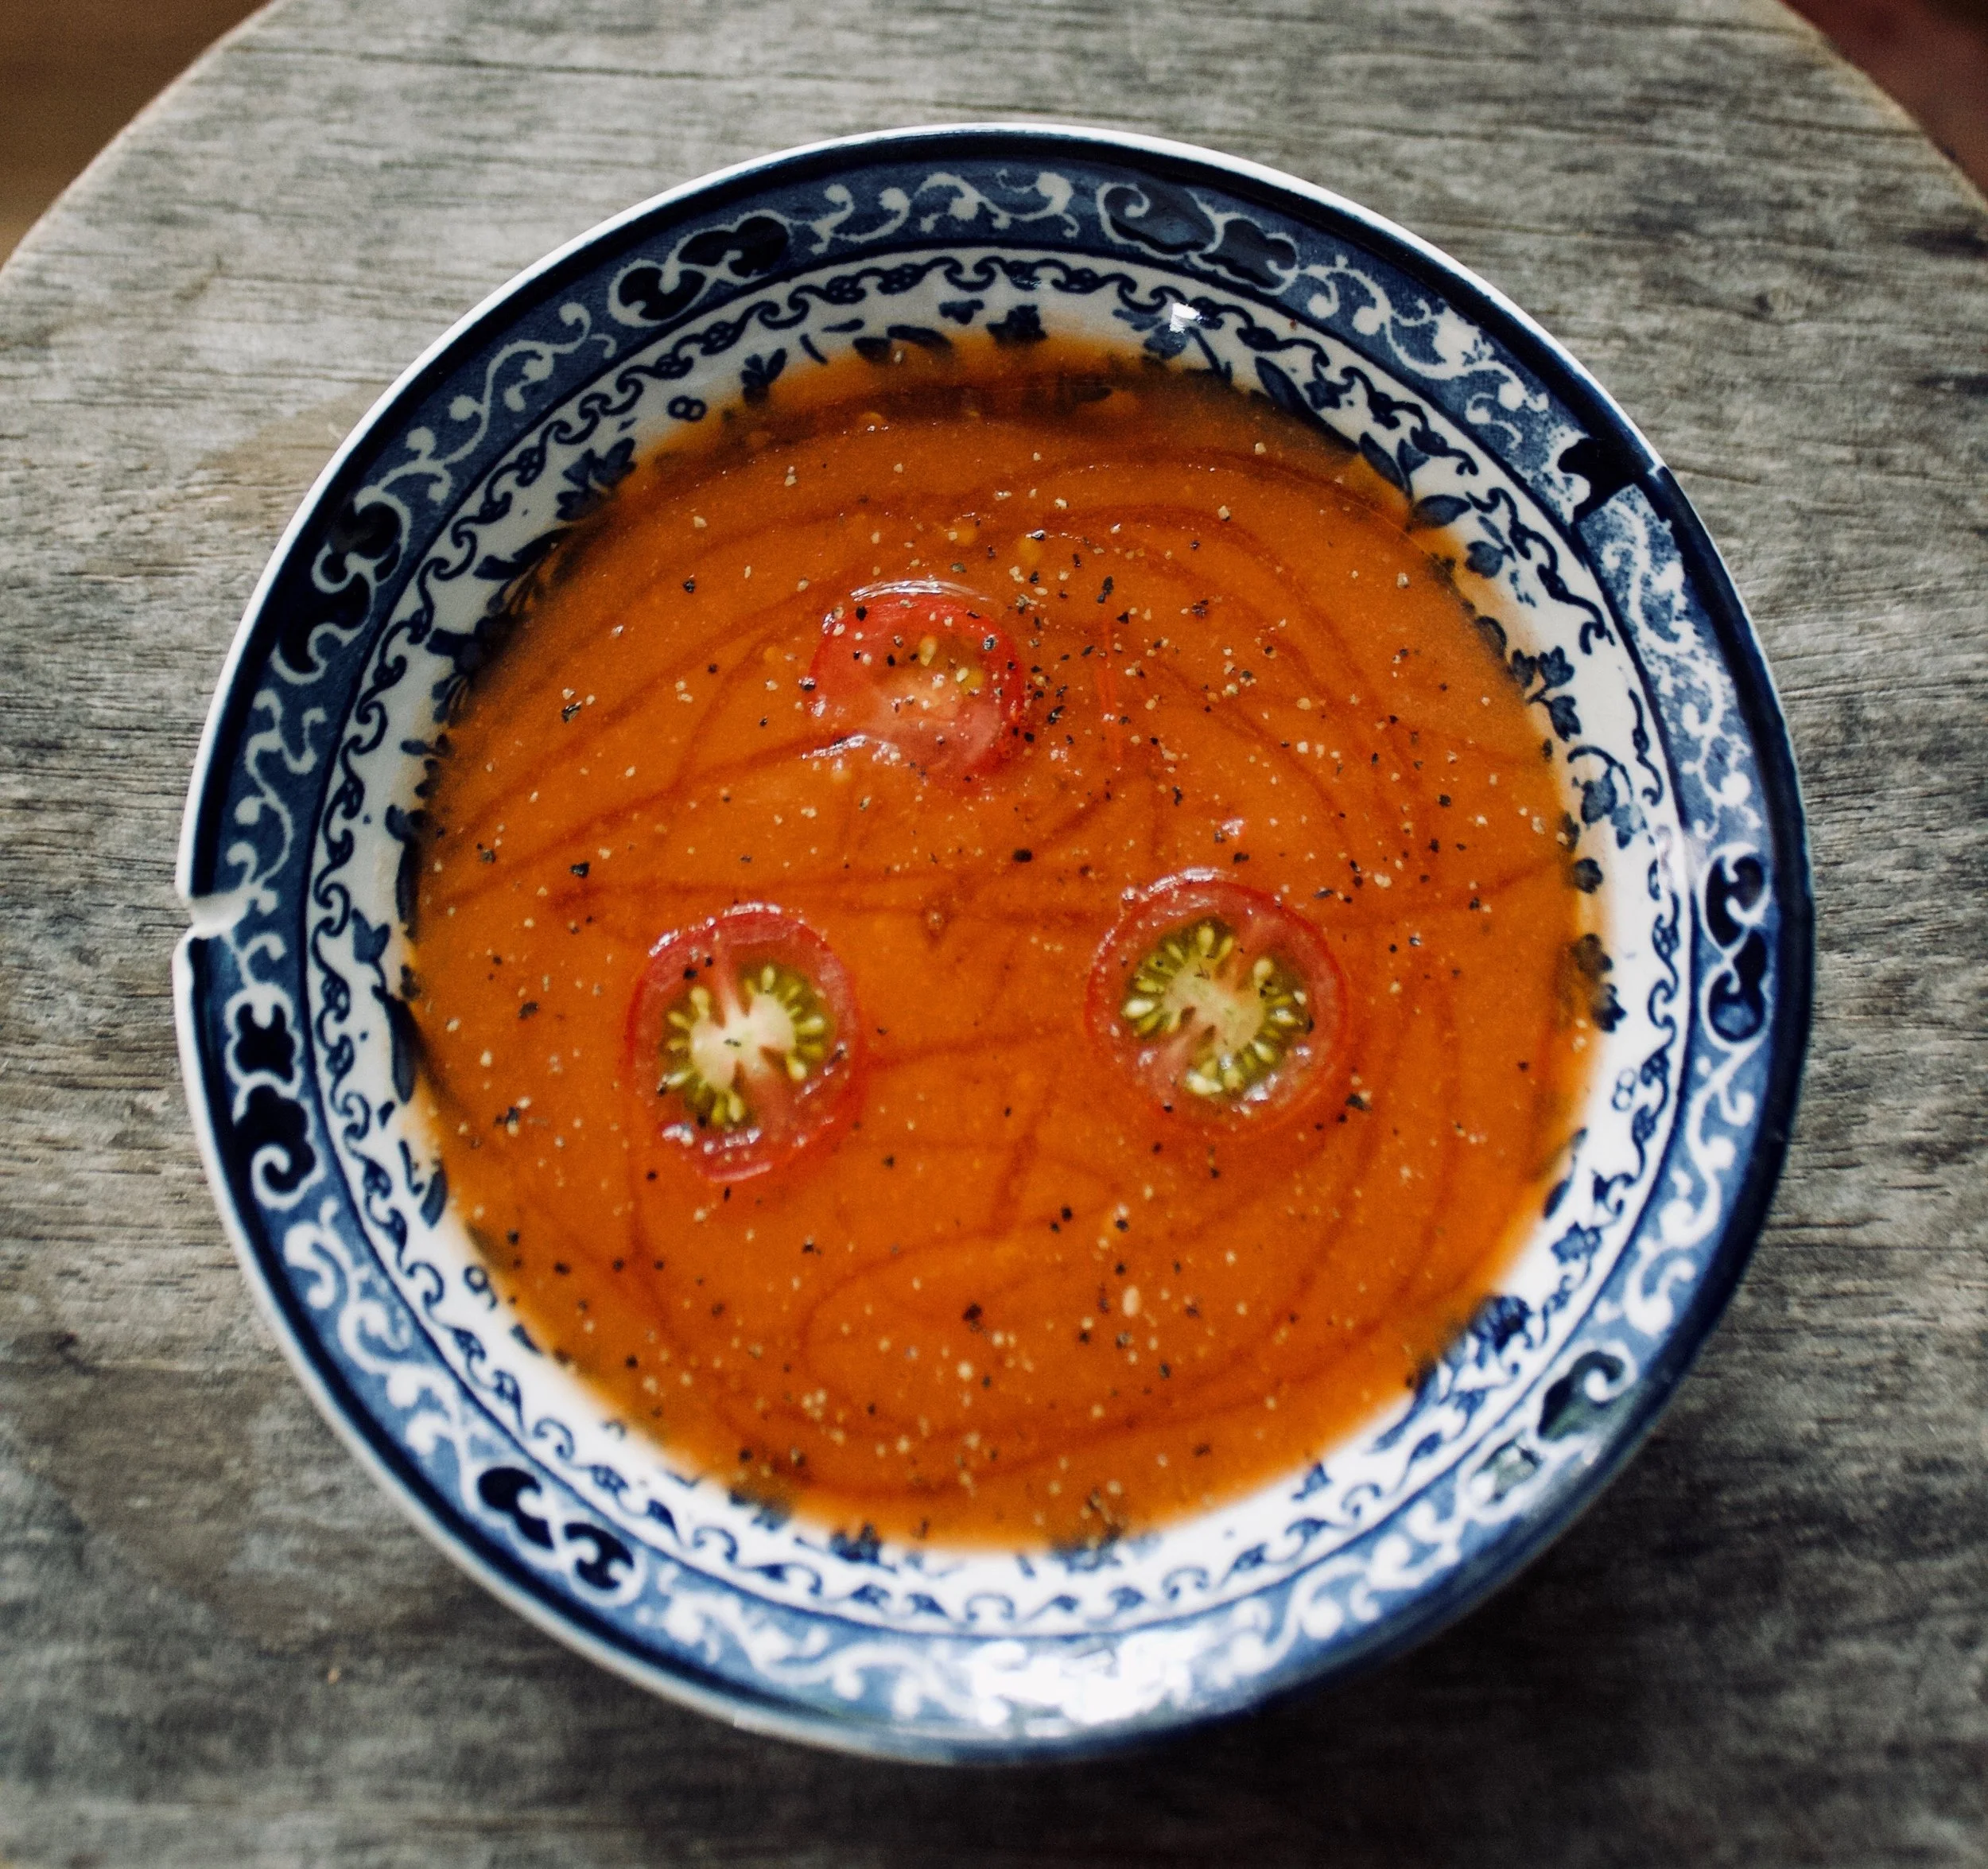
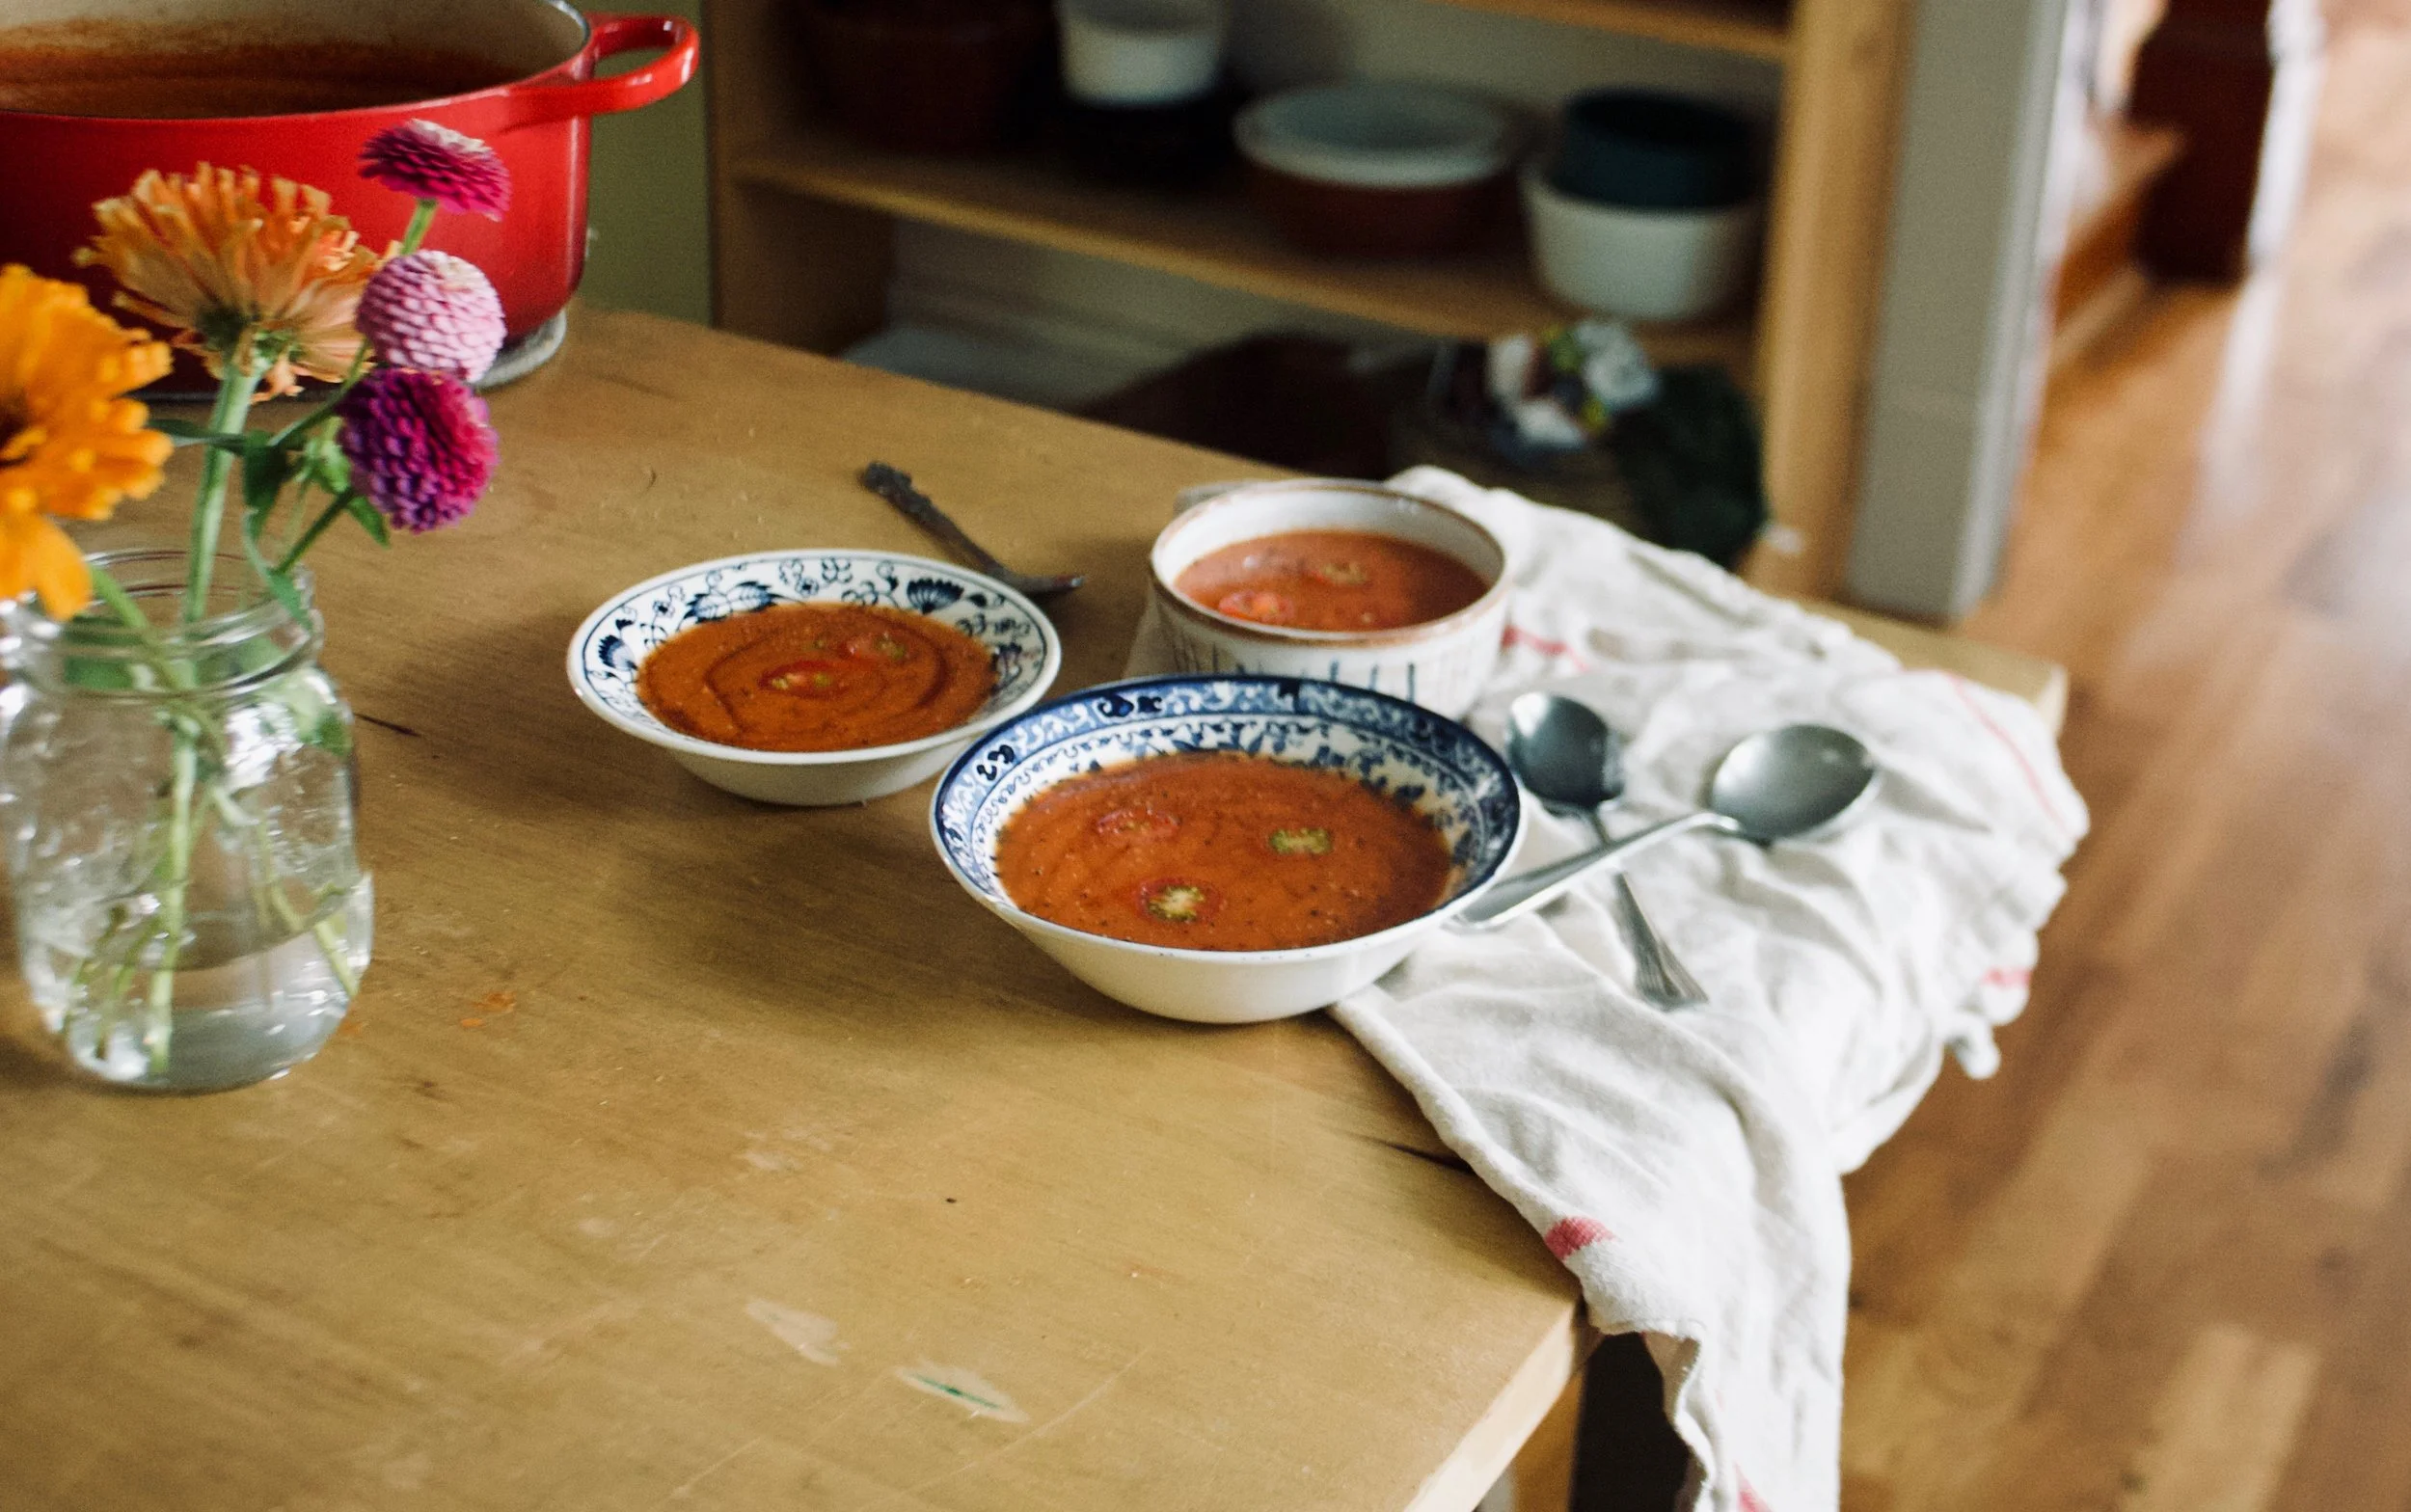





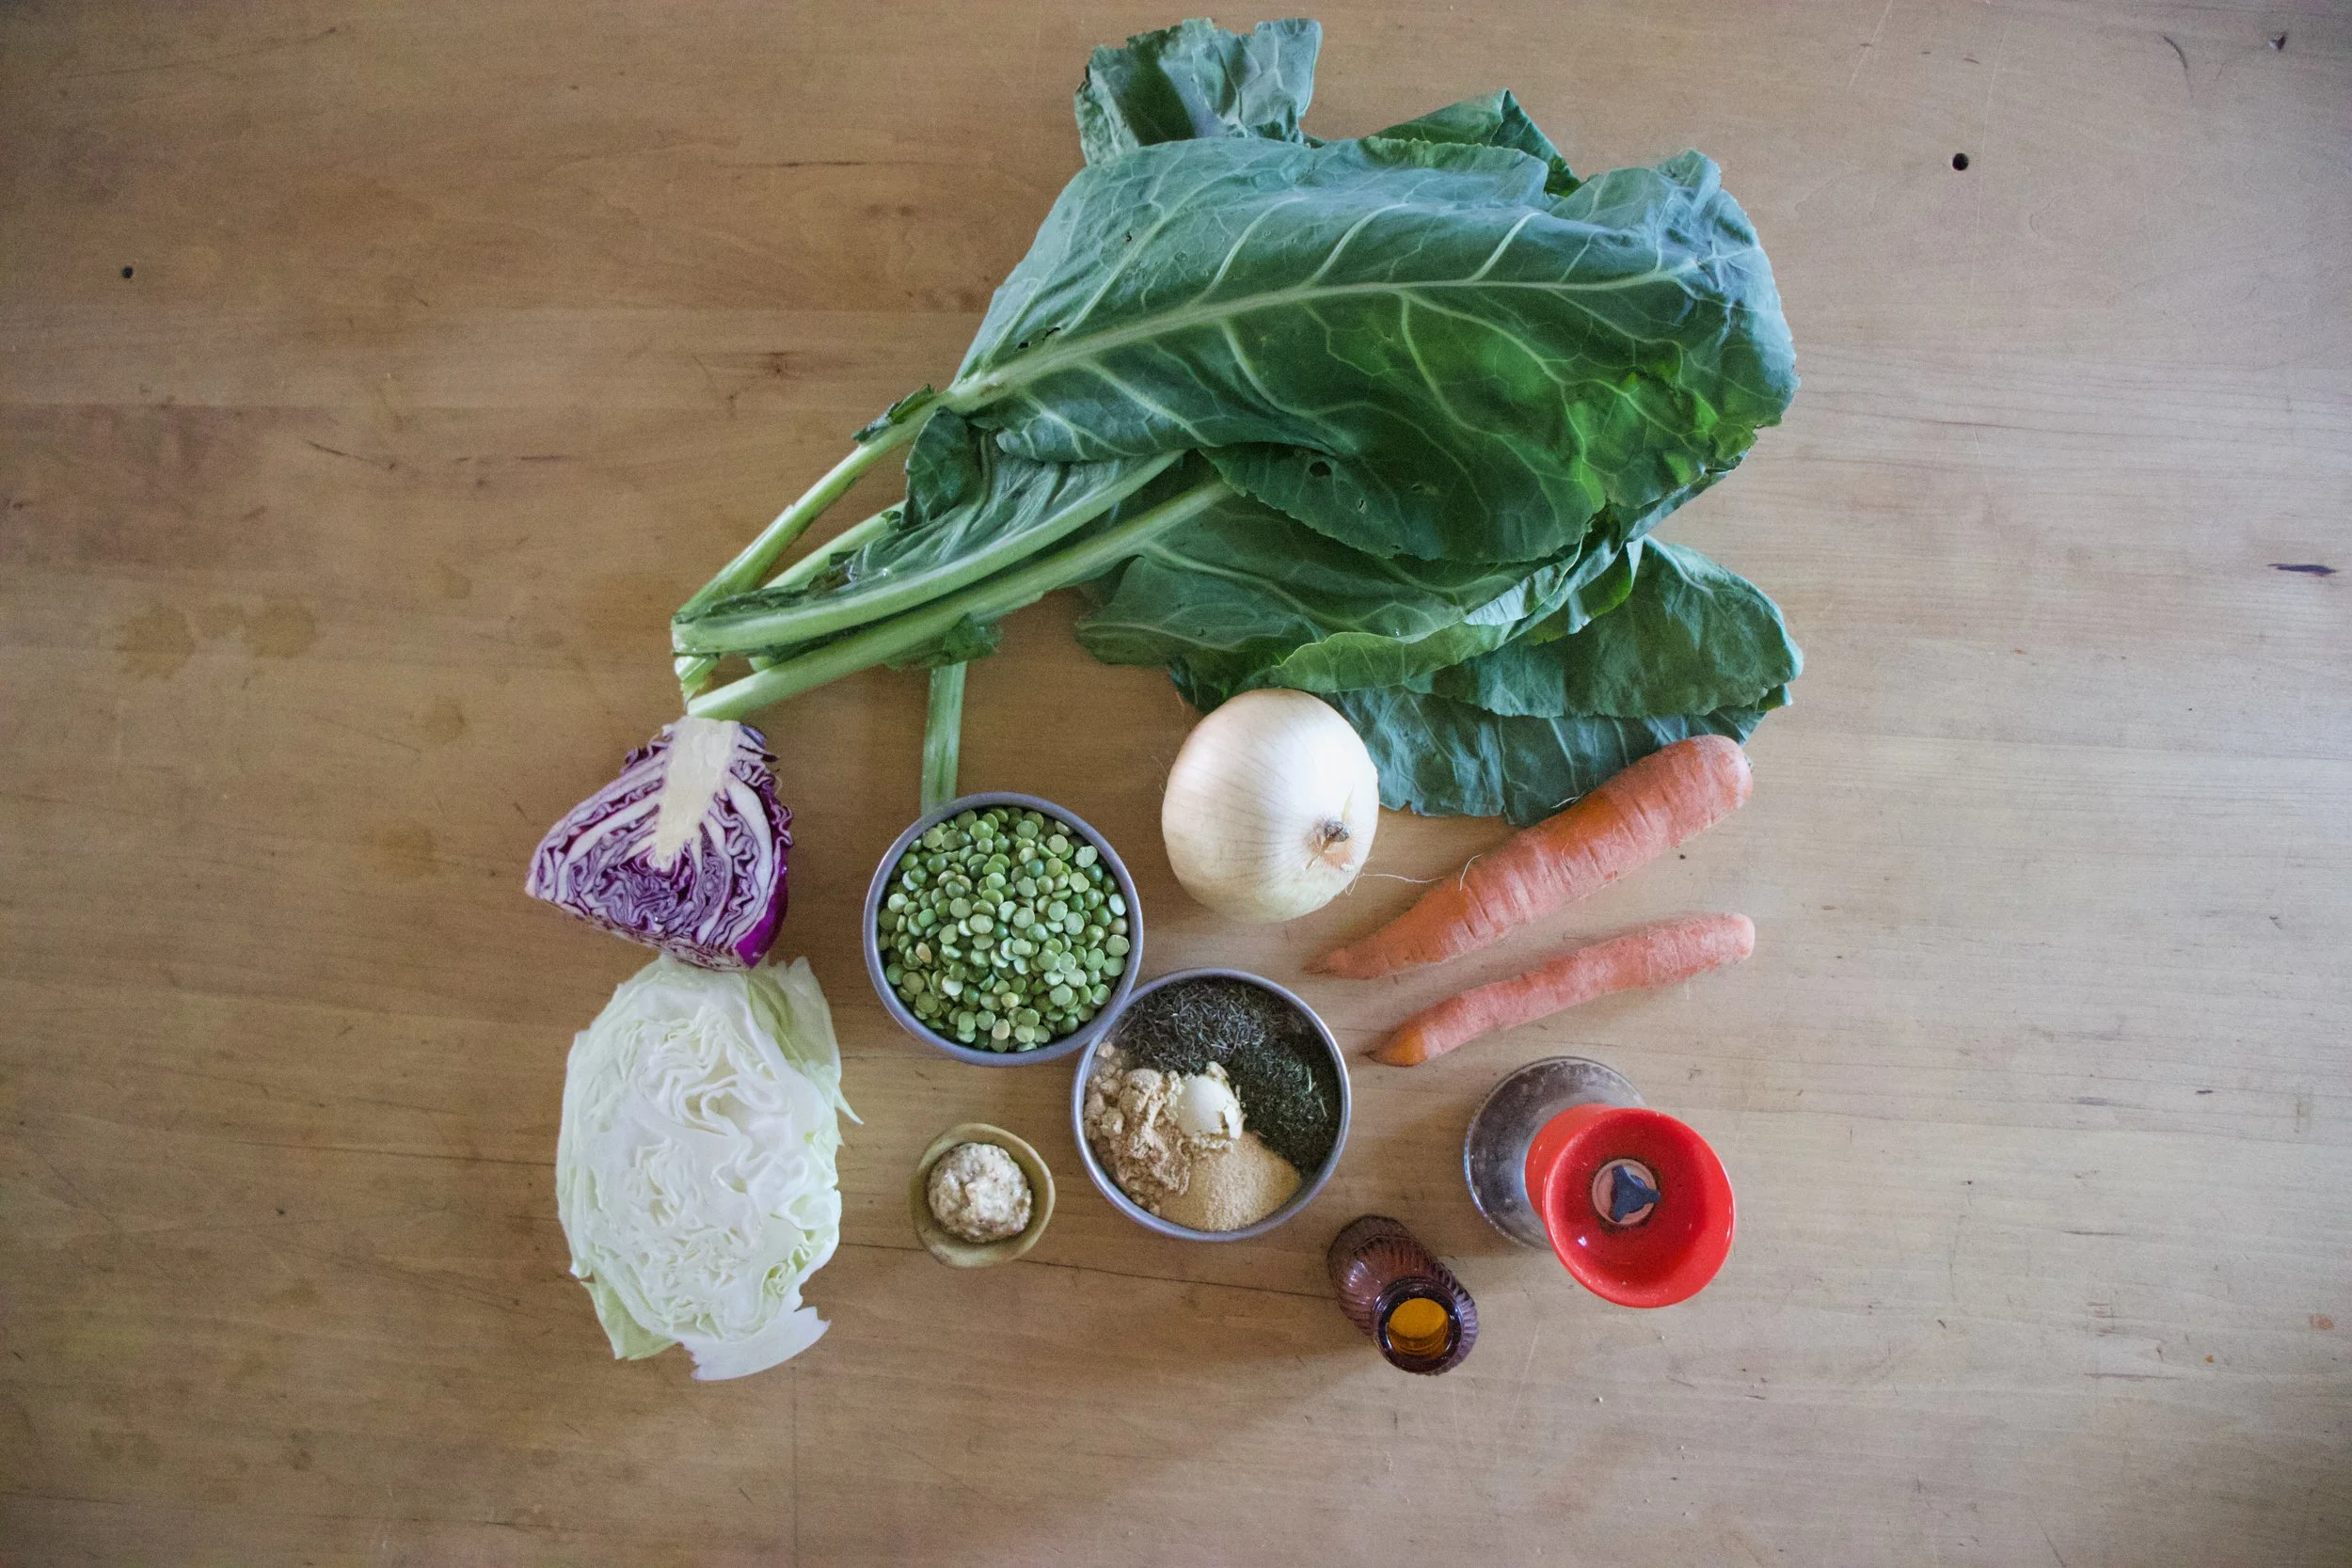


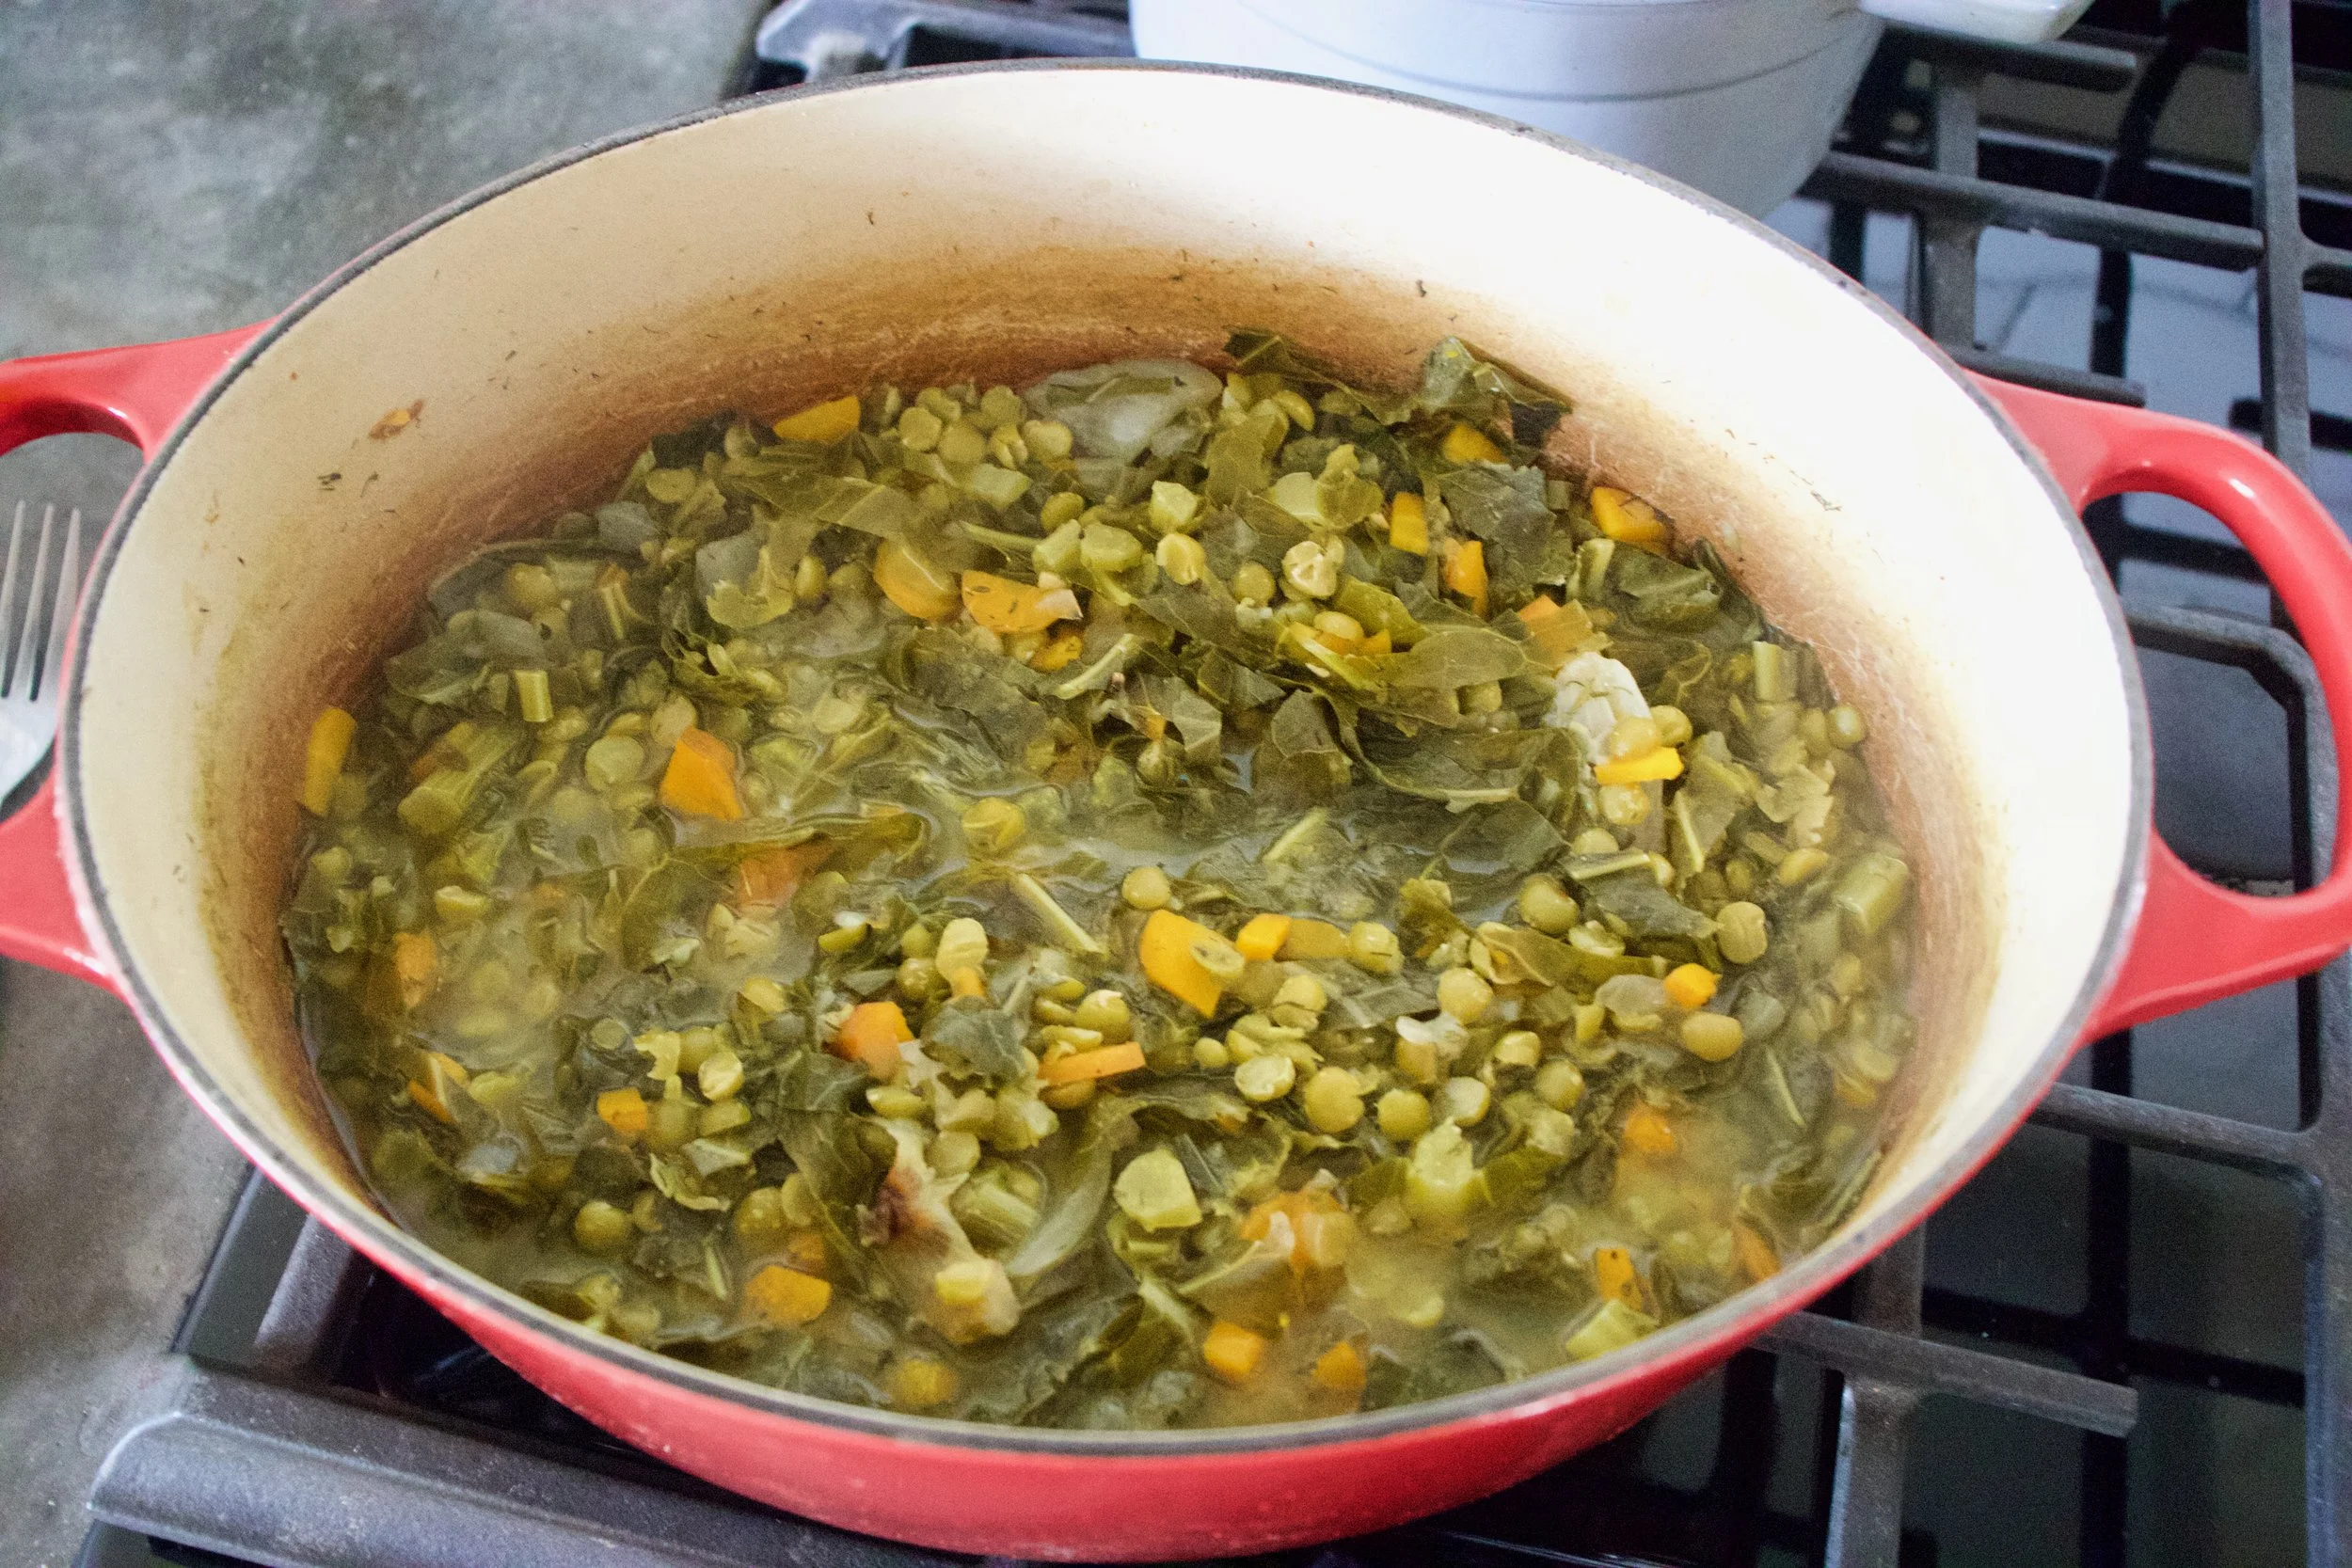


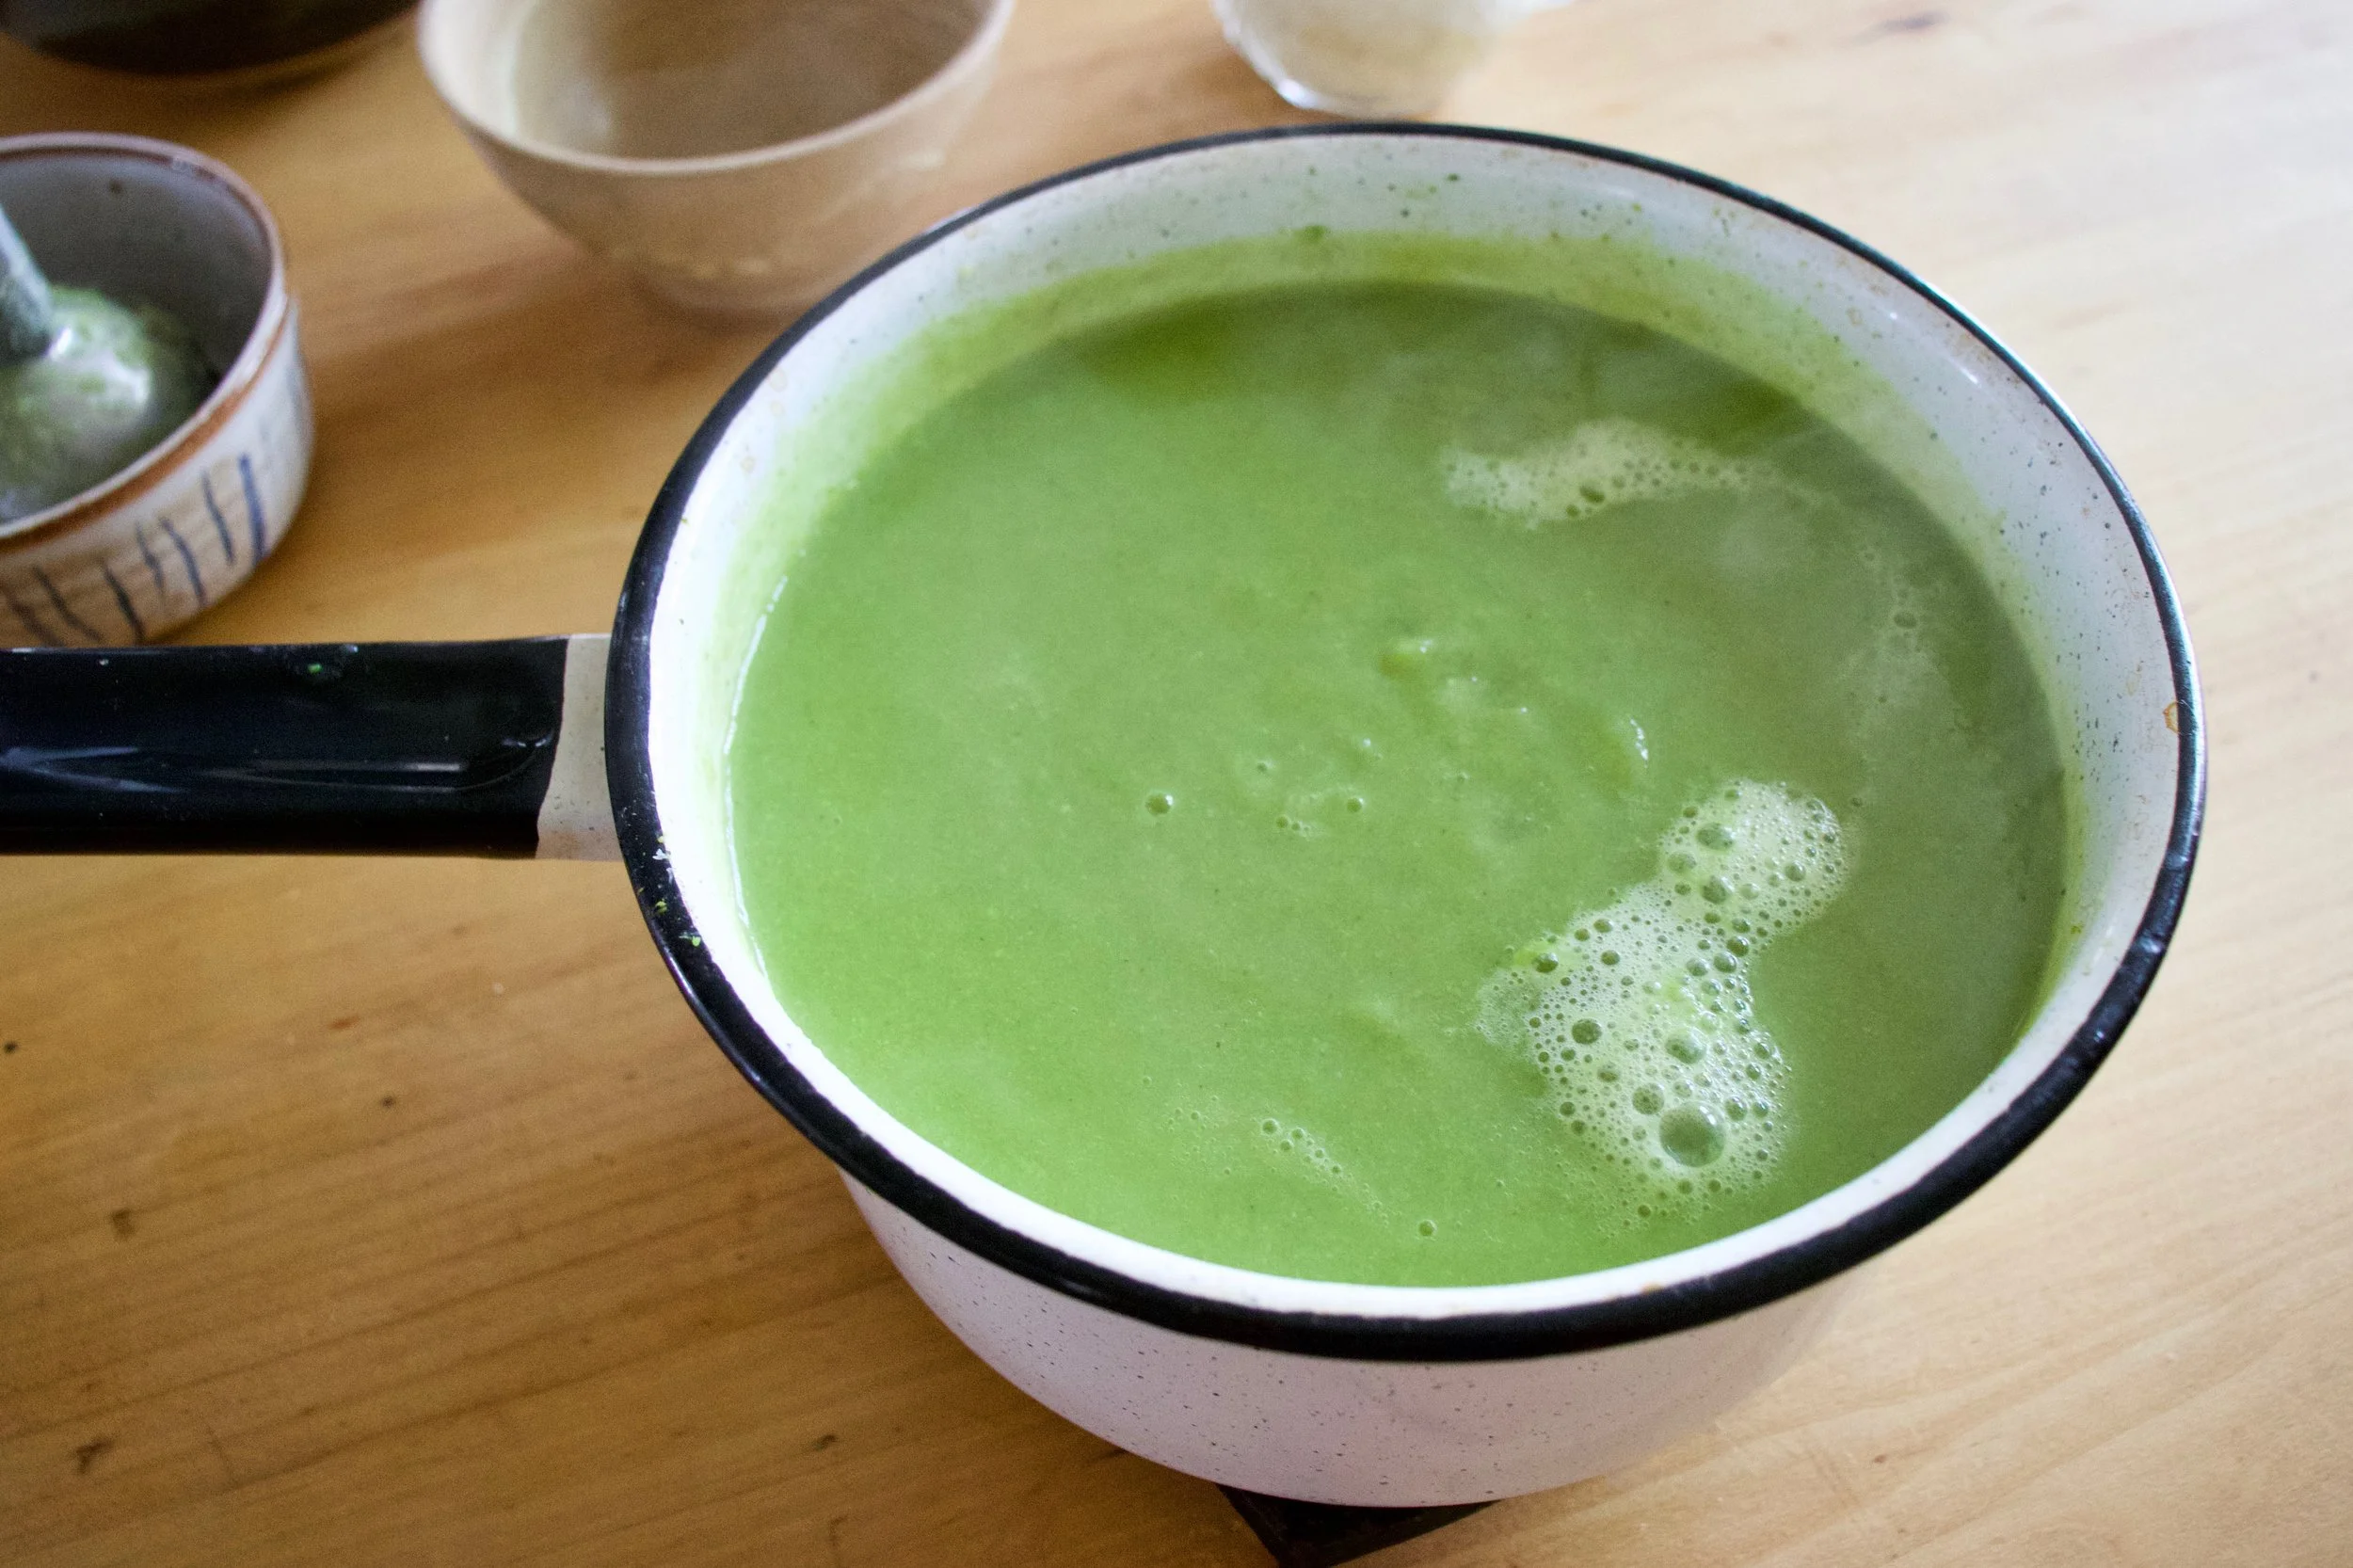
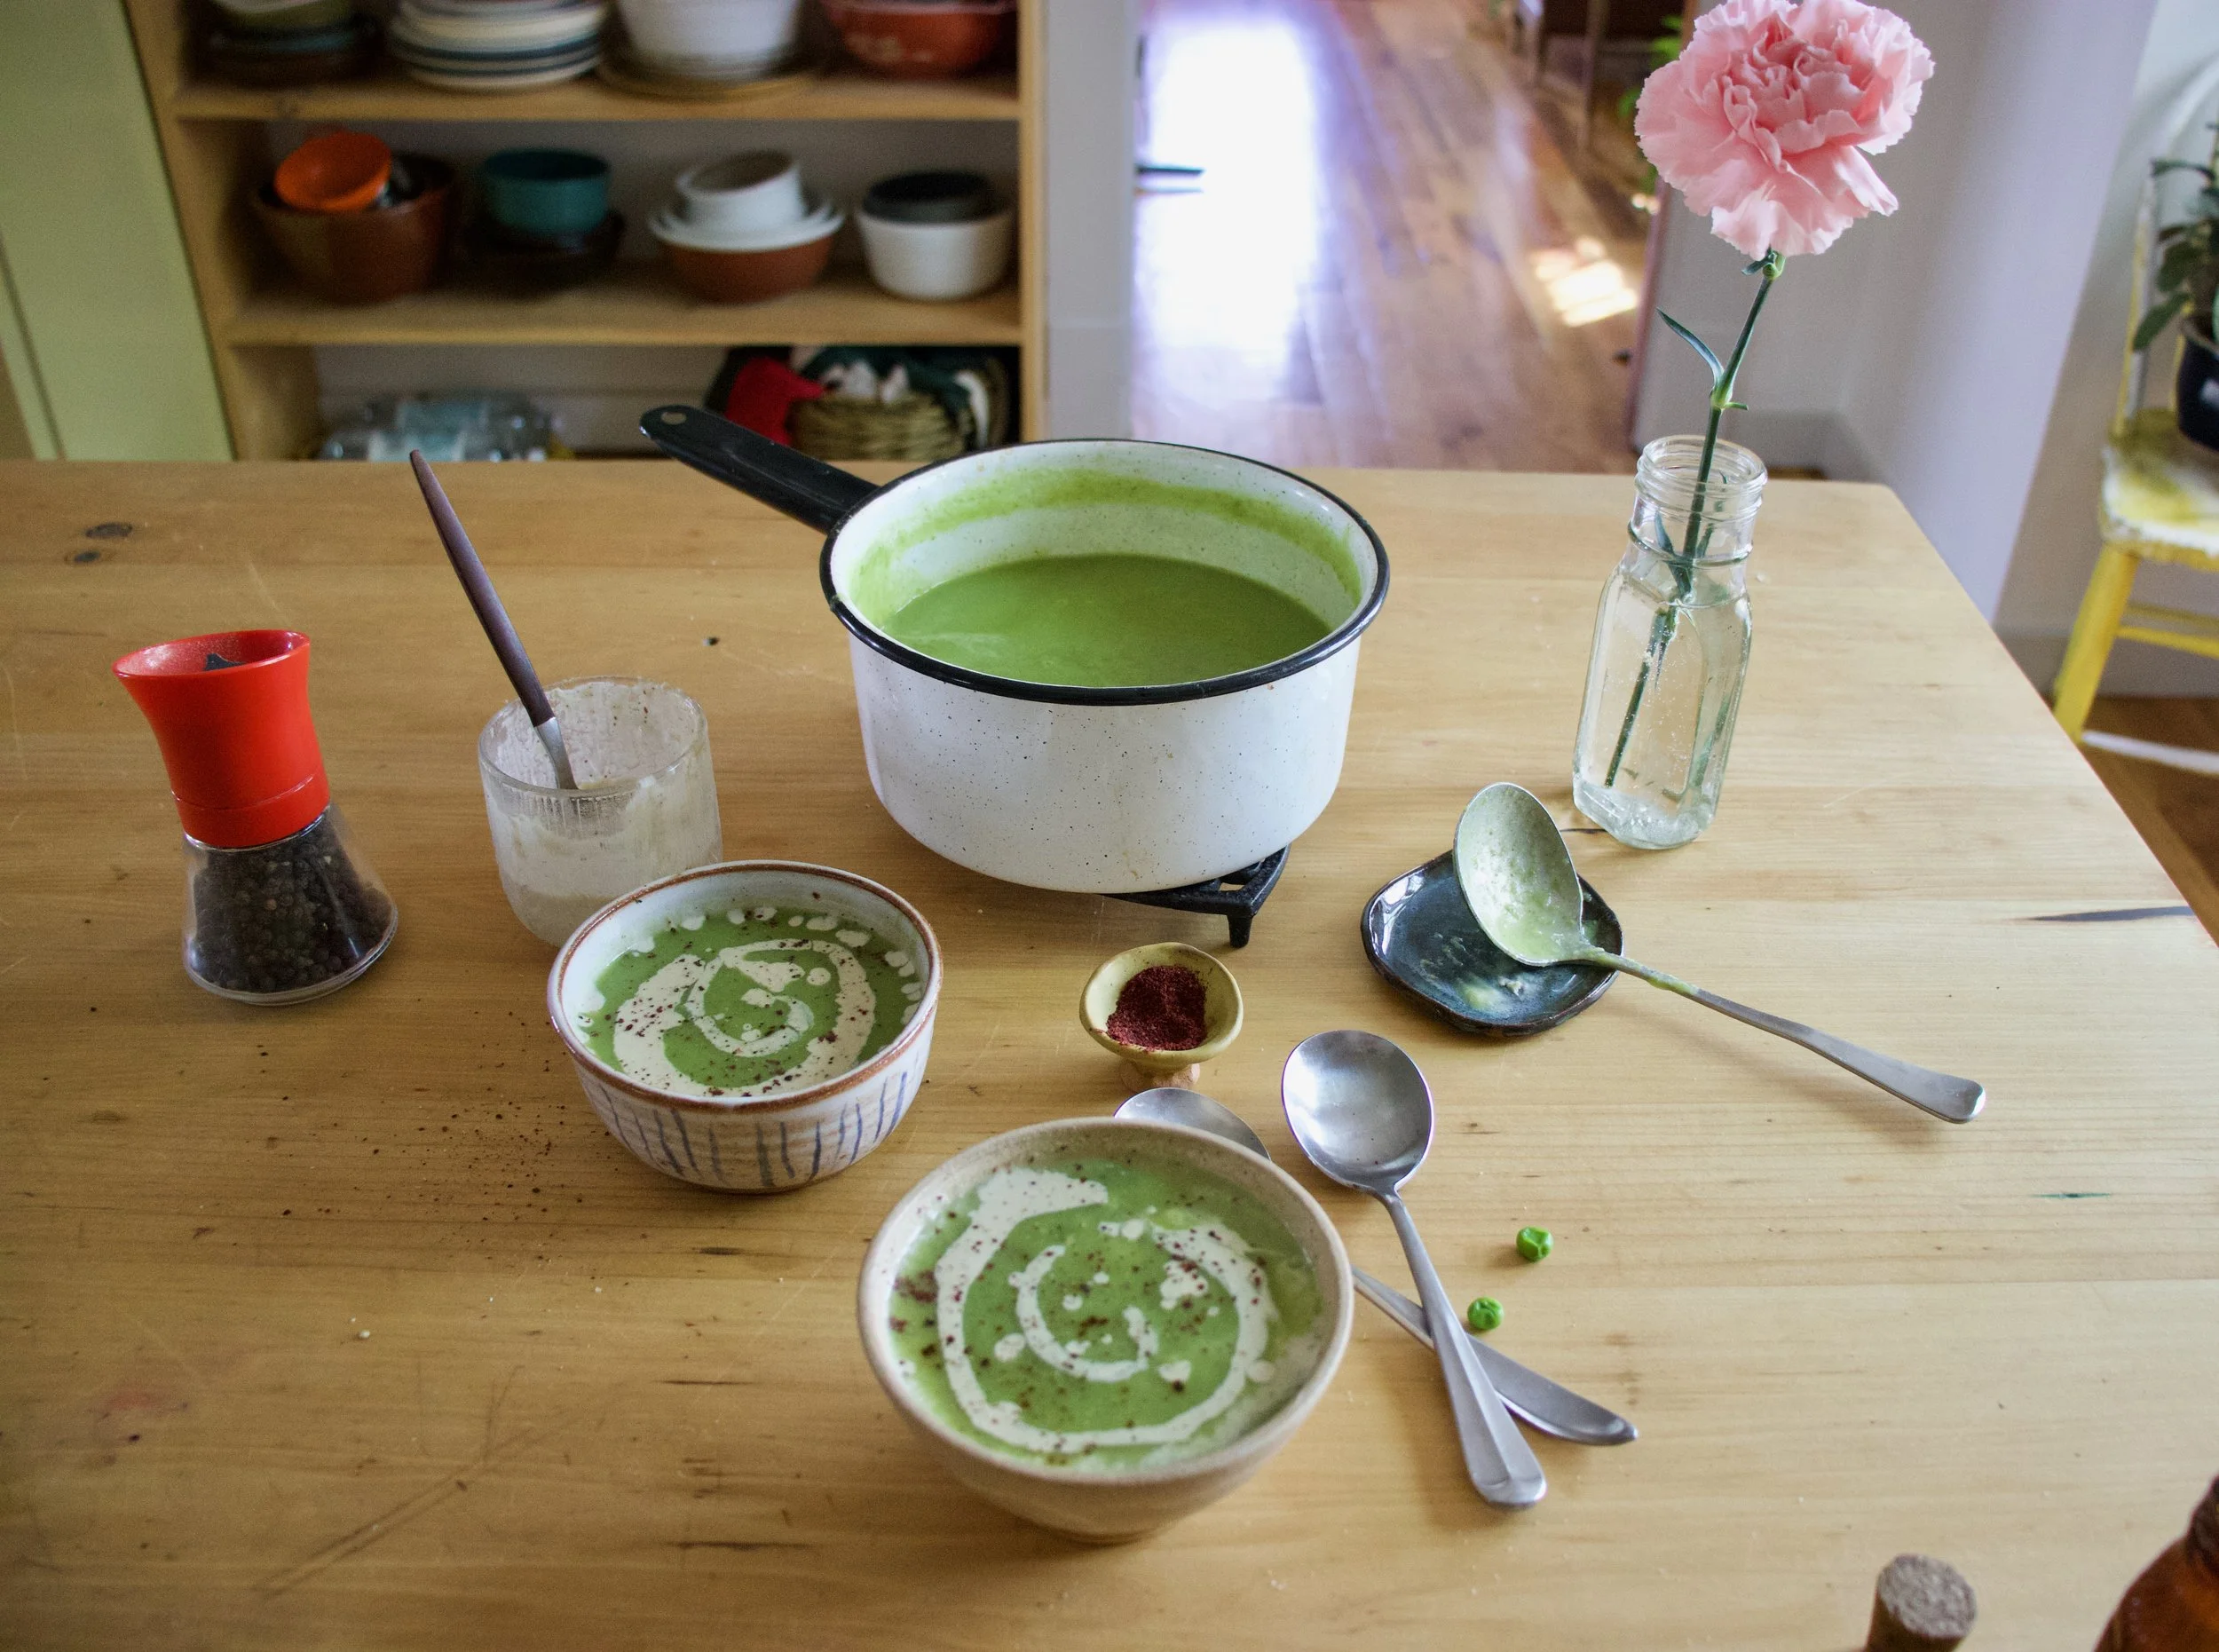
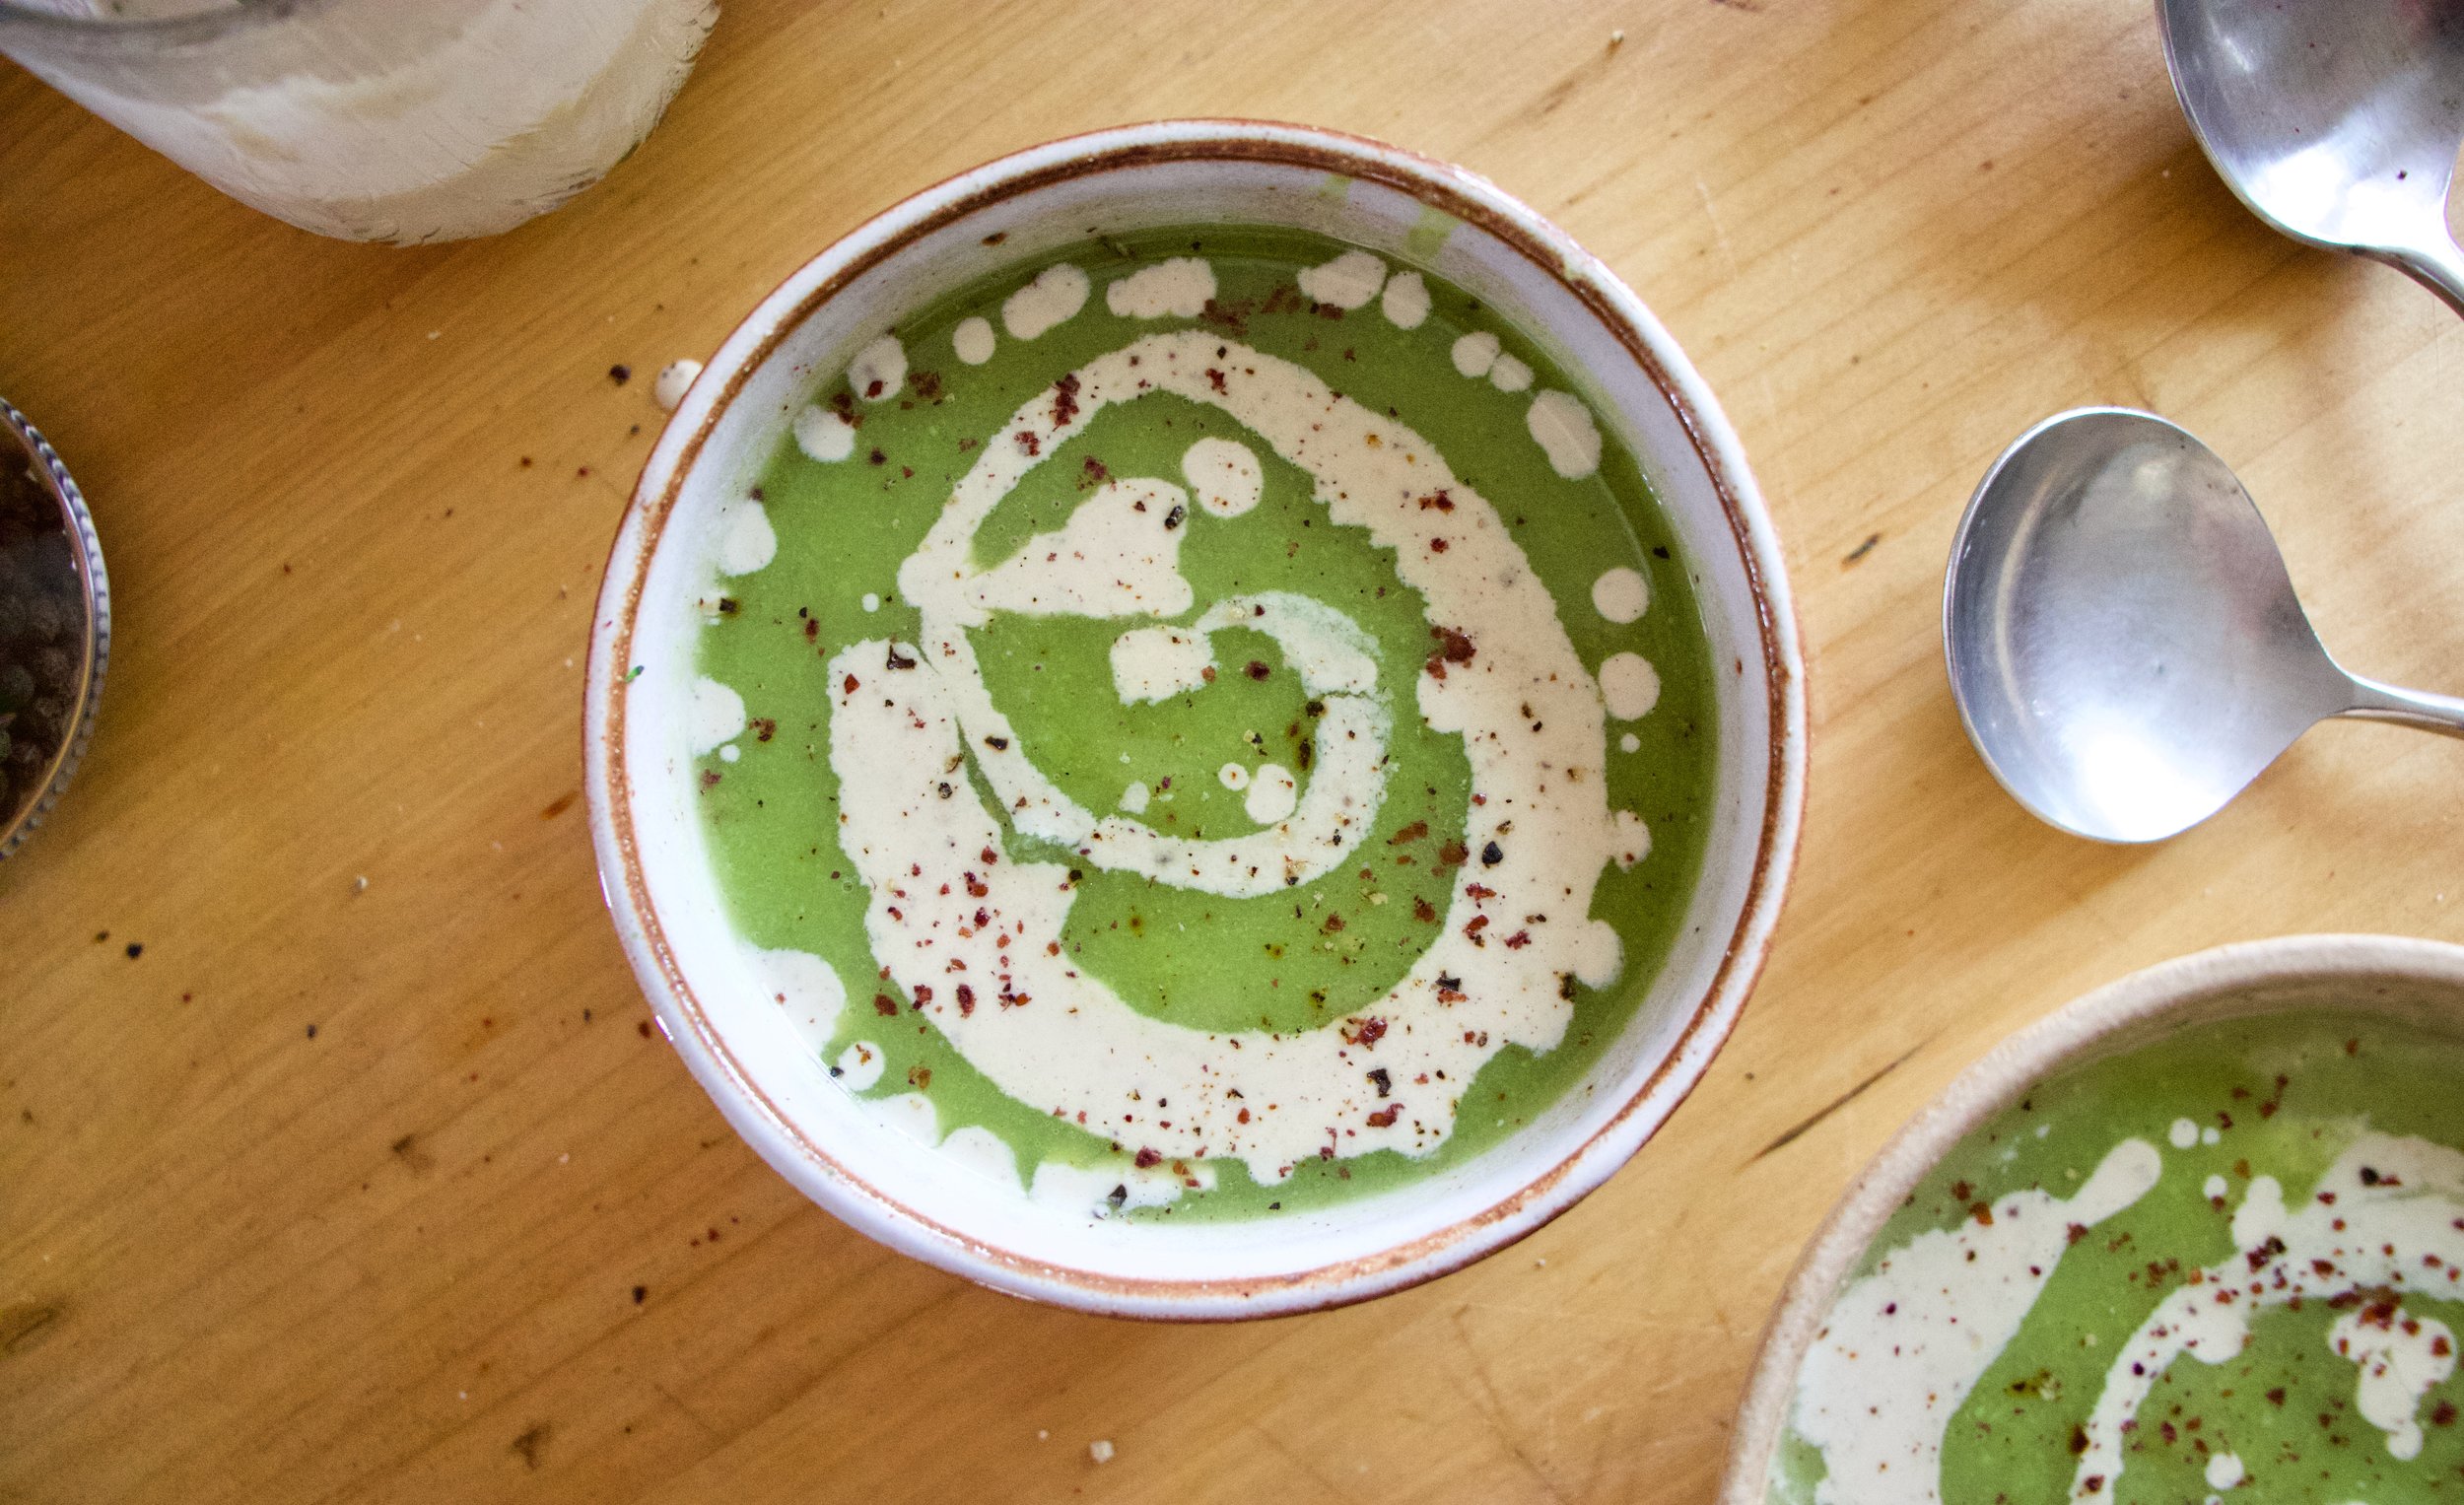

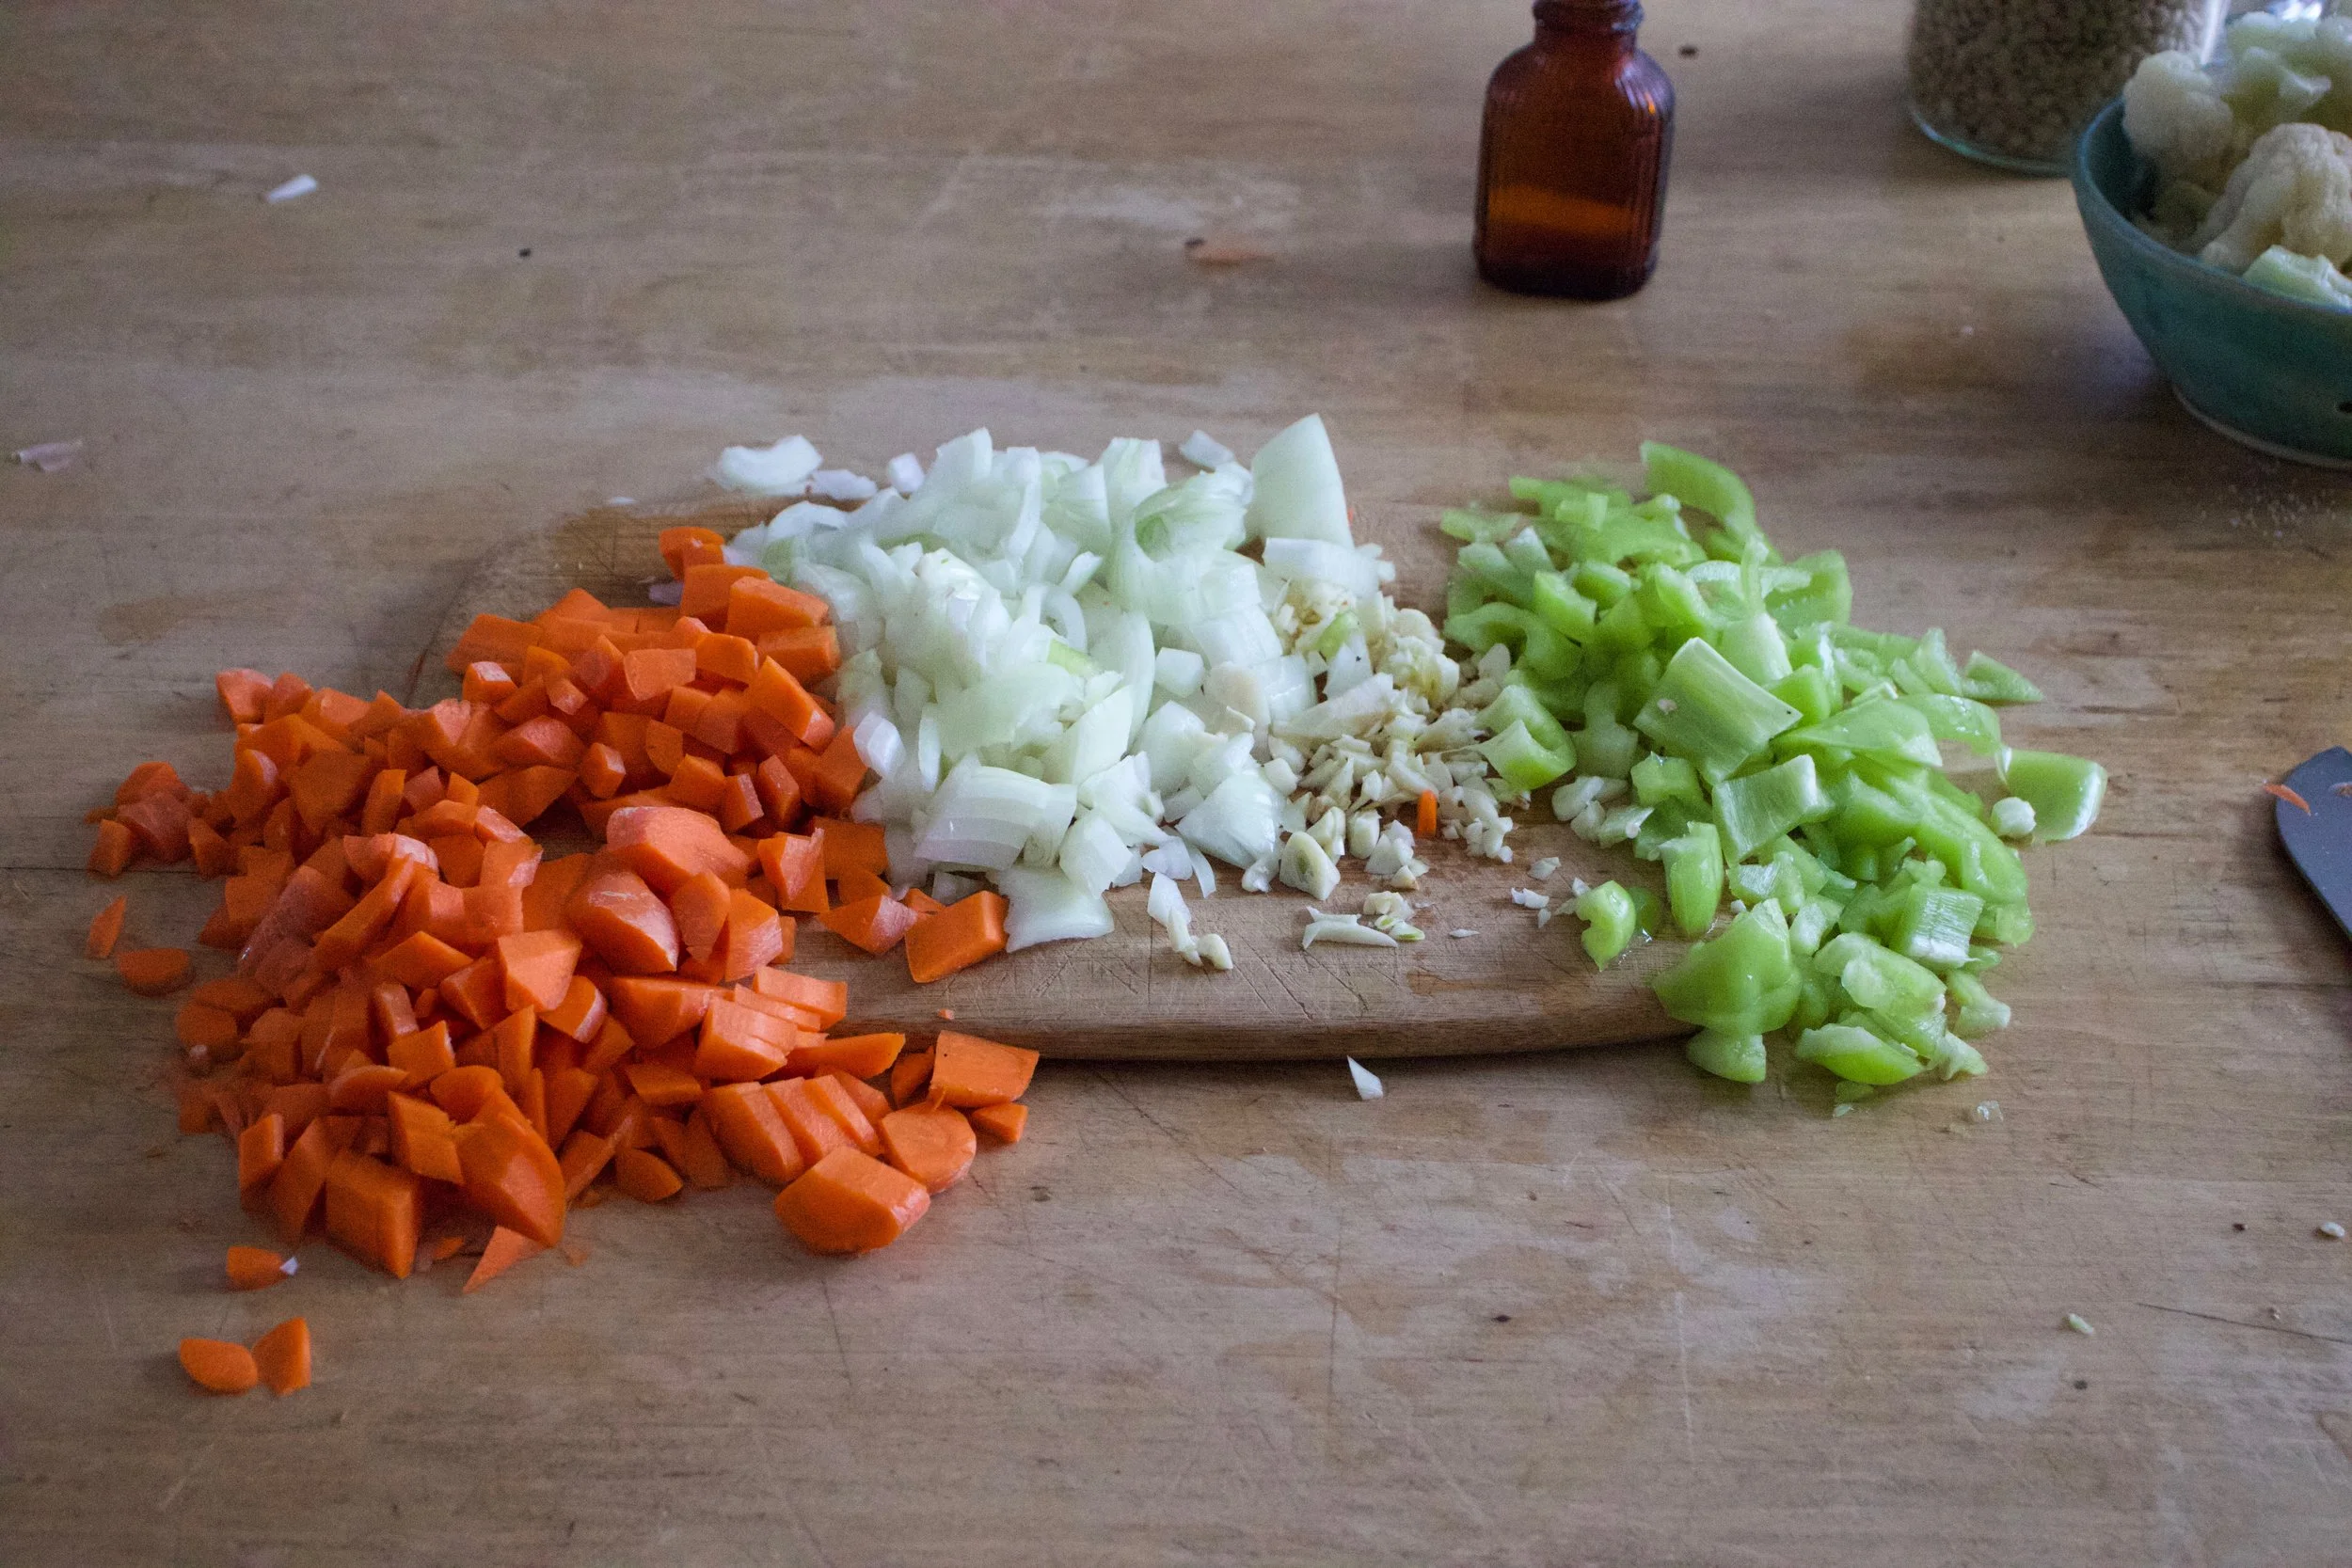


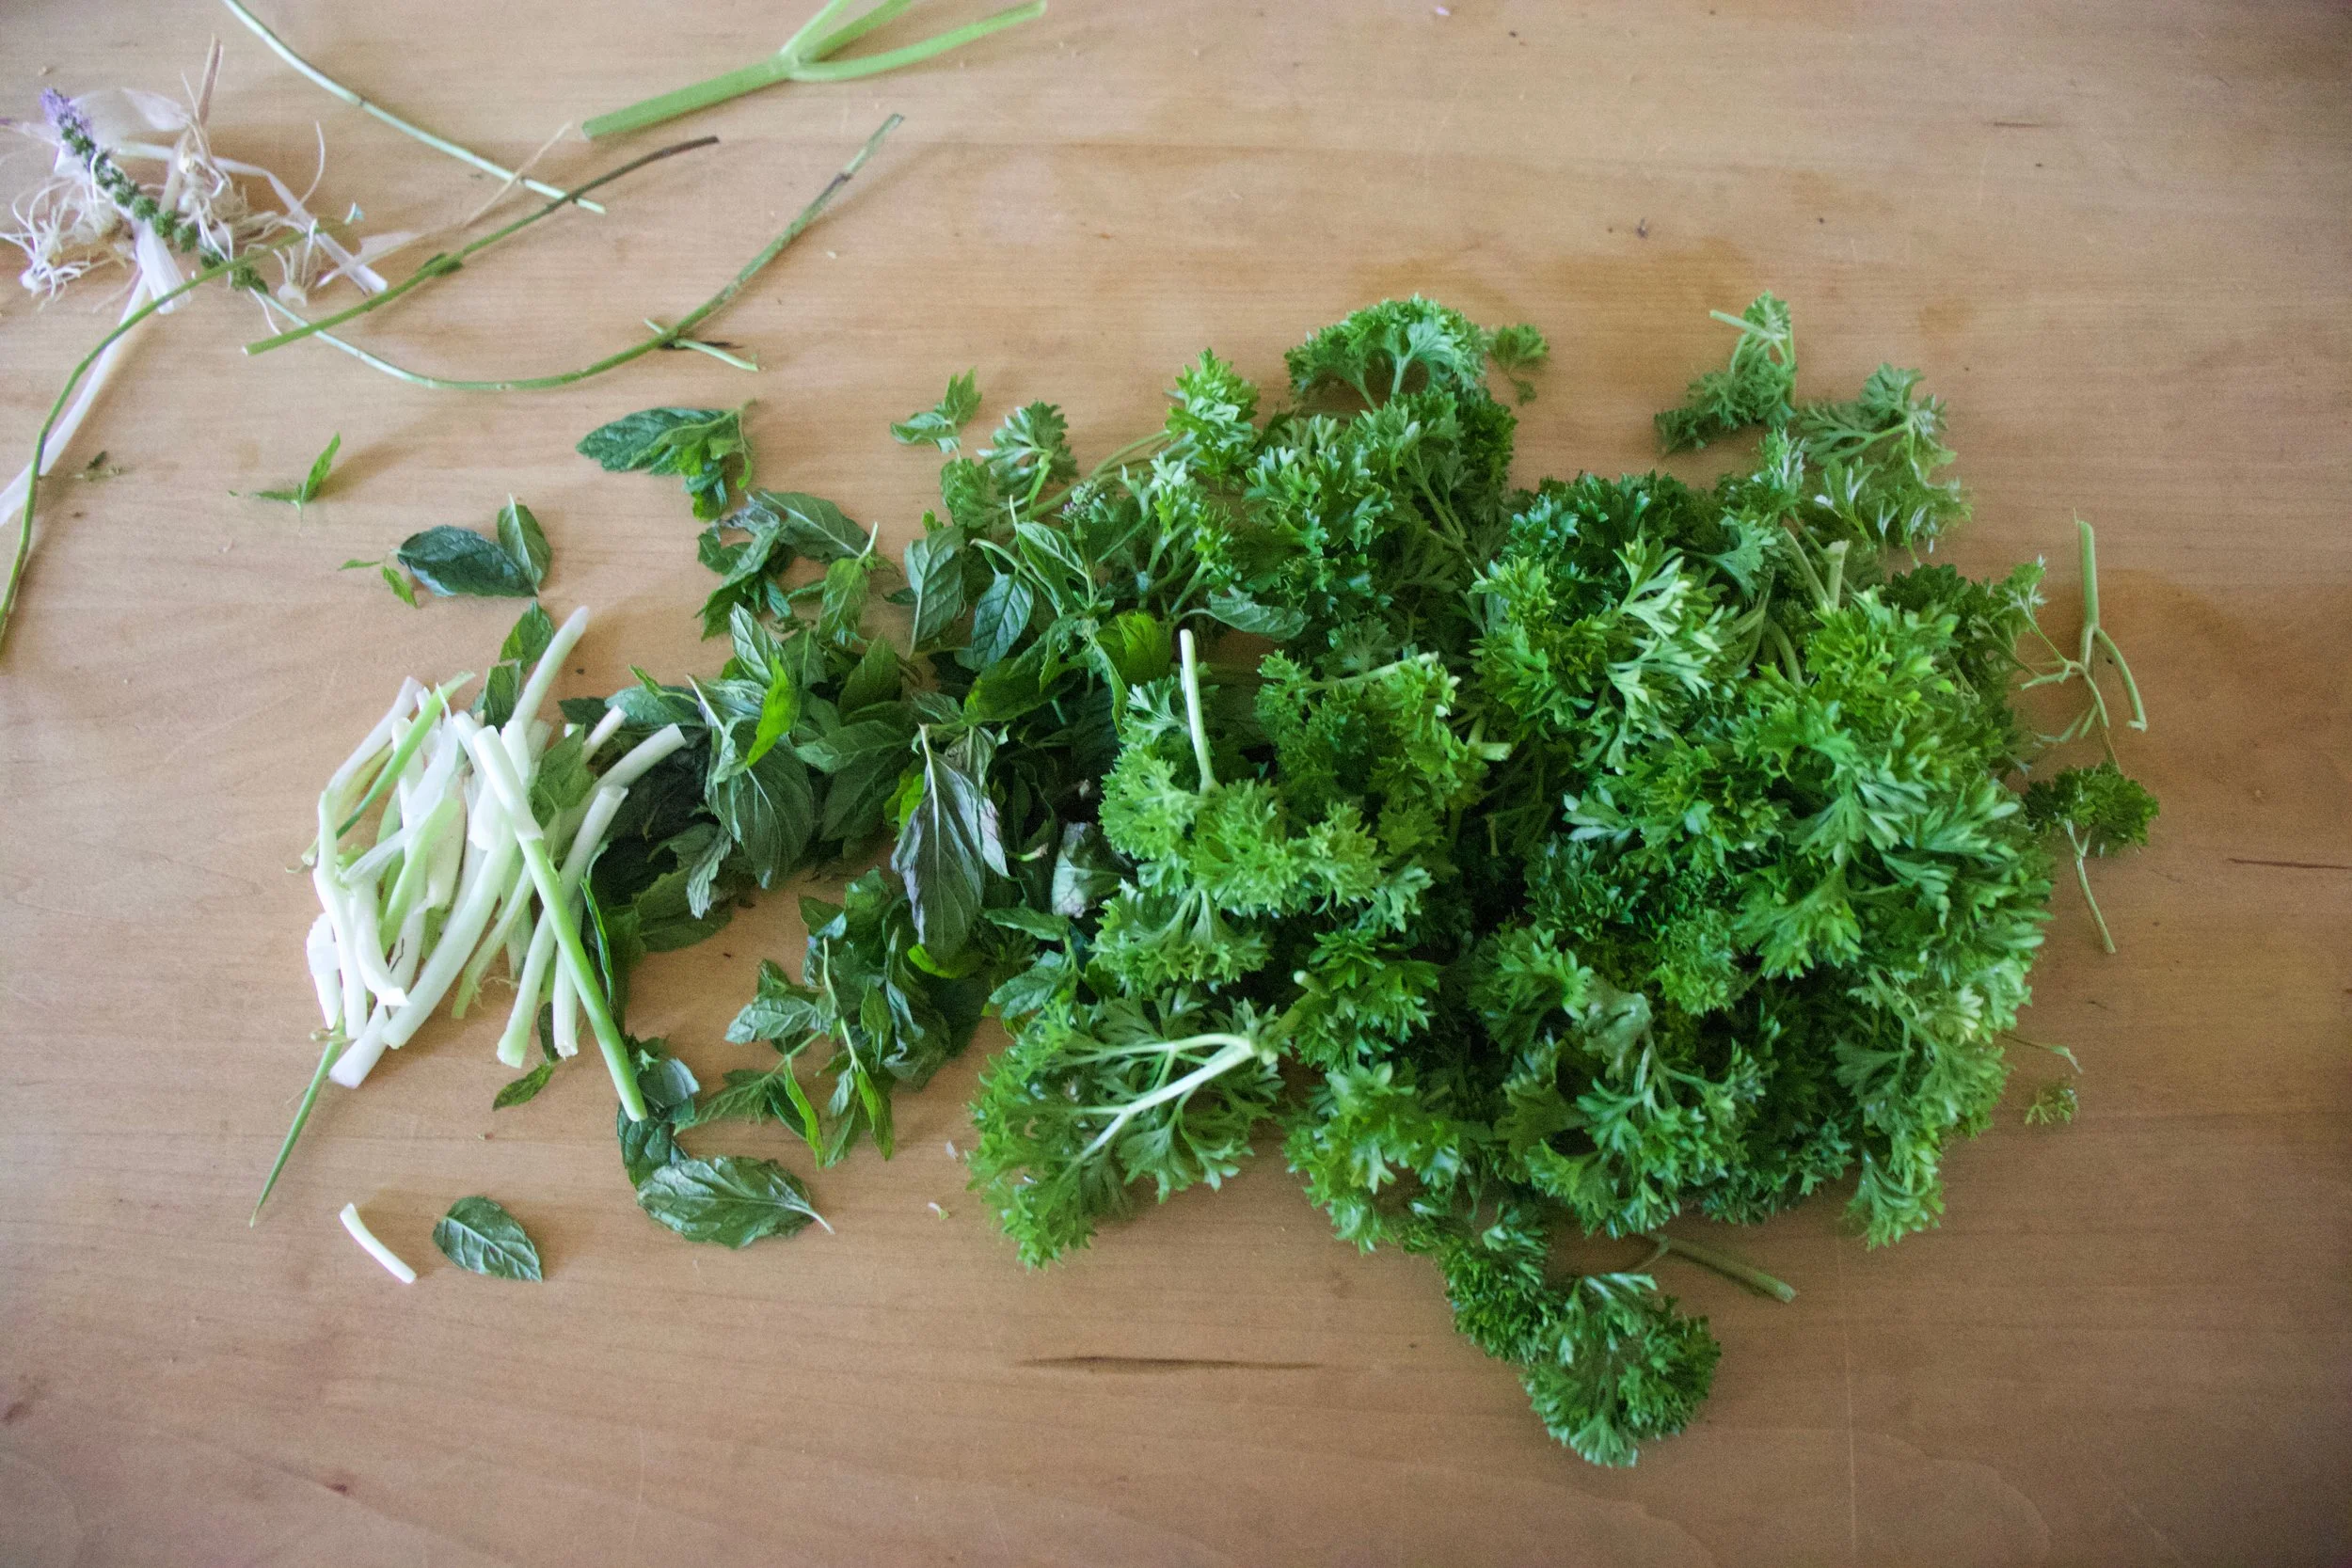
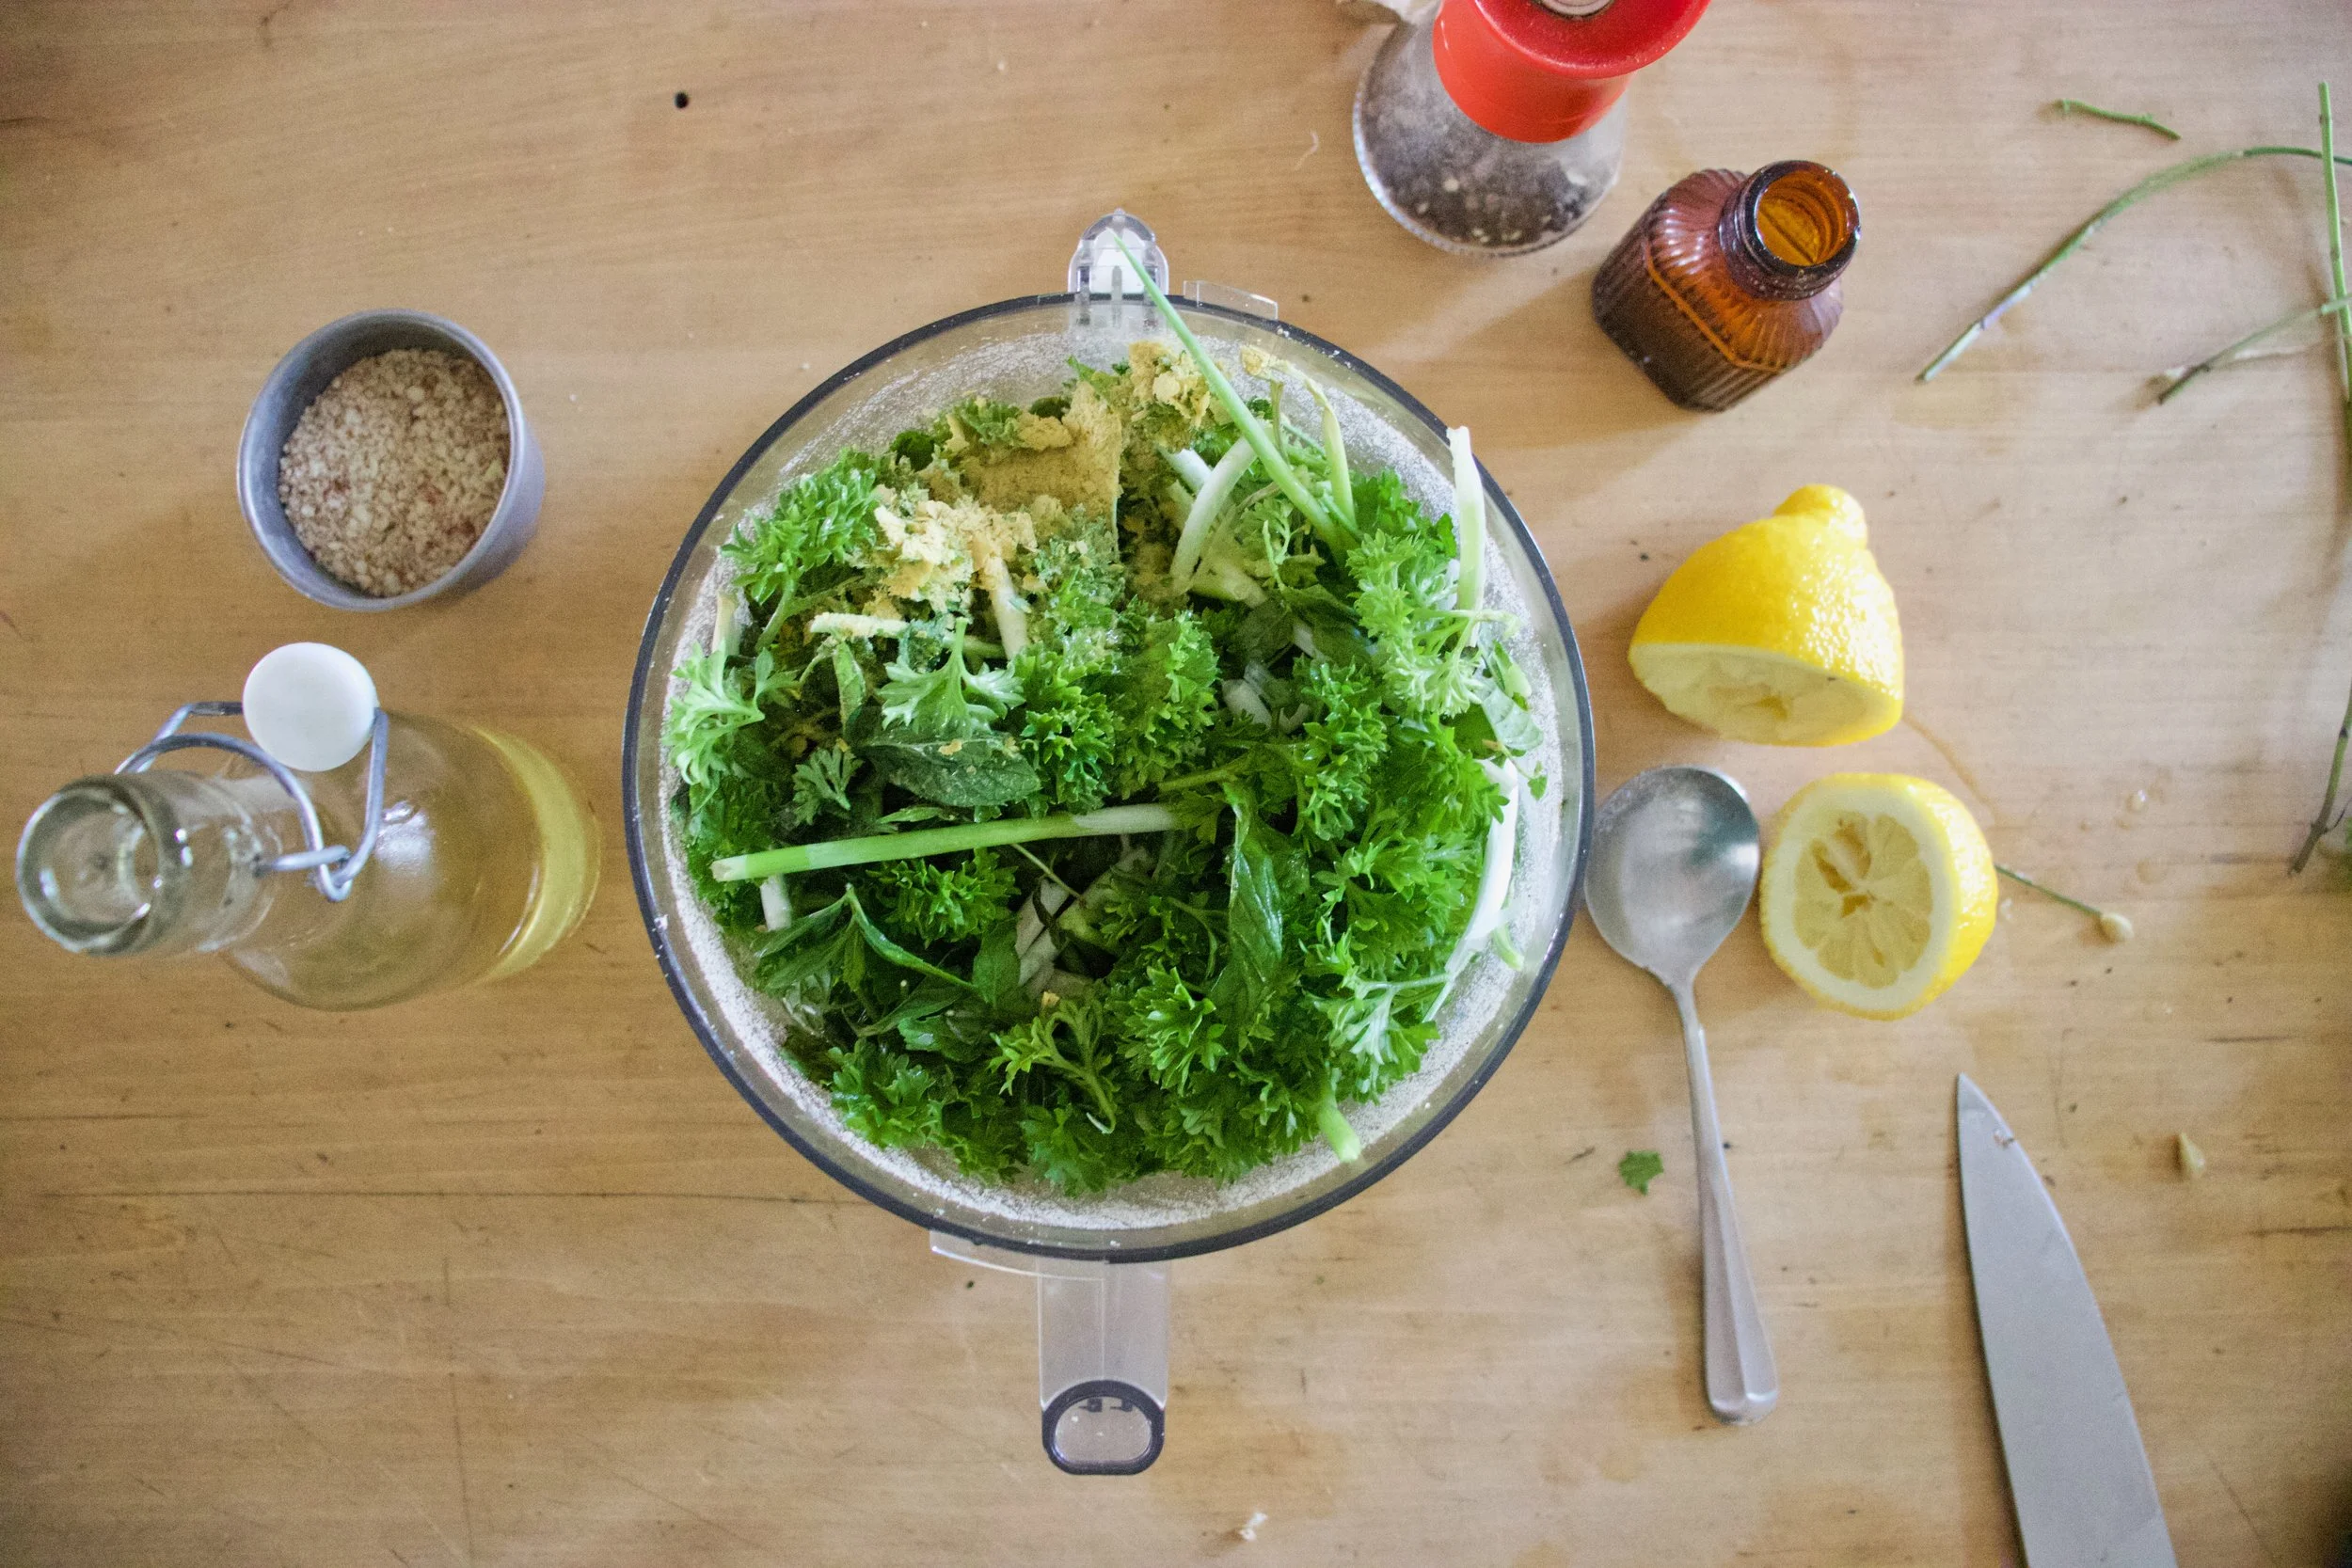
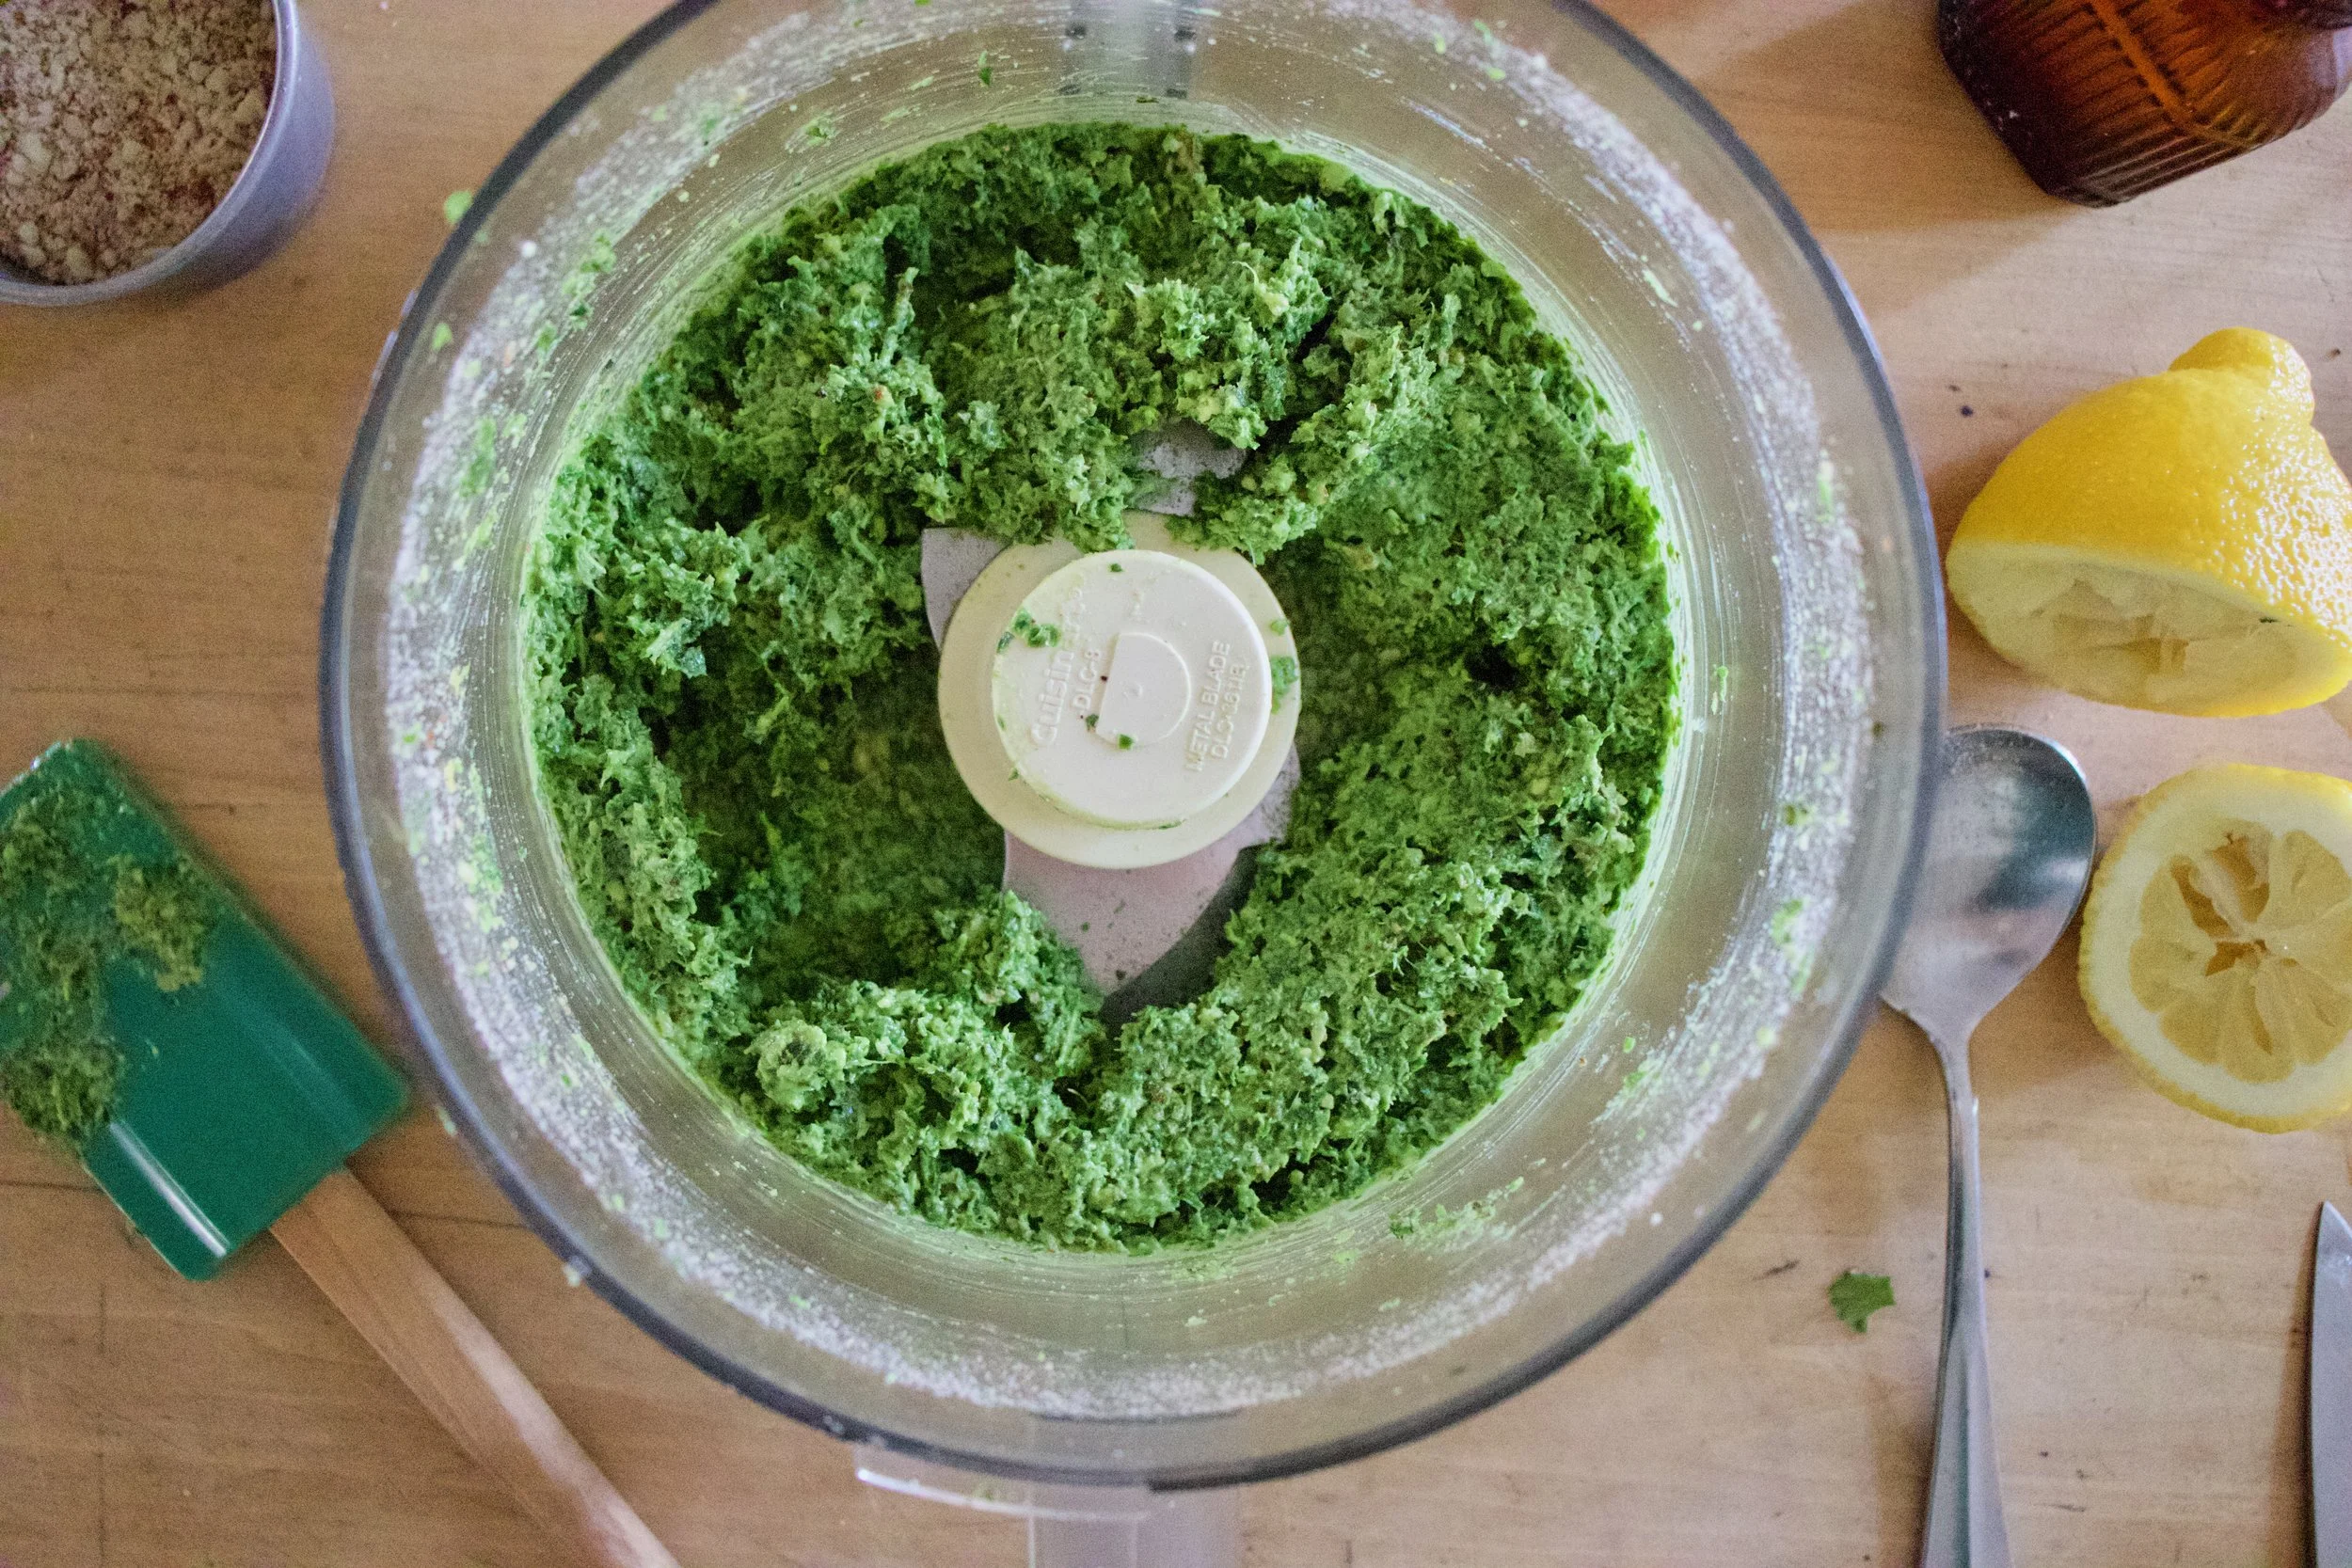


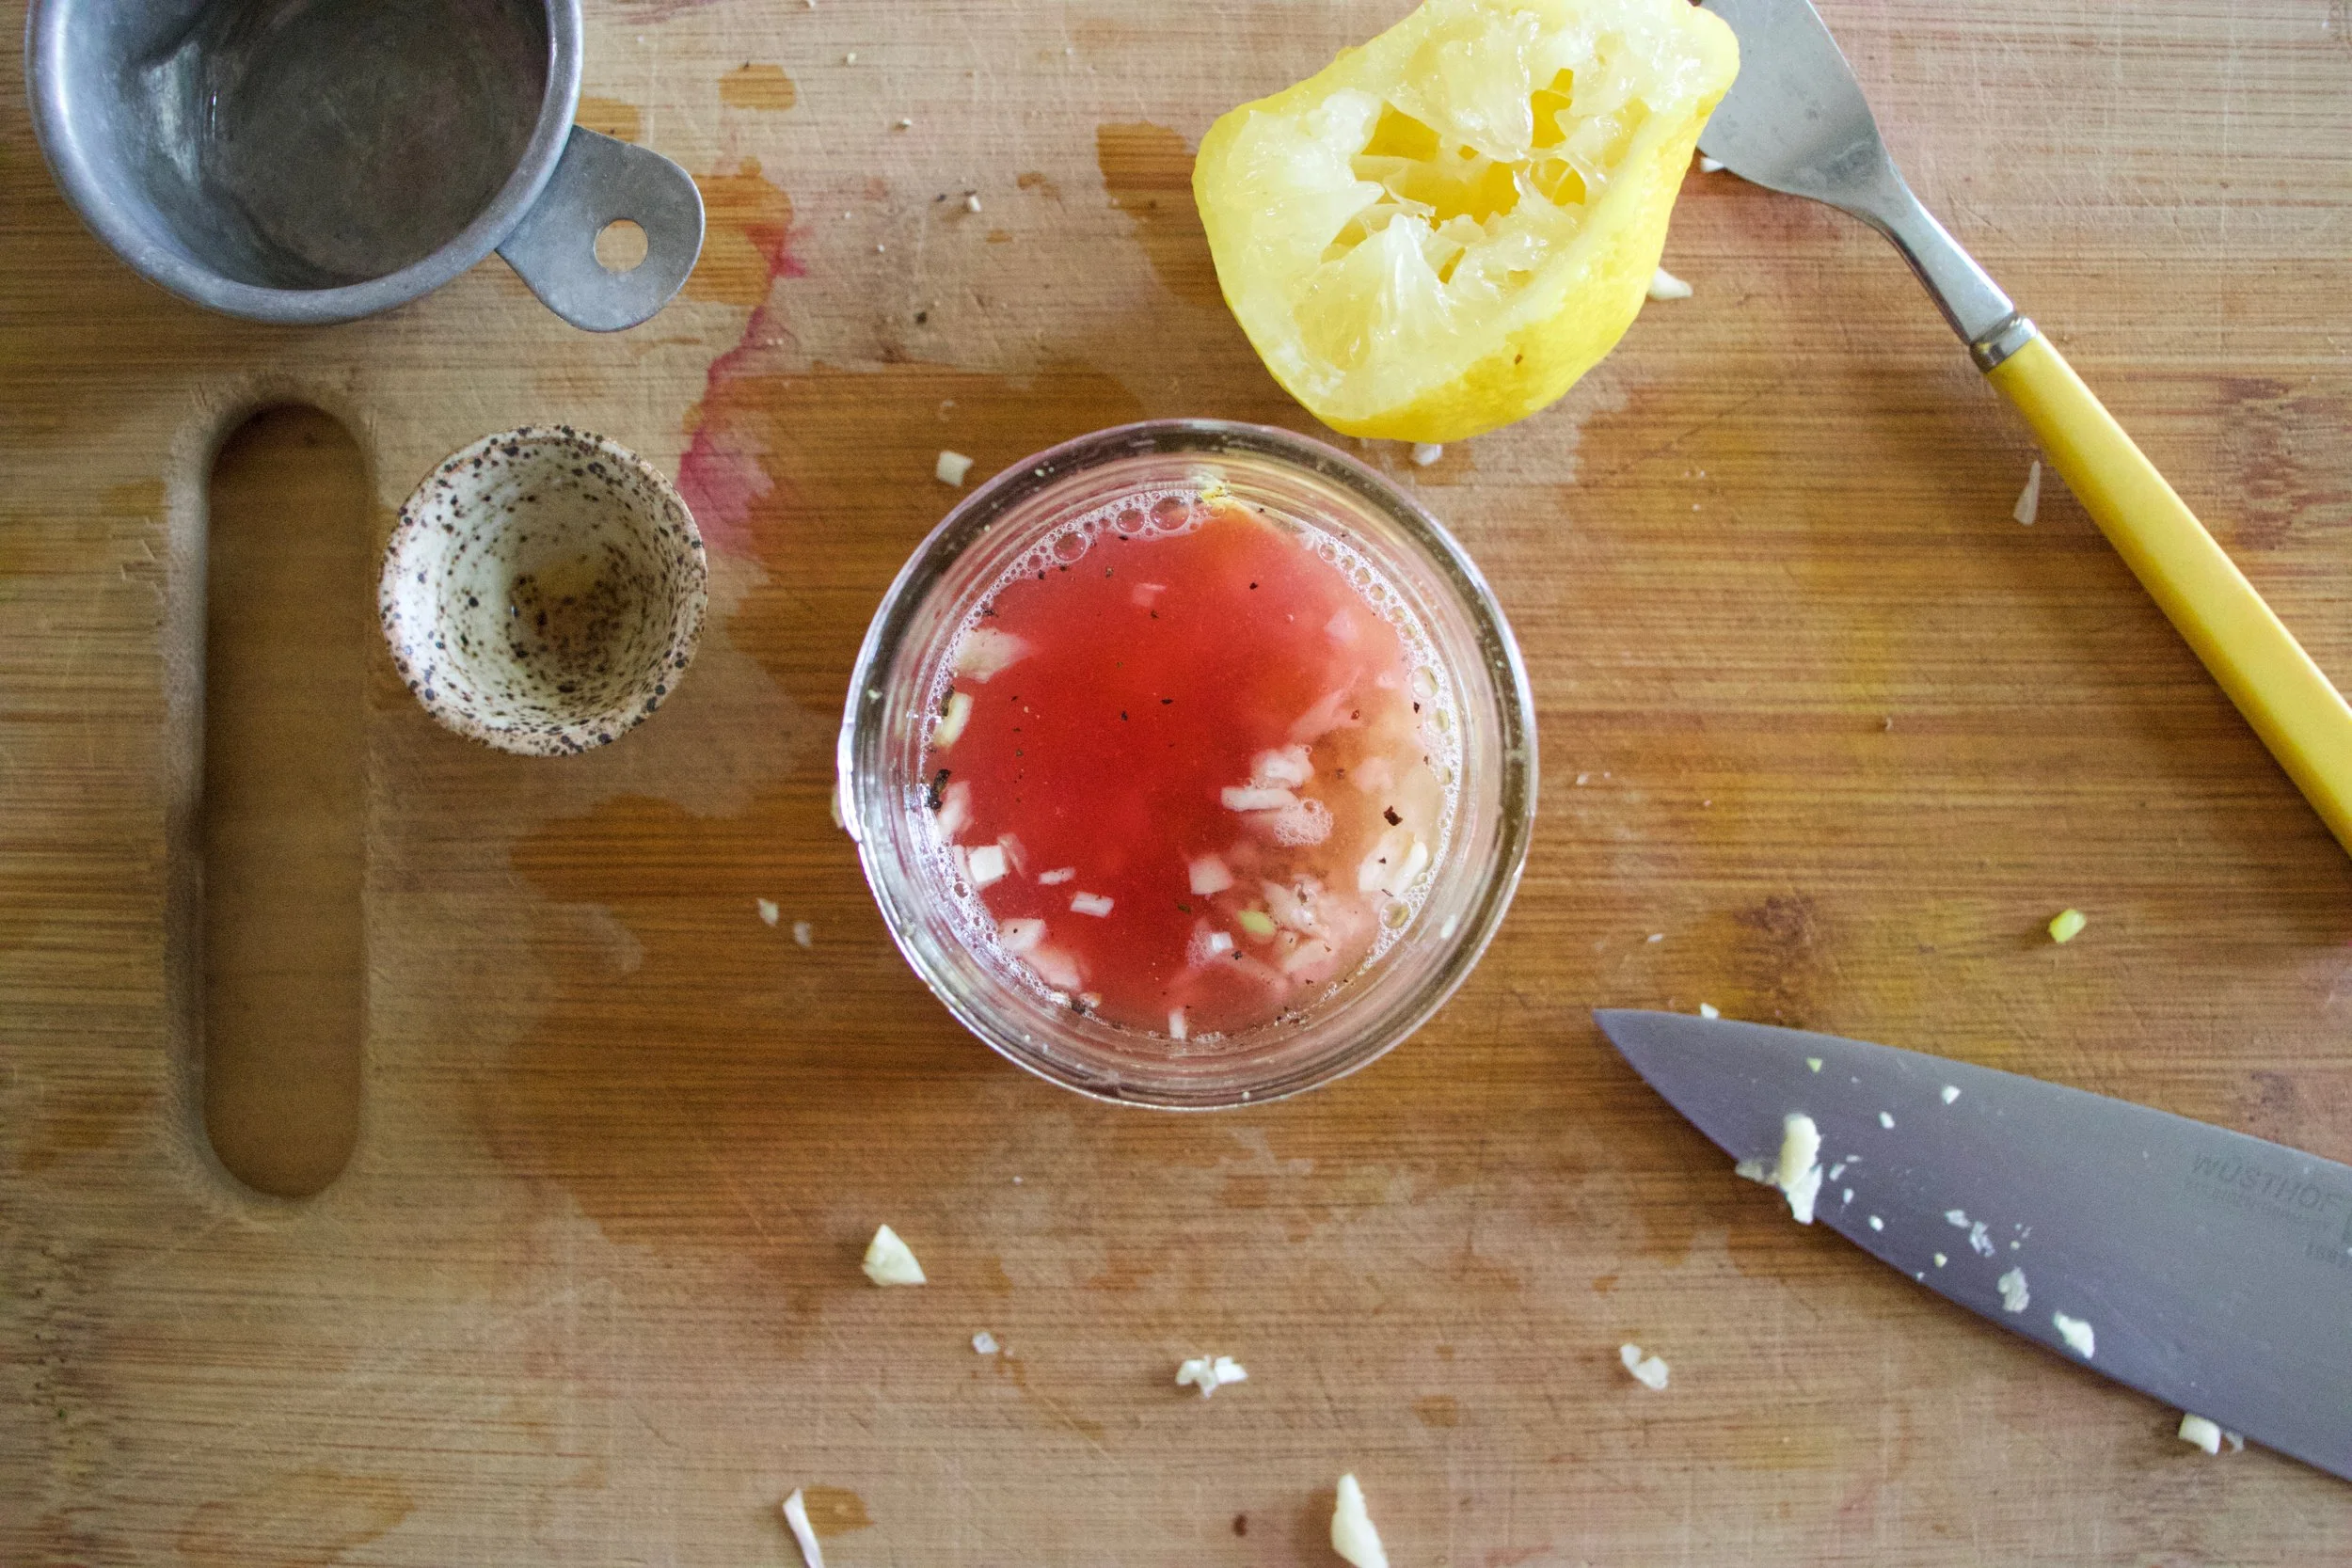
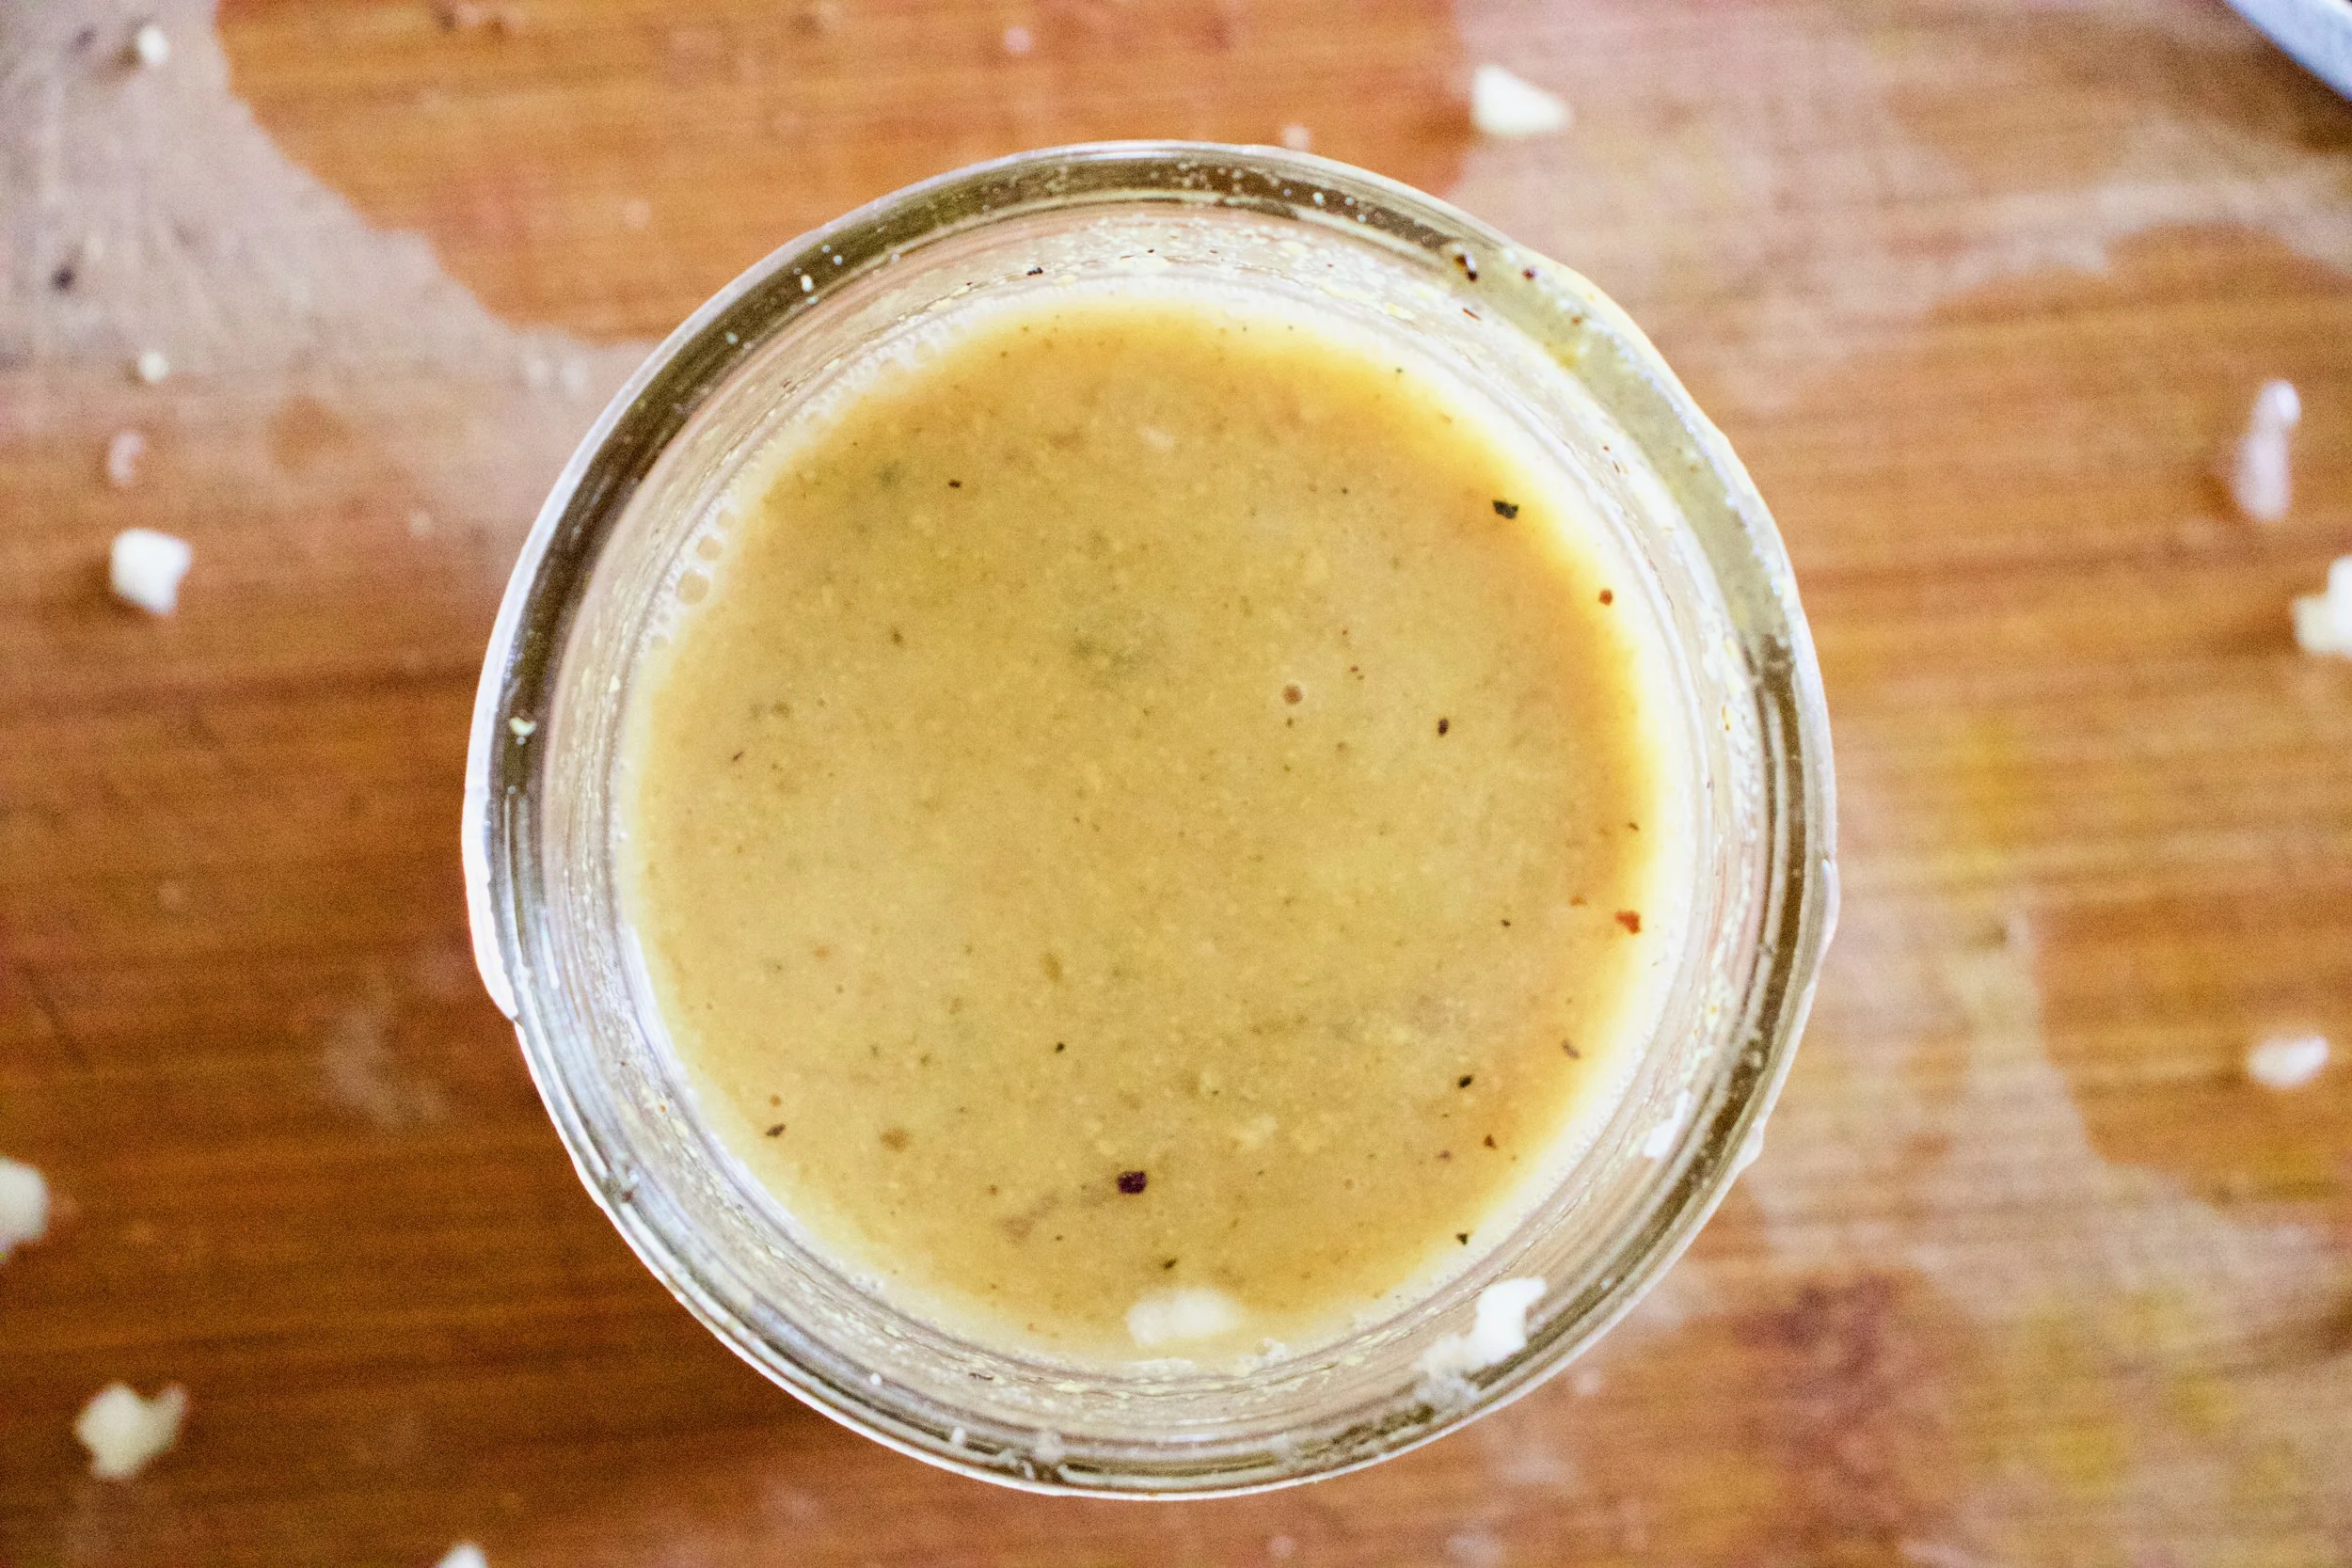


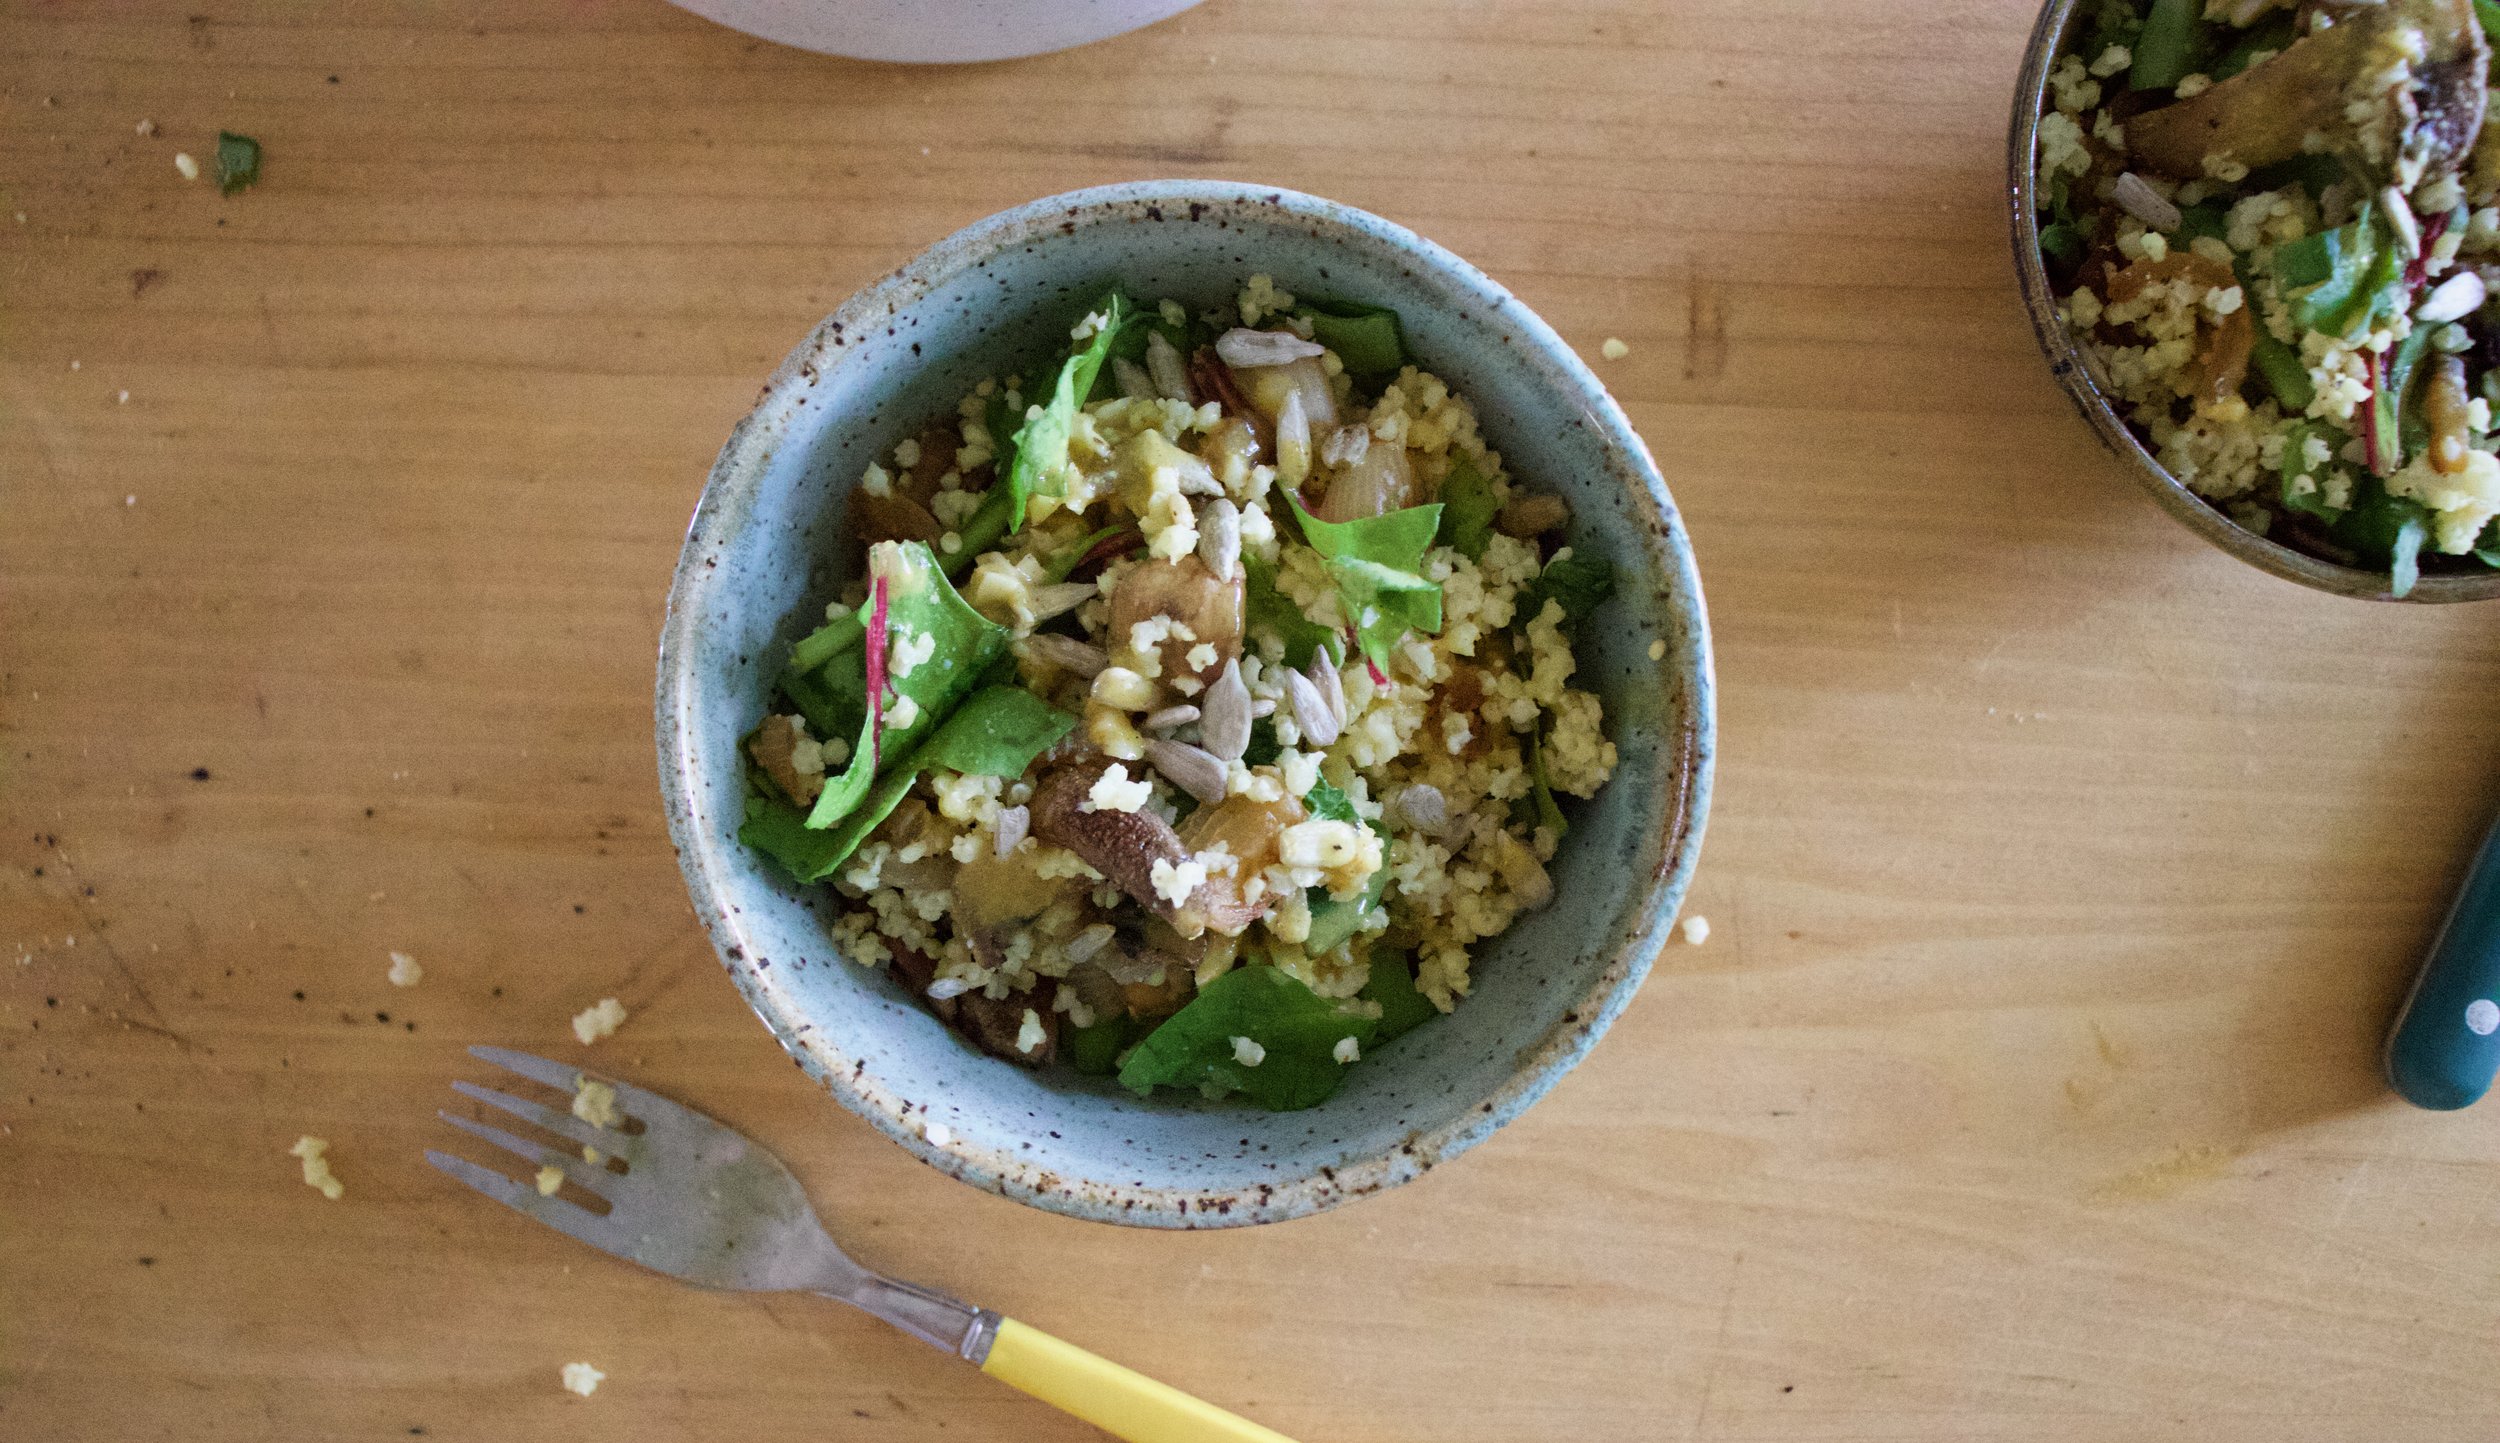

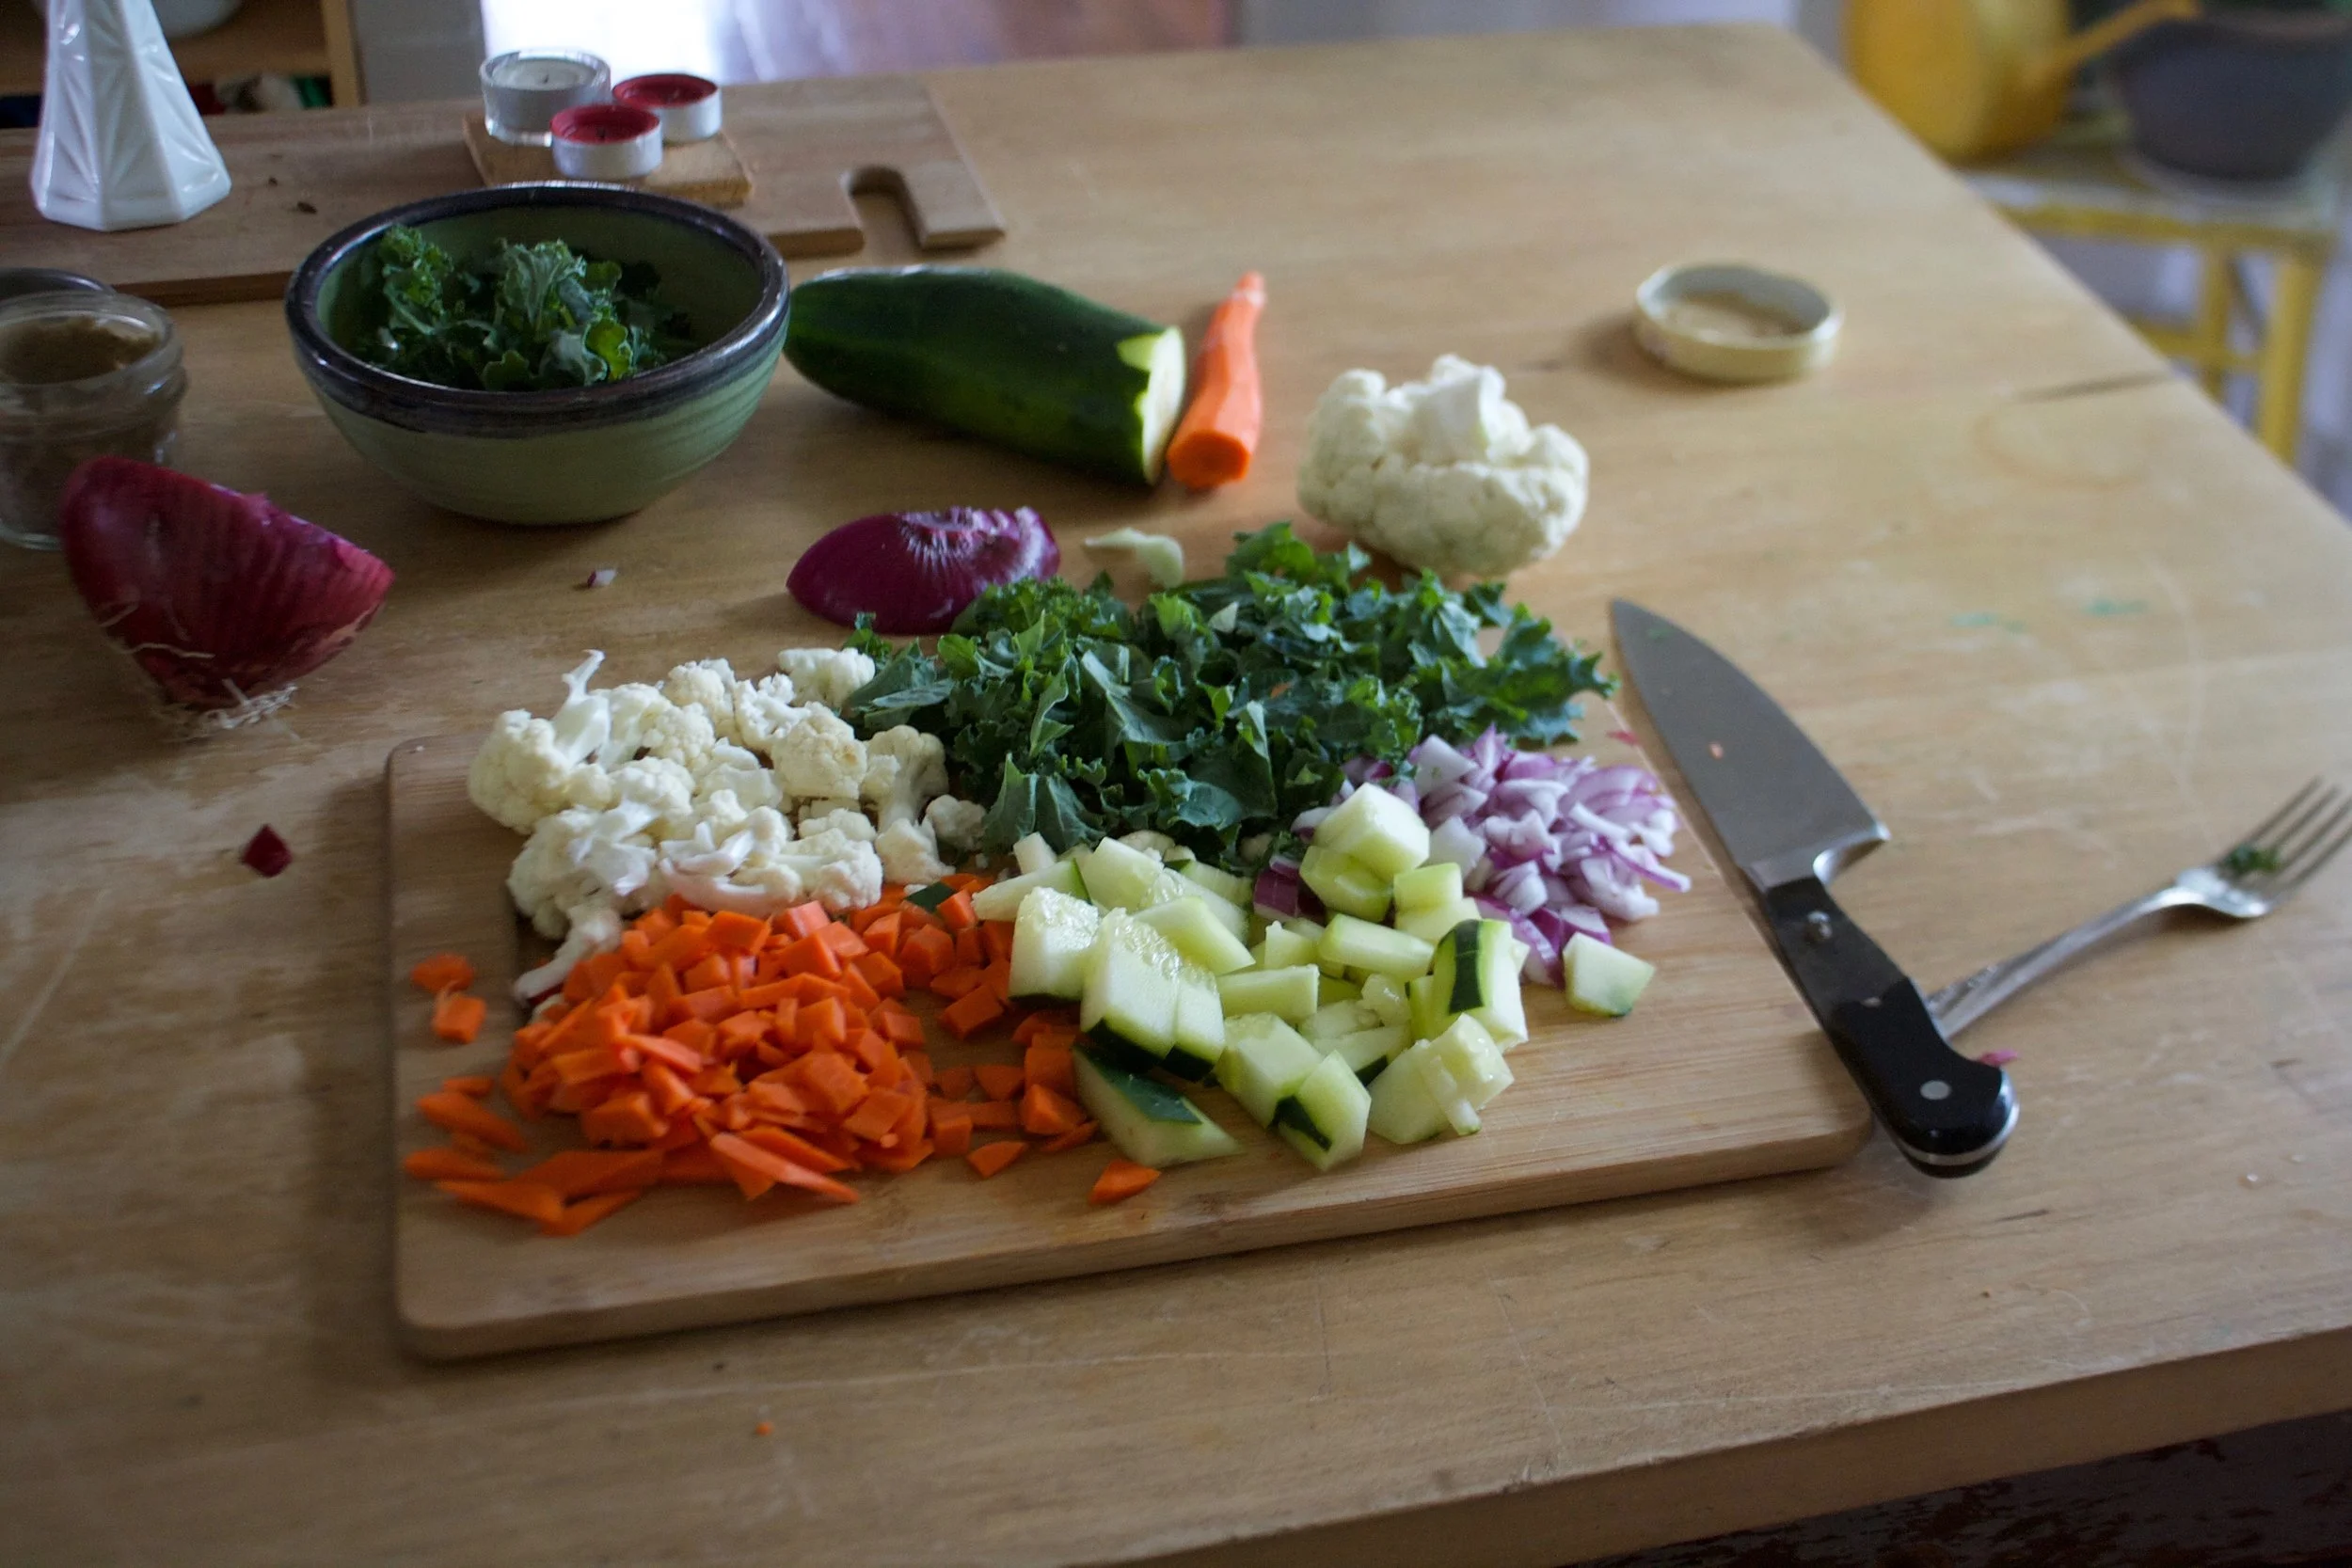

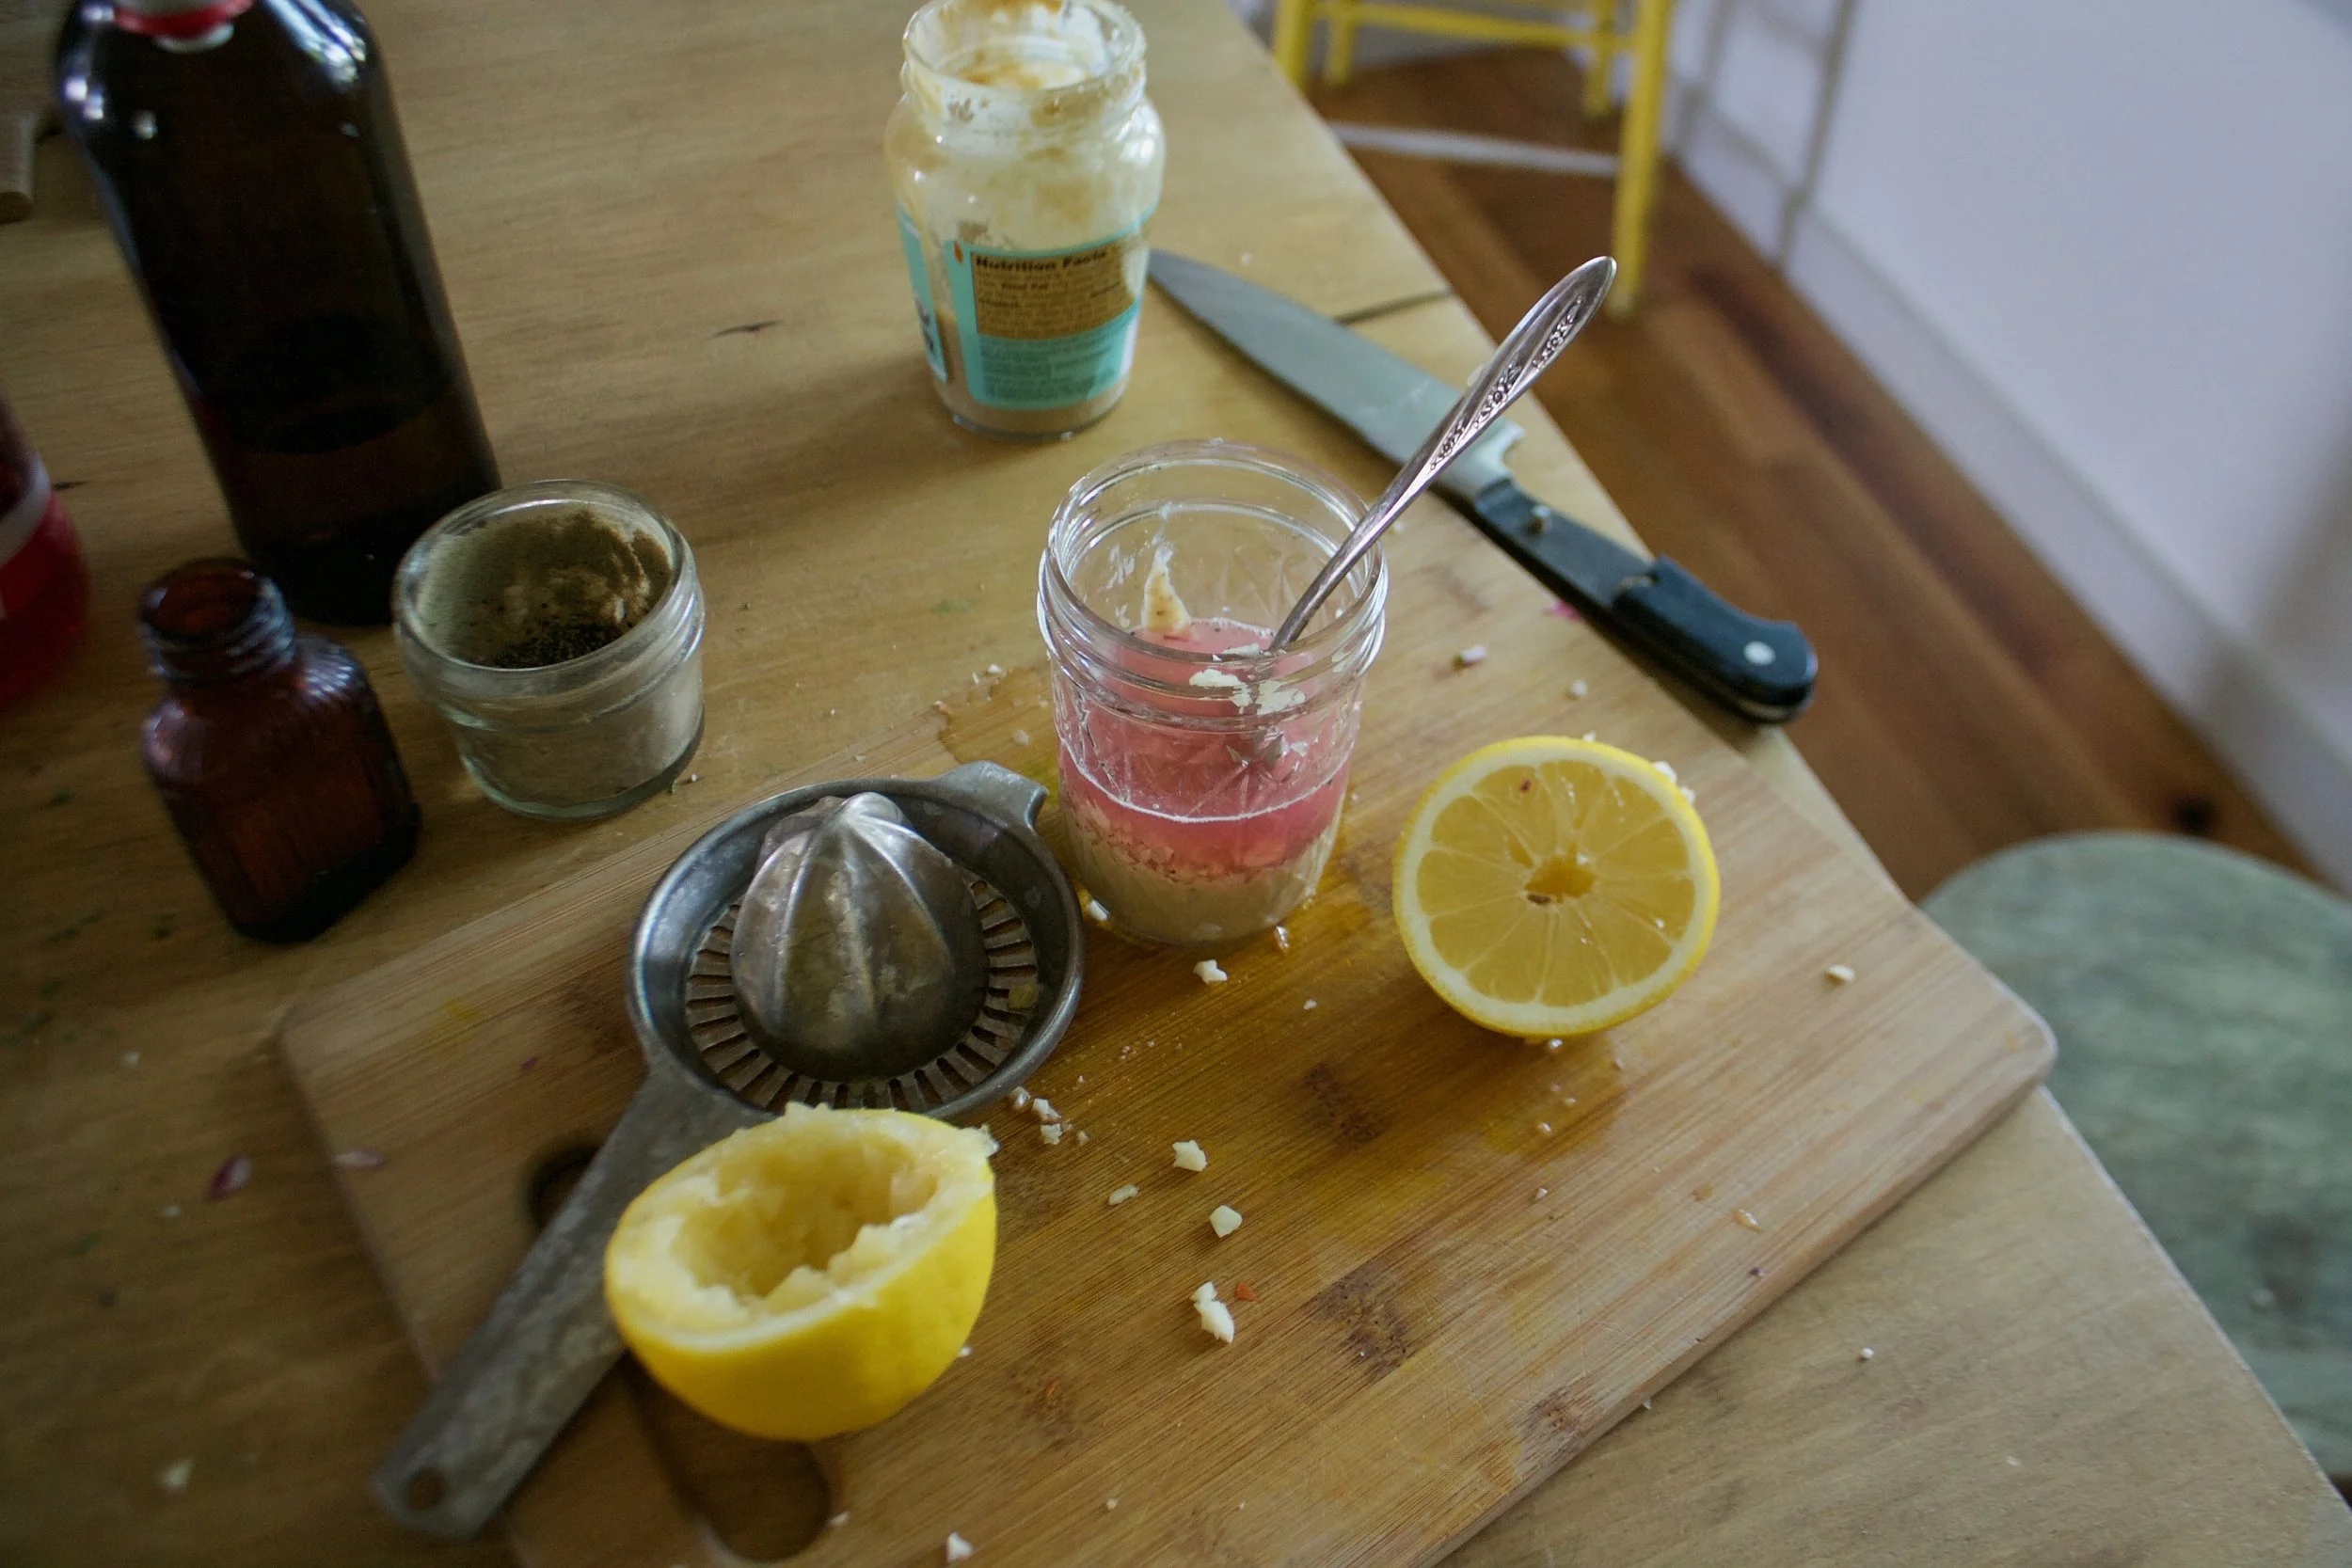
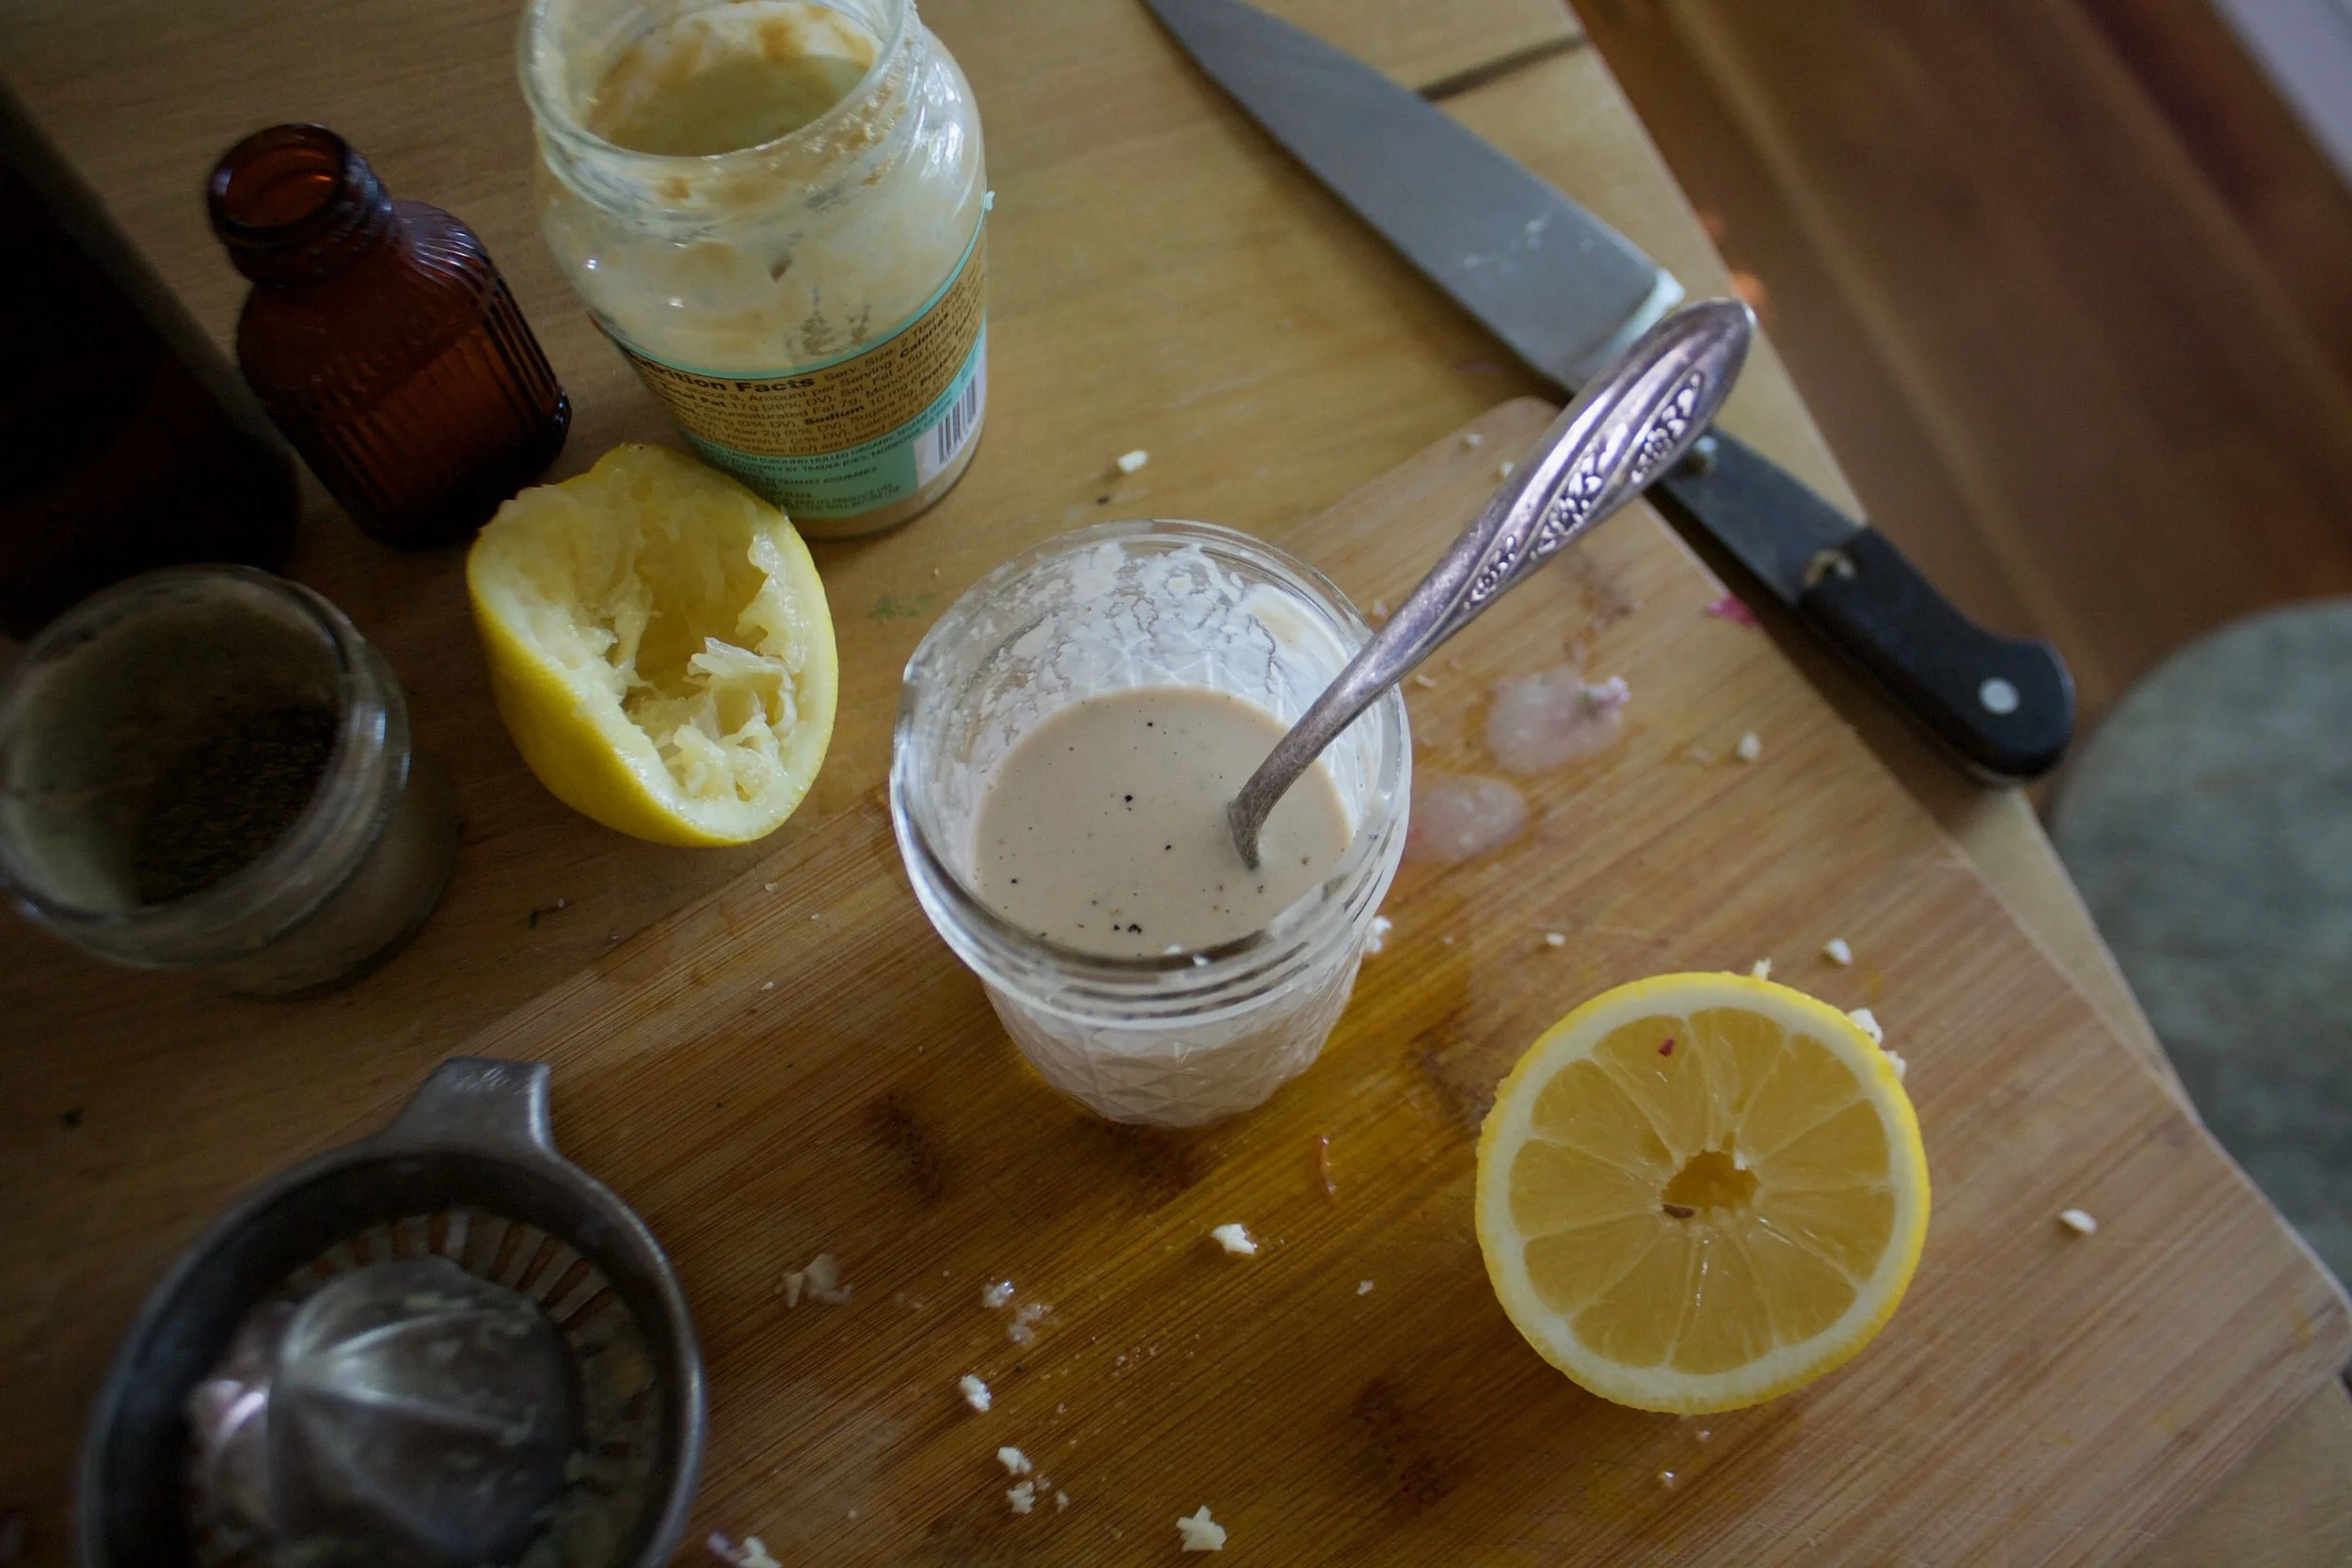

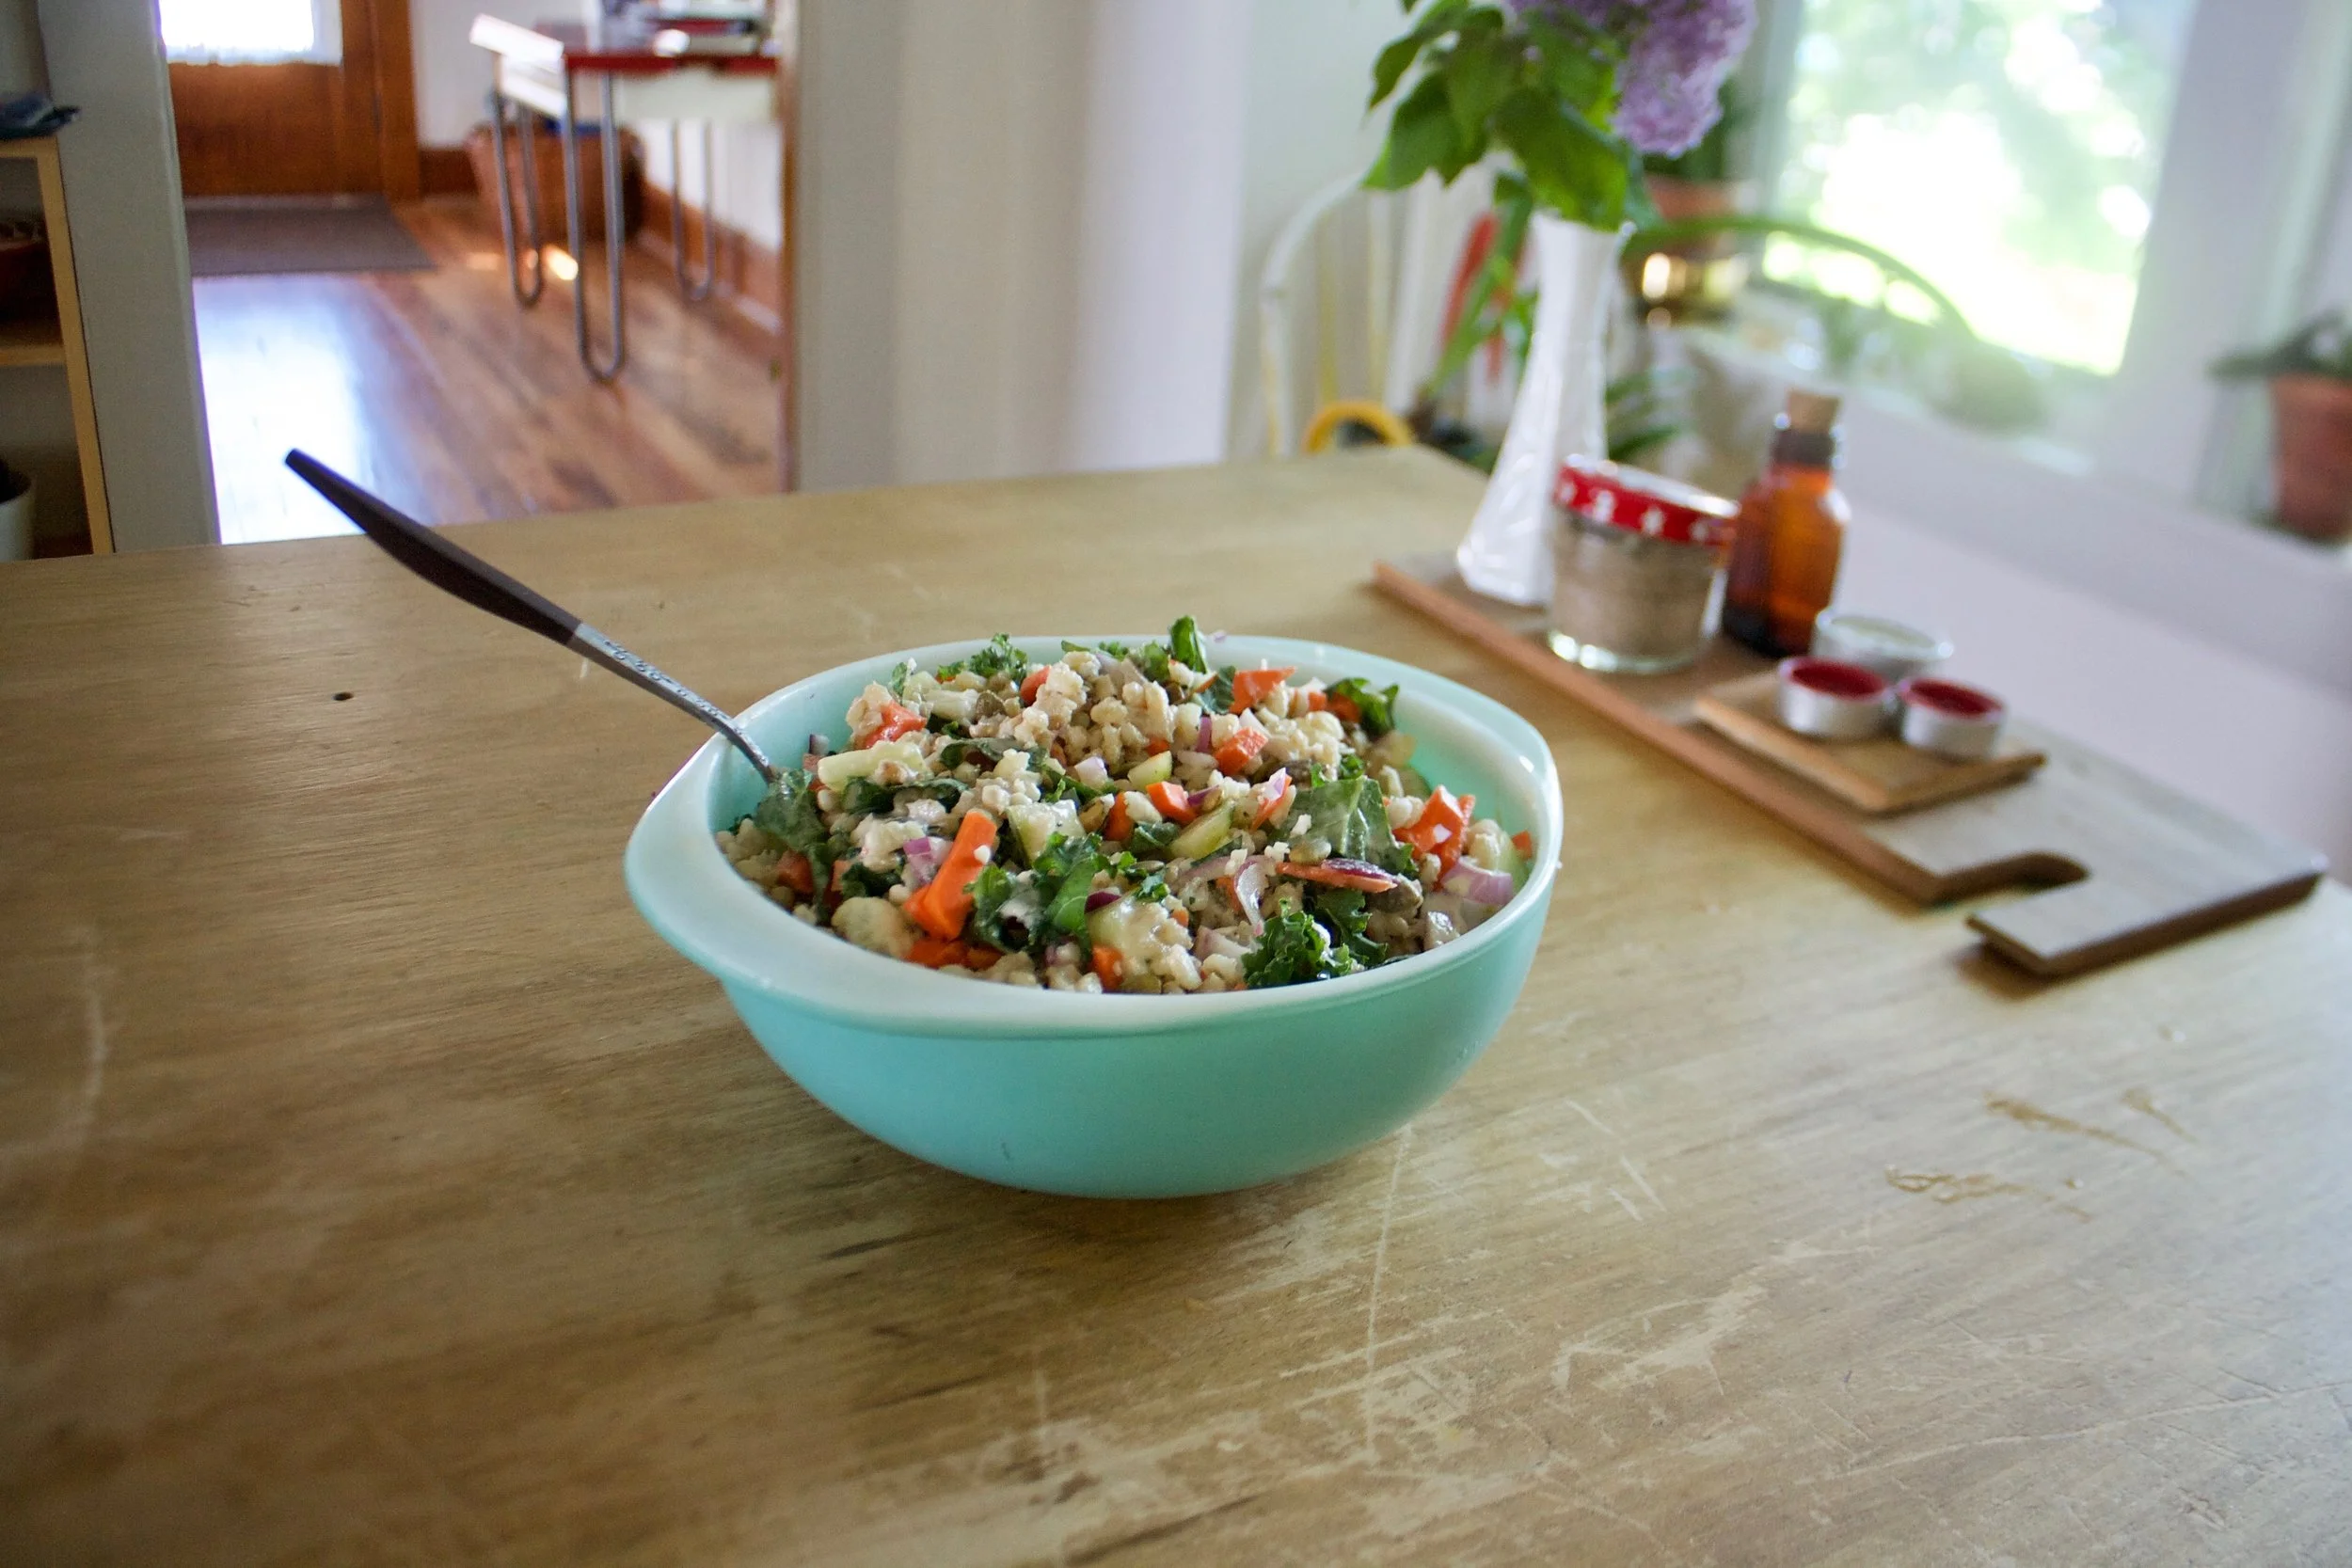
Baba Ganoush — The Lovely Crazy
September 19, 2019 by maximios • Blog
It’s strange to think that only a few years ago I was not a big eggplant fan. Before I started to experiment with cooking it myself, the only time I had ever really had it was when I was young and it was deep fried, like eggplant parm style. It just wasn’t for me.
So when I started doing my farm share 5years ago and were getting lots of eggplants, I knew I had to figure something out and try new ways of eating it. Well it turns out that I actually love eggplant, like a lot.%u00a0 I went eggplant crazy and for a while was eating a eggplant a day, either roasted or tuned into soup or cooked crispy into chips. And lots of baba ganoush, or what I think of as eggplant hummus (all the hummus stuff minus the chick peas). Smooth, creamy, rich and tangy. I have been know to make a batch and eat it all to my face in a sitting.( there is absolutely nothing wrong with that) It’s that good. And bonus. Being so super busy busy, this is just so dang fast and easy to make. 25 minutes and 20 of those minutes are the eggplant roasting, and you got yourself something tasty to eat. Plus if you have a few eggplant in the fridge that might have seen better days, turning them into the baba ganoush is a great way to go.
Baba ganoush, The name just says it all cause how could something called baba ganoush be anything other then awesome.
The stuff. A couple (or three) eggplants, a lemon, some tahini, garlic, olive oil and salt.
Eggplant get sliced in half and stuck onto a baking sheet to go into a super hot oven to roast. Some people oil it, I don’t, but you can if you want.
Brown and tender. Roasted to perfection.
Toss the roasted eggplant and the garlic into a blender. Add in the juice of the lemon, tahini, olive oil and a pinch of salt.
Blend.
So silky smooth. Taste and add any more tahini, salt, lemon that you want until it taste like it should taste to you.
And into a bowl it goes. Baba ganoush all up in your face. I highly enjoy a good dusting of some zataar on top, but even just a sprinkle of pepper, or sumac, sesame seeds or even thyme is nice. Or nothing, you don’t need anything.
A big bowl of baba served with some chippers (for the mr) and cut up veggies (for me!) I wanted to make pitas but just didn’t have the time. Oh well, next time.
Be careful, this stuff is addictive!
-C
Make about 2-1/2 cups
Crank up the oven to 450
Slice eggplants in half and place on a cooking sheet and into the oven they go.
Bake for 25ish minutes, flipping over after 15 or so minutes, until the eggplant browned is nice and tender then remove from oven.%u00a0 Take the cooked eggplant and dump into a blender.(skin and all)%u00a0 Add in the juice of the lemon, the tahini, the olive oil, and a pinch of salt. Blend it all together until smooth. Taste and add more tahini and or salt if needed.( can even add more lemon too) Once you are happy with the taste, scoop into a bowl and serve with a good pinch of zataar seasoning (if your into it) and a butt load of veggies, pitas, chips or whatever you dip into you baba ganoush.