
Blood Orange Ginger Lime Sparkler Pop — The Lovely Crazy


 I have been meaning do a post on seltzer and syrups for a while now and this one is perfect… Everyone around me has been getting sick and I am trying my hardest to not get anything.
Citrus and ginger…. Two of my favorite things, combined into one super refreshing, light and crisp, thirst quenching drink. Tasty and packed full of vitamin C from the citrus and blood warming, tummy healing ginger. Its kind of a feel better elixir, a good for you drink, a sparkler pop. A drink everyone can get into (the mister even liked it), And it has no added sugars or nasty coloring, it can’t get much better.
Feeling Happy, feeling crappy, or just plain feeling, this drink is a good for it all.

I made the ginger date simple syrup ahead of time.. All I did what chop 2 1/2 tablespoons fresh ginger and about 3 tablespoons pitted dates and added to a pot with a cup of water. Simmered the stuff until the dates were mostly dissolved, about 15 minutes, took off the heat and pureed it. I let it steep for another 5 minutes and strained….no biggy. This is a milder sweet simple syrup. If you like sweeter add more dates or even add a bit of honey… Do what tastes the best to you.

Juice the lime and blood orange…..so much pretty!
I ended up with about 12 tablespoons of juice from a the lime and the orange.. If you need or want to, juice an additional orange and lime.

Add 2-3 tablespoons of the fresh juice per 12oz glass and add about 2-3 tablespoons of the ginger date syrup…(adjust amounts to you taste) Top off with cold plain seltzer water and maybe an ice-cube or two. ( I would have if I had thought to make ice)
 So lovely…. so nice. I really got into these flavors. This drink has the ability to make you feel warm and cozy while being cold and fresh. It makes me happy.
Double thumbs up here!
Stay un-sick!
-C
Ingredients
- 2 1/2 tablespoons fresh chopped ginger
- 3 tablespoons chopped dates (more if you want sweeter)
- 1 cup water
- 1 lime
- 1 blood orange
- Plain Seltzer water
- Ice (optional)
For the ginger date syrup
In a small pot on low heat, add chopped dates and ginger to a cup of water. Simmer until dates have mostly dissolved, about 15 minutes. remove from heat and puree with either a blender to a hand emulsifier. Let steep for another 5 minutes and strain, reserving the pulp (add it to soup or salad dressing). Let completely cool.
To assemble drink, juice blood orange, and lime. Add about 3 tablespoons of the ginger syrup and 2-3 tablespoons of the citrus juice per 12 0z cup. Top with plain seltzer water, give it a light swirl with a spoon or straw and add ice cube if you want. Now have at it!
 Soft huggable mountains…..happy all over!
 To start, take you main color of fleece and cut into a mountainy triangle shape. You can go tall and skinny or short and fat….. any shape you want. If you feel like you need to make a paper template and use that to cut, go for it, but I don’t think you really need to.
 Cut the piece for the peak in a jagged up and down pattern. Place right side up onto the base of the mountain and trim away excess fabric.
 Using the zig zag stitch on your machine, sew the jagged edges of the mountain peak right side up onto the right side of the mountain. Go slowly, but don’t worry about making it perfect, just make sure to sew over all the jagged edges.
  Now turn the two pieces right sides facing in on each other. Change the stitch on you machine to a straight stitch and sew around the perimeter of the mountain, leaving a small hole in the bottom.
 Fold it right side out and stuff it. I started with little bits of the stuffing in each of the corners, then filled in the middle, it makes it easier to fill.
 All I want to do is make everything into hearts and turn everything pink…Is that a problem?


 So lovely. Shadow hearts while the whoopie hearts cool.
 Whoopies all paired up
 Stuffed with a generous dollop of whipped coconut cream ( a cold can of coconut cream whipped with a splash of vanilla and a tad bit of sweetener) and sprinkled with my home-made beet dyed coconut sprinkles…..
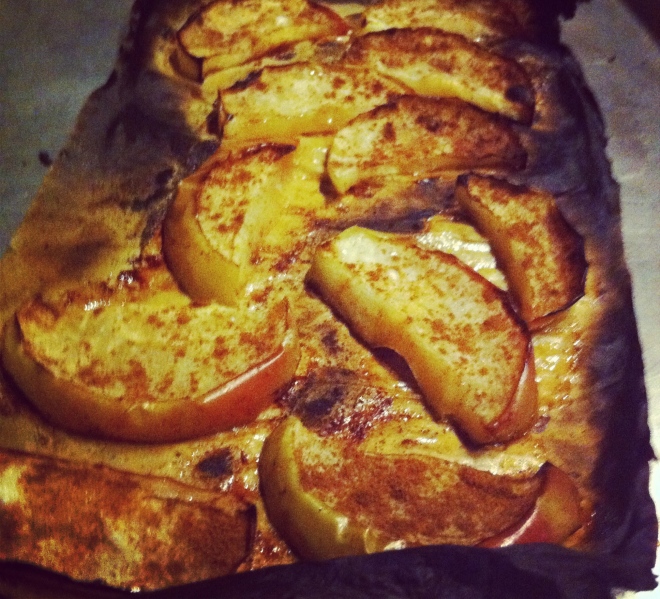 Nothing to fancy….. just a little warmth and spice to fancy up a quick snack. Word!




 The kitchen, living room, dinning room, office…all over great room., covered in piles of clothes. Sometimes listening to music and folding laundry can be so, I don’t know, peaceful. I just felt happy at this moment. (might be the fact that I know have some clean clothes and dish cloths)
 Standing in line at the grocery store, saw this magazine and started to laugh. I love Oprah…but now…I really love Oprah. Best magazine cover ever!
 Another picture of the pup. Letting his rino toy have the bed. A little pathetic…A lot cute
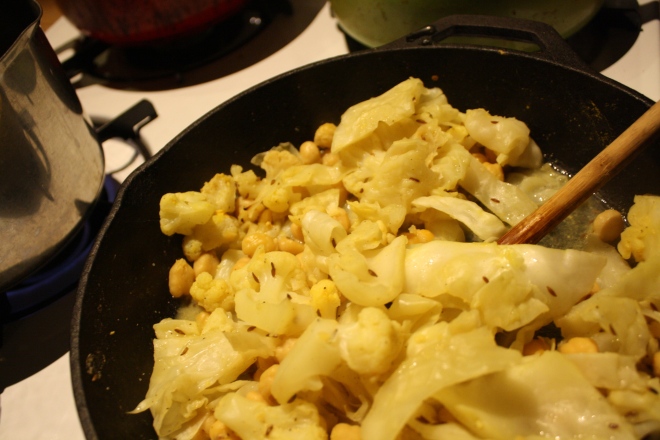
 I am doing little recipe testing and this situation in this pot is so freaking good! Just trying to work out a few technical kinks.


 I usually base my meals on what I know I have for food in the house and what I know needs to be eaten. I was a little surprised when muling around in the freezer to find a block of extra firm tofu. (I don’t remember buying). Maybe a tofu fairy left it in there for me, or maybe it has been in there for years and I just am now stumbling upon it. Either way, I found it and it had to be eaten. So I cooked it up, and I cooked it up nice and good. Tofu is a pretty vertical food, being that its basically a flavorless block of protein. It can go sweet or savory, mashed, chopped or blended. Add fresh garlic, any type of sauce or even peanut butter. (the possibilities are quite endless) I was going for a dinner dish so I decided on a simple cubed tofu with lots of ginger and garlic (so good to ward of those winter sicko bugs out there) and baked it up nice and crispy with fresh bright green broccoli and soba noodle. Quick, easy, tasty and healthy.. I did it again. Thanks tofu fairy!
 This noodle dish is super easy to make and take only about a half hour. We start with extra firm tofu, a package of buckwheat soba noodle, a nice big broccoli crown, honey, fresh ginger, garlic and soy sauce. oil for pan and lime for a finish. Nothing fancy.
 Dice the tofu into small cubes and place onto a clean dish towel and pat dry…It really helps the tofu suck in more flavor and become nice a and crispy.
 Tofu get moved into a lightly oiled skillet, ready to go into a hot oven. Why baked instead of sautéed on the stove? I find that the tofu keeps it shape and crisps up better when baked. But do whatever you want….. But just bake it.
 While the tofu is baking, make up the sauce. Grate about 2 tablespoons of fresh ginger and4 large cloves of garlic into a bowl. Whisk together with 2 tablespoons honey, 1/3 cup soy ( tamari or brags aminos works too) and 1/3 cup of warm water. Taste it, and if you think it needs more anything, add it. I actually used 6 cloves of garlic, but I really wanted a garlic packed sauce.
  After 15 ish minutes, give tofu a flip, then after about 25 minutes, the tofu should be nearly done. Remove from the oven and toss in the chopped broccoli and 1/3 cup of the sauce. Its a little watery but thats what you want, it will cook down in the oven. Now stick the skillet goes back into the oven and boil the soba noodle.
 Another 10 minutes in the oven and the sauce starts to caramelize and the broccoli is cooked but still nice and crisp. Remove skillets from oven and toss in the cooked noodles and the rest of the dressing. Toss and toss and place on a plate, or a bowl, or if your into it, just eat out of the pan. (it happens)


 A birthday bouquet of veggies. My lover knows me oh so well.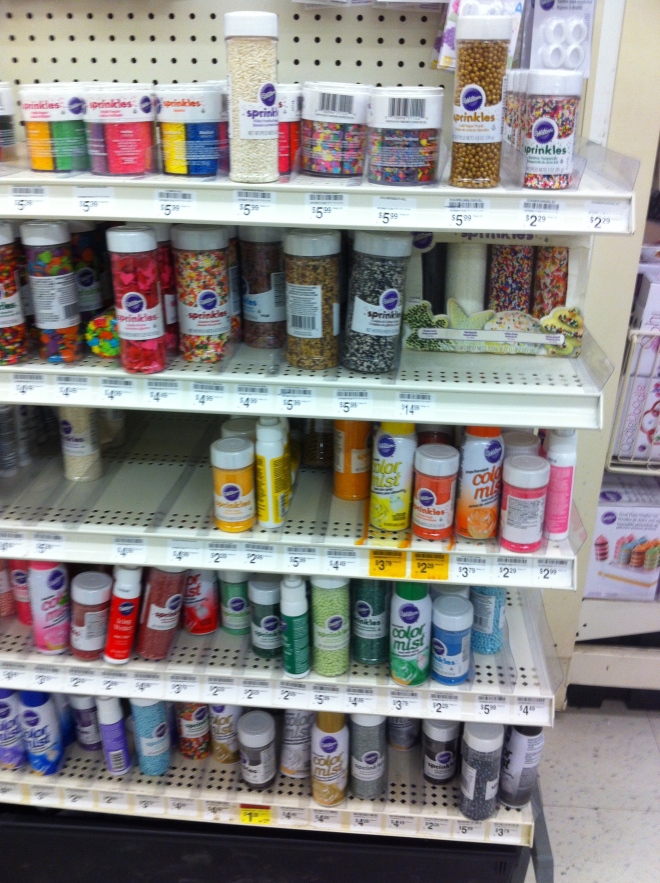
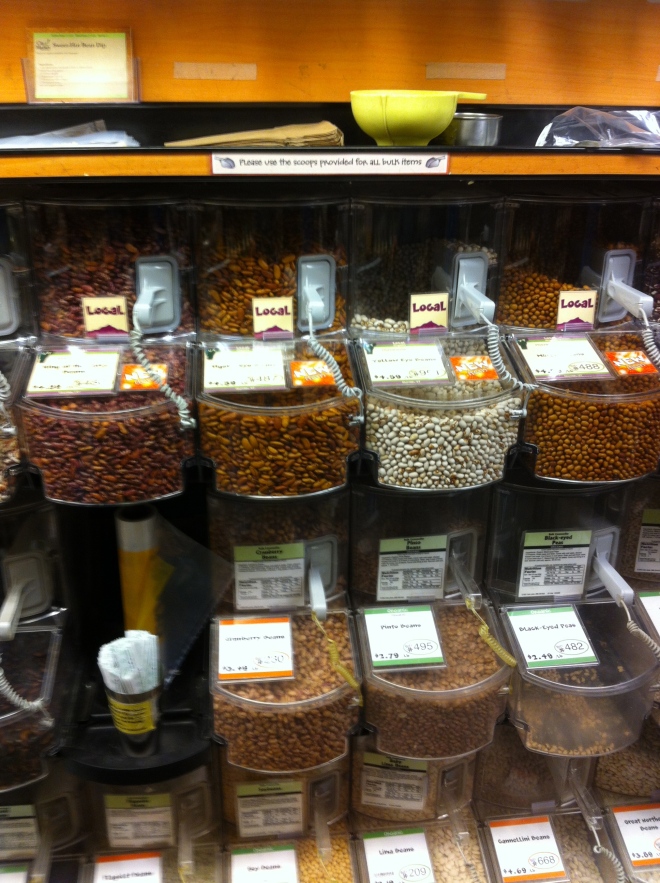 Every year I buy myself some special food for my birthday week. This is the bulk section at the local coop. They got in a bunch of new local dried beans!!!! Local birthday week beans. ( yes, beans make me happy)
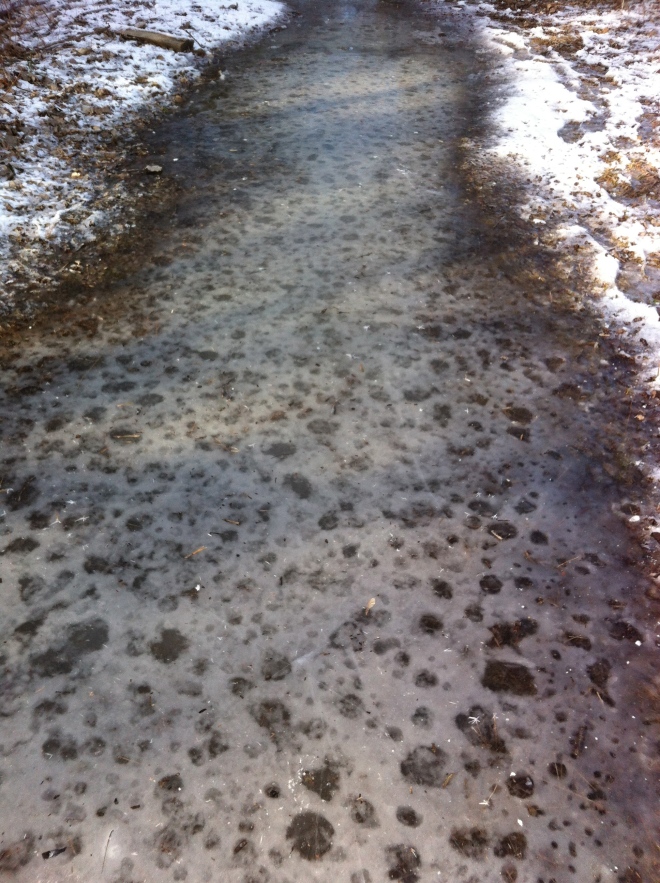 This hike was pretty treacherous, the whole trail was covered in this ice…. but look how cool it is.
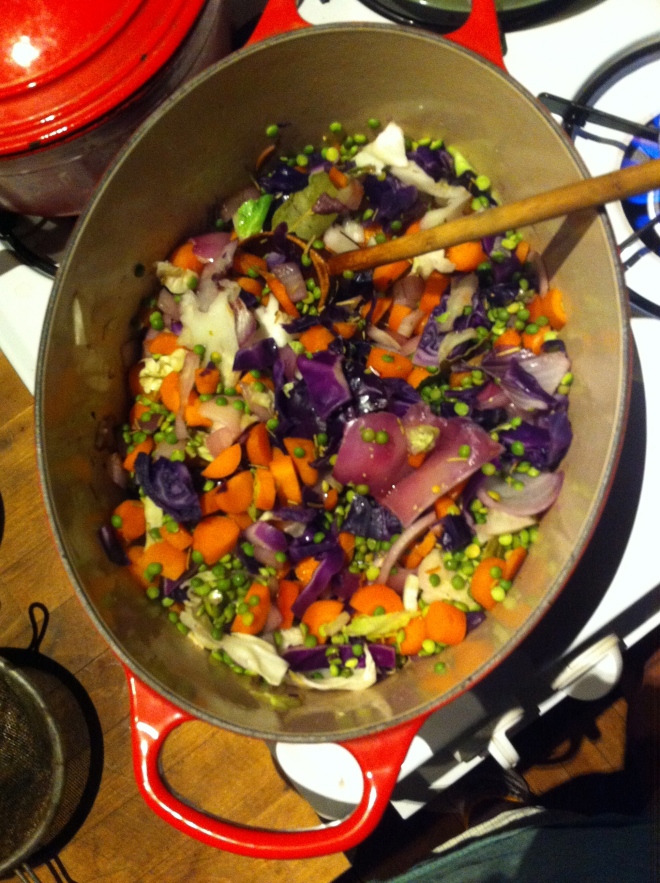 Split peas with tons of purple cabbage and purple onions plus chunks or bright orange carrots.. So freaking pretty and so freaking tasty!
 And last but not least..a throw back that made me smile…Moving day last summer. Our truck full of my house plants. I love my plants.
For Reals English Muffins — The Lovely Crazy
February 26, 2016 by maximios • Blog
Good question…And we will all answer….”Never again! Because I now make the sickest E.M.s around.!”(E.M.s is the cool short way to say english muffins and now that you are going to make your own….man, your so cool!)
These E.M.s are perfect. Easy to make, not overly fussy, and you end up with a super yummy, extremely versatile, individually portion super sweet little disk of bread. And the best part is..nooks and crannies! I think that is why I decided to make these E.M.s, so Nick and I can talk the about nooks and crannies…(Sometimes we need light conversation)
We start with flour and salt whisked together in a bowl. The honey, yeast and warm water are getting on proofing in a jar. An egg waiting to be cracked, some milk, and 2 tablespoons of butter. All this good stuff equals…nooks and crannies!
Oh you like my nifty dough whisk….me too, I use it all the time. Maybe I should have a dough whisk give away ……maybe…..
When the dough has been sufficiently kneaded, gather dough into a nice ball, coat with a little oil and place back into bowl. Cover with a towel and stick in a warm place to rise for about an hour or until it has doubled in size.
Enjoy and Happy Tuesday!
-C
English Muffins
Ingredients
Combine warm water, honey and yeast in a bowl to active..about 5-10 minutes or until yeast is foamy.
In a separate bowl, whisk together flour and salt. Mix in butter(I use my fingers) When yeast mixture is done proofing, whisk together mixture with the egg and milk. Add wet to dry and mix until just incorporated Dump out onto floured surface and knead dough for 8 minutes, adding a bit of flour whenever dough starts to get too sticky. Roll into a ball, coat with oil and place back into bowl and cover with a towel. Let rise for 60 minutes or until sought has doubled in size.
Once the first rise is done, deflate dough and divide into 8 equal pieces(10 for a slightly smaller muffin). Smoosh each ball into a flat disk, about 2 inches thick) and place on a cold cornmeal dusted cast iron griddle. (I used 2 cast iron pans) Sprinkle tops of muffins with more corn meal and let dough rest for another 15 minted. Turn burners on low heat. Let griddle get hot and continue to cook the muffins for another 10 minutes or until golden brown. Flip and cook opposite side until gold brown and remove from griddle. To make sure the muffins are cooked completely, stick an instant read thermometer into the center…it should read 200 degrees. (if you don’t have a thermometer, split one open… the tester E.M.) If the E.M.s are not completely cook, just stick in the oven on 350 for 5-10 minutes or until cooked throughout.
Remove and let cool. To serve, split open with a fork and give a light toast. Spread with butter, jam, peanuts butter, anything you want…maybe make E.M pizzas!