
THE LOVELY CRAZY
I am on a major swiss chard kick. Like I am eating it all day, every day. And I don%u2019t know if it the heat or what, but the other night I was laying in bed, super hot mind%u00a0you, and couldn’t keep my mind from racing. All I could think about was swiss chard and how much I love it and all the ways I want to eat it. Yeah, I know, but that is my brain so what can I do? Anyway, I finally fell asleep, and when I did it was dreams of chard and rainbows and all sorts of colorful things that I cannot remember anymore. I do know I woke up hungry. And with a plan for lunch.
I will just tell you now, this chard situation is sooooo good! And besides me being on a major chard kick, I am also on a ginger and cumin kick and an onion kick as well so it just made sense to make something with them all together. Tender and gingery cumin-y chard with crispy pickled onions. Seriously, is your mouth watering yet? I have made it twice in the past few day and I plan on making it a whole bunch more. So freaking good!
If you like chard, or don%u2019t know if you do (you probably do), this is a great way to enjoy it. You will not be disappointed.
Now to the chard.

The stuff. A bunch of chard in a few different colors, a medium onion, a chunk of fresh ginger, cumin seeds, white wine vinegar, and salt and pepper.
First and the sooner the better, cut onion up into very thin pieces and place into a bowl with vinegar, a pinch of salt, and a splash of water. Toss onions around and let sit, for at least 20 minutes, or if you think of it and can make it happen, do it a few hours in advance. . The longer the onions sit in the vinegar the better.
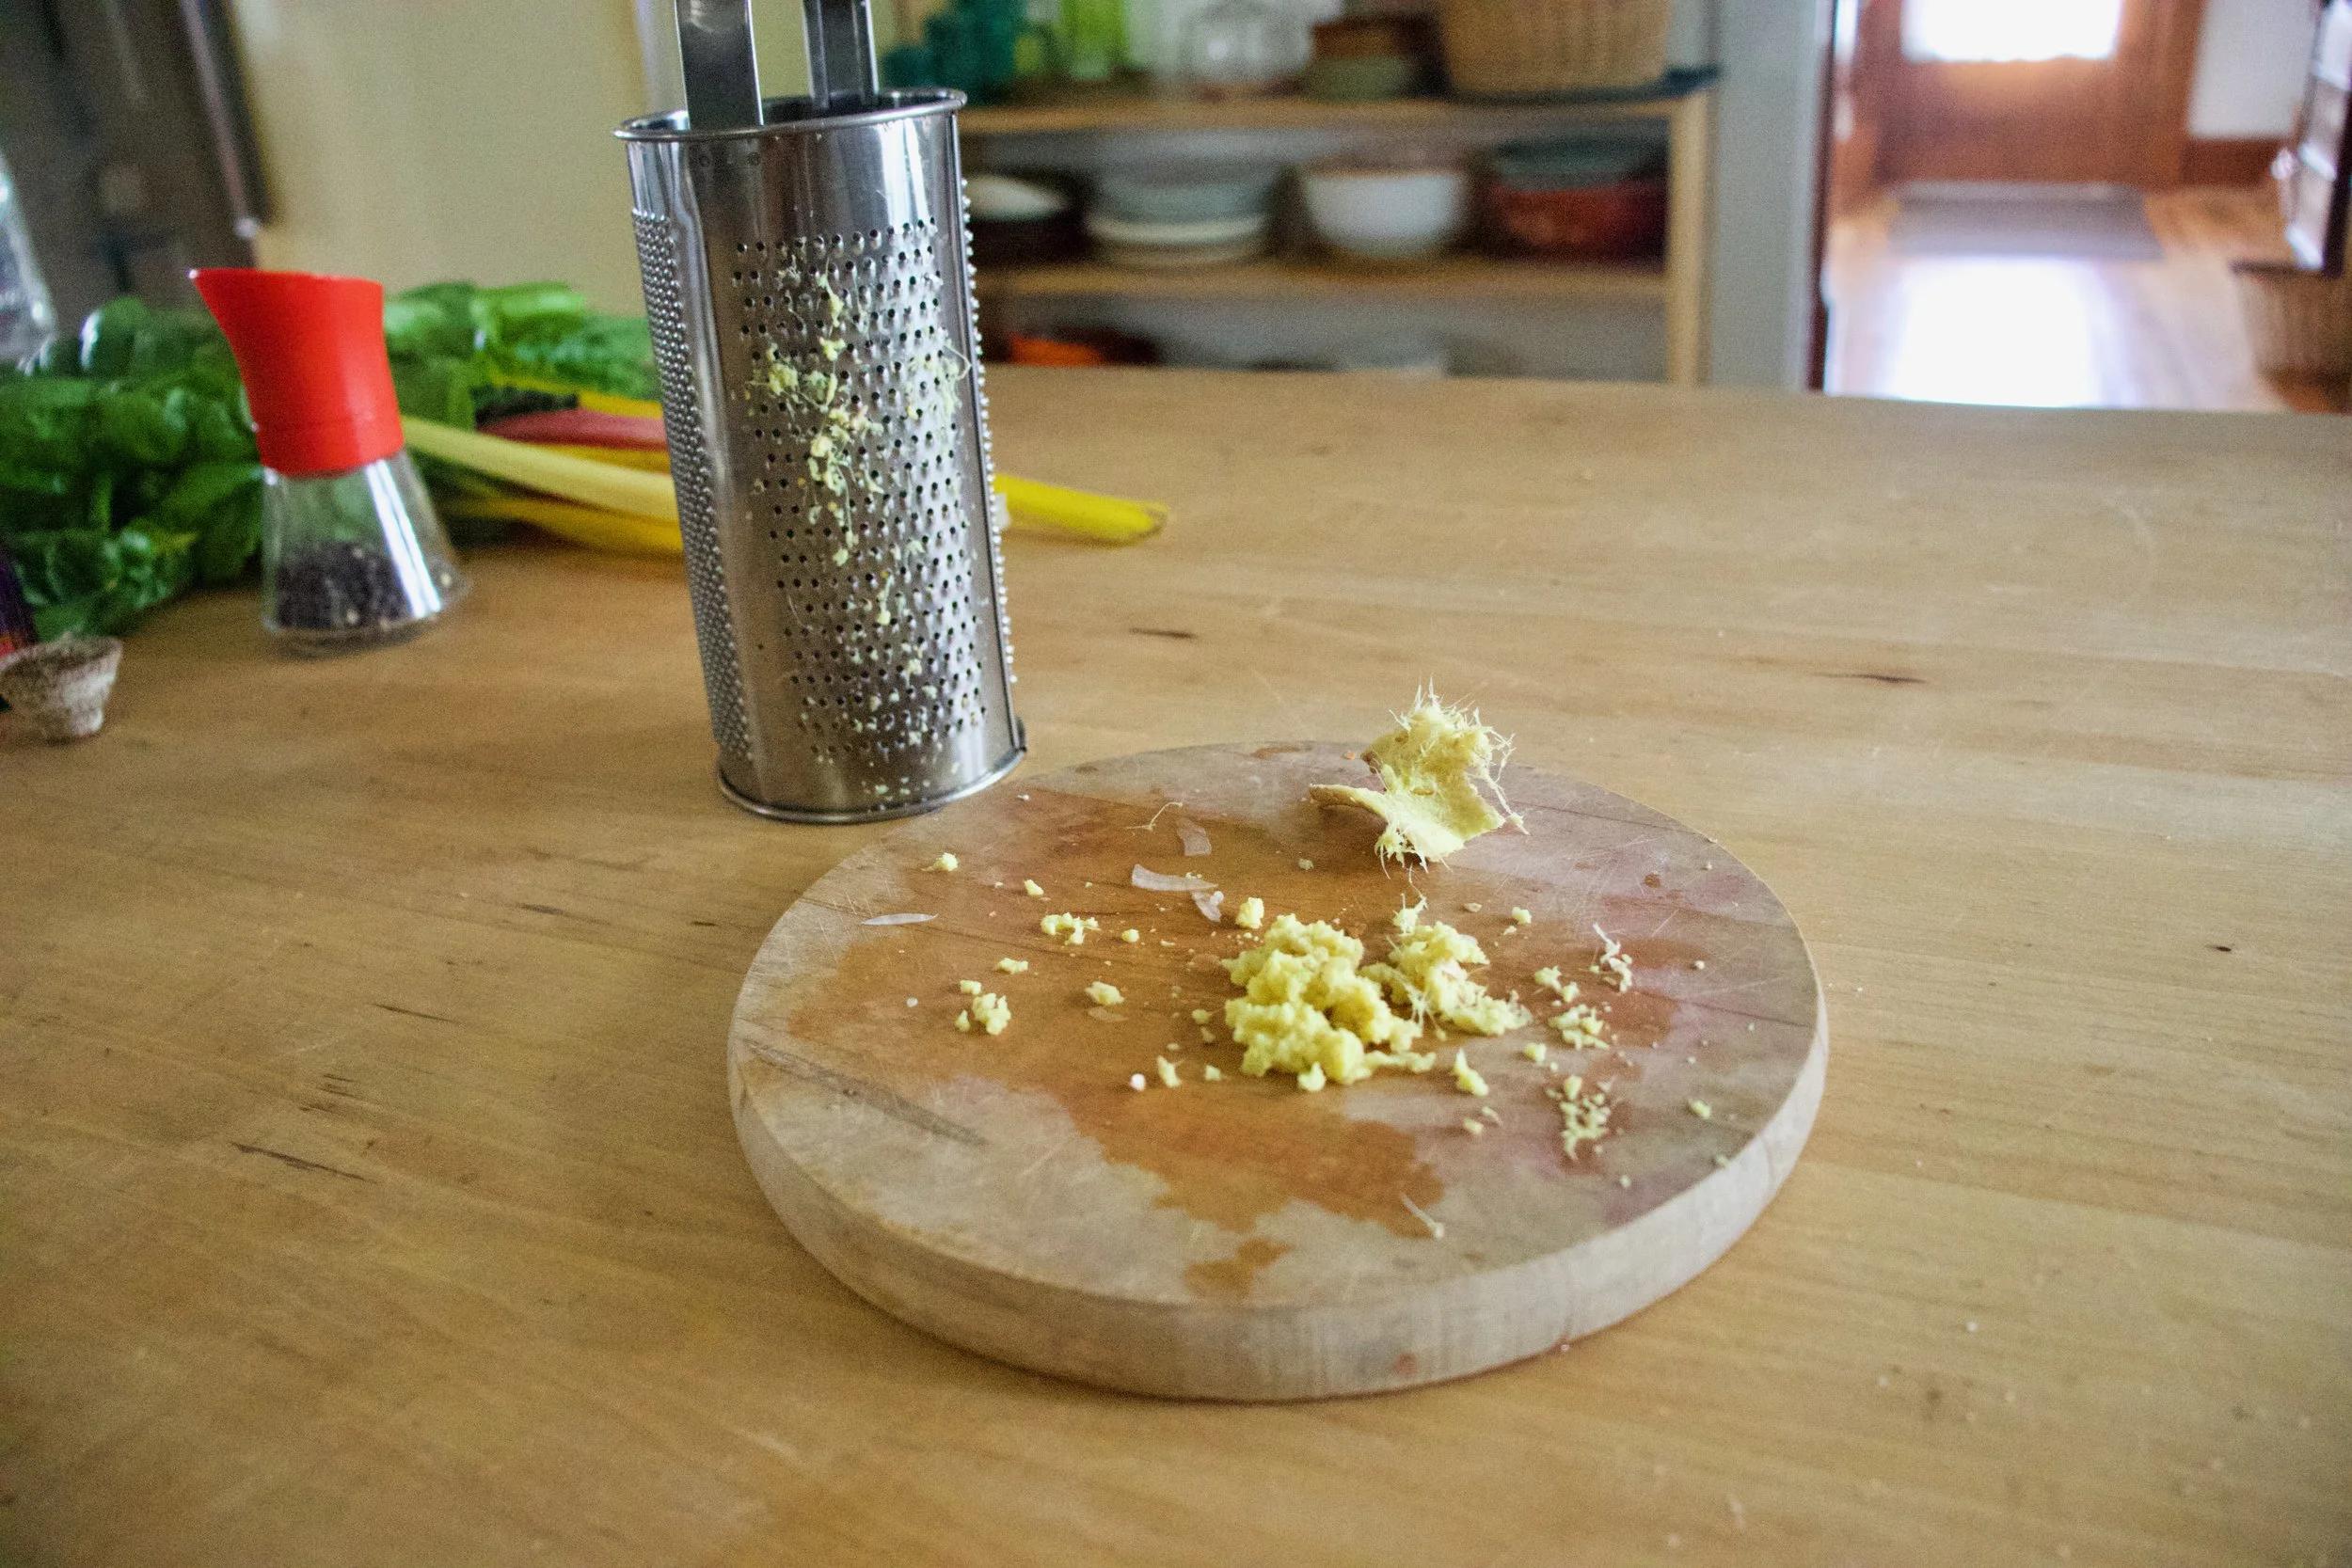
Ginger. If you haven%u2019t grated it yet, do that.

Remove the stems from the greens of the chard then chop the stems into small pieces.
Now here we go. First, before anything, place the cumin seeds into the dry skillet and place on medium heat to toast for a couple minutes, Then add in the grated ginger, the chard stems, a pinch of salt, and about 1/2 a cup of water. Stir around. Keep on medium heat and let cook until the chard stems start to become tender. If all the water evaporates out before they are done cooking, add a little more.

Now chop up the chard greens.
Greens go into the skillet with the stems and a little more water. Cook the greens down until all wilted and lovey and delicious.

Dump the cooked chard into a bowl or on a place and mix in all the pickled onions. Drizzle with a little of the left over vinegar from the onions.
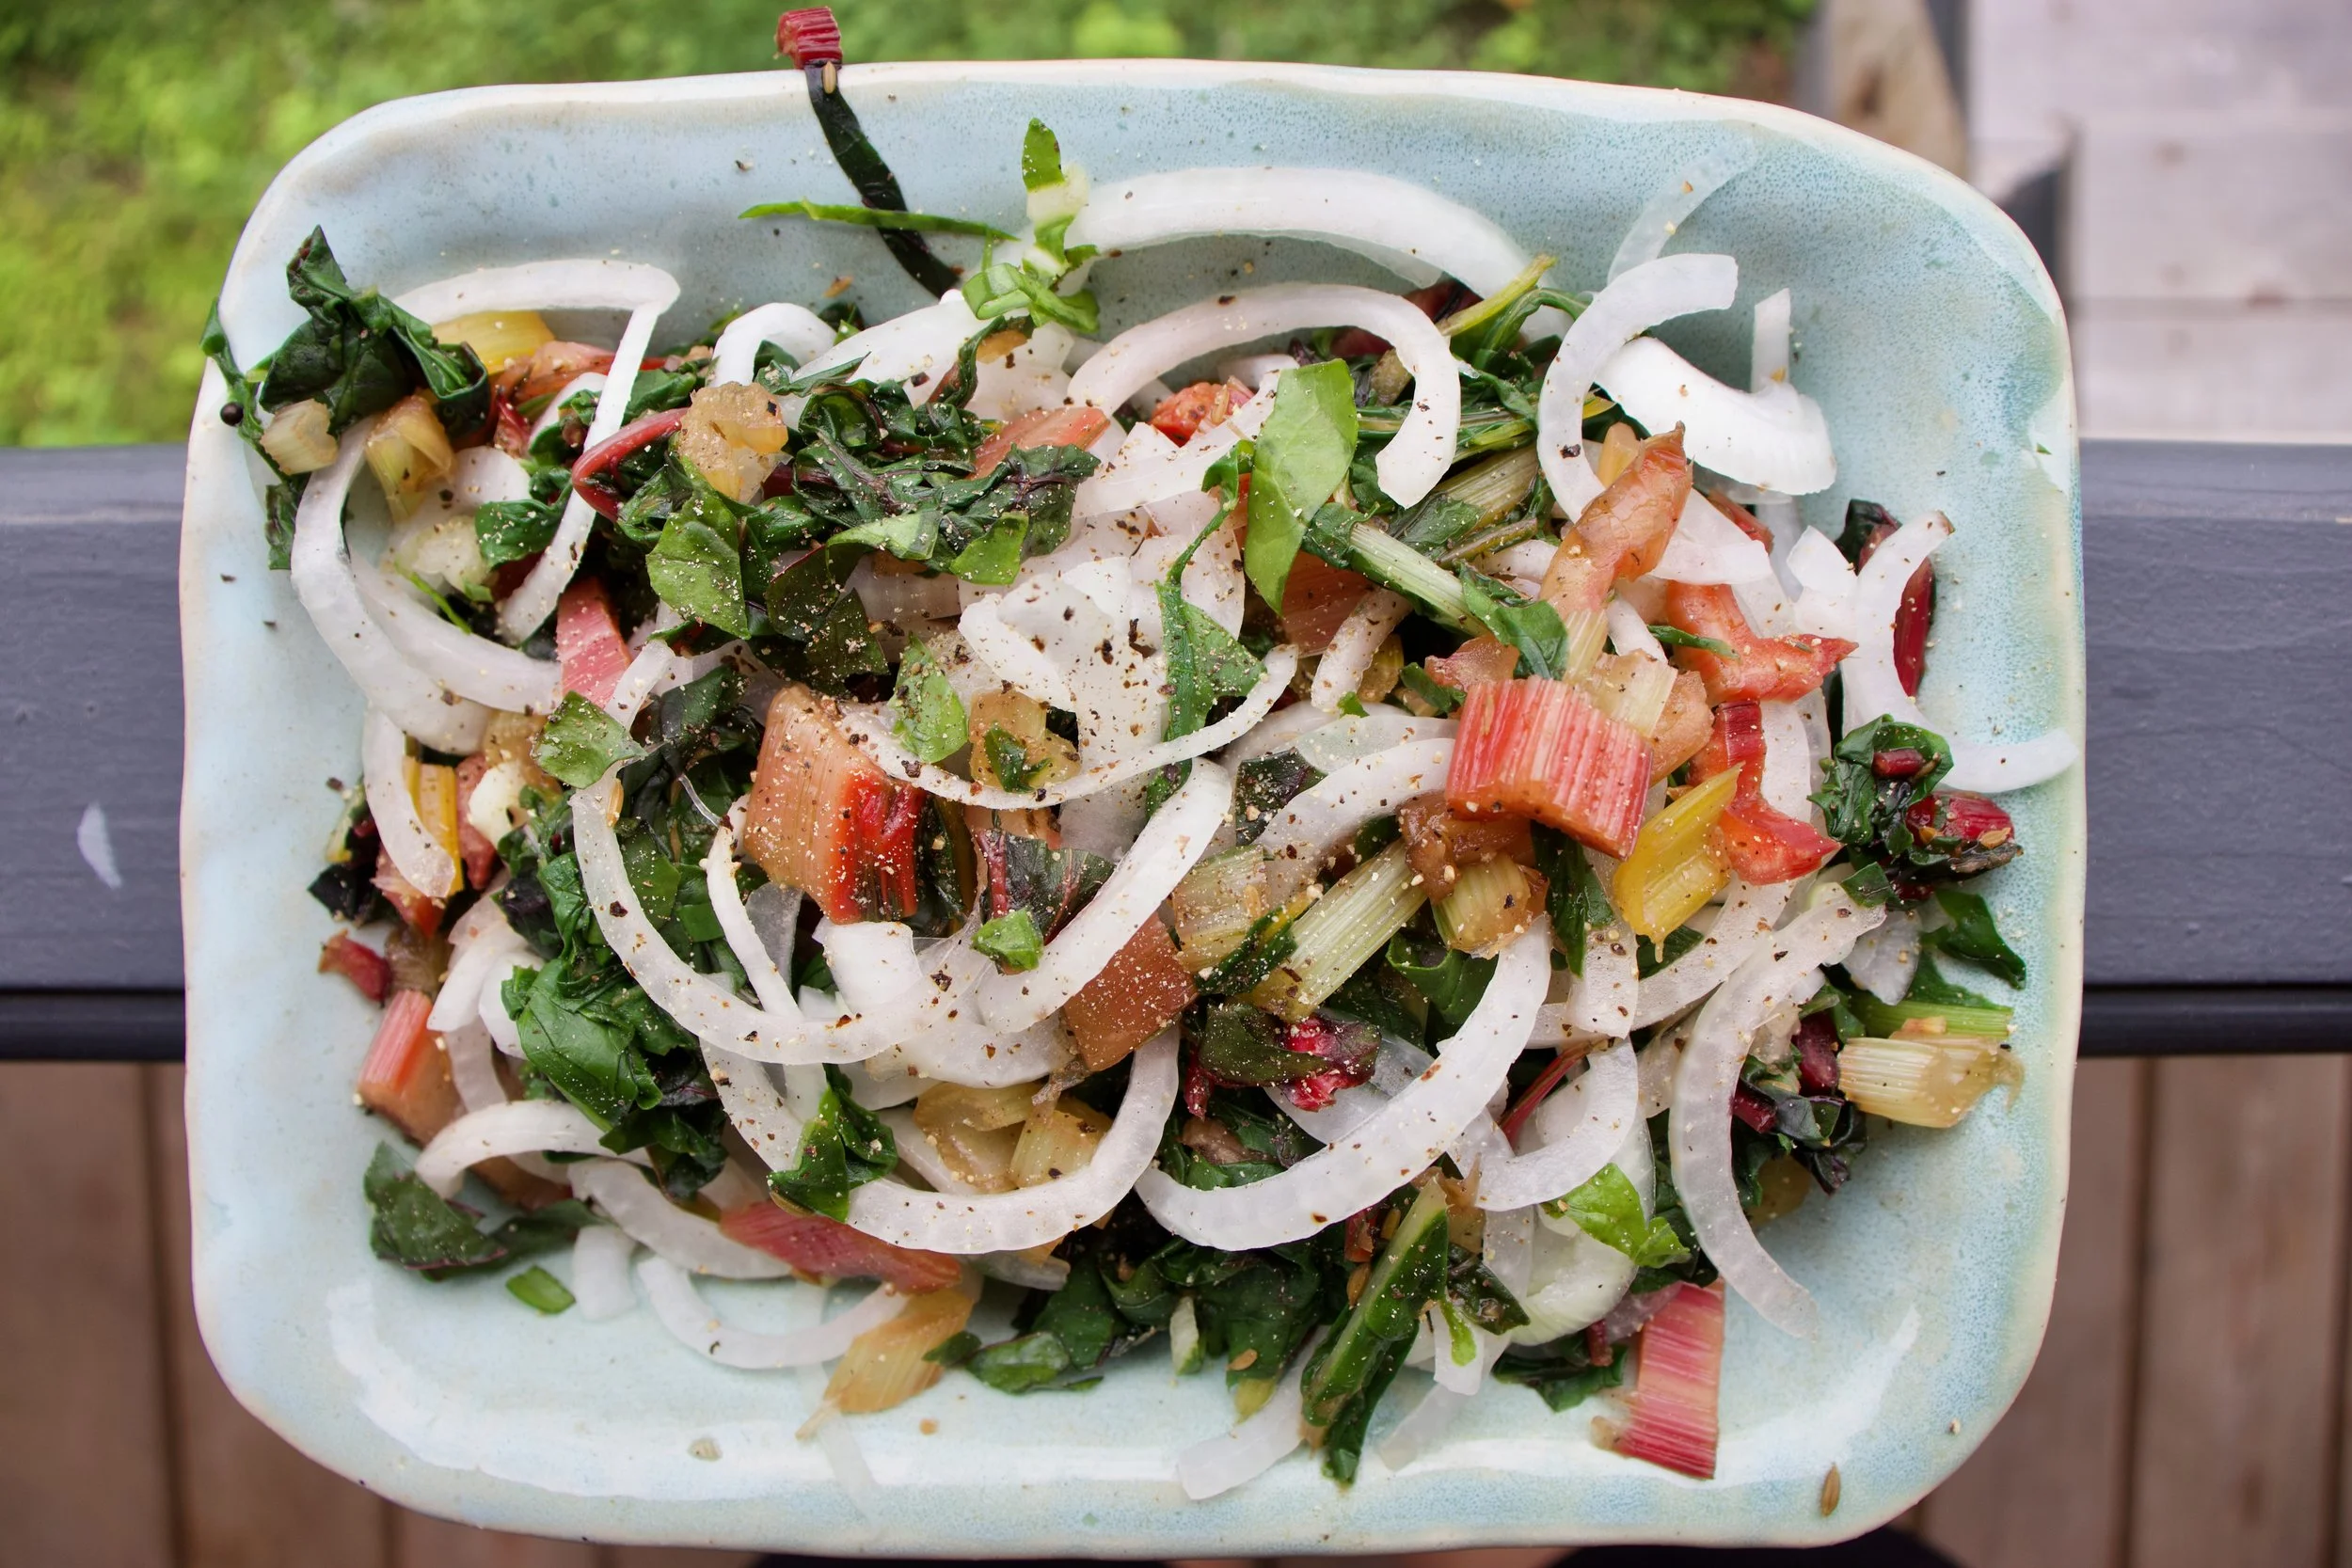
All there is left to do now is add a lot of cracked pepper and grab a fork.
My dreams come true%u2026..Ha.
-C
Serves 1 as a meal or 3-4 as a side
-
I bunch (around a pound) Swiss chard Any color or a mixture of colors))
-
1 mediam onion (red or white)
-
about an inch or so fresh ginger (1 tablespoon grated)
-
1 tablespoon cumin seeds
-
1/3 cup white or red wine vinegar
-
salt and pepper
-
around 1 cup water
Grab the onion and slice it very thinly into rings or half rings. Place in a bowl and add the vinegar plus a pinch of salt and about 1/4 cup of water. Toss around and set aside for at least 20 minutes. If you think of it, do this a few hours before saut%u00e9ing the chard. The longer the onions sit in the vinegar, the better.
When you are ready to cook it, grab the chard and remove the stems from the greens. Cut the stems into small little pieces. Grab a big skillet and place on medium heat. Add in the cumin seeds and let toast for a few minutes and while that is happening, grate the ginger. Once cumin is toasted, add in the chard stems, the ginger, and about 1/2 cup of water. Keep on medium heat and cook until the stems are slightly tender. Should take 8 or so minutes. If the water completely evaporates before cooked, add in a little more.
And the greens. roll them up together and slice them into thin pieces. Add all the greens to the skillet with tender stems. Add in a splash more water if needed and a pinch of salt. Mix around and cook for another 4-5 minutes or until the greens are completely wilted. Remove from heat and dump the chard into a bowl or on a plate. Take the onions, remove from the liquid and mix together with the chard. Drizzle a tiny bit of the left over vinegar from he onions on top. Cover with cracked pepper.
Eat. Hot, room temperature, or cold. It fantastic any way.
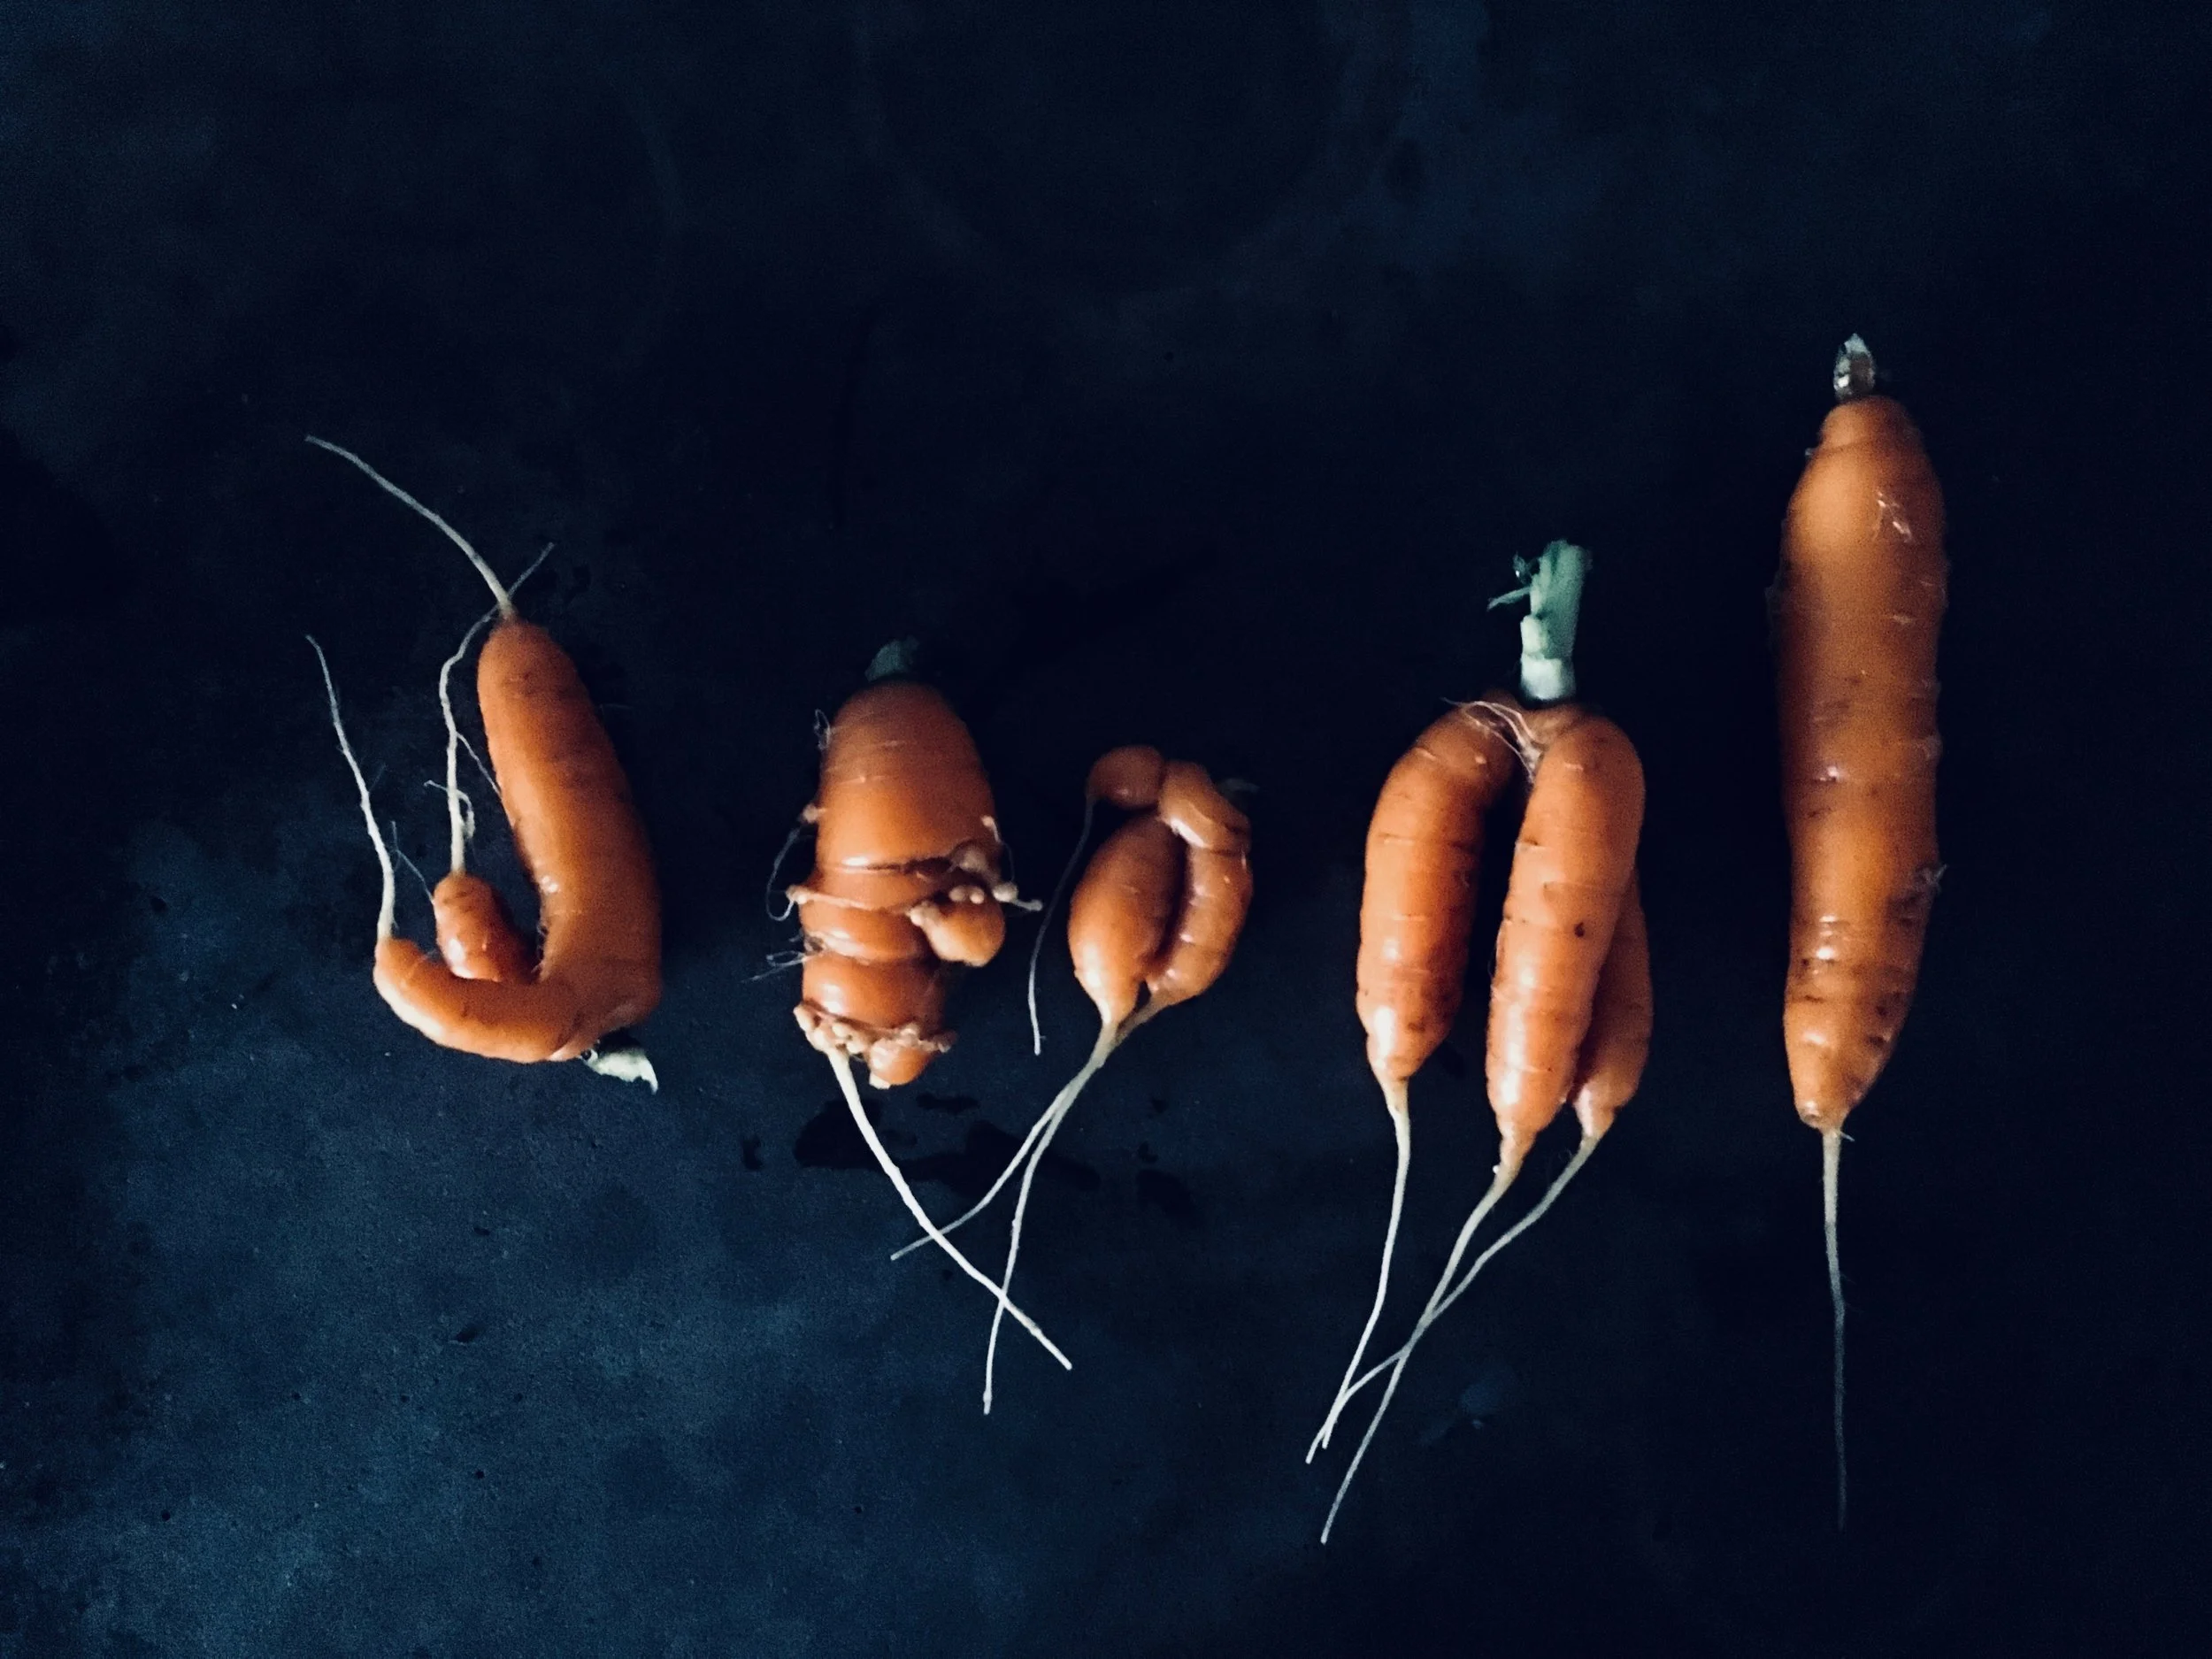
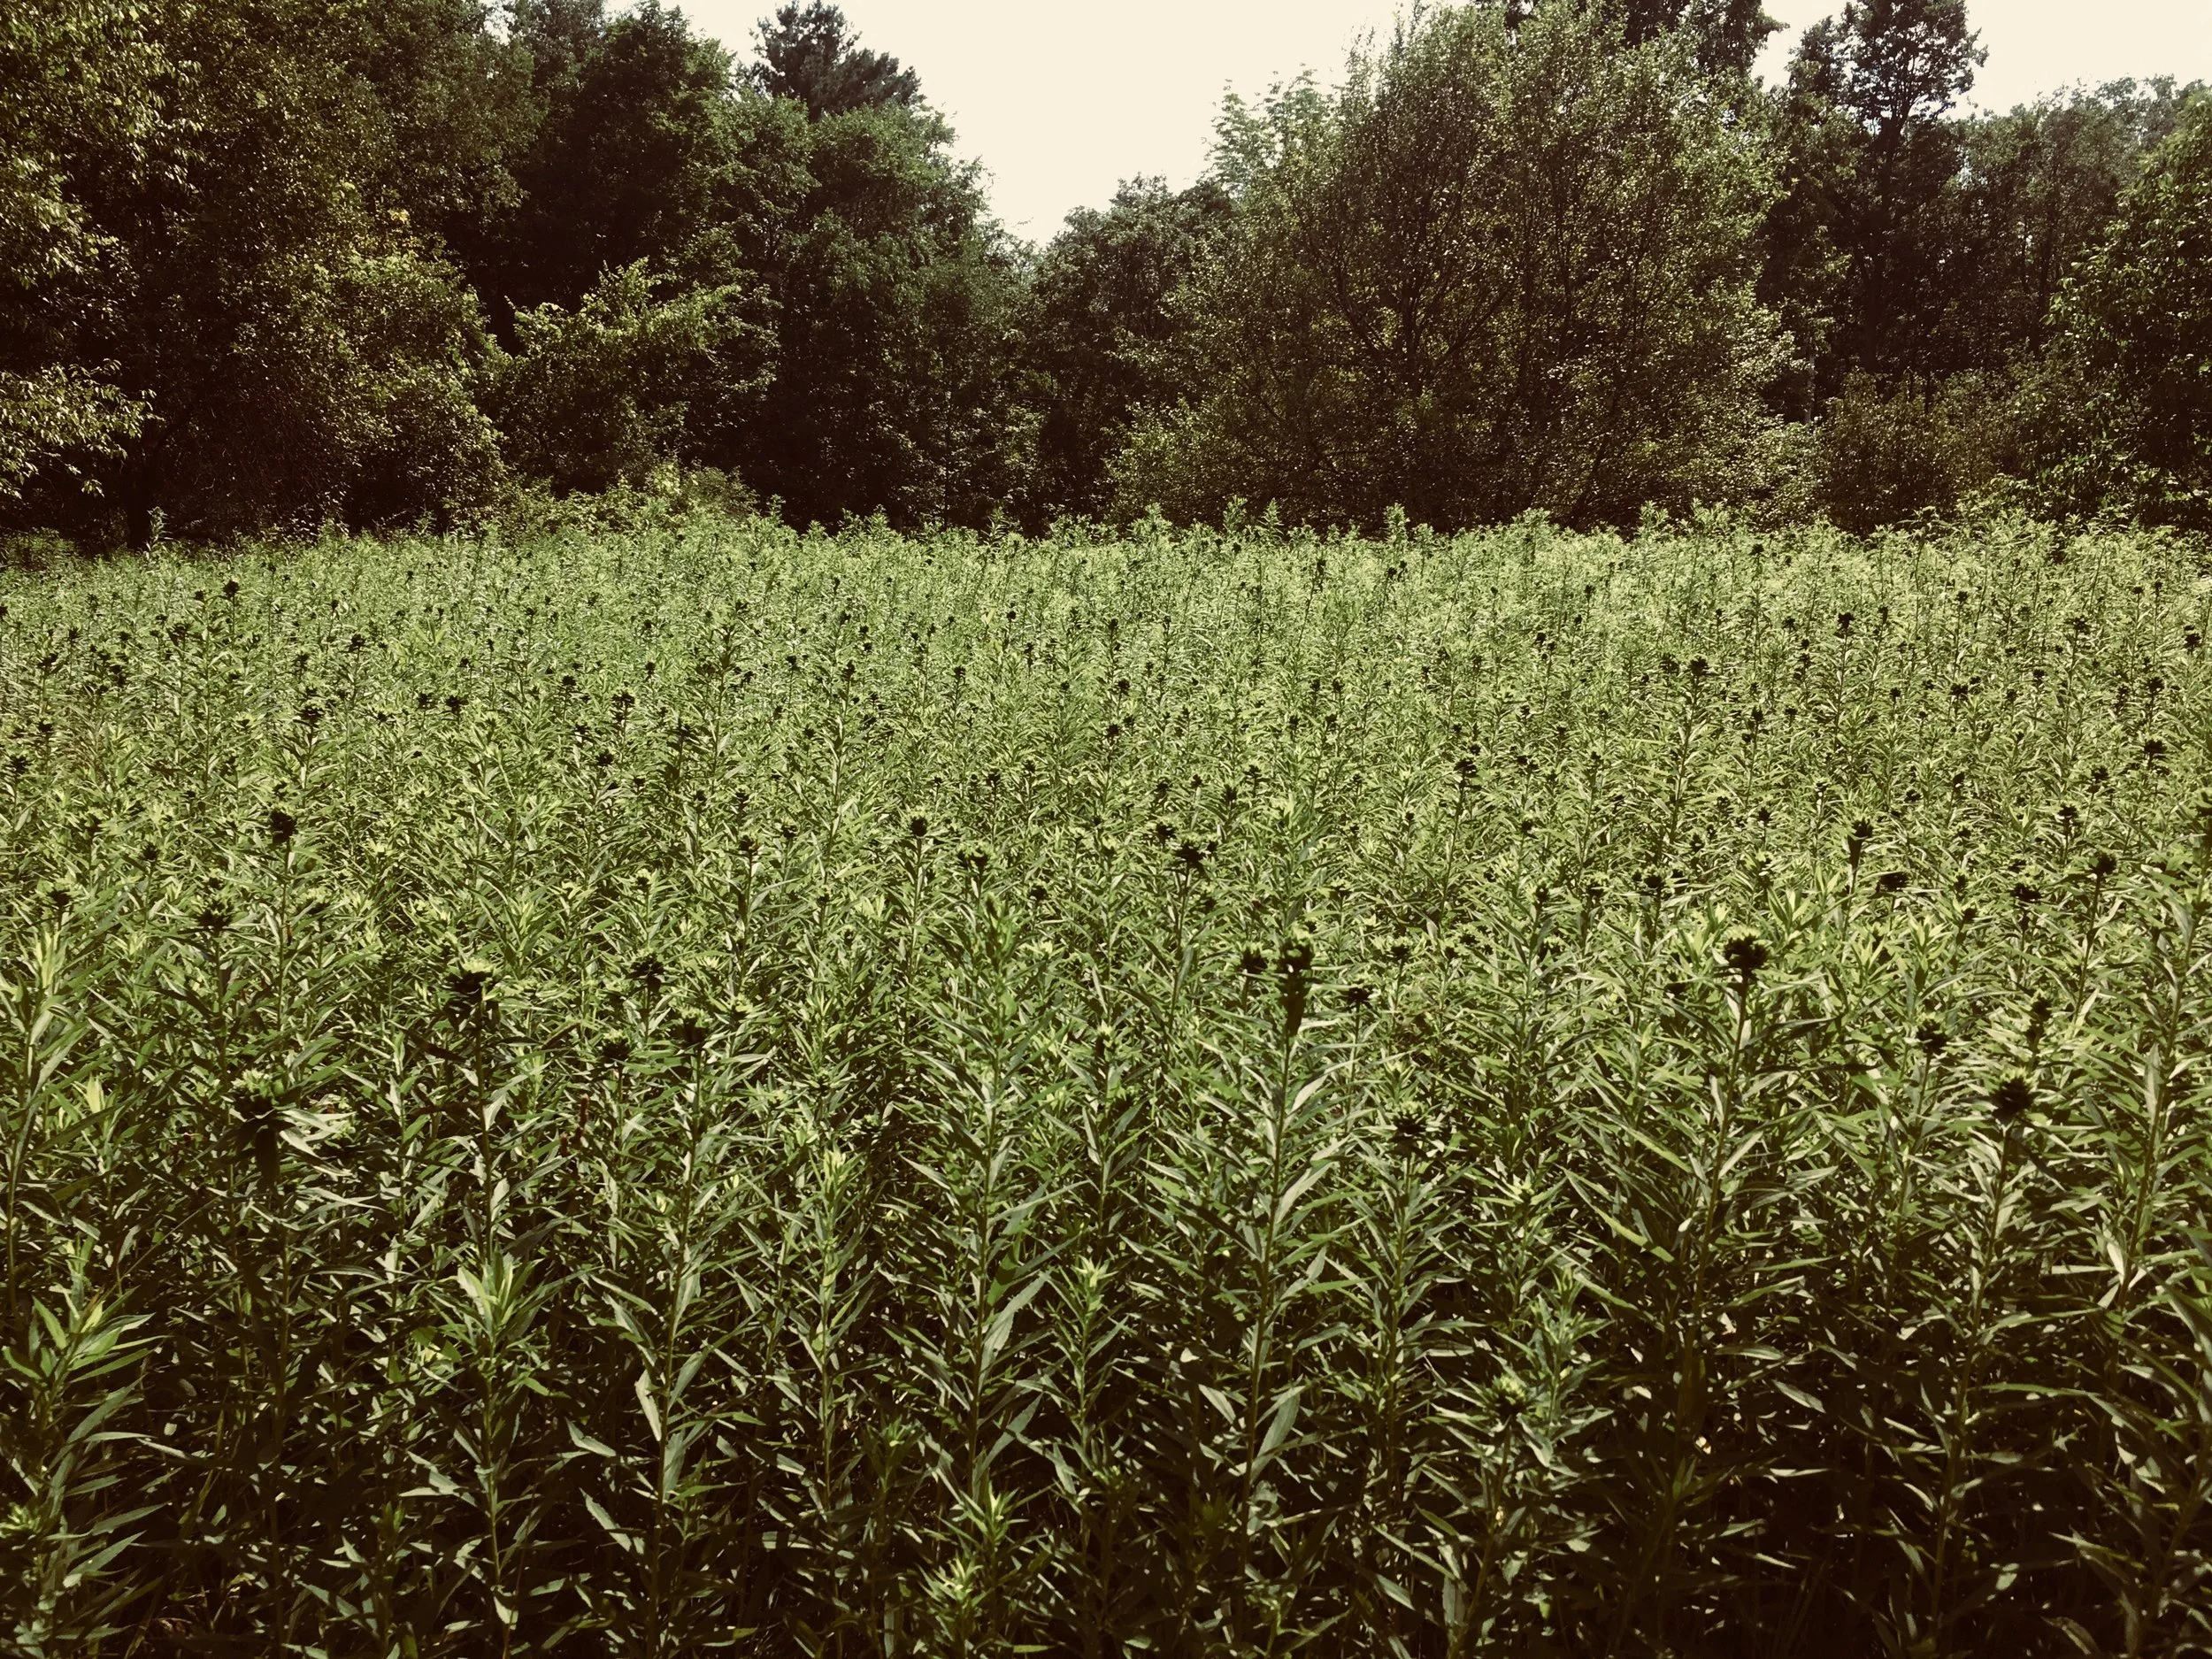
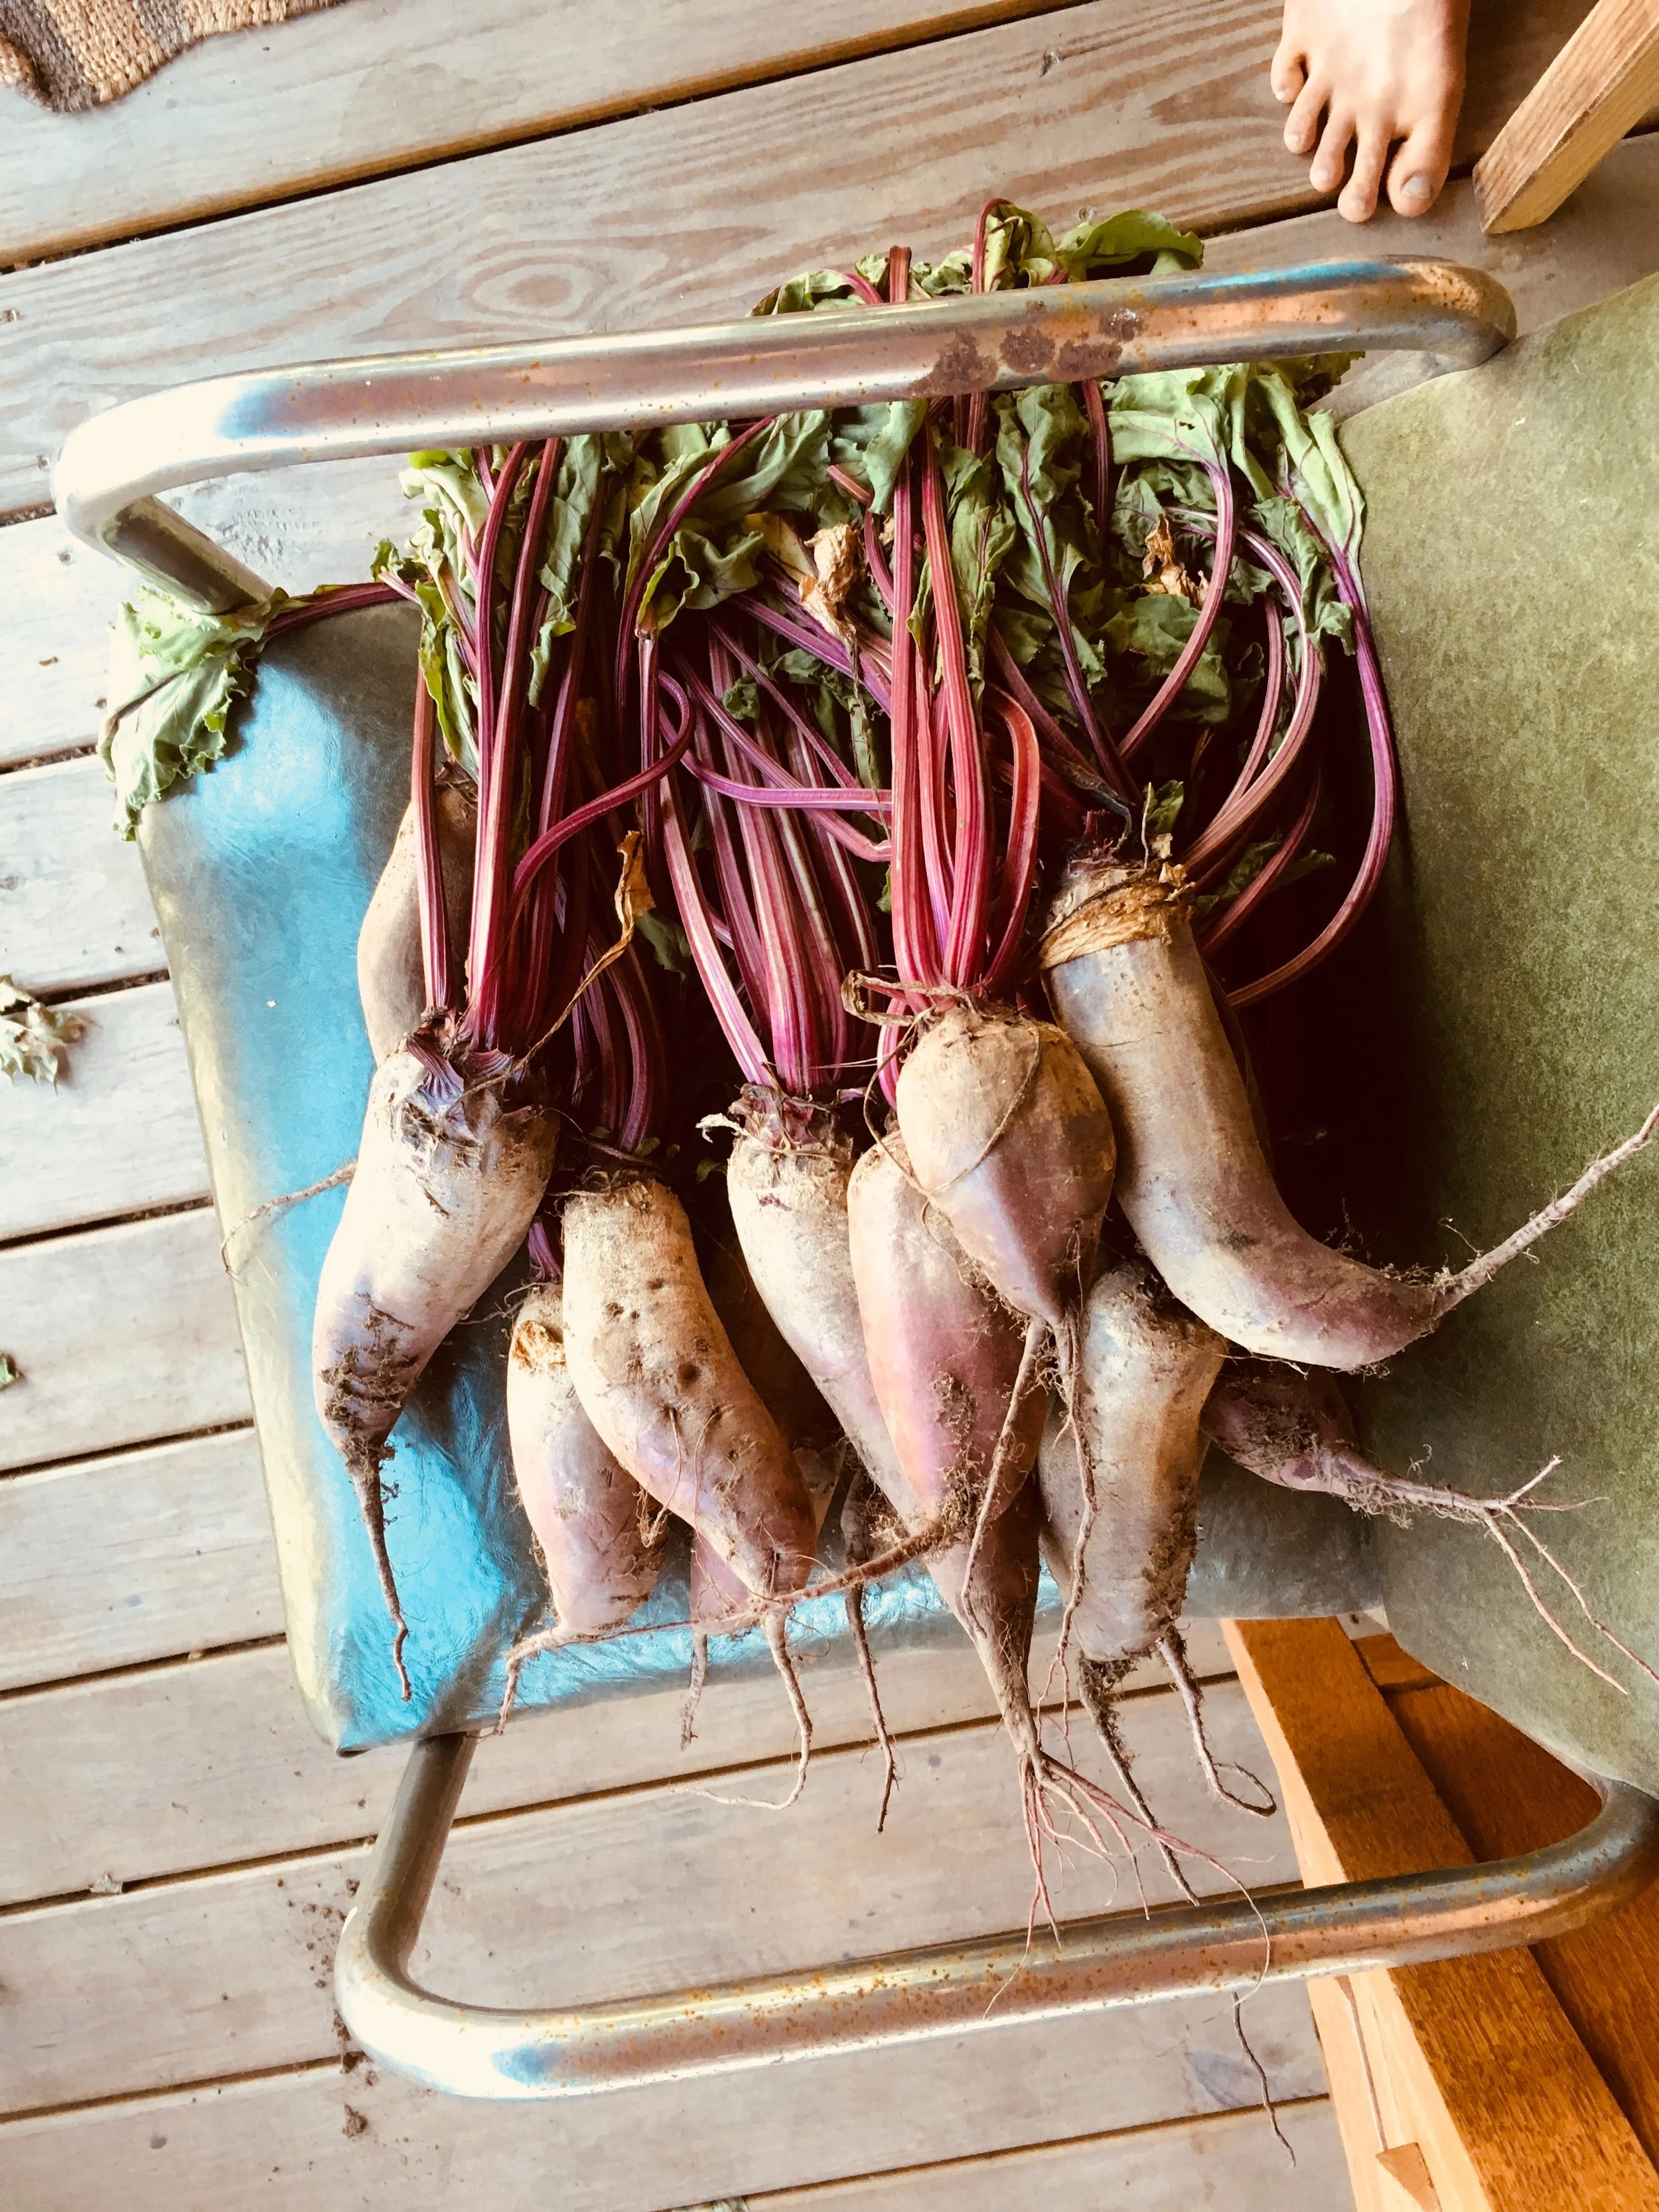
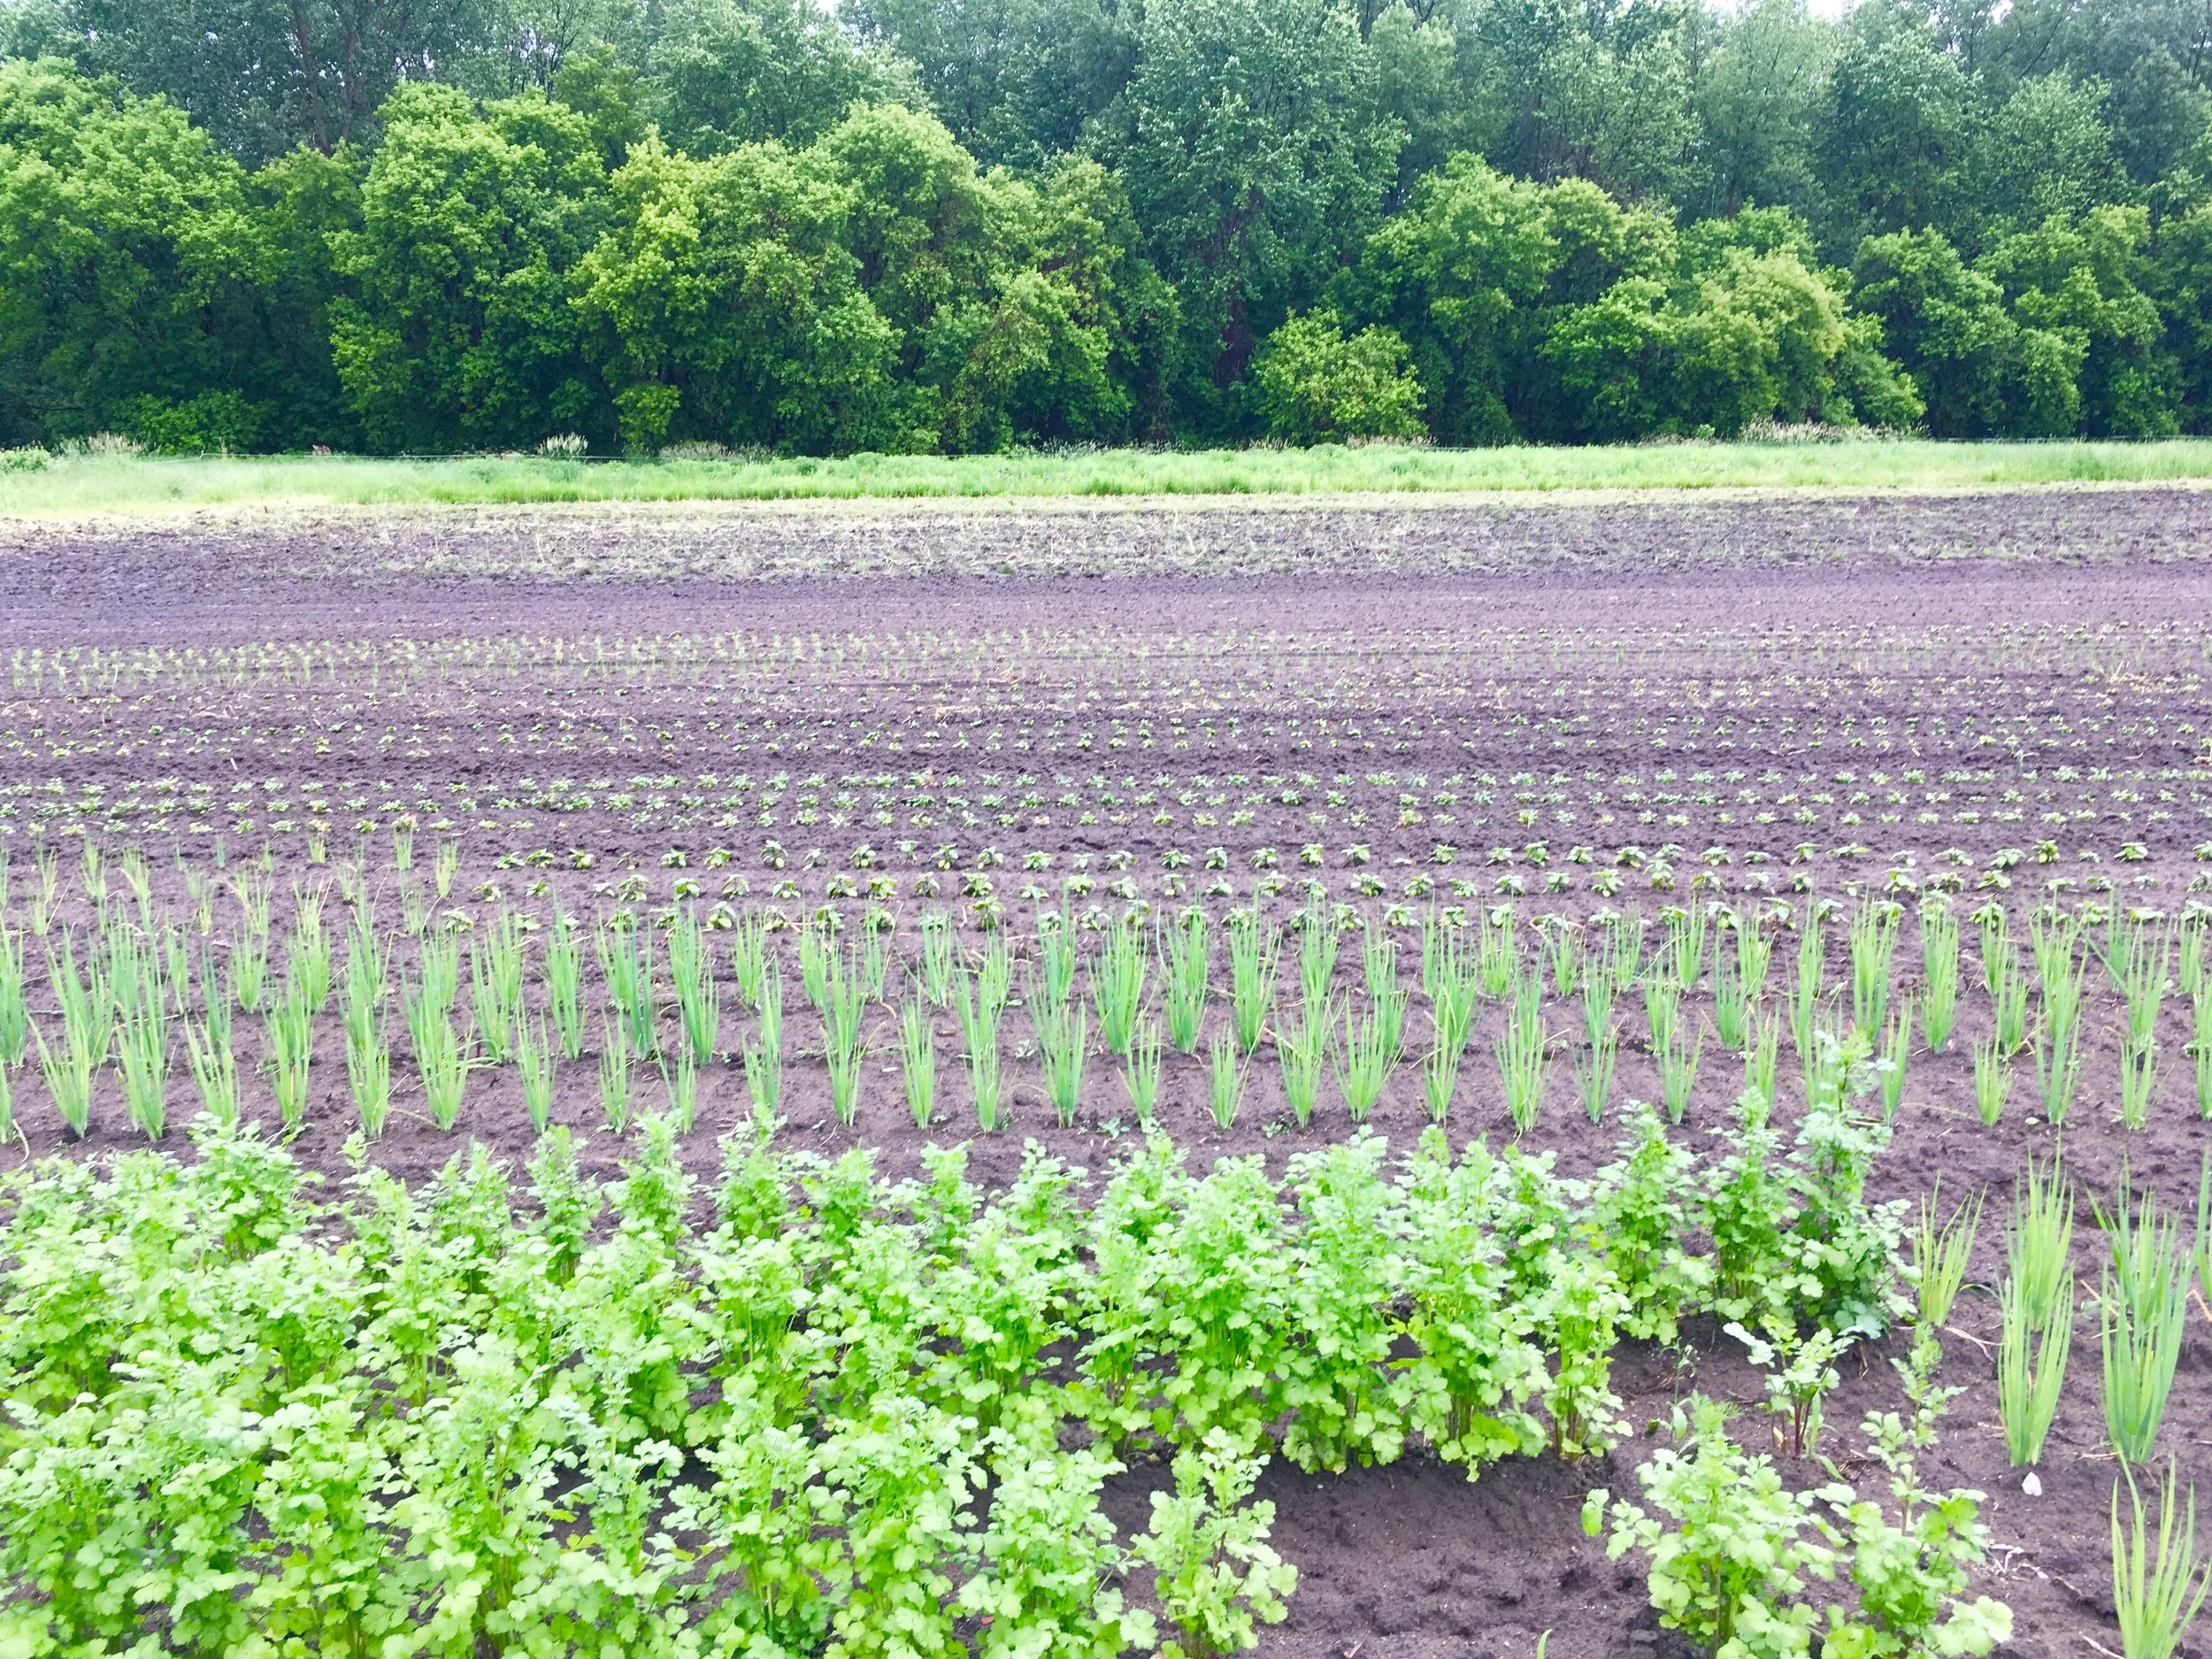
The radishes in my garden have gone from these tiny little wisps of green to a freaking jungle of greens with bright red bulbs bursting through the dirt. Ah, radishes., those little red balls of zesty crisp goodness that grow like crazy in the garden. They are no fuss, no joke, toss them seeds into the grown and bam, you get you some radishes. No matter how crappy of a gardener you might think you are, I bet you could grow you some radishes no problem.%u00a0
And with those radishes comes a butt load of greens, the greens that everyone seems to just toss away which is crazy because the greens are so good. They are tender and zippy and make for great eating. I usually just toss them into salads or whatever but I guess I went a little overboard with the planting of the radishes and I have so so so many radishes all ready to be pulled now with so so so many greens that need to be eaten. So pesto. Fresh early summer, tangy and bright green goodness. It is super tasty and great. Definitely anew favorite and a great way to use up your radish greens.%u00a0
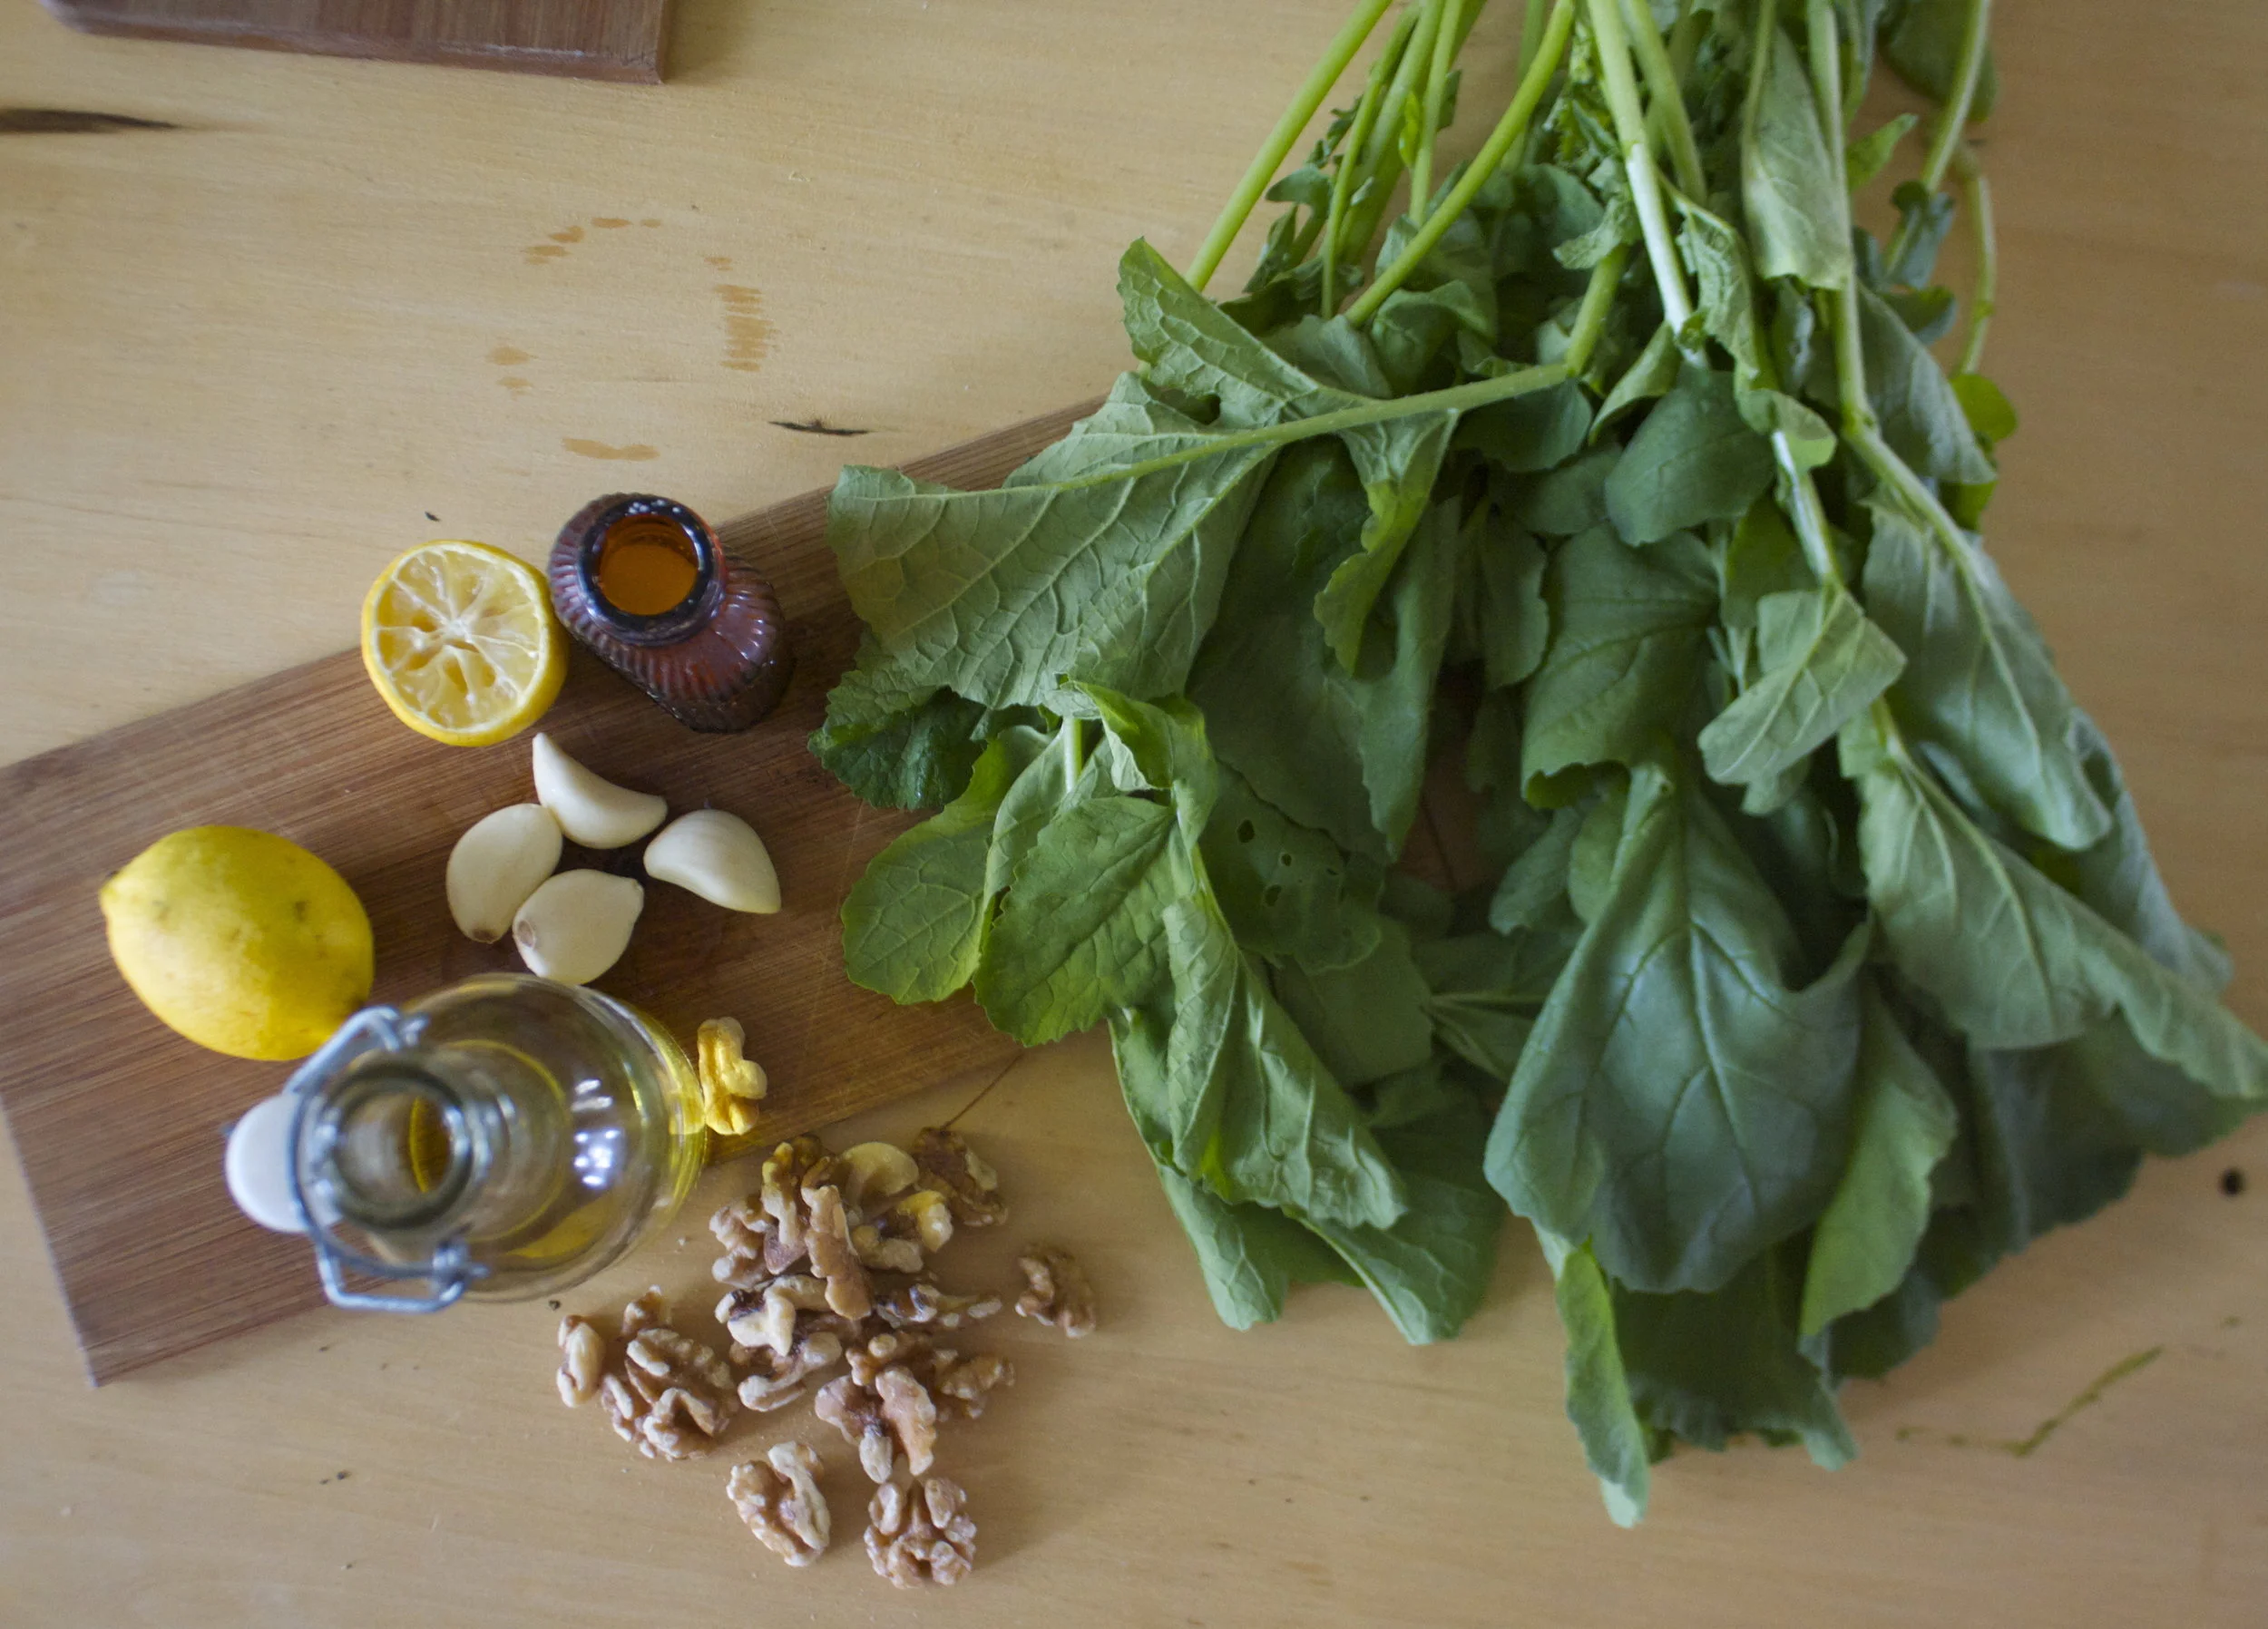
The stuff. Lemon, olive oil, garlic, walnuts, salt and pepper and a bunch of radish greens.

Pretty freaking simple here. Stick garlic, and walnuts into the bottom of the blender and give that a pulse or two.%u00a0 (I would have used my food processor but the new blade has yet to arrive). Add in all the greens, the juice of lemons, sprinkle with salt and pepper. Turn on low and stream in a oil. You might need to push down greens to get them into the blenders vortex.

And once it’s all blended you have pesto.
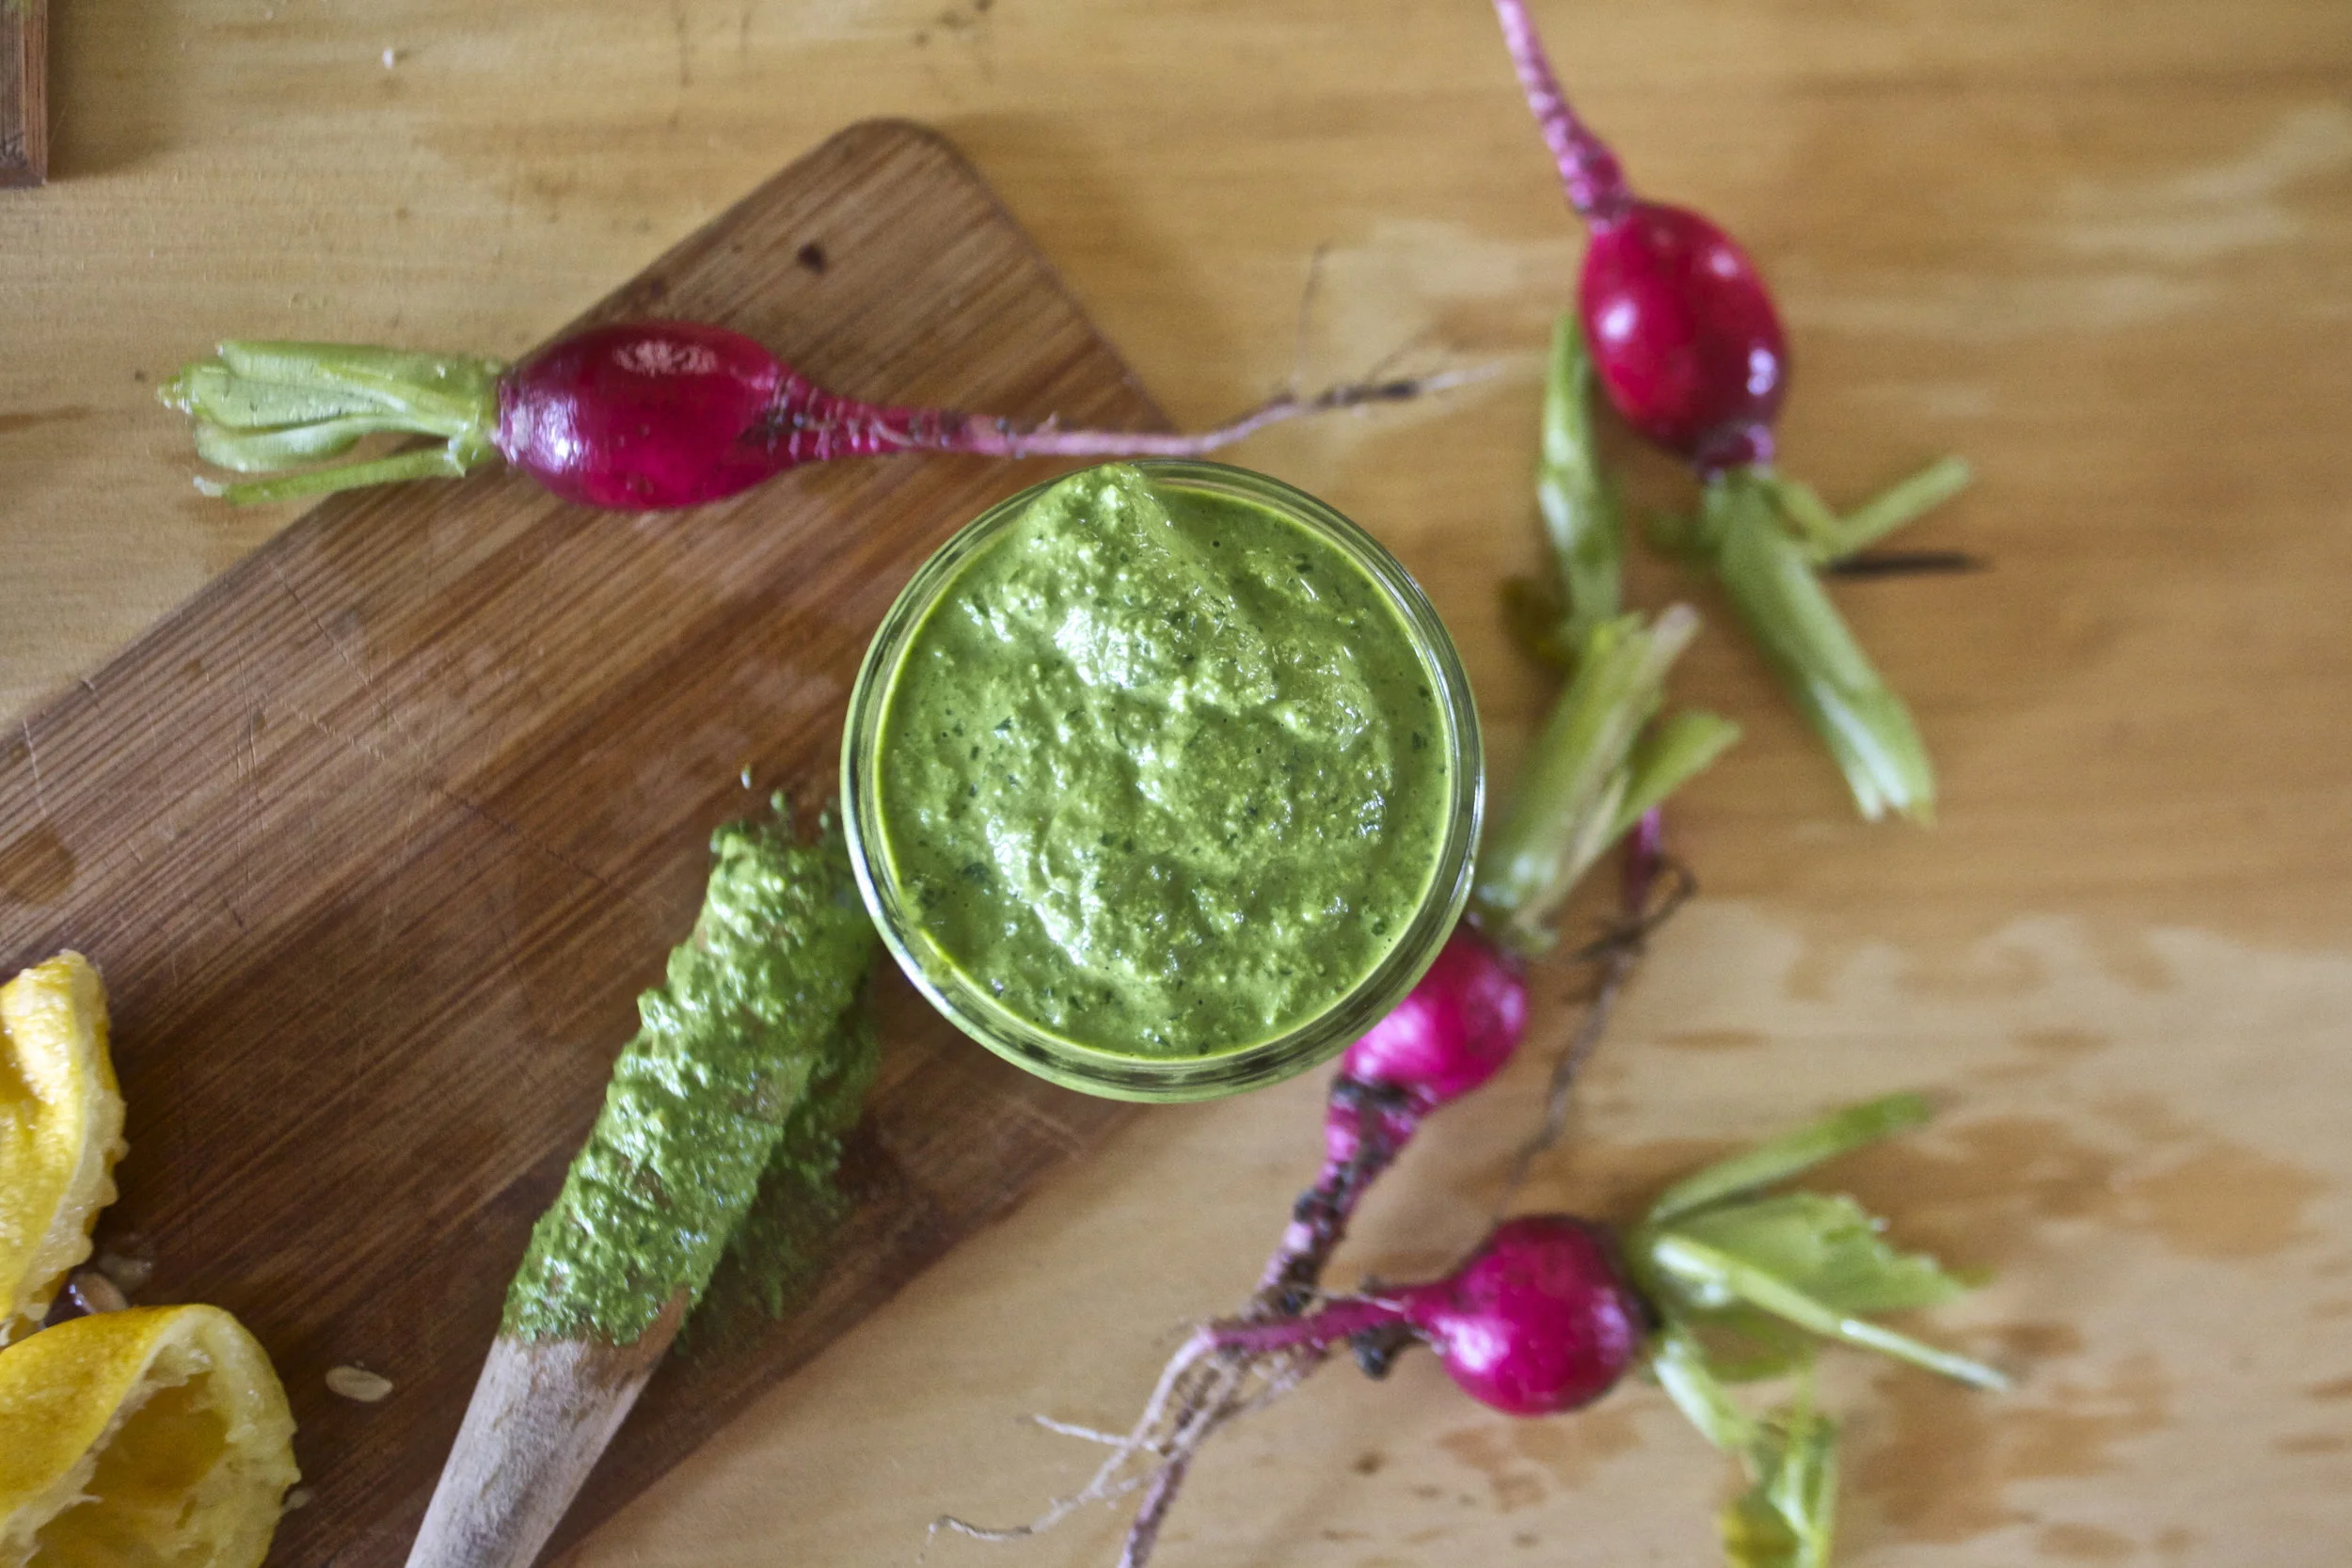
Pour it into a jar and it’s ready to go.
Eat it any way you eat your pesto.
Enjoy
-C
Makes about 2 cups
- 4ish cups radish greens (I used the greens from about 10 radishes)
- 1-2 lemons
- 3/4 cup toasted walnuts
- 4 cloves garlic
- about 1/2 cup olive oil
- salt and pepper
Stick walnuts, garlic and the juice of the lemons into a food processor or blender. Give it a pulse or two. Add in a pinch of salt ans pepper then the greens. Turn on blender and stream in olive oil. You might need to stop a few times to push the greens down. Blend until combines. Taste and season with more salt and pepper to taste.
Pour finishes pesto into a jar. Eat with pasta, use as dip, smear on toast, dollop in soup. Eat it however you like.
Lasts for a week or two in fridge and freezes really well .
As I was sitting at the table making this simple little ode to spring salad, it started to snow outside. “Look away”, I told myself. “Pretend you didn’t see it.” Well, I saw it then, saw it before bed, and when I woke up this morning , there was (and still is)%u00a0 a few inches of fresh white covering up my hopes of a warm spring day. I have to admit that it is really very pretty, but what the hell.
This salad is all spring. Fresh spinach from the farm, asparagus in abundance every store I go to. Simple, crisp, refreshing. A nice change from a winter heavy with roasted roots and thick stews. I don’t know about you, but this is the time of year that all I want to eat are fist fulls of fresh green stuff. (I could insert a picture here of me sitting on the couch munching away from a bag of baby kale, but I won’t. You don’t need to see that)
Now if it would just stop snowing and be spring for real, that would be great.

The stuff. Fresh spinach. tender asparagus, a lemon, and salt and pepper..
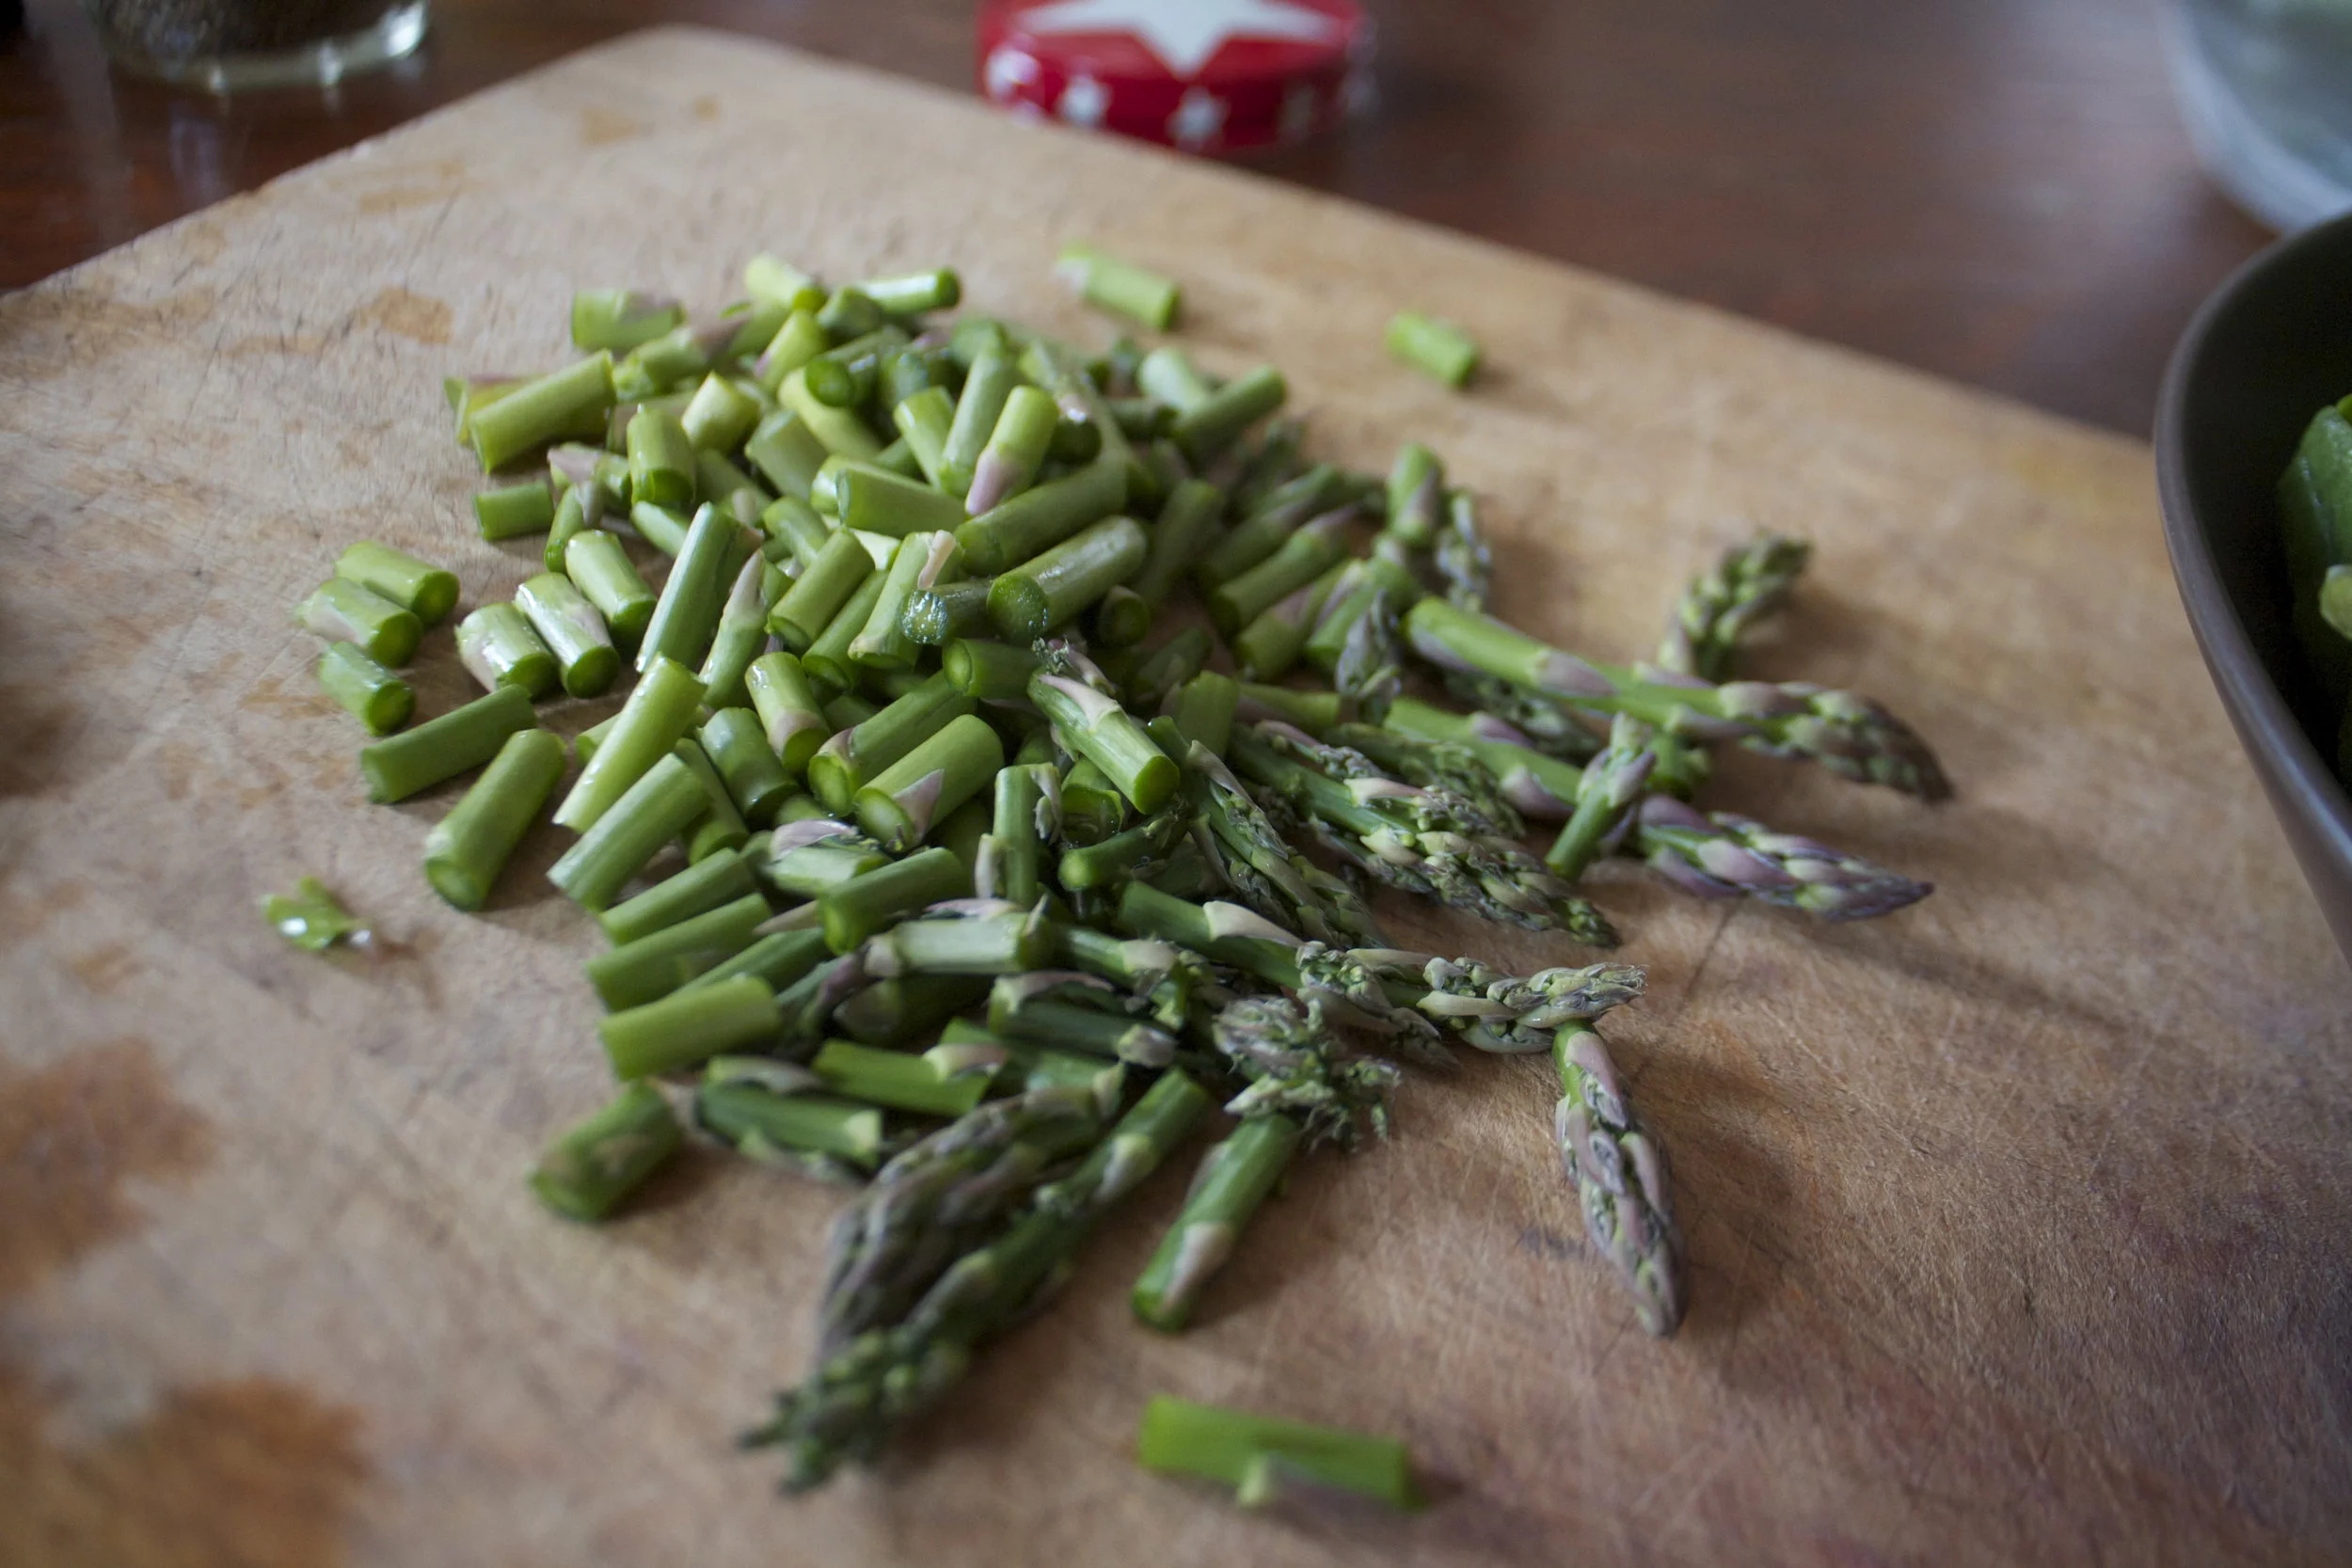
Snap off the woody ends of the asparagus then dice up the rest.
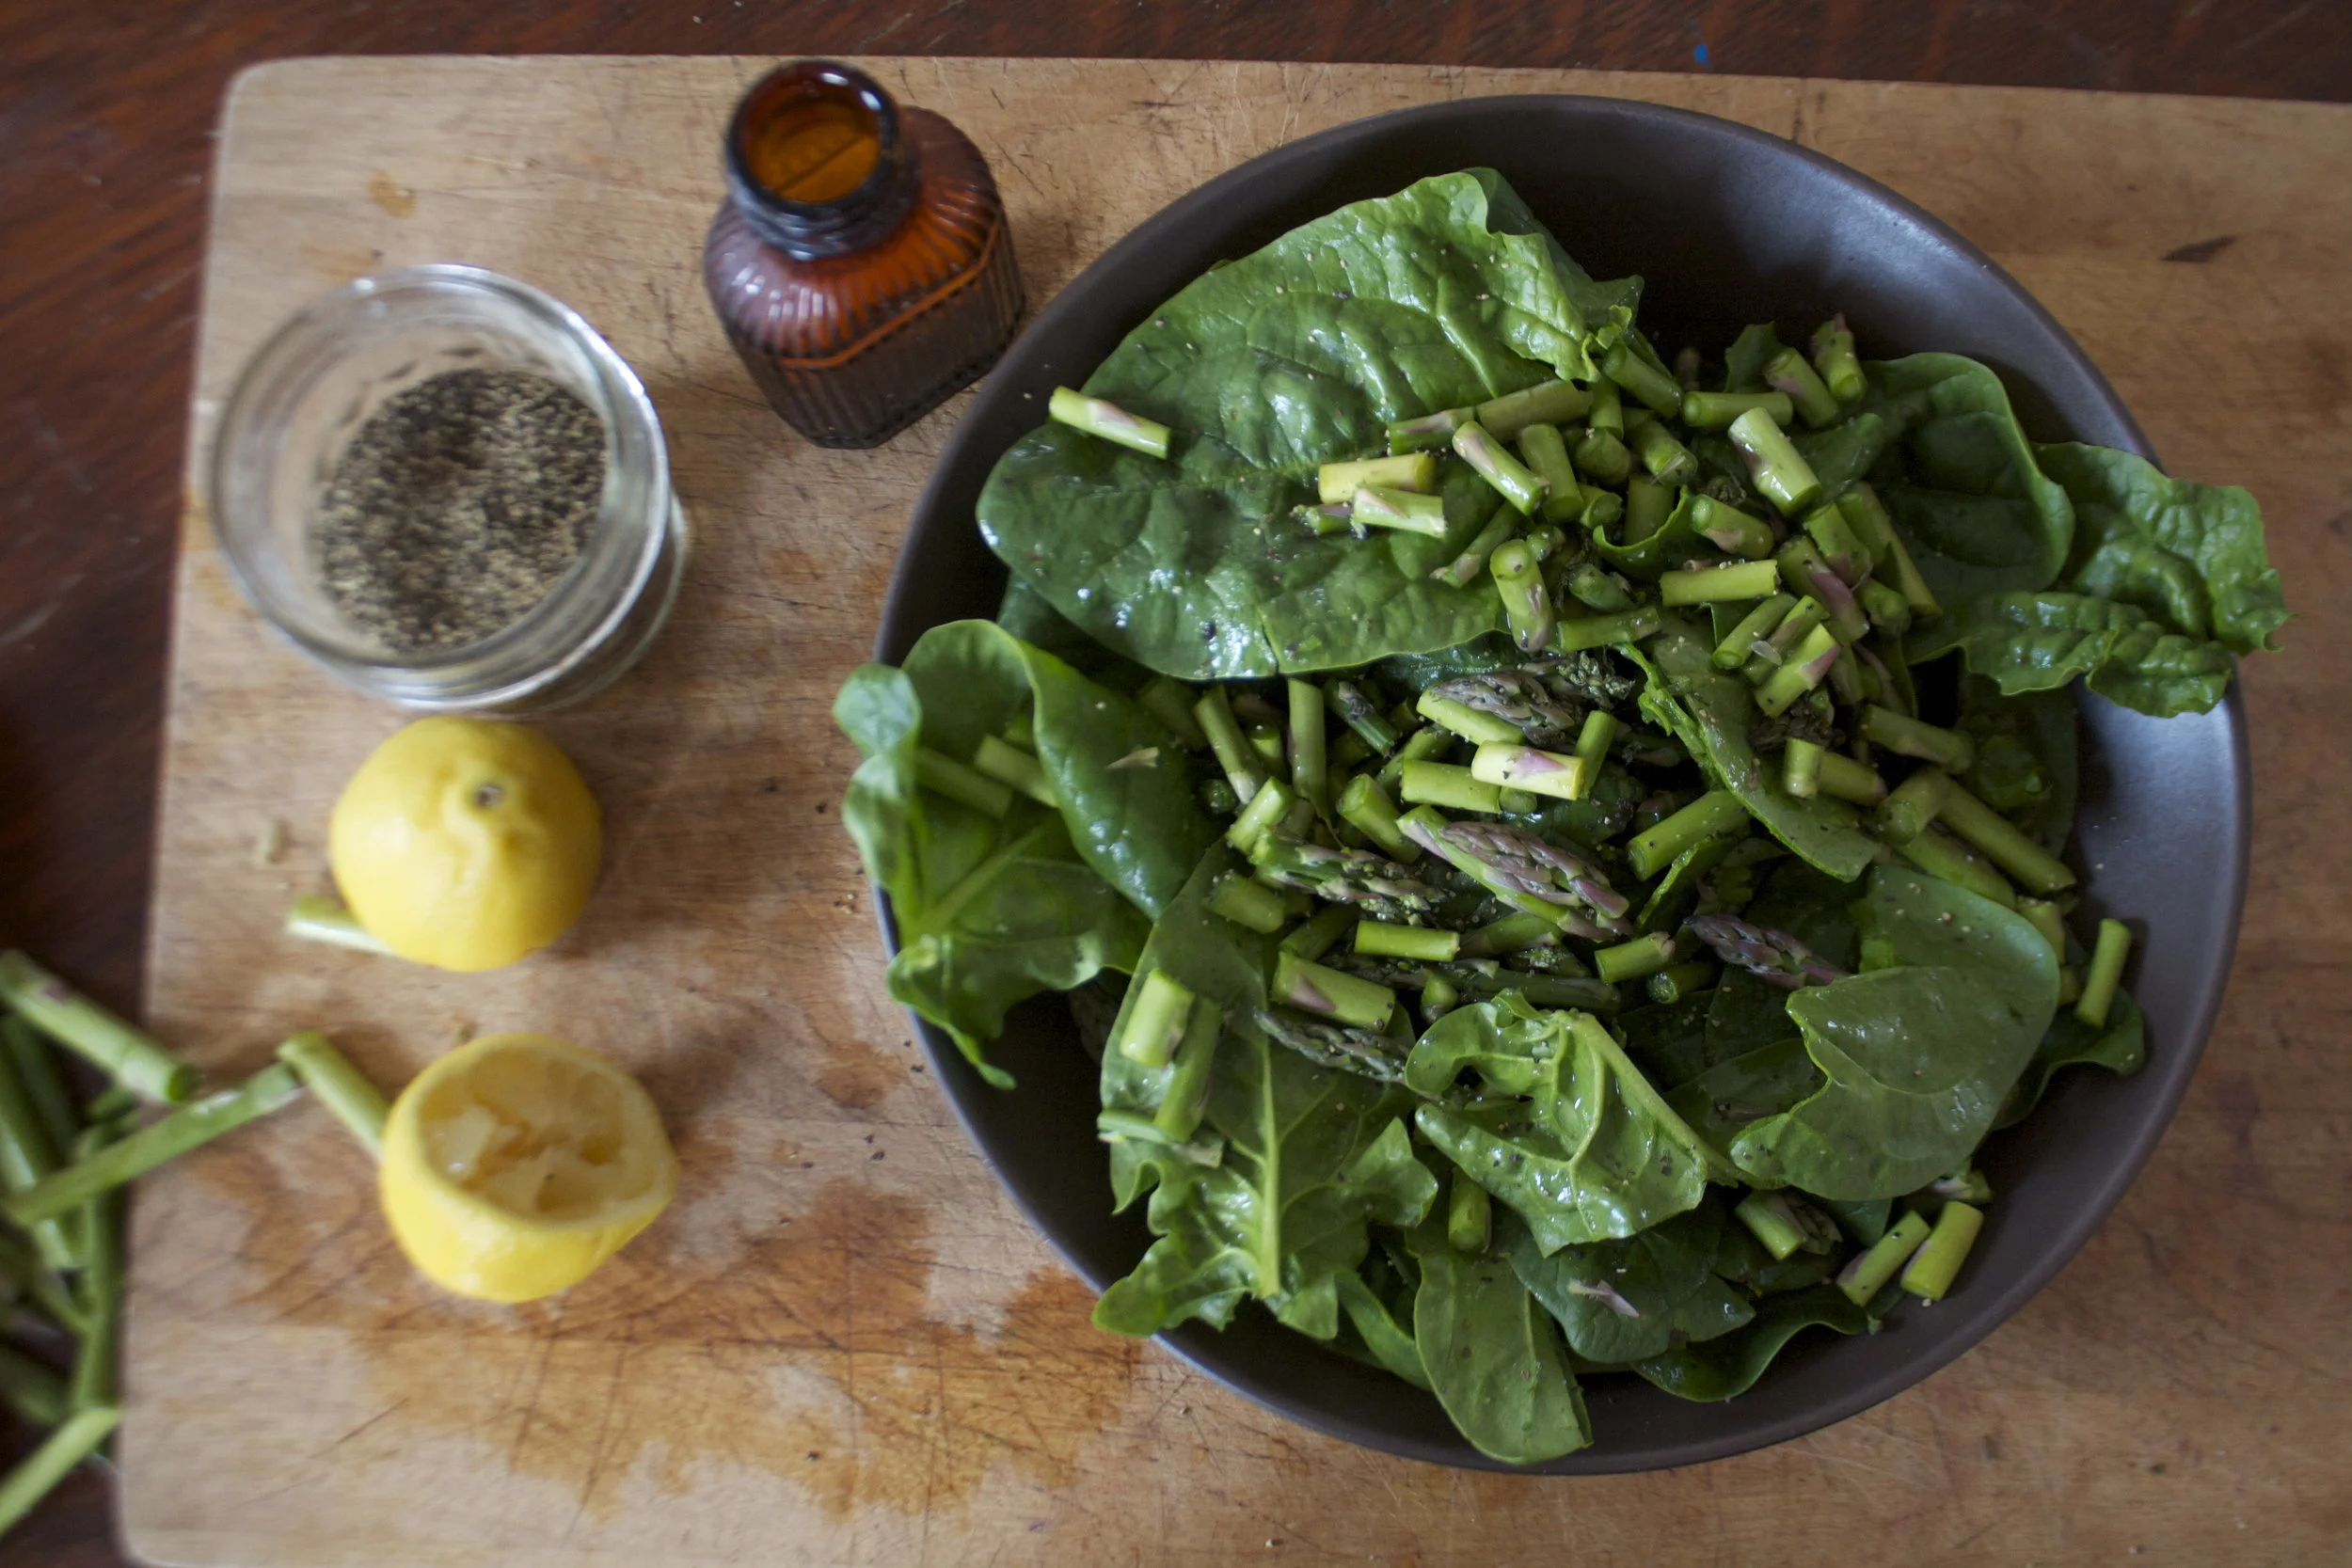
Toss the chopped up asparagus in a bowl with spinach. Squeeze the juice of the lemon all up in that and sprinkle with salt and pepper. That is it.

Fresh, green, springtime goodness in a bowl.
-C
- 2 large handfuls of fresh spinach
- 10 ish spears of fresh asparagus
- 1 lemon
- salt and pepper
Wash and dry spinach ans place in bowl. Snap off woody end of asparagus (I save this bits for soup) and chop up the rest into mouth sized pieces. Toss the chopped asparagus into bowl with spinach. Squeeze on the juice of the lemon and sprinkle with salt and pepper to taste.
Eat.
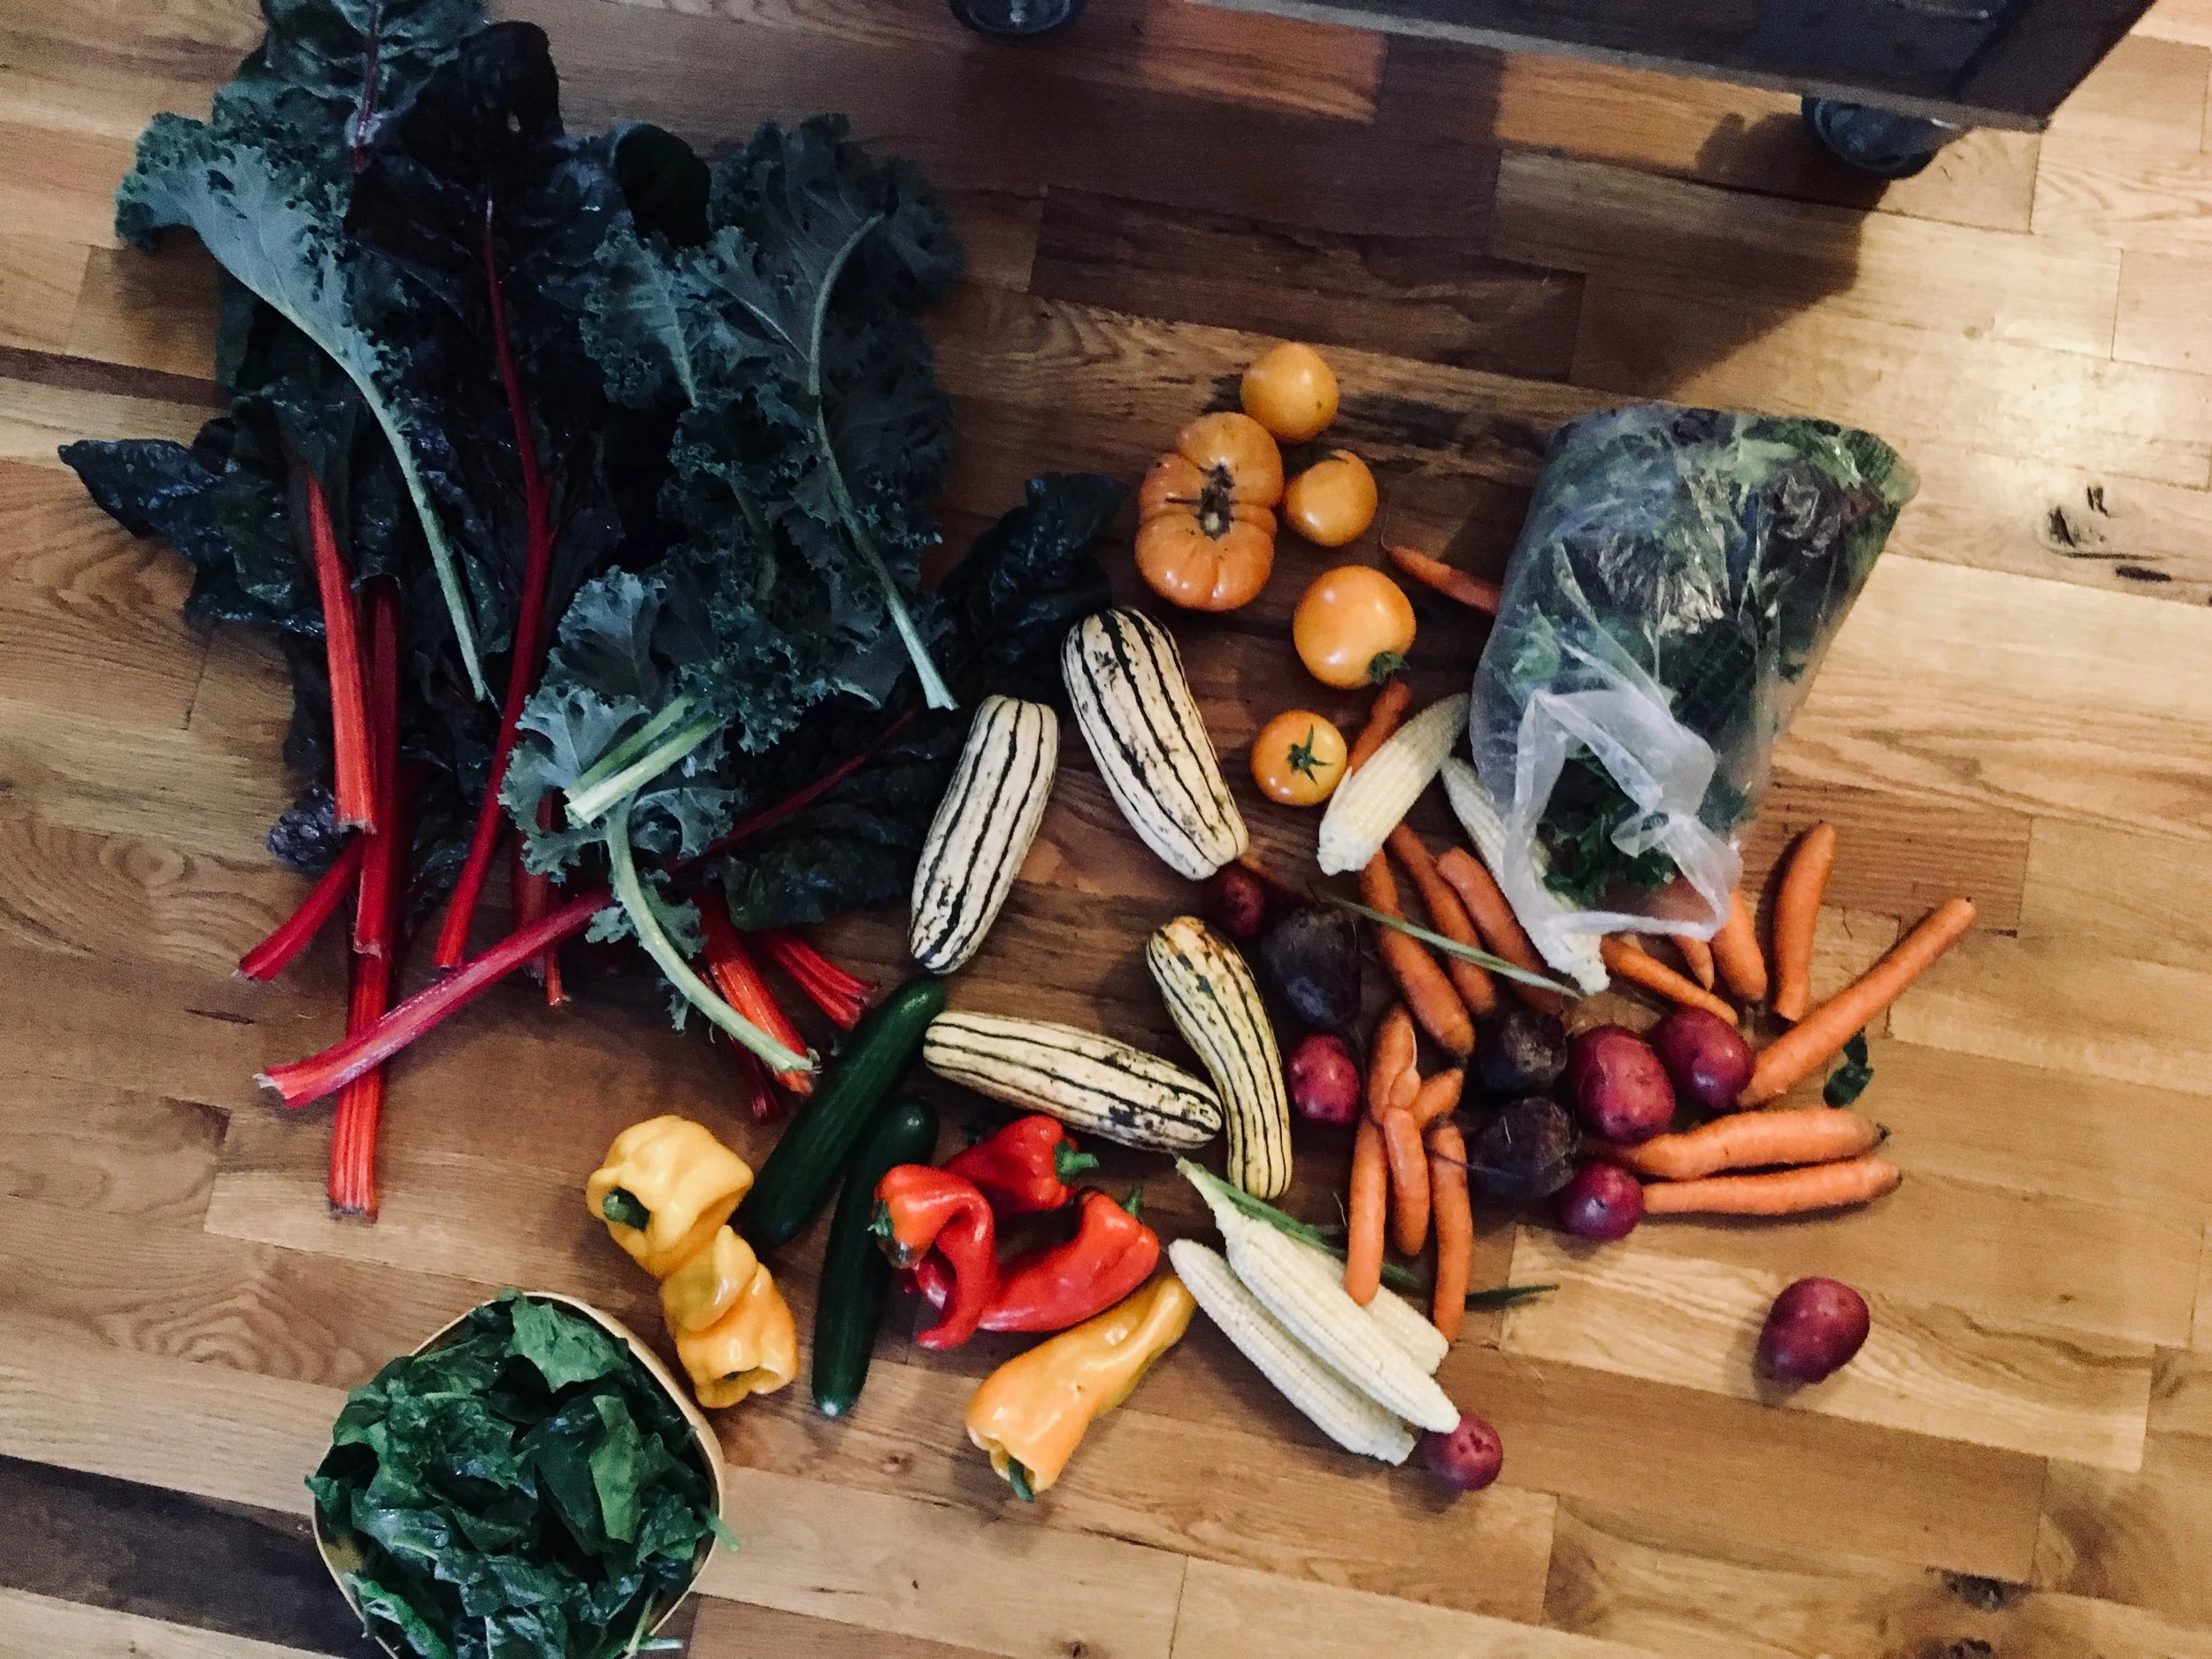
Farm share started this week (Hooray!!!) and always the first few pick ups of the season are loaded with a good amount of the freshest, most fantastic greens that there ever was. And I couldn’t be happier! (well maybe if I could just take home creates of the stuff)
While I was down at the farm filling and weighing my bags, I overhead a couple talking about how last year they never ate their greens fast enough and how they always went bad by the next week. What! Fresh greens bad in one week.. no way. A bag of greens can last weeks, just as long as you take the time to store them properly. It made me sad to think about the wasted greens and so now I am determined d to make sure that everyone knows the proper way to clean and store greens so no greens go to waste.

What you need
- Your dirty greens
- resealable gallon sized bags or large plastic containers (Bags are great for space saving if you have a tiny fridge like me and can be used over ans over again)
- a big bowl or wash bin
- A piece of clean muslin or other cotton fabric about the size of a paper towel per bag. (can use paper towels, but why not invest in reusable)
- salad spinner
- clean cold water
I know that some people might not have a salad spinner, but here is the thing. You need one!I am sure that there are people out there that have hacked a way to dry greens without one (like my aunt who is a farmer. She uses an old and very clean washing machine. so smart) but really, you should have one.

To clean. First off, the sooner you get them home and cleaned the better. Having damp greens in a bag is not ideal and will lead to yuk. If I bring greens home and don’t have time to clean and spin them right away, I at least stick a piece of muslin into the bag until I can get to them.
My method for cleaning. Fill a big ass bowl up with cold water and, in small batches,%u00a0 gently dunk and agitate the greens.%u00a0 There are two reason I do it like this. One is that I find running greens under running water doesn’t really get them as clean and sometime can even bruise fragile greens and two, I hate water waste and running water over greens wastes a lot(once I am done with the dirty water, I water my plants with it) If you find the water has gotten really dirty fast (which it will do sometimes) dump water and refresh with clean.

Once the greens have had a good bath, to the spinner they go.%u00a0 When adding greens, make sure to not over stuff the spinner and also spin once, dump water out from the bottom, then spin again. Maybe even three times to get the greens dry.

Line a bag (or container) with muslin cloth and fill it with your clean dried greens. The cloth is important for storing, it keeps the moister away from the greens so they don’t get slimmy and gross. And don’t over pack your greens either. If you have a lot, just grab another bag.

so fresh and so clean clean
And that’s it. Close up those bags and now you can store you greens in the fridge and they will last for a week or more, although honestly, with greens looking this good, how could you resist not eating them all right away (the nearly 2 lbs I brought home lasted about 2 days)


Yesterday we had a few pieces of really log ass metal roofing delivered to the new house so we can finish the little side parts of the roof off. The funny thing is we ended up with way more wood then metal. The roofing is super light and flexible so it has to be strapped to a super long wooden structure. And it was perfect. The mr and I have pretty much finished the fence except for the gate from the driveway which sucks because we still can’t bring Washer over to play without it ans we pretty much fenced the yard in for him. But the long ass wooded palette things.. IT was perfect. Well a perfect for now solution. A Already constructed tall and long (too long, we had to cut it down) wooded wall that is now our temporary gate.What a score! And now the pup can spend all day long laying around outside and not getting into any neighborhood fights with the other dogs. And look at us making use of all the scraps. We are so awesome.
Ok, so besides our awesomeness and the new temp gate, let talk about this greenest freaking soup that there ever was. It is probably the best green soup that I have ever tasted. (I know,%u00a0 I have habit of proclaiming all of my soups as the best soup ever, mostly because they are.) It’s one of those soups that is super fast and so simple to make and is perfect for all the spring and summer time eating that will be going on. Eaten hot or cold and out of a bowl or a drank out of a glass. A soup for any time, any place. The mr even liked it and he says he doesn’t like peas. (but he so does). Who doesn’t like the best soup ever?
Now here is how to make it.

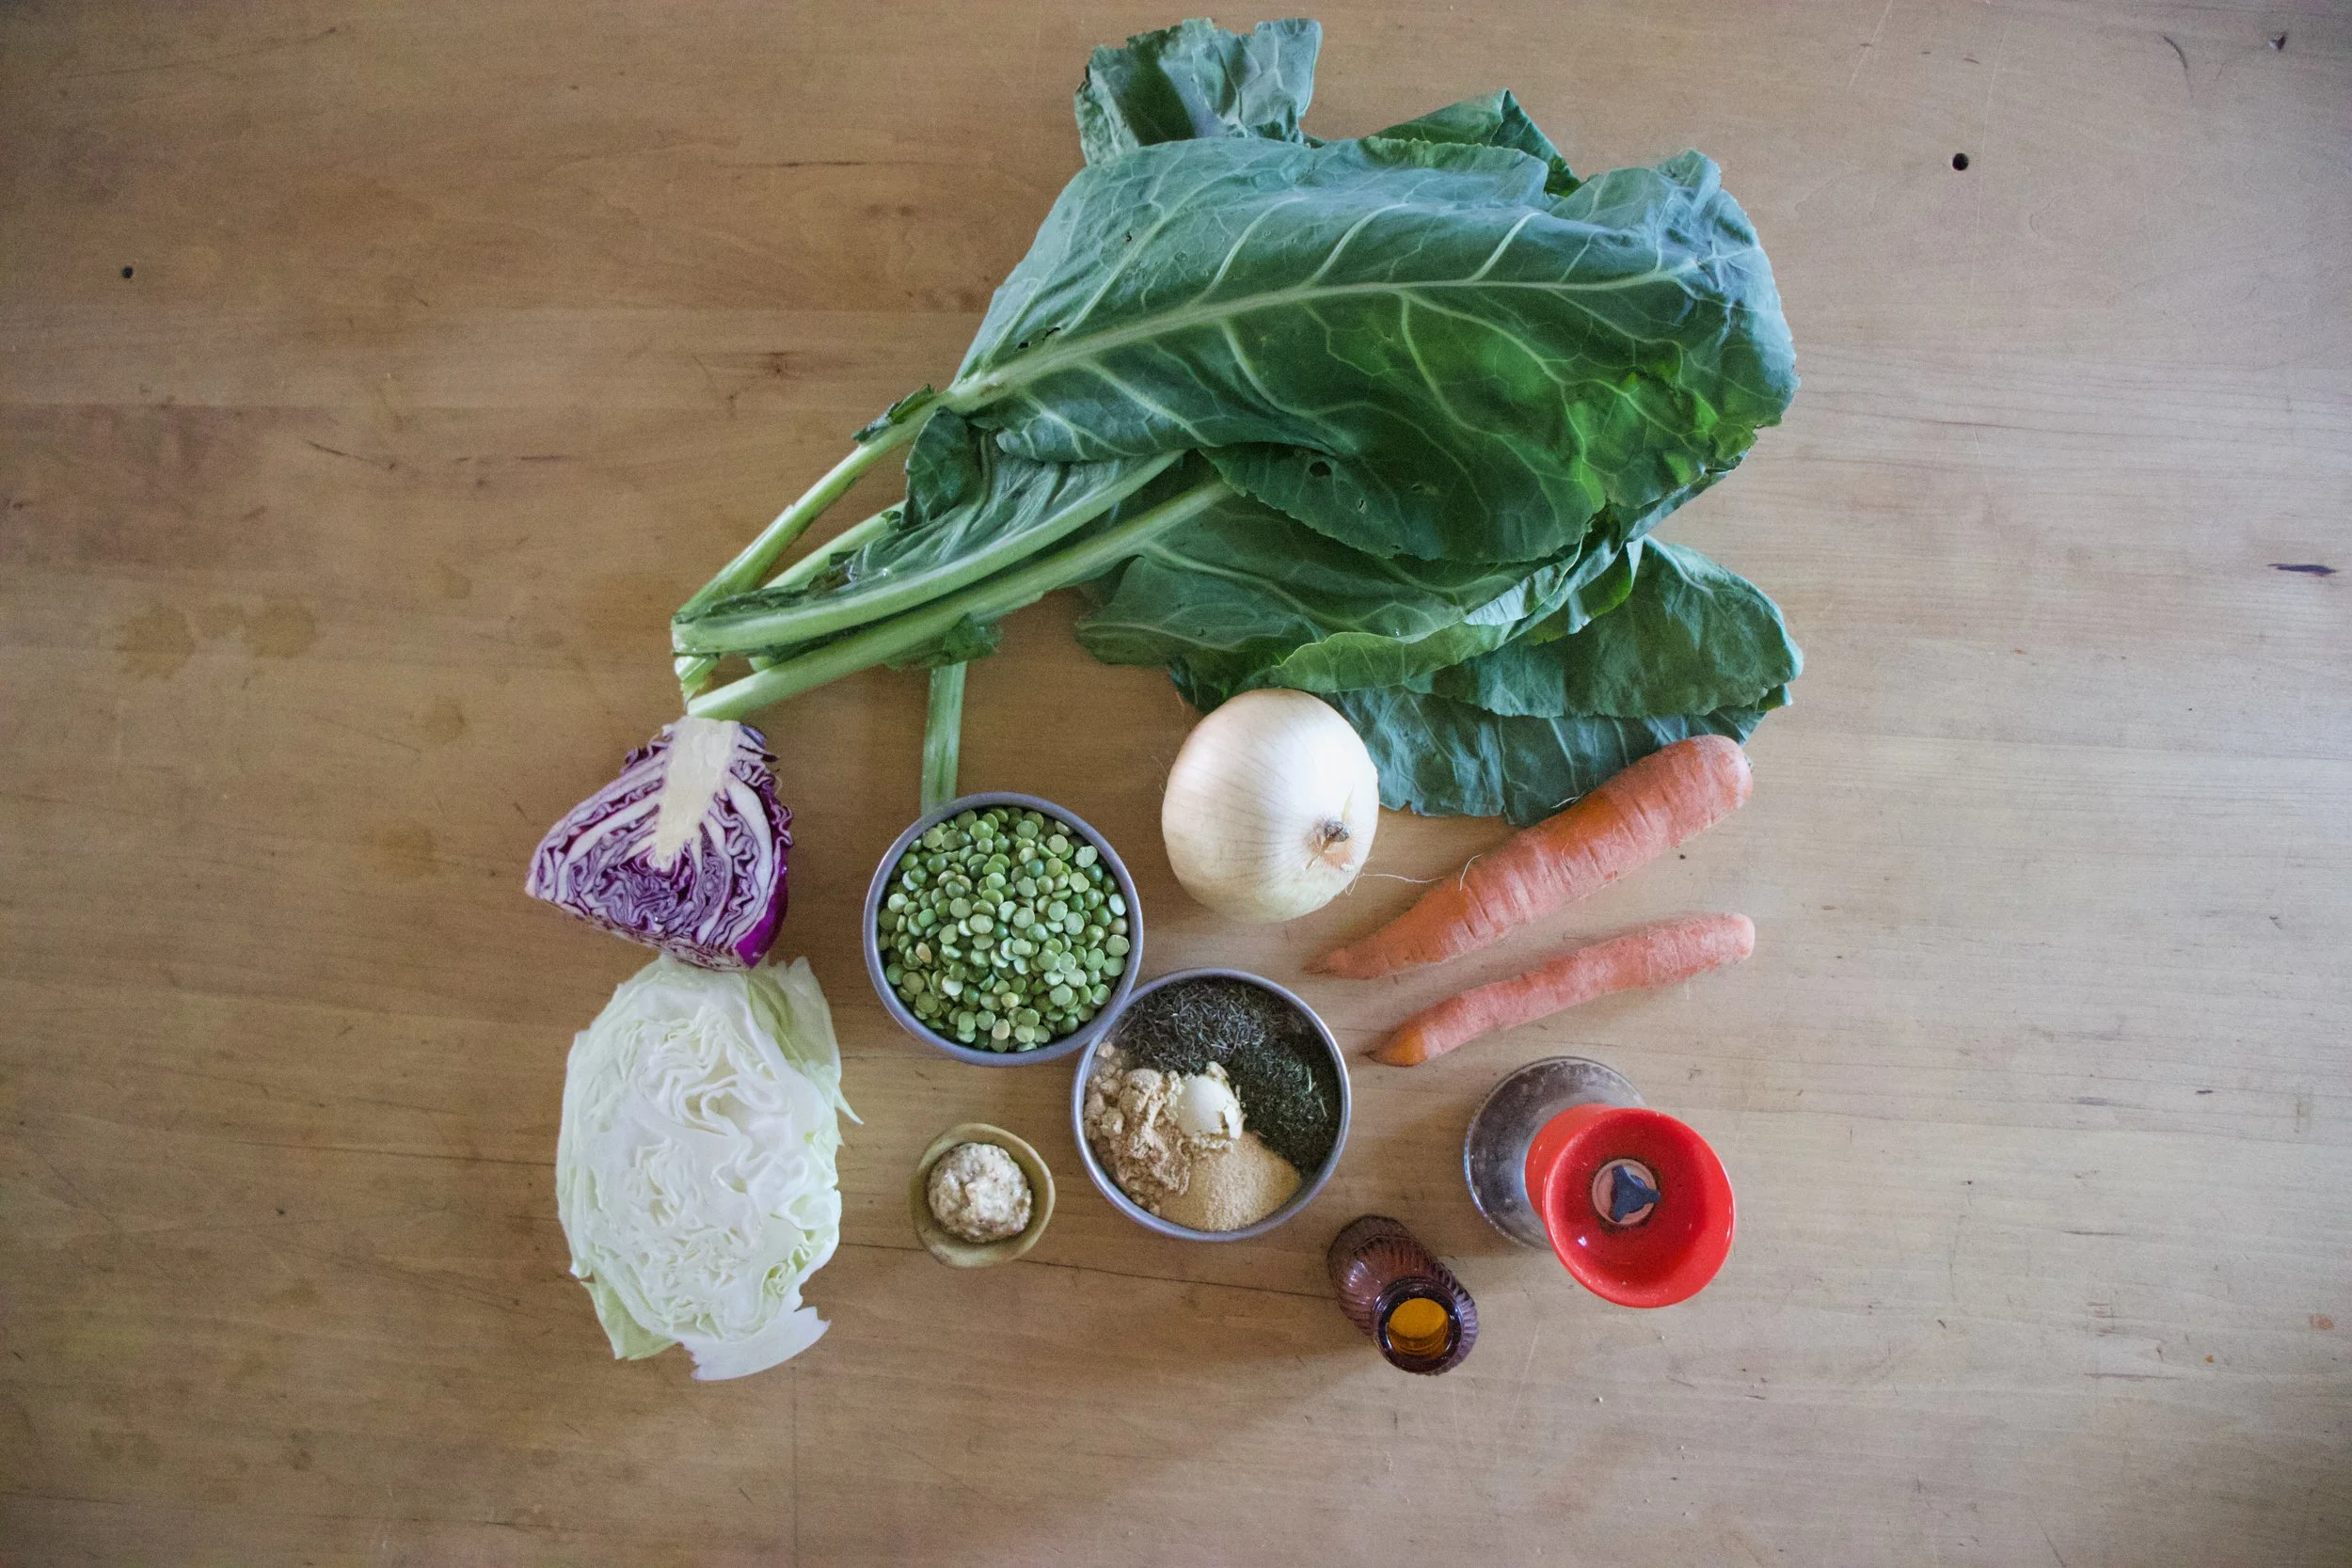
The stuff. A big bowl of fresh spinach and a bowl of peas (fresh or frozen.. mine were frozen) Also need an onion, a carrot, a few cloves or garlic, water, olive oil, and salt and pepper.
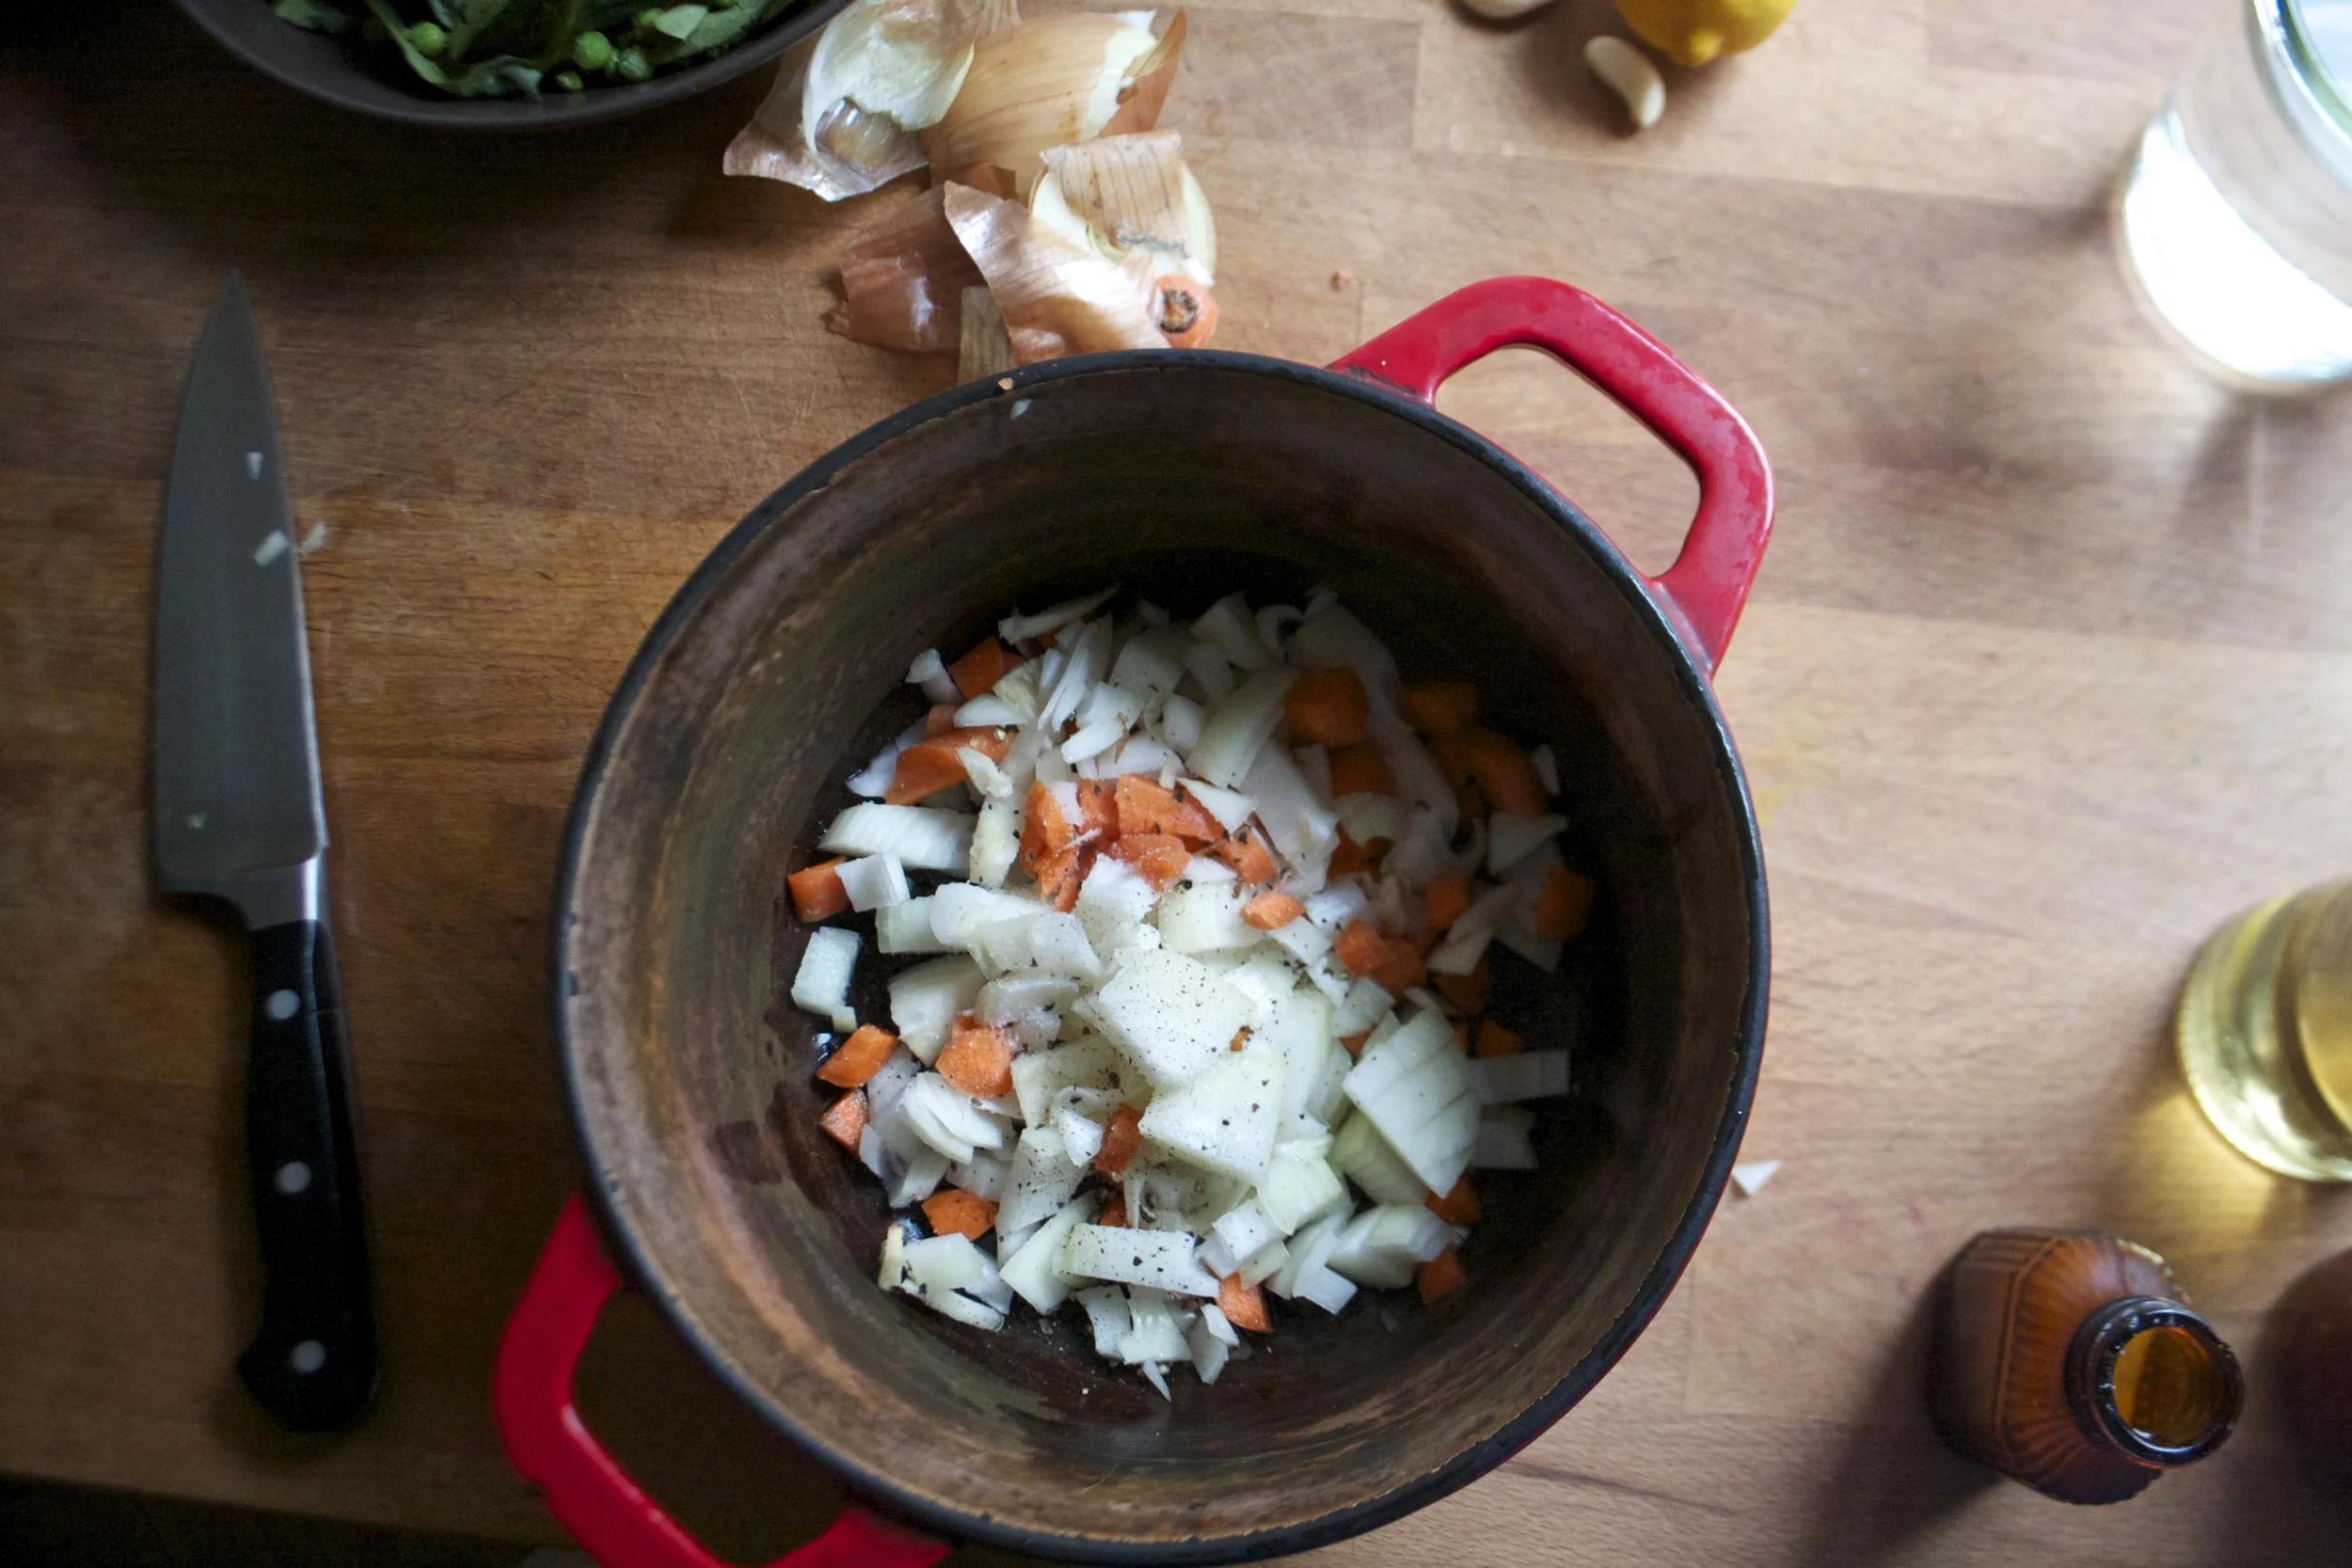
First thing first. Get the onion and carrot all nice and chopped up and tossed into a big pot with a drizzle of olive oil, a little splash of water,and salt and pepper. Stick that pot on the stove on medium high heat and start to cook cook.
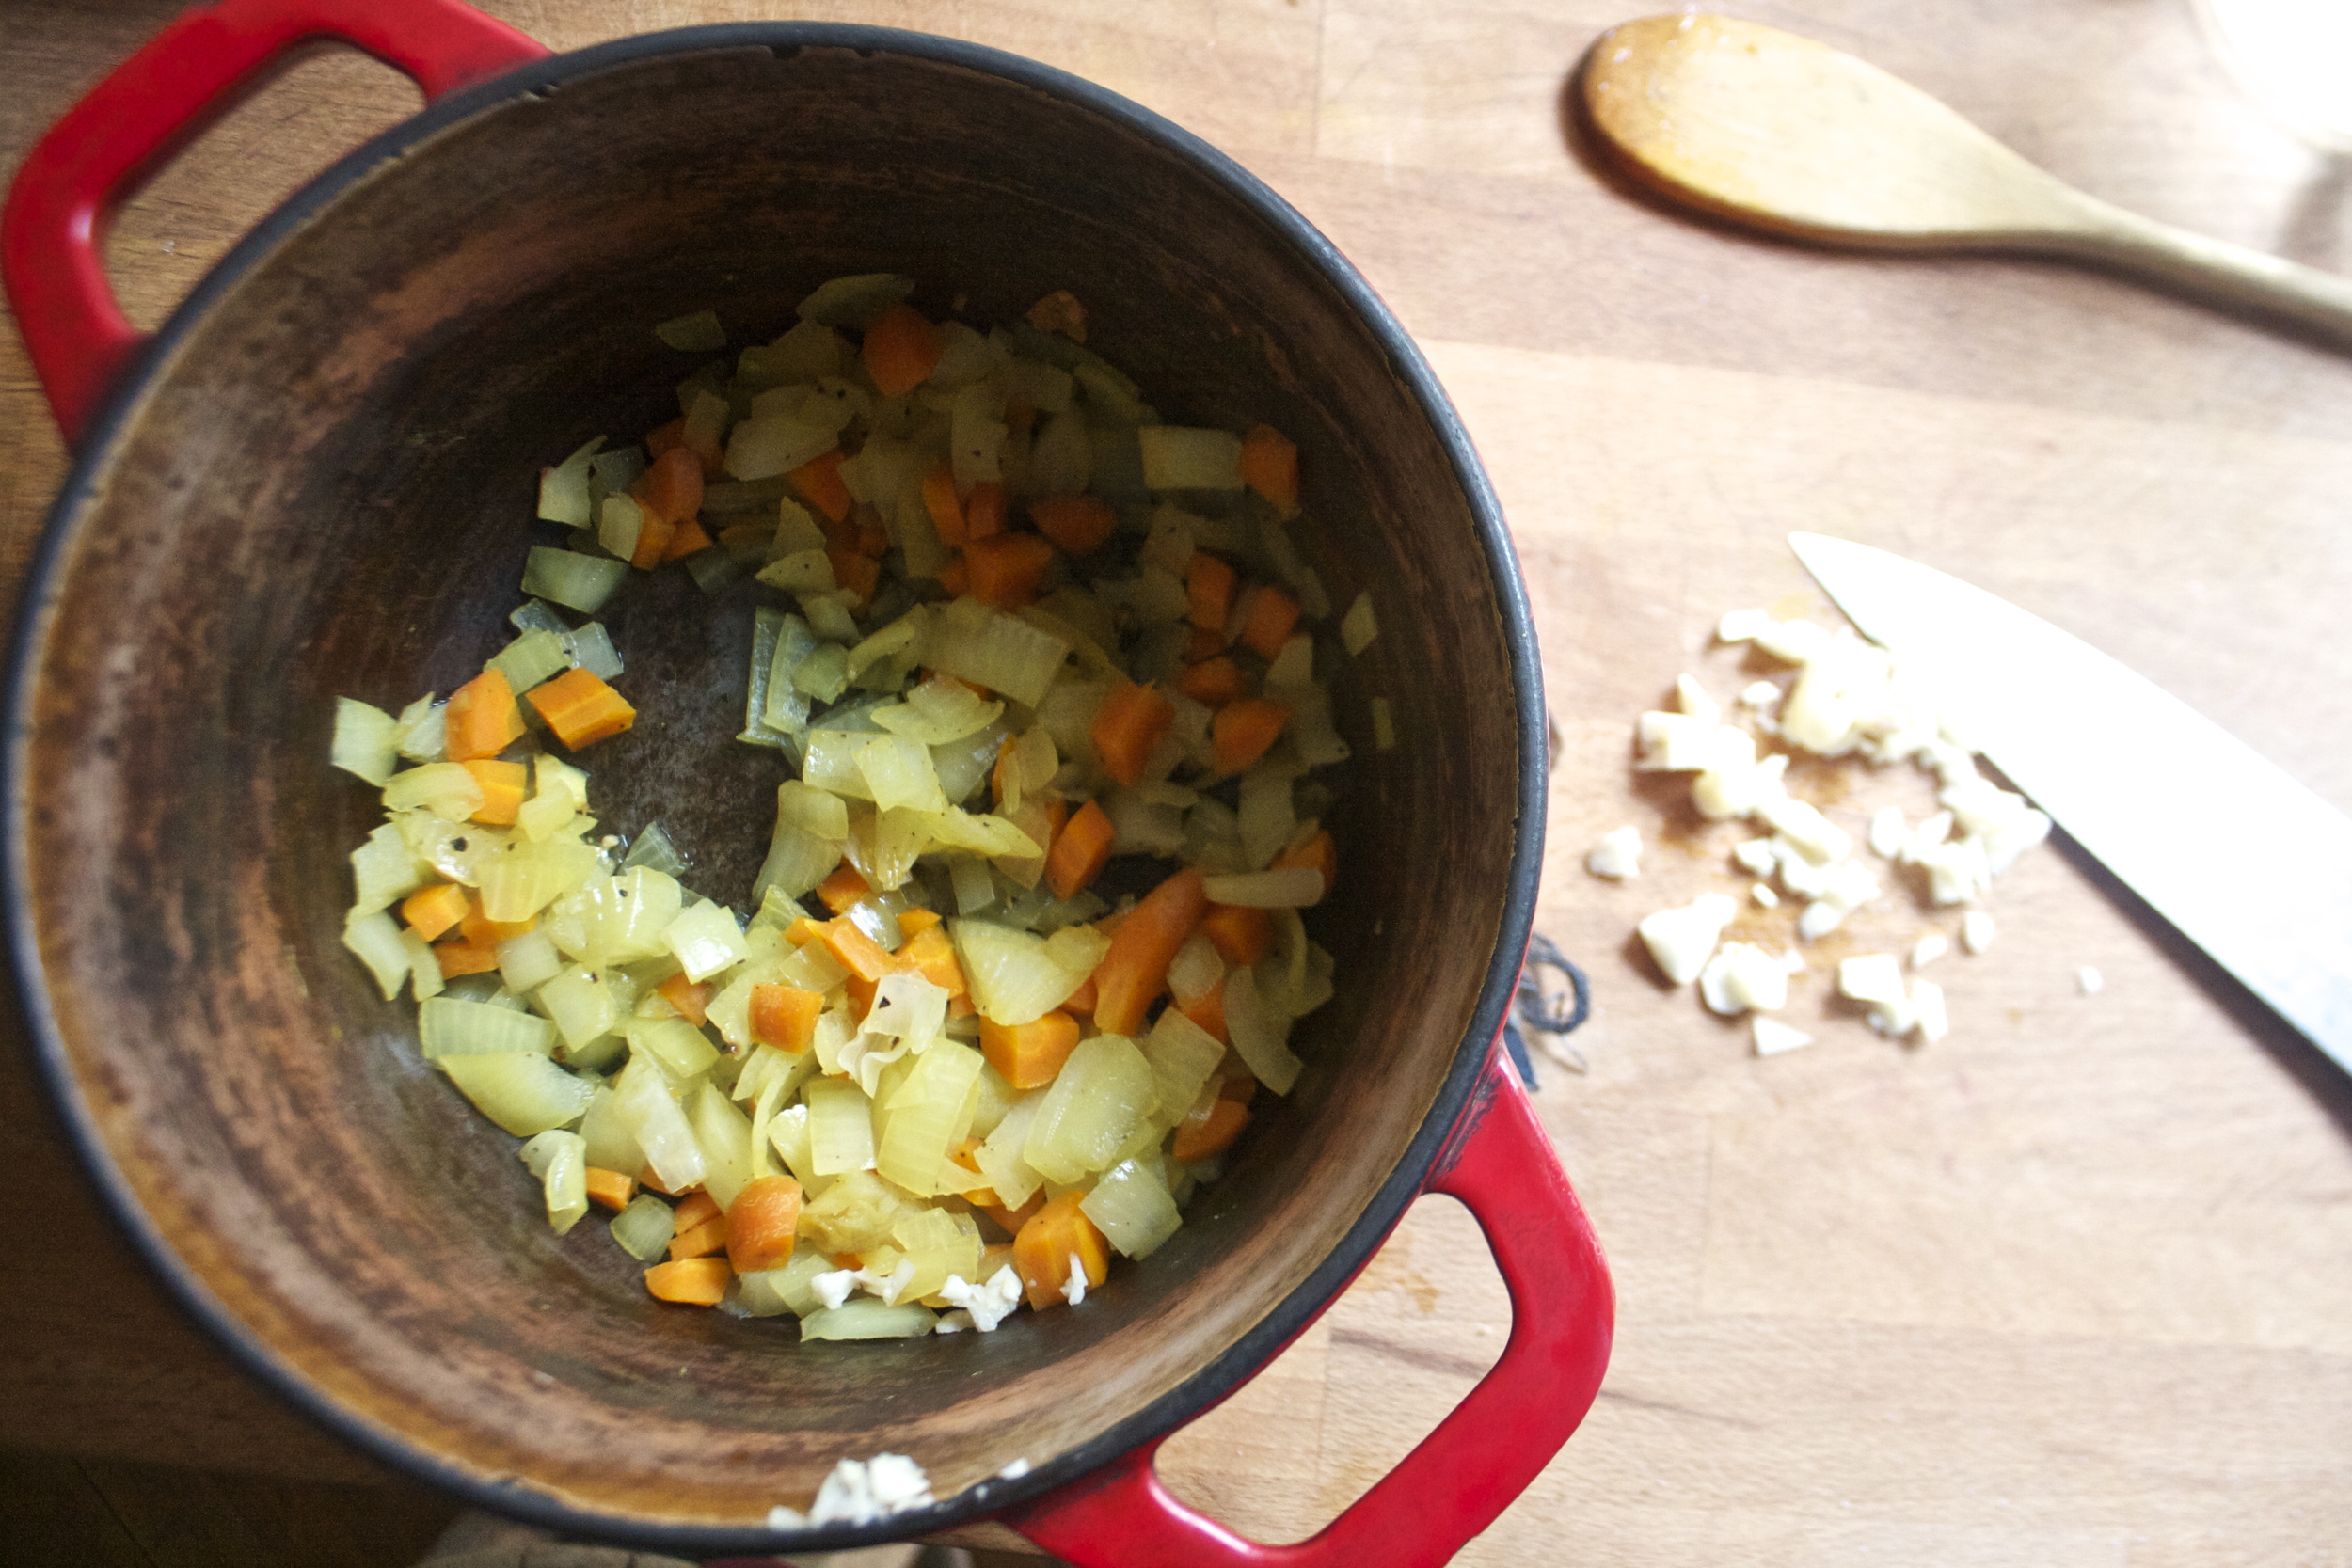
Soften and yummy carrots and onion. I am not exactly sure if my carrots turned the onion orange or if my pot because it is so stained with turmeric that it turns everything yellow. Keep the pot on low heat and mince and stir in the garlic.
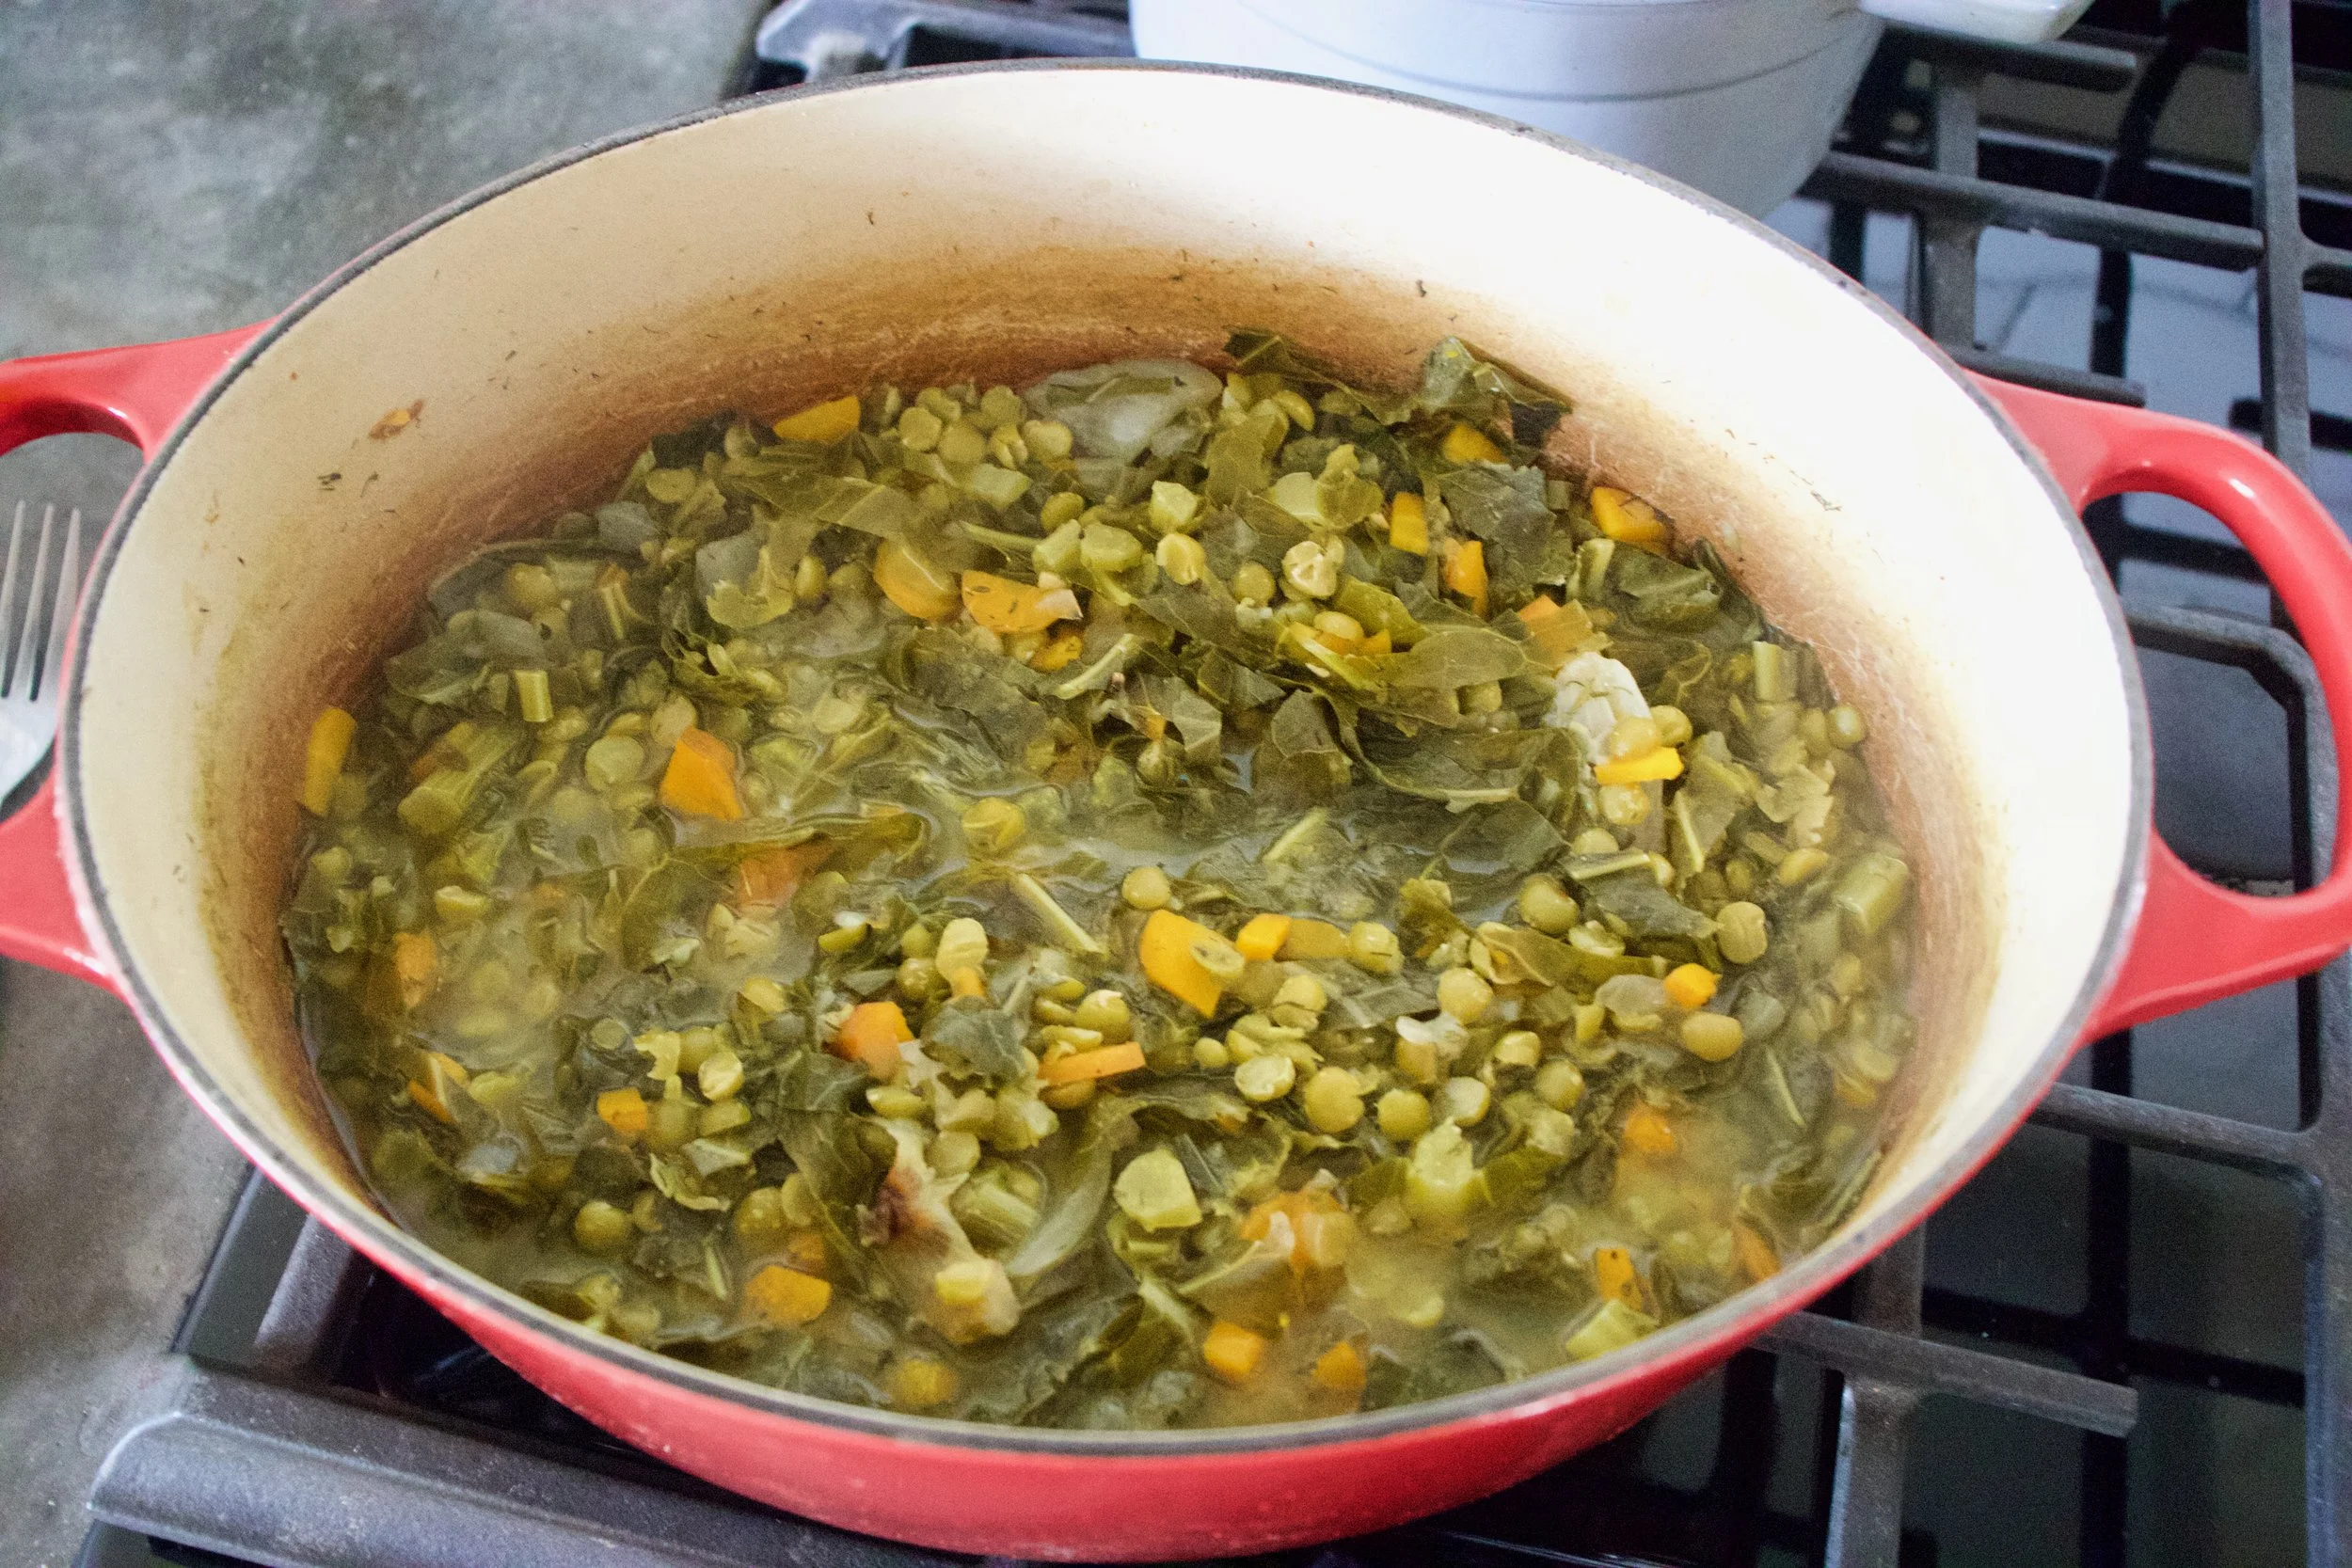
And for magic. The pot is sill on low and you are going to pile all the fresh spinach right on in to the pot. Add a few splashes of water and a lid and let it cook for a few minutes. And when you go back and remove the lid..Ca bang ! All the spinach is gone (not really, it just wilted).
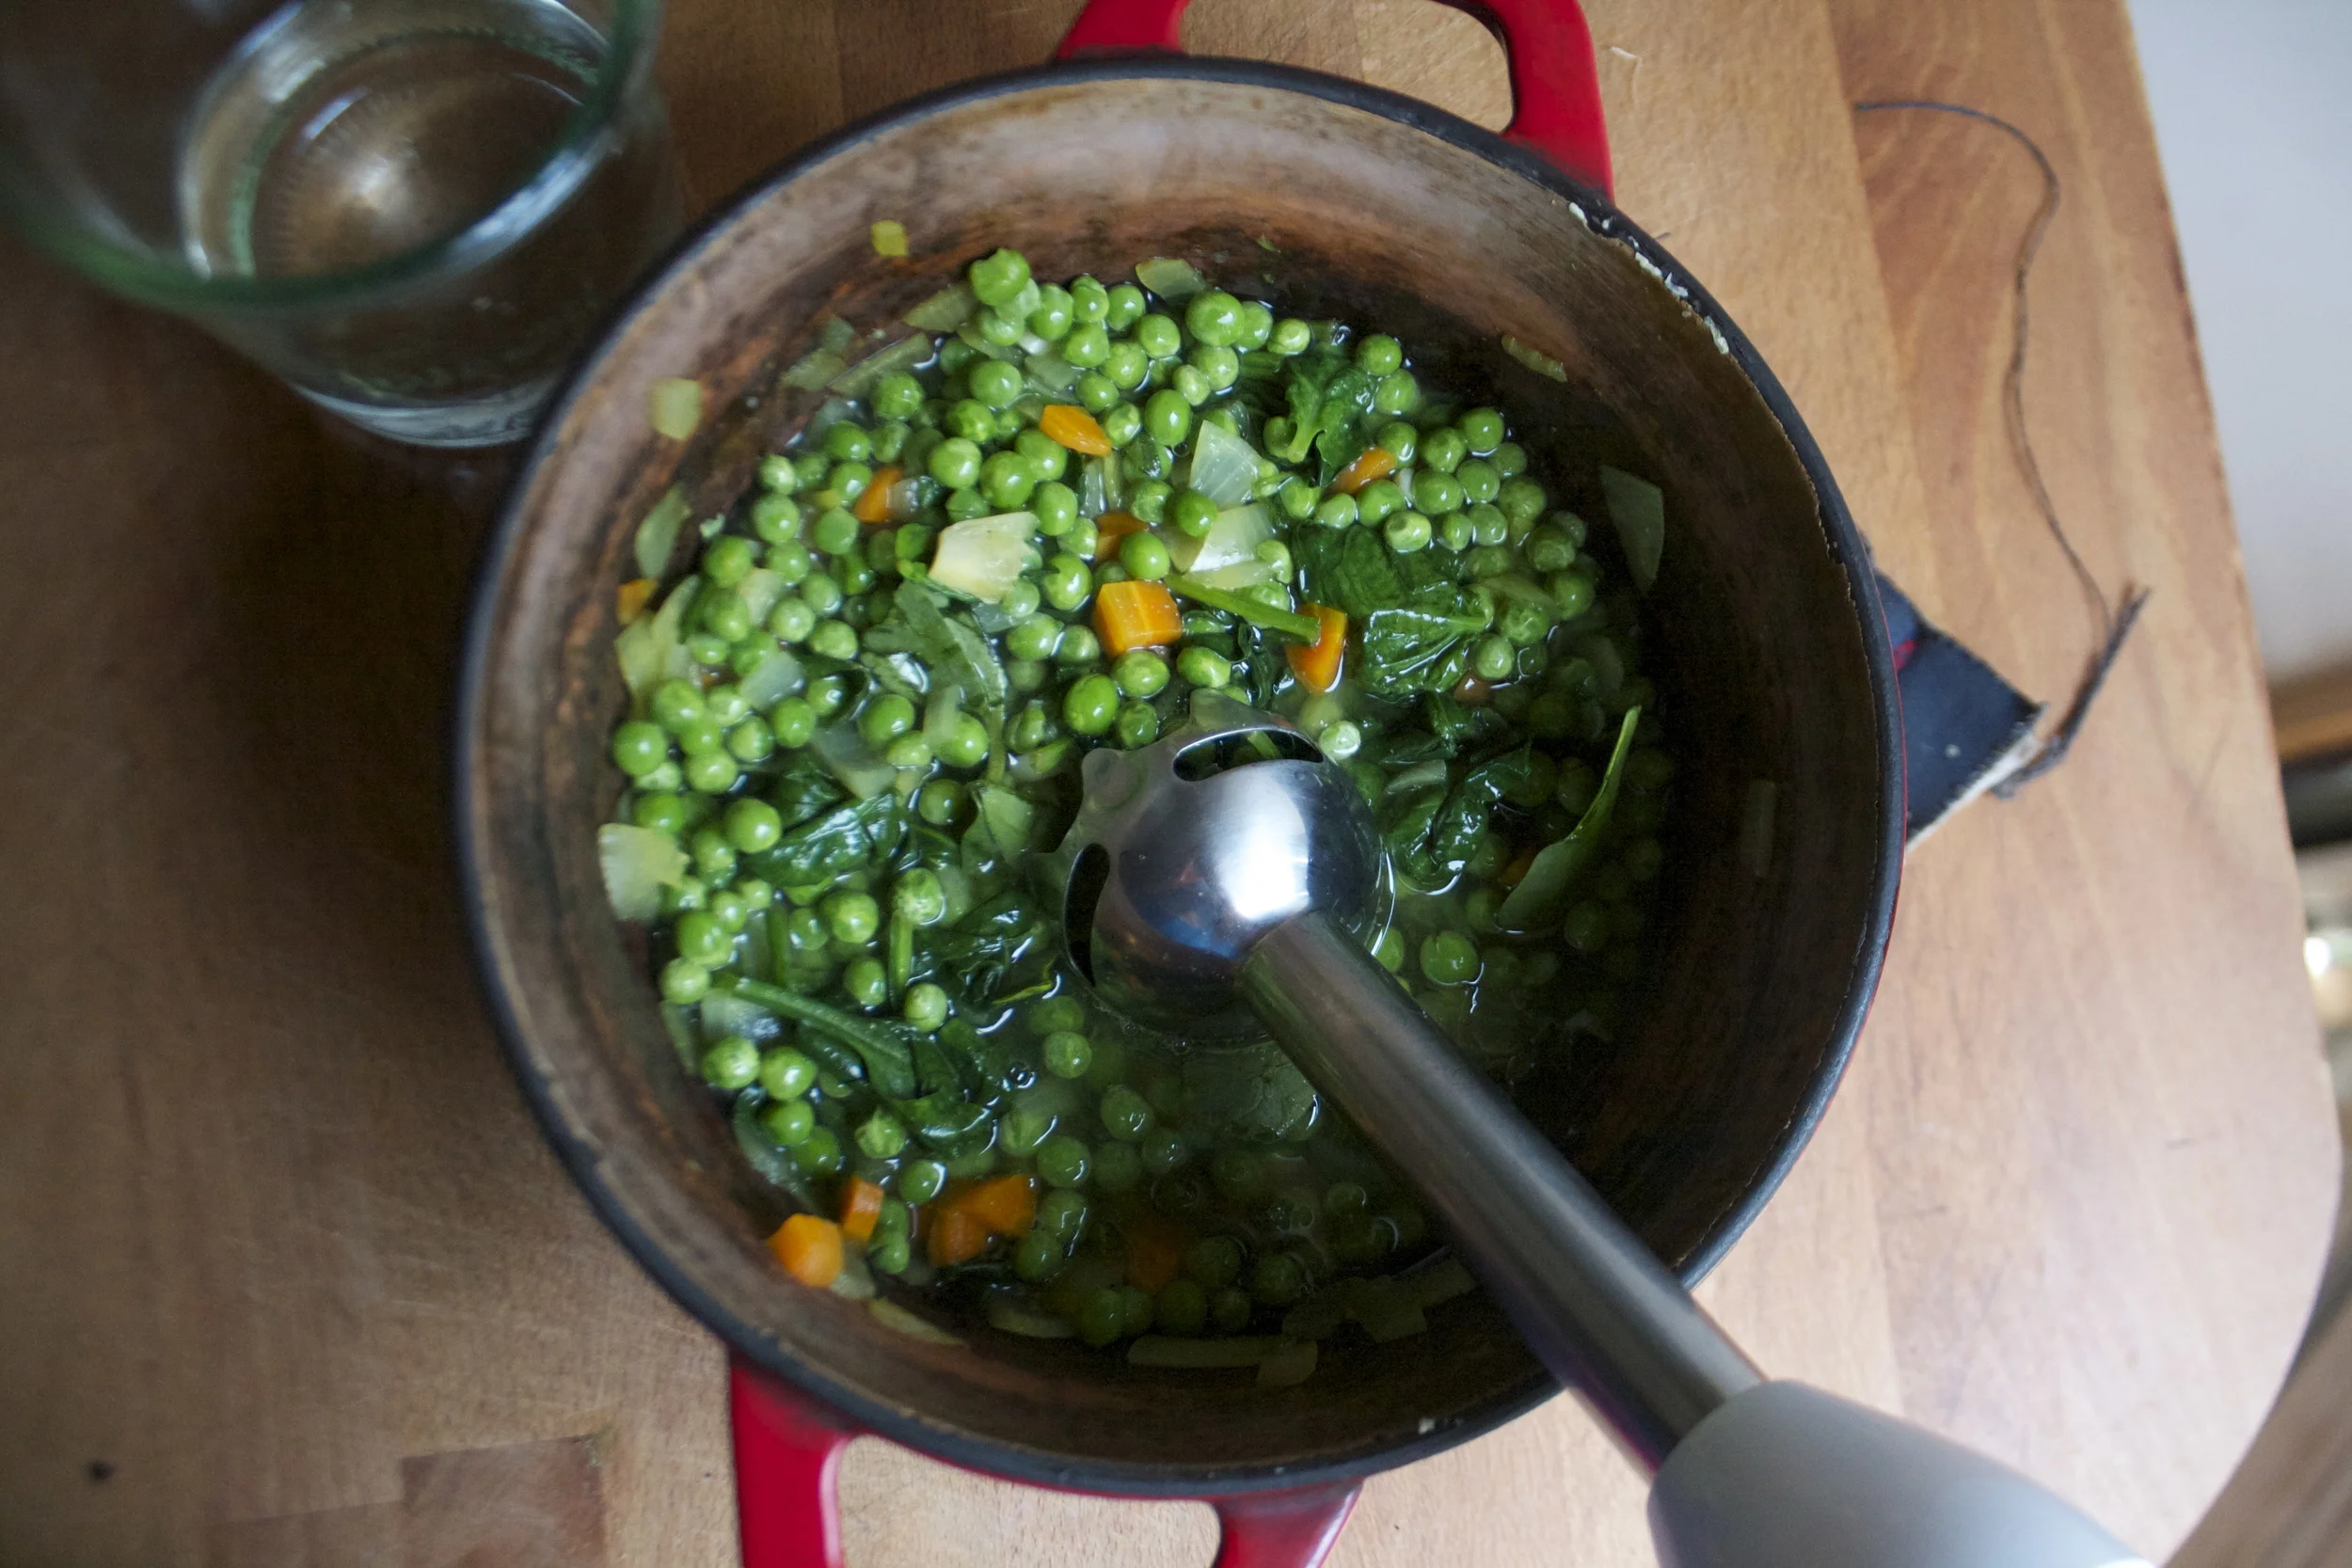
It’s time for the peas and water to be added.The blender comes out and the soup gets blended until super smooth.

So green, so good.. This soup is all ready to go. But here is the thing, you can eat it at any temperature and it will be amazing so if you want to heat it up a little more, go for it. Cold soup shooters, just stick it in the fridge for a while and wait until its chilled. Or both. I ate a bowl warm then had cold soup for dessert.

And to finish, you must serve with fresh lemon and if you have it, a pretty little mint plant. I love the flavor of a little fresh mint added, but not all do. So mint if you like( it really is so good) but lemon in a must!
Enjoy all the green things!
-C
serves 3-4
- 2 cup peas (fresh or frozen.. I used frozen)
- 3 packed cups fresh spinach
- a few sprigs of fresh mint (optional)
- 3 cups water
- 1 small onion
- a carrot
- 3 cloves garlic
- 1 lemon
- olive oil
- salt and pepper
Small chop onion and carrot and toss into a big heavy bottom pot with a drizzle of olive oil and salt and pepper. Stick on stove on medium heat and cook until it becomes soft and fragrant. Now mince garlic and add that it too. Stir and cook for another minute or two then add in all the spinach and a splash of water. Place o lid on pot and let until cook until spinach is all wilted. (give it a stir to get it all cooked down). Once wilted, add the peas and the water. Stir all together and let simmer for a few minutes then remove from heat. Now blend the crap out of it until silky smooth.(use your blending device of choice).
And it’s done. You can either serve right away as a hot soup or sick it in the fridge and serve cold! Just remember that you need to serve it with cracked pepper, a squeeze of fresh lemon and some chopped up fresh mint(mint it optional but so good)
Eat with a spoon or forget the spoon and slurp out a a cup like the cool kids.

%u00a0%u00a0You ever make dish, completely on the fly, just to use something up (I have a lot of ripe tomatoes) with no real expectation, just because%u2026 Then have it be one of the best freaking things that you have ever made?%u00a0This salad is one of those things.. maybe not the best thing I have ever made, but definitely the best salad I have ever made%u2026. this week.
A salad compiled of all things amazing, taking just a few minutes to make and is the perfect balance of uber fresh with baby spinach, raw kale, and crunchy quick pickled onions. Then adding a touch of warmth with the sweet and juicy seared tomatoes and big chunks of creamy avocado.
I mean, for reals. %u2026…Best Salad Ever !!!! (this week)
Now let’s do this.


%u00a0The Stuff. A big bowl of baby spinach and chopped up kale, a few sliced up roma tomatoes, some super thinly sliced red onion, half an avocado, red wine vinegar and salt and pepper.%u00a0%u00a0Before you do anything, place the sliced onions into bowl, sprinkle with a pinch of salt and add a few glugs of the red wine vinegar. You want the onions to sit in the vinegar for at least 5 minutes on the counter cause the longer they sit the more crispy pickly they get. (after eating onions like this, you will never want to eat them any other way)%u00a0Lightly oil a skillet and preheat to a medium heat. Once the skillet is hot, sprinkle the tomato slices with salt and pepper and %u00a0place tomatoes right on in, snugly, but not overlapping. Let cook for about 3-4 minutes, or until the bottoms start to brown. Flip and cook other side for another few minutes.Once the tomatoes are seared on both sides, remove them gently from skillet and toss them on top of the bowl of greens.

Take the pickled onions and toss those right on top, with any of the residual vinegar, add dice and scoop the half of avocado and toss that on in as well.And now eat the best salad ever (this week).
Make the day good!
-C
Skillet Seared Tomato and Quick Pickled Onion Salad
Serves 2 as a side, 1 for a hungry eater
- 2 large or 3 smaller roma tomatoes
- 1/2 of a red onion
- 2-3 tablespoons red wine vinegar
- 1 1/2 cups baby spinach
- 1 1/2 cups chopped kale
- salt pepper
- 1/2 a ripe avocado%u00a0
- olive oil (to grease pan)
Thinly slice red onion and place in a bowl. %u00a0Add vinegar into a and sprinkle with salt. Let sit on counter for at least 5 minutes, if not longer,
Slice tomatoes into 1/2 inch thick rounds and sprinkle with a pitch or salt and pepper. %u00a0Lightly oil a skillet and preheat it on medium heat. Once the skillet is preheated, stick the tomatoes on it (watch out for splattering tomato juice) Cook first side for about 3 minutes or until the bottom has browned, then flip and do the same for other side.%u00a0
One tomatoes are seared, place directly onto the greens. Now dump the pickled onions and residual vinegar on top. And %u00a0dice up %u00a0avocado and add that on top too.%u00a0
Now eat your salad, fork or fingers%u2026 %u00a0
And I know, ba-daaaamn. So good.

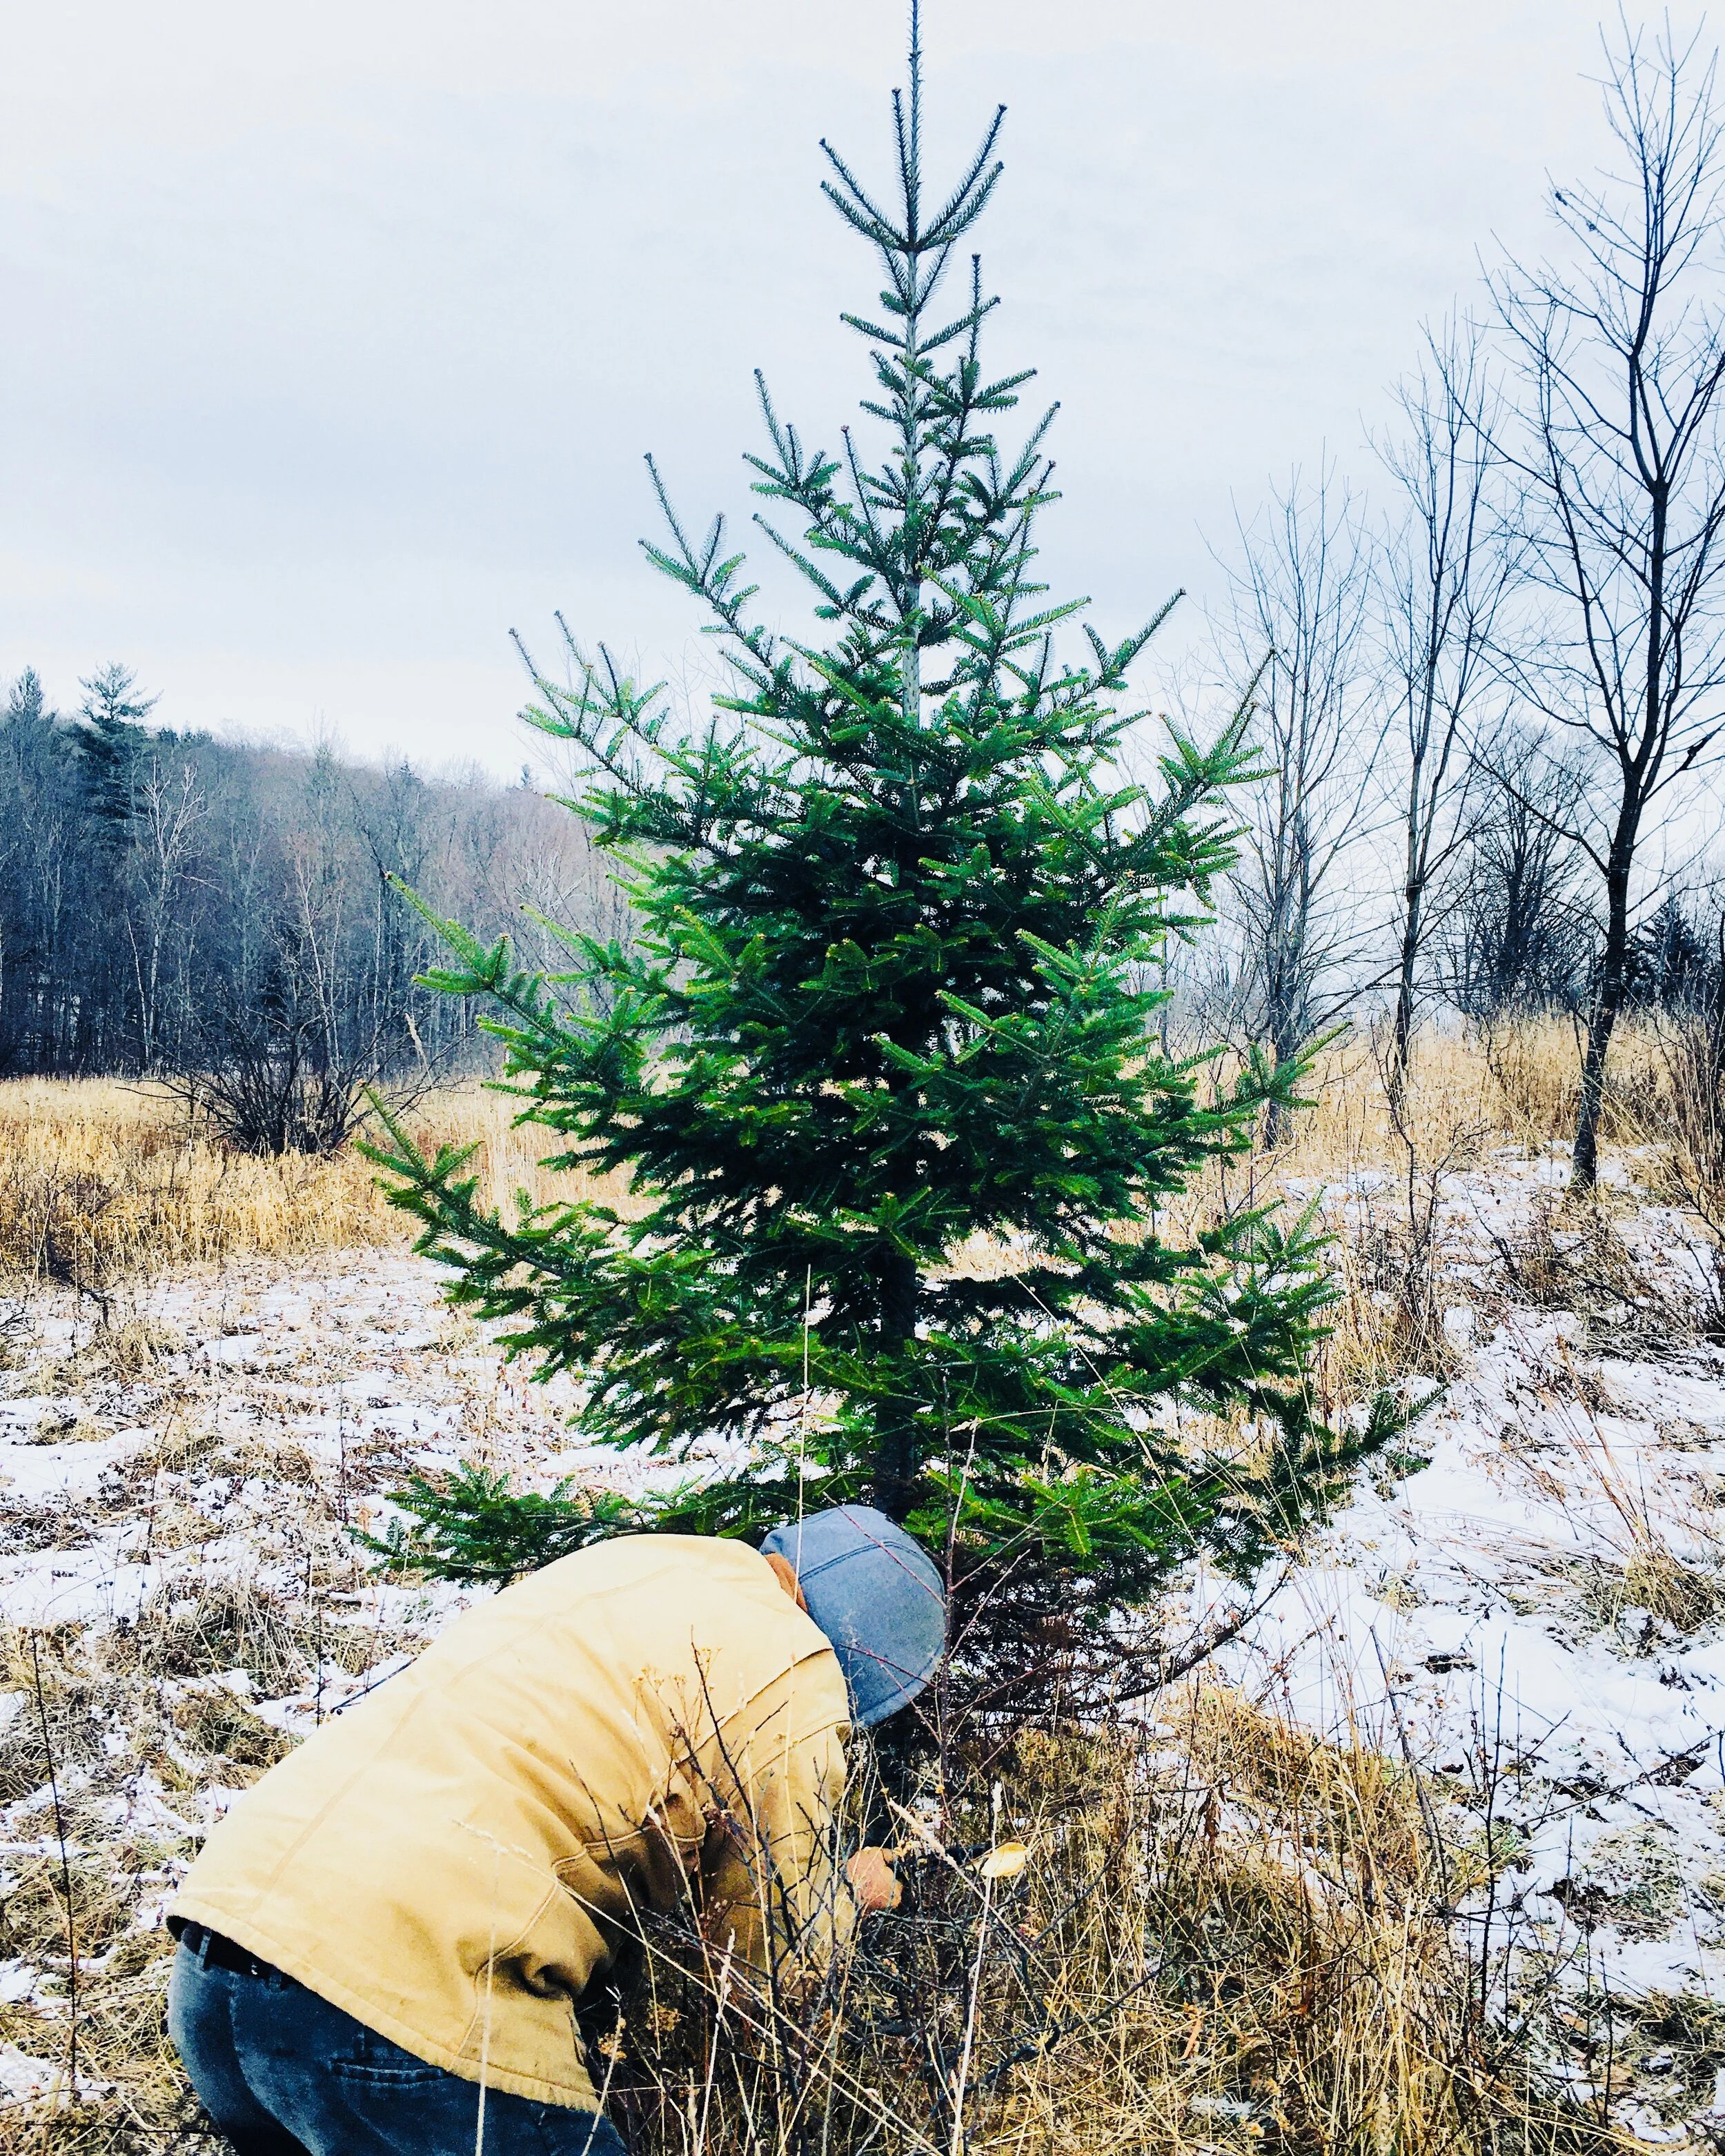
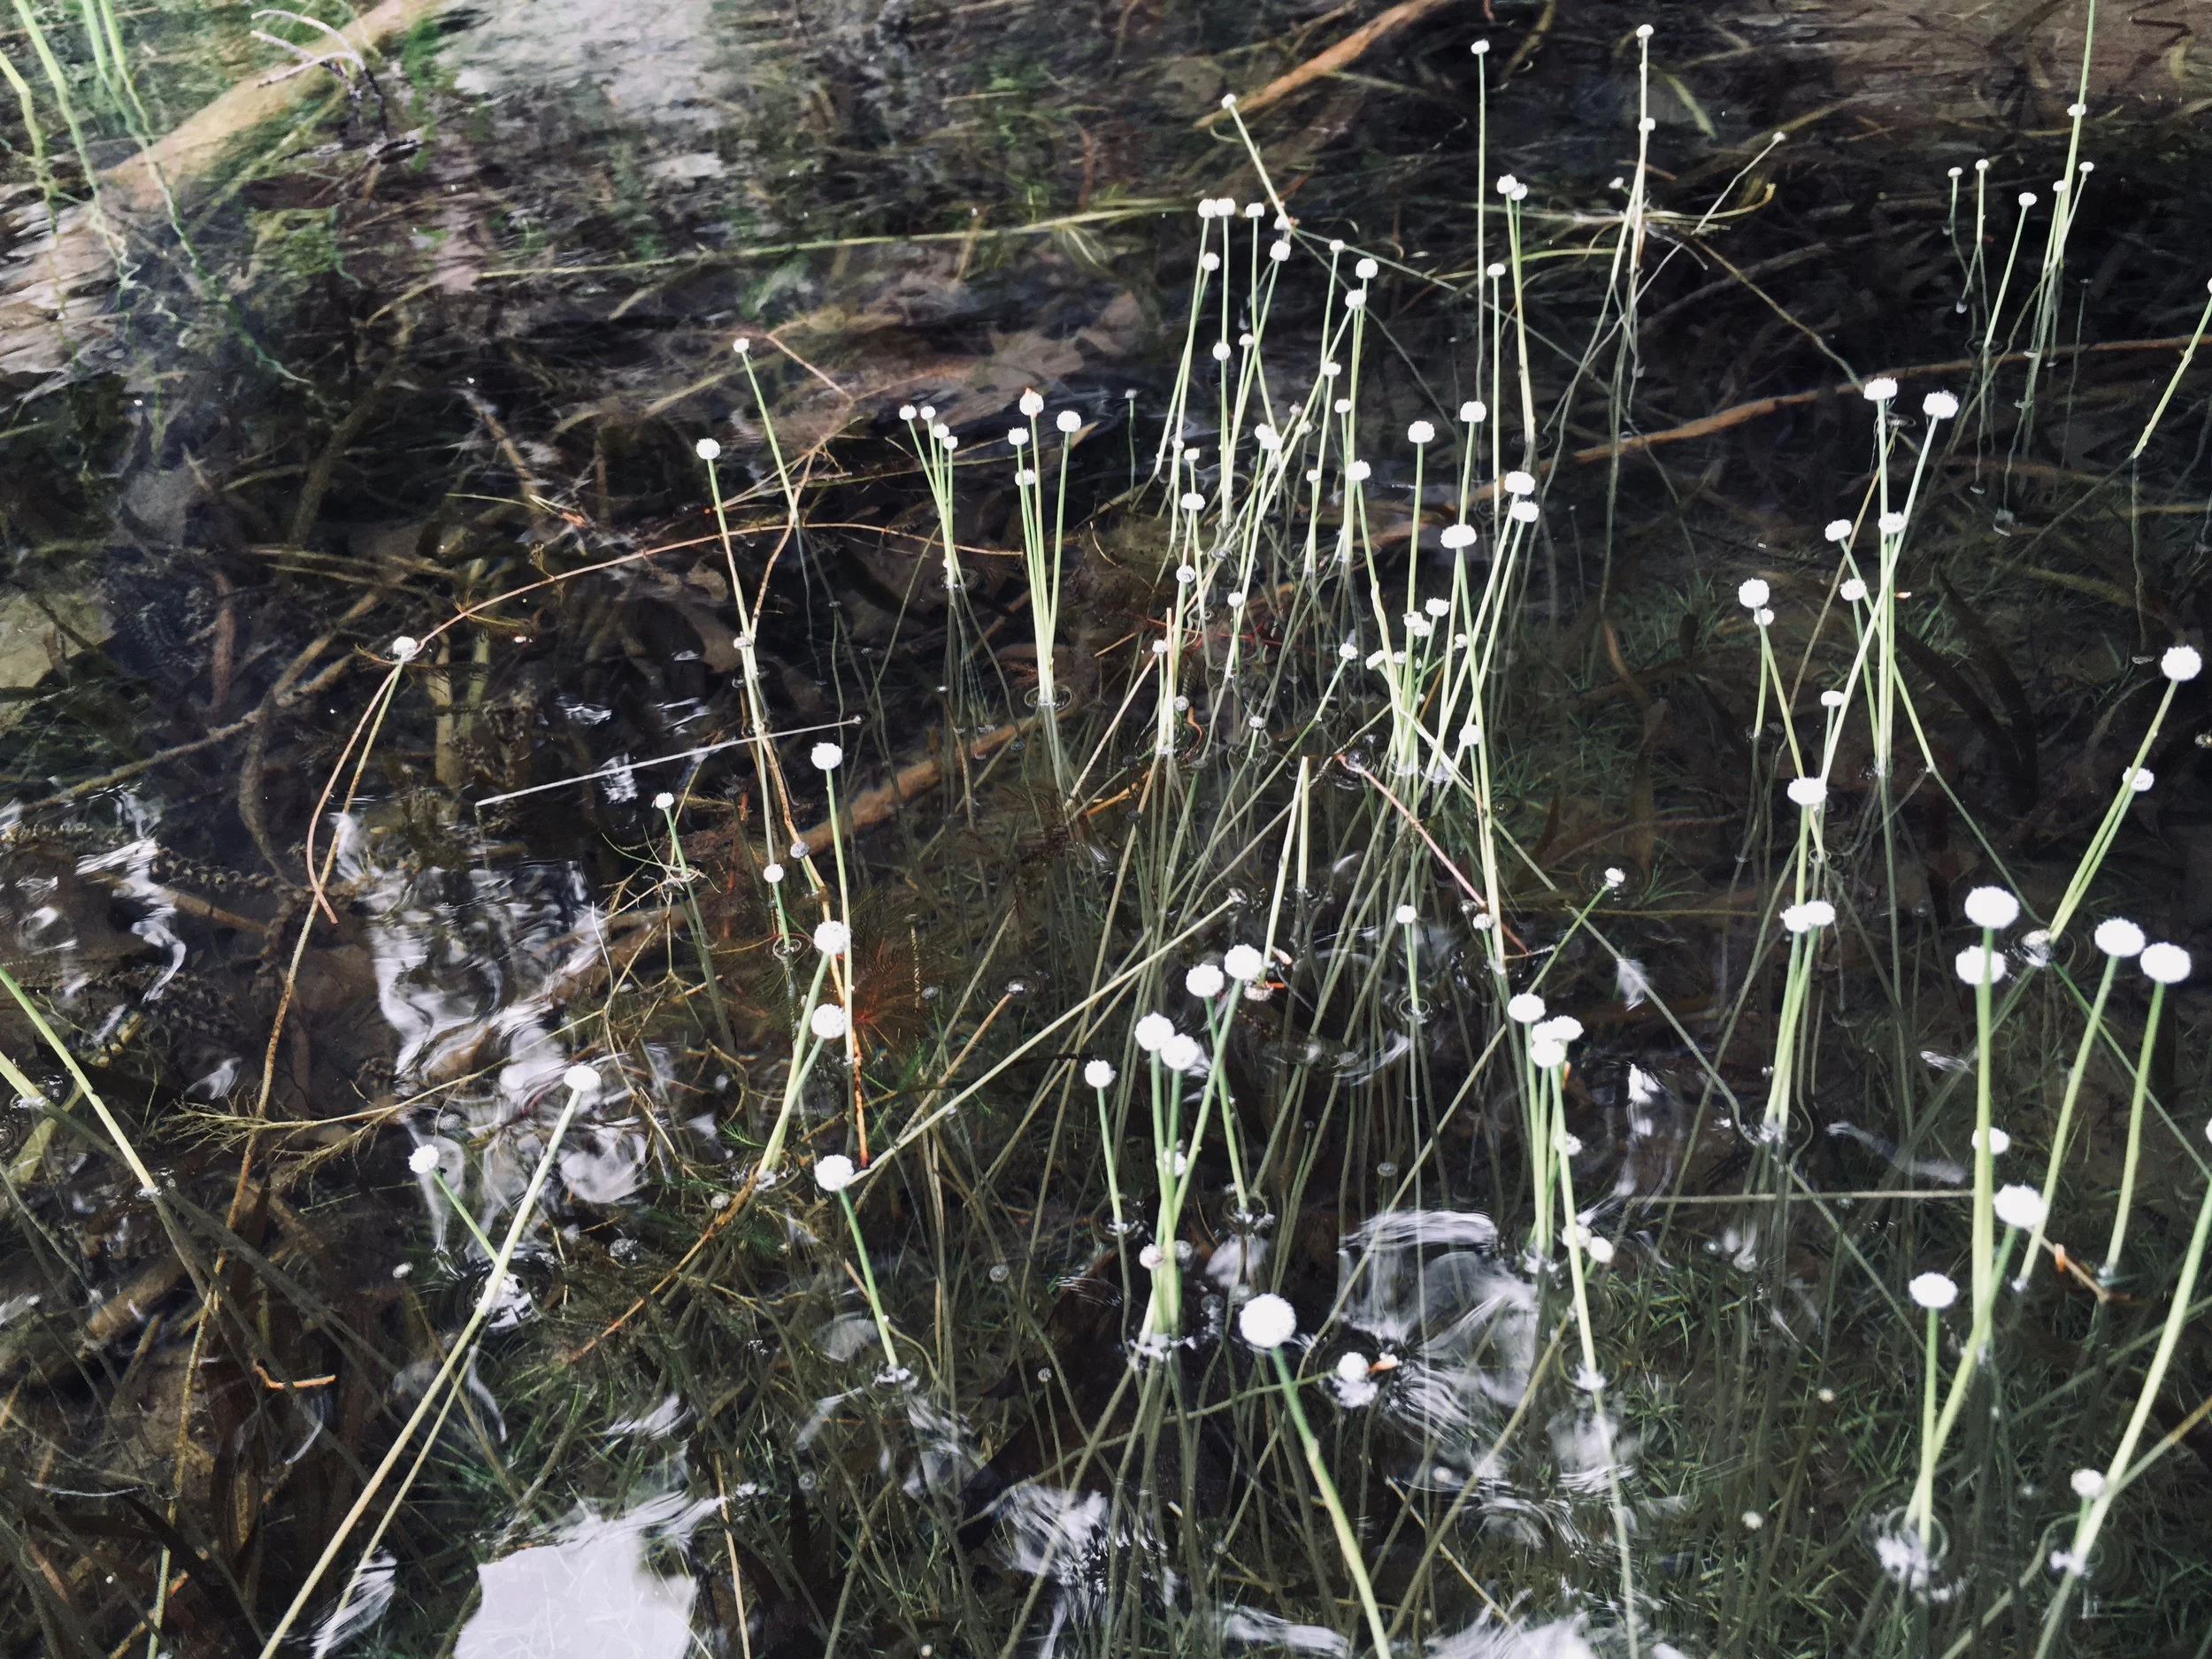
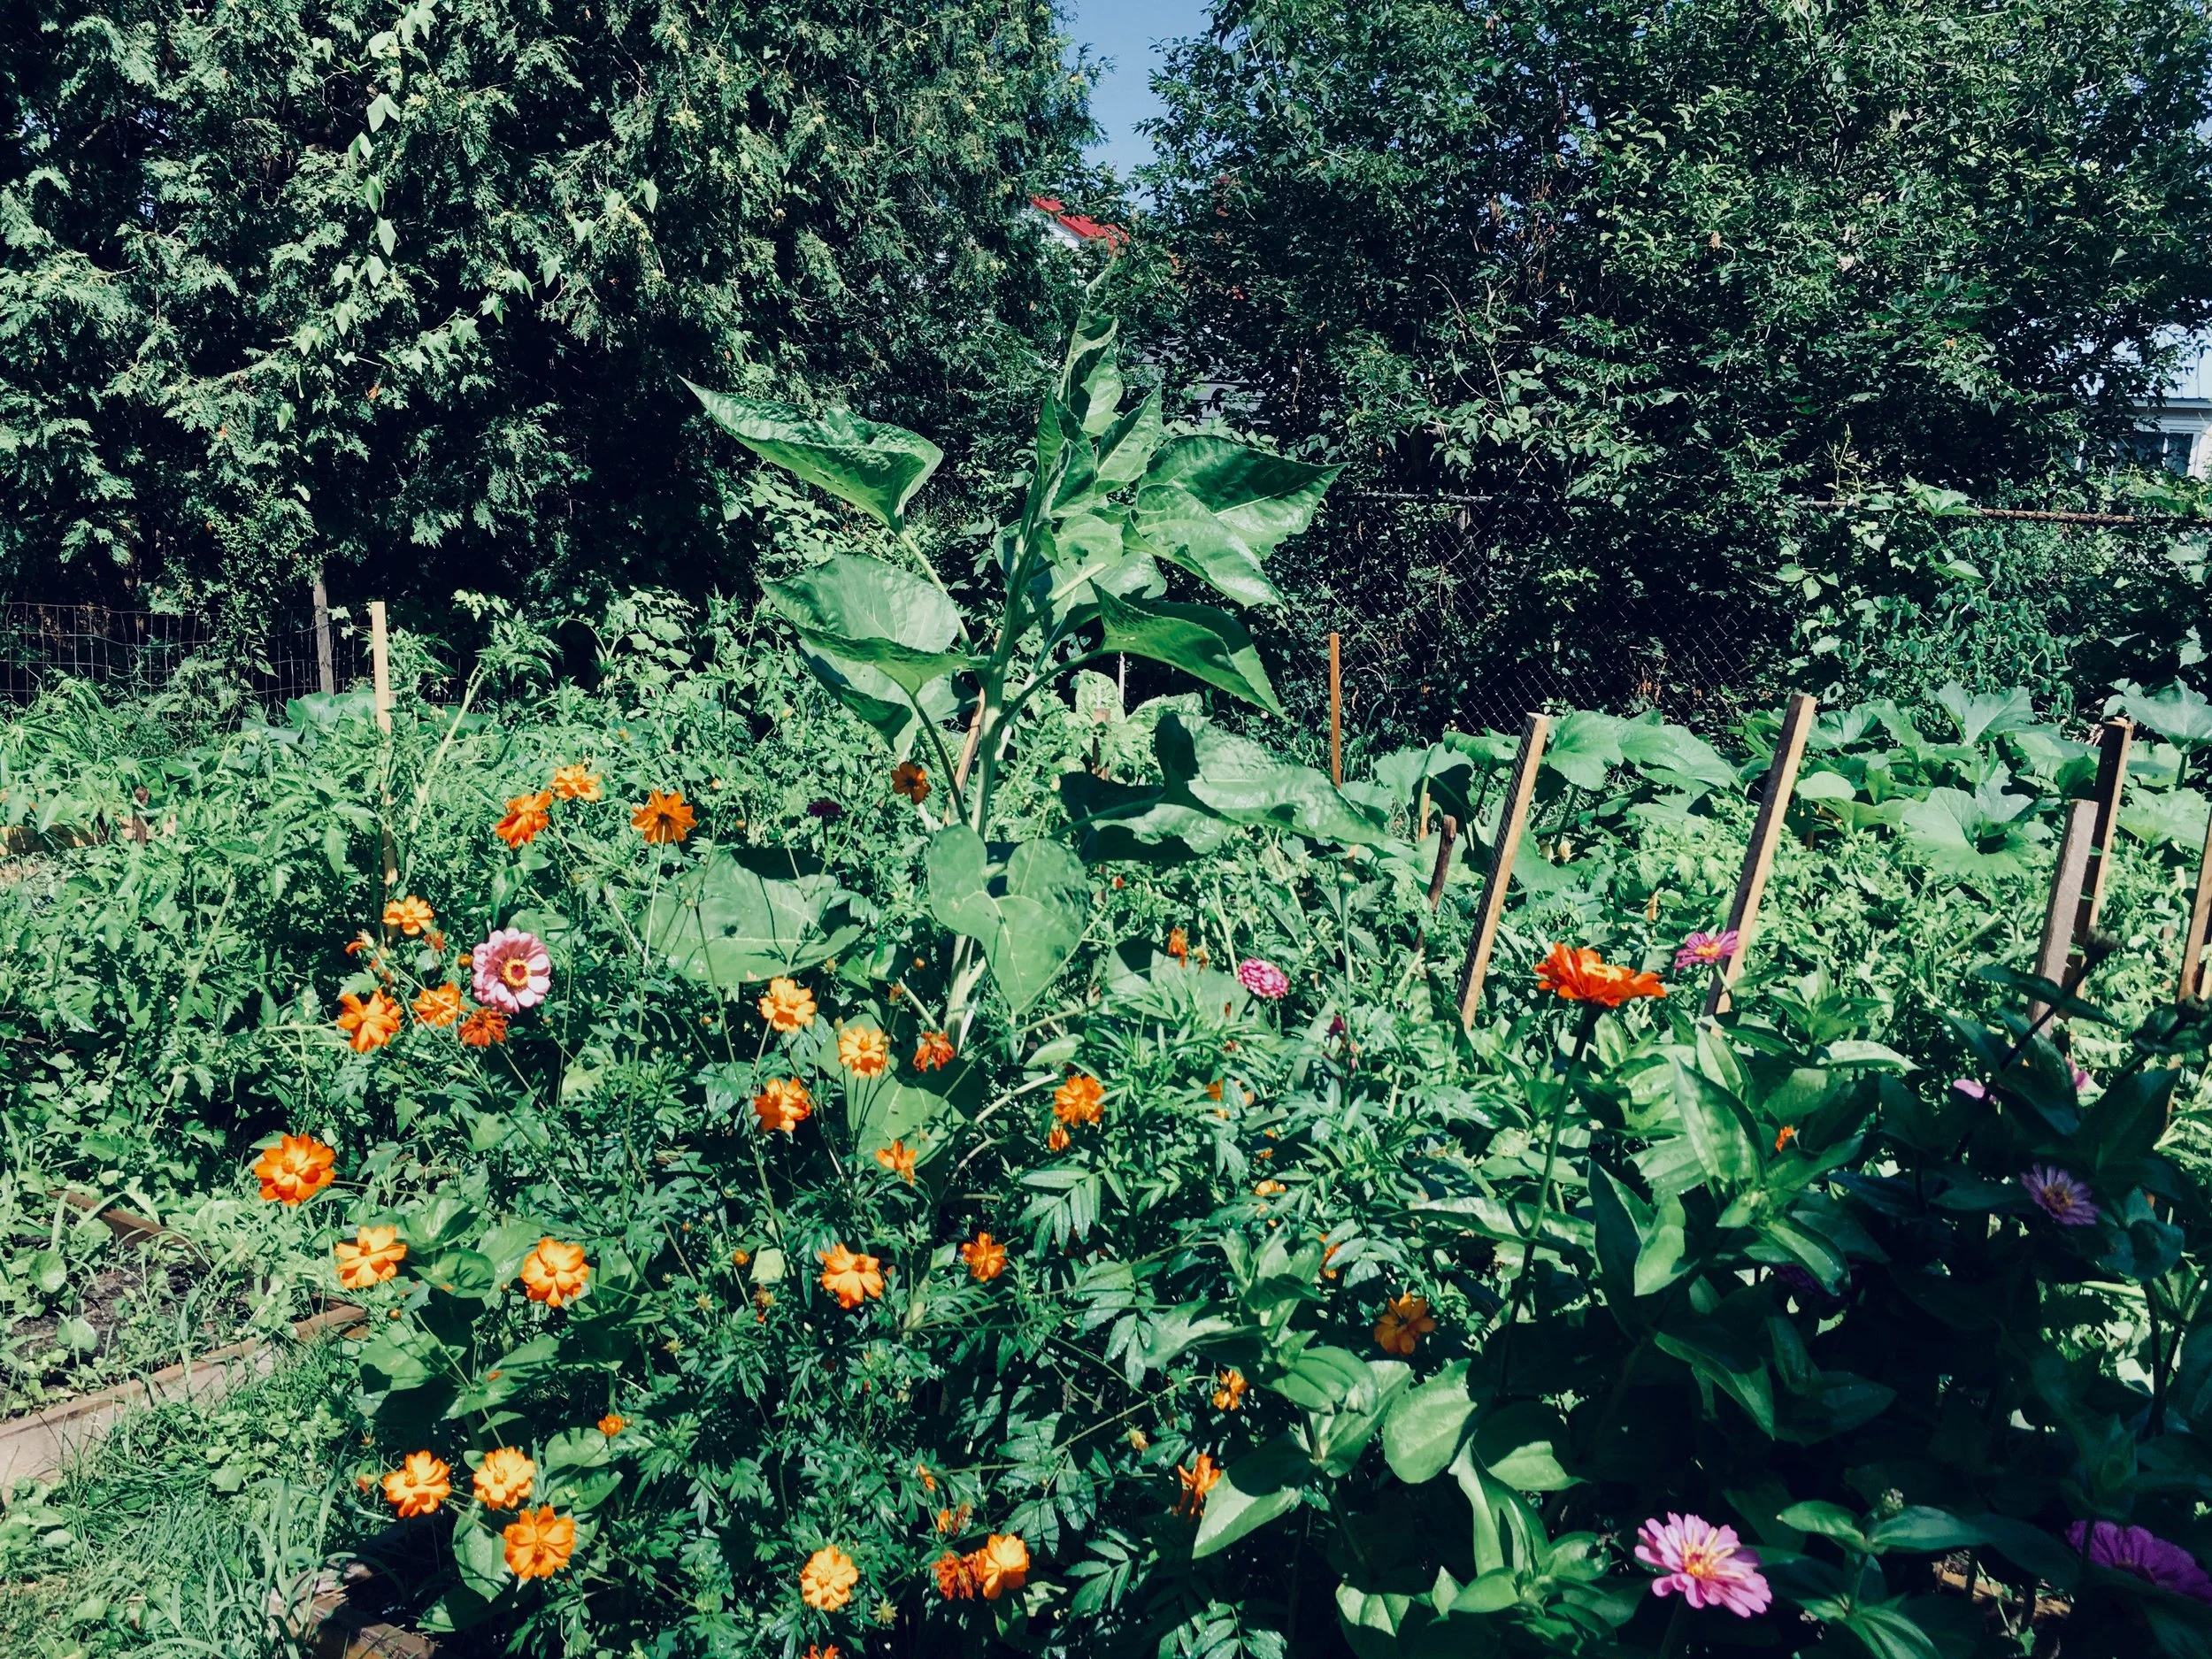
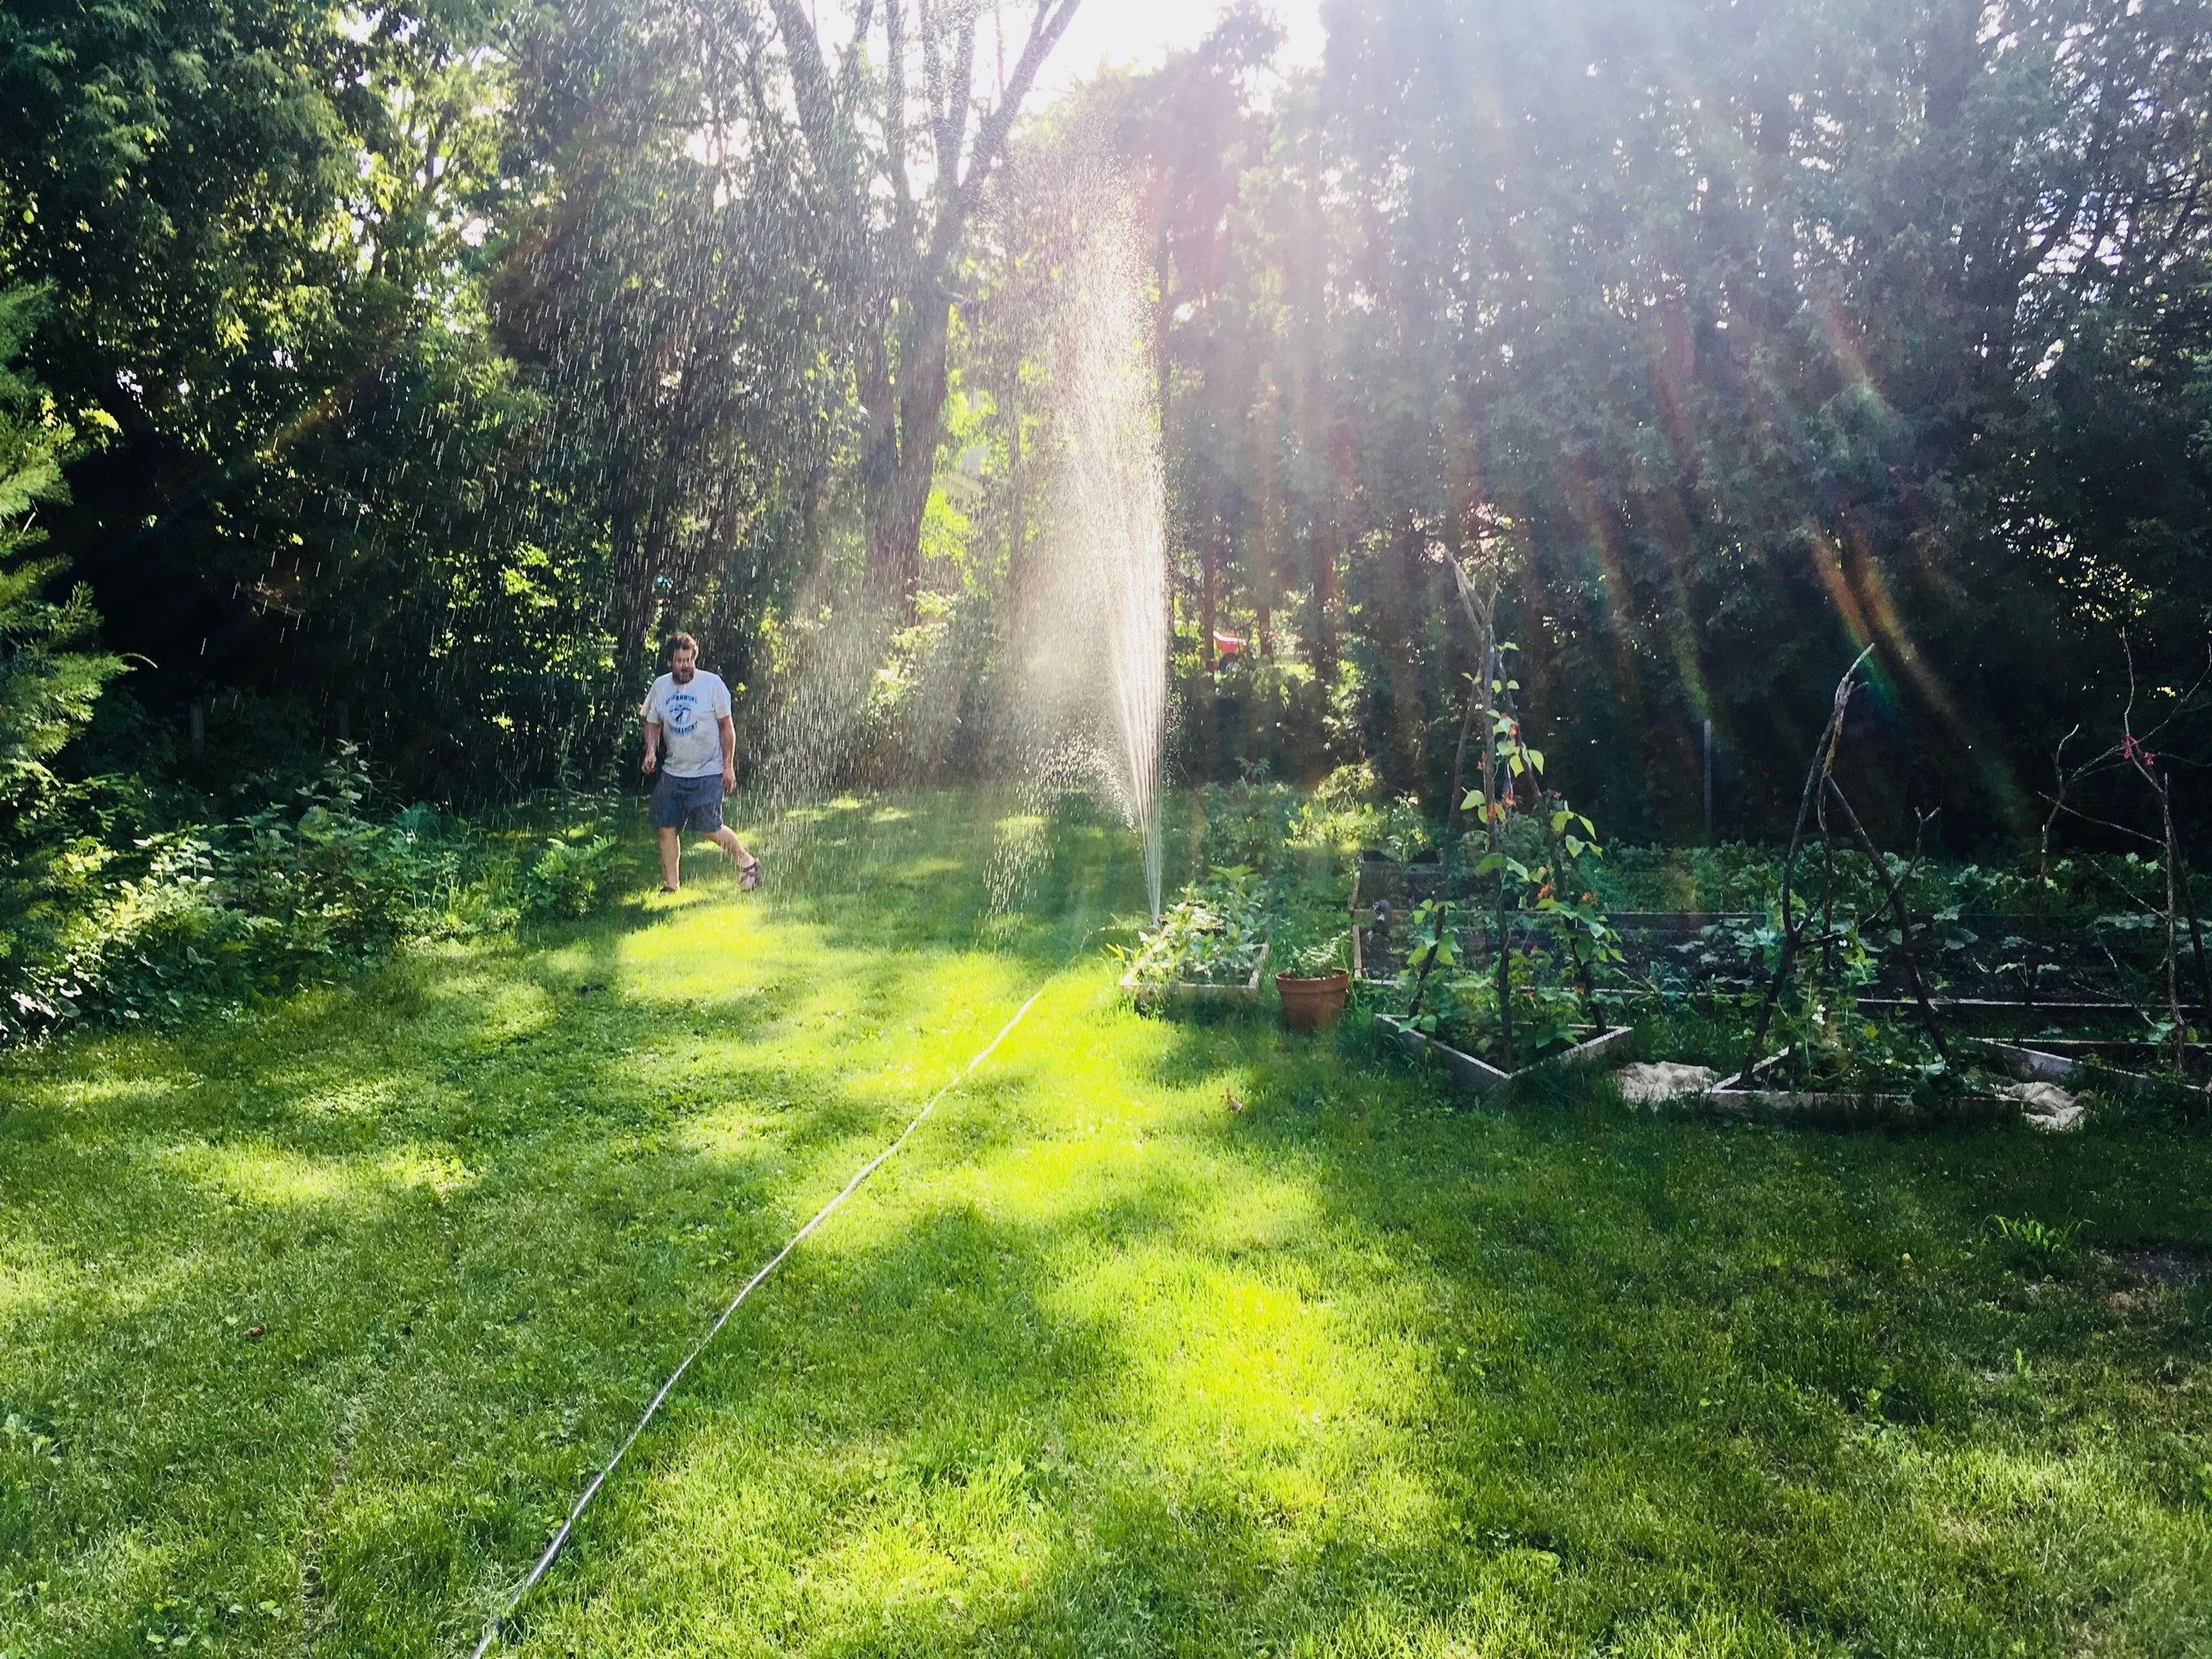
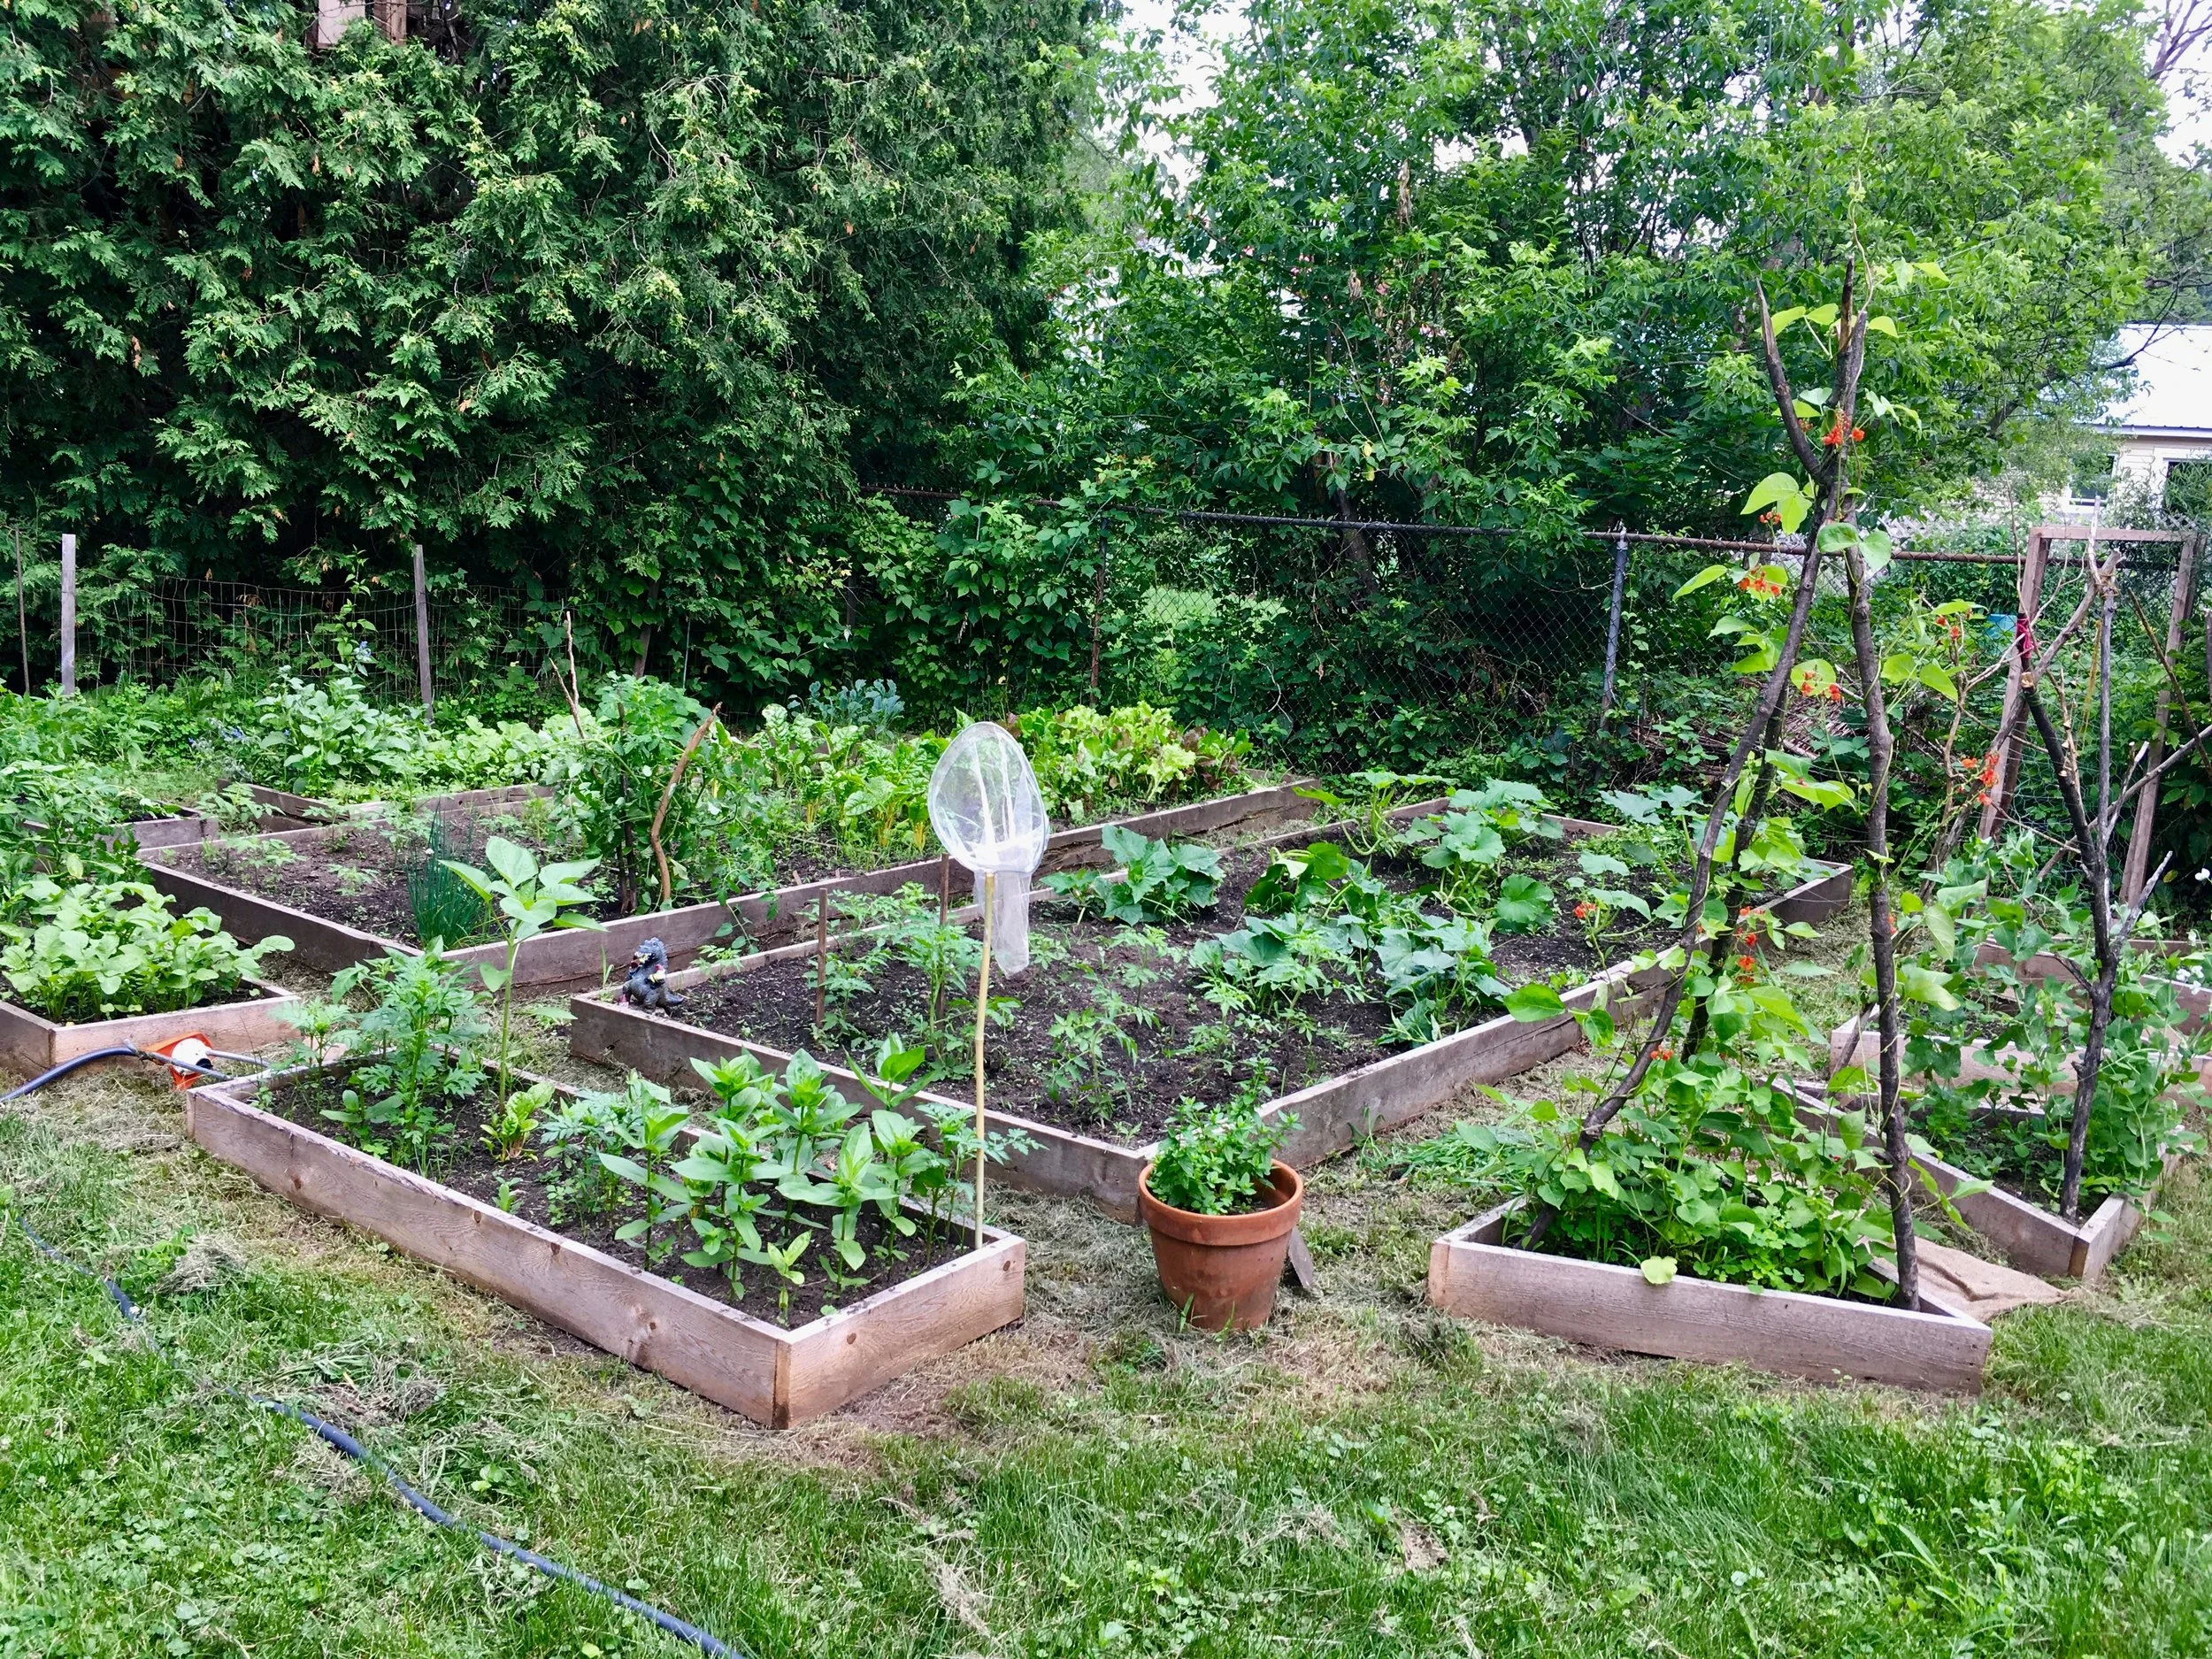
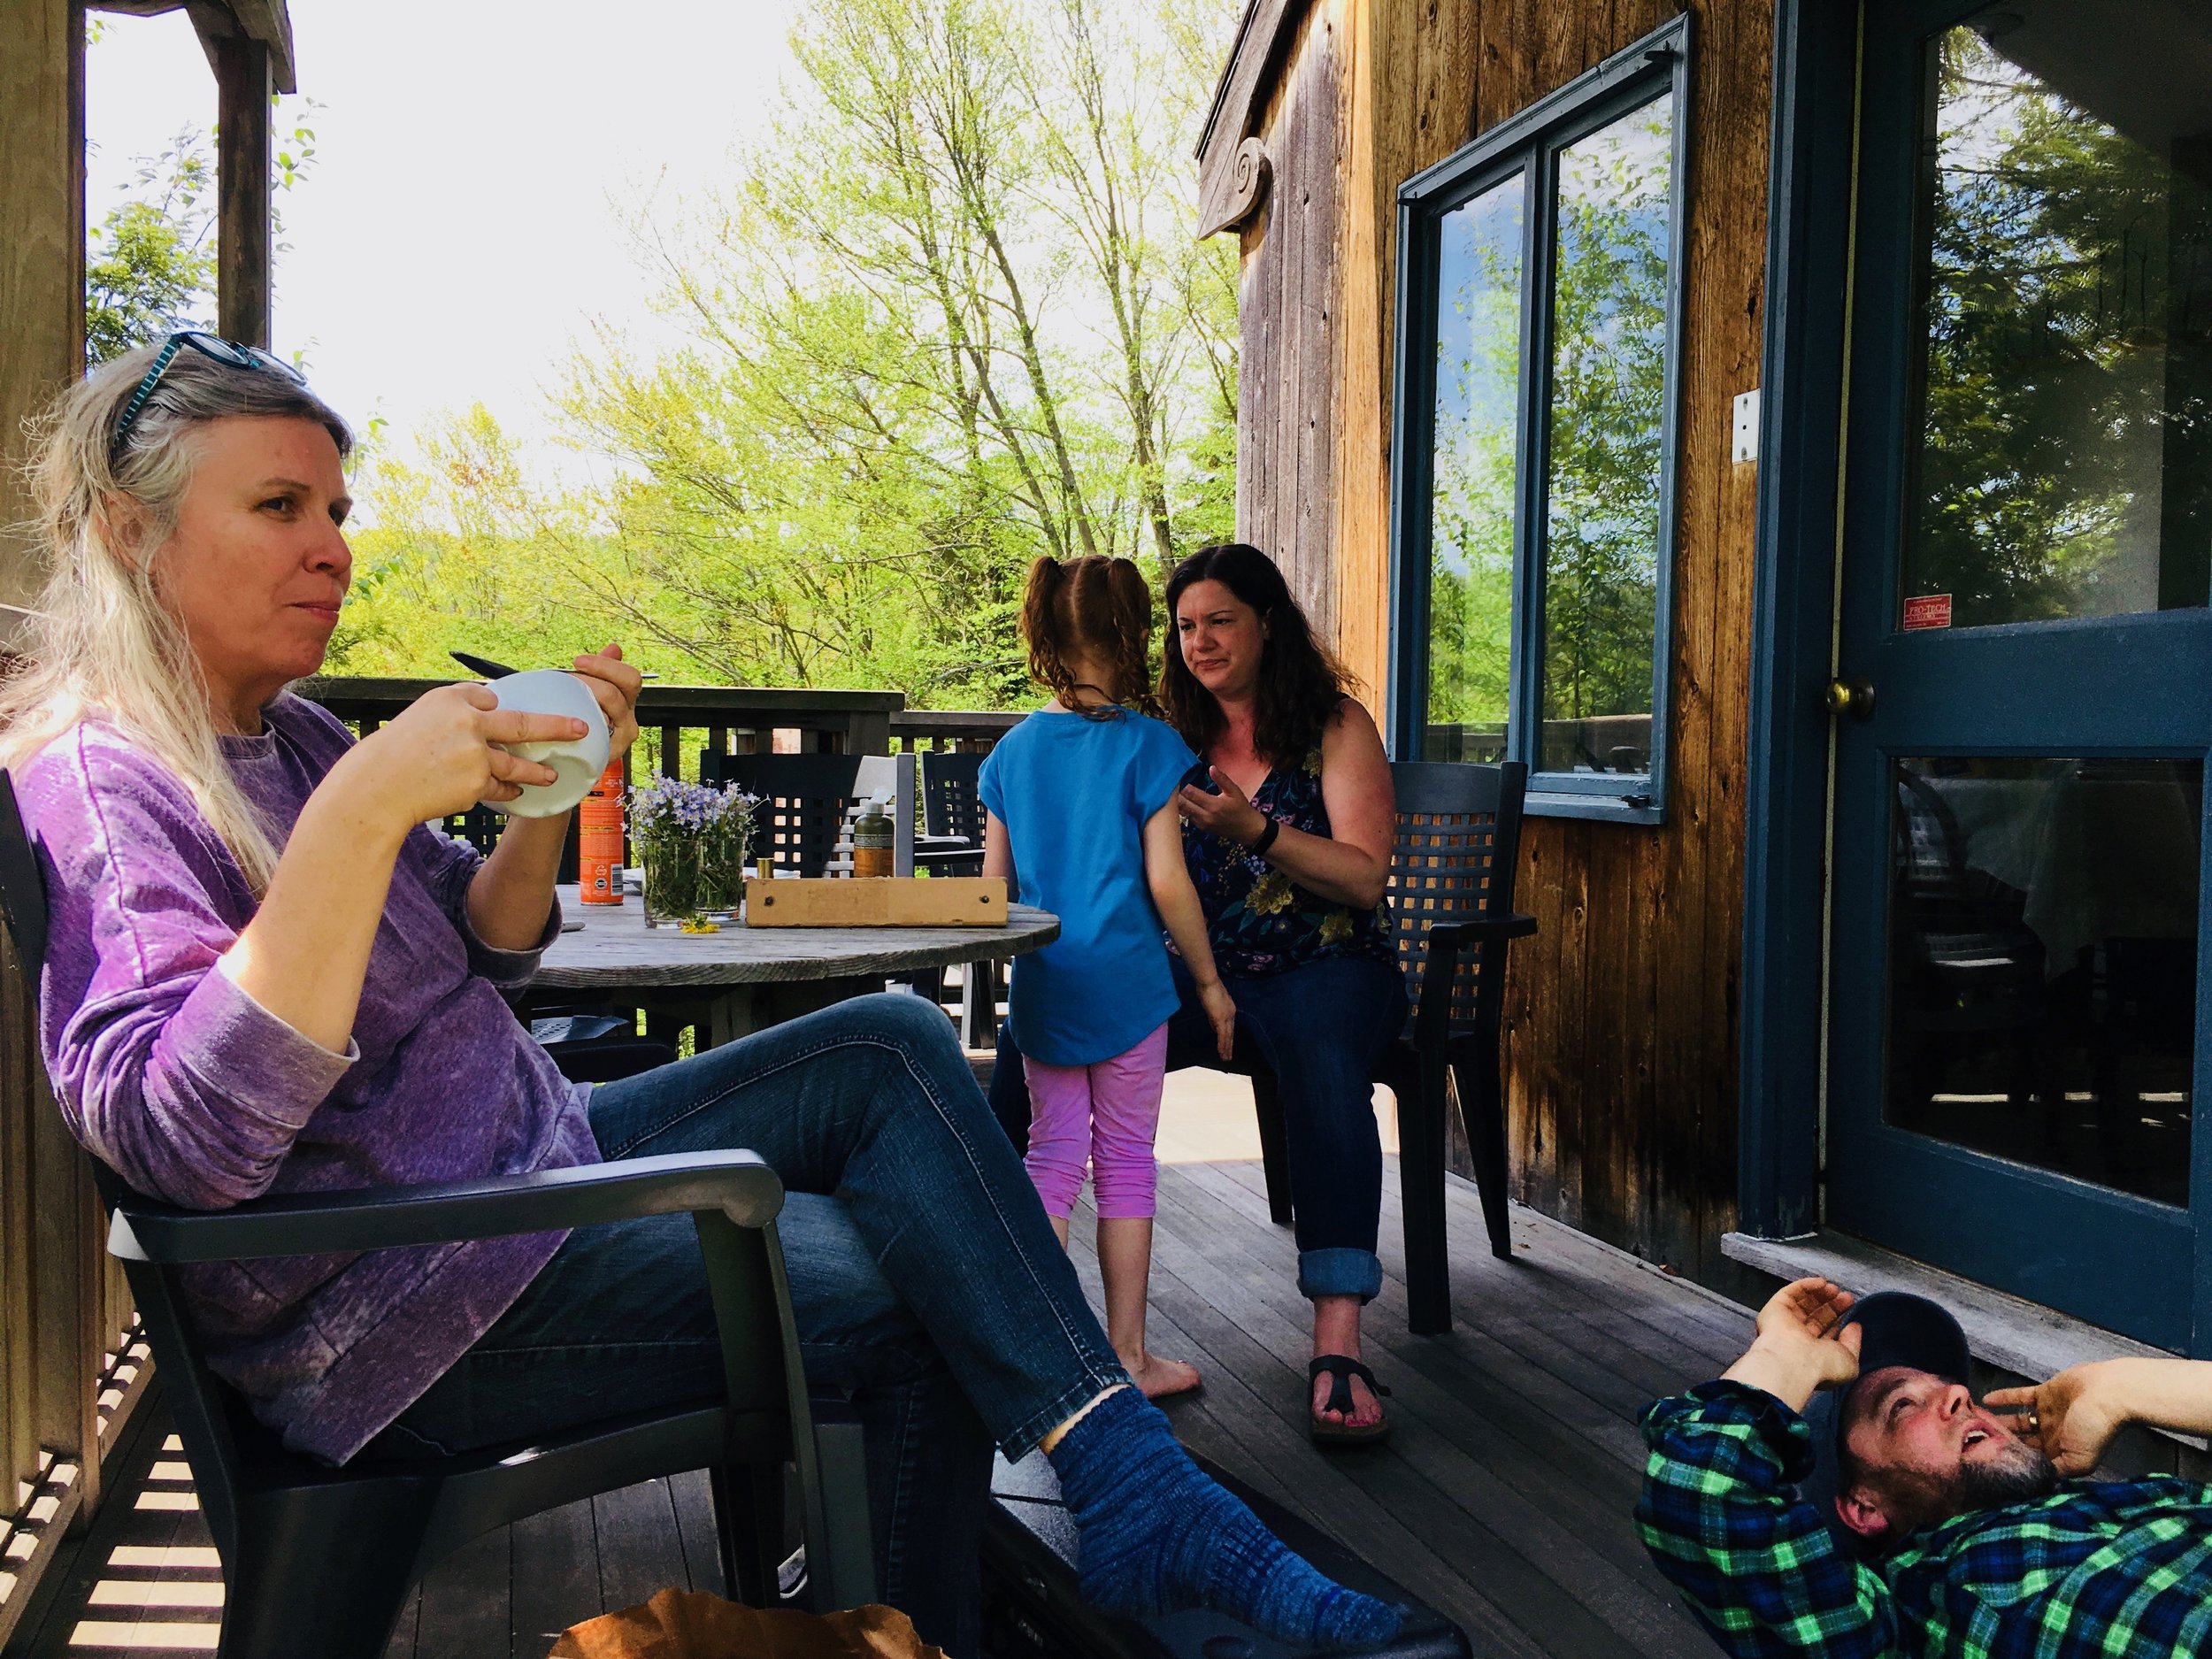
Hey there party people%u2026It’s Sunday! Hopefully you all have some good plans for the day. Me, well I %u00a0have a peanut butter and jelly lunch date at the park with some littles, a butt load of plants to stick into the ground, and hopefully%u00a0drinking much to much coffee while basking in the glow of the very lovely world. (which has been on point all week with%u00a0warm weather, sunny days, splashed with the perfect %u00a0moments of rain) Everything is so green and lush and freshy, it’s hard to not to be full of happy and the feeling that anything is possible. It’s fantastical!%u00a0Oh, and I got to give a shout out to my big sister for graduating from nursing school this week%u2026Whoa HOO!!!!! (Does she realize she is from a family of hypochondriacs? %u00a0Texting nurse Shannon%u2026…she is screwed.)
Summer here we come…It’s GO TIME!
Internet links from the week%u2026…
-Going to be making myself one of these this weekRail Road Totes.
-I could see doing somethinglike thiswith my family%u2026 If I didn’t kill them first.
-Interesting%u2026.What If Americans Ate Like South Africans And Vice Versa?%u00a0
-I have felt like popping a few balls in my time.The Good Listener: Can I Deflate The Beach Balls At Concerts?
-My next project/living arrangement? (Hey, if we can live in a tiny room now, we can live in a tiny room on wheels)%u2026 The Vintage Nugget
-I can’ t believe this show was canceled, but thank the tv gods for Hulu….Hulu Saves The Mindy Project
-I am into all of these interiors atFrenchyfancy%u2026..I wish I knew how to read french and wish I was that fancy.
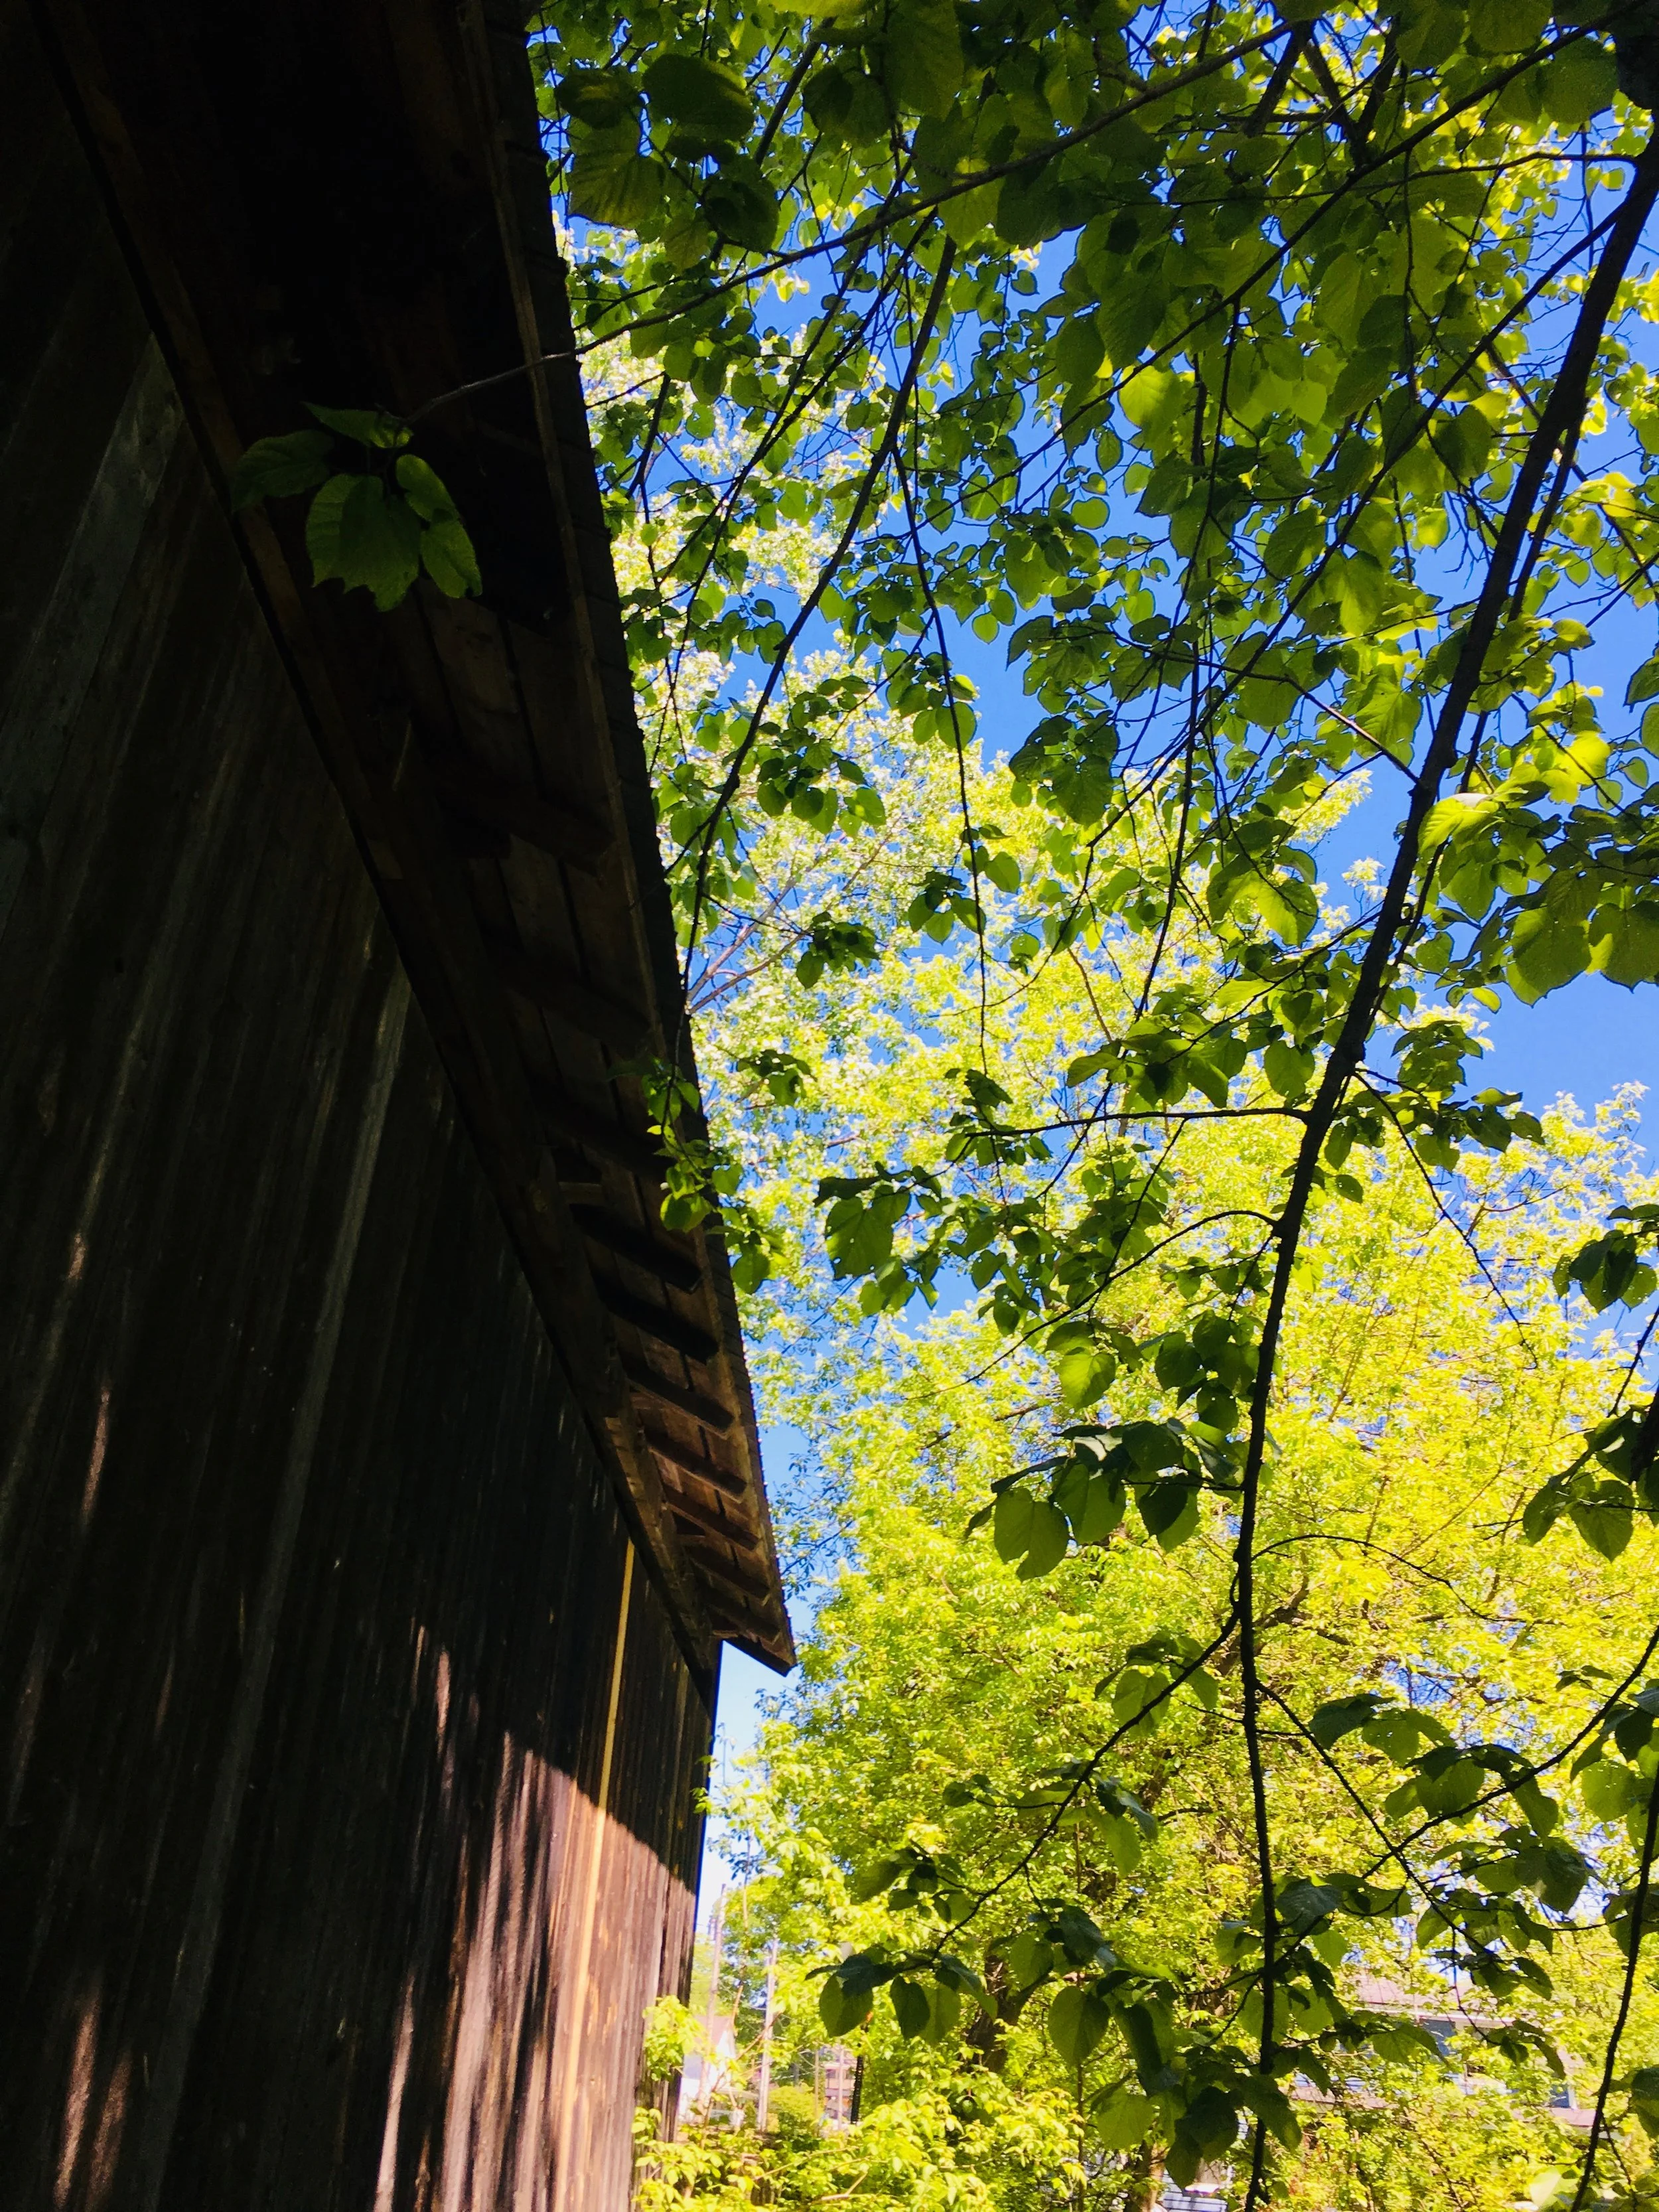
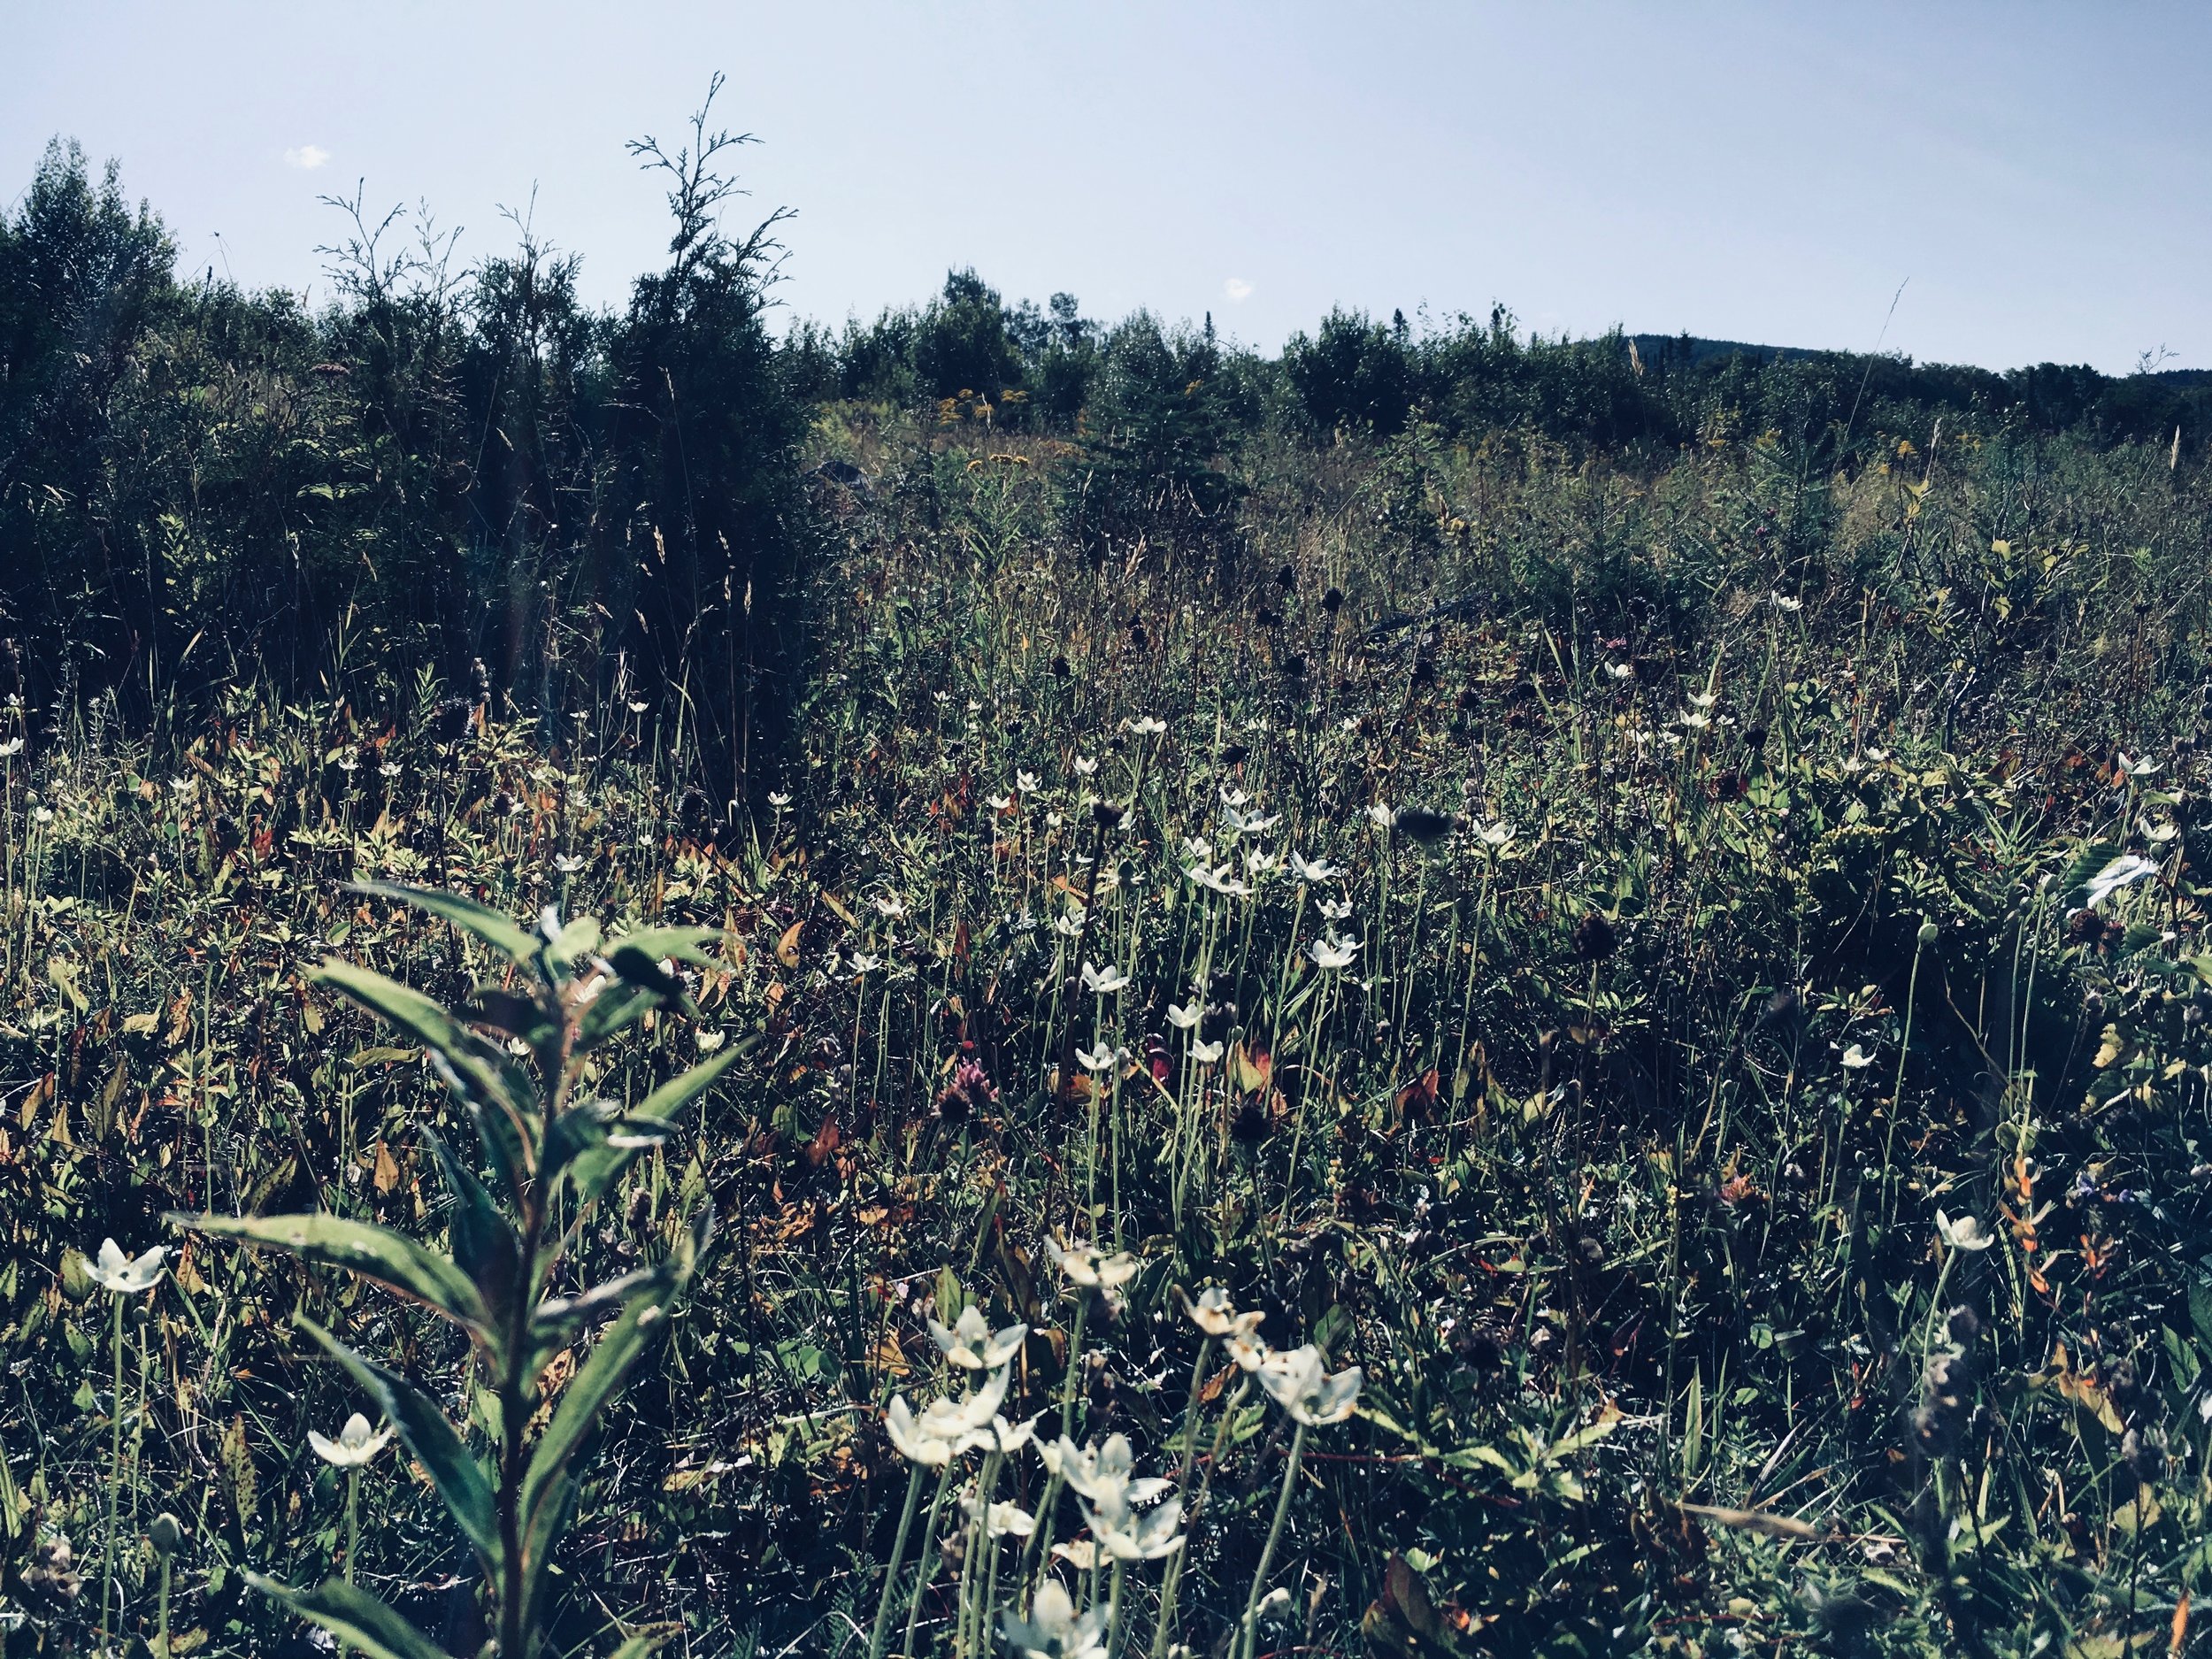
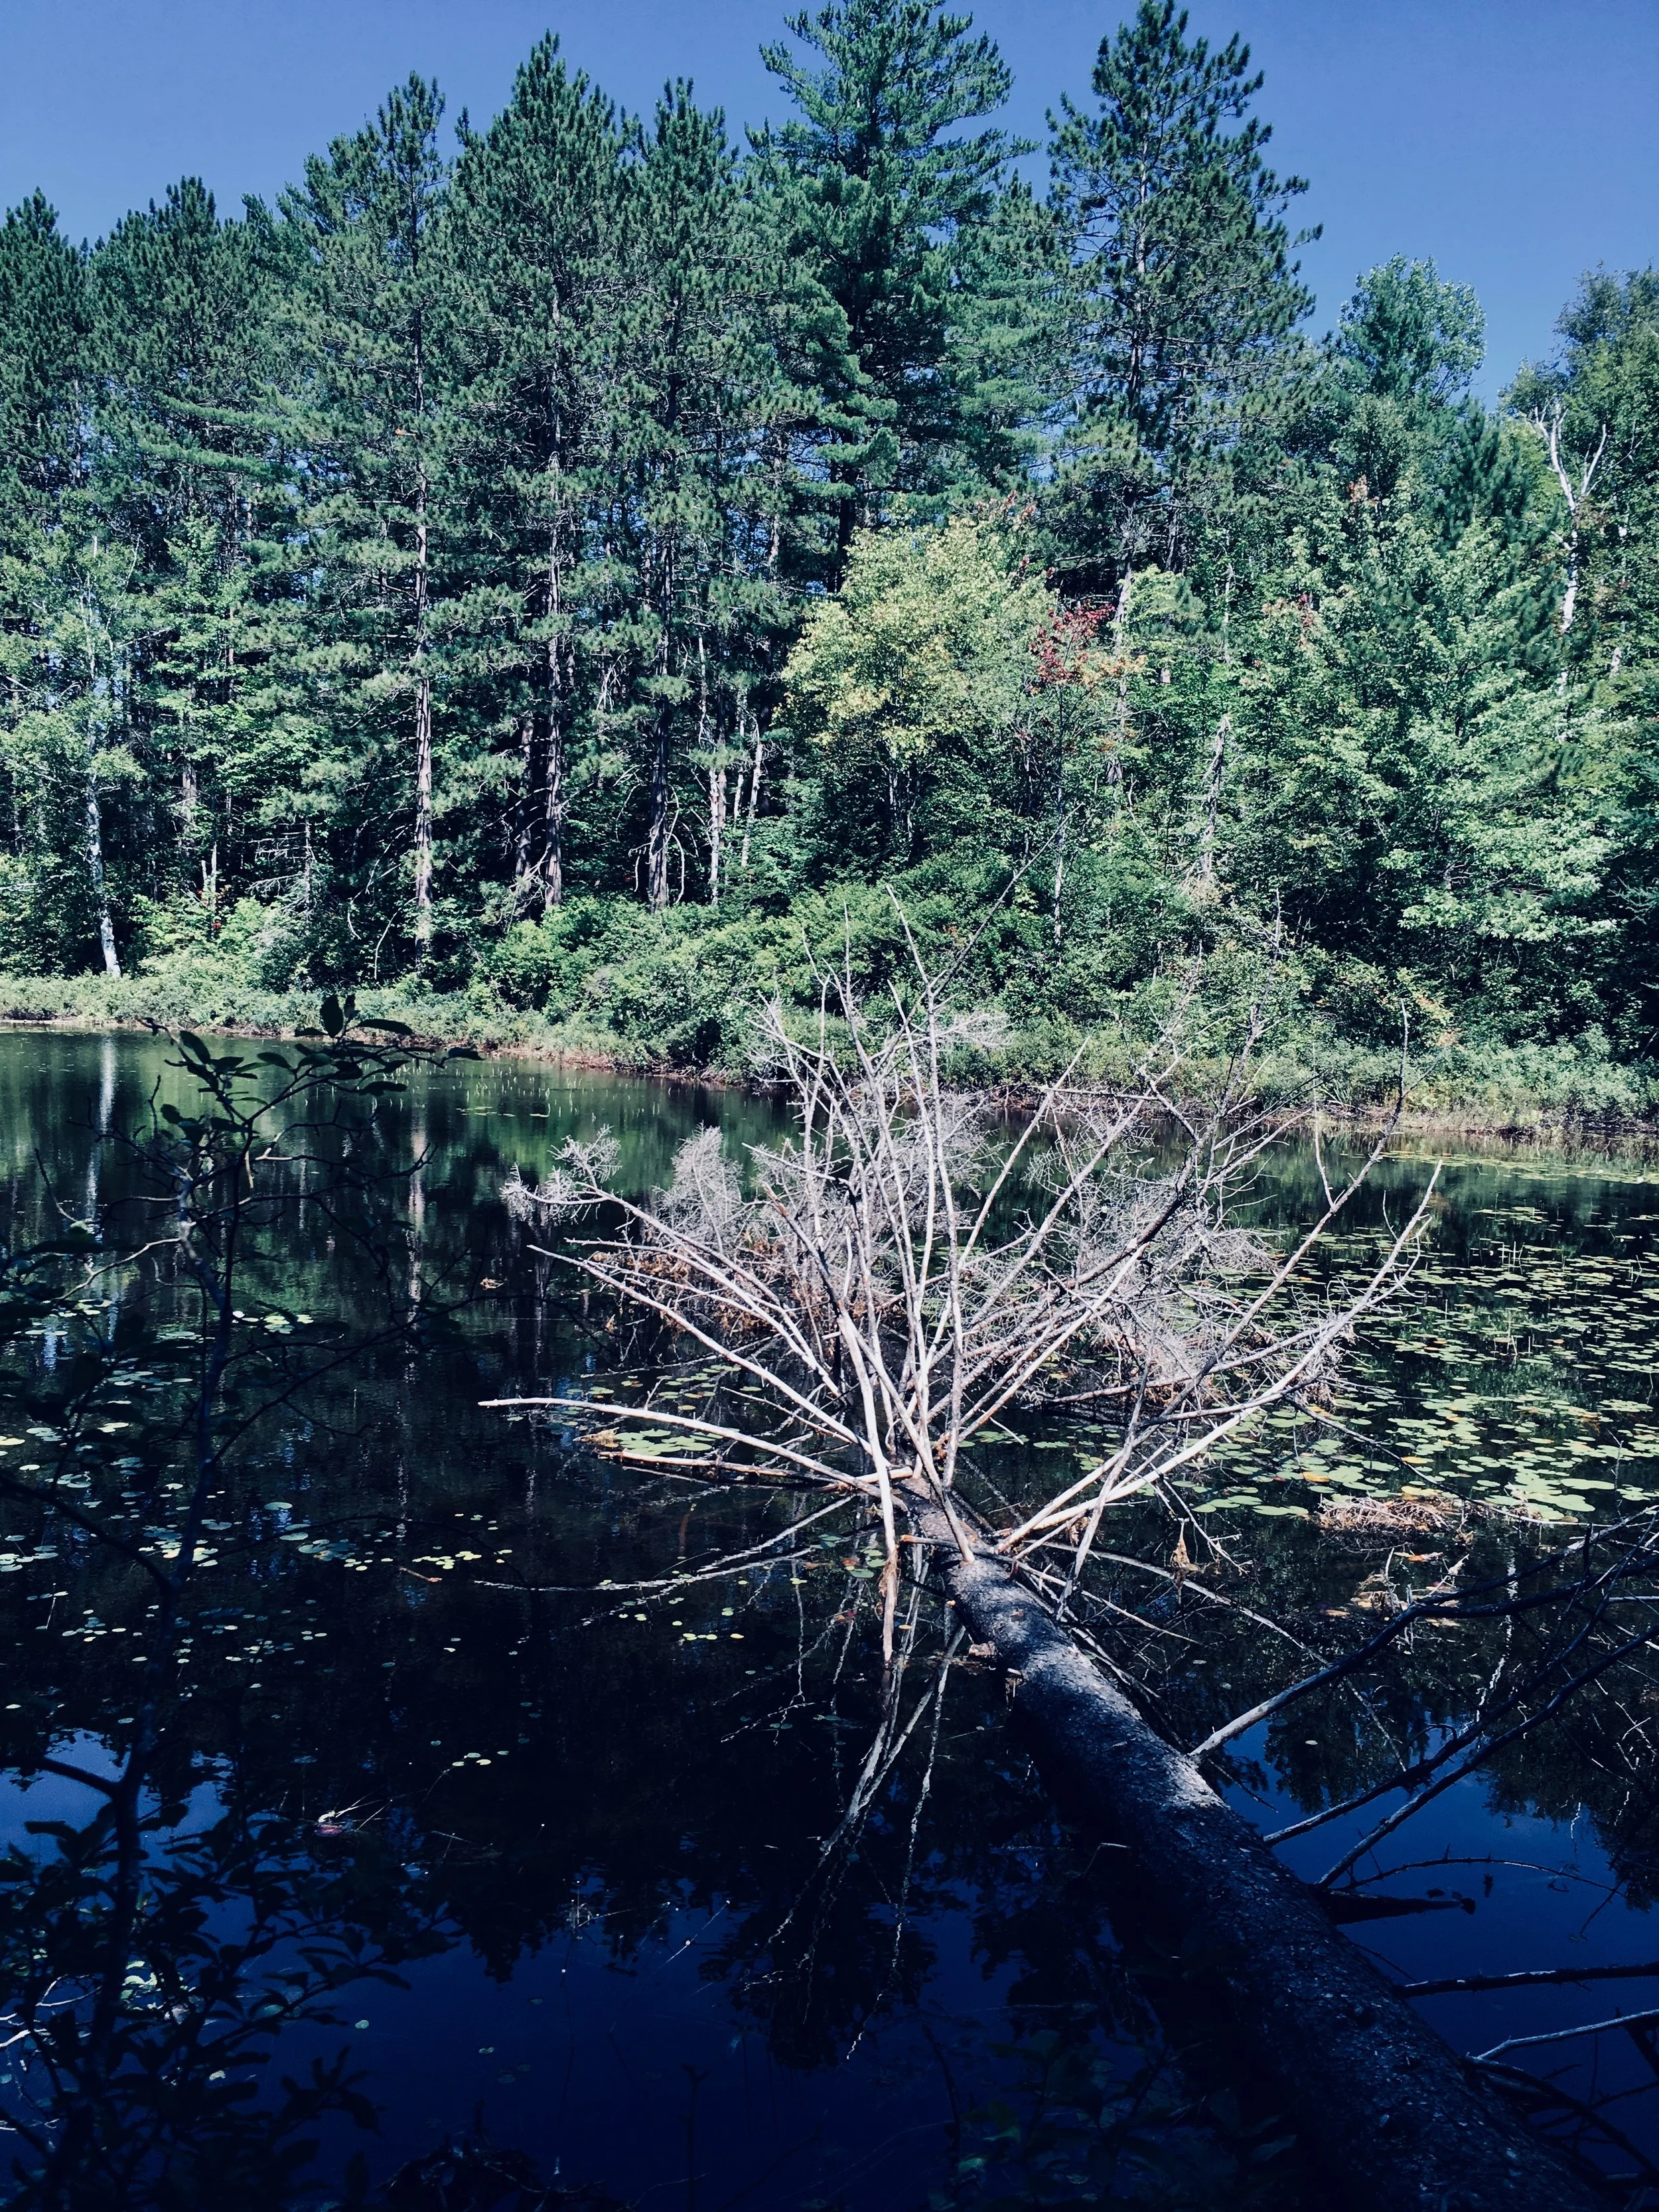
A few pictures from the week%u2026.


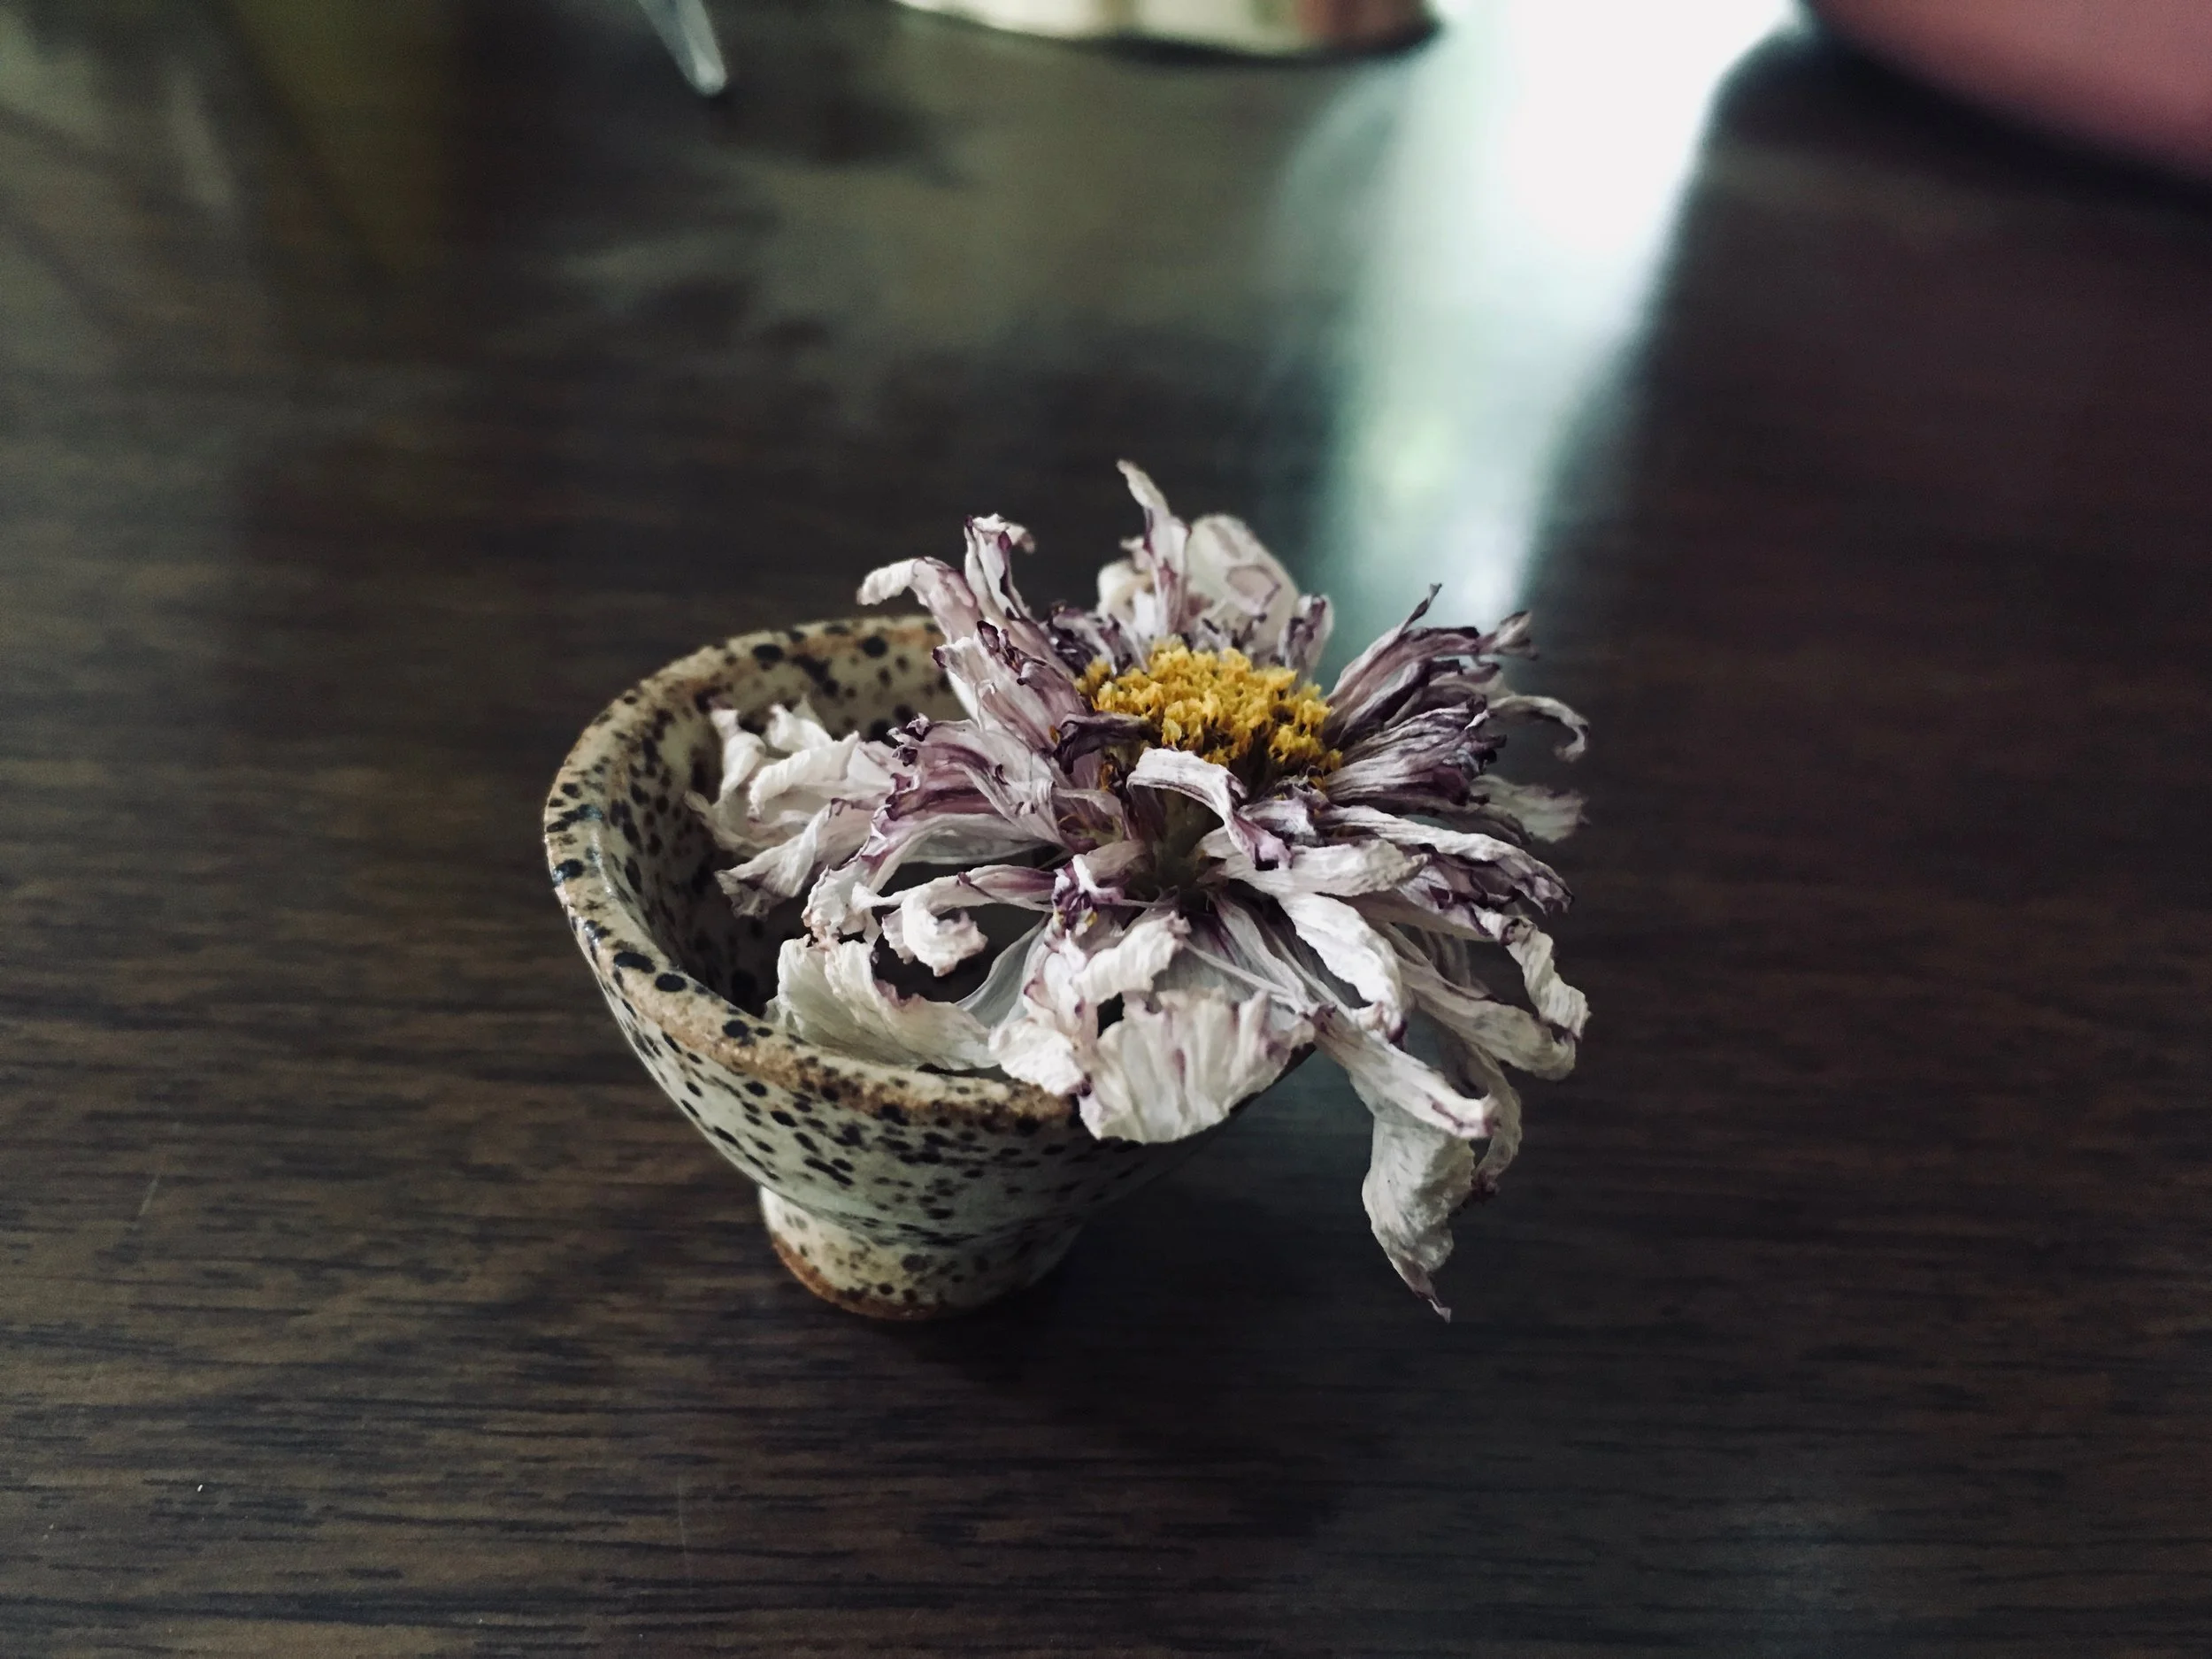
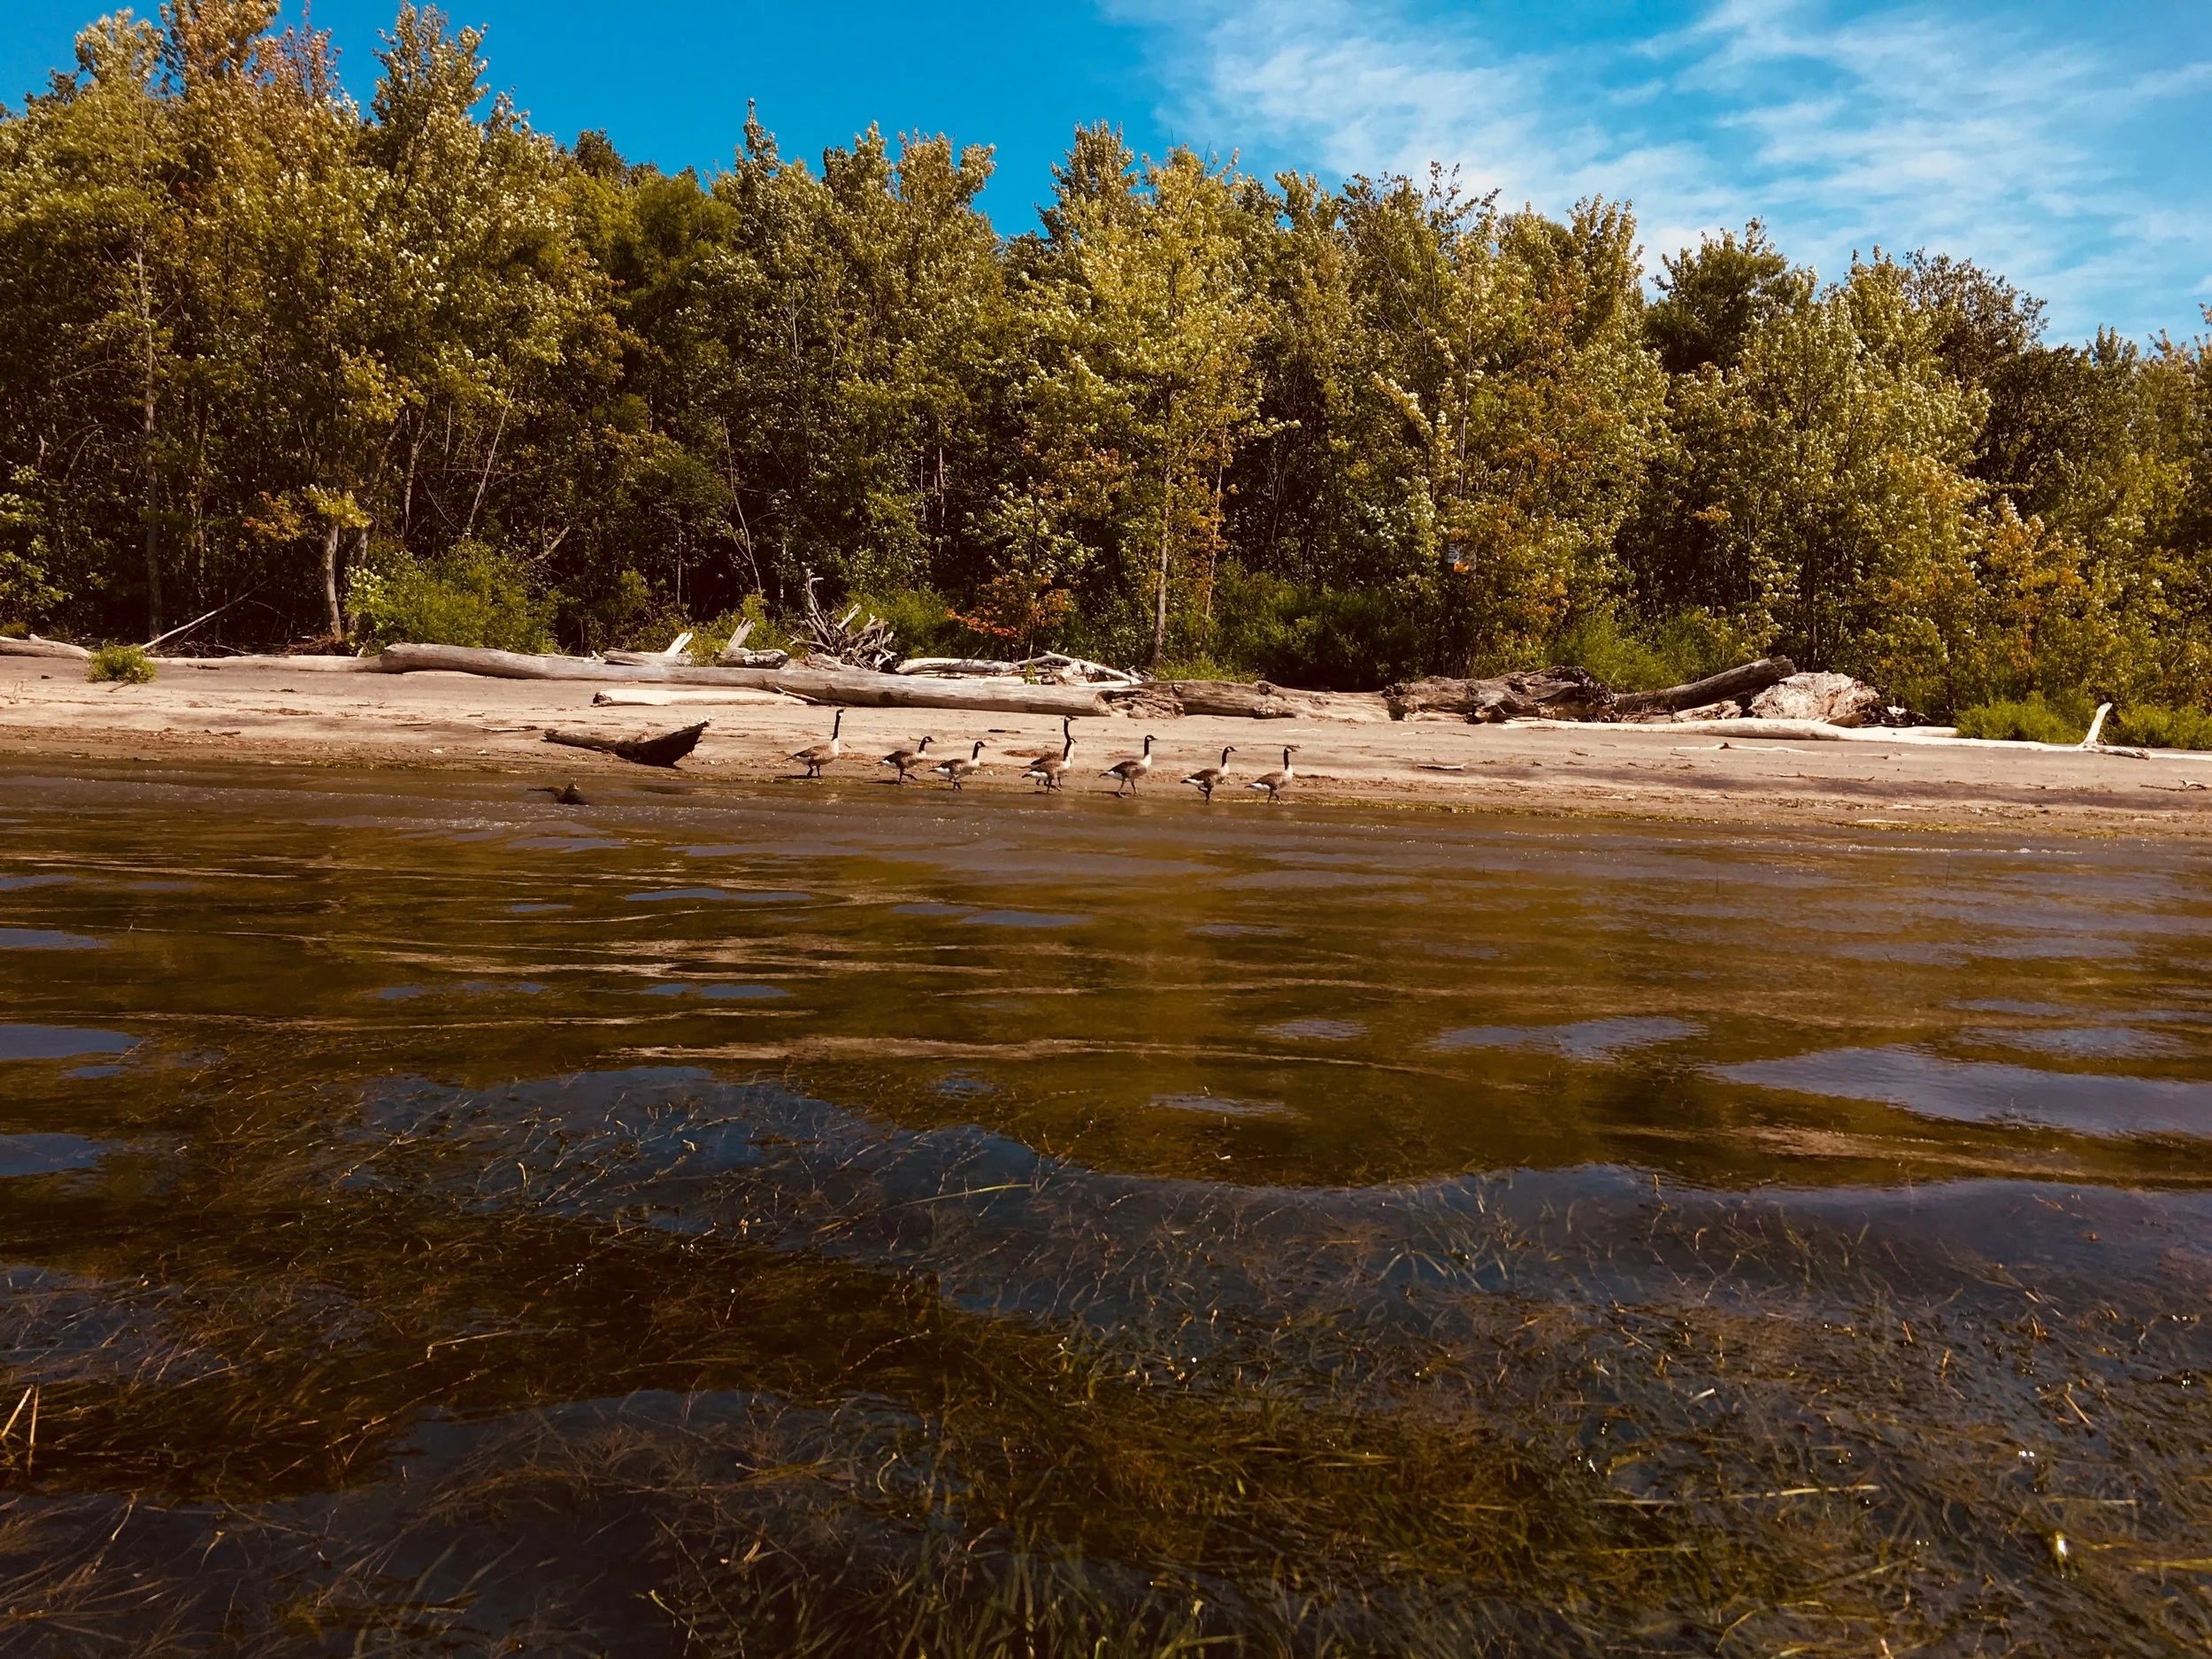
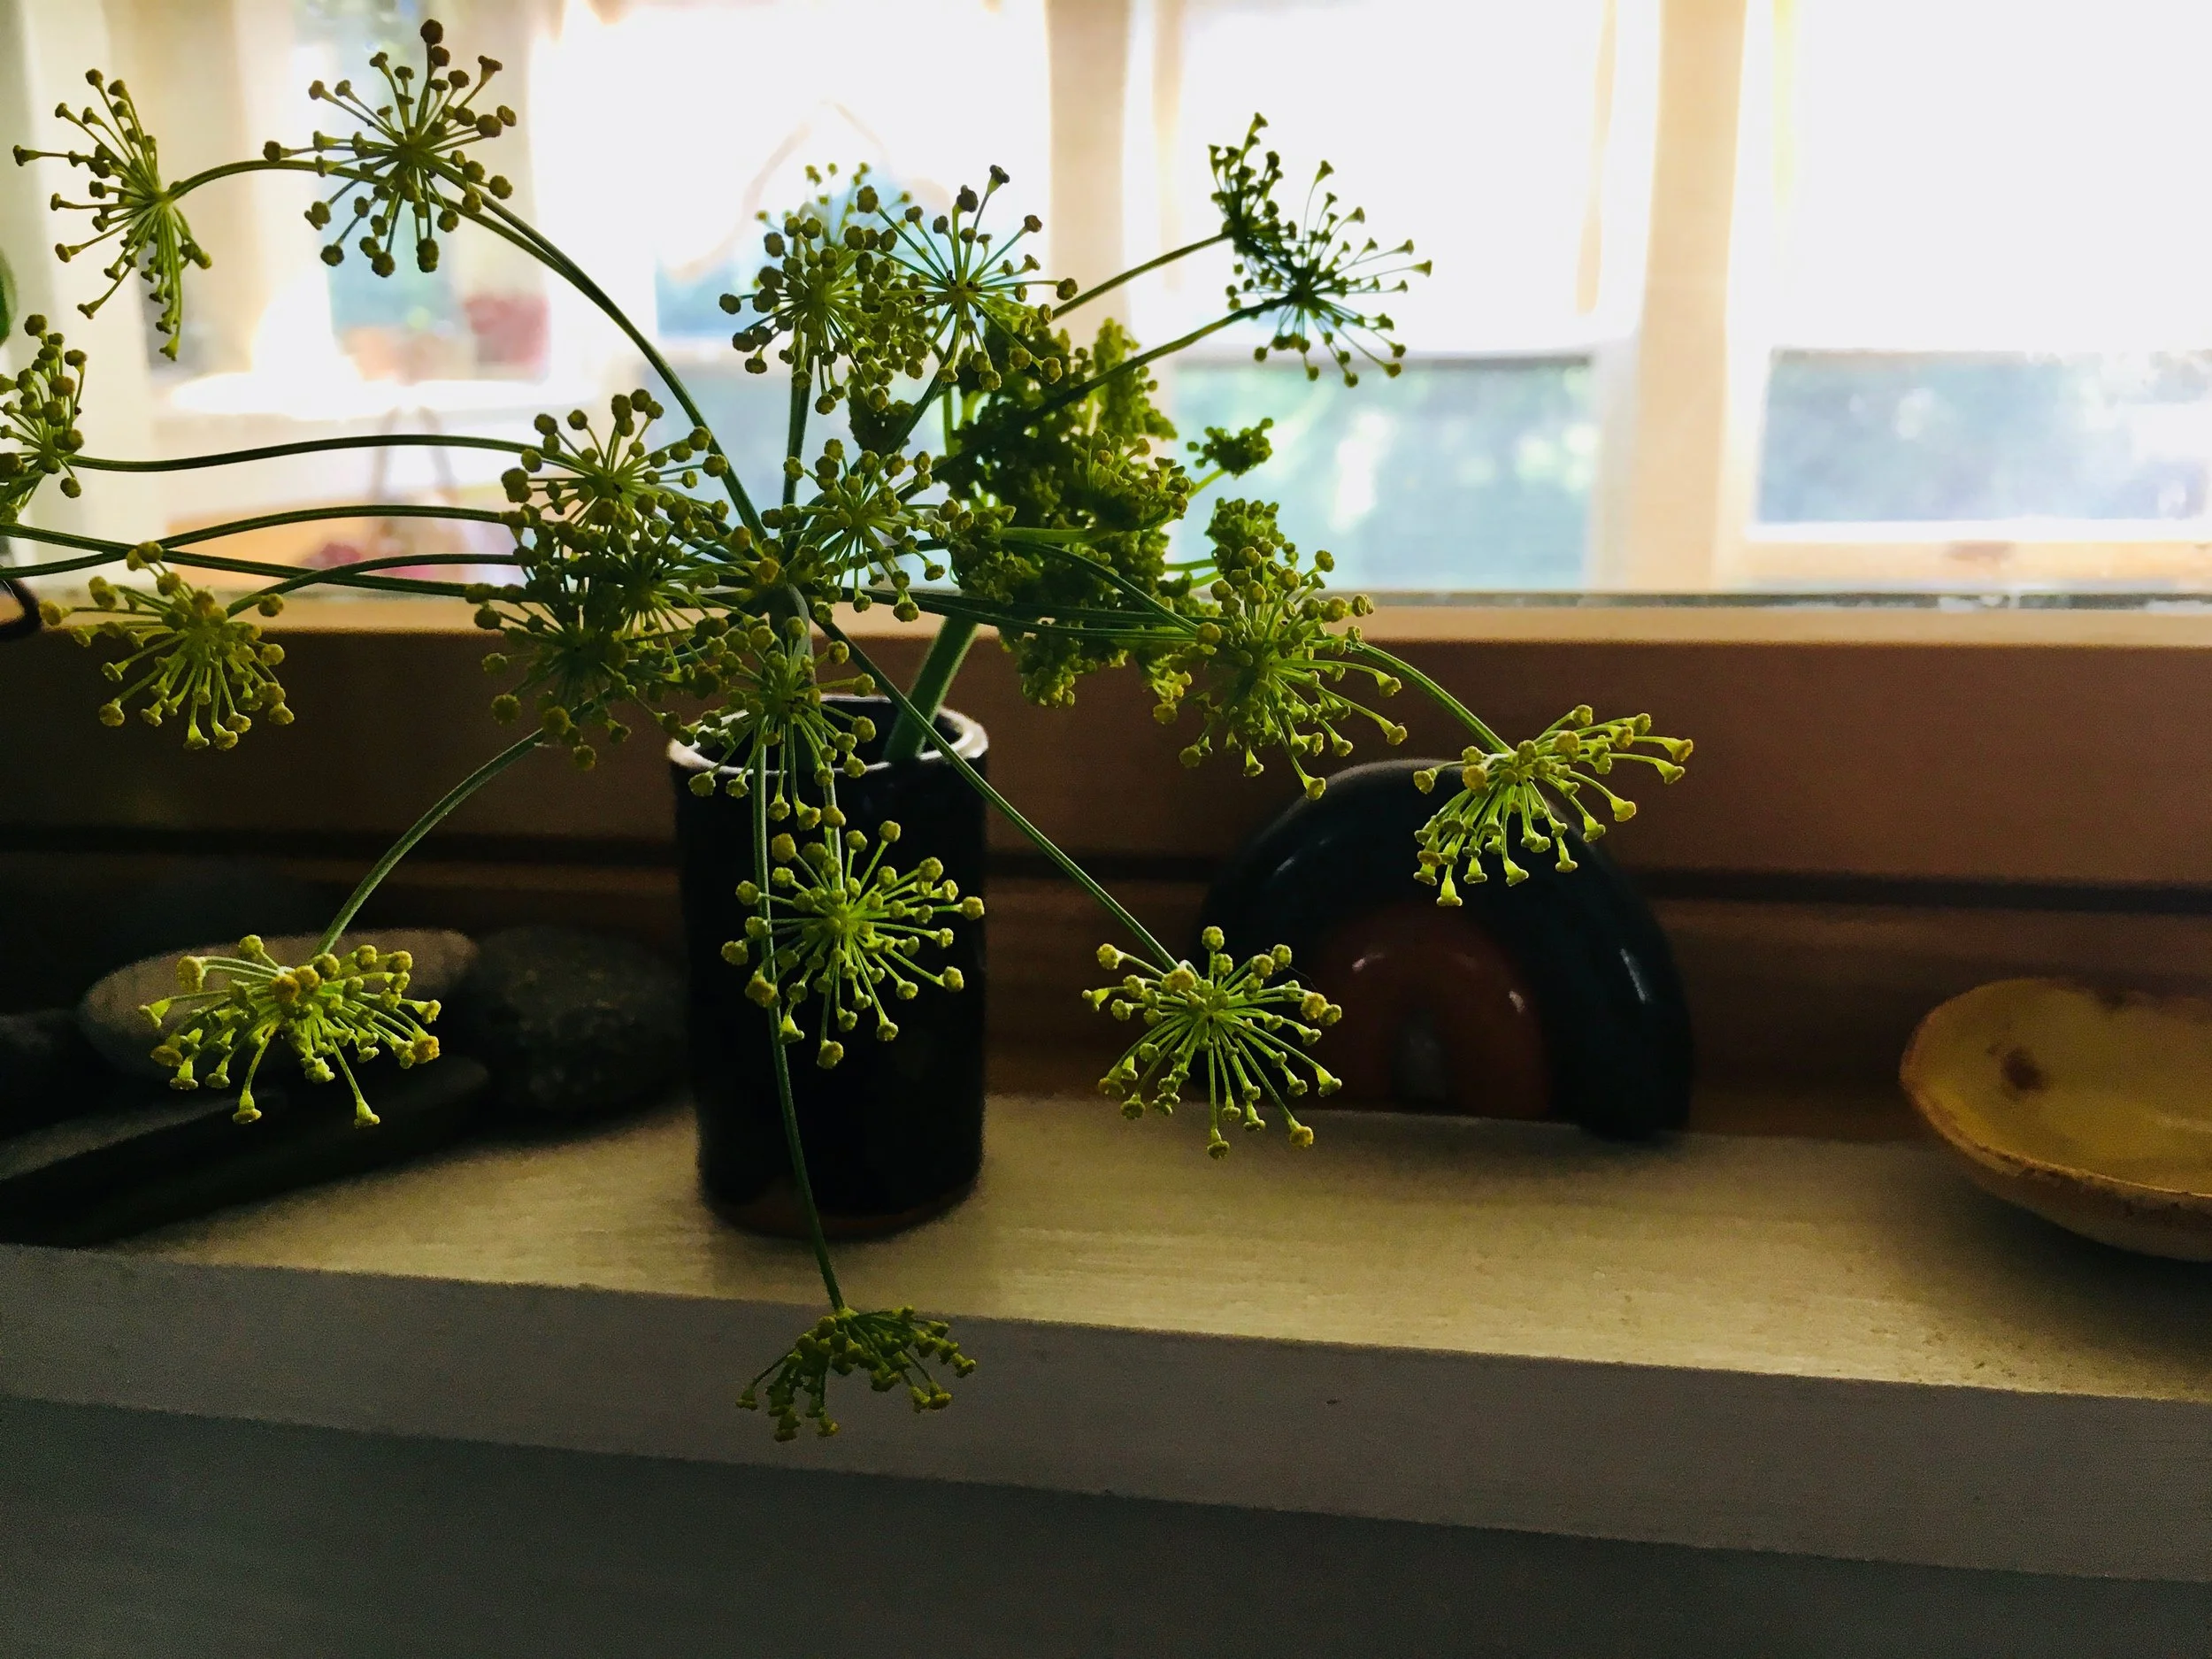
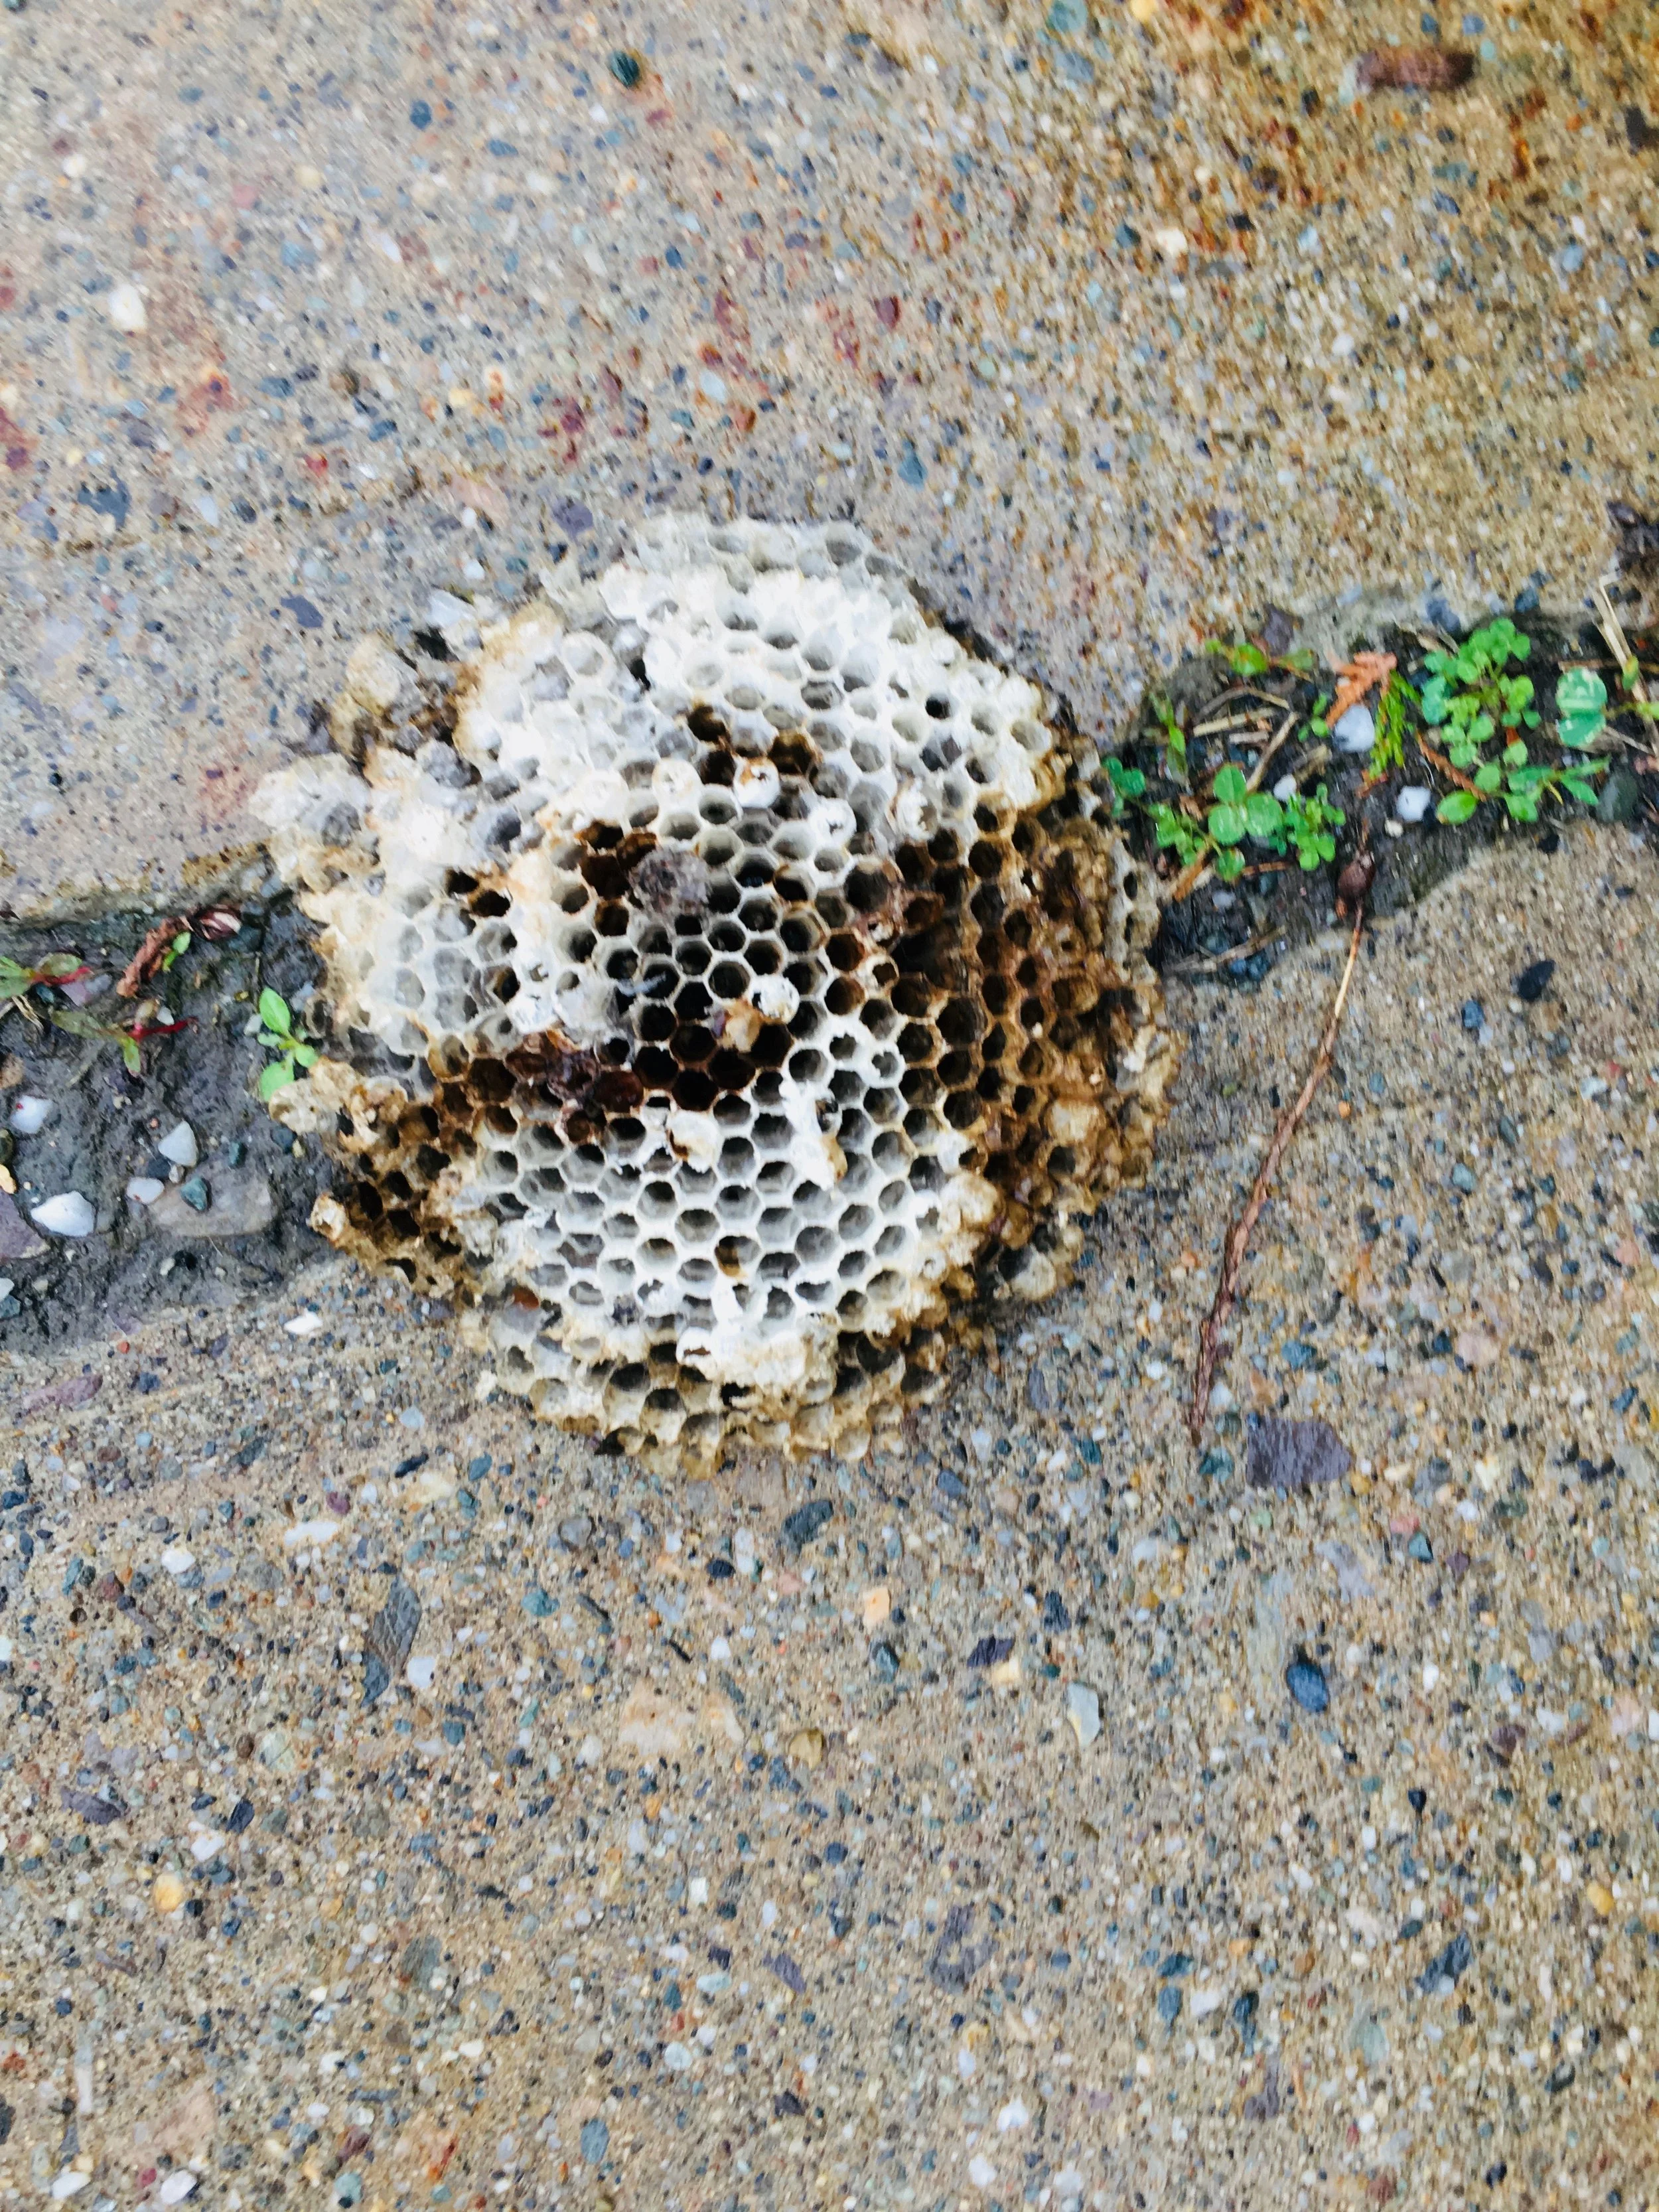
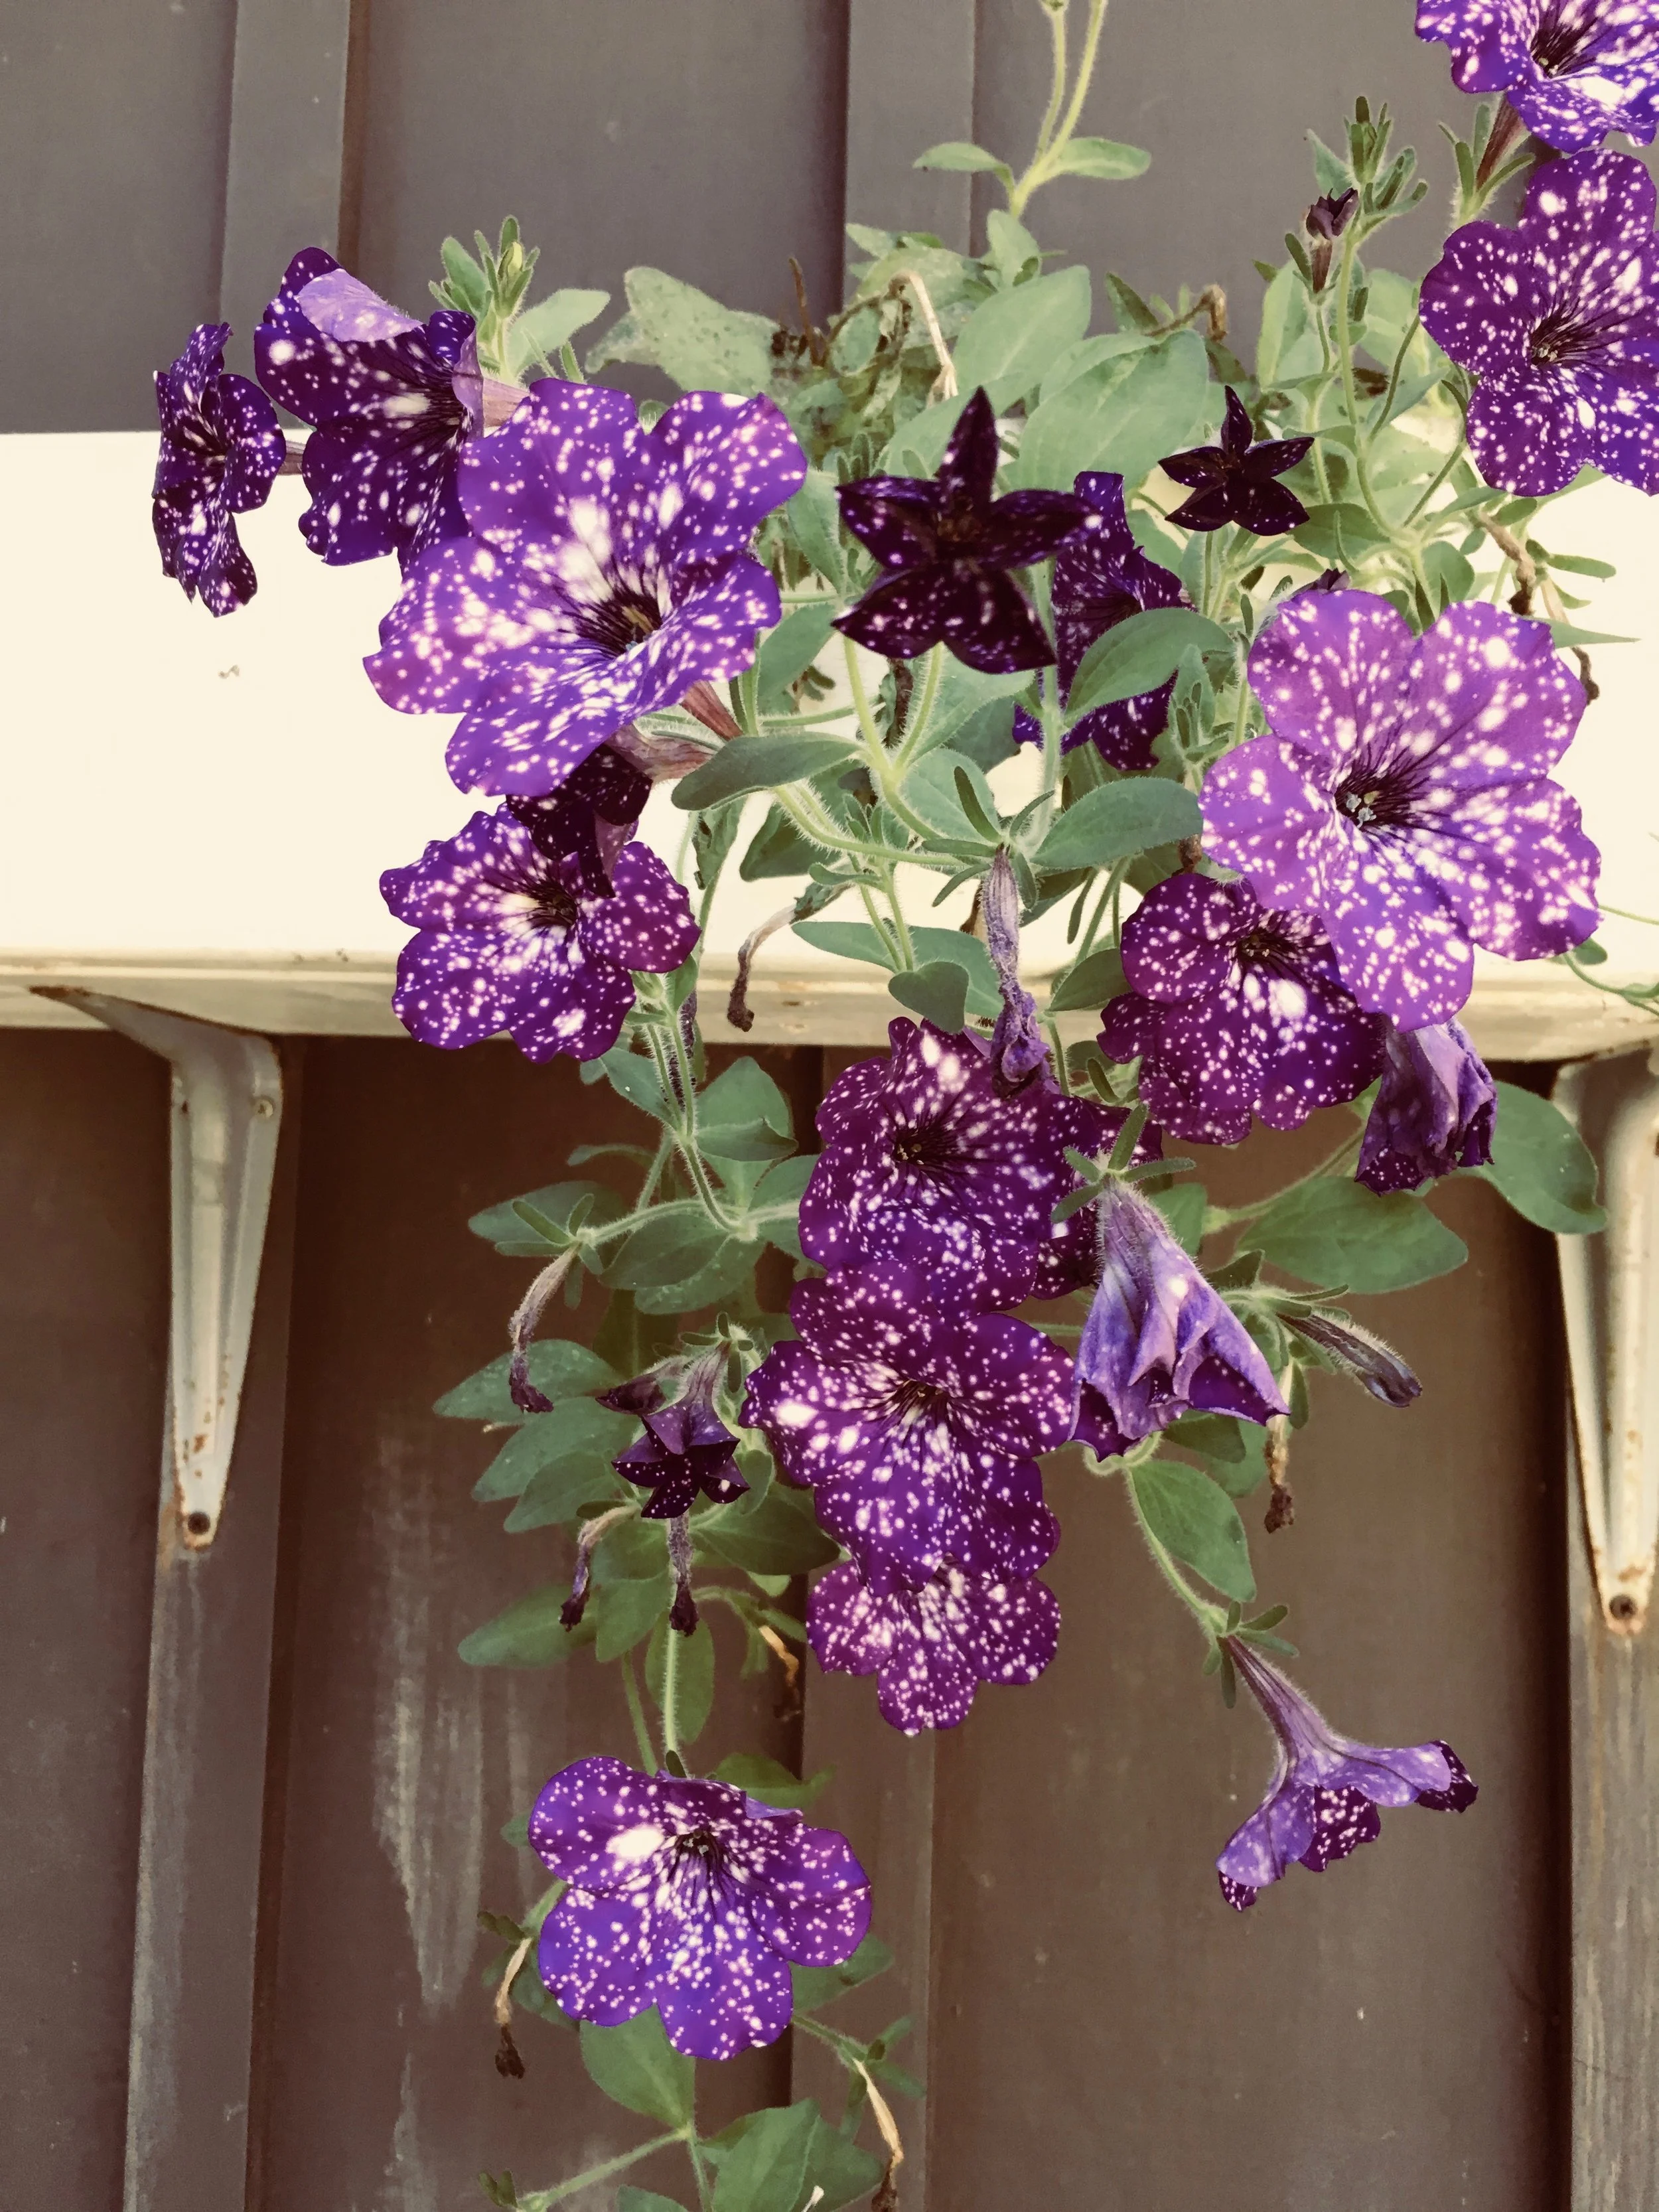
The prettiest tree. LILACS!!!!!My yard these days..A wheel barrel full of strawberry plants.%u00a0Pretty in purple

The mister and I%u00a0%u00a0harvested a frame of honey%u2026So pretty
Have a great today!
-C
 A couple of days ago, during a grocery store porous, I stumbles upon a produce item that I have not seen sold in stores before, Broccoli leaf. And I%u00a0was kind of surprised %u00a0to see that they were selling bunches of the leaf, %u00a0organic, %u00a0at 2 bucks a bunch.%u00a0I was very excited ! But wait.. You can eat broccoli leaves? Heck yes you can! Broccoli leaves %u00a0are fantastic. They taste kind of like broccoli, have a hearty texture like a collard, and can be used raw or cooked just like any other green. Its just one more super yummy green to add to your repertoire.%u00a0 So when I bring home something that I find to be a good score, like a bunch of broccoli leaves, I feel like I have to share it with the mister. (I am so nice) And this dish was how I shared them%u2026. Tossed into a bowl of garlic raging pasta.
  The stuff%u2026. A bunch of broccoli leaves, lots of garlic, pasta, olive oil, salt and a lemon. Pretty simple right?
  Fist off, get your water boiling for the pasta. Once its ready, drop a pinch of salt into the water and stick pasta in for the amount of time recommend by pasta box people. While the pasta is boiling, mince up the garlic (I used my garlic press) into a skillet and add in the oil. %u00a0Stick on a burner on medium for a few minutes, stirring around to make sure the garlic doesn’t stick and burn.%u00a0
  %u00a0 %u00a0%u00a0
 Once you start to smell the garlic, turn heat onto low, chop up the broccoli leaves (stems and all) %u00a0and stir around until wilted and add in the juice of half a the lemon.When the pasta is cooked, remove a few tablespoons of starchy water and %u00a0strain the noodles. Add water and pasta right into the skillet with the other stuff. %u00a0Toss around, taste, season with salt and pepper.%u00a0 Go ahead and add some chopped tomato and or parmesan cheese if you want. %u00a0
 And serve your amazingly amazing pasta. %u00a0And make sure that you are ok with really smelly garlic breath%u2026Casue it’s going to happen. Keep it good! -C
Broccoli Leaf and Garlic Noodles
- 1 bunch fresh broccoli leaves (about 3 cups chopped)
- 2 servings of your favorite pasta (spaghetti, penne, vegan, gluten free%u2026..)
- 8 or so fresh garlic cloves
- 1/4 cup olive oil
- salt and%u00a0pepper
- lemon (optional)
- parmesan cheese (optional)
Start by bringing a pot of water to a boil with a pinch of salt. Add in pasta and cook per instructions on box. While pasta is cooking, mined garlic and add to a skillet with the oil. Place on a burner on medium heat and cook and stir until the garlic becomes fragrant. Chop the broccoli leaves (stems and all) into bit sized pieces and add to the garlic oil and toss around to wilt the leaves. Squeeze in some lemon juice. Once the pasta is done cooking, remove a few tablespoons of the starchy water and strain the pasta. Add the water and the noodles to the skillet, toss to evenly coat the pasta and call it down. Serve in a bowl or on a plate, topped with freshly chopped tomatoes and parmesan cheese if you so shall please and another little squeeze of lemon juice if you like. Watch your mouth.. it will be breathing out garlic like whoa.%u00a0


 %u00a0Happy Cinco de Mayo! And what better day to share my version of %u00a0my oh so fantastic pico de gallo, or as I call it, super freshy salsa.
 The stuff. Chopped Roma tomatoes, chopped red onion, a diced jalape%u00f1o, lemon, a bunch of cilantro, and salt.
 And thats it. Now eat%u2026 with something or without.


THE LOVELY CRAZY
January 26, 2020 by maximios • Blog
Whatever you do, do not turn on your oven this weekend! But I guess if you have air conditioning and don’t mind cranking it… well then go for it. And can I come stay with you?
But for the rest of us doing this weekend without the old A.C., we need to feed ourselves, feed ourselves without any fire because 100 degrees is no joke and any added heat from anything will likey tip us over the edge. I am already so close to that edge and it’s a long way down..(Just ask the mr, he could tell you a thing or two about heat and me.. not good)
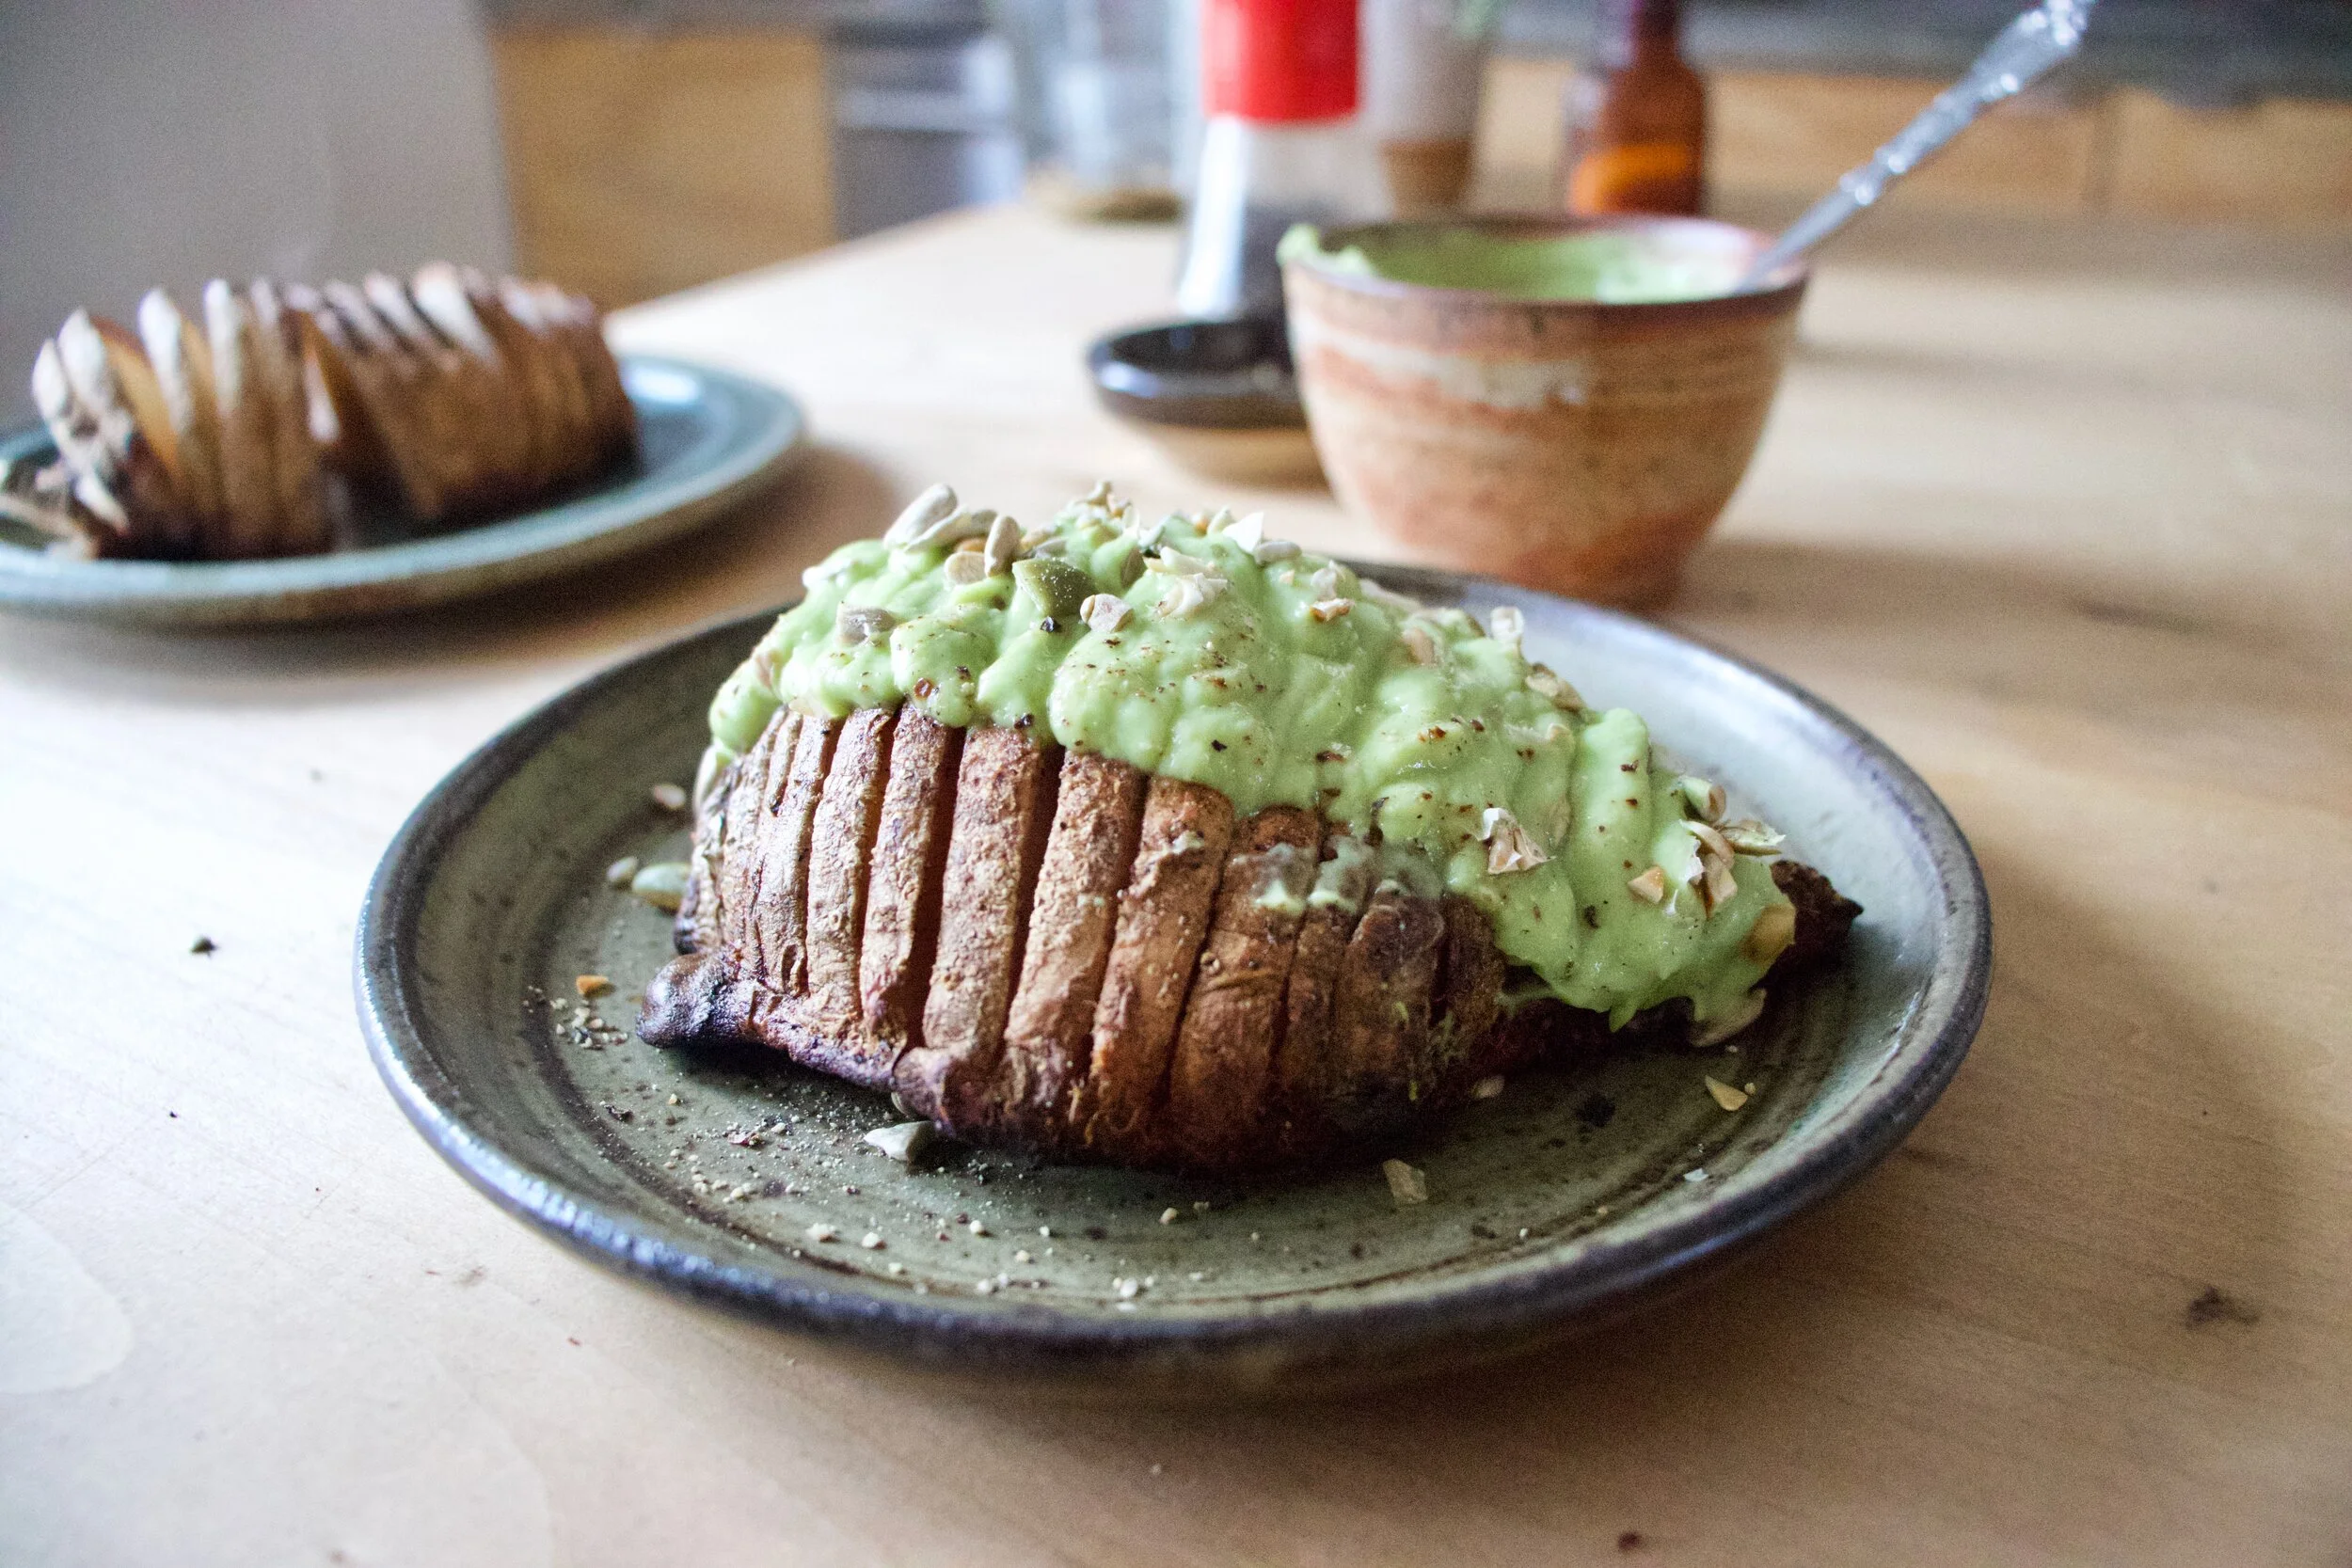
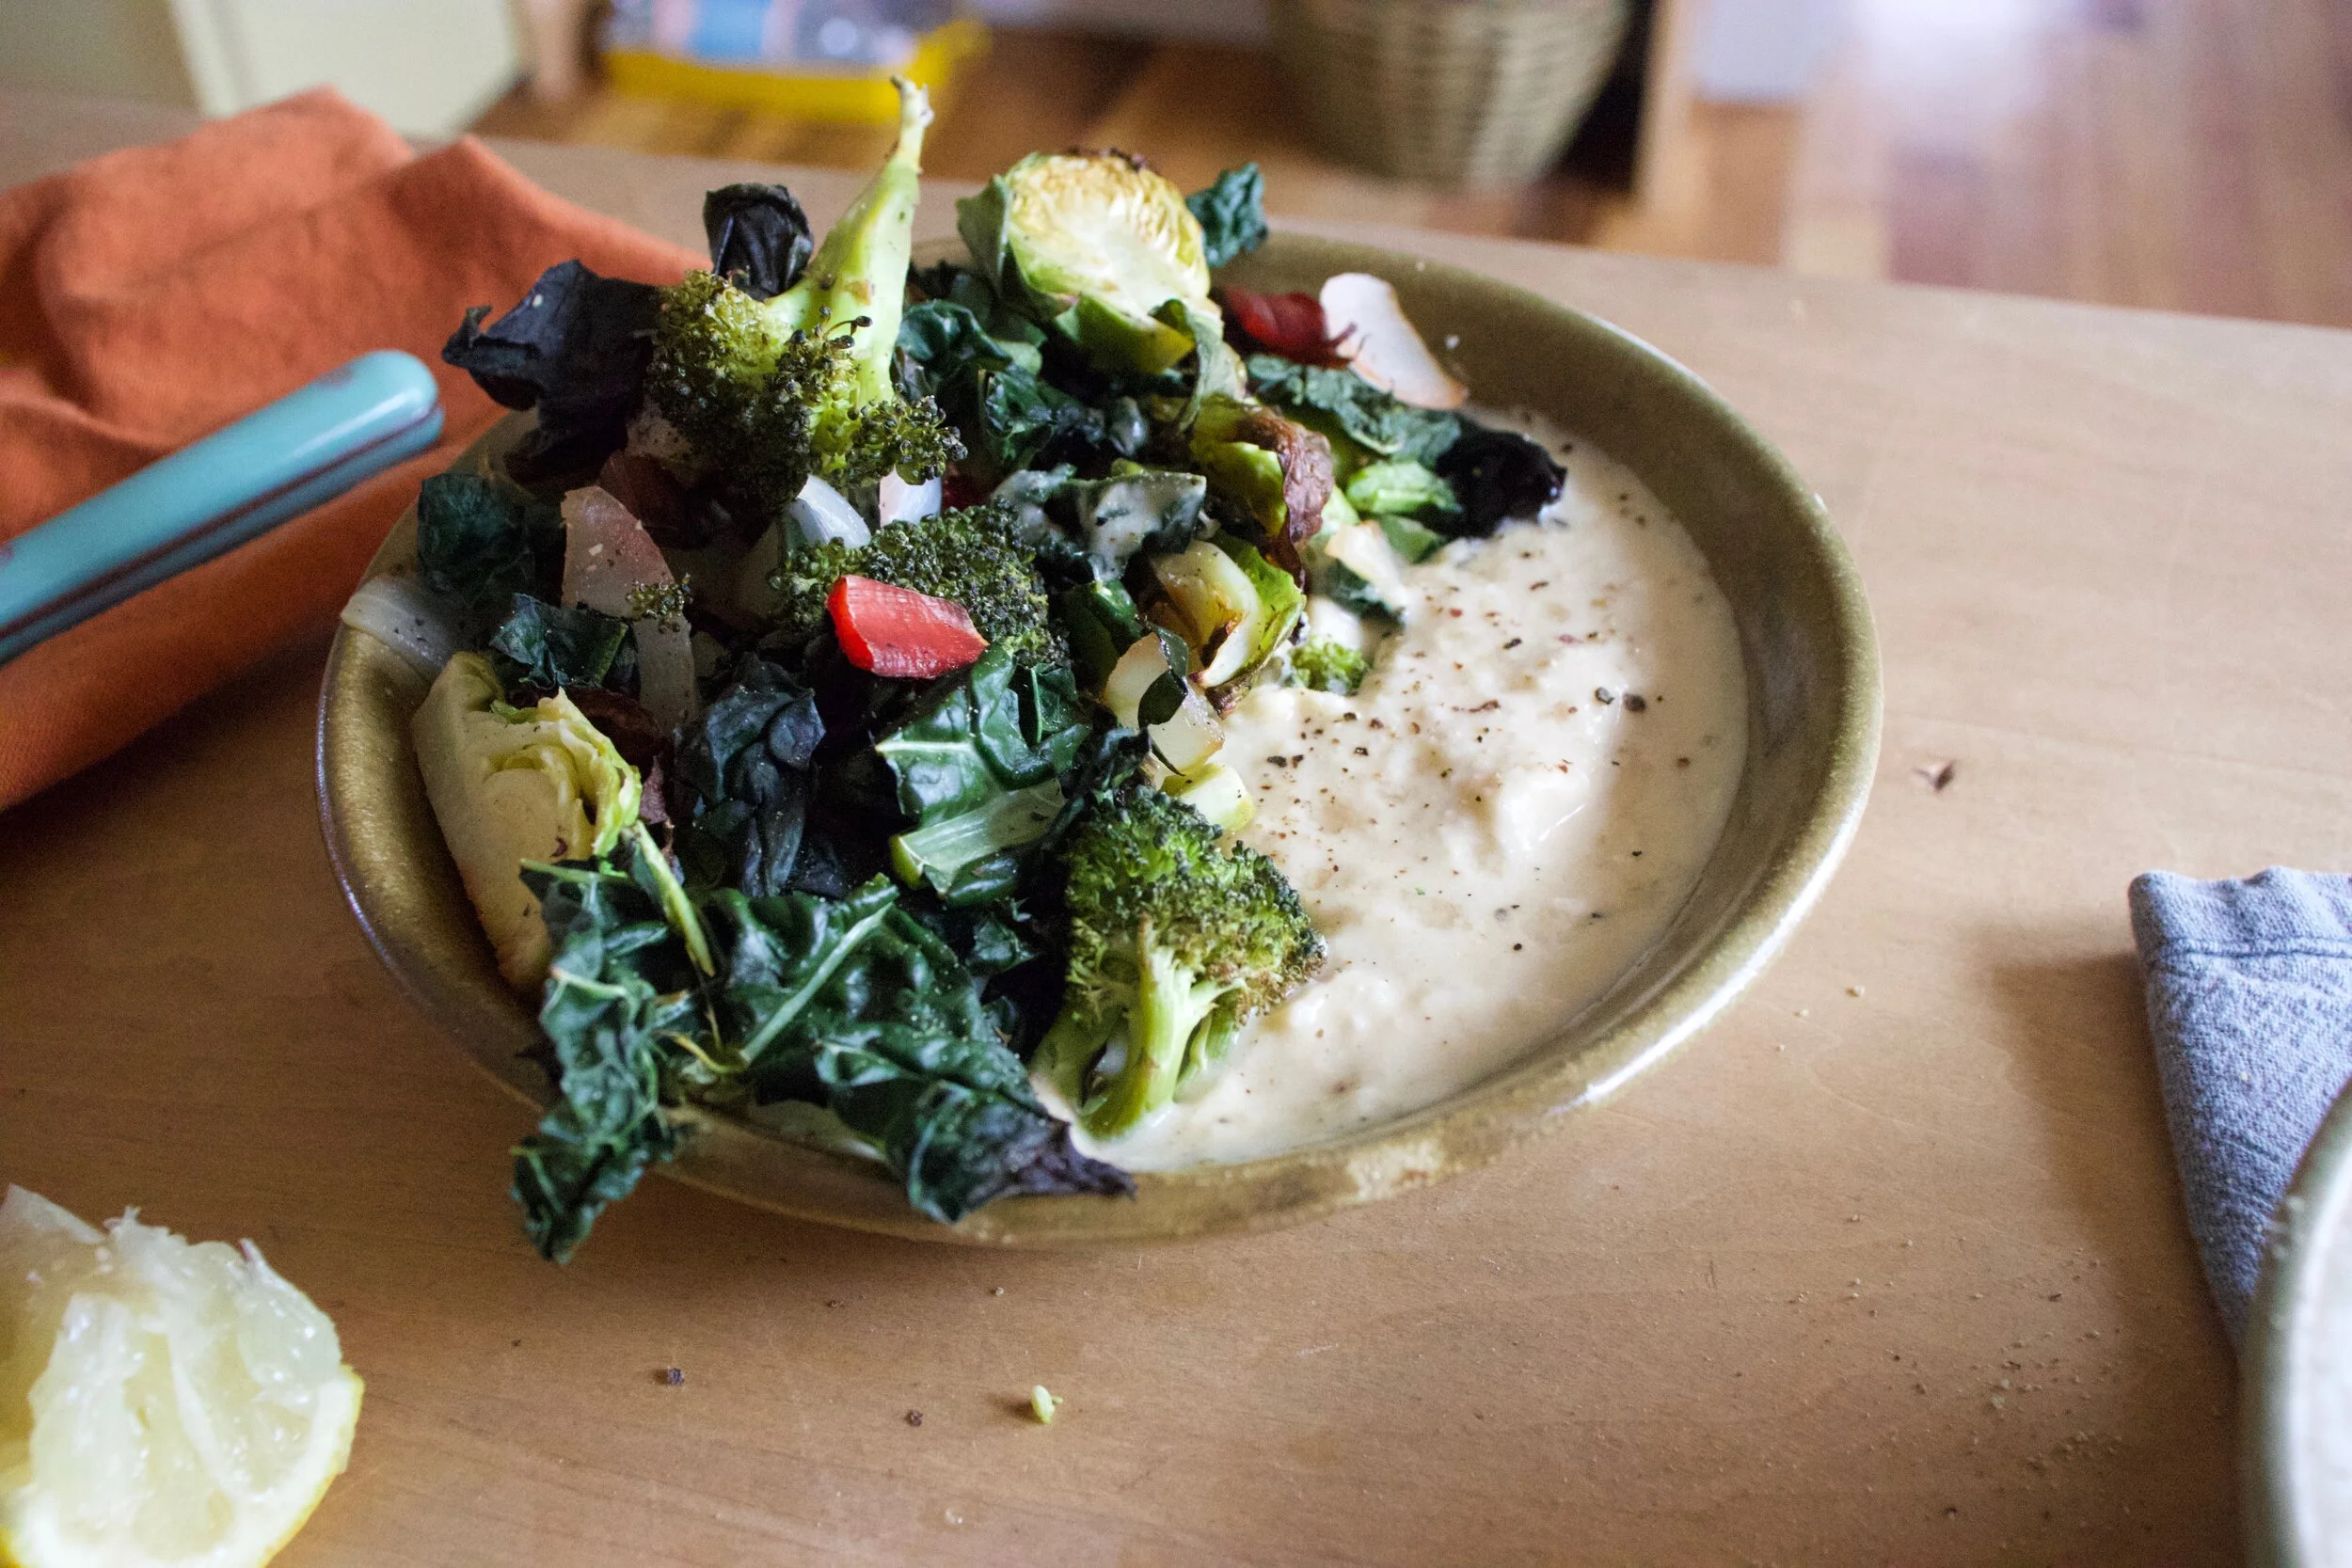
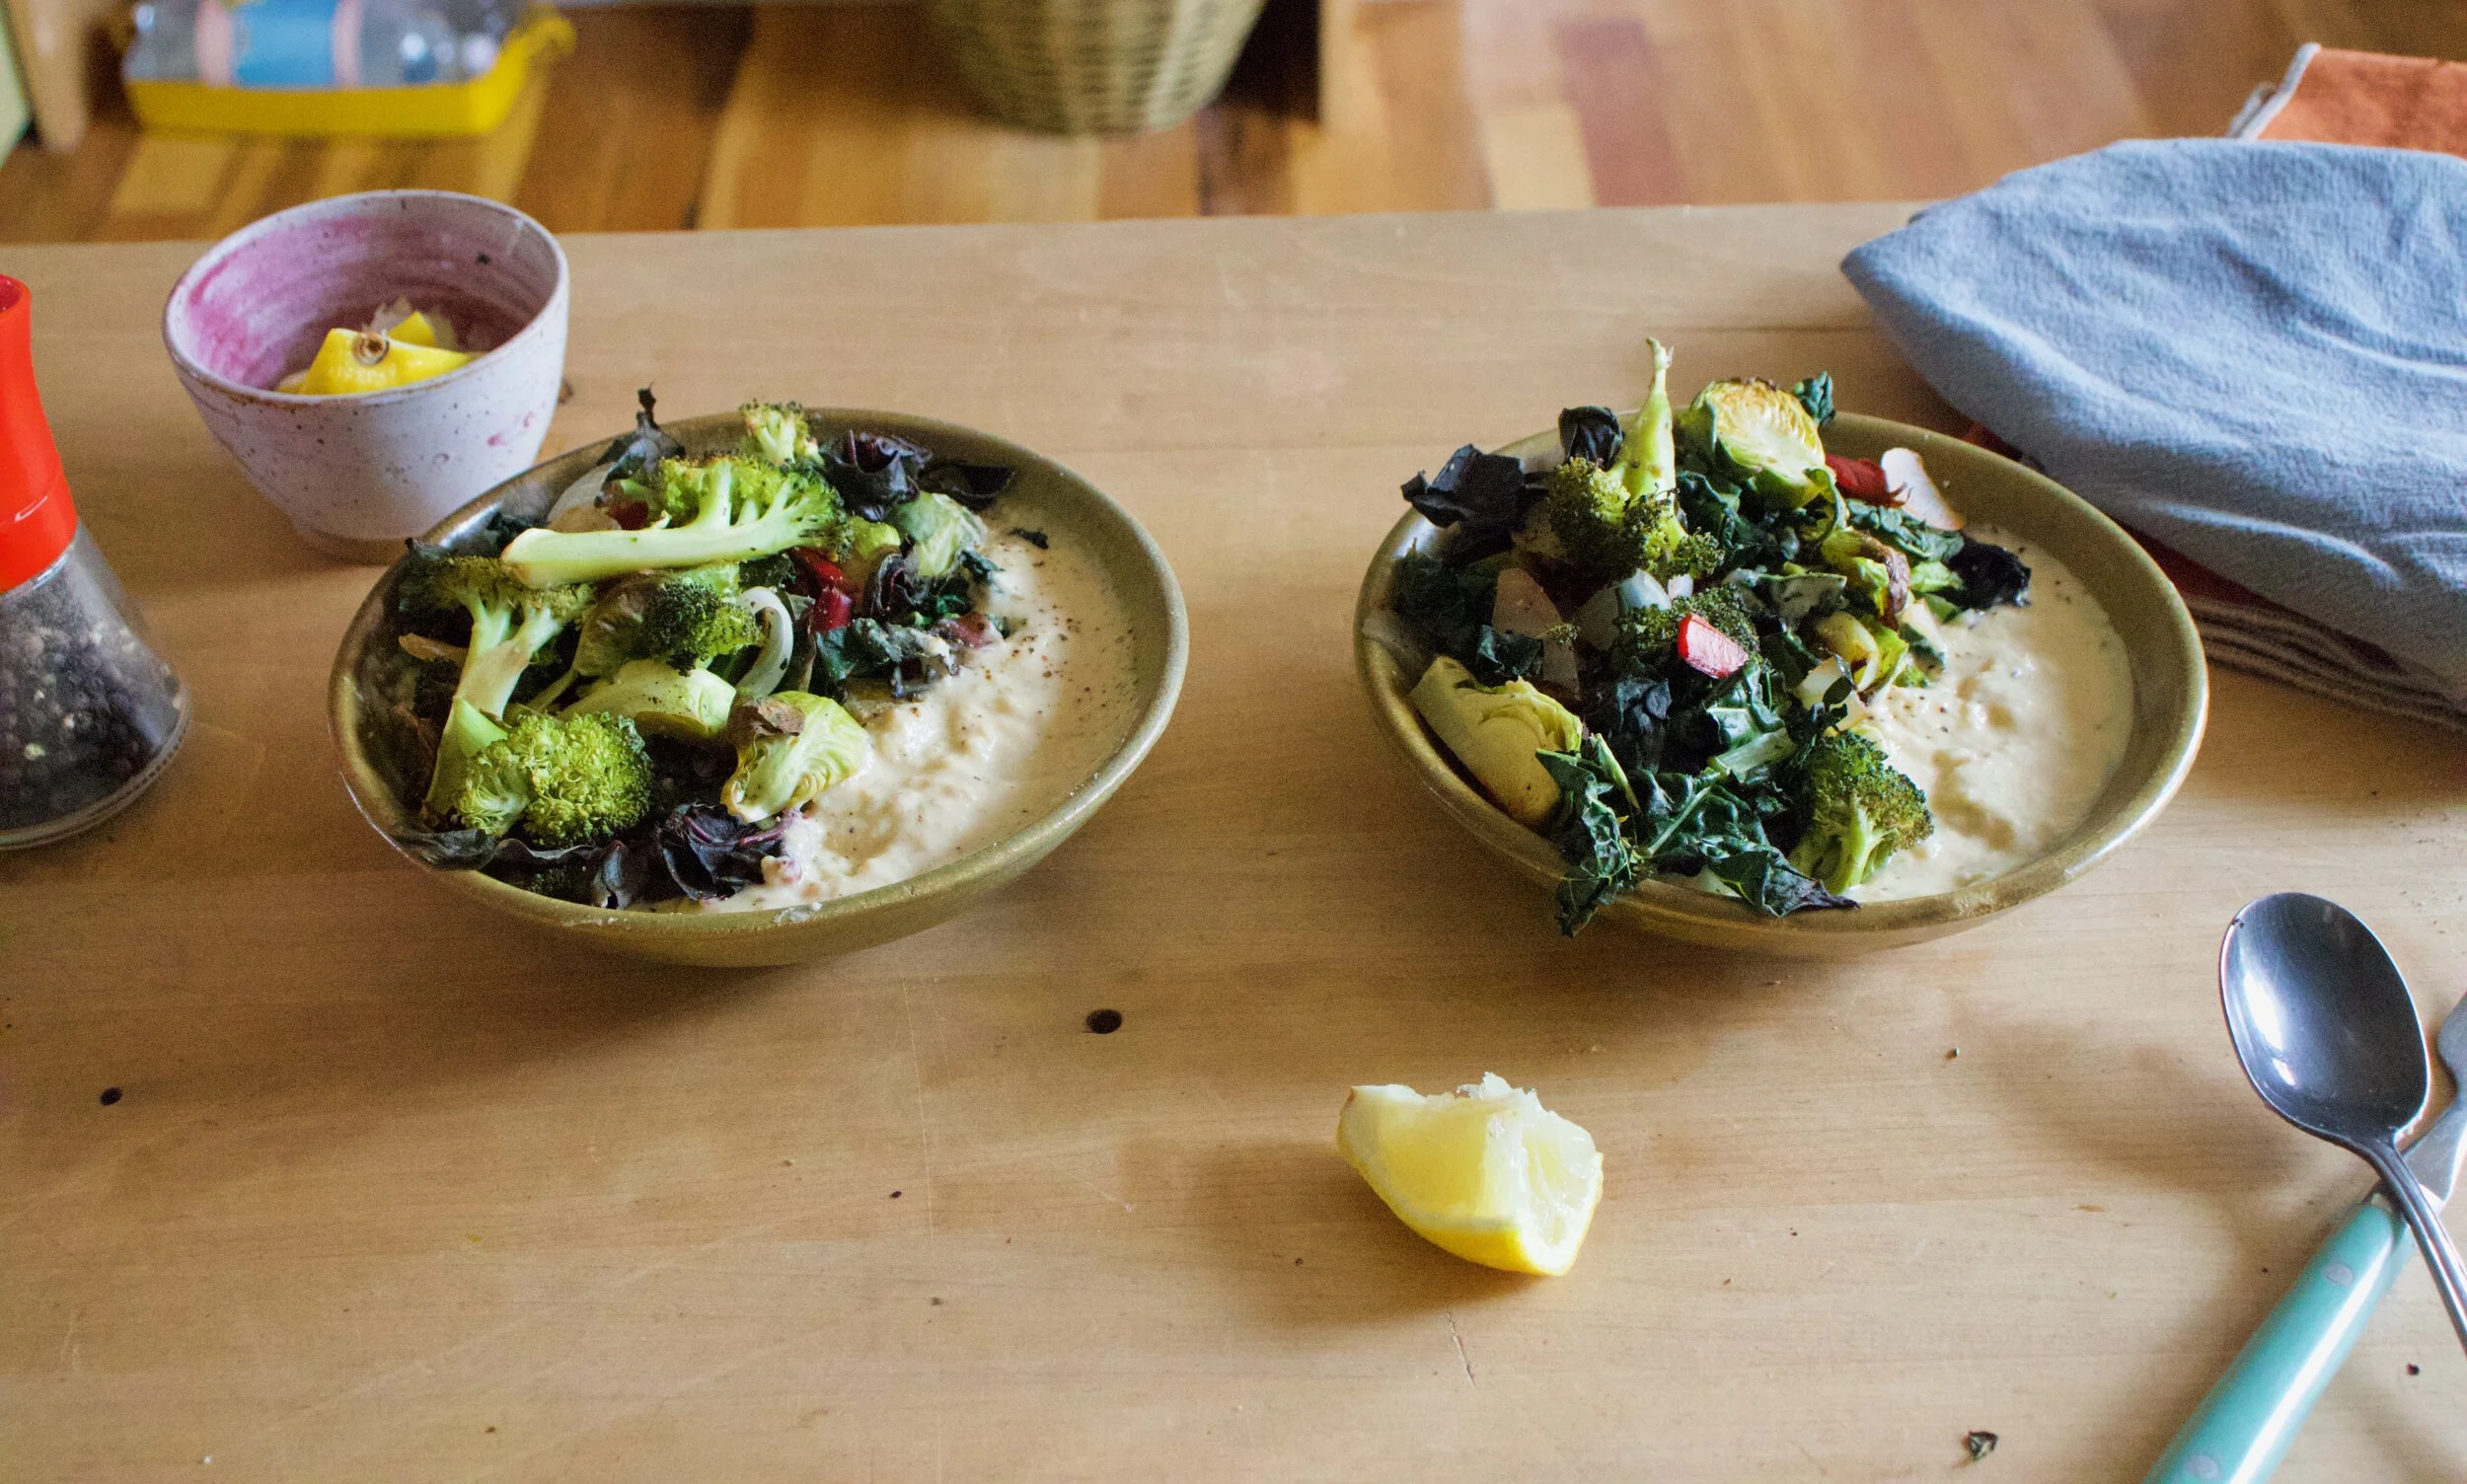
Enter hummus and veggies.
You can’t really go wrong with a good hummus and veggies meal situation and sometimes it’s all that can be right. I for one could eat bowls and bowls of hummus, and sometime do, so this is not a stretch for me. Especially this hummus. I knew I would like it, but man, was (was because I ate it all) it freaking delicious. The sunflower seeds really did it for me, gave it a little something extra, like a freshness that is still creamy and earthy, but is not quite, I don’t know, dark as tahini? %u00a0It’s kind of hard to explain without having you taste it (so make it and you tell me)%u00a0%u00a0Don’t get me wrong, I love tahini, but sometimes you just %u00a0got to mix it up. (Plus sunflowers seeds are dirt cheap. Tahini is not nearly as cheap so bonus there too.)%u00a0%u00a0Maybe its because the sunflower seeds bring the sunshine to your mouth. A sun filled mouth of pureed seeds and beans.%u00a0 Yup, that’s what it is.
So here ya go, a no heat meal (or snack or spread).%u00a0We got this.
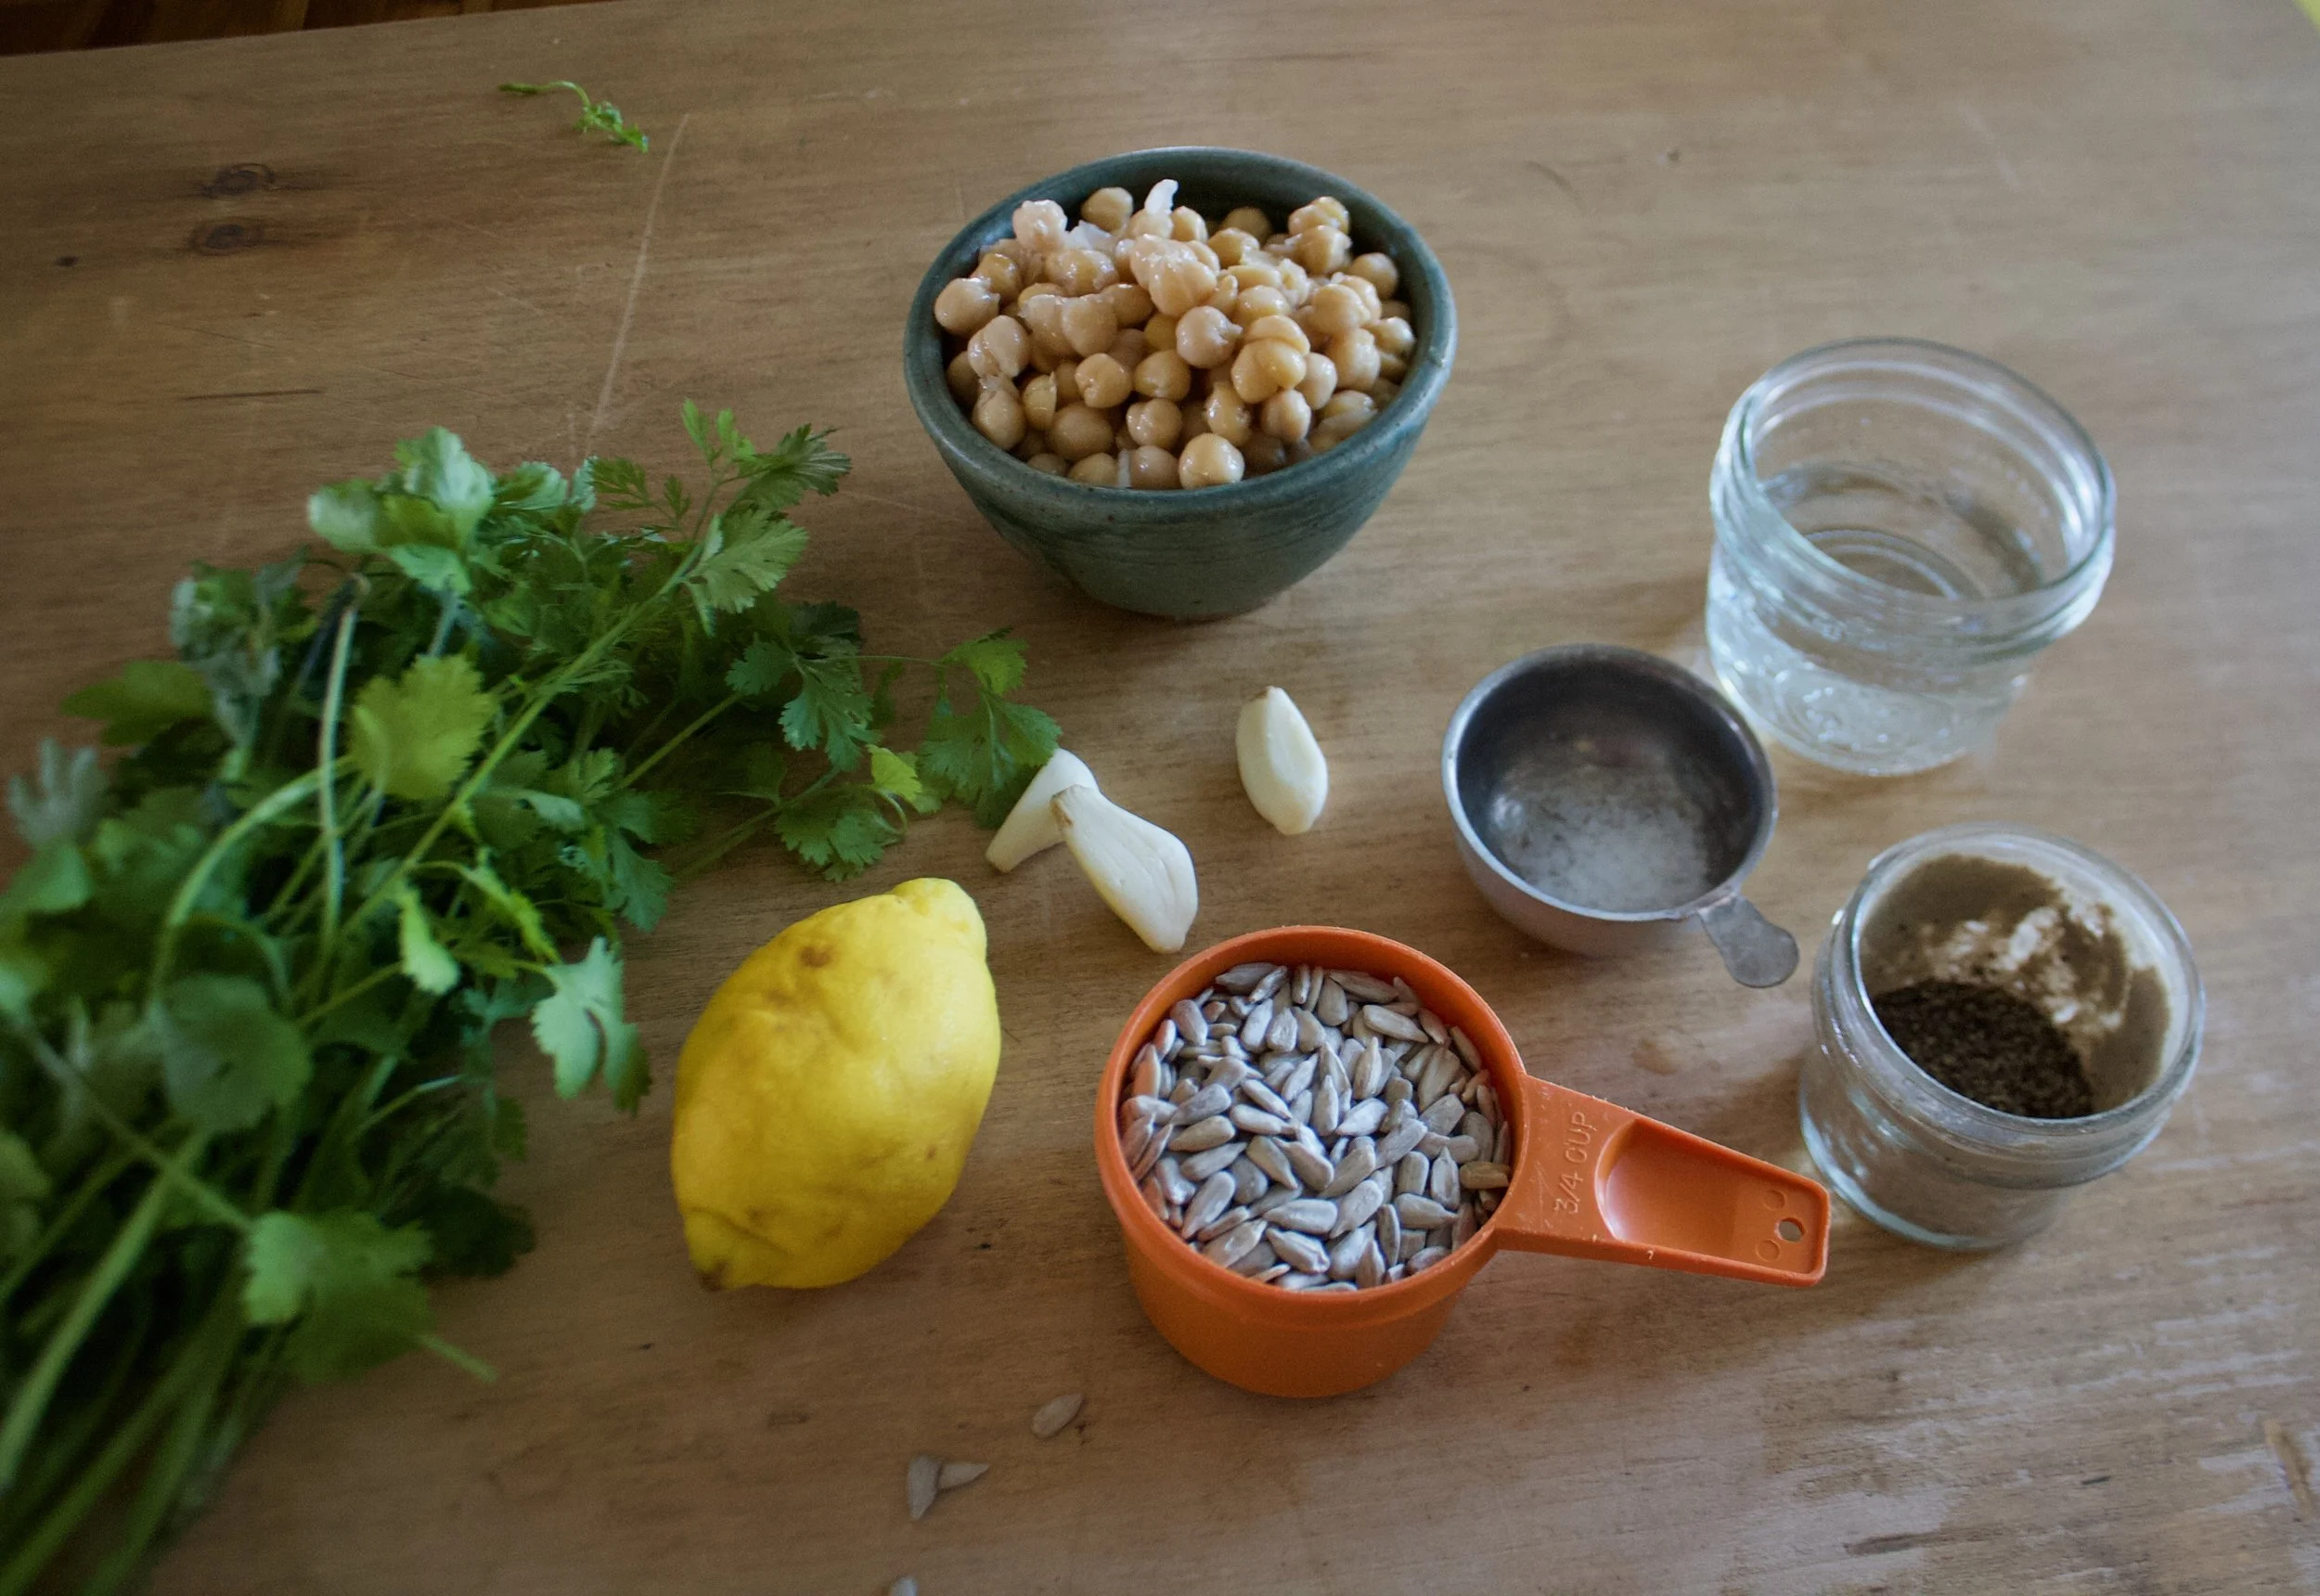
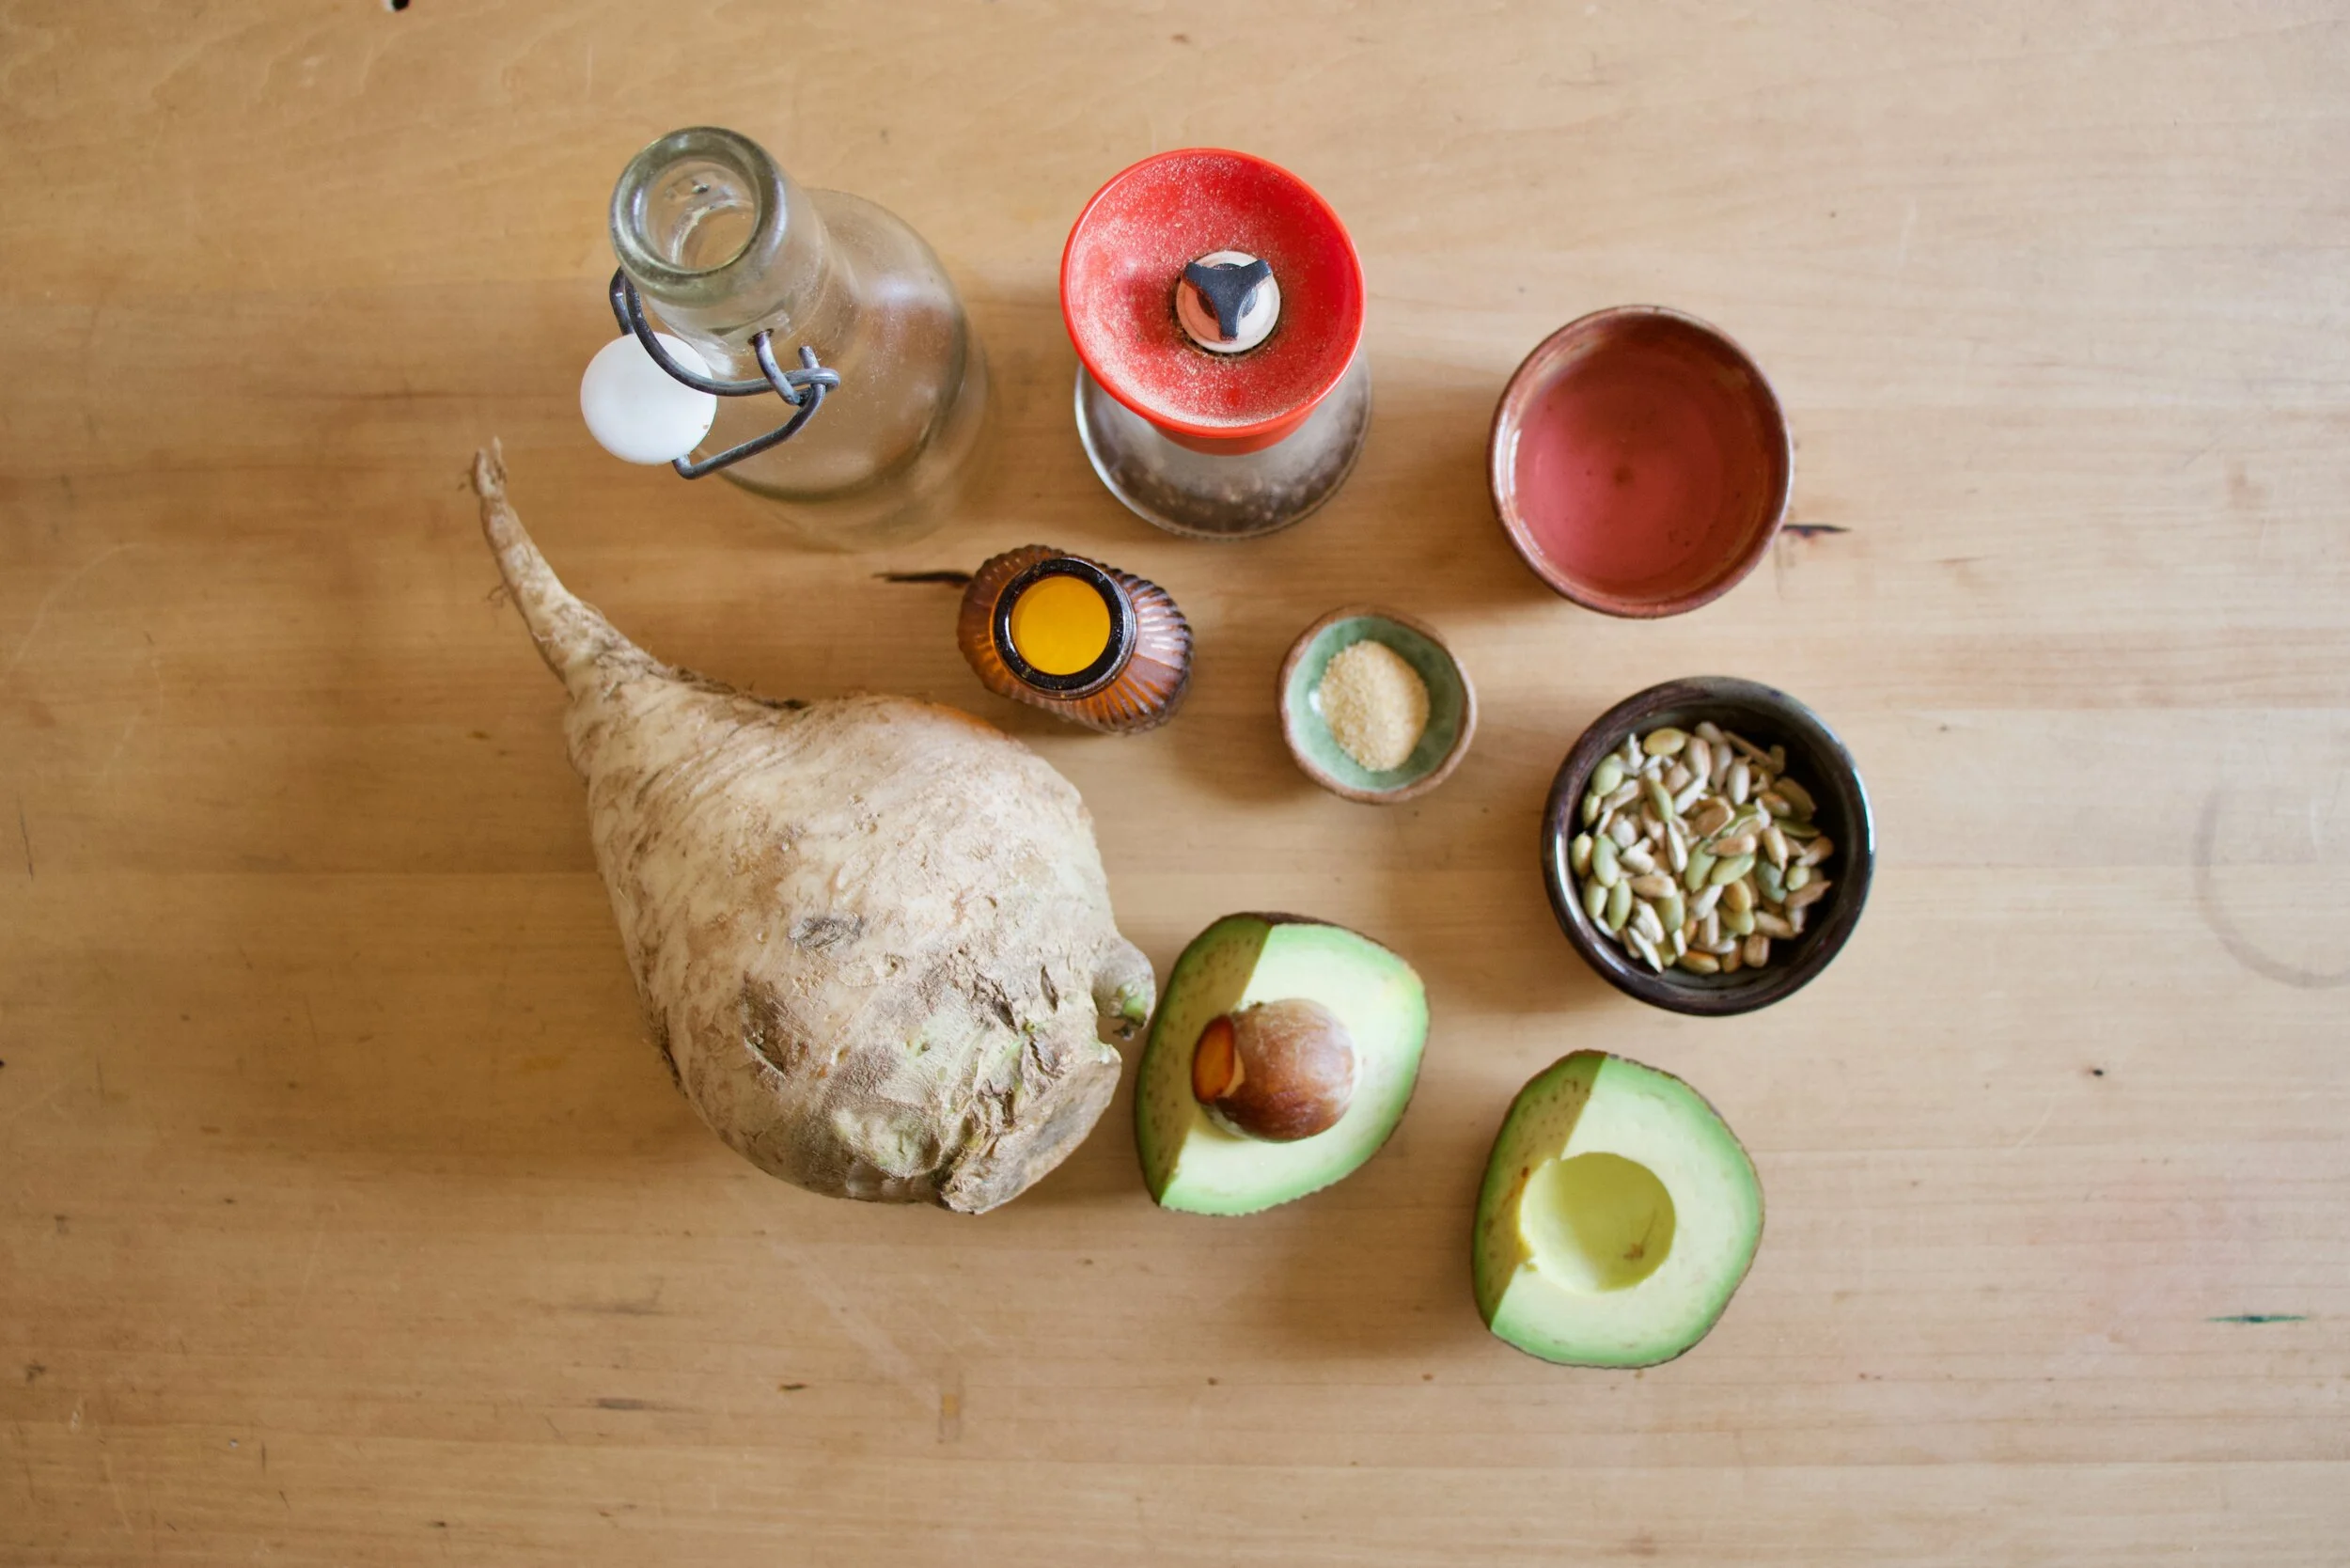
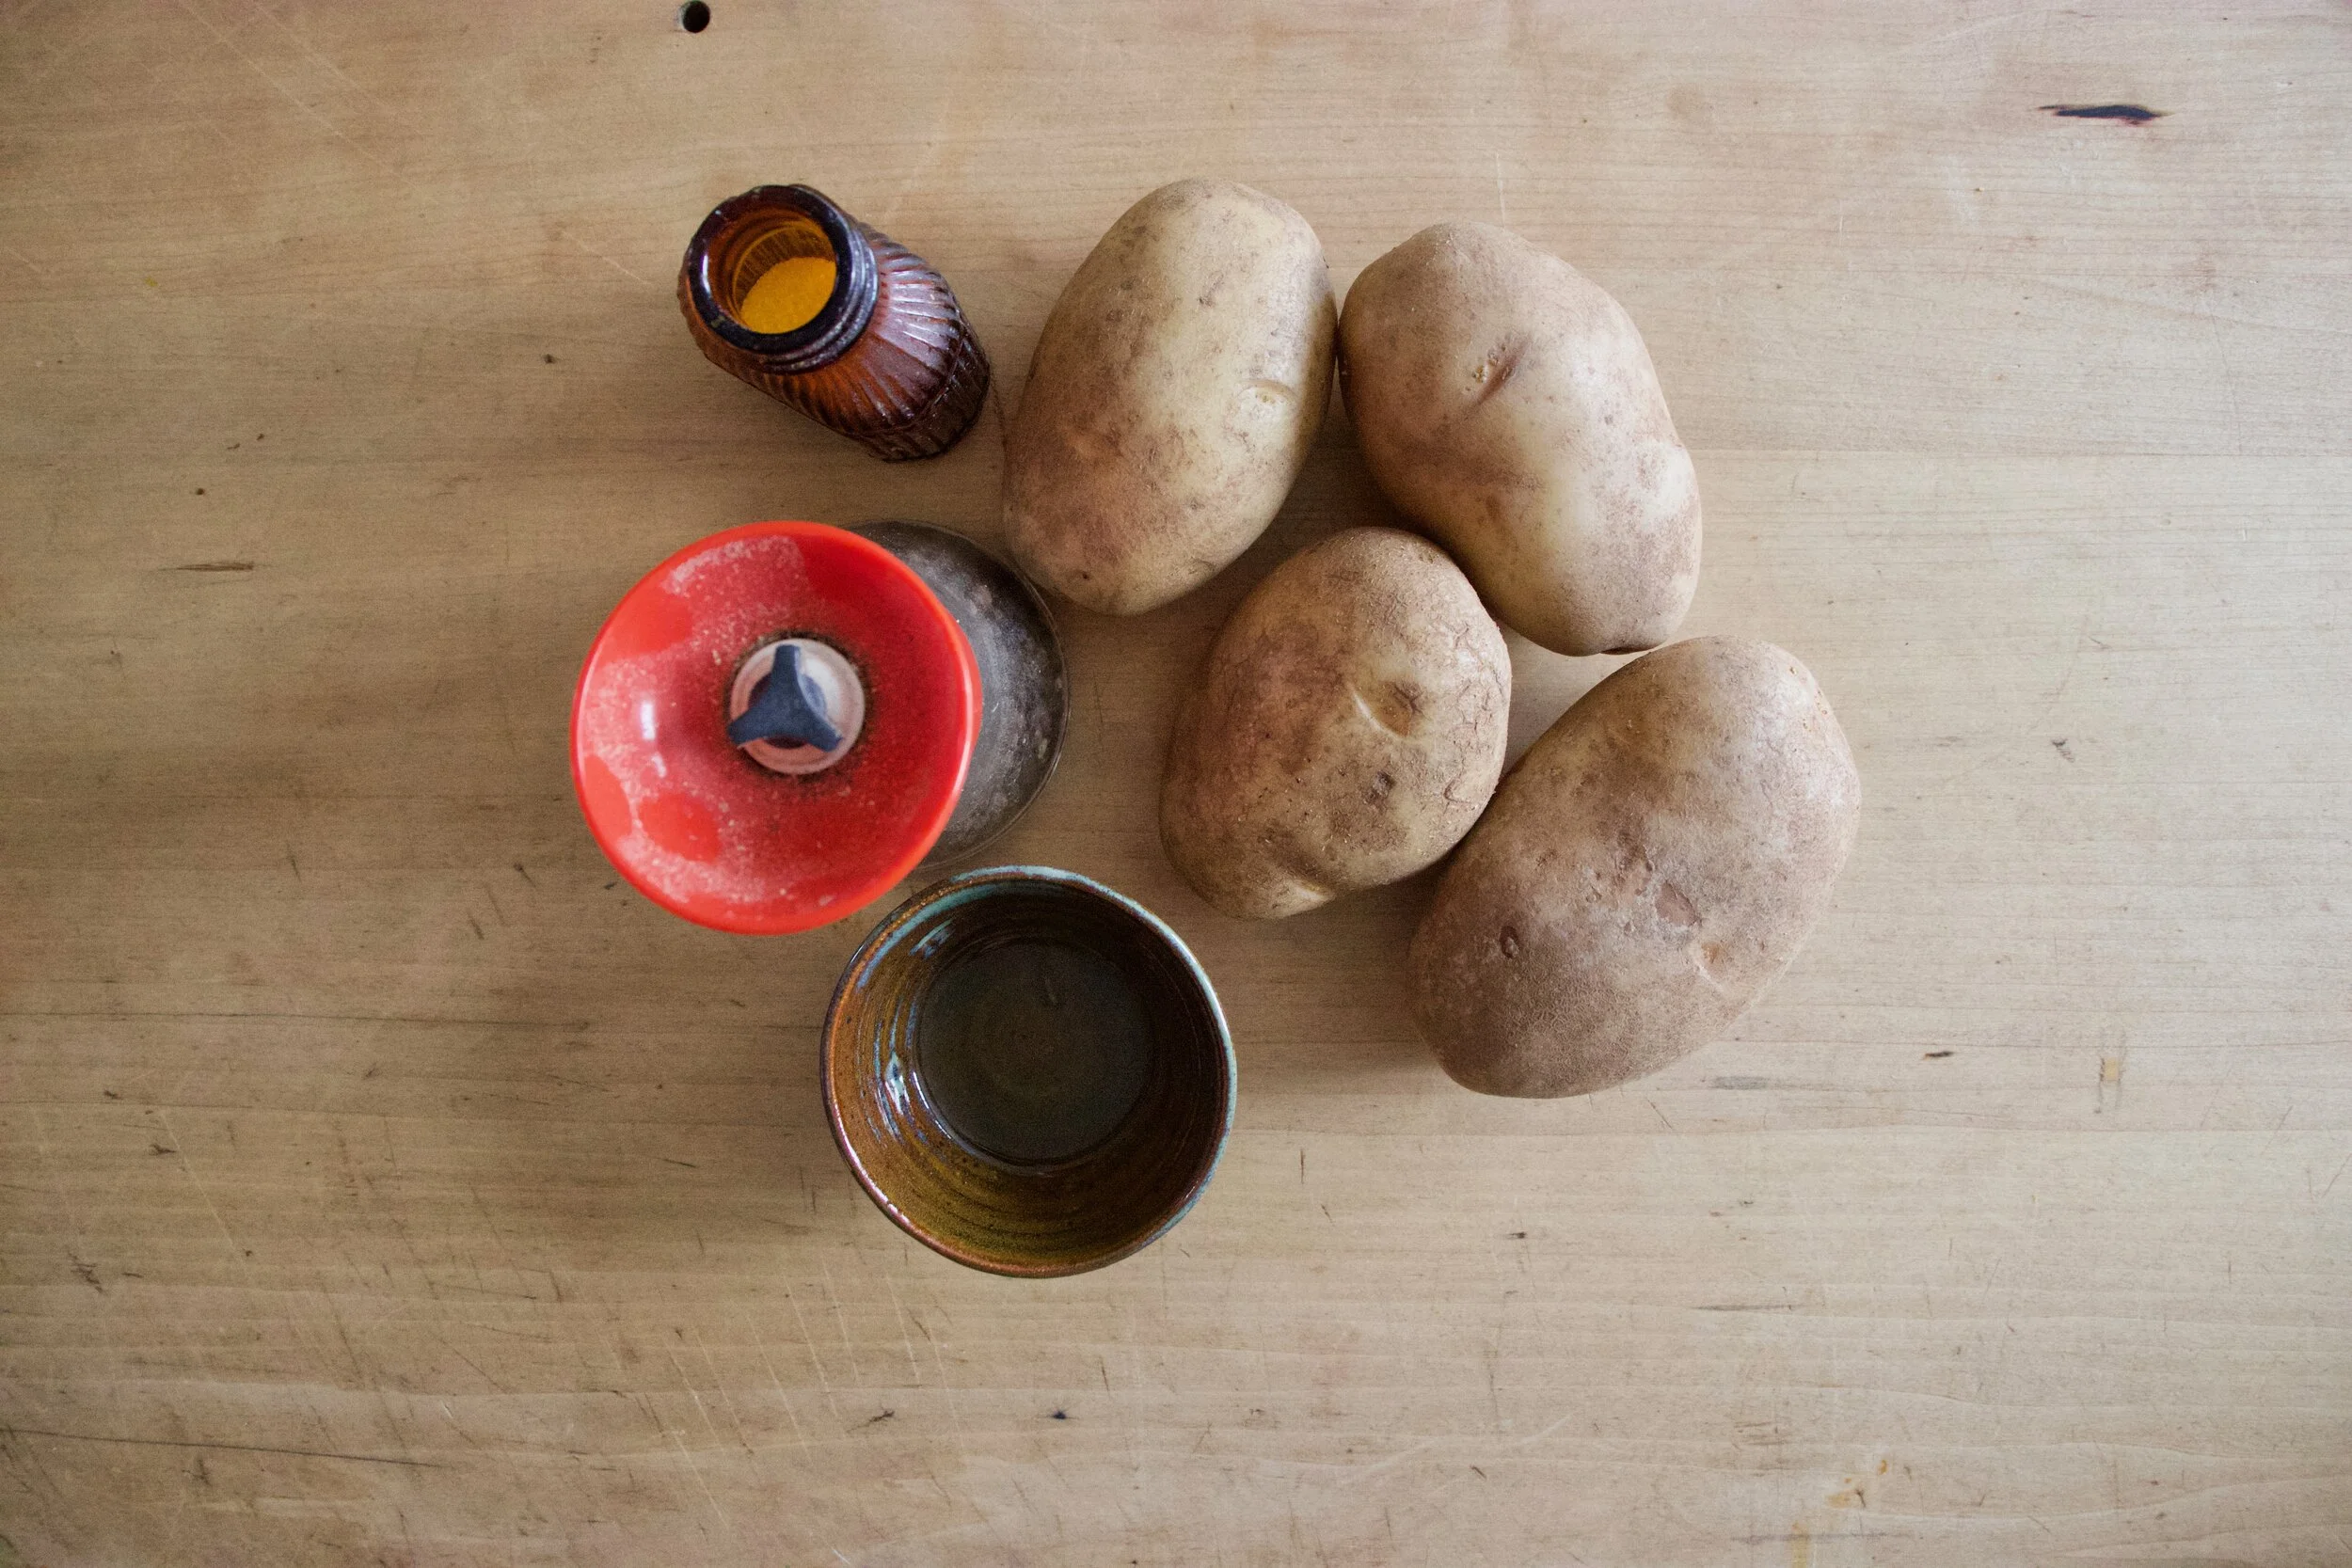
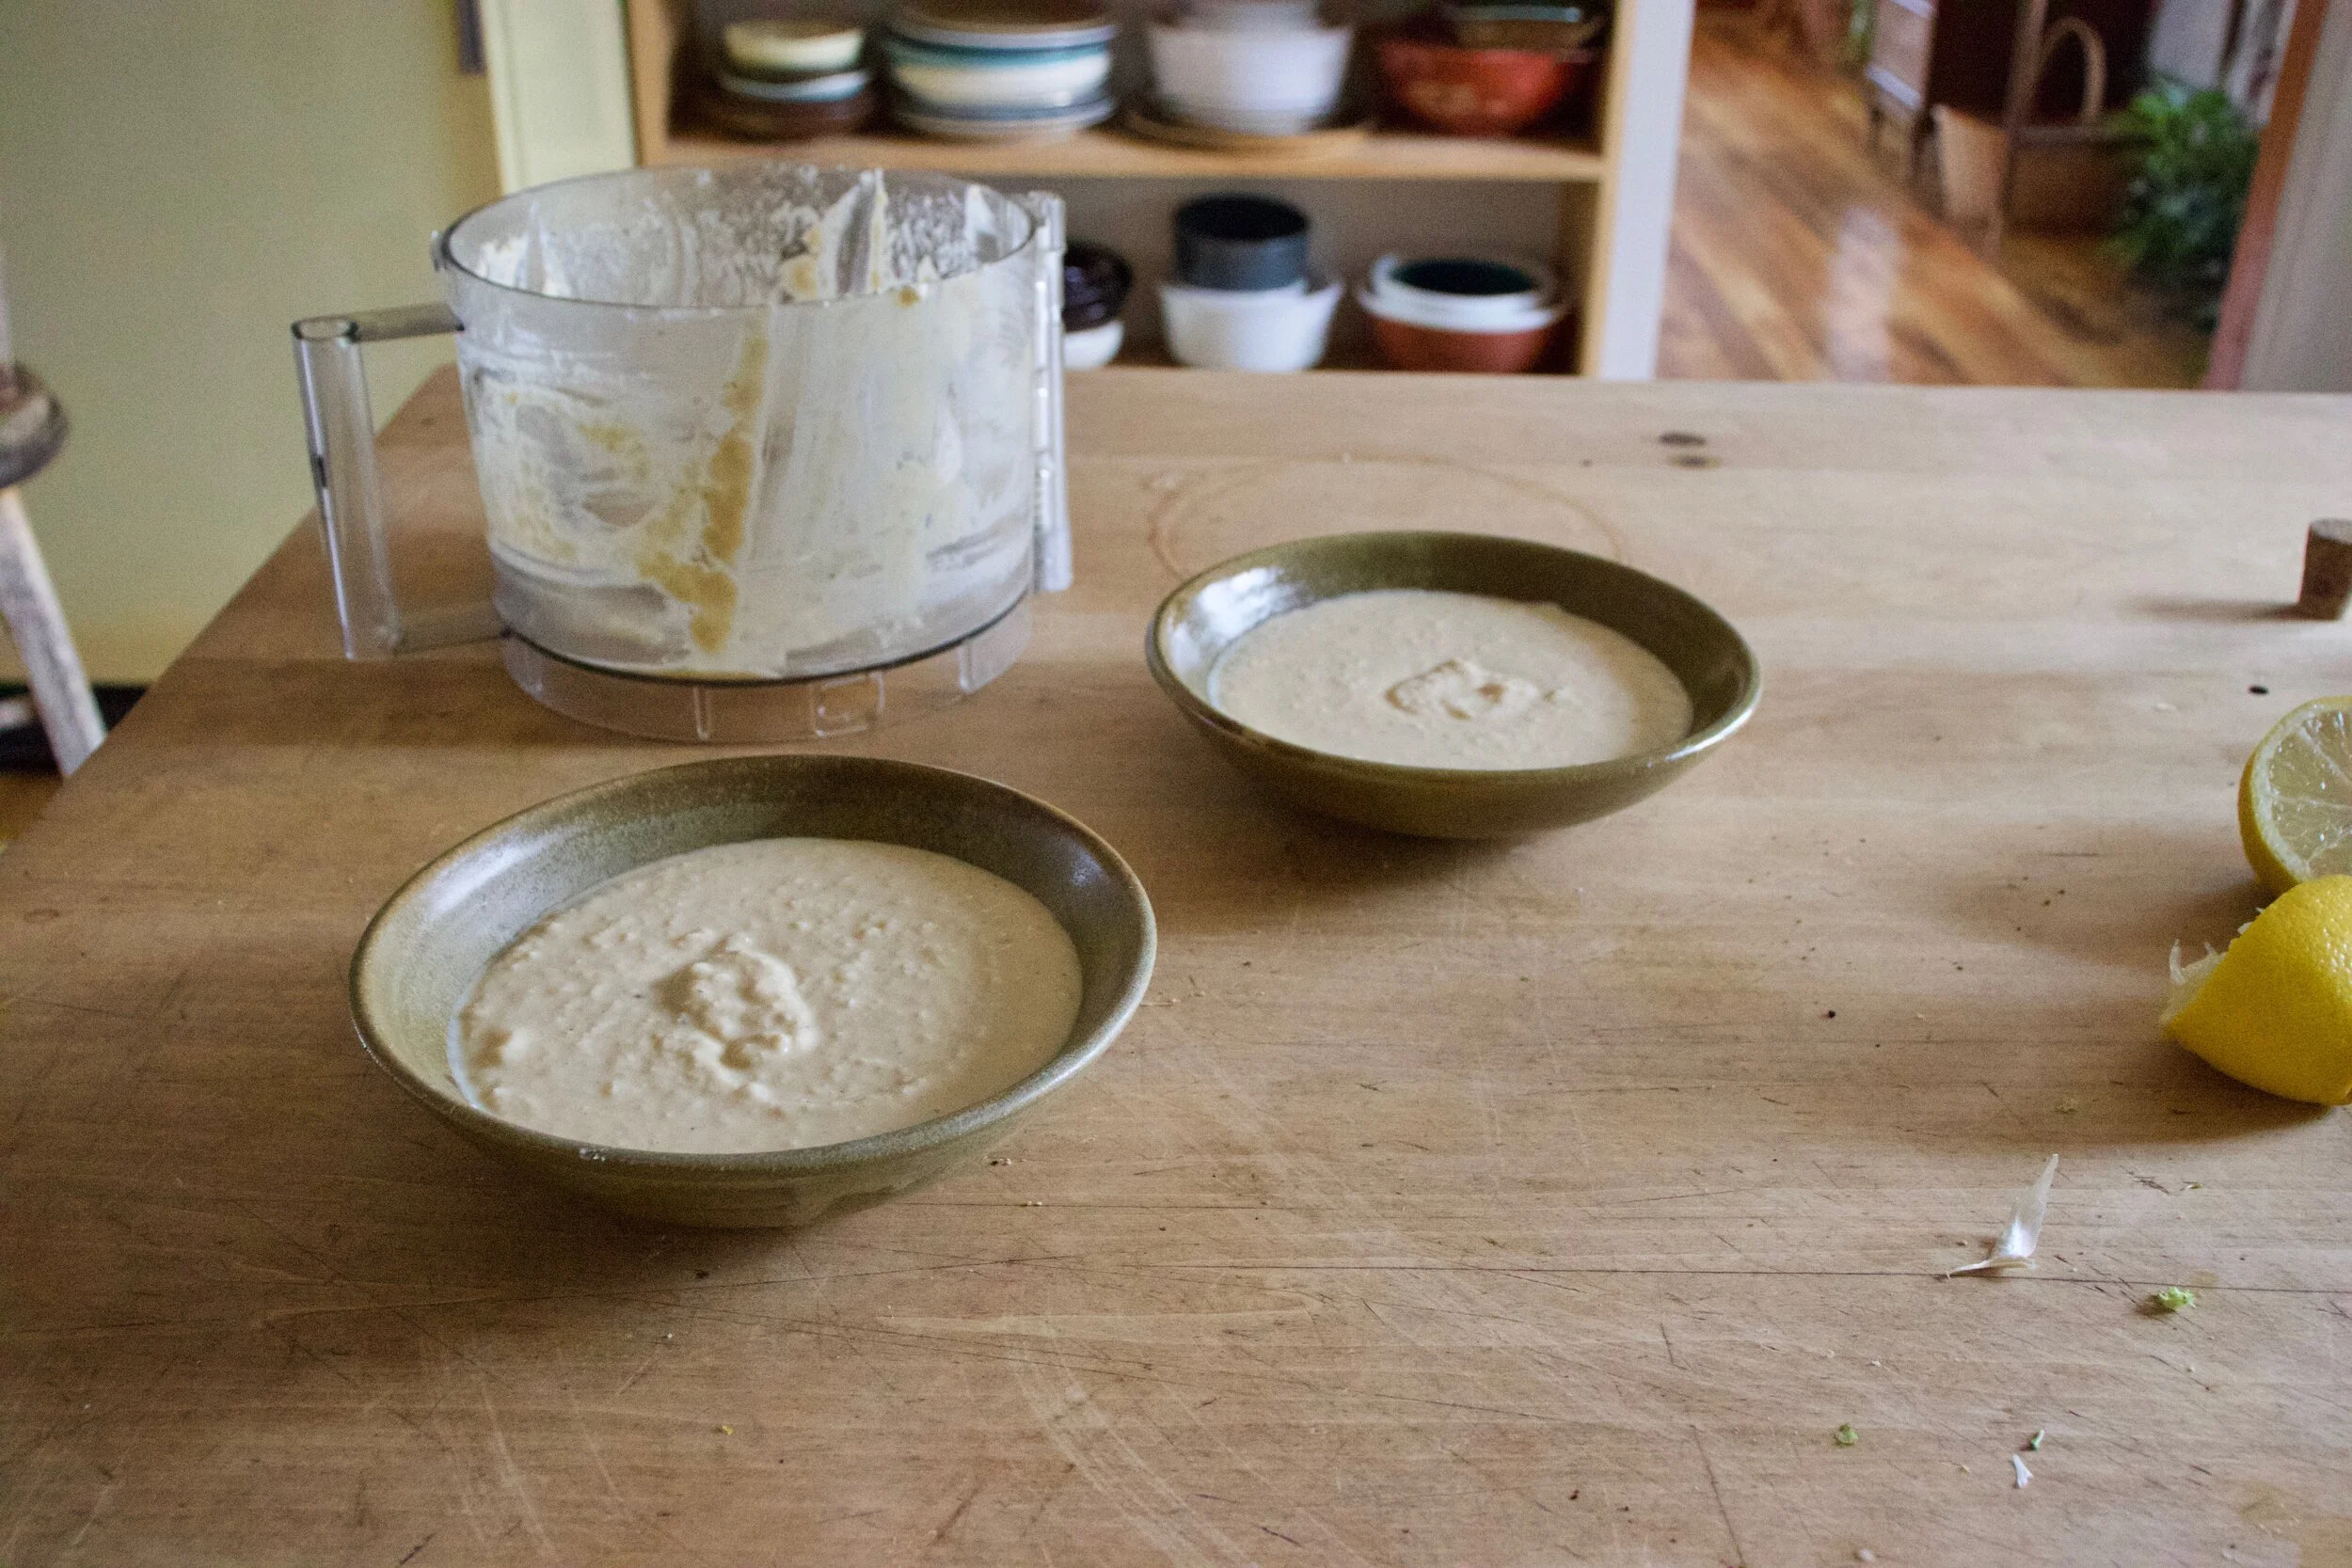
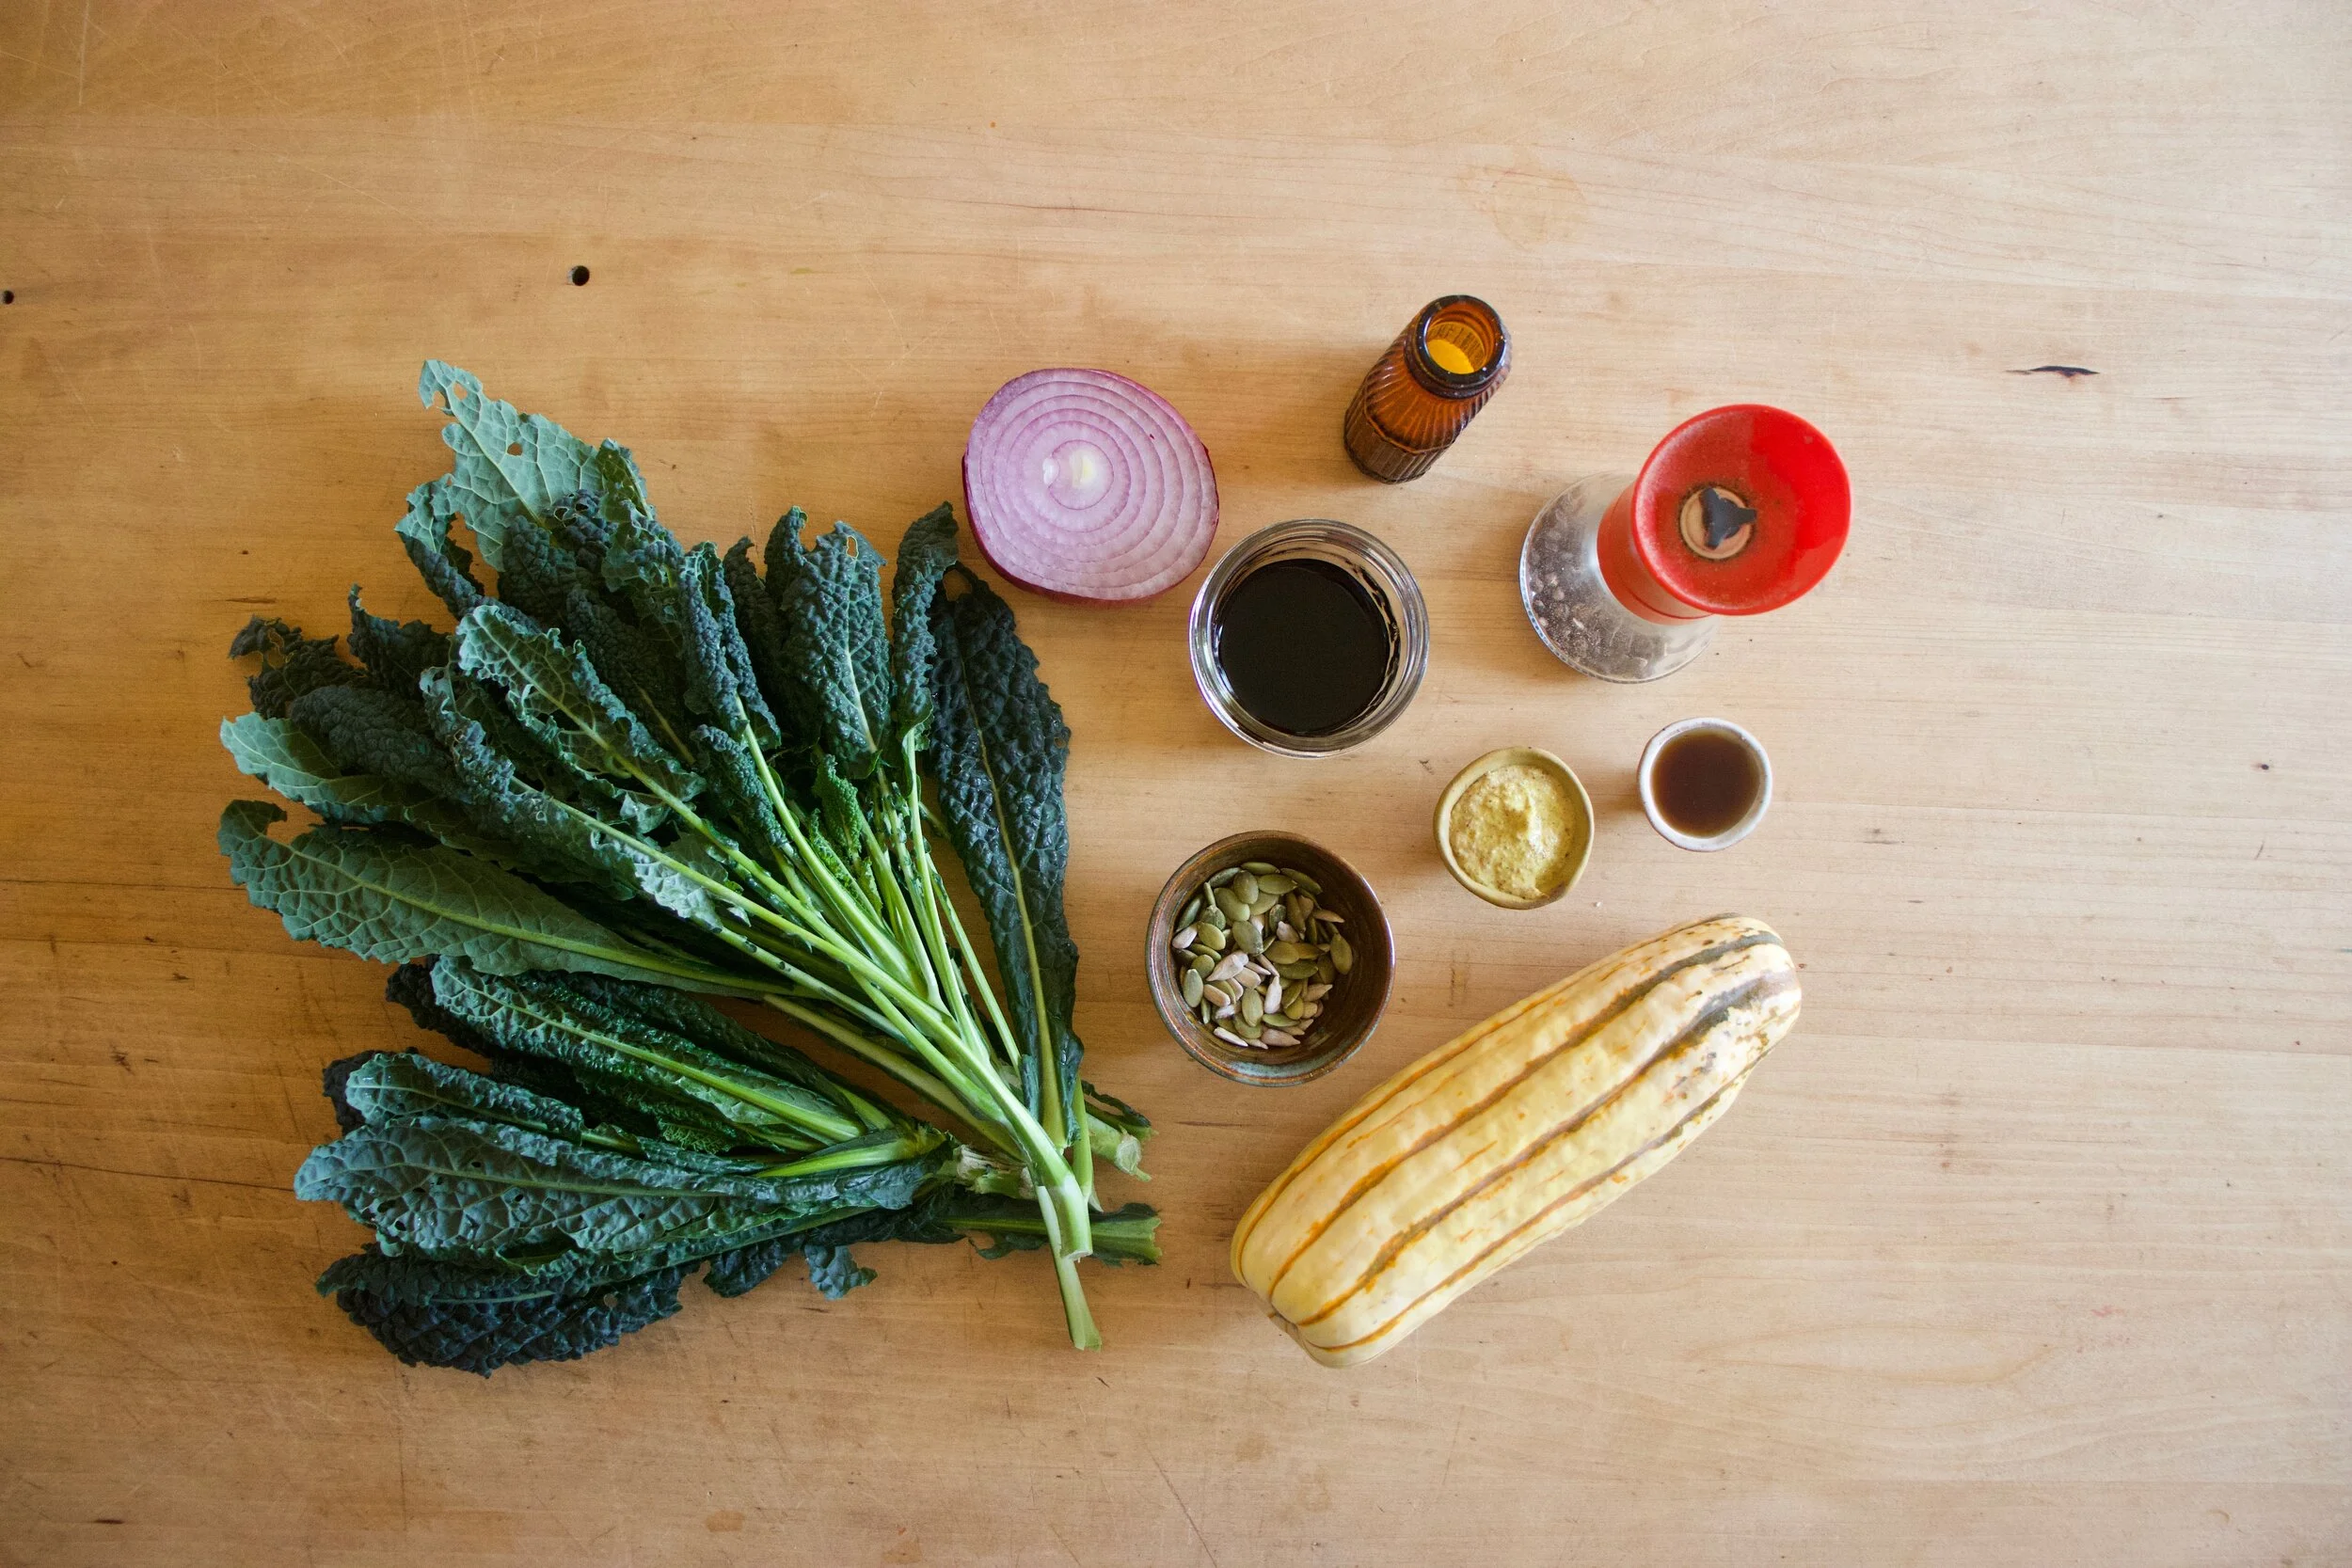
The stuff. %u00a0Cooked chickpeas (no need to cook your own, canned is a okay), sunflower seeds, a lemon, a few cloves of garlic, salt, pepper, a little water, and some herby green like parsley or cilantro.%u00a0
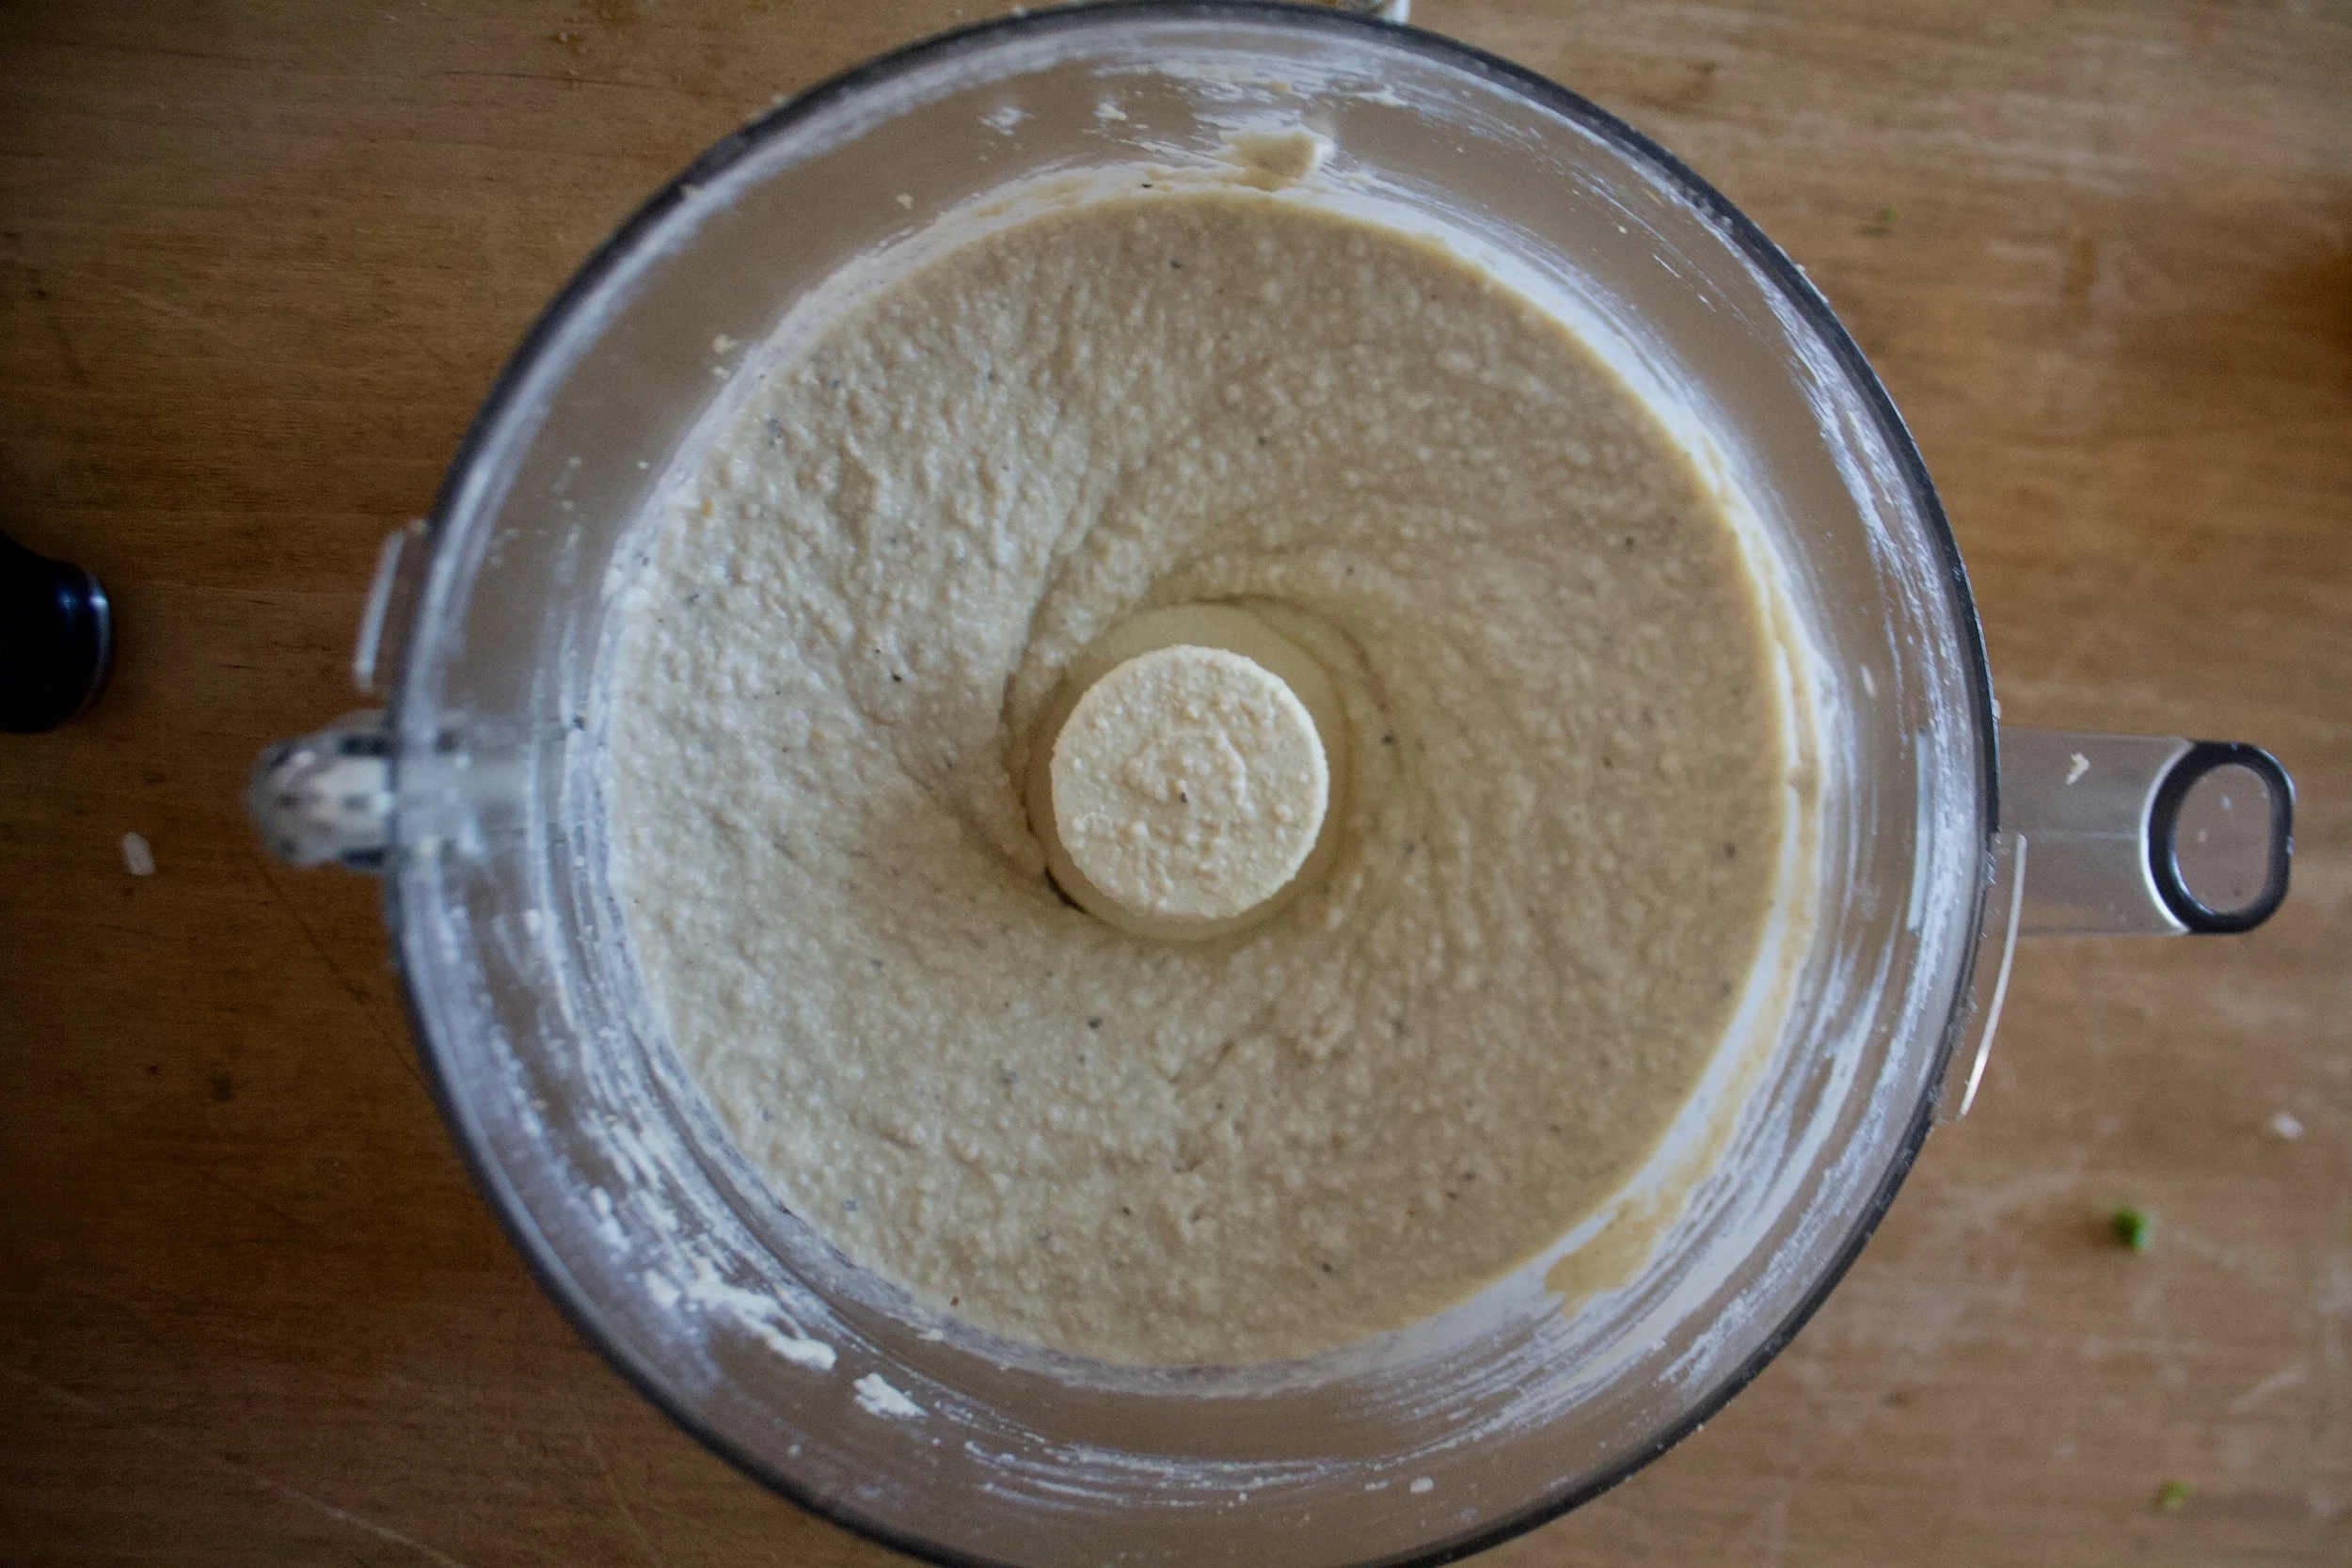
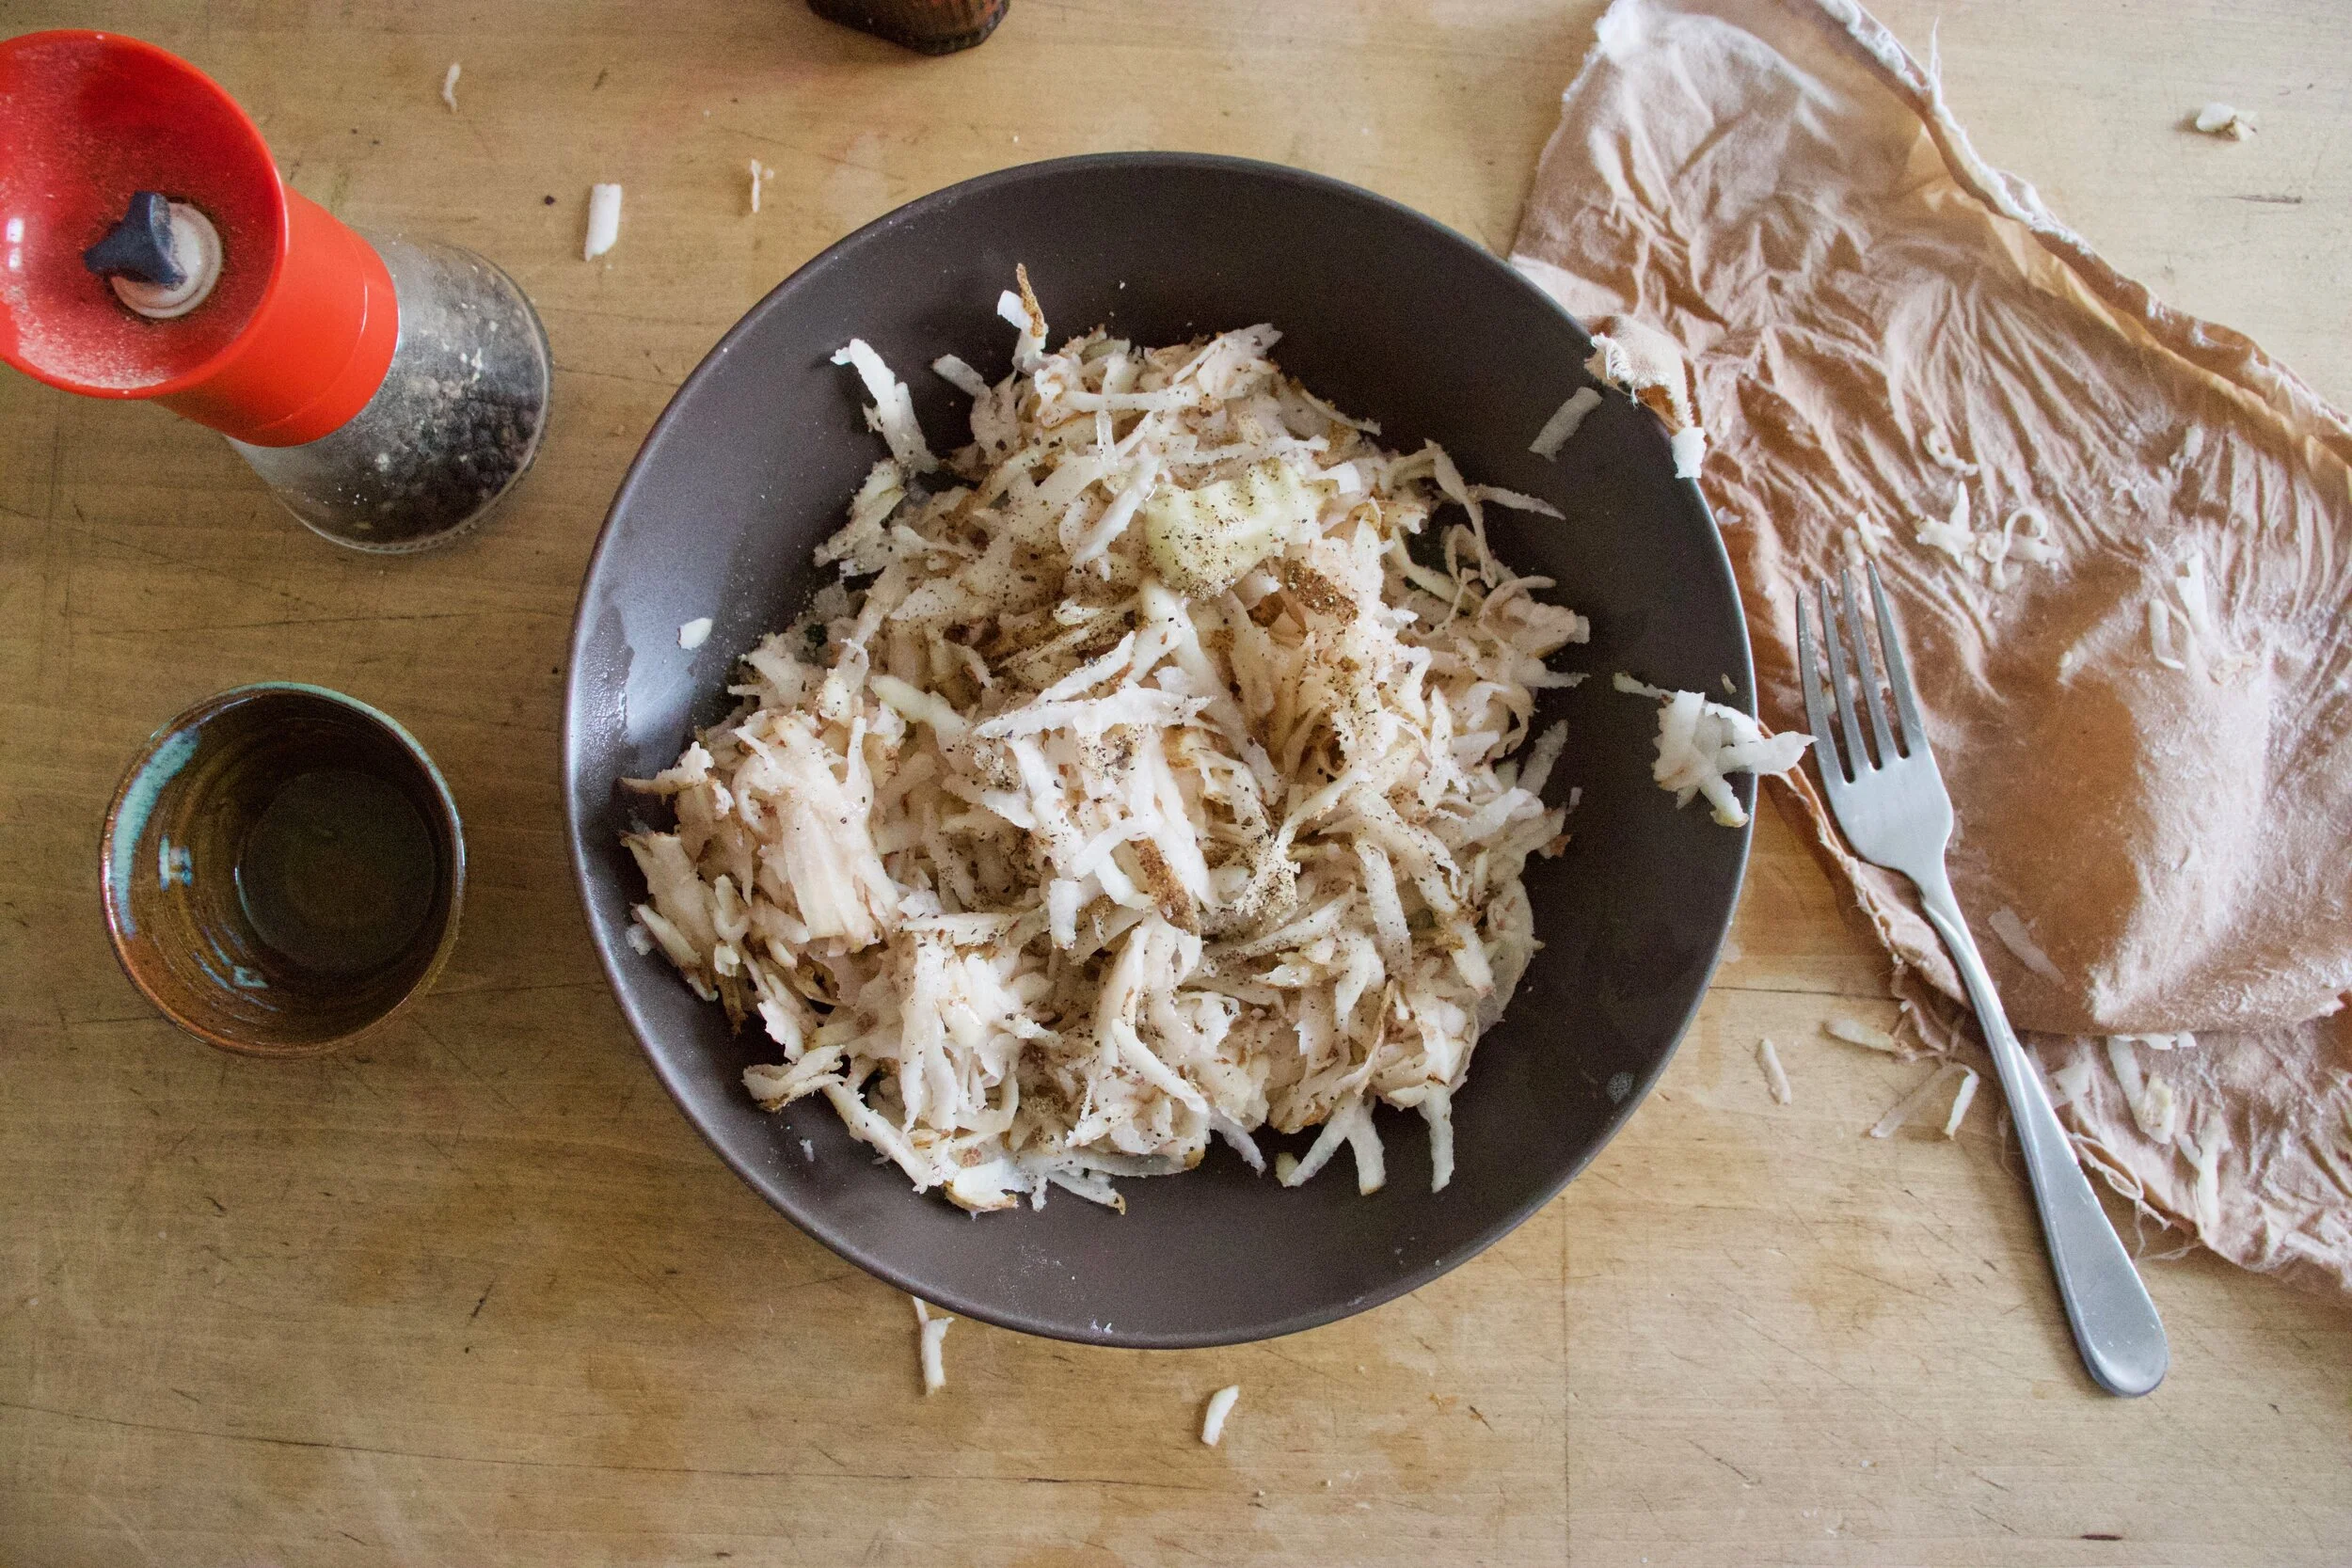
Hummus is pretty basic, it’s just stuff blended up, but because we are starting with raw sunflower seeds, we need to really bend the shit out of them until they turn into a paste, so do that, which is going to a take about 8-10 minutes. Then once its pasty, add in the garlic and the juice of the lemon and blend until its all smooth.
Could almost stop here at this point. Sunflower seed goodness all emulsified. Taste it, it is so good.
Now add in the chickpeas and a pinch of salt and pepper.
Blended until smooth with a little drizzle of water to give just the right consistency. %u00a0And that’s it.
Pile a bowl full enough that you can call it dinner them top with a good amount of fresh herbs. Serve with chopped up fresh veggies or whatever you like and we are good to go.
Creamy, dreamy sunflower hummus, no heat required!%u00a0
Stay not melted!
-C
Makes about 2 3/4 cups
Place the sunflower seeds in food processor and turn on until seeds turn into a paste, which will take about 8-10 minutes. After every few minutes, scrap the sides down to make sure it all gets blended. Once the seeds reach paste consistency,%u00a0add in the juice of the lemon and the garlic. Blend until smooth. Last off, add in the chickpeas and a pinch or salt and pepper and blend until smooth, adding %u00a0in a tablespoon or two of water to get the hummus to the consistency of your liking. Once blended taste and check for seasoning (add more salt and or pepper if needed)%u00a0
When the hummus is done, scrape into bowl(s), and top with lots of fresh herbs and a sprinkle more of sunflower seeds. Now eat it. Eat with veggies, with bread, with pretzels, or with a spoon (or finger). Do what you need to do.
%u00a0Any left over, if there is any, can be store in the fridge for 2-3 days.%u00a0