
THE LOVELY CRAZY
It happens every year. SO MANY TOMATOES! This is not a complaint, just a fun fact. And so for the forseeable future, besides canning and freezing tomatoes at a rapid pace, I will also be sticking them into everything. Enter here a tomato cracker. But who wants just a tomato cracker? I( bet some would love just a tomato cracker) But a tomato basil cracker, well that is something people will want. And yes, I have a buttload of basil at he moment too.. I cook with what I got!
Tomato basil crackers. First off, I needed to make a road snack for the mr and cut up chunks of raw tomatoes would not have gone down well with him, so I figured what better way to use up some tomatoes then a cracker situation because why the hell not.%u00a0%u00a0I was a little hesitant to use fresh tomatoes and not cook them or roast the in anyway before using them in the crackers, but I glad I didn’t. The tomato flavor really shines through, pairs beautifully with the basil,%u00a0and you get to skip having to deal with cooking down the tomatoes, which makes them all the more easy to make.
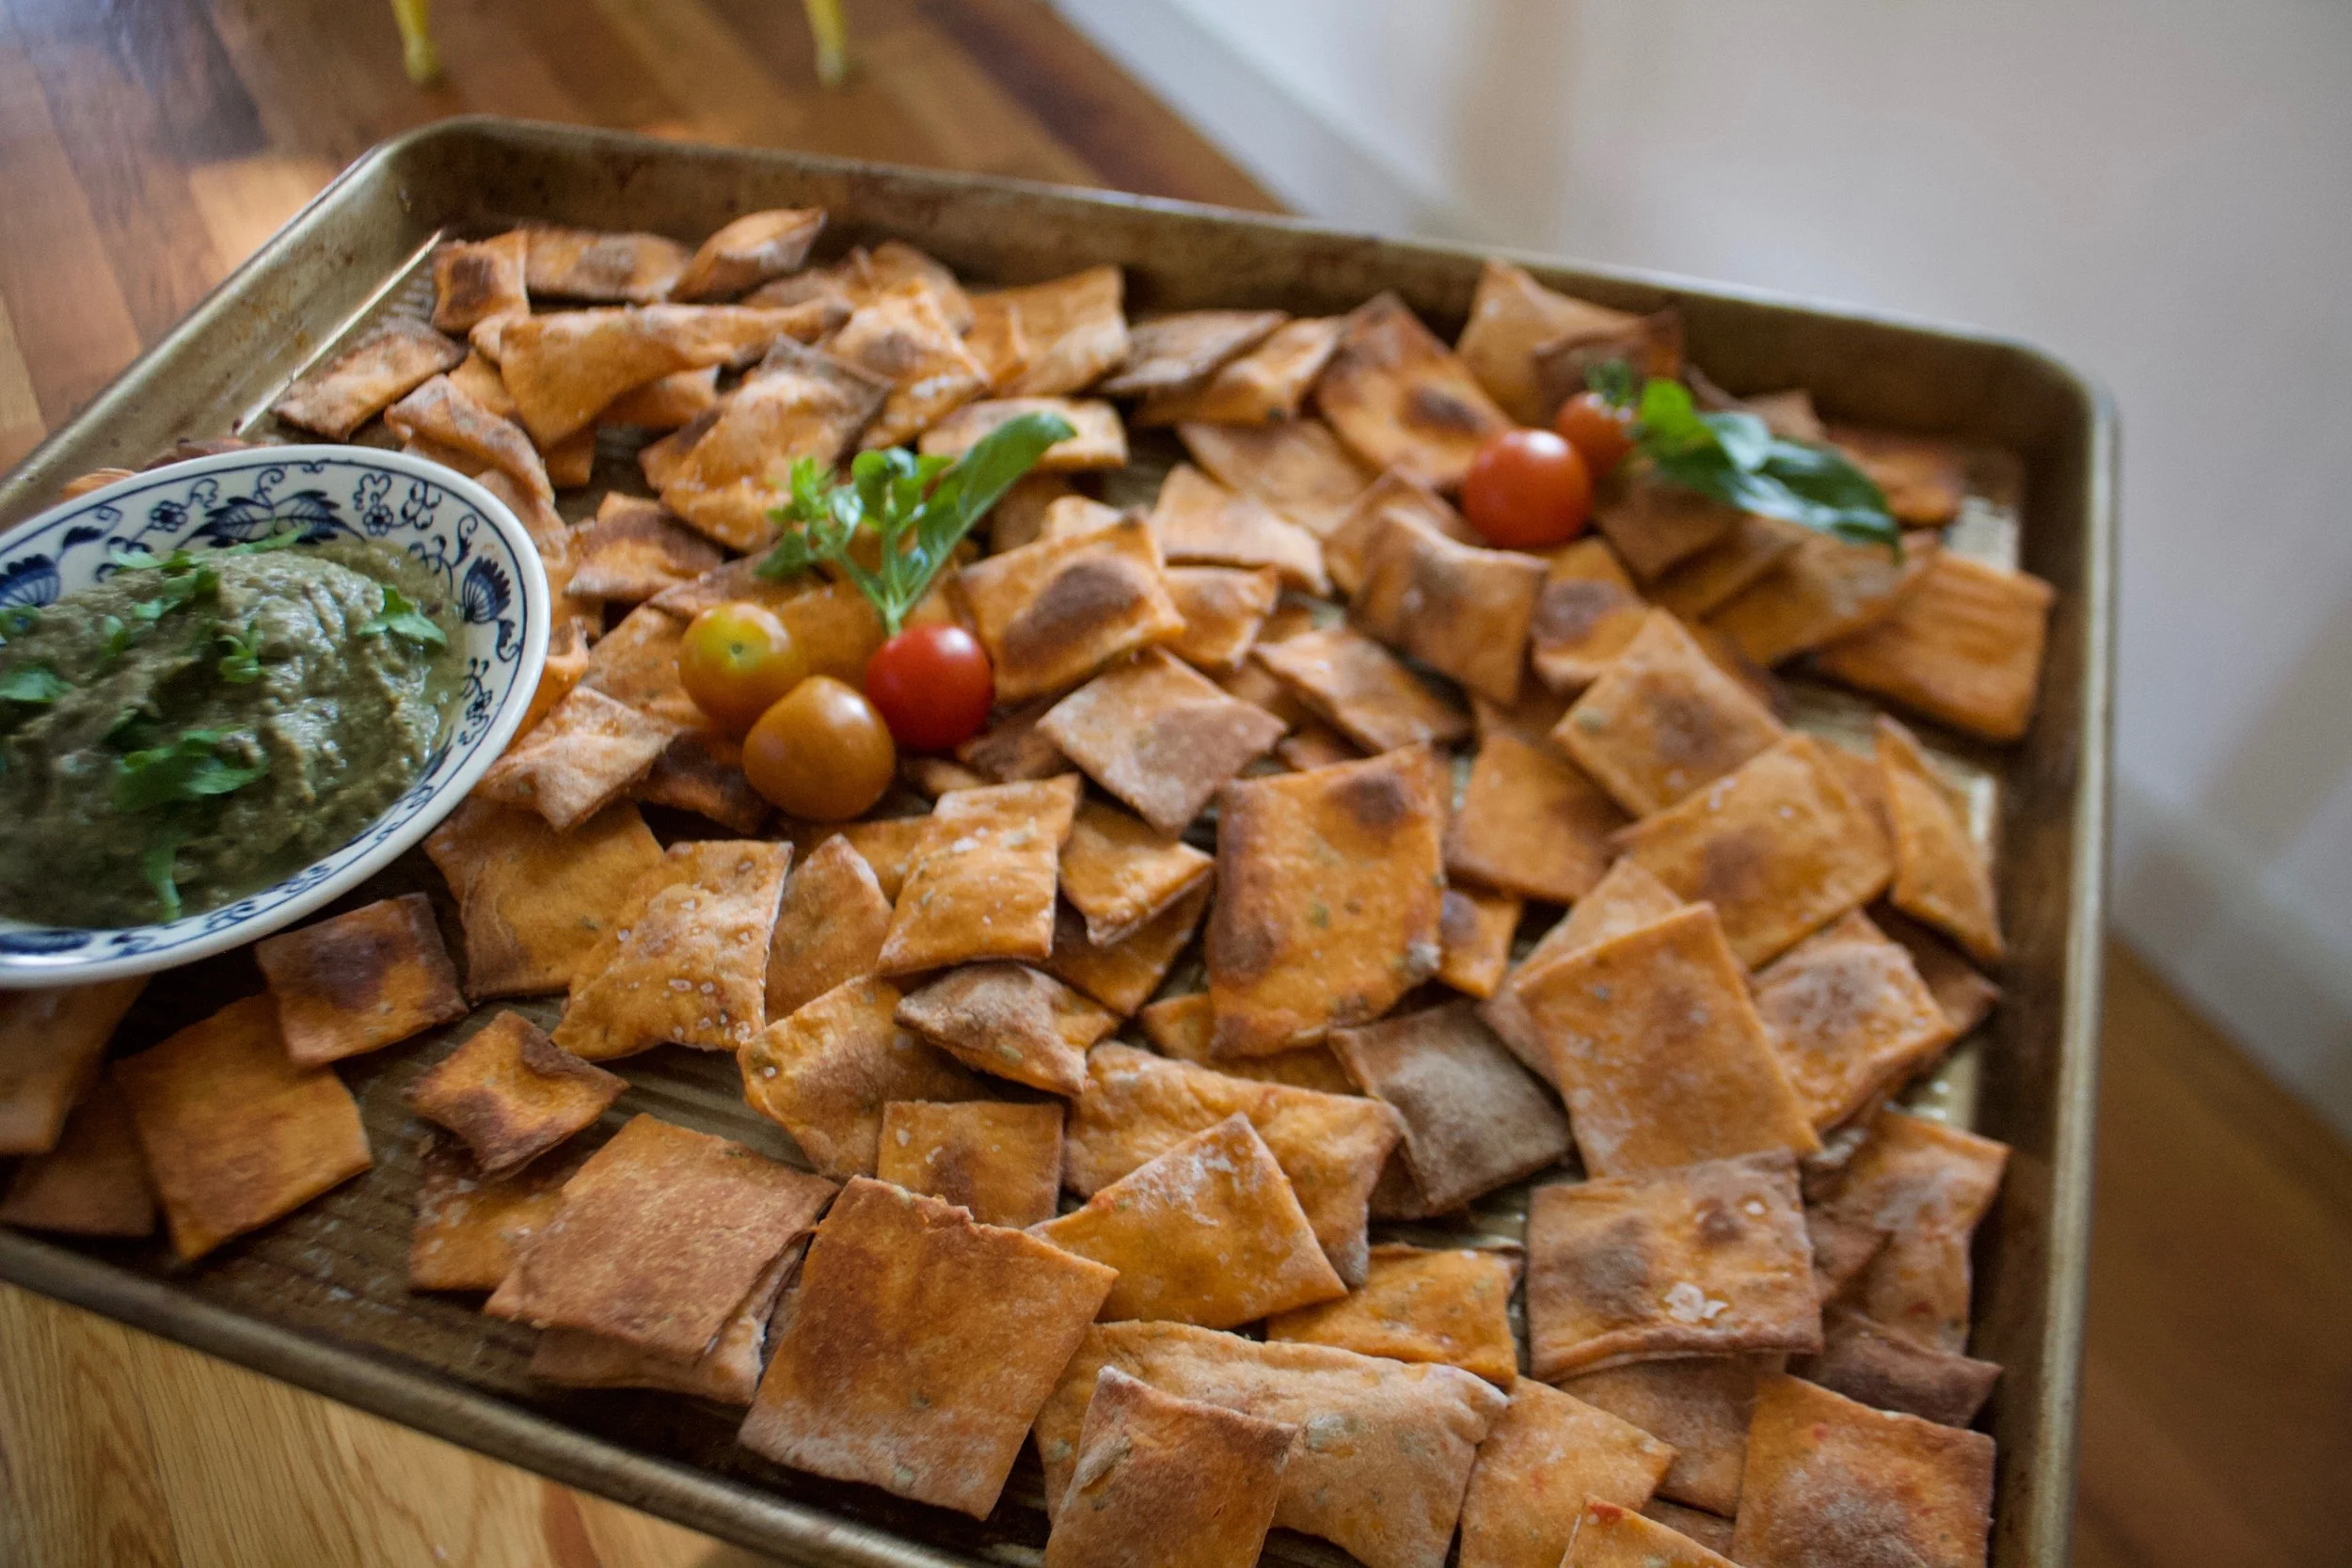
So I made the crackers and gave a baggie to the mr to eat, which he did right then and there (with some sweet ass baba ganoush because yes)%u00a0then packed a big bag for the road trip.%u00a0Not only was the mr chowing down, but my sisters were gobbling them up too, even the one who is gluten free. %u00a0That is good cracker validation.%u00a0
If you have never made your own crackers and you are a cracker person, now is the time to start doing it. I don’t eat crackers personally, but the mr and every one around me really seem to be cracker people so a while back I started to make them at home, and once you make a homemade cracker, the store bought ones will just not be acceptable anymore. But they really are super easy so you really should be making them at home anyway.. No pressure though.

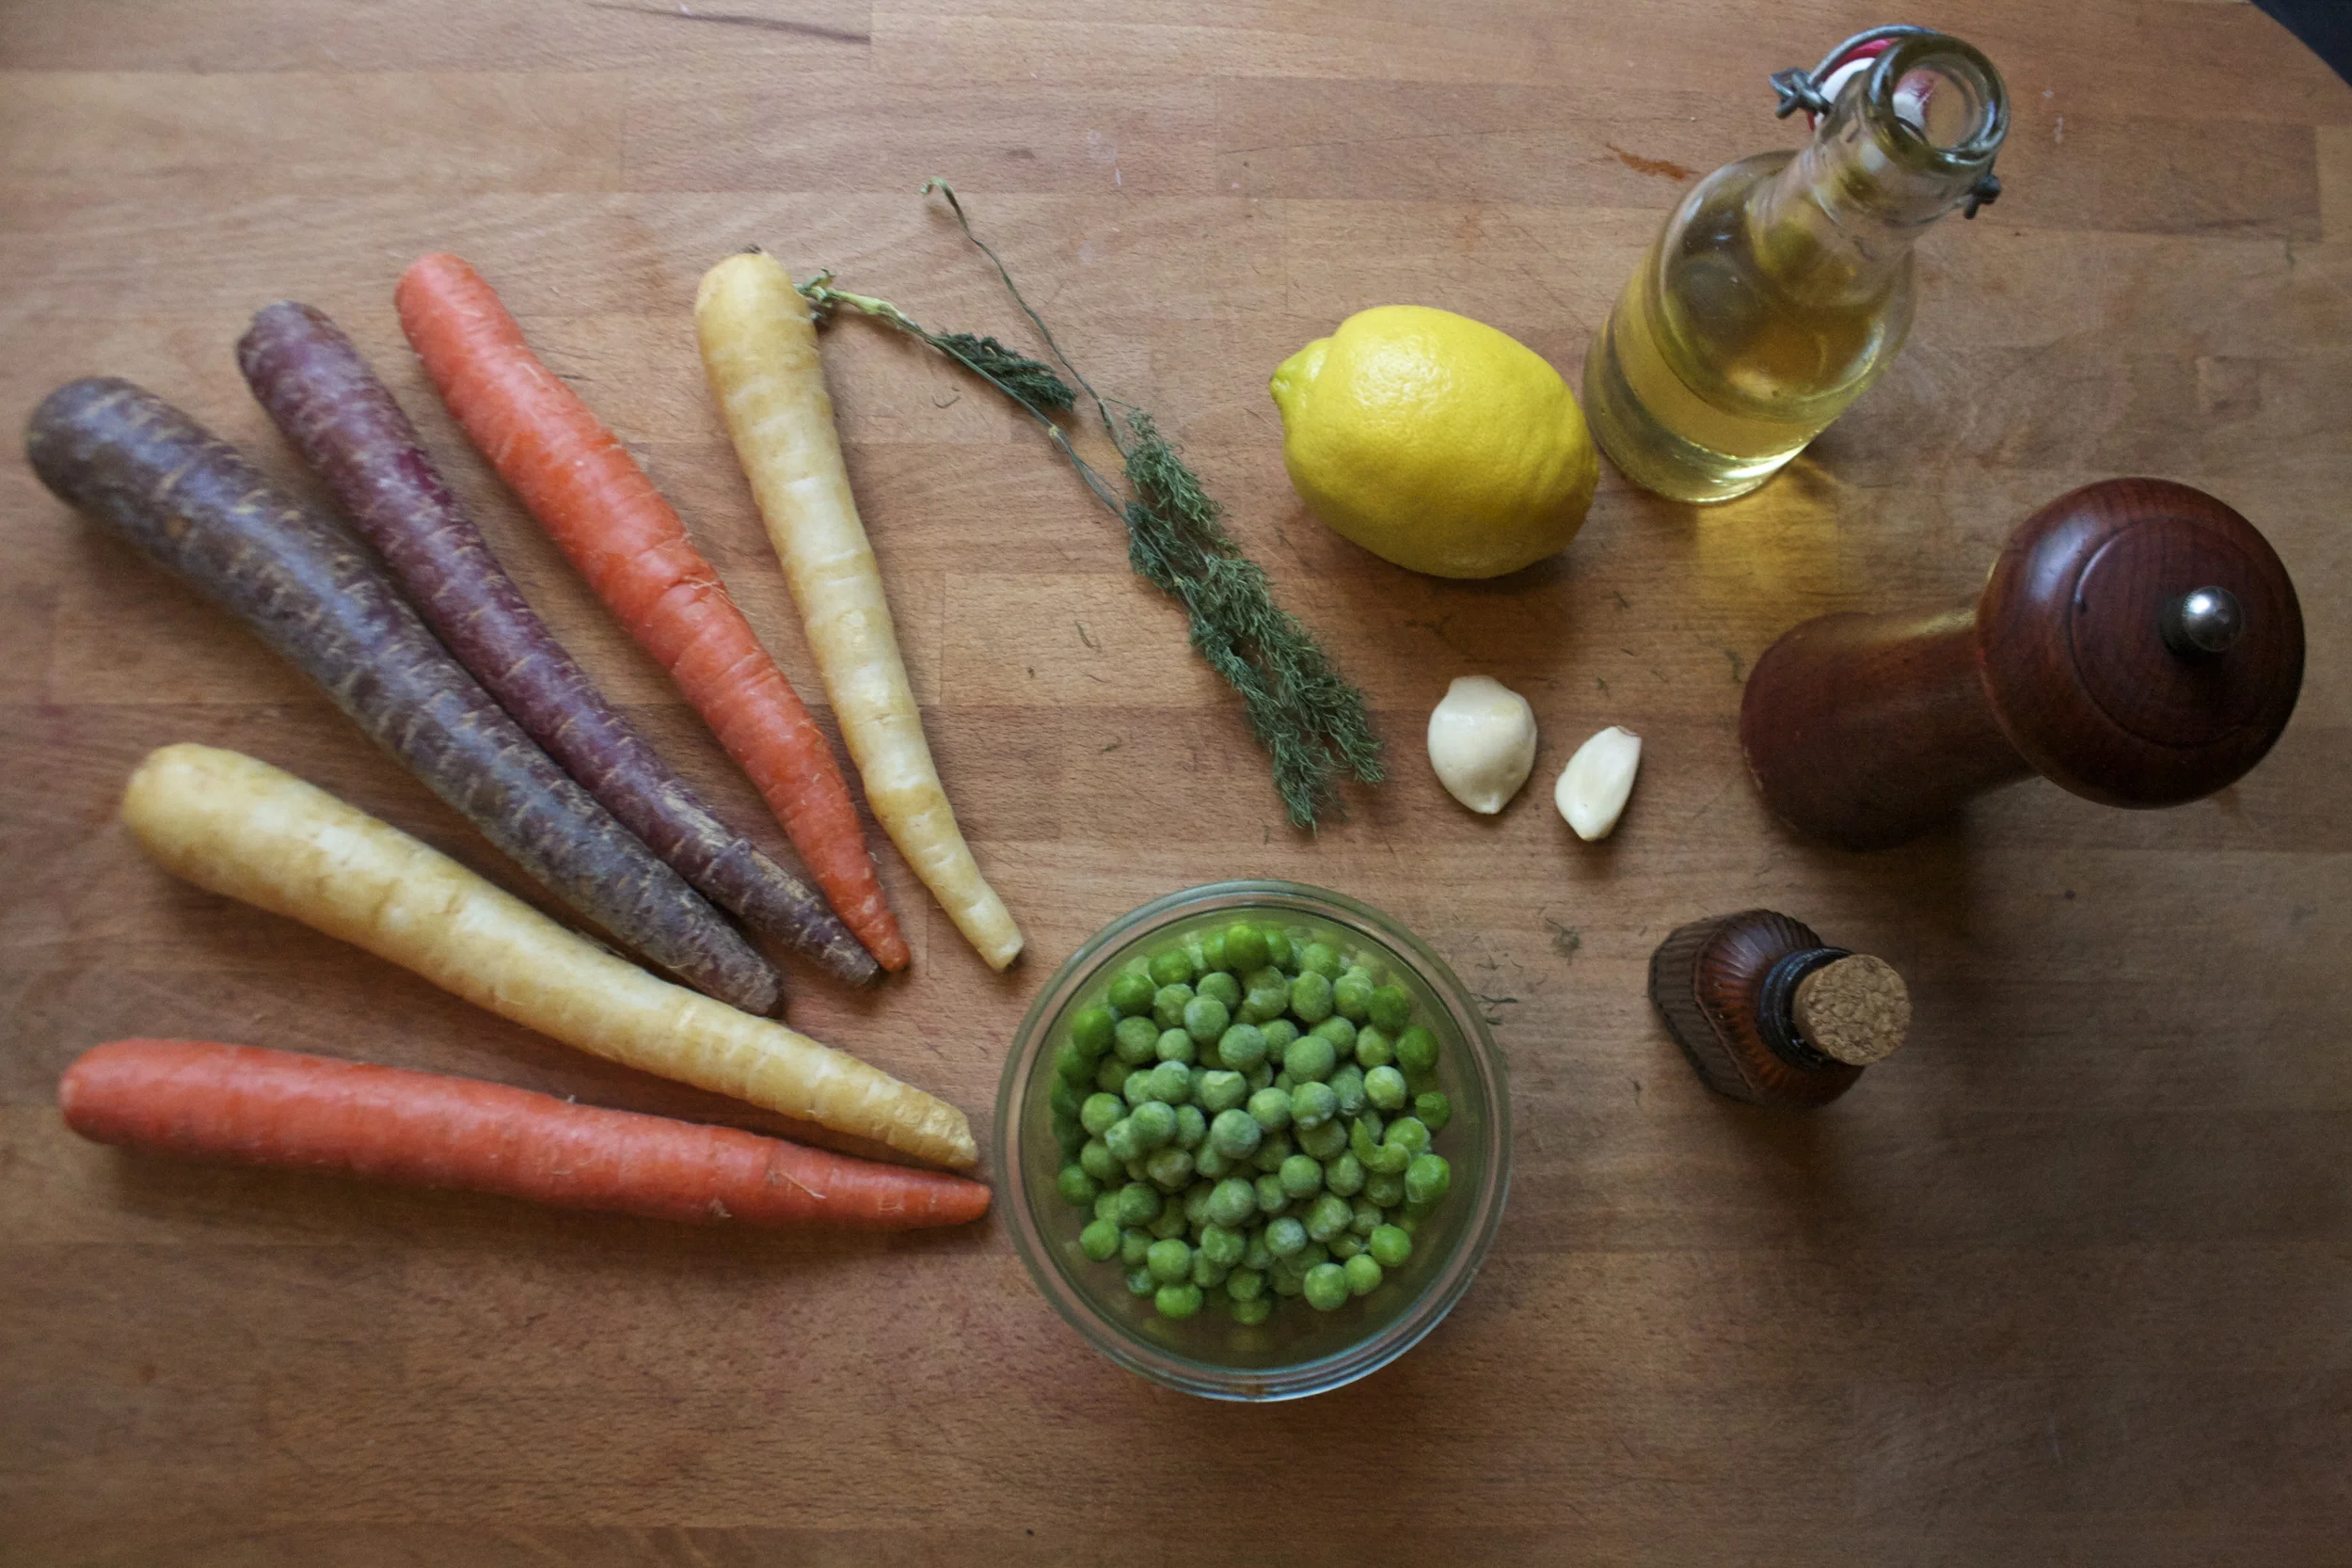
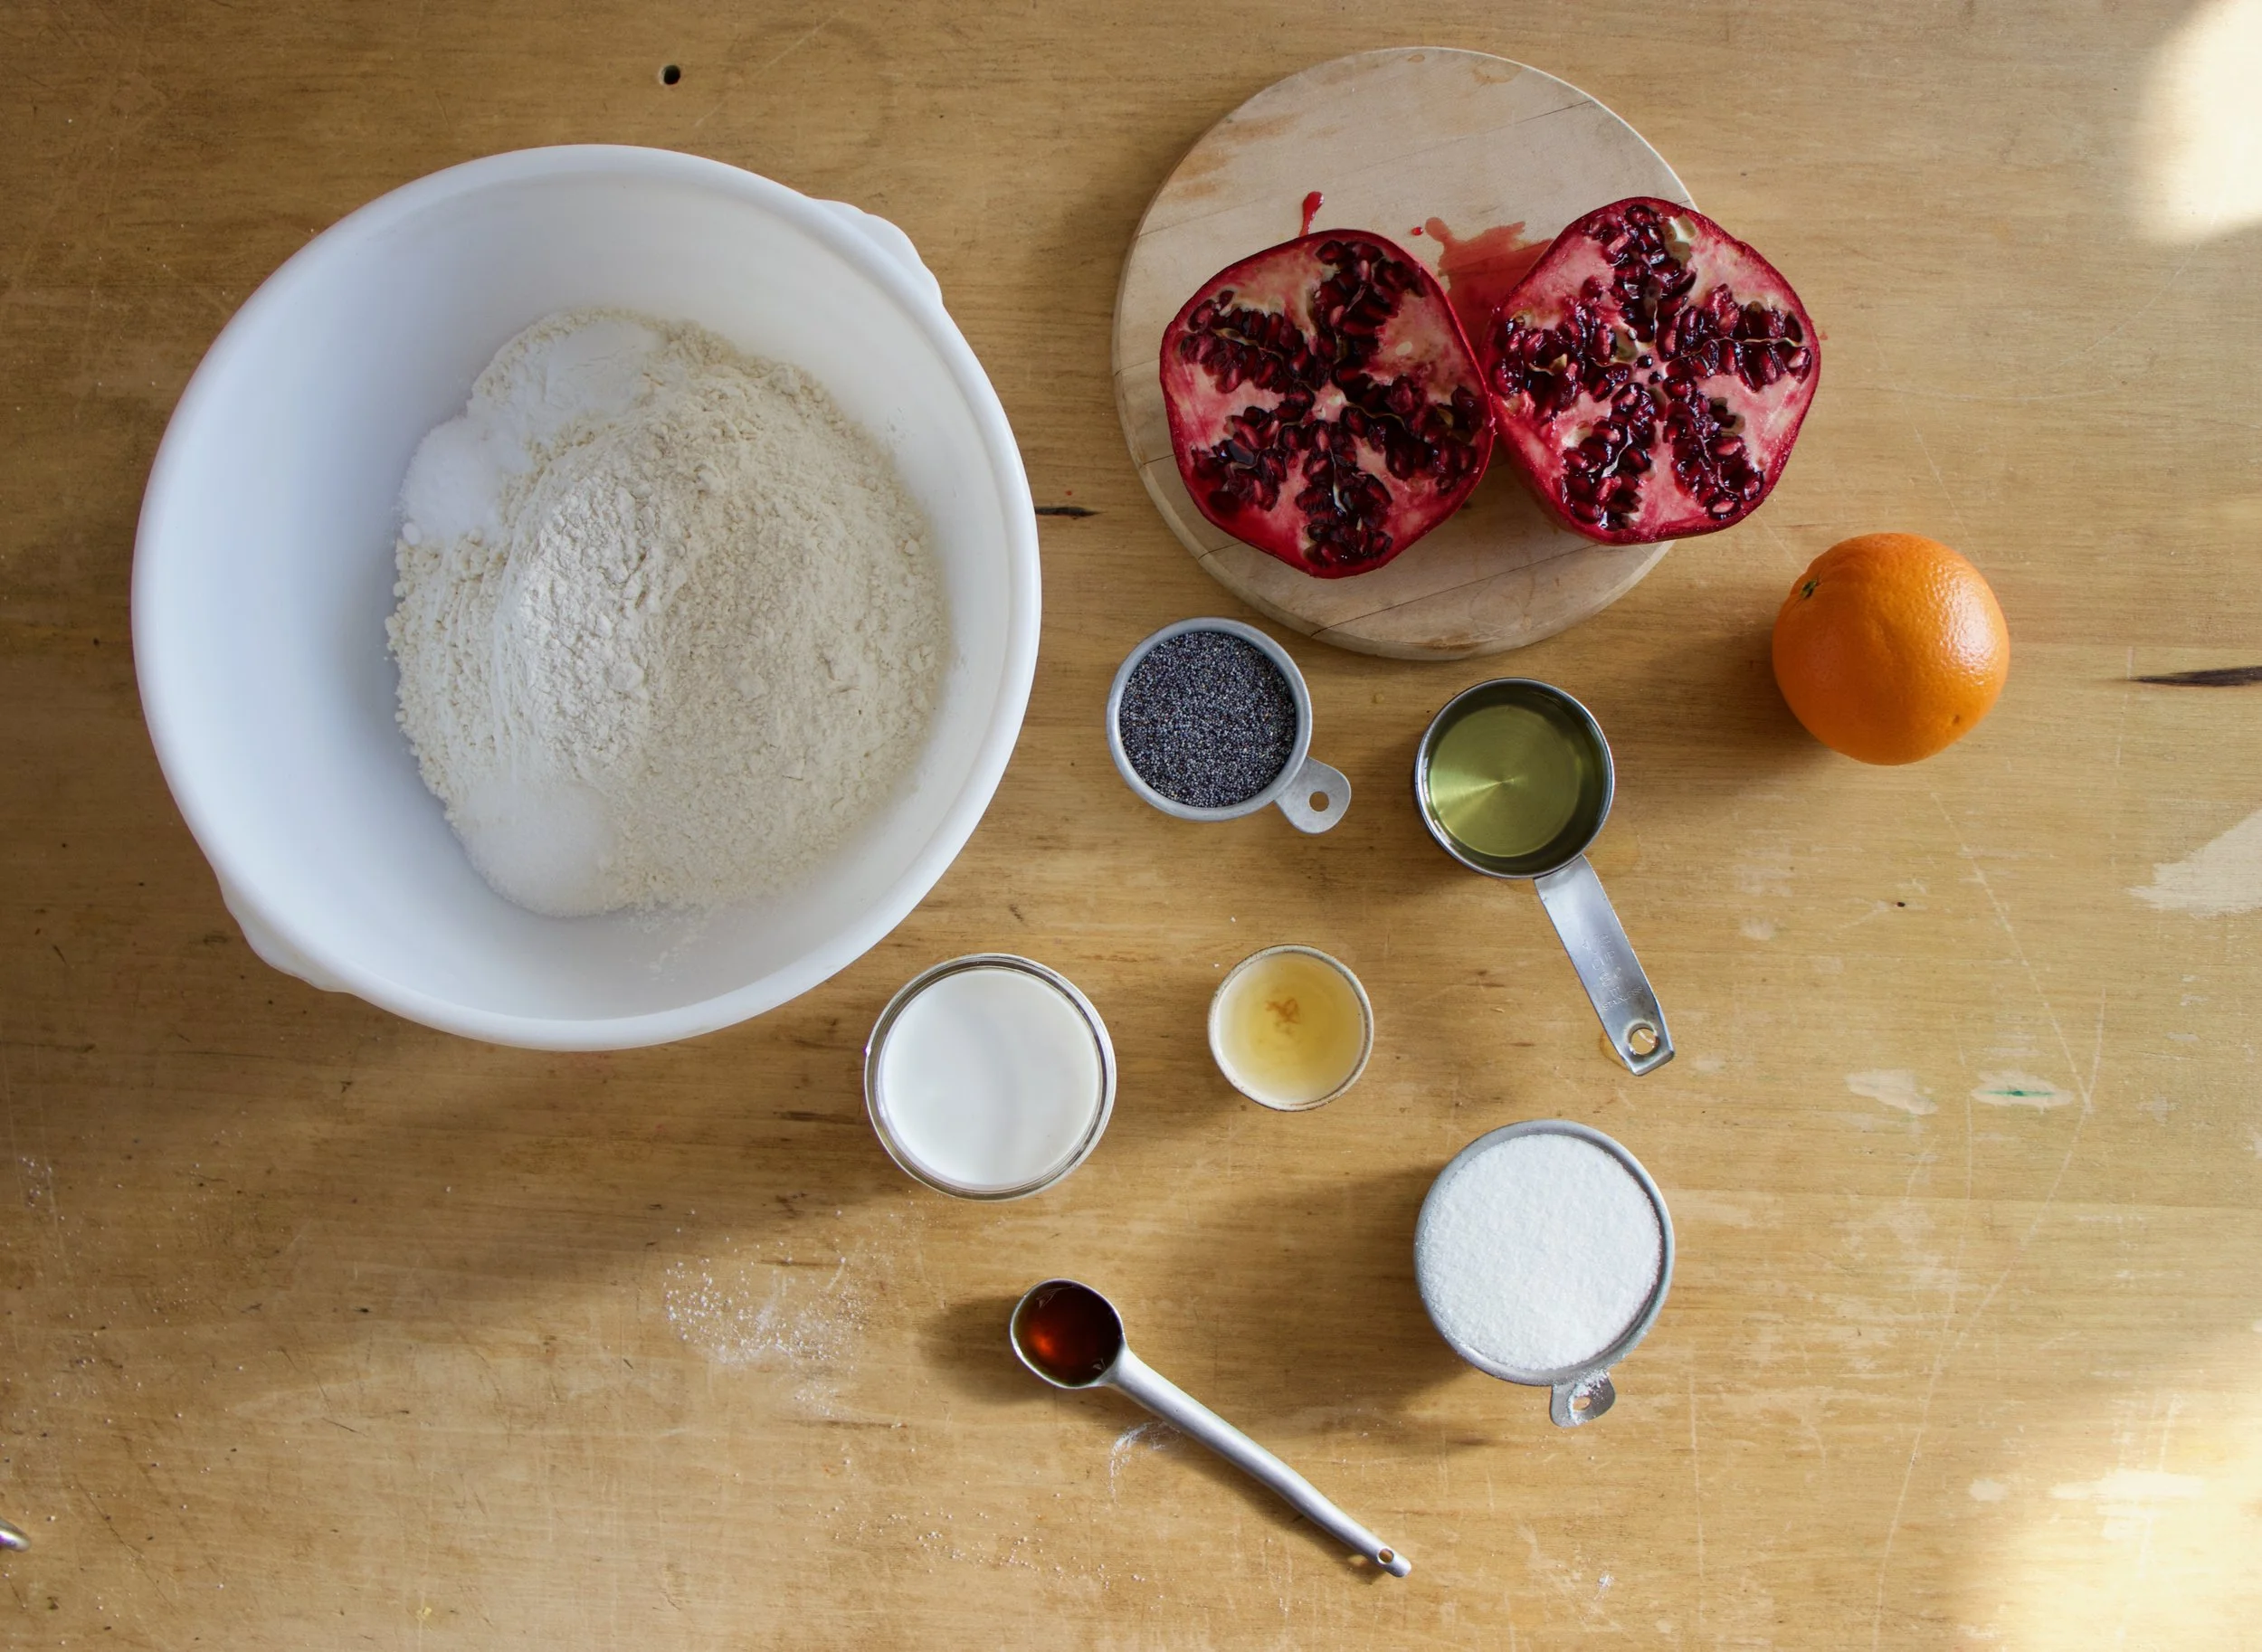
The stuff. Flour, olive oil, tomatoes, fresh basil, and sea salt.%u00a0
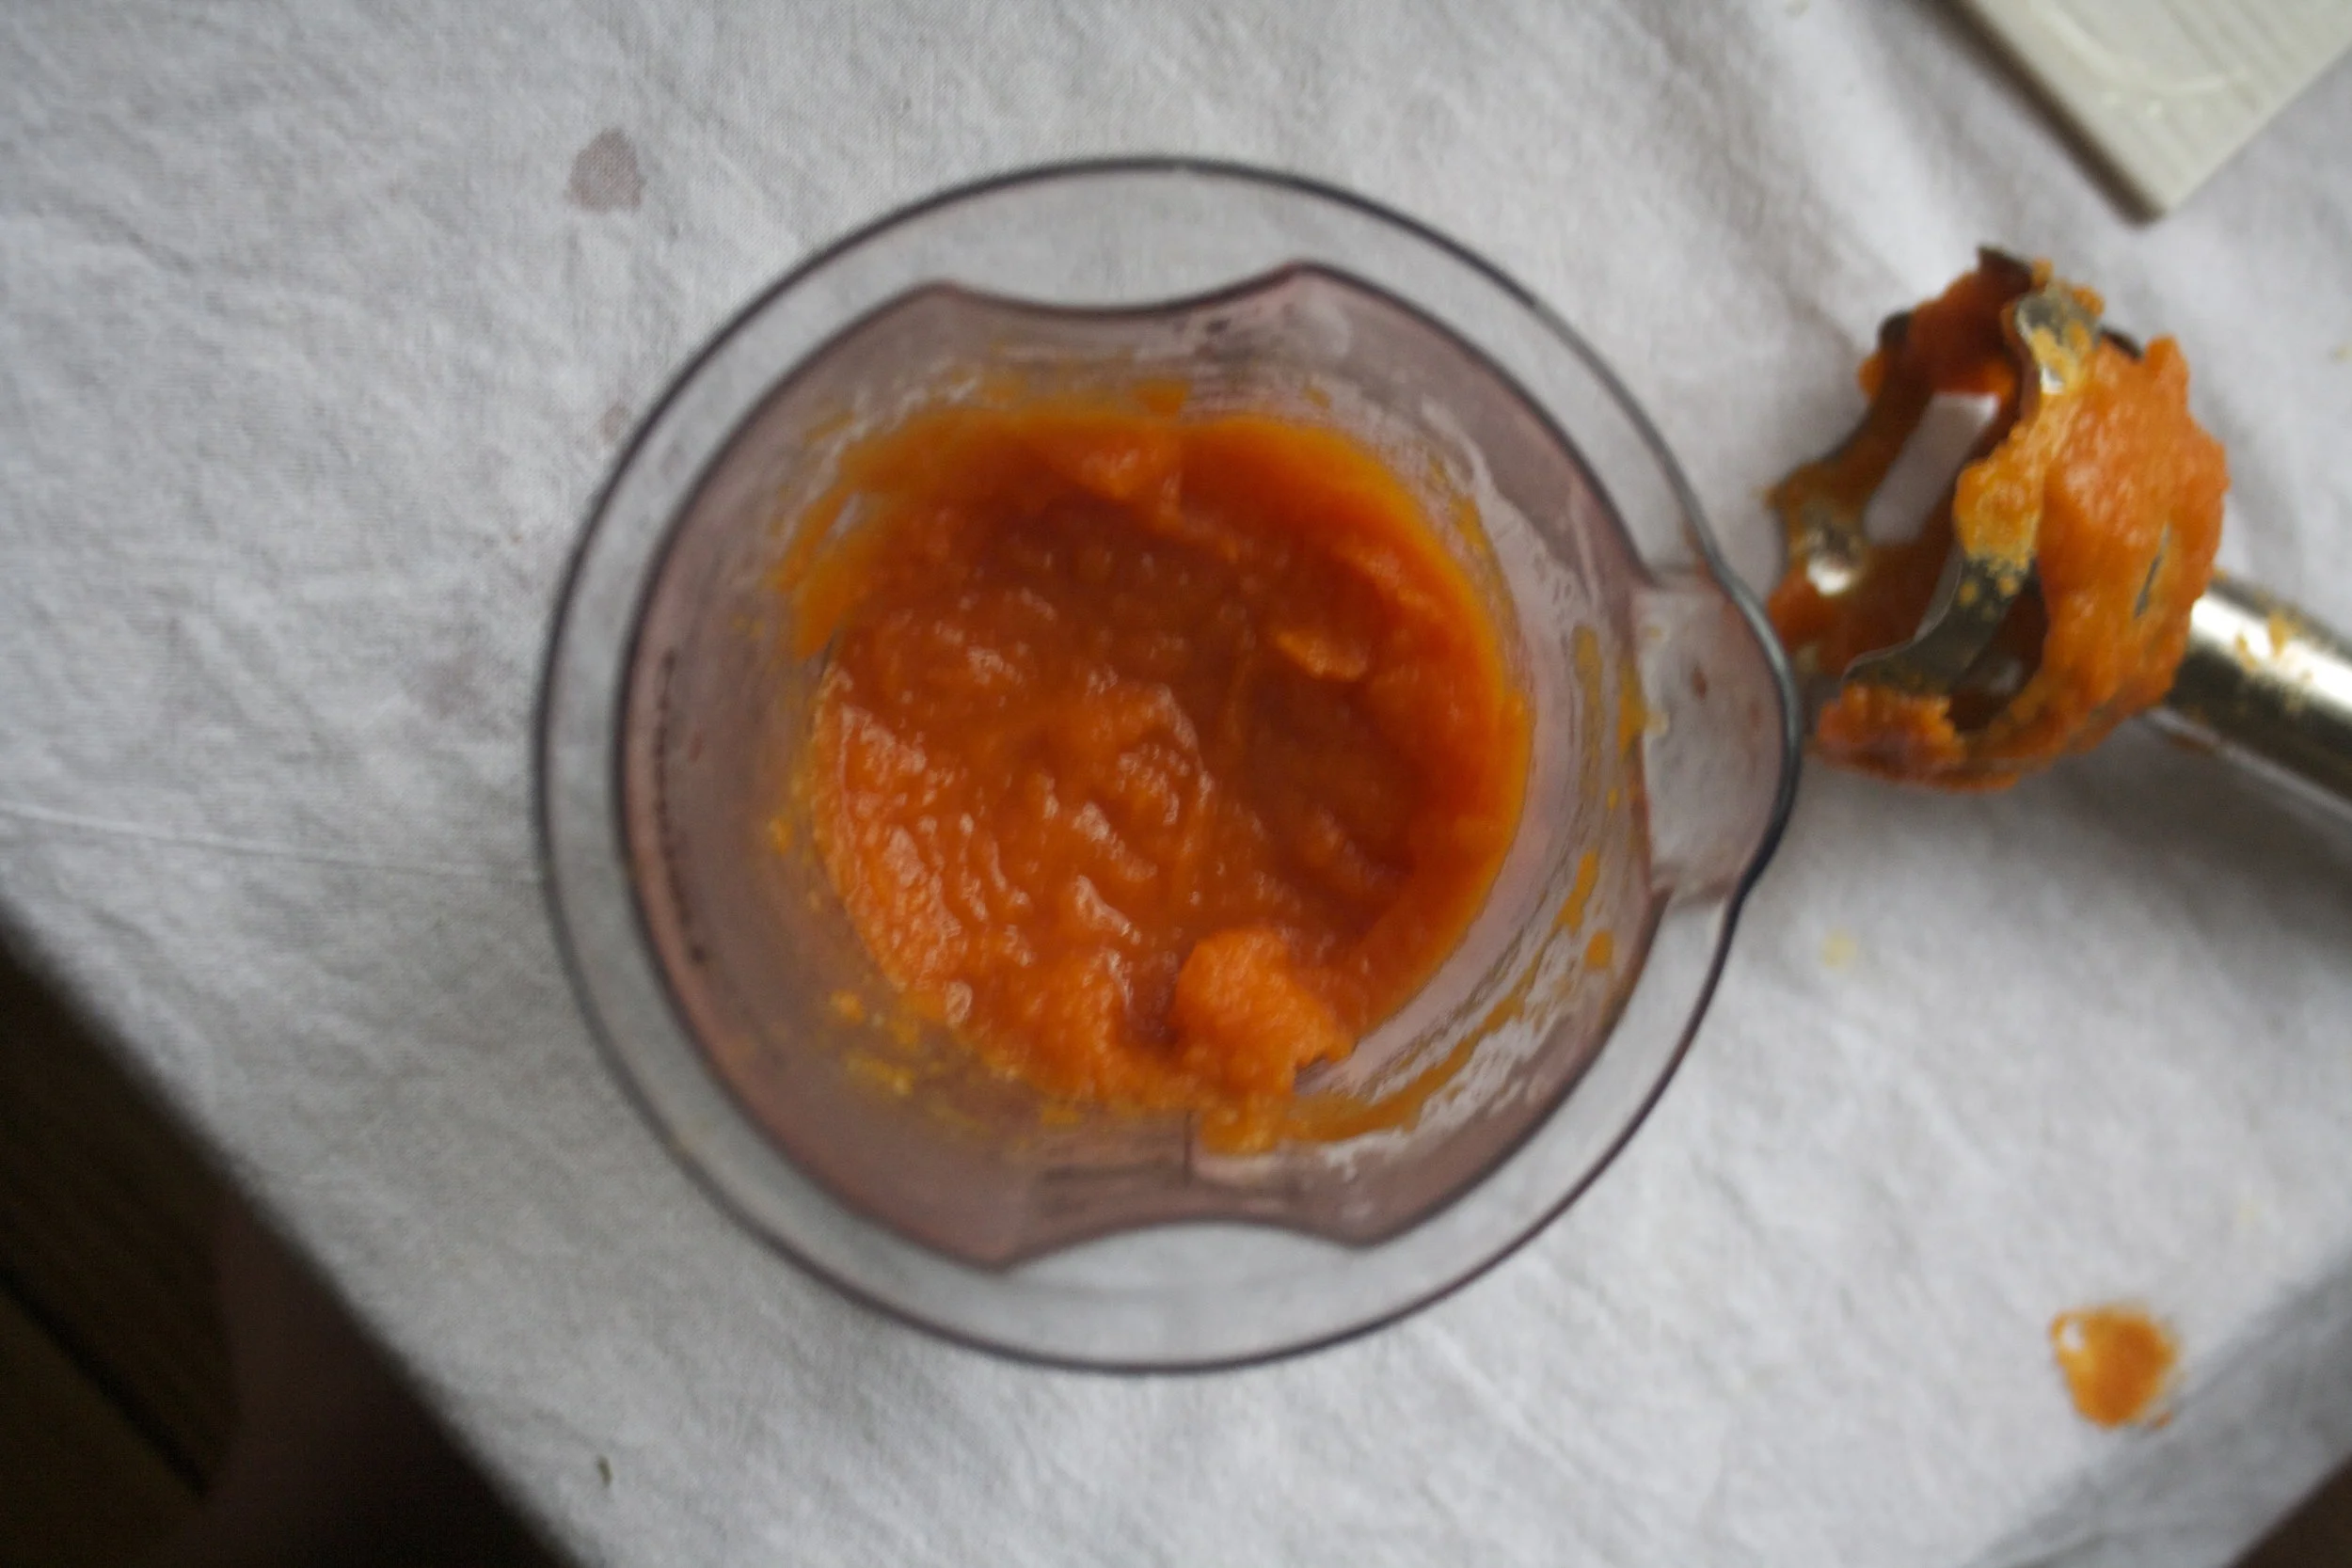
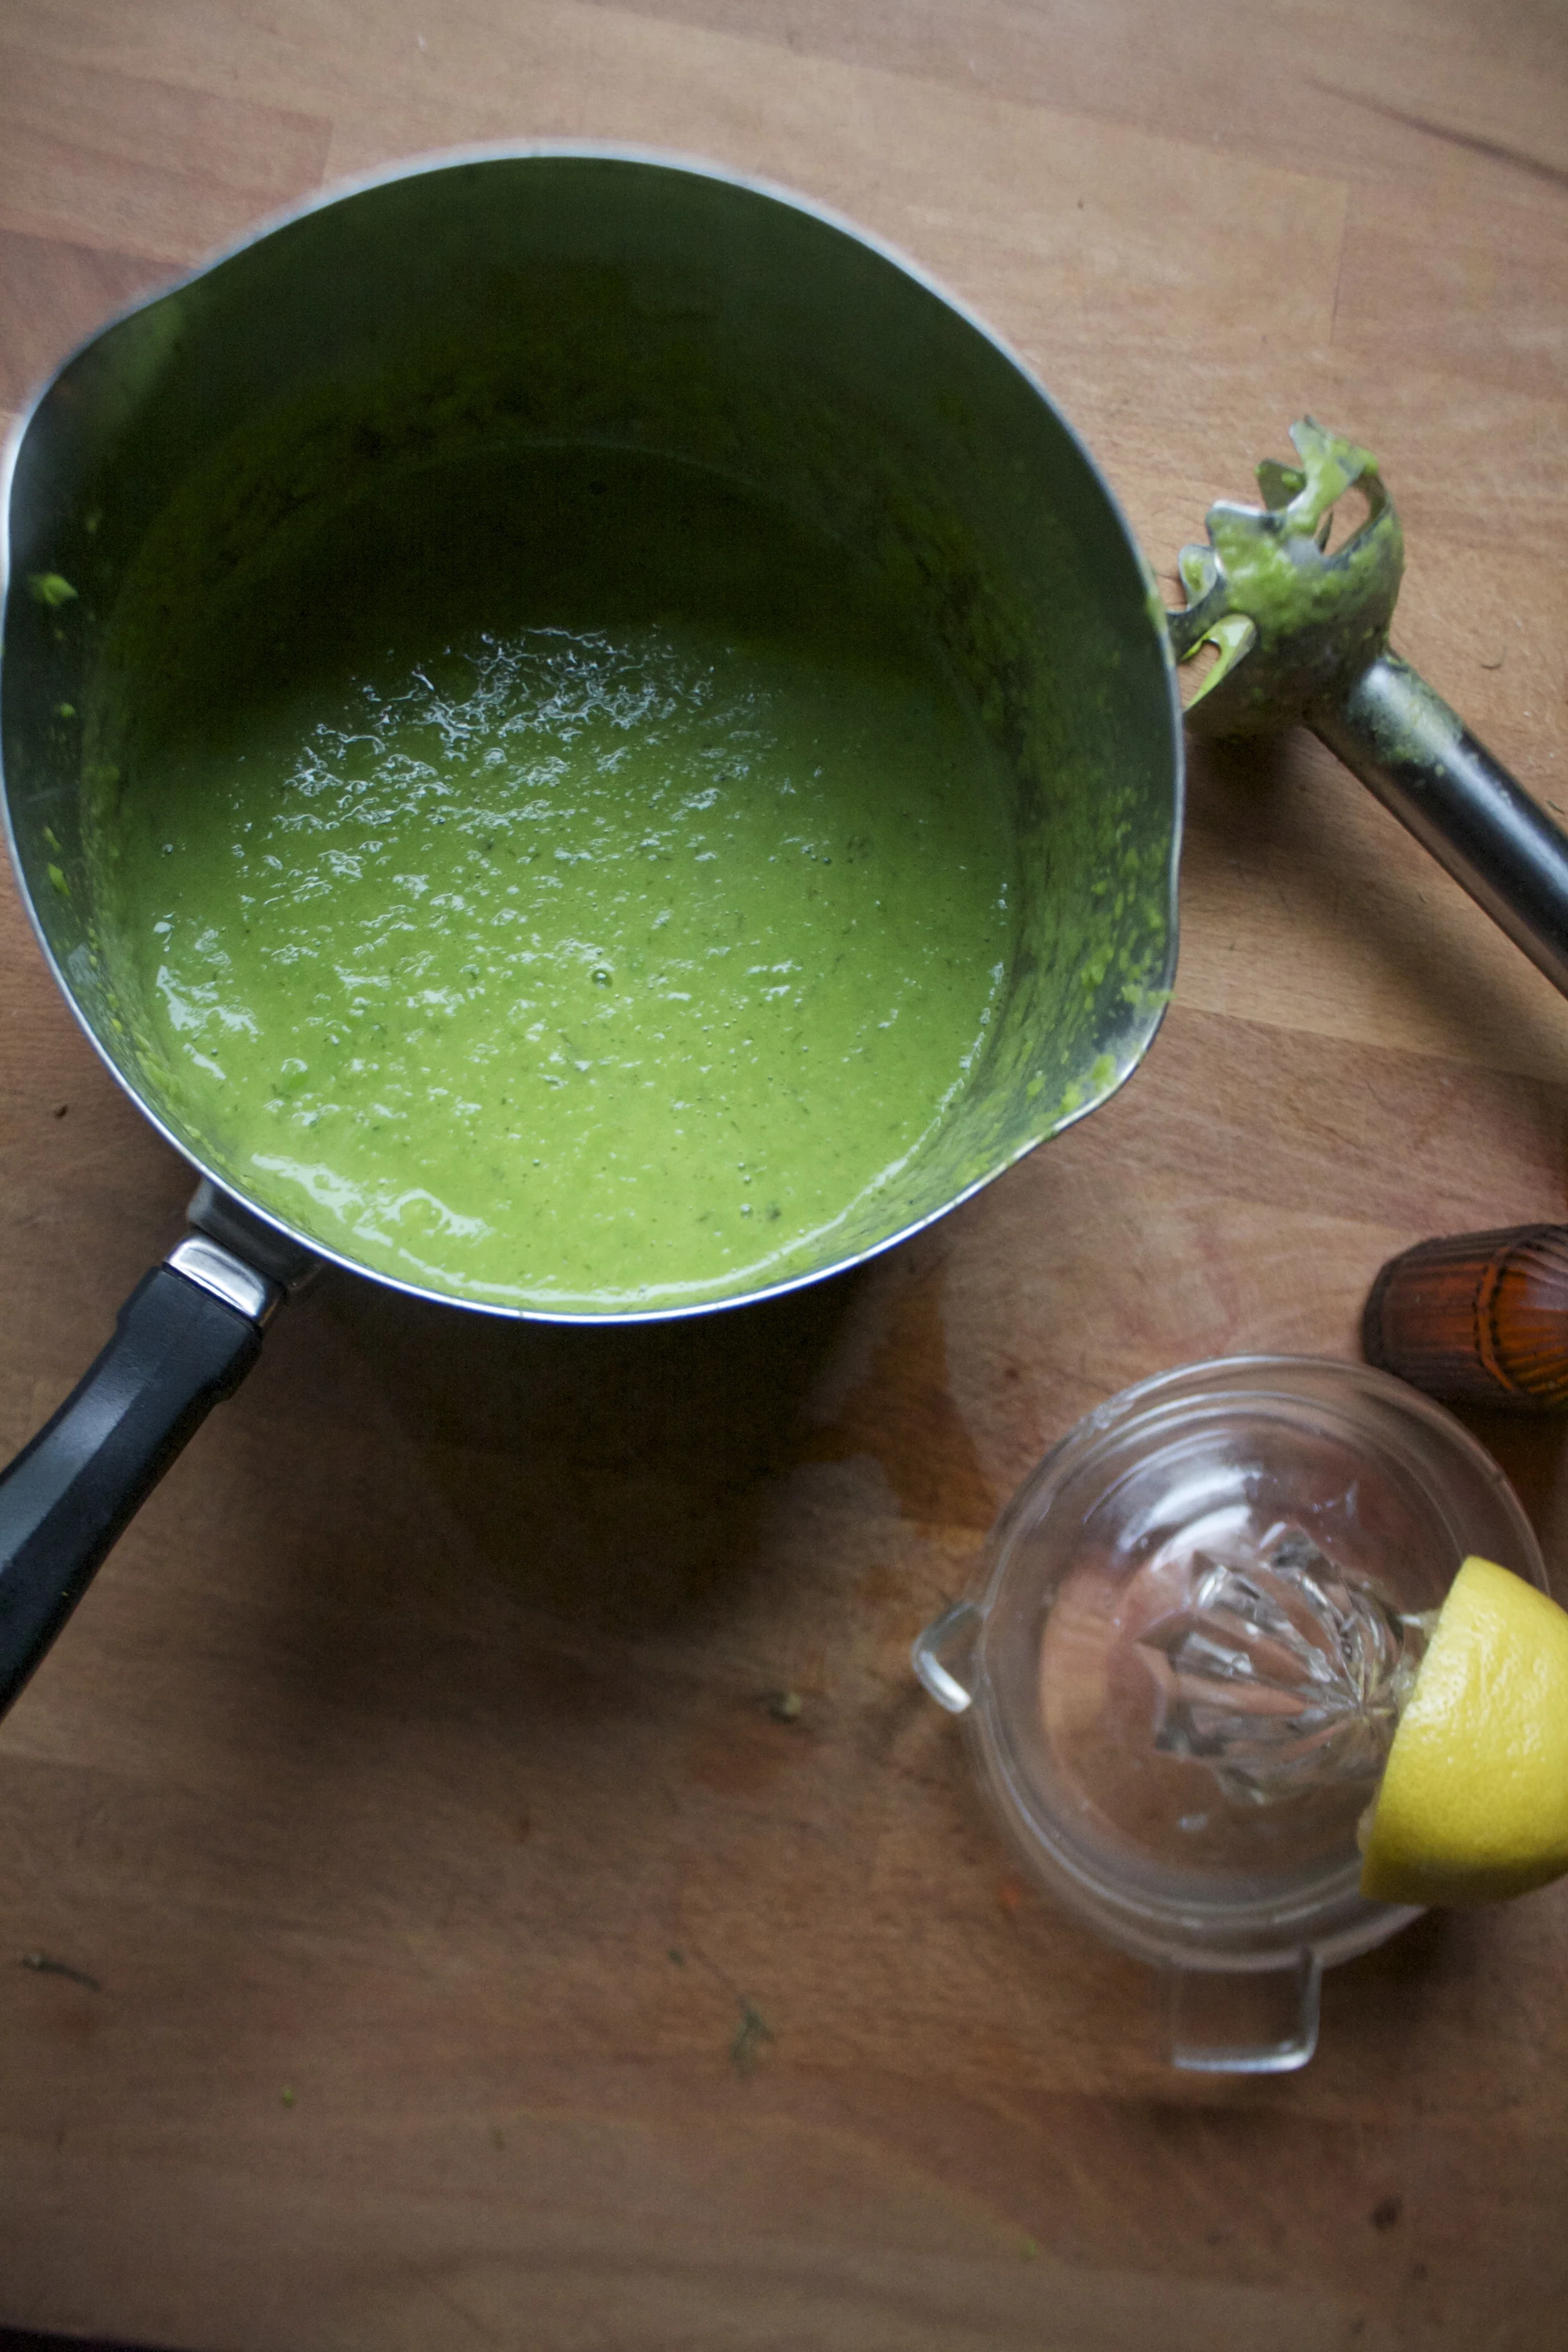
Chunks of fresh tomato go into blender and get blended up all nice and smooth. Add in basil and oil and pulse until basil turns to little specks.
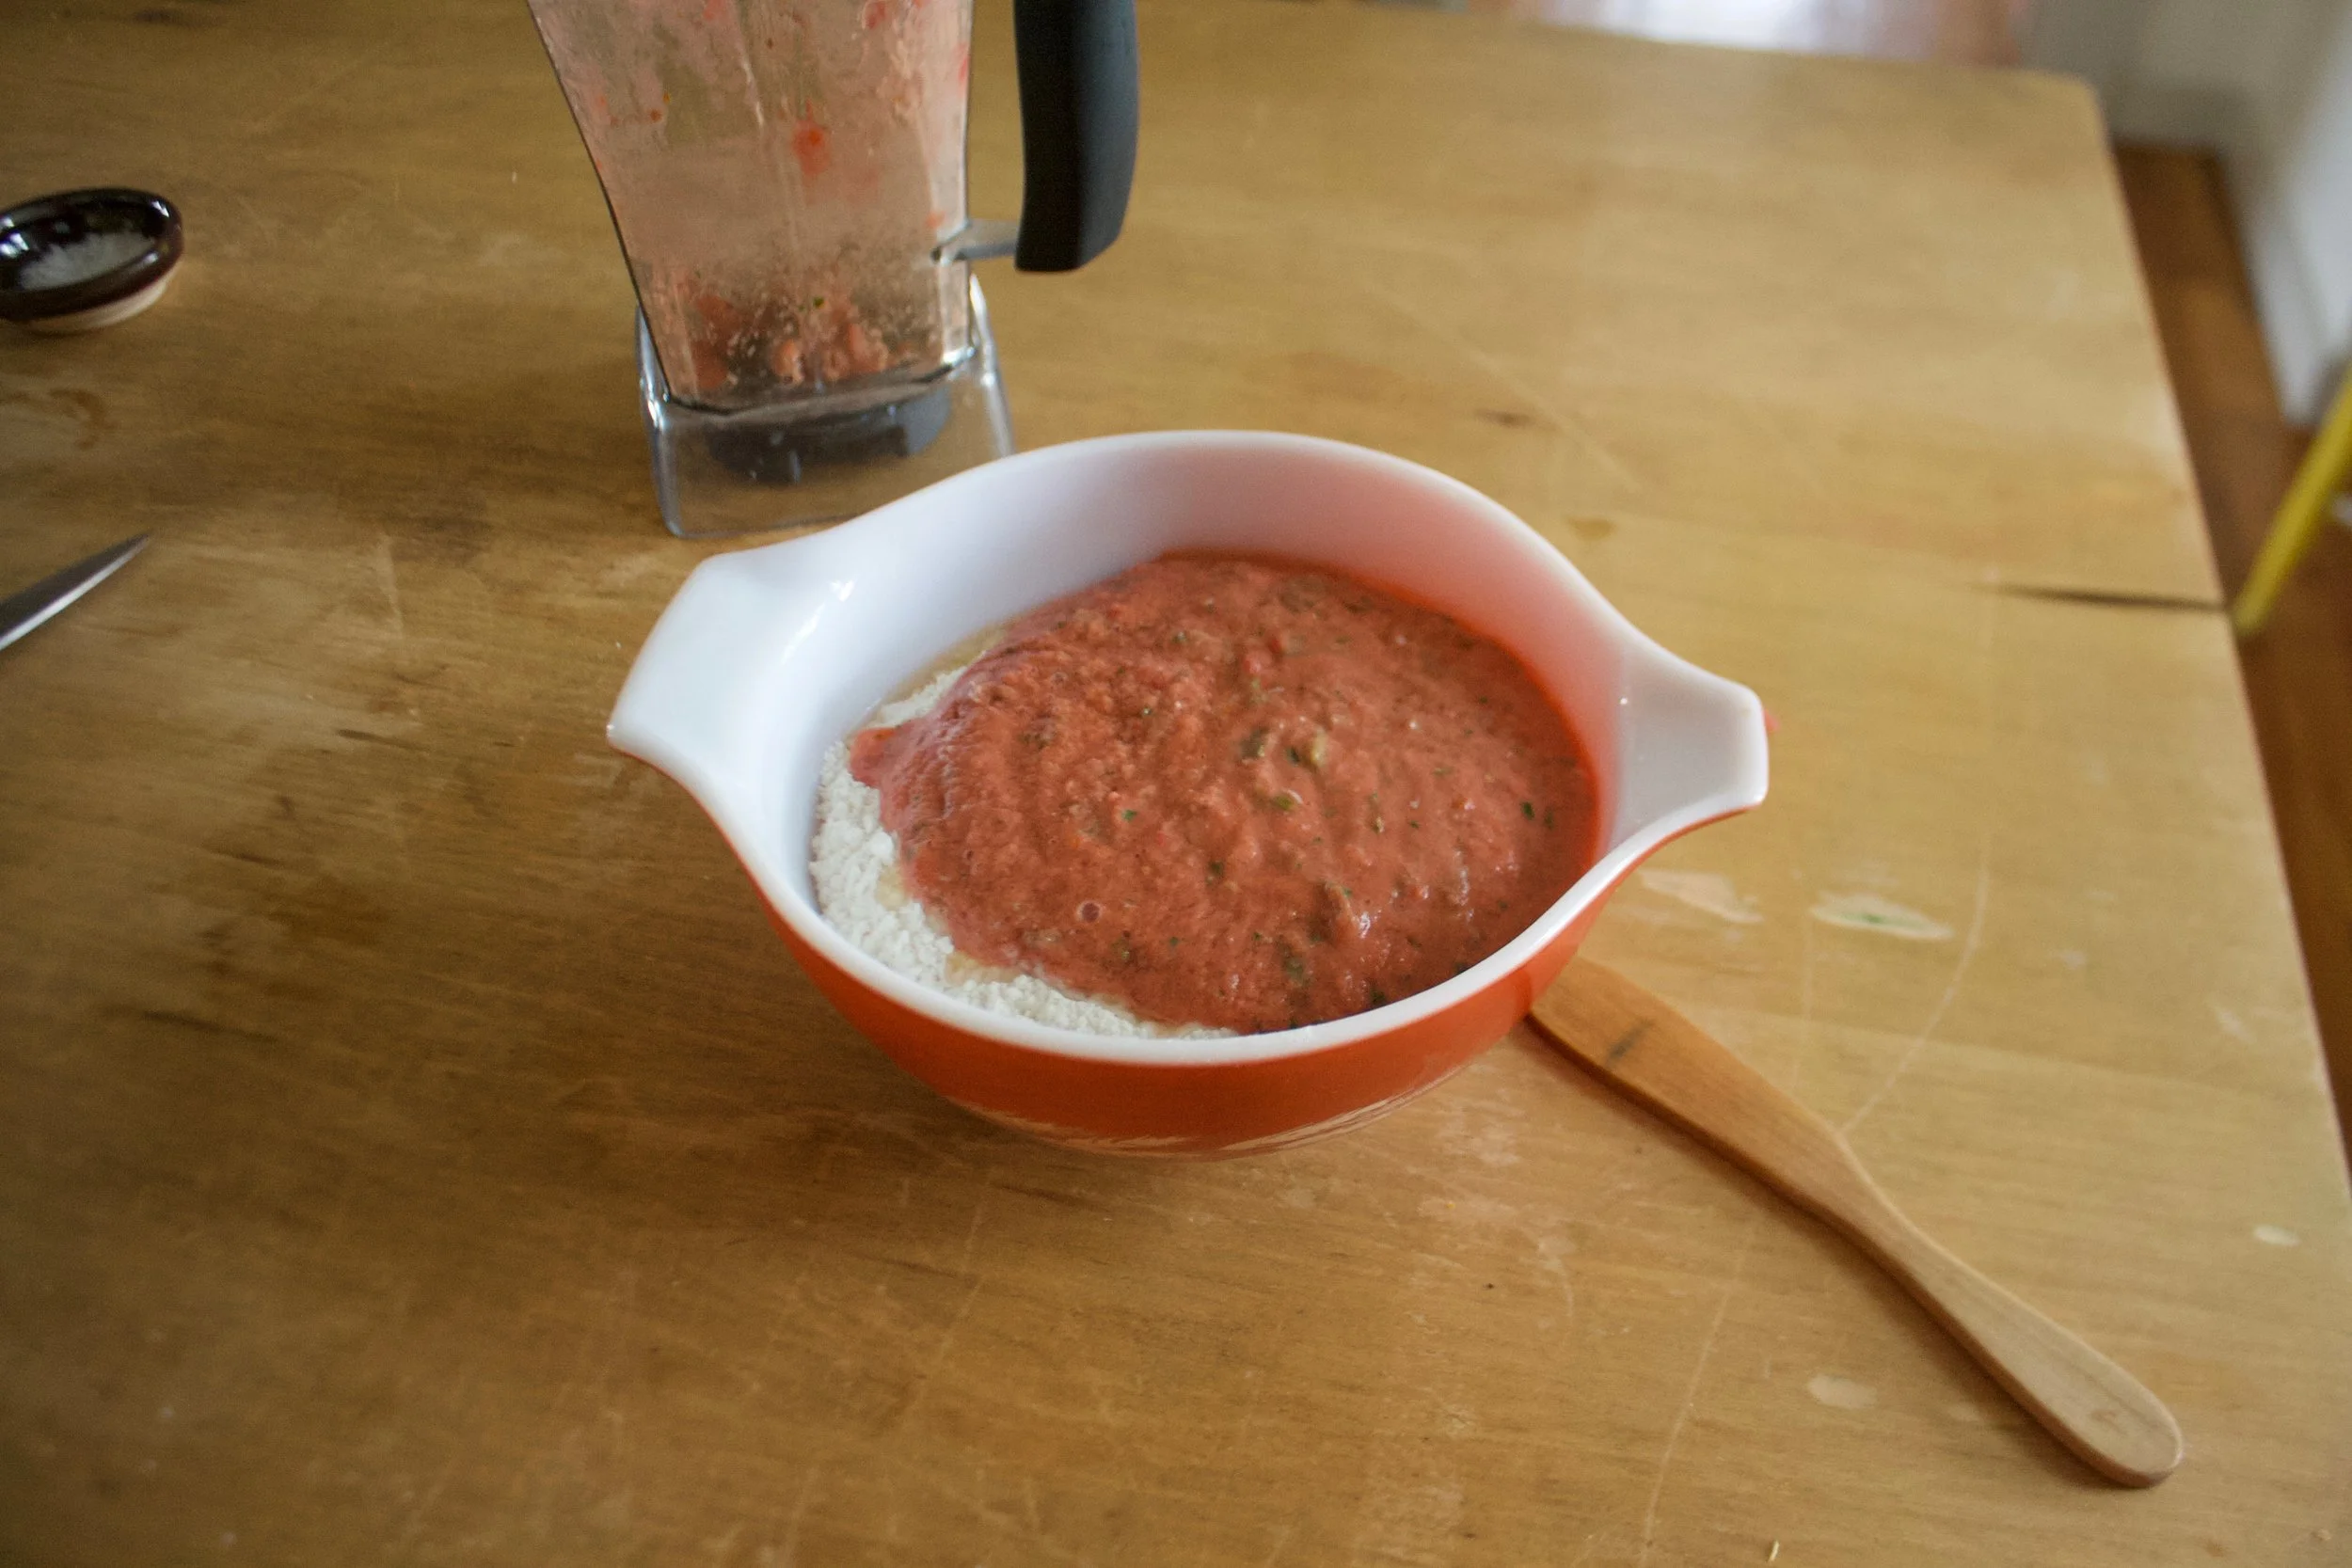
Pour the blended mixture into the flour.
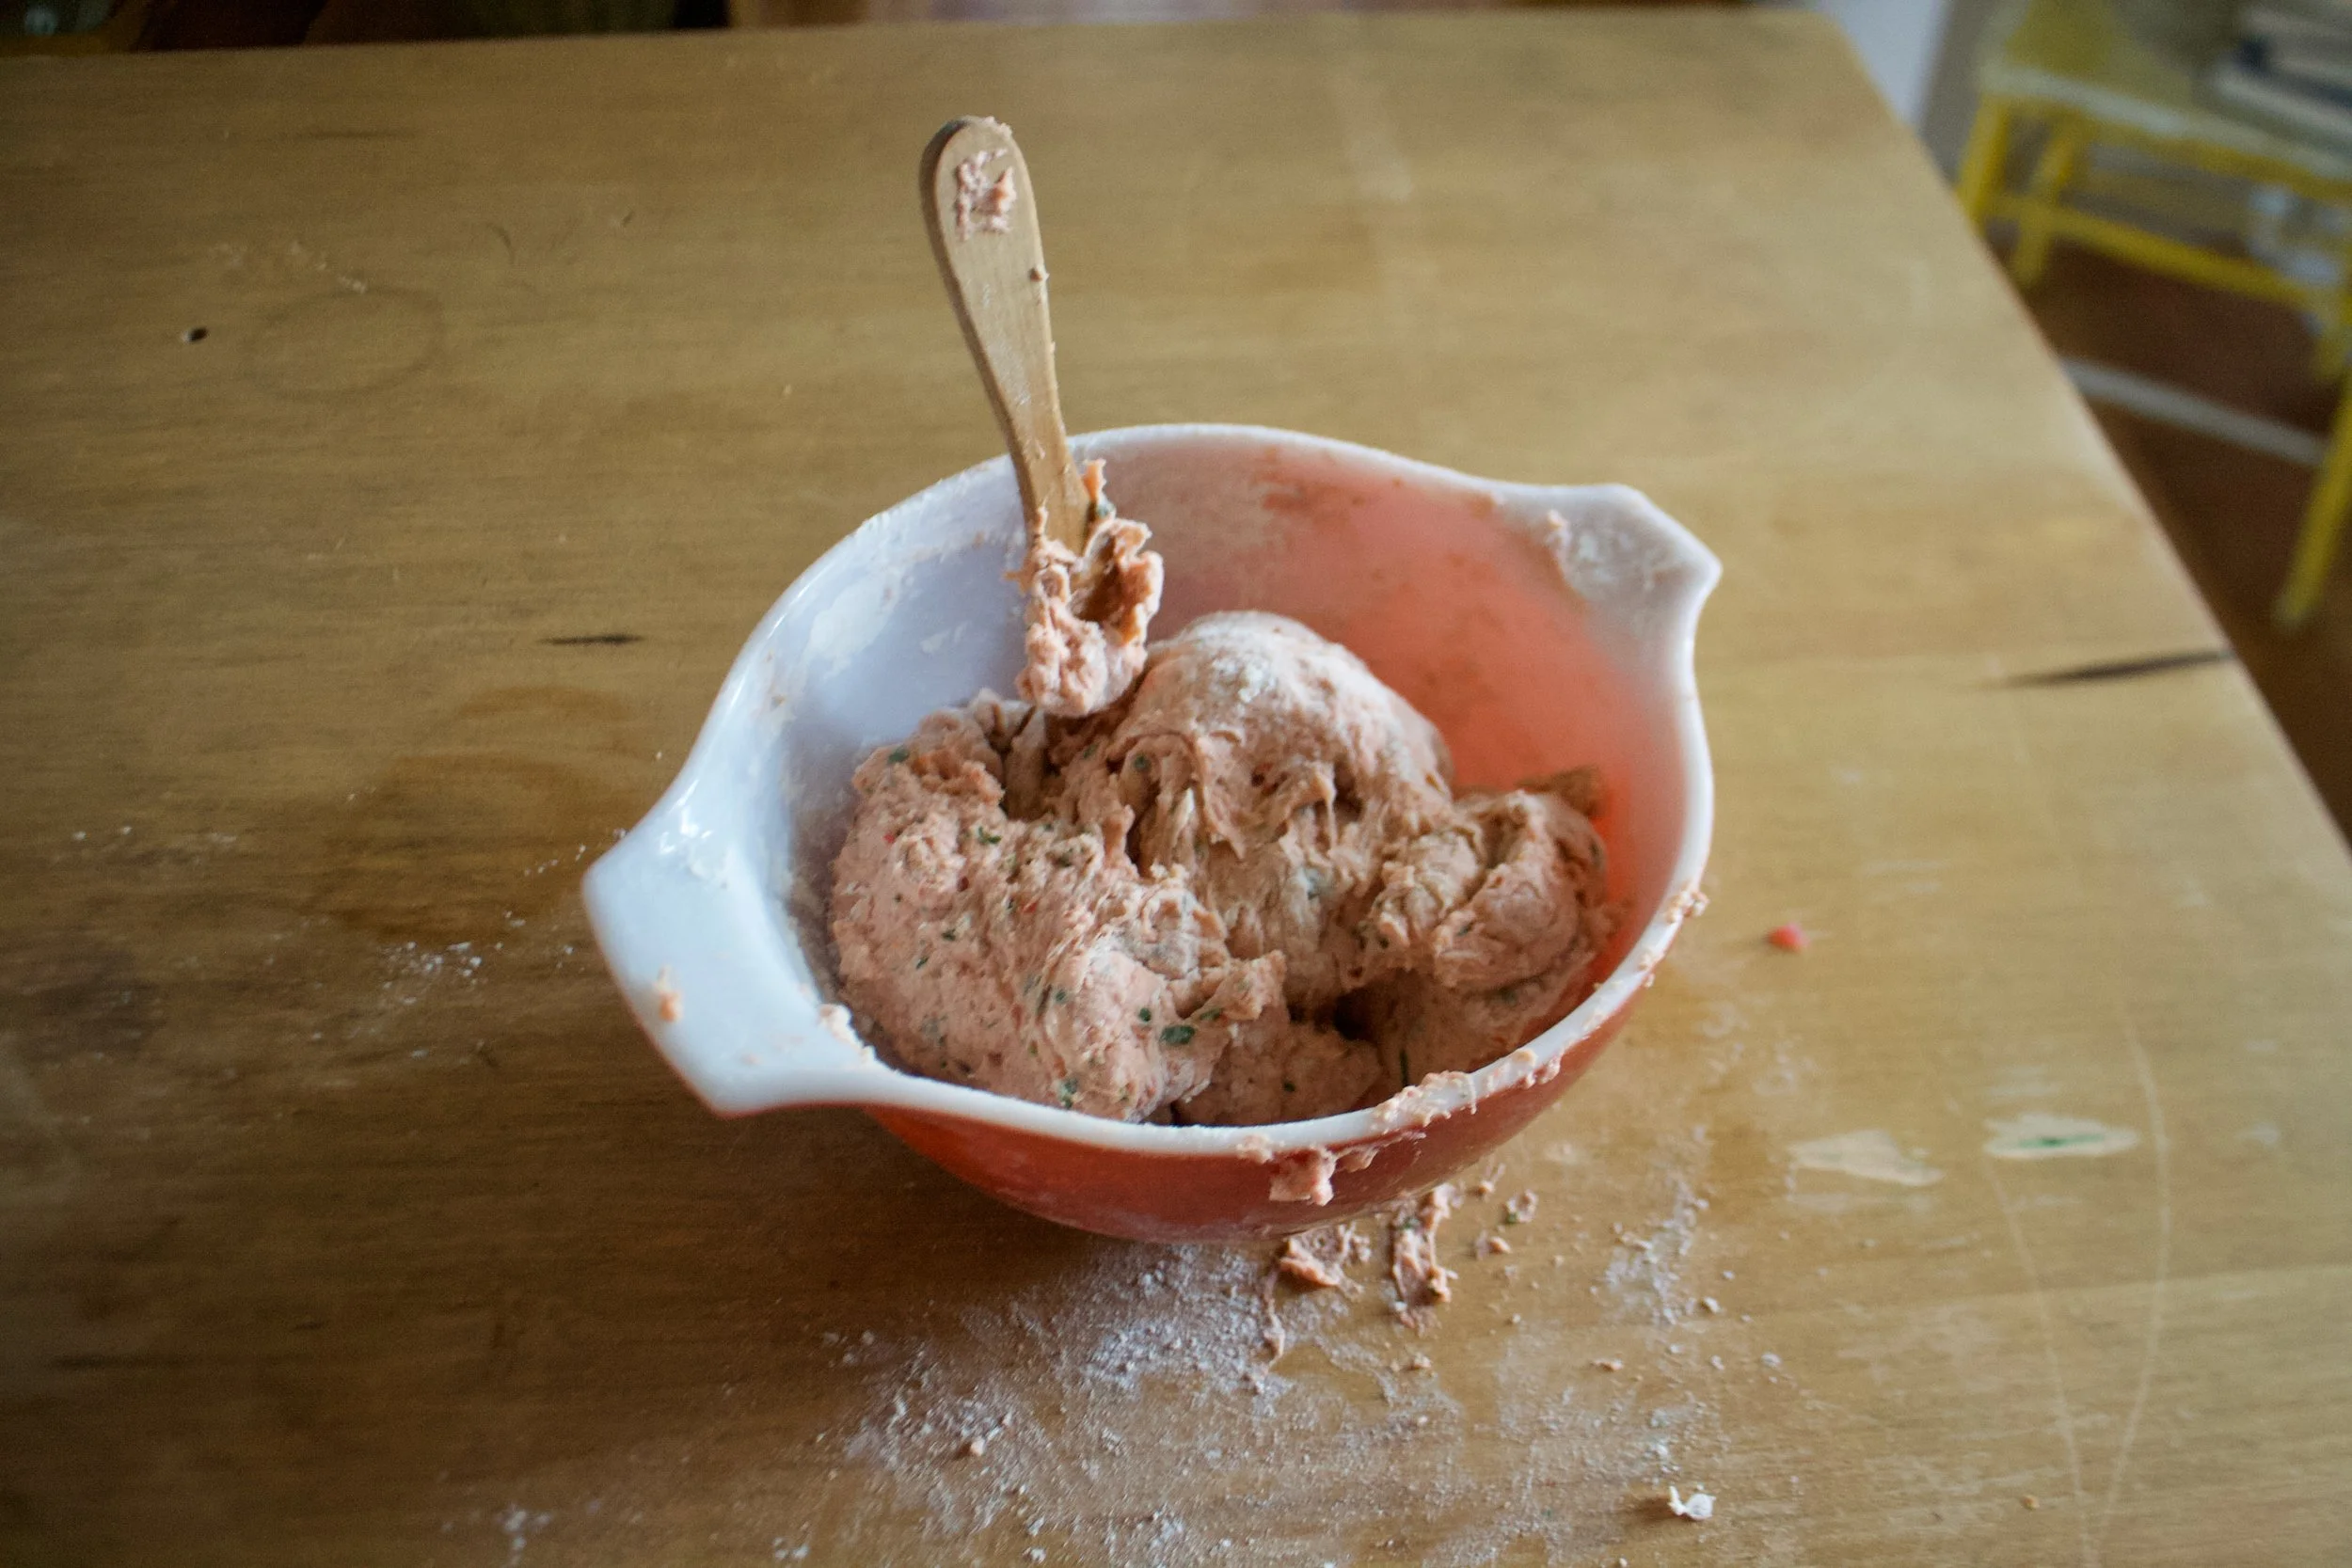
Mix with a spoon until you can’t mix anymore then dump onto the counter.

Keeping the counter nice and floured, knead dough for a minute until it all comes together into nice ball.

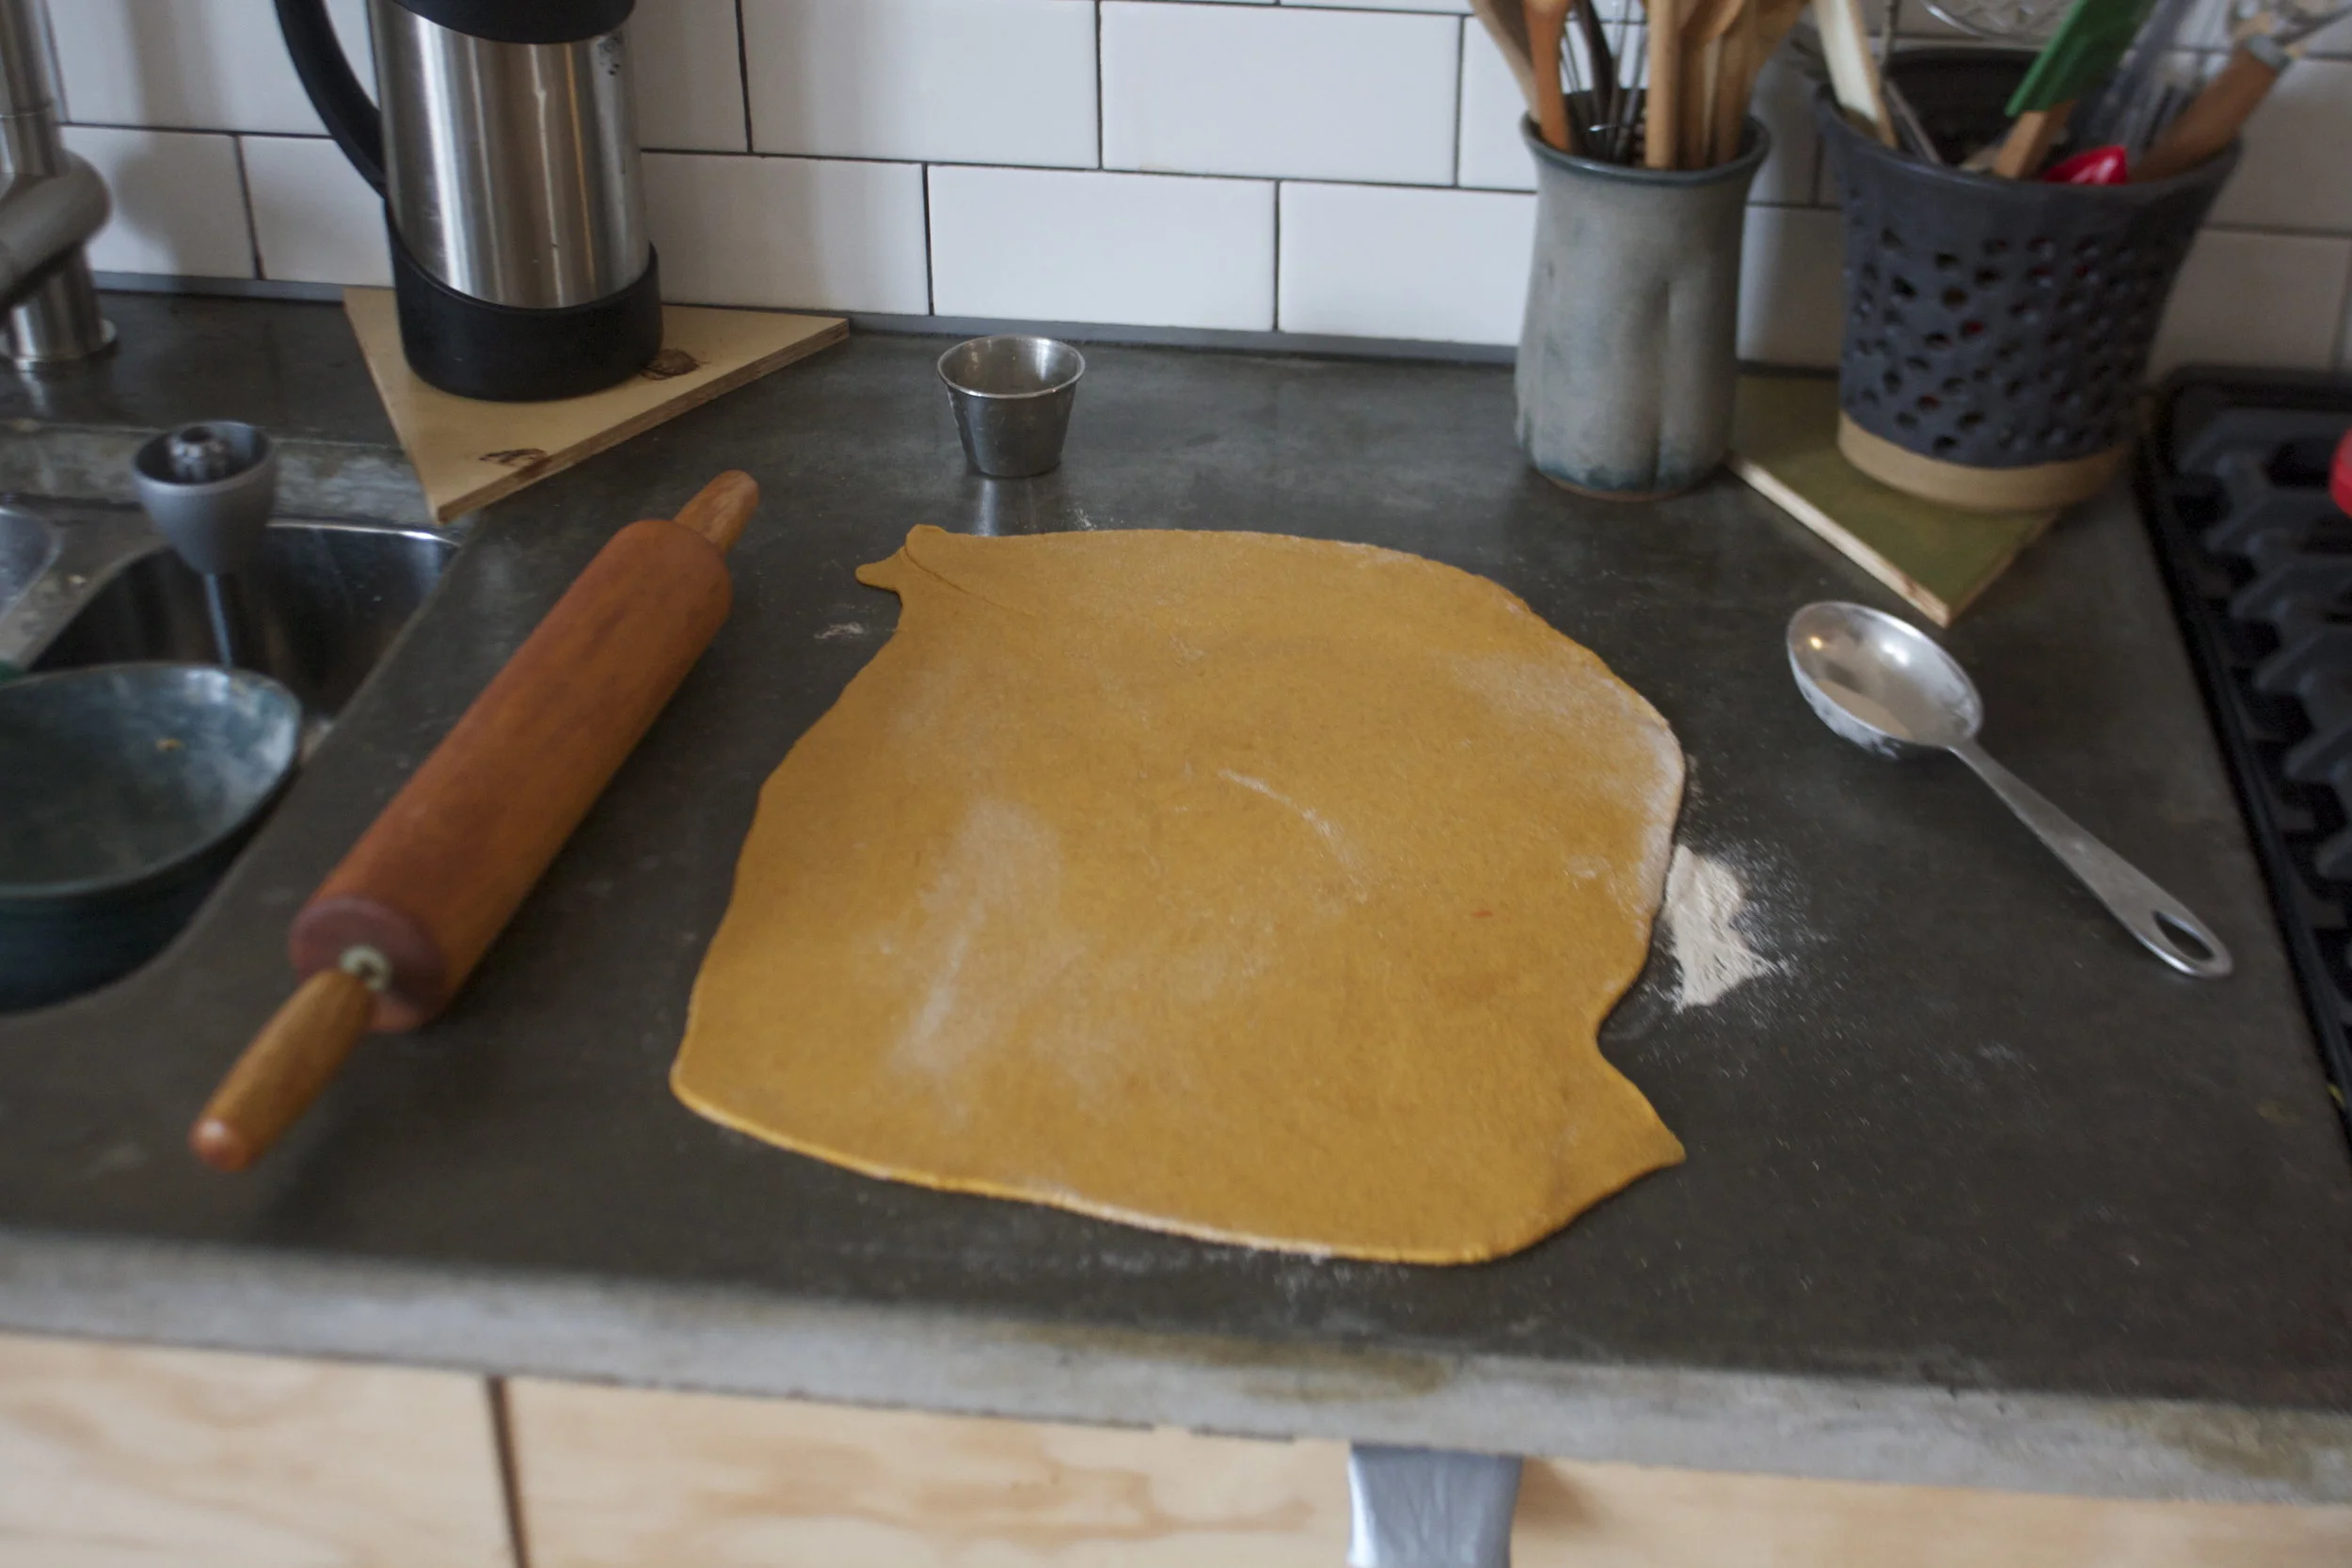
Working with half of the dough at a time, roll out one of the pieces %u00a0about 1/4-1/8 inch thick.%u00a0%u00a0(really flour counter and rolling pin)%u00a0
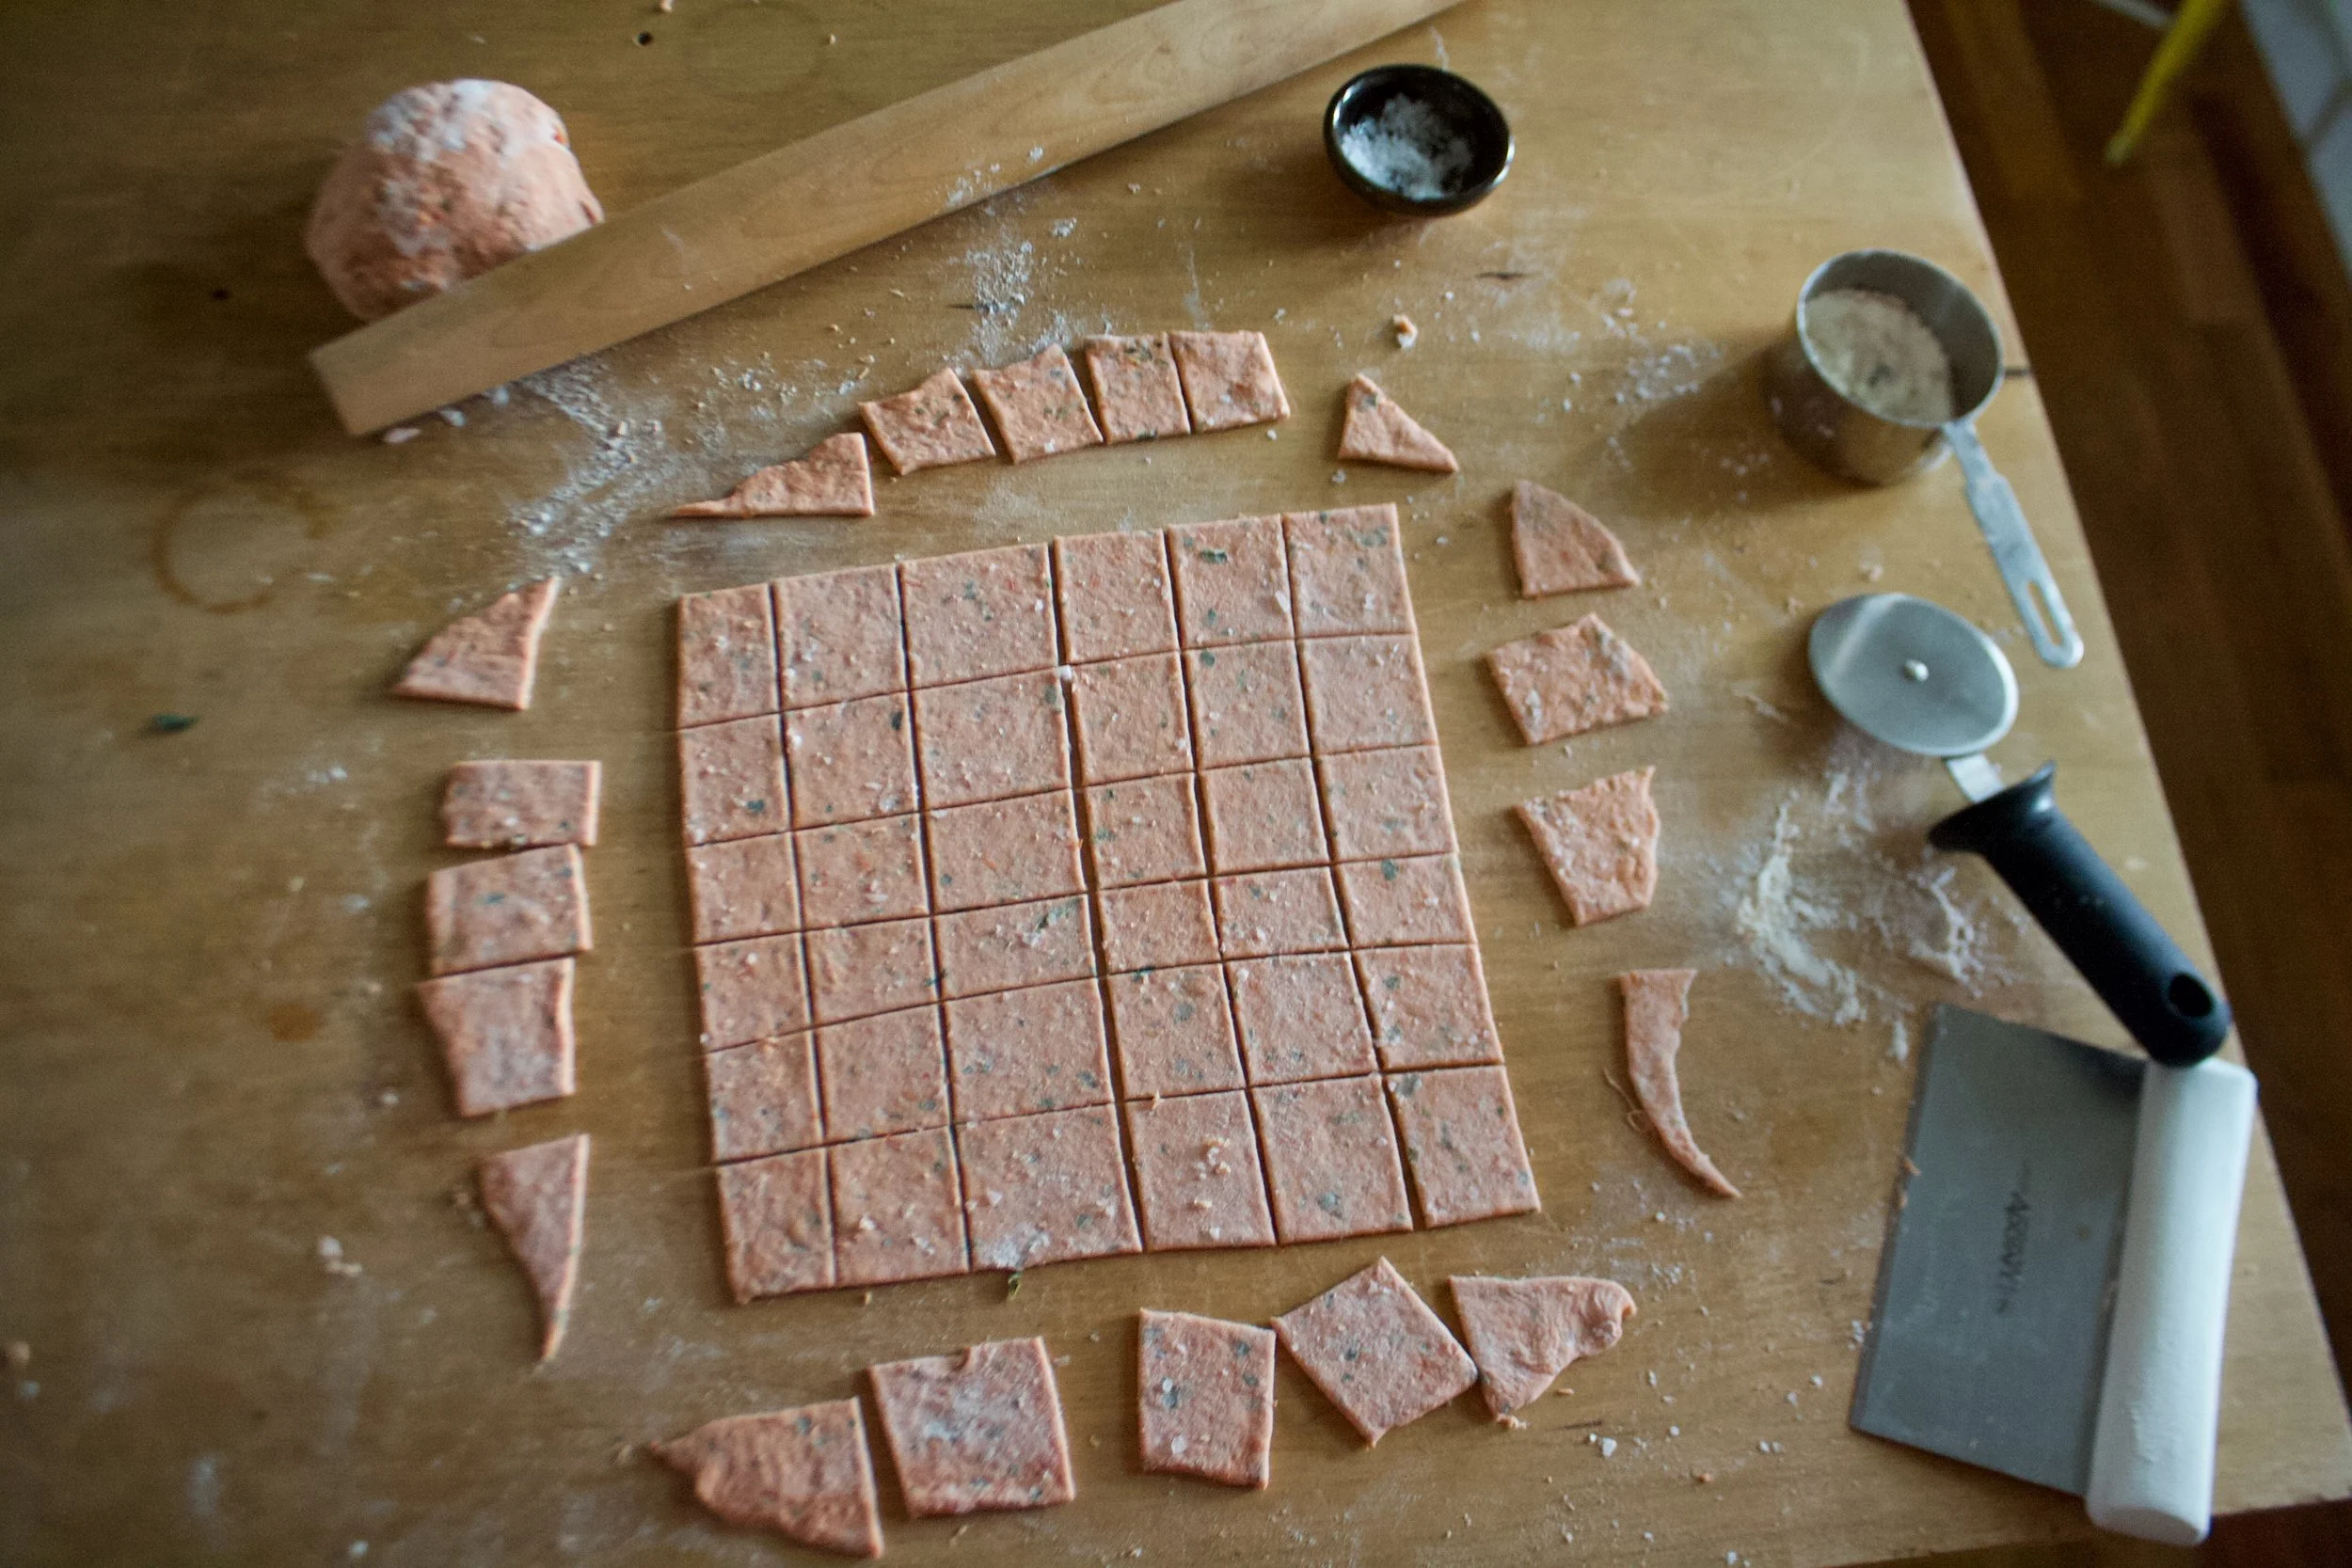
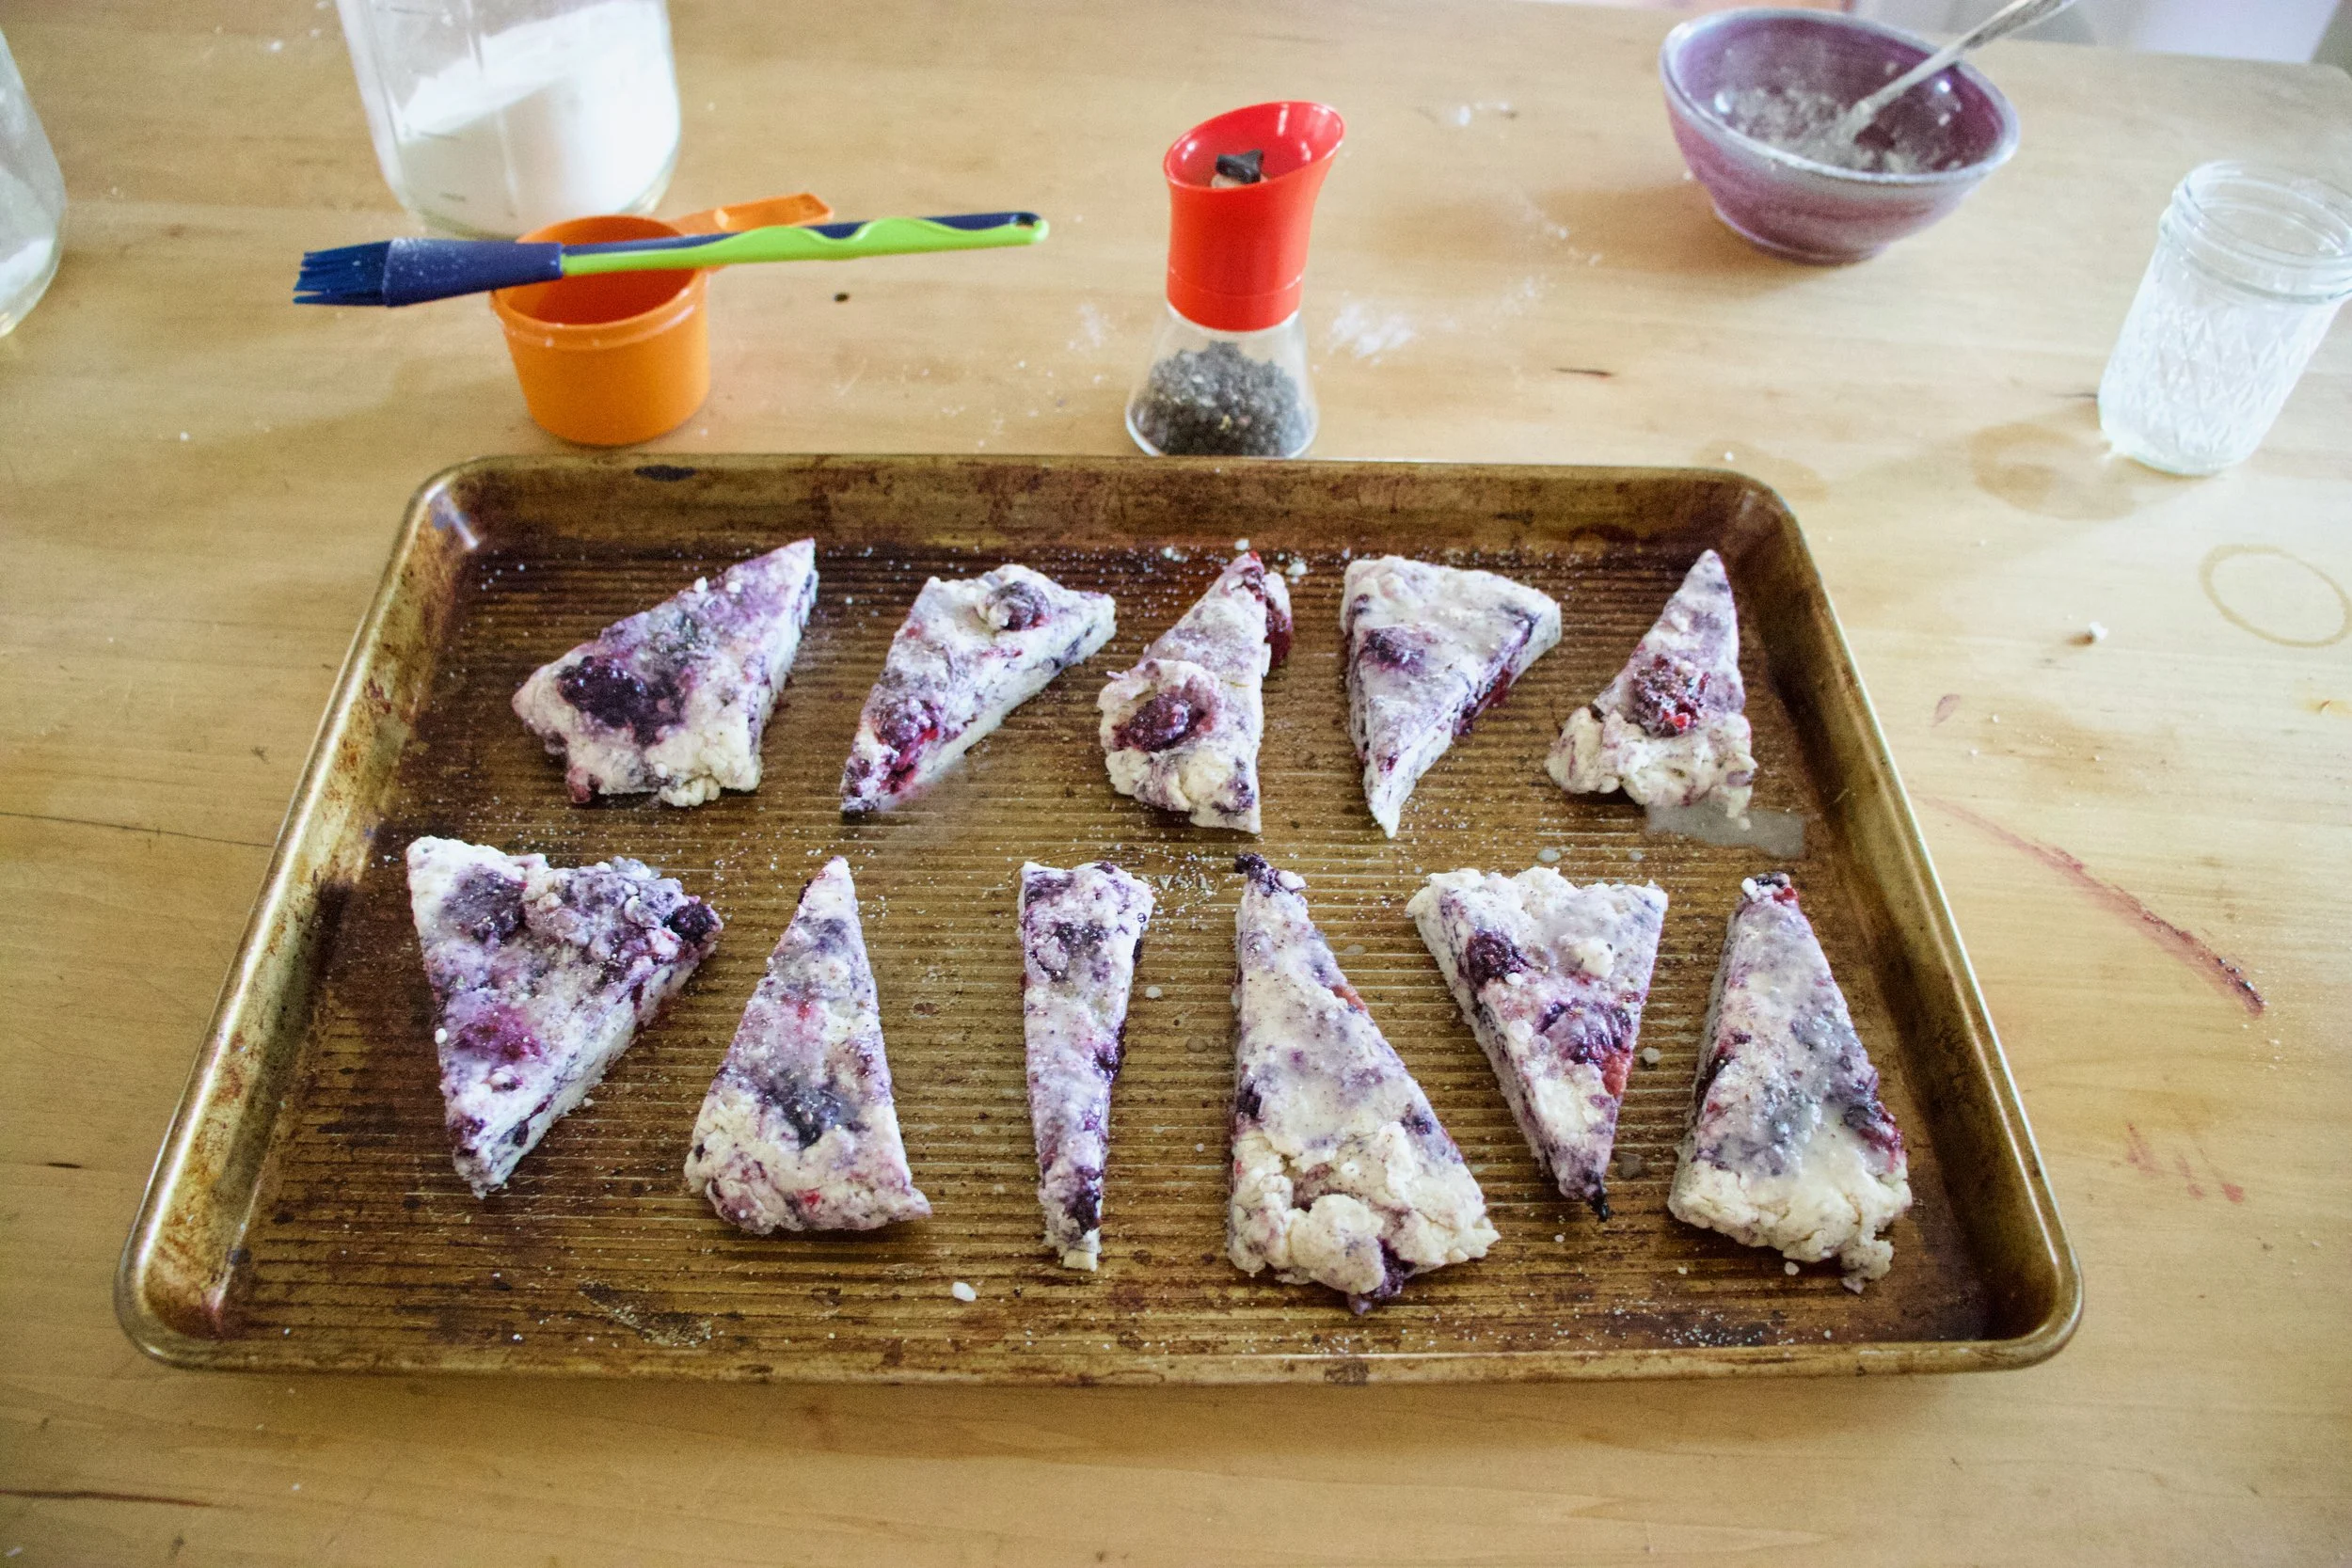
And cut into crackers.. Shapes are up to you, but inch to 2 inch squares are easies to cut.%u00a0
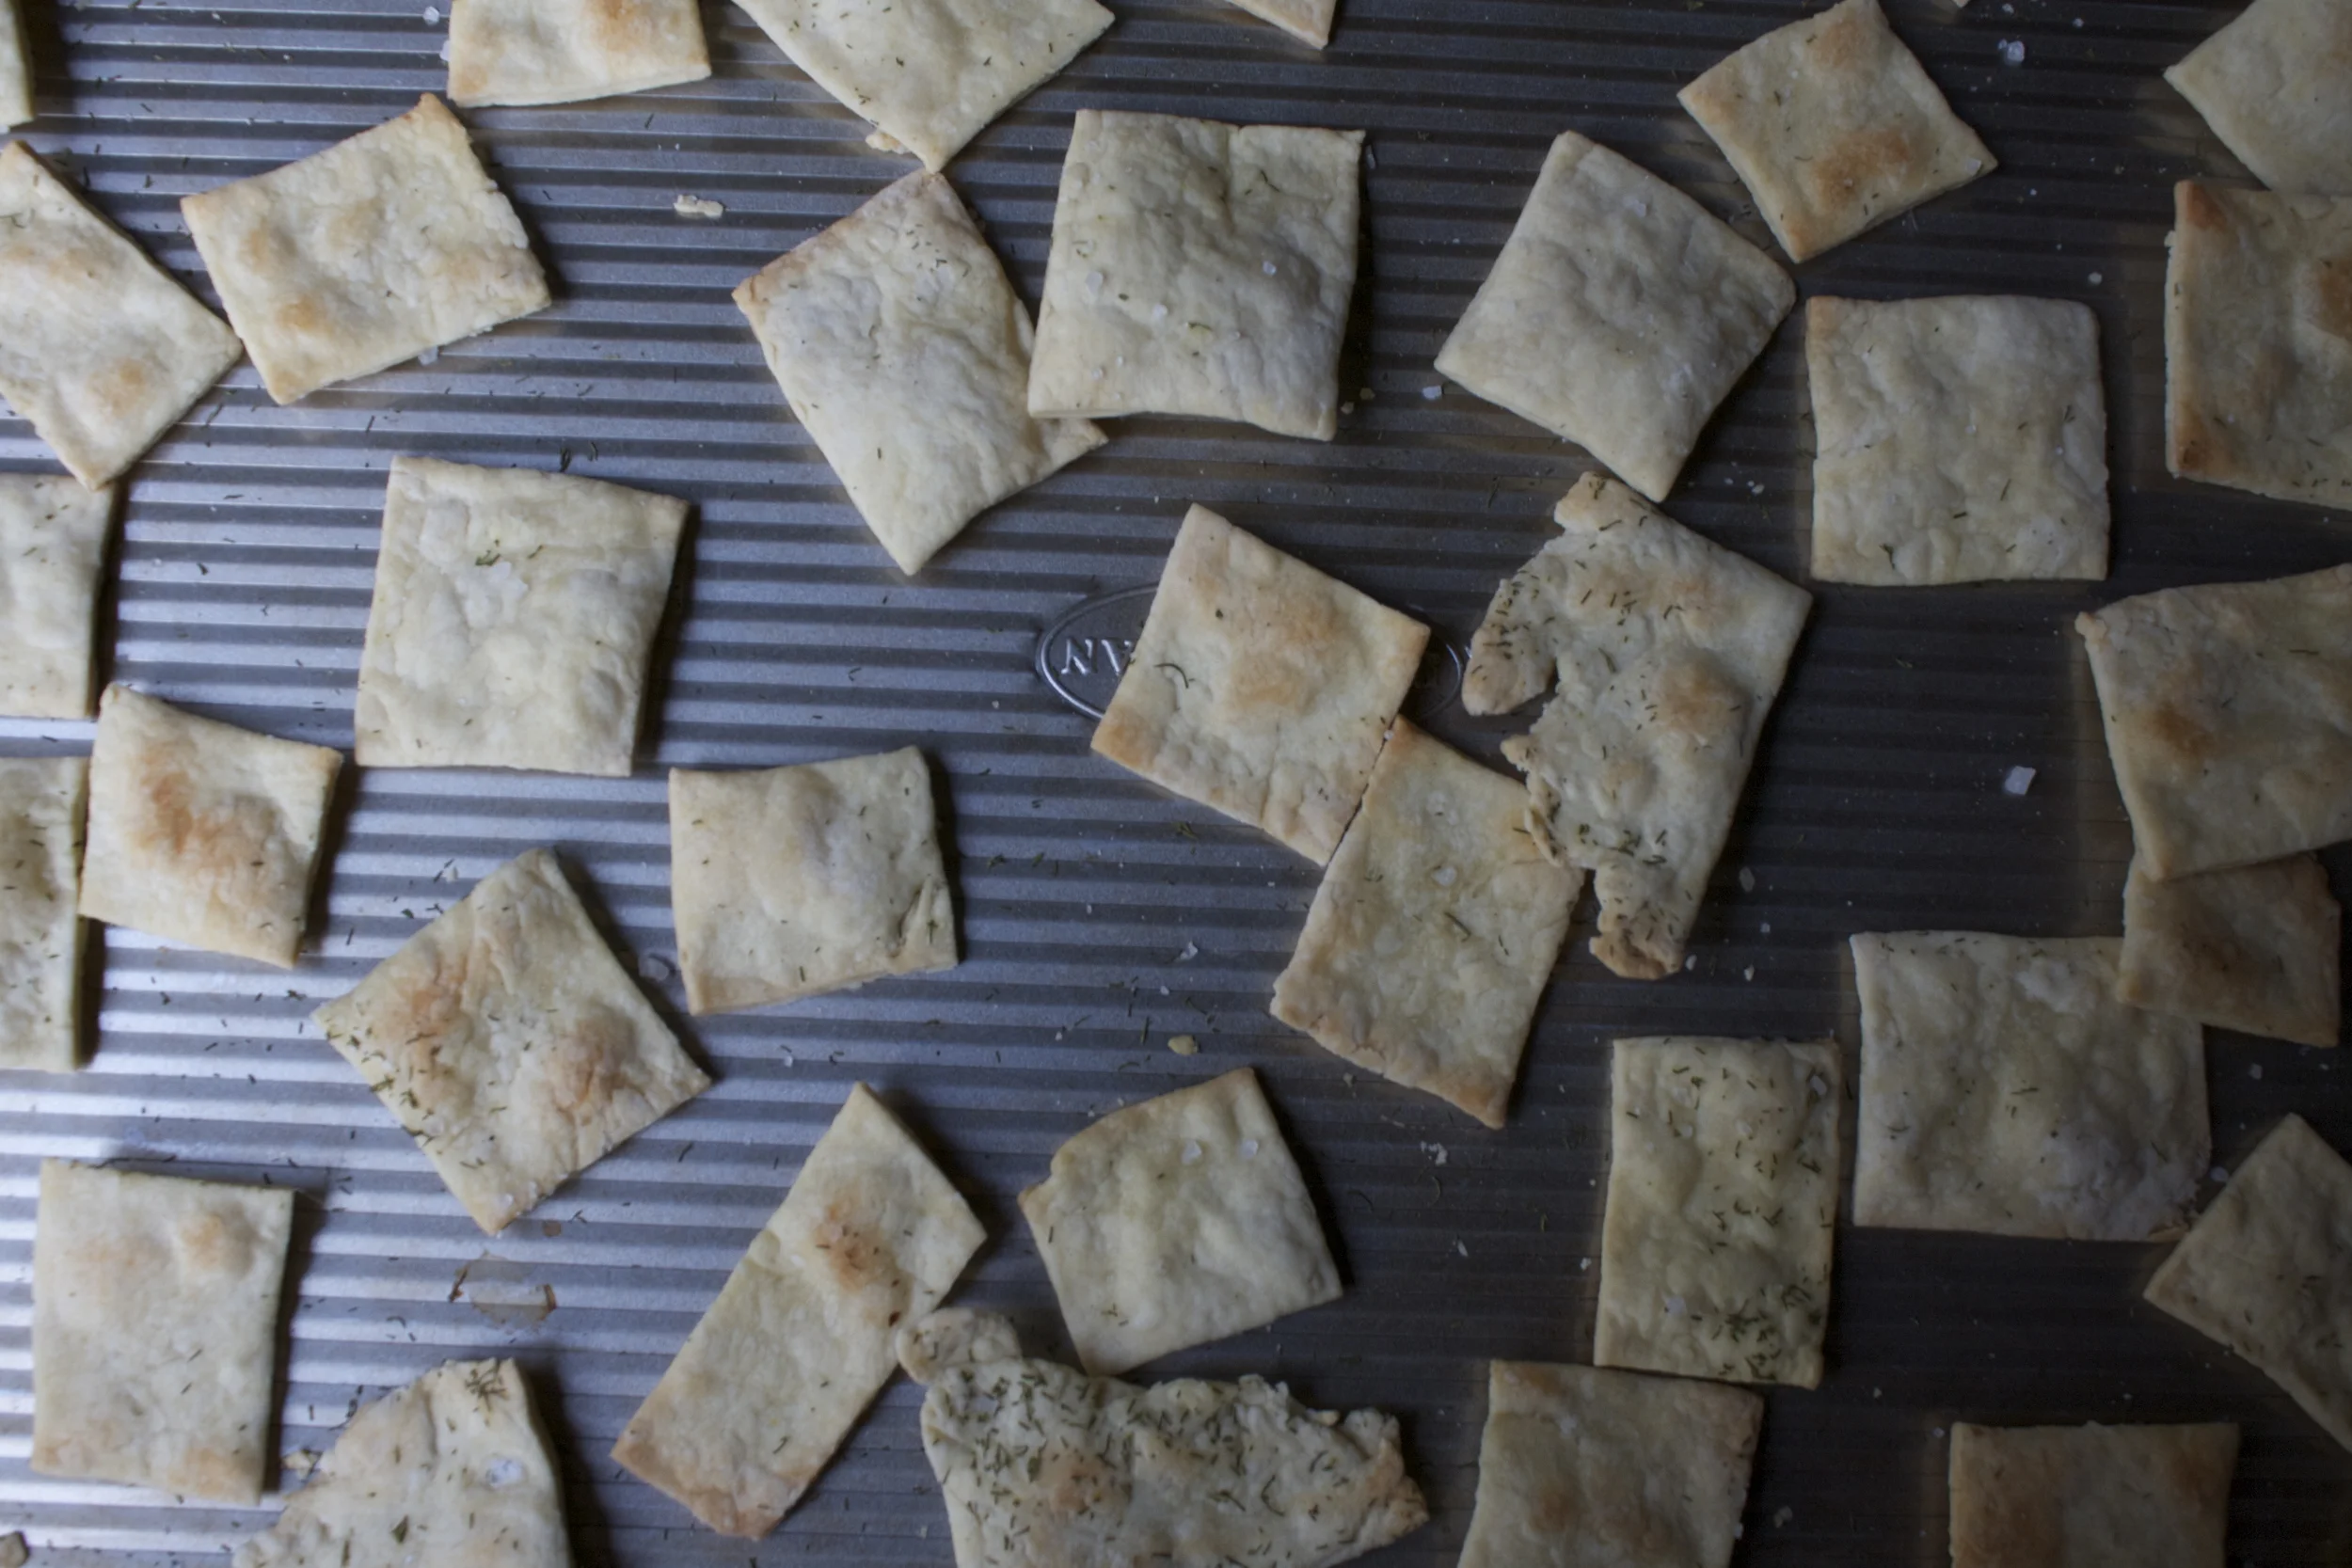
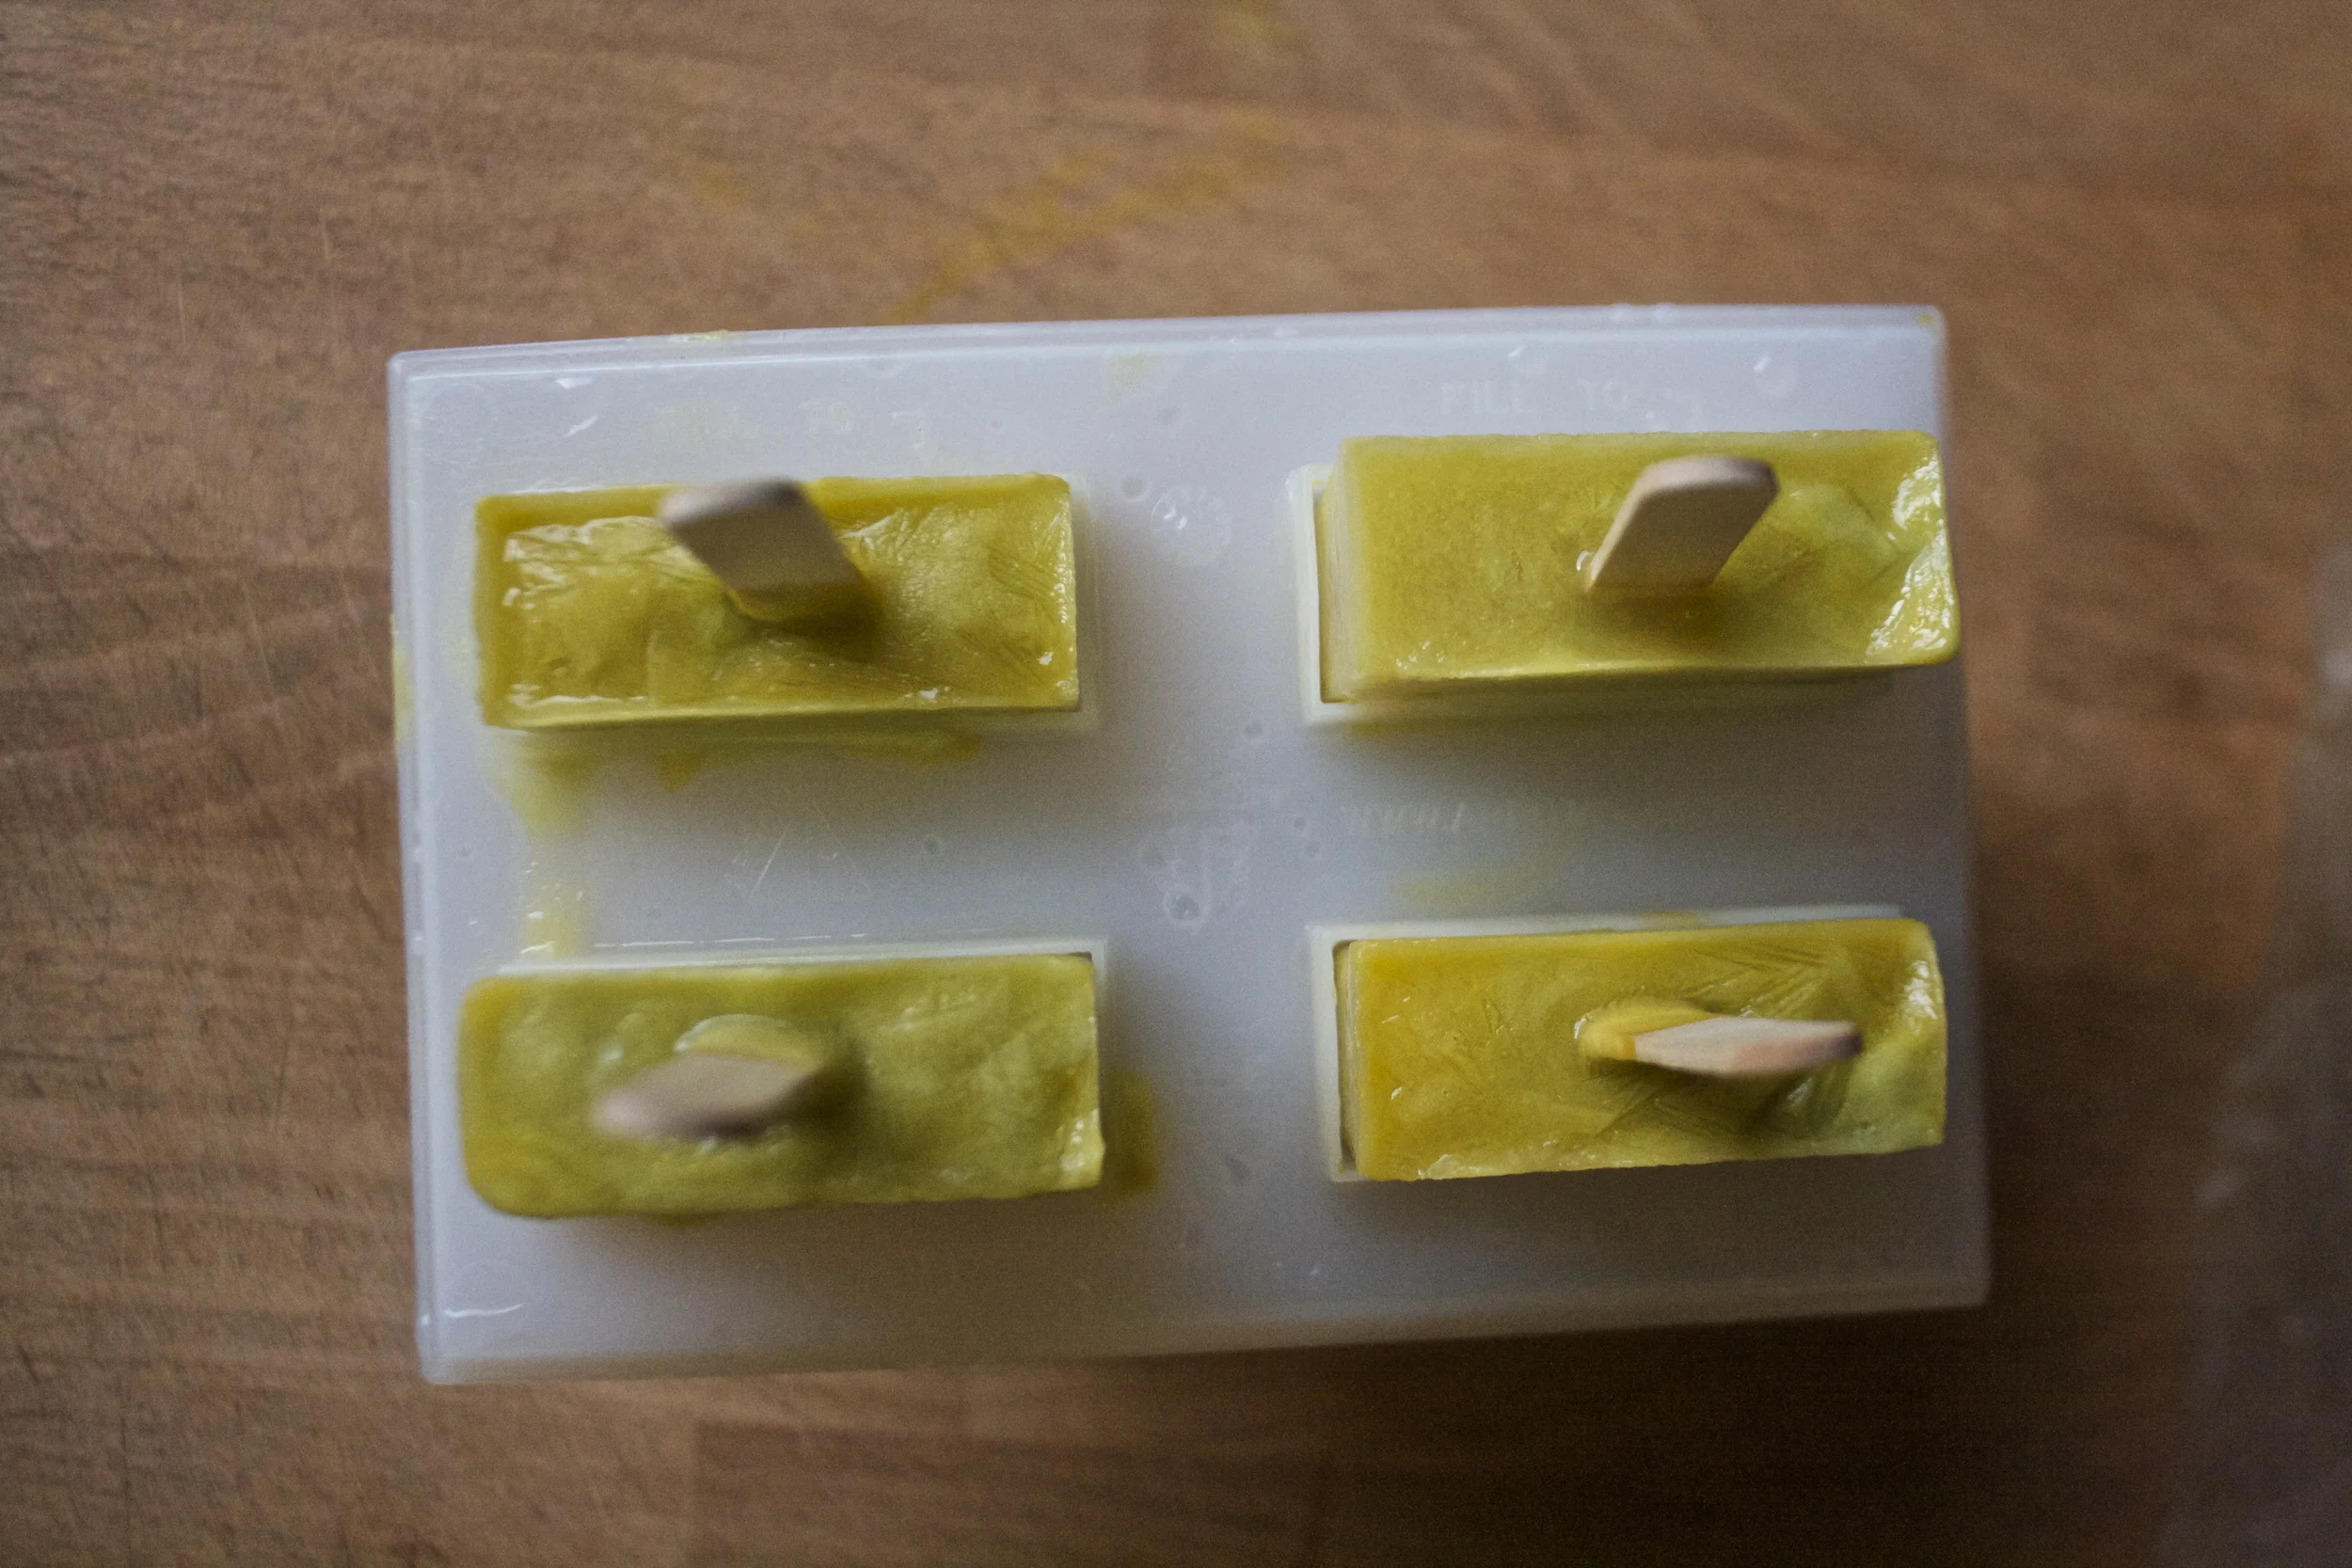
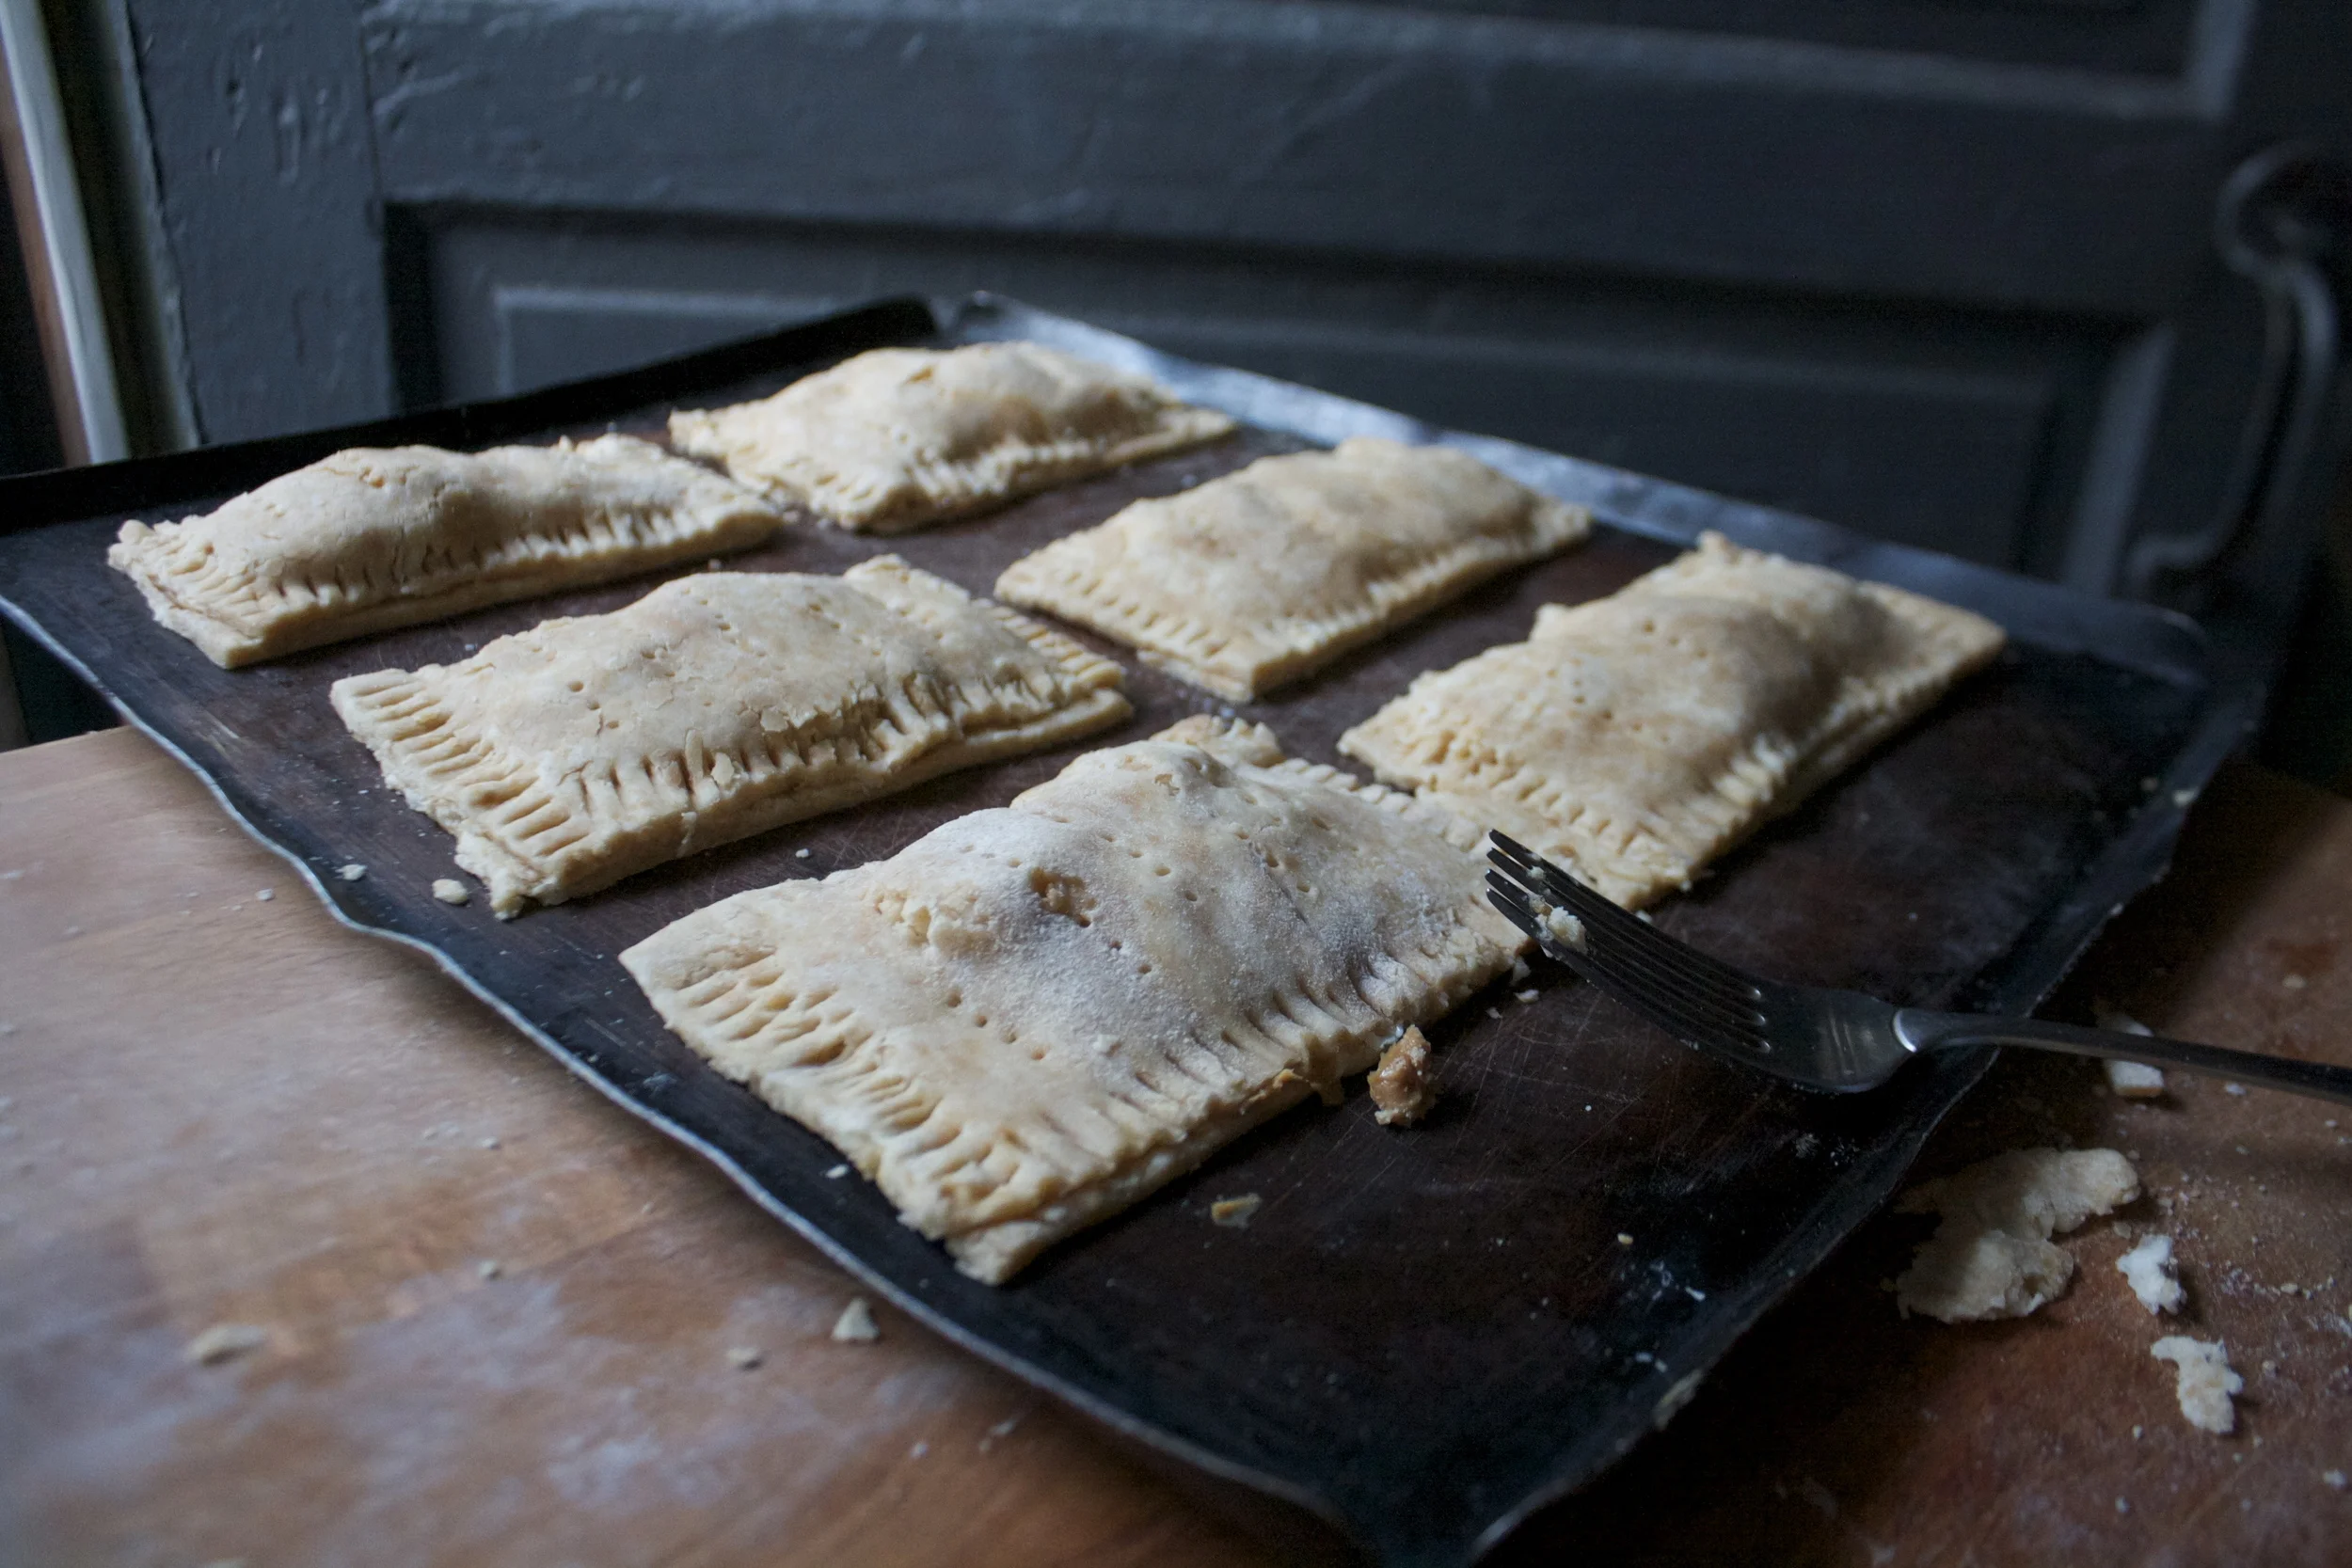
Place crackers onto backing sheet. Before oven time and after oven time.%u00a0%u00a0They shrink and puff up a little bit in the oven. That is what a cracker is suppose to do. (but if you don’t like that you can prevent it by piercing the crackers with a fork before they go into the oven)%u00a0
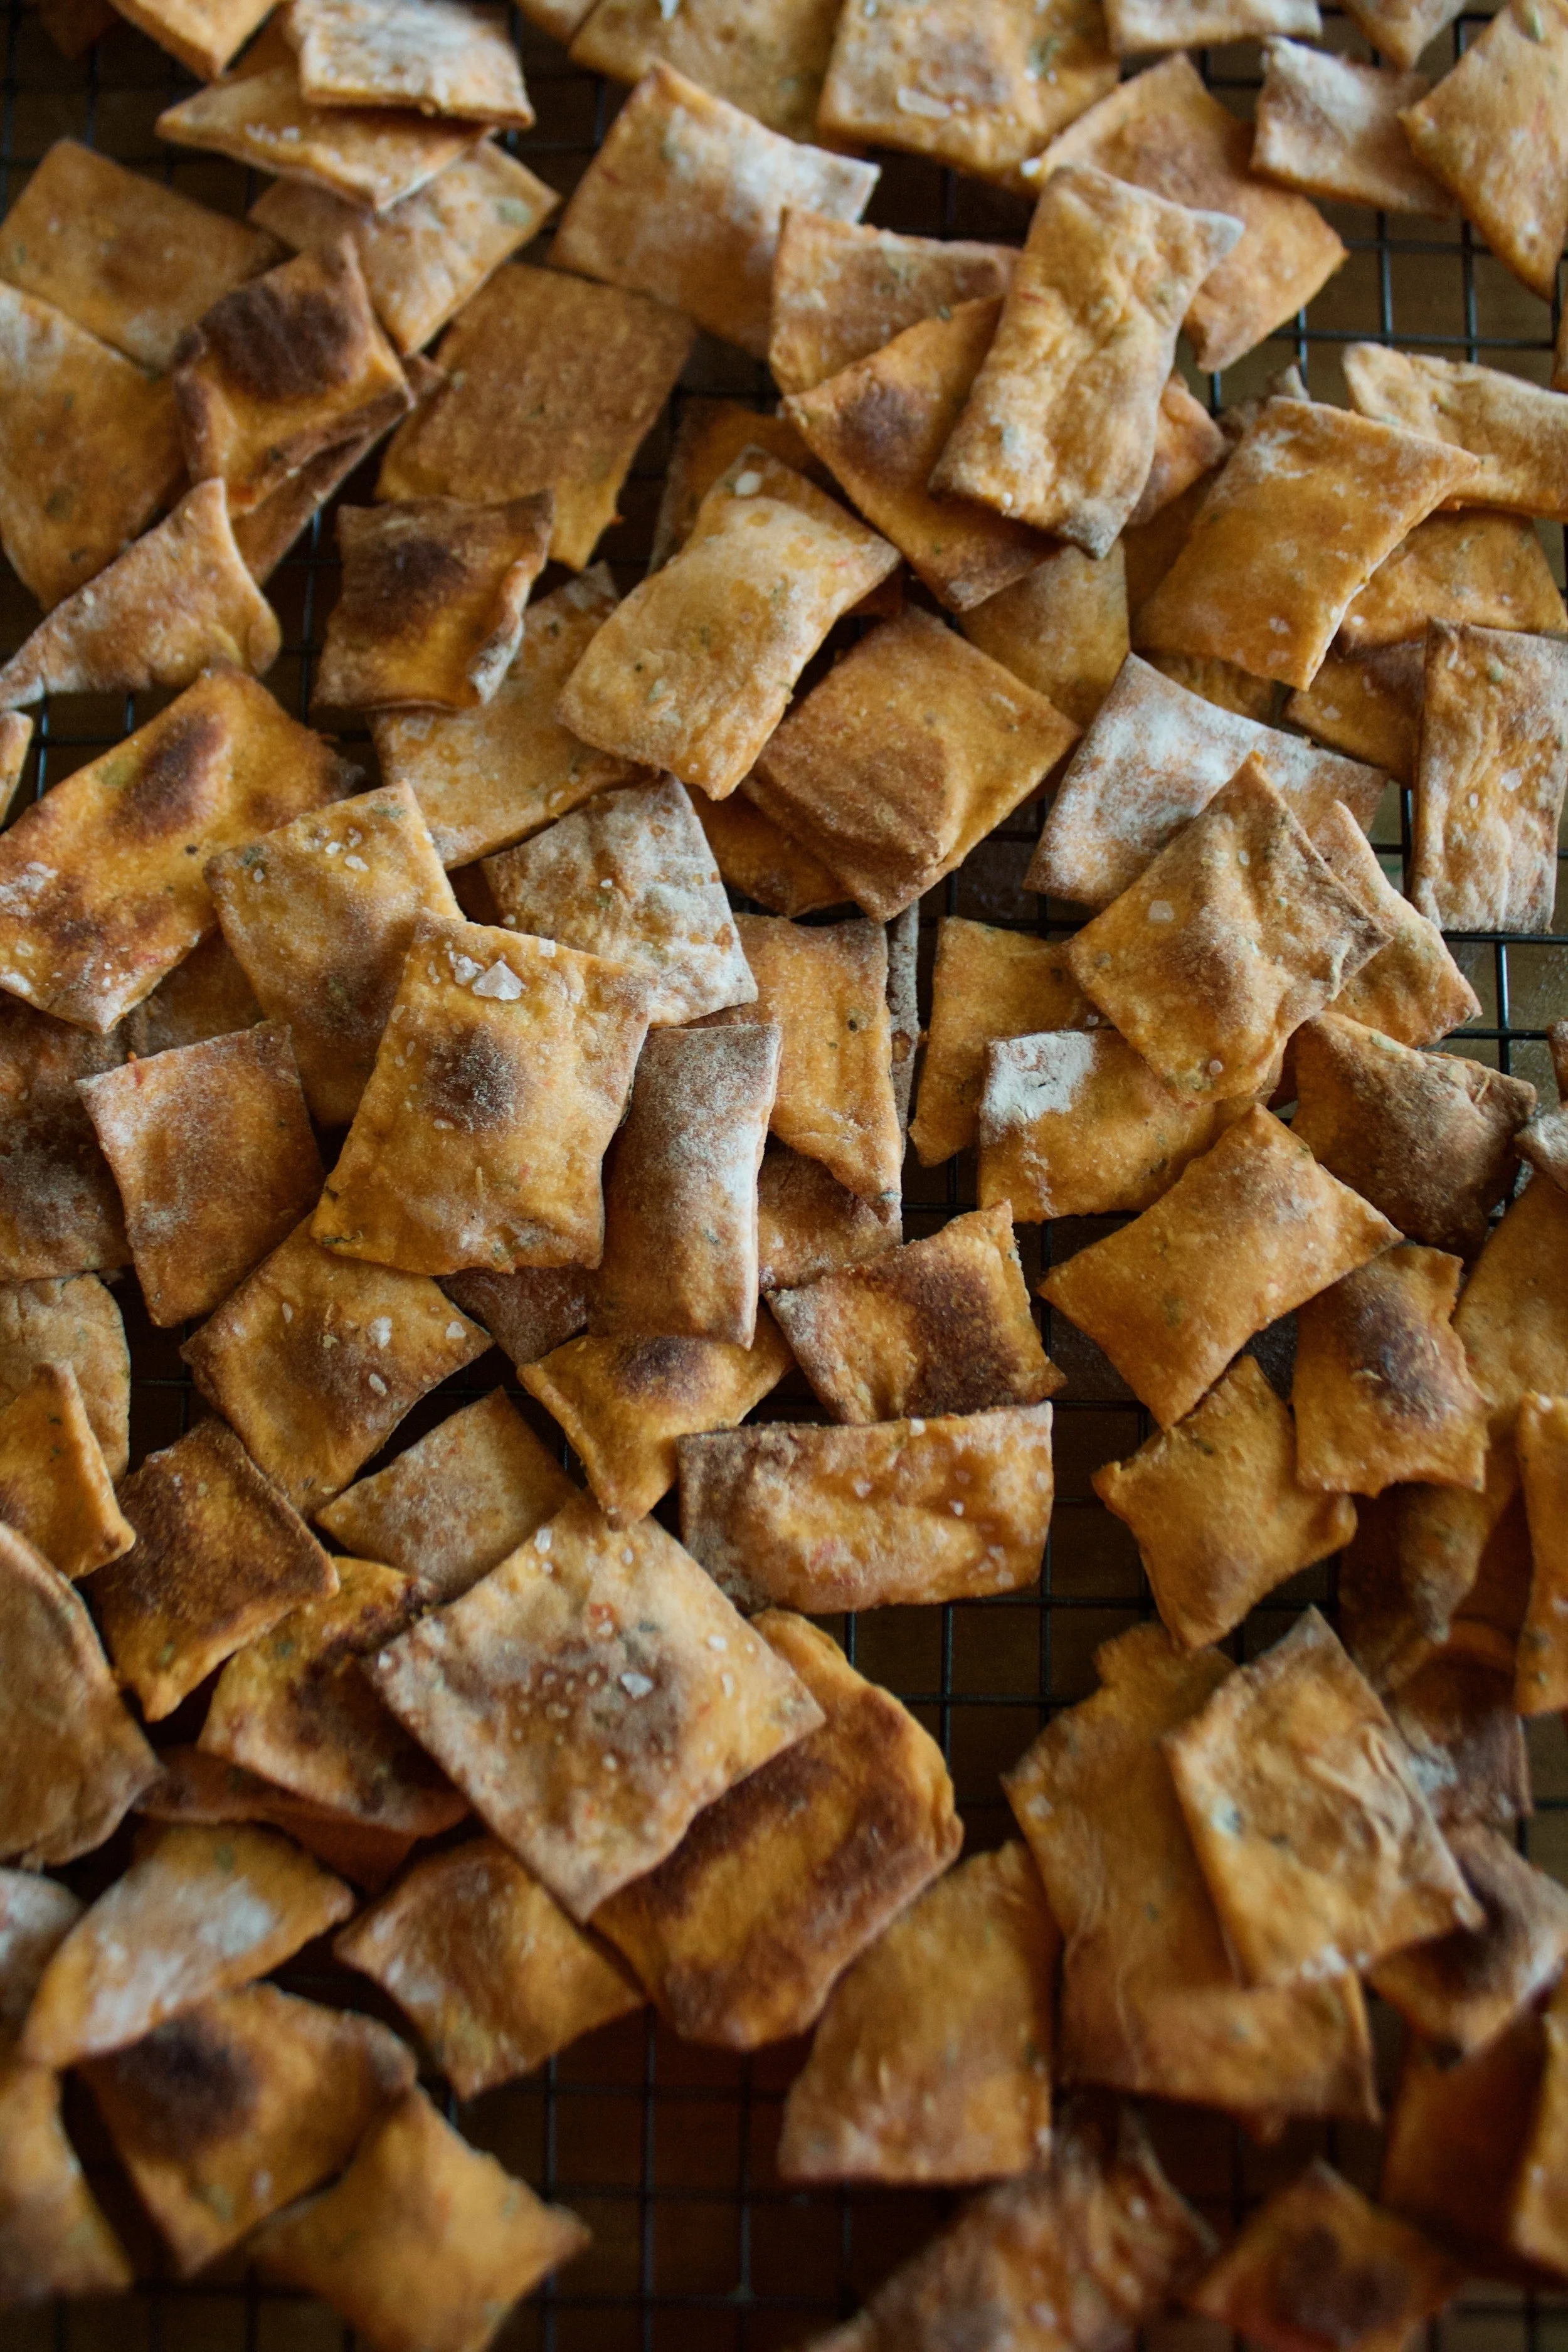
And that’s it. Simple, and delicious.%u00a0
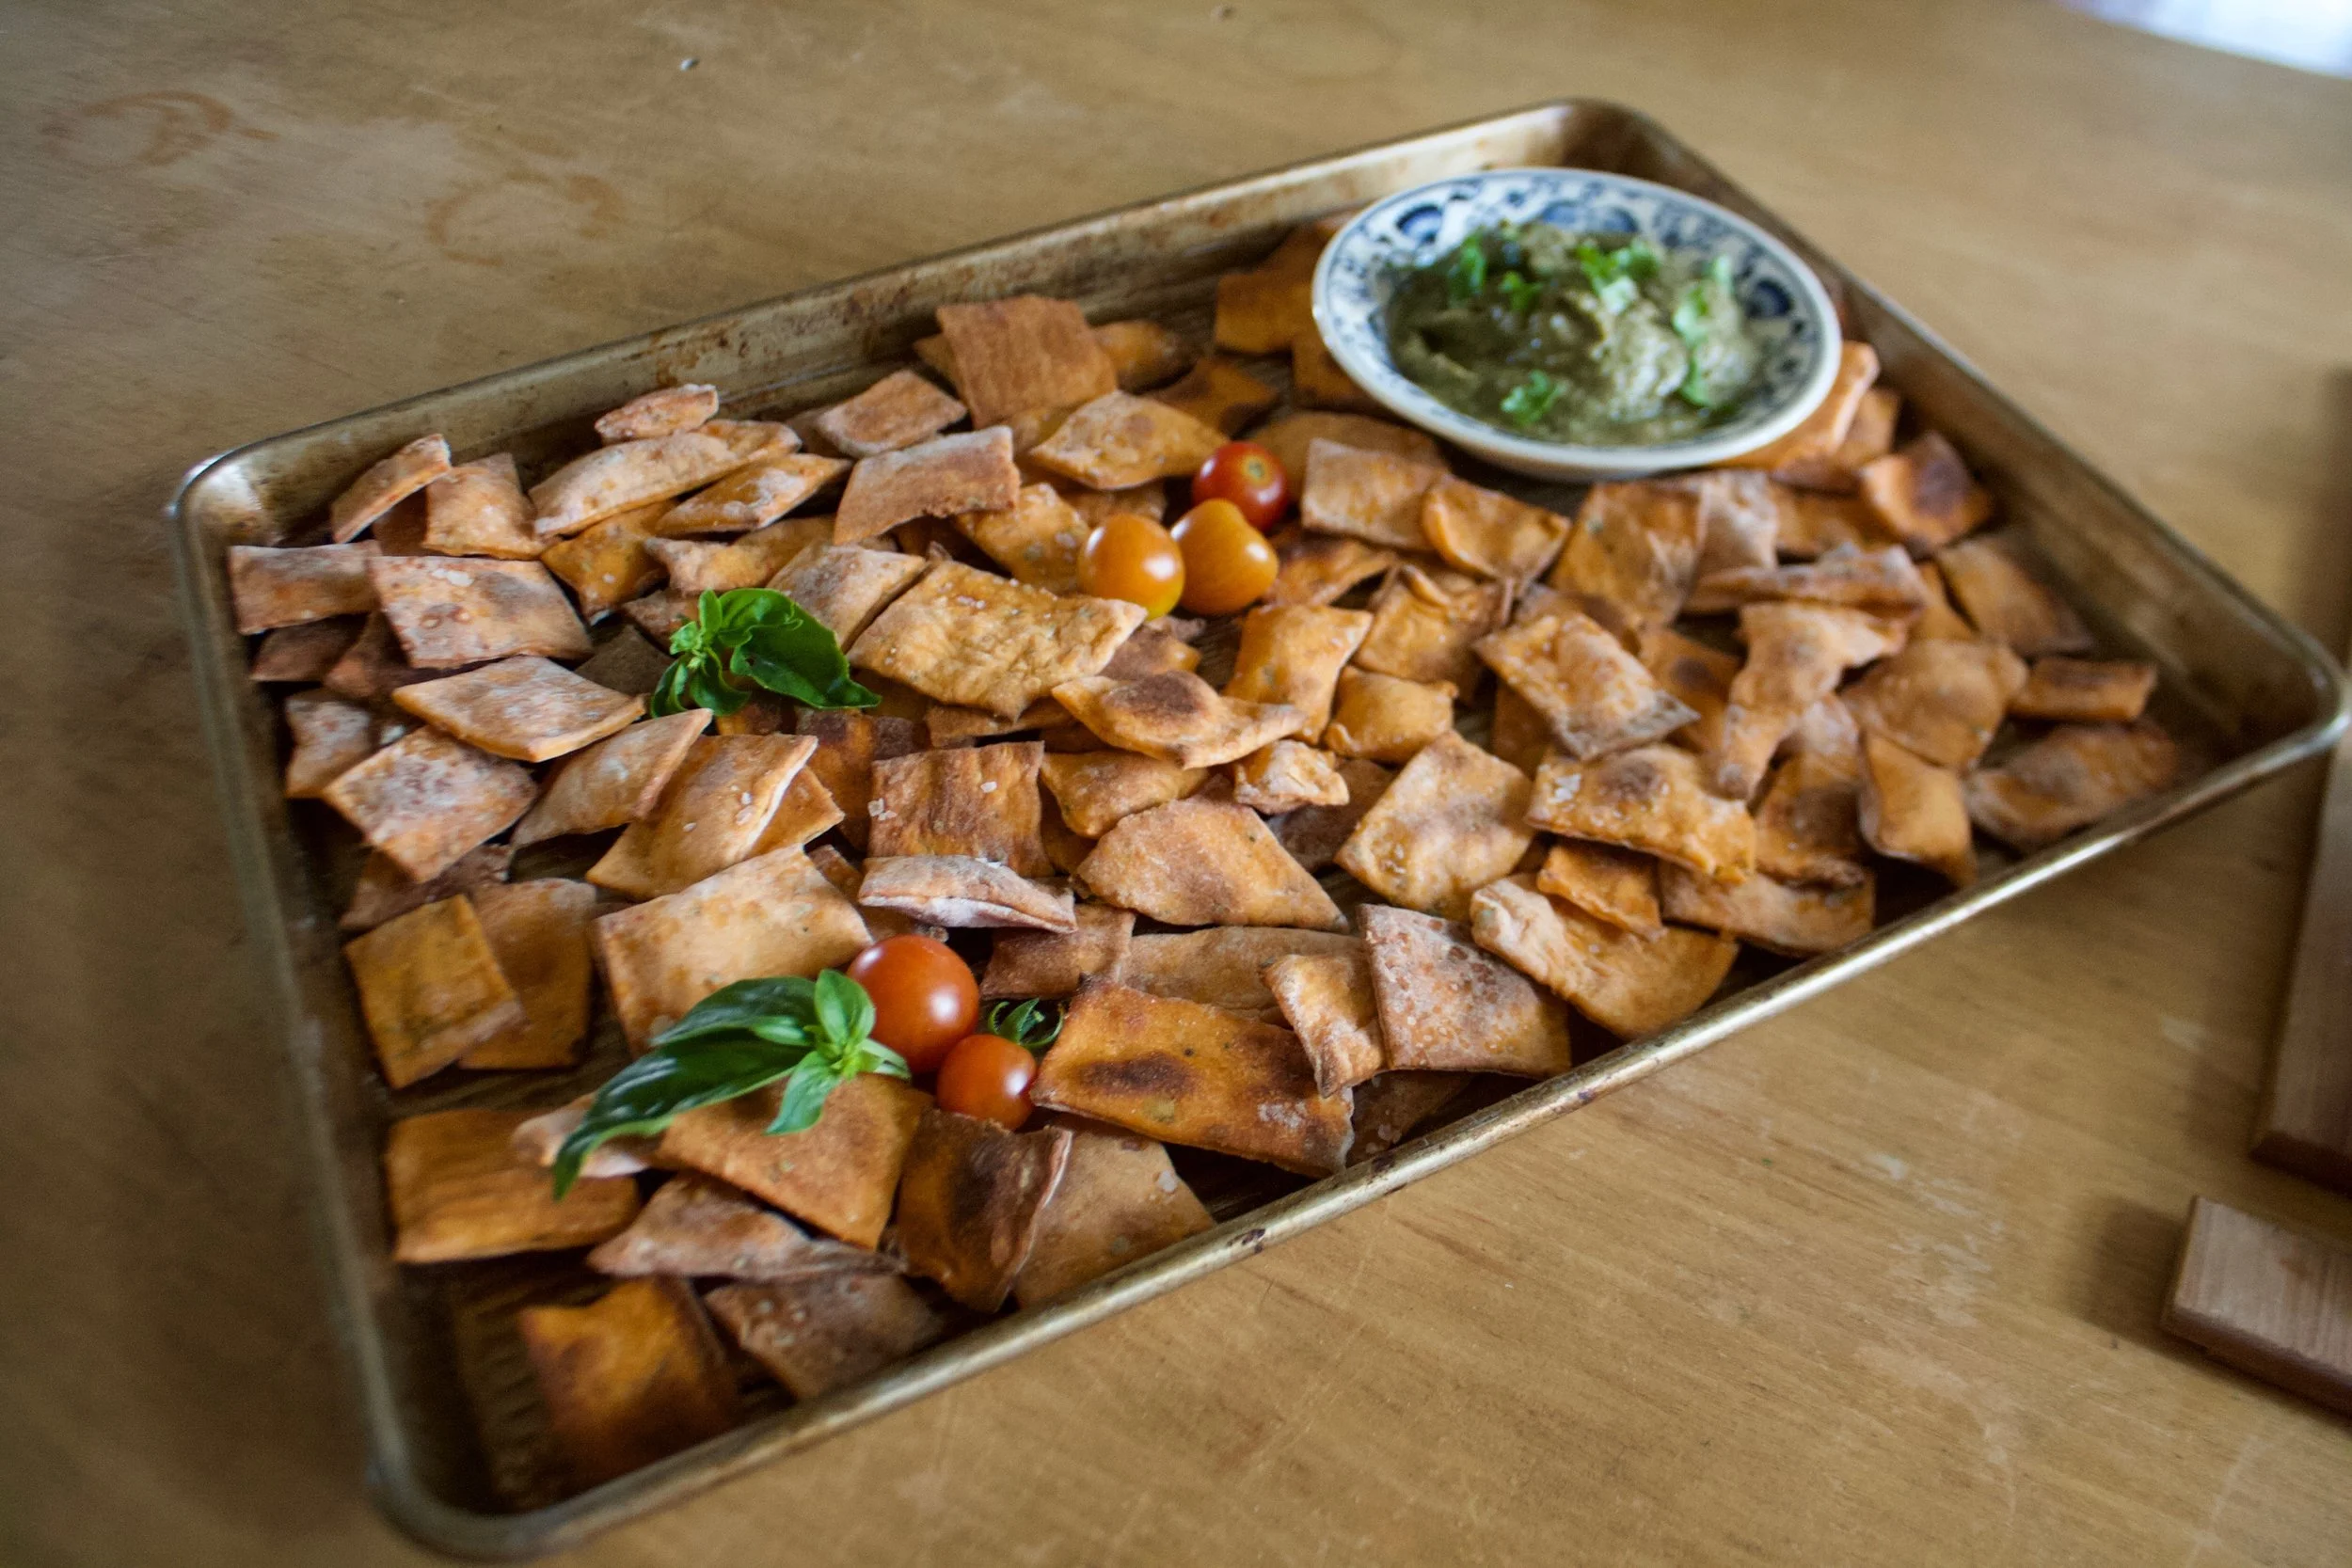
Crackers are looking all pretty like I am about to have party or something. I even made baba ganoush to serve with them. Lucky mr, he got to have this cracker party all to himself. Ha (He did not eat all of these crackers at once, that would be crazy)%u00a0
-C
makes between 100 -125 crackers%u00a0
- 3 cups flour
- 2 large tomatoes %u00a0( equal to 1 1/4 cup of tomato puree )
- 1/3 cup fresh basil leaves%u00a0
- 4 tablespoons olive oil%u00a0
- About 2 tablespoons sea salt%u00a0
Remove core from tomatoes and place into food processor or blender. Blend until smooth and measure out 1 1/4 cups of the puree. Any left overs rs can be used as food later on. Dump measured puree back into blender and add in the basil and oil and pulse until the basil is in little pieces but not completely blended in. %u00a0Add flour to a big bowl then pour in tomato mixture and mix until a dough forms. Dump out onto counter and knead for a minute or two until dough is uniform in texture.%u00a0
Preheat oven to 400 degrees
On a floured surface, divide dough in half as to make rolling it easier, and roll dough into a rectangle that is 1/4- 1/8 inch thick. It is important to make sure the rolling pin and counter are well floured to avoid the dough from sticking. Once rolled out, sprinkle with sea salt and lightly roll the dough once more to kind of press the salt in then cut with either pizza cutter or a cracker cutter, or a knife, into 1 1/2 inch squares. The edges are going to be wonky shaped and you can either except them as they are or re roll and recut. (Note. IF you want your crackers to late flat and not puff up while baking, stab the crackers with a fork before they go into oven to create air vents. But honestly, most people really like the puffed up cracker)%u00a0%u00a0Place cut crackers onto a baking sheet and stick into oven. Bake for 15 minutes, checking after 10, until the crackers are golden brown. %u00a0Don’t forget to roll and bake off the other half of the dough!
Once crackers look good, remove from oven and place onto cooling rack. They will get crisper as they cool.%u00a0
Eat as many as you want. Store extra crackers in a airtight container or bag.%u00a0

I have fond memories of young me skipping school and sitting in front of the tv with peanut butter,%u00a0a package of graham crackers, and a glass of milk to dunk the peanut butter cover crackers in,%u00a0watching myself some Martha Stewart. I also have some fond memories of the days in college I would skip class (obviously to finish a paper or something), and sit around eating graham crackers covered in peanut butter and nutella,%u00a0dipped in beer? Wait no, it was coffee.%u00a0(although….beer? Could be something there.)%u00a0%u00a0Apparently I liked to skip class and eat peanut butter graham crackers. But don’t blame the cracker for the bad behavior, blame the eater. And I didn’t do it all the time, only once in a while. (A girl needed to watch her some Martha or write a 20 page paper.)%u00a0
We had a BBQ this week and for some reason I though people want to eat s’mores at a BBQ. (I guess I got that confused with camping.) %u00a0I figured even though the days of skipping life and eating graham crackers has passed me by, that I needed to make the graham crackers for others to enjoy. And then I wondered why the heck no one ever makes graham crackers. They are by far the underrated crispy cookie (lets just call it what it is ) of the snack world.%u00a0%u00a0I think I might make it my new thing. I’ll make graham crackers for ever cookie swap situation, every event that requires a dessert, every time a snack is need,%u00a0until people realize what they are missing. I’ll bring the graham cracker into all it’s glory.%u00a0
These graham crackers were raved over by people who like graham crackers and were absolutely perfect for s’mores.%u00a0%u00a0A few of the littles that don’t like graham crackers did not care for them, but I guess you can’t make everyone happy. Tthey just wanted to eat the marshmallows.)%u00a0They are crispy and crackery, tiny bit smokey and sweet but not to sweet, and perfect for all your graham cracker needs.

The stuff. In one bowl there is graham flour, all purpose flour, baking soda and salt. The other bowl has brown sugar, honey and molasses. Also going to need vegan butter, vanilla, and a little bit of plant milk.%u00a0
The big bowl of sweet stuff get beaten together with the butter and vanilla until smooth, then the dry mixture and milk go in an beaten until just combined.%u00a0

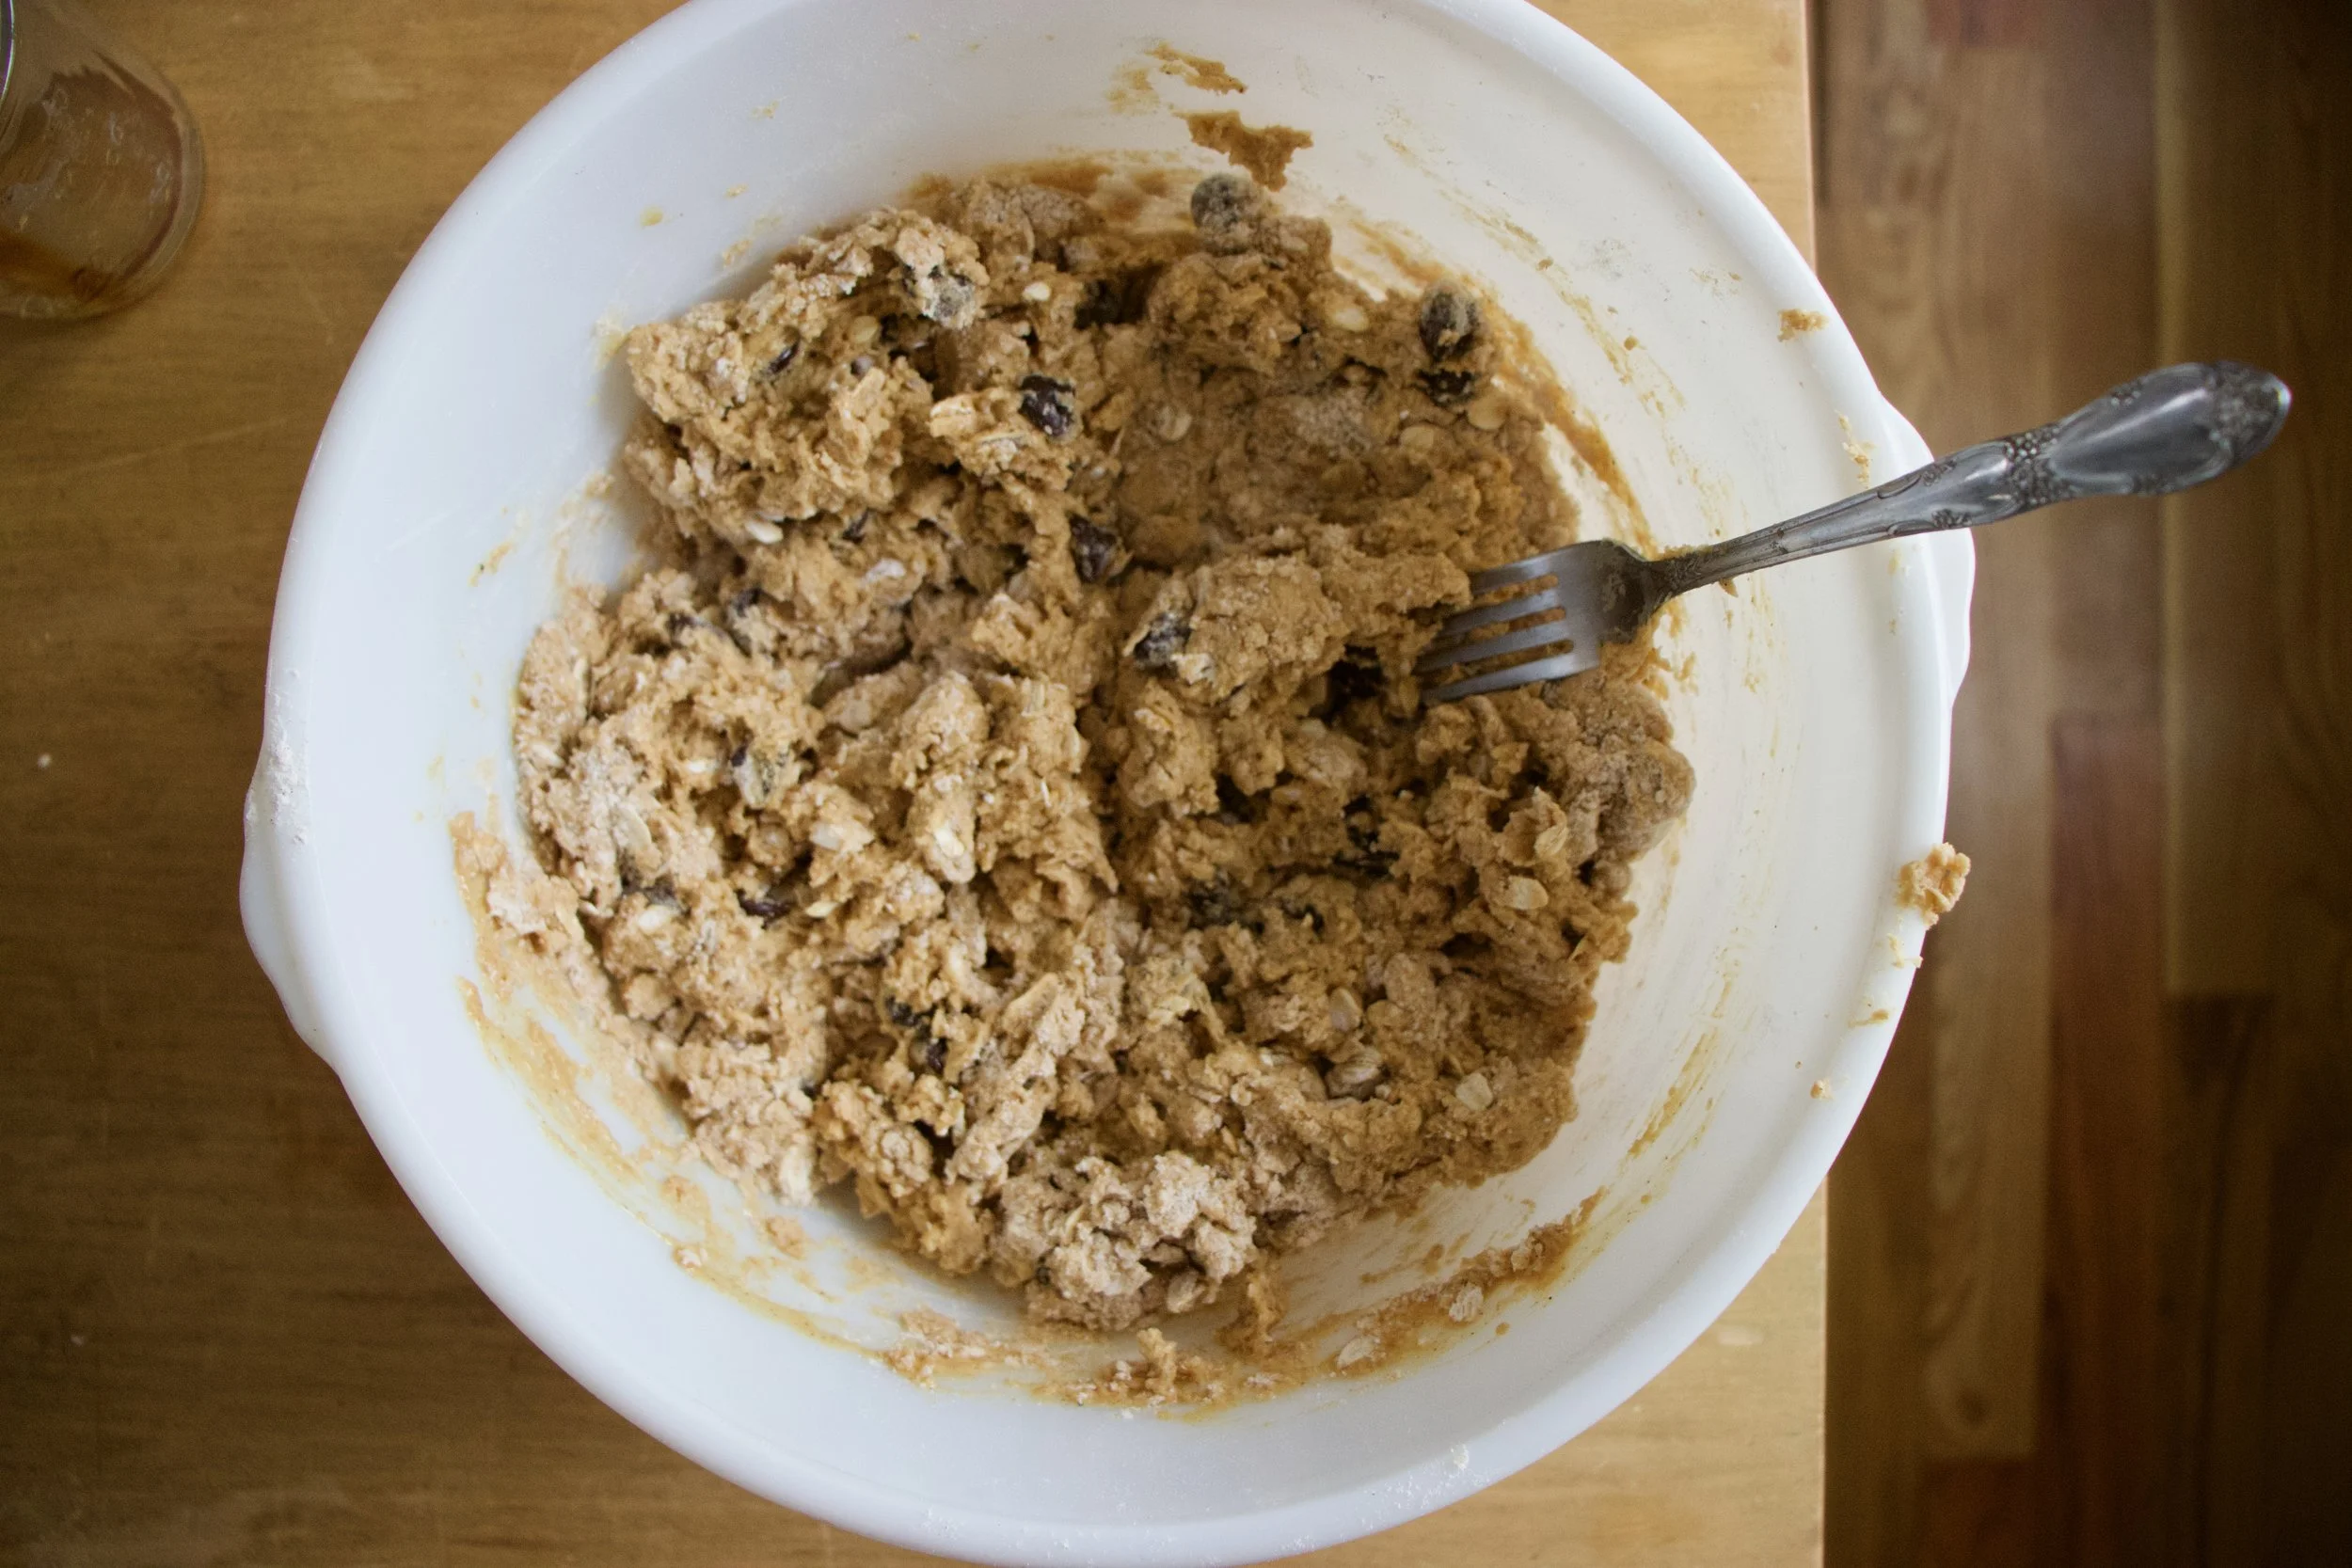
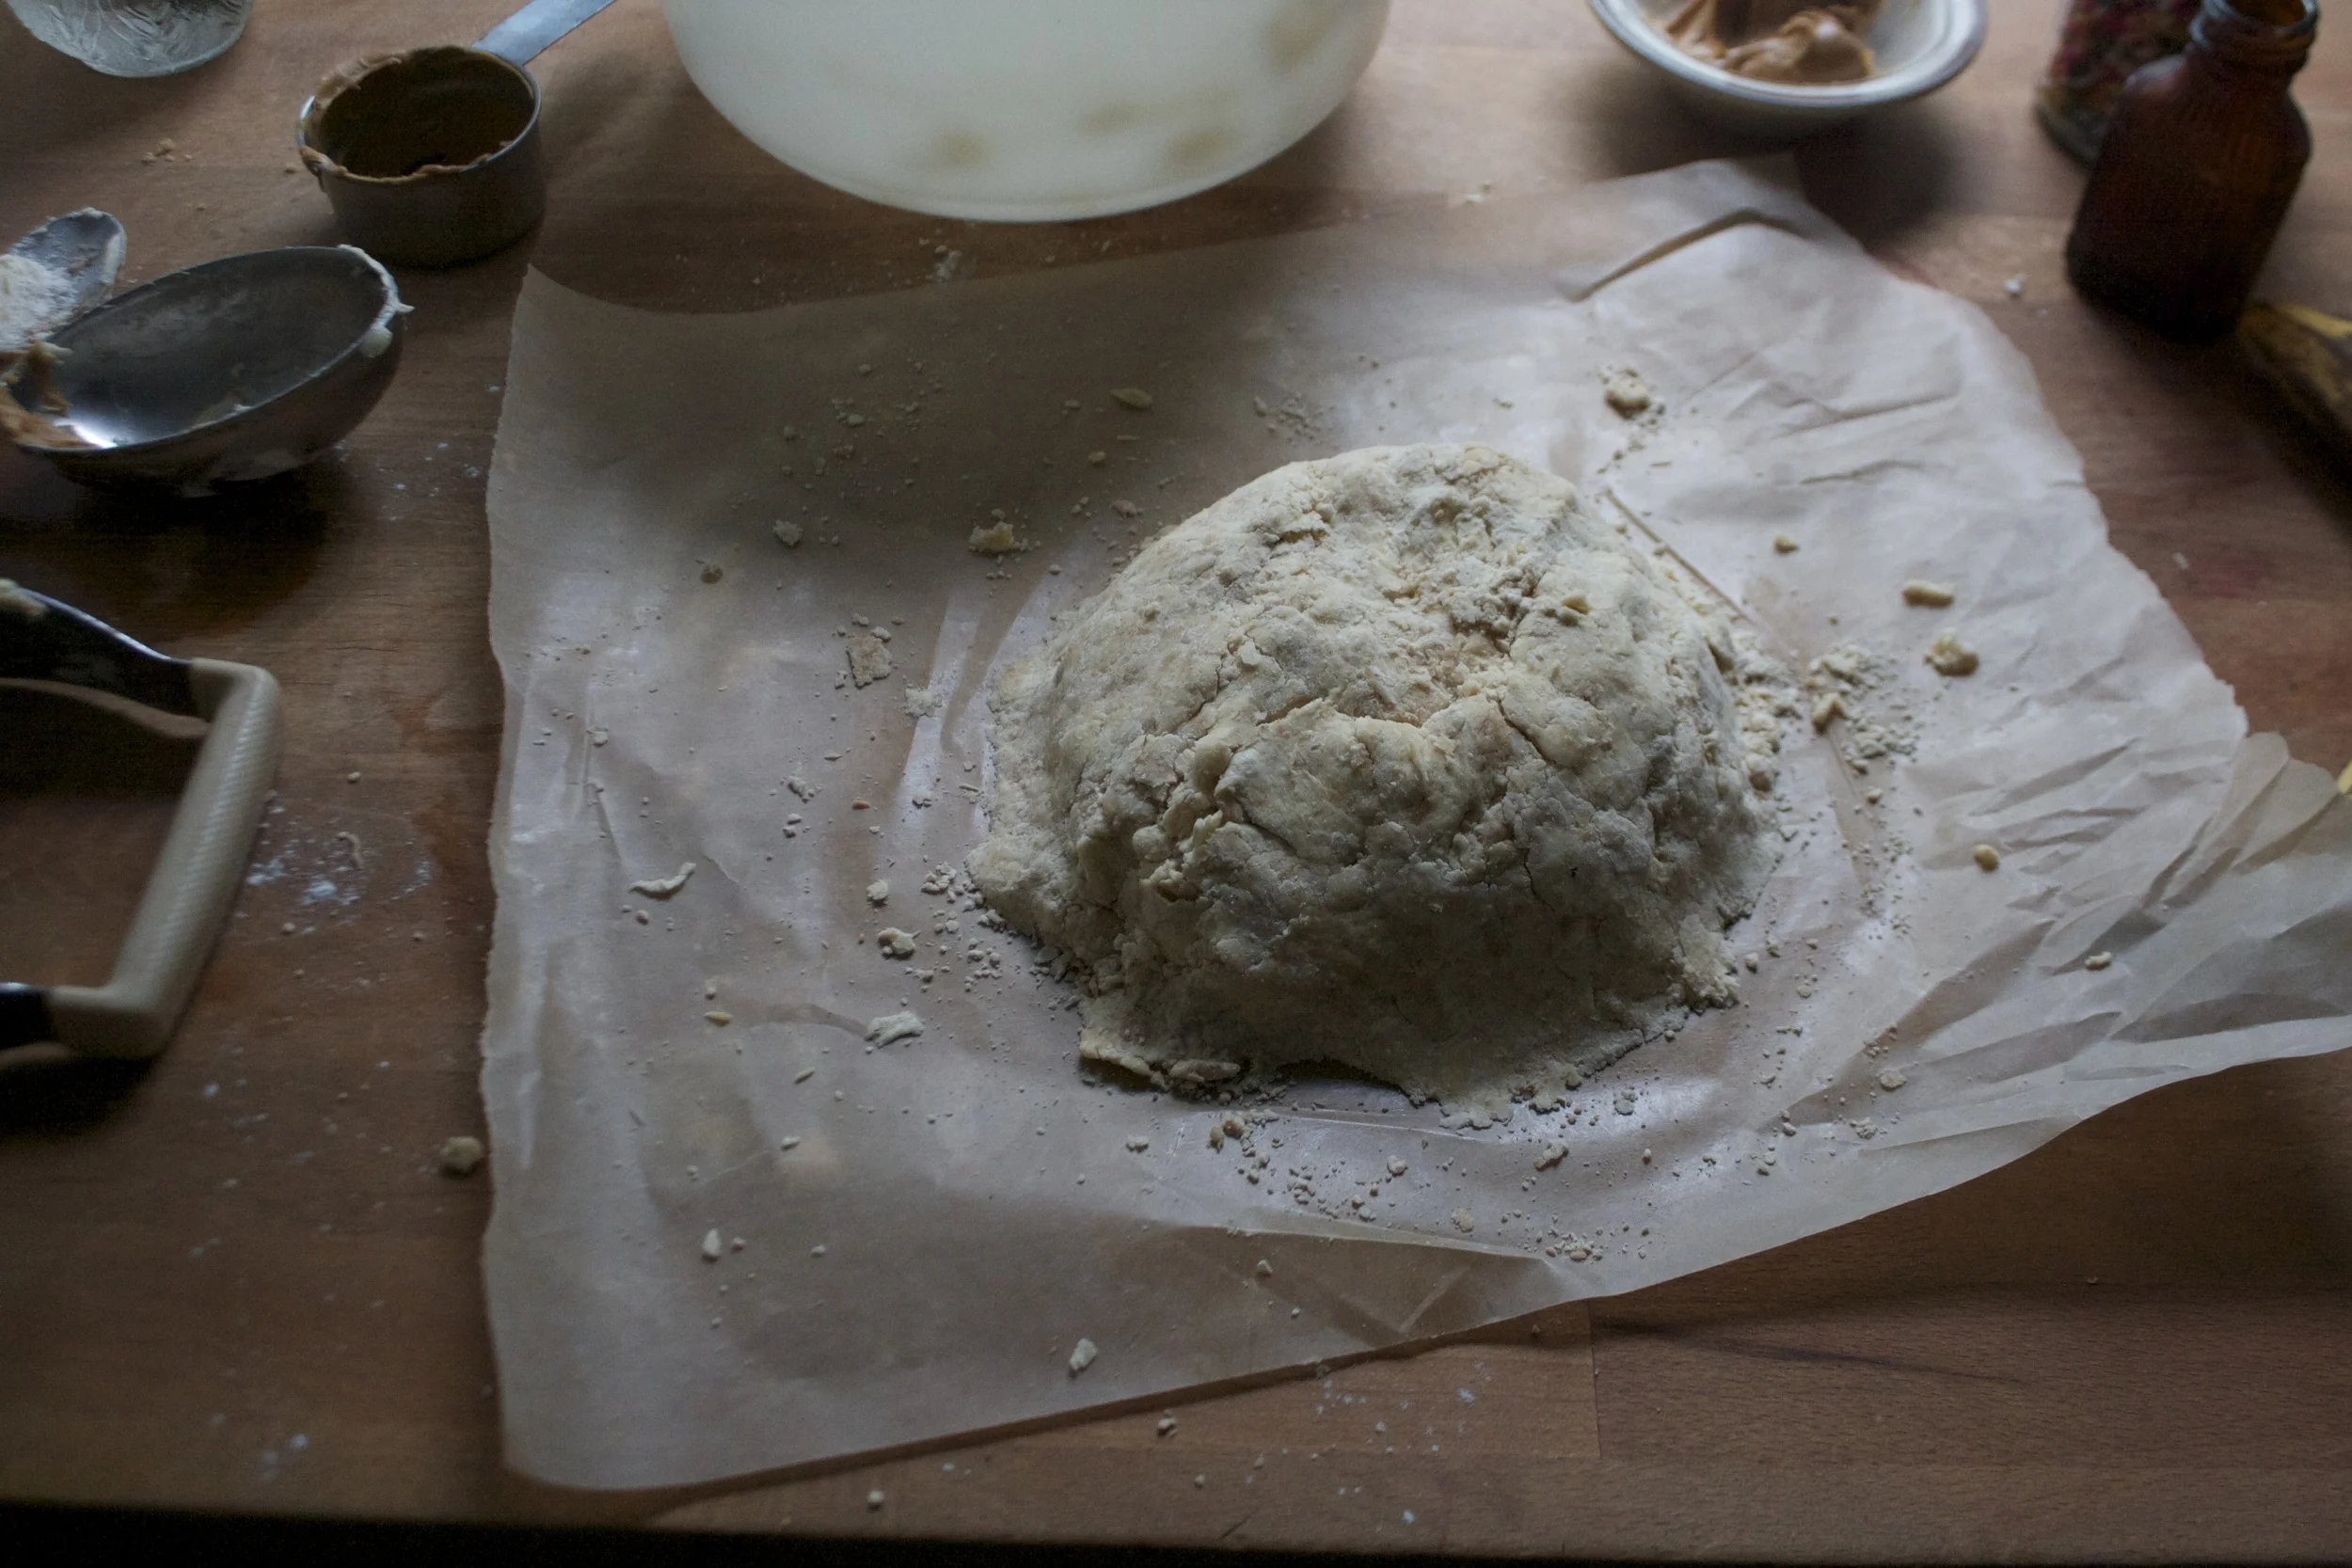
. This is what graham cracker dough looks like.%u00a0Course %u00a0and chunky,%u00a0but done. Don’t beat it anymore, just use your hands to gather it tighter.%u00a0

Gather the dough into a ball then wrap %u00a0in plastic (or stick in a plastic bag)and smoosh flat and rectangular. Place in the fridge for at least 2 hours, if not overnight. IT needs the time firm up.%u00a0

After the dough has firmed up, its time to roll it out. Cut the dough in half (place the other half back in fridge until you are ready for it) and roll out on a very floured surface. The dough is sticky and %u00a0not super strong so go slow and make sure to keep the surface and the rolling pin floured so it doesn’t stick .

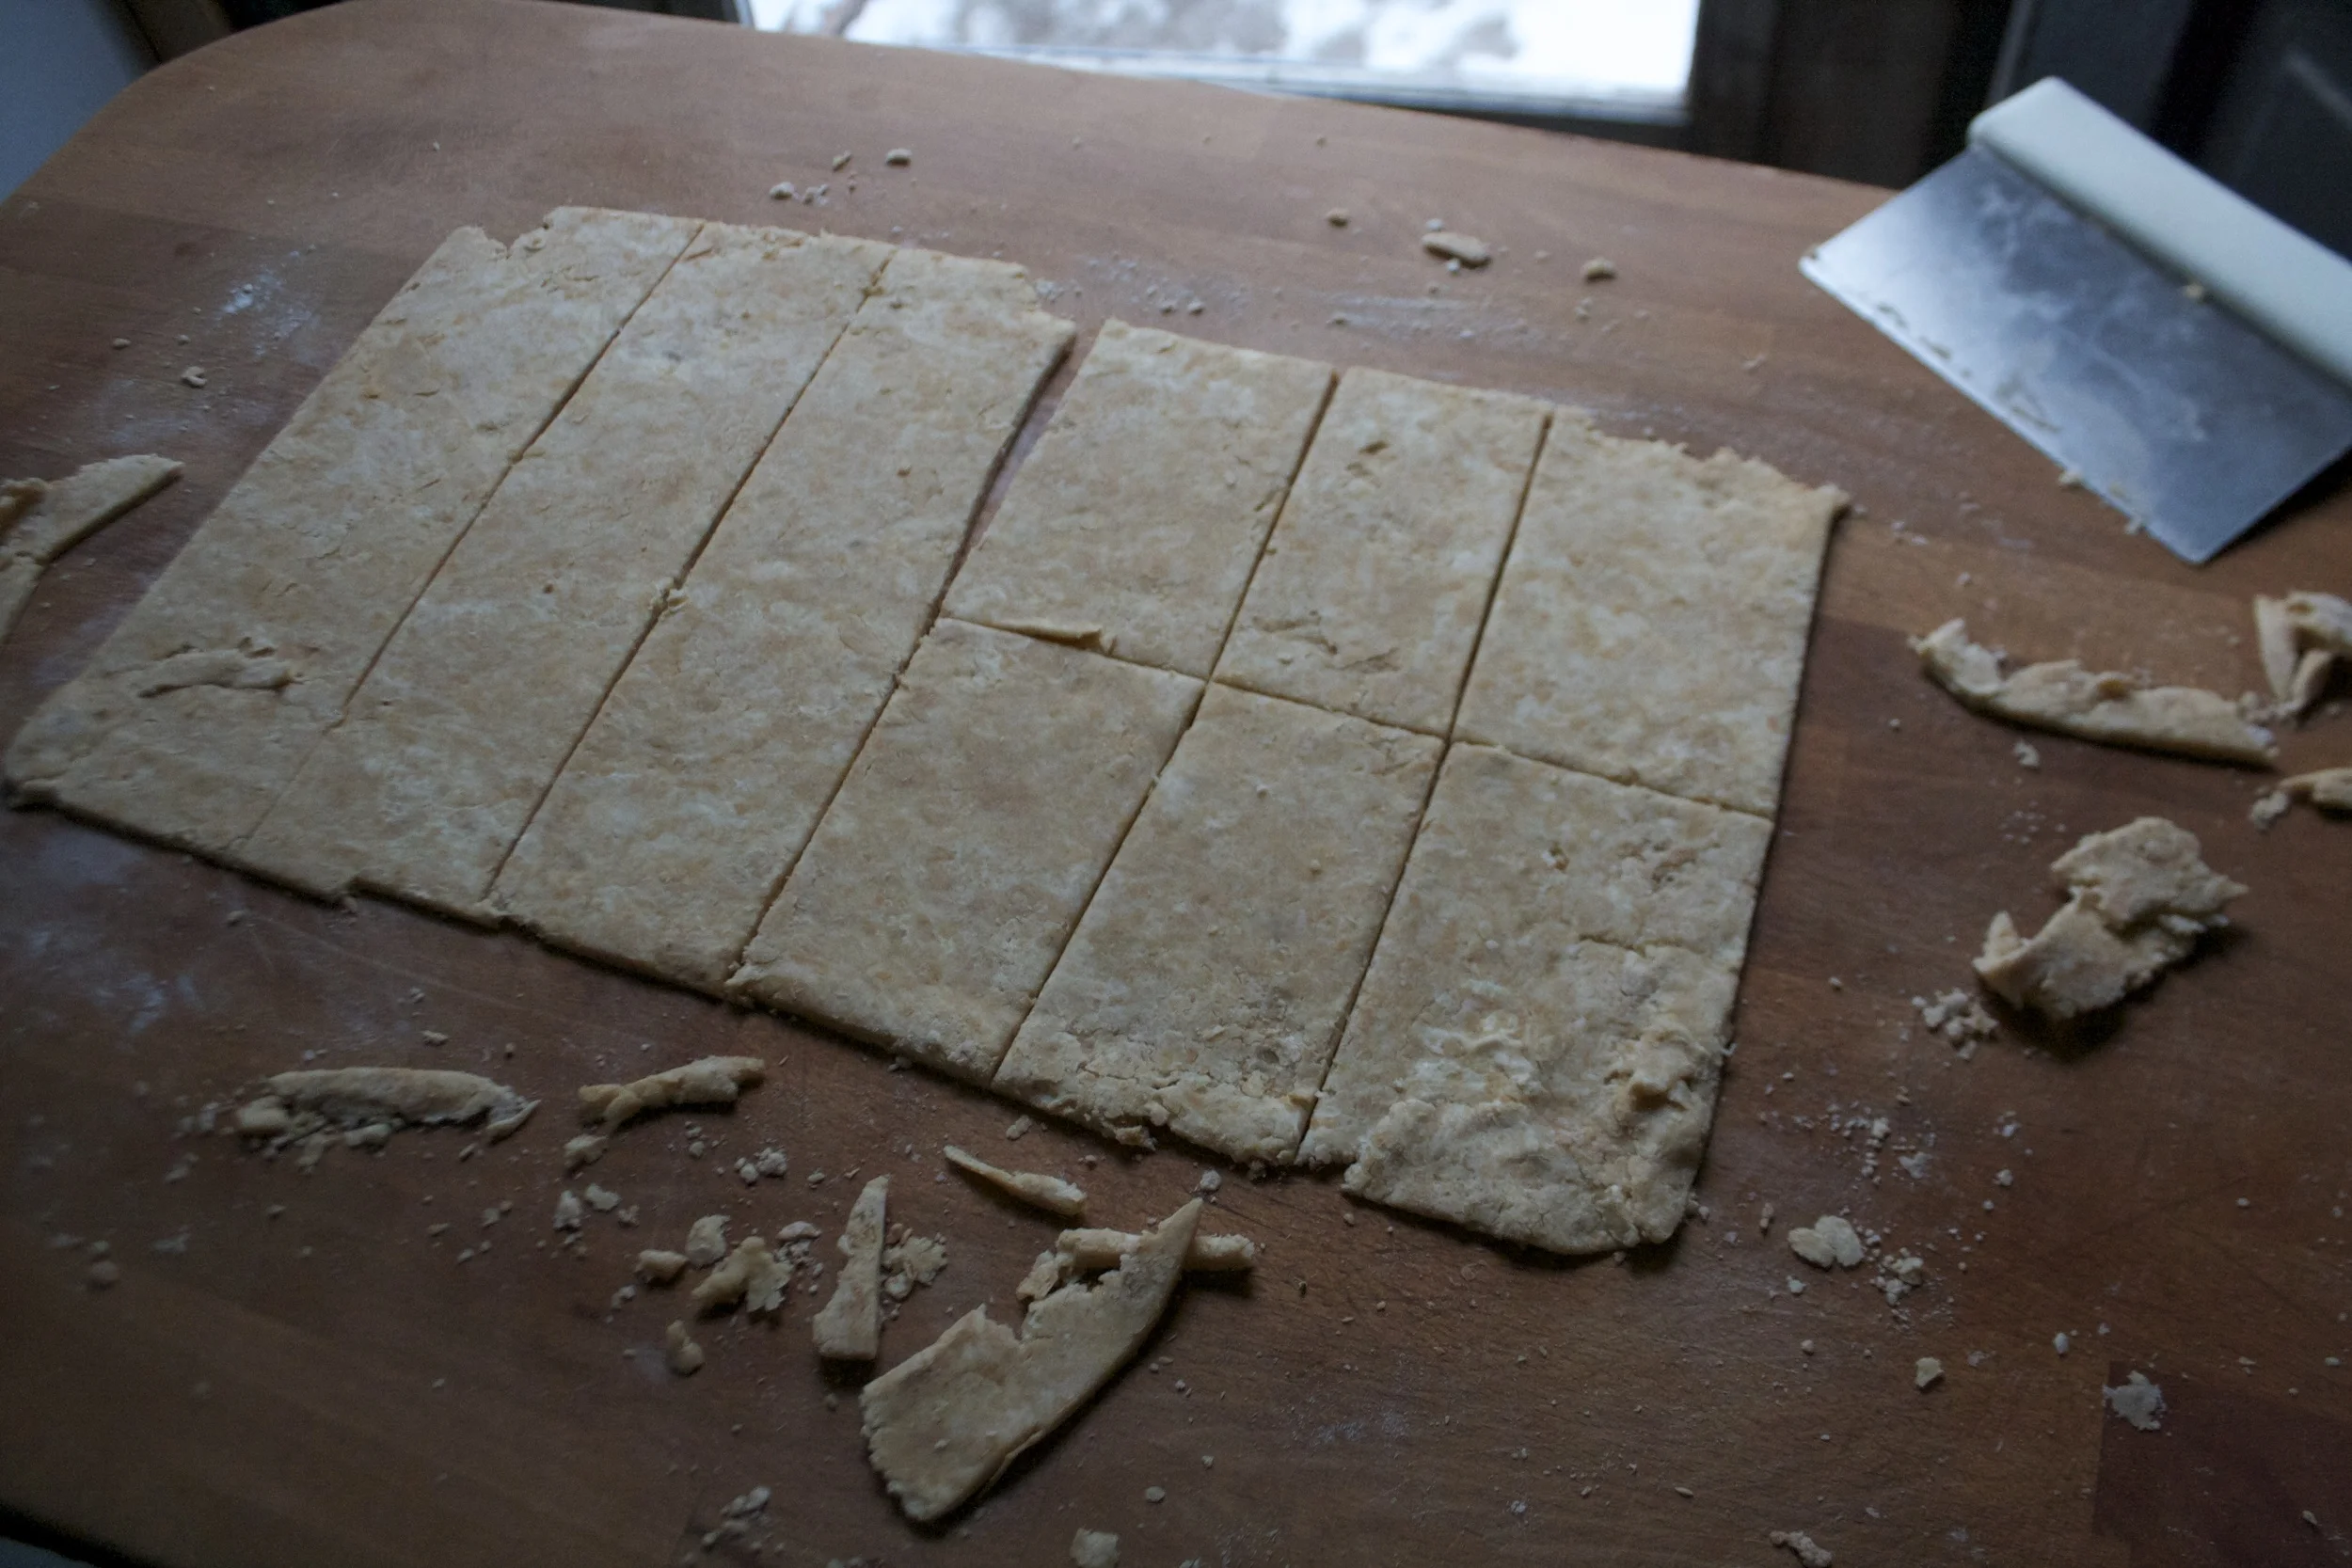
When it’s all rolled out, trim the sides even the cut %u00a0into into squares or rectangular (or any shape you want). I was going to measure and make them all the same size and then I was like, yeah, no. I just eyed it and made them kind of the same size. I don’t live in a world where I need perfect graham crackers.%u00a0

Gently transfer the crackers (%u00a0I used the bench scrapper to list them, but a spatula would be good too) on a parchment lined baking sheet. Run a %u00a0line the doesn’t cut all the way through in the middle of each cracker and then poke 6 (or how many you want) hole on each side. You can use a toothpick or a wooden skewer. I used a size 8 kitting needle.

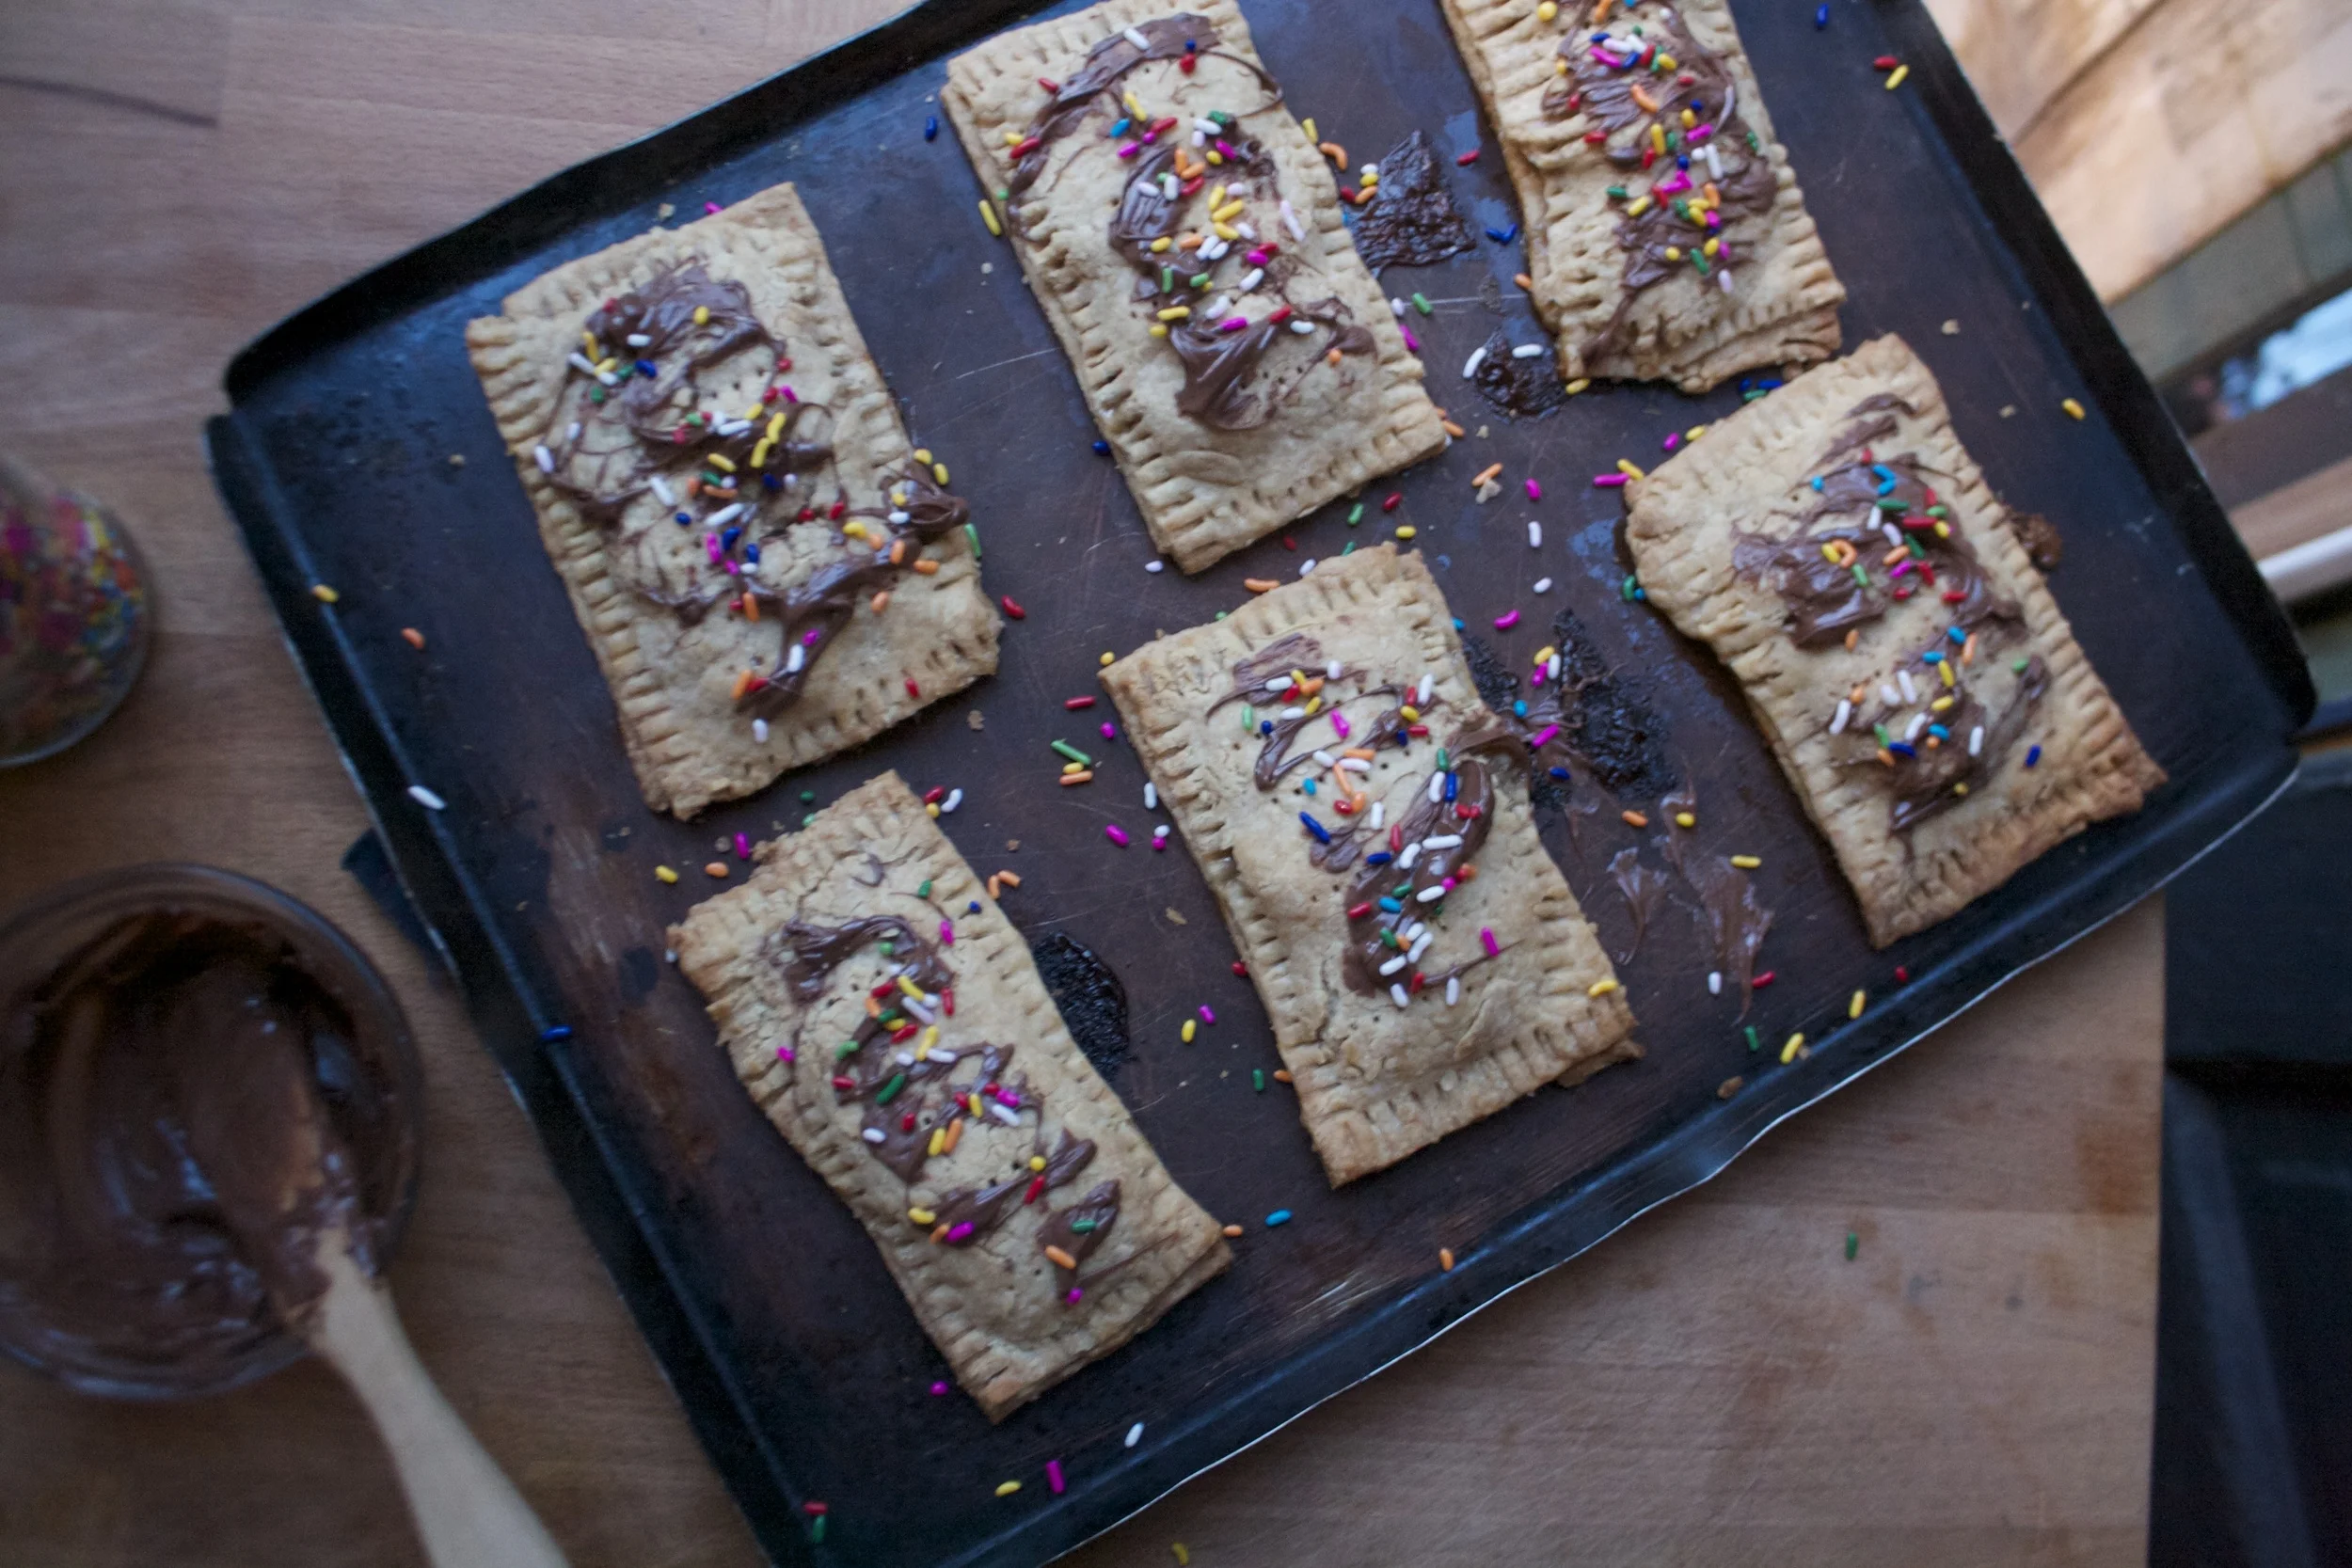
Get all your crackers made and sprinkle the tops with a little graduated sugar. Pop into the preheated oven to bake for 15-20 minutes,%u00a0rotated around 10 to keep an even bake.%u00a0

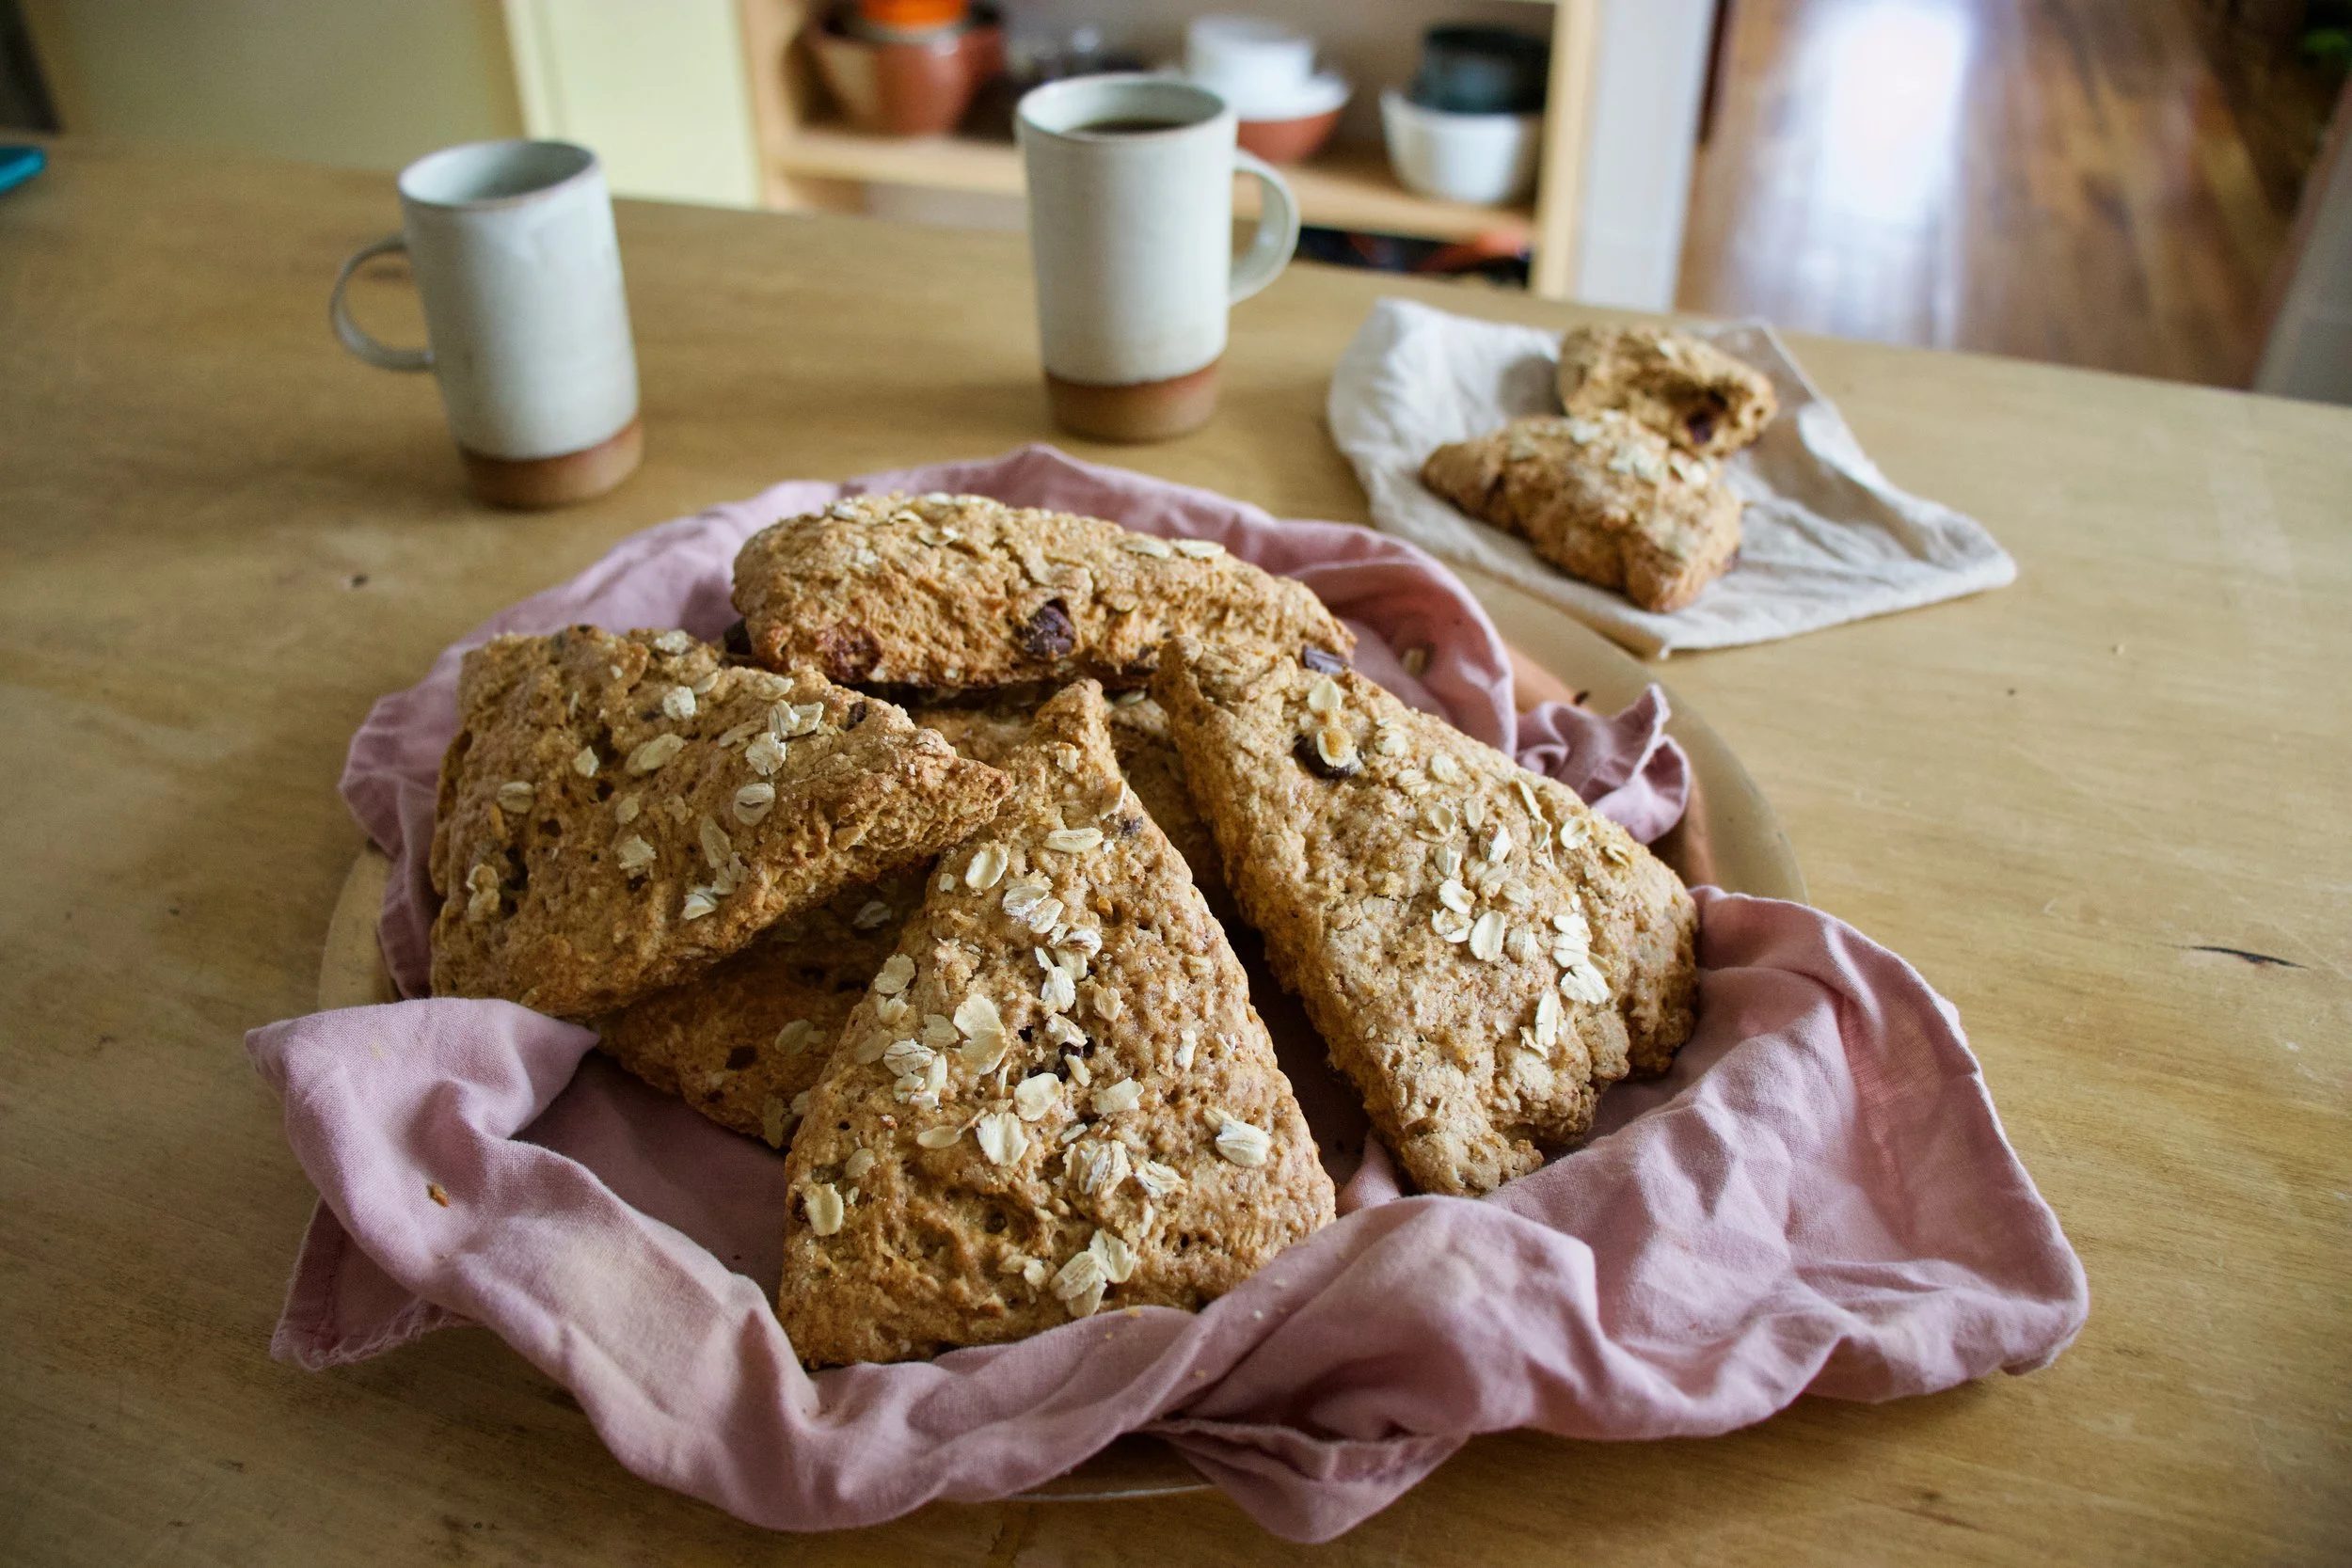
Done. Golden brown graham cracker success.%u00a0

Cool the crackers on a wire rack.

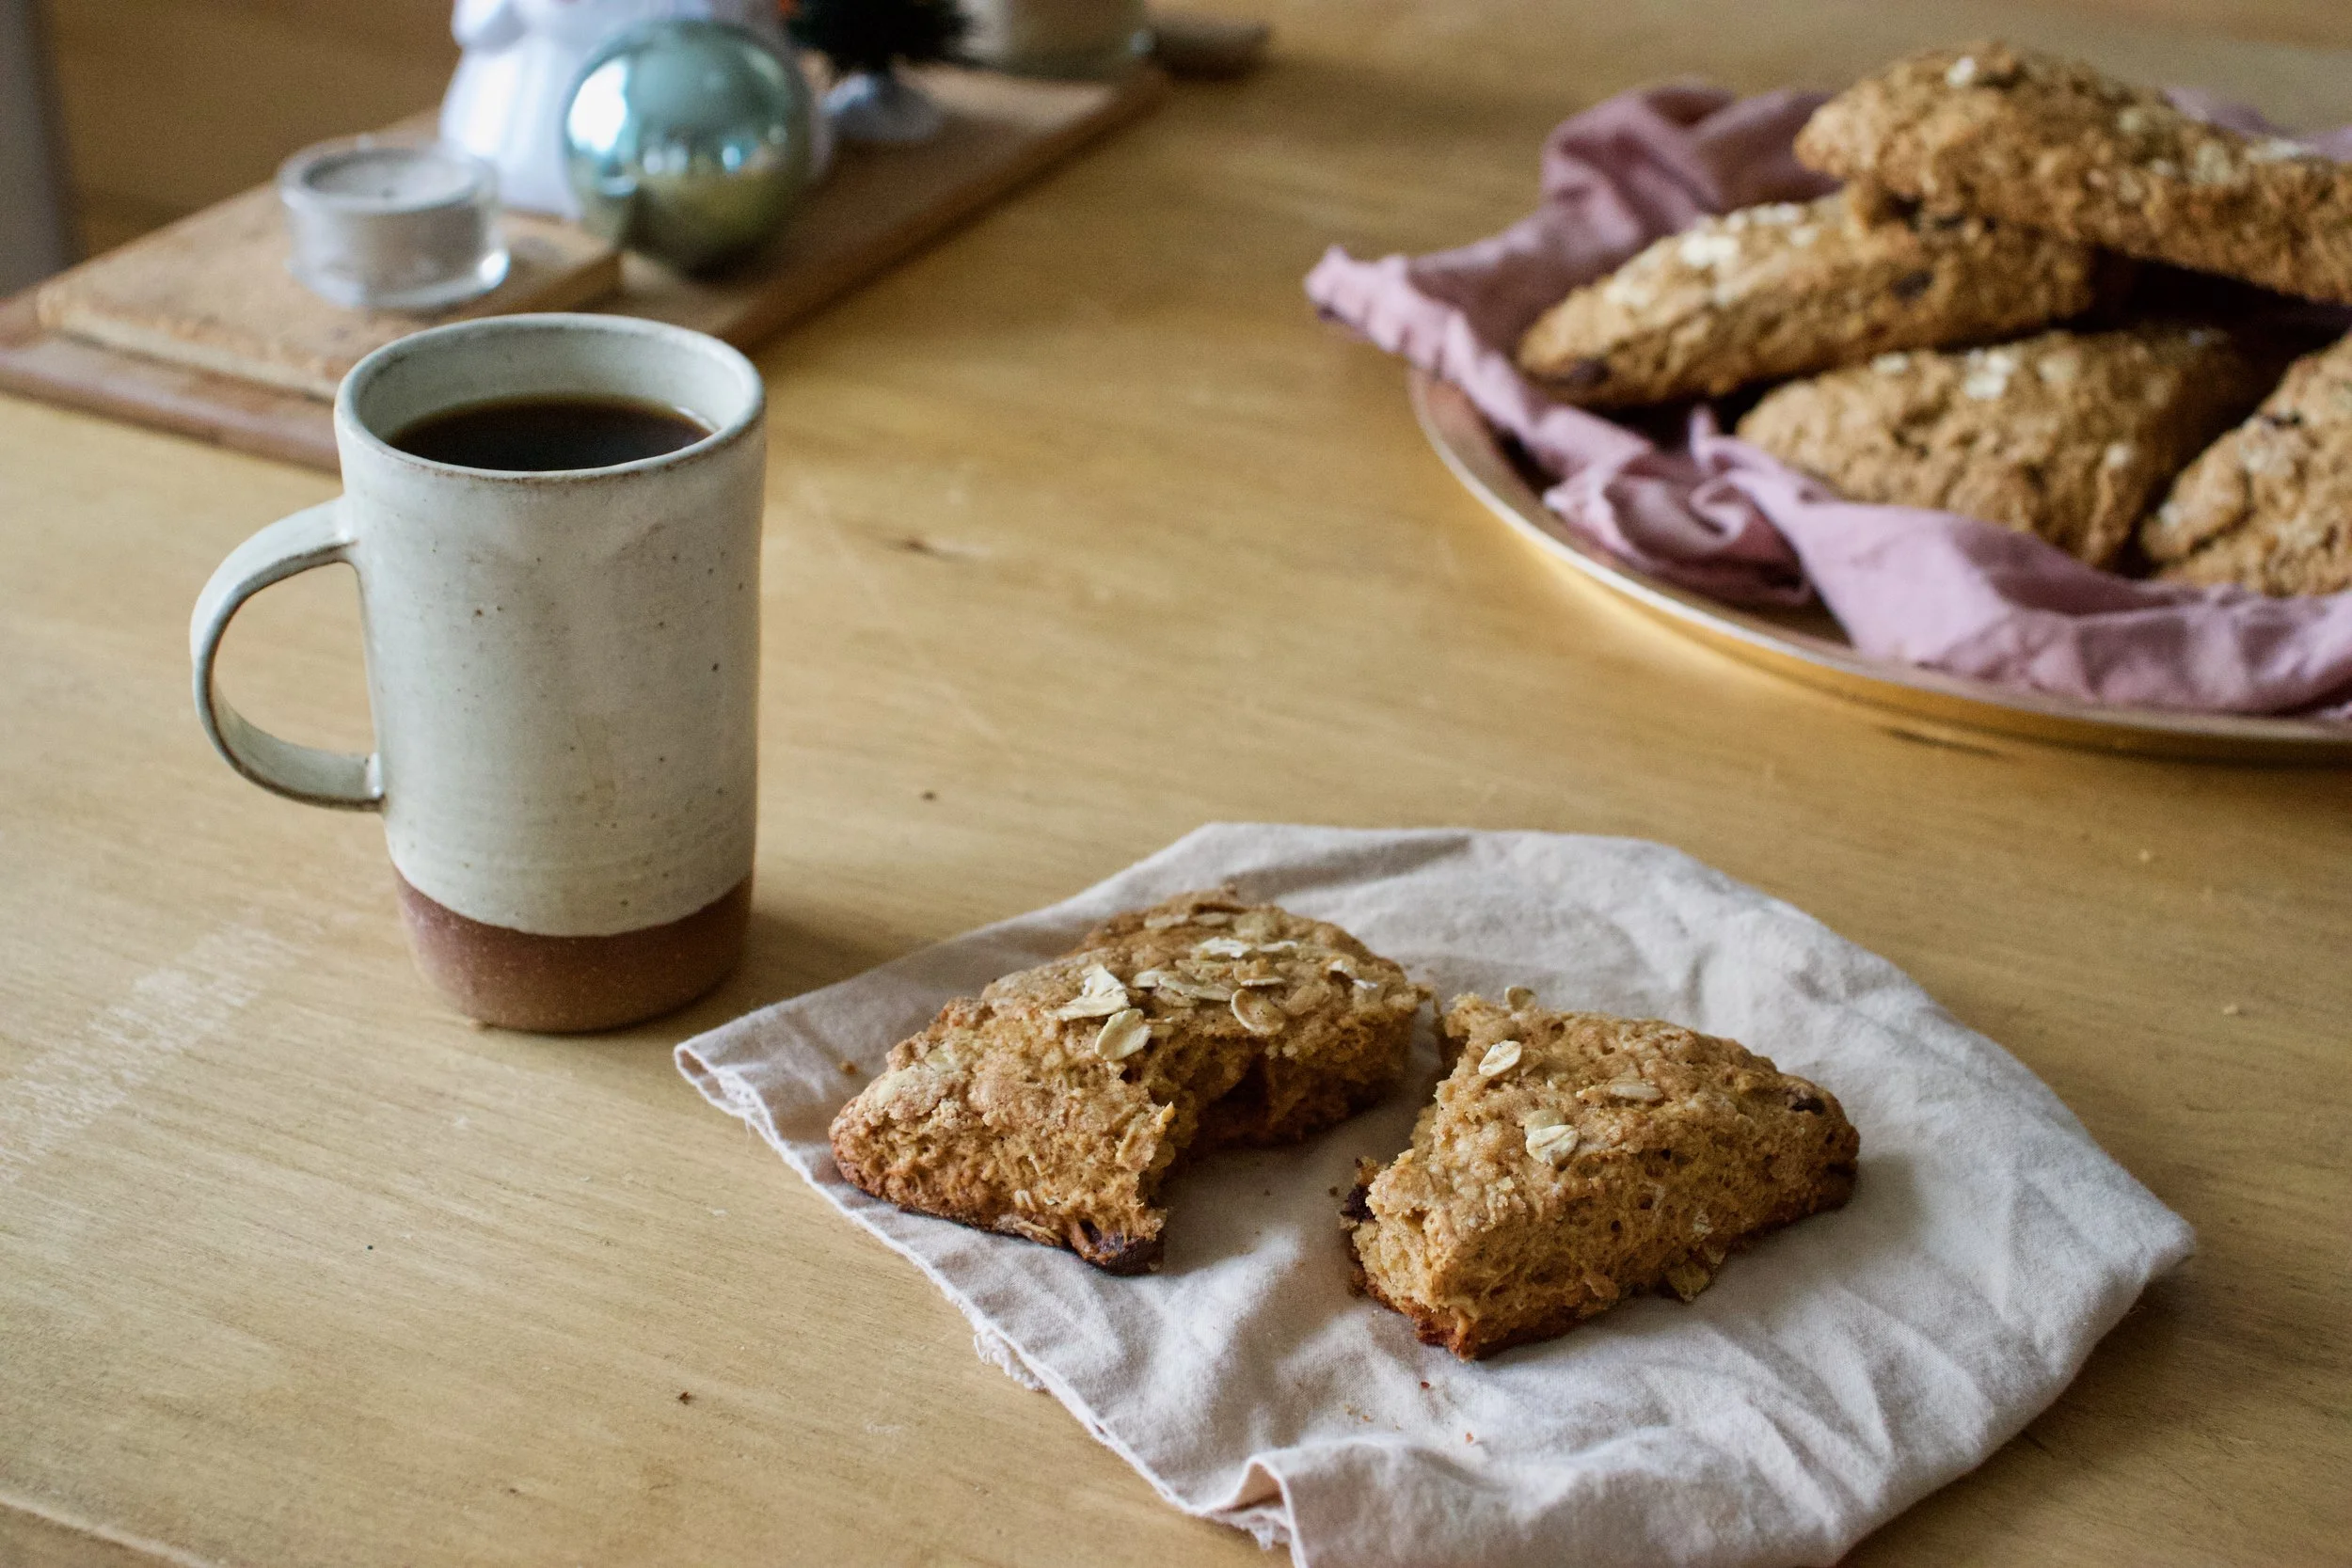
And now you have yourself graham crackers for all your graham cracker needs.%u00a0
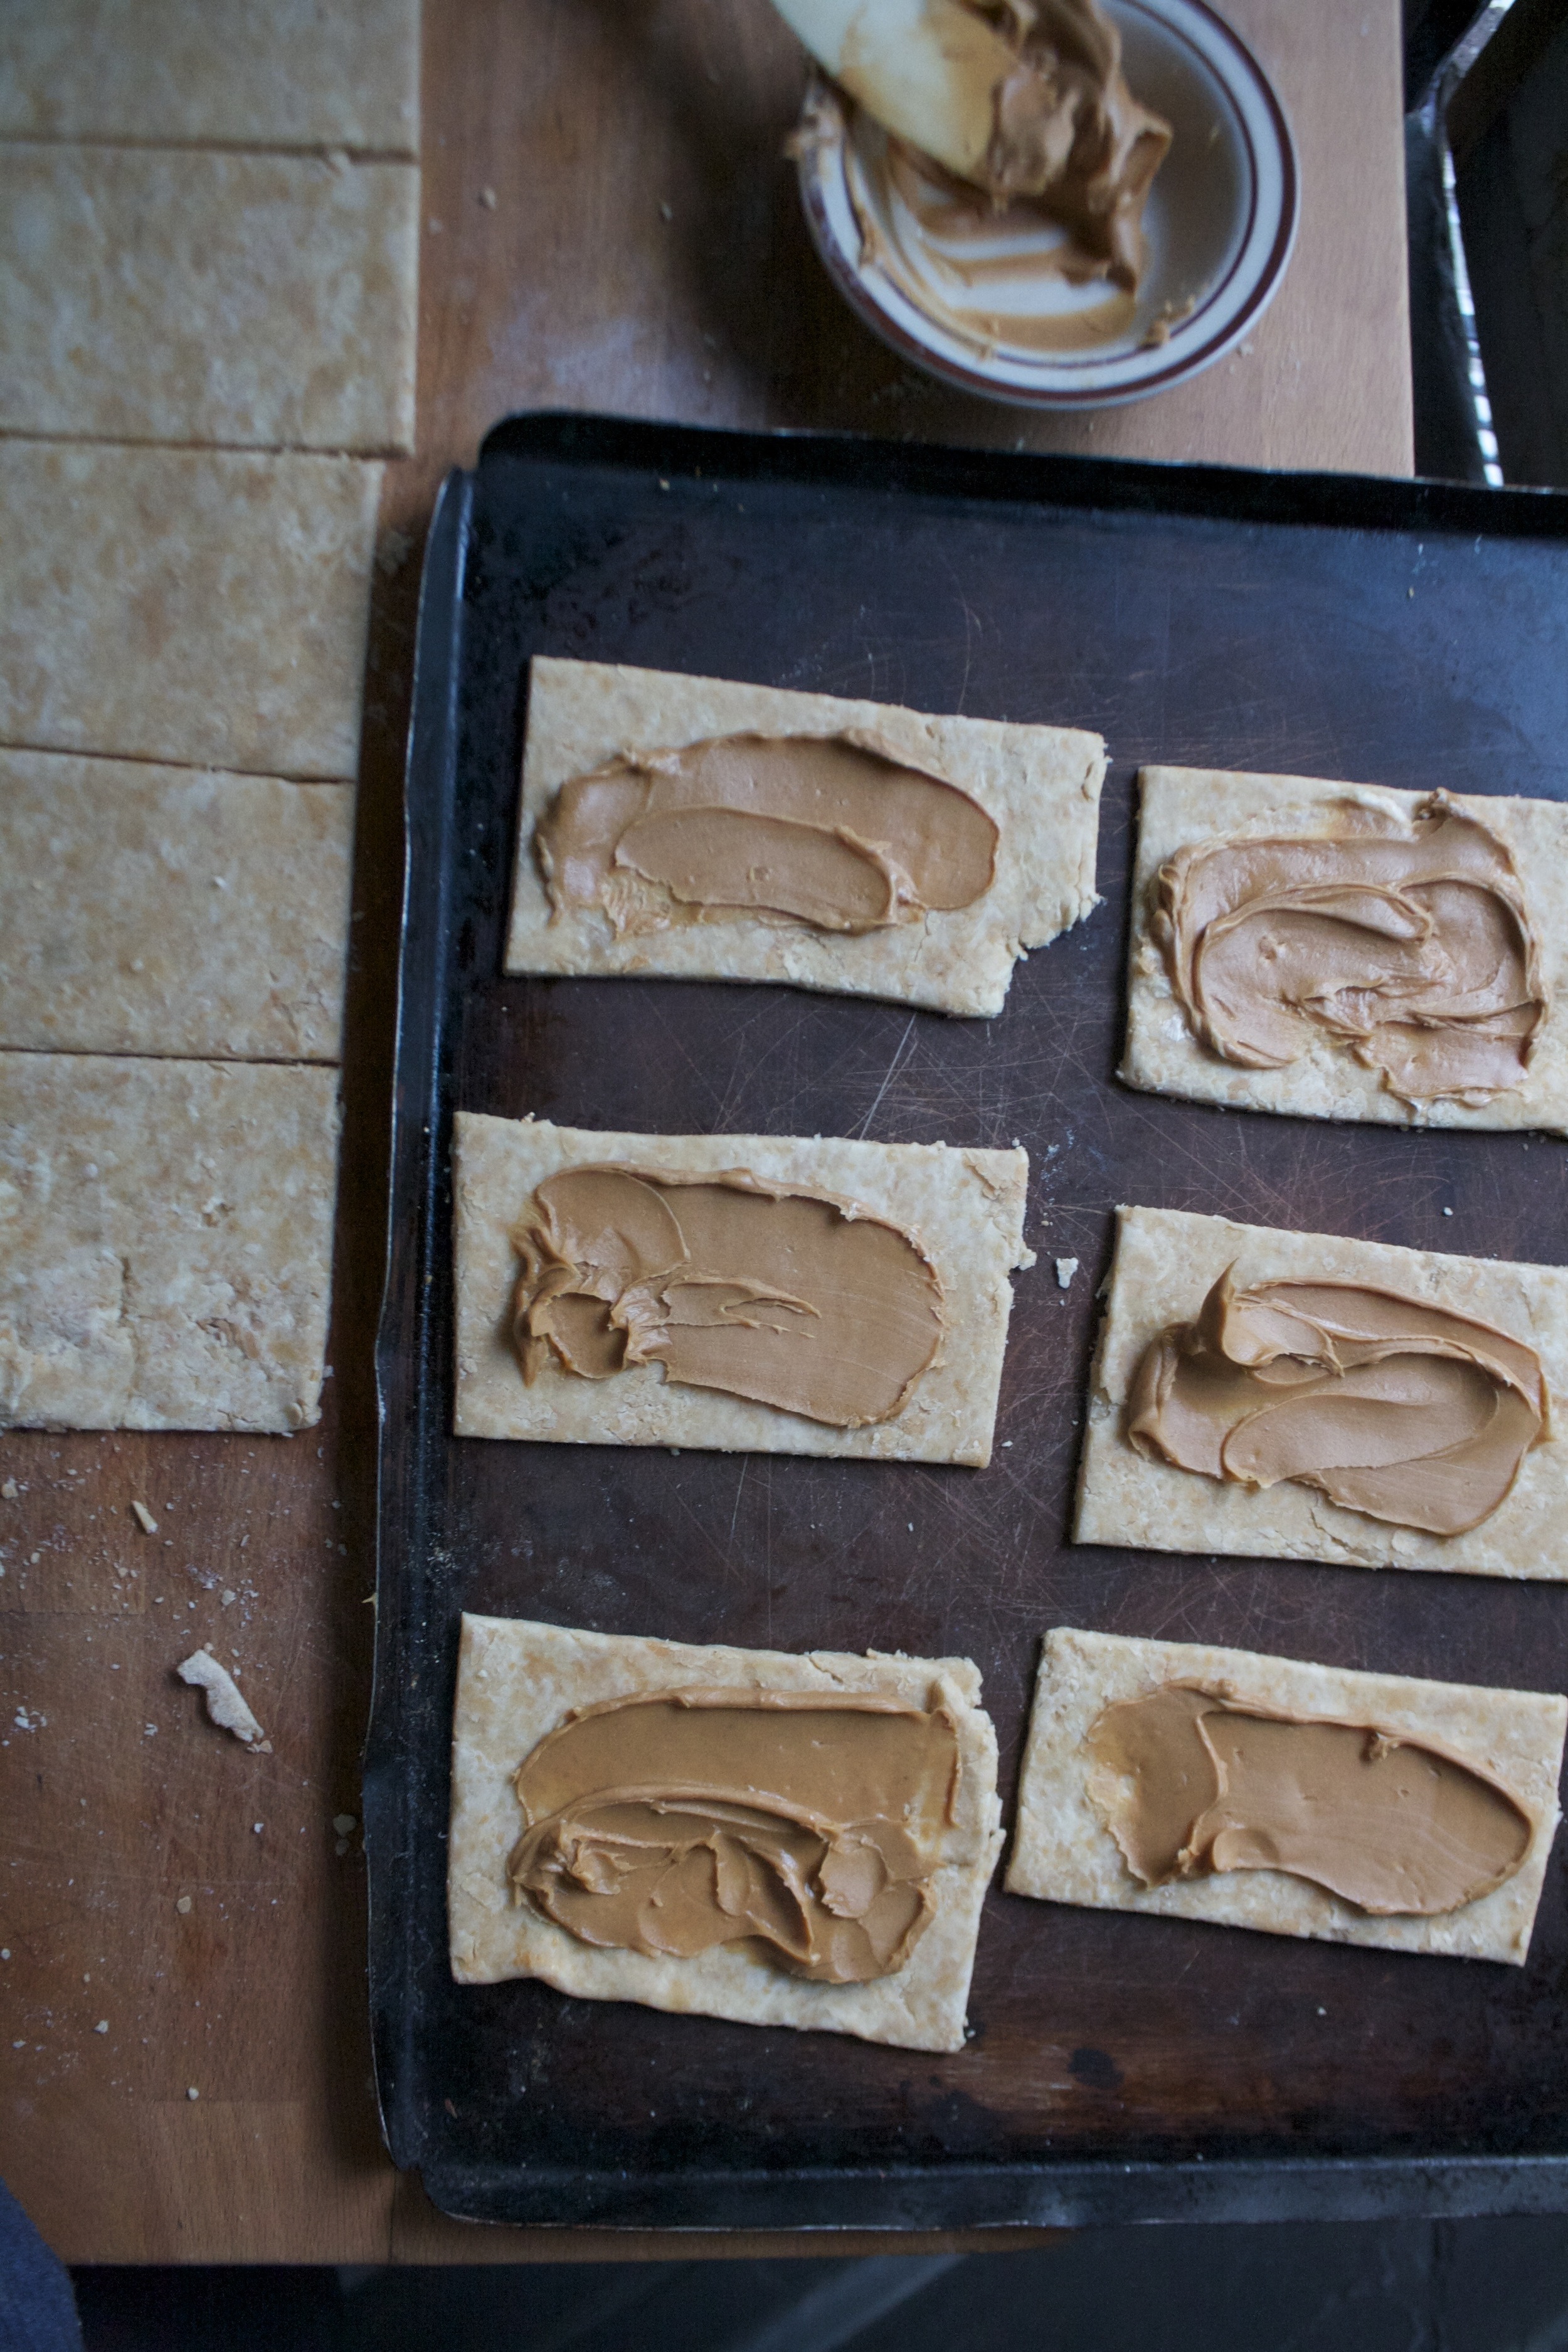
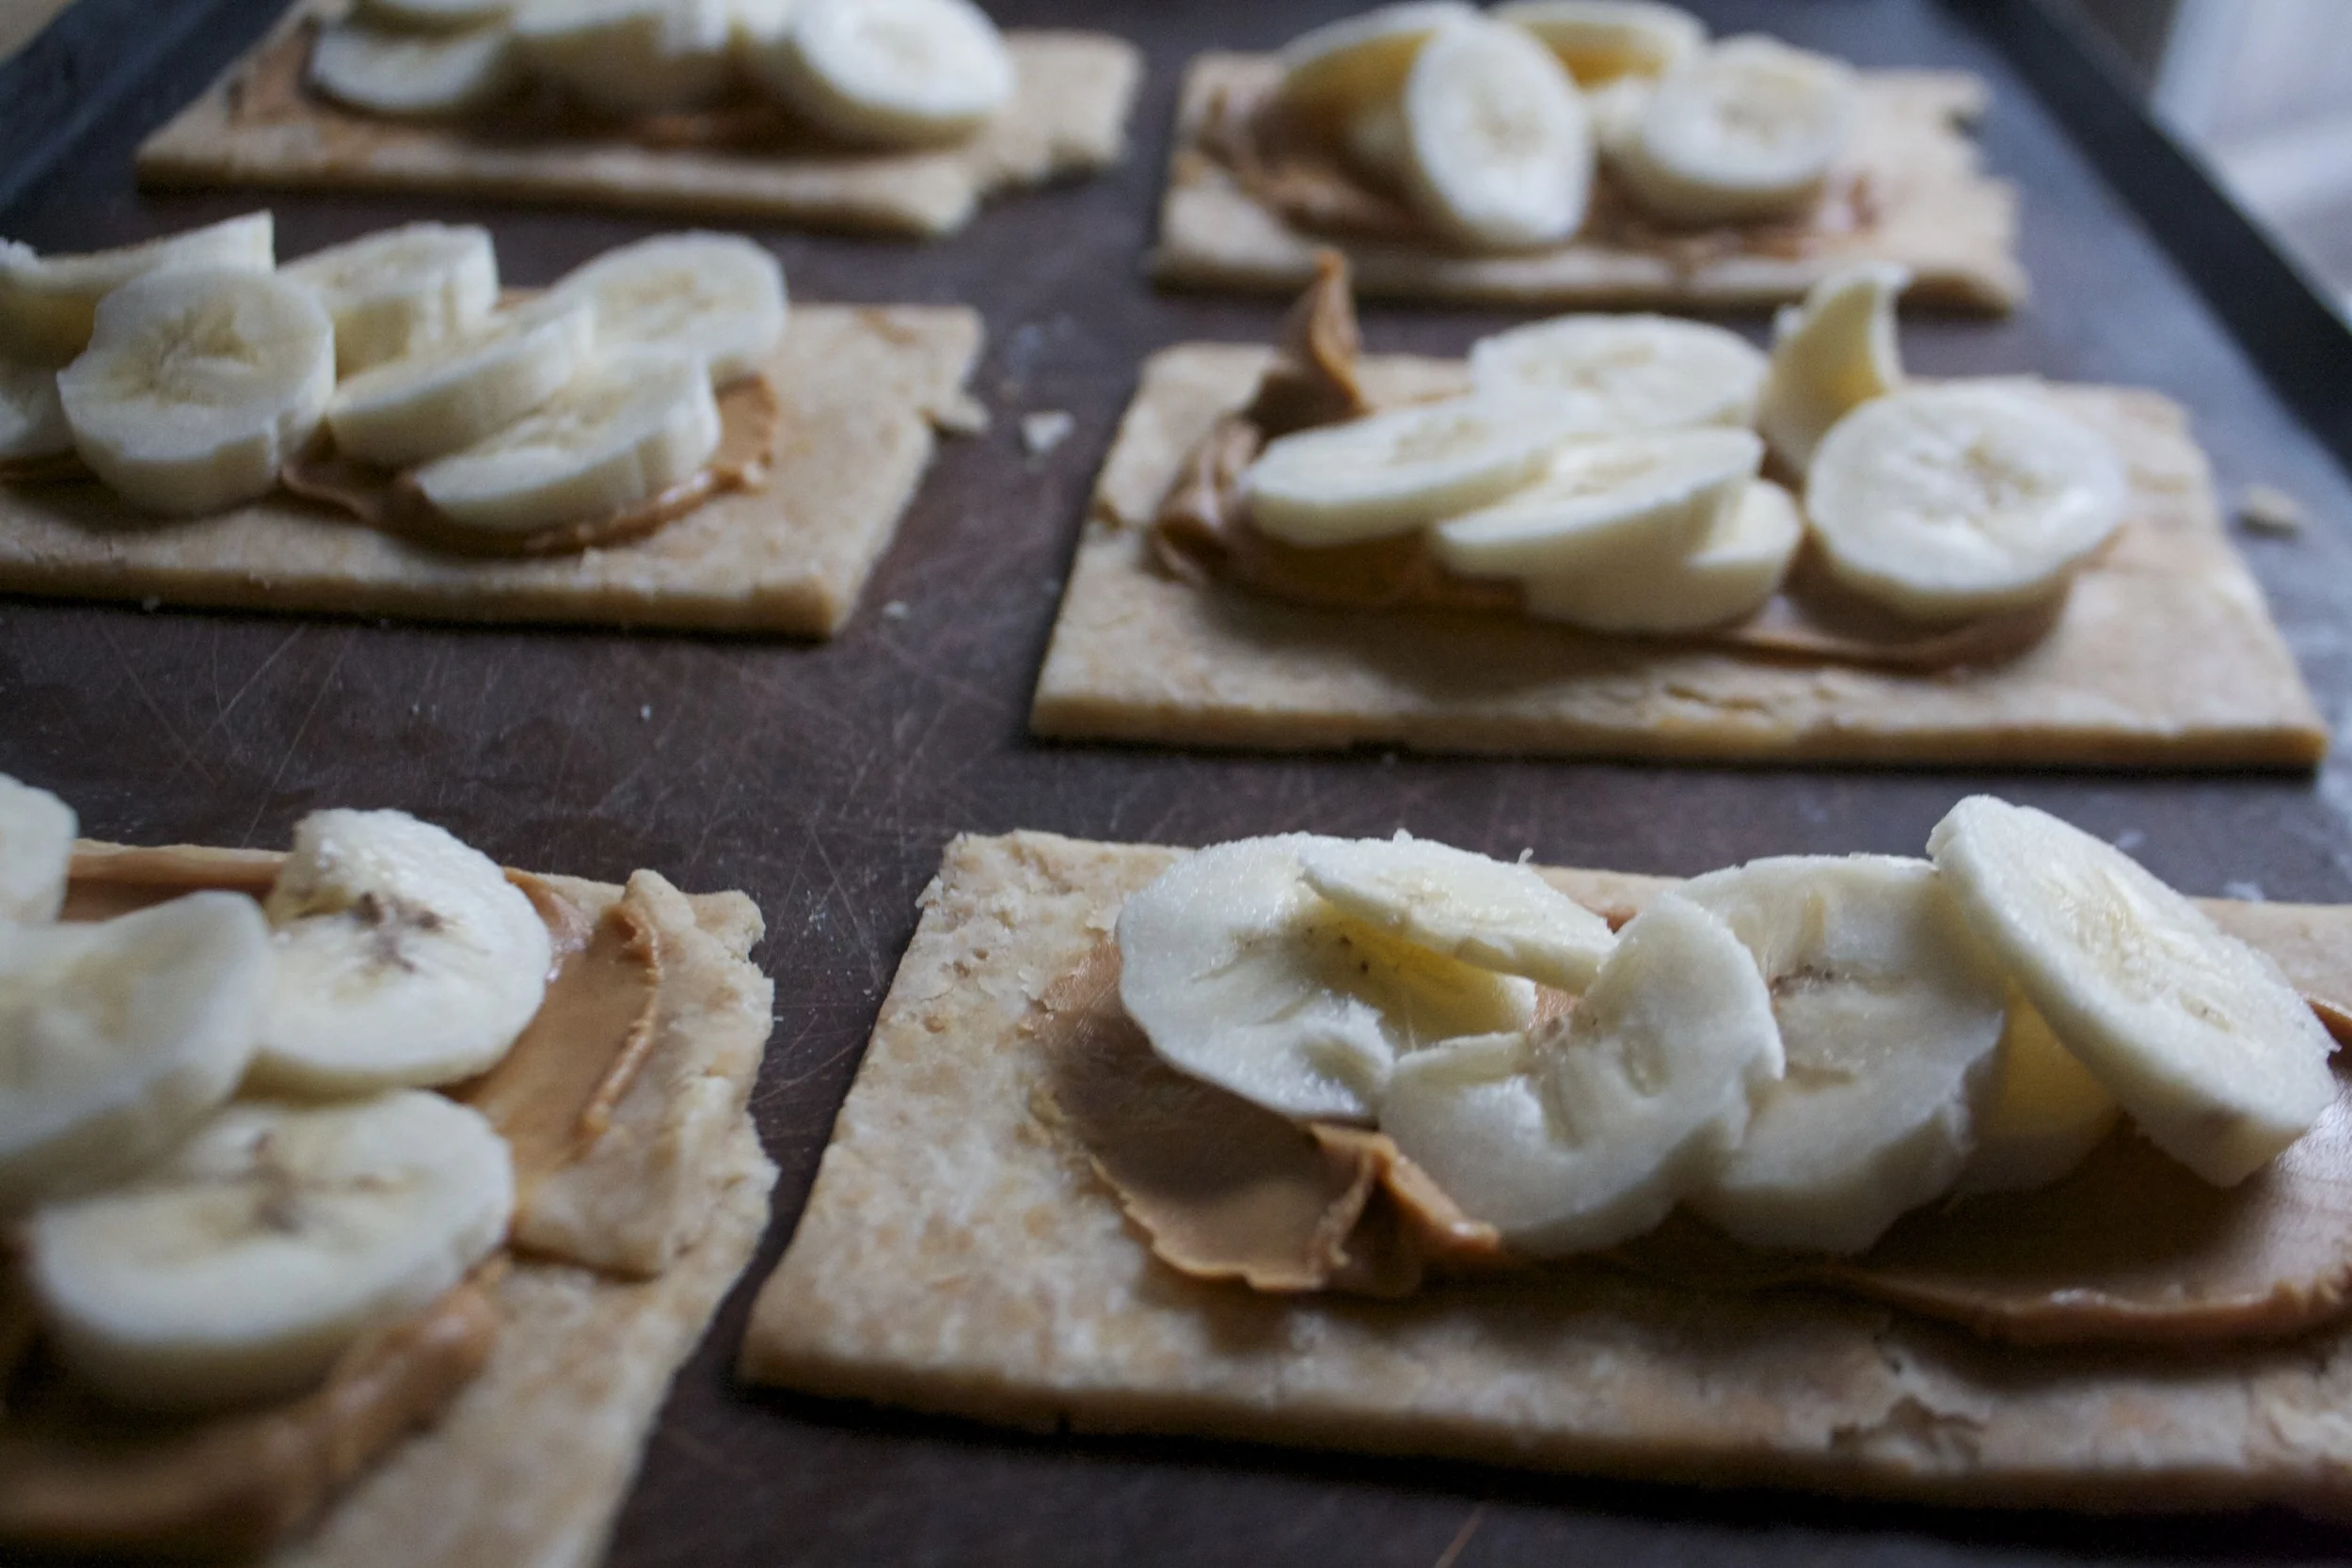
May I suggest a smear of peanut butter, maybe a glass of milk or coffee and some Martha Stewart on the tv?%u00a0
-C
Makes between 20-30 crackers depending on size
- 1 1/2 cups graham flour (unbolted whole wheat flour with the germ and bran)
- 1 1/4 cup all purpose flour%u00a0
- 1 teaspoon salt%u00a0
- 1 teaspoon baking soda
- 1/2 cup light brown sugar
- 1/4 cup honey (can sub %u00a0in golden syrup or brown rice syrup)
- 2 tablespoons molasses (not black strap)
- 1/2 cup vegan butter%u00a0
- 1 teaspoon vanilla%u00a0
- 1 tablespoon plant milk%u00a0
- 1 tablespoon white sugar
Stick the butter, brown sugar, honey, molasses , and vanilla %u00a0into a large bowl and beat with an electric beater until smooth, In a smaller bowl, whisk together the flours, salt, and baking soda. Dump the dry into the wet, add in the milk and beat on low until mixture just starts to come together,then use your hand and smoosh and knead the dough into a ball. Either wrap or place dough ball %u00a0in a plastic airtight bag, smoosh into a flat rectangular shape, and refrigerate for at least 2 hours, if not over night.
When you are ready to bake the crackers, preheat oven to 325 and line 2 large baking sheets with parchment paper.%u00a0
Cut dough in half and place one half back in fridge while working with the other half. Flour a surface and the rolling pin and roll dough our into a retangle about 1/8 inch thick. Trim sides ( a pizza cutter or dough scraper works really well here)%u00a0to make a sides straight (straight enough) and then cut into equal sizes pieces that are the size of your liking. (What it did was cut in half, then each half into thirds %u00a0vertically %u00a0then the whole thing in thirds hortiztally. I ended up with 18 pieces) %u00a0
Place the crackers on prepared baking sheet and take you cutting instruments and run a line along the middle of each cracker without cutting all the way through (if you cut all the way through, it should fuse back together in baking) Take a wooden skewer %u00a0and poke 6 holes into each side. Sprinkle with white sugar. Now grab the second half of the dough and do the same thing. And don’t forget to gather all the trimming and either roll into more crackers or just make one weird shaped blob cracker for taste testing.
Once all the crackers are prepared, stick into the oven to bake for 15- 20 minutes (15 for a softer cracker, 20 for a more crispy cracker)%u00a0, rotating after 10 minutes to insure even baking. Once the crackers are a nice %u00a0golden brown, remove and place on a wire rack to cool.
Eat the way you do.%u00a0
Store uneaten crackers in a airtight container for a up to a week.%u00a0Crackers can be frozen for later use.%u00a0
The mr has a thing for crackers, like if I were to name his top five foods, crackers would probably be in the top three. So I try to be a nice girly friend and make him some crackers ever now and then. (He says my crackers are the best) I usually make plain or dill pickle ones for him , but last time I asked if there was any other kind he wanted me to make. He named off a bunch of weird shit but also few good ideas and one was carrot. Sounds about right.
A couple of days ago I was feeling like the mr needed some crackers. I figured it was a good time as any to try out carrot crackers because Easter,bunnies, carrots.. You can see where I am going with this right?%u00a0 Plus I have like 20 pounds of carrots in the fridge so yeah.
Full disclosure. The mr, he really like the crackers so that’s good and what counts.%u00a0 Alex, my 12 year old nephew said they tasted like cat food. But he knows nothing.

The stuff. White whole wheat flour, carrots, salt, olive oil , and water.

Chop up carrots and place into a pot with water. Onto a medium heat to steam away and get all tender.
Once cooked the carrots get blended.
The carrot puree along with the oil get mixed into the flour and salt. The mixture then gets lightly kneaded into a uniform ball and .Let to rest in the bowl for about 5 minutes.
Roll the dough out to about 1/8 inch thick.
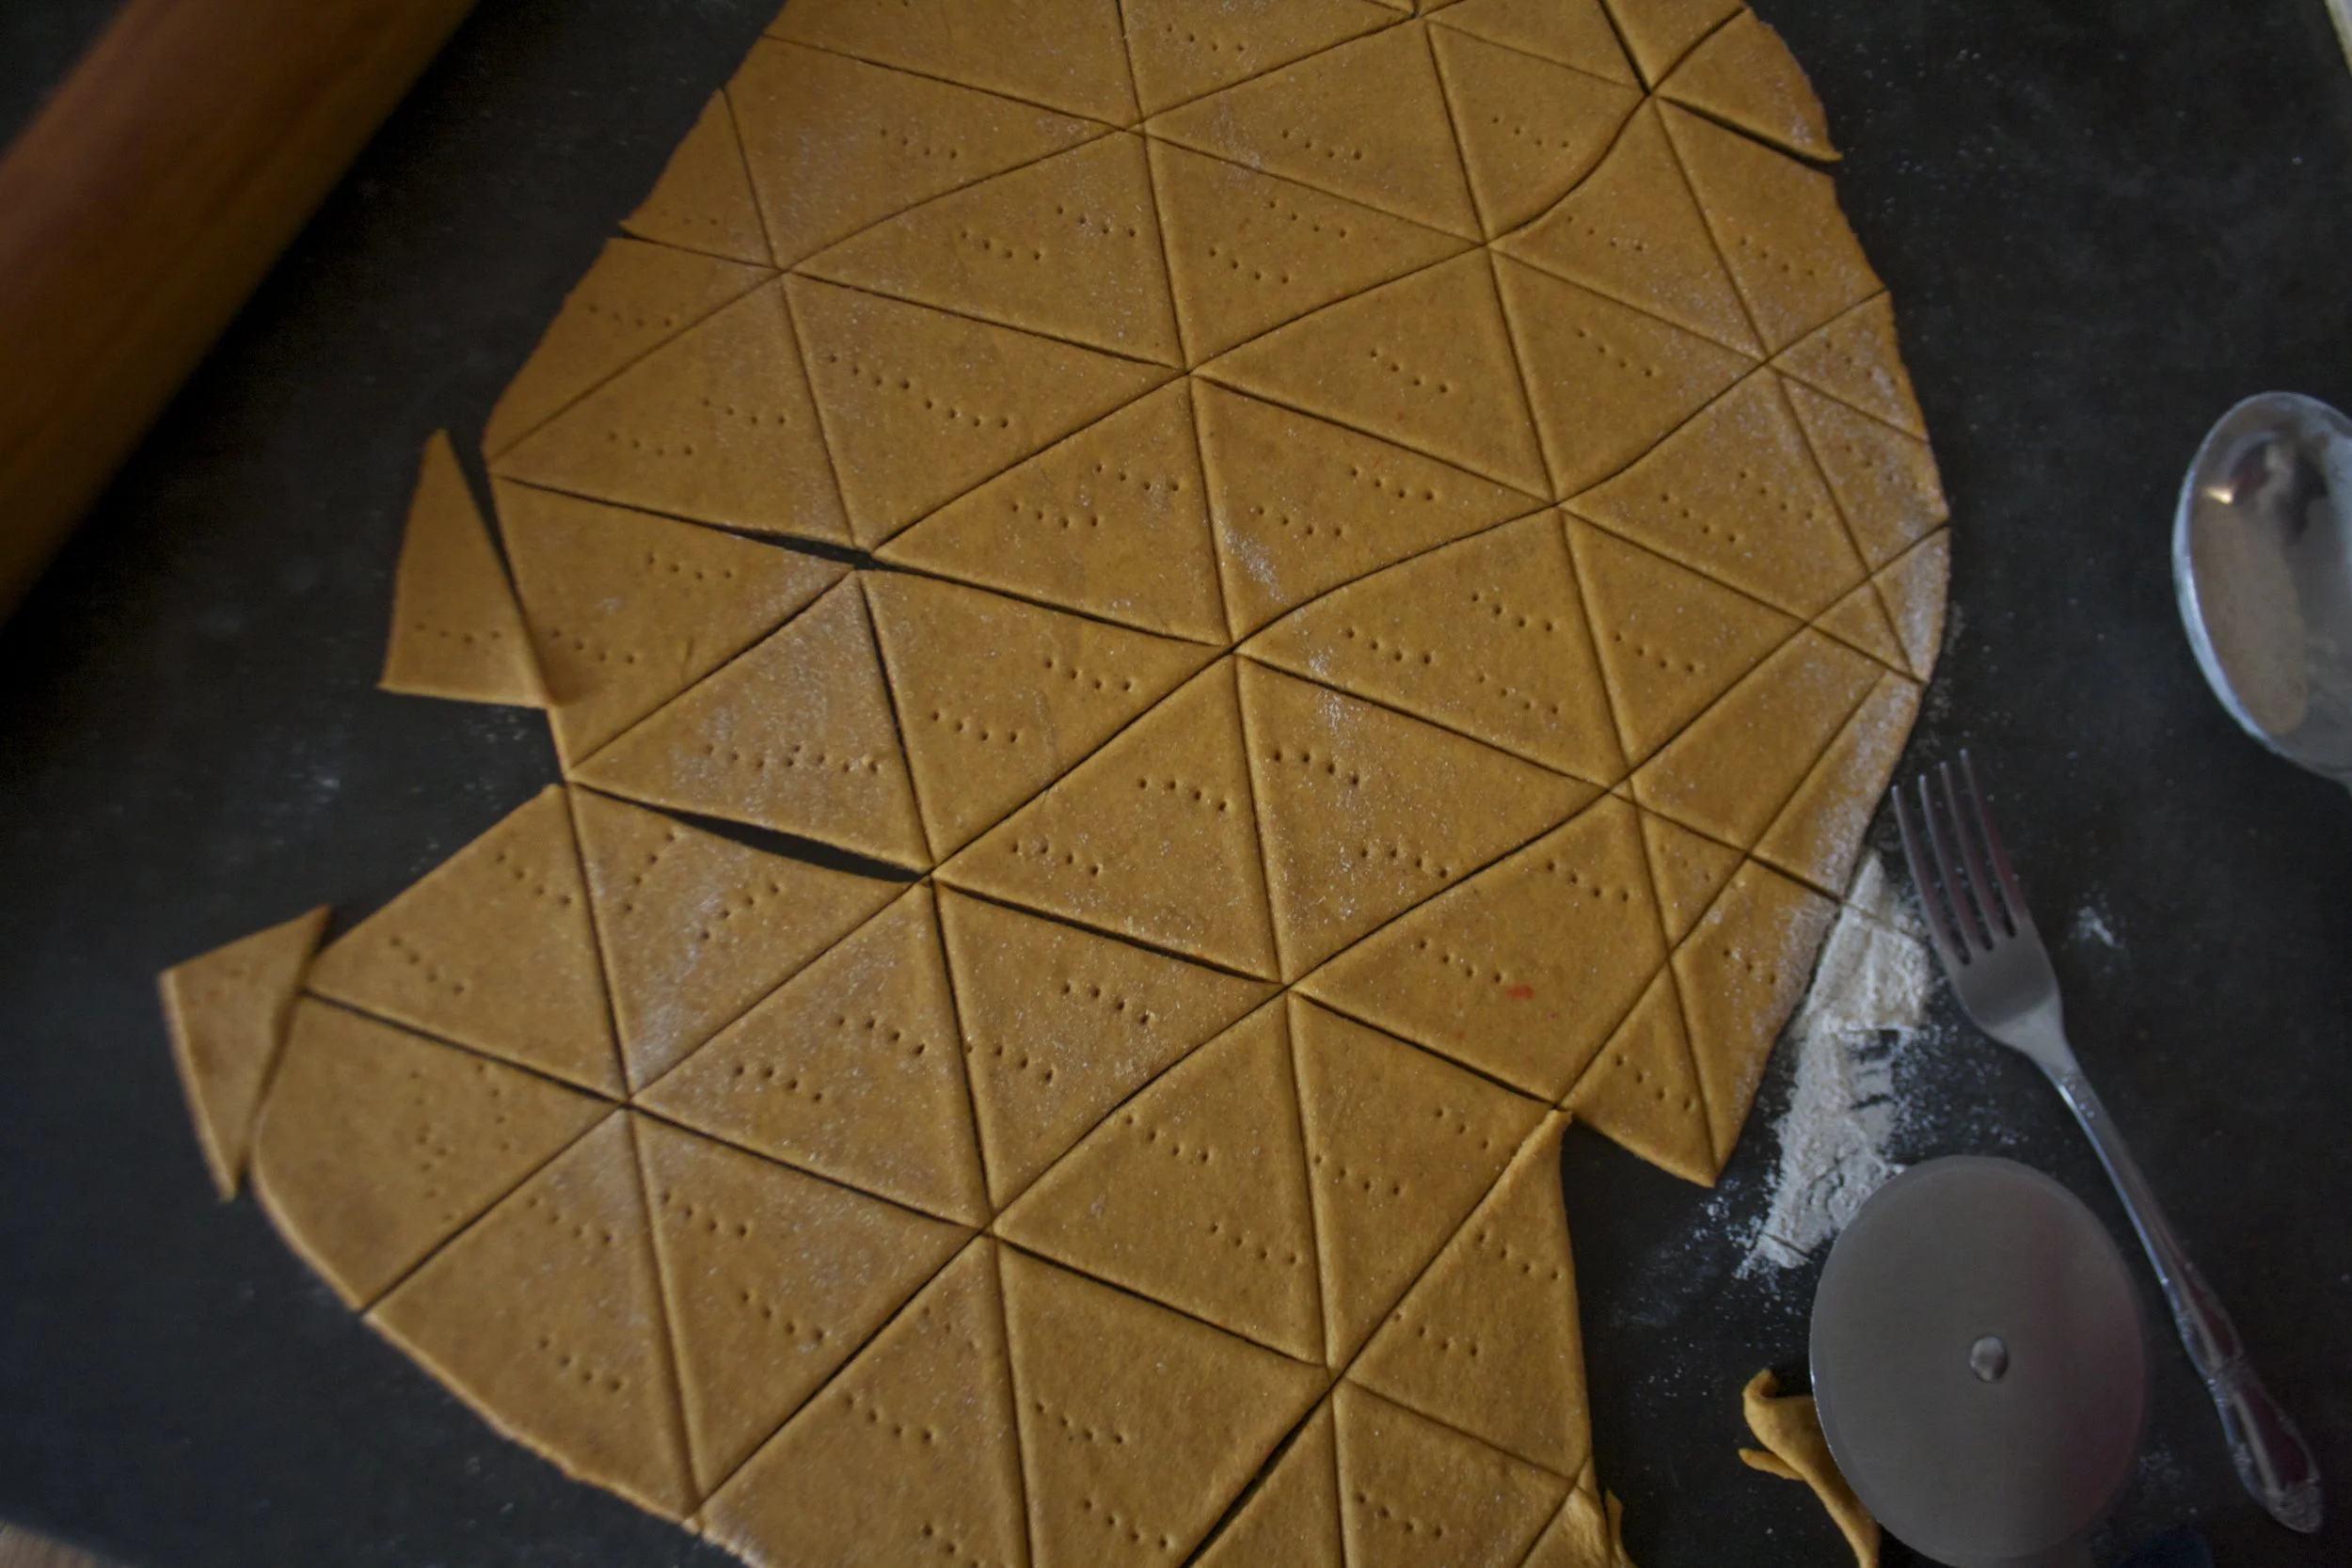
Cutting the shape is a personal choice. I went with triangle because they kind of look like carrots?.. But any shape will do. After you cut them up, take a fork and pierce each cracker a few times to avoid air pockets while they are cooking.
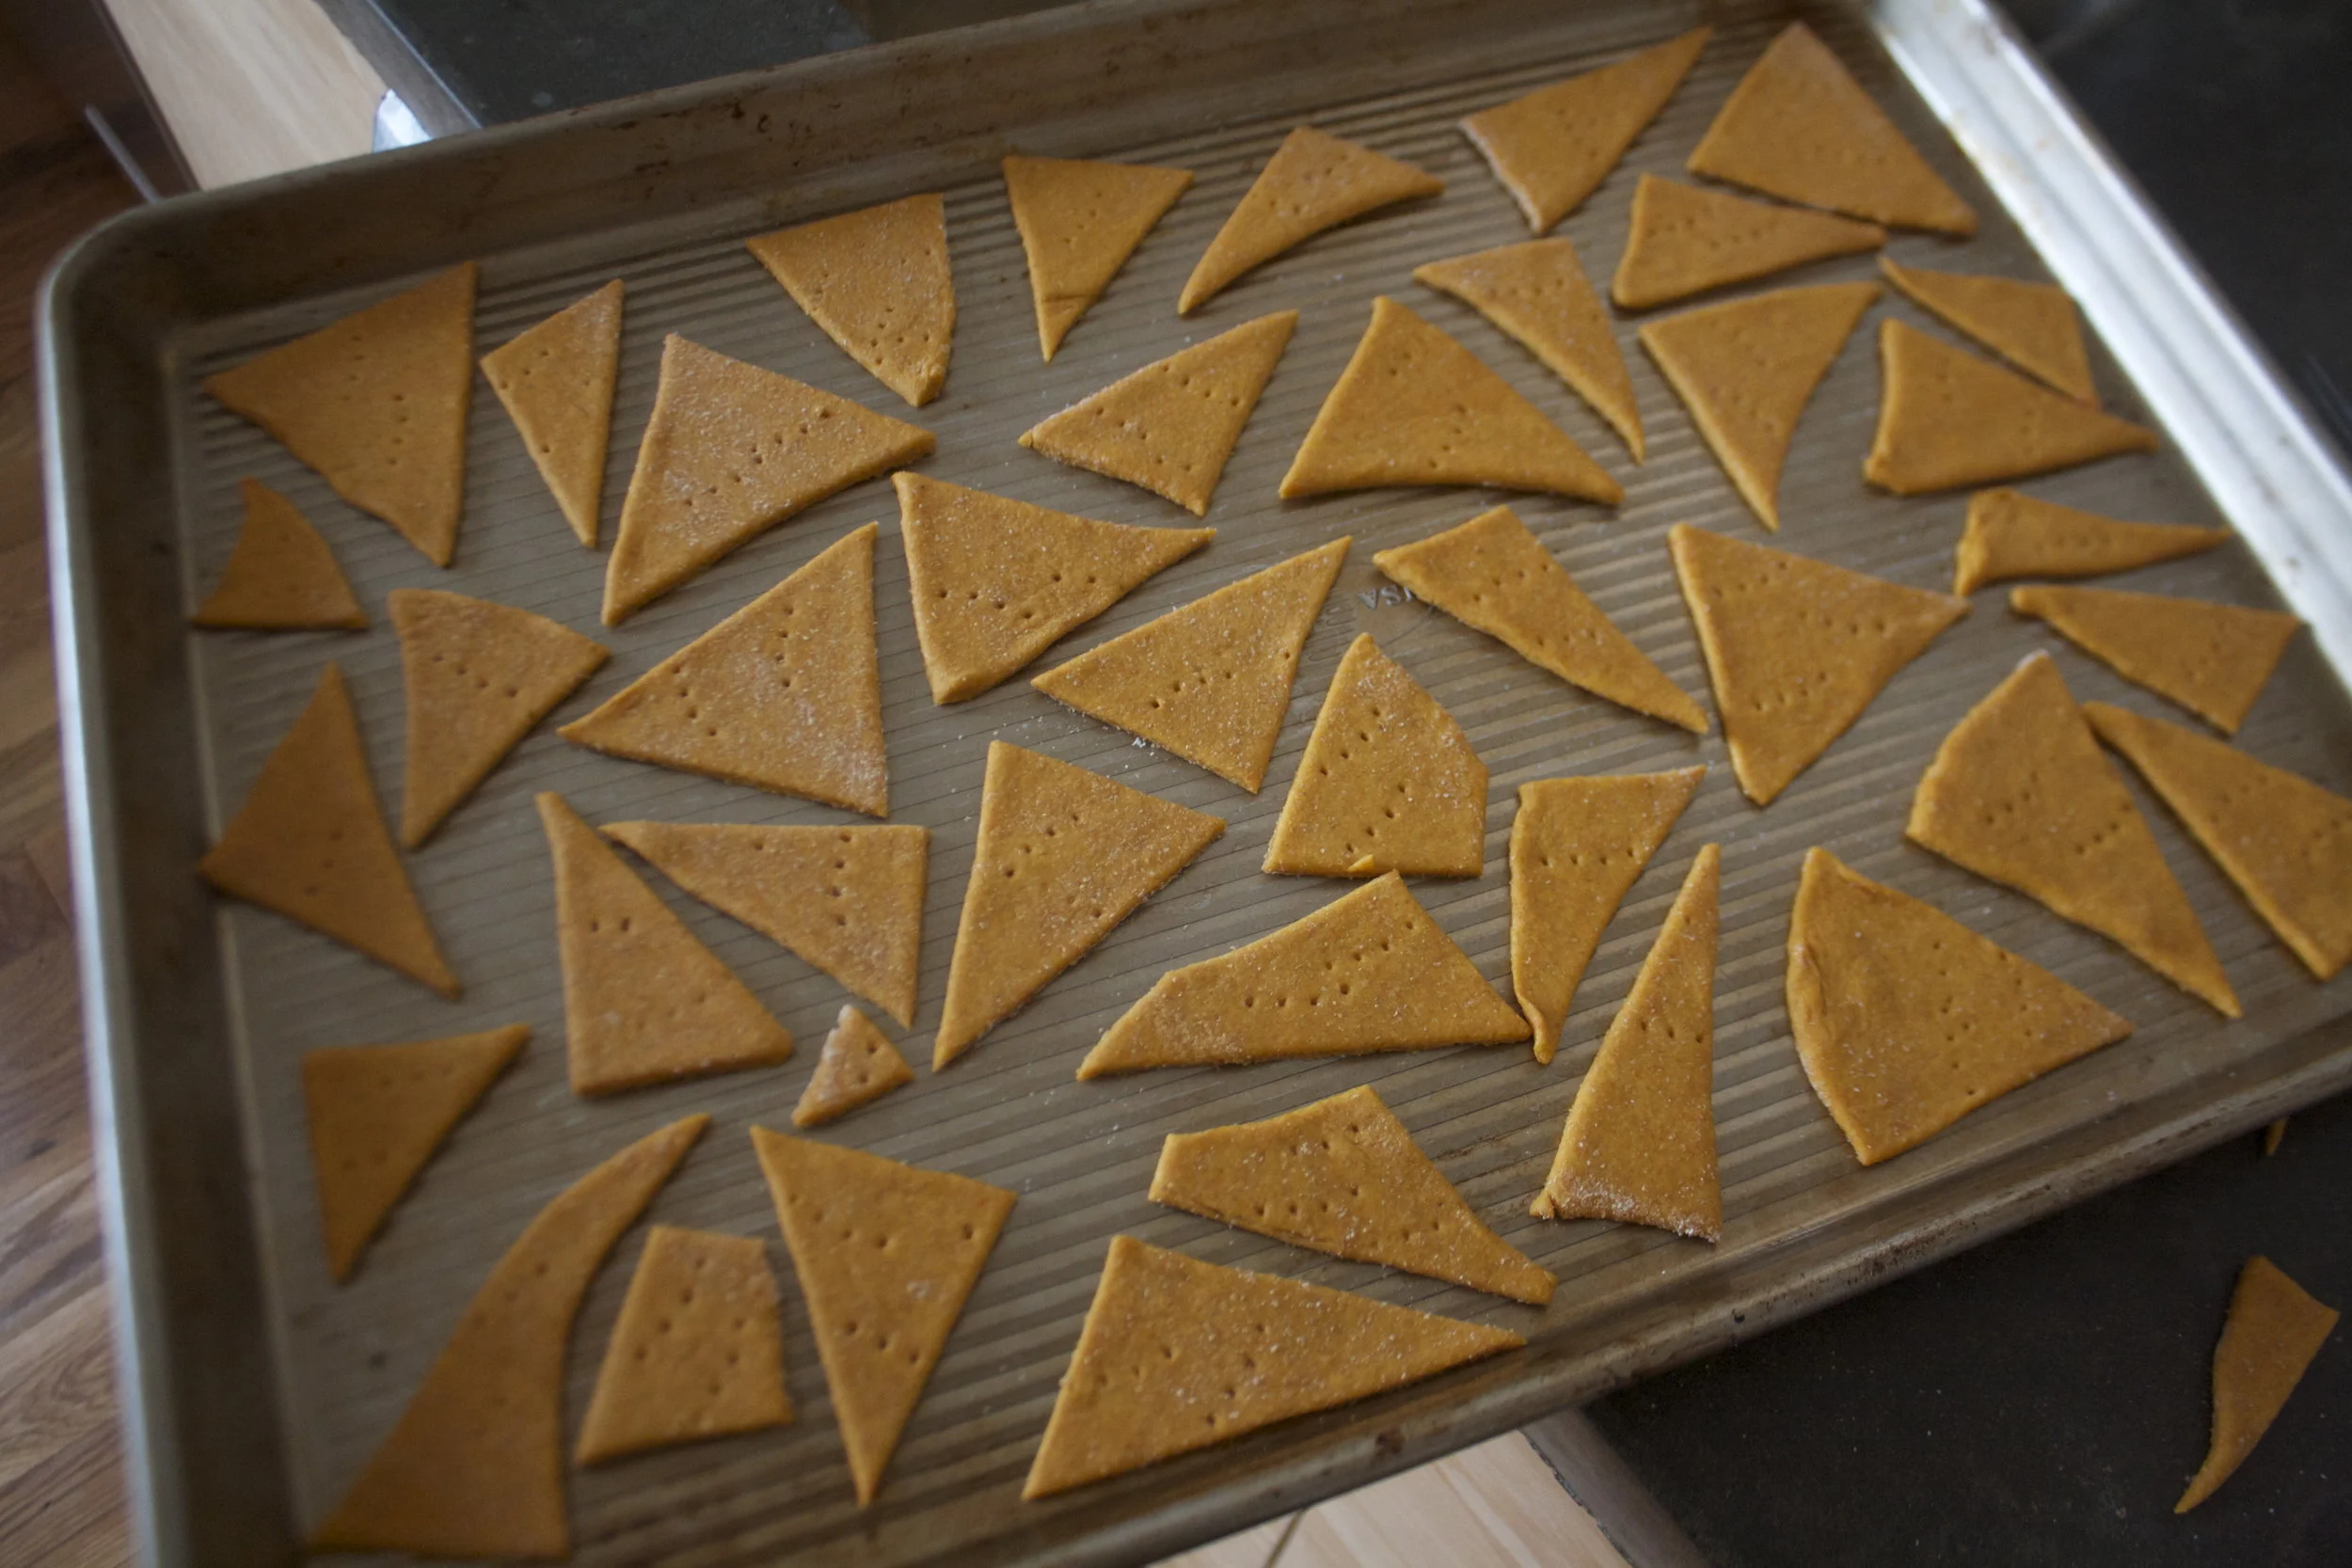
Onto a baking sheet. No need to leave as much space as I did, they don’t expand any.%u00a0 Once you sheet is full, give those crackers a nice sprinkle of salt and get them into the hot oven and cook to cook. 15-18 minutes should do the trick.
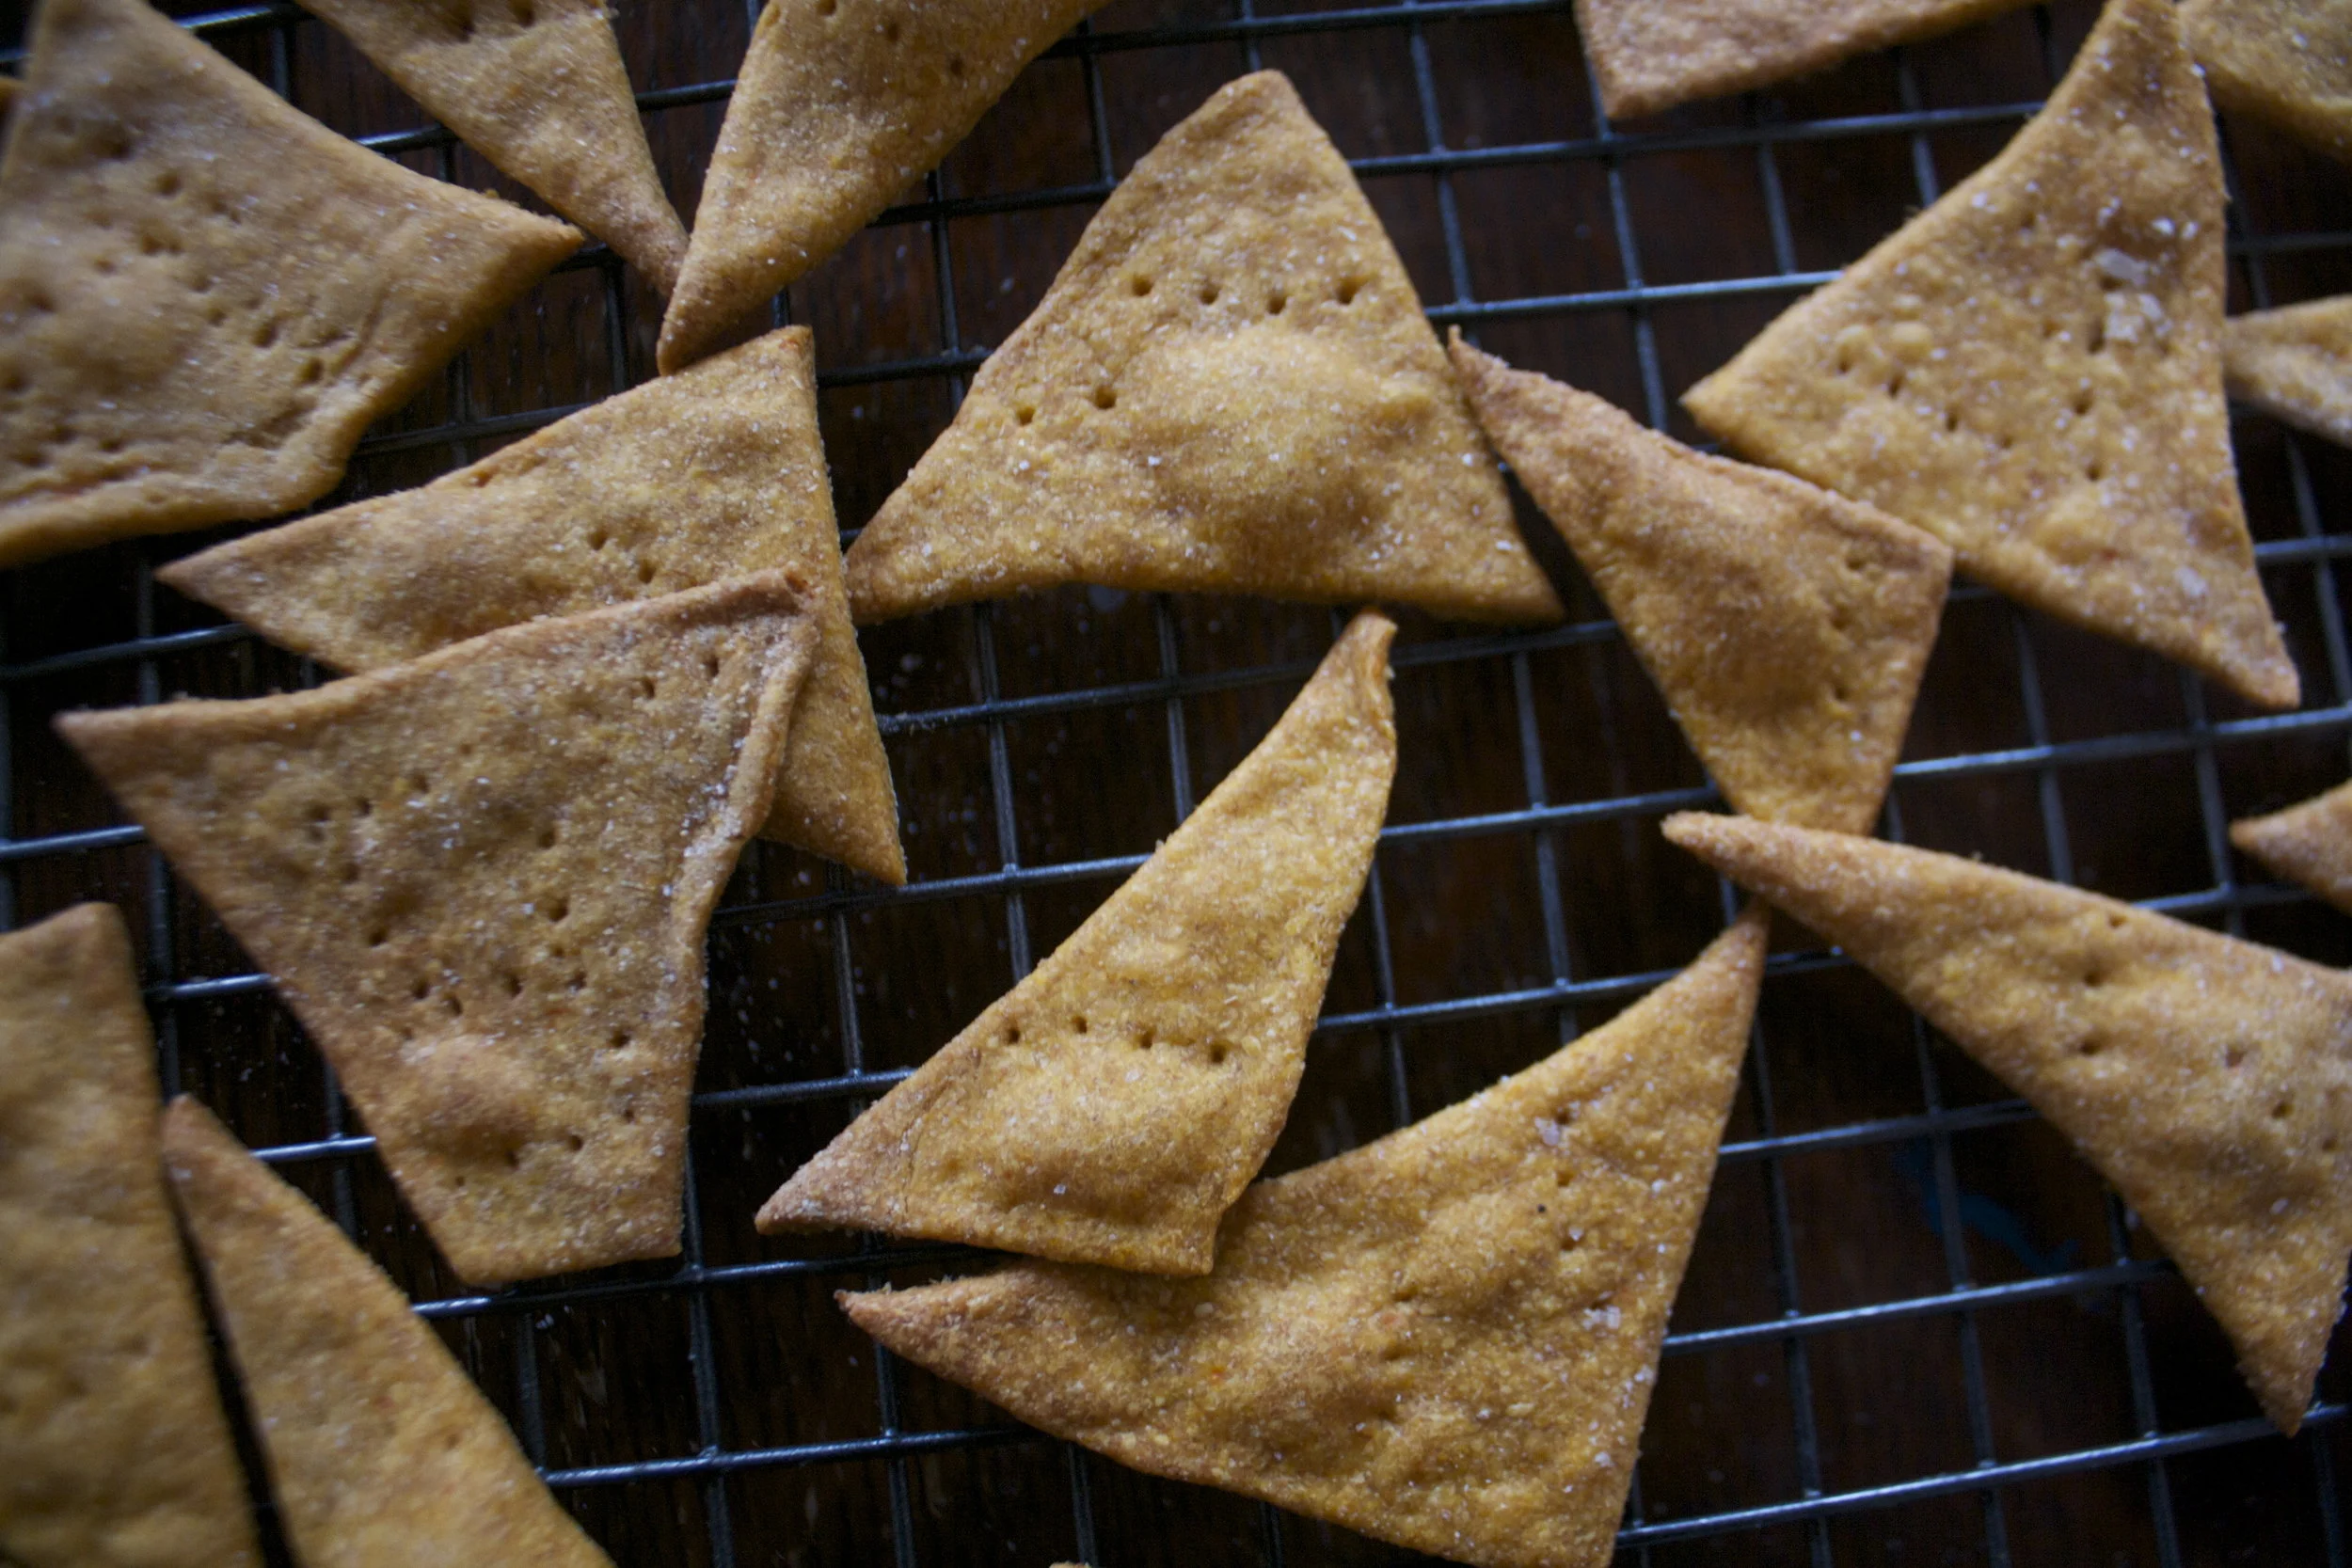
And then you pull them from the oven and let them cool.
Now you got yourself some cracker.
-C
- 1 cup chopped carrot (about 1 1/2 carrots)
- 1 1/2 cups white whole wheat flour
- 1 cup water
- 3 tablespoons olive oil
- 2 teaspoons salt plus more for sprinkling
Place chopped carrots and water into a pot with a lid and place on a medium heat. Cook until the carrots are tender. When they are, puree them with the blender of your choice. You should end up with a cup of puree but if you end up with a little less, add water to make a cup. Too much and you can just eat the extra.%u00a0 Add the oil to the puree and mix
In a medium bowl mix flour with the salt. Add in the wet and mix until a dough forms. Dump onto counter and knead into a uniform ball. Place dough back into bowl to rest for a few minutes.
Preheat oven to 350
Place dough on a lightly floured surface. Roll out to about 1/8 inch thick then cut into whatever shape you want to eat your crackers in. Take a fork and stab a few holes into each cracker if you want to avoid air pockets (the mr likes the air pockets)%u00a0 then sprinkle the crackers with salt. Place on a baking sheet. You don’t want them touching but can be packed closely.. Into the oven for 15-18 minutes or until the bottoms are golden brown and have a slight crisp when broken. Remove and let cool..
Now Eat. With peanut butter, jelly, cheese or chocolate. This crackers are good for anything you eat with crackers.
Left over crackers can be stored in a airtight bag or container and will last for a week or so. If they start to get a little stale, just pop them back into the oven for a few minutes.
The mr is a saltines fanatic. I personally don’t get it, but he really, truly loves a good fresh package of those salty crispy crackers, and loves to make a little cracker crumb mess. (I think it does it to drive me crazy)
%u00a0The other night during a particularly crumby saltine cracker snack, he declared that the saltine people (who are these people?) must come out with flavored saltines. I then continued to burst his bubble and told him I am pretty sure the saltine people have, in fact, come out with flavors, but he was skeptical and did not believe my words. Whatever dude.
But then I got to thinking, “why the hell haven’t I made flavored saltine crackers yet?” So make flavored crackers I did. I know that the mr is really into dill pickled chips (beause I can smell the when he eats them) and I have been buying these mammoth jars of pickles from the Costco superstore (I love pickles but more then that I need the gigantic jars). so I had me a shit ton of pickle juice. It was meant to be.
The first time I made the crackers, I did a really small batch and wasn’t expecting anything amazing, just going for a decent whatever cracker. But no, the few that I managed to make, the mr went nuts for. He told me they were the best fucking cracker that he has ever had and I now have to make them for him all the time, and that it is now a birthday tradition (it was his birthday). He said they were the prefect dilly-ness, the pefrect texture and just the right amount of salt. Perfection.
Well that made me happy so instead of waiting for his next birthday, I just made a big batch. Again, more proof that I am the best girlfriend ever!
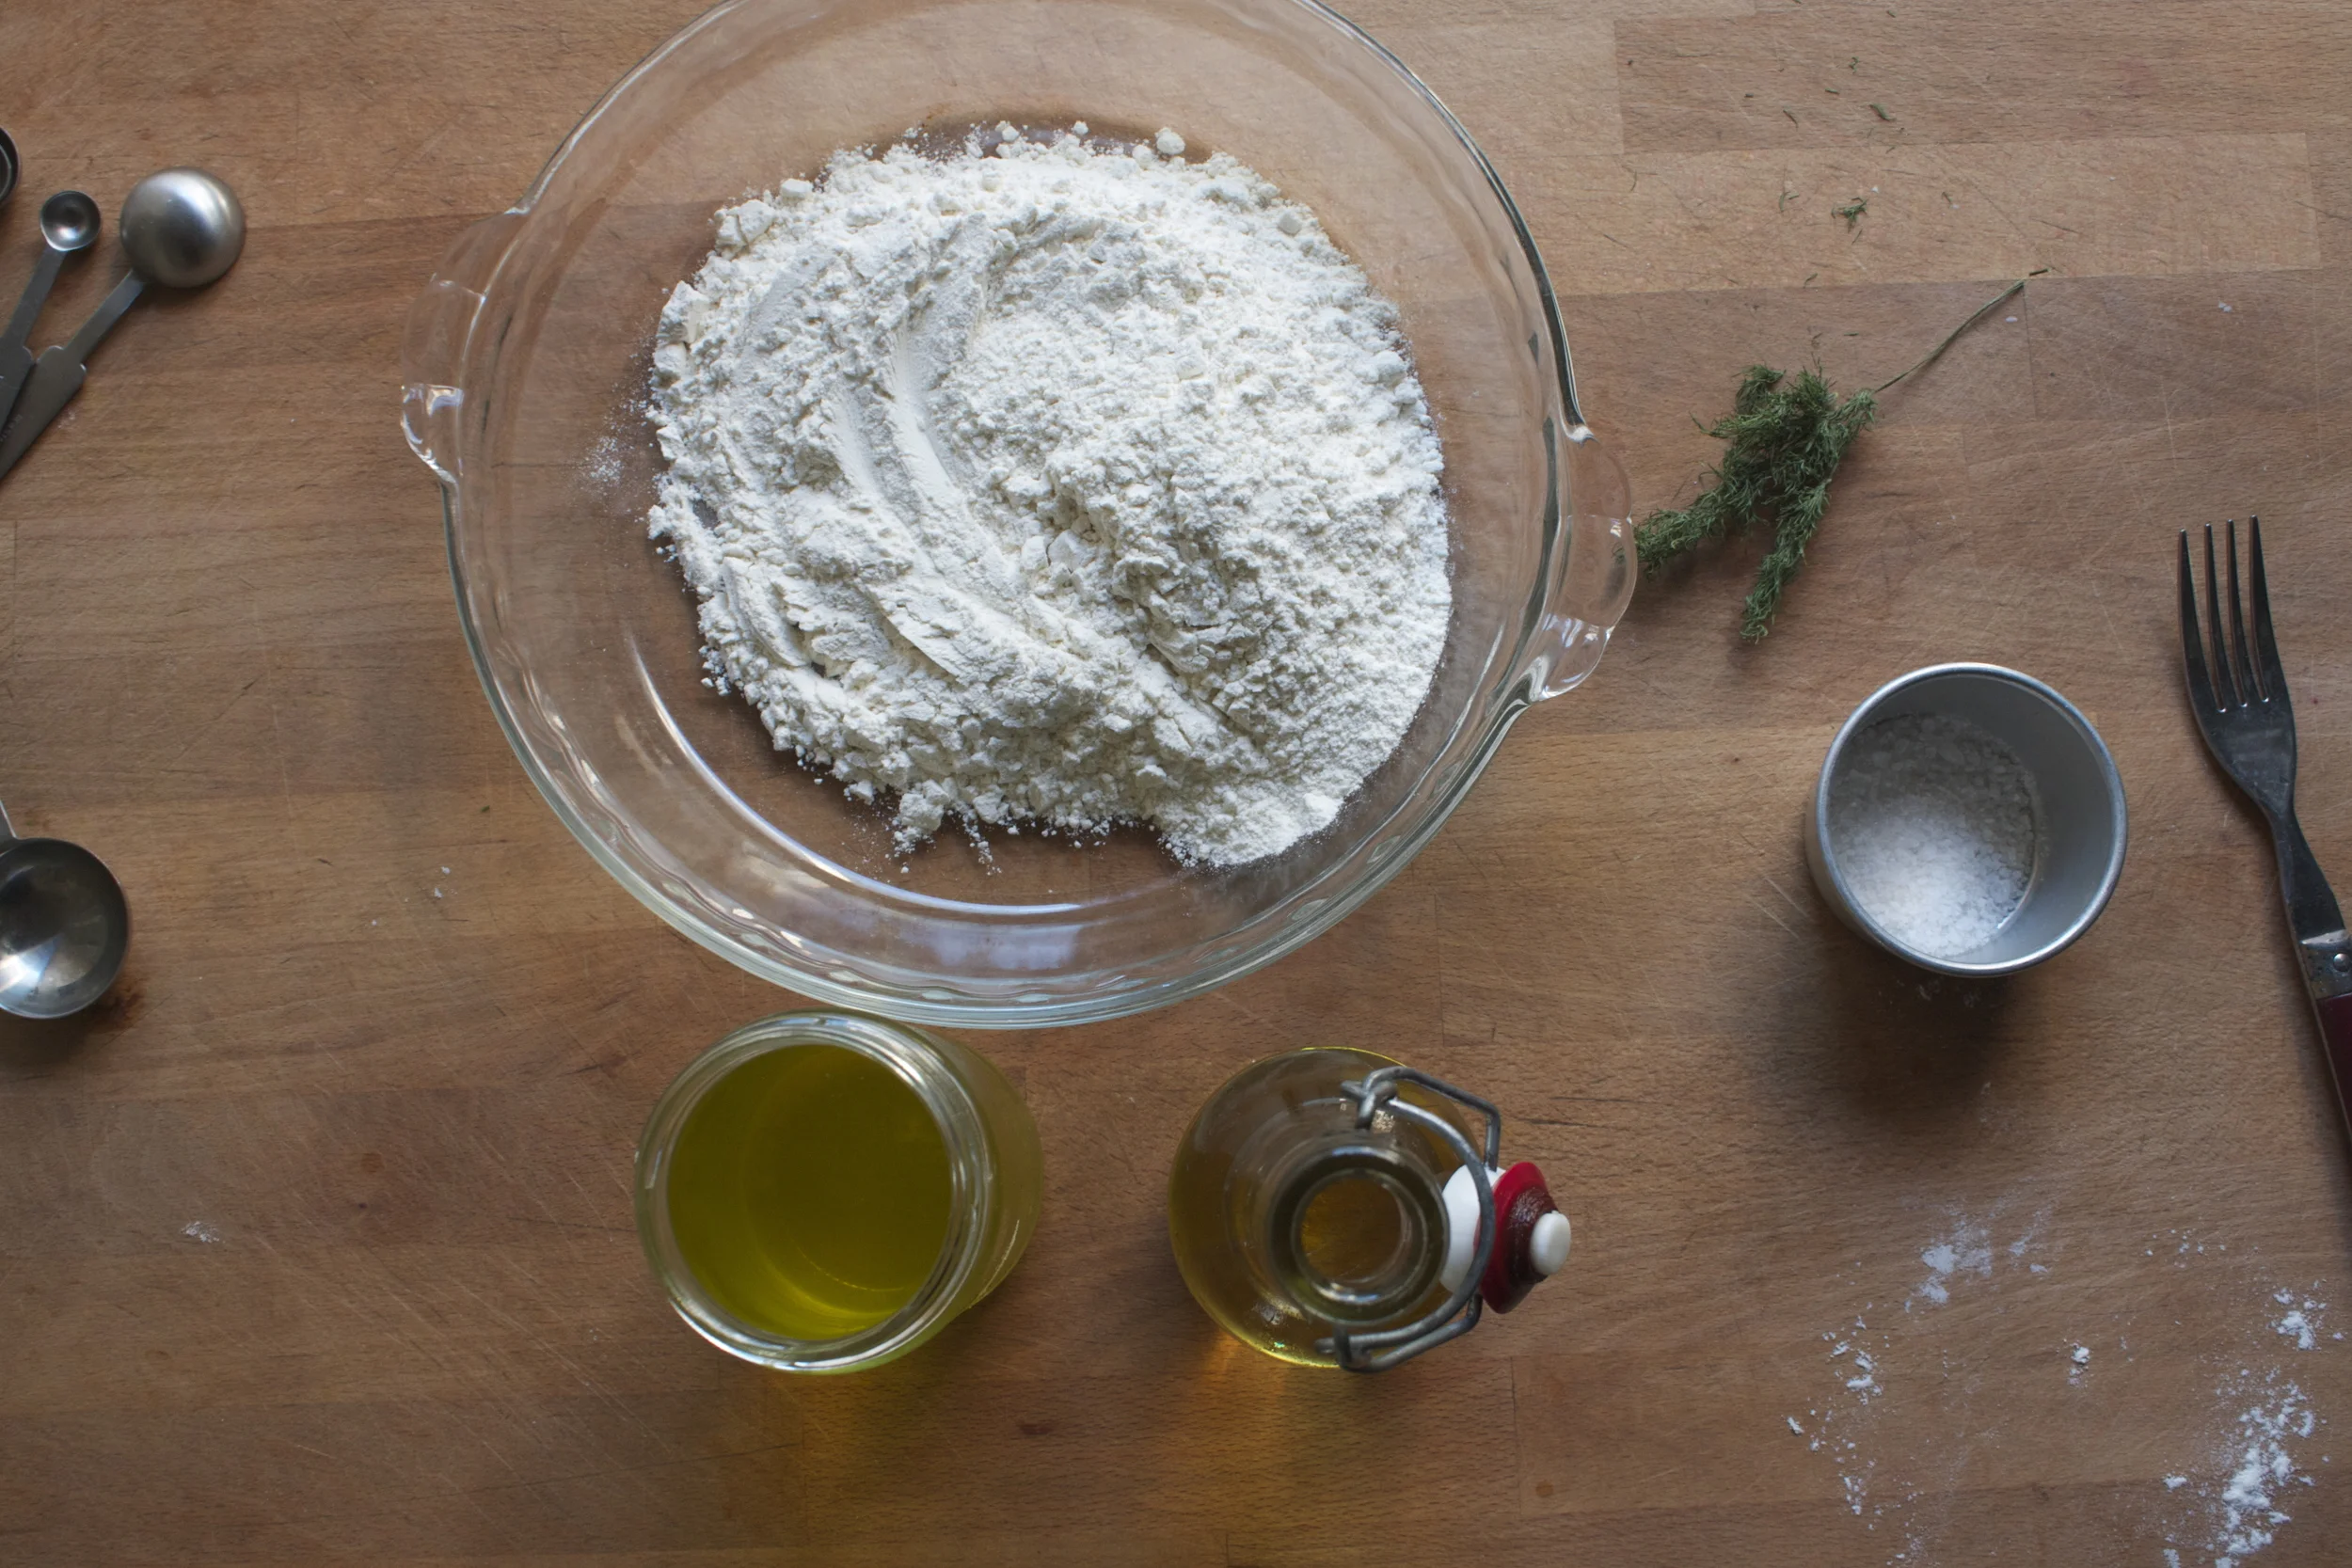
The stuff. Flour, dill pickle juice, olive oil and some dried dill and salt.
Flour into a bowl gets drizzled with olive oil and mix around with a fork.

%u00a0Then in goes the pickles juice , same deal, mix together with a fork until the mixture forms a dough. (almost resembling a pie dough)
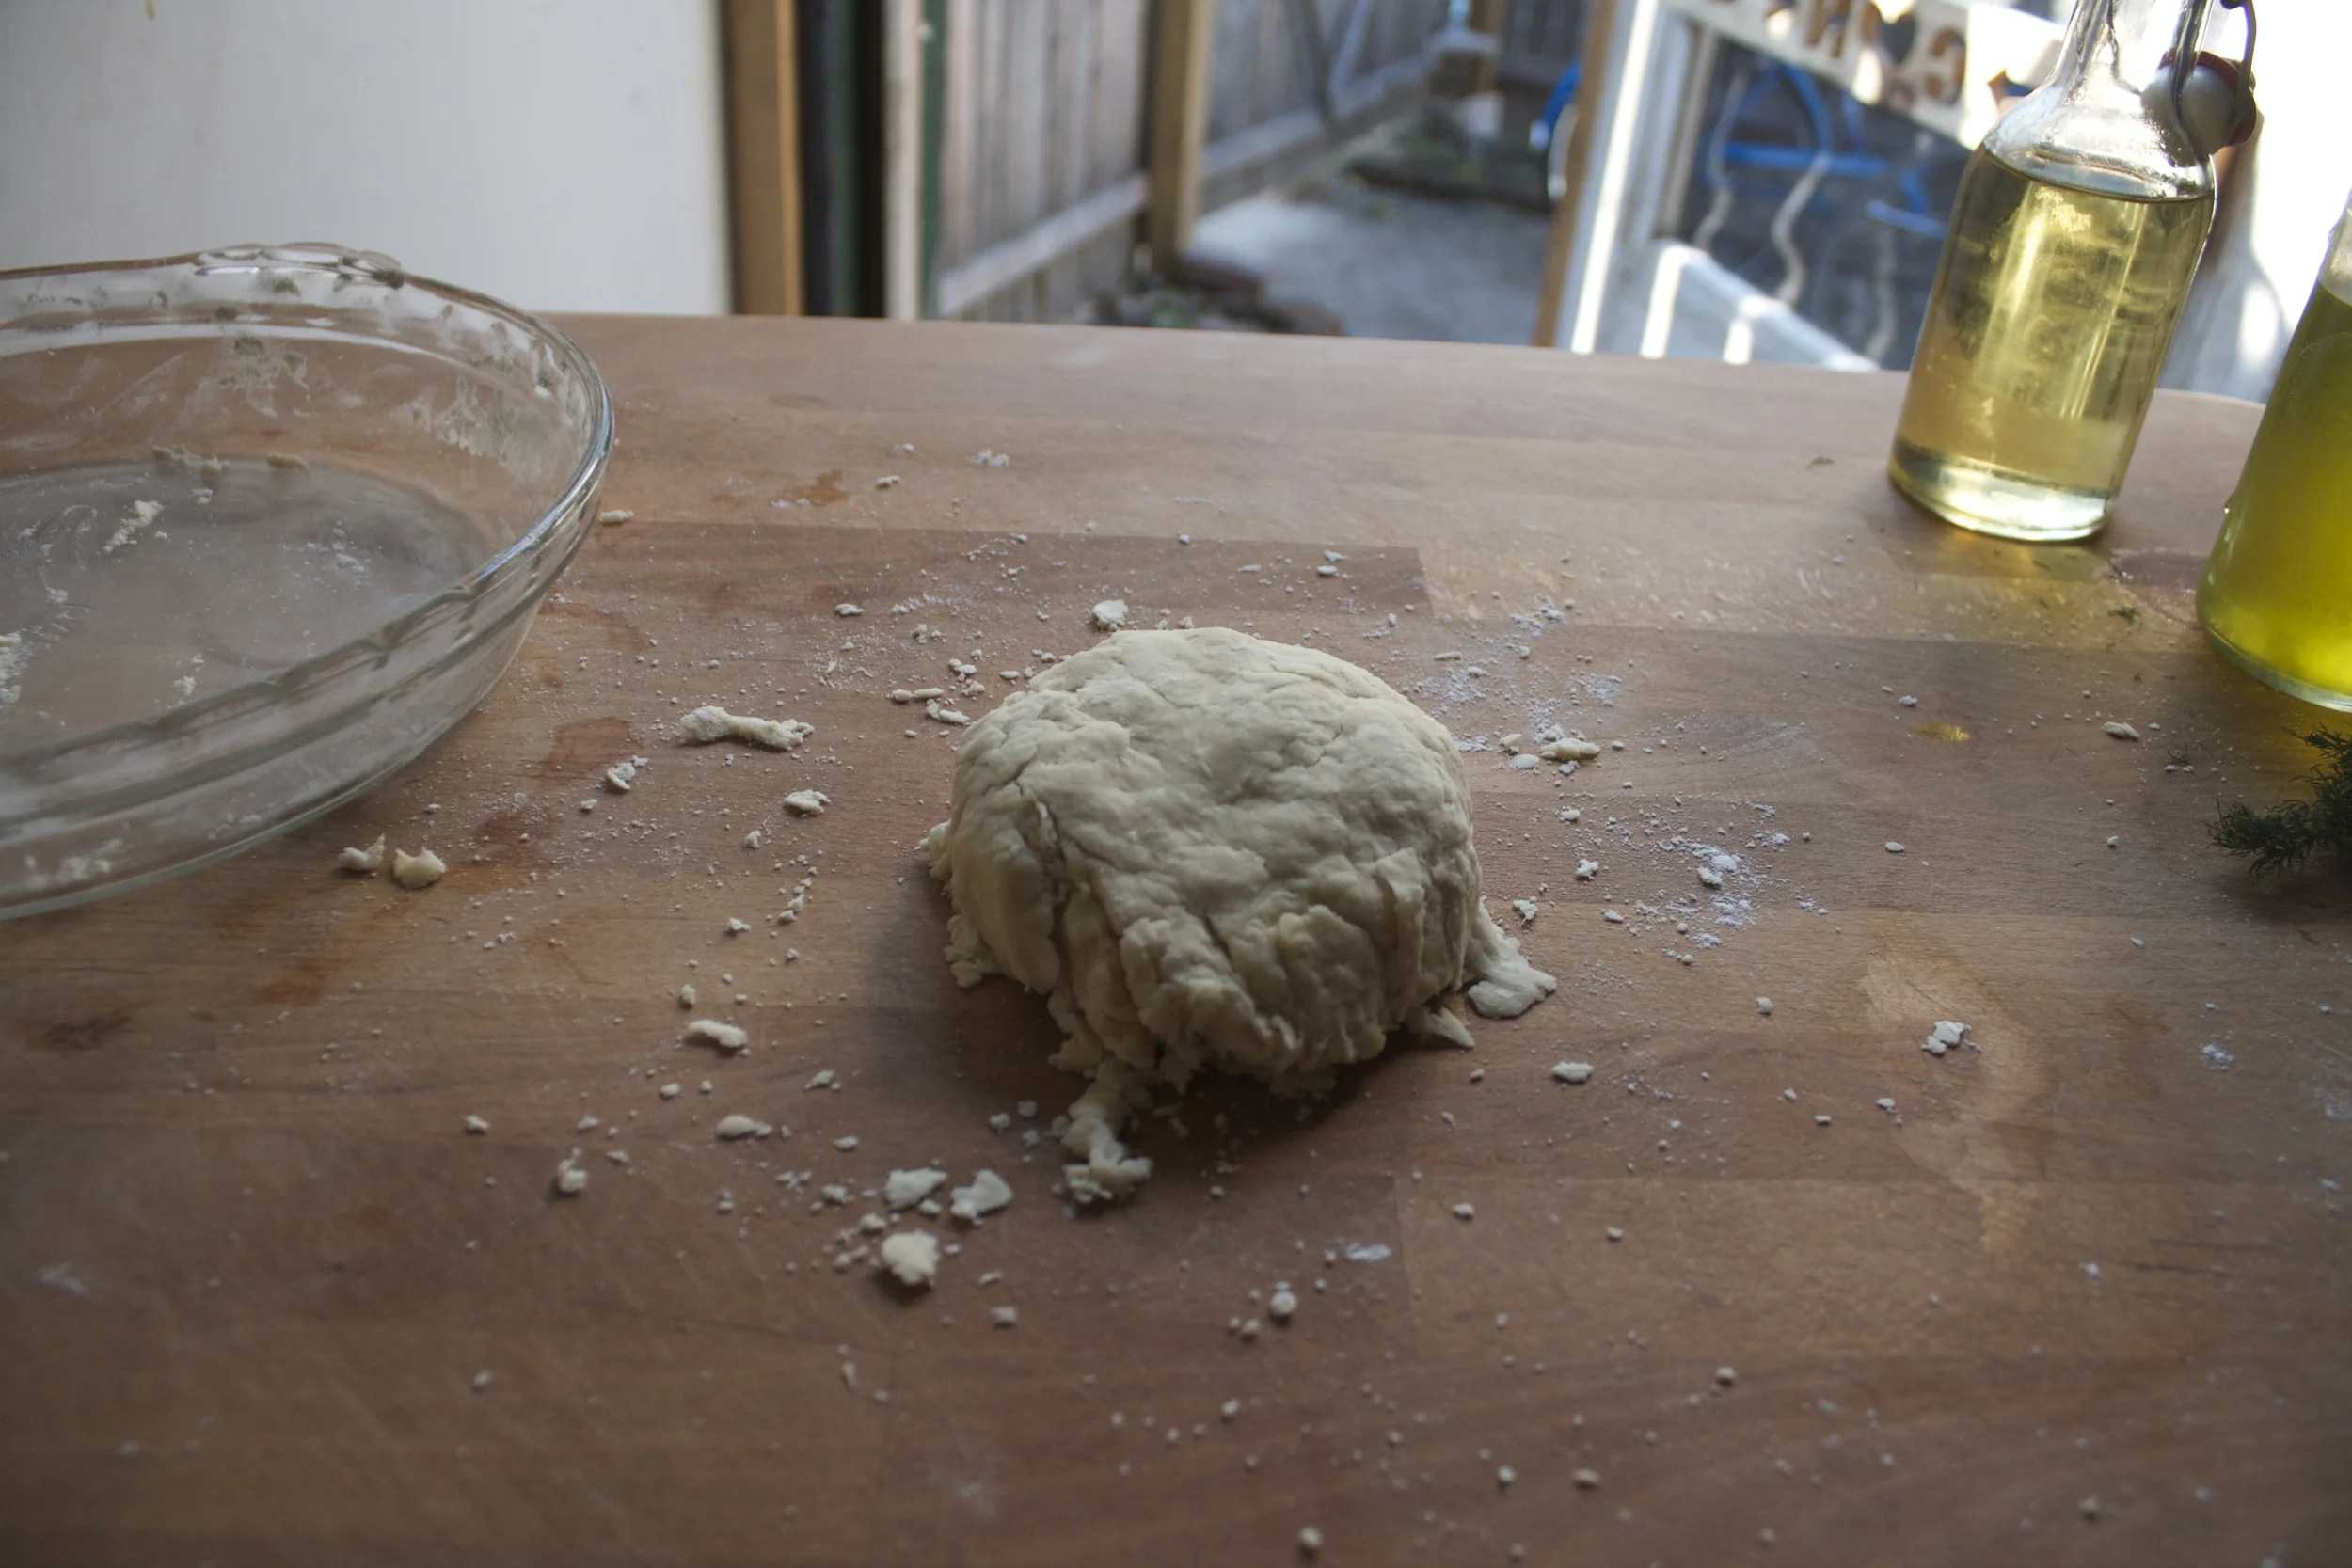
Place dough down on counter. Let it sit there for a few minutes to give it time to rest.

After the rest, roll the dough out as thinly as you can (try for about an 1/8 inch).
I found that when I slightly damped the counter that the dough was easier to roll. It might be because I have wood counter top so this may or may not work for you, but is worth a try.
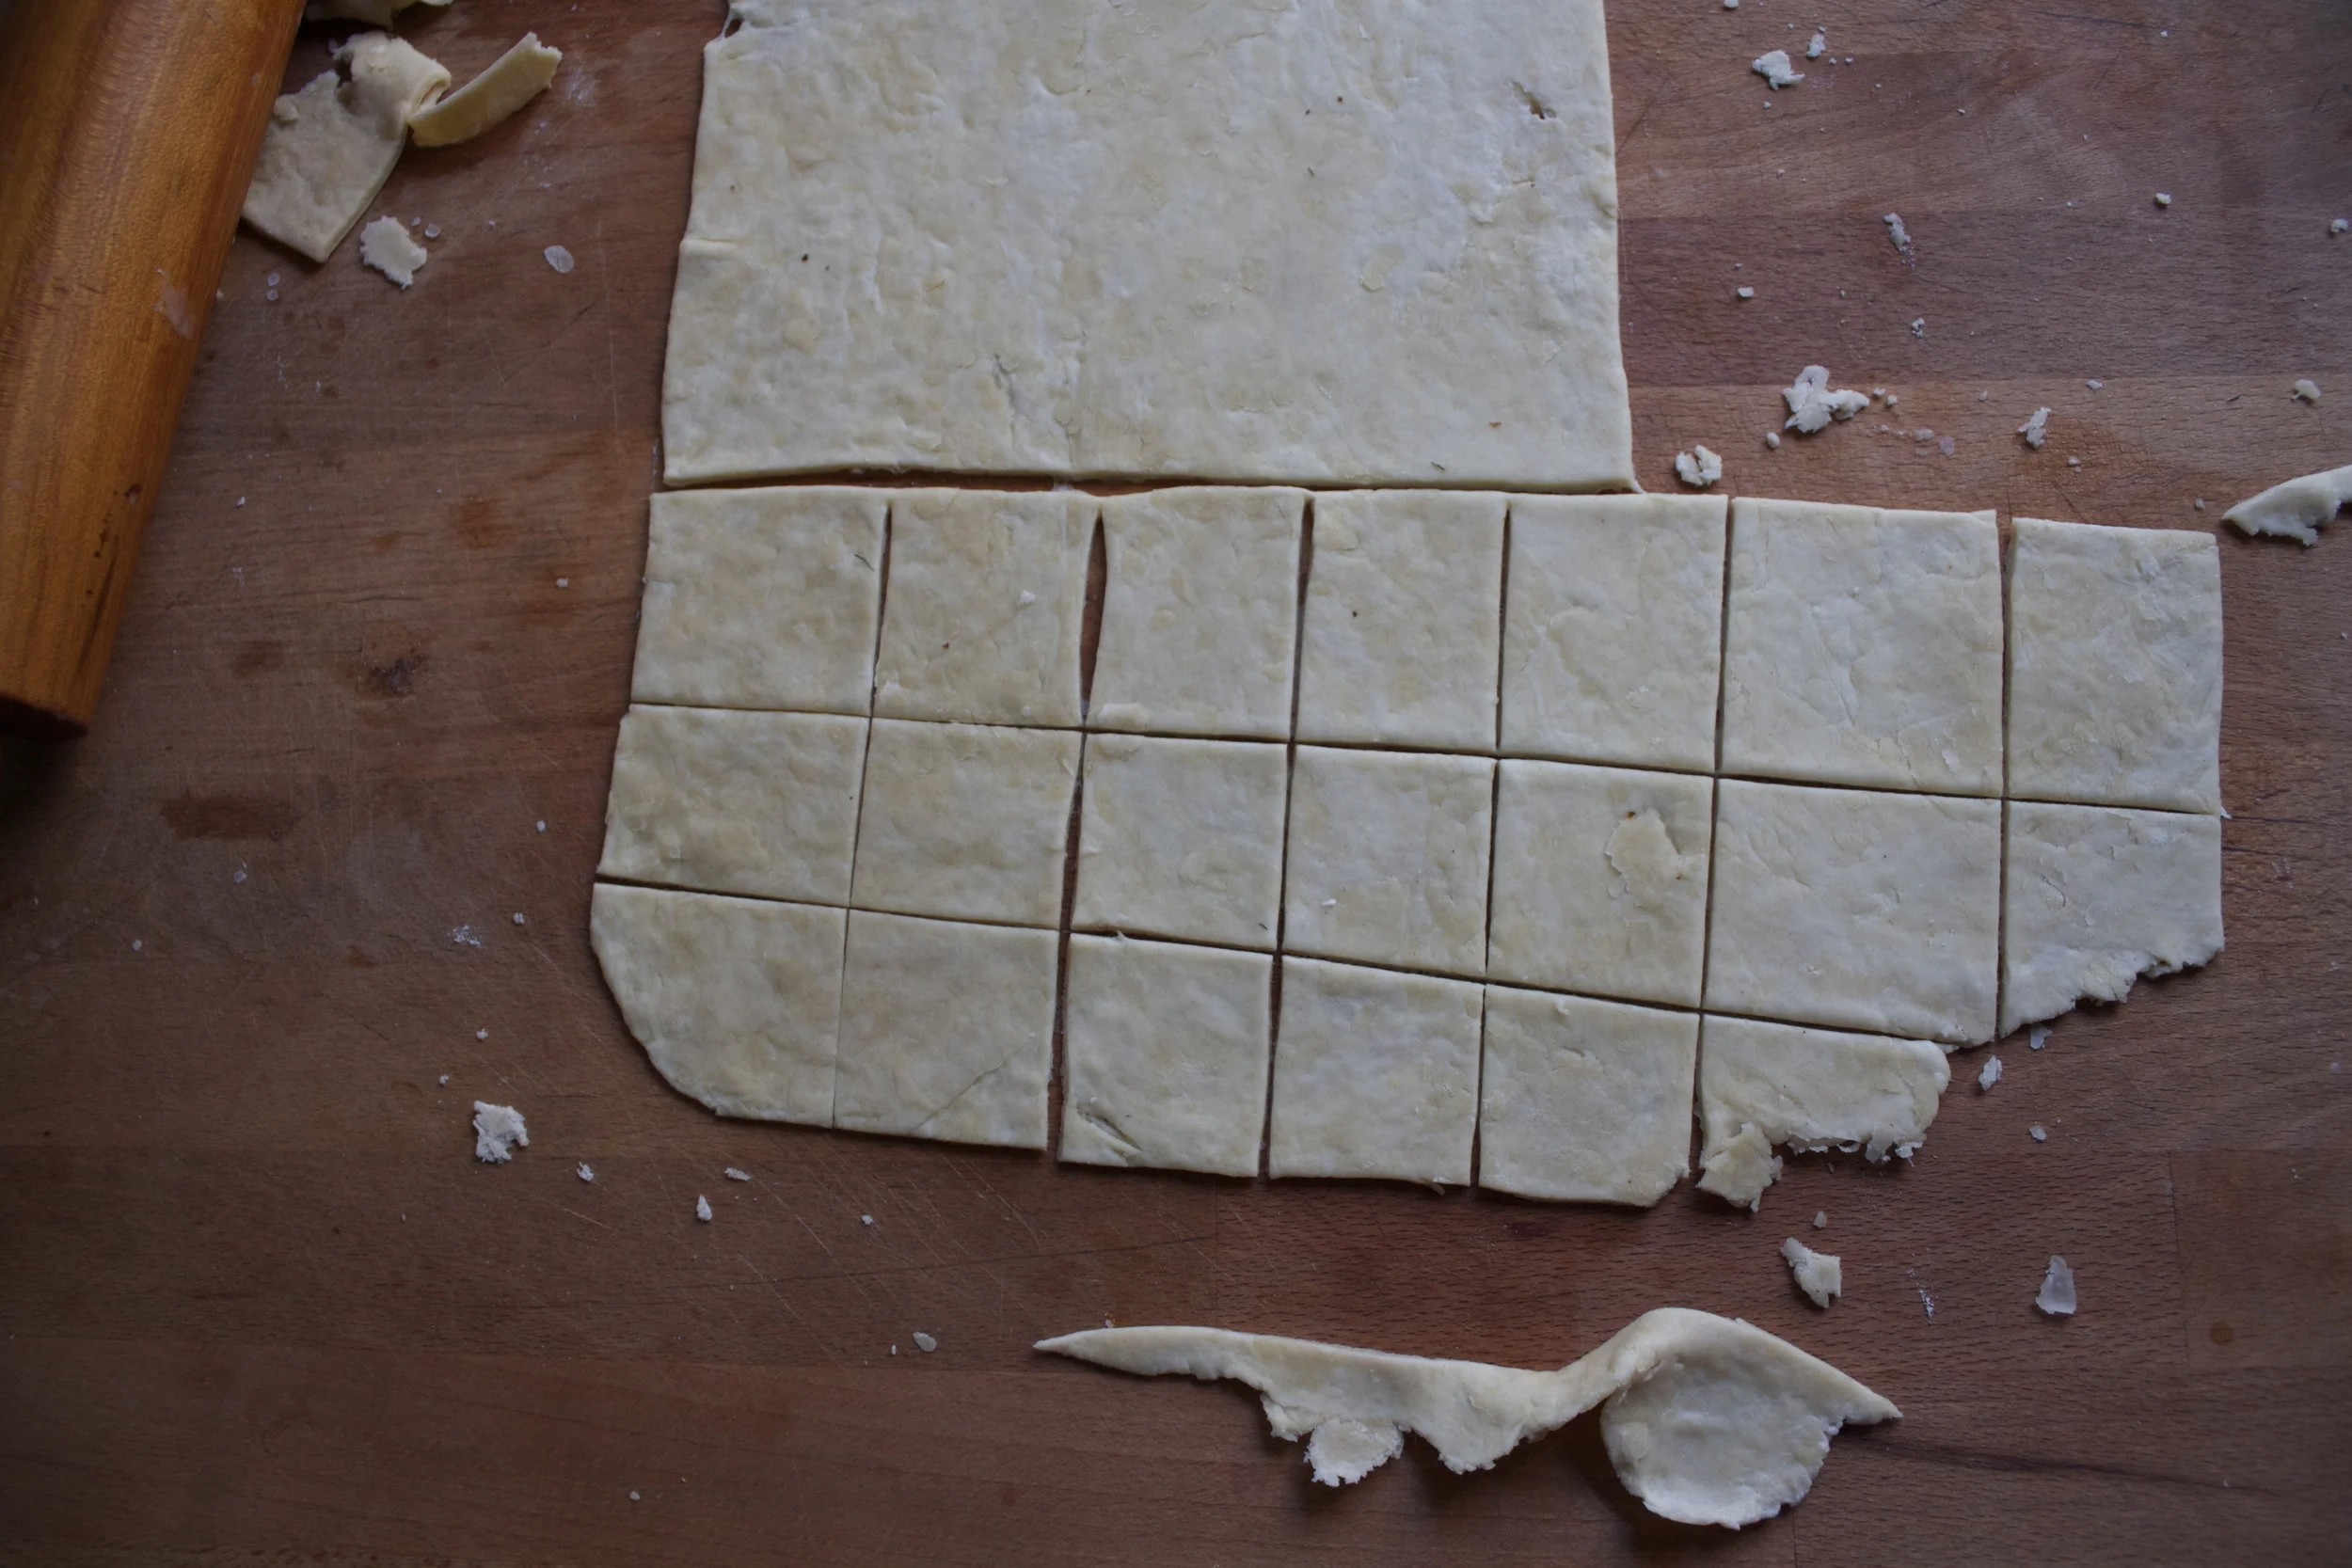
And with a knife or dough cutter (or fancy cracker cutting tool), trim off sides (if you want) and cut into 2 inch squares.
Note. IF you want to, poke a couple little wholes into the tops of the crackers. Doing so will prevent the crackers from poofing up (I was told the poof is good)
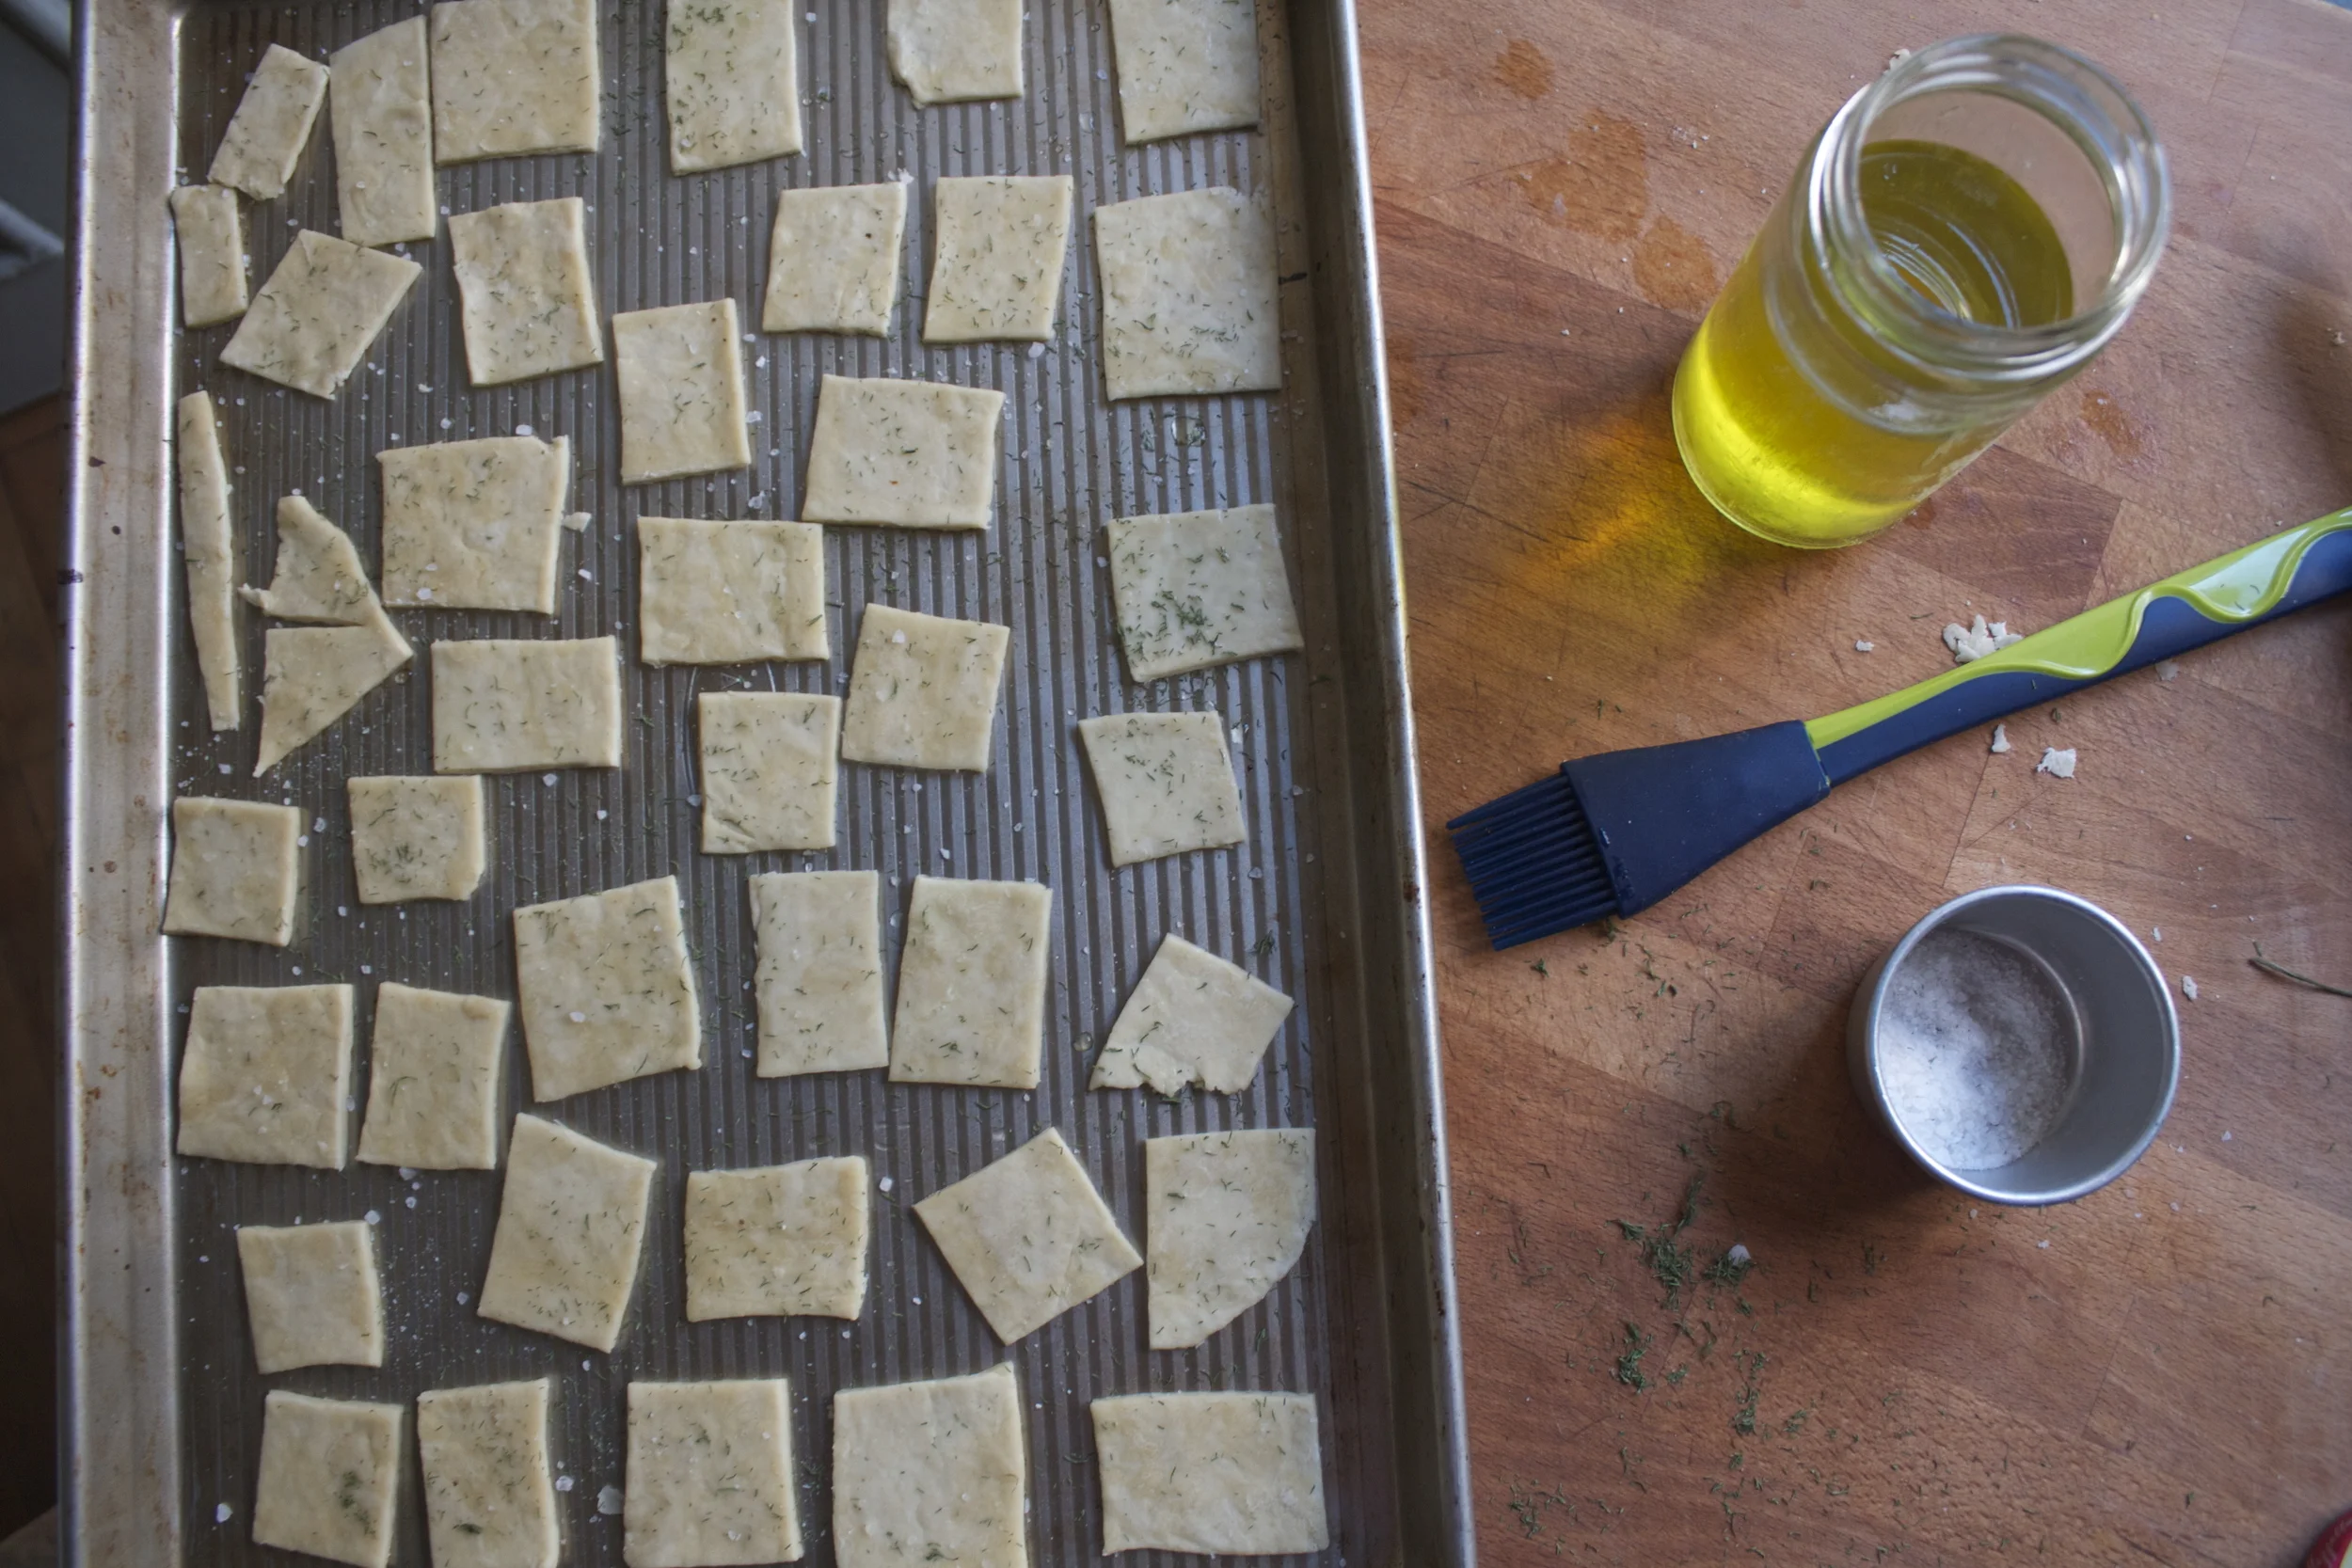
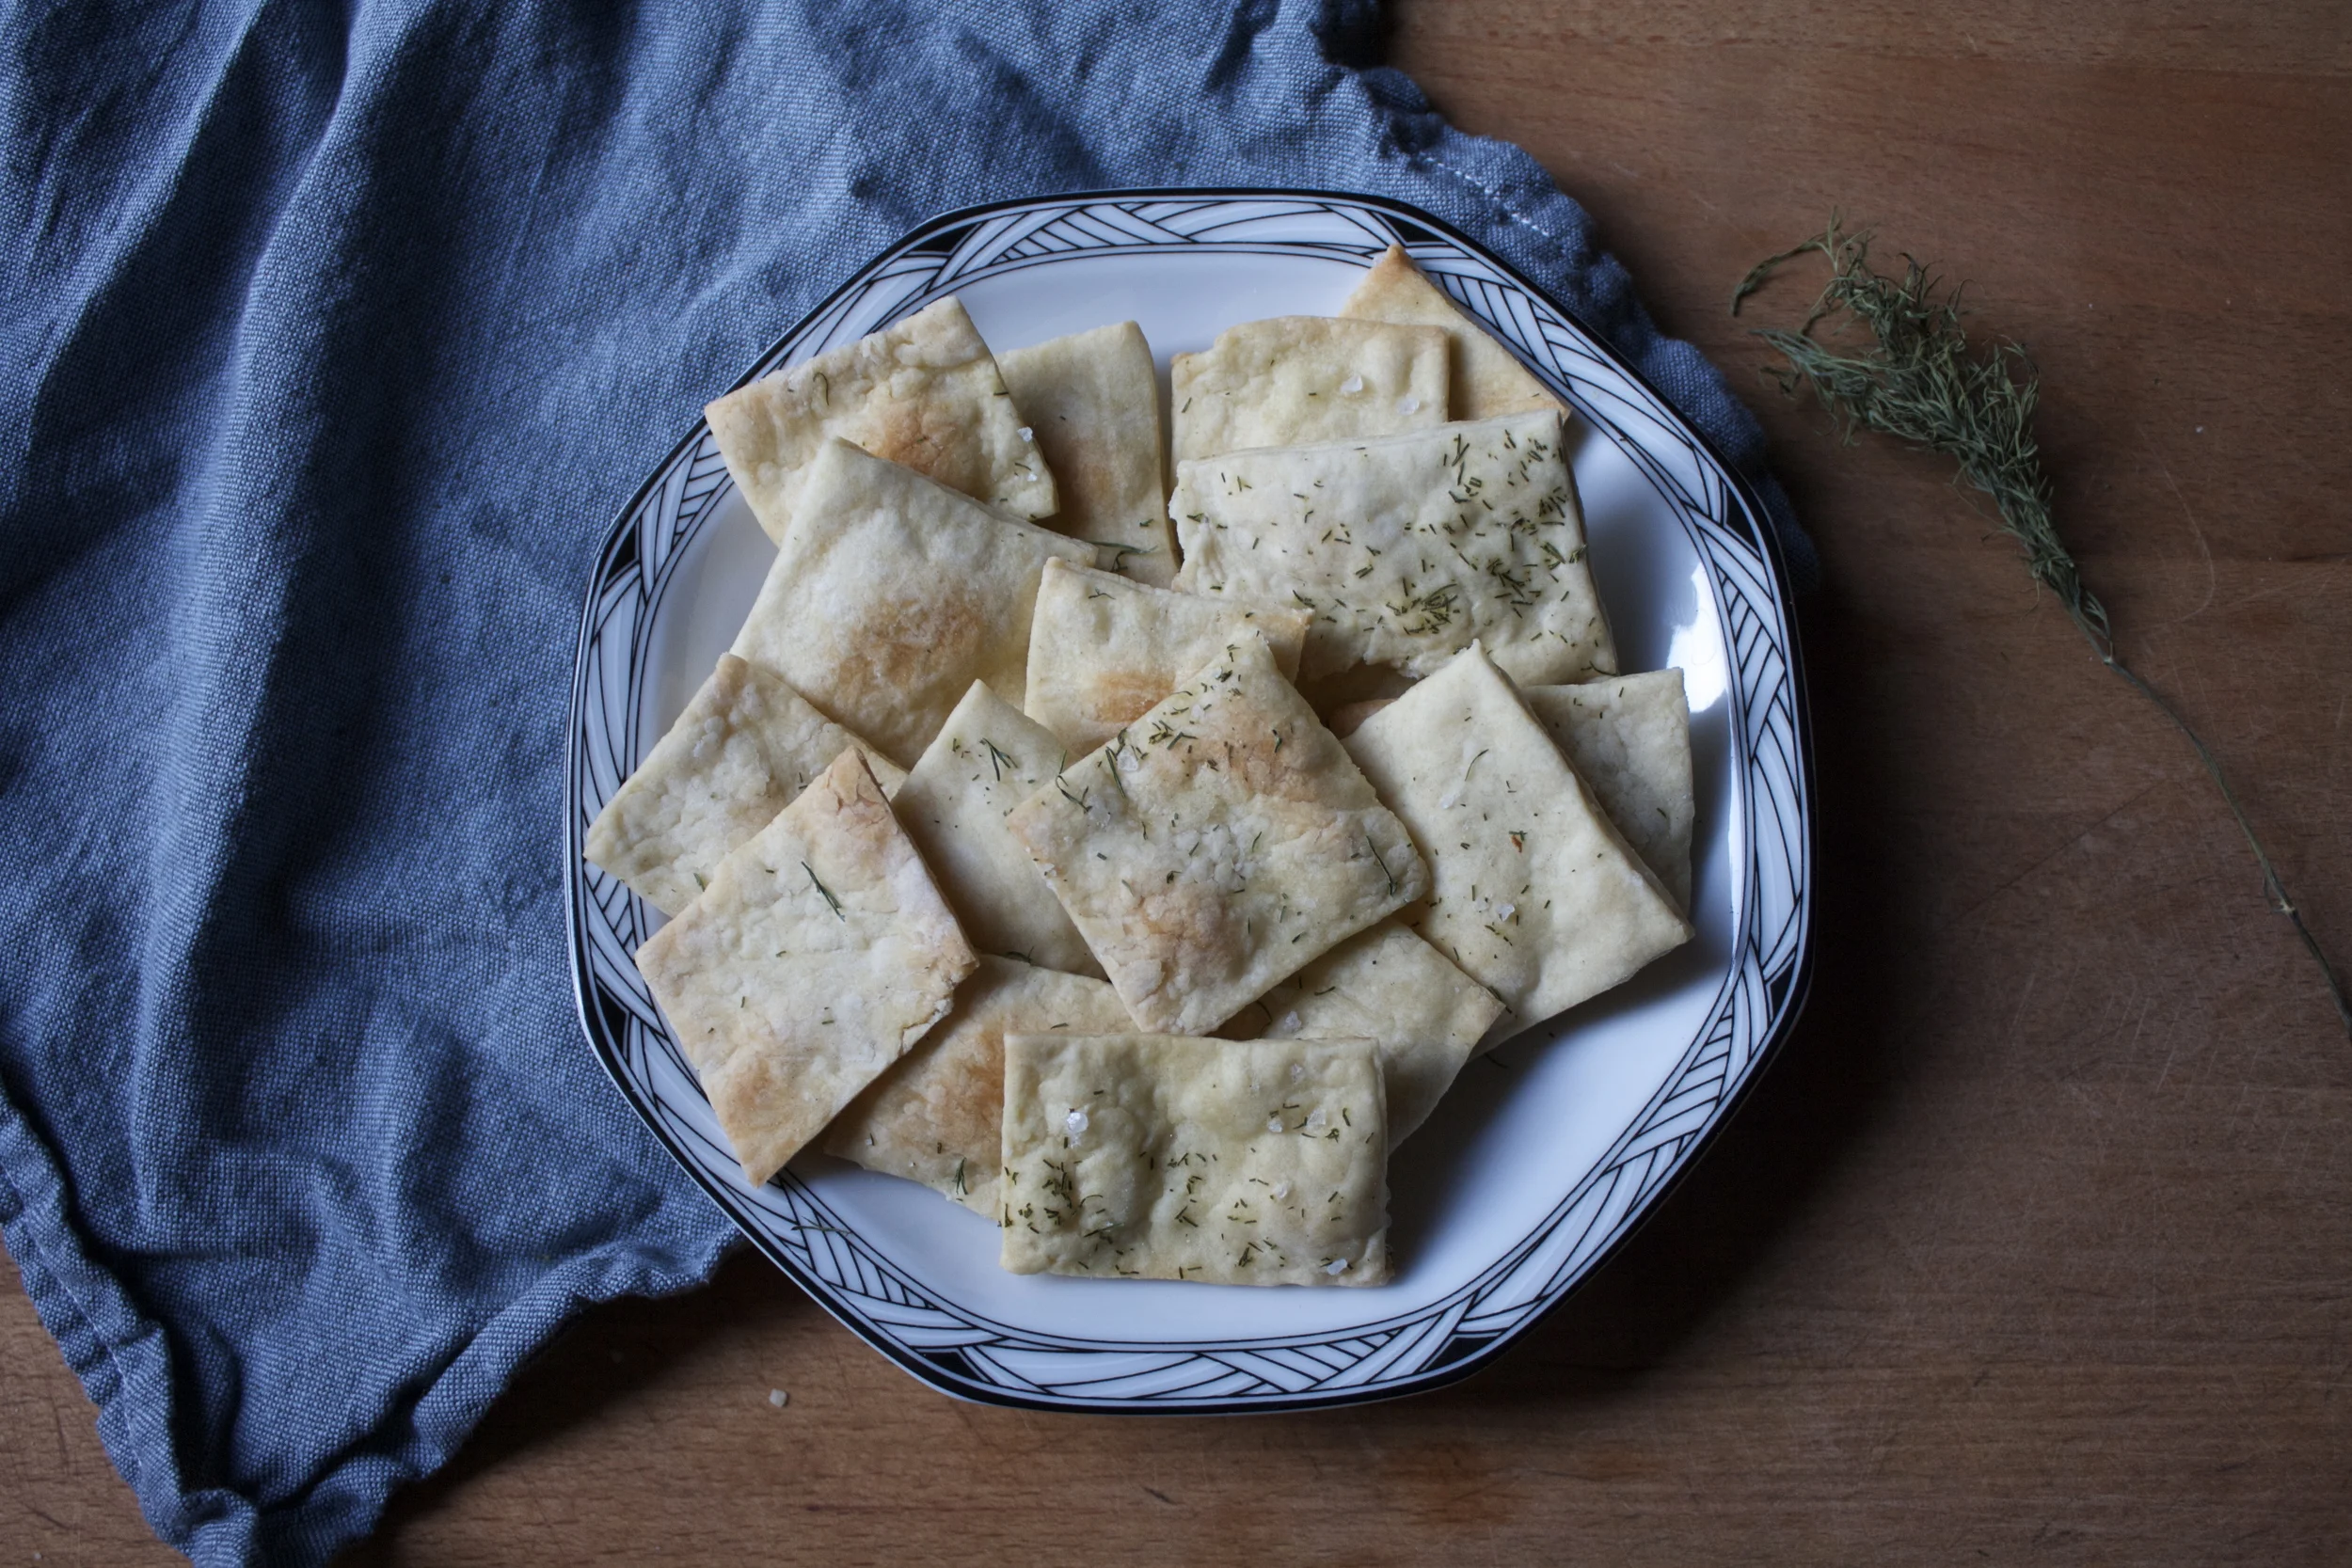
And place the crackers on a baking sheet, brush tops with the pickle juice, then sprinkle with chopped dill and a tiny bit of salt.
Stick into the preheated oven.
Bakeuntil they start to turn a light golden brown and arepoofing up a little (go ahead and grab one now for quality control)

These crackers be cracking. And wouldn’t you know it, they are already all gone. Next time I make them I am going to have to hide them.
Have a great weekend!
-C
Makes about fifty 2×2 crackers
- 1 cup all purpose flour
- 6-8 tablespoons pickle juice
- 3 tablespoon olive oil
- finishing salt to taste
- tablespoon chopped dried dill
Preheat oven to 350
Place flour into a shallow bowl and drizzle the olive oil in. Mix around with a fork. Grab pickle juice and drizzle in 6 tablespoons of the juice and mix with the fork until a dough forms. Add in another tablespoon or two if the dough needs more moisture to come together.
Form dough into a ball and let rest on the counter for a few minutes (good time to wash the dirty dishes)
After the rest, take the dough and roll it out to about 1/8 inch or as thinly as you can. Weirdly enough, I found that I was able to roll my dough out better when I damped my counter. The dough didn’t slide around and it still lifted up easily with a spatula.. but do what works for you.
Once you have rolled the dough, trim sides to clean lines and cut into 2×2 inch squares (you can cut into any shape and or size you like) Any trimming reform into a ball, roll out, and make a few more. (If you want a more authentic looking cracker, you can poke little whole into them. Doing this also make the crackers not poof up when bakes)
Place crackers on a lightly colored (or parchment lined) baking sheet. Brush each cracker top with a little pickle juice and sprinkle the tops with salt and dill. Place in the oven to bake for about 12 minutes or until the crackers have poofed up and are turning slightly brown.
Remove from oven, let cool completely and either eat right away or place in a air tight container for later.
These crackers had no later.


 %u00a0 %u00a0%u00a0
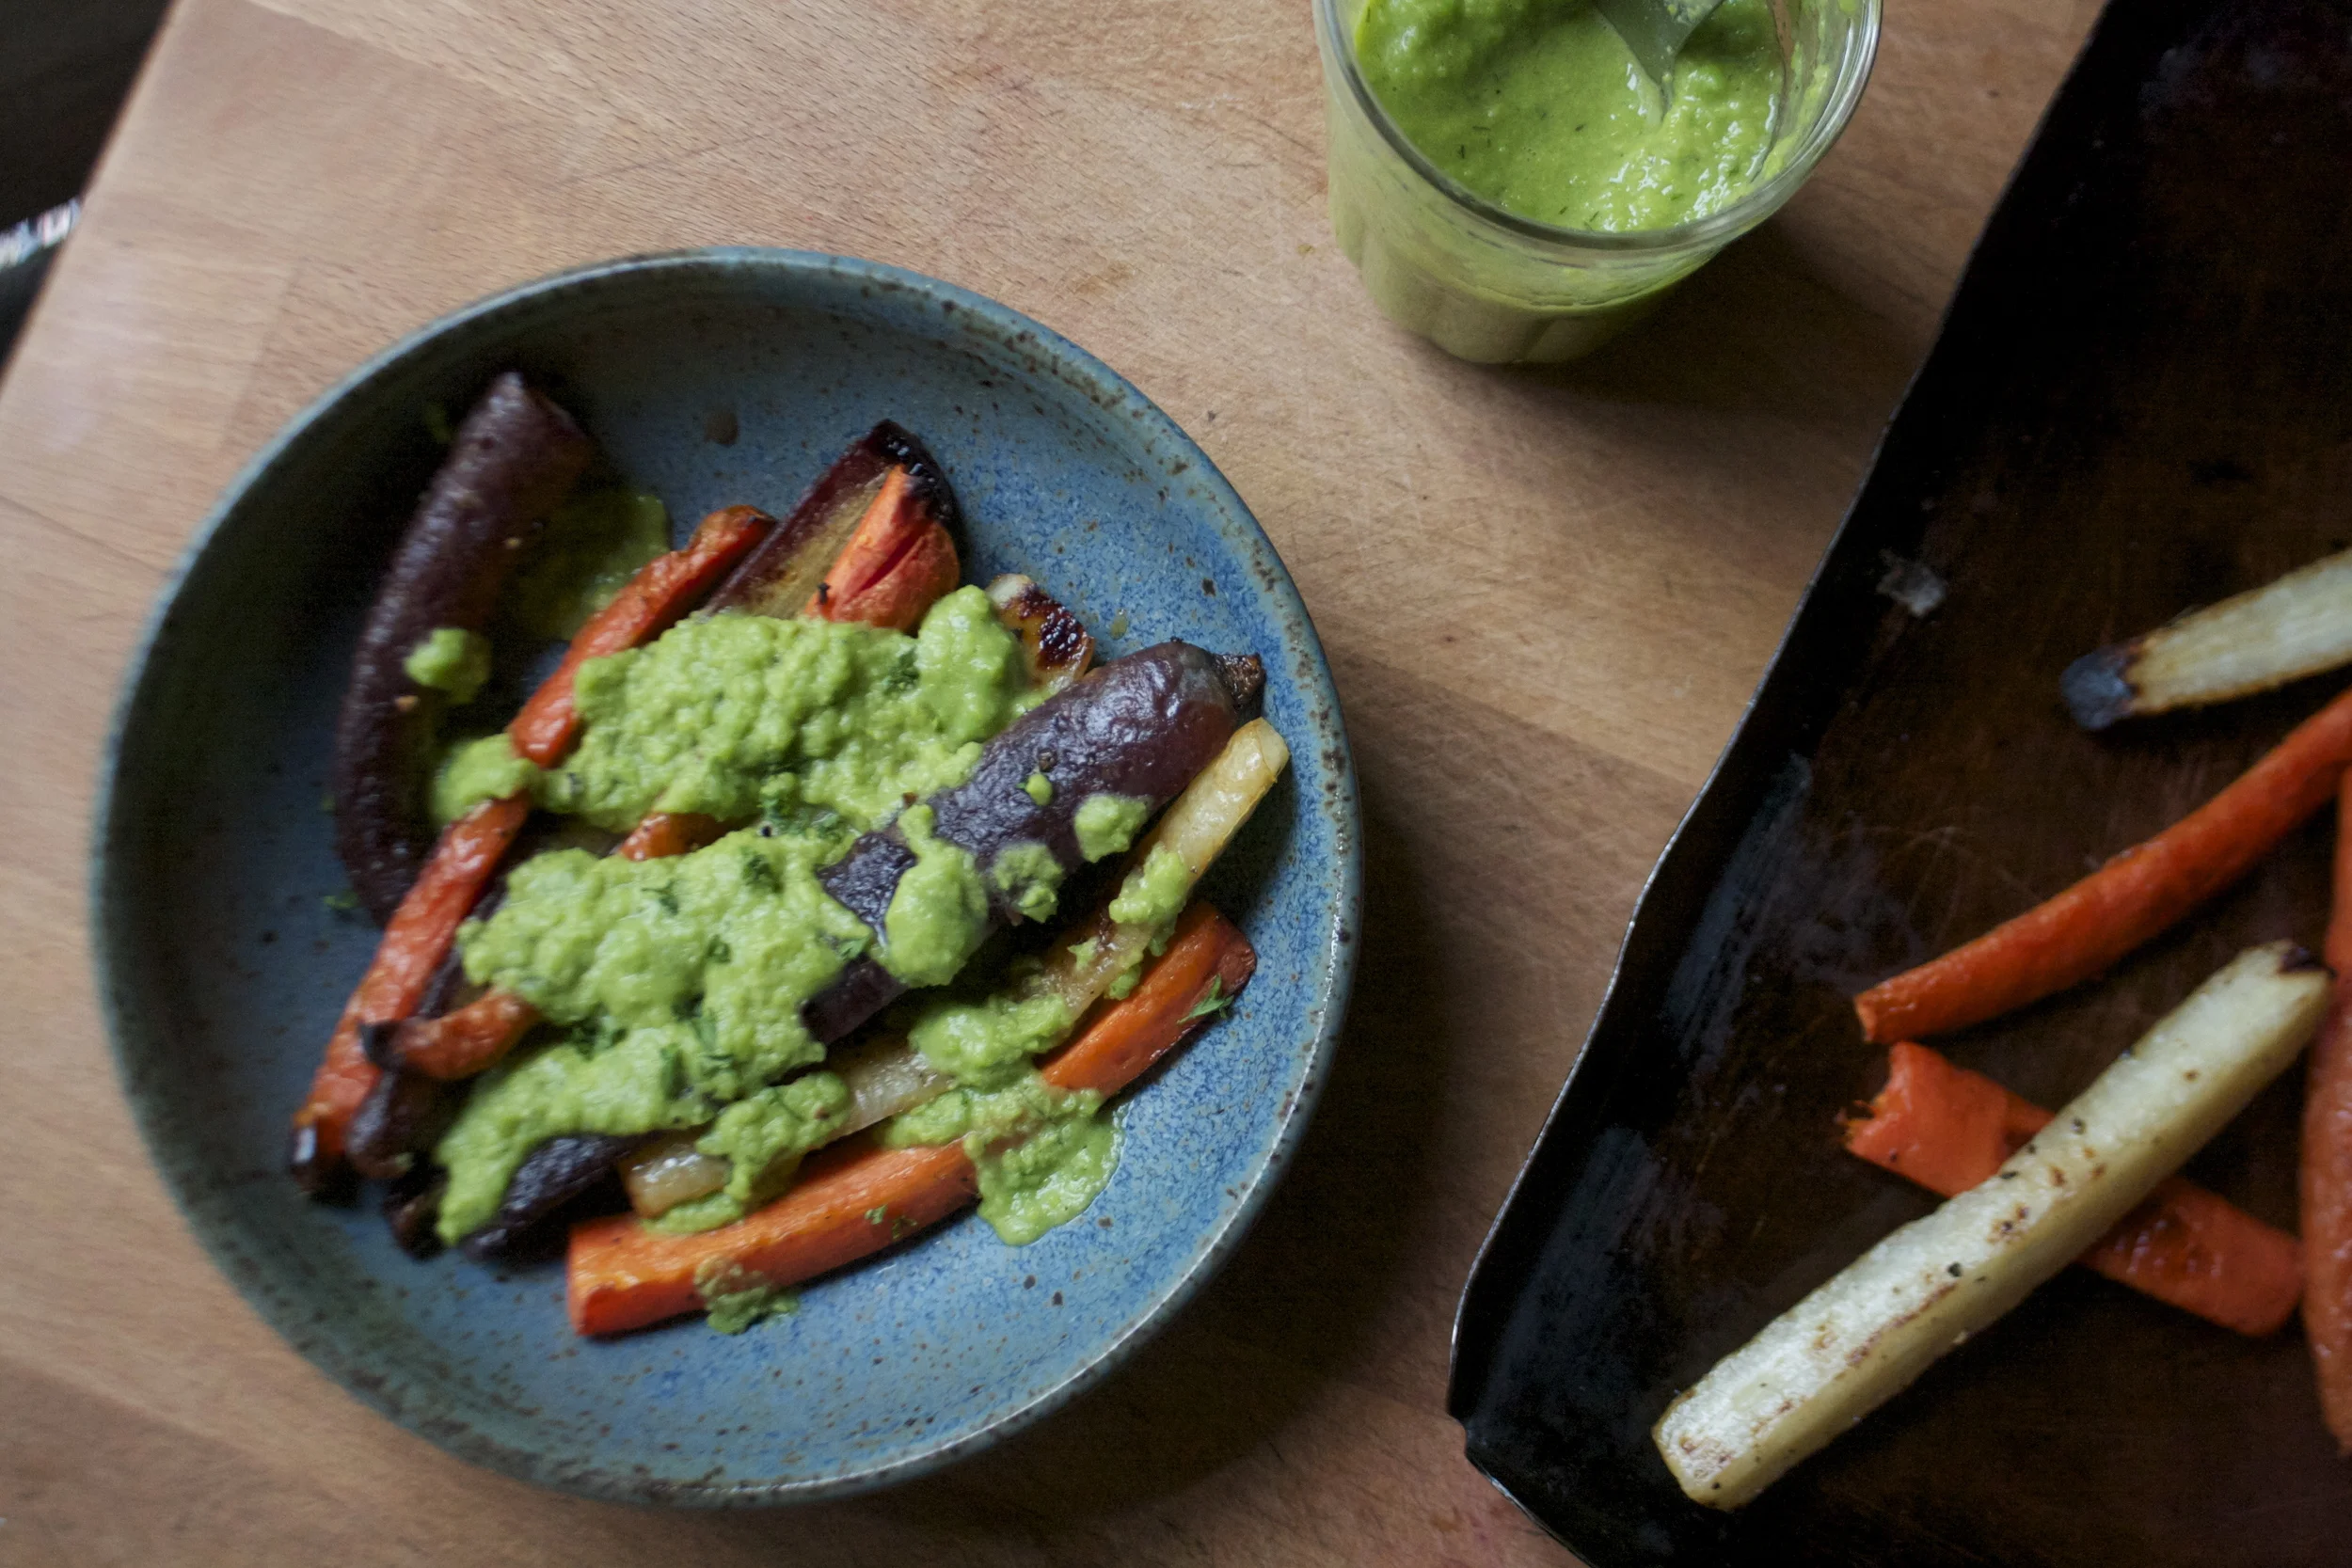
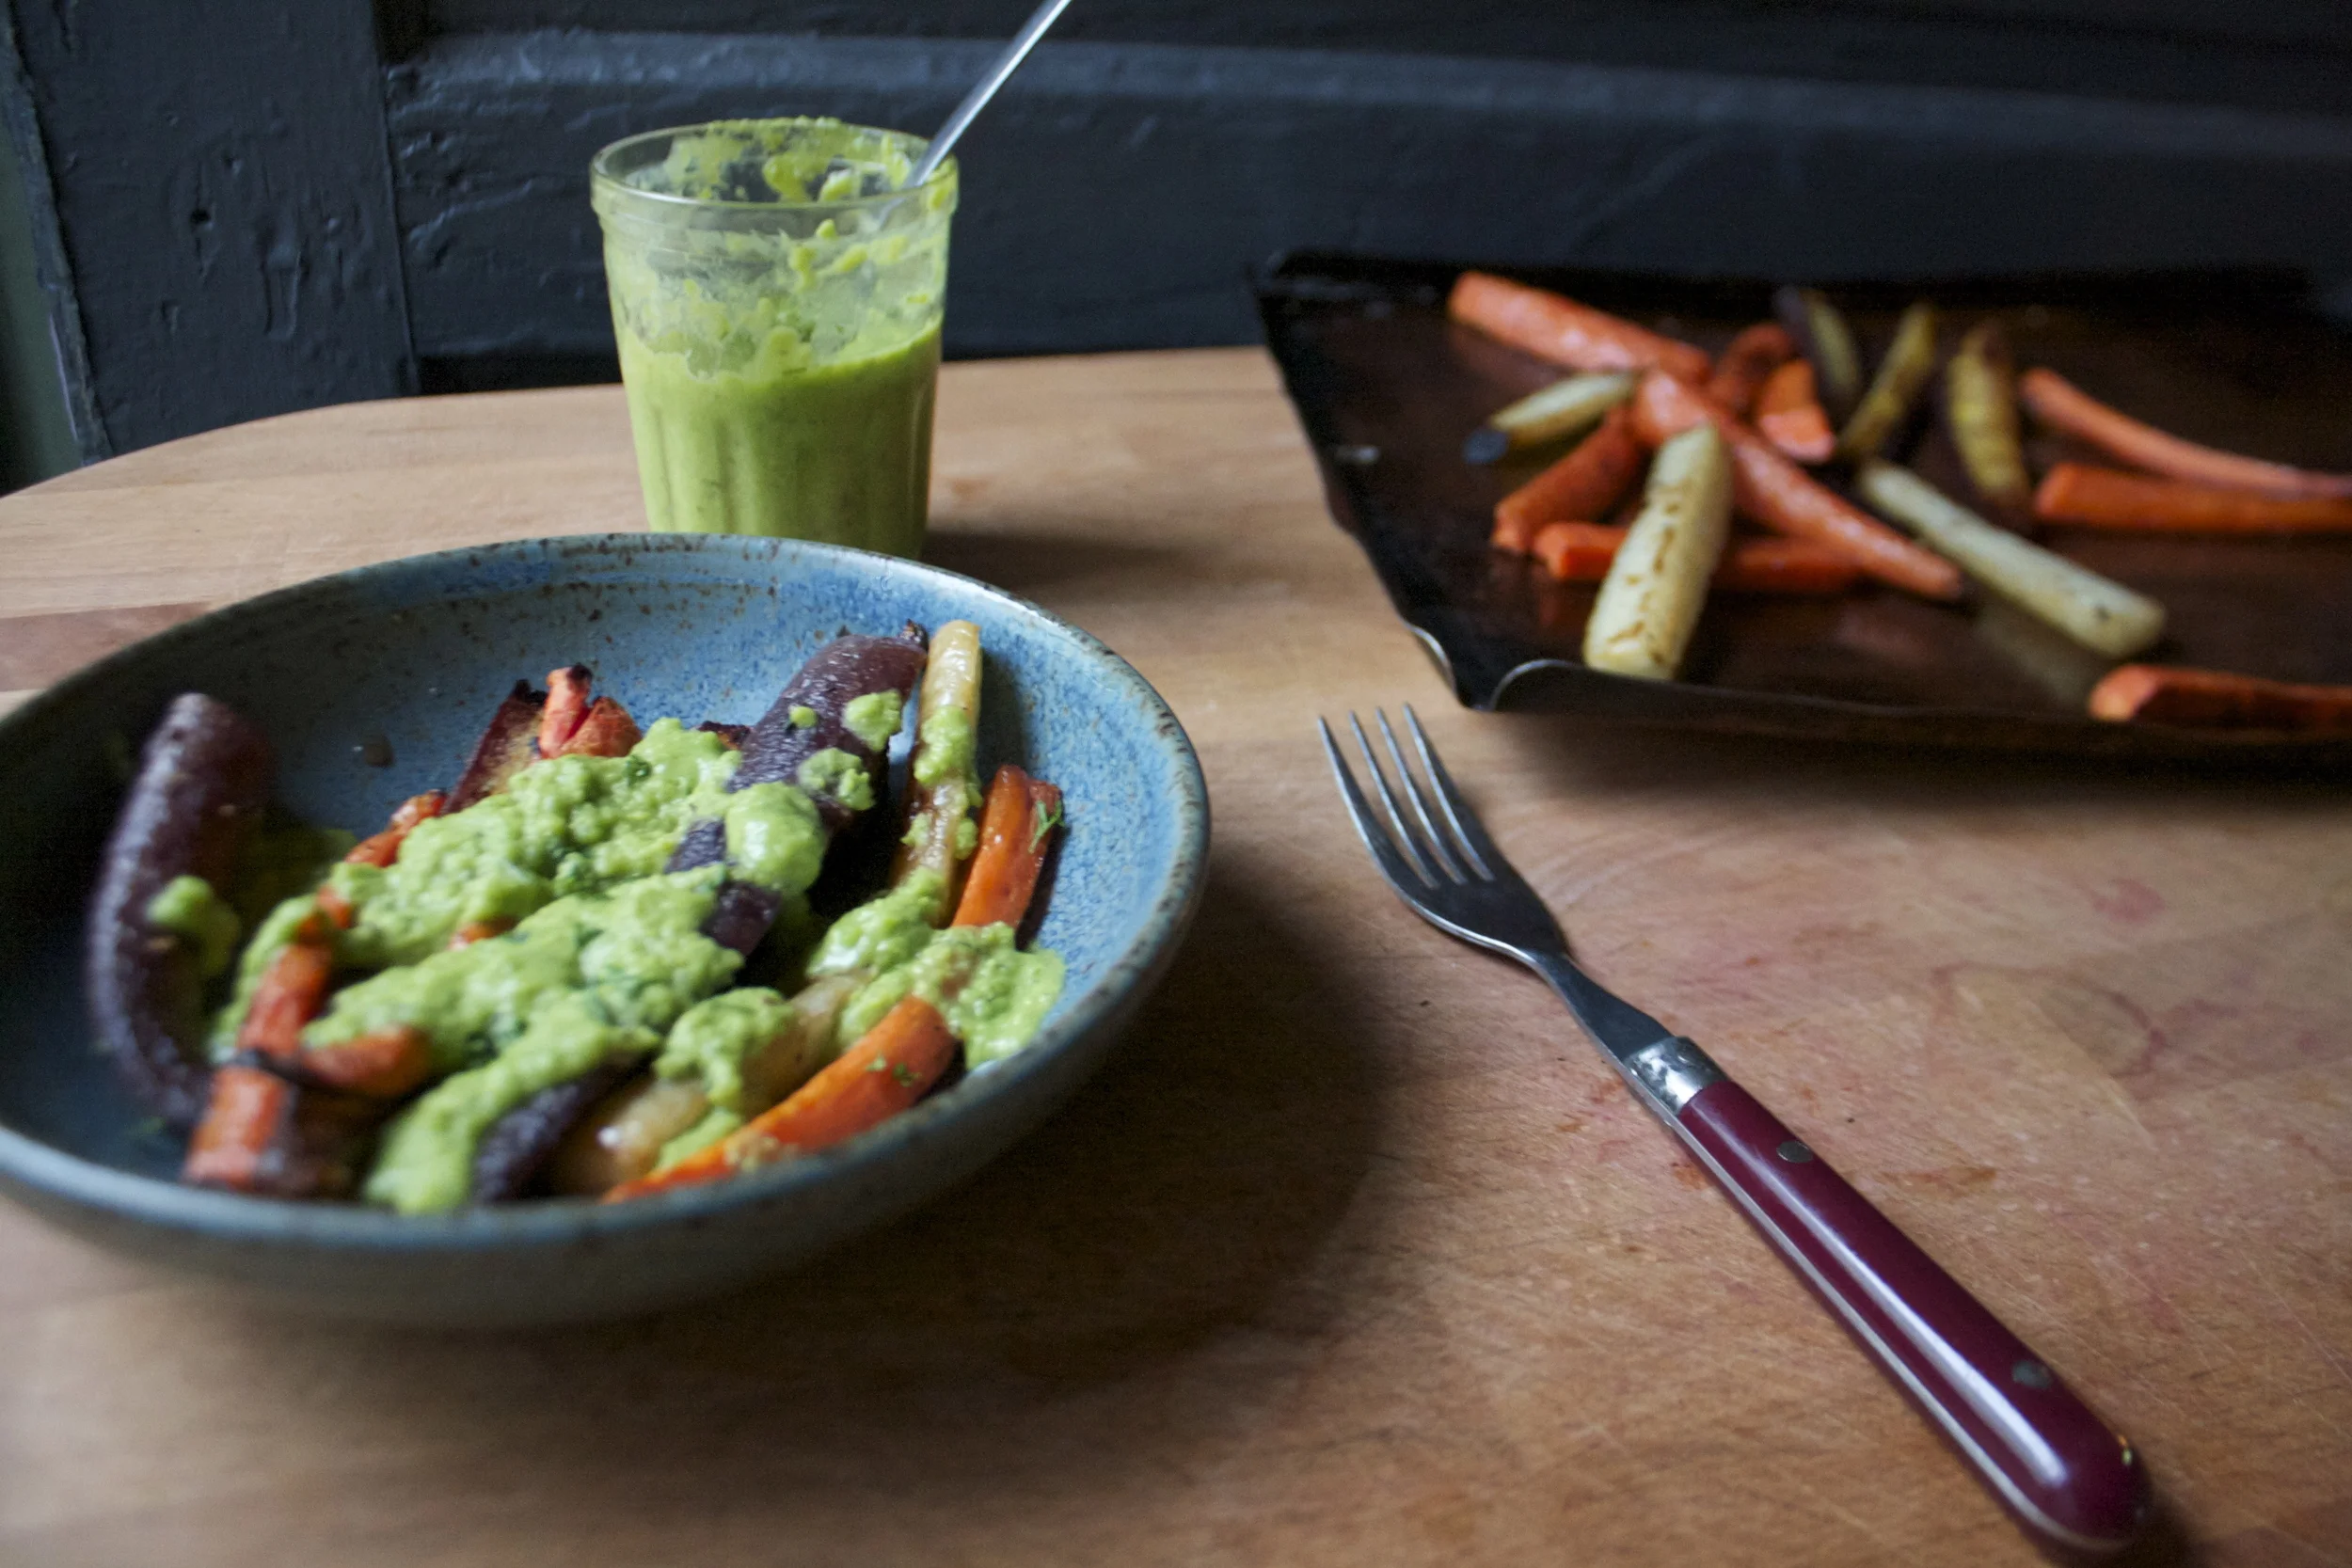
 %u00a0I figured now is a good time to get this recipe out there before we get to far into spring and summer recipes because there is going to be a lot of banana ice cream filled recipe coming and I figured its a good idea to have the basic banana ice cream recipe ready for people to refer too.%u00a0 And because I made so much fantastic naner ice cream, I also made a cookies and cream naner ice cream for my sisters and the mister.
 %u00a0 %u00a0
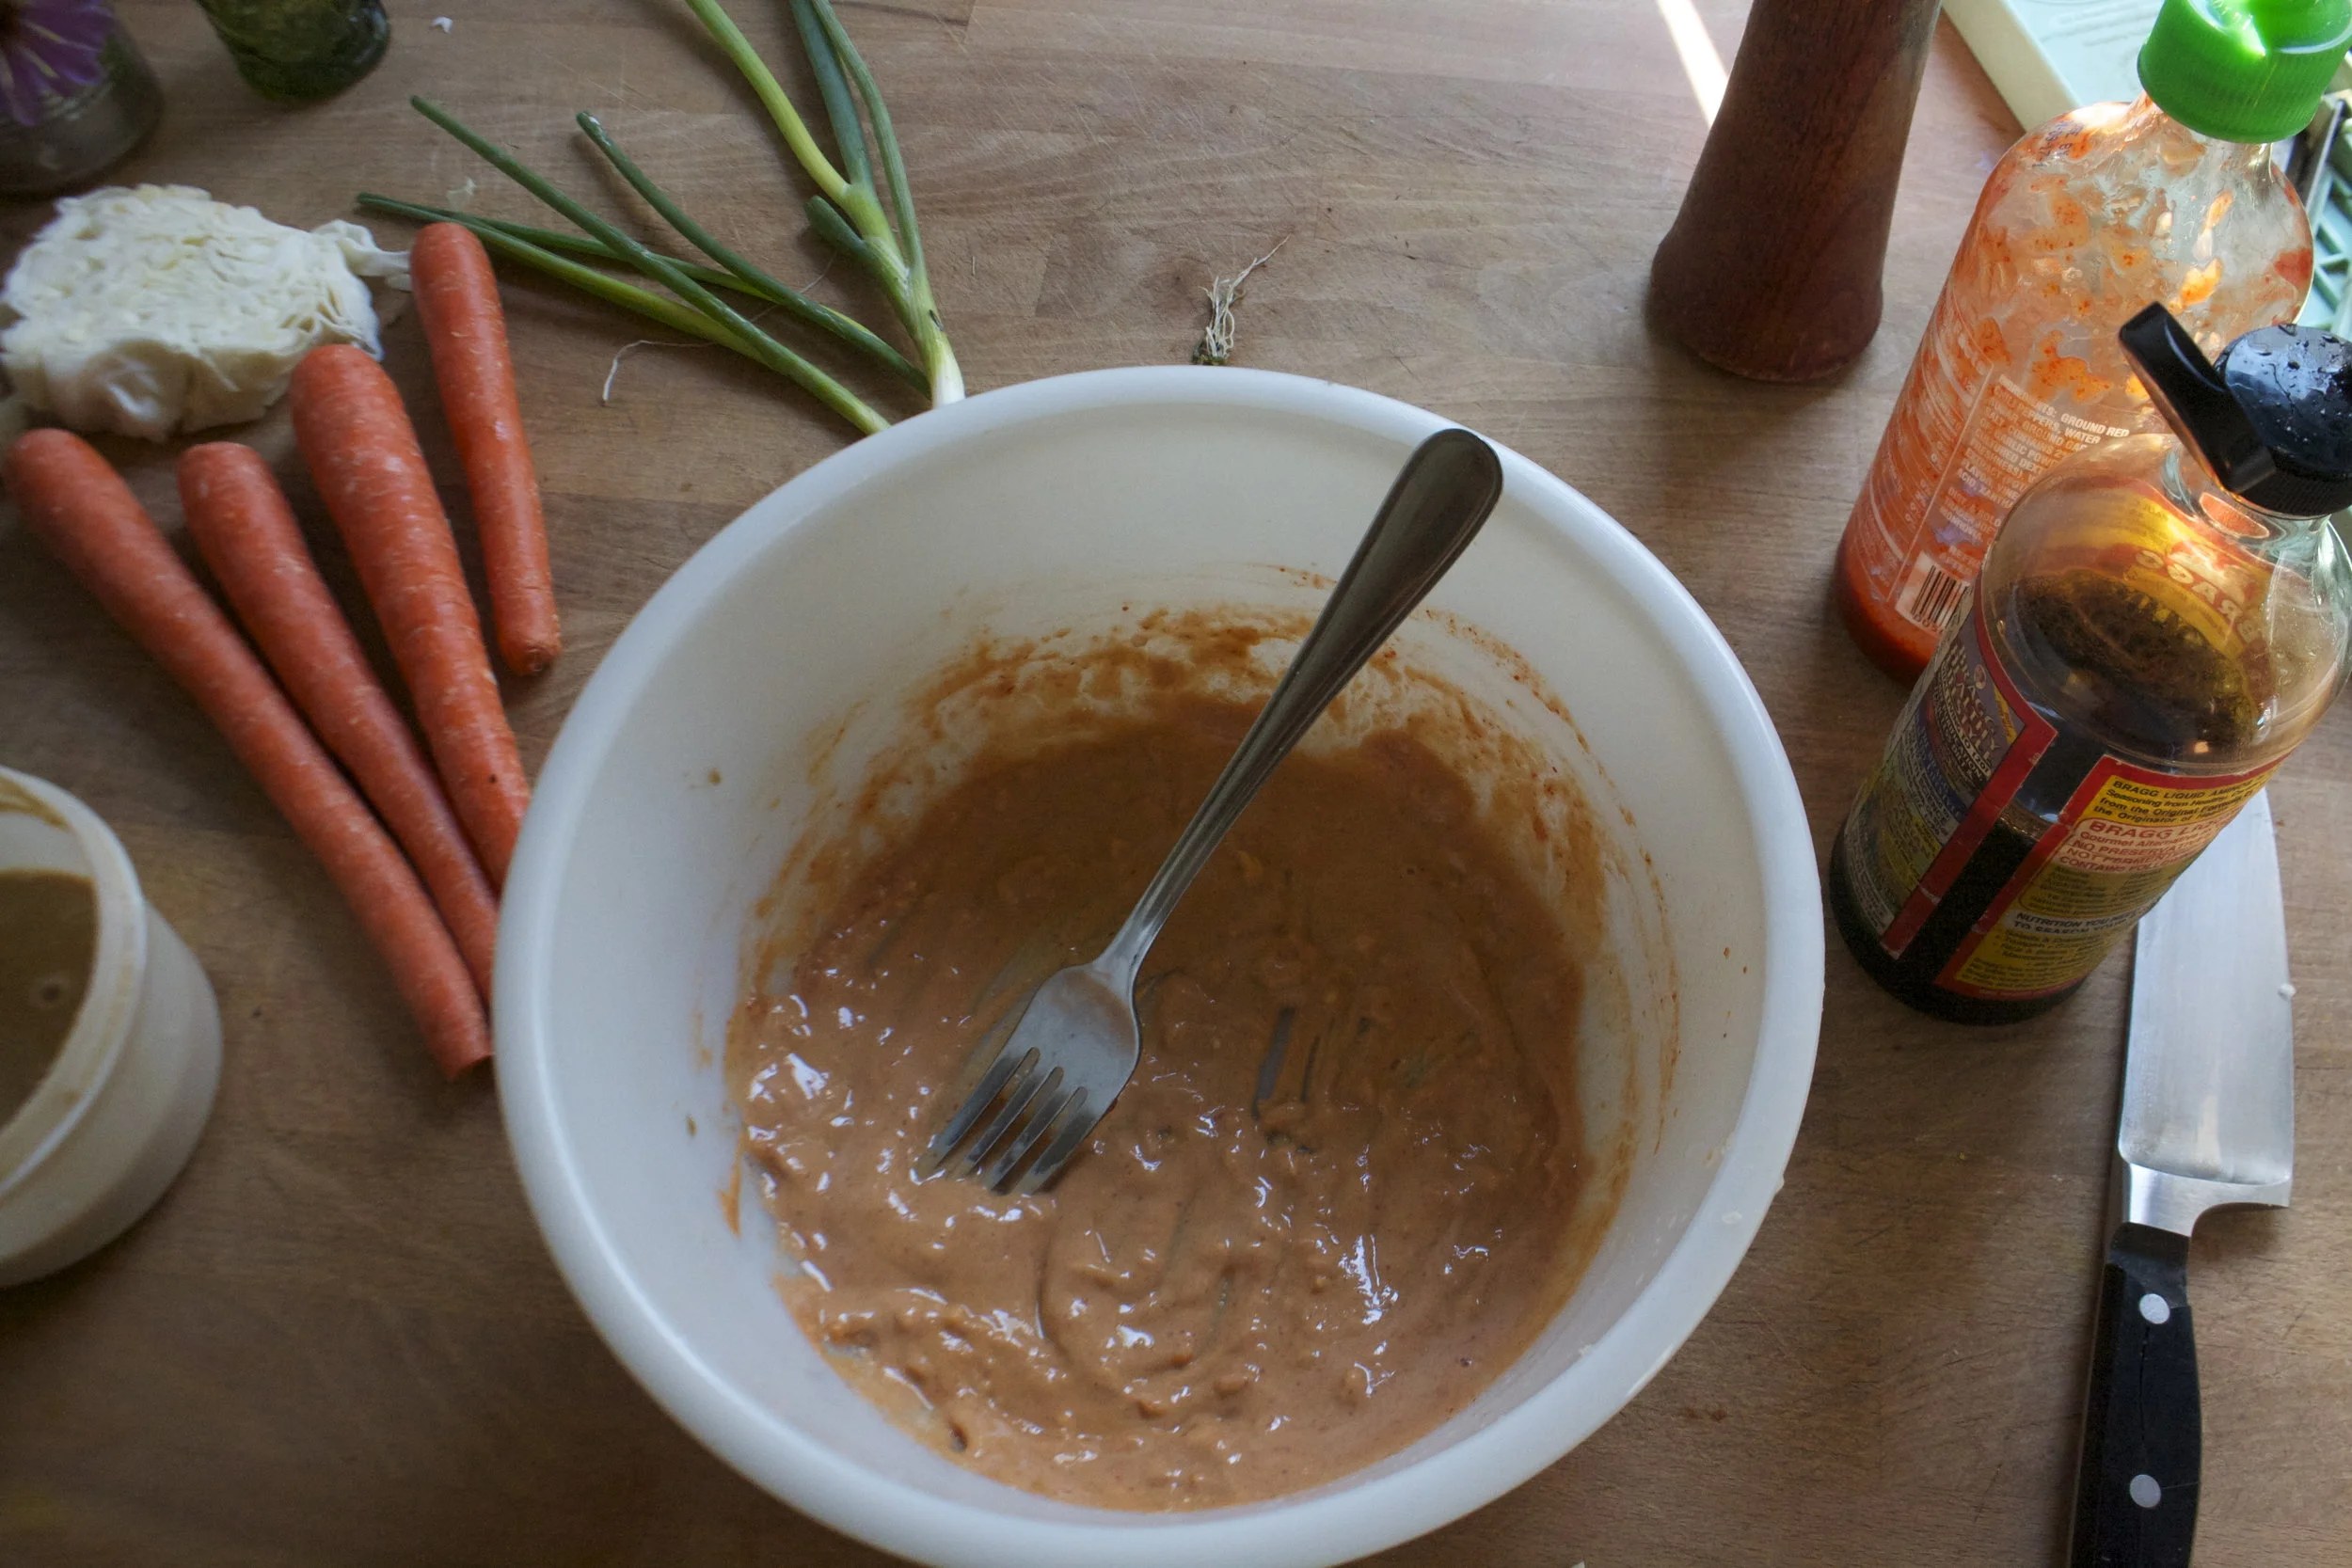
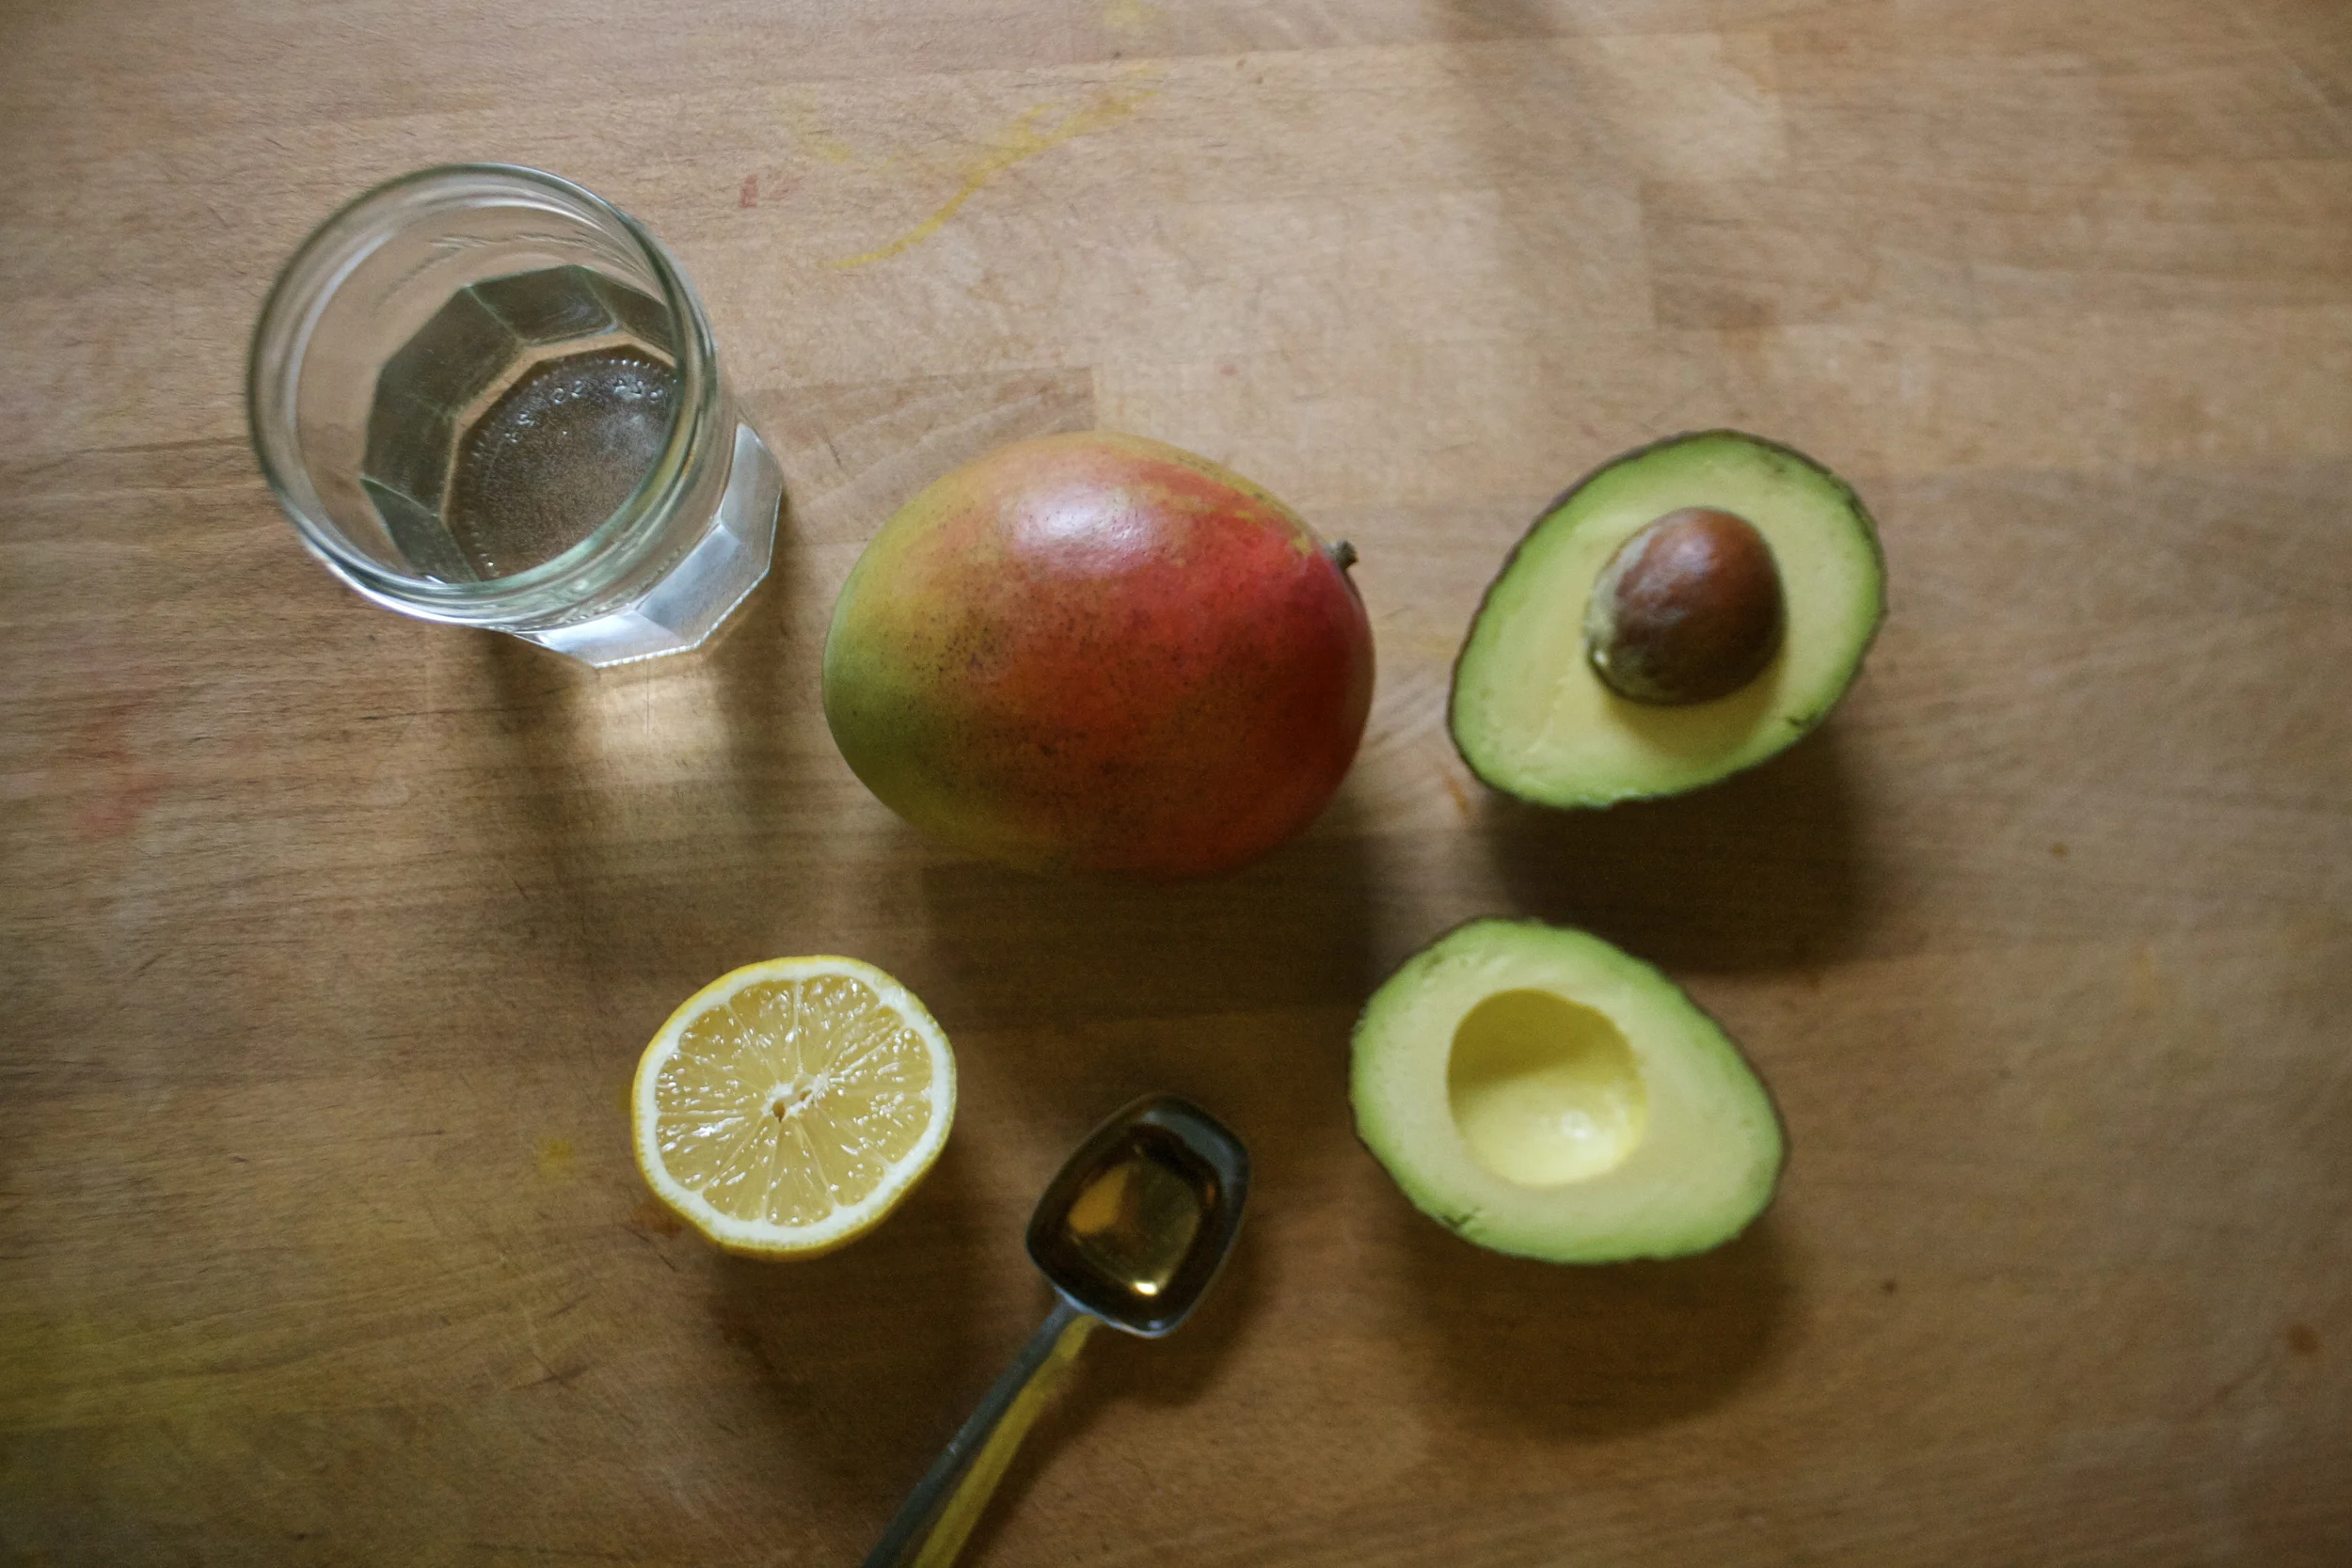
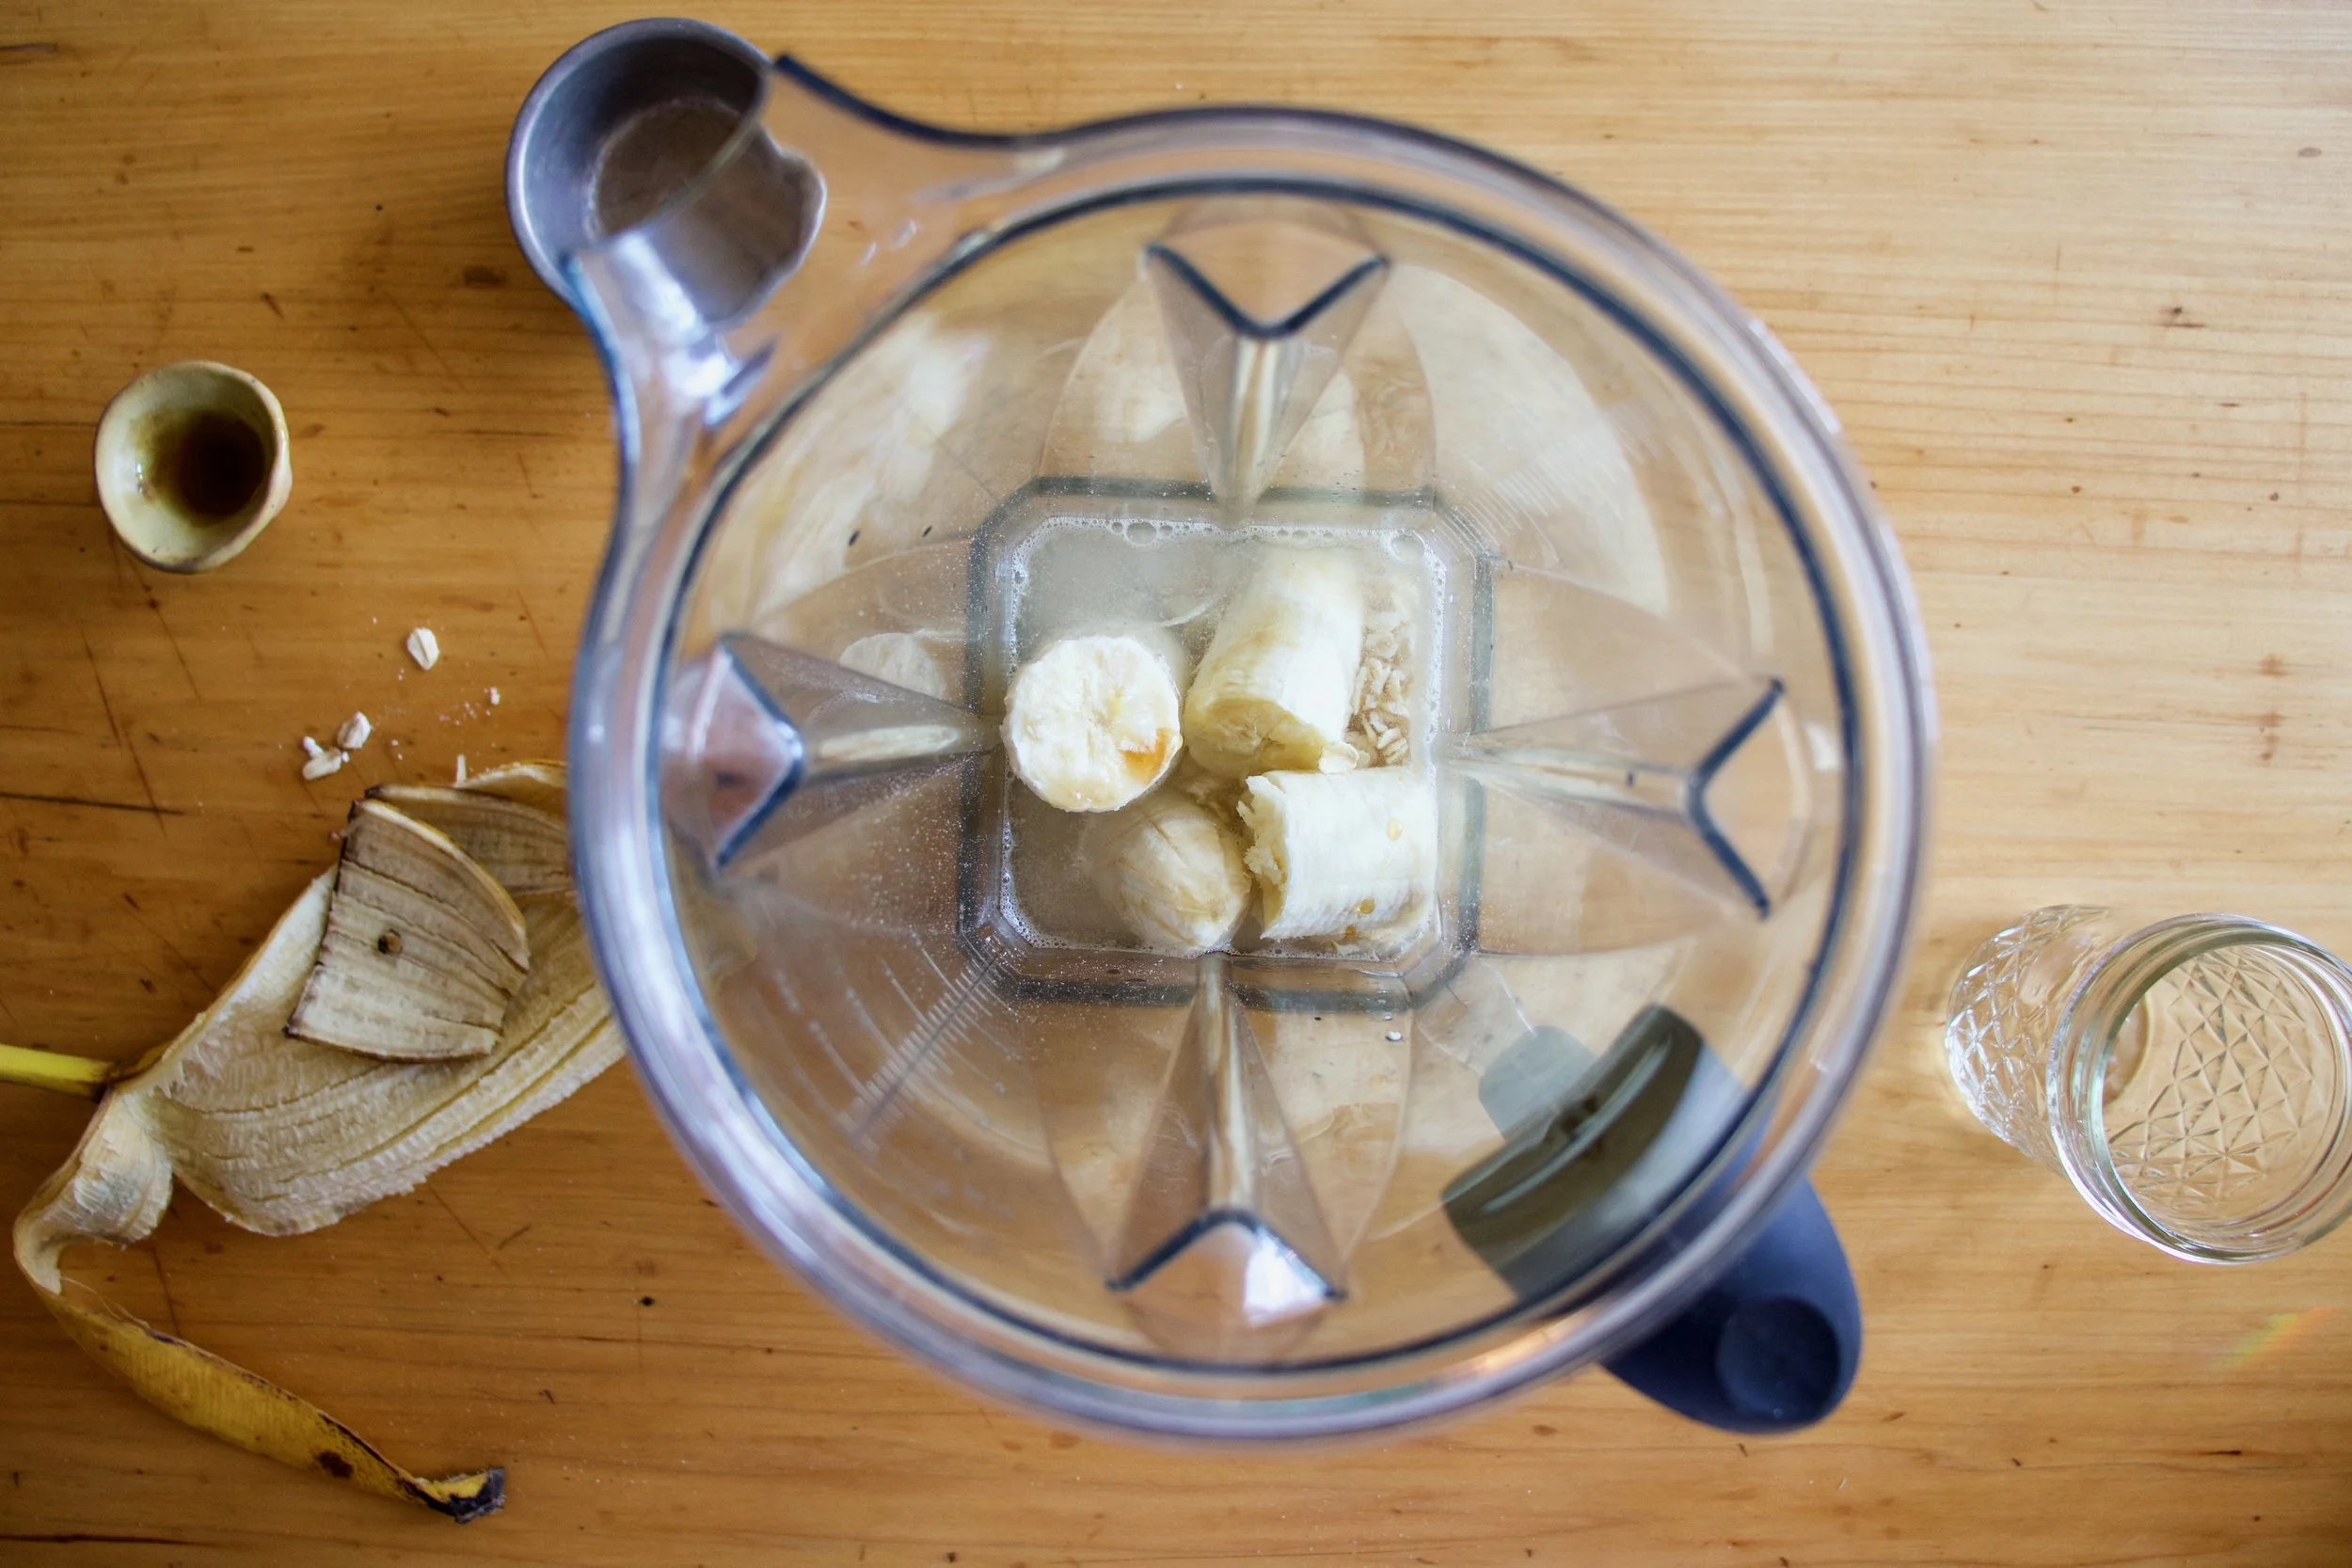
 The stuff you need for this ice cream%u2026. Nice and ripe bananas, peeled and then frozen* That’s it.
 After all blended and smooth, either eat right away or scoop ice cream into a freezer safe container and stick in freezer. That’s the banana ice cream%u2026 %u00a0And it is amazing and so so so so so addictive. I make a batch, think I am only going to eat a scoop, then find myself eating half of what I have made, but it’s ok cause it’s only bananas.%u00a0
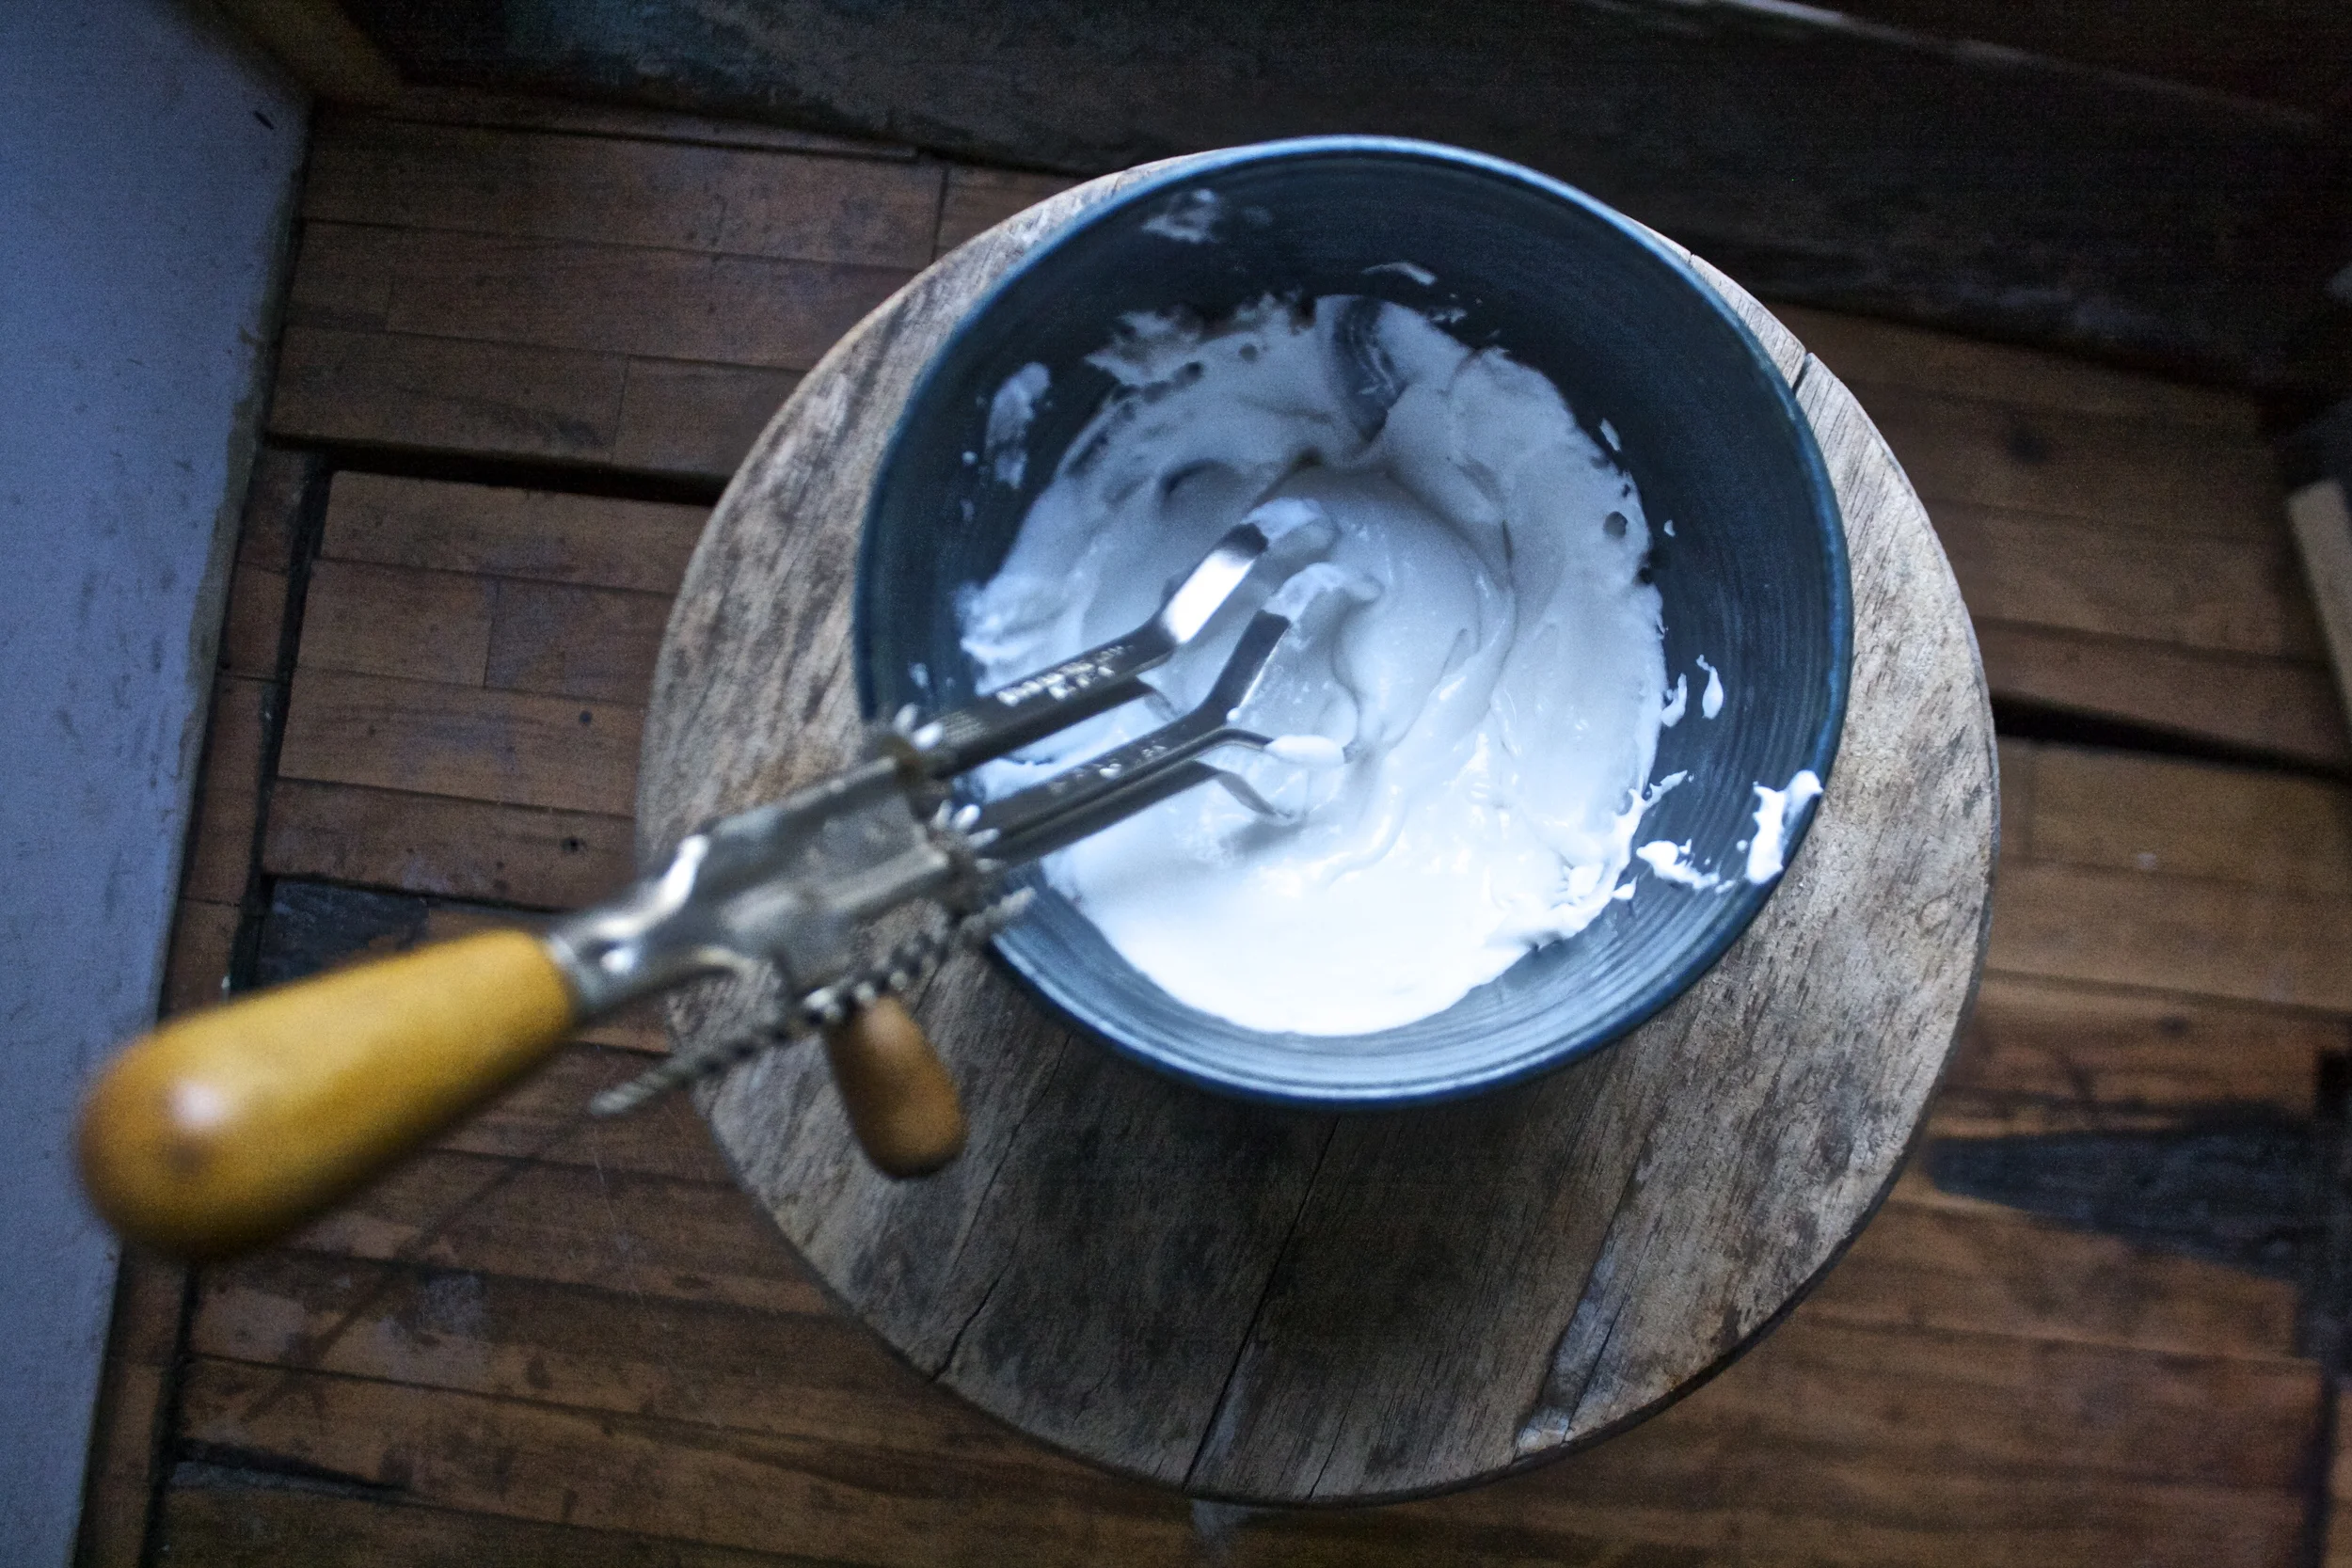
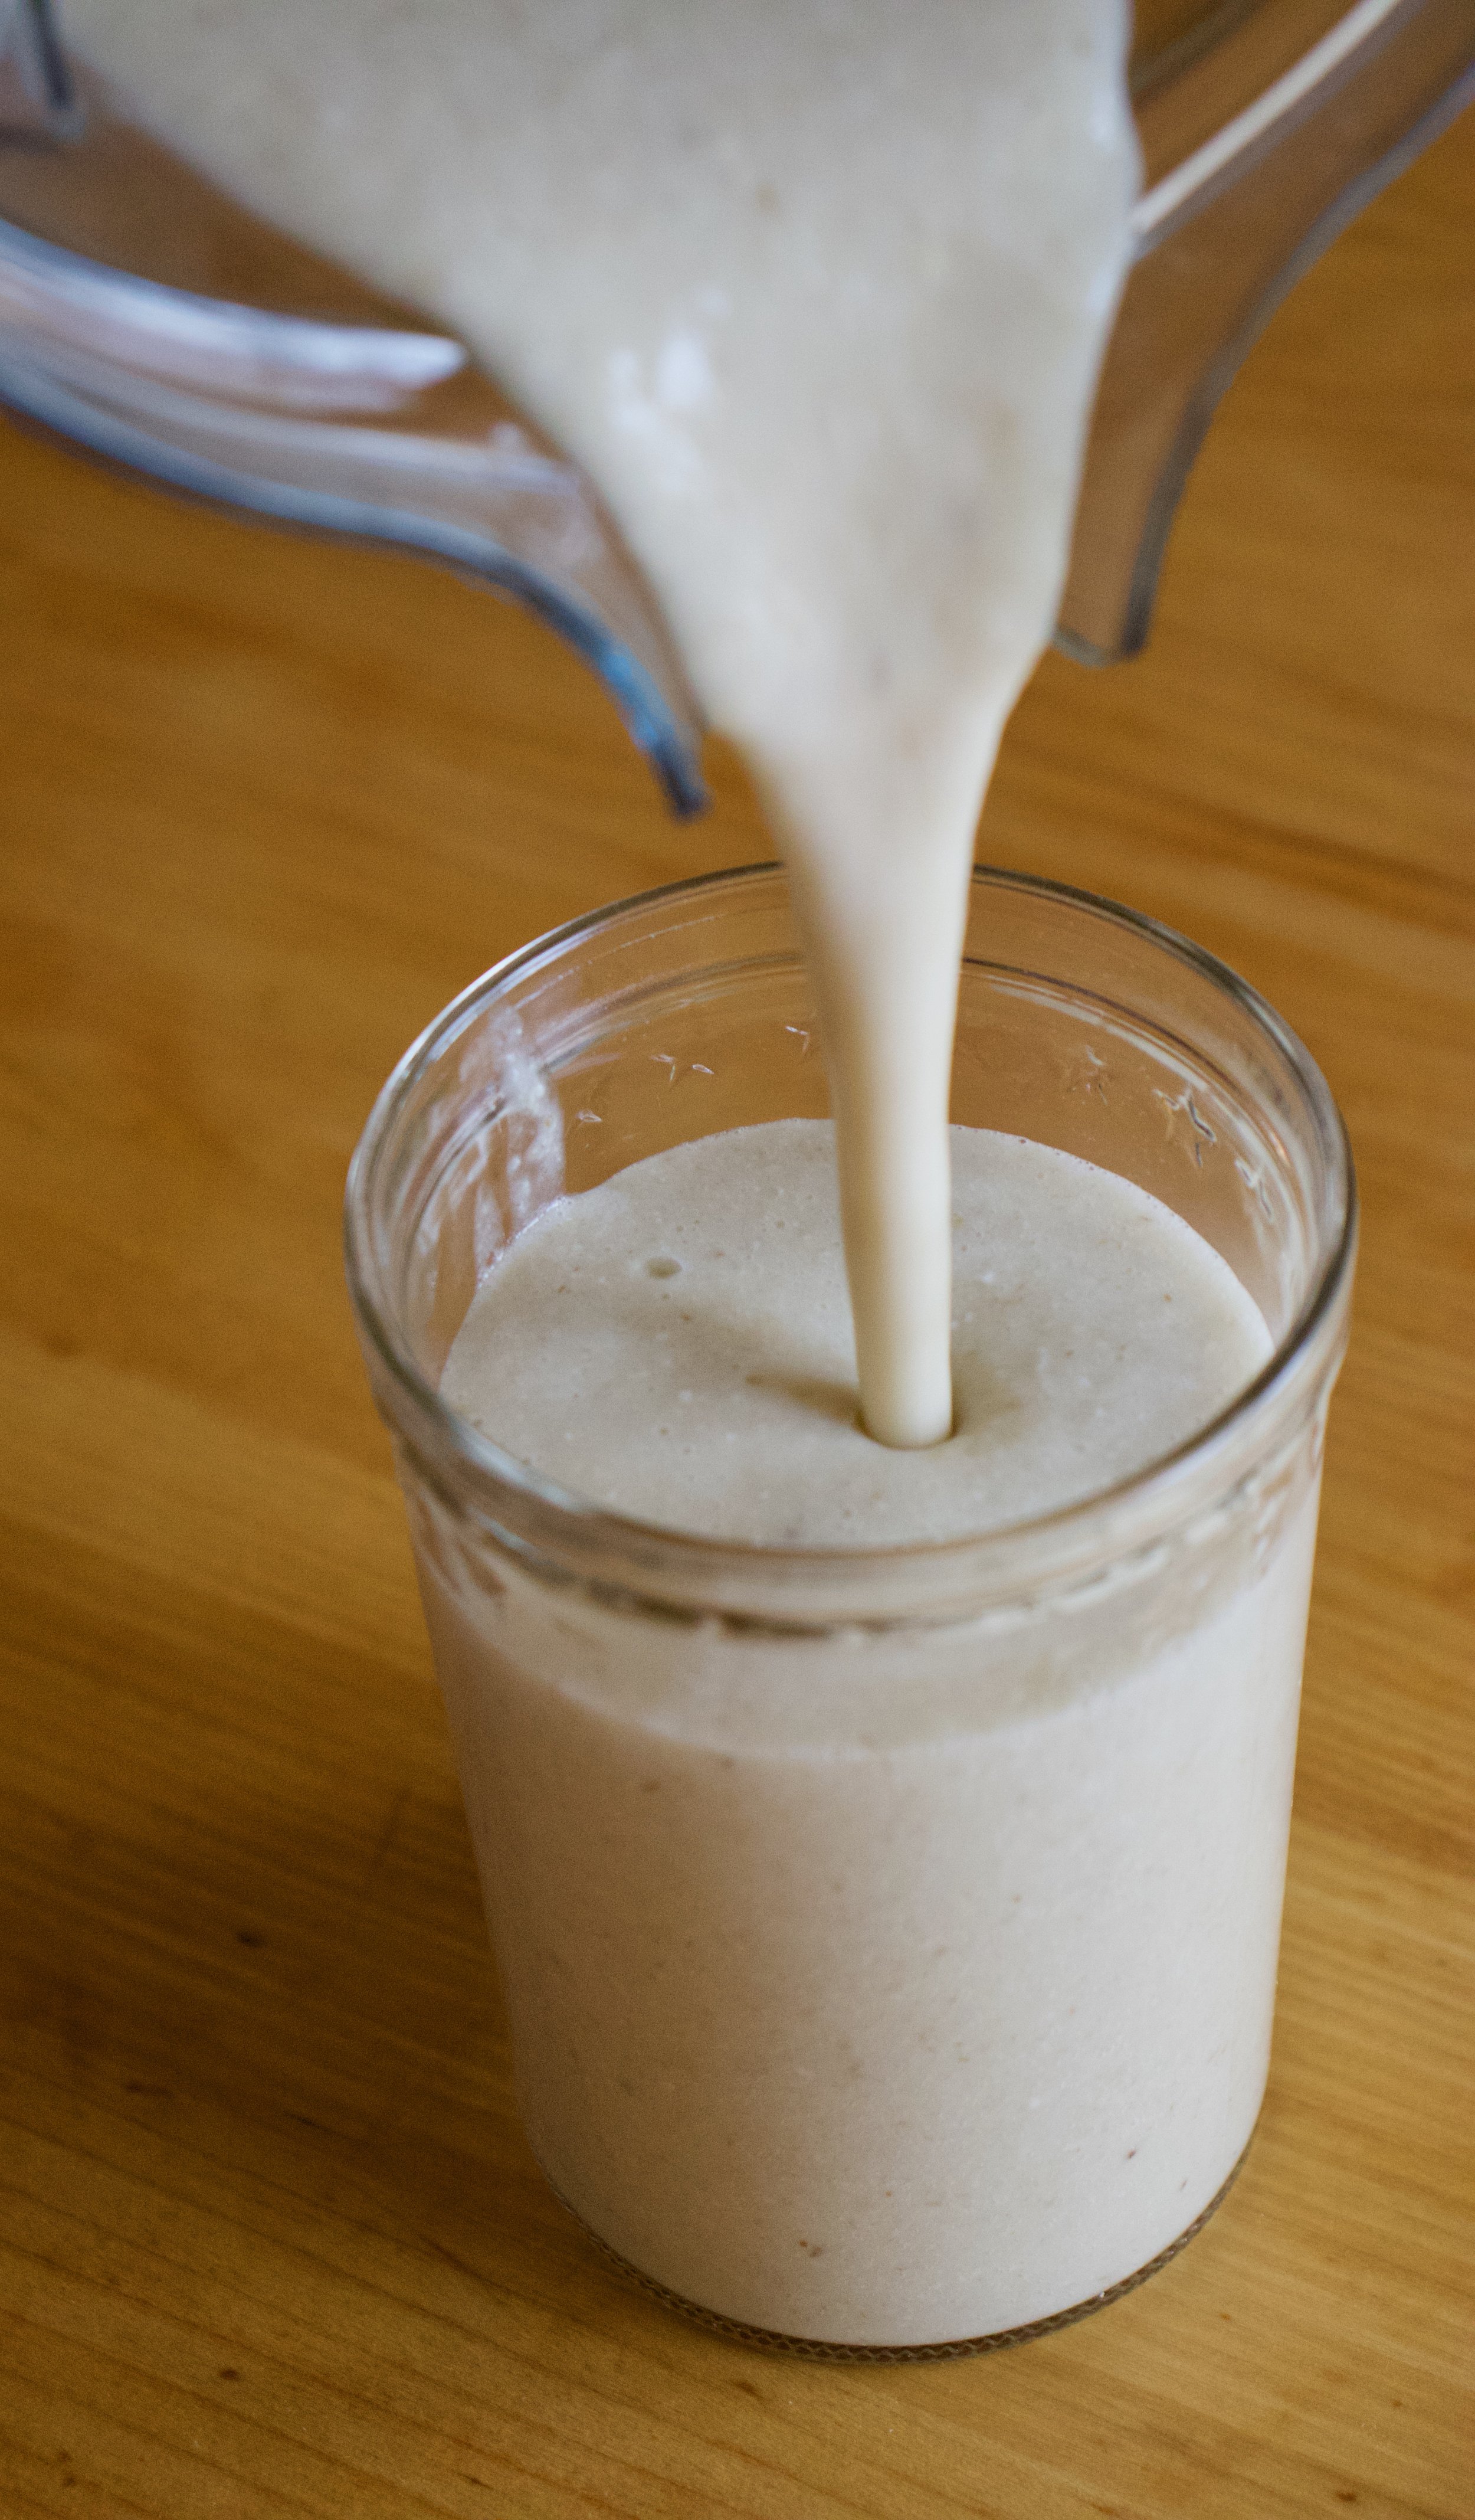
 One%u00a0batch of banana ice cream, either freshly made, still in food processor or made ahead and placed in a food processor and given a good pulse to smooth it up.
 Now you have cookies and cream naner ice cream%u2026. and everybody is happy.
 Chomp Chomp Chomp%u2026 The sound I make as I eat this freaking fantastic crunchy granola. You know it’s good when the person sitting next to you is annoyed by the sound of you face while eating.%u00a0 I eat a lot of crunchy stuff. And I am pretty sure I annoy the mister a lot.%u00a0
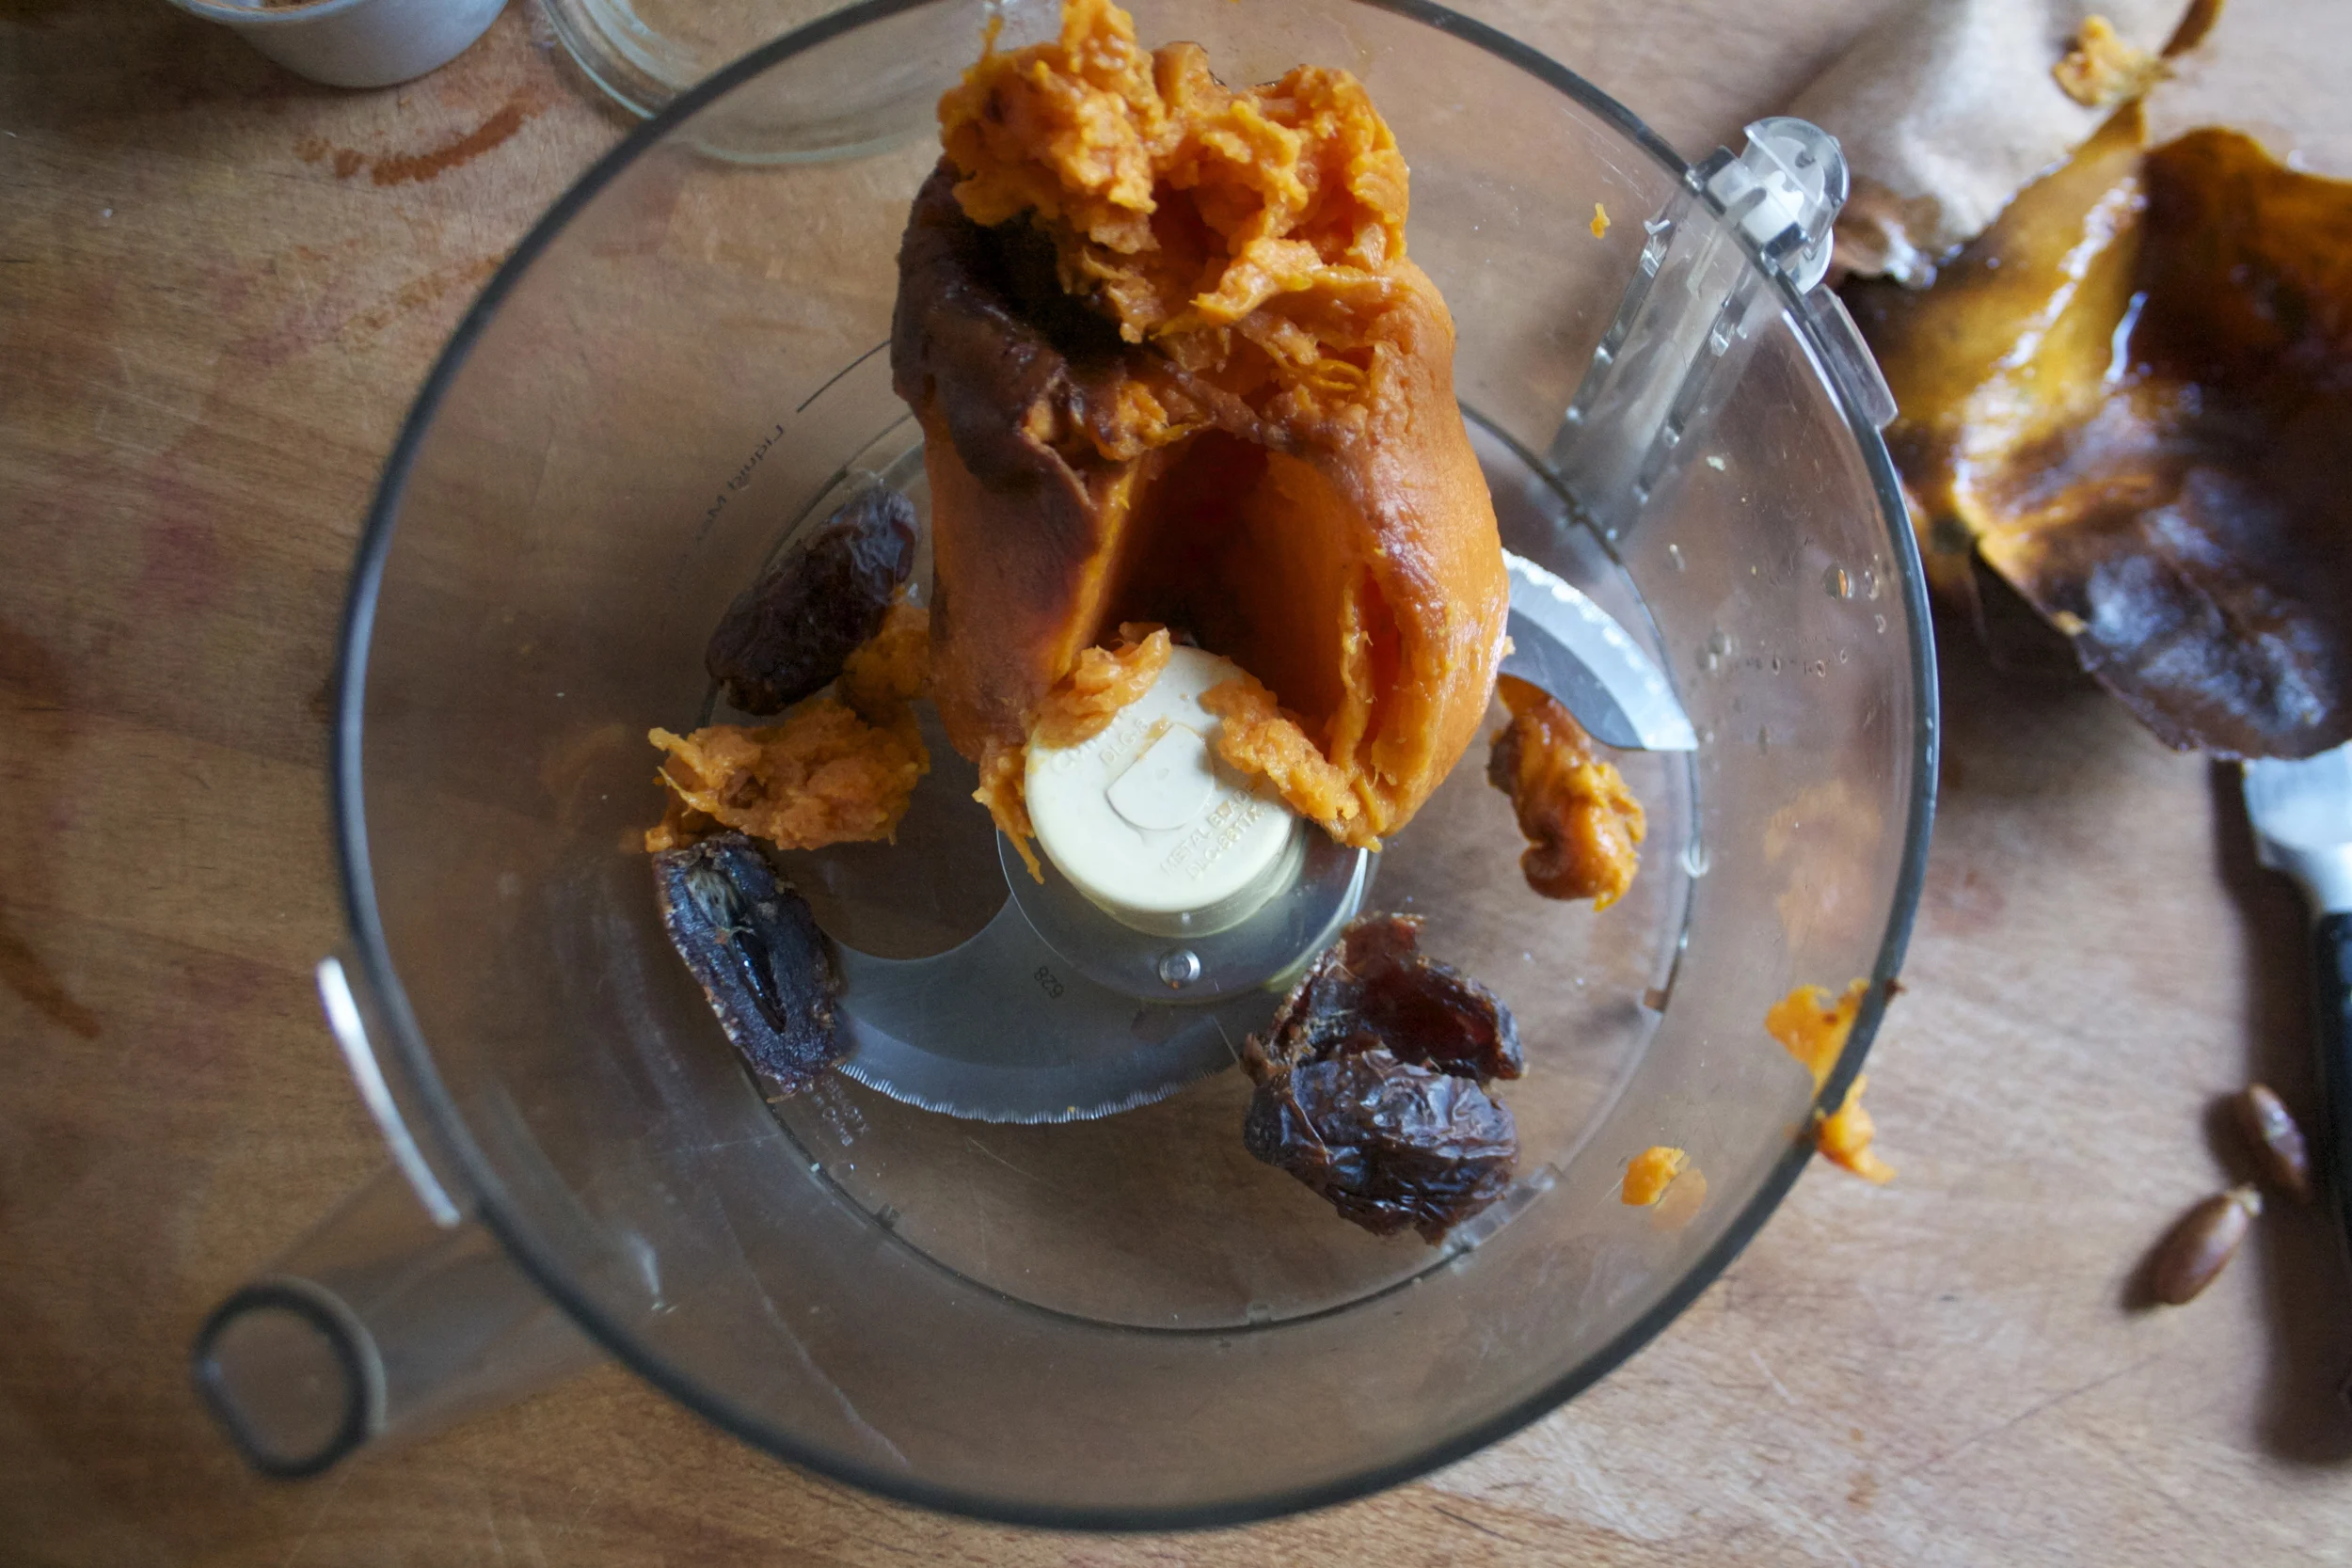
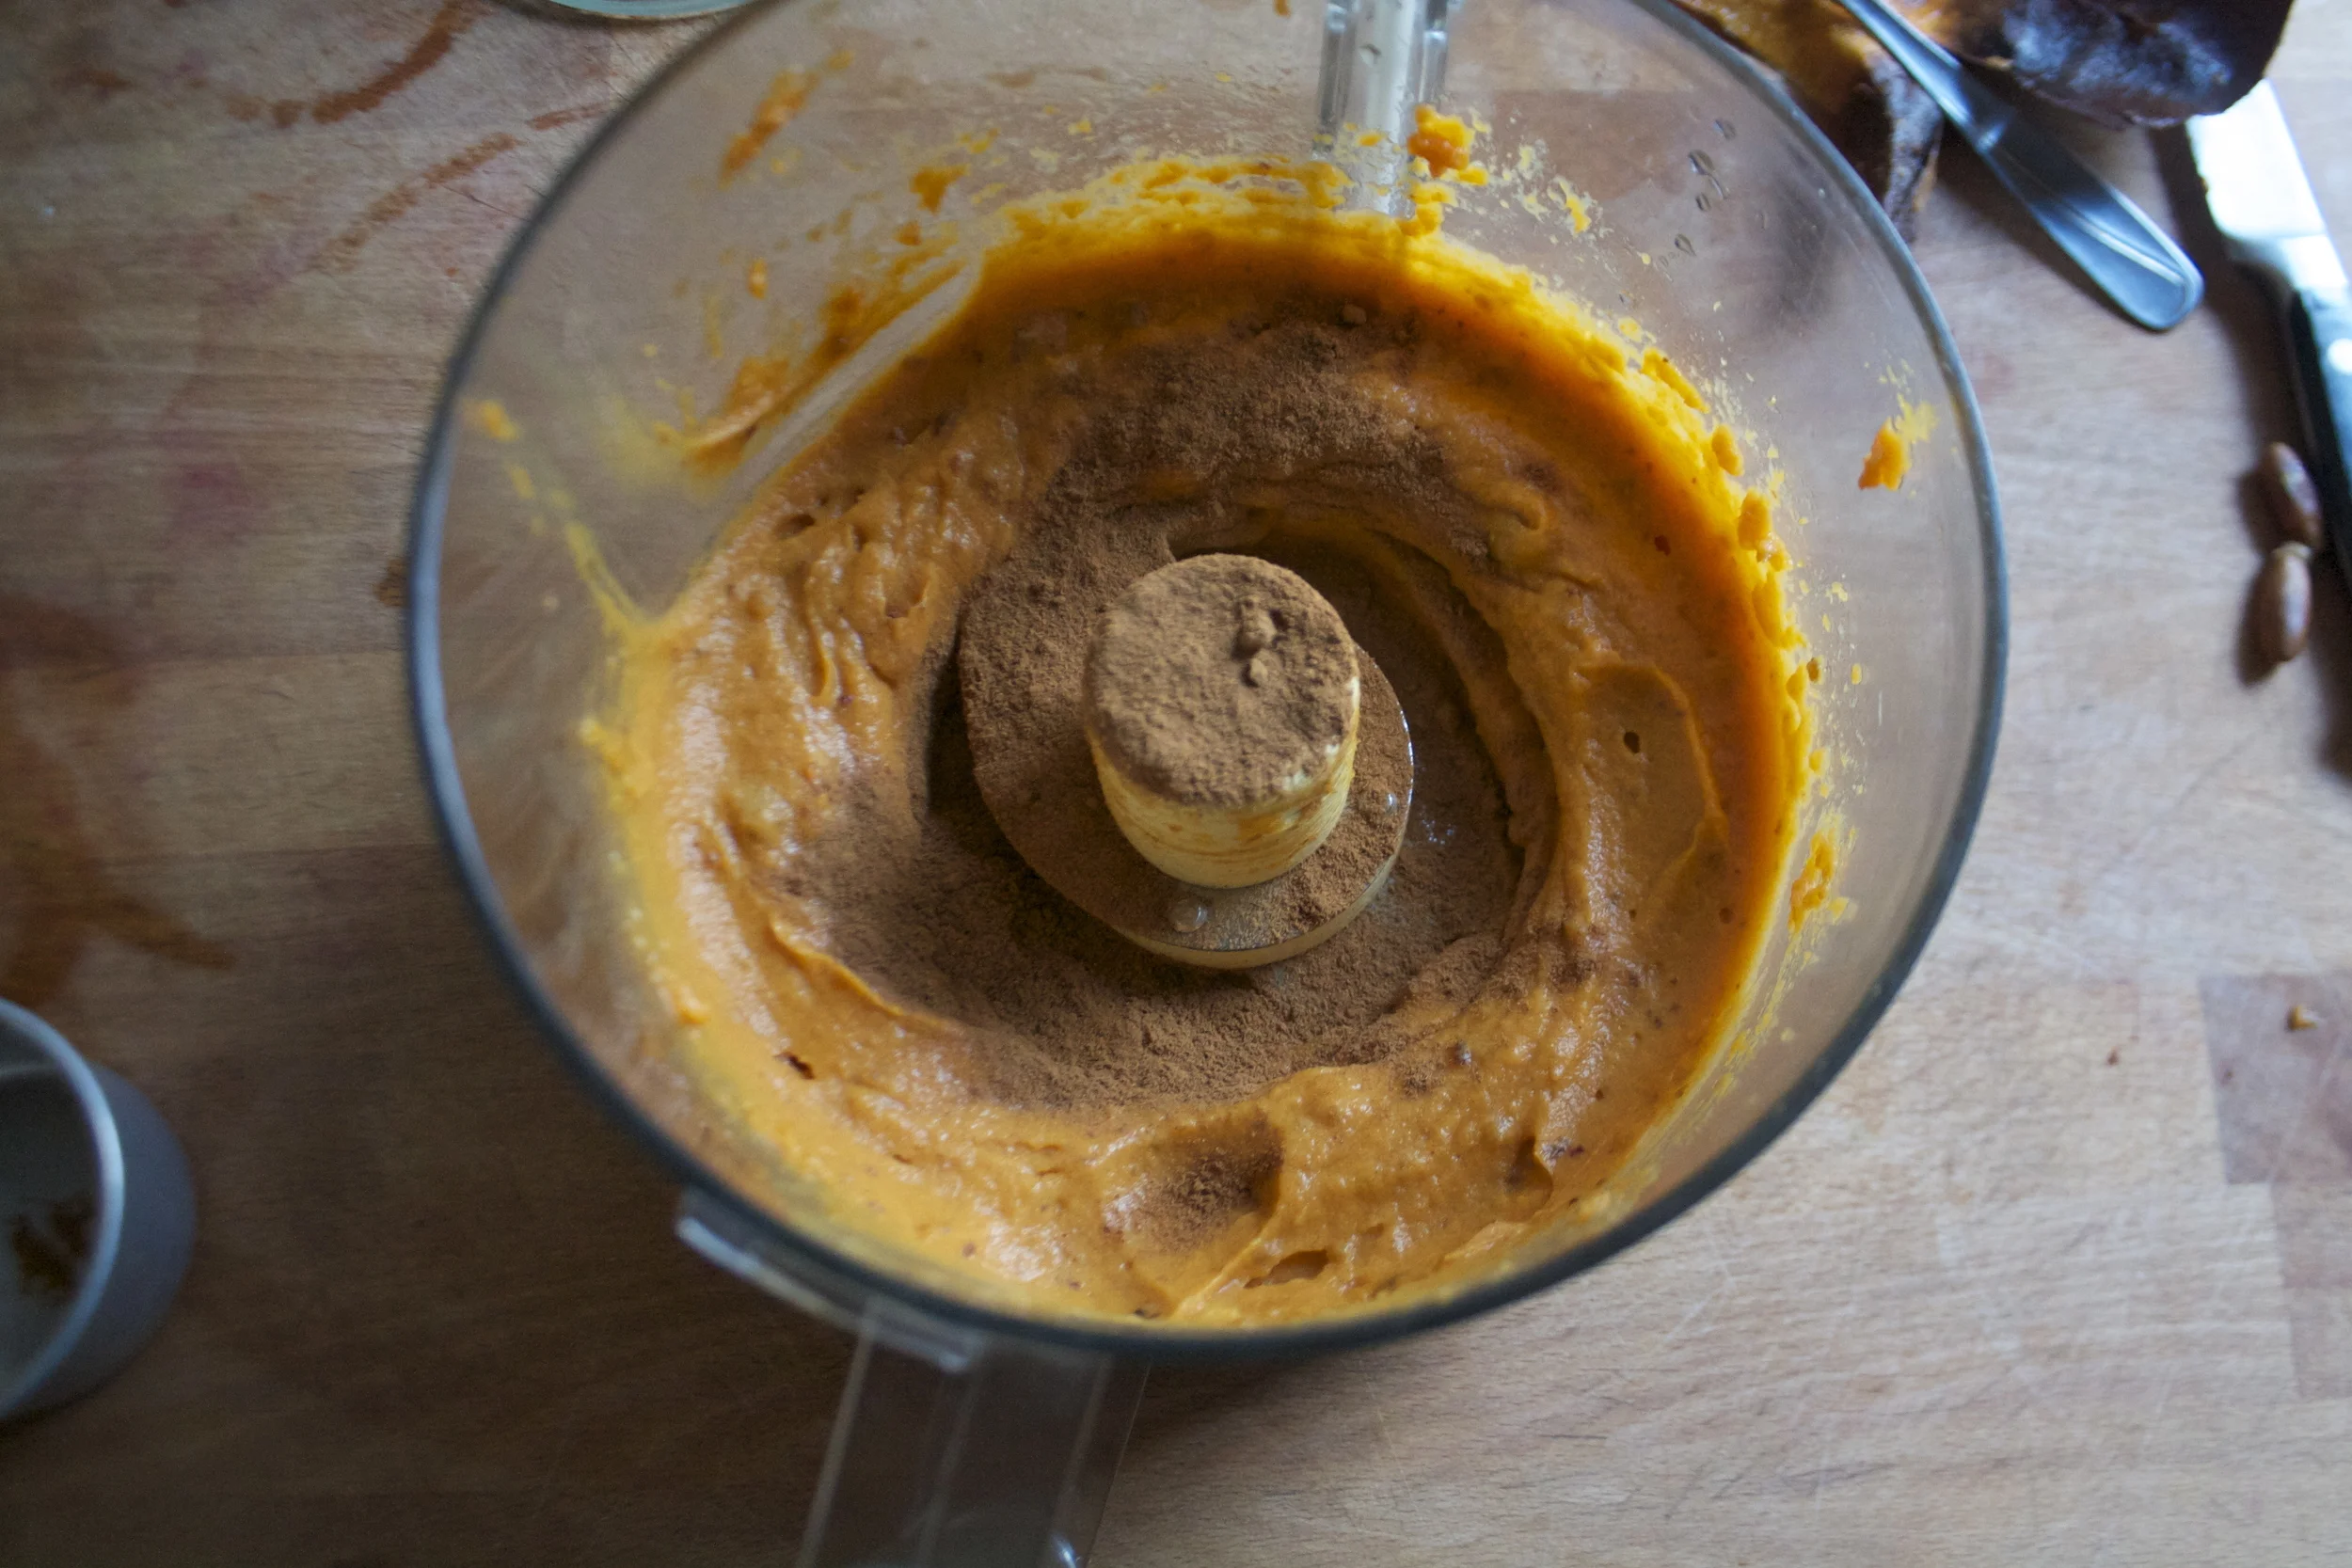
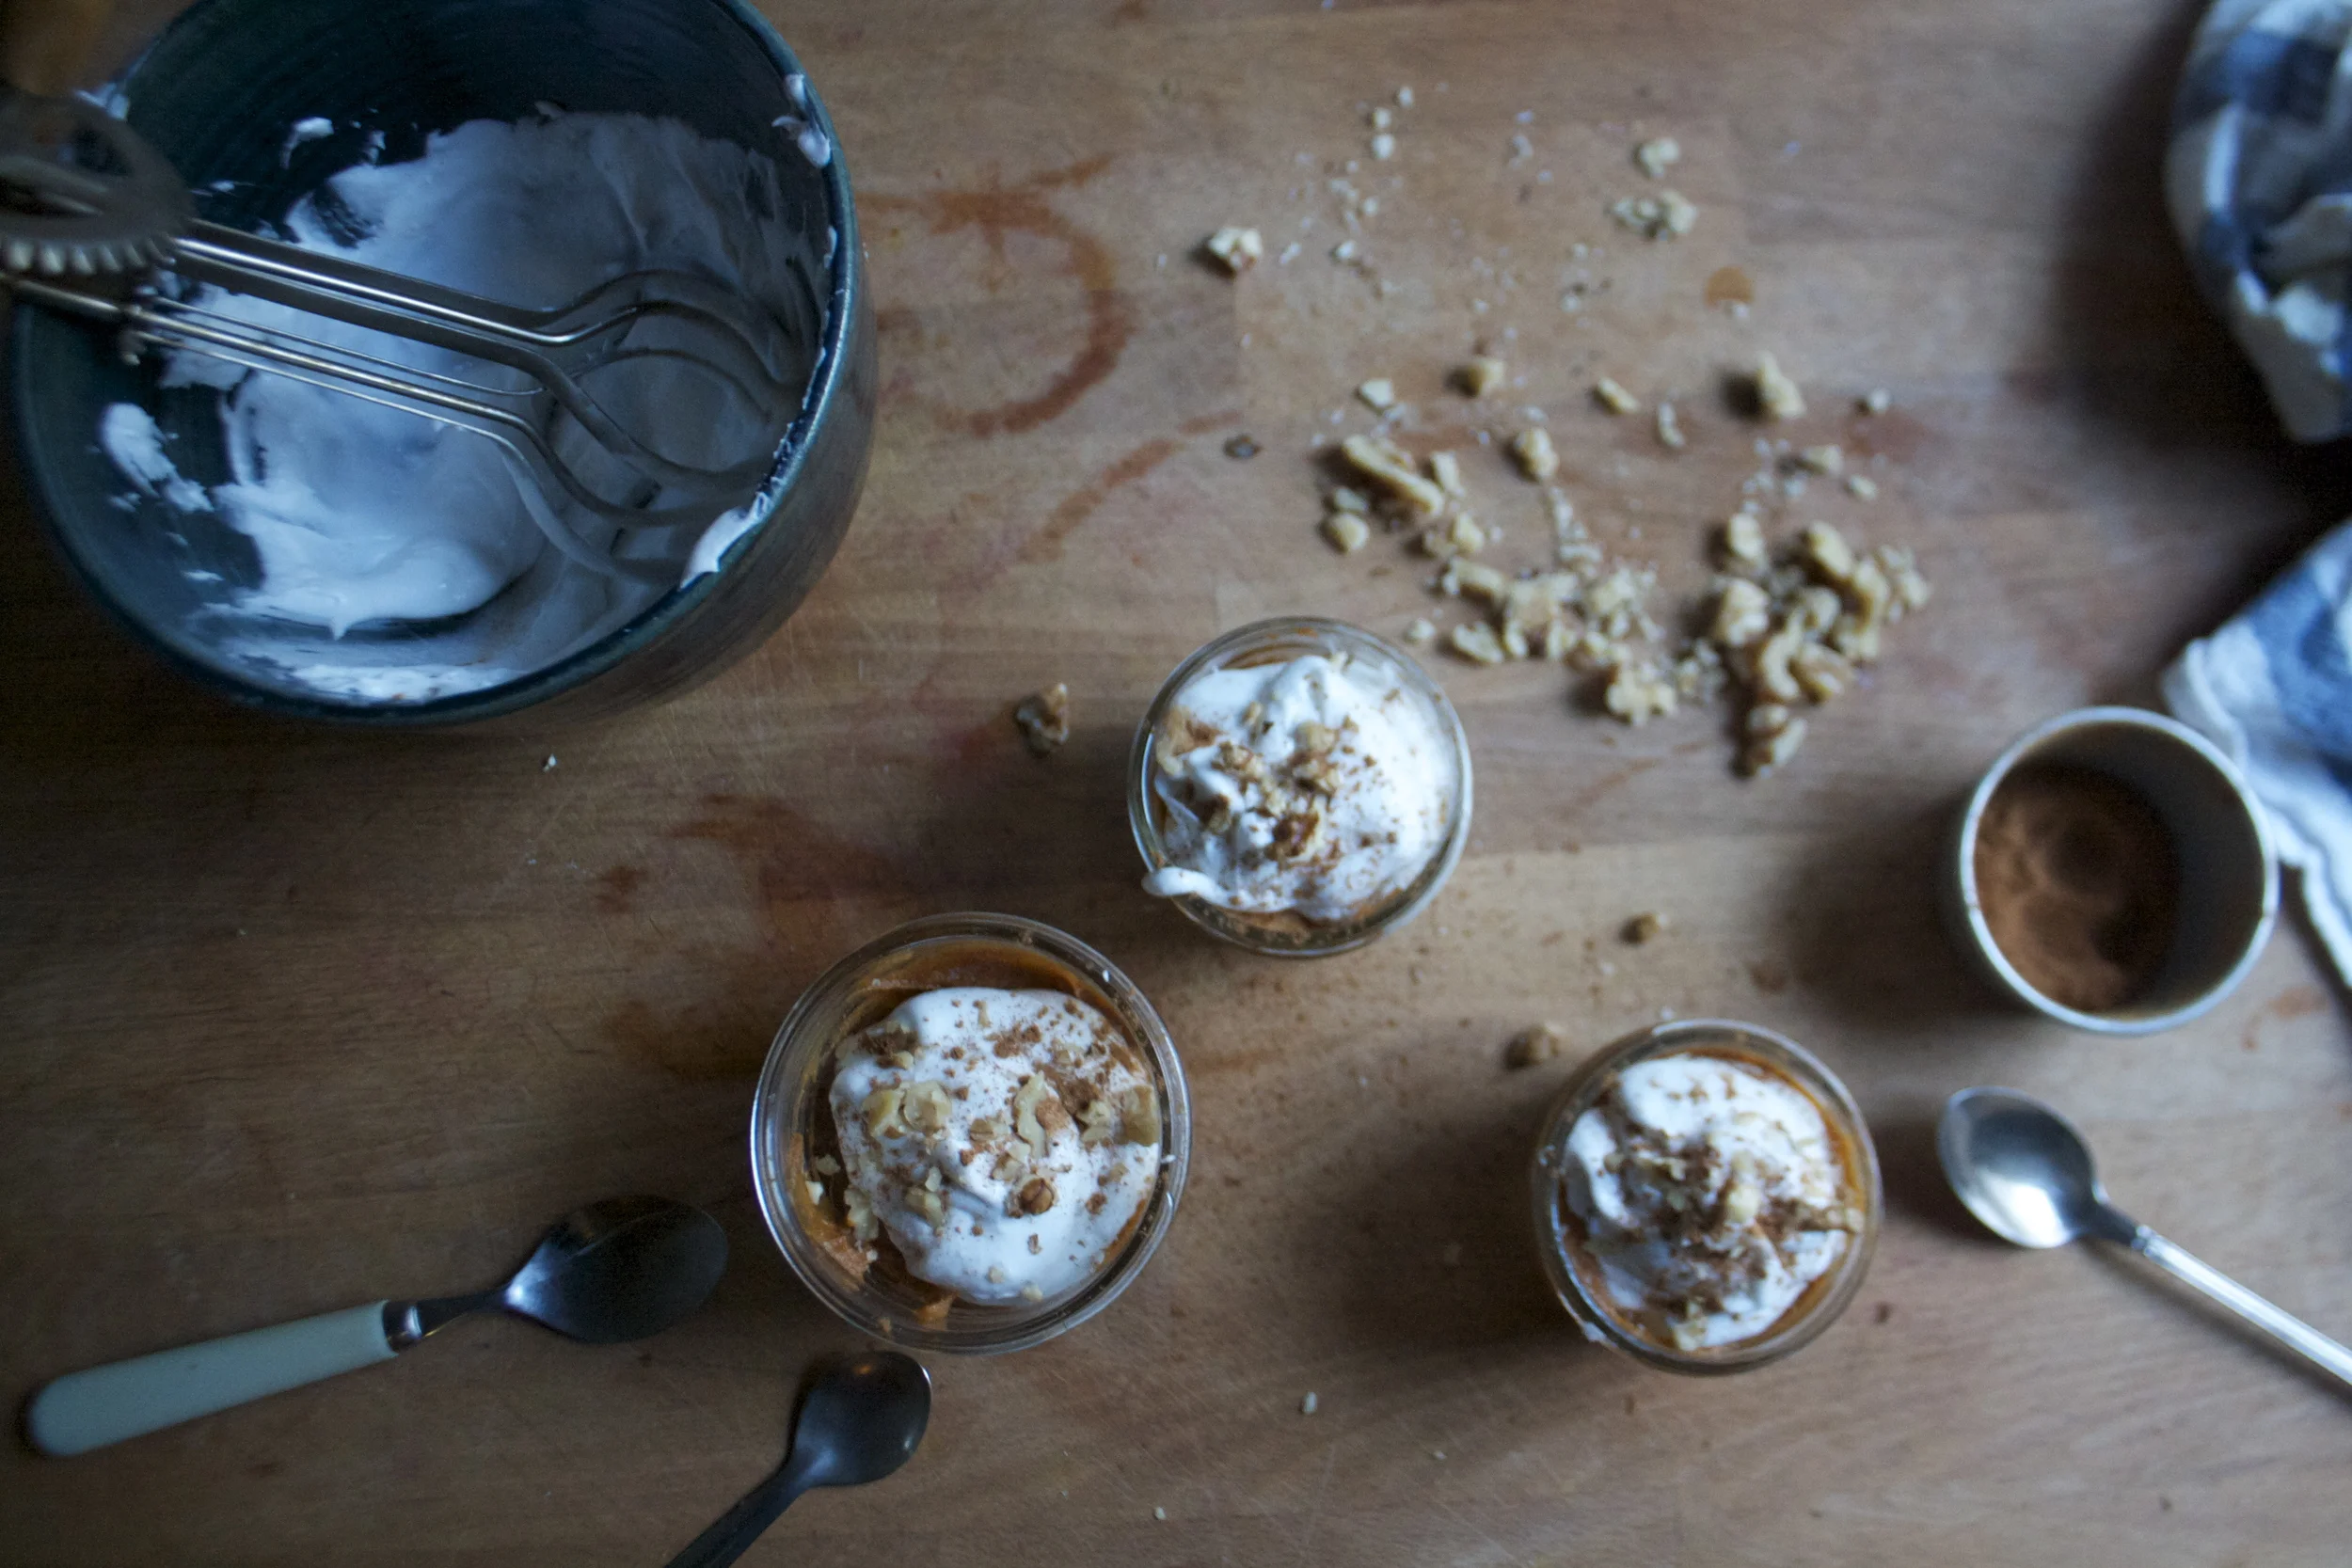
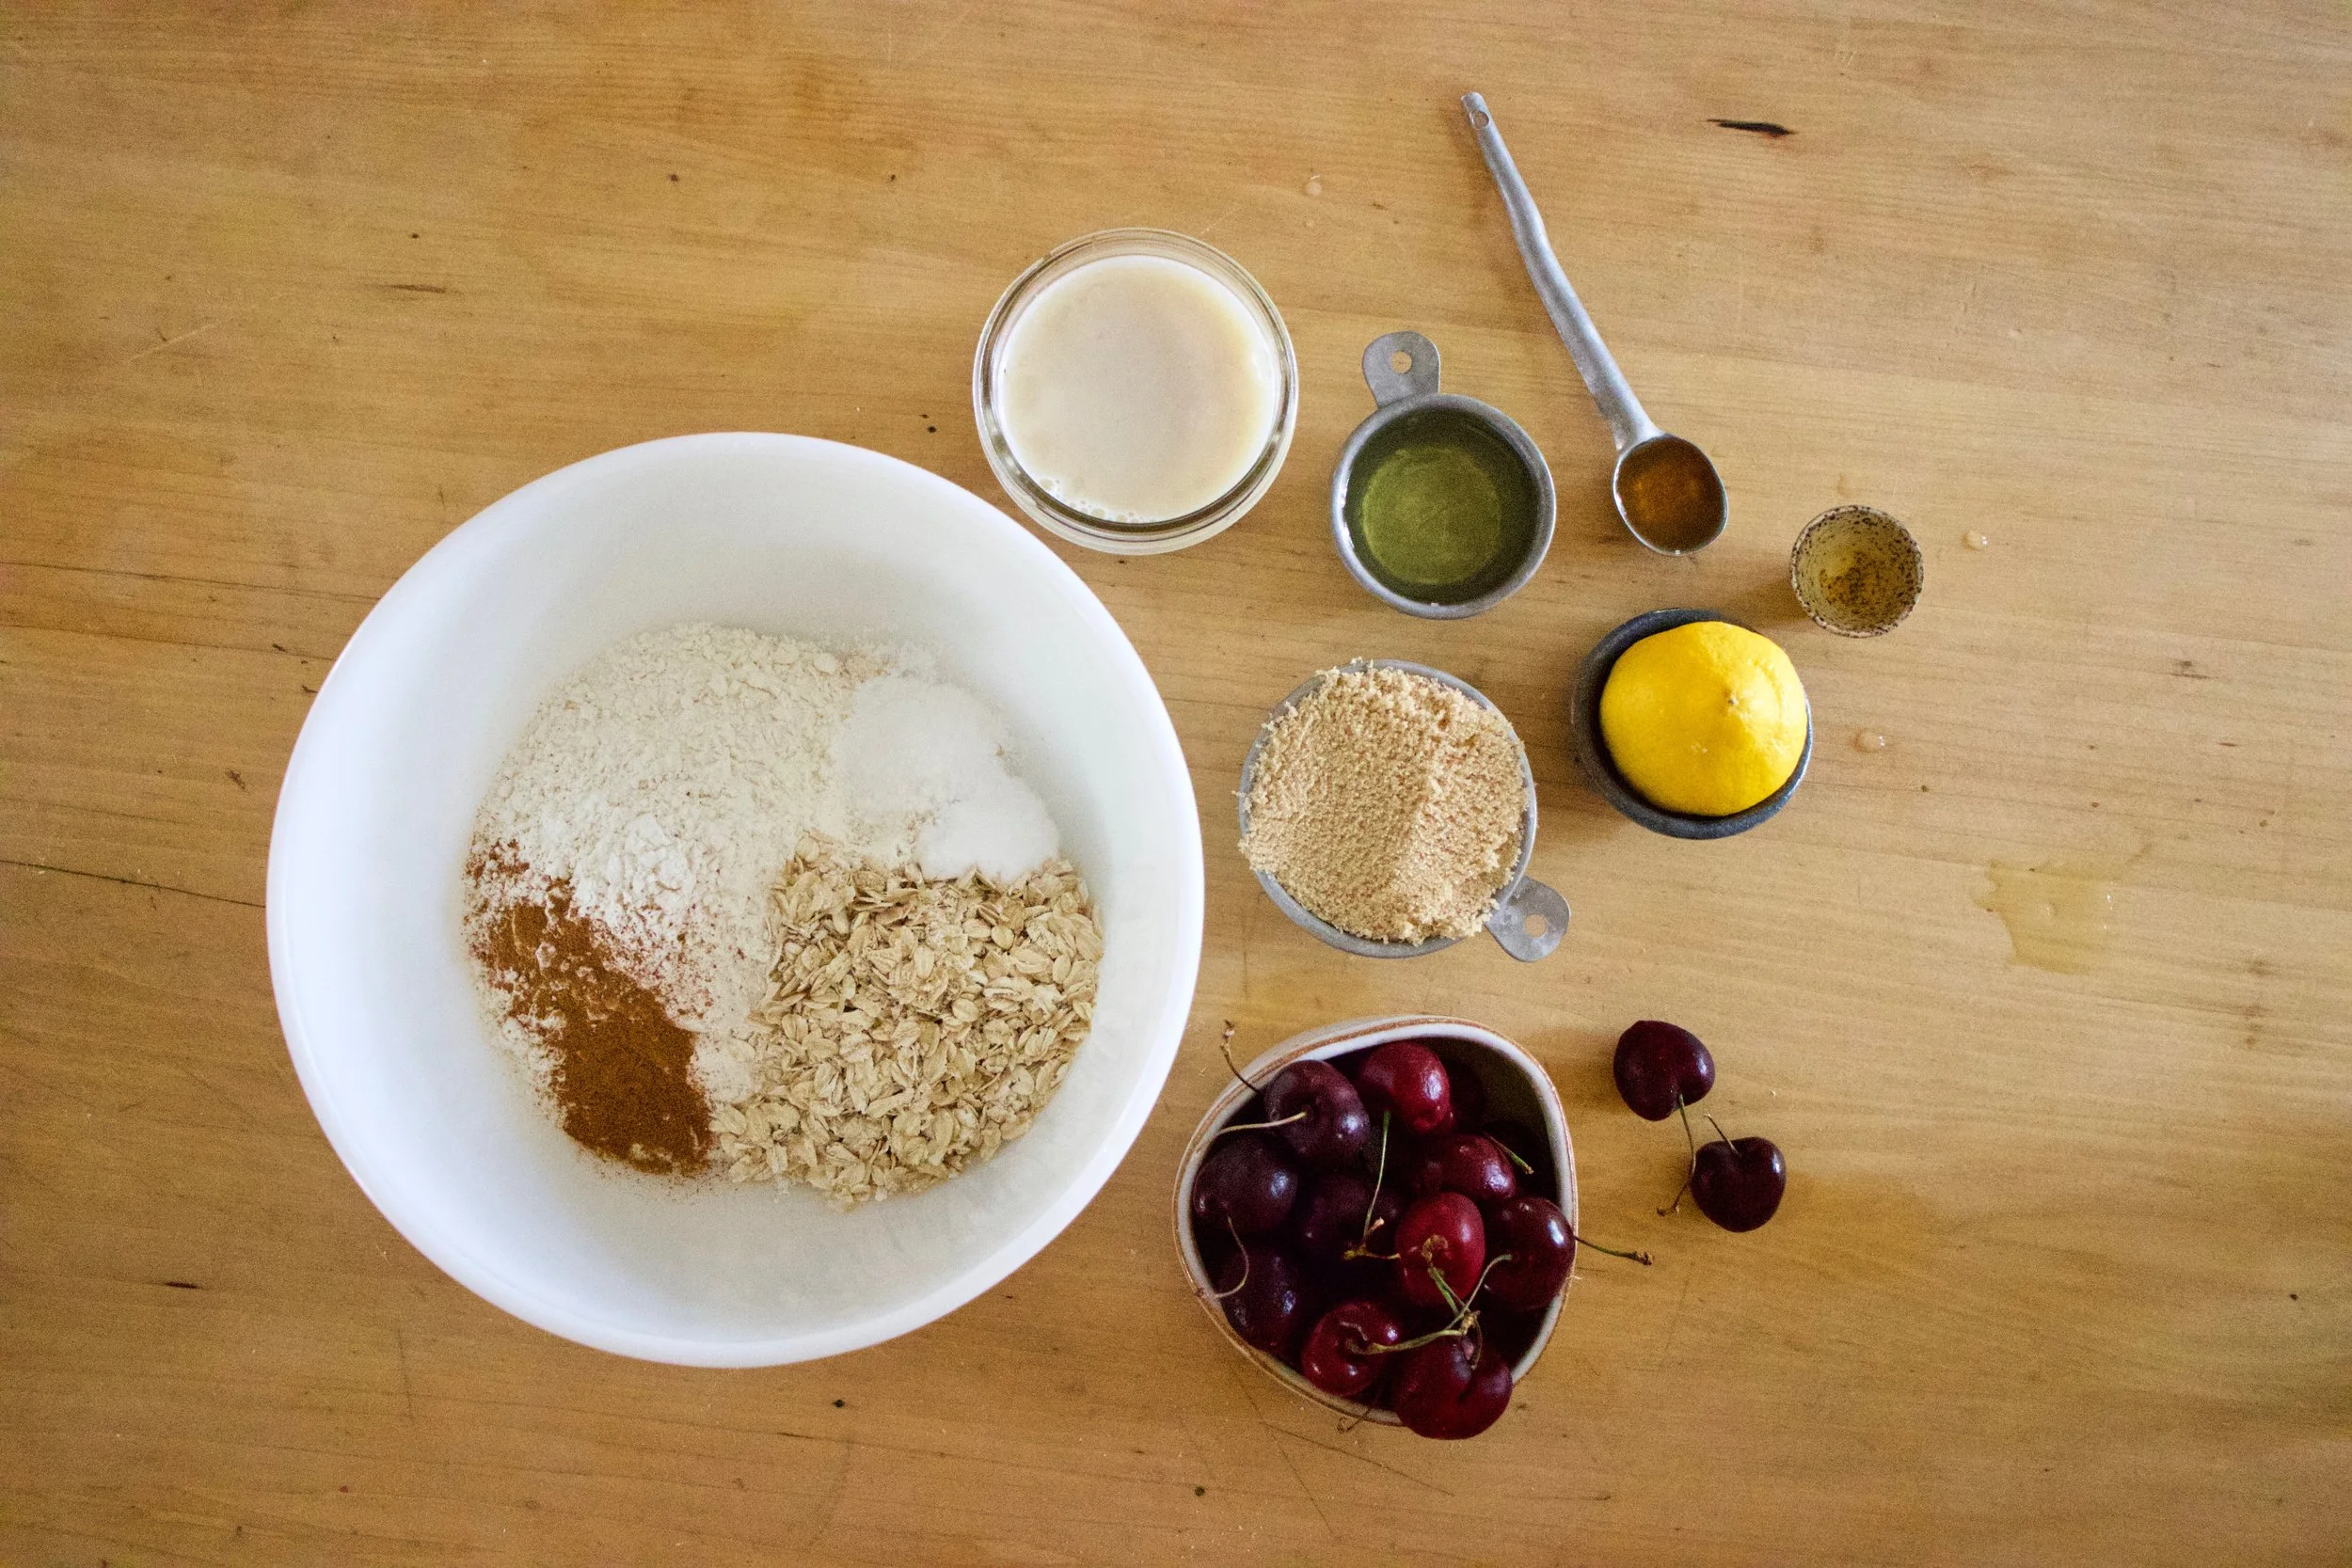
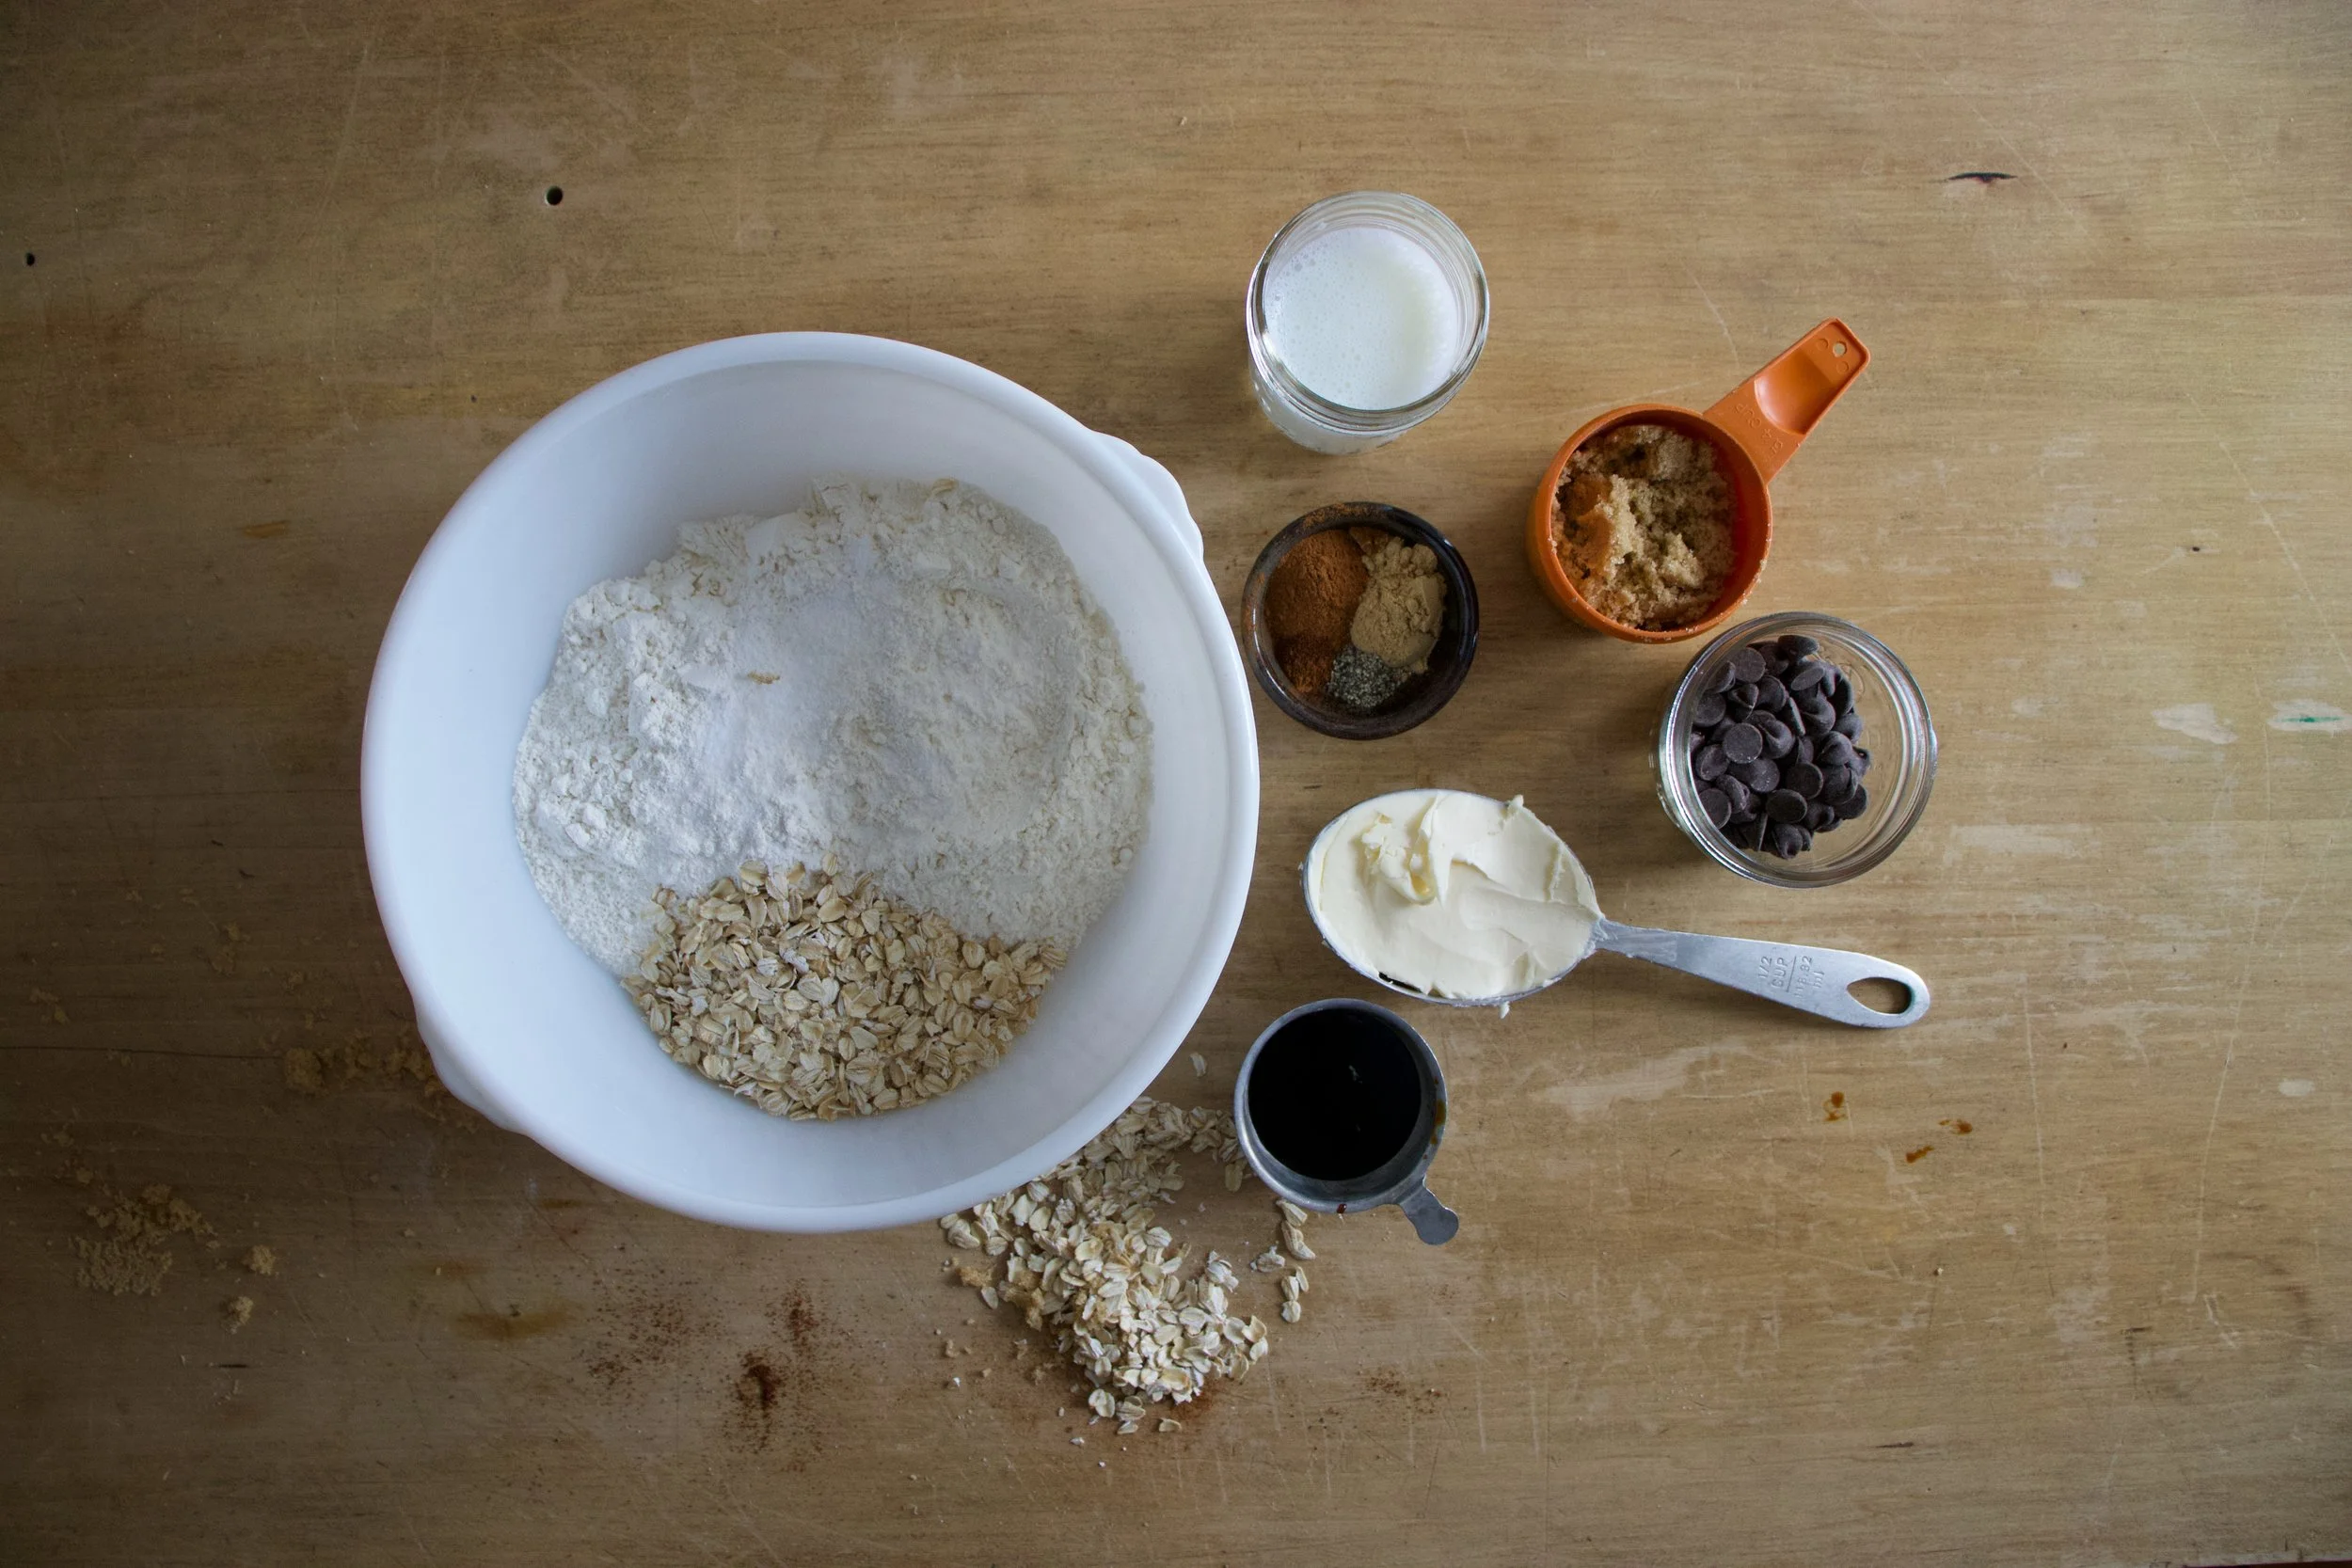
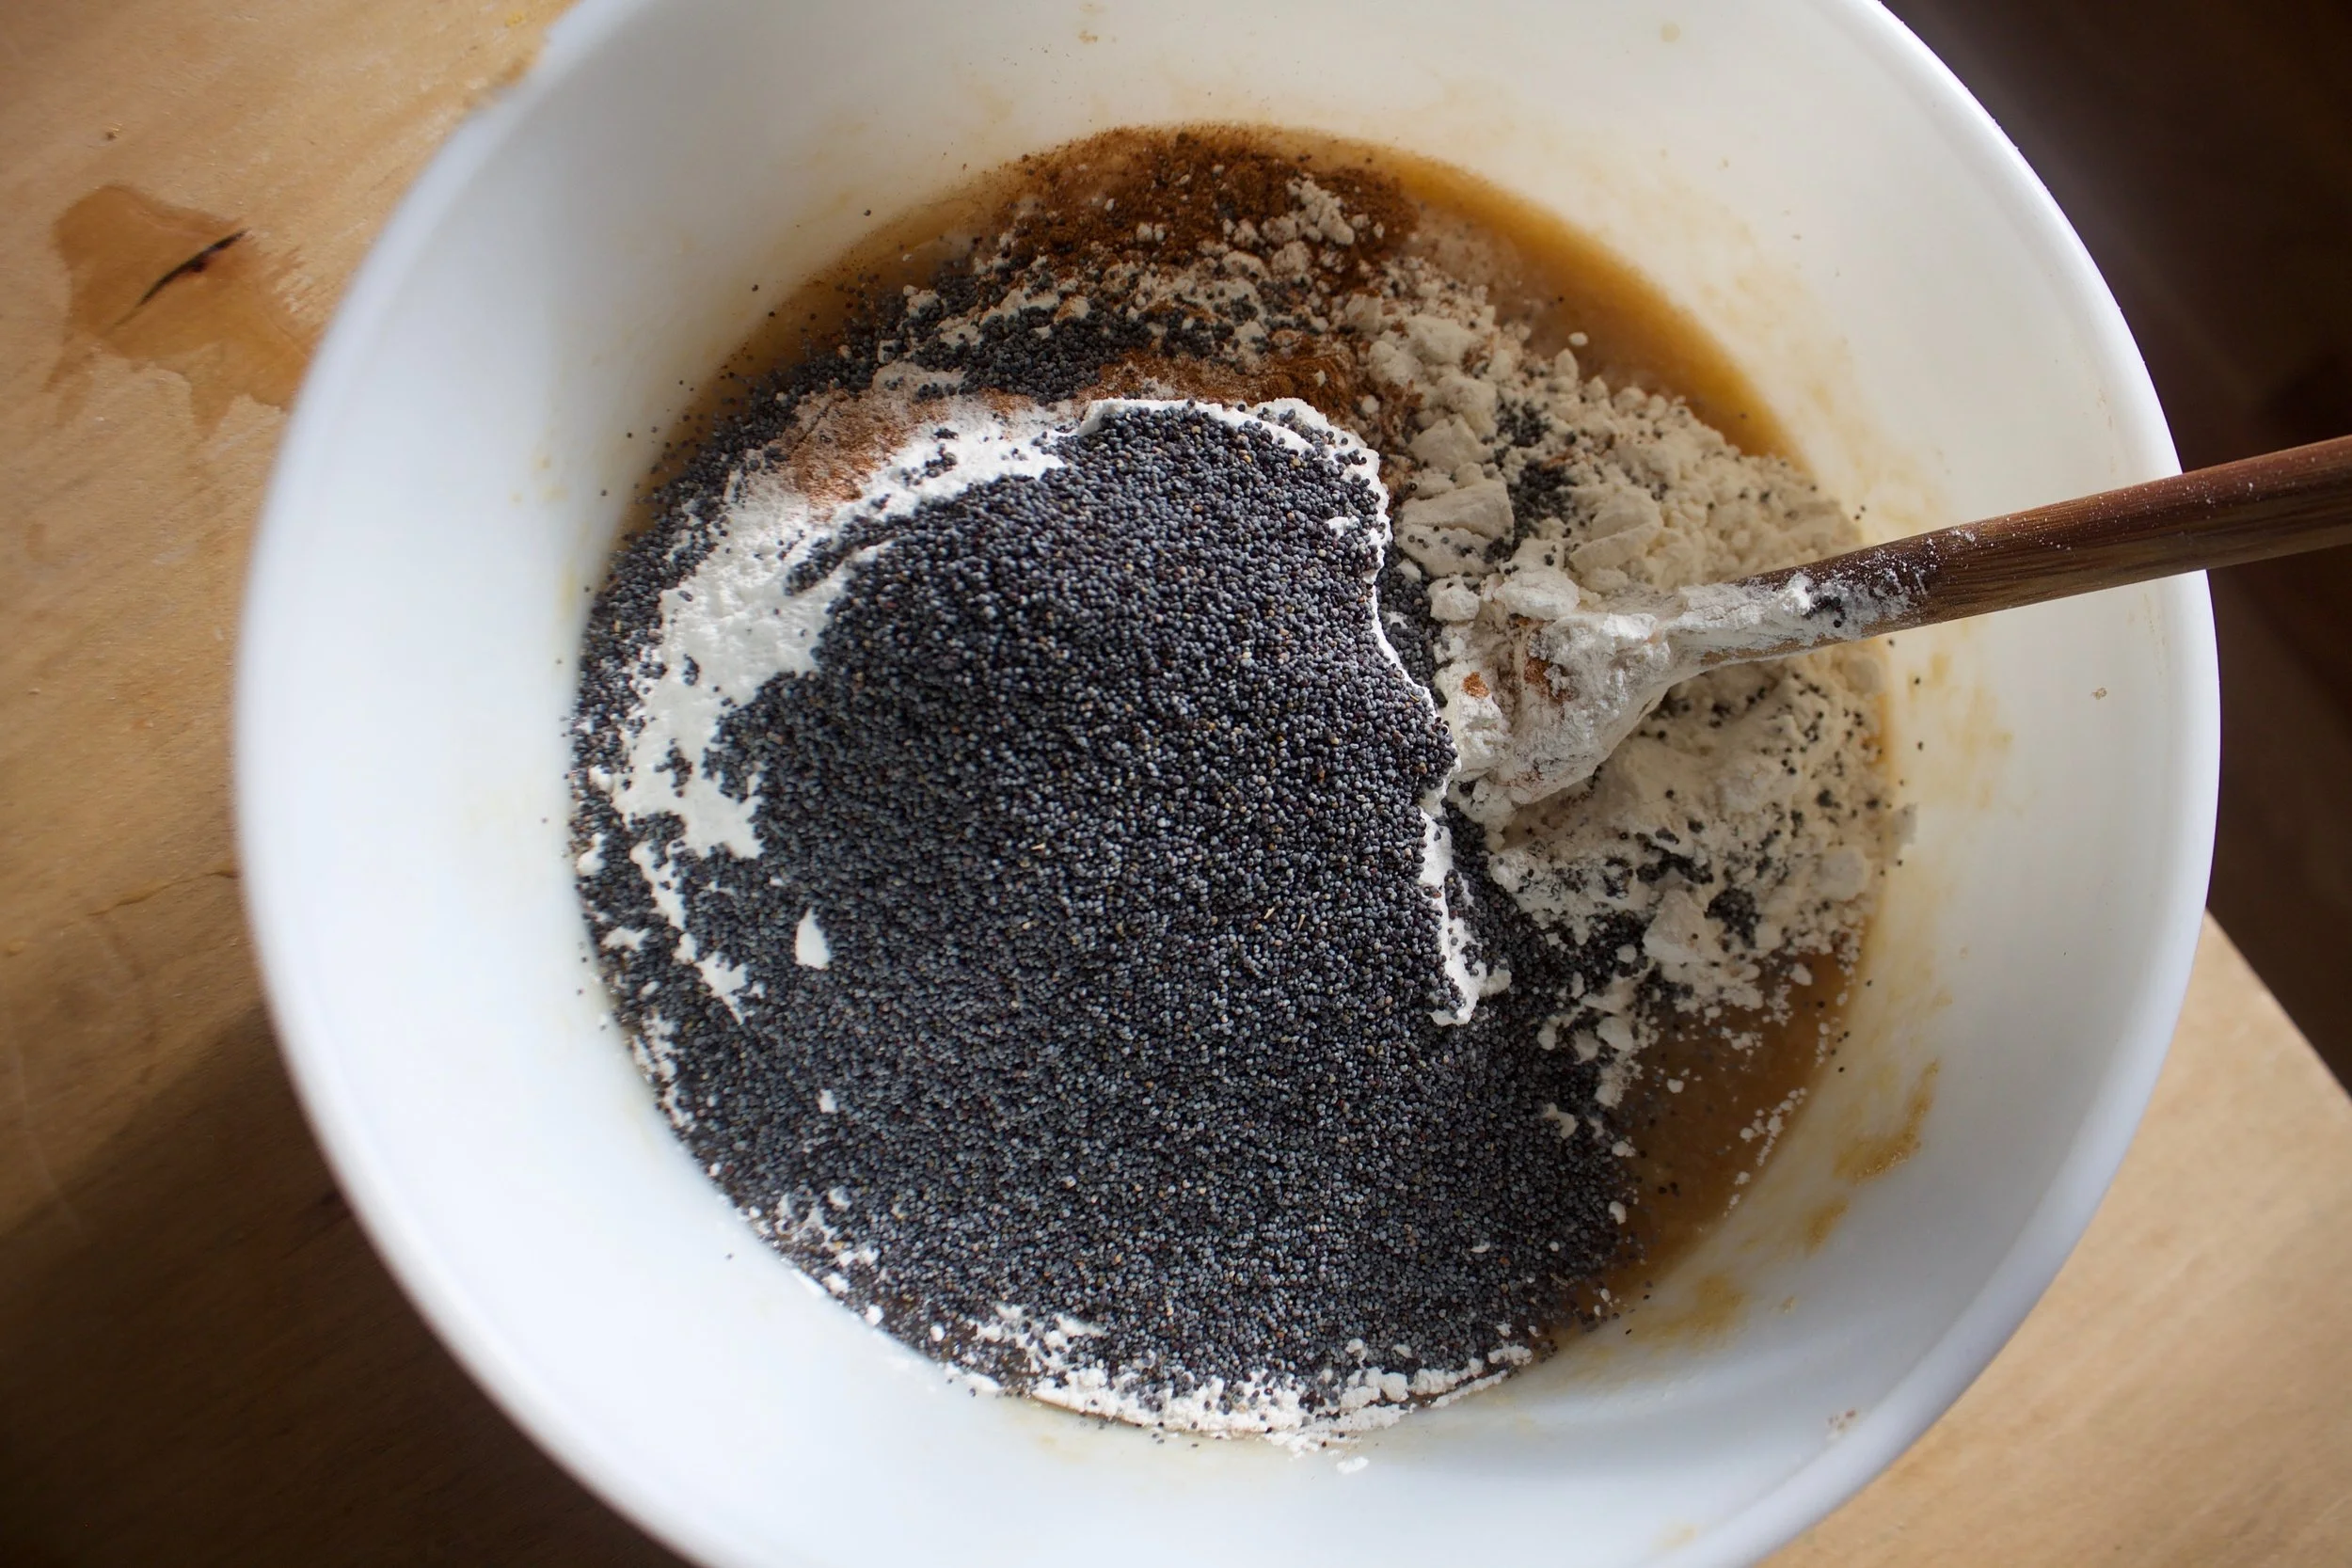
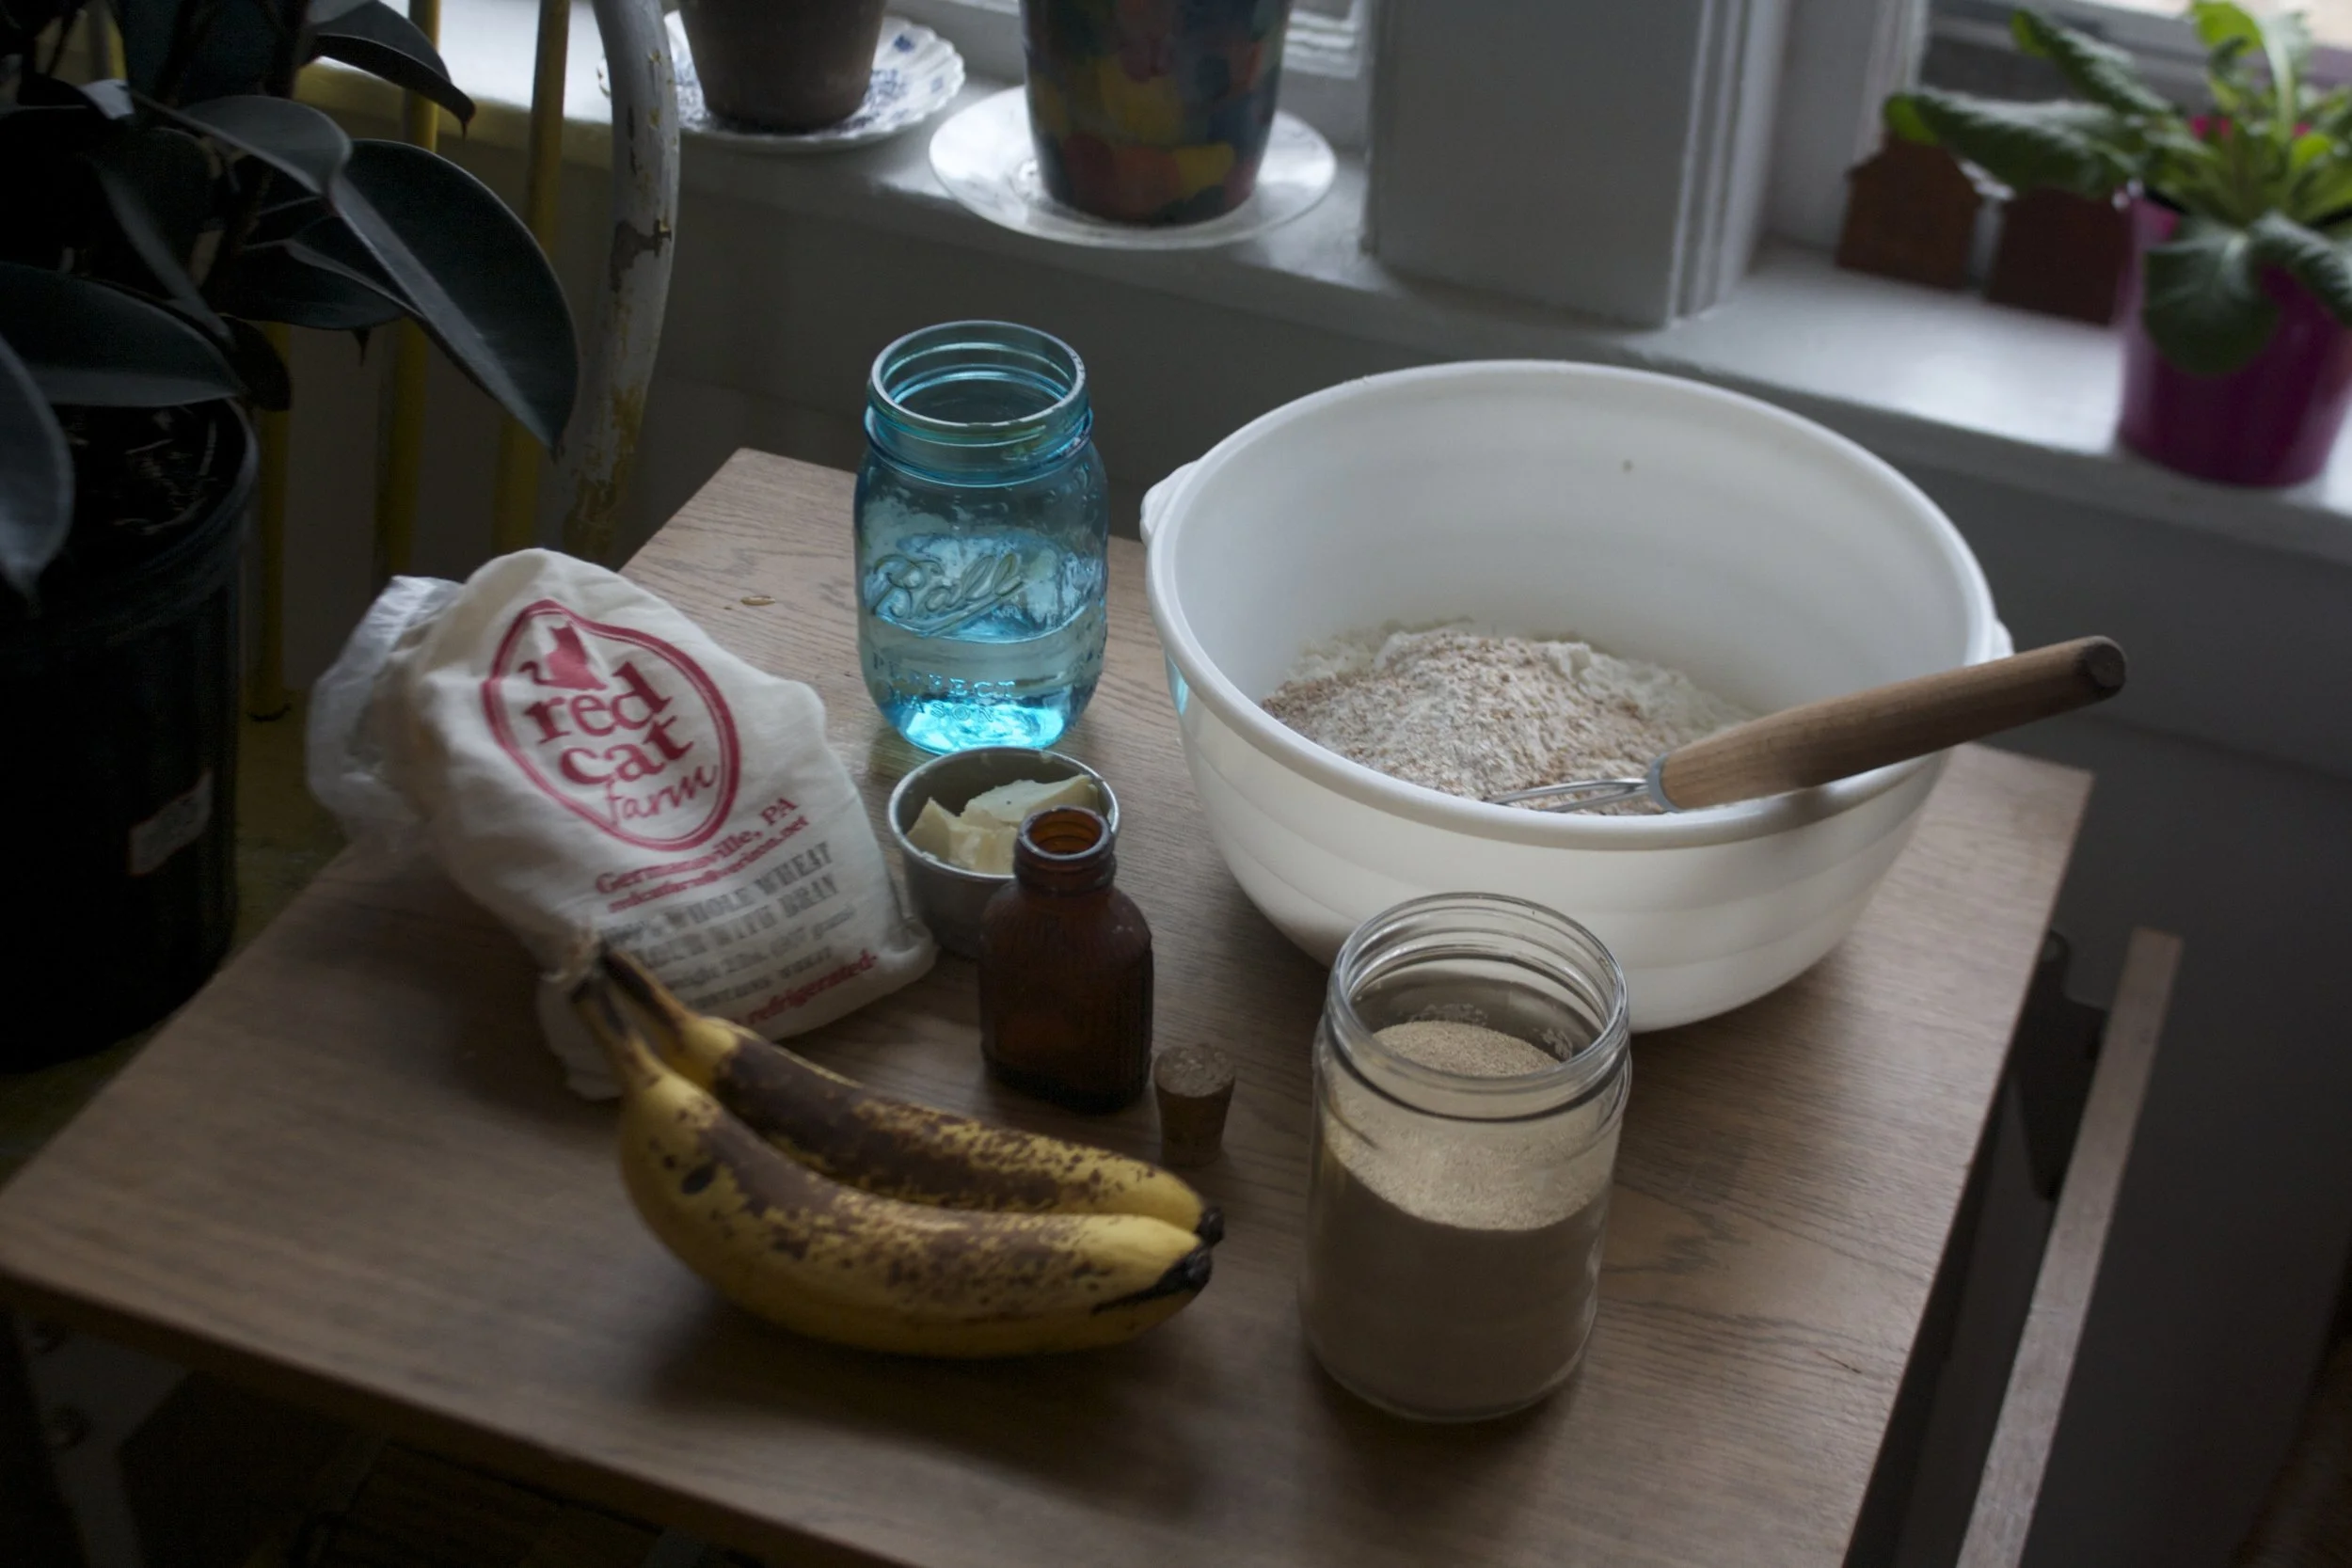
 The simplest of stuff. 1 smashed banana, a cup of pureed butternut squash, Vietnamese cinnamon*, honey, and old fashion oats. (and a dash of salt, not shown)
 Toss the cinnamon and salt with the oats. Mix together the banana, squash and the sweetener and combine with the oats until full incorporated.%u00a0
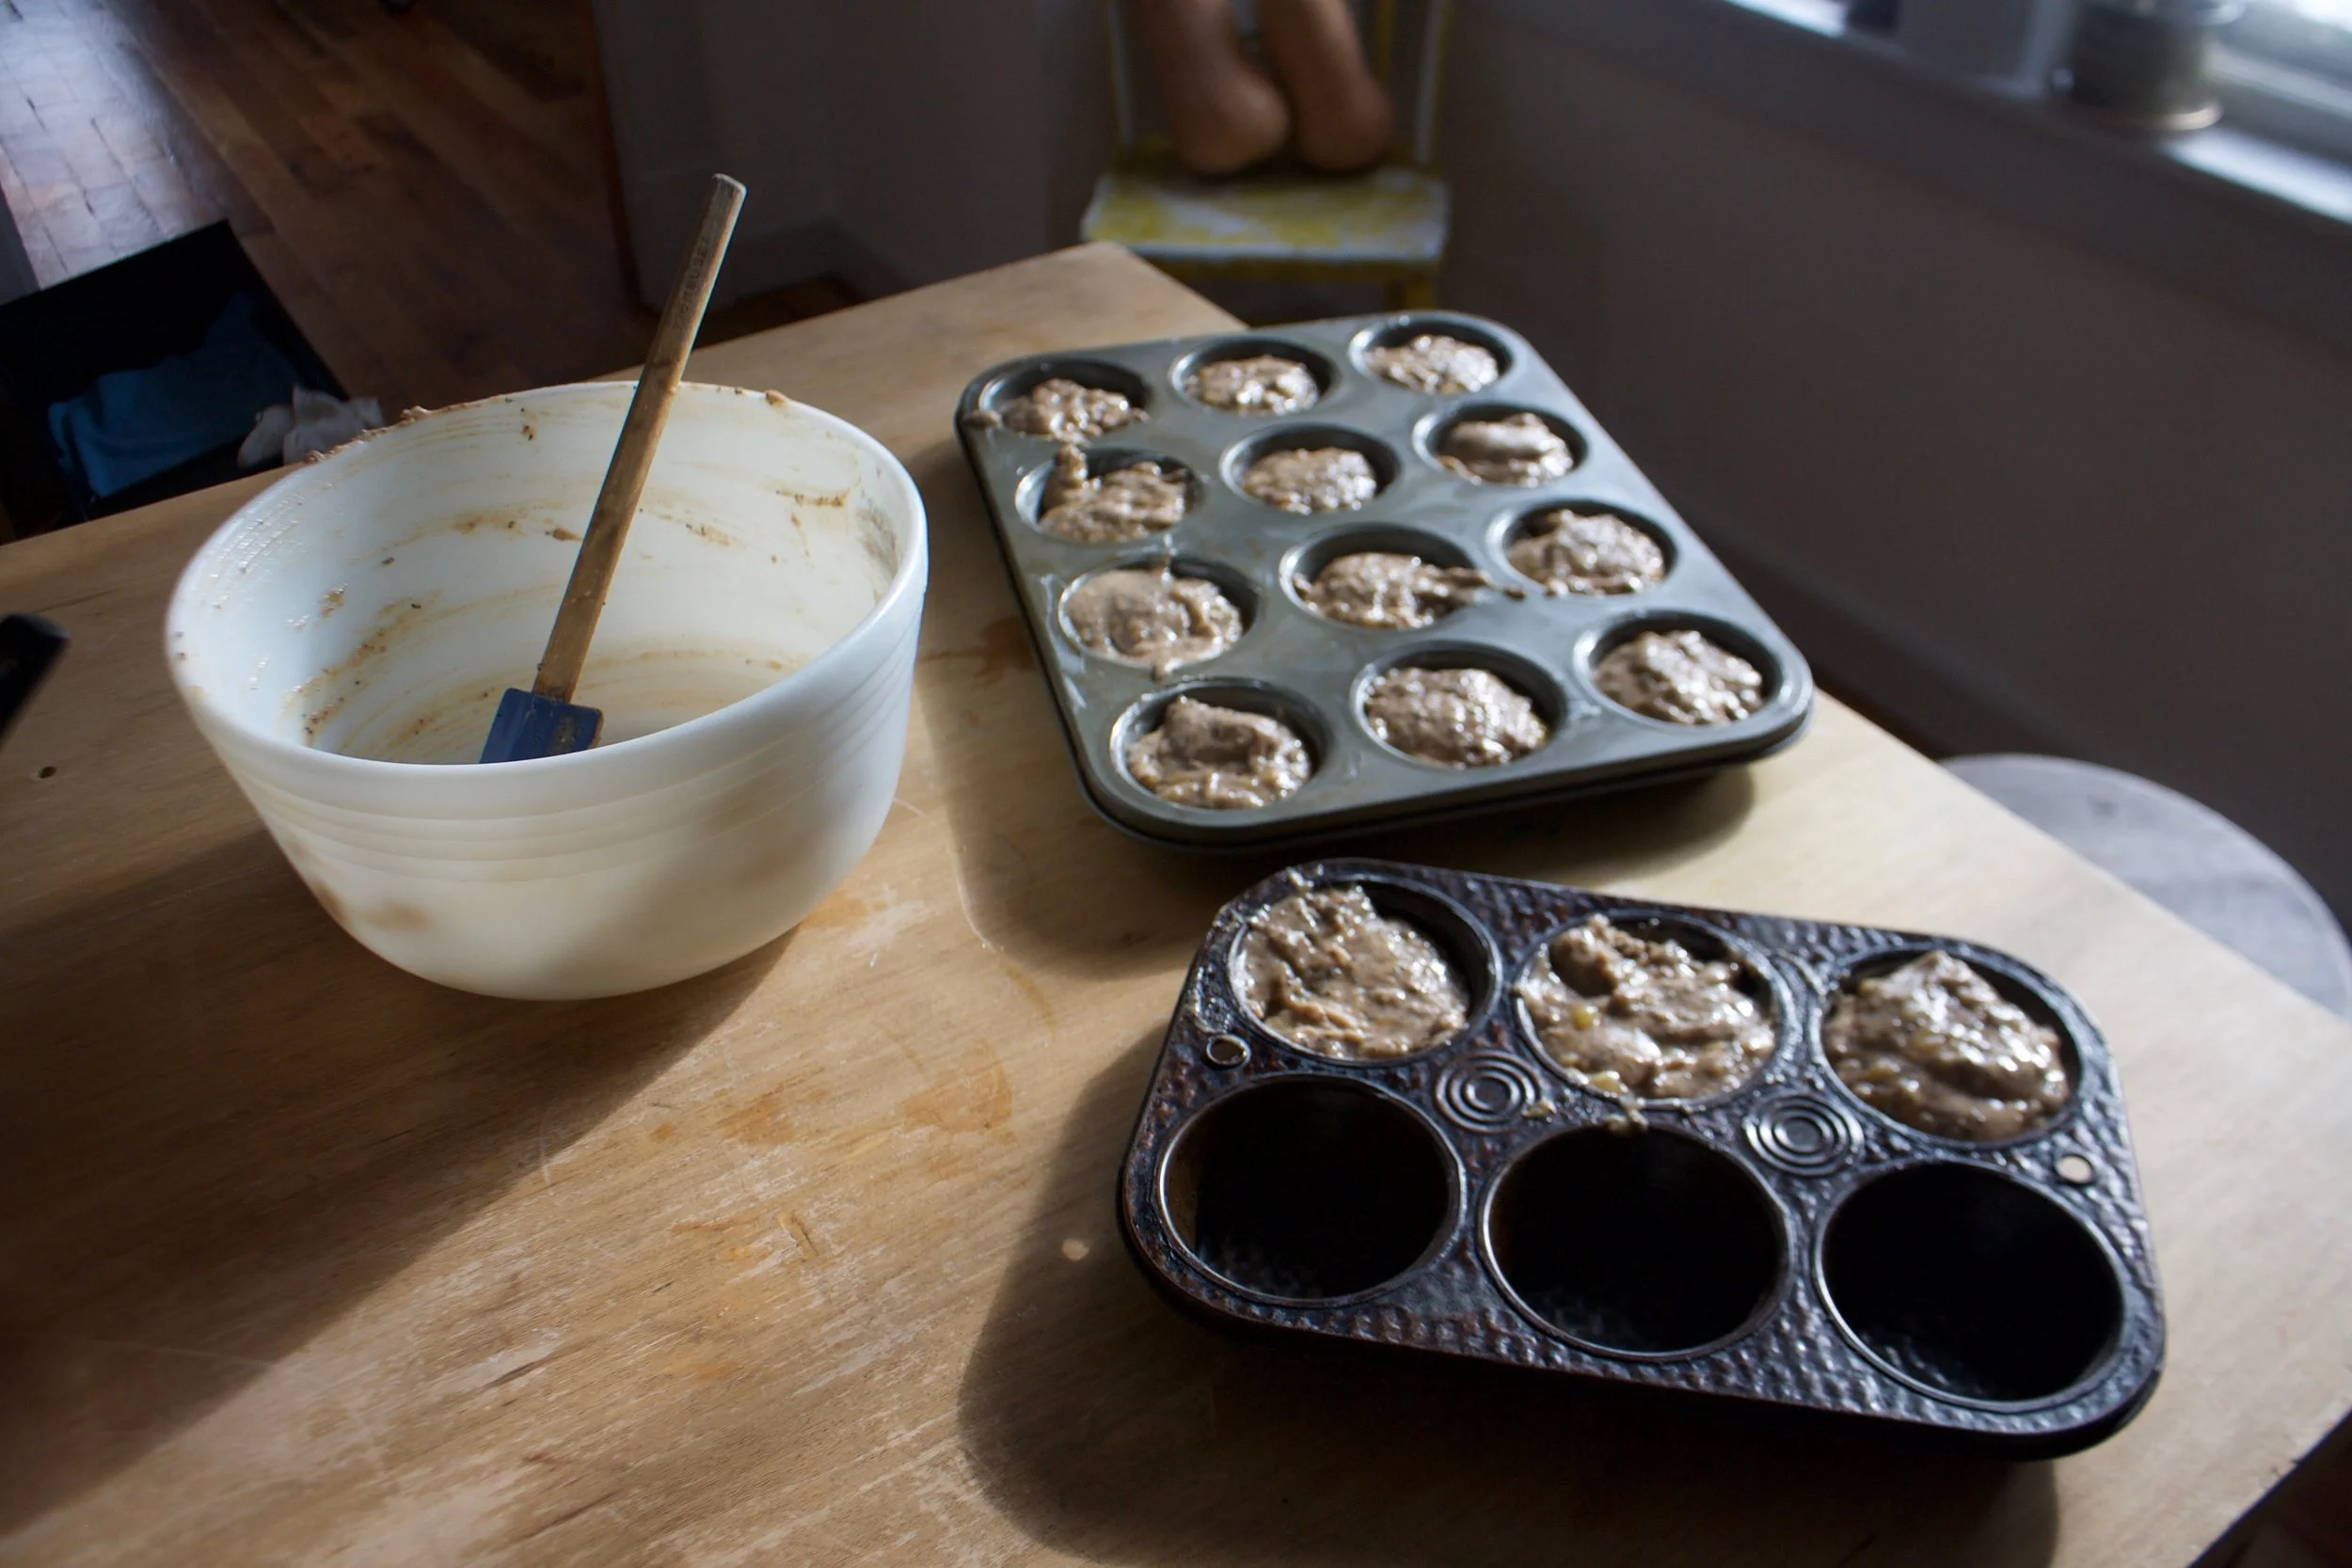
 Dump the mixture on a parchment lined baking sheet and give it a little pat, you know, to settle all the bit and pieces together, all cozy and evenly spread out. Now stick into a preheated oven and after about 20 minutes, take out of oven and give the granola a toss, breaking apart any super big chunks or overly wet pieces. Put back into oven for another 20 minutes. (I like my granola super crispy crunchy so I cook it a little longer, like 30 more minutes)
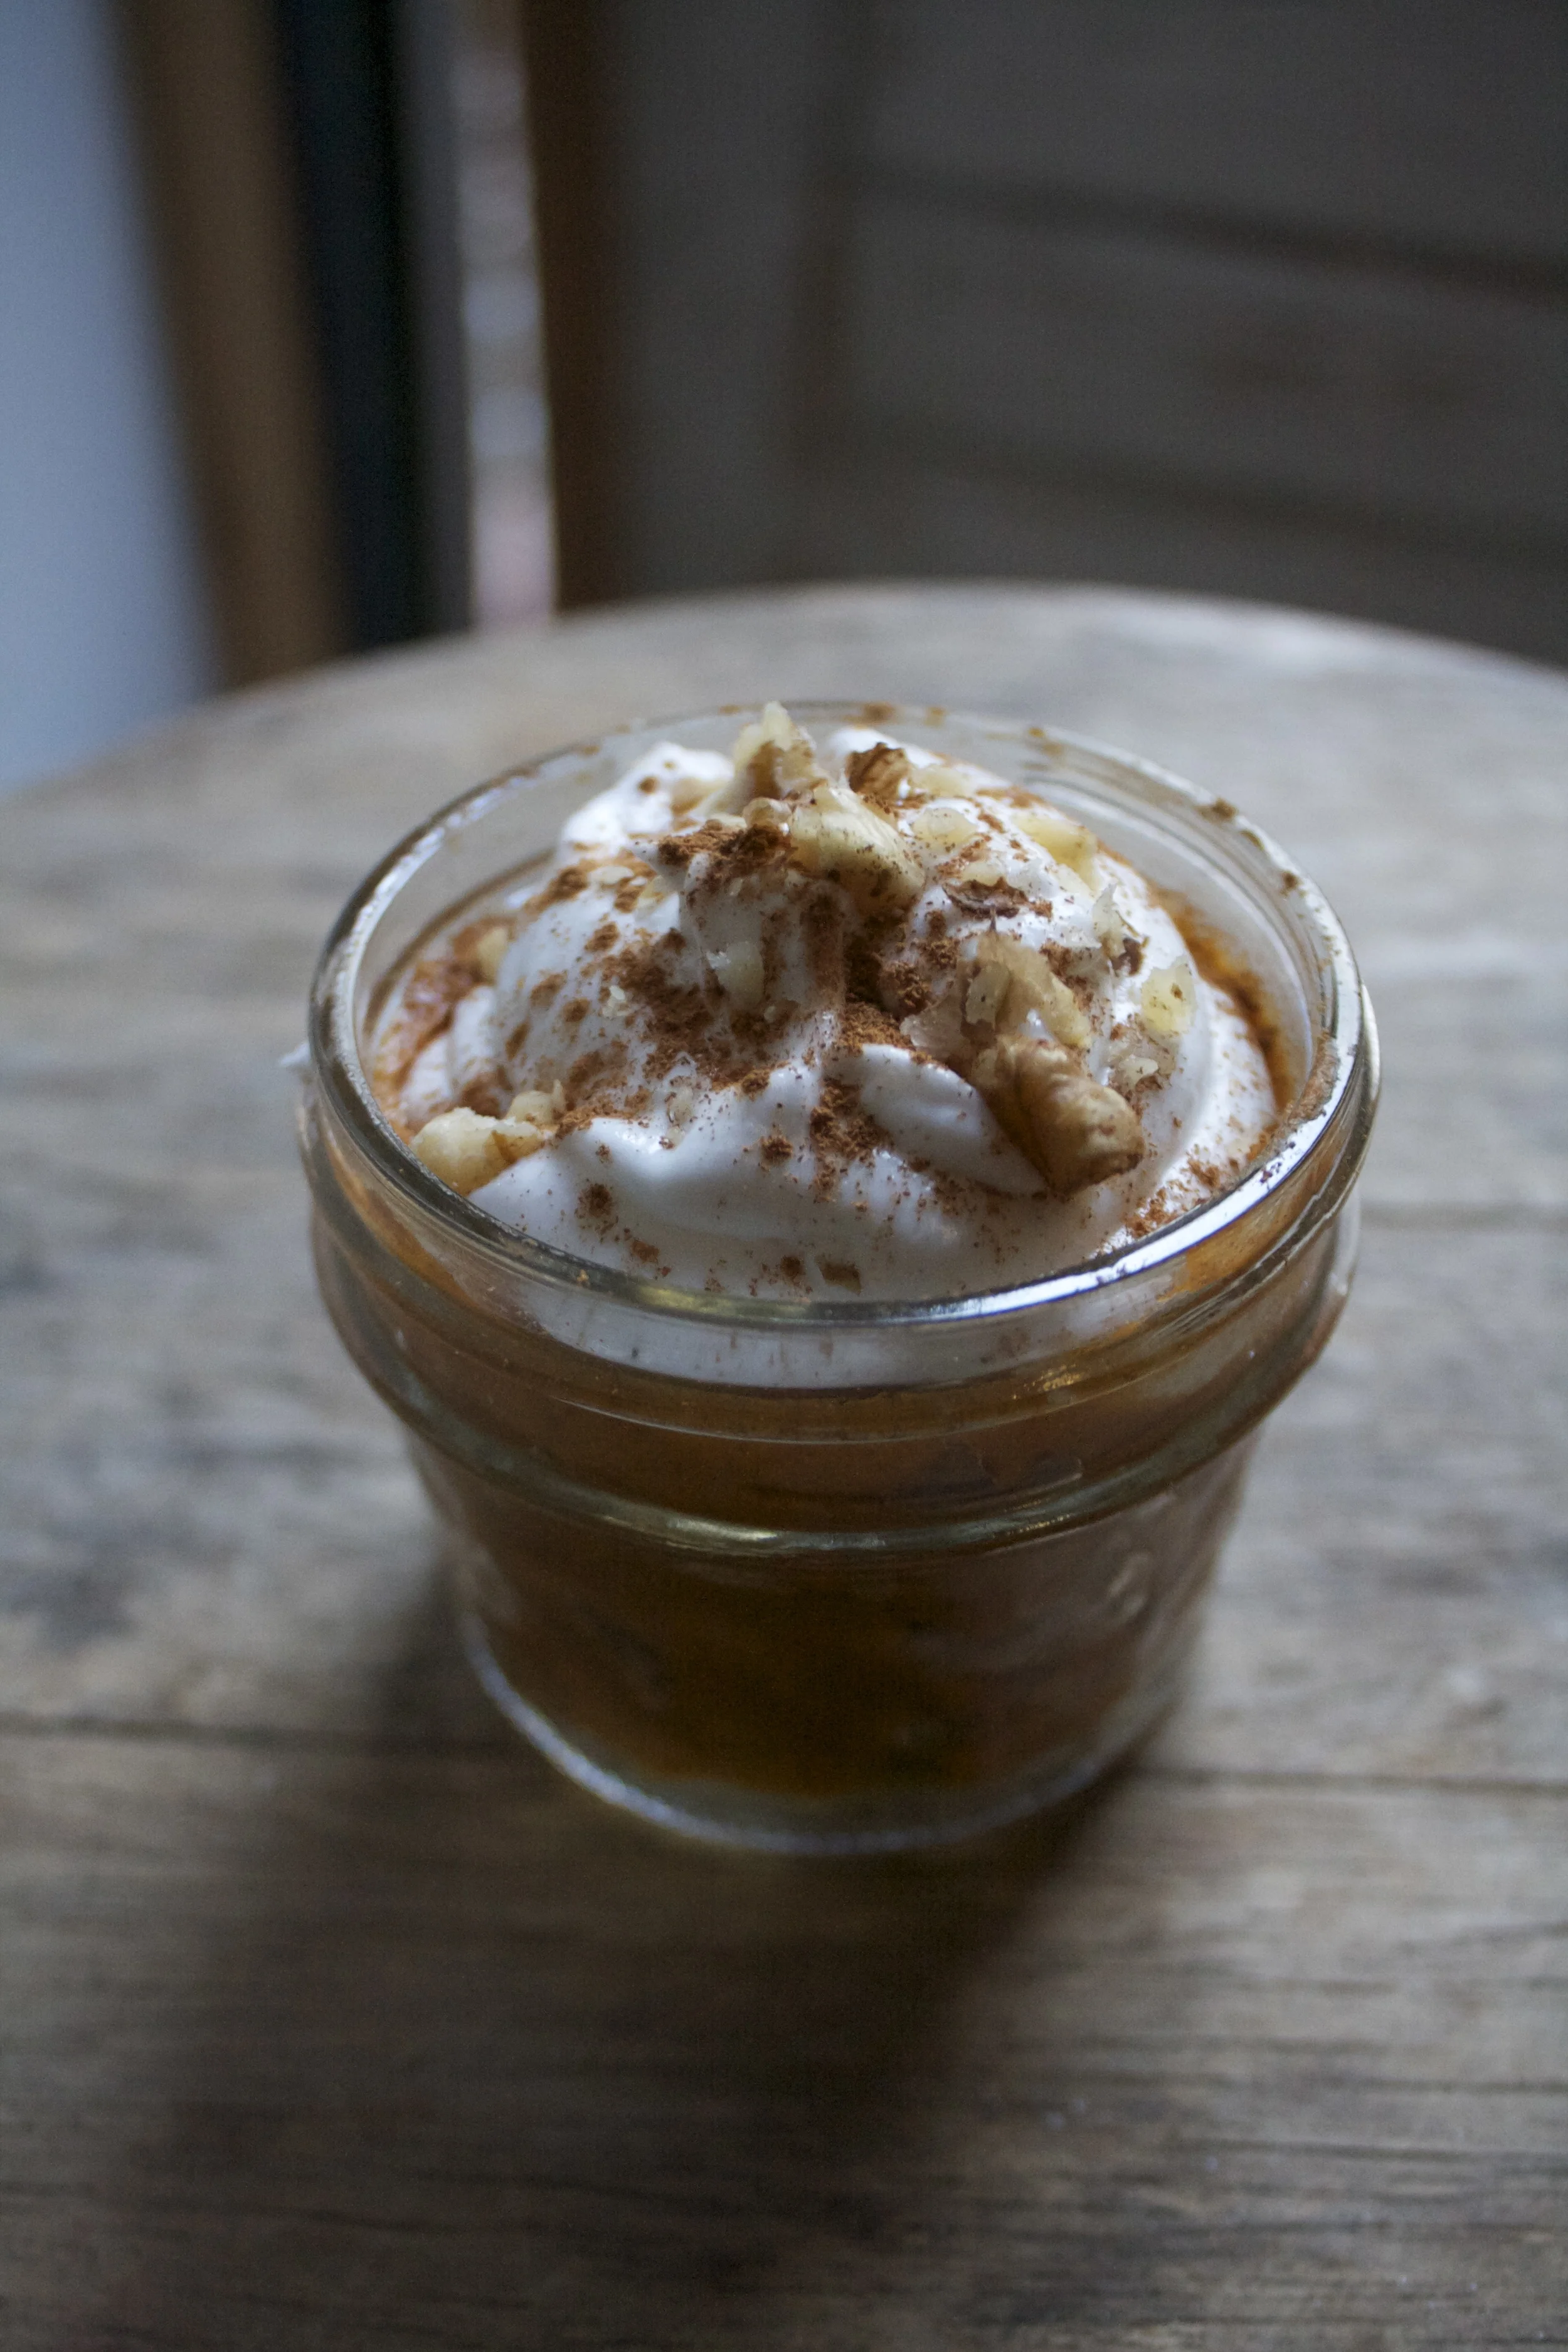
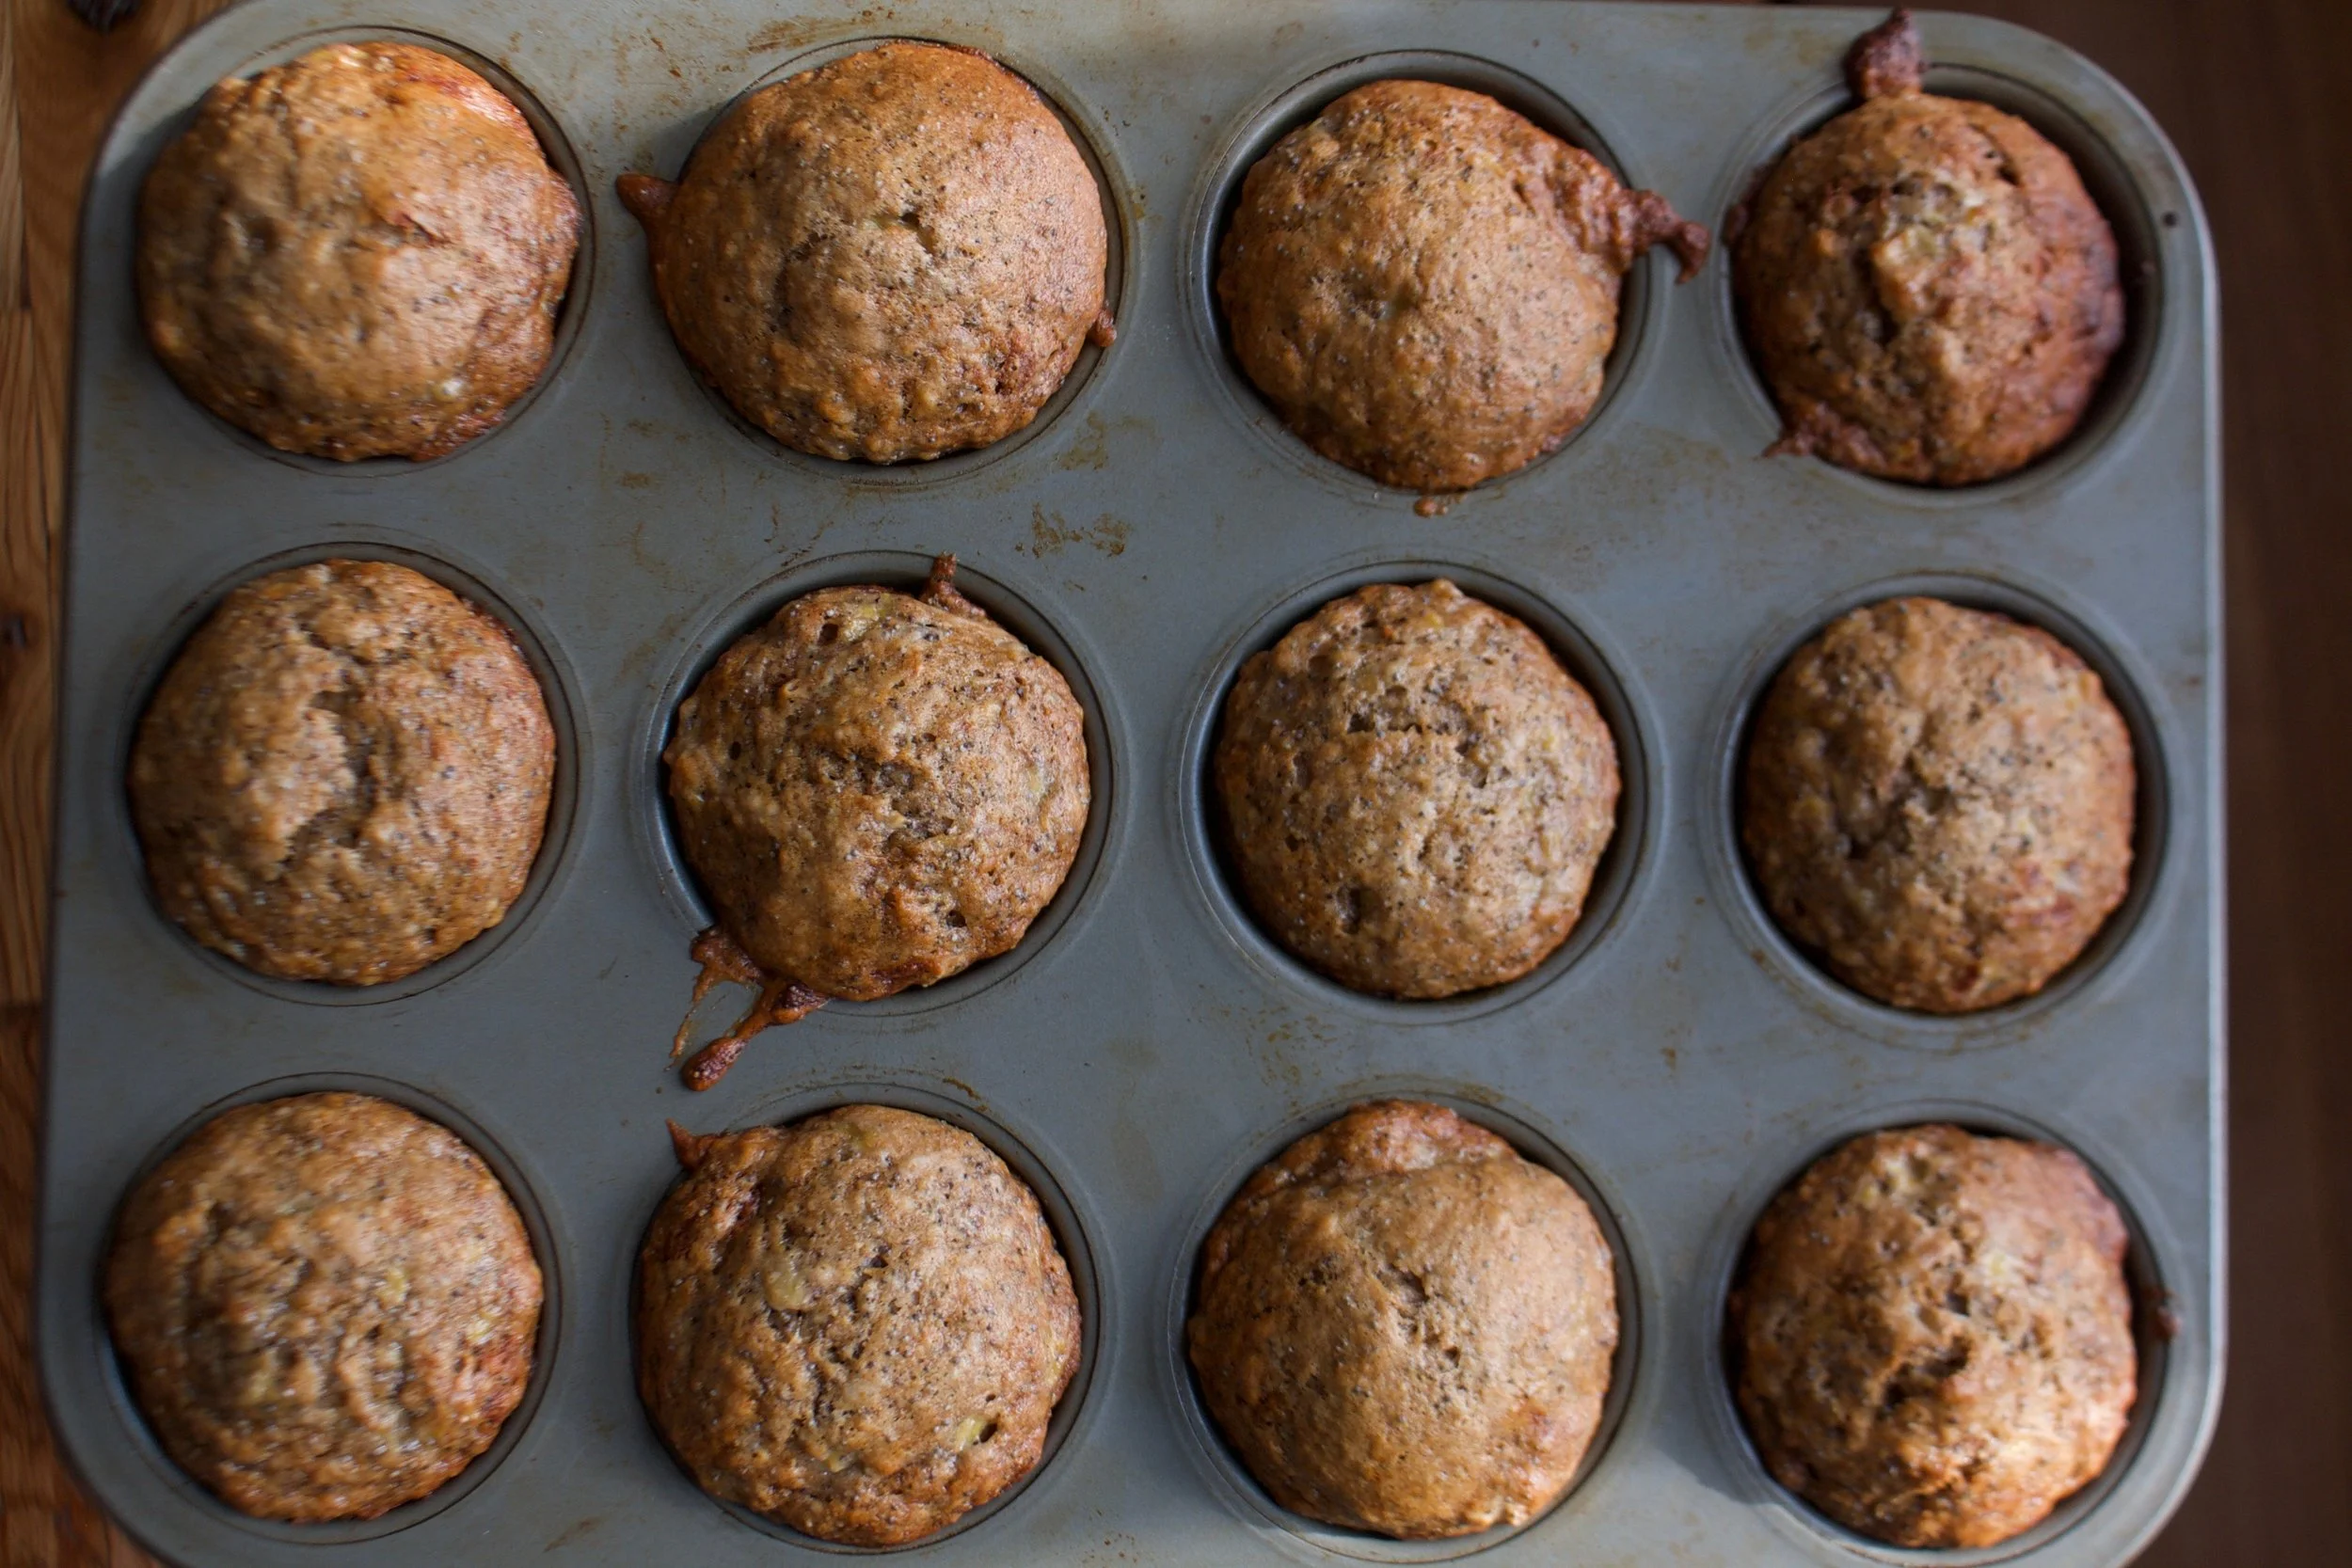
 And when you are happy with the crunchiness of you granola, remove from oven and let cool, trying not to eat all of it while it sit’s on the counter looking all pretty and smelling like happiness.%u00a0


 I need a good snack.. Something healthy, hardy, fast, and of course, something tasty.
THE LOVELY CRAZY
September 19, 2019 by maximios • Blog
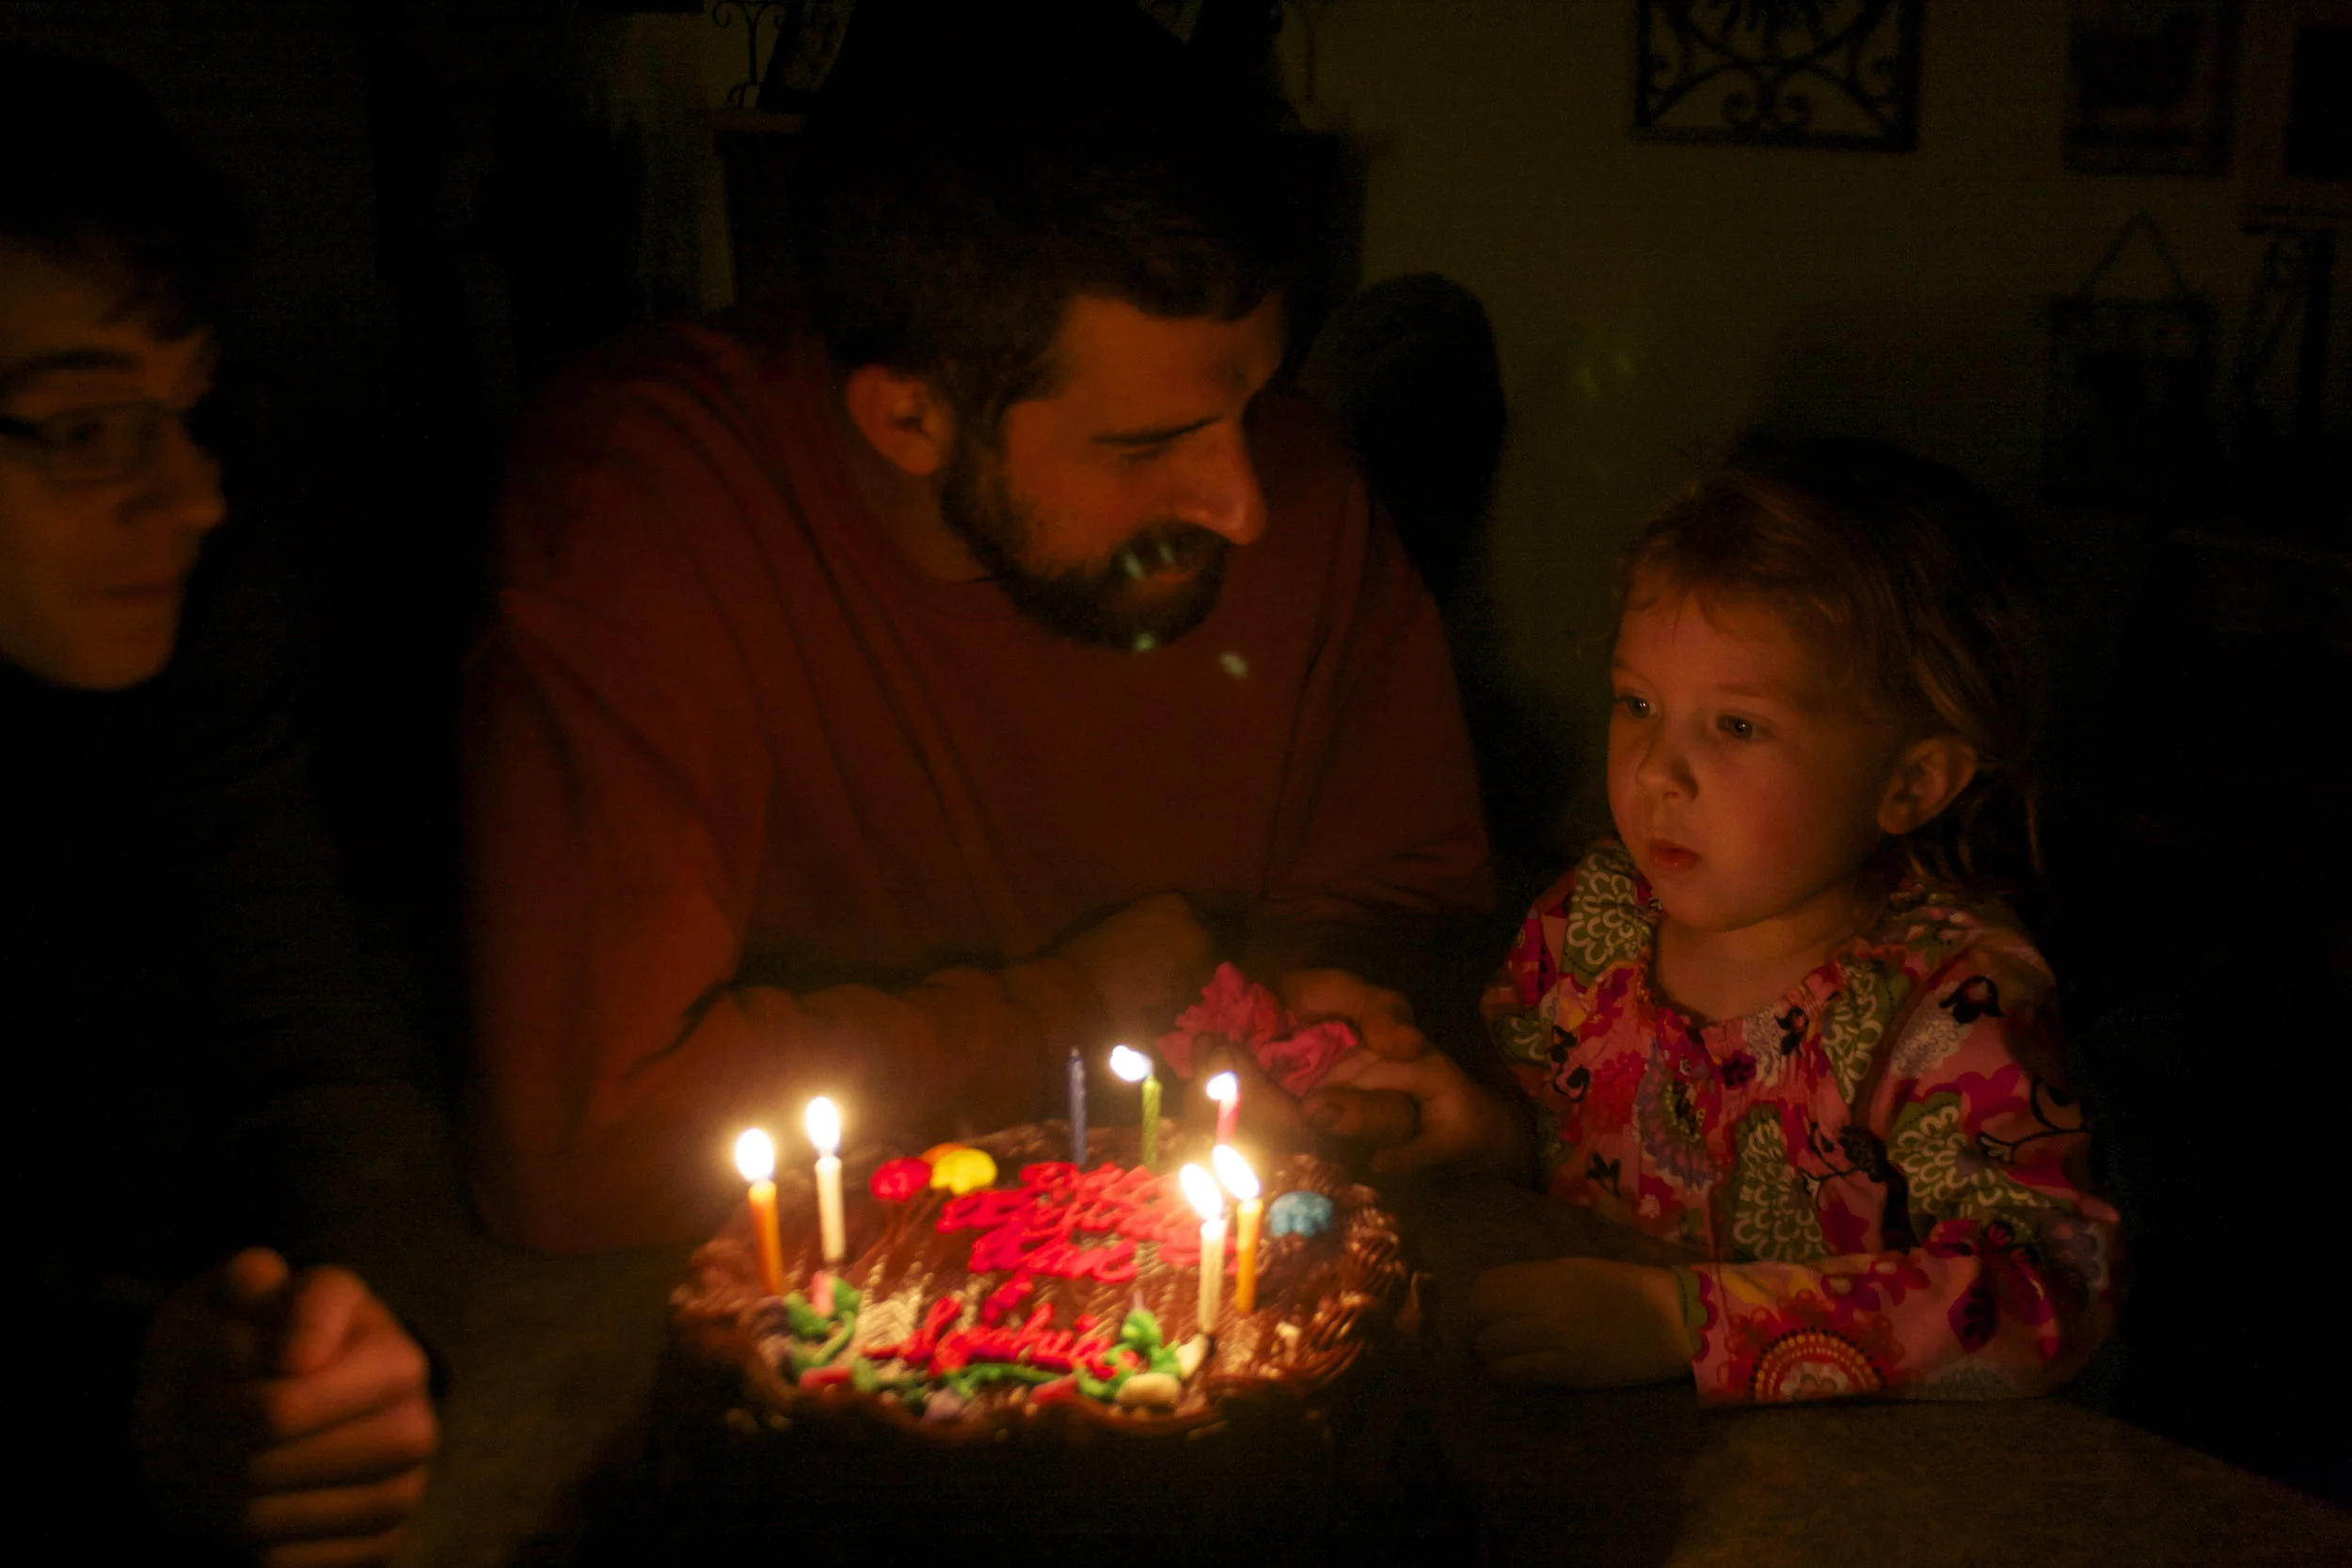
Kind of a spur of the moment cake situation. I was in the middle of doing some paper work and remembered that I had made plans with the littles to go bike shopping and do dinner. Usually when they come over for dinner I don%u2019t make a point to have a dessert (they are happy with a handful of chocolate chips if I have nothing) but I felt the need to have something special. I mean, bike shopping, that%u2019s a big deal and they were so excited so I wanted to have a little celebration cake thing. A, YIPPIE YOU GOT BIKES! cake. It just seemed like the right thing to do.
So I made cake. I running a little short on time (yet I still had time to take pictures%u2026.) so I went with my trusty one bowl, super easy chocolate cake. (This is everyone in my families favorite cake). Peanut butter frosting because it was right in from of me and really, it was for Coco the fat baby. He basically eats nothing but peanut butter these days. And of course because peanut butter and chocolate together are never going out of style. I cooked the cake in a loaf pan because I was just feeling loafy I guess. But This cake could totally be cooked into a cake round or square if you wanted to.
And that was that. I made that cake, they got the bikes (YEA!!!!, although I told them both that they sucked because they walked into a store and picked out bikes in less then an hour. I on the other hand have been bike shopping for more then a month and still haven%u2019t made a decision.) We then came back here to my house, biked around for a while, then ate cake (after dinner of course.)
Anyways. This cake. Rich, dense, chocolatey peanut butter goodness. Has been described as the best cake ever and like a Reese peanut butter cup. If you are into any of that, well this is the cake for you.
To the cake.
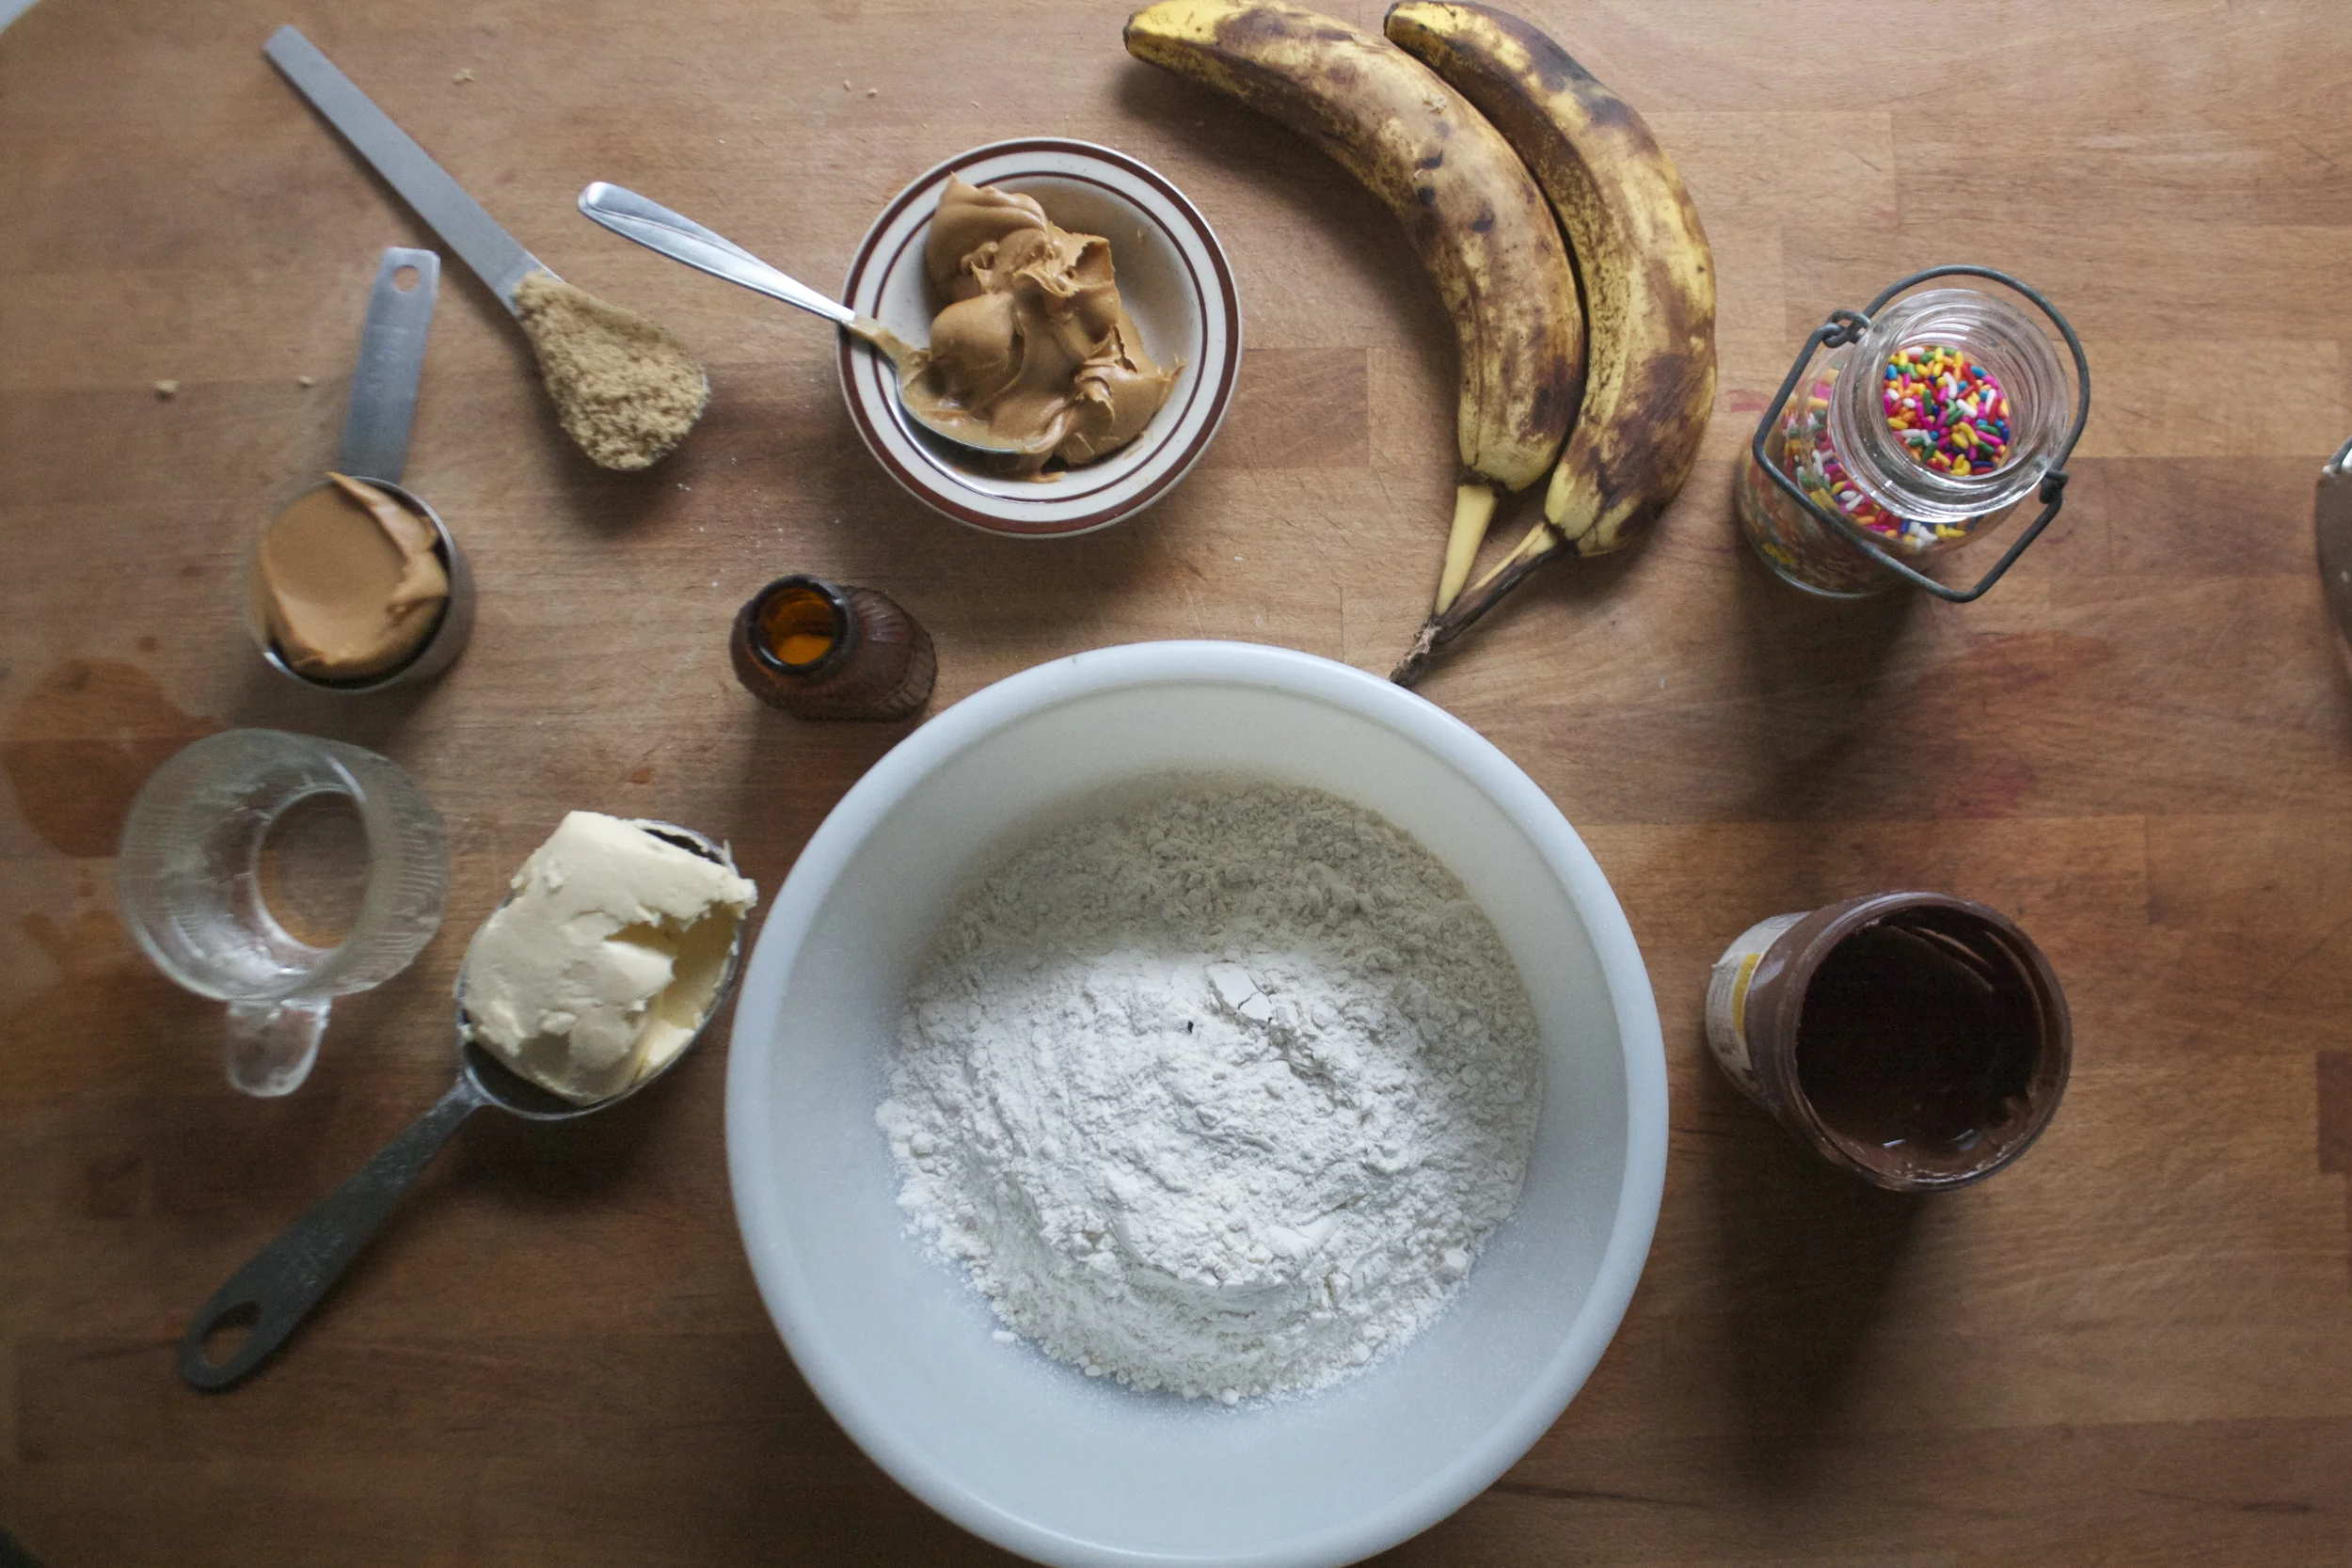
The stuff for the cake.. Flour, baking soda, salt, cocoa powder, oil, coffee, vanilla. brown sugar, and apple cider vinegar. And the stuff for the frosting. Peanut butter, butter, powdered sugar, and almond milk.
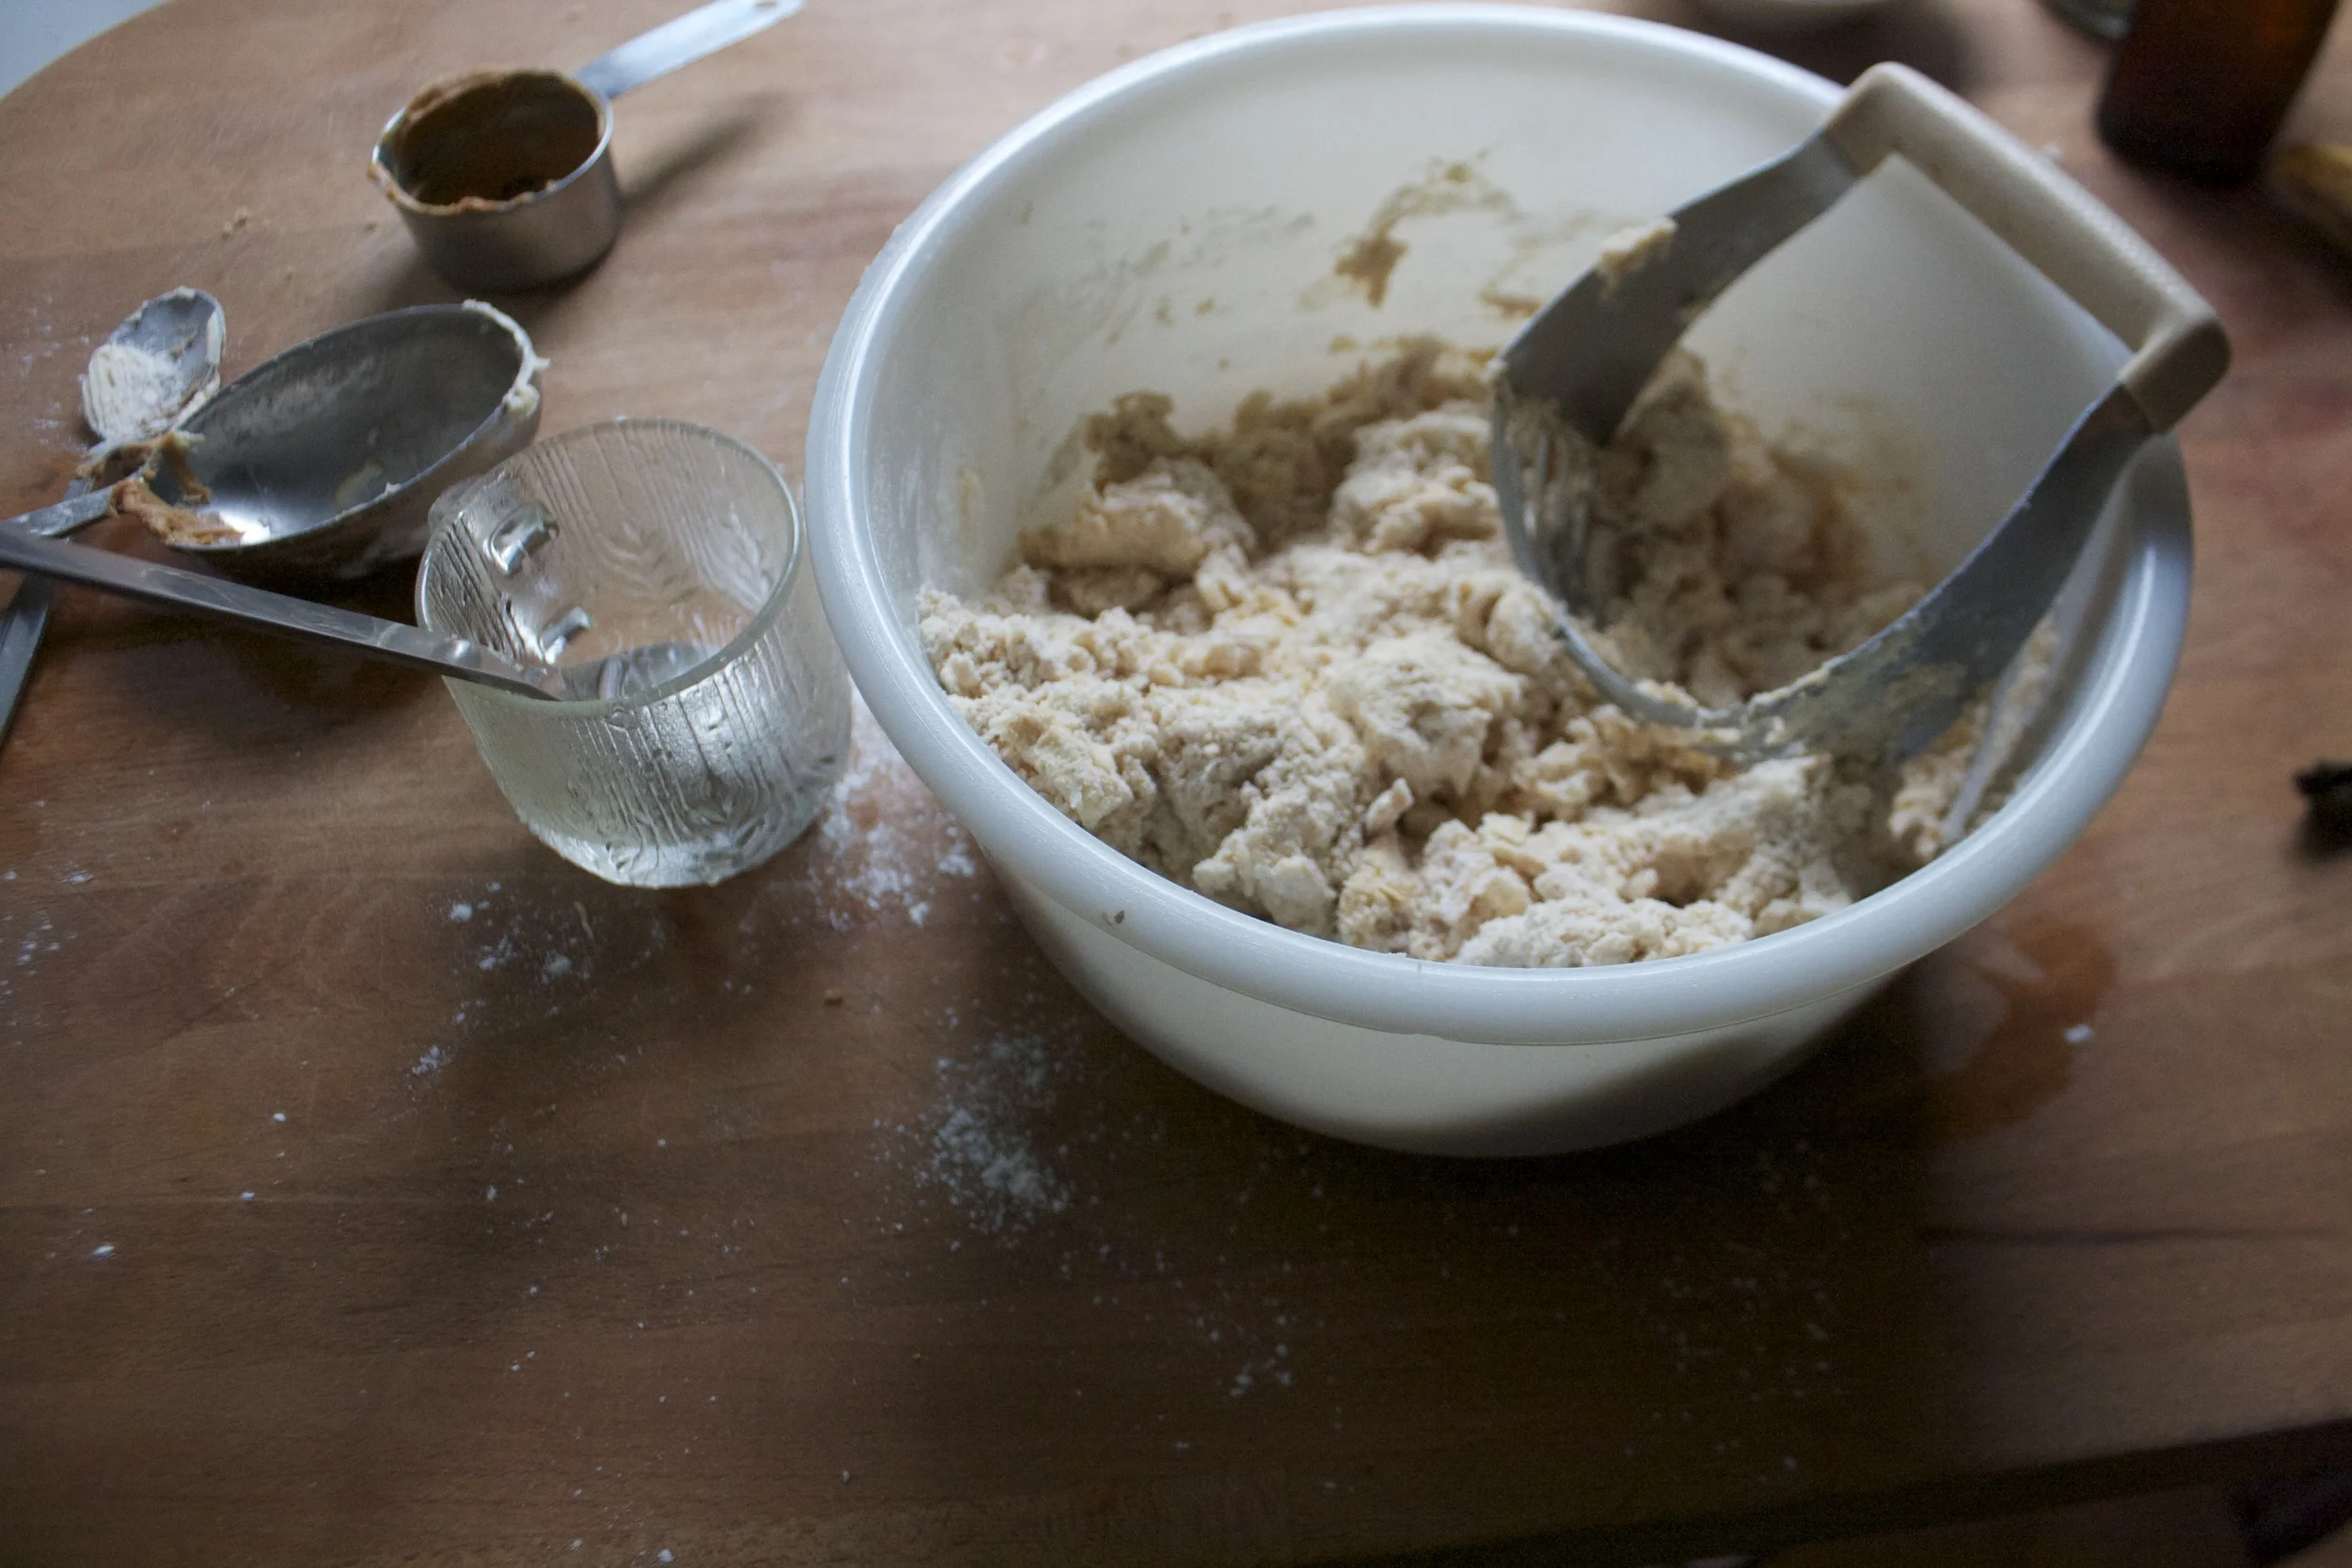
In a big bowl, whisk together the dry stuff, pinching and breaking apart any big clumps of cocoa or sugar. Then just dump in the wet.
Whisked until glossy and smooth. A perfectly perfect chocolate cake batter.
Pour batter into a greased and lined loaf pan and into the oven it goes. 50-60 minutes or so or until a tester poked in the middle comes out clean. Then pop the cake right on out. Remove cake from tin and let cool on a wire rack.
While cake is cooling, make frosting. Beat together powdered sugar, peanut butter, butter, and milk.
Fully beaten. Ready to frost a cake.
Once cake is cooled, cut in half down the middle, length wise. Then frosting the middle. (Make sure it is cooled in the middle before frosting. If it is still warm, let it cool)
Pop the top back on and frost the rest.
And don%u2019t forget the sprinkles. Went with chocolate and gold because. But you do you and use whatever sprinkles you want.
And then you eat the cake.
I ended up stick it in the freezer to hide for a while%u2026 I guess this cake cold or slightly frozen is just about the best thing ever. The littles damn near ripped my arm off trying to get seconds.
-C
makes 1 loaf cake
For the Cake
1 3/4 cup all purpose flour
1 cup packed light brown sugar
1/3 cup cocoa powder
1 teaspoon baking soda
1/2 teaspoon salt
1/2 cup neutral oil
1 1/2 cups warm coffee
1 teaspoon vanilla
1 tablespoon apple cider vinegar
For frosting
3/4 cup minus 2 tablespoons peanut butter
2 tablespoons vegan butter
1/4 cup plant based milk
1 1/2 cups powdered sugar
Preheat oven to 350 and grease and line a loaf pan.
In a large bowl mix together the flour, baking soda, salt, cocoa powder, and brown sugar. Break apart any big clumps of sugar or cocoa with your fingers. When that%u2019s mixed, dump in the wet and whisk together until just fully incorporated. Pour batter into the greased pan and stick into oven.
Bake for 55- 60 minutes or until a tester poked into the middle comes out clean.
Once cooked, remove from oven and carefully remove from pan. Place on a wire rack to cool.
While cake is cooling, make the frosting. Just beat together the butter, peanut butter, and milk until nice and creamy. If you find your frosting be too thin, add in more powdered sugar, too thick, a splash more milk.
When it is cooled, cut the loaf in half length wise. Make sure the inside is complete cooled as well. I totally stuck my cake in the freezer for little bit to speed up the cooling process%u2026..
When the cake is cut and completely cooled, frost it. Spread a little less then half the frosting on the bottom layer, stick top back on, and finish the frosting. Cover with sprinkles (if you want) and then that is it.
Serve room temperature or what my people really like is served slightly frozen, which is great because I just cut the cake up and froze individual pieces making for a perfect quick dessert.
It was the perfect Sunday. Cold, snow covered, cozy and quite. Everything a Sunday should be. (now its warm ,rainy and chaotic. Poop) The perfect day spent reading, drawing, drinking way to much coffee and putzing around. And baking a loaf of bread.. chocolate bread. If everyday was like this………
Chocolate bread? Well yeah, it is the holiday season after all and I figured that it would make something that would last all week and can is multi -purpose.(breakfast or dinner) I could have made more cookies, but I am airing on the side of not feeding the mr sugar bombs for breakfast these days. But this chocolate bread. He can eat it whenever he wants. It’s basically just a loaf of bread (I made it with whole wheat for extra goodness) with a tuch of sweetness ans a lot of chocolate flavor. It makes agreat breakfast toast, a hearty snack, or would be great for some type of french toast situation. Or maybeyou want to make some chocolate bread pudding, or woy are going to be making chili and want something to serve it with. (I was thinking a black bean chili would pair really nicely). There are no rules here. The mr, he has been eating it with peanut butter banana or mashed avocado. Its nothing to complicated, just chocolaty bread.
So of you are around this week, maybe spending some time at home, I think you should make bread.%u00a0 It’s really easy, not much in terms of mess and who doesn’t love the smell of baking bread? And bonus.. IF you have any friends or family visiting, or if you are visiting them, why not impress them with a freshly baked loaf of bread, You will be the coolest.
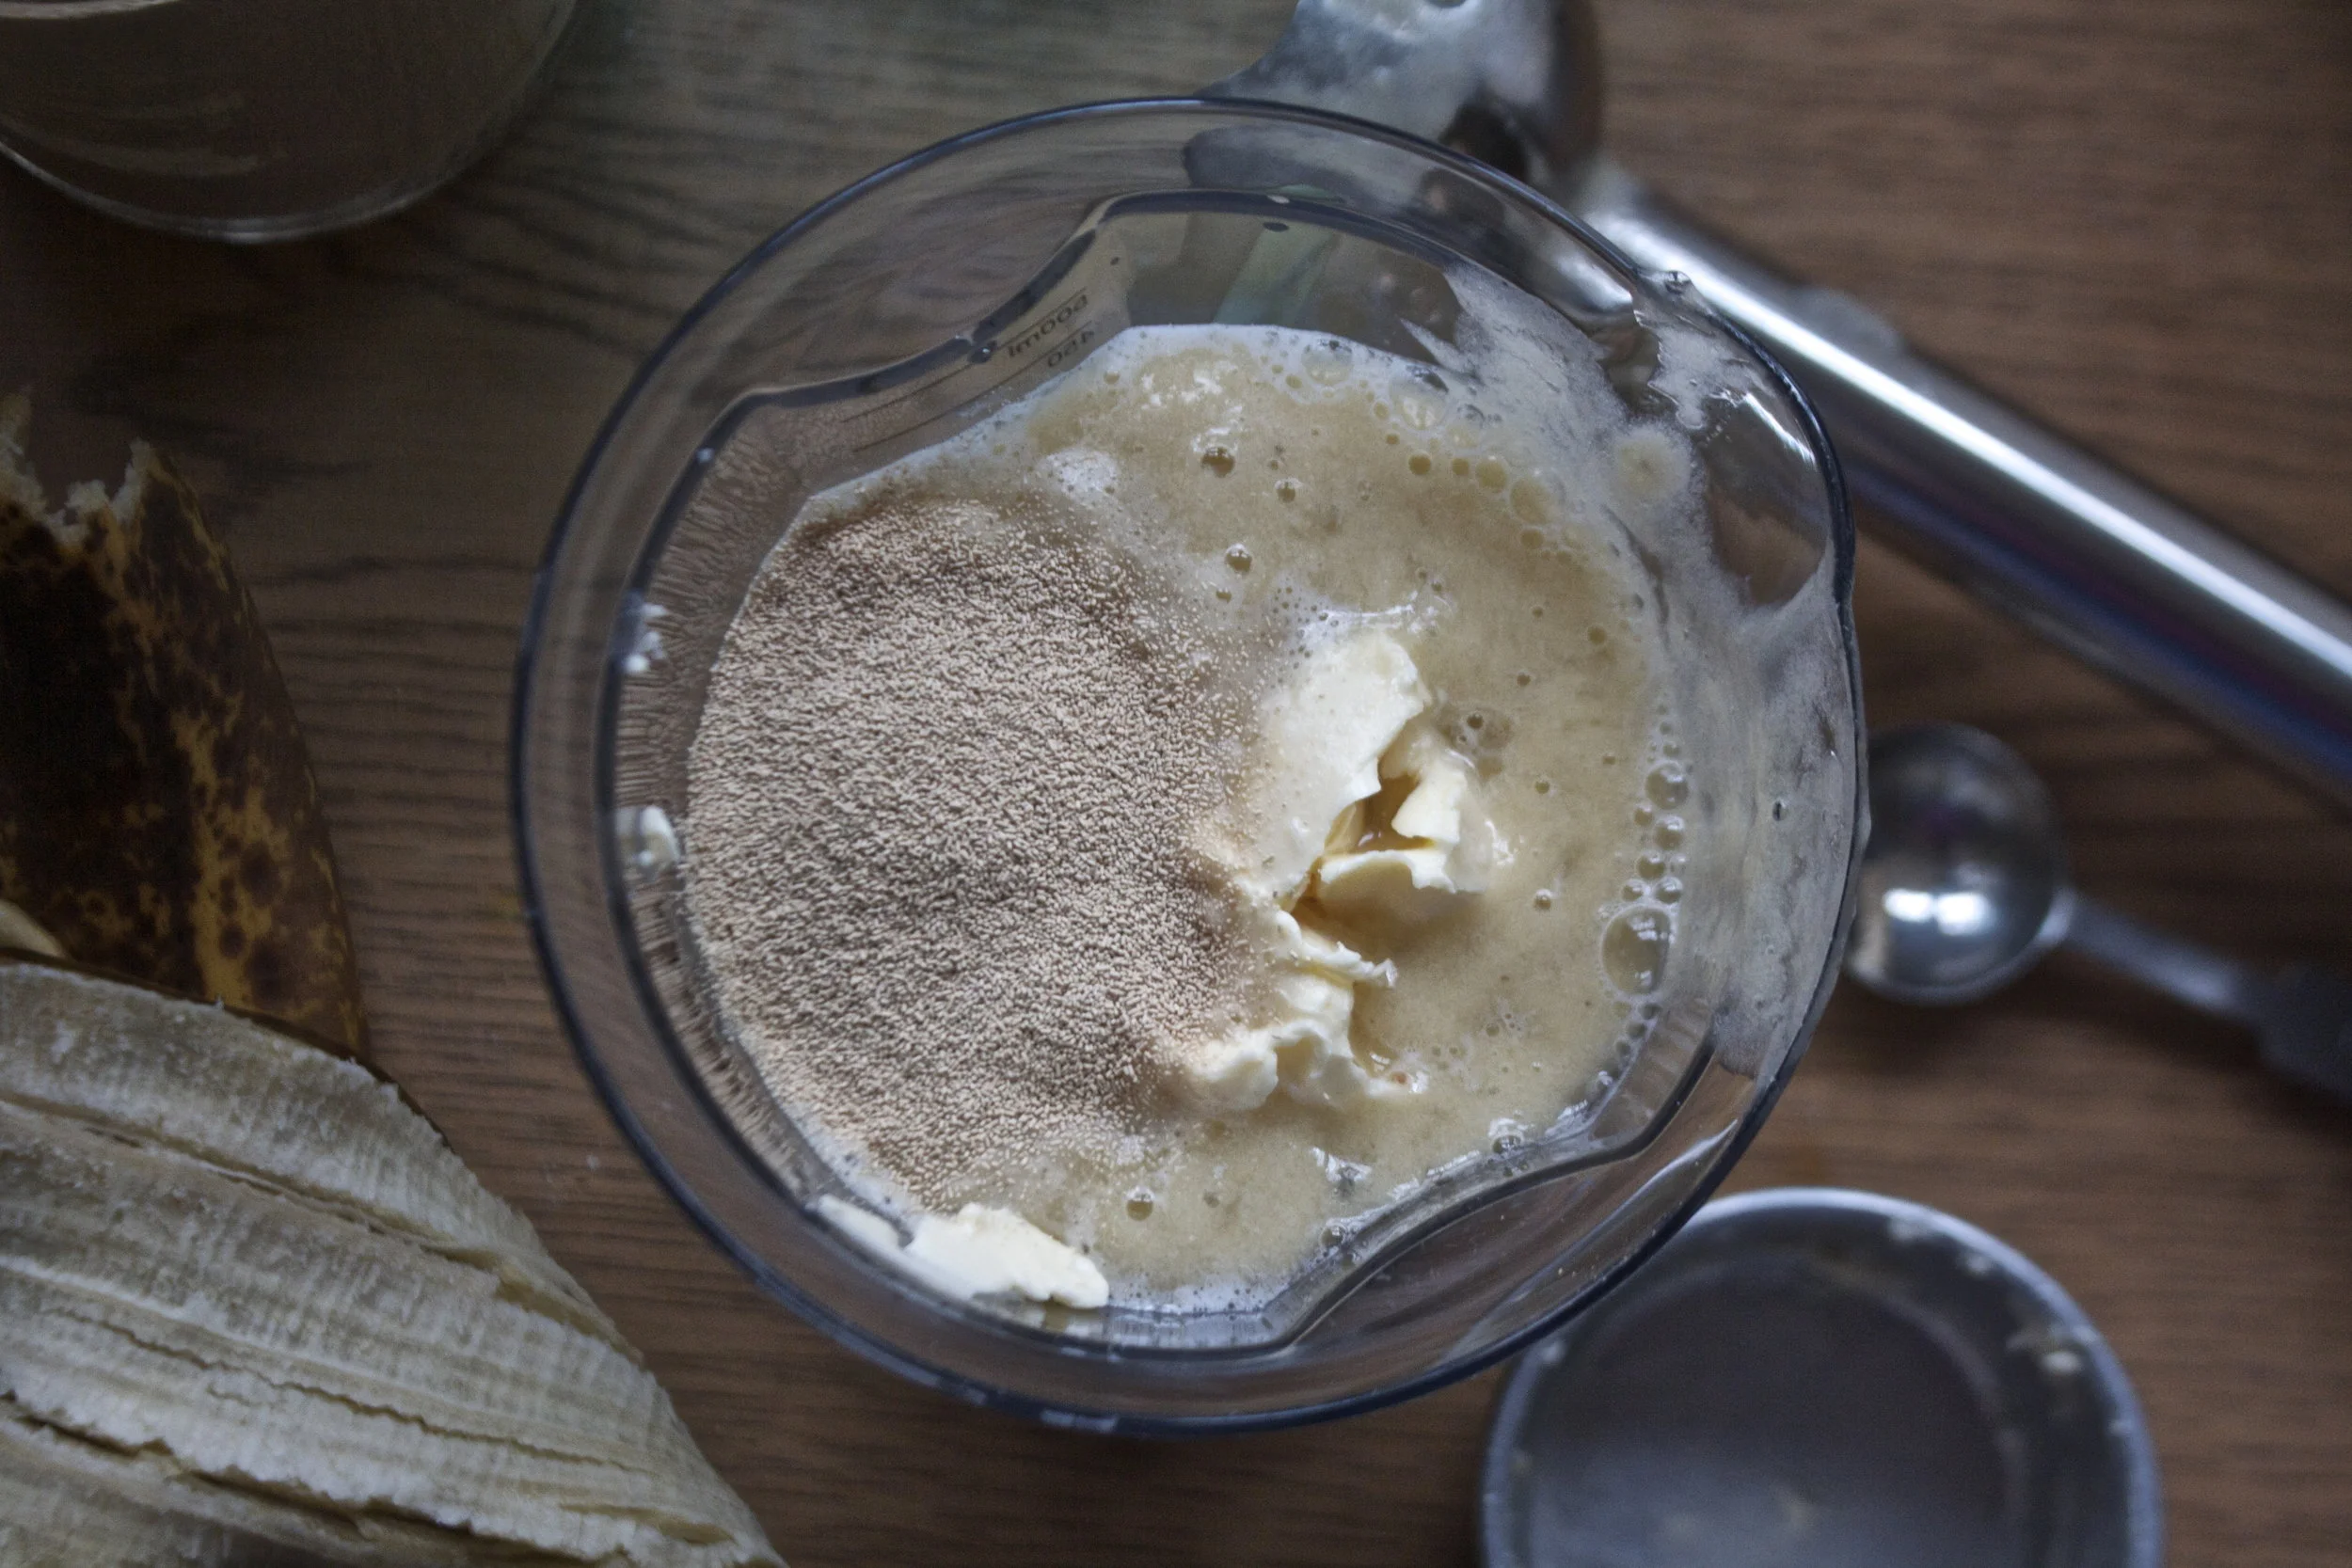
The stuff. White whole wheat flour, cocoa powder, salt, soy milk, coffee, yeast and turbinado sugar.
The sugar and yeast get whisked together with the soy milk and coffee and left for a few minutes to make sure its active (or if you know your yeast is good, then just get on with it.)
Flour, cocoa powder, and the salt get a good whisk together as well.%u00a0
Then dumped into the yeast mixture.
Mix until the dough starts to come together, then dump it onto a lightly floured surface and start. Gather together with your hands ans start to knead.
Keep kneading (about 5 minutes or so) until the dough is a cohesive texture, slightly glossy, %u00a0ball of goodness.
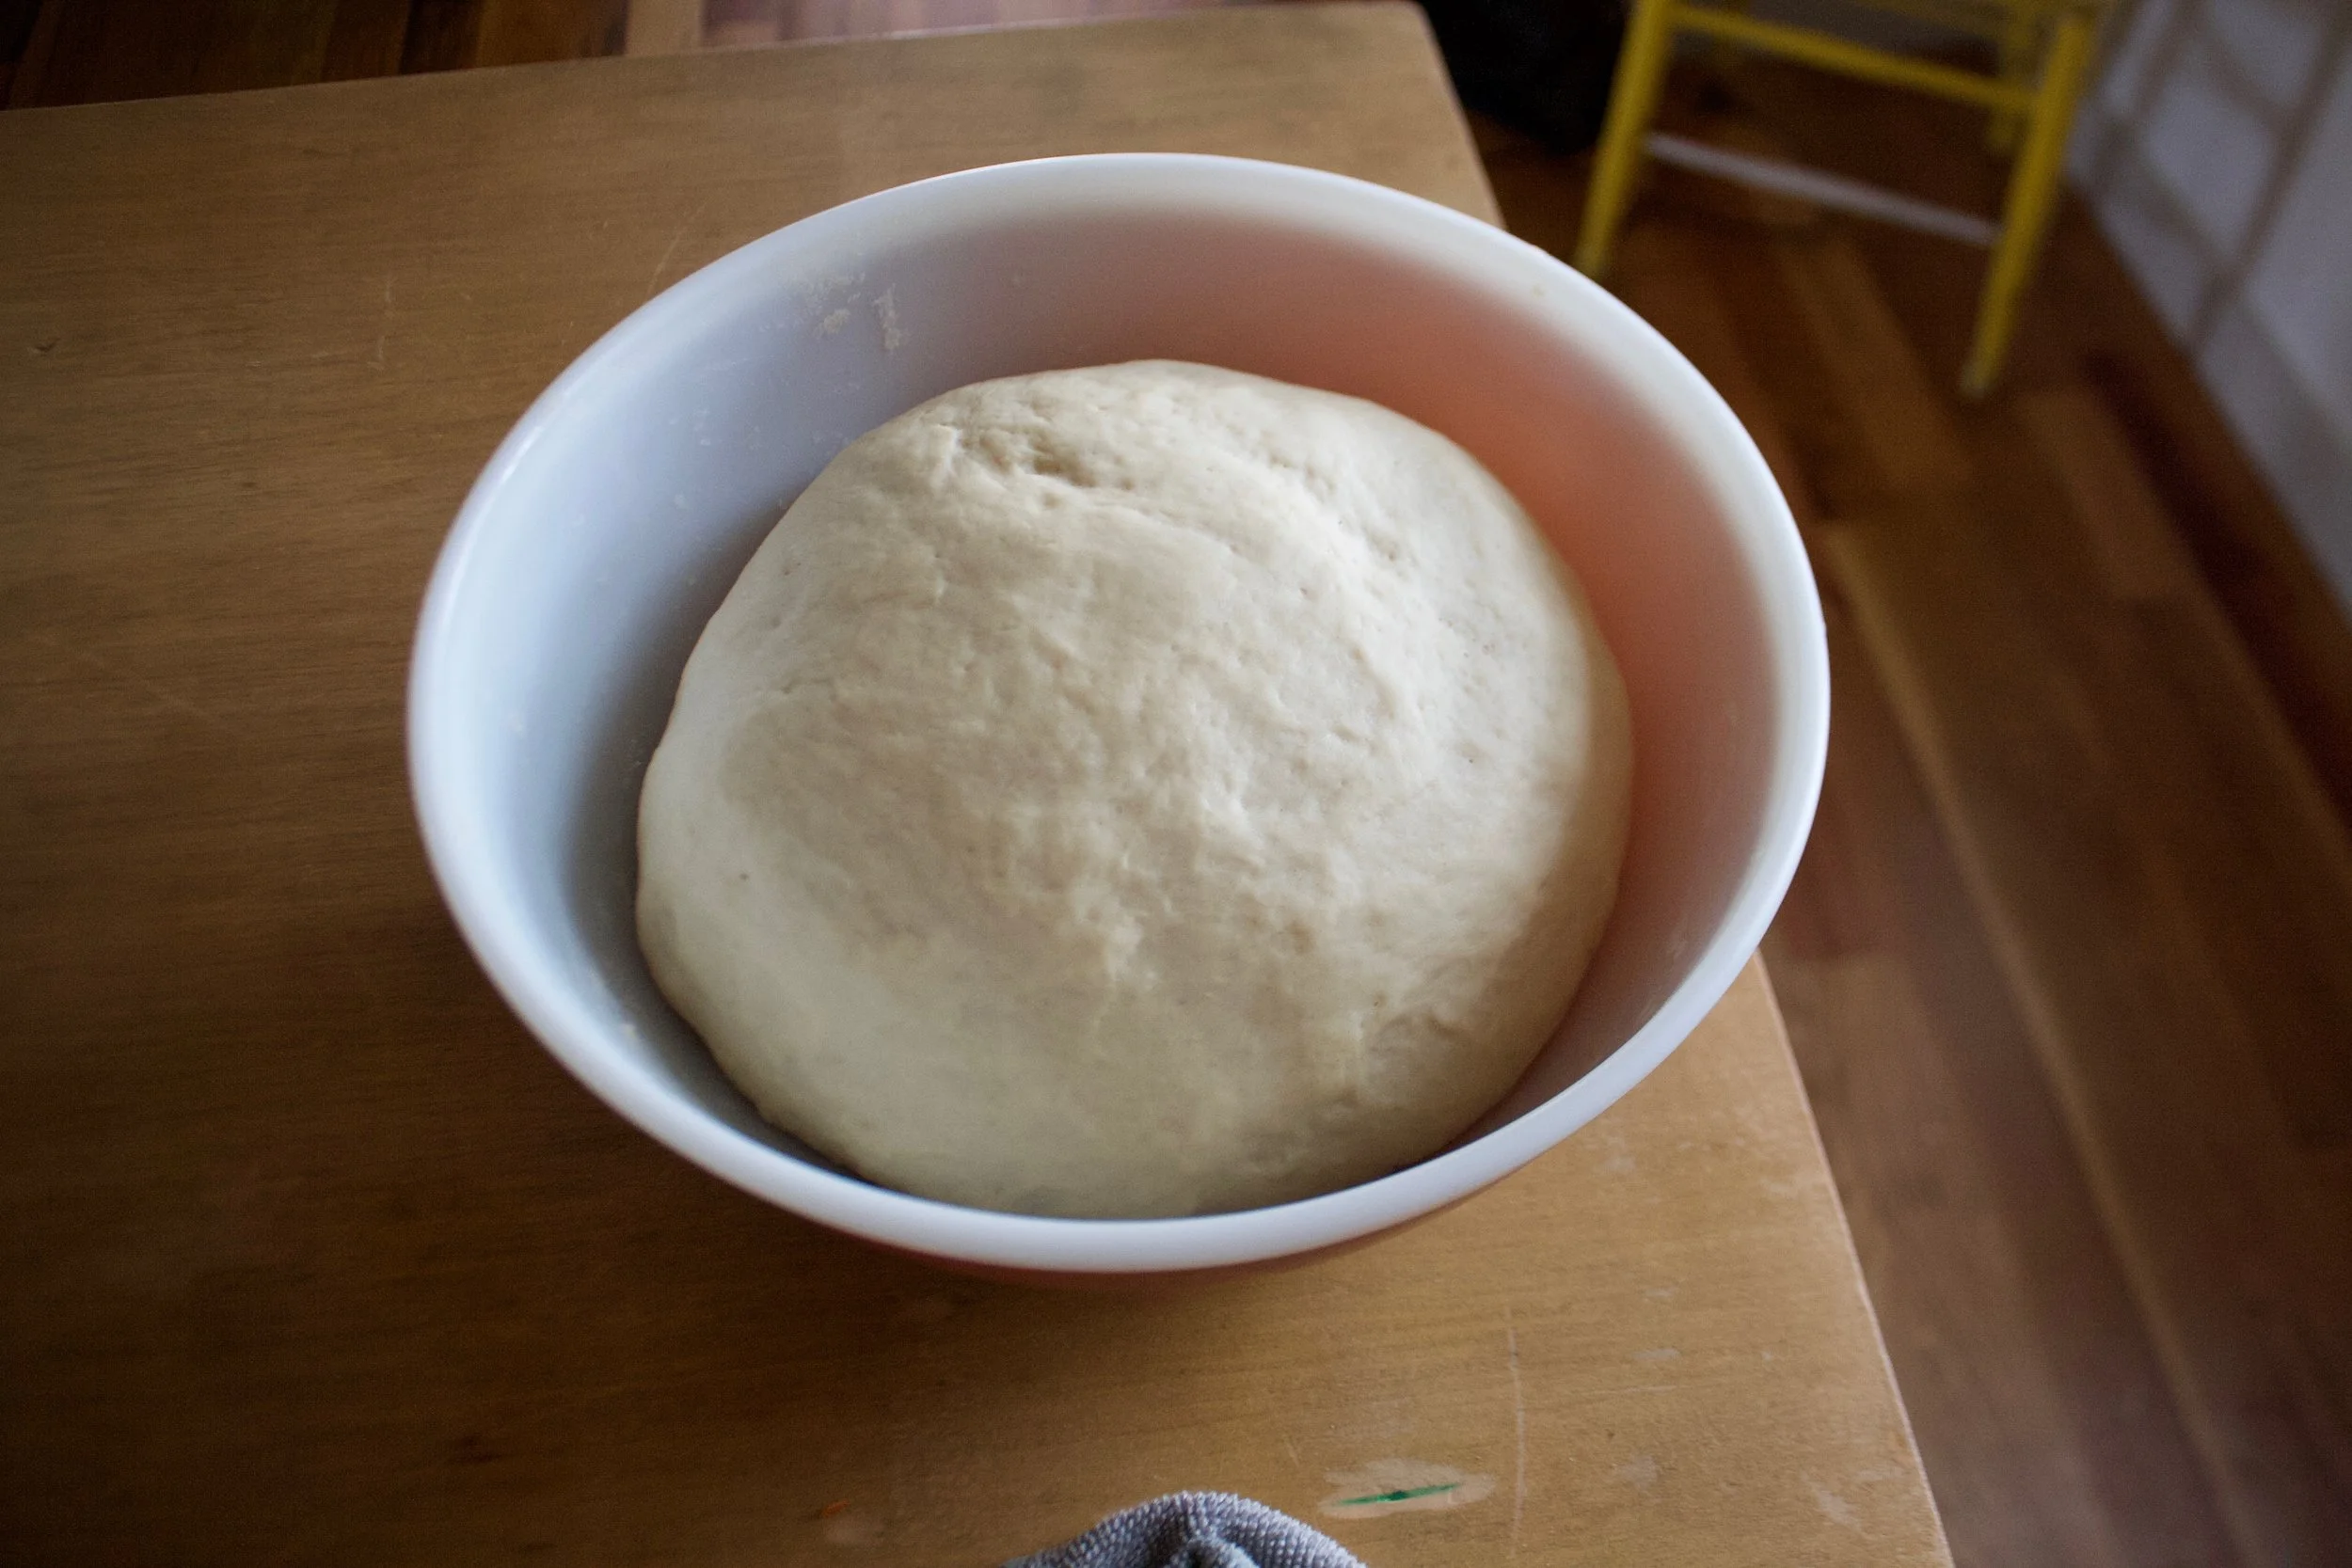
Place the dough back into the bowl and drizzle and rub down with a oil (use a neutral flavor) Place a damp towel over the top and stick in a warm place to rise and double in size, which should take between an hour,, hour and a half, (depending on how warm you place is)
Once it has doubled, push down dough, shape into a loaf shape, and place in a greased load pan. Rub a little more oil on the top, cover with plastic this time (a towel will absorb the moisture from the dough), and place back into the place to rise again.
And once the dough starts to crest the pan and has double again,(another 30 minutes) it’s tie to bake. Stick the dough into a preheated oven and bake away.%u00a0 Optional step but yoi should do it. Stick a pan with about an inch of water on the bottom of the oven when you stick the dough in. It makes the crust a little crustier and pretty. and keep the bread a but more moist.
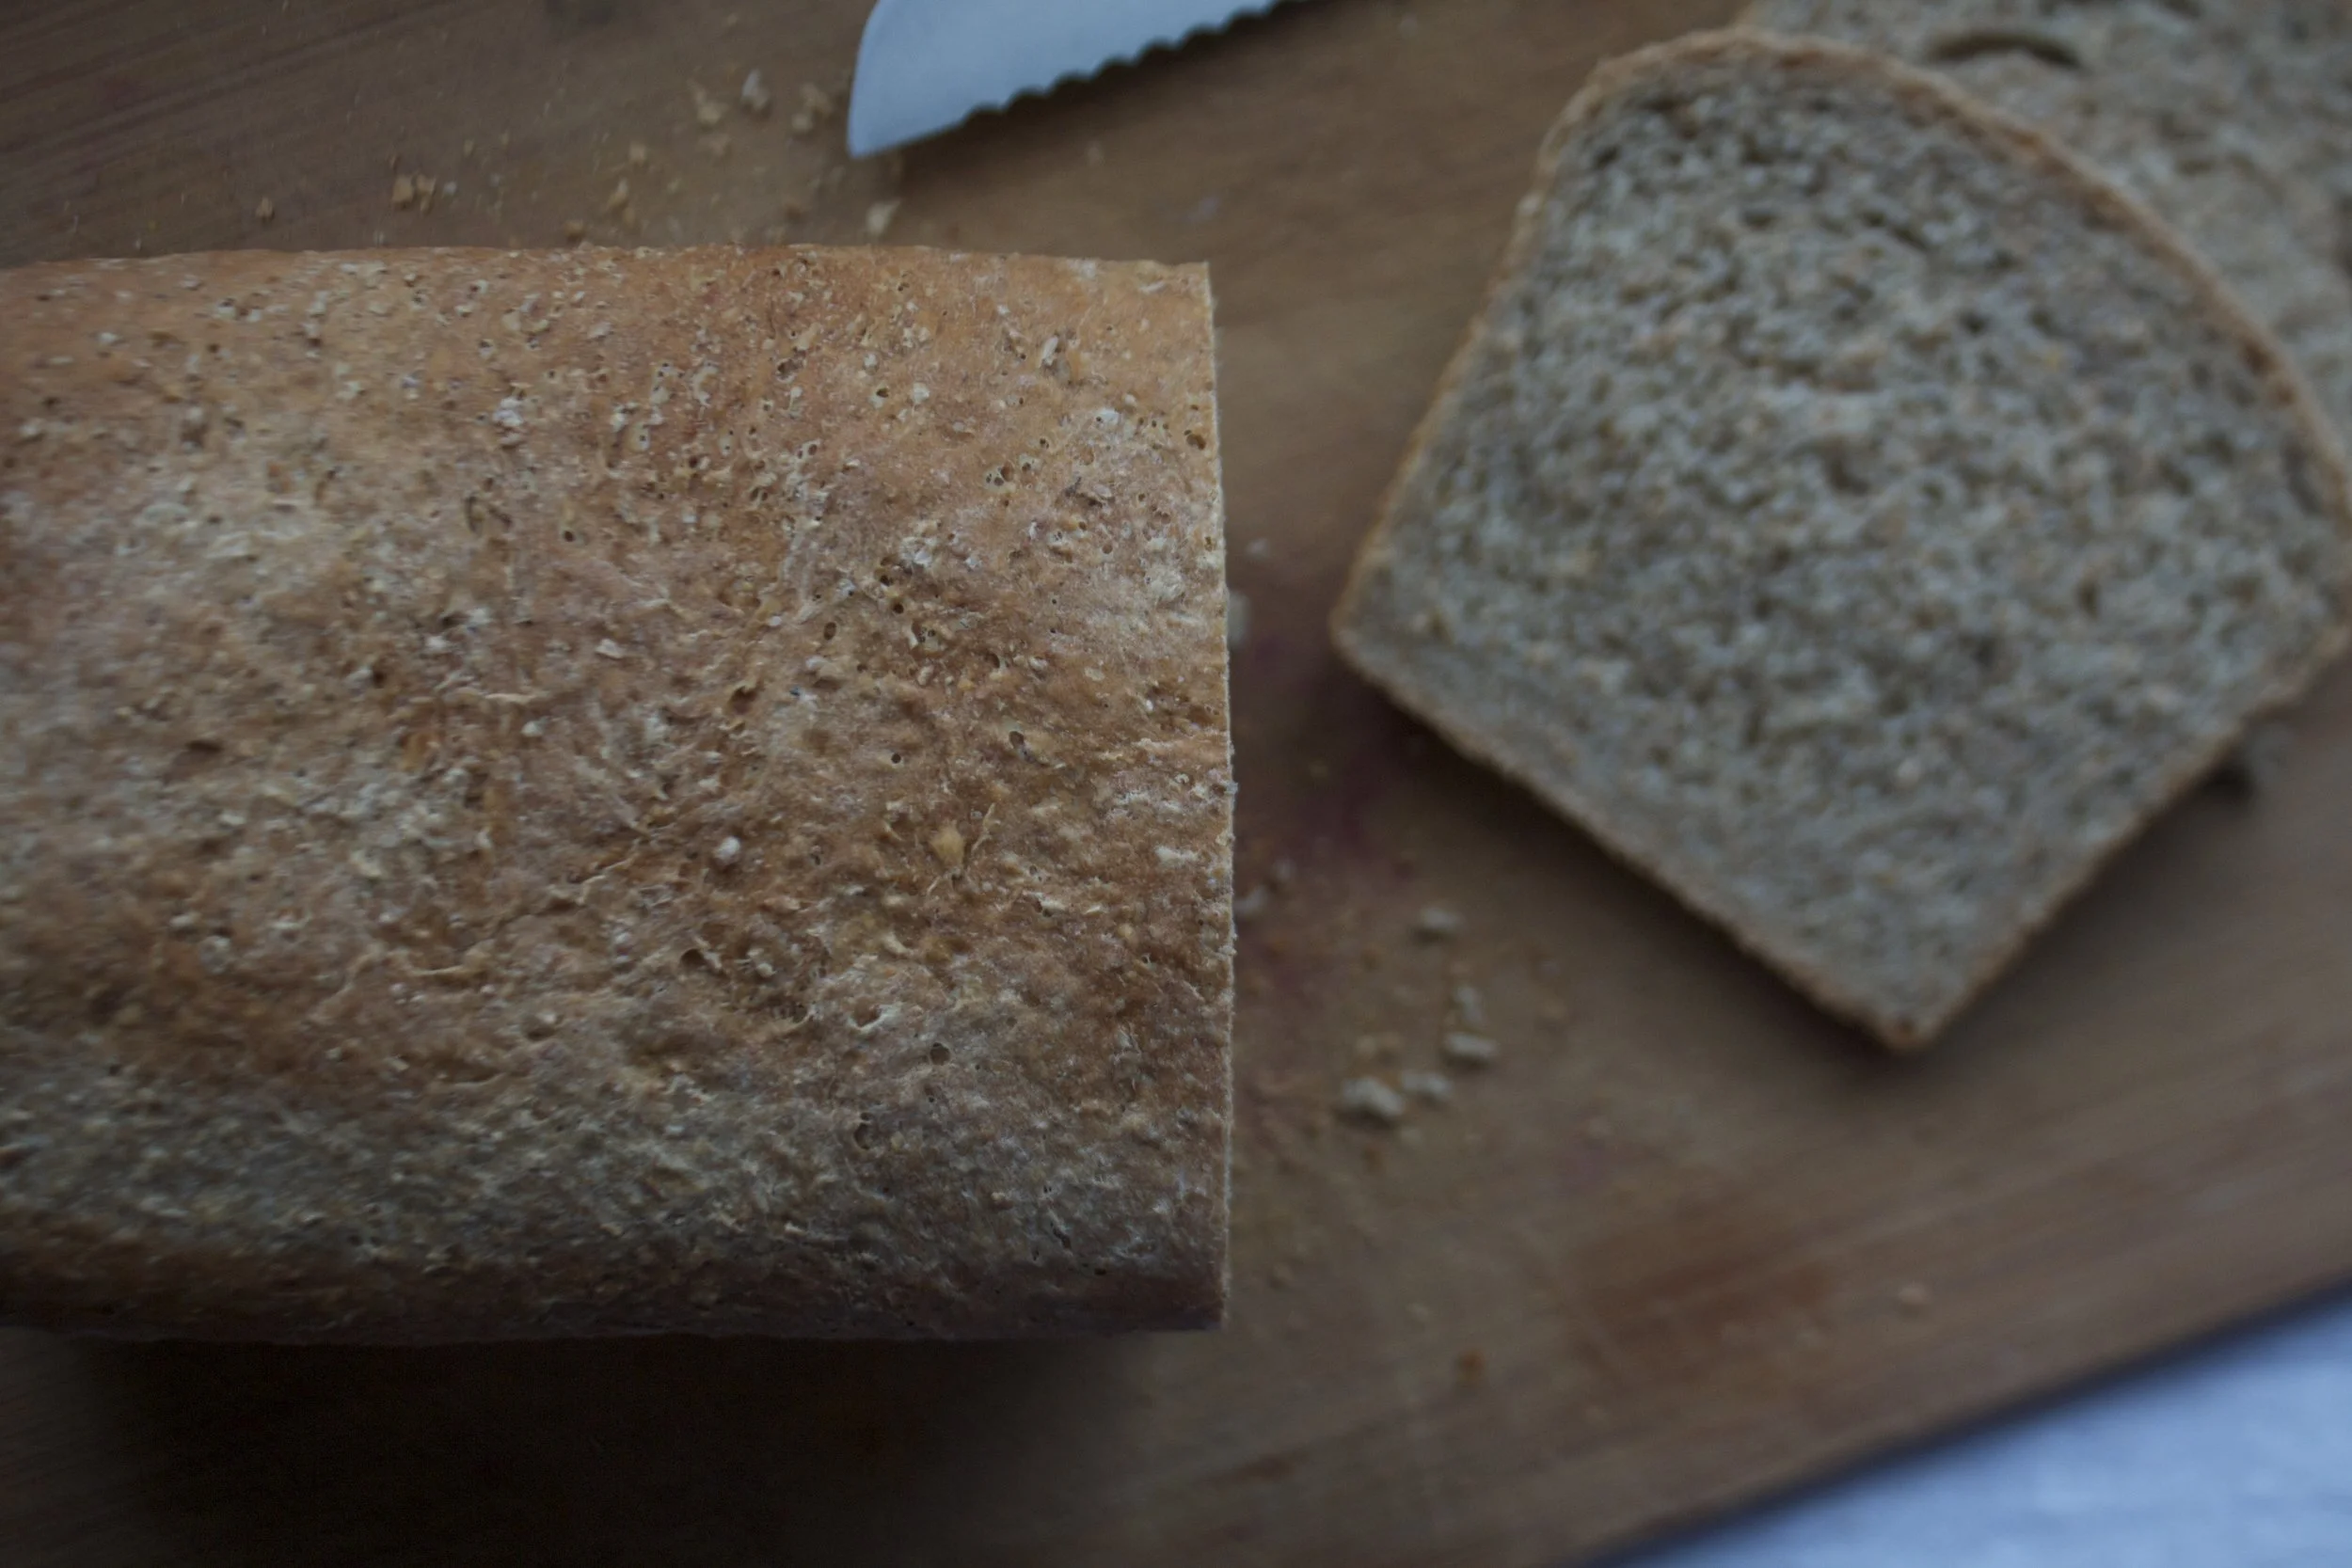
And once the bread is done (45-50 minutes, with a internal temp of 190) remove from the oven and let cool(for at least 15 minutes.. (you can do it!)
Sliced to your preferred thickness, eaten as is or slathered with some peanut butter. Save some for the morning for french toast or strawberry jam toast.
The possibilities are endless.
Enjoy you day.
-C
Makes one loaf
Note. If you want to make 2 loaves (why not right) just double everything except the yeast. Still only use the 2 1/4 teaspoons.
In a large bowl, whisk together the soy, sugar, and the yeast, then add in the coffee last. (just to make sure the coffee isn’t to hot that it kills the yeast) In a separate bowl, whisk together the flour, cocoa powder and salt. Once you are sure the yeast is active, dump the dry into the wet and mix with together until the dough starts to form. If the dough seems to wet, add in another tablespoon or two of flour. Dump onto a slightly floured counter and knead until a cohesive texture that is somewhat smooth a glossy. Place dough back into bowl, drizzle and rub with oil, then place a damp towel over the bowl ans stick it in a warm place. Let the dough rise until it has doubled in size, which should take about 1- 1 1/2 (depending ho warm the spot) Once doubles, dump onto counter and push down. Shape into a loaf and place into a greased loaf pan. Rub a little more oil on top and cover with plastic. Let the dough rise for about another 30 minutes or until the dough is cresting the brim of the pan.%u00a0
Preheat the oven to 400
When dough is done it’s second rise, place a pan with about an inch of water into the oven on he lowest rack. Place dough in oven on the middle rack. Turn heat down to 375 and bake between 45-50 minutes or until the dough is golden brown and sounds hollow when tapped on. (also can check for temperature of 190 with a instant read thermometer)
When done, remove from pan ans let cool completely (or at least 20 minutes) before cutting.
When cooled, cut into slices and do what you will (straight up or covered in peanut butter…..)
Store uneaten bread in a air tight bag for about 3 days or just cut it all up and stick slices in the freezer and grab pieces as you need them. Either toast or lest thaw to room temp.