I finally got rid of the last of the Christmas tree needles just in time to replace them with glitter for the next few months.. It is my own fault. I didn%u2019t HAVE TO use glitter on a giant ass heart that I made for the mr, but I sure as heck wanted too. (I redact my statement%u2026 I HAD TO) It%u2019s ok though because glitter happens and you just gotta deal with it.
The week was the week. Nothing out of the normal. Nothing overly exciting. Valentines day was nice. The mr covered all the windows with little heart and besides the giant heart I made, I also made the mr a heart cake and heart bread and all his food for the day was basically in the shape of a heart. And we went snow shoeing where we might have almost stole a dog. Maggie was her name and she showed up out of nowhere on the trail which was out in the middle of nowhere. Hiked with us for a while, took off, and showed back up on our way out of the woods. Obviously she lived someplace close by and she did have a collar on (that is how we knew her name) but gosh, she was so sweet. She even walked us to our car and got in like she was ready to go home. Ugh, it hurts my soul a little. I miss having a dog. Who I really miss is Washer. Oh boy, here I am feeling all sad and shit%u2026..But the snow shoeing was amazing! Haha
Anyway, a mellow week. And now it%u2019s the second half of February so it basically going to be spring soon and mellow won%u2019t be staying mellow for long so I am going appreciate it for now, although I am getting little antsy for when I can finally pull out my sandals and open all the windows in the house and dirt. I am getting ahead of myself here. That is still a month or 3 away. But it is on my mind.
The mr and I don%u2019 t have any big plans for the day other then dropping in on the littles and maybe going out for coffee with Barb. We have a few chores that need done so we will probably do those%u2026%u2026 Whoo hoooo!
As usual, some links to read if you feel like perusing the Internet.
-Not going to lie, I completely see his point. Why Thomas Keller Thinks Farm-to-Table Is Absurd. I want the carrots from the farmer that is in love with his carrots too.
-Totally my type of home. . Life in This Verdant Home in Vietnam Is a Walk in the Park
–Here’s why ultra-processed foods are so bad for your health. So so bad.
-Baking fantastical things is not as easy at it might seem on the T.V. The Only Way I Got Through a %u2018Great British Baking Show%u2019 Challenge Was By Cheating
–I must make a fantastic pie soon.Dazzling Gradients and Geometric Designs Baked into New Pies and Tarts
-Got questions, here are some answers. Your Questions About Plastic Waste, Answered
-Genius. And the best feature is that it craps every last bit out of the jar.. This New Pump Will Help You Put Peanut Butter on Everything Without a Knife
–These Surreal Guesthouses with Impossible Staircases Have Alice in Wonderland Vibes. I think more like the movie Labyrinth and then I think of David Bowie in tight tights%u2026%u2026
–Please Don’t Let Your Tiny Dog Blow Away in the Wind. Real life problems.
-He climbs without any rops or harnesses. The guy is crazy. And amazing. A documentary I will watch. Free Solo.
It%u2019s hot out and we are thirsty. Water is good, water is great, but sometimes a little somethin%u2019 somethin%u2019 is called for, for you know, being that we need to deal with it being so freaking hot out. and sticky and gross. (BLAH. This past week we have had some temperatures it had make me crankers.)
Anyway, what is more refreshing then cucumber? Not much. And so we blend up cucumber, add some mint and lime juice and stick it into a glass with ice and bubbles. What can be more refreshing then that? Plus look at how pretty it is. Bright ass green. A true summertime drink.
To the Spritzer!
The stuff. A thin skinned cucumber, a lime, a spring of mint, club soda, and if you want, a little simple syrup.
Chunk up the cucumber and into the blender it goes with the juice of the lime and a couple mint leaves.
Grab a couple glasses, add in some ice, and fill each glass half way with the cucumber juice. (mix in liquid sweetener in now if you want it.)
Top off with club soda, a mint leaf and a few slices of cucumber and you are golden cool and fancy free.
Stay cool%u2026..as a cucumber.. HAHA!
Makes 2 or 3 drinks
1 cucumber (thin skinned and 6-8 inches long)
a lime
a few mint leaves
club soda or plain seltzer
1-2 teaspoons liquid sweetener (optional)
Take cucumber and place into blender along with the juice of the lime and a couple mint leaves. Blend until smooth. Grab a couple glass, fill each with ice, then fill each glasses half way with cucumber mixture. Add in any liquid sweetener if using and stir. (I recommend trying without sweetness, that is that way I like it, and then add sweetener if you need it.) Top glasses off with club soda. Garnish with sliced cucumber, lime wedges, and or mint leaves if you want.
Drink away.
It’s melon season!%u00a0The past few farm shares have included at least 2,, if not 4, watermelons and cantaloupes… Can you imagine. eating 4 watermelons a week? That’s a tall order, even for someone like me who could probably eat a whole watermelon in one sitting, it’s just doing it 4 times a week might be a problem. %u00a0It’s a whole lot of melon and not enough stomach, you know what I mean?%u00a0
So what do I do with so much melon? Well first off, whenever anyone comes over I try to get them to %u00a0eat as much of it as they can, which helps a great deal. Secondly, I cut it up and freeze some. But here is the thing, I love eating chunks of frozen cantaloupe, but frozen watermelon,%u00a0never been my favorite so I usually just pass on sticking in the freezer, until now.
There is something magical that happens when you stick the frozen watermelon and cantaloupe together into a blender and making it into a slushy. It’s like eating a ray of sunshine or maybe even a rainbow, just really satisfying and juicy, and sweet but not overly sweet, and just really freaking good. Especially with all the stupid hot and humid weather we have had lately, these slushies have really been hitting the spot. %u00a0Even the mr who says he dislikes watermelon was all into these melon slushies. (he likes things that he says he doesn’t like all the time. I am pretty sure he is taste confused) Like %u00a0he was really into them. Usually I have to prompt him to tell me how something tastes, but not the slushy, he told me right away how good it was. I was like, I know dude, I just drank 2 of them myself. And I could have drank 2 more but I was trying to not get tot far ahead of myself. Moderation is key, plus I didn’t;t have any more of the melons frozen. Time to restock the freezer.%u00a0
Go make yourself a slushy, it’s juicy deliciousness will make you happy.%u00a0
The stuff. Watermelon and cantaloupe. There should be a lime in there too but it must have rolled away….%u00a0
Chop some of each of the melon up, remove the rinds, and place on a big baking sheet and stick into the freezer until frozen. You can do as little as 2 cups %u00a0of each or as much as a whole melon, it’s up to you. (I suggest freezing extra)
Frozen melon. And now you can slushy.
Equal parts watermelon and cantaloupe go into blender, along with the juice of half (or more to taste)%u00a0a lime and you are probably going to need to add about 1/2 a cup of water, to help the blender blend it all together. %u00a0And that’s it. You blend until it’s all slushy.
Pour into cups, garnish with a lime and/or little chunks of melon and you are good as golden.%u00a0
From now on, or until summer is over and I run out of melon, I will be keeping the freezer stocked, especially because I know that the next few weeks are suppose to be stupid hot again.%u00a0
Waterloupe slushies. Summertime goodness.%u00a0
-C
about 2 cups %u00a0of a watermelon
about 2 cups of a cantaloupe%u00a0
1 lime
1/2- 1 cup water%u00a0
Note. The amounts above are for two%u00a0 2 cup slushies. You can, and should,%u00a0freeze a crap load more melon for future slushies. %u00a0Also, no one would fault you for maybe adding a little nip of some clear alcohol to this slushy situation to make it more of an adult drink……
Cut up a watermelon and a cantalopjue. Eat some and reserve at least 2 cups of each. Remove the rinds from the melons and cut into cubes. Place melon on a baking sheet and stick into the freezer until frozen.%u00a0
Once frozen,%u00a0place equal parts frozen watermelon and cantaloupe into the blender with the juice of a lime. Turn blender on. Slowly add in water until the blender can handle blending the frozen fruit. Blend until smooth. Pour into cups, garnish if you want with more melon and lime, then get to drinking.%u00a0
This is a conversation that I imagine will be taking place in the near future.
Me- “Why, Mr. President,, I hear that you think peas have no place in a frozen cocktail drink%u2026 but, excuse me if I am being to frank., but you would, in fact, be wrong.”
He would then reply
“Oh man, you are so right!%u00a0Why don’t you come have dinner with me , Michelle and the kids. We (or the%u00a0kitchen staff) can make these amazingly%u00a0awesome slushies (virgin of course for the kids) and walk around the house.%u00a0%u00a0Michelle will show you the gardens and I’ll show you all of my%u00a0secrets hiding places. %u00a0And don’t worry about driving home, you can crash in one of the spare rooms.”
And then we are all best friends and I go to there house for BBQ’s and make them dinner. My%u00a0mr. and Obama will play basketball and talk about beer and I will%u00a0go to workout classes and garden with Michelle..
It’s totally going to happen…
But for real, this slushy drink, it is sooooo good!!! How can anything blueberry mint not be. And sure , peas might seem like a%u00a0strange ingredient in drink, but trust me, they are not. Peas have such a nice lovely flavor that bring a%u00a0little sweetness, a little creaminess, and a tiny bit of earthiness%u00a0%u00a0to the slushy. And the booze, well that just makes it all the better. Plus,%u00a0with it being the holiday weekend and pretty freaking%u00a0hot (I know that the folks down south are melting) any and all drinks should be made in a slushy form.%u00a0
So no matter how you feel about peas in other stuff (guacamole is fantastic with or without)%u00a0Don’t knock it until you try it!. That’s you too Mr. President!
Good time stuff. Frozen blueberries, frozen peas and a few shots of rum.* Fresh mint, lime juice and some plain bubbly water.%u00a0
* Note.Rum can be replaced with gin, vodka or any hard alcohol you think you might like%u2026 or no booze at all.
And here it goes%u2026%u2026.Everything but the bubbly water goes into the blender.
Blend it all up until you get a thick icy slush. Add in a little splash of%u00a0water if you need to to get it moving. Turn blender off when it’s slush.
Now add in the bubbly water and watch it fizz.%u00a0Turn the blender back on for%u00a0another few seconds, just until it’s%u00a0mixed up and all drinkable slushy like.%u00a0
Pour into glasses, garnish with a mint leave, and serve with a%u00a0bright colored straw.
There is no doubt that peas belong in this%u00a0drink! Soooo F*ing good!!!!
Happy Friday and Happy 4th!
And don’t be stupid.%u00a0 No sloppy%u00a0drinking and playing with firecrackers. Fingers and faces don’t grow back!
-C
2 1/2 Cups frozen blueberries
1/2 cup frozen peas
4-6 oz of white rum*
juice of 1 lime
1 1/2 cups plain seltzer water or club soda%u00a0
5 large mint leaves plus a few for garnish if you please.
1-2 teaspoons liquid%u00a0sweetener of you choosing%u00a0(optional. I used none)
*Note. you can use any liquor or no liquor you want.
Place all ingredients besides the bubbly water into a blender and blend until combined and thick and slushy (add a splash of water to get thing moving if needed). Stop the blending, add in the bubbly water and turn%u00a0blender back on for just long enough to mix everything all up.
Pour into glasses and garnish with a mint leaf and a pretty straw.
Keep away from children%u2026unless its booze free, then go for it
When the mr got home from work last night, her got himself a super great dinner suprice
Pizza, on a Monday. Woo Hoo! (I am so awesome, my sister even texted to congratulate him on his unexpected pizza dinner)
But here is the thing. I think pizza is a completely acceptable dinner any night of the week just as long as it is not covered in a shit tone of greasy cheese or any other kinda heavy and not so good stuff.%u00a0 This is a not one of those types of pizzas. This pizza is light, the crust rolled slightly thin, covered in a creamy sweet pea and cashew cream, (which is really pretty) and topped off with a tons of shaved asparagus and sliced radishes.It’s a celebration of spring time veggies and tastes so f*ing good. Sweet and creamy from the peas cashew cream, a nice crispy freshness from the asparagus, and a nice little spicy kick from the radishes. All the flavors that make me happy. It’s oh so good. .
And really, It’s almost like eating a big salad with a piece of bread. Not a bad dinner right? So do yourself a favor and make that salad and bread into this kick ass pizza.
You can, you should, you, must.
The stuff. Peas (fresh or thawed out frozen.. my were frozen) some cashews soaking in water, a bunch of asparagus (I had purple but you can just use green) ans a few radishes. Also need a lemon, some nutritional yeast, a few coves of garlic, salt and pepper, and a little olive oil. Oh, and a pizza dough.
To get the cashew pea cream going, strain the water from the cashews and dump them into a blender along with the peas, garlic, nutritional yeast, juice of half of the lemon, and a pinch of salt. Turn blender on and slowly add in a bit of water, just enough to get the stuff to start blending. Keep on blending until nice and smooth.
And now shave the asparagus down. I found the easiest way to do this is to chop op the crown part then place the stock on the counter and peel away from you. Not all peels are going to be uniform and perfect, which is good for a textured pizza. Any pieces that break off or shave off weird, keep them too, it;s all going on the pizza. If you asparagus is not super fresh, they might have woody ends.%u00a0 When done shaving just toss those into a bag and save for a soup later.
And now that the asparagus is done, thinly slice the radishes up.
Get that pizza dough onto a baking devise (use a baking sheet, pizza stone, or whatever you usually make pizza on. I used a lightly oiled baking sheet)%u00a0 and smear lots of that cashew pea cream all over it.
Pile on the shaved asparagus and all the ends and tips that we cut off or broke off.
Top with the radishes and a good pinch of salt and lots of fresh cracked pepper.
Into the oven it needs to go.
Pulled from the oven, looking all pretty and springy and smelling so amazing.
Drizzled with a little of the left over cashew pea cream and a few squeezes of fresh lemon.
Your good to go!
Pizza on a weekday, it’s what you need in your life.
-C
1 12oz pizza dough (use this recipe, your own, or store bought)
10-15 or so stalks of asparagus (about 1/2 a pound)
3-4 big radishes
1/2 cup peas
1/2 cup cashews (soaked for about 1/2 an hour)
2-3 cloves garlic
3 tablespoons nutritional yeast
1/8-1/4 cup water
A lemon
olive oil
Salt and pepper
Preheat oven to 450
First off, prepare your pizza dough or remove it from the fridge to come to room temperature.
Strain the water from the cashews and add them to a blender with the peas, the juice of half a lemon, 1/8 cup of water, the nutritionalyeast, and a sprinkle of salt. Blend until smooth. If you need to, add in another splash or two of water to thin it out.
Grab your asparagus stalks ans chop off the top crown parts. Take the remaining stalks and peel them. Do this by holding the stalk flat on the counter and while holding to the end, peel the stalk away from you.%u00a0 I(f your asparagus is not super fresh ans had woody ends, use those to hold on to and when done shaving, just toss them into a bag and save for a soup later)%u00a0 Shave each piece until you cant shave any more. Some pieces are going to be super thin, some kinda thick… that’s totally cool, it add dimension to the pizza.
%u00a0 And now, as thinly as you can, slice the radishes.
To assemble pizza- Roll out dough kinda thin and place on a lightly oiled baking sheet.(you can bake your dough any way or on any thing that you usually do)%u00a0 Smear a good amount of the cashew pea cream on dough. You will probably have a little left over which you can either water down a little as a drizzle for the done pizza or just save for a sandwich or a veggie dip for later.%u00a0 Topthe smeared dough with all the shaved asparagus and chopped off crowns then layer on the radishes .Sprinkle with salt and pepper and stick into the oven. Bake for 15ish minutes or until your crust golden brown and done to your liking.
When you remove the pizza from the oven, feel free to drizzle the remaining cashew pea cream all over and definitelytop with a squeeze of more of fresh lemon.
Cut into pieces (square, triangles or what have you) and serve to your open mouth!
Not just sweater weather, which it had been all week and I am LOVING IT, but it%u2019s lamp light weather too. I forgot that I had all these fantastic lights around my house and yesterday when it was dark out at 6 (it was raining so the sky was cloudy) I got to turn on a couple lamps that haven%u2019t had any action in months. It was soooo nice and cozy. This my friends, this is the best time of year!
Camping last week was great and not so great. The campground was pretty, but our fellows campers were very rawdy and loud and there was a party at the picnic pavilion that had a shitty classic rock cover band playing. The noisy people and shitty music echoed through the park for longer then anyone should have had to deal with it. But I guess that happens, especially on a long holiday weekend. And really, besides the buttheads, we had fun. We went for a nice hike through the woods and into giant fields of wildflowers and goldenrod then spent some great time in the kayaks on a nearby lake (away from all the people). Plus after eating dinner and then packing it in for the night, we didn%u2019t get soaking wet, which we could tell by the many car doors slamming and people screaming at 1am , a good few people did. Our tent stayed nice and dry inside and we even managed to stay dry when we got out of the tent and and realized it was sitting in a giant puddle. We even managed to stayed pretty dry packing up and getting on our way home, in the rain! It%u2019s because we are good at coming I guess.
Then the rest of the week came and went in a fast blur. Mostly some same. Had lunch with Barb, cleaned apartments for new tenants,, made cards for artwork, picked up farm share, and you know, other life stuff. I have been busy in the kitchen harvesting garden food and canning or freezing it as well. Trying to stock up on as much food as I can for the winter. Then the littles slept over Friday. We watched Dumb and Dumber and I fell asleep on the couch. Woke up made waffles (I was so excited to use my waffle iron. It%u2019s been too long) and sent them on their way home to be moody tweens because that is now happening.
Oh, and I can%u2019t forget about how some little shithead smashed in the back of our car. Yup, that happened too. But that is pretty much it. I think%u2026.
Now for today. Mt Auscunty State park if all goes to plan. Should be a fun one with lots of hiking and a big high tower and stuff. I know it is gonna get mighty cold tonight so I am packing my winter long underwear and a jacket, hat, and mittens. So excited!
Links to explore on the internet.
–Doctors are now prescribing houseplants to help treat anxiety and depression. Makes a whole heck of a lot of sense to me. And why not try this simple remedy before trying a bunch of drugs?
-I wasn’t;t surprised much when I read this. Junky processed food is so bad, especially if it is all you eat. .19-Year-Old Goes Blind Due to Diet of Pringles, Bread, Fries, and Processed Meats
–Lush Botanical Forms Translated Into Abstract Embroideries%u00a0. So very pretty.
-Another good reason to ditch that pessimistic attitude and to look at he bright side of things. It doesn%u2019t hurt to try. Optimists For The Win: Finding The Bright Side Might Help You Live Longer
–Why do clowns creep us out?%u00a0Because they are creepy, that is why.
-I want, no, I need this cabin. Totally Off-the-Grid Cabin in the New Hampshire Woods
–This Apple Might Be the Most Anticipated Piece of Produce in History. I heard about this apple few years ago. I wonder if it%u2019s gonna live up tp all the hype. We shall see.
-Why don%u2019t we have one of these? The Otter: The 1950s Amphibious Caravan That Time Forgot!
–Can Bullet Journaling Save You? I am a list maker in all the ways. I a ma doodler to no end. I love pretty things and I love hand writing and have a ton of sketch books but besides the occasional list of note in a sketch book, I have never really gotten into Buju. It%u2019s to time sensitive I think, for me anyway.
–Squeeze in a Quick Nap at Work with This Under-Desk Hammock. A new way to sleep on the job. HA.
Pictures from the week.
It%u2019s been a week of weeks if you know what I mean. The world. There is a lot to process, good and bad. And now I think I need to catch up with my mind. I feel like I have let it run to far ahead of the rest of me. Or maybe I am running away from it? Either way. I need to reign it it and focus. That is the goal anyway.
As our routine, we went camping on Sunday and it was just the best, an unexpected greatness. We started with a great hike through pastures and woods and to a gorge and then headed to the park to pitch the tent. D.A.R State park. Neither of us had ever been there before and hadn%u2019t heard anything about it, so we were not sure what to expect. And it turned out to be just fantastic. Big and spacious, pretty, relaxing, and right on the lake. Very few campers, all of which were old people. So quite. Our site was perfect and there was a sink near the bathrooms to wash dishes in. What more can you ask for? We played on the rock beach, made dinner, hug out by the fire, walked around the camp, went back down to the beach and skipped rocks while watching the sun set, and then crawled in to the tent for the night. The stars were crazy bright, the fireflies were everywhere, the sounds of the waves were faint but there. I was just as happy as as clam. Even when I woke up chilly. And then we woke up, made coffee, the mr fished for a few while I read and watched the sun come up then off and back to life we went.
After we got home Monday things got really busy and completely out of the norm. First off, the mr has been working a time sensitive job that has had him leaving as soon as I walk in the door in the morning and not getting home until I am in bed. And that in itself is not usual, but if that does happen, we will see each other during the day, at least for meals. It might not seem like such a biggy to most people, but for the past 17+ years, we have eaten almost every single meal together, and this week, no meals. I have been eating alone all week. At first I loved it because I love reading while I am eating and only ever do it on the very rare occasion that the mr is not home for a meal. But all week for lunch and dinner, alone. I have read 2 books, but I was starting to get lonely. I missed my mr. So sad. HAHA.
Anyway, while he was gone all week, I did some work, had coffee with my mom, made cookies with the littles, met Barb%u2019s boyfriend, and ate ten thousand tomatoes. I also spent a good chunk of time cleaning out the loft (again) for my dad, and oh, I don%u2019t even know, a bunch of other stuff. Then Jeff Dad came to VT. We went for a hike with couple littles at a state park, sat in traffic on the interstate for far too long, and then went to Megans house where I made dinner for everyone. I got to meet Anthony%u2019s girl friend ( a week of meeting the significant others), got a glimpse of the butterfly chrysalis, and made Sophia cry because we picked all her basil for pesto and she really really didn%u2019t want to share it. So I owe the girl a new basil plant.
Yesterday was family reunion up in Belvidere. The whole crew. Great as always. Seeing family is always the best. I love them all, even if they exhaust me and maybe make me want to run away screaming. But isn%u2019t that the way it suppose to be?
And then we came home, the mr left again to finish this job last night and came home while I was in bed. Again. But now he is done. And I am so excited to have him around, although this week is a new job that will be taking him away again. At least we have today. Camping. Ricker Pond State Park. I am excited. No work for the mr. Just him and me heading out into the wilderness with our tent and sleeping bags and a socks! Socks cause it had been getting chilly at night%u2026.YAY for cool late summer nights! I am so ready for some cool weather and to bust out all my sweaters!!!!
Internet from the Internet.
-It%u2019s that time of year again. One day theres one, the next there are a million! How to Get Rid of Fruit Flies Before They Take Over Your%u00a0Kitchen
–Call Me Crazy, but I Think an Active Vacation Eases Stress More Effectively Than the Beach. No, not crazy at all. I need activity all the way, whether it is hiking, biking, or just walking 20 miles around a city. No beach reading for me.
-Avoid the toilet plume! Hey, Just Always Close Your Toilet Lid, OK?
-I don%u2019t really get it, but it is awesome. Watch the New, Brilliant Trailer for Season 10 of %u201cThe Great British Bake Off%u201d
–It%u2019s the Season for Fruit, and Also for Writing About Cutting Fruit as an Act of Love. I always cut fruit up for the ones I love. HAHAHA, but for real.
-Oh fuck. A New Study Reveals Just How Toxic a Bee%u2019s World Has Become
–Collards vs. Kale: Why Only One Supergreen Is a Superstar. Strange how people perceive certain things%u2026
-I like. ON TREND: THE ART DECO BED.
–Fun People Order Pancakes: What Your Diner Order Says About You. Black coffee all the way.
-Can you imagine%u2026 3 feet tall. Super bad ass and super scary! I wonder if they could talk too? This three-foot-tall parrot proves New Zealand is the mecca of giant weird birds
–Give Up Your Gas Stove To Save The Planet? Banning Gas Is The Next Climate Push. Would you? I think we all are going to need too. I am already thinking of induction. Definitely next kitchen I remodel.
And pictures from the week.
I%u2019ll try to be good and not bitch too much about how hot I am. And really, it hasn%u2019t actually been that bad. At least I am not in France. If I were in France, I would be losing my shit. I think they reached 113 degrees a day ago. So I am puting things in perspective here. I am not that hot.
Yup. Another week come and gone and now were are more then half way through the year. It%u2019s hard to believe but time stops for no one. So what did you do with you week? For us, it was the basic. Work stuff, family stuff, trying to get out into the world as much as possible. The mr and I snuck (well the fence had yet to go up) into the new pool construction zone around the corner from us to take pictures and see what all the construction commotion has been about all week. As of now, it a giant ass hole in the ground. We found the mr a new desk for free on craigslist and It weighted a thousand pounds and almost killed me moving it up the stairs. I picked up farm share and picked me some fresh flowers. We went to a river for fishing/reading time. And there were a few bike rides, lots of walks, amazing sunsets, rainy days, hot nights. Trying our darnest to live up the summer as much as possible. Now we just need to get our shit together and get our camping and kayaking game going. It might be a slow start to the season but we will get there. Maybe next week and every weekend after that.
Dad Jeff came to town for a couple days and so Friday, right after I came home from work, I had the family over for family dinner. I made 8 pizzas (all the dough the night before) and ice cream cones with sprinkles. A hit for sure. We got lucky because it wasn’t raining so we all got to play around outside. The littles in the sprinkler or playing soccer with the mr. Dad sitting on the stairs talking about rare coins and trying to give away the most creepy porcelain dolls that were my grandmothers and should really be buried as to not come alive and murder people. And there was no arguing or fighting, just shinny happy people holding hands. HA. But really, it was good. It%u2019s always so nice to get everyone together. We are all a bunch of lunatics so we really understand each other.
And then yesterday I spend half the day cleaning up all those happy feeling. The sprinkles from the ice cream made there way into every crack and crevice in the house which makes no sense because everyone ate ice cream outside. Those littles. They are good at tracking the shit into the house.
Today is up I the air. I am going to bike into town to the gym and library and the maybe stop at the coop for some spices, but after that I am probably going to be hanging around the house. The mr has a big delivery coming sometime today and needs to be available at a moments notice so we can%u2019t really take off. Just as well. I have a bunch of projects that I should be wrapping up. Today might just be that day. Or I might just sit around a read all day. I am good with either.
Interent from the internet that might be of some interest to you.
–Why We Remember Stonewall. Because it was important and significant in helping launch a civil rights movement.
-I prefer to carry a spork, but you get the picture. Why carrying your own fork and spoon helps solve the plastic crisis
–8 Types of Indoor Fruit Trees You Can Grow in Your Living%u00a0Room. I have a lemon tree. I want the rest of them.
-Well done San Francisco, well done. San Francisco Bans Sales Of E-Cigarettes
-Now if I just had 2k just kicking around%u2026..Garden Dome Igloo.
–These Prefab Treehouses Were Inspired By Cartoons. And they are so cool.
-Because you have been wondering all along too. How to solve the water puzzle from Die Hard 3
–The Infrastructure of Joy. Will building delight into cities make them more cloying or more fun? Definitely for sure. I know I am more joyful being anywhere that is more bright and happy. Isn%u2019t everyone?
-Imagine living without time, or without the confines of knowing the time. Whoa. Meet The Residents Of A Norwegian Island Who Want To Kill Time %u2014 Literally
–The Best Potatoes Are Boiled in Exxxtremely Salty Water. Not going to disagree.
And pictures from the week.
Is it too early to be thinking and planning my garden? I woke up with the sudden urge to browse all the seed catalogs even though I told the mr I was not going to buy any seeds this year. I%u2019m going to depend entirely on last years seeds and seed swaps. No need for more then what I need. So that is where my head is at right now. Seeds. Growing all the lettuce. Tomato varieties galore. I am starting to really crave dirt, like playing in it, not eating it. But I am craving coffee too so I should do that soon before I loss my mind.
Lets see, what did I do this week. Nothing really out of the norm, unless you call ice skating my way around the outside world not normal. (it was not normal) Everyitng has been covered in ice and I don%u2019t know how many times I have nearly smashed out all my teeth or broken all my bones from almost slipping. Sure I could have chosen to not adventure out on icy iciness, but who would I be if I was not outside. Anyway, besides ice world, we had the littles come for dinner and fighting (with each other, not us) Barb came for dinner and all the college age gossip our brains could handle. The mr started a new hobby of weaving baskets (already he is fucking awesome at it) and also decided to make more creepy ass doll head cars. I did some painting, cleaned my studio all up and nice, make cupcakes, bought new running shoes, returned new running shoes (not the right size) We worked, we played, we spend as much time outside during the warm snap as we could, hoping all the ice would melt and being rewarded with more ice. It was basically a basic week without any extravagances. No real incidents (besides me cracking my head on a metal bed lift bar and leaving myself with a nice egg bruise on face), no crazy stories (besides some of the stuff Barb told us but that is not mine to tell). Quiet and semi clean. Keeping it average and that is good for now.
I have very little in the way of plans so far for today. I%u2019ll hit the gym, library, and probably the grocery store this morning but after that, empty. The mr is going to be in and out of the house all day working so I will probably try to get some work done too. Or not. I am not opposed to keeping things mellow. Maybe a long walk down by the river or into the trees. I could use some trees right now. Options open with no expectations other the I expect to do something.
My internet browsing for your taking.
-Important coffee stuff. Know what you are drinking. What’s the Difference Between Light and Dark Roast Coffee?
-What. The once a month that I actually clean my water bottle is not good enough%u2026.Wait, You Need to Clean Your Water Bottle *How*%u00a0Often? Well then.
-So much truth. ON STRUGGLING TO BE AN ADULT. I am always shocked whenever I realize that I am not 18.
-Would you ship your luggage ahead of a flight? I have been thinking about the best way to get a butt load of camping shit to a destination without paying a million and half dollars. This might be it. Skip the stress.Ship your luggage.
–New ‘unicorn’ mantis species found in Brazilian rainforest. The new cool unicorn.
-Do you eat breakfast? I don%u2019t, unless you count as much coffee as I can get in my mouth, but that is because I am not really hungry in the morning. Sometime I wonder if I would be a better person if I ate sornething earlier in the day. But then I think I don%u2019t really care to be all that much better and after reading this, I don%u2019t need to eat. Breakfast Isn%u2019t Pointless, But It%u2019s Having an Identity Crisis
–Cat Power. All the feels. Every. Single. Time.
–Tiny houses have a dark secret. I guess some people just want to live in a tiny house but store all of their shit in a regular house. Hum.
-I am not ready for an animal right now, but this I could handle. You Can Build Your Own Life-Size Cat Using These Blocks.
–Why Do Elephants Have Trunks? Why Do Giraffes Have Purple Tongues?. Also good to know that if I ever get a cut, just have giraffe lick me and all will be good.
And pictures from the week.
Are you a frozen popsicle? Did you make any popsicles or a pair of those frozen pants that I am seeing all over the news? I should have made frozen pants.. maybe next time. Done and done, the polar vortex had come and gone and I am hoping that is stay up up and away for thirst of the winter. My nose and butt have nearly frozen off this week. Give me temps in the teens and I will be all set thank you very much.
The week was a week as any week could be as weekly as can be. Does that make sense? Not really but kinda. Nothing new, cold as fuck, but still kind of nice. I didn%u2019t do much in the way of work besides a little paper work and worked at the studio. Honestly, I spent a good amount of time this week reading and trying not to freeze (for someone trying not to freeze, I sure did go outside a lot). The mr did his usual running around all day everyday. Things have been a little harder since the truck is kind of dead and now we are down to the one car, a car the is not meant for totting around toilets so we have some car stuff to deal with. Sunday we did make it outside for a few hours of some fantastic snow shoeing and tree hugging. Basically throughout the week we did lunches, one with my mom, So, and Megan, one with Barb. The mr made a new jacket rack by the front door, glued more doll heads on cars, and placed frozen hands all over the neighborhoods. We didn%u2019t see the littles very much as they were all busy, too busy for us, but whatever. (I miss them%u2026sad face) And yesterday we took Barb on a snack shopping trip, went to the mall (fist time in like 5 years) and watched Barb contemplate a soft pretzel or not (she just got a lemonade). A weekly week week. See what I mean?
Today the mr and I are suppose to go in such of an ice castle. That is the plan, well that and make the bed with clean sheets because it%u2019s Sunday. I%u2019ll let you know how it turns out. (The sheets always turn out A+.)
Interent from the week.
–Think this polar vortex was cold? It should have been colder. Yup, that little snap was nothing and that is not a good thing.
-Science things. The surprising science of why ice is so slippery
–So You%u2019re Saying My Seltzer Is Not Made of Crushed Up Bliss. What a bummer.
-This is the best tassel wall hanging I have ever seen. Maybe I will actually make it. DIY Tassel Wall Hanging
–Beyonc%u00e9’s Offering a Lifetime Supply of Concert Tickets to 1 Winner Who Goes Vegan But what about the already vegan folks?
-I think anyone living in Vermont could tell you cell service sucks. One Man’s Quest To Prove Vermont Has Terrible Cell Service
–Life goals for next project.Guy Documents 14 Years Of Excavating His Basement With RC Toys
-Thank you Macauley Culkin. Color Of The Month: Coral? Peach? Salmon? Fuck. Get Me The Swatches.
–Irresistible Baby Houseplants. They are so cute. I want them all.
-This is really awesome, just not sure how it%u2019s gonna work out because babies are well, they be babies, but If I worked for the state with a baby, this would make me very happy. Vermont to Allow State Workers to Bring Their Infants to Work.
And some pictures from the week.
Did you get a good dumping of snow this week? Sunday was awesome. A good foot and a half and it came down fast. Enough where everyone was pretty much snowed in for a least part of the day. Too bad it was mother freaking cold out so being outside for too long was very uncomfortable, but still. Any snow is good snow to me!
Monday was still crazy with the snow and all the roads so things were not much different then Sunday. We managed to make it up to the hospital for a visit with Coco, and the mr did work some and had to go into town to shavel more, but other then that, we pretty much just hung around the house. I really wanted to go cross country sking or snow shoeing but it was still like -20 out so being outside for more then a half hour wasn%u2019t the smartest. My body couldn%u2019t handle it, but man, after a few walks in that cold, my nose and eyeballs felt like they were going to shatter. Oh and it was my birthday so there was that.
After a semi quiet Monday, it was back to it. Coco was in the hospital up until Friday so we had the older littles all week. So we would work and do our thing during the day but then meet them at home after school, do the homework, eat the snacks, make the dinners, fight about computer time and showers. Just the every day type of stuff. Then we would get them ready for bed, do balloon yoga, look up real estate listing for houses with a private bathroom for everyone that was within their school district (found and it was a million dollars) and then get their butts to bed. Part time parents we are. Good thing we like those littles.
Friday when Coco was finally released from the hospital prison, he and the other two came over for dinner, abc puzzles, and a sled walk. After that Coco went home while the two others slept over. Slightly burnt popcorn while they watched Bio dome and who the heck knows what else they did.. I was so exhausted I passed the F out.
Saturday was pancakes with the normal hoopla and then the littles went home. After that the mr and I did a few things, he worked, I cleaned. Right back to the grind.
I am hoping today will be a good day. We might get a little fresh snow and it%u2019s suppose to be hella warm out (mid 20%u2019s to 30 degrees!) and the roads are not treacherous so that means we can grab our snow shoes and head out into the woods. I need, like really really need some nature action. I didn%u2019t get enough last week. After that, well, I don%u2019t know. Maybe I will just build a snow fort in the woods and hide out for the rest of the week. So if you really need me, you might want to check the trees.
Interent to check out while I am away in my Snow Castle of Solitude (thats what I will name it)
–Sorry, SweetHearts Candy Hearts Won%u2019t Be Sold This Valentine%u2019s Day. Are you going to miss them?
-People are already complaining%u2026 It%u2019s way to early for that. Wait until mid March, that%u2019s when the fever really sets in. Yes, cabin fever is real%u2014here’s how to prevent it
–What’s Healthy At The Grocery Store? Shoppers Are Often Confused, Survey Finds. Ill tell you whats healthy, the stuff that is not in a box or can or has 1-2 ingredients like a bag or dried beans or whole wheat flour.
-Wool is an amazing fiber. 10 Things Nobody Tells You About the Benefits of Wool.
-Fresh spices are always the best but sometimes you find a little baggy stuck in the way way back of the spice drawer sooooo.. How Long Do Spices Actually Last? We Asked an%u00a0Expert.
–New ‘tent’ makes it possible to camp underwater. Always up for a new camping experience!
-Pack your bags for crazy town! 7 Things to Know Before Checking Into %u2018Lindsay Lohan%u2019s Beach Club%u2019
-The mr and I are back on finding a van or something to run away in. NOT YOUR AVERAGE AIRSTREAM. Any one of these will do.
–Can Americans learn to love ugly fruits and vegetables? I sure hope so. I never understood how people can think of produce as %u201cugly%u201d. The more fun the shape, the better. And a few dings and bruises in the food never hurt anybody.
–Can We Stop Calling Cake “Bread” & Bread%u00a0″Cake”? It%u2019s something about baking anything in a loaf pan. I call banana bread baked in a circular cake pan banana cake. It is what it is.
Pictures from the week. o
What a world wind of the first week of the year. I feel like nothing has happened and everything is happening all at once. With all the holidays birthdays and family gatherings, happy and sad ones%u2026 it has been a lot to take in. I am in serious need of some time hiding away, not that I don%u2019t love everyone and have had loved being around them, its just been a lot and I can only hold it down for so long. You feel me?
We started the week with Judah Birthday (Happy birthday Judah!!!). I made an ice cream cake and the mr slept on the couch for half the day until it was party time. Poor guy, he has got such a heavy sinus infection so he has been feeling like shit all week long. Some days worse then others, and he has been trying to push through but this infection had really taken hold. I have been pushing all my concoctions and tinctures and good stuff into him and I think we are started to see some of the better feeling mr.
New Years was low key as can be. We went for a little drive, a little hike, and that was it. I stayed awake until 9 then passed out which is exactly my kind of night. New Years day was much of the same, went for a long walk to the river, hung around the house trying to get the mr better. and was just so exciting because I got to start a whole new calendar and binder system. Fresh paper, a nice new pen, and not a cluster fuck of a bunch of bills and papers yet. It was like the excitement of shopping for new school supplies. It really made me happy.
After A calm New Years, it was back to the grind. Working and doing the life thing. The littles over a few times for games of Sorry, and trying to french braid Judah%u2019s hair. Sophia came over for a day and helped me repot some plants, spun around in circles on the kitchen floor for like an hour, and hit Barb right in the face with a snow ball. I finally took the tree down and packed up most of the Christmas decorations, deep cleaned the pantry, and made the phone calls I have been dreading making for the past few weeks. Get it done, got it done.
Yesterday was another long ass day. We grabbed our nice shoes (are hiking boots nice shoes?) and climbed back into the car for the 4 hour drive to Rhode Island for Seths Memorial. 150 plus people packed inside his and Pamula%u2019s loft to listen and honor this amazing person. And I must say, it was sad, but so good. So much love and sharing. Music and food and family. Hearing the stories and the way he impacted so many lives, it really was just such a lovely night and really gave me a bit of happiness from such a shitty situation. After hanging at the loft and spending as much time as I could around all the people, the mr and I jumped back into the car and drove on home. By the time we got home, we were pretty trashed. Walked in the door and crashed. That was only just a few hours ago.
And yet I am still awake. I don%u2019t even know how Im still woke up at 4:30 this morning. My brain knows no other way I guess. For the rest of the day, after my 4-6 cups of coffee (I will drink all the coffee and then some today) I am heading to work at the studio for a while, going to do some gym, maybe hit the library, then I need to go grocery shopping because farm share was canceled this week and now I am running dangerously low on food. After that I will probably come home and crash. Yeah, and then off to a fresh week of more family and birthdays and work stuff, but hopefully this week the mr will not be sick, I will catch a little more sleep, and the snow storm that we are suppose to get will actually be and we get 2 feet of snow. That would be just so nice.
Internet from the internet.
-Top sky-watching events coming in 2019. Super blood moon eclipse is my birthday!
-Me. Why Am I Always Cold? I started eating more cooked food a few years back because I would be freezing after I ate.
-Bread inspiration for sure. LEOPARD BREAD
–The 100 Best Pens, As Tested by Strategist Editors. I love pens, really good pens. I draw with then so I have my own little box of special pens that no one is allowed to use besides me.
-We are aassholes. We’ve wasted so much plastic, it’s almost impossible to picture%u2014these charts will help
–When Too Cute Is Too Much, The Brain Can Get Aggressive. Yes, Have threatened to %u201csmoosh%u201d or %u201cpop%u201d a baby or puppies head off. What I find really works is when the feeling strikes, punch the mom, it helps.
–I Keep My Holiday Lights Up All Year Long%u2014Here’s Why You Should, Too. I love my lights, they make me happy.
–Dog influencers are so popular, they need their own talent agency. Hope this dogs are getting a cut of the pay to go towards all the best
-When someone tells me a fact that I might not believe I ask were they got the info from. If they say the internet, I assume there is a 50/50 chance that is is wrong. How Much of the Internet Is Fake? Turns Out, a Lot of It, Actually.
–What Foods Are Banned in Europe but Not Banned in the U.S.? Seems like these food should also be banned in the stare too.. Hum.
What a week. What a year. So much has happened and is happening and is about happen. I guess that is the nature of life and time and all that good stuff.
The week started off fantastic. On Sunday the mr and I grabbed Judah, Emerson, and Barb, piled into the car, and went for a light drive. We walked around a light filled park, drove some more, then ended up at, of all places in this world, Burger King. And they loved it (I packed my own dinner because I do not, will not, eat at almost any place that the littles prefer) Funny, I don%u2019t know if I have ever been inside of a Burger King before, and if I have, it was long before I had a choice in what I ate. Again, they loved it, even though it was trash food, they got their crowns. Coco cheered just about every French Fry that went into his mouth, and the mr got to use Burger King coupons that he had hiding in his pocket (that is basically why we ended up there) It was a fantastic evening and is now going to be a Christmas Eve eve tradition. Light drive with dinner (never Burger King again thank you very much)
After we dropped them off at home, we went home and that is when the mr succumbed to it. IT being the stomach flu. That was fun.
Christmas Eve the mr was an ill man so I forged it alone. With the help of all the Christmas music I could handle, I baked a bunch, prepared the house for the next day when the family came over. I cut up all the fruits and veggies, wrapped the few little presents I had, did bills and a bunch laundry, ran to the grocery store. My mom stopped by and brought me a lemon tree because just because. I just was so freaking productive. And best part, it SNOWED, like a good amount. What I thought was going to be a completely snow free Christmas turned into the most magical snow ever. Christmas Eve afternoon, Big fat fluffy flakes covering the world. I bundled myself up and walked around the neighborhood just taking it all in. It truly was the best Christmas Eve snow ever. And after a full on day of resting , the mr was feeling a bit better so that was good. And then both to bed by 7 because thats our life these days.
Christmas morning had all the right stuff. Woke up and watched the sun rise while drinking a butload of coffee. The house was all clean and glittery and the ltree lights were on and the ground glittered with the fresh snow. After the mr woke up and was feeling a little worse for ware but ok, we bundled up and went for a little stroll on the beach. We usually go for a hike but I was not trying to push the mr too hard. The beach, oh man, was that amazing. The water was still, the snow was like diamonds, and the air was crisp and clean. Not a sound to be heard other then the lapping of water. It was so good. We left before I decided to stay forever and because the mr thought he could walk on ice and ended up with a his foot in a foot of water so we headed on home to meet the hoard of family. Just about everyone came (minus Ryan and the girls and Anthony.. we missed them all) ate food, did a little gift exchange thing (I got some sweet new house plants), plastered Jackson with a very nice shade of lipstick that might have been called whore red, and had a Happy Birthday celebration for Cameron because it%u2019s was Christmas, but it really was his birthday.
Then for the saddest part. We got the news that our uncle had passed away.
Oh Uncle Seth. He had been sick for a while now with Parkinson%u2019s disease, but the past month or so it got so bad. His death was not unexpected but never the less it was not any less painful. My only uncle, the guy who gave me my first car, the man who built a cabin from nothing in the woods and turned it into a place that you could only imagine (or see in a design magazine) A man who taught (he was as professor at RISD), loved the world, loved to travel, loved his work, was so fierce in emotion. SO many little qualities that I saw in him, I see in me. ( I feel like I get a lot of who I am from my dad and my uncle and aunt) The world lost a great man, I lost a great uncle. He is and will always be loved and I know I was just lucky to have been able to have him as an uncle. It is still hard, I don%u2019t think I have fully processed it still, It is kind of a not quite real feeling. Just an overall heaviness that has settled in on my mind and heart. It is so hard to loose any family, but especially hard when they were so full of life and had so much to give to the world. Agh. The words are not even close to adequate here, the full measure of him as a person not explained. To put it simply, he was an amazing, loving and generous person. I am so going to miss him, his creativity, his lust for life. And what I am going to miss most is his hugs and smiles and overall presences in my life. RIP Seth. You really were a fucking awesome uncle.
We got word of the funeral on Wednesday (which was also Anthonys 17th birthday%u2026.So old! I stopped by to see him and give him a big hug. Didn%u2019t want a party or cake this year so I owe him granola bars.) and were in the car driving down to RI by Thursday morning. Shannon, Megan, the mr, and me, all packed into the car and off we went. A small family funeral which was very beautiful and full of love, then food with the family. Not a long stay, but we are all going back down next weekend for Seths memorial celebration bash.
We got home and it hit hard. I started to feel kind of crappy (sick wise) and have been feeling blue ever since. Driving to RI really kicked the mr down again. He was so good, no complaining about anything, not the cranked up car heat or driving straight while us ladies spent the entire time talking of childhood memories. He didn%u2019t even put on the music. And by the time we came back home, the guy was sick again, or maybe never was not sick, but he has been down for the count ever since.
So yesterday we did a few morning chores together like got rid of the recycling and retuned amazon stuff to UPS, but by afternoon the mr was out. So I cleaned house, made another ice cream cake for Judah, and did more and more laundry. Another one of those feeling super productive days. Weird, but I am starting to see a pattern here. When the mr is really sick, I get a lot done. I think it%u2019s mainly because. a) I want to stay away from him as to not get sick too. b) I am afraid that if I do get sick none of what needs to be done will get done so I need to do it fast. And c) I don%u2019t have to worry about what he needs to do, it%u2019s all me. Ha.
Today is Judah%u2019s birthday. Nine years old! What an age to be. So basically I am going to the gym then coming home to do a few things and finish making his cake, then heading over to his house for a birthday dinner celebration. I told him and his sister I would go over early and give them haircuts (the boys hair is so long it covers his eyes, He looks cool, but if you can%u2019t see, well looking cool isn%u2019t gonna get you anywhere). It%u2019s gonna be fun.
Goodness, is that it. The end of another year. Hard to wrap my head around so I am just going to ease on in to 2019. Low key and cool. Just like me. Ha.
Happy New Years Friends! Be safe. Be happy. Be good. Be kind.
Interent links from the week
–Just Admit It, You%u2019re in a Bad Mood. All the lead up to Christmas then BAM, its over. Gets me every time.
-I am defintially one of those people who likes to bake when I am feeling anxious. The Rise of Anxiety Baking. Cookies are my favorite to bake too.
-Speakig of cookies. When ‘Cookiers’ Take Holiday Cookie Decorating To A Whole New Level. I had no idea there was a cookie cutter factory in Vt. I must see this place!
-Who doesn%u2019t love a good tree picture? Black and White Photographs Capture the Striking Appearance of Bare Trees Against Snow-Filled Landscapes
–Explorer completes historic Antarctic trek. Some people do crazy things that make me jealous. Not that I want to ski Antarctica, but something crazy would be cool.
-How did I not know until now that there was a monthly round up of trucks spilling shit. We all need this information. This month in overturned trucks: Cash, Christmas trees, cooking oil
–How A Little Science And A Lot Of Shady Advertising Boosted Yeast’s Popularity. I have never eaten a yeast cake, but I eat a shit load of nutritional yeast. MY favorite is a spoonful in the mouth where it gets stuck in my teeth and the roof of my mouth. For real.
-I am going to get a scale sometime soon. I just need to find the right one for the right price (free or very cheap at the thrift store) Until then, this is handy. Weight Conversions for Flour, Sugar, and Other Common Baking Ingredients
-This is something that I have wondered about. I am really happy that it doesn%u2019t get wasted. We Finally Know What Happens to the Leftover Cake on the Great British Bake Off
–The year vegan junk food went mainstream. Yup. Just cause it%u2019s vegan doesn%u2019t mean it is good for you.
Spring is here for reals, I think. No, it is here, it has just been a bit raw and maybe a bit more rainy then it really needs to be, but whatever, it is spring and it is good. Things are greener by the day, the temperatures although not exactly warm are still inhabitable and without cause for winter jackets (although I have still been rocking the mittens) and spring veggies are popping up all over. Things are looking good.
So last week I made a pie crust with the intention to make a veggie pot pie and stuck it into the freezer. When the time came to make said pot pie, I forgot to take it out of the freezer so the crust was not meant to be for pot pie (it will probably end up as a rhubarb pie%u2026we shall see). Without pie crust, I wasn%u2019t exactly feeling like I should make a pot pie, but a tart, well yeah, sure. A crispy and chewy crackery crusted thing with almond ricotta a spring veggies because that is where the mind went and what the mr agreed sounded good. (When I make up recipes I just start taking about ingredient and preparations and wait til the mr says %u201cYea, that loud good. I%u2019ll eat that %u201c He usually will say it right away and for anything. Very easy to please or he just doesn%u2019t care%u2026hum? )
And so the tart was made and the tart was eaten in all entirety for dinner by the mr alone. Usually when he eats all of something it means it was one of the really good things. Or he is really really hungry. But he said it was a really good thing. I trust him because I agreed. I got in a few spoonfuls of the almond ricotta mixture and it is really freaking good if I do say so myself (I could eat bowls of almond ricotta all day long).
Anyway, heres to spring and all things that are green and good.
To the tart.
The stuff. Flours (white and white whole wheat), baking powder, and a little salt in the bowl. Water and olive oil, blanched almonds, a lemon, a clove of garlic, asparagus, peas, frozen and thawed spinach, a small red onion, and salt and pepper.
Start with making the crust. Mix the dry together then add in the oil and water to form a dough. Knead dough a minutes until the dough is uniform and place back in bowl and cover. Dough needs a few alone minutes to rest. I can relate to that.
While dough is resting, make the almond ricotta. Almonds, garlic, the juice of the lemon, and a bit of water go into blender. Add in a pinch of salt and pepper too.
Blend until creamy and smooth.
Dump in the spinach and blend, just until combined.
Scoop ricotta into a bowl and mix in the peas. And sure give it another taste but try not to eat it all.
Grab the onion and slice it all nice and thin.
And after the resting time, grab dough and roll it out. Try for a rectangular shape or as rectangular as you can get it, but nice and thin. Thiner is better.
Place rolled out dough onto a baking sheet and poke the bottom with lots of little hole. Take ricotta mixture and spread evenly all over crust, leaving a 1 1/2 border all the way around.
Then top with the asparagus and more onions.
Fold over the edges of the crust, sprinkle with a pinch of salt and pepper, and into the oven it goes to bake.
And then it is baked. And ready to eat (after a few minutes of cooling).
Nothing left but to cut it up and eat it.
Spring. Green. Food.
Things are good.
-C
Makes a 8×12(ish) tart
For the Crust
1/2 cup all purpose flour
1/2 cup white whole wheat (can sub for all purpose)
3 tablespoon oil
1/3 cup room temp water
1/4 teaspoon baking powder
1/2 teaspoon salt
For the Almond Ricotta and Veggies
1/2 cup blanched almonds
1/4- 1/3 cup warm water
1 lemon
1 clove garlic
1/2 teaspoon salt and pepper or more to taste
1/4 cup frozen and thawed spinach squeezed of liquid
9-10 spears of Asparagus
1/4 cup peas (fresh or frozen and thawed)
1 /2 red onion
First make the crust. Whisk together the flours, salt, and baking soda. Add in the oil and water and mix until a dough forms. Form dough into a ball and knead for minute or two on counter then place dough back into the bowl and cover. The dough needs to rest for 10-15 minutes.
While dough is resting, make the almond ricotta. Place almonds, garlic, and juice of lemon into a blender. Start blending and add in the lesser amount of water, adding a little more until the stuff all starts to blend. Blend on high for a minute or two until the mixture is nice and creamy. Season with salt and pepper, blend a second to mix then add in the squeezed out spinach. Blend until mix together then dump or scoop the mixture into a bowl and mix in the peas. Then thinly slice up the onion.
Preheat the oven to 450
After doughs little rest, lightly flour a counter and roll it out, thin as you can, in a rectangular shape. Try for at least 12in x 16in. The rectangle doesn%u2019t need to be perfect. Rough is good.
Place the rolled out crust onto a baking. Take a fork and dock the surface (poke holes into it to prevent air bubbles). Take the ricotta and pea mixture and spread evenly on crust, leaving about a 1 1/2 inch border all the way around. Add a layer of sliced red onion and then take asparagus (trim off woody ends) and either lay on whole or break in half and lay on. Add more onions on top. Fold the border of the crust over the top. Sprinkle the whole thing with pepper and place into the hot oven.
Bake for 22-25 minutes or until the crust becomes a nice golden brown. Remove and let cool a few minutes
And then cut up and eat. Right away or at room temperature. Or some now and some later. All up you you.
Store left over in fridge in air tight container for up to a few days. the crust will not be crispy but more chewy. Can stick it back in oven for a few minutes to crisp it up.
I am obsessed. For real. That might seem like a strong statement for a feeling about a food, but right now, it is truth. I spend more time then I want to admit thinking and drooling over Socca, which is, to those who do not know, the most basic chickpea flour pancake-y bread thing. Chickpea flour, water and salt. Cooked fast under the broiler in a screaming hot skillet. That is it. And it is amazing. Depending on how you make it, it can be creamy and soft or more cracker like with some crisp crunch to it. Either way, it is just so freaking good. Of course, what I am dreaming about regarding it is not just plan basic socca (which I have made 3 times in the past 3 days) but different flavored soccas (I have experimented with lot of seasoning, and they are all A+) with all sorts of different topping and using it in all sorts of different ways. But for now, I wanted to keep basic so we all know how good simplicity is. We will go from here.
There is no stopping me. There is no stopping the socca.
Now to my new favorite food, the socca.
Chickpea flour, salt and water. That is it. Mix it all up.
Batter all smooth and now in need of a rest. Half an hour or up to a day of rest is good.
Now to cook the socca. You need to use something oven safe like cast iron. The trick here is to preheat the skillet while you are preheating the oven. Crank oven to 450 with the skillet in oven and once the oven reaches temp, turn oven over to a high broil. Let the skillet get really hot for another minute or two then remove skillet from oven (carefully!!!) and give it a splash of oil. Don%u2019t preheat the skillet with oil in it or else it will start to smoke and get gross.
Now that you got a nice hot and oiled skillet, grab the rested batter and pour half of it in. Tilt skillet around to coat bottom then stick skillet back into oven under broiler and cook for 4-8minutes. ( It depends on your broilers strength and your preference for blisters)
Out from the broiler. Cooked and slightly blistered. I went easy on this one. The next one got a few more blisters.
2 soccas, one a little thicker then the other. One a little more blistered then the other. Both in my belly.
So many Soccas to come.
So. many. Soccas.
-C
makes two 10 inch soccas
1 cup chickpea flour
1 cup room temperature water
1/2 teaspoon salt
olive oil for pan
Mix chickpea flour, salt and water together into a bowl until smooth. Let mixture rest for at least half an hour or up to a day.
When ready to make the socca, preheat oven to 450 with a 10 inch oven safe skillet (I used cast iron but any oven safe dish would work) in oven.
Once oven reaches temp, turn oven over to broil and place skillet under it for a minute to really heat the skillet. Carefully, with oven mitts, remove hot skillet from oven and brush or pour a smidge of oil into the hot skillet to coat bottom. Pour in half the batter and tilt around until bottom is coated then place skillet back into oven under broiler and cook for 4 -8 minutes or until the socca starts to blister. (it kind of depends on your broiler so keep a close eye on it) Remove from oven and slip socca onto cutting board. Sprinkle with salt and pepper. Drizzle with olive oil if you like. Then all you do is cut and eat.
Left over socca can be stored in fridge and reheated in oven or toaster.
Note. IF you want a slightly thicker socca, use a 8 inch skillet. For a thiner, more cracker like socca, pour in 1/3 of the batter at a time (you will end up with 3 instead of 2)
And all of a sudden the world is green and it is mazing and magical. The best time of the year, when all the cool and wet weather pays off with sunshine and flowers and the greenest greens. No longer freezing and it is yet to be too freaking hot. Spring spring SPRING. It is not lost on me. I take it, I suck it up, I appreciate it all. Even the cray cray rain storms. What a time, what a time.
Last week we started off Sunday going to see some jumping fish. We packed our lunches, grabbed the camera, drove the 2 hours to the river and sat around watching and waiting. Sadly we saw no jumping fish. And that was that in case you were wondering. One of these years we will see it.
The rest of the week has been a little crazy. In between work and chores and life stuff, just about every day we have had anywhere between 2-4 littles. What for their parents needed a sitter or a ride here and there cause their car broke down. Or just some aunt and uncle hang time because who doesn’t want to hang with us? So beside the mr finish off the trophies for the Lund Family Fund Raiser, me working the pug mill at the studio, or us trying to trade off the car in hopes that we both can get where we need to go in time for getting there. (Oh man the car thing, that is a whole other beast.) Yeah, it’s been busy and hectic. On the bright side we have spent a lot of the time running around outside, drawing, and eating. A few little highlights. One of the nights So was feeling a little sick and Coco was feeling mean and wouldn’t let her nap on the couch so she ended up dragging a bunch of pillows into the pantry and falling asleep. It just made sense. Then there was Judah with his mad drawing skills drawing me pictures of vegetables (amazing) then farting with his armpits. And Miley, with her tude and phone. Getting her to hang out and just be sweet was nice. And Coco. That freaking little. Always happy, always eating, always causing trouble. Loves to run into the garden and jump all over the couch covered in peanut butter. (that is the baby, not me. ha) We found him a three wheeler. His legs might be too short but we will figure it out. It is gonna be a fun summer!
After the week long little marathon that ended with sticky littles eating pancakes (and being dangerously low on maple syrup), thrift store shopping (I scored the best new photo piece), and stopping in on my maybe future new bike(???), I came home and cleaned the crap out of everything. It never fails to amaze me how gross kids can be. The toilet alone, well, lets not go there.
Today, as it is Mothers Day and all, I am going to be a dutiful daughter and go see my Mama. Right now (at the wee early hour of 5 am, I’m about to pop some bread and then a cake into the oven as offerings. We are going over around lunch so I’m going make focaccia grilled cheeses (with the fresh bread) and hand over the blueberry cake that she loves. Then hopefully just spend a couple hours drinking lots of coffee and chilling on the porch.
Look at me, I am such a good daughter.
Links of interest on the internet.
–Yes, I’m In School for Nutrition. No, I Don’t Want to Hear About Your Diet. I feel this. Sometimes people feel like they need to tell me everything they eat, for approval or something. And I actually don’t mind talking about what people eat. I’ll even make suggestions about foods that I like to eat or ways to prepare certain things but I stay away from telling people what not to eat… (people always assume I am going to tell them to not eat meat. I say, I do me. You do you.)
-I don’t know how may times I have seen Bill and Teds Excellent Adventure. This should be good. PlusI totally have a thing for Keanu Reeves. Bill & Ted are embarking on a third excellent adventure next year
–How Weeds Help Fight Climate Change. Weeds are not the problem friends. The chemicals that people use to get rid of them are!
-If you are interested in VT State Parks, here its the list of all the parks opening days. Can’t wait for CAMPING!!!
-Did you go through an Arizona iced tea phase? I had a very brief stint with the green tea… I can’t even imagine drinking one now. The Dream of the ’90s Is Alive in AriZona Iced Tea
–An Interview With A Man Who Eats Leftover Food From Strangers’ Plates In Restaurants. I think this is awesome and have much respect.
-A question the I didn’t know I wanted answered until I read this article. Why do cats—and so many other animals—look like they’re wearing socks?
-I get all sorts of feels when I see pandas. MY favorite favorite animal growing up. I carried a pink polka dotted panda around with me for years. SO many panda things. So this is fantastic and I hope to visit one day and hug me a panda (with pink polka dots) China’s new panda park will be three times bigger than Yellowstone
–I have heard and seen some crazy fights in the past in places we have lived. A good few actually. It is never a comfortable thing but sadly, we got used to it. Listening to My Neighbors Fight
-Mothers Have Been Complaining About Mother’s Day Breakfast in Bed for More than Half a Century. Why Does It Go On?. I am a strict, NO FOOD! in bed person. It just have zero desire to eat in bed so breakfast in bed sounds terrible to me. Plus I am awake at 430 every morning and I don’t eat for a few hours after I wake up. It just wouldn’t work.
When the mr got home from work last night, her got himself a super great dinner suprice
Pizza, on a Monday. Woo Hoo! (I am so awesome, my sister even texted to congratulate him on his unexpected pizza dinner)
But here is the thing. I think pizza is a completely acceptable dinner any night of the week just as long as it is not covered in a shit tone of greasy cheese or any other kinda heavy and not so good stuff.%u00a0 This is a not one of those types of pizzas. This pizza is light, the crust rolled slightly thin, covered in a creamy sweet pea and cashew cream, (which is really pretty) and topped off with a tons of shaved asparagus and sliced radishes.It’s a celebration of spring time veggies and tastes so f*ing good. Sweet and creamy from the peas cashew cream, a nice crispy freshness from the asparagus, and a nice little spicy kick from the radishes. All the flavors that make me happy. It’s oh so good. .
And really, It’s almost like eating a big salad with a piece of bread. Not a bad dinner right? So do yourself a favor and make that salad and bread into this kick ass pizza.
You can, you should, you, must.
The stuff. Peas (fresh or thawed out frozen.. my were frozen) some cashews soaking in water, a bunch of asparagus (I had purple but you can just use green) ans a few radishes. Also need a lemon, some nutritional yeast, a few coves of garlic, salt and pepper, and a little olive oil. Oh, and a pizza dough.
To get the cashew pea cream going, strain the water from the cashews and dump them into a blender along with the peas, garlic, nutritional yeast, juice of half of the lemon, and a pinch of salt. Turn blender on and slowly add in a bit of water, just enough to get the stuff to start blending. Keep on blending until nice and smooth.
And now shave the asparagus down. I found the easiest way to do this is to chop op the crown part then place the stock on the counter and peel away from you. Not all peels are going to be uniform and perfect, which is good for a textured pizza. Any pieces that break off or shave off weird, keep them too, it;s all going on the pizza. If you asparagus is not super fresh, they might have woody ends.%u00a0 When done shaving just toss those into a bag and save for a soup later.
And now that the asparagus is done, thinly slice the radishes up.
Get that pizza dough onto a baking devise (use a baking sheet, pizza stone, or whatever you usually make pizza on. I used a lightly oiled baking sheet)%u00a0 and smear lots of that cashew pea cream all over it.
Pile on the shaved asparagus and all the ends and tips that we cut off or broke off.
Top with the radishes and a good pinch of salt and lots of fresh cracked pepper.
Into the oven it needs to go.
Pulled from the oven, looking all pretty and springy and smelling so amazing.
Drizzled with a little of the left over cashew pea cream and a few squeezes of fresh lemon.
Your good to go!
Pizza on a weekday, it’s what you need in your life.
-C
1 12oz pizza dough (use this recipe, your own, or store bought)
10-15 or so stalks of asparagus (about 1/2 a pound)
3-4 big radishes
1/2 cup peas
1/2 cup cashews (soaked for about 1/2 an hour)
2-3 cloves garlic
3 tablespoons nutritional yeast
1/8-1/4 cup water
A lemon
olive oil
Salt and pepper
Preheat oven to 450
First off, prepare your pizza dough or remove it from the fridge to come to room temperature.
Strain the water from the cashews and add them to a blender with the peas, the juice of half a lemon, 1/8 cup of water, the nutritionalyeast, and a sprinkle of salt. Blend until smooth. If you need to, add in another splash or two of water to thin it out.
Grab your asparagus stalks ans chop off the top crown parts. Take the remaining stalks and peel them. Do this by holding the stalk flat on the counter and while holding to the end, peel the stalk away from you.%u00a0 I(f your asparagus is not super fresh ans had woody ends, use those to hold on to and when done shaving, just toss them into a bag and save for a soup later)%u00a0 Shave each piece until you cant shave any more. Some pieces are going to be super thin, some kinda thick… that’s totally cool, it add dimension to the pizza.
%u00a0 And now, as thinly as you can, slice the radishes.
To assemble pizza- Roll out dough kinda thin and place on a lightly oiled baking sheet.(you can bake your dough any way or on any thing that you usually do)%u00a0 Smear a good amount of the cashew pea cream on dough. You will probably have a little left over which you can either water down a little as a drizzle for the done pizza or just save for a sandwich or a veggie dip for later.%u00a0 Topthe smeared dough with all the shaved asparagus and chopped off crowns then layer on the radishes .Sprinkle with salt and pepper and stick into the oven. Bake for 15ish minutes or until your crust golden brown and done to your liking.
When you remove the pizza from the oven, feel free to drizzle the remaining cashew pea cream all over and definitelytop with a squeeze of more of fresh lemon.
Cut into pieces (square, triangles or what have you) and serve to your open mouth!
Happy Spring Eating!
We made it ! FRIDAY!!!%u00a0Fridays always make me think about Steve Urkel, you know, the geeky guy from the show Family Matters who’s catch phrase was “Did I do that?. %u00a0Weird, I know, but when I was a kid, Fridays meant TGIF on abc (the Tv show line up) It was something I looked forward to all week. %u00a0Get out of school, go home, have dinner (usually pizza) and spend the night in front of the Tv. And honestly, not mush has changed. We still keep Fridays the same. Work, Pizza, and Tv.. Just now its not Family Matters and Urkel, but Netflix binge watching and me making the mister a fancy ass pizza. But if%u00a0Family Matters makes it to Netflix%u2026 I will for sure be watching that!
%u00a0So anyways, This particular pizza was inspired by a small batch of kohlrabi and red cabbage sauerkraut I made, plus a block of swiss cheese that I found hidden in the back if the fridge. I guess it was meant to be. %u00a0The mister was much into this concoction%u2026 like I will be making this again and maybe again after that.%u00a0Its kind of like a reuben, but without the corn beef, which you could totally add if you wanted, or the mayo and ketchup dressing, which you could swap in instead of the mustard sauce. %u00a0You can even make it vegan if you use vegan cheese. Do what ever you need to do here cause hey, its your pizza to eat.
The stuff.%u00a0Pizza dough, stone ground mustard, shredded swiss cheese, kraut, and caraway seeds.%u00a0
The dough is rolled out and smeared with the mustard. (The mister said I could have added more)
Cheese goes next and a good sprinkle of caraway seeds too.%u00a0%u00a0Now stick that lovely into the oven.
And after 15 minutes, this is what you get%u2026 Bubbly, cheesy, crusty pizza. %u00a0
And it’s for real one of the prettiest pizzas that I ever have made.%u00a0%u00a0Slice and serve%u2026. and eat in front of the TV.
HAPPY WEEKEND!!!!
-C
Kind of a Reuben Sauerkraut and Swiss Pizza
This is the stuff you will need..adjust the amounts to you liking%u00a0
Pizza dough (this doughor store bought)
1/4 cup Stone Ground Mustard
1 cup Cabbage and Kohlrabi Sauerkraut ( or just regular sauerkraut)
1 cup Swiss Cheese (Use vegan cheese to make this pizza is vegan)
1 teaspoon caraway seeds
Preheat oven to 450
Roll out the pizza dough to desired thickness and place on skillet or baking sheet. Smear with mustard, then layer the sauerkraut then cheese, and sprinkle with caraway seeds. Place into oven to cook for about 15 minutes. Pizza is done when dough s cooked and cheese is all nice and bubbly.%u00a0
Remove from oven, let cool for a minute, cut into slices, and eat.%u00a0
%u00a0It’s Friday!!! And what does that mean? Pizza Pizza!!!!But not just Fridays%u2026pizza happens more times then not in our house%u2026It’s the misters favorite food and for real, he could eat it everyday, all day.%u2026He is kind of made of the stuff. As for me, well I don’t mind making it for him because it’s easy. And because I am making it, it doesn’t have 8 million calories, 9 million grams of fat and have 10 million milligrams of sodium like takeout of frozen. %u00a0My pizzas are for the most part pretty freaking heathy. It really depends on how its topped. Like take this one.. Homemade pesto, good quaility cheese, (you can use vegan or low fat)%u00a0chickpeas and tomatoes. Not to shabby. And really, it isn’t any more complicated then calling the take-out place or unwrapping the frozen plastic disk from the box. All you need is some good dough (I guess you could use store bought) and some good quality toppings%u2026 and you’re there%u2026Pizza in your face.
For this pizza I used the skillet cooking method. This crust is one of %u00a0the misters favorites. It is a basic pizza dough but cooked on the stove in a skillet. It’s almost like a pita bread, but not. And I like to make it this way because its really fast (once the dough is made) and I can even make up a few crusts to have on hand for later.
Fast, healthy, and tasty%u2026..Why not eat pizza every day?%u00a0
Not too many ingredients here. 3 cups of all purpose flour or 2 cups all purpose and 1 cup white whole wheat. A teaspoon salt, a teaspoon honey (use sugar if vegan), yeast and warm water%u2026%u00a0
Start with the dough. %u00a0Add honey or sugar to yeast and warm water and let sit to active, which should take about 5 minutes.
%u00a0Mix together the salt and flour(s) and add the foamy yeast mixture. Mix until it all comes together and dump out onto a floured surface. (if the dough seems to dry add a splash of water..if way to wet, add a little flour) Give the dough a good 2-3 minute knead session, adding flour as needed to keep the dough from sticking. Form a nice ball, place back into bowl and drizzle with oil. Cover bowl with a towel and stick in warm place to rise for about an hour or until it has doubled in size.
When dough has doubled, dump back onto a floured surface and divide into 4 equal sized balls (or as many balls at whatever size you want)
Now you have a few choices here. You can either cook up all the dough now if you need it, or freeze dough balls for future use. If you think you are going to make pizza again within the next few days, it can be refrigerated, or you could also blind bake the dough and freeze or fridragerate that and have pre baked crusts all ready to go. So many options%u2026 just do whatever works for you.%u00a0
To make the dough in a skillet, oil the bottom of a 15 inch skillet, turn burner on to high and let preheat until the oil is sizzling. Roll dough out to roughly the size of the skillet and when it has preheated, place dough on in there and let cook for about 3-5 minutes, or until the dough starts to bubble and the bottom has started to brown. Turn burner down to medium and flip. Cook this side for another 3-5 minutes.
If you want oven crust, just roll out and place on a baking sheet and bake with topping on at 475 degrees for about 20 minutes
Now the crust is ready for the toppings!!
Preheat the oven to 450 degrees.%u00a0
Smear the pesto (for this pie, I used the last of my homemade pesto from last summer%u2026sad face) Mince garlic and distribute evenly on top of that. Then do the cheese, followed by the tomato slices and chick peas. Sprinkle with a bit of salt, cracked pepper and some parmesan cheese.%u00a0
Stick into oven for 10 or so minutes or until the chesse is nice and bubbly and the crust os crispy and brown.
And that is pizza. A super duper, yummy, healthy, not too fatty or overly salty%u2026 %u00a0can be eaten breakfast lunch or dinner time, pretty, satisfying, pizza. %u00a0
Make it for yourself, for you lover, for a friend. Make it in the shape of a heart or an elephant. Give you kid(s) a ball of dough and have them make their own%u2026 I know%u2026 such a good idea.%u00a0
Everyday, all day.. Happy Friday and Happy Pizza
Stay warm!
-C
For the dough ..Makes about four 10 inch pizza doughs or three 12 -14 inch doughs. This is also the same recipe I use for all of my pizzas (skillet and oven)
3 cups of all purpose flour or %u00a02 cups all purpose and 1 cup white whole wheat
2 1/4 teaspoons of yeast or 1 packet
1 teaspoon of honey or sugar
1 teaspoon salt
1 1/2 cups warm water
The Pizza Toppings (for a 15 inch crust..adjust amounts to your need or liking)
1/4 cup of pesto
1 large %u00a0roma tomato thinly sliced
a few cloves of garlic minced
1/1 cup of prepare chick peas.. rinsed and drained
1/2- 3/4 cup of cheddar cheese (or any kind you like..use vegan cheese if you want too)
salt, pepper, and parmeasan (optional) to sprinkle on top
To start, place honey, yeast and water into a jar or bowl and let sit to active until mixture starts to foam. Mix together flour and salt into a large bowl and add in yeast mixture. Stir until combined and dump onto a well floured surface. Knead dough for a a few minutes and form into a ball. Place back into bowl, drizzle with oil and top with a towel. Place somewhere warm to rise for an hour, or until dough has doubled in size.
When dough is done rising, dump back onto floured surface and divide into 4-8 equal sized balls.( 4 balls make %u00a015 inch pizza%u2026 8 balls are good for individual size pizzas) Place whatever dough you are not going to use into a closable plastic bag and either stick in fridge(if using within a few days) or freeze for future use.
Place skillet on high heat on stove and drizzle with oil. Also, preheat oven to 450 degrees. Roll out you dough and when the skillet is has gotten really hot, place dough right on in. Let cook for about 3-5 minutes or unit the cough has started to form bubbles and the bottom has started to brown. Turn heat down to low and cook other side for another 3-5 minutes or until browned.%u00a0
Now pizzafy it.. Add on the toppings. Smear with pesto, add minced garlic, then evenly sprinkle cheese. Top with the chick peas and the sliced tomatoes. A sprinkle of salt and pepper and a dusting of grated parmesan%u2026%u2026Right into the oven for about 10 minutes to melt it all together%u2026..
Pizza Pizza!!!
Wowzers.. What was I thinking! I know, the same thing you are%u2026YES YES YES!!! Gluten free what now.. My lovely sister is on that ban wagon. She has been having”issues” lately(so many, it’s hard to pin point) and says she is feeling better without the gluten. Me being the lovely person that I am want to feed my poor sister, make her happy with food. %u00a0I HAD to prepare that lady a dinner and it had to be pizza cause I know how much she likes her pizza. So I brain storm. What would be a good gluten-free pizza crust? I could do the obvious and %u00a0get gluten-free flour, but to be honest, that’s some expensive stuff and I really didn’t feel like going to the store. I wanted to work with what I had in the house%u2026.and ah ha, there it is, %u00a0cornmeal.. With a little bit of water I can turn that into some polenta and a super gluten-free pizza crust.
So in walks polenta(if polenta could walk) What goes good with polenta? Caramelized onions, mushrooms and yes, my last delicate squash.(I am too nice) A nice base of marinara sauce and a bit of parmesan cheese mixed into the crust and sprinkled on top%u2026..a complete work of genius that I was proud to serve to the gluten free lady.
Note. I have to make this clear, just because this pizza is gluten-free doesn’t mean that a person that is not gluten-free cannot eat this. Anyone and Everyone should eat this pizza.
%u00a0There really isn’t a whole lot of ingredients to this pizza%u2026 Cornmeal for the polenta. Marinara sauce%u2026.I used jarred marinara because it was a little easier and we don’t always need to make things from scratch%u2026Lots of onions(2 finely sliced), handful of %u00a0sliced mushrooms, thinly sliced squash and parmesan cheese. Most of the prep takes place at the same time, but that’s good, we can multi task, just have everything pre chopped and ready to go. First thing first, start the polenta
There are so many different ratios and directions on how to prepare polenta, so if you feel like your way is better, I trust you. What I did for this crust was 1 cup cornmeal to about 2 1/4 cups water. The main thing is the finished product. You want a pasty paste that is spreadable but not overly watery.
Bring the water to a boil and constantly whisk while gradually pouring in the cornmeal. After a minute to two, it should be pretty well incorporated and there shouldn’t be to many lumps. Turn the heat down to simmer and stir a lot %u00a0until the polenta starts to pull away for the sides of the pot. Really scrap the bottom of the pot so it doesn’t burn. Once its done, add in a 1/4 cup of parmesan( if you want to keep it vegan, just don’t add it) and salt and pepper.
%u00a0 %u00a0%u00a0 %u00a0 %u00a0 %u00a0%u00a0On a well oiled baking sheet or pizza sheet..spread the polenta into the shape of your desire. I went with a somewhat circular shape, but now that I think of it, I wish I had been more creative, like maybe a triangle or even the shape of a bus%u2026.Yeah, a bus shaped pizza would have been cool.
This crust needs to be pre baked so stick it in the oven.It should take about 20ish minutes.
%u00a0%u00a0 %u00a0 %u00a0 %u00a0 %u00a0 %u00a0You can do this pre crust or at the same time, but roast your sliced squash. Place single layers squash on an oiled pan, salt and pepper, then into the oven. It should take 10 minutes on each side.
%u00a0 %u00a0 %u00a0
You got the crust in, the squash in, now we need to caramelize the onions. You may be thinking that 2 onions is a lot, and it kind of is, but you want a lot. A tiny bit of oil into a skillet and all the onions. medium low heat with a lid, string on occasion. When the onions start to caramelize, add the mushrooms and cook until onions are nice and soft and the mushrooms are no longer raw. %u00a0By the time you done with this task%u2026everything should be ready%u2026.time to assemble!
%u00a0 %u00a0%u00a0
First marinara%u2026then the roasted squash.
%u00a0%u00a0 %u00a0 %u00a0I Sprinkle a layer of parmesan cheese and pile on those onions and mushrooms,. Sprinkle with a little more cheese. %u00a0( use vegan cheese or no cheese if you want it vegan) Back into the %u00a0oven for another 15 minutes to give everything some time to crisp and melt. %u00a0Remove from oven and appreciate%u2026That is one good looking pizza. I took %u00a0a long spatial and run under the crust just to make sure if wasn’t stuck. I also found that if you let it %u00a0cool for a few minutes before serving, the polenta gets a little stiffer and easier to handle, but not necessary.
Its time to eat! %u00a0 And I know that it was a success. This is my gauge for how good it was%u2026I stopped by the next day to drop a xmas tree stand off to her(again, look at how nice I am) and she was eating lunch%u2026the left over pizza. That might not seem like anything to you but to me%u2026 She doesn’t eat leftovers. Sure, she will stick them in the fridge, but that’s where they stay until she tosses into the garbage. The pizza was leftover good%u2026.That is good!
Polenta Delicata Caramelized Onions and Mushroom Pizza
Ingredients
1 cup polenta (Cornmeal)
1 tablespoon olive oil, plus more for the pan
2 %u00a01/4 cup water
1/2 cup grated Parmesan(omit if making vegan)
%u00a01/2 of Marinara sauce
1 small delicata squash
2 medium onions
8-10 mushrooms
2 gloves garlic
Directions
Pre heat oven to 425
In a medium saucepan, bring 2%u00bc cups water to a boil. Whisking constantly, slowly add the cornmeal while constantly whisking. Once full incorporated, turn to low and stir for a few minutes until the polenta starts to thicken and pull away from the sides. Stir in 1/4 cup of parmesan (if using). Salt and pepper to taste. Genously oil a pizza sheet to a cookie sheet and spread the polenta mixture %u00a0about a 1/2 thick. Place into oven and bake for 20-25 minutes or until crust is a nice golden brown.
While the crust is cooking, place thinly sliced squash on an oiled baking sheet and sprinkle with salt and pepper. Place in oven at the same time as crust, flipping squash after 10 minutes. Cook until fork tender, about 20 minutes.
While the crust and squash is baking, caramelize the onions. In a large skillet with a bit of oil. toss in onions and a little salt. %u00a0Cook on medium low heat with a %u00a0lid, giving them a good stir every now and then. Once onions are nicely cooked down, toss in the mushrooms. Continue to cook unit mushrooms are no longer raw.
Remove crust %u00a0and squash from oven and let cool for a minute. Now just pile stuff on. Spread %u00a0marinara sauce evenly around crust. Add squash and top with cheese. Dump the onions and mushroom on top and sprinkle with a bit more cheese.(Again, use vegan or no cheese to keep it vegan) Place back into oven for another 20 minutes.
Remove and let cool for a few minutes%u2026%u2026%u2026..and then eat eat eat!!!
A good side dish for this pizza%u2026a nice light arugula salad. Hey, you could even just toss some greens right on top of this pie, that would be fantastic too!
Spring is here for reals, I think. No, it is here, it has just been a bit raw and maybe a bit more rainy then it really needs to be, but whatever, it is spring and it is good. Things are greener by the day, the temperatures although not exactly warm are still inhabitable and without cause for winter jackets (although I have still been rocking the mittens) and spring veggies are popping up all over. Things are looking good.
So last week I made a pie crust with the intention to make a veggie pot pie and stuck it into the freezer. When the time came to make said pot pie, I forgot to take it out of the freezer so the crust was not meant to be for pot pie (it will probably end up as a rhubarb pie%u2026we shall see). Without pie crust, I wasn%u2019t exactly feeling like I should make a pot pie, but a tart, well yeah, sure. A crispy and chewy crackery crusted thing with almond ricotta a spring veggies because that is where the mind went and what the mr agreed sounded good. (When I make up recipes I just start taking about ingredient and preparations and wait til the mr says %u201cYea, that loud good. I%u2019ll eat that %u201c He usually will say it right away and for anything. Very easy to please or he just doesn%u2019t care%u2026hum? )
And so the tart was made and the tart was eaten in all entirety for dinner by the mr alone. Usually when he eats all of something it means it was one of the really good things. Or he is really really hungry. But he said it was a really good thing. I trust him because I agreed. I got in a few spoonfuls of the almond ricotta mixture and it is really freaking good if I do say so myself (I could eat bowls of almond ricotta all day long).
Anyway, heres to spring and all things that are green and good.
To the tart.
The stuff. Flours (white and white whole wheat), baking powder, and a little salt in the bowl. Water and olive oil, blanched almonds, a lemon, a clove of garlic, asparagus, peas, frozen and thawed spinach, a small red onion, and salt and pepper.
Start with making the crust. Mix the dry together then add in the oil and water to form a dough. Knead dough a minutes until the dough is uniform and place back in bowl and cover. Dough needs a few alone minutes to rest. I can relate to that.
While dough is resting, make the almond ricotta. Almonds, garlic, the juice of the lemon, and a bit of water go into blender. Add in a pinch of salt and pepper too.
Blend until creamy and smooth.
Dump in the spinach and blend, just until combined.
Scoop ricotta into a bowl and mix in the peas. And sure give it another taste but try not to eat it all.
Grab the onion and slice it all nice and thin.
And after the resting time, grab dough and roll it out. Try for a rectangular shape or as rectangular as you can get it, but nice and thin. Thiner is better.
Place rolled out dough onto a baking sheet and poke the bottom with lots of little hole. Take ricotta mixture and spread evenly all over crust, leaving a 1 1/2 border all the way around.
Then top with the asparagus and more onions.
Fold over the edges of the crust, sprinkle with a pinch of salt and pepper, and into the oven it goes to bake.
And then it is baked. And ready to eat (after a few minutes of cooling).
Nothing left but to cut it up and eat it.
Spring. Green. Food.
Things are good.
-C
Makes a 8×12(ish) tart
For the Crust
1/2 cup all purpose flour
1/2 cup white whole wheat (can sub for all purpose)
3 tablespoon oil
1/3 cup room temp water
1/4 teaspoon baking powder
1/2 teaspoon salt
For the Almond Ricotta and Veggies
1/2 cup blanched almonds
1/4- 1/3 cup warm water
1 lemon
1 clove garlic
1/2 teaspoon salt and pepper or more to taste
1/4 cup frozen and thawed spinach squeezed of liquid
9-10 spears of Asparagus
1/4 cup peas (fresh or frozen and thawed)
1 /2 red onion
First make the crust. Whisk together the flours, salt, and baking soda. Add in the oil and water and mix until a dough forms. Form dough into a ball and knead for minute or two on counter then place dough back into the bowl and cover. The dough needs to rest for 10-15 minutes.
While dough is resting, make the almond ricotta. Place almonds, garlic, and juice of lemon into a blender. Start blending and add in the lesser amount of water, adding a little more until the stuff all starts to blend. Blend on high for a minute or two until the mixture is nice and creamy. Season with salt and pepper, blend a second to mix then add in the squeezed out spinach. Blend until mix together then dump or scoop the mixture into a bowl and mix in the peas. Then thinly slice up the onion.
Preheat the oven to 450
After doughs little rest, lightly flour a counter and roll it out, thin as you can, in a rectangular shape. Try for at least 12in x 16in. The rectangle doesn%u2019t need to be perfect. Rough is good.
Place the rolled out crust onto a baking. Take a fork and dock the surface (poke holes into it to prevent air bubbles). Take the ricotta and pea mixture and spread evenly on crust, leaving about a 1 1/2 inch border all the way around. Add a layer of sliced red onion and then take asparagus (trim off woody ends) and either lay on whole or break in half and lay on. Add more onions on top. Fold the border of the crust over the top. Sprinkle the whole thing with pepper and place into the hot oven.
Bake for 22-25 minutes or until the crust becomes a nice golden brown. Remove and let cool a few minutes
And then cut up and eat. Right away or at room temperature. Or some now and some later. All up you you.
Store left over in fridge in air tight container for up to a few days. the crust will not be crispy but more chewy. Can stick it back in oven for a few minutes to crisp it up.
If you come around my house in the cold months, you will more times then not find yourself faced with fresh bread. Why? Well because I like to bake bread. But mostly, if I am honest, when I am cold, I bake. (We keep the house heat off until at least November 1. After that we keep the heat at a low 60 when it%u2019s on.) I like the house to be kept on the colder side, but sometime, it%u2019s a little brisk so if I am home and cold, I am probably just going to bake something, to stay warm of course. This focaccia was my first foray baking to stay warm of the cold season. It was 40 degrees out and the heat still wasn%u2019t on, and I just so happen to be going through my spice drawer and found a batch of everything bagel seasoning that I had mixed up a couple months ago that needed to be used. Hence the bread.
Cold weather+found seasoning+I should make something for dinner=everything bagel focaccia. Or you can just make it because it is super easy and every time I make focaccia it gets gobbled right up. Especially this time. Barb and the mr ate half of it at dinner. And I think the other half was gone by the next day. To quote the mr. %u201cThis focaccia is professional%u201d. He said it with a mouth full of bread. No shit dude. I am professional. Ha
The stuff. Flour, yeast, warm water, everything bagel seasoning, sea salt, pepper, and olive oil.
Start with getting the yeast and warm water mixed together. Let it sit for a minute or 5, just to make sure it is active (this is more important to do if you are not using fresh yeast)
Once you are sure your yeast is alive, add in the flour and mix together until you are having a hard time mixing anymore.
Dump dough onto a floured surface and start to knead. Probably for 5 minutes, until you dough looks like%u2026.
This. Kneaded until smooth and beautiful .
Place dough into a deep bowl and drizzle with olive oil. Make sure the whole ball is coated. Then cover with a damp cloth and stick in a warm place to rise for about an hour, or until the dough has doubled in size.
Once dough has doubled, grab your baking sheet (can use a pan) and coat the pan with about 2 tablespoons olive oil.
Place the dough into pan and spread it out using your fingertips. Flip the dough over if you need to and keep dimpling the dough until it hits all the sides. Drizzle on another tablespoon of oil on top.
And don%u2019t forget the seasoning. Sprinkle on all the everything seasoning along with the sea salt and some cracked pepper. Make sure to be somewhat liberal with the seasonings too because you know that%u2019s what you want.
Into the oven for 30ish minutes then out of the oven
Look at all the everything.
Drizzle the top of the bread with a little more olive oil, pop it out of the pan, stick it on a cutting board, and that%u2019s it. Now watch your slab of bread disappear.
Happy bread baking. Stay warm.
-C
make a 9×13 slab of bread
4 cups all purpose flour (plus a little more for kneading)
2 cups warm water
2 teaspoon yeast (or one packet)
3 tablespoons everything bagel seasoning*
1 tablespoon sea salt
cracked pepper
about 1/3 cup very good olive oil
*Note To make your own everything bagel seasoning mix up equal parts dried minced garlic, dried onion flakes, sesame seeds, and poppy seeds. Or I think you can buy it now at the store with all the other spices. But it%u2019s probably cheaper to make it yourself.
To start, place yeast and warm water in a big bowl. Mix until incorporated and let sit for a minute or two or until you see little bubble form, just to make sure the yeast is active. When your sure it%u2019s good, add in 4 cups of flour. Mix with a wooden spoon or dough mixer until it becomes hard to mix anymore. Dump the dough onto a flour surface and start to knead, adding a little bit of flour as you go if it became to sticky, until the dough is smooth and uniform. Should take about 5 minutes. Place the kneaded dough back into bowl (scrap any of the extra bits out first) and drizzle with olive oil. Make sure the whole dough is coated. Cover the bowl with a damp towel and place in a warm spot. Let dough rise for an hour, or until it has doubled in size.
Preheat oven to 375.
Once dough has doubled, grab a 9×13 baking sheet or pan and coat with 2 tablespoons of olive oil. Really make sure the pan is well greased. Place dough into pan and with the tips of your fingers, smoosh and spread dough until it has filled up the pan. Drizzle with another tablespoon of oil then take your seasoning and evenly spread it all over the top. Sprinkle with salt and add a little cracked pepper. Now pop it into the preheated oven. Bake for 30 -35 minutes or until the bread has turned a nice golden brown.
Remove from oven and right away drizzle on another tablespoon or so of olive oil. Let sit for a few minutes to absorb then pop the bread out of the pan and place on a rack or cutting board and either let cool, or not. Warm focaccia is loved by all.
The mr has a soft spot for tortilla chips. He doesn’t get chips often, but when he does it is usually the super fried, super salty, in a plastic bag, tortilla chips. And I am ok with that because it is not often and the dude deserves chips when he wants them. But I hate how crappy they are for him, especially all the salt. So much salt that I can smell it in my mouth (yes, I said that right). So, as with everything else we eat in the house, I now make chips from scratch. (Slowly I have eliminated just about everything that is pre packaged and started making it myself.%u00a0I think it’s pretty much just the dried pasta and the mr’s yogurt and cheese that I haven’t gotten to.Yet.) This way he can eat his chips and I don’t have to sit there tasting the smell and thinking about the crap that he is eating.%u00a0%u00a0I know I say this a lot, but lets just take a minute here and acknowledge how I really am the best girlfriend ever.%u00a0
Ok, now about these chips. I have made plan tortilla chips a few times before and figured it was time for a twist.%u00a0%u00a0In come black beans. Why, because I was pretty sure beans were going to be awesome, and lo and behold, I was completely right. Adding the beans take little to no more effort then making the chips without, and bonus here, more fiber and protein and good stuff going into a chip. Then they are lightly oil, lightly salted, and eaten without any guilt because I made them and they are the best. Seriously, the mr thinks they are amazing and doesn’t miss those pre package ones a bit.%u00a0%u00a0And sure, they might take a little time and minimal effort, but really they are super easy and the time and effort to make them is probably no more then going into a store, waiting in line to pay, and driving home to eat your chips. You can have these chip made in that amount of time. So you might as well just make them.
To the chips.%u00a0
The stuff. Masa harnia, black beans, water, salt, and a little oil. There should be a lemon or lime here too, but I forgot to stick it into the picture. Oops.%u00a0
Pretty easy.%u00a0%u00a0Add the beans to a food processor and blend untill completely smooth. Add in the masa and pulse then gradually add in water until a dough forms. Stop and feel the dough. If it feels like play dough and comes together into ball easily, then you are good. If it is to wet, add a little more masa, to dry, more water.
Dump the dough onto the counter and form into a ball. Place the doguh into a bowl and cover with a damp closer for 15-30 minutes to let the dough rest.
After the rest, divide the dough into 12 pieces and roll into balls. Place the balls onto a damp cloth and cover while you are making the tortillas so they don’t dry out.%u00a0
To flatten those balls into tortillas.%u00a0%u00a0After doing this a bunch of times, I have a system that works the best for me.%u00a0%u00a0I use a large ziplock bag (the plastic is a little thicker and easier to deal with, plus I don’t use plastic wrap), a cutting board, and a rolling pin. Place a dough ball into the center of the bag then take the cutting board and press directly on top, placing all your weight onto it. It gets flat, but not flat enough so take the rolling pin and flatten some more. Then press the rolled out dough with the cutting board one last time. Carefuly remove from bag and place direrely onto a hot dry skillet.%u00a0
Cook each side 3-4 minutes or until it starts to get a few light brown spots. Once cooked, place on a plate or baking sheet. If I were just making tortillas, I would place then in between a kitchen towel to keep them warm, but because they are destined for chips and don’t care.%u00a0
Black bean corn tortillas.%u00a0Hey, you could stop here and make a taco or something if you need to. Feel free to use a tortilla or two before using the rest to make the into chips.%u00a0
So chips. Grab baking sheets, oil, salt, a knife, and the tortillas. Take a few of the tortillas and oil them. (The easiest way I found to do this is to rub oil on with my hands then rub the oil onto the tortillas.%u00a0)%u00a0Oil 3 at a time, stacked them on top of each other and cut into 8 triangles,%u00a0
Get as many of the triangles onto a baking sheet as you can, without overlapping. %u00a0Once all nice and tight, sprinkle the tops with salt and pop them into preheated oven.%u00a0
Pull the chips out of the oven when they are crispy and done (about 10 minutes)%u00a0then squeeze a little lemon juice all over the chips. Toss around and pop the pan back into the oven for another minute or two just so the juice doesn’t %u00a0leave the chips soggy.
Dump cooked chips %u00a0onto a wire rack to cool. Eat as you work, you deserve it.
Pile chips into a bowl, and serve with some salsa or guacamole or whatever you eat you chips with. %u00a0They are your chips.%u00a0
-C
Makes 98 chips, or like a good sized bag worth
2 cups masa harina%u00a0
1 cup cooked black beans in bean juice
1- 1 1/4%u00a0 cups warm water
couple teaspoons neutral oil (I used grape seed oil)
2-3 teaspoons salt
A lemon or lime
Beans go into a food processor and blended until completely smooth. Add in the masa and blend, slowly adding 3/4 cups water until a dough starts to forms. %u00a0Stop and check dough. It should feel like play dough and come together easilty onto a ball. If it feel wet, add in a couple of tablespoons more of the masa. If it is still too dry and crumbly, add in more water until it’s to the right consistnacey. Dump dough onto counter and form in a ball. Place dough in a bowl and cover with a damp towel and let sit for abut 15-30 minutes.
Preheat a skillet on medium high heat on stove.
Once dough has rested, divide into 12 pieces and roll into balls. Place balls onto a damp towel and cover when not working with them.%u00a0Grab a large ziplock bag, a cutting board, and a rolling pin. Take a dough ball and place in the center of the bag. Press down with the cutting board, placing all your weight on top. It got flat, but not flat enough. Continue to flatten out with the rolling pin until it is about %u00a01/8 inch thick. Press again one last time with the cutting board. Gently remove from bag and place directly onto the hot skillet. Cook each side for 3-4 minutes or until it %u00a0starts to get a few light brown spot. Place cooked tortilla on a baking sheet or in between a kitchen towel. Repeat until all 12 dough balls are cooked into tortillas.
Preheat oven to 375
Working in 3’s. dump a little oil onto your hand then lightly rub it all over the tortillas. Stack them on top of each other then cut into 8 wedged. Place wedges onto a baking sheet, get as many as you can onto sheet without any overlapping, then sprinkle with salt. to taste. If you have them, use multiple baking sheets.%u00a0%u00a0Place in oven for about 10-12 minutes or until the chips are crispy. Remove and sprinkle lemon juice all over the chips. Toss around and place back into oven for a minute or two just until lth lemon juice evaporates. Remove and dump chips onto a wire rack to cool.
Eat chips. Any left over can be placed into a airtight container or bag and will last about 3-4 days.%u00a0
Pineapples have been on sale all week long. I think it’s because Easter and I guess people need pineapples for Easter for some reason. Does Pineapple have anything to do with bunnies or Jesus? I think not. Pretty sure it has something to do with cake or ham or some shit, but I honestly don’t care because I just like the fact that I can buy a few (like 3)%u00a0pineapples without breaking the bank.%u00a0(I think I am going to buy 3 more for the dehydrator) Plus it is always good to have a pineapple or 3 on the counter at home. You never know when you are going to need one.%u00a0So lets give a shout out to the Easter bunny and %u00a0Jesus. Thanks for the cheap pineapples.%u00a0%u00a0HA!
So now you are have those pineapples, you are going want to eat them. And maybe you don’t want to eat them with cake or ham or some shit. You are going to want to eat it the best way…In a stir fry.%u00a0
This is by far one of my favorite stir fry combinations. Pineapple does amazing things when cooked a bit, especially with soy, broccoli,%u00a0and tofu. This dish definitely let’s pineapple reach it’s full pineapple potential. It is so good that tI think I might even prefer my pineapple cooked along with savory stuff. It is just so right and seriously so freaking good. The mr even get excited for it and he is not the excitable kind of guy.%u00a0Plus it’s fast (especially if you have already cut up your pineapple) and easy because stir fry and that’s what stir fries are. Fast and easy, just like……….(insert your favorite fast and easy person and then chuckle)
And don’t try to use canned pineapple because no.%u00a0%u00a0Just get the fresh one,even if it’s not on sale.%u00a0It’s a must.%u00a0
The stuff. A pineapple (you are only going to need 1/3 of this, but you can never have too much fresh pineapple on hand), a big head of broccoli, a little cabbage, and some firm tofu. %u00a0Also need some soy, a few cloves of garlic, a little fresh ginger, a bit of oil, and pepper.%u00a0
Dice up the tofu into cubes and place on a clean dish towel to absorb some moisture.%u00a0
Grab the fresh pineapple. Cut it up the way you do, but the easiest way %u00a0for me is to cut in half the cut that half into fourths then cut the skin away. You are going to have a lot of extra pineapple so snack as you need too. I always eat like half of what I am cutting up and end up with pineapple gut. SO maybe watch yourself.%u00a0%u00a0
Pour some soy into a cup and mince the garlic and ginger.%u00a0
Garlic, ginger, soy. Looking good.
Cut up about 2ish (or more if you want) pineapple into small mouth sized pieces. Break Broccoli head into small florets and shredded the cabbage.%u00a0
Tofu into a lightly oiled hot skillet with a splash of soy, cooked until a nice crisp brown on all sides.%u00a0%u00a0Once it is cooked, remove from pan and set aside.
It’s the broccolis turn. Add in the florets and a splash of water to start cooking down for a few minutes, it need the head start.%u00a0
Once the broccoli turns bright green and is slightly less raw, add in the pineapple and cook until the broccoli is slightly tender and the pineapple starts to caramalize which will take about 5-7 minutes.%u00a0
Add the tofu back in along with the shredded cabbage and dump the soy ginger garlic mixture all over.. Keep cooking and stirring around until everything is hot and the liquid has mostly been absorbed.%u00a0
That’s some stir fry ladies and gentlemen.%u00a0
You might want some rice to accompany your stir fry so think about it and have it ready. Other then that, it’s food to face time.%u00a0
Enjoy the best stir fry ever.%u00a0
Bye.
-C
serves 2
1/3 of a fresh pineapple (about 2 cups cubed)
1/2 %u00a0block firm tofu
a large head of broccoli (about 2 1/2-3 cups of florets)
1/4 head of red or green cabbage (about a cup shredded)
2-3 cloves garlic
3 tablespoons soy or tamari
1 tablespoon freshly grated ginger
pepper
Cooked rice to serve with (Optional)
Cube tofu into 1 inch pieces and either place on a dry towel to absorb the moisture or place the tofu into the microwave and heat for 2 minutes. When you take it out of the microwave there will be a lot of liquid…pour it off and pat the tofu dry.%u00a0
Cube fresh pineapple into similar sized pieces and break broccoli into small florets. Shred cabbage.%u00a0
Mince garlic and add to a bowl or jar with the grated ginger and soy sauce.%u00a0
Place a large skillet on the stove an medium heat. Drizzle in a little olive oil. Once oil is hot, place the tofu in with a splash of soy, cooking until all sides are a nice dark browned. Remove the tofu from pan and add the in the broccoli. Add a splash of water and cook for 5 minutes. Then add in the pineapple and cook for another 5-7 minutes or until the pineapple starts to caramelize and the broccoli os no longer raw.%u00a0%u00a0Add the tofu back in along with the shredded cabbage and pour the soy garlic ginger mixture all over. Sprinkle with pepper to taste.%u00a0Cook for another 5 minutes or until the liquid has cooked down.%u00a0
Serve with rice or quinoa and extra soy if needed.
There is something about purple cabbage that makes me feel like I need to share it. It sounds weird , especially because I eat about a head of cabbage a day, but that is green cabbage. I barely buy purple cabbage because it cost twice as much and I really like green , but at farm share when you get to pick what color you want, I alway pick the purple. ( Side note. I used to call it red cabbage but have since stopped because it is very clearly purple and calling red just doesn’t make any sense)%u00a0
I also feel the need to do something a little more the chopping it up and eating it raw. So I make a little fancy. pretty, almond crunchy mustard type thing because that’s what I was feeling and I figure the mr would like it too. Note that I ended up using half a green and half %u00a0the purple because color is nice and also I ended up eating the other half of the purple before I could share it. But I caught myself before eating it all to may face and was proud of myself for thinking of others.%u00a0%u00a0
This dish is good, really really good.%u00a0. It has roasted cabbage which is alway great, but slathered with maple mustard and crunchy almonds.. it’s just freaking fantastic in all the ways. It also happens to be super easy to prepare and with minimal ingredients.%u00a0It makes for a great side dish, a main dish, and is great for sharing during the holidays that are just around the corner. Or if you are like me, not sharing and eating all afternoon long. (I did save some for the m for dinner because I am so nice)%u00a0
The stuff. Cabbage, red or green or a bit of both, stone ground mustard, maple syrup, almonds and pepper.
Easy peasy. Cut the cabbages about an 3/4 inch thick and lay them on a baking sheet. Pop it into the oven once it’s preheated.
While thats going on, mix some maple with the mustard and chop up the almonds.
After about 25 minutes, pull the cabbage out and flip them. Cover the top with maple mustard and sprinkle on the almonds. Stick the cabbage back into the oven and bake another 10-15 minutes, or until it’s roasted to your taste preference (I like it really roasted)%u00a0
Just look how pretty it is.%u00a0
Serves from a baking sheet but would look so lovely on a nice plater, you know, if you want to be extra classy.%u00a0
This cabbage situation is all of it.%u00a0
Have a great weekend and hope the Thanksgiving planning goes smoothly.%u00a0
-C
Makes about 6-8 slabs
1 head of cabbage (red or green or half of both)
1/4 cup stone ground mustard
2 tablespoon maple syrup%u00a0
1/3 cup raw almonds%u00a0
pepper to taste.%u00a0
Preheat oven to 425
Slice cabbage into thick slabs about 3/4 inch thick. Try to get them roughly the same thickness so they roast evenly. %u00a0Lay the cabbage on a baking sheet, not overlapping, and stick into the oven once it’s preheated. Bake for 25 minutes or until the bottoms of the cabbage are crispy.
While cabbage is roasting, mix mustard and maple %u00a0together and roughly chop the almonds. %u00a0
After %u00a0the 25 minutes, grab the cabbage from the oven and flip each piece. Cover the tops with the maple mustard and sprinkle on chopped almonds. Place back into the oven for another 10-15 minutes %u00a0and roast until the cabbage is as crispy as you like it.
Remove from oven, sprinkle with good pepper,%u00a0and serve. Extra maple muastd is welcomed to some. Any left over (but there won’t be any) is great eaten cold before bed %u00a0or tossed onto a salad for lunch the next day.%u00a0
I feel like tofu sometimes get a bad rap. I don’t think that anyone in my family (or most of them) would willingly eat tofu even though they have no clue what it tastes like. They say they don’t like it but that’s bullshit because they have just never tried it.%u00a0 They all just think that only crunchy hippies are allowed to eat it or if they do eat it, they will turn into a crunchy hippie. Either way, they are butt heads and are missing out.%u00a0 I think one of the big reasons some people don’t like it is that they think tofu is suppose to be a meat replacement. That is wrong. Tofu is tofu(which is soy) and is not trying to be meat.
In our house we eat tofu a couple times a week. Sometimes as a main meal or sometimes in soups or bread or pie, or where ever I feel like I want it, but mostly just a quick sear and into the belly it goes. There are so many ways to prepare and flavor it but honesty, more times then not, my go to is simple. Lemon, pepper, salt. It’s quick, easy, super tasty, goes with everything and I always have the ingredients.
So to all those who think tofu is gross, I say, try it or if you have really tried it, try it again. And then if you still think it’s gross, well ok then.%u00a0 And to all those who like tofu, you will like this.%u00a0 And you are cool.
The stuff. Extra firm tofu, a couple small lemons, salt, pepper, and some olive oil.
Fist off, cut up tofu. I like to cut in talk, then into fourths, thne into squares and those square into little triangles.%u00a0 But you can cut it into strips or square… whatever you like, just make sure that each piece isn’t more then 1/2 inch thick.
Once cut up, place the tofu onto a clean dry towel, cover with another towel, and press, trying to remove as much liquid as you can without tuning tofu into mush. I will usually let the tofu sit on out on the counter like this for a little while,
Once you are ready for cooking, preheat a skillet with a drizzle of olive oil and optional, preheat the oven. Mix together the salt ans pepper then sprinkle both sides of the tofu with it.
Zest lemons and cut in half so they are ready to juice.
Place tofu pieces into hot skillet, single layer and squeeze some lemon all over. Sear the tofu until the bottoms are a nice deep brown.%u00a0 Flip and repeat, adding more lemon juice.
Once the tofu is cooked both sides, sprinkle with the lemon zest. Now here is a personal preference. I like my tofu a bit more on the cooked side so I slide the skillet of tofu into the oven for 10 minutes or so. The mr like it just as it is. So either way. I say try it before the oven and stick it in if you think it needs to cook more.
And it’s done.
Tofu with a side of broccoli. Not a bad dinner, not bad at all.
-C
serves 2-3
1 package extra firm tofu
2 small lemons
1 1/2 teaspoons salt (or more to taste)
1 tablespoon crushed pepper
olive oil
Remove tofu from package and cut in half. Cut each half into fourths then cut each forth into square then each square in half diagonally. Or cut tofu into whatever shape and thickness you like, just don’t make the pieces to small or more then 1/2 inch thick. Once cut, place on to a clean dry towel and cover, pressing gently to remove as much excess water without squishing it.
*Preheat oven to 400 (Option. See below)
Mix together the salt and pepper then start to preheat an oven safe skillet on medium high heat with a drizzle of olive oil. Zest the lemons and cut in half.. Once the skillet is hot, sprinkle the tofu, front and back, with the salt and pepper mixture. Place half the tofu(if you pan is not big enough, cook in 2 batches) into hot pan and squeeze the juice of a lemon (or half a lemon if doing batches) on top. Let tofu cook until the bottom is a nice deep brown. Flip all the pieces , add the juice of other lemon(or half a lemon if doing batches) and cook until the bottom is a deep brown. Once cooked, sprinkle the tofu with the zest of the lemon.
*Option. After I cook the tofu on the stove top, I usually stick the tofu, (in the skillet)%u00a0 into a hot oven for 10-15 minutes to give it more of a hearty texture. The mr prefers the tofu much softer so I will skip this step for him.
Serve right away with some broccoli, rice, or whatever floats your boat.
%u00a0Cabbage is probably the number one eaten food in my house. It is not uncommon for us to go through a very large head a day. And I get that it may seem odd to you, but it’s true. We are cabbage people, so much so that we will probably turn into cabbage patch people. I can see it now.
One of the reasons that we eat so much cabbage is that it is so versatile.. Raw, steamed, roasted, the possibilities are a plenty, not to mention that cabbage is pretty dang cheap. And not to far around the corner it is St Patrick’s day when cabbage is basically given out for free. During this time I stock up, buy 100 lbs and ferment, roast, and peel my way through all of it. Is it sick that I am kind of excited about that ? (there are worse things to be excited about)
This cabbage dish is one of those dishes that can be eaten on it’s own, as a side, or as a condiment. Topped on a salad, stuffed into a sandwich, or shoveled into the mouth. You really can’t go wrong eating it anyway.
The stuff. Cabbage, onions, caraway seeds, salt and pepper, and some apple cider vinegar. (I accidentally grabbed the oil)
Shred up the cabbage and onions. Thin is good, but some bigger pieces are good too.
Into a big pot sprinkled with caraway, salt and pepper. A splash of water helps to get things started. Stickon a low heat topped with a lid.%u00a0 And just let it be for a while butgive it a stir ever 10-15 minutes or so.
About an hour it’s all cooked down and sweet and tasty as can be. A splash of vinegar finishes it off.
This batch was destined for the mr’s open faced cheese sandwich. I thought I made enough to pack some for lunch, but
I ended up just eating the left overs for a snack. I don’t know why I didn’t make more.%u00a0 Next batch I’ll make it a double.
Happy day to you.
-C
makes about 2 cups
1 small or 1/2 a large head of cabbage
2 yellow onions
2 teaspoons caraway seeds
1-2 tablespoons apple cider vinegar
olive oil for pot
salt and pepper
Thinly shred the cabbage and thinly slice the onions. Dump the now shredded cabbage and onion into a large dutch oven or heavy bottom pot that has a tiny drizzle of olive oil. Sprinkle with caraways seeds and about a teaspoon salt, a good splash or water then mix around. Place pot on a low heat and cover. Let cook down for about 45 minutes to an hour , stirringever 10 minutes or so, until the mixture has shrunk to about 1/3 it’s original size and is soft and tender. When just about done, mix in a tablespoon of the vinegar . Taste and season with more vinegar, salt and pepper if you like.
Eat as is or is or on salads, sandwiches or wraps.
A few weeks ago the mr and I were standing at the check out line at the grocery store when up behind us comes Shannon (sister of mine) which was really weird because I was just saying how I felt like I was going to see her there. (Sister ESP) Of course we just started talking and stopped paying attention. (handed over the bags and wallets to the mr) She was telling me about the party she was going to and the salad she was really excited to go home and make for that party. (like as excited I as I get when I talk about salad, but maybe she was more excited about the party, hard to tell)%u00a0 The lady cashier rang us through while the mr was kind enough to bag and pay, then rang Shannon through, which the mr was also kind enough to bag and pay(using her card). We chatted a bit more, walked our separate ways and moseyed on home. When we got there, I started putting our groceries away and there it was, a bag of Shannon’s groceries, the stuff for the salad she was going to make for her party. Oops. So the mr called her up and told her, was willing to drive all the way back to her house right then and there in the snow to bring it to her no problem, but she just laughed and said no. She would just make something else. All she wanted was for us to eat it, or better yet, make the salad she was going to make and then eat it.%u00a0 And that is what I did, or at least I think I did. I used the cabbage, limes, and broccoli that she bought, some black beans I had,%u00a0 chopped and tossed and ate. Not sure if it is exactly what she as describing, but it’s good.
Thanks Shannon for the bag of groceries, sorry we stole it. I owe you a salad.
The stuff. Some red cabbage, a broccoli crown, black beans (rinsed ans drained) a lime, and salt.
Cabbage gets shredded and broccoli gets chopped into small little pieces.
Chopped veggies, beans, lime juice and salt go into a big bowl.
Tossed. Now it may look done, but what this salad really needs is time to let the lime juice do it’s work. Let the salad sit for at least 30 minutes, but heck, if you make this a few hours, if not even a day ahead, well it’s only going to taste that much better.
And after the wait, eat it.
This salad makes for a great light Lunch or a pre-dinner (the small meal you eat before dinner, that’s a thing right?)
Enjoy your weekend.
-C
serves 4-6
2 cups cooked or 1 can of black beans, rinsed and drained
Half of a small head of red cabbage
1 large broccoli crown
1 or 2 juicy limes
a good pinch of salt
Finely shred the cabbage and small chop the broccoli. (stem and all) Dump the veggies into a bowl and sprinkle with salt. Mix in the drained black beans and toss with the juice of the lime. Let sit for at least 30 minutes. This salad taste good just made but only gets better with time, like if you can make it a few hours, if not a day ahead, go for it. When you are ready to eat. well eat it.%u00a0 Add more salt if needed, more lime juice if you want, maybe a pinch or two of pepper.
Easy quick dinners are no joke because sometimes life happens and then you are hungry, then hangry, %u00a0then maybe yelling and or tears start and nothing is ever going to be good again. And then you eat and everything is A OK, but that time between tears and food can be long, especially when you just can’t think so one should have a least a good 2 or 3 good dinners up there sleeve (besides pasta) that can be made quick and easily to avoid the fallout of food deprivation.%u00a0This bowl of goodness here is one of those. And sure some people might not always have a sweet potato,%u00a0tahini, or chickpeas is the house %u00a0(I ALWAYS have a sweet potato or some type of winter squash and tahini and chickpeas…%u00a0they are staples here)%u00a0but with a tiny it of foresight, you can make these things happen too. And then you will make it and realize that you must have these ingredients on hand at all times because yeah, a good go to meal that will prevent the tears.
Admittedly I have made this for the mr but he is not that into it. Says he is not a huge fan of sweet potatoes. (what the fuck is wrong with him?) But me, I eat is and I eat it all.. The sweet potato/chickpea/tahini combination is classic fantastic. This hash is sweet potato sweet, a little chickpea crunchy, salty, savory,%u00a0and creamy citrusy. %u00a0It’s all sorts of goodness. I tossed this hash on a big bed of kale (any sturdy green would be good) and only good things happen in my mouth. So the mr.%u00a0might not like it but I am starting to realize (after 15 years) that my taste is far superior to his. Haha. (but really) %u00a0Quick and easy (and healthy) and good. %u00a0Make it once and it will turn into on of your go to dinners, unless you don’t like sweet potatoes. In that case there is pasta.%u00a0
The stuff. Chick peas (I had just made a batch but if you don’t have any made already, grab a can) a sweet potato, an onion, a lemon, some tahini, and garlic Also some cumin and chili powder, olive oil, and salt and pepper.%u00a0
Preheat your oven and chop up the onion and sweet potato into mouth sized pieces.%u00a0
Toss the chopped stuff onto a baking sheet with the chickpeas.
Drizzle the whole shebang with olive oil and toss with cumin, chili powder, and salt and pepper. %u00a0
Into the oven it goes.
Half hour later it is all roasted and ready.
Oh quick, make this before the stuff is out of the oven. Tahini, minced garlic, a dash of salt, a bit of the liquid from the chickpeas and the juice of a lemon. Just stick it all in a cup or bowl and mix it around. Then it’s done.
Scoop the hash into a bowl (I like a large pile of greens underneath) and cover with the tahini sauce.%u00a0
Eat is all to your face.
-C
dinner for one, a side for two.%u00a0Very easily doubled or tripled.%u00a0
1 sweet potato
2 cups or 1 can cooked chickpeas drained but liquid reserved%u00a0
1 medium yellow onion
1 tablespoon cumin
1 teaspoon chili powder
salt and pepper
2-3 tablespoons olive oil
3 tablespoon tahini
1 lemon
1/4- 1/2 cup of aquafaba (chickpea liquid)
2-3 cloves garlic
Preheat oven to 425
Chop sweet potato and onion into mouth sized cubes and place on a baking sheet. Add the drained chickpeas and drizzle with olive oil and toss around. Sprinkle on the cumin, chili powder,%u00a0salt and pepper, and toss that around again. When the oven is preheated, slide the baking sheet on in.%u00a0
While the stuff is baking, mince the garlic and place it in a bowl with the tahini, the juice of a lemon, and a pinch or two of salt to taste. Add in 1/4 cup of aquafaba and mix it all around.%u00a0If to thick for your liking, add a little more of the aqaufaba until its a good consistency.%u00a0
Check the stuff in the oven after 20 minutes and give it a toss.%u00a0%u00a0Keep baking for another 5-10 minutes or until the sweet potato is cooked and starting to brown. Remove from oven and dump into a bowl (maybe on a bed of greens or rice) and drizzle all over with the tahini sauce.

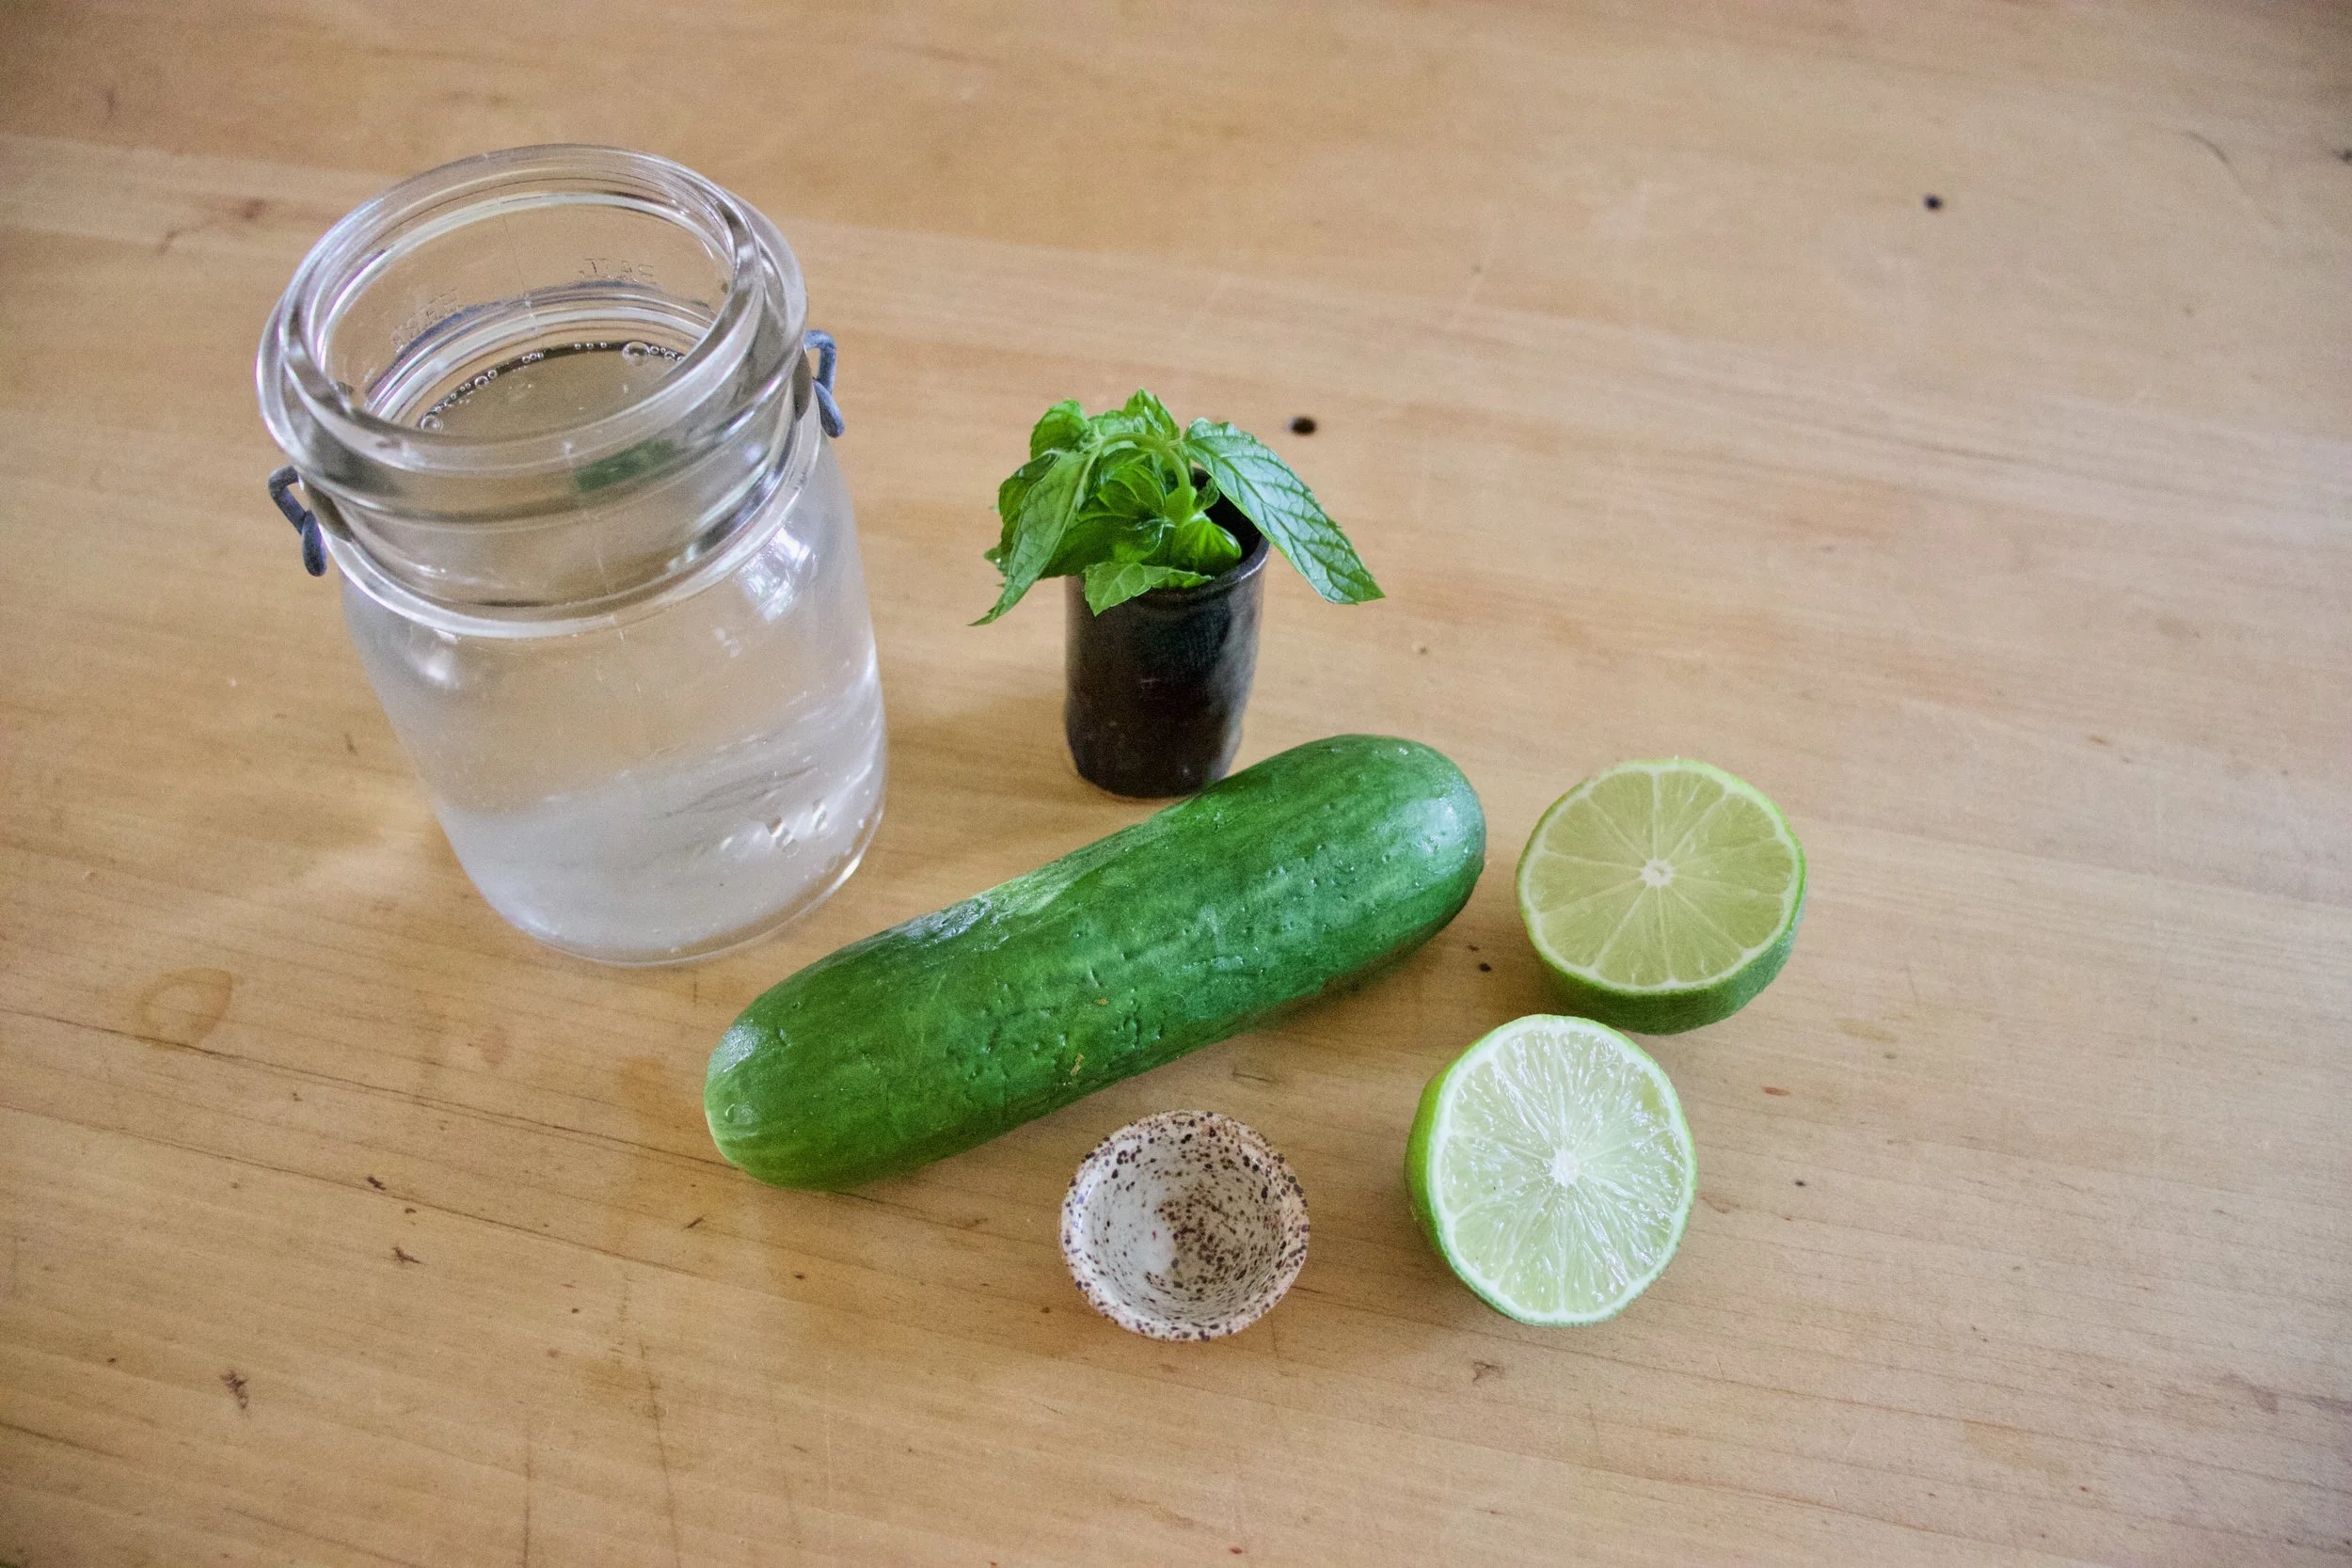
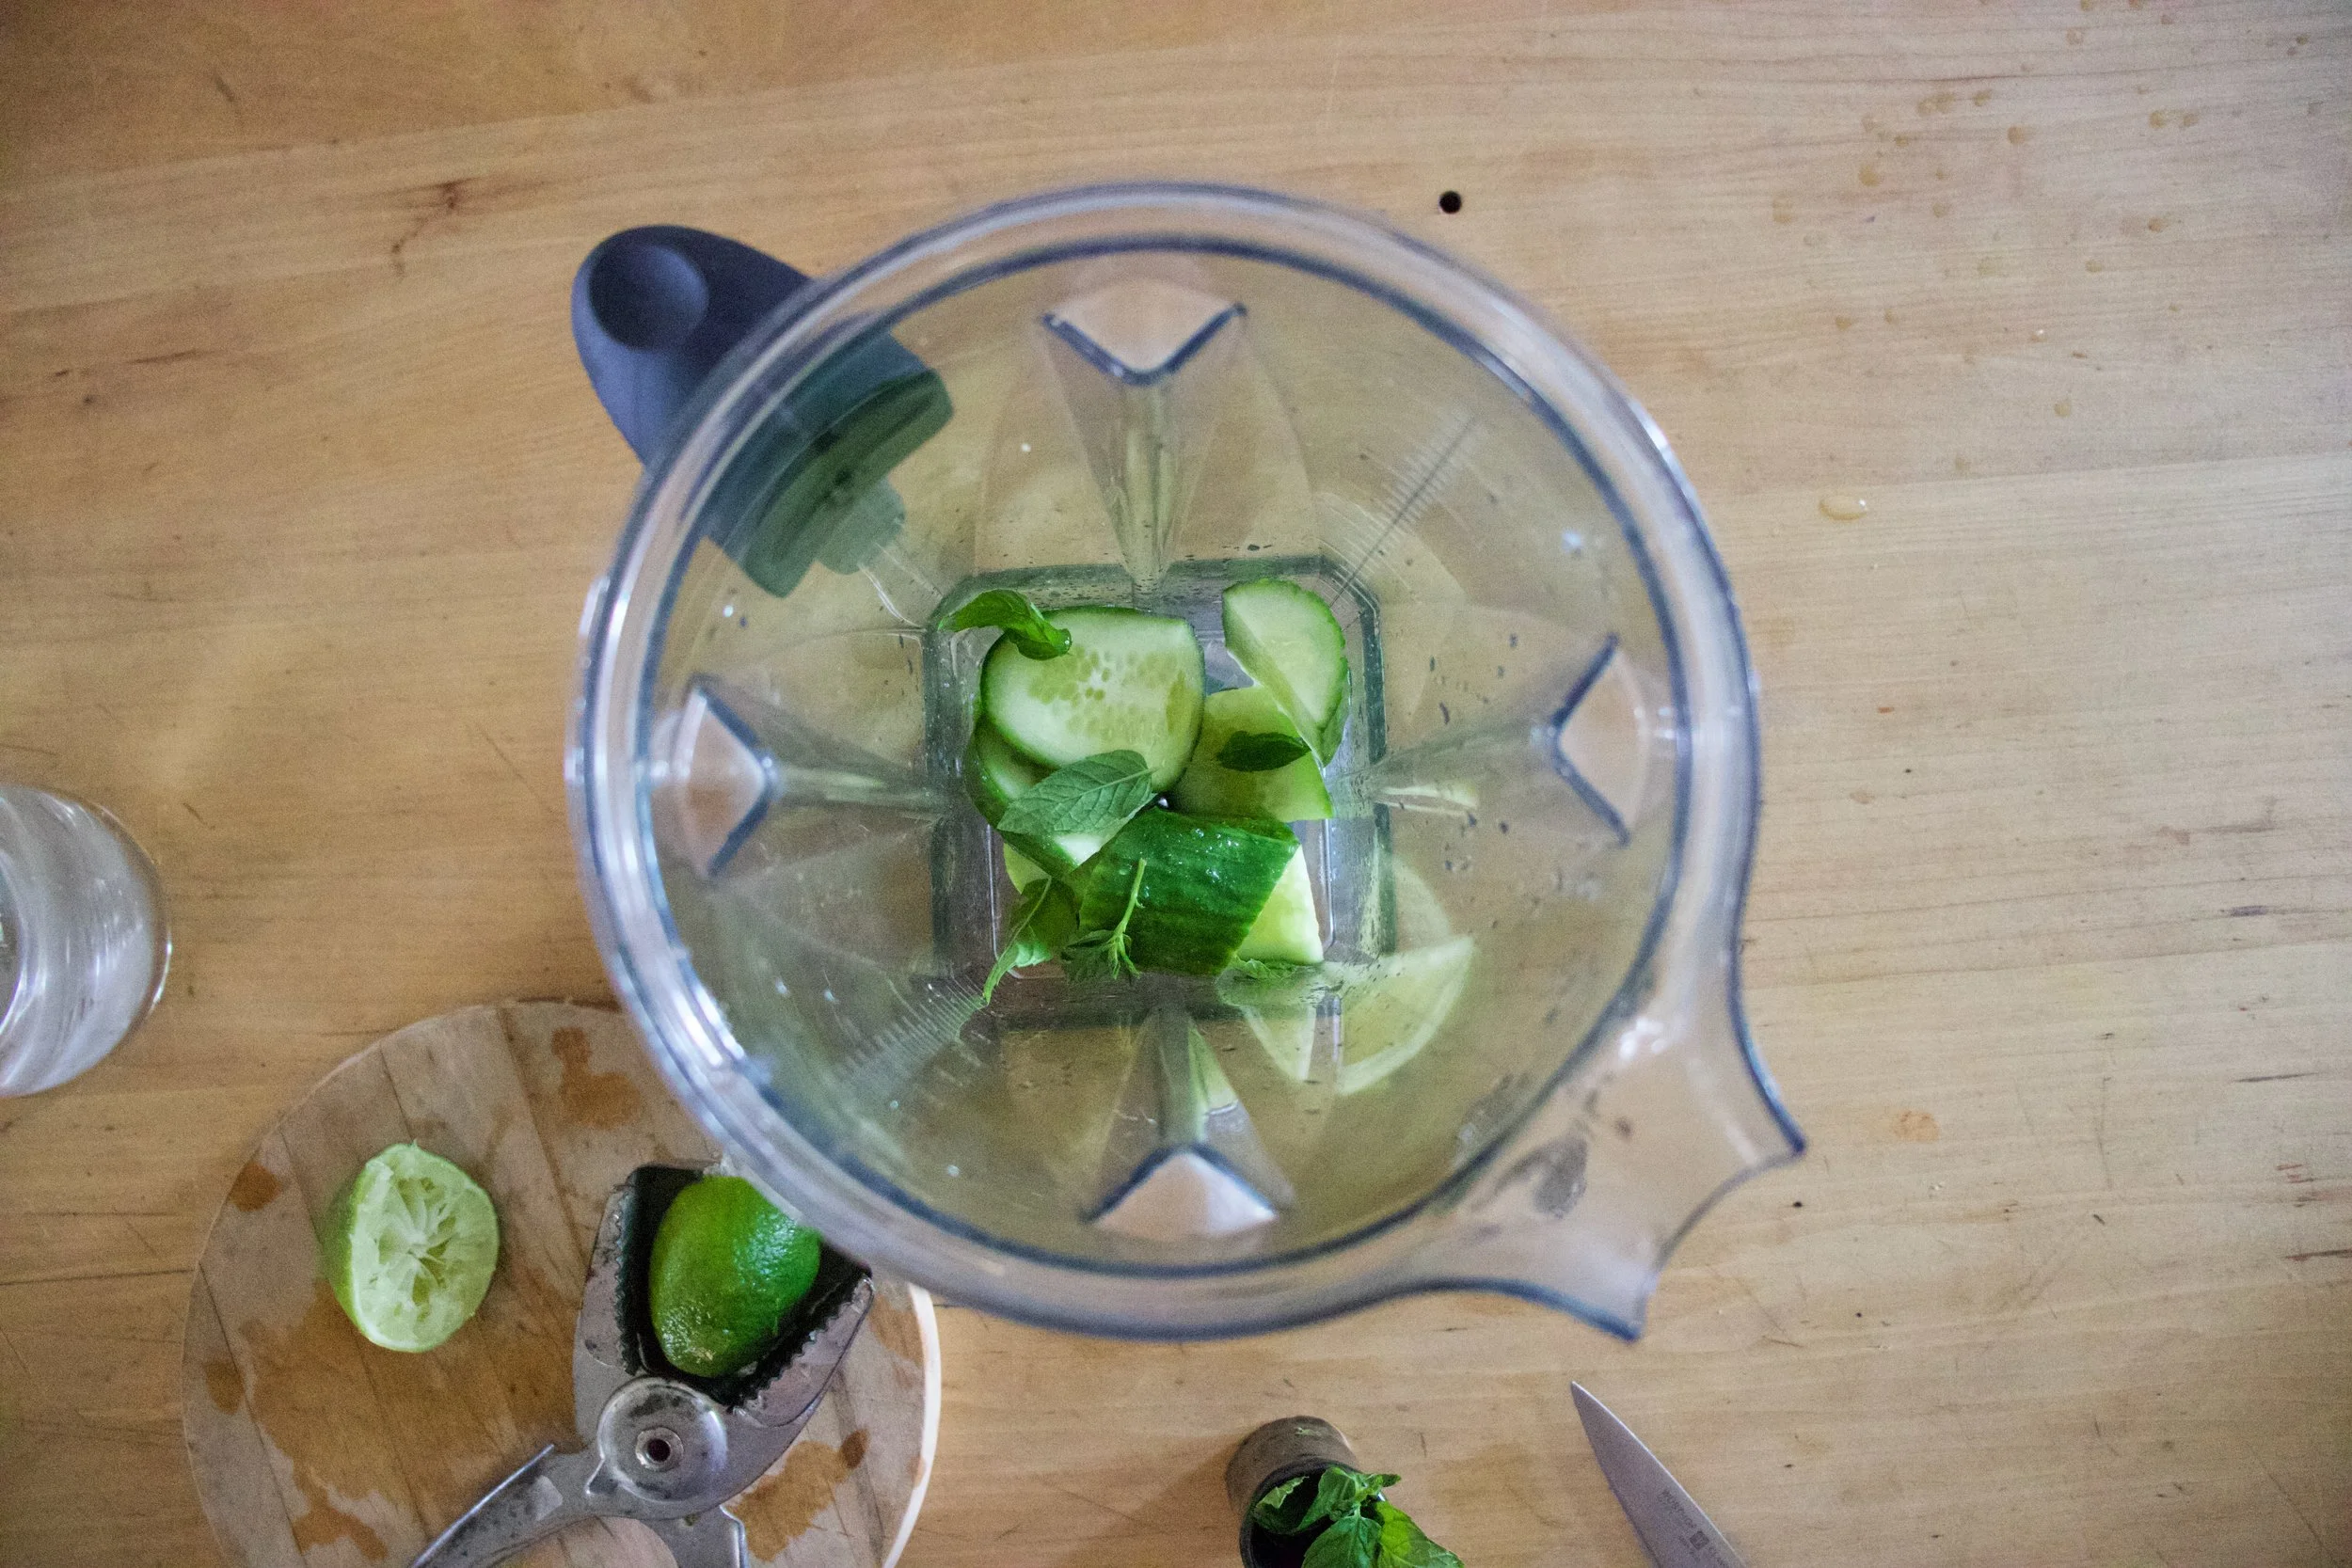


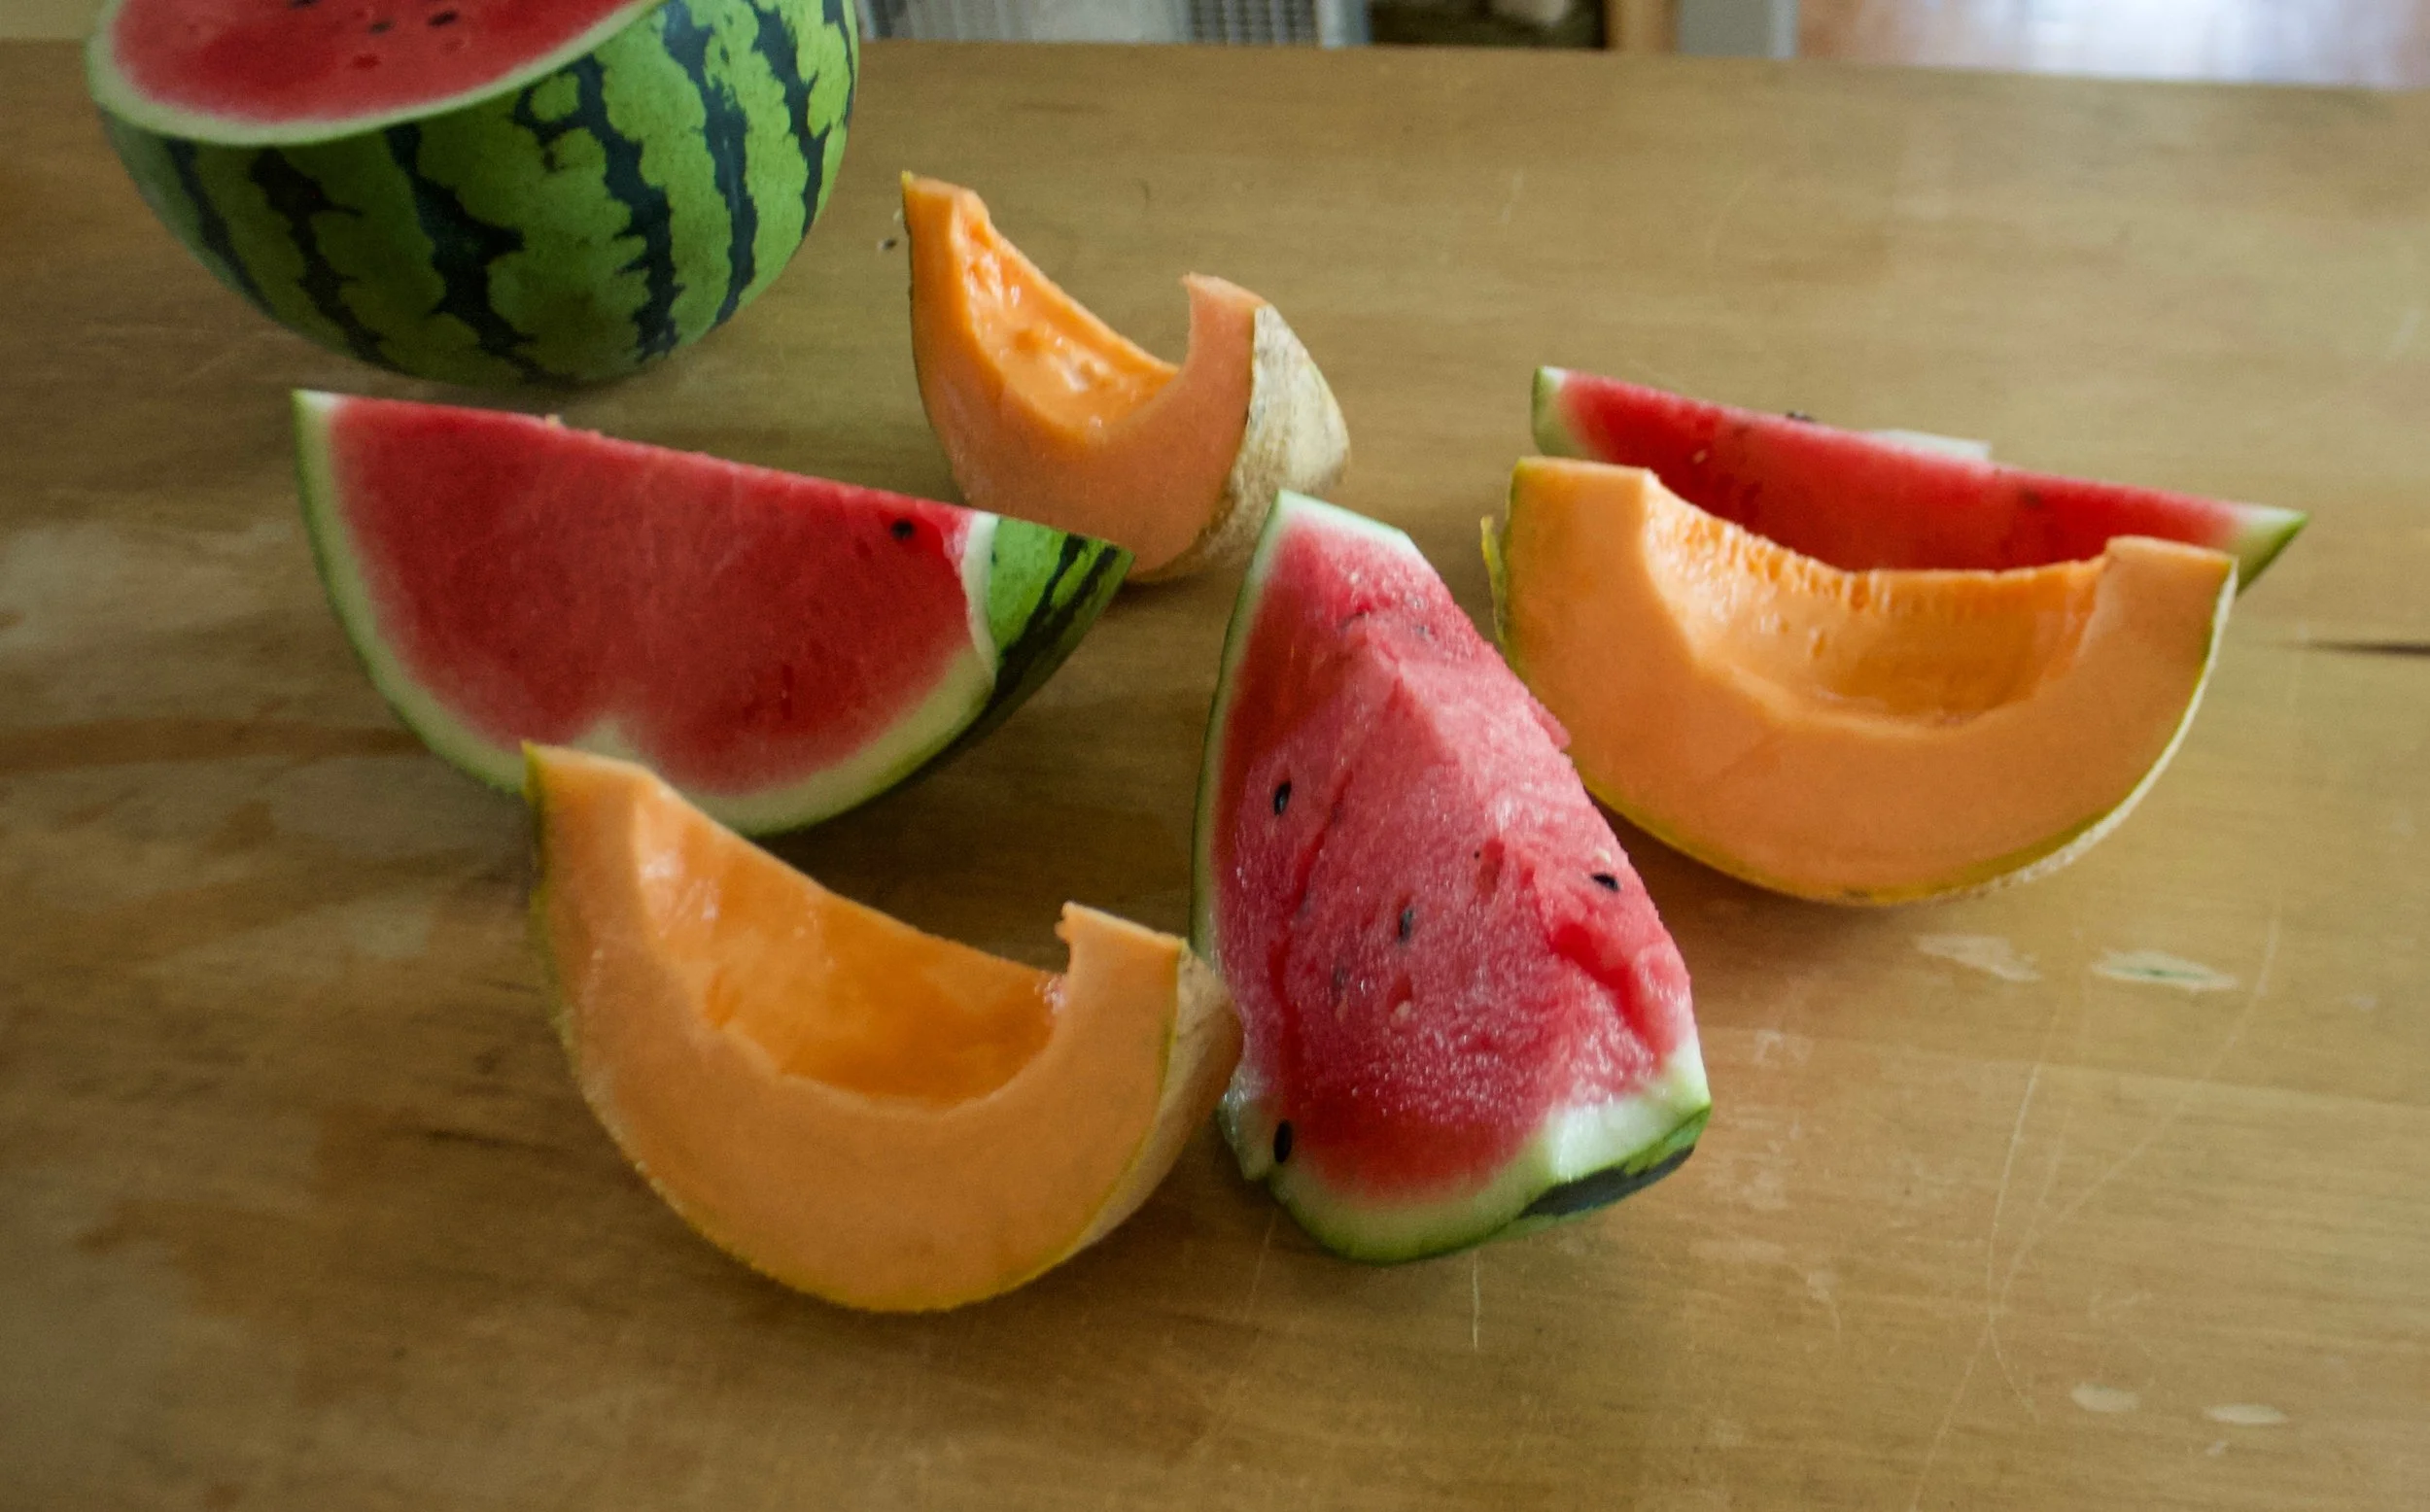

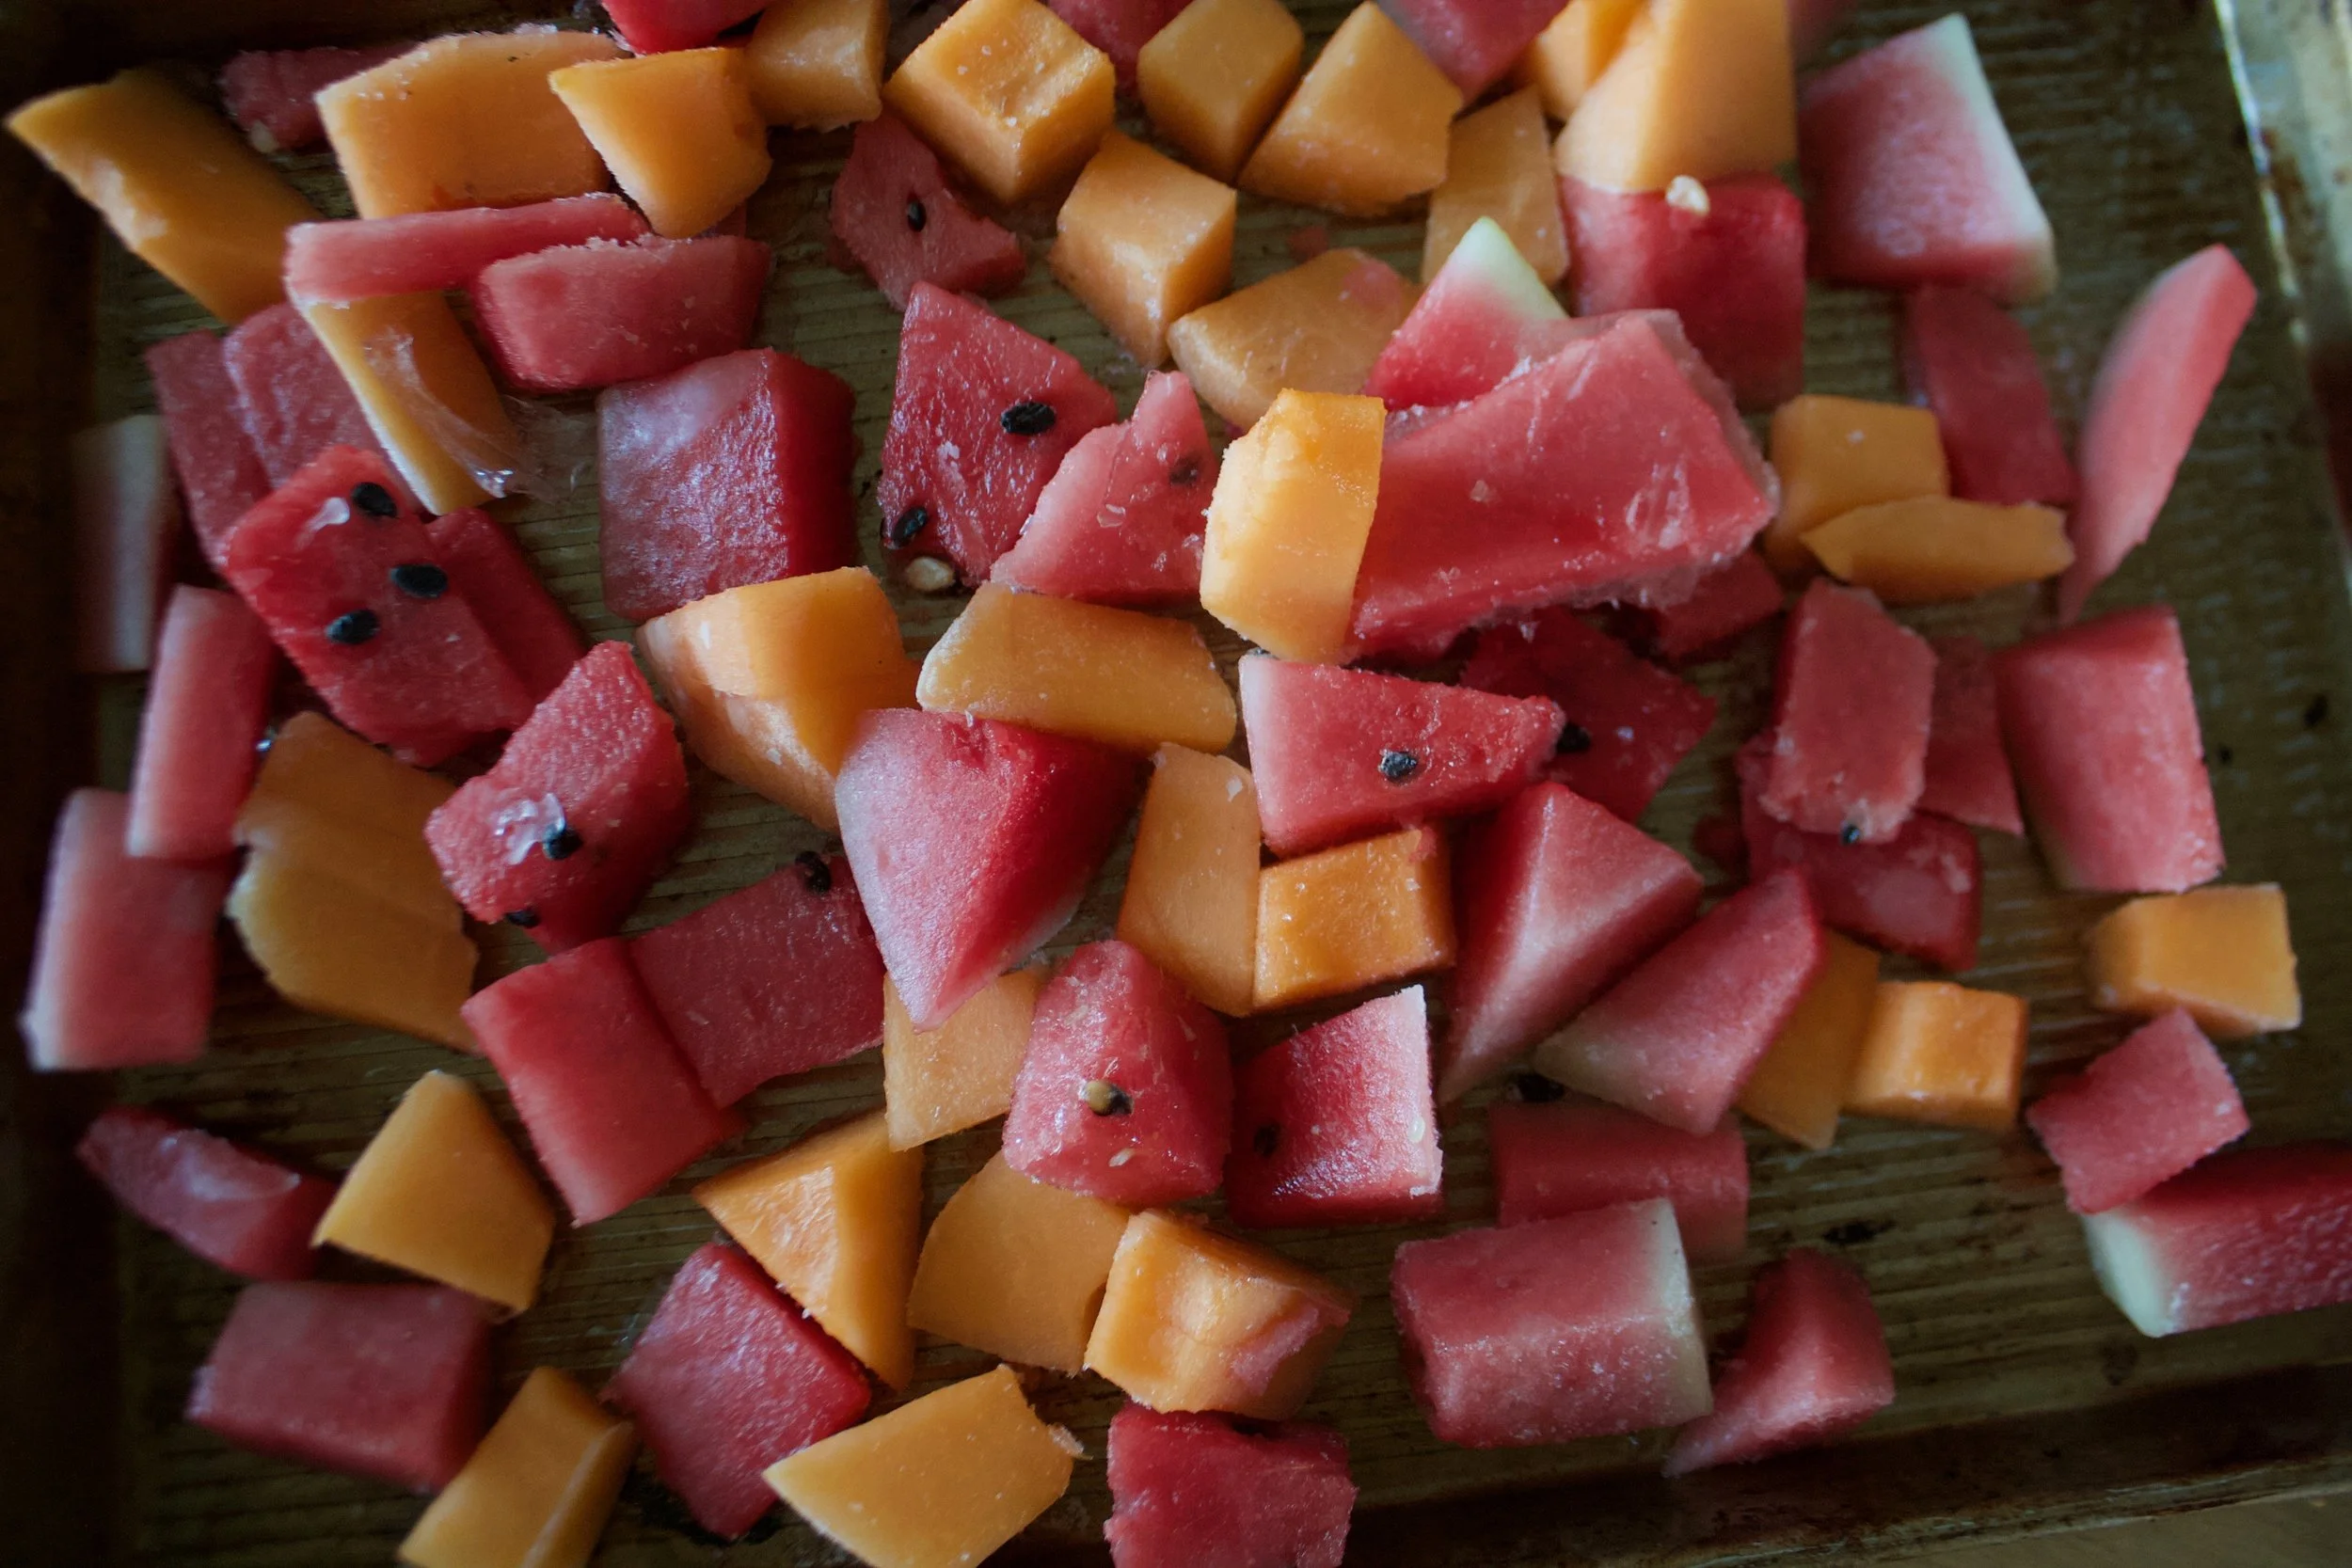

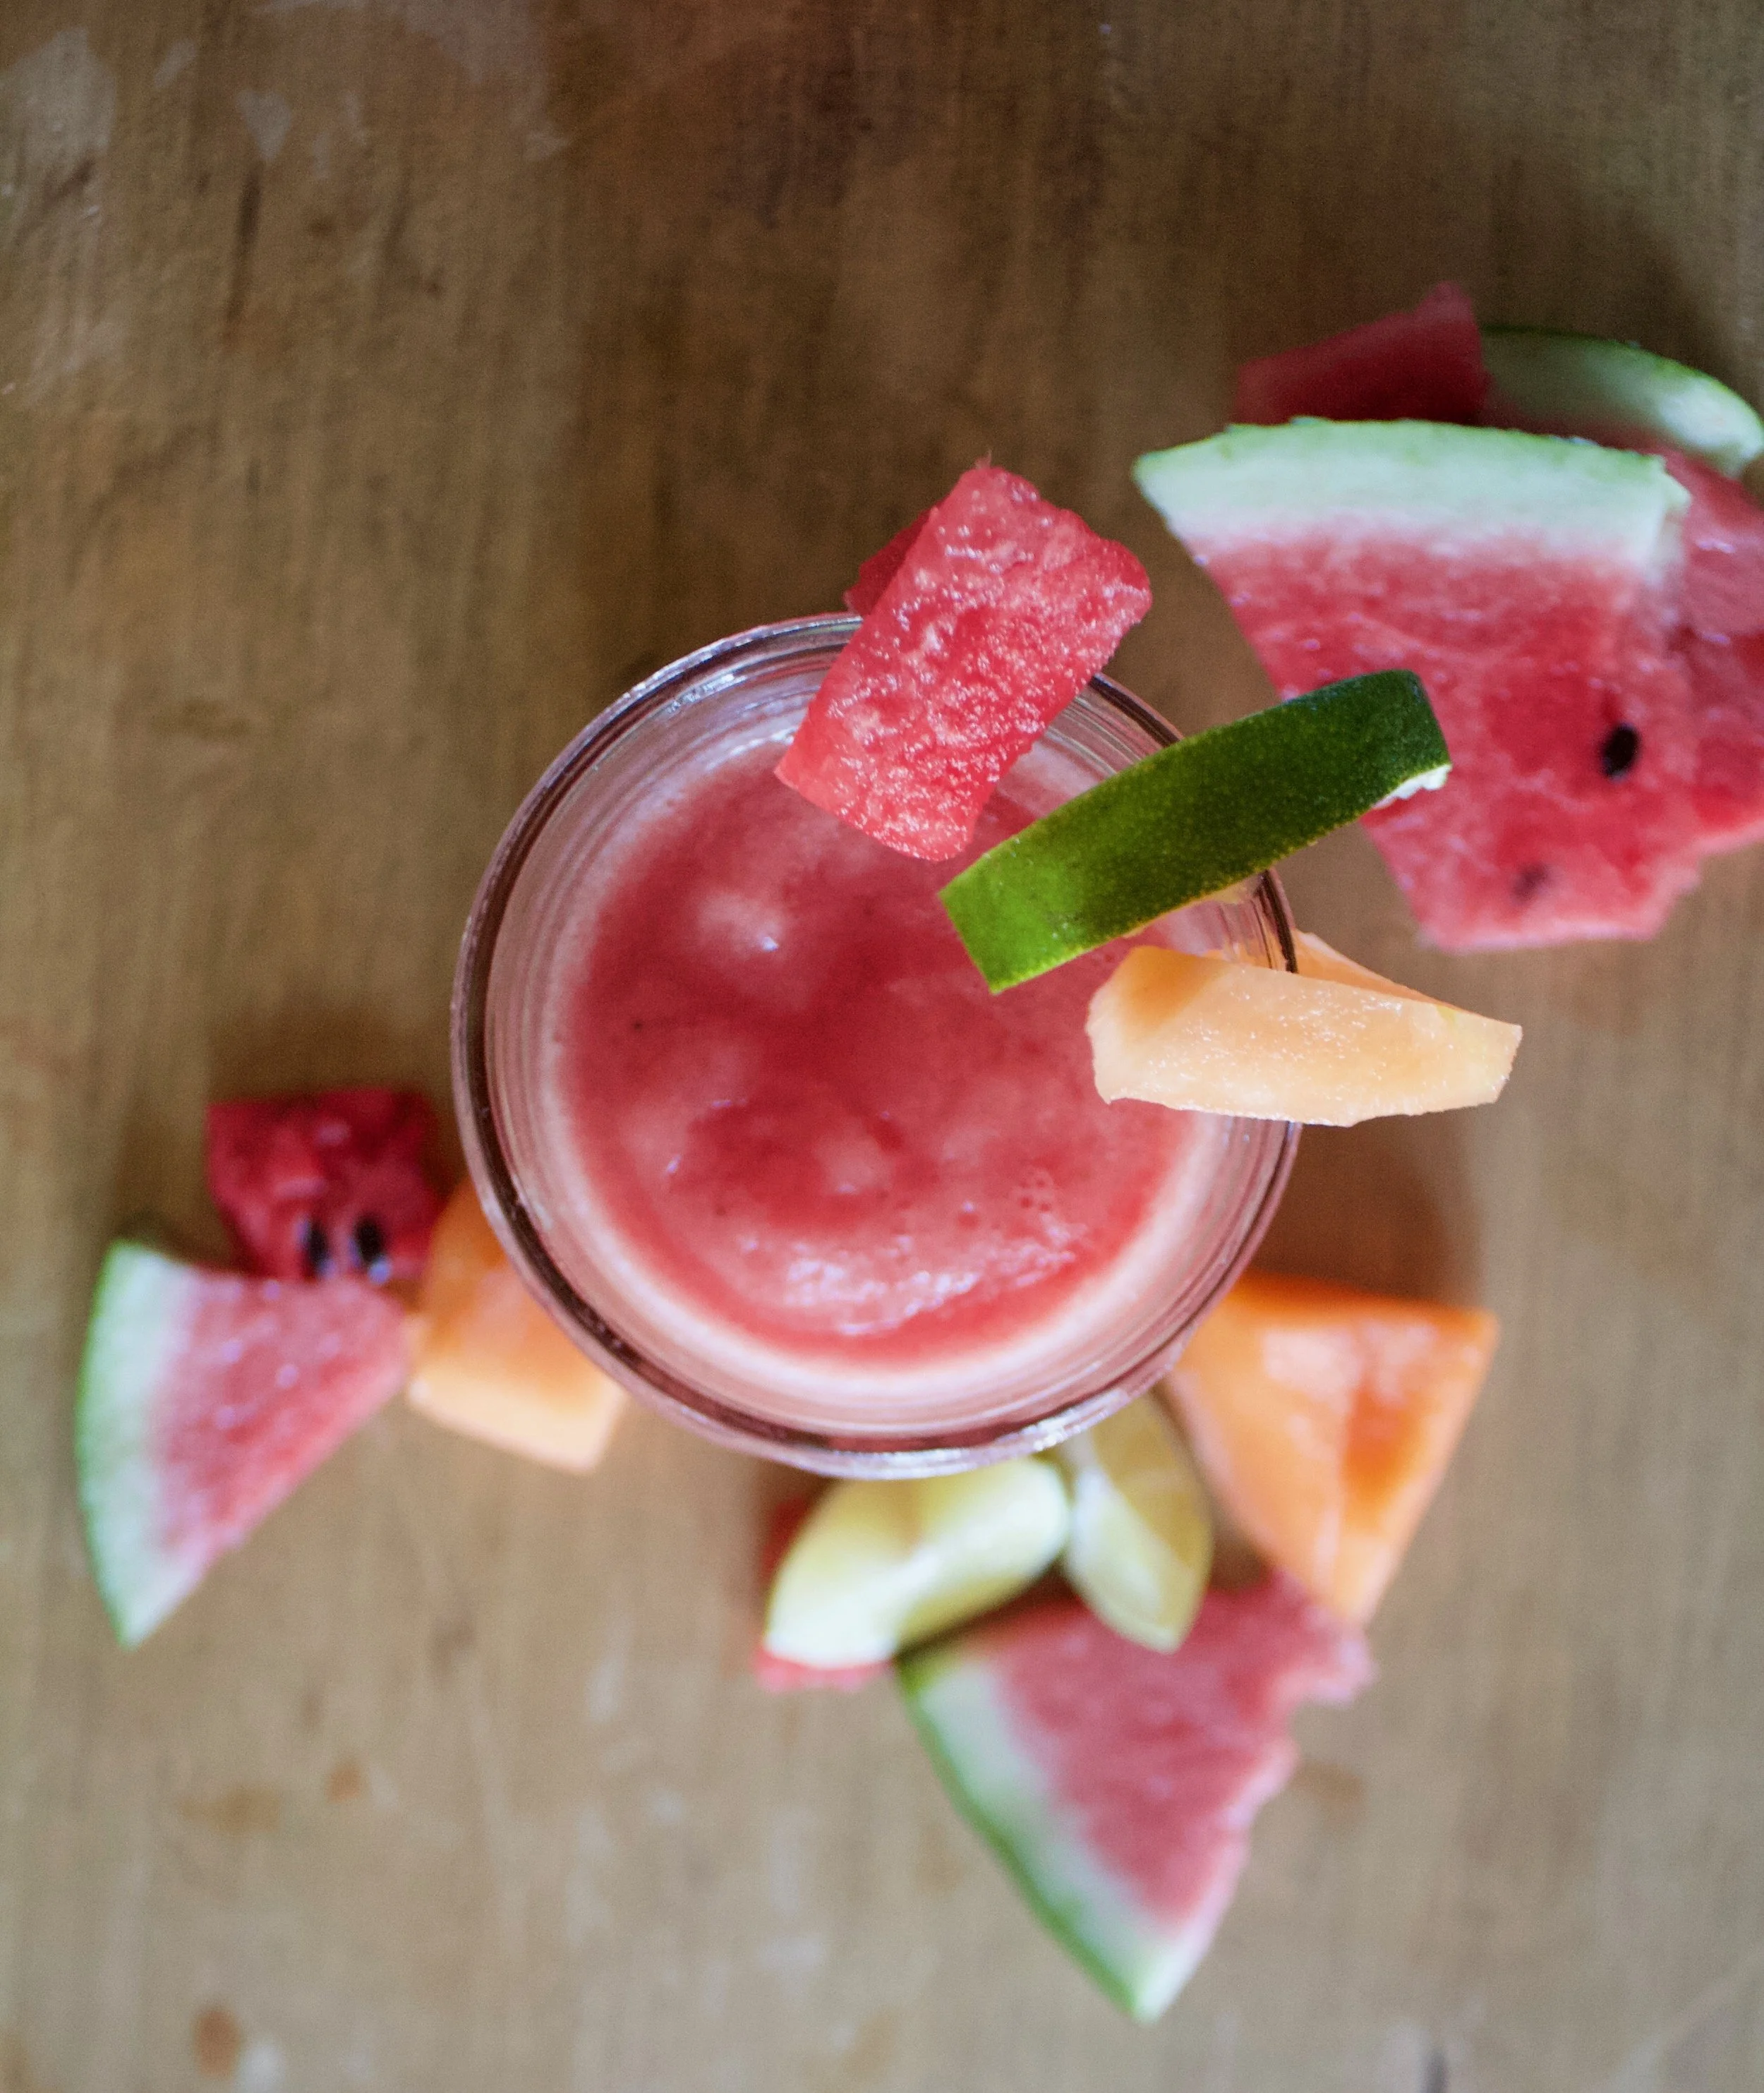
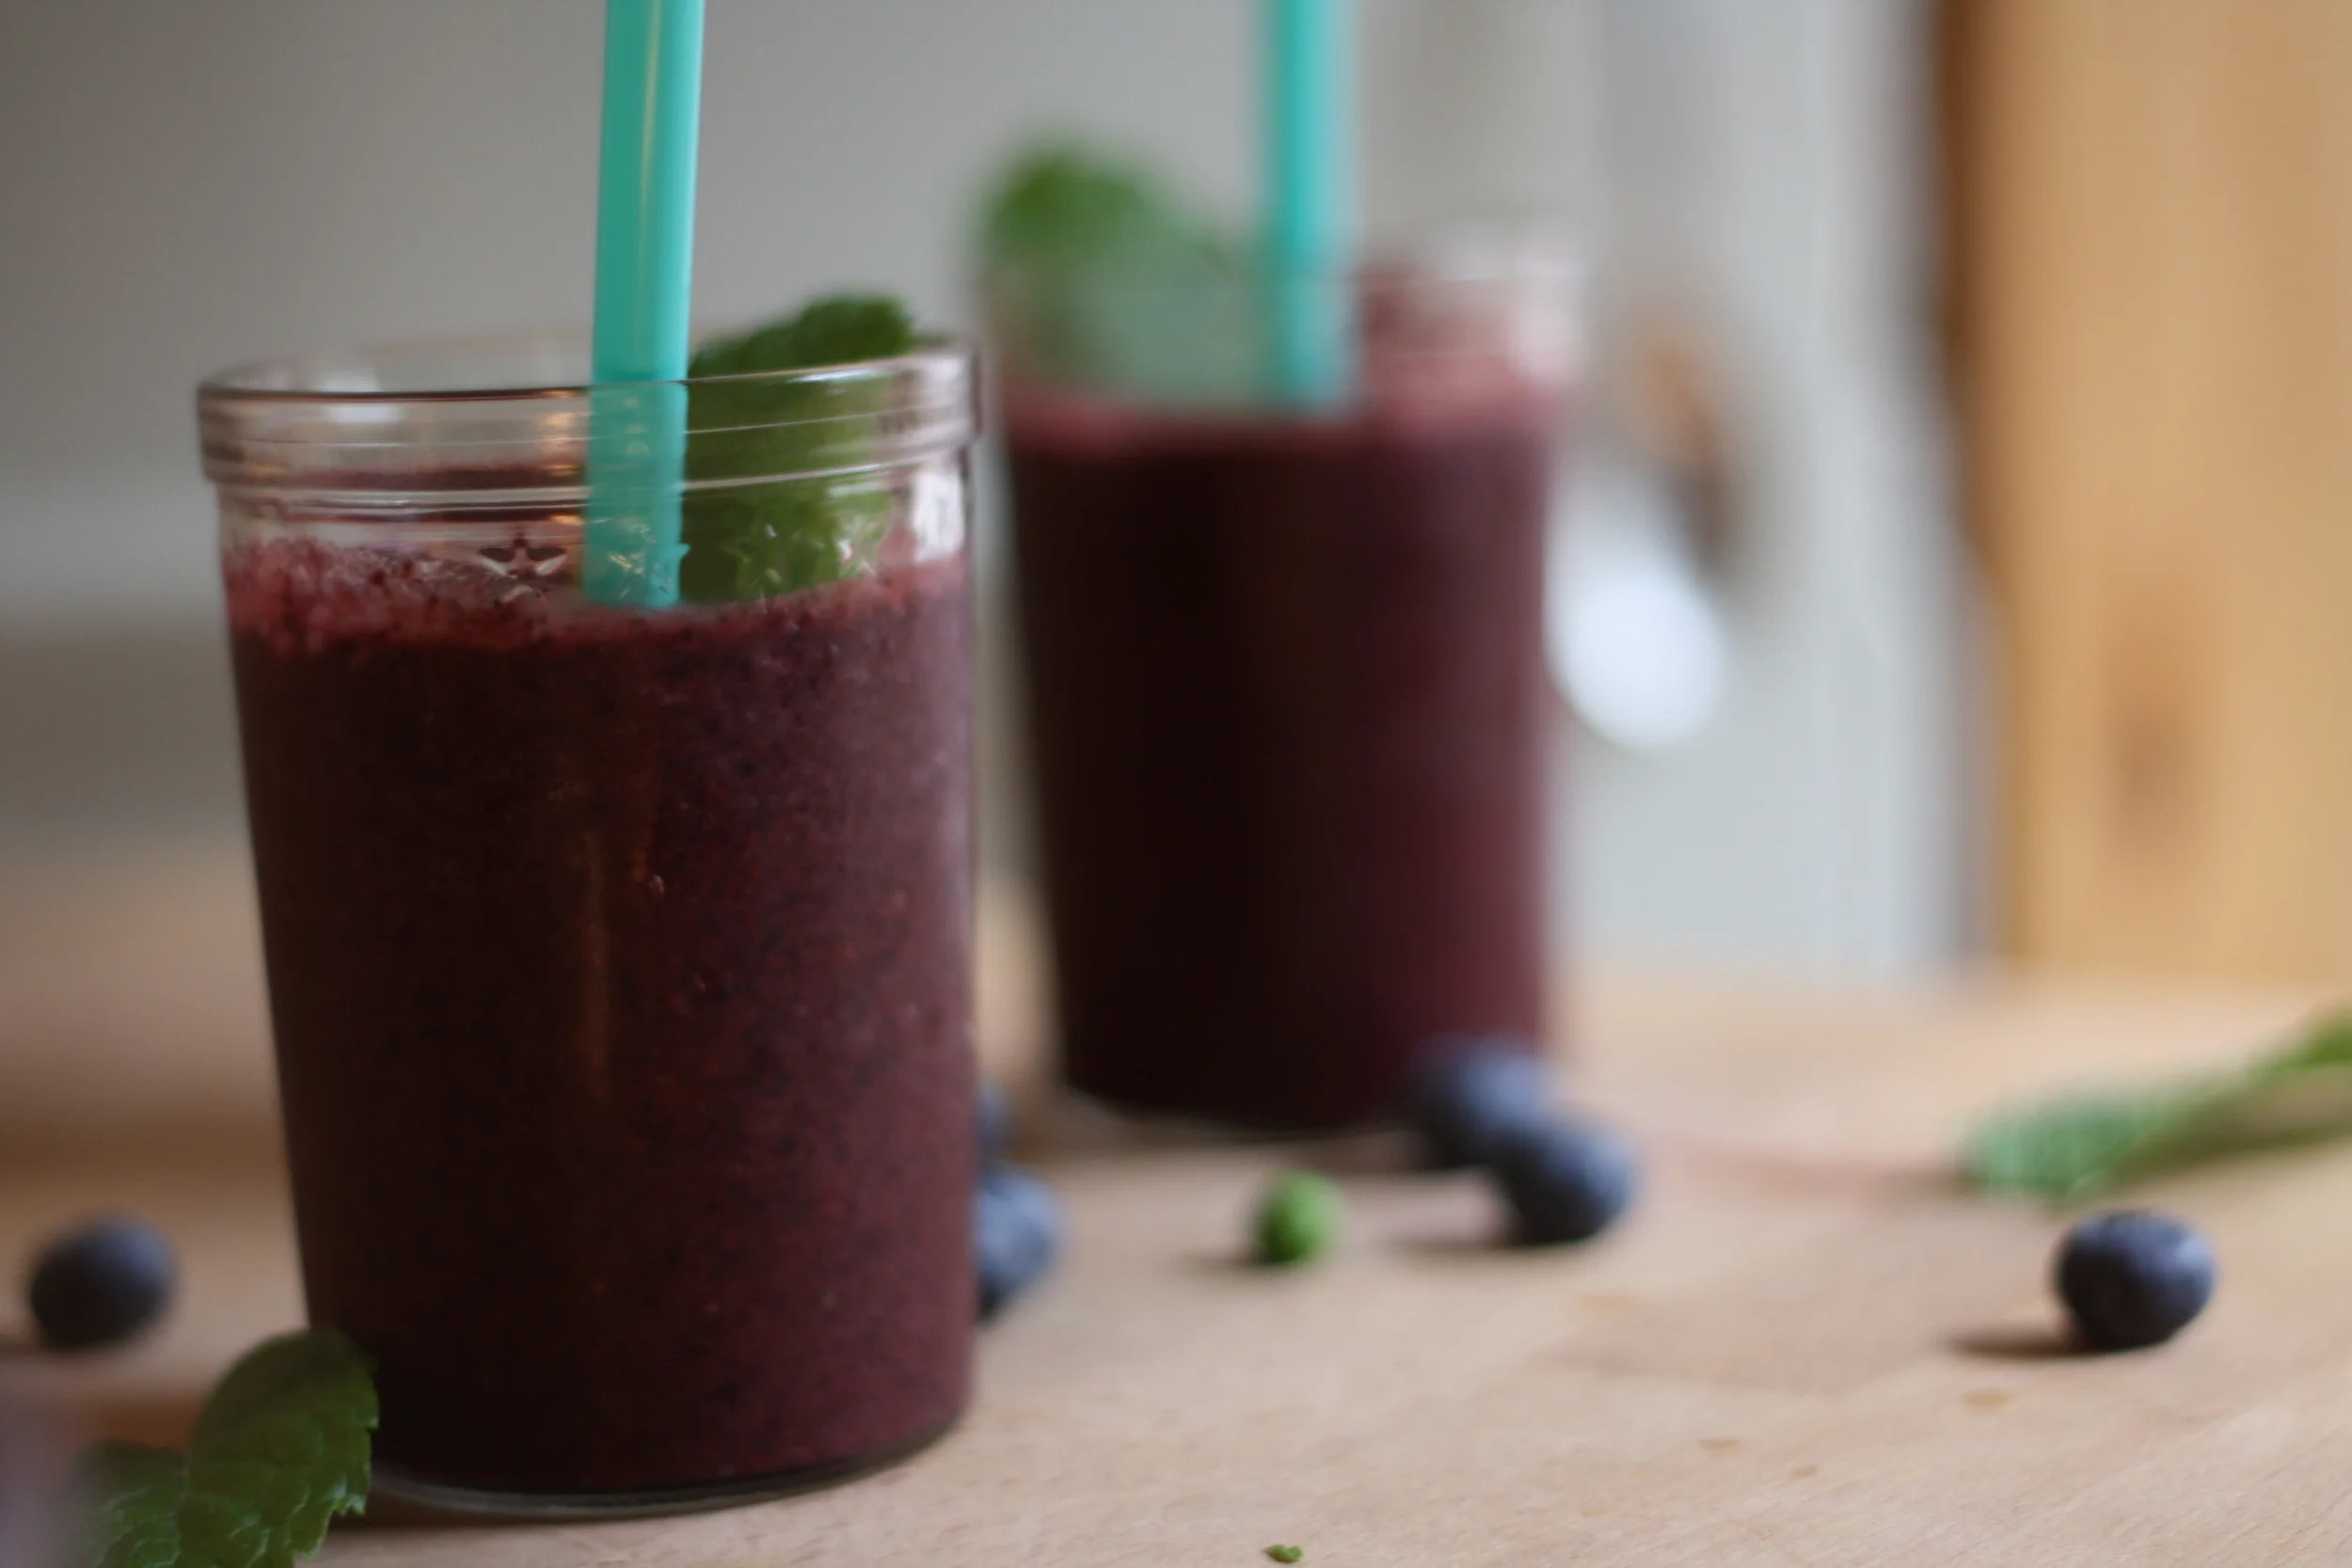
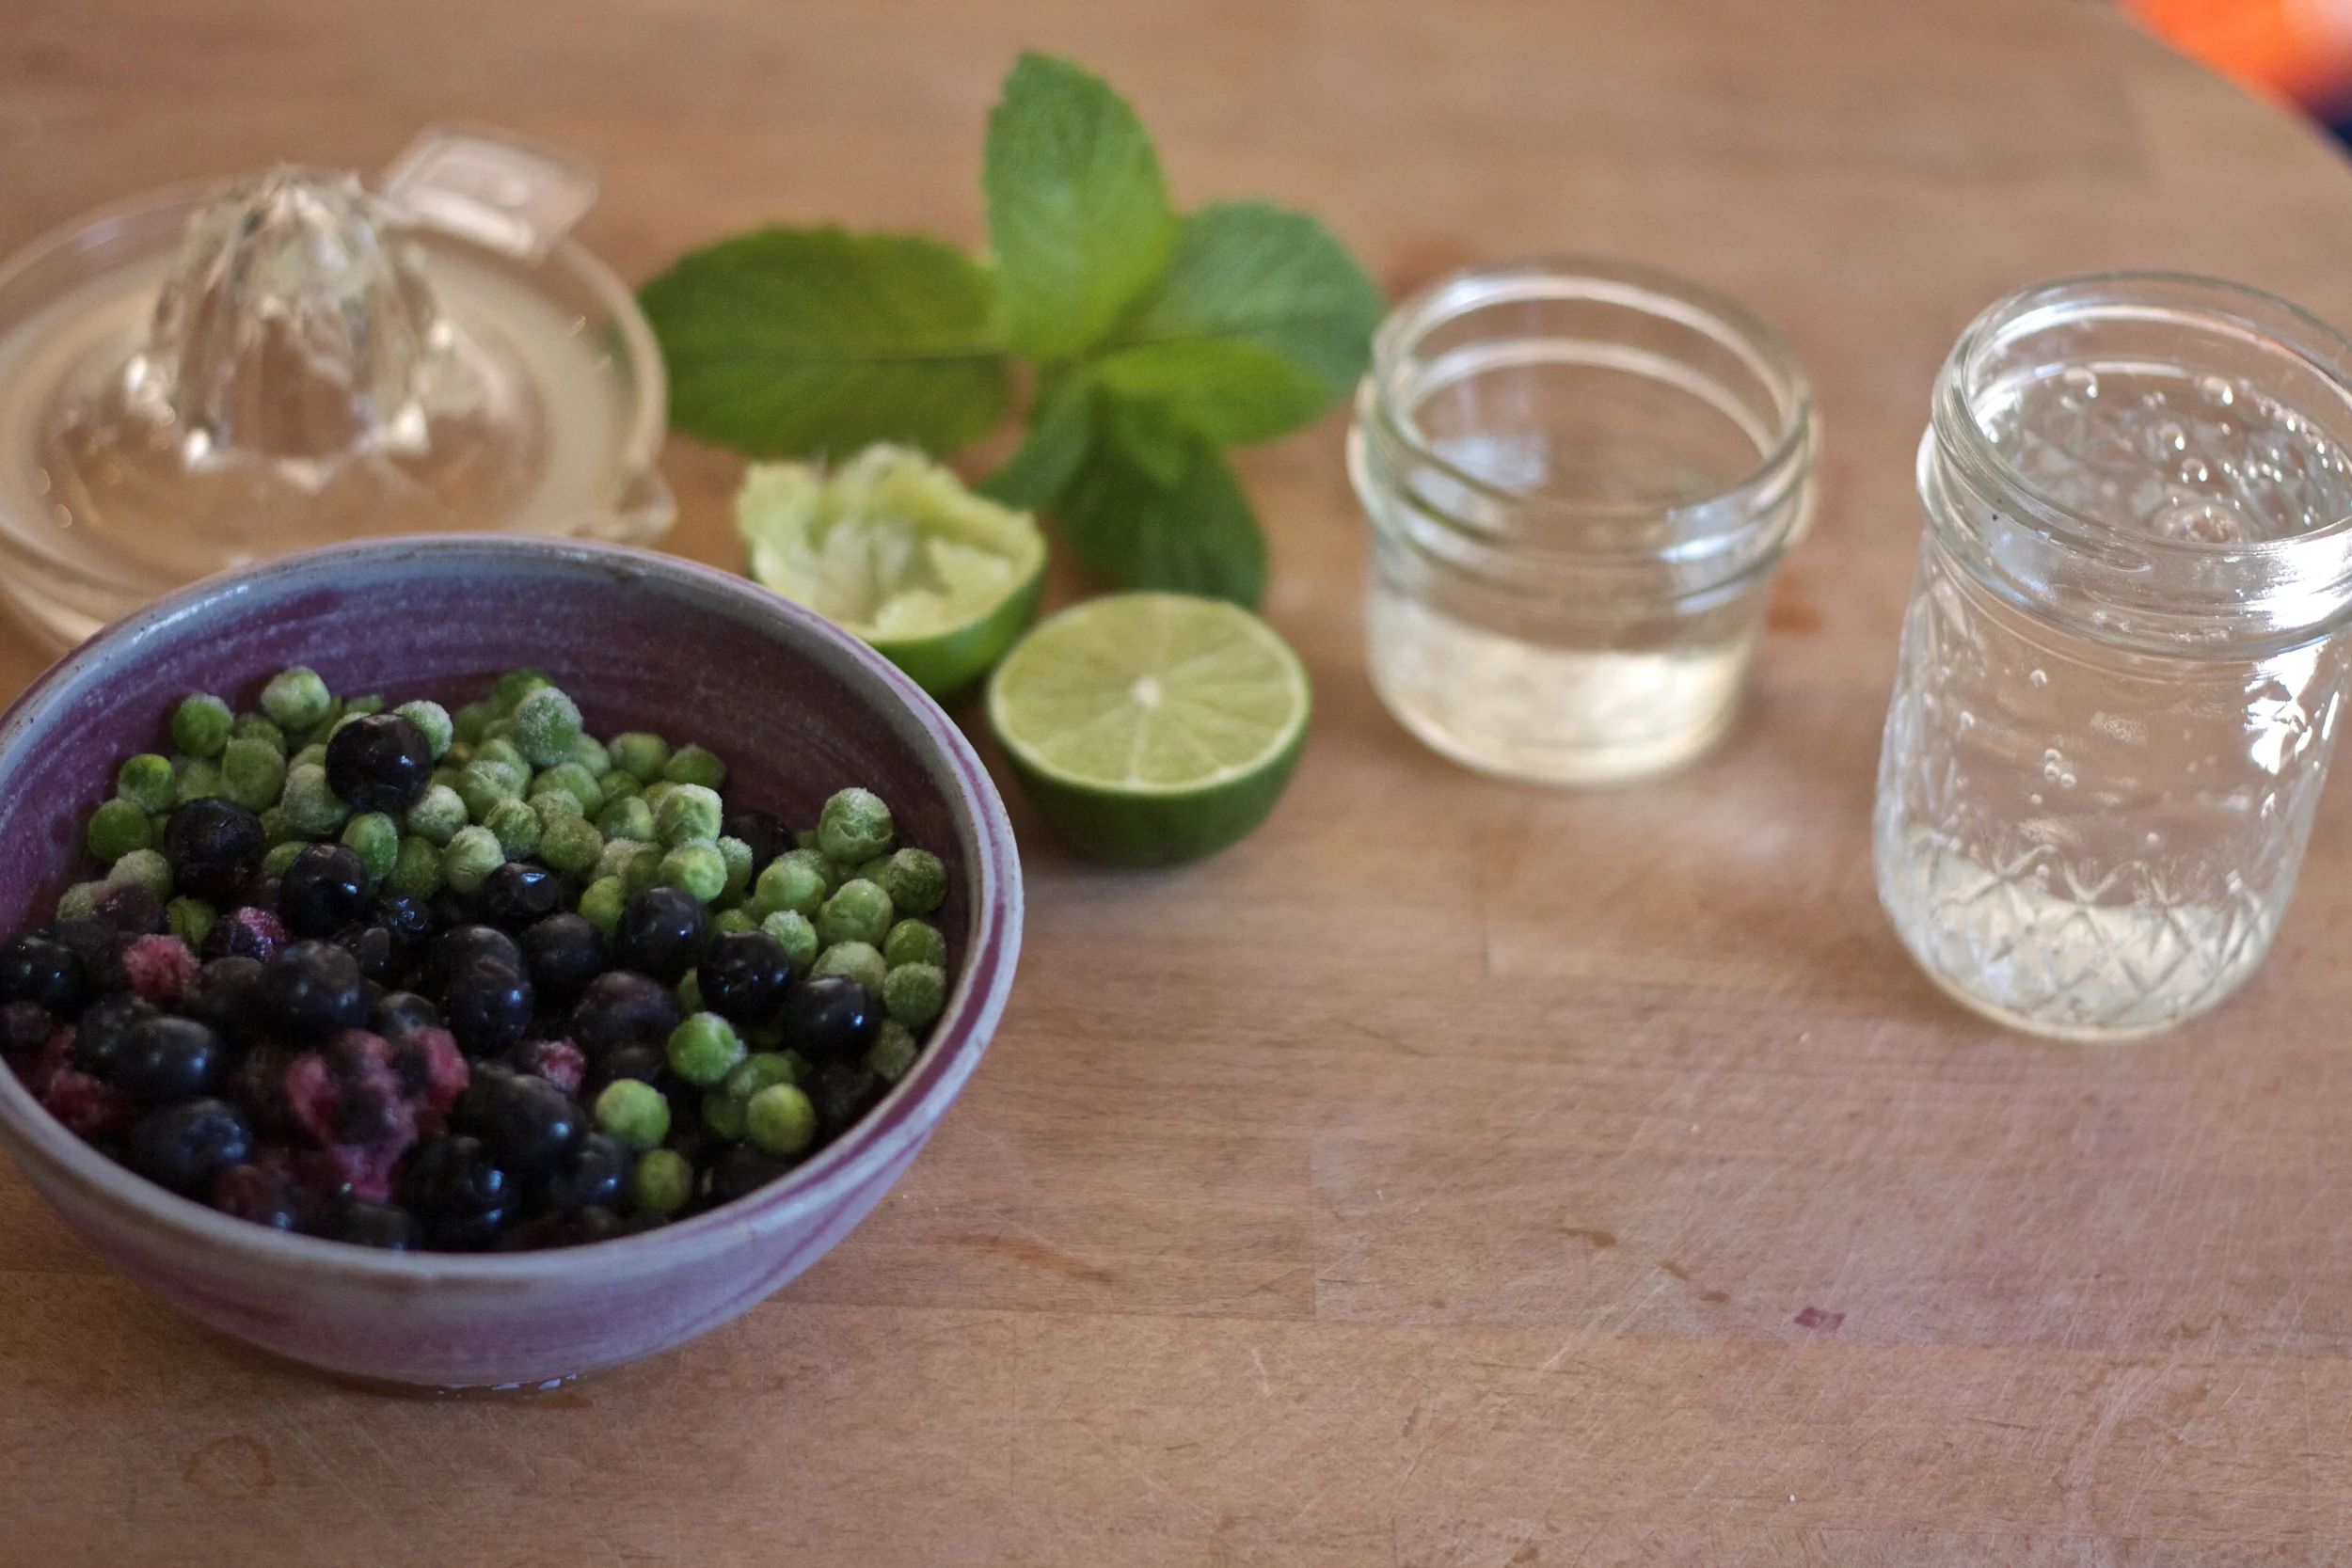


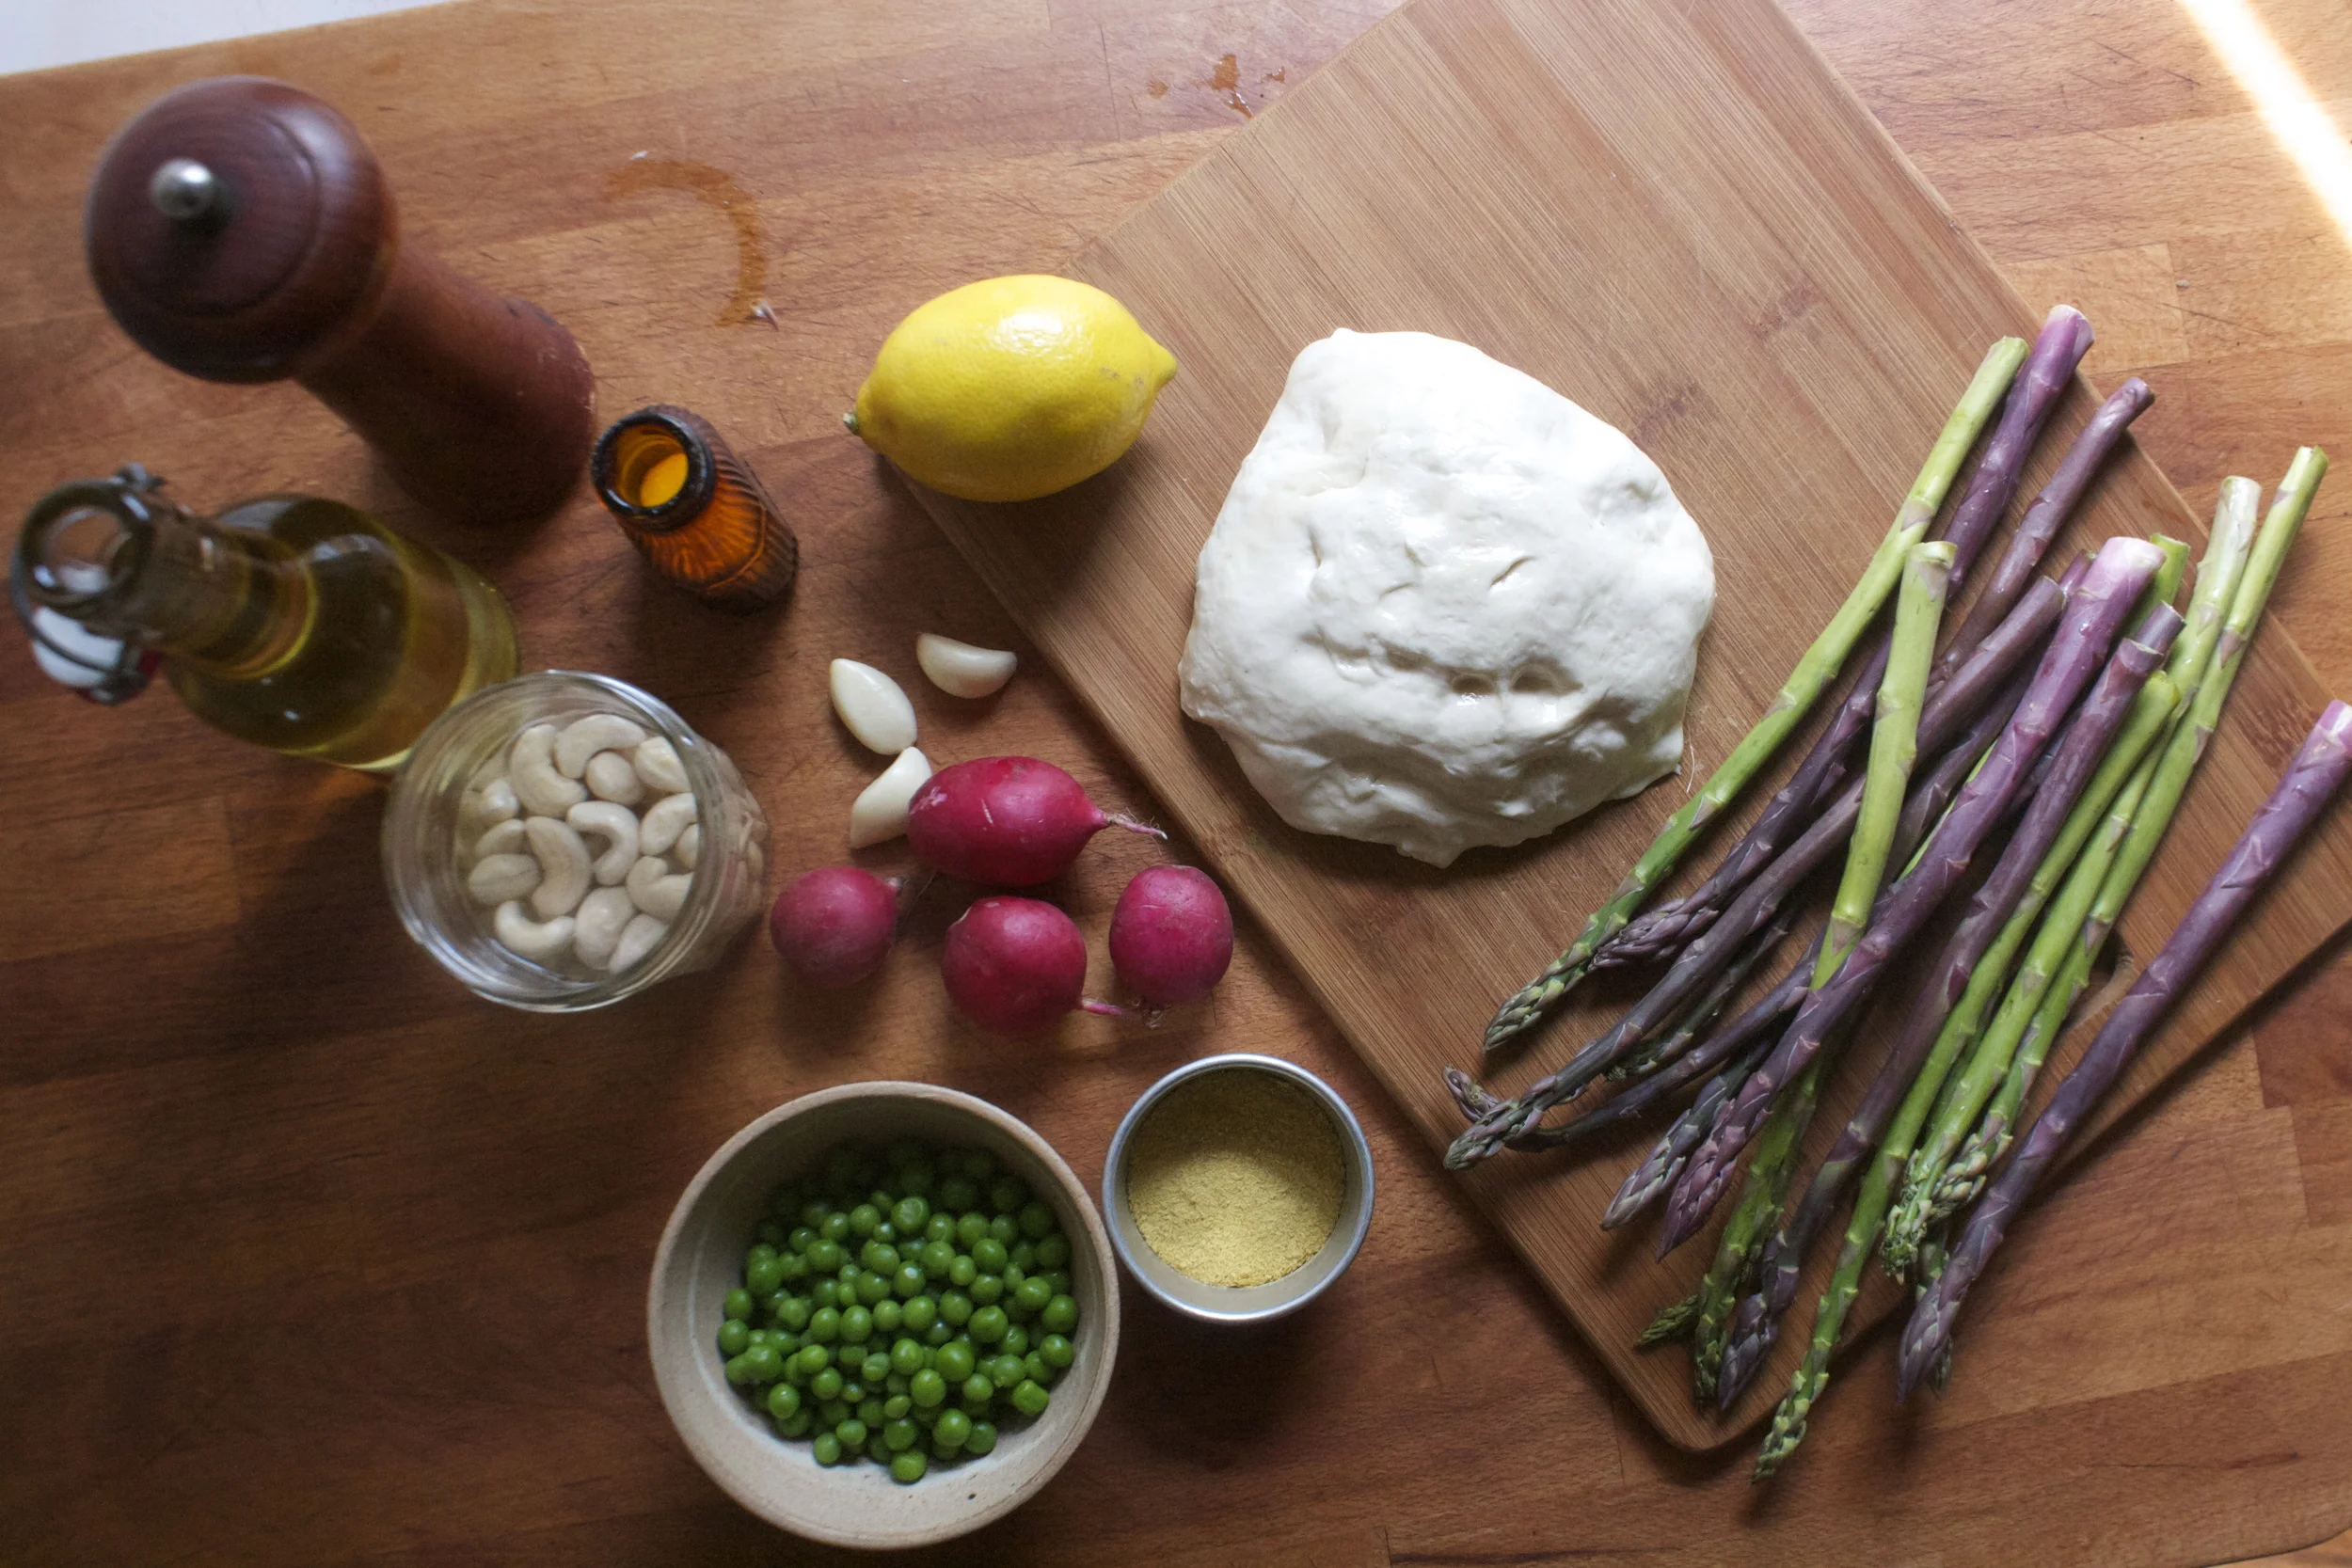

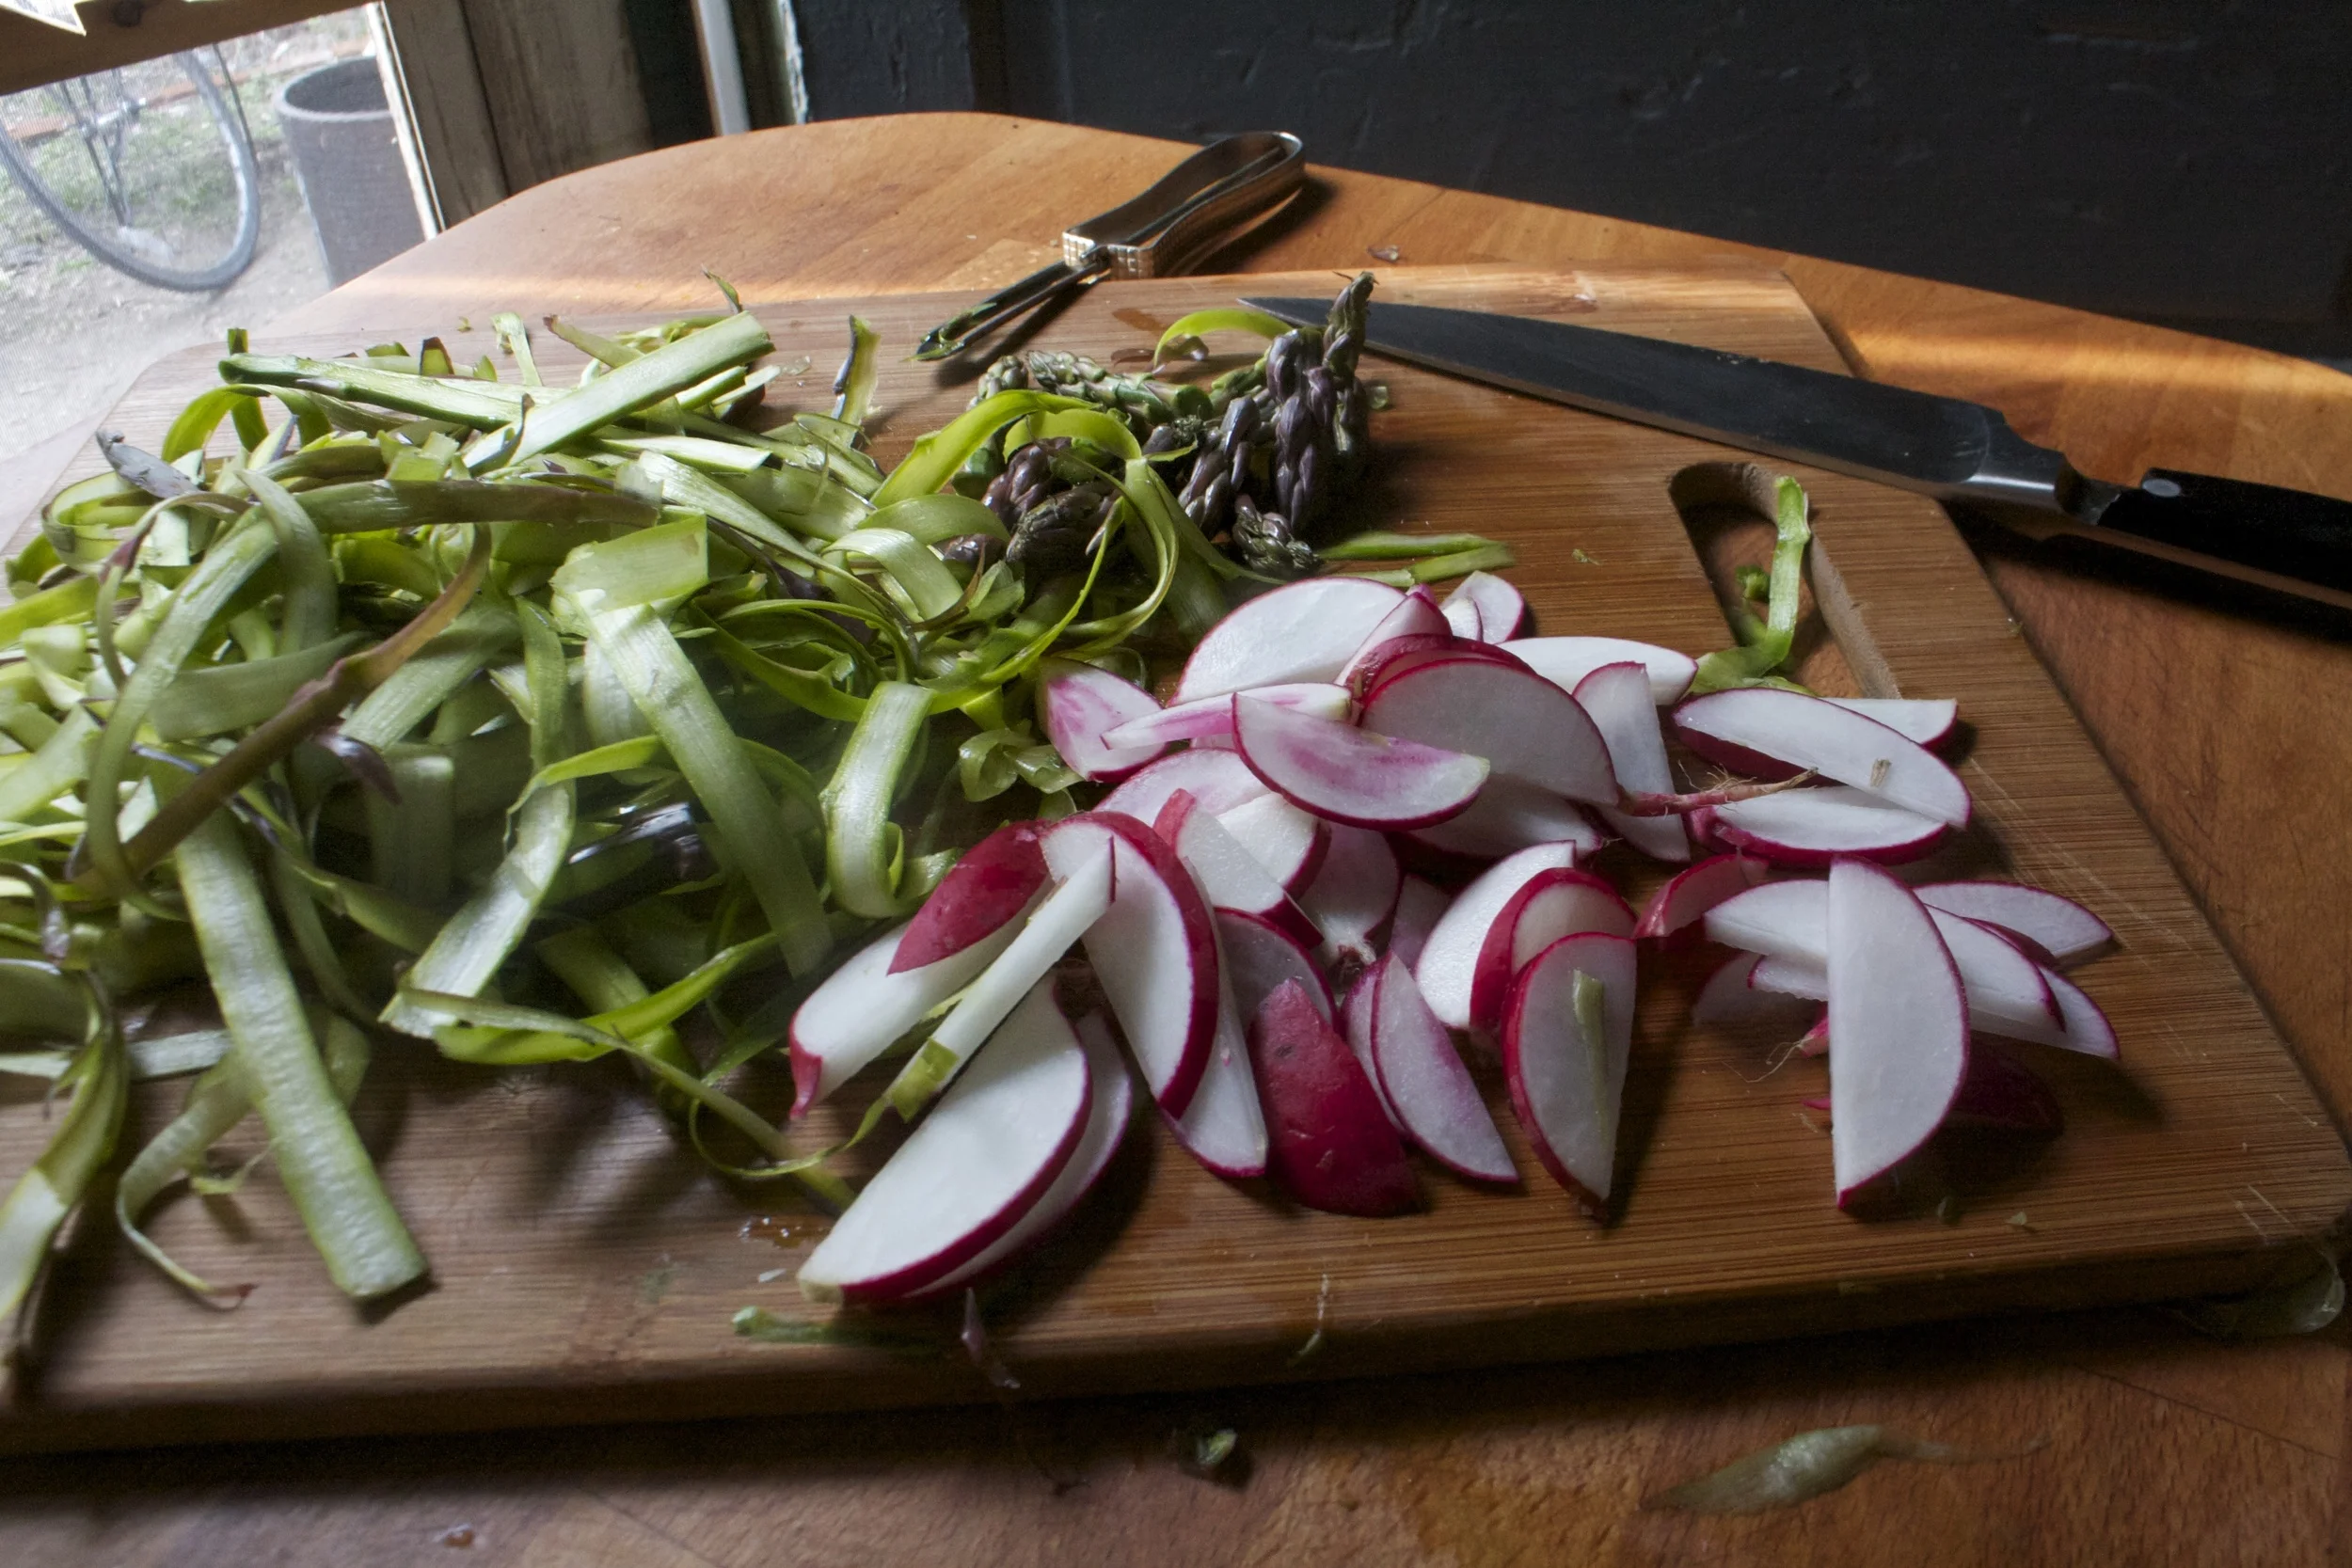
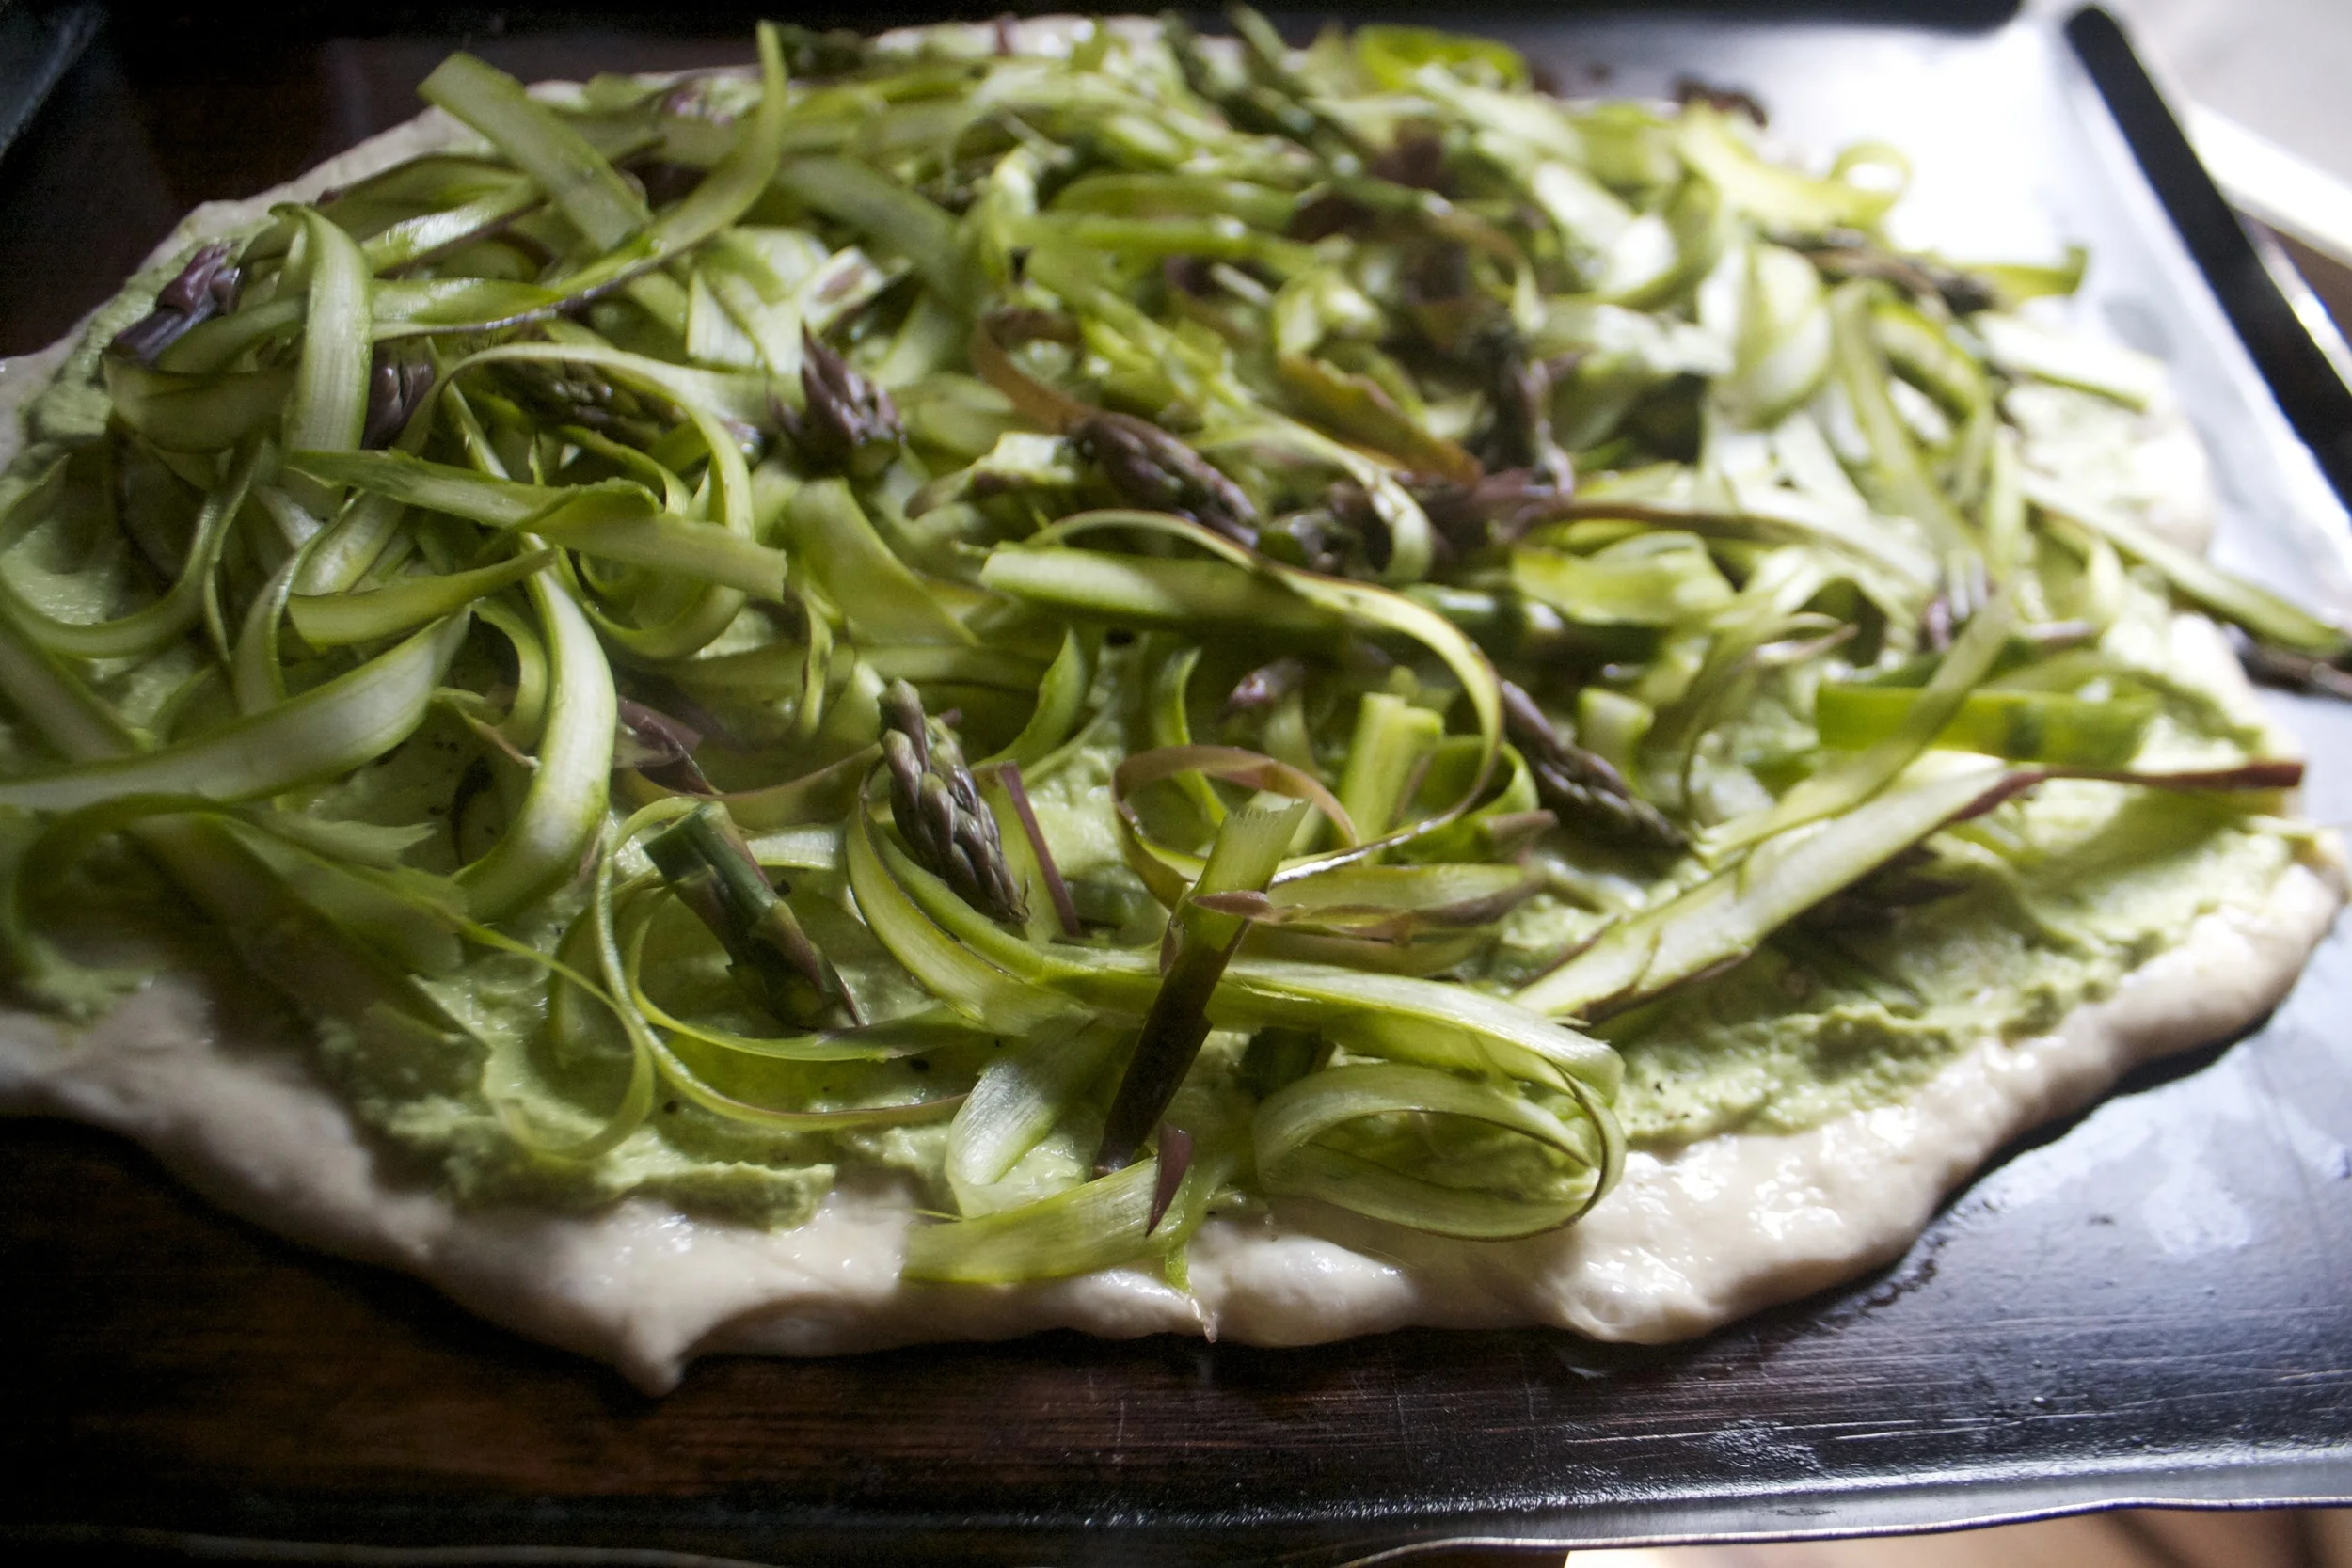
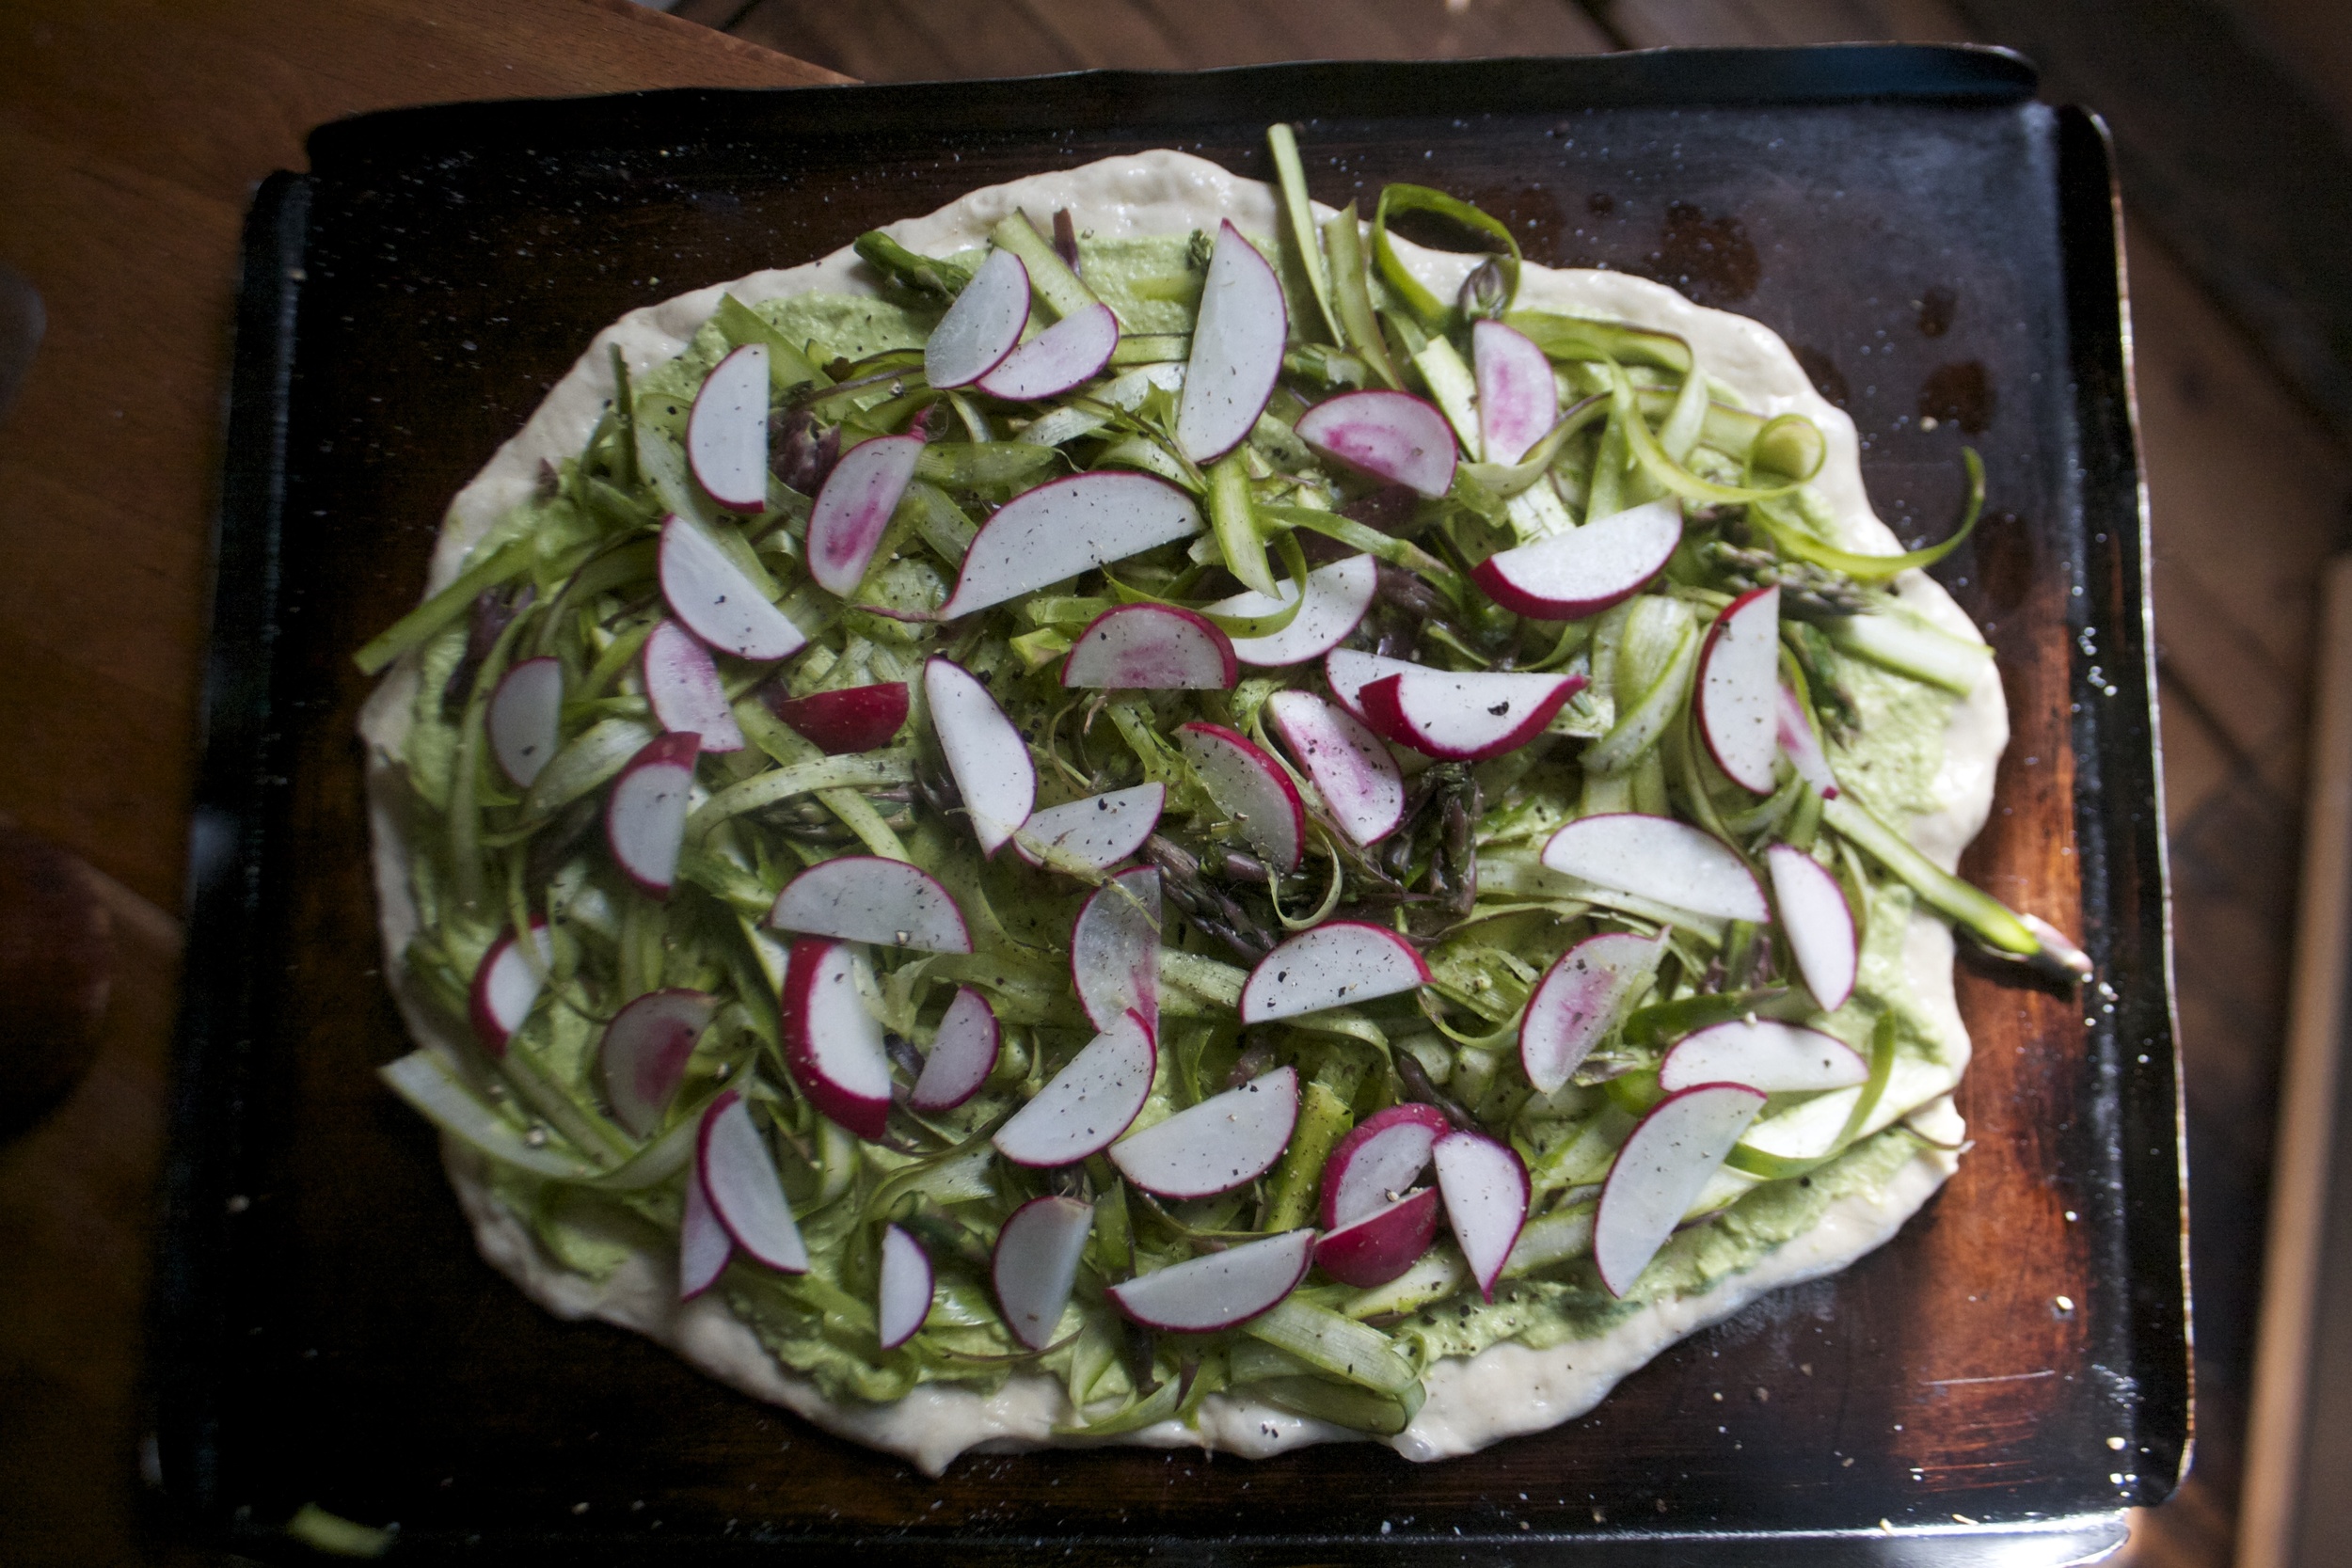




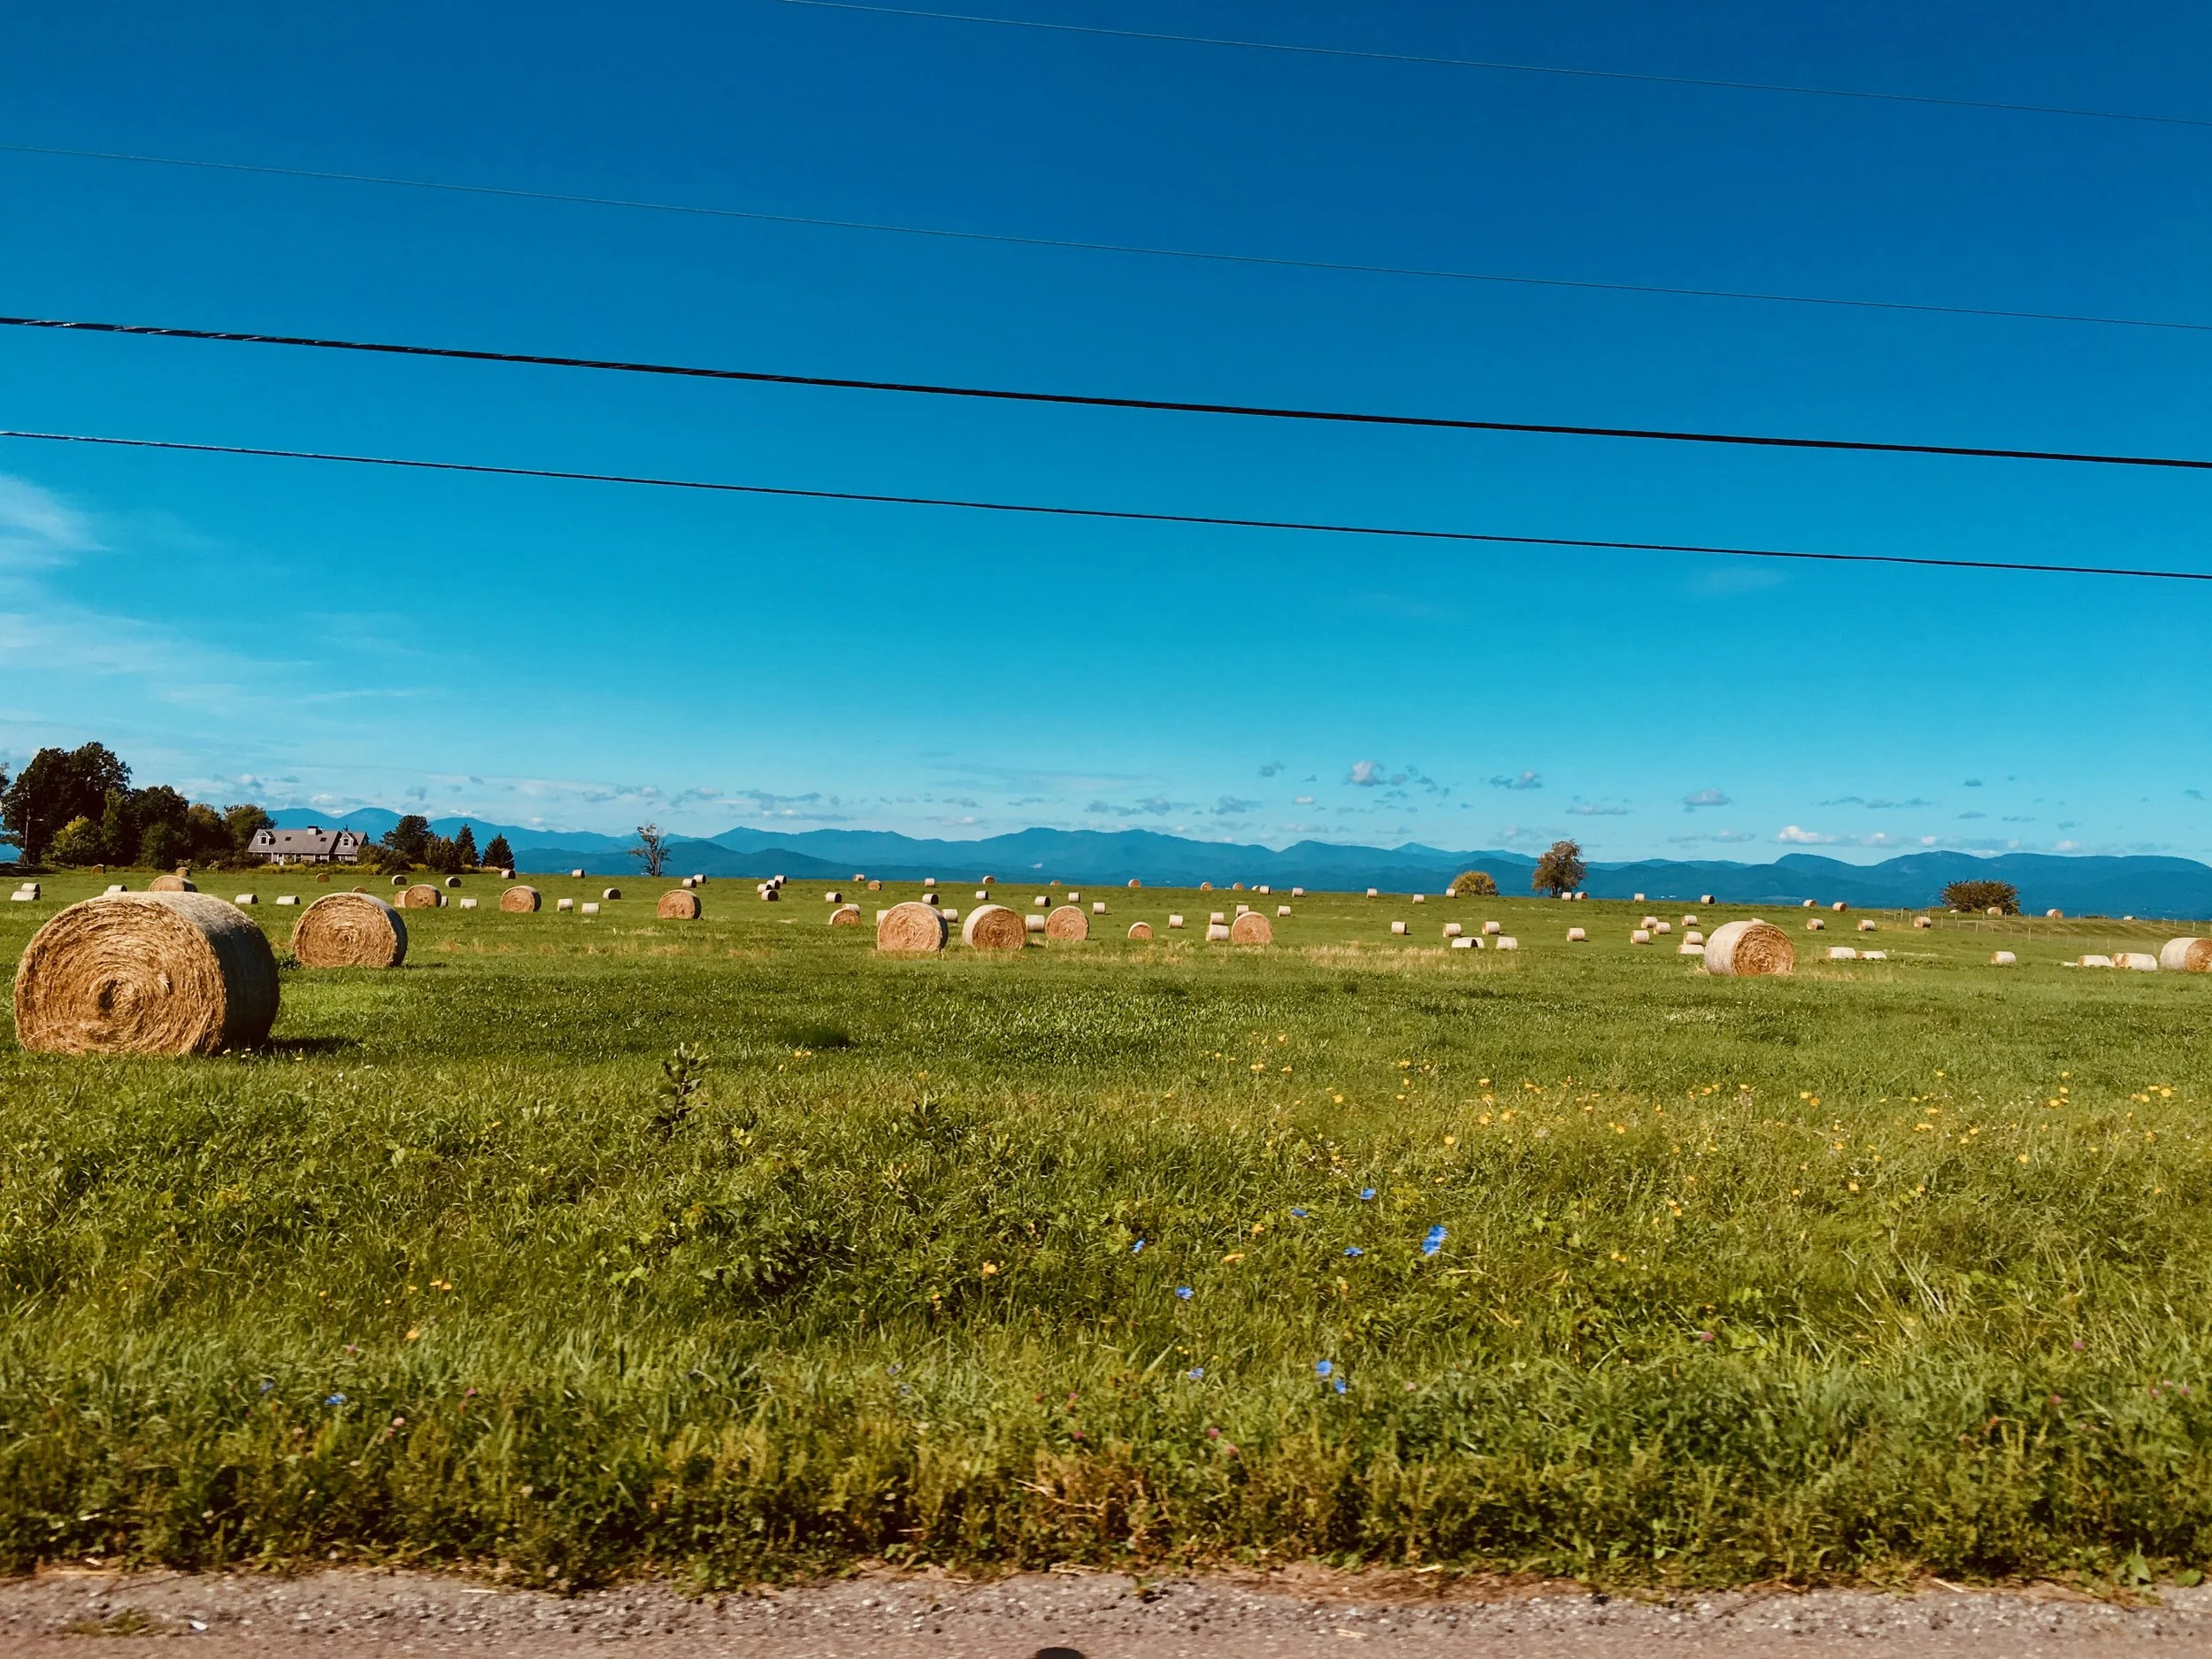
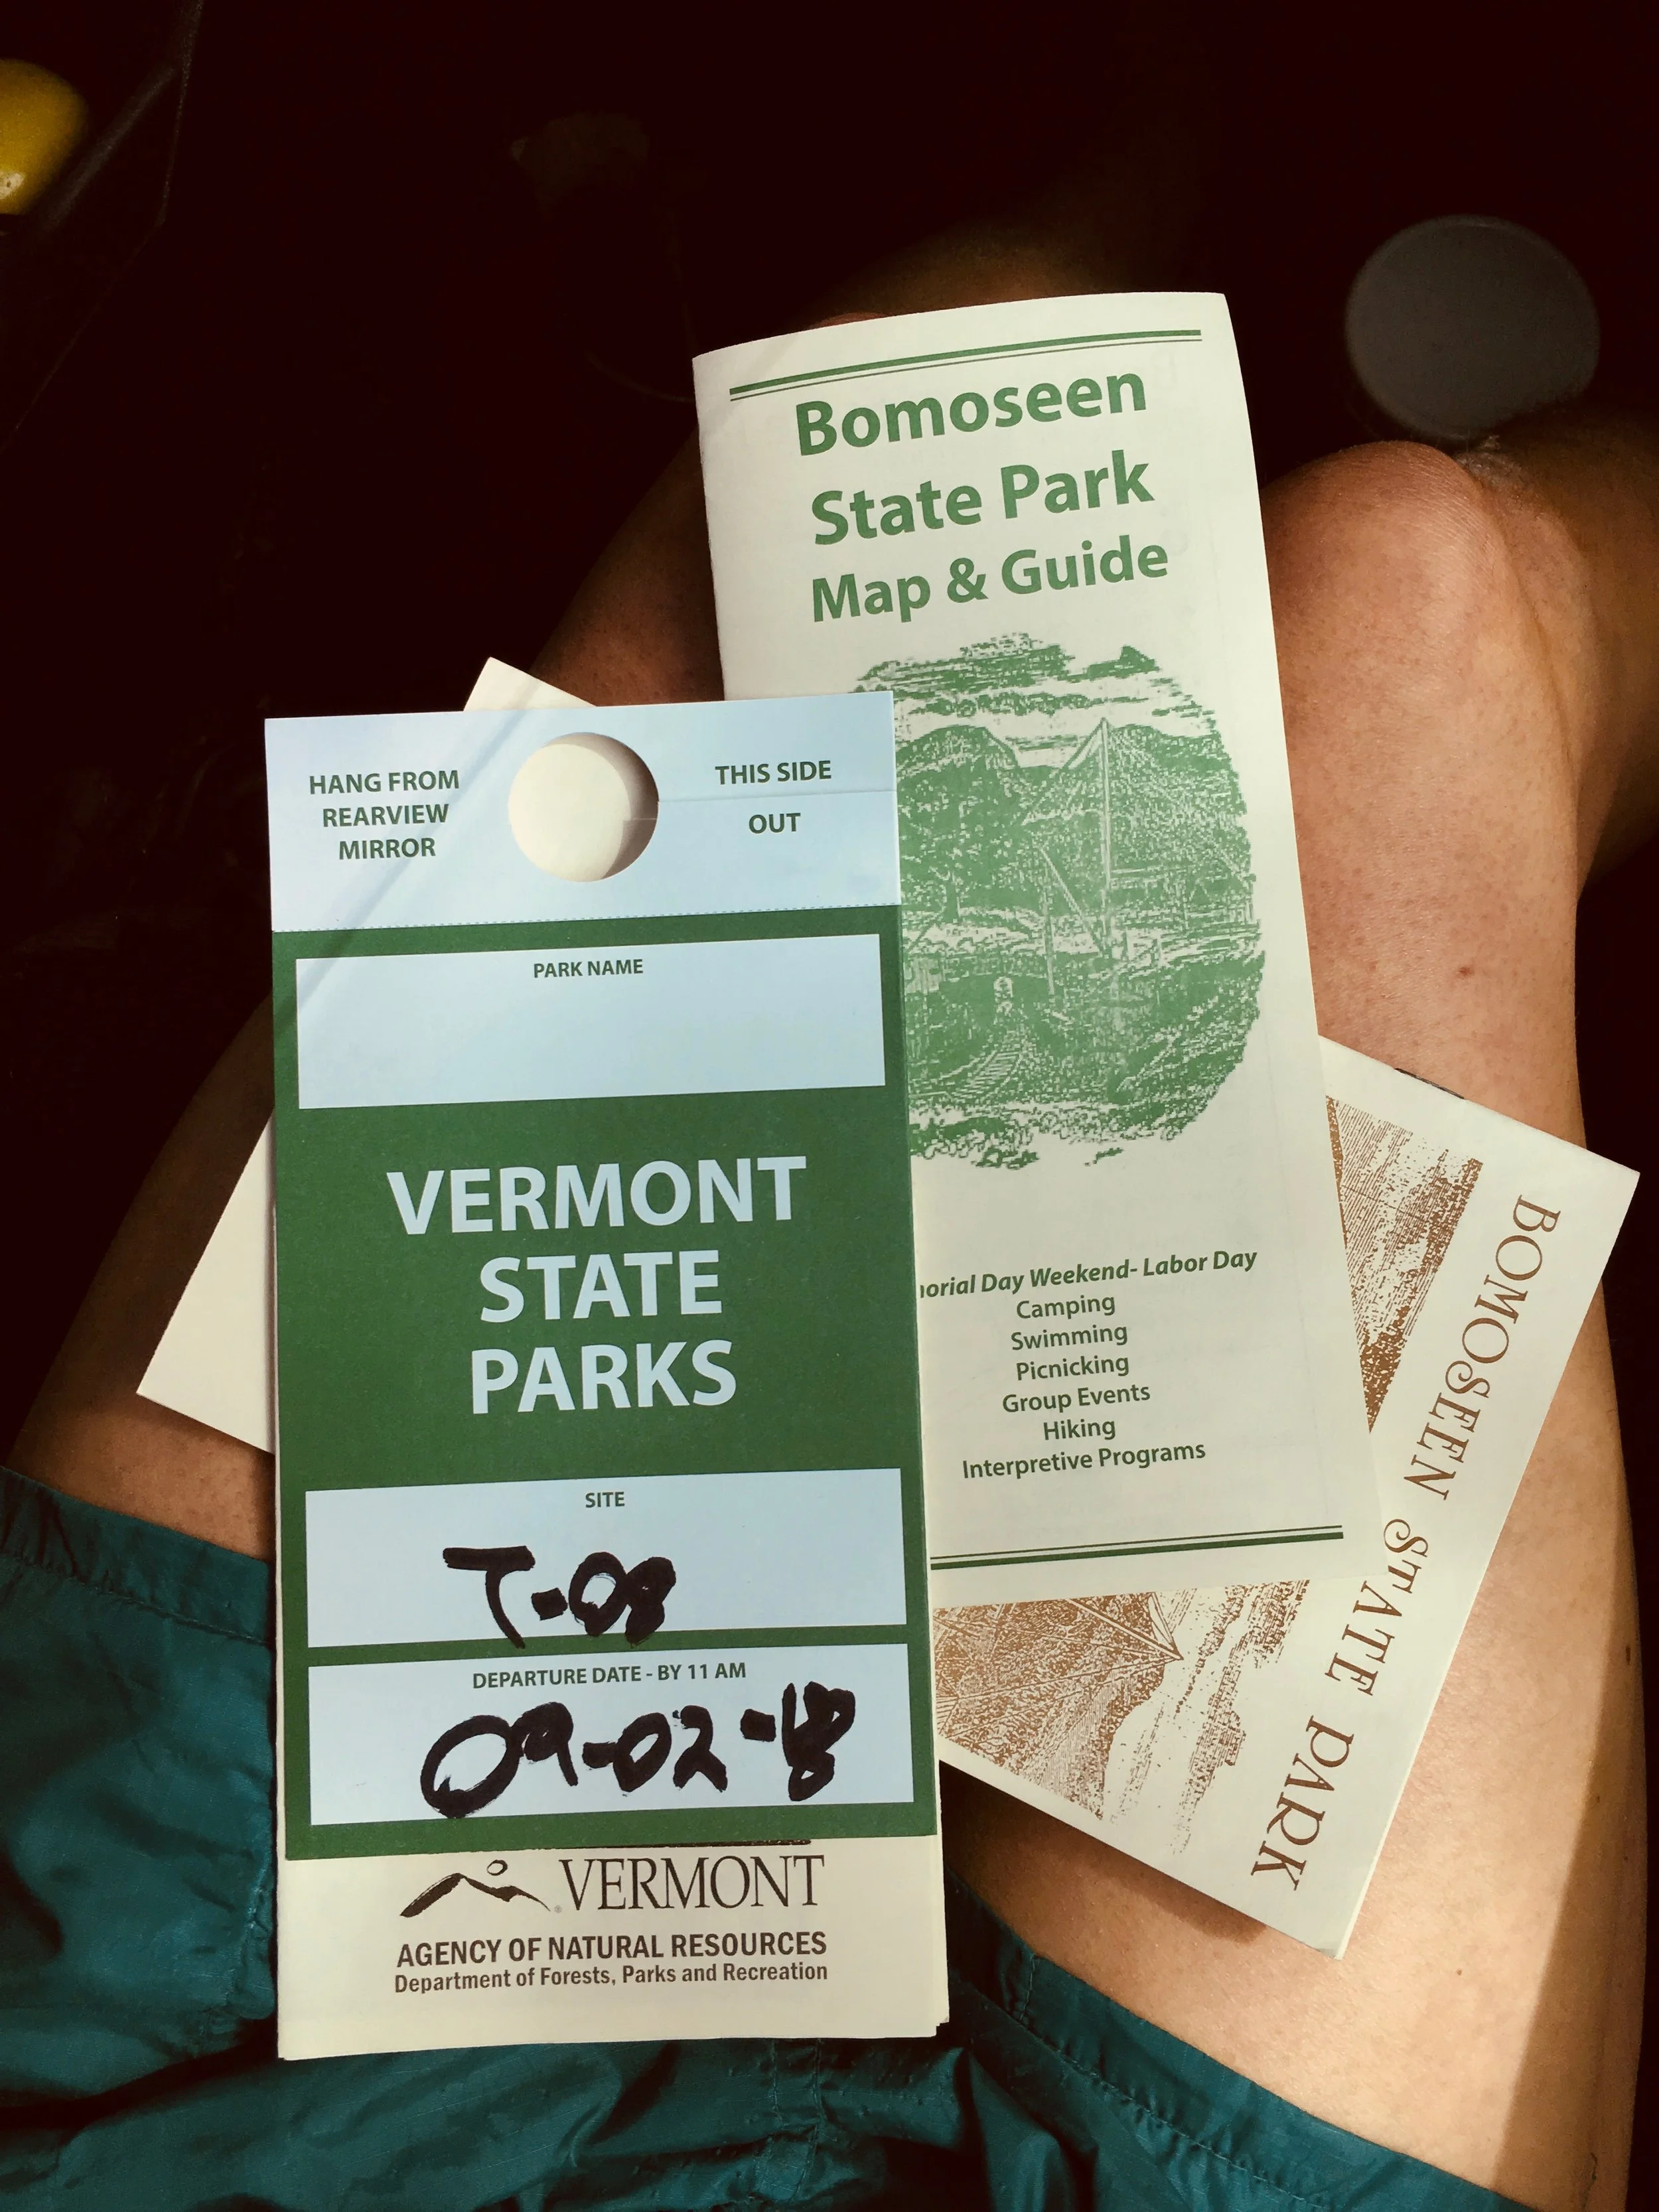
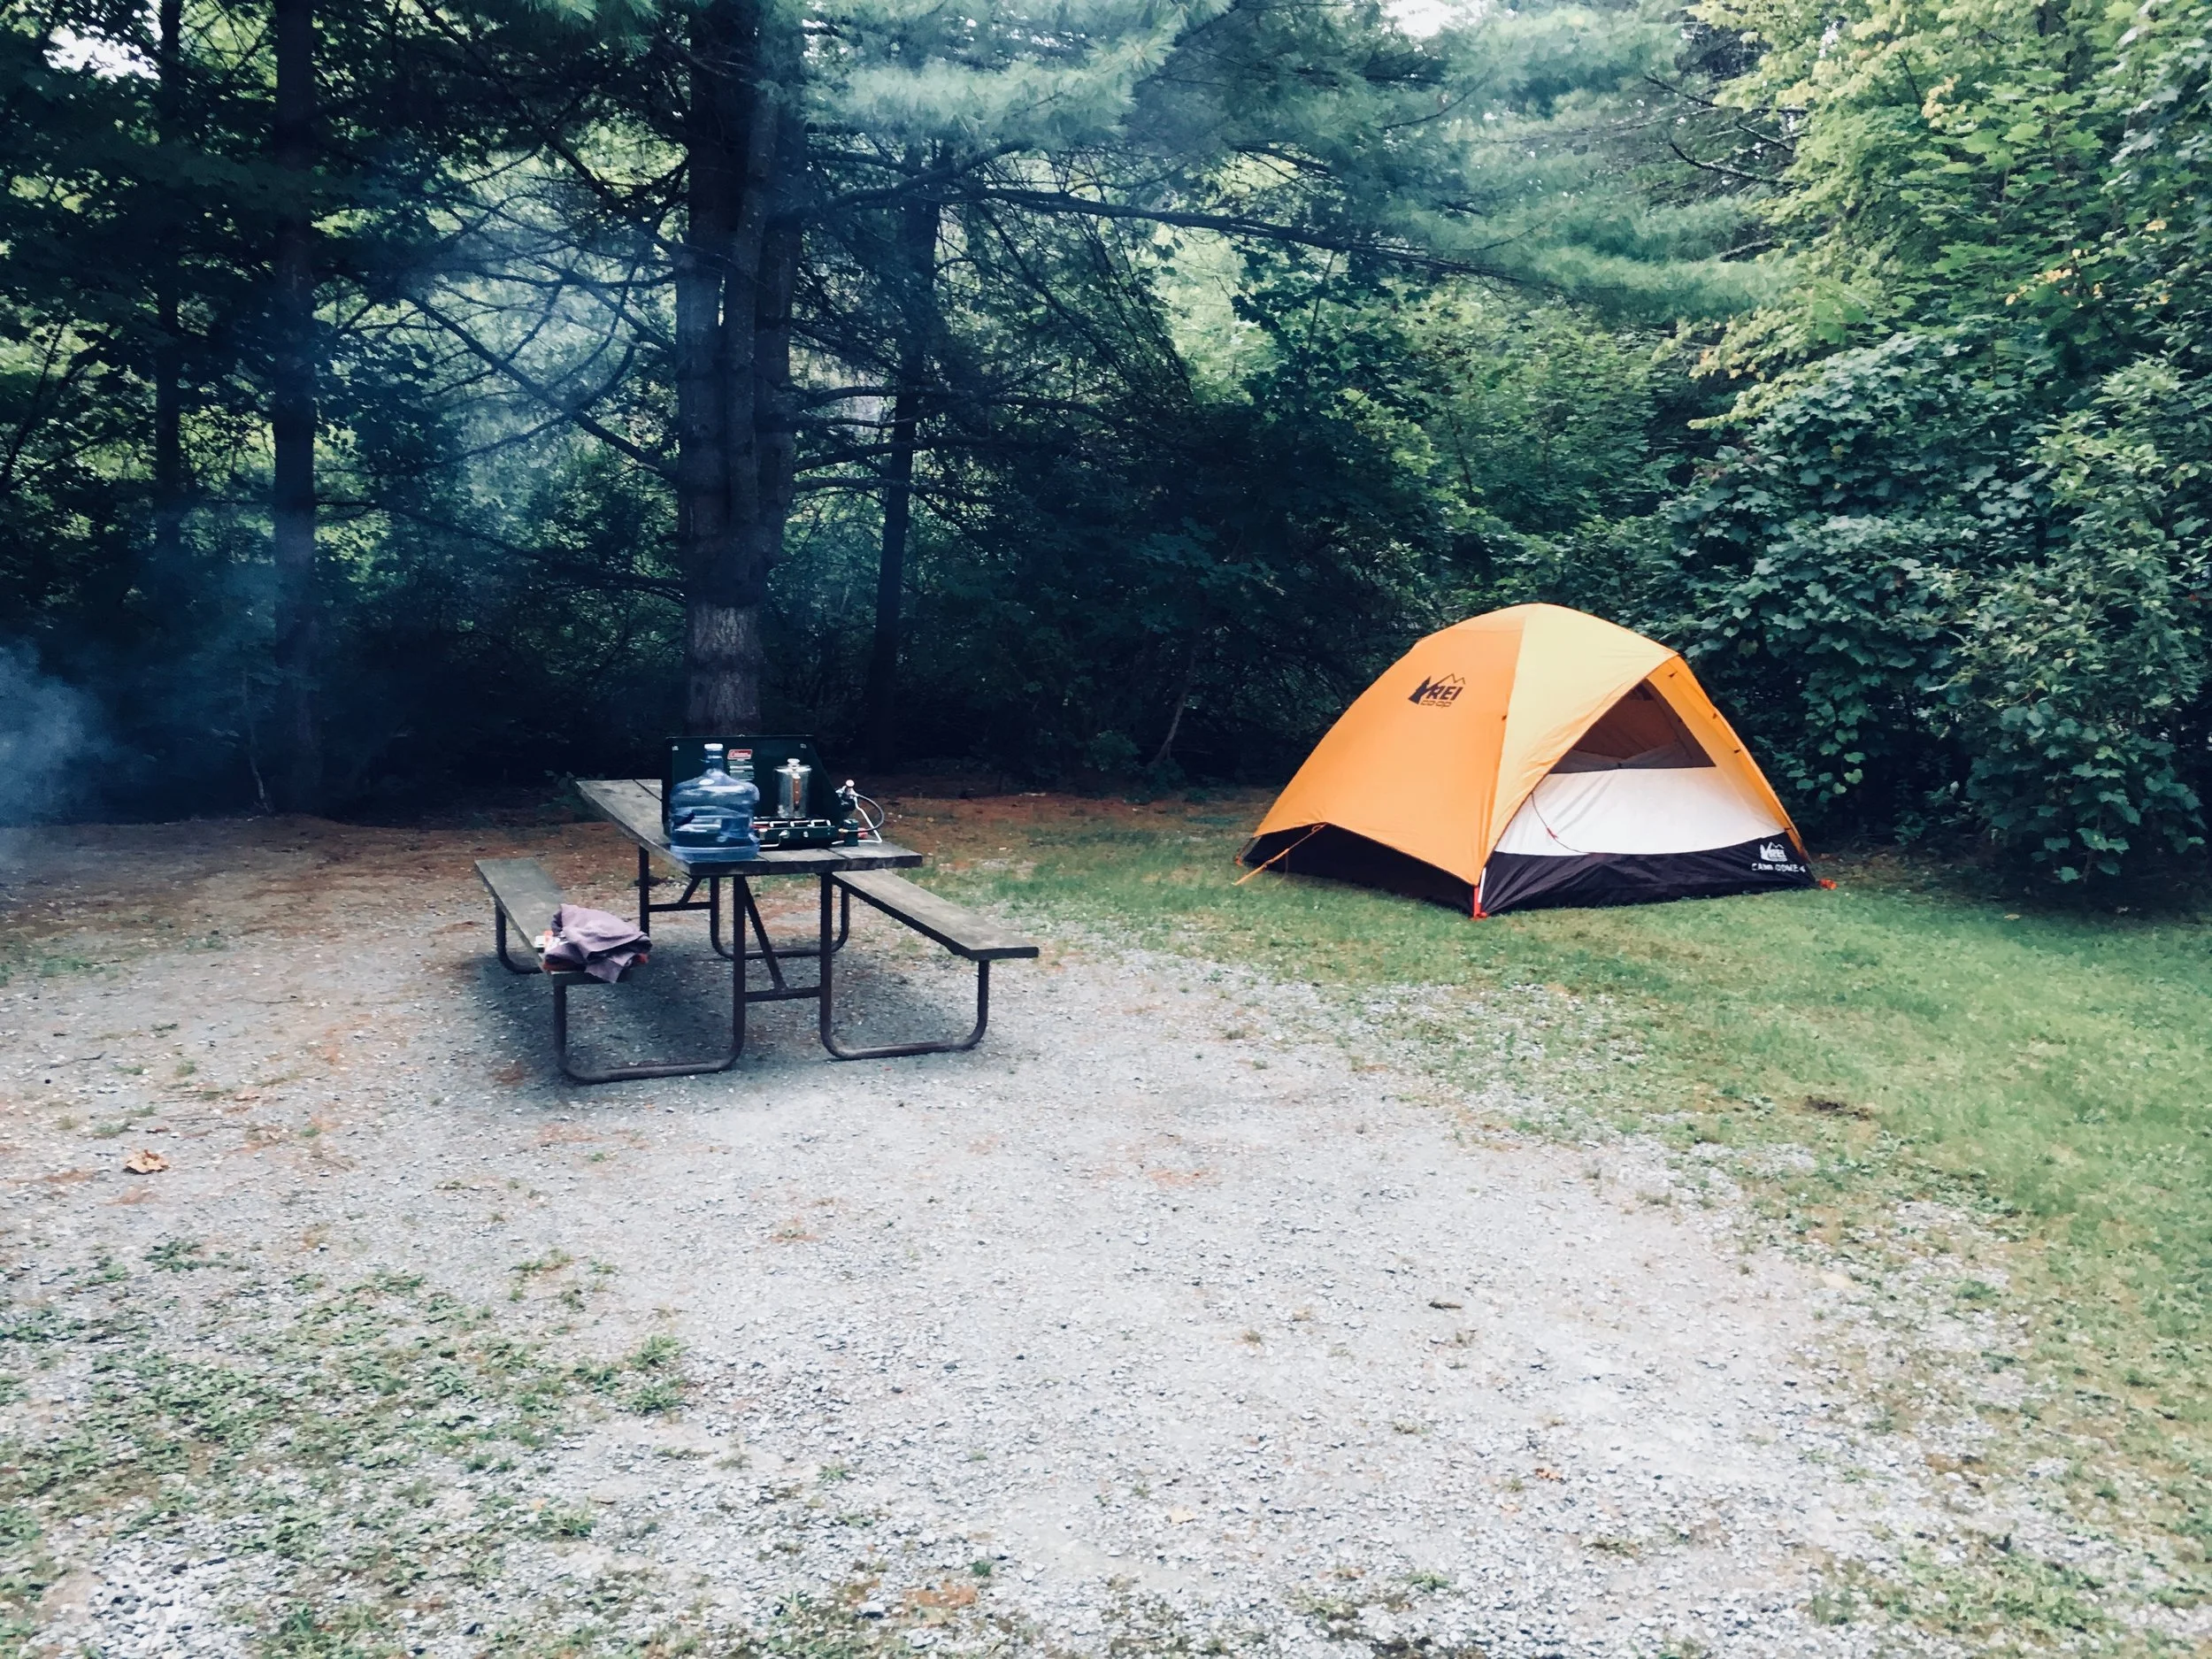
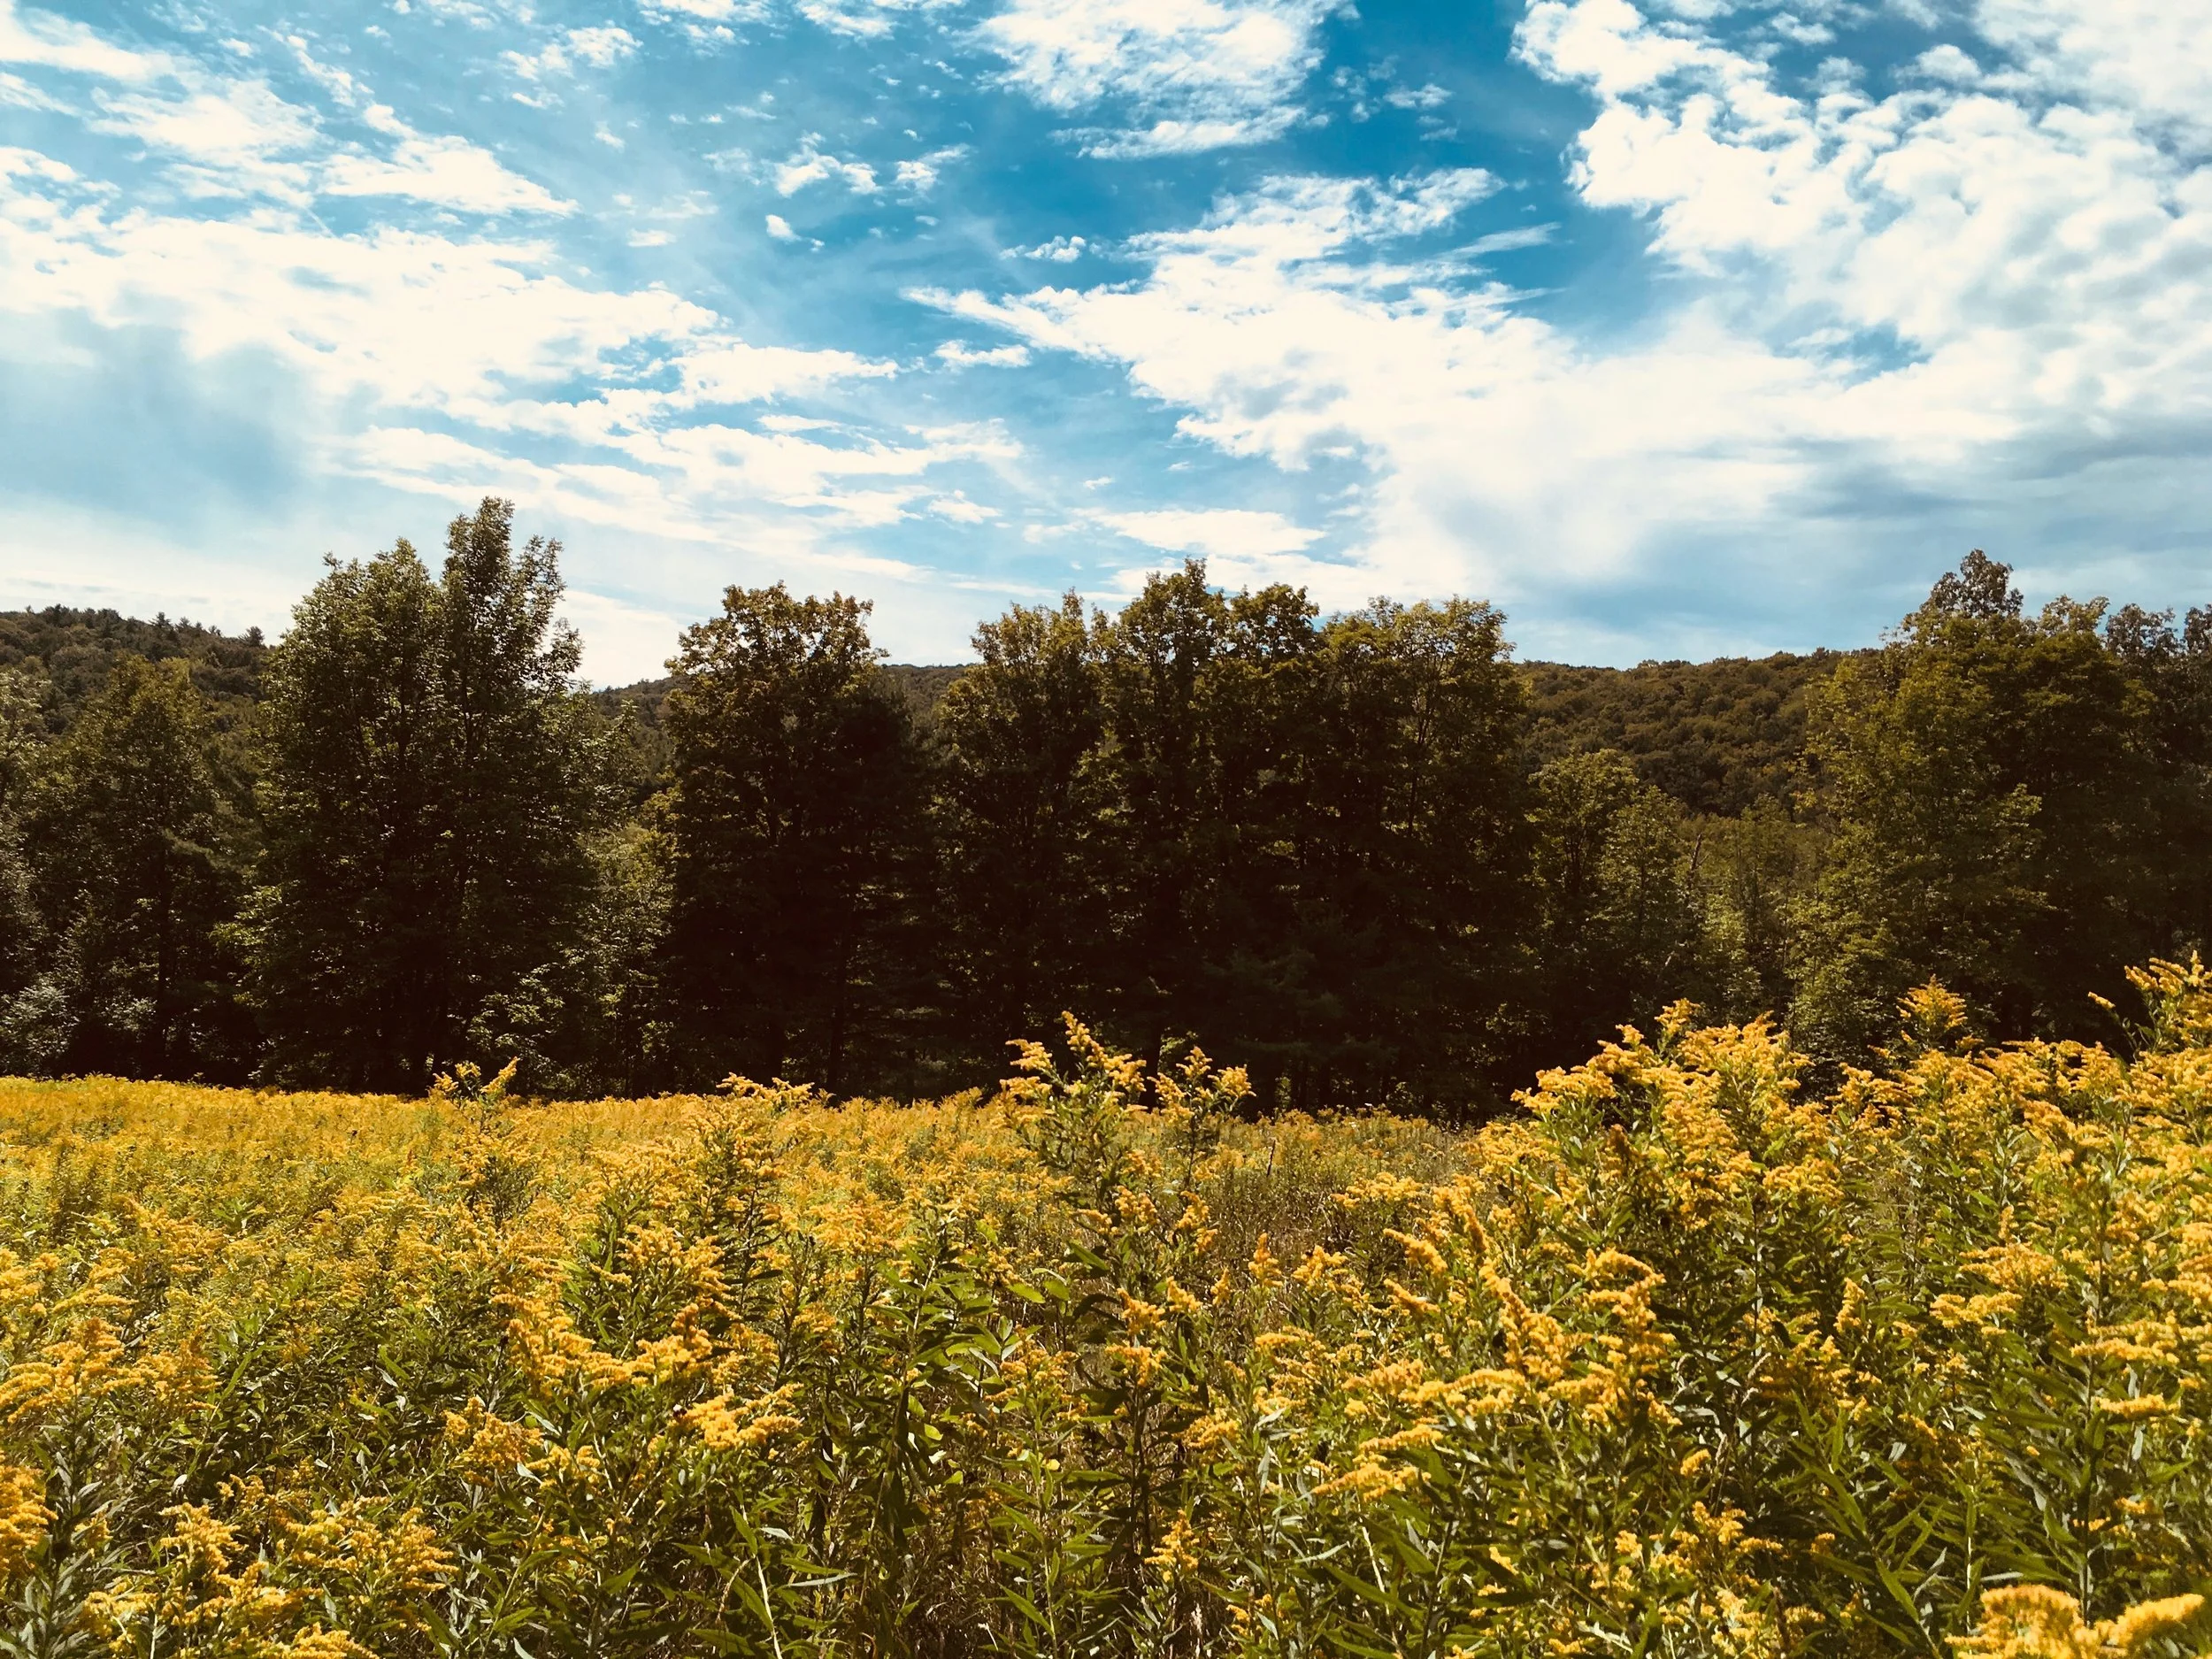

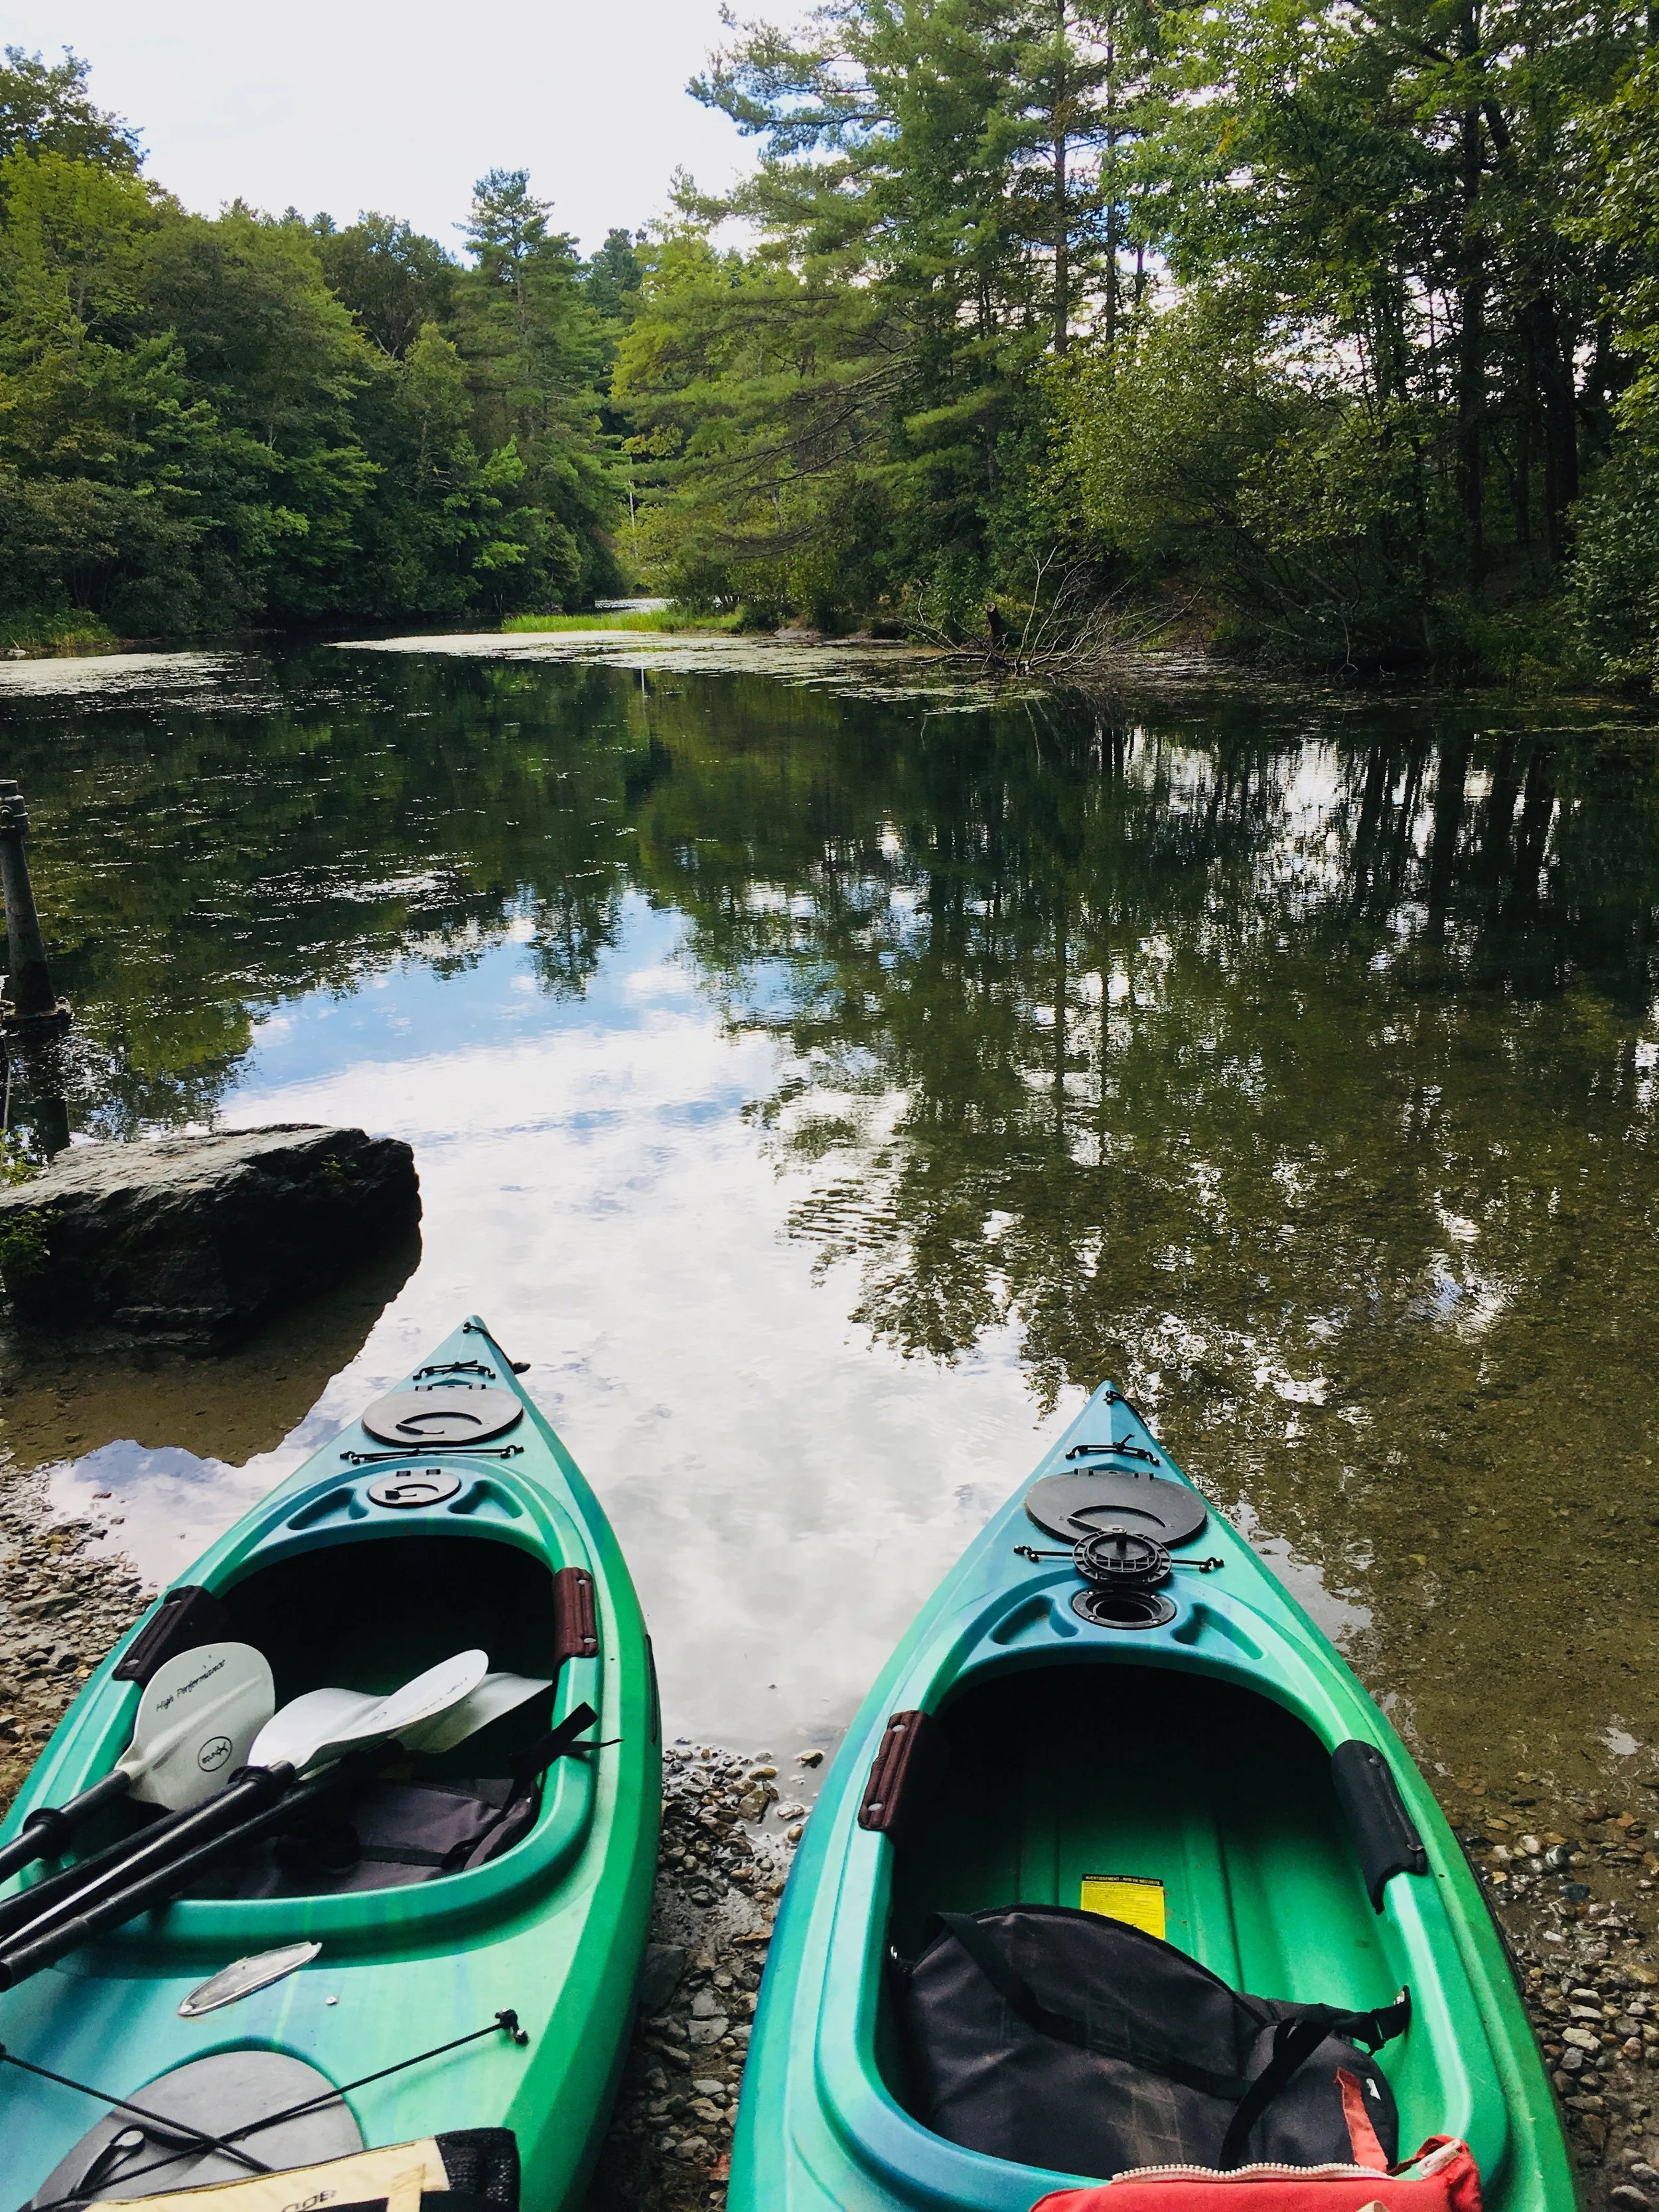












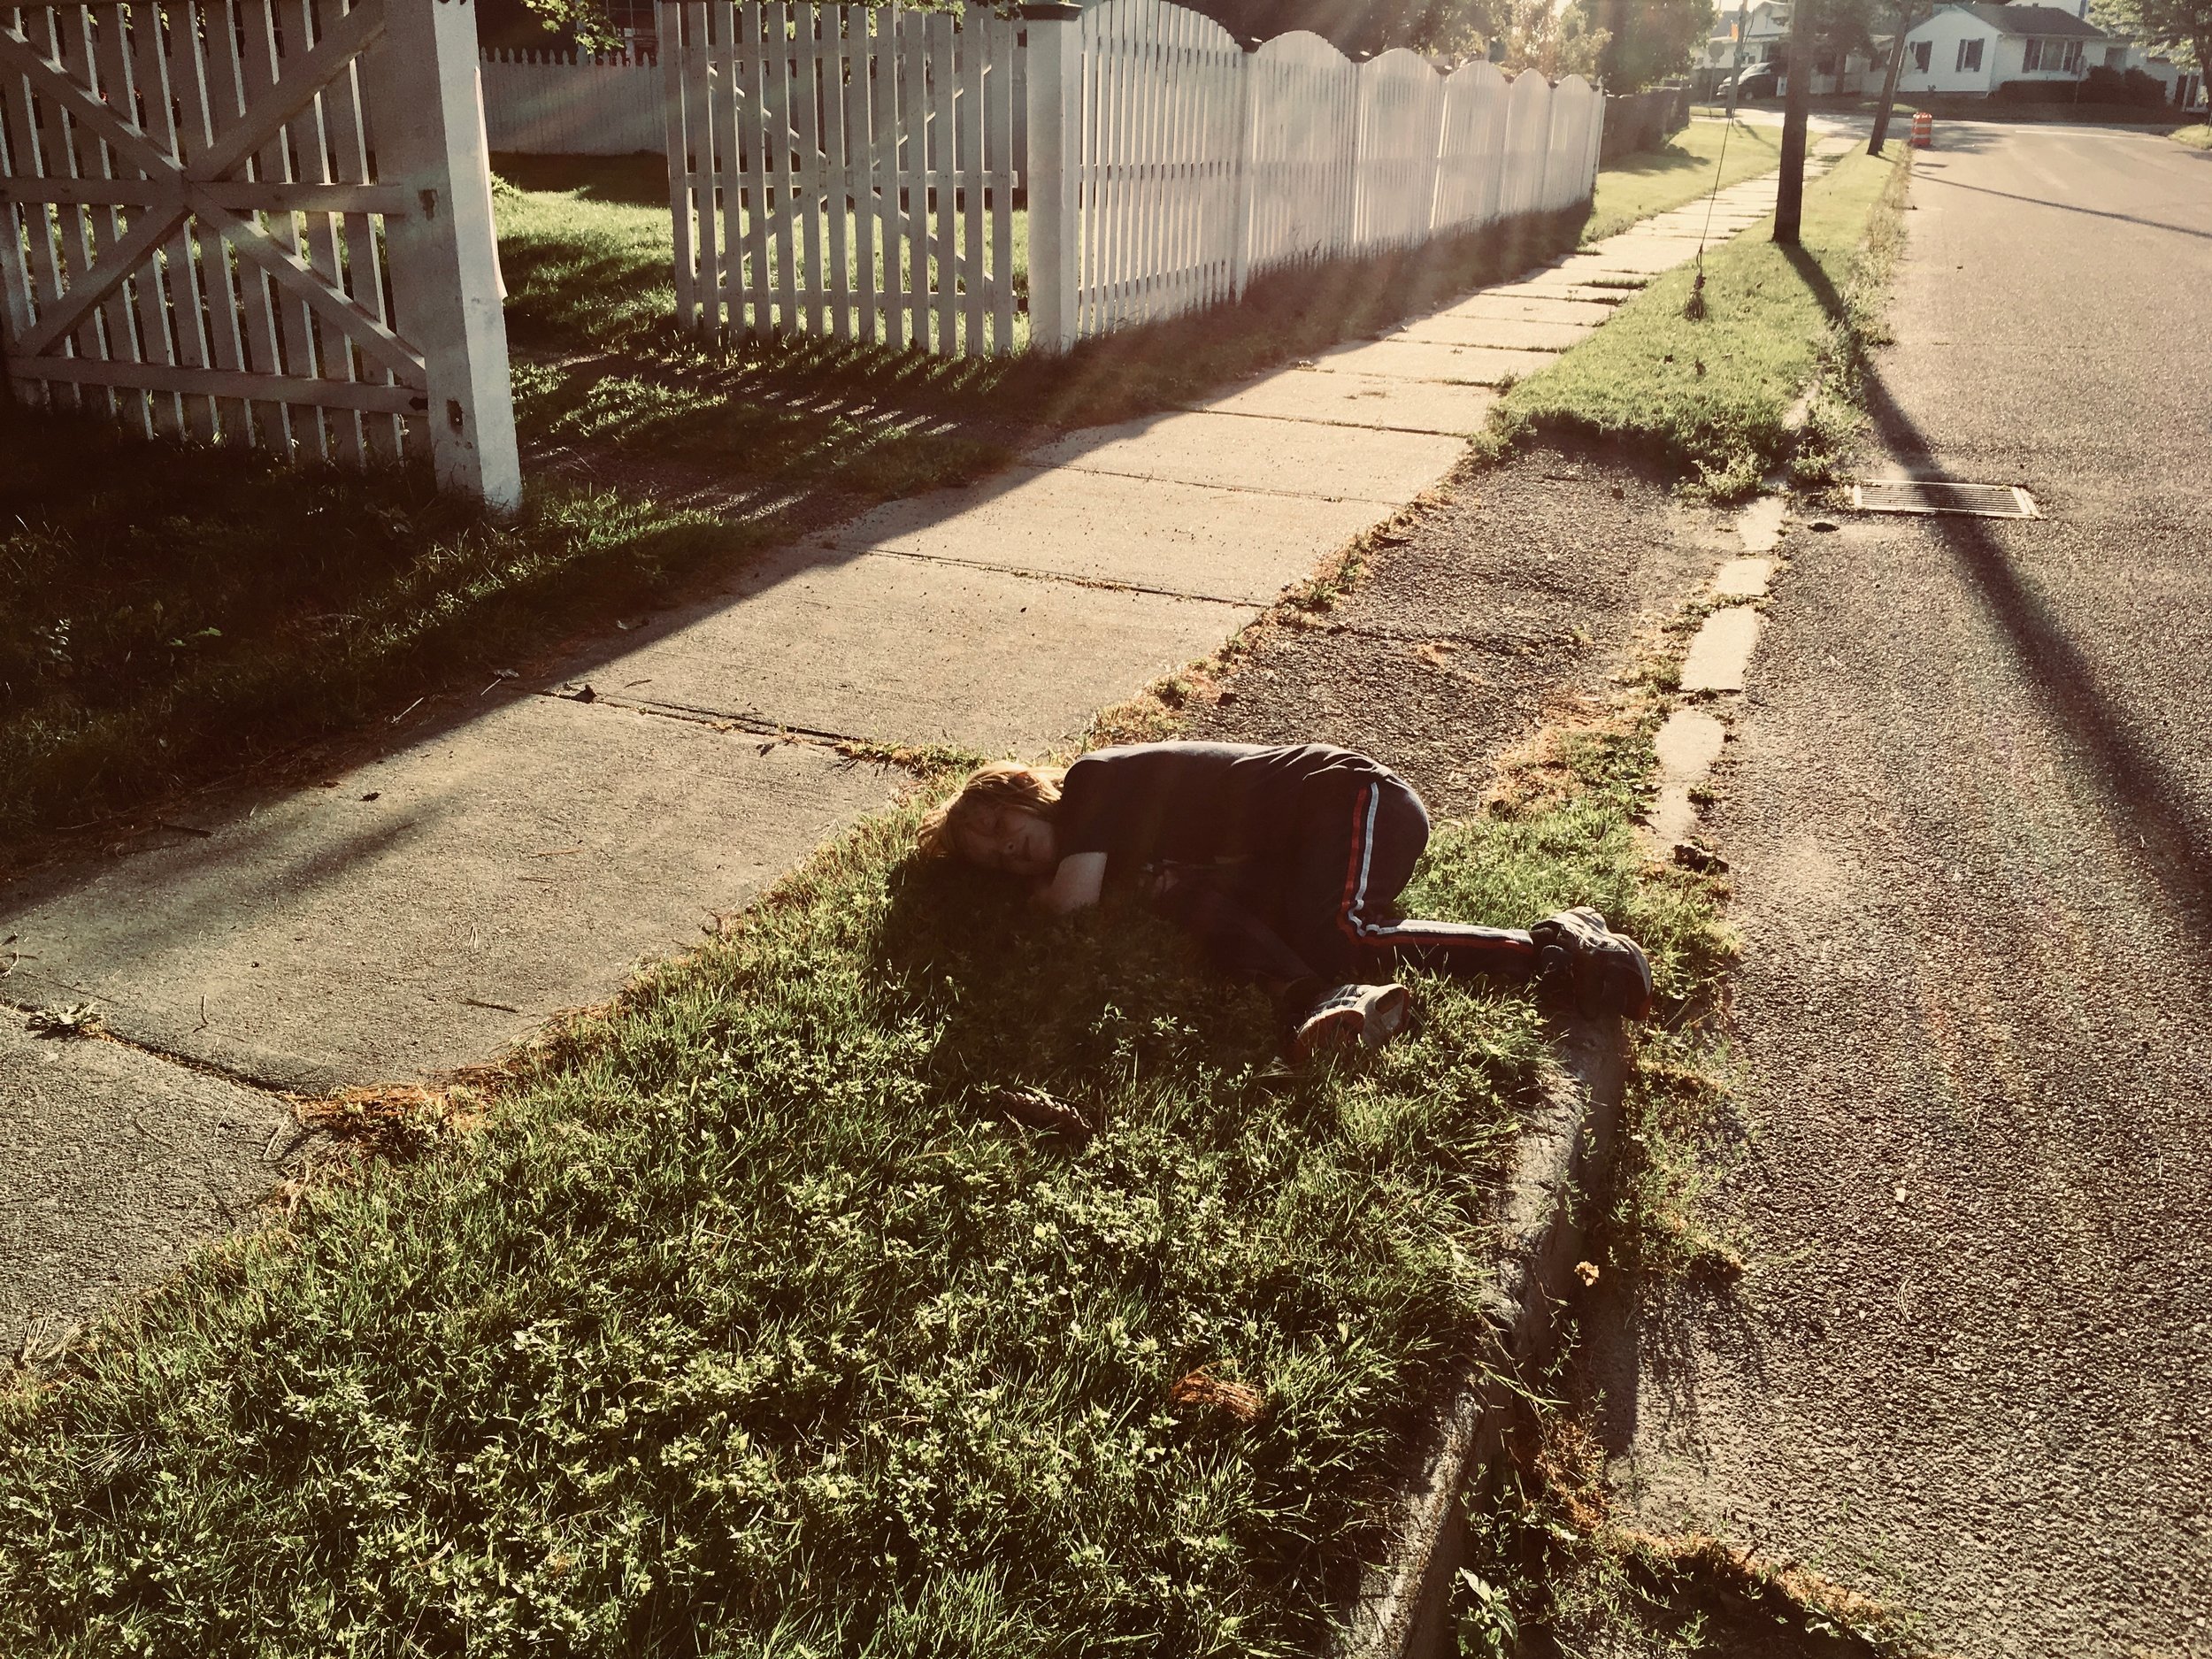
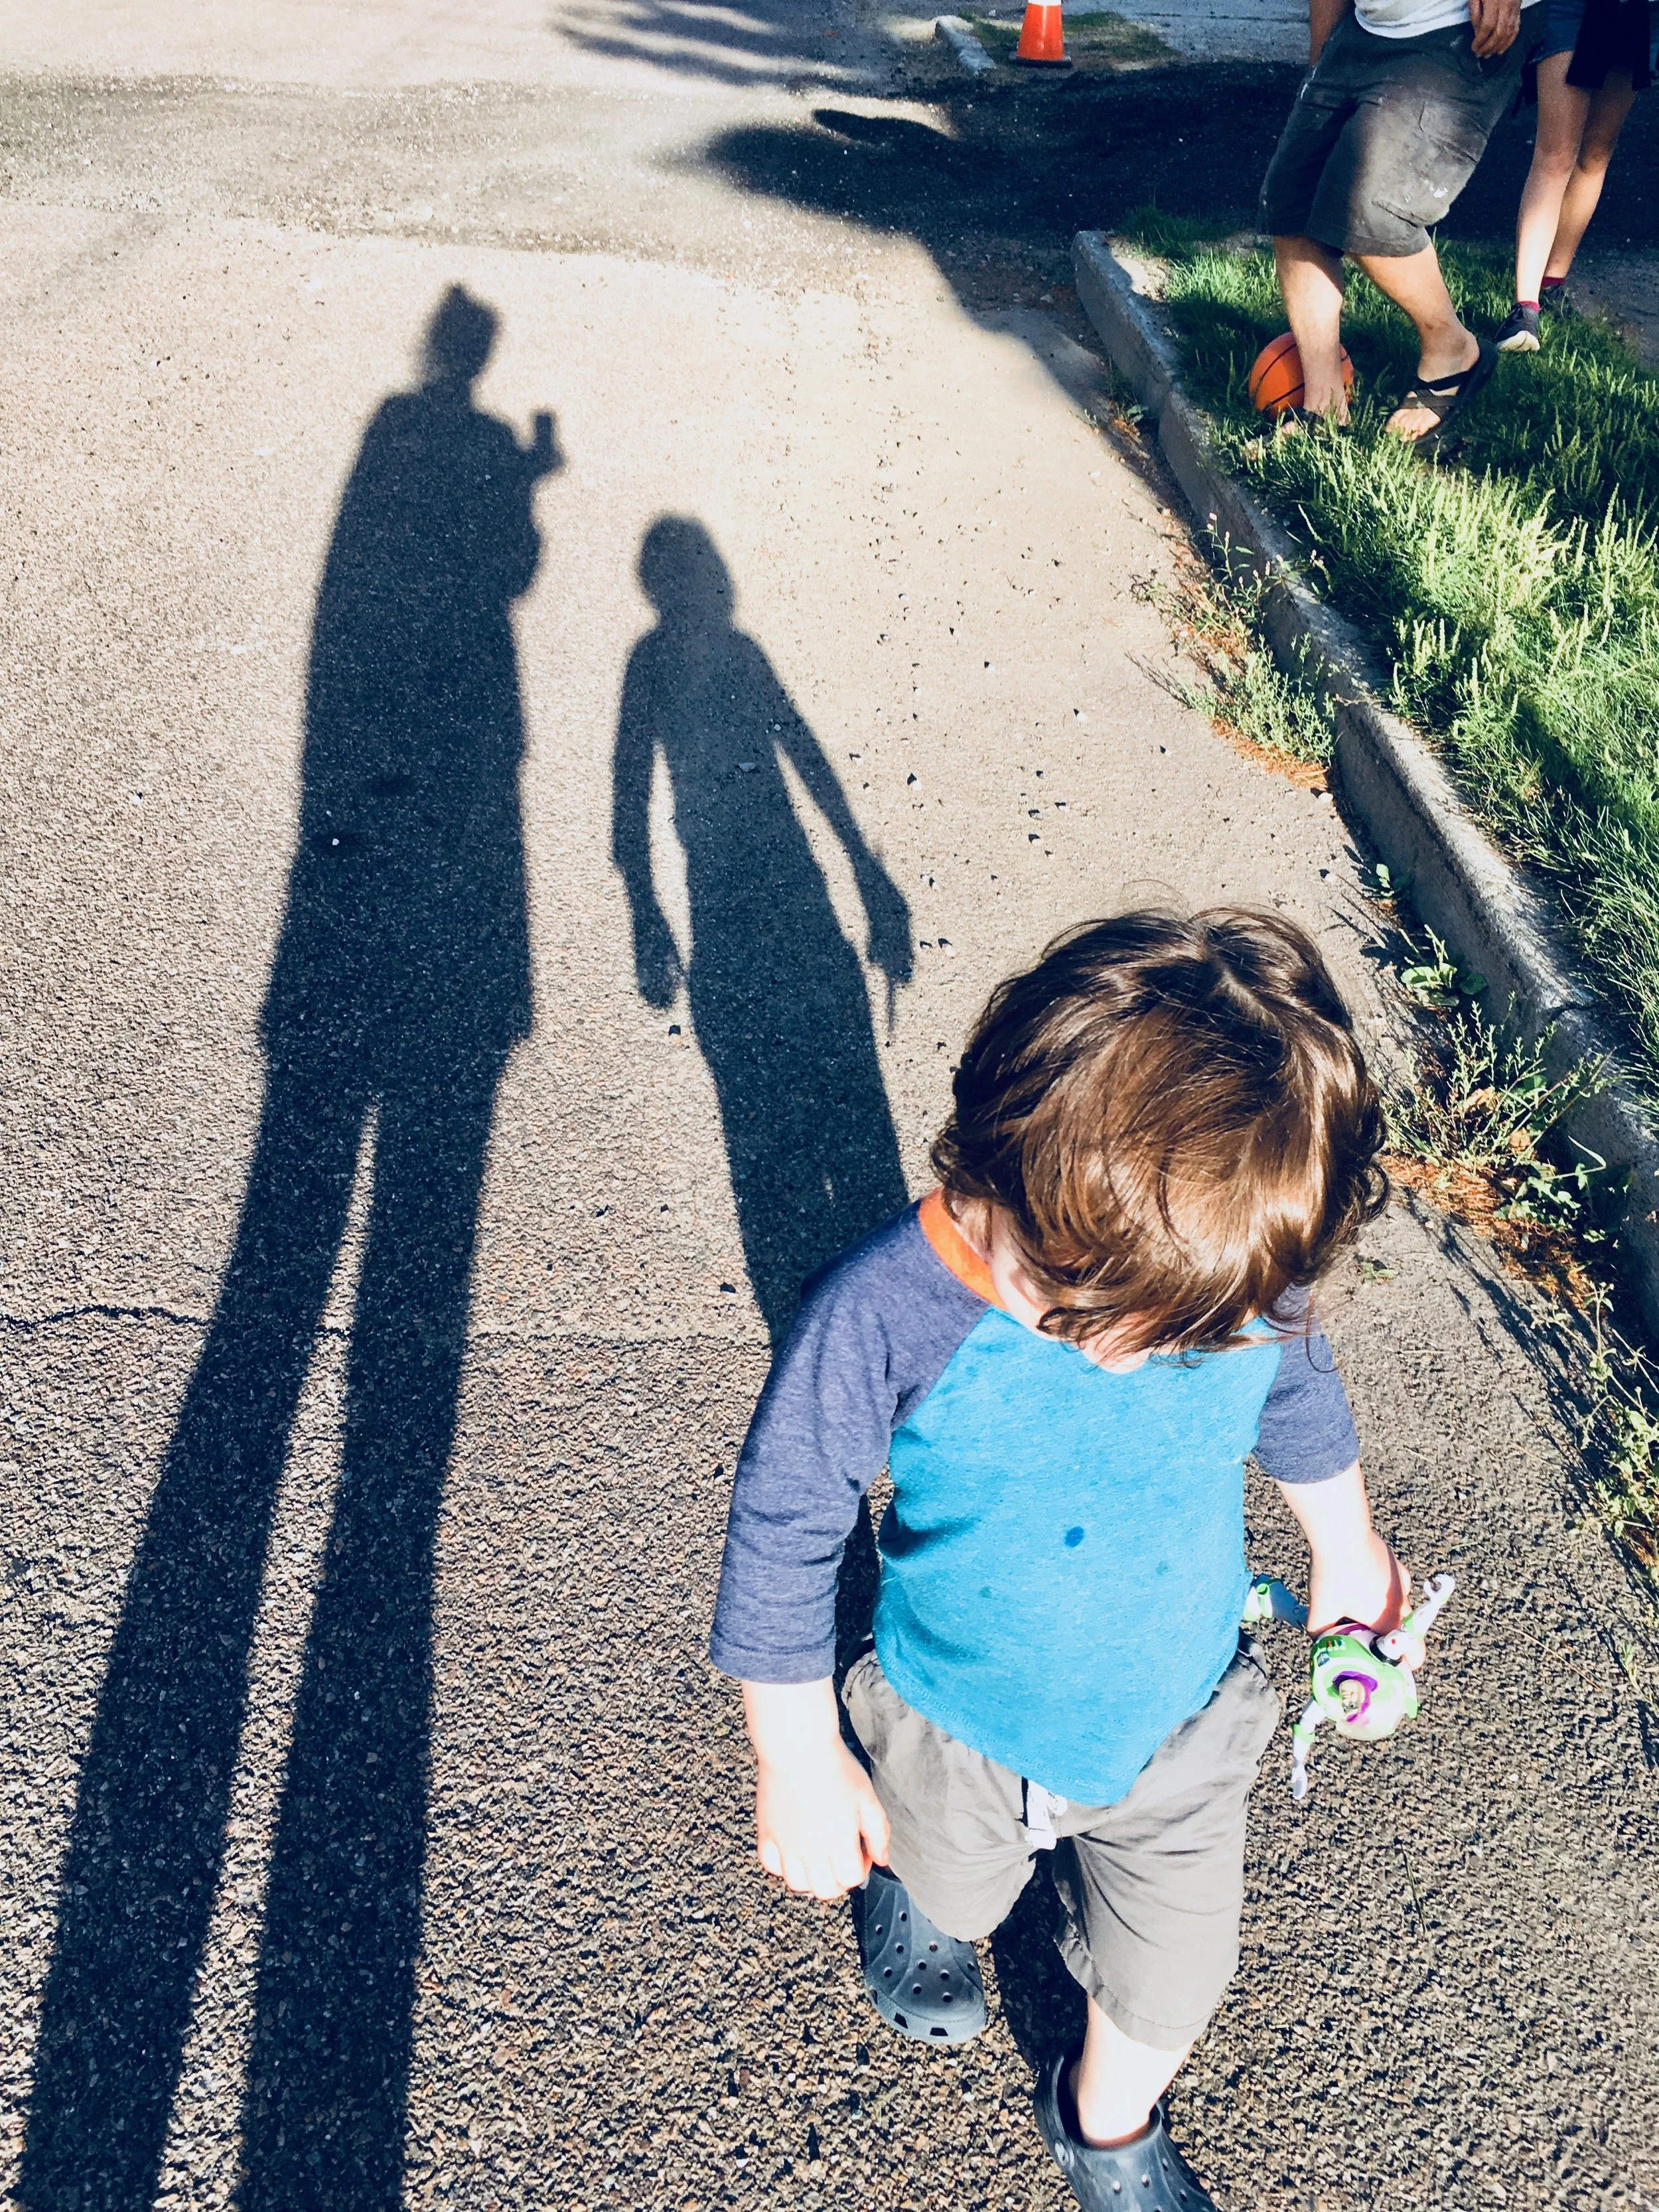
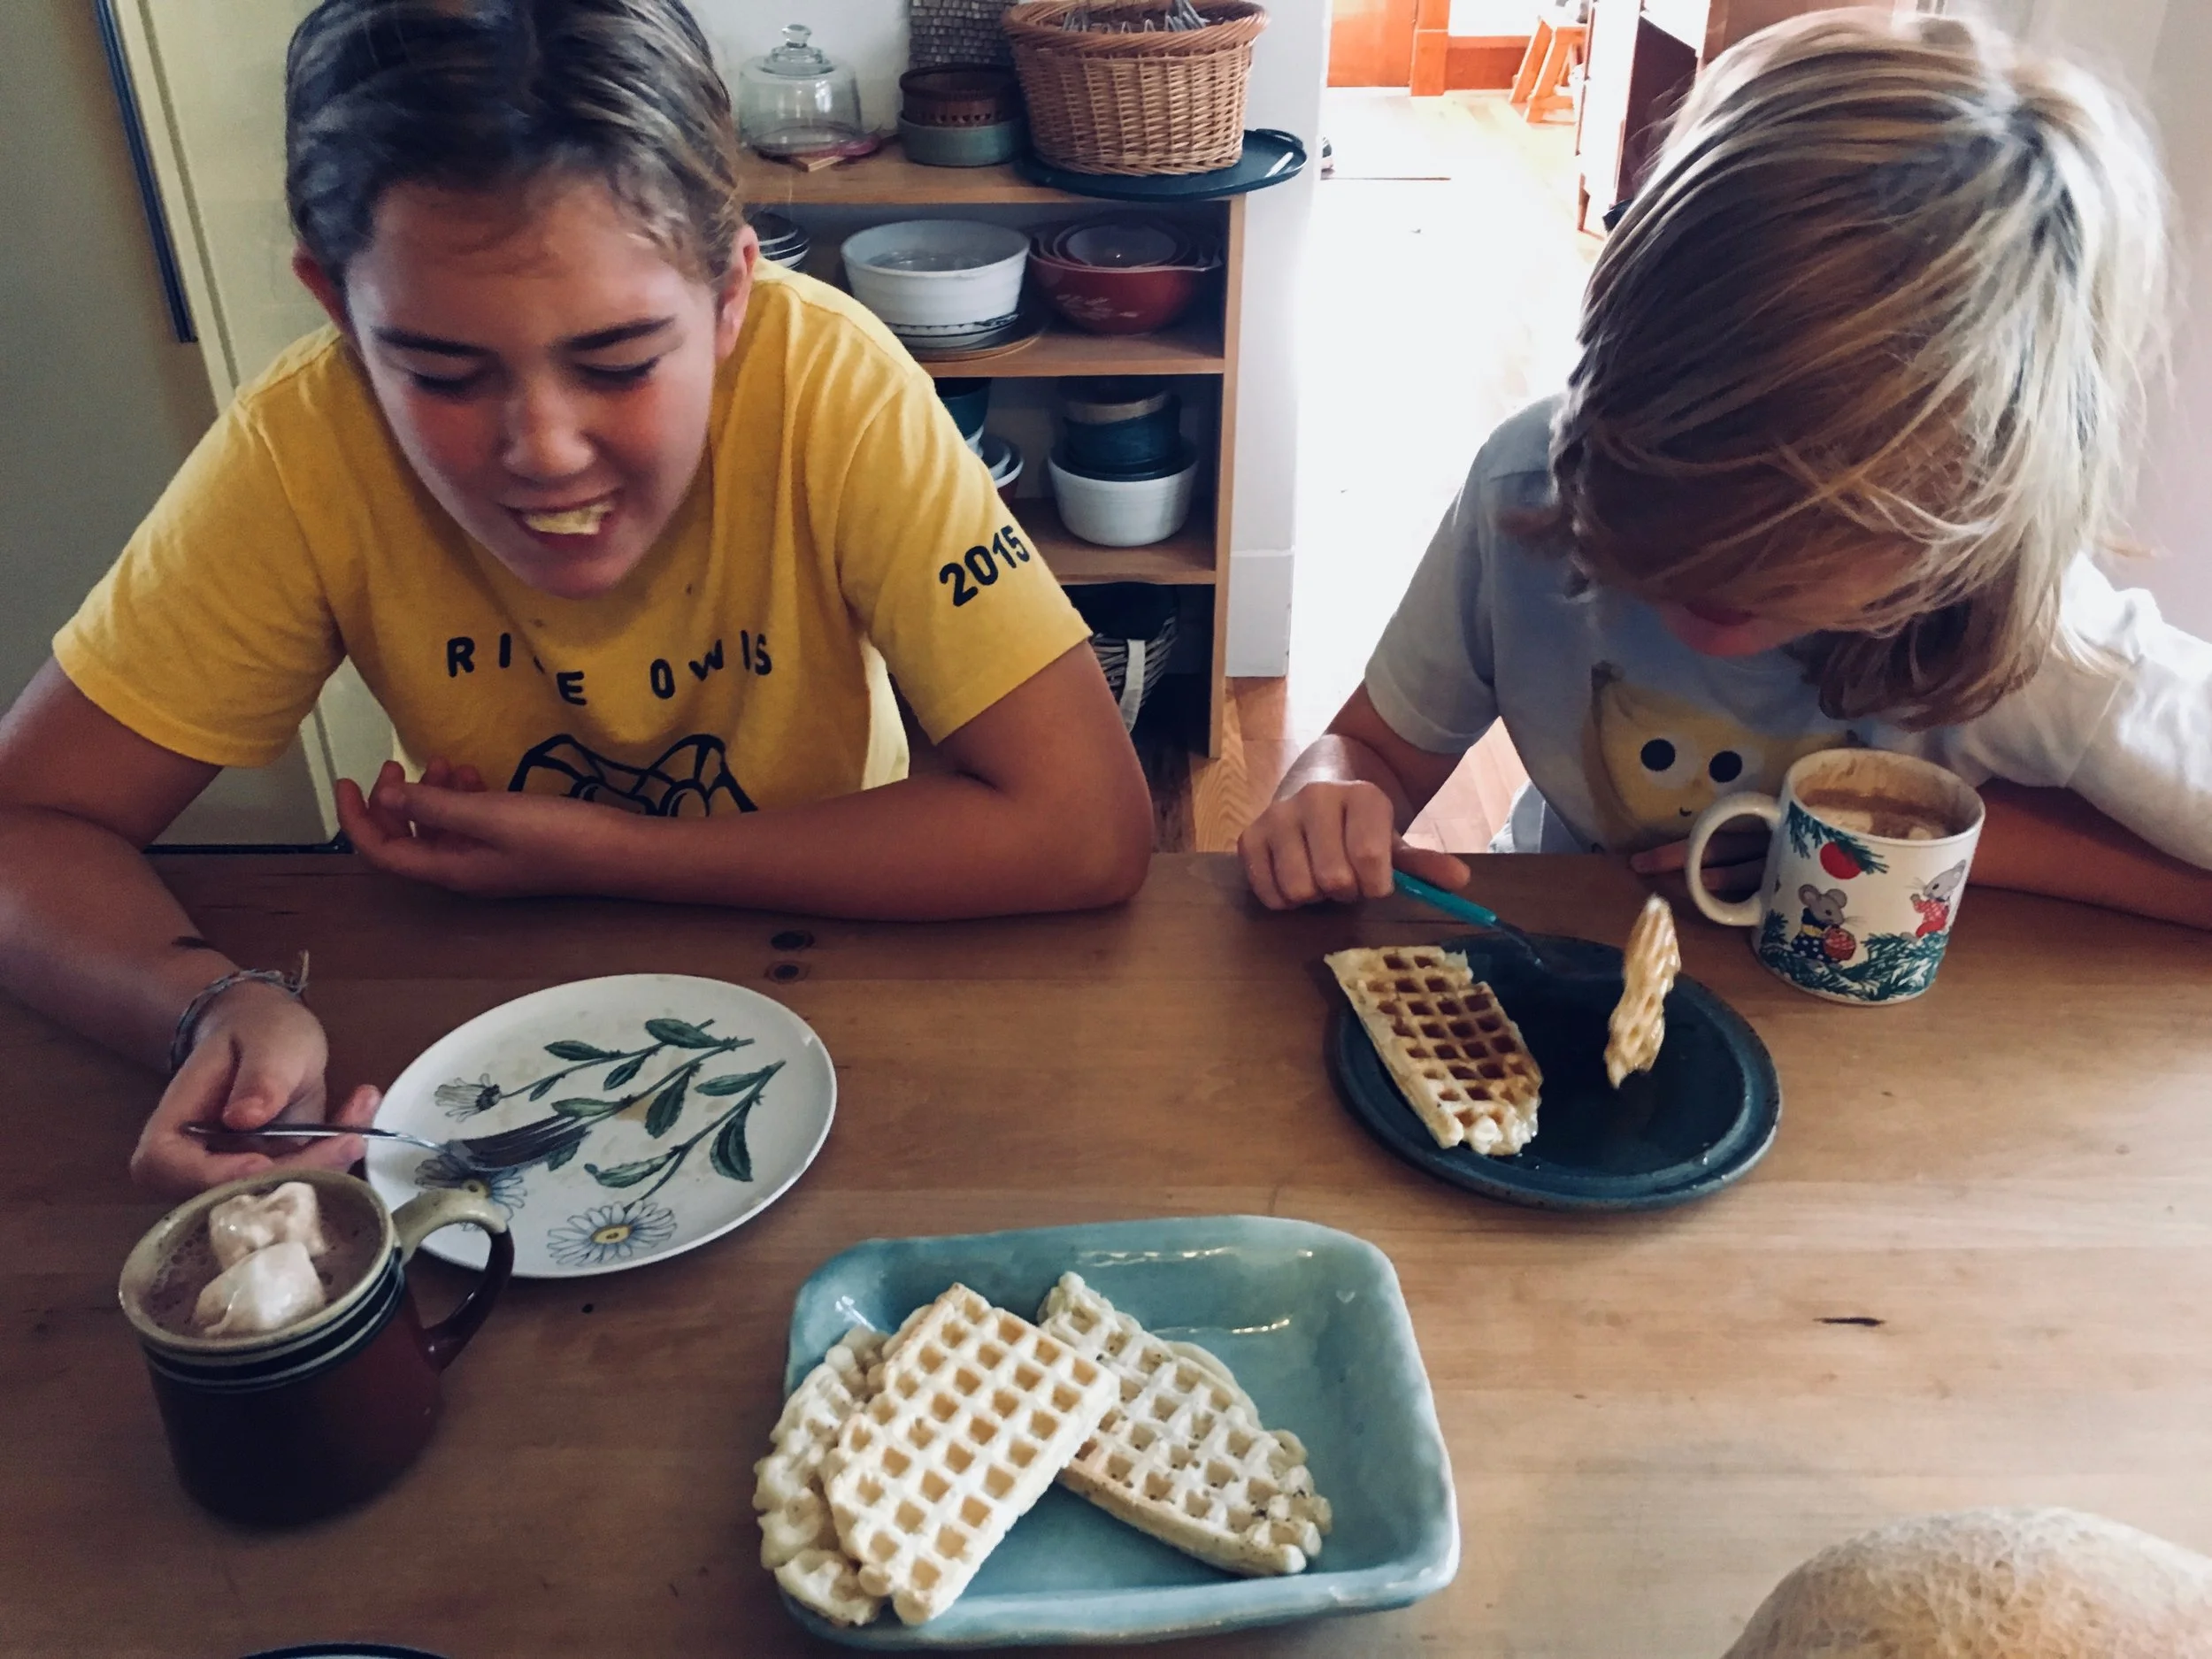




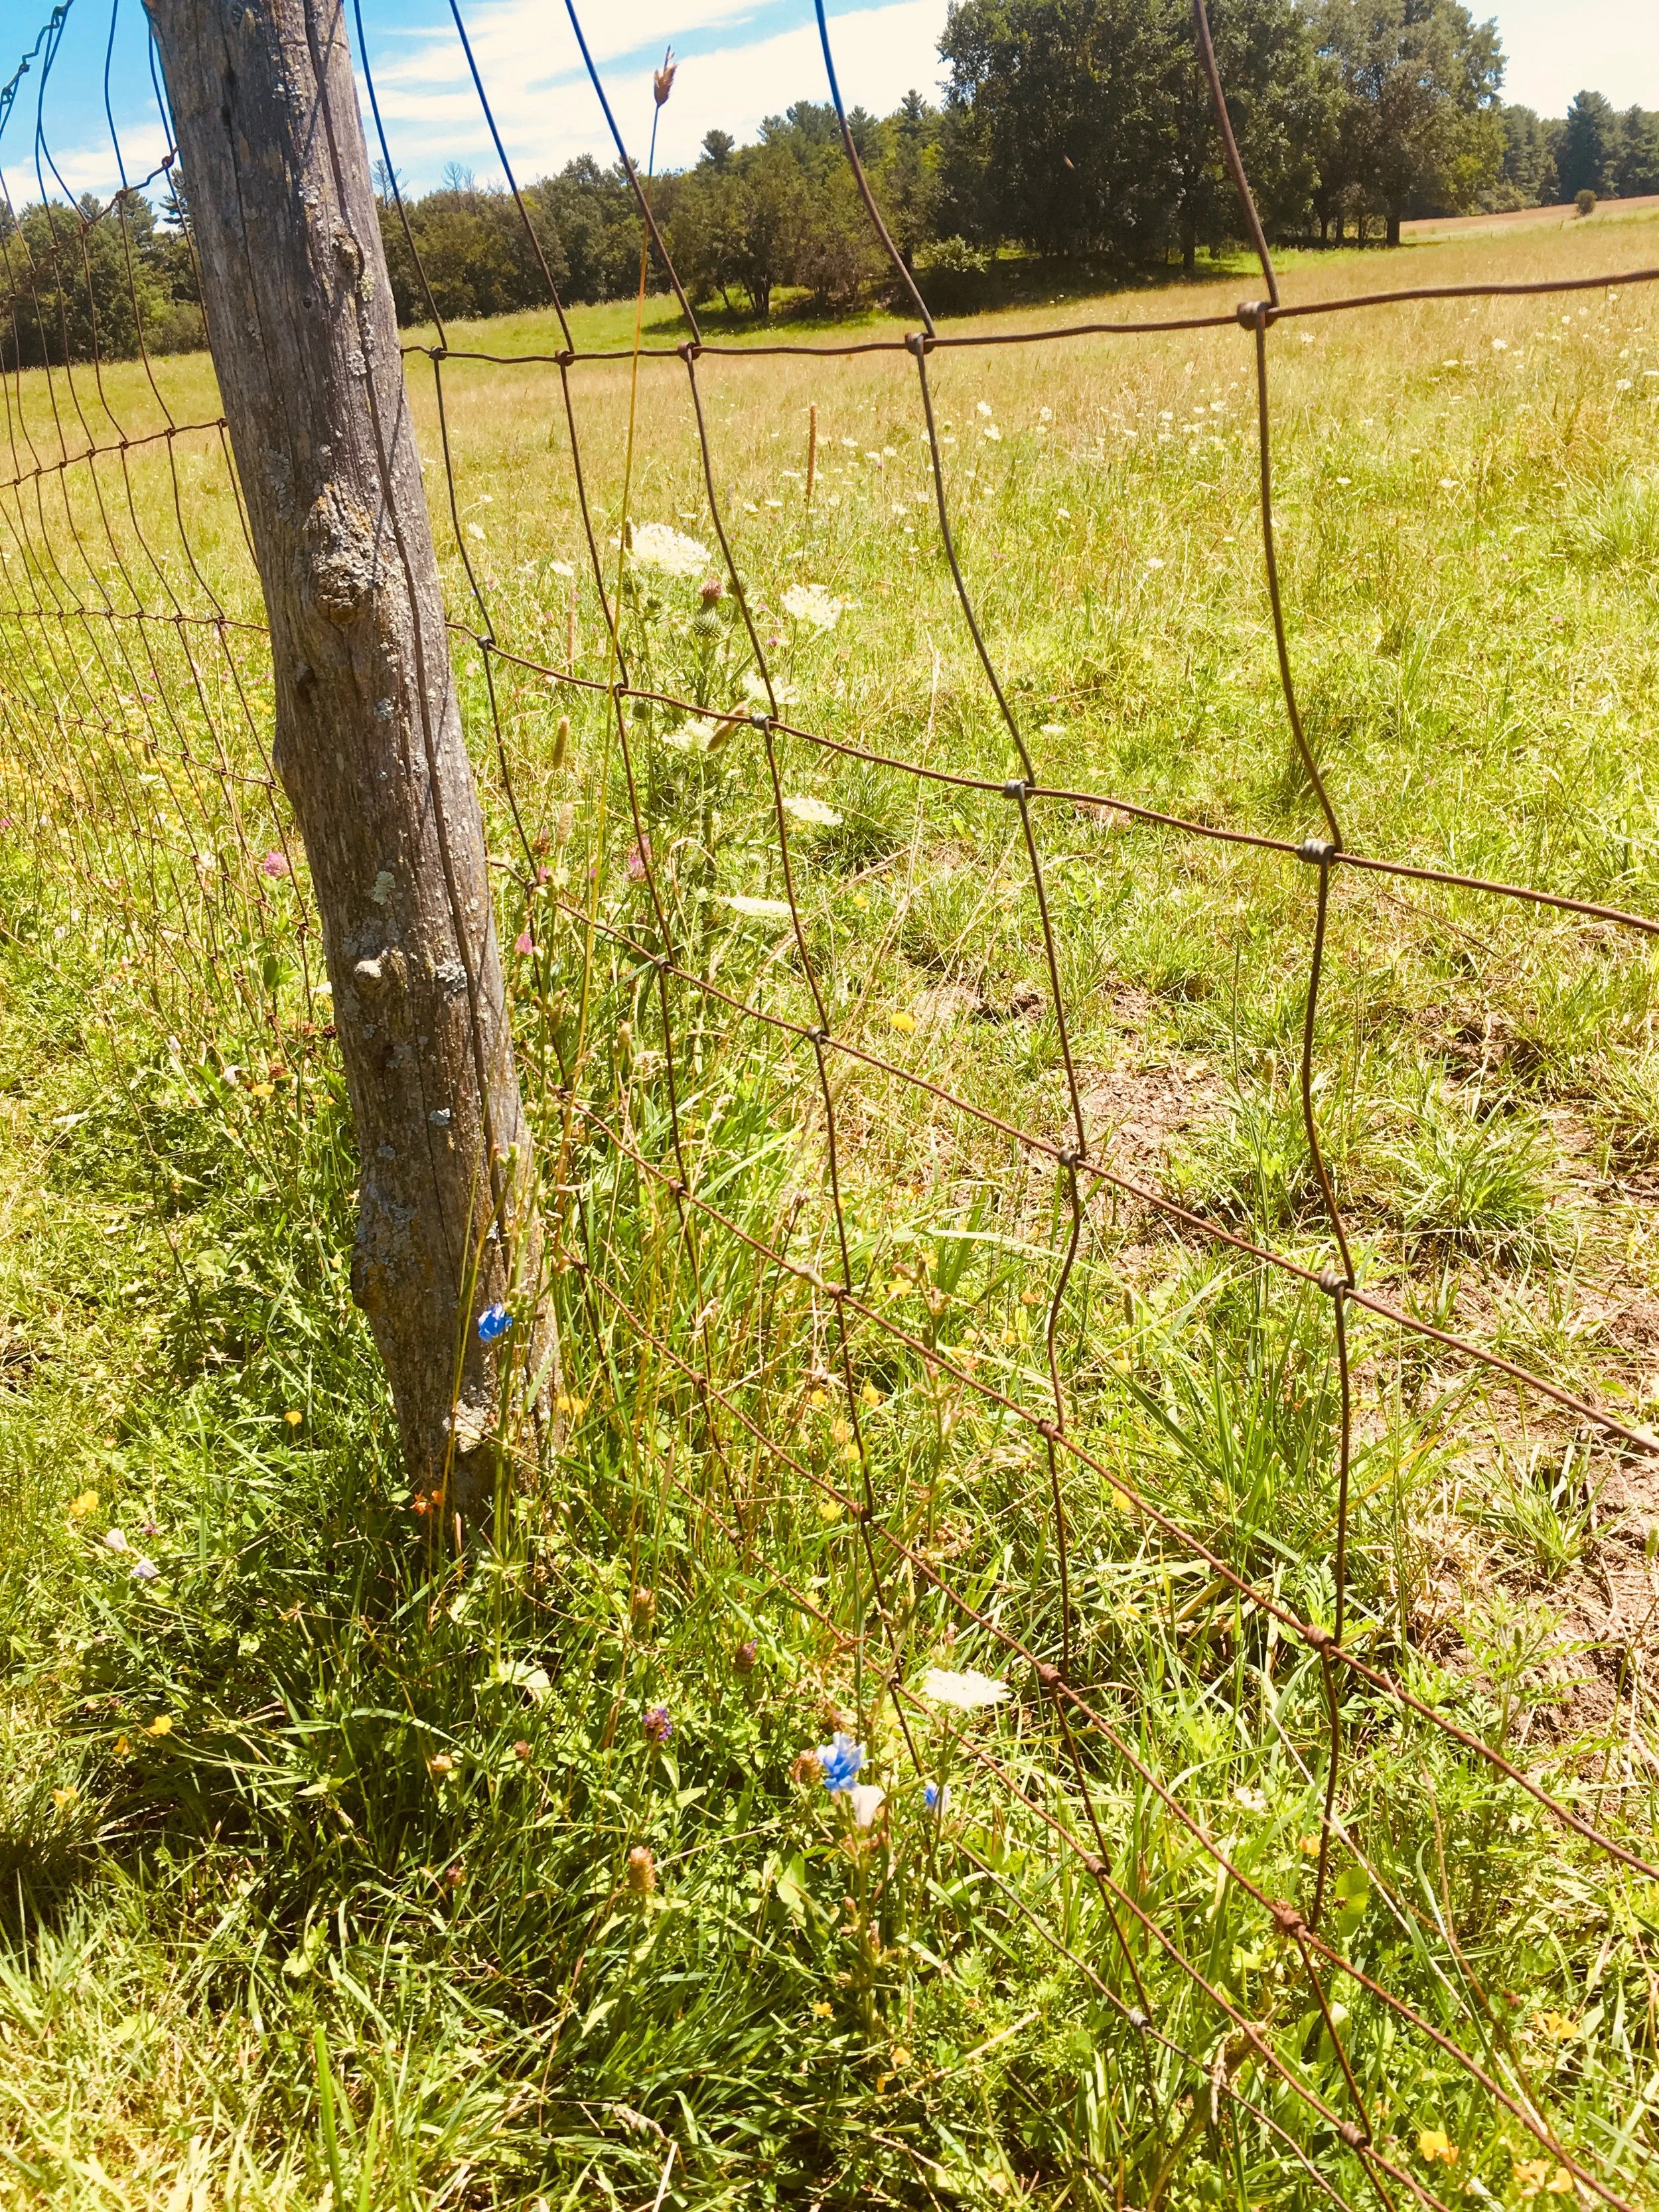


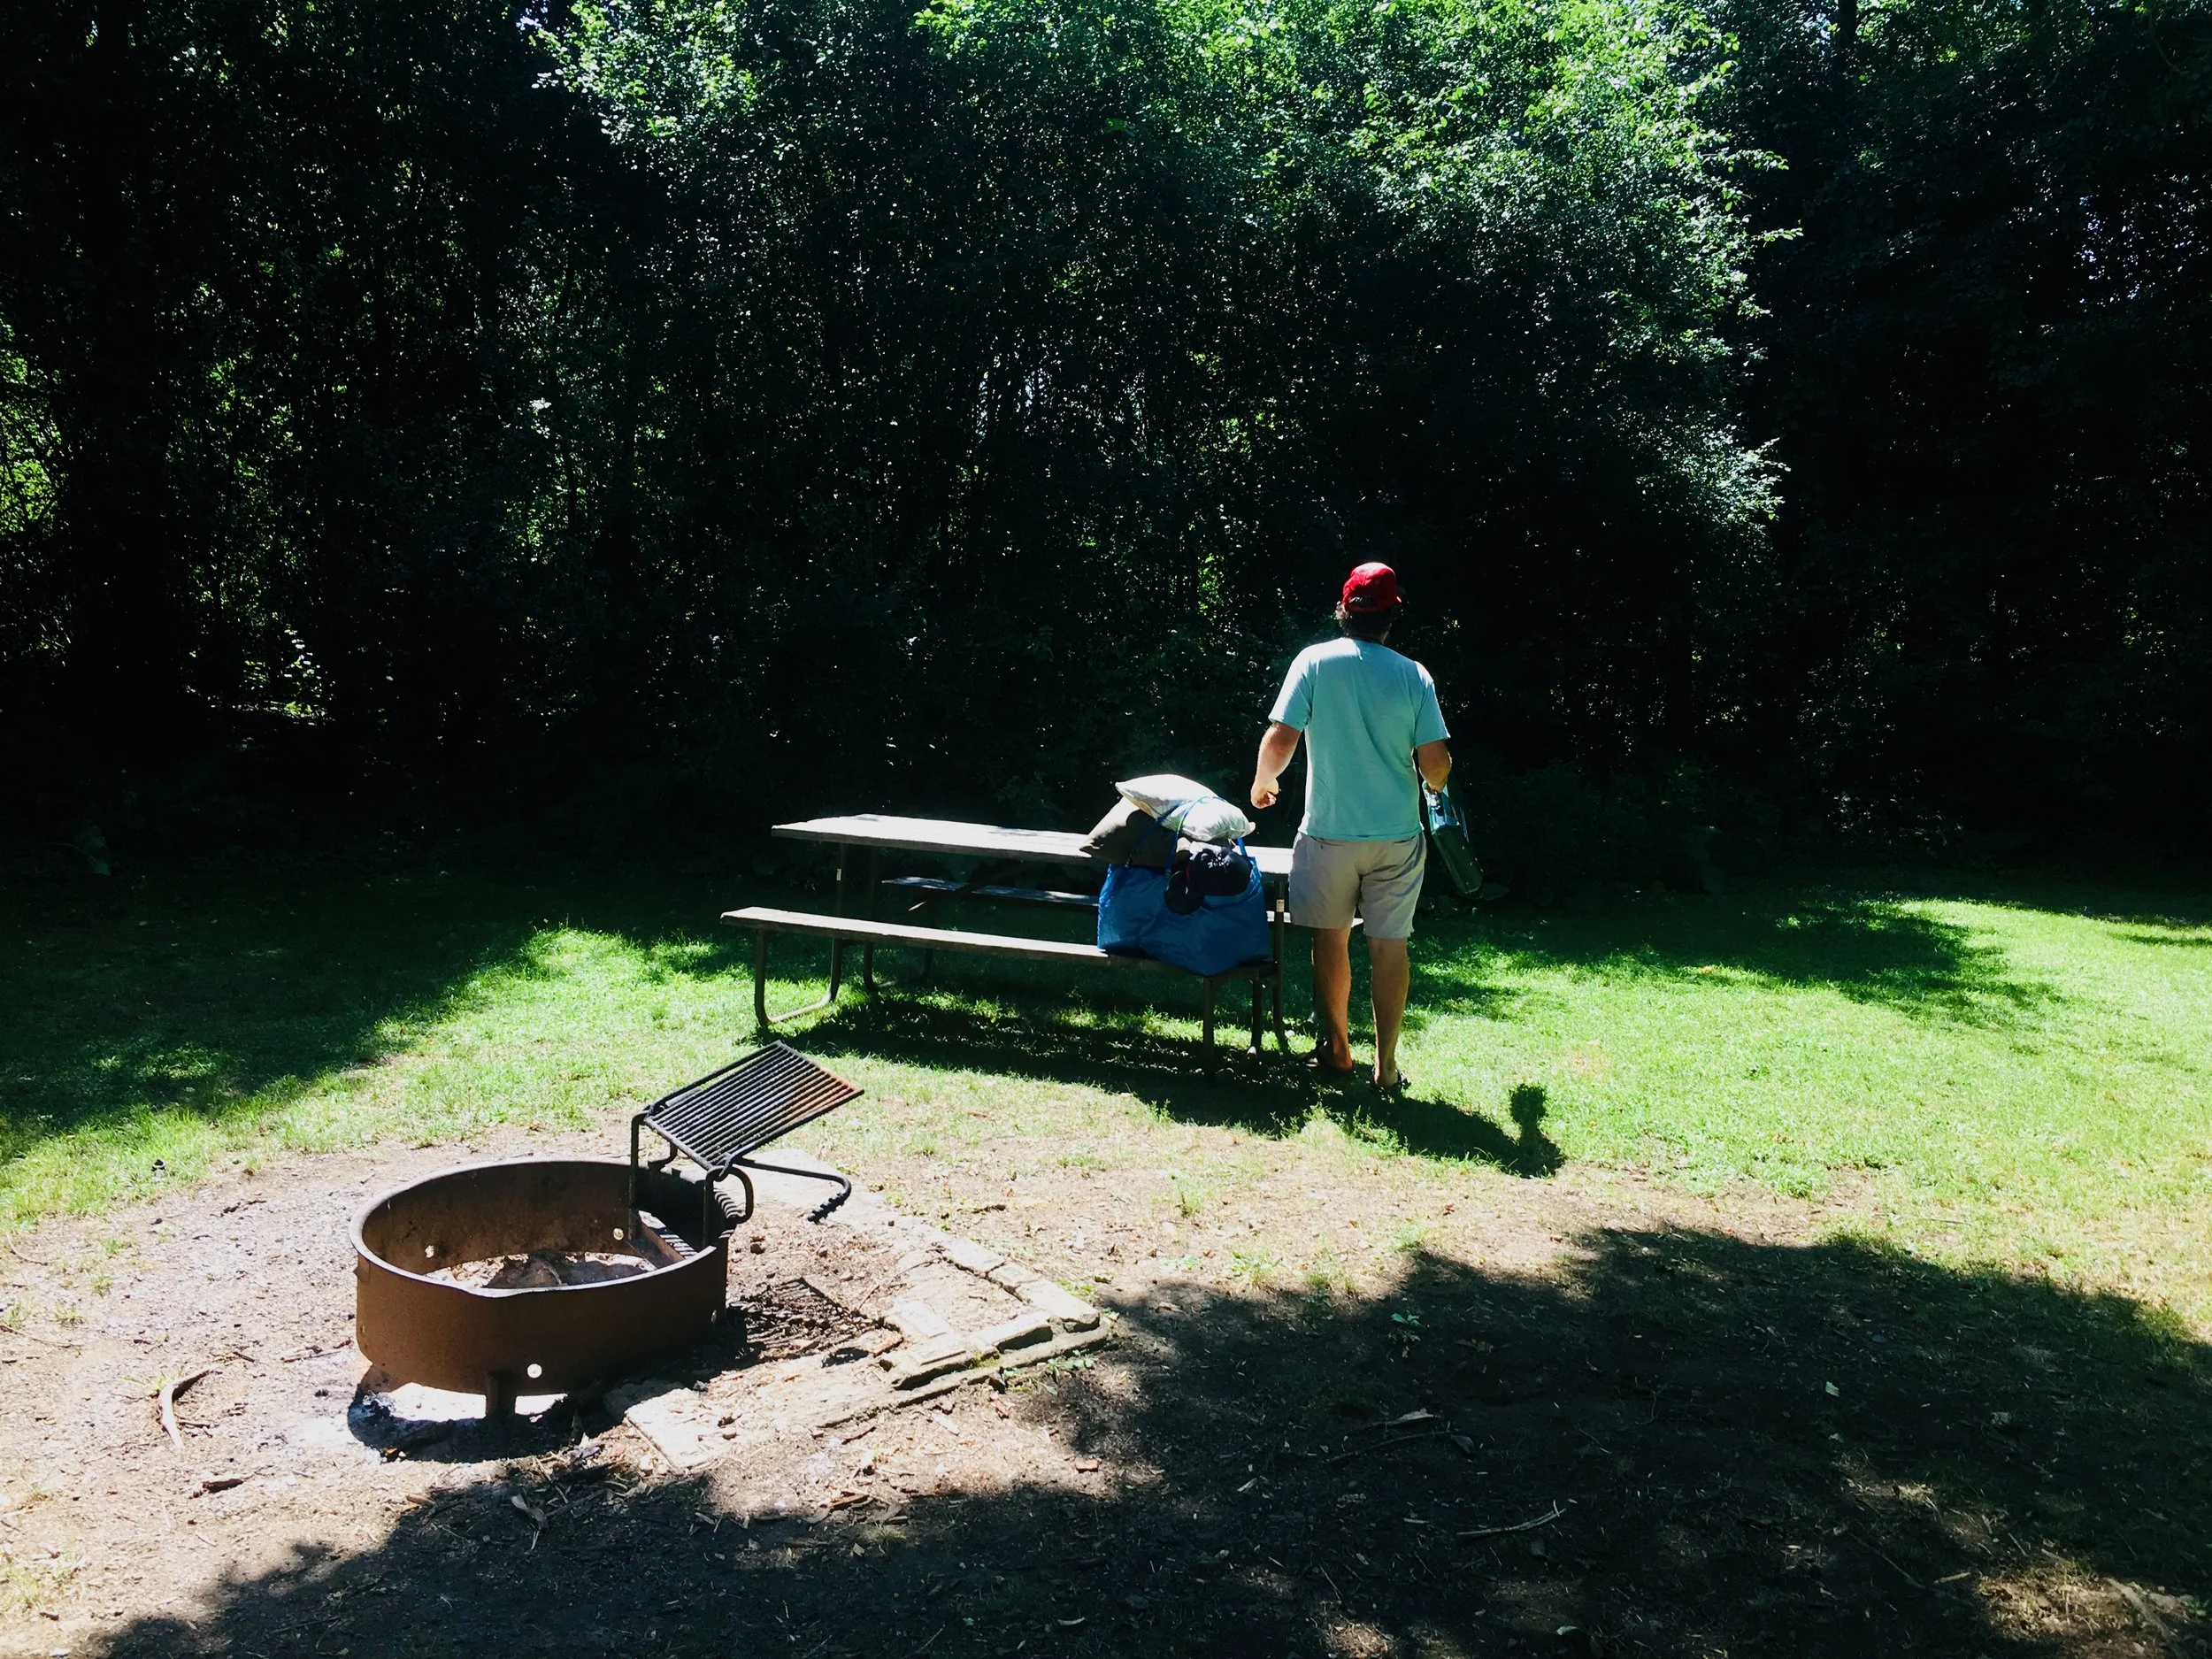

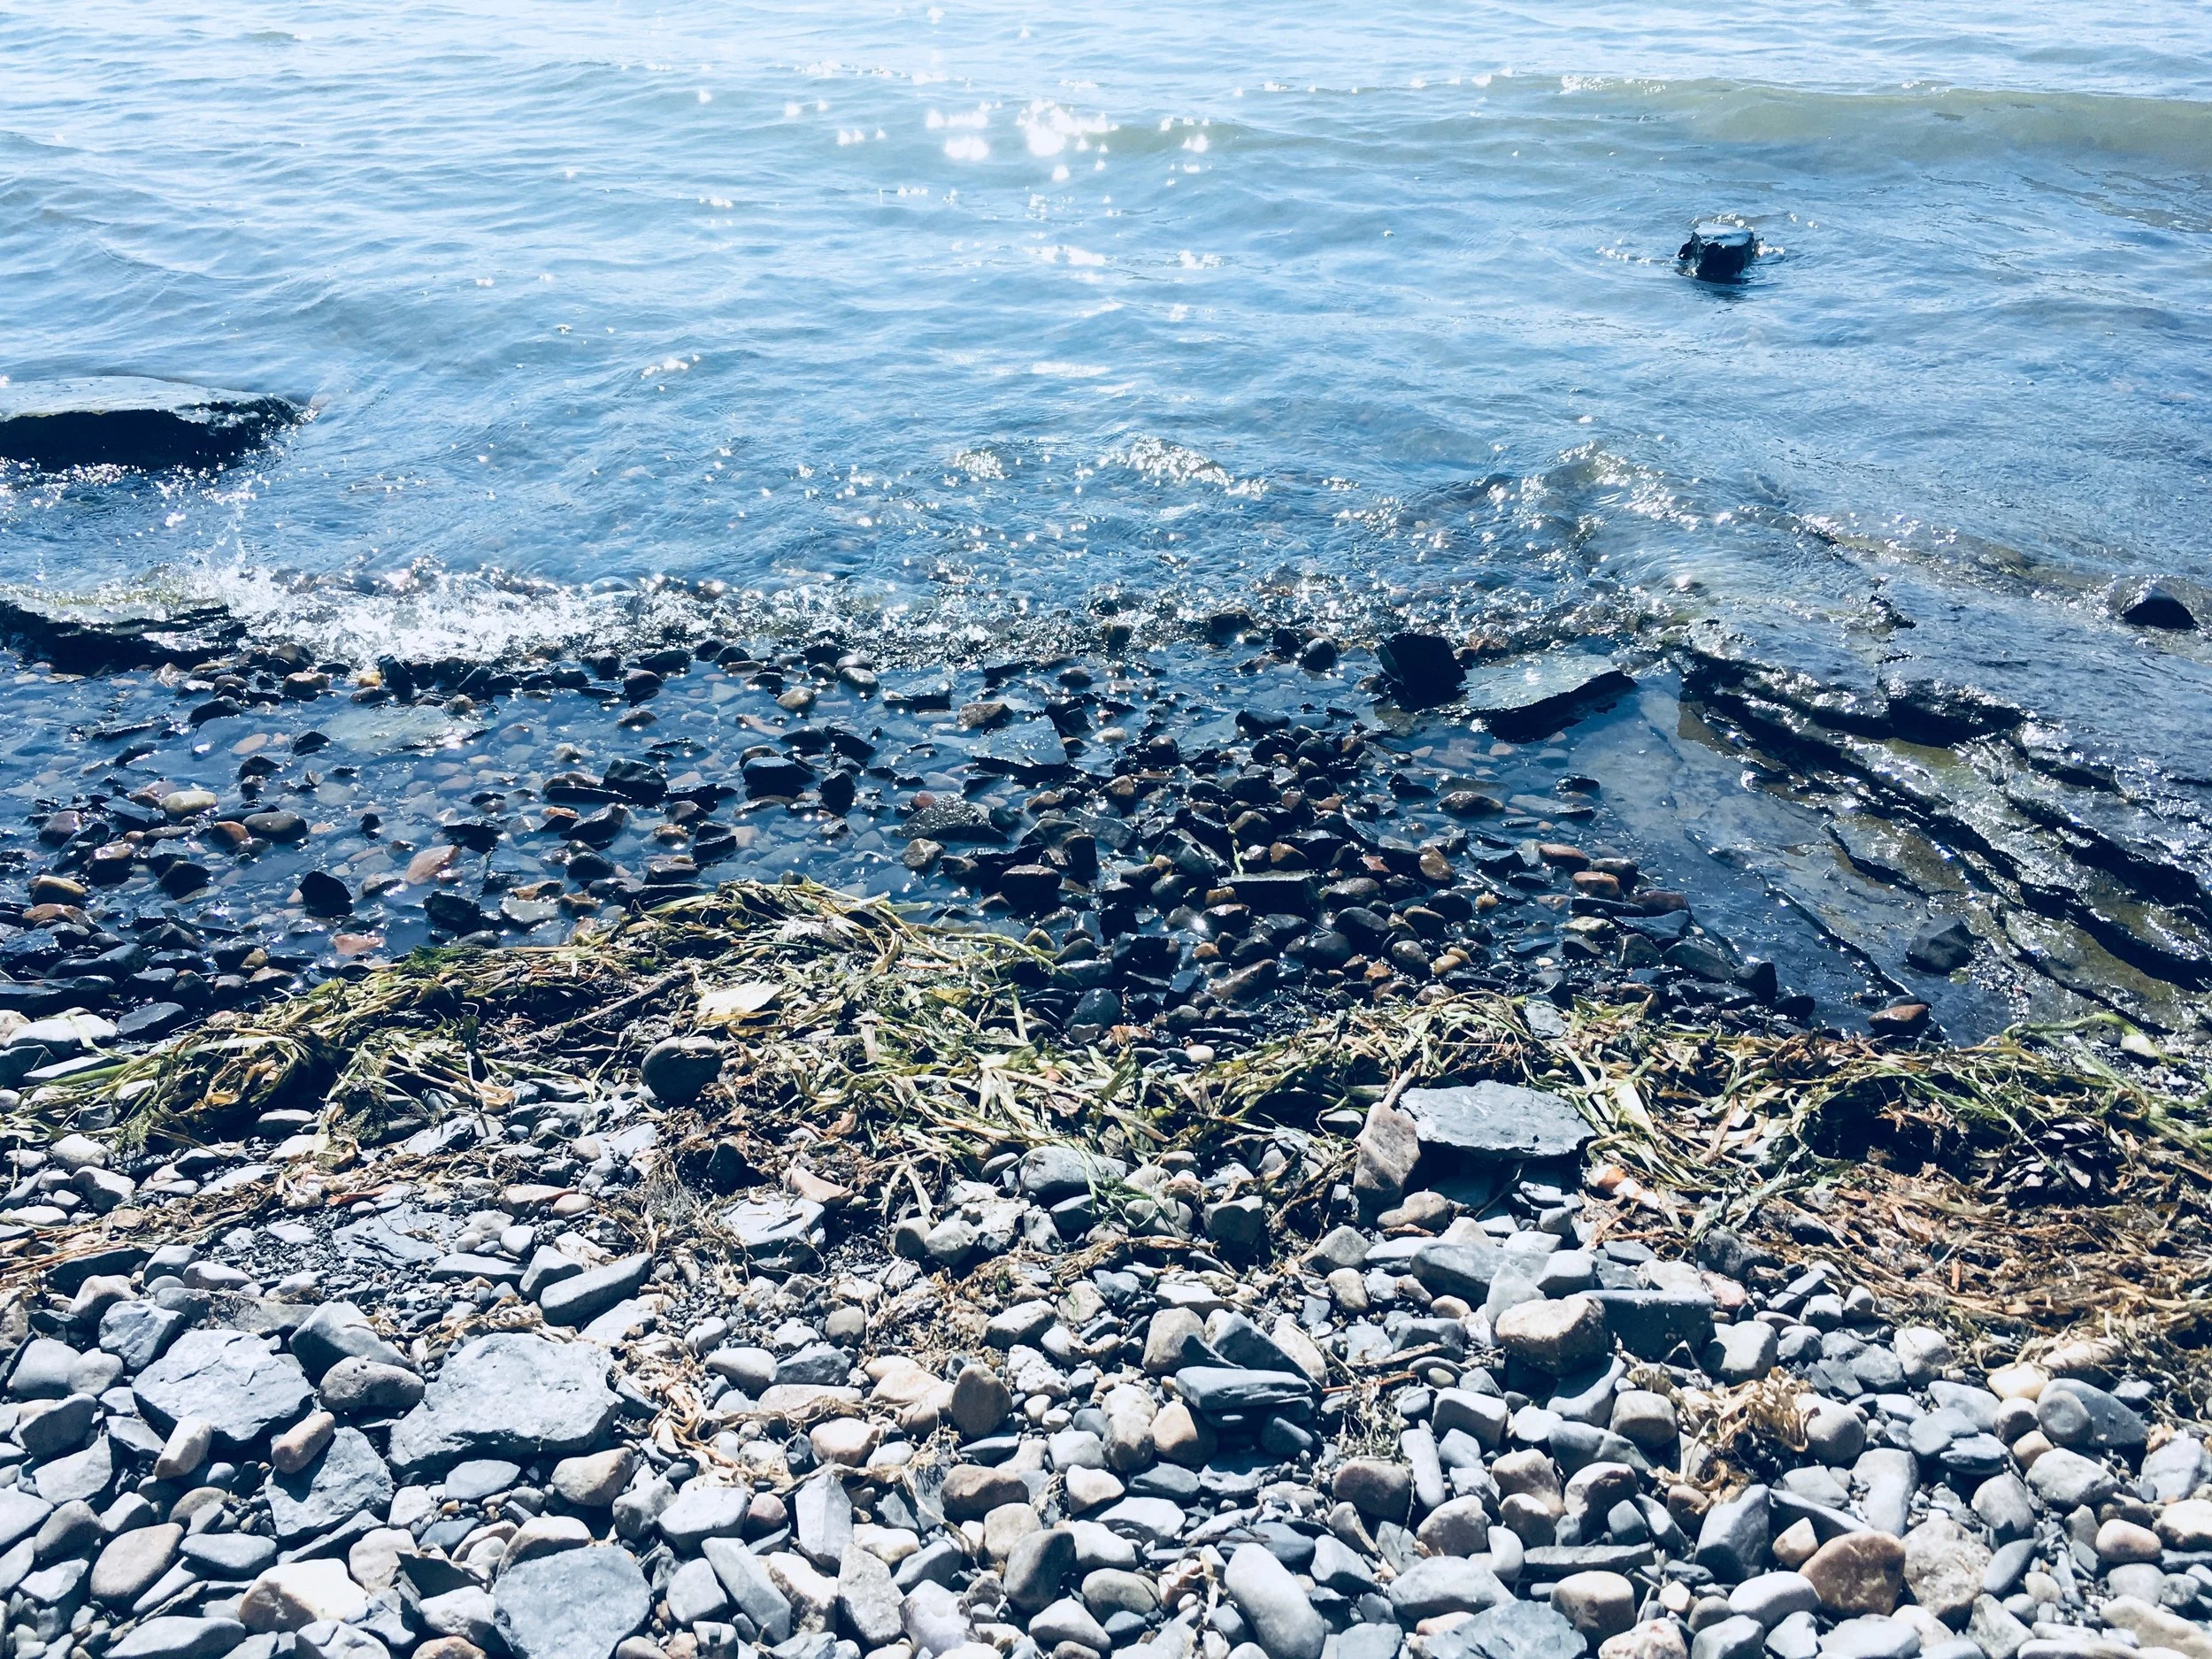
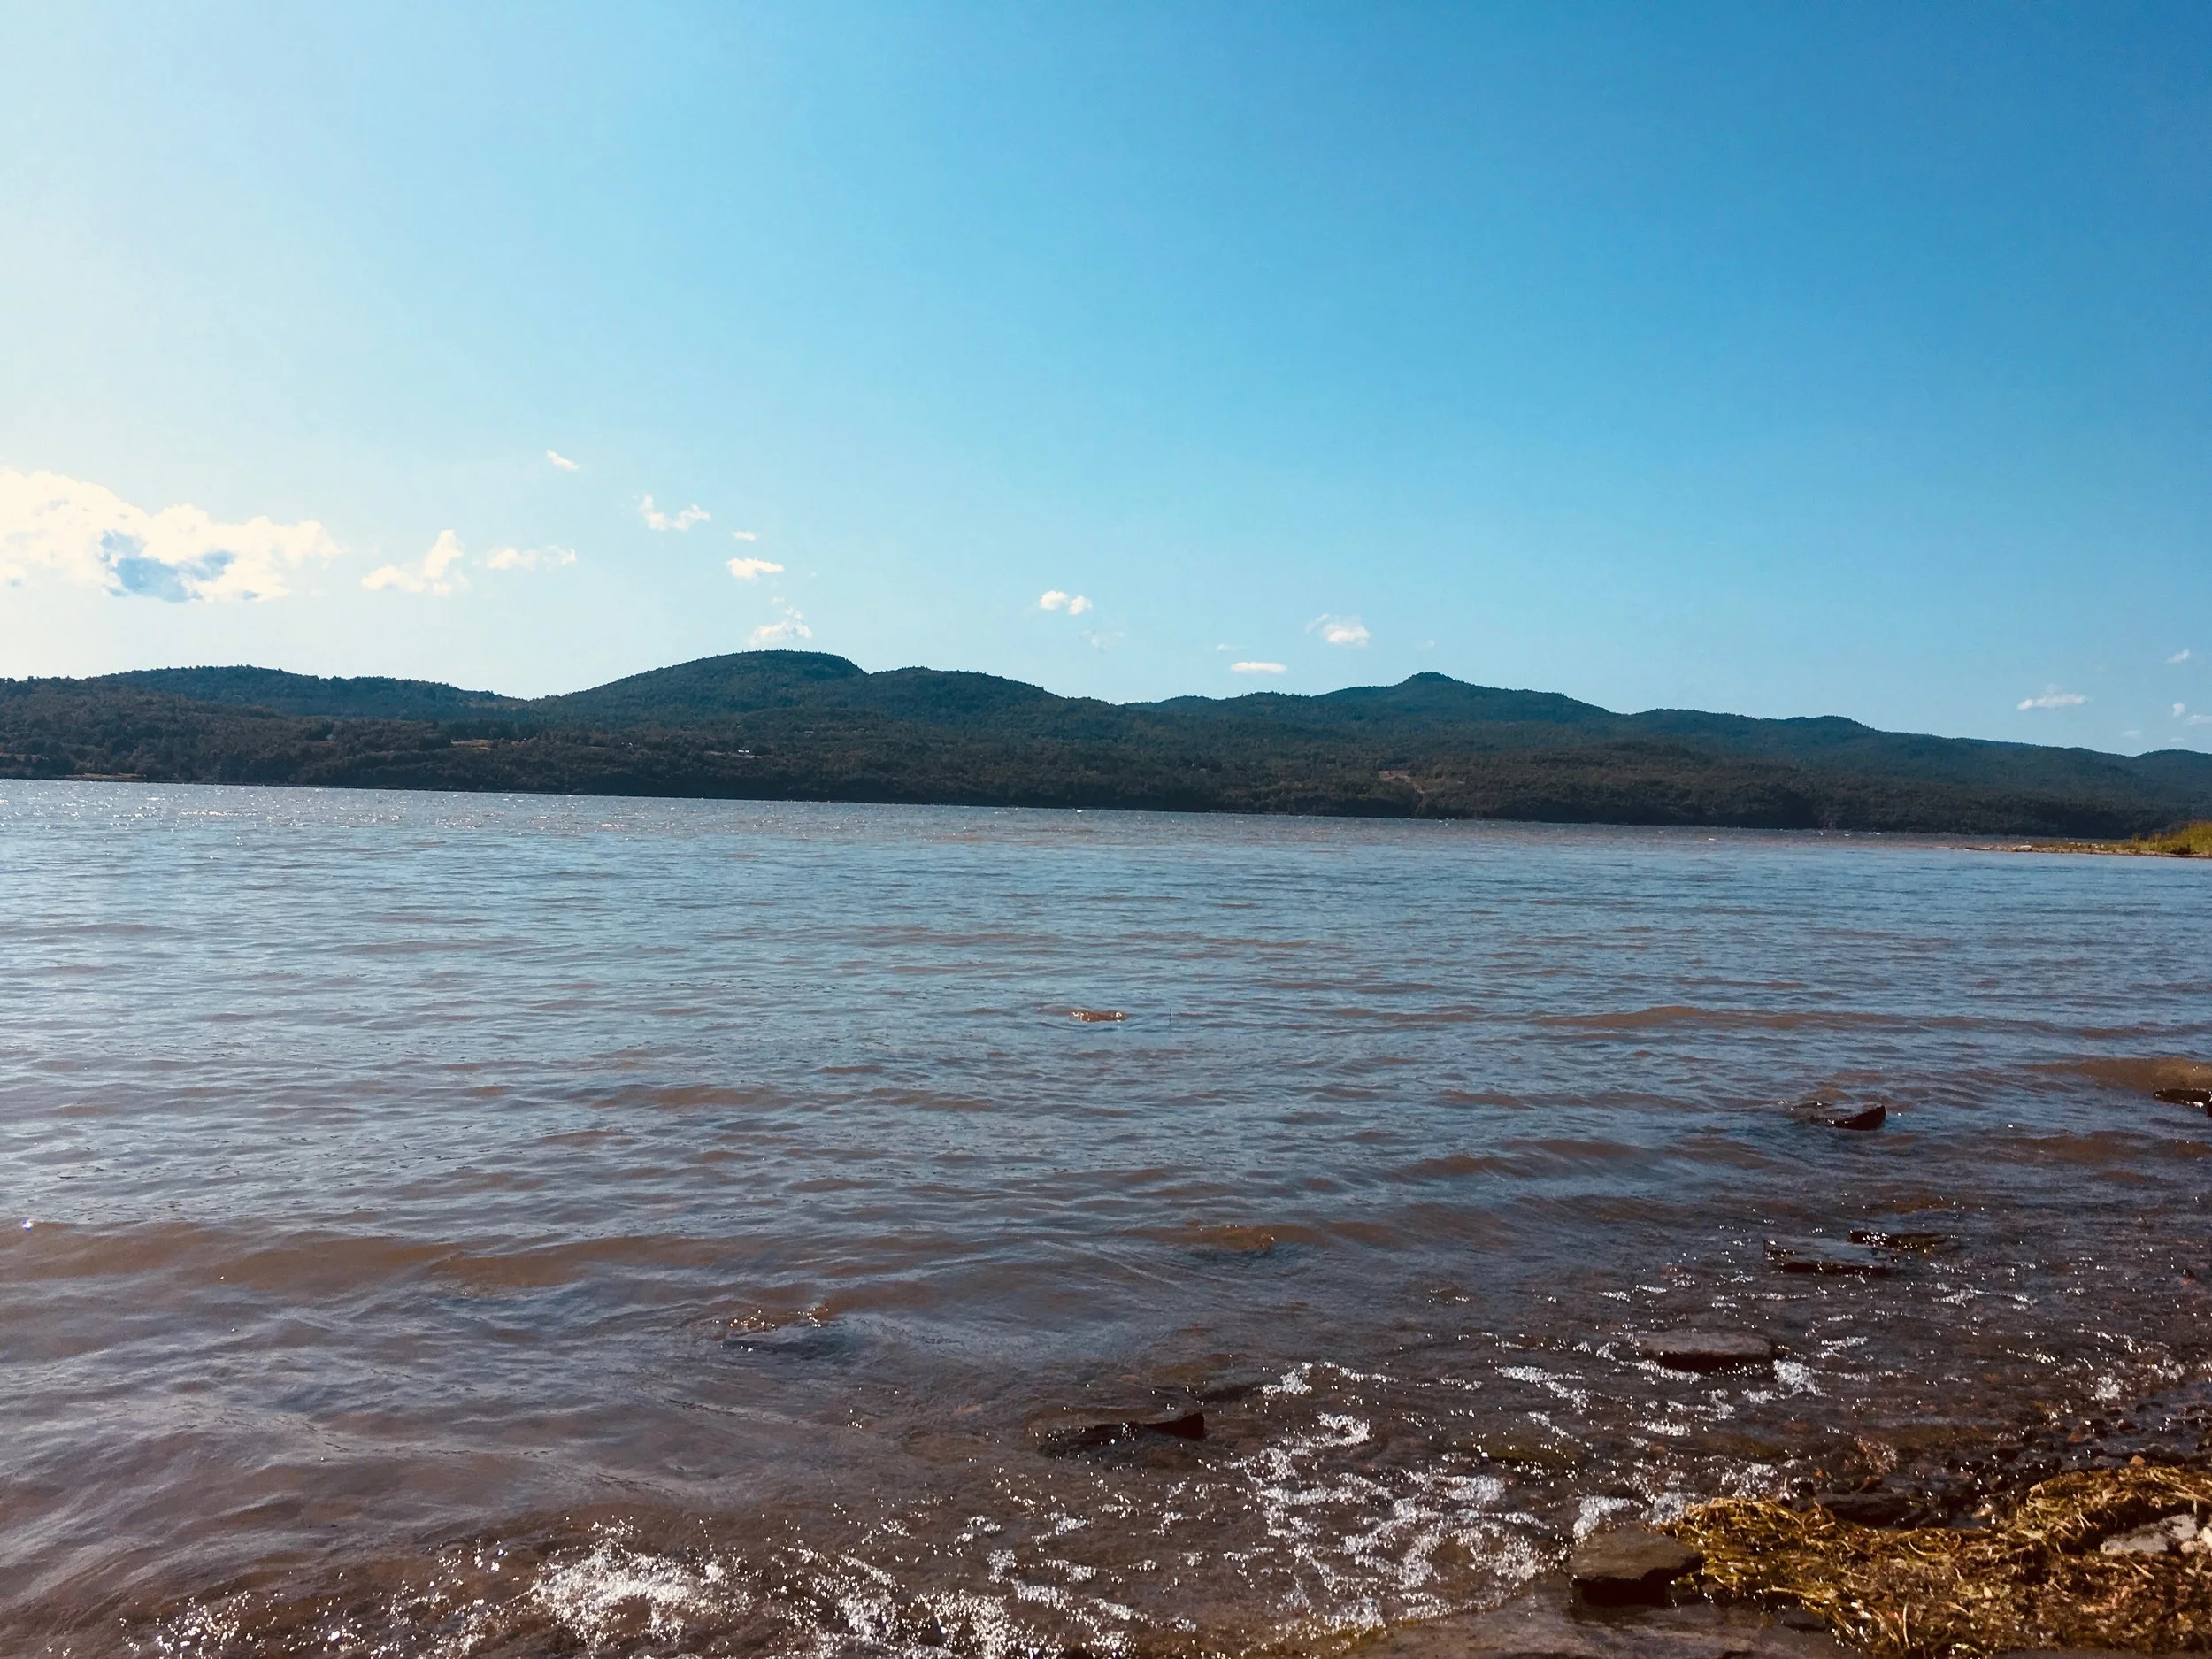


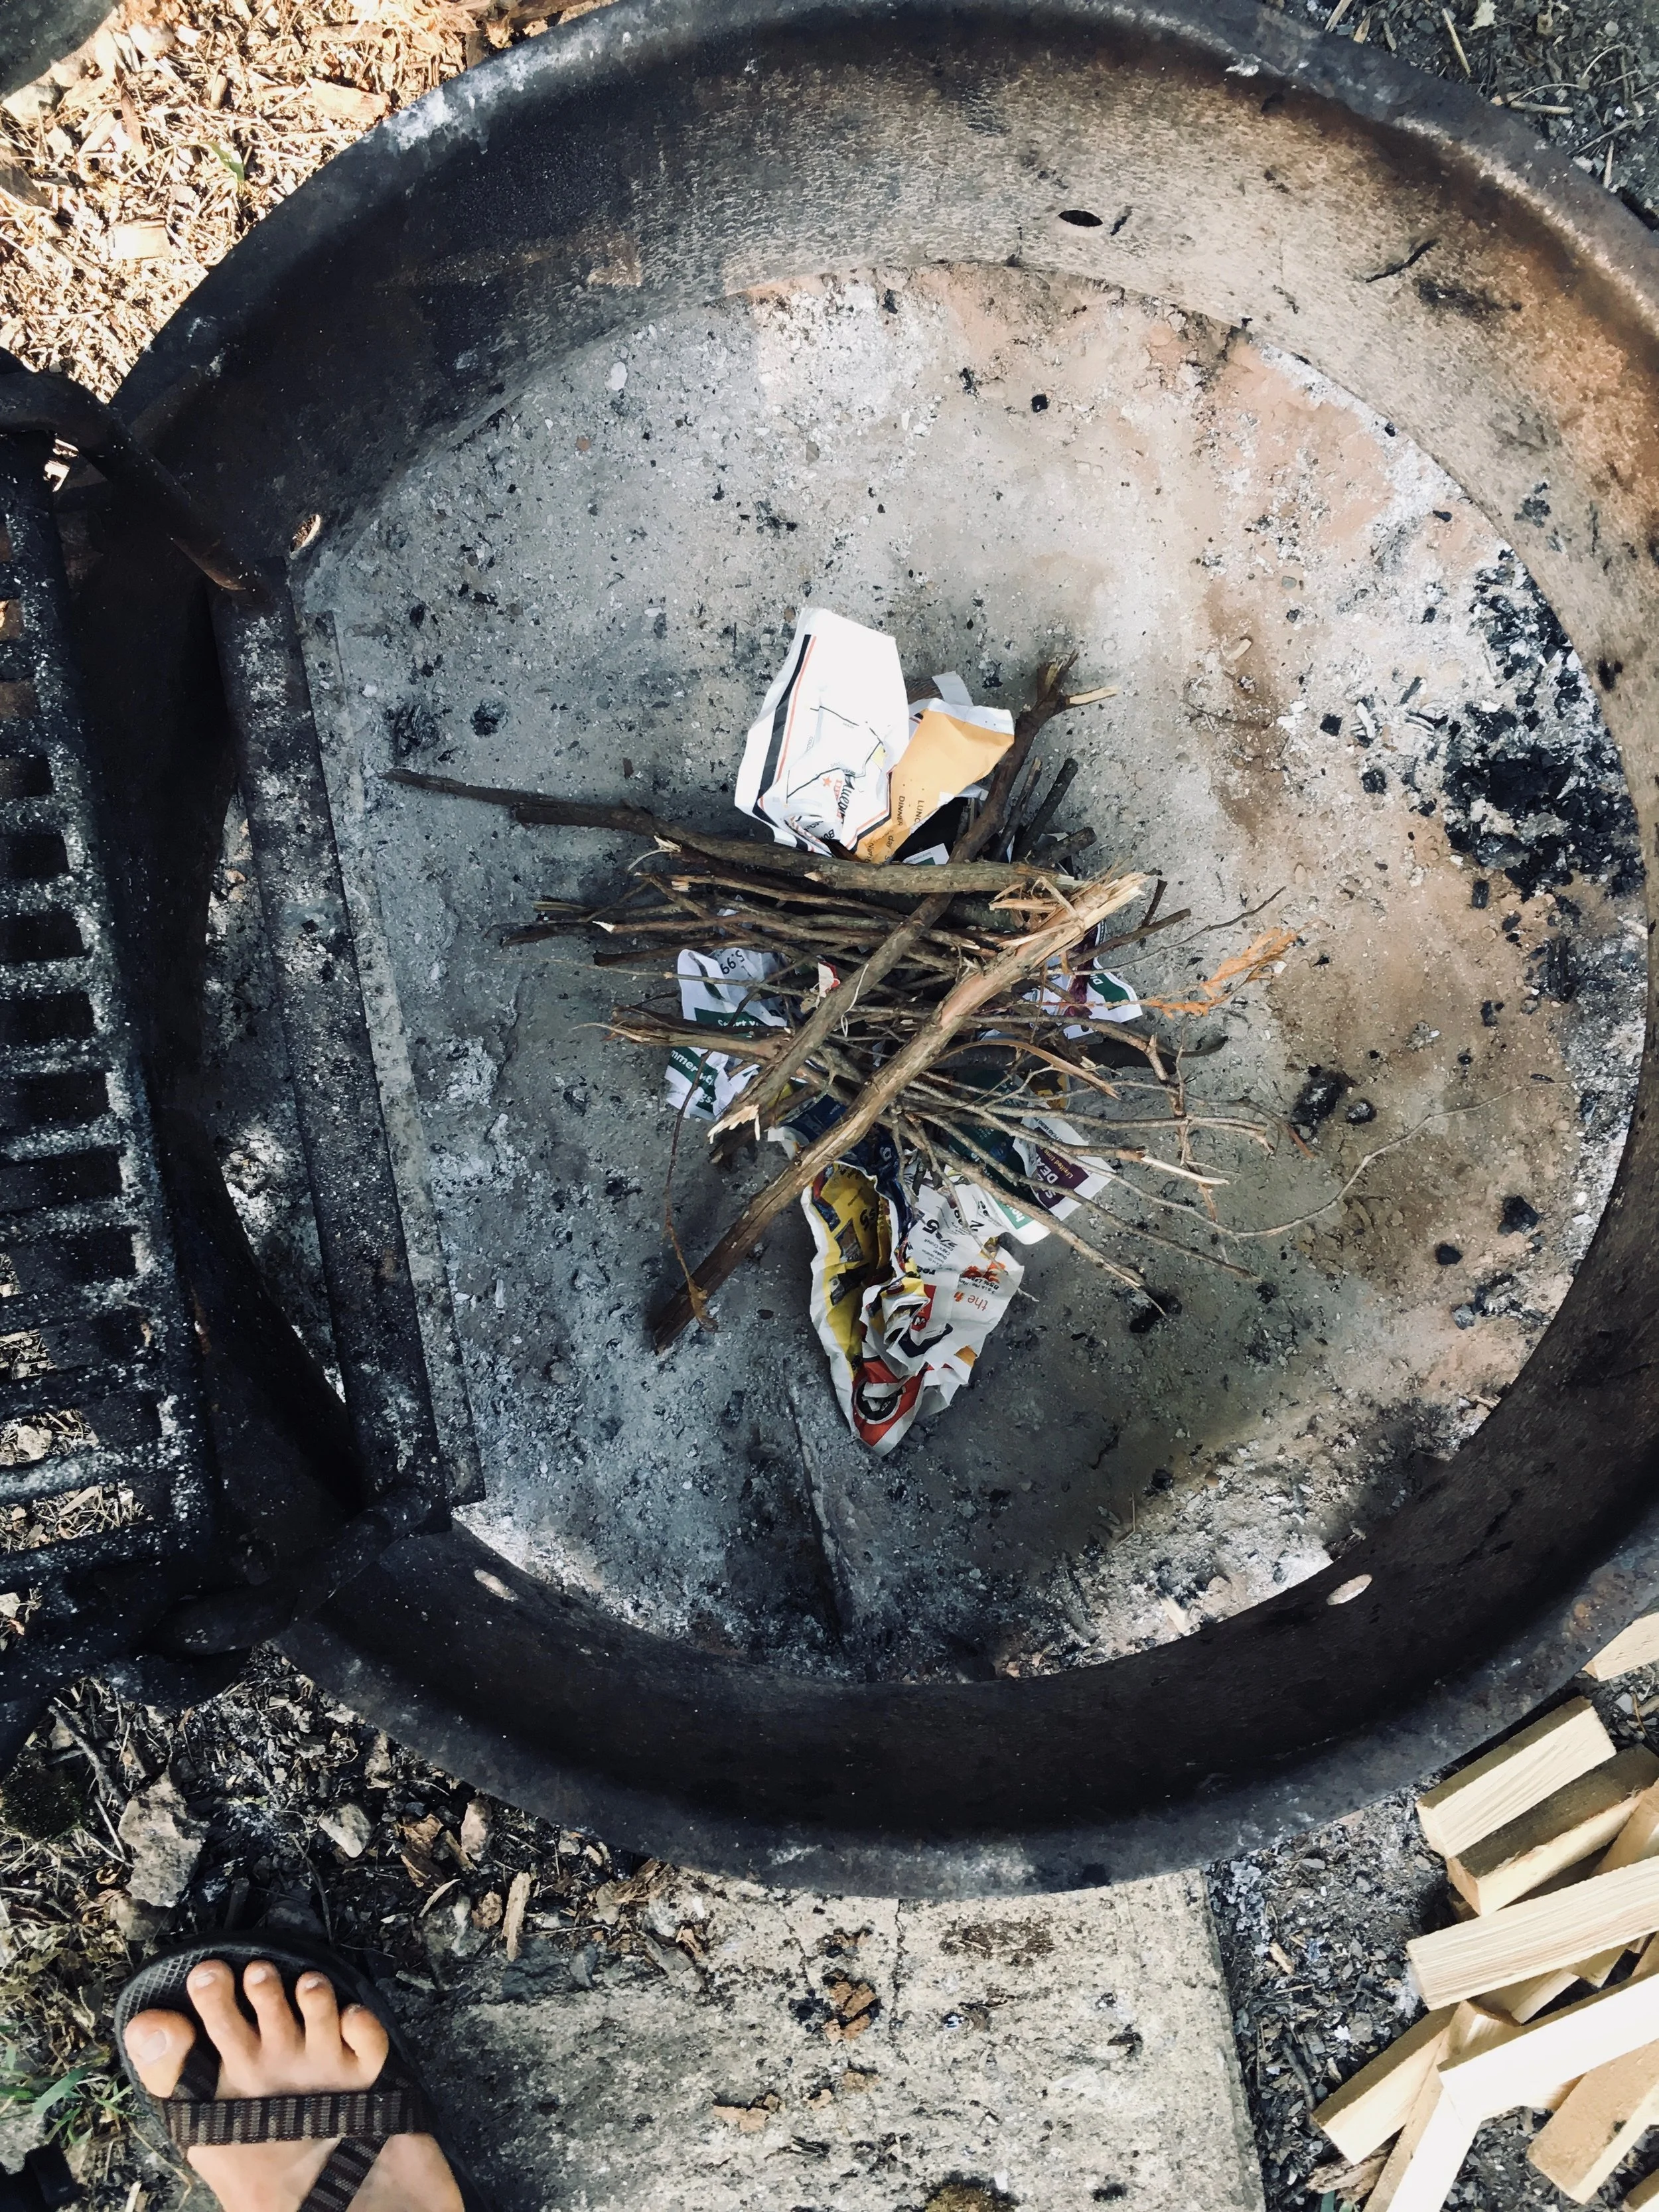


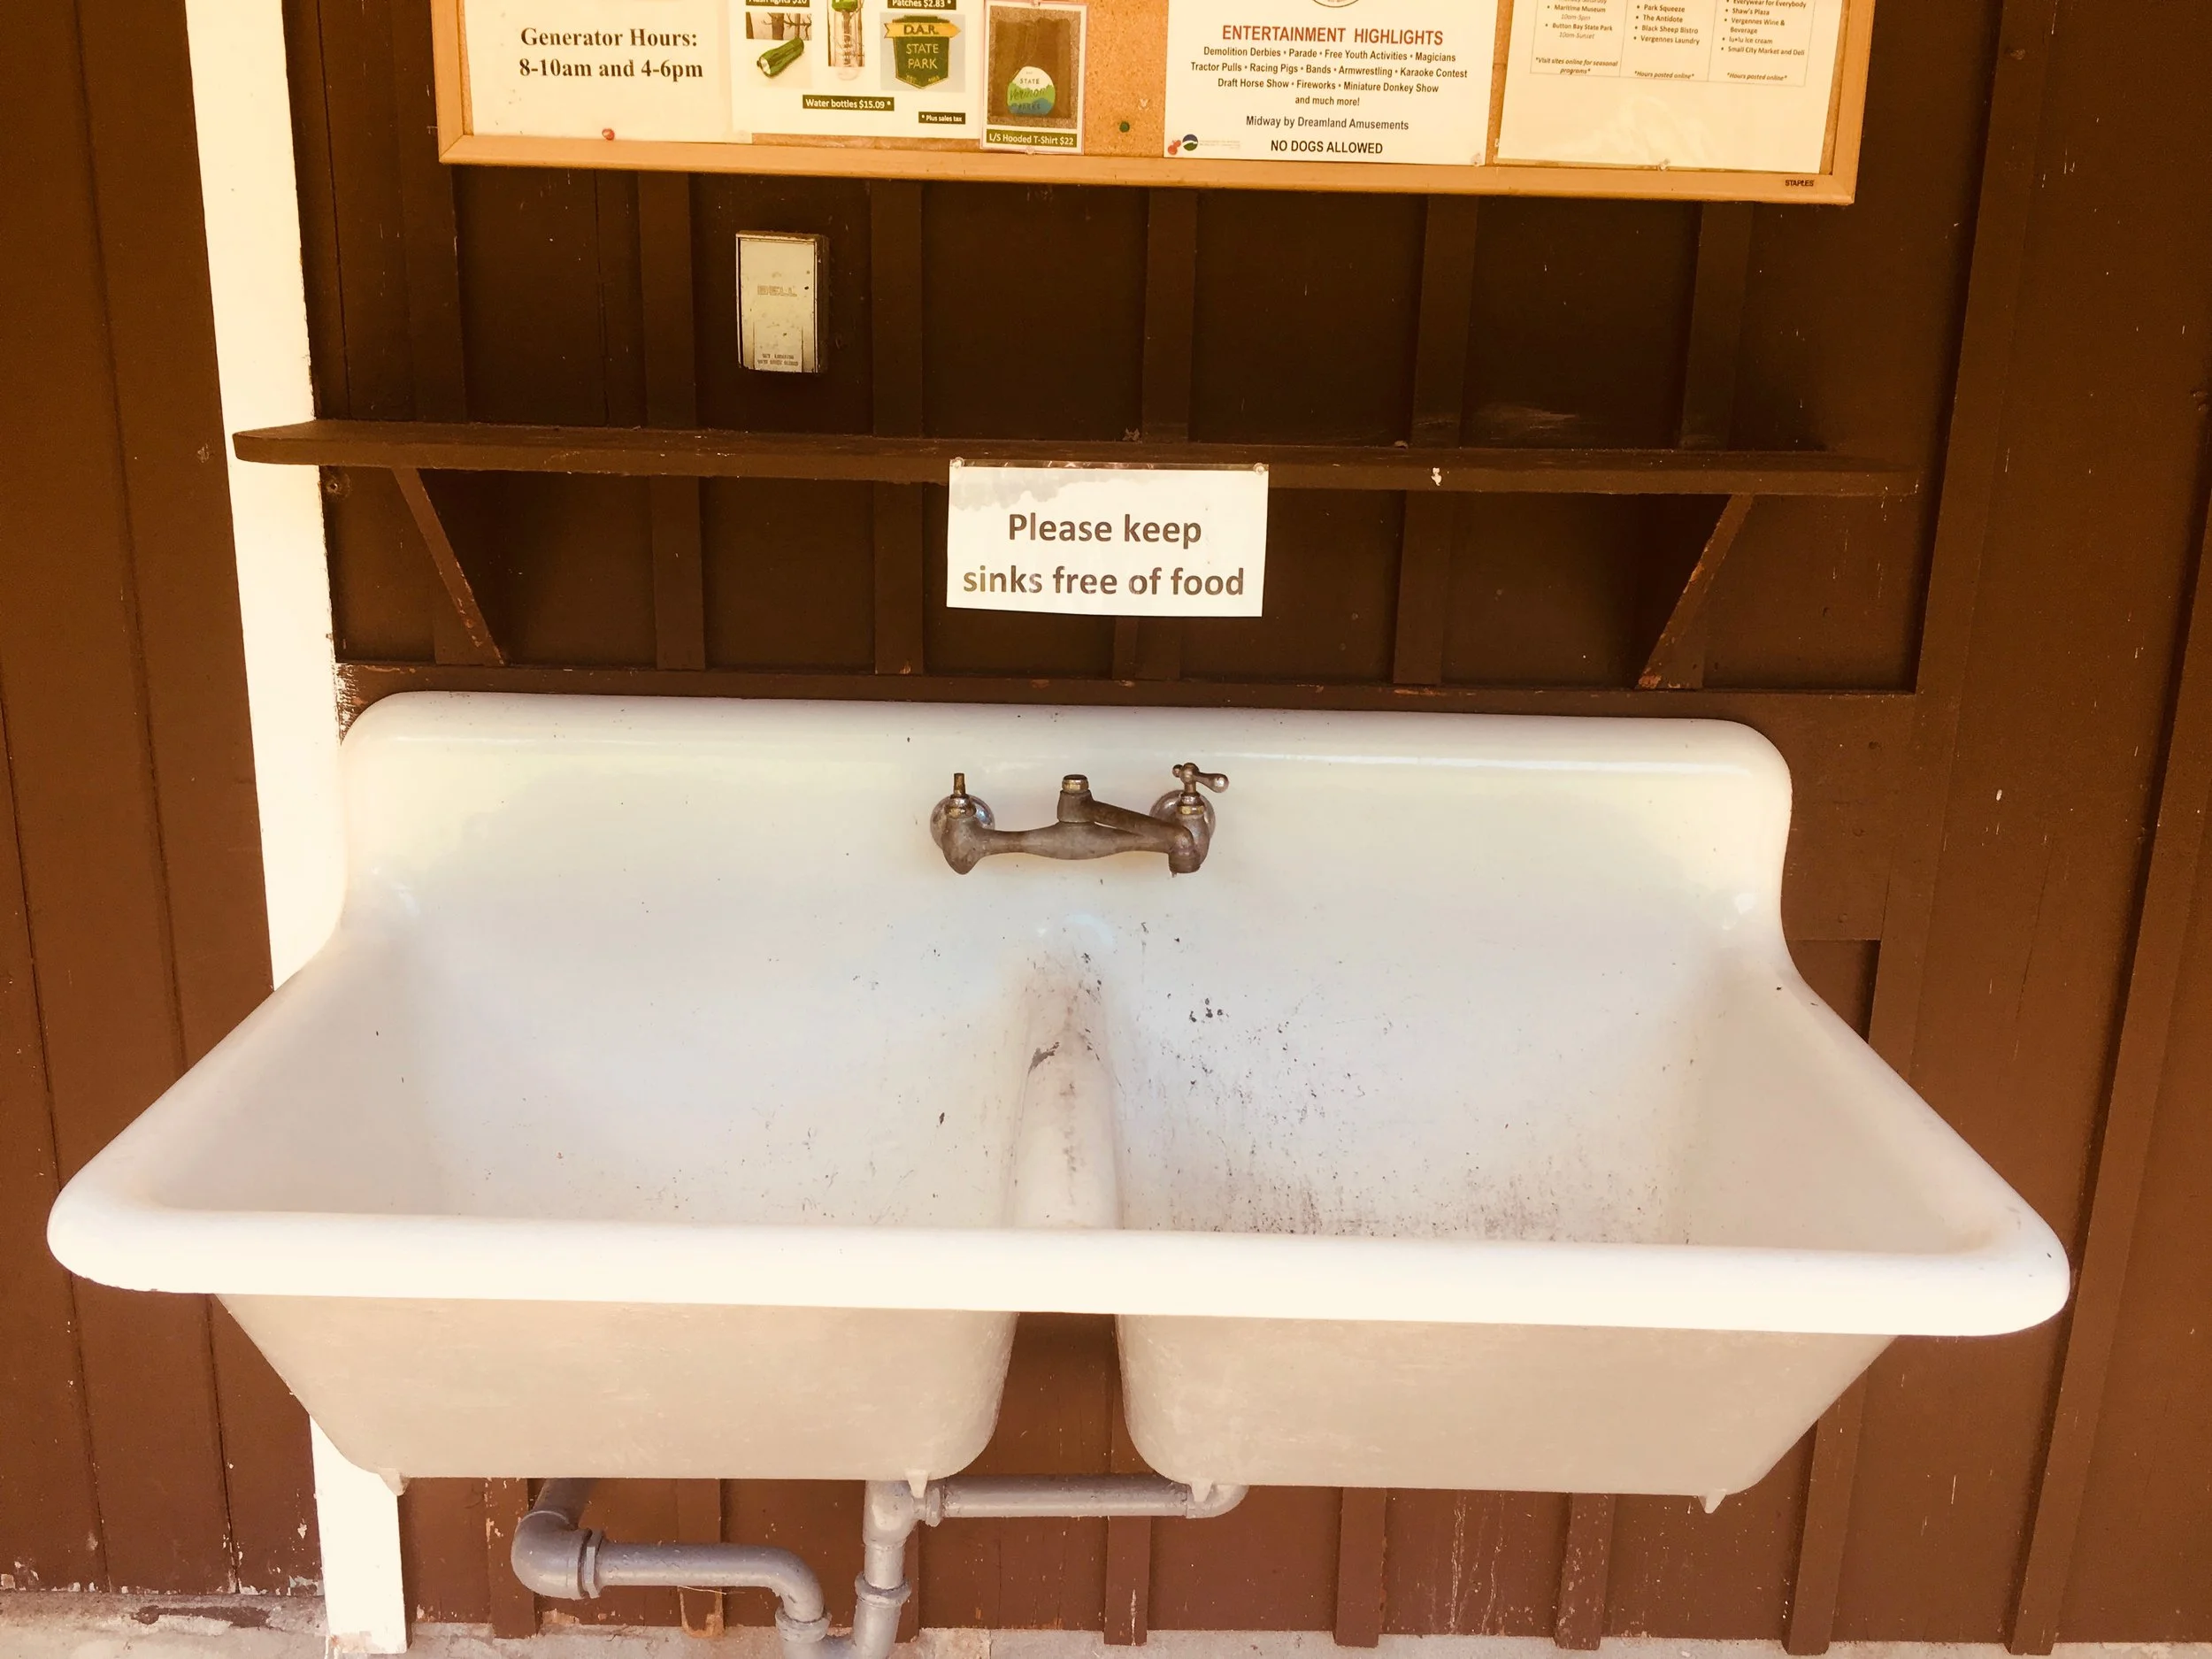
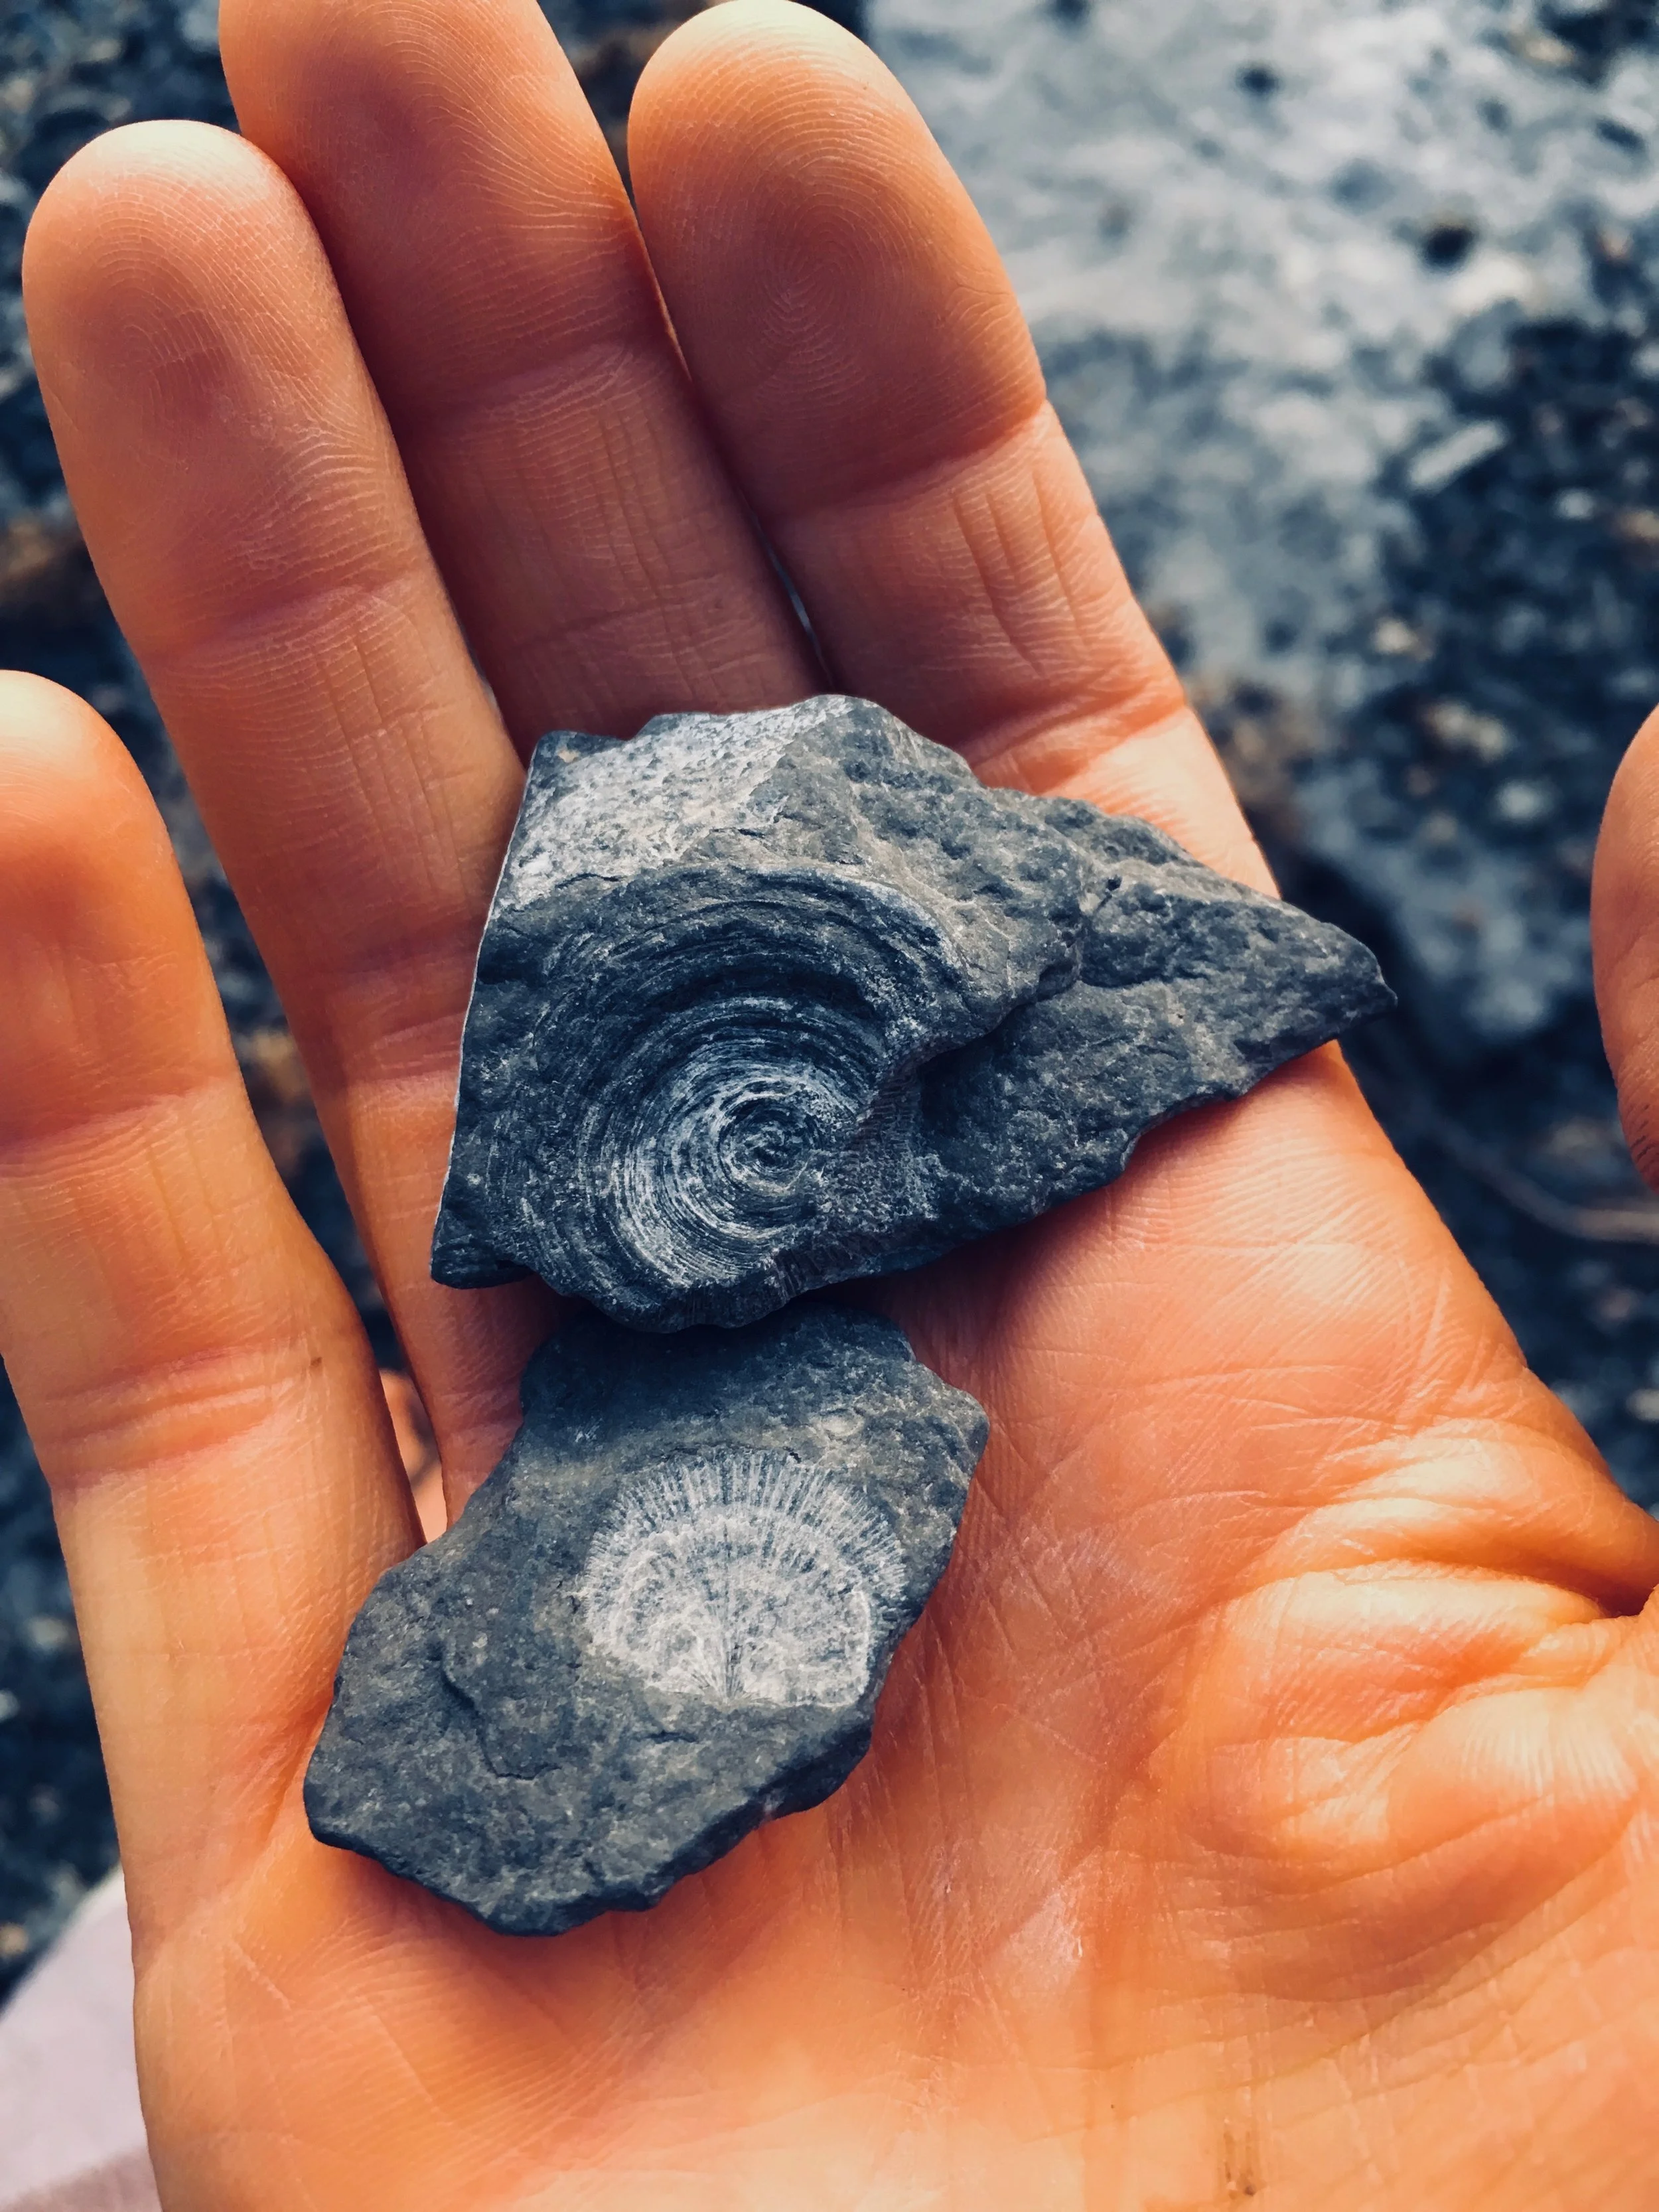




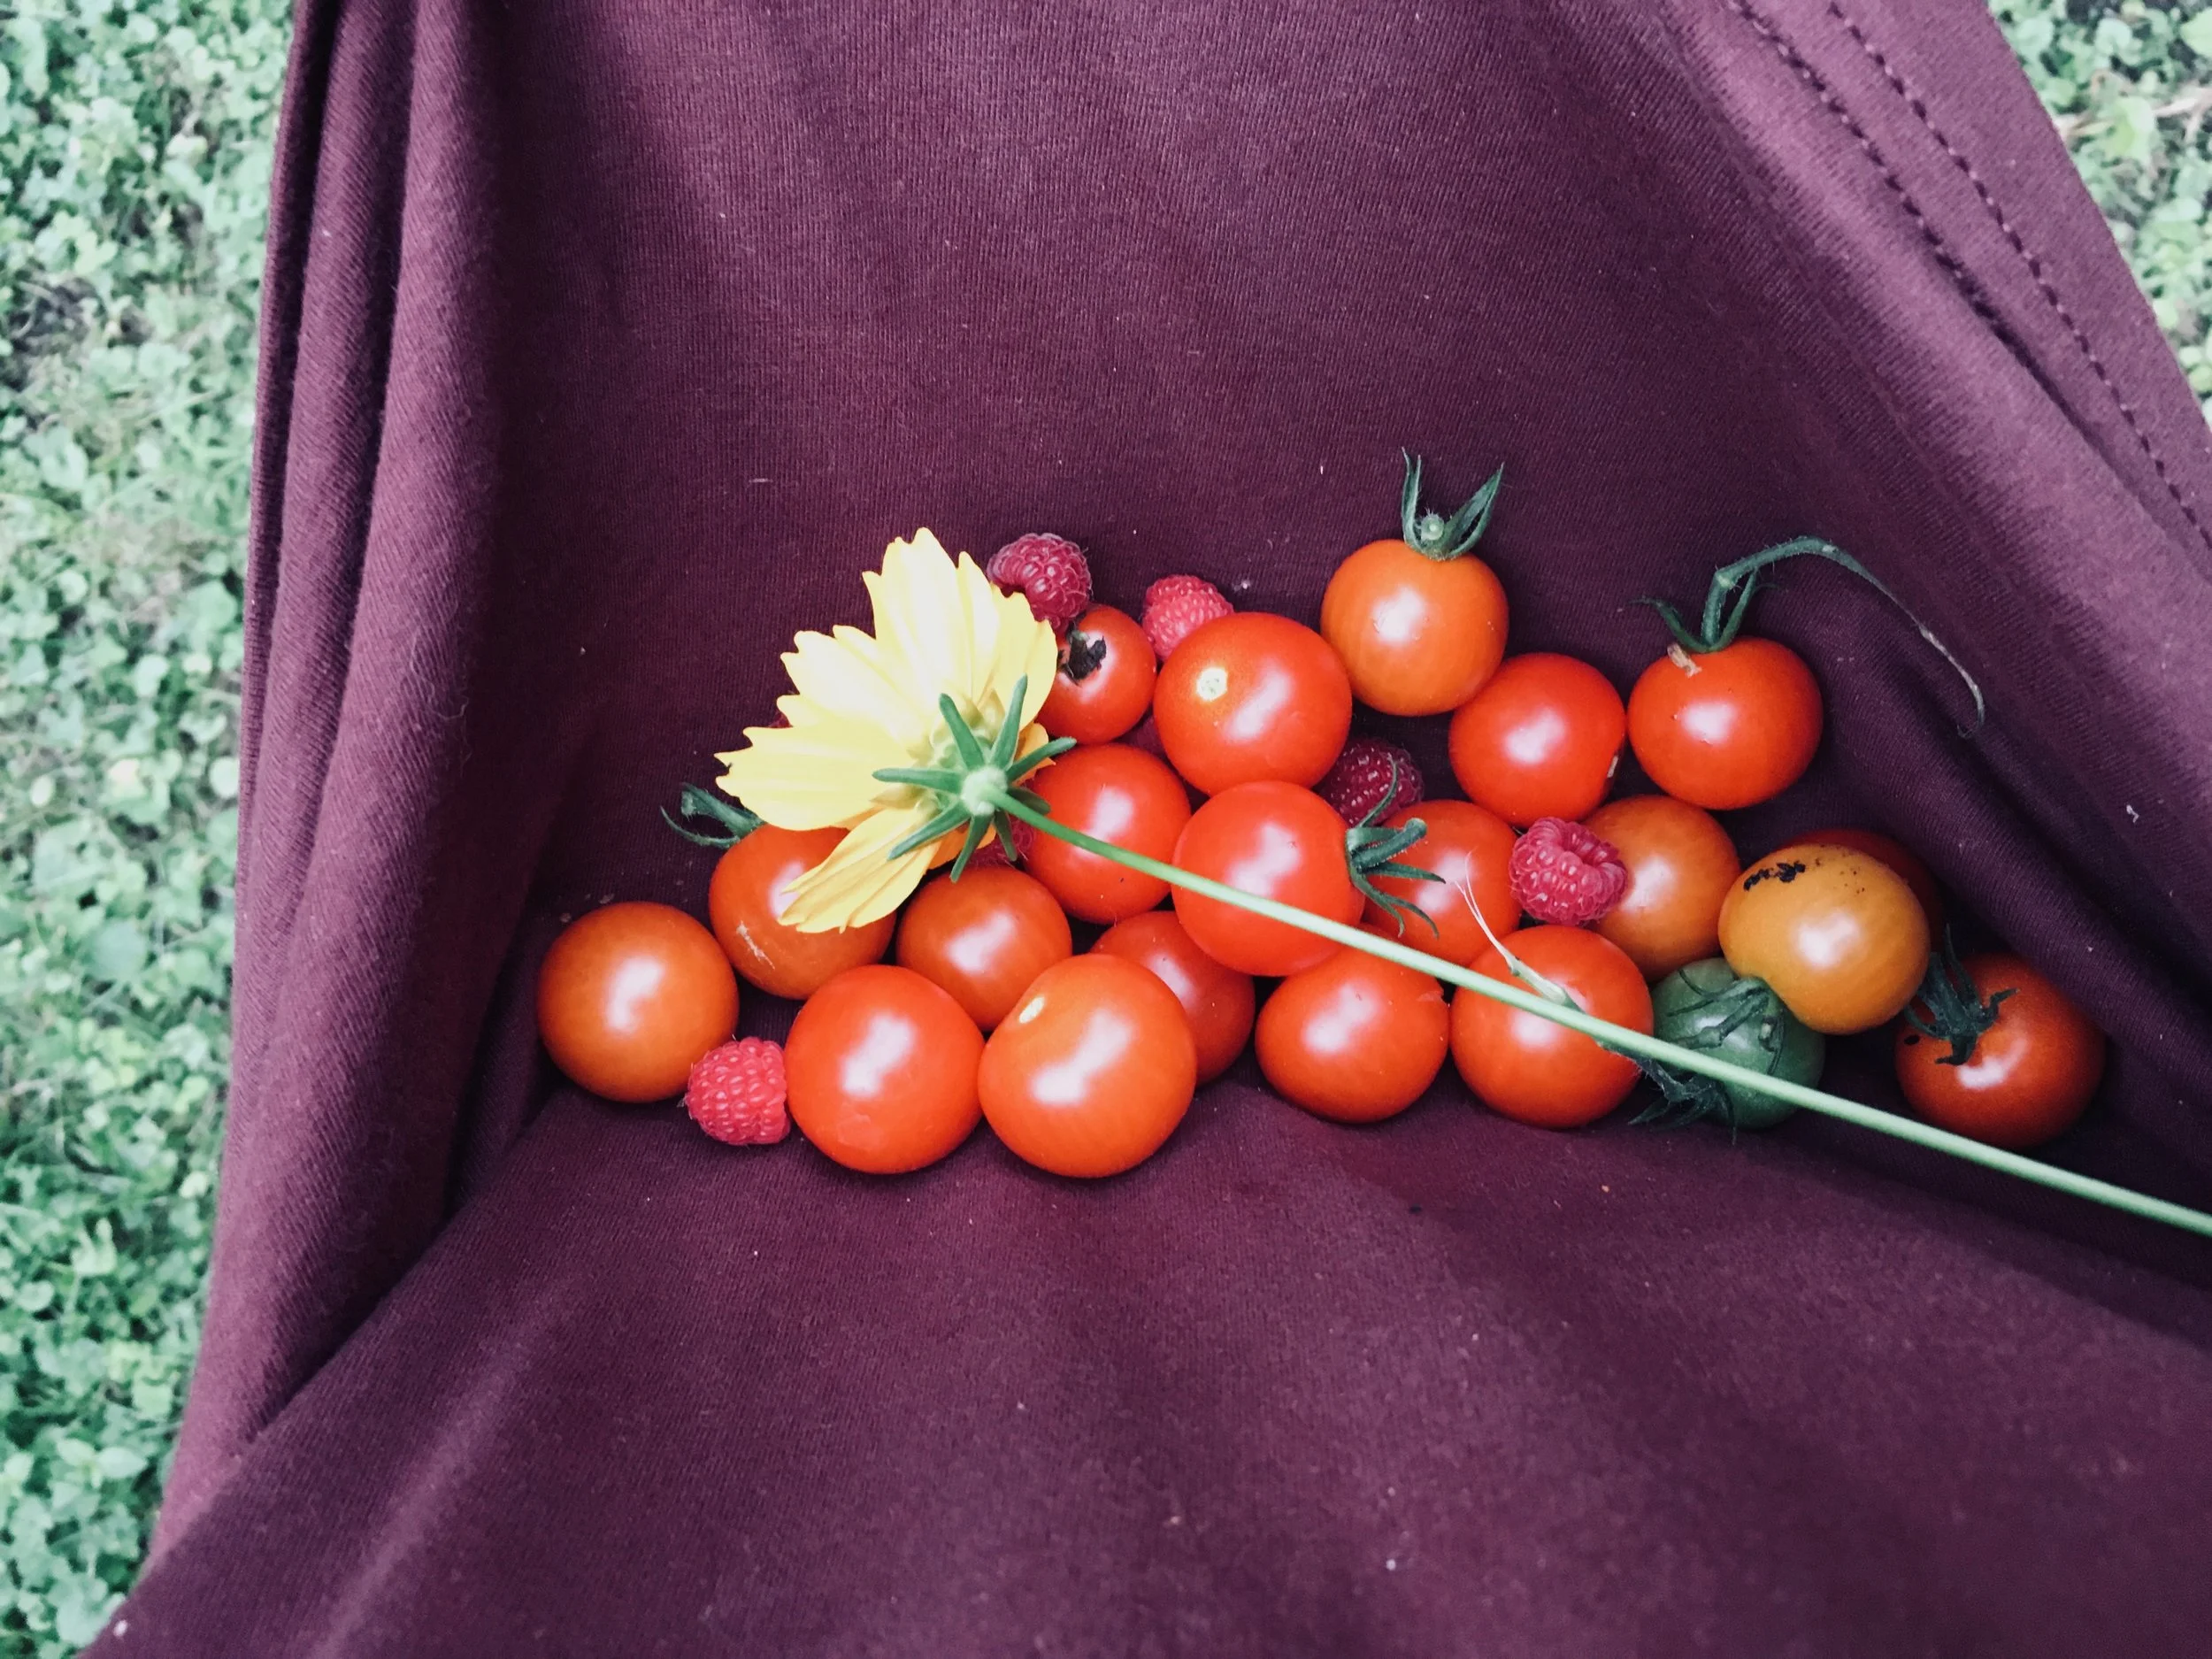





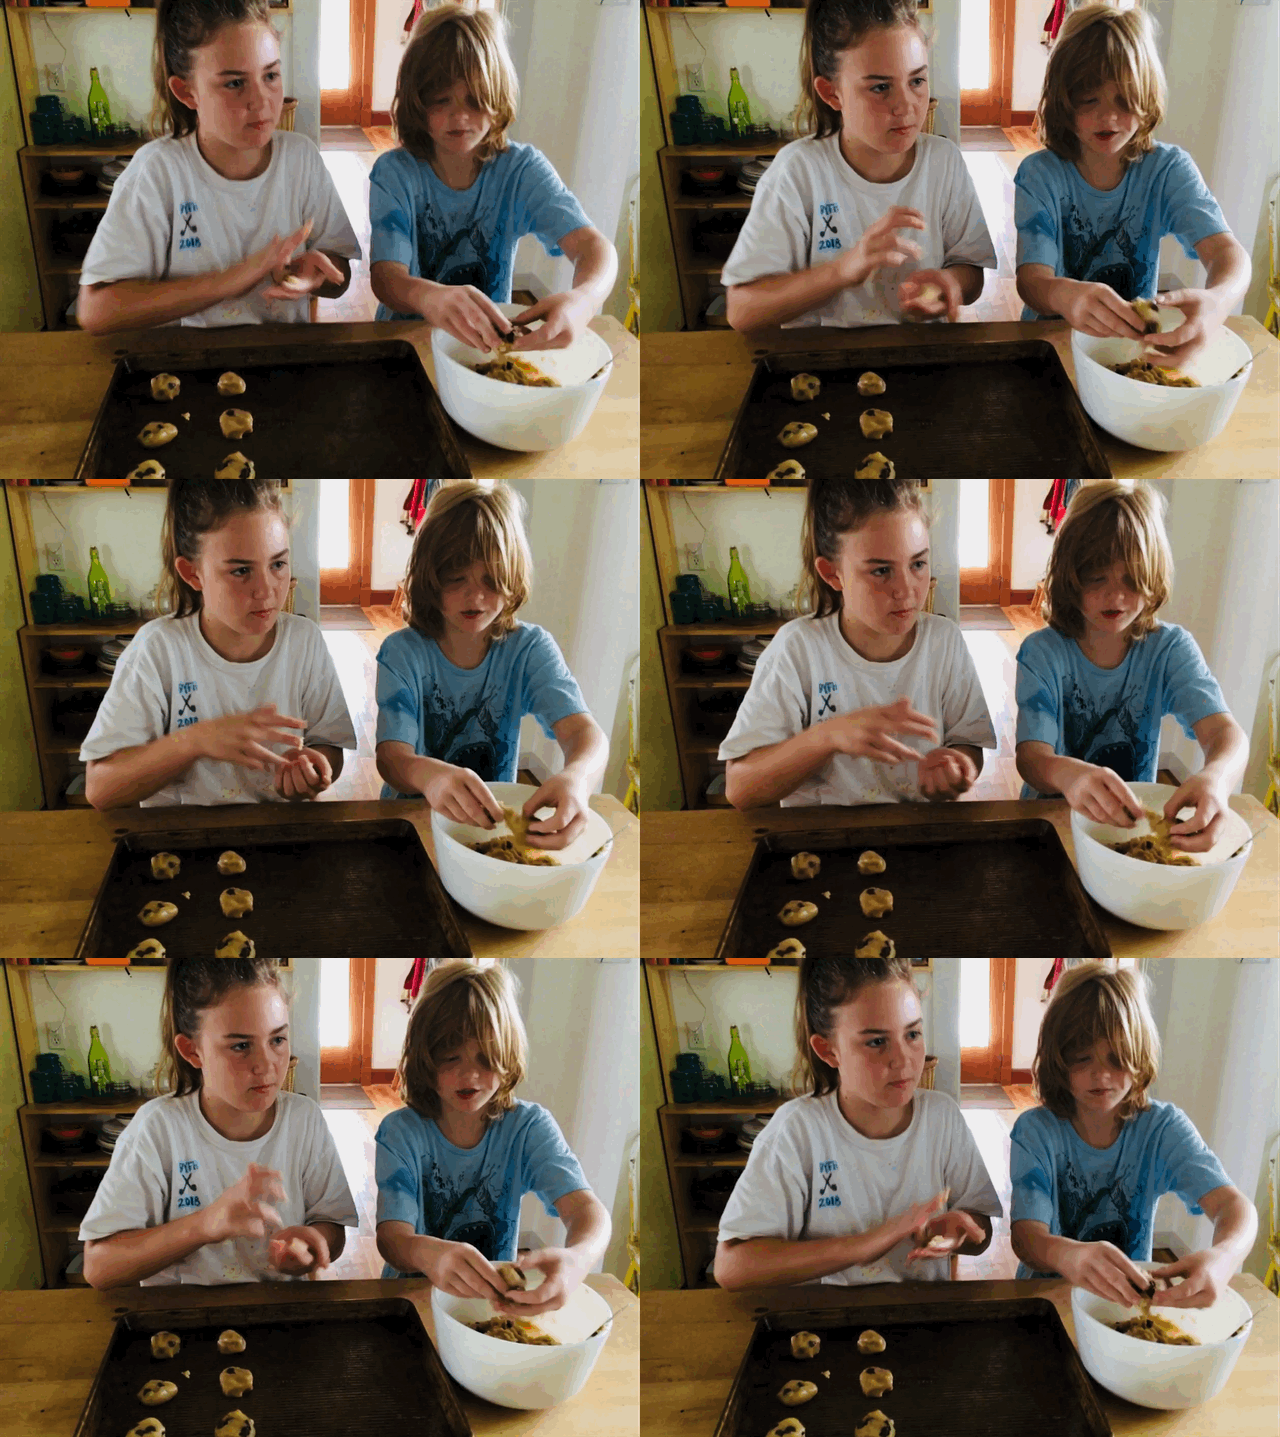




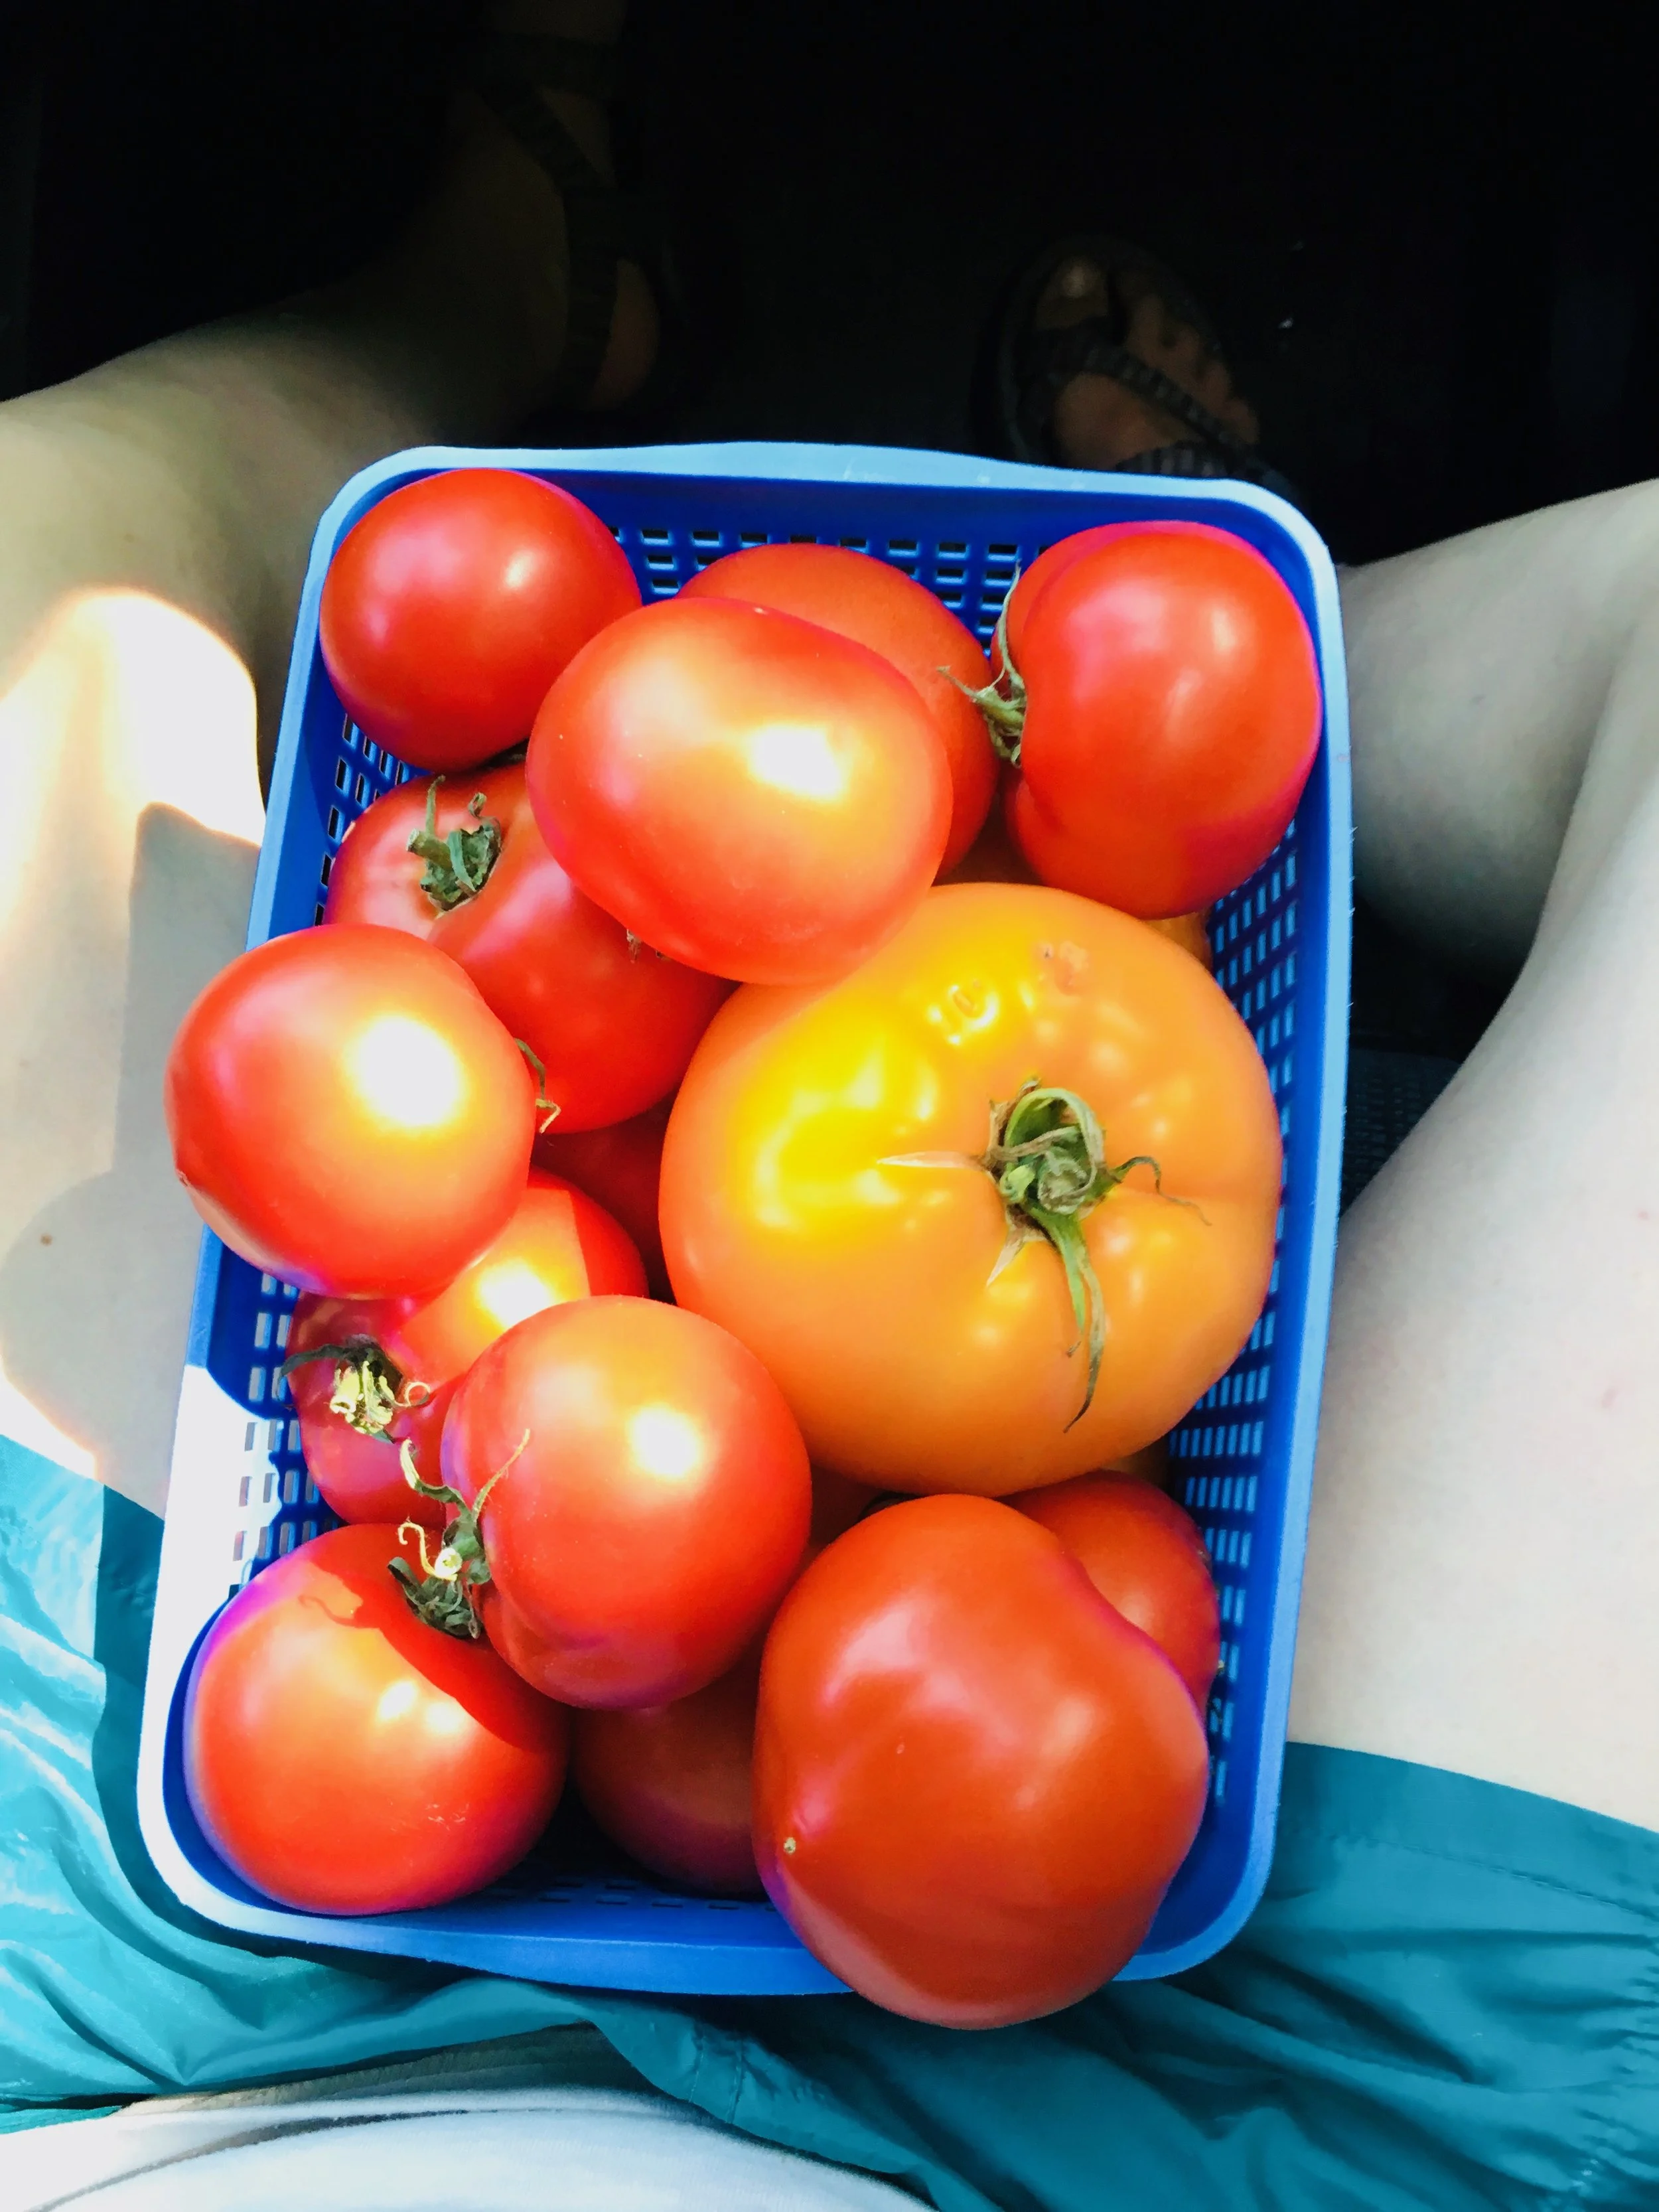
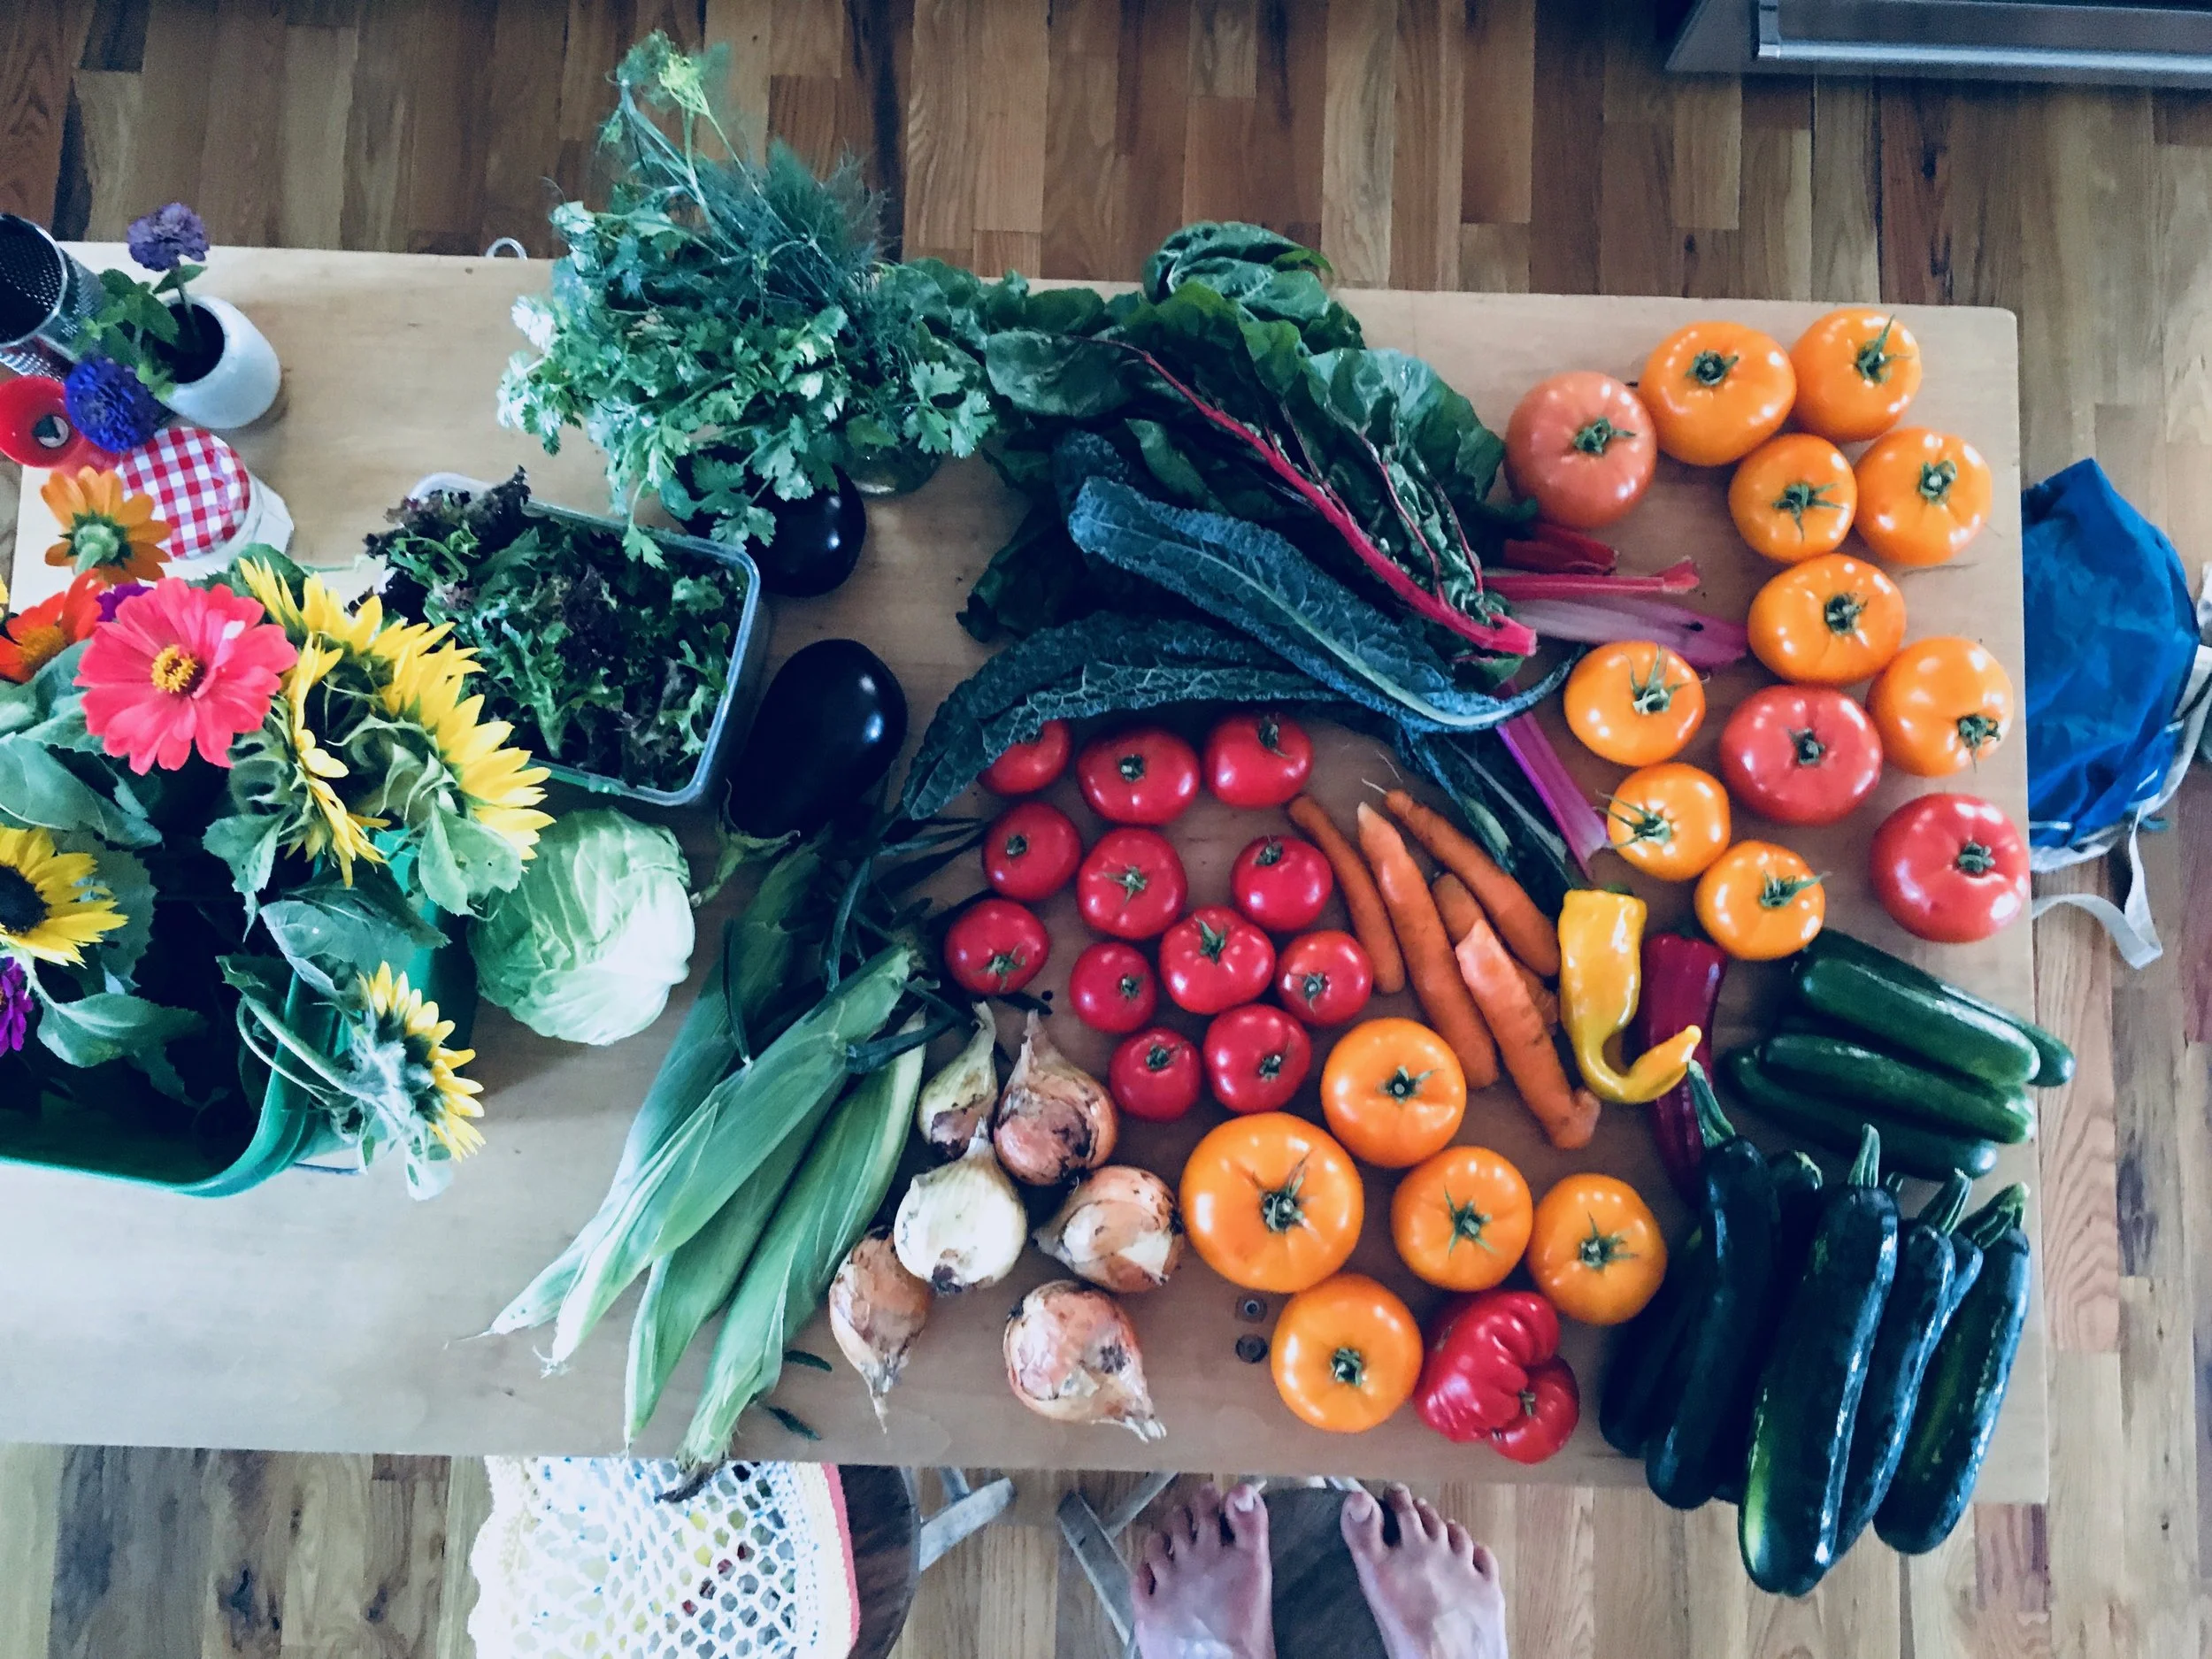


































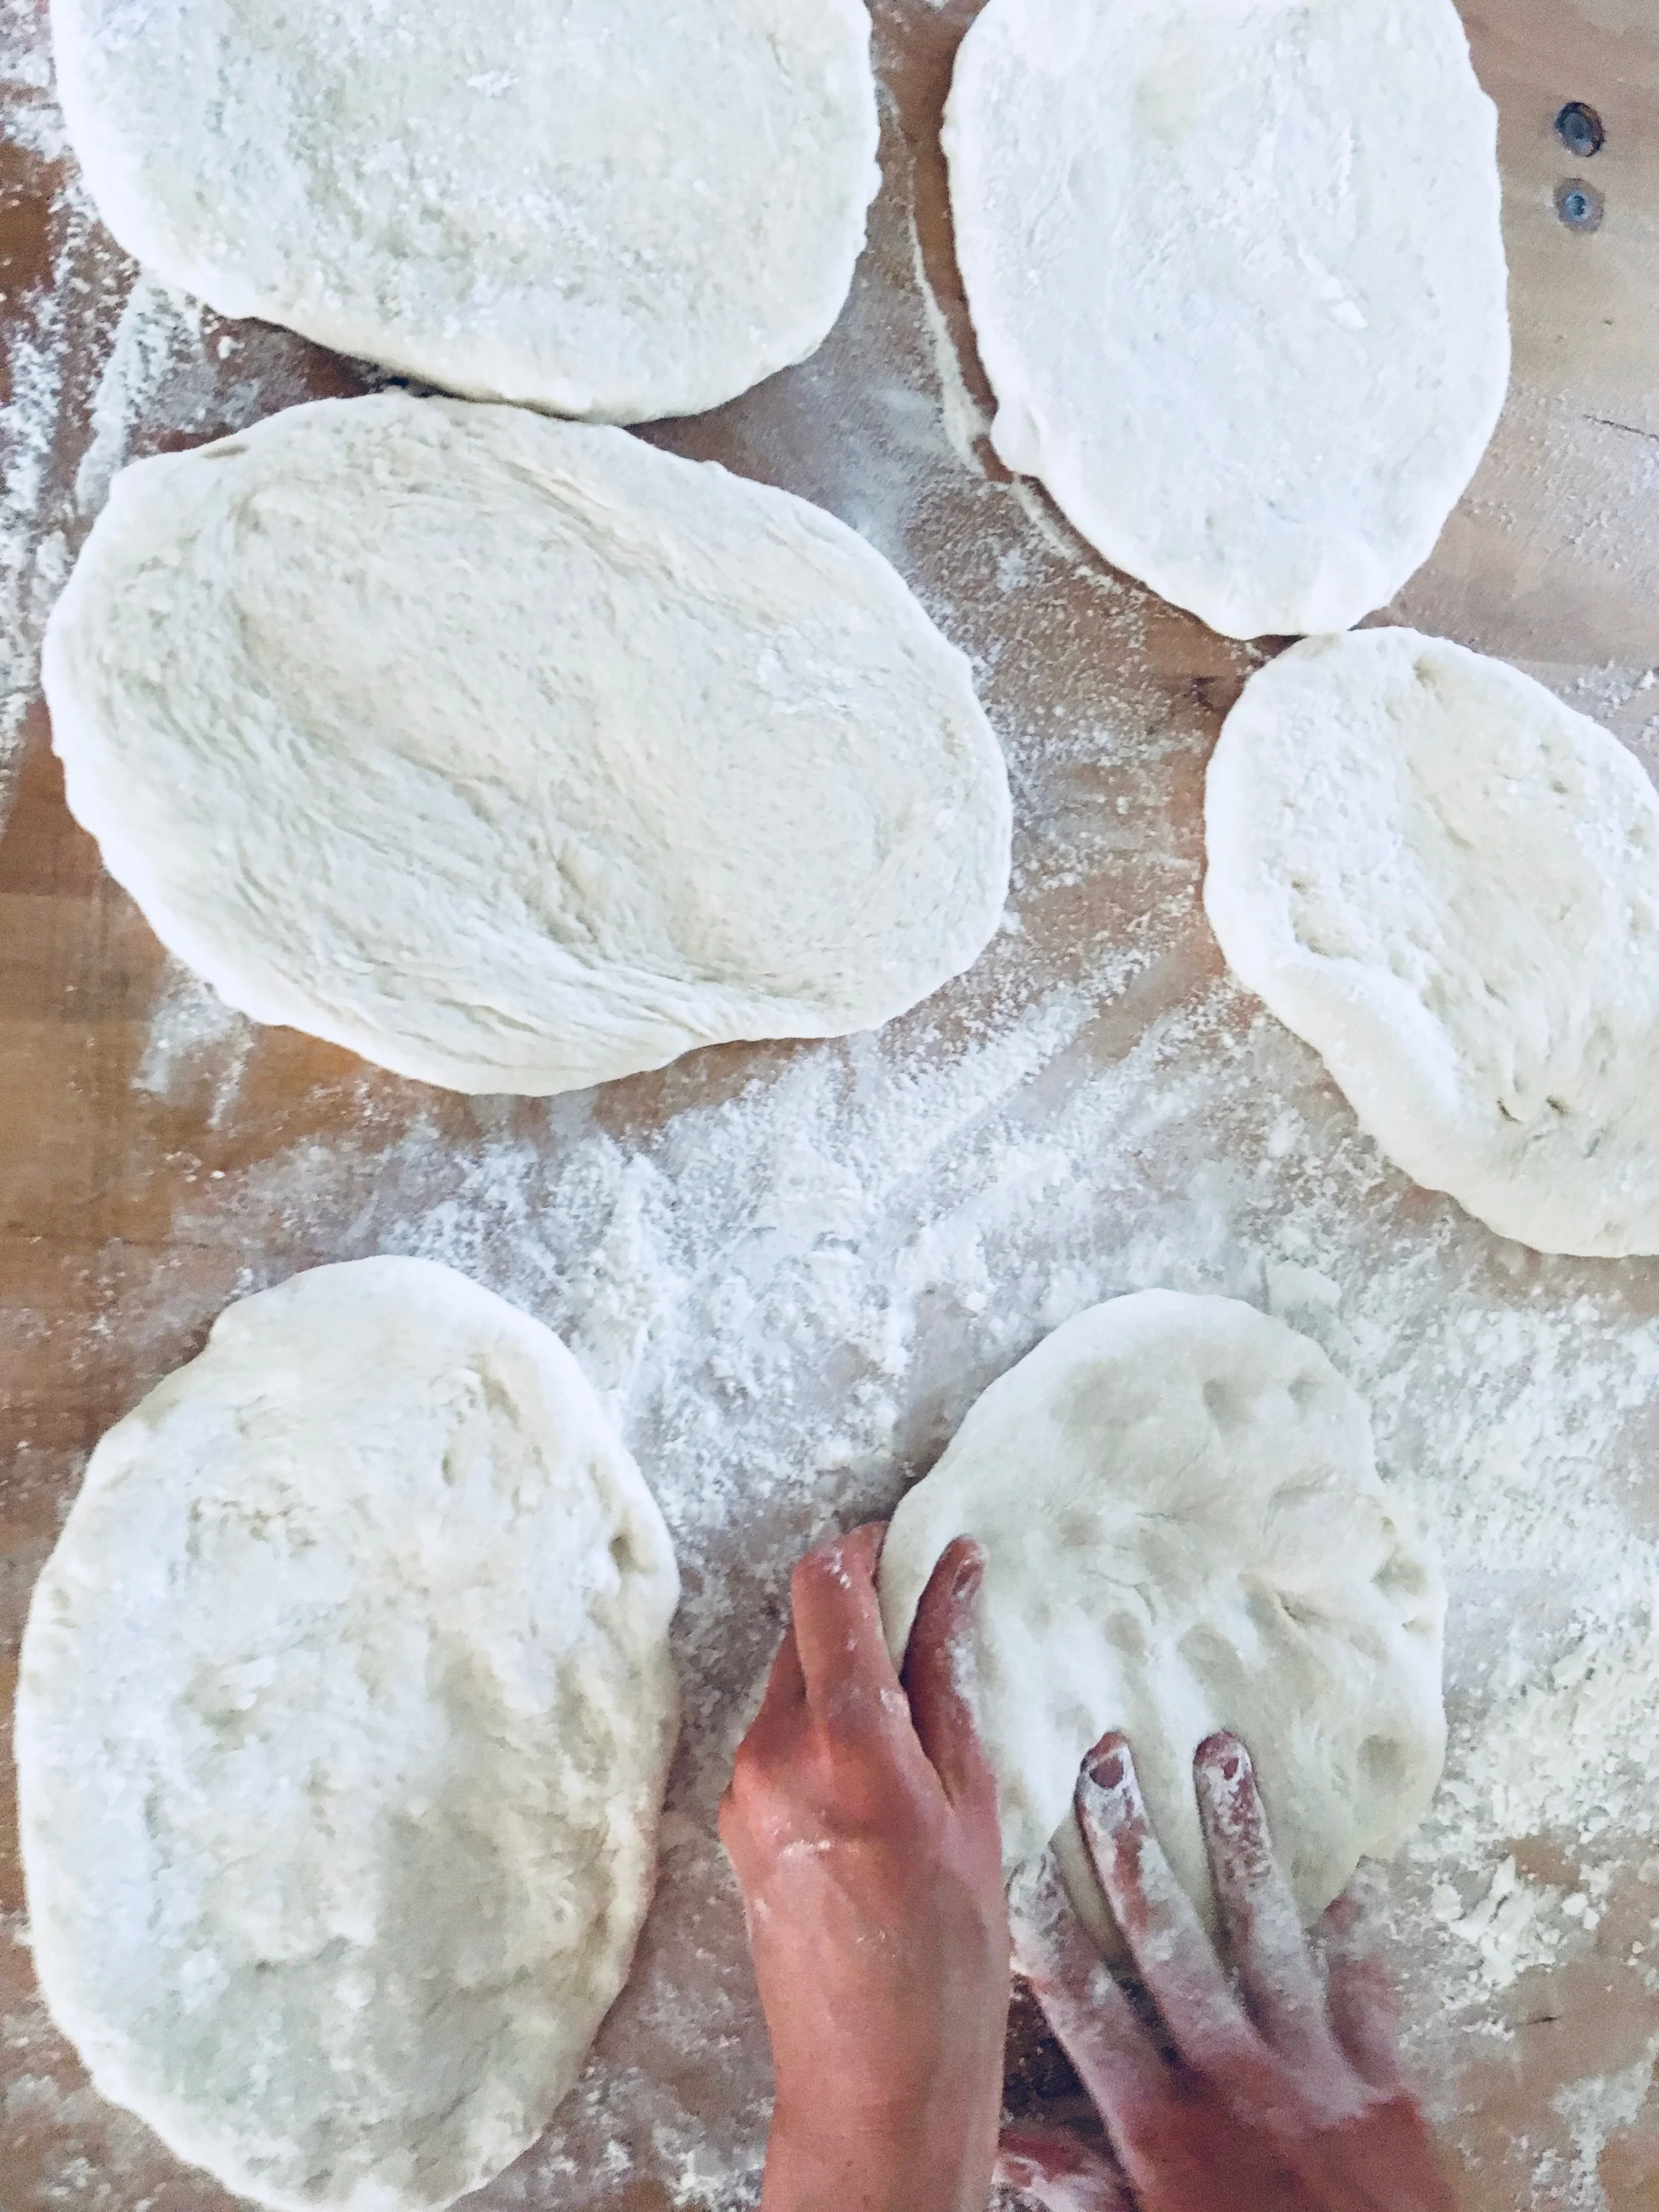





















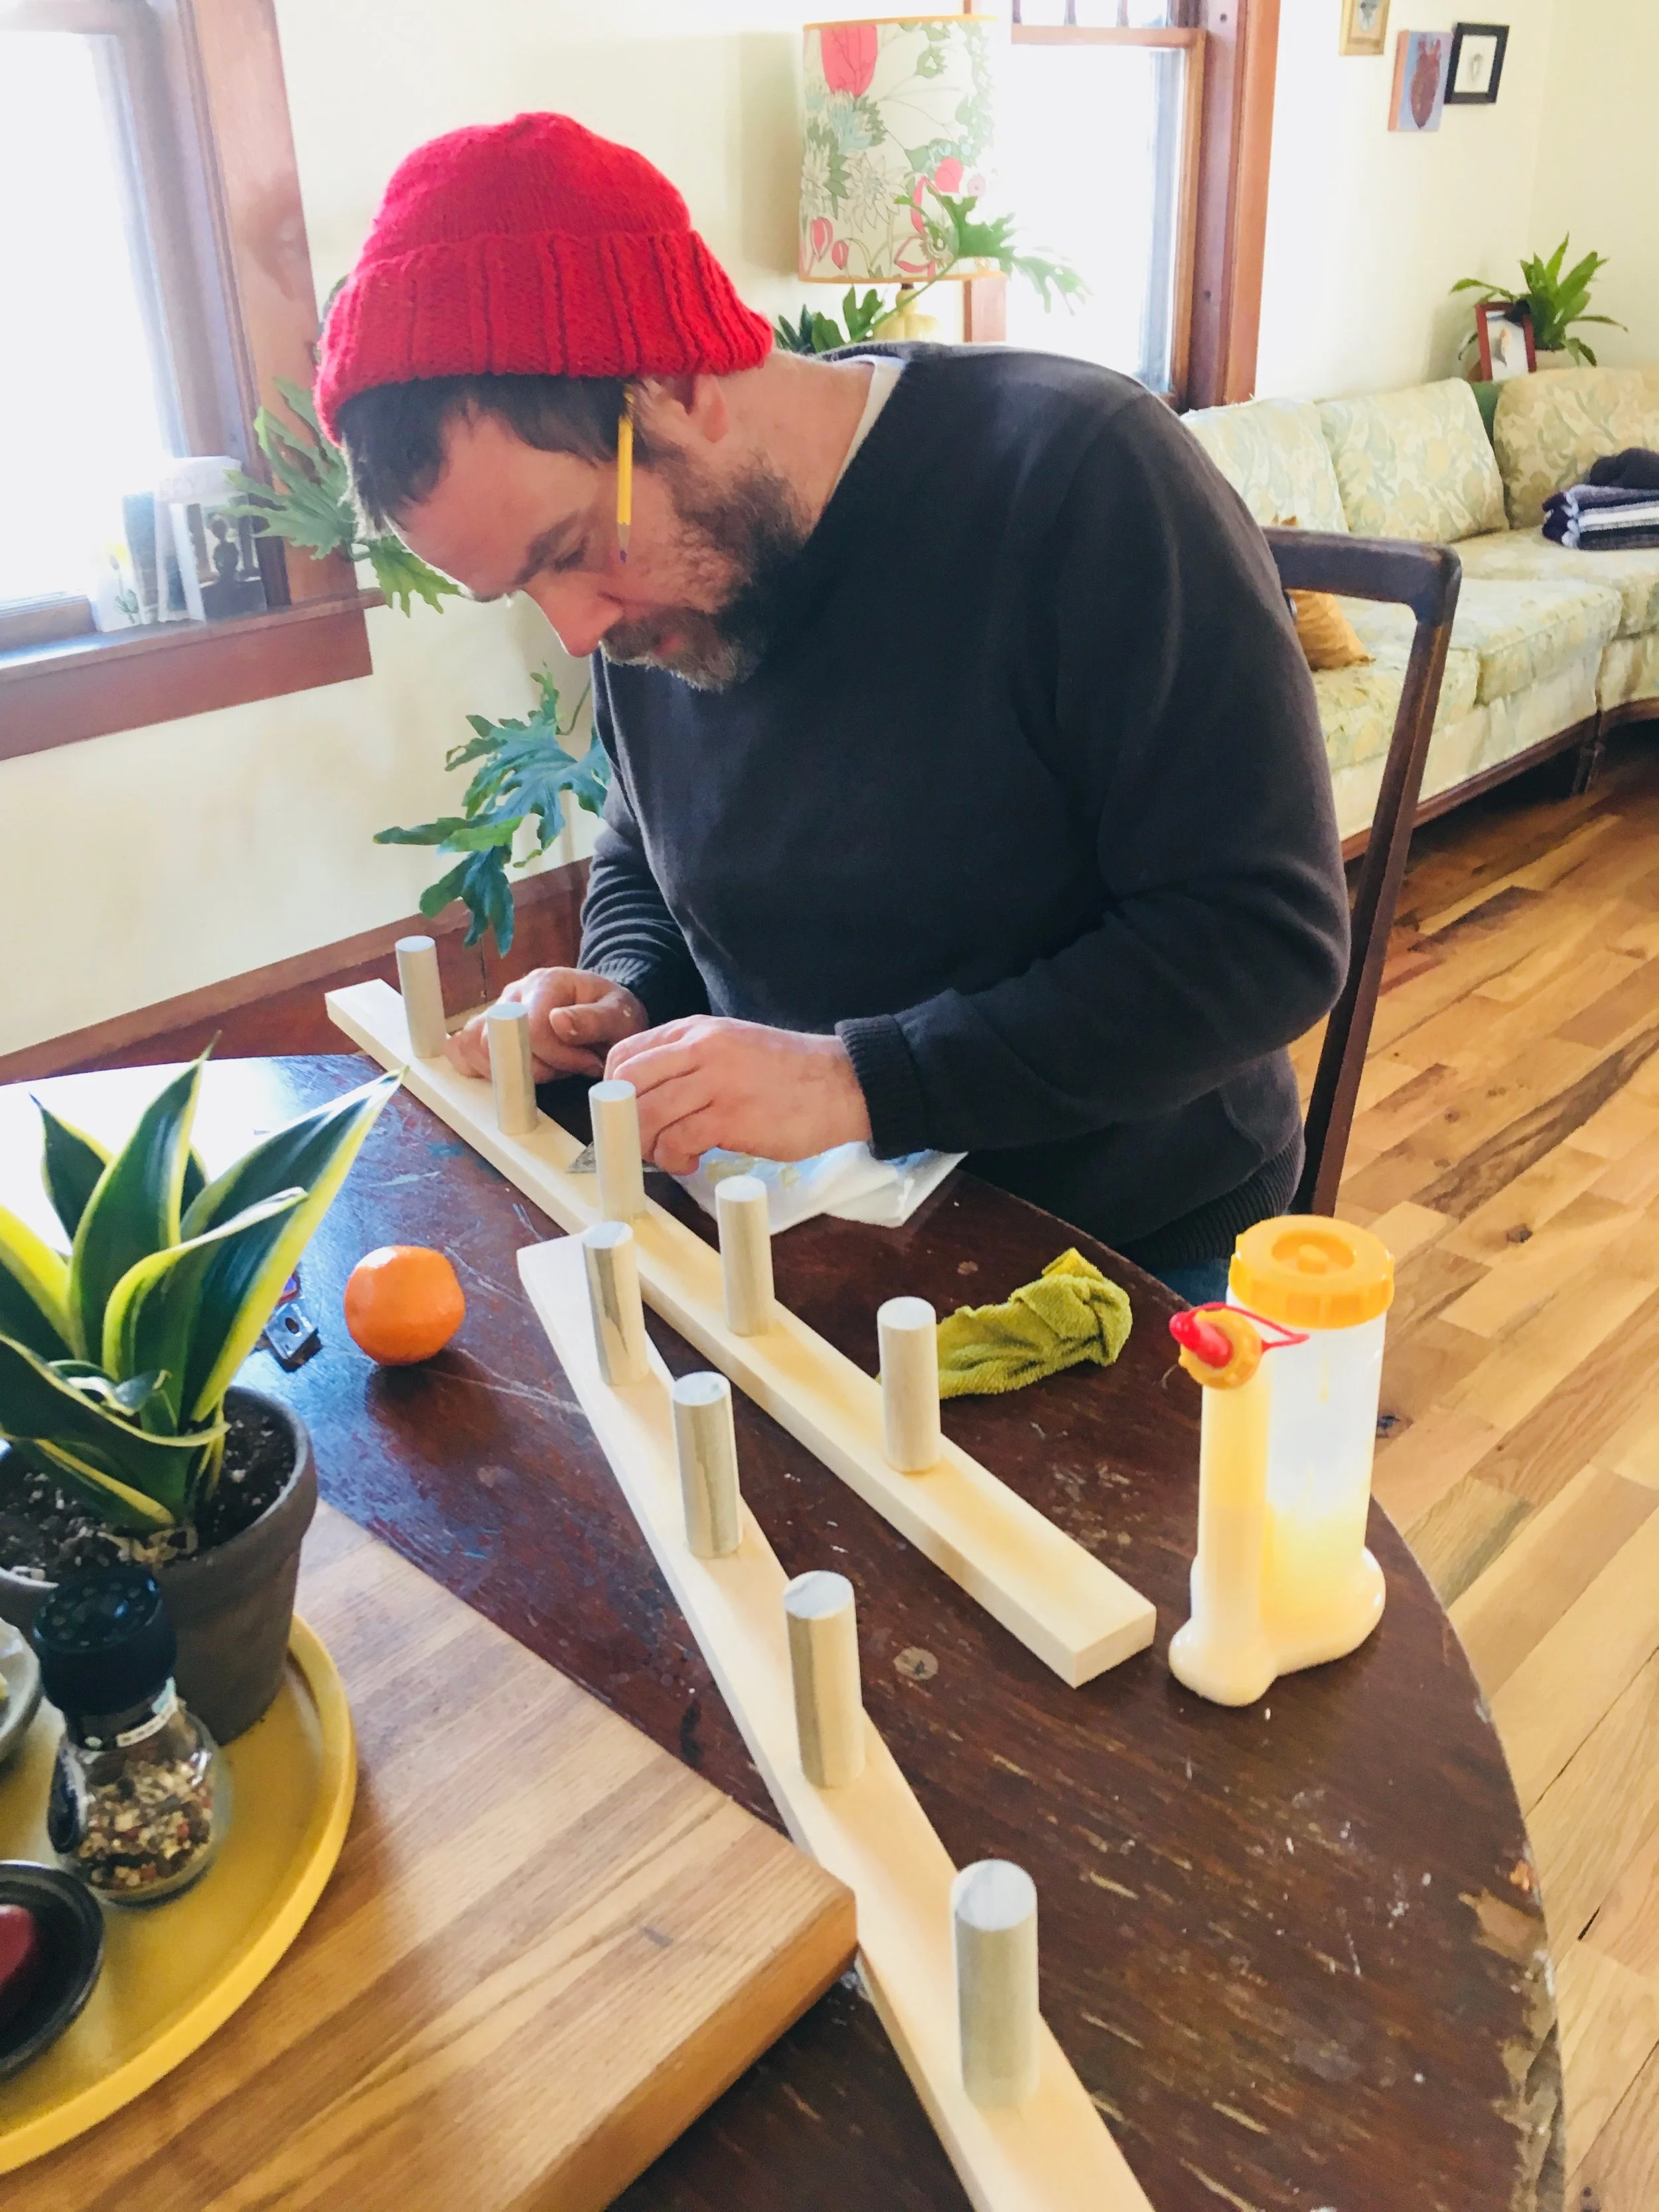


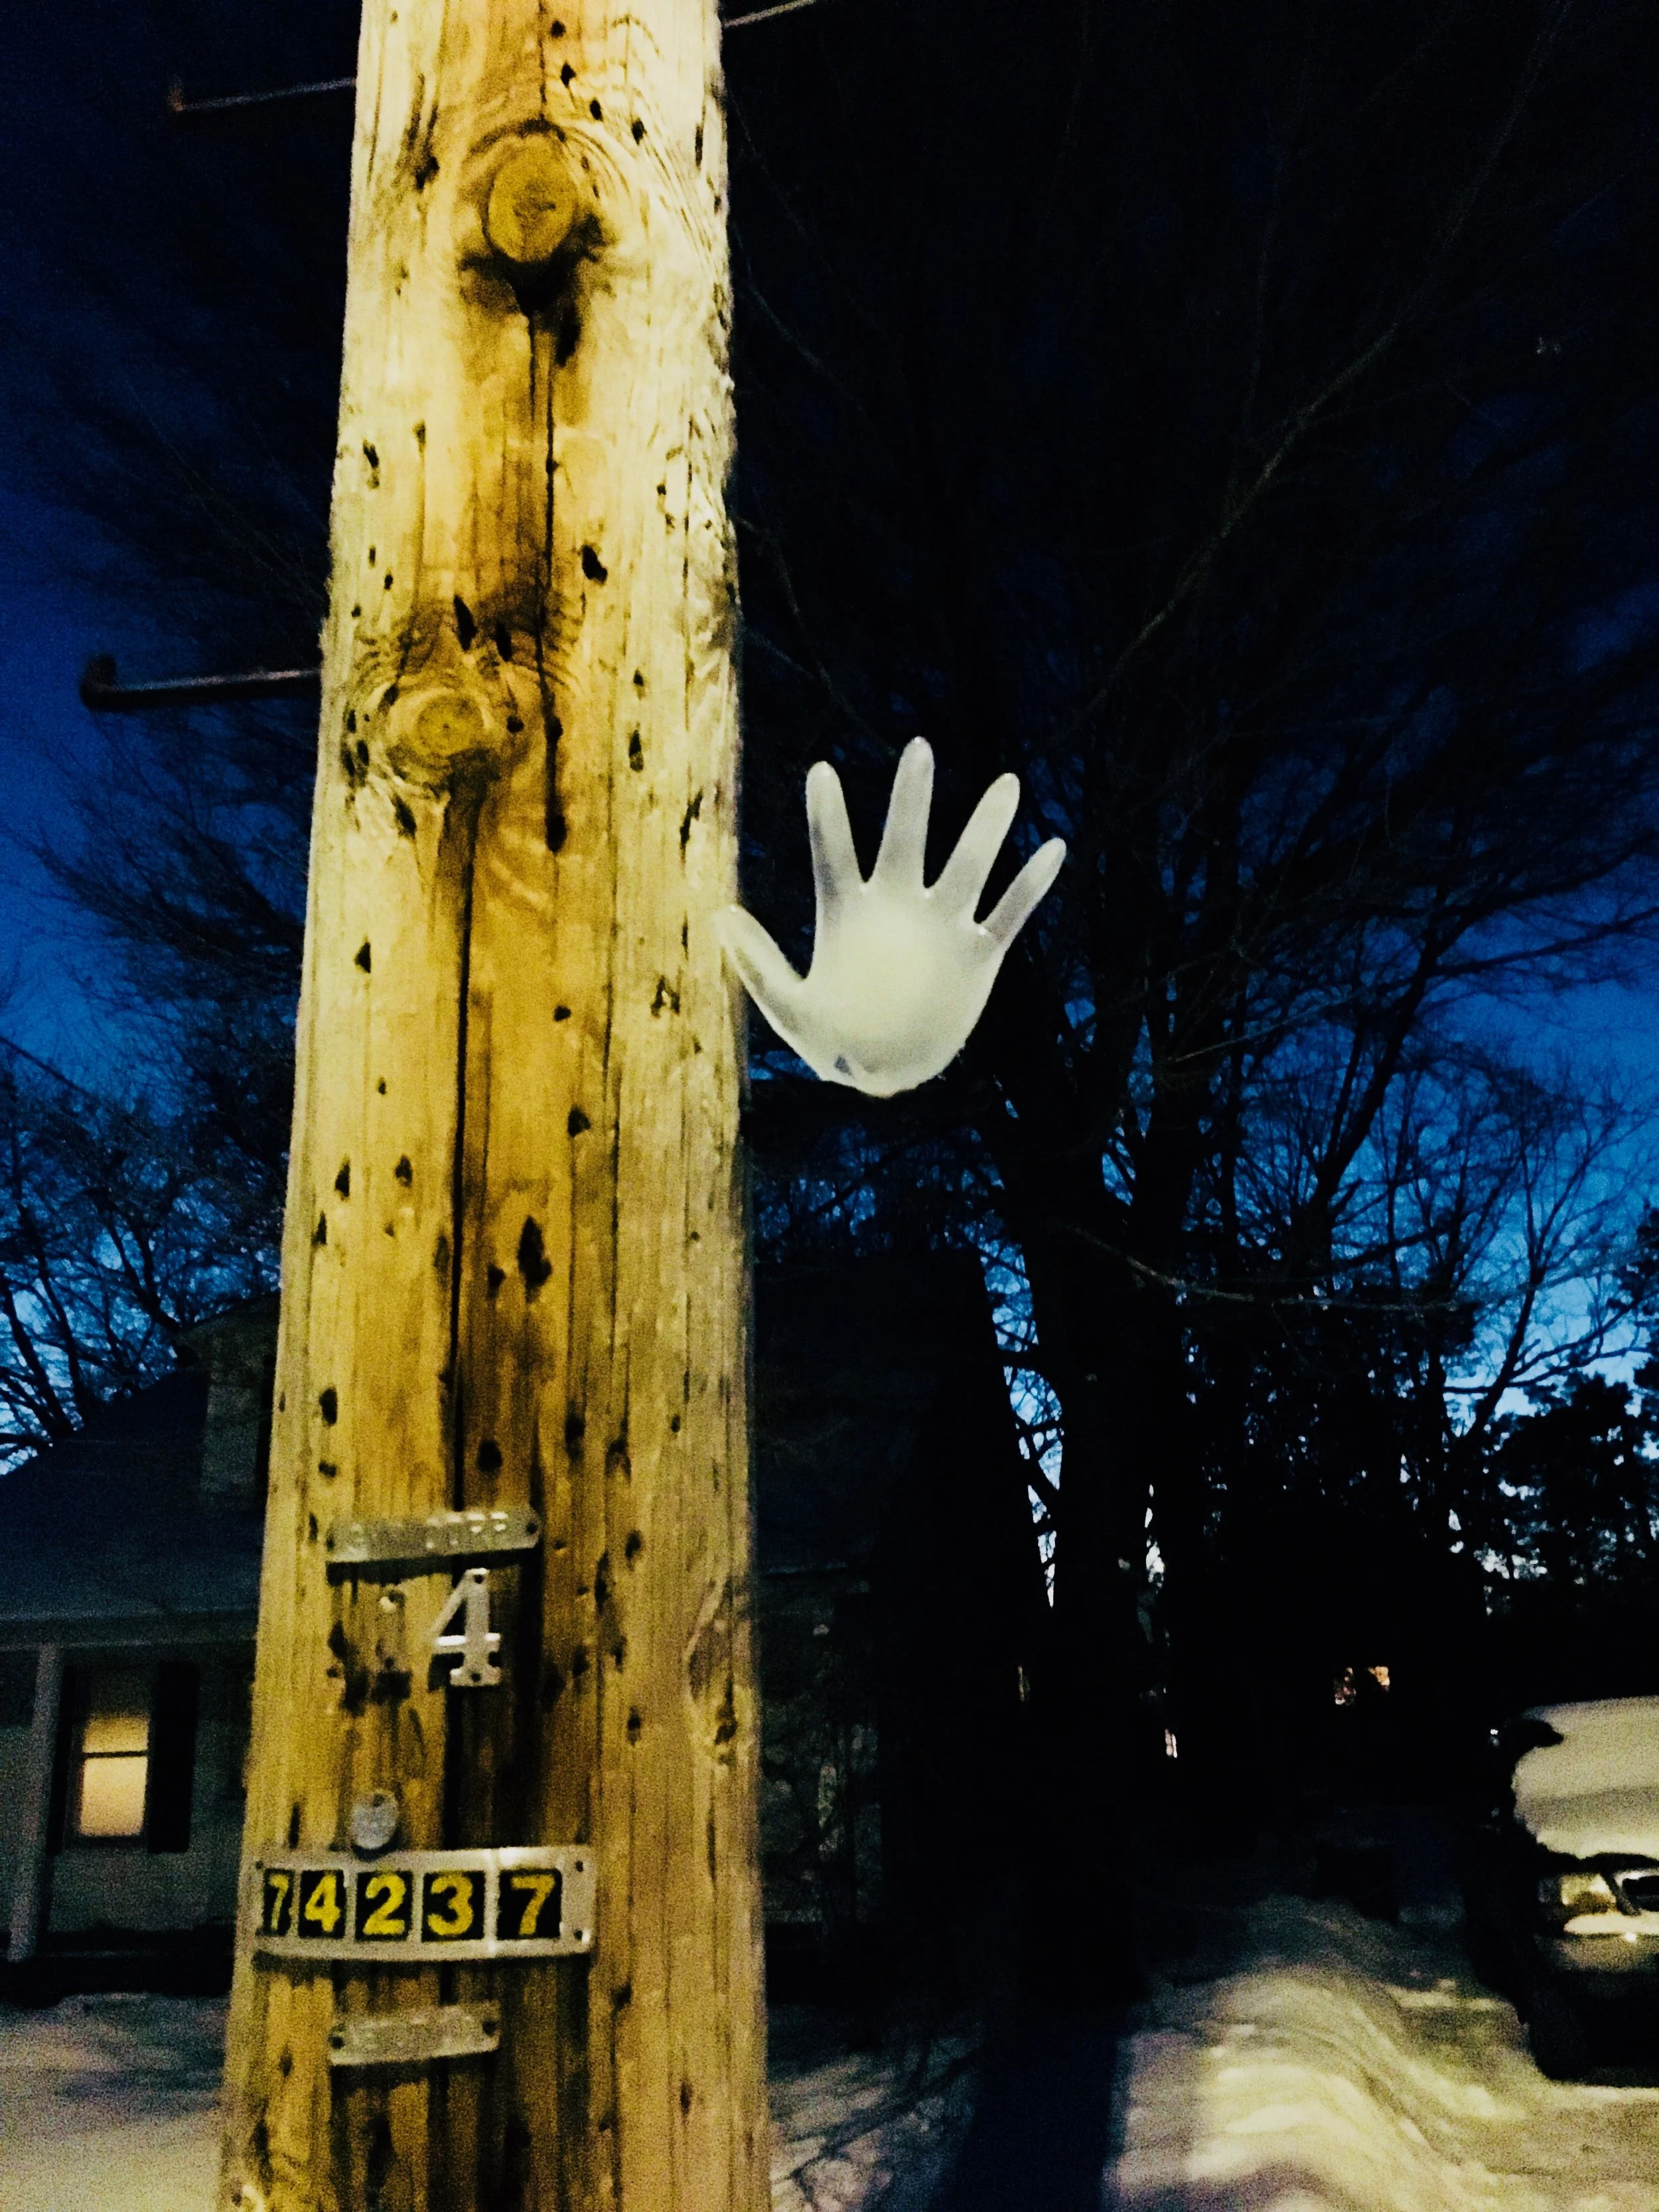


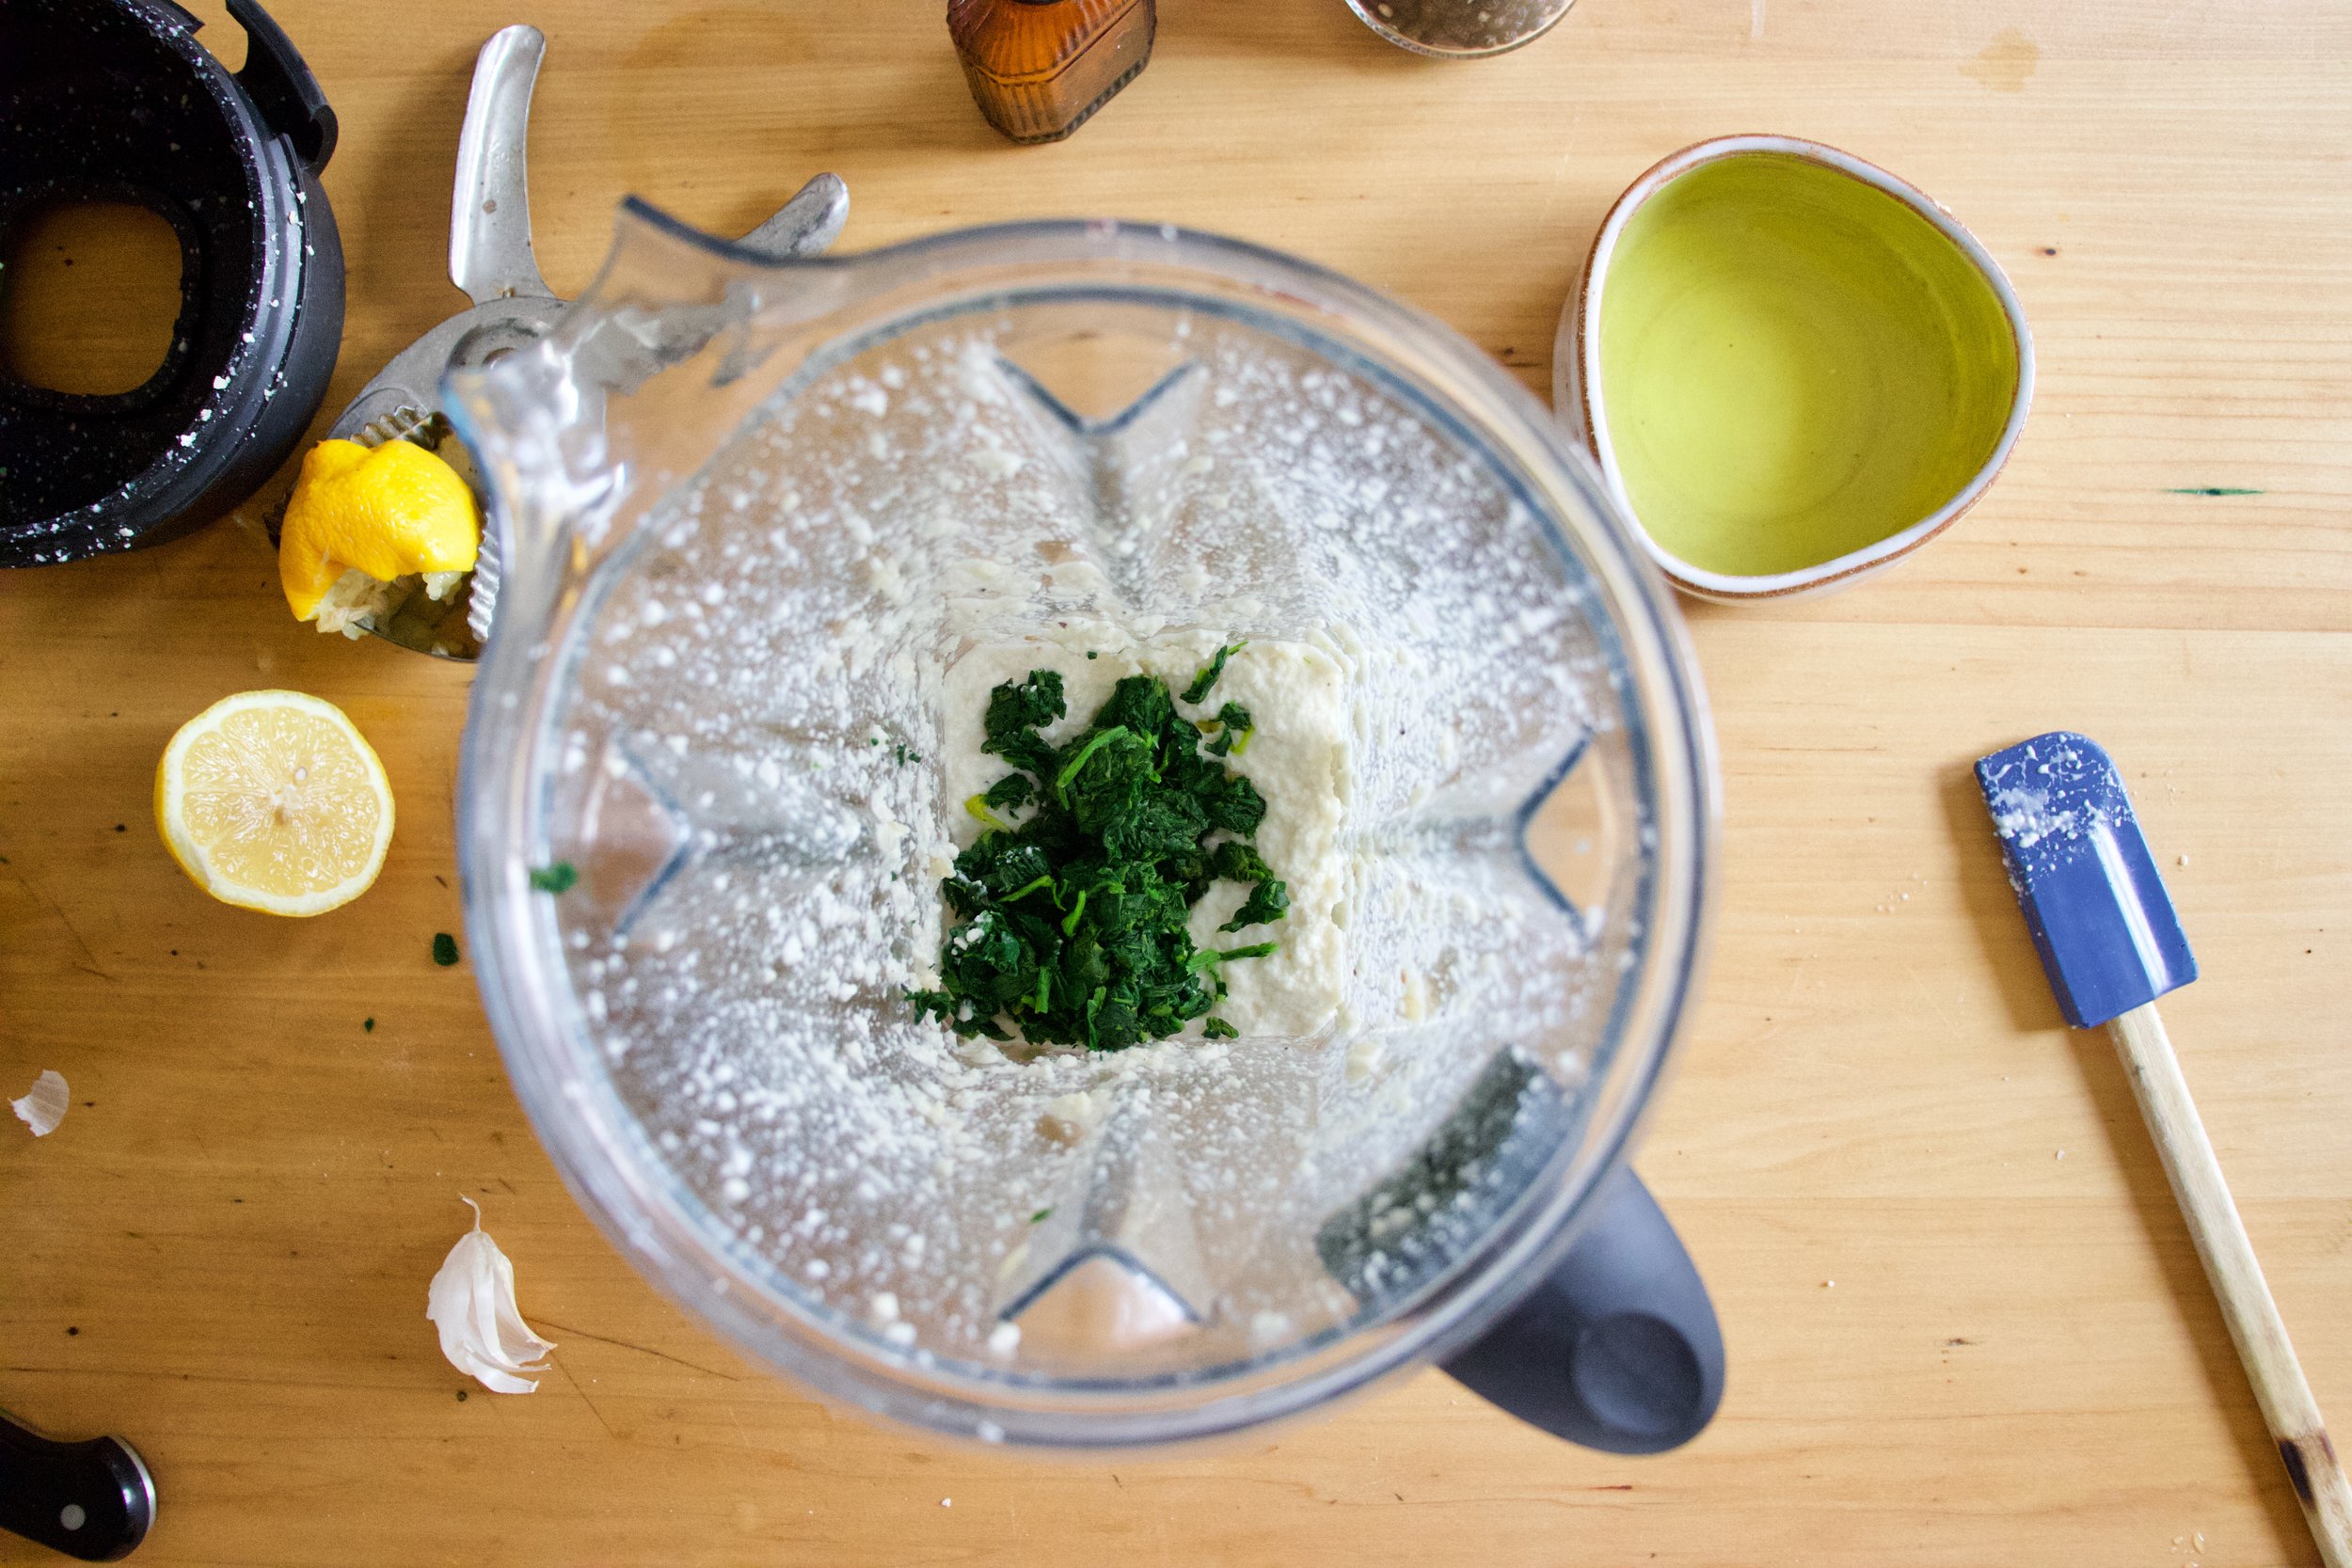
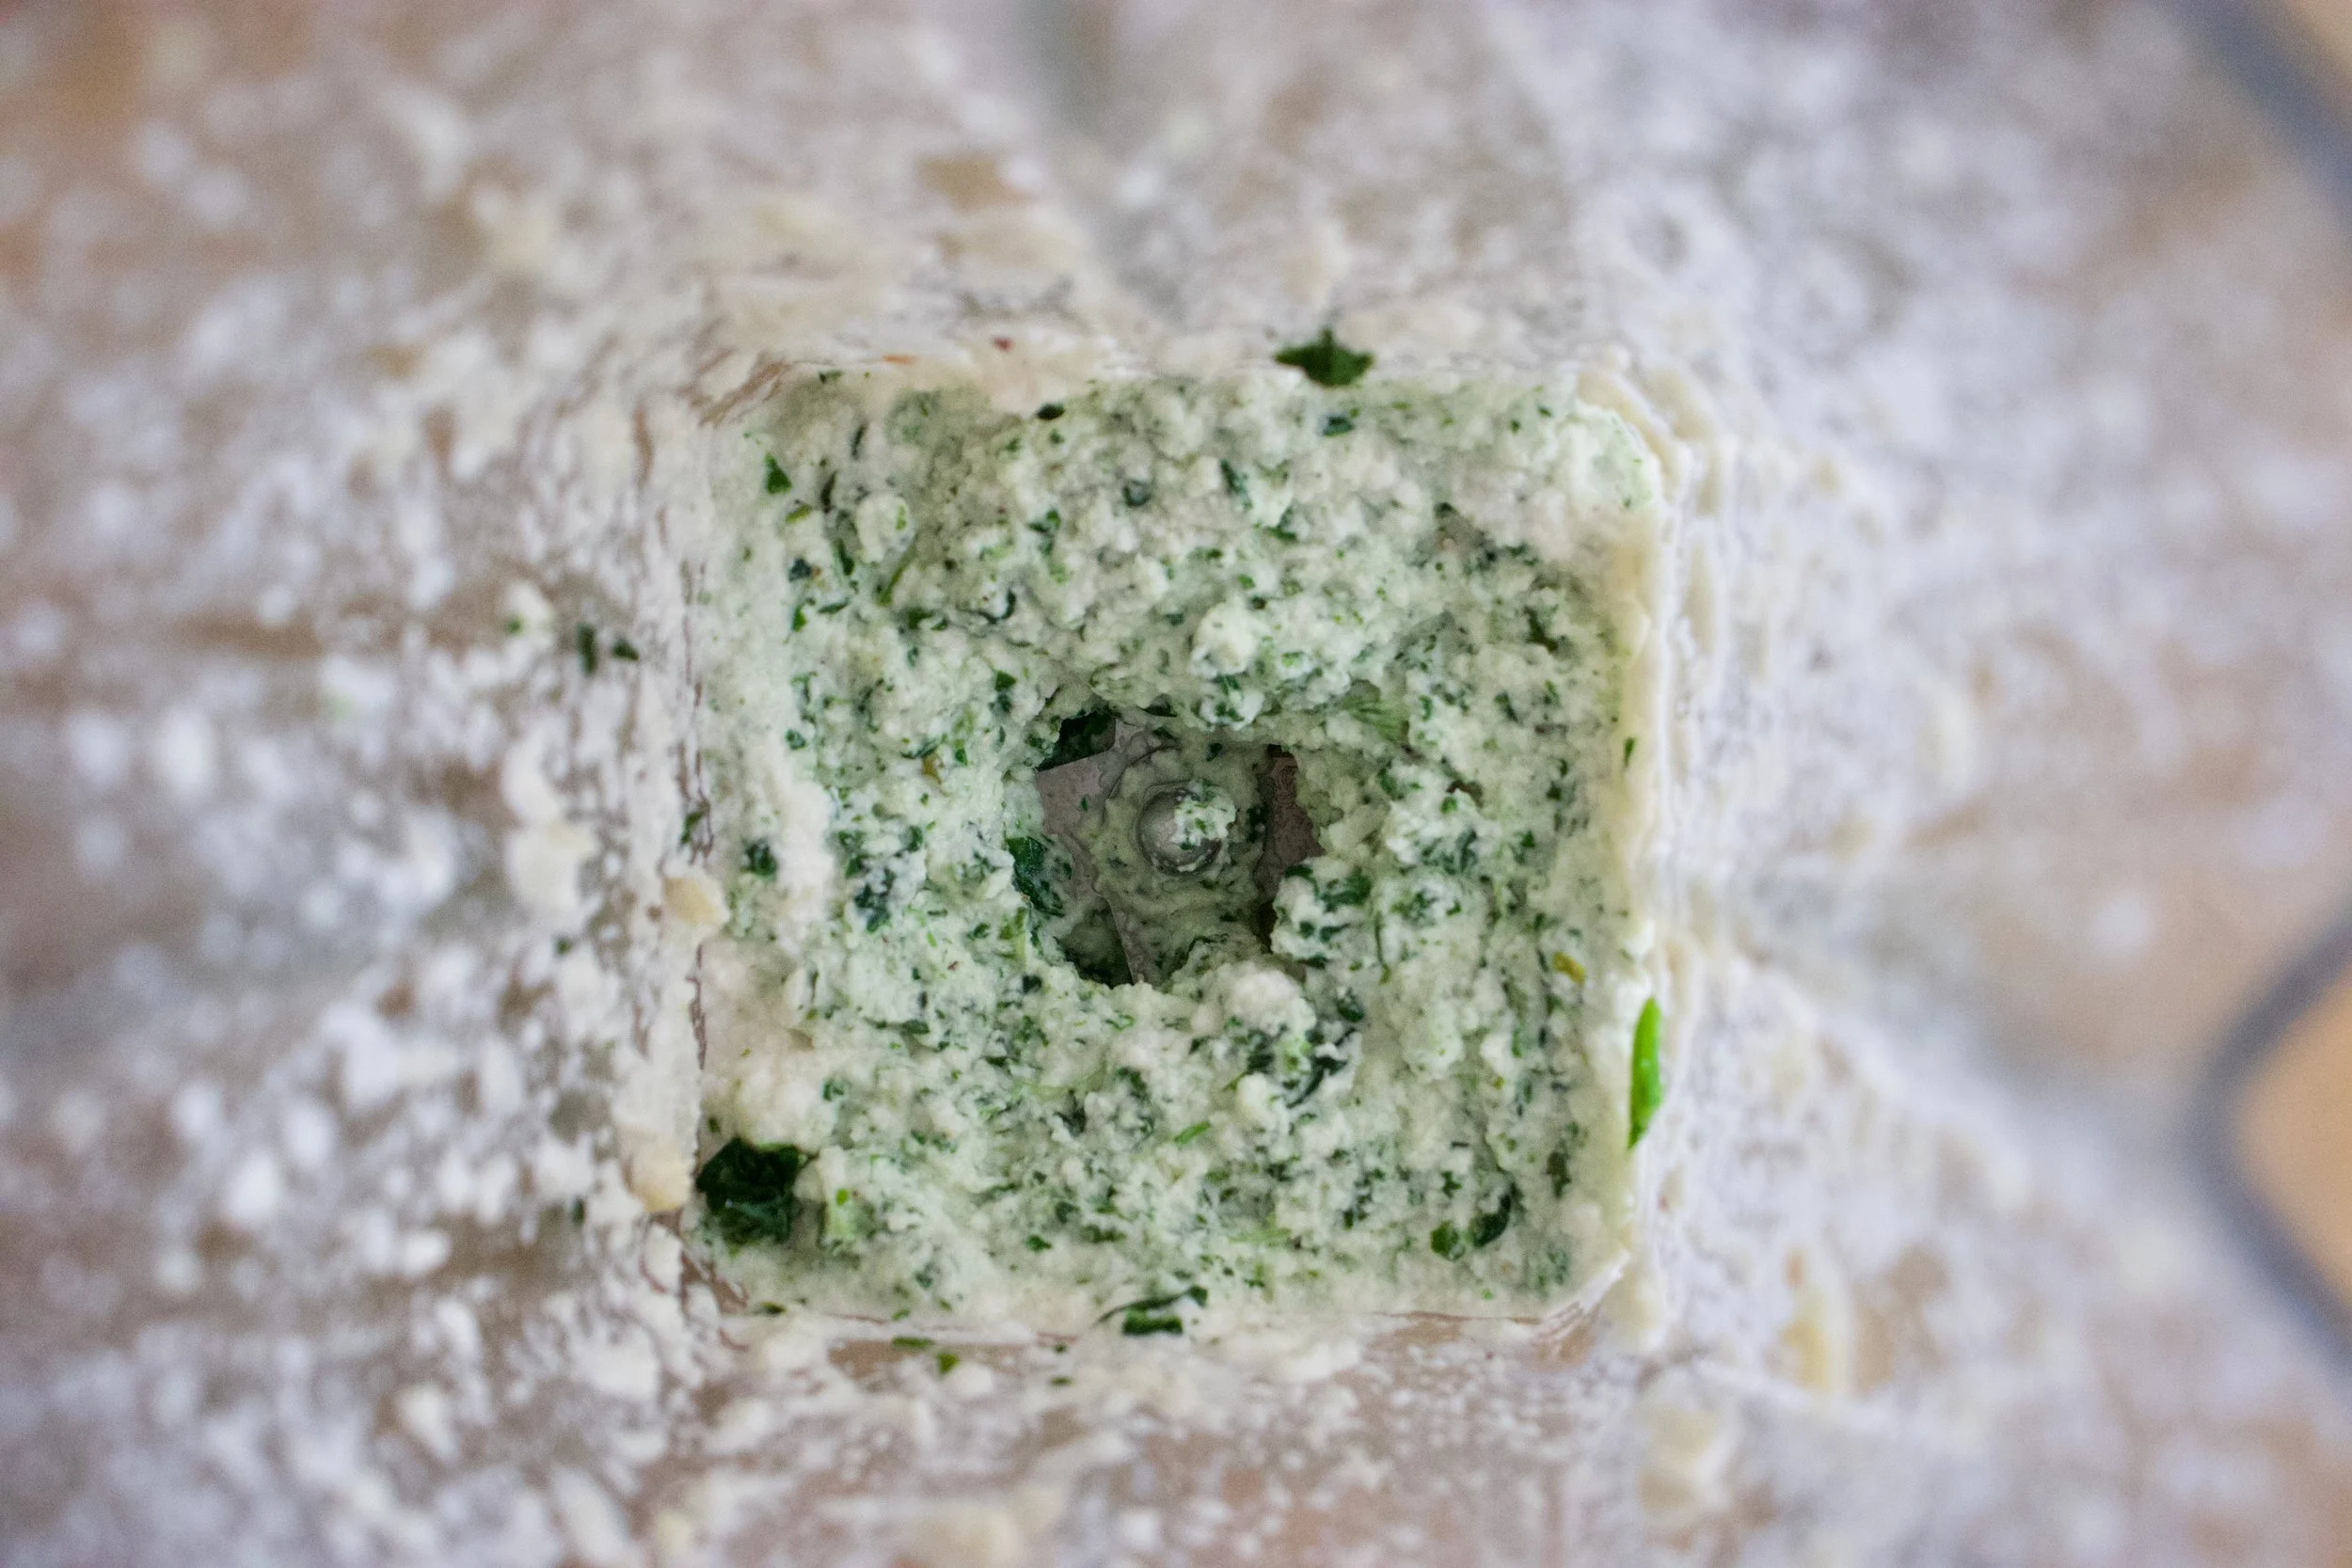
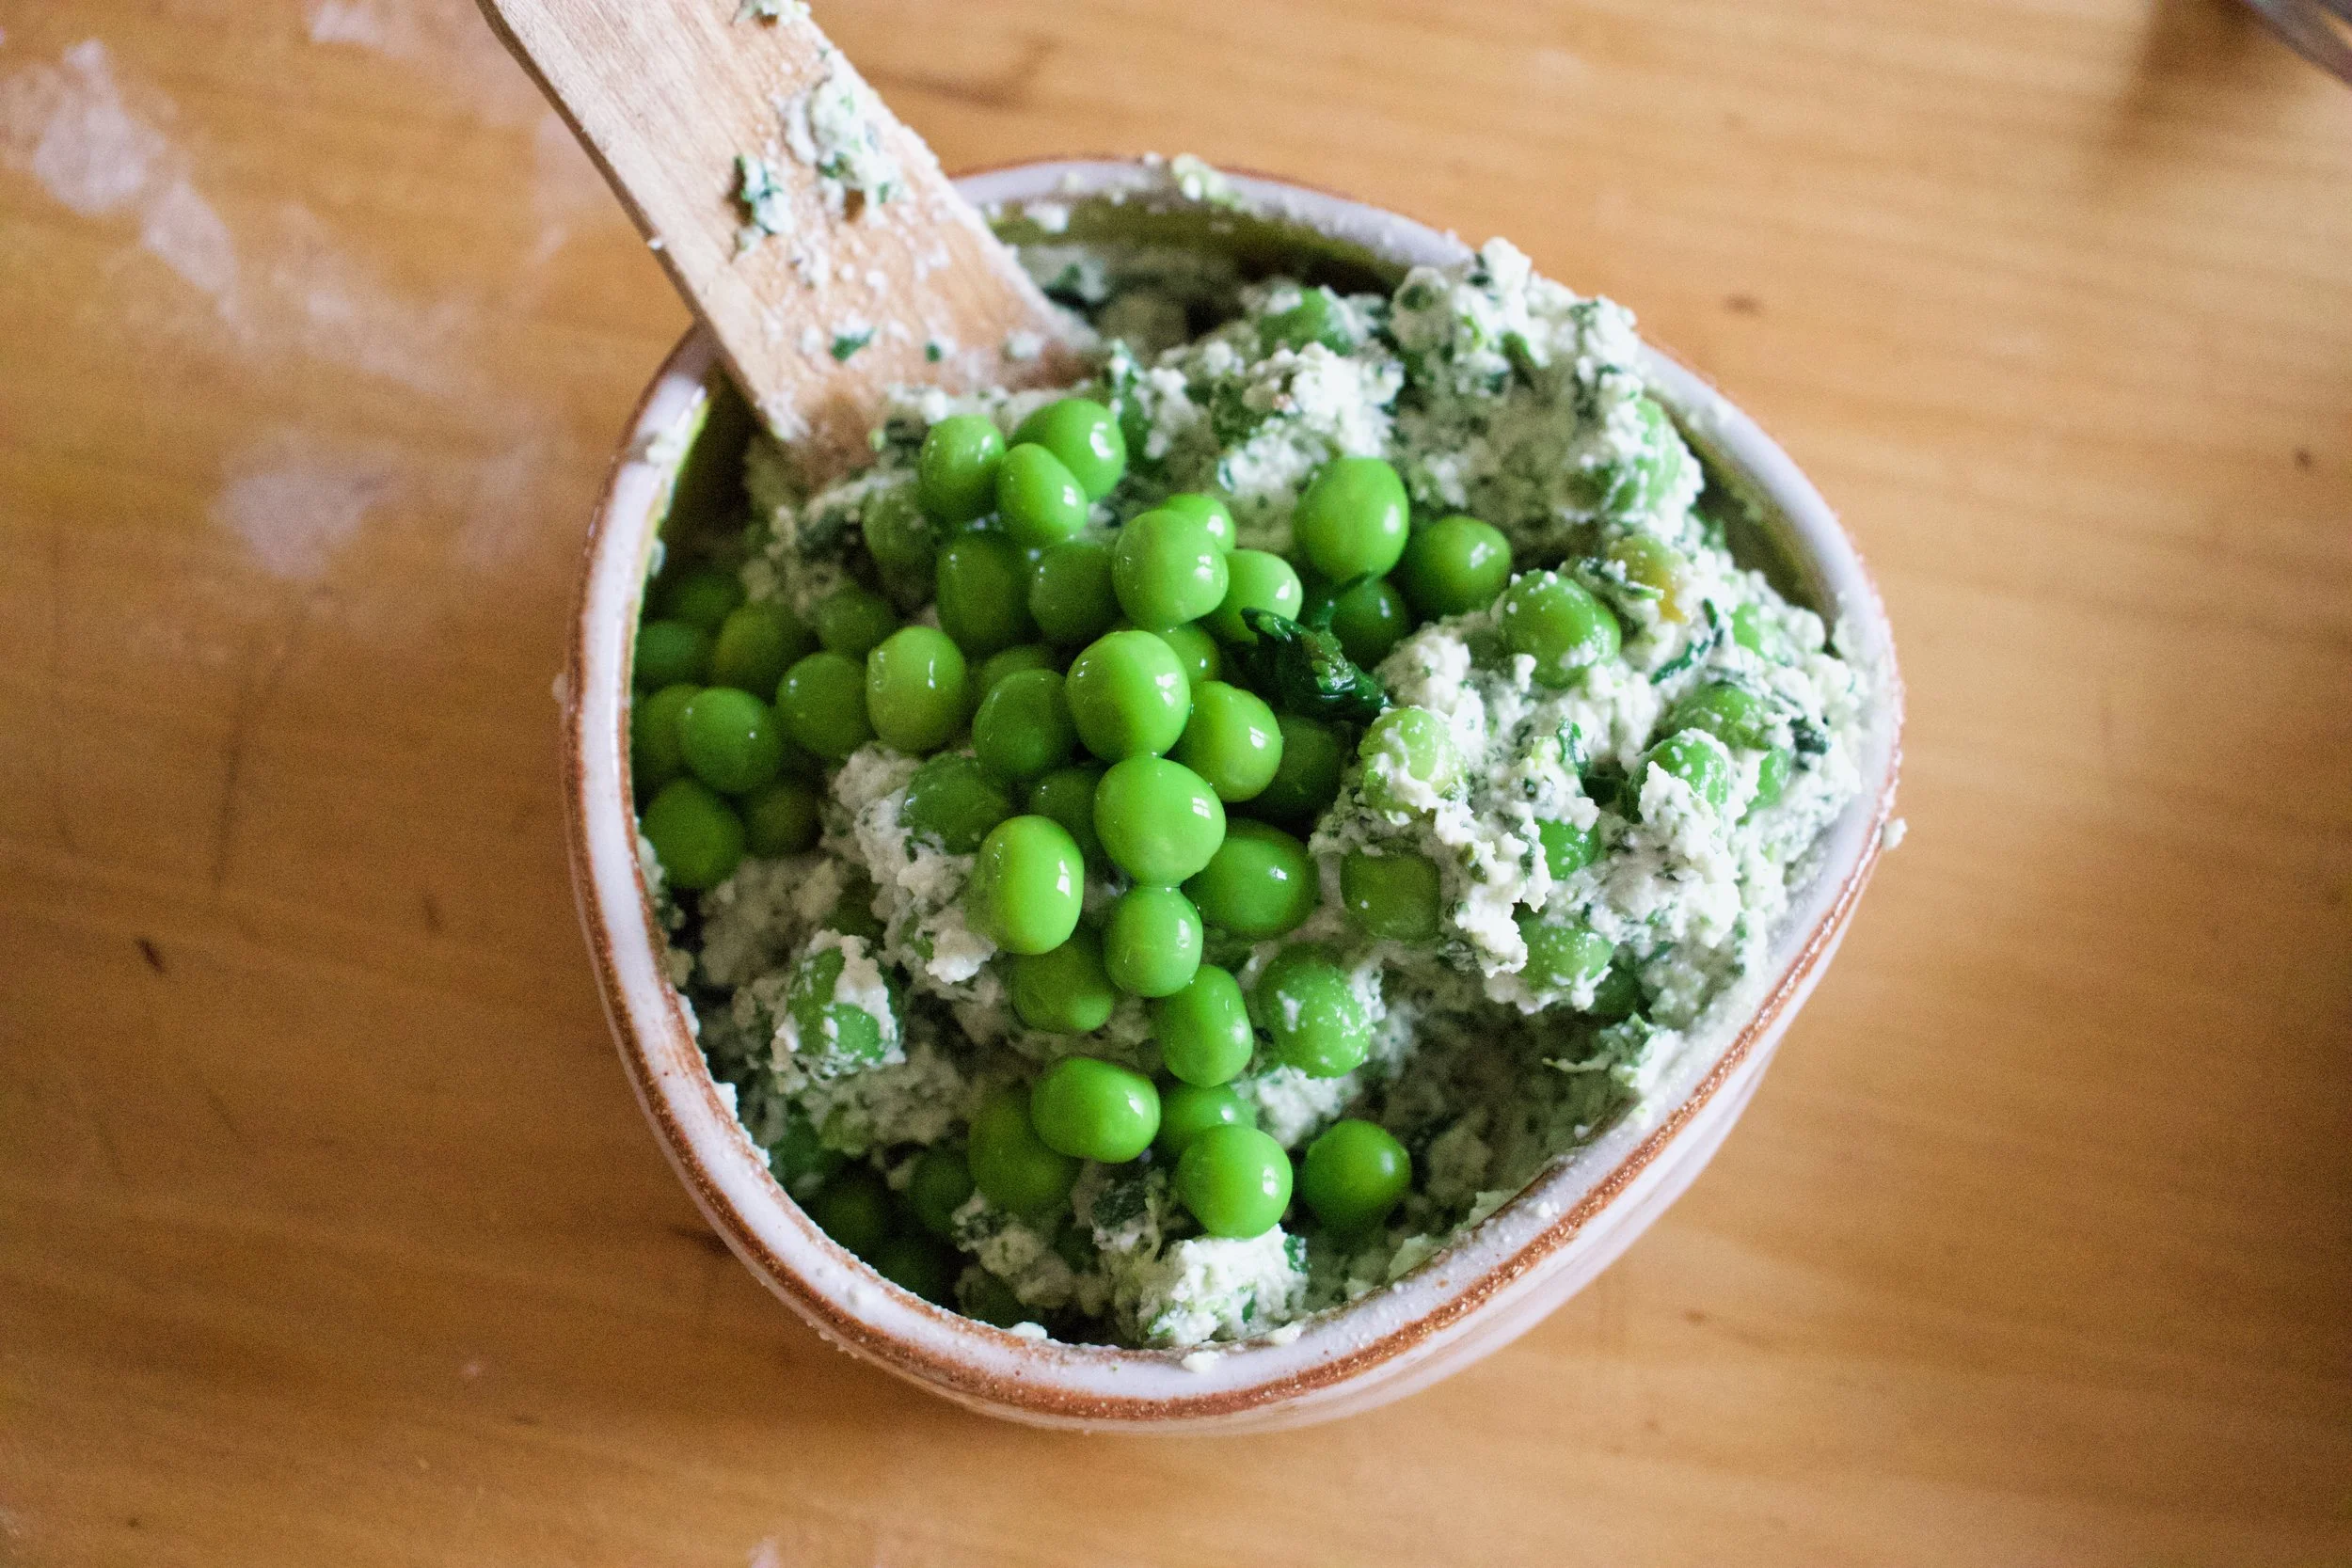
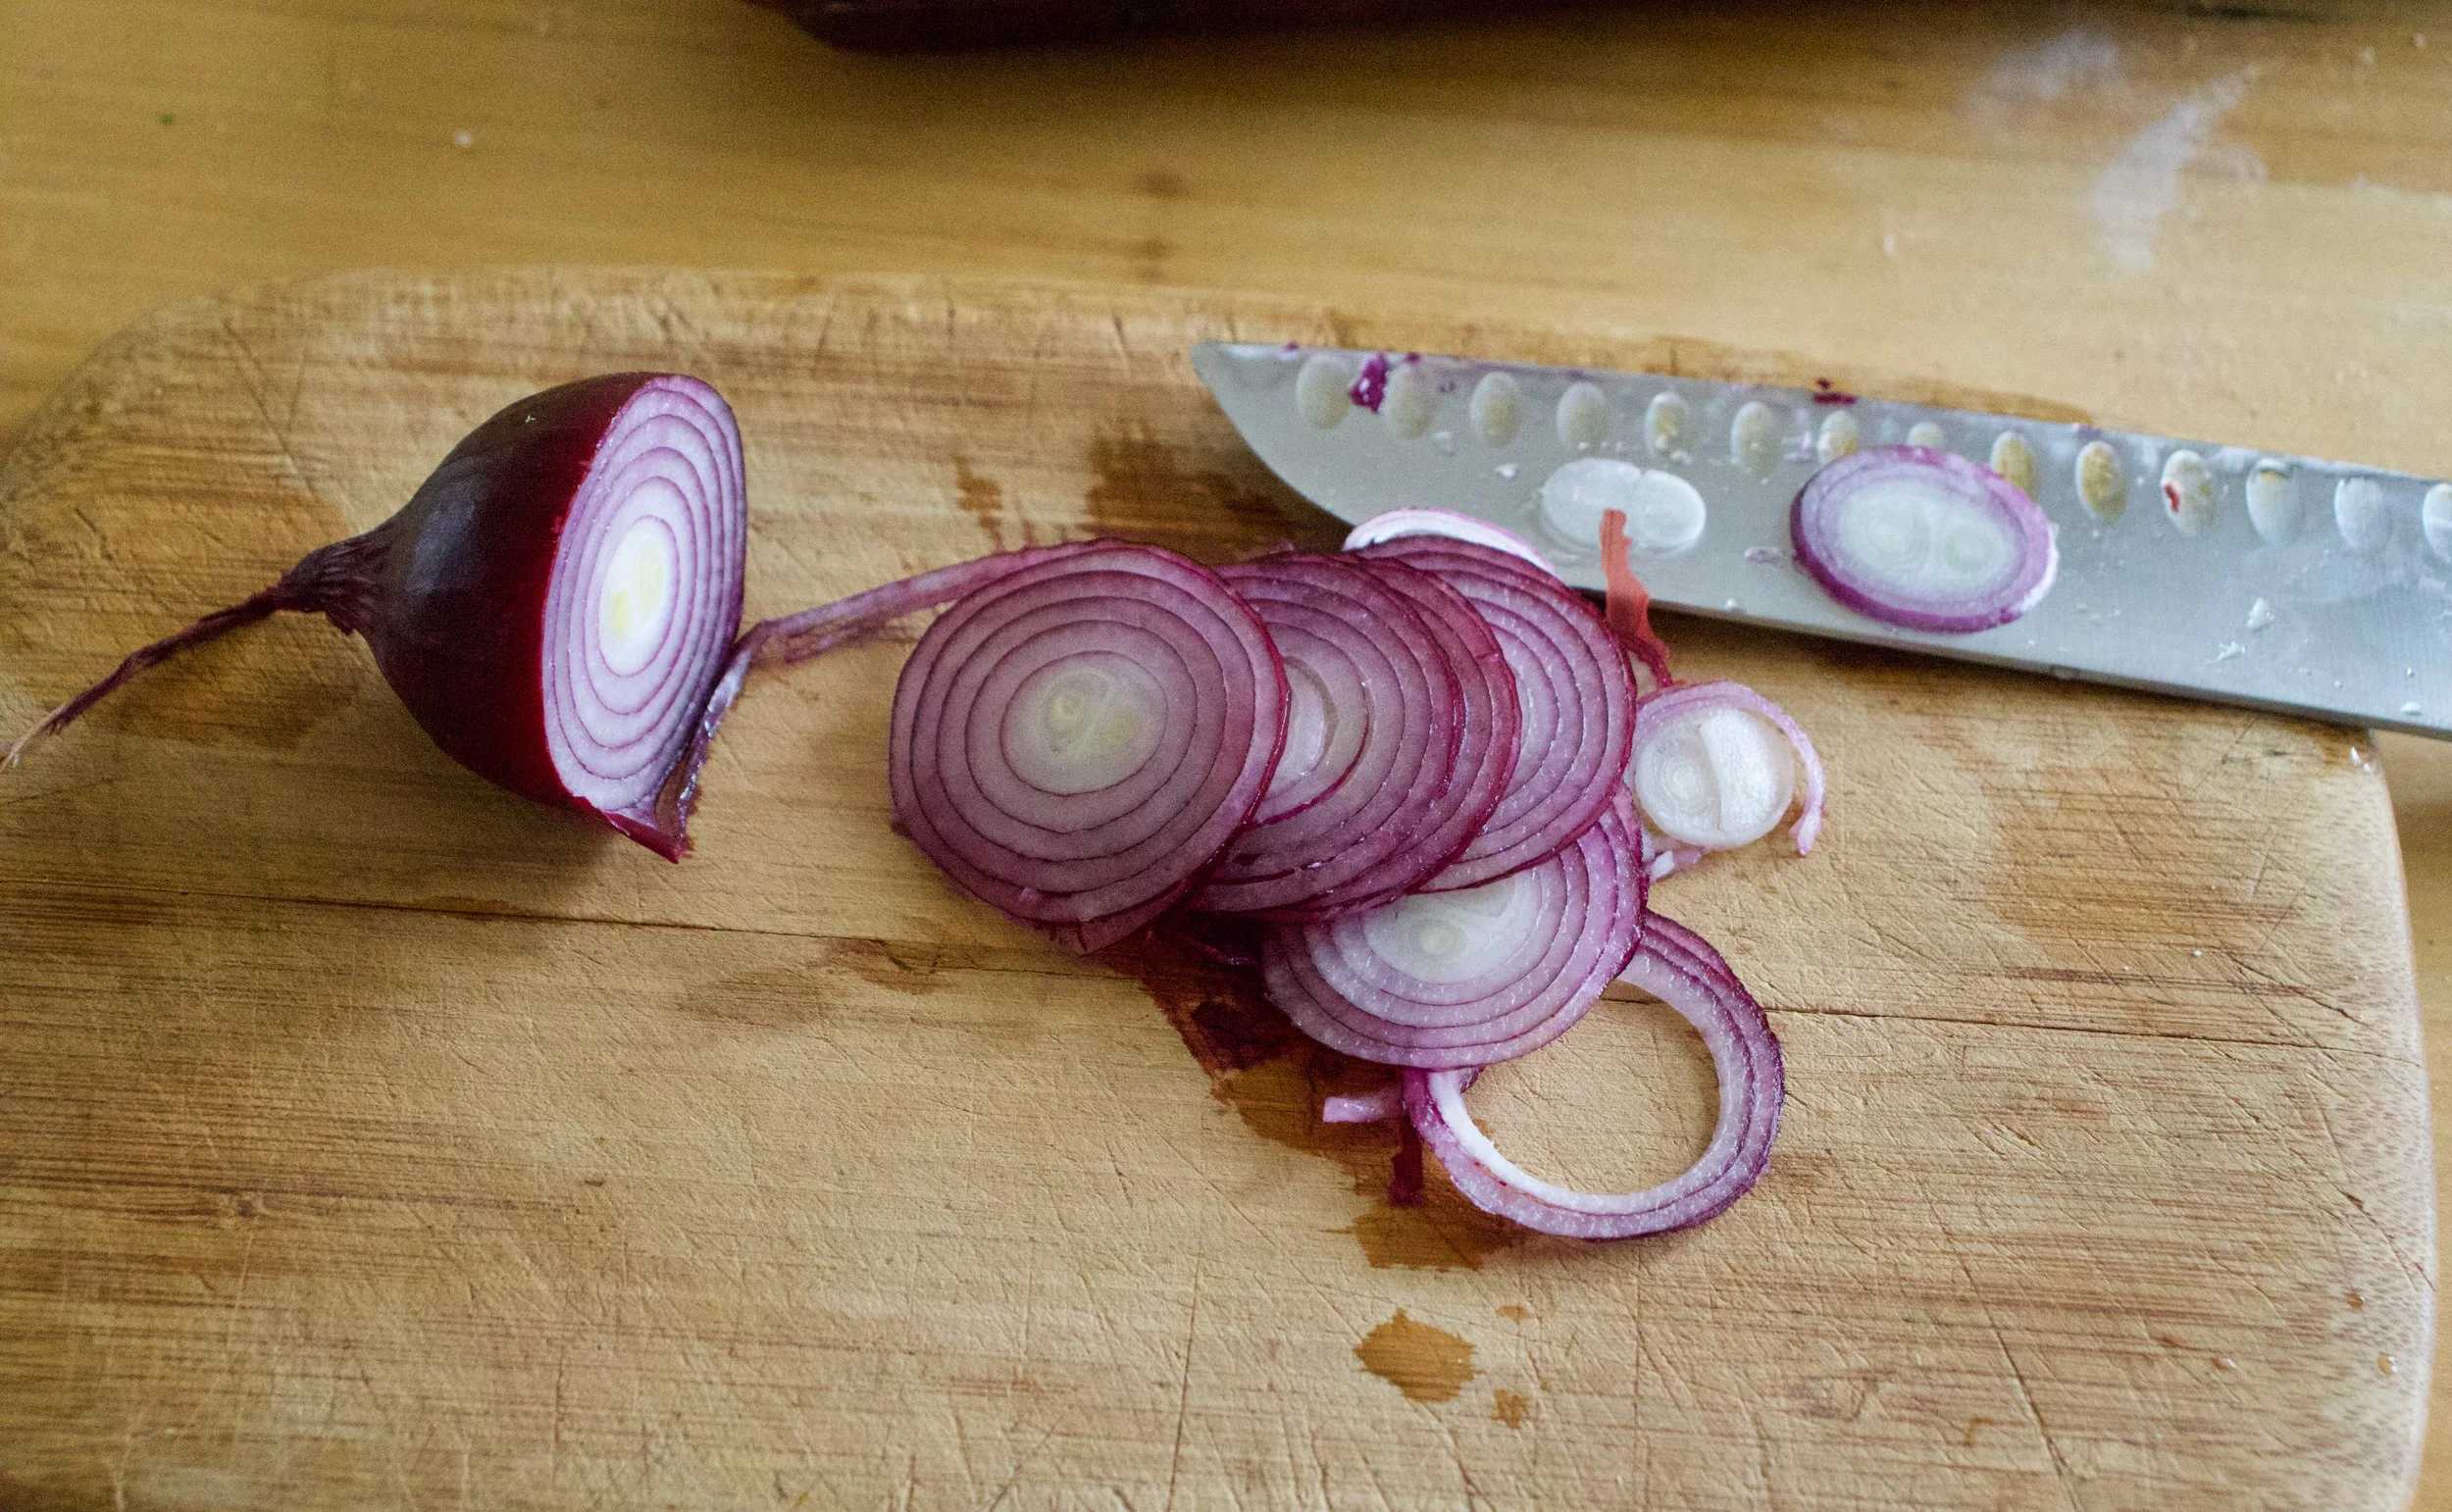


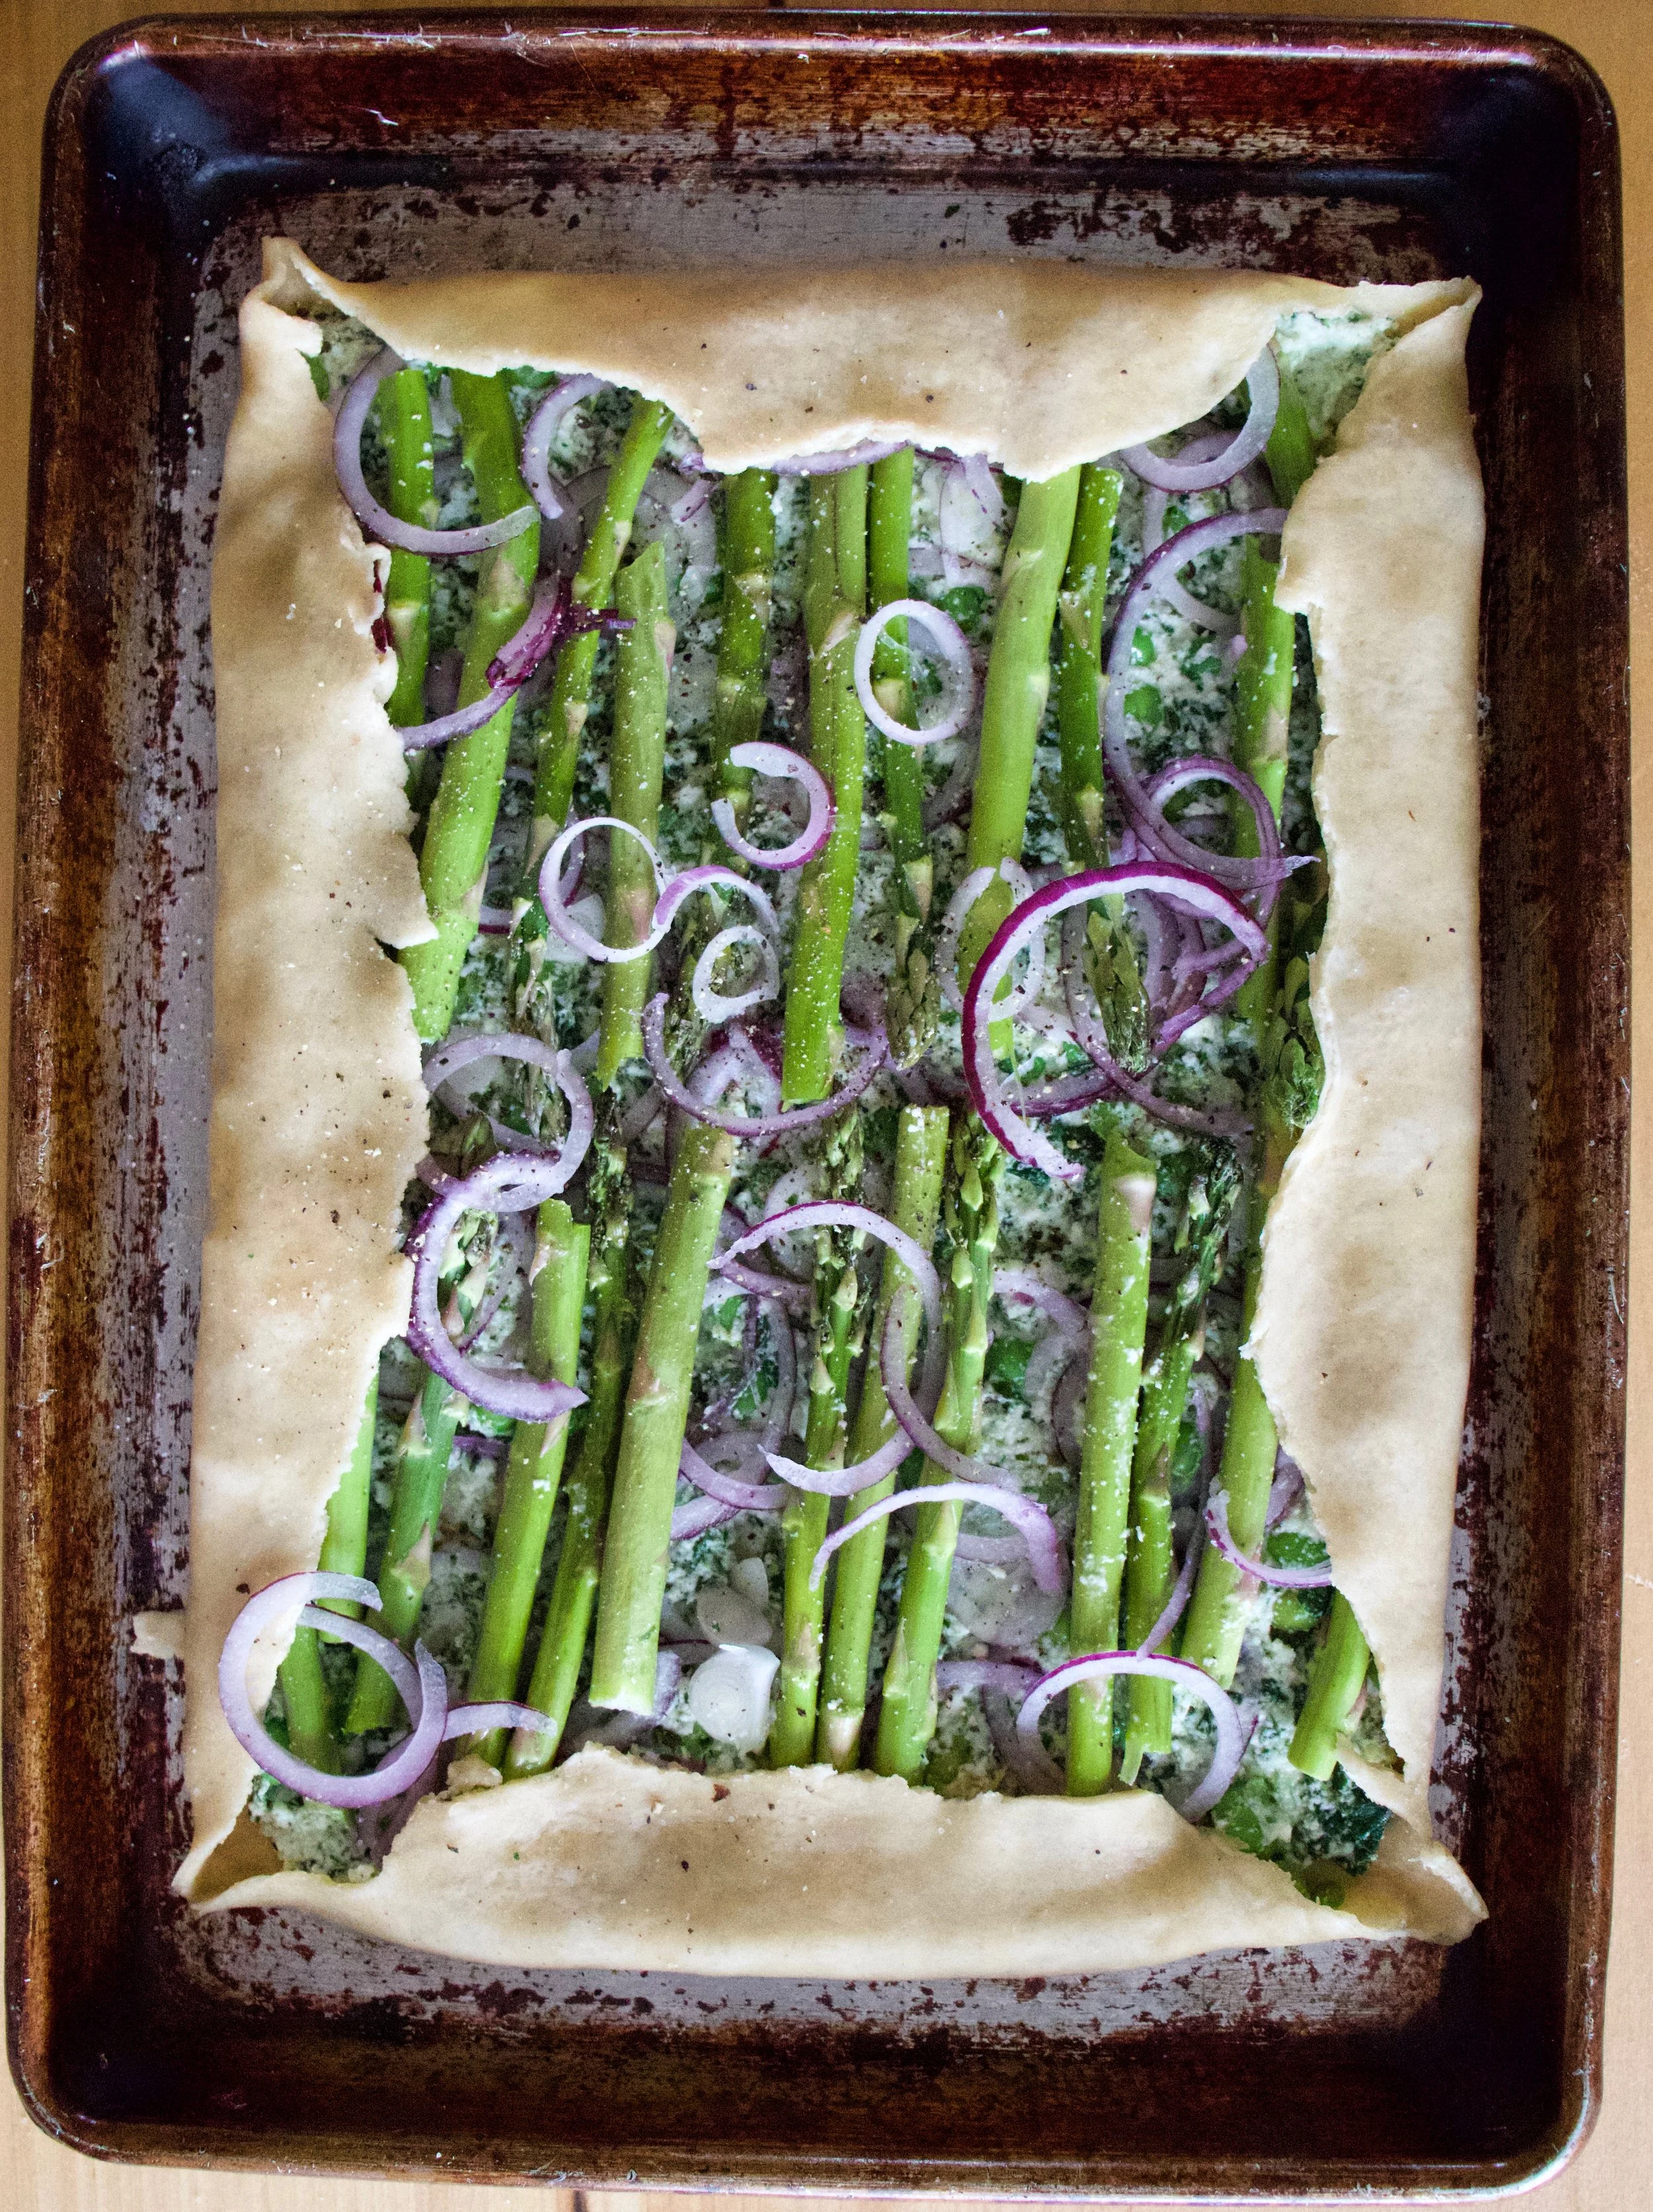
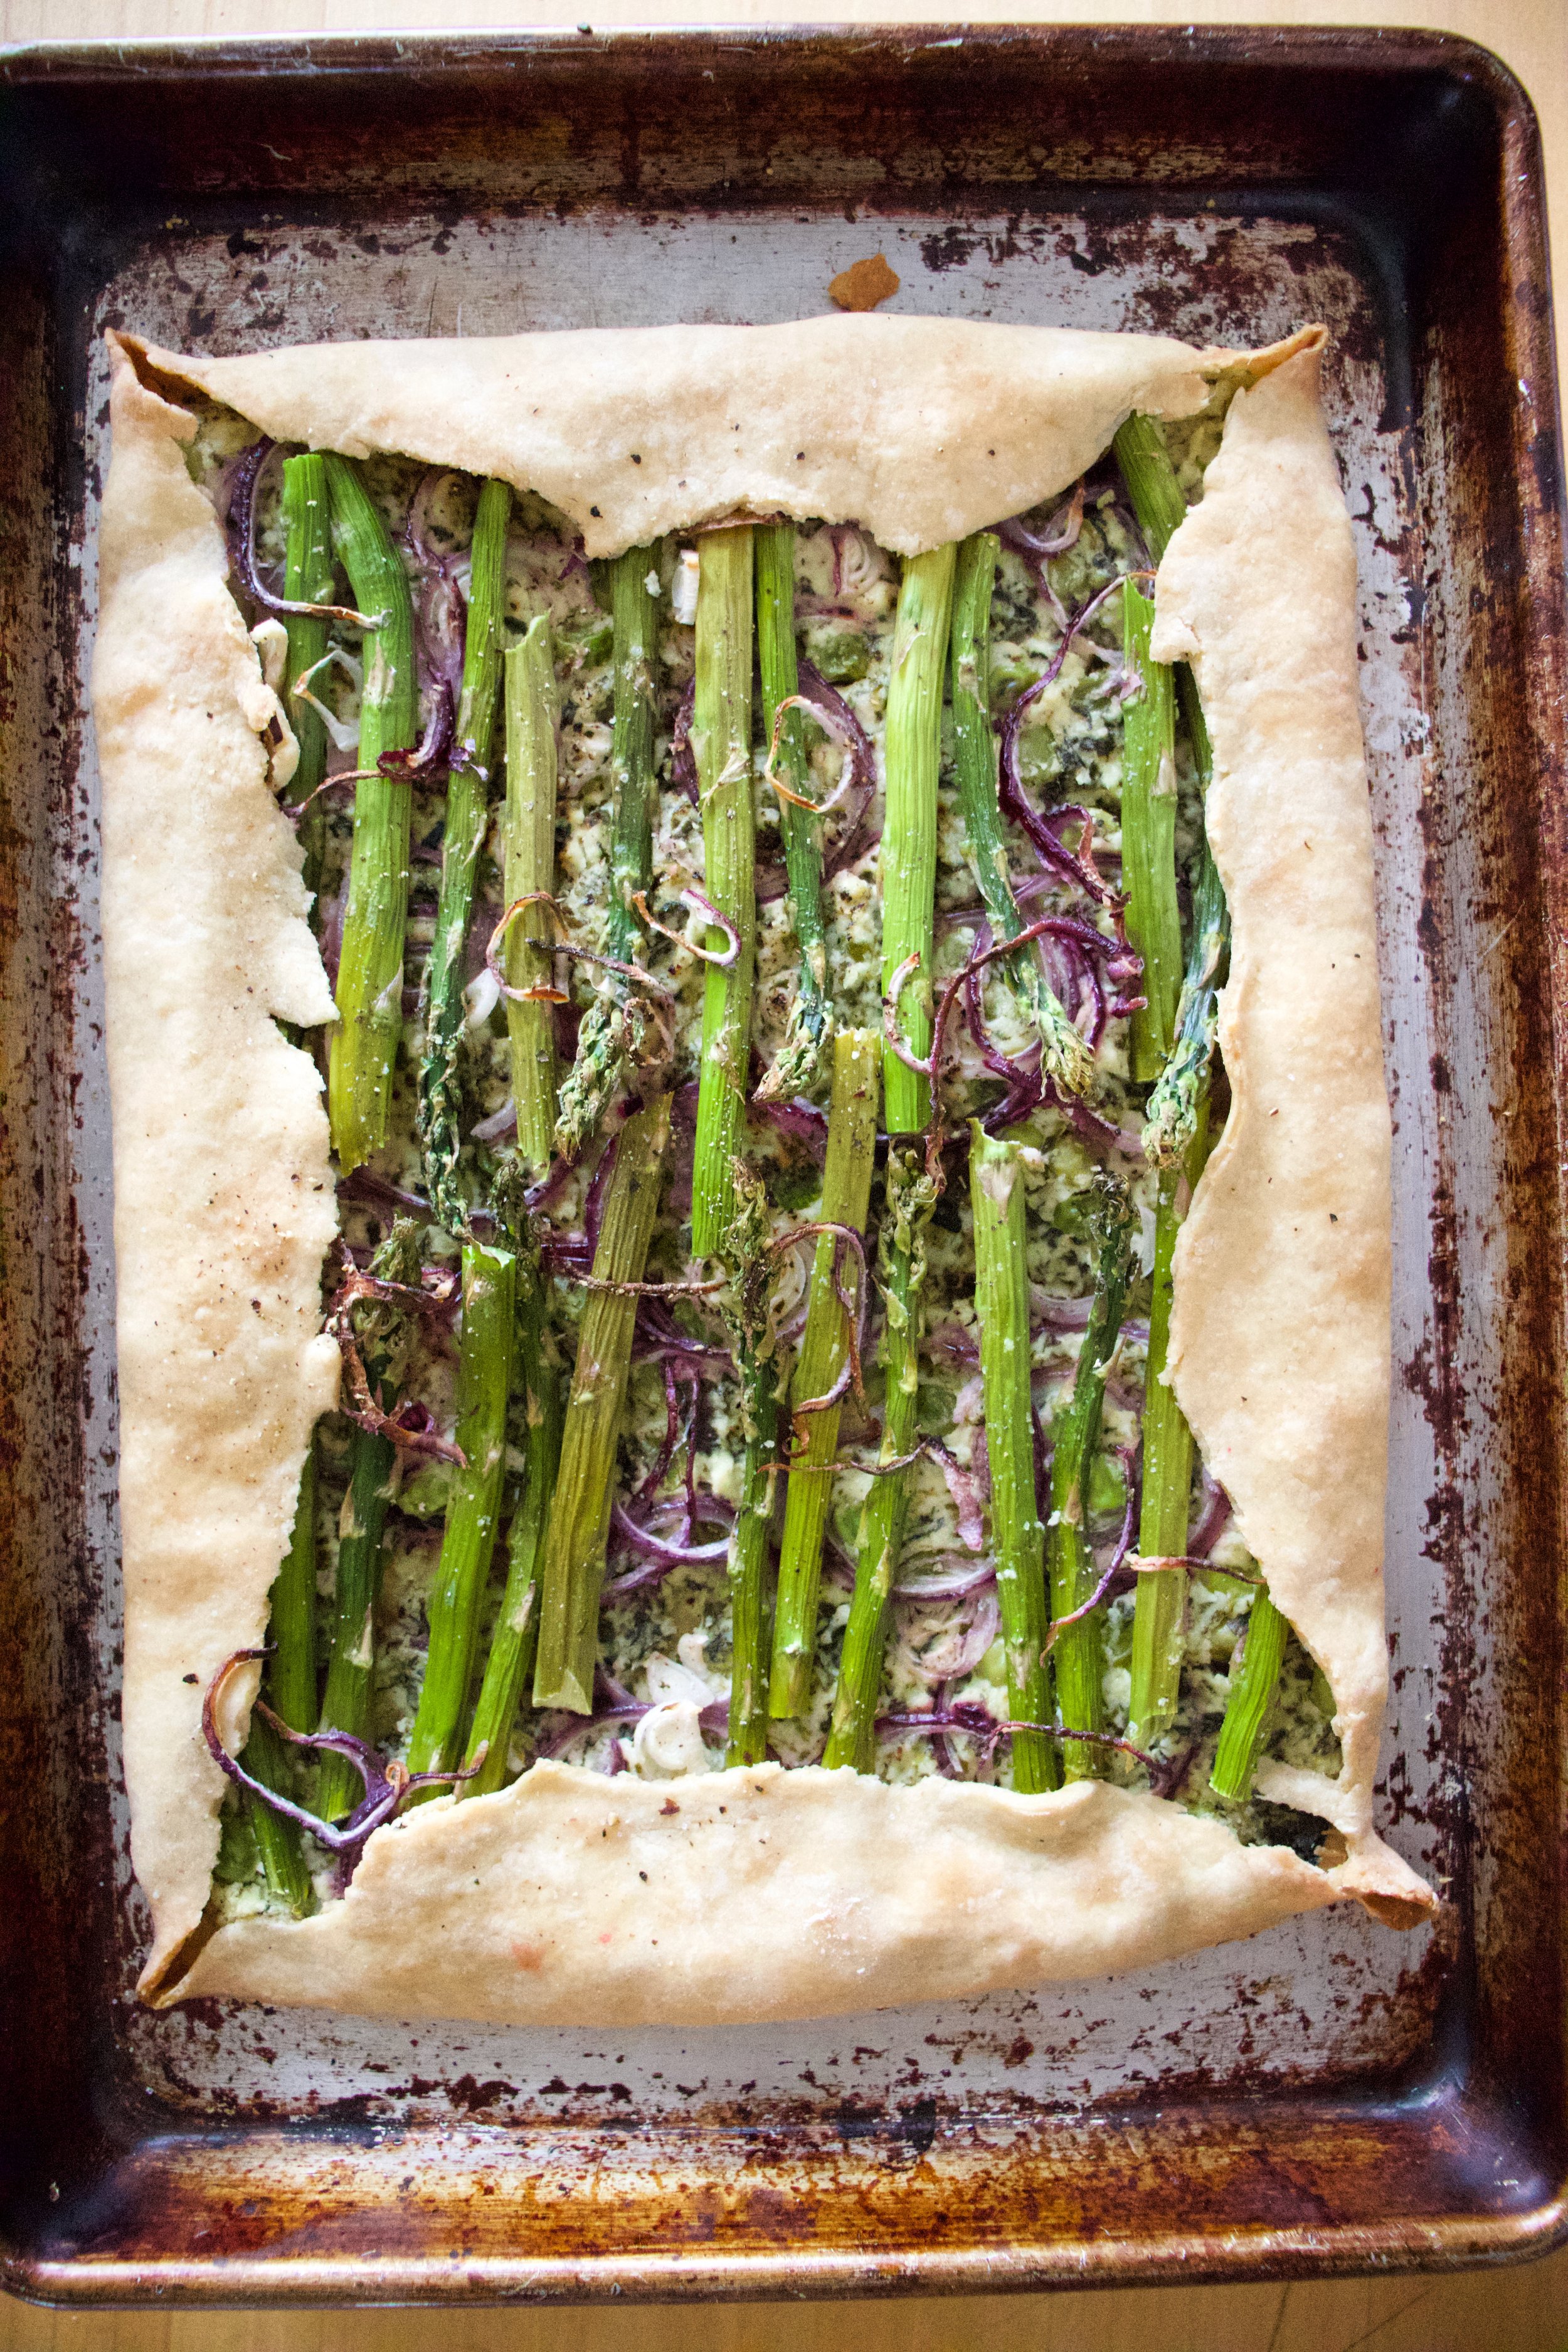
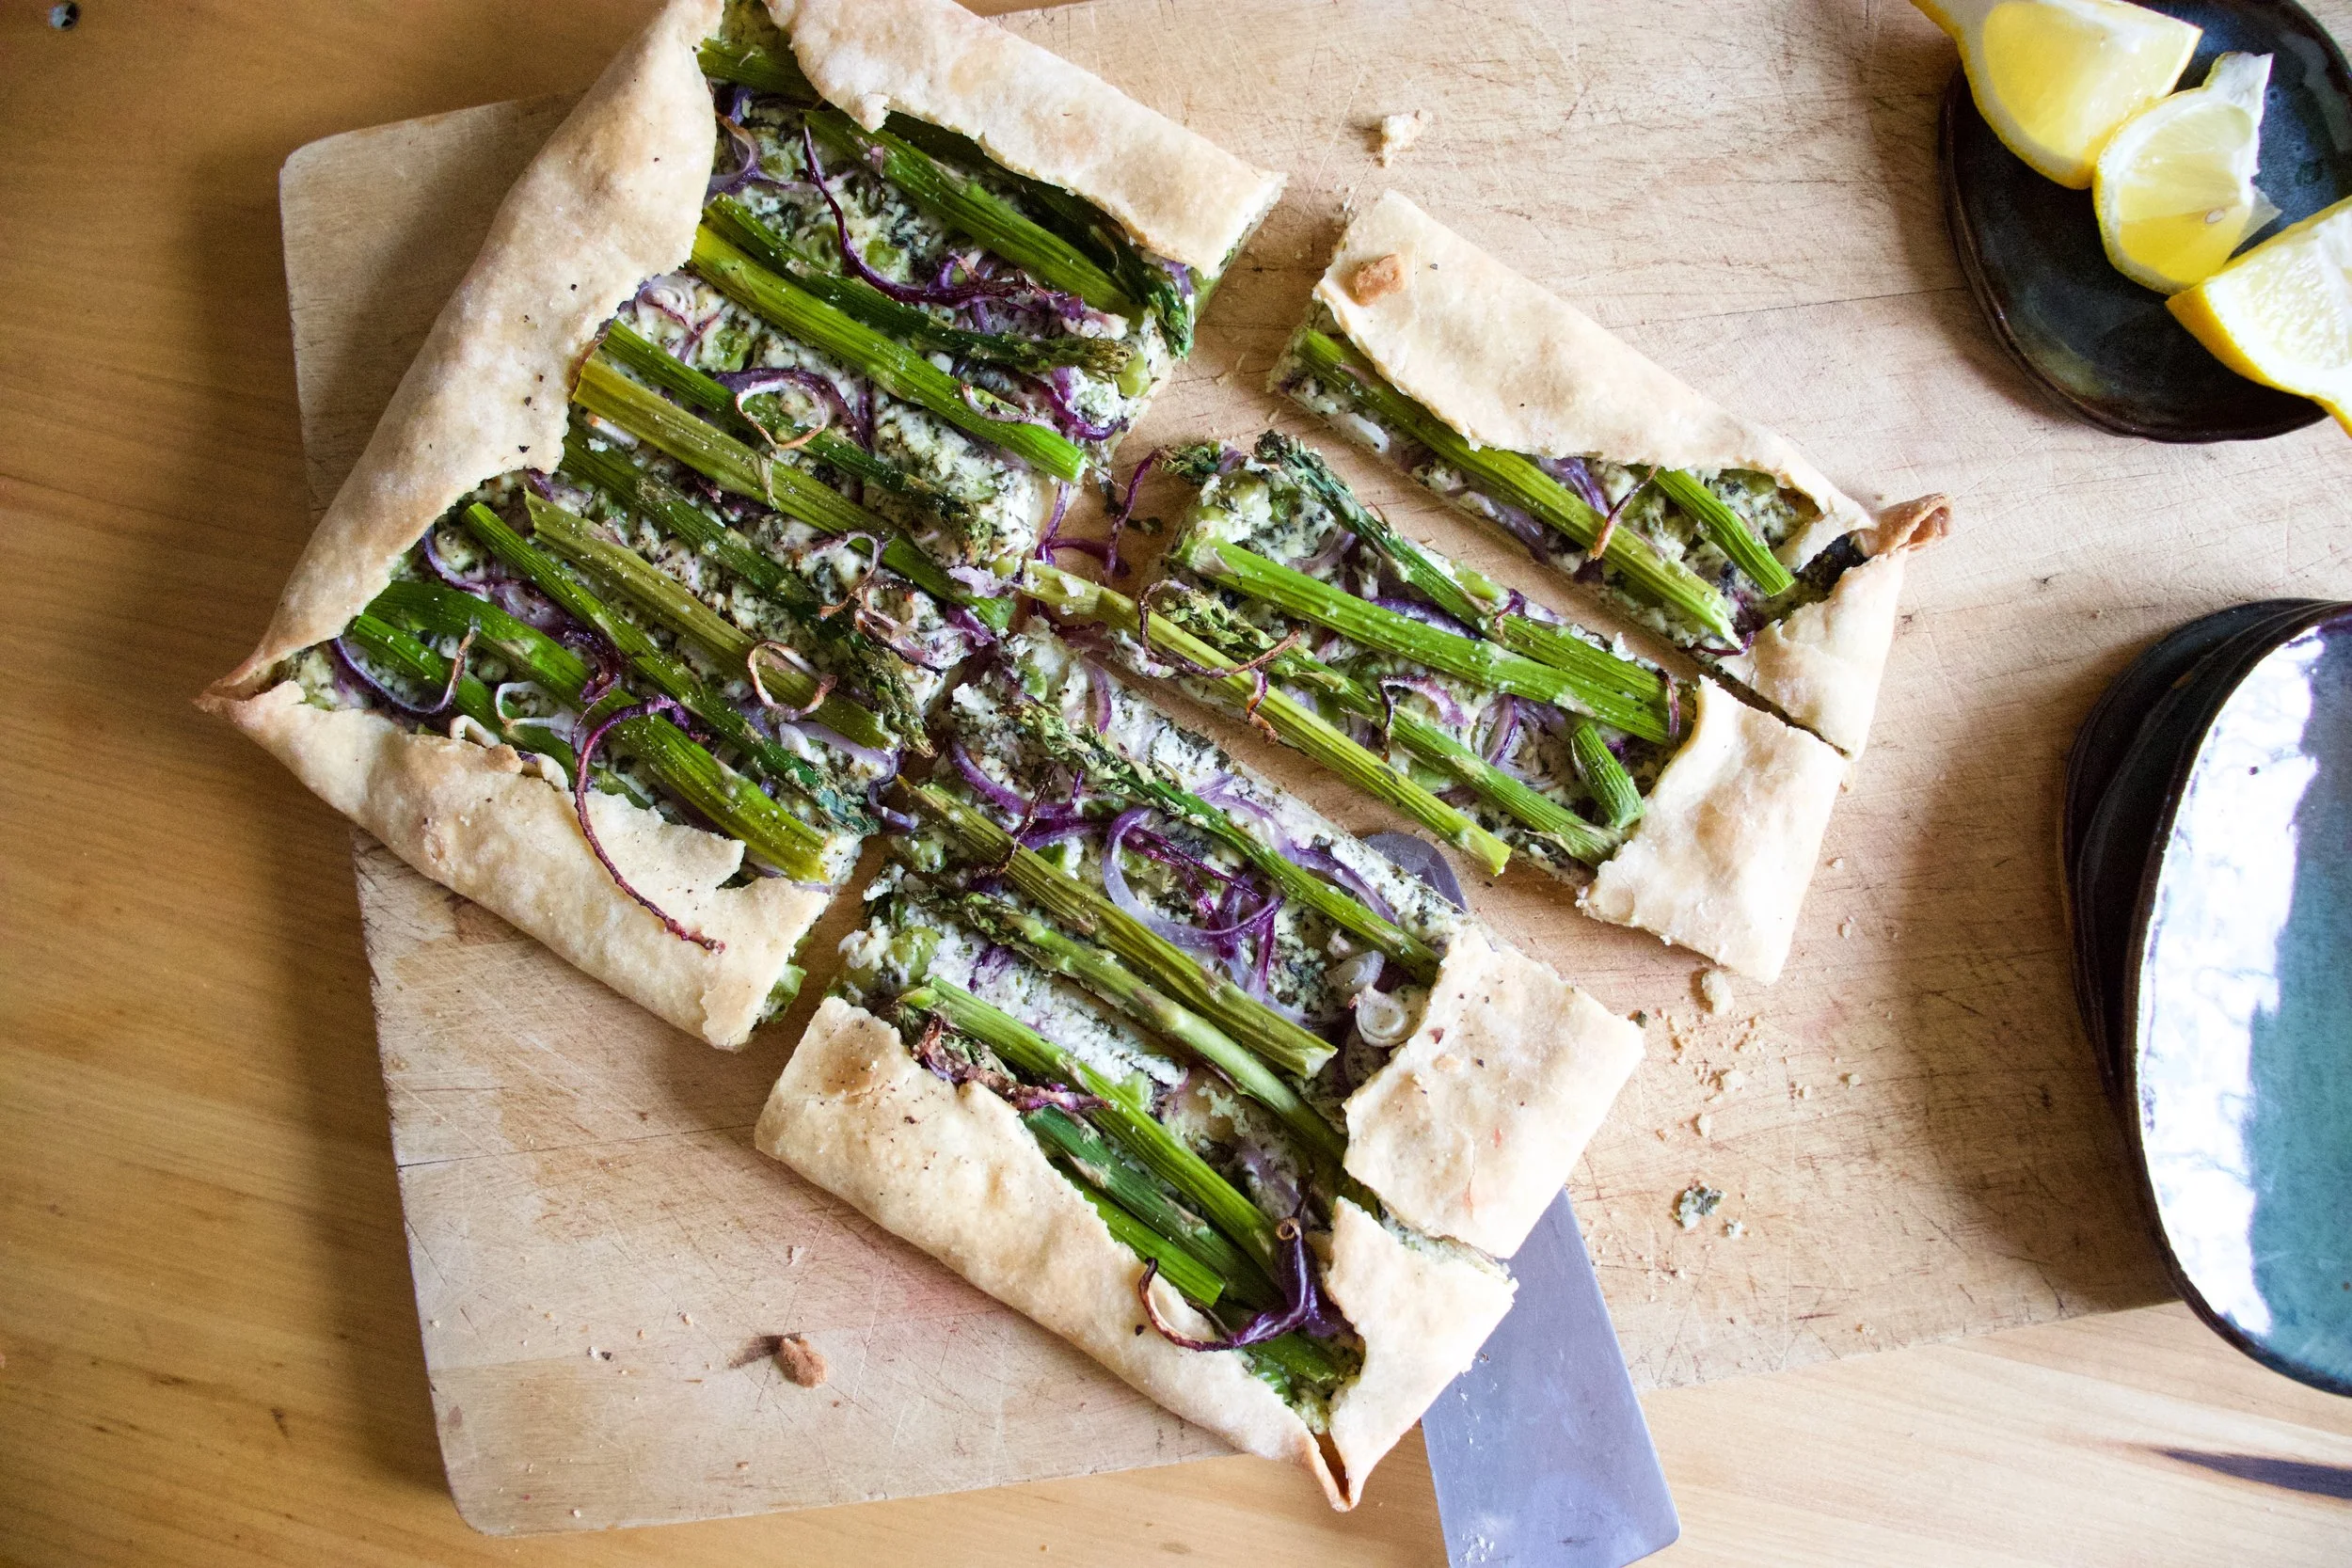
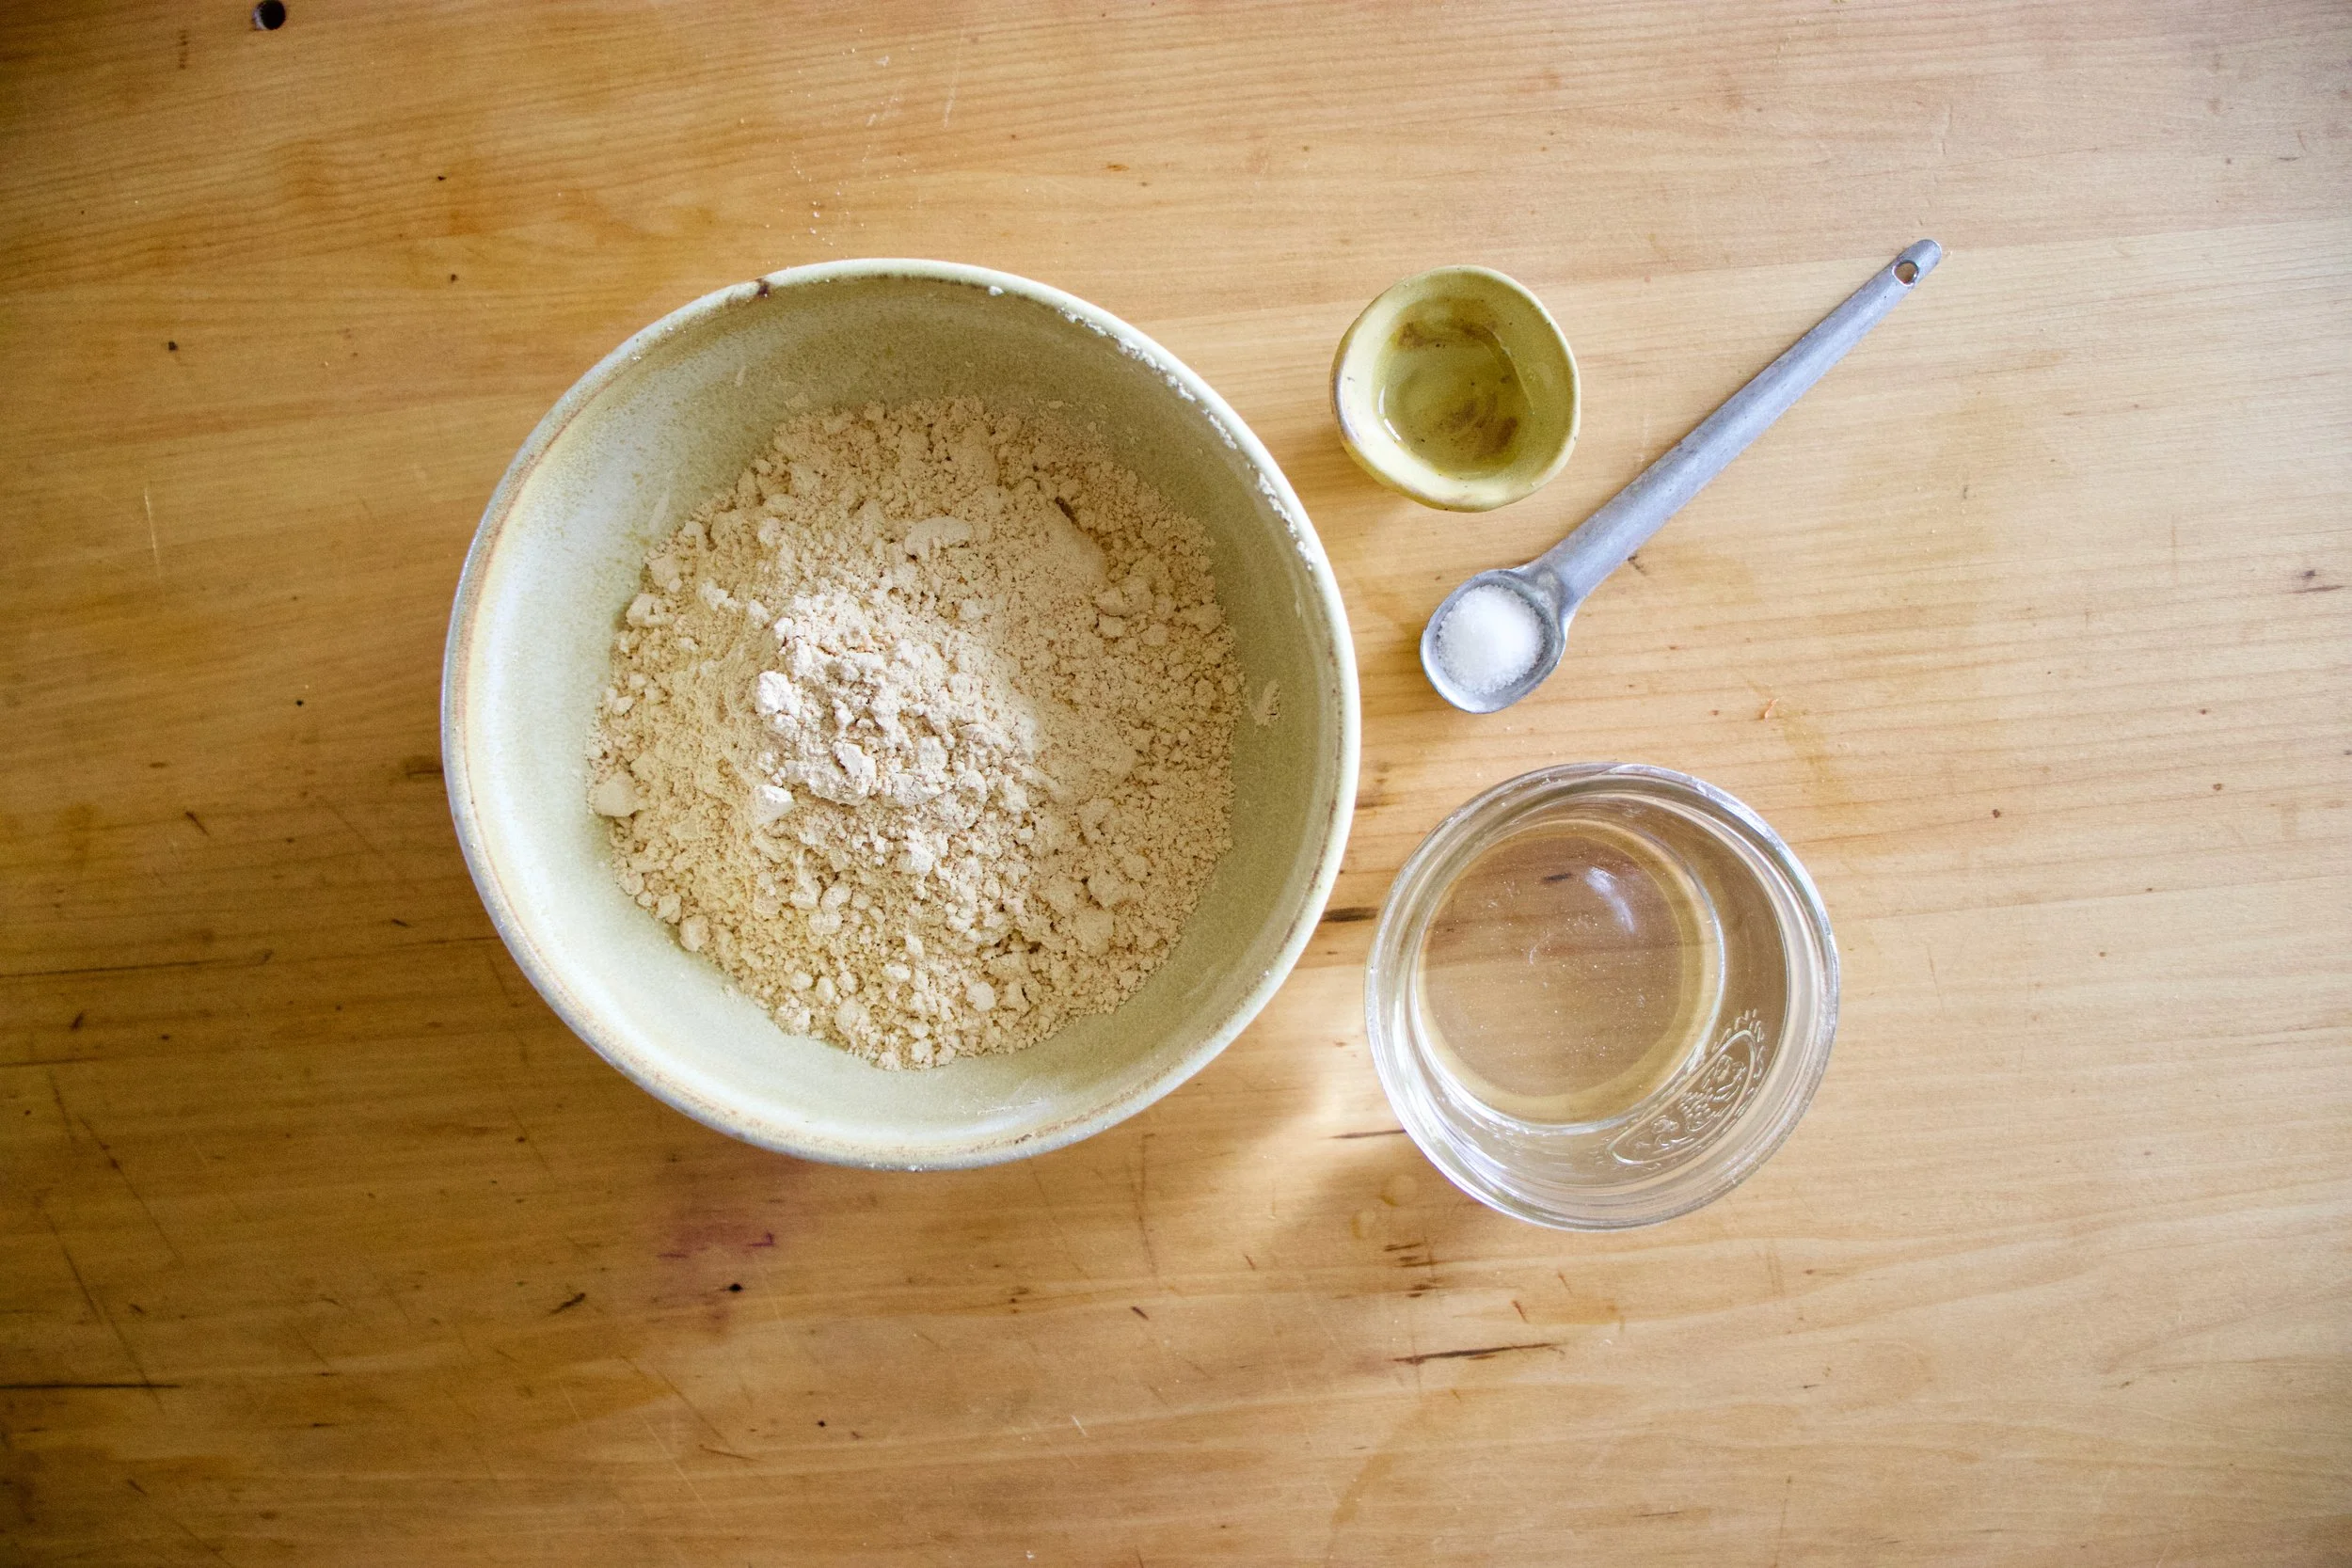

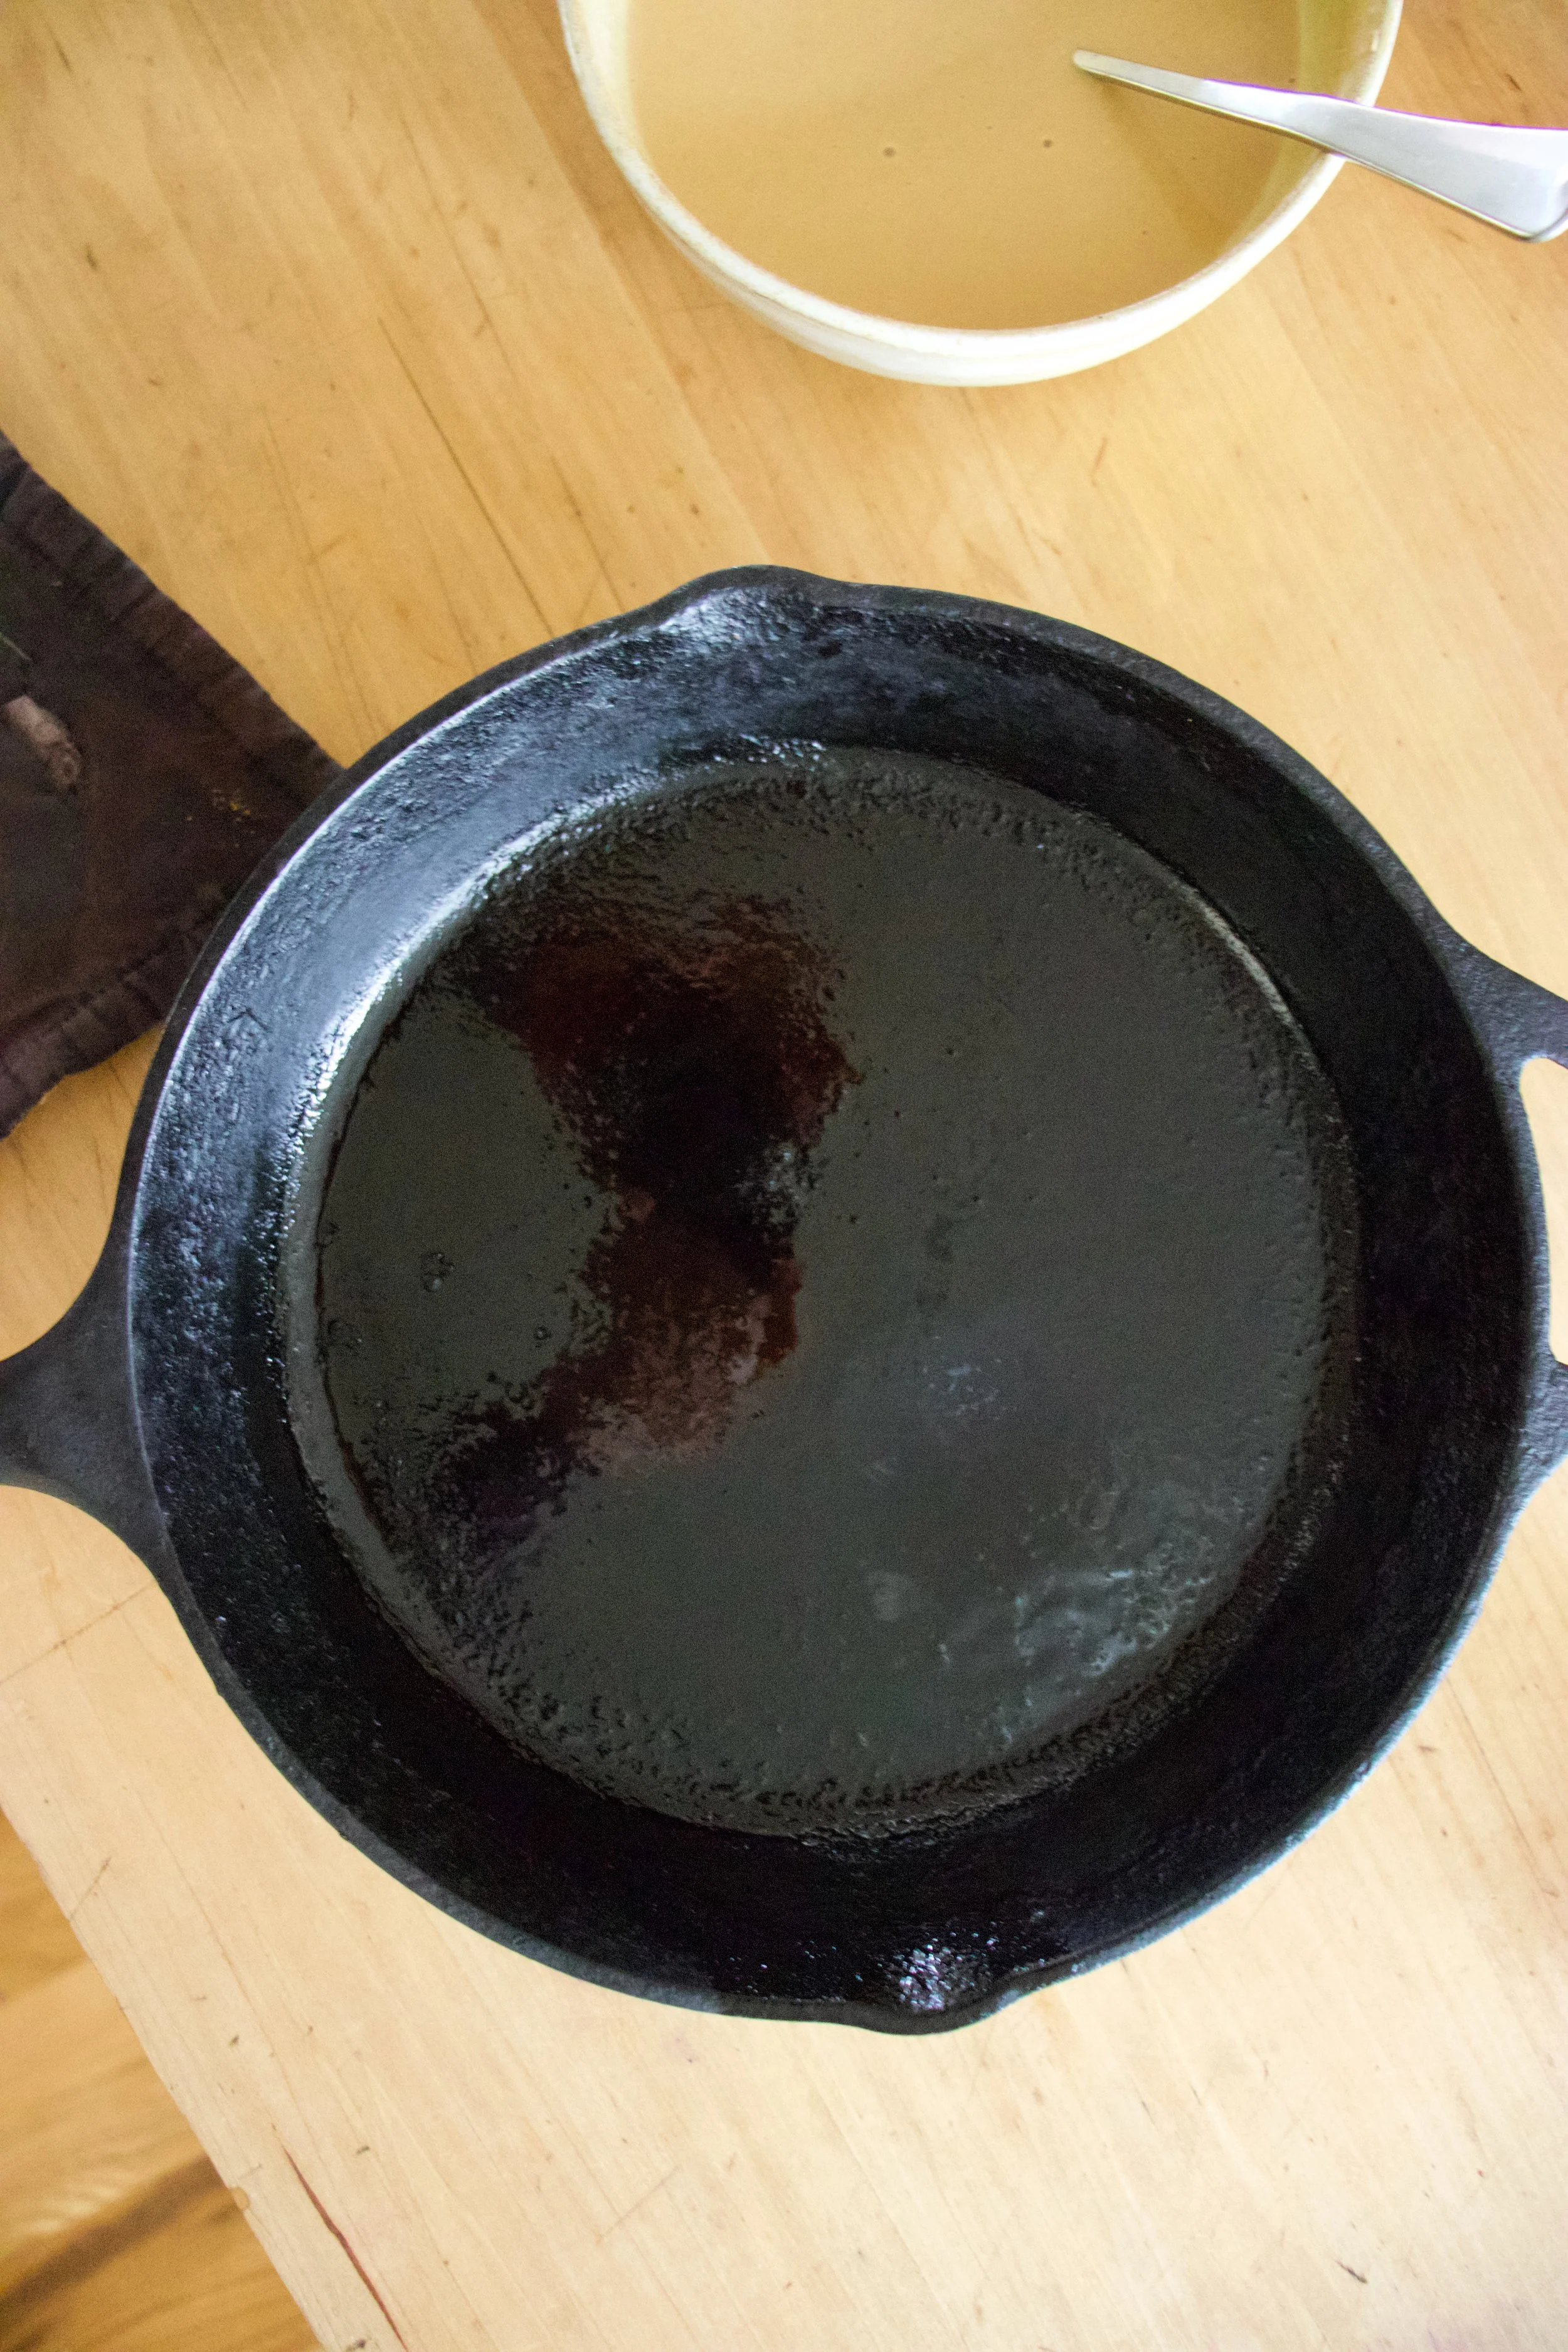
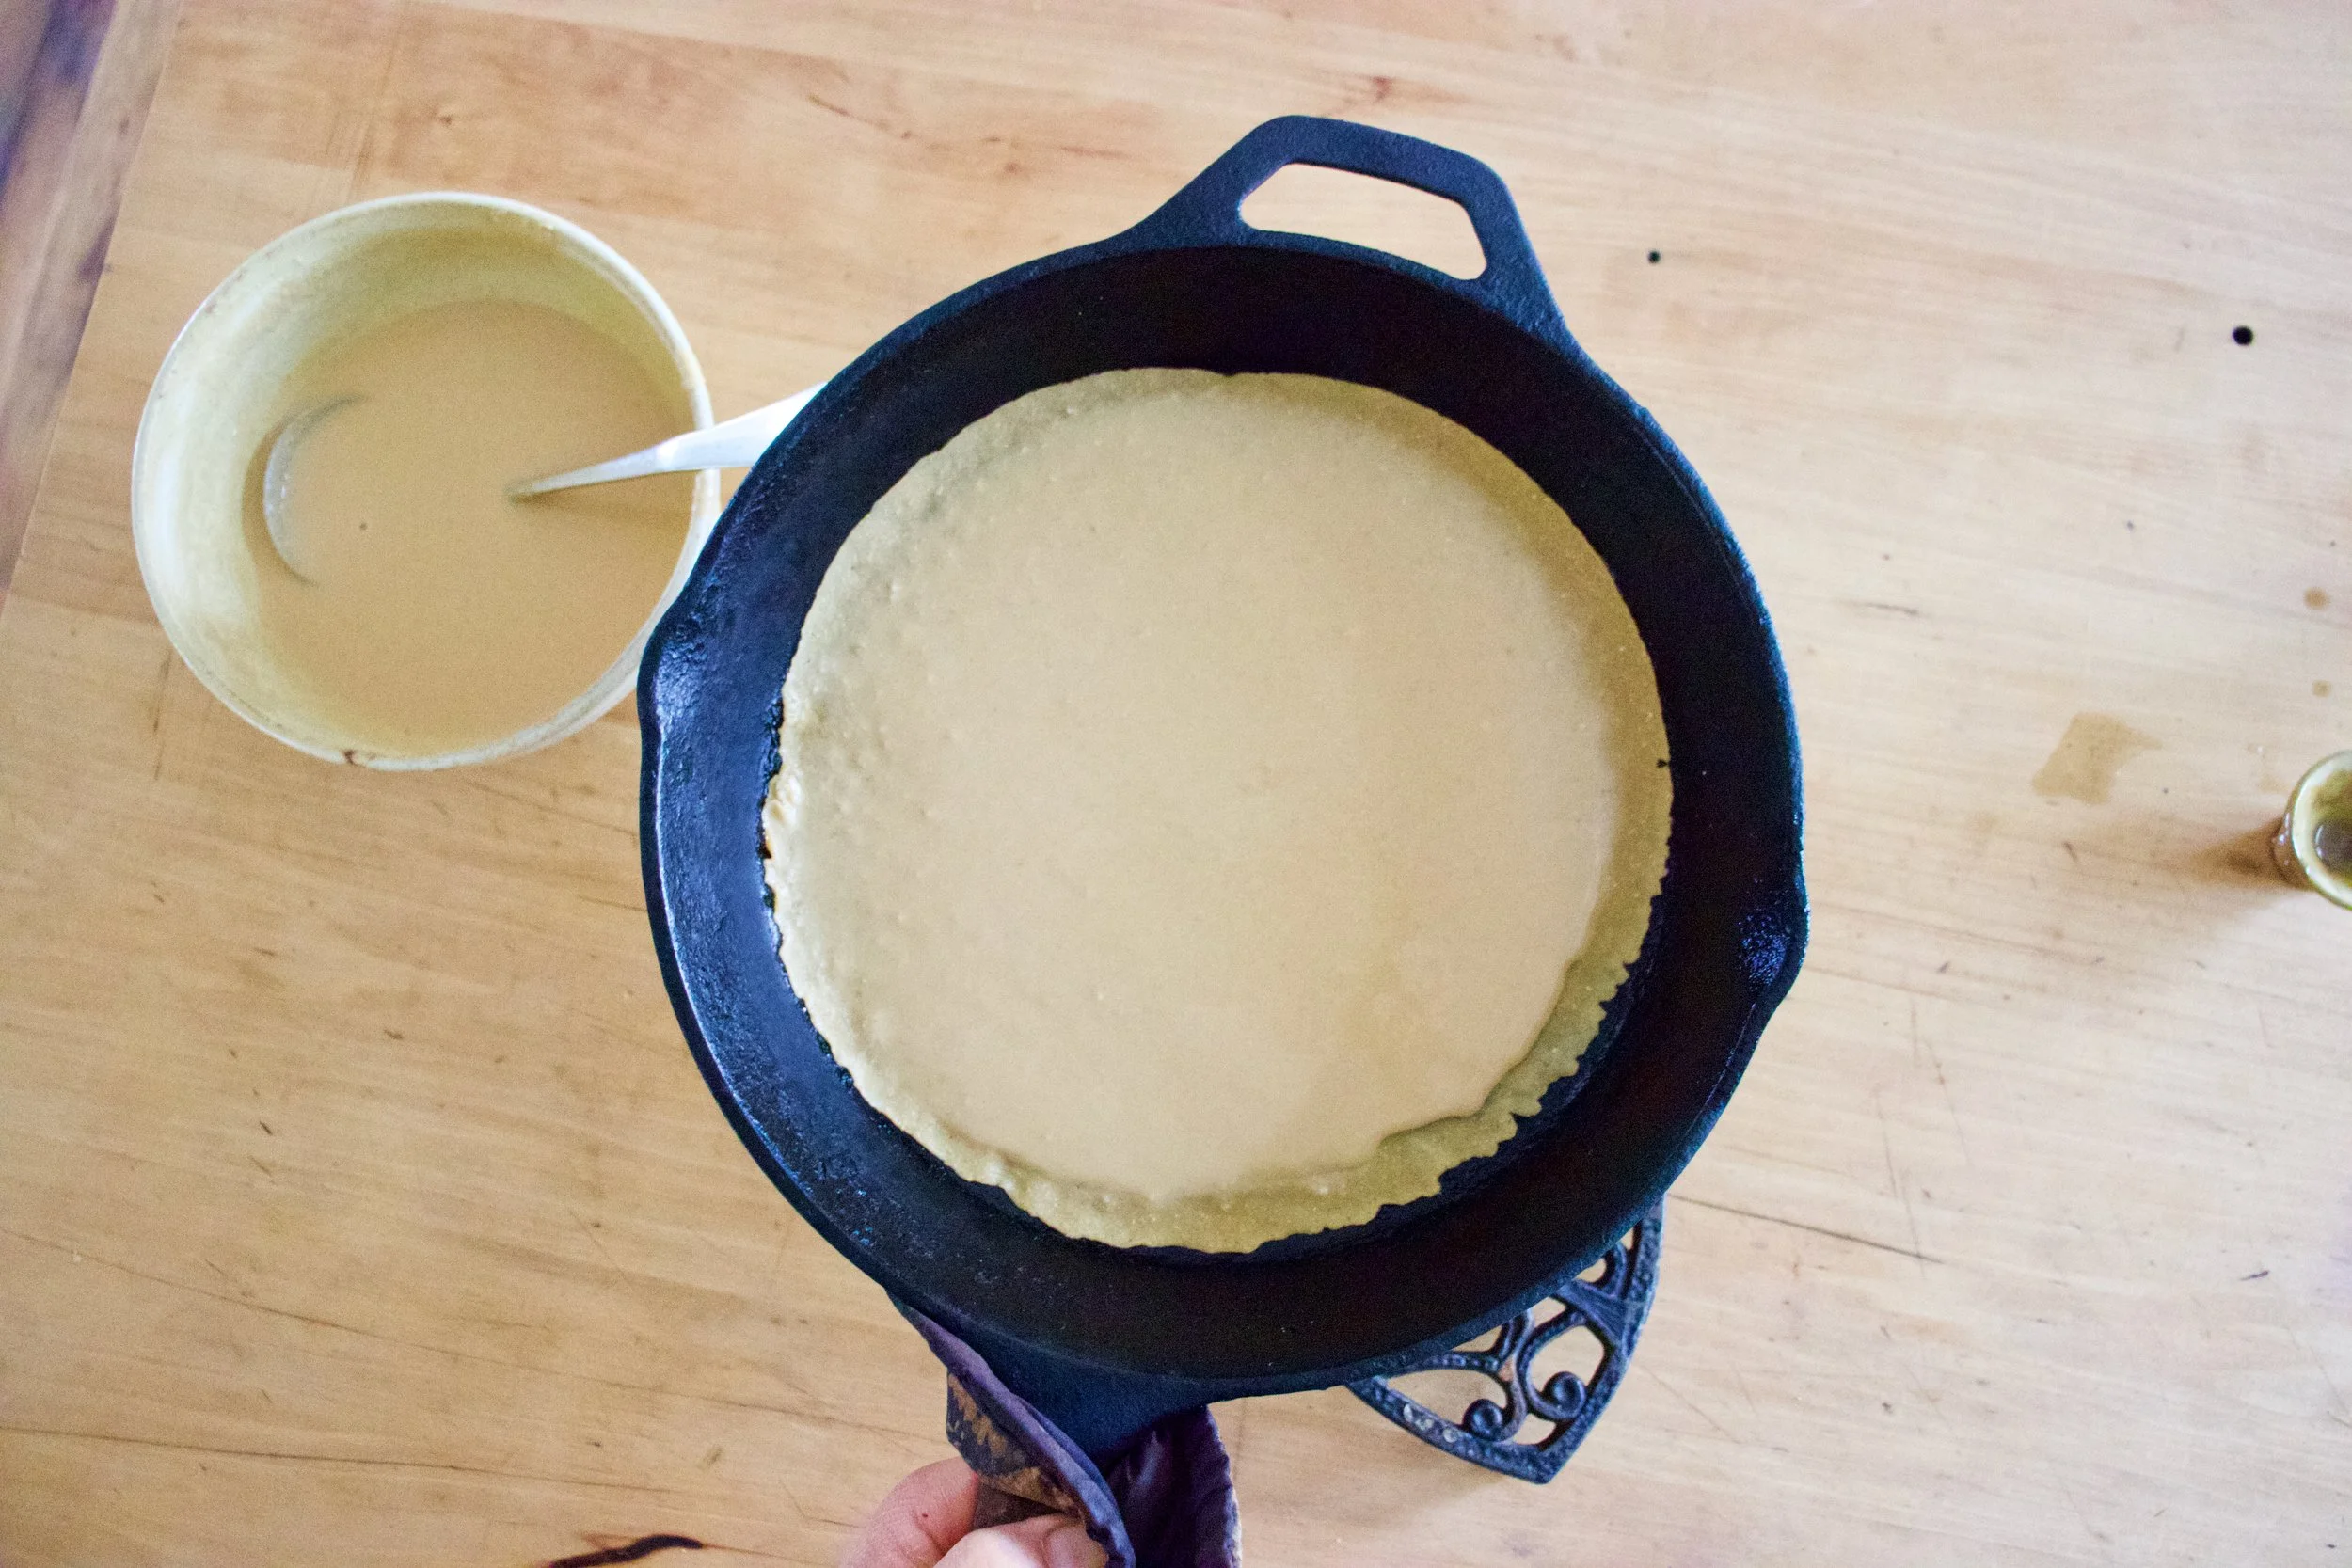
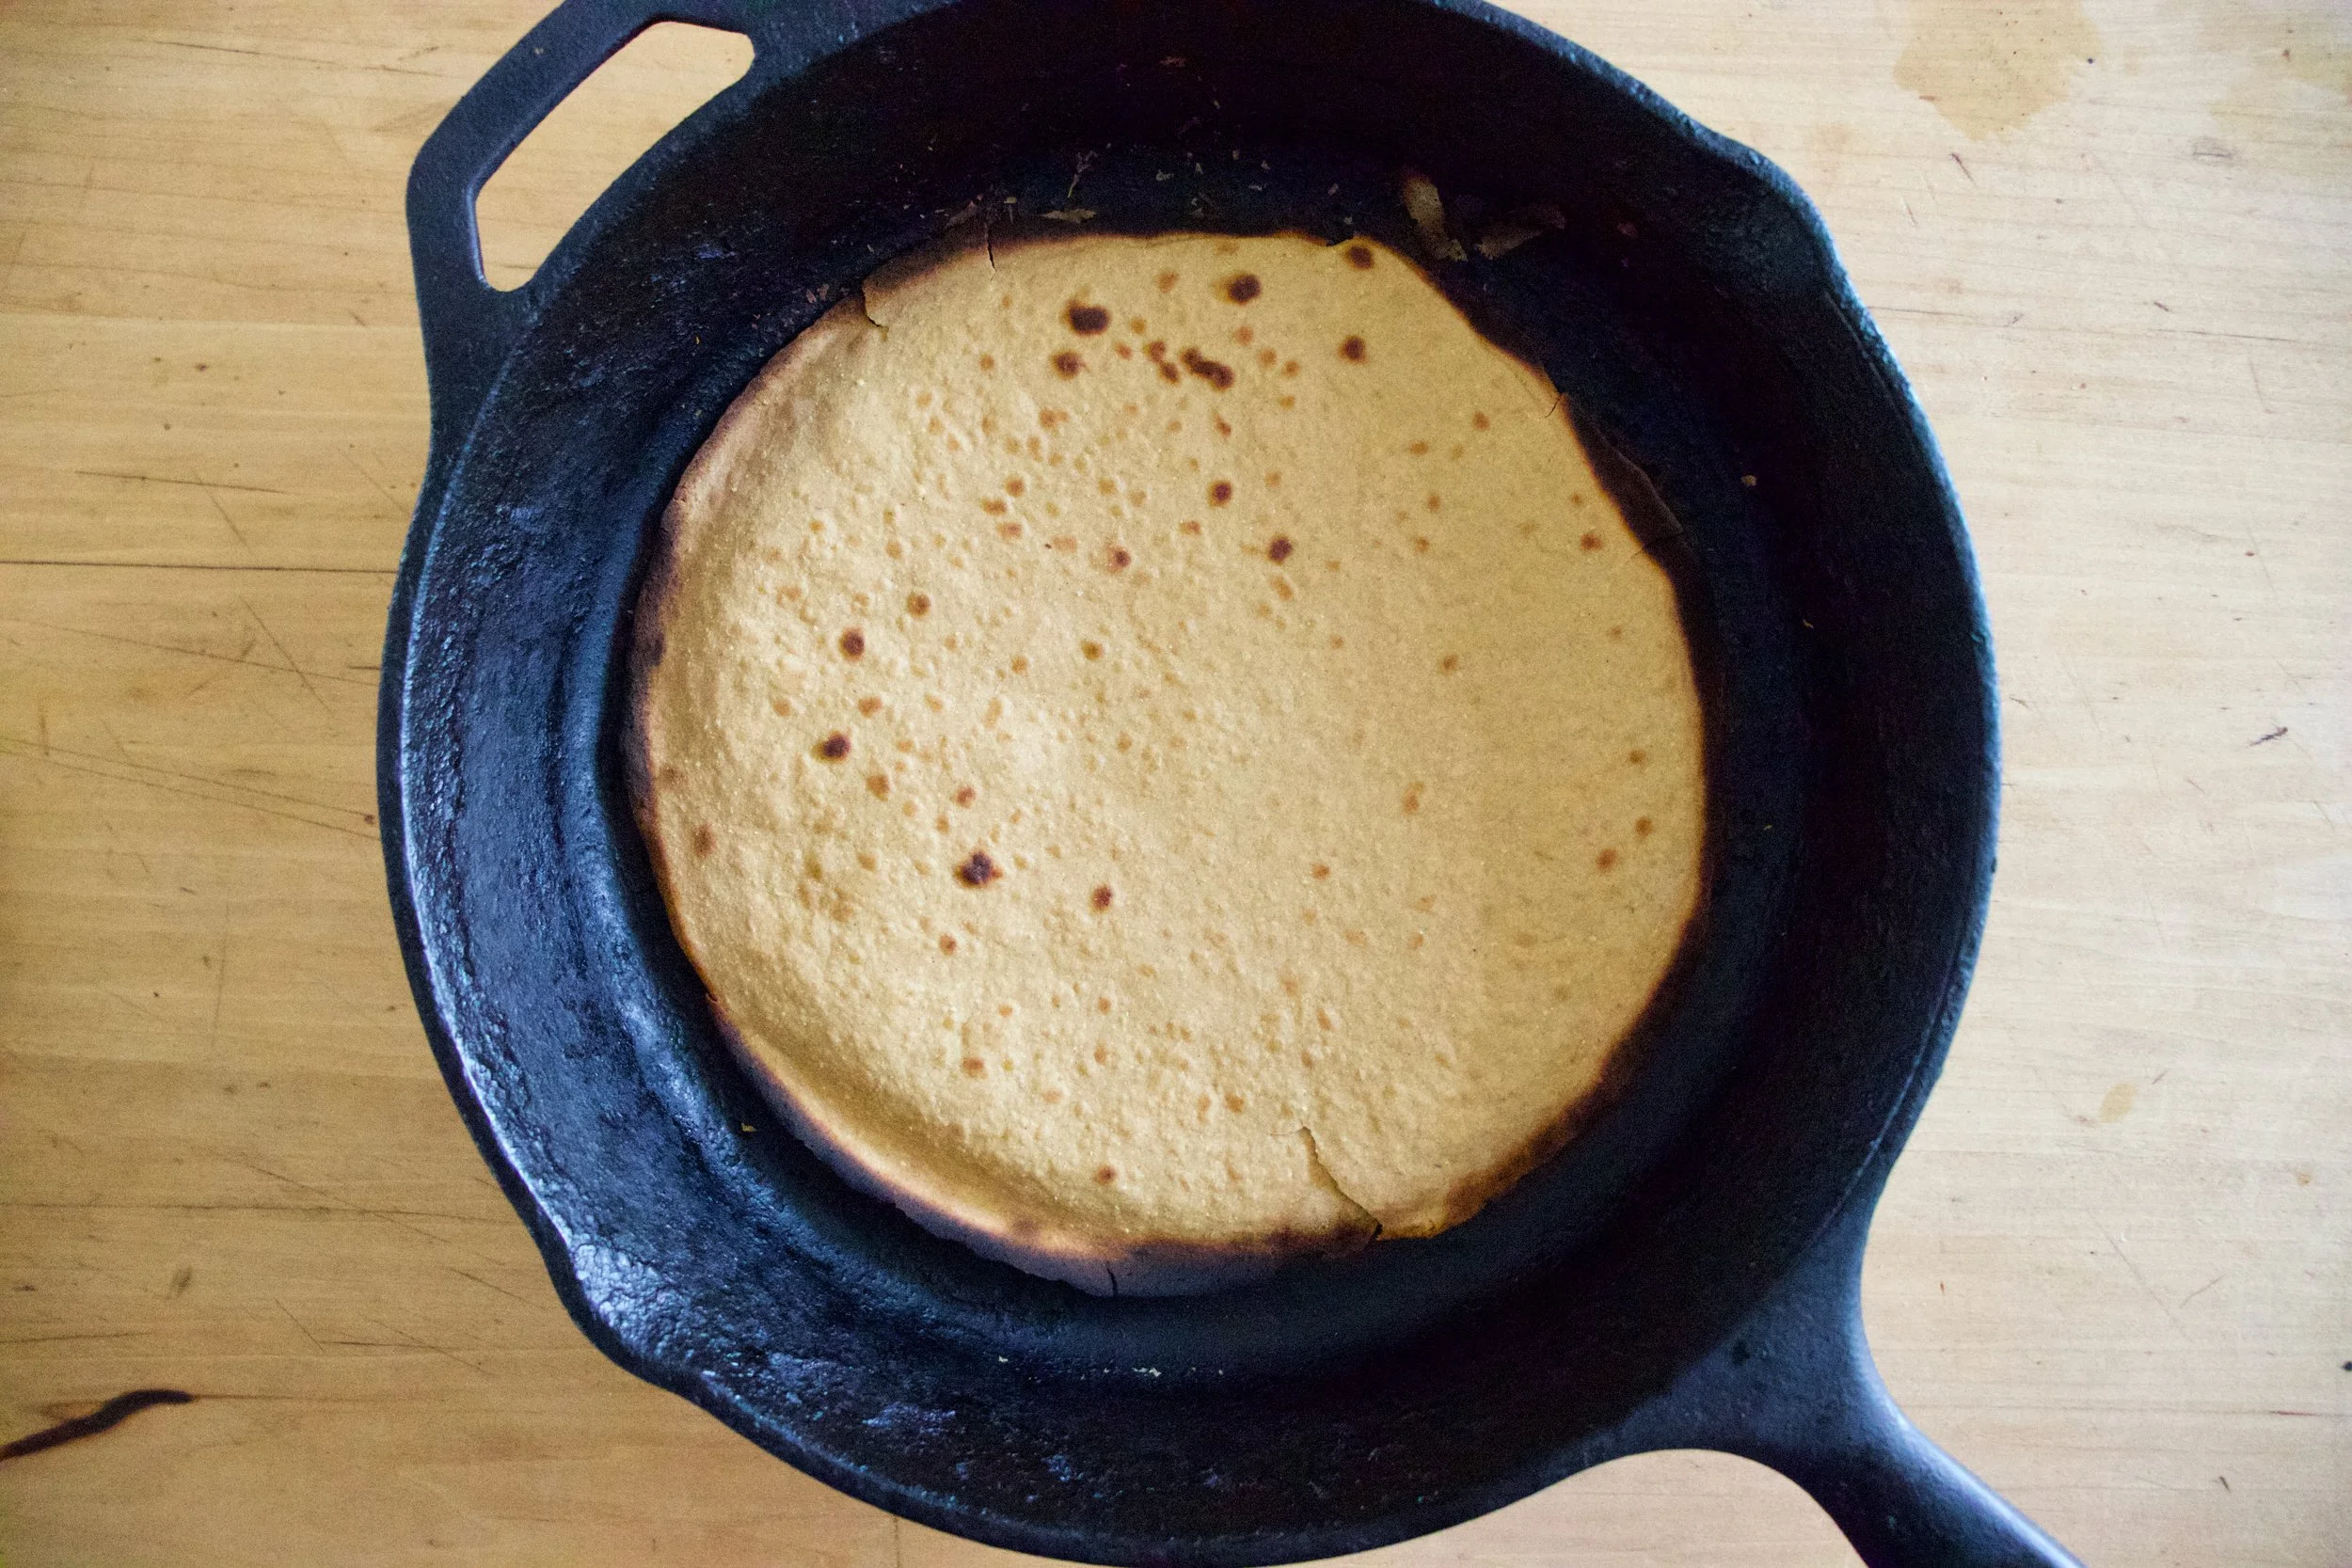
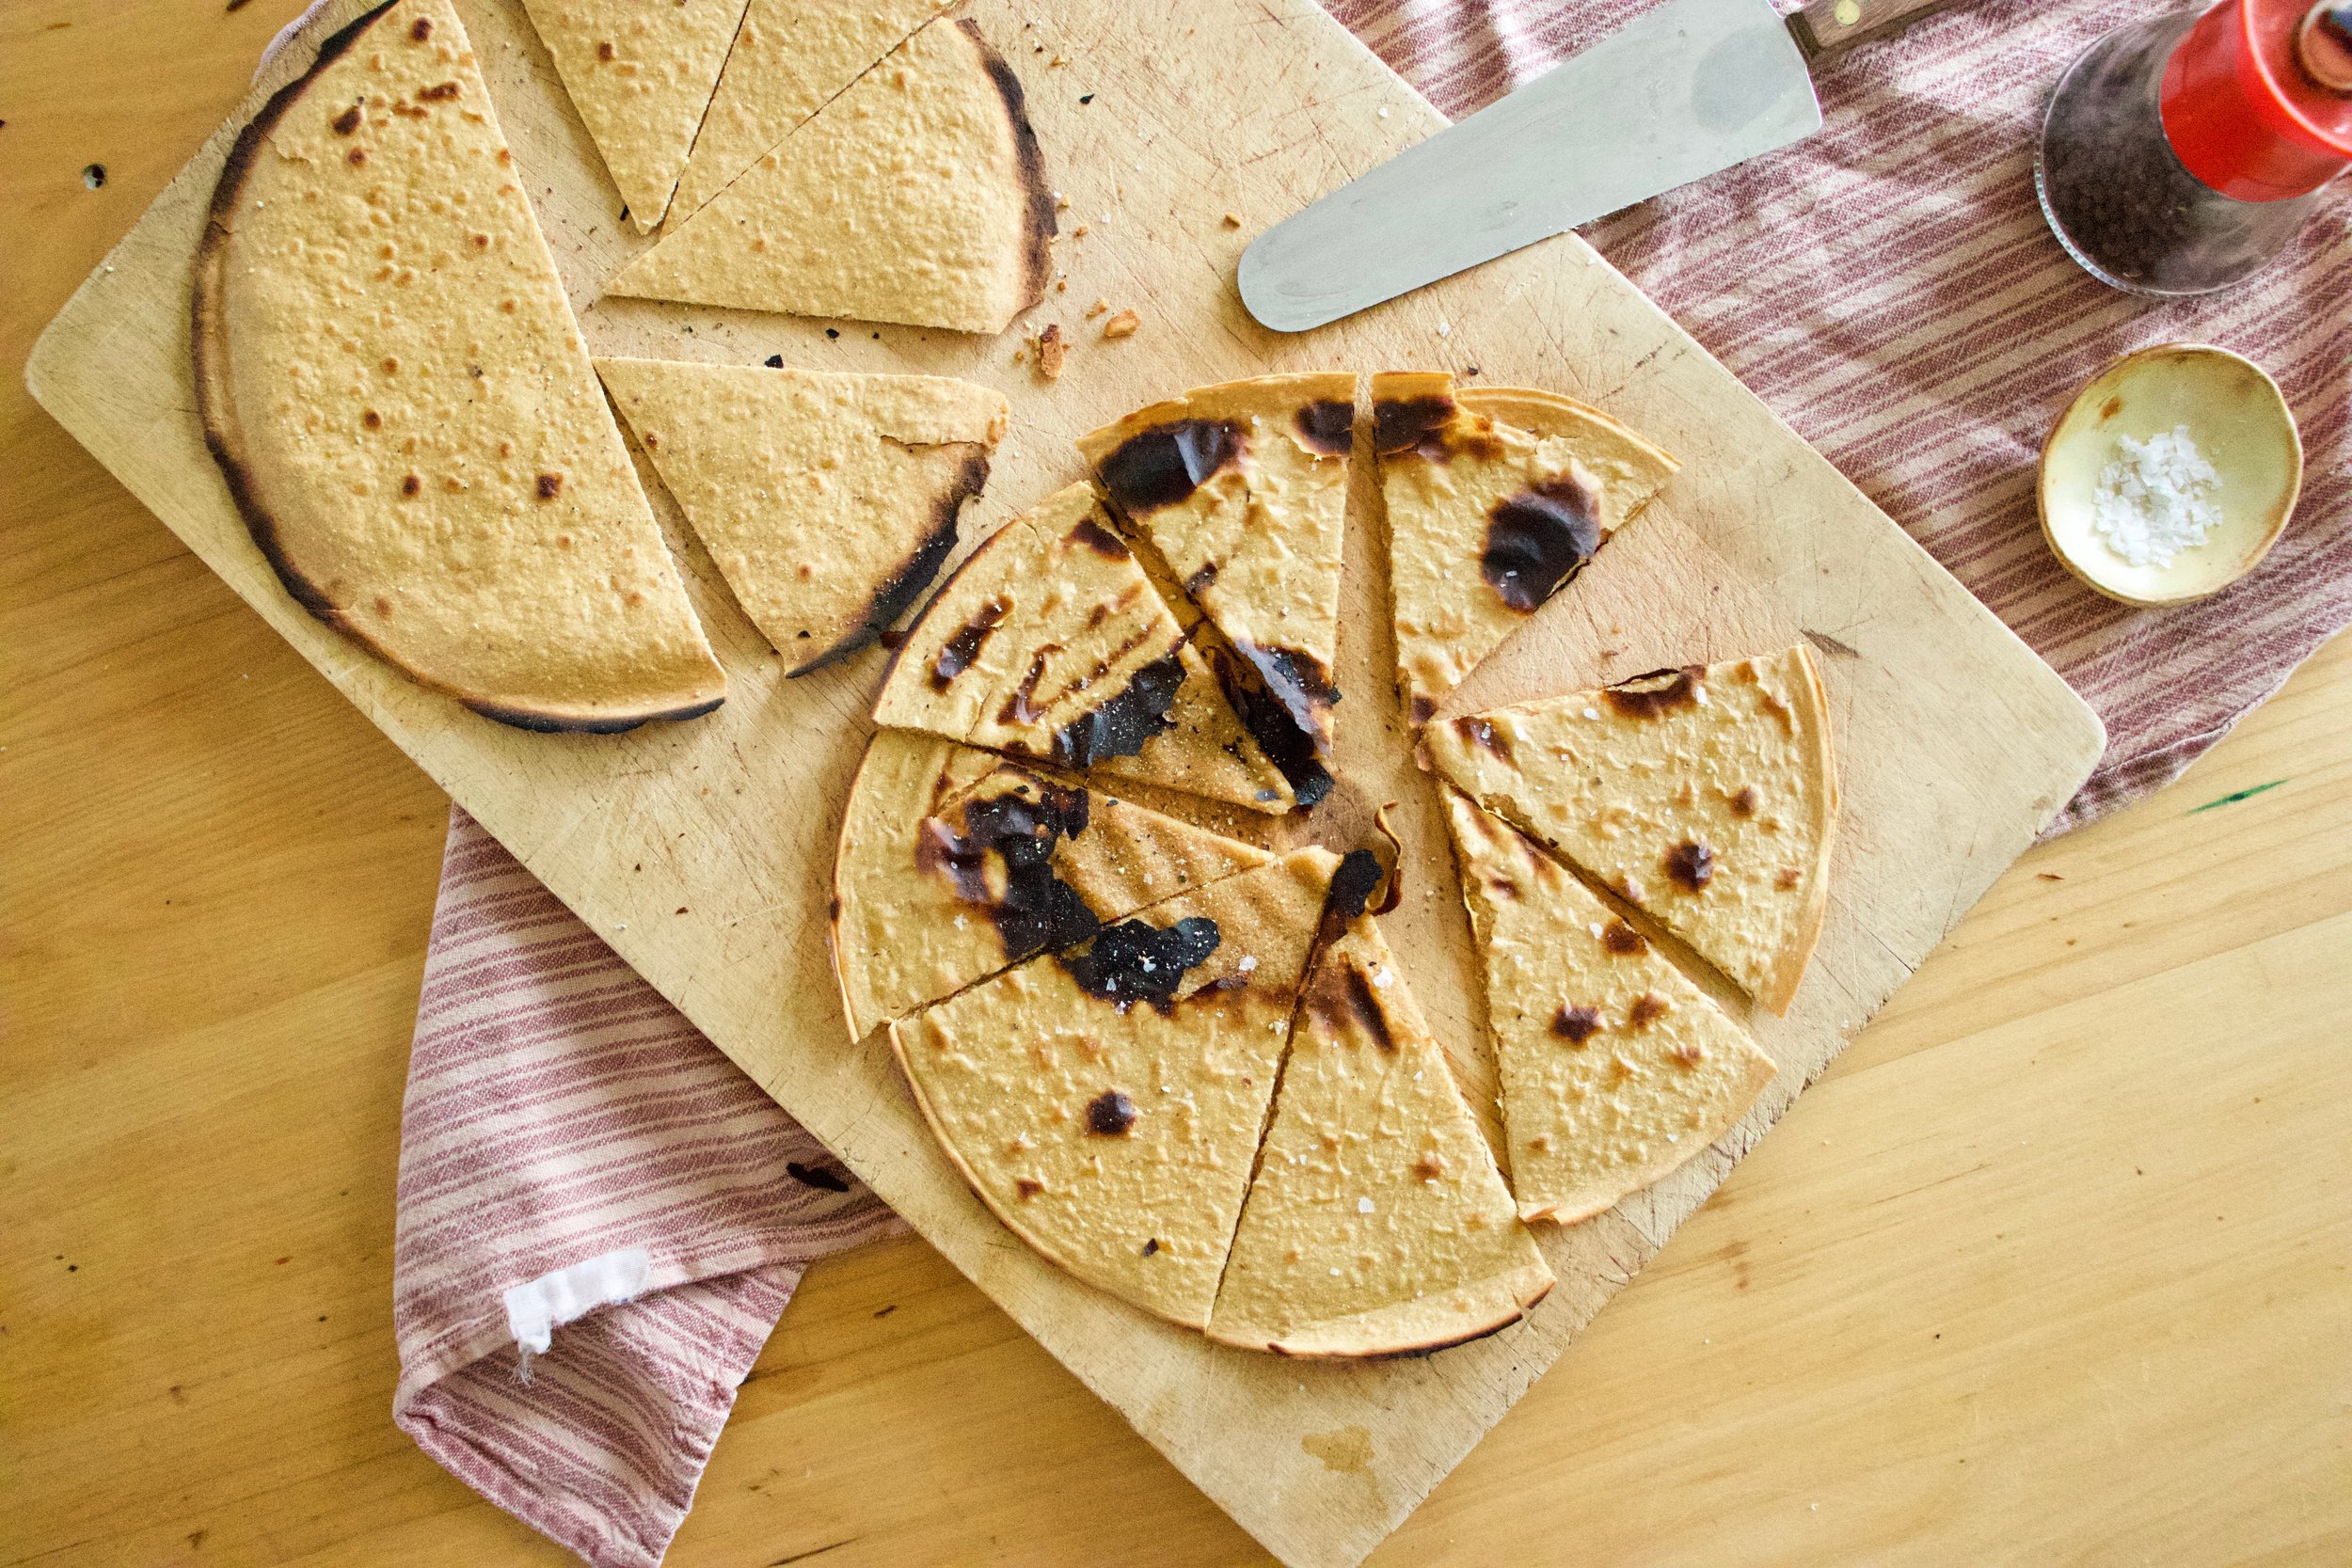


 Wowzers.. What was I thinking! I know, the same thing you are%u2026YES YES YES!!! Gluten free what now.. My lovely sister is on that ban wagon. She has been having”issues” lately(so many, it’s hard to pin point) and says she is feeling better without the gluten. Me being the lovely person that I am want to feed my poor sister, make her happy with food. %u00a0I HAD to prepare that lady a dinner and it had to be pizza cause I know how much she likes her pizza. So I brain storm. What would be a good gluten-free pizza crust? I could do the obvious and %u00a0get gluten-free flour, but to be honest, that’s some expensive stuff and I really didn’t feel like going to the store. I wanted to work with what I had in the house%u2026.and ah ha, there it is, %u00a0cornmeal.. With a little bit of water I can turn that into some polenta and a super gluten-free pizza crust.
 %u00a0There really isn’t a whole lot of ingredients to this pizza%u2026 Cornmeal for the polenta. Marinara sauce%u2026.I used jarred marinara because it was a little easier and we don’t always need to make things from scratch%u2026Lots of onions(2 finely sliced), handful of %u00a0sliced mushrooms, thinly sliced squash and parmesan cheese. Most of the prep takes place at the same time, but that’s good, we can multi task, just have everything pre chopped and ready to go. First thing first, start the polenta

 %u00a0 %u00a0
 %u00a0 %u00a0 %u00a0 %u00a0%u00a0On a well oiled baking sheet or pizza sheet..spread the polenta into the shape of your desire. I went with a somewhat circular shape, but now that I think of it, I wish I had been more creative, like maybe a triangle or even the shape of a bus%u2026.Yeah, a bus shaped pizza would have been cool.
 %u00a0
 %u00a0 %u00a0 %u00a0 %u00a0 %u00a0 %u00a0You can do this pre crust or at the same time, but roast your sliced squash. Place single layers squash on an oiled pan, salt and pepper, then into the oven. It should take 10 minutes on each side.
 %u00a0 %u00a0 %u00a0
 %u00a0 %u00a0%u00a0
 %u00a0
 %u00a0 %u00a0 %u00a0I Sprinkle a layer of parmesan cheese and pile on those onions and mushrooms,. Sprinkle with a little more cheese. %u00a0( use vegan cheese or no cheese if you want it vegan) Back into the %u00a0oven for another 15 minutes to give everything some time to crisp and melt. %u00a0
 Remove from oven and appreciate%u2026That is one good looking pizza. I took %u00a0a long spatial and run under the crust just to make sure if wasn’t stuck. I also found that if you let it %u00a0cool for a few minutes before serving, the polenta gets a little stiffer and easier to handle, but not necessary.


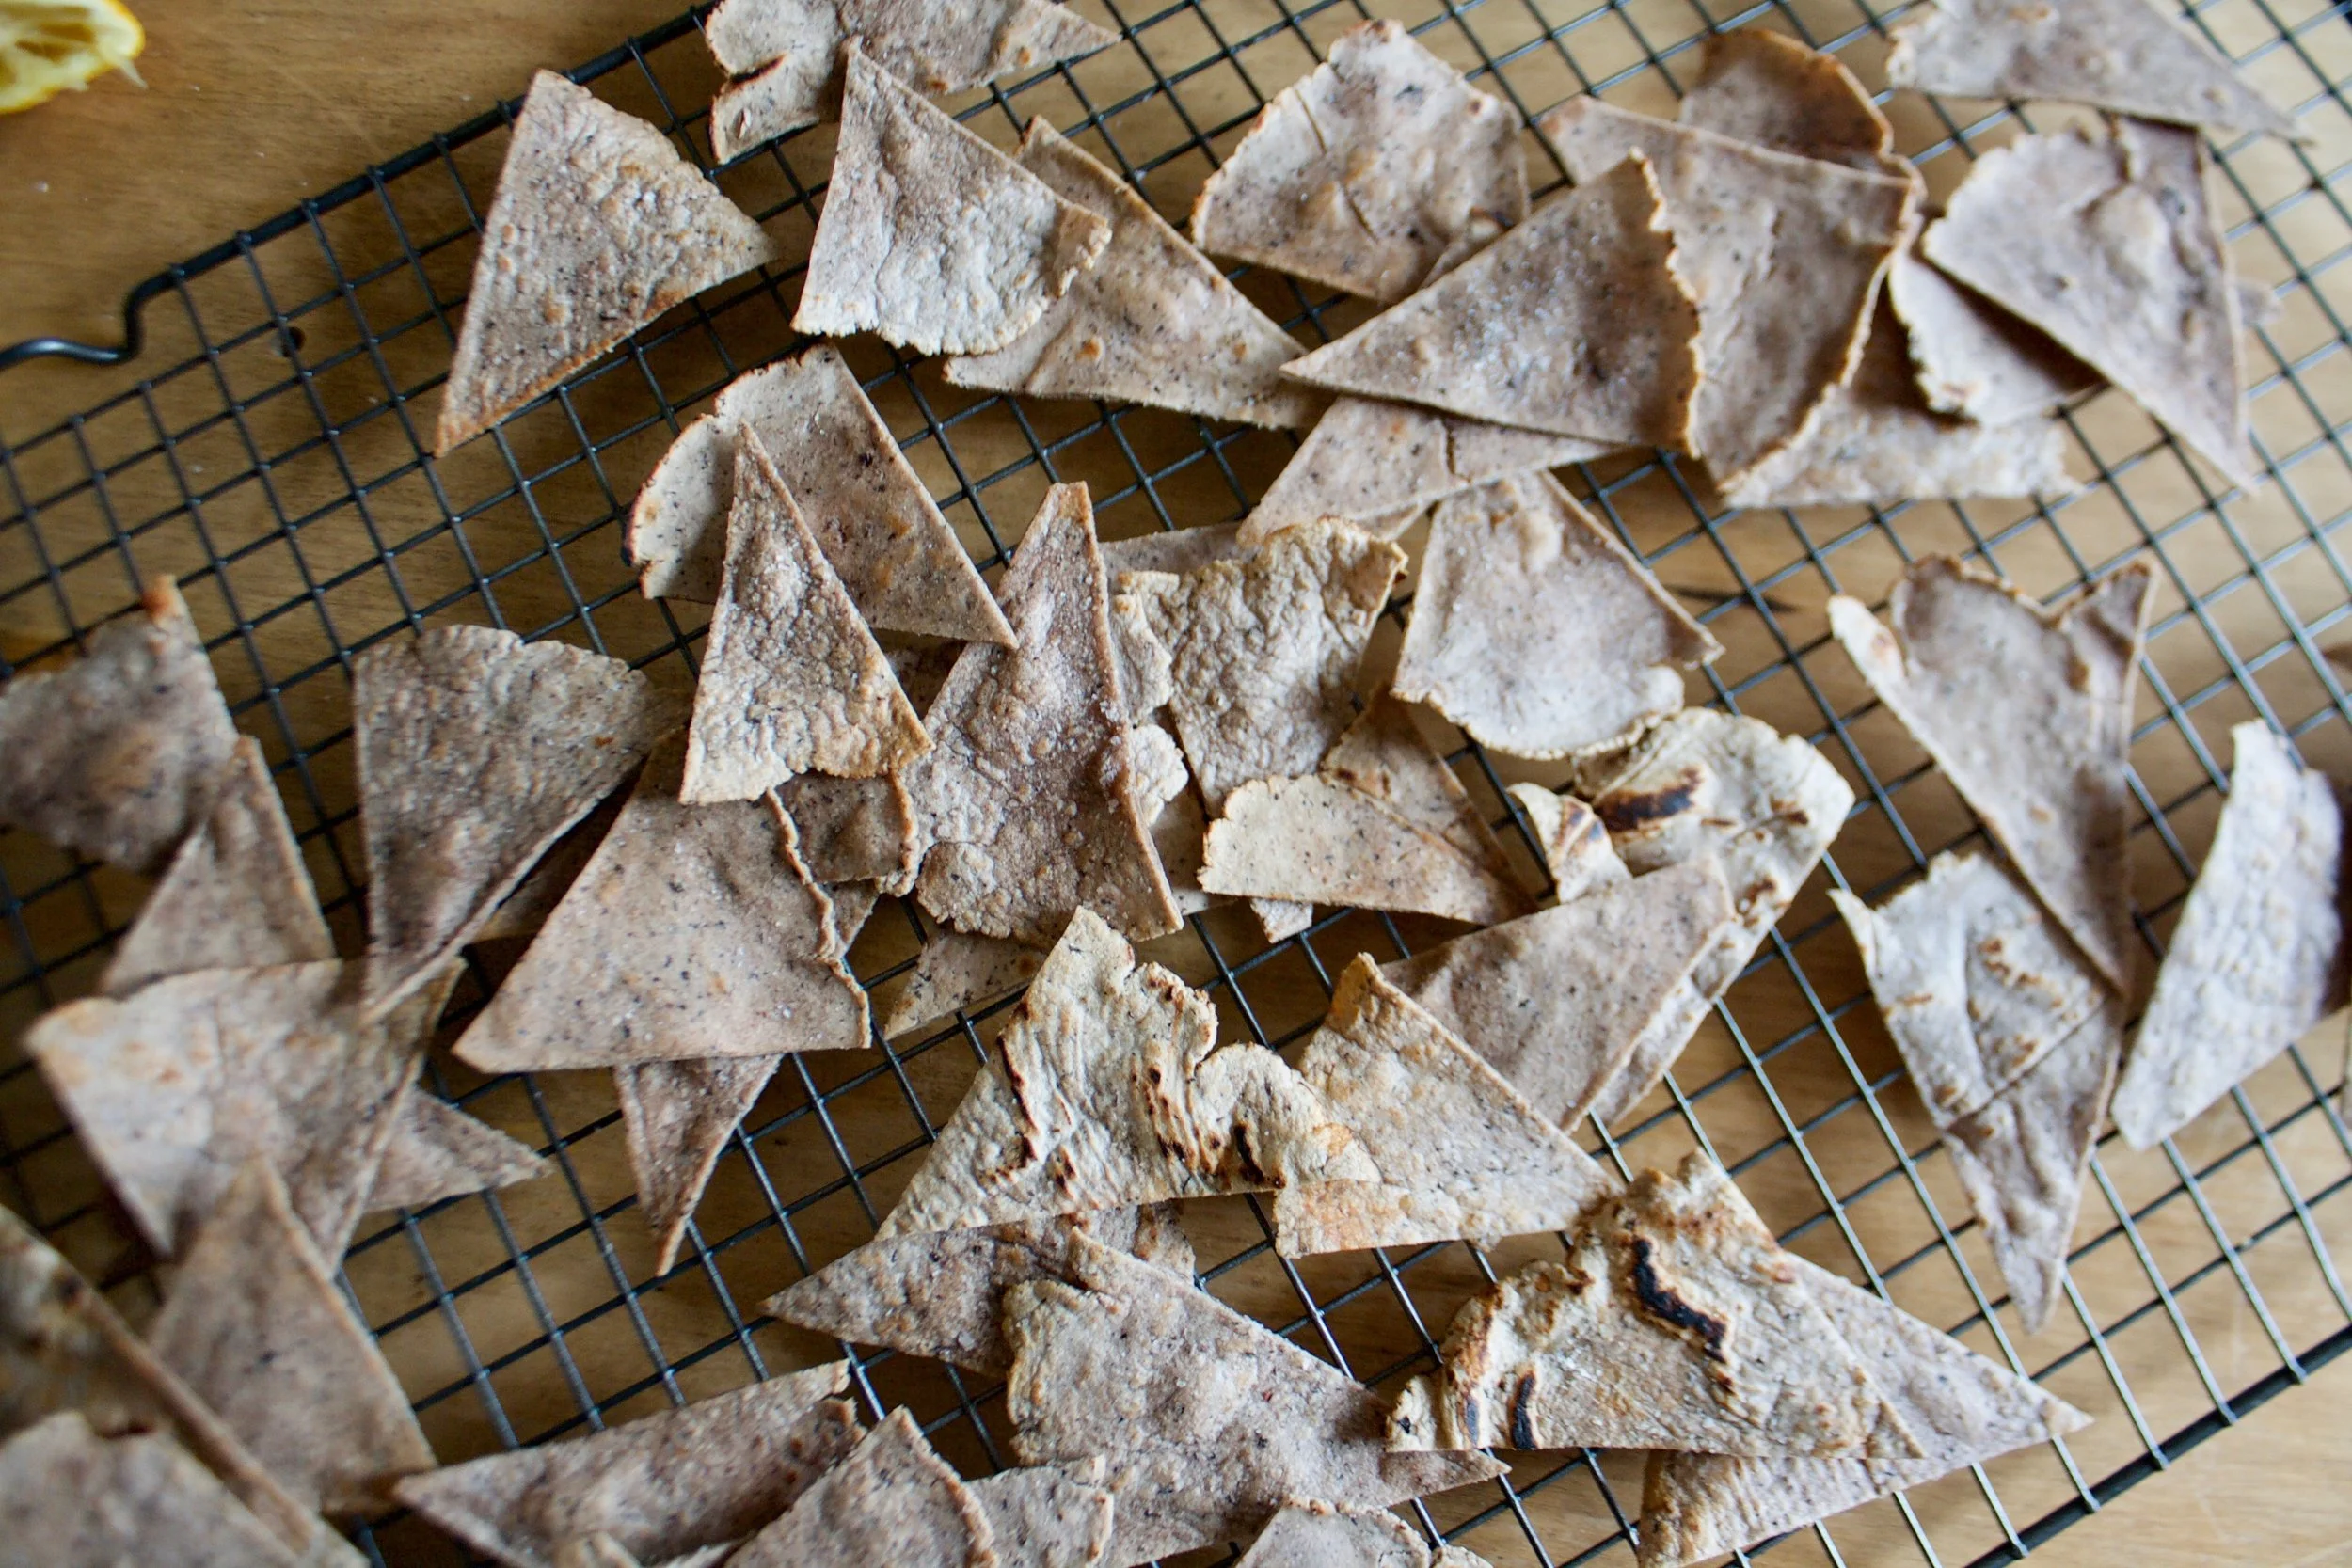
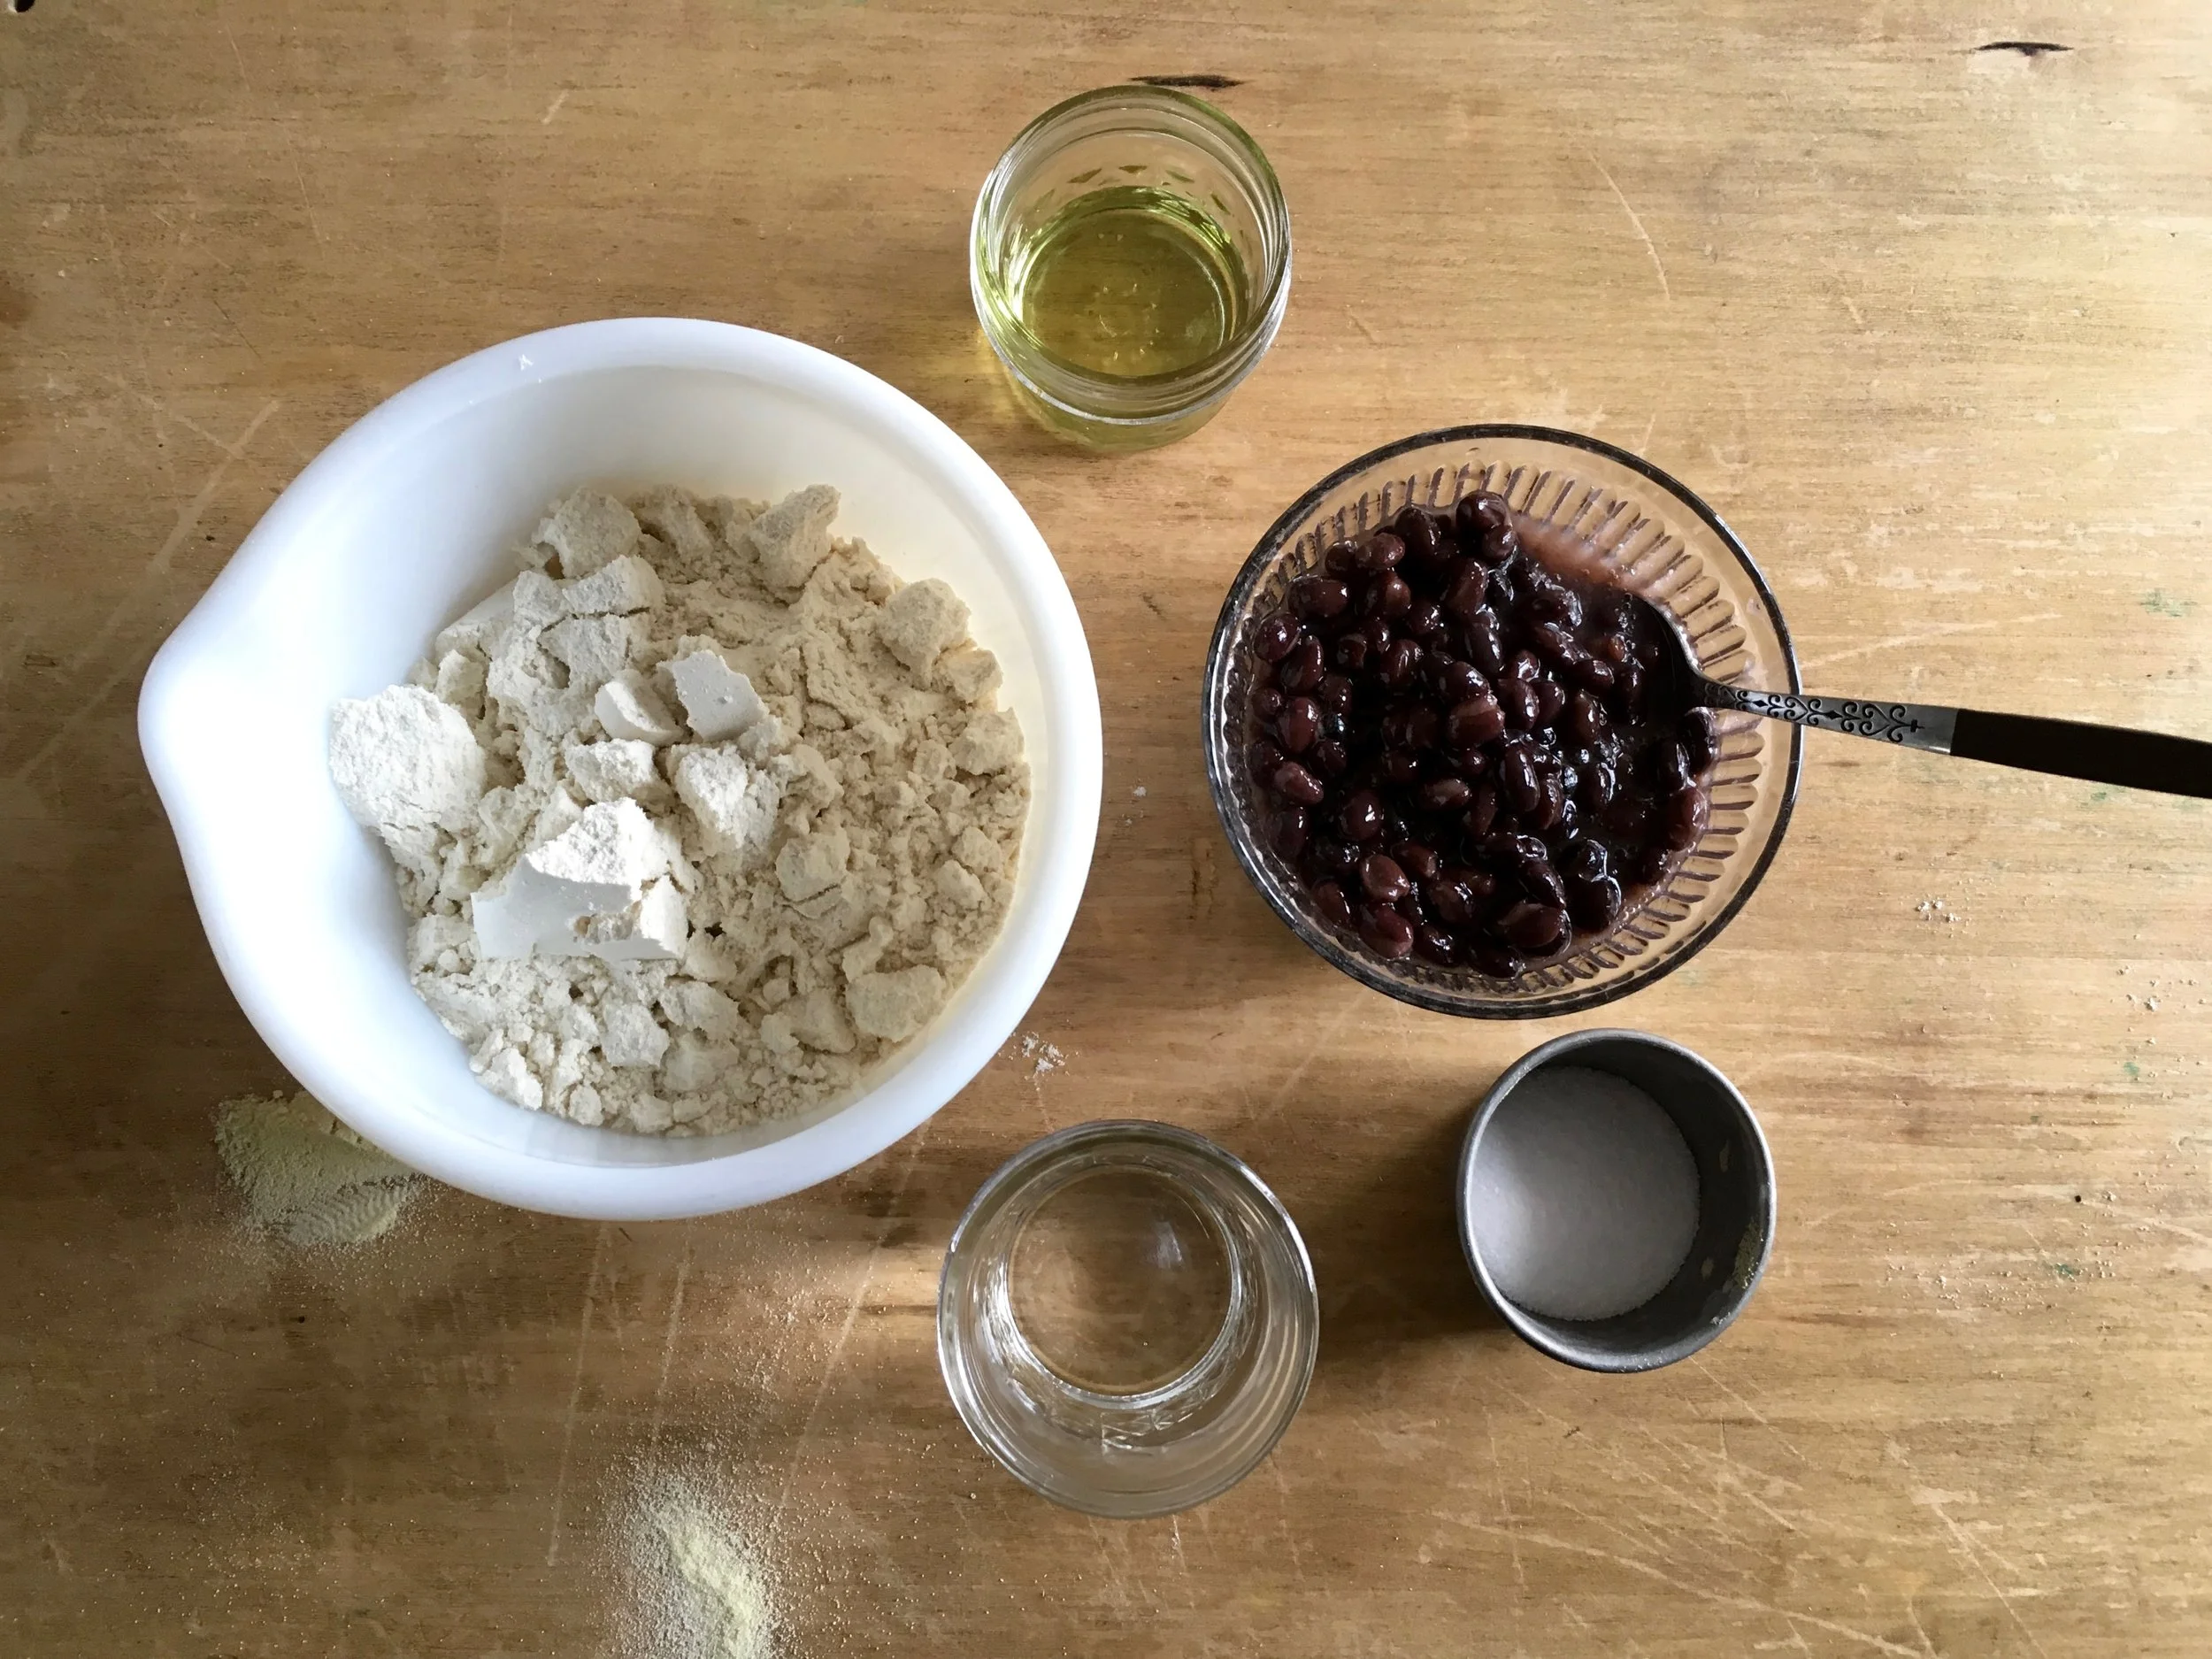
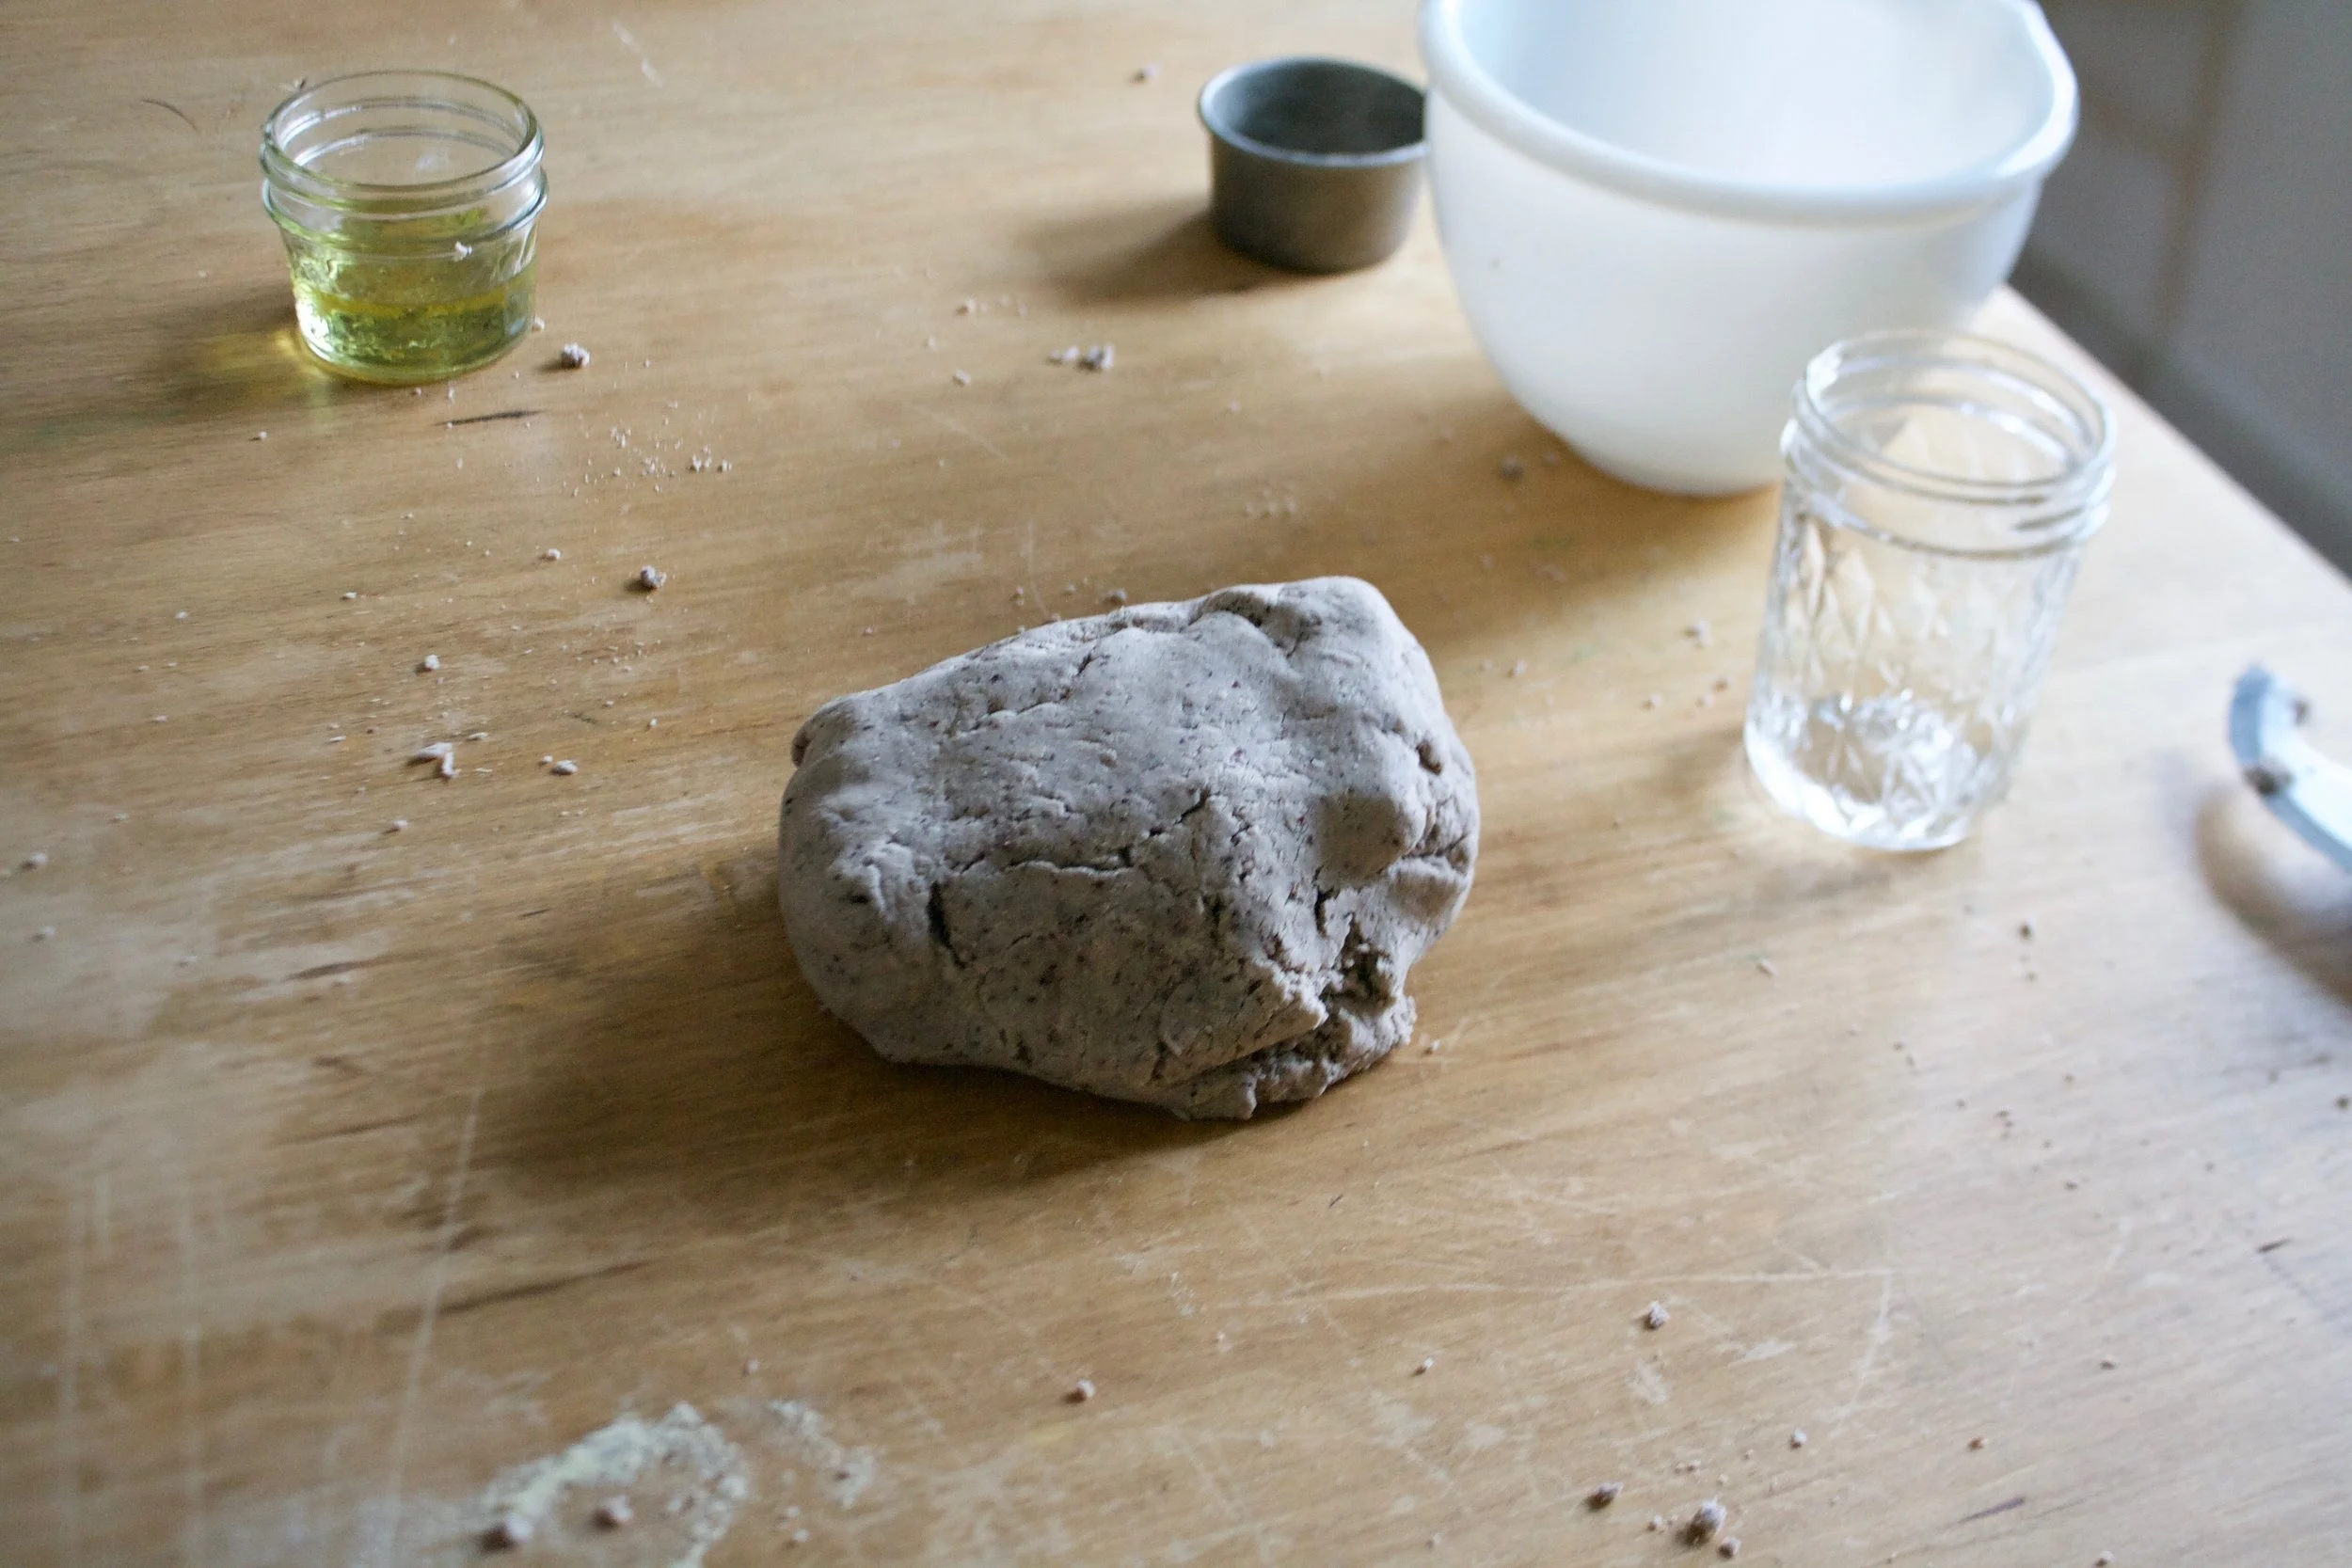
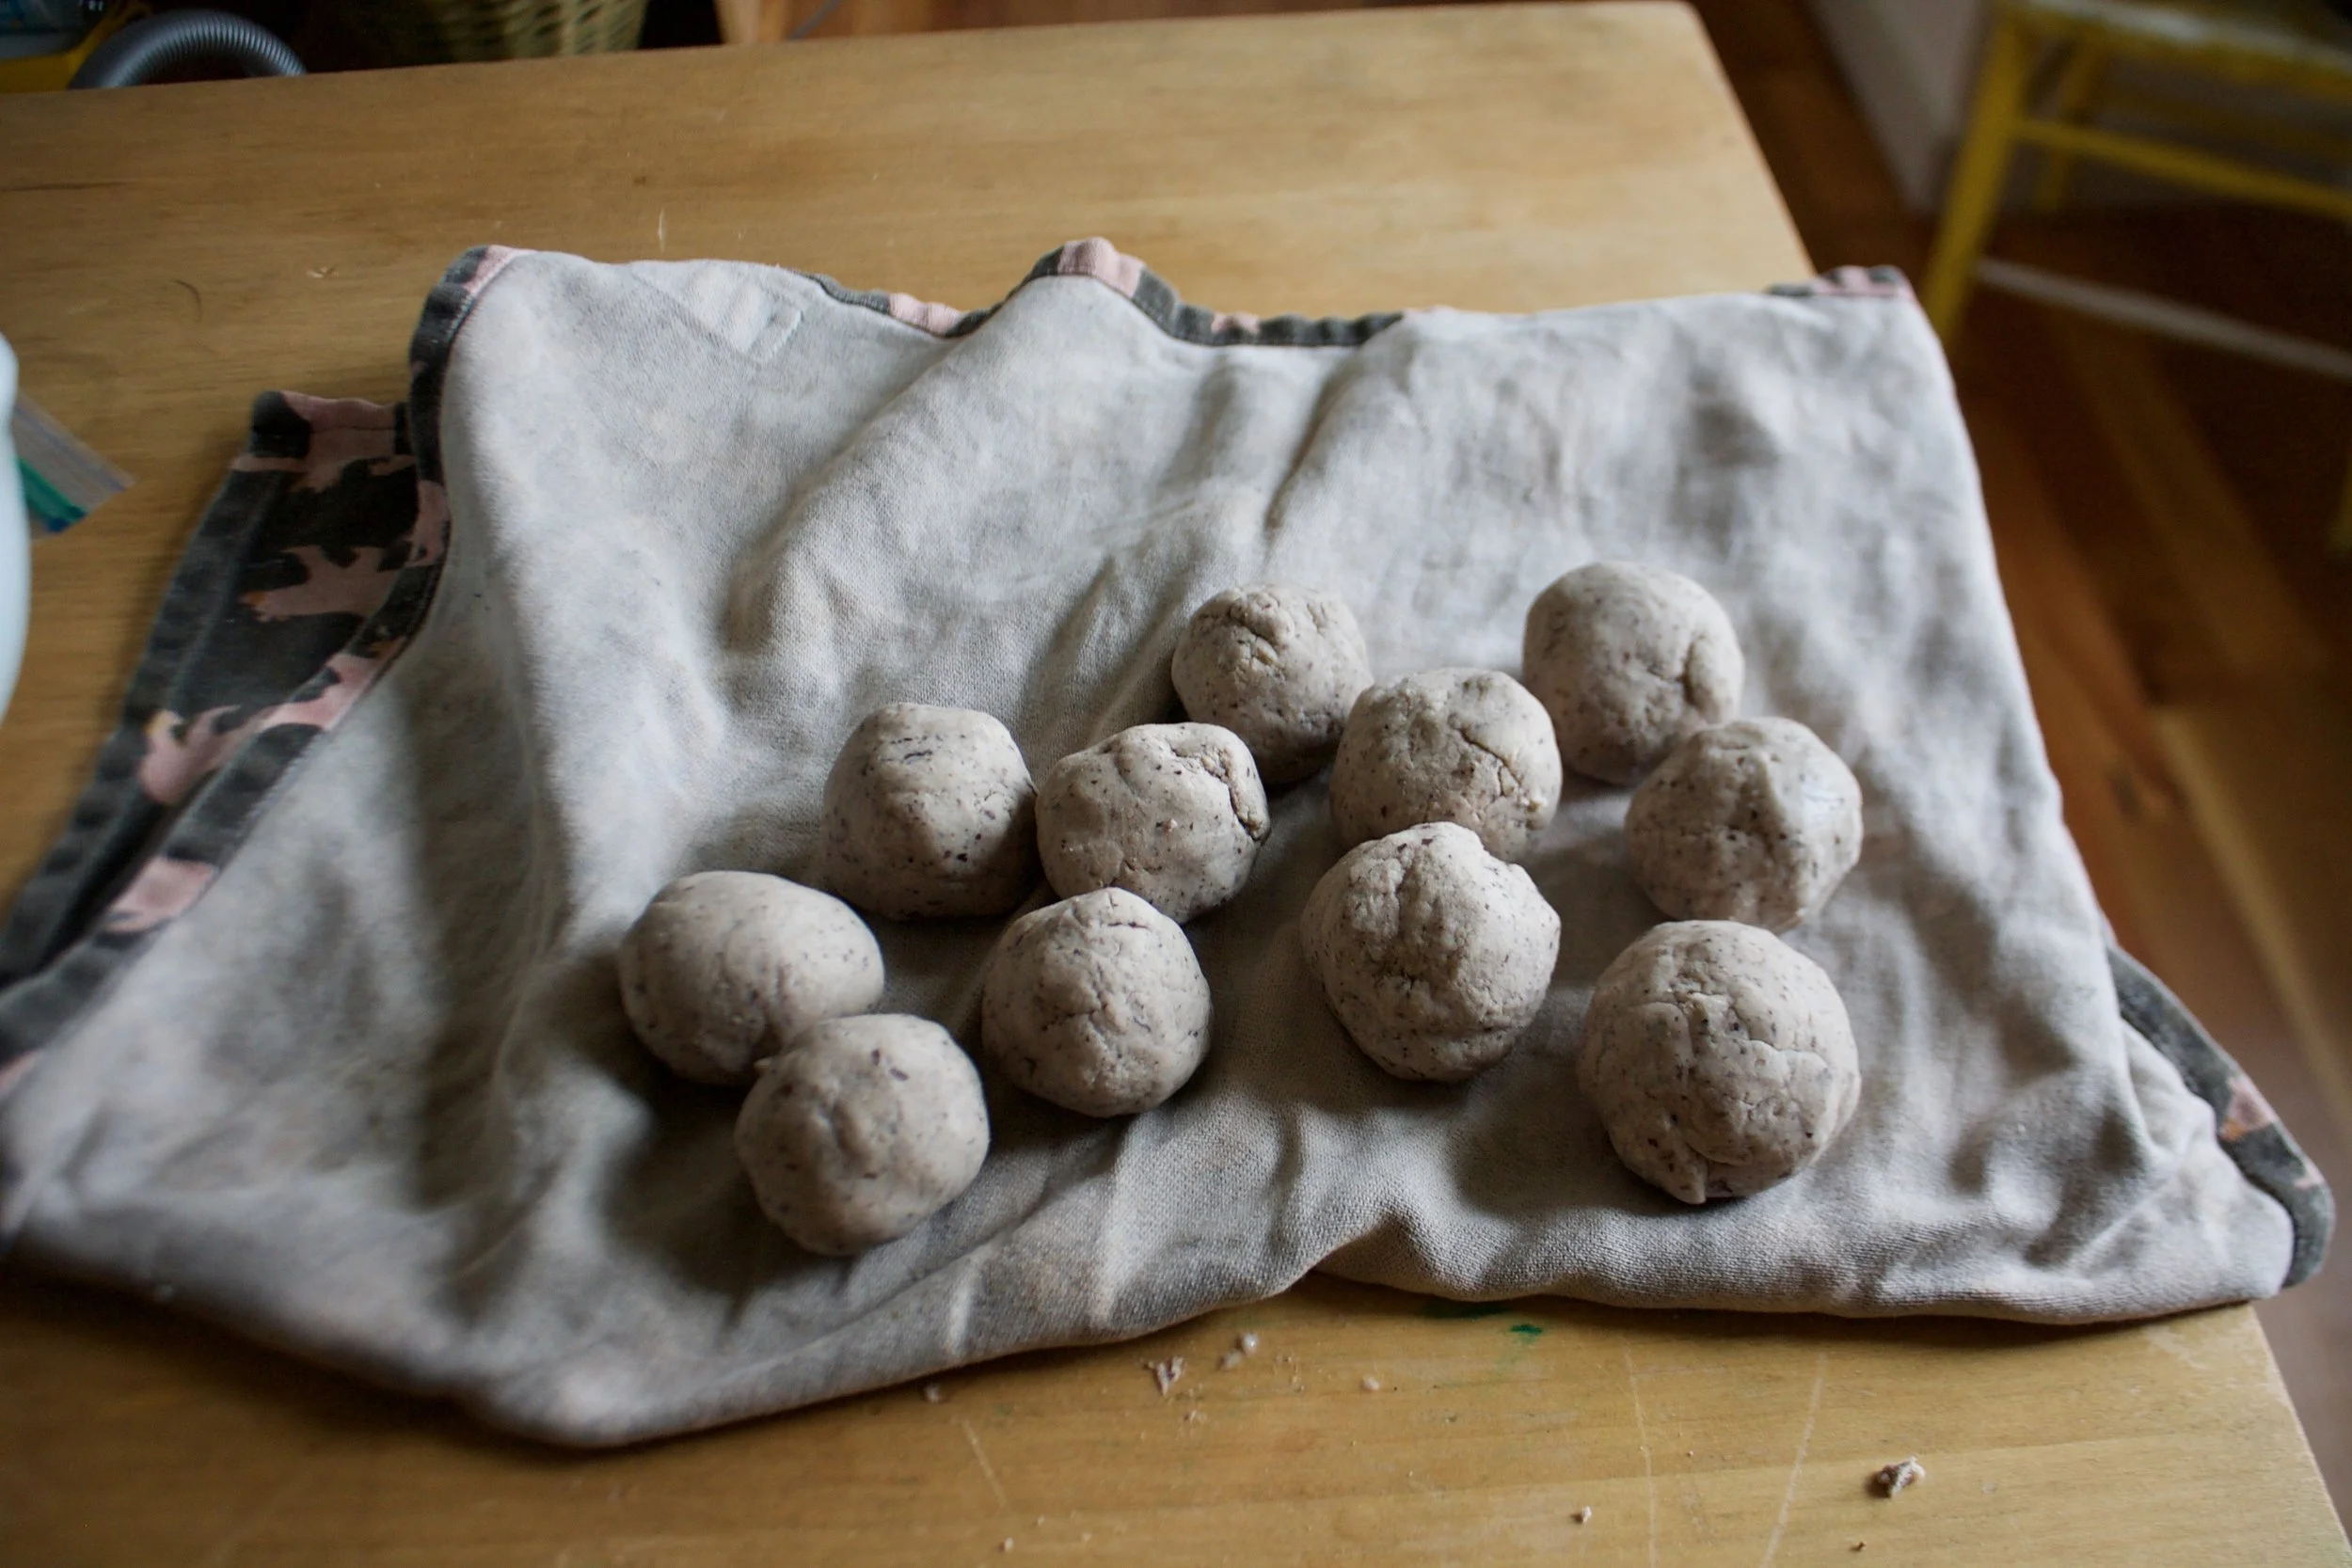
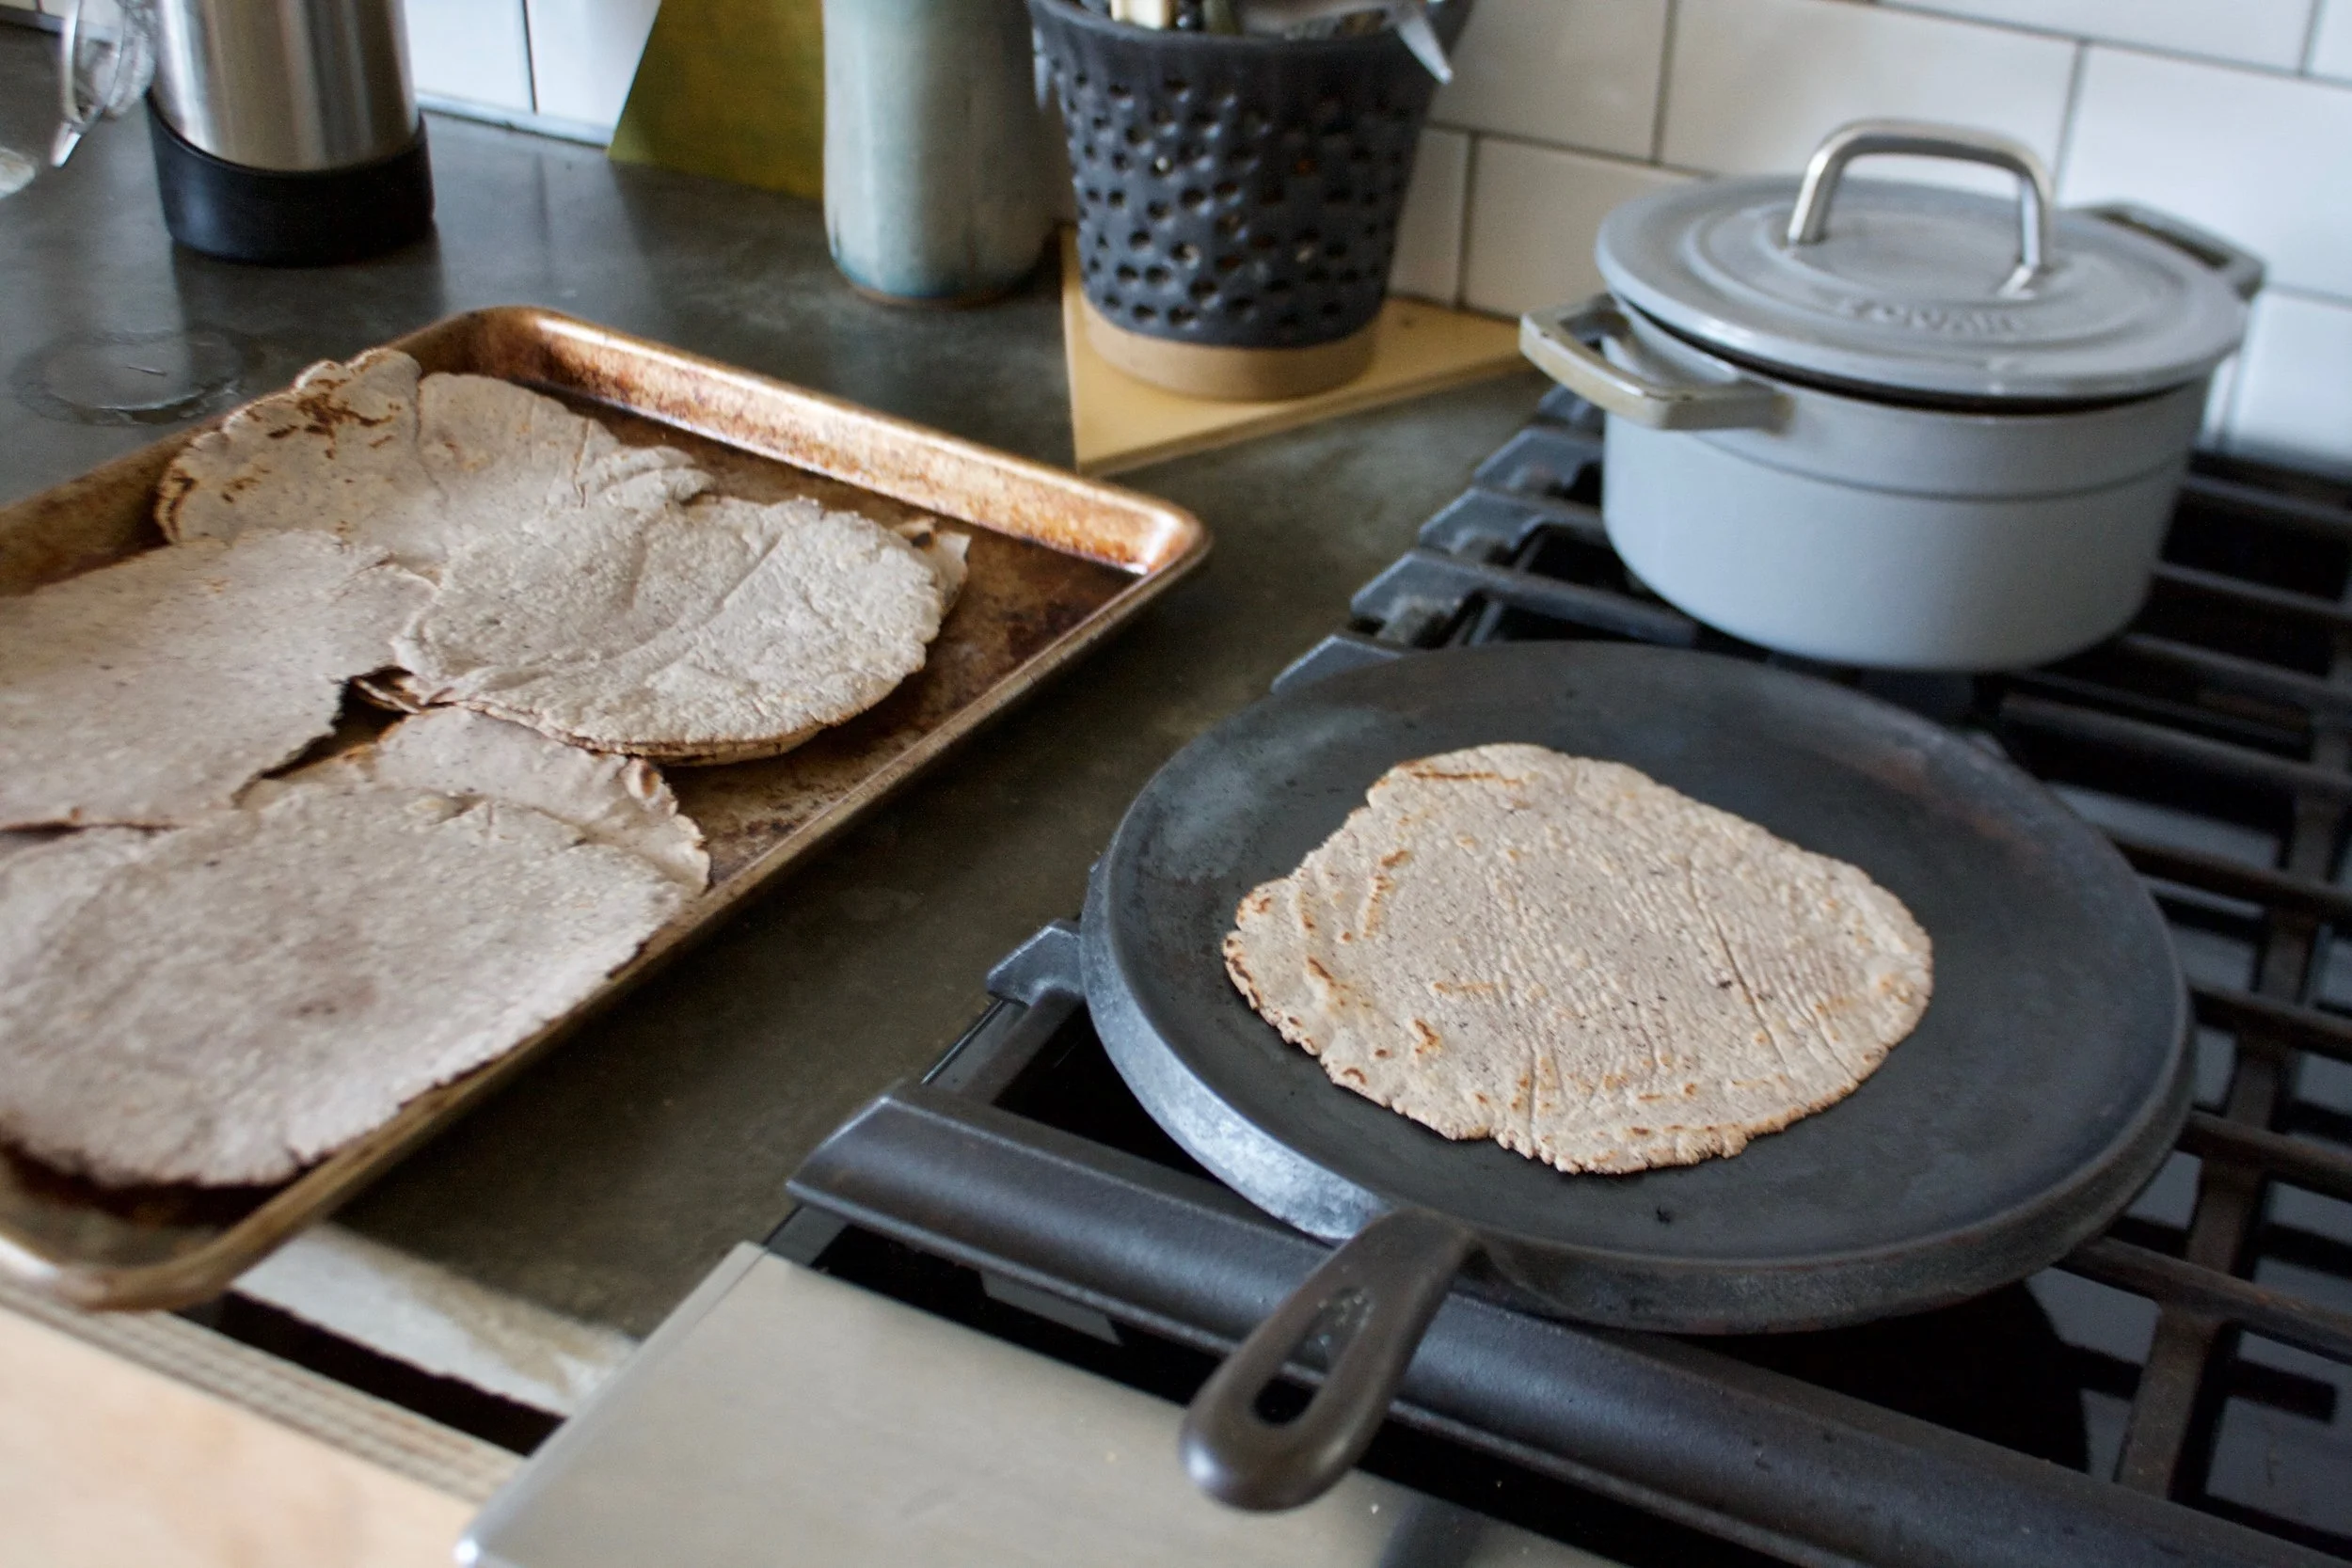


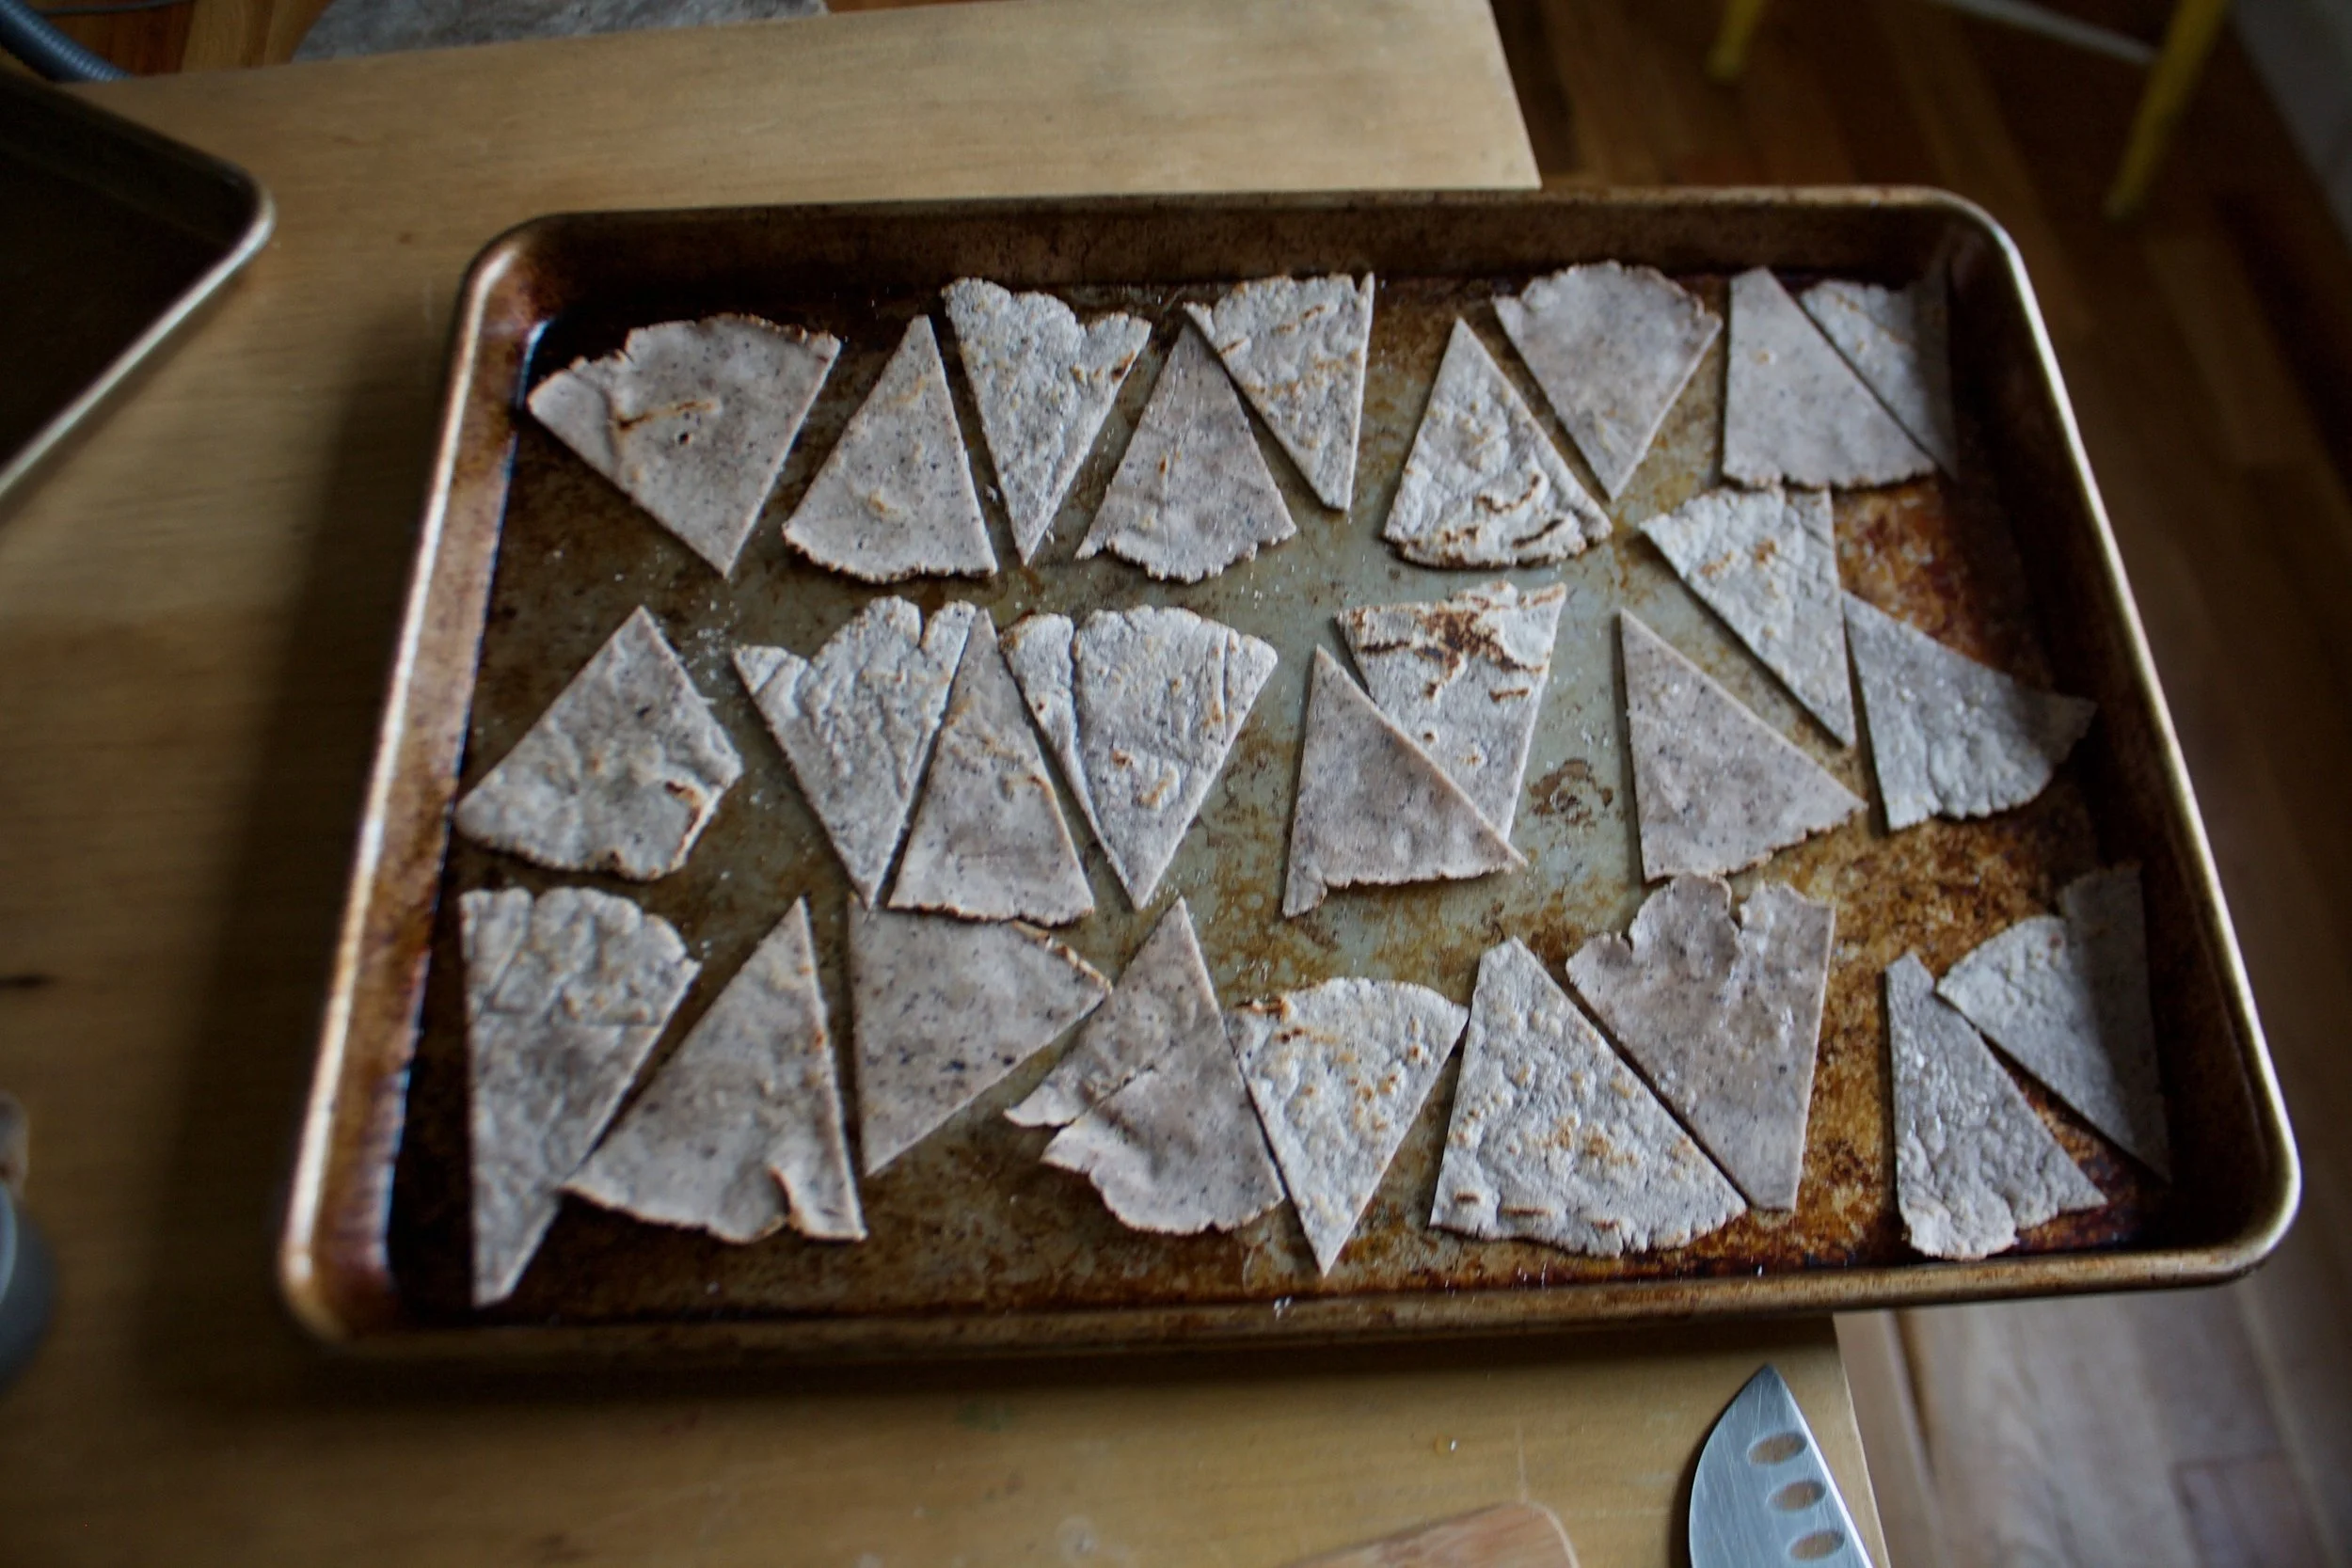


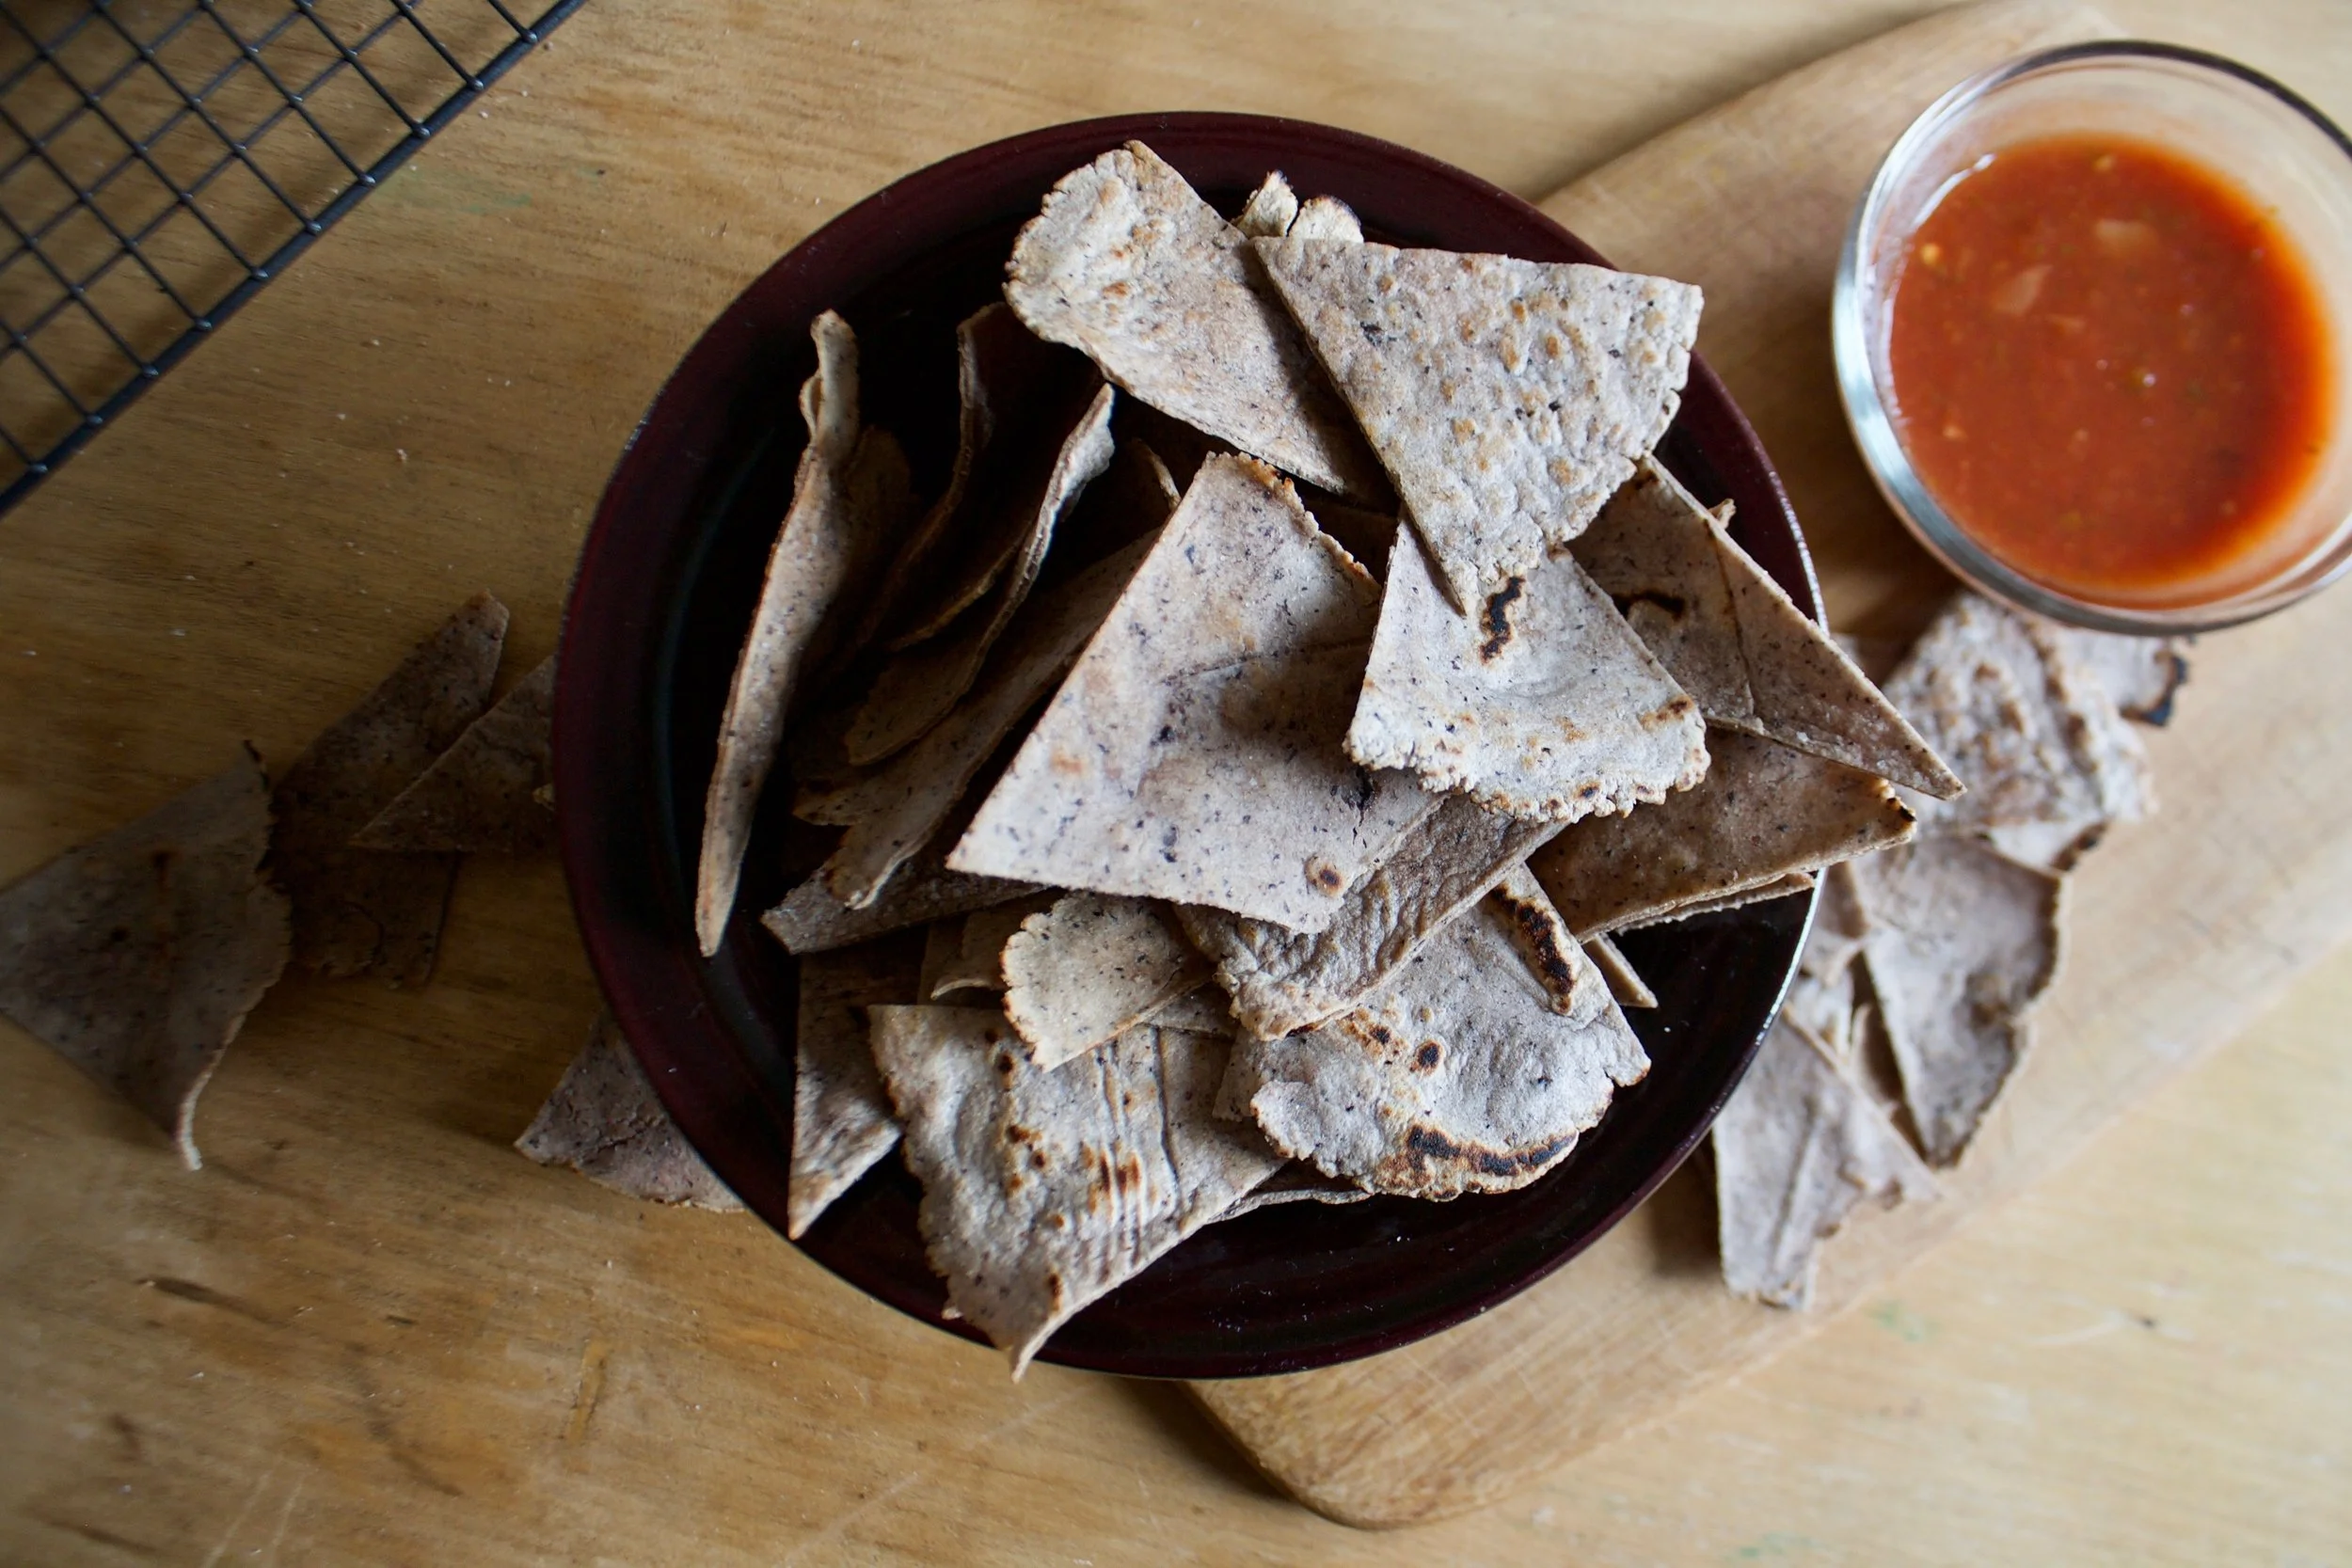


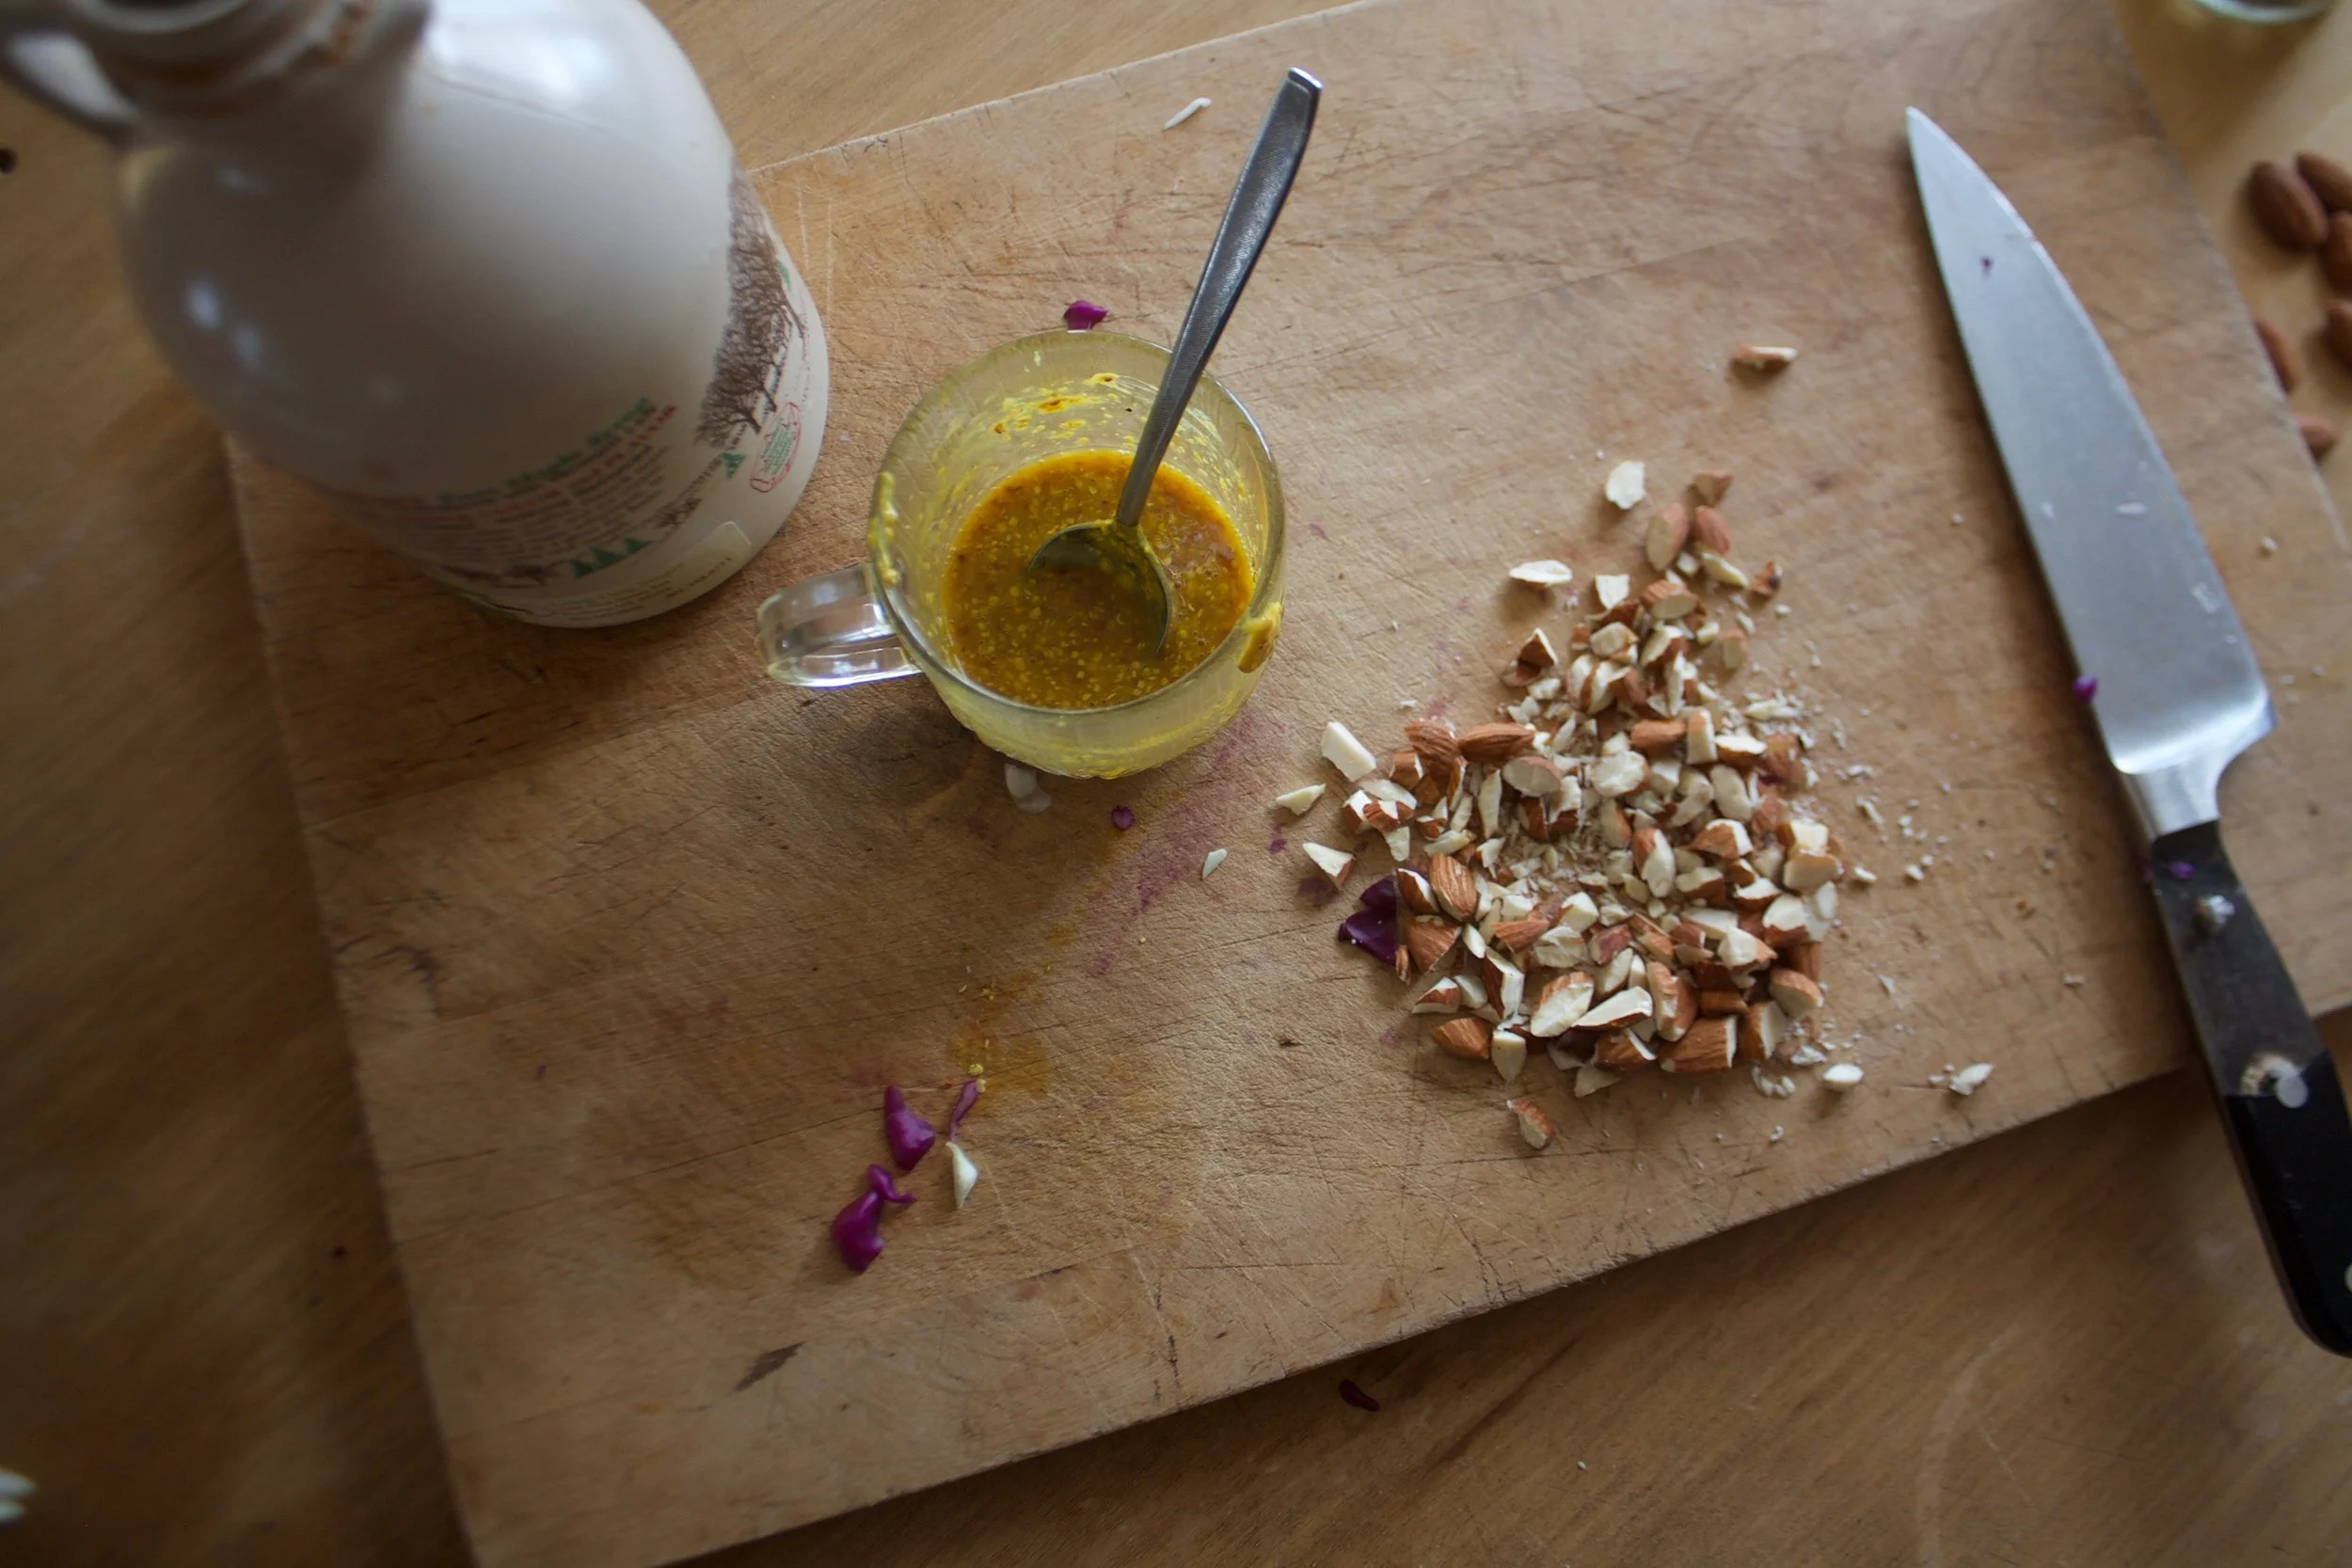

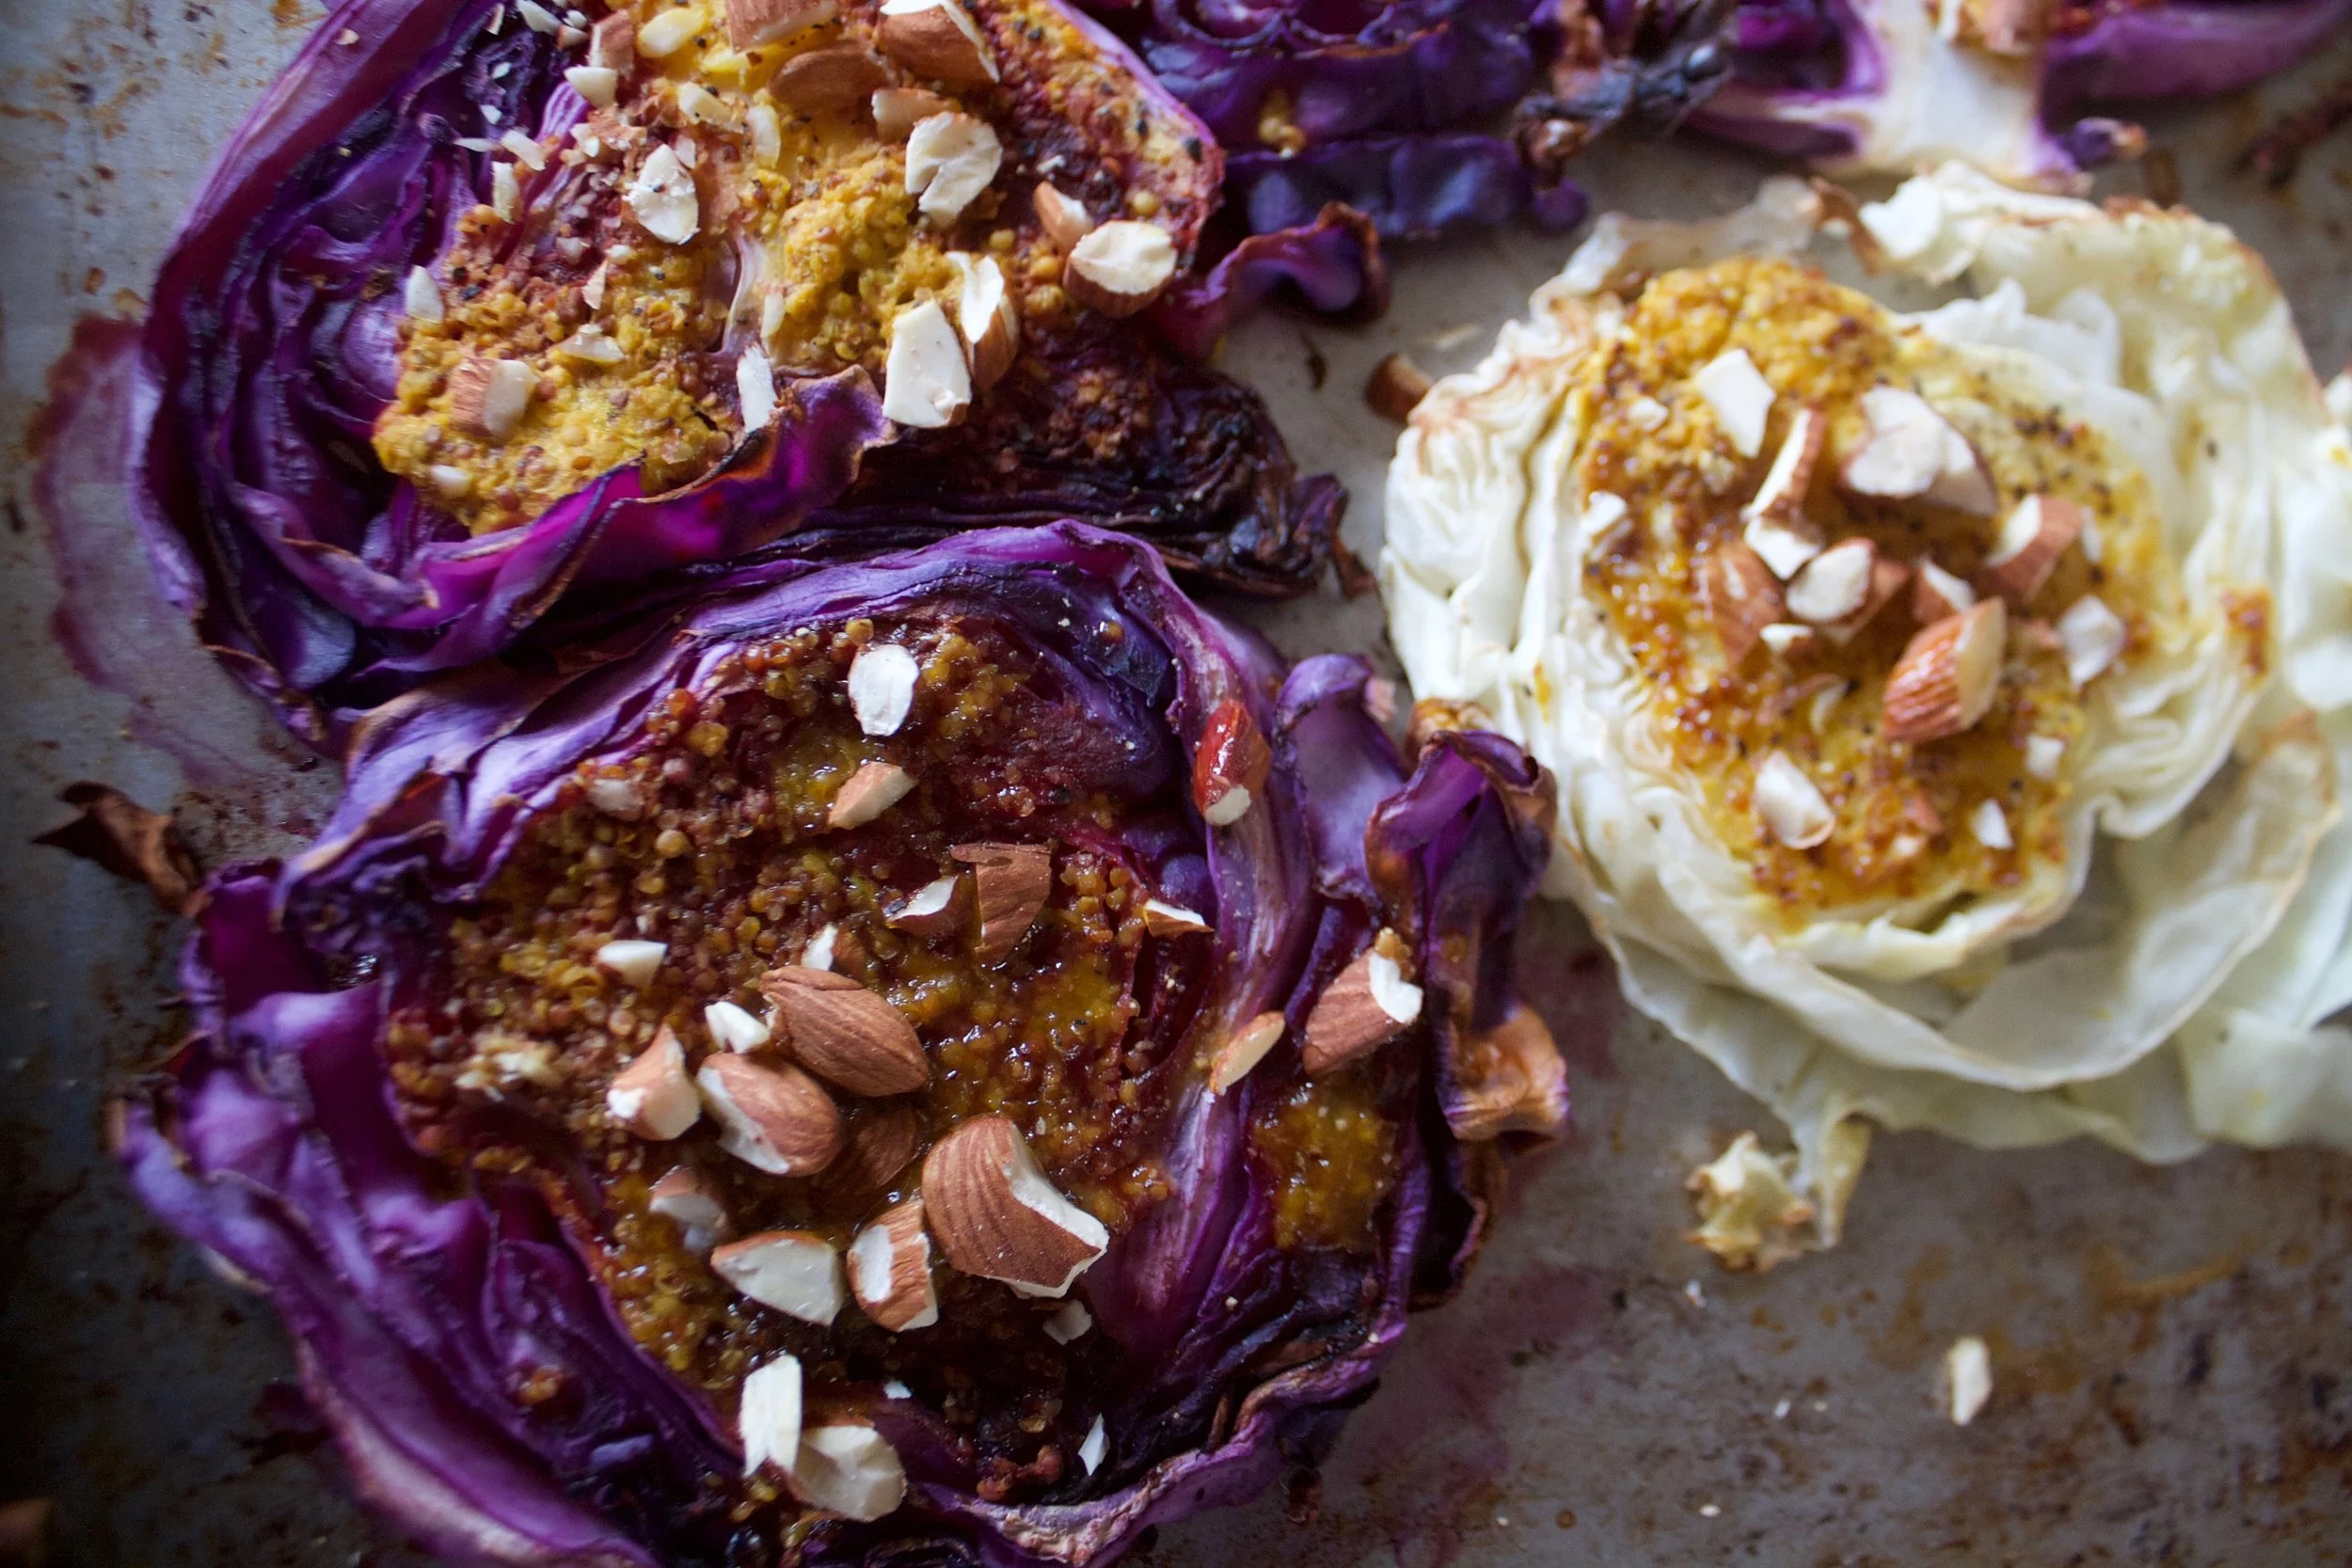

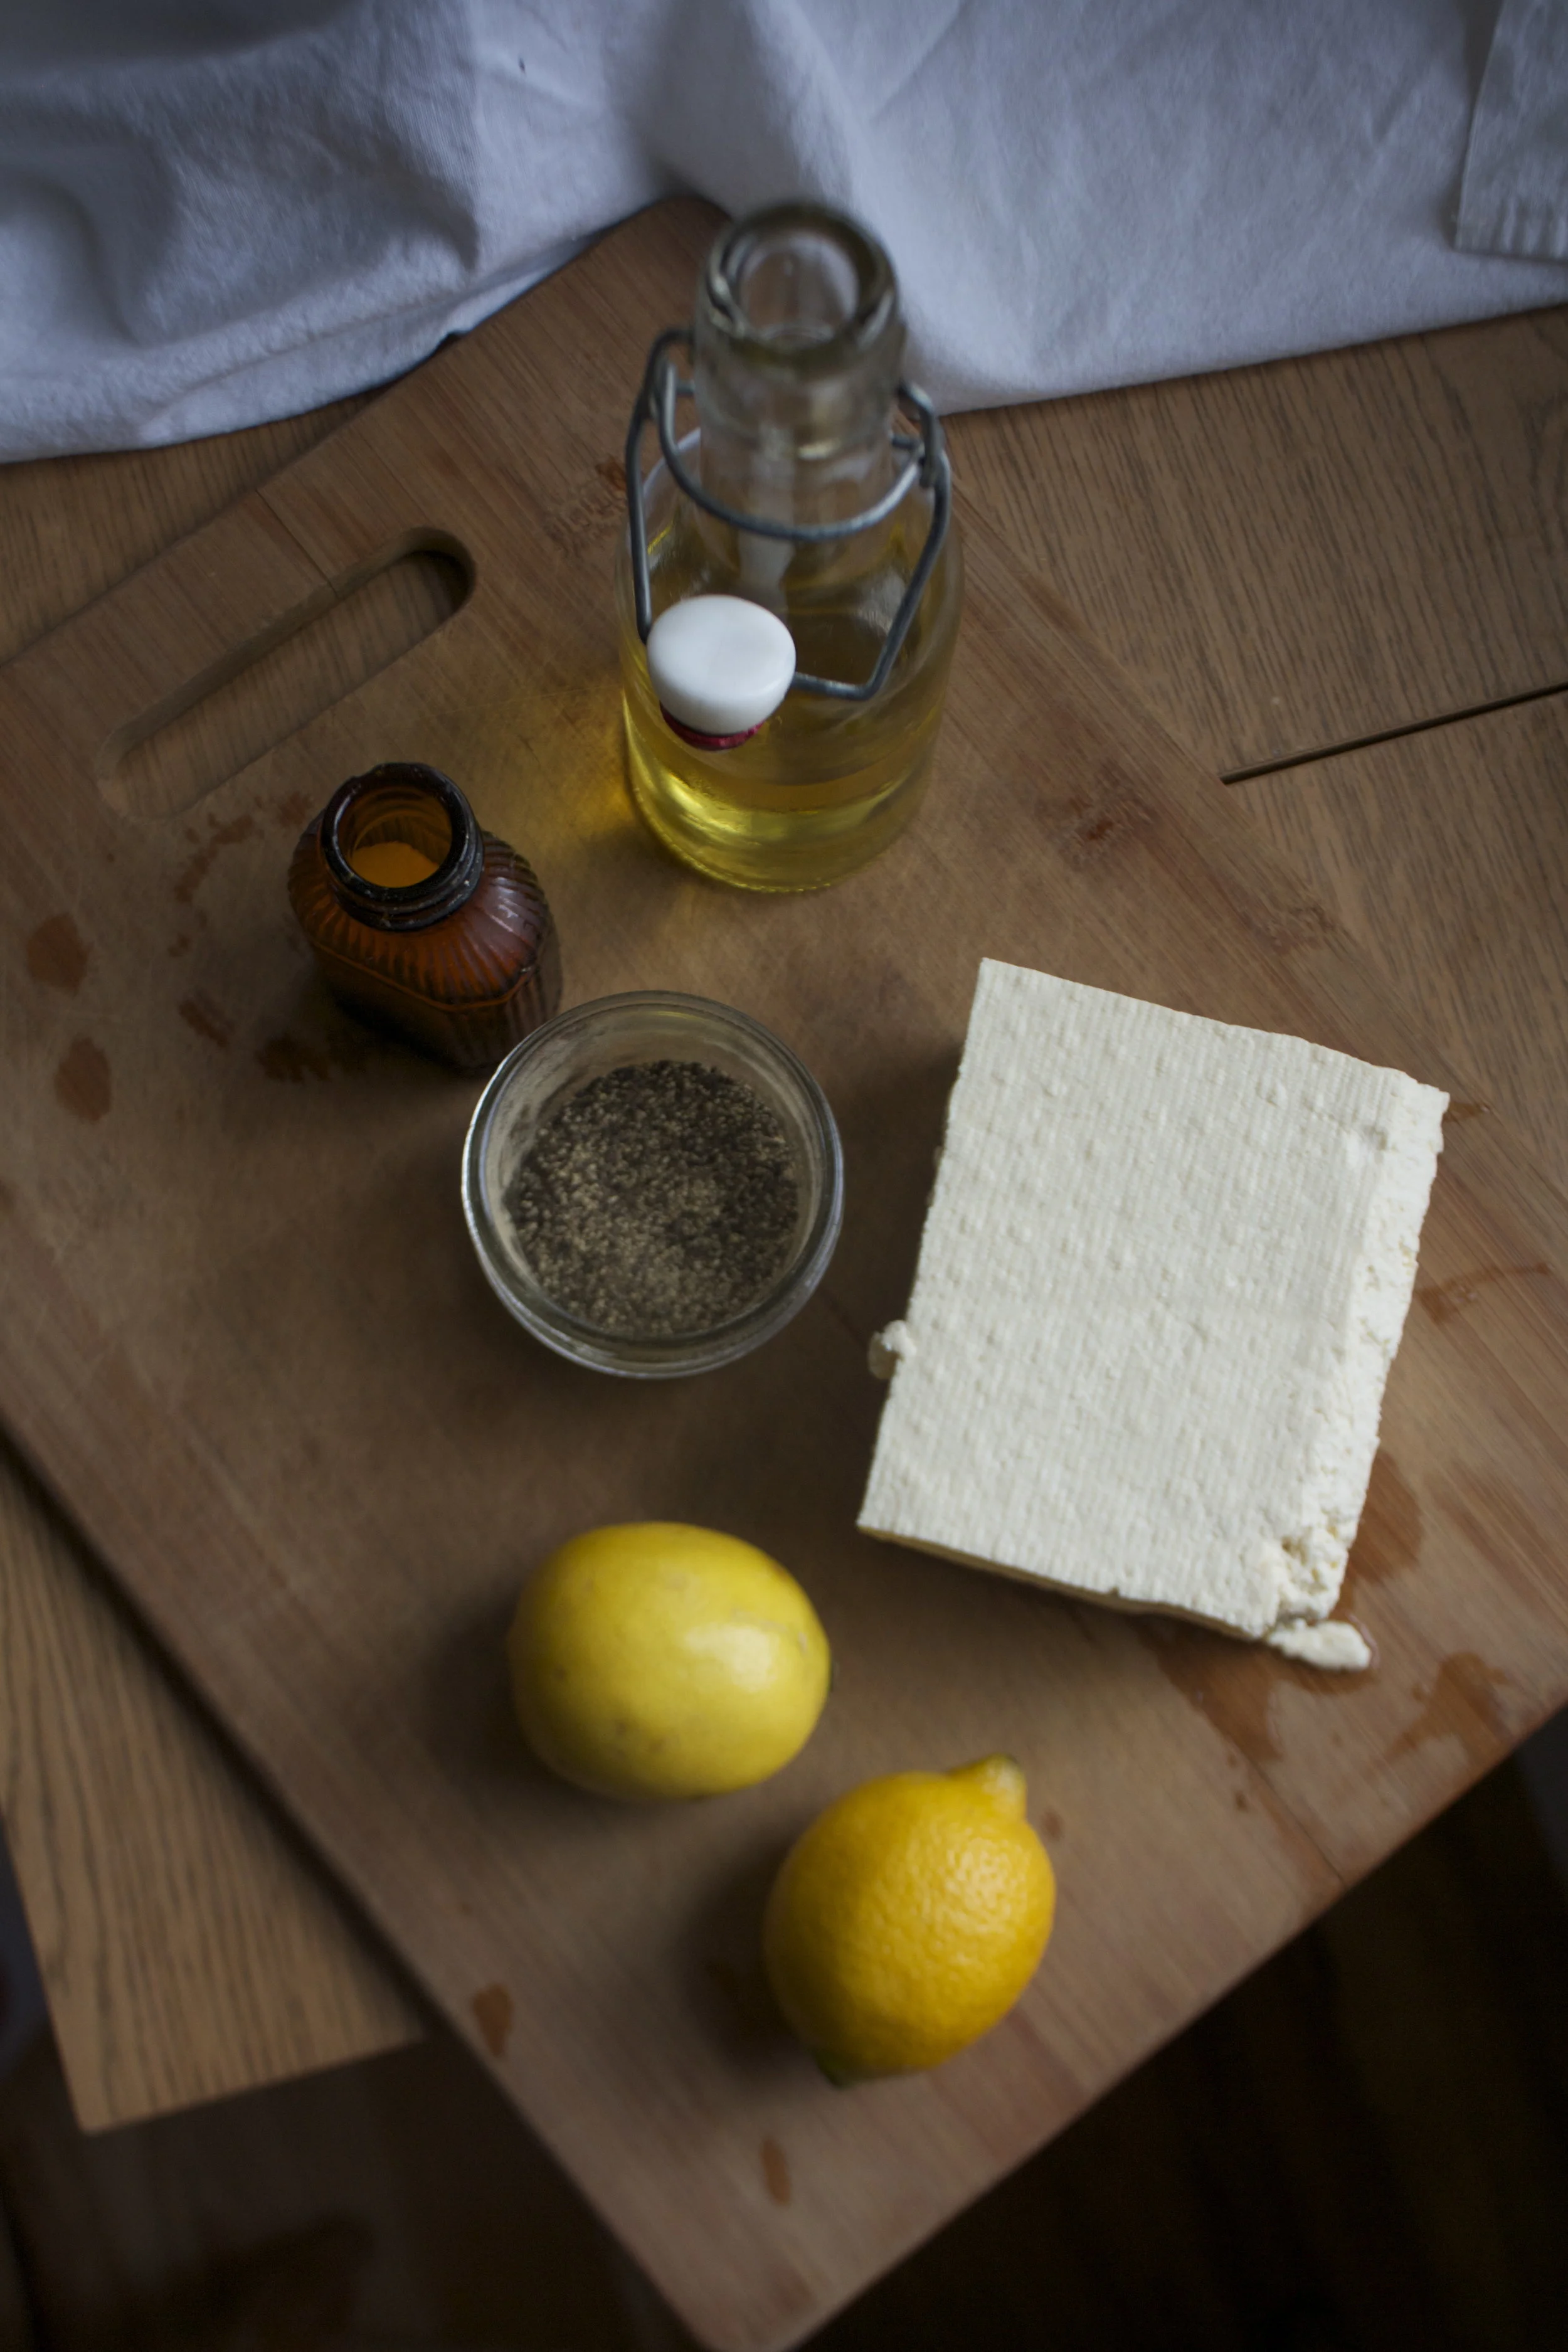
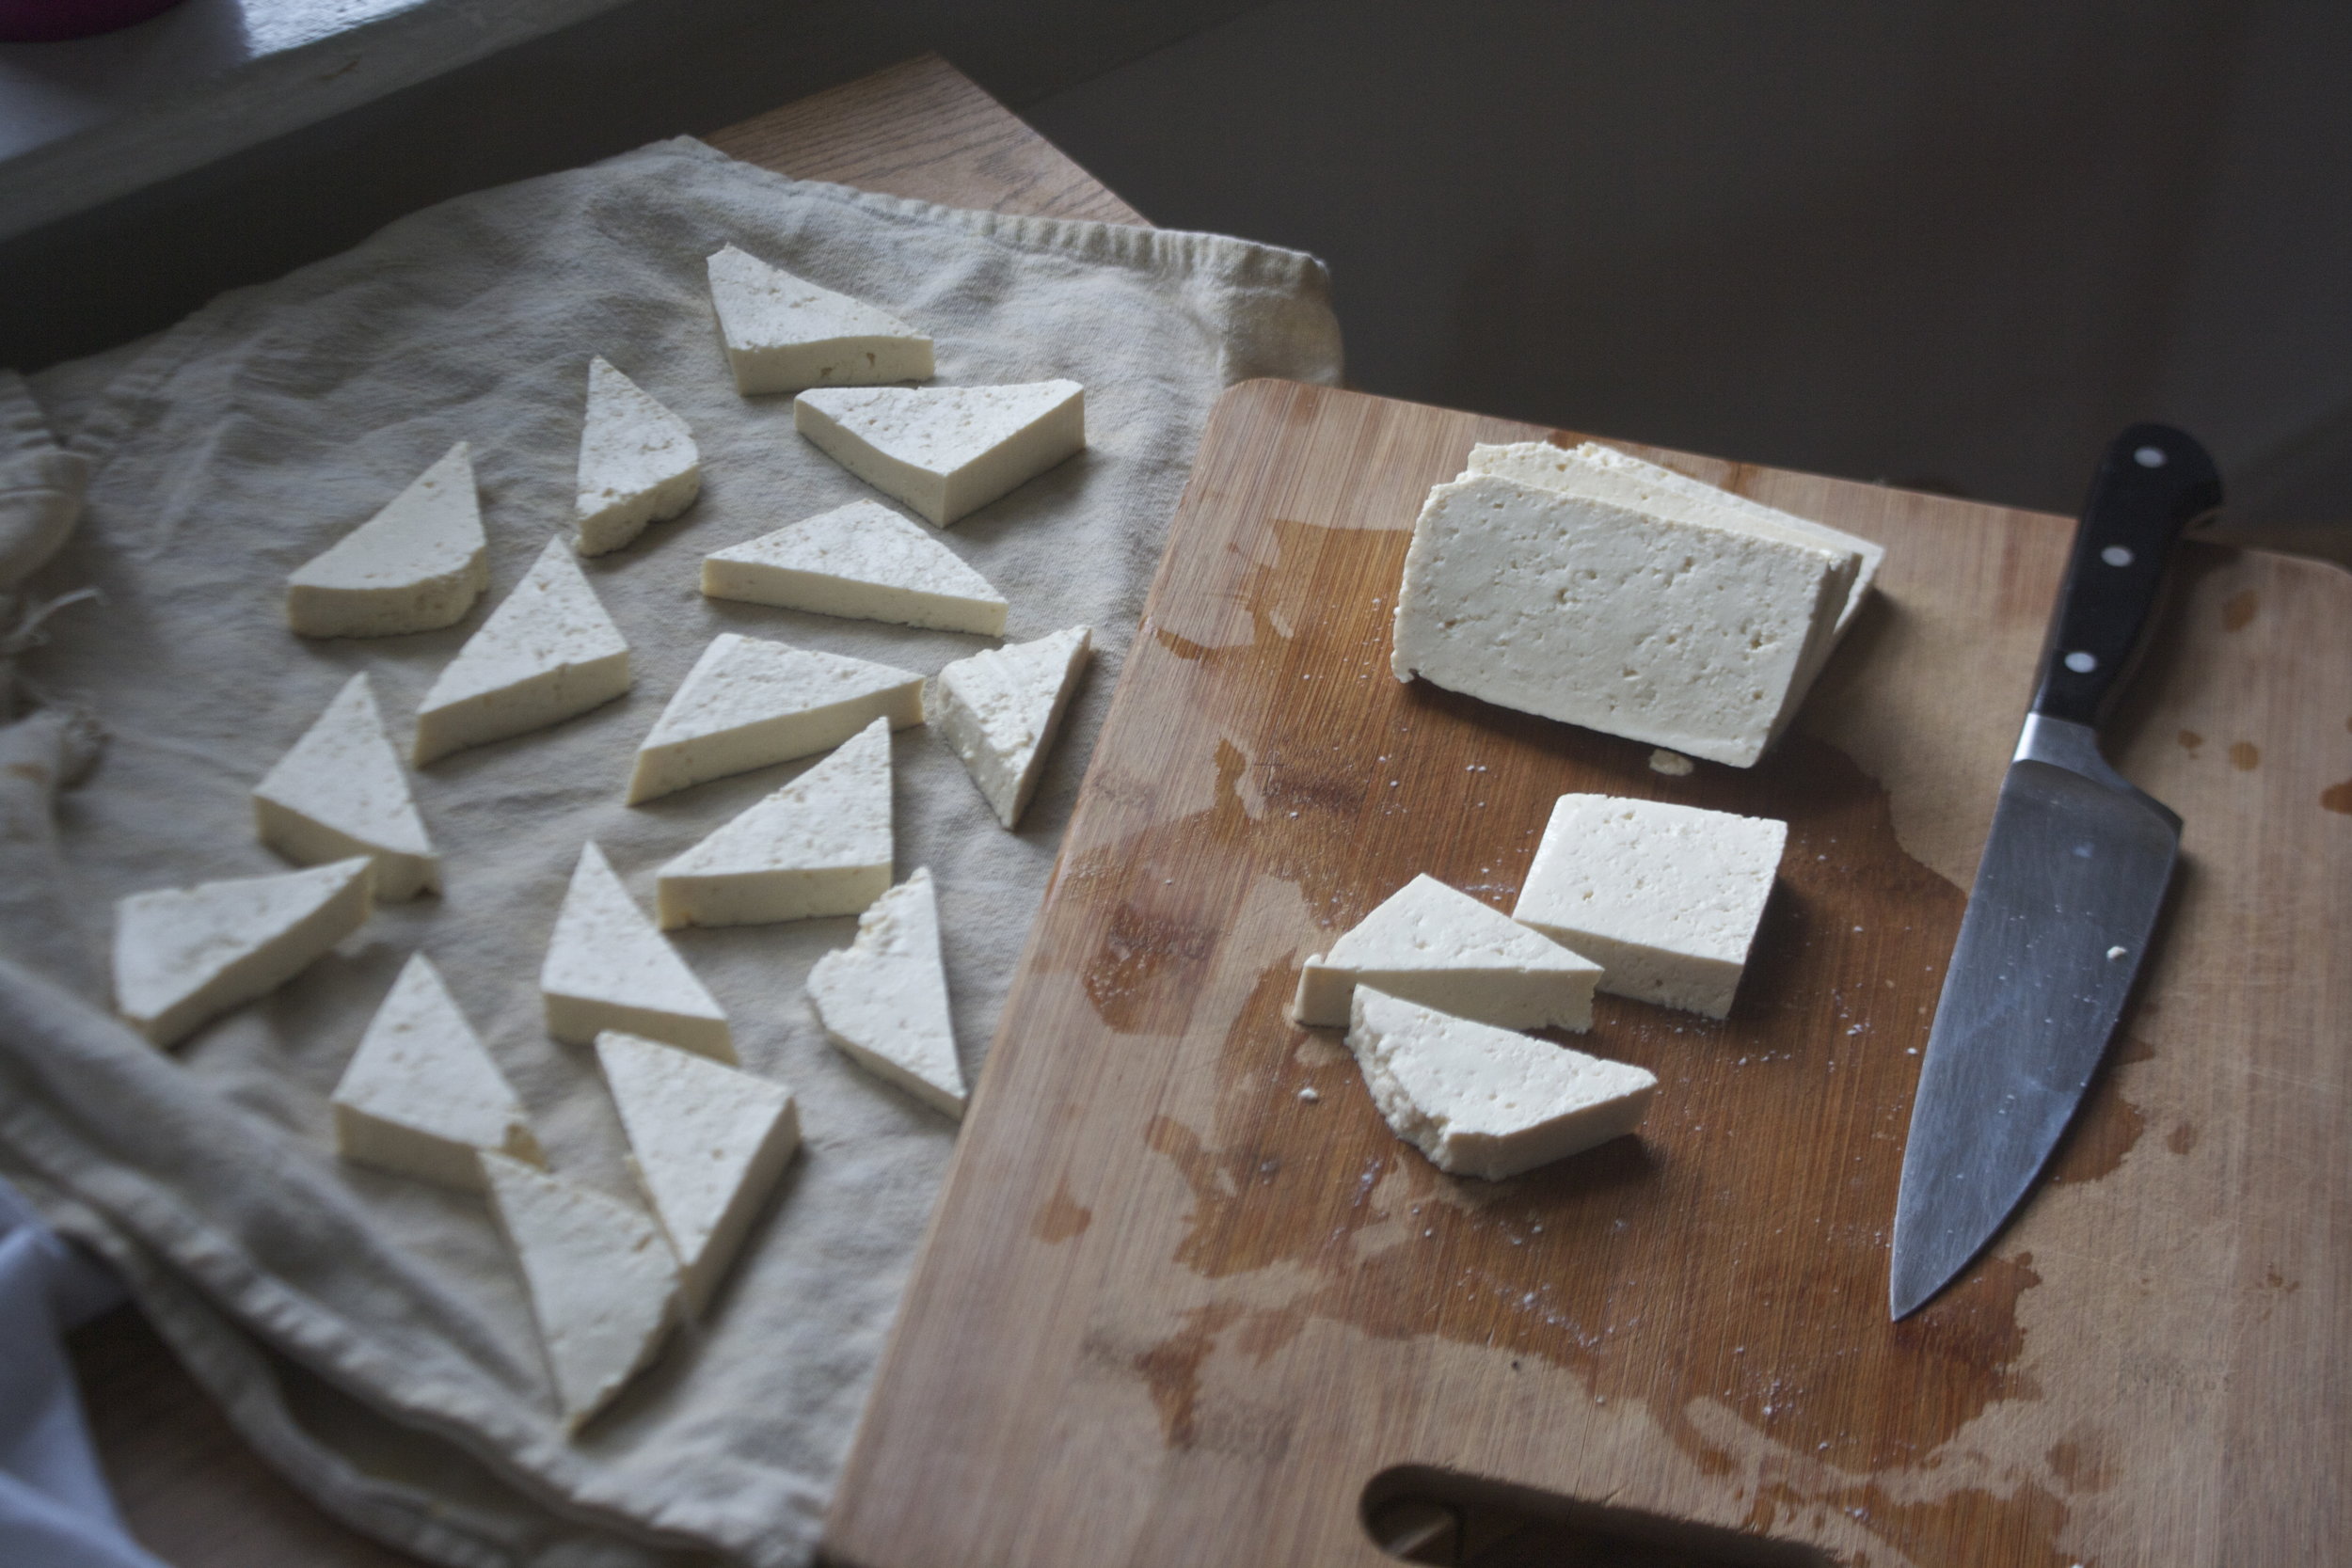
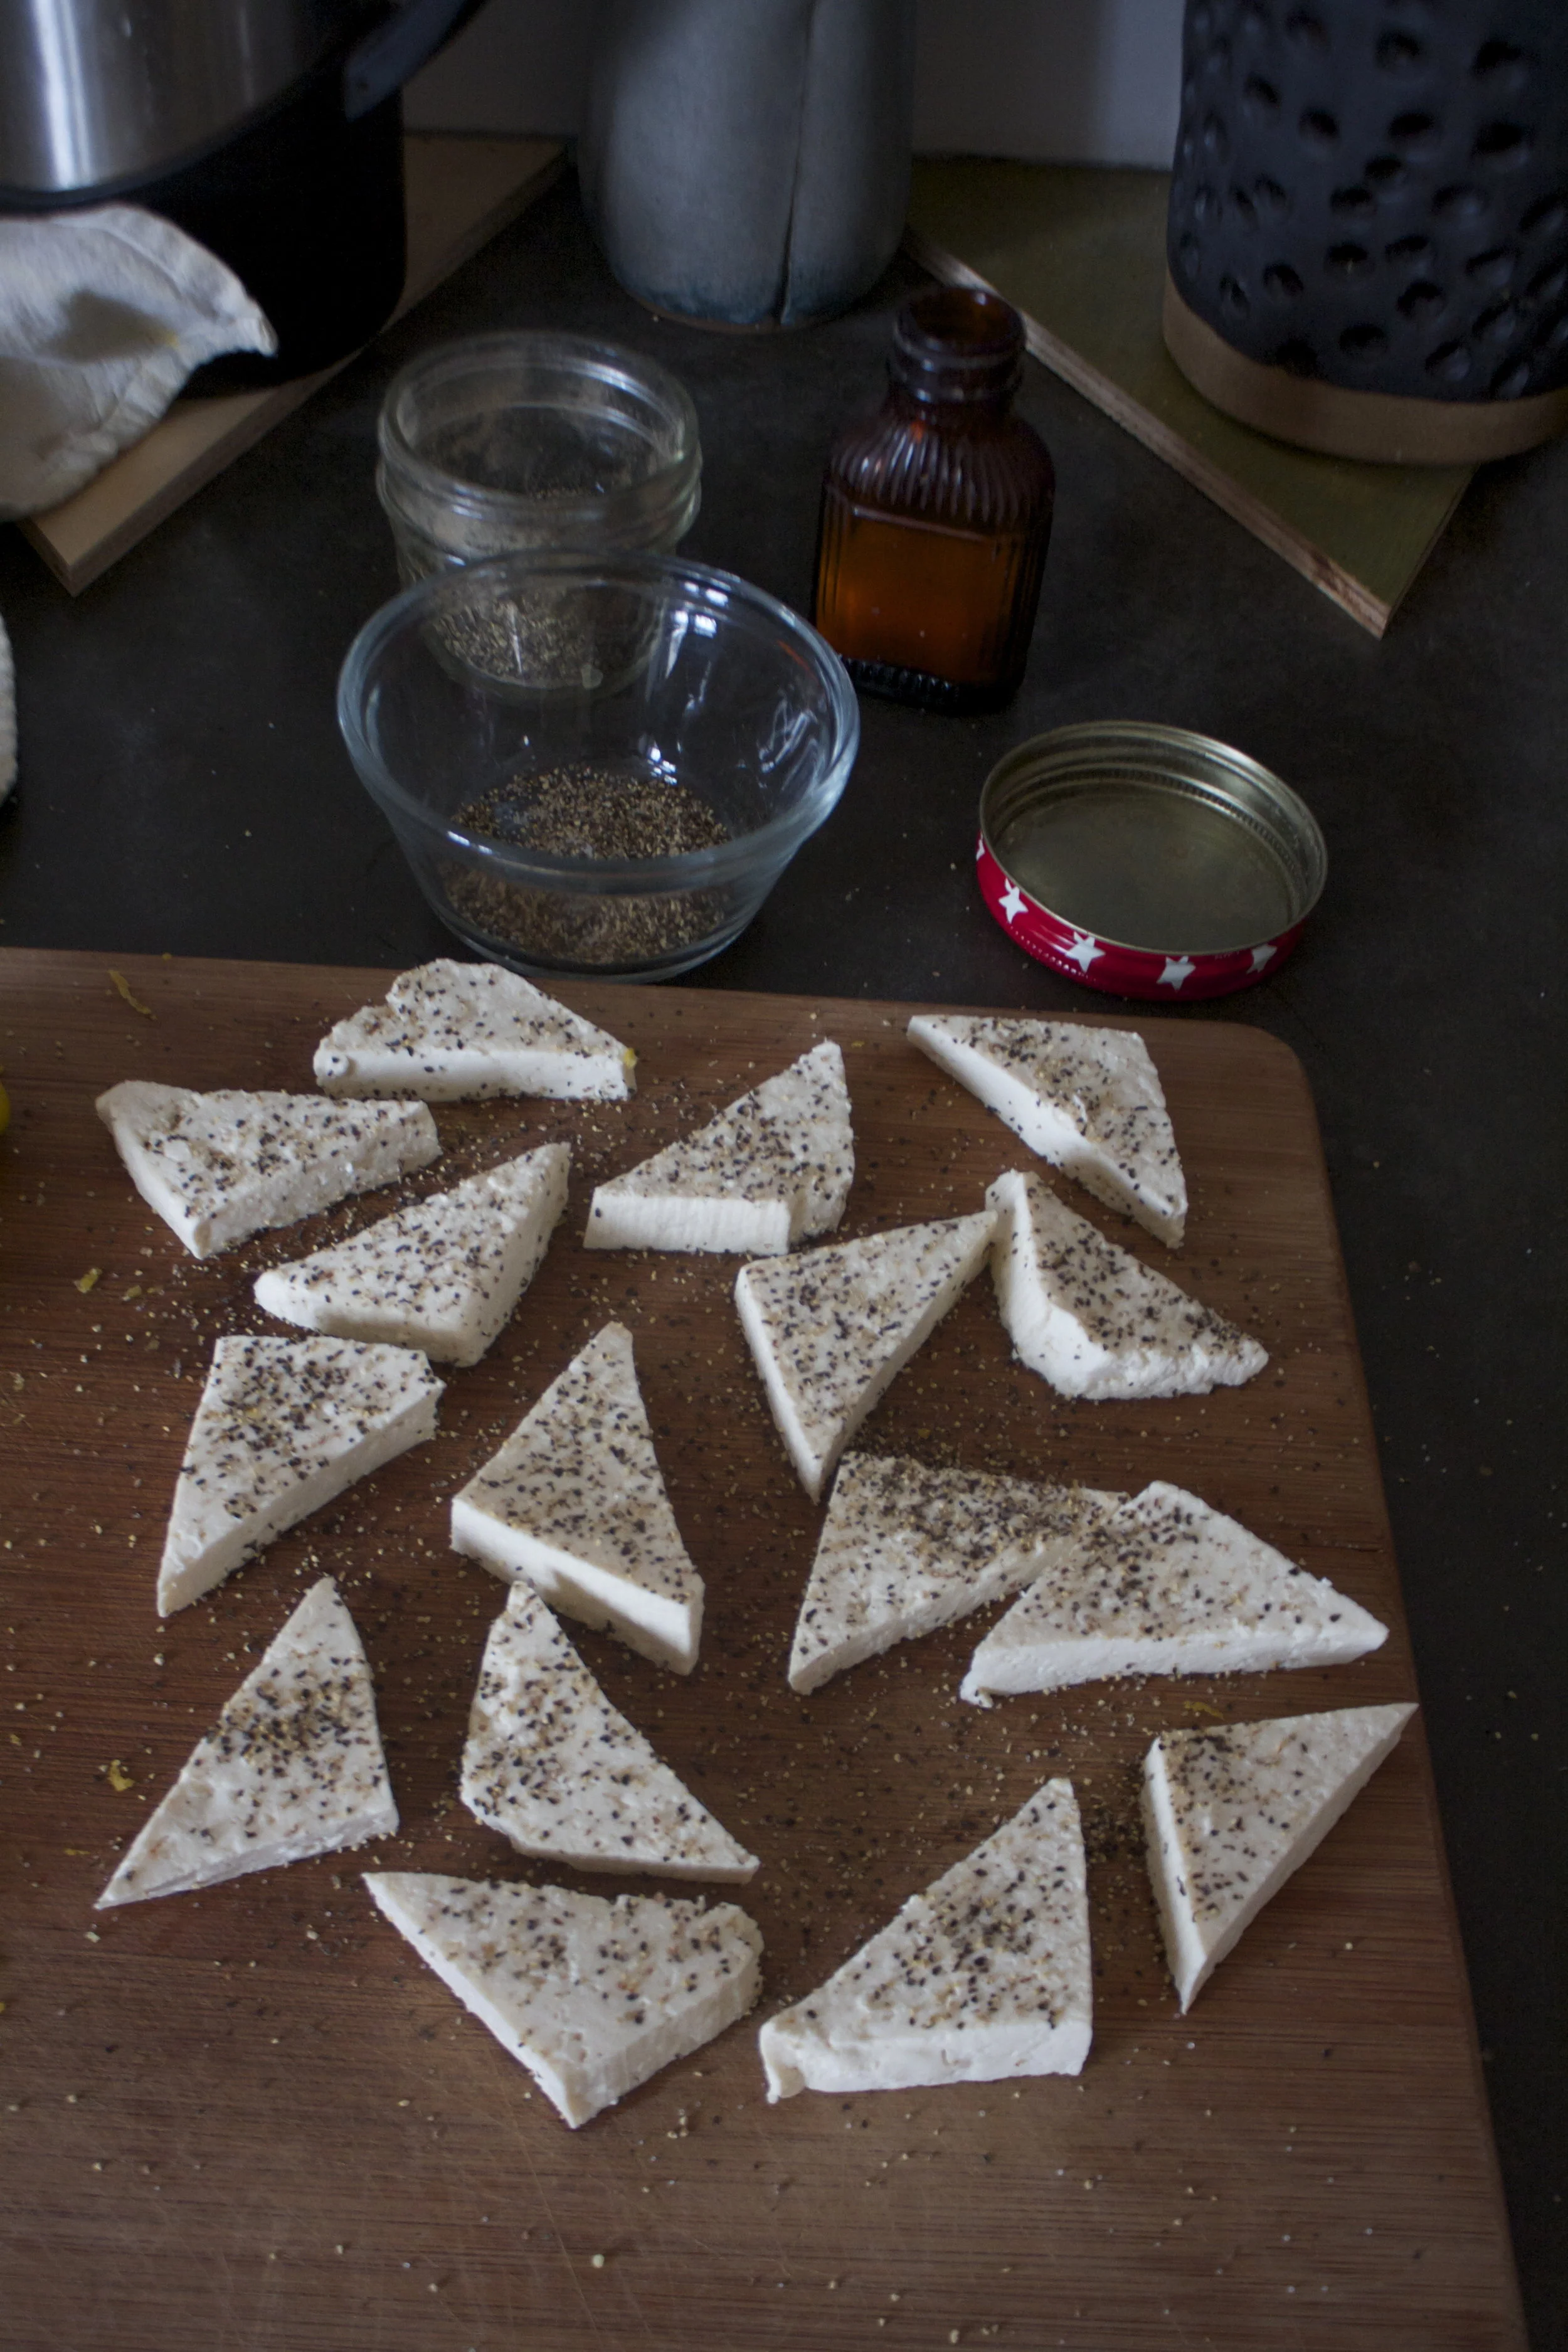
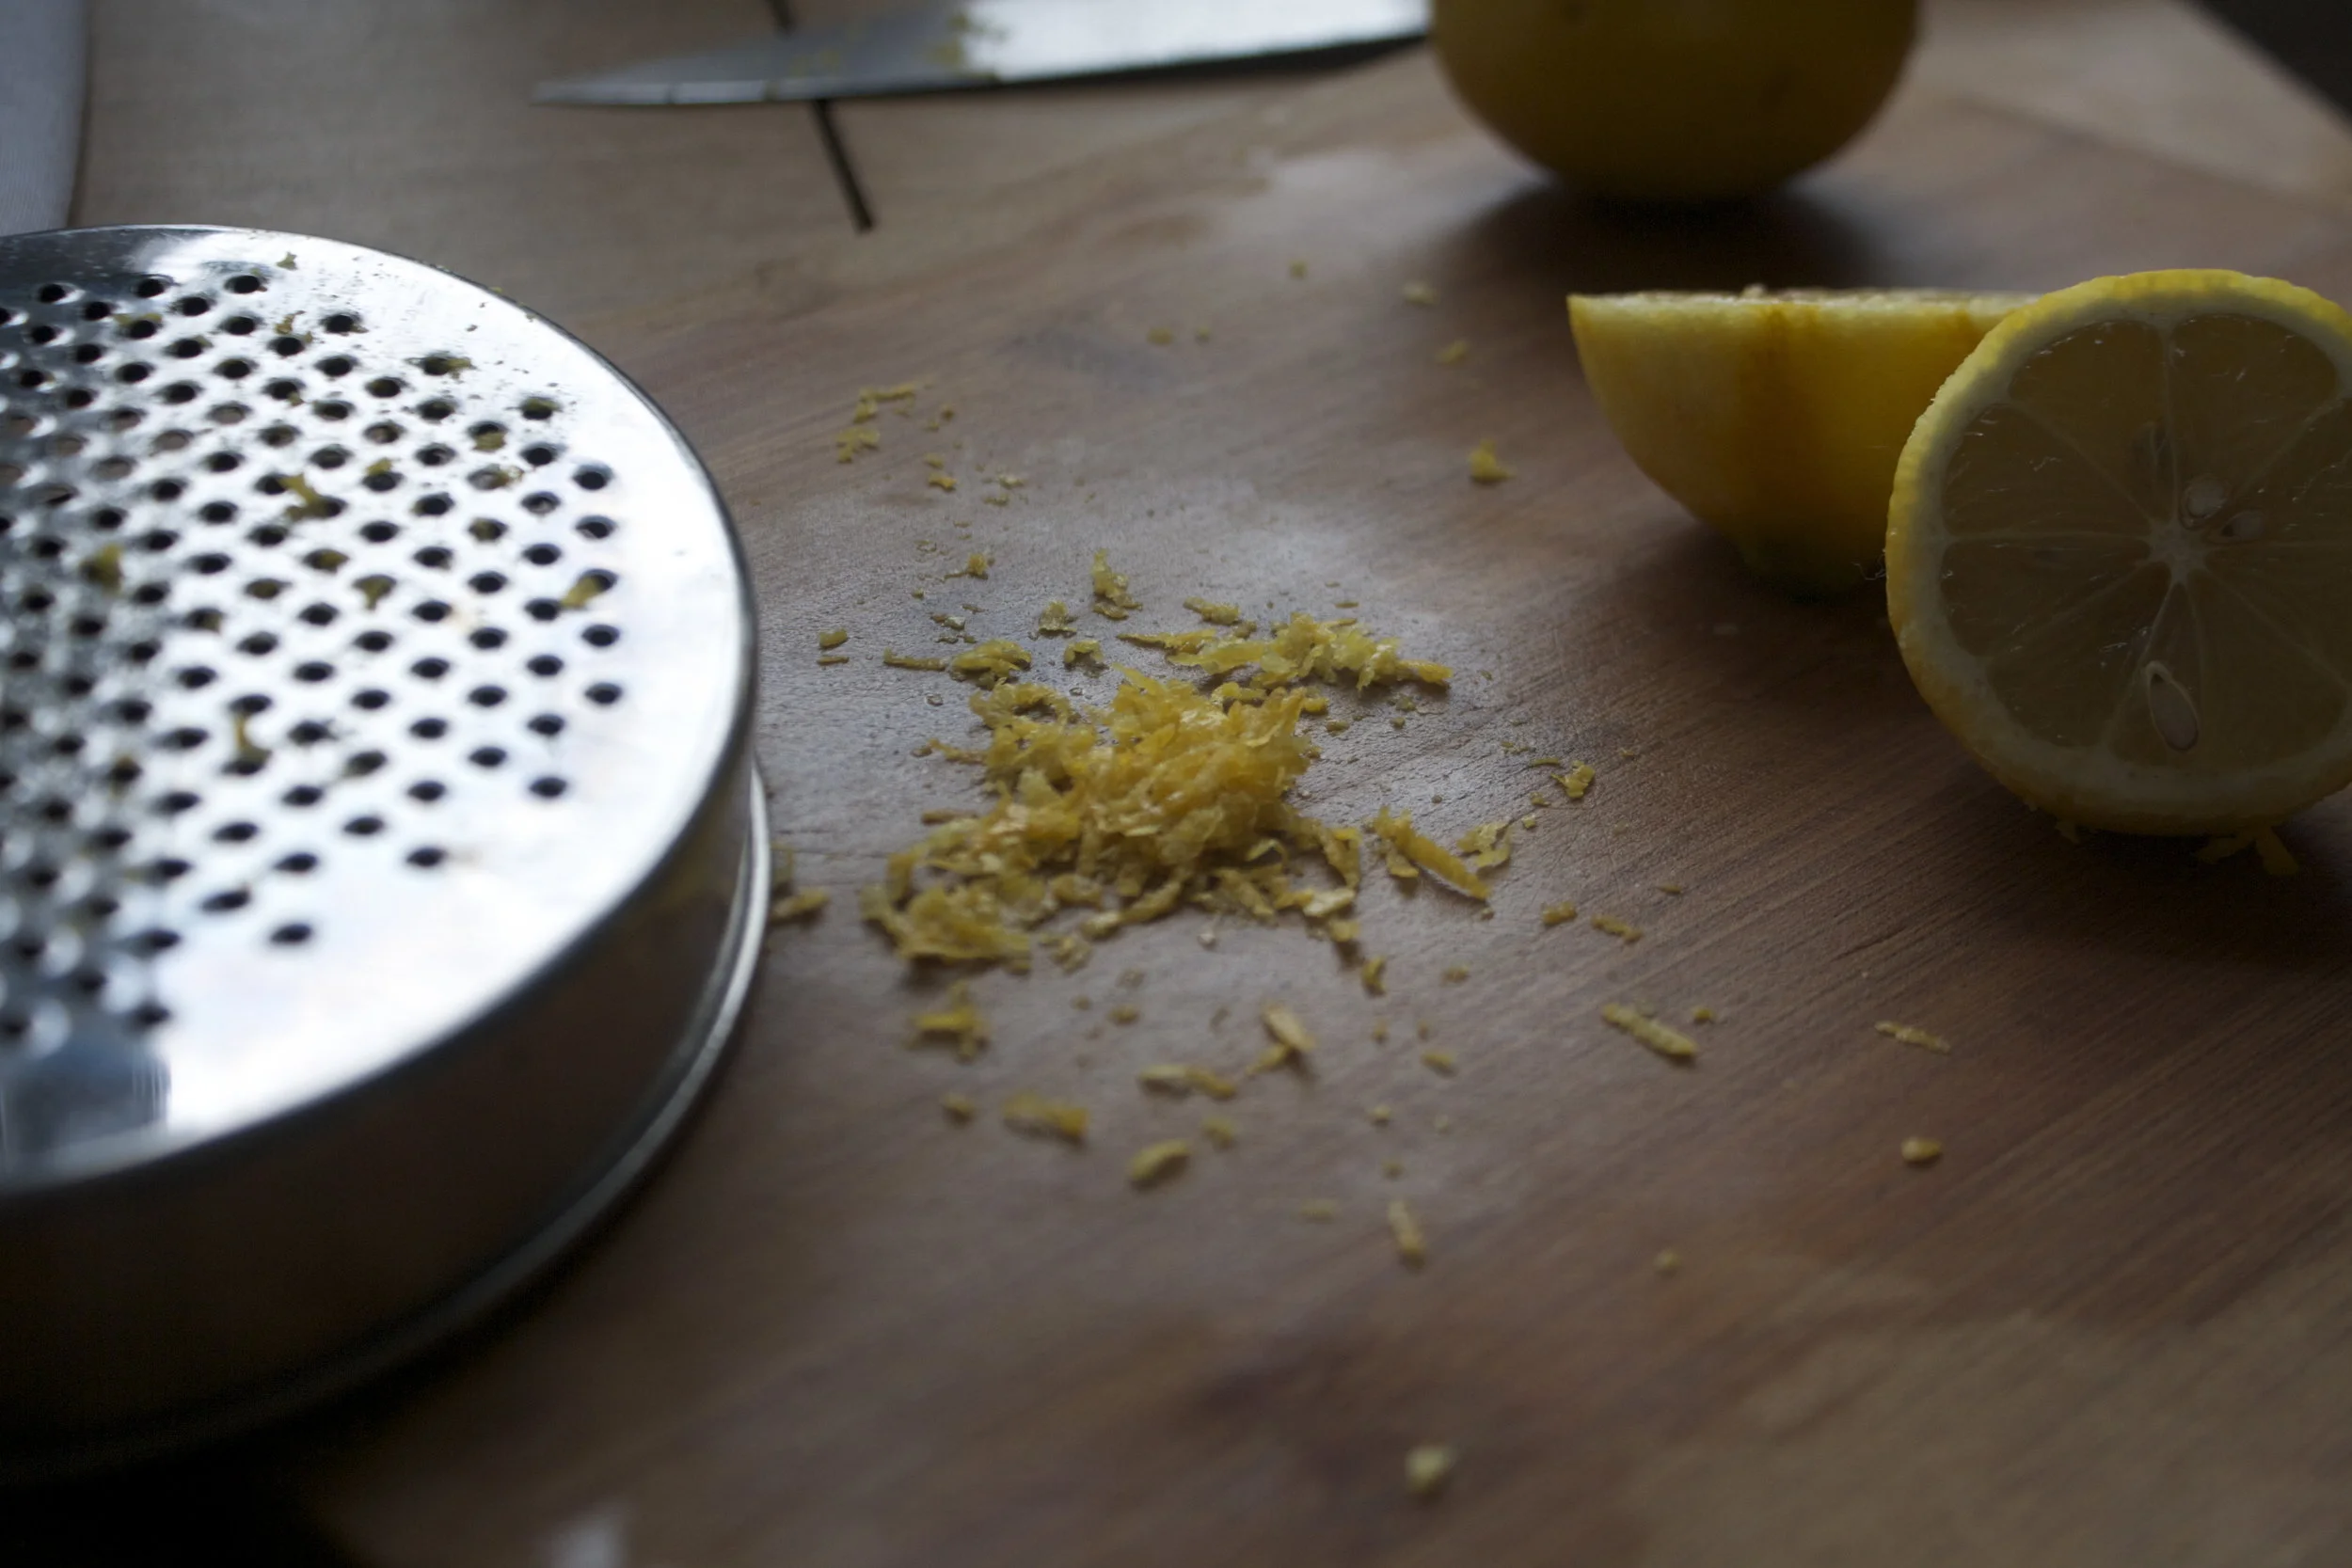
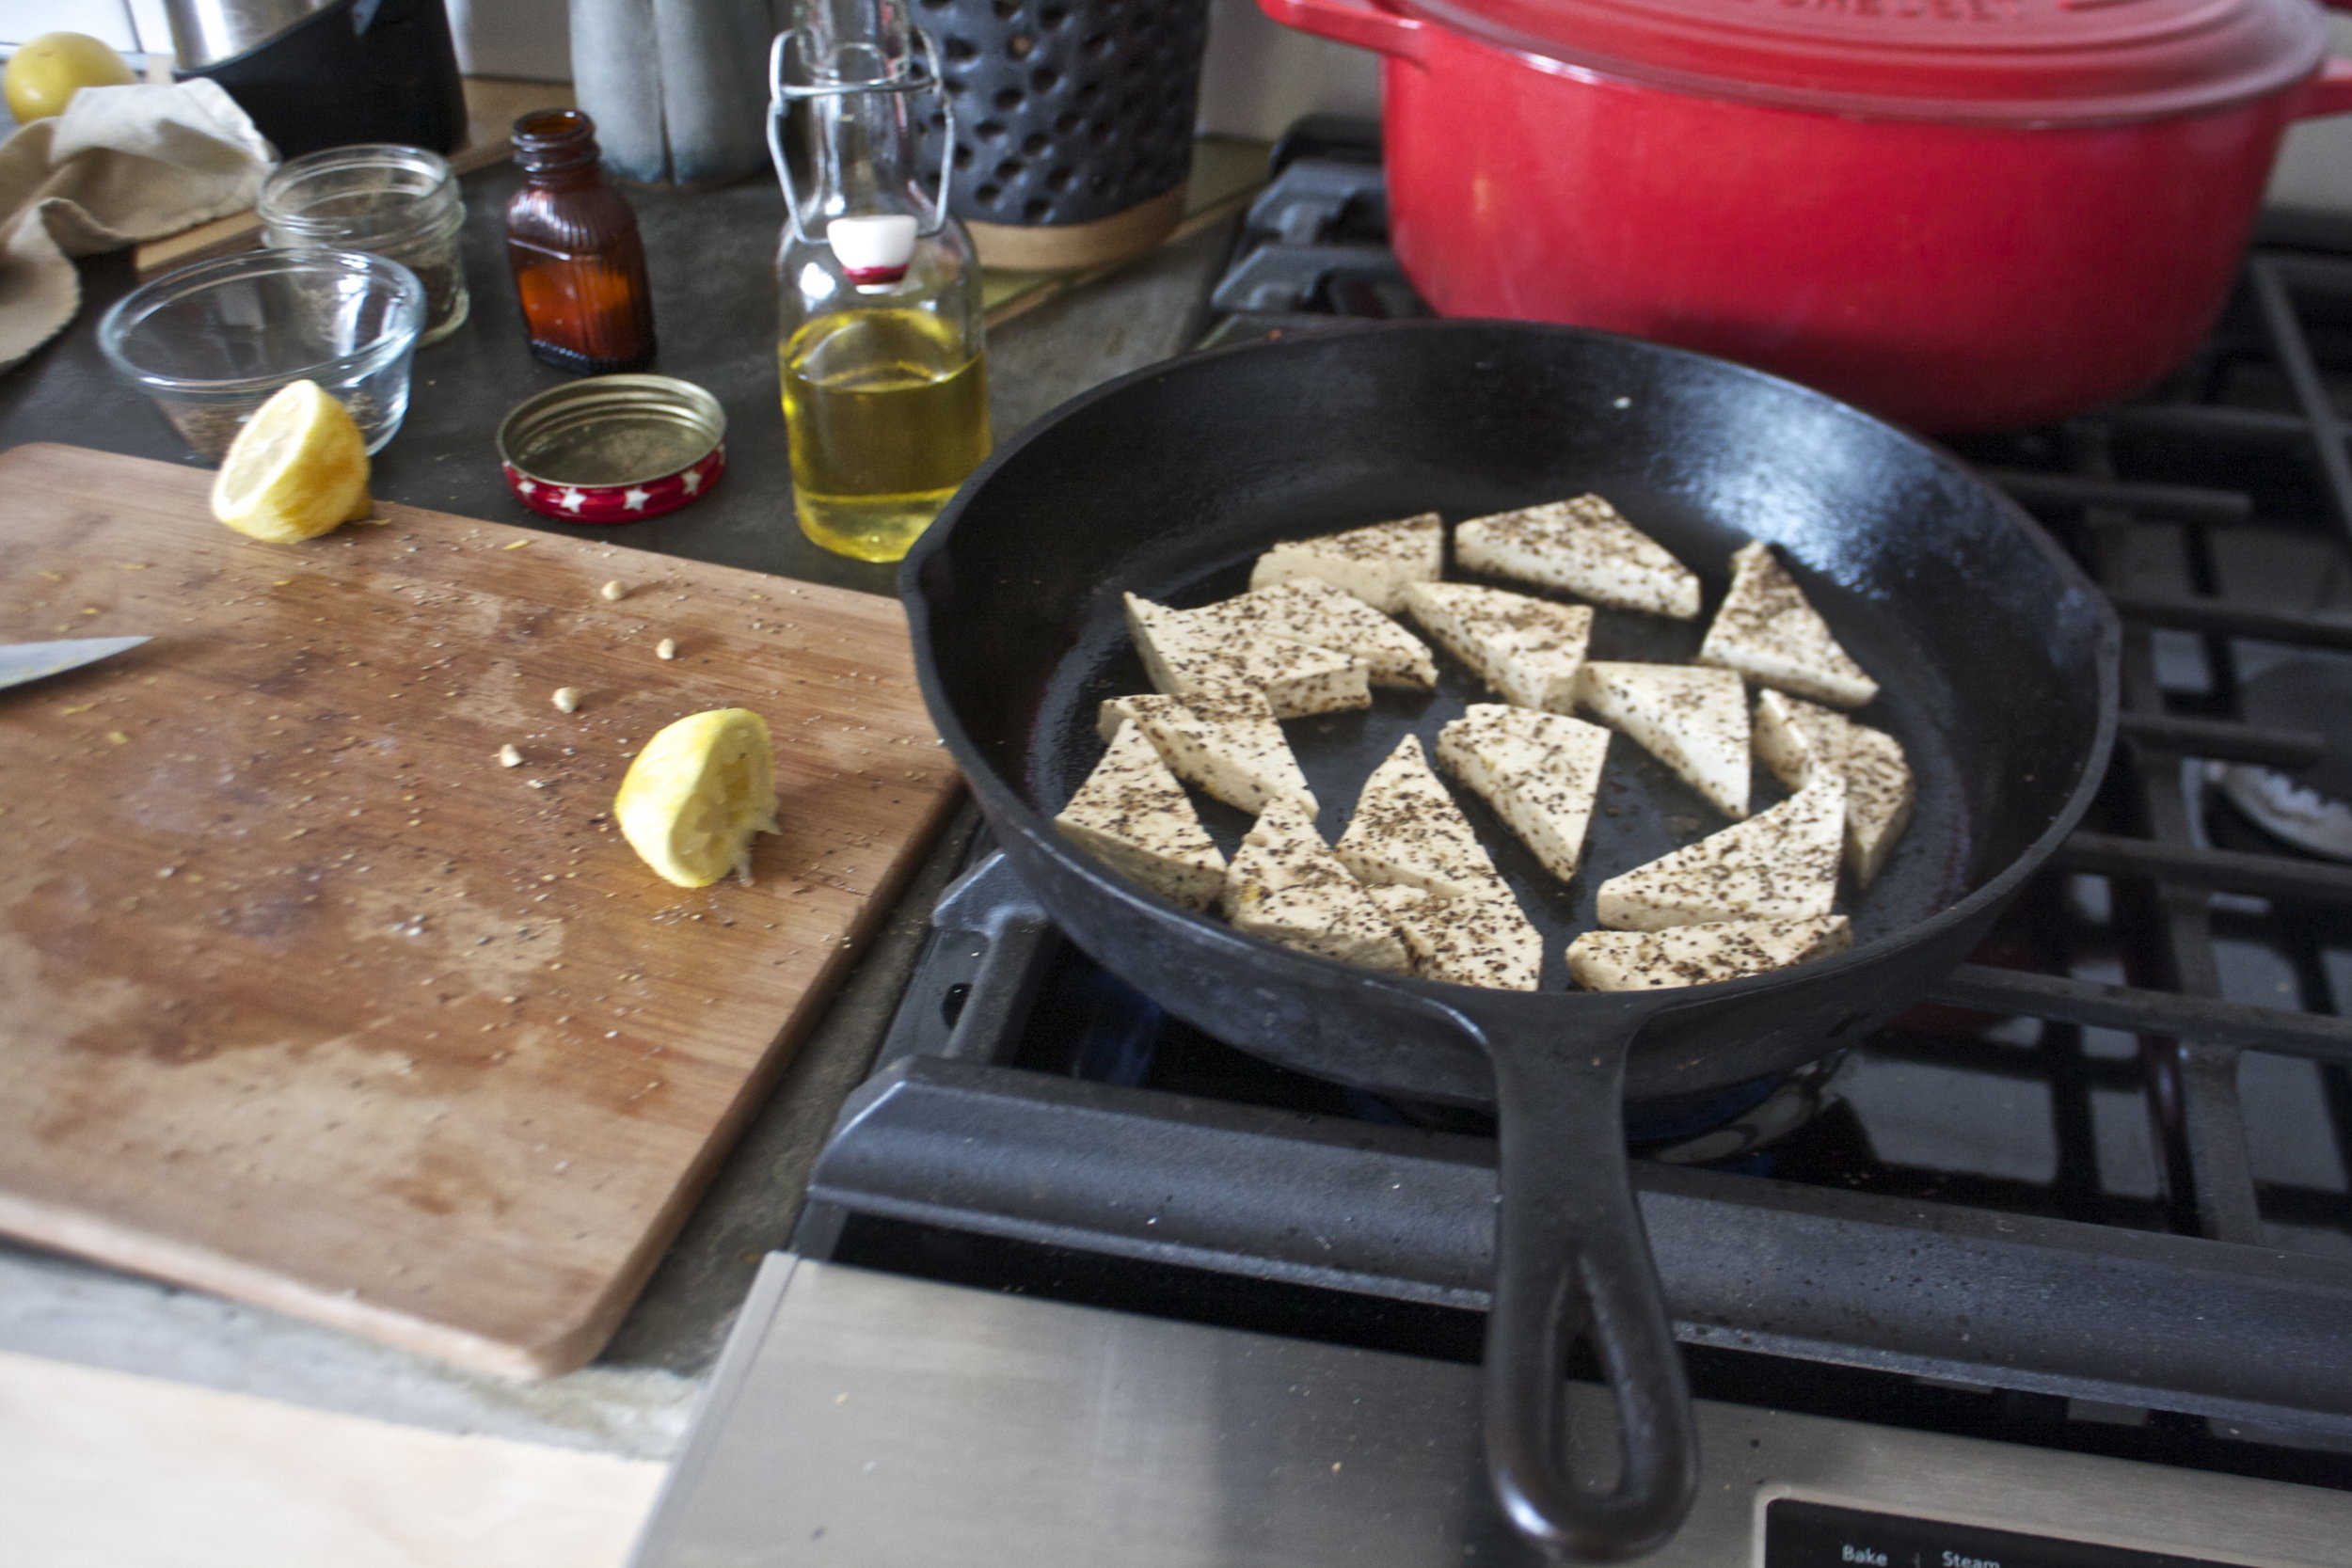
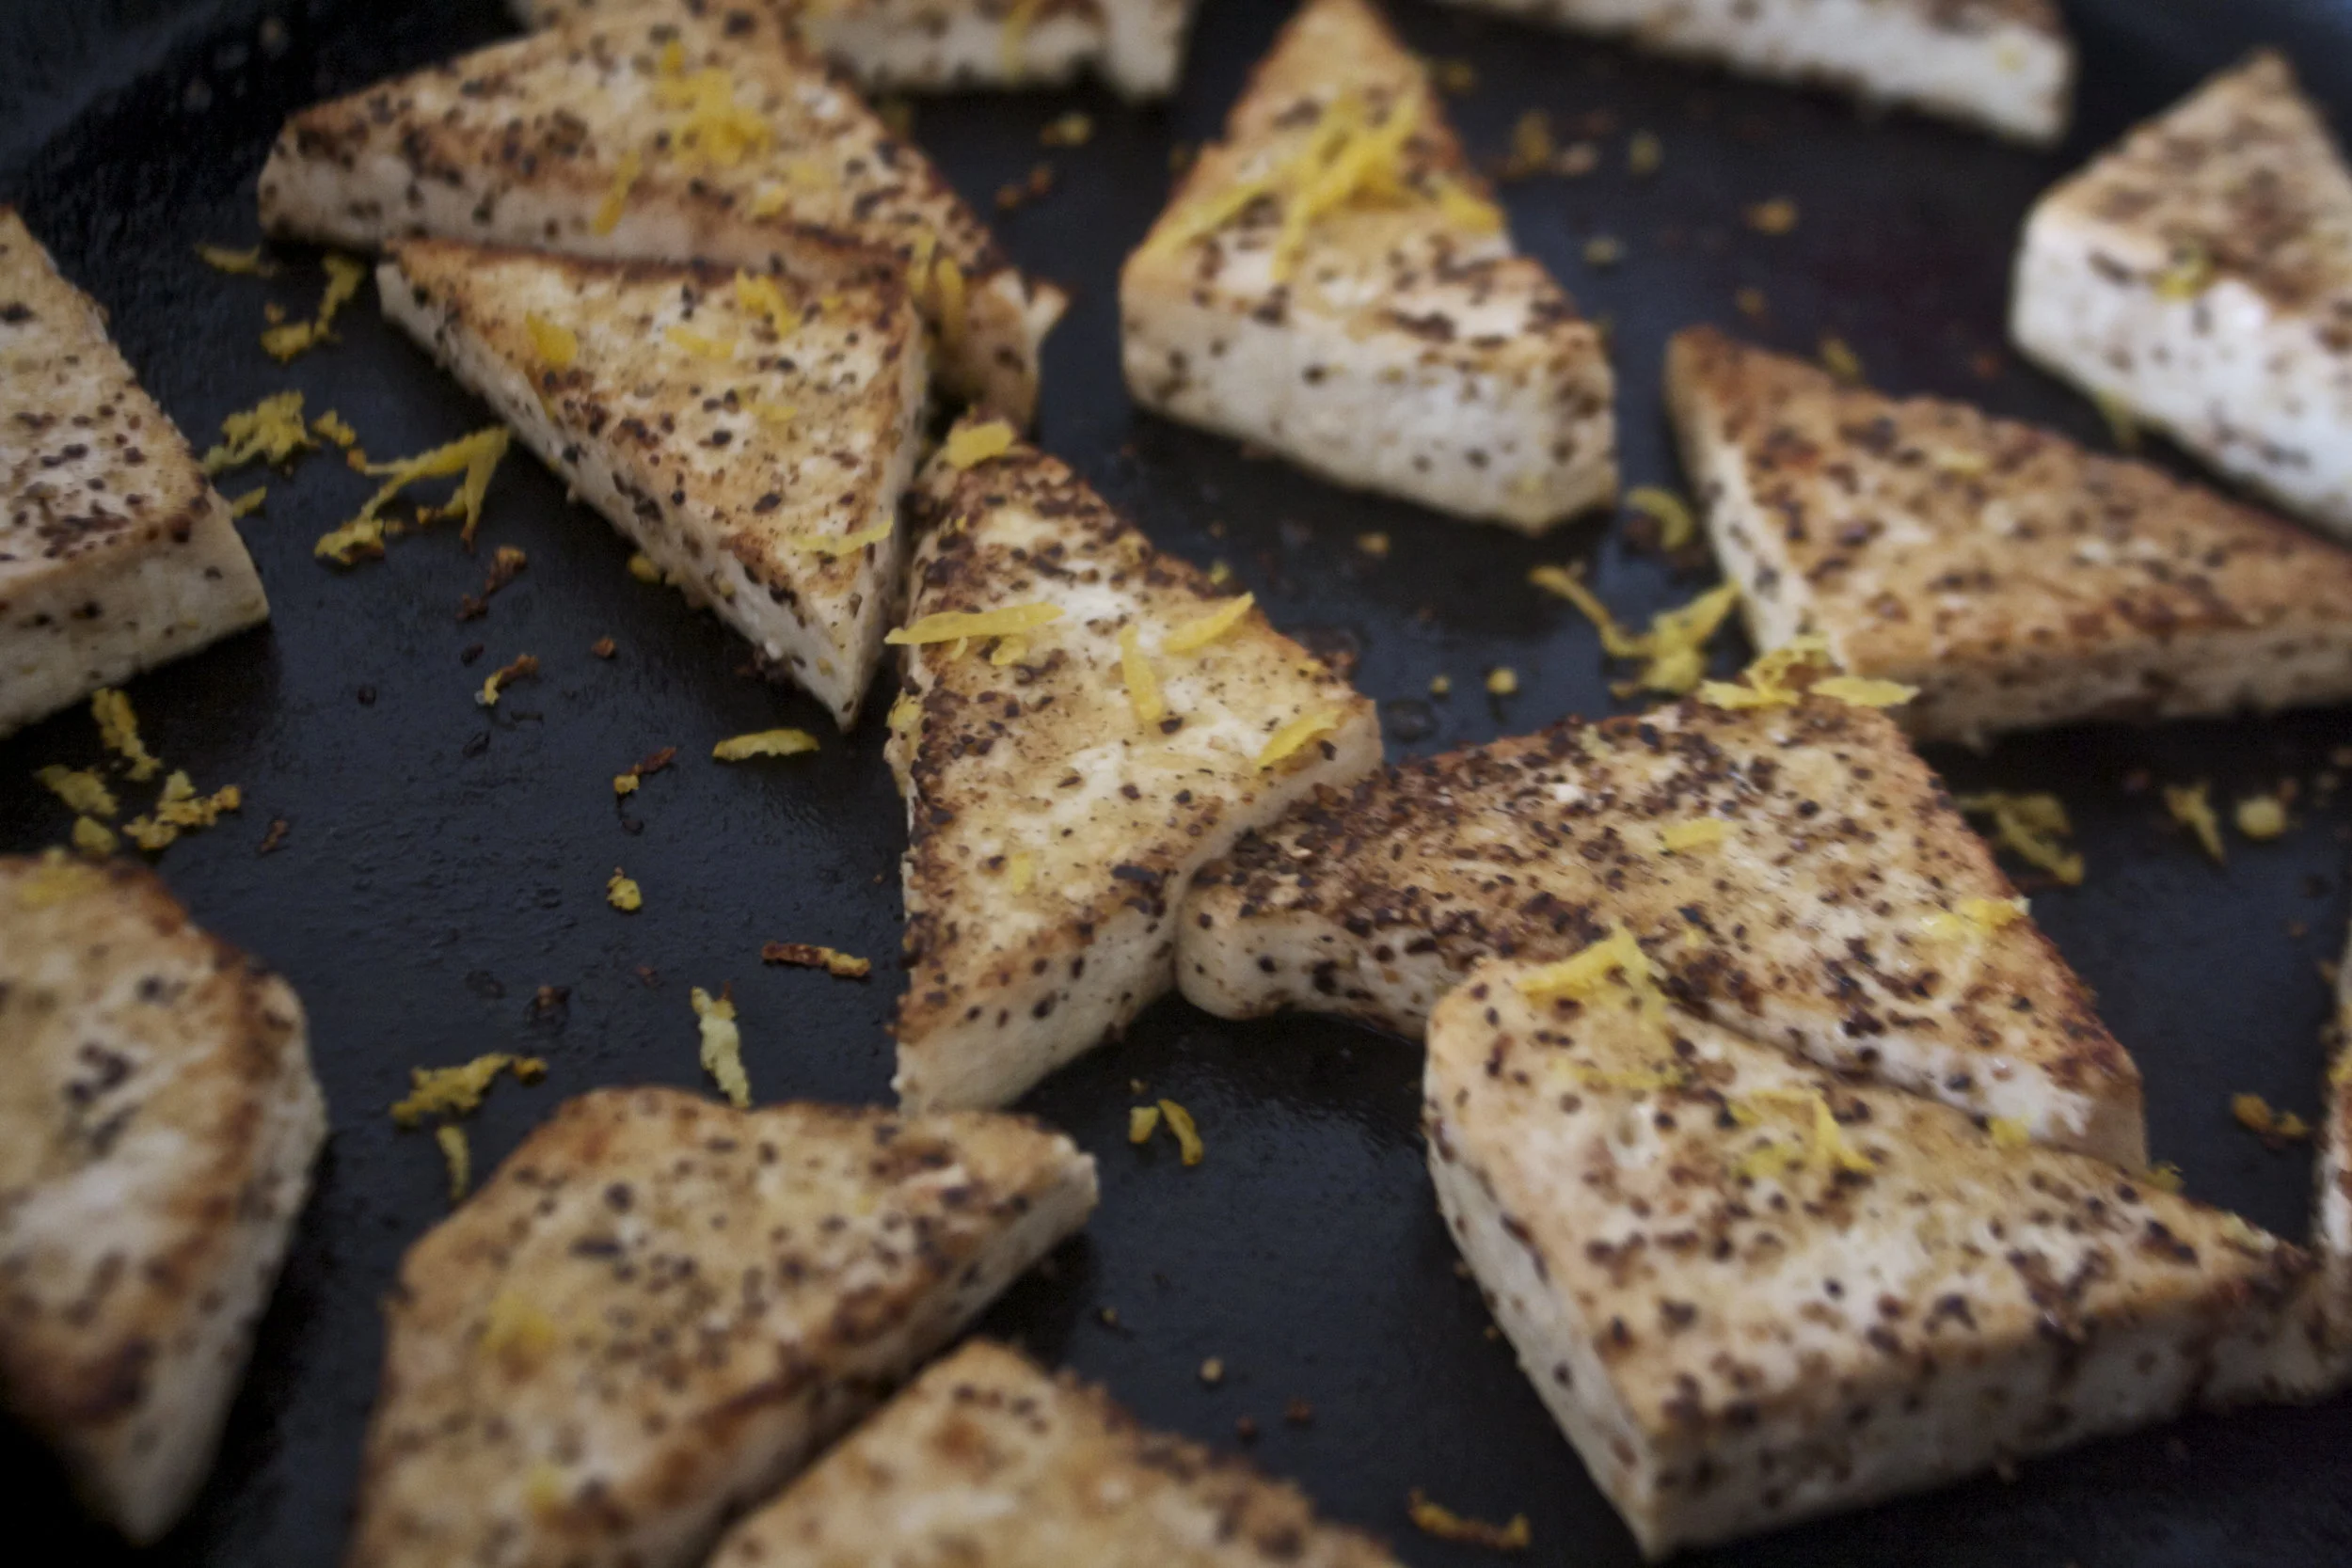
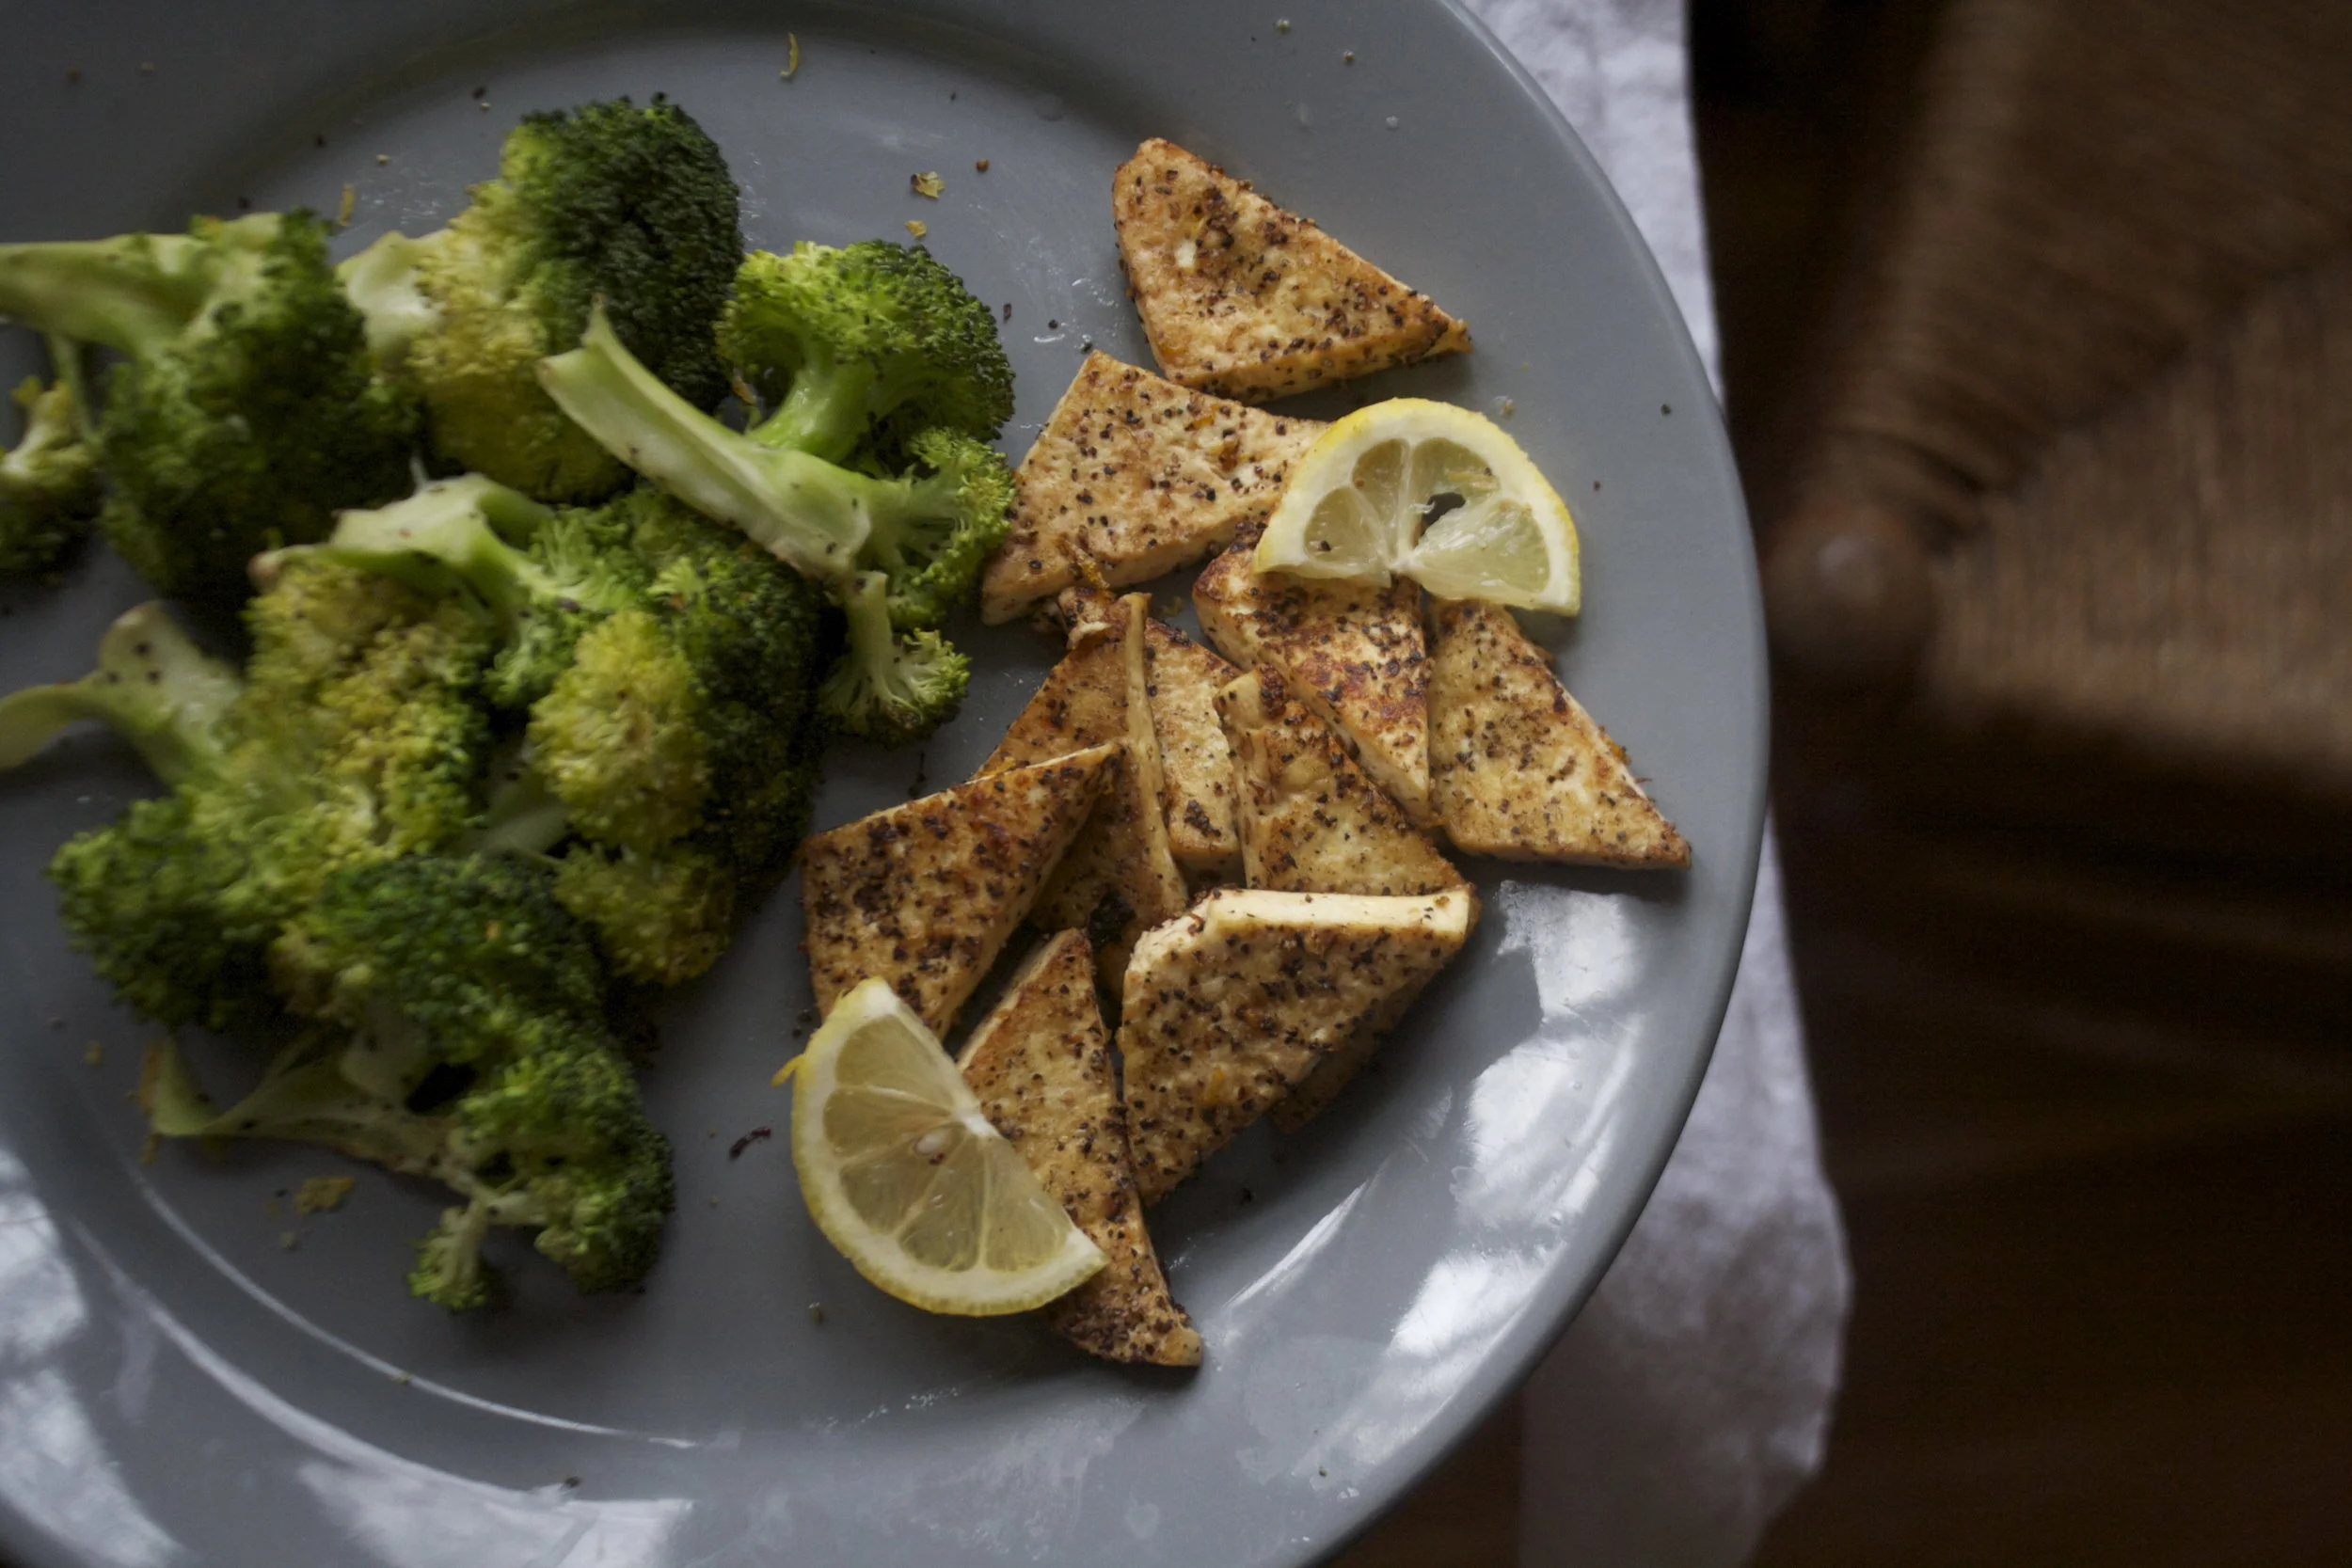
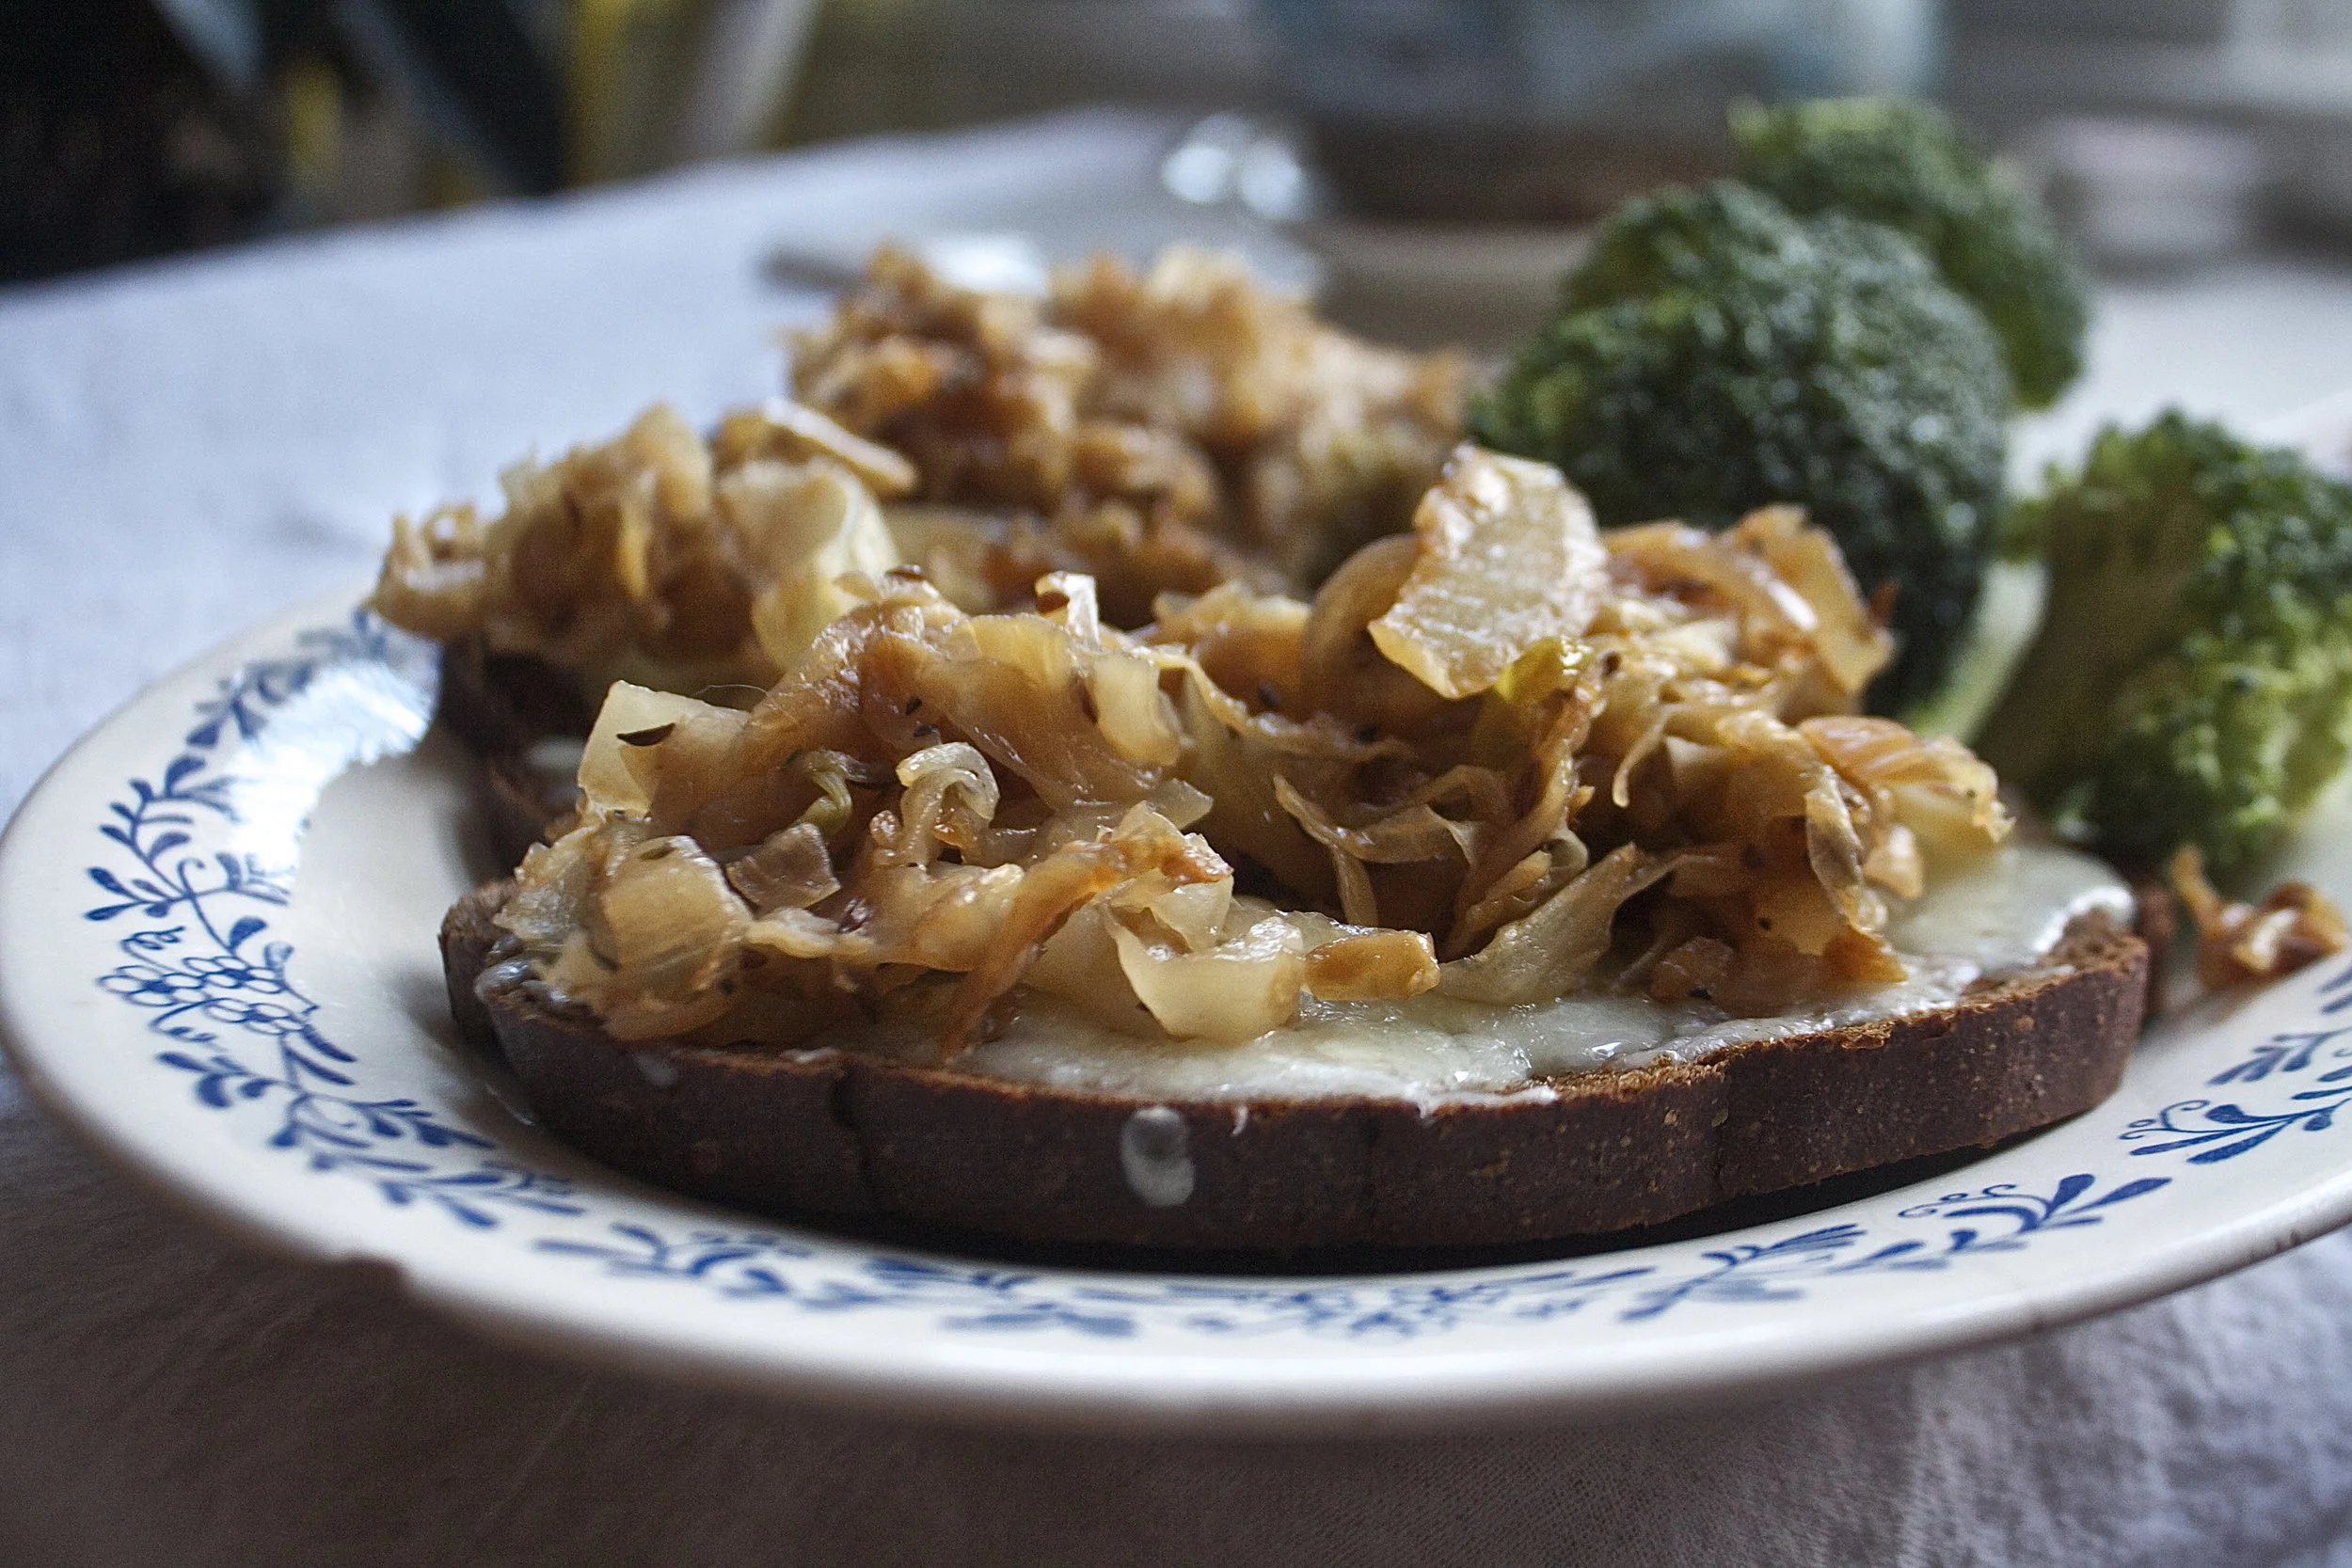

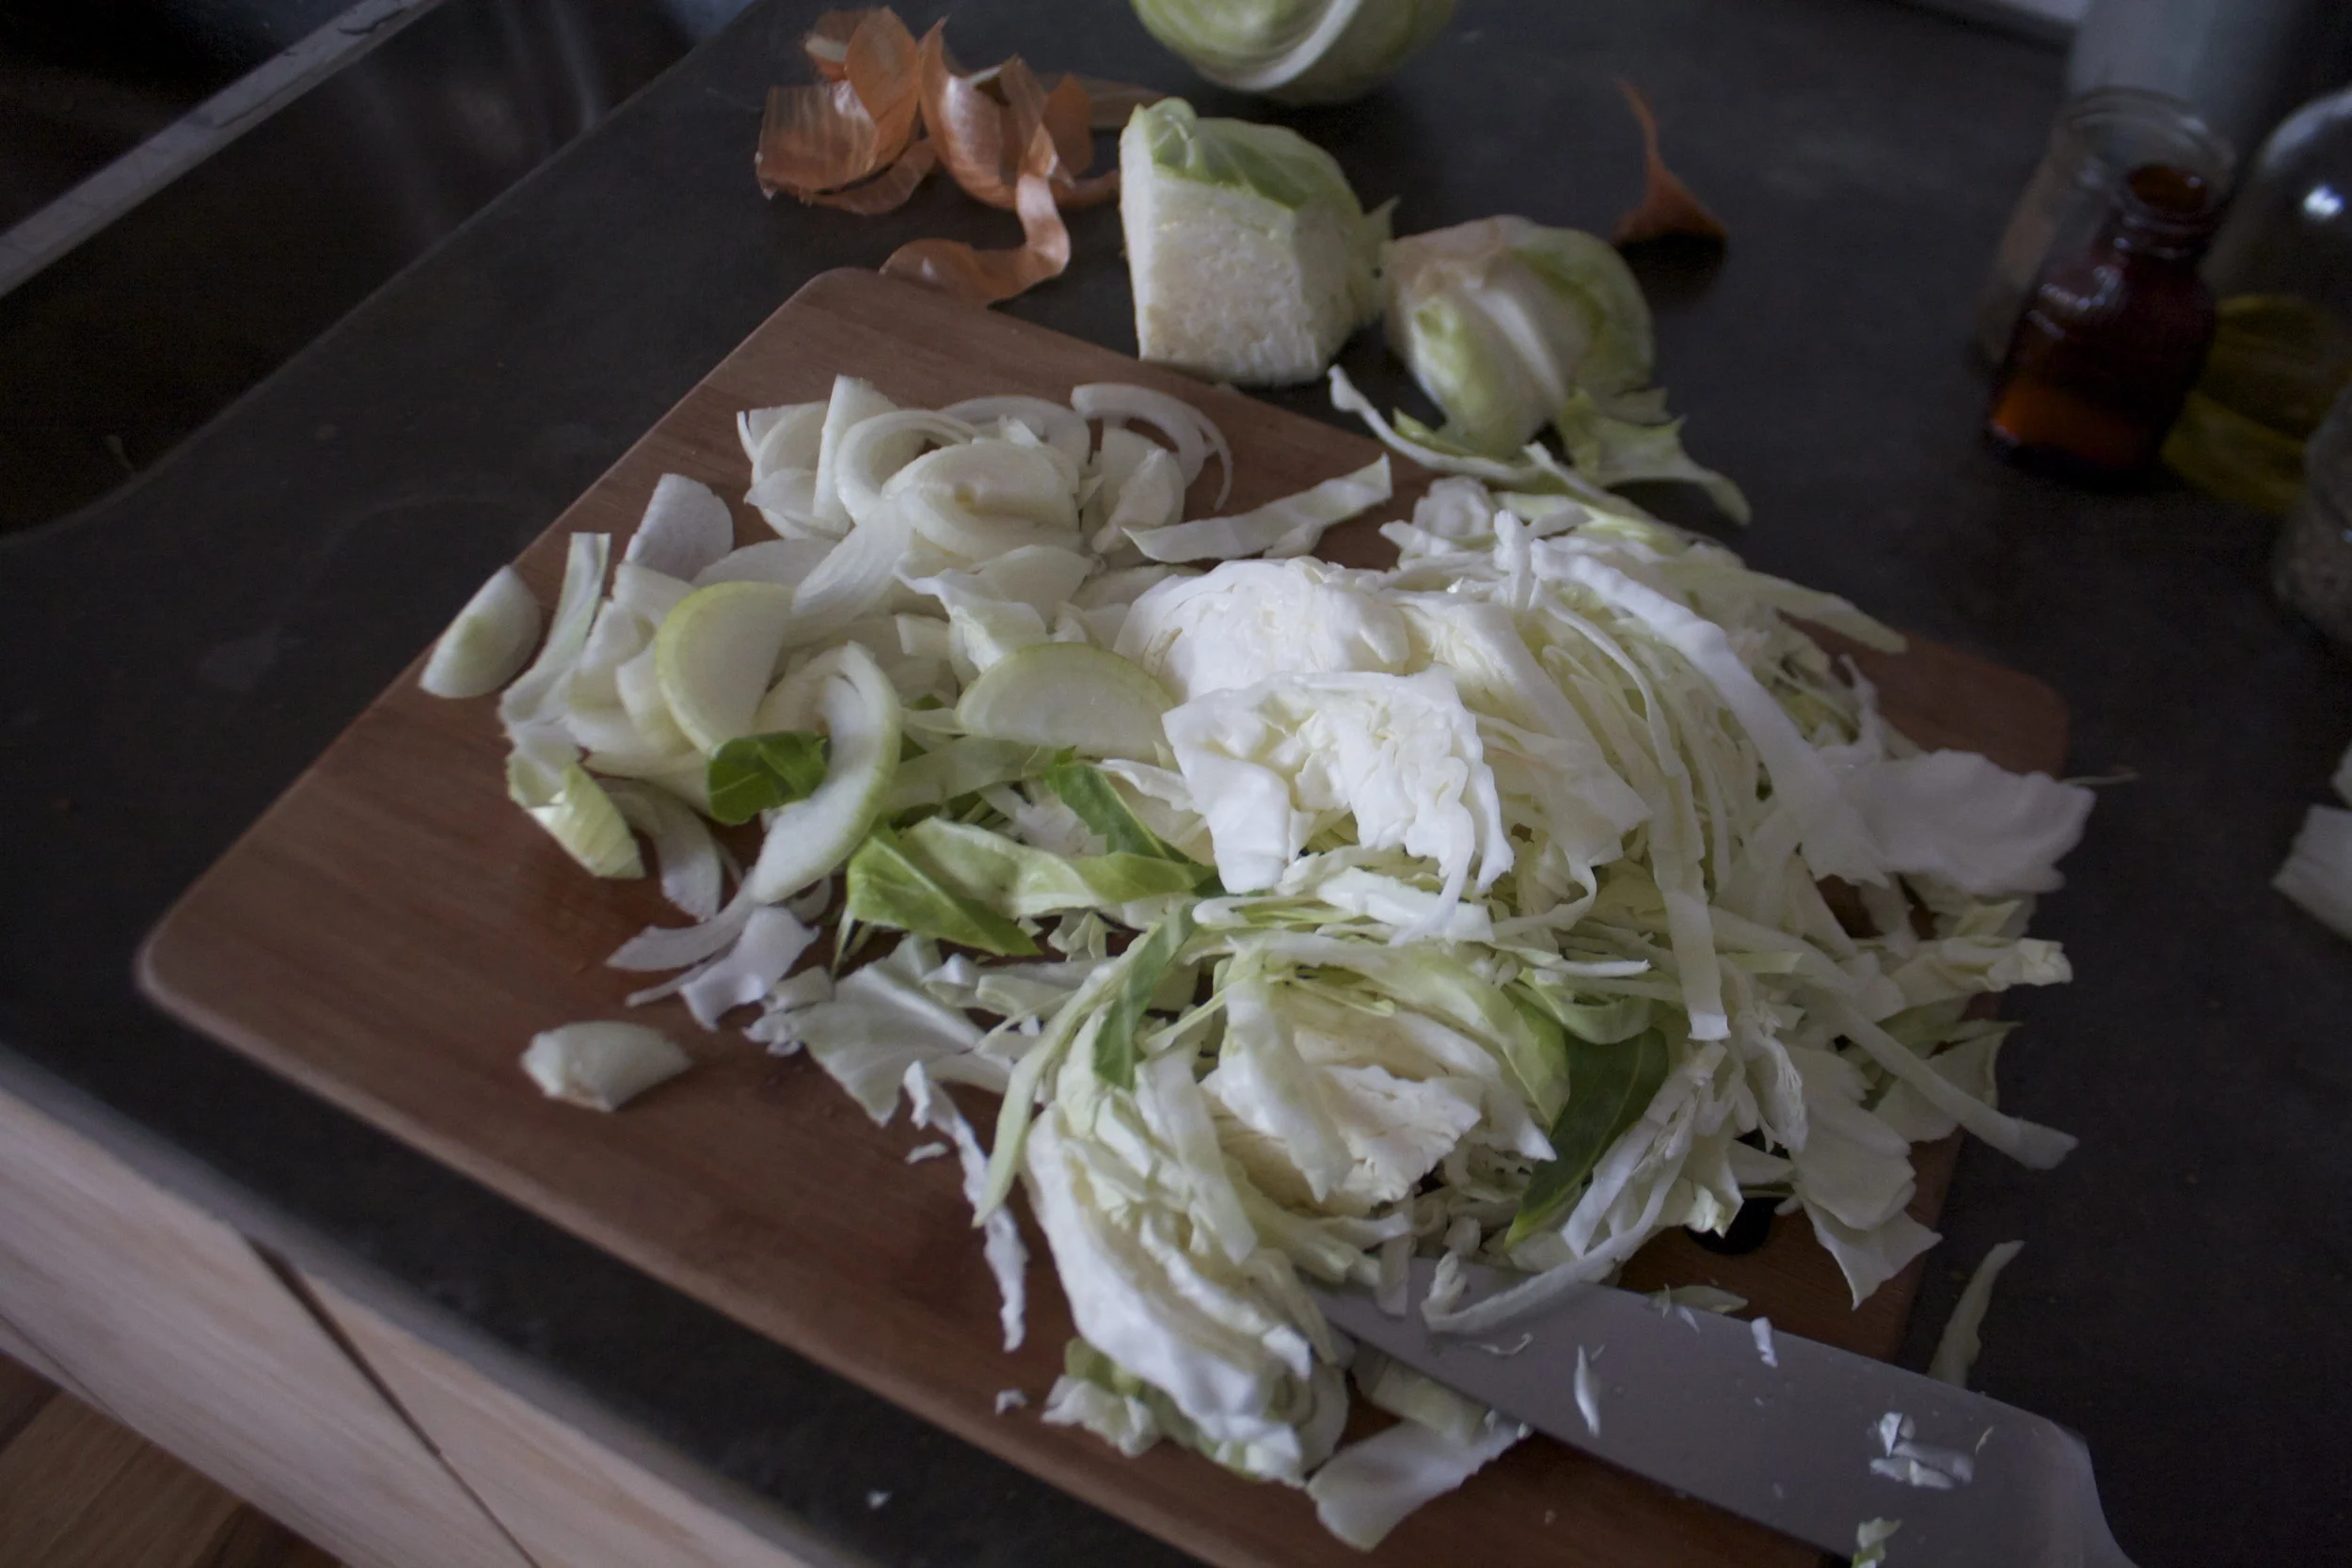
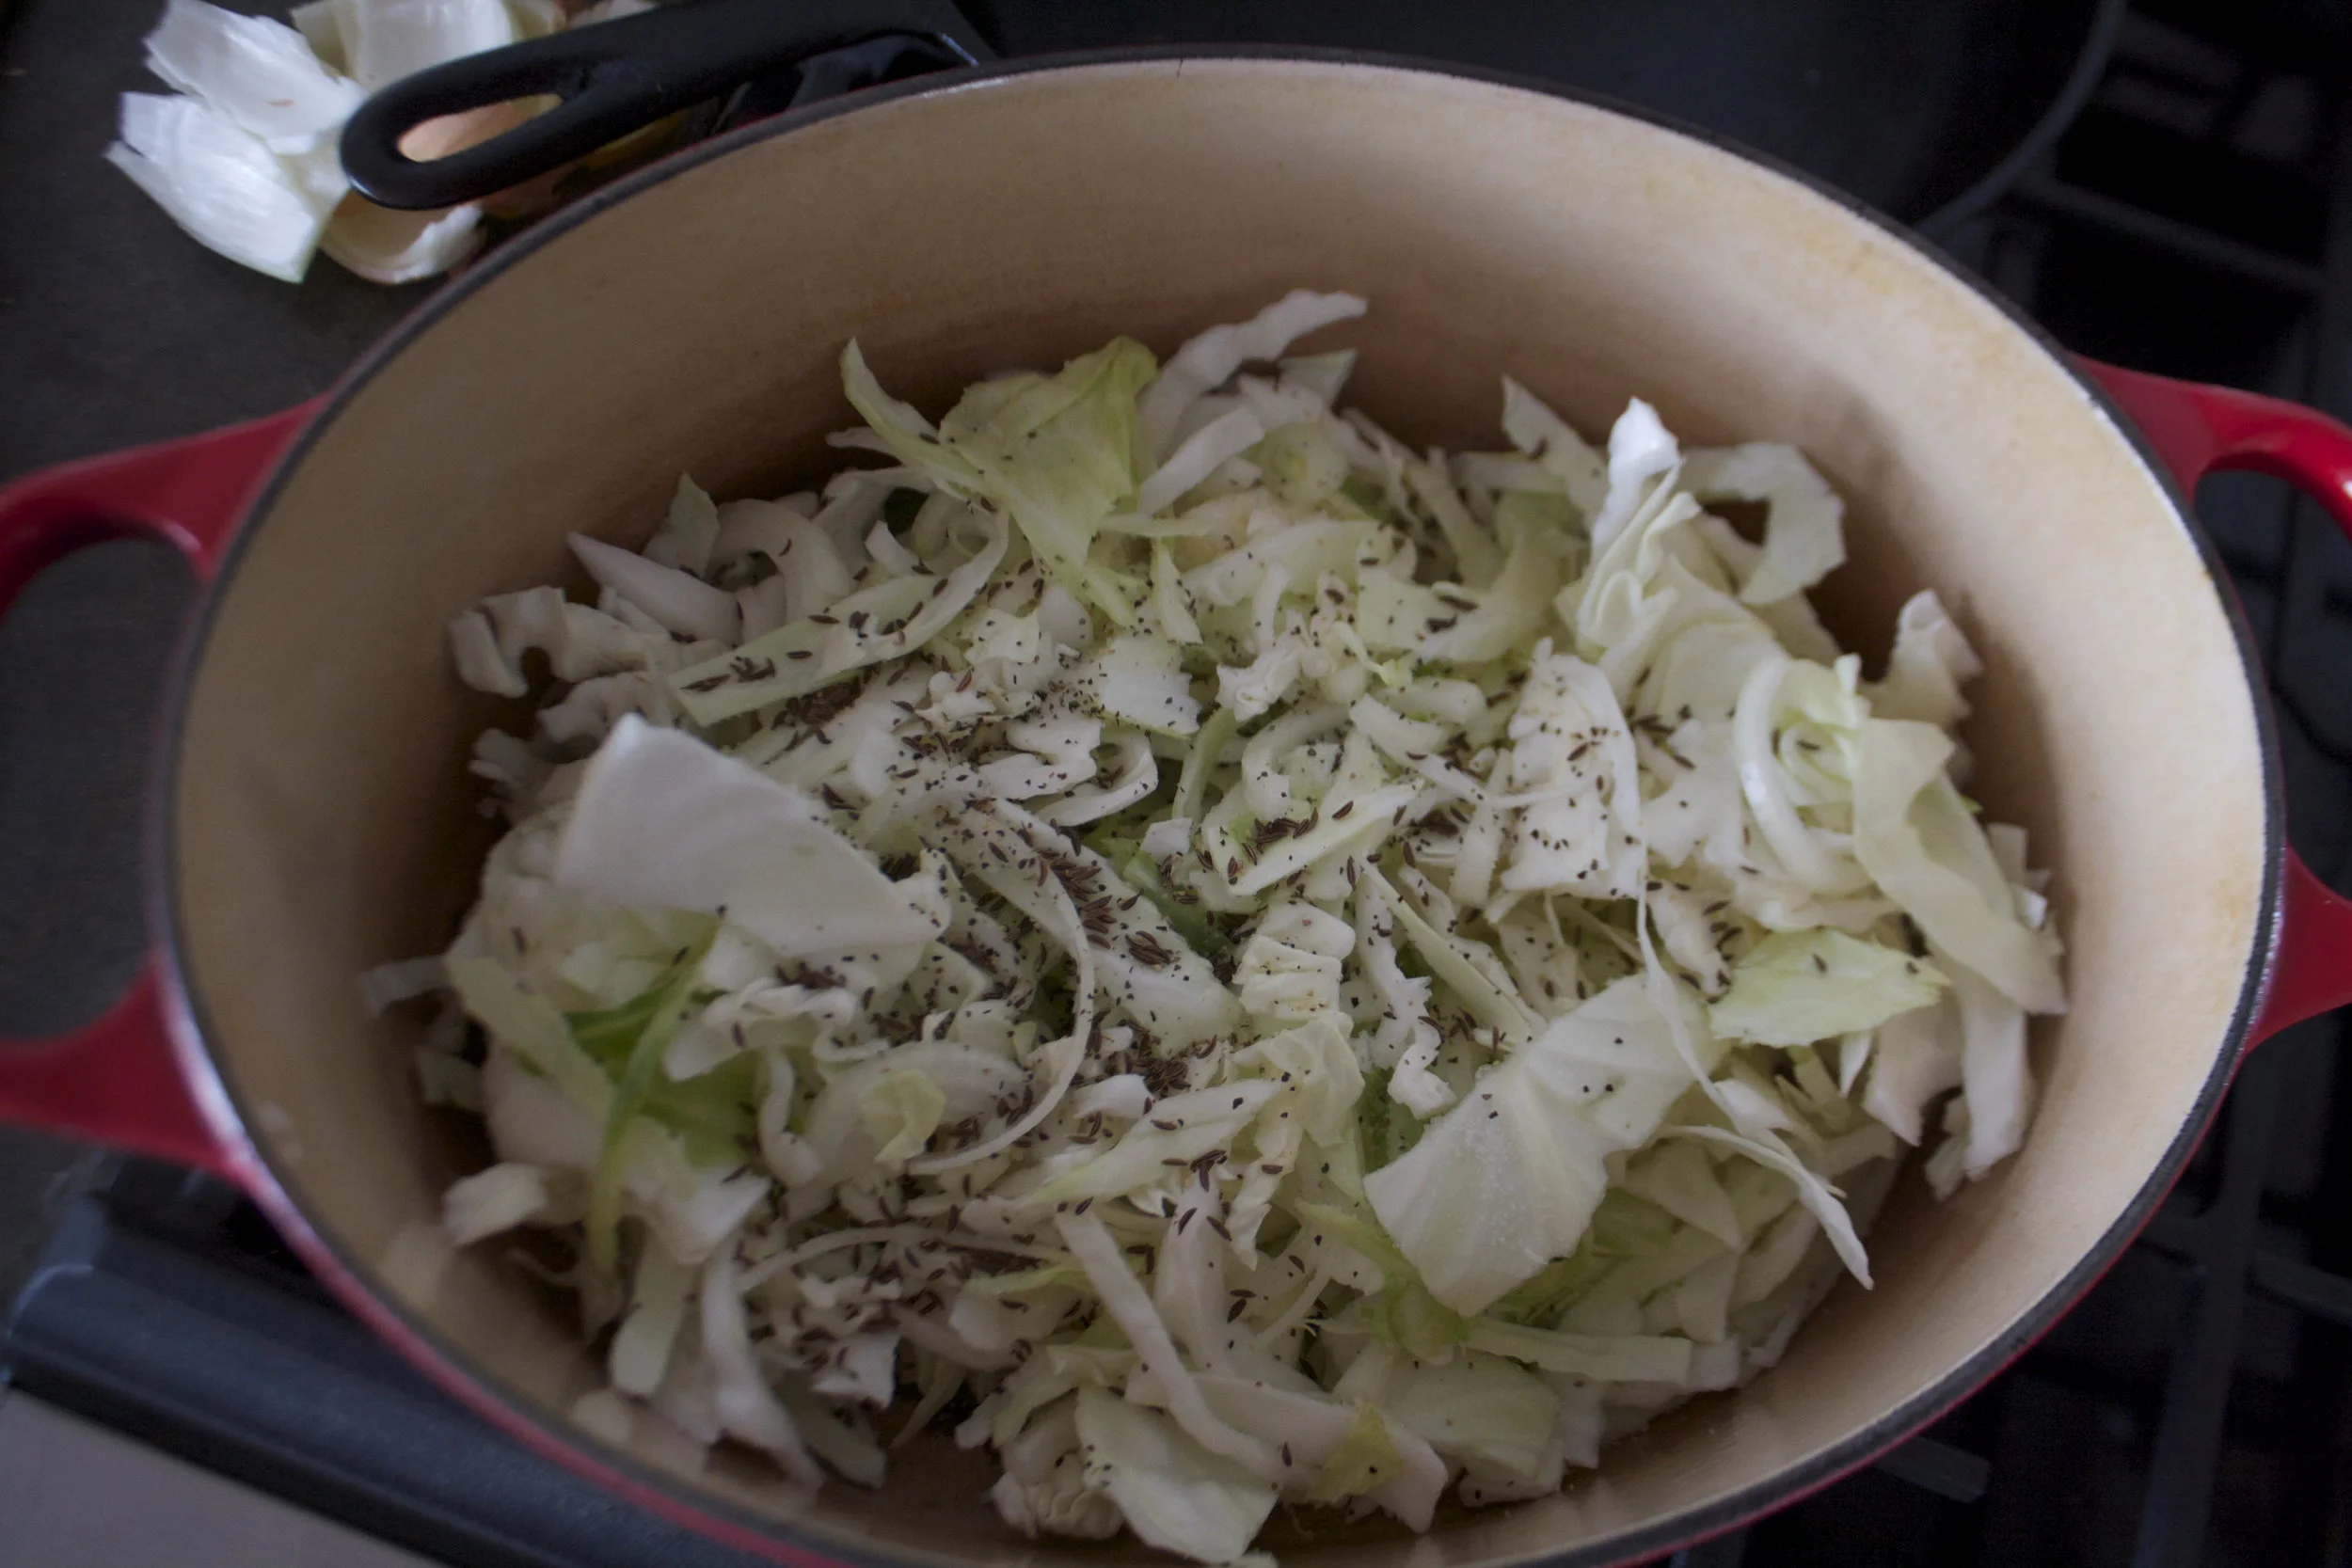
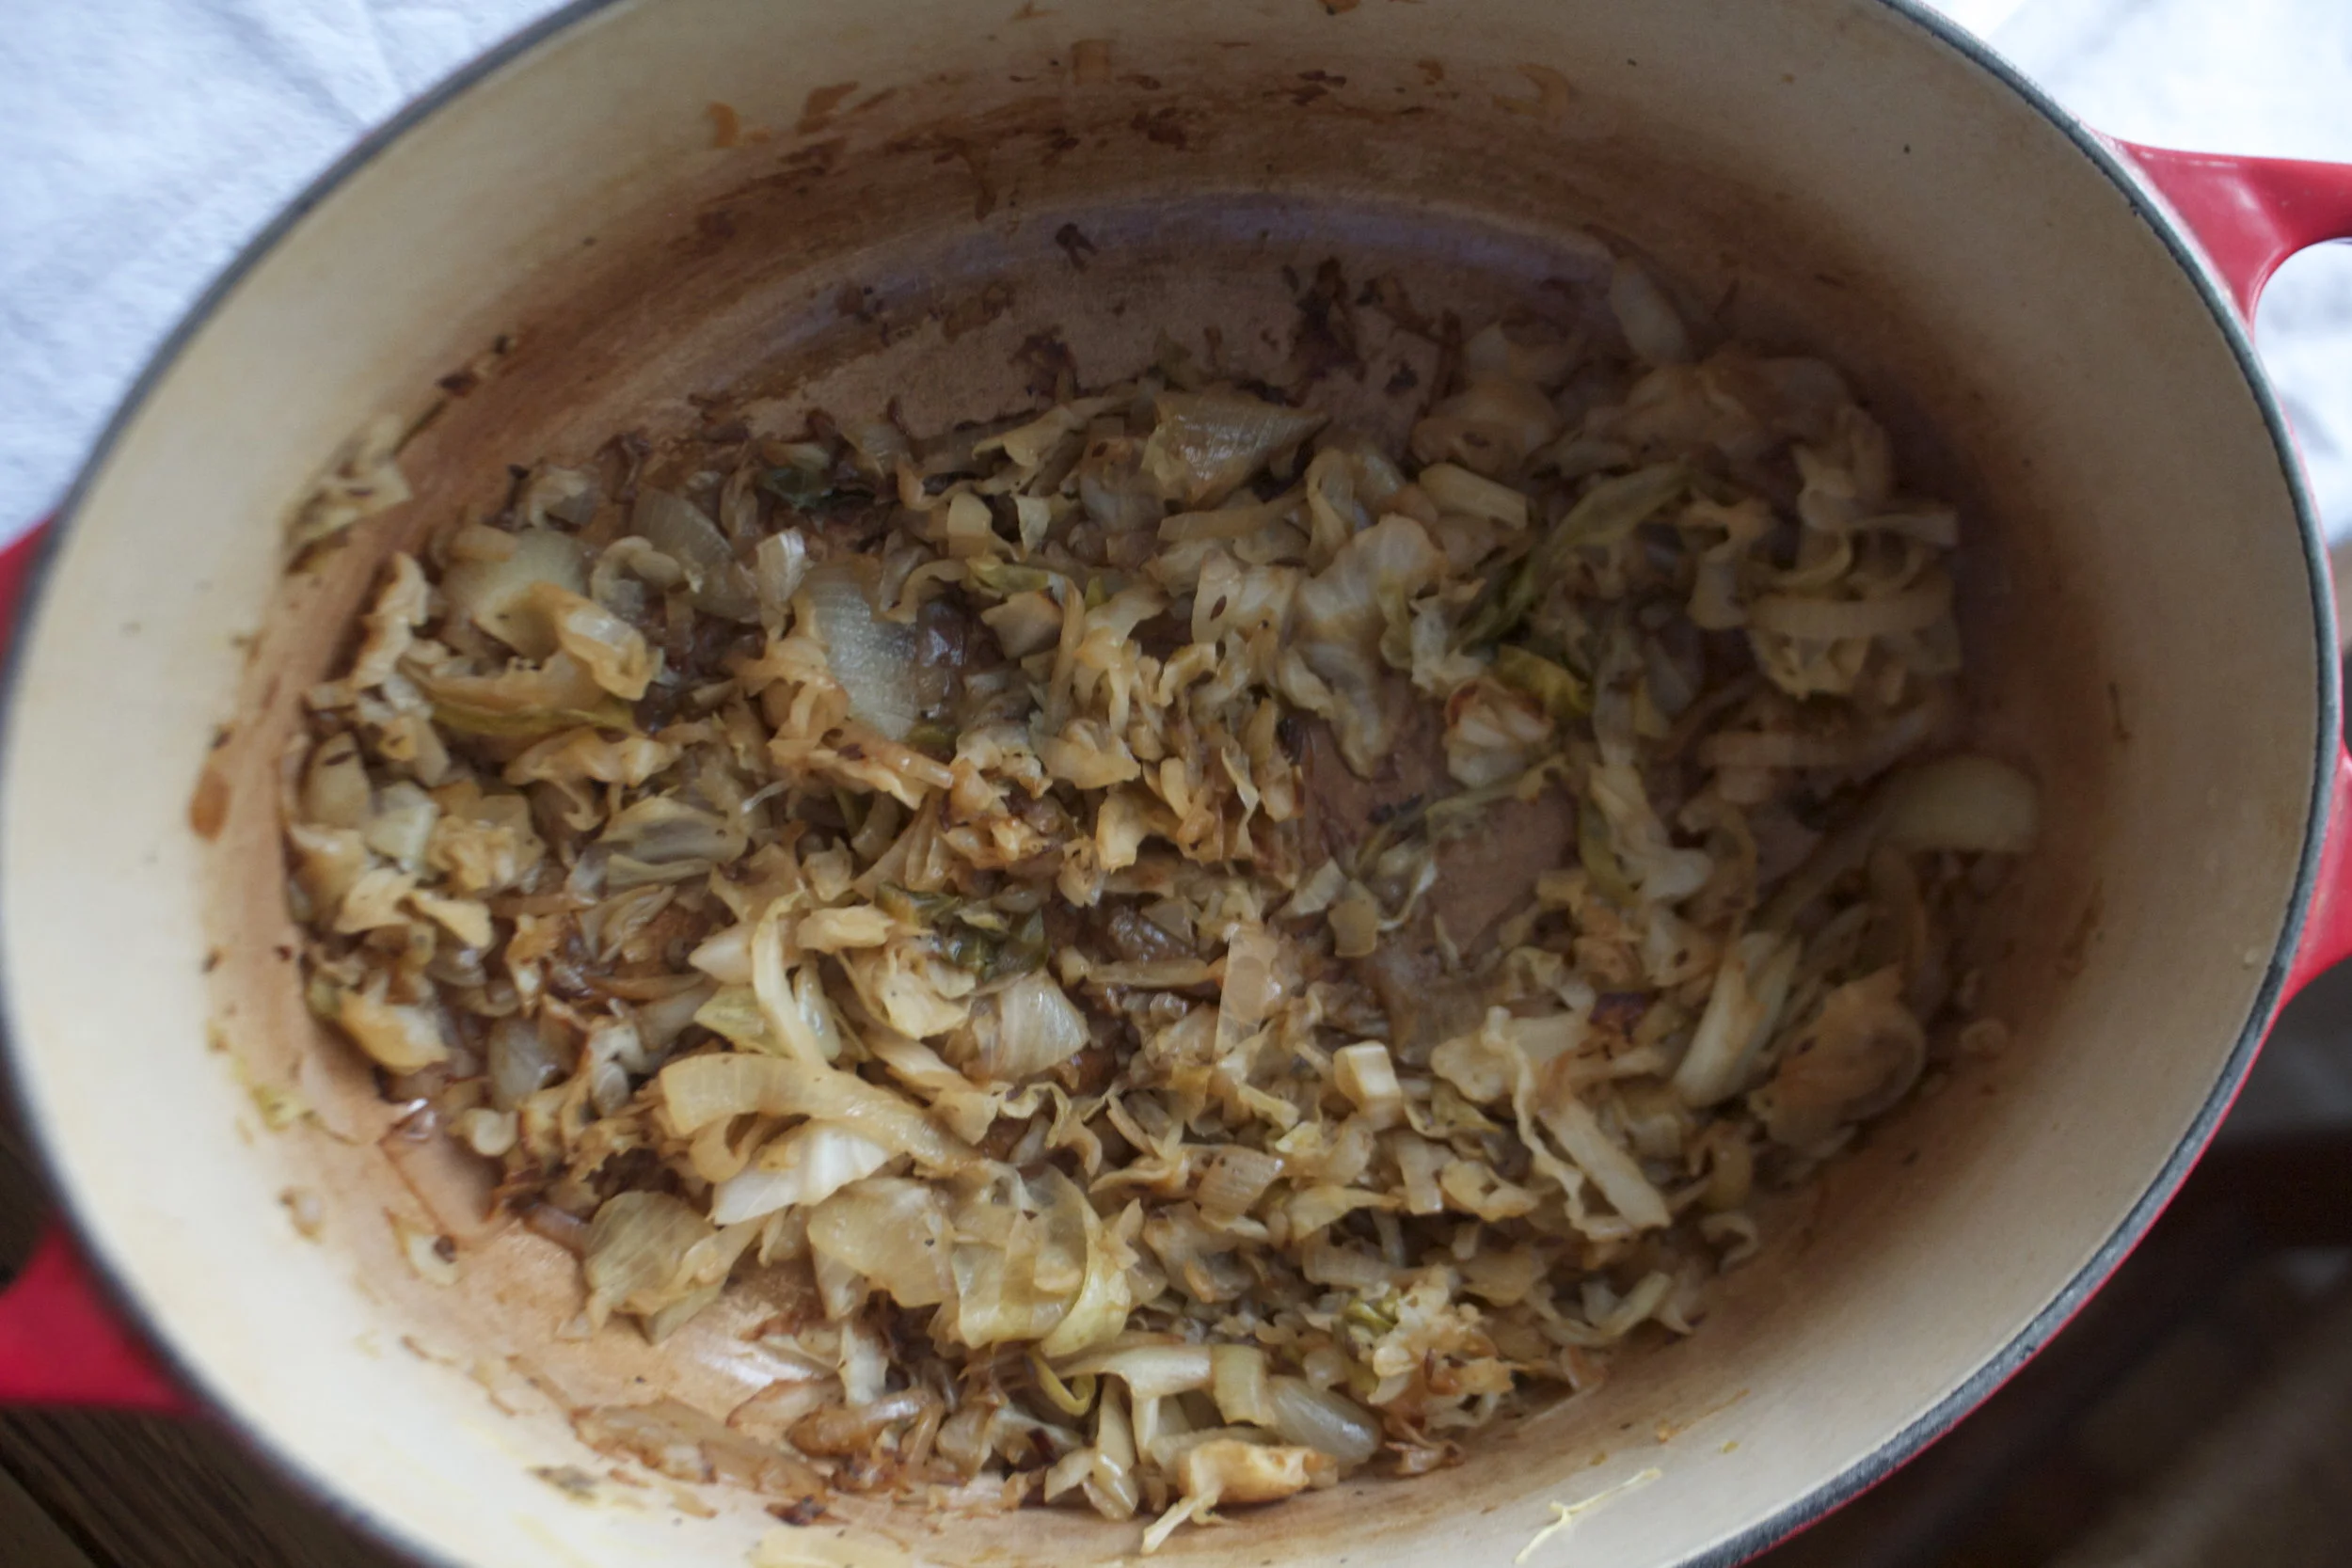


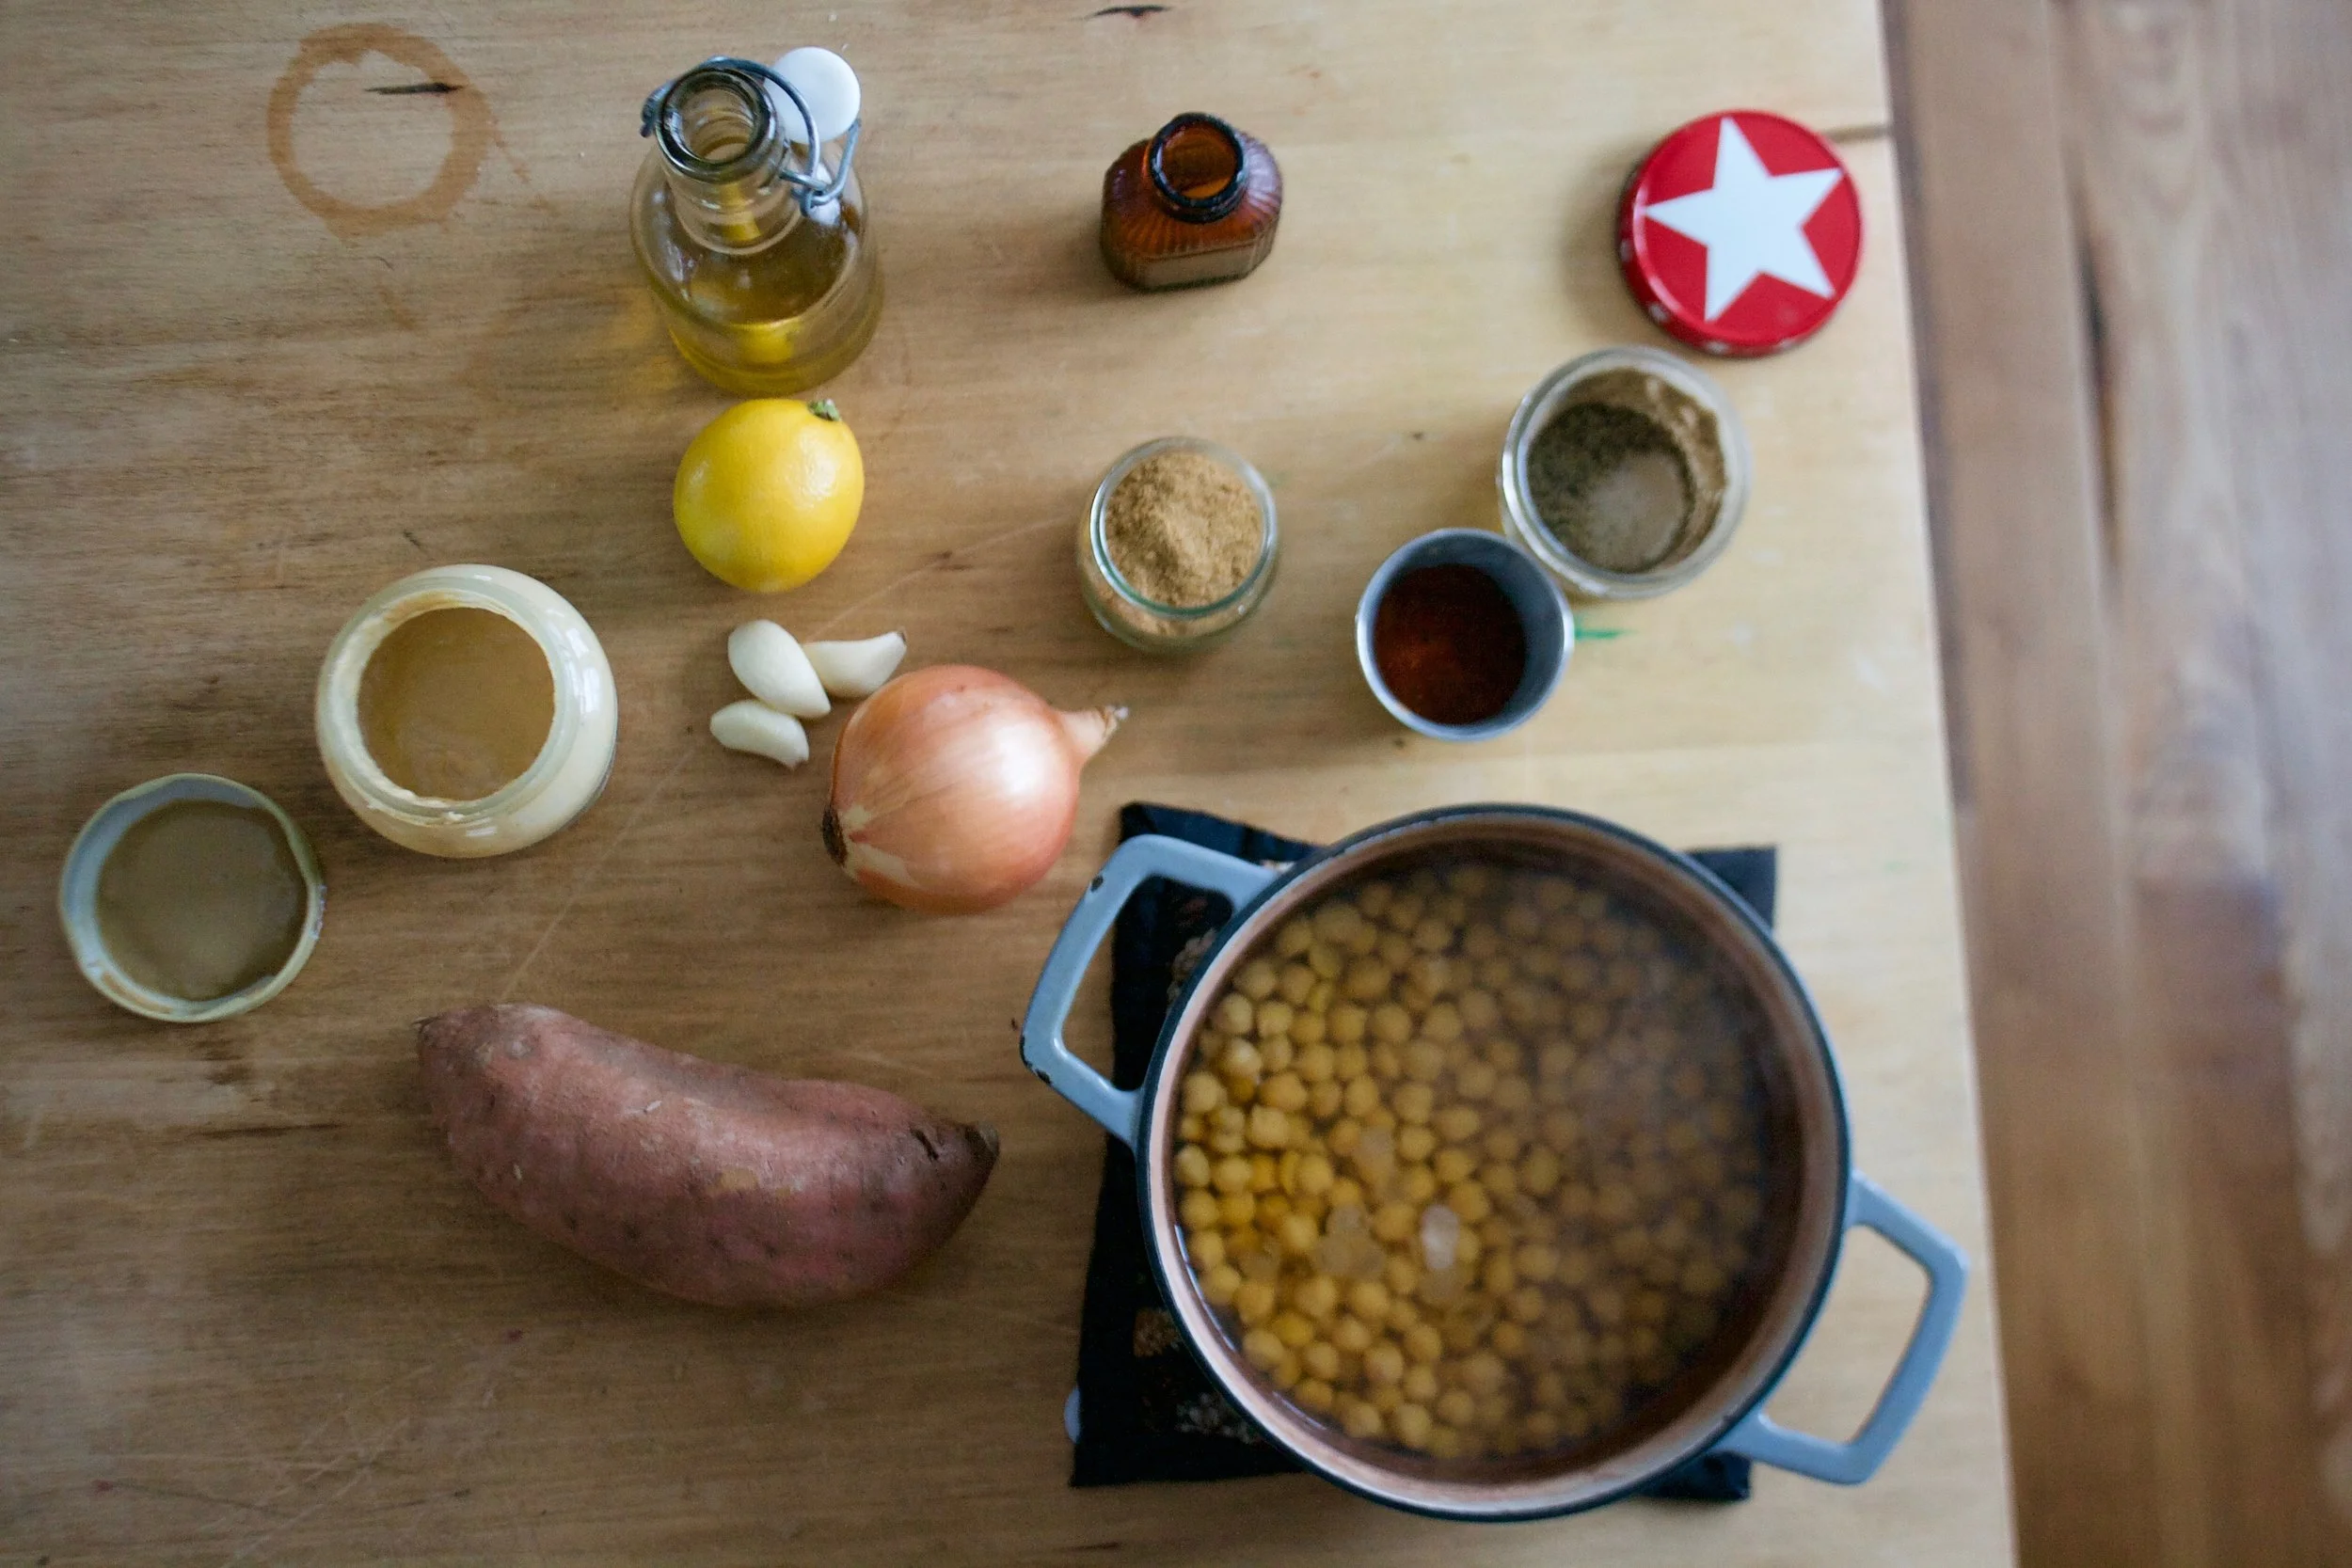
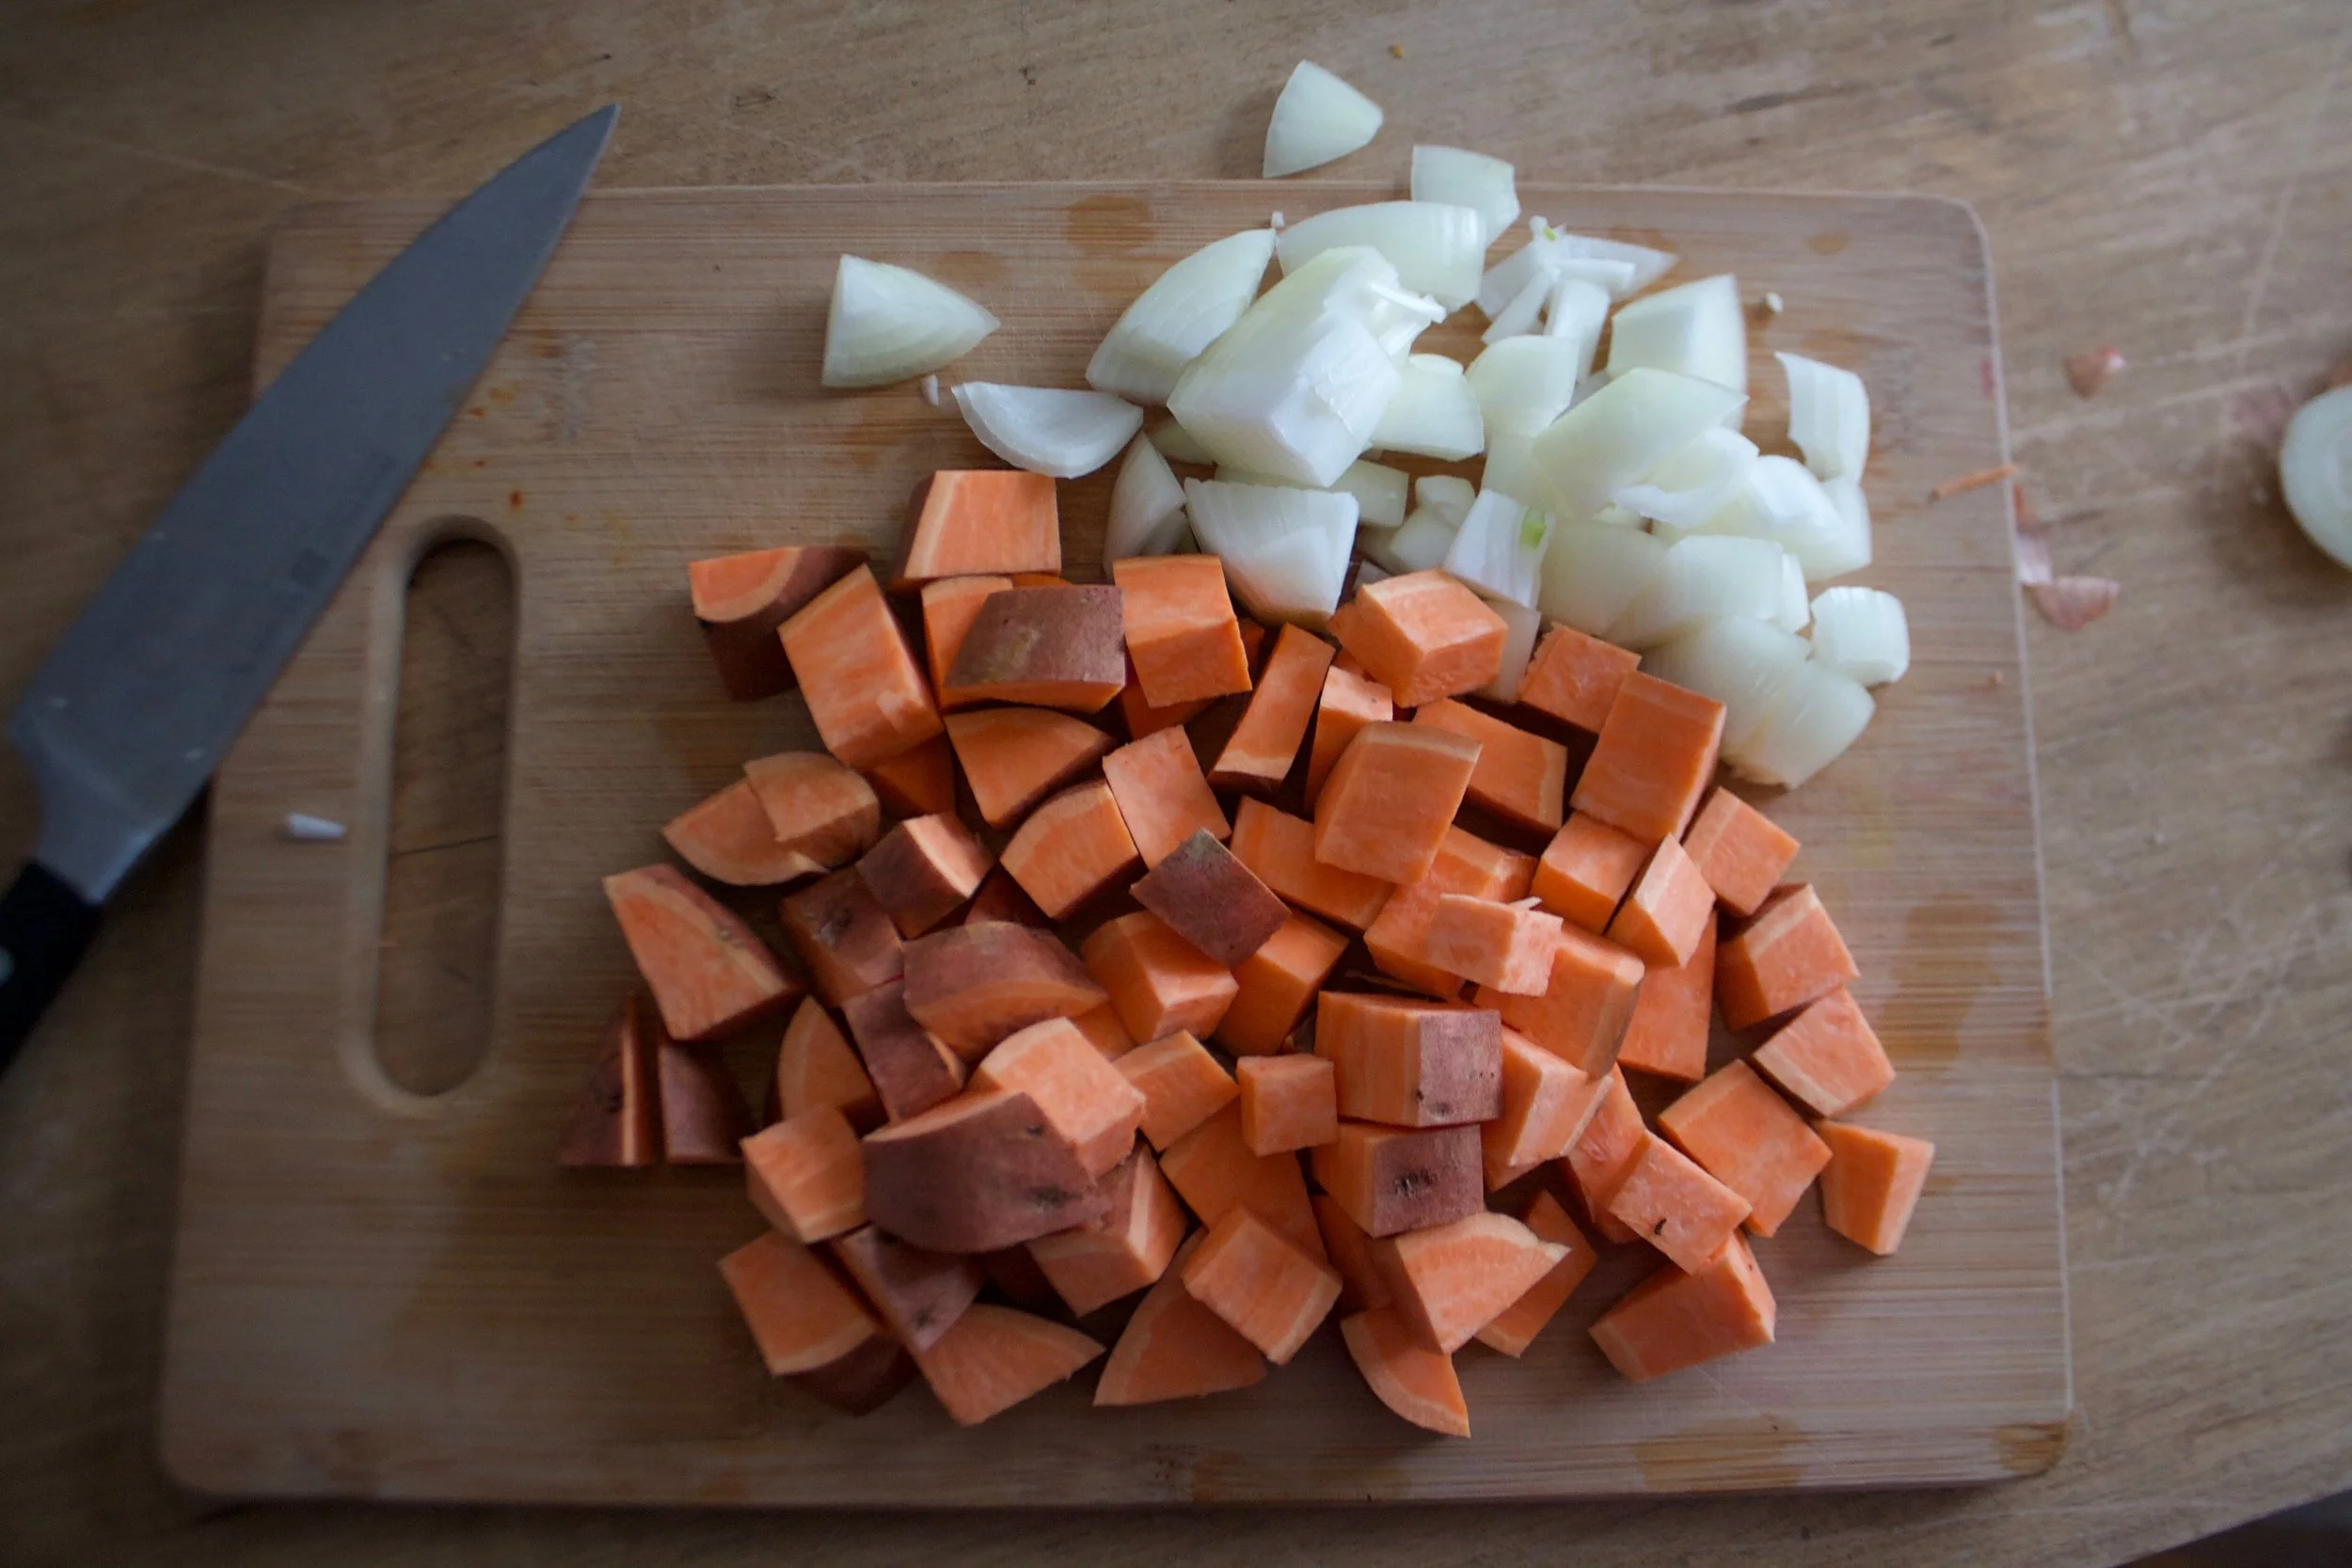
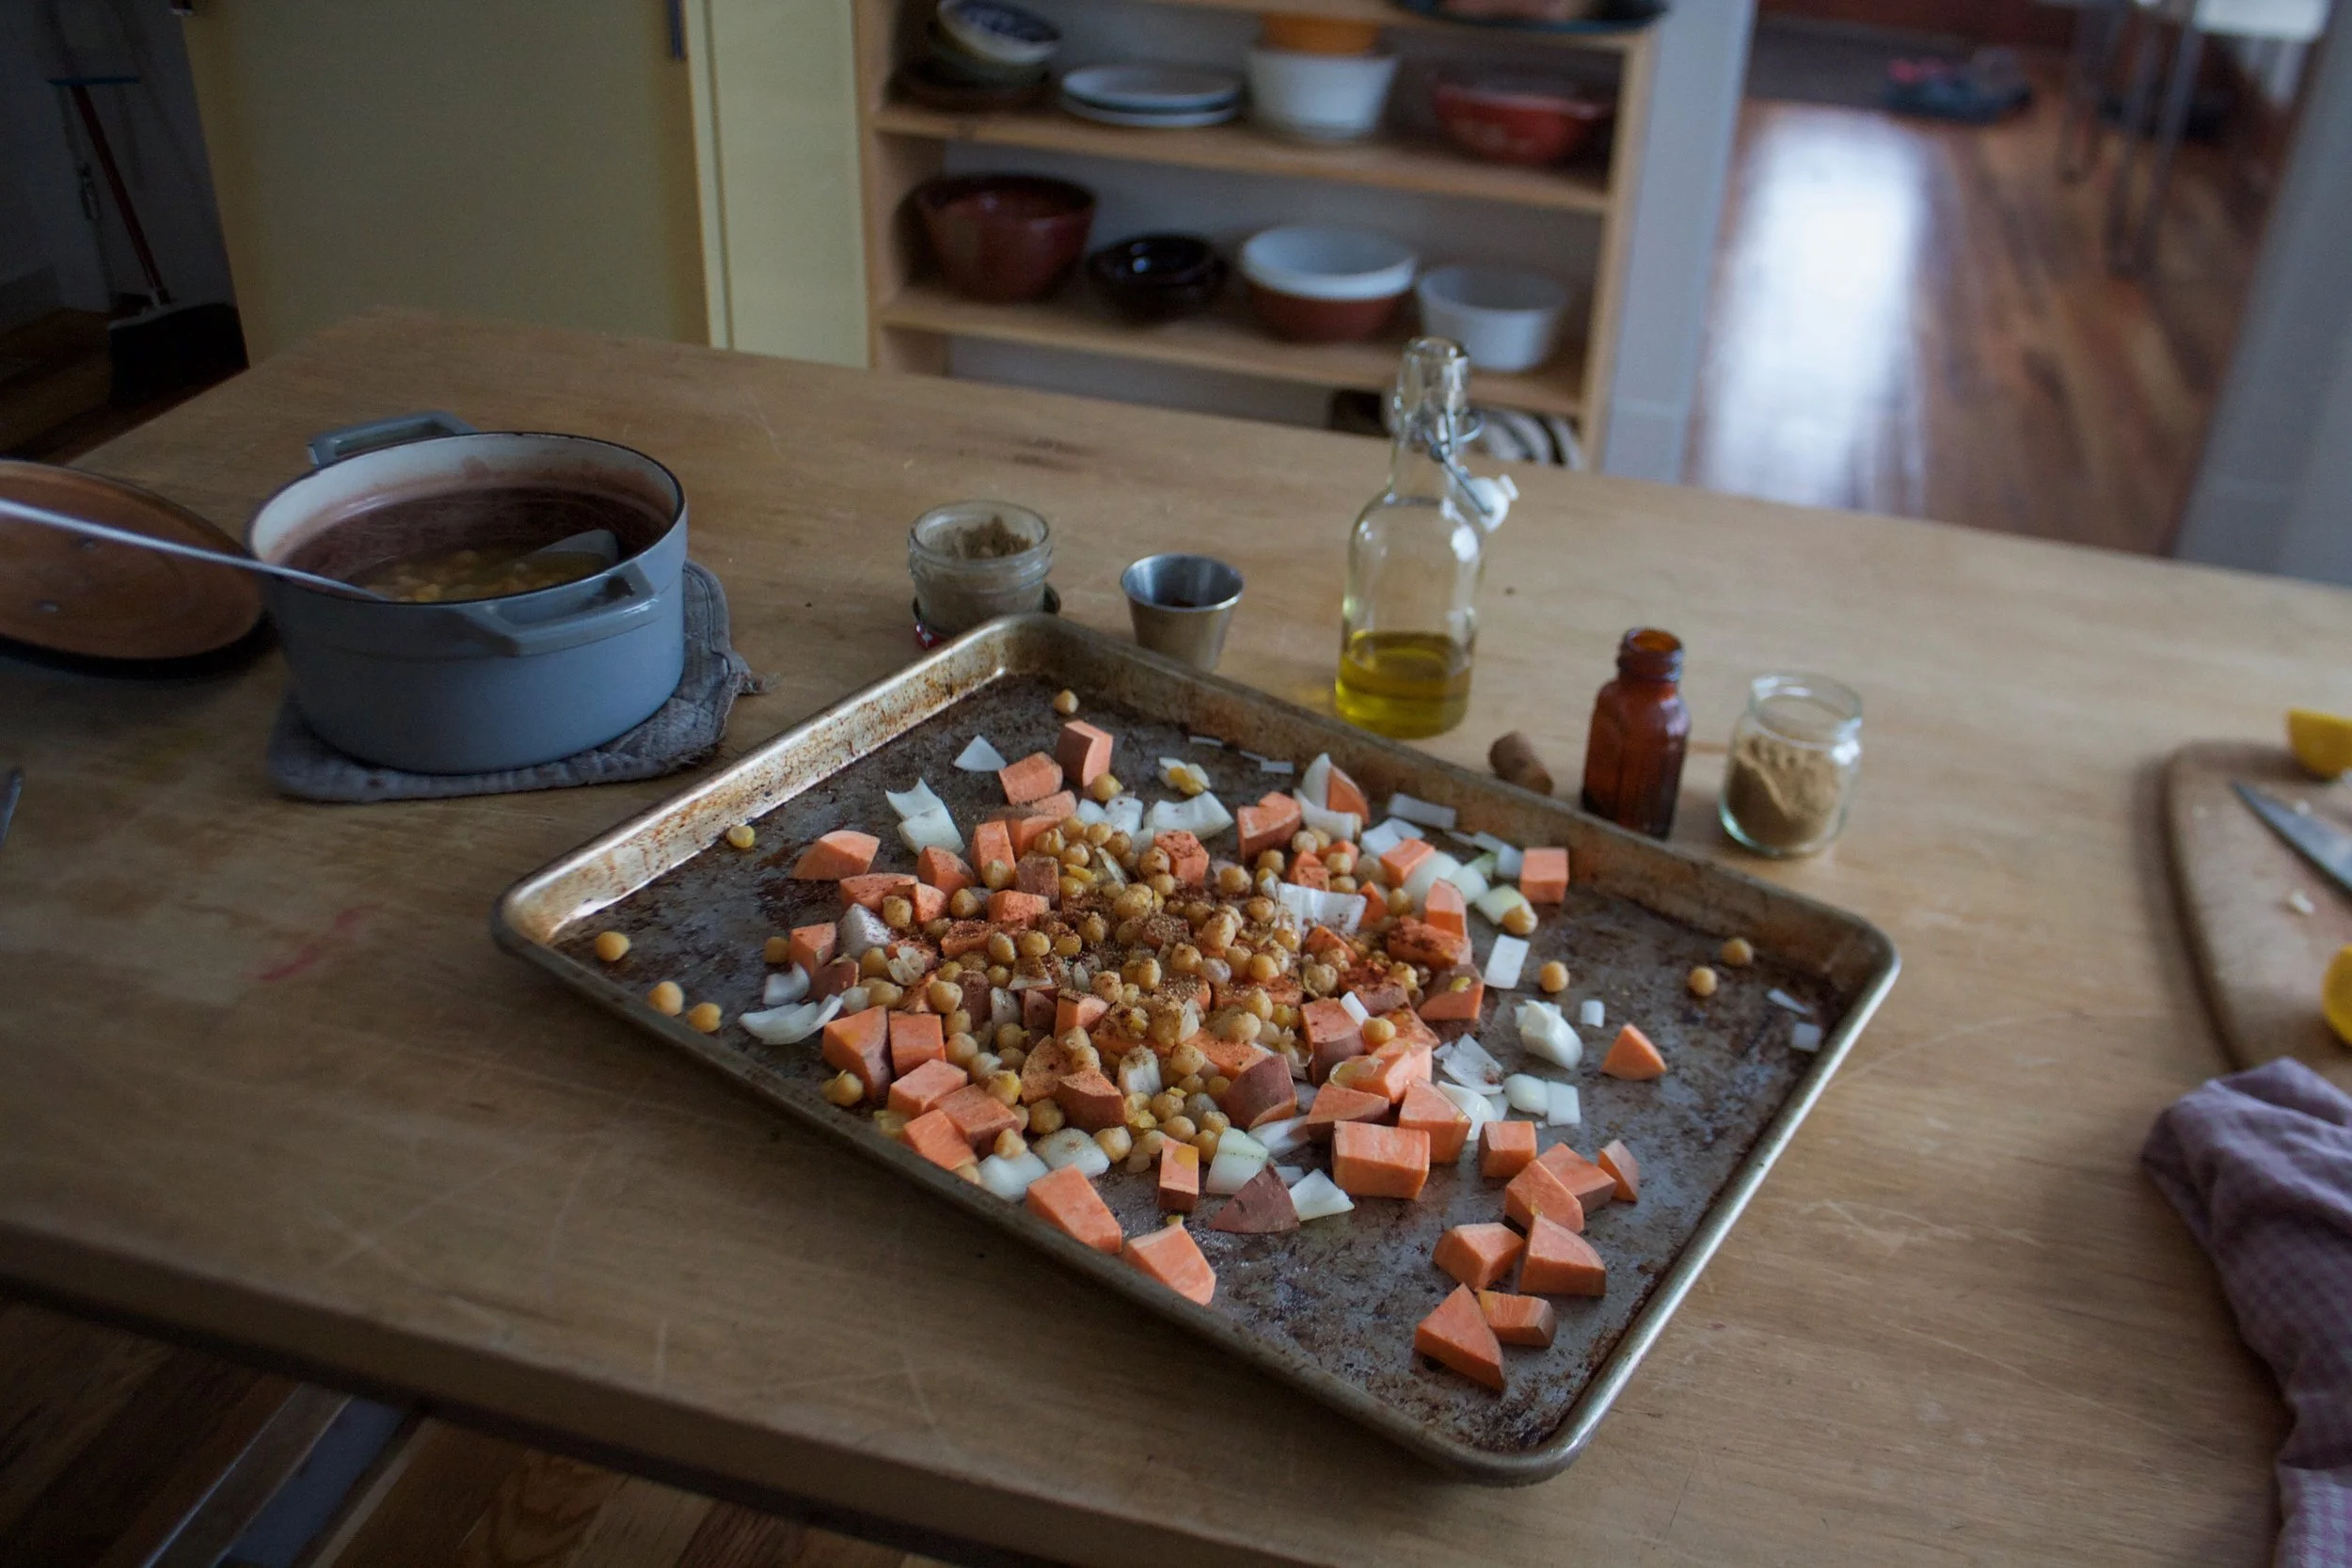


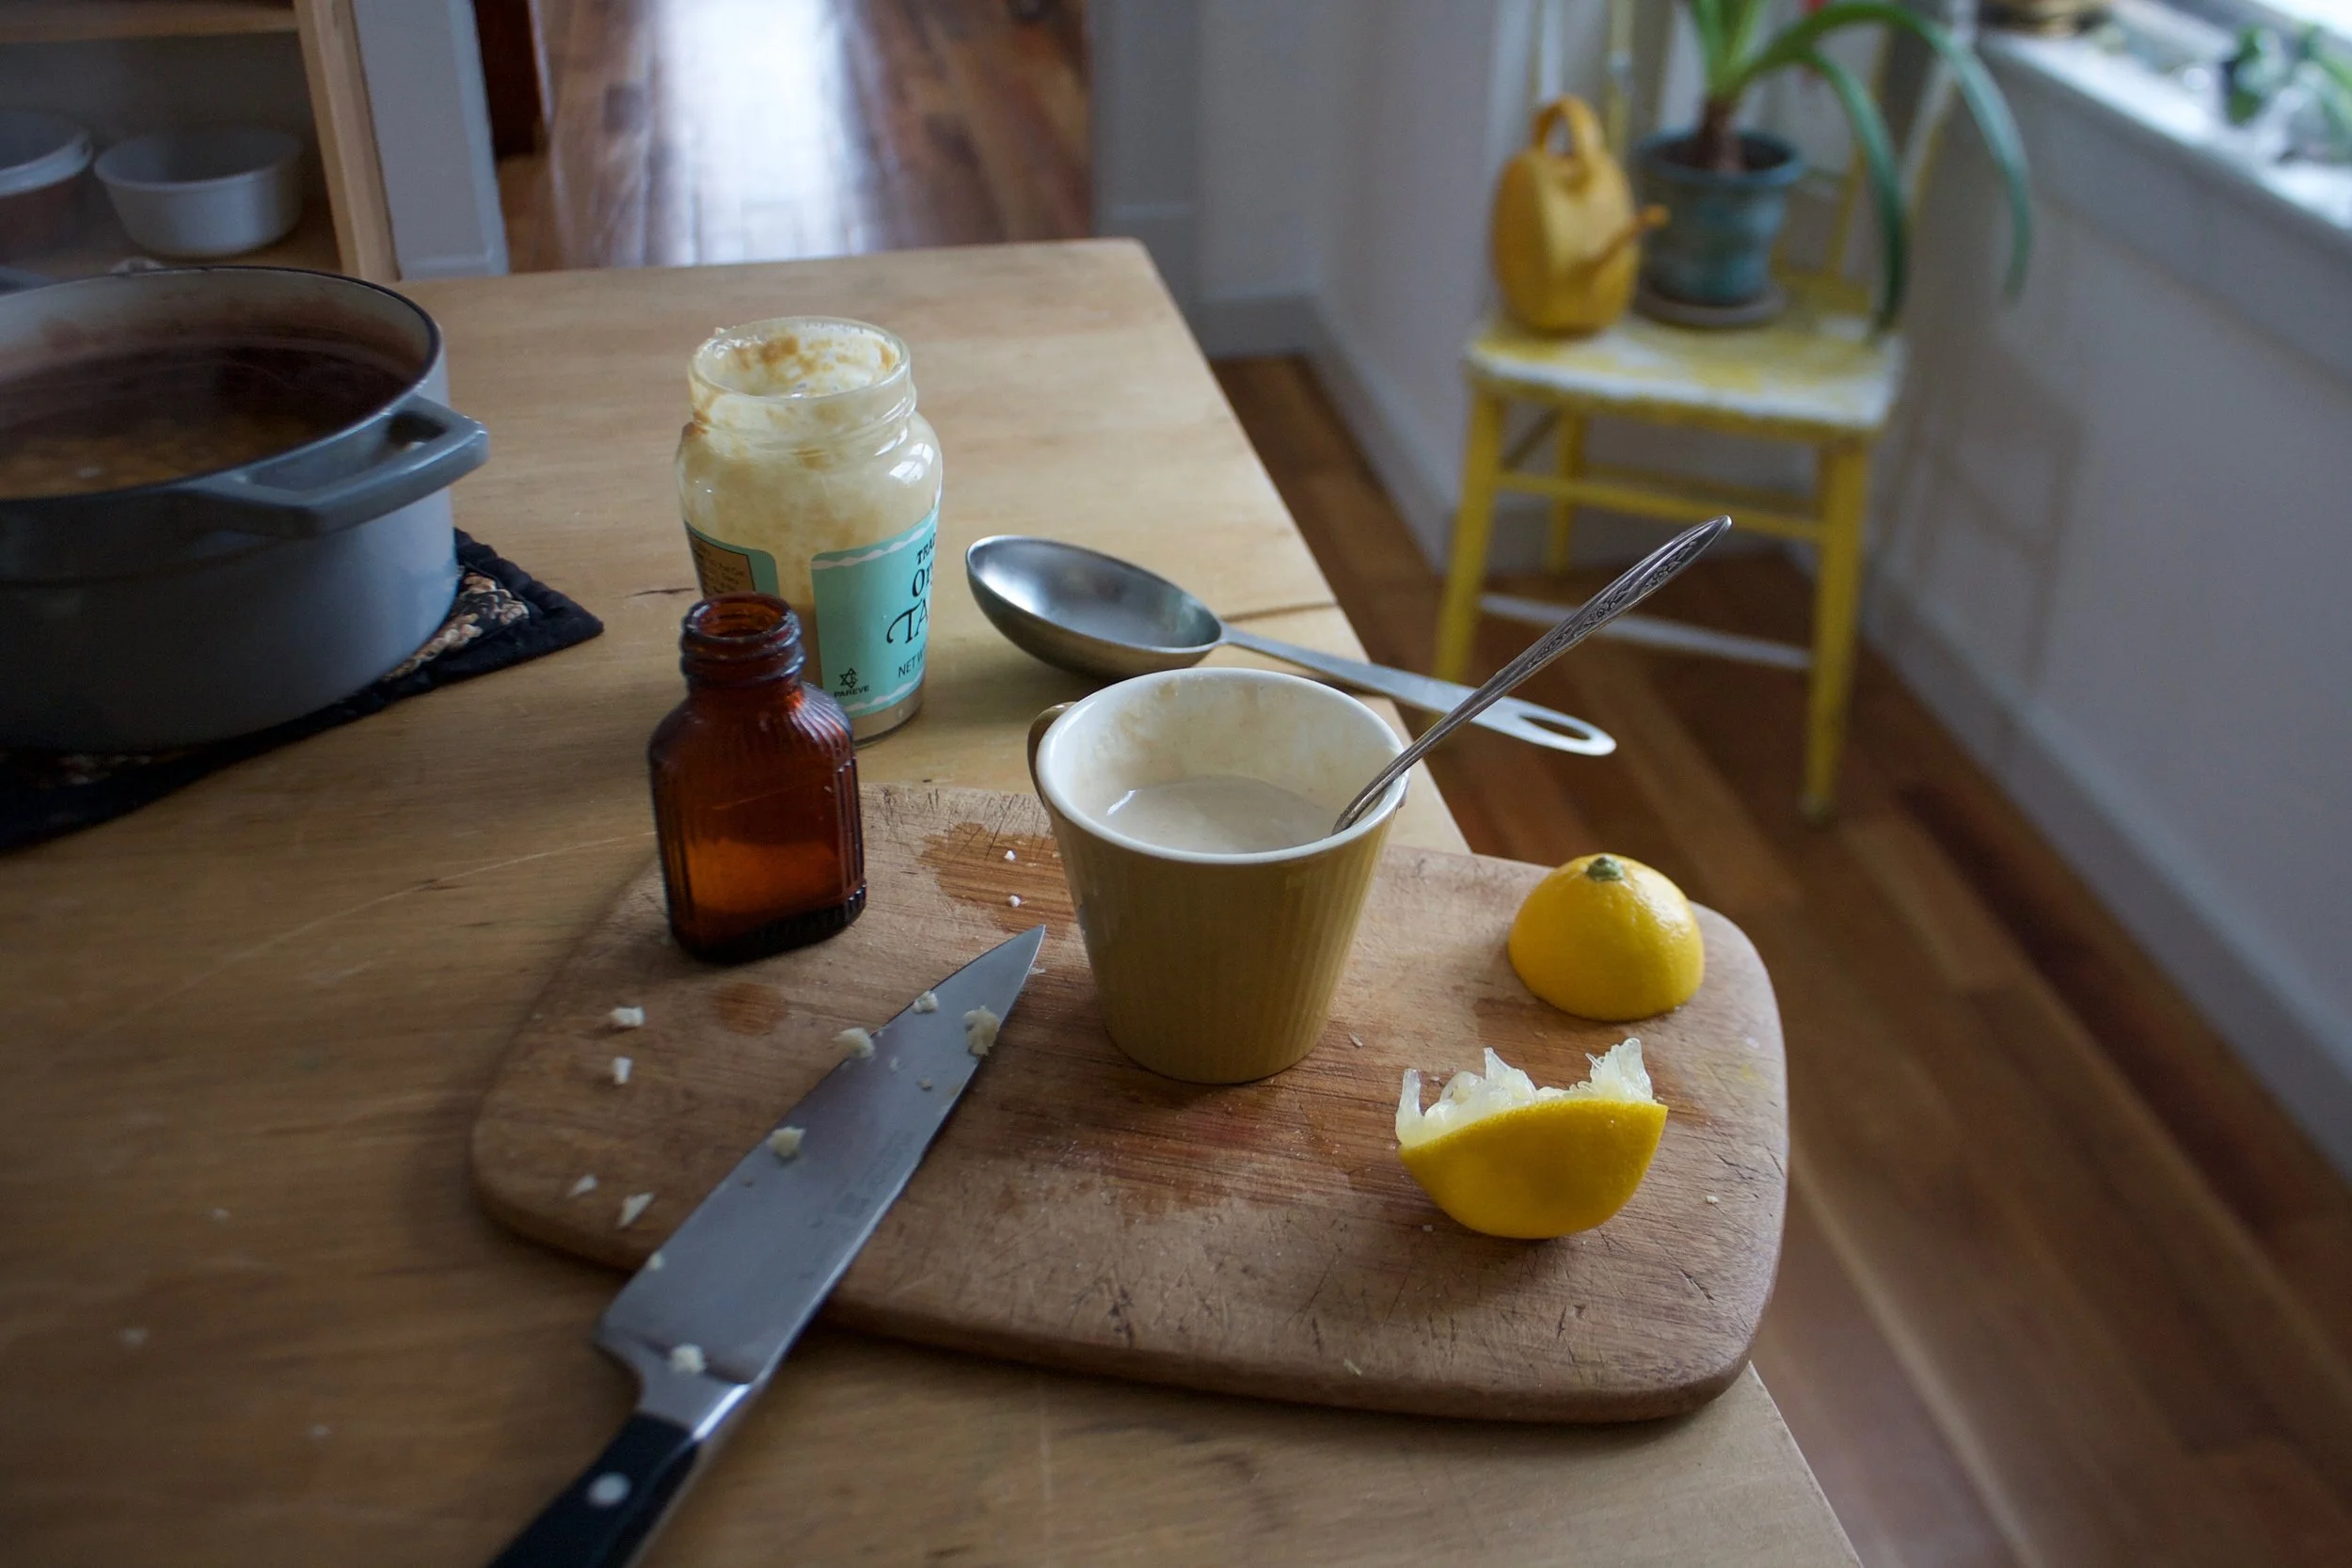

Sunday Happy — The Lovely Crazy
September 15, 2019 by maximios • Blog
I finally got rid of the last of the Christmas tree needles just in time to replace them with glitter for the next few months.. It is my own fault. I didn%u2019t HAVE TO use glitter on a giant ass heart that I made for the mr, but I sure as heck wanted too. (I redact my statement%u2026 I HAD TO) It%u2019s ok though because glitter happens and you just gotta deal with it.
The week was the week. Nothing out of the normal. Nothing overly exciting. Valentines day was nice. The mr covered all the windows with little heart and besides the giant heart I made, I also made the mr a heart cake and heart bread and all his food for the day was basically in the shape of a heart. And we went snow shoeing where we might have almost stole a dog. Maggie was her name and she showed up out of nowhere on the trail which was out in the middle of nowhere. Hiked with us for a while, took off, and showed back up on our way out of the woods. Obviously she lived someplace close by and she did have a collar on (that is how we knew her name) but gosh, she was so sweet. She even walked us to our car and got in like she was ready to go home. Ugh, it hurts my soul a little. I miss having a dog. Who I really miss is Washer. Oh boy, here I am feeling all sad and shit%u2026..But the snow shoeing was amazing! Haha
Anyway, a mellow week. And now it%u2019s the second half of February so it basically going to be spring soon and mellow won%u2019t be staying mellow for long so I am going appreciate it for now, although I am getting little antsy for when I can finally pull out my sandals and open all the windows in the house and dirt. I am getting ahead of myself here. That is still a month or 3 away. But it is on my mind.
The mr and I don%u2019 t have any big plans for the day other then dropping in on the littles and maybe going out for coffee with Barb. We have a few chores that need done so we will probably do those%u2026%u2026 Whoo hoooo!
As usual, some links to read if you feel like perusing the Internet.
-Not going to lie, I completely see his point. Why Thomas Keller Thinks Farm-to-Table Is Absurd. I want the carrots from the farmer that is in love with his carrots too.
-Totally my type of home. . Life in This Verdant Home in Vietnam Is a Walk in the Park
–Here’s why ultra-processed foods are so bad for your health. So so bad.
-Baking fantastical things is not as easy at it might seem on the T.V. The Only Way I Got Through a %u2018Great British Baking Show%u2019 Challenge Was By Cheating
–I must make a fantastic pie soon. Dazzling Gradients and Geometric Designs Baked into New Pies and Tarts
-Got questions, here are some answers. Your Questions About Plastic Waste, Answered
-Genius. And the best feature is that it craps every last bit out of the jar.. This New Pump Will Help You Put Peanut Butter on Everything Without a Knife
–These Surreal Guesthouses with Impossible Staircases Have Alice in Wonderland Vibes. I think more like the movie Labyrinth and then I think of David Bowie in tight tights%u2026%u2026
–Please Don’t Let Your Tiny Dog Blow Away in the Wind. Real life problems.
-He climbs without any rops or harnesses. The guy is crazy. And amazing. A documentary I will watch. Free Solo.
And pictures from the wee