
THE LOVELY CRAZY
I don%u2019t think I can ever eat potatoes any other way ever again.
It started with me, doing my weekly pantry cleaning, you know, when I wipe down ever surface, count all the beans and lentils in the jars to make sure I am not running low, and inspect every squash for soft spots. I was just going about my thing when I looked over at my waffle iron. Poor, sad, underused. And it hit me. When was the last time I waffled anything? I remember how excited I was when I found it a few years back at a thrift store. Such a cutie little iron. When I brought it home, I used it a bunch of times for maybe a week or two. And then it was put away and I think I have busted it out like 3 times in the past 2 years. So not cool.
I also noticed I had a shit load of potatoes left from thanksgiving.
And there I had it, a reason to use the waffle iron and a way to use up the potatoes. And now, now I am a potato on the waffle iron addict, which is weird because I am not a overly potatoy person in general. But now with this new waffled hash brown thing, well I might just be eating potatoes all day, every day. (At least until I get sick of them or I run out of potatoes.) They come out soft and fluffy inside, super crispy in ever little nook and cranny, outside. Evenly, perfectly cooked. It%u2019s hard to explain, but they are just, ugh, so good, especially dipped in mustard for a fantastic hash brown snack. (Yes mustard, no not ketchup. Let me do me, you do you.) Or smothered in refried black beans topped with salsa and avocado (that was the dinner version). These hash browns. Just make some and you will see.
And no matter what happens with my hash brown phase, I will be damned if I ever let the waffle iron go so long without use. It deserves better then that.
To the best hash browns EVER!
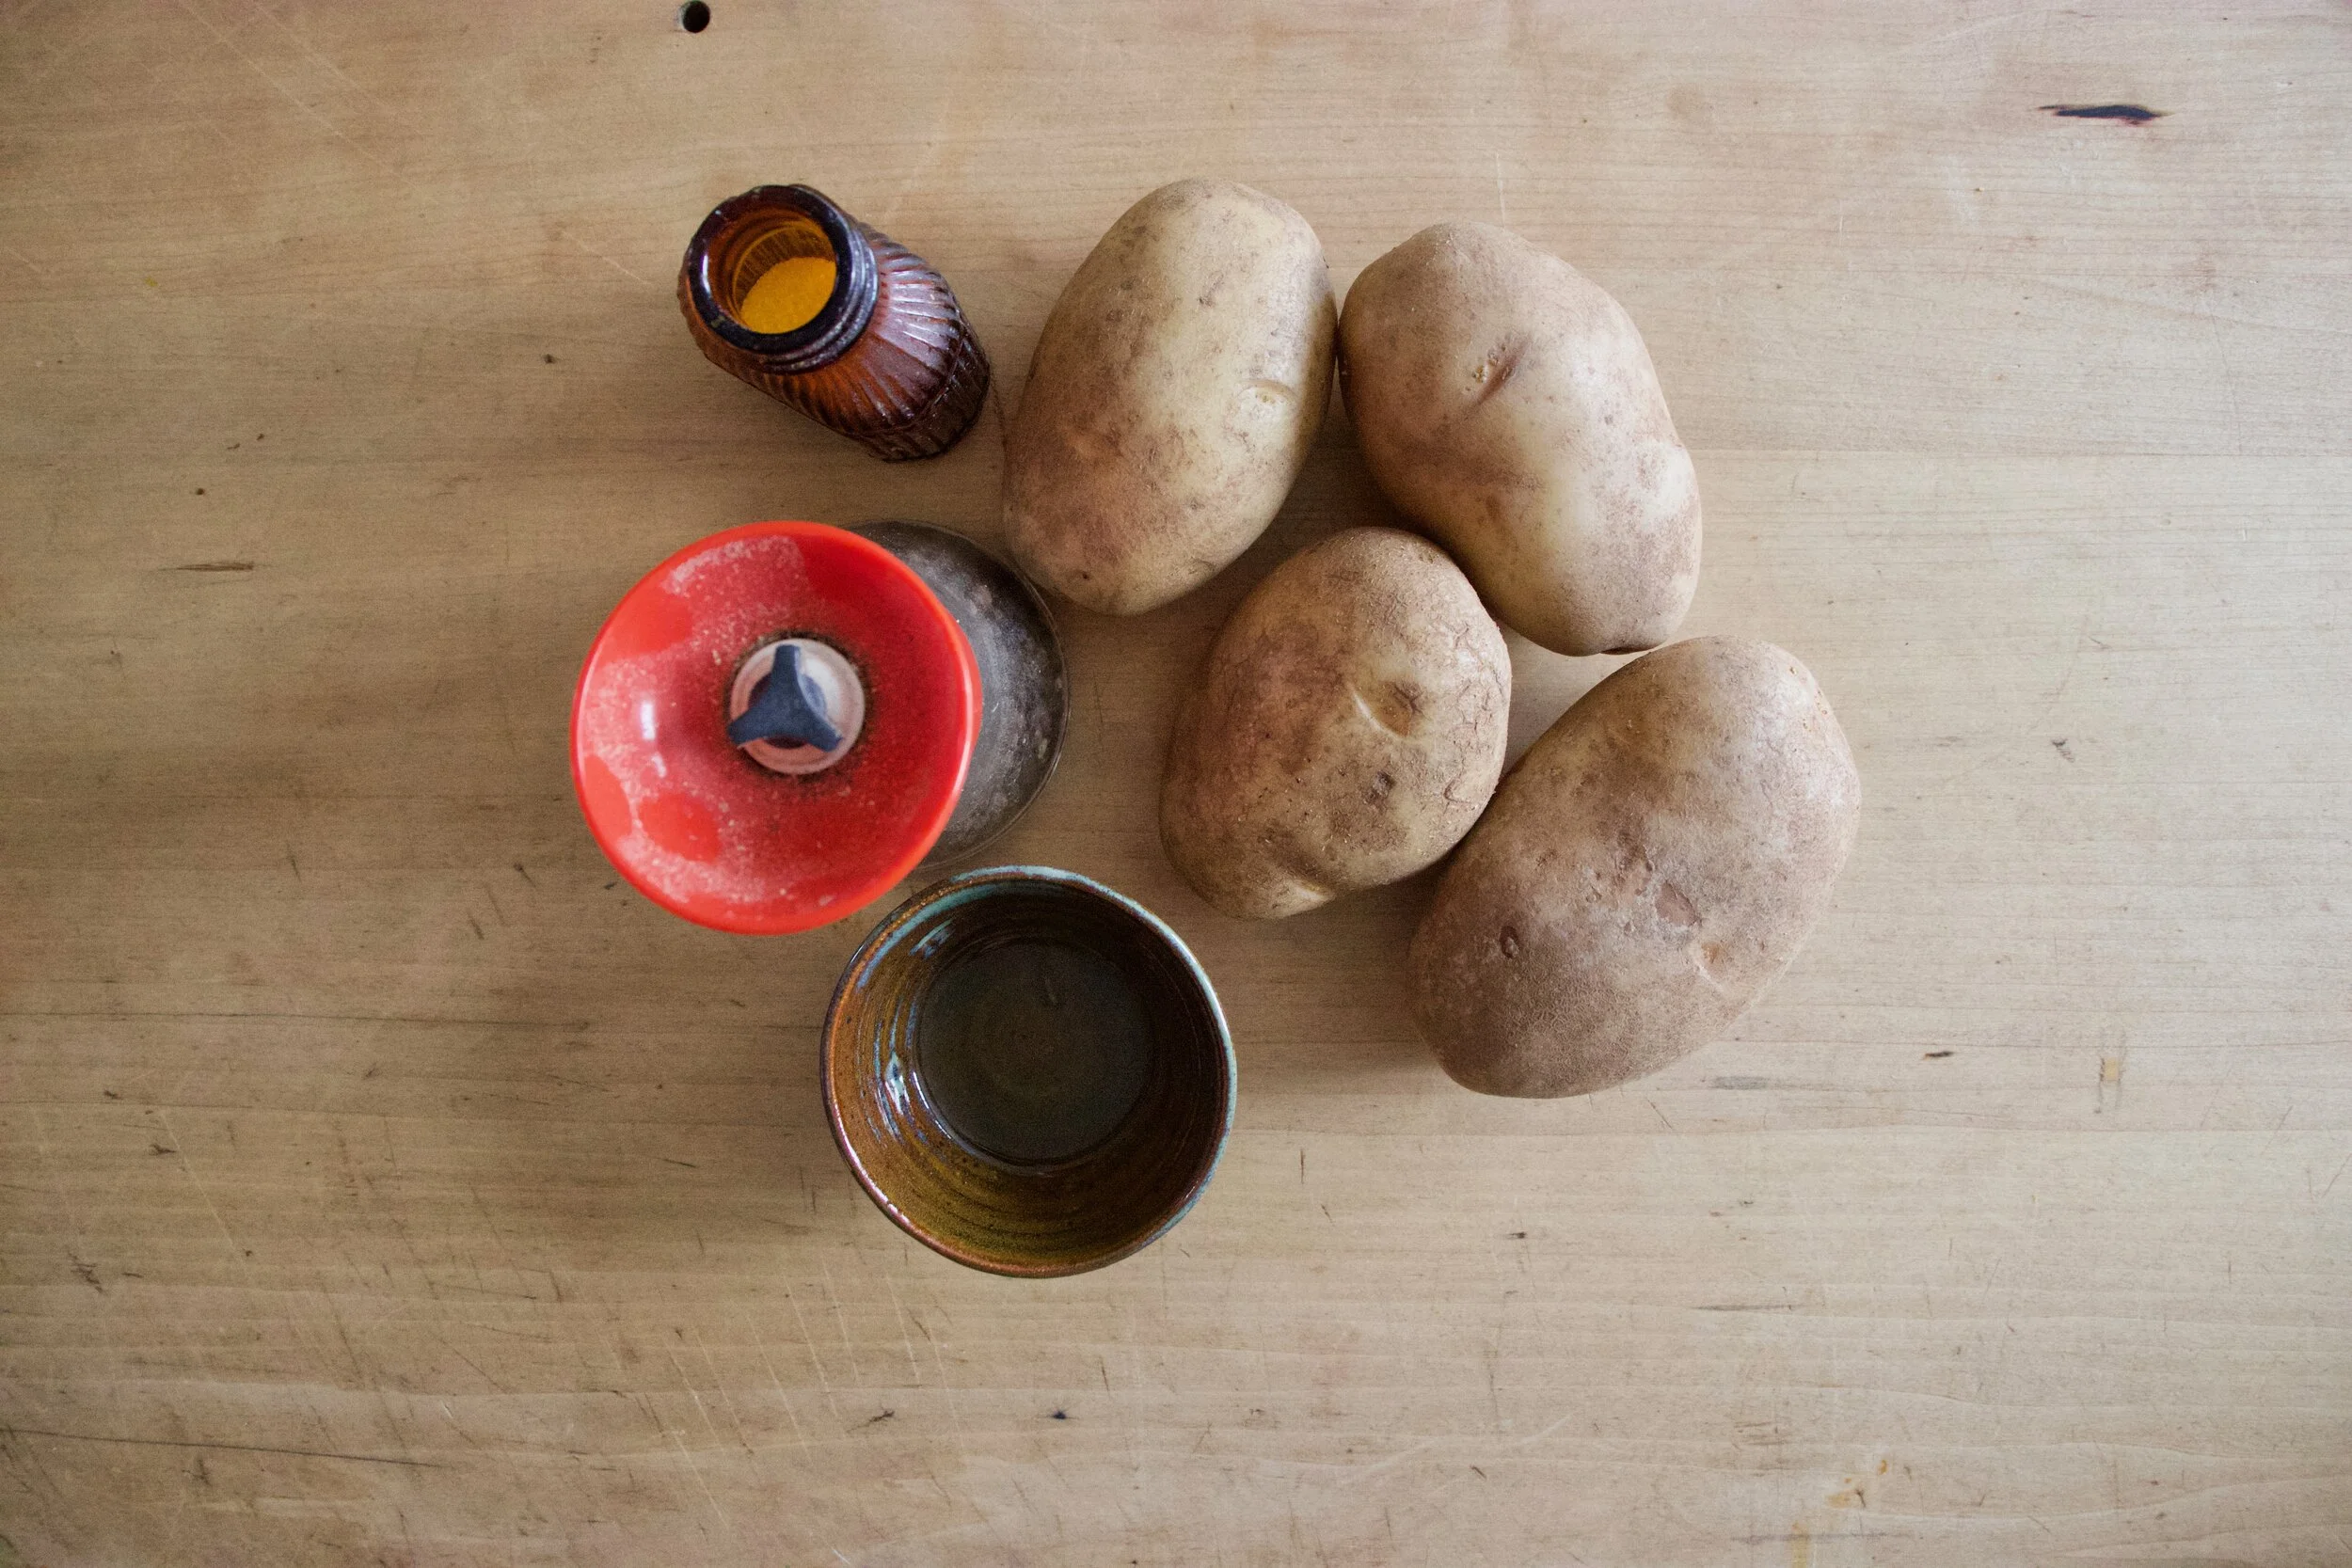
The stuff. Potatoes, salt and pepper, and a little oil.

Shred potatoes. Simple, easy.
Place the shredded potatoes into a clean dish towel (avoid paper towels because paper towels are the devil) and squeeze as much of the liquid out as you can.
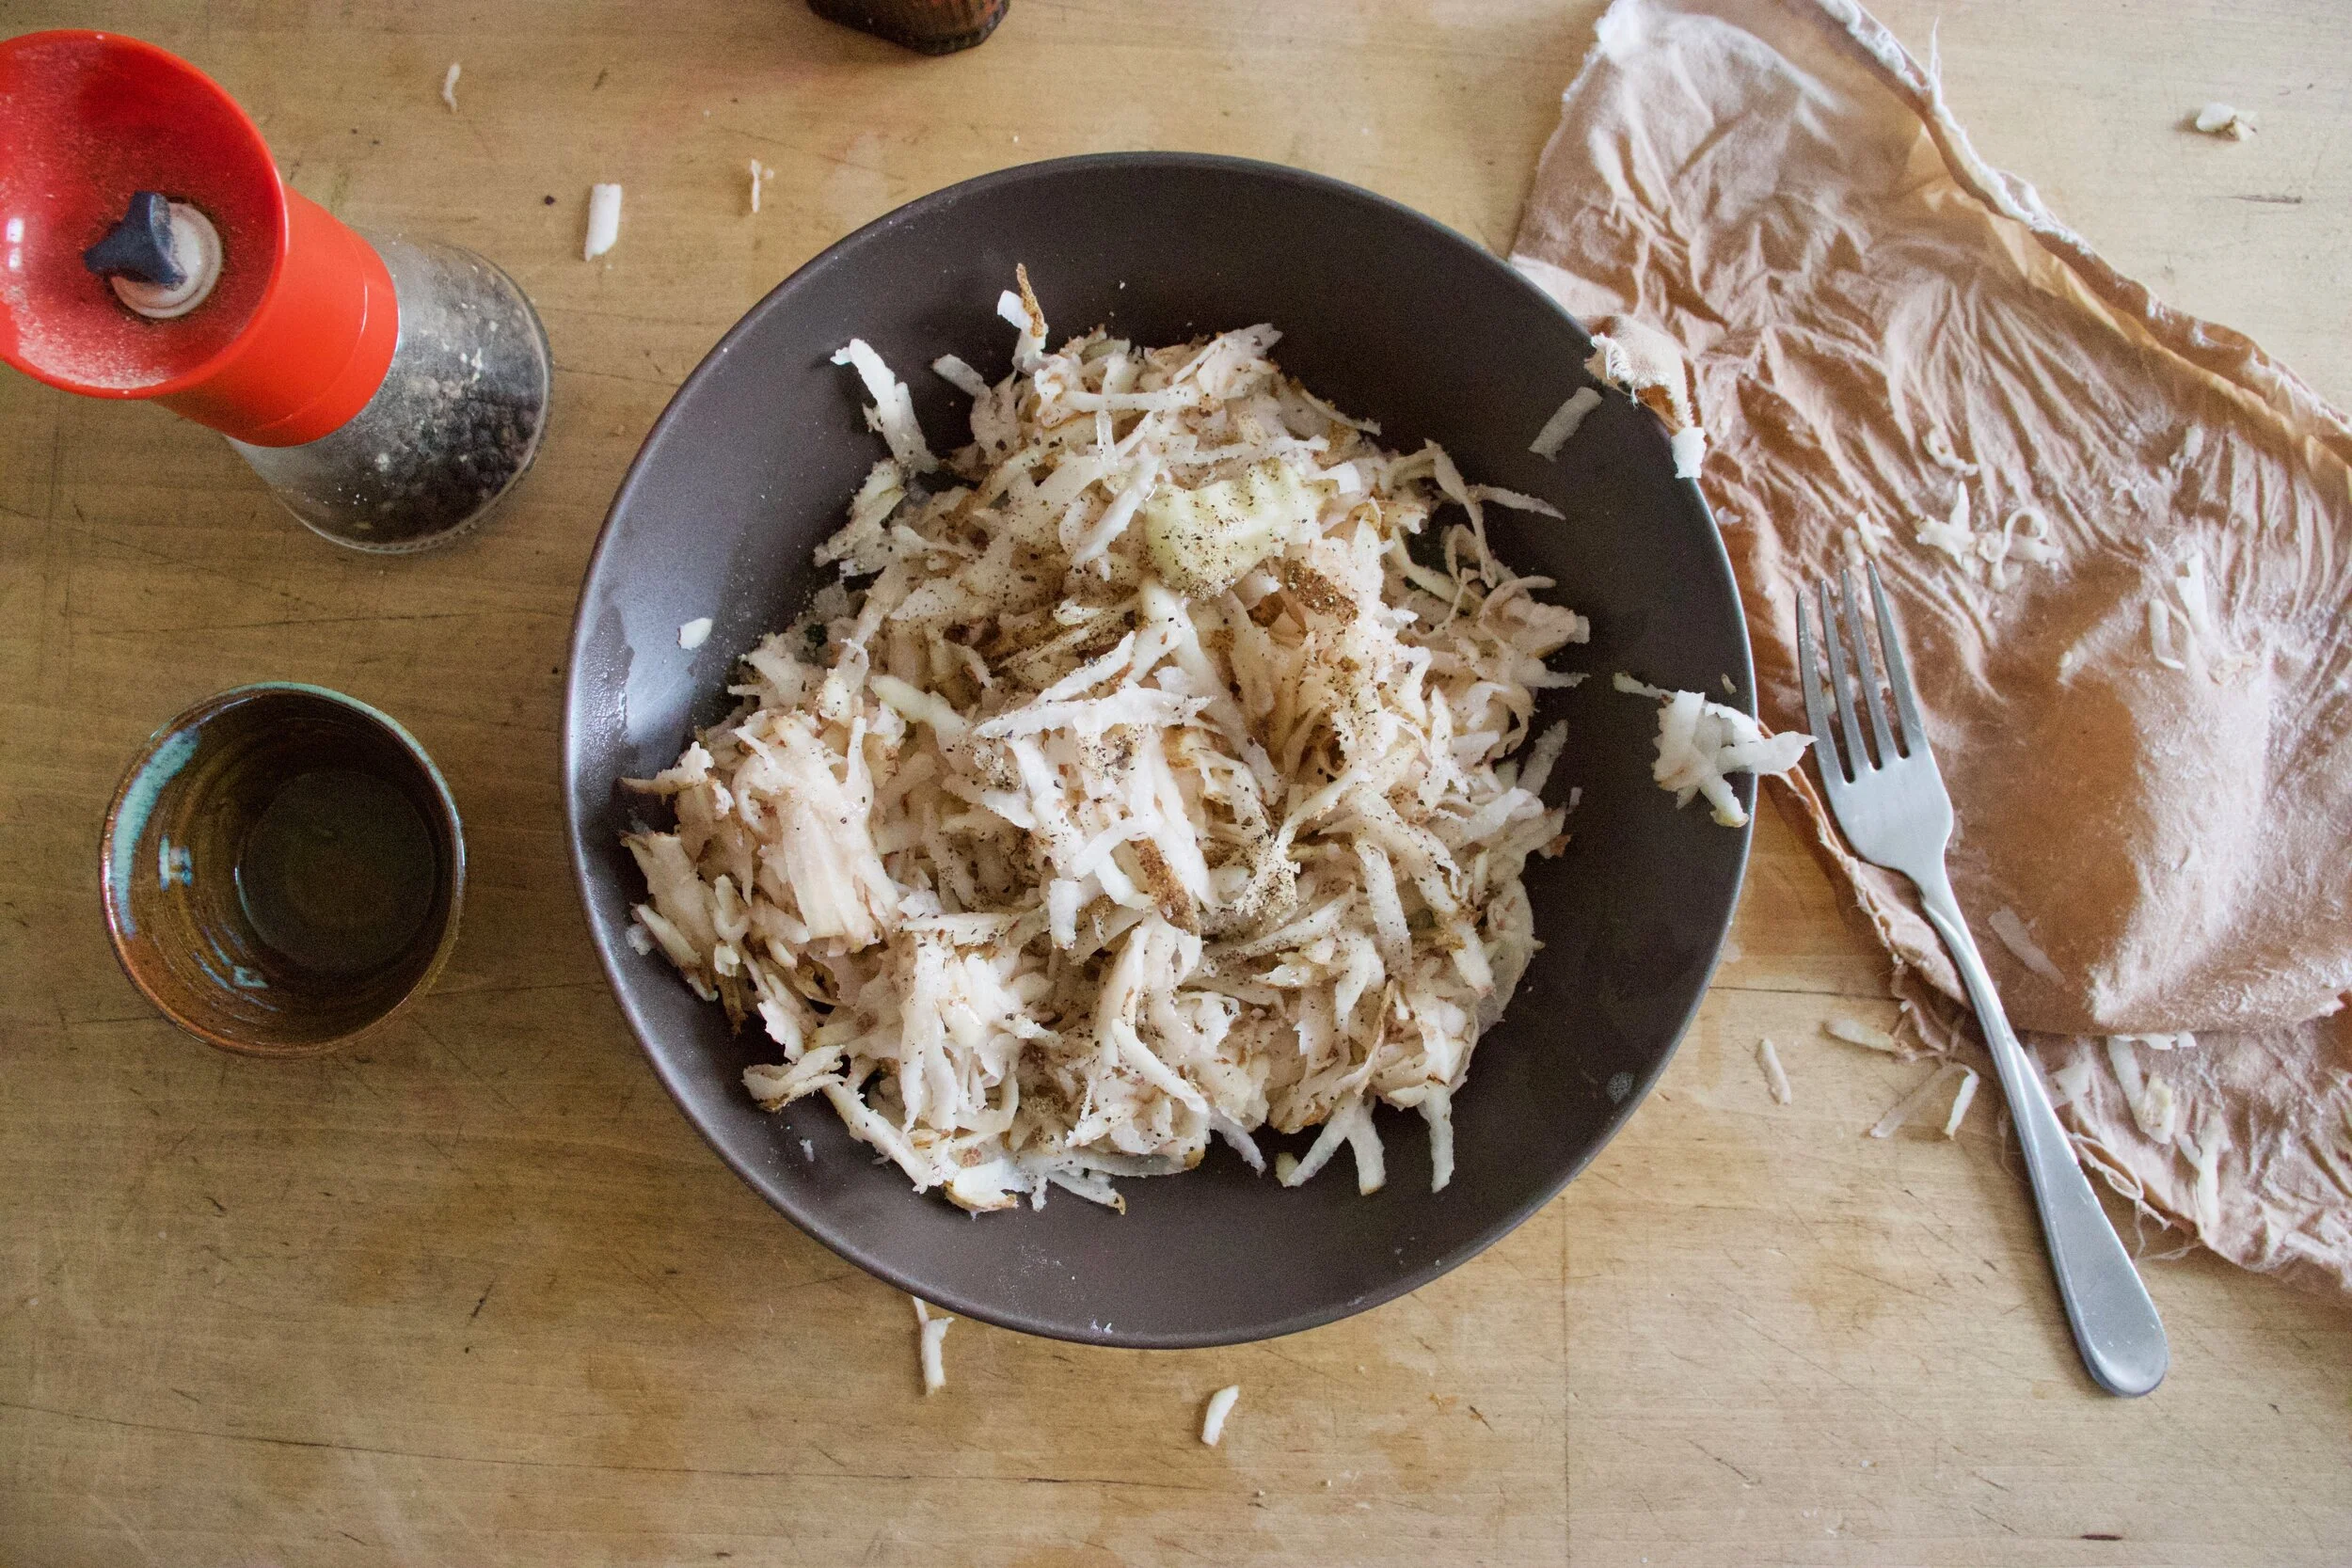
Dump the squeezed out shredded taters back into the bowl and sprinkle with salt and pepper and mix it around.
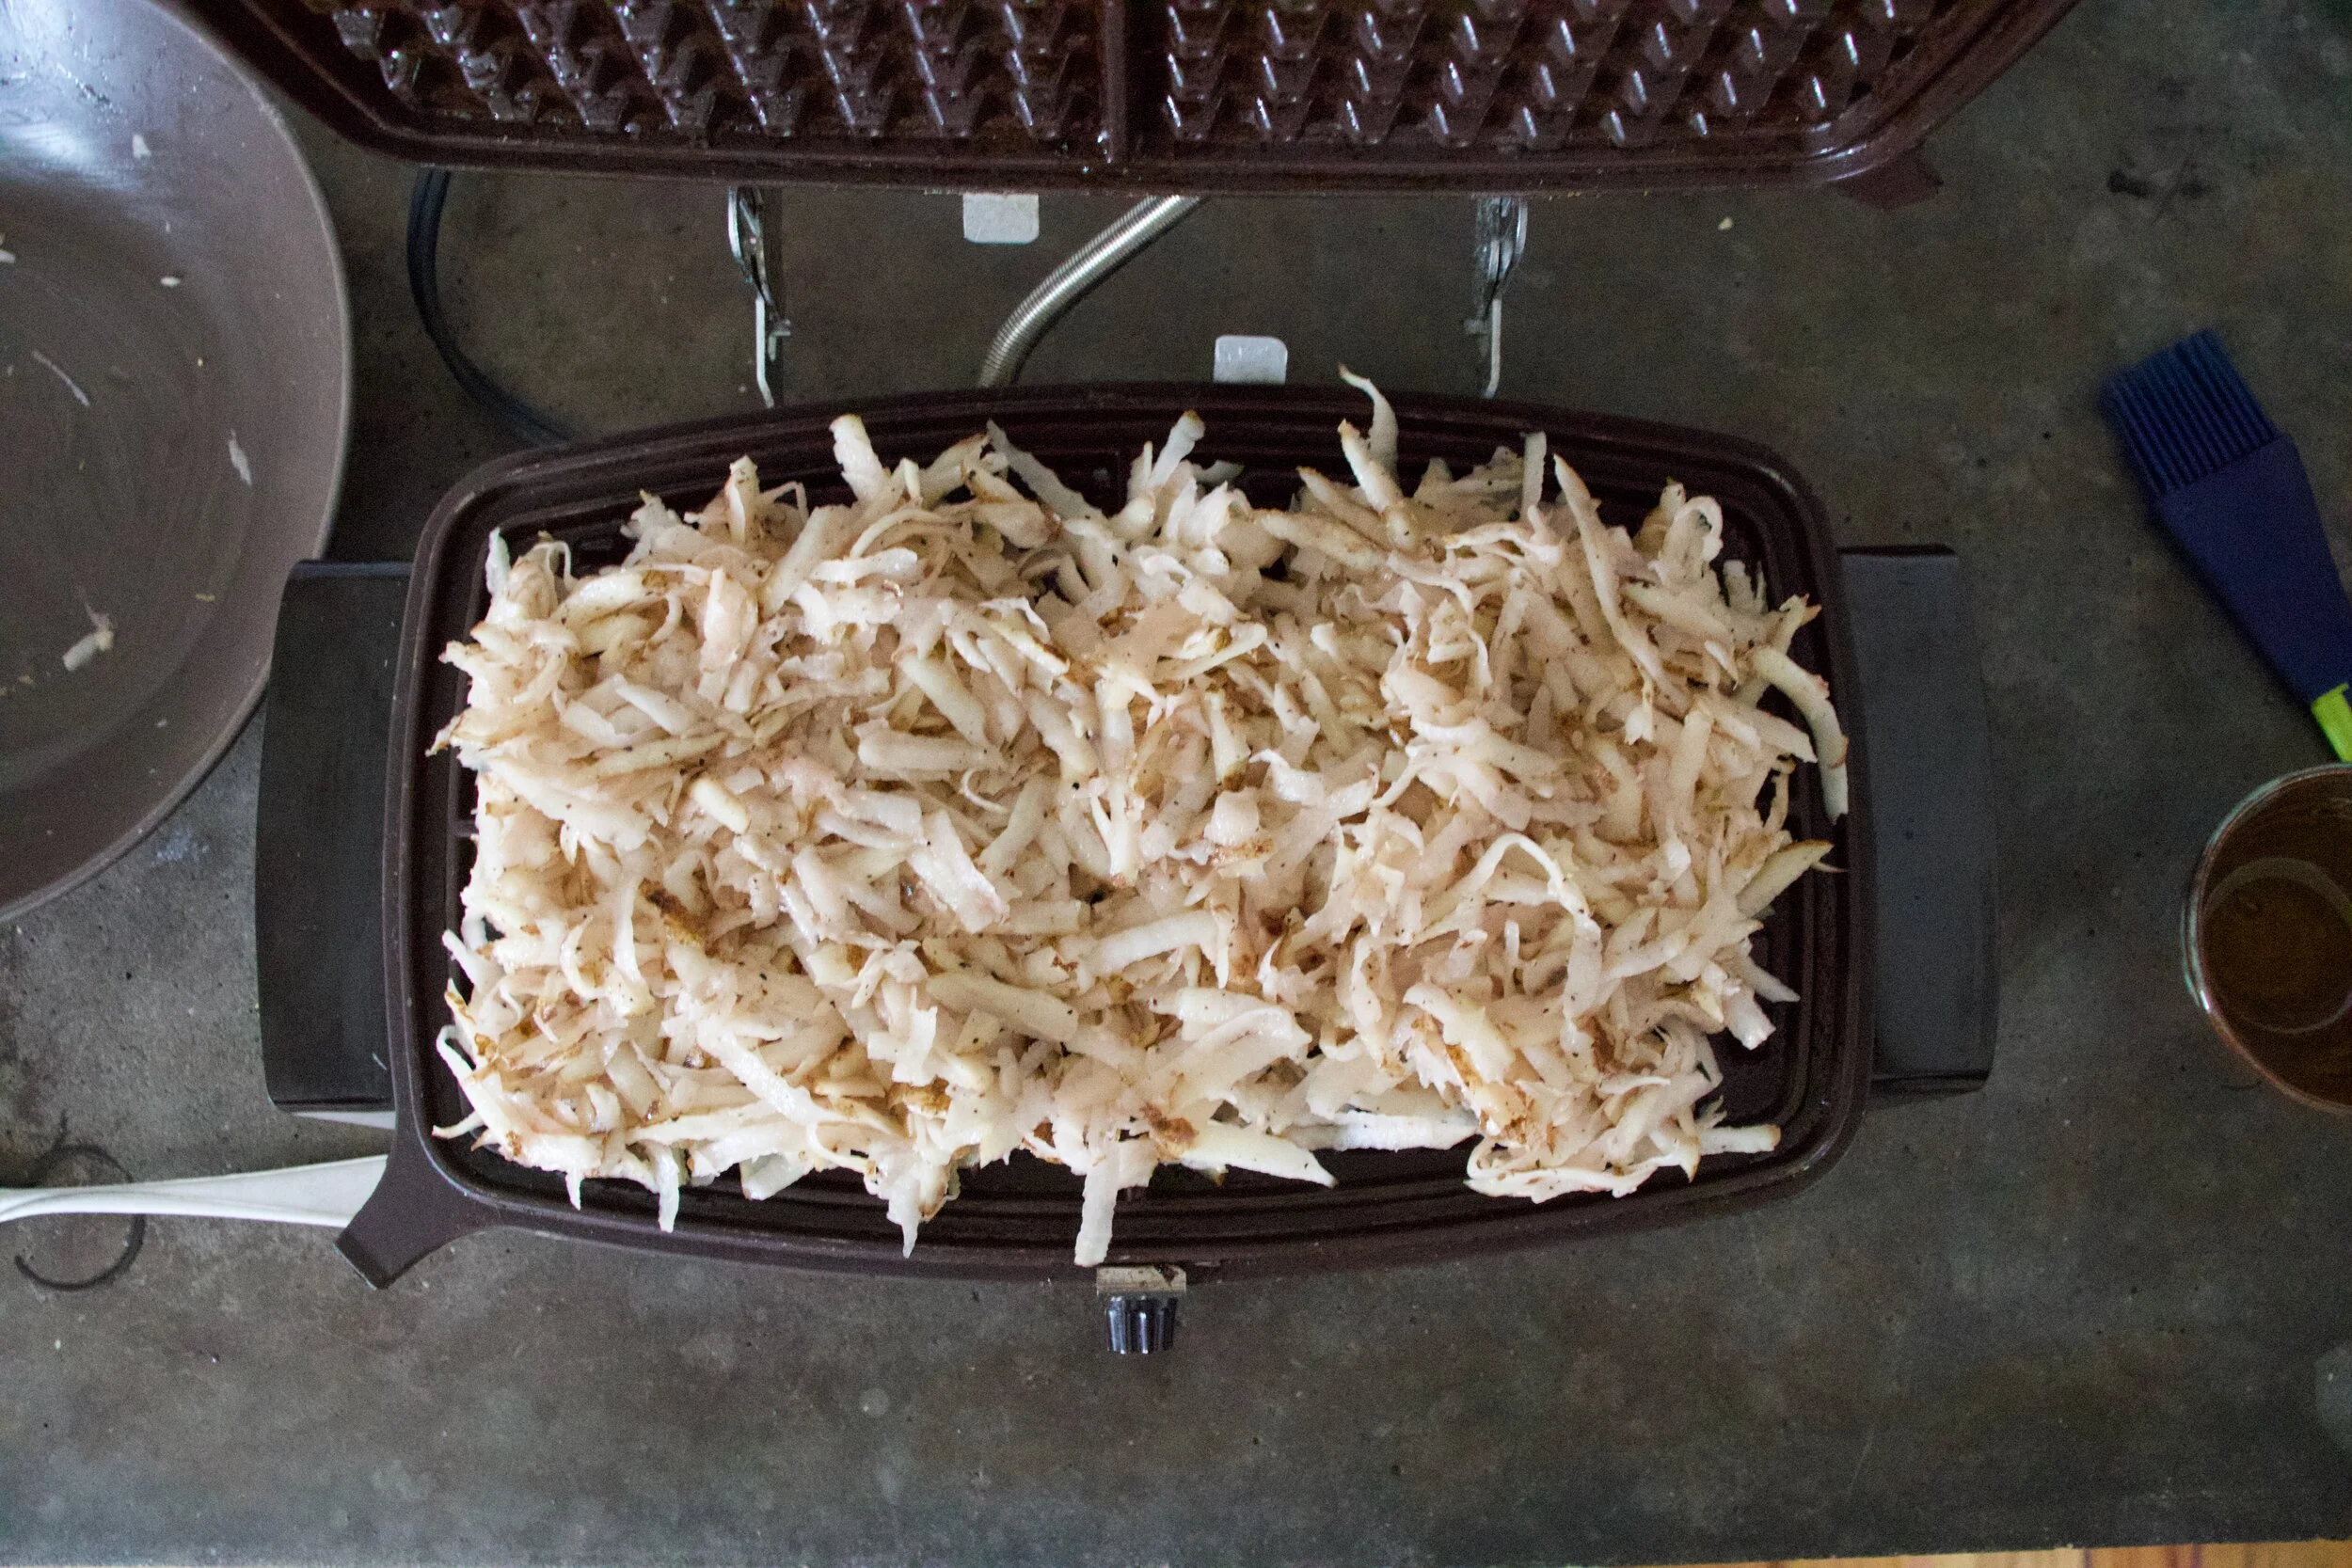
Oil your hot iron and pile on the potatoes. Then close it and press it down. It%u2019s a bit dependent on your iron how long they will need to cook fully, mine took about 9 minutes on high. But maybe just stand close by and check yours after 7ish minutes but expect maybe 10 or so.

Deep golden brown and crispy all over.
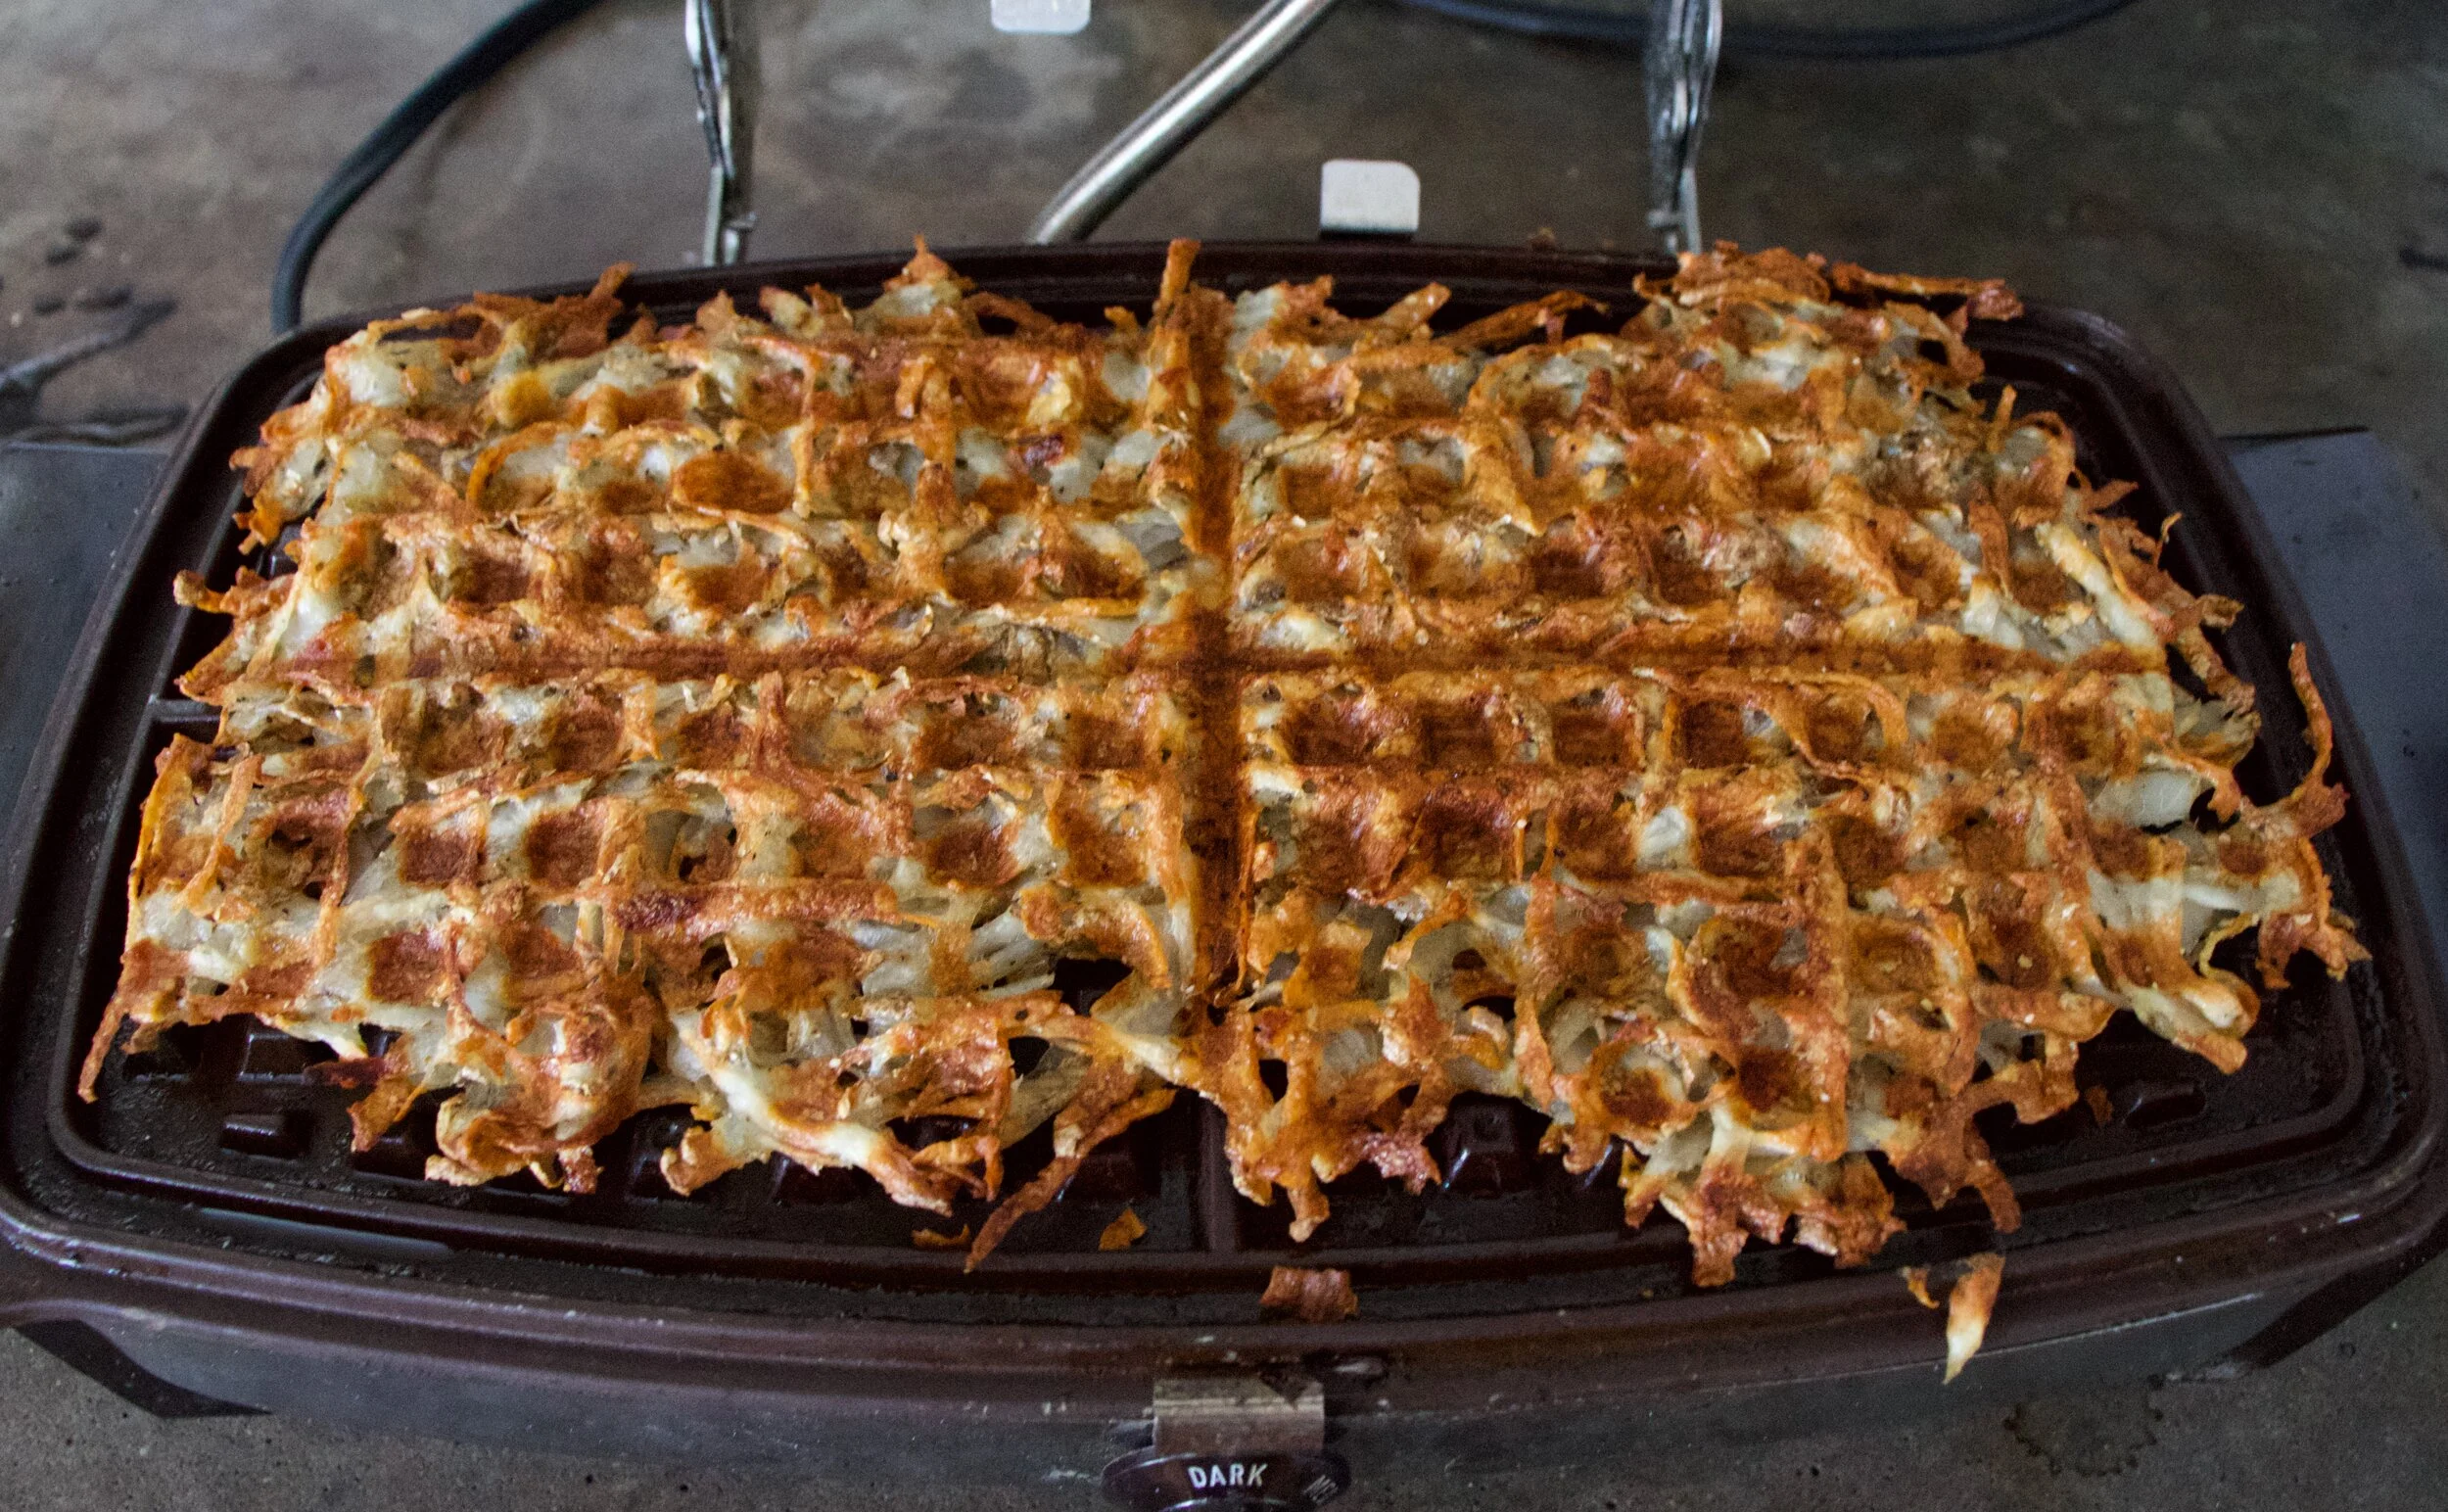
I mean, really look. Every surface browned and crispy. It is freaking perfection!
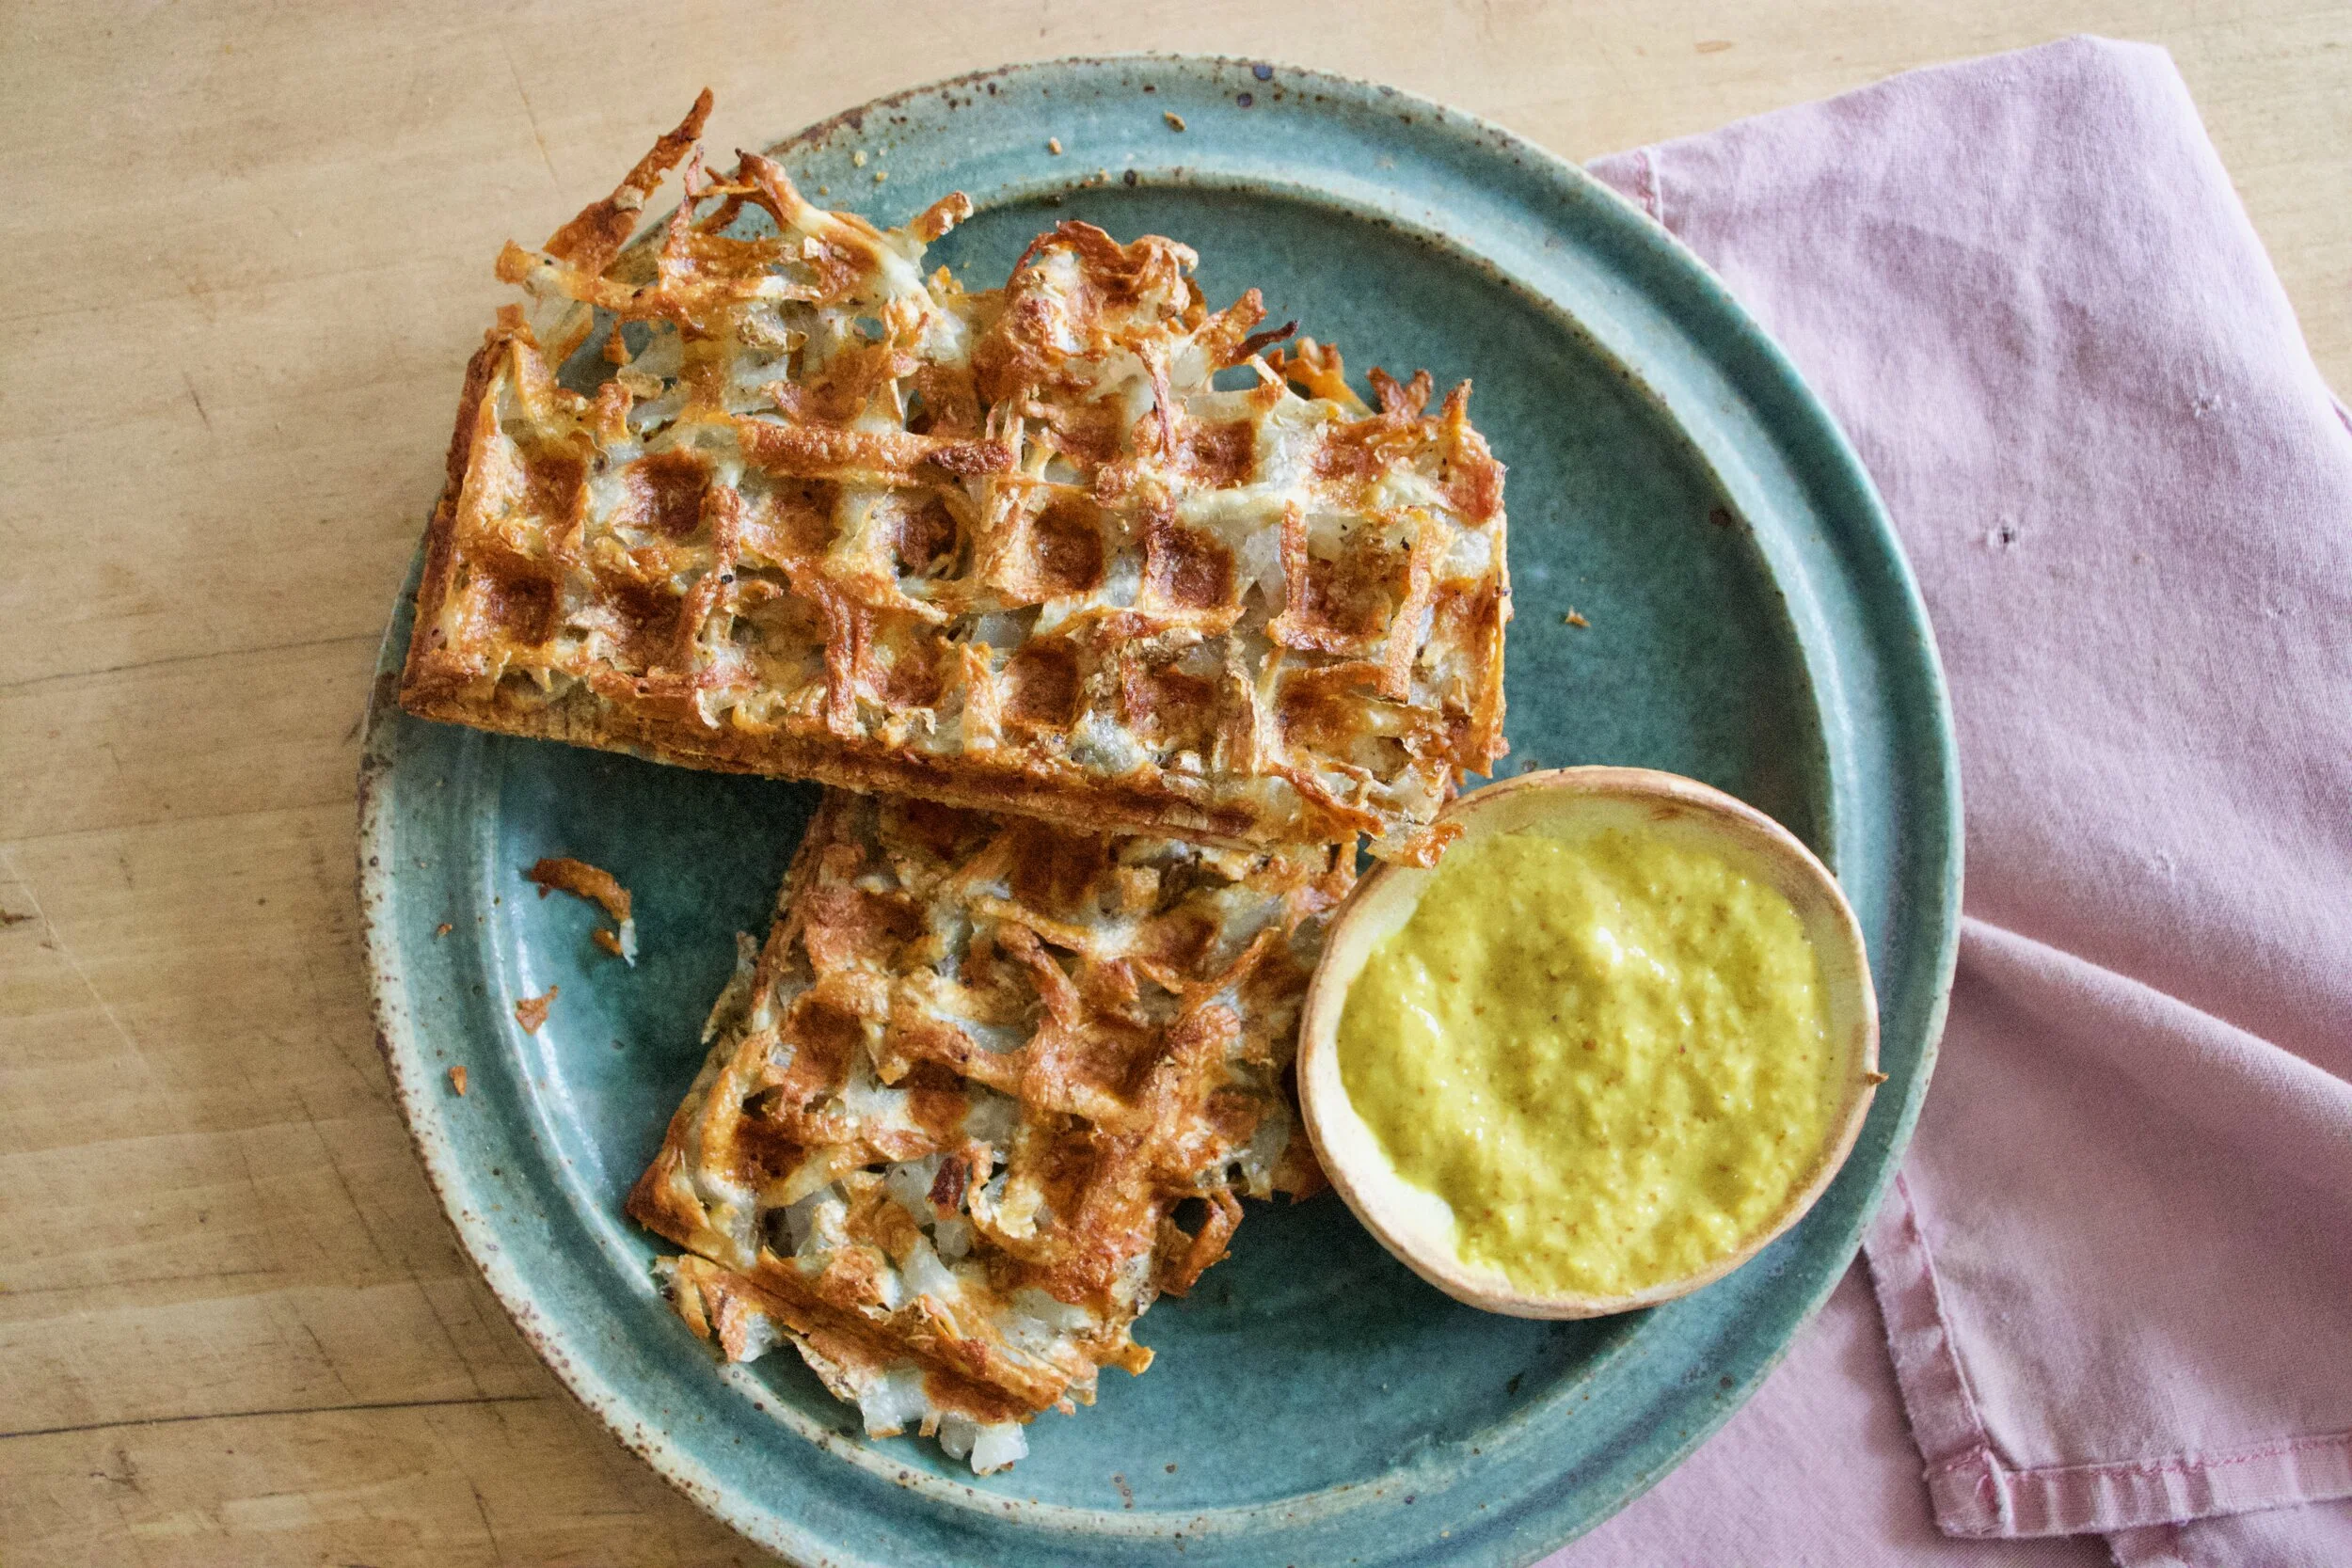
And then like any good waffled food, you plate it, and eat it. Me, with horseradish mustard and a big stupid smile.
Thank you waffle iron. You done good.
-C
makes 2-3 servings
-
2-3 small to medium sized starchy potatoes (Russet or Yukon Gold)
-
couple teaspoons olive oil
-
teaspoon each of salt and pepper
Preheat your waffle iron to high
Shred potatoes on a box grater. Once shredded, gather in a clean kitchen towel and squeeze as much of the liquid as you can from the potatoes. Place potatoes back into bowl and add in about a teaspoon of each salt and pepper and mix around.
Open iron and brush with oil. Place shredded potatoes on the iron, kind of pack together, and close. If it locks, lock it shut, if it doesn%u2019t push it down. And let cook, for about 10 minutes, checking after 7ish (you iron might have more power the mine does). Once the potatoes are a deep golden crispy brown, remove from iron.
Then eat. Any way you want. Plain, with mustard or ketchup. Next to some scramble something or another. Piled high with some black beans and salsa. Whatever. Just eat them and be happy for the waffle iron.
I eat so much hummus. Everyday, all day. Homemade, store bought. If there is hummus, I will be consuming it. But the thing is, I usually don%u2019t eat more then a little at a time. (A little being like 1/2 a cup). And sure, sometimes that is just fine and enough, but other times, what I really want to do is garb a spoon and a bag of carrots and eat it all. And then I do.
But there is that little voice in the back of my head telling me that if someone where to catch me eating mounds of hummus, they would liken my eating behavior to that of someone eating a jar of mustard (Not going to lie, it happens sometimes) or of a bottle of ketchup (but I don%u2019t eat ketchup) and that have a problem and shouldn%u2019t being eating it like that. Because hummus, for some reason, has been put into the condiment category. It%u2019s treated like a dip or a spread and that is fine and dandy to eat it as such, but hummus is so much more. It can, and should be treated more like a main component to a dish. So let us step outside of that box and eat it how we really want to eat it.
Hummus by the bowlful. I know right! It just makes so much sense to me. And now to you too. We need to stop stopping ourselves from just a scoop or two because really, that is just not enough. Nope, this is for real. A bowl, full of hummus, topped with roasted veggies because that is just more deliciousness. And we get to eat it all.
Life can be pretty great sometime, you know. HA
Now to the bowl of hummus!
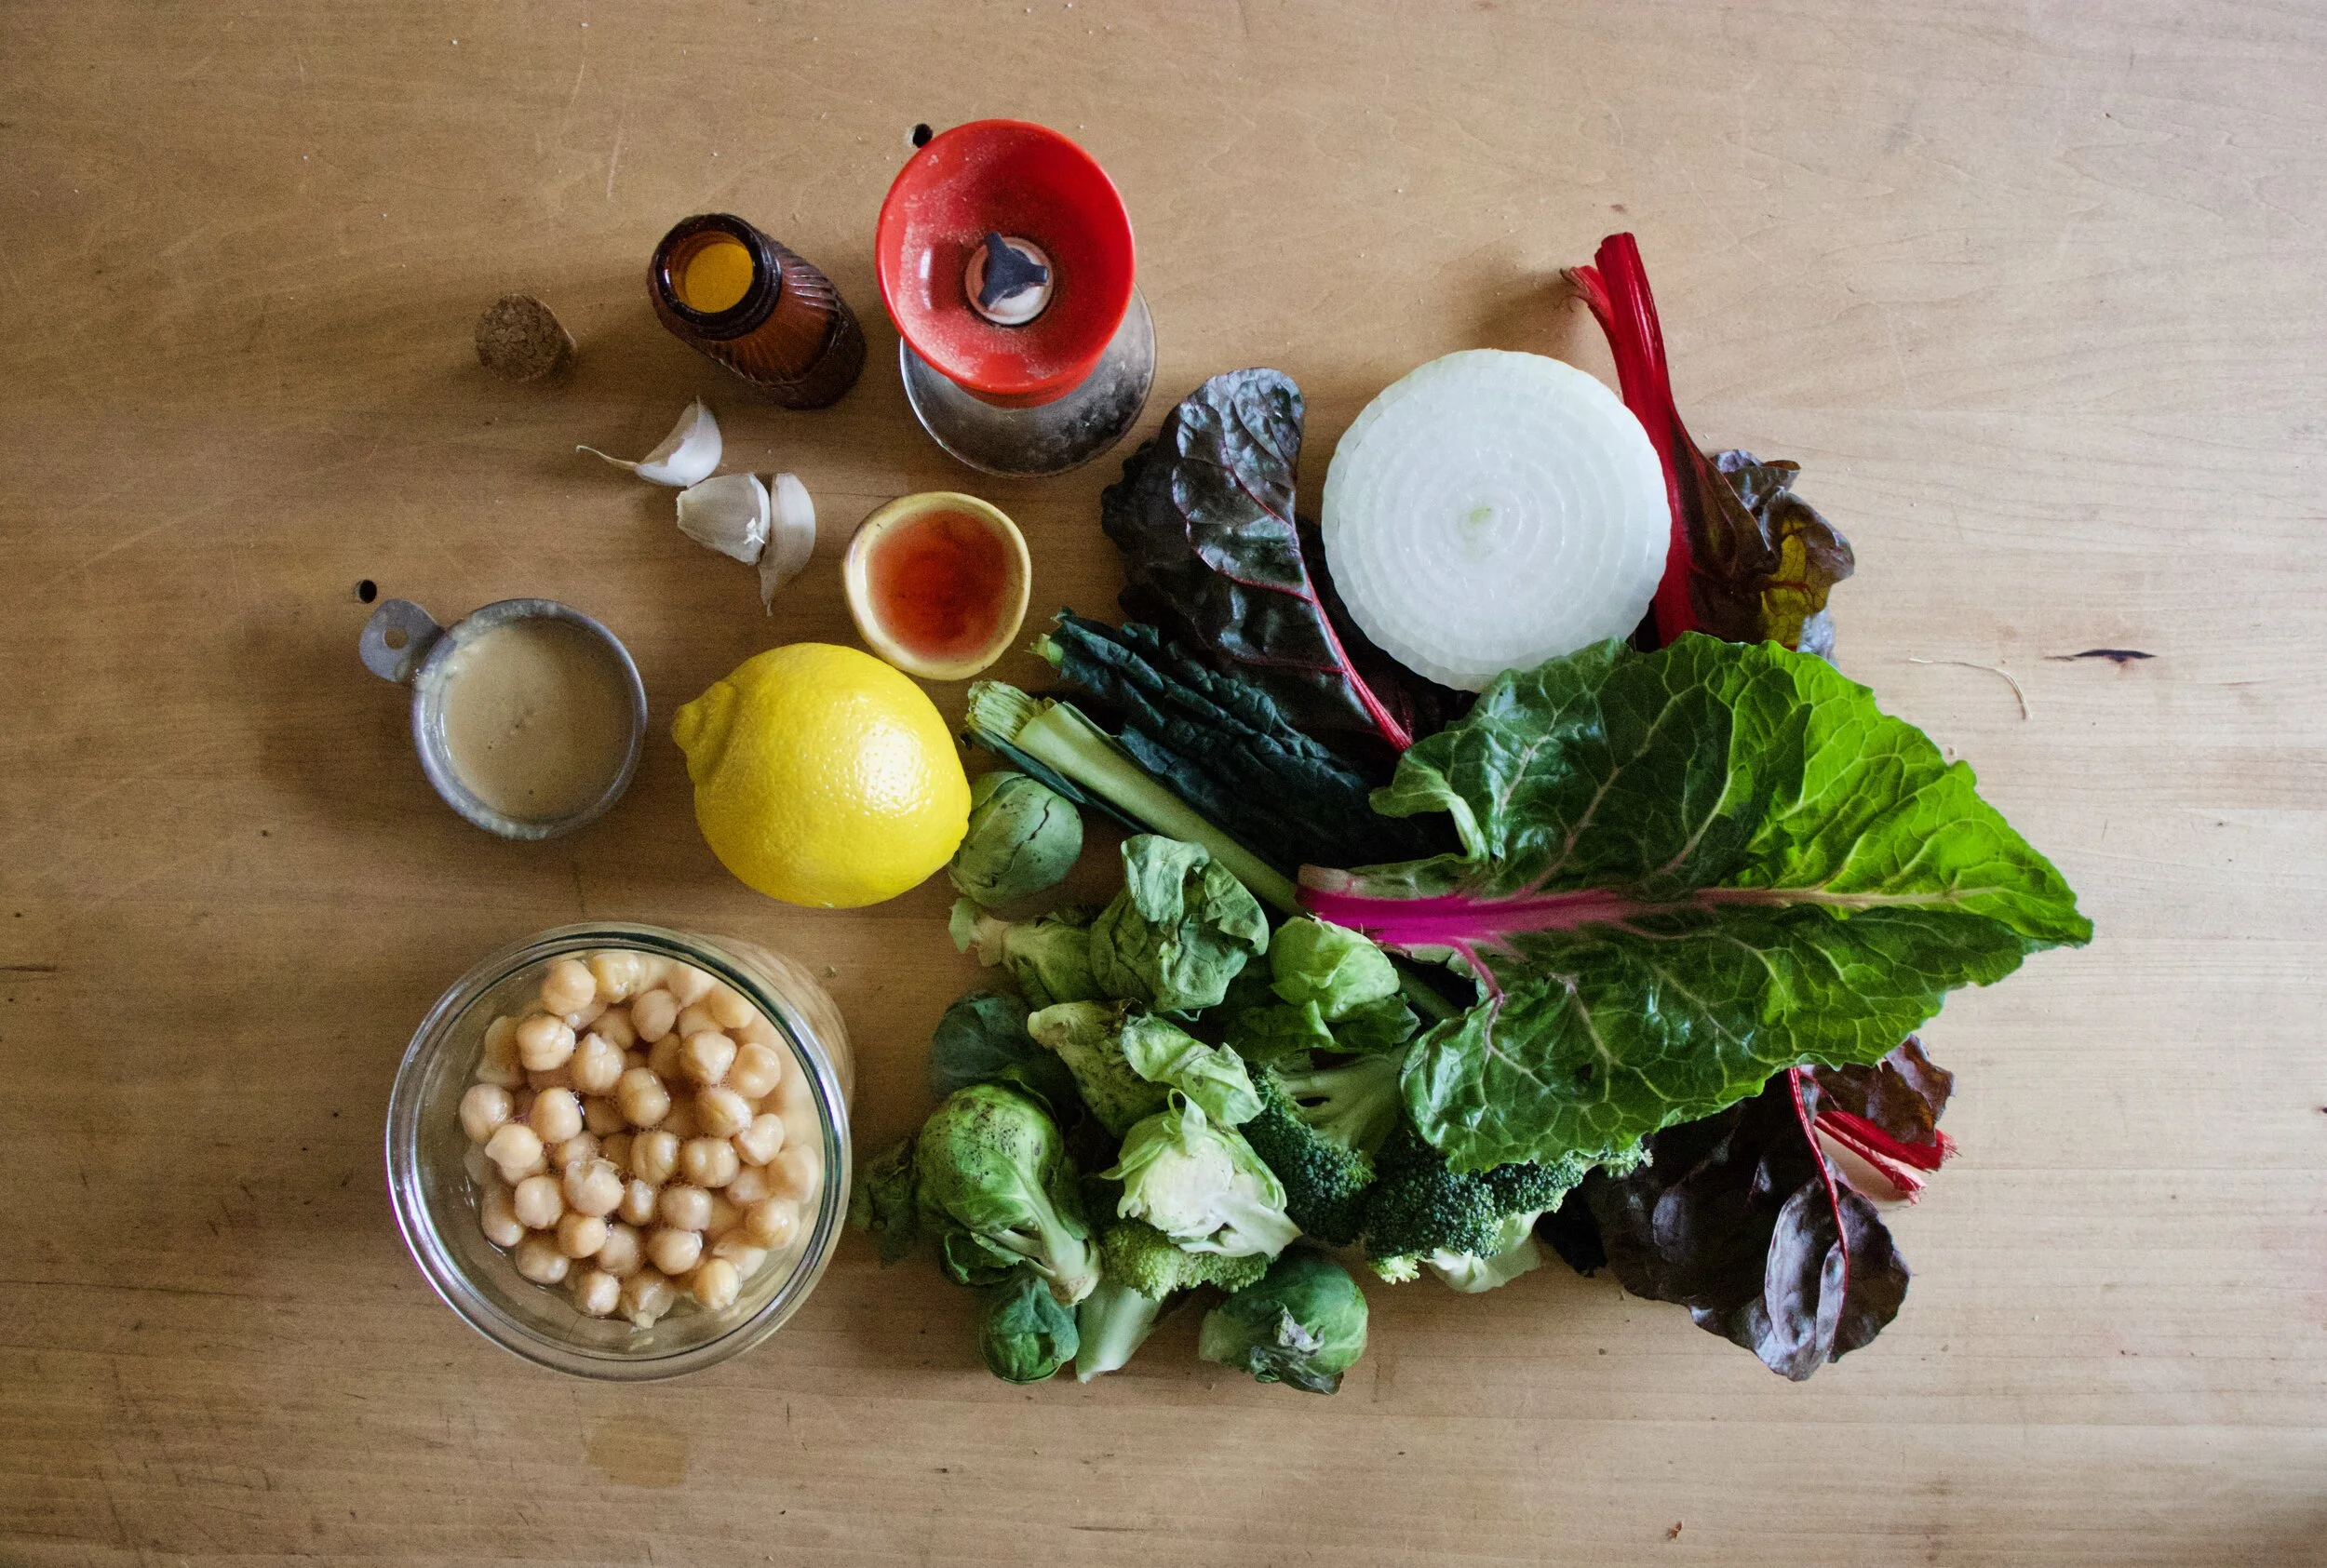
The stuff. We got chickpeas, tahini, a lemon, red wine vinegar, garlic, salt and pepper. And Veggies. Brussel Sprouts, broccoli, onion, Swiss chard, and kale.
Chop up the broccoli, the onion and half or quarter the Brussel sprouts. And separately, chop up the kale and chard.
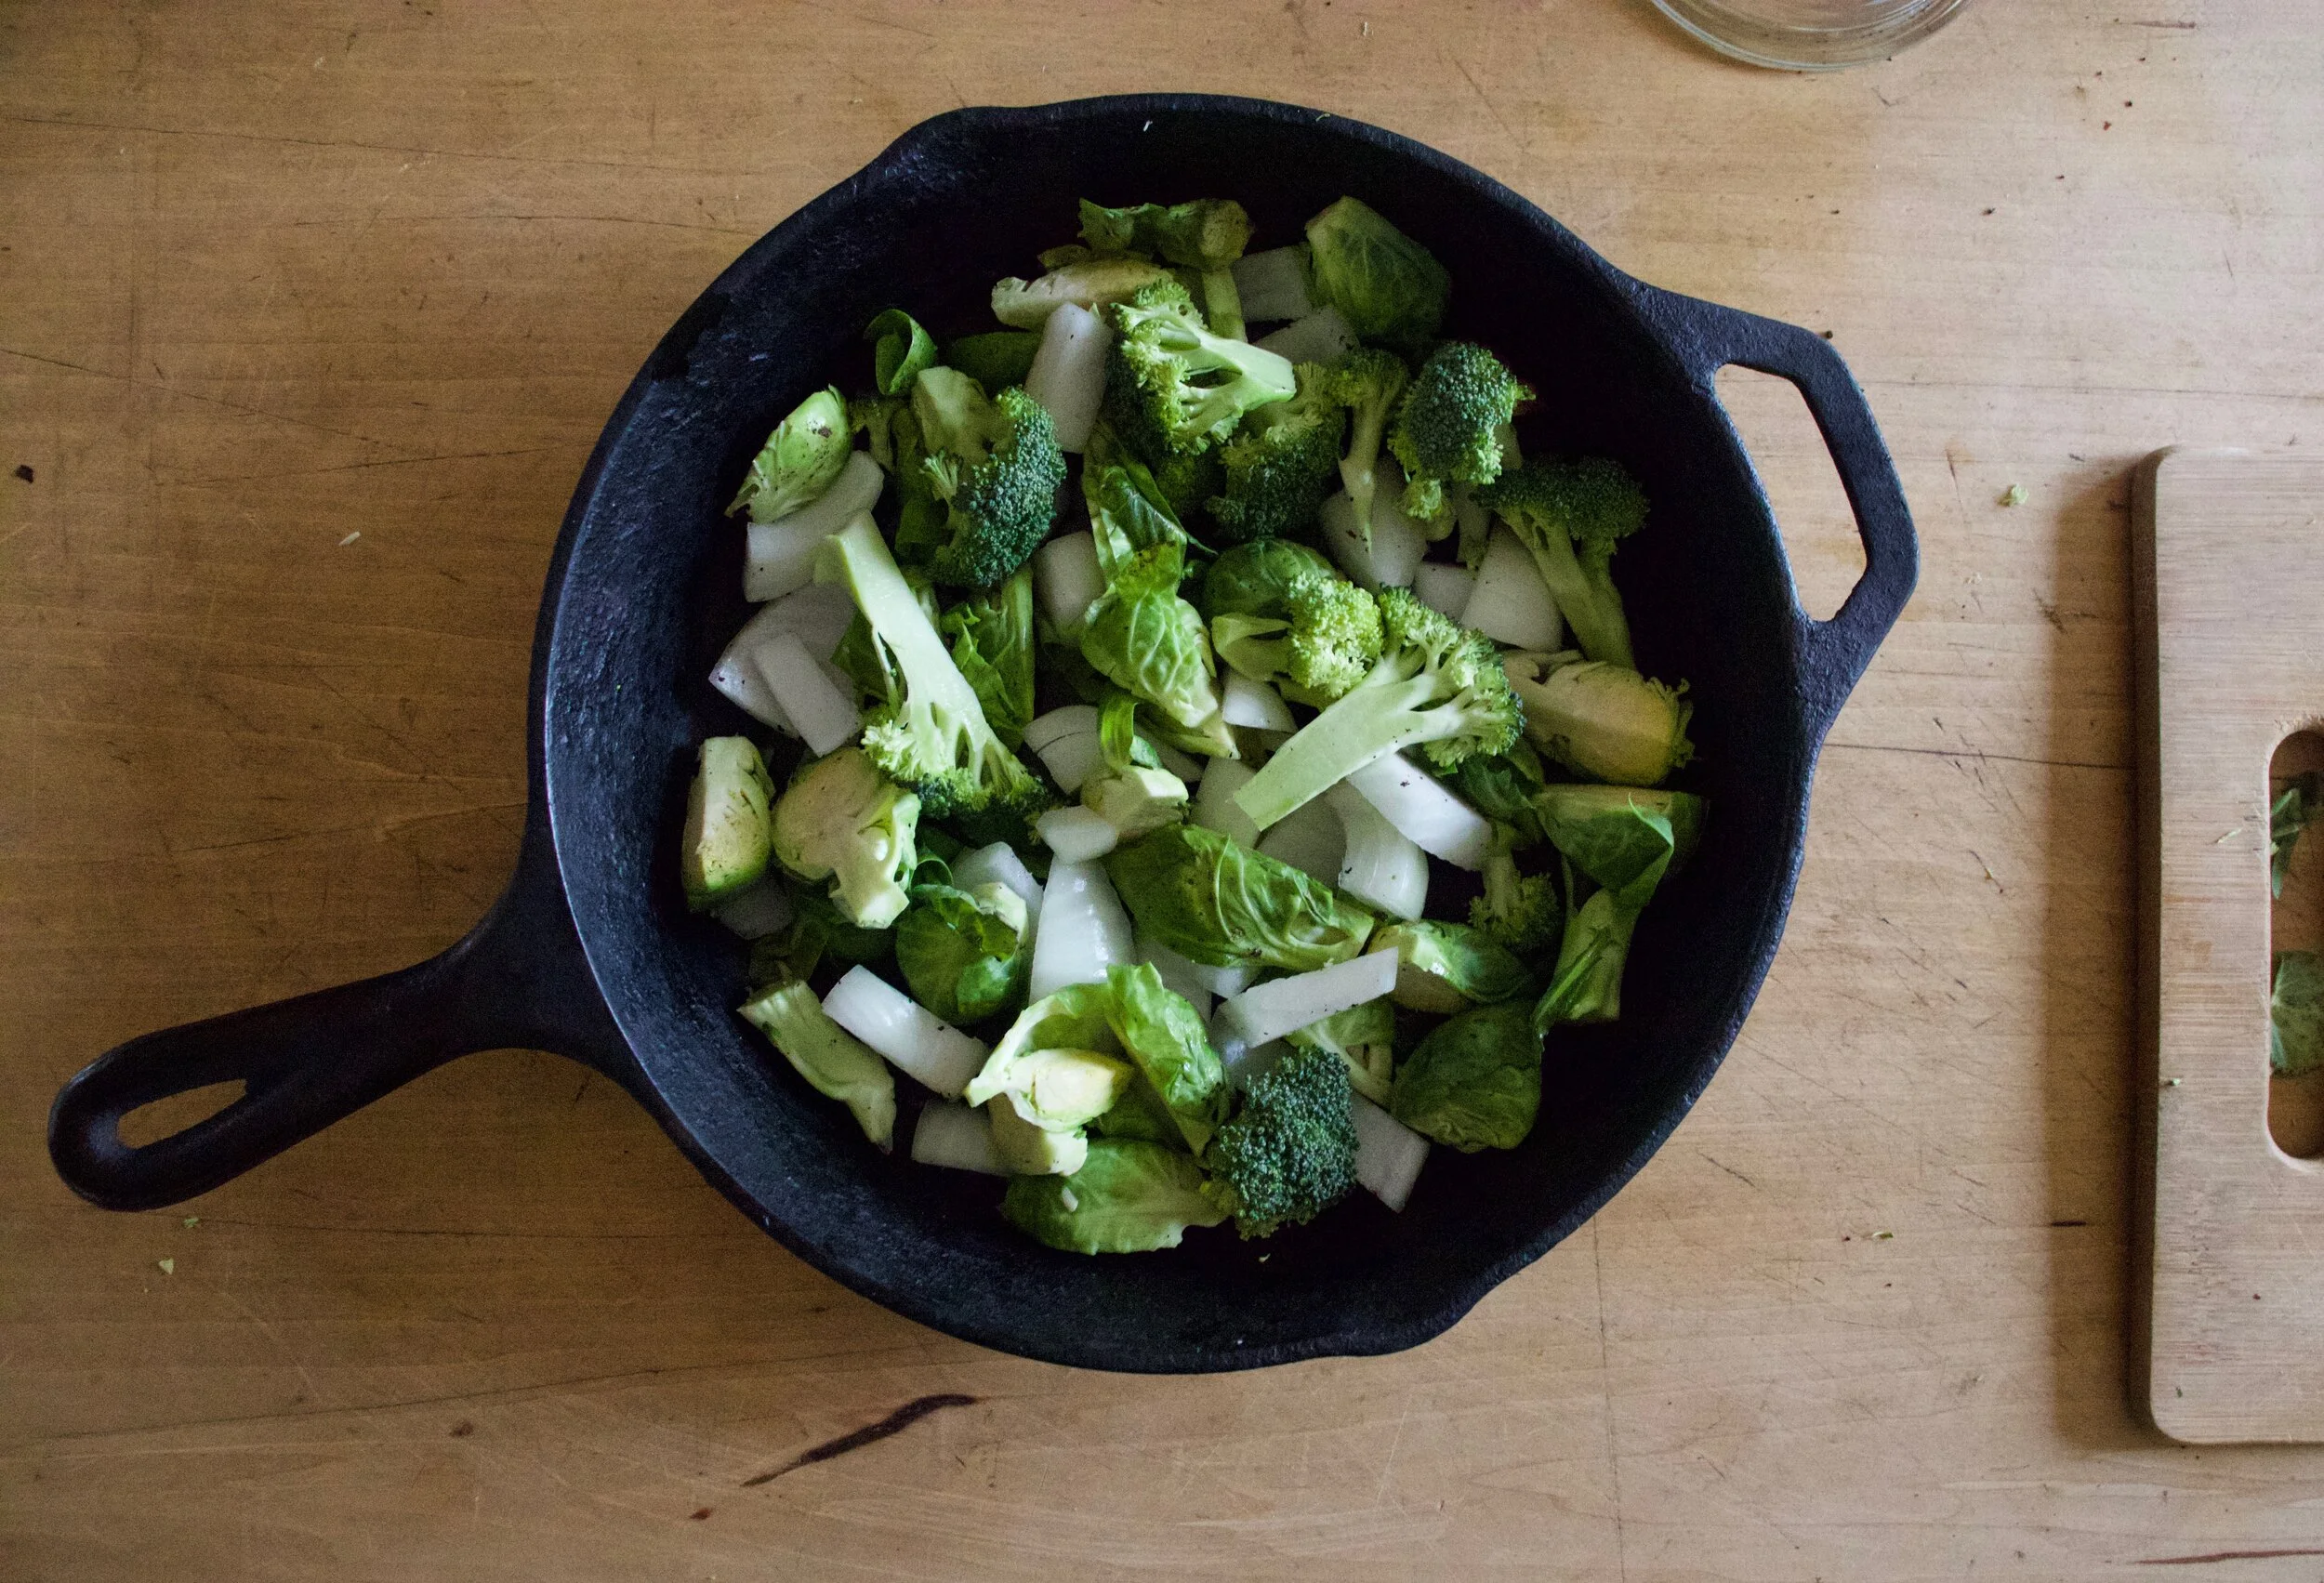
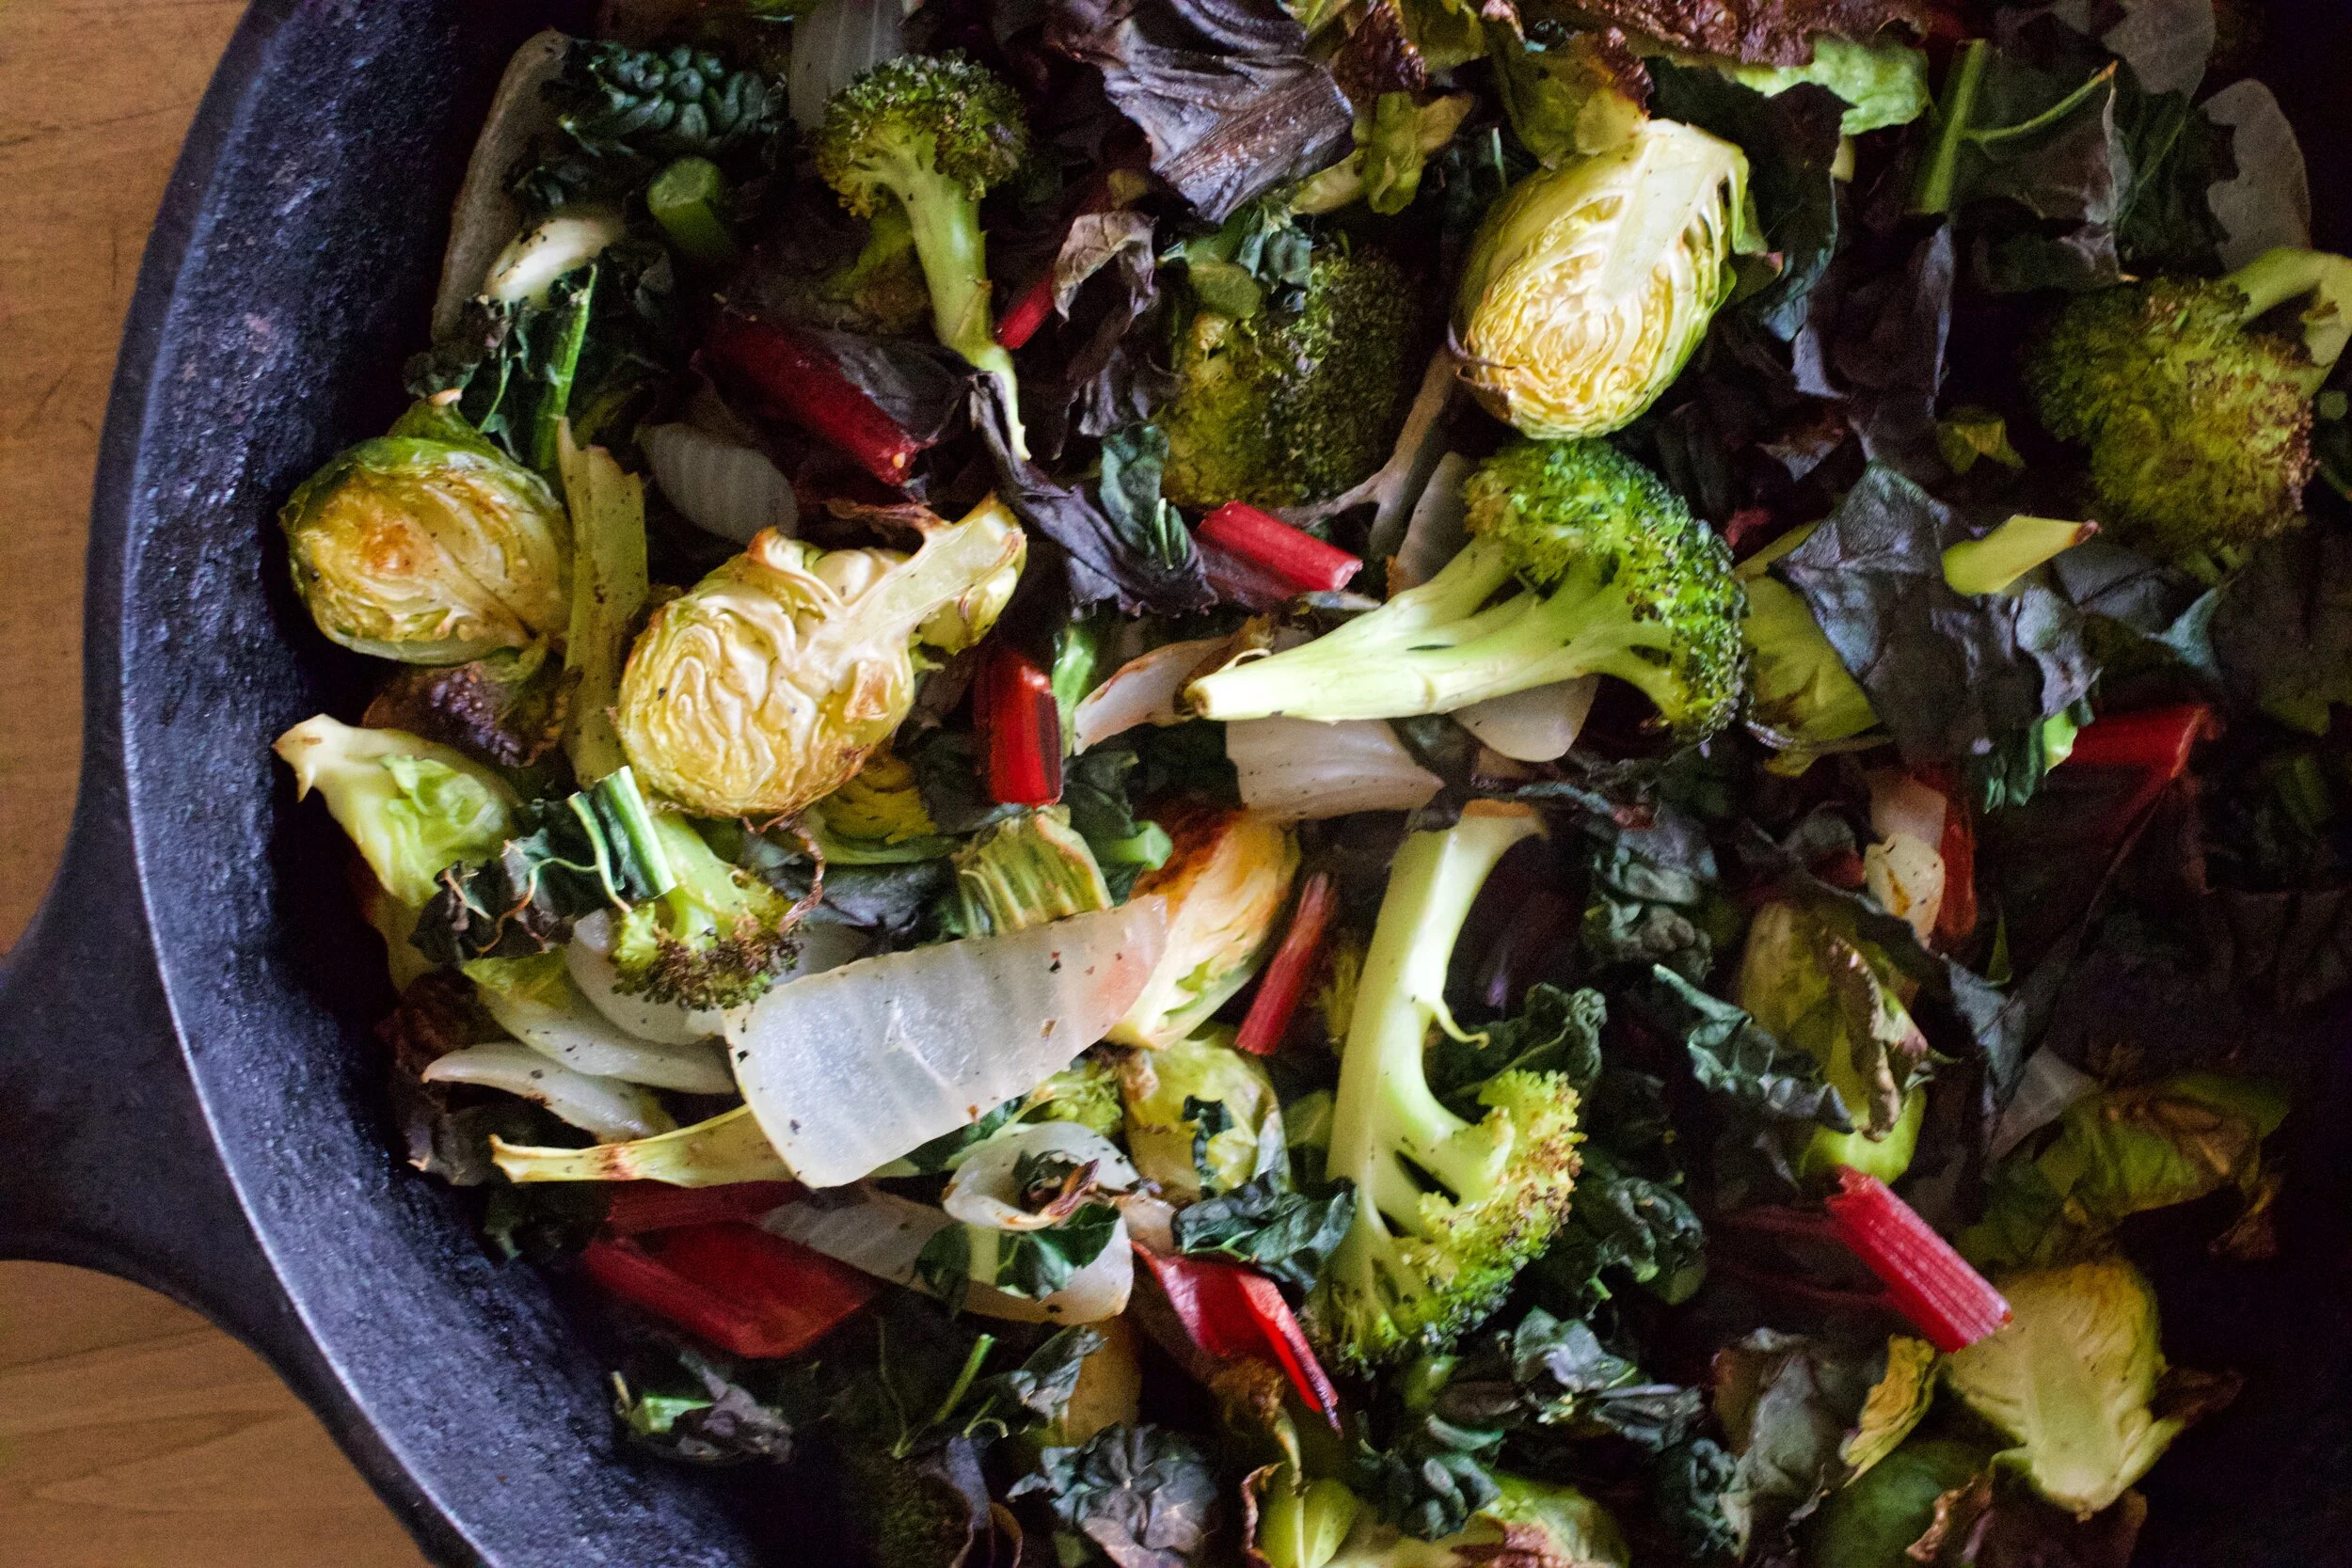
Toss the chopped Brussels, broccoli and onion into a baking sheet or oven safe skillet and season with salt and pepper. IF you want to toss in a little oil, go for it. Then pop the veggies into a hot oven to roast away.
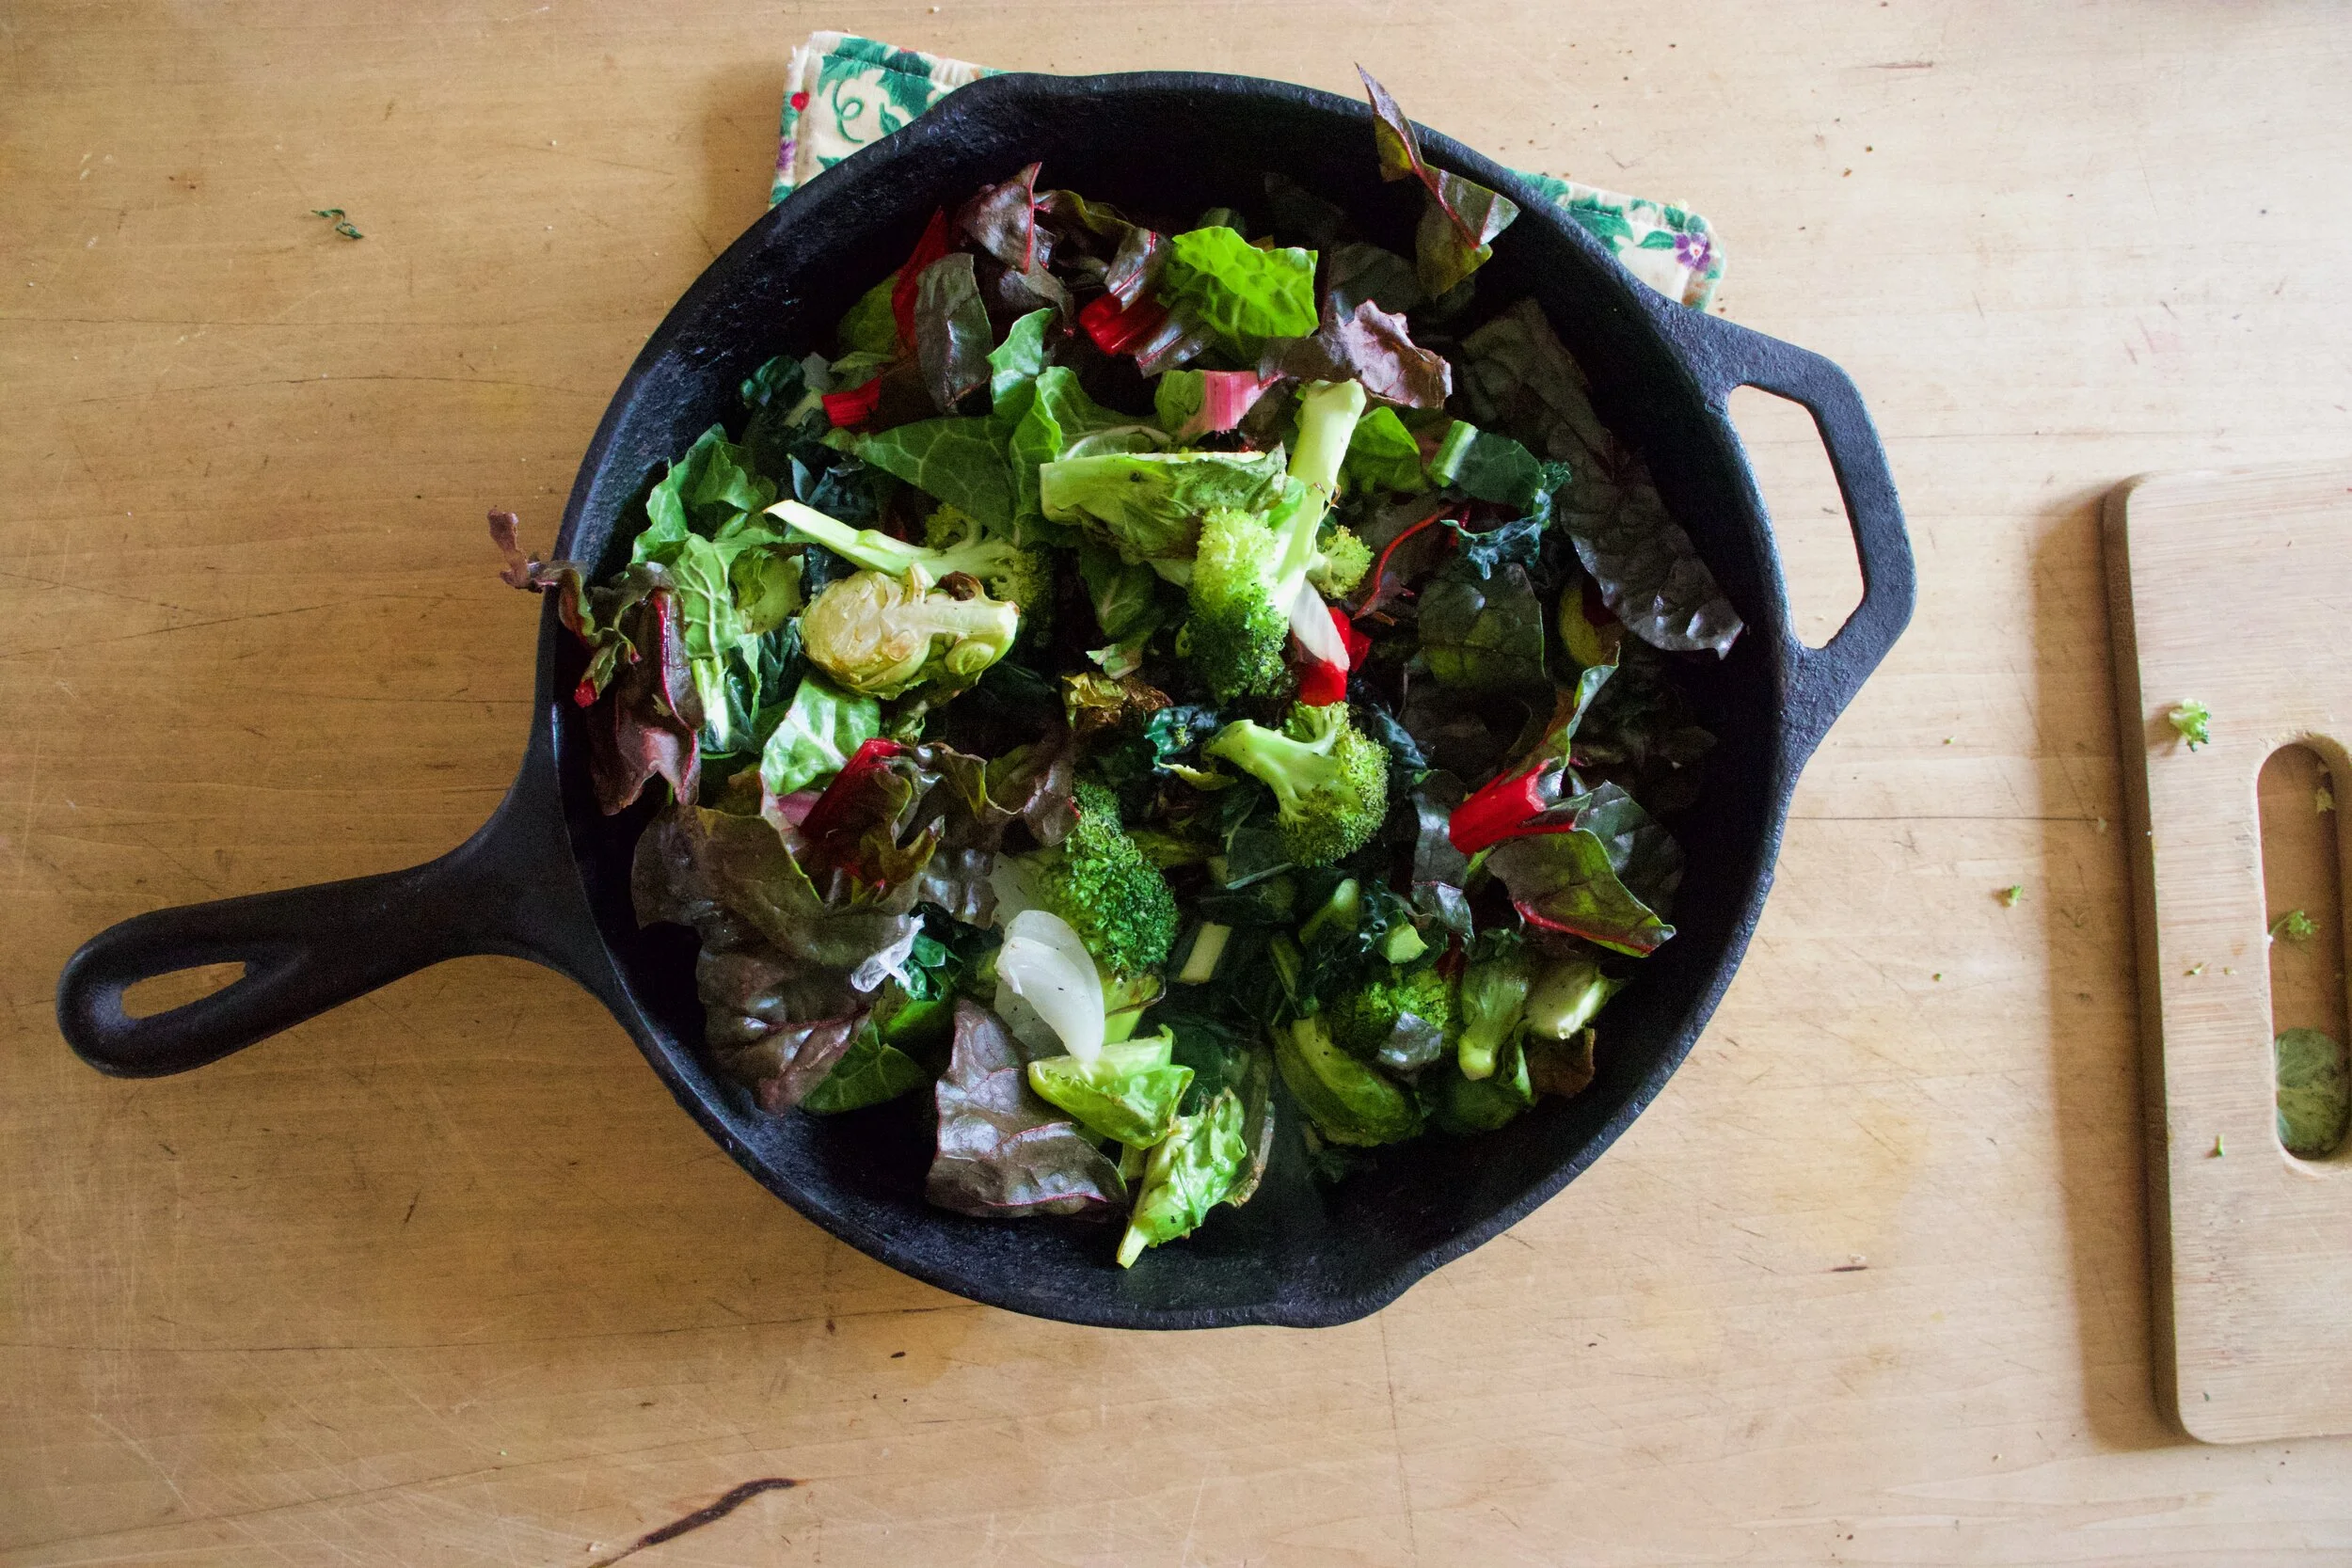
Once the veggies are just about done to your liking, grab the chopped kale and chard and off to the veggies. Toss and roast for a few more minutes.
Hummus. Chickpeas with liquid, garlic, tahini, juice of lemon, and blend. Creamy smooth and delicious.
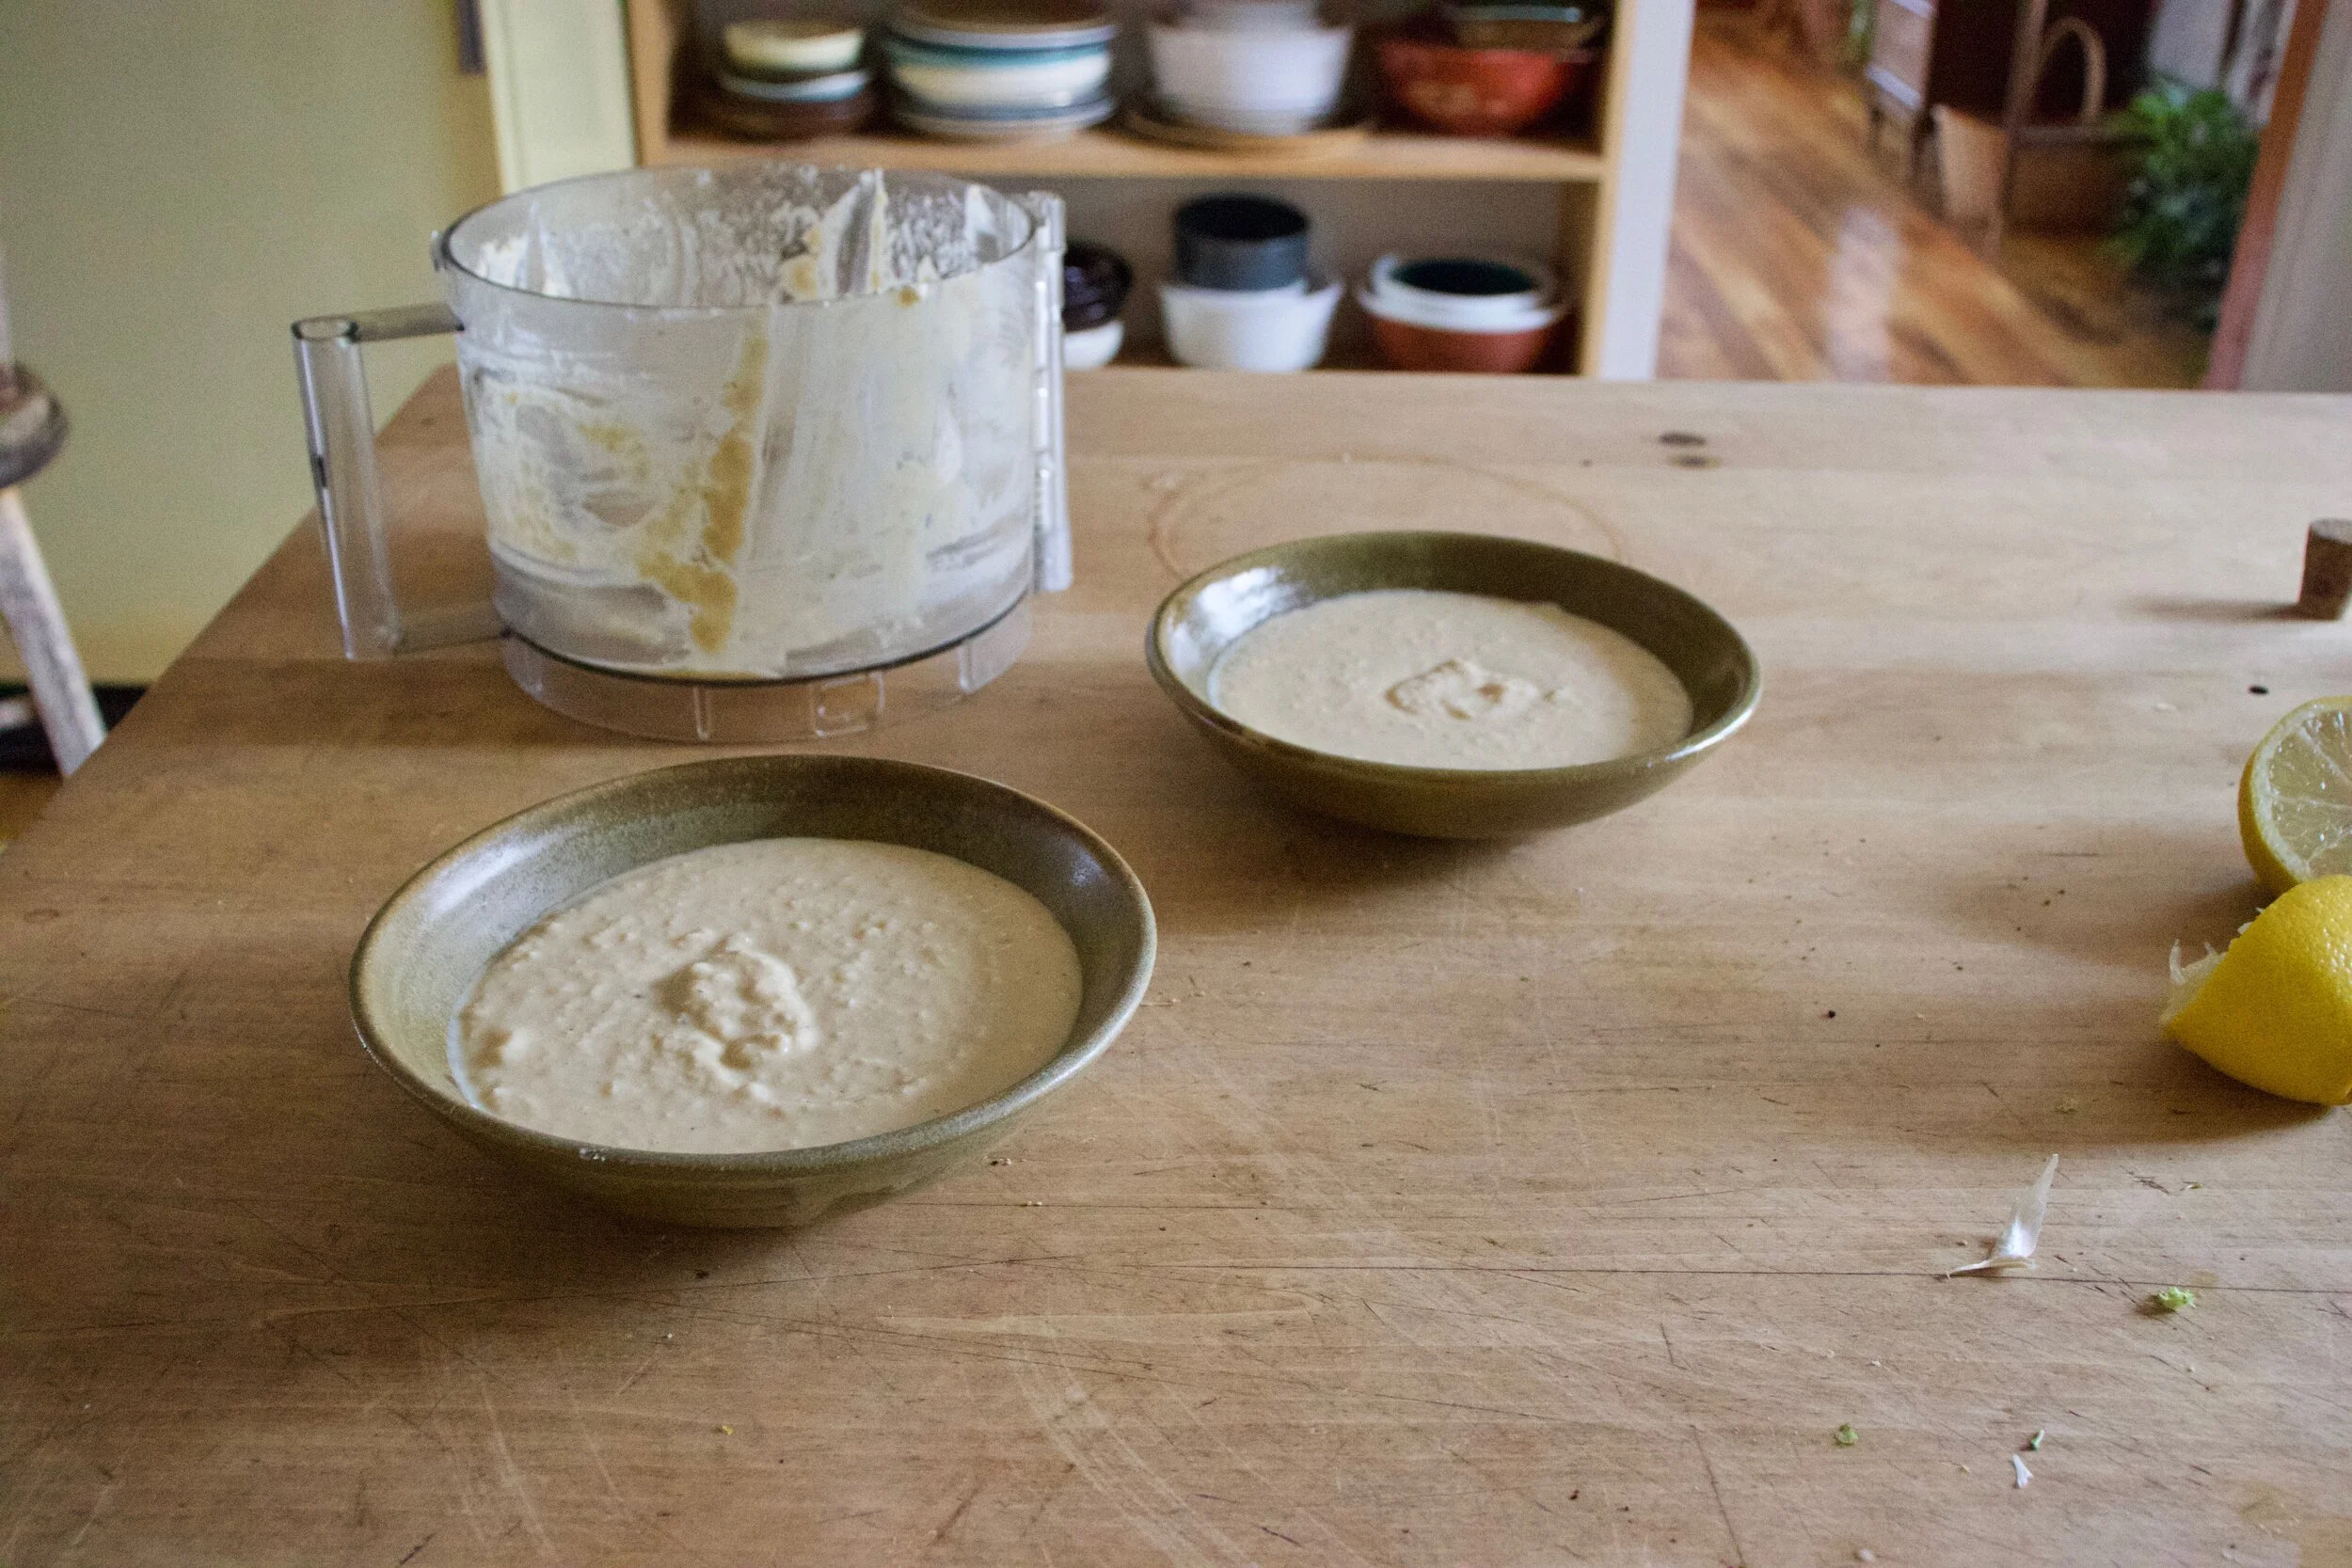
Dump that hummus into bowls.
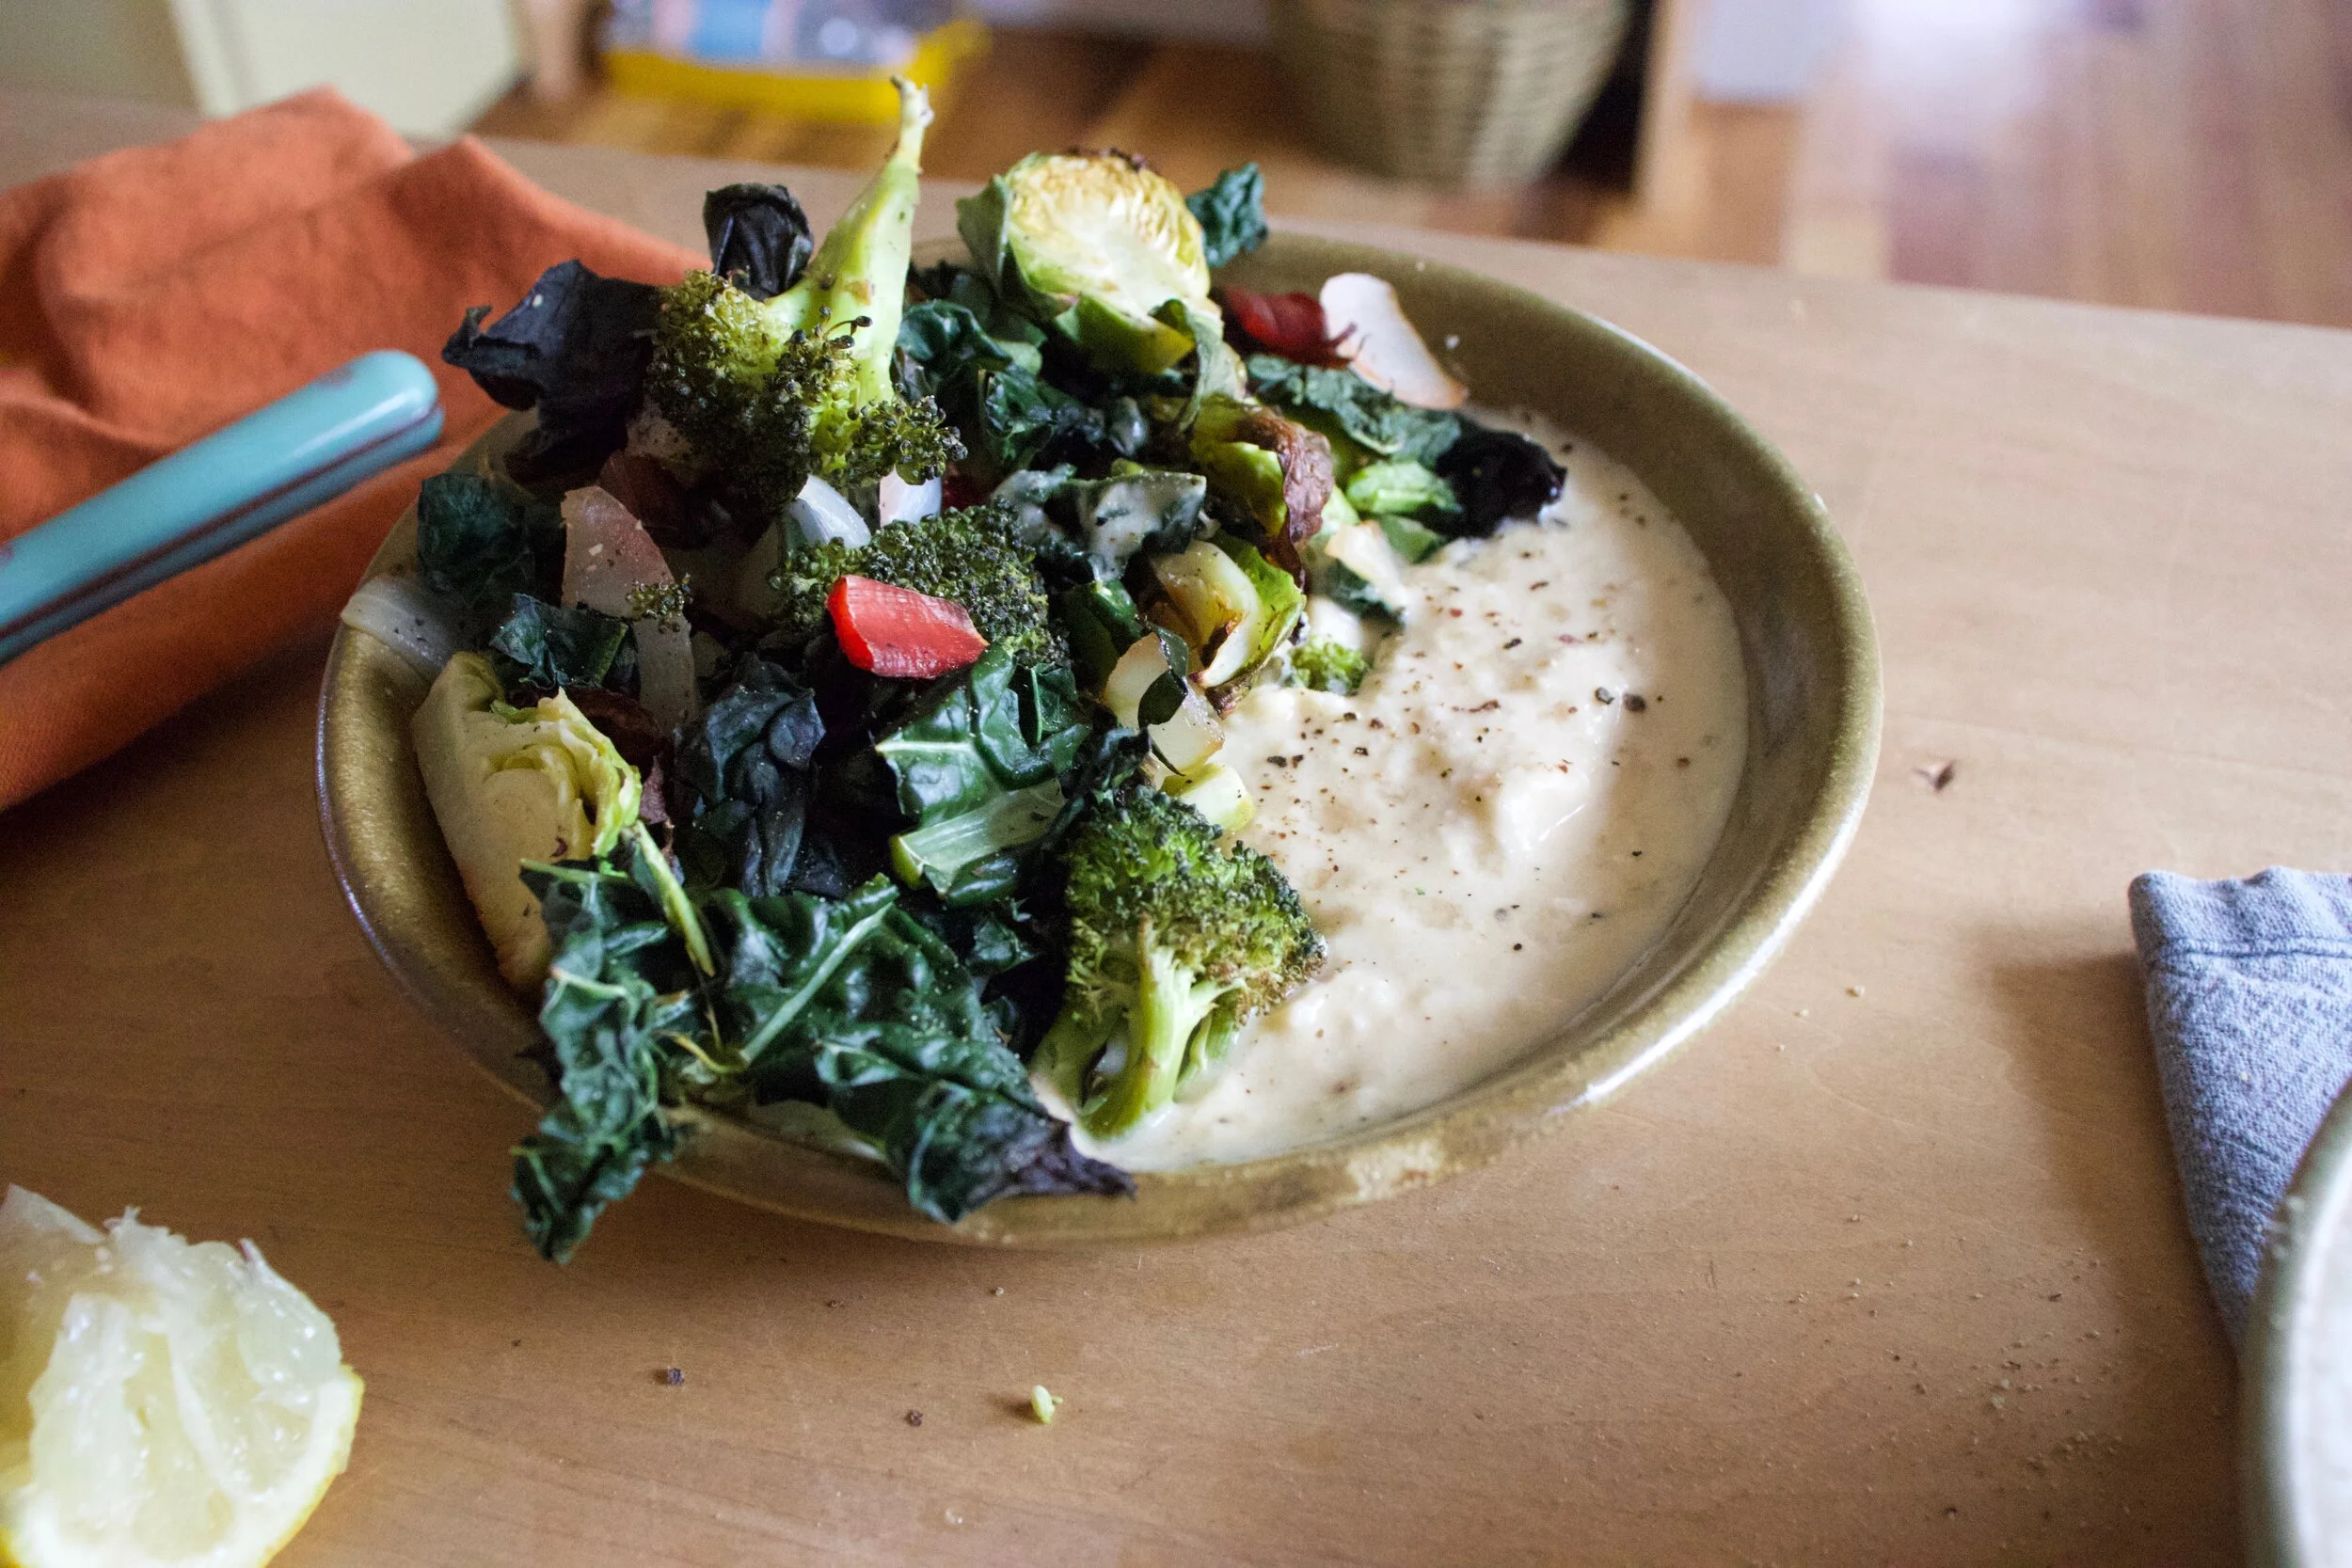
And top with roasted veggies.
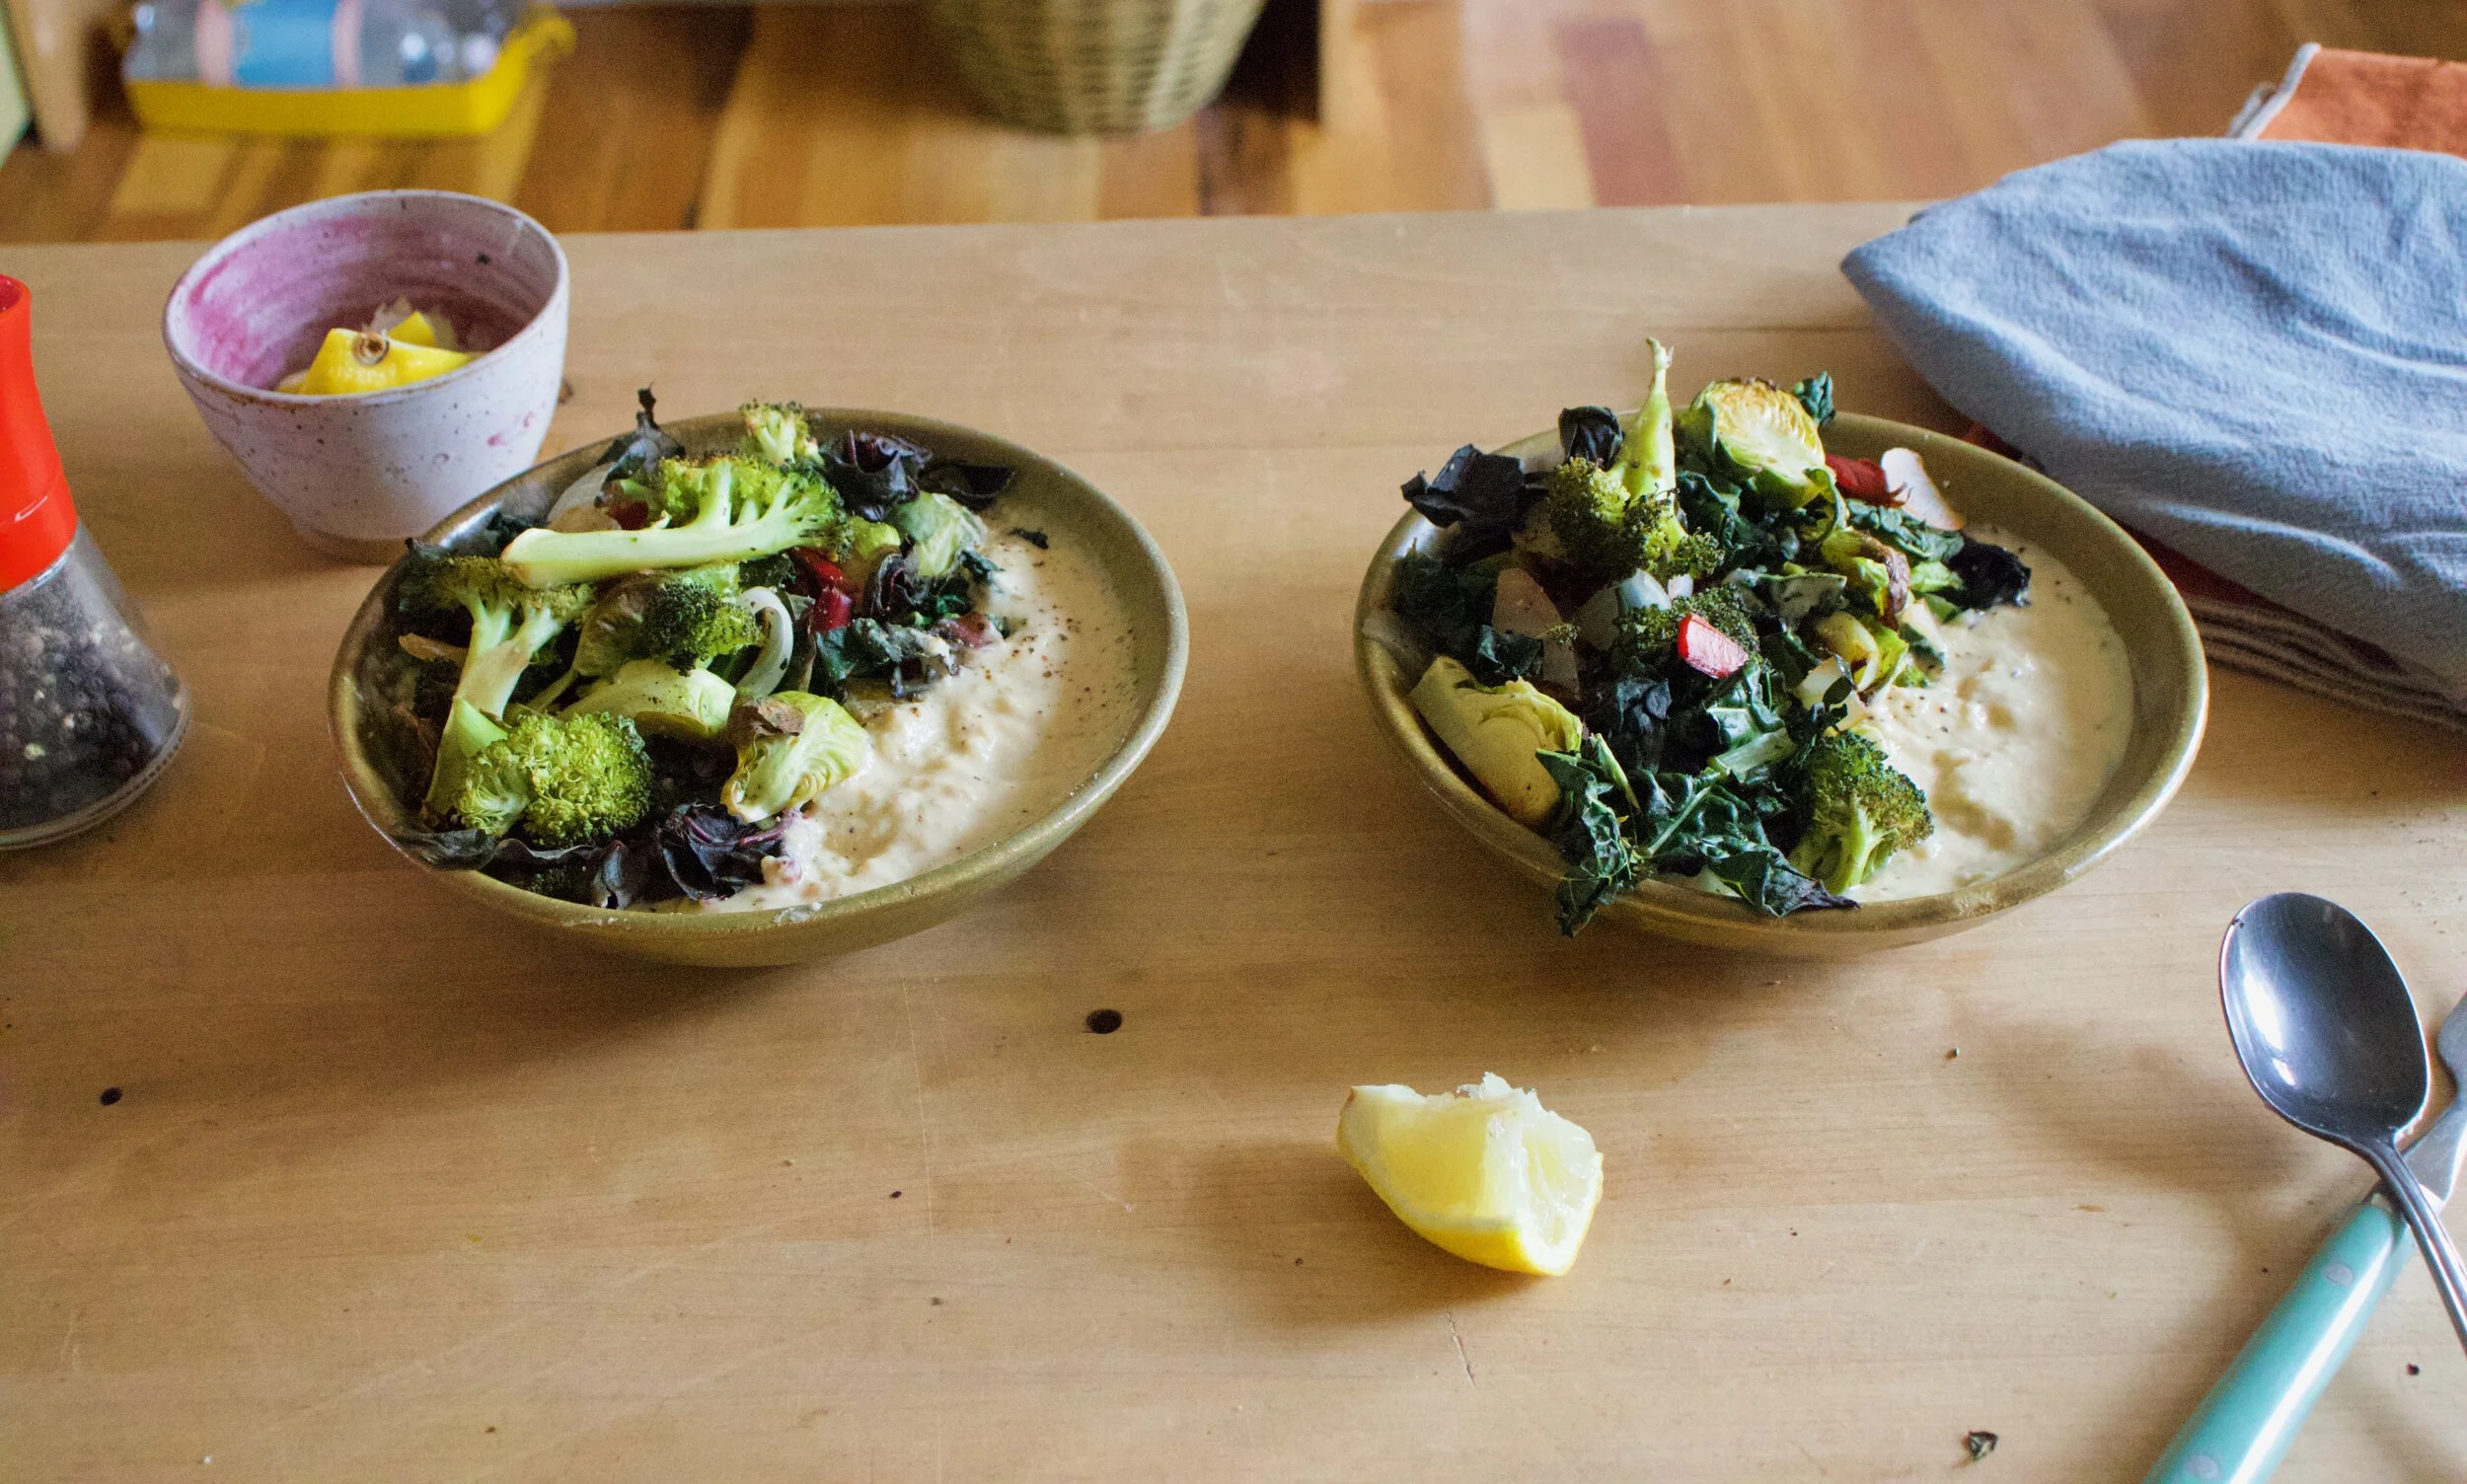
Would you look at that. Now all you need to to is dig in. Serve with extra lemon and black pepper. Grab your utensil of choice and eat.
-C
makes 2 servings if eating as a meal
-
3 cups cooked chickpeas in liquid
-
A lemon
-
1 tablespoon red wine vinegar
-
2-3 cloves garlic
-
1/4 cup tahini
-
salt and pepper
-
10 or so Brussel sprouts
-
A small head of broccoli
-
A small onion
-
5-6 kale and or Swiss chard leaves
Note. Use whatever veggies you want. Fresh or already prepared. All and any leftovers would be great.
Preheat oven to 450.
Cut Brussel sprouts in half, chop the onion into small pieces, and cut up the broccoli and toss onto a baking sheet or an oven safe skillet. Sprinkle with a little salt and pepper and stick into the oven to roast for about 20 ish minutes or until nice and roasted. Feel free to toss the veggies in a little oil if you want. Chop up the kale and chard into smaller pieces. Once veggies are just a few minutes from being cooked to you liking, remove from oven, and toss in the greens. Cook for another 5 or so minutes until those are nice and wilted. Remove veggies from oven.
While veggies are roasting, make hummus. Place chick peas with liquid, the juice of the lemon, vinegar, garlic, and tahini into a food processor. Blend until smooth and creamy. Taste and season with salt and pepper to your liking. Dump into a bowls.
And when you have hummus make and veggies roasted, its time to compile. Dump the hummus into 2 bowls. Dump half of the roasted veggies into each bowl.. Squeeze more lemon juice onto both then grab a fork.
Eat. And yes, lick bowl clean. No shame.
It is exactly that time of year. Apples galore, cool days in need of a little extra warm, meaning a warm oven is welcome, if not needed. It%u2019s the best time of year, or at least one of them.
And so I bake bread. Sometimes just a roll, and sometime a loaf, almost everyday. I love bread baking because, well just because. Plus it%u2019s what people want to eat and will always eat because I guess bread=love. Makes sense to me.
This bread was made from a small dip in the 2 gallons of applesauce I made the night before. (We had sooooo many apples). The mr isn%u2019t the biggest fan of applesauce, says he would rather eat a fresh apple. I kind of get it, but dude, warm, chunky, slightly cinnamon-y applesauce%u2026 I mean, that is happiness right there. Right? Anyway, I am trying not to eat all the applesauce to my face by myself at once (it has been a challenge) and plus I needed to make the mr some bread, so I figured what the hell. I%u2019ll just use applesauce as my liquid in the bread. And so I did and that is that and now that mr really like applesacue (when it is baked into bread)
This bread is a basic sandwich type bread. The apple taste is there but not overwhelming so it can be used for sandwiches of all kinds, toast, just eating with a smear od something, or not. Just a overall good loaf of bread with a little extra from the apple. And braided because I was feeling classy. It%u2019s amazing what at little braiding of bread dough can do for your self esteem. Made me feel like I was the coolest person in the world. Haha!
Now to the bread.

The stuff. A few apples, regular all purpose and white whole wheat flour, salt, applesauce, maple syrup, yeast, and warm water.
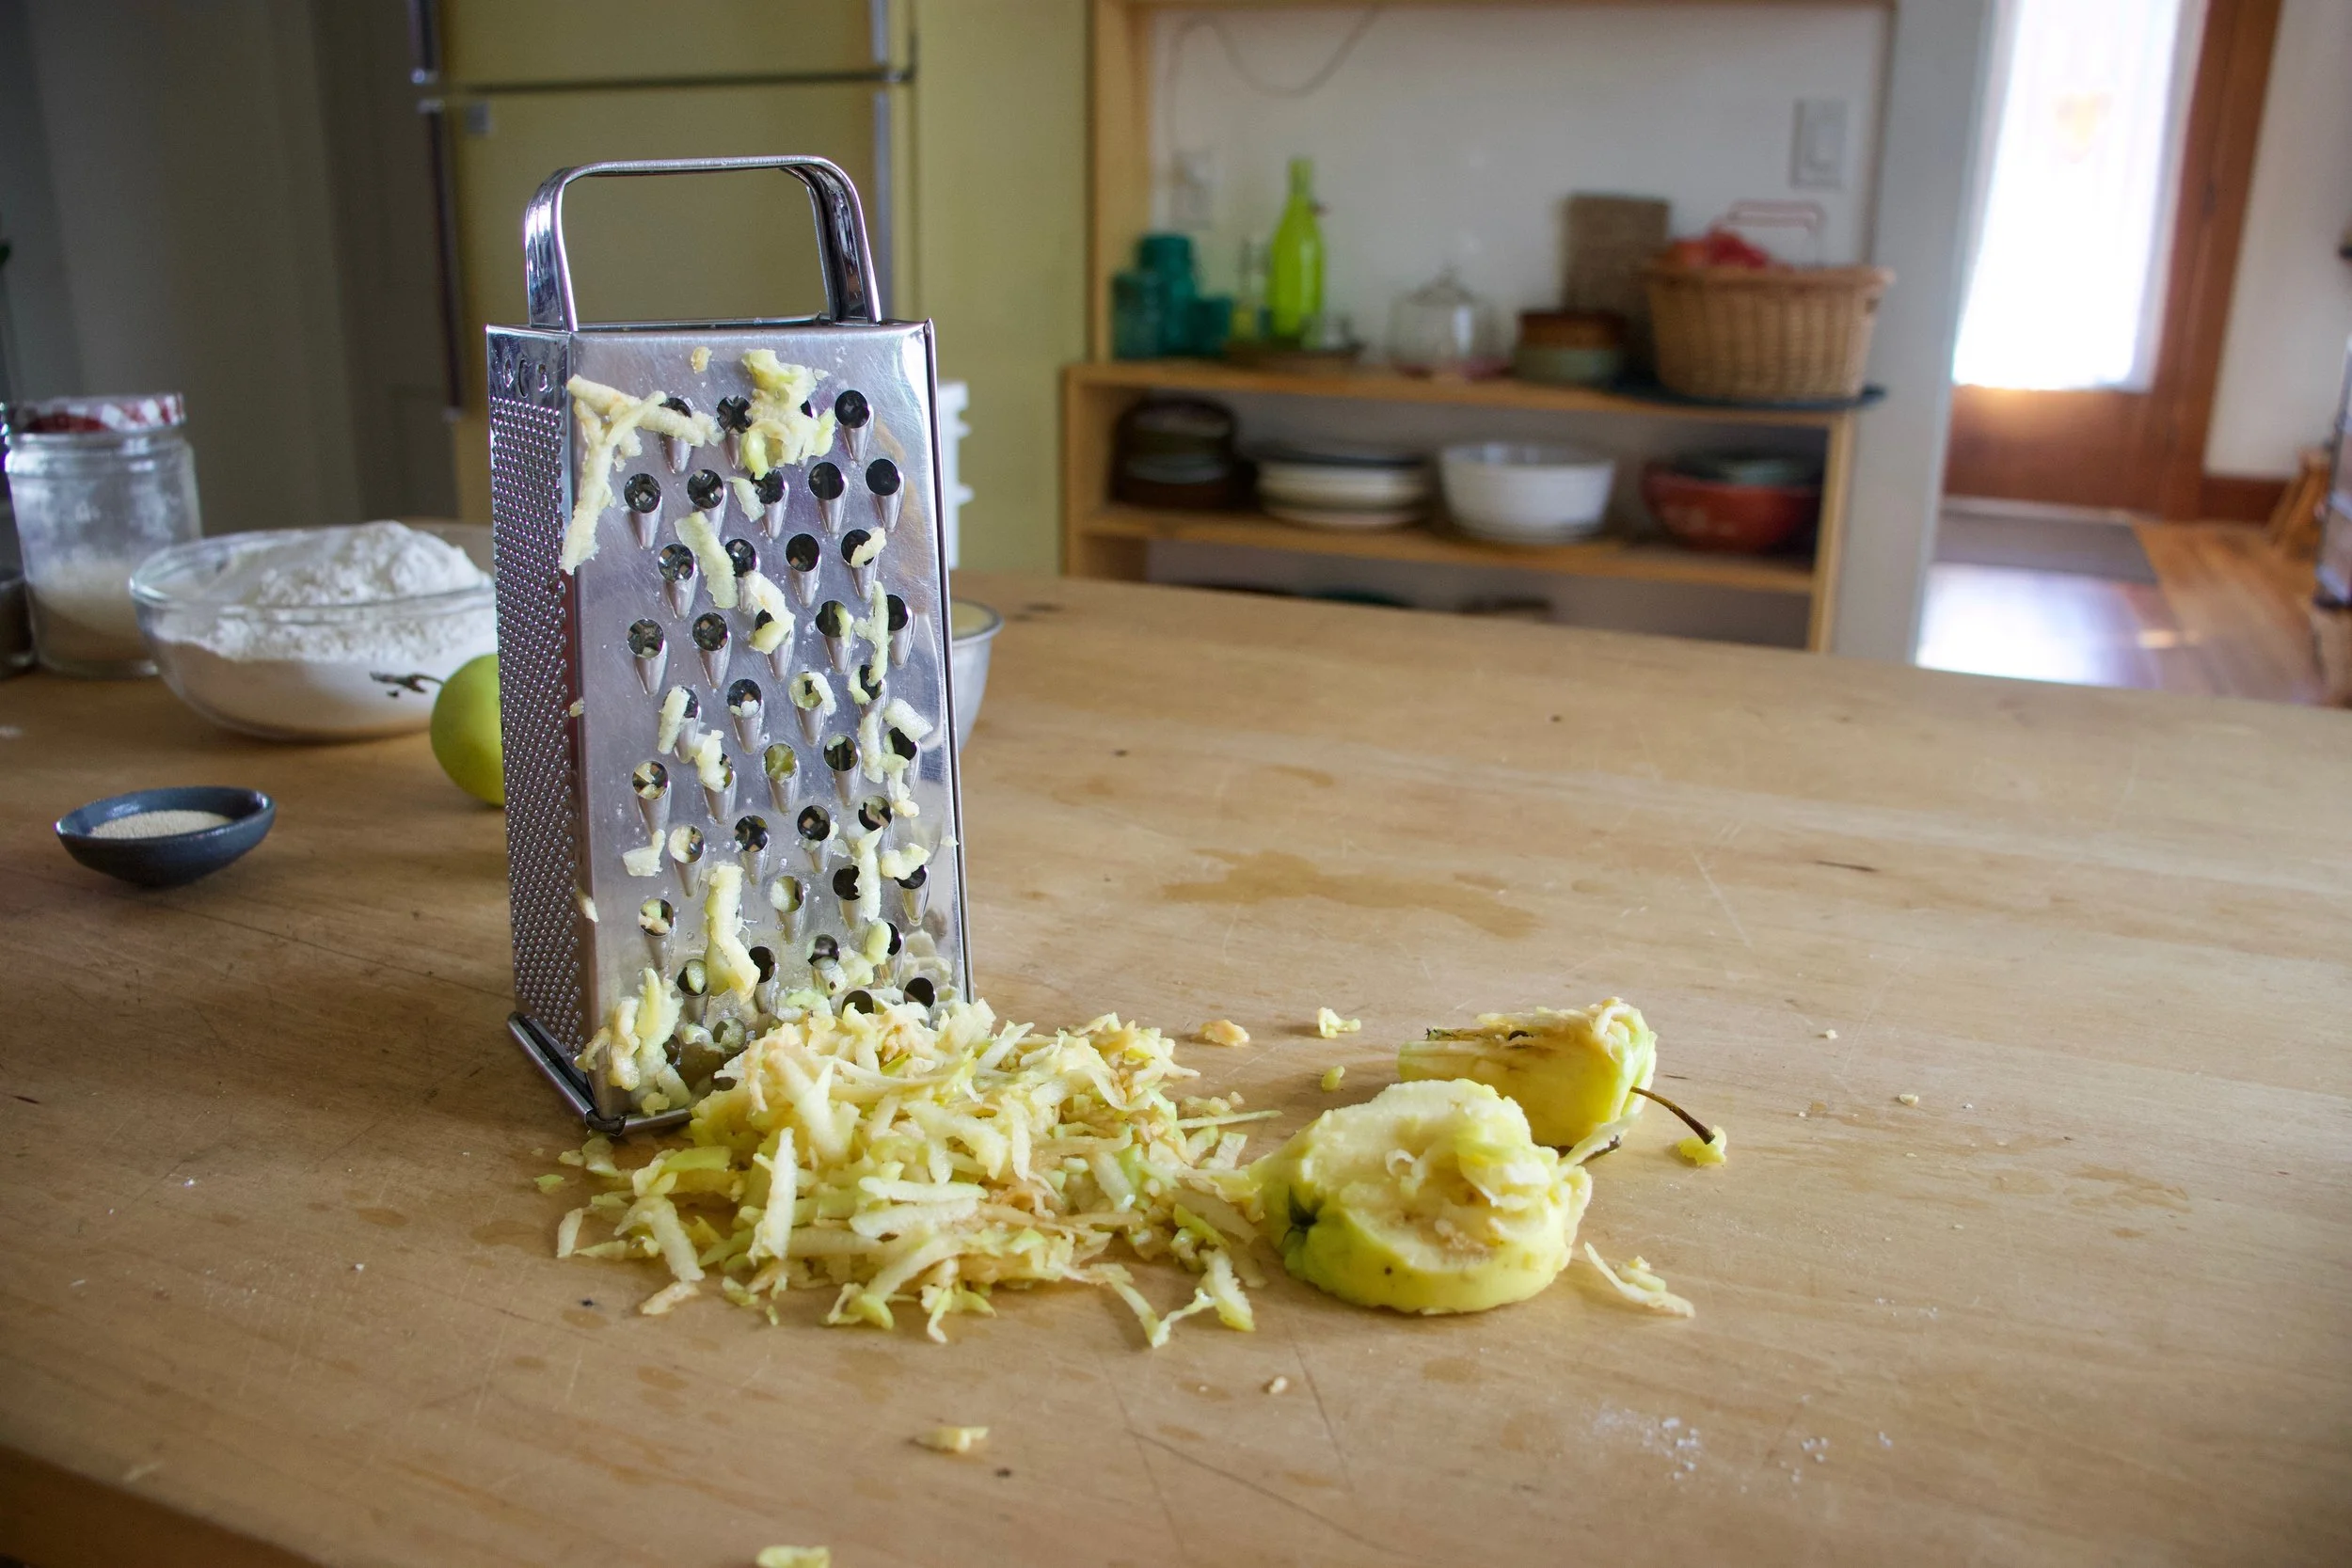
Applesauce, shredded apple, maple, yeast, and a little water get mix up and let to sit for a few minutes to activate yeast. Then the salt gets mixed in, along with all the flour. Stir until dough forms. Dough should be slightly sticky, ut not wet. IF wet, add a handful more flour. To dry, add more water.
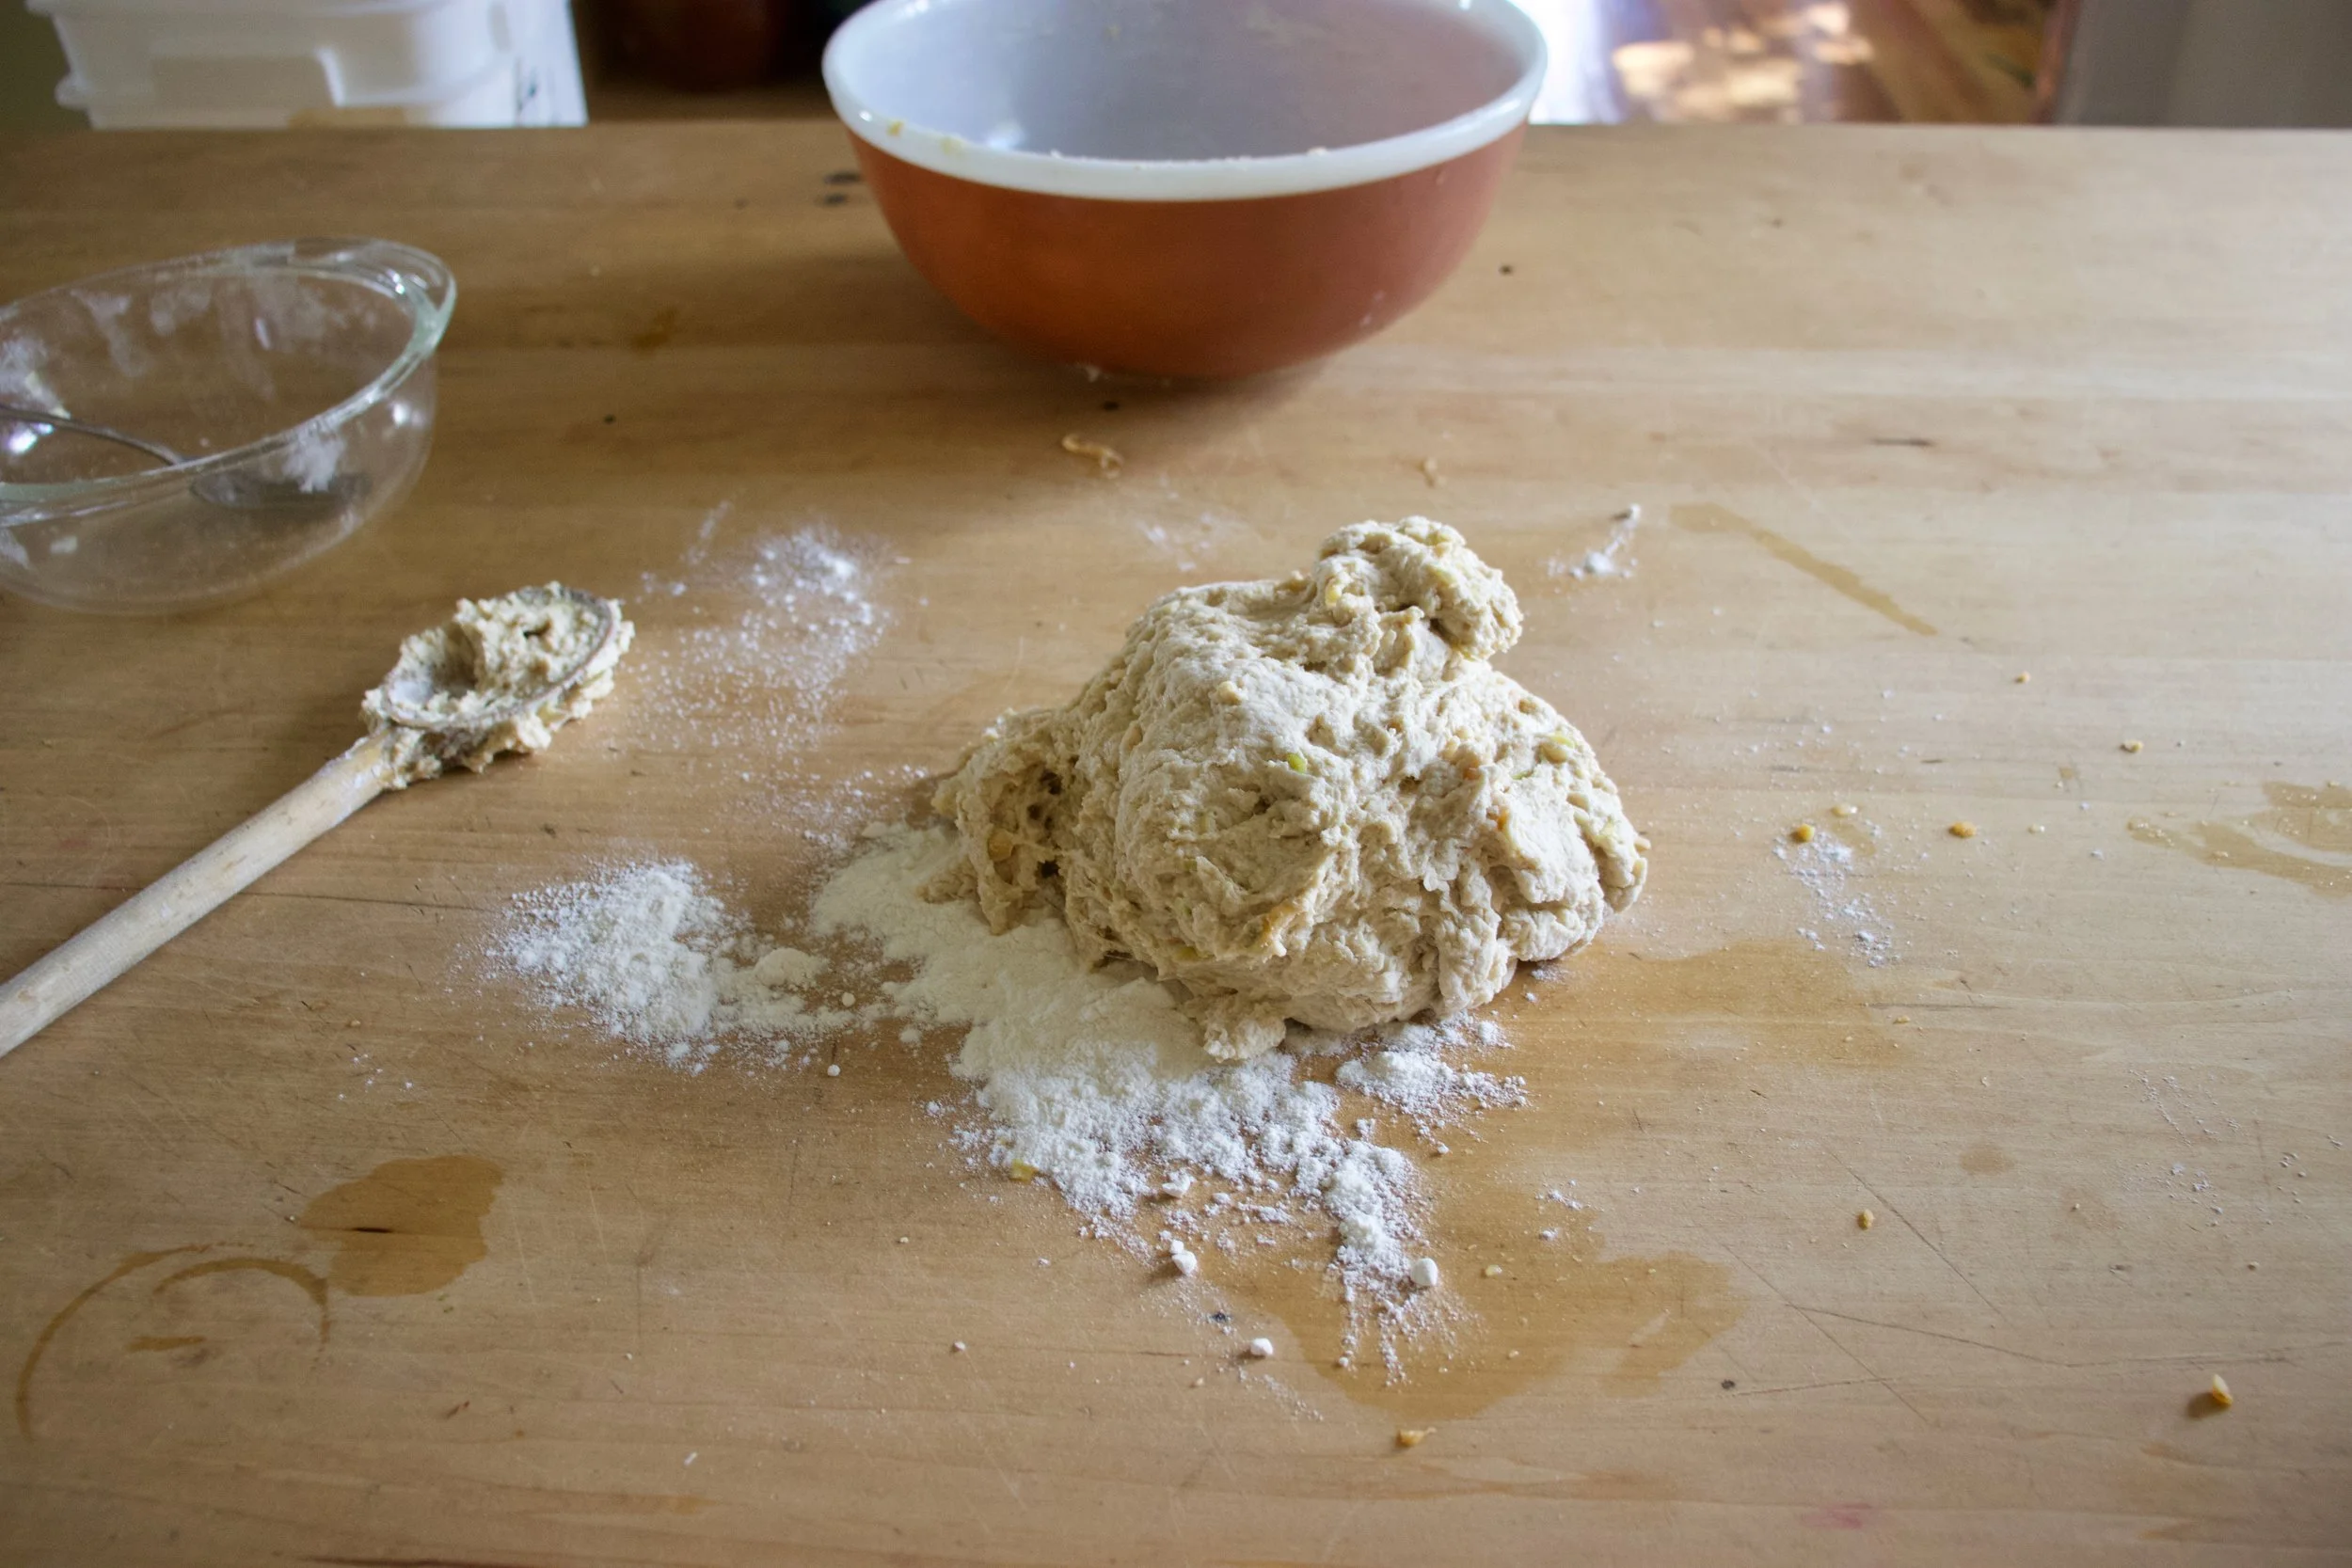
Dump the dough onto a floured surface, cover your hands in flour, and knead dough for about 5 or so minutes, adding more flour as needed to keep dough from sticking, until the dough is a nice and cohesive texture.
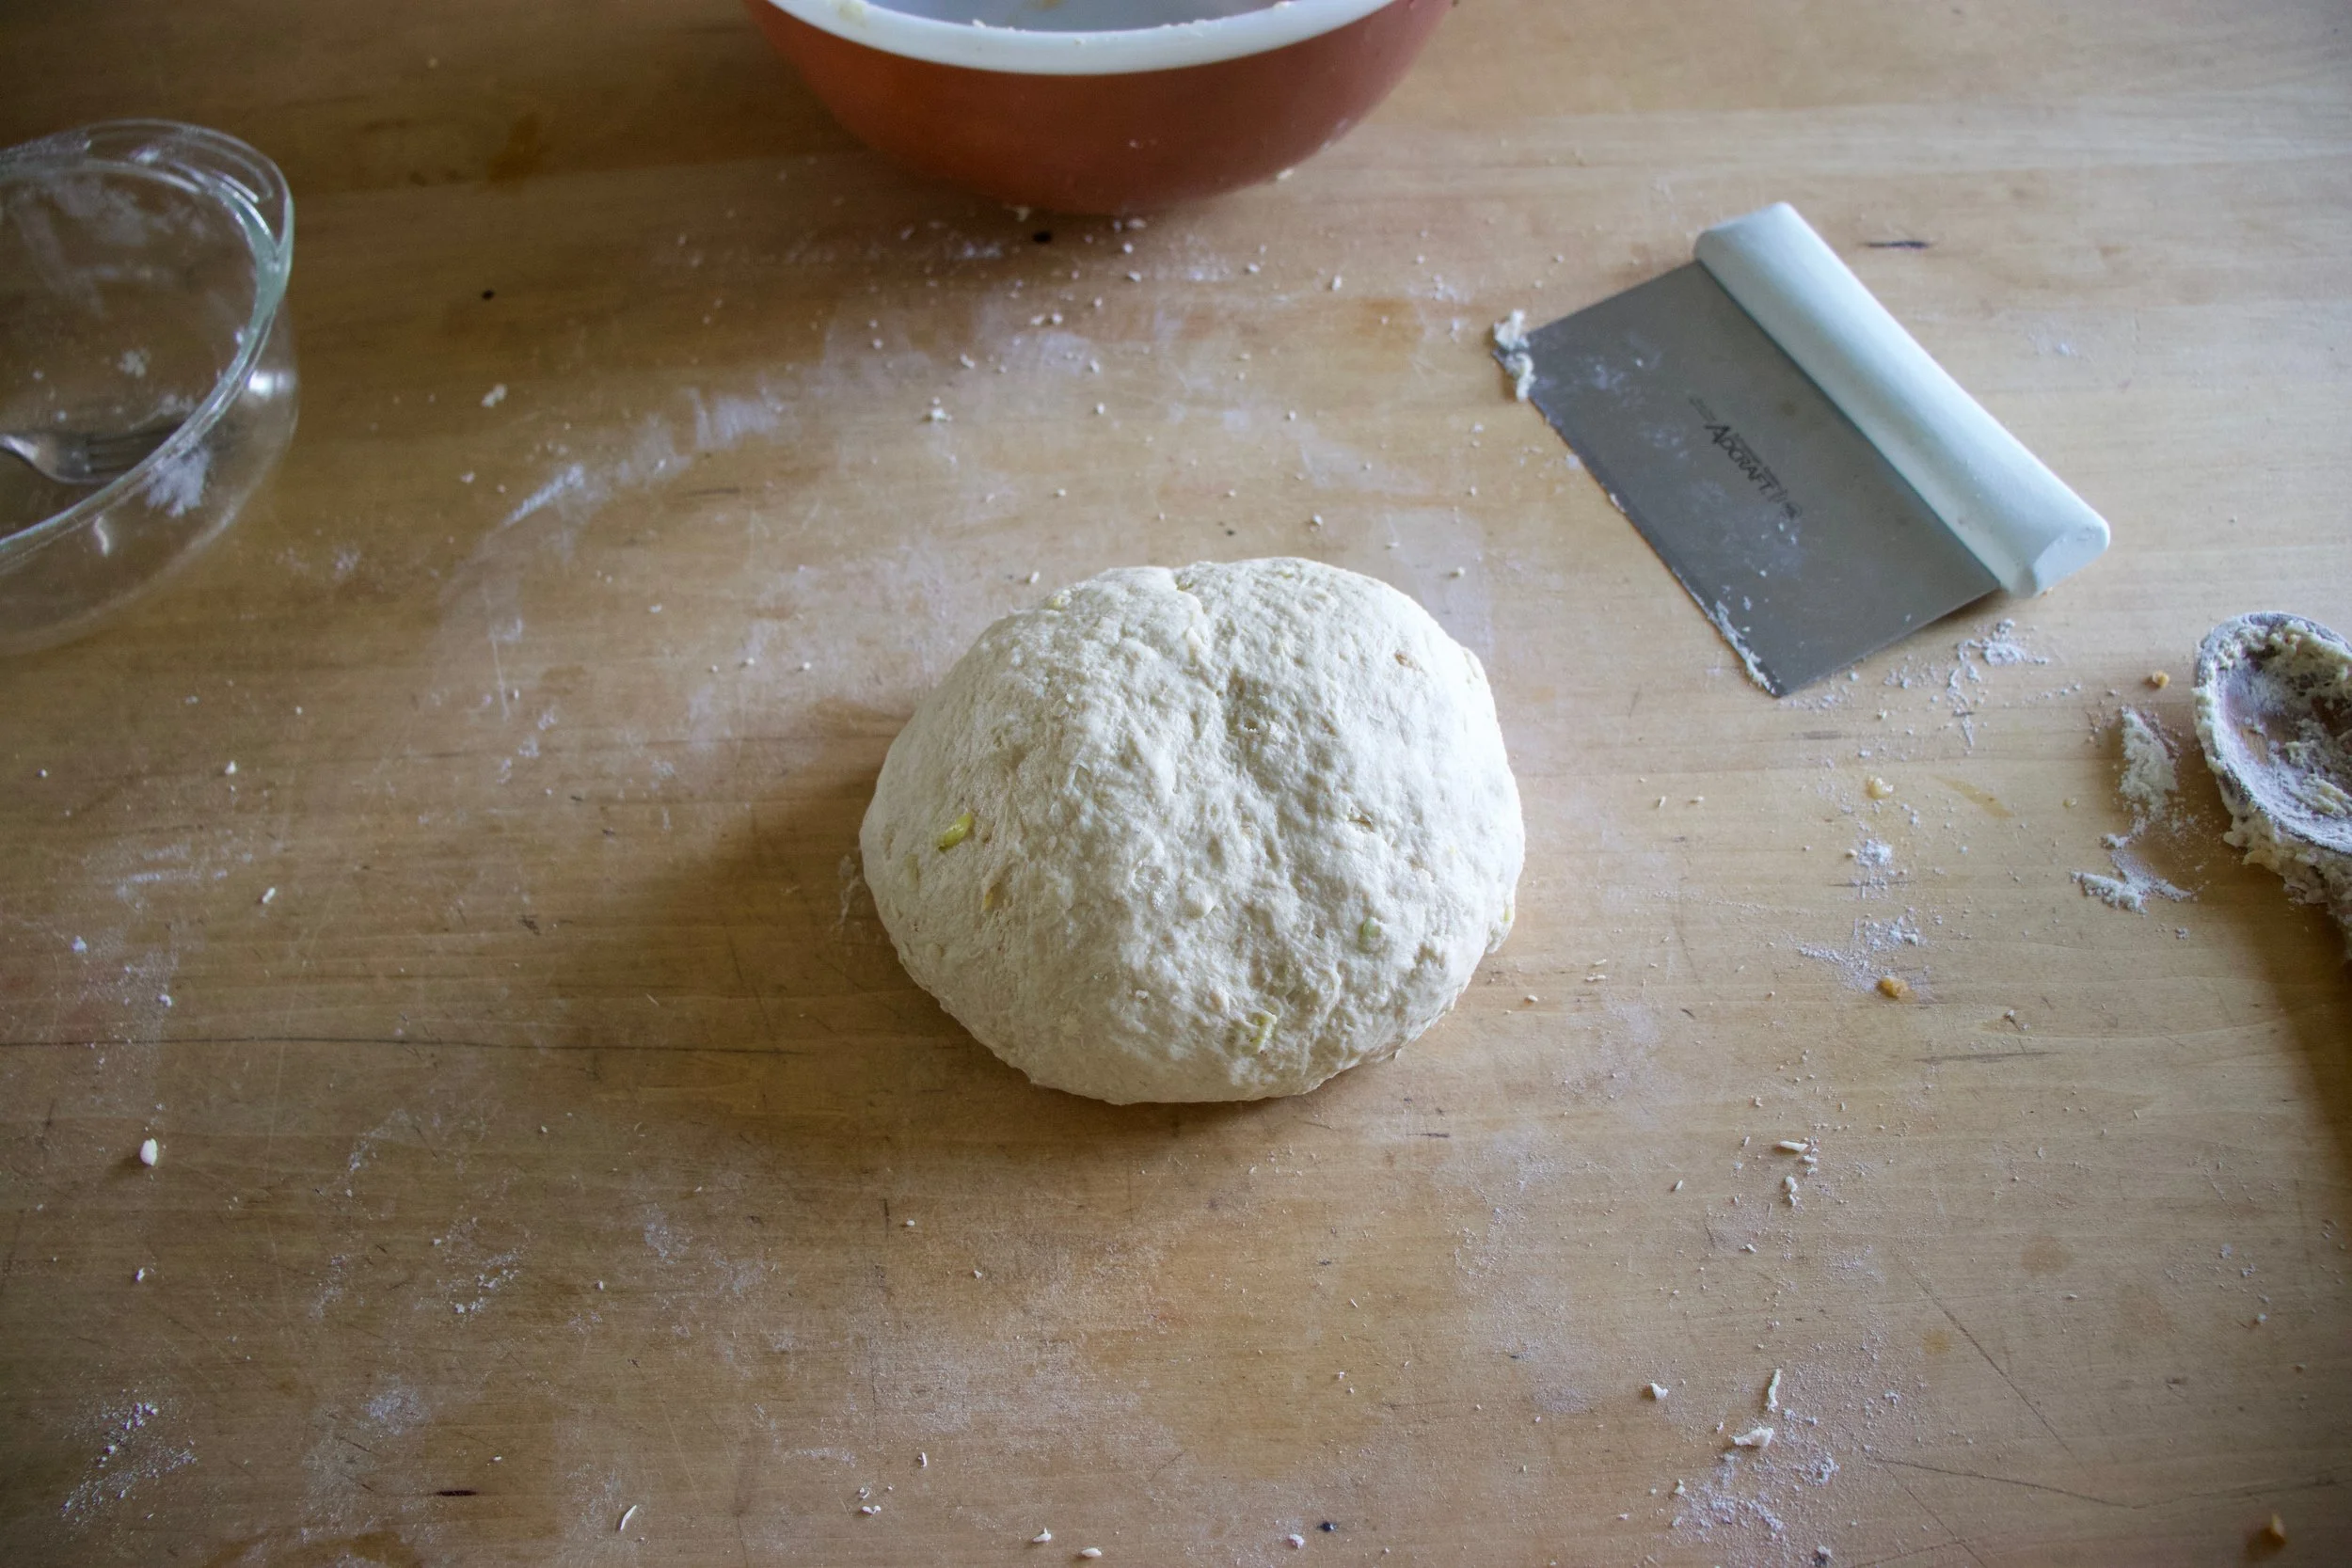
Nice looking dough. Now roll dough into a ball.
Place dough in a clean wet or oiled bowl and cover with a damp cloth for one to one and a half hours or until dough doubles in size.
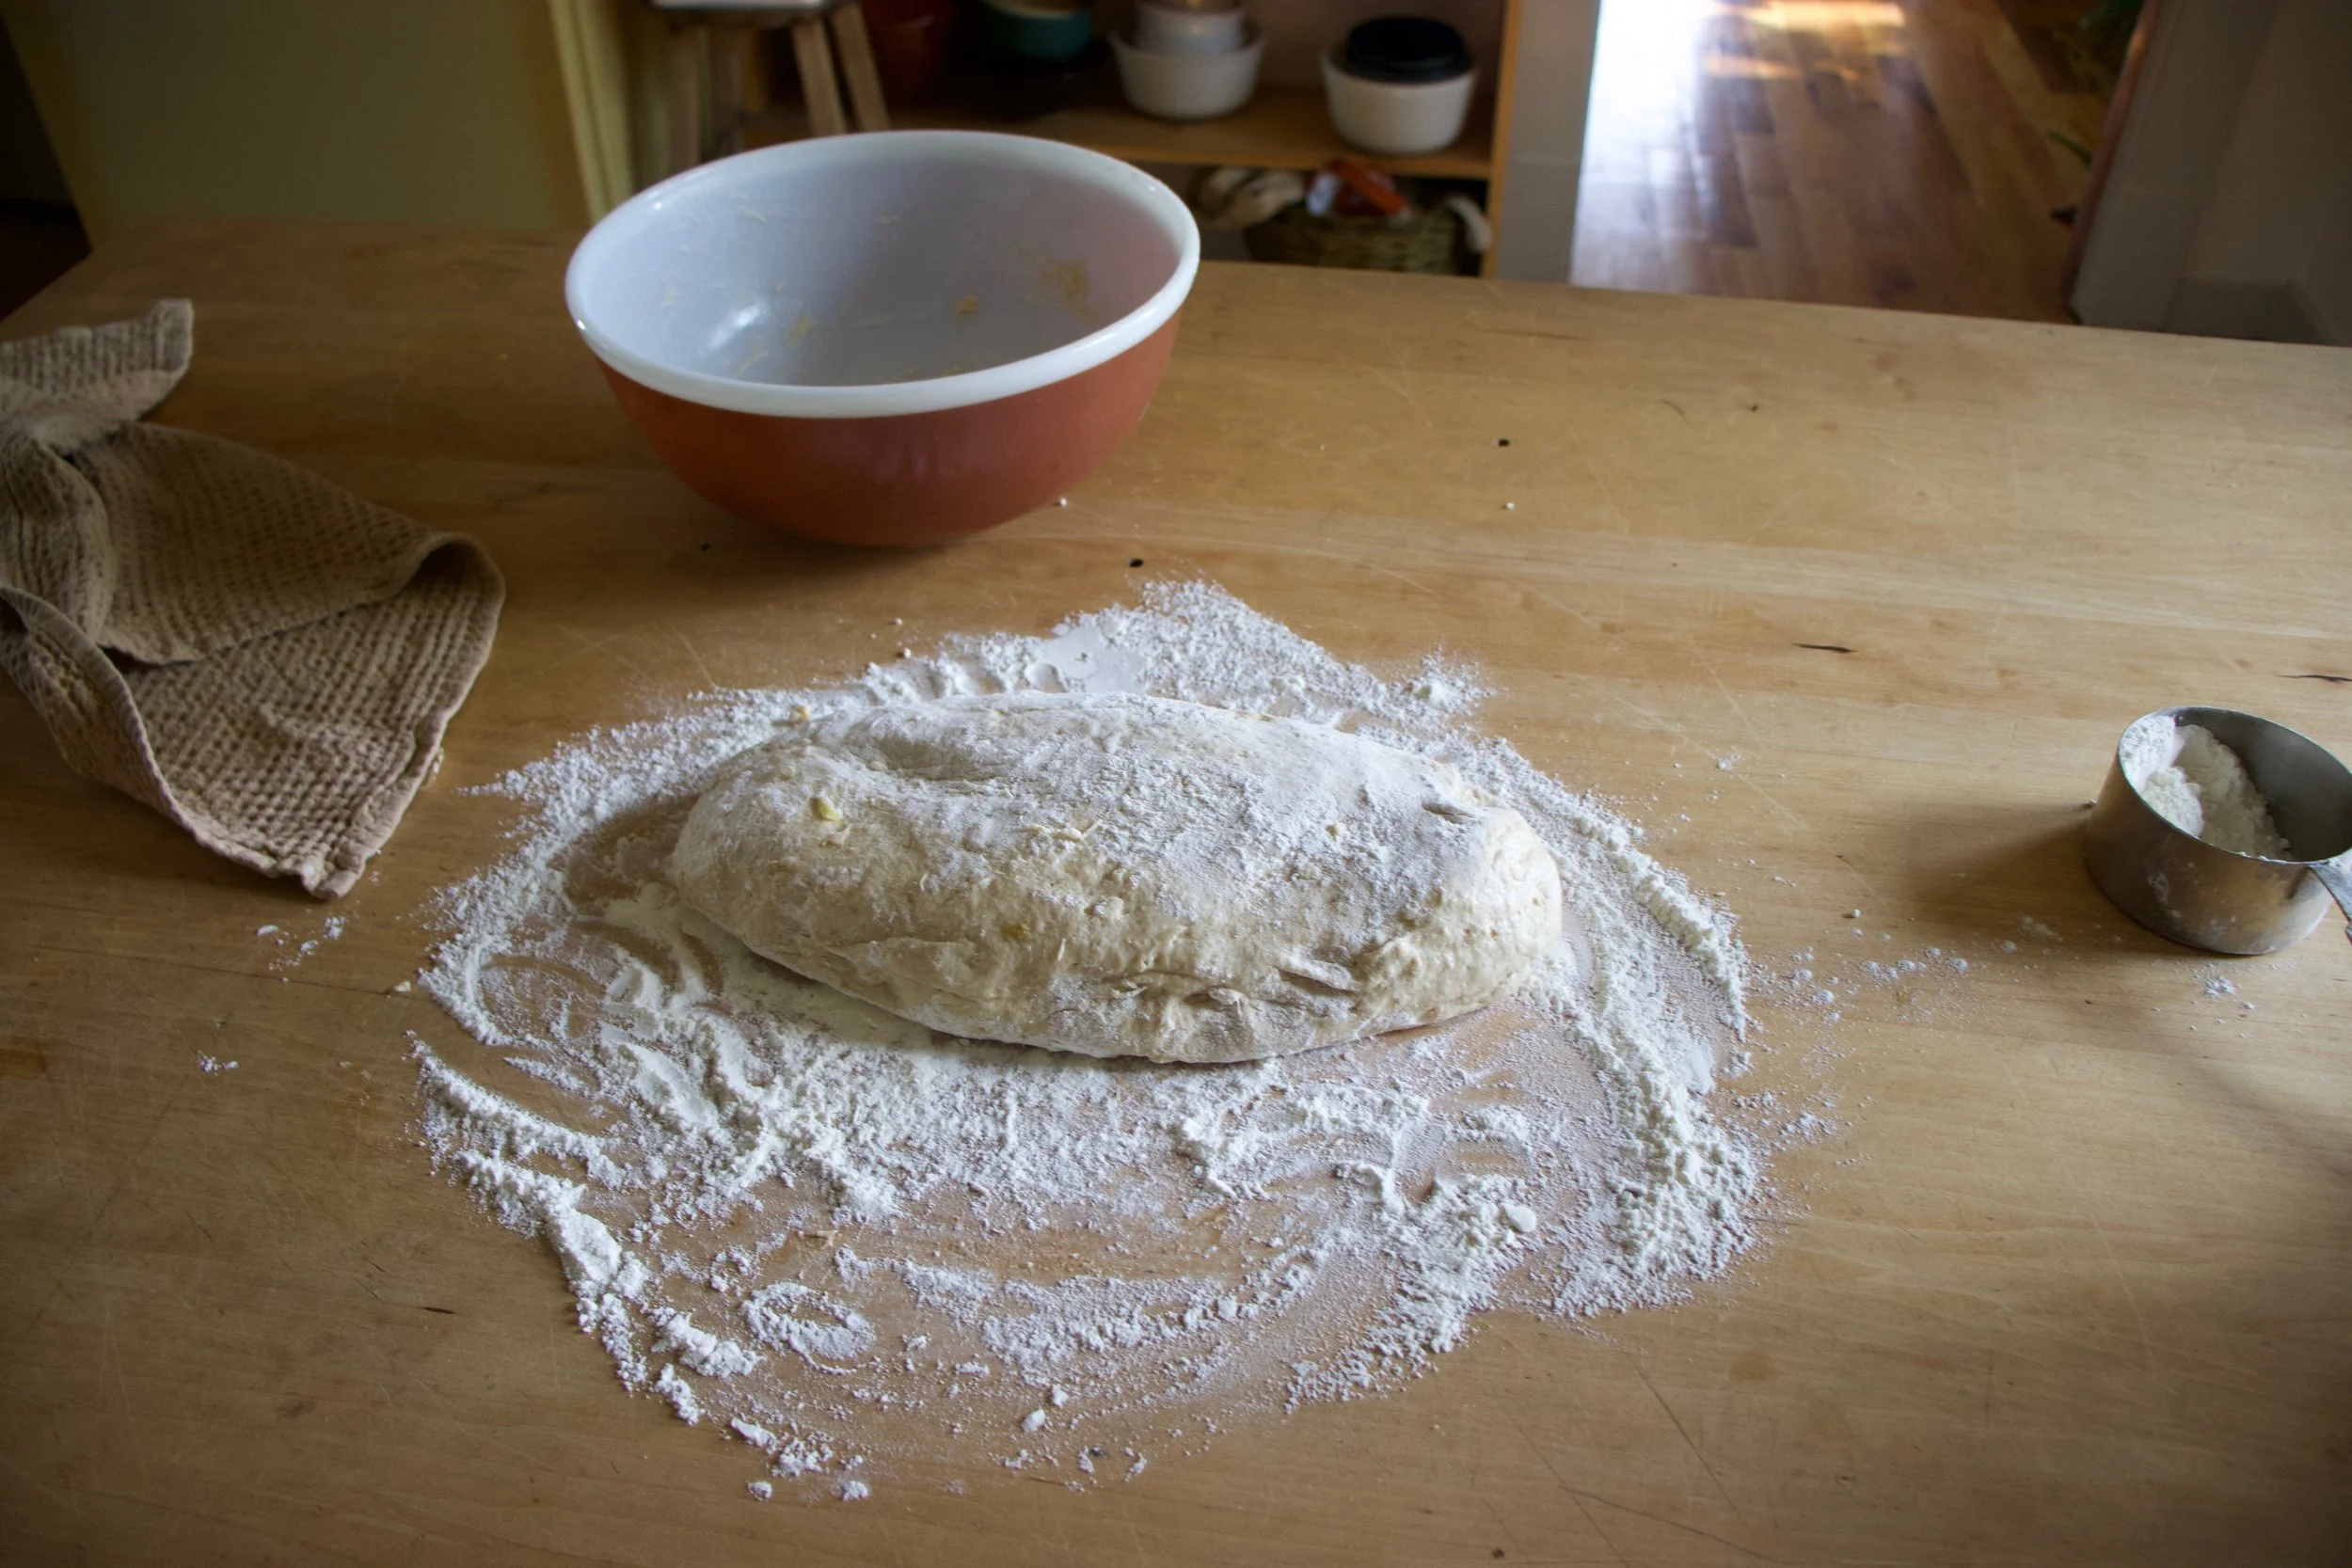
Dump dough onto floured surface.

Cut dough into 3 equal pieces and roll out into long longs.
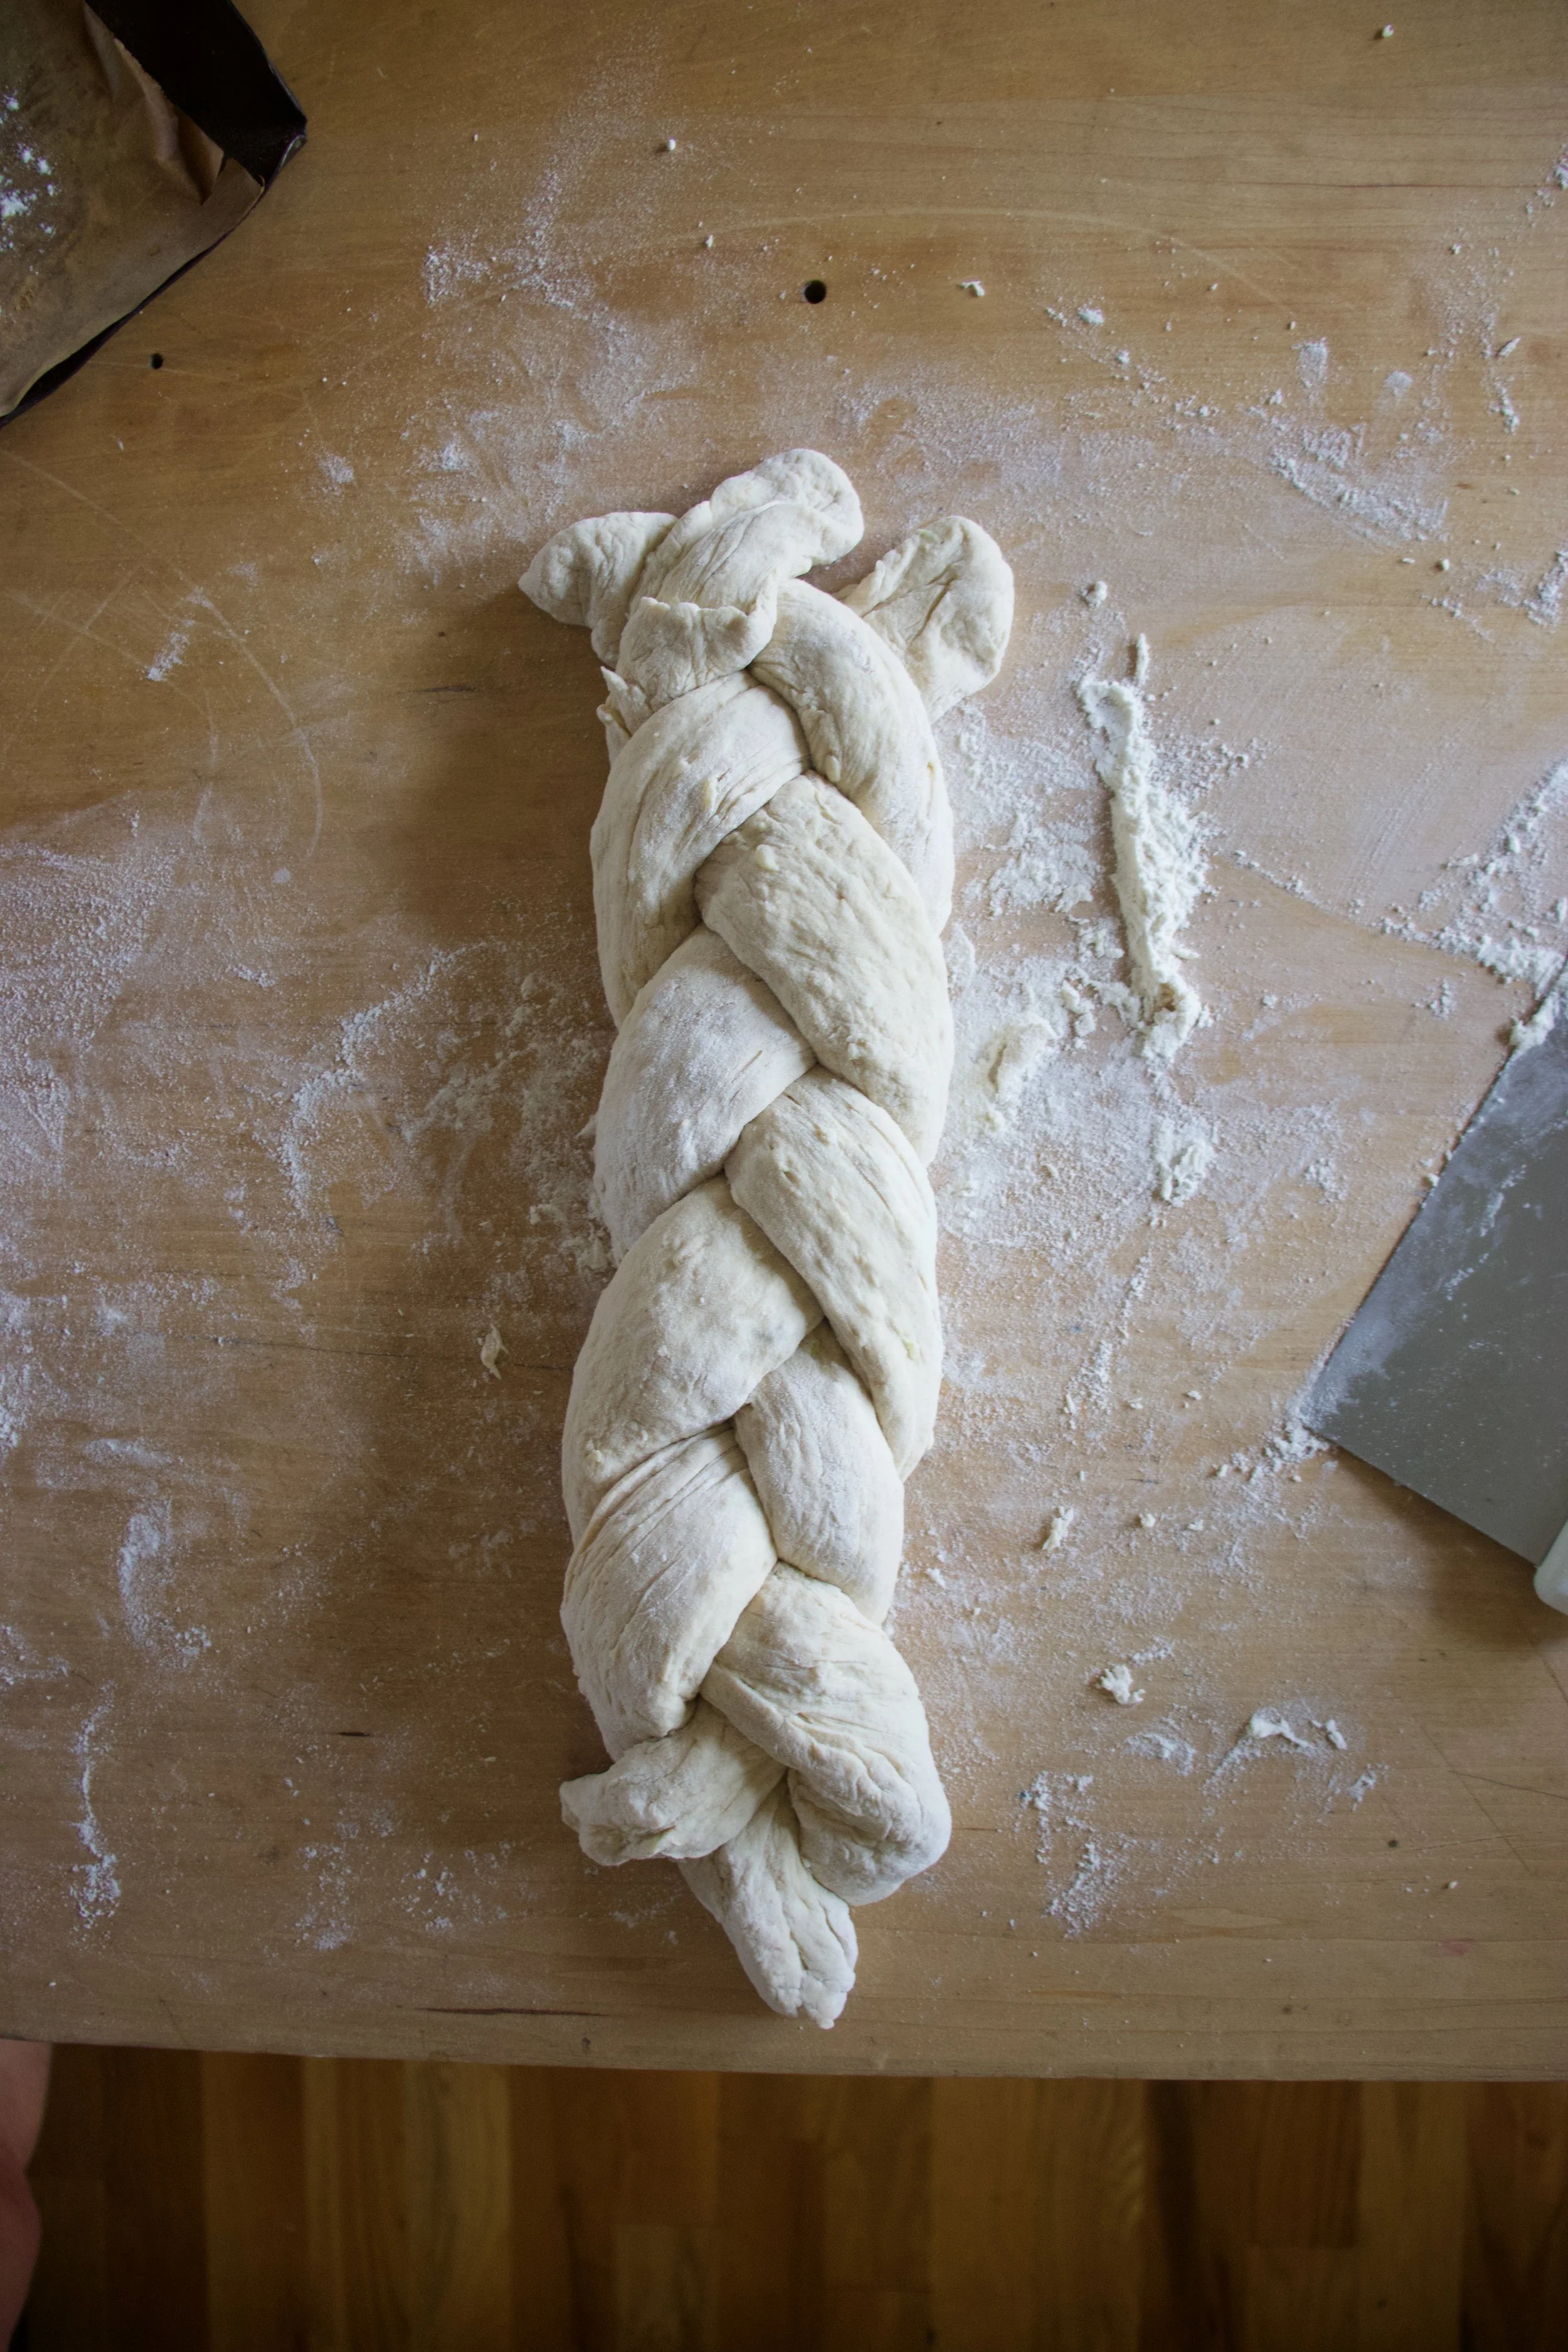
Braid logs together. You can stop here bake it this way or%u2026

After placing it on a parchment lined baking sheet, tuck the ends of the braids underneath each other and make it like this. Either way. And once you have the dough on the baking sheet, brush a little water or plant milk on top and let dough rest for 15 minutes of so while the oven preheats.
Before oven and after oven. Classy, right?
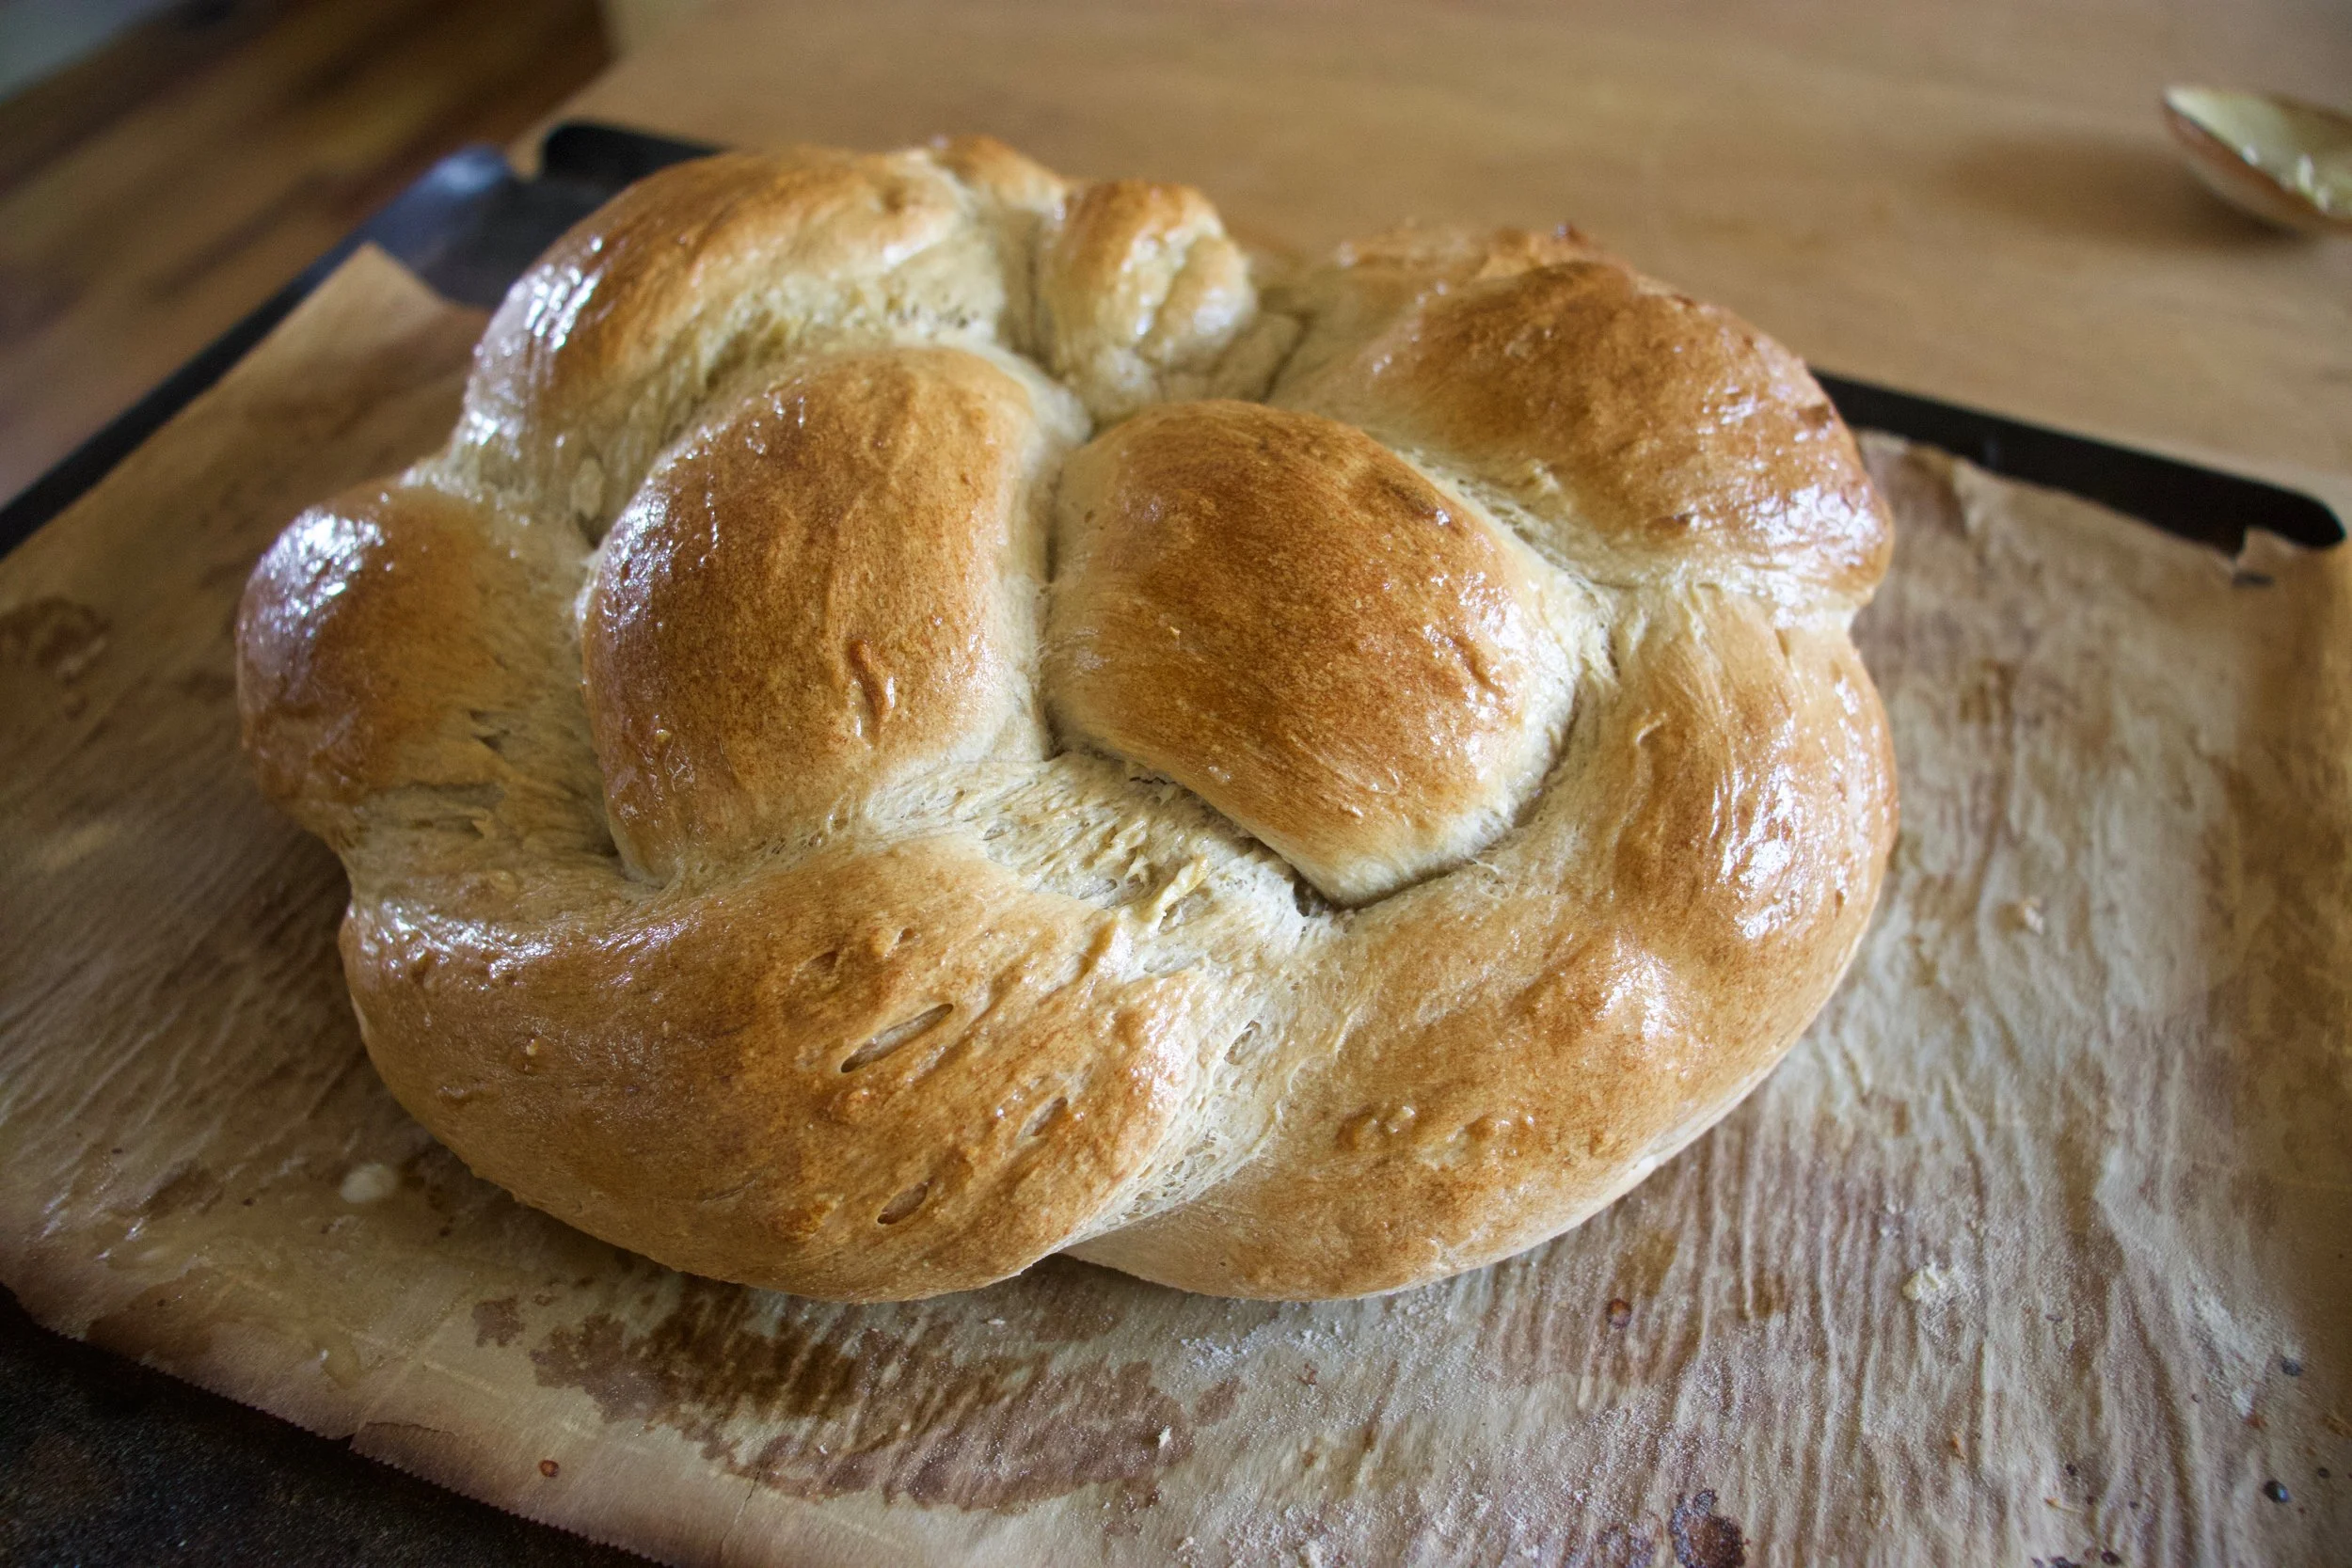
Then for shin and soft crust, rub warm loaf with some plant butter.

And for the hard part. Let it cool before slicing it. Ok sure, a little warm is fine, but wait at least 20 minutes (an hour would be best) and then eat you some bread.
Eat you some bread. That%u2019s a t-shirt right there.
Happy Fall friends!
-C
makes pretty one loaf
-
2 cups all purpose flour
-
1 1/2 cups white whole wheat flour plus more for kneading
-
1 cup unsweetened room temperature applesauce
-
1 large or 2 small apples ( about 2/3 cup shredded apple)
-
1/4- 1/2 cup warm water
-
1 tablespoon maple syrup or honey
-
2 teaspoons active yeast
-
1 teaspoon salt
-
1 tablespoon or so plant milk or water
-
1 tablespoon plant based butter (optional for rubbing on finished bread)
Grab the apples and shred them until you have 2/3 cup shredded apple. In a large bowl, mix together the applesauce, shredded apples, yeast, 1/4 cup warm water, and sweetener.and let yeast activate for a few minutes. Add in salt, the all purpose flour and the 1 1/2 cups white wheat flour. Stir together until dough forms. The dough should be a little bit sticky so if the dough seems to dry, add in 1/4 cup more warm water. If it seems really wet, add in a handful more flour.
Dump dough out onto a well floured surface and knead for about 5 minutes adding a little bit of flour to the counter as needed to prevent it from sticking. Once dough is cohesive in texture, roll into a ball and place into a clean wet or oiled bowl. Cover with a damp towel and allow the dough to double in size. Should take between an hour and an hour and a half.
Once dough doubles in size preheat oven to 400
Dump risen dough back onto a well flour counter. Cut the dough into 3 equal sizes and roll each piece into long logs about 20 inches or so long. Place each roll next to each other and braid. Grab a baking sheet and line with a piece of parchment paper. Sprinkle with a bit of flour and place braided dough onto sheet, either as a braid or if you want, like I did, wrap the braid around itself into a rounded braid situation. Tuck ends into each other and under the loaf. Brush the top gently with a little plant milk or water and let rest for about another 15 minutes or so.
After the rest, place dough into preheated oven. Bake for 35-45 minutes (Less if left long braid, more if wrapped braid) or until the top is a deep golden brown and when tapped on the bottom, it sounds hollow. Also can use an insta read thermometer and check temperature. You want it to reach 190 degrees.
Once bread is baked, remove from oven. If you want the top to stay a little crispy, don%u2019t do anything but let it cool. For a softer, shinny crust, rub the top while it is still warm with some plant based butter.
Let bread cool completely before cutting.
Then eat it like you would eat bread. Any and every way.
Store cooled loaf in a airtight bag on counter for 2-3 days but if not eating that fast, slice and place into freezer. That way you can pull out individual pieces and toast as you want.
When your sister drops off 50 lbs of beets, on top of the 50 lbs that you have to harvest that are growing in your garden, what do you do?
Well chips of course.
Yeah, chips. That%u2019s right. When I got home from camping on Monday and there was a humongous pile of beets sitting next to my front door, I am not going to lie, I was a little shocked. I mean there wasn’t just a few little ones. These beets were freaking huge, like the size of my arm, and so many. But pretty much right after my initial shock I knew what needed to be done. First, eat a few roasted, second, roast extra to freeze for later, and lastly, make a few bunches of chips.
Have you ever had beet chip? They are amazing. Crispy, crunchy, tasty as all heck. If you like beets, even in the slightest, you will love these. If you hate beets, well maybe don%u2019t? Either way, beet chips are the best chip. Wha’t%u2019s not to love? Pink, and chippy. Sweet, and salty. And then you add the fact that making beets into chips is a good way to get your veggies in and that you can eat a whole bowl full and feel zero guilt because you are just eating beets. Plus making beets into chips is a good way to use up any extra beets you might have laying around or that have been dropped off at your front door.
These chips, once they are made, will not last long. So when you do make them, know you will probably be making them again soon there after. Me, I have still have to harvest all my garden beets so beet chips are happening again soon. Real soon (like this afternoon!)
To the beets!
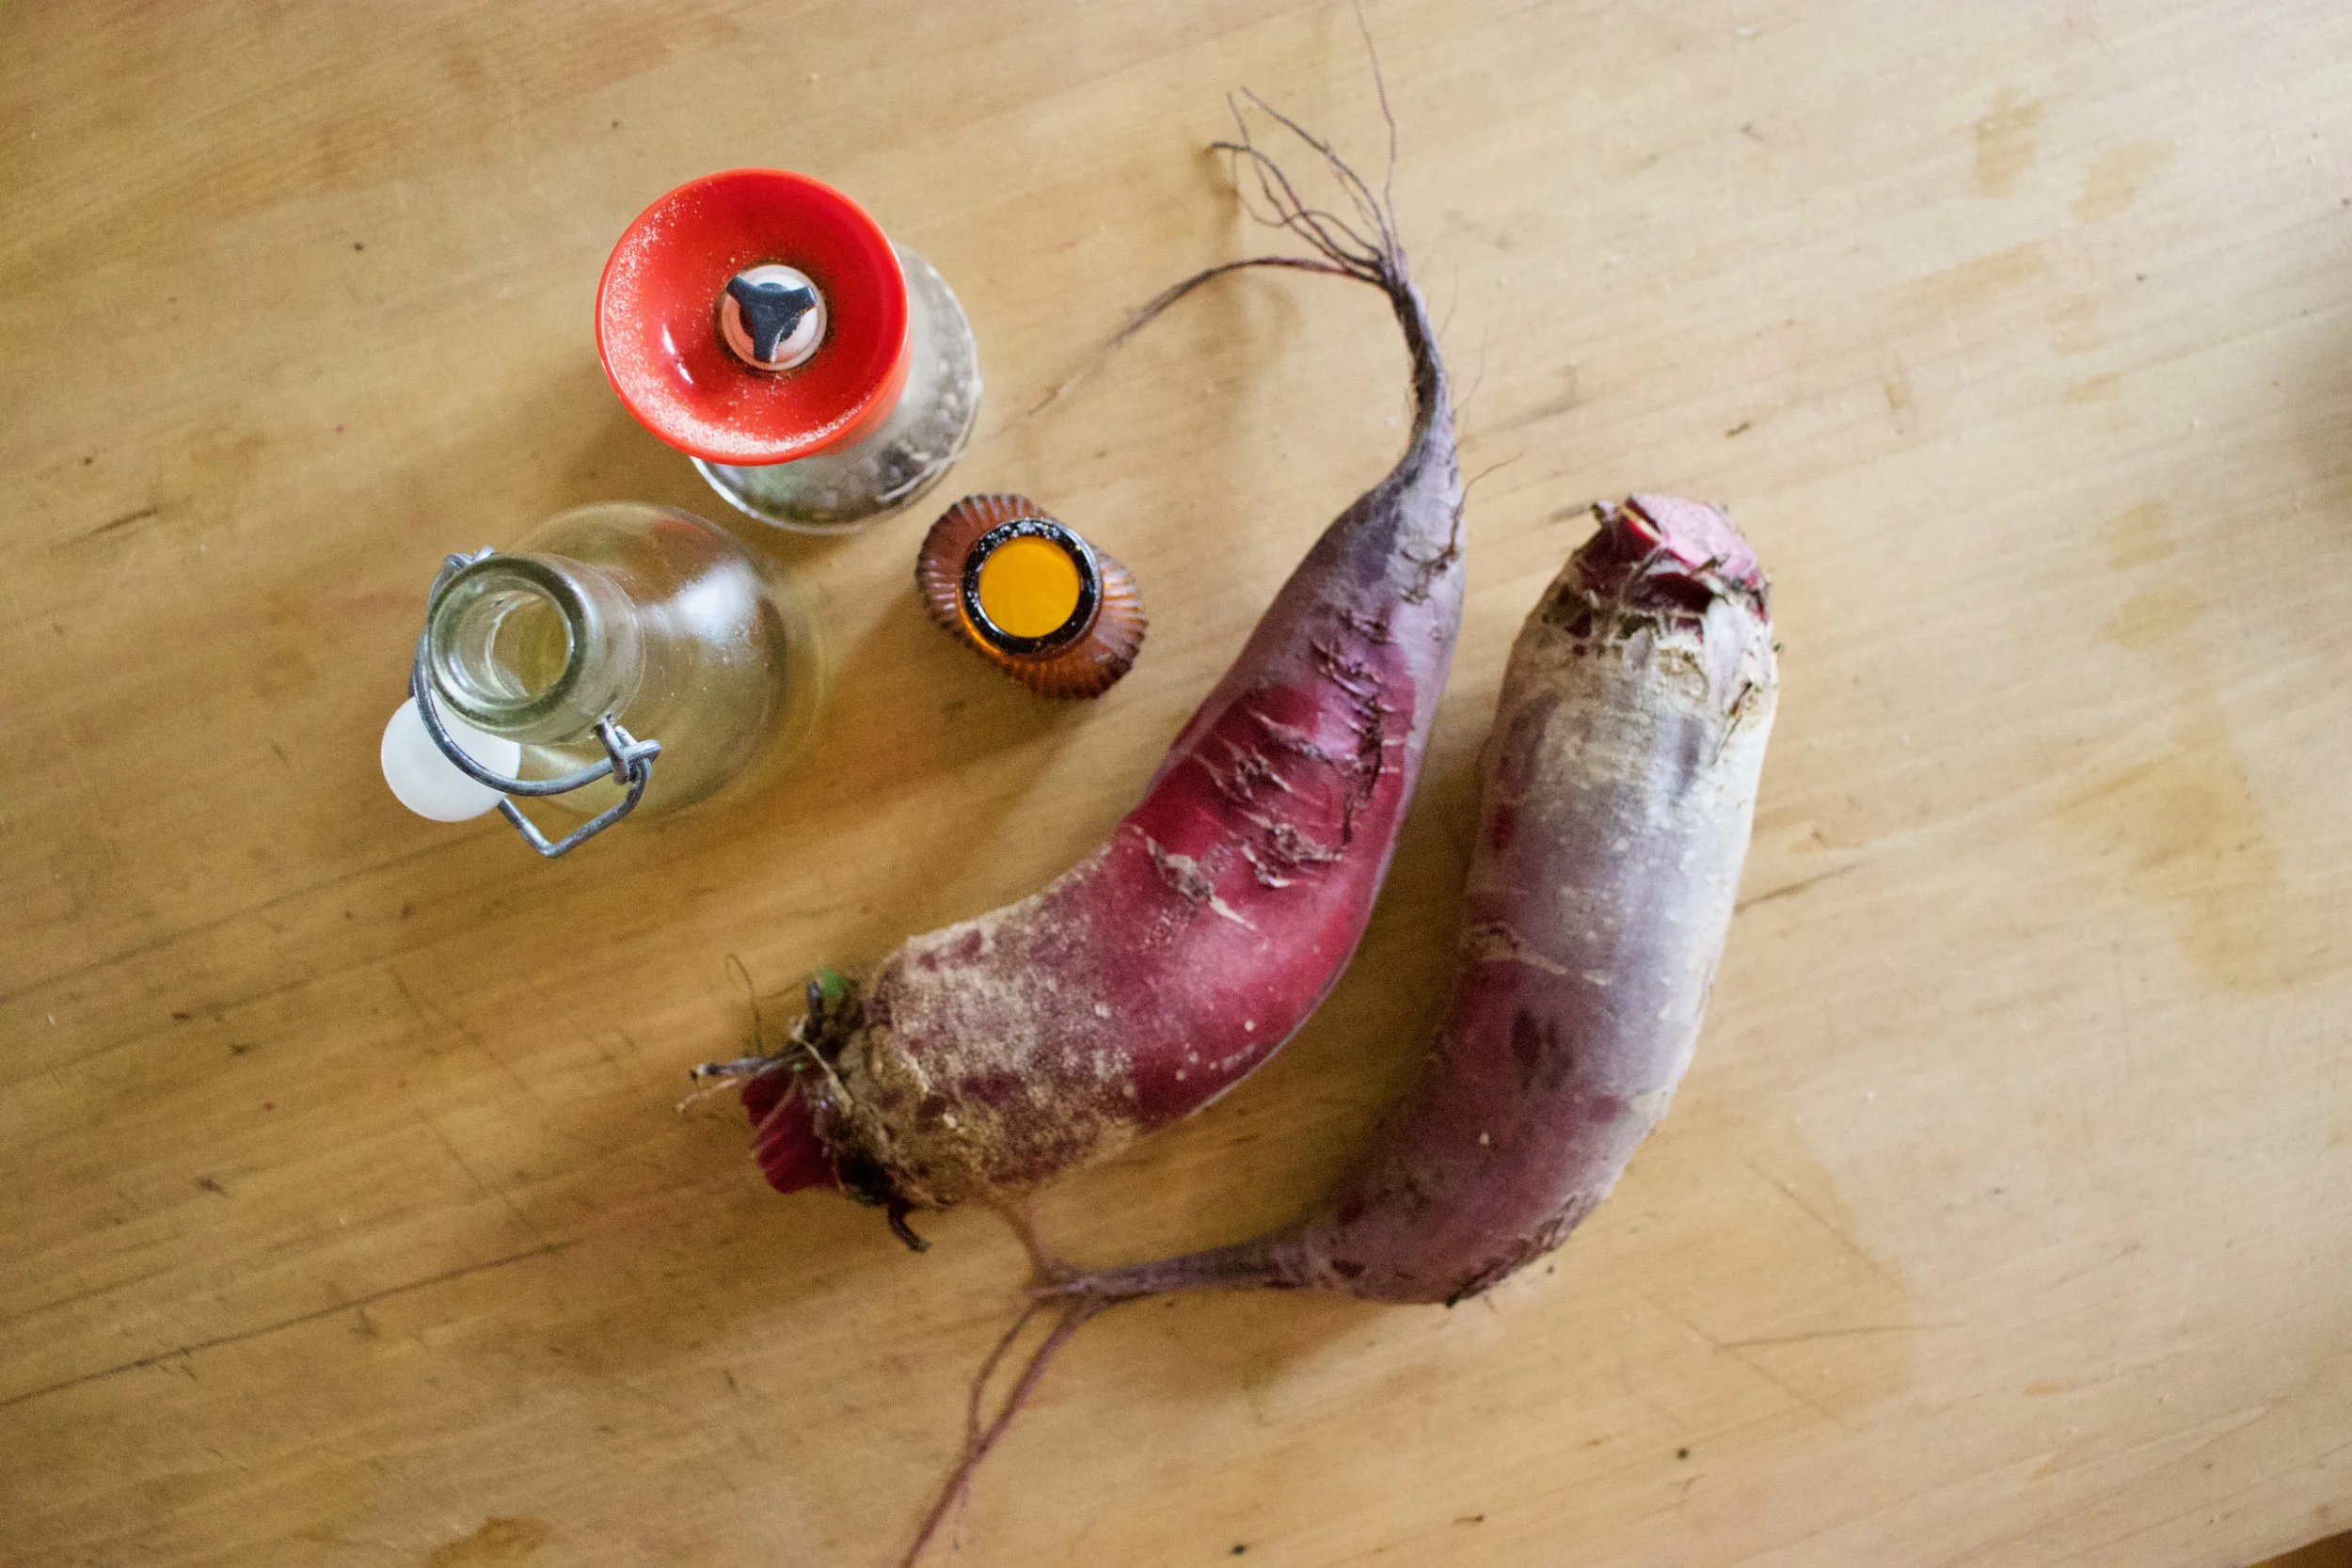
The stuff. Beets (these are Formanova beets but any variety works) salt and pepper ,and oil.
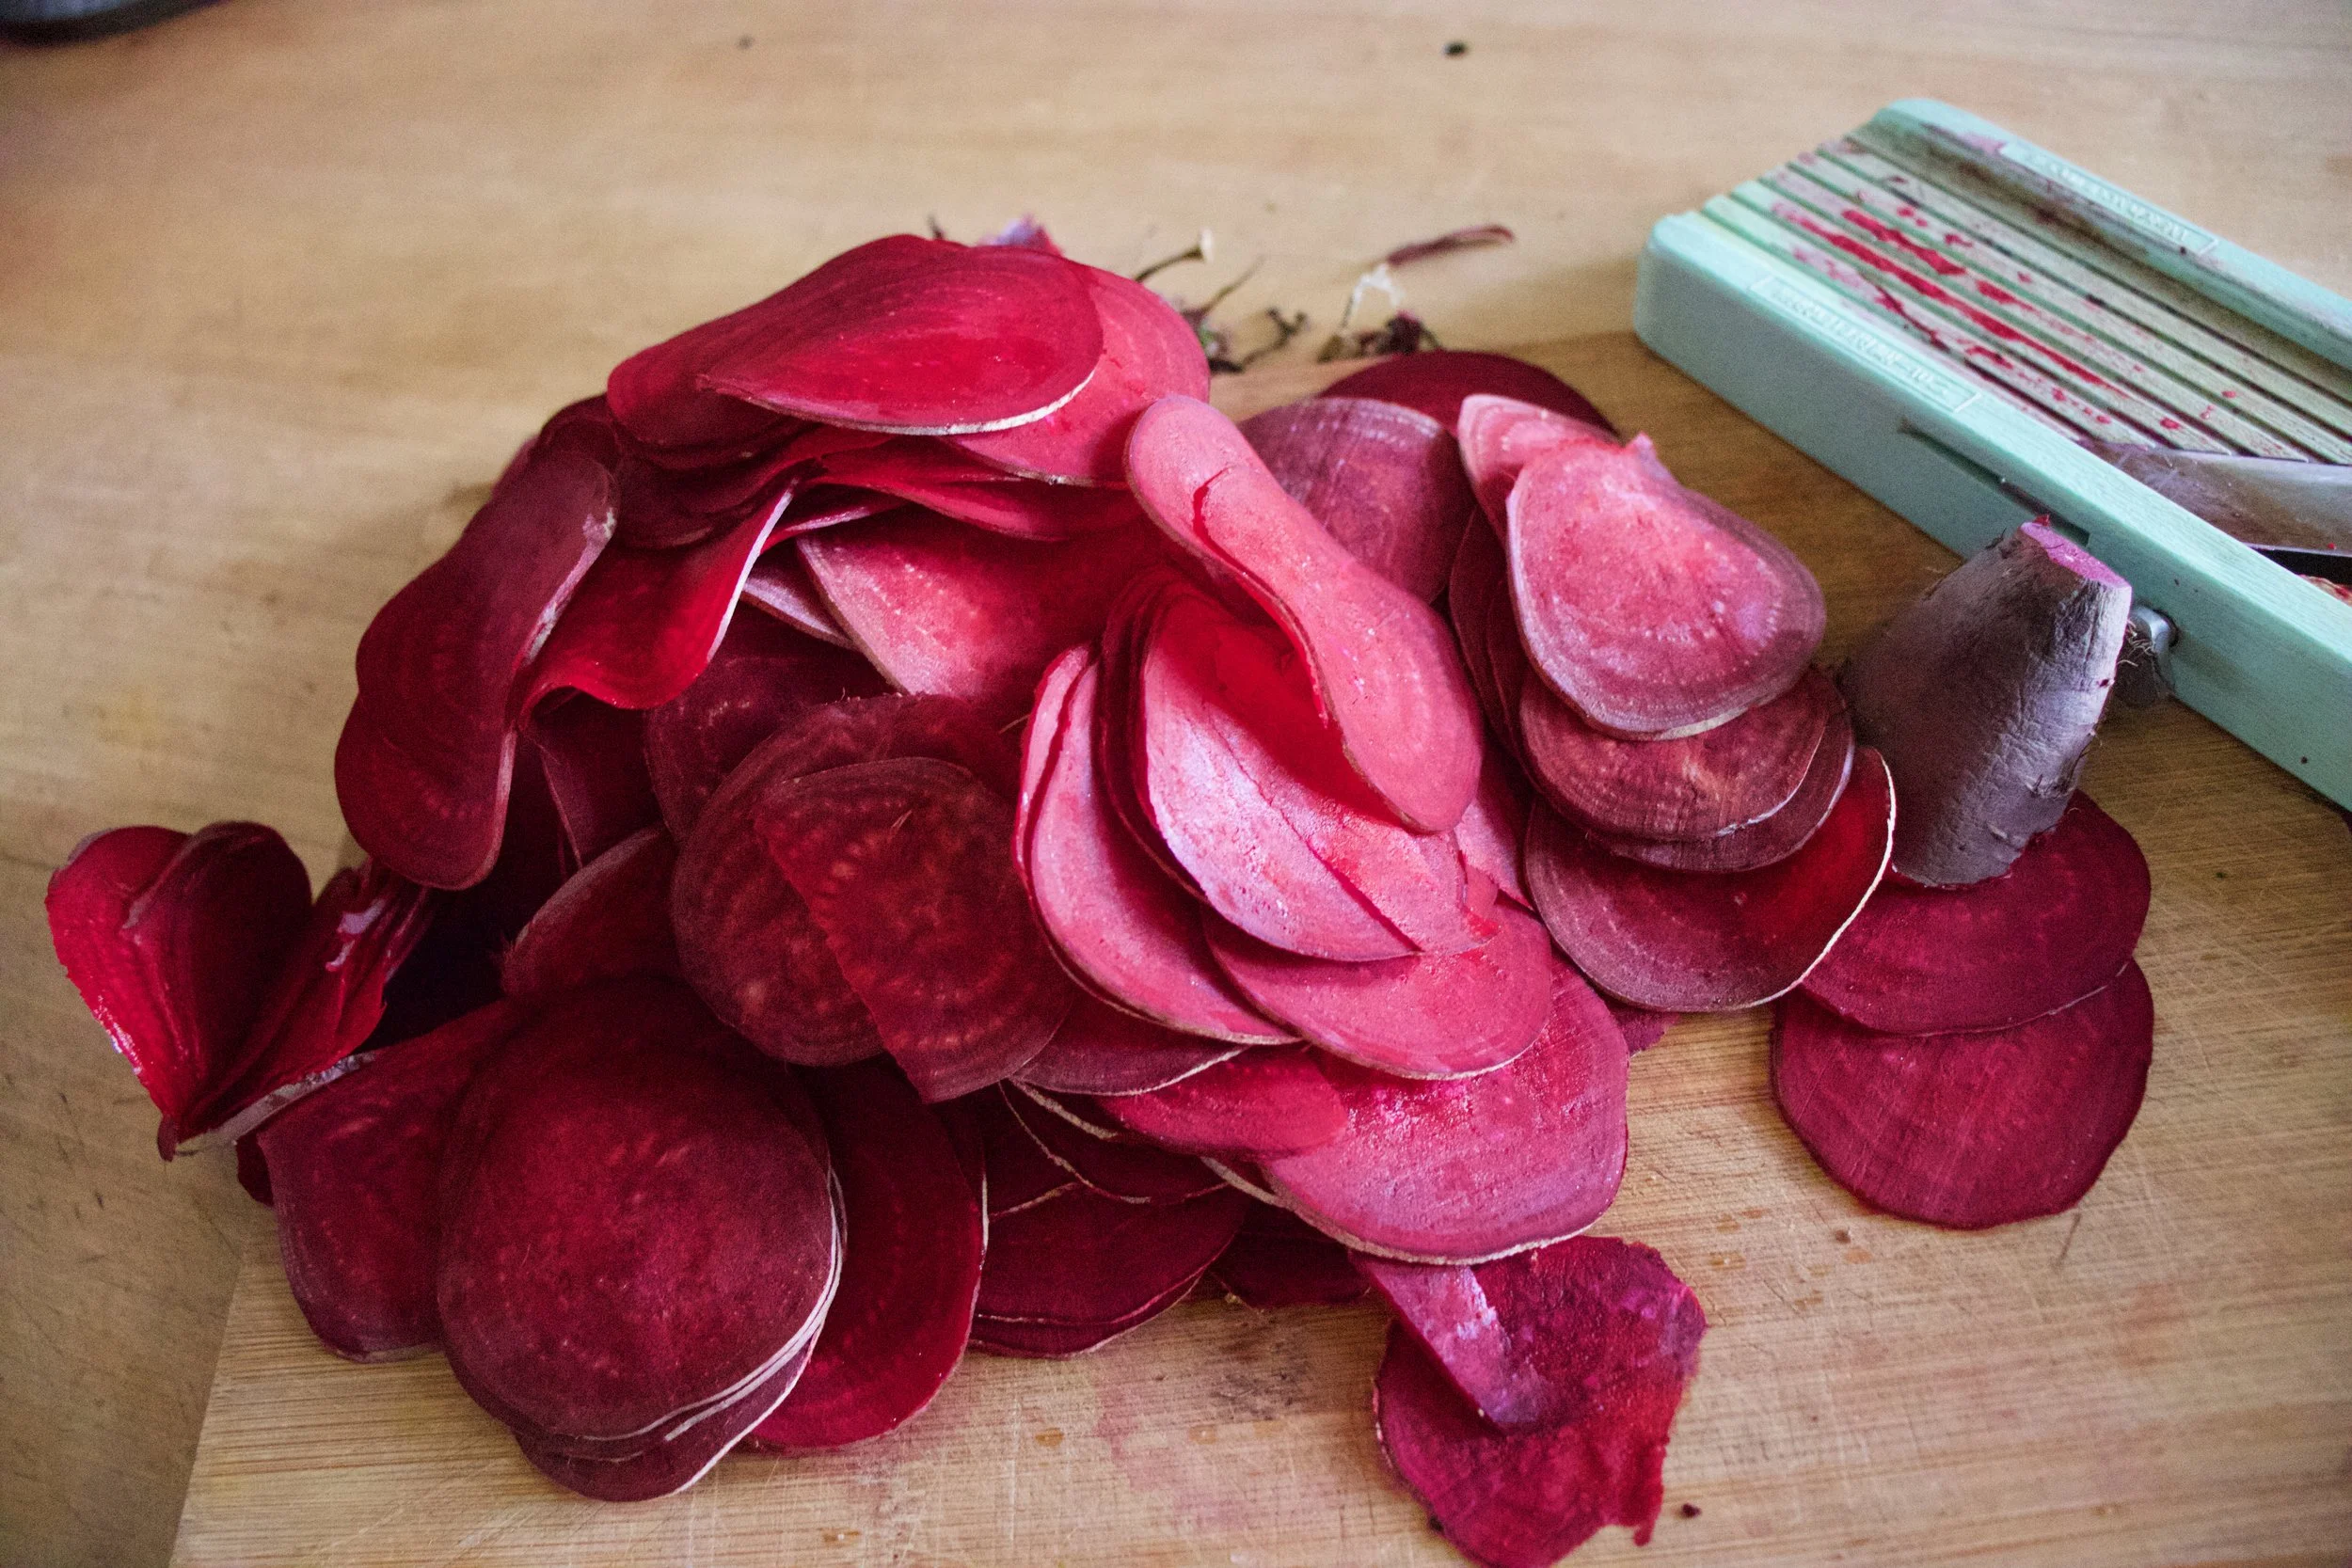
Ok so you need to cut these bad boys reallllllly thin. Like 1/15th a inch. So, what I am saying is, use a mandolin. If you don%u2019t have one, a knife will do, but you are going to have a hard time getting them as thin as you need to and all of them consistent so baking is going to be a little more tricky so maybe you should just go borrow or invest in a mandolin.
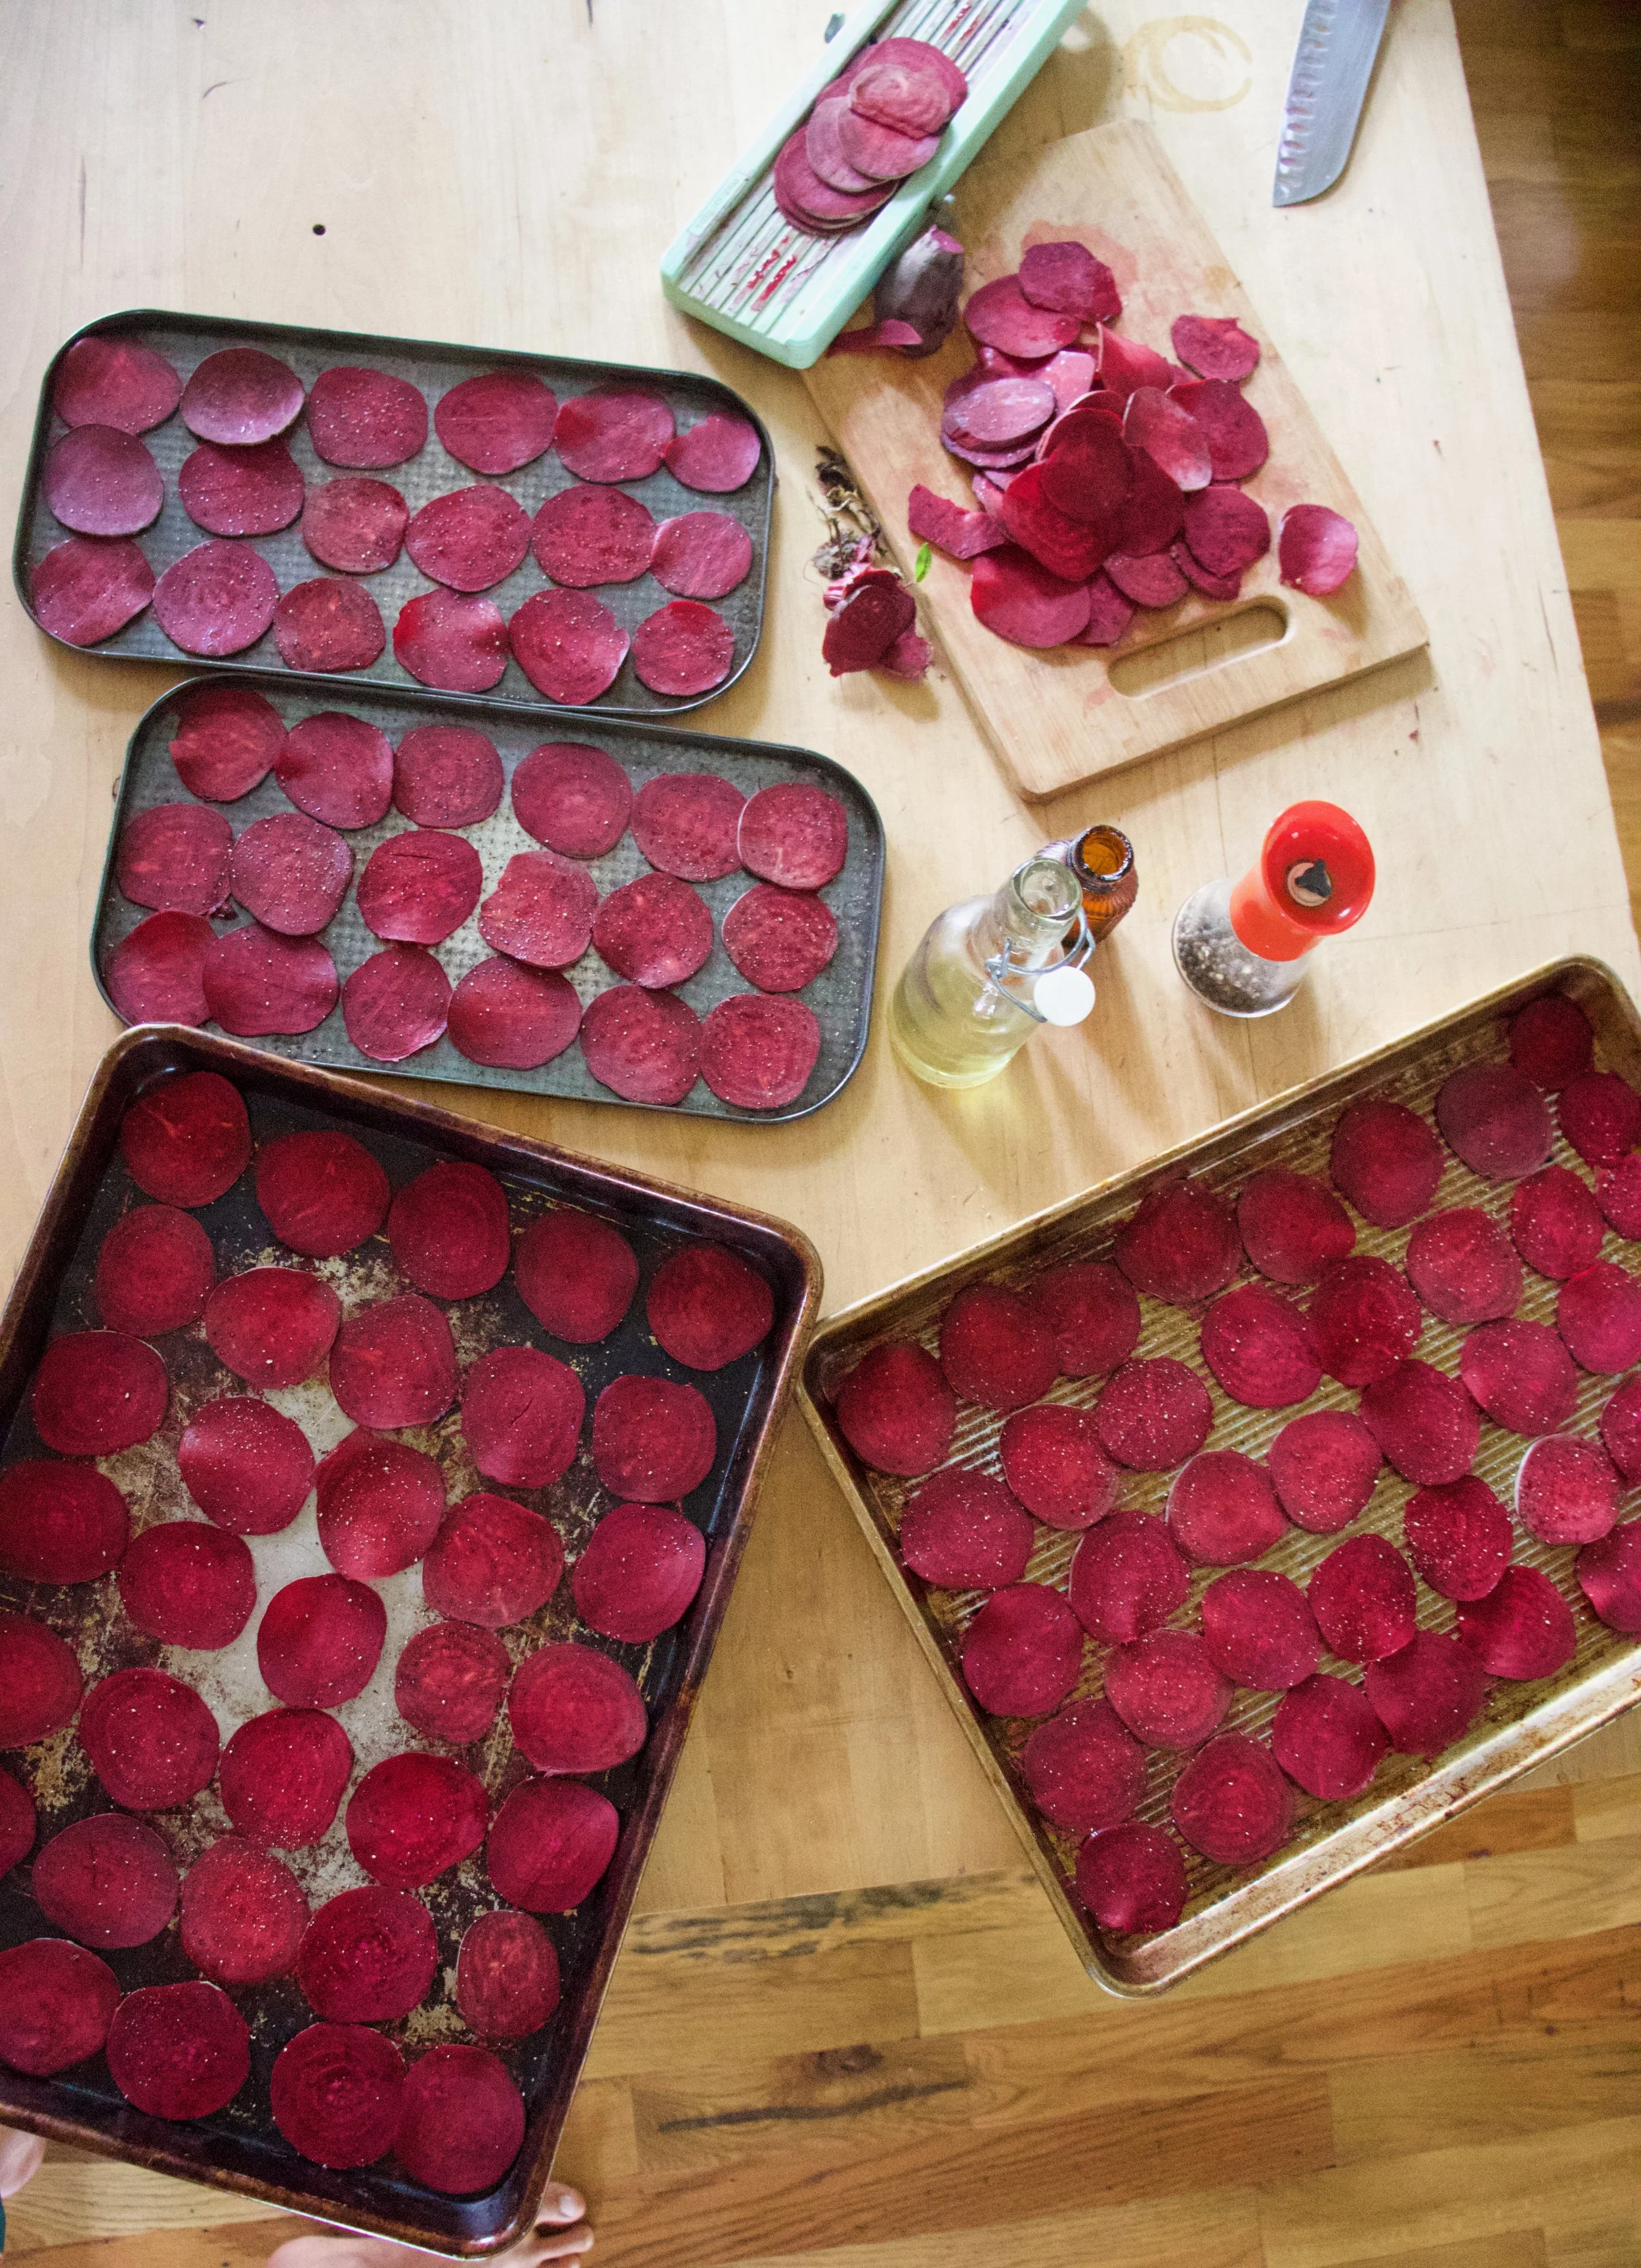
Grab baking sheets, oil, and salt and pepper. You can either dump the oil directly onto the pile of sliced beets and really toss to make sure each one has been coasted or do what I did which was I drizzled oil into my hands and rubbed each sliced beet between my oiled hands before placing on the sheet.
After you get them on there, single layered with no overlapping, sprinkle tops with a pinch of salt and pepper.
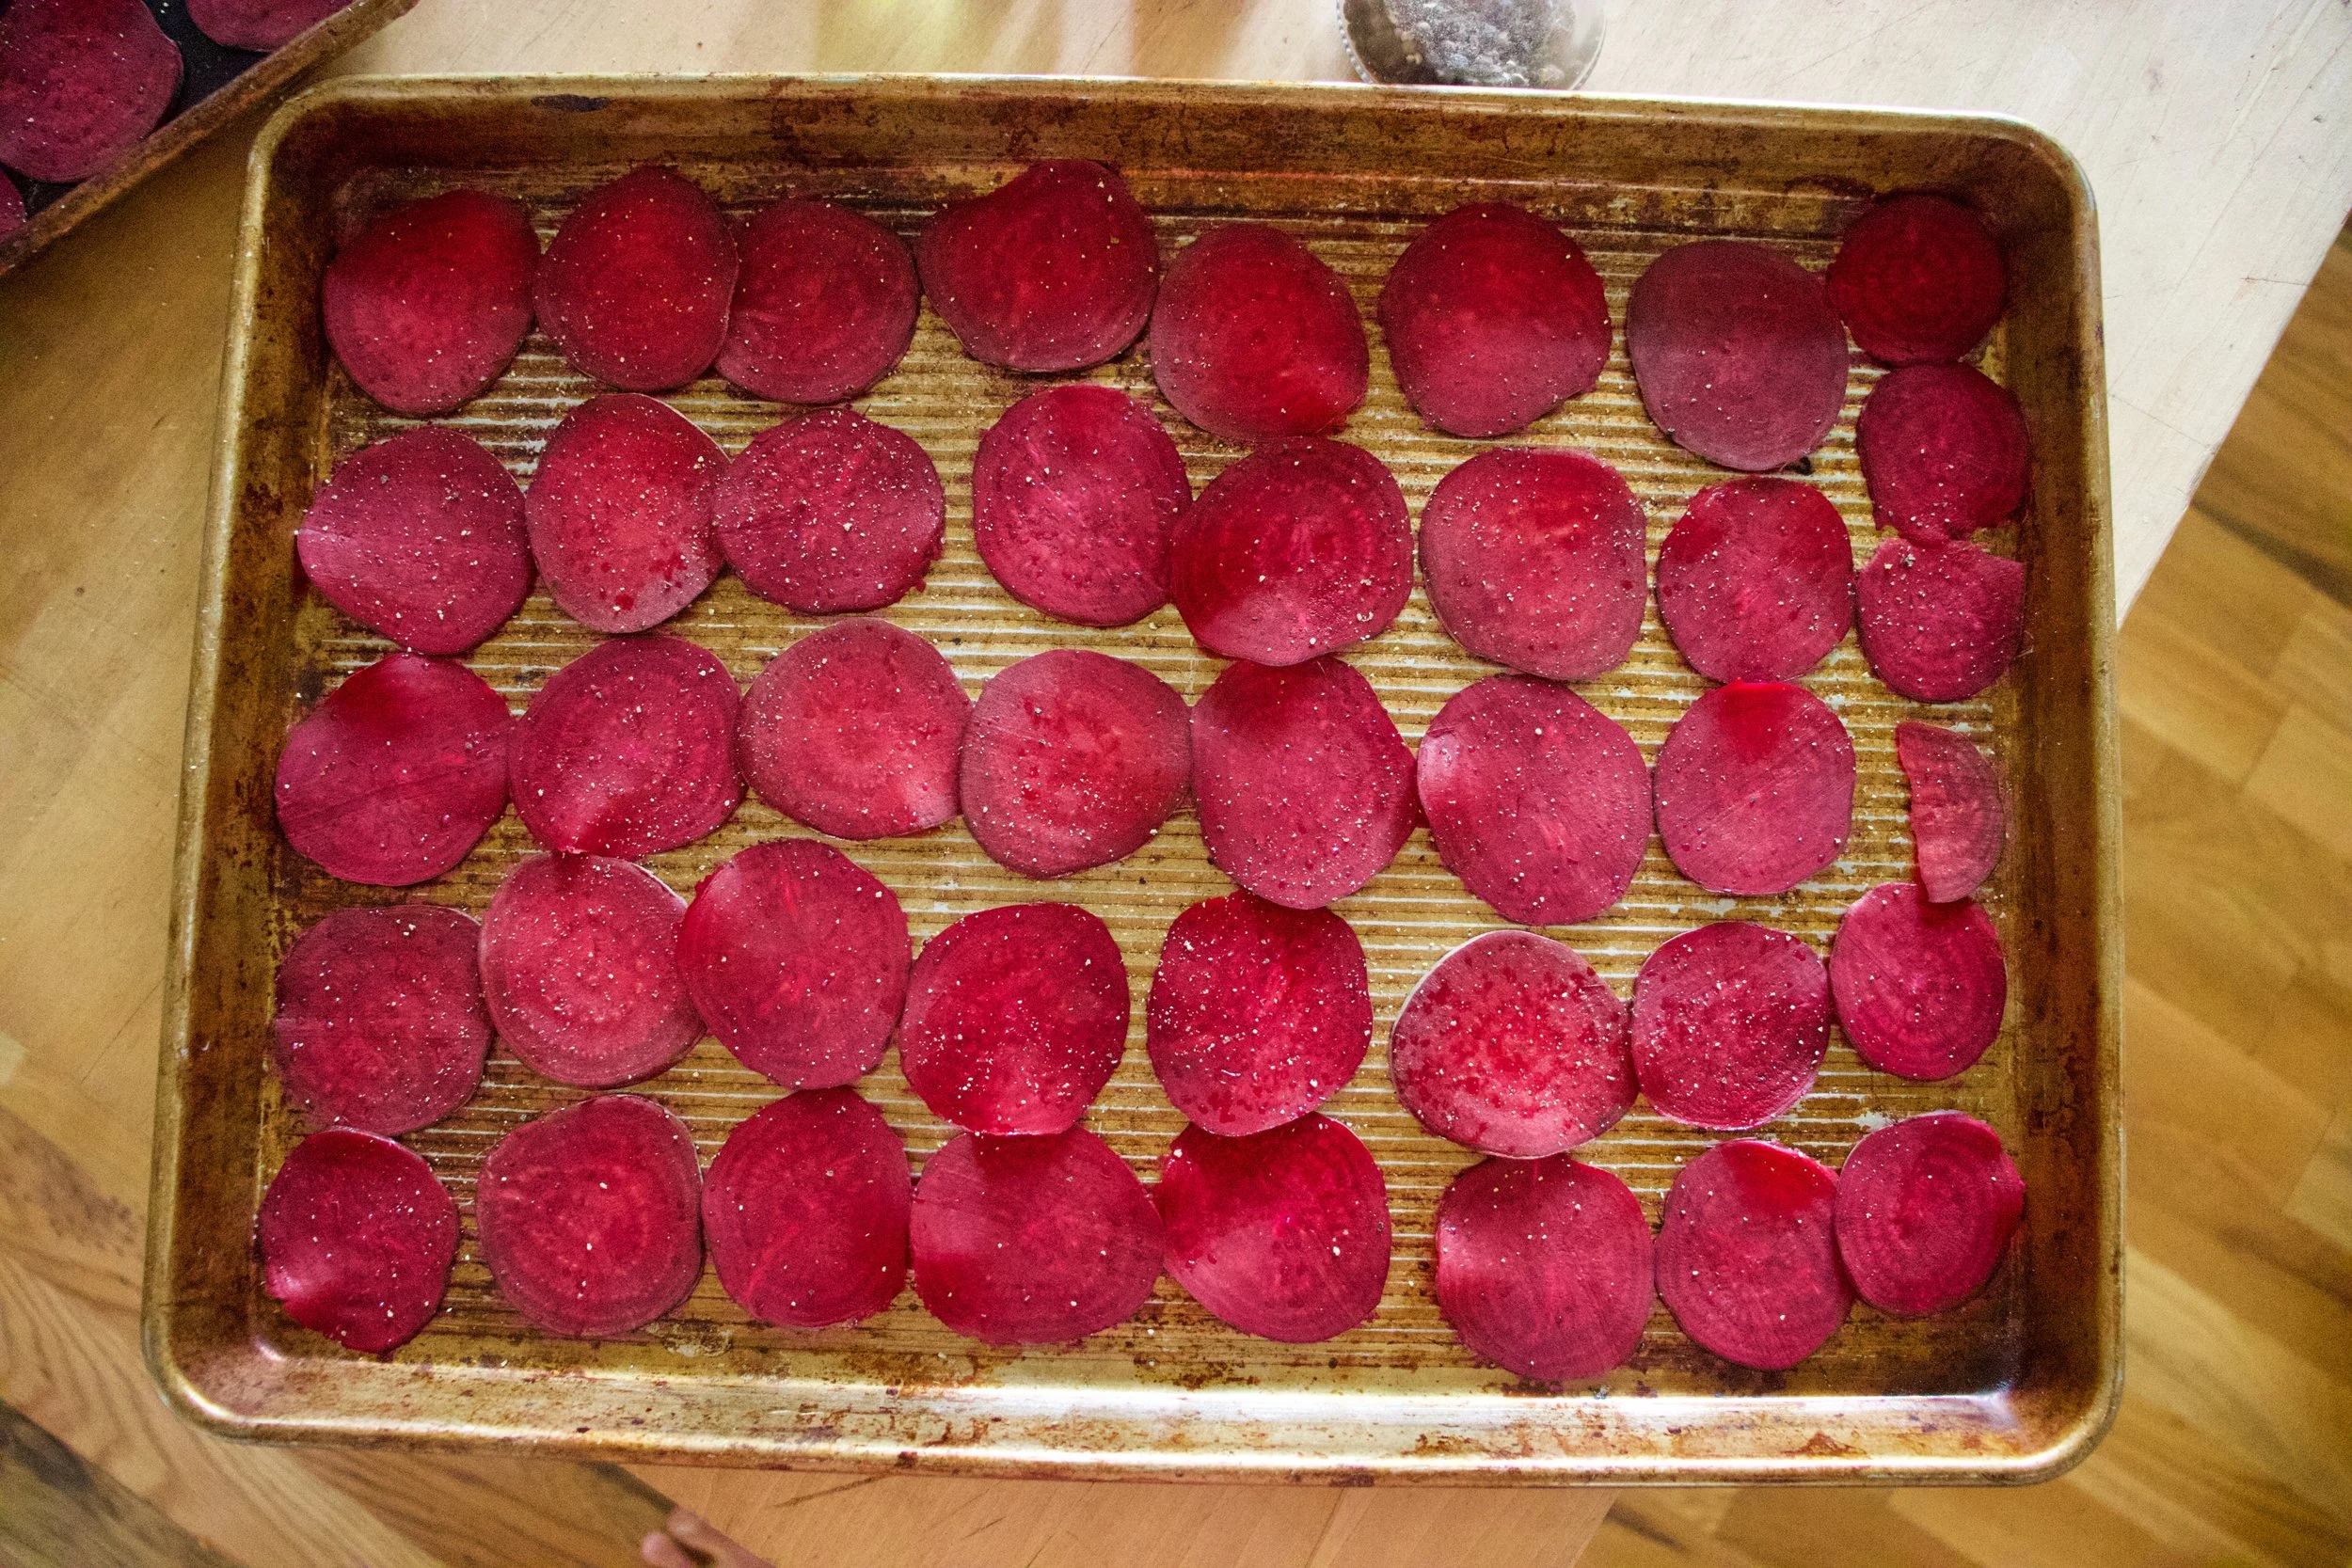
On the way into the oven.
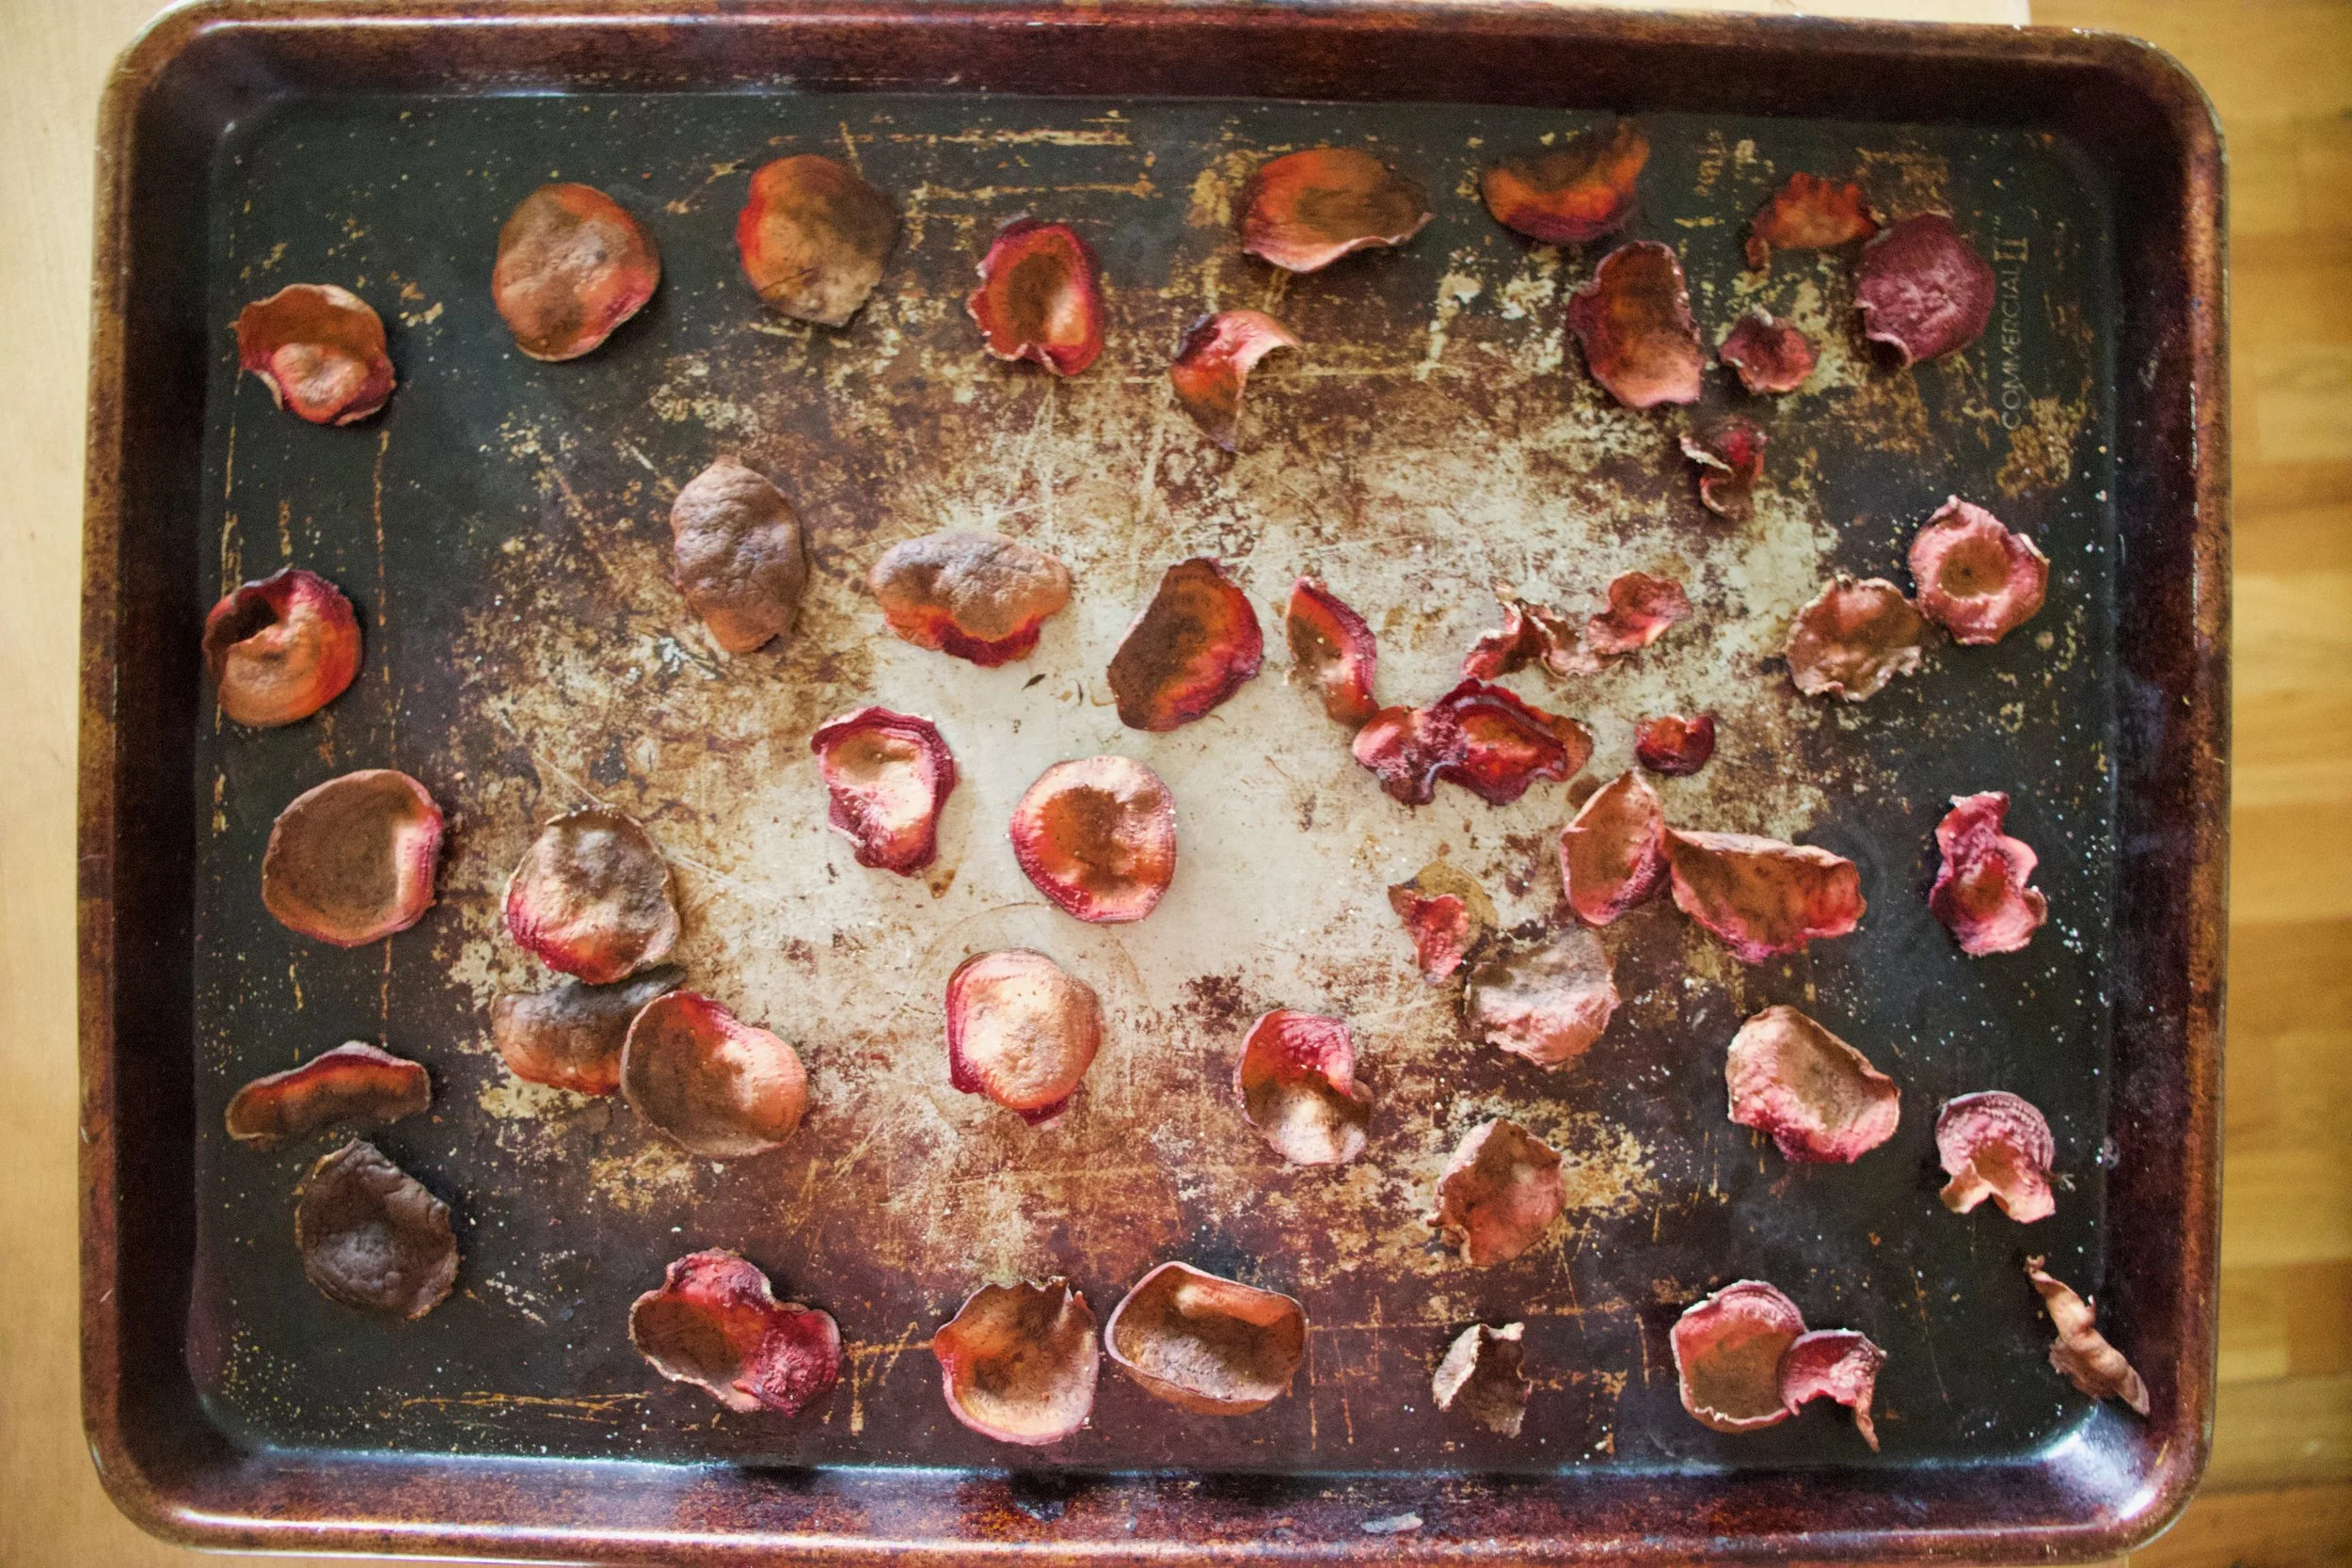
After the oven. Baked for about 18 minutes. You really have to watch after the first 13 or so minutes to make sure you catch them at the perfect time. Crispy, but not burnt.

A side by side shot. Crazy shrinking will happen!

Oh man, so delicious. And so pretty!.
Let the chips cool before eating, you know, so you don%u2019t burn your tongue. Plus they crisp up a wee bit more.
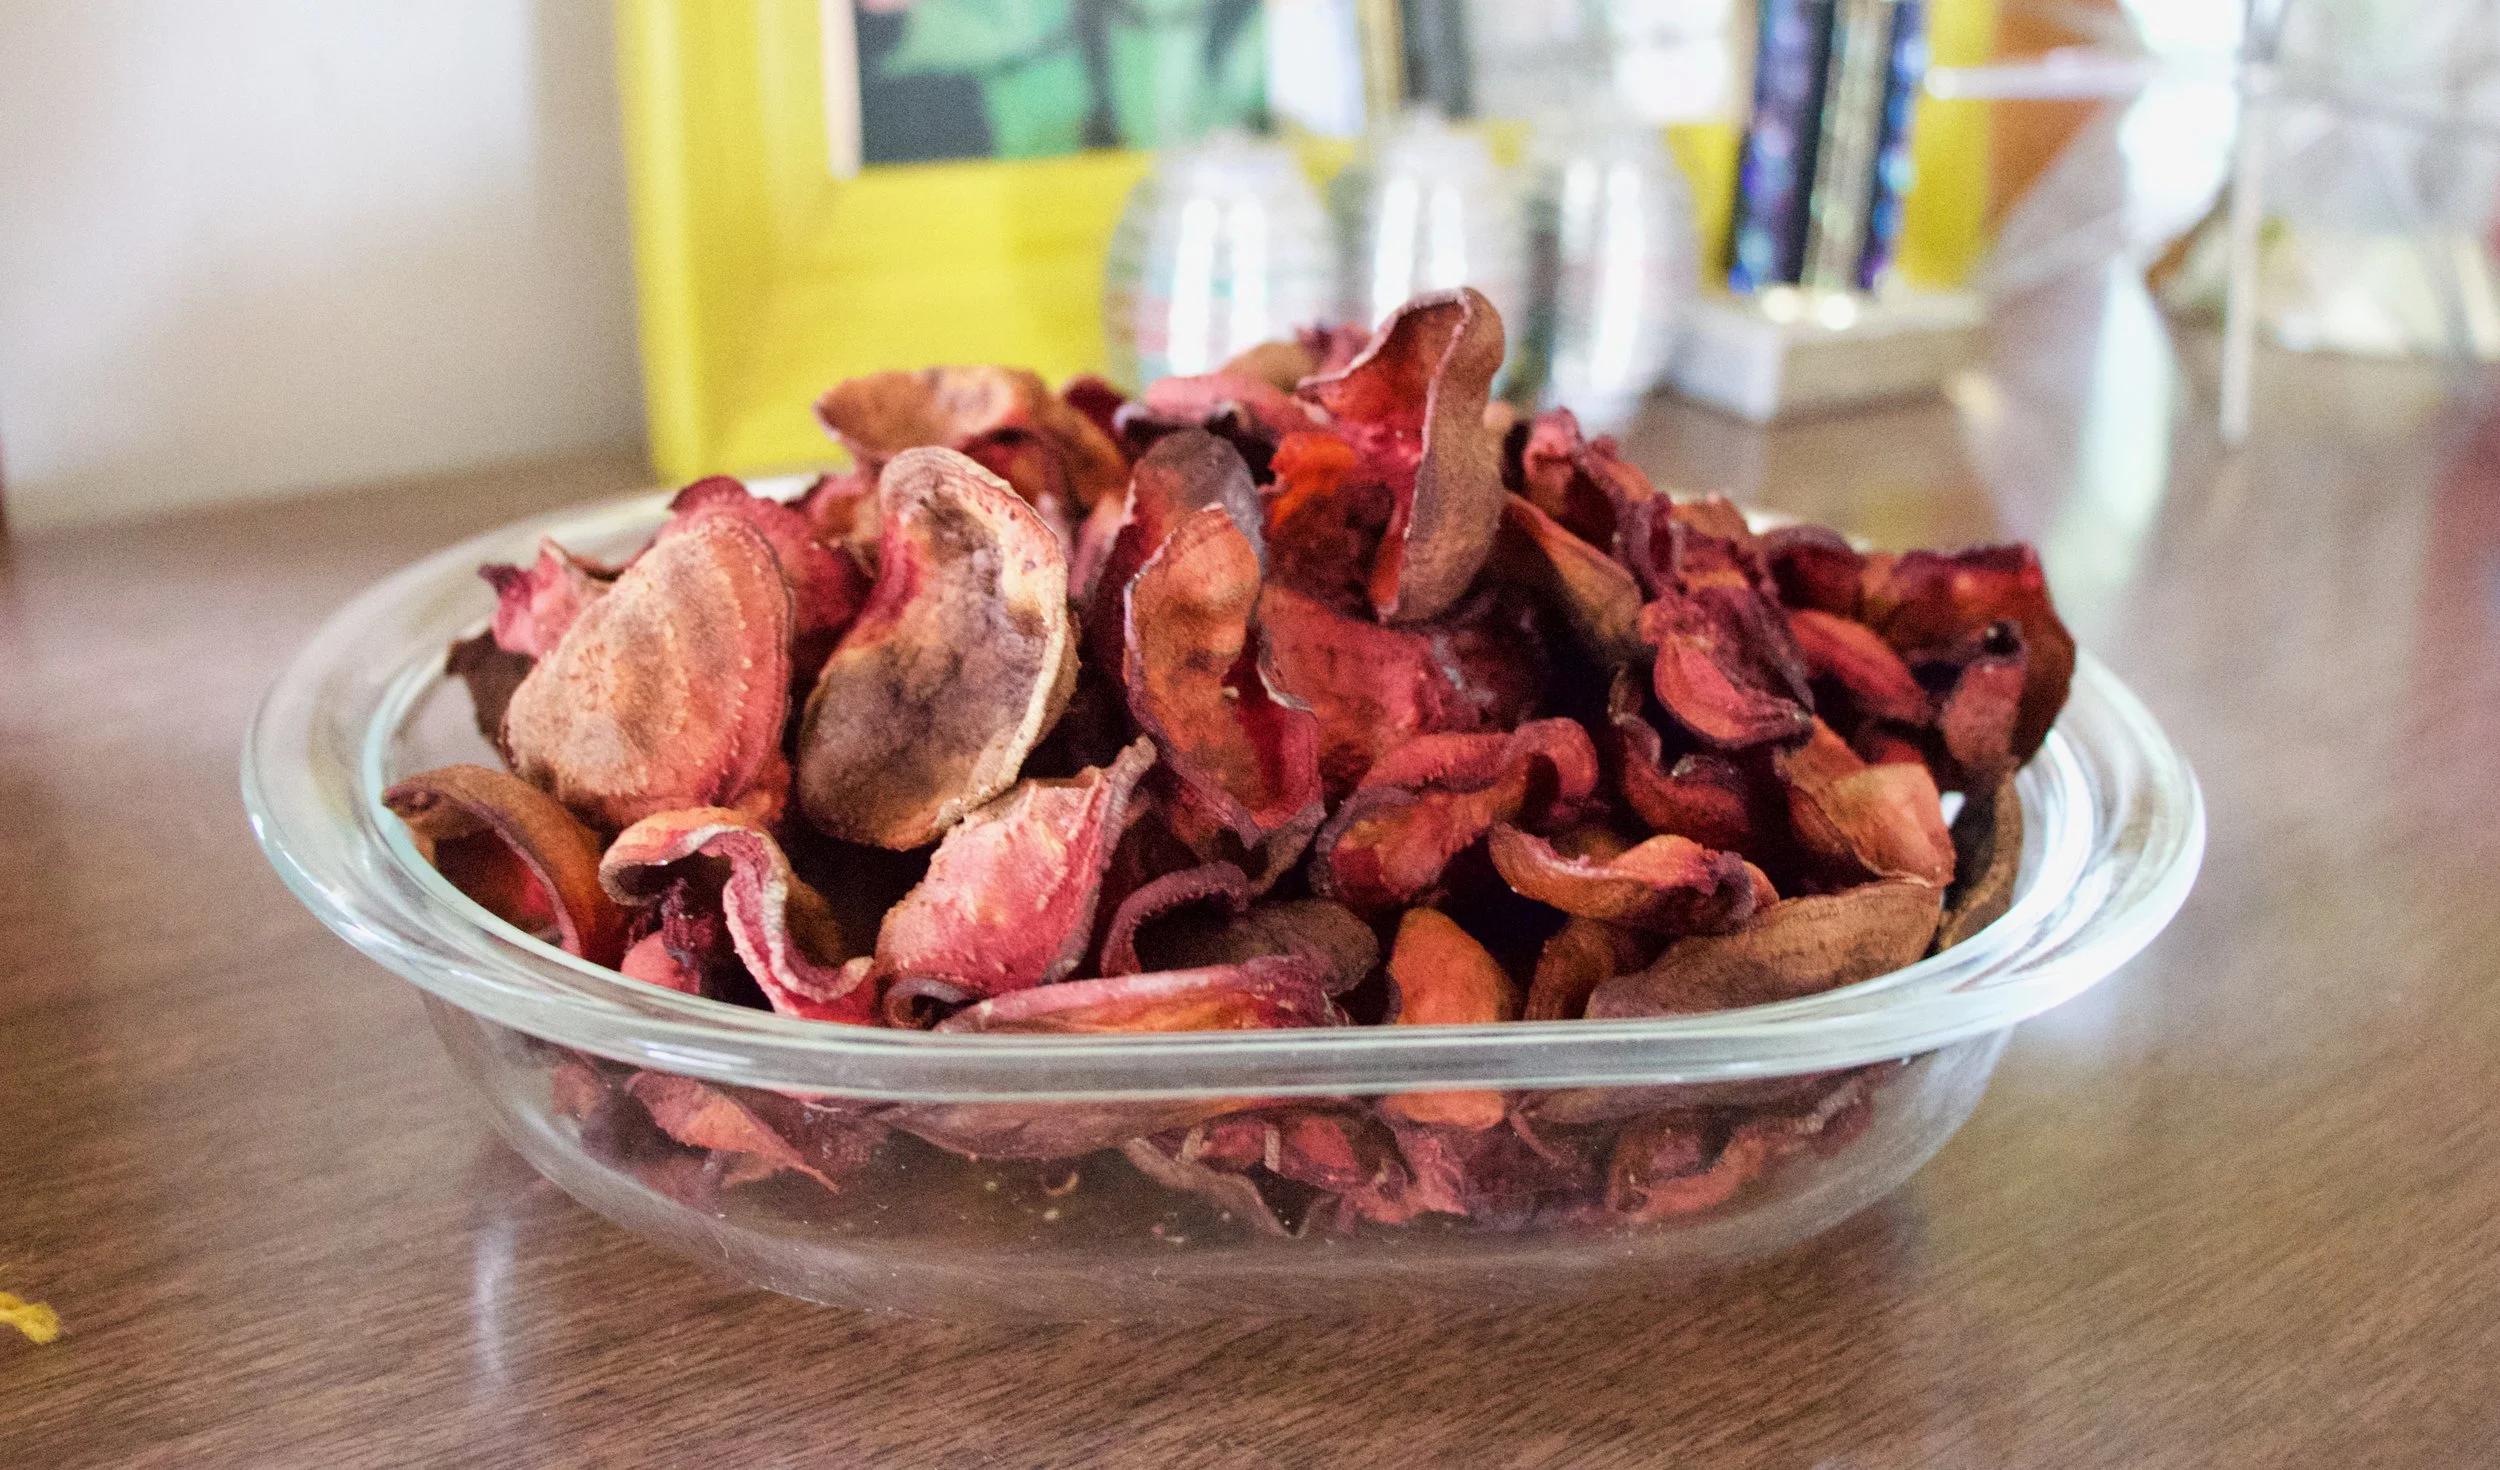
Once cooled, pile them into bowl, and then eat them. And eat them all. They are only beets after all. And you won%u2019t be able to stop yourself anyway. Ha
-C
Makes enough for an evening of chip eating for 1-2 people
-
2 Large beets (think softball sized)
-
a tablespoon or two of oil (I used grape seed but really any would work)
-
salt and pepper
Note. Making these without cutting with a mandolin will be a pain in the ass. It can be done, but if you have a mandolin, use it.
Preheat oven to 350
With a mandolin, slice the beets about 1/15 inch thick. (No need to peel the beets unless you want to.) Once beets are all sliced, either drizzle them all with a tablespoon or so of oil and toss until all are coated. OR what I did and found worked really well was drizzled oil into my hands and rubbed each beet between my oiled hands as I was placing them on the baking sheets. Either way.
Now place oiled beets, single layered, without overlapping, on baking sheets. Sprinkle with a pinch of salt and pepper and place into oven. Bake for about 13 minutes without worrying then start to check every minute or so until the beets are a deep golden brown and crispy ,which will be between 15-20 minutes. Also, even though you cut them all the exact same thickness, some might crisp up faster so you should remove done chips as they happen. Once they are done, place on a rack to cool. And then do another batch. And not, they do crisp up a tiny bit more as they cool.
Once chips are cool and crisp, eat.
Store uneaten (how did you not eat them all?) chips in an air tight container. If you notice that they turned a bit chew, just place them back into oven while preheating oven to 300 then turn oven off and let sit in there for a few minutes.
I am obsessed. For real. That might seem like a strong statement for a feeling about a food, but right now, it is truth. I spend more time then I want to admit thinking and drooling over Socca, which is, to those who do not know, the most basic chickpea flour pancake-y bread thing. Chickpea flour, water and salt. Cooked fast under the broiler in a screaming hot skillet. That is it. And it is amazing. Depending on how you make it, it can be creamy and soft or more cracker like with some crisp crunch to it. Either way, it is just so freaking good. Of course, what I am dreaming about regarding it is not just plan basic socca (which I have made 3 times in the past 3 days) but different flavored soccas (I have experimented with lot of seasoning, and they are all A+) with all sorts of different topping and using it in all sorts of different ways. But for now, I wanted to keep basic so we all know how good simplicity is. We will go from here.
There is no stopping me. There is no stopping the socca.
Now to my new favorite food, the socca.
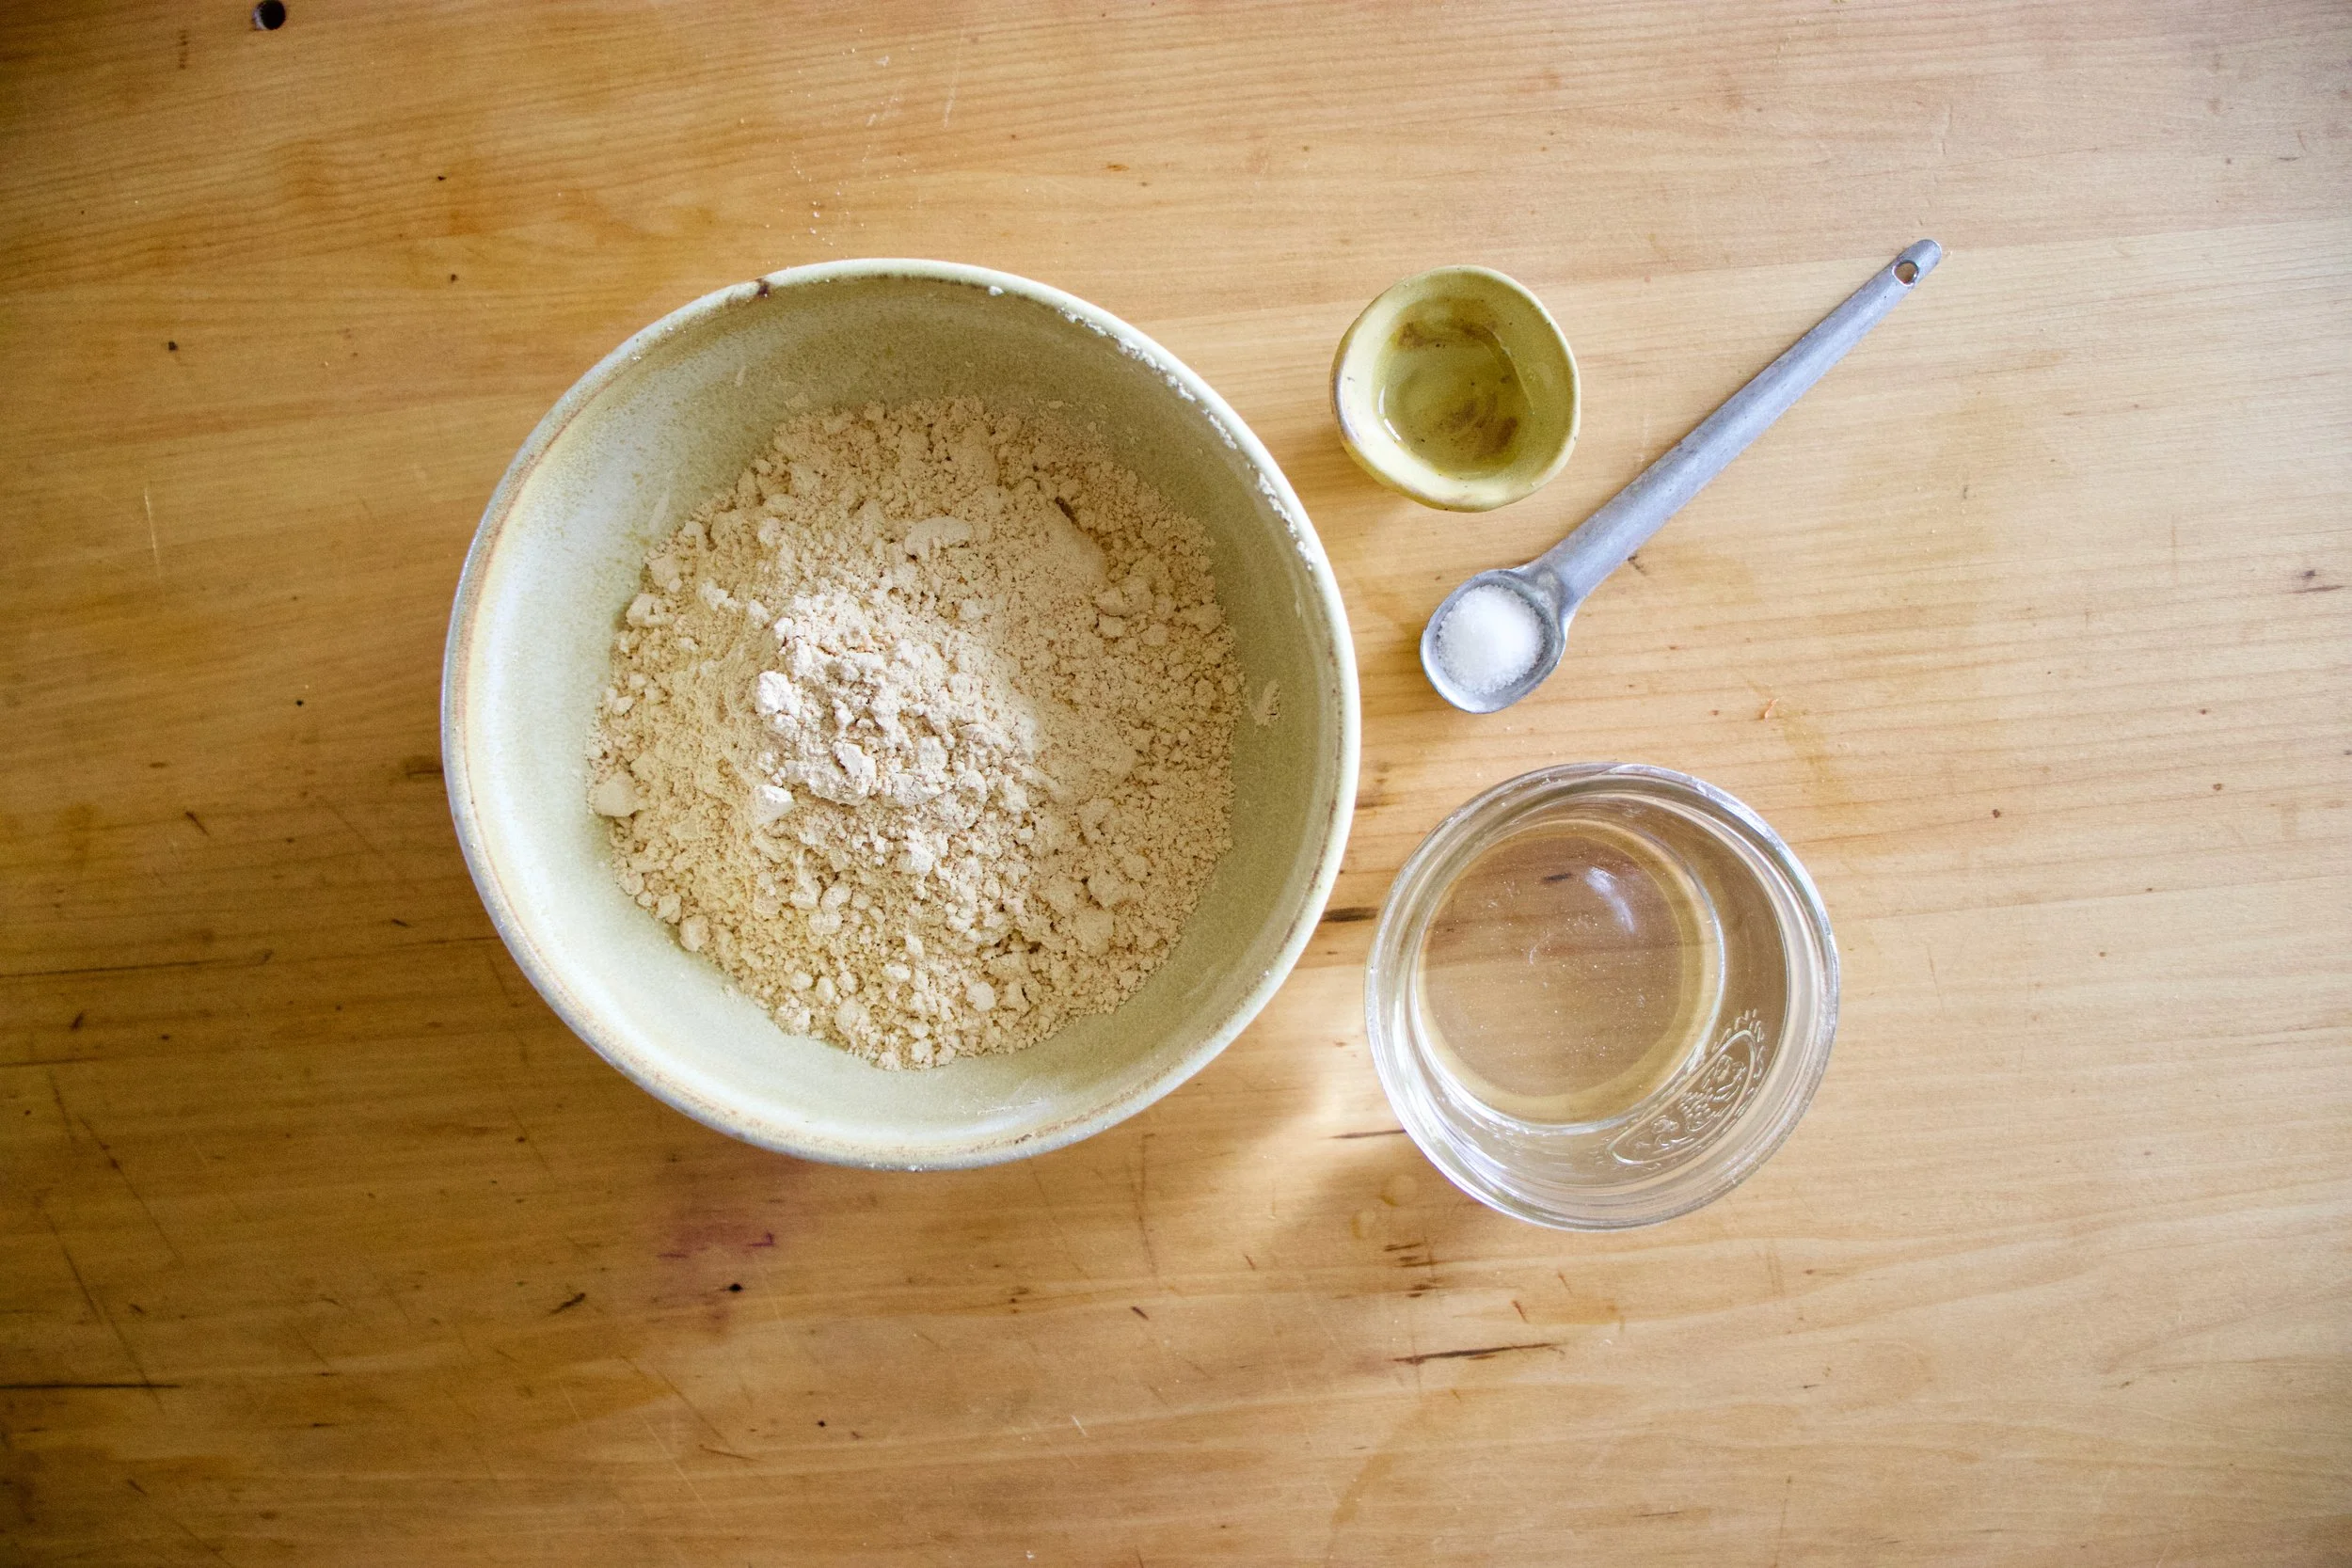
Chickpea flour, salt and water. That is it. Mix it all up.

Batter all smooth and now in need of a rest. Half an hour or up to a day of rest is good.
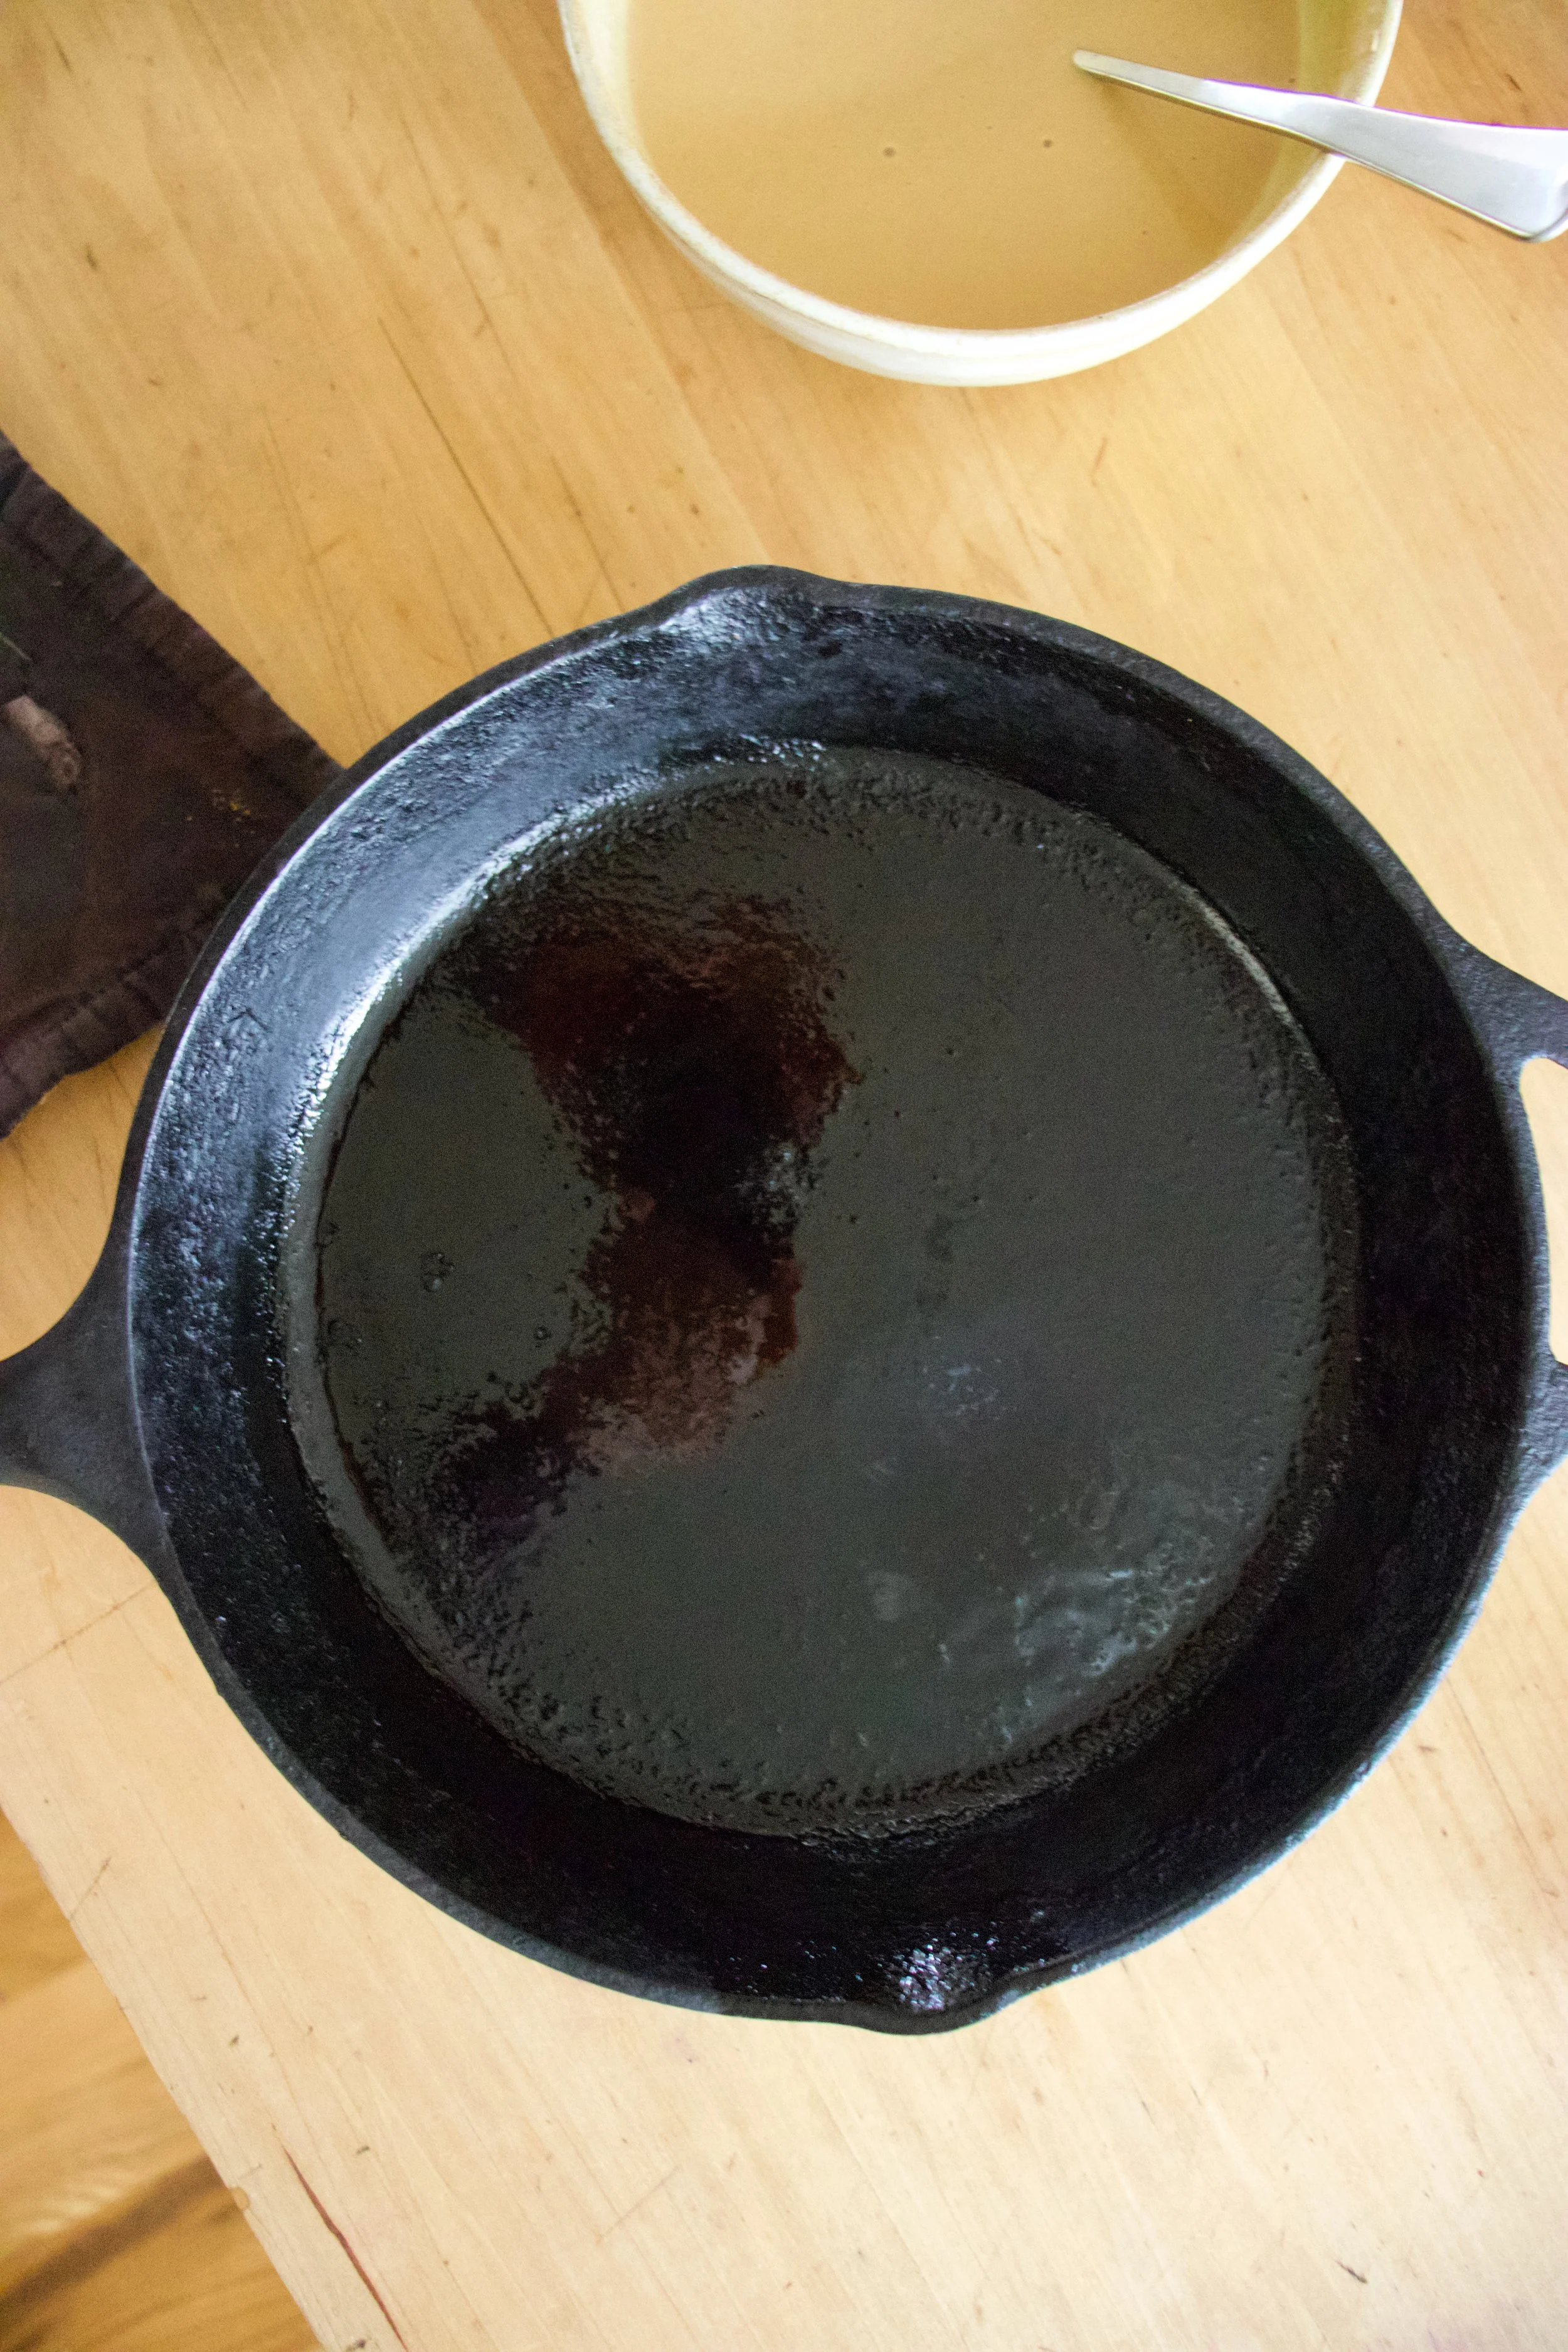
Now to cook the socca. You need to use something oven safe like cast iron. The trick here is to preheat the skillet while you are preheating the oven. Crank oven to 450 with the skillet in oven and once the oven reaches temp, turn oven over to a high broil. Let the skillet get really hot for another minute or two then remove skillet from oven (carefully!!!) and give it a splash of oil. Don%u2019t preheat the skillet with oil in it or else it will start to smoke and get gross.
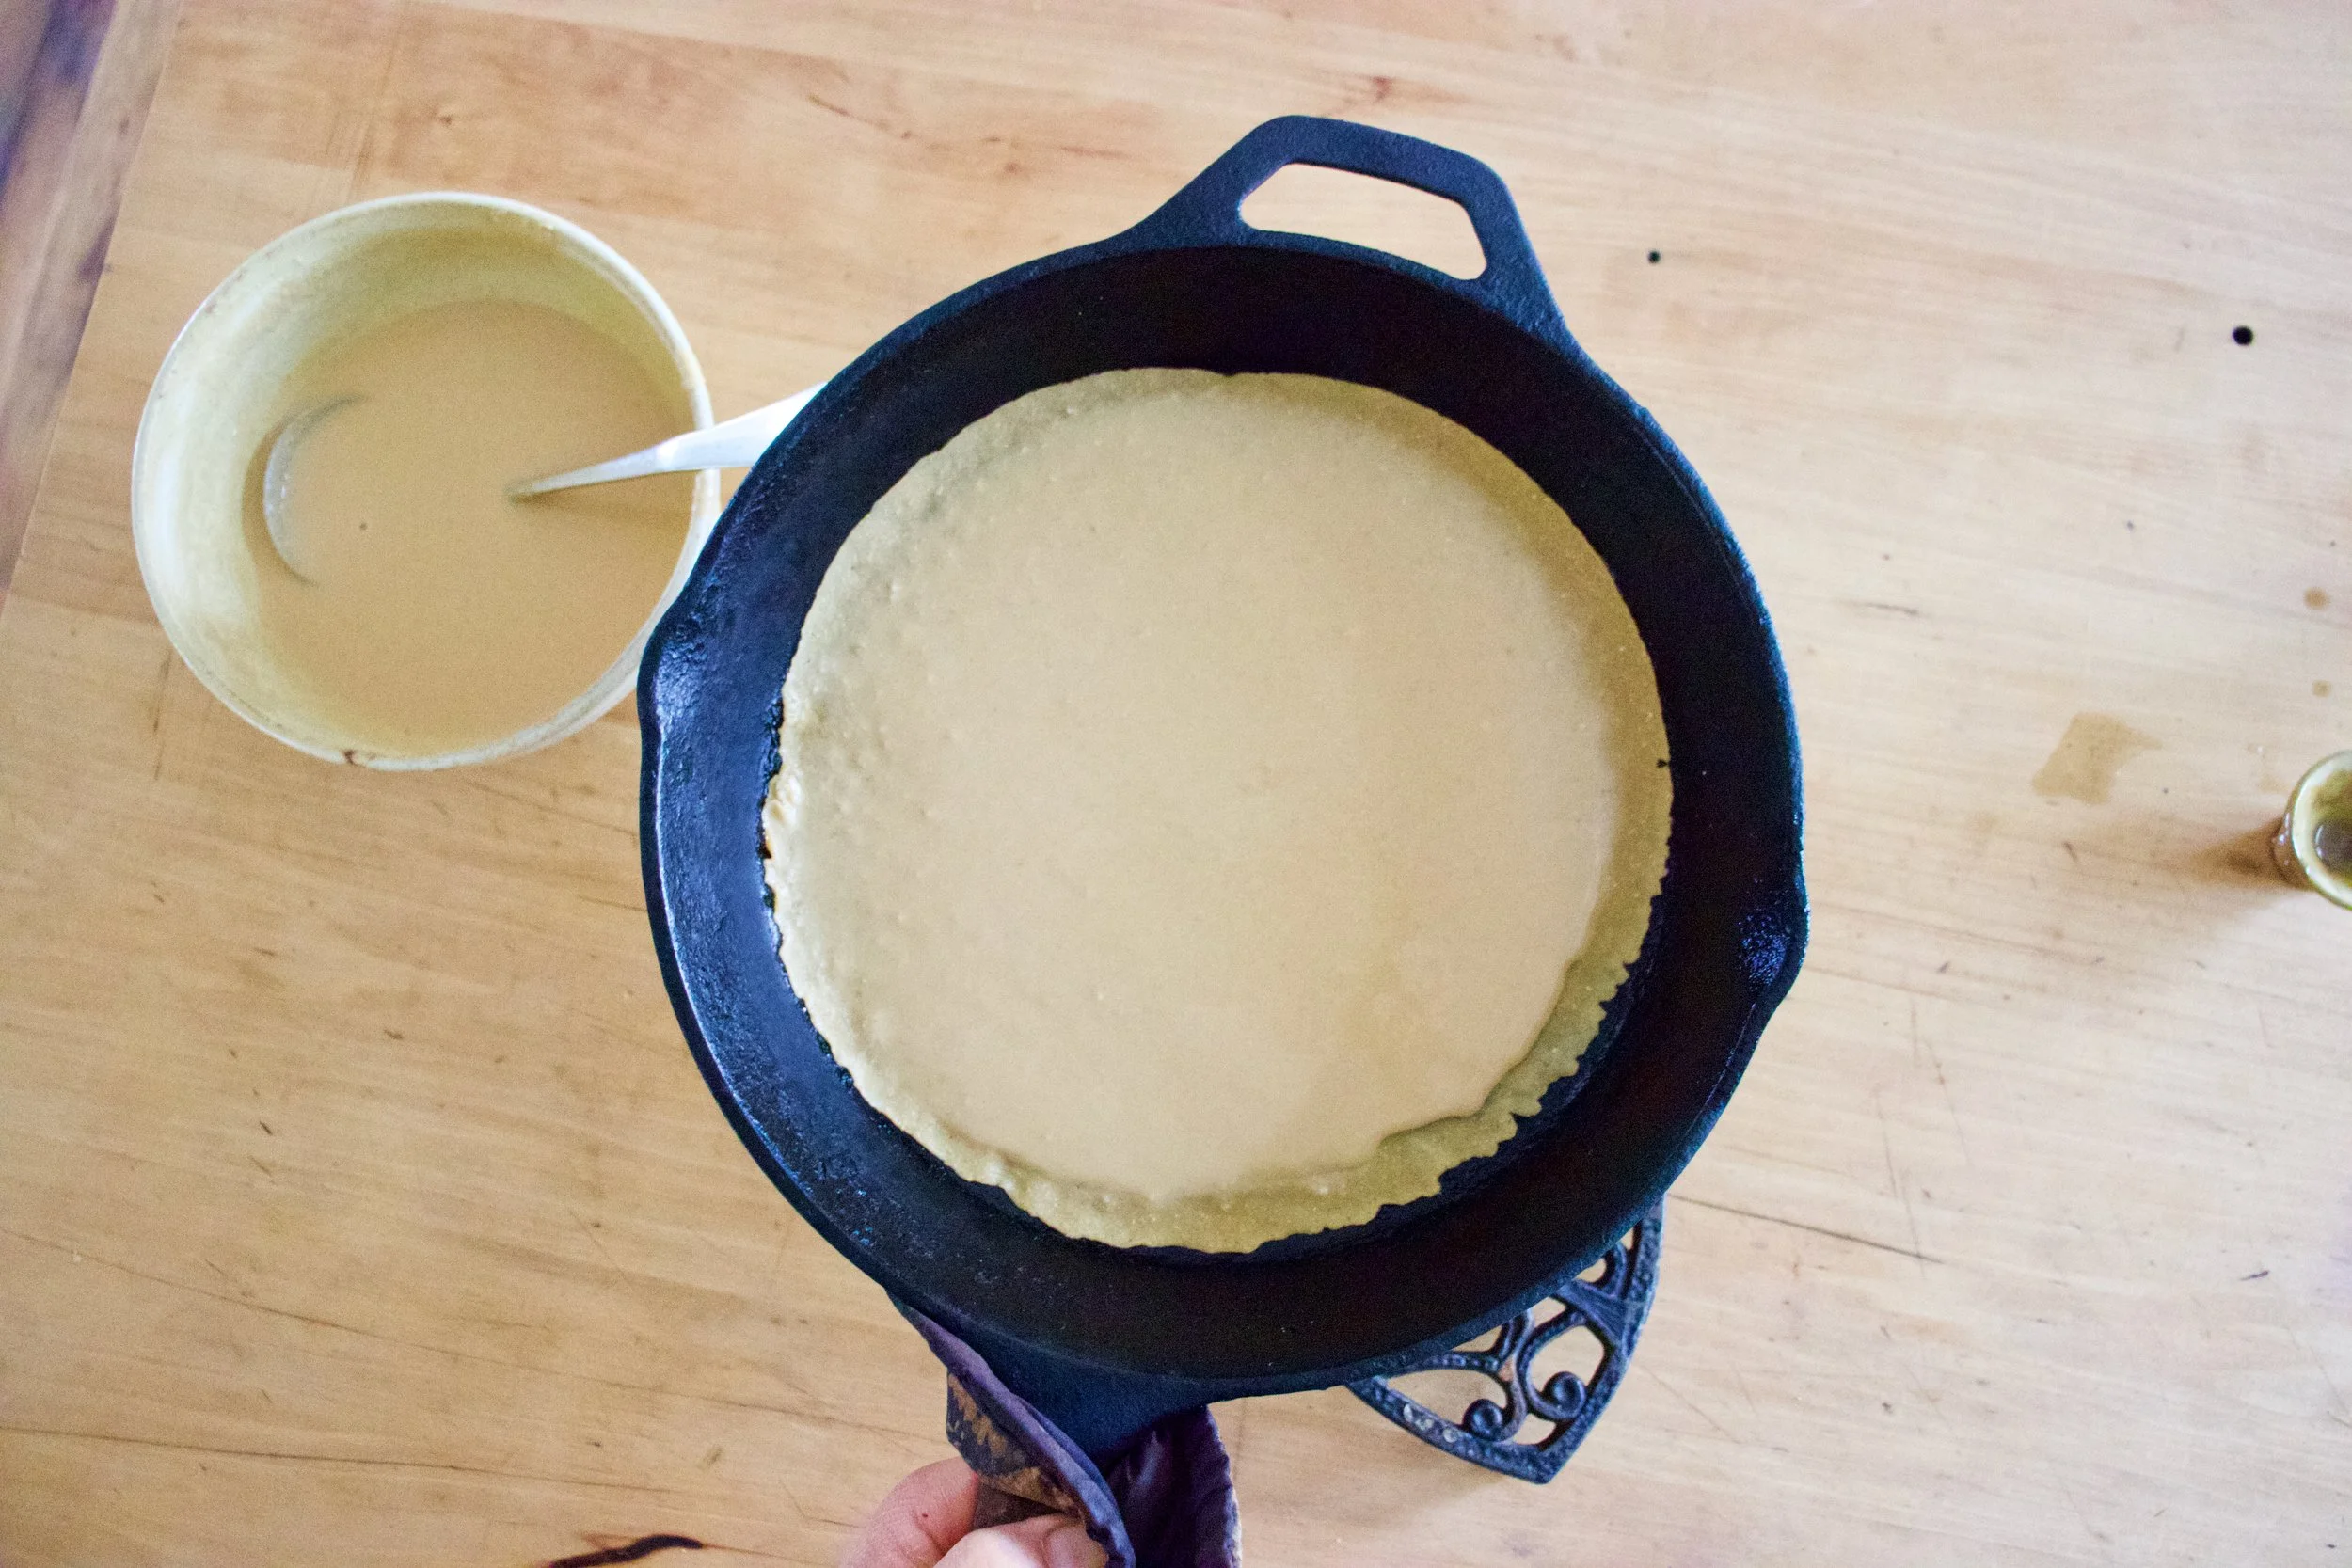
Now that you got a nice hot and oiled skillet, grab the rested batter and pour half of it in. Tilt skillet around to coat bottom then stick skillet back into oven under broiler and cook for 4-8minutes. ( It depends on your broilers strength and your preference for blisters)
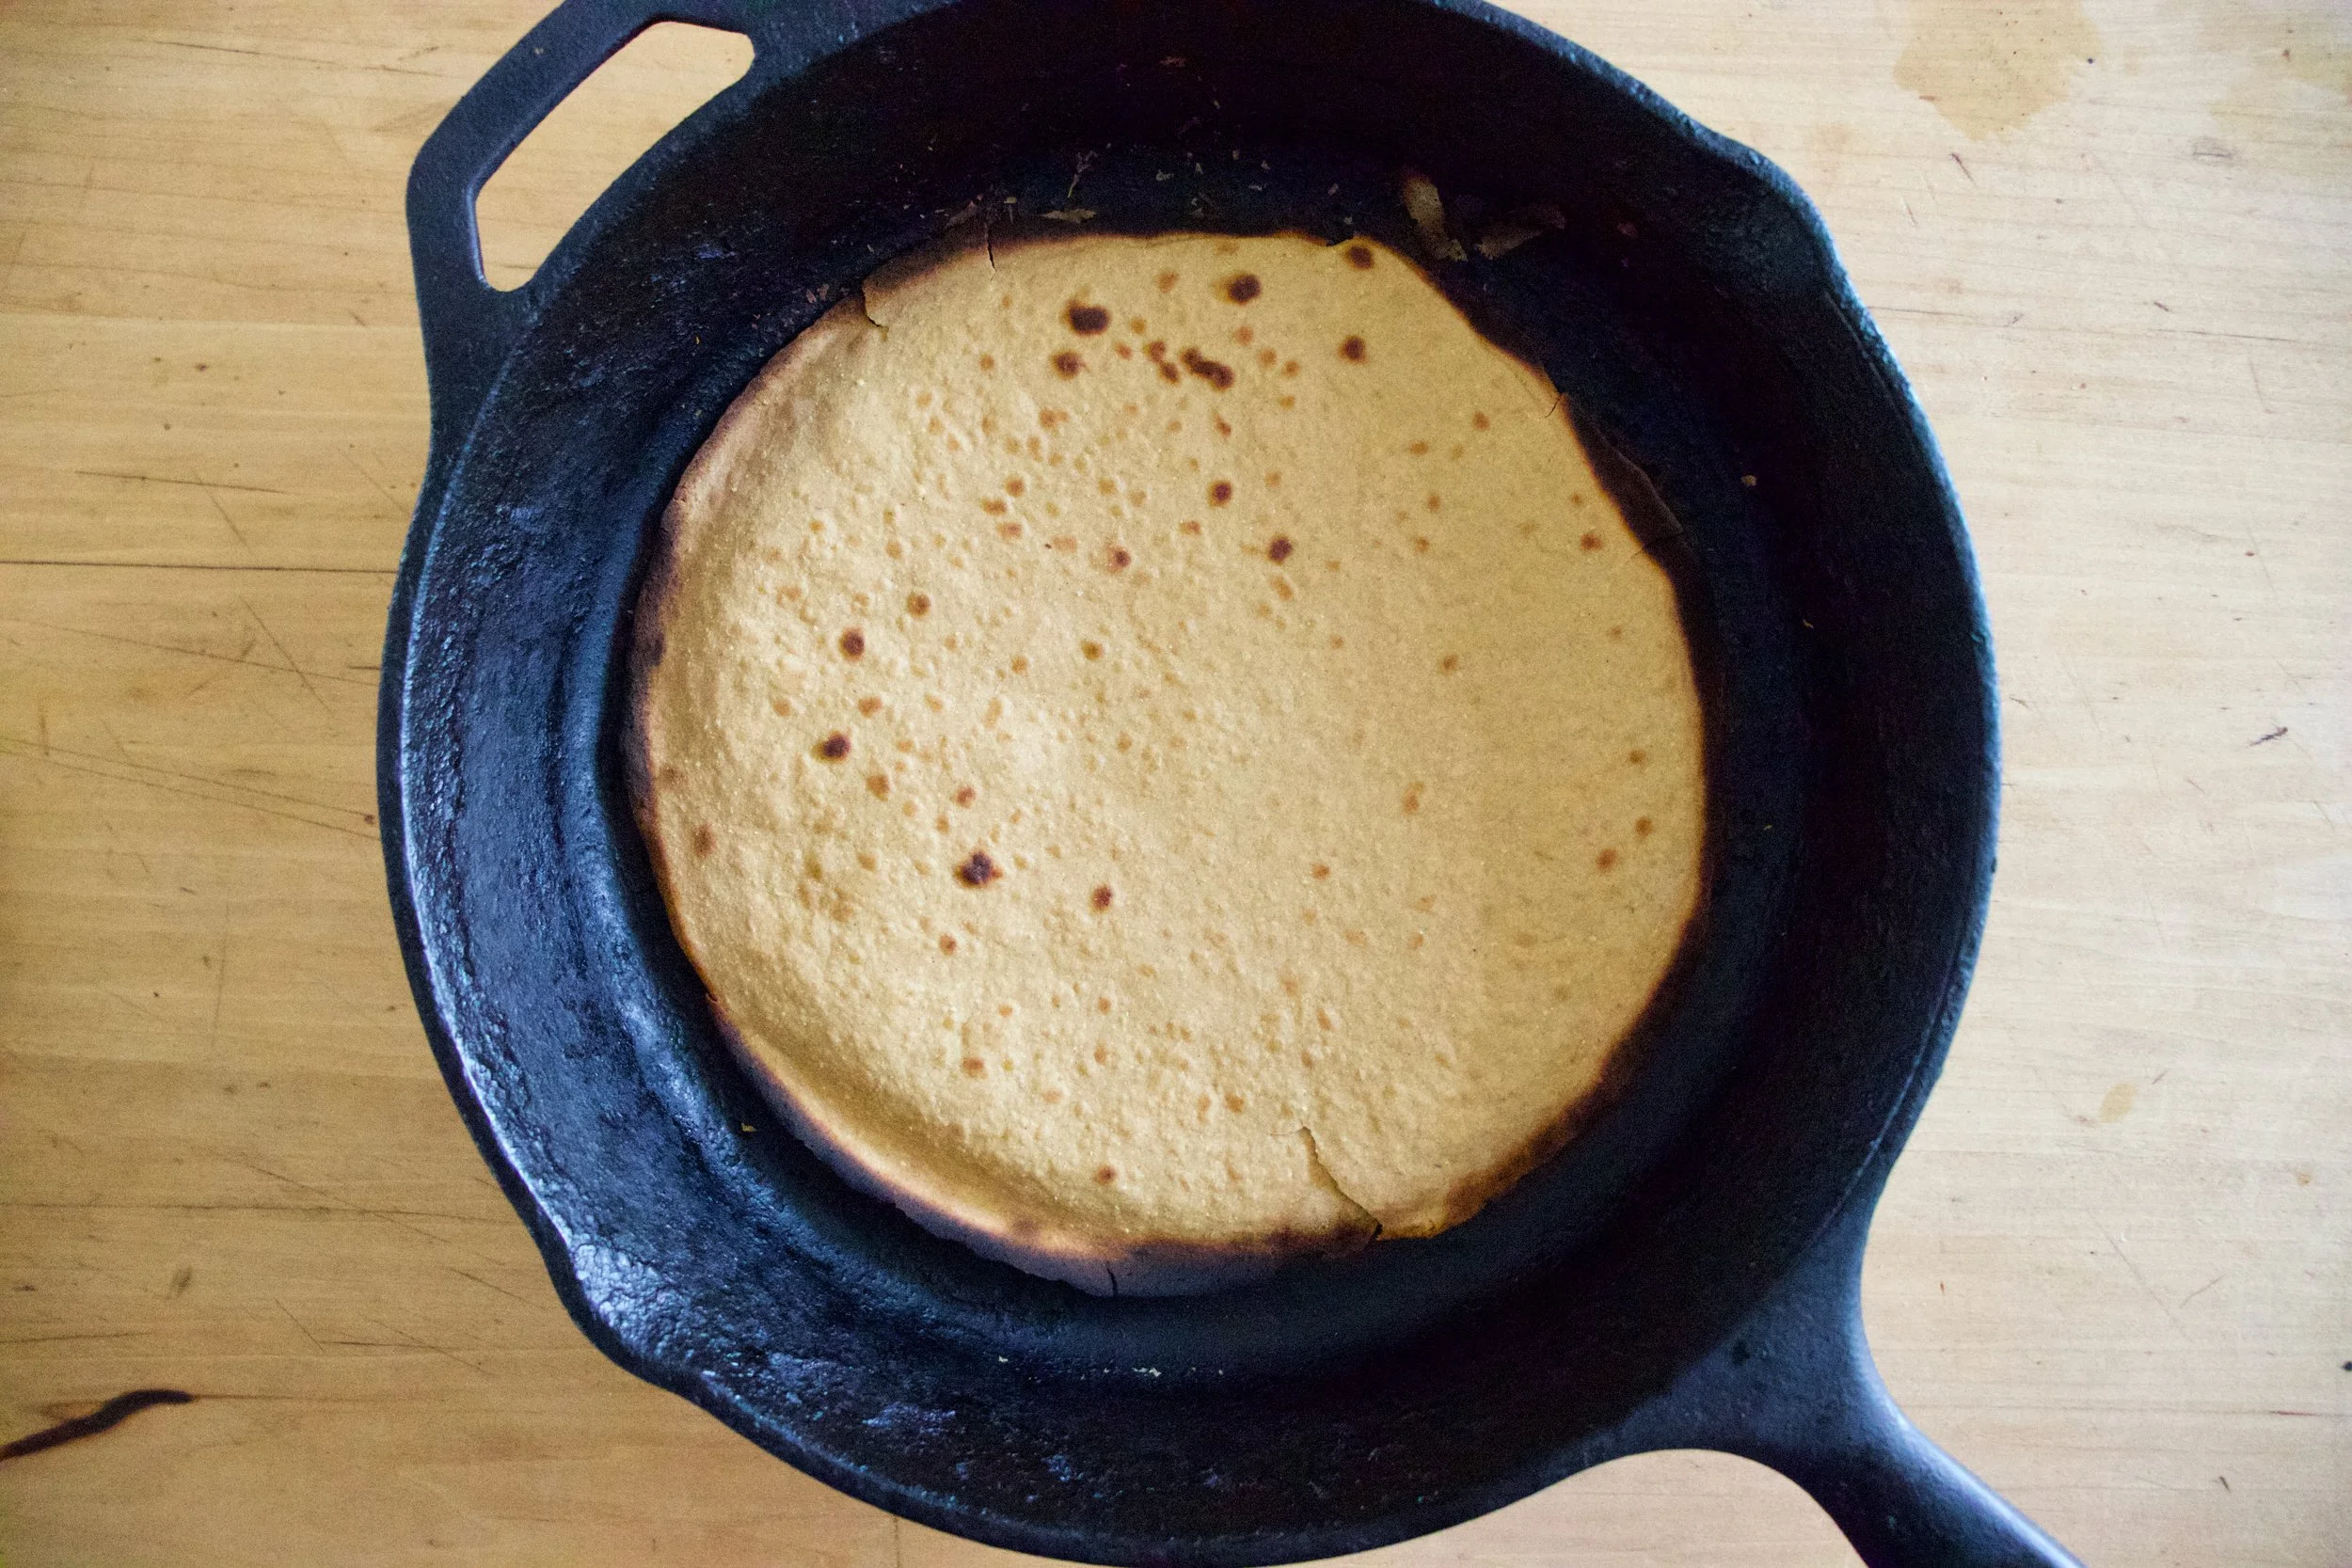
Out from the broiler. Cooked and slightly blistered. I went easy on this one. The next one got a few more blisters.
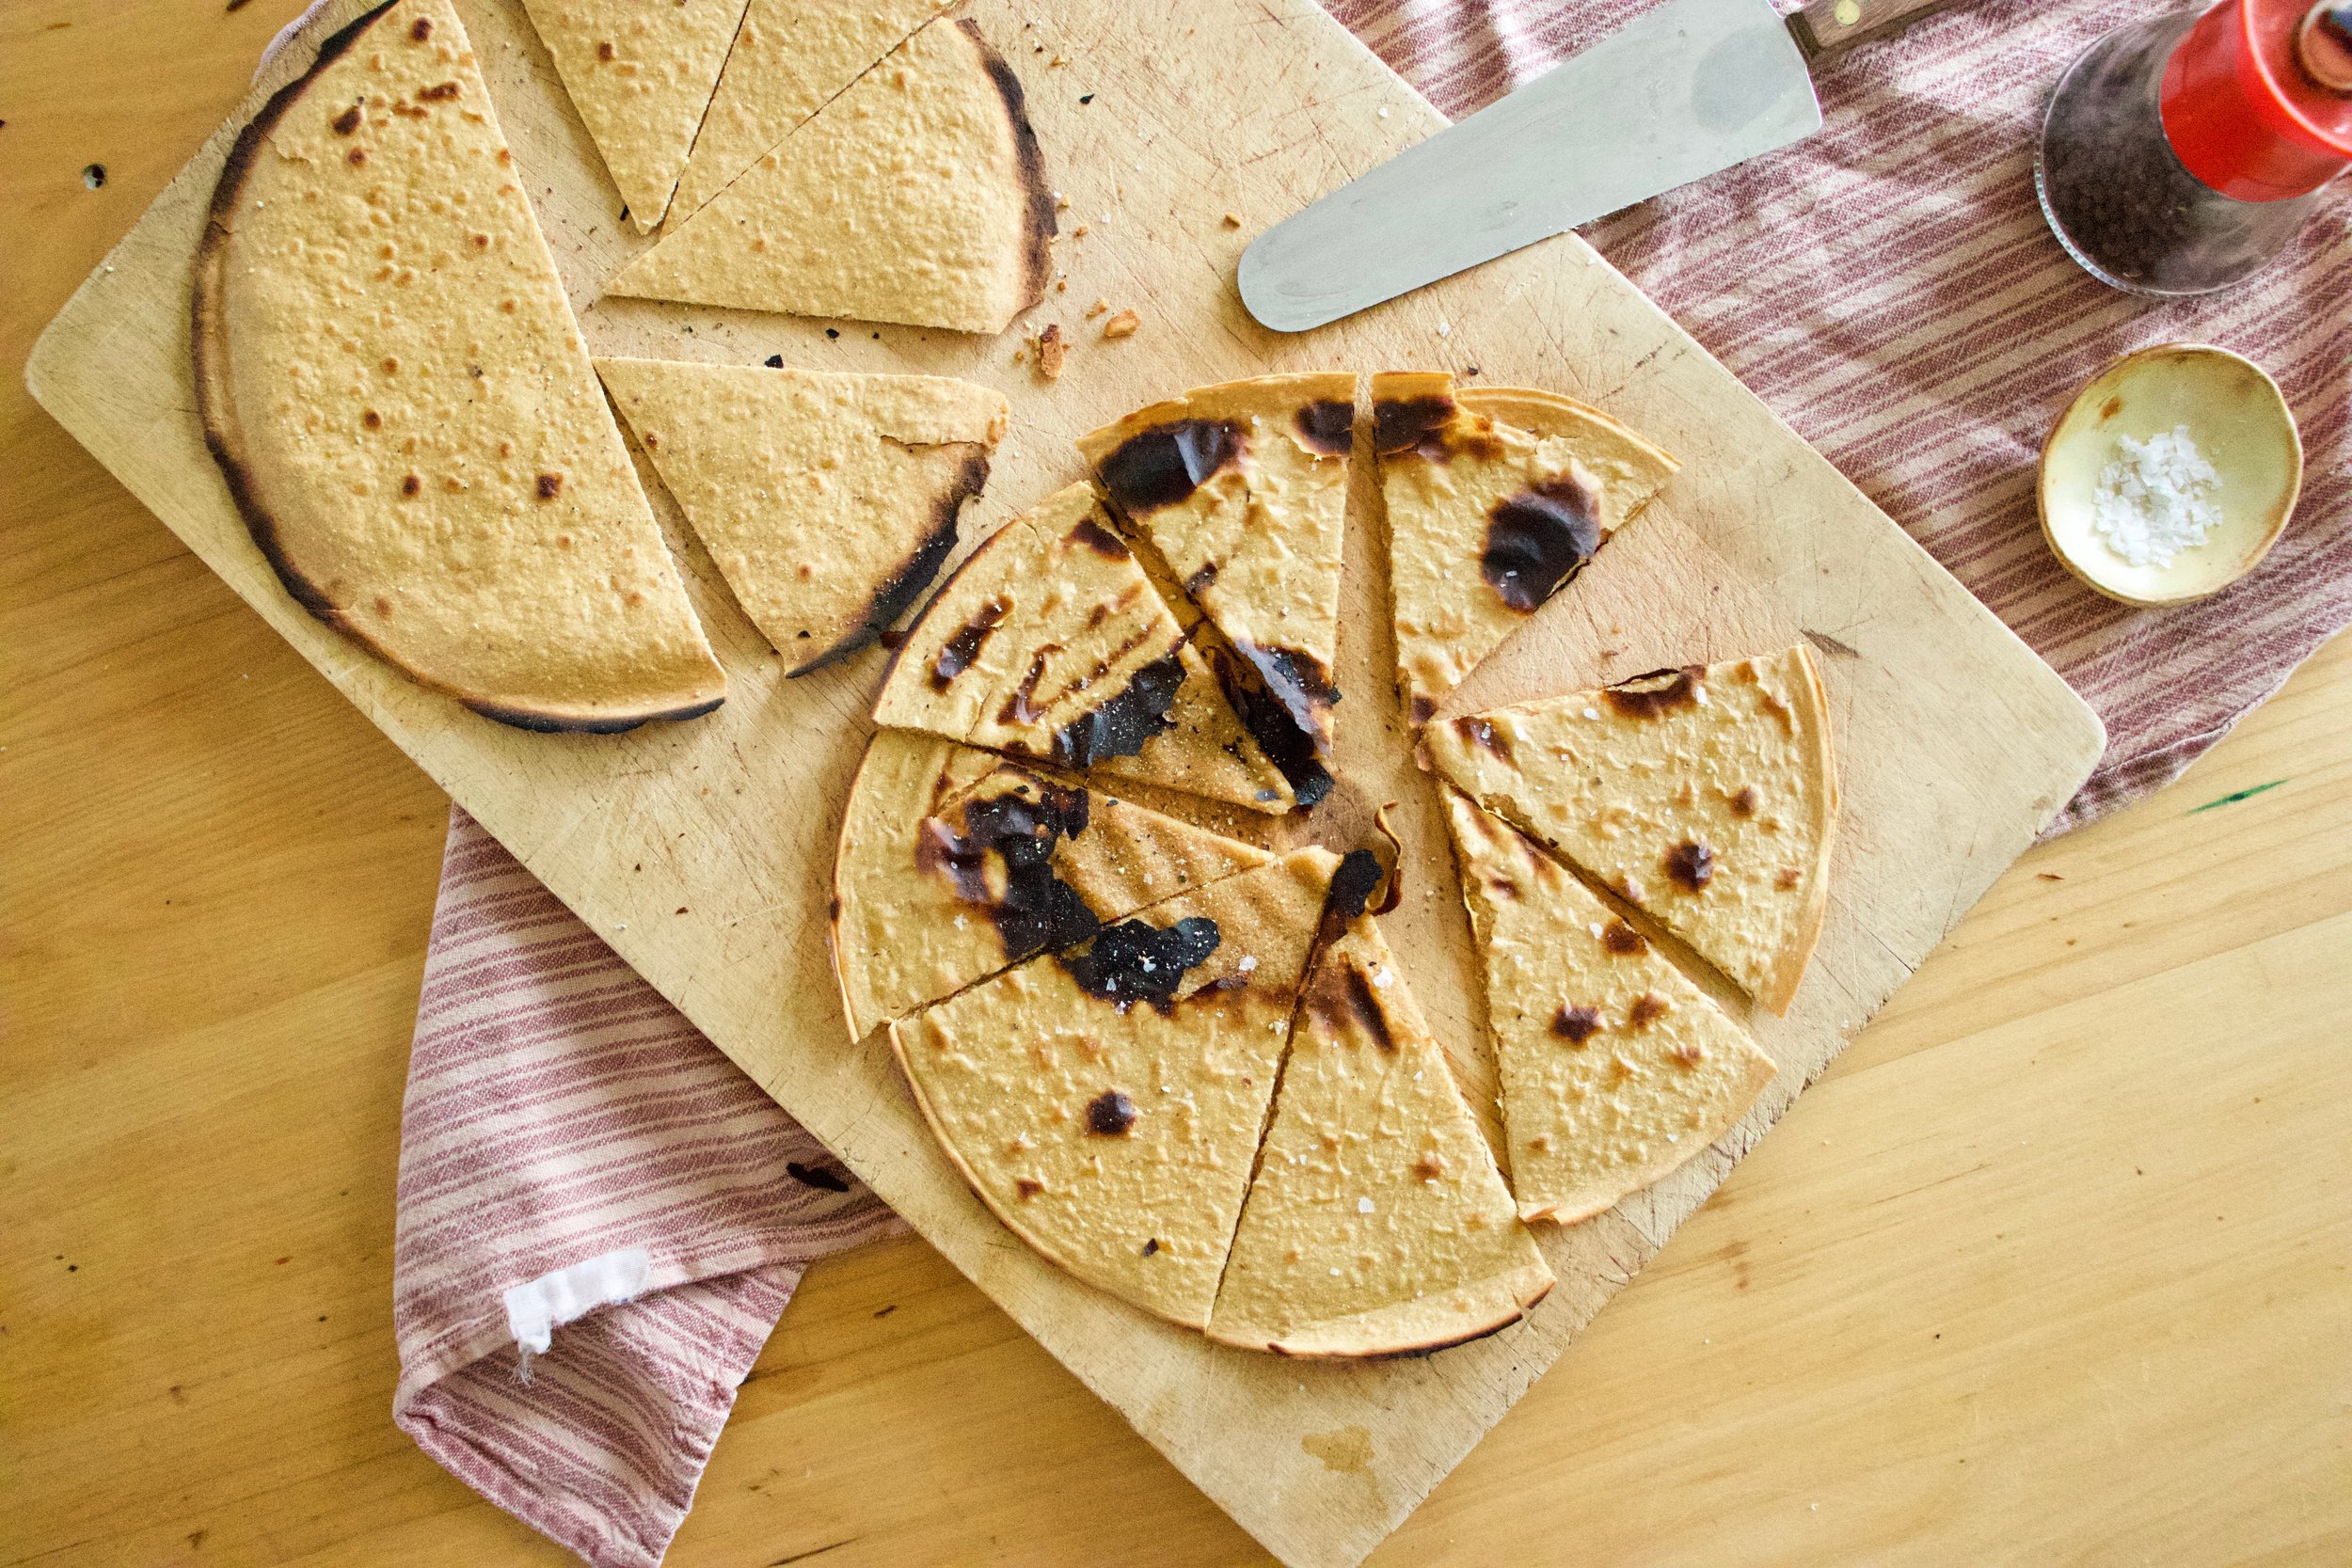
2 soccas, one a little thicker then the other. One a little more blistered then the other. Both in my belly.
So many Soccas to come.
So. many. Soccas.
-C
makes two 10 inch soccas
-
1 cup chickpea flour
-
1 cup room temperature water
-
1/2 teaspoon salt
-
olive oil for pan
Mix chickpea flour, salt and water together into a bowl until smooth. Let mixture rest for at least half an hour or up to a day.
When ready to make the socca, preheat oven to 450 with a 10 inch oven safe skillet (I used cast iron but any oven safe dish would work) in oven.
Once oven reaches temp, turn oven over to broil and place skillet under it for a minute to really heat the skillet. Carefully, with oven mitts, remove hot skillet from oven and brush or pour a smidge of oil into the hot skillet to coat bottom. Pour in half the batter and tilt around until bottom is coated then place skillet back into oven under broiler and cook for 4 -8 minutes or until the socca starts to blister. (it kind of depends on your broiler so keep a close eye on it) Remove from oven and slip socca onto cutting board. Sprinkle with salt and pepper. Drizzle with olive oil if you like. Then all you do is cut and eat.
Left over socca can be stored in fridge and reheated in oven or toaster.
Note. IF you want a slightly thicker socca, use a 8 inch skillet. For a thiner, more cracker like socca, pour in 1/3 of the batter at a time (you will end up with 3 instead of 2)
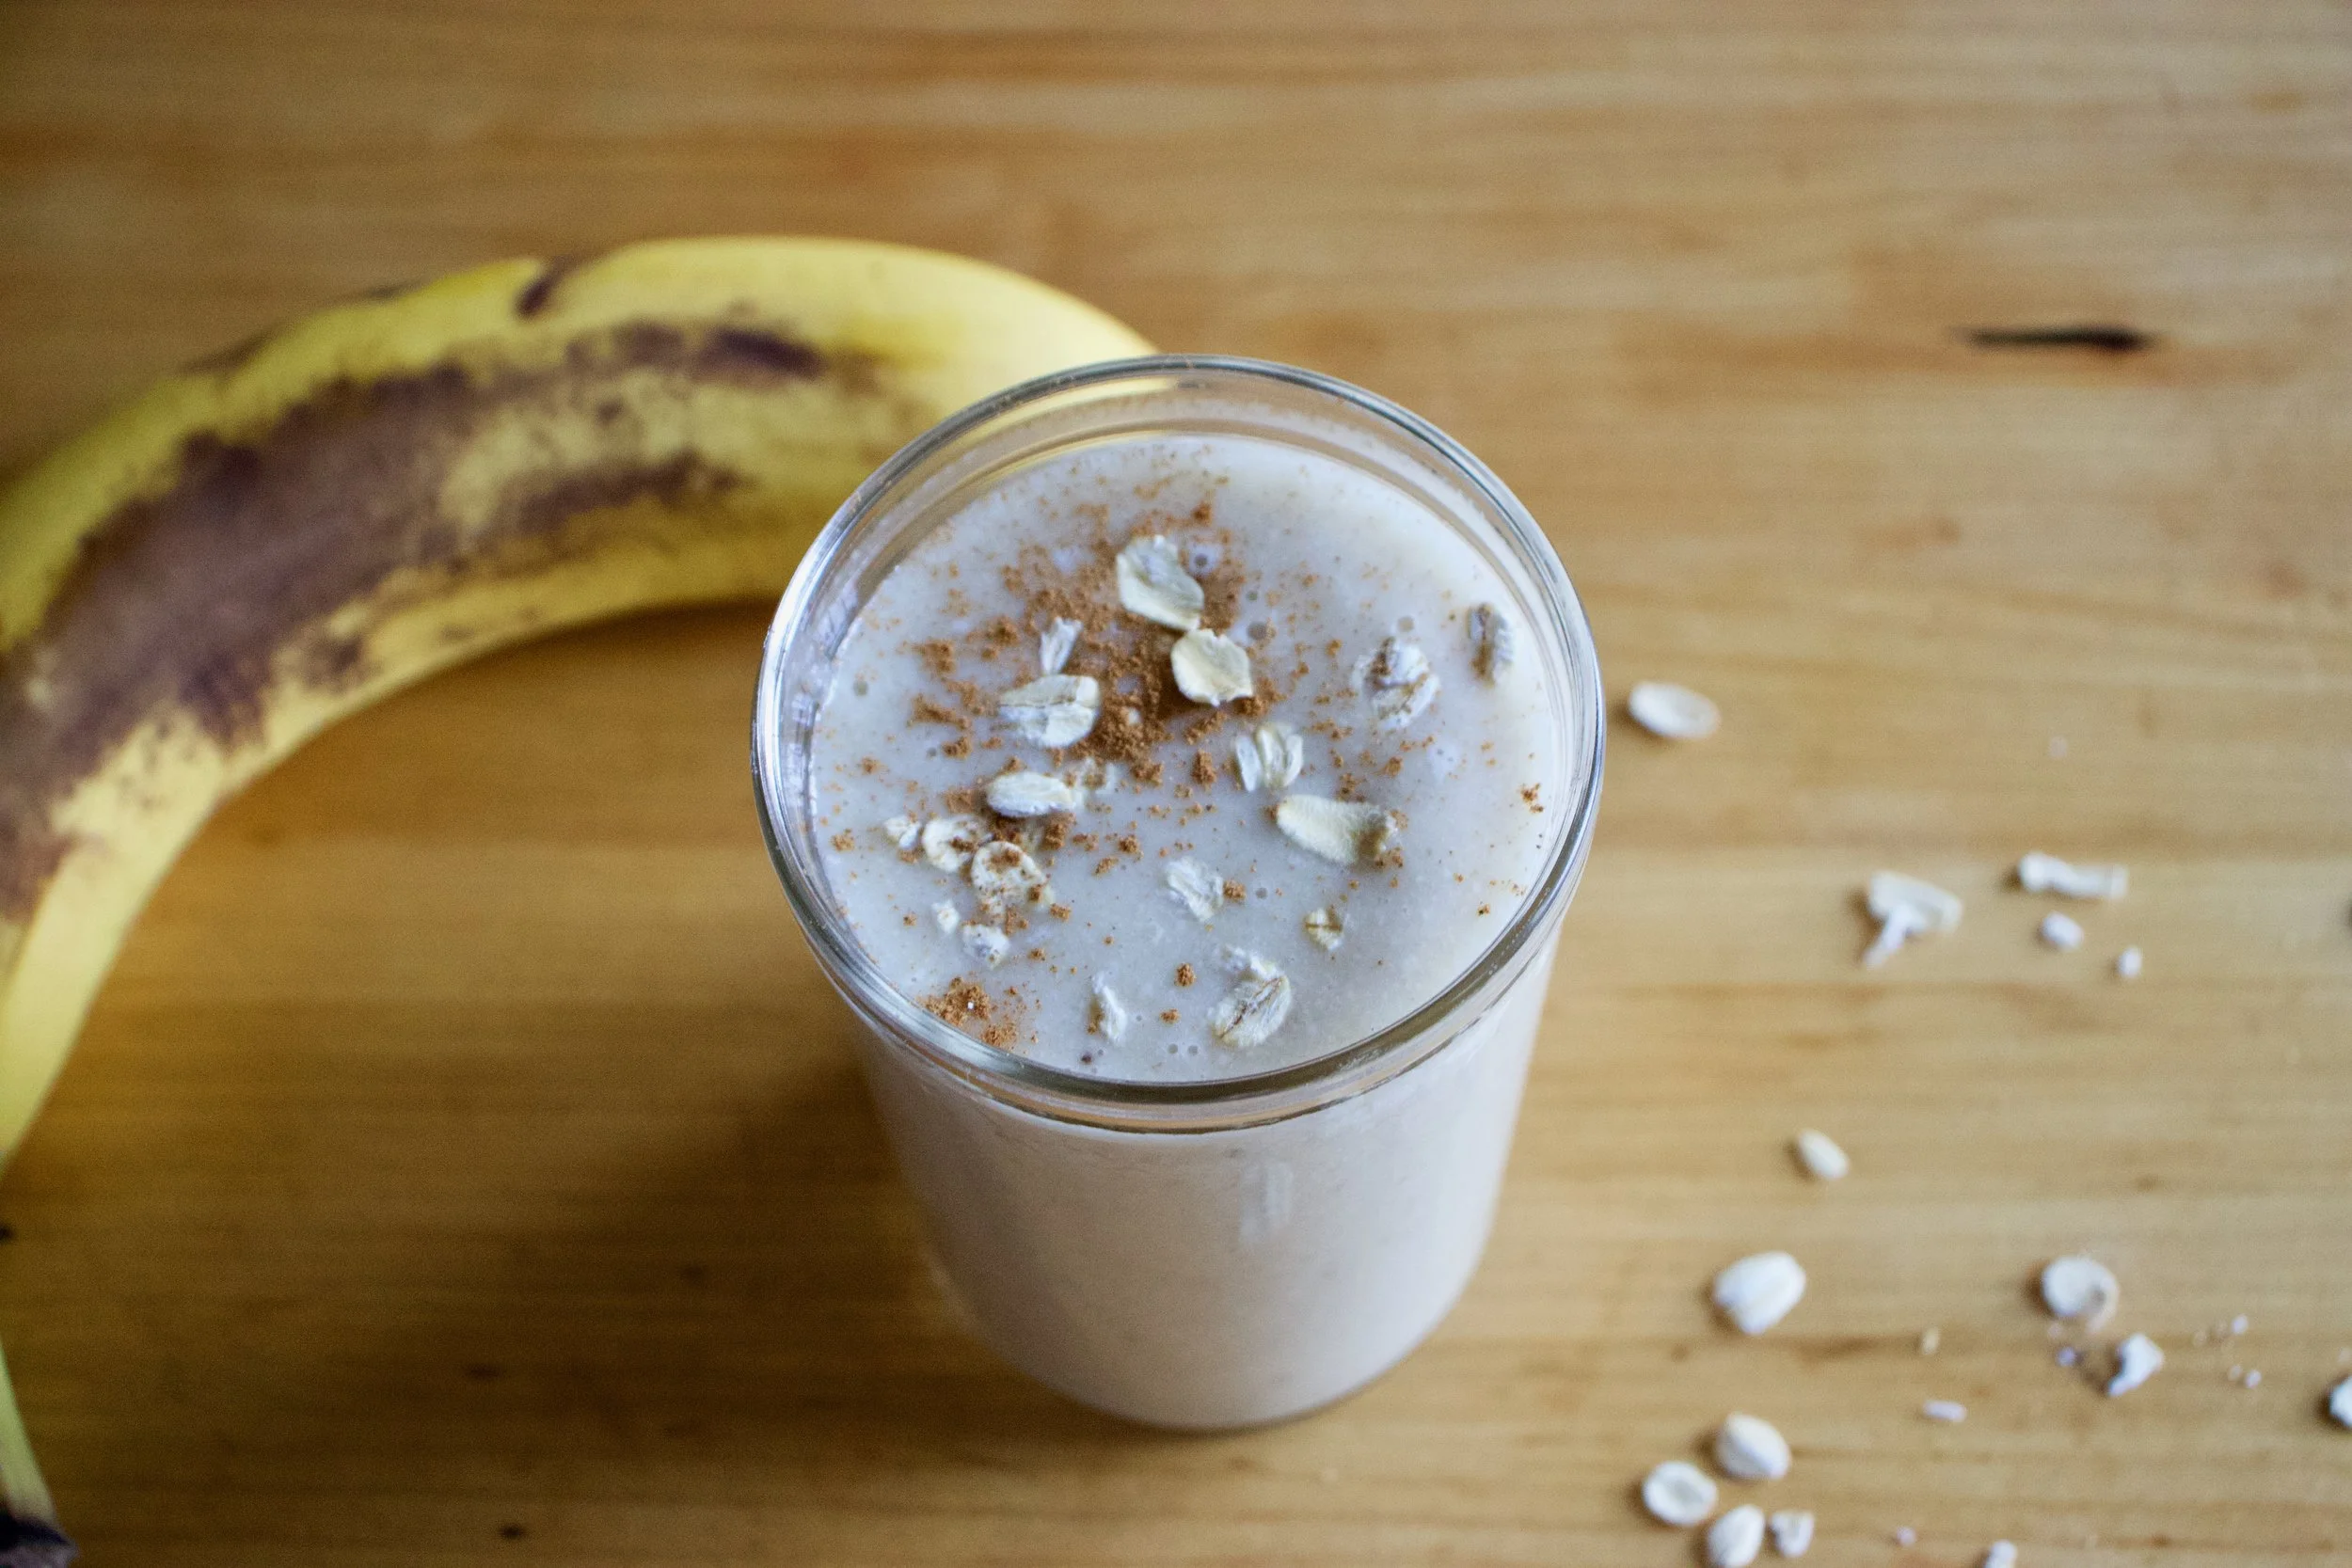
It%u2019s a smoothie. And no, we have never really been smoothie people in this house, but what can I say, sometimes smoothies happen, especially when you have about 20 ripe bananas in the fruit bowl with no room in the freezer and no need for 7 loafs of banana bread.
So I smoothied. And I like it (a lot).
This is a smoothie of simplicity. Nothing fancy. Simplest of simple. Straight to the point. And all sorts of good.
You might think, does this simple smoothie you speak of taste very good? Yes, yes indeed it does. It is all sorts of fantastic. Basically if you like creamy, nutty, oaty, bananery things, you will like this. And it%u2019s a perfect breakfast, snack, dessert, or just wanting a little treat like thing that is not garbage food. A smoothie of all smoothies with the most basic ingredients. And takes about 15 seconds to whip up. Can%u2019t complain about that.
To the smoothie goodness!

The stuff. A ripe banana, some old fashion rolled oats, a pinch of salt, water, and a smidge of maple syrup if you want it.
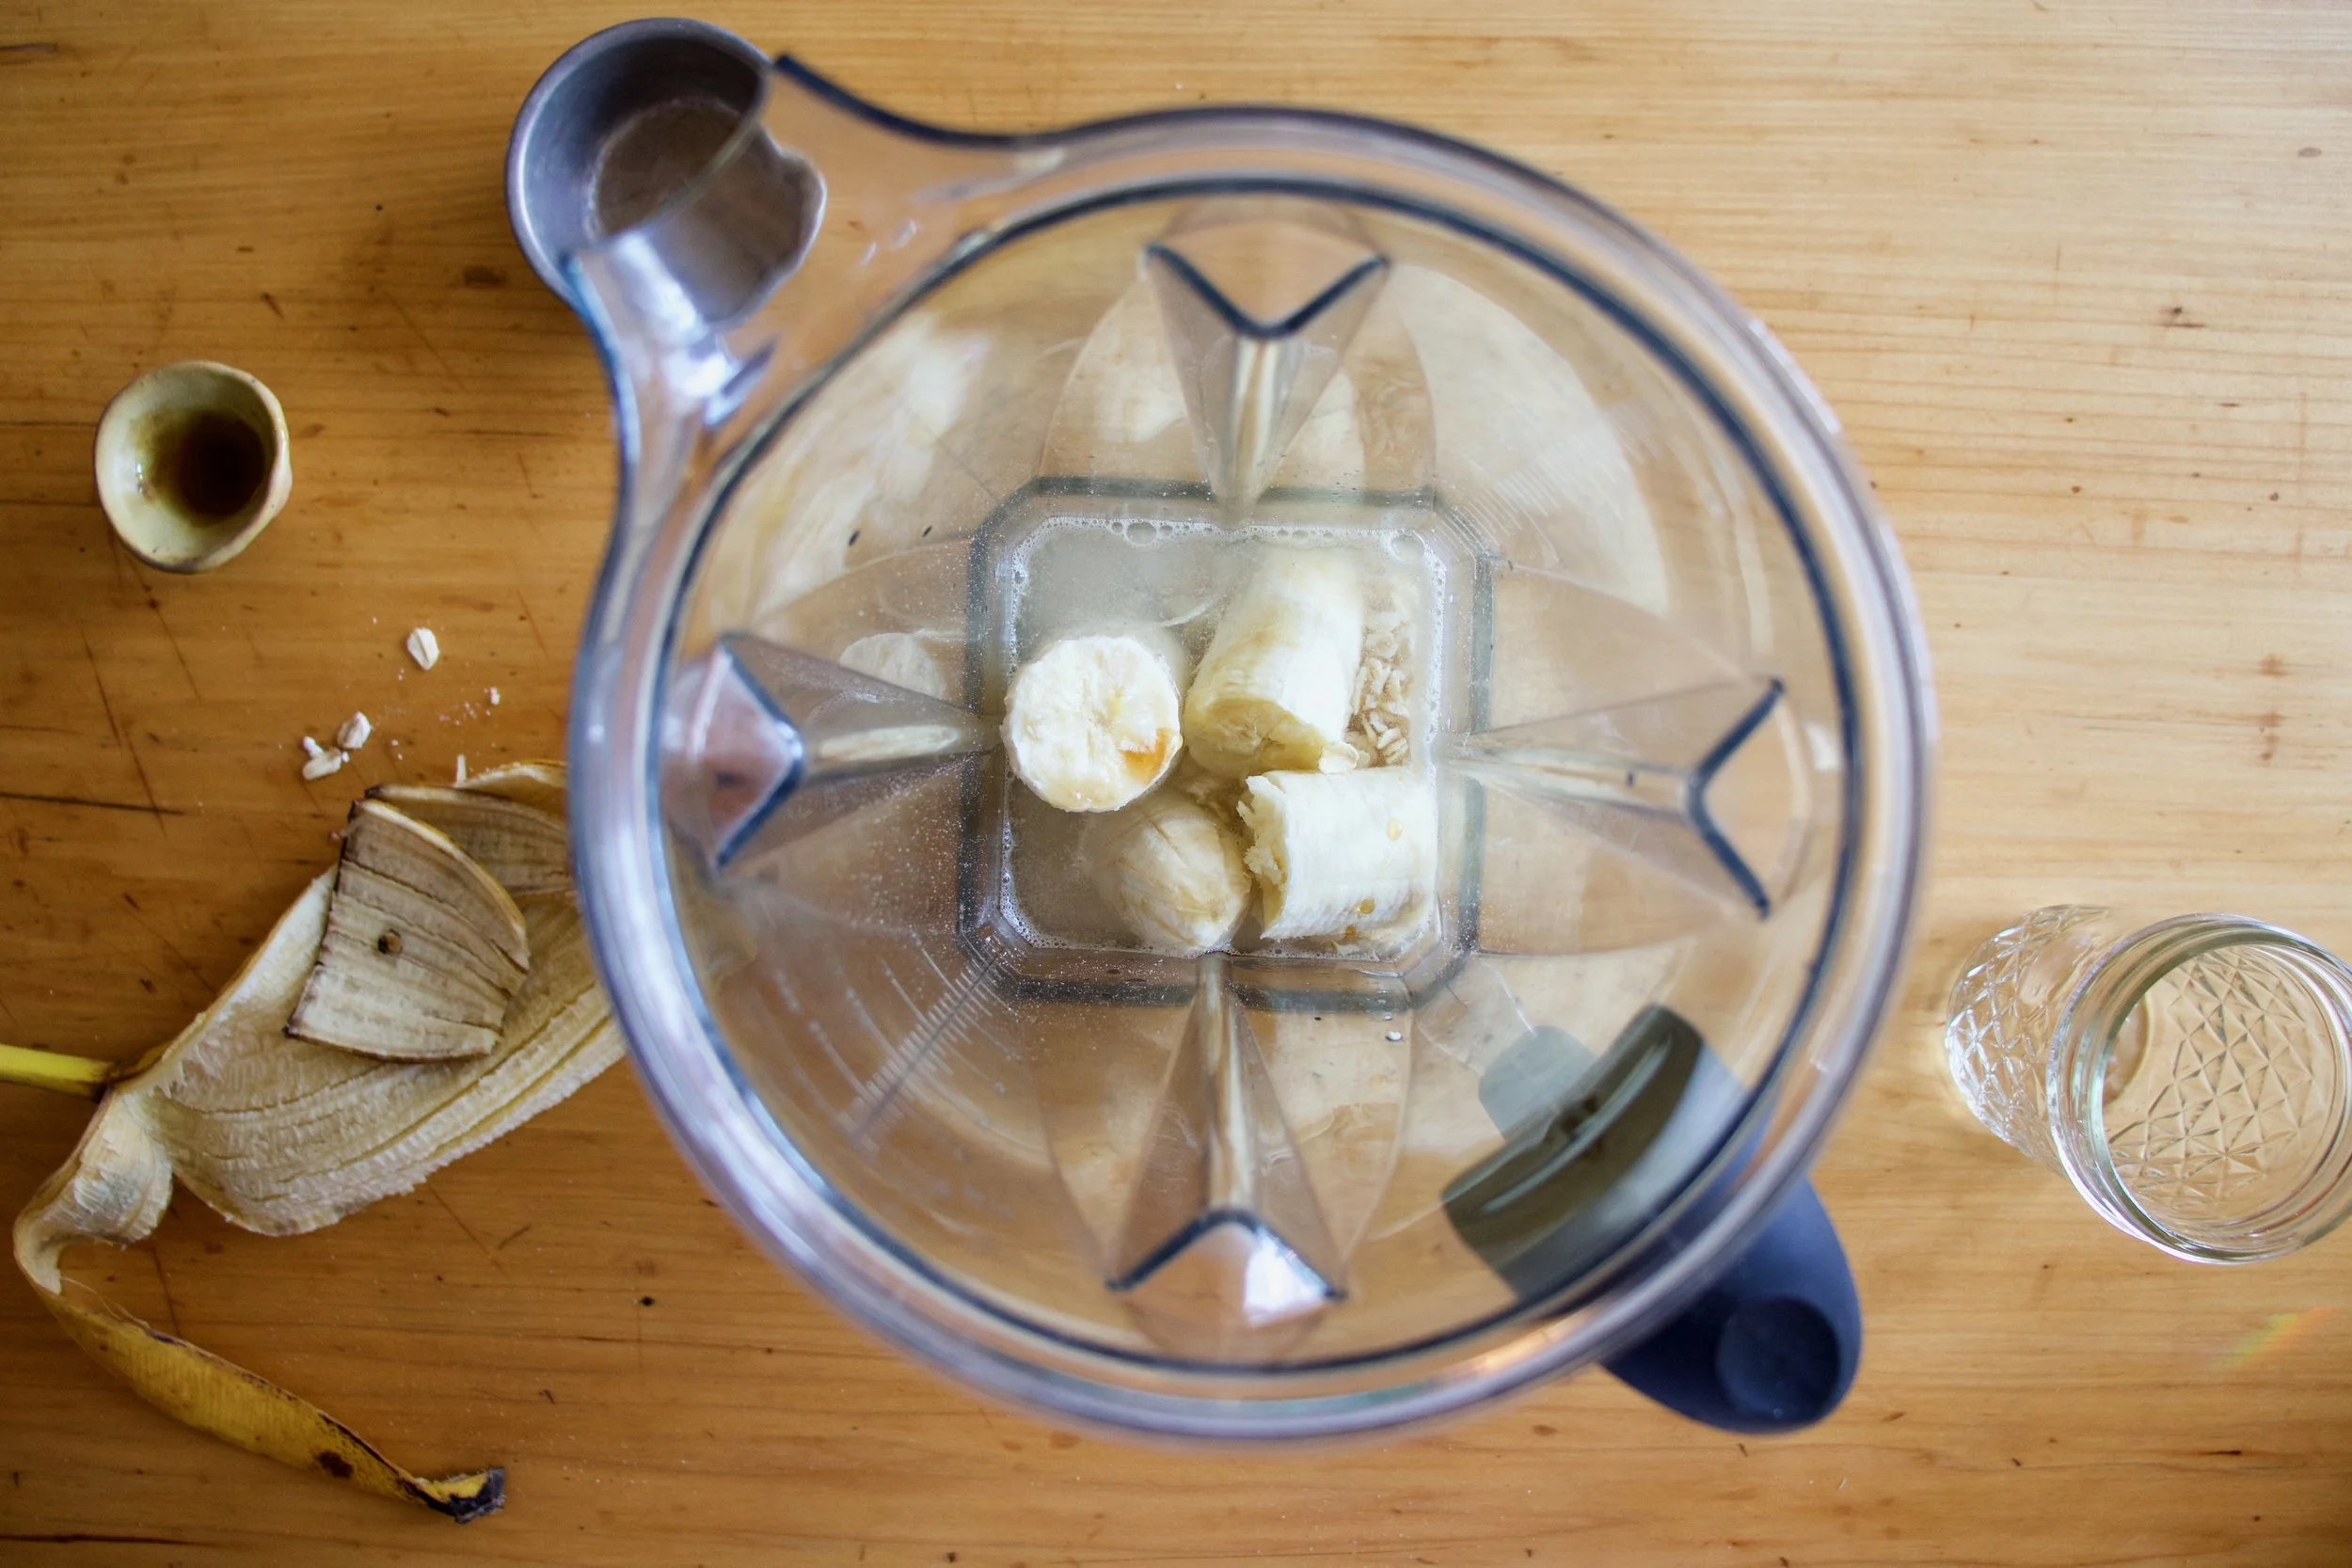
Everything goes into blender.

And blended until smooth. Hence the word smoothie.
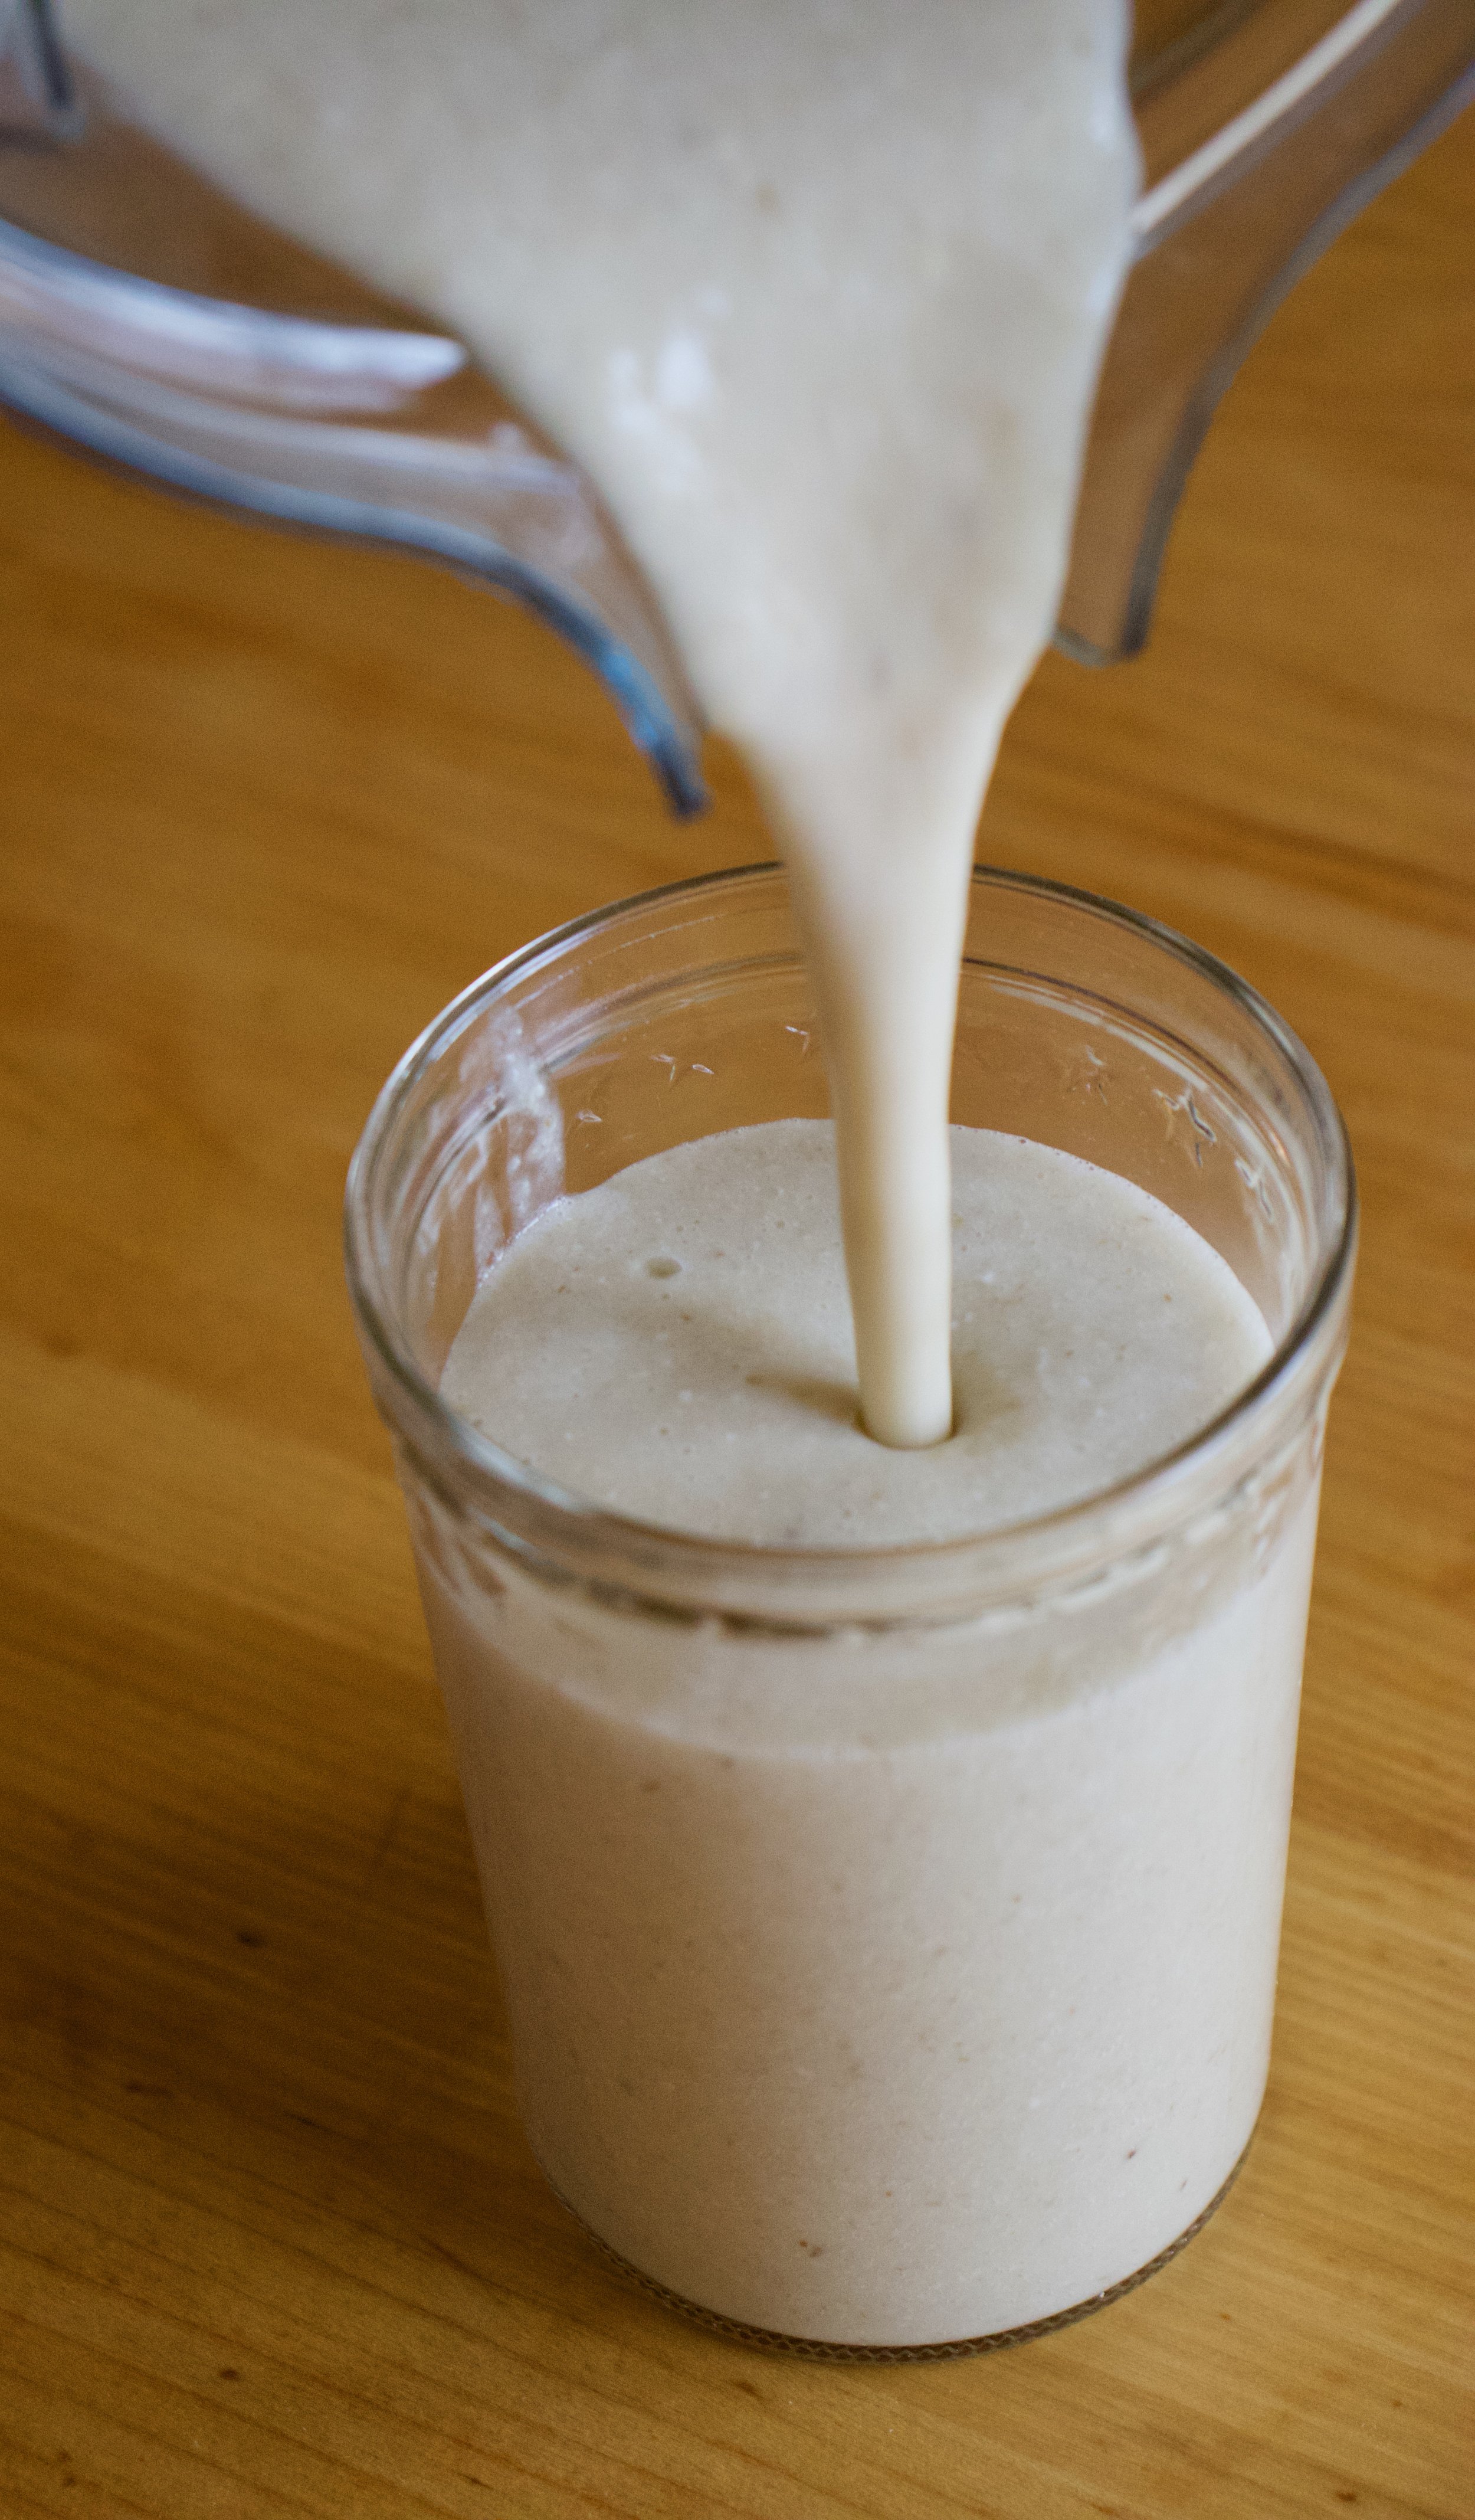
Pour it into a cup (or if you are feeling primal, drink it straight from the blender%u2026 it%u2019s totally cool)

And done.
A banana oat smoothie.
Let the good time roll!
-C
makes 1 smoothie
-
1 very ripe banana
-
1/3 cup raw old fashion oats
-
1 1/2 cups water
-
pinch of salt
-
a tablespoon or two of any sweetener you like (optional)
-
a pinch of cinnamon (optional)
Place everything into a blender and blend until smooth. Pour into a cup, sprinkle with cinnamon if you wish, and drink right away.
It is getting oh so much nicer out yeah? Springing and such, well kind of. Still a wee bit chillier then it should be around here but still, it is spring and I am taking it.
And with the spring, I feel the itch, the itch to spend all of my free time outside. Out doing things that are not inside because I spent the last 7 long months inside way too much. I needed to be outside as much as possible and as it gets even nicer and warmer and garden temperature-able, I am basically going to be living outside.
Bring in sesame noodles. Super fast, super easy, super duper in every way. Make a big old batch and eat now, eat later, eat hot or eat cold. Everyone loves them, they love you, etc. etc%u2026 A perfect meal to have in rotation when you know that you are not going to have or want to spend much time cooking in the kitchen because you will be outside playing in the dirt and soaking up the sun. And think about all the picnics and BBQ%u2019s to come. These suckers are fantastic to have at any outdoor eating event. They are even peanut free so you can safely bring them to potlucks and such and don%u2019t have to worry about accidentally kill a peanut allergy person. And you can make them gluten free as well if you sub in your favorite gluten free pasta. These noodles, I am telling you. They are a winner in every way.
So with out further ado, the noodles!

The stuff. Spaghetti noodles, tahini, a few cloves of garlic, some toasted sesame oil, soy sauce, red wine vinegar, honey (used whatever sweetener you like), red pepper flakes, tasted sesame seeds some cabbage, half a red onion and a carrot.
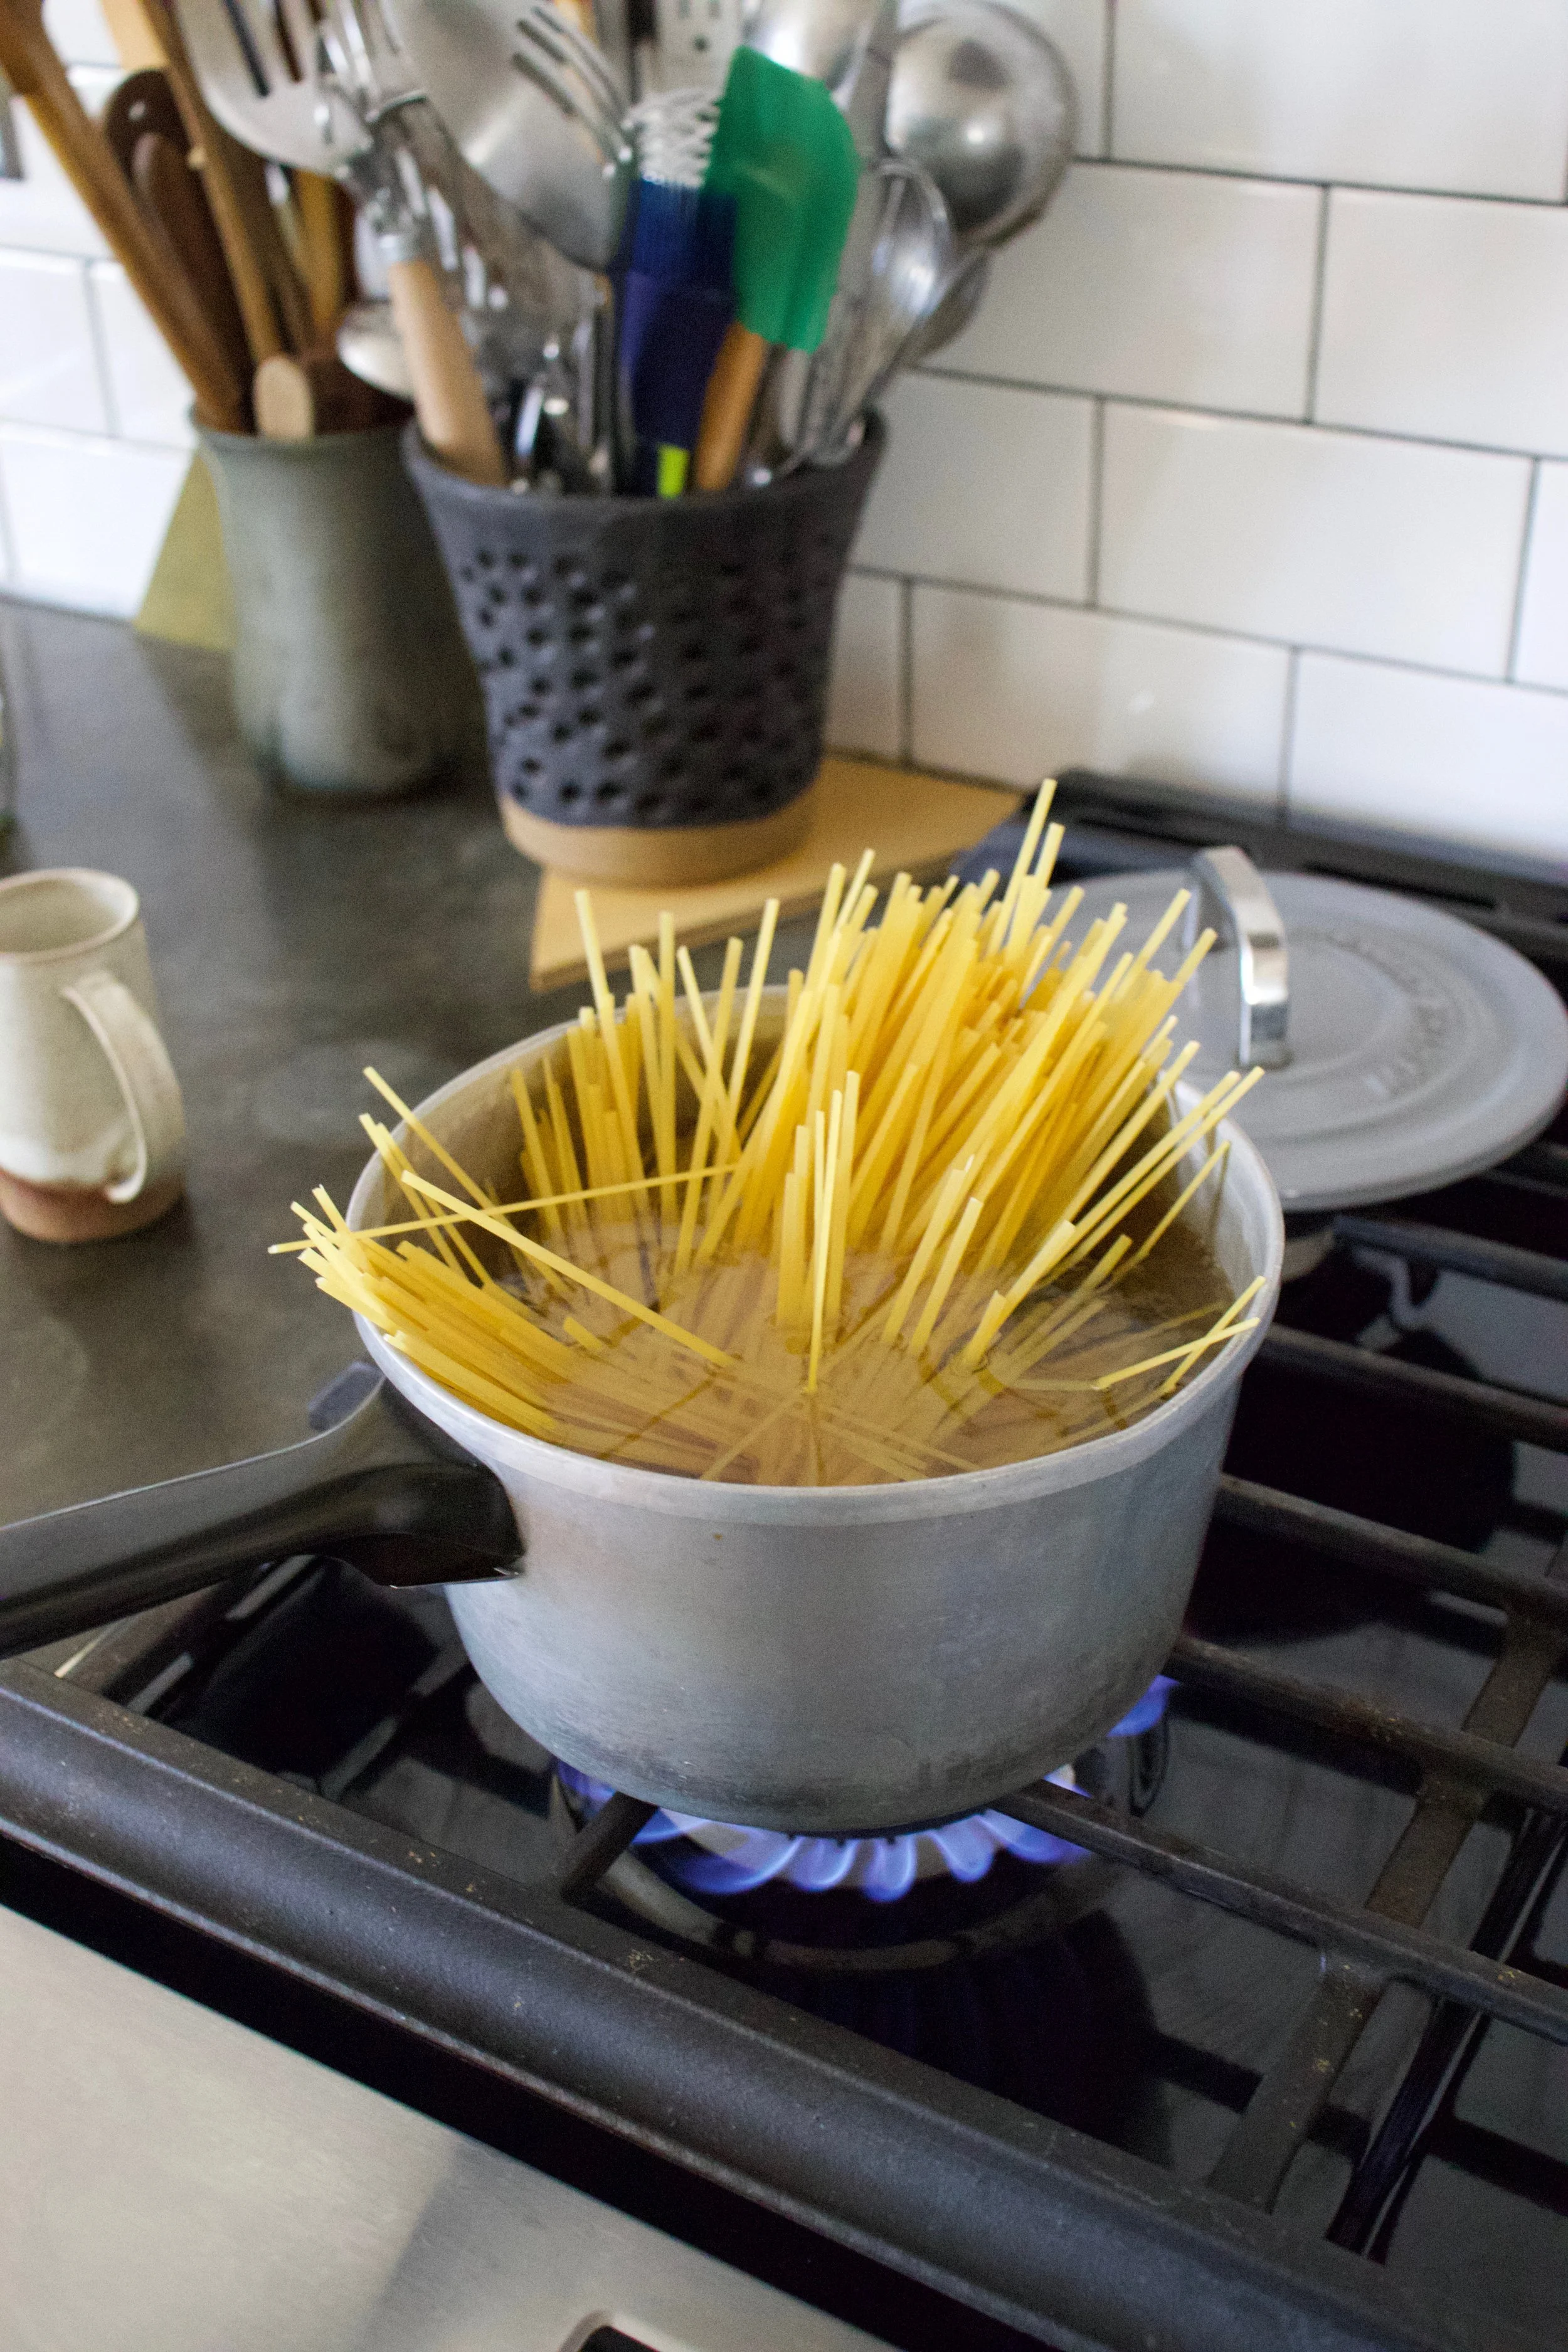
Get pasta cooking. Boil water, drop noodles in, you know the drill. Cook as long as the the noodles need cooking, just make sure to not over cook them cause soggy noodles are nasty.
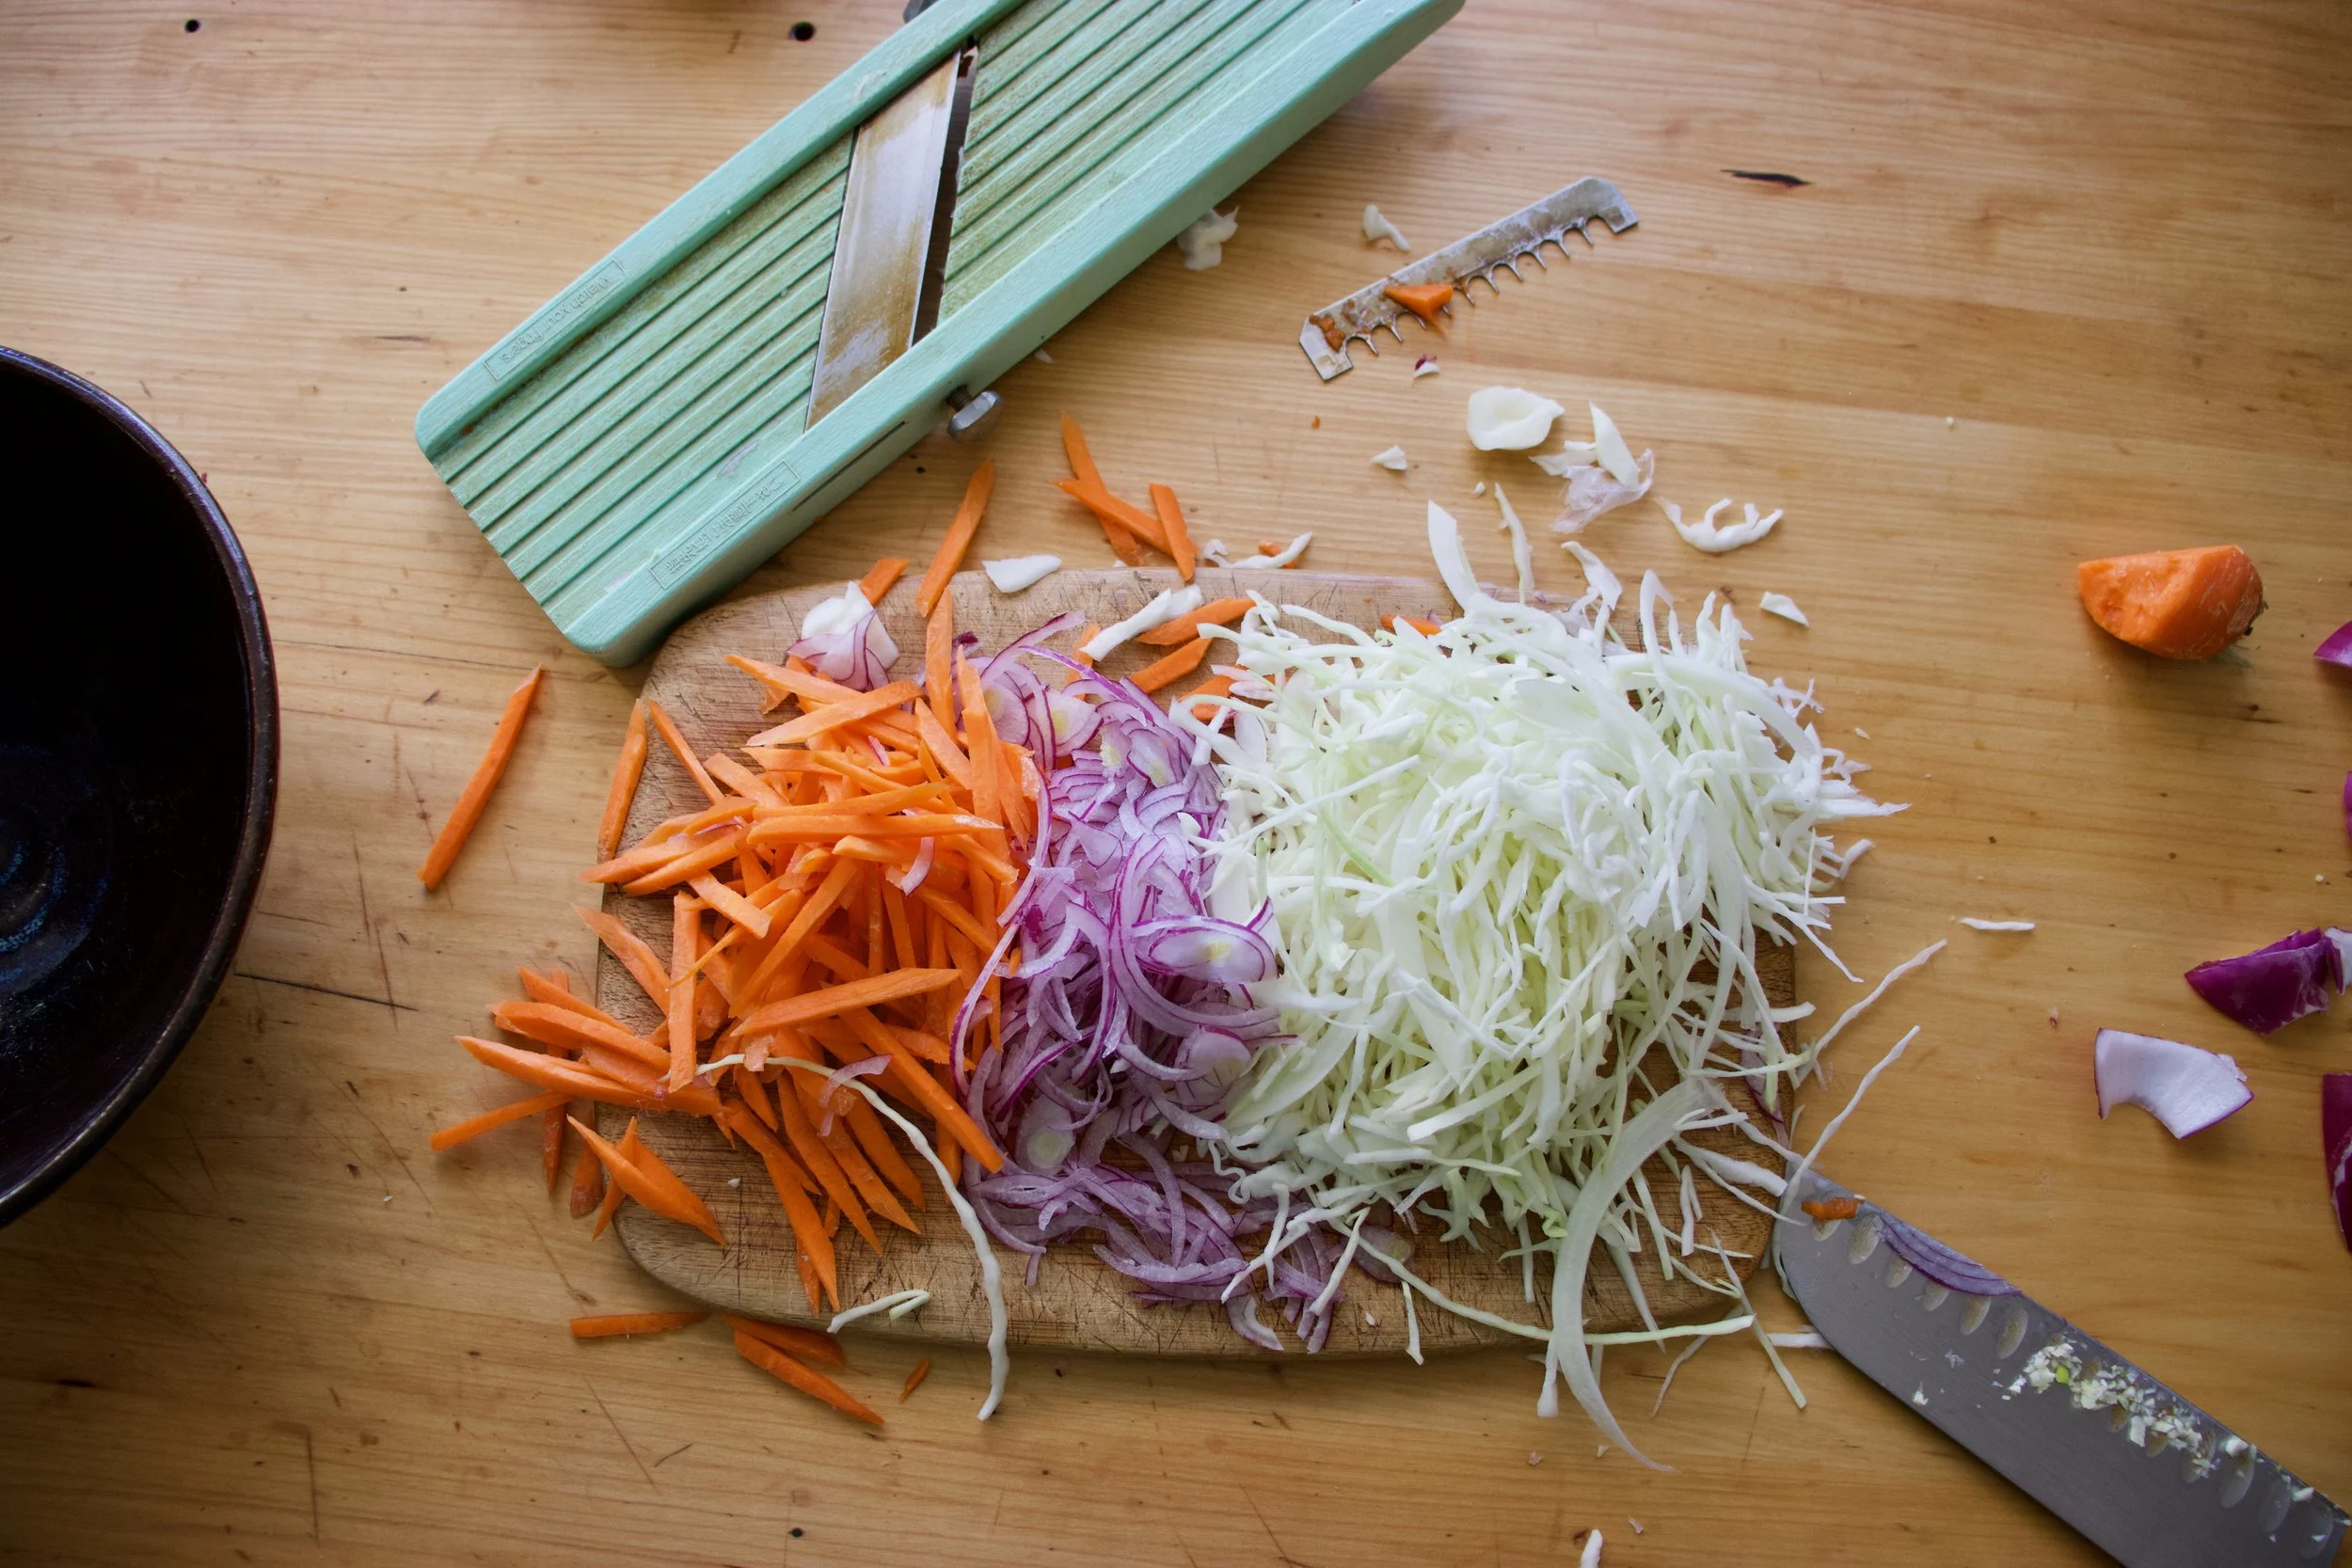
Chop, shred and julienne the cabage, onion and carrot. Nice and thin.

Mince the heck out of the garlic. Or use a garlic press if you want.
Now make the sauce. Add the minced garlic, along with the soy, sesame oil, vinegar, sweetener, and chili flakes to the bowl with the tahini. Mix, mix, mix until it is all incorporated and not lumpy. And that is that.

Noodles should be done by now so strain them out.

Add the prepared veggies to a big bowl.
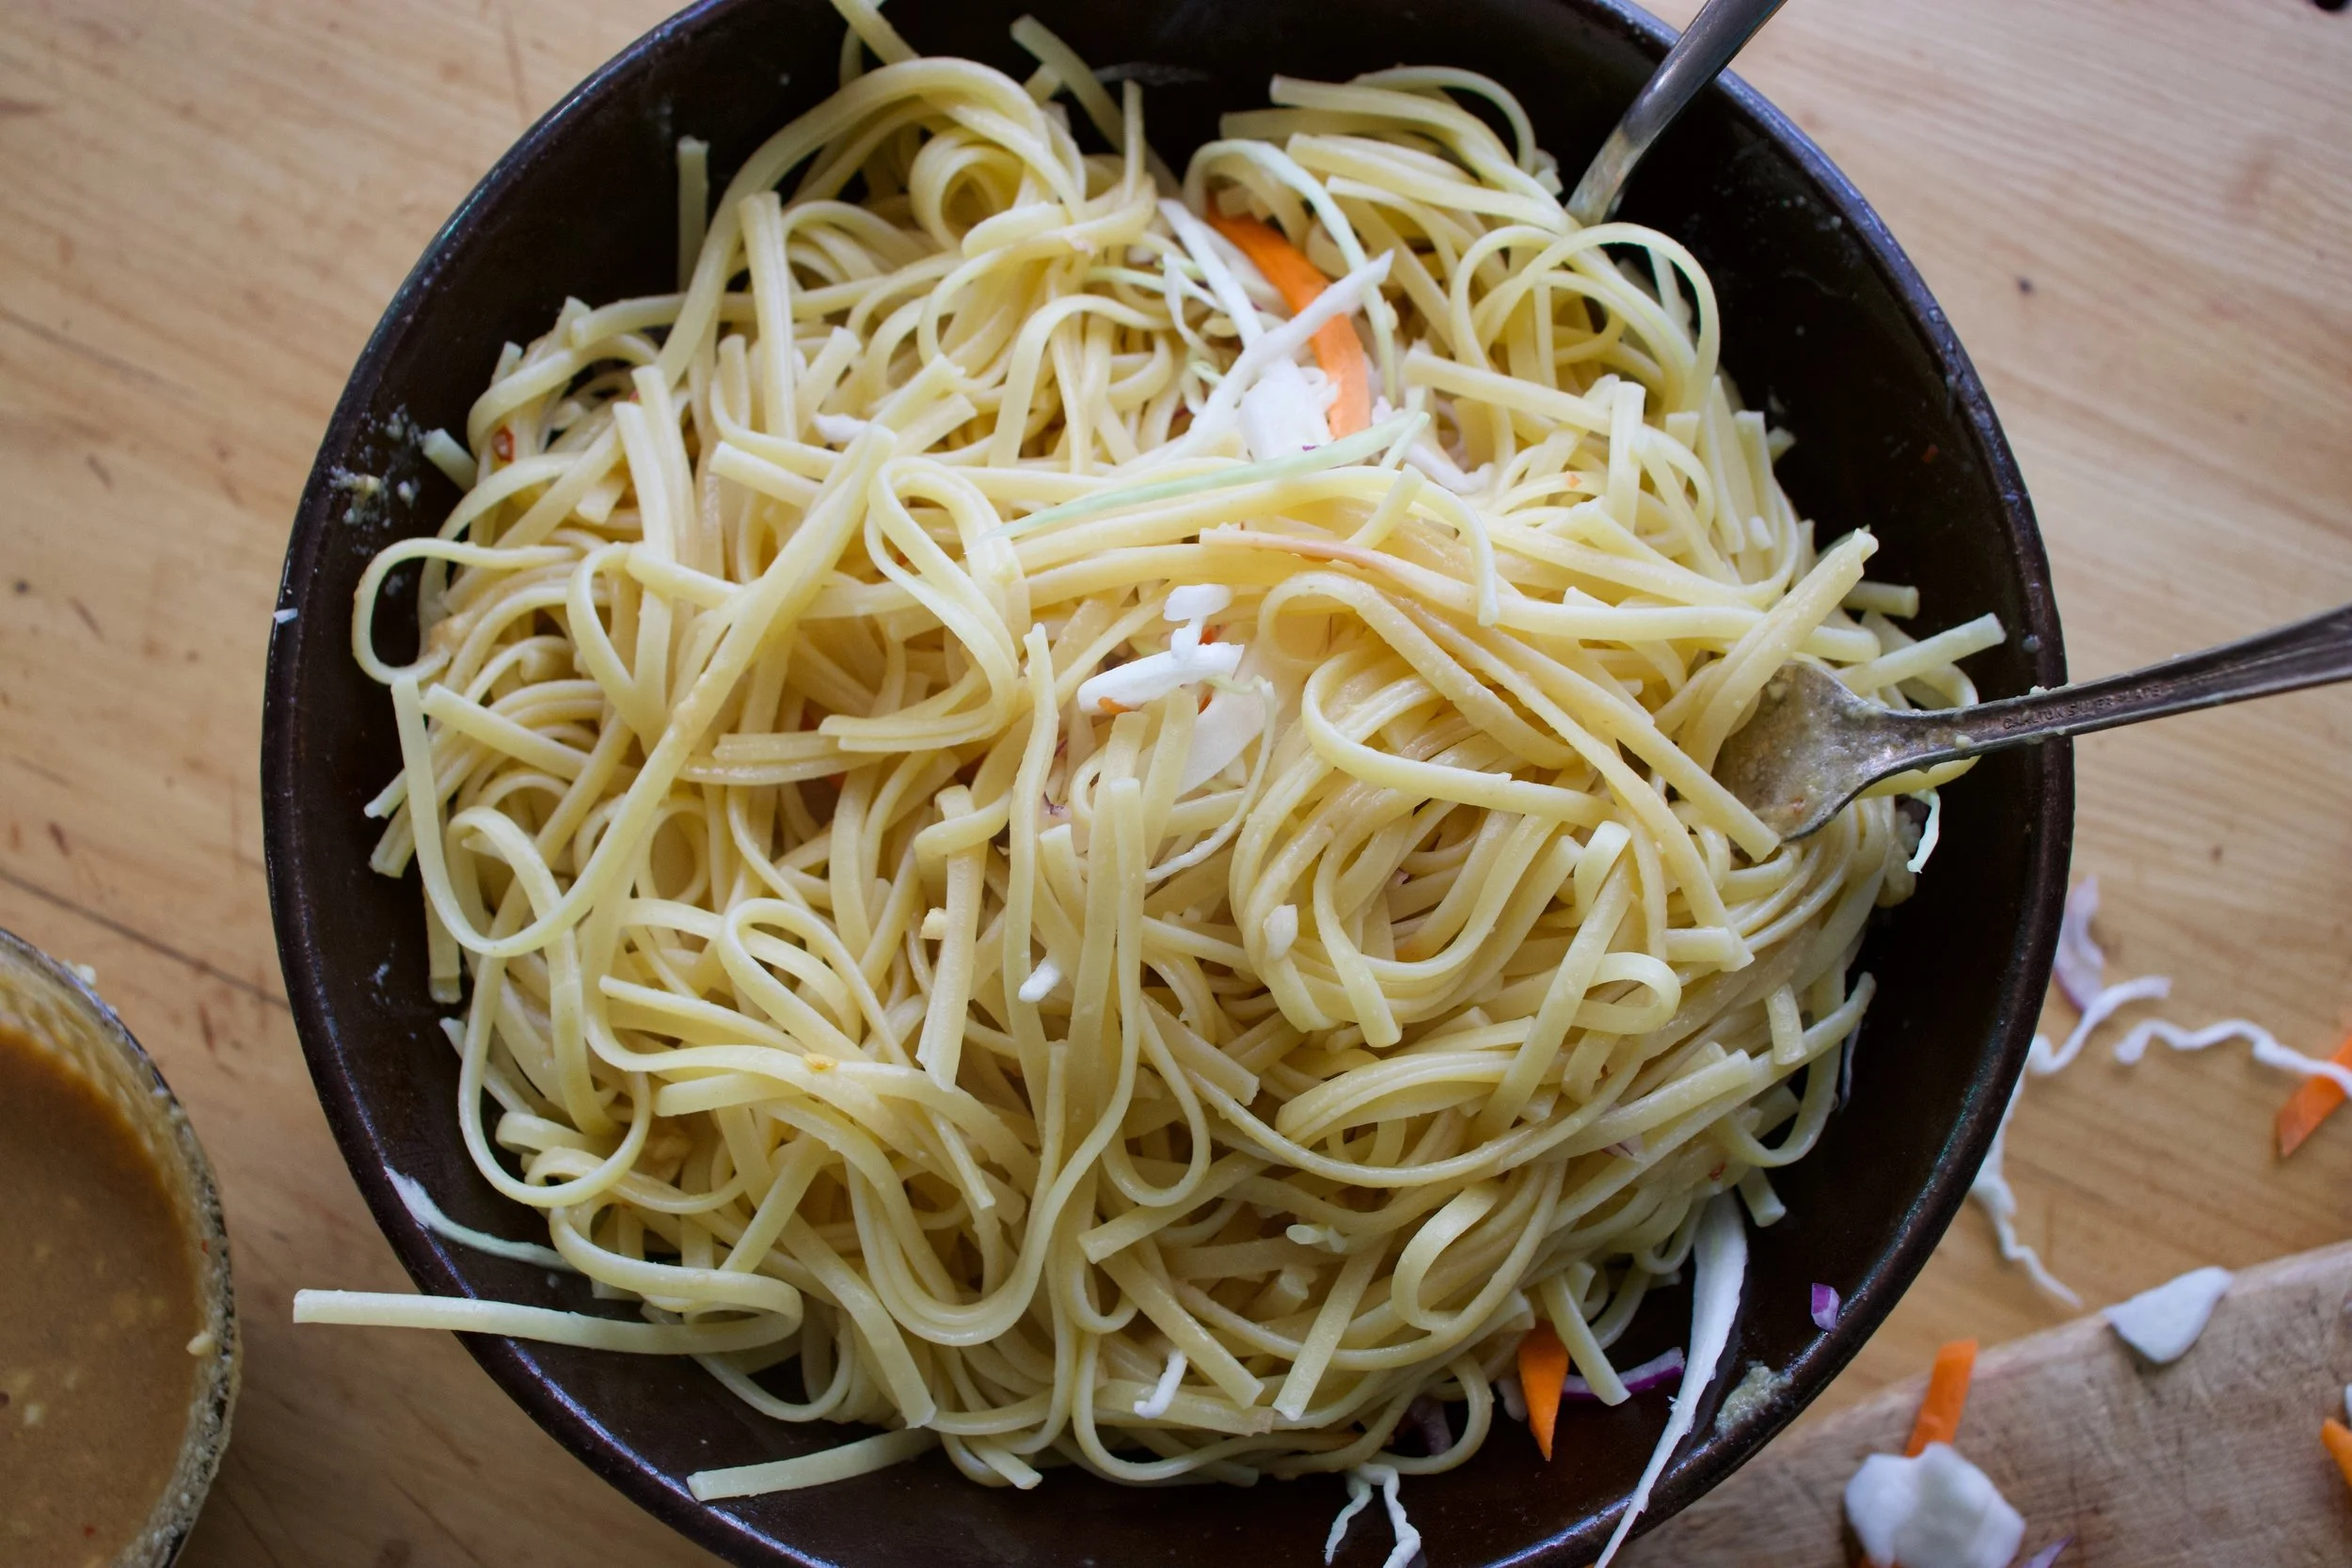
Add in the cooked noodles
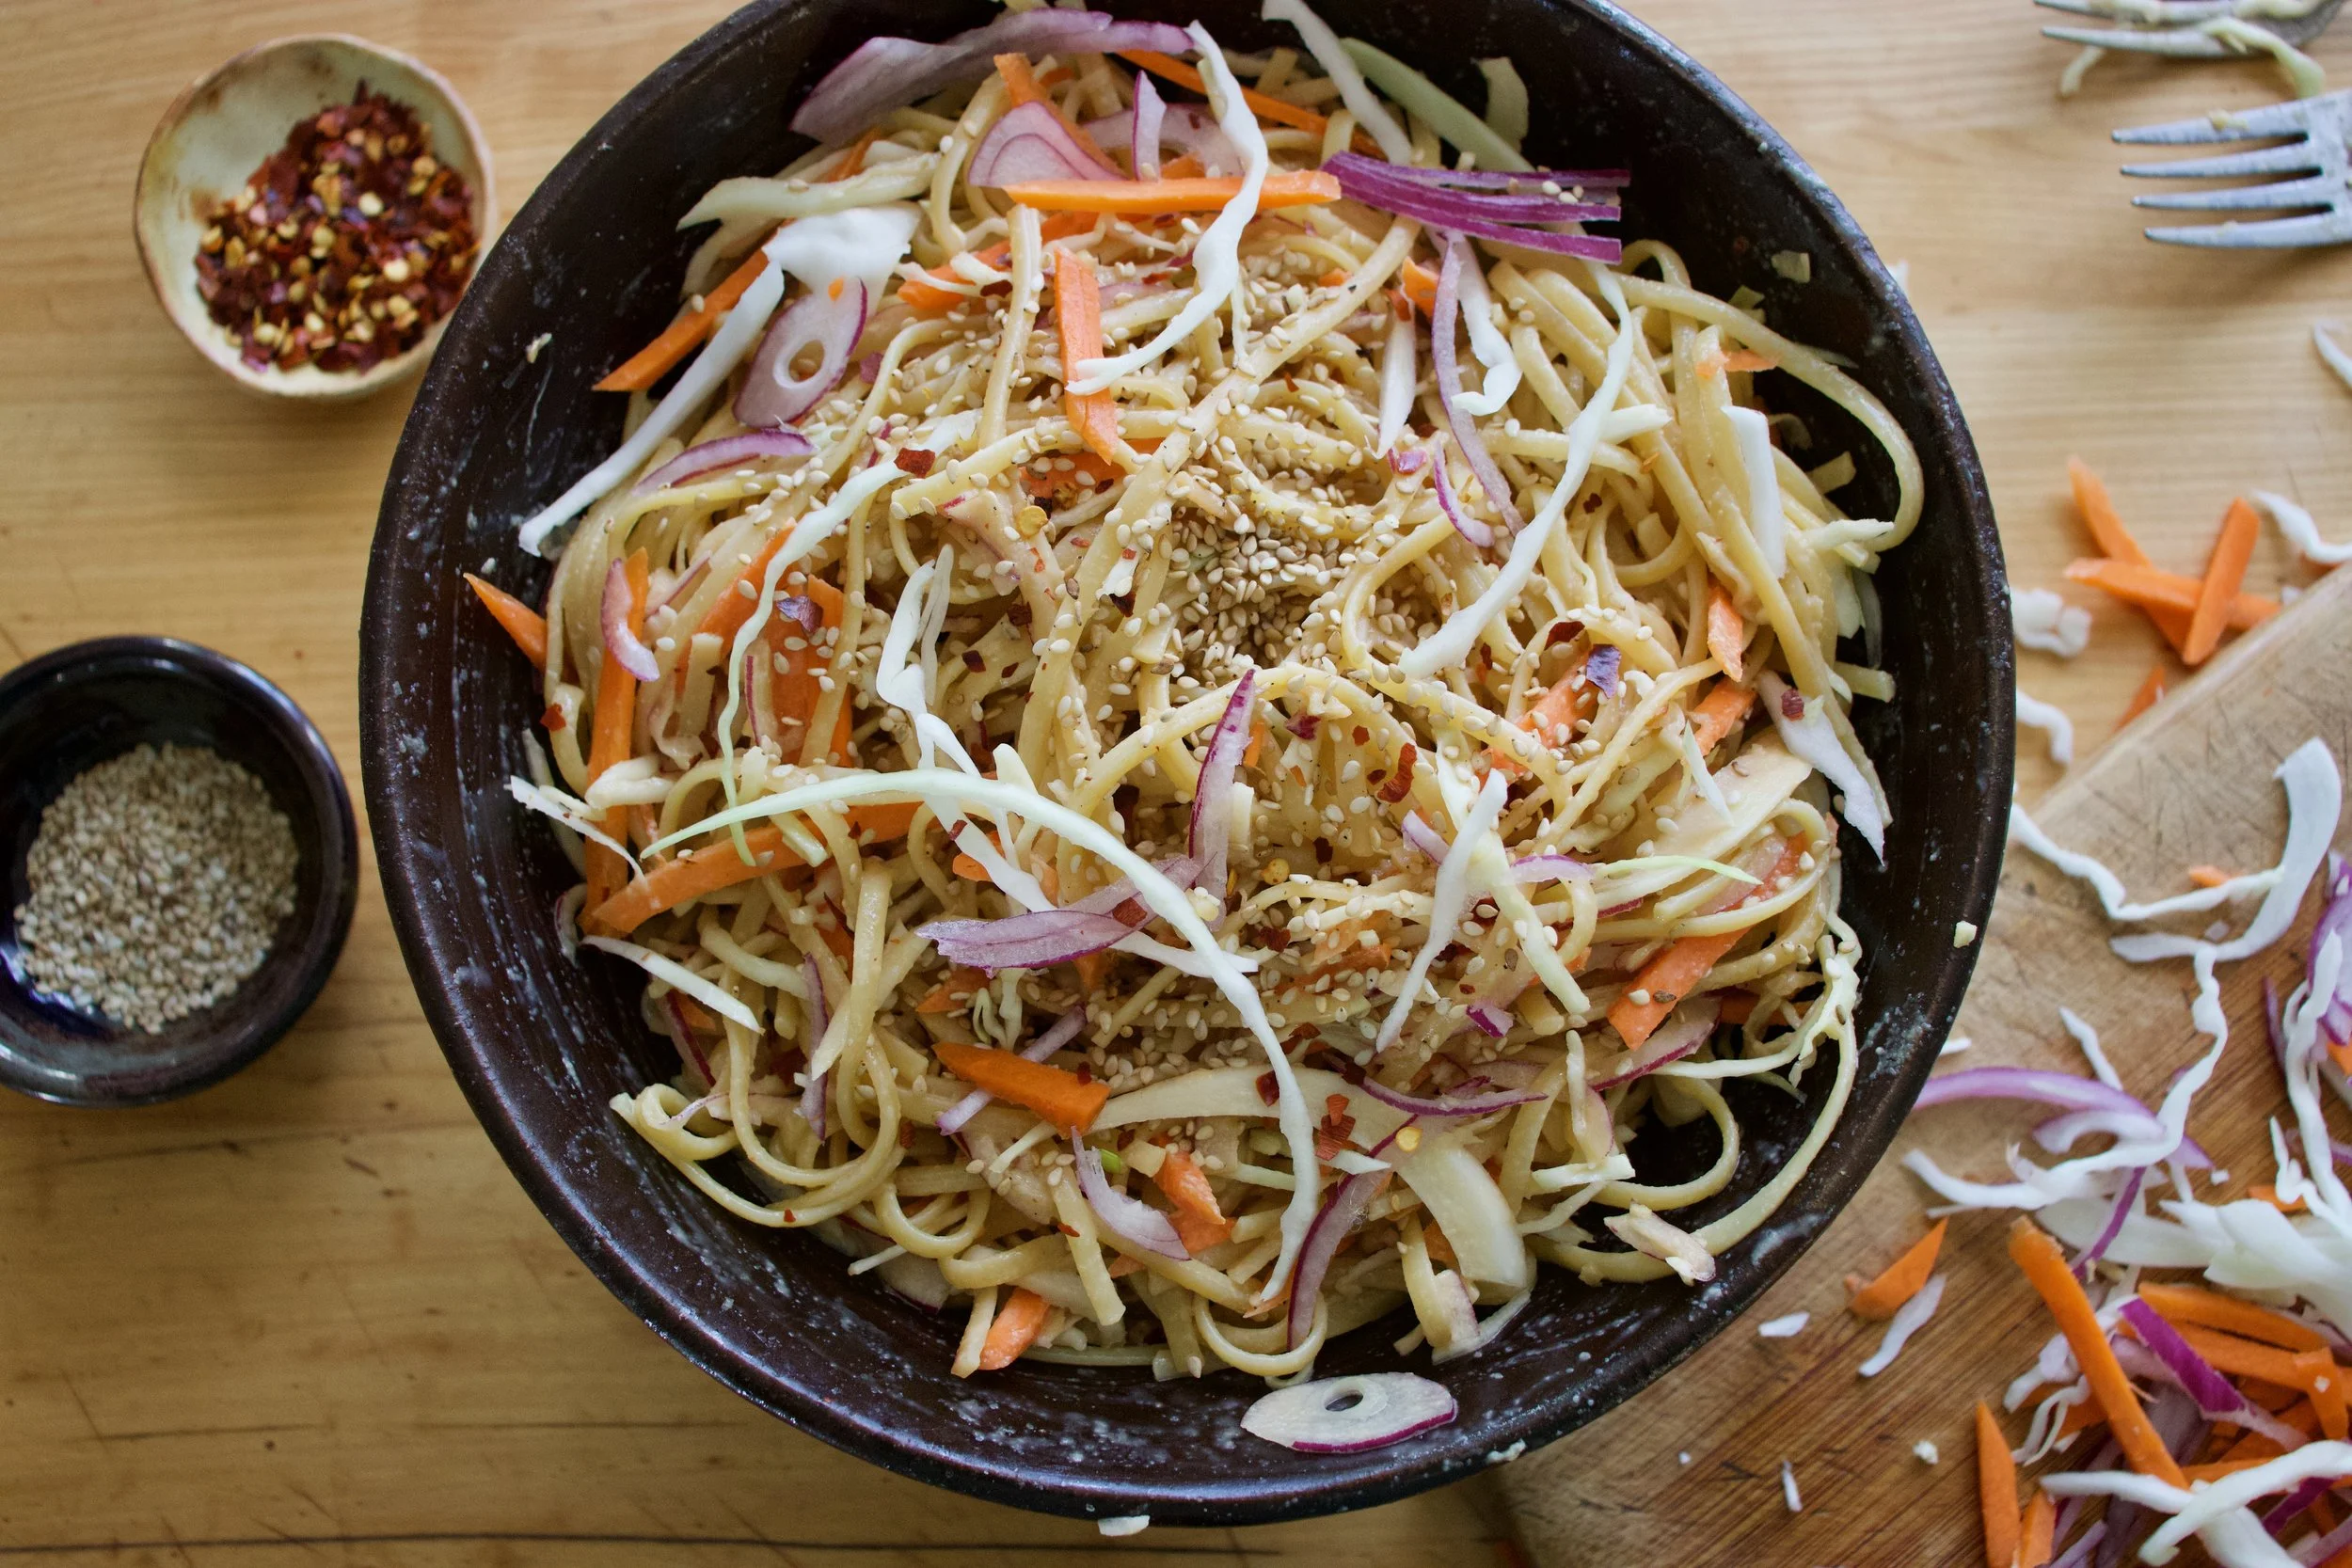
Cover with sauce and toss all around until all the noodles are coated and delicious. Sprinkle with sesame seeds and a pinch or so more of pepper flakes.

And then it is time. Eating time.
Happy spring!
-C
serves 3-6
-
3/4 lb (3/4 of a package) of your favorite spaghetti noodles (or linguine or similar noodle)
-
2 tablespoons toasted sesame oil
-
1/4 cup soy (low sodium if you have it and gluten free tamari if needed)
-
3 tablespoons red wine vinegar
-
3 tablespoons tahini
-
2-4 teaspoons red chili flakes
-
1-2 teaspoons sweetener of choice (maple, honey, or brown sugar)
-
4-5 cloves garlic
-
1-2 tablespoons toasted sesame seeds
-
about a 1/4 head of cabbage
-
a carrot
-
small red onion
Bring a pot of water to a boiling cook the noodles as directed on package. You want them al dente, cooked all the way, but barely. No soggy noodles. (unless you like them soggy)
In the mean time, shred the cabbage, julienne the carrot (or shred it) and slice the onion so very thinly. Place into a large bowl. Now mince garlic and place into a bowl along with the soy, sweetener, vinegar, tahini, sesame oil and a teaspoon or two (more for spicier) of chili flakes and whisk until completely incorporated. Taste and adjust if needed. Add more tahini for more body, more sweetener if needed or more hot pepper flakes for more spice.
Once noodles are cooked, drain and place into large bowl along with the shredded and julienned veggies. Pour in the sauce and toss it all around until all the noodles are covered. Sprinkle in the toasted sesame seeds and a small pinch more of the red pepper flakes.
Eat. Eat warm, room temp, or cold. They are delicious any way.
Any left overs just stick in fridge. Can be reheated or not. Also, you can make the sauce and the noodles a few day ahead of time of when you want to have the dish Just mix the sauce with the noodles when you are about to serve them%u2026 So simple!
Do you ever wake up first thing in the morning with a craving, a maybe somewhat strange food craving? Lately I have been waking up and within an hour of being up, I start to think about olives. My mouth starts to water and it%u2019s like I can almost taste the salty, briny, fattiness in my mouth, which in itself is kind of weird, but for me is really really weird because up until very recently I completely hated olives. Now, well now I just want to eat them all. And first thing in the morning.
I don%u2019t pretend to understand such things. My brain is going to do what it%u2019s going do. Tell me I like olives, well all right then.
Another thing I am desperately craving is freshy fresh greens which makes complete since because I always crave greens. I am still pretty deep in root veggies and cooked things because winter and Vermont and all, but all I really really really want to eat are buckets of greens. Any kind will do, but the sweet tender baby ones%u2026. So good.
And so I combined my two cravings, greens and olives and hit those craving like POW! BAM! POOF? A salad so simple yet so amazing and mouth watering. I outdid myself here.
To the bestest, most amazingly perfect salad yet!

The stuff. A big ol%u2019 bowl of greens. Black pitted olives, half an avocado, a lemon, toasted almonds, a chunk of red onion, a couple cloves garlic, and pepper.
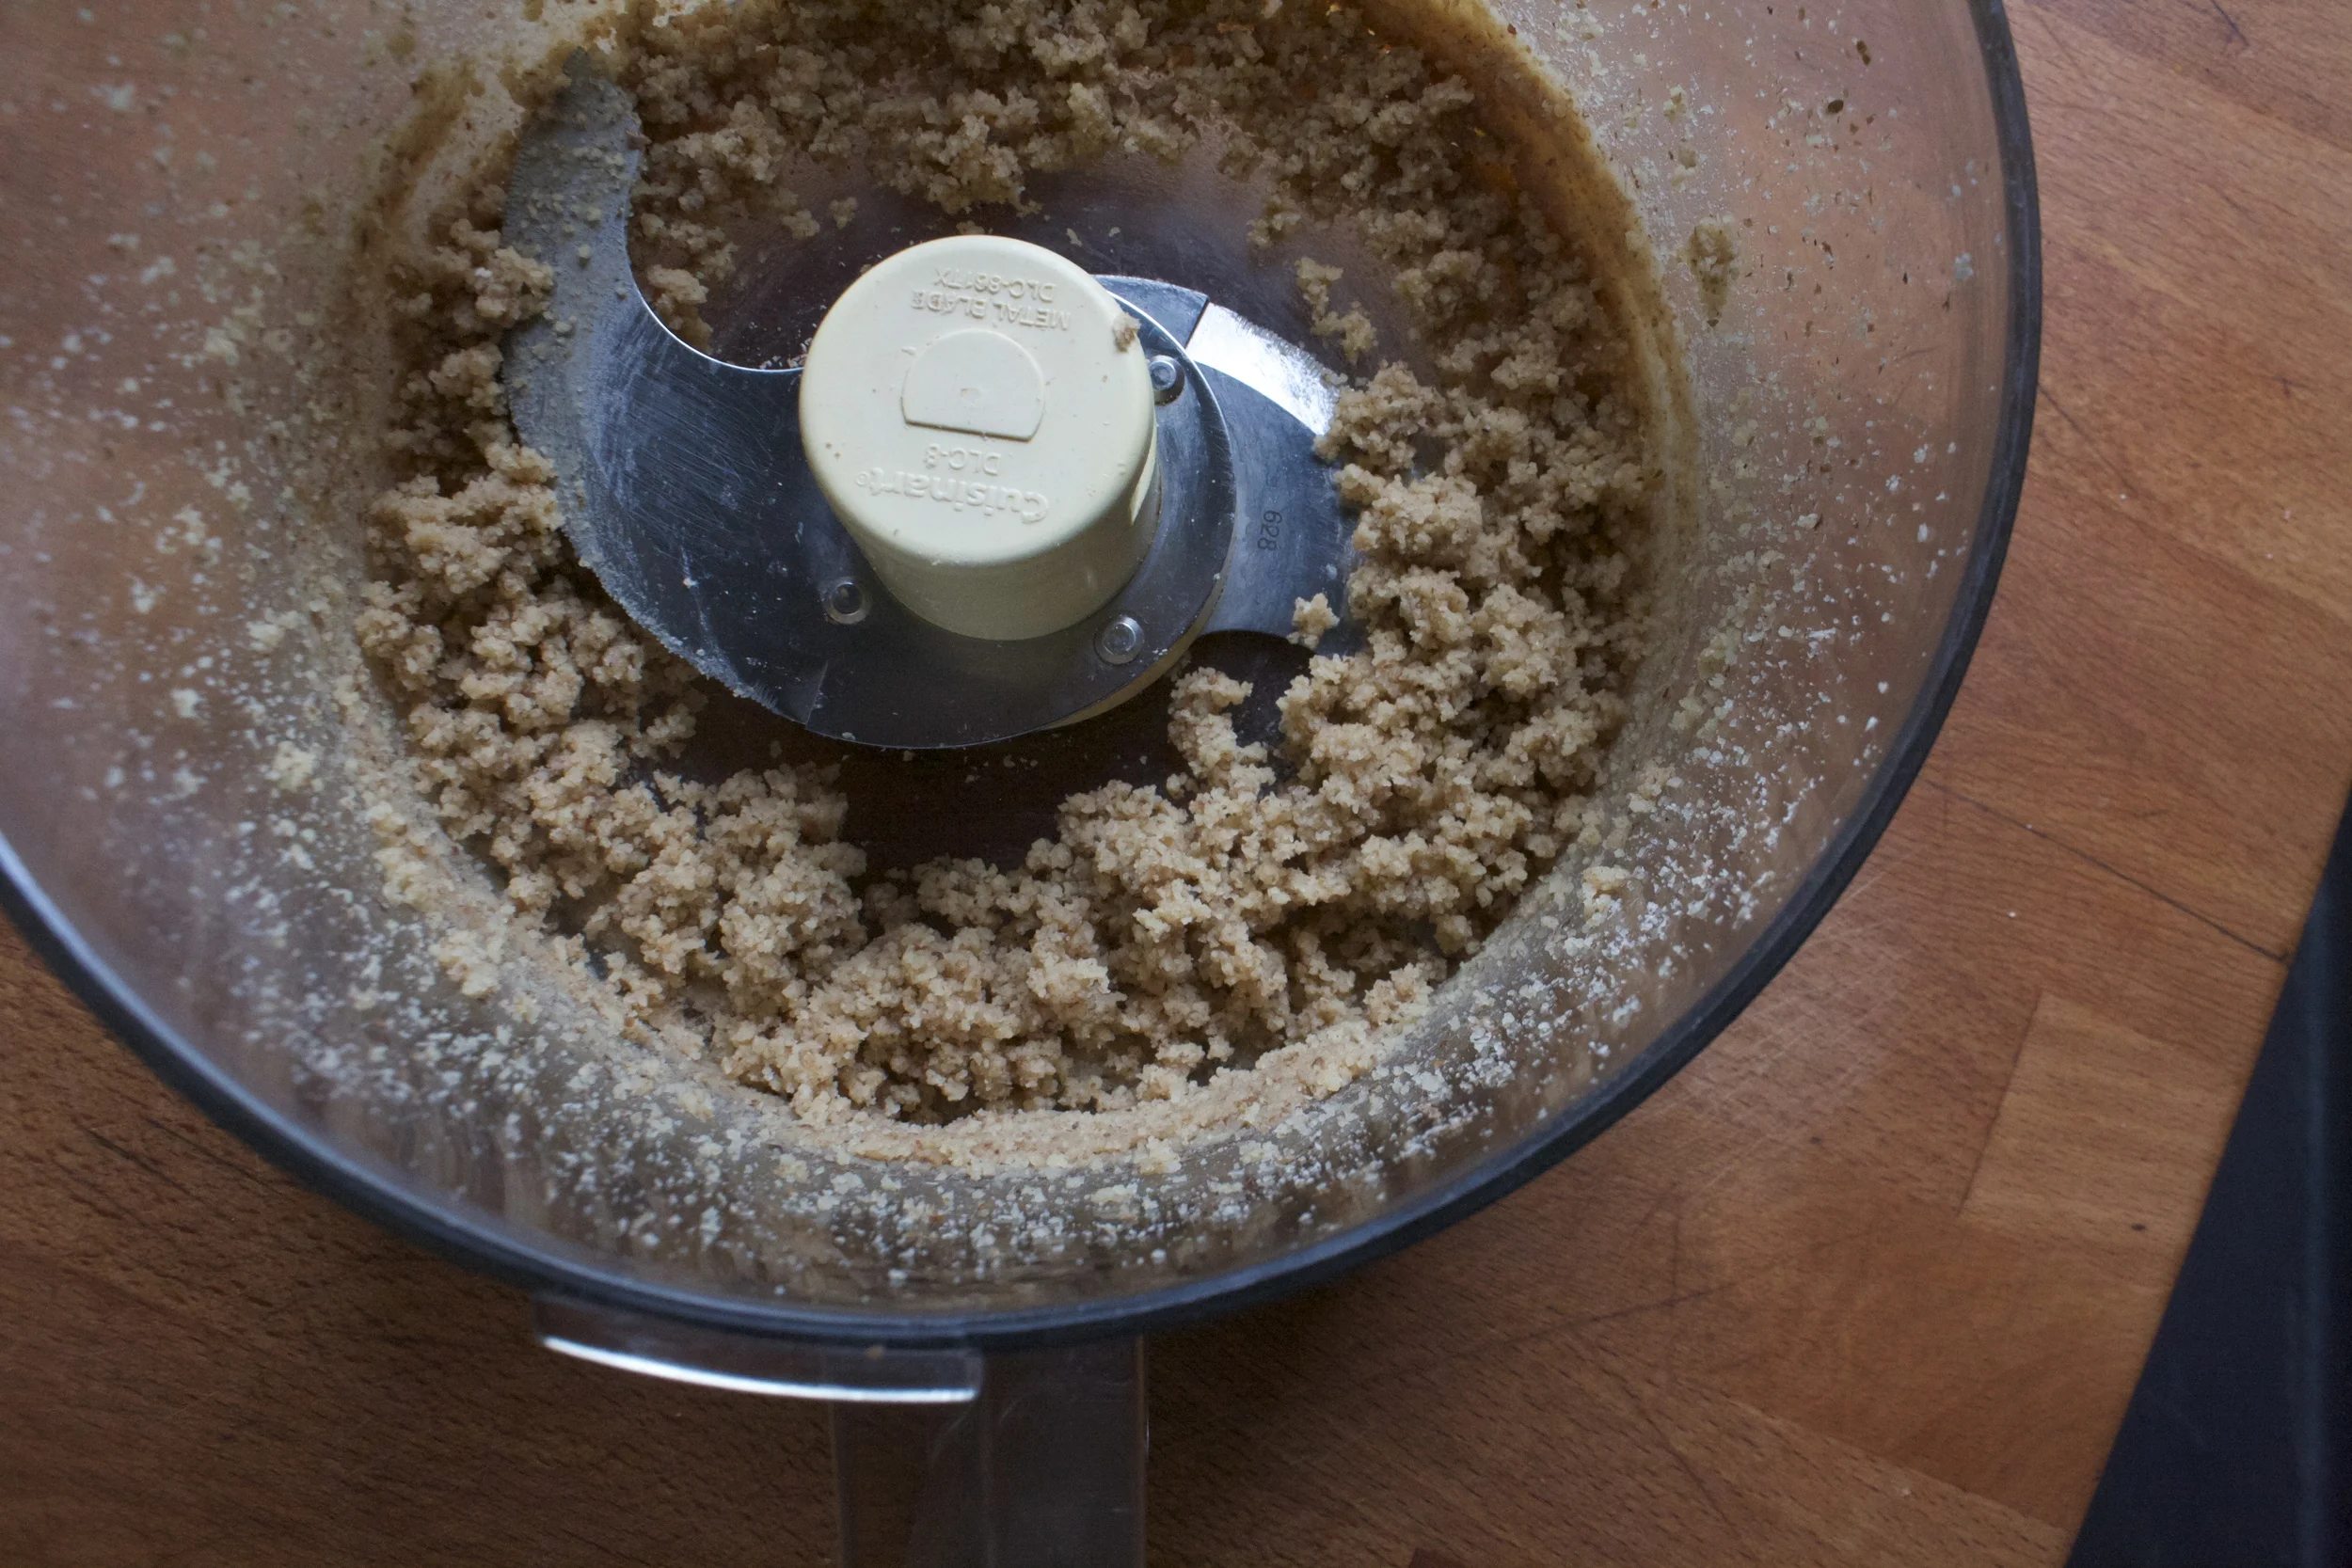
Almond crumbs. Exactly what it sounds like. Place almonds into a clean food prosessor and pulse until they are crumbs.
Dump the almonds into a bowl. Don%u2019t bother cleaning it out, you are about to use it again. Olives, avocado, garlic, and all the juice of the lemon now get a go in the food processor. Pulsed together into a creamy, kinda of chunky but mostly smooth, mixture of amazing. Add a few tablespoons of cold water if the mixture seems really thick, but other then that, you be done.
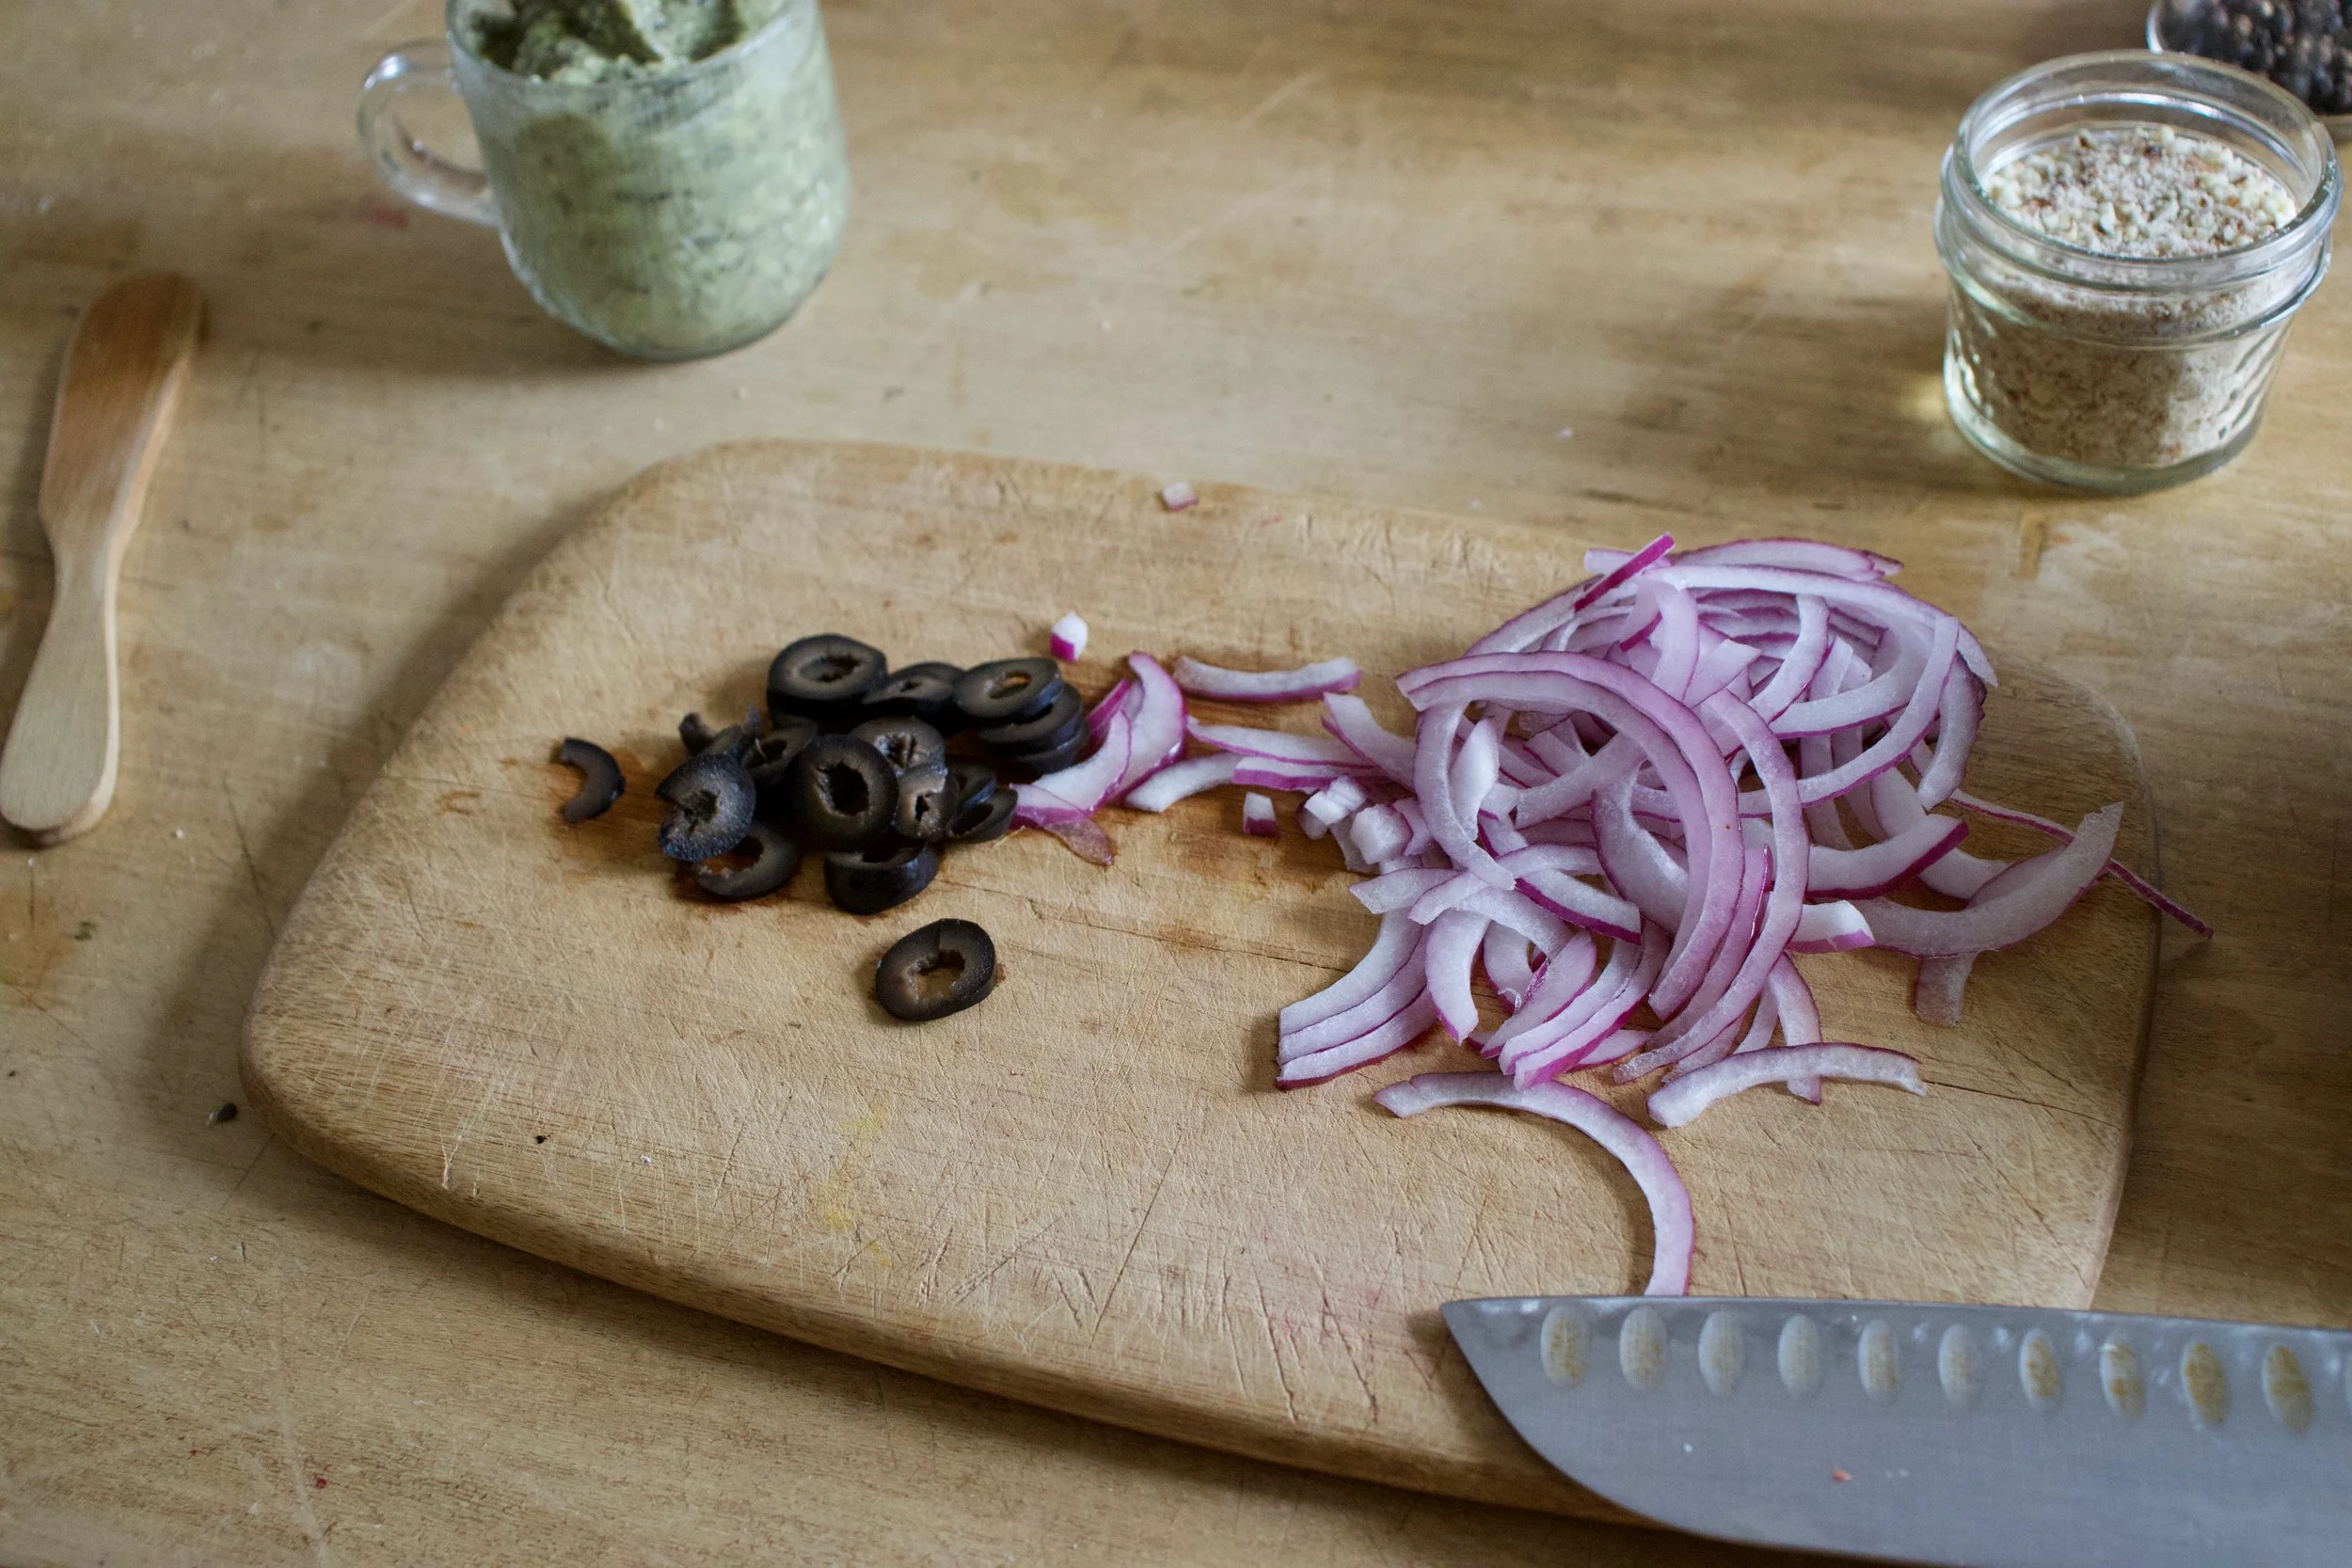
Very thinly slice up red onion and slice up a few extra olives.

All here, all ready to go. Just got to toss it together now.

Greens, some slices olives and onion tossed all together in a good amount of the olive avocado goodness then topped with a hardy helping of almond crumbs. Fresh pepper to finish it off.
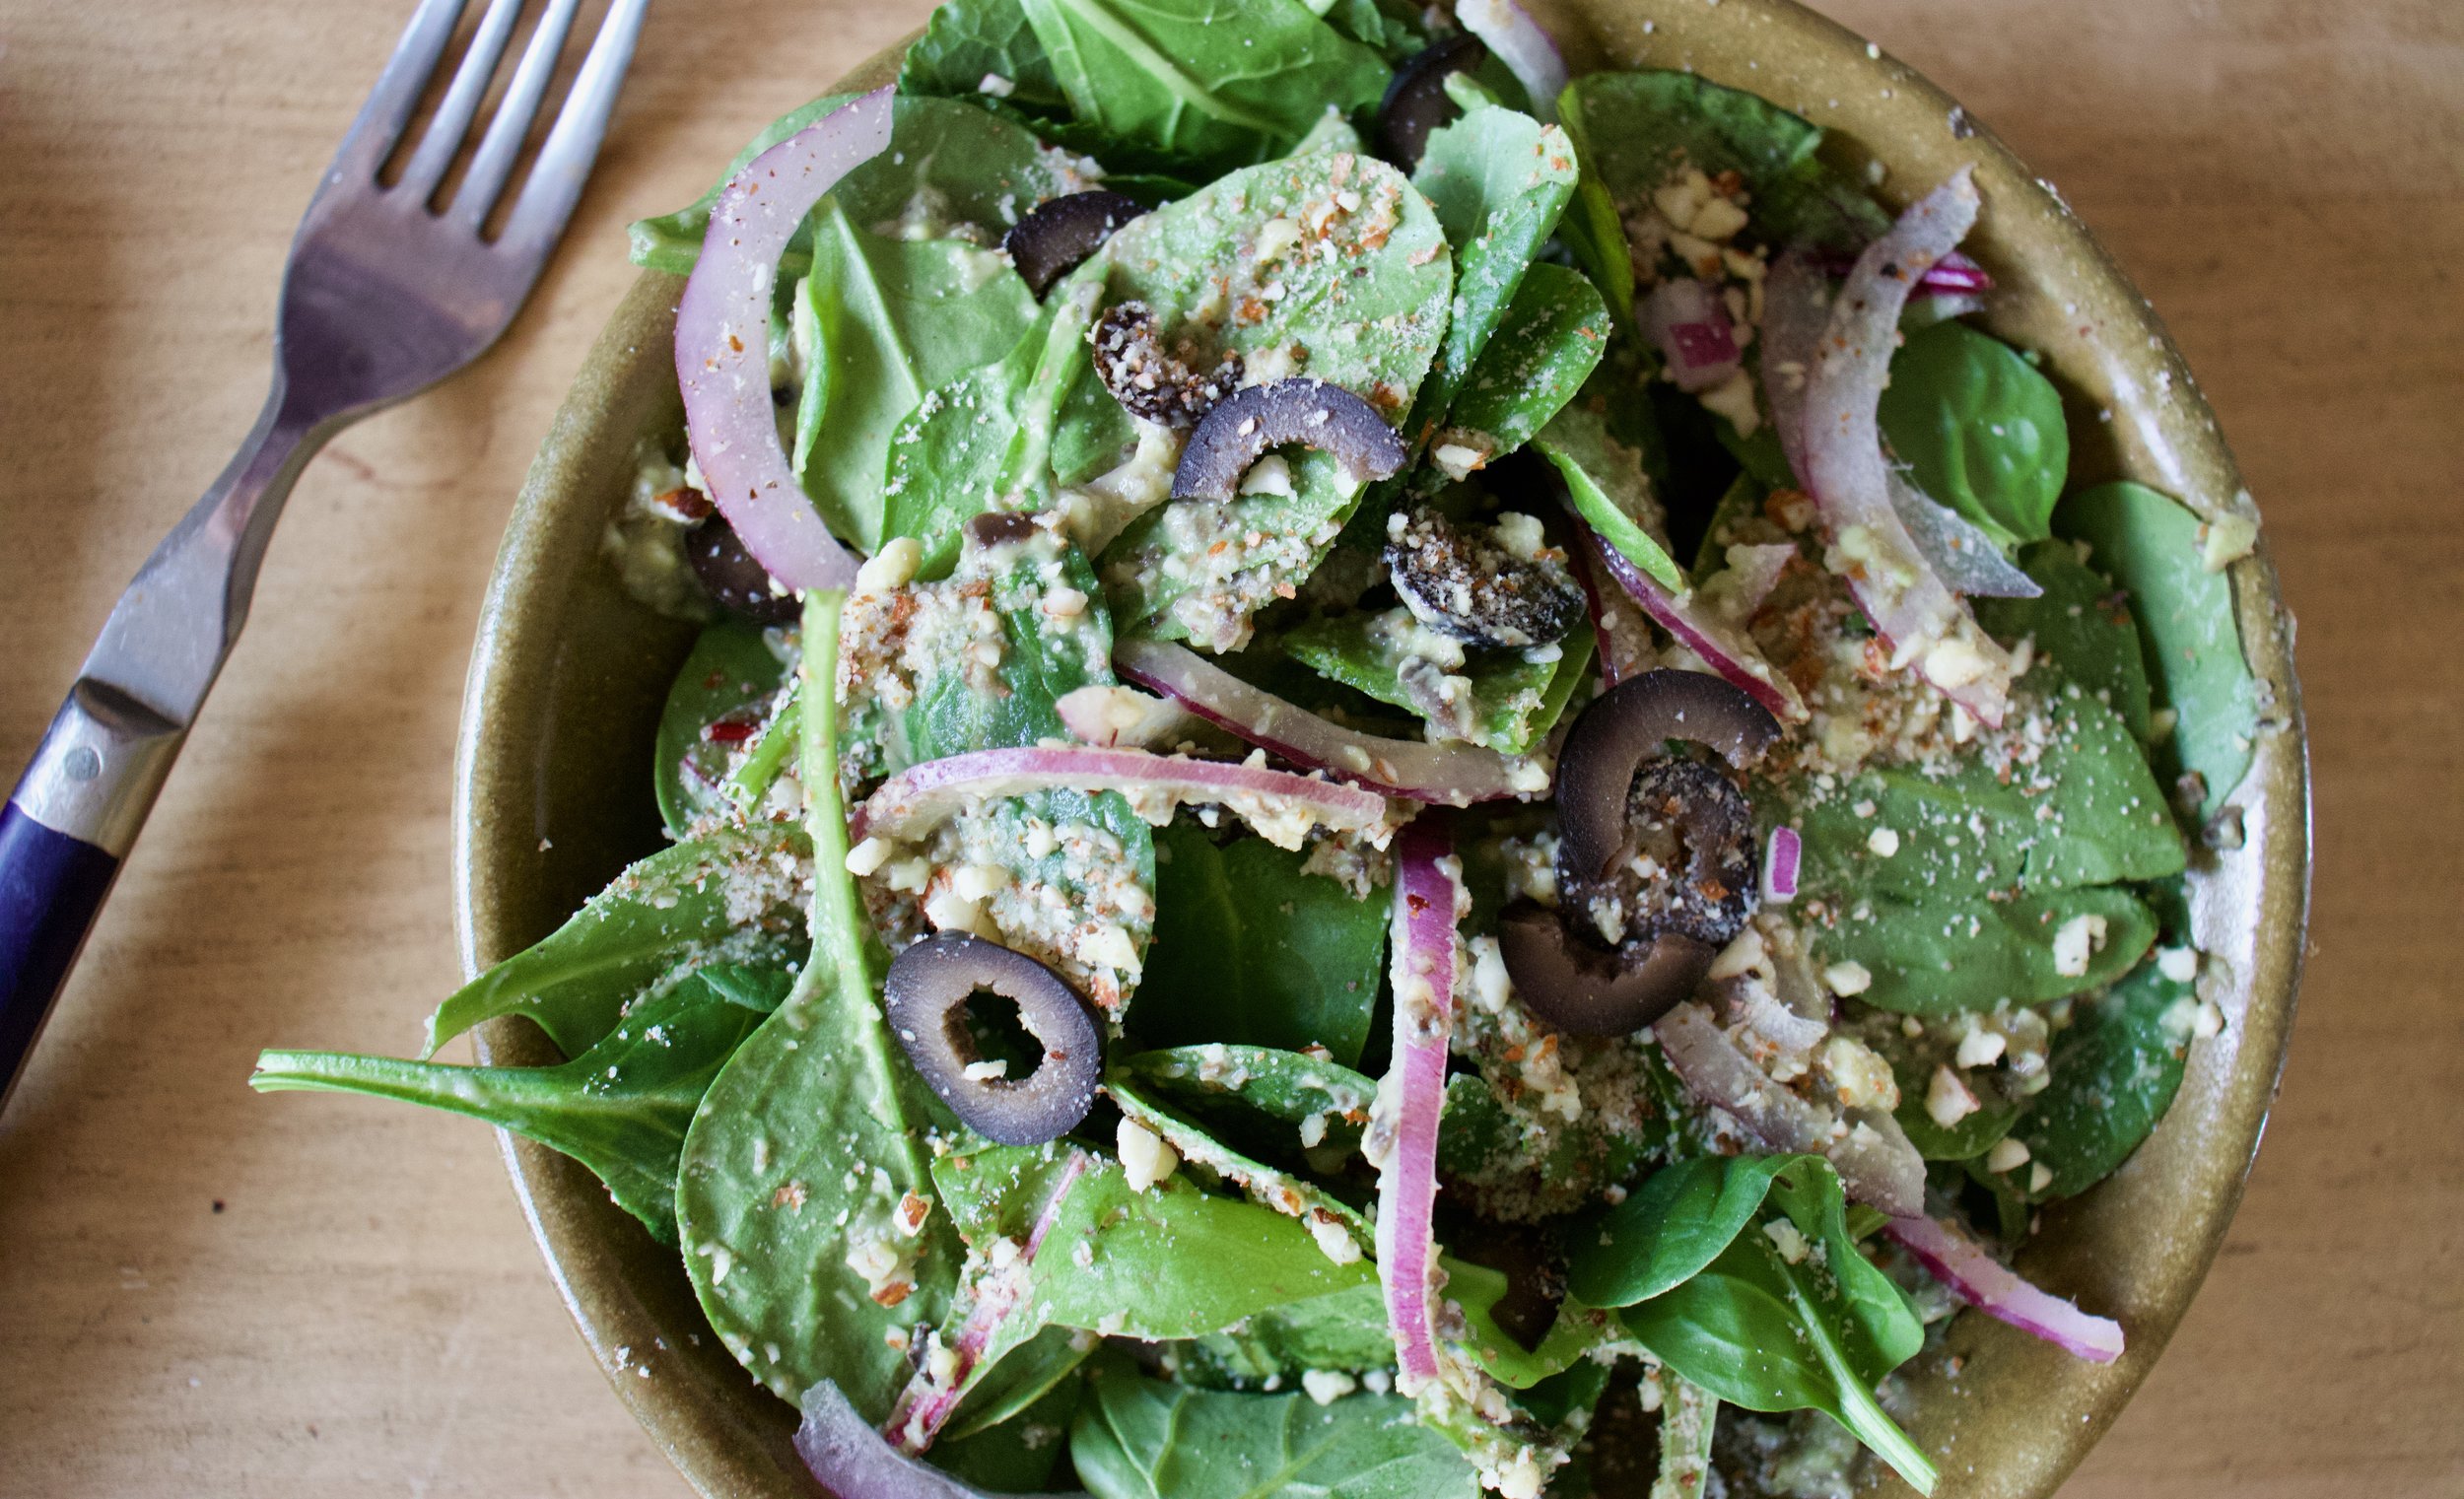
I was barely able to stop myself from eating it all before snapping a few pictures.
All of my cravings come true%u2026
It%u2019s salad time!
-C
Makes enough dressing and crumbs to feed 2-4 people
-
1/2 of a ripe avocado
-
1 cup pitted black olives
-
1 lemon
-
2-3 tablespoons cold water
-
1-2 cloves garlic
-
1/4 cup toasted almonds
-
2-4 large handfuls of fresh greens (I used a mixture of baby spinach, baby chard, and baby kale. Spring mix or even chopped leaf lettuce would be grand as well)
-
about 1/2 a small red onion
-
pepper to taste
Place almonds in food processor and pulse until they are crumbly. Not to fine, a few big chunks are good.. Remove and set aside
Roughly chop the garlic and place in the food processor (no need to clean it out after the almonds). Add in the avocado and most of the olives (leave few behind to slice up). Add in the juice of the lemon. Pulse until mixture is combined but with little specks of olive left.or completely smooth if you wanted too. Scoop out into a container. You want it to be slightly loos so it will mix well with the greens. If the mixture seems really thick, add in a a few tablespoons of cold water to thin out.
Grab the onion and remaining olives and thinly slice.
Now to assemble salad. Place a handful of clean greens into a bowl. Toss a some onions and extra sliced olives into greens. Add as little or as much olive avocado dressing as desired then sprinkle as much or as little of the almond crumbs all over that. Top with freshly find pepper
Then eat it.
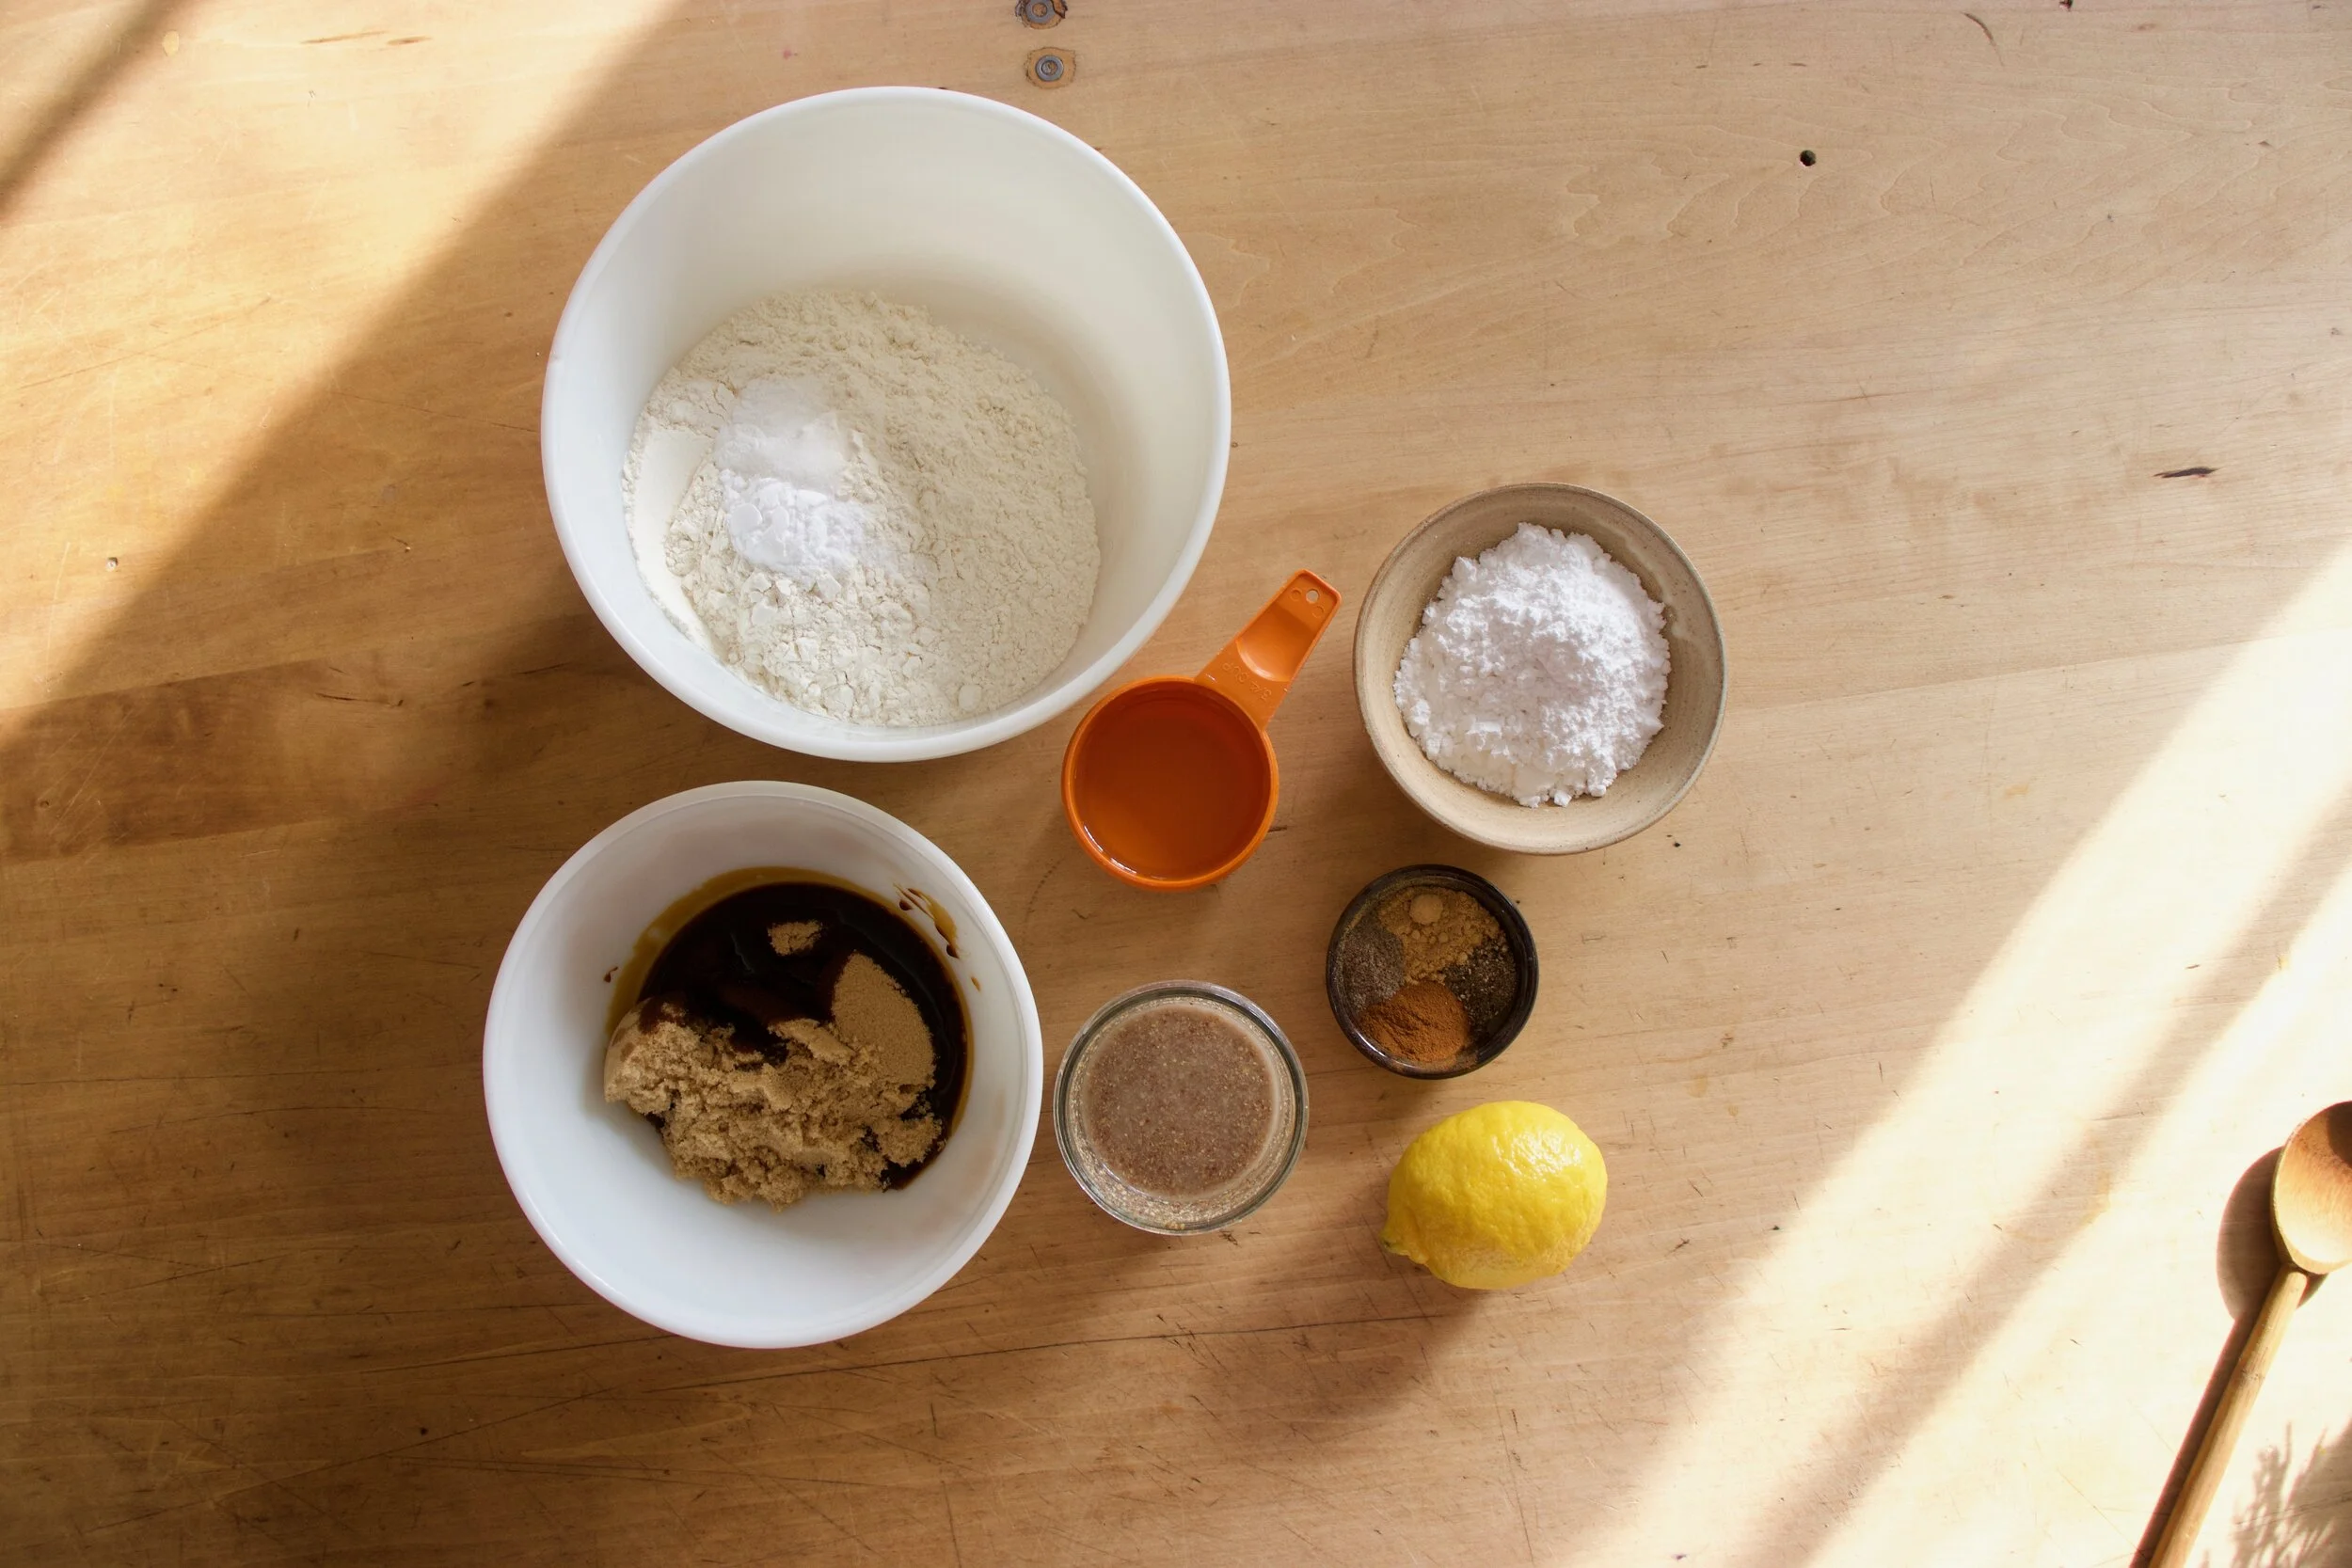
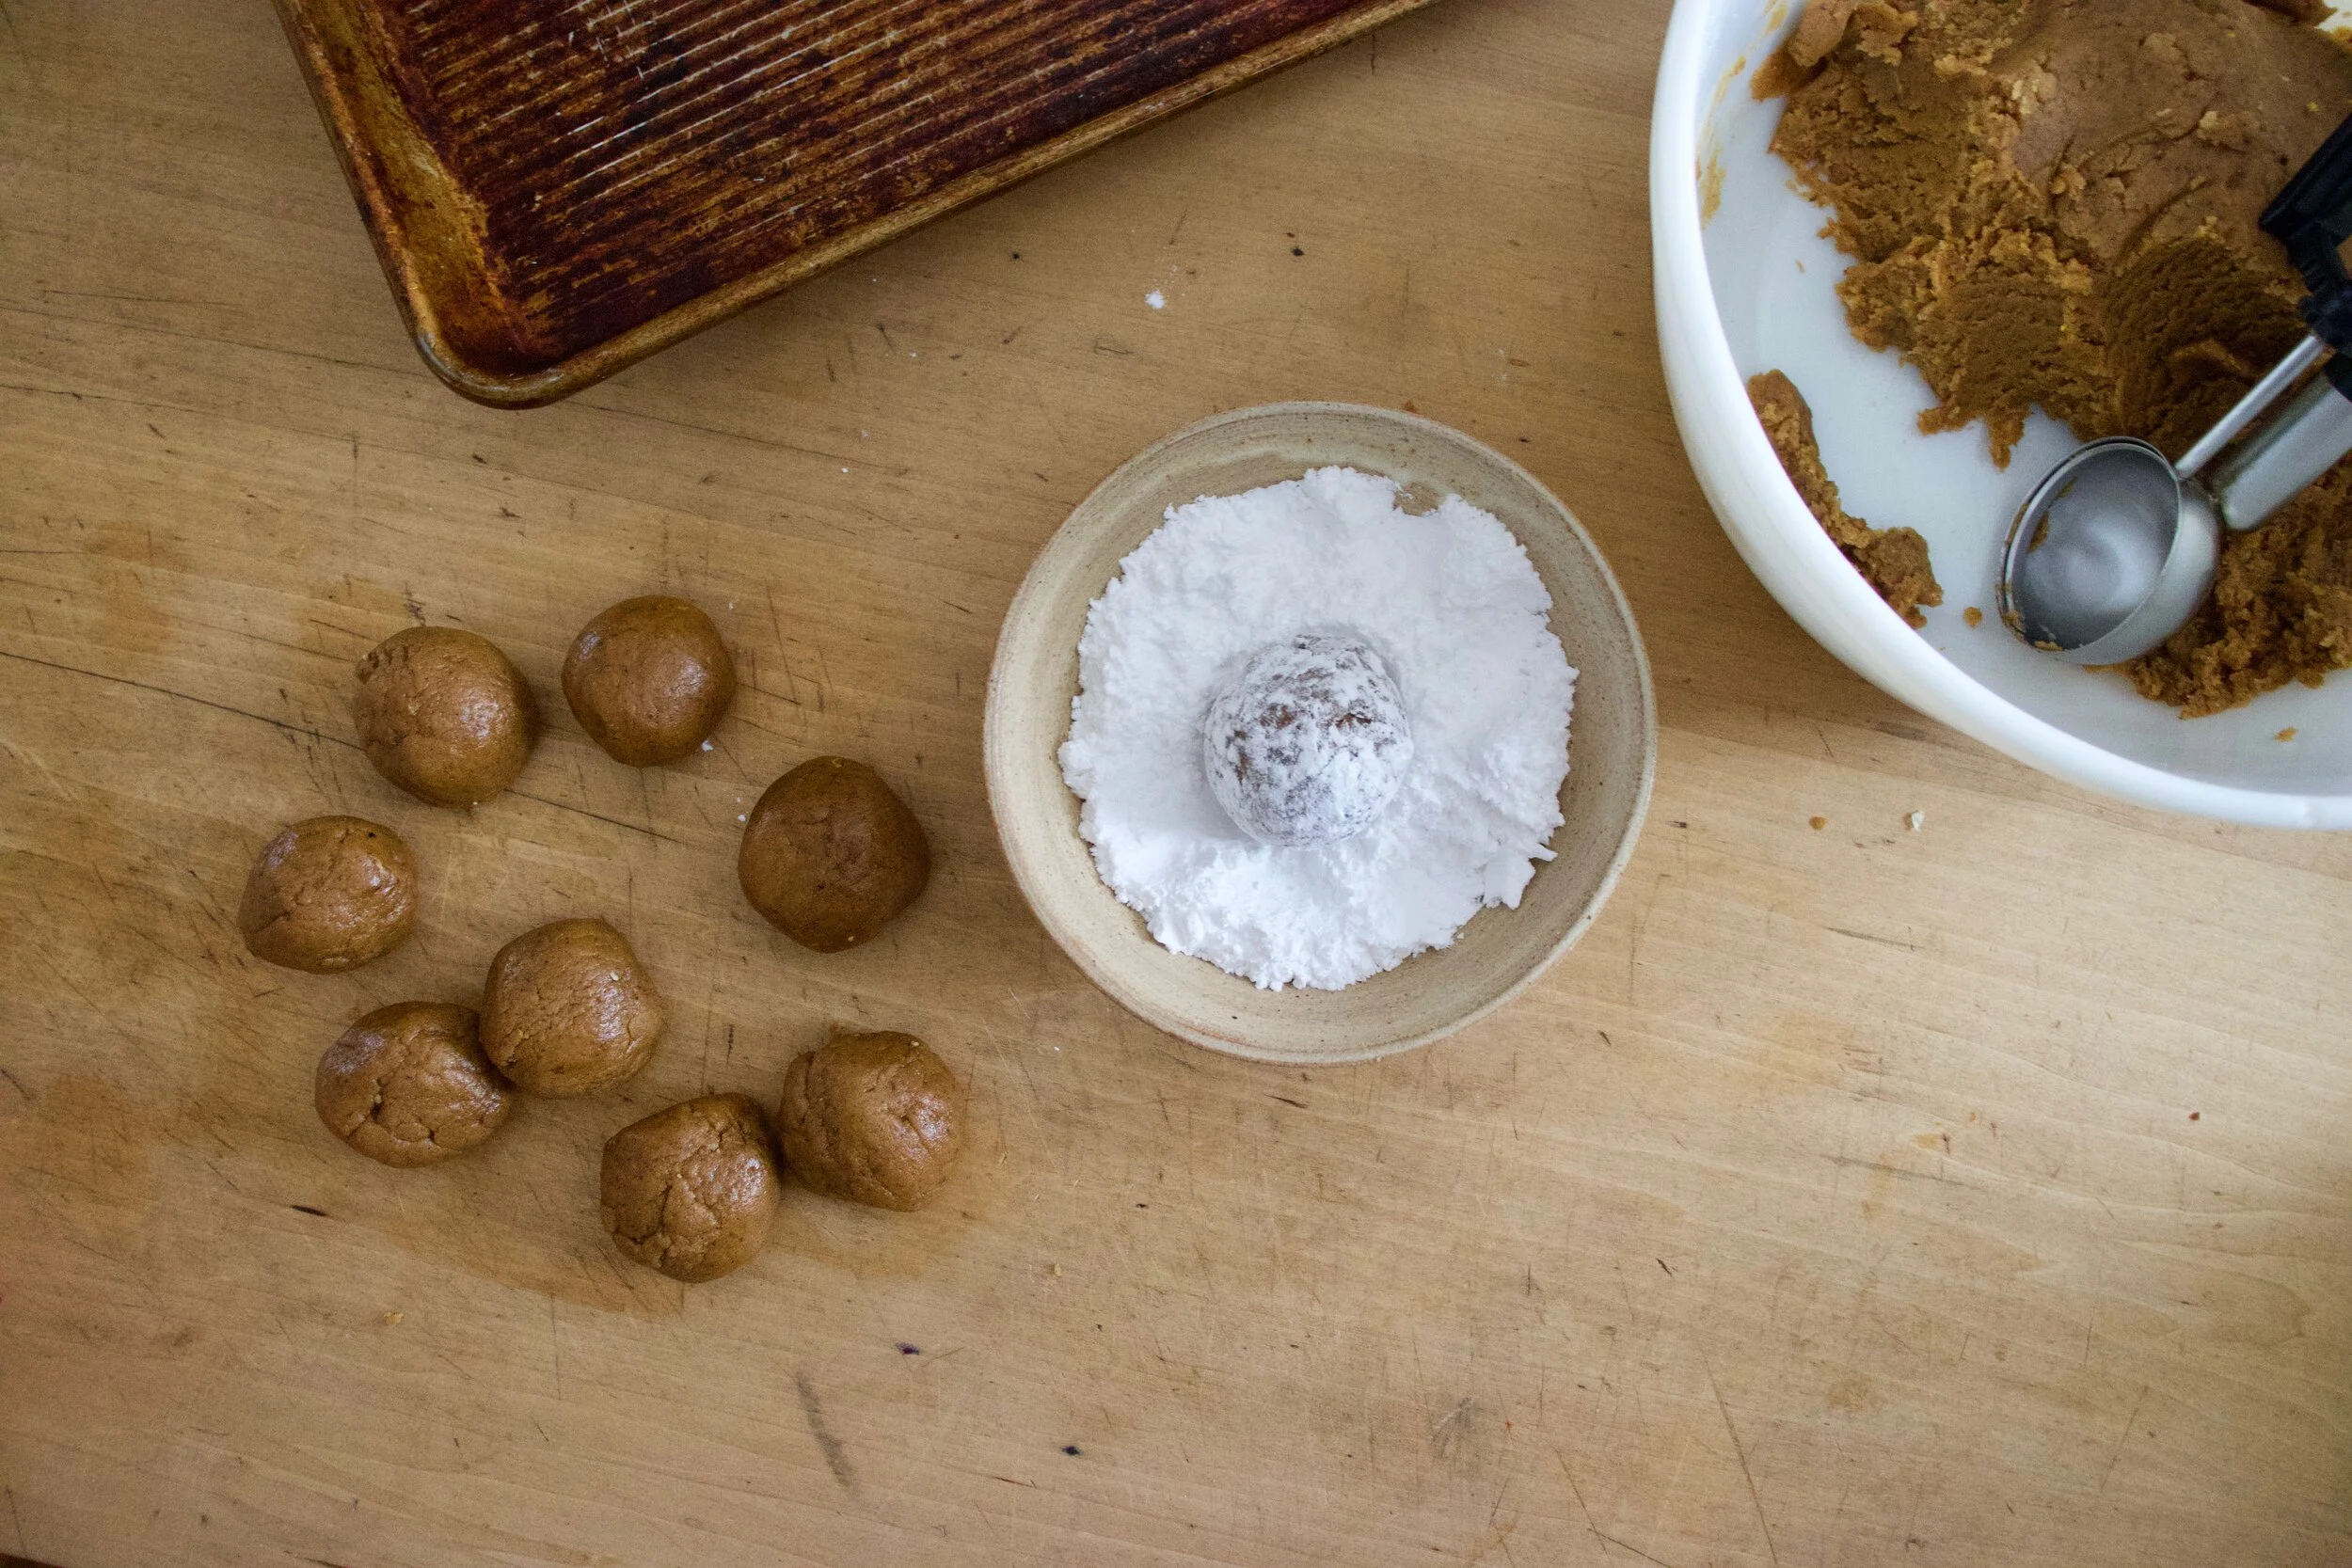

















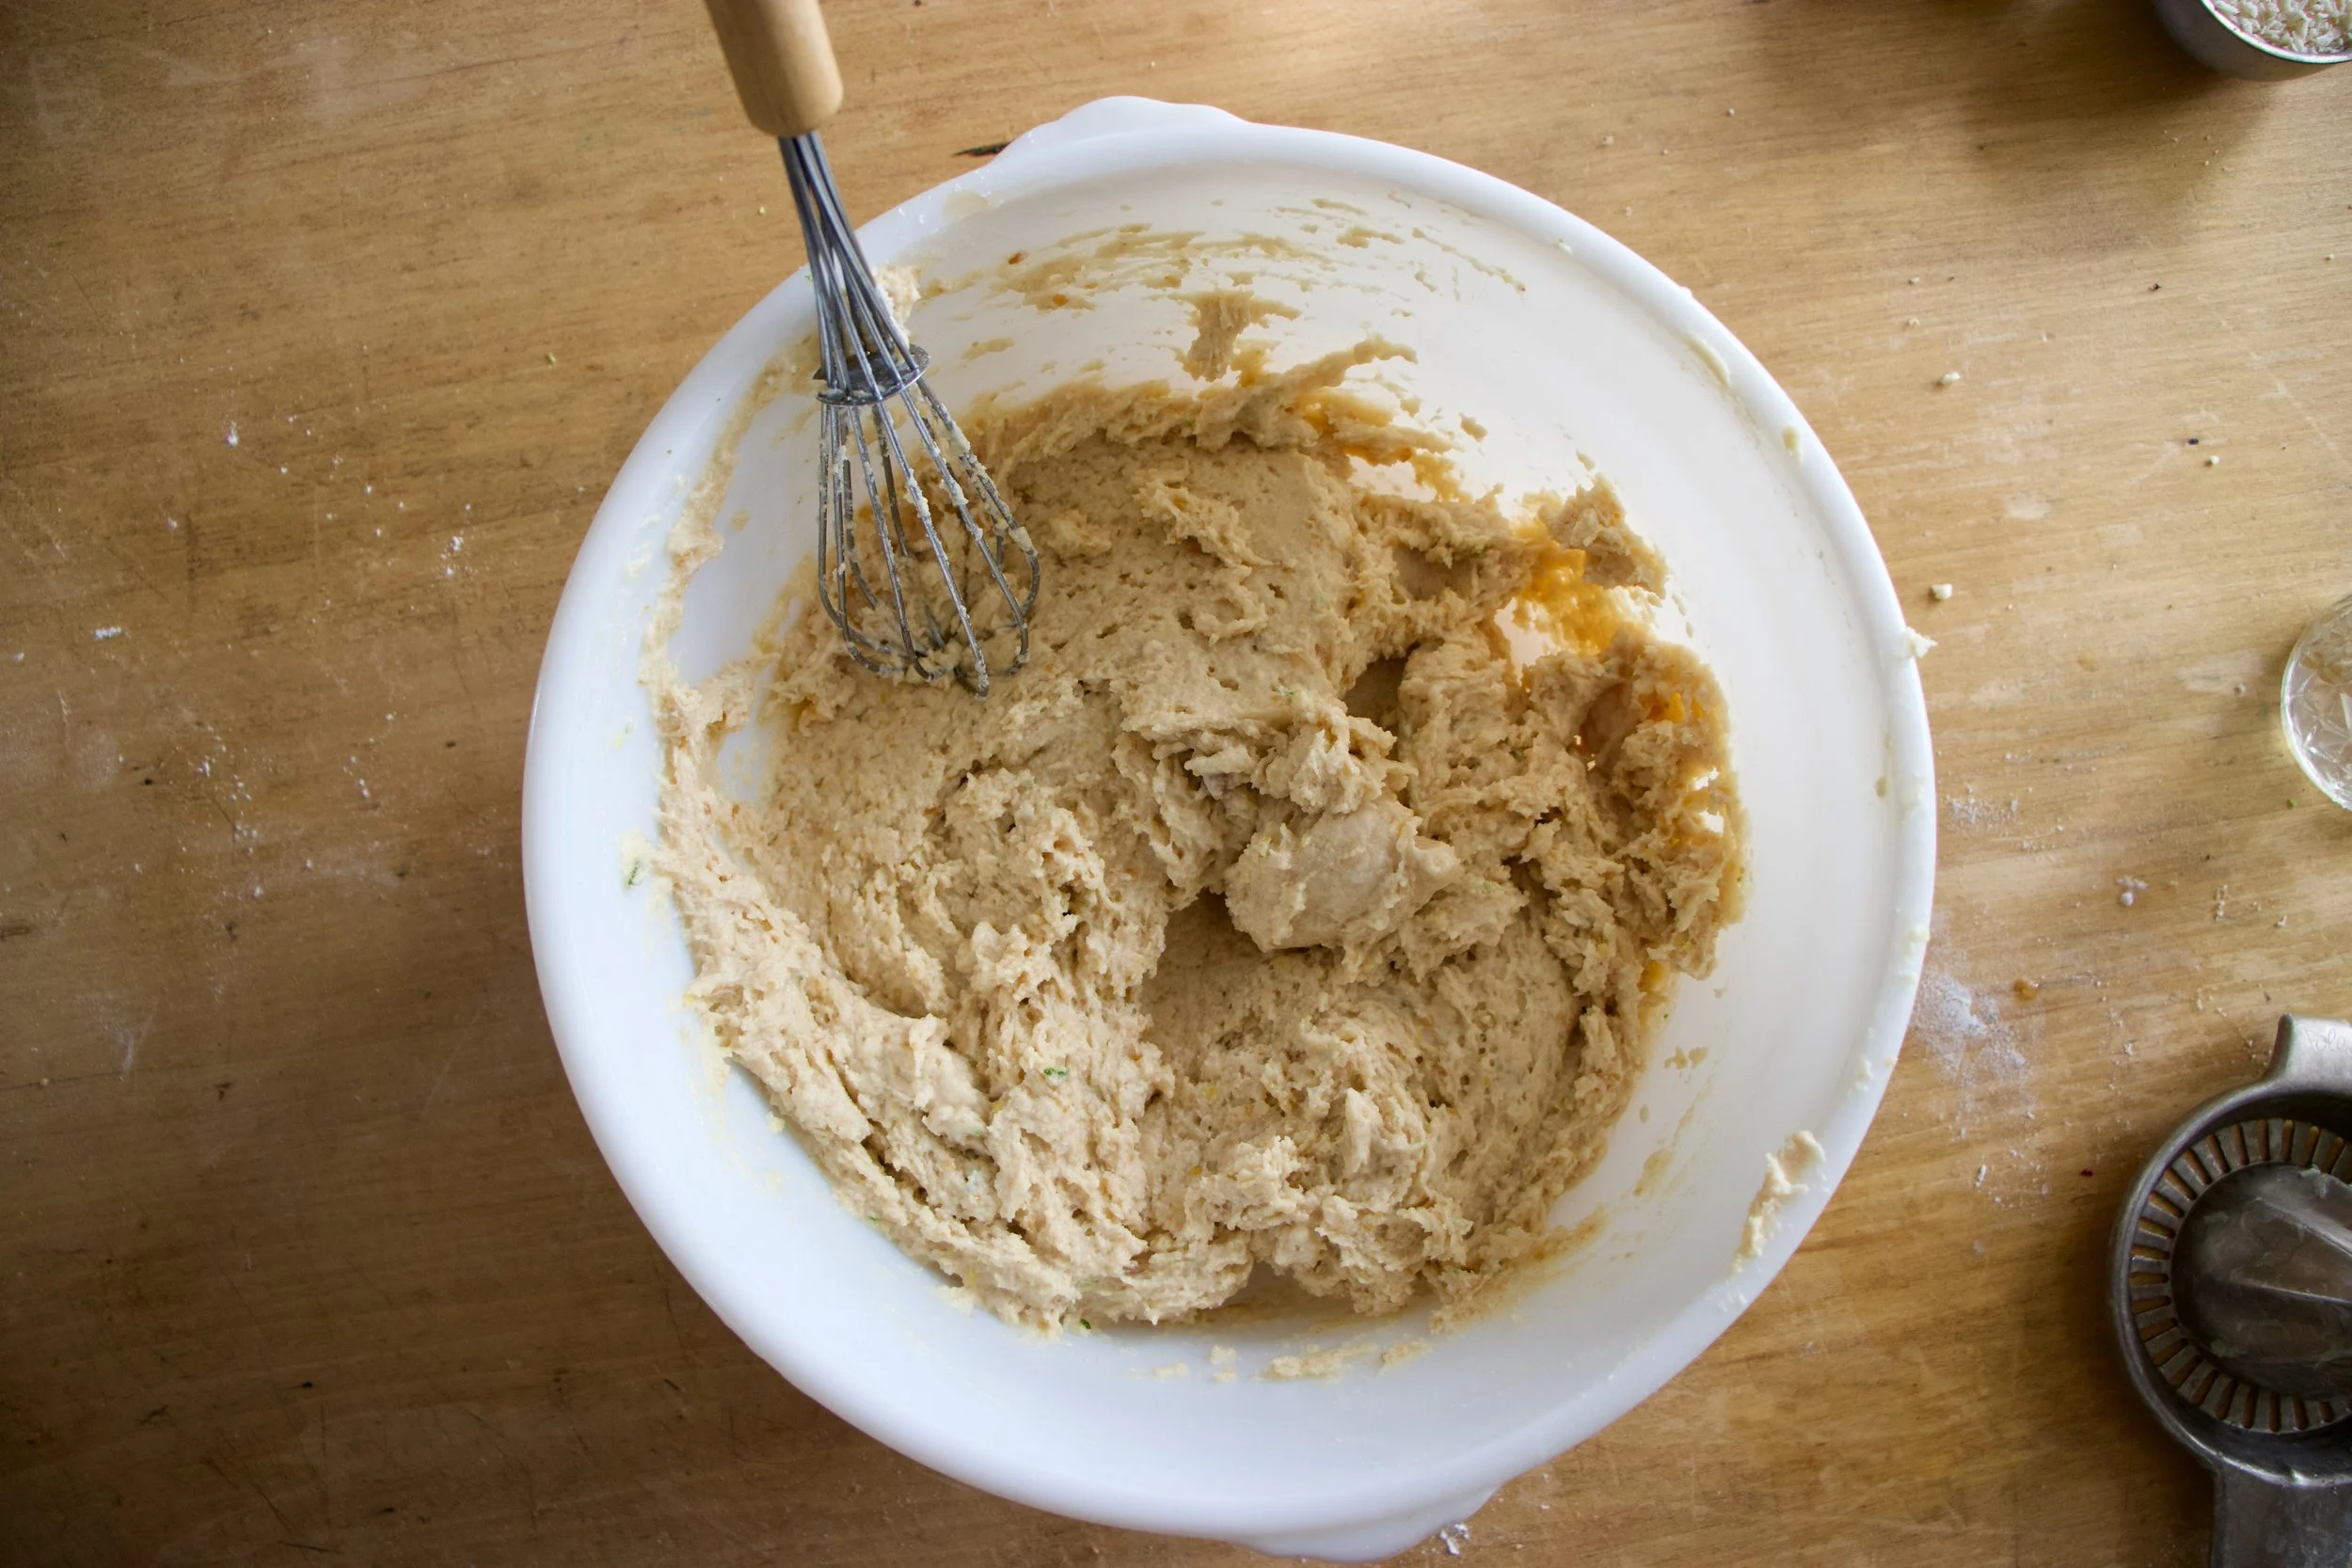
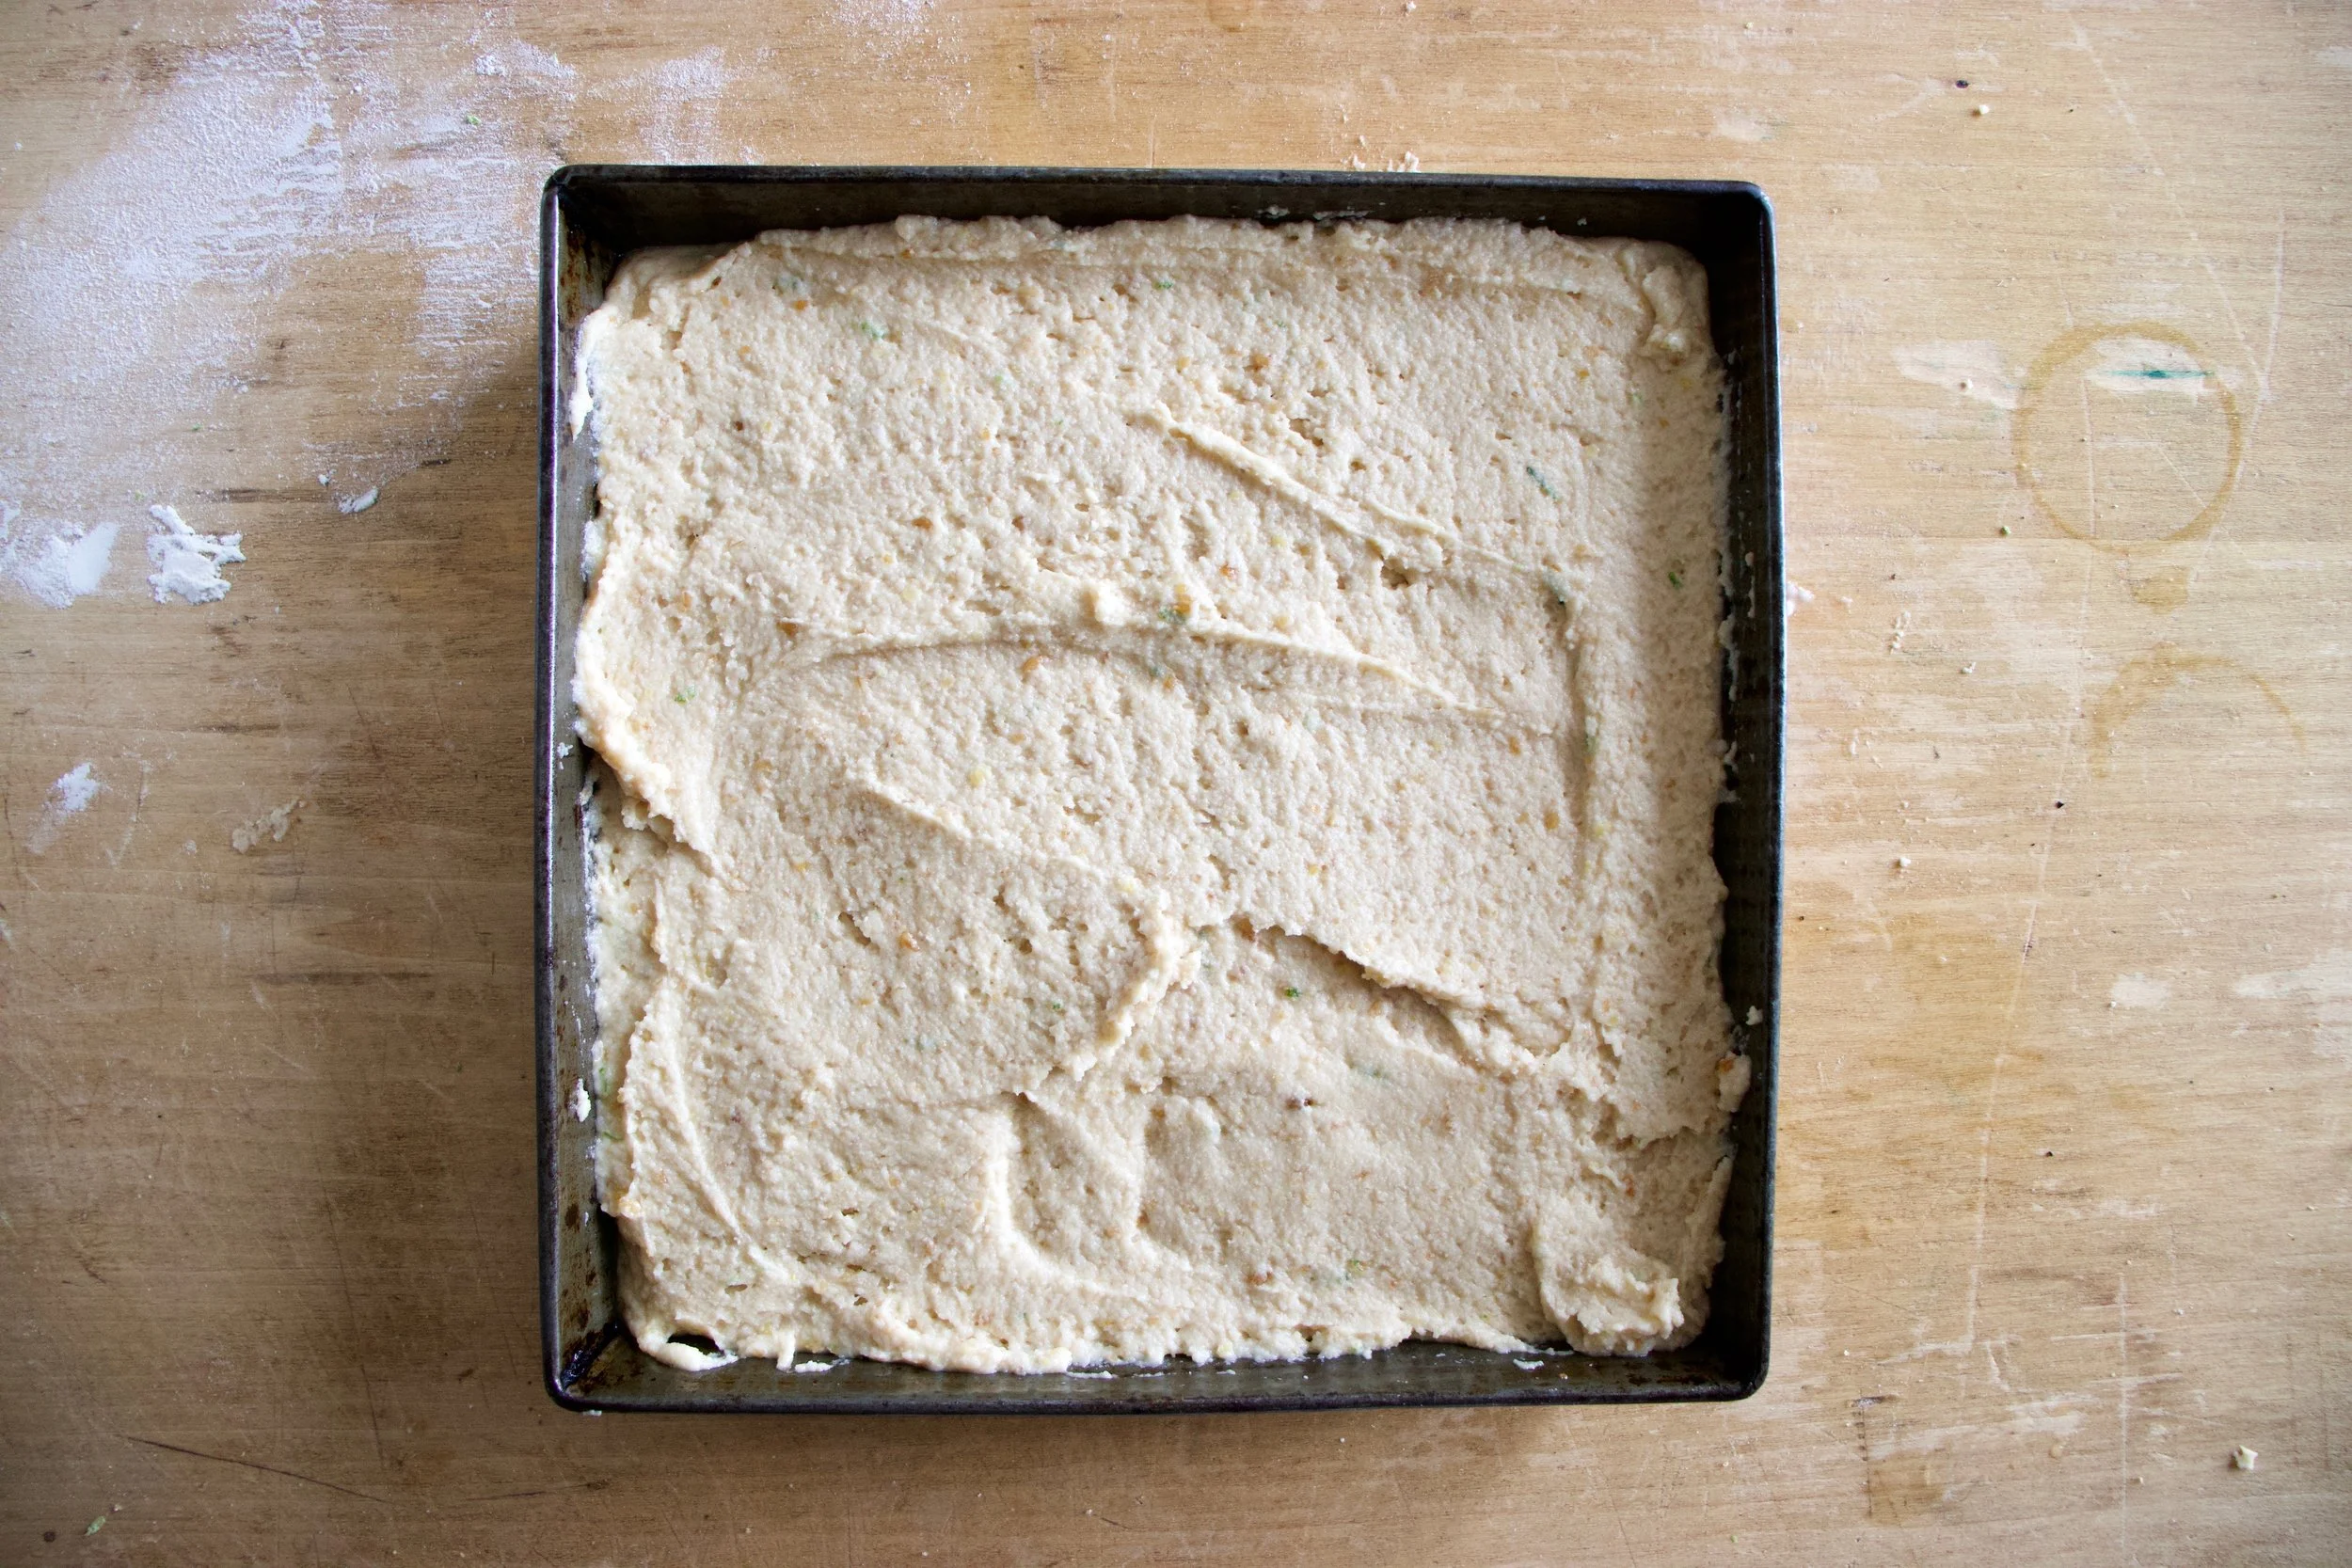
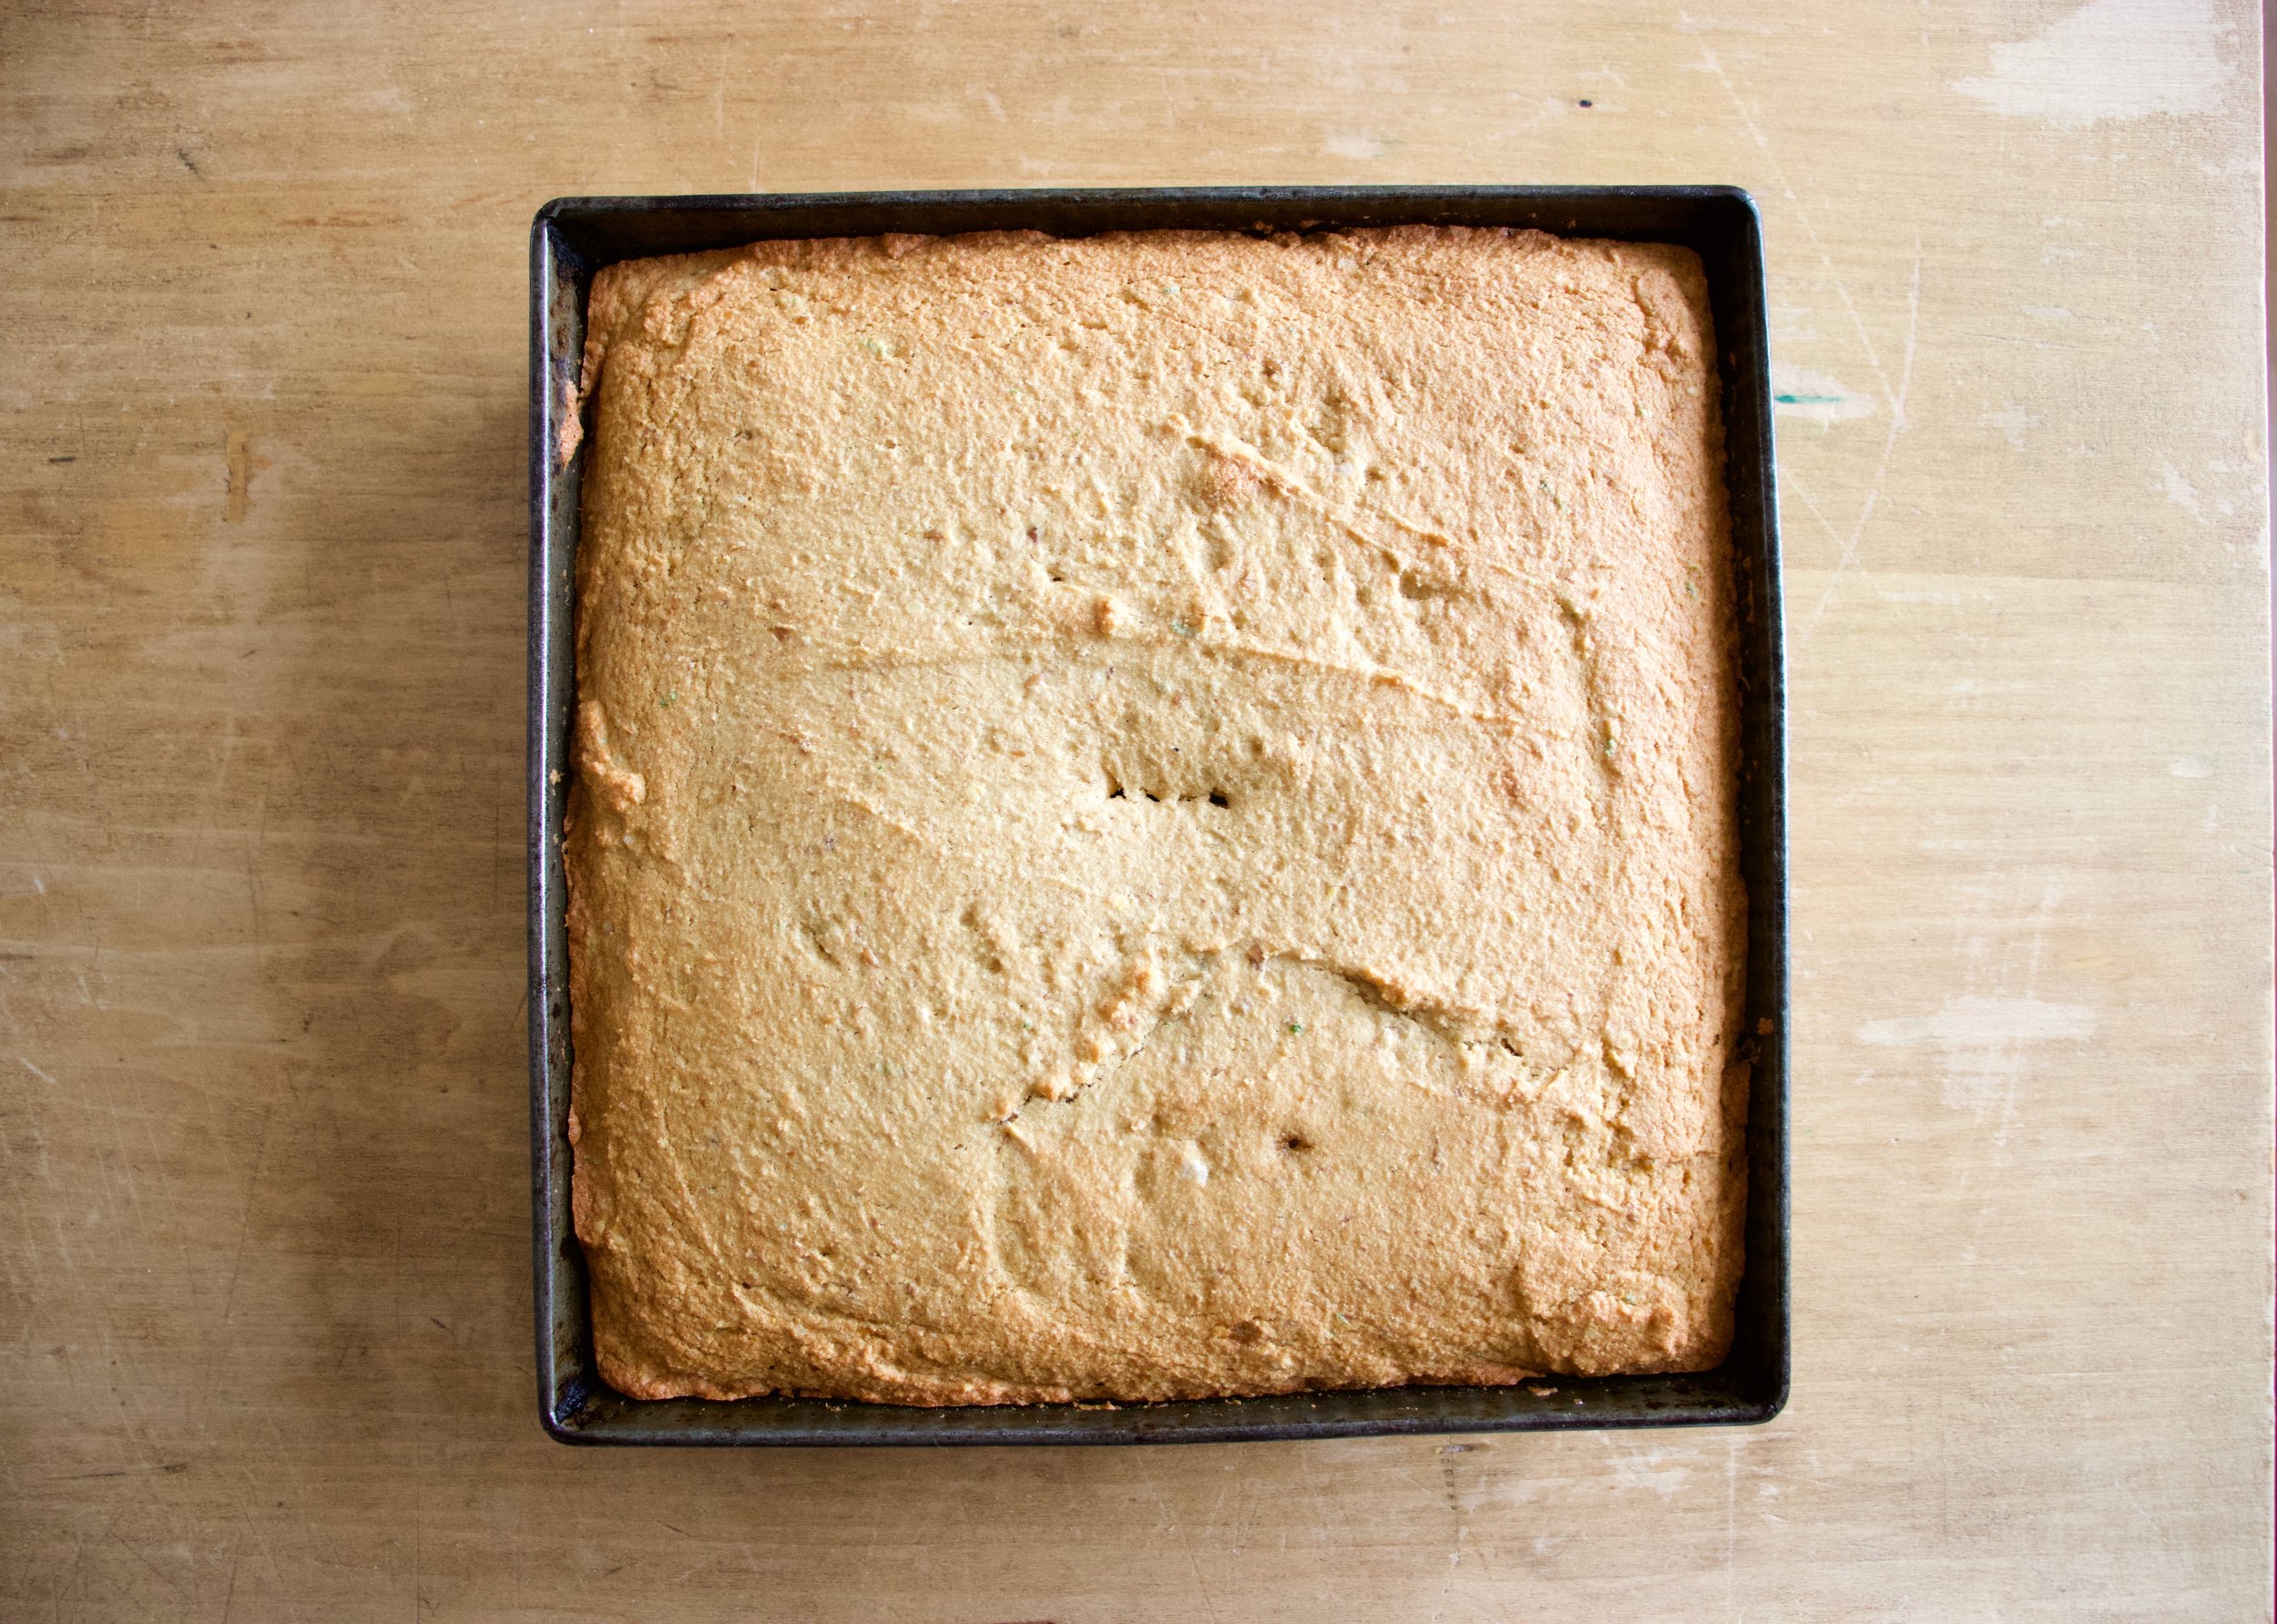


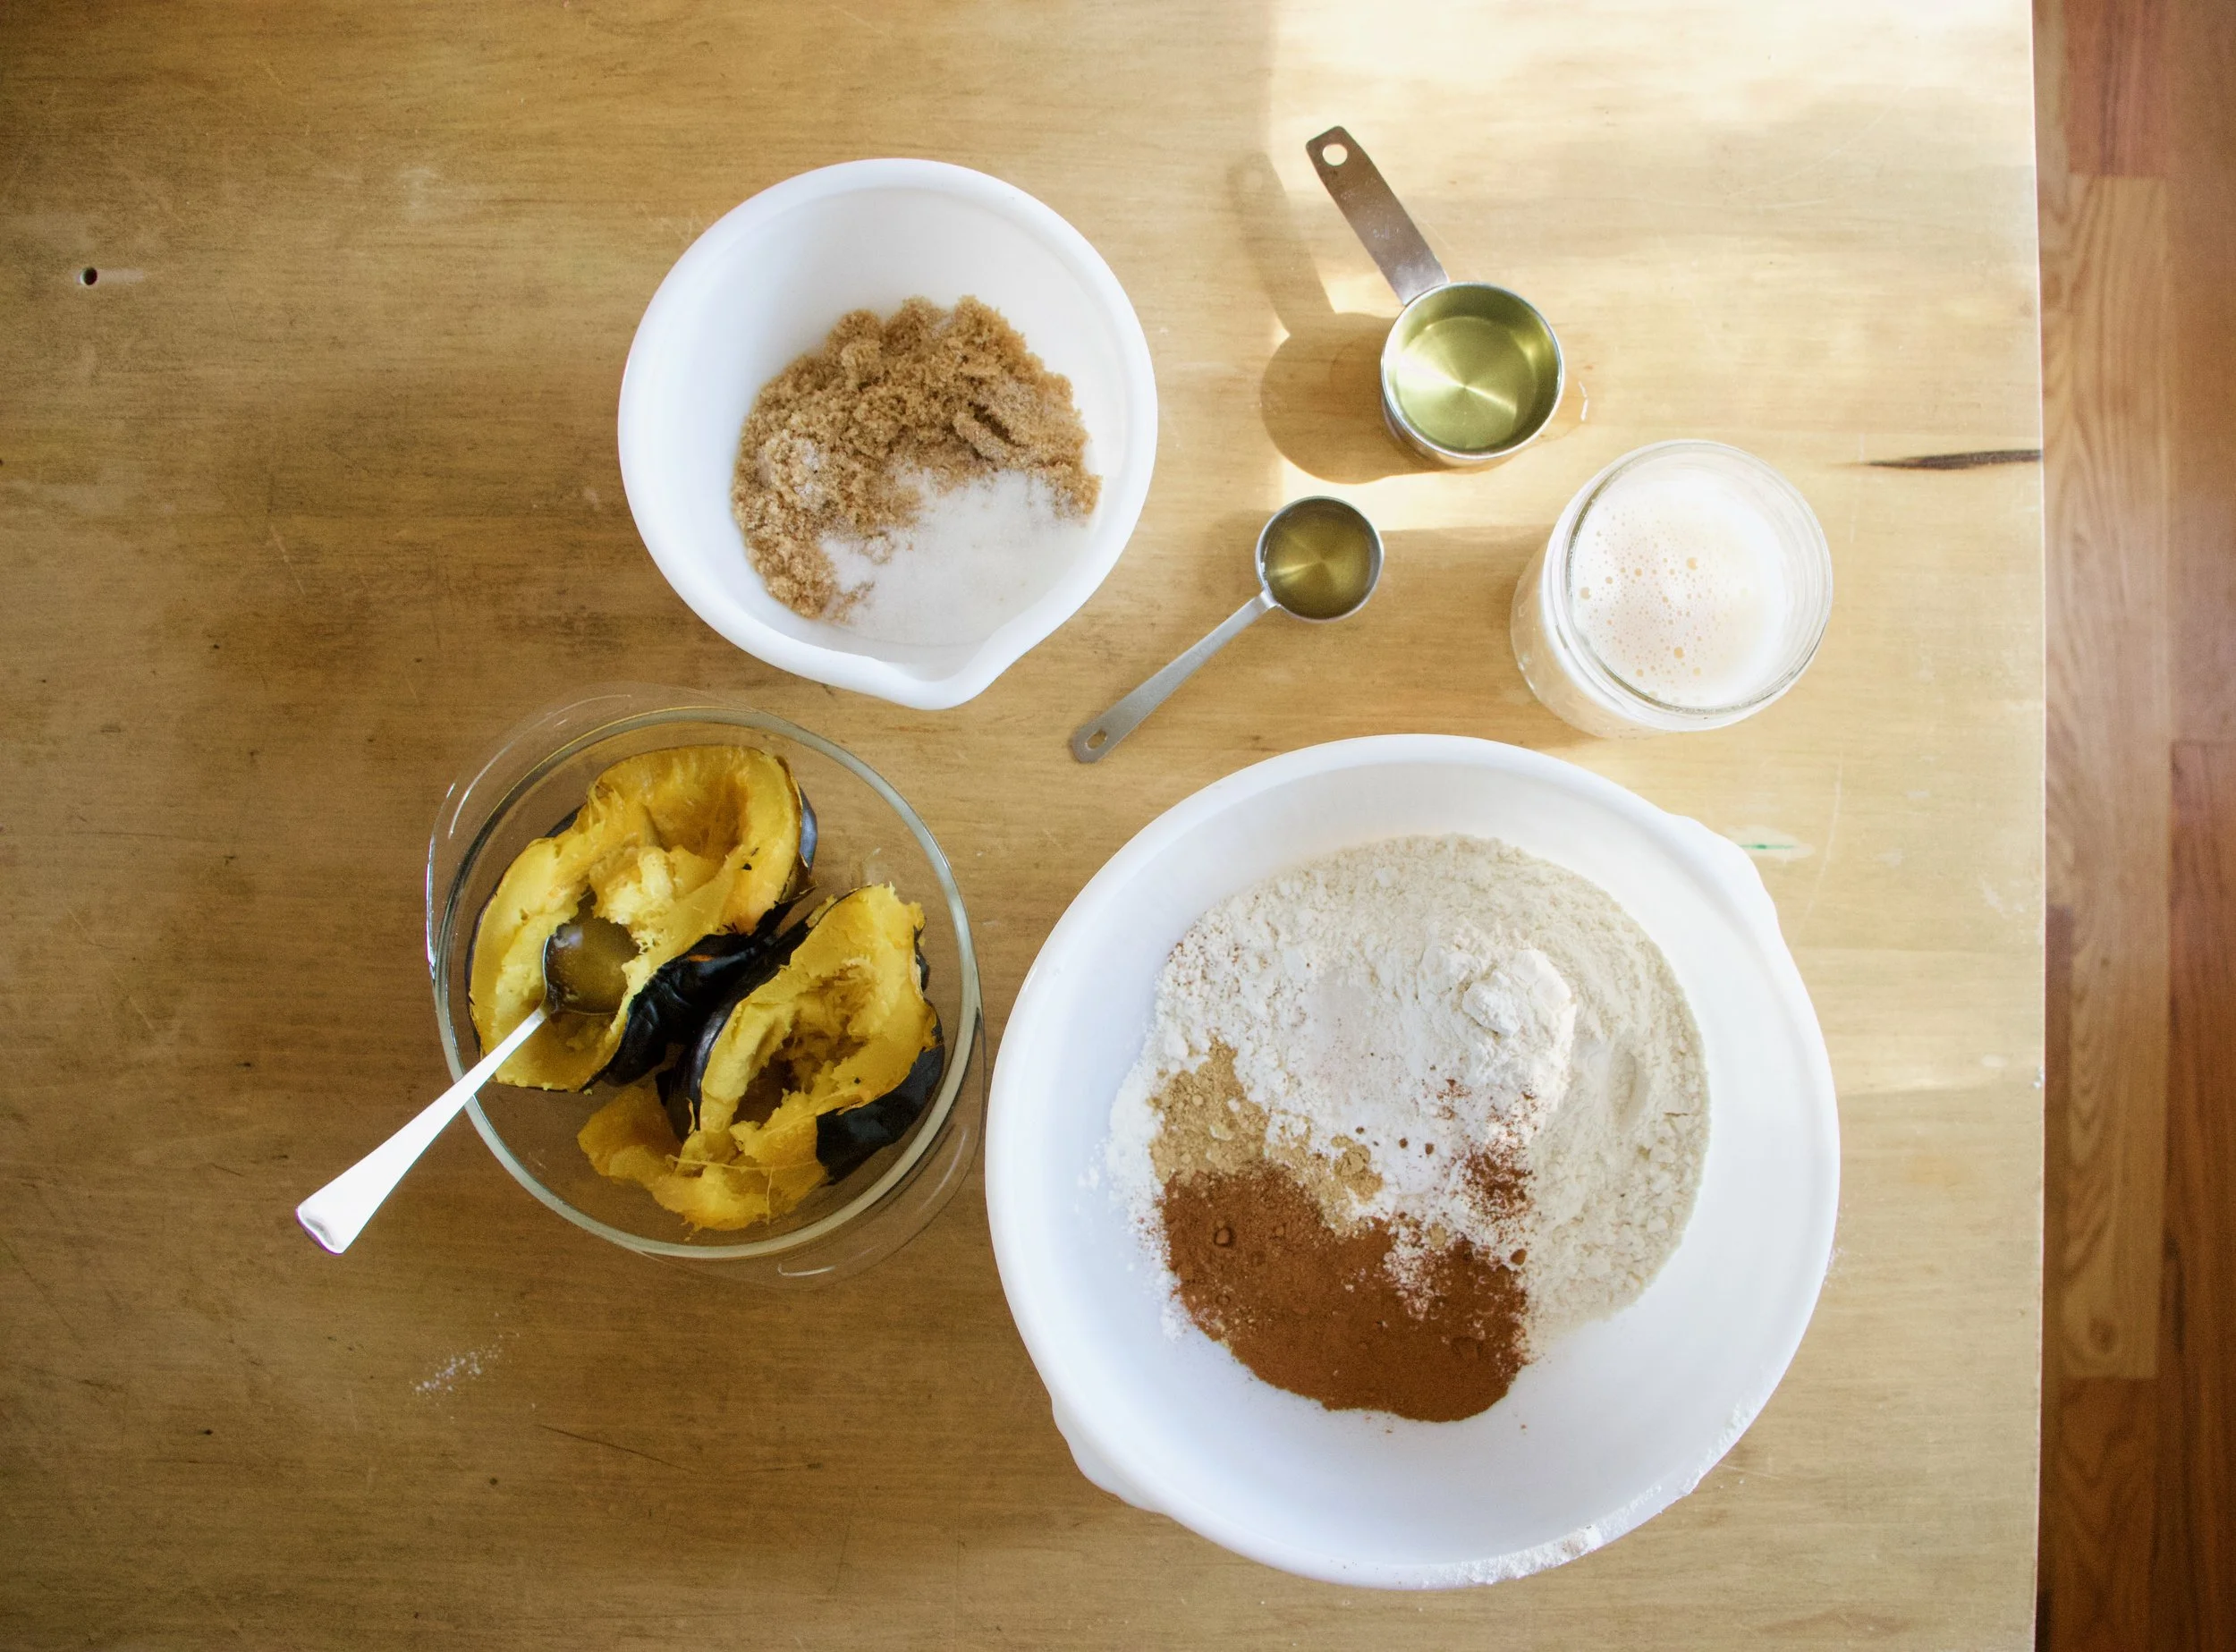
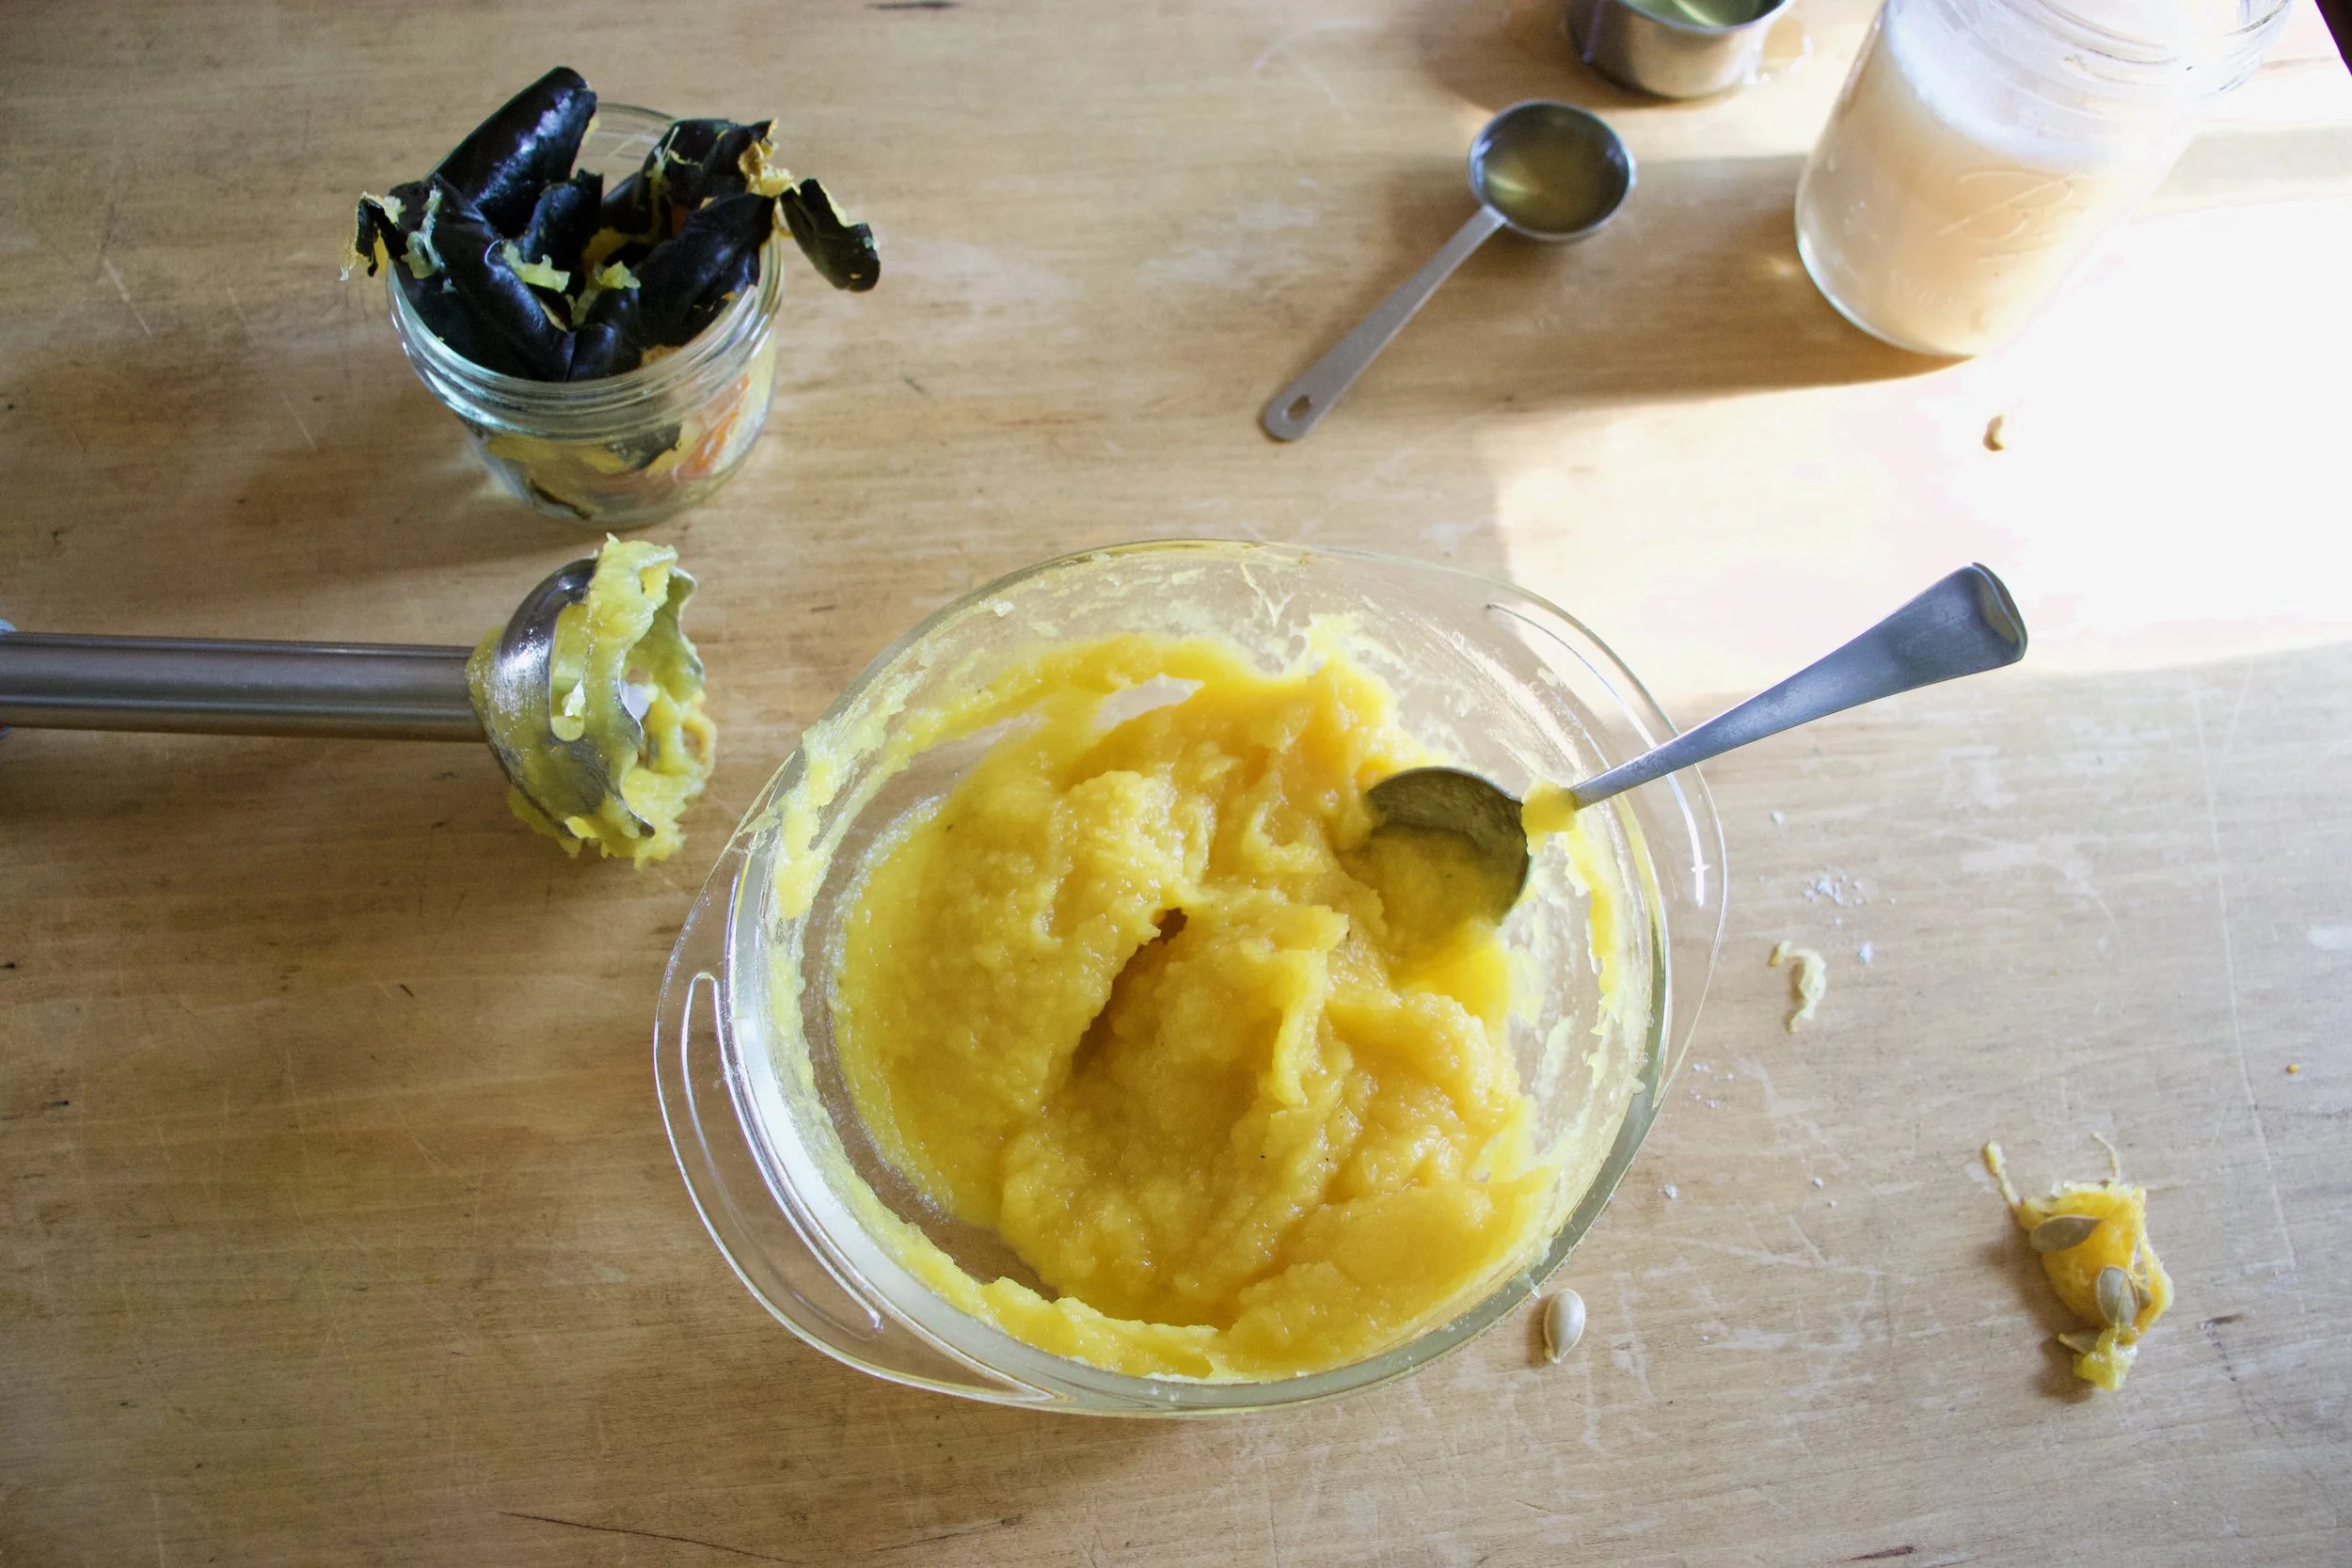


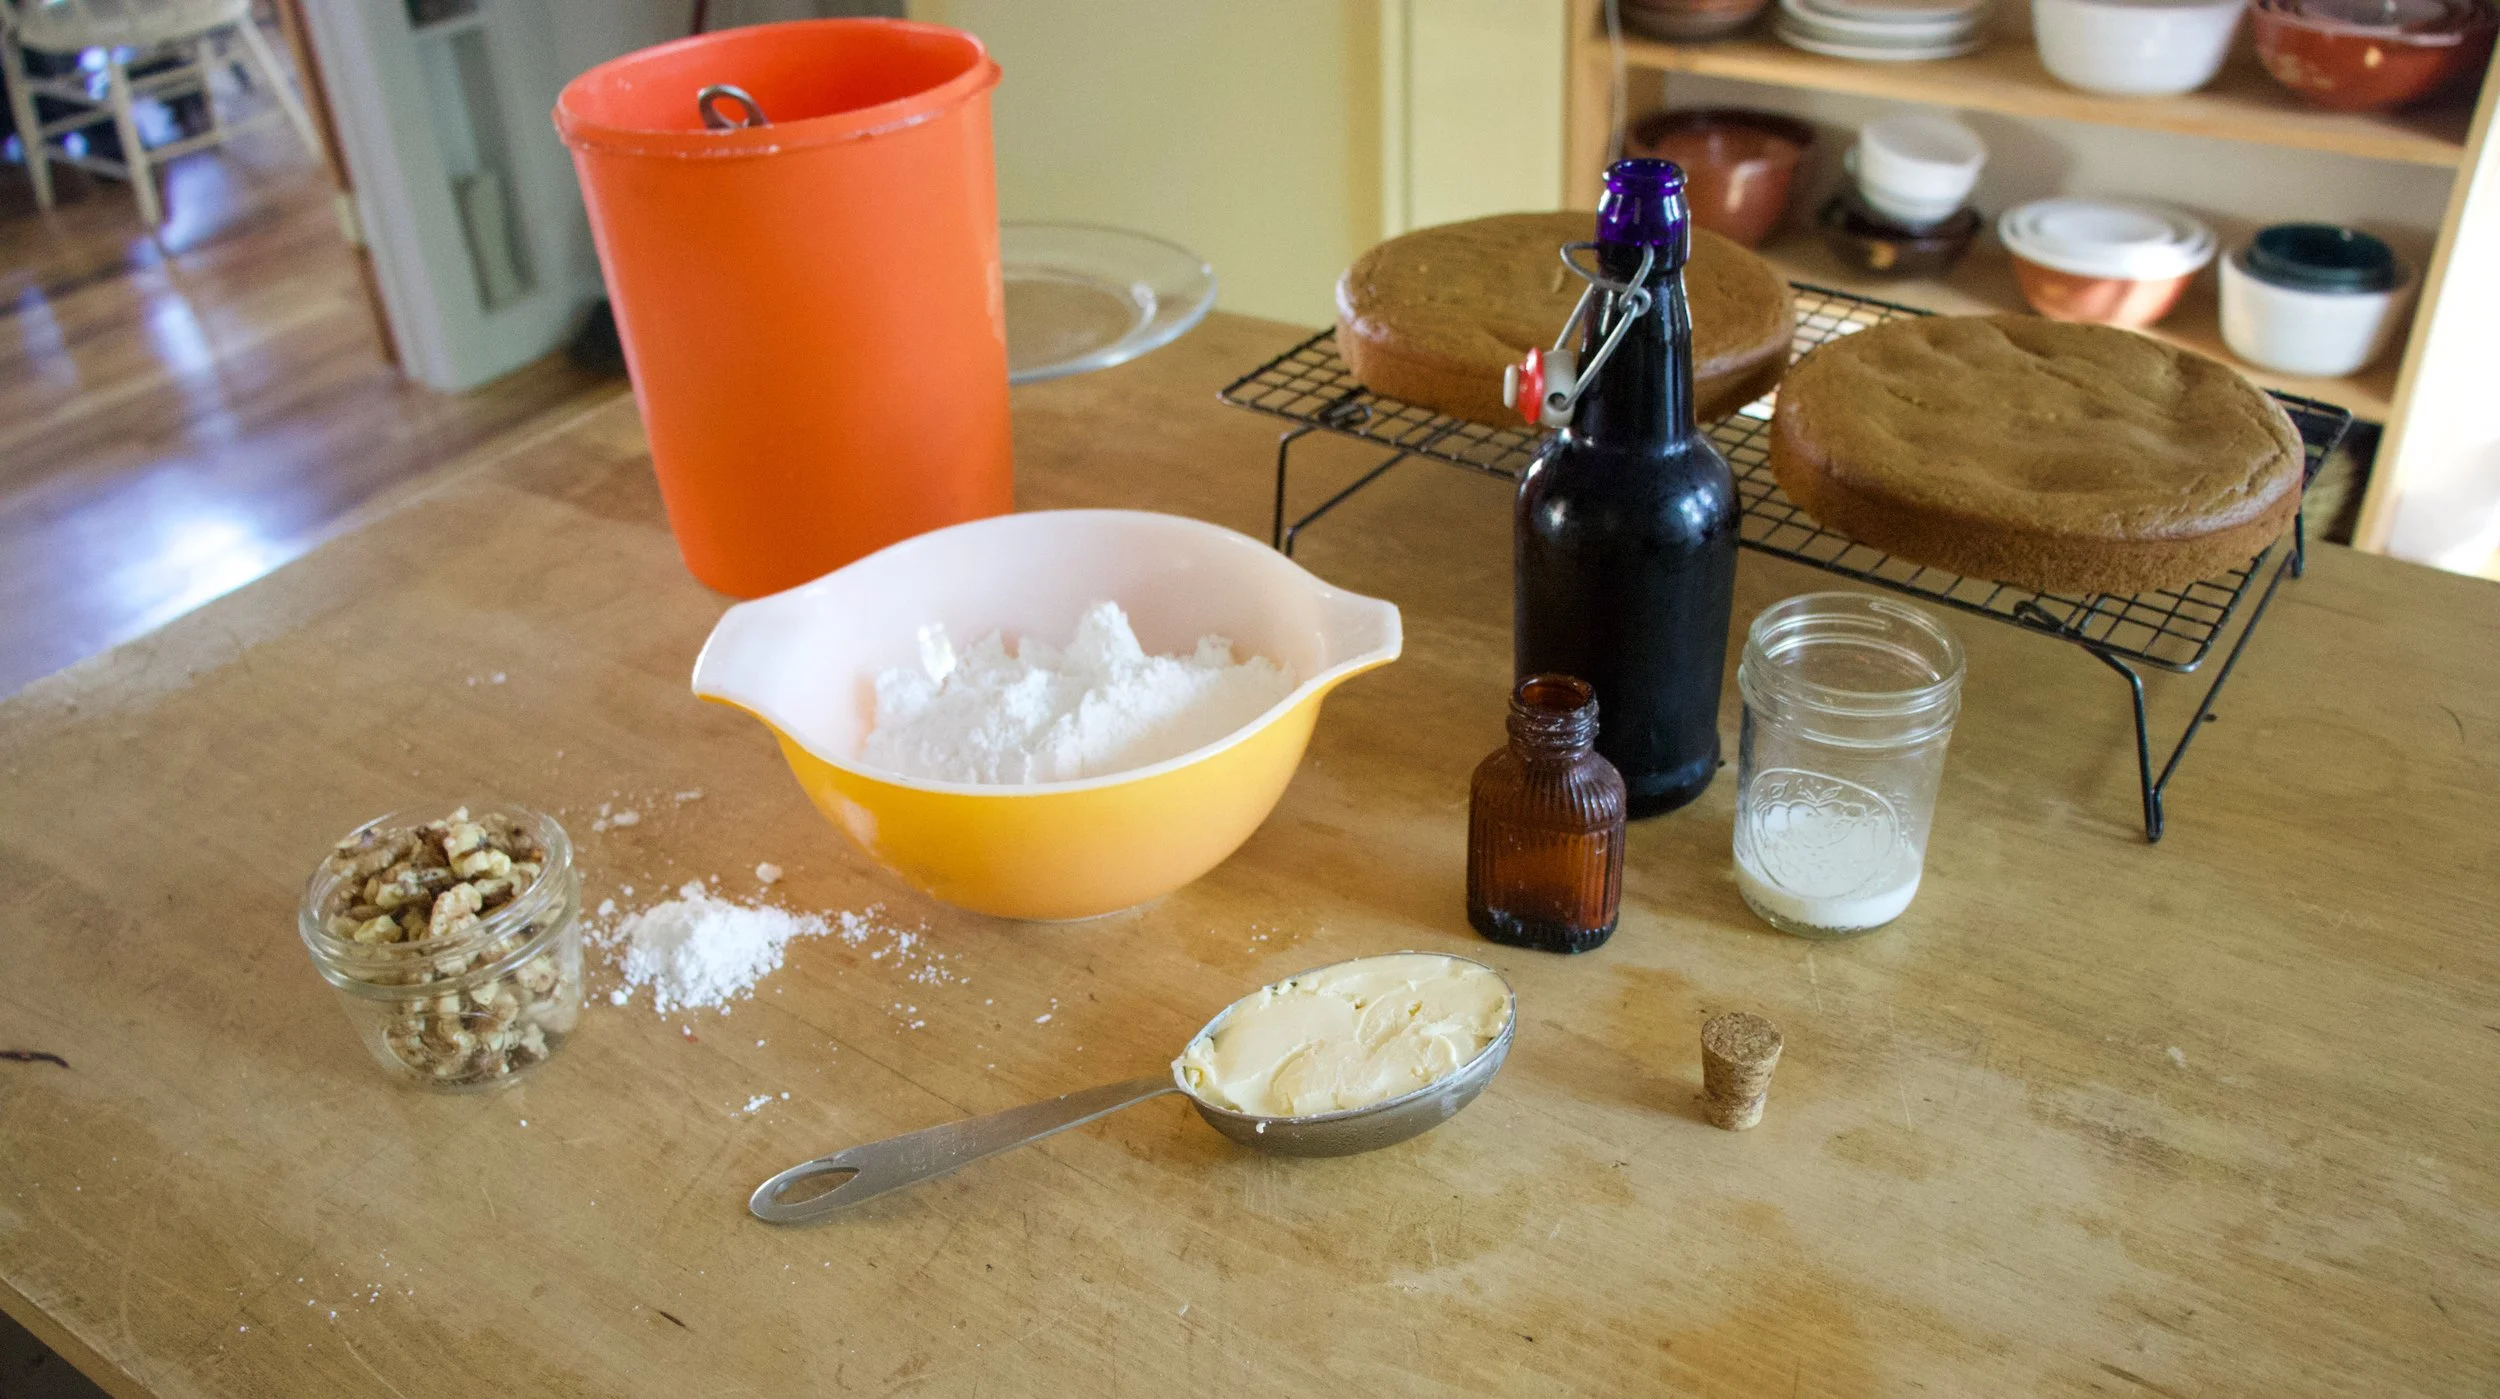
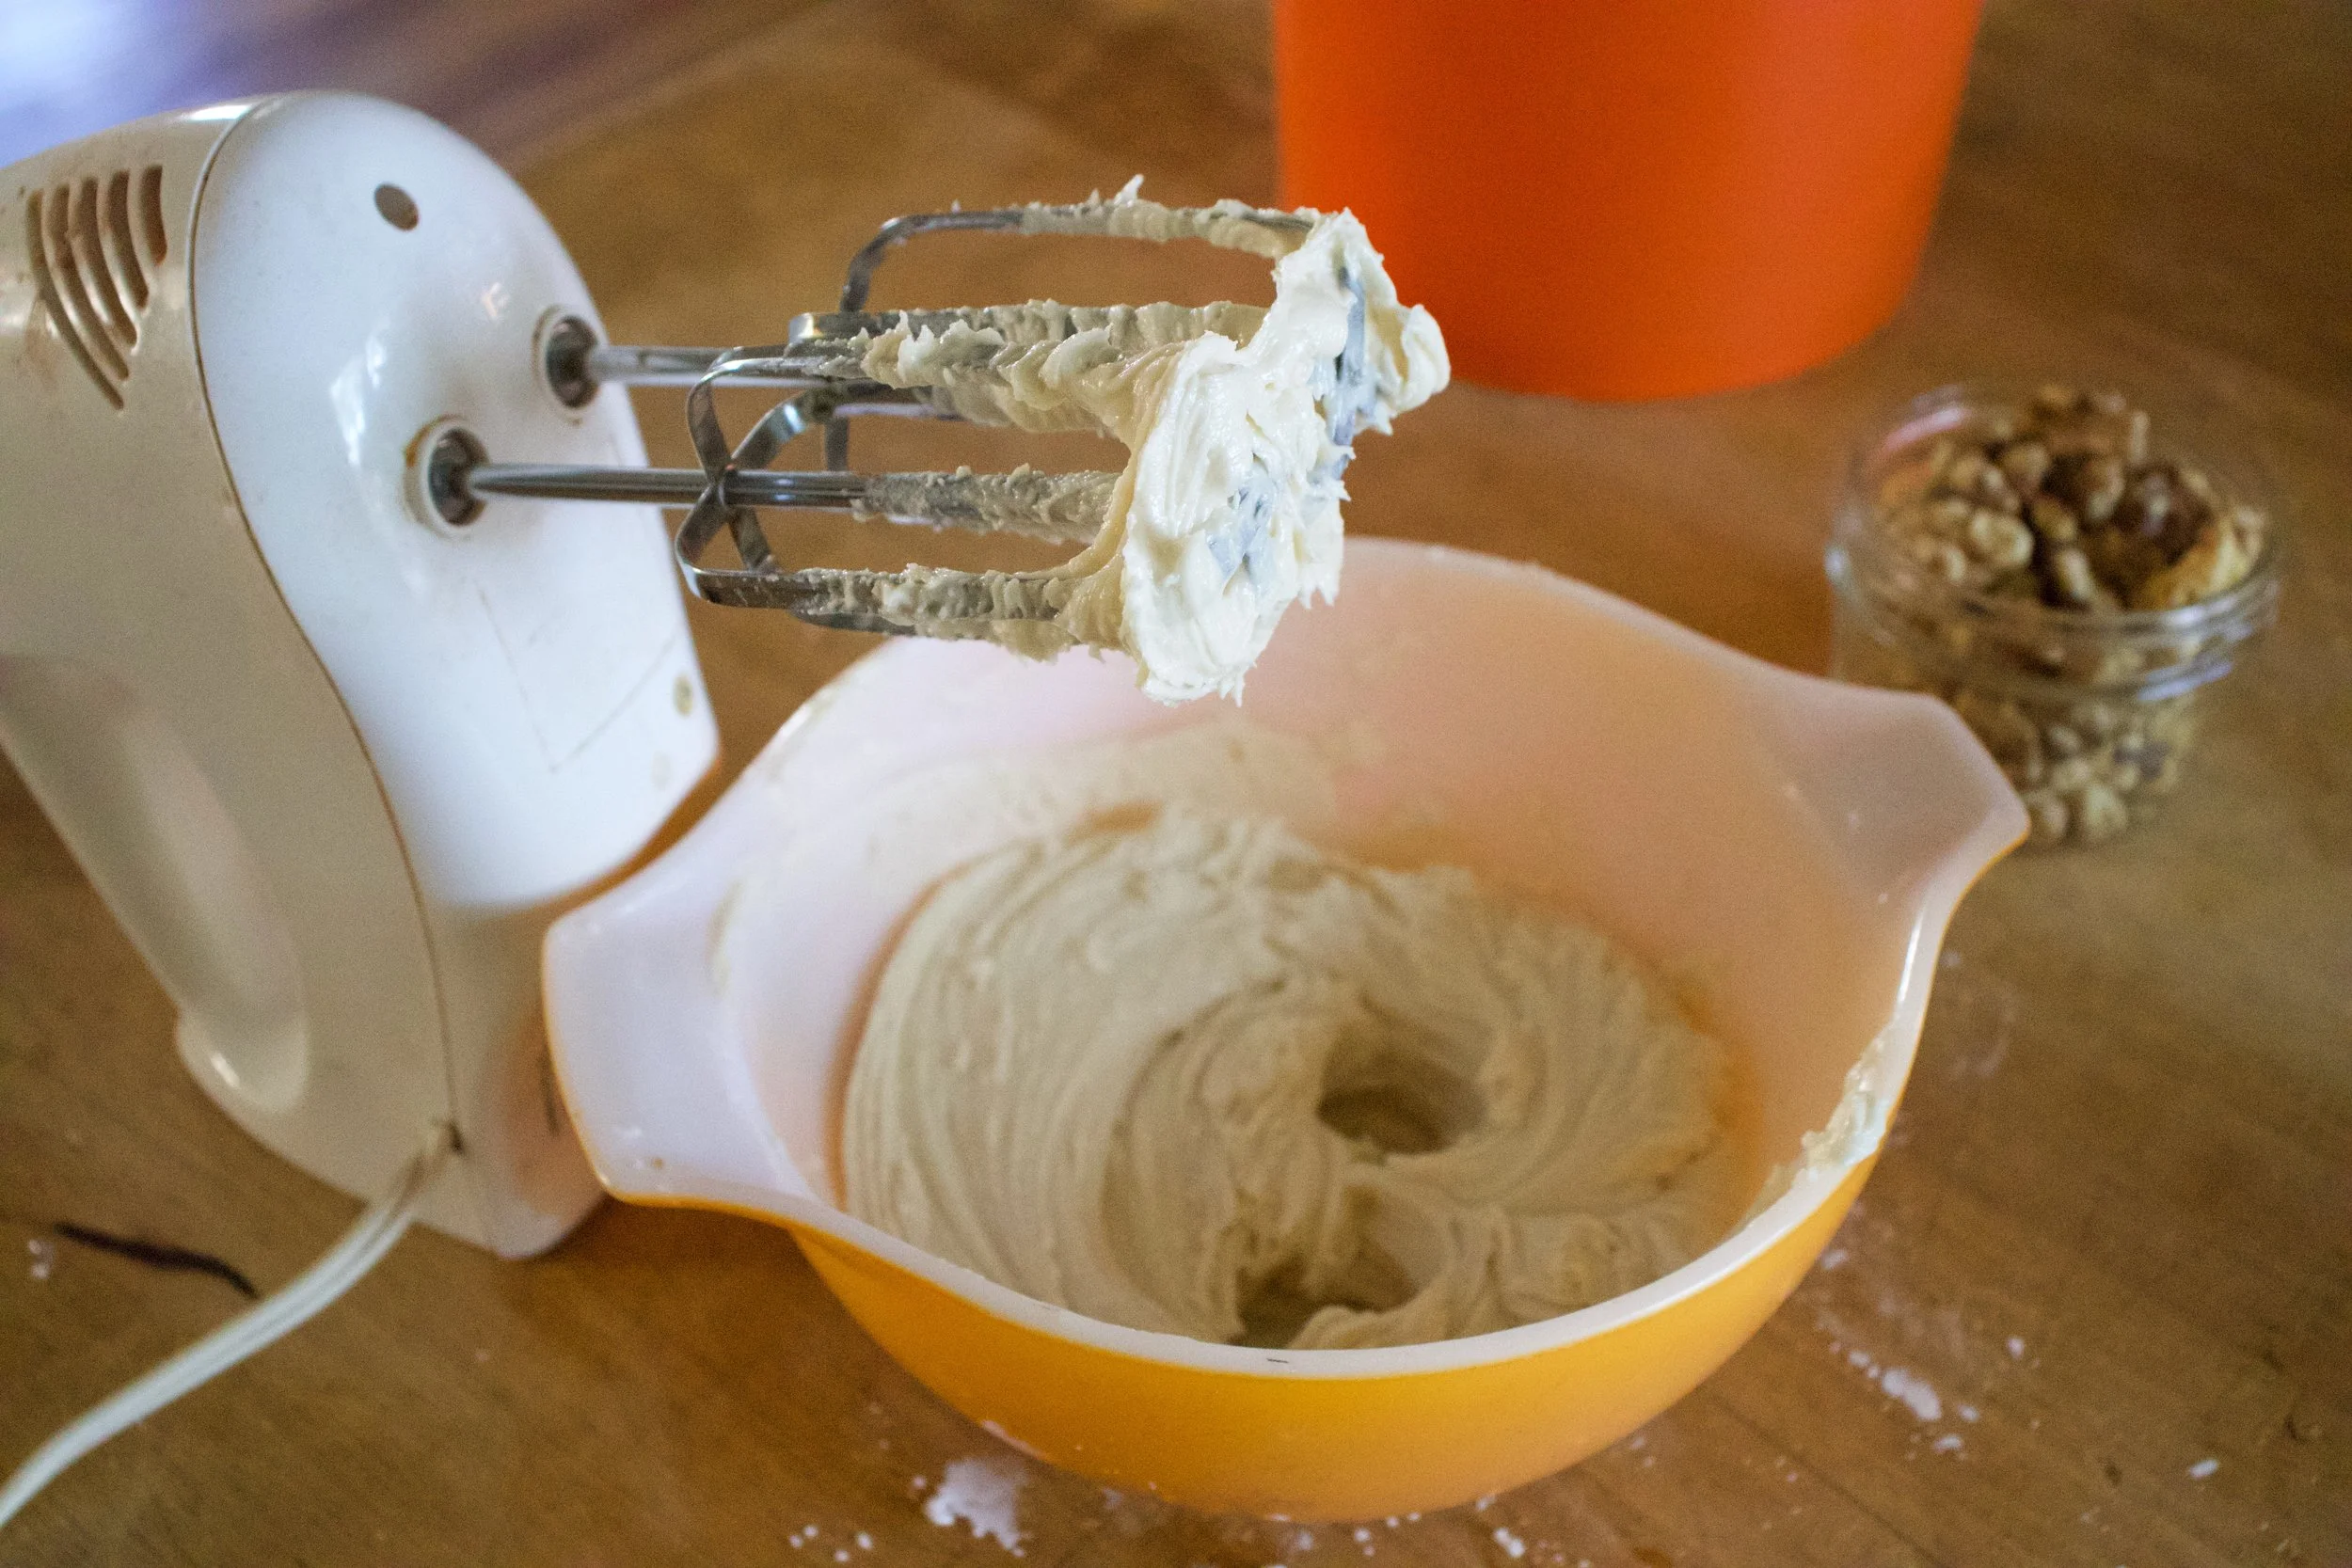
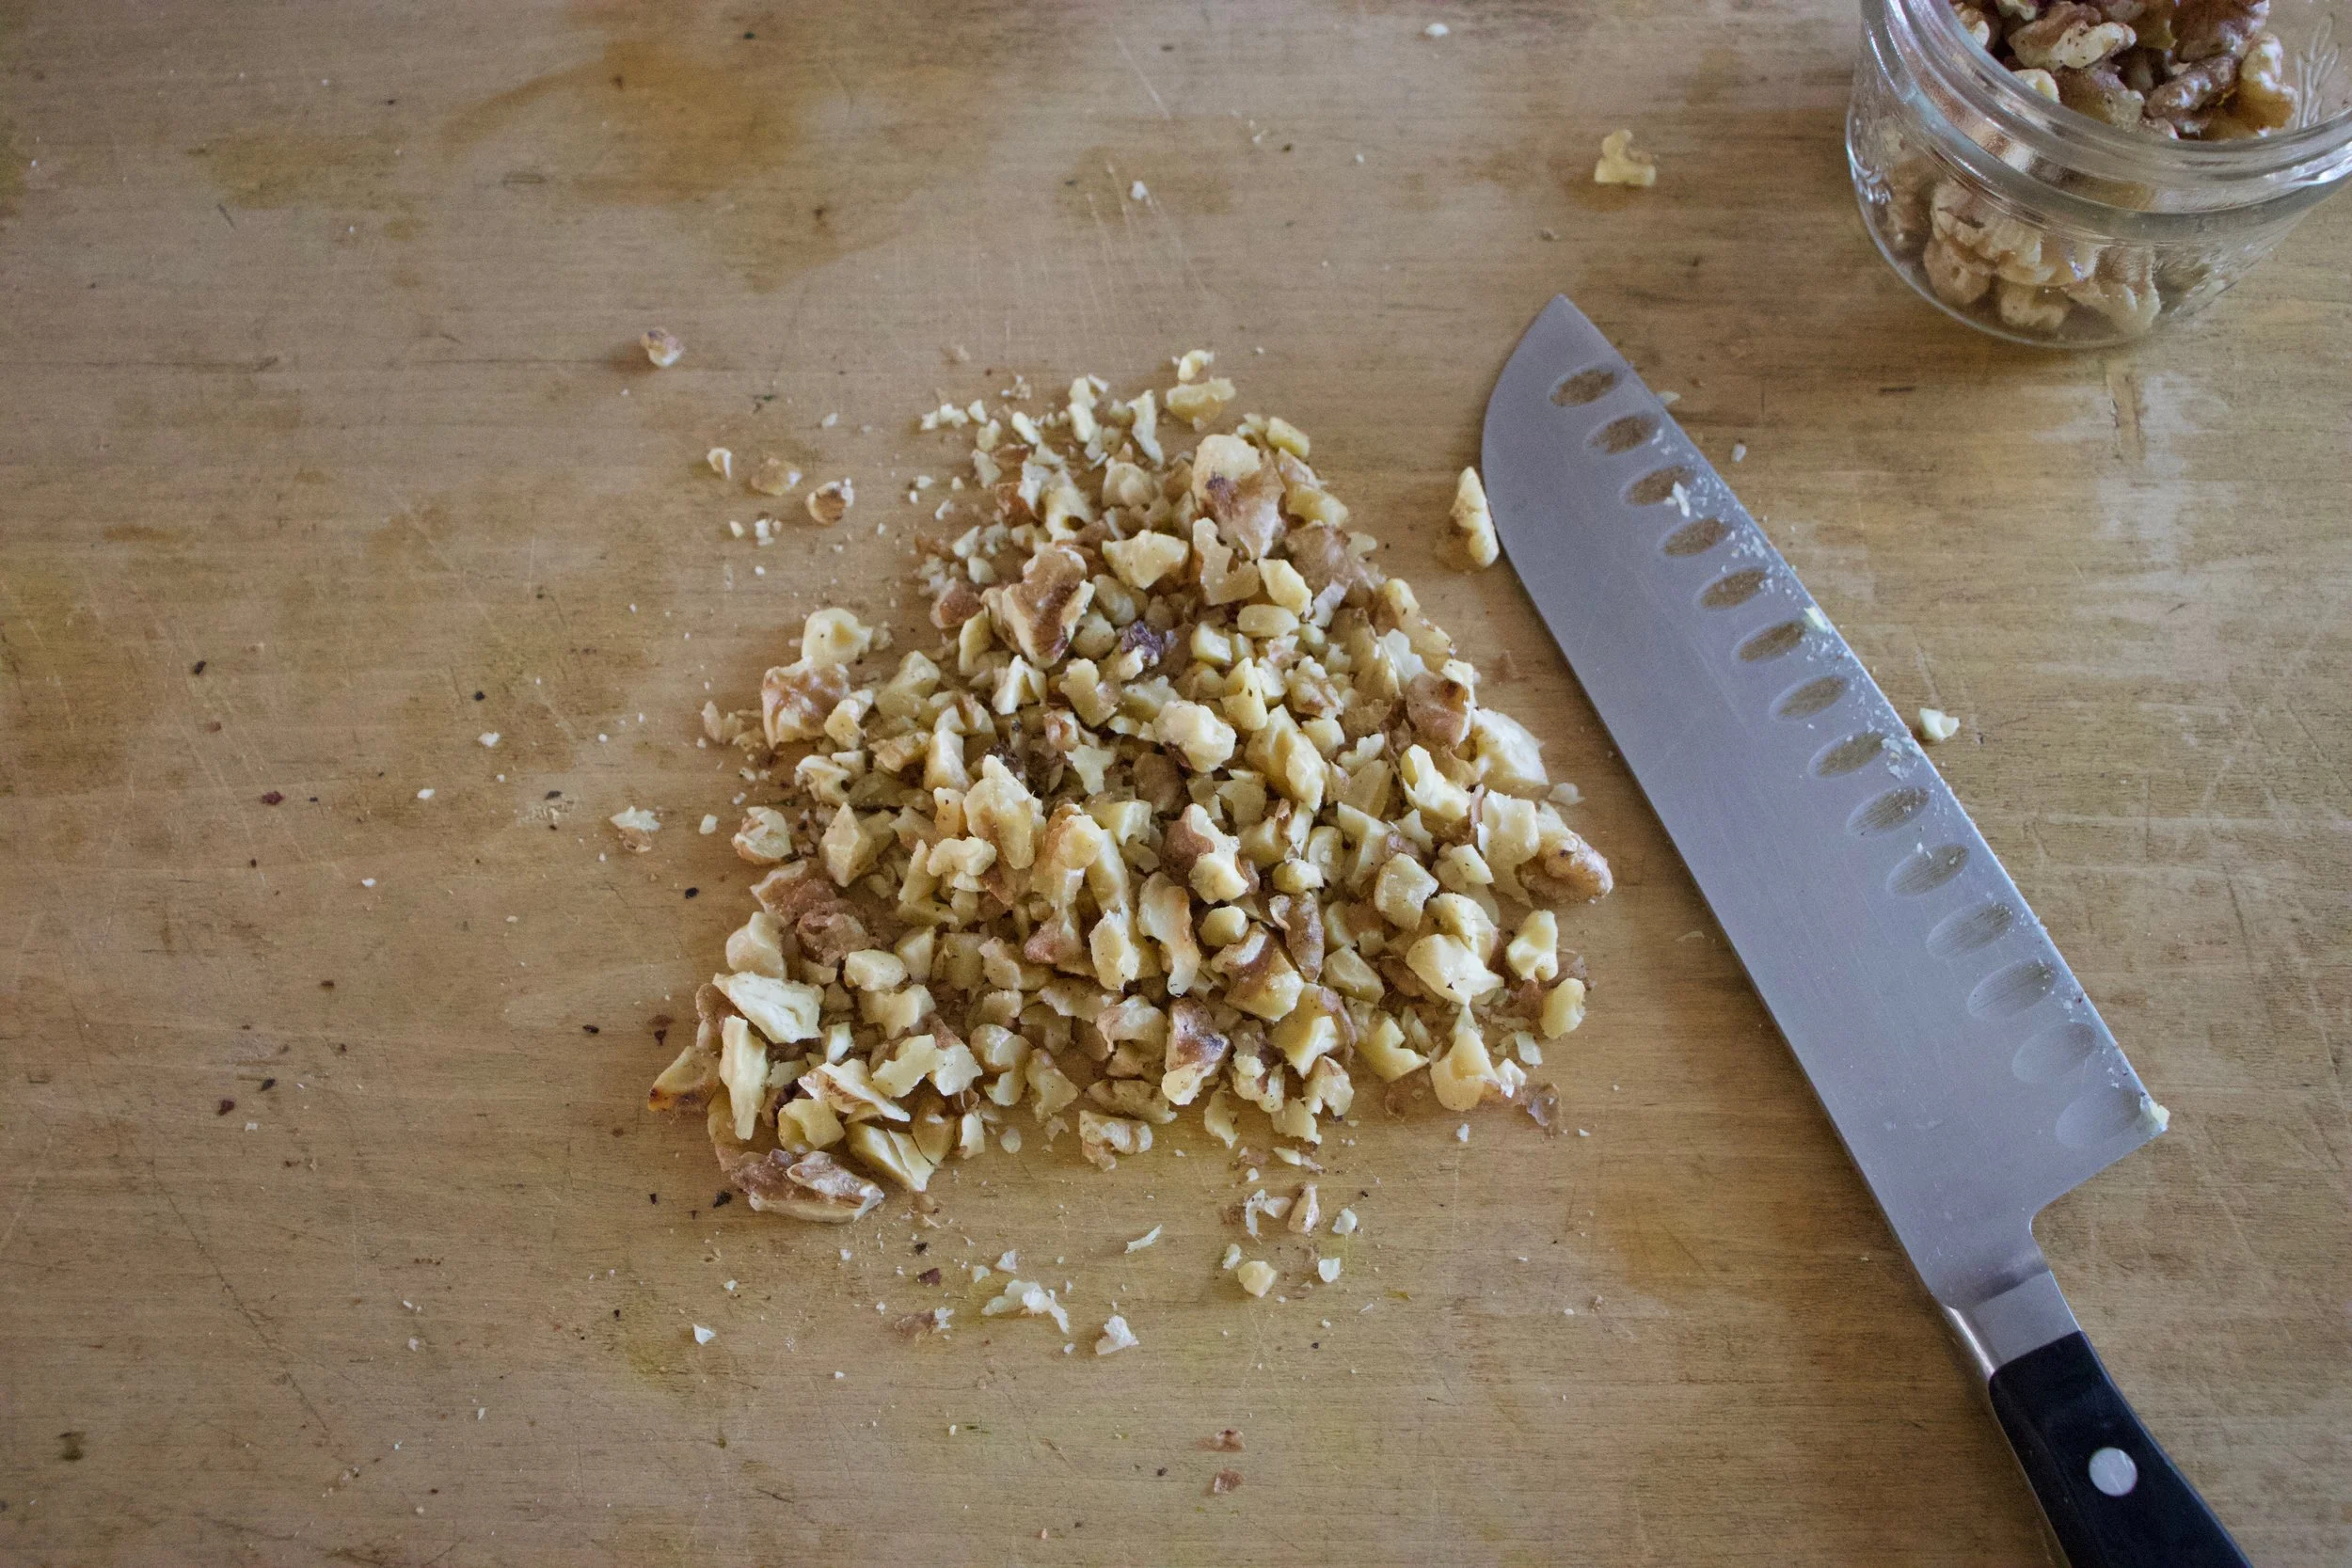


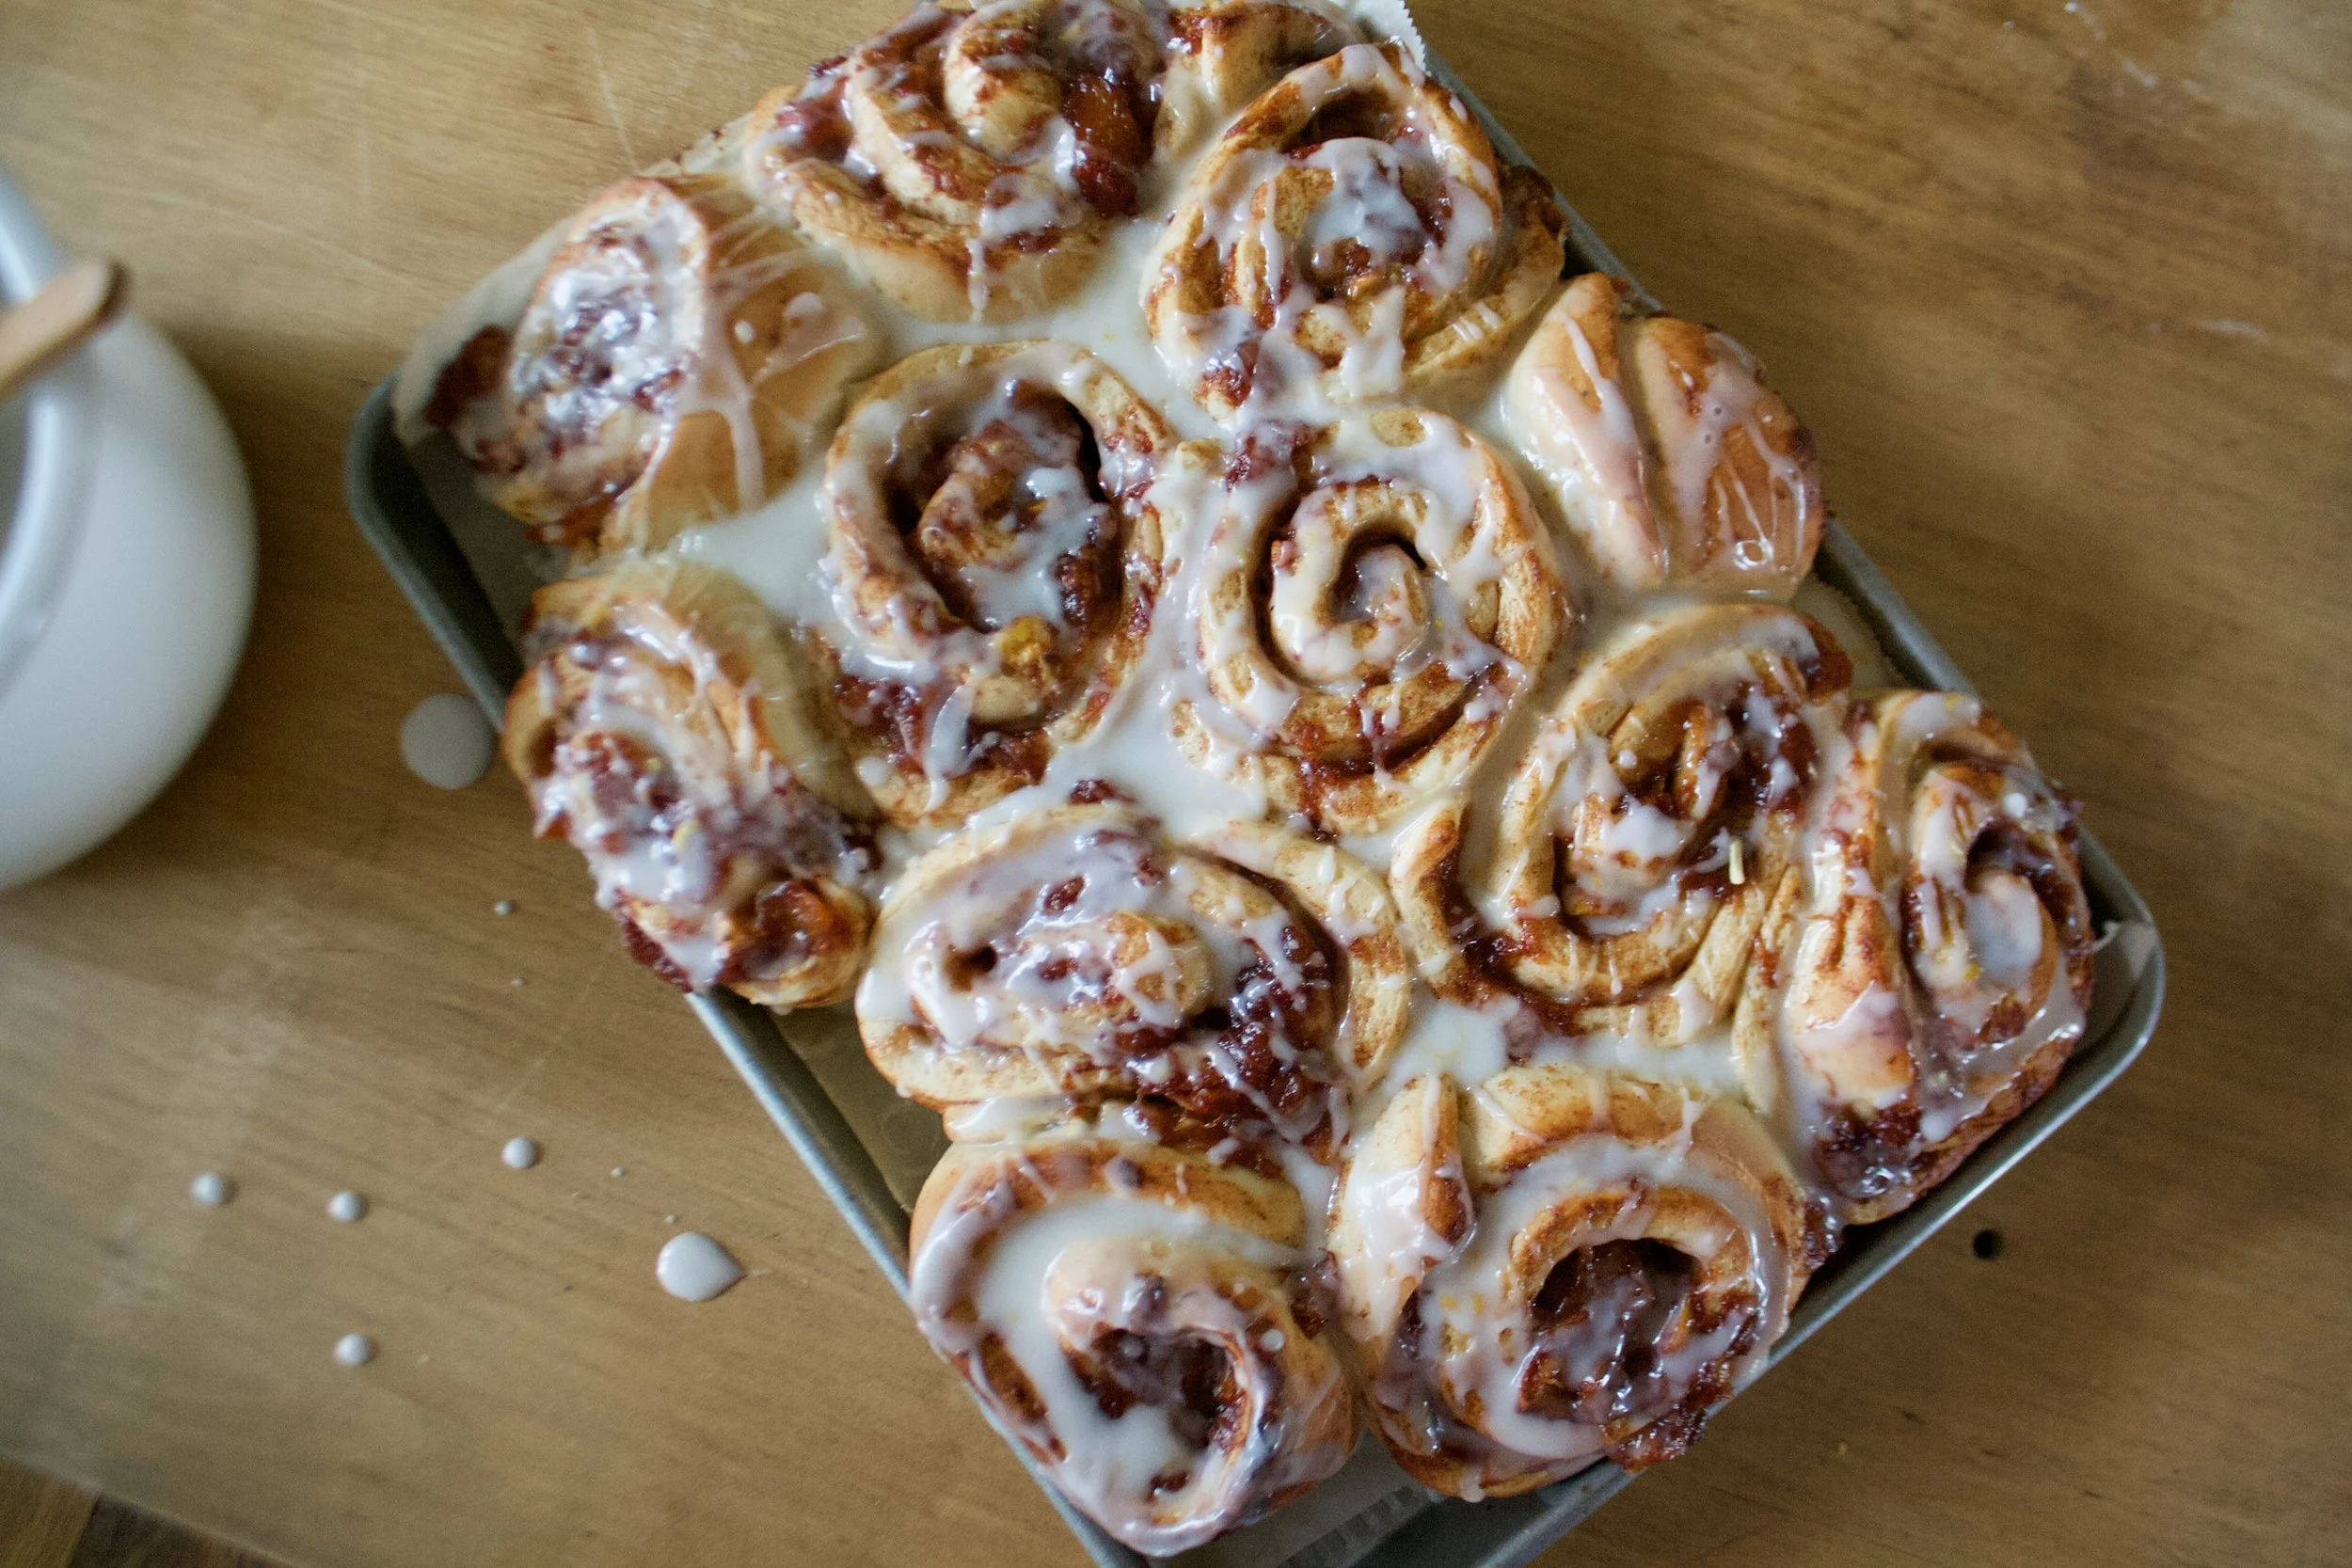


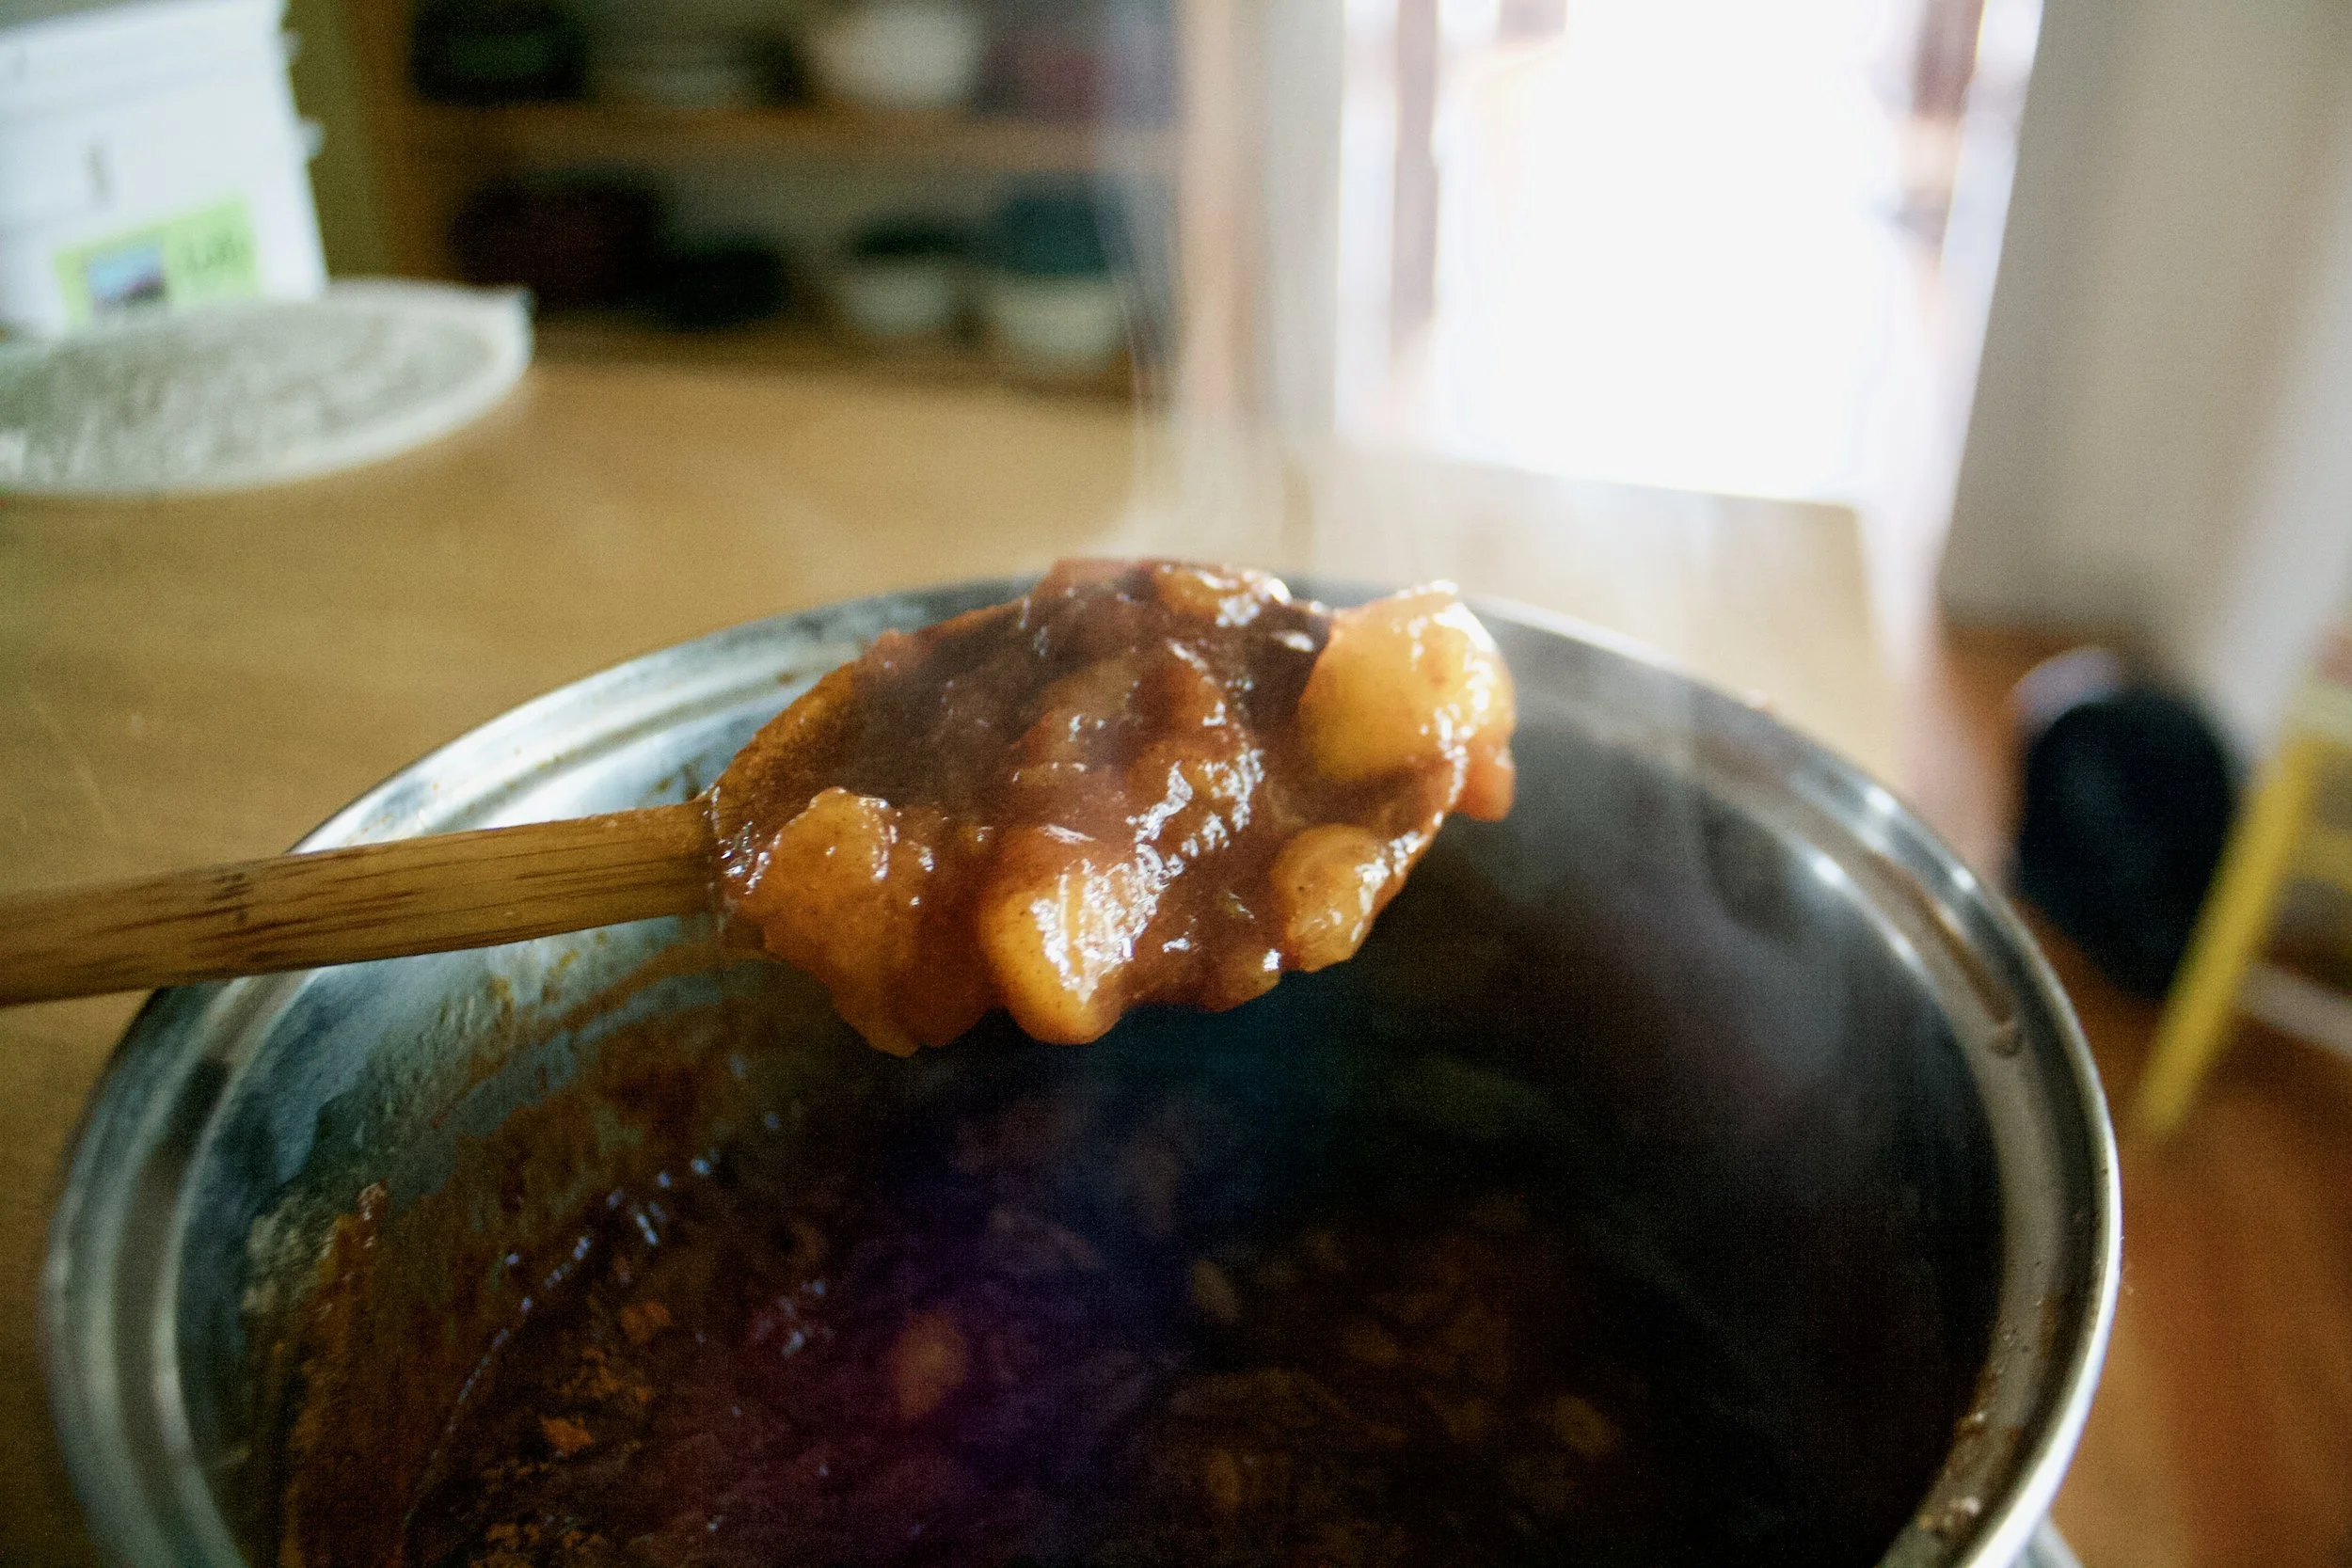
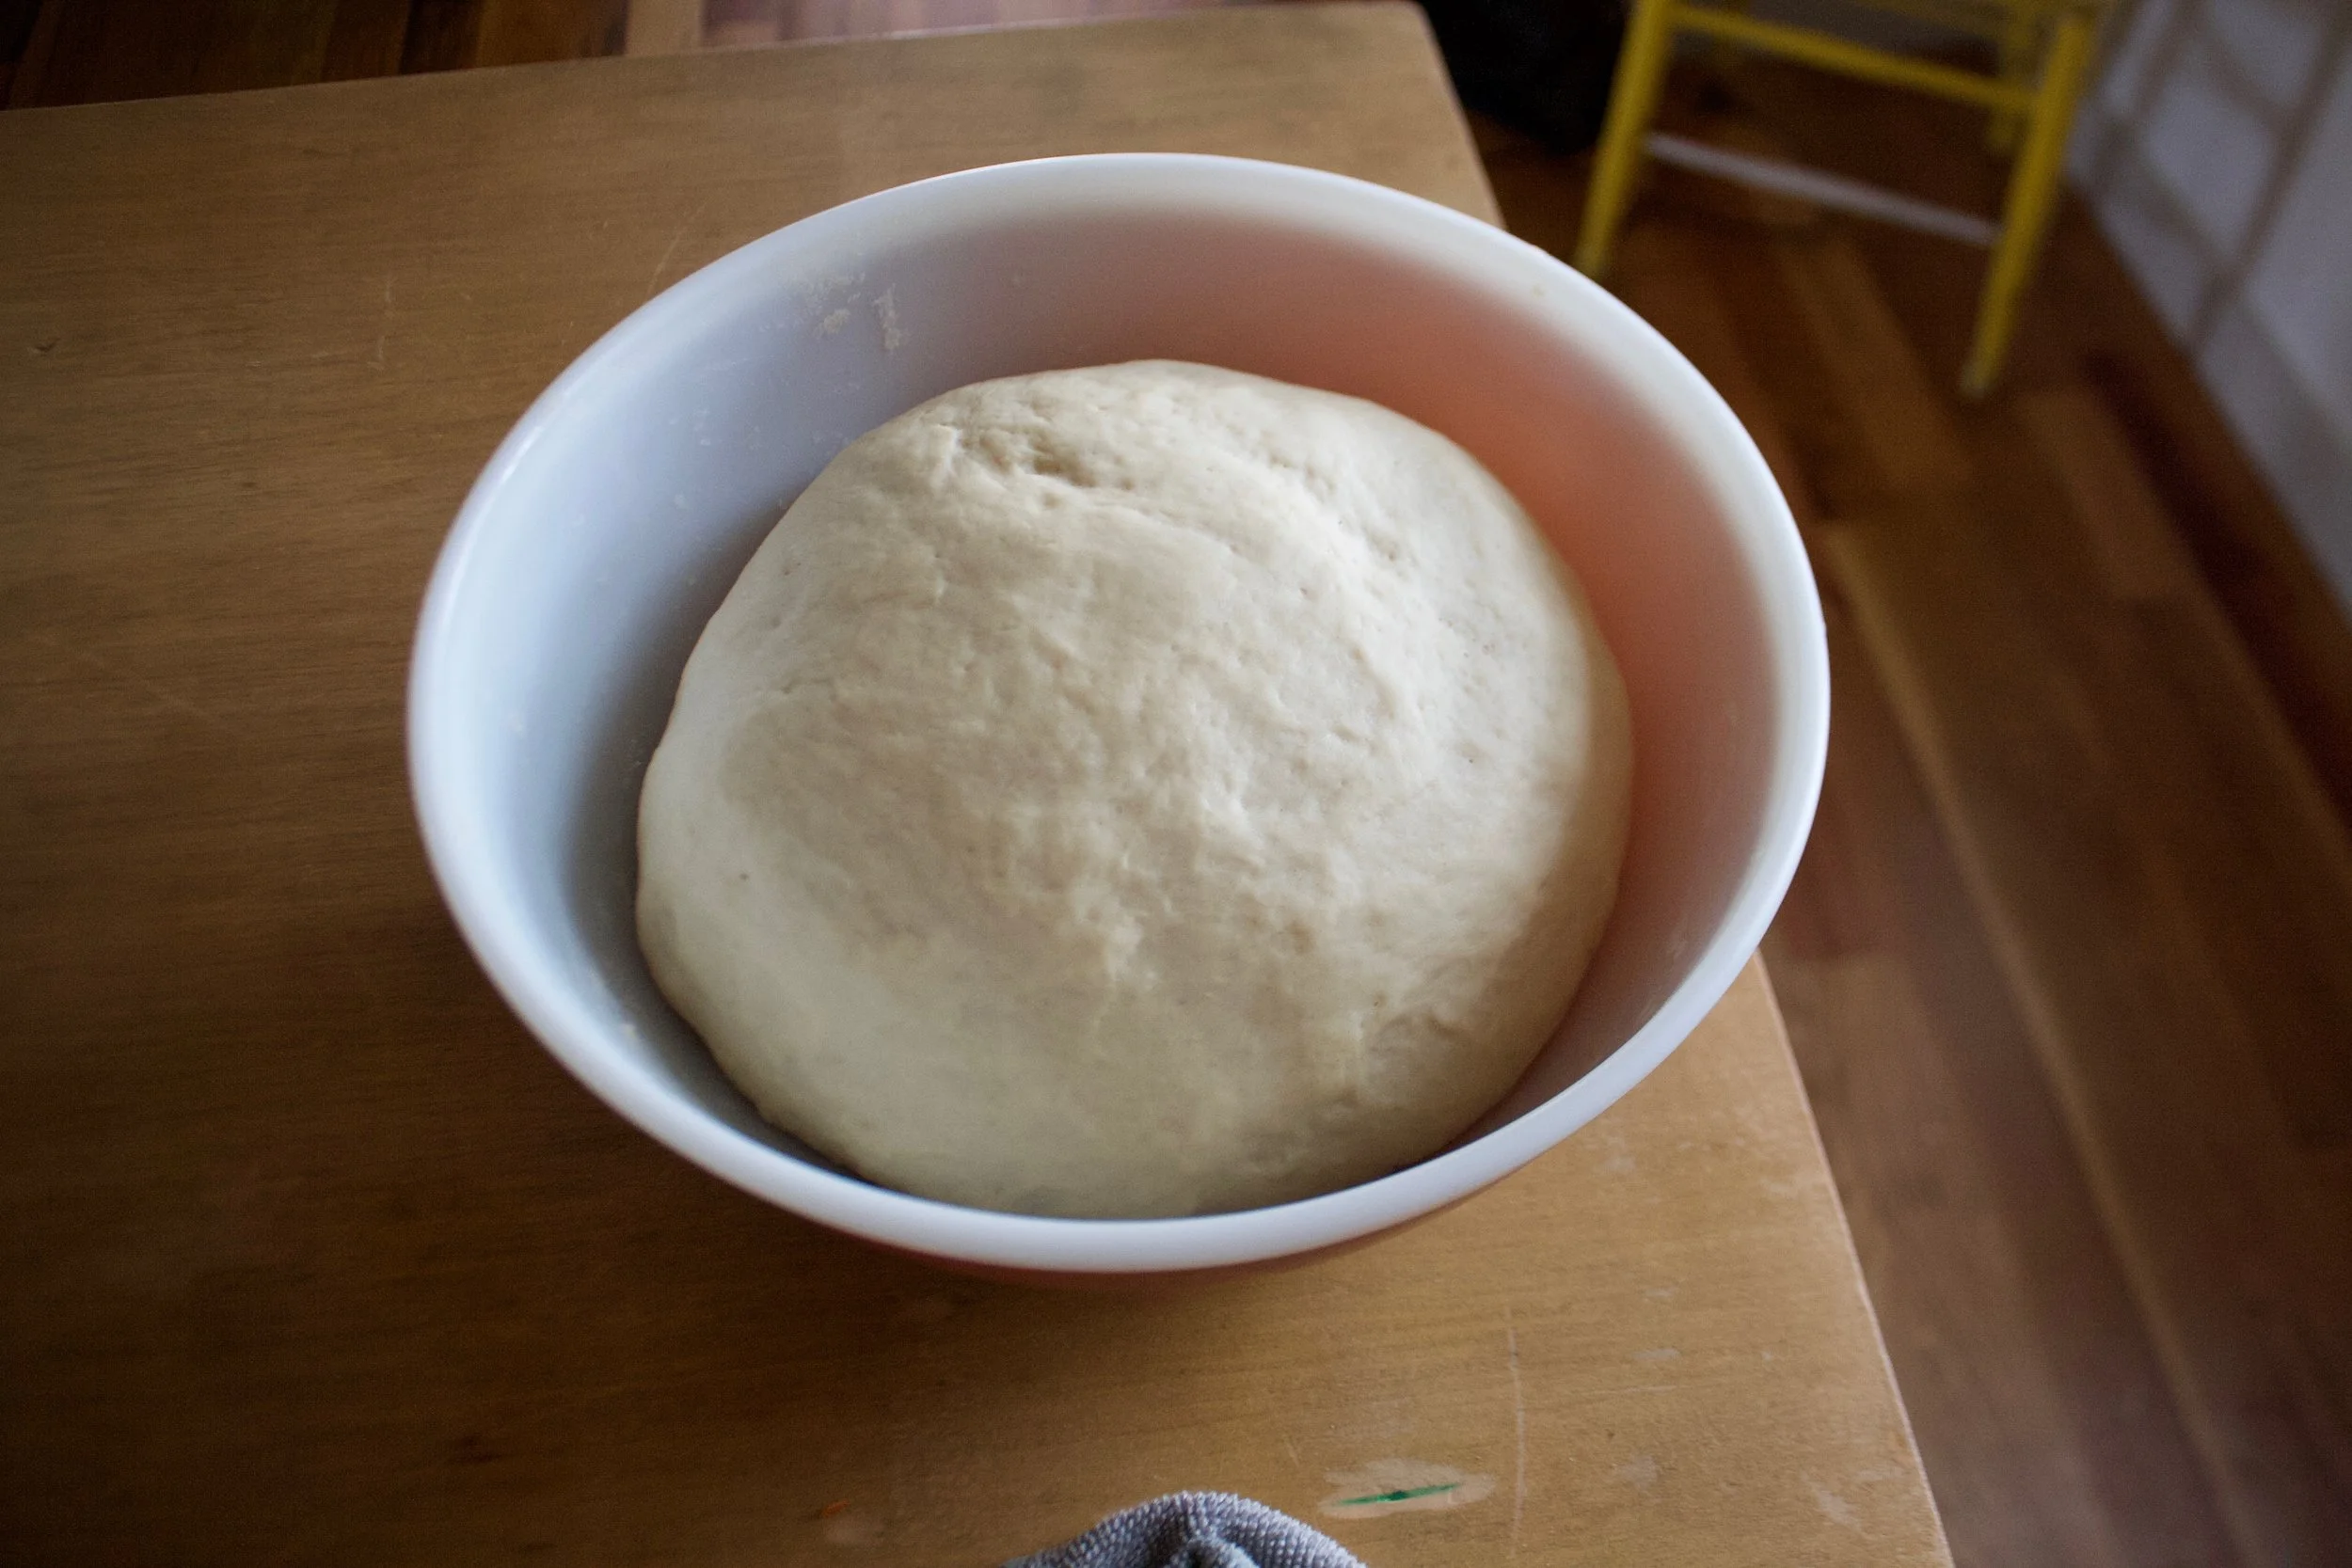

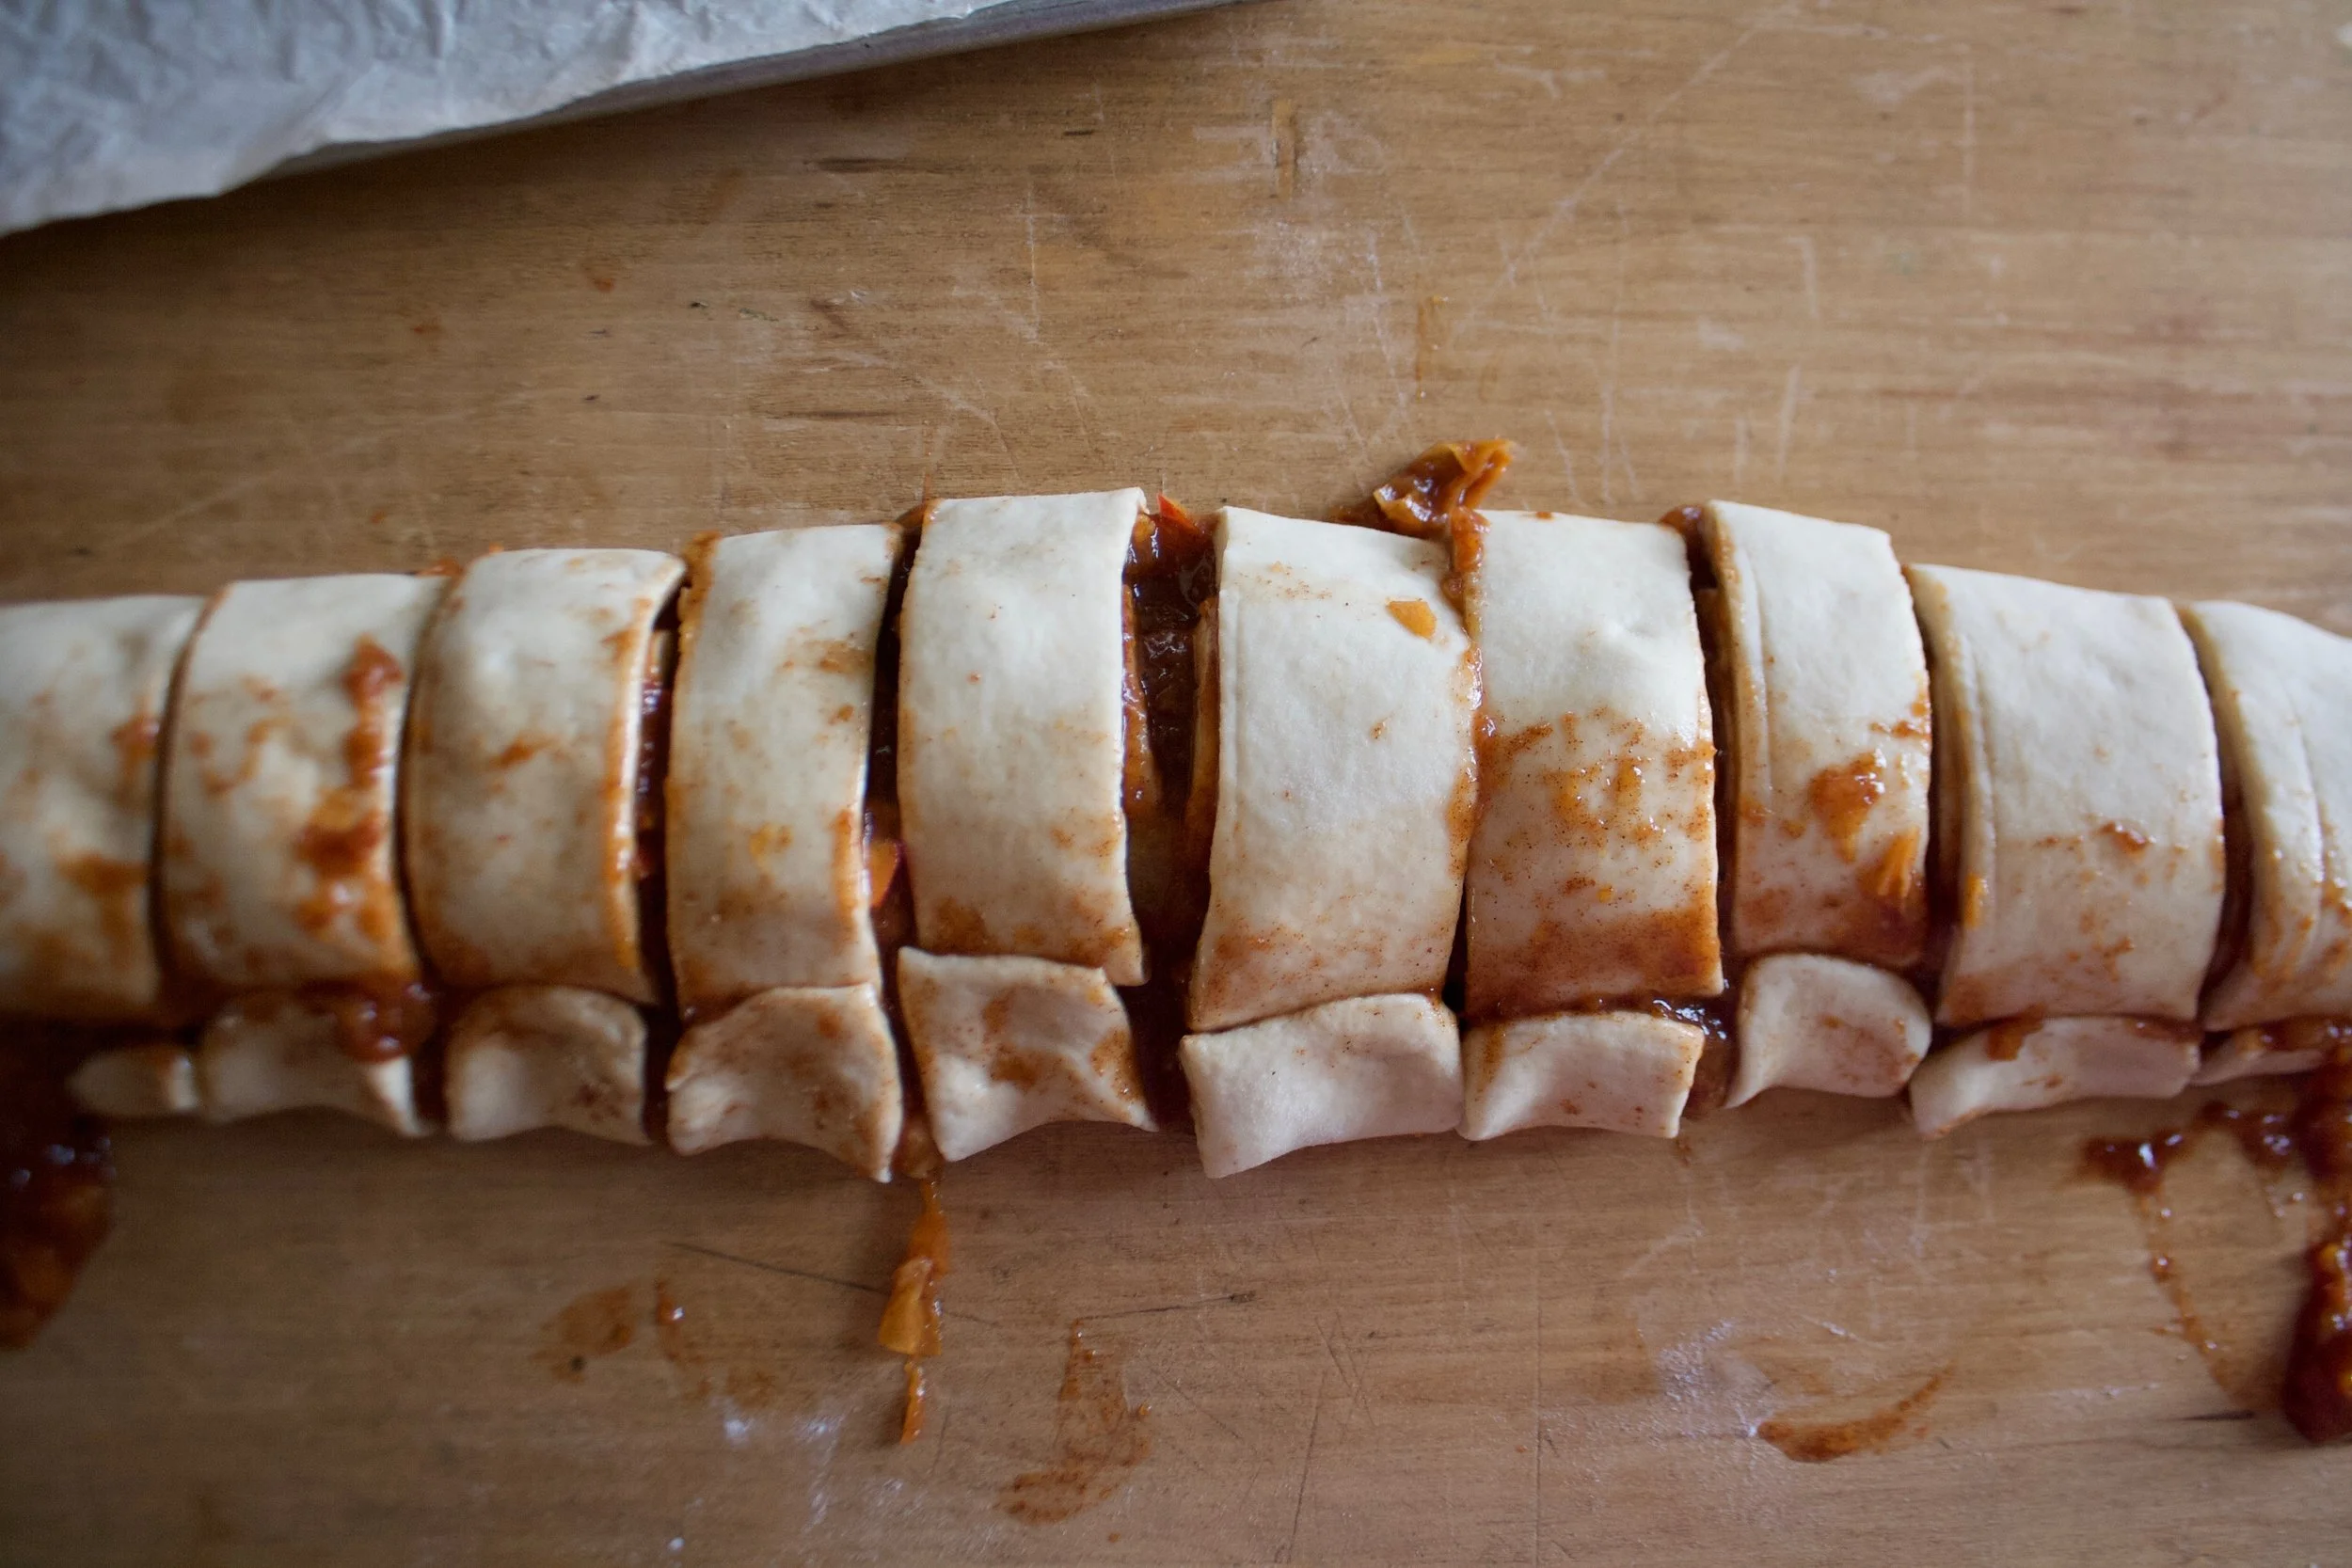




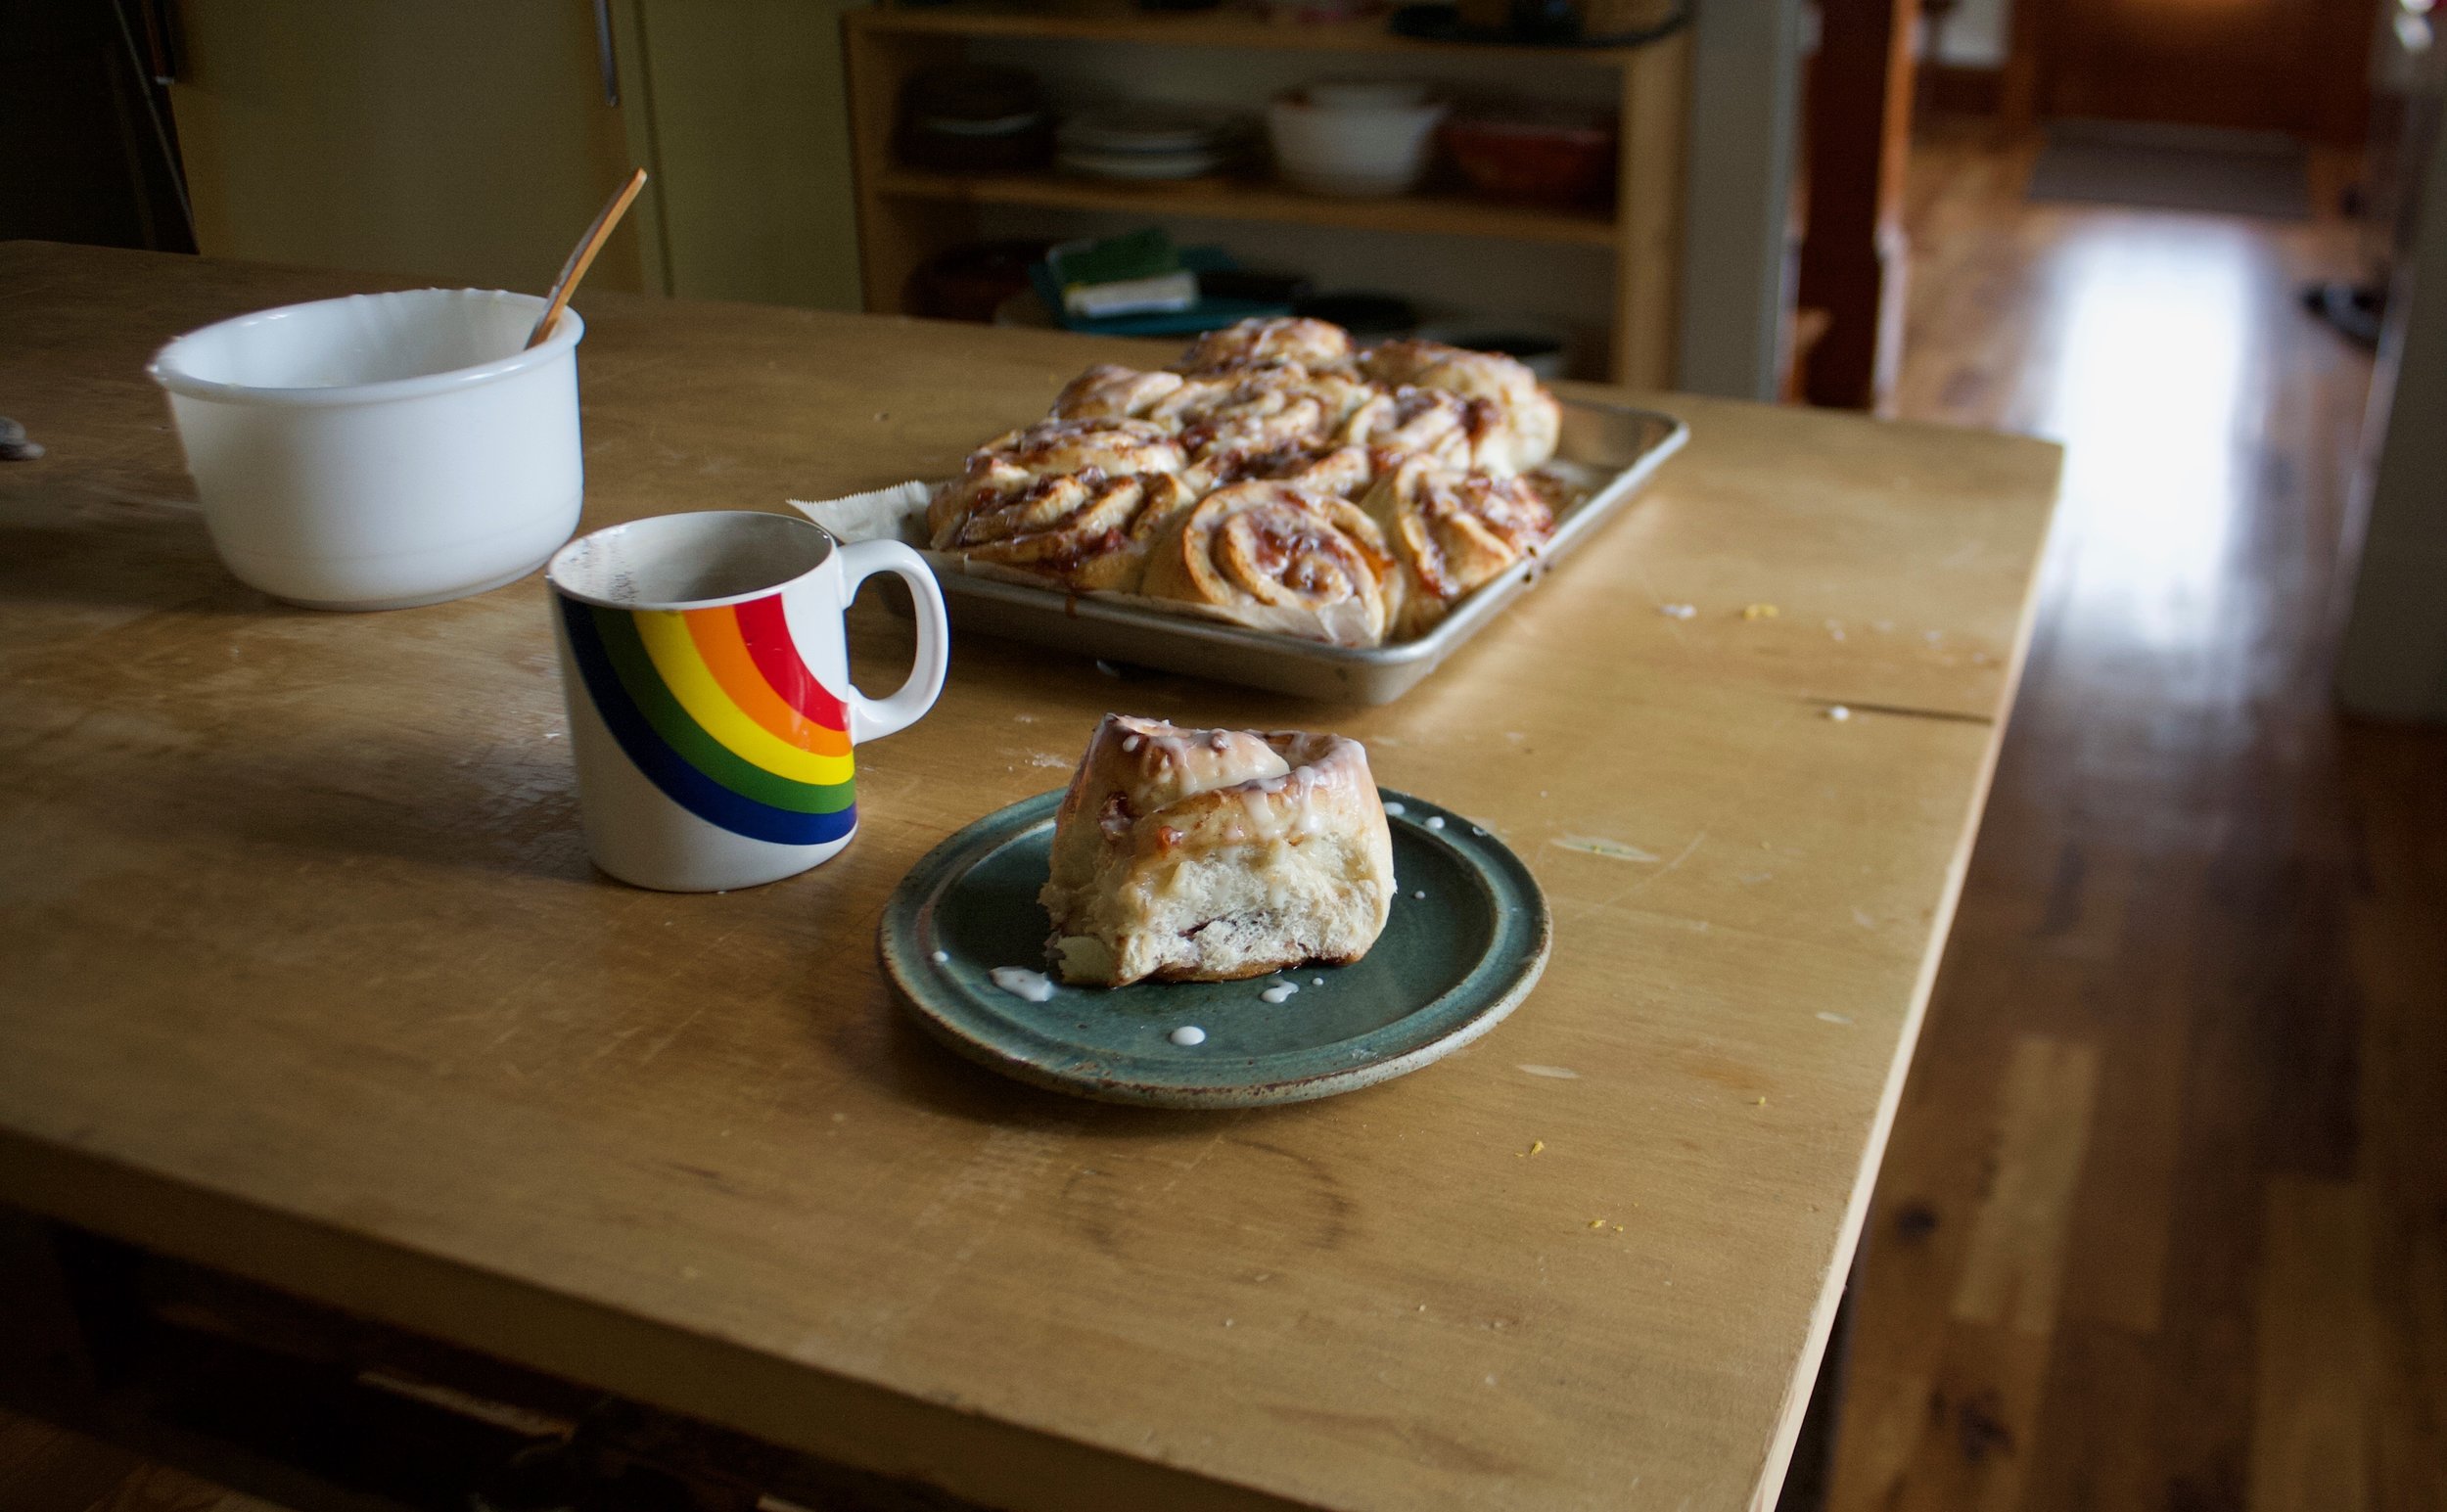
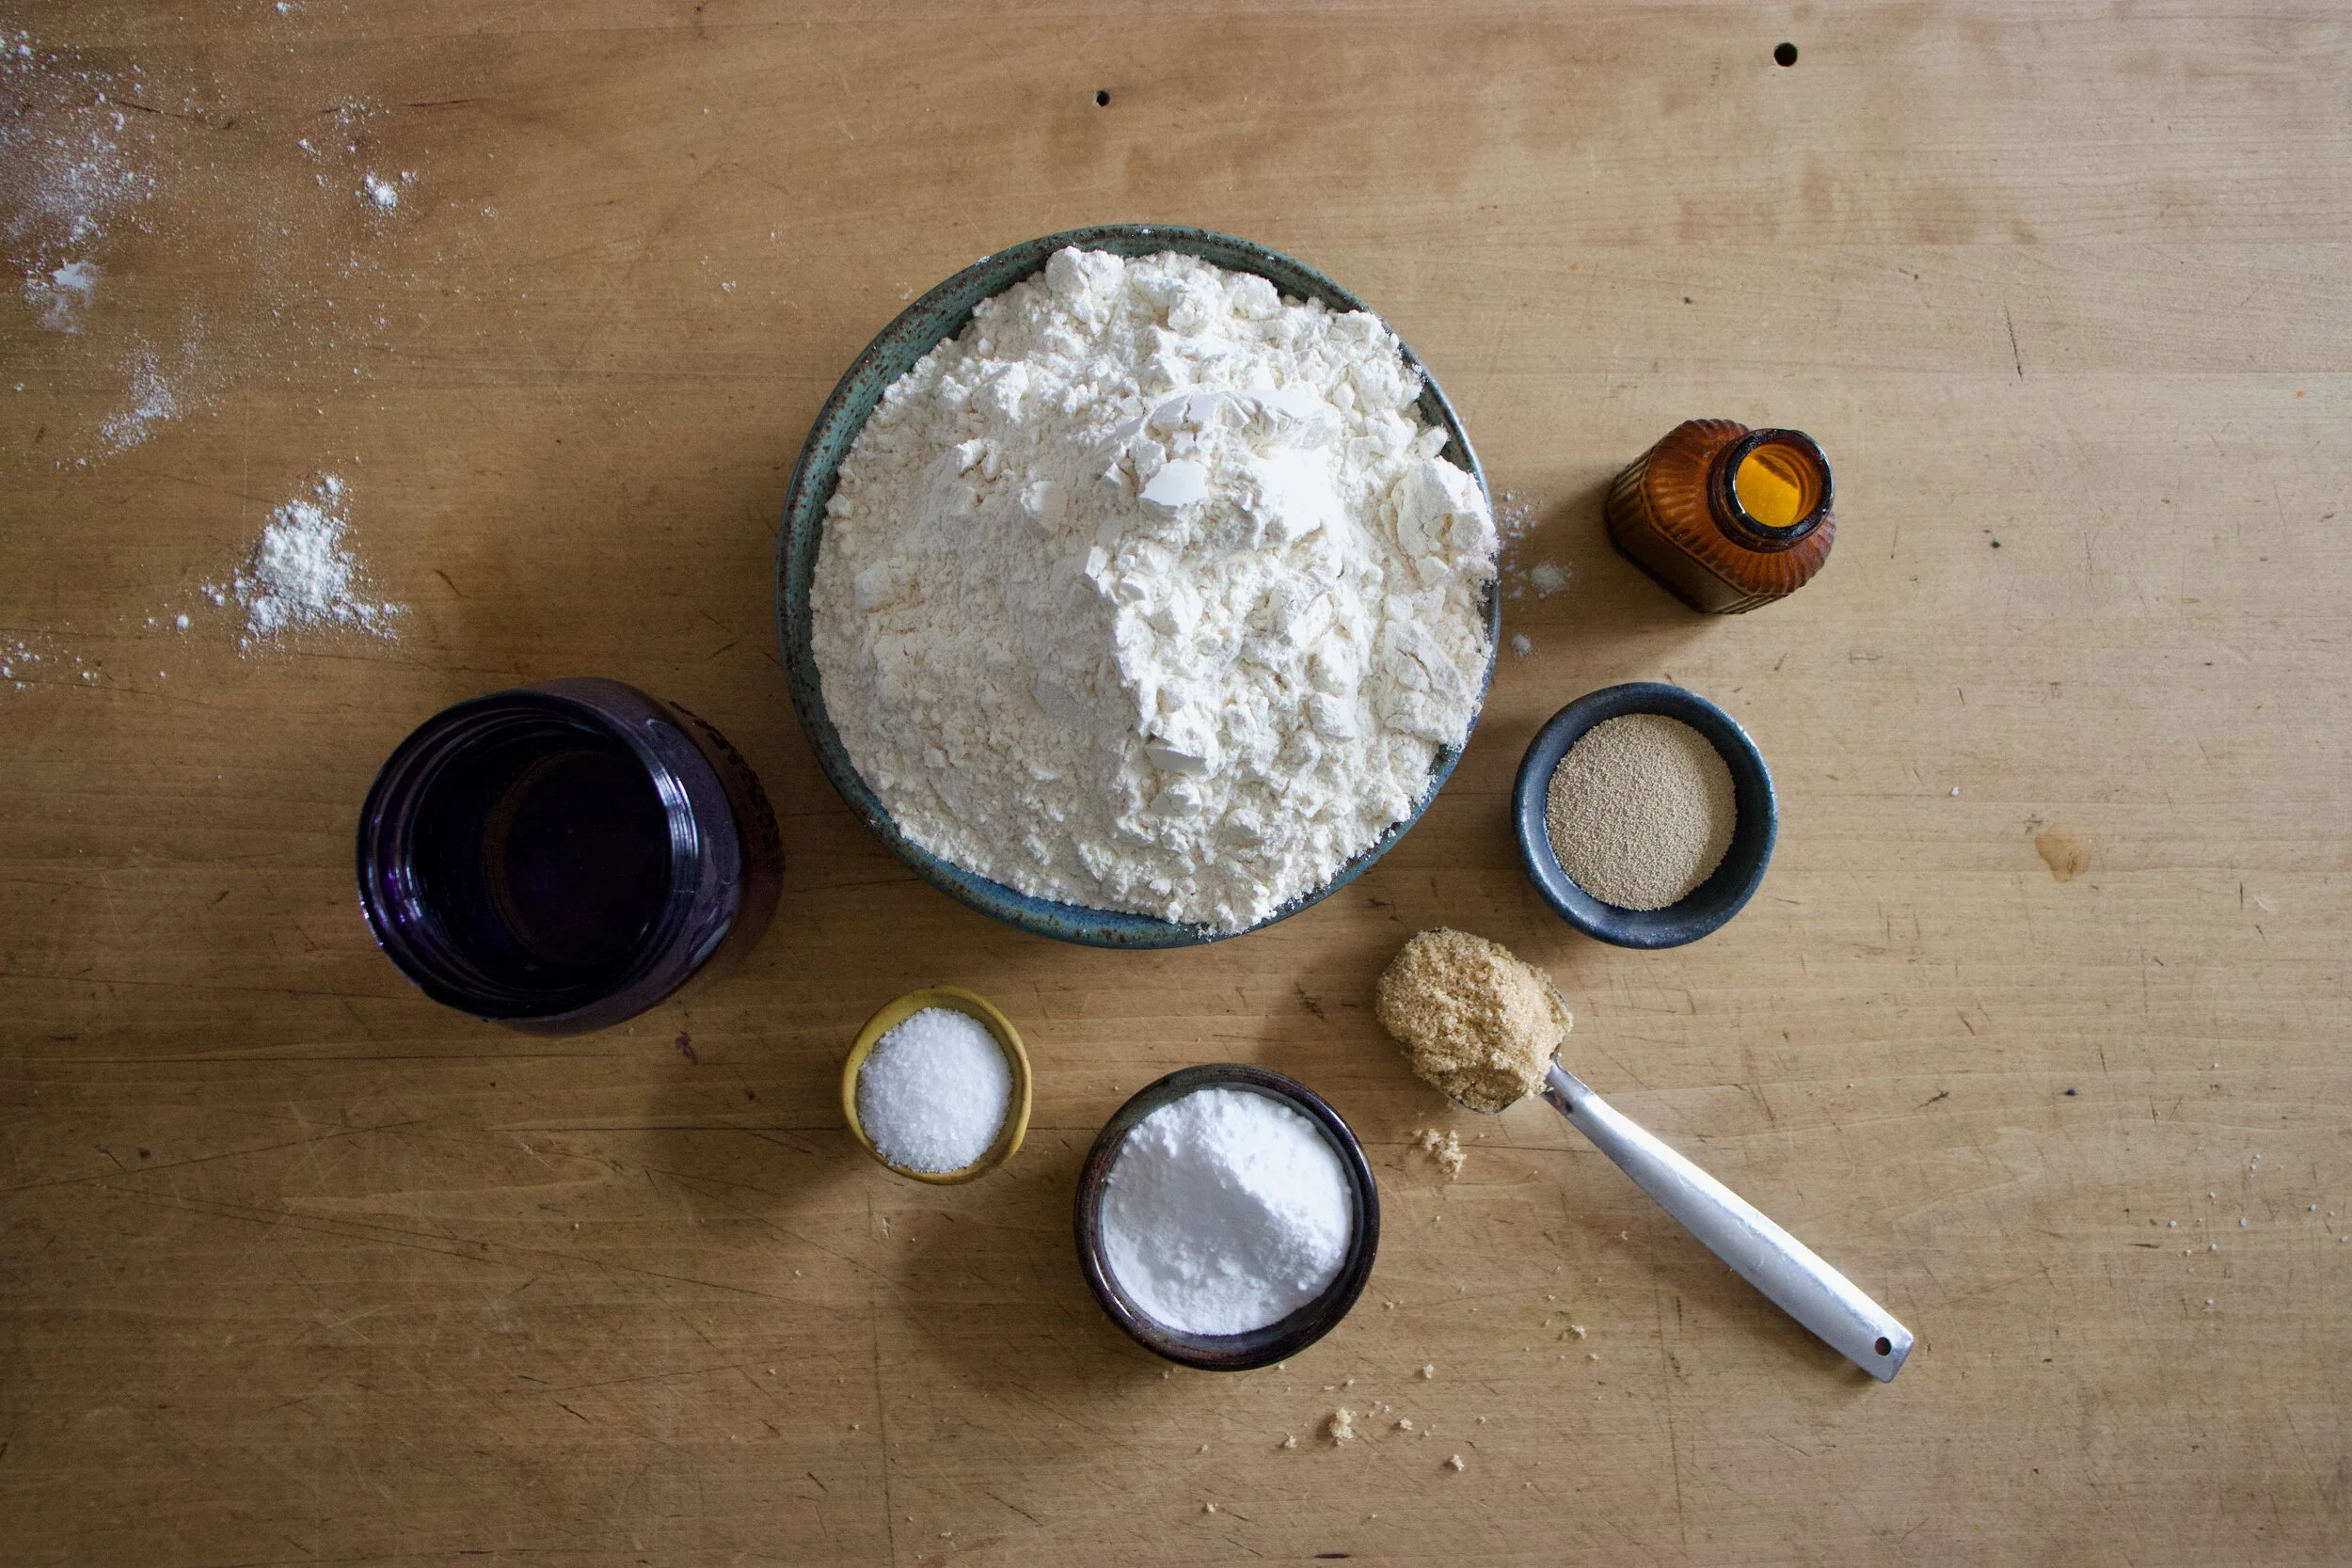

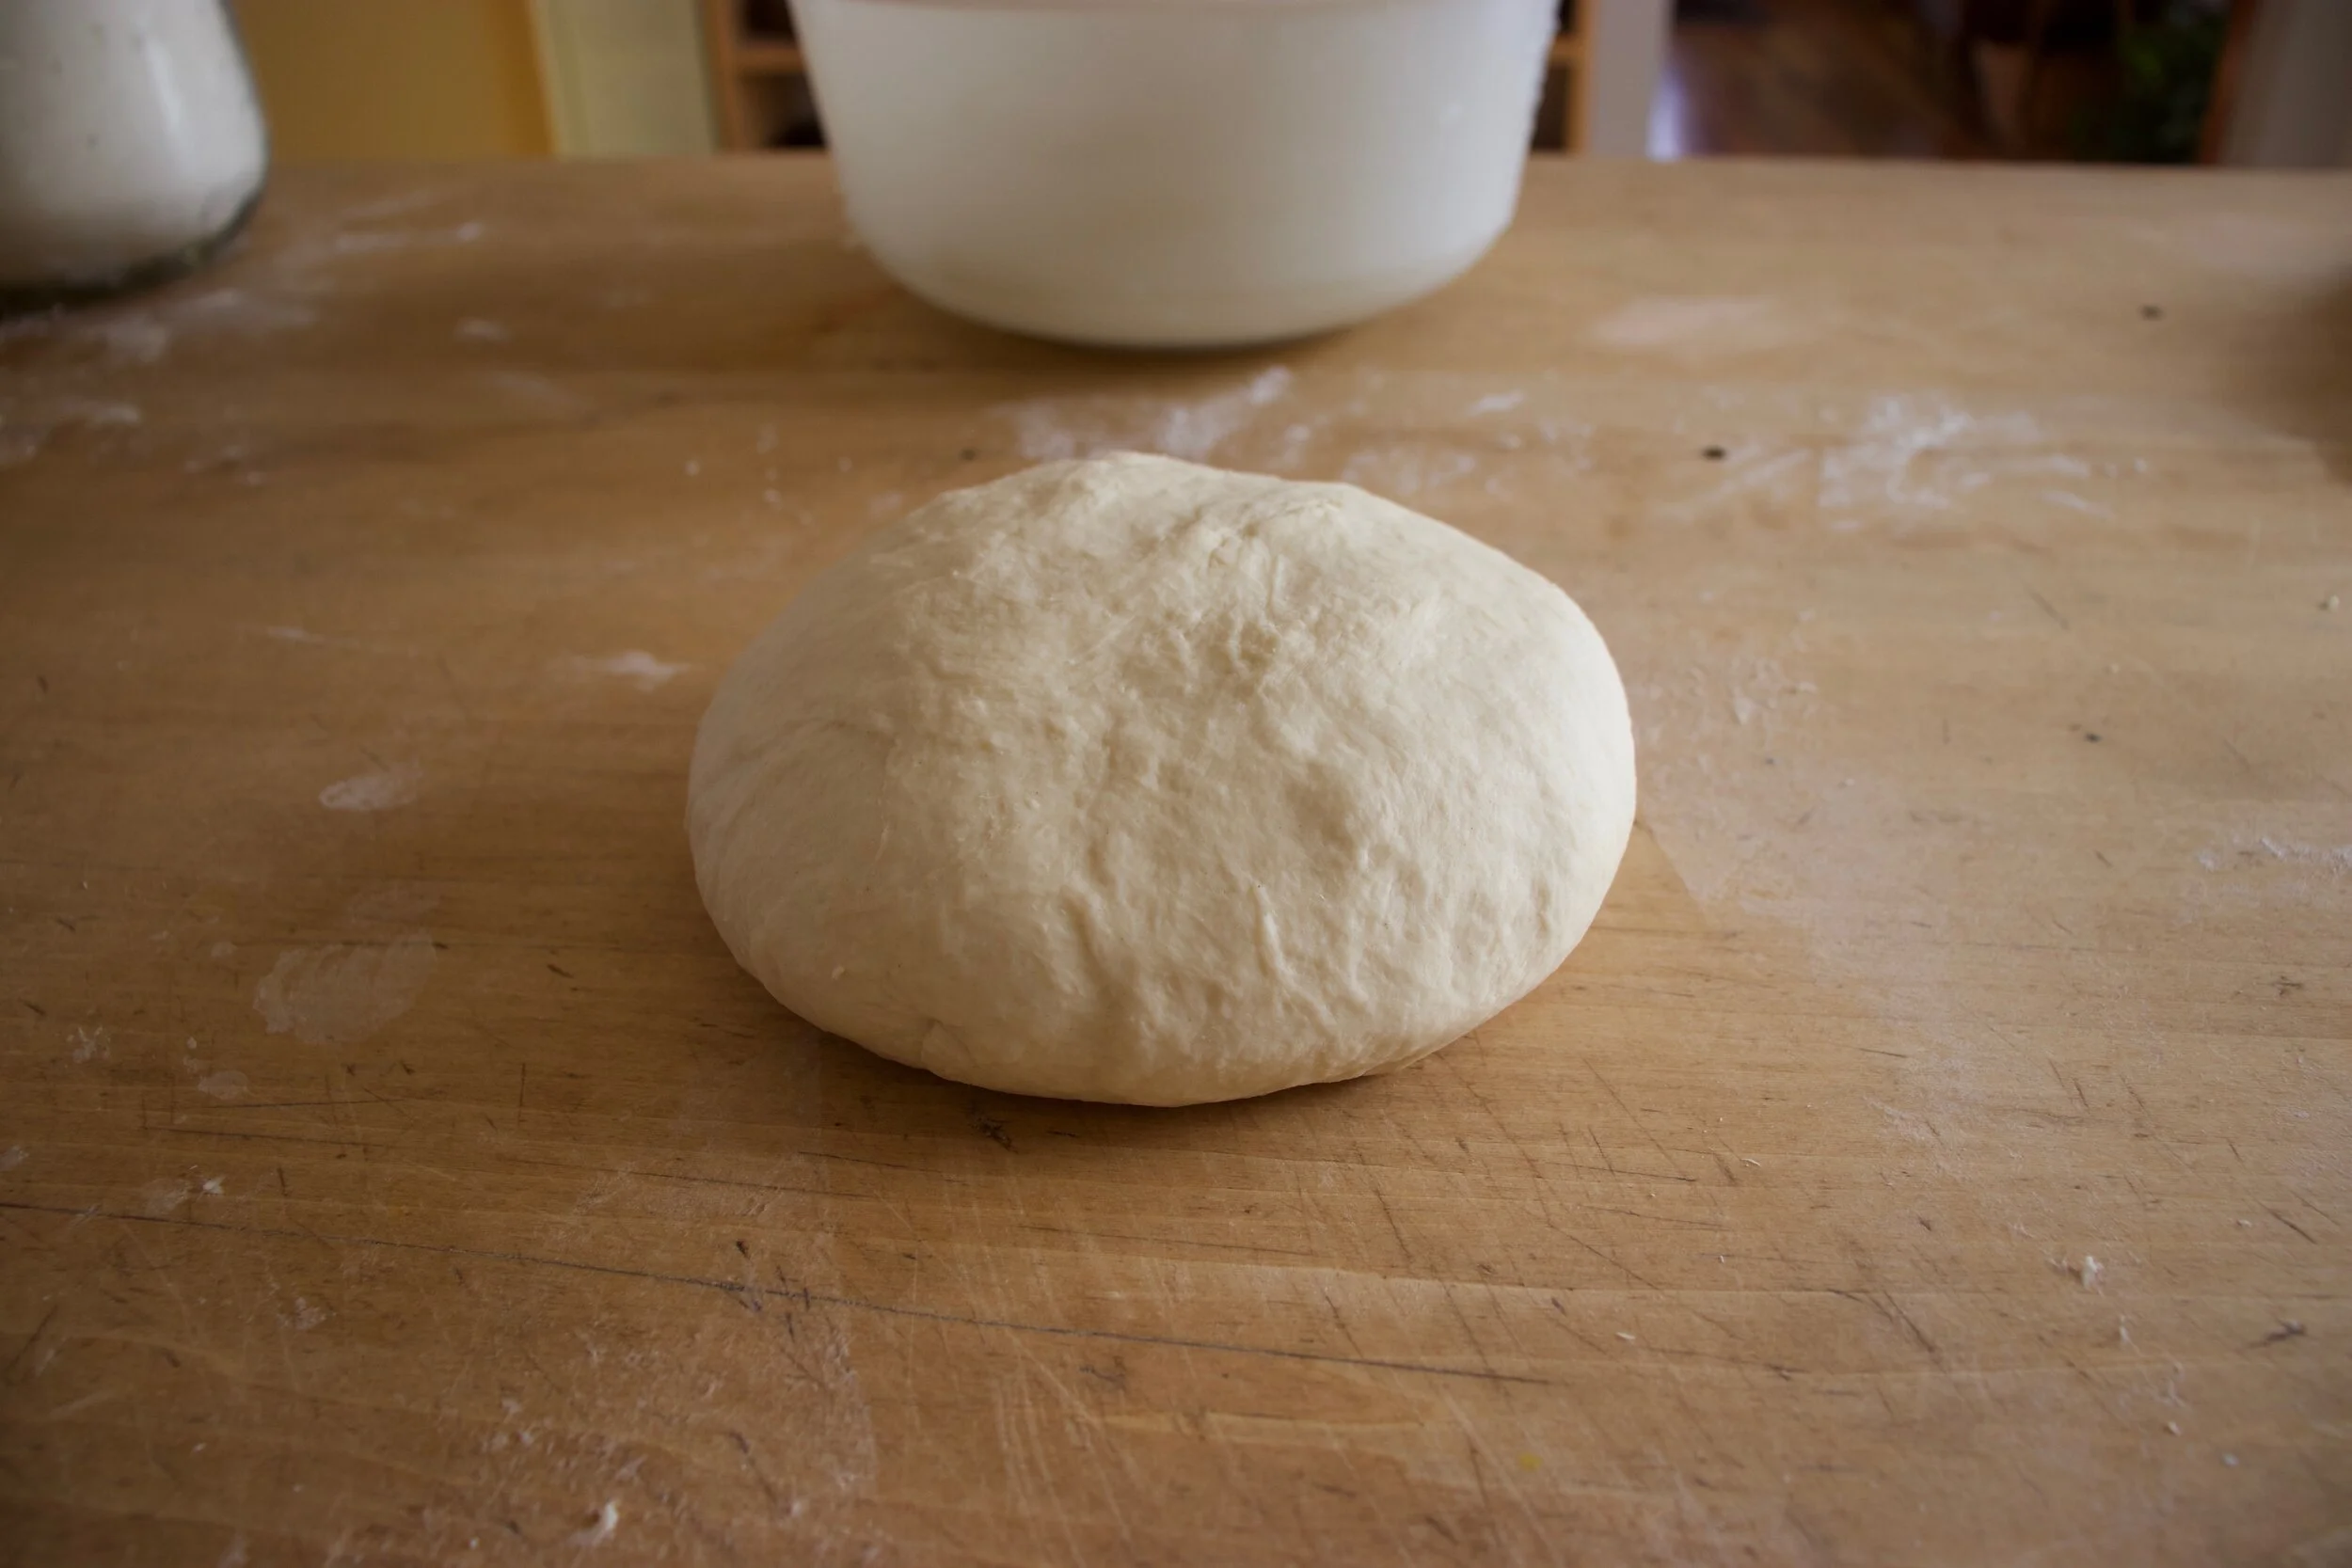
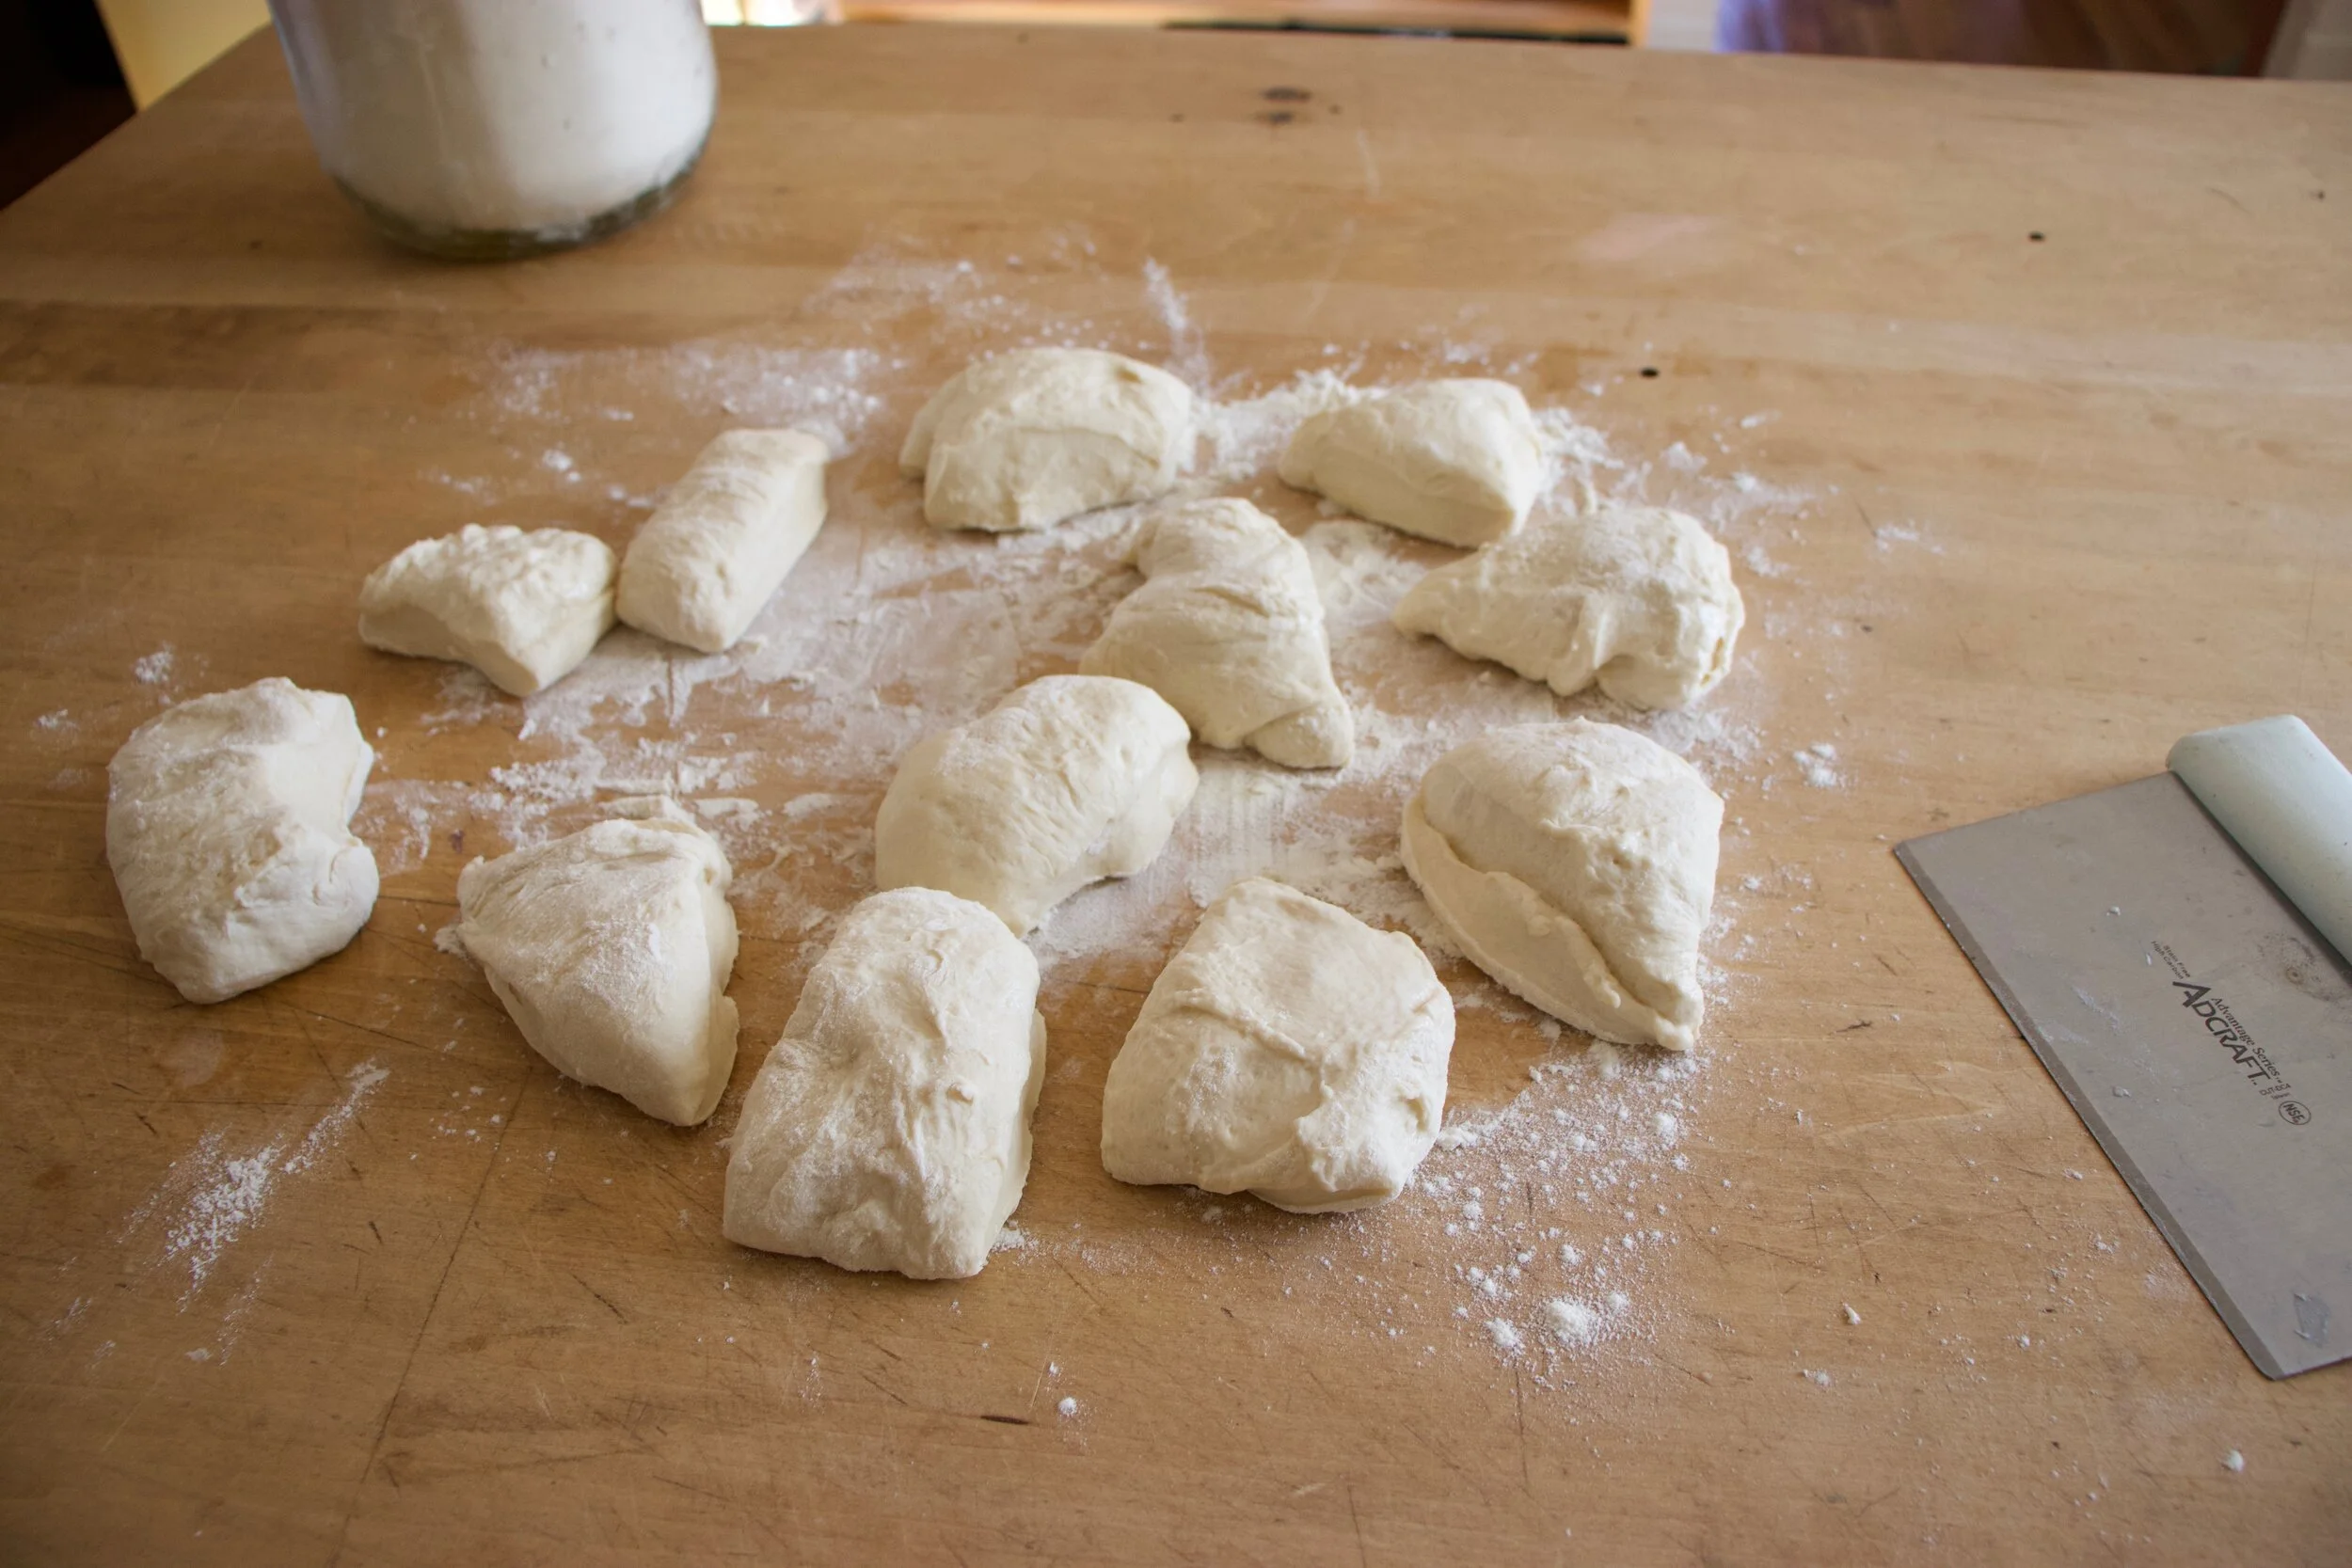


















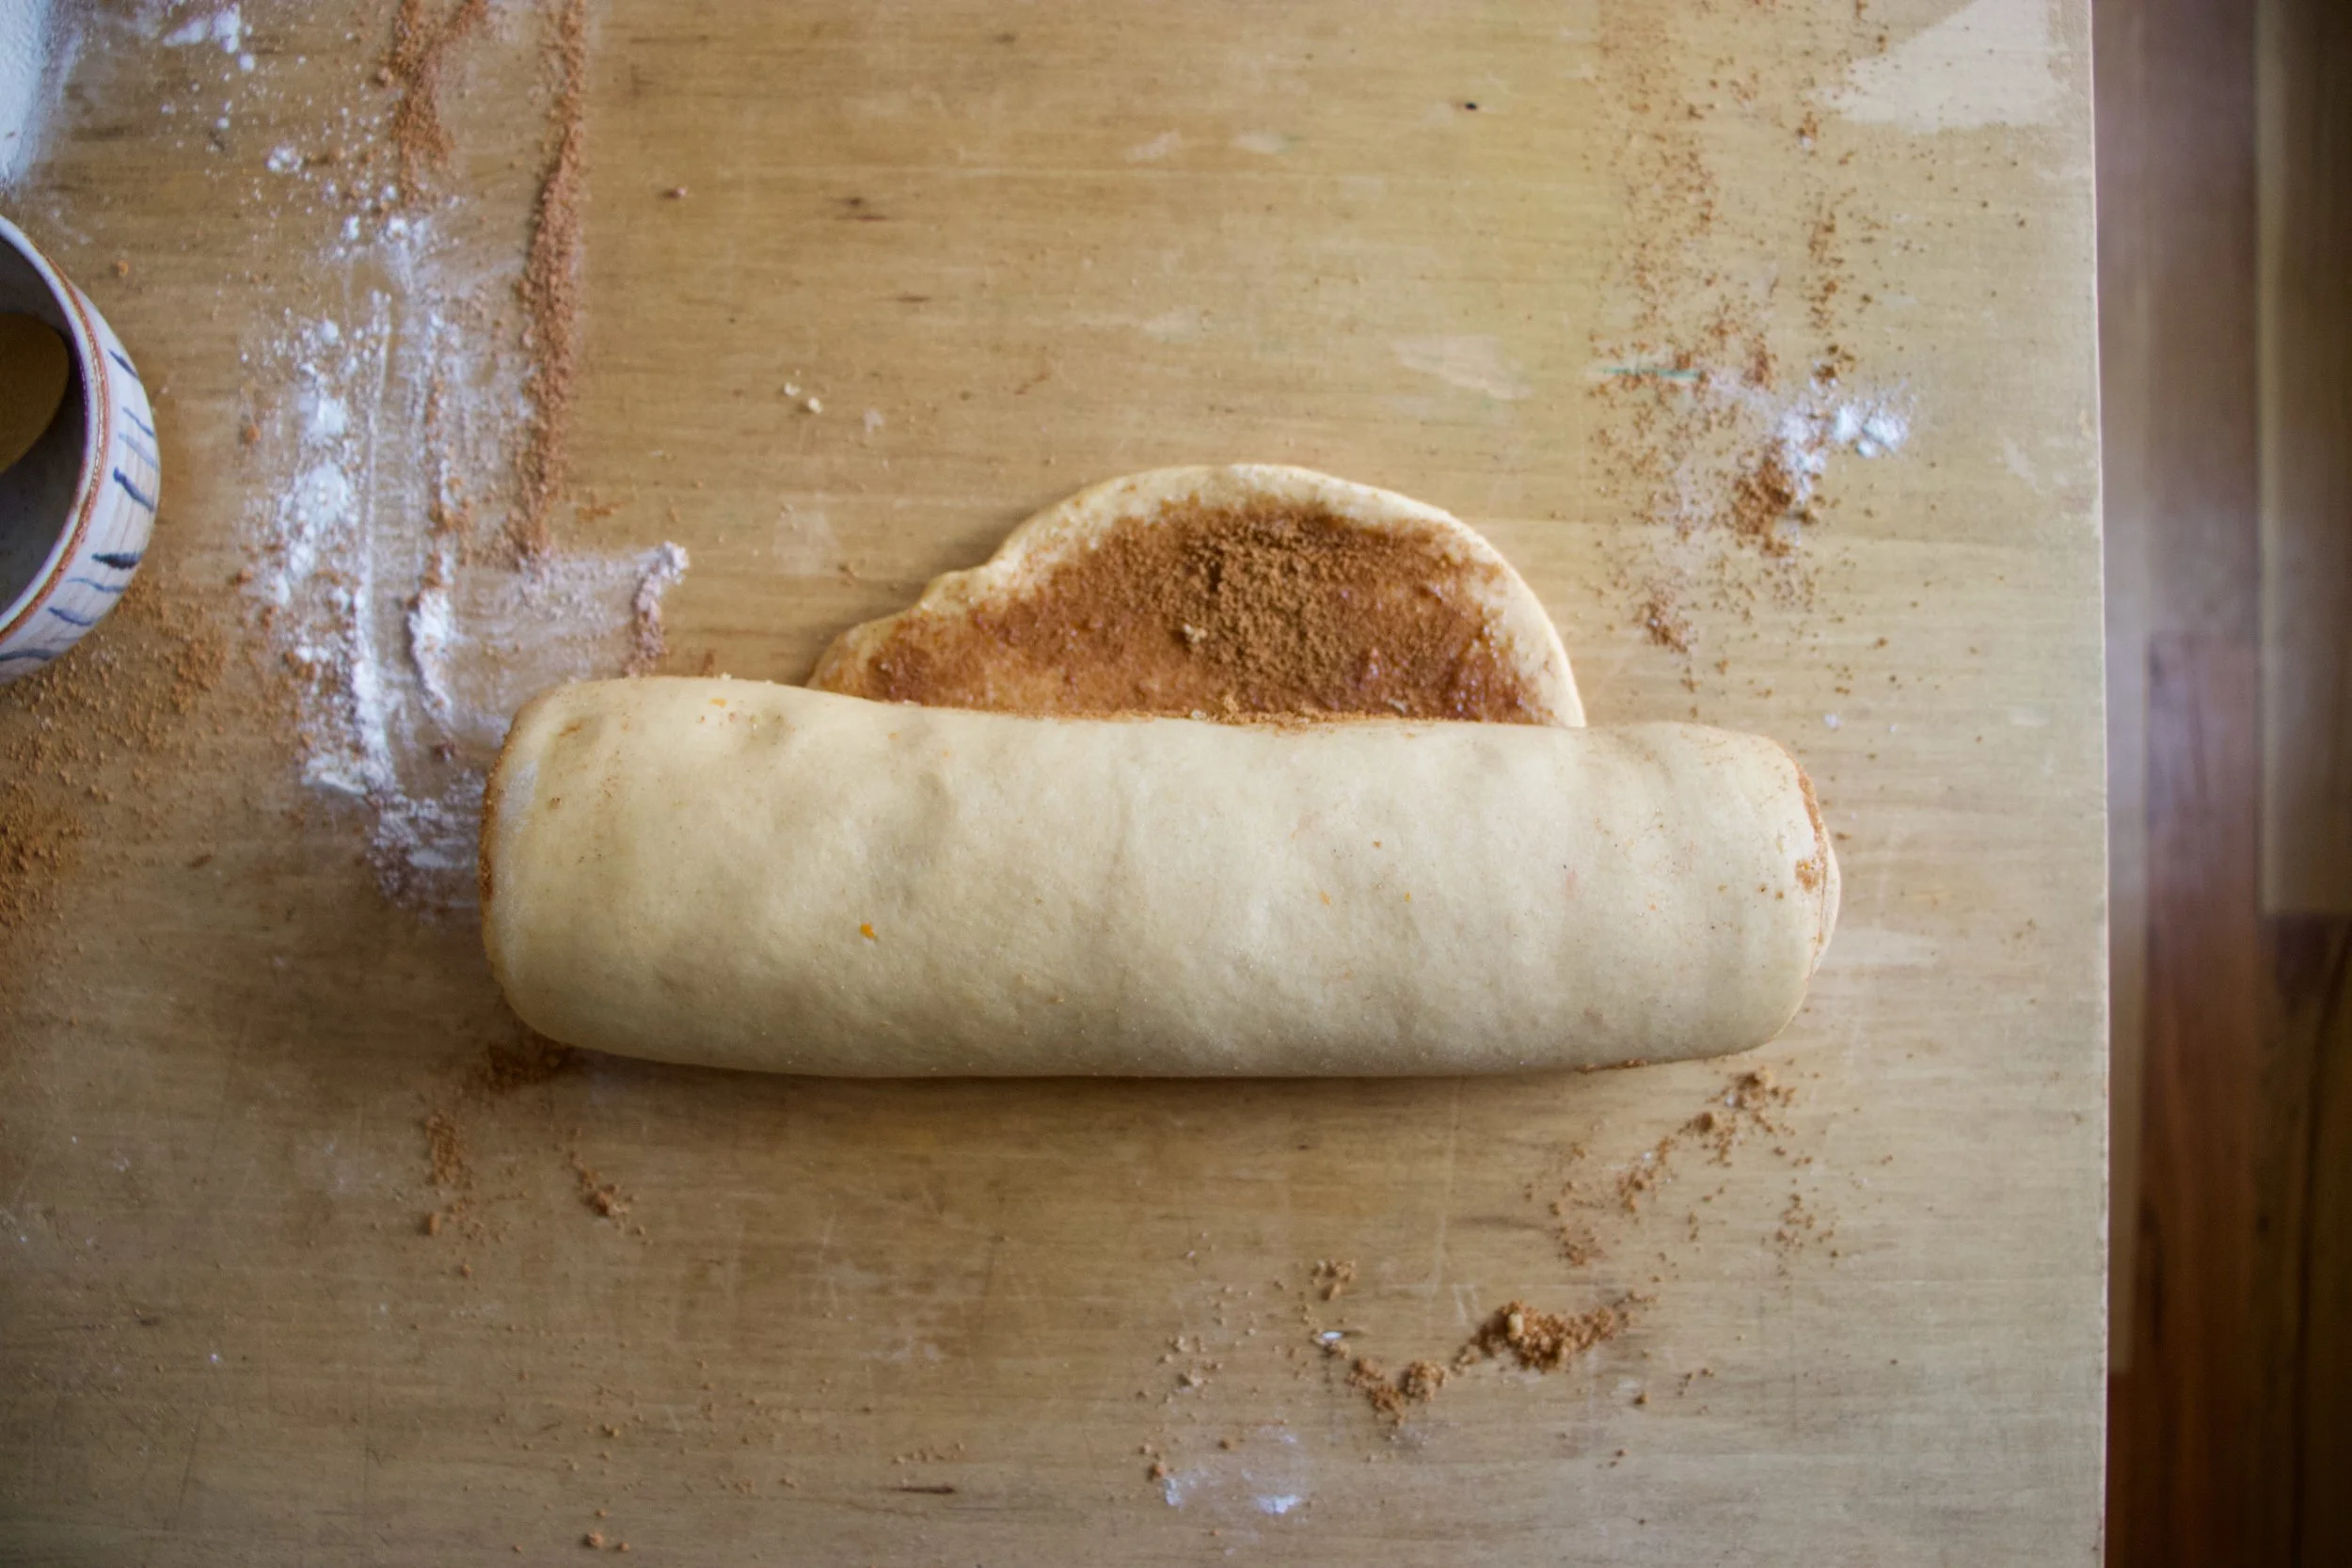
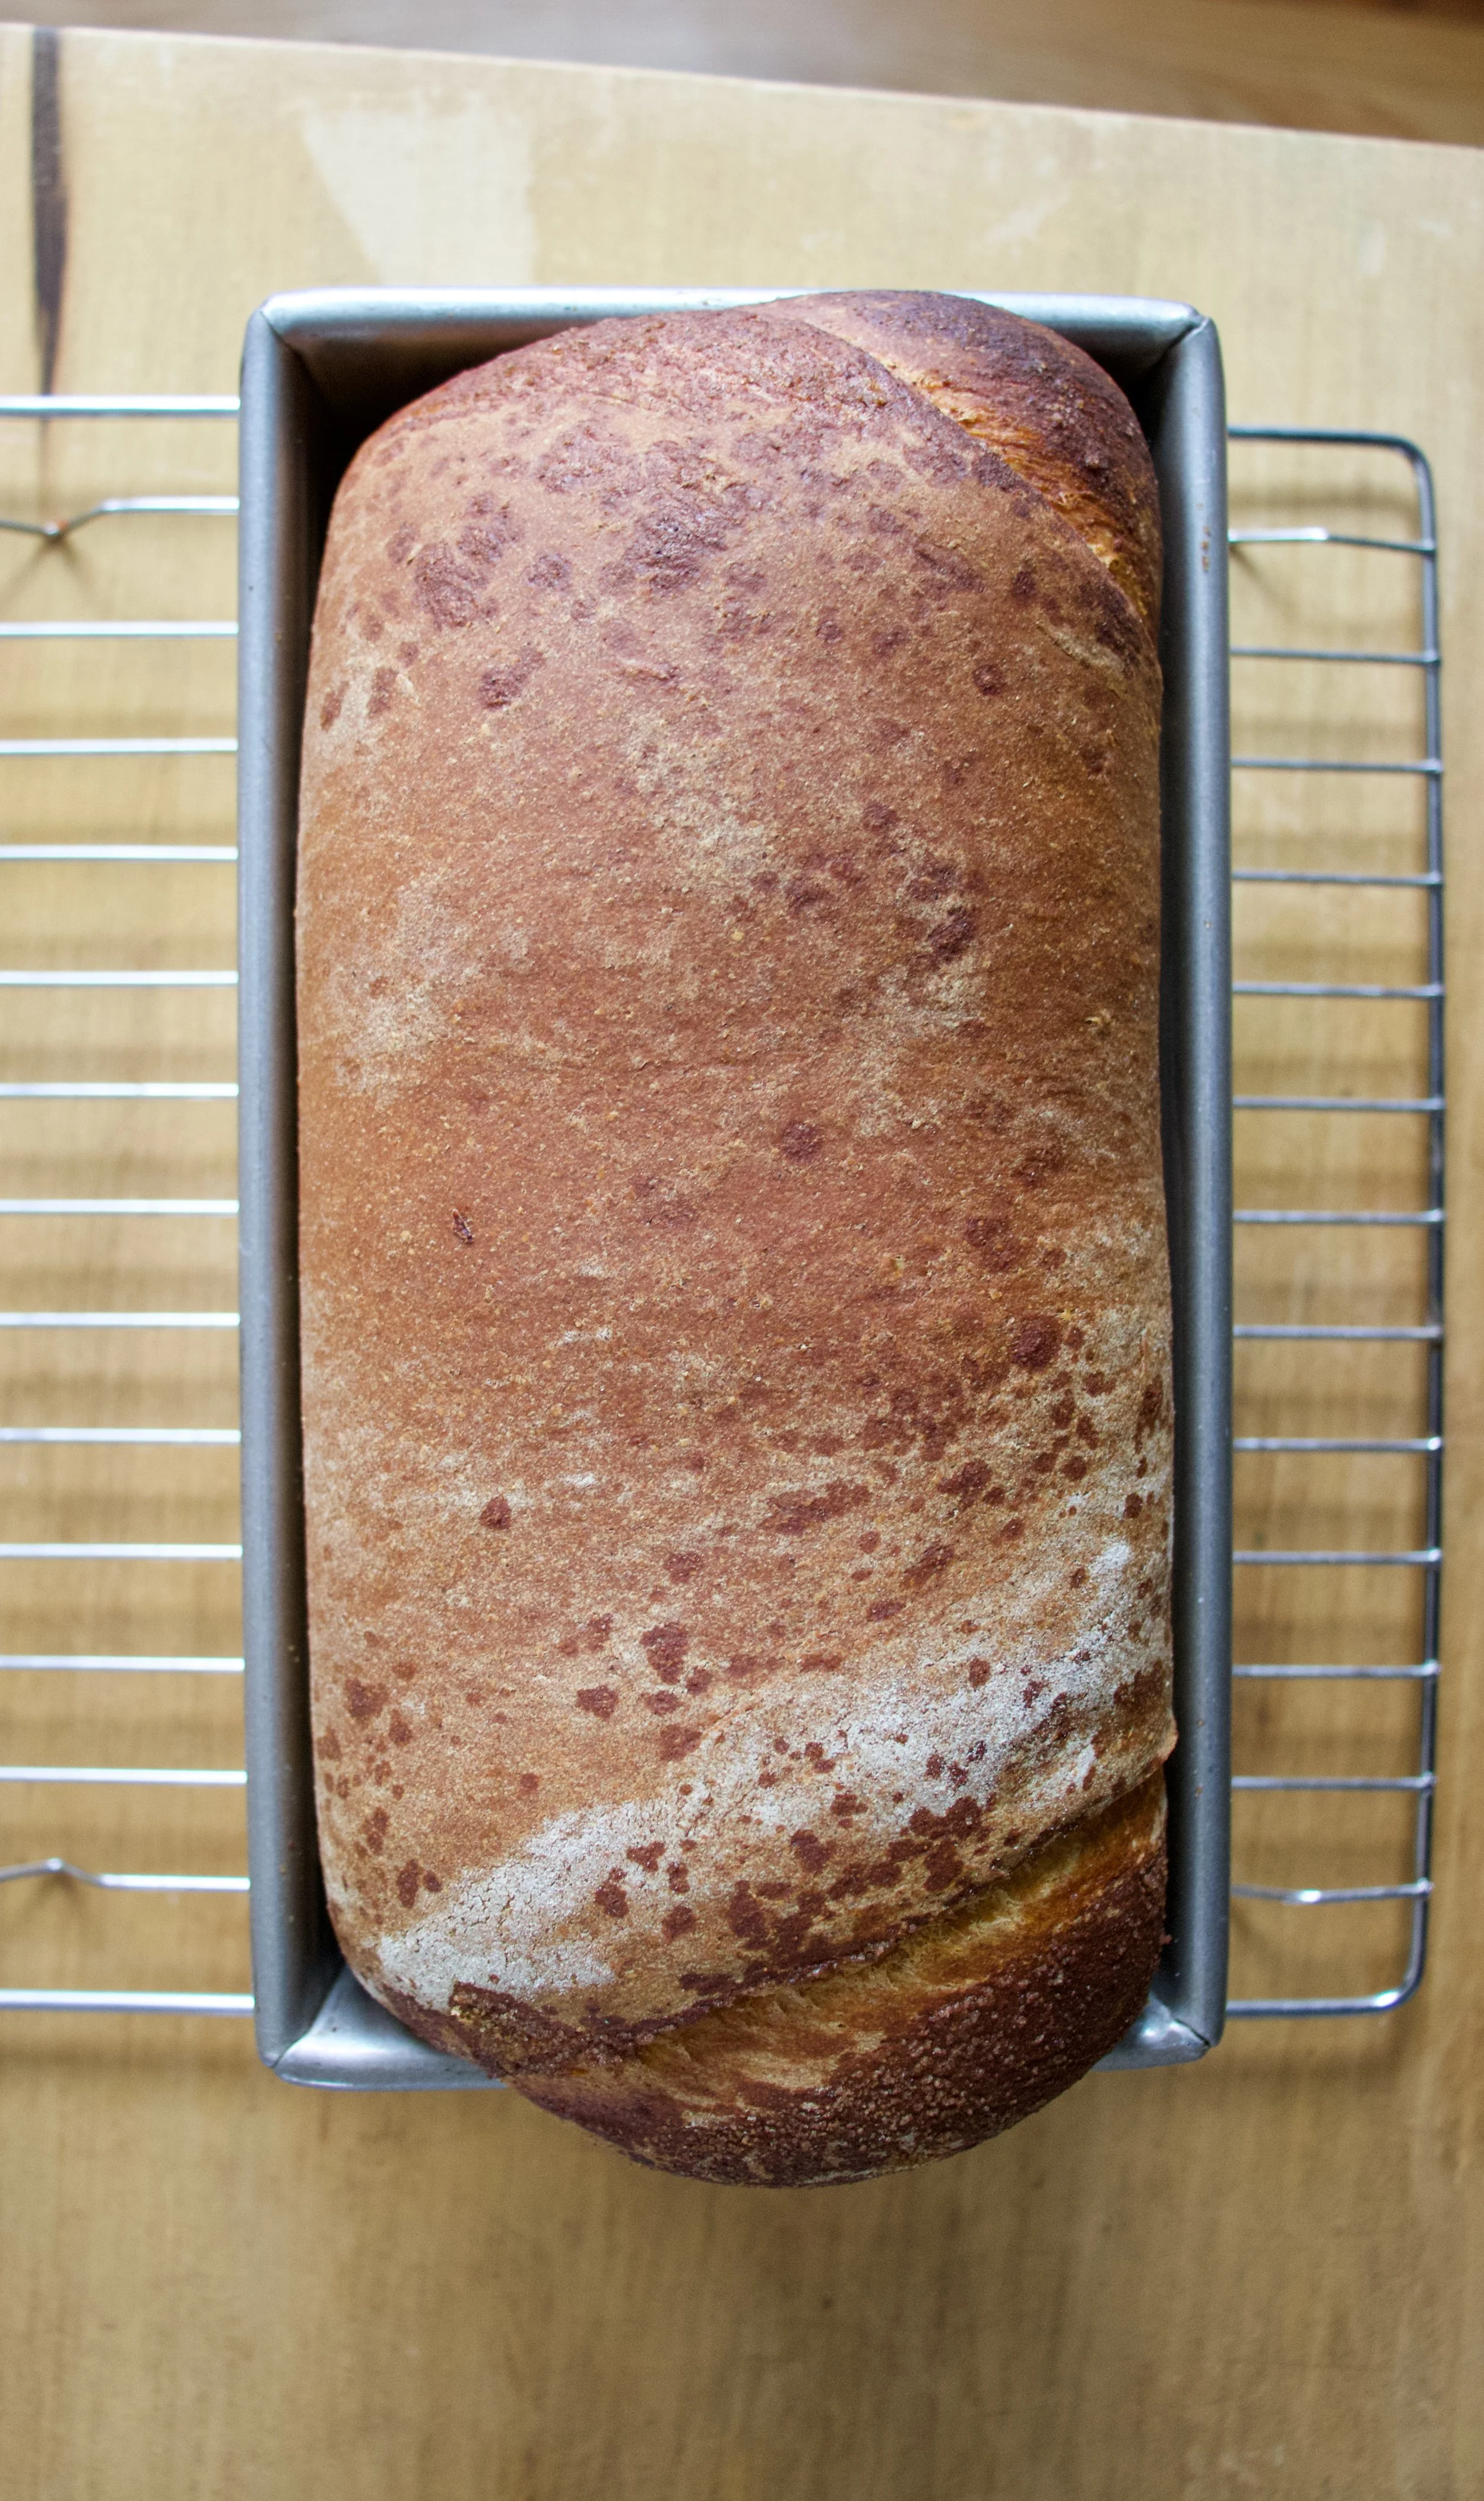

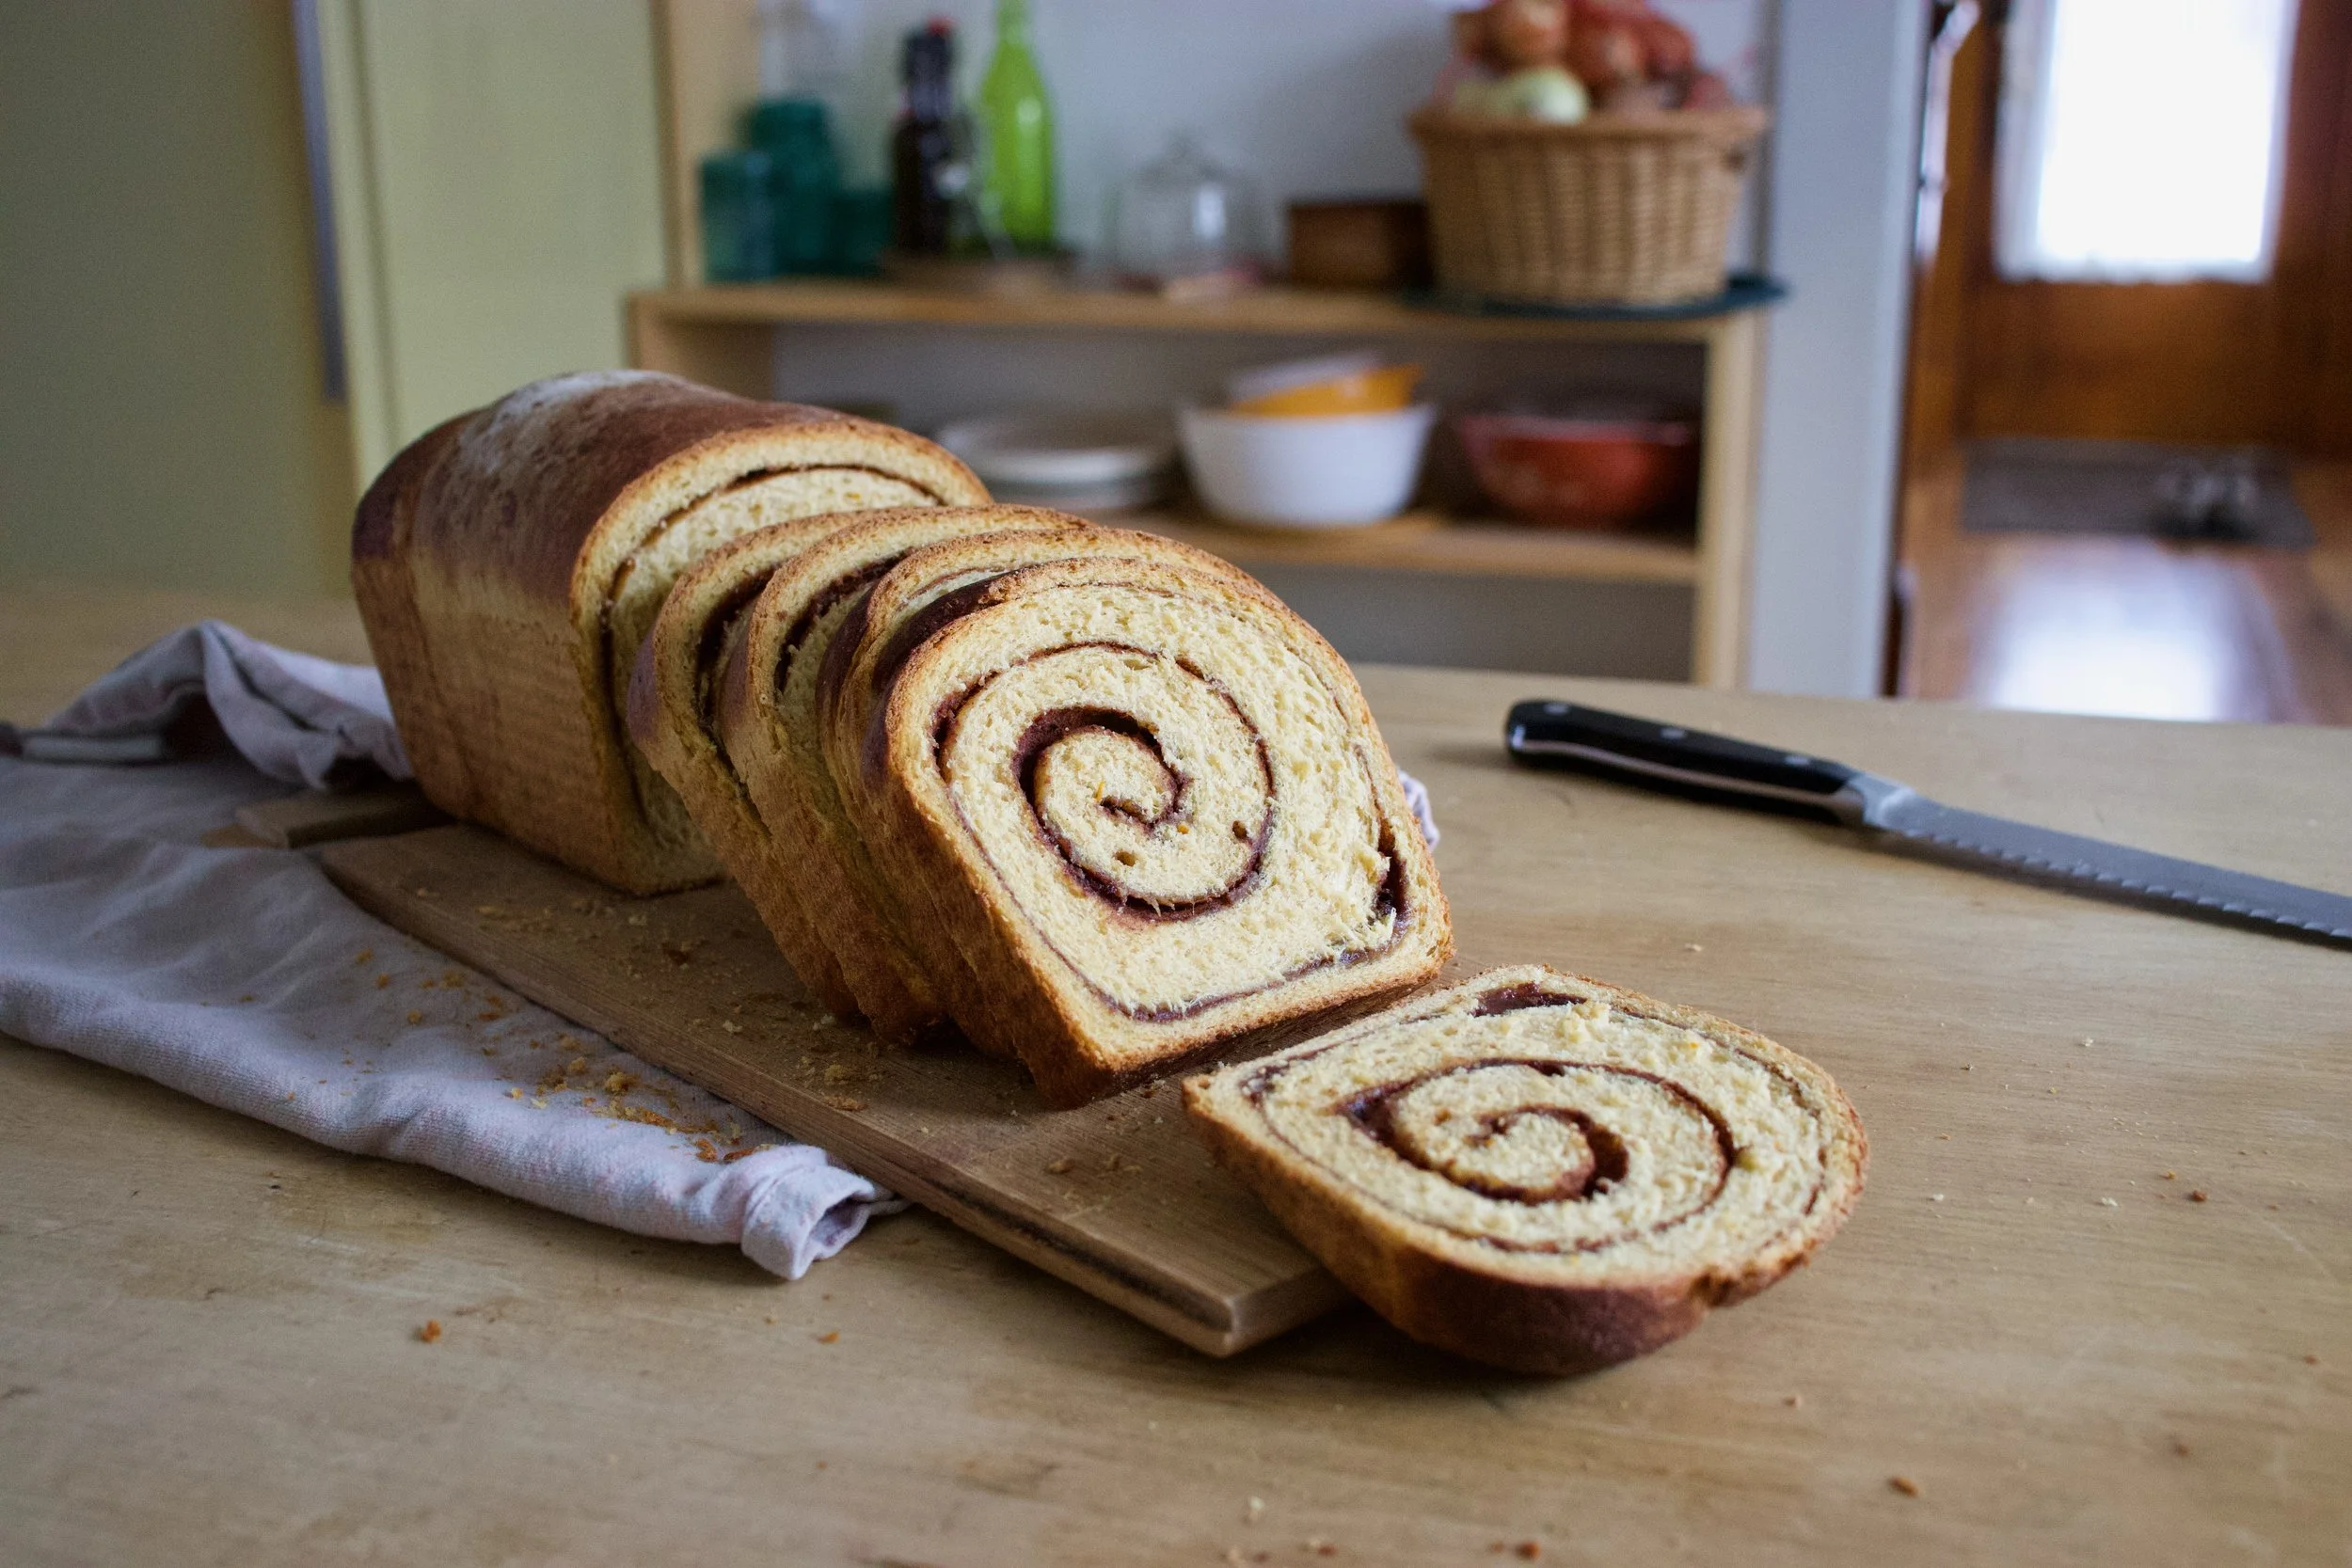
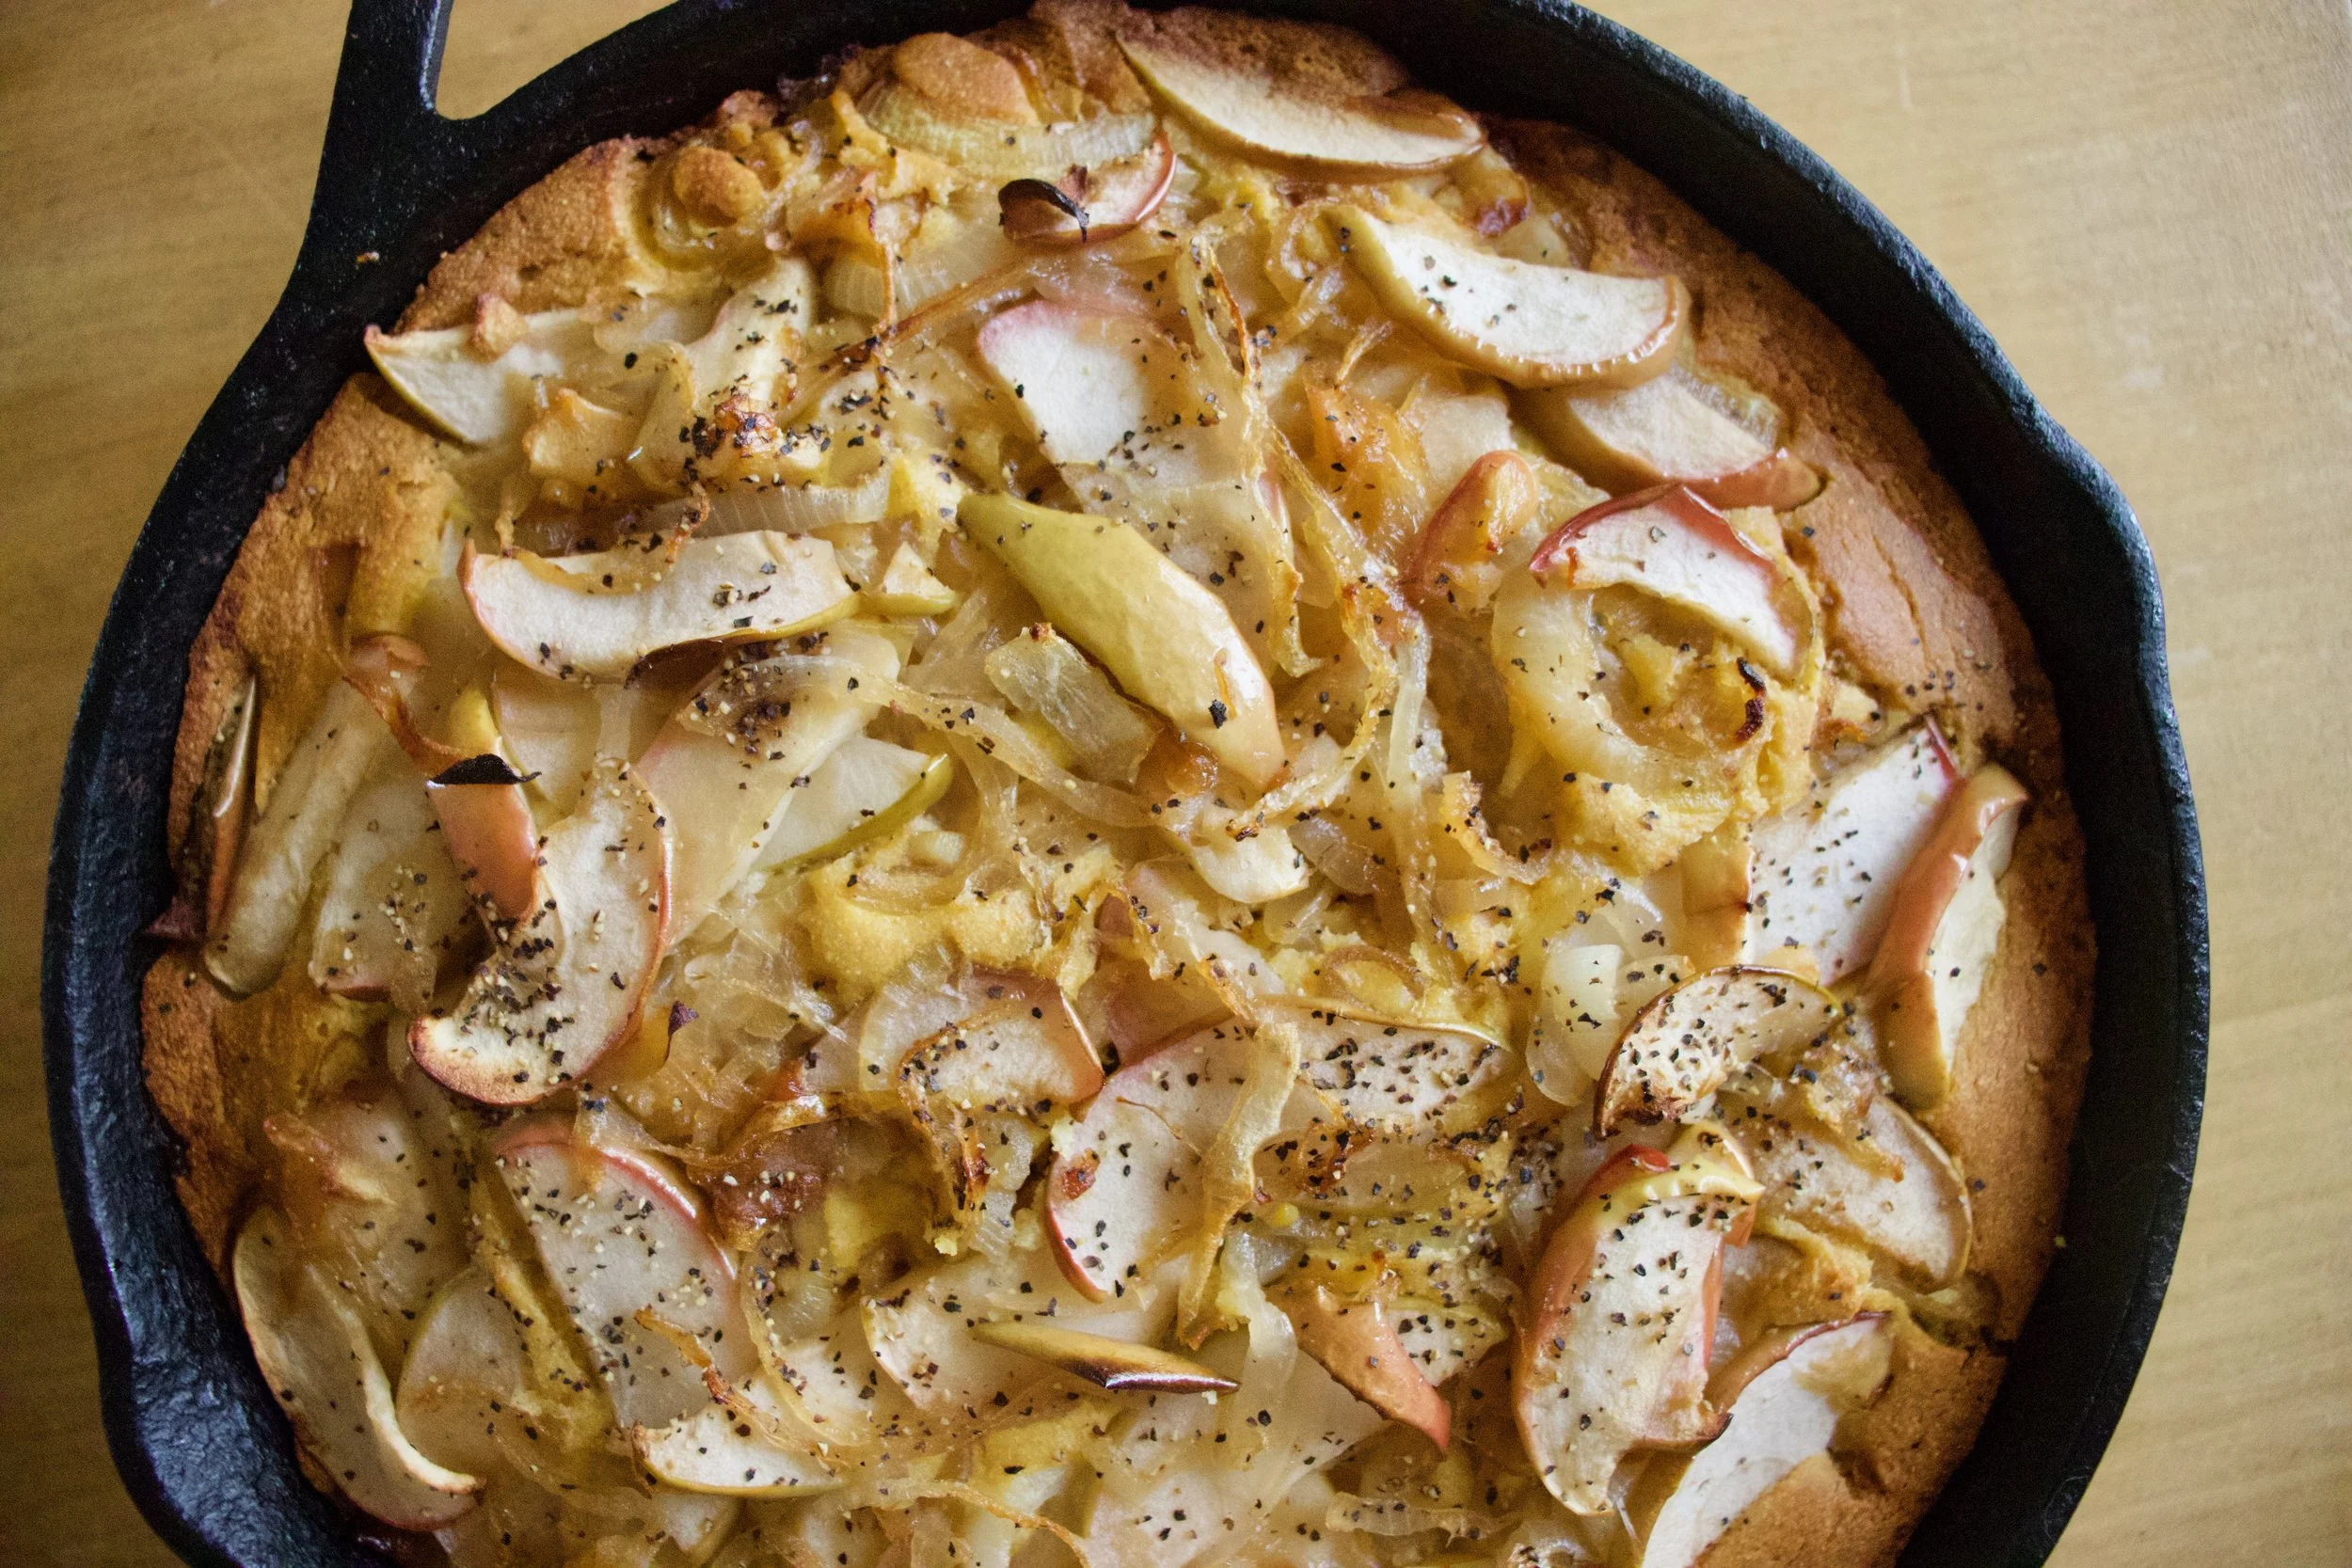








 The other day the mister and I started reminiscing about some of our earliest memories of what our parents fed us or what they used to eat when we were growing up. One of the dishes that we both remember eating was the classic creamed beef on toast, or as my mom use to call it, shit on a shingle. Yup, shit on a shingle. (who ever started calling creamed meat on toast is a freaking genius) I think that as a kid, I liked the dish just for the mer fact that I could say the word shit and get away with it. I think my mom liked it for few reasons; she could make a big butt load of it really fast, for a crap load of kids, on the super cheap. And I think that she just really like it.
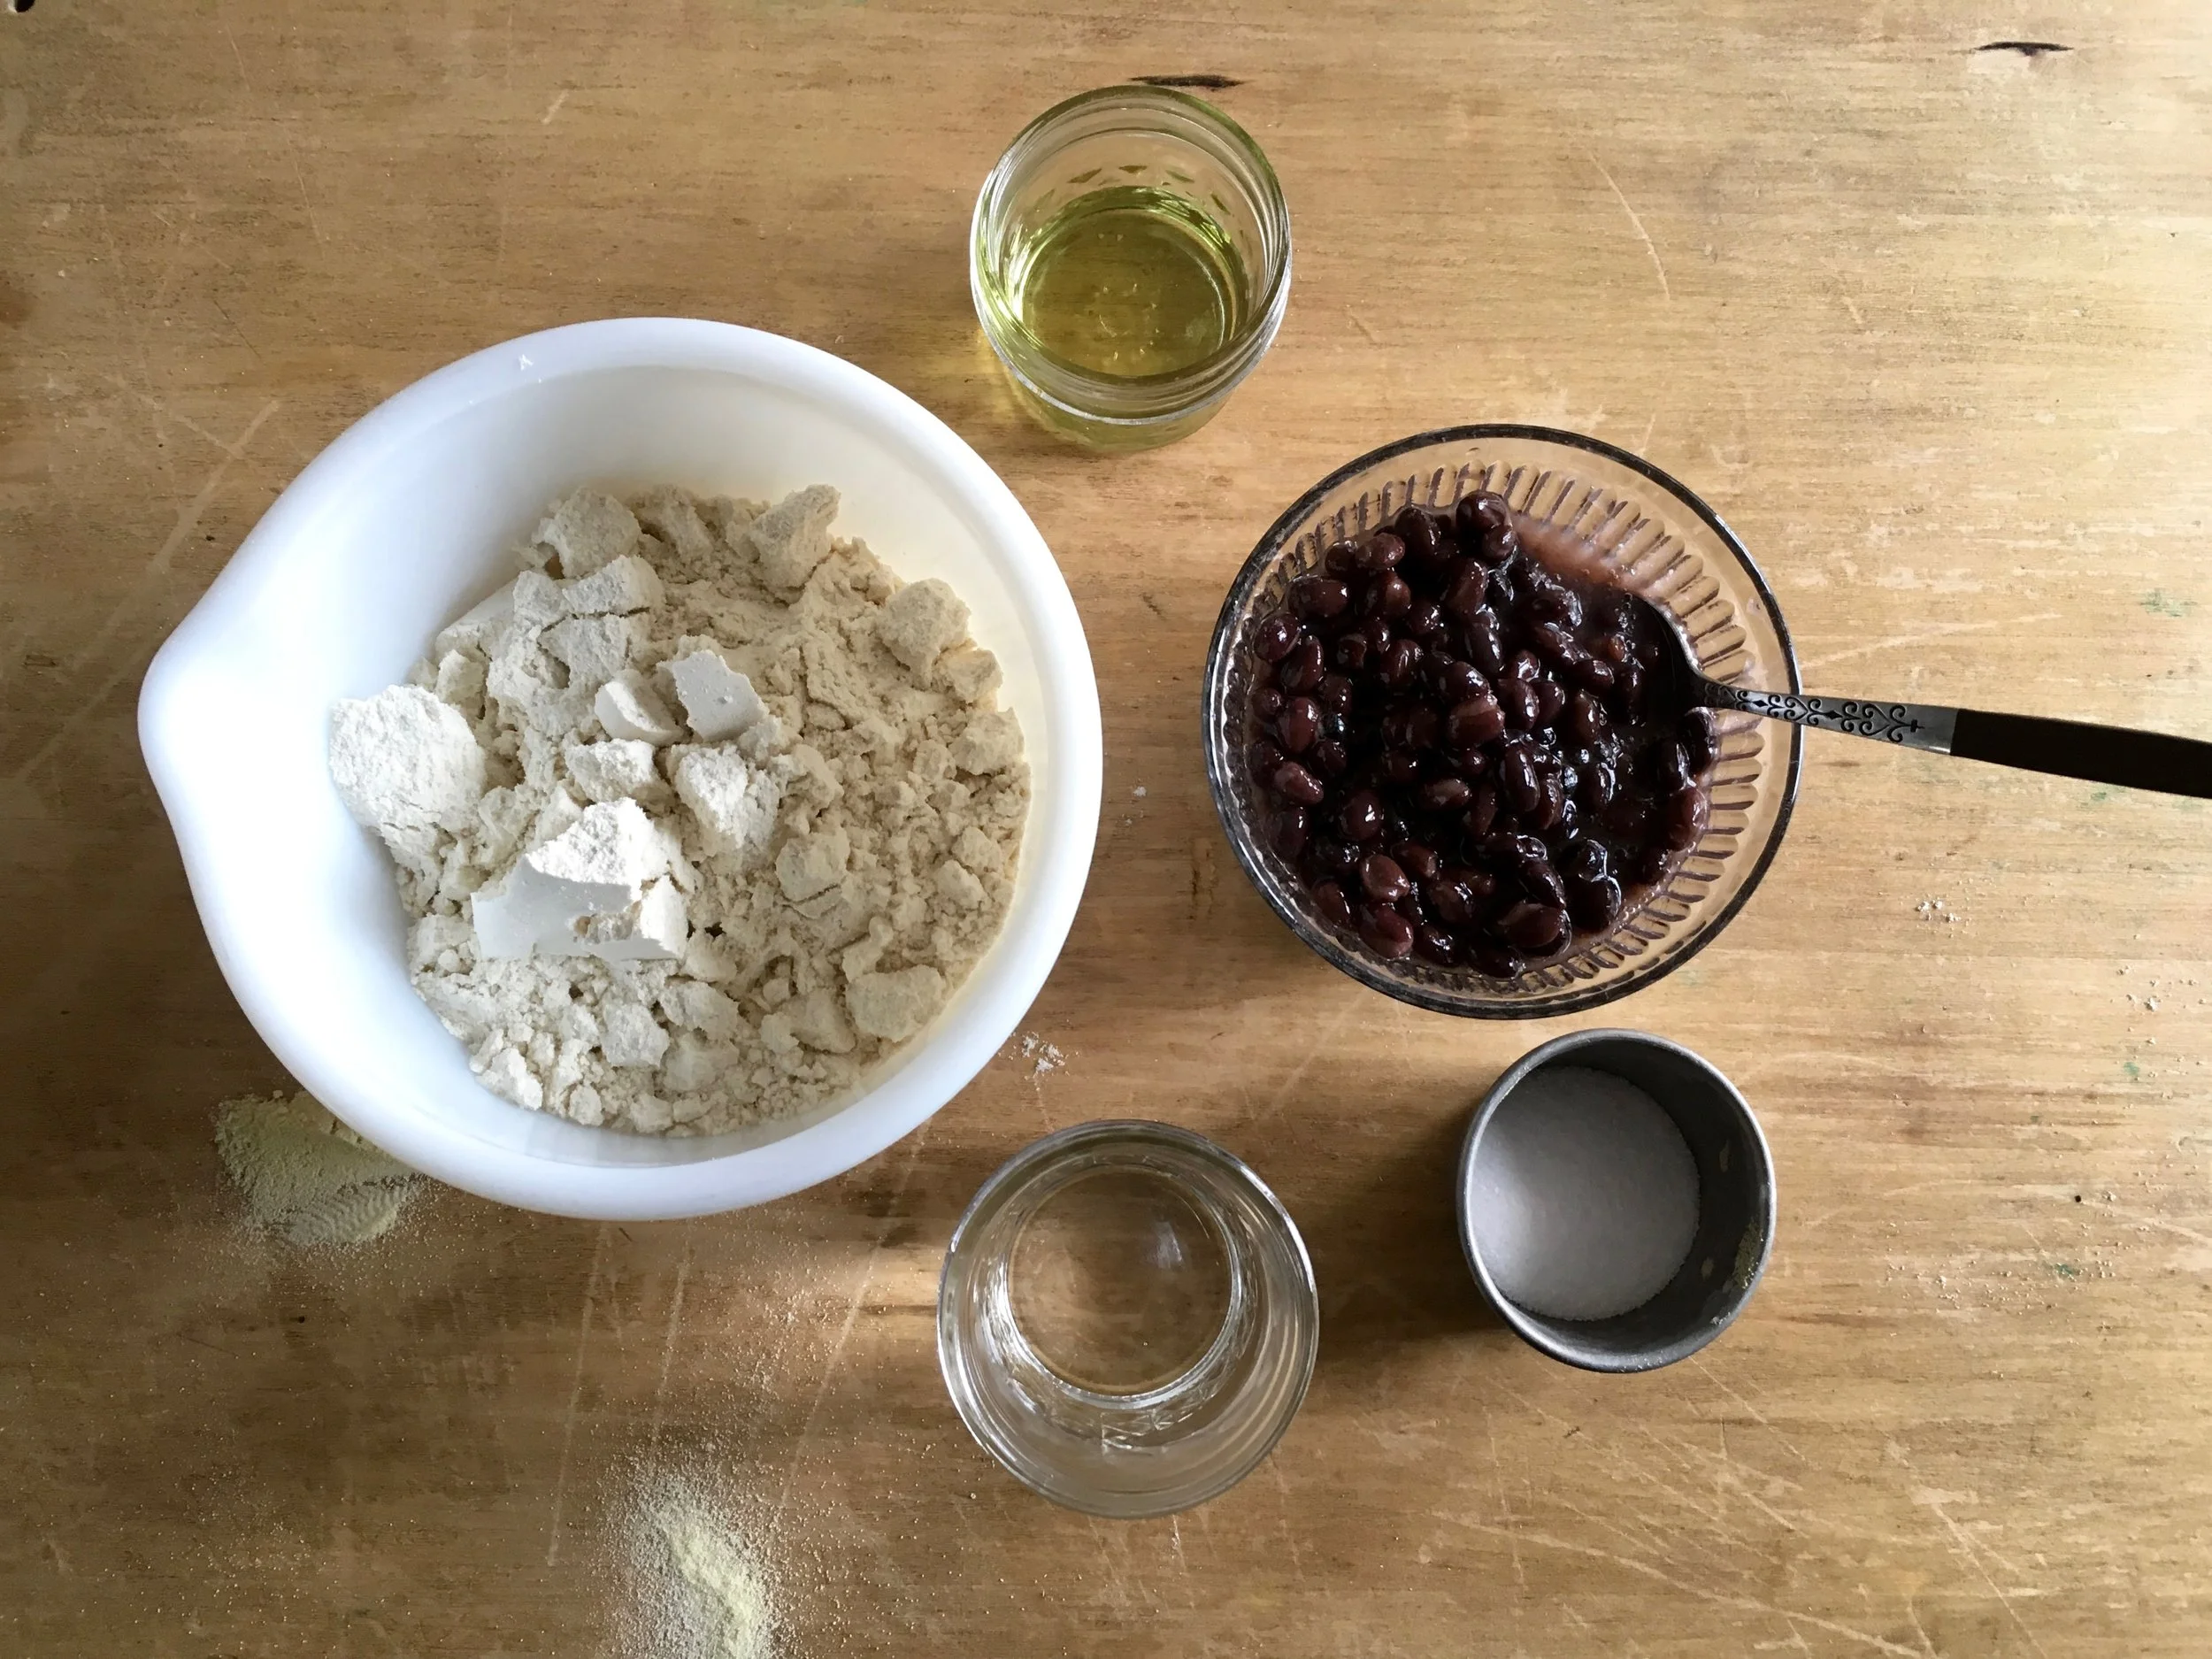
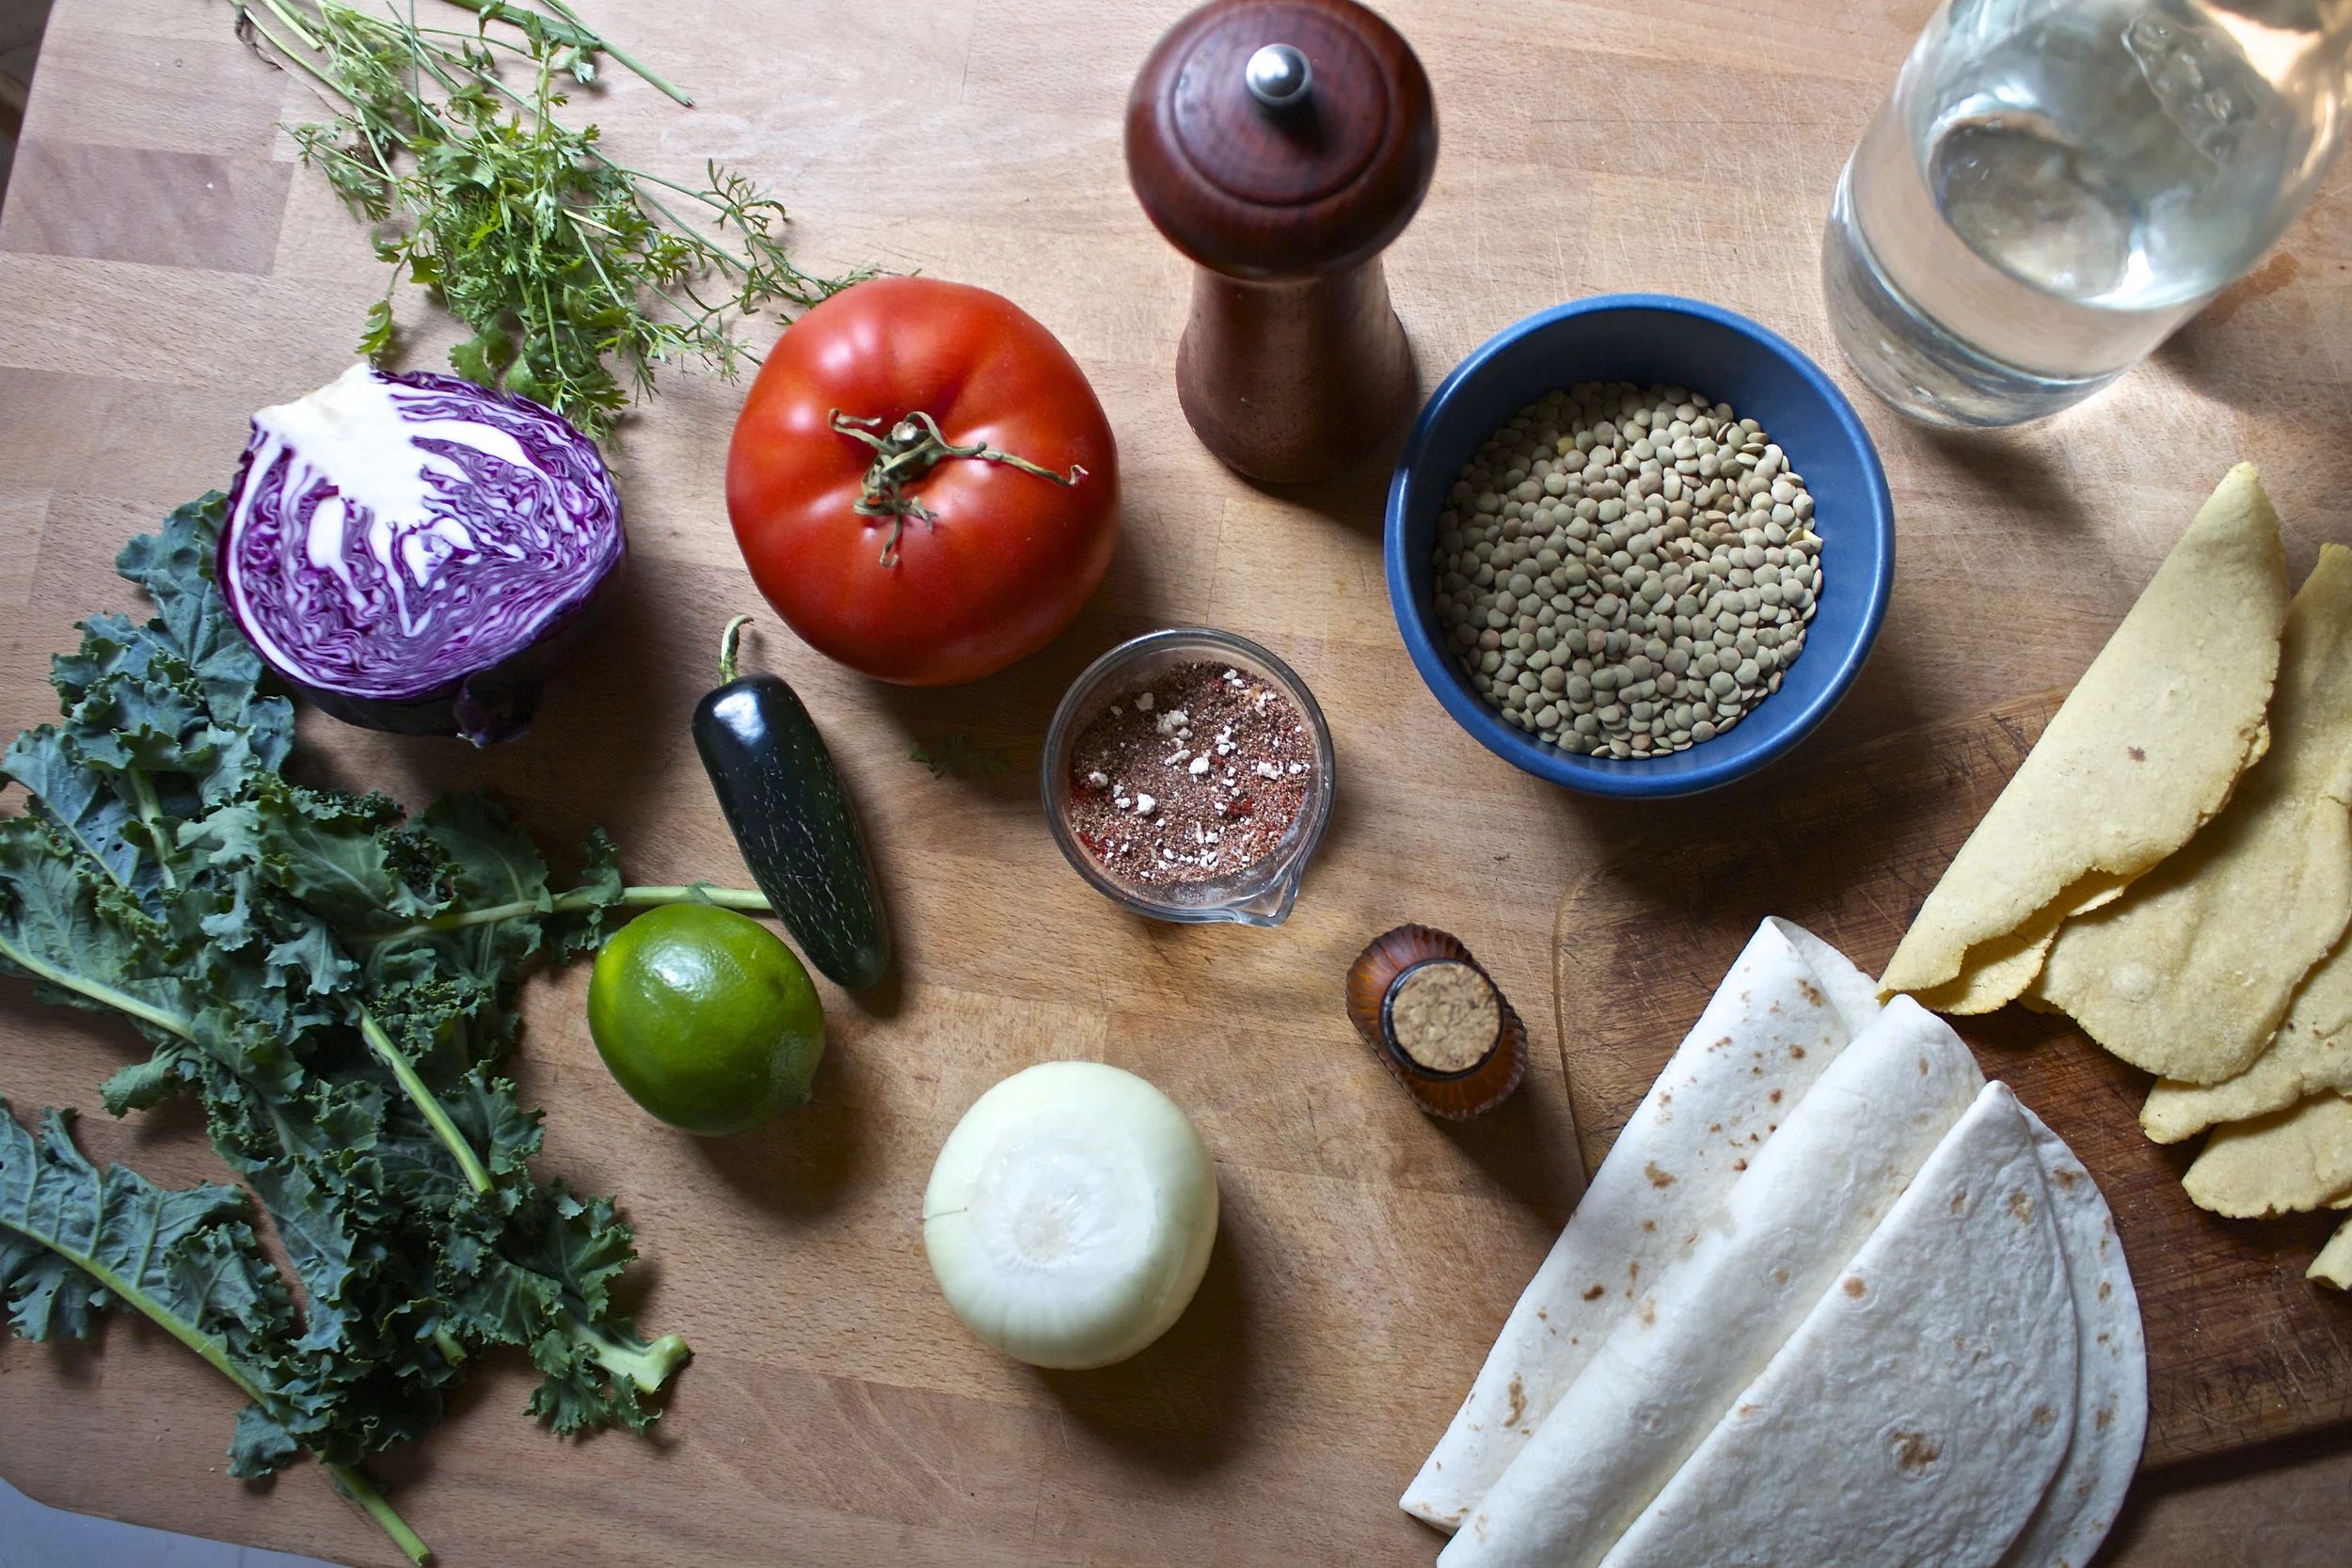
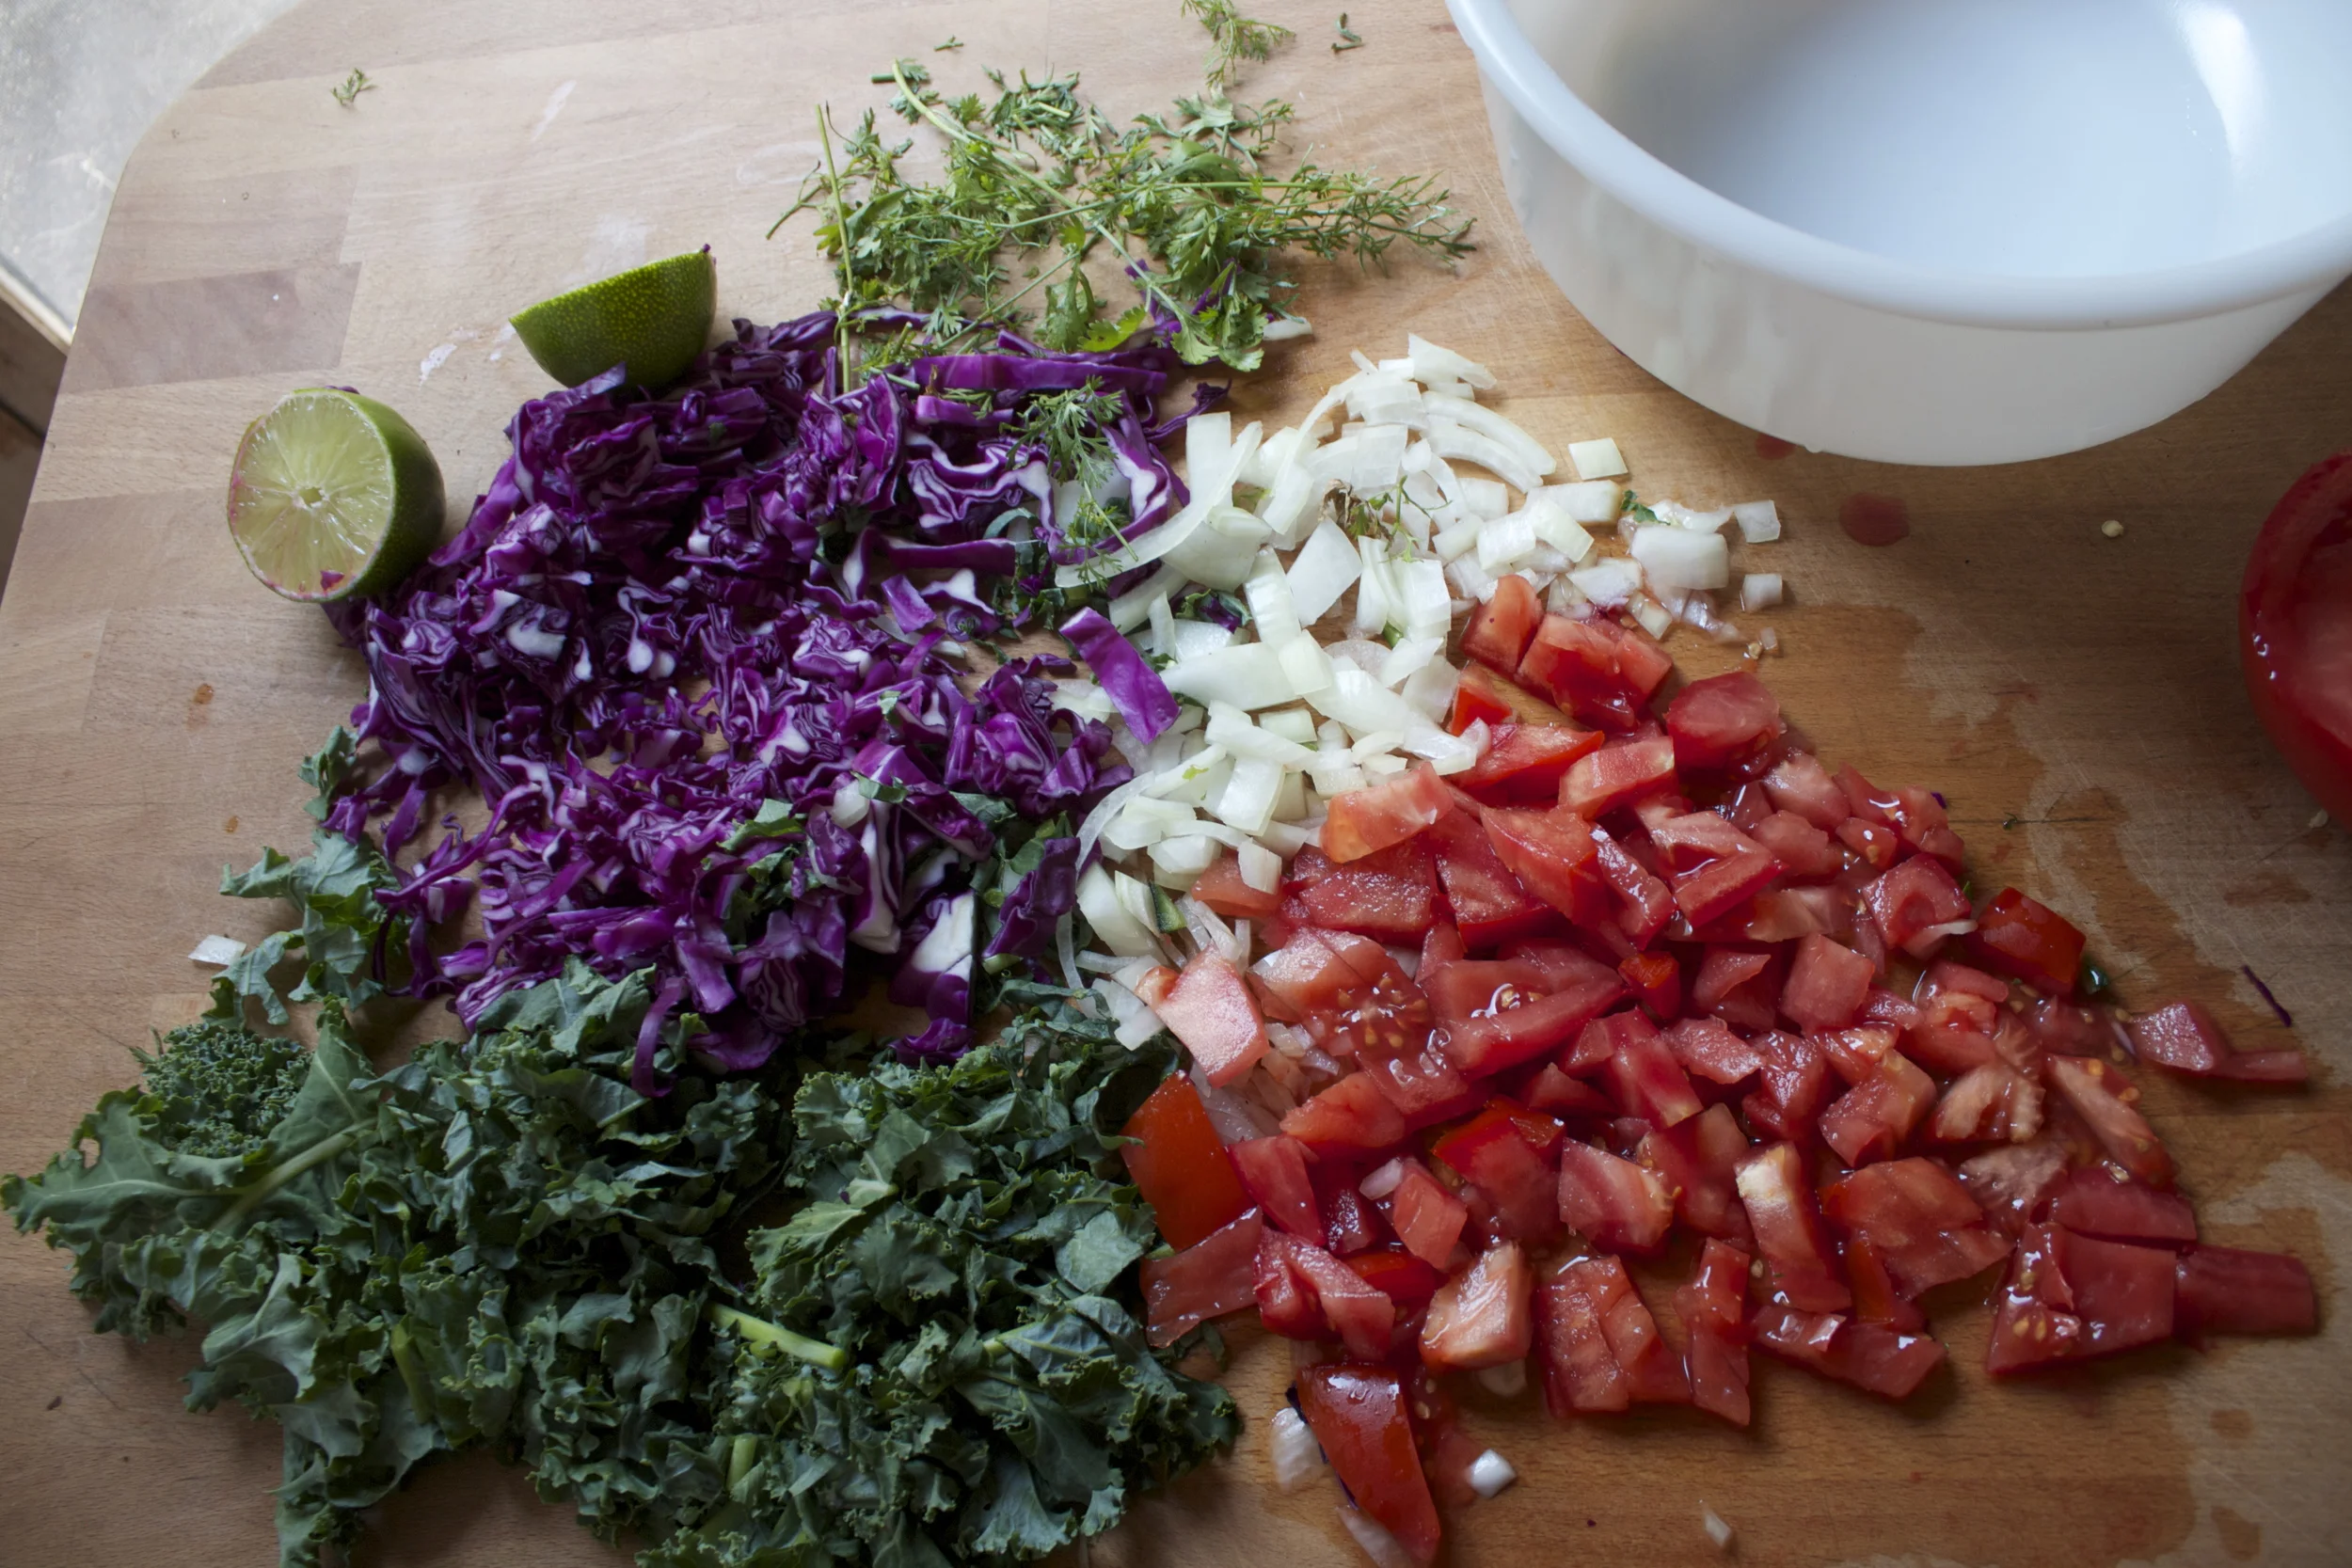
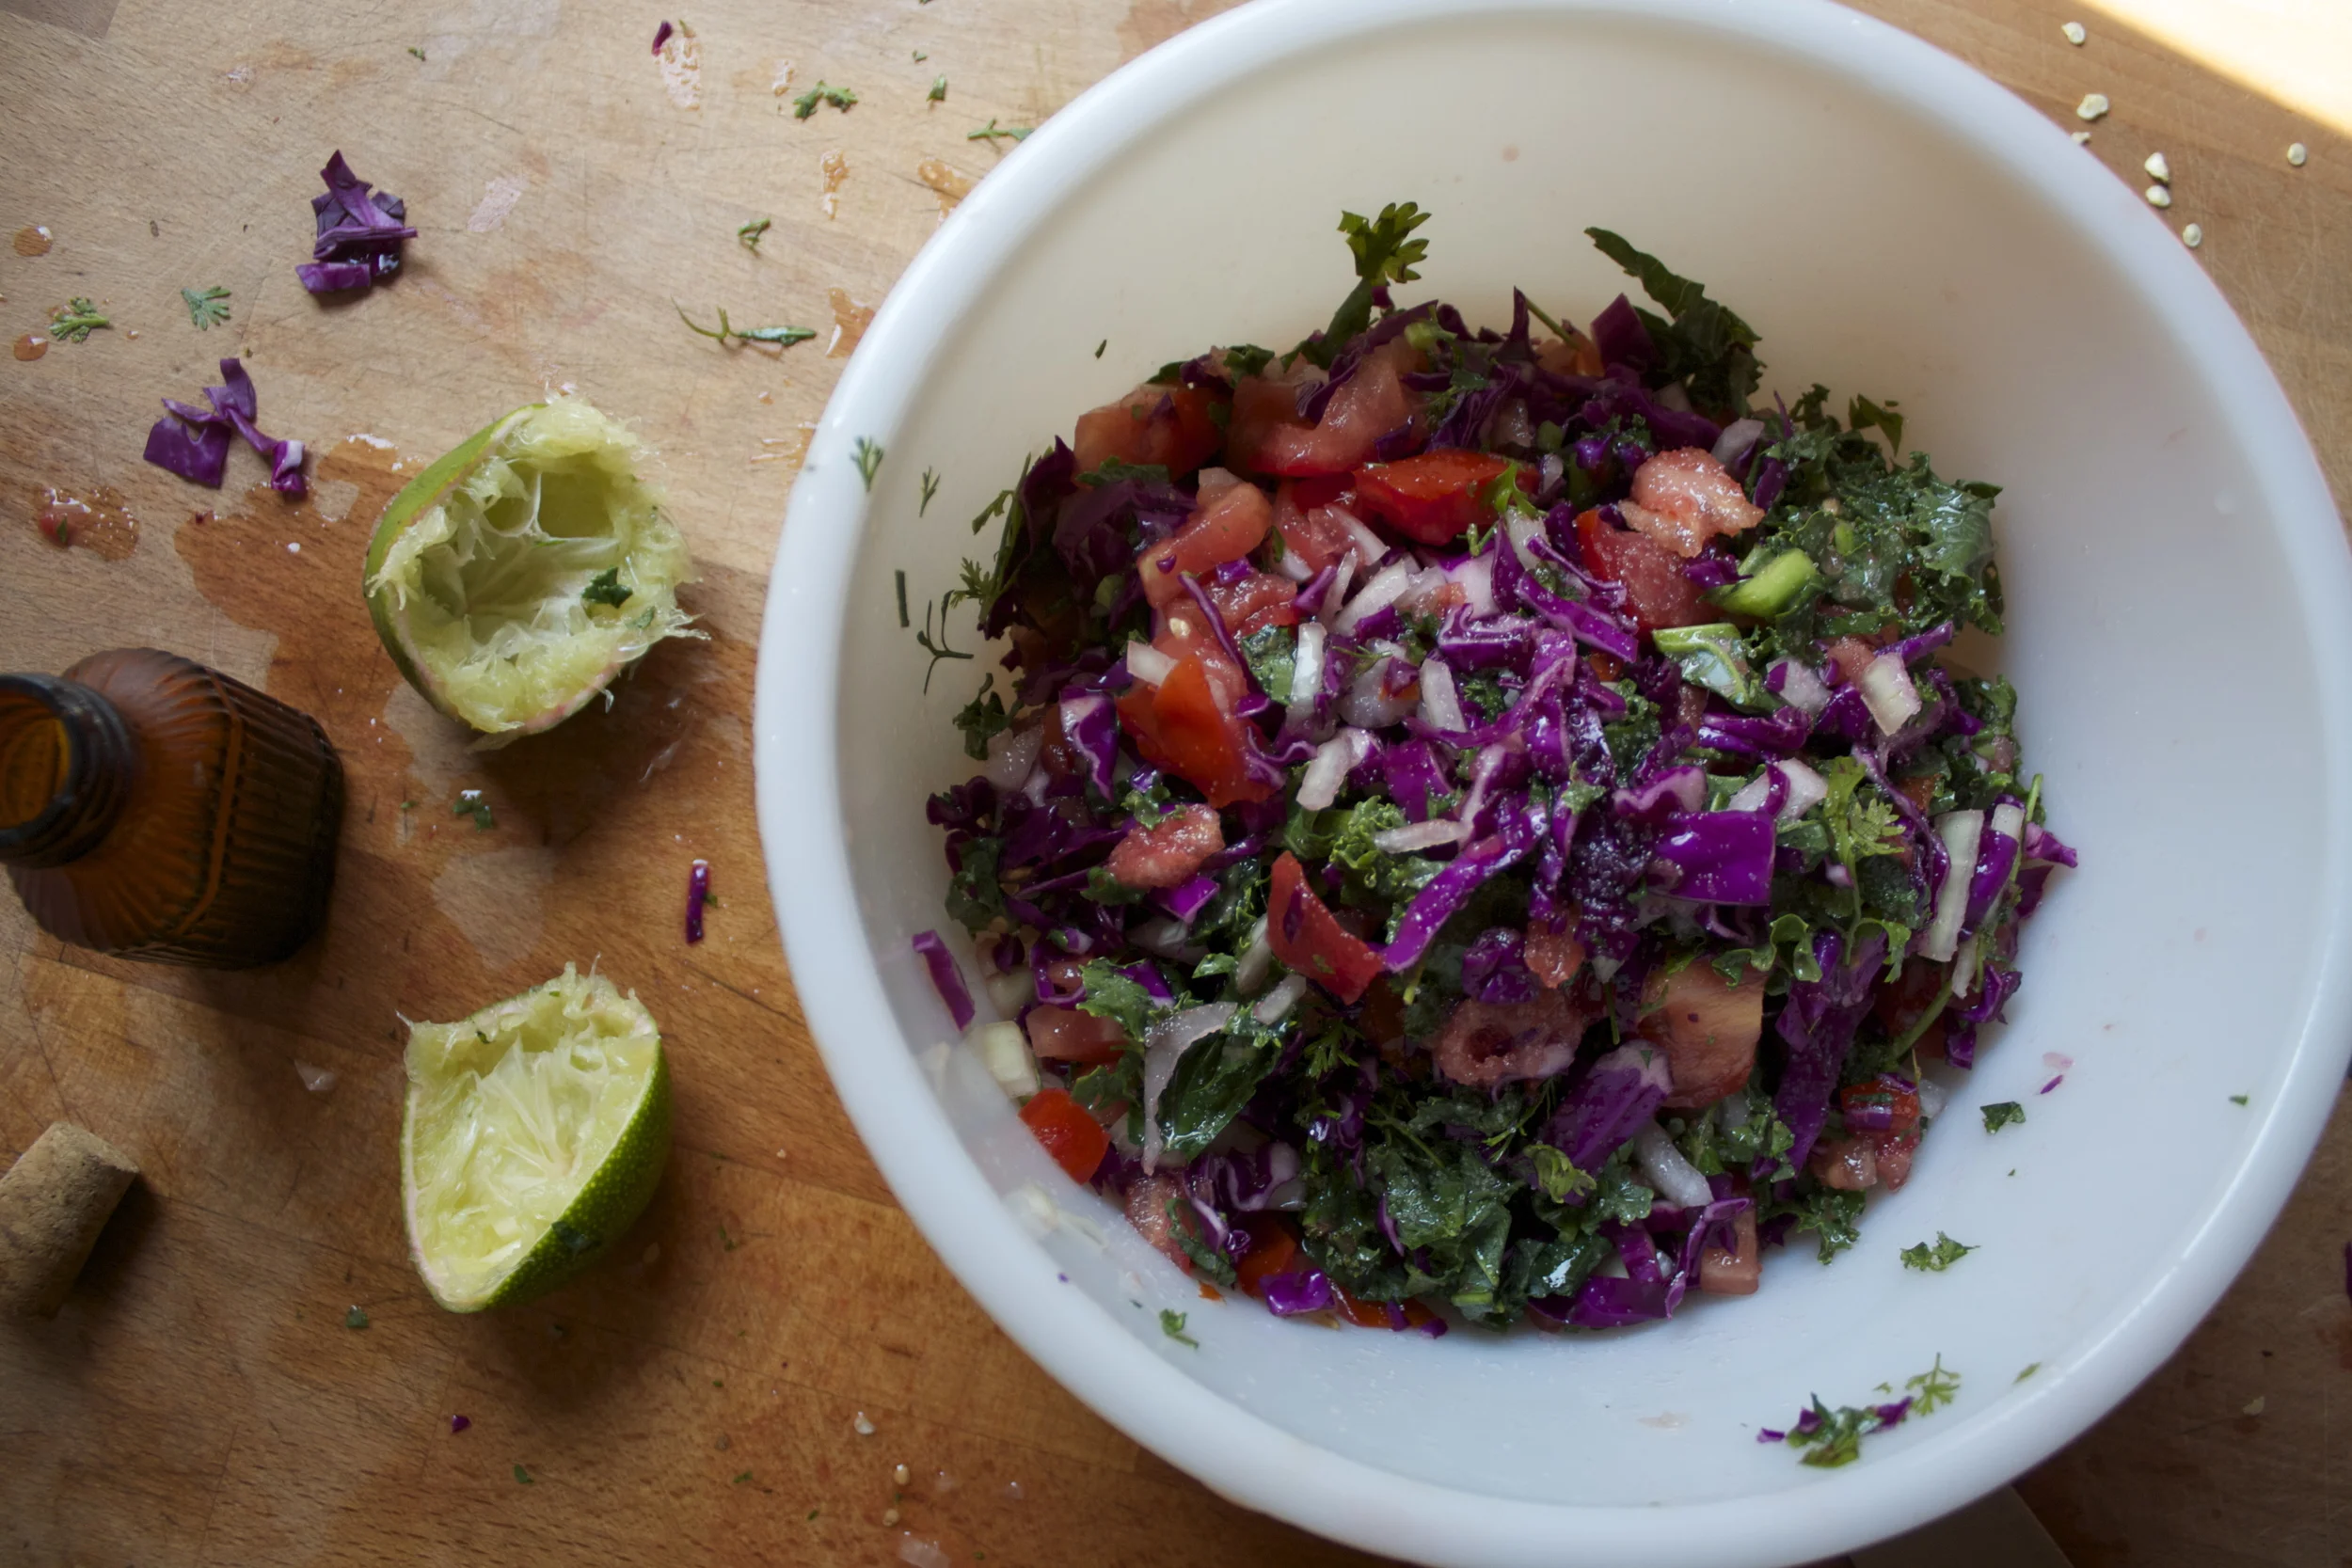
  The shit….. A few mushrooms, a bit of onion, cooked lentils, flour, milk, oil, salt and pepper, and garlic powder. And the shingles.. 2 pieces of thick white country bread.
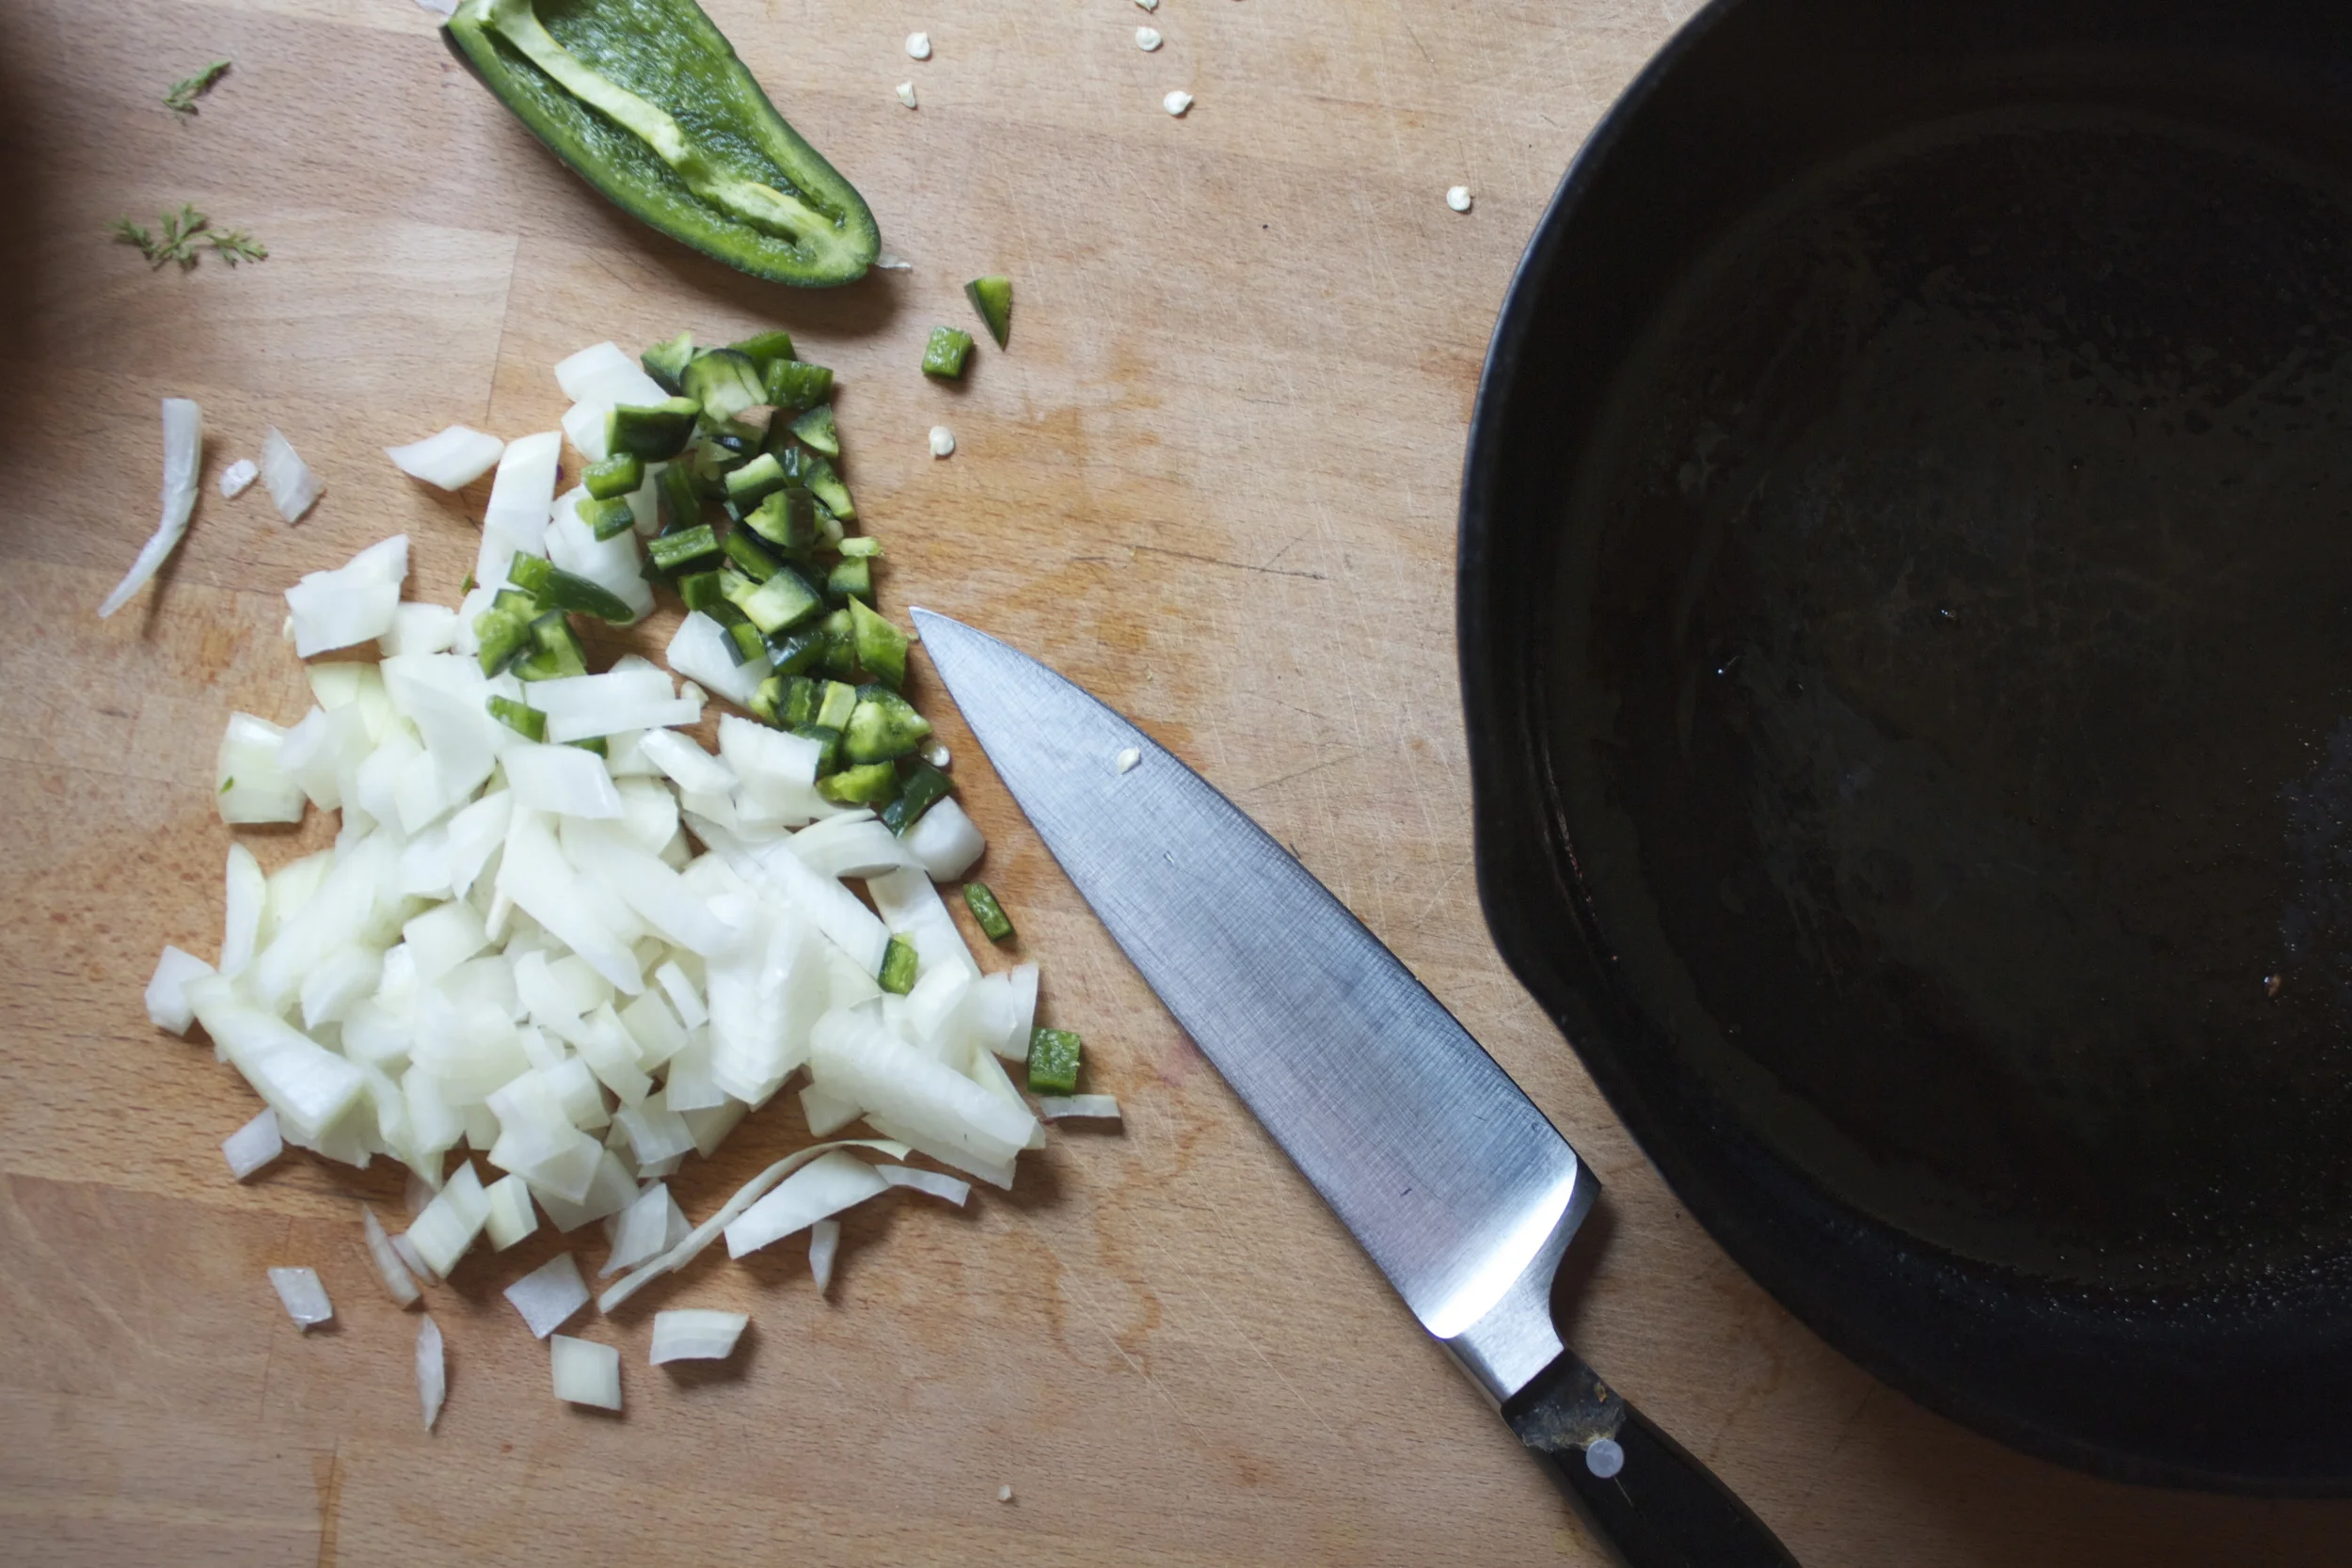
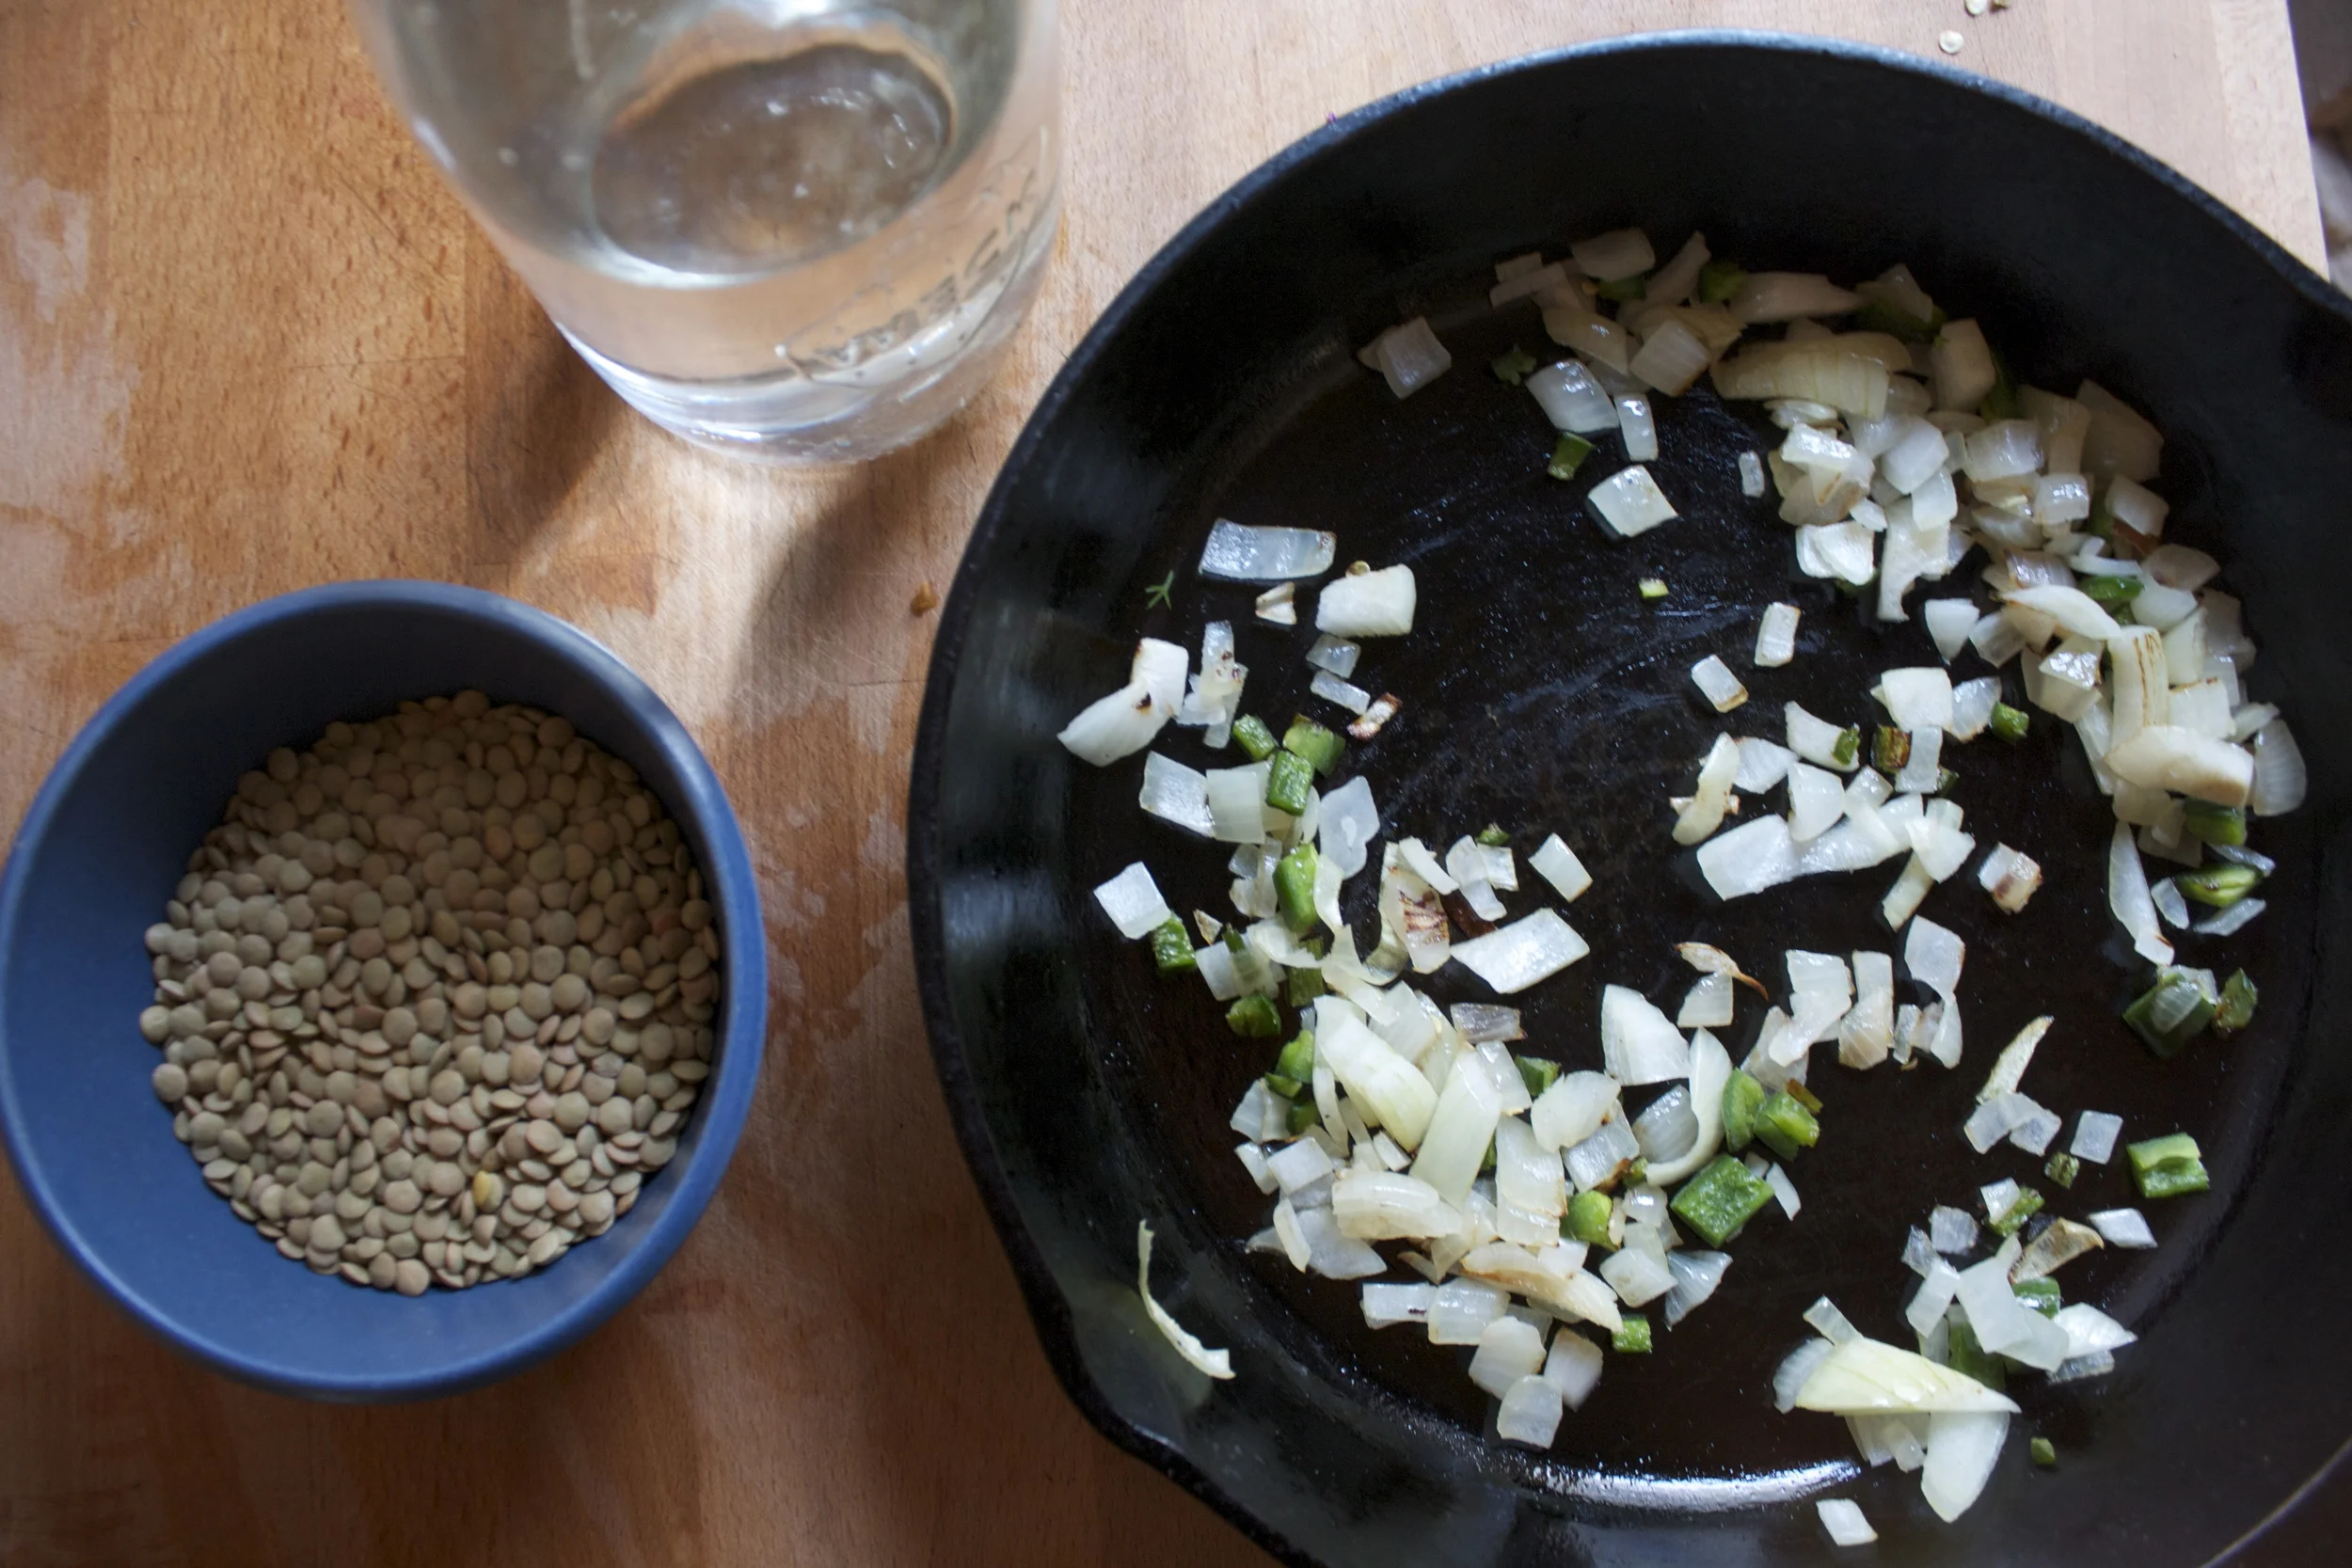
  Slice the mushrooms and the onion and toss into a skillet with a drizzle of oil. Cook on medium heat until browned and fragrant..Remove from pan.
 In the empty pan still on medium heat, add in the olive oil and the flour. Whisky constantly, slowly add in the milk. Keep whisking until sauce thickens. Remove from heat. Add in salt, pepper, and garlic powder.
 Add the mushrooms and the lentils into the sauce and give it a good mix. Oh, and don’t forget to toast up the bread.
  Now dump that shit all over those shingles! Oh the memories.


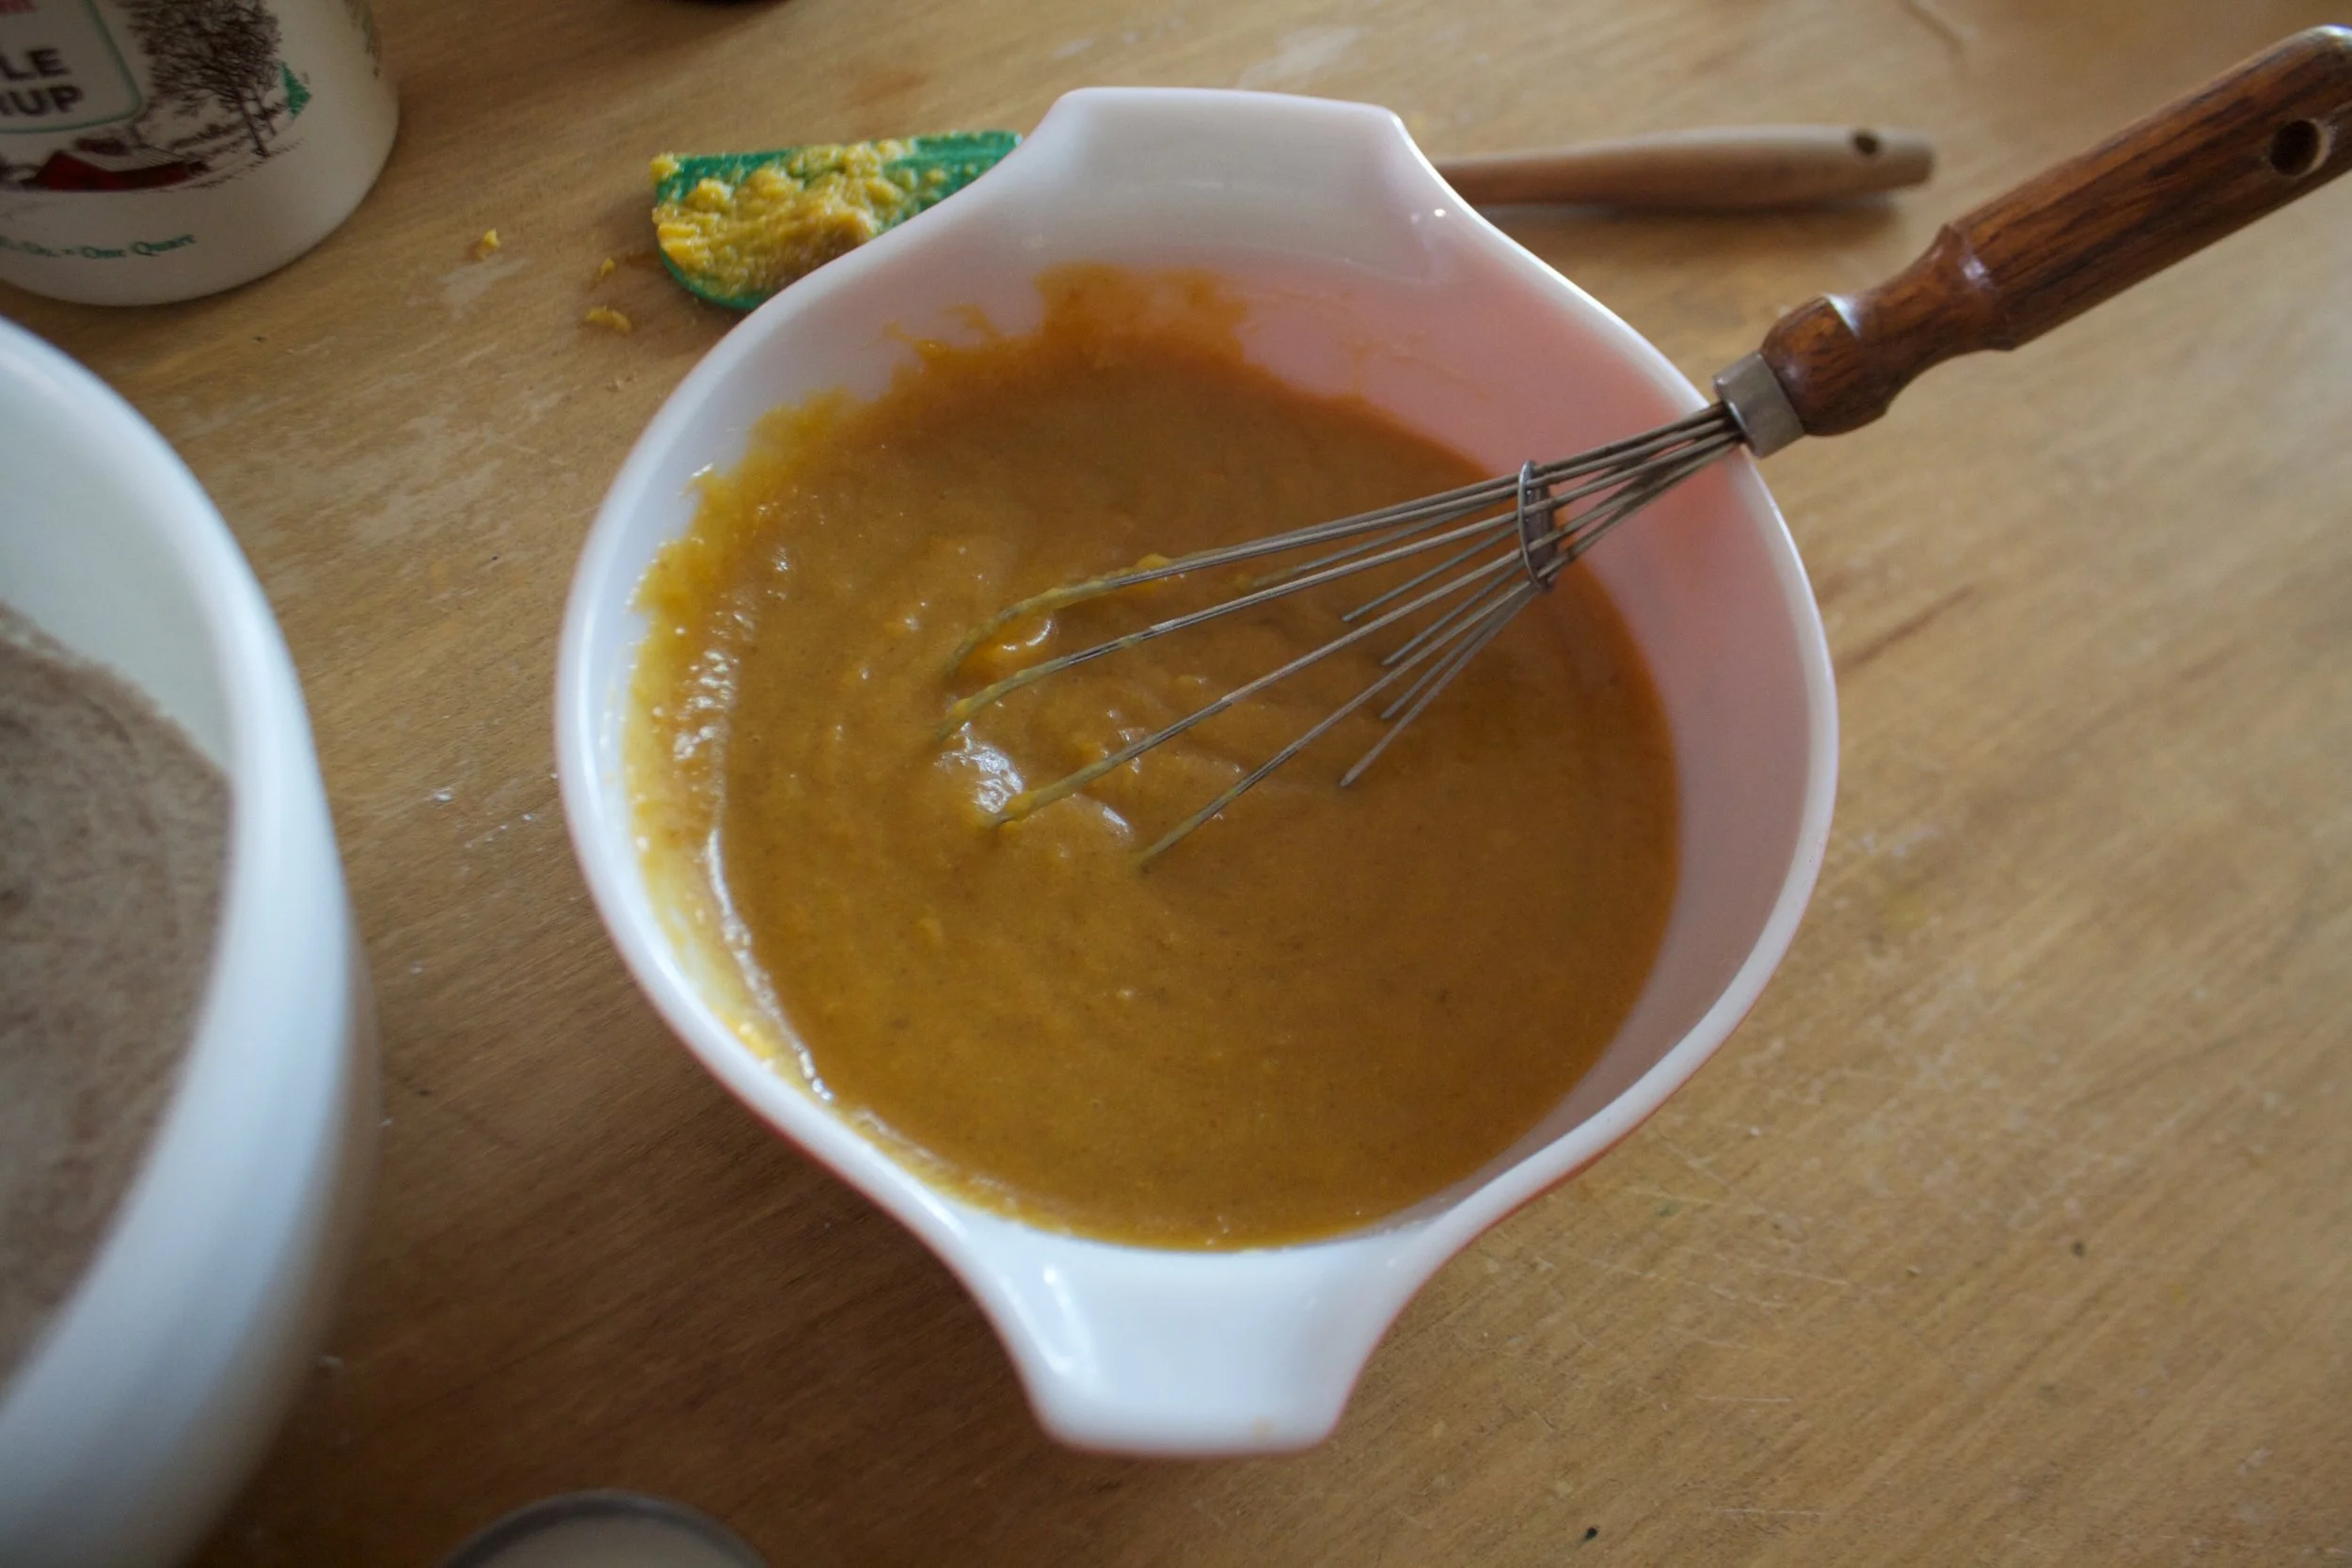
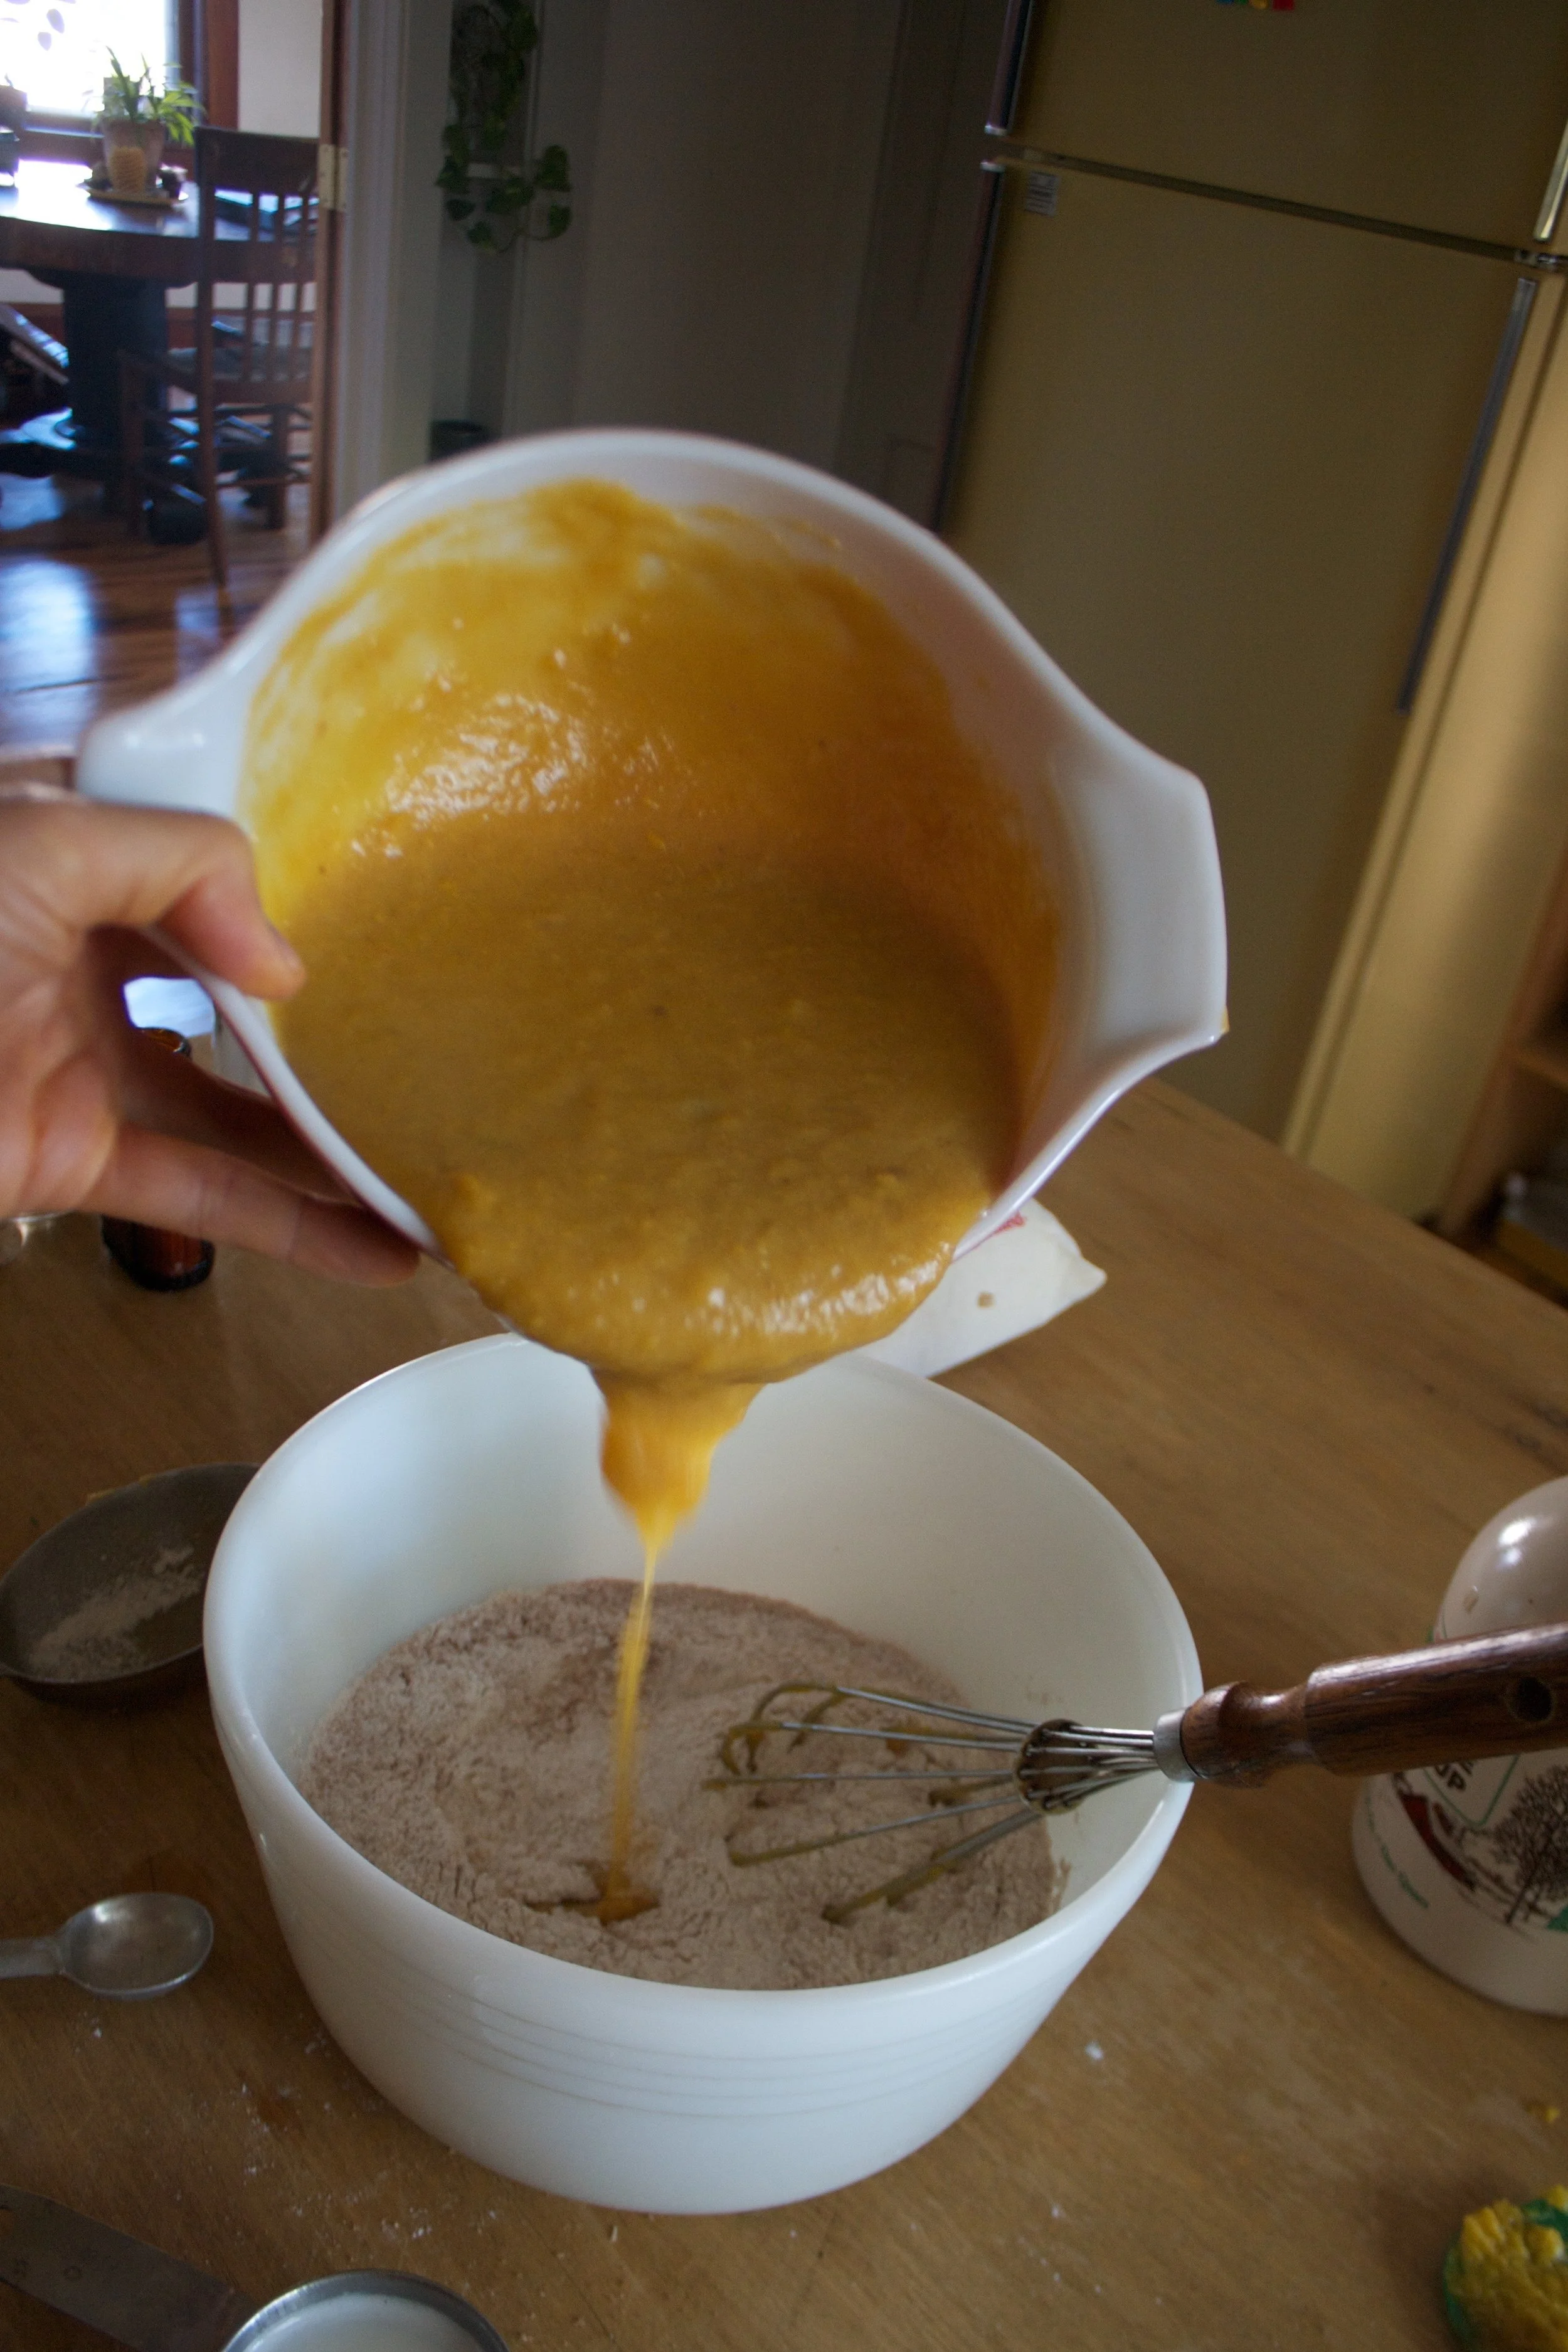
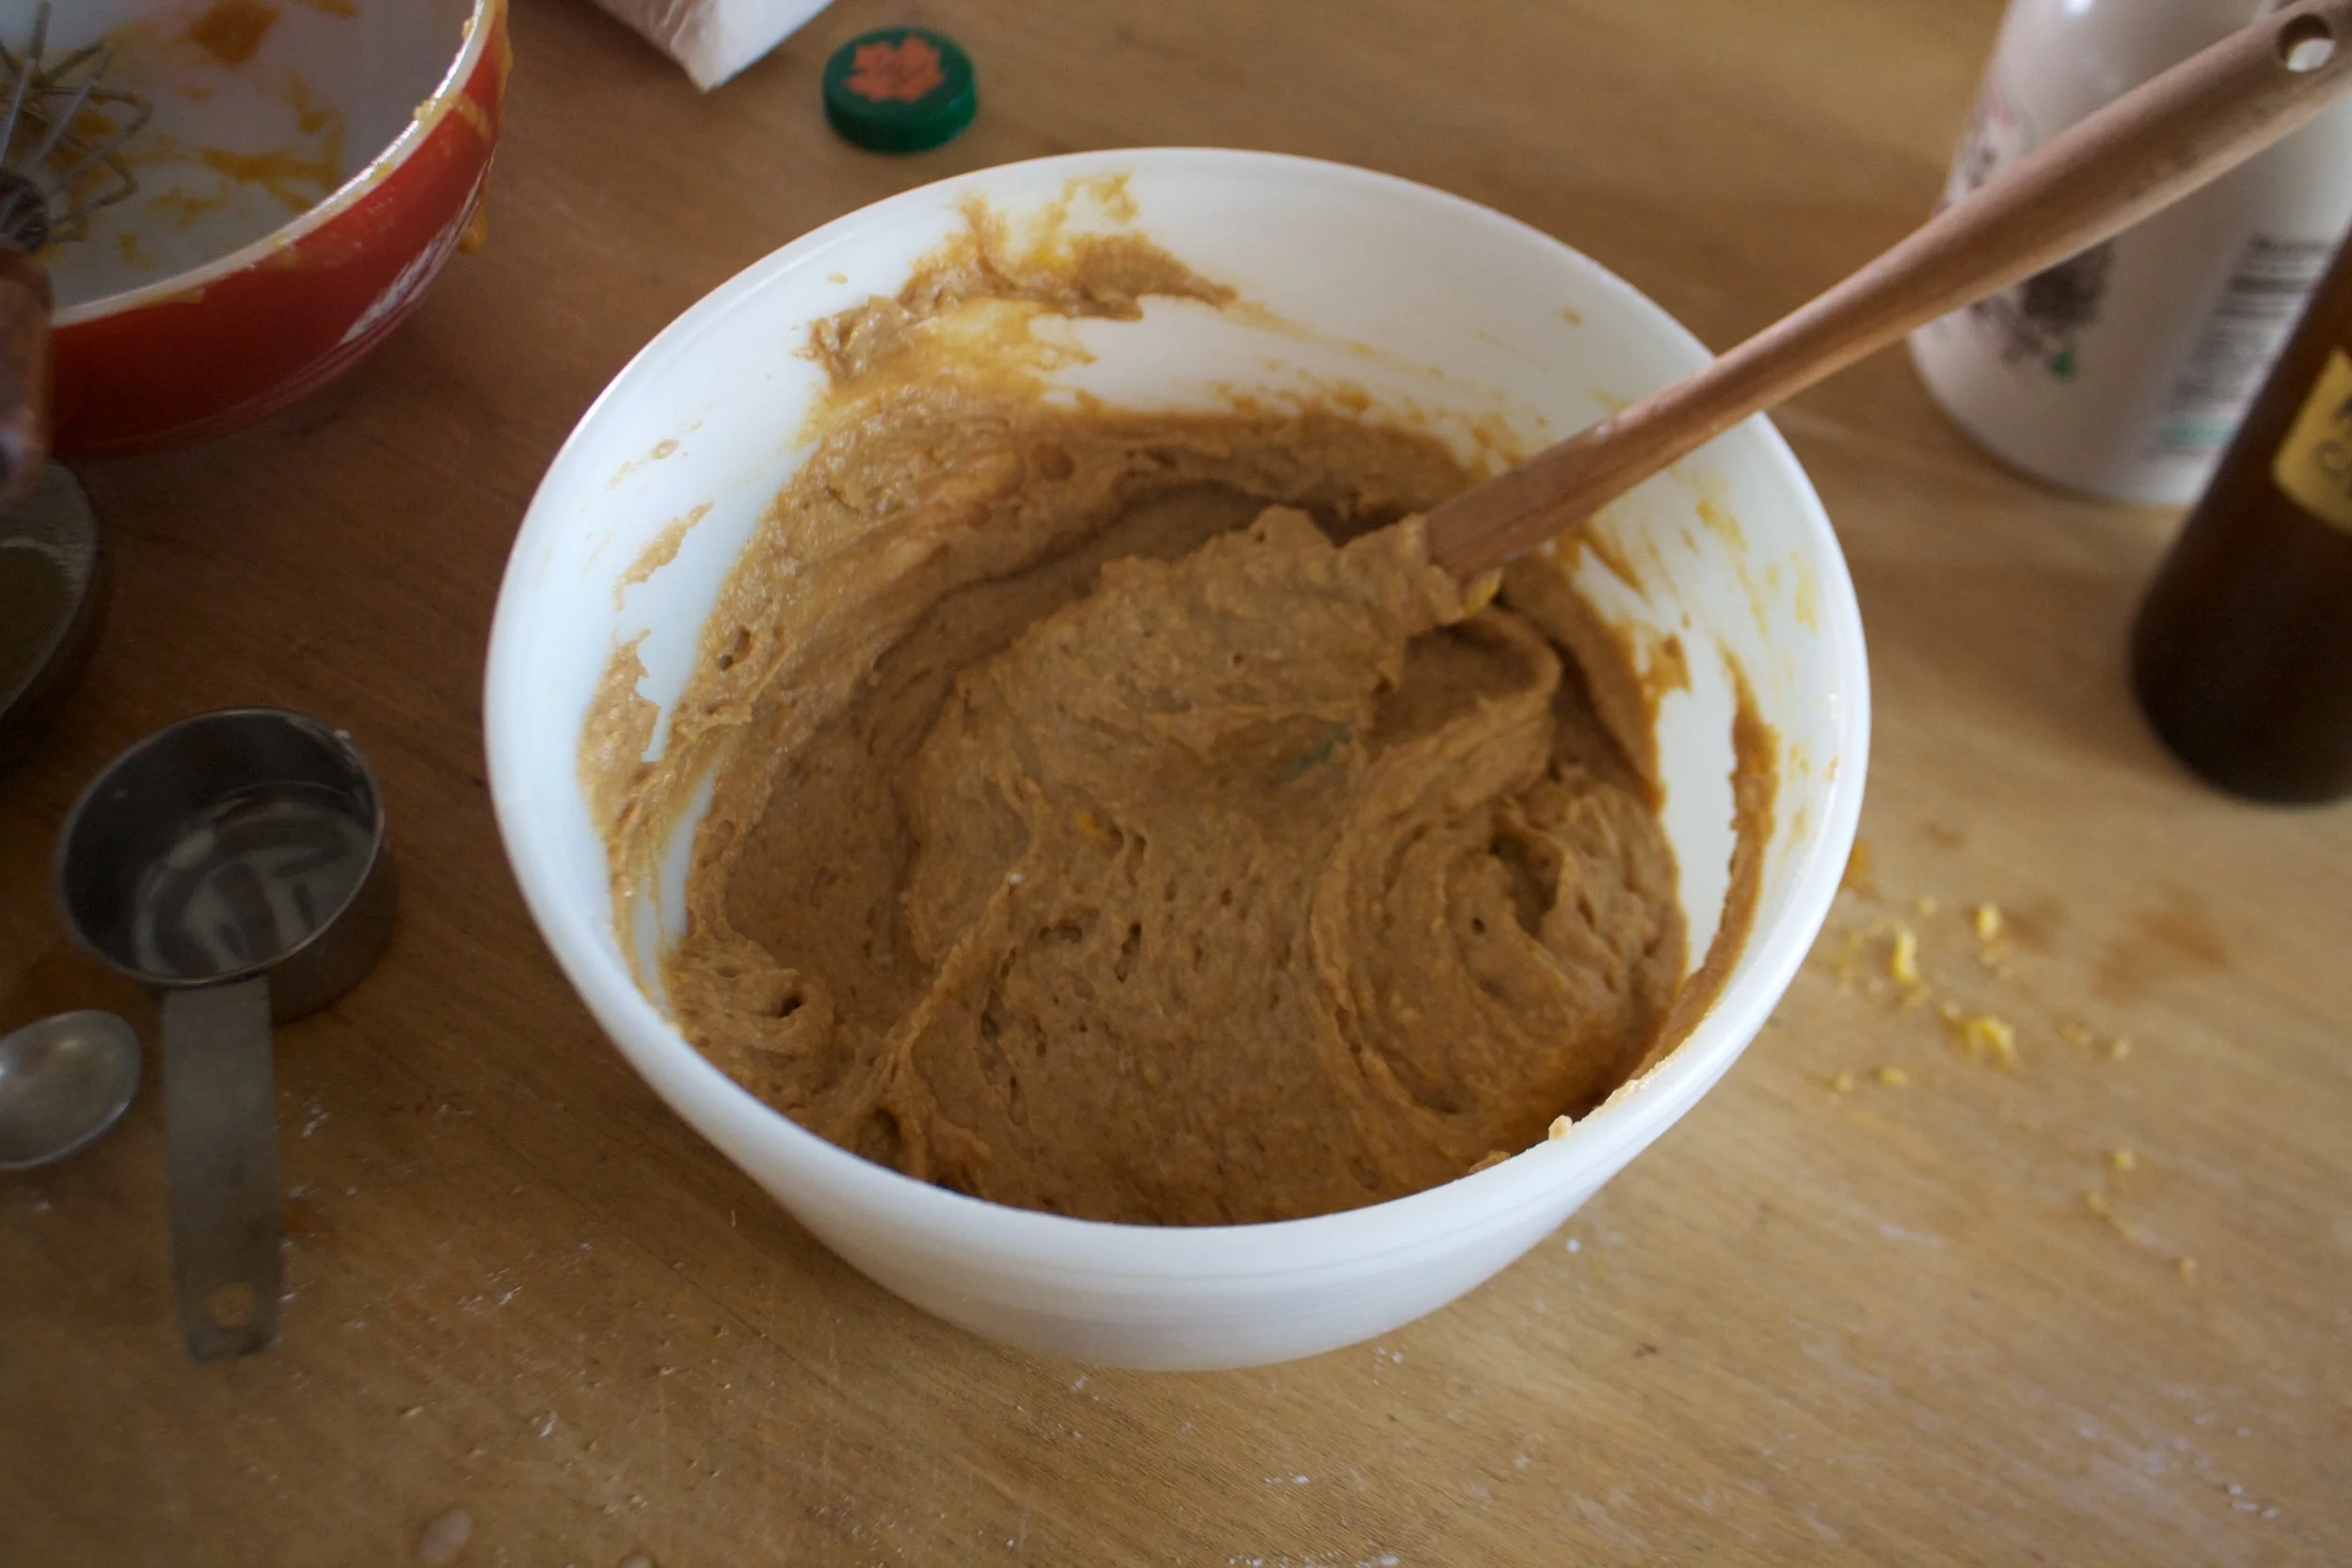

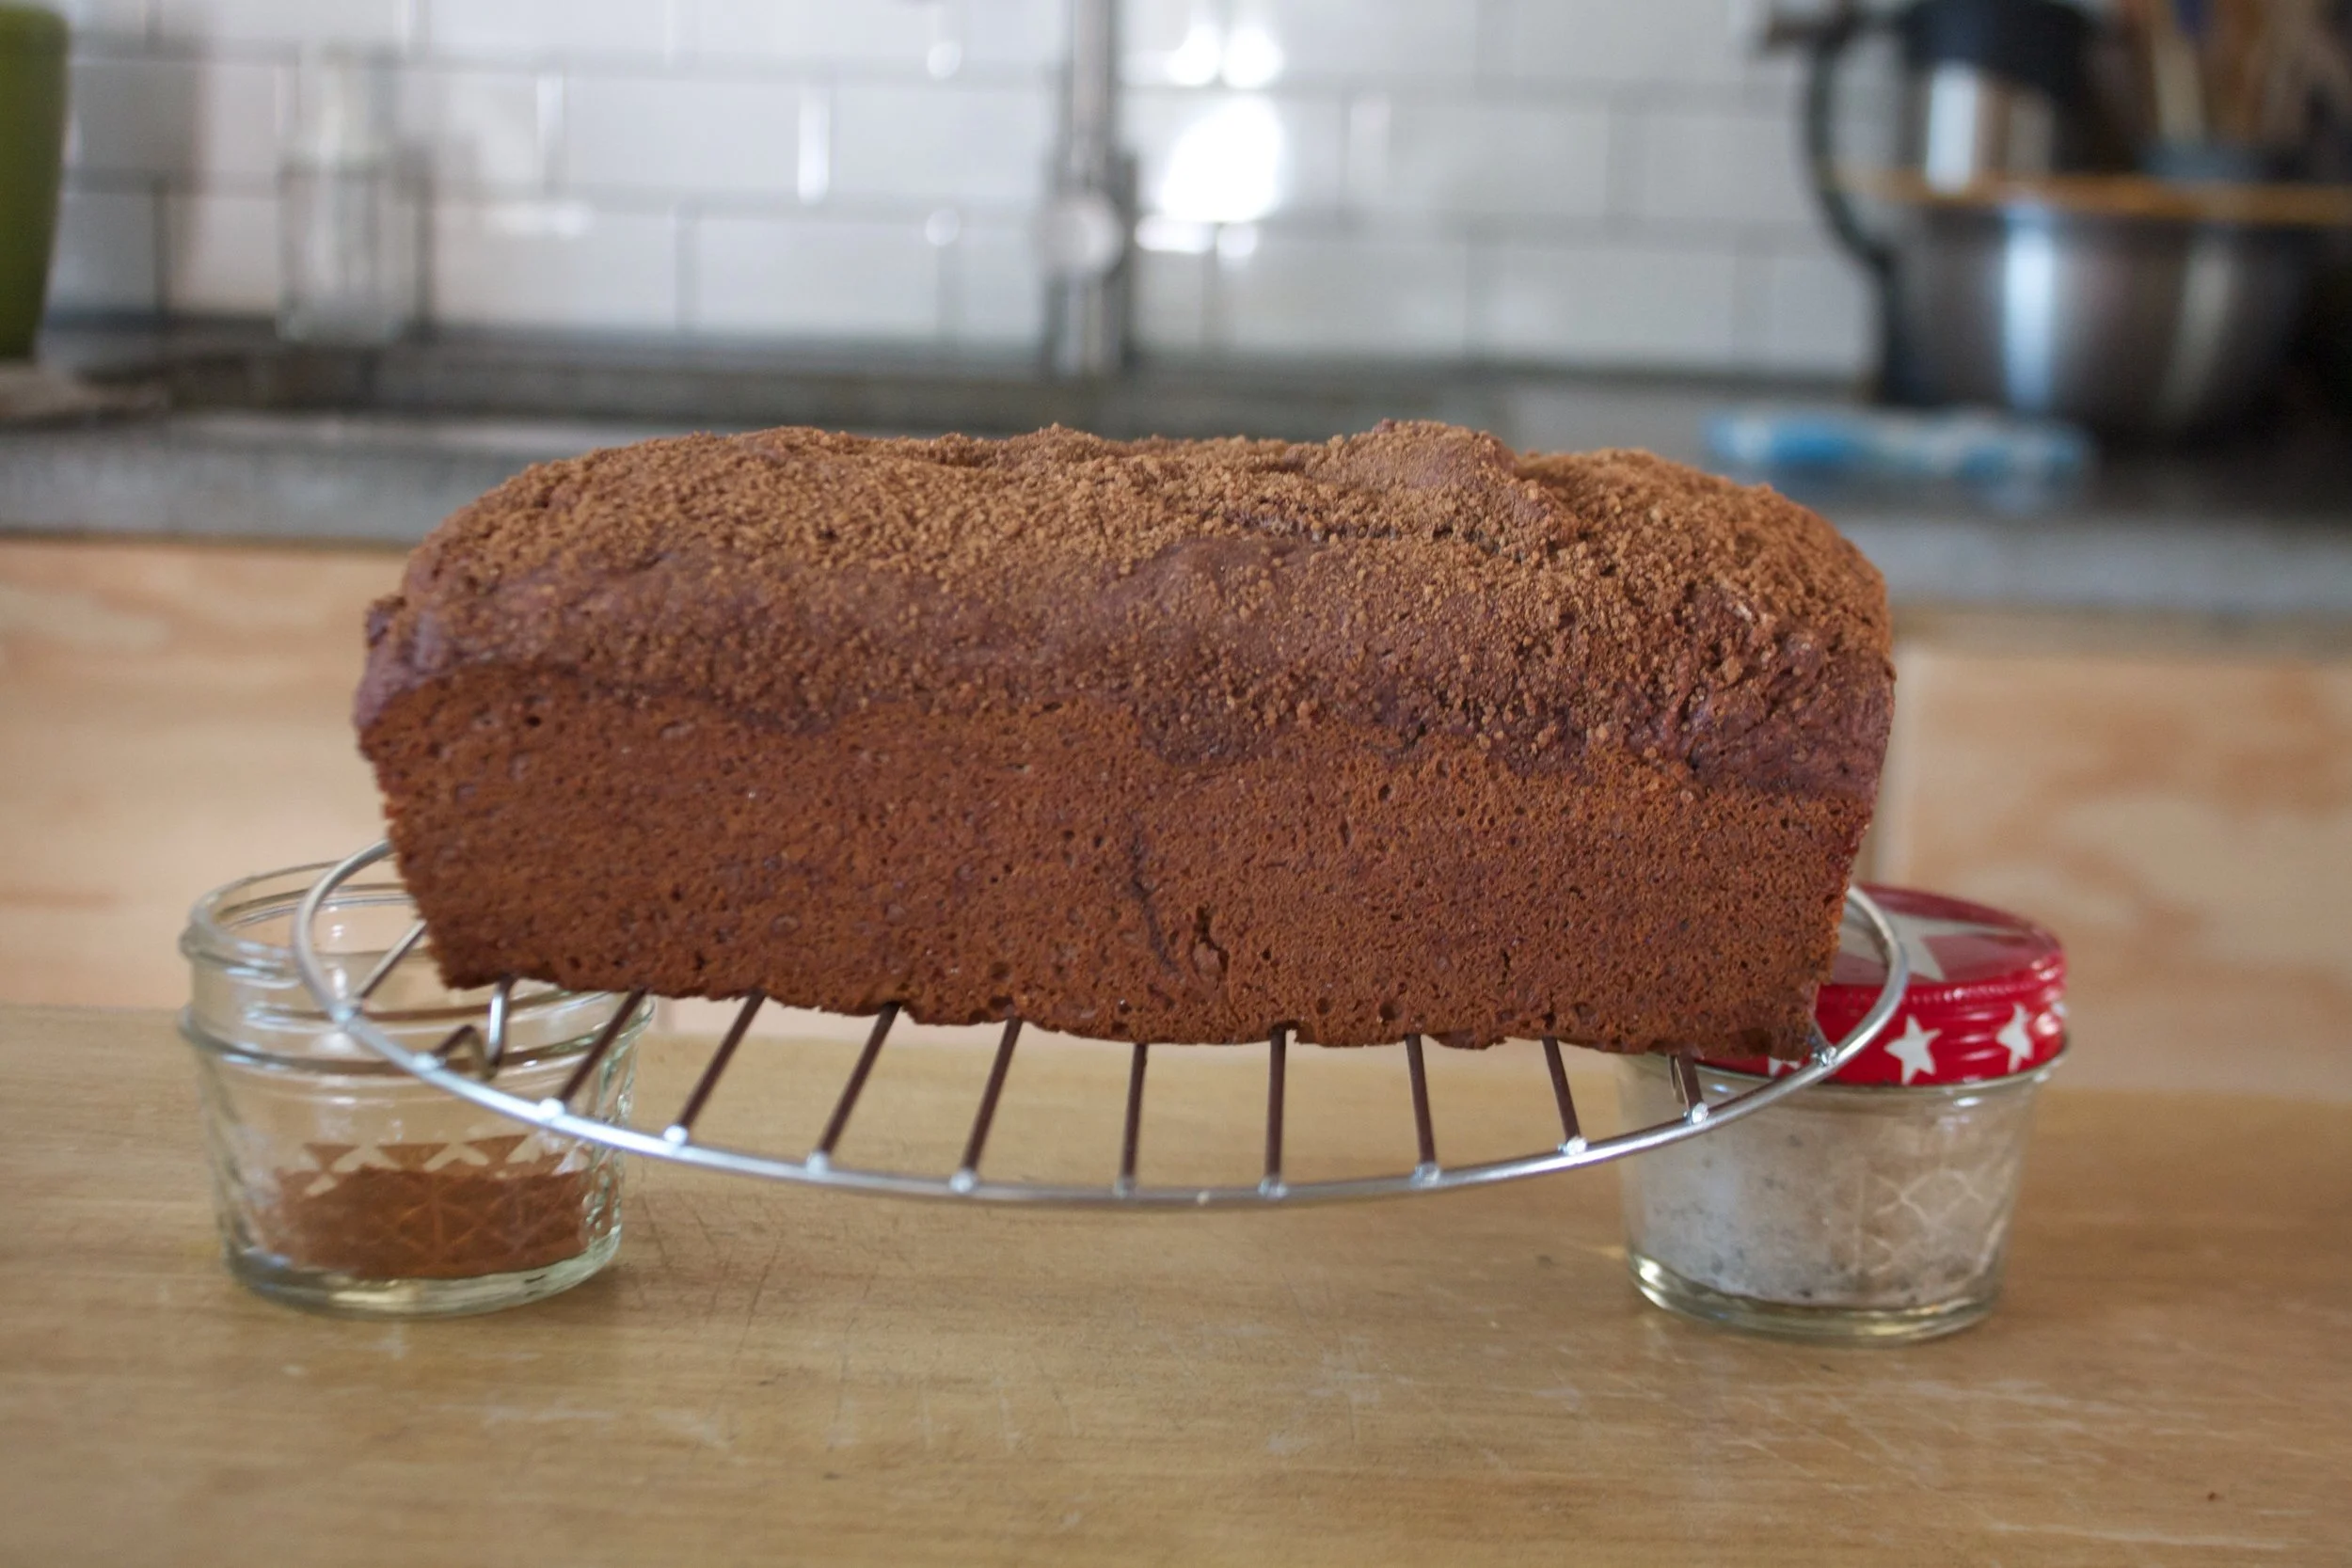
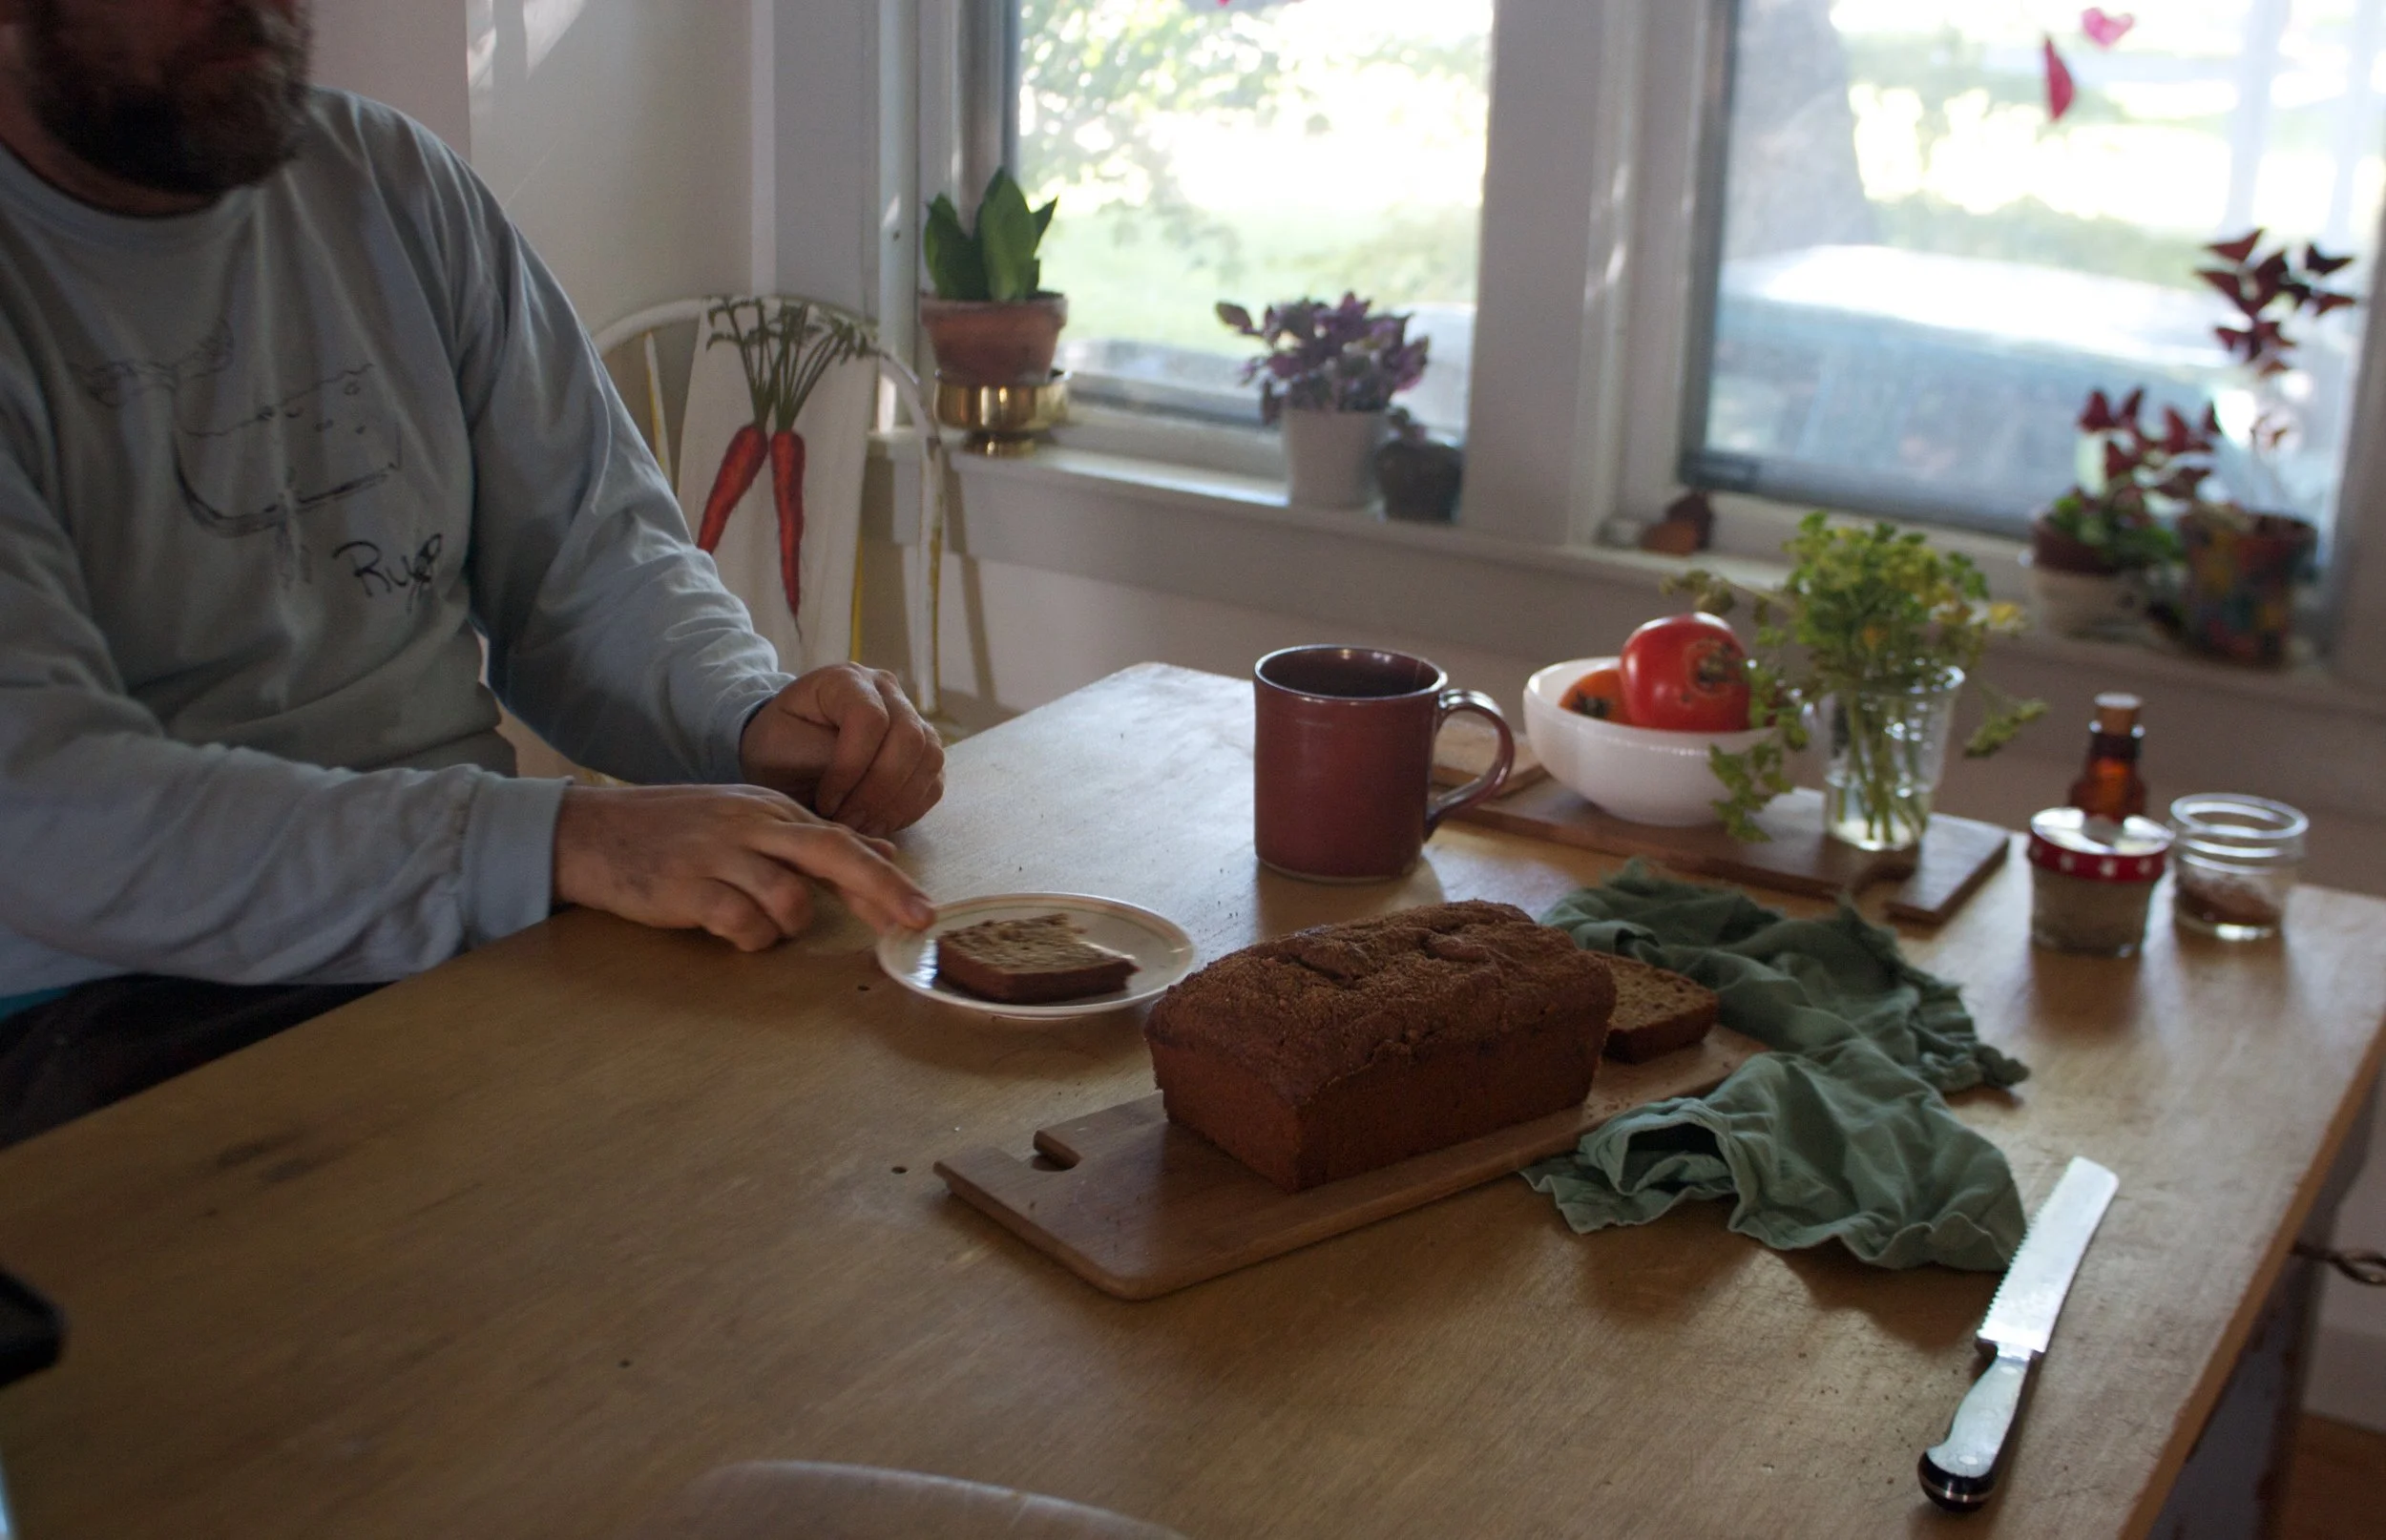

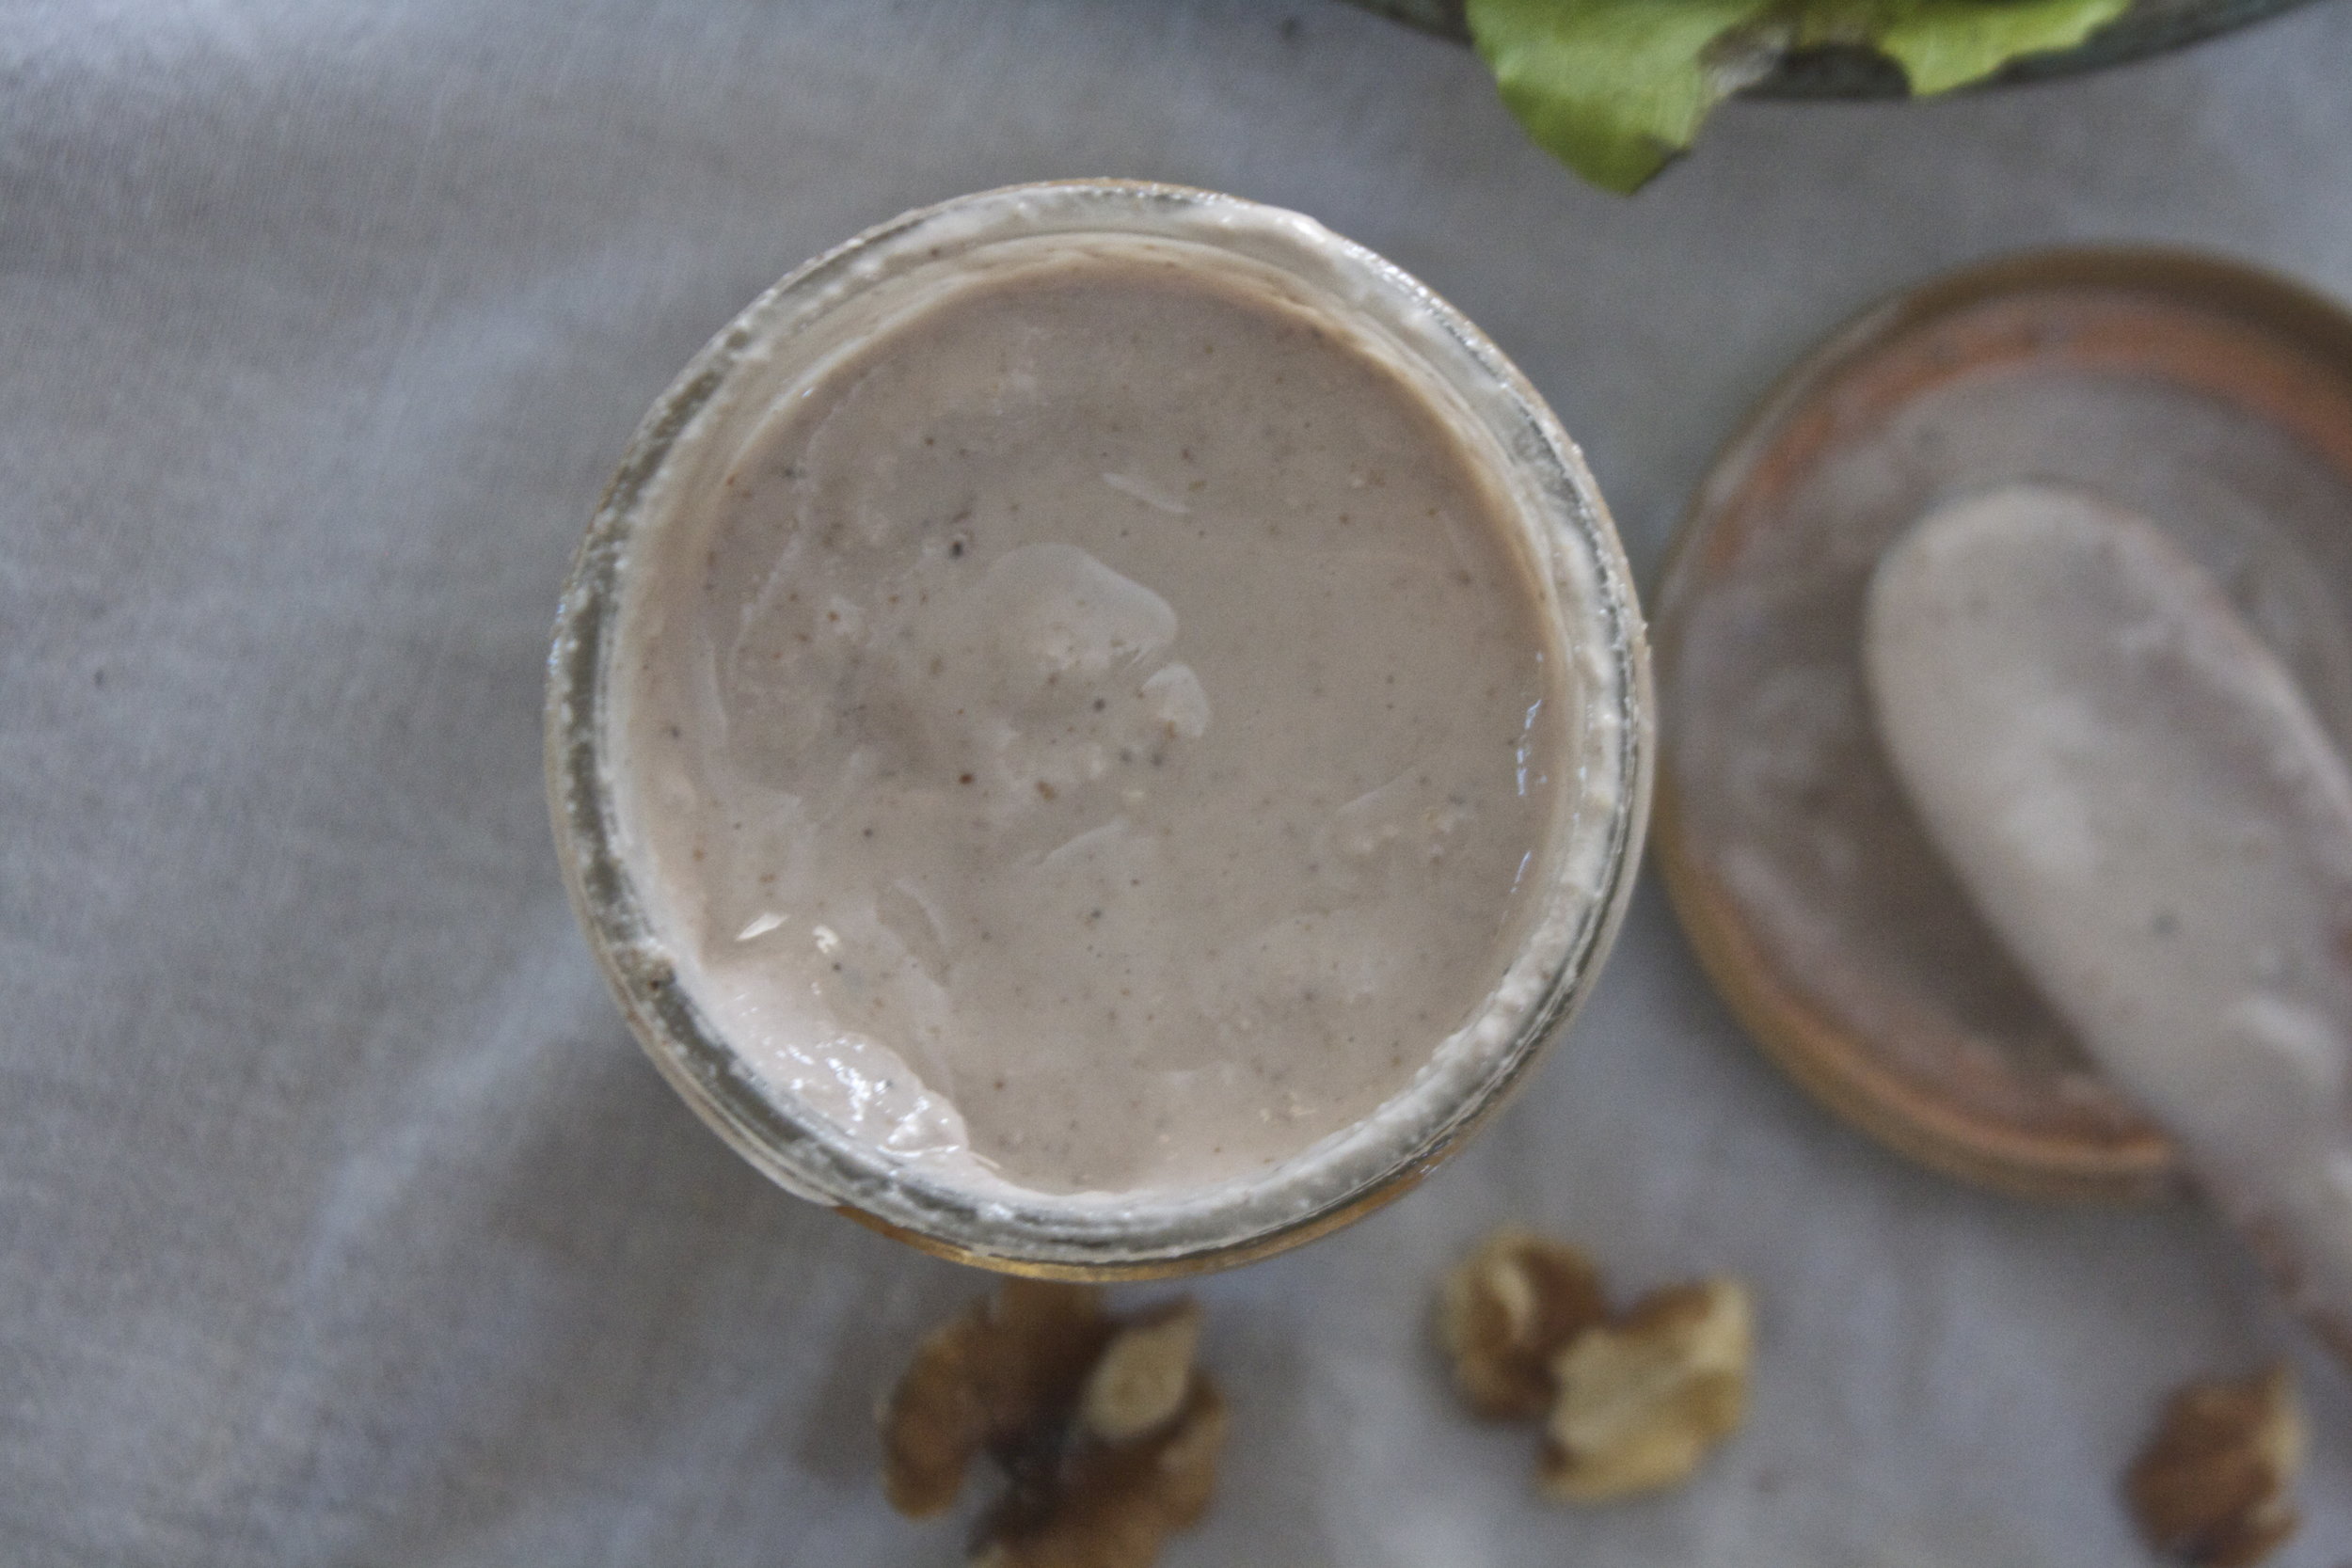
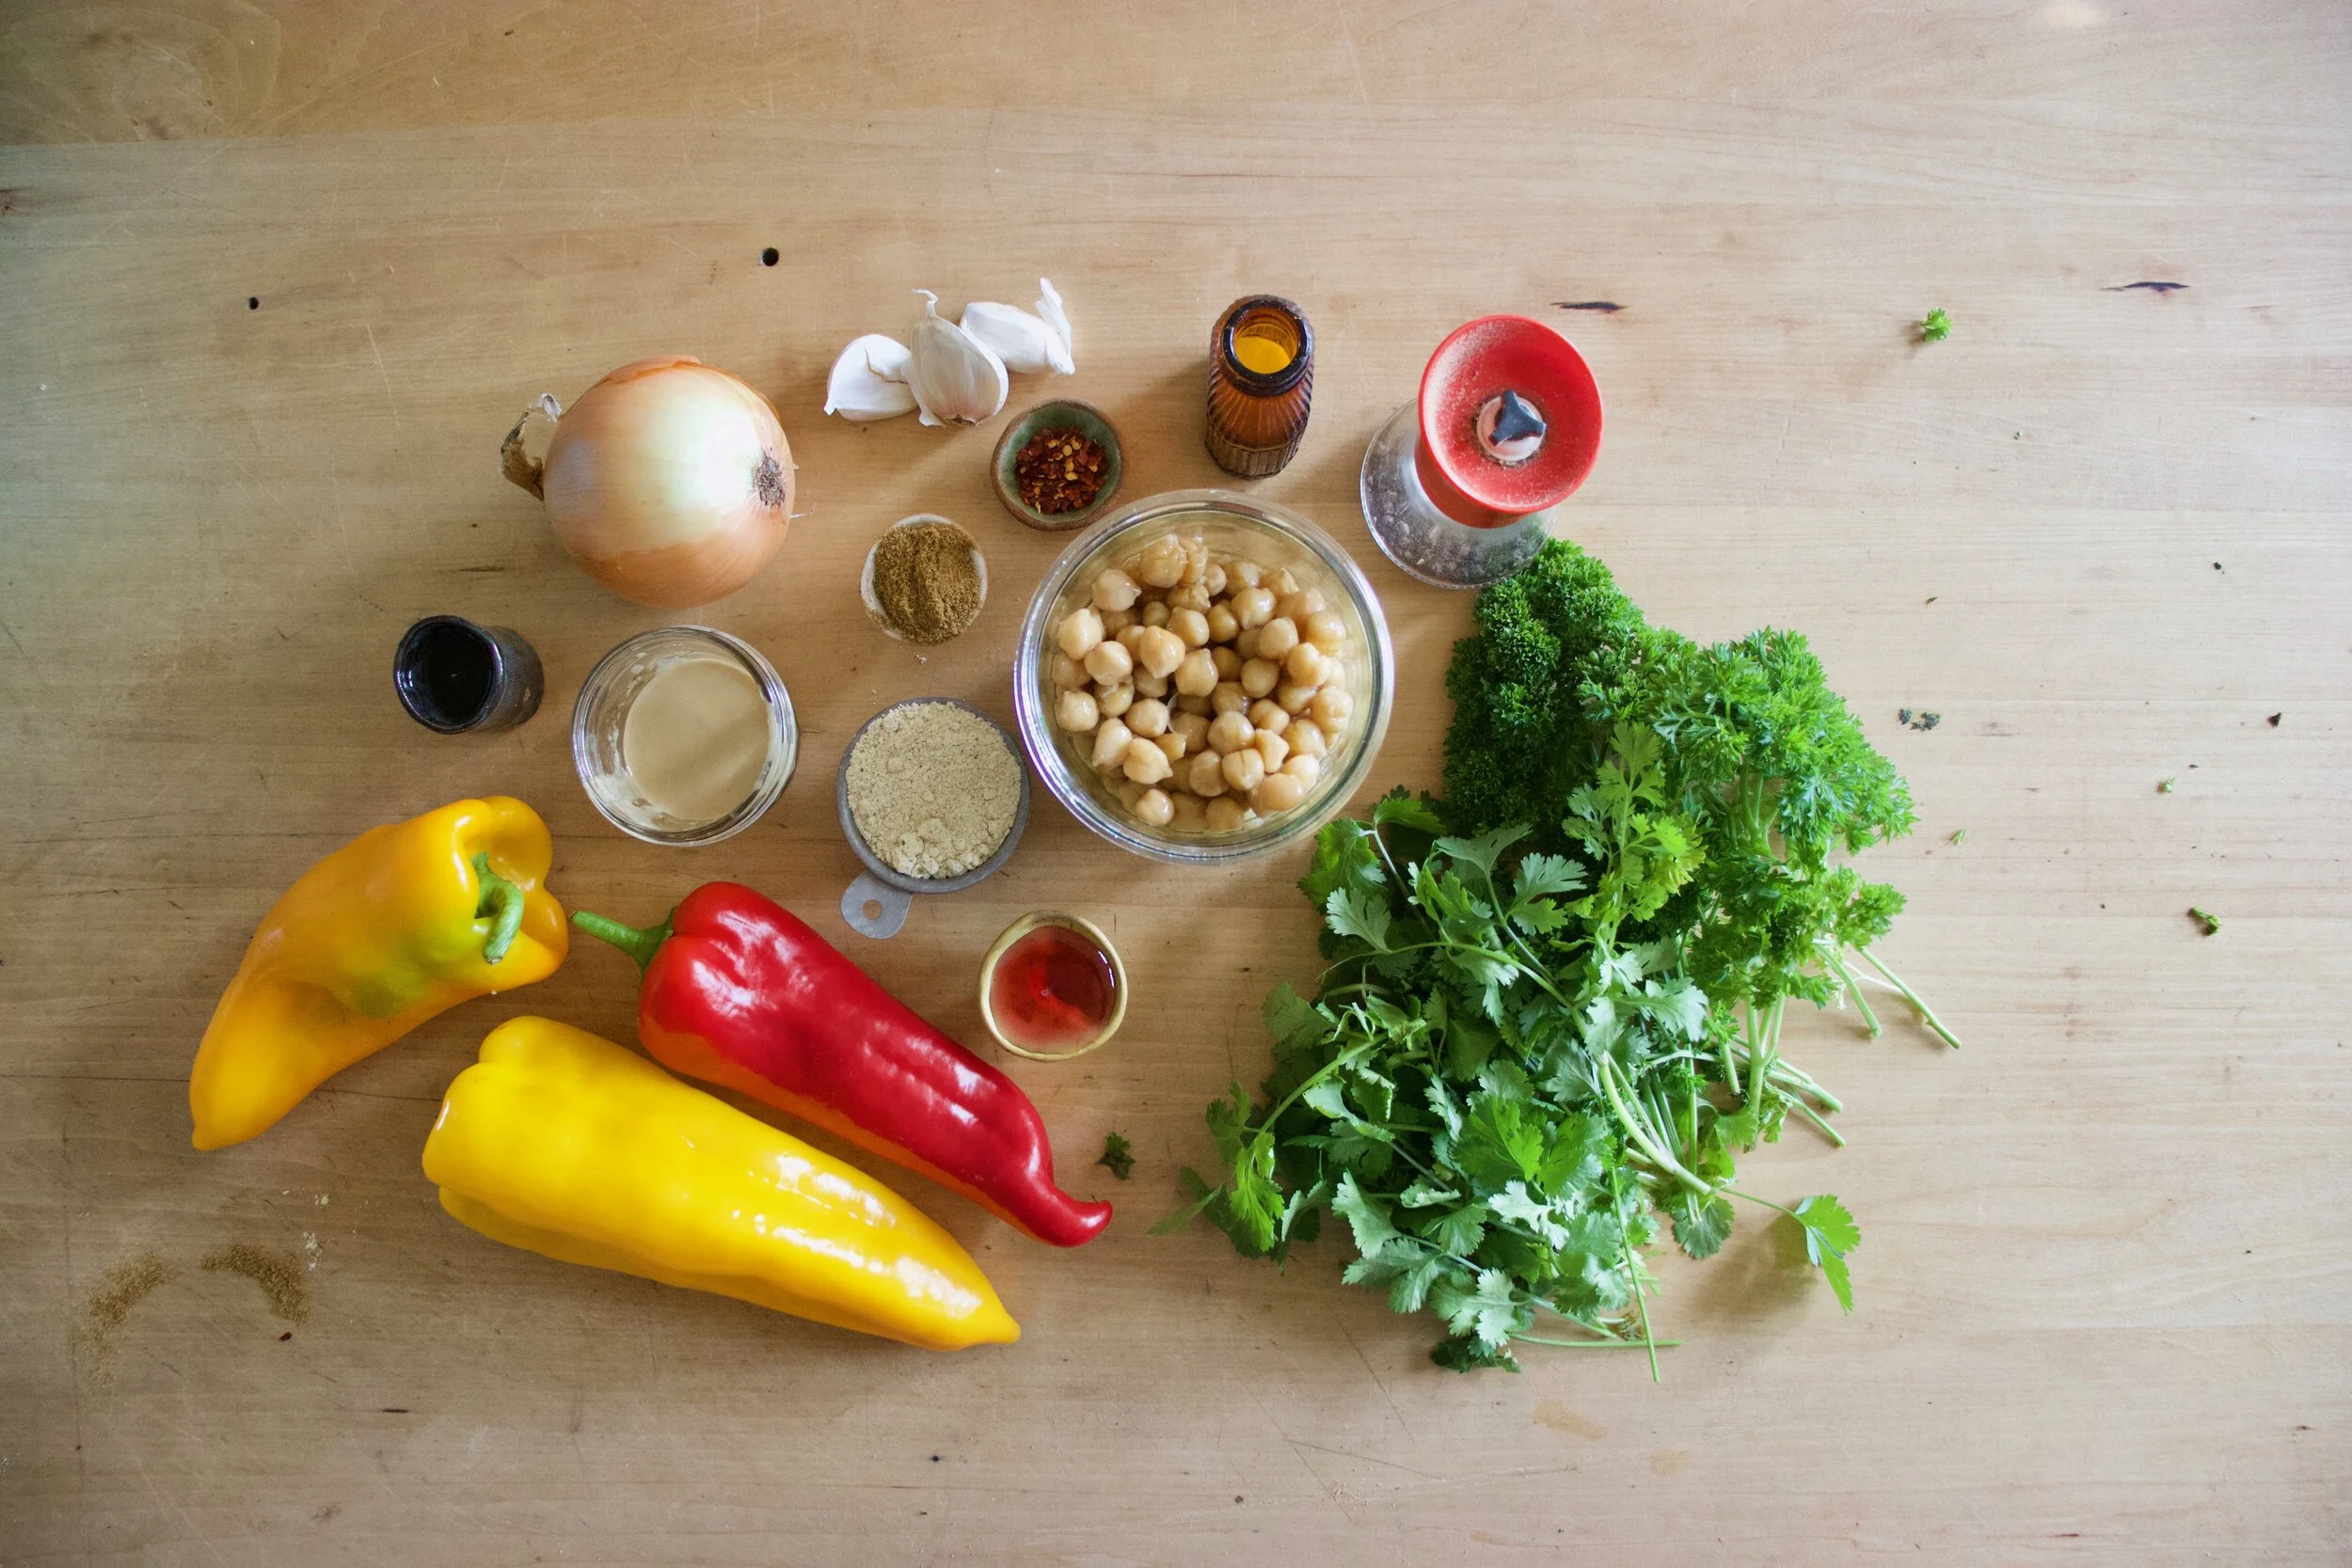
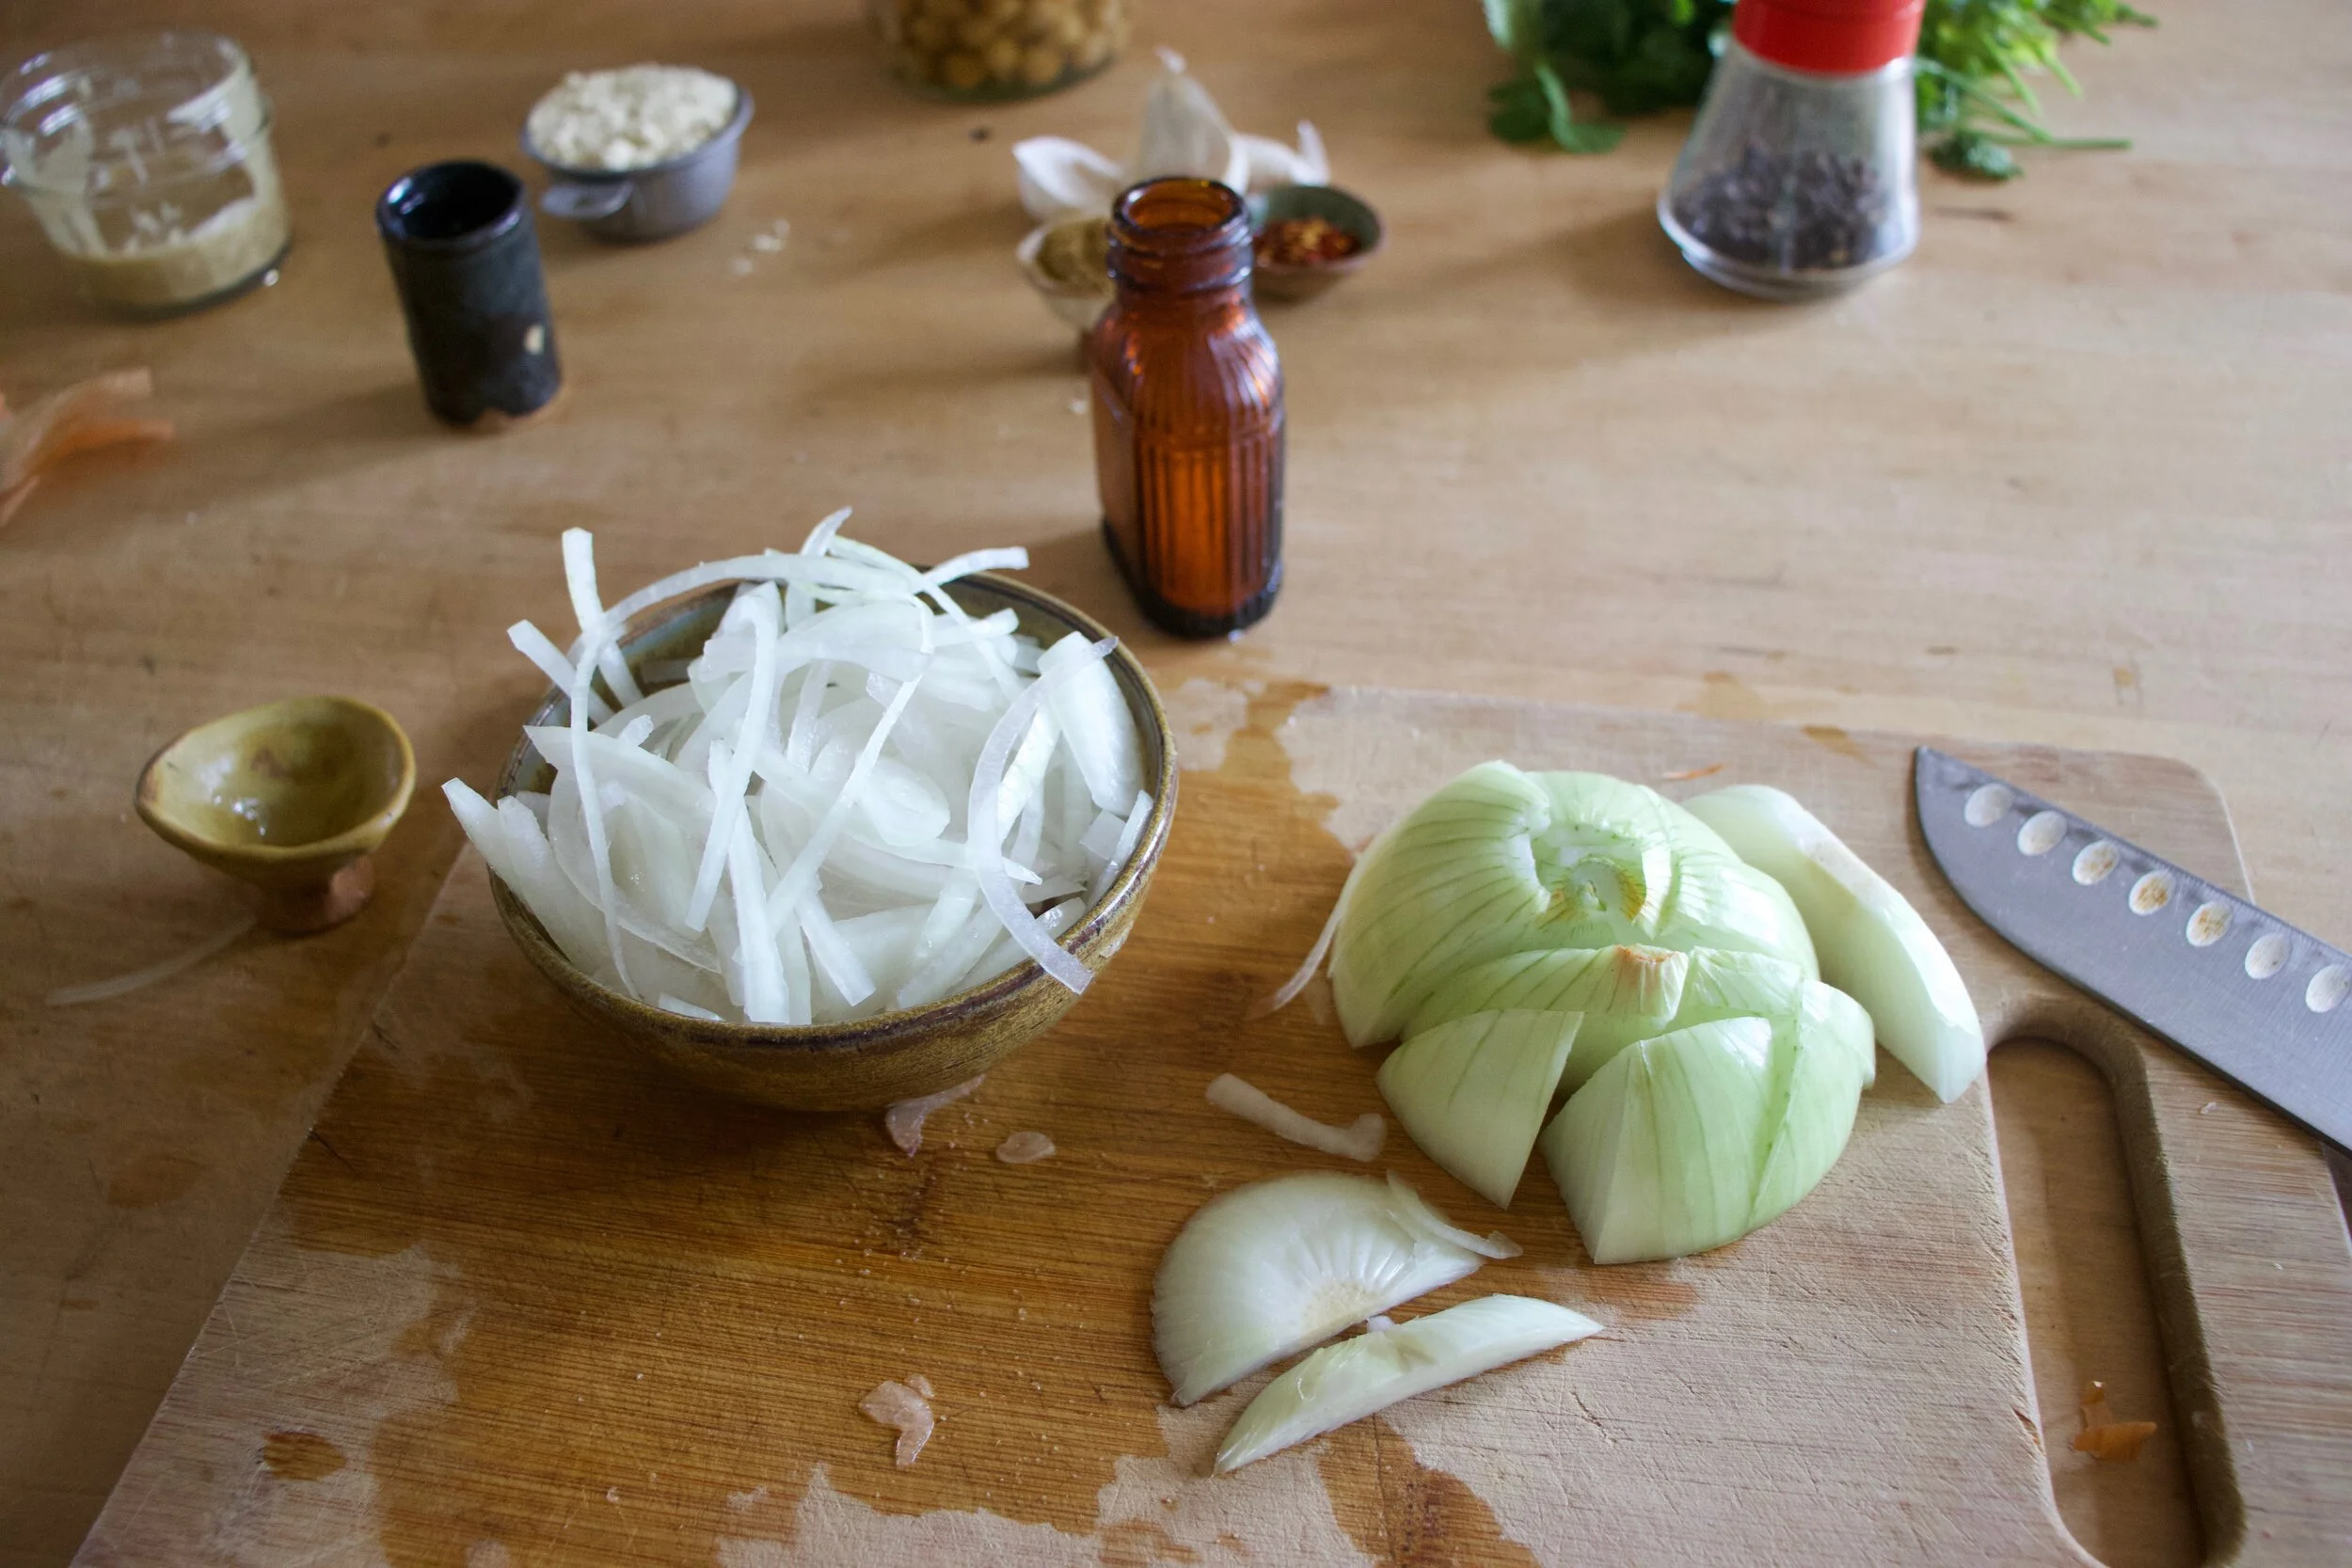













THE LOVELY CRAZY
February 23, 2020 by maximios • Blog
I am pretty sure making pretzels was one of the best ideas that I had all week. Making them into the shape of hearts, that WAS the best idea I had all week. Take note. Making anything into the shape of a heart is always the best idea.
So why pretzels? Well why not. I make so much bread in this house that I felt like making a little something different. I was thinking bagels, but I didn’t really want to have dough in the fridge for a day and plus I wanted to do something then and there and have it be done. Like pretzels. From start to finish they takes less then 2 hours. And you get to twist the dough and boil it and it is just fun. Like I could totally see making pretzels with a few littles or maybe a friend or a %u201cfriend%u201d. A pretzel making date. Now that is a good idea. Oh me, I am so full of all those good ideas. HAHA!
These pretzels are of the soft variety. And to make them pretzels, and not just bread, the kneaded dough gets shaped and then boiled in a baking soda bath (not lye%u2026don%u2019t have any lying around). Then they are sprinkled in course salt and baked til a deep golden brown. They come out soft and chewy just like a good soft pretzel should be. Then they need to be eaten right away, slightly warm, because that is how you are suppose to eat them.
And so the pretzels were made. The mr came home right after I pulled these puppies out of the oven and went for a walk to get some fresh air. When I got home I found him salivating over a plate, waiting for his cue to eat. The cue was given (once I put the camera away) and eat one he did. And then another. And another. Because really, what the hell, I made him heart shaped pretzels. He loved them so much that I just let him eat as many as he wanted. He was happy, I was happy, there where hearts. No complaints. Even when I told him he was having pretzels for all meals until they were gone. He just smiled he pretzel filled mouth at that.
To the pretzels!
The stuff. Flour, salt, course salt, brown sugar, yeast, water, and some baking soda.
The yeast, brown sugar and warm water go into a big bowl to activate. Once it starts to bubble, dump in the flour and salt and mix until a shaggy dough forms.
Dump dough onto a floured surface and knead for about 5 minutes.
Kneaded all nice to soft and supple.
Place the kneaded dough into a clean bowl and cover. Let sit for about an hour or until it doubles in size.
Once doubled, dump dough onto a lightly floured counter and cut into 12 equal pieces.
Now to shape. Roll each piece into a long rope, 16-20 inches long if you can. Fold the ends together and twist then fold twisted ends down back into itself.
Pinch the end into a point and there you go. A heart! %u2665%ufe0f
And then do it to all the dough.
Water and baking soda bath boiling away.
Grab the hearts and place a few at a time, gently, into the water for about 45 seconds then pull them out with a slotted spatula.
Onto a baking sheet either lined with parchment or a splat mat.
And don%u2019t forget to sprinkle them all with course kosher salt.
Into the oven they go.
About 18-20 minutes later%u2026 PRETZELS
Get them onto a cooling rack to cool just enough.
And then you just eat them because what else are you suppose to do.
And yes, grab the mustard because duh.
makes 12 pretzels
For the dough
3 1/2 – 4 cups all pupse flour
2 teaspoons yeast
1 heavy tablespoon brown sugar
1 teaspoon salt
1 1/2 cups warm water
2 tablespoons course kosher salt (for topping)
For water bath
7 cups water
2 tablespoons baking soda
Start by placing yeast, brown sugar, and warm water into a big bowl and mix. Let sit for a few minutes to activate yeast. Once active, dump in the lesser amount of flour and salt. Mix until a shaggy dough forms. If the dough seems super wet, add in a little more flour. Dump dough onto a floured surface and knead until soft and elastic for about 5 minutes, adding in a little more flour as needed to keep it from getting too sticky. Once dough had been kneaded, place into a clean bowl, cover, and let sit in a warm place for about an hour or until the dough doubles in size.
Once dough has doubled, preheat oven to 450. Also get the water bath ready by placing the water into big pot and placing on heat.
Back to dough. Dump the dough onto a lighty floured surface and cut into 12 equal sized pieces. Then shape each piece by rolling the dough into a rope between 16 to 20 inches long then twisting the two ends together a few times. Fold the ends over to the middle of the dough and pinch the end into a heart. (check images above if that doesn%u2019t make sense) Once all the dough has been shaped, its time to boil. When the water is at a rolling boil, dump in the baking soda and mix around. Place 2-3 pretzels gently into the water at a time and boil for about 45 seconds. Remove from water with a splatted spoon or spatula and place on a parchment or lightly oiled baking sheet. Repeat until all dough is boiled. Make sure when you place the pretzels onto the baking sheet you give them room so they are not touching. If you need to, use 2 baking sheets. And now before the placing them into the oven, sprinkle them with the course salt.
Now into the hot oven they go, for about 18-20 minutes or until they turn a deep golden brown.
Once baked, pull from oven, place on a wire rack to cool a bit, then eat them. Dipped in mustard or any other dipping situation you find appropriate.
Left overs, should there be any, should be stored individually either wrapped or in a bag at room temp for a few days. OR better yet, just freeze them. And when you want to eat one, just warm it up again in the oven.
What%u2019s up with dinner rolls? Do people eat them all year round, like on a Tuesday in the middle of March or maybe a nice blue sky sunny day in July? Is that a weird question? But seriously, think about it. Dinner rolls, at least in my world of people, are pretty much only eaten in and around Thanksgiving and Christmas. Huh. Kind of strange seeing that dinner rolls are bread which everyone eats all the time and are basically made specifically for dinner (although can and should be eaten for breakfast and lunch as well) which most people eat. Every. Single. Day. Well, whatever the reason, it%u2019s weird. So yes, I am making these here dinner rolls now at the traditional holiday time but I think as of now, I am going to start making them all the time. It%u2019s going to be my new thing. Fourth of July dinner rolls. Yup.
And so yes, we need dinner rolls right now for the holiday food feasts and these dinner rolls are the perfect accompaniment to any and all dinners. They are nice and fluffy and all dinner roll like, just as any good roll should be, but also slightly more nutty and soft and healthy because oats and wheat flour and homemade which is always the best.
And if you are like, hell yes I am a dinner roll person and hell no I am sticking to store bought cause that is that and how it%u2019s done, well hey, no judgment here. I made these for my people for our family Thanksgiving, (which is happening today at my house. There are going be so many people) and I know that everyone will love and be happy to eat them, but I too also bought some of those super white, take and bake ones that I know if I don%u2019t have on the table next to these gorgeous and amazing rolls, that I will probably get punched in the face. So we will have both. And then at dinner I can bask in the glory of all the comments about how much better my rolls are then the store bought ones. (Secretly why I am having both. Fishing for compliments. HAHA!)
Now to those soft and fluffy dinner rolls!
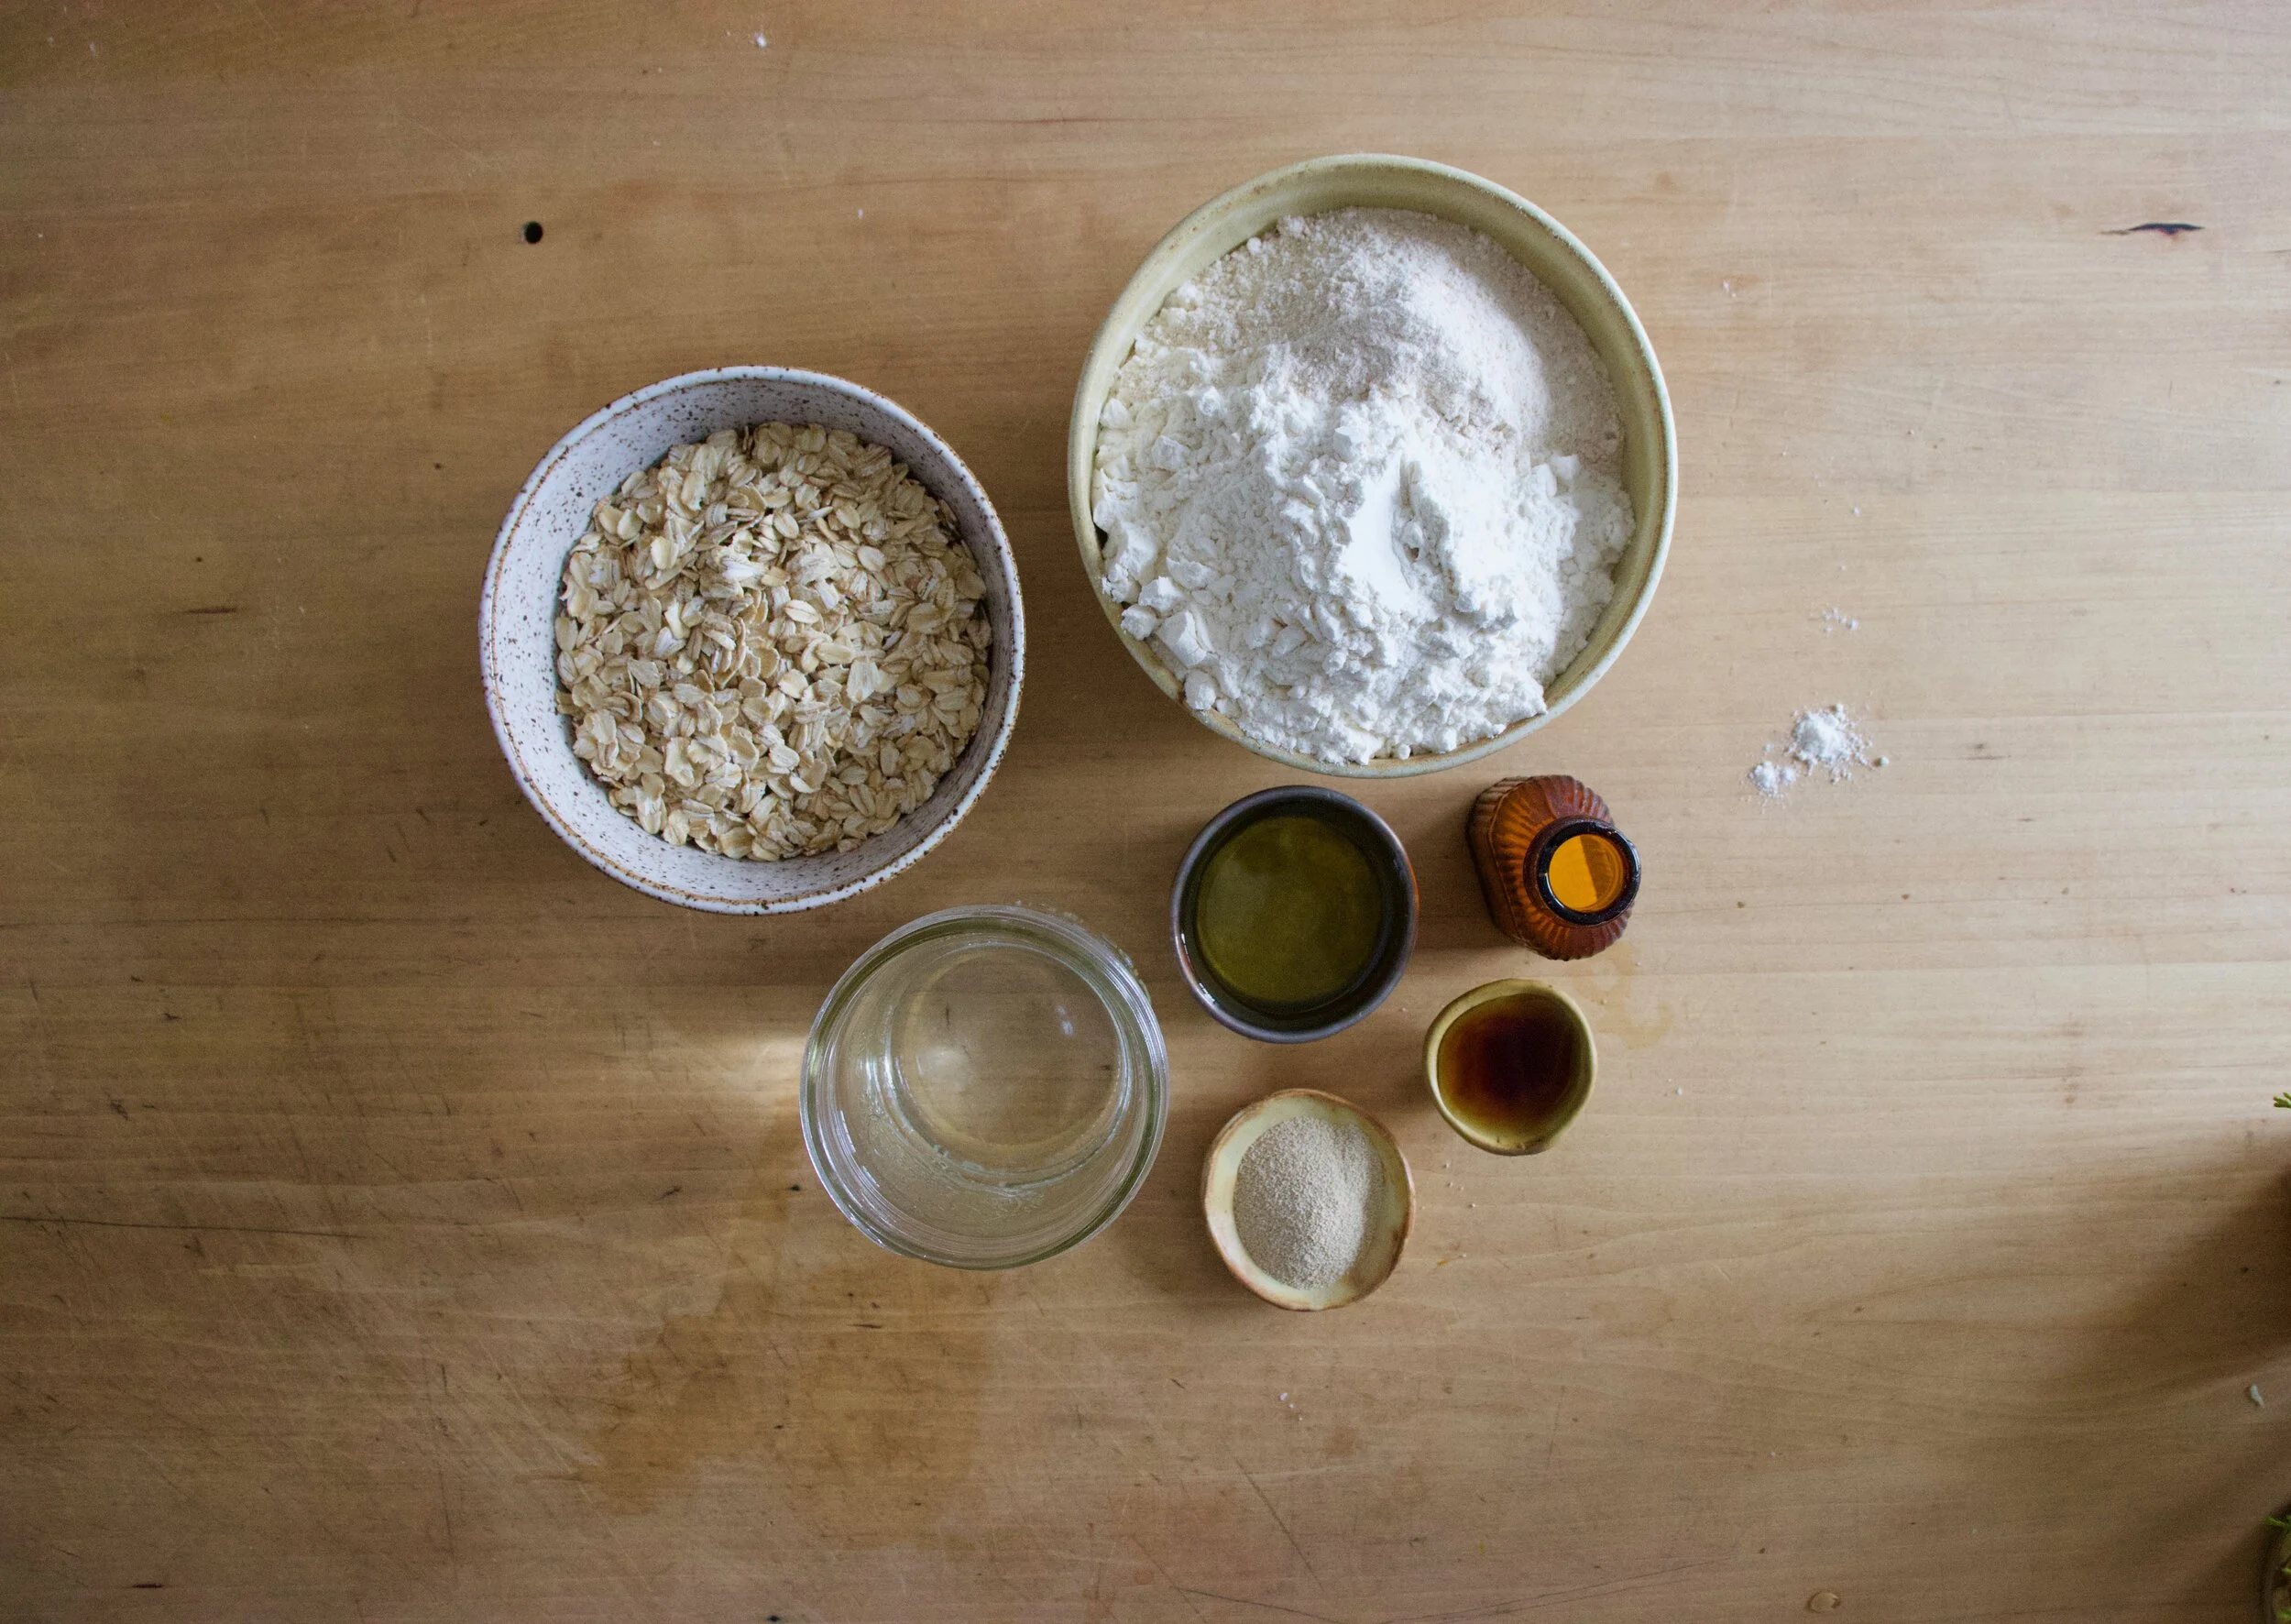
The stuff. Old fashion oats, all purpose and white whole wheat flour, yeast, oil, water (hot and room temperature), maple syrup, and salt.
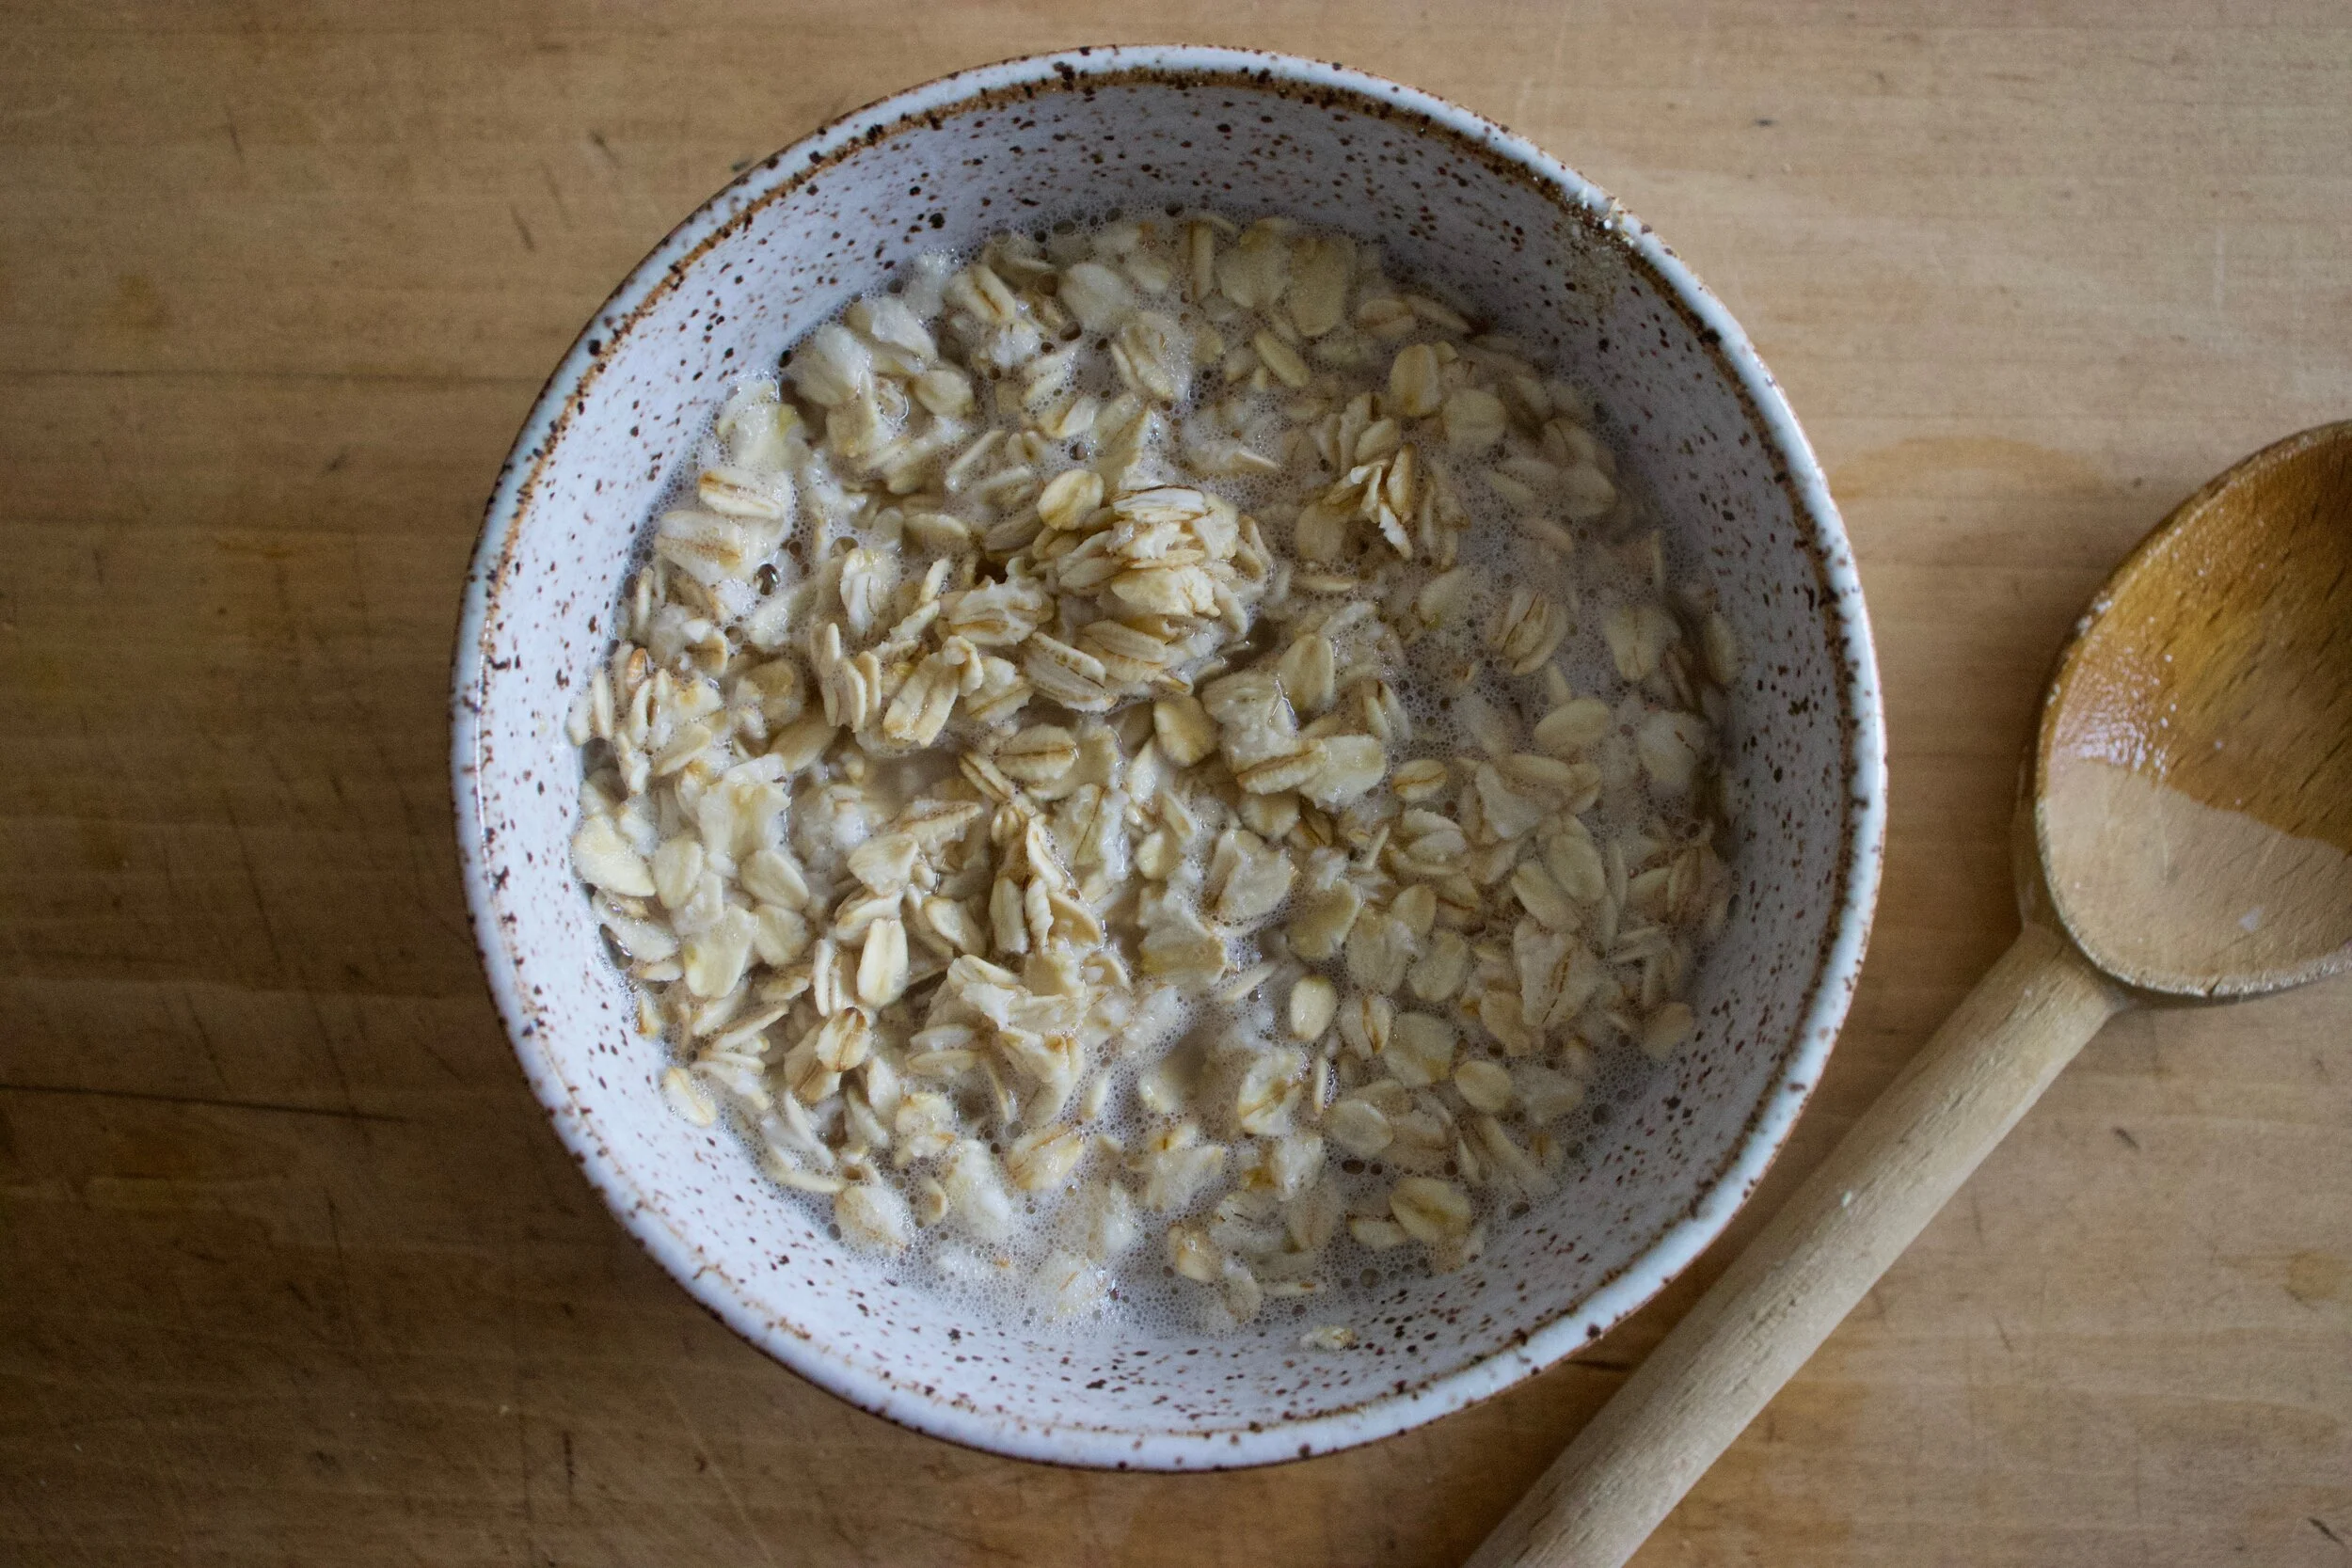
First, take the boiling water and pour it over the oats. Mix them and let them soak and cool for 10 or so minutes.
While oats are soaking, add the room temp water to a big bowl with the yeast. Once the oats are soft and cooled off a bit, add them to the yeast mixture along with the oil, and maple. Mix together. The add the flours and mix until combined.
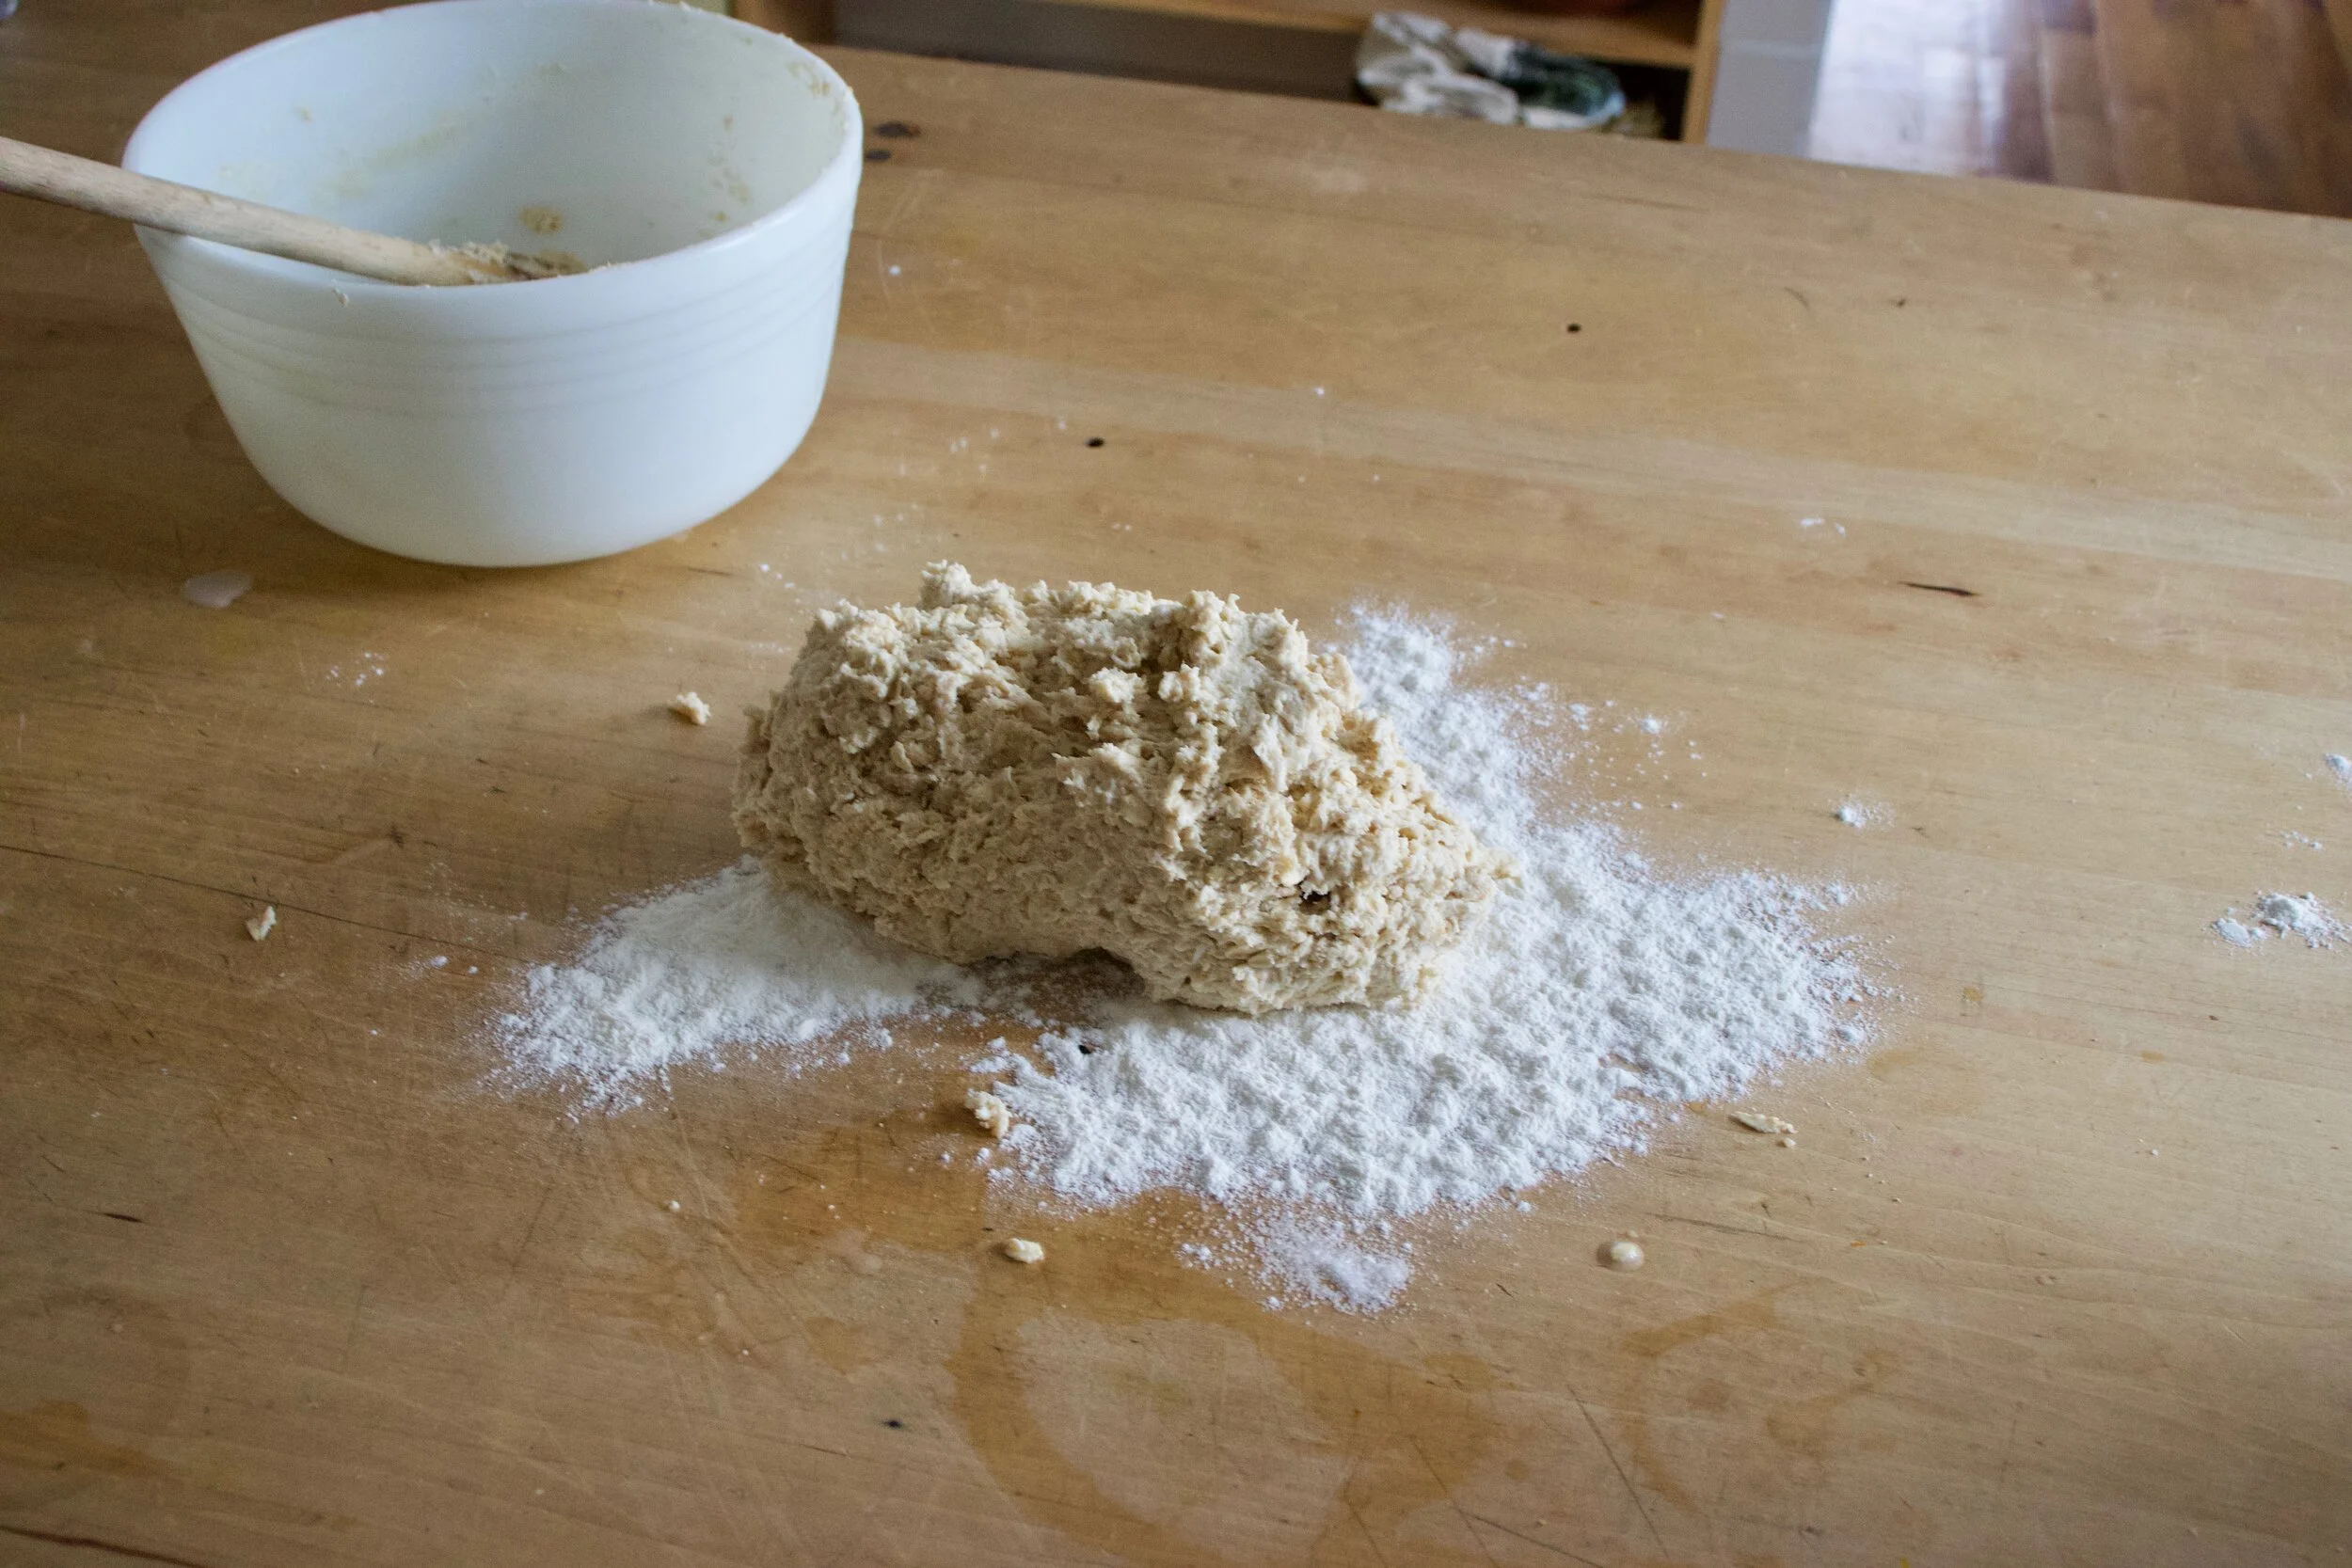
Dump dough onto a floured surface and knead for about 3-5 minutes, adding a little more four as needed to keep from being to sticky, but don%u2019t over flour. The dough is and should be a little tacky.
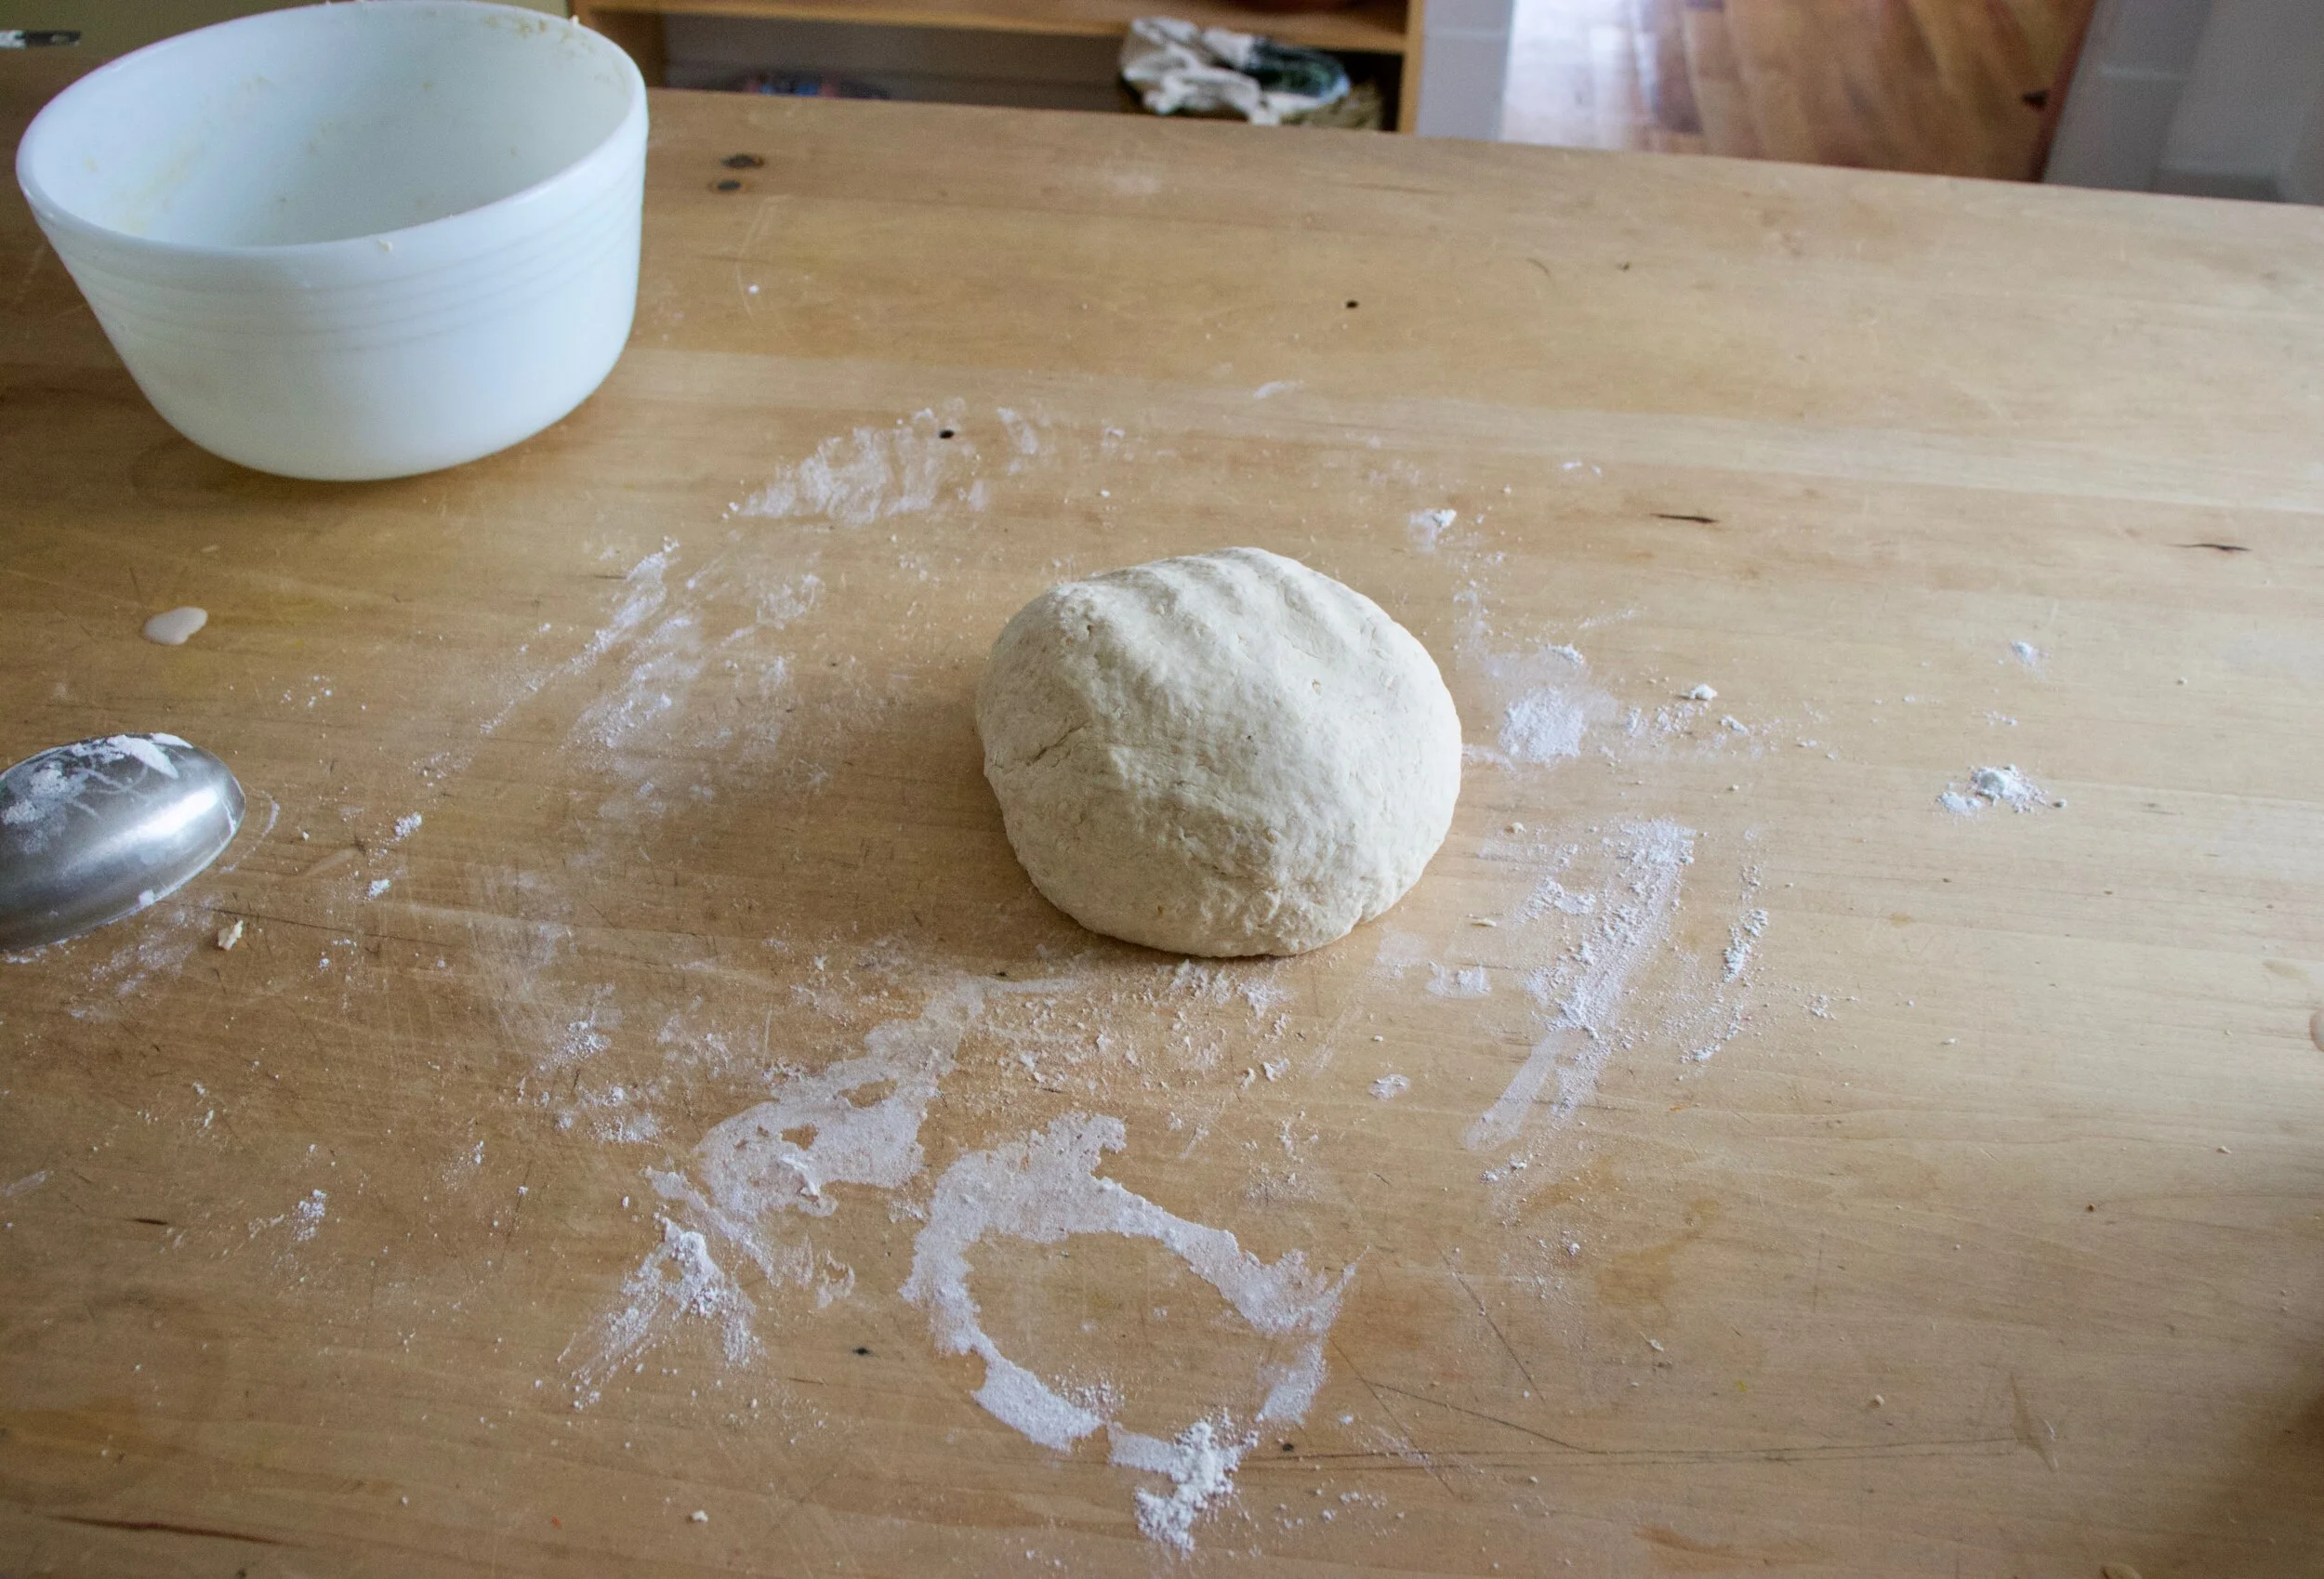
Soft and supple. Kneaded and ready.
Place the dough back into the bowl and cover with a damp towel. Leave alone and let rise for about an hour or until it doubles in size.
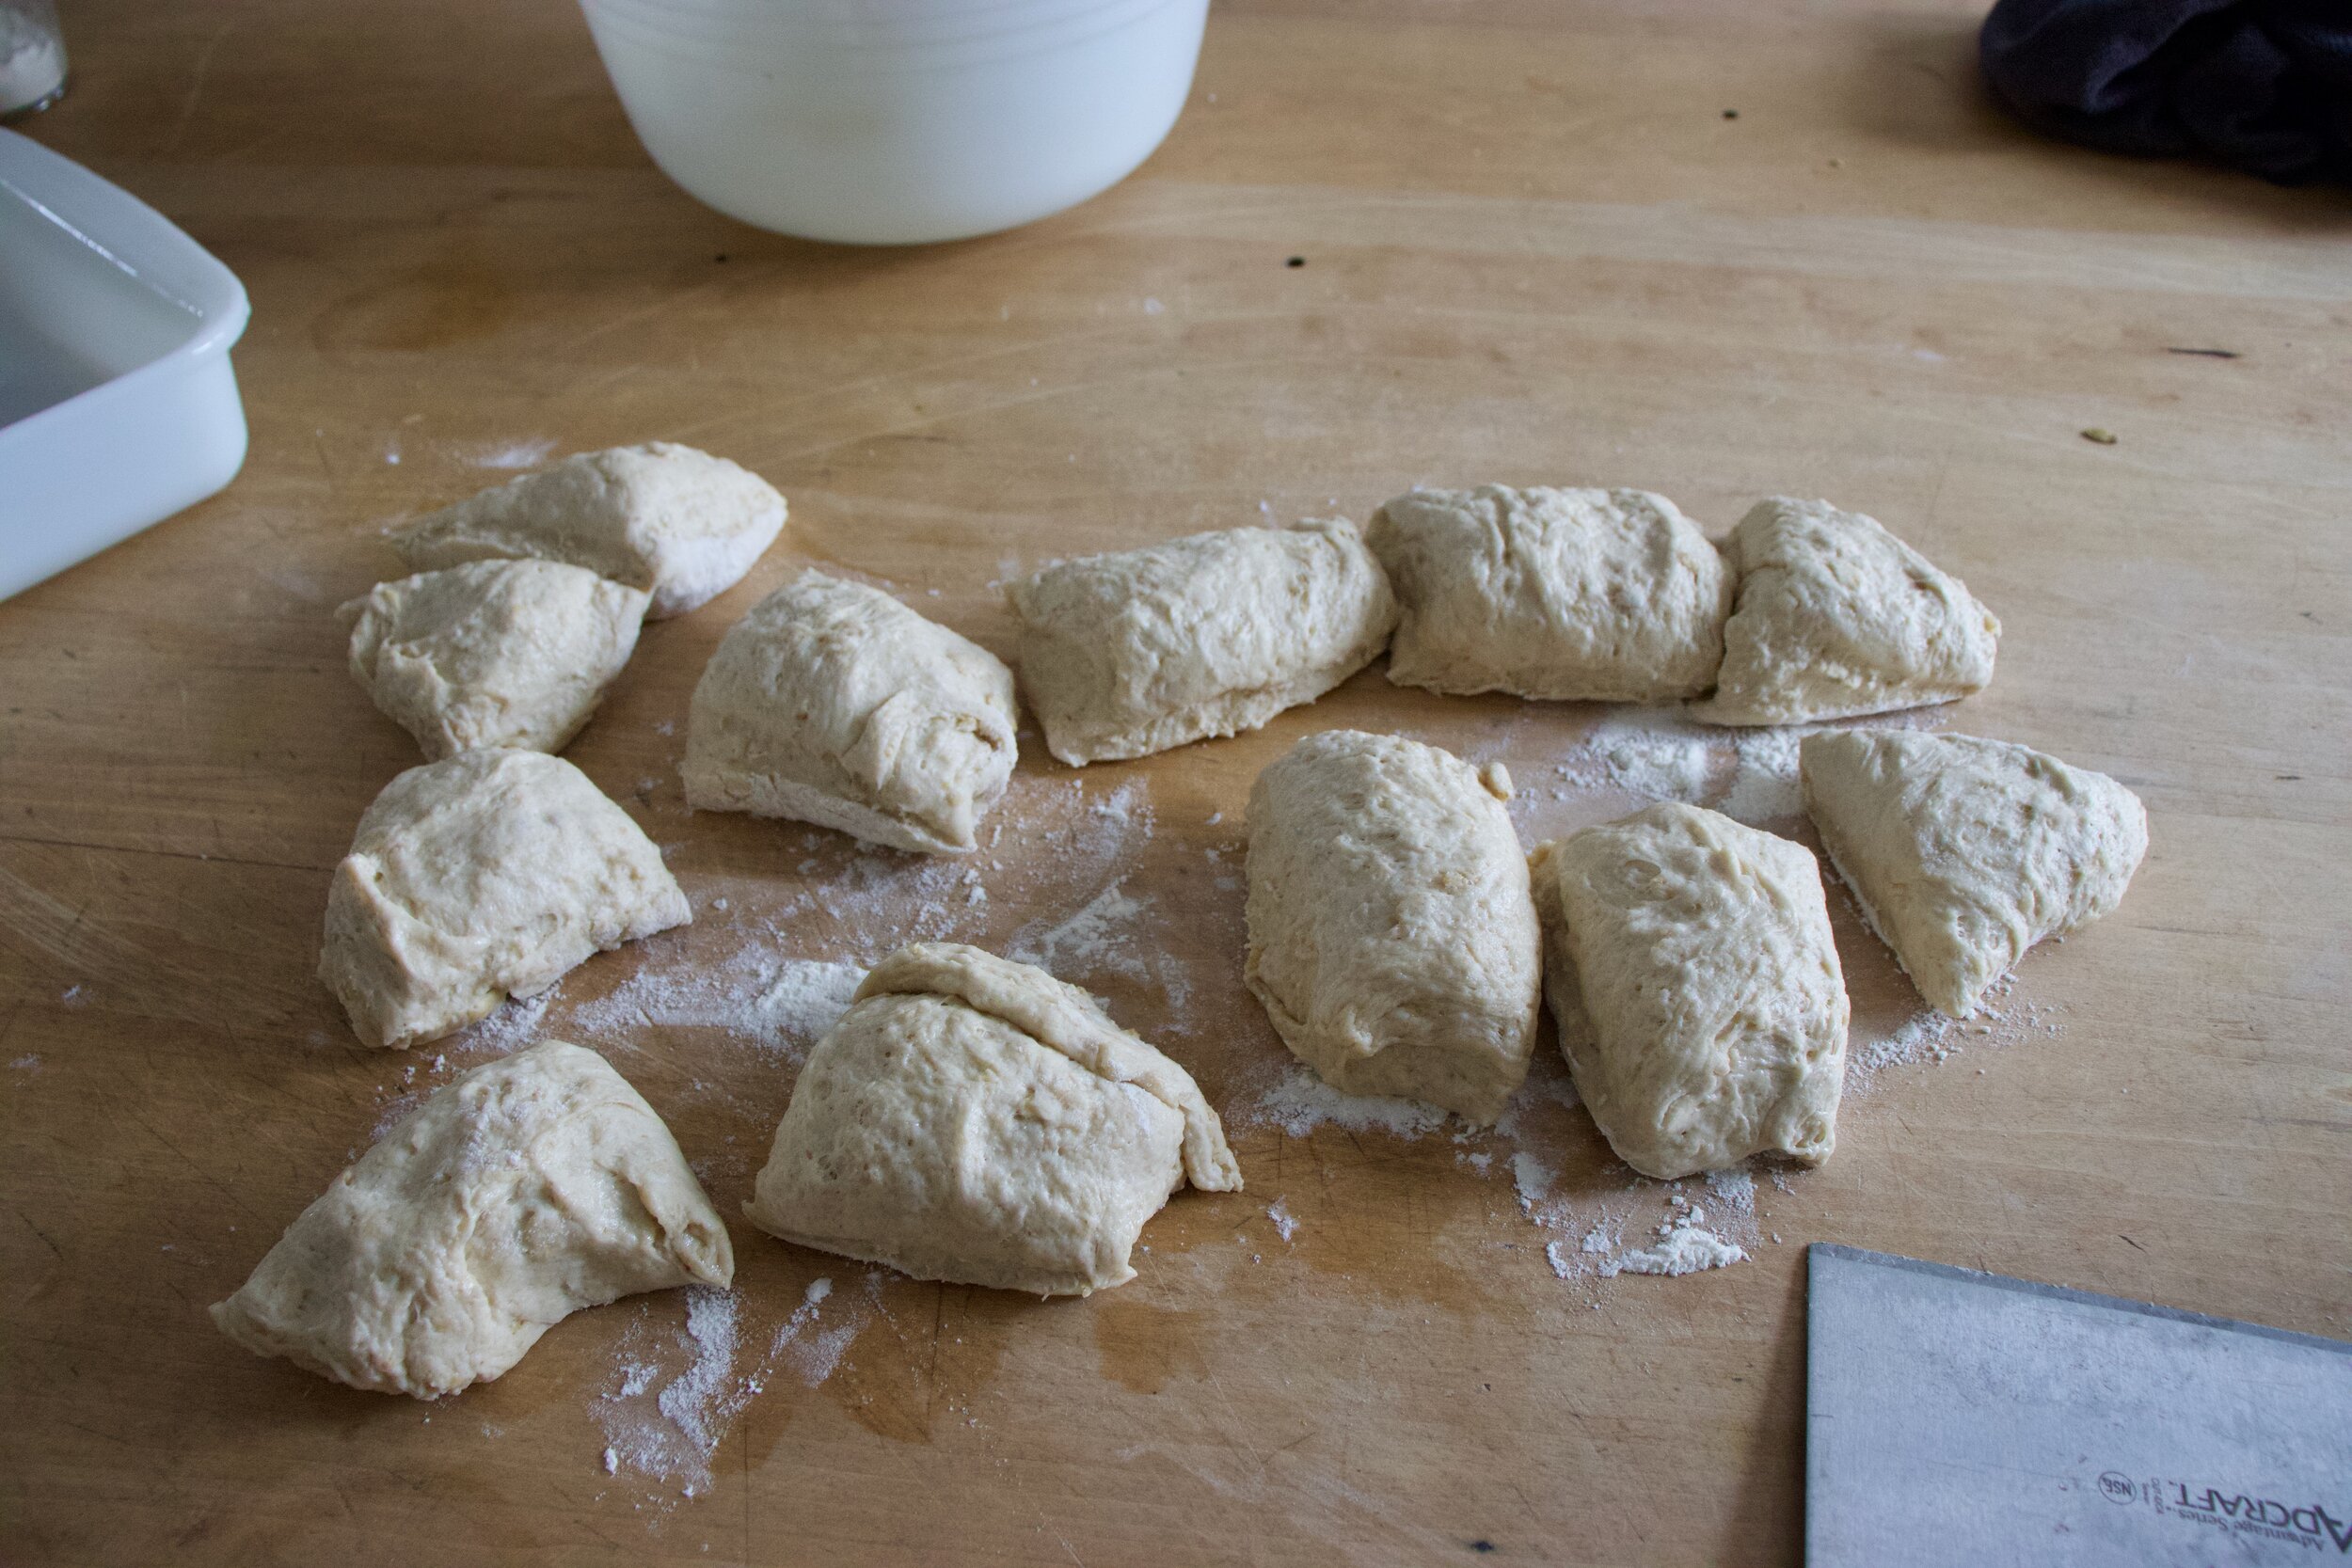
Once the dough doubles, dump out onto a lightly floured surface and cut into 12-16 equal sized pieces .
Roll each roll into a roll shape and place them in a lightly greased baking dish. Cover for another 15-20 minutes to let rest and rise a little more.
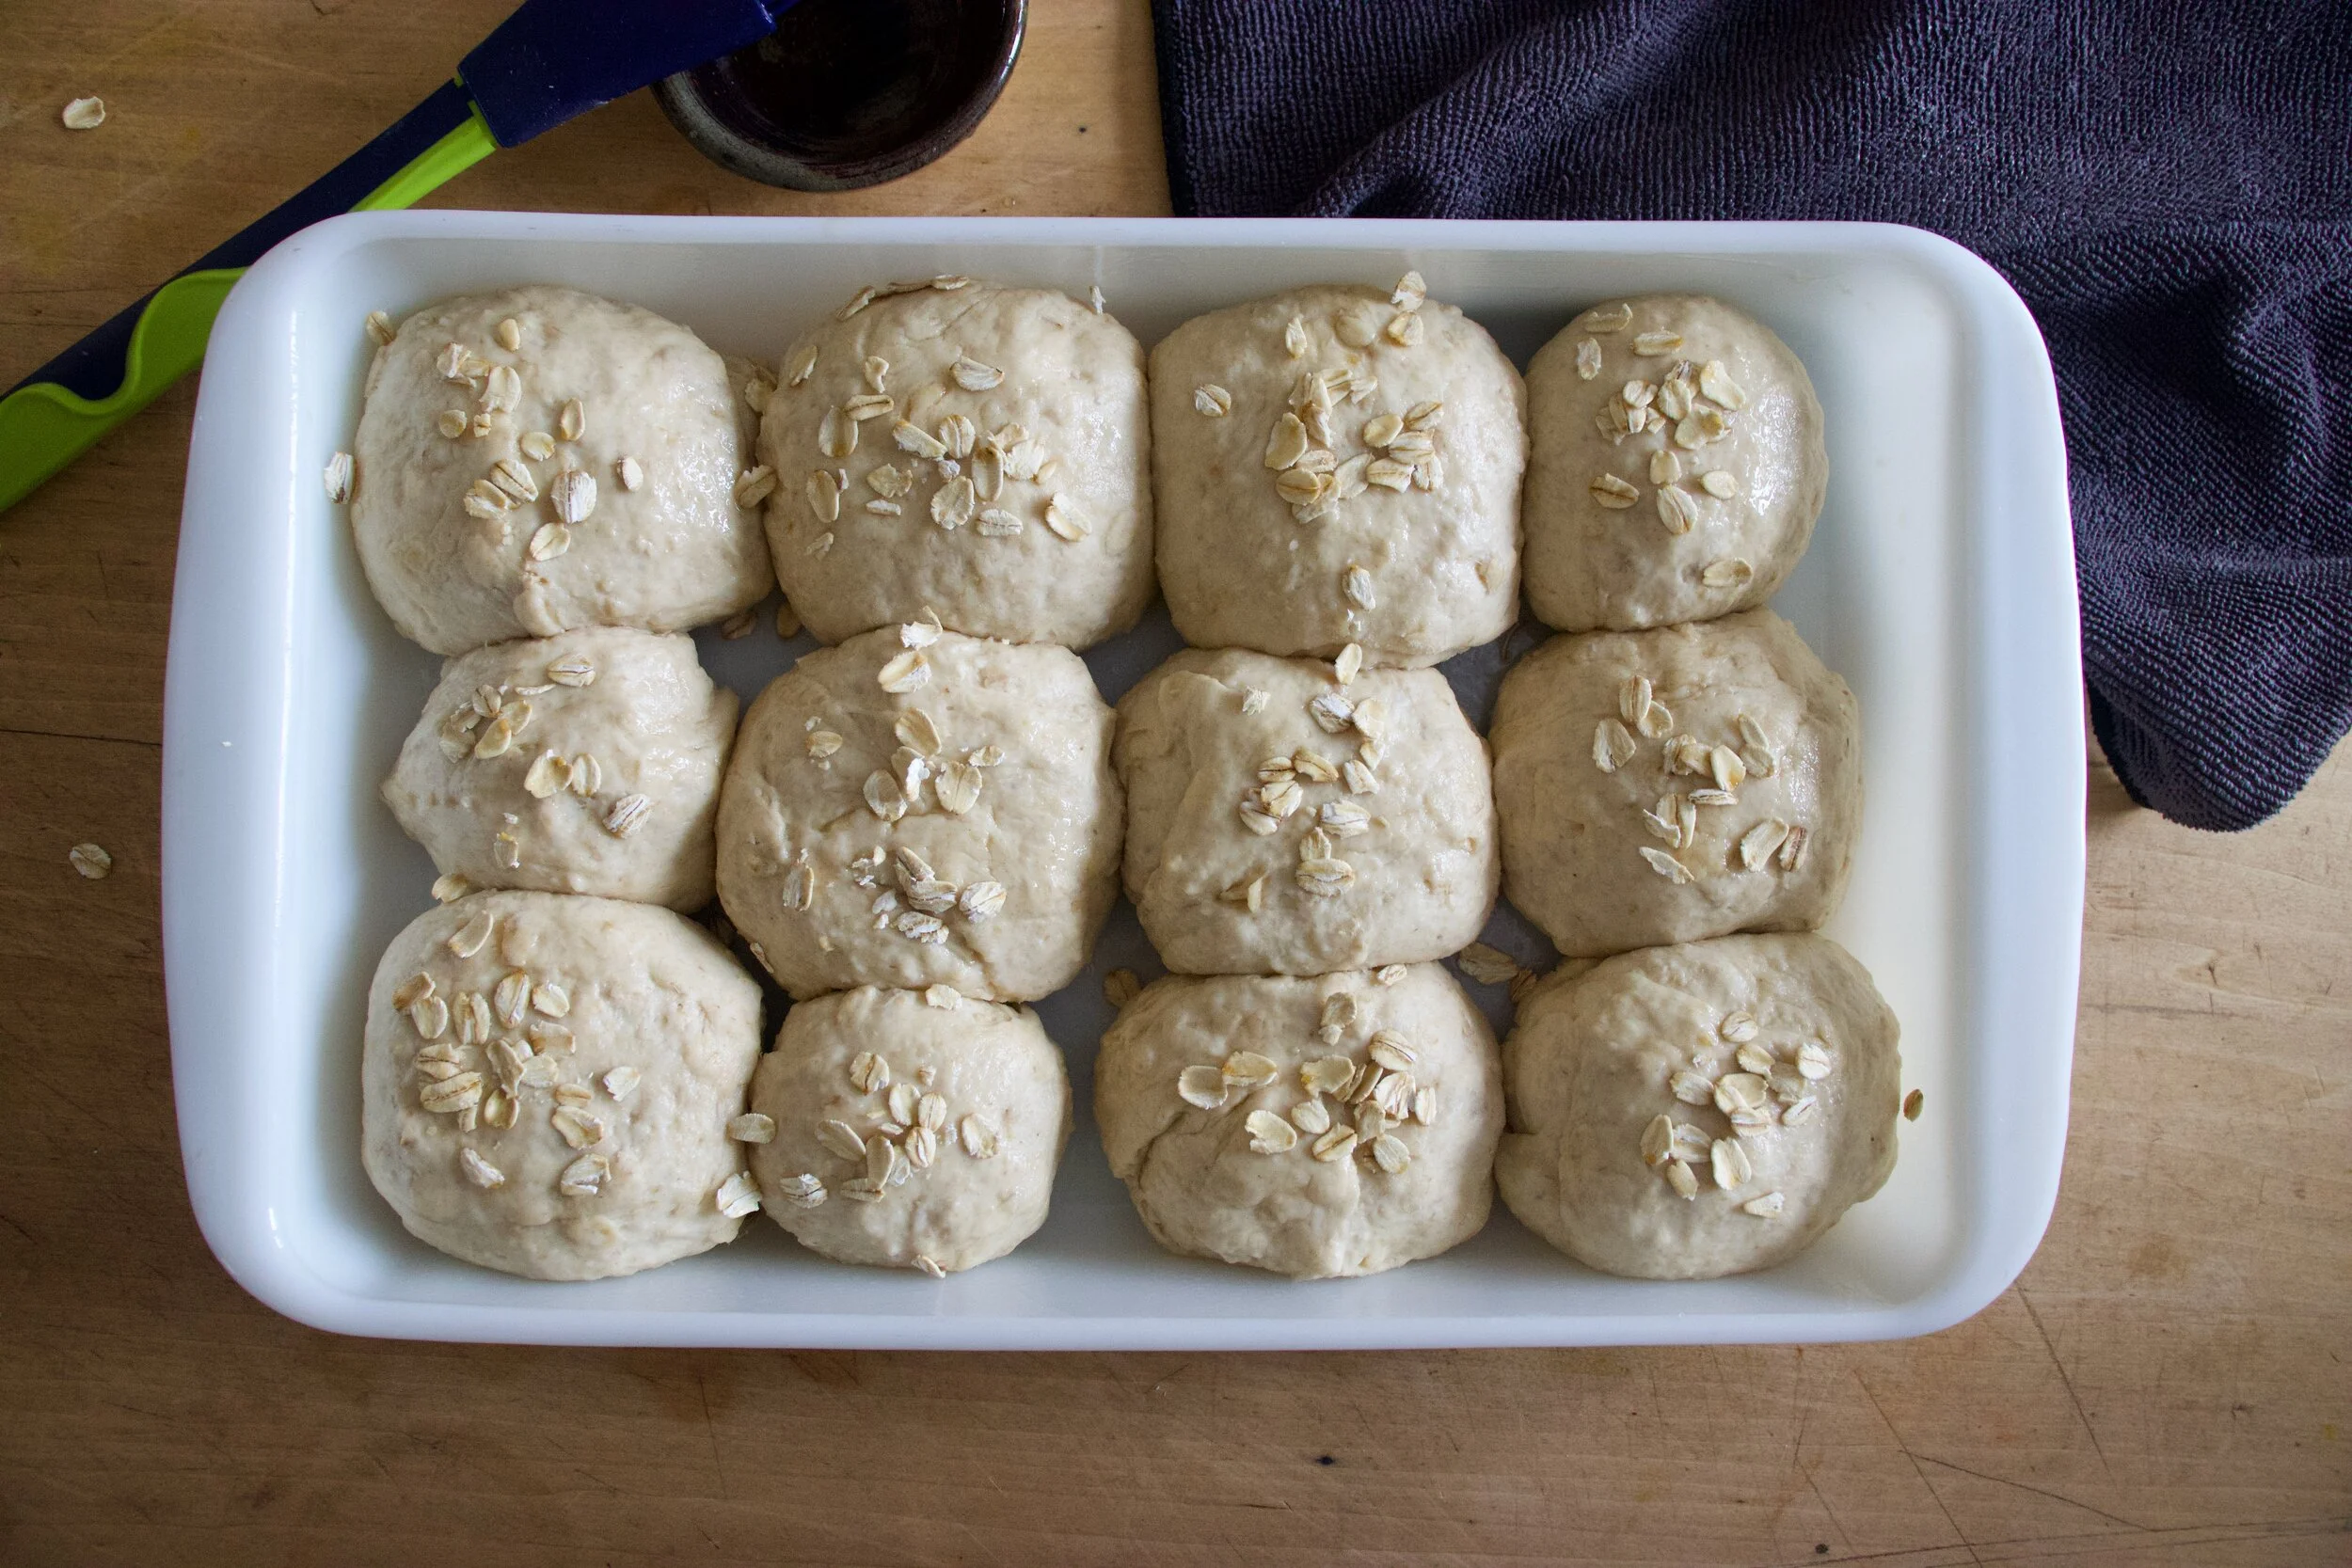
Rolls risen again, just a little plumper. And now right before you place them in the oven, brush tops with a maple/water mixture and sprinkle with a few oats. To look pretty. And into the oven they go, 30ish minutes, until nice and golden brown.
Baked to golden dinner roll perfection.
And there you have it. Soft and fluffy dinner rolls. Warm out of the oven, looking and smelling like all the good things that you want and need.
And can, and should, be made now and all year round.
-C
makes 12-16 rolls
1 1/2 cups old fashion oats
2 cups all purpose flour plus more for kneading
1 1/2 cups white whole wheat flour
2 cups boiling water
1 cup room tempature water plus 2 tablespoons for brushing tops
2 teaspoons salt
2 tablespoons maple or honey
2 teaspoons yeast
1/4 cup neutral oil
In a bowl, mix oats with boil water and let sit and soak for about 10 minutes. In the meantime, in a large bowl, mix the room temp water with the yeast and 1 tablespoon of maple and mix. Once oats have soaked and cooled to a point that they are not super hot, but still just warm, mix them in with the yeast mixture. Add the salt and oil and mix then and both the white and white wheat flour. Mix until combined. The dough is going to be sticky, but that how is should be. Dump the dough onto a lightly floured surface and knead for 3-5 minutes, adding a little flour as needed to keep from sticking too much, until dough is nice and uniformed in texture. Place dough back into big bowl (after you clean it out and lily oil it) and cover with a damp towel. Place somewhere warm for about an hour until it doubles in size.
Once dough has doubled, dump out onto a lightly floured surface and with a knife of dough cutter, cut into 12- 16 equal sized pieces. Roll each piece into a ball, pinching any ends together and place them into a 9×13 inch baking pan. Once all pieces are in, over and let rest for another 15 minutes.
While dough is resting again, preheat oven to 350.
After the dough has rested, and right before you place them in the oven, mix 1tablespoon of maple with about 2 tablespoons warm water and brush the tops of the rolls. Sprinkle with a handful of oats and then place them into the oven to bake. 30-35 minutes, until they are a nice golden brown.
Once baked remove from oven and let cool to a reasonable temperature and serve.
These can certainly be made a few days ahead of time of eating. Just remove baked rolls from pan and let cool completely then place the into an airtight bag. To reheat, just place on a baking sheet and stick in a hot oven until warm.
It is exactly that time of year. Apples galore, cool days in need of a little extra warm, meaning a warm oven is welcome, if not needed. It%u2019s the best time of year, or at least one of them.
And so I bake bread. Sometimes just a roll, and sometime a loaf, almost everyday. I love bread baking because, well just because. Plus it%u2019s what people want to eat and will always eat because I guess bread=love. Makes sense to me.
This bread was made from a small dip in the 2 gallons of applesauce I made the night before. (We had sooooo many apples). The mr isn%u2019t the biggest fan of applesauce, says he would rather eat a fresh apple. I kind of get it, but dude, warm, chunky, slightly cinnamon-y applesauce%u2026 I mean, that is happiness right there. Right? Anyway, I am trying not to eat all the applesauce to my face by myself at once (it has been a challenge) and plus I needed to make the mr some bread, so I figured what the hell. I%u2019ll just use applesauce as my liquid in the bread. And so I did and that is that and now that mr really like applesacue (when it is baked into bread)
This bread is a basic sandwich type bread. The apple taste is there but not overwhelming so it can be used for sandwiches of all kinds, toast, just eating with a smear od something, or not. Just a overall good loaf of bread with a little extra from the apple. And braided because I was feeling classy. It%u2019s amazing what at little braiding of bread dough can do for your self esteem. Made me feel like I was the coolest person in the world. Haha!
Now to the bread.
The stuff. A few apples, regular all purpose and white whole wheat flour, salt, applesauce, maple syrup, yeast, and warm water.
Applesauce, shredded apple, maple, yeast, and a little water get mix up and let to sit for a few minutes to activate yeast. Then the salt gets mixed in, along with all the flour. Stir until dough forms. Dough should be slightly sticky, ut not wet. IF wet, add a handful more flour. To dry, add more water.
Dump the dough onto a floured surface, cover your hands in flour, and knead dough for about 5 or so minutes, adding more flour as needed to keep dough from sticking, until the dough is a nice and cohesive texture.
Nice looking dough. Now roll dough into a ball.
Place dough in a clean wet or oiled bowl and cover with a damp cloth for one to one and a half hours or until dough doubles in size.
Dump dough onto floured surface.
Cut dough into 3 equal pieces and roll out into long longs.
Braid logs together. You can stop here bake it this way or%u2026
After placing it on a parchment lined baking sheet, tuck the ends of the braids underneath each other and make it like this. Either way. And once you have the dough on the baking sheet, brush a little water or plant milk on top and let dough rest for 15 minutes of so while the oven preheats.
Before oven and after oven. Classy, right?
Then for shin and soft crust, rub warm loaf with some plant butter.
And for the hard part. Let it cool before slicing it. Ok sure, a little warm is fine, but wait at least 20 minutes (an hour would be best) and then eat you some bread.
Eat you some bread. That%u2019s a t-shirt right there.
Happy Fall friends!
-C
makes pretty one loaf
2 cups all purpose flour
1 1/2 cups white whole wheat flour plus more for kneading
1 cup unsweetened room temperature applesauce
1 large or 2 small apples ( about 2/3 cup shredded apple)
1/4- 1/2 cup warm water
1 tablespoon maple syrup or honey
2 teaspoons active yeast
1 teaspoon salt
1 tablespoon or so plant milk or water
1 tablespoon plant based butter (optional for rubbing on finished bread)
Grab the apples and shred them until you have 2/3 cup shredded apple. In a large bowl, mix together the applesauce, shredded apples, yeast, 1/4 cup warm water, and sweetener.and let yeast activate for a few minutes. Add in salt, the all purpose flour and the 1 1/2 cups white wheat flour. Stir together until dough forms. The dough should be a little bit sticky so if the dough seems to dry, add in 1/4 cup more warm water. If it seems really wet, add in a handful more flour.
Dump dough out onto a well floured surface and knead for about 5 minutes adding a little bit of flour to the counter as needed to prevent it from sticking. Once dough is cohesive in texture, roll into a ball and place into a clean wet or oiled bowl. Cover with a damp towel and allow the dough to double in size. Should take between an hour and an hour and a half.
Once dough doubles in size preheat oven to 400
Dump risen dough back onto a well flour counter. Cut the dough into 3 equal sizes and roll each piece into long logs about 20 inches or so long. Place each roll next to each other and braid. Grab a baking sheet and line with a piece of parchment paper. Sprinkle with a bit of flour and place braided dough onto sheet, either as a braid or if you want, like I did, wrap the braid around itself into a rounded braid situation. Tuck ends into each other and under the loaf. Brush the top gently with a little plant milk or water and let rest for about another 15 minutes or so.
After the rest, place dough into preheated oven. Bake for 35-45 minutes (Less if left long braid, more if wrapped braid) or until the top is a deep golden brown and when tapped on the bottom, it sounds hollow. Also can use an insta read thermometer and check temperature. You want it to reach 190 degrees.
Once bread is baked, remove from oven. If you want the top to stay a little crispy, don%u2019t do anything but let it cool. For a softer, shinny crust, rub the top while it is still warm with some plant based butter.
Let bread cool completely before cutting.
Then eat it like you would eat bread. Any and every way.
Store cooled loaf in a airtight bag on counter for 2-3 days but if not eating that fast, slice and place into freezer. That way you can pull out individual pieces and toast as you want.
I am obsessed. For real. That might seem like a strong statement for a feeling about a food, but right now, it is truth. I spend more time then I want to admit thinking and drooling over Socca, which is, to those who do not know, the most basic chickpea flour pancake-y bread thing. Chickpea flour, water and salt. Cooked fast under the broiler in a screaming hot skillet. That is it. And it is amazing. Depending on how you make it, it can be creamy and soft or more cracker like with some crisp crunch to it. Either way, it is just so freaking good. Of course, what I am dreaming about regarding it is not just plan basic socca (which I have made 3 times in the past 3 days) but different flavored soccas (I have experimented with lot of seasoning, and they are all A+) with all sorts of different topping and using it in all sorts of different ways. But for now, I wanted to keep basic so we all know how good simplicity is. We will go from here.
There is no stopping me. There is no stopping the socca.
Now to my new favorite food, the socca.
Chickpea flour, salt and water. That is it. Mix it all up.
Batter all smooth and now in need of a rest. Half an hour or up to a day of rest is good.
Now to cook the socca. You need to use something oven safe like cast iron. The trick here is to preheat the skillet while you are preheating the oven. Crank oven to 450 with the skillet in oven and once the oven reaches temp, turn oven over to a high broil. Let the skillet get really hot for another minute or two then remove skillet from oven (carefully!!!) and give it a splash of oil. Don%u2019t preheat the skillet with oil in it or else it will start to smoke and get gross.
Now that you got a nice hot and oiled skillet, grab the rested batter and pour half of it in. Tilt skillet around to coat bottom then stick skillet back into oven under broiler and cook for 4-8minutes. ( It depends on your broilers strength and your preference for blisters)
Out from the broiler. Cooked and slightly blistered. I went easy on this one. The next one got a few more blisters.
2 soccas, one a little thicker then the other. One a little more blistered then the other. Both in my belly.
So many Soccas to come.
So. many. Soccas.
-C
makes two 10 inch soccas
1 cup chickpea flour
1 cup room temperature water
1/2 teaspoon salt
olive oil for pan
Mix chickpea flour, salt and water together into a bowl until smooth. Let mixture rest for at least half an hour or up to a day.
When ready to make the socca, preheat oven to 450 with a 10 inch oven safe skillet (I used cast iron but any oven safe dish would work) in oven.
Once oven reaches temp, turn oven over to broil and place skillet under it for a minute to really heat the skillet. Carefully, with oven mitts, remove hot skillet from oven and brush or pour a smidge of oil into the hot skillet to coat bottom. Pour in half the batter and tilt around until bottom is coated then place skillet back into oven under broiler and cook for 4 -8 minutes or until the socca starts to blister. (it kind of depends on your broiler so keep a close eye on it) Remove from oven and slip socca onto cutting board. Sprinkle with salt and pepper. Drizzle with olive oil if you like. Then all you do is cut and eat.
Left over socca can be stored in fridge and reheated in oven or toaster.
Note. IF you want a slightly thicker socca, use a 8 inch skillet. For a thiner, more cracker like socca, pour in 1/3 of the batter at a time (you will end up with 3 instead of 2)
Bread is probably, no, definitely one of my upmost favorite things to bake. There is just something so gratifying about the whole process of mixing ingredients, kneading, watching it rise, shaping, then baking. It calms me and make me a better person. Seriously.
And this might sound sad, but this week when my Dad told me that my grandmother died, well I went home and made bread because that is what felt right to do. It gave my mind and hands a good something to do far a little while. Plus I ended up with a loaf of bread to feed people with. I also like to feed people when I am feeling sad.
I chose to use cinnamon and cardamom because of the smells. They are just delightful and happy smells. And swirls are happy so a happy swirl of happy smells in a loaf of bread that I was making to share that was (and did) make people happy. (See, bread baking is making me so nice because I am sharing it) It was just the right thing to do.
So if you are in need of a little happy pick me up, may I suggest making some bread? It might make you feel a little better, or at least get your mind off of things for a bit. And you will have bread so there is that too. It%u2019s a win win.
Now to the bread, which you can also make when you are happy. Or bored, or hungry, although it takes some time so if you are starting off hungry, you will be starving by the time it is done. Maybe eat a snack will you are making it%u2026..
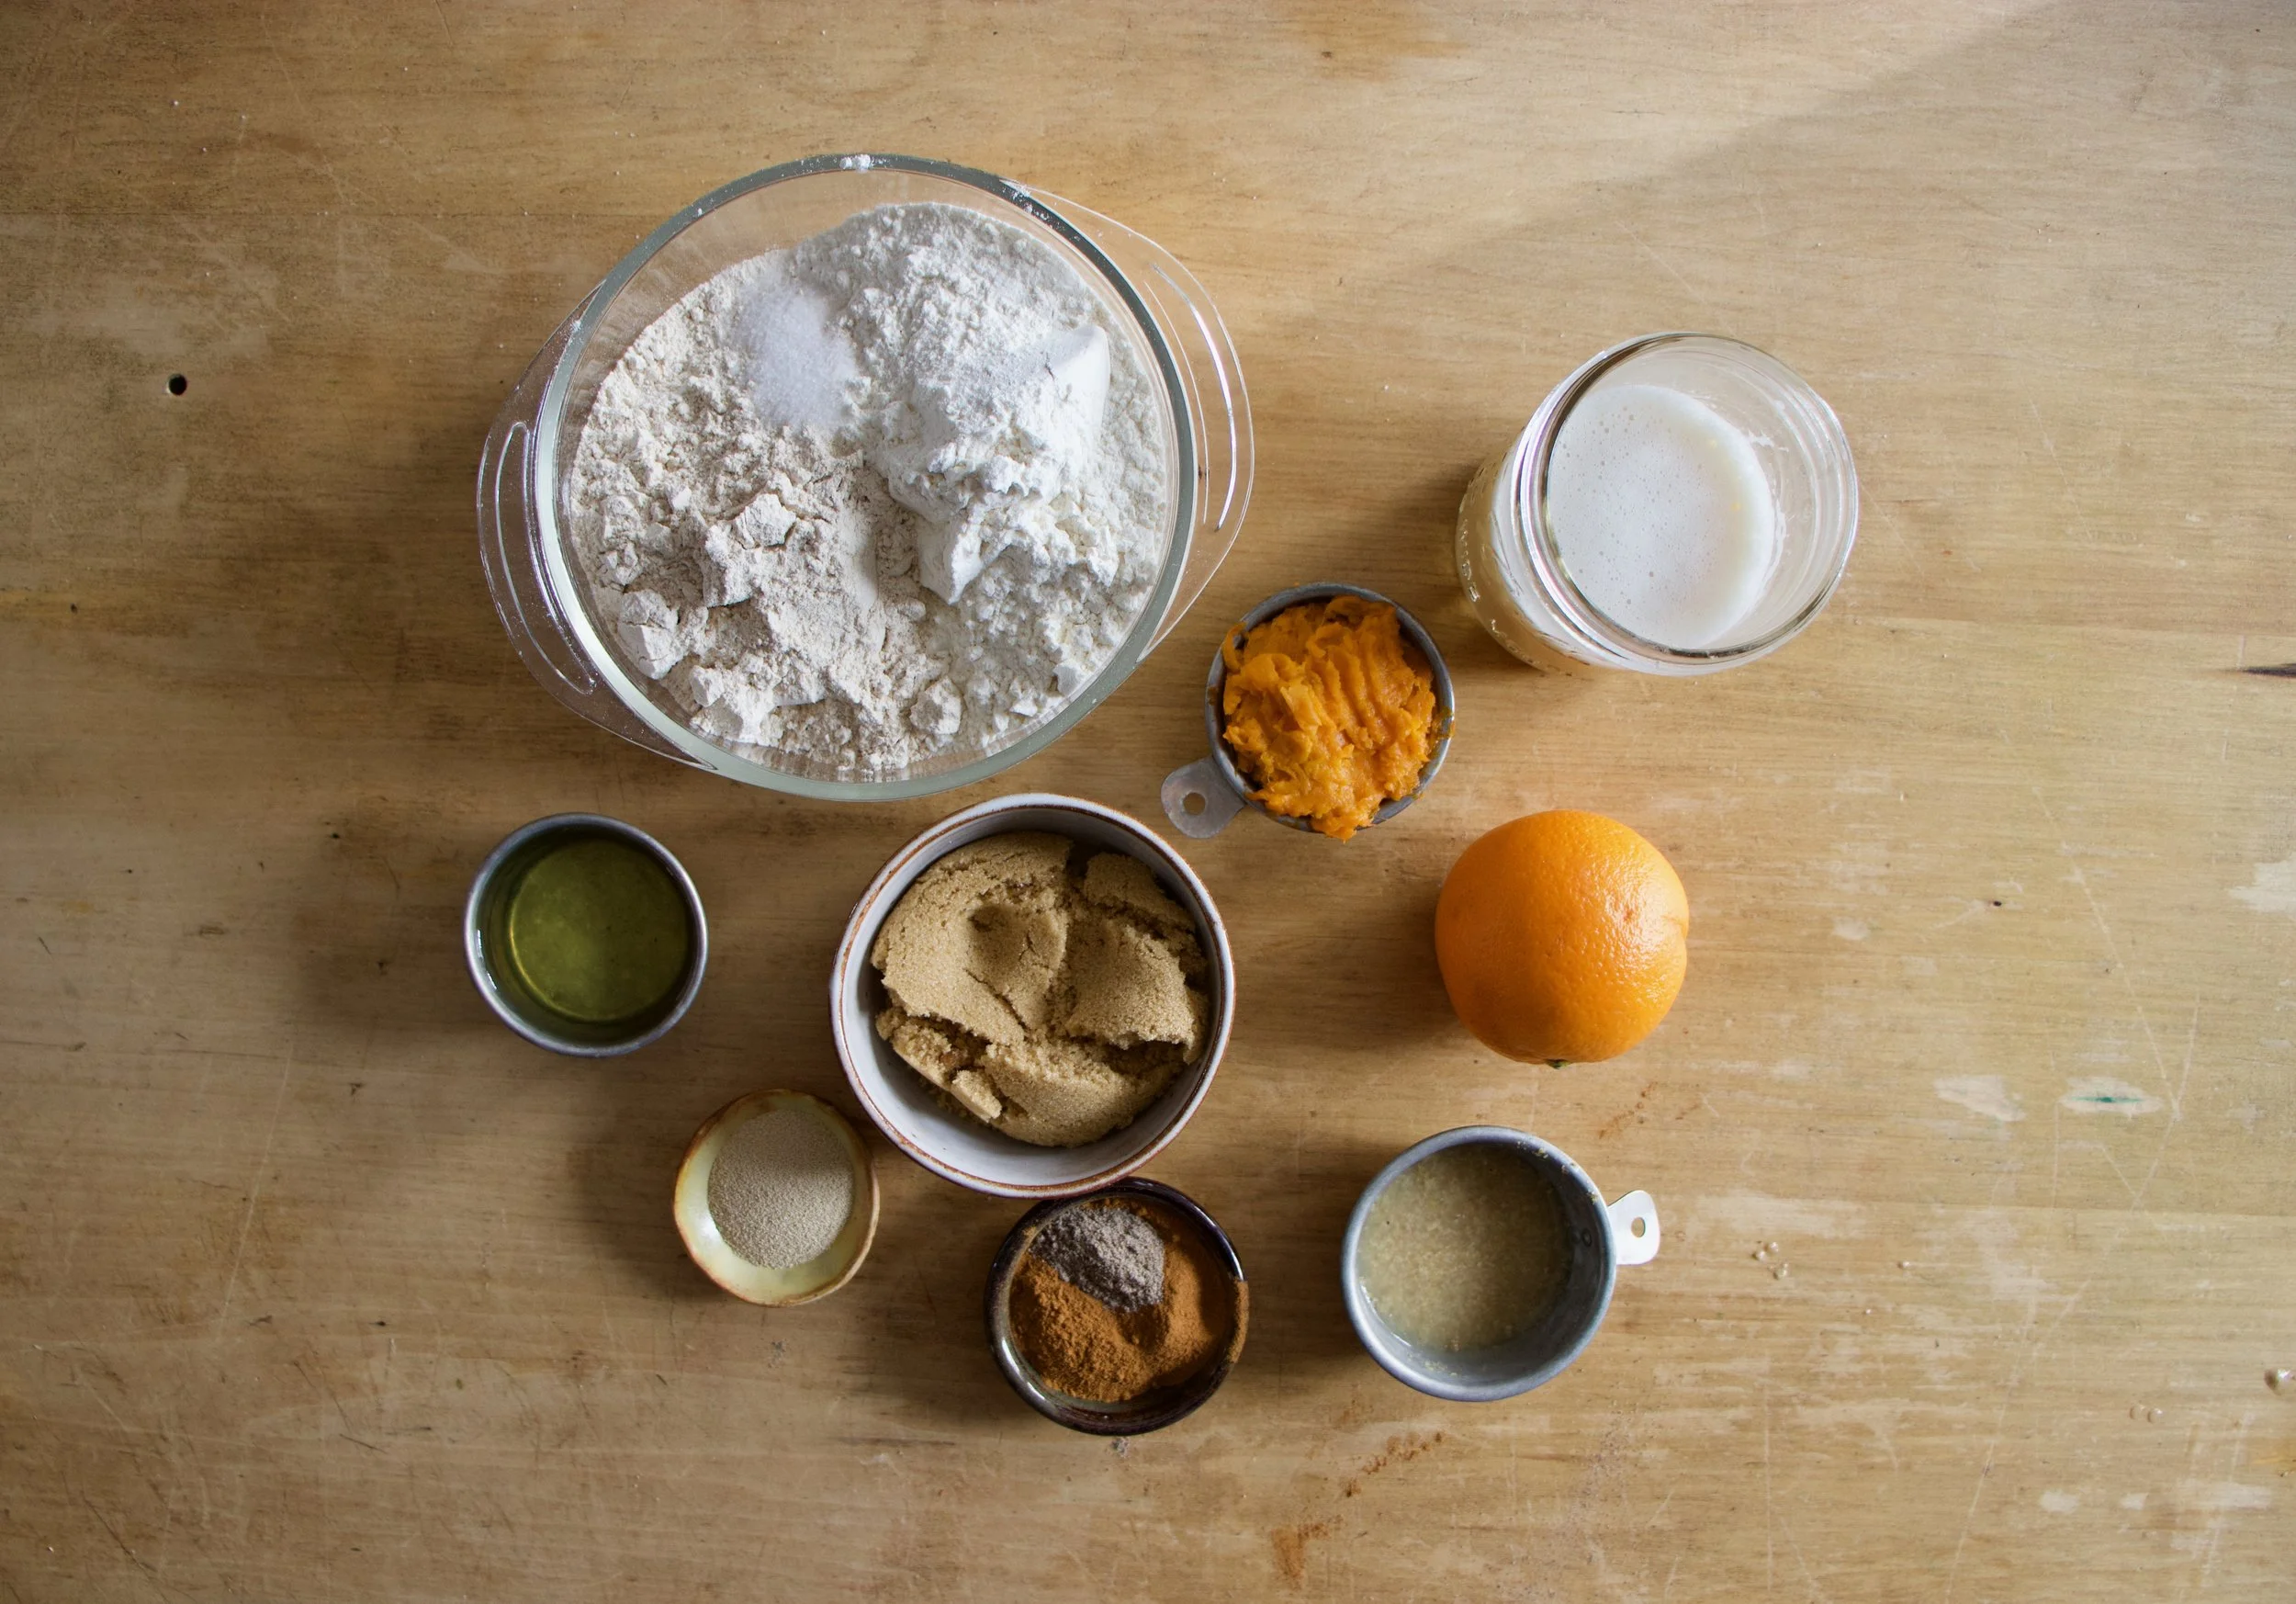
The stuff. White and whole wheat flour, salt, sweet potato puree, soy milk, yeast, brown sugar, oil, cinnamon, cardamom, some flax seeds, and an orange.
In a big bow, mix together the yeast, warm milk, sweet potato puree, a little sugar, and oil. Let it sit for a minute to active yeast.
Flours and salt get a good mix to be mixed.
Then dry gets dumped into the yeast mixture along with the zest of the orange.
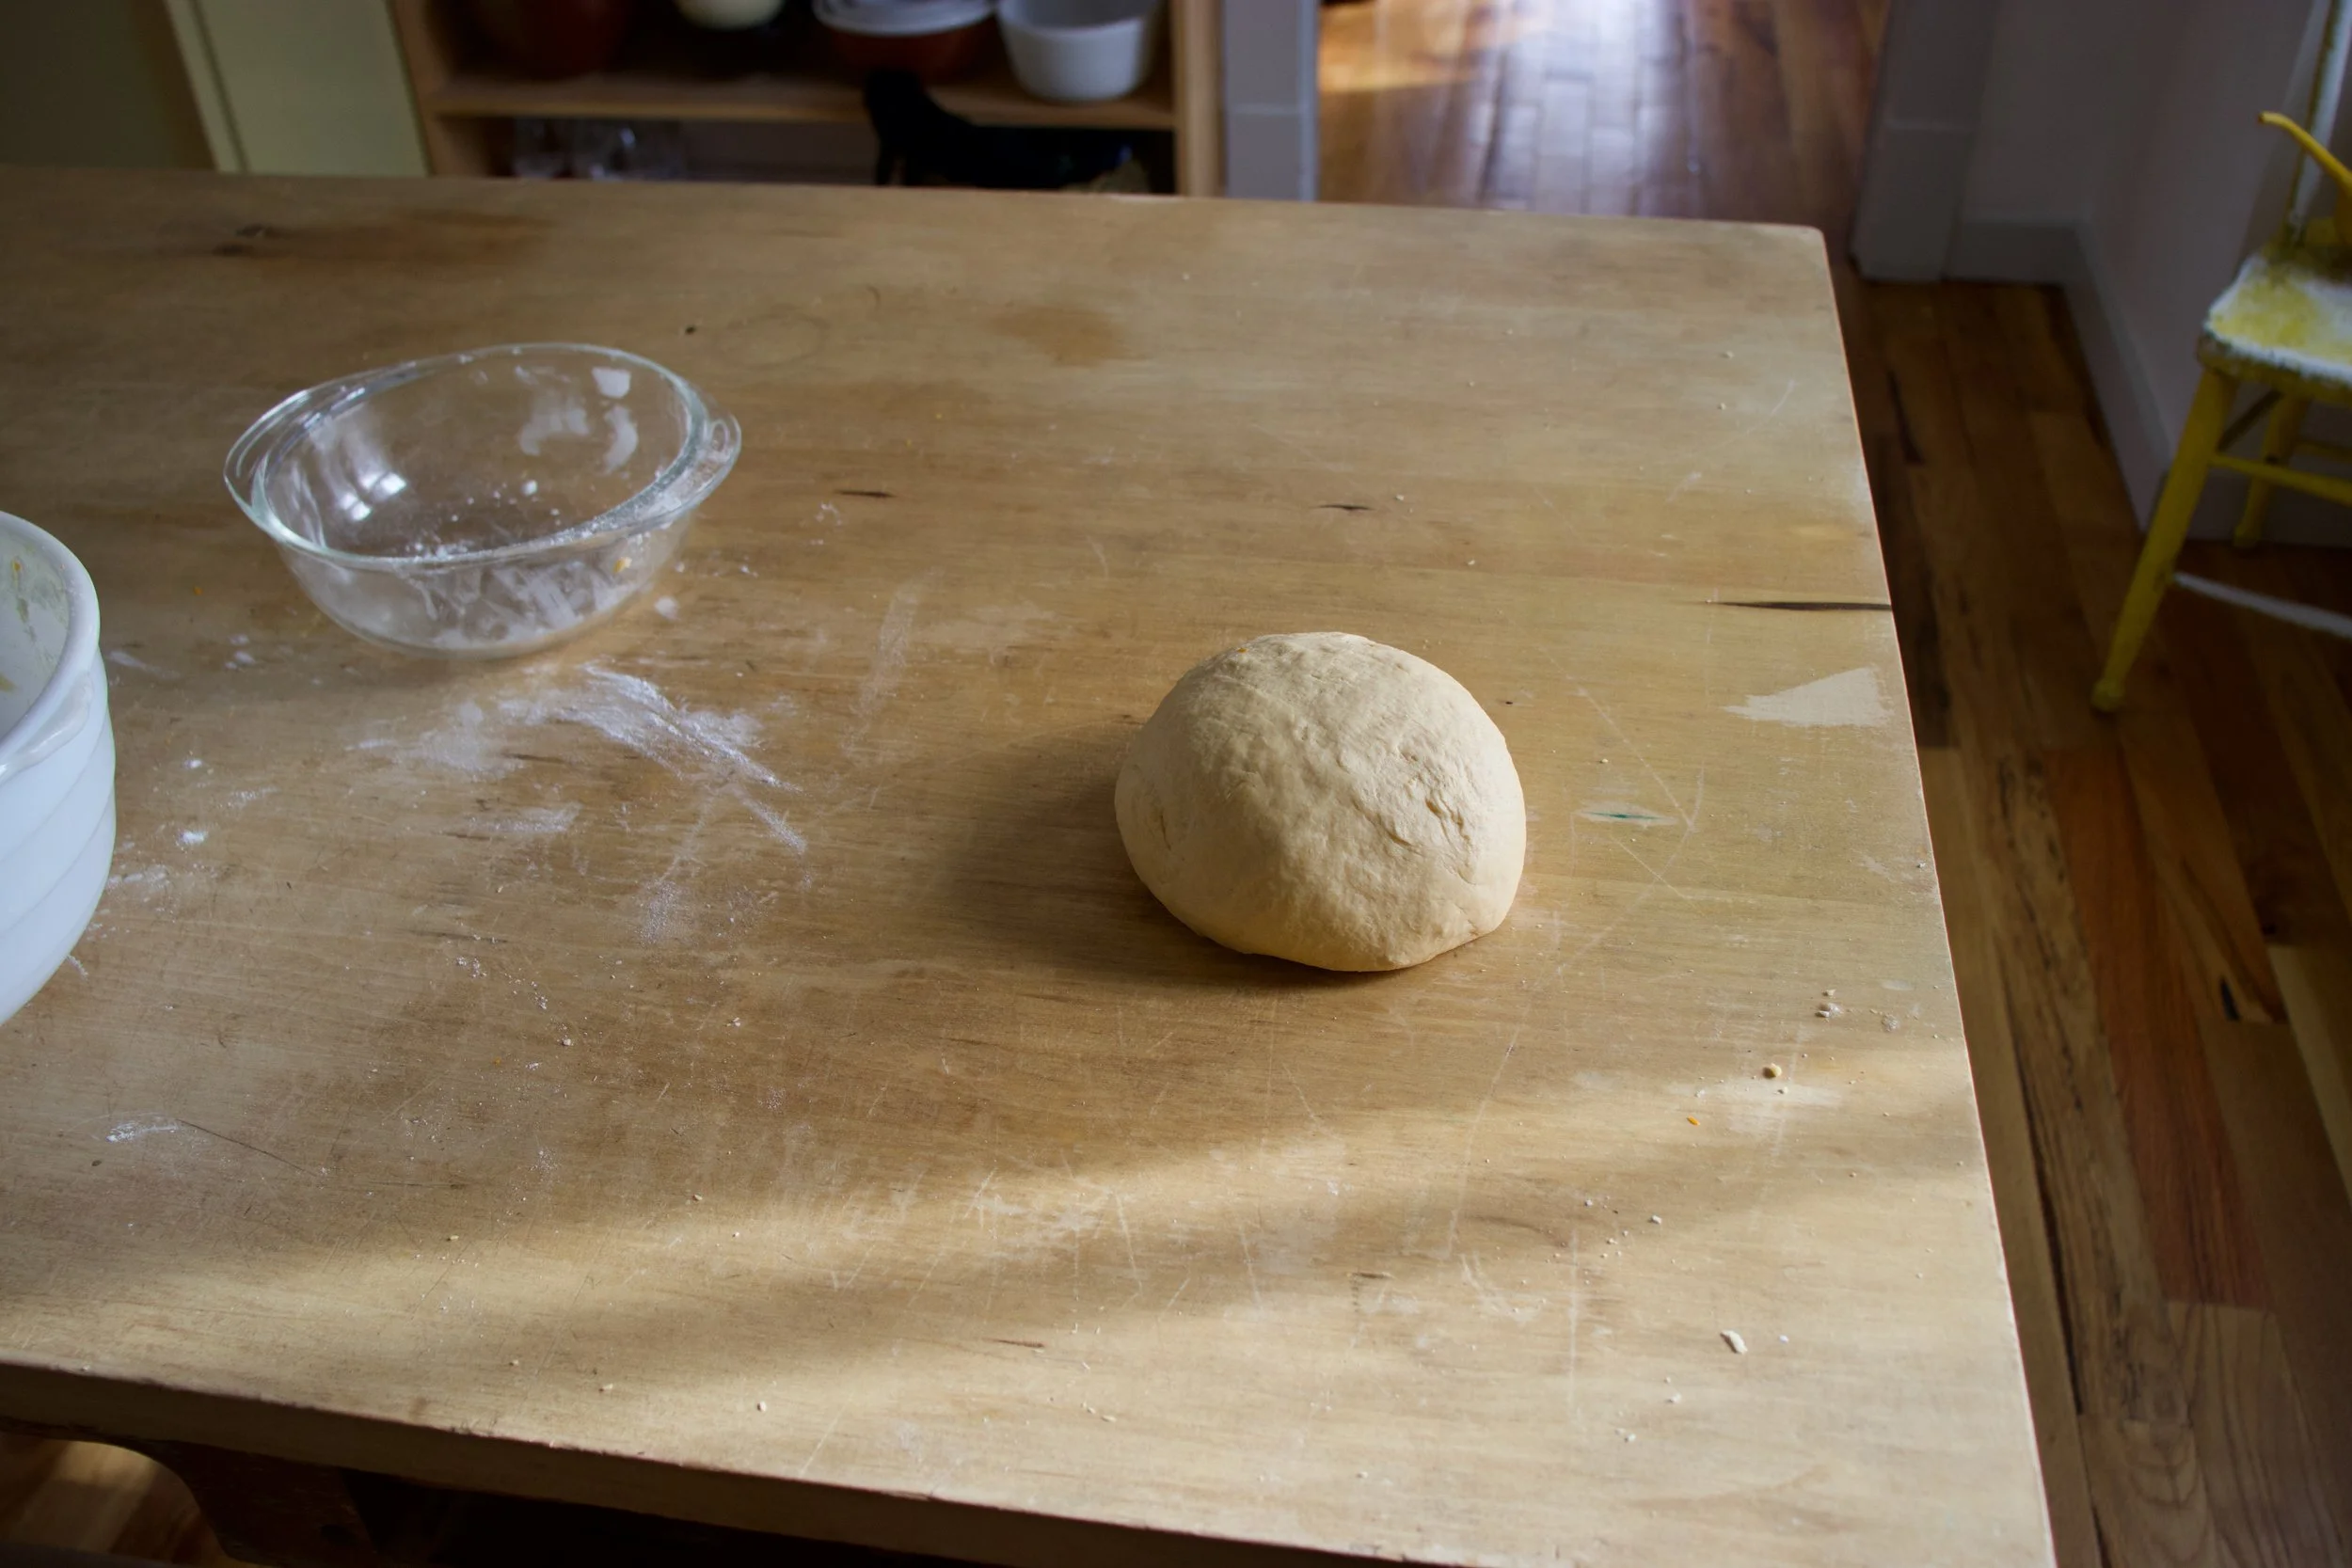
Mix it until a dough forms then dump it out onto a lightly floured surface.
Knead dough for about 6-8 minutes or until supple, uniform, and smooth.
Place dough into a well oiled bowl and cover. Let rise for about and hour or so or until it doubles in size (could take a little longer then a hour)
Place risen dough back out onto a lightly floured surface.
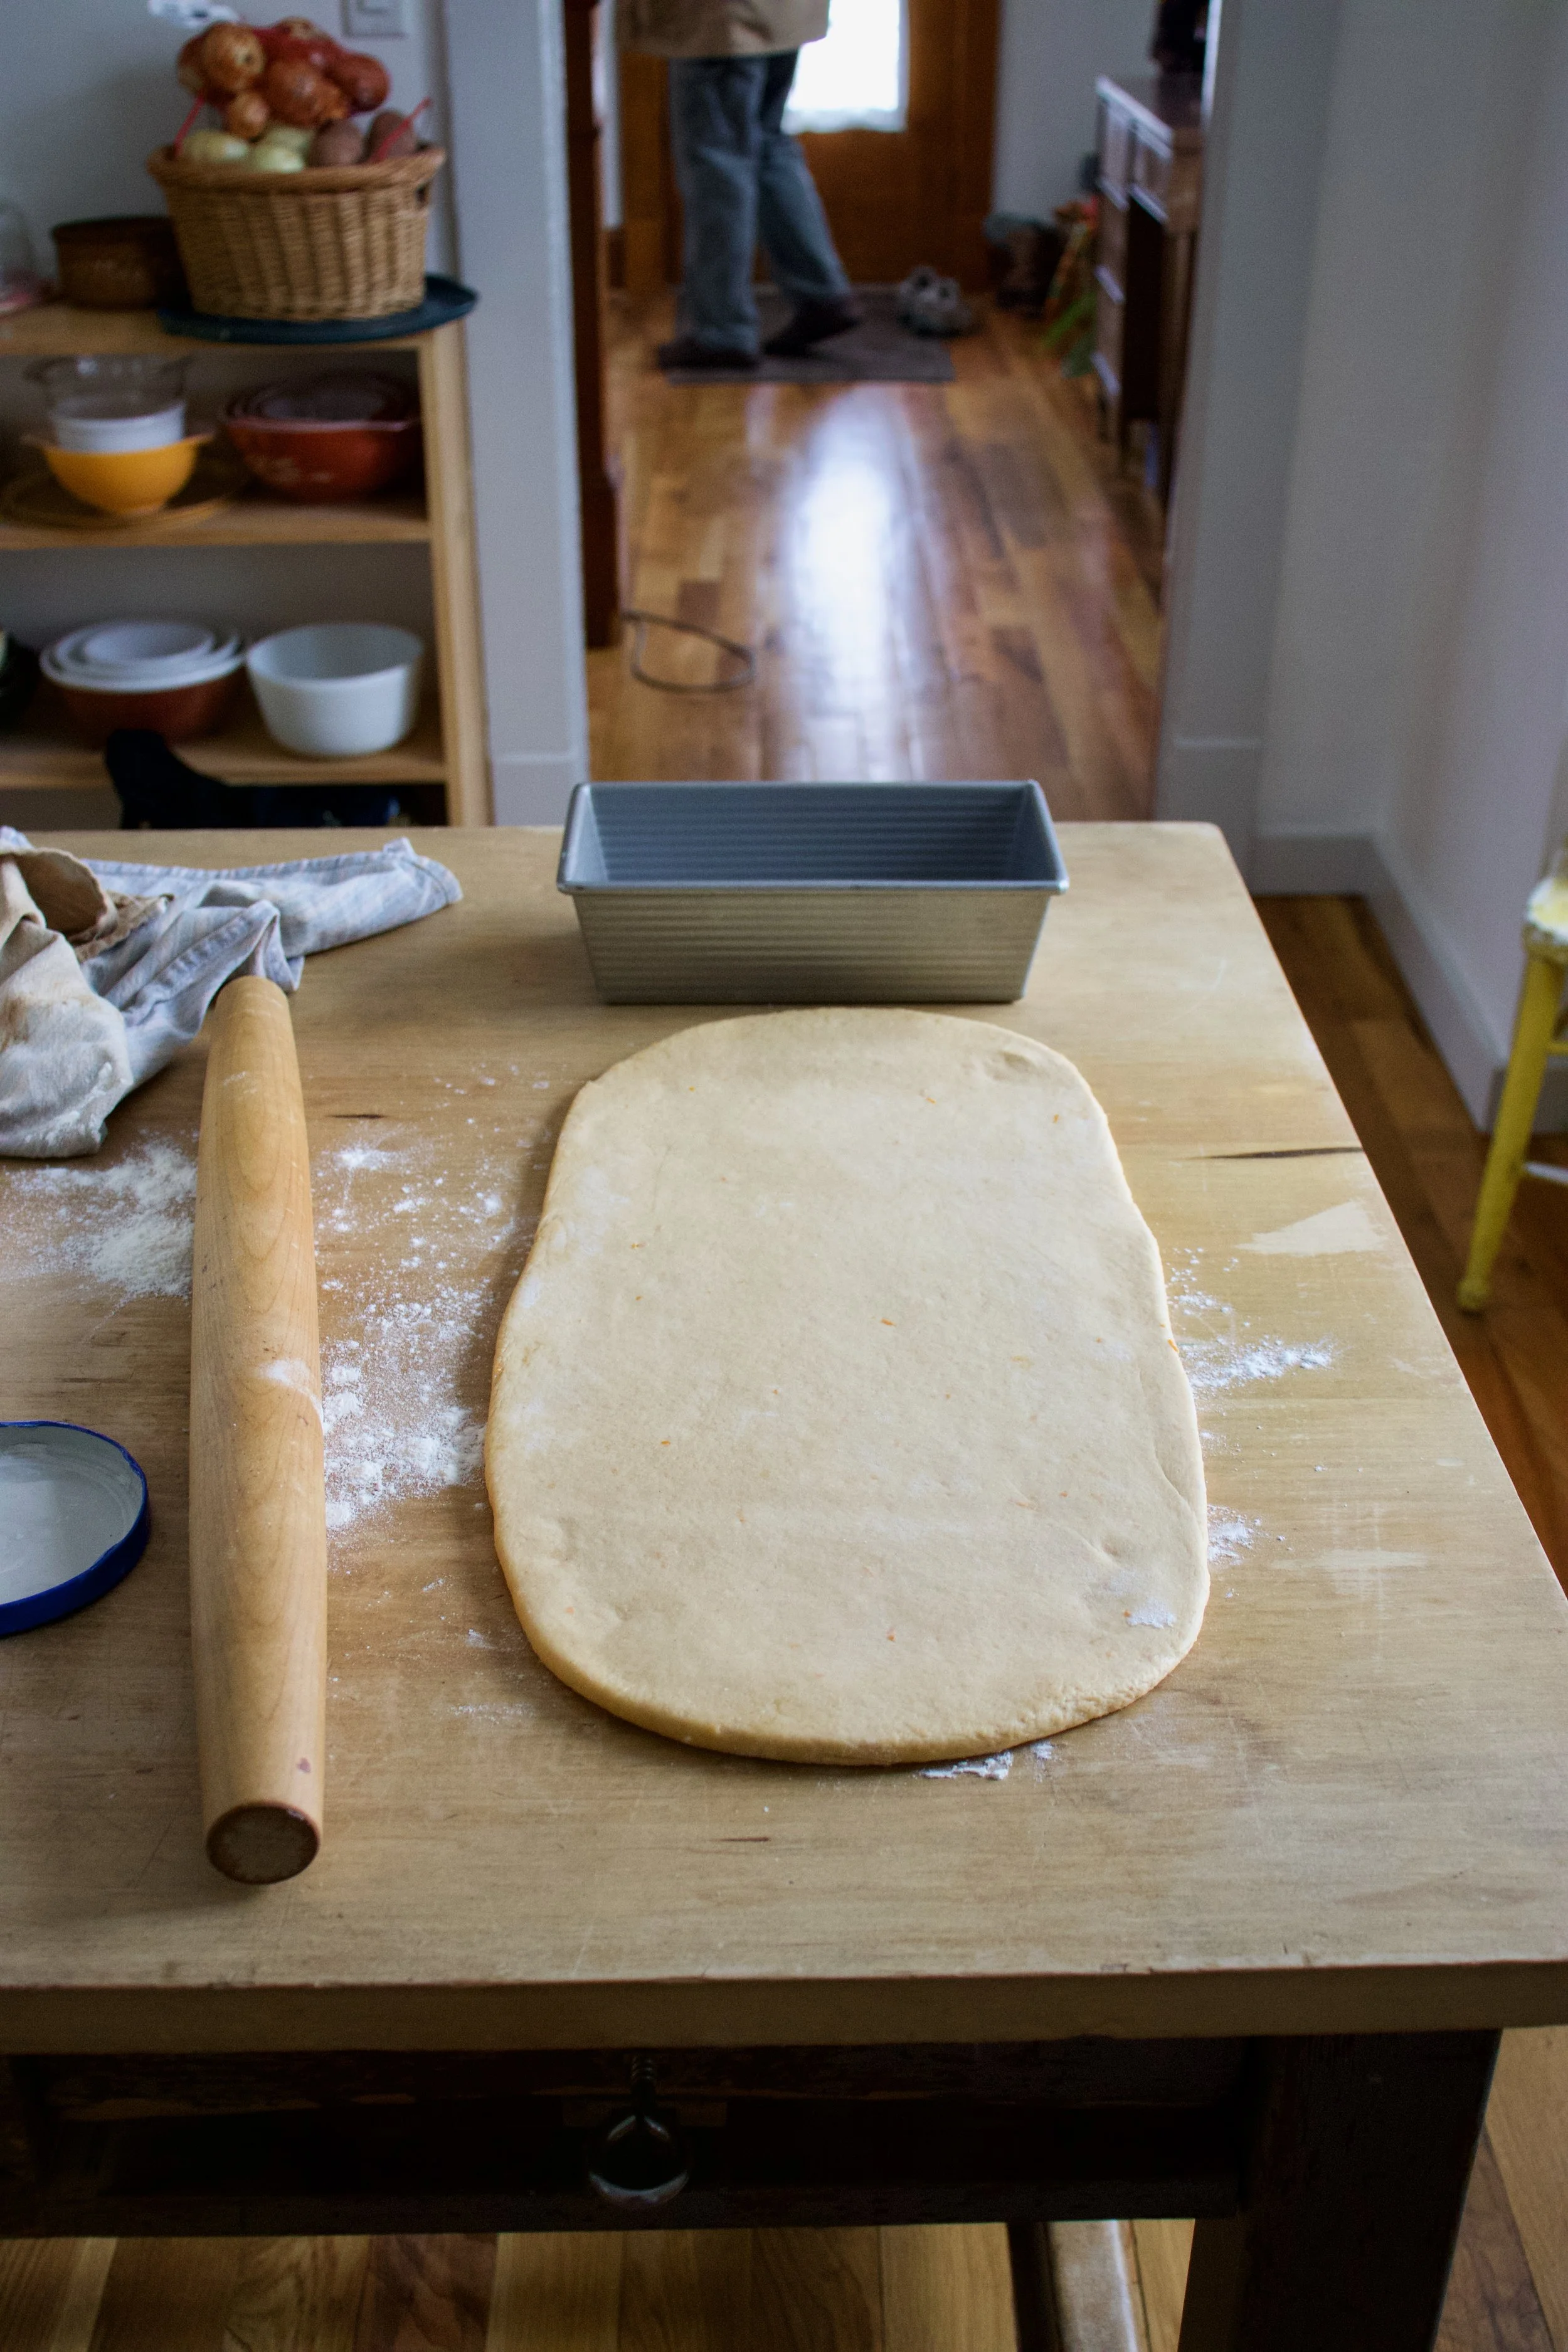
Roll it out about 2 feet long and as wide as a bread pan.
Don%u2019t forget mix up your brown sugar with the cinnamon and cardamom.
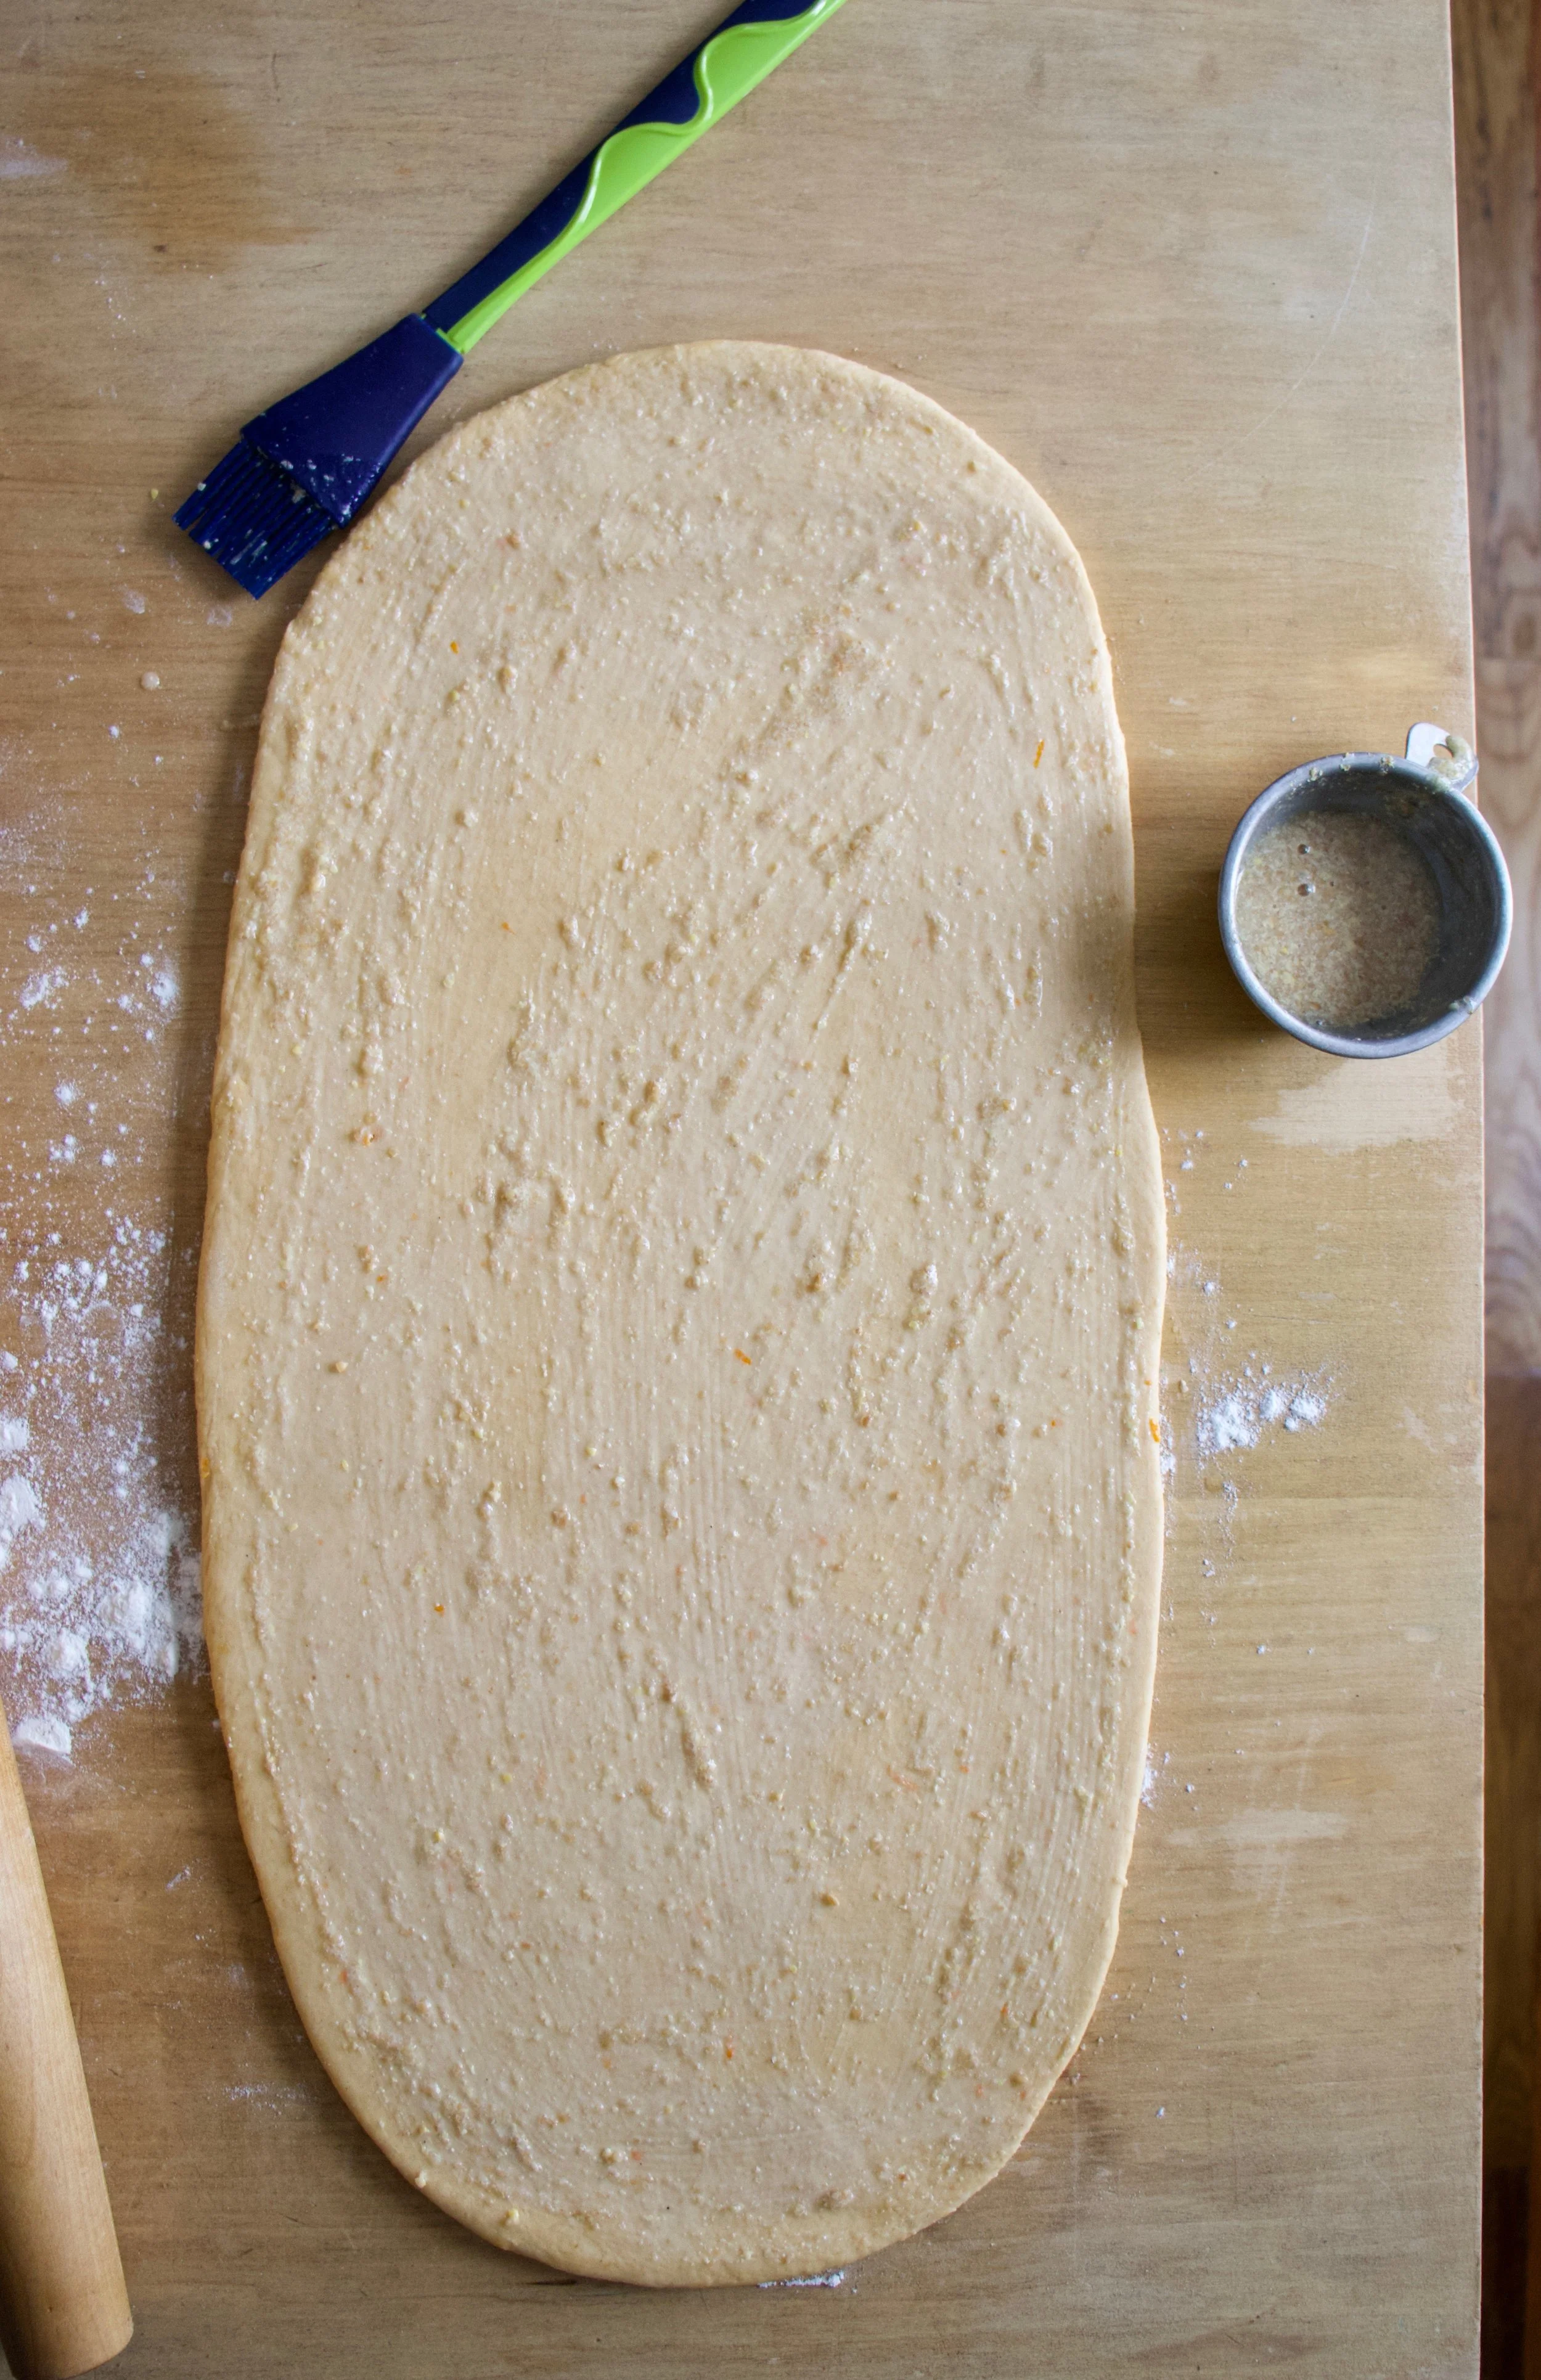
Brush rolled out dough with the flax mixture. This will help the cinnamon cardamon sugar stick.
And evenly distribute the mixture all over the dough.
Roll it up nice and tight and once it%u2019s all rolled, pinch then end to the rest of the dough.
Gently place the rolled dough, pinched side down, into a well greased bread pan. Cover in a plastic bag for about another hour or until the dough has risen a good amount and is doming over the rim of the pan. Now preheat the oven.
Once the bread is sufficiently risen, place into hot oven and bake for 40-45 minutes.
Now the hard part. Get it out of the bread pan and get it cooling off. You cannot cut into it until it cools or you will smoosh the swirl and make it gummy. Just wait, at least a half hour. For real. Wait. You can do it!
And when the bread cools and the wait it over, slice and be amazed. A thing of beauty that smells of greatness.
Bread is so great. Great great great! Especially a swirl bread. I mean. Look at that.
Happy day to you.
-C
Makes 1 loaf
2 cups all purpose flour
1 cup white whole wheat flour
1/3 cup sweet potato puree
1 cup soy milk
2 teaspoons (or one packet) yeast
3 tablespoons neutral oil like canola
2 tablespoon light brown sugar
1 teaspoon salt
Zest of 1 orange
For the cinnamon cardamom filling
1/2 cup light brown sugar
2 tablespoon cinnamon (I used Vietnamese Cinnamon which is a little spicier and sweeter)
1/2 teaspoon ground cardamom
2 teaspoons ground flax mixed with 4 teaspoons warm water
Start by grabbing a big bowl. Mix together the yeast, the 2 tablespoons brown sugar, warm milk, sweet potato puree, and oil. Let sit for a minute to active yeast. In a separate bowl mix together the flours and salt. Dump the dry mixture into the wet. Zest the zest of an orange into bowl and mix it all together until it forms a dough. Dump the dough onto a lightly floured surface and knead for 5-8 minutes or until the dough gets supple and shinny and uniform. Place dough into a well oiled bowl and cover for about an hour or until doubled in size.
Once dough has doubled, dump out onto a well floured surface and roll out to as wide as a bread pan and roughly 24 inched long. After you have rolled it out brush the flax and water mixture all over surface . Combine the brown sugar with the cinnamon and cardamom and evenly distribute the mixture all over flaxed dough. And for the fun part. Careful roll the dough into a log. Roll it tightly so the bread doesn’tt end up with big gaps after it bakes. Once rolled, pinch the rolled end and place the log rolled side down into a well greased bread pan. Place dough into a a plastic bag with plenty of space for dough to rise. Let sit for about another hour or until the dough has risen a little bit above the rim of baking pan.
Preheat oven to 375
When dough has risen, place on middle rack in hot oven and bake for 40-45ish minutes or until bread is a deep golden brown and when you give it a tap, it sounds slightly hollow. Also check it with a intsant read thermometer. Get it to 190.
When it done baking, pull from oven and remove from pan. Place on a wire rack and let completely cool. Seriously, you got to let it cool for at least 1/2 and hour, but longer is better!
When it%u2019s cooled, cut into slices. Eat as you wish.
Uneaten bread stores well for a day or two in a airtight plastic bag but if you don%u2019t eat it that fast, cut into slices and freeze. That way you can just pop a piece out and stick it into toaster. Smart.
You know when you eat something that you haven%u2019t had or haven%u2019t had in a long time and it%u2019s all you want to eat?
I am having a moment with apples and onions. Roasted and raw, it%u2019s on my mind every time I am making food. Weird? I don%u2019t know, but it%u2019s sweet and savory and all fall like and comforting. It%u2019s a good moment.
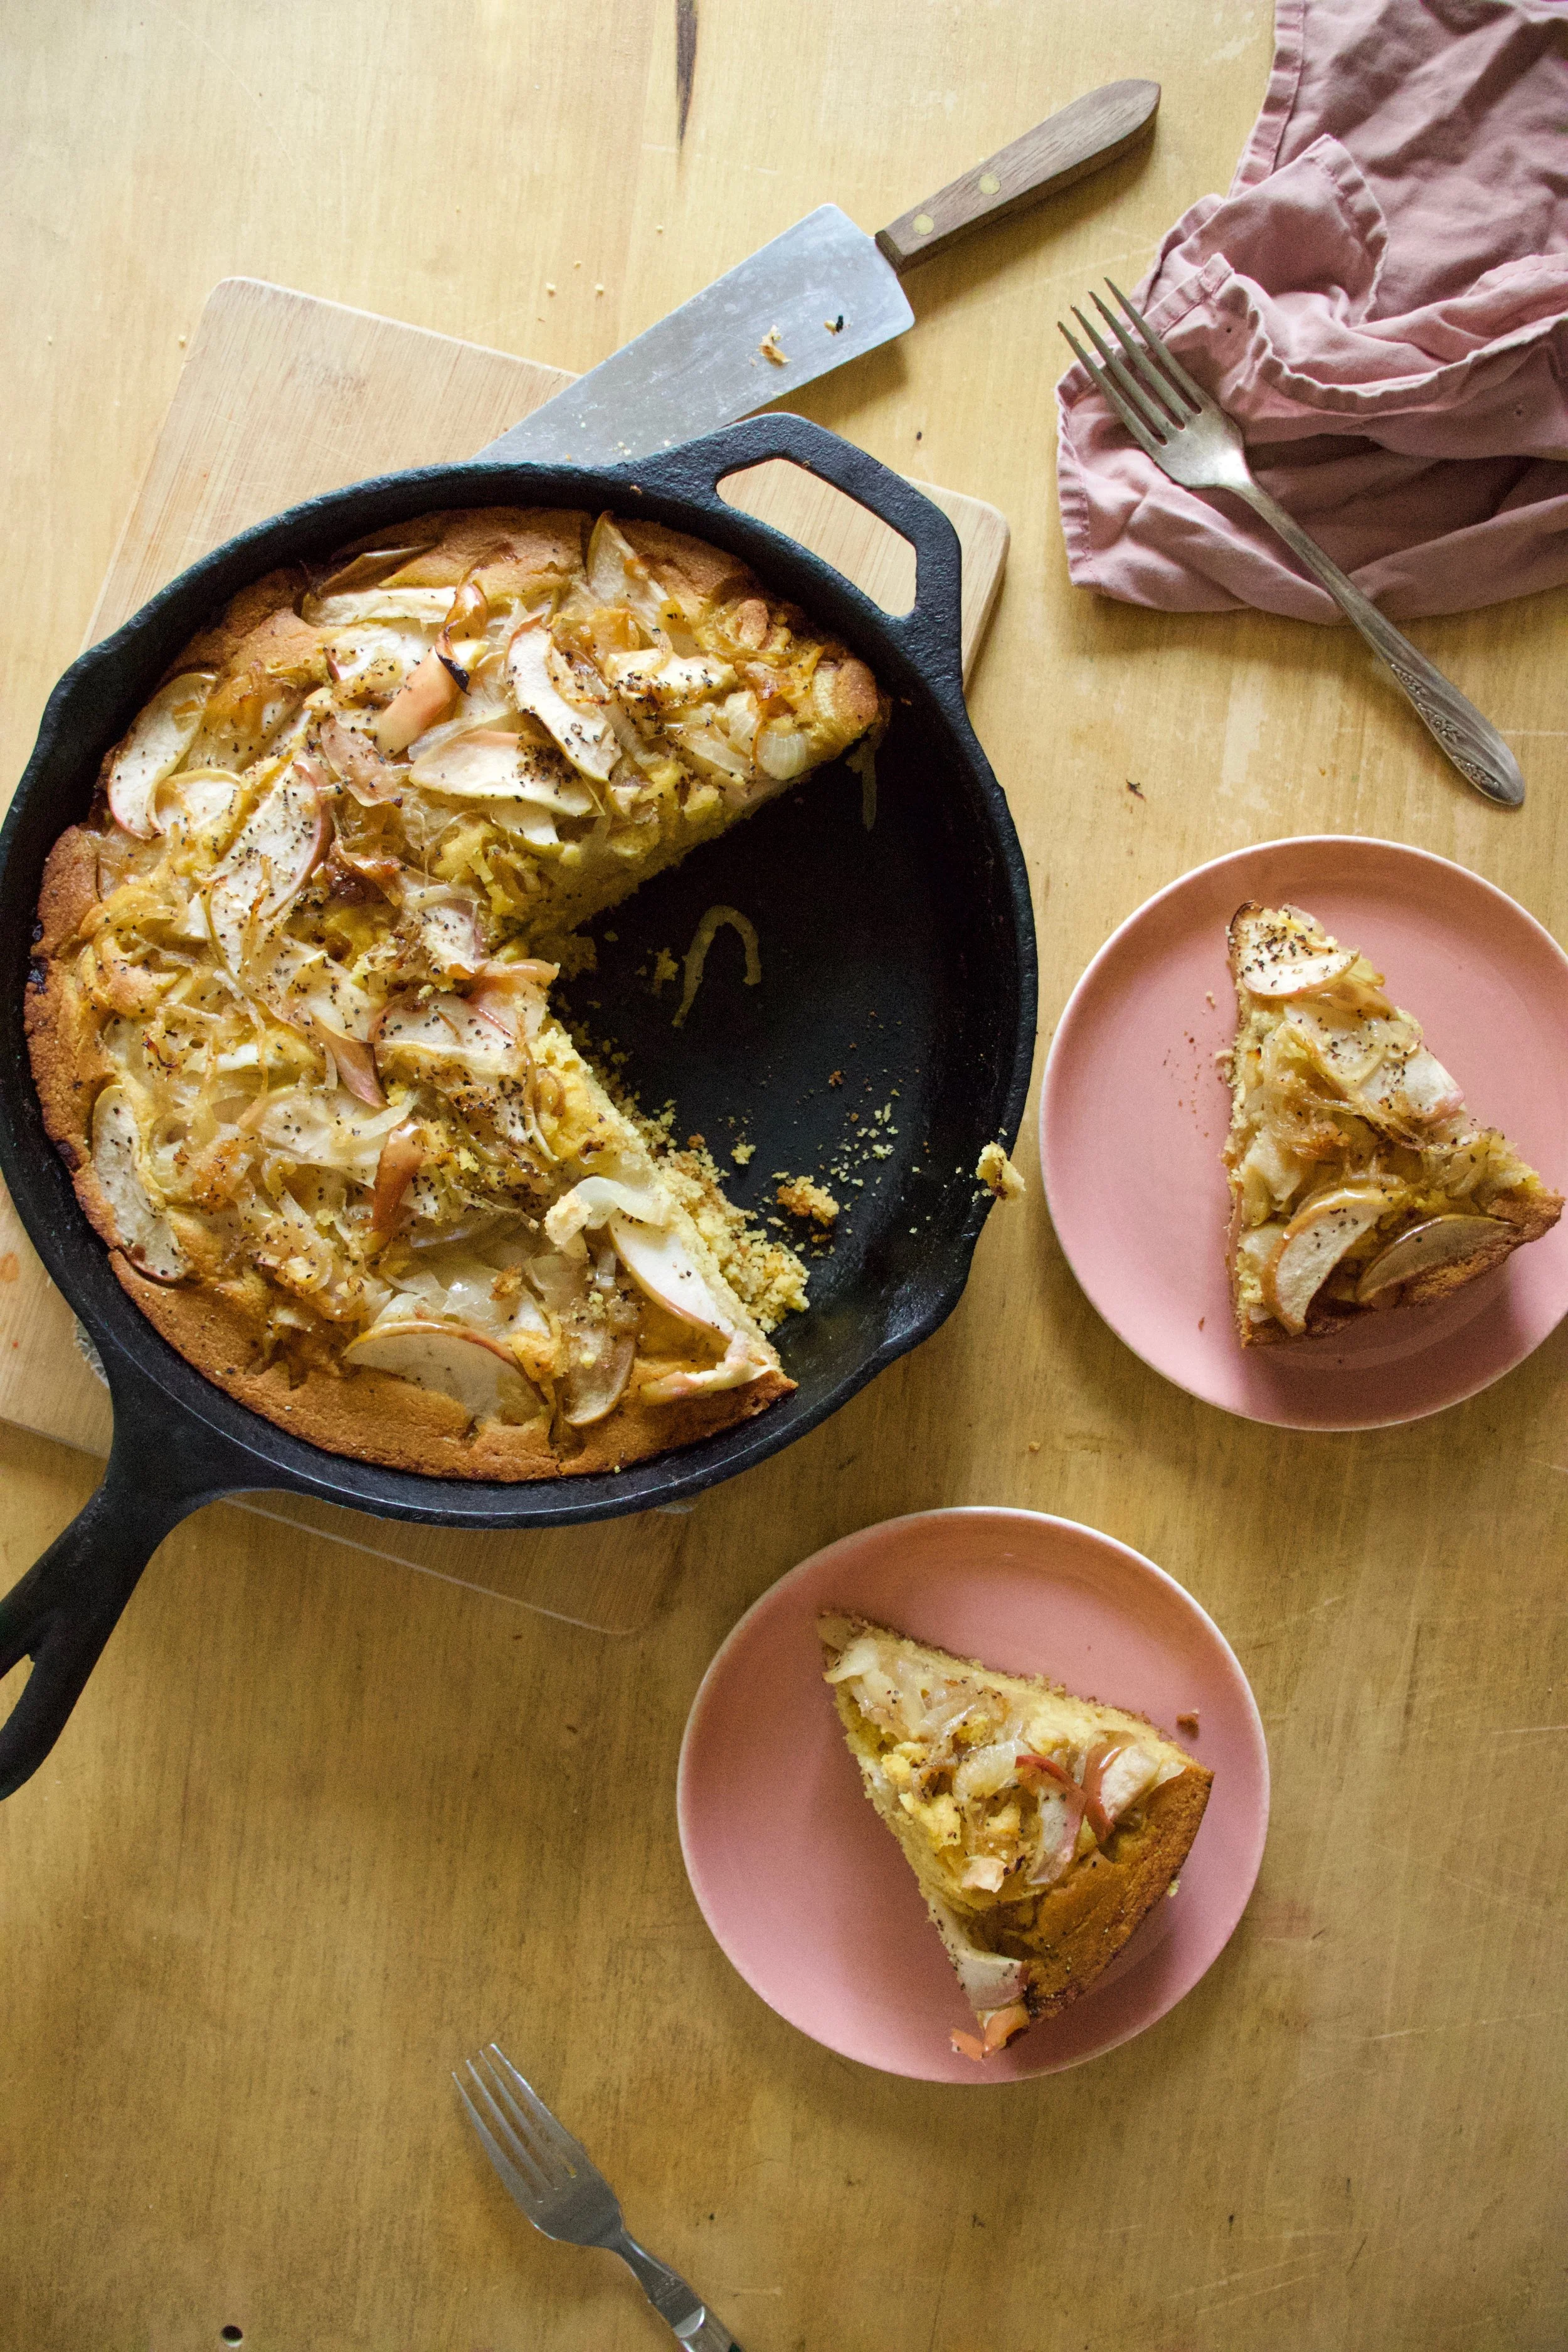
So now I am passing on my moment in the form of cornbread. Why cornbread? Well I think cornbread is a fine fine vessel for things that could be perceived sweet of savory. This cornbread is in fact not sweet, but not not sweet. It is a little both and suits the the apple and onion moment quite well.
People ate it, at first somewhat suspect that it was not going to be good, but after a bite or two they too appreciated the apple onion combination. And the cornbread. Even got a lady that doesn’t even like cornbread to like this so that is something right?
Embrace the moments.. To the cornbread!
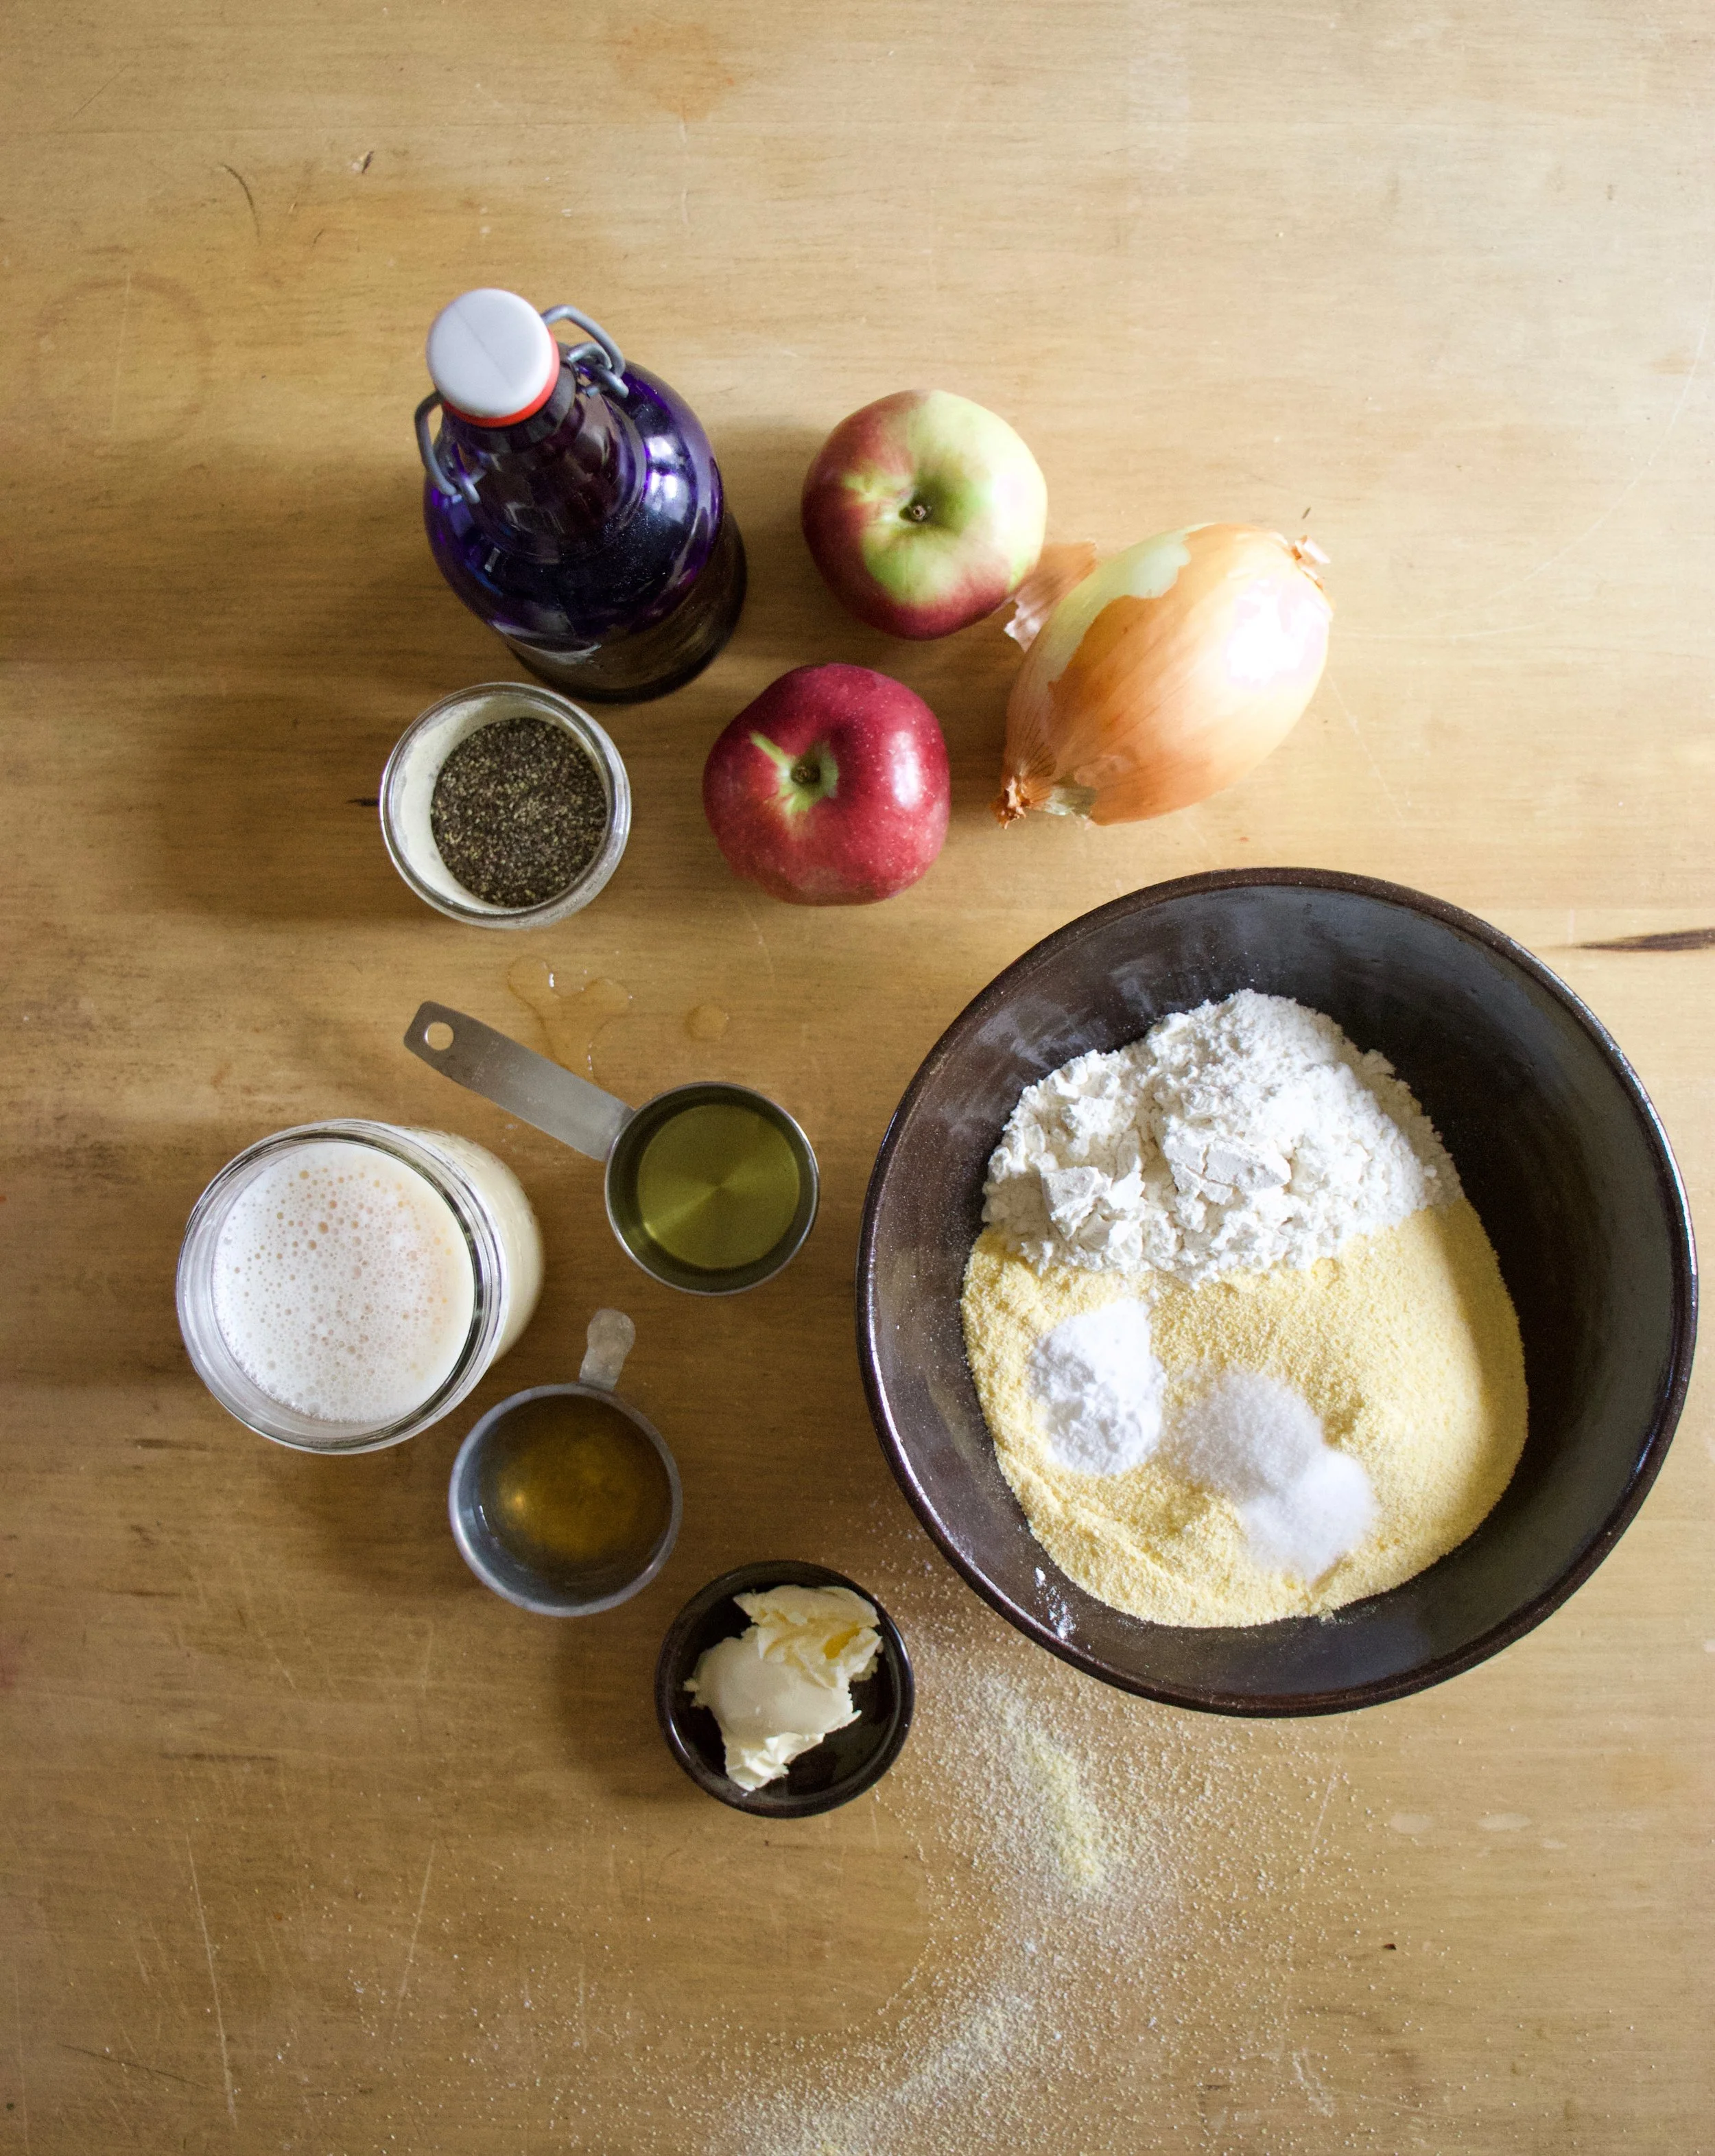
The stuff. A couple apples, an onion, cornmeal, flour, salt, and baking soda. Also soy milk, oil, apple cider vinegar, maple syrup, pepper, Sansa little earth balance.
Start by thinly slicing the onions. Toss them into a oven safe skillet with about a tablespoon of earth balance and place on a medium heat.
Once the onions are cooking, thinly slice the apples too.
Toss the apples in with the onions and stir around wait a few minutes and stir around some more until the stuff all looks like%u2026
This. The apples ans onions are super tender sans soft and amazing and do not eat them all, but maybe have bite or two.
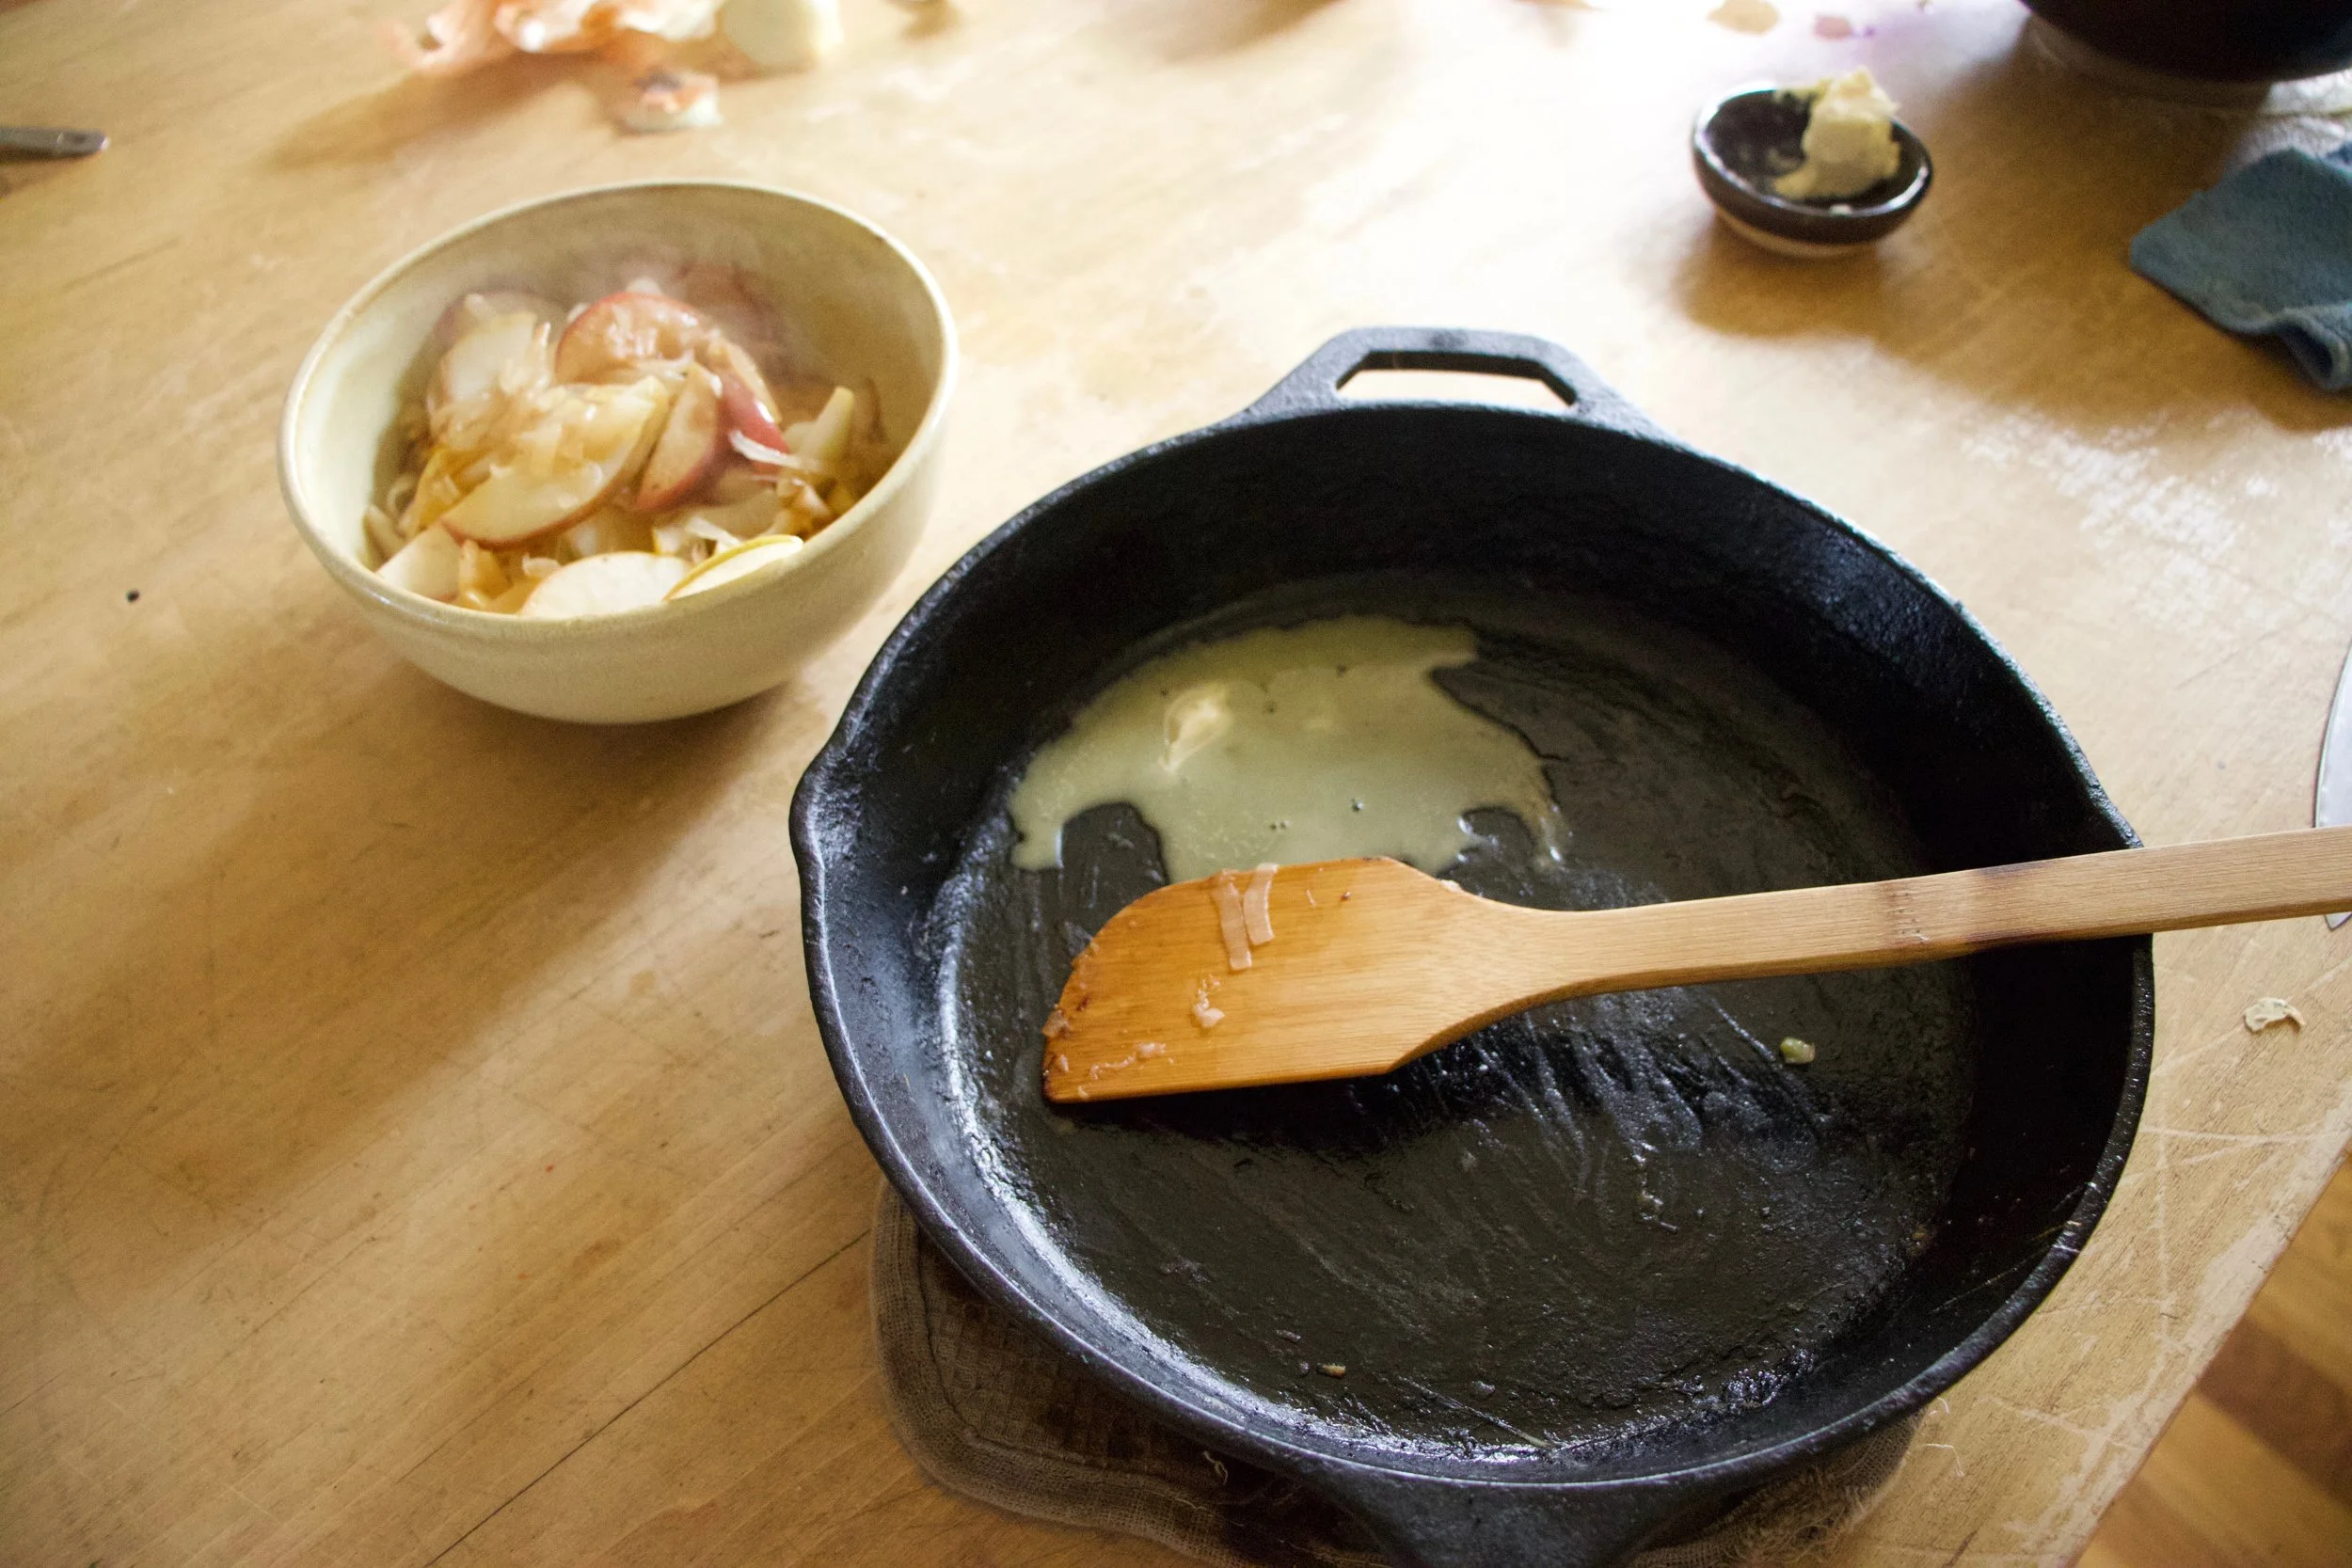
Scoop the mixture out of the skillet ans melt another tablespoon of earth balance into the skillet, trying to evenly coat the bottom.
Now to the cornbread. Mix together all of the dry ingredients.
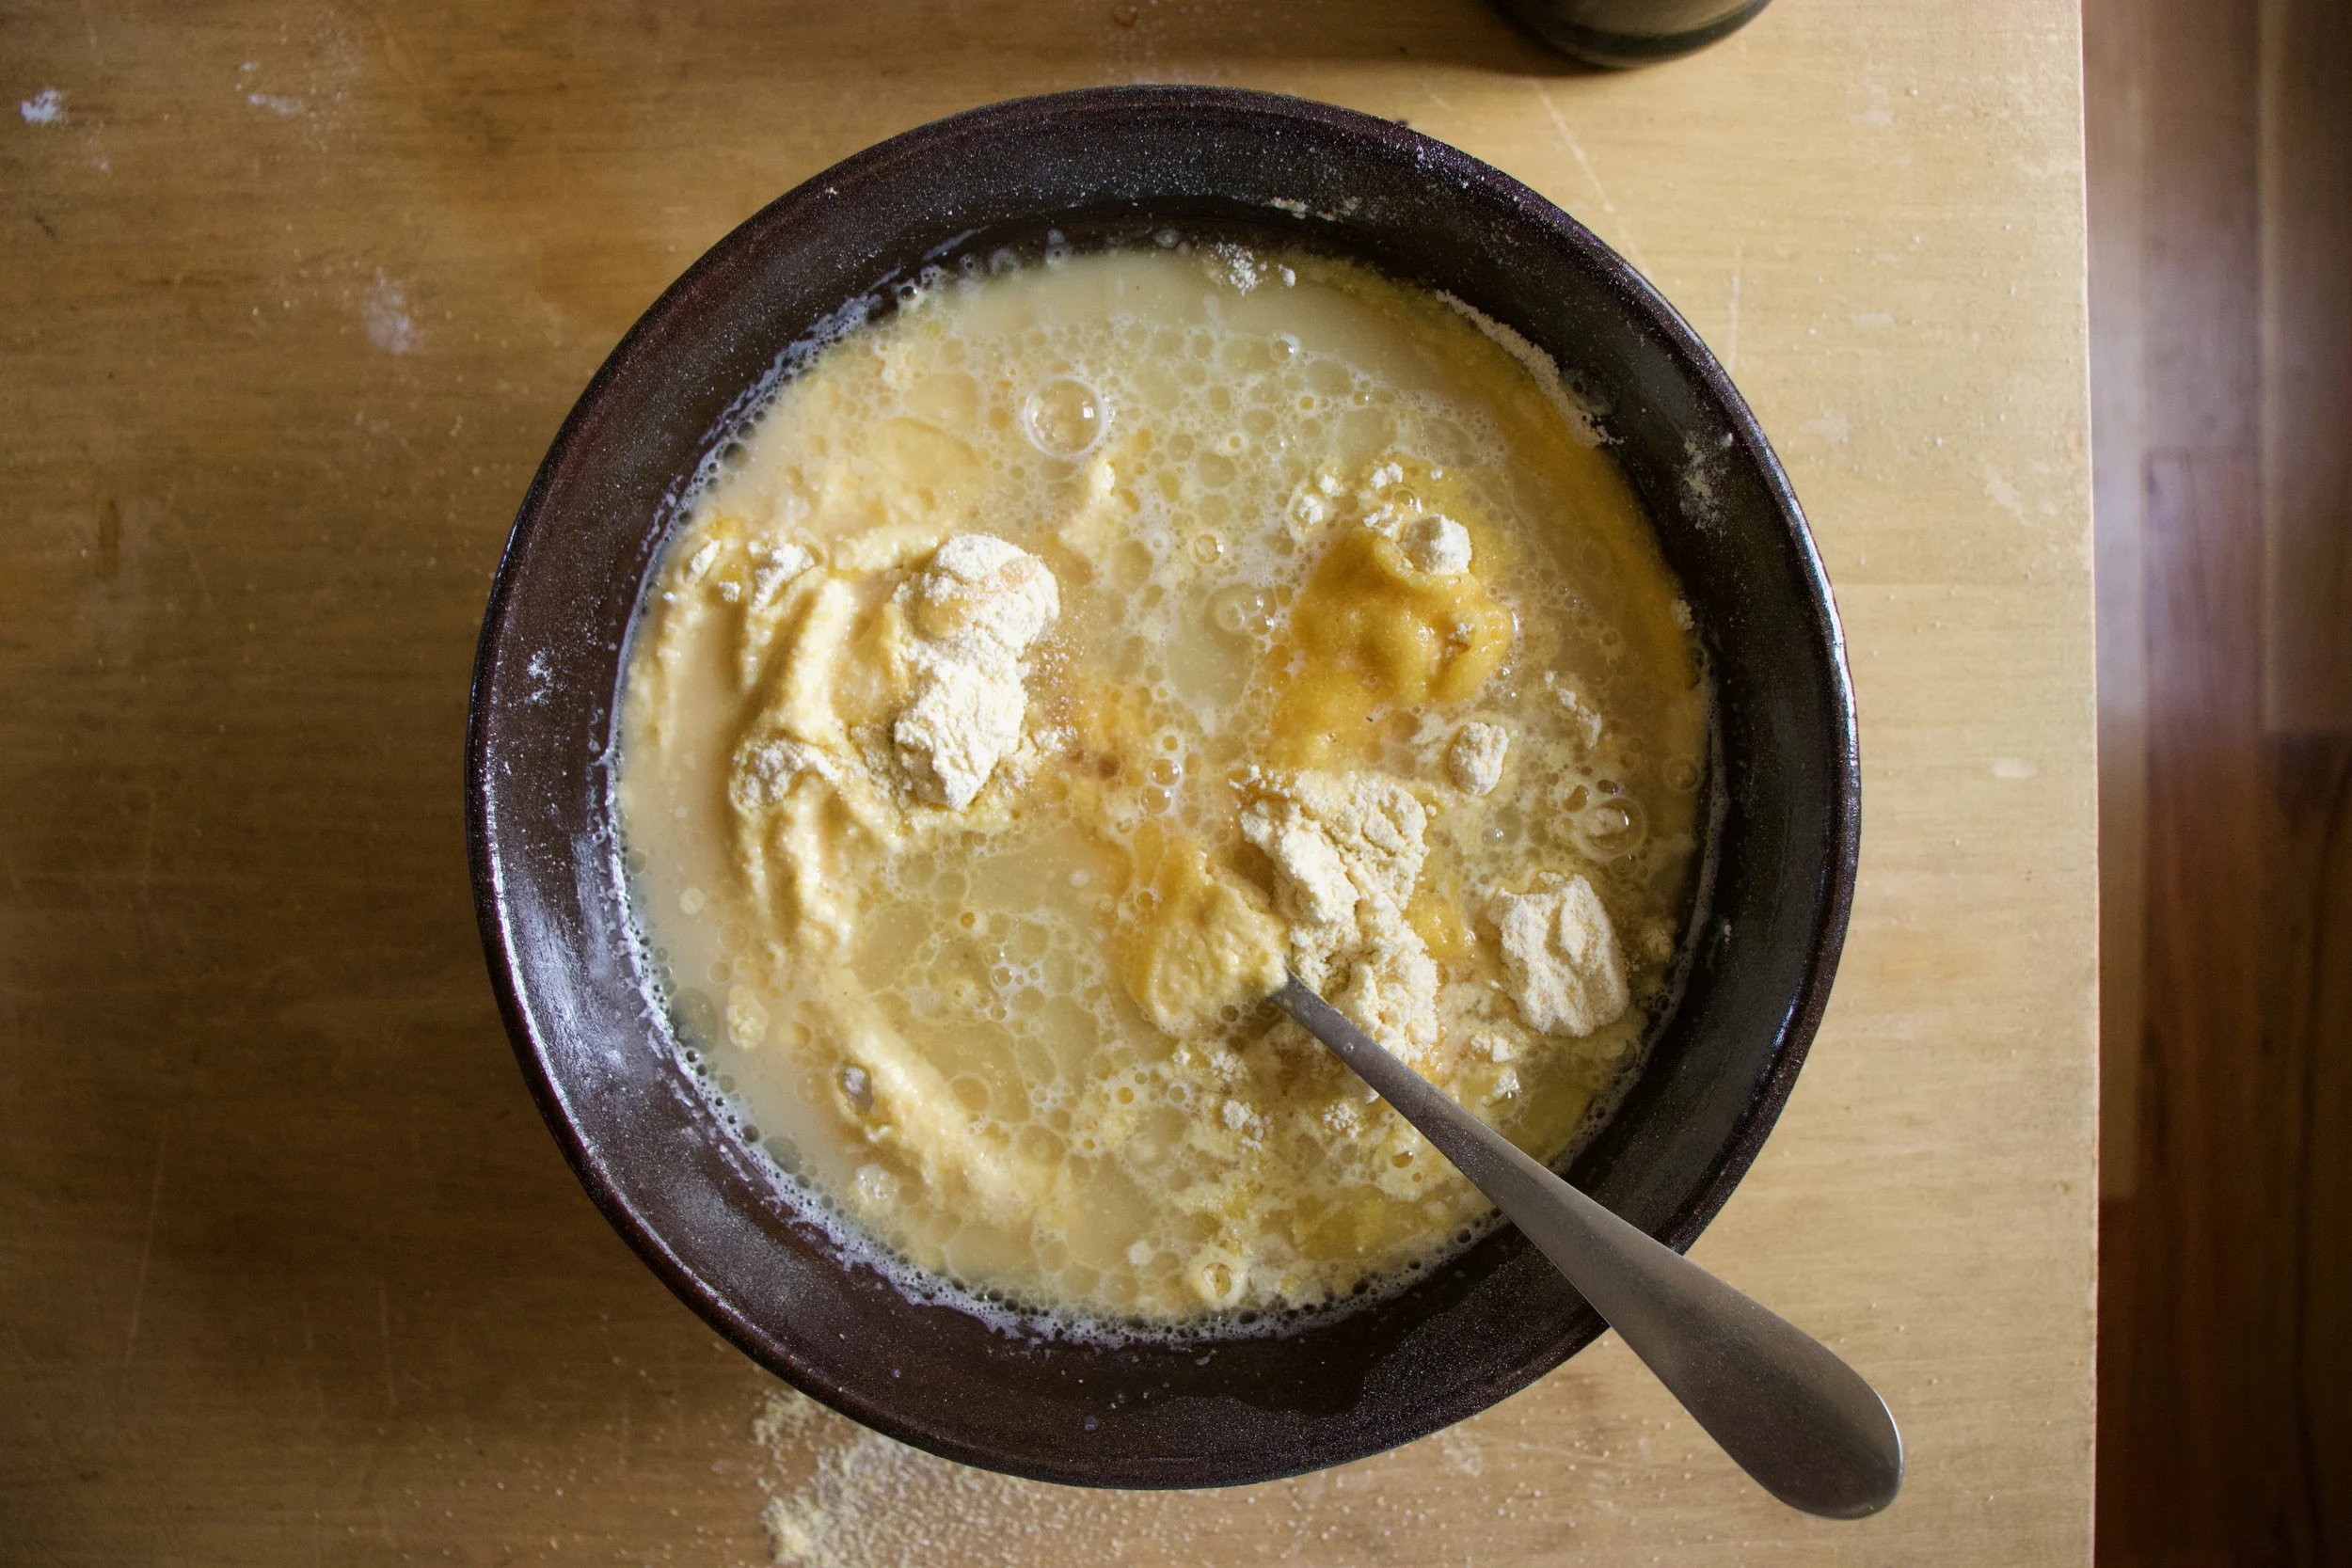
Then add in all the wet and gently mix until completely incorporated.
Pour the batter into the greased skillet
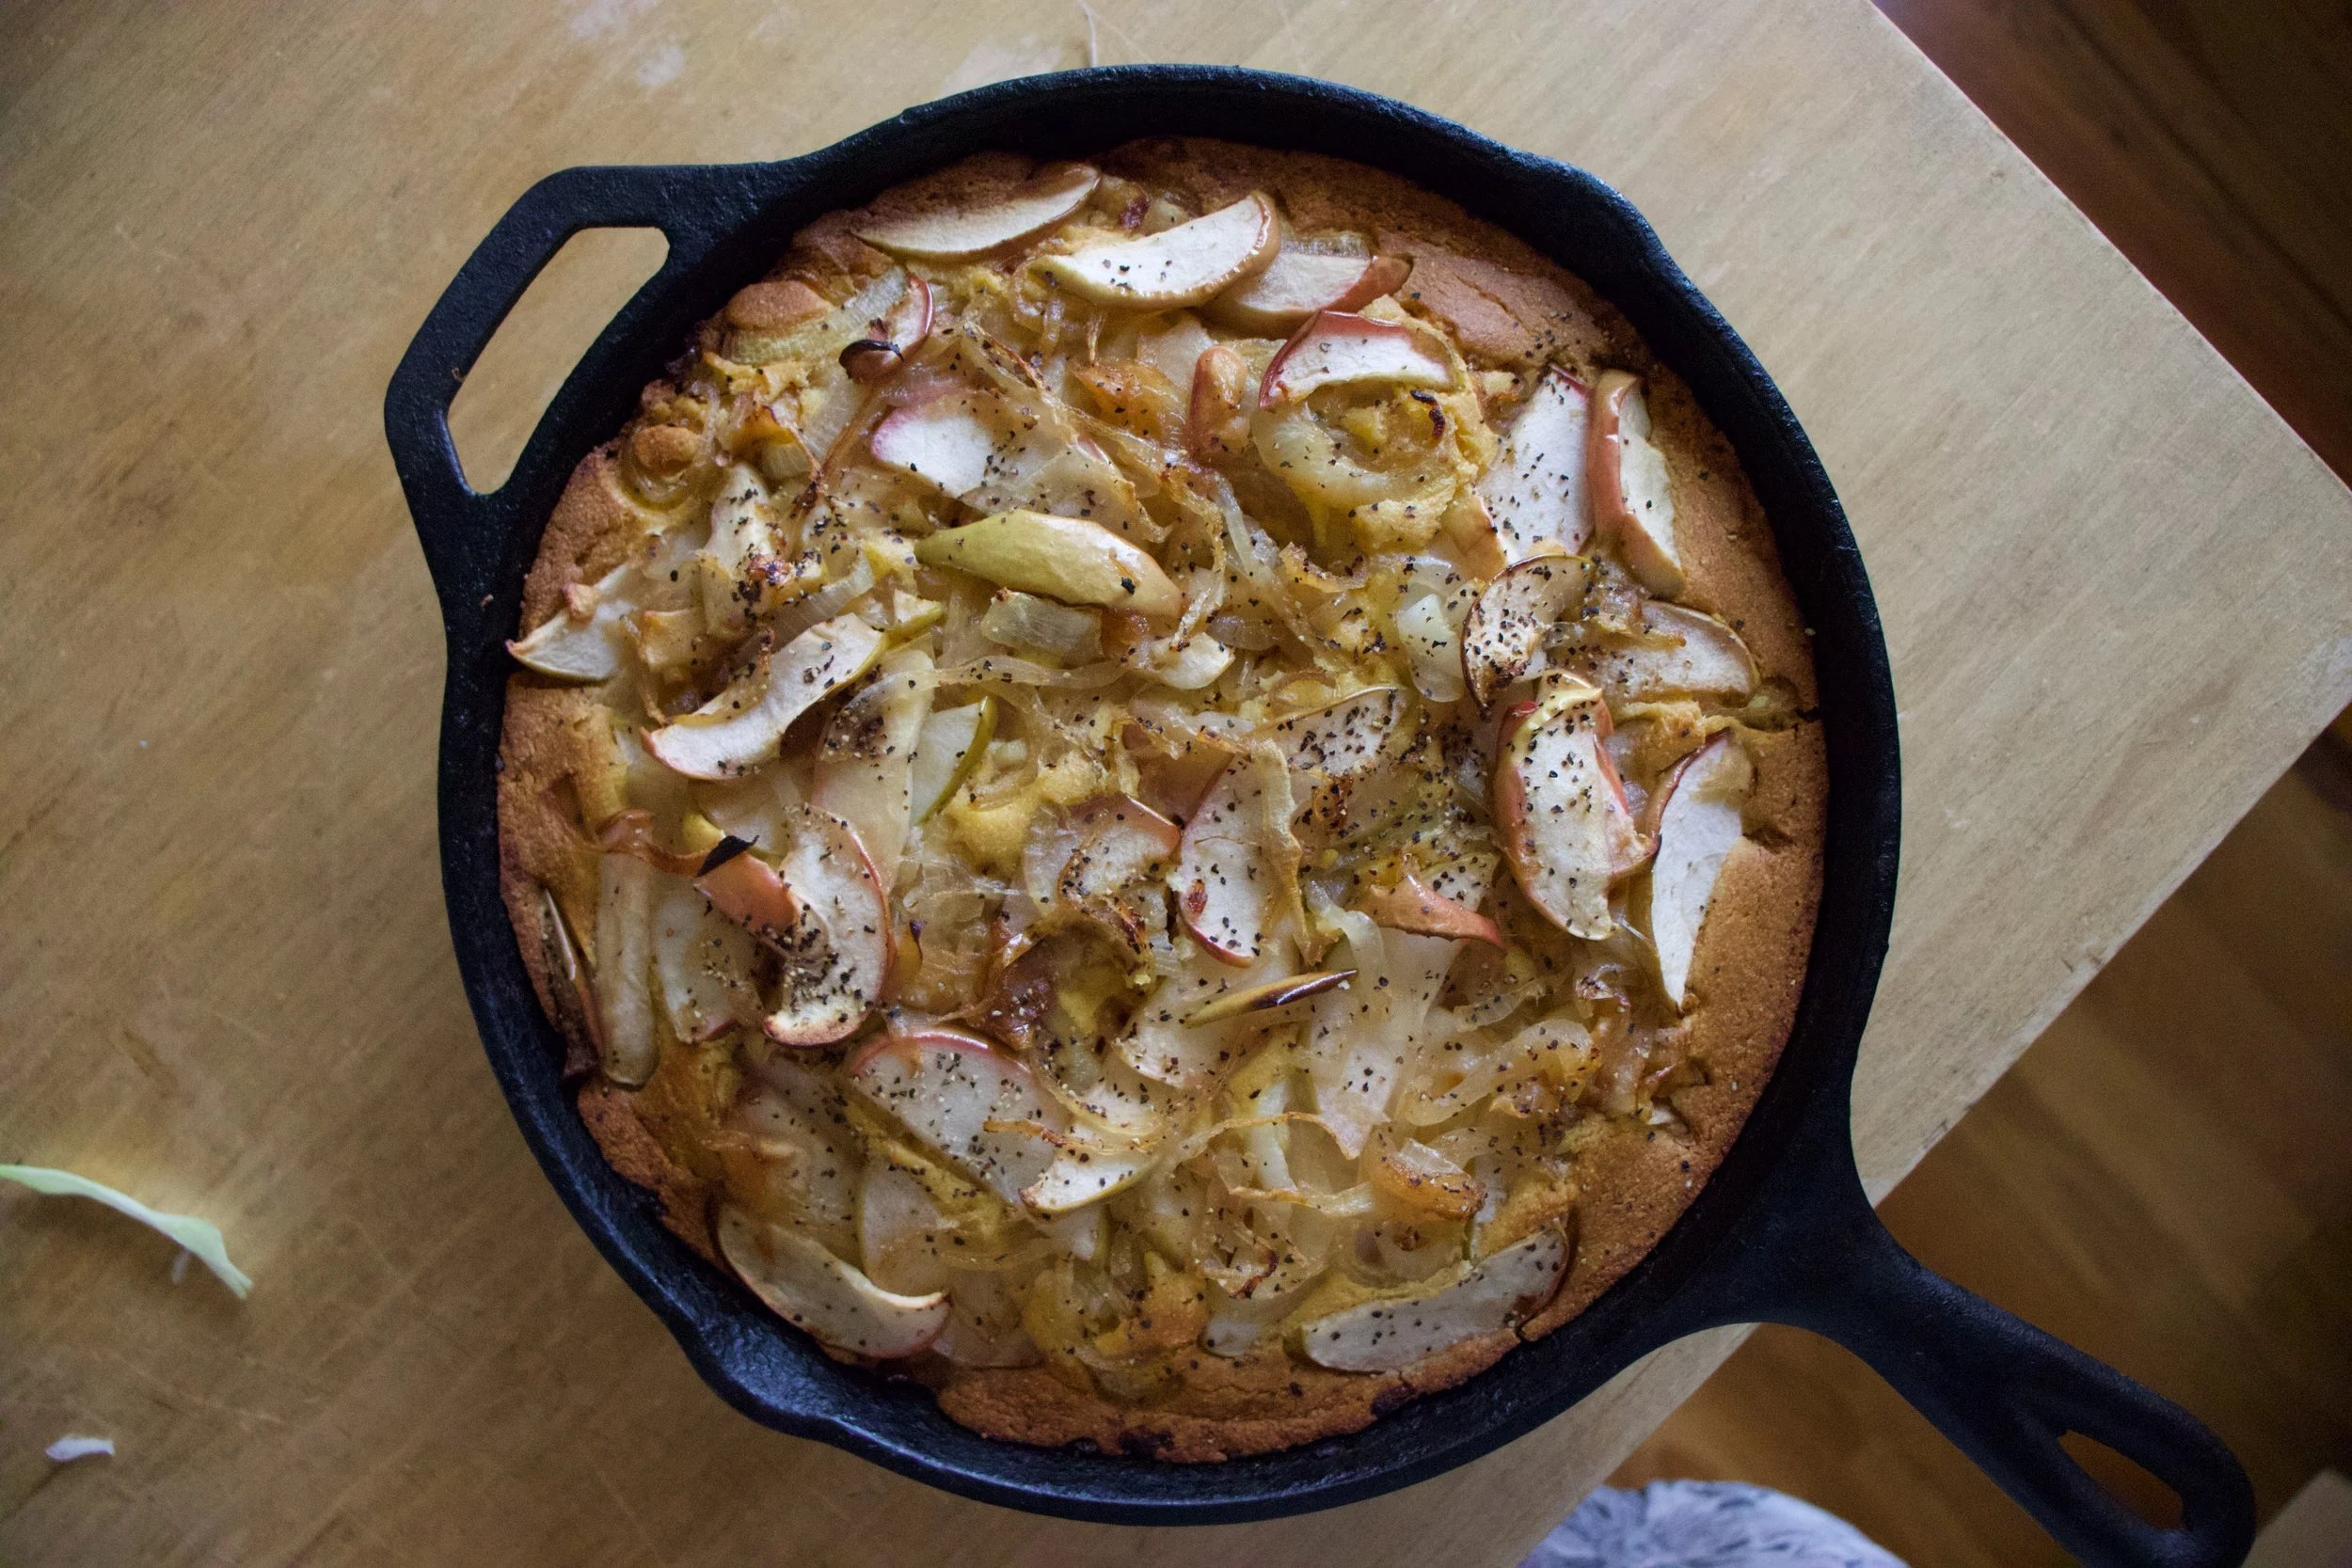
Top with the apple union mixture then pop into the oven for about 40-45 minutes to bake.
Golden crisp and amazing smelling. Check for donees with a tester stuck in the middle and when its done, its done.
Now the hard part. Let it cool. You can go right at it, but it will crumble and fall apart. This bread really needs a little time to chill.
Then it%u2019s time. Eat what you need. Careful, it might be all of it.
-C
If you come around my house in the cold months, you will more times then not find yourself faced with fresh bread. Why? Well because I like to bake bread. But mostly, if I am honest, when I am cold, I bake. (We keep the house heat off until at least November 1. After that we keep the heat at a low 60 when it%u2019s on.) I like the house to be kept on the colder side, but sometime, it%u2019s a little brisk so if I am home and cold, I am probably just going to bake something, to stay warm of course. This focaccia was my first foray baking to stay warm of the cold season. It was 40 degrees out and the heat still wasn%u2019t on, and I just so happen to be going through my spice drawer and found a batch of everything bagel seasoning that I had mixed up a couple months ago that needed to be used. Hence the bread.
Cold weather+found seasoning+I should make something for dinner=everything bagel focaccia. Or you can just make it because it is super easy and every time I make focaccia it gets gobbled right up. Especially this time. Barb and the mr ate half of it at dinner. And I think the other half was gone by the next day. To quote the mr. %u201cThis focaccia is professional%u201d. He said it with a mouth full of bread. No shit dude. I am professional. Ha
The stuff. Flour, yeast, warm water, everything bagel seasoning, sea salt, pepper, and olive oil.
Start with getting the yeast and warm water mixed together. Let it sit for a minute or 5, just to make sure it is active (this is more important to do if you are not using fresh yeast)
Once you are sure your yeast is alive, add in the flour and mix together until you are having a hard time mixing anymore.
Dump dough onto a floured surface and start to knead. Probably for 5 minutes, until you dough looks like%u2026.
This. Kneaded until smooth and beautiful .
Place dough into a deep bowl and drizzle with olive oil. Make sure the whole ball is coated. Then cover with a damp cloth and stick in a warm place to rise for about an hour, or until the dough has doubled in size.
Once dough has doubled, grab your baking sheet (can use a pan) and coat the pan with about 2 tablespoons olive oil.
Place the dough into pan and spread it out using your fingertips. Flip the dough over if you need to and keep dimpling the dough until it hits all the sides. Drizzle on another tablespoon of oil on top.
And don%u2019t forget the seasoning. Sprinkle on all the everything seasoning along with the sea salt and some cracked pepper. Make sure to be somewhat liberal with the seasonings too because you know that%u2019s what you want.
Into the oven for 30ish minutes then out of the oven
Look at all the everything.
Drizzle the top of the bread with a little more olive oil, pop it out of the pan, stick it on a cutting board, and that%u2019s it. Now watch your slab of bread disappear.
Happy bread baking. Stay warm.
-C
make a 9×13 slab of bread
4 cups all purpose flour (plus a little more for kneading)
2 cups warm water
2 teaspoon yeast (or one packet)
3 tablespoons everything bagel seasoning*
1 tablespoon sea salt
cracked pepper
about 1/3 cup very good olive oil
*Note To make your own everything bagel seasoning mix up equal parts dried minced garlic, dried onion flakes, sesame seeds, and poppy seeds. Or I think you can buy it now at the store with all the other spices. But it%u2019s probably cheaper to make it yourself.
To start, place yeast and warm water in a big bowl. Mix until incorporated and let sit for a minute or two or until you see little bubble form, just to make sure the yeast is active. When your sure it%u2019s good, add in 4 cups of flour. Mix with a wooden spoon or dough mixer until it becomes hard to mix anymore. Dump the dough onto a flour surface and start to knead, adding a little bit of flour as you go if it became to sticky, until the dough is smooth and uniform. Should take about 5 minutes. Place the kneaded dough back into bowl (scrap any of the extra bits out first) and drizzle with olive oil. Make sure the whole dough is coated. Cover the bowl with a damp towel and place in a warm spot. Let dough rise for an hour, or until it has doubled in size.
Preheat oven to 375.
Once dough has doubled, grab a 9×13 baking sheet or pan and coat with 2 tablespoons of olive oil. Really make sure the pan is well greased. Place dough into pan and with the tips of your fingers, smoosh and spread dough until it has filled up the pan. Drizzle with another tablespoon of oil then take your seasoning and evenly spread it all over the top. Sprinkle with salt and add a little cracked pepper. Now pop it into the preheated oven. Bake for 30 -35 minutes or until the bread has turned a nice golden brown.
Remove from oven and right away drizzle on another tablespoon or so of olive oil. Let sit for a few minutes to absorb then pop the bread out of the pan and place on a rack or cutting board and either let cool, or not. Warm focaccia is loved by all.
I really am just trying to find new ways to use up as much corn as I can. The mr won’t really eat it (he says he hates it, but doesn’t really, but is now really not eating it) and the littles can only eat so much. I have some in the fridge pickled, some in the freezer, and yet every time I come home from farm share I end up brining like 15 more pieces home with me. So I had to get a little crafty with this last batch. I milked it and made biscuits. And it was exactly the right thing to do. Making corn milk was genius (which makes me a genius?) and I am now going to be baking everything with it until I use up all the corn.%u00a0
These biscuits are very versatile, like all good biscuits should be.%u00a0I served them to Barb and the mr with chili and of course they loved them but also I smothered raspberry jam all over a few and the mr was into that. Butter or almond butter too, or just plain. They can be eaten in all sorts of yummy ways.%u00a0%u00a0And if you really are into the corn milk part but not the jalape%u00f1o or lime-ness of the biscuit, just don’t add that stuff in. A simple corn milk biscuit would be just fine too. %u00a0Aaannd if you have a corn hater in the house, they still will probably like theses, or so this goes my experience, although I still don’t think he hate corn. But what do I know?%u00a0
To the biscuits.
The stuff. Corn, soy milk, a lime, a few jalape%u00f1os, and earth balance. In the bowl we have some %u00a0flour, baking soda, baking powder, and salt.
Cook tha corn. A quick few minutes in boil water will do the trick.%u00a0
Get all that corn off those cobs. Sure you can nibble, it’s hard not to.%u00a0
Fresh corn and soy milk go into the blender and blended until all smooth and creamy. Taste it.. it is pretty creamy dreamy. %u00a0
That is the corn milk. You could drink it just like this and it would not be weird. It is delicious.%u00a0
Get you jalape%u00f1os, remove seeds, and give them a good small dice and toss them into the bowl with the flours and stuff.%u00a0Also zest the lime into the bowl with the flour.
Cold plant butter goes in first and cut in (I used fork, but you could use a pastry blender) until the dough looks crumbly. Add in the corn milk and the juice from the lime %u00a0and gently stir to just combined.
Dump the dough onto a floured surface and gather it all together then lightly press it down until %u00a0it’s about an inch thick.%u00a0
This is the best part,%u00a0(%u00a0Because I love the look of the cut out dough.. It apeals to me in some great way that I don’t yet understand)%u00a0cut the biscuits. I went and grabbed a biscuit cutter which I barely ever use, so that was a win.
Once you cut out the first biscuits, you can gather the dough and gently press it back together and cut out %u00a0more until you use all the dough.
Place the cut out biscuits on a baking sheet and brush the tops brushed with a little corn milk then into the hot oven they go.
Out they come looking all biscuity and such.. And don’t mind the red reflection. That be my shirt. Note to self and to all.%u00a0Don’t wear red while taking pictures with reflective materials.%u00a0
Letting the biscuits be cool, just for a few minutes.
Still slightly warm all cozied together.%u00a0
Nothing like a basket of biscuits to make people happy.
-C
makes about 15 smaller biscuits%u00a0
Cook corn by removing husks and %u00a0dropping into a pot of boiling water for about 5 minutes. When corn is cooked, remove from water and allow to cool.%u00a0%u00a0Once cooled enough to handle, cut all the corn off the cob and place into the blender with the soy milk. Blend until smooth. It should measure out to be a little more then 2 cups. If you have less, add in more soy milk until is measures 2 cups. %u00a0Place corn milk in fridge for at least 1/2 hour to cool.%u00a0
Preheat oven to 450.
Place flour, salt, baking soda, and baking powder into a large bowl.%u00a0Zest the lime in as well and mix it all together.%u00a0Grab jalape%u00f1os, cut in half, remove seeds, then dice into very small pieces. Mix those into mixture. %u00a0Now cut in the butter with either a fork or pastry blender until the mixture is crumbly. Add in juice of the lime and 2 cups of %u00a0the cooled corn milk and mix until just barley incorporated.
Dump the mixture onto a flour surface. Gather it al together and then press it flat until its about an inch thick. With a biscuit cutter, or a knife if you want square biscuits, cut out biscuits. If you use a cutter, place cut biscuits onto a baking sheet then gather the remaining dough and gently press back together and cut out more biscuits until dough is used up. %u00a0Once all the biscuits are on the baking sheet, brush the tops with corn milk %u00a0if you have a little left over or just plain soy milk then place them into the hot oven.
Bake for 17-22 minutes or until the biscuits are a nice golden brown. Once baked, remove from oven and place on a cooling rack to cool, or toss into basket with a tea towel and serve warm.
Then eat them.