
THE LOVELY CRAZY
What do you think about at 5 o%u2019clock in the morning? Wait, are you awake at 5? Well I am and yes, I know that most people are not and think I am crazy for waking up so early, but it is and I do and whatever. Anyway, it%u2019s 5 o’clock and I am at the gym (yes, I wake up at 5 AND go to the gym) and me and my gym friend start talking about food (as usual) and what we were going to do with our Brussels sprouts that we got from the farm (I got her to join my CSA!). That is what I am usual thinking at 5. Food, and how to prepare it. And as the sprout conversation commerced, this is what materialized in my head. Crisp, crunchy fresh Brussels spouts, shredded up and tossed in a warm tangy cranberry sauce. My mouth was salivating and as usual, I left the gym hungry.
So I came home, drank all my coffee and then proceeded to make the sprout dish for lunch and let me tell you, this sprout slaw is amazing. Tangy and crunchy and all Brussels sprouty. It has a hardy salad feel without being heavy. It is a slaw that really get me, you know. (I actually don%u2019t know.)
Anyway, you should really get on the eating this Brussels sprouts slaw (or any Brussels sprouts dish) train now, before they go out of season and you end up buying kind of not great sprouts from the market that don%u2019t taste as good. Bad Brussels sprouts suck.
To the cranberry Brussels sprout slaw.

The stuff. Fresh Brussels sprouts, cranberries (fresh or frozen), some onion, balsamic vinegar, a little maple, dried cranberries and toasted walnuts, and salt and pepper.
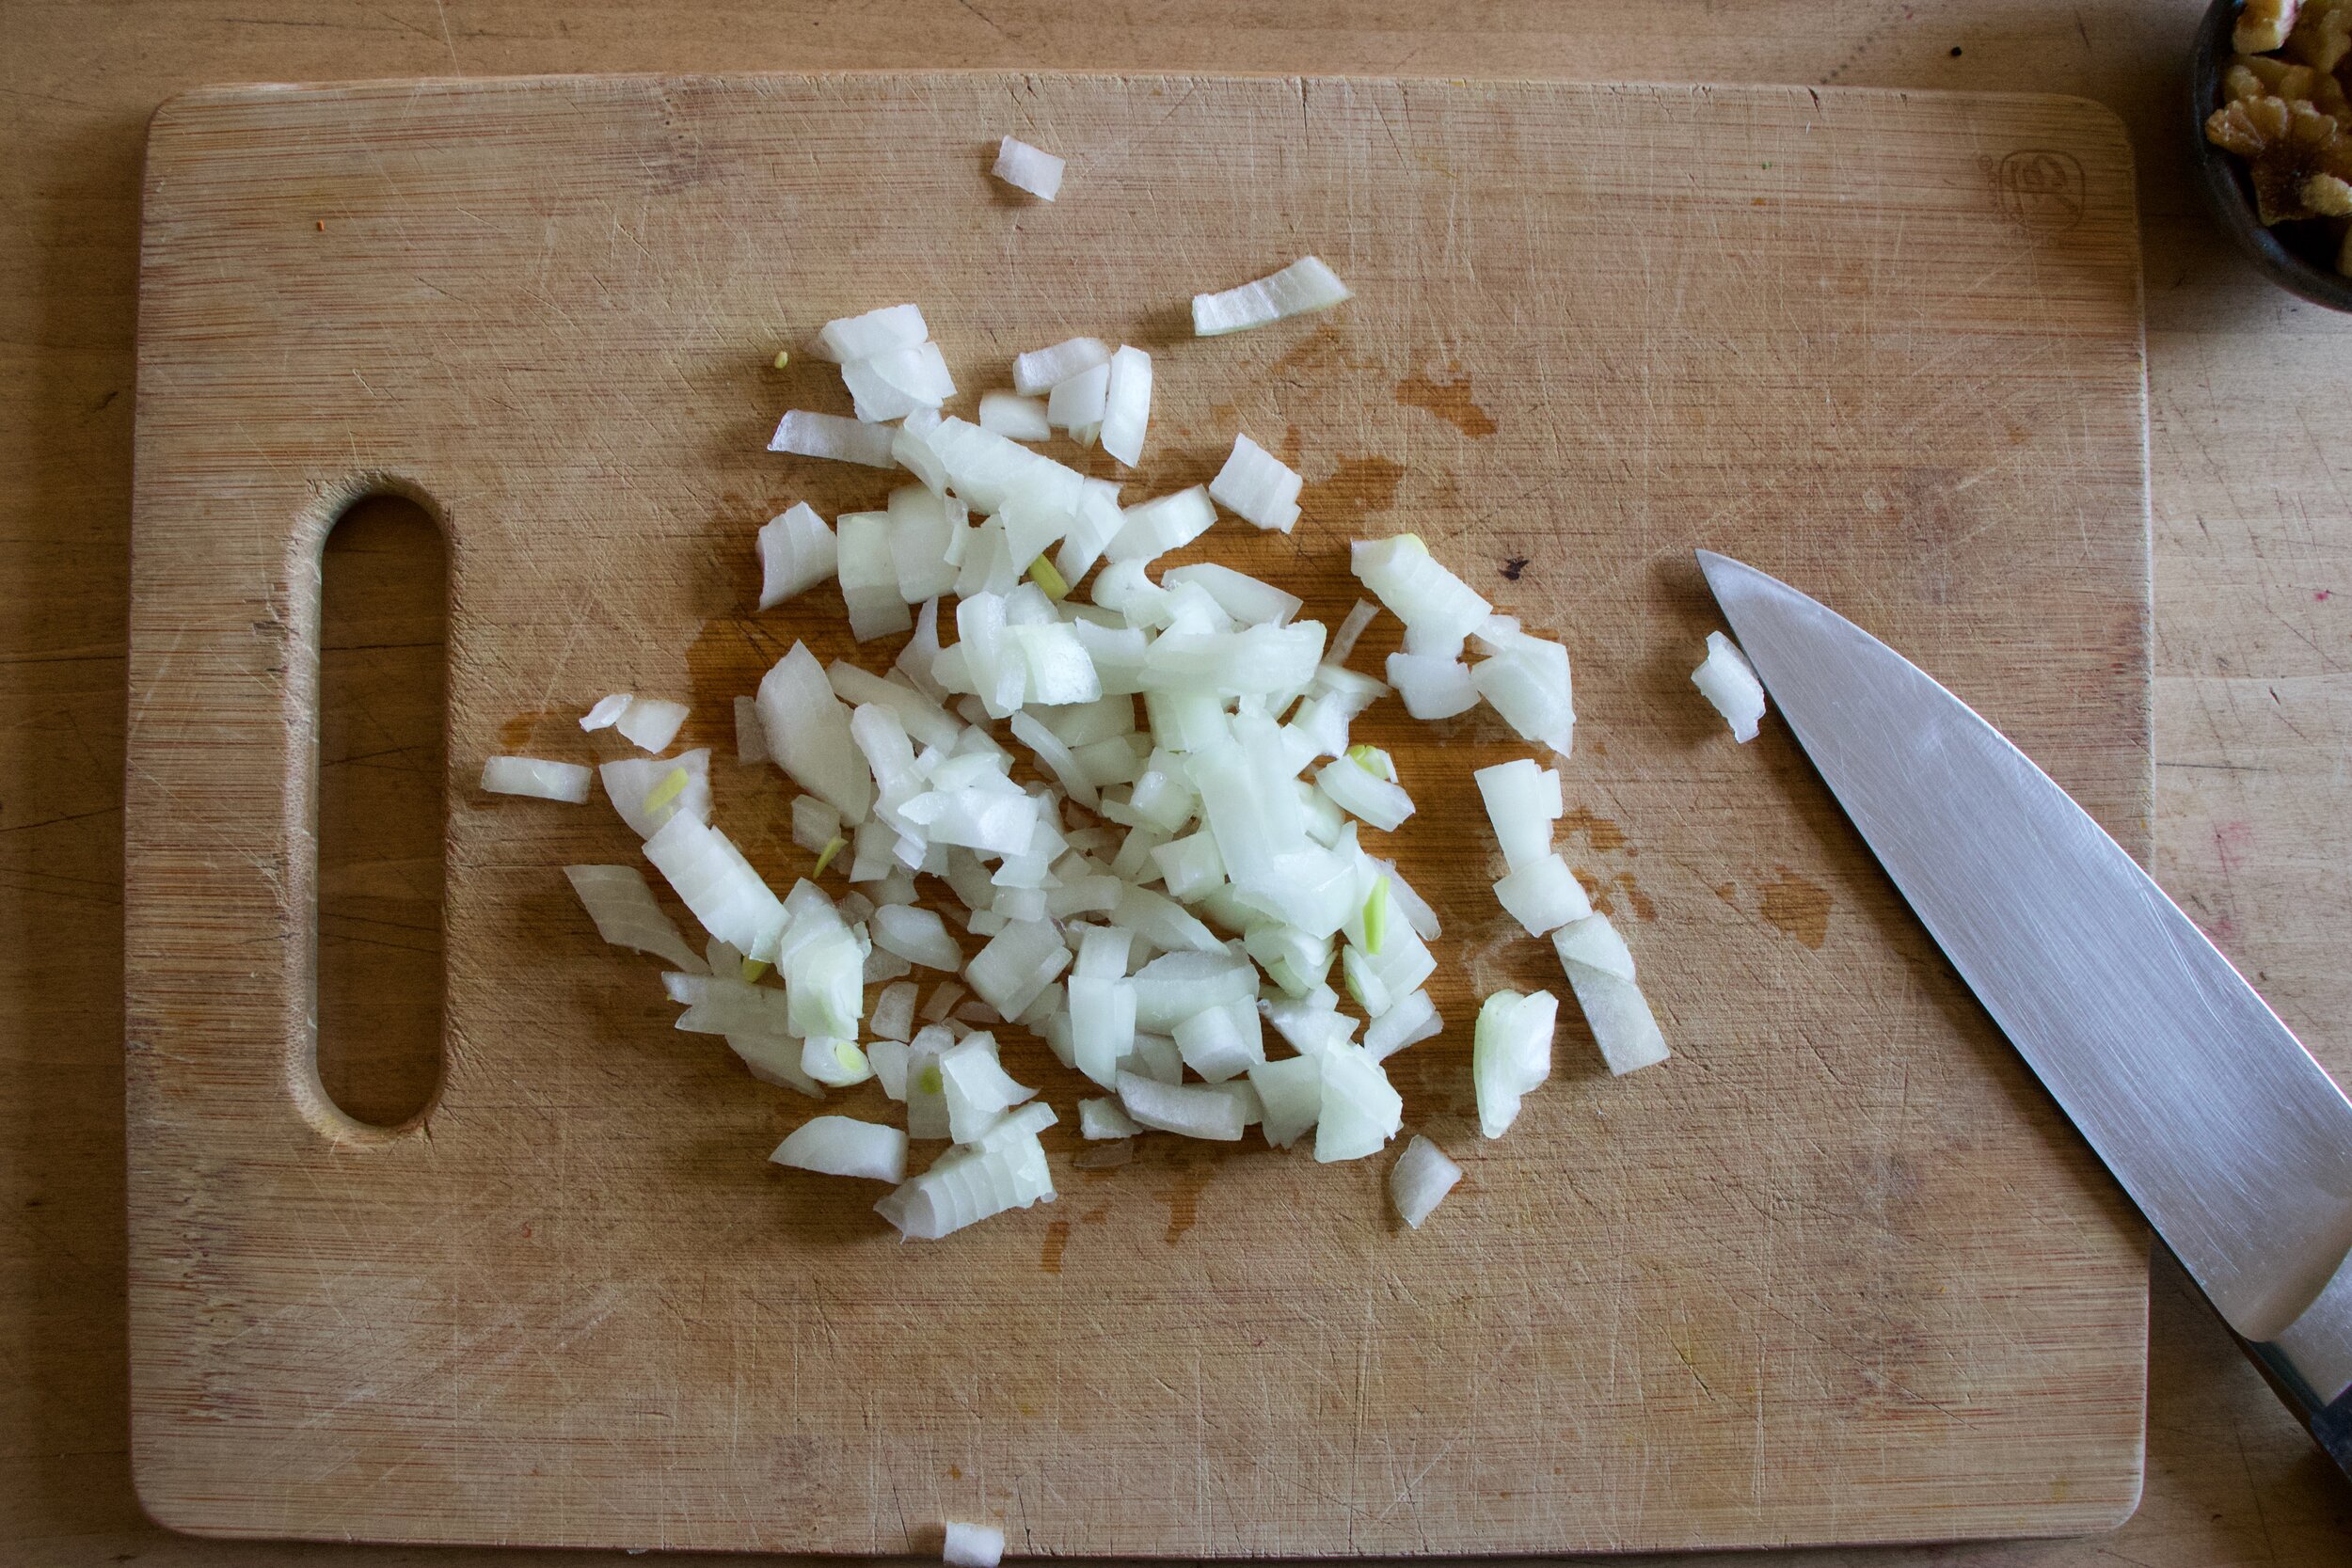
Start with onion. Grab it and dice it nice and small.
Dump the onion into a skillet with a little pinch of salt and a splash of water and cook for a few minutes, just unit they are not raw anymore. Then add in the cranberries and 1/2 cup water. Cook on a low heat until the cranberries all pop and the sauce starts to thicken.
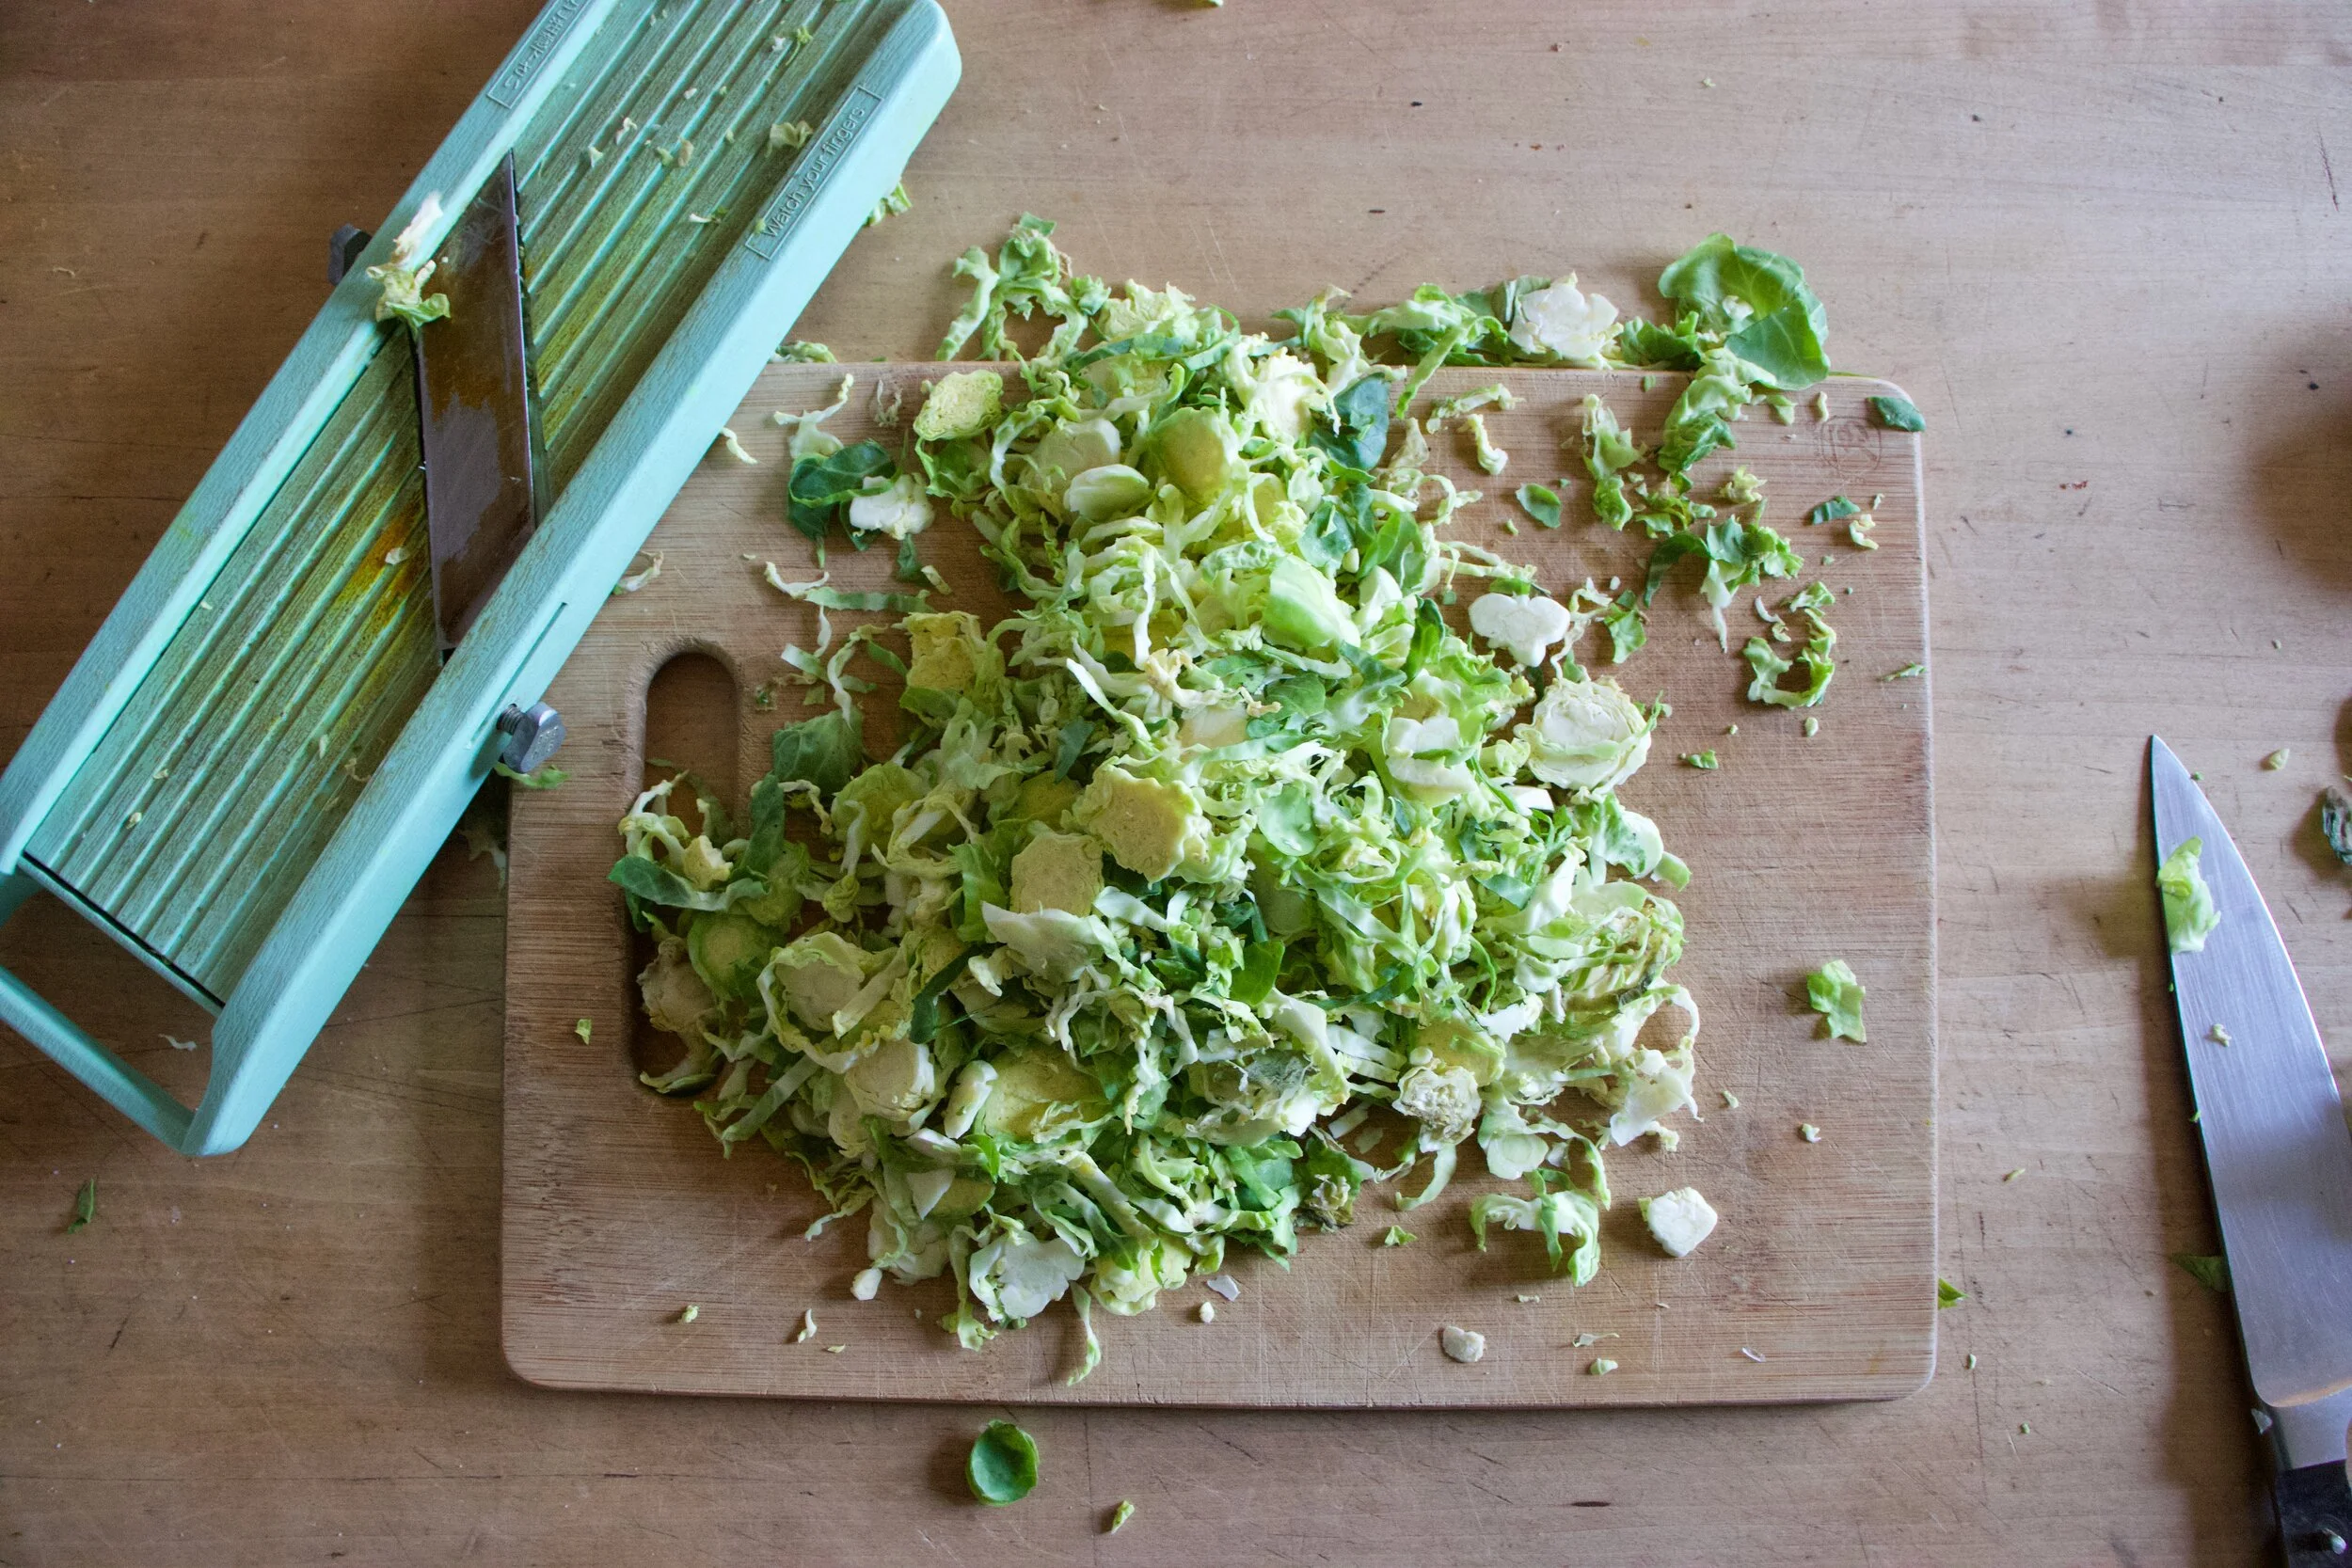
While cranberries are cooking, shred up the sprouts. Thin as you can get them.
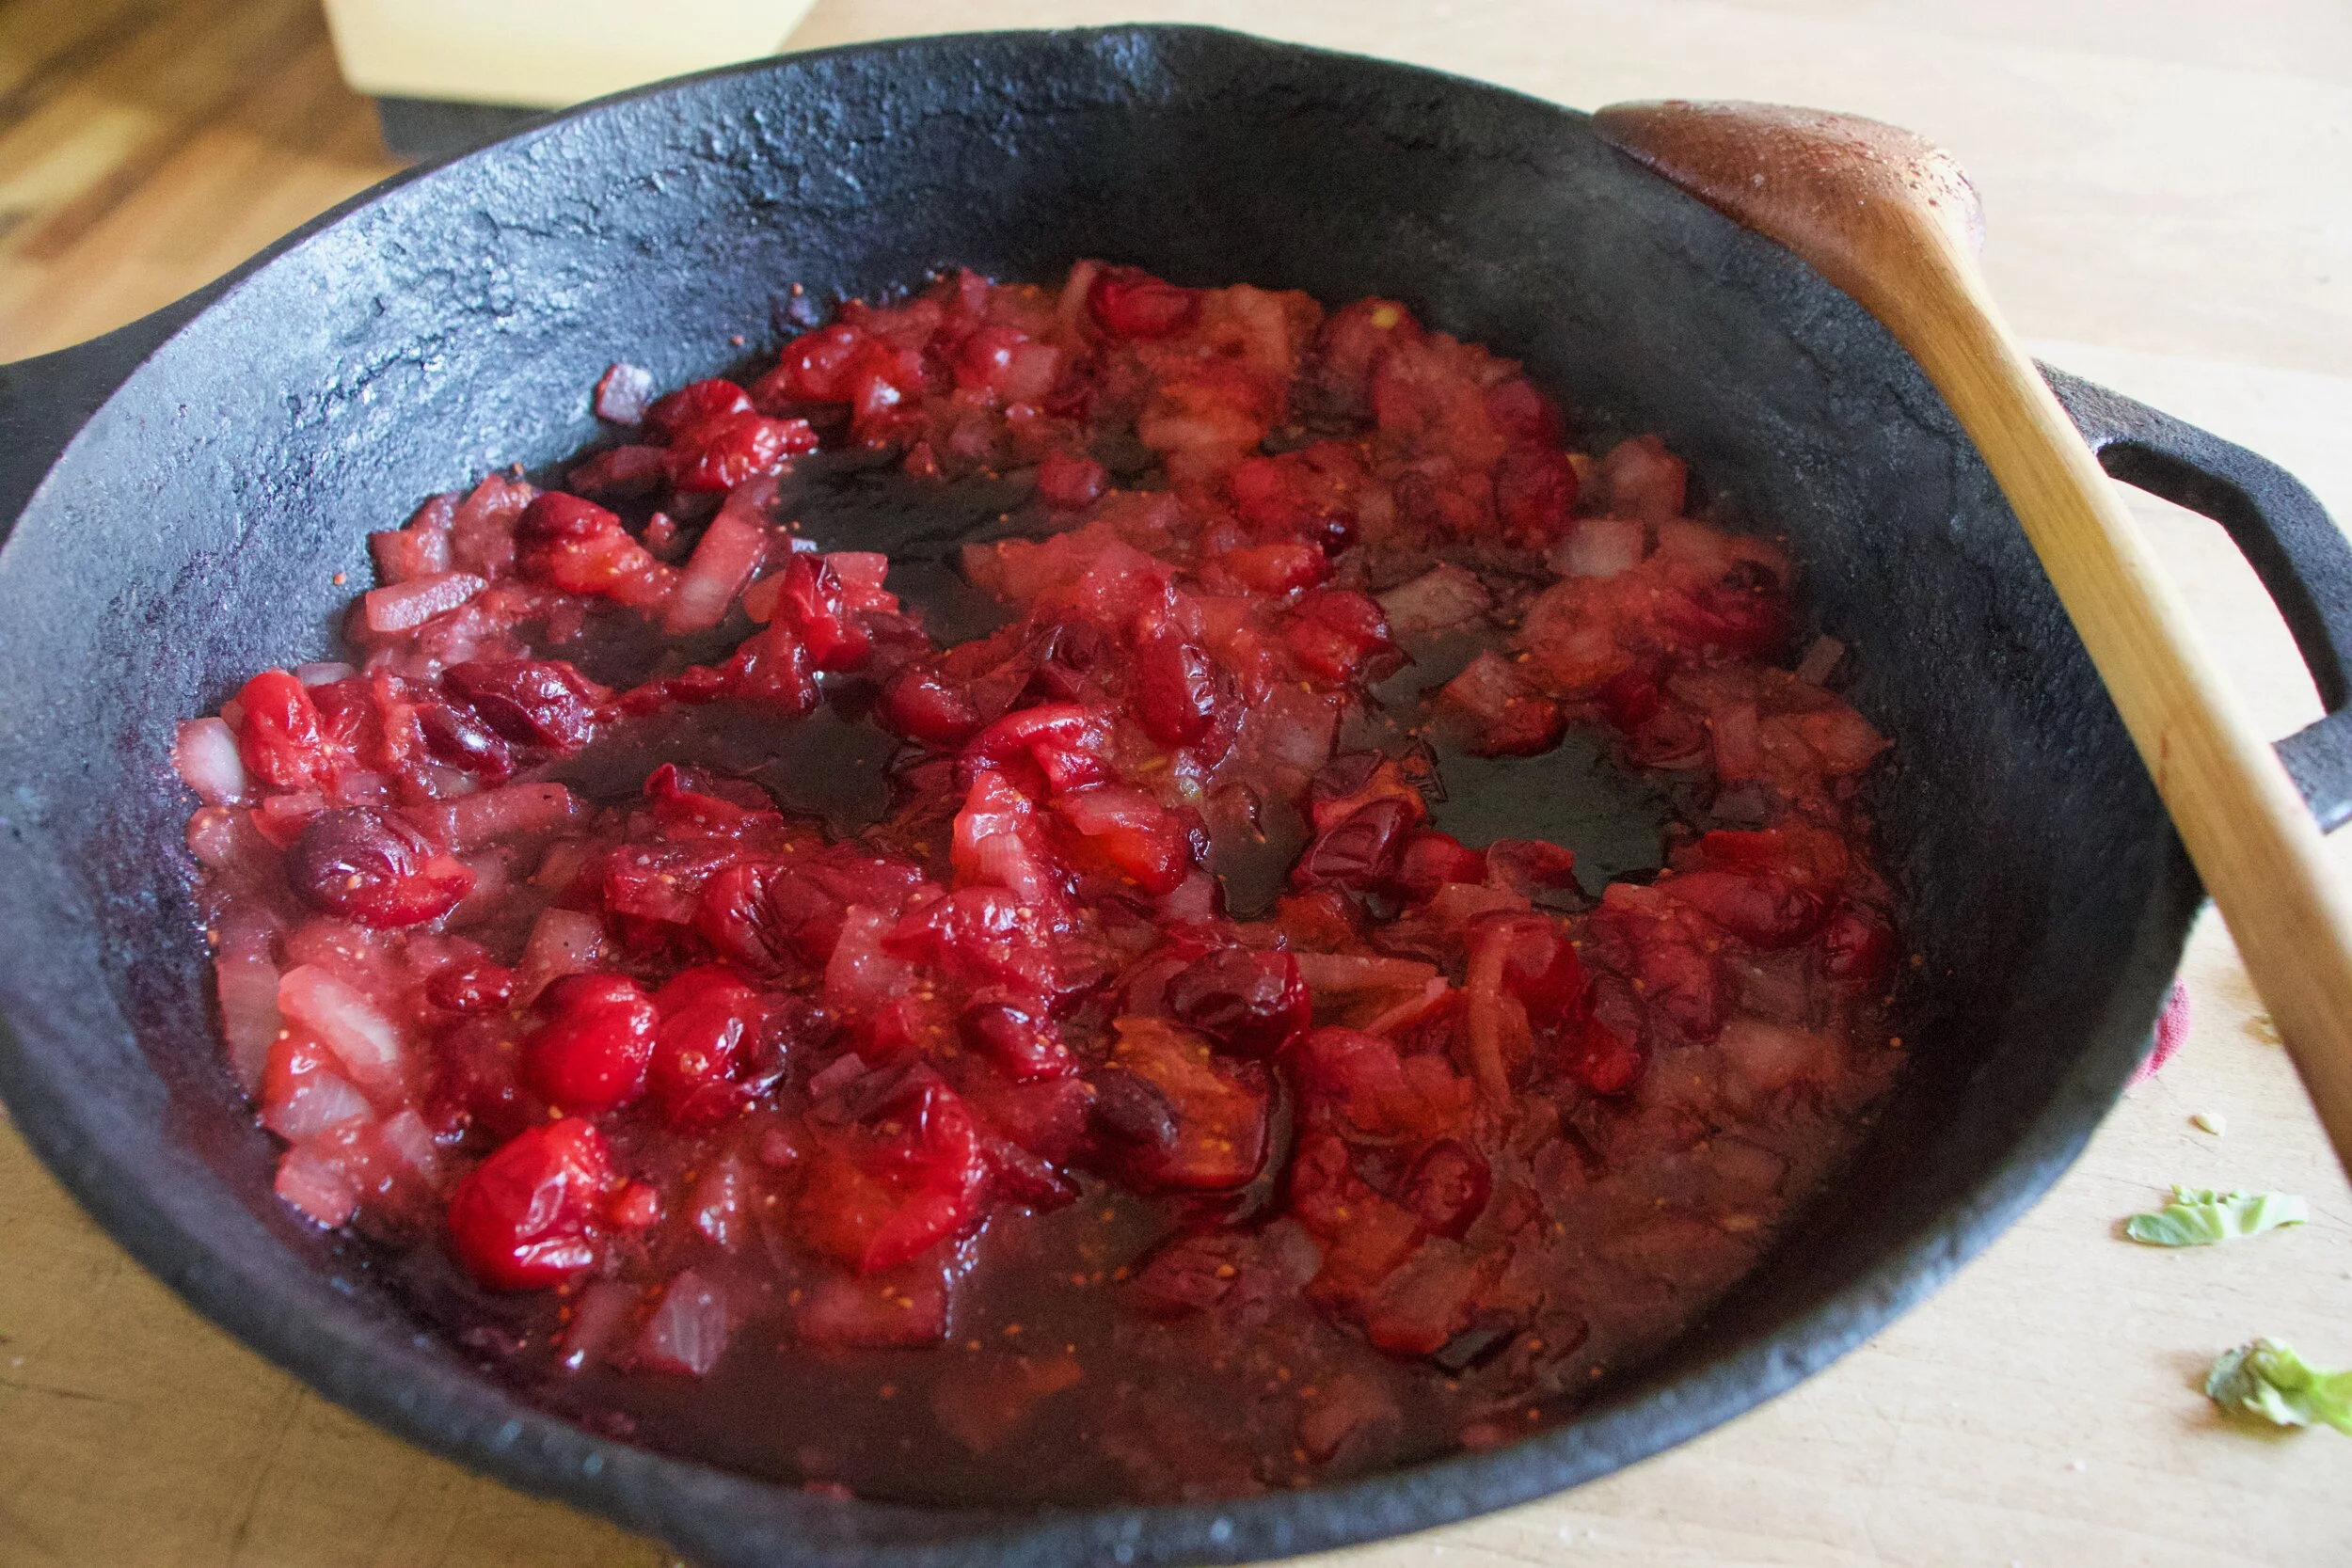
Cranberries are now a thick and chunky sauce and oh so delicious. Add in the vinegar and maple here and give it a good stir and a taste test too. If it is too tart for your liking, add more maple. Think you might need a bit more vinegar, well splash it on it.
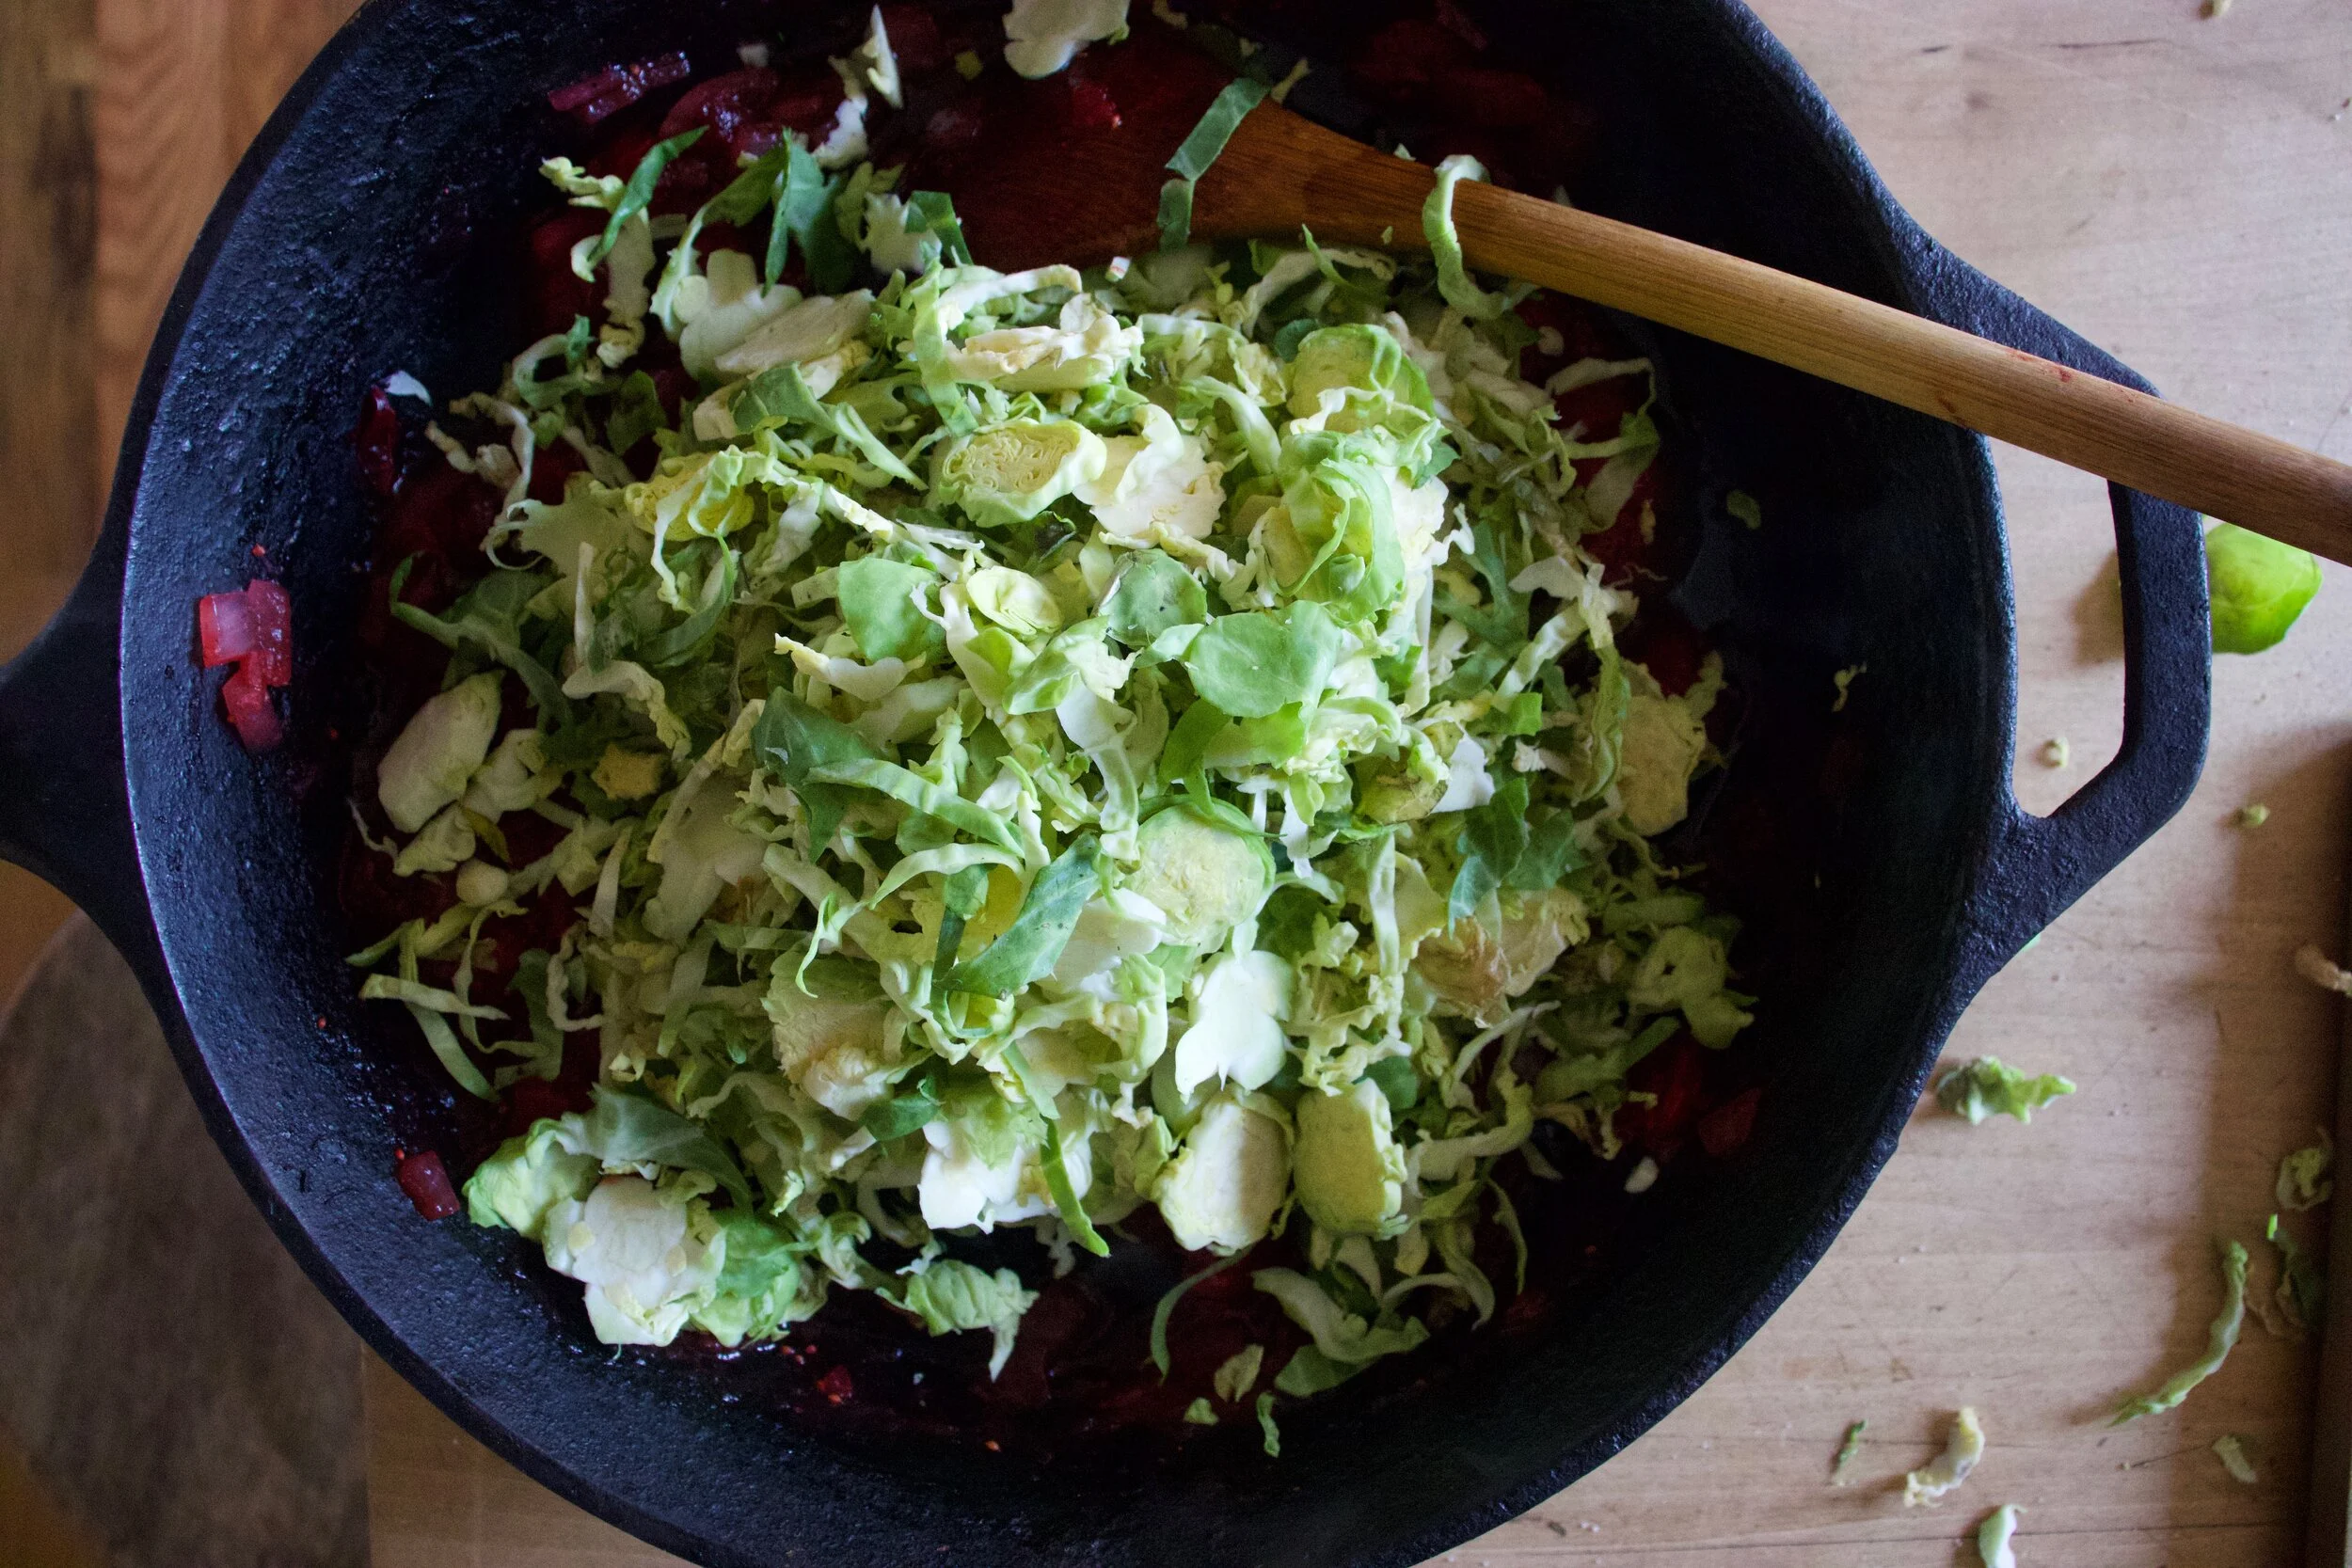
Now toss those shredded spouts it.
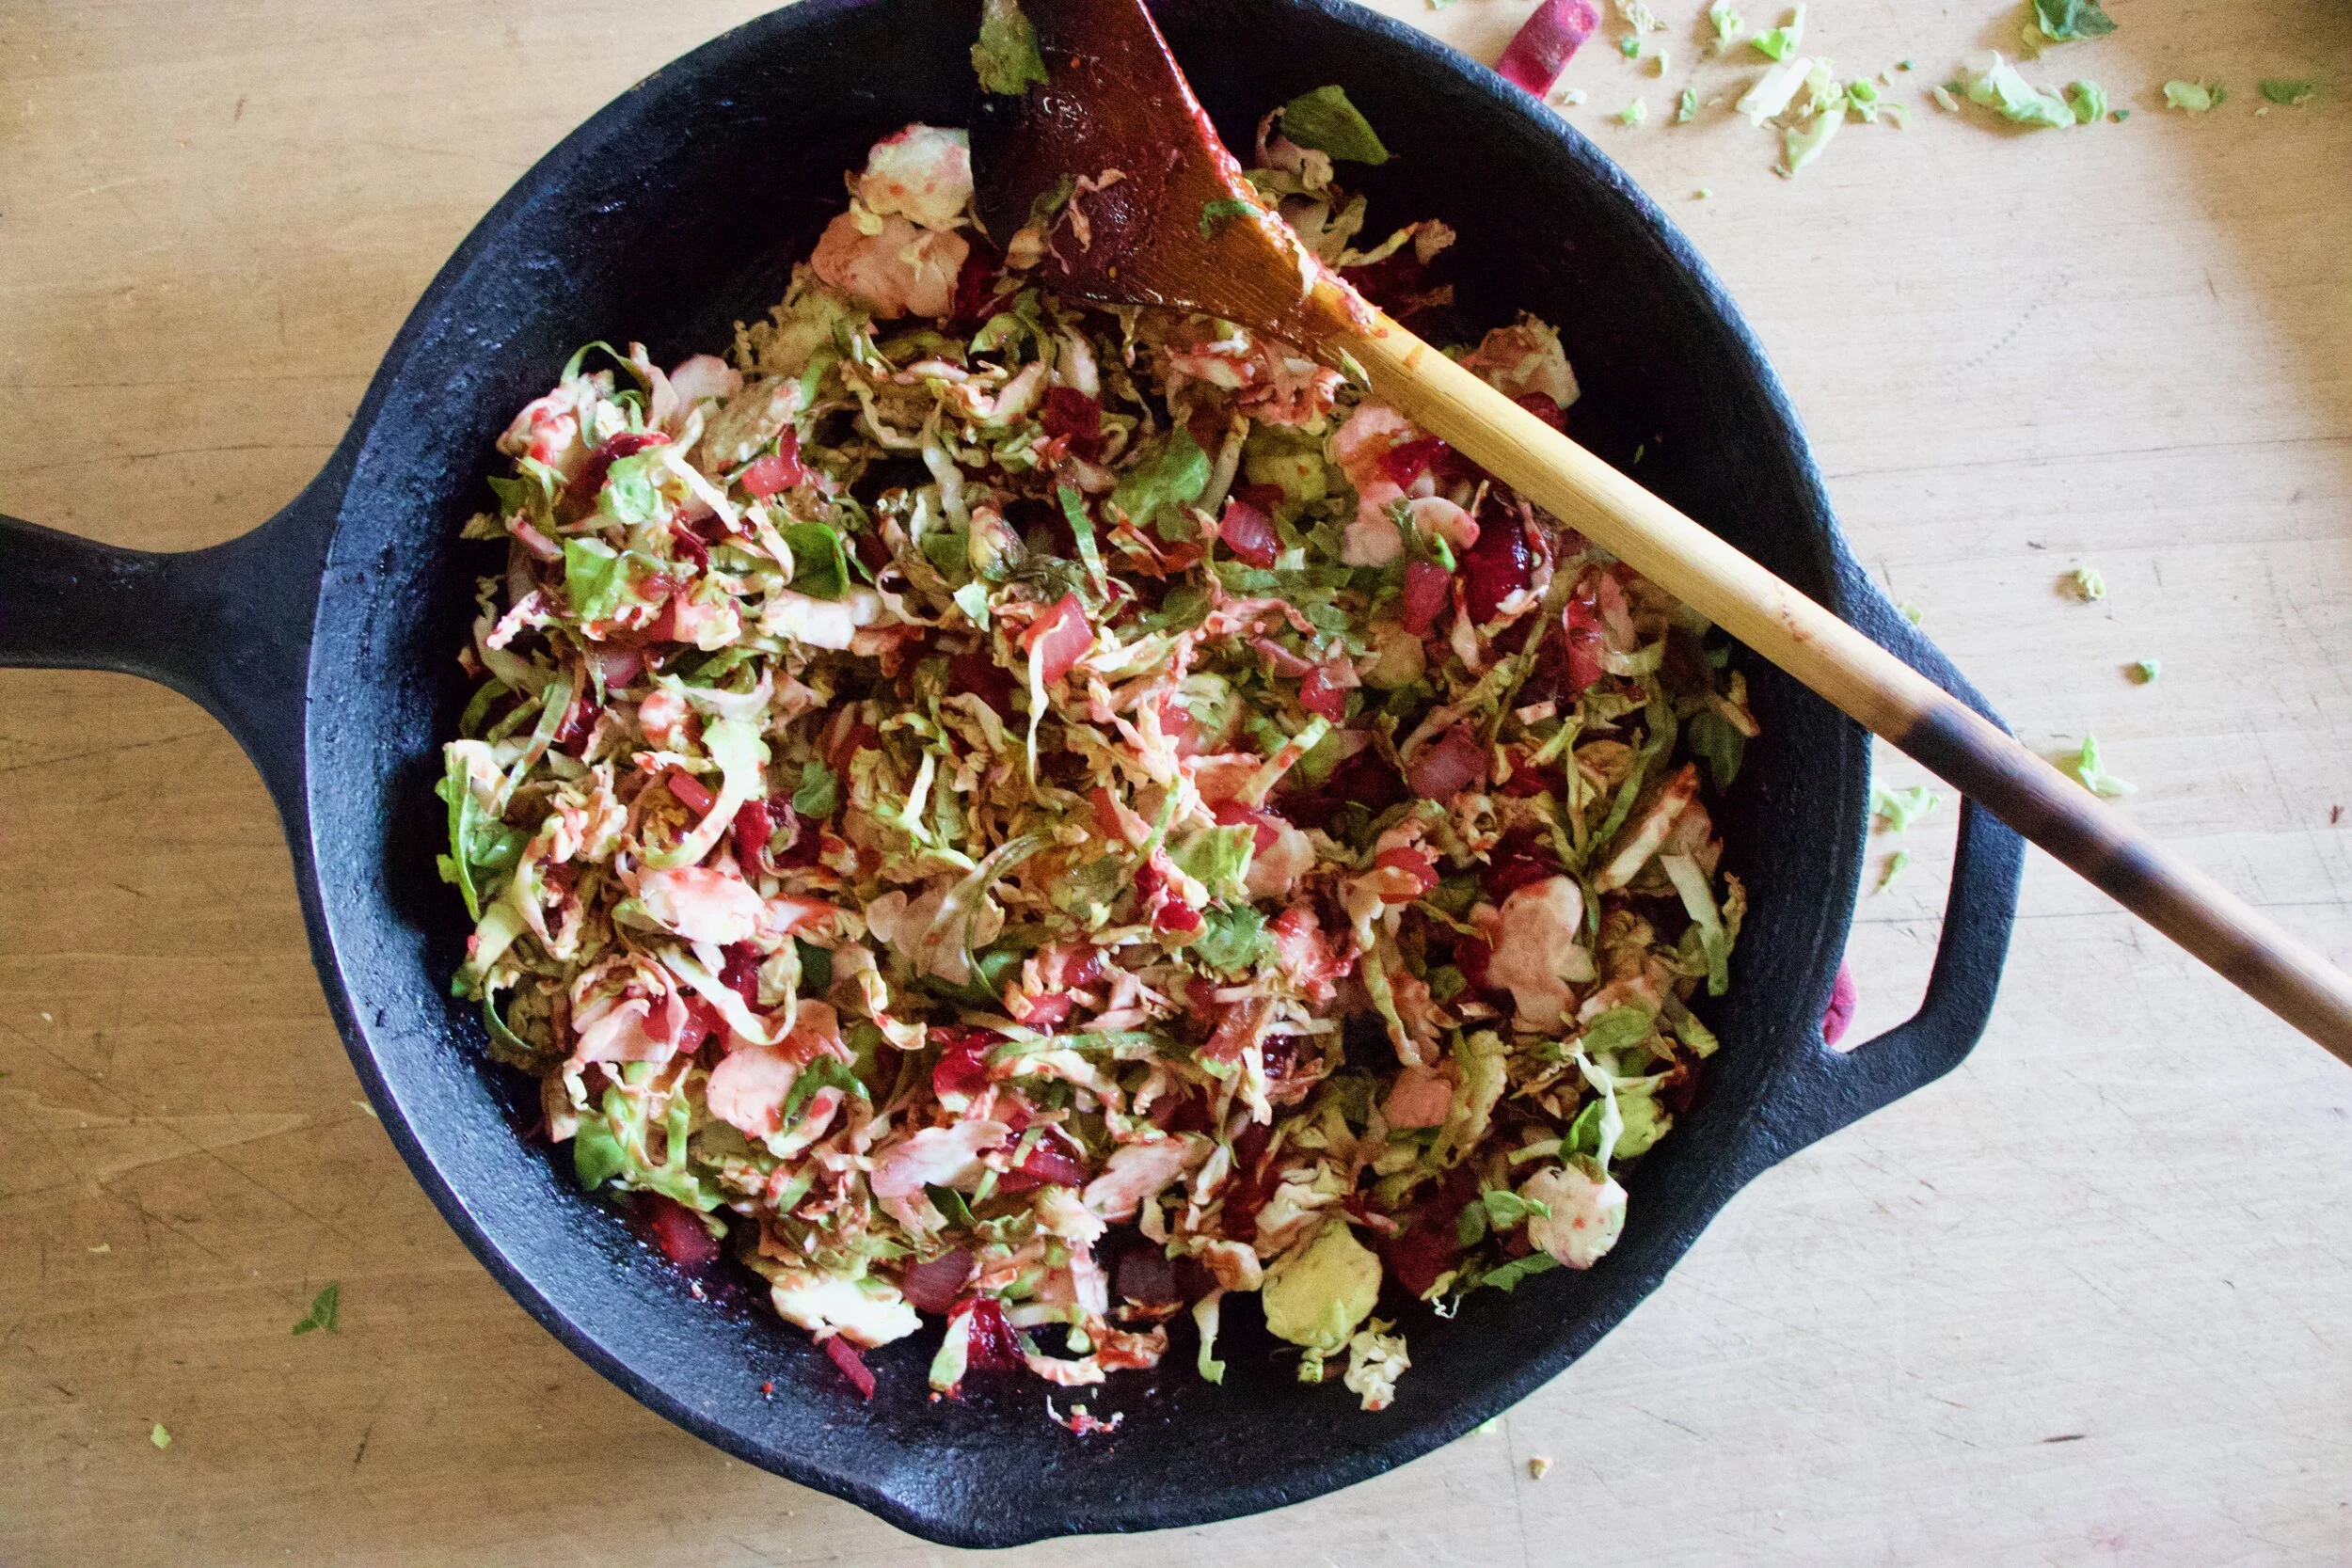
Stir it around. Season with salt and pepper and there it is.
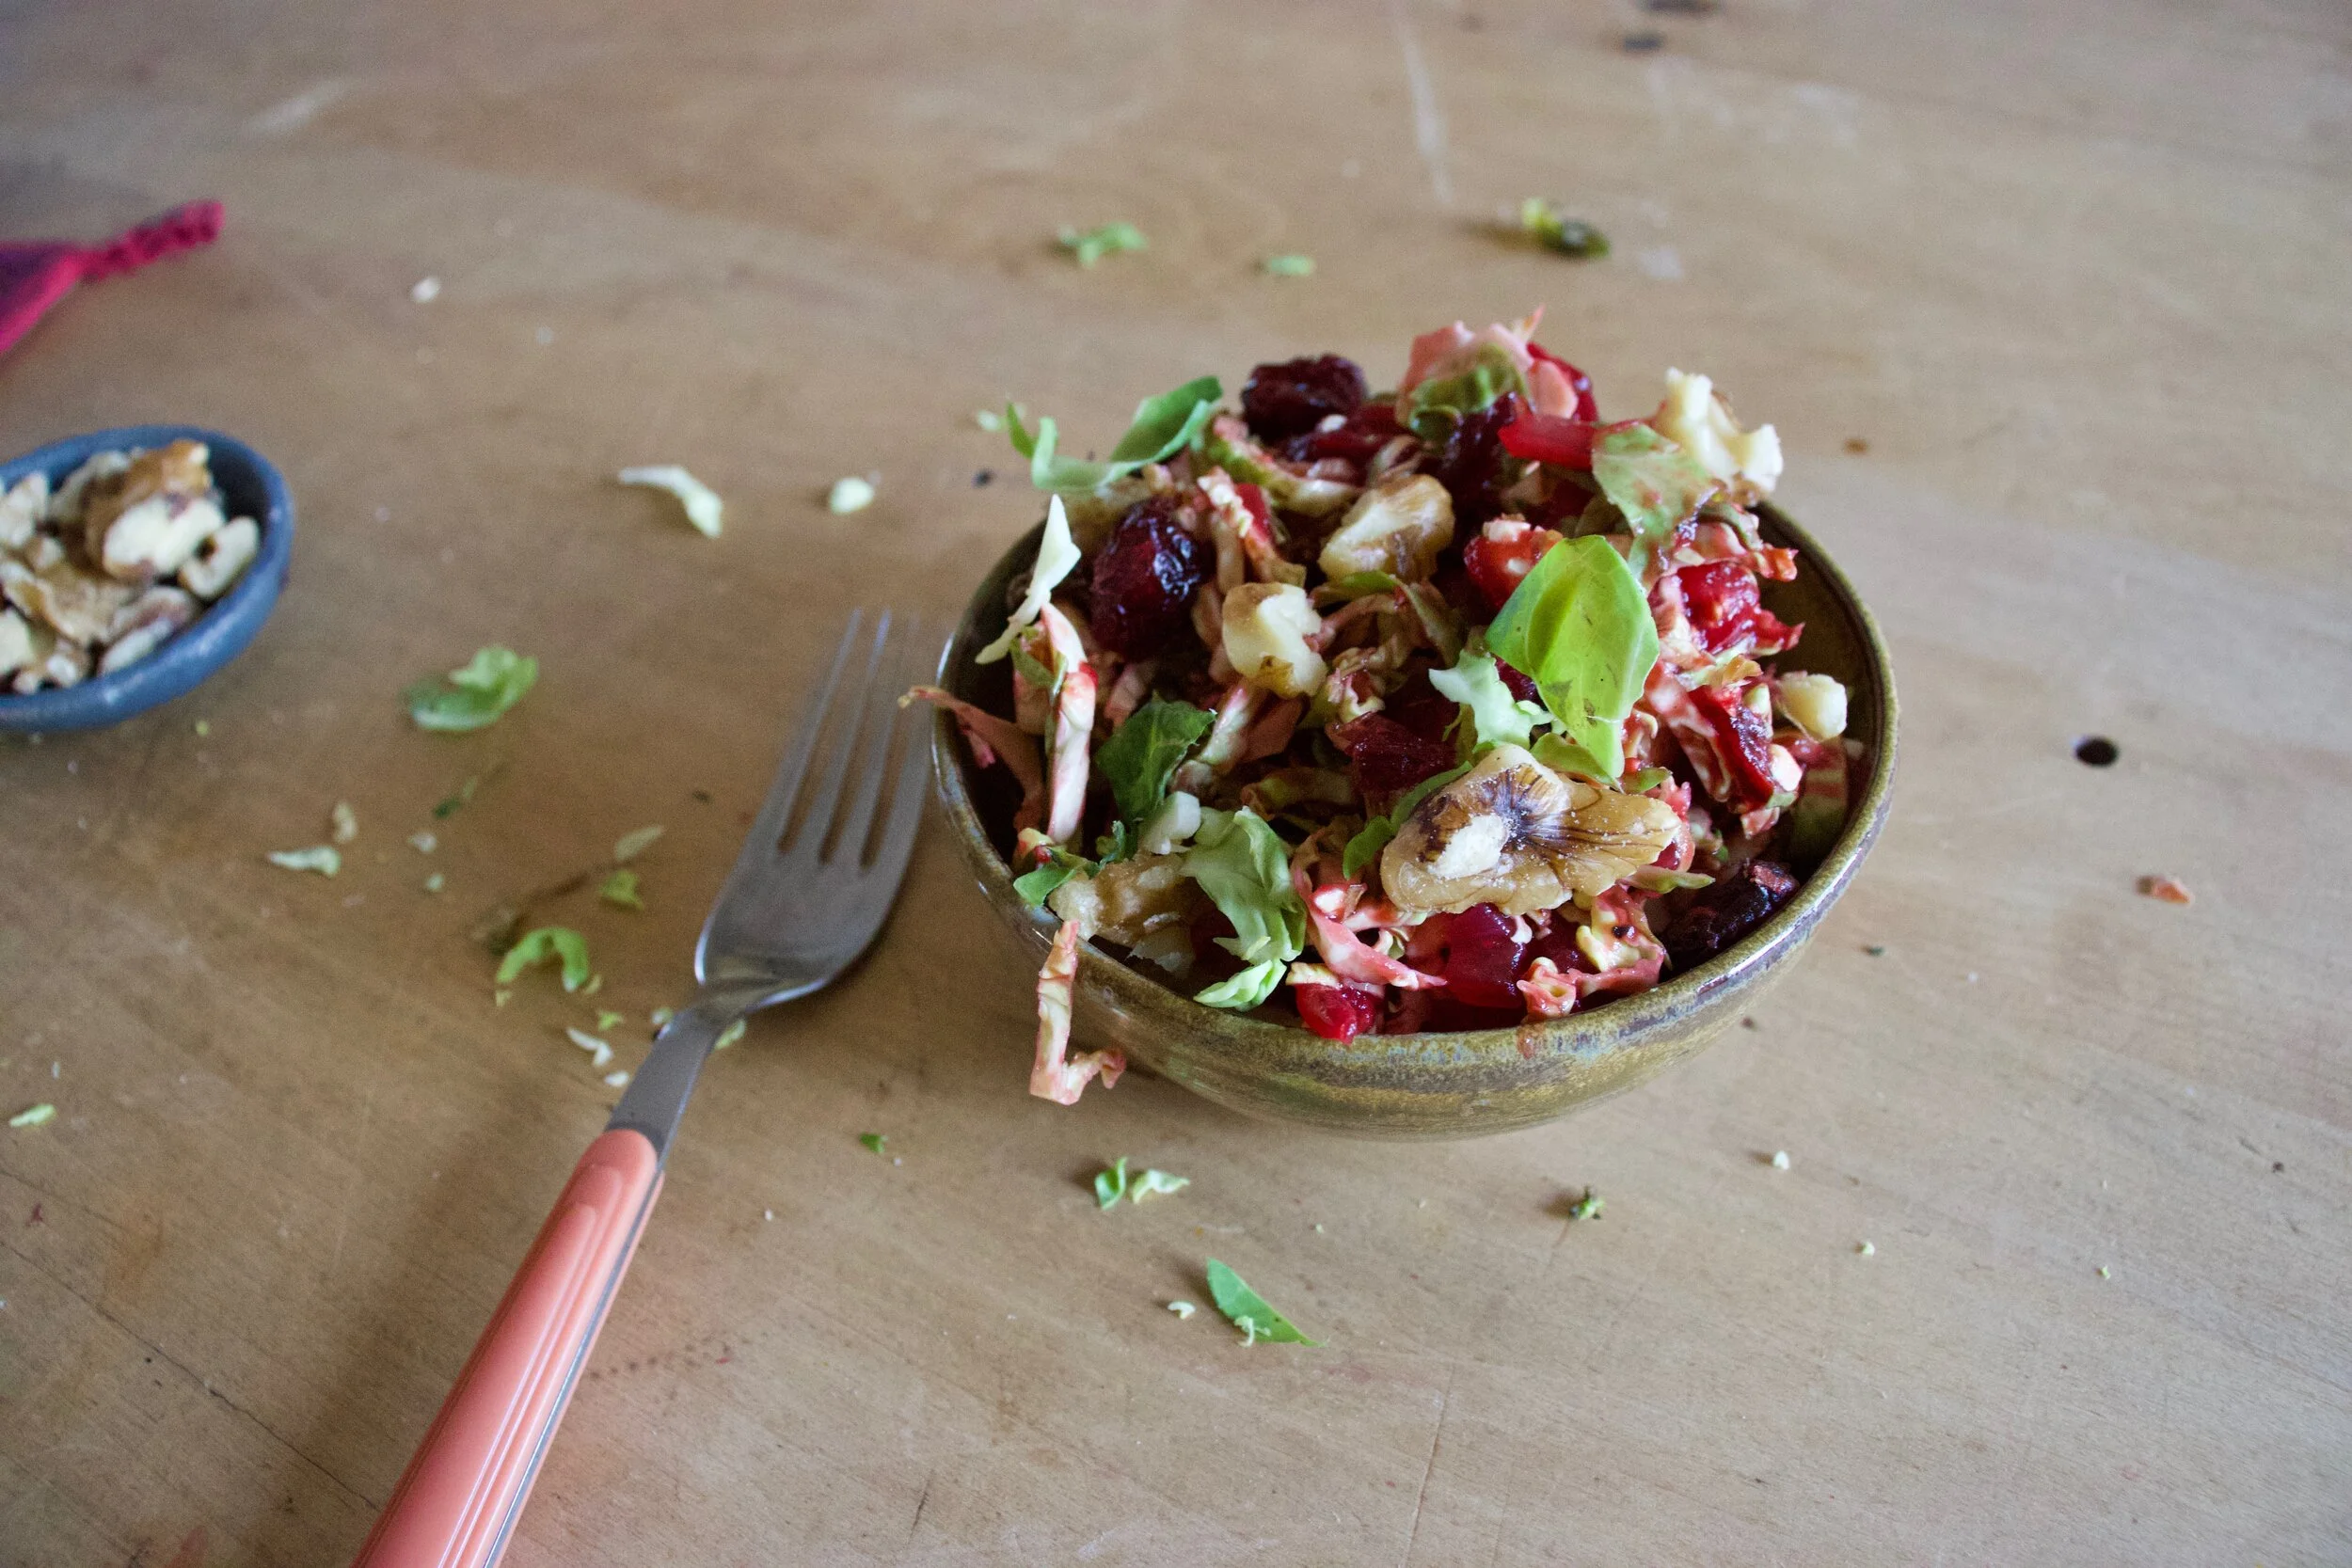
Scoop into a bowl. Top with dried cranberries and walnuts and grab a fork.
This is good.
-C
serves 3-4 as a side or one person who wants to eat it all to themselves
-
1 1/2 cups fresh or frozen cranberries
-
1/2 a pound Brussels sprouts ( around 3 1/2- 4 cups shredded)
-
1 small or 1/2 a large onion
-
3 tablespoons balsamic vinegar
-
1 tablespoon maple syrup (or more to taste)
-
salt and pepper
-
1/2 -3/4 cup water
-
small handful dried cranberries (optional)
-
smal handfuls toasted walnuts (optional)
Start with dicing the onion up into small pieces. Place in a skillet with a small pinch of salt and a good splash of water and place on medium heat. Cook for a few minutes or until the water has evaporated and the onions are not raw. Add in the cranberries and 1/2 cup water. Keep on low heat and cook until the cranberries pop and start to thicken. If the cranberries are not cooked all the way and the water has evaporated out, just add another 1/2 cup.
While cranberries are cooking, shredded the Brussels sprouts, as thin as you can. A mandolin is great for this but a knife works too.
Once the cranberries have cooked down to a saucey consistency add in the vinegar and maple and stir around. Remove from heat and carefully taste the sauce. If you think it needs more maple or vinegar, add in another tablespoon until it tastes good to you. Dump in the shredded sprouts and mix. Season with salt and pepper to taste.
And then it%u2019s done. You can dump it all into a bowl and sprinkle the dried cranberries and walnuts on top, or leave it in the skillet and do the same. Me,I scooped half into a bowl for pictures sake and ate the rest right out of the skillet. I then licked the skillet clean with my finger. Then ate the bowl full. SO good.
I eat so much hummus. Everyday, all day. Homemade, store bought. If there is hummus, I will be consuming it. But the thing is, I usually don%u2019t eat more then a little at a time. (A little being like 1/2 a cup). And sure, sometimes that is just fine and enough, but other times, what I really want to do is garb a spoon and a bag of carrots and eat it all. And then I do.
But there is that little voice in the back of my head telling me that if someone where to catch me eating mounds of hummus, they would liken my eating behavior to that of someone eating a jar of mustard (Not going to lie, it happens sometimes) or of a bottle of ketchup (but I don%u2019t eat ketchup) and that have a problem and shouldn%u2019t being eating it like that. Because hummus, for some reason, has been put into the condiment category. It%u2019s treated like a dip or a spread and that is fine and dandy to eat it as such, but hummus is so much more. It can, and should be treated more like a main component to a dish. So let us step outside of that box and eat it how we really want to eat it.
Hummus by the bowlful. I know right! It just makes so much sense to me. And now to you too. We need to stop stopping ourselves from just a scoop or two because really, that is just not enough. Nope, this is for real. A bowl, full of hummus, topped with roasted veggies because that is just more deliciousness. And we get to eat it all.
Life can be pretty great sometime, you know. HA
Now to the bowl of hummus!
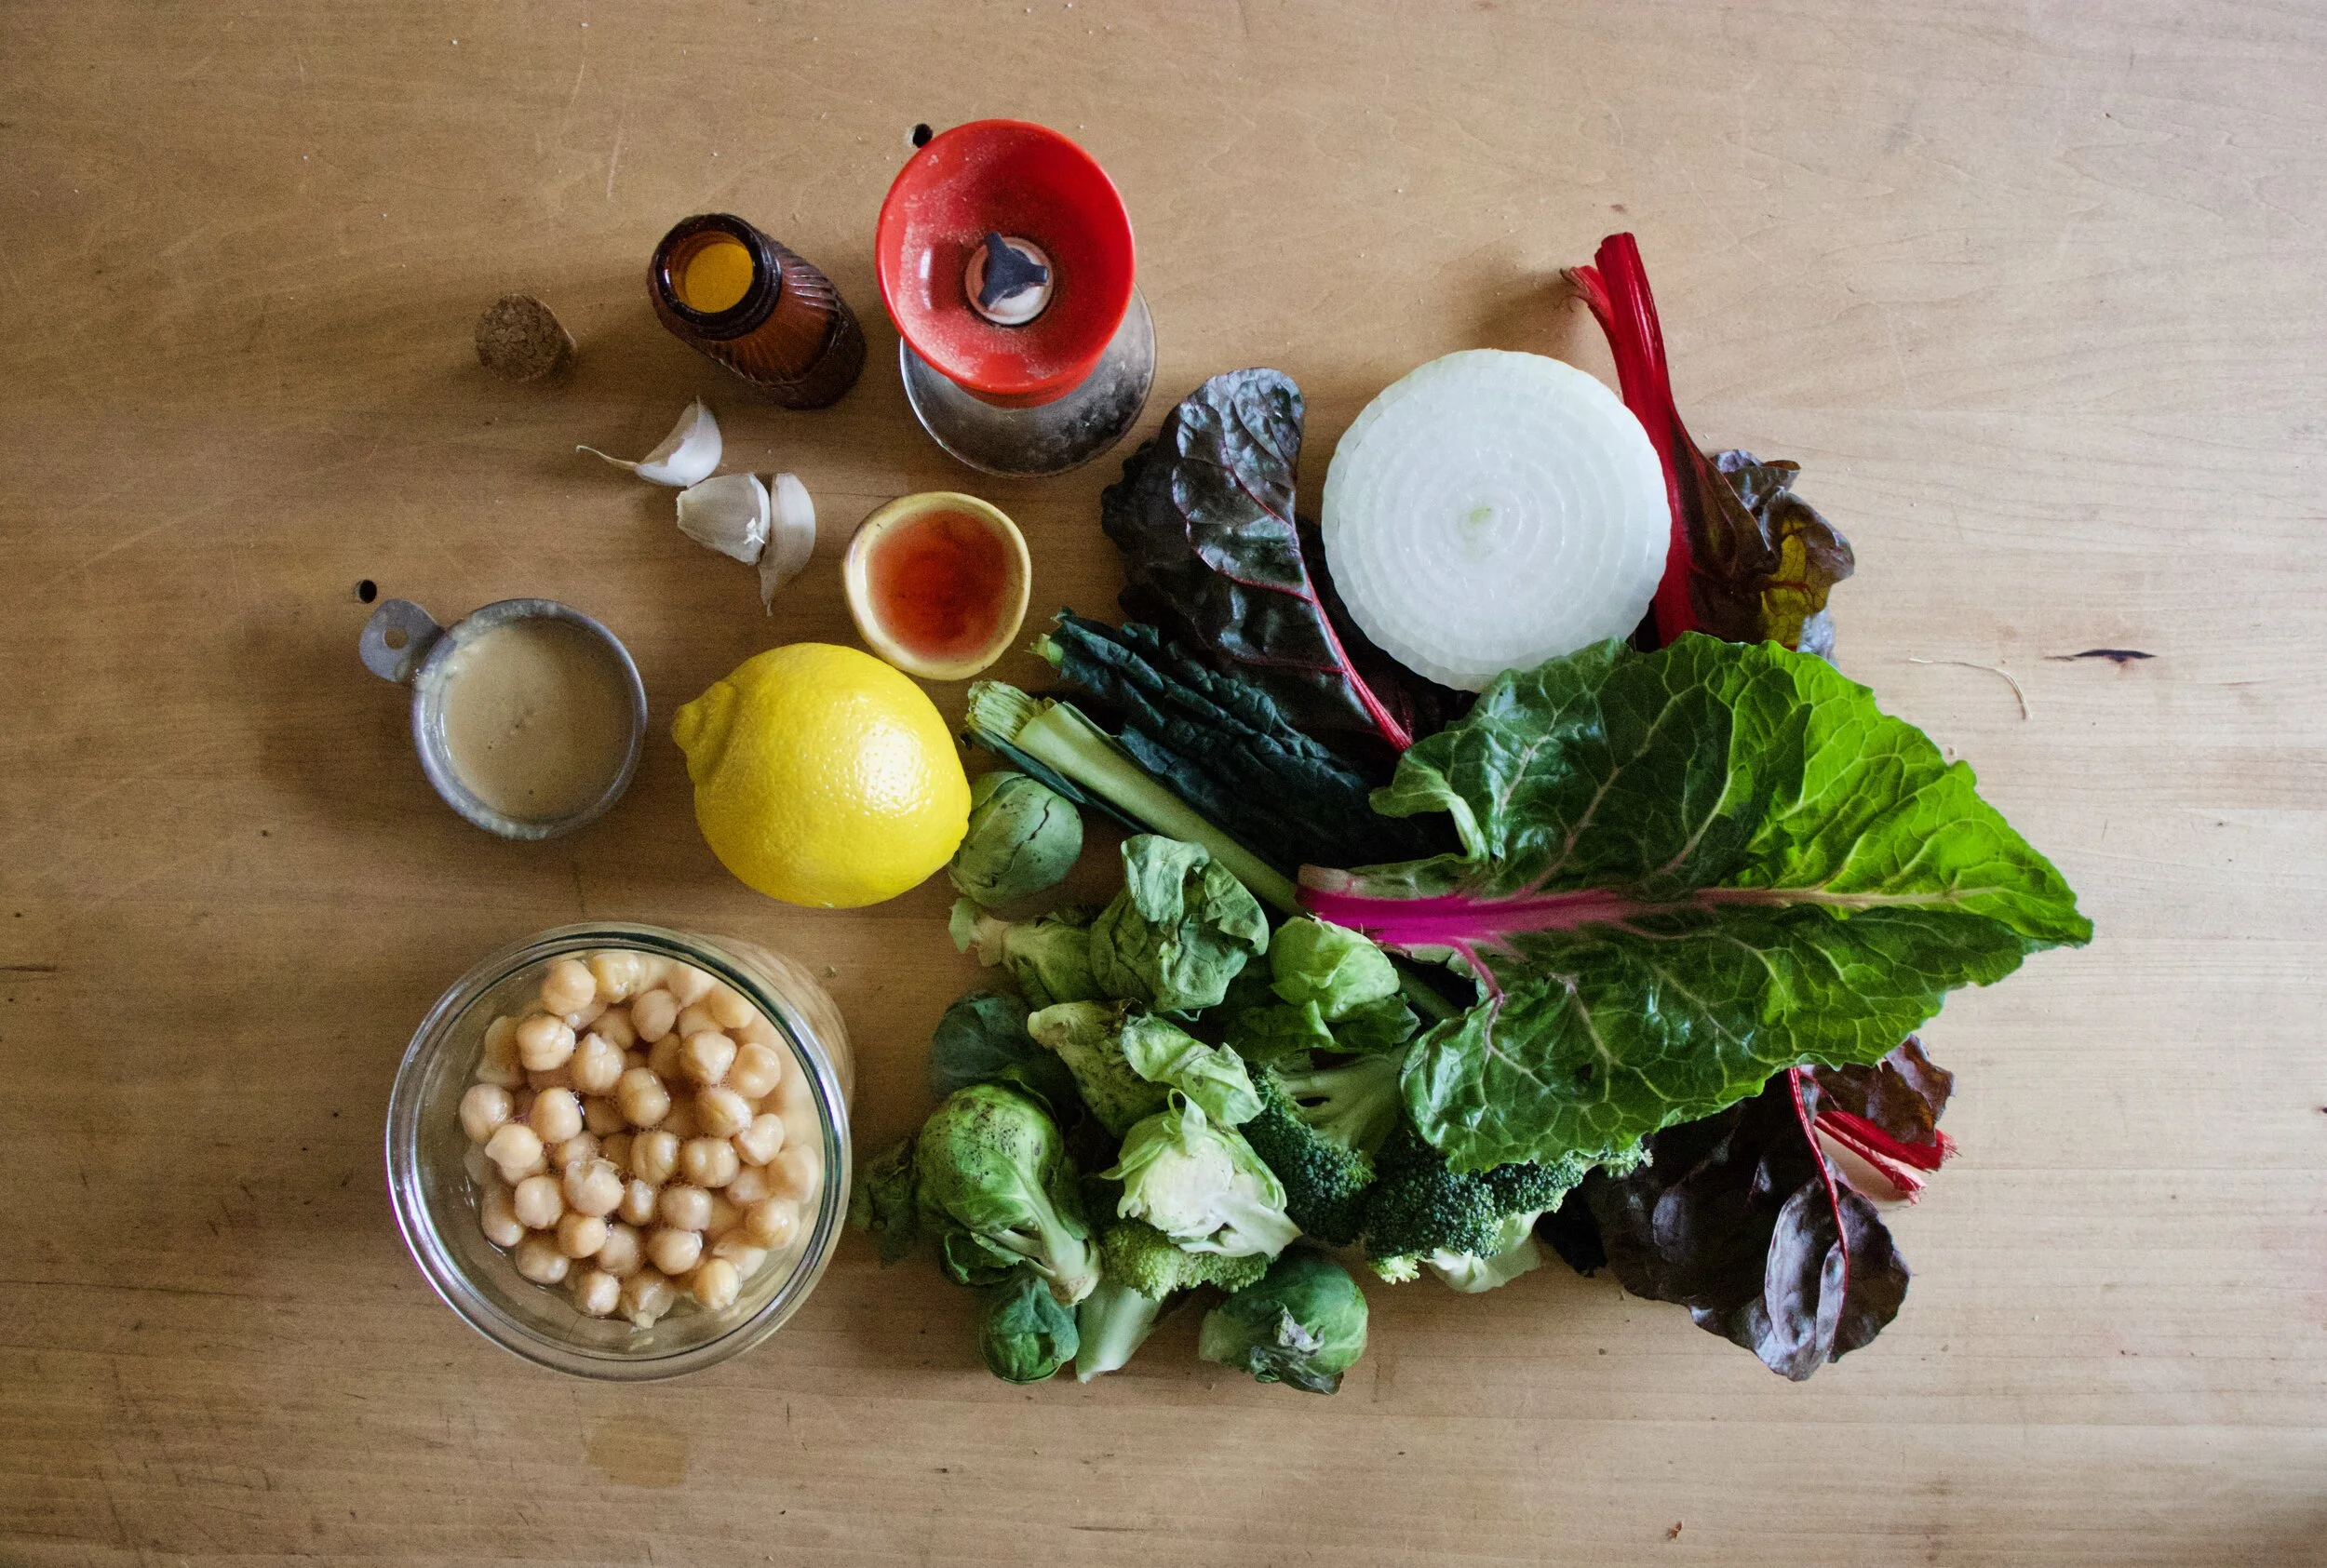
The stuff. We got chickpeas, tahini, a lemon, red wine vinegar, garlic, salt and pepper. And Veggies. Brussel Sprouts, broccoli, onion, Swiss chard, and kale.
Chop up the broccoli, the onion and half or quarter the Brussel sprouts. And separately, chop up the kale and chard.
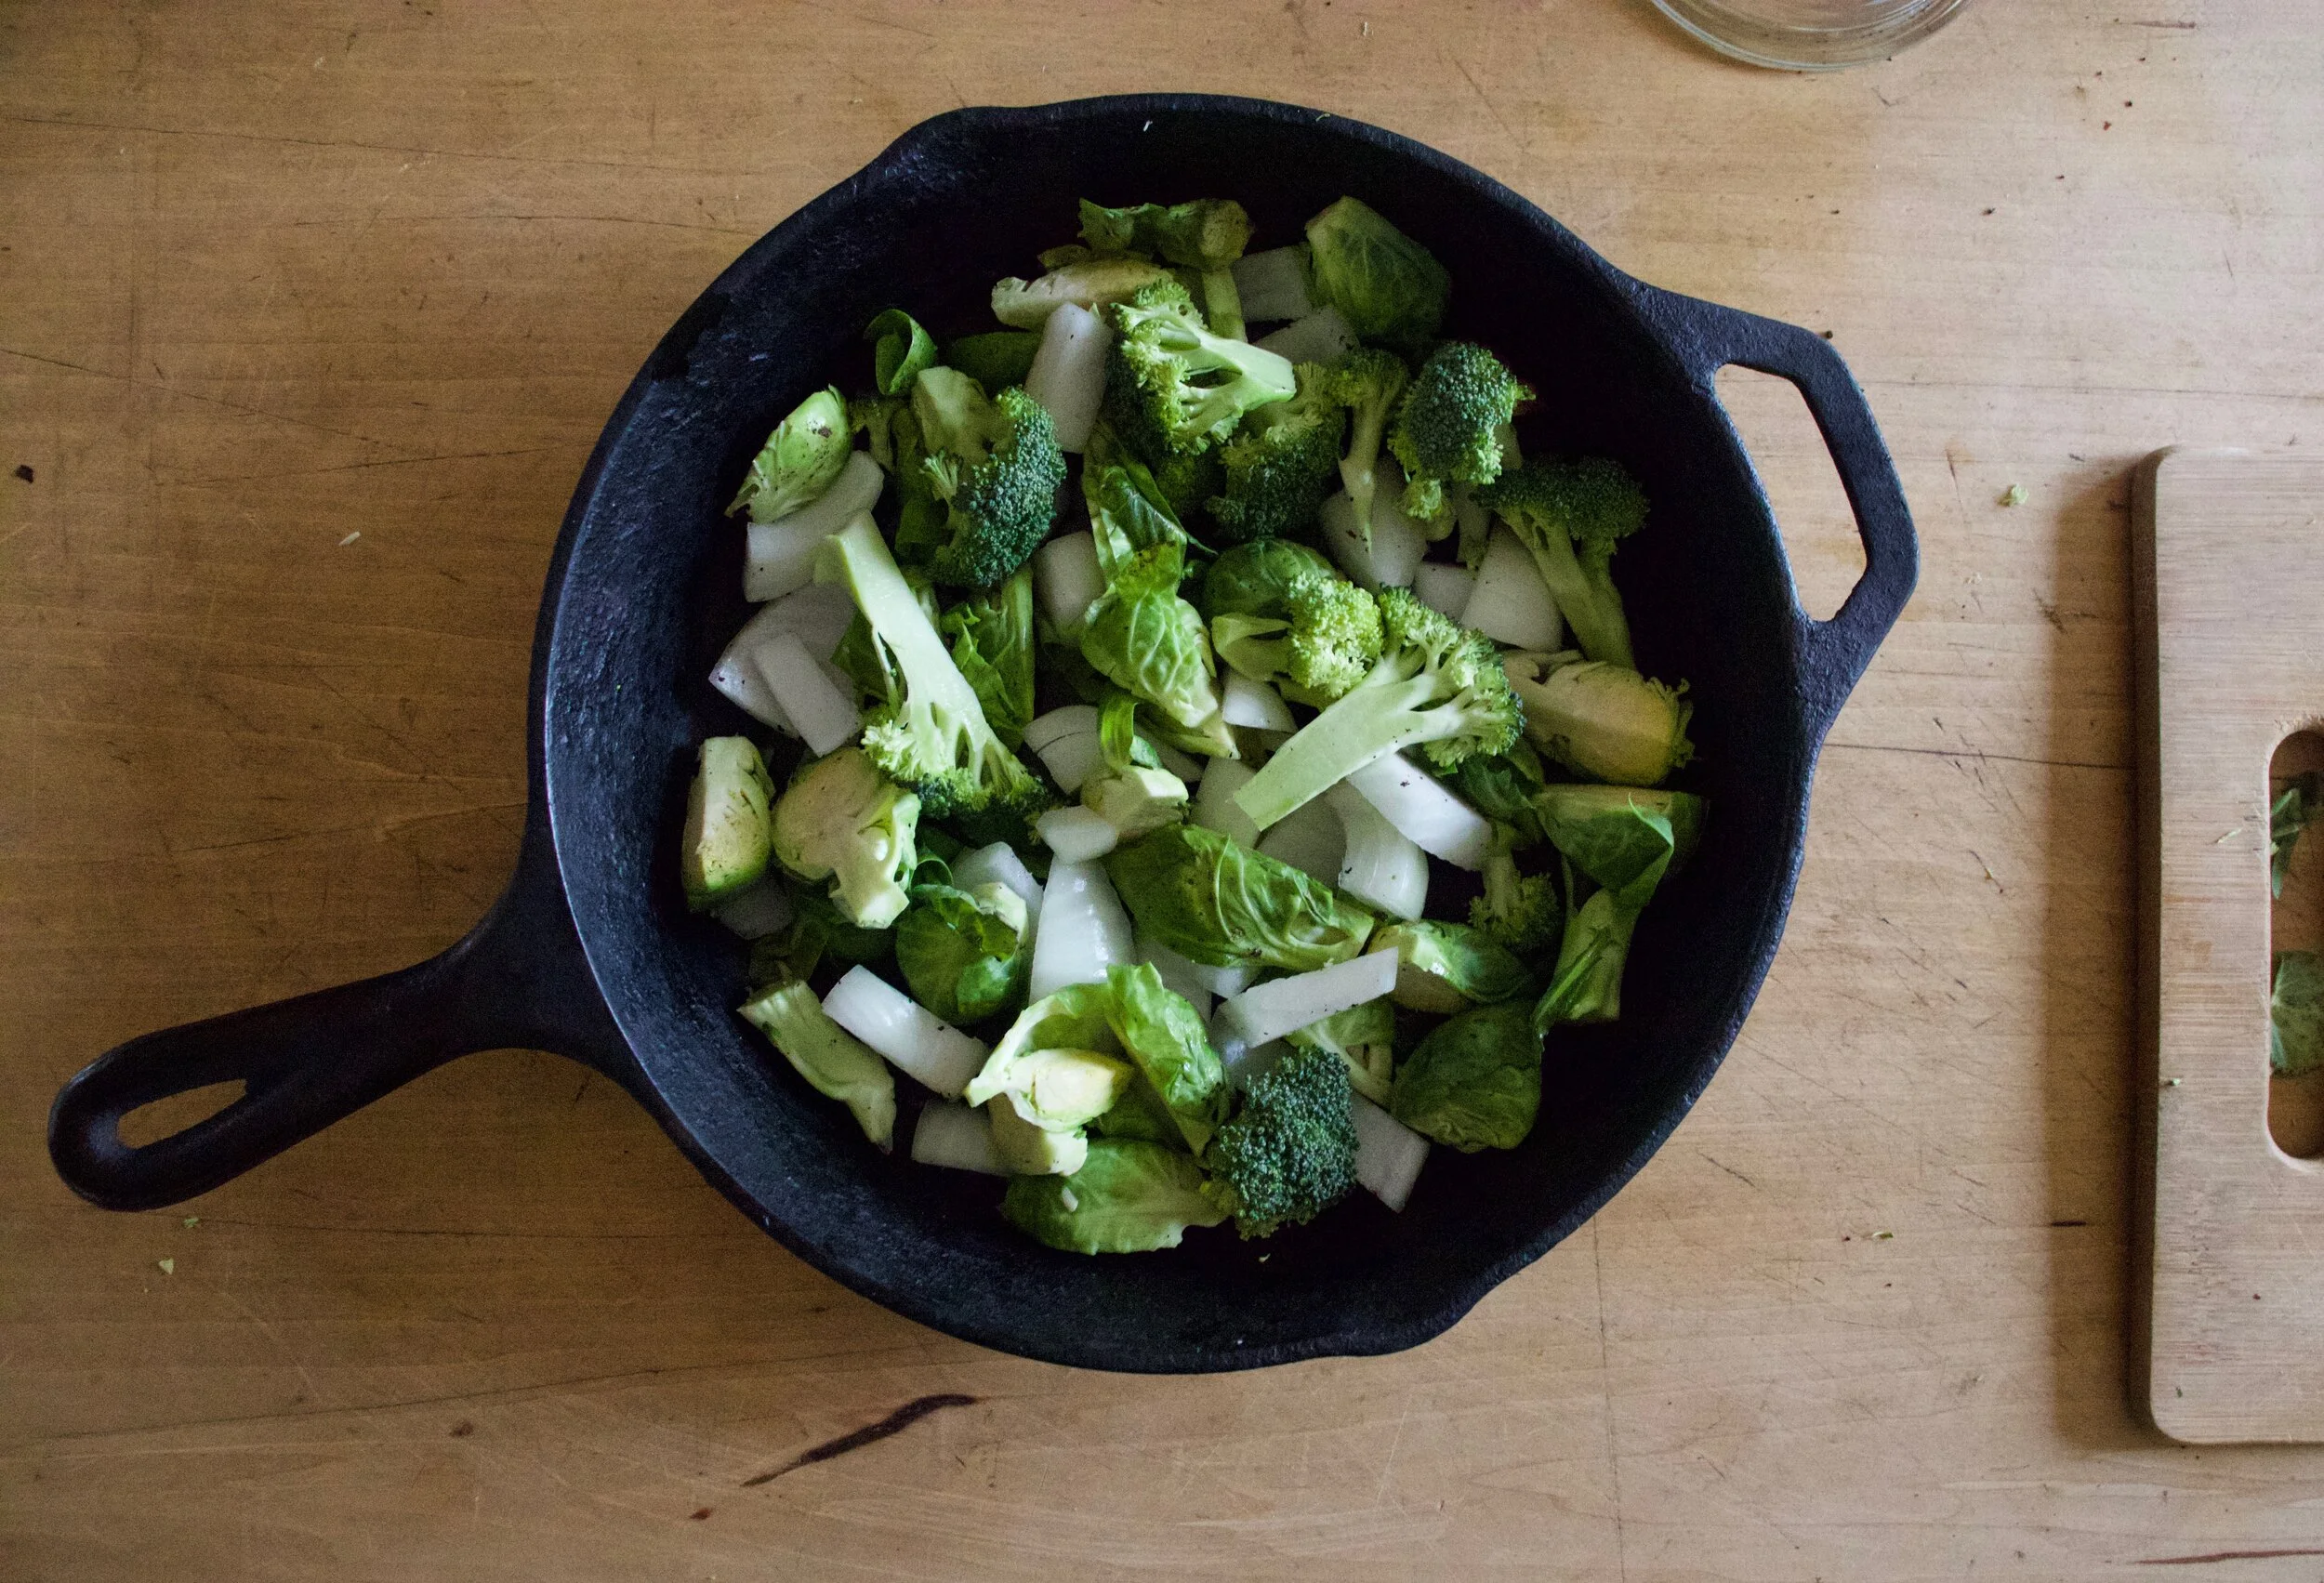
Toss the chopped Brussels, broccoli and onion into a baking sheet or oven safe skillet and season with salt and pepper. IF you want to toss in a little oil, go for it. Then pop the veggies into a hot oven to roast away.
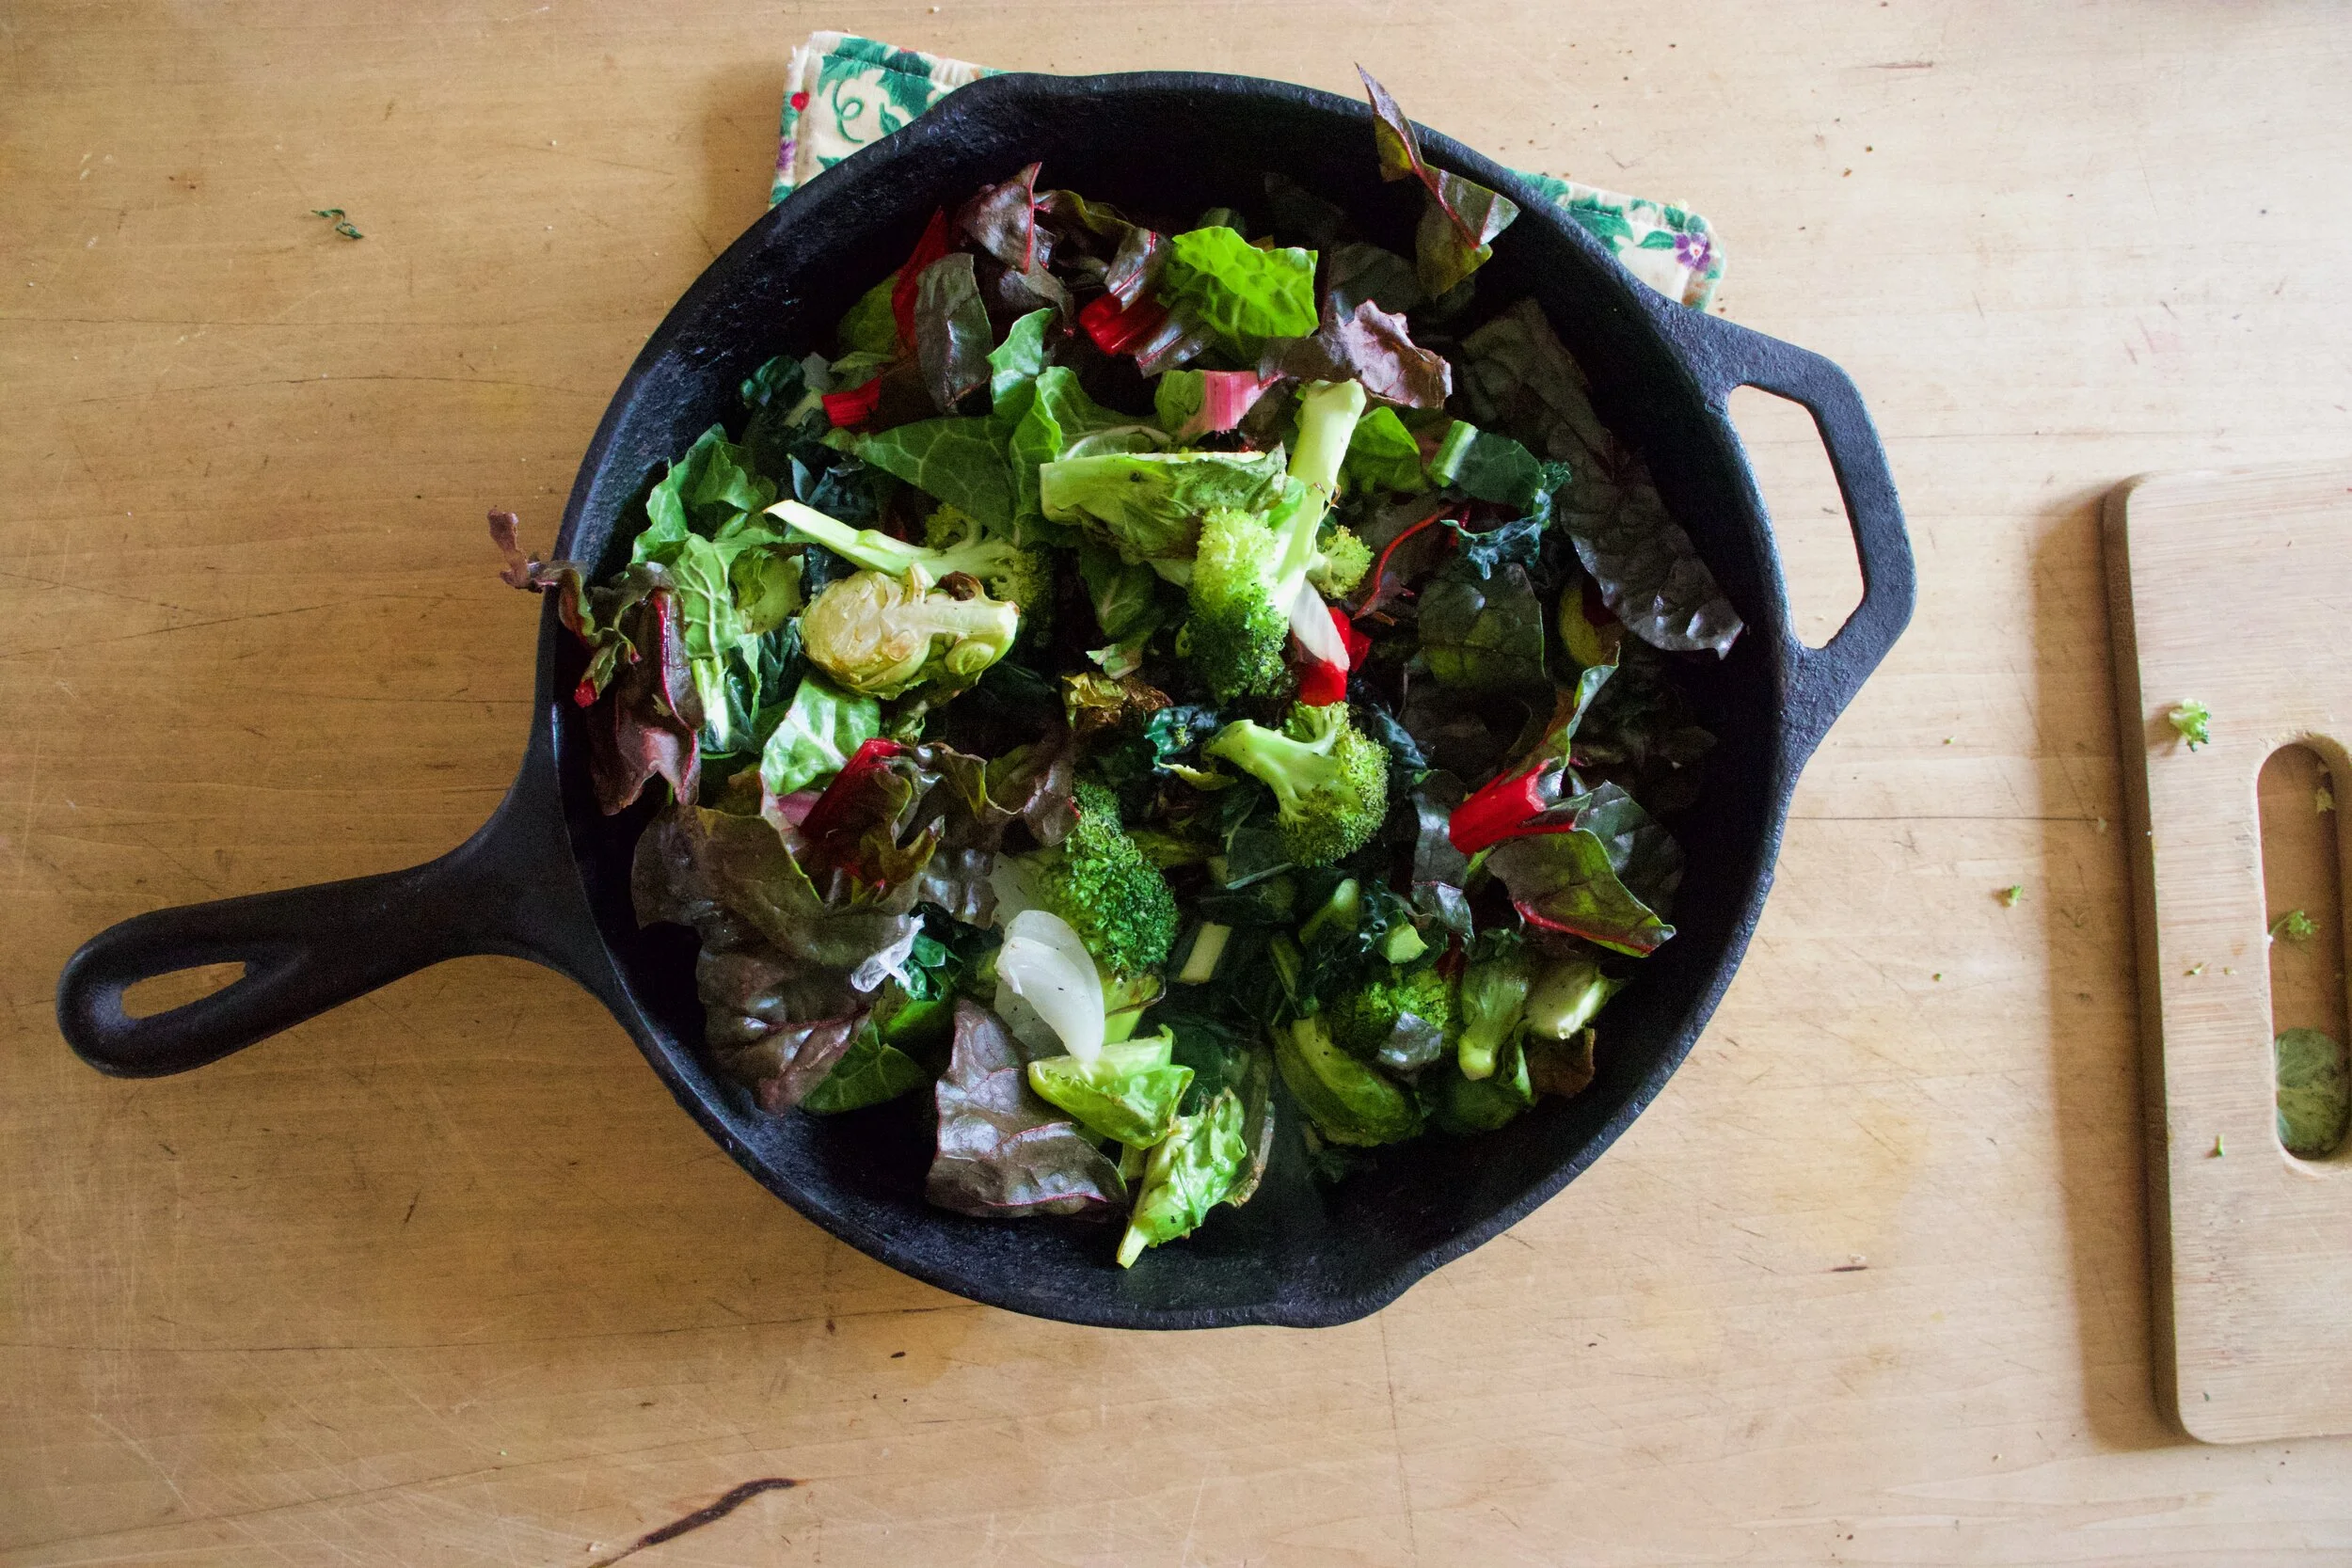
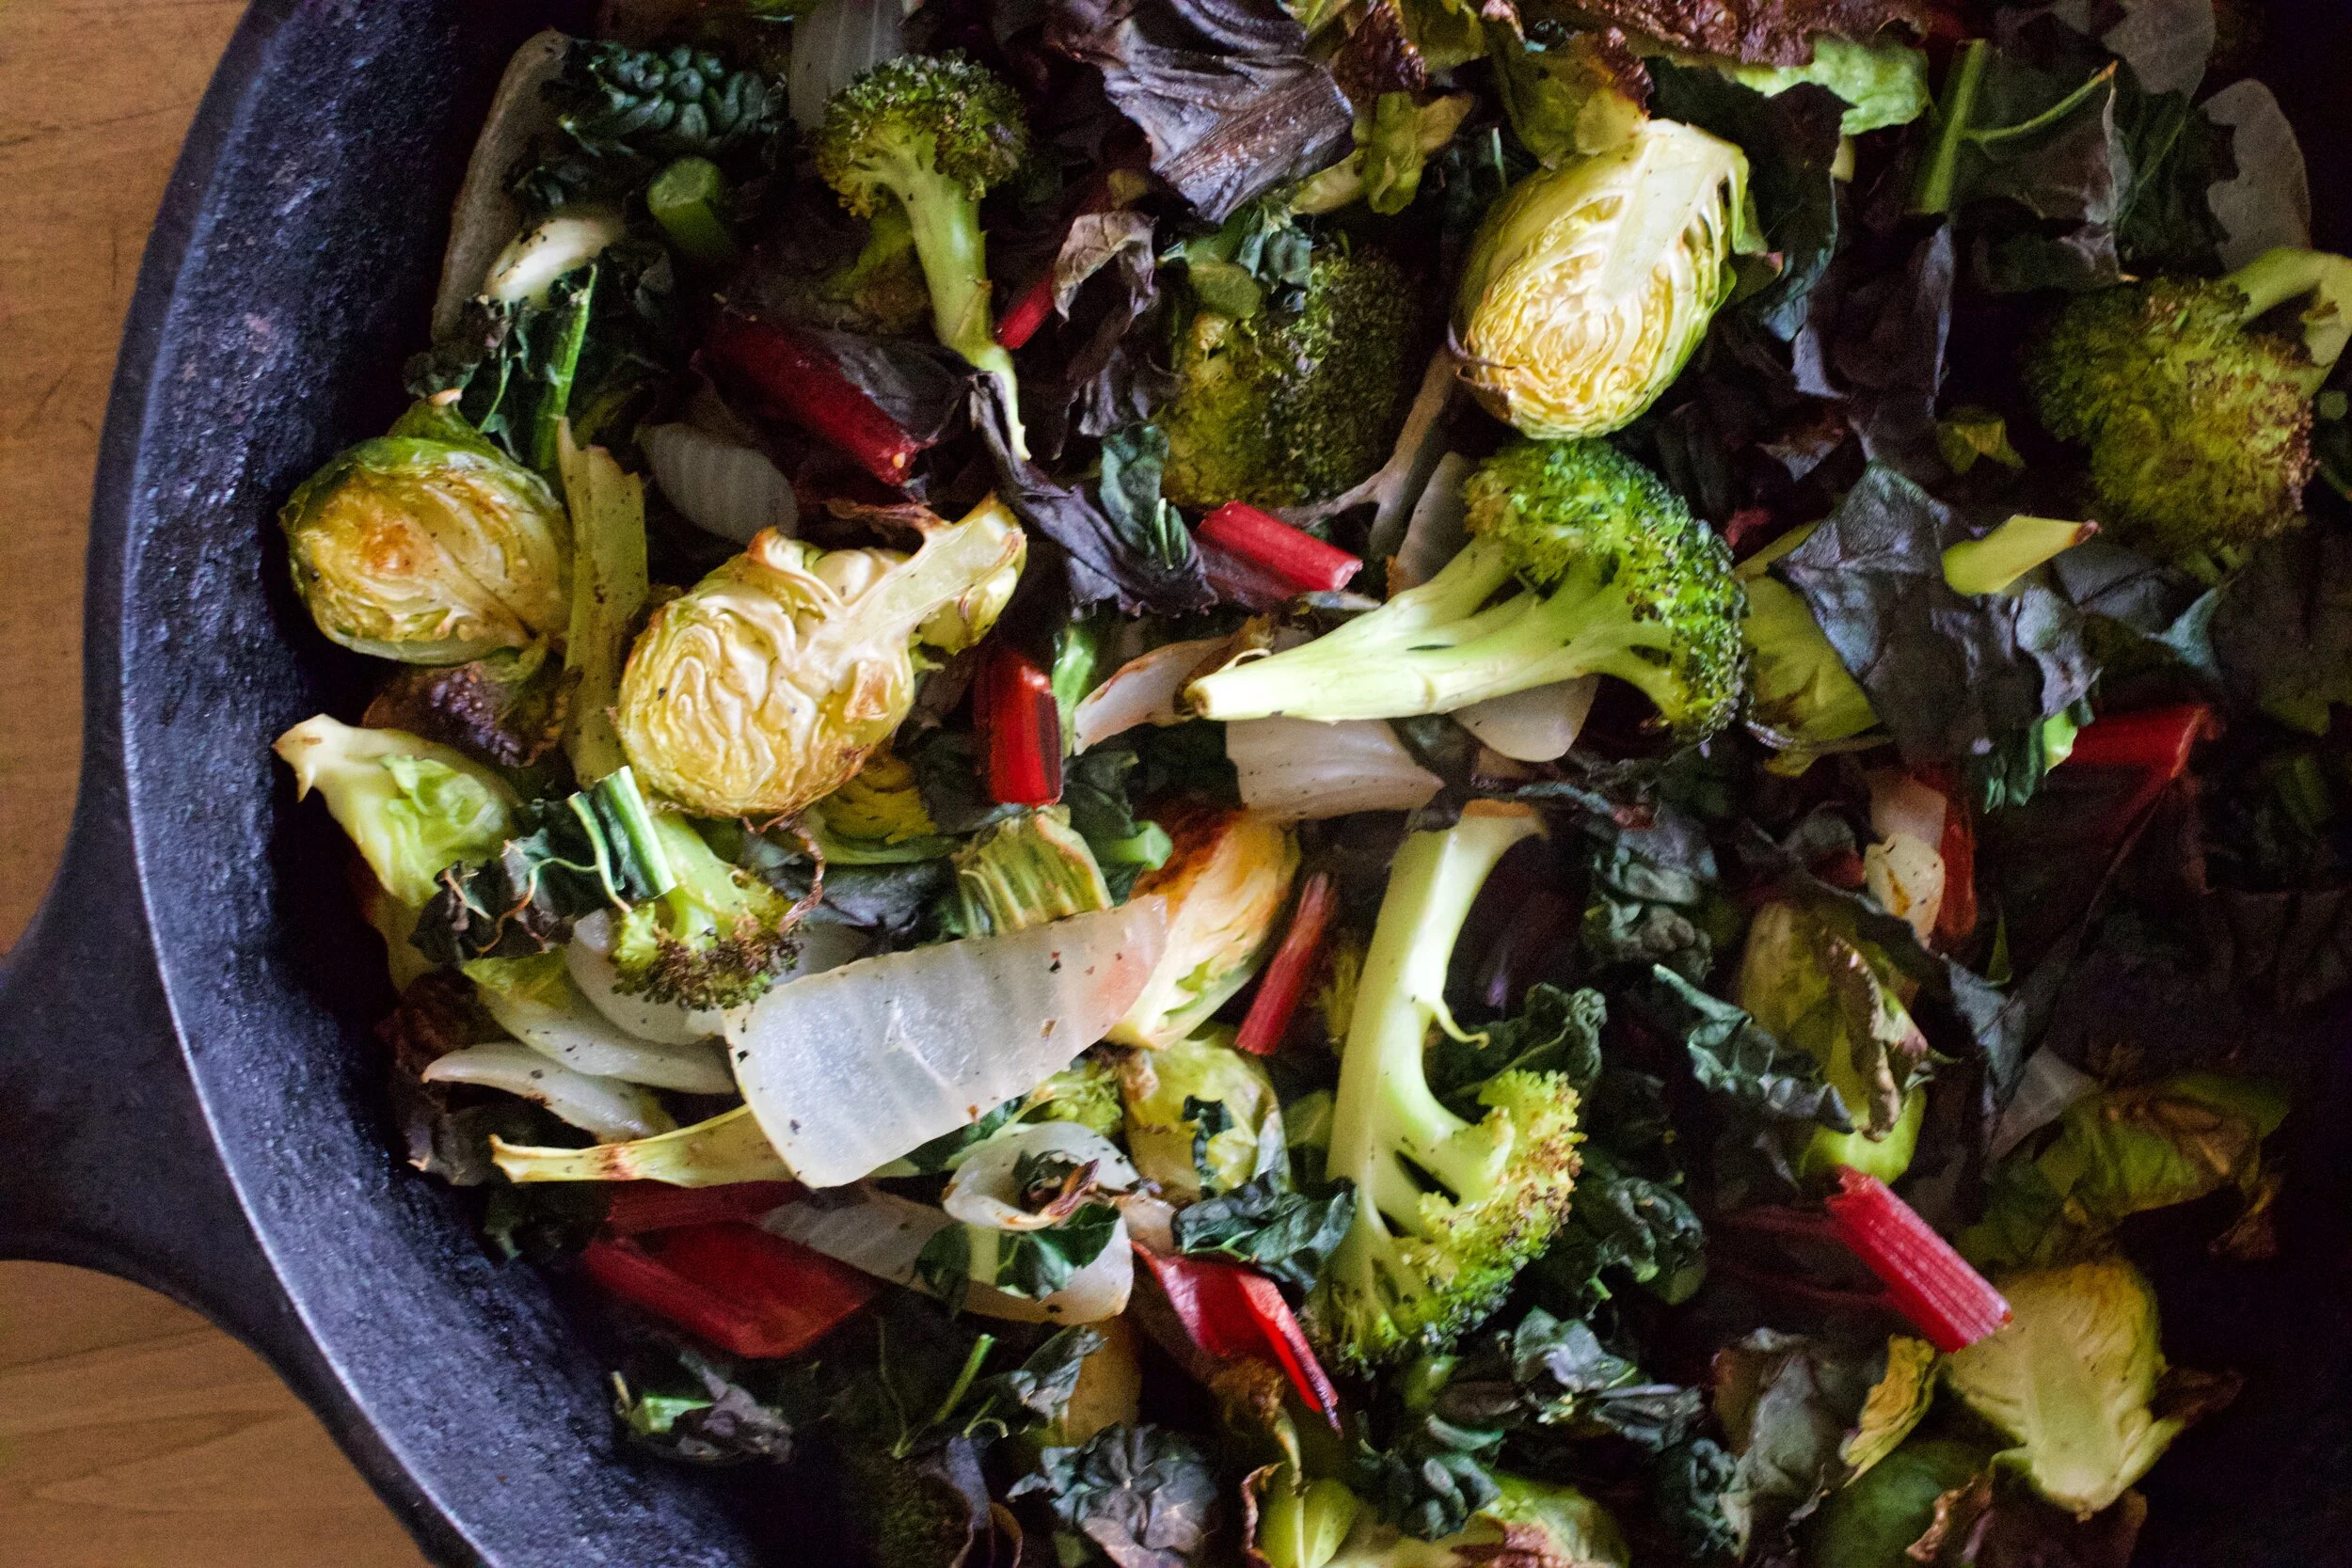
Once the veggies are just about done to your liking, grab the chopped kale and chard and off to the veggies. Toss and roast for a few more minutes.
Hummus. Chickpeas with liquid, garlic, tahini, juice of lemon, and blend. Creamy smooth and delicious.
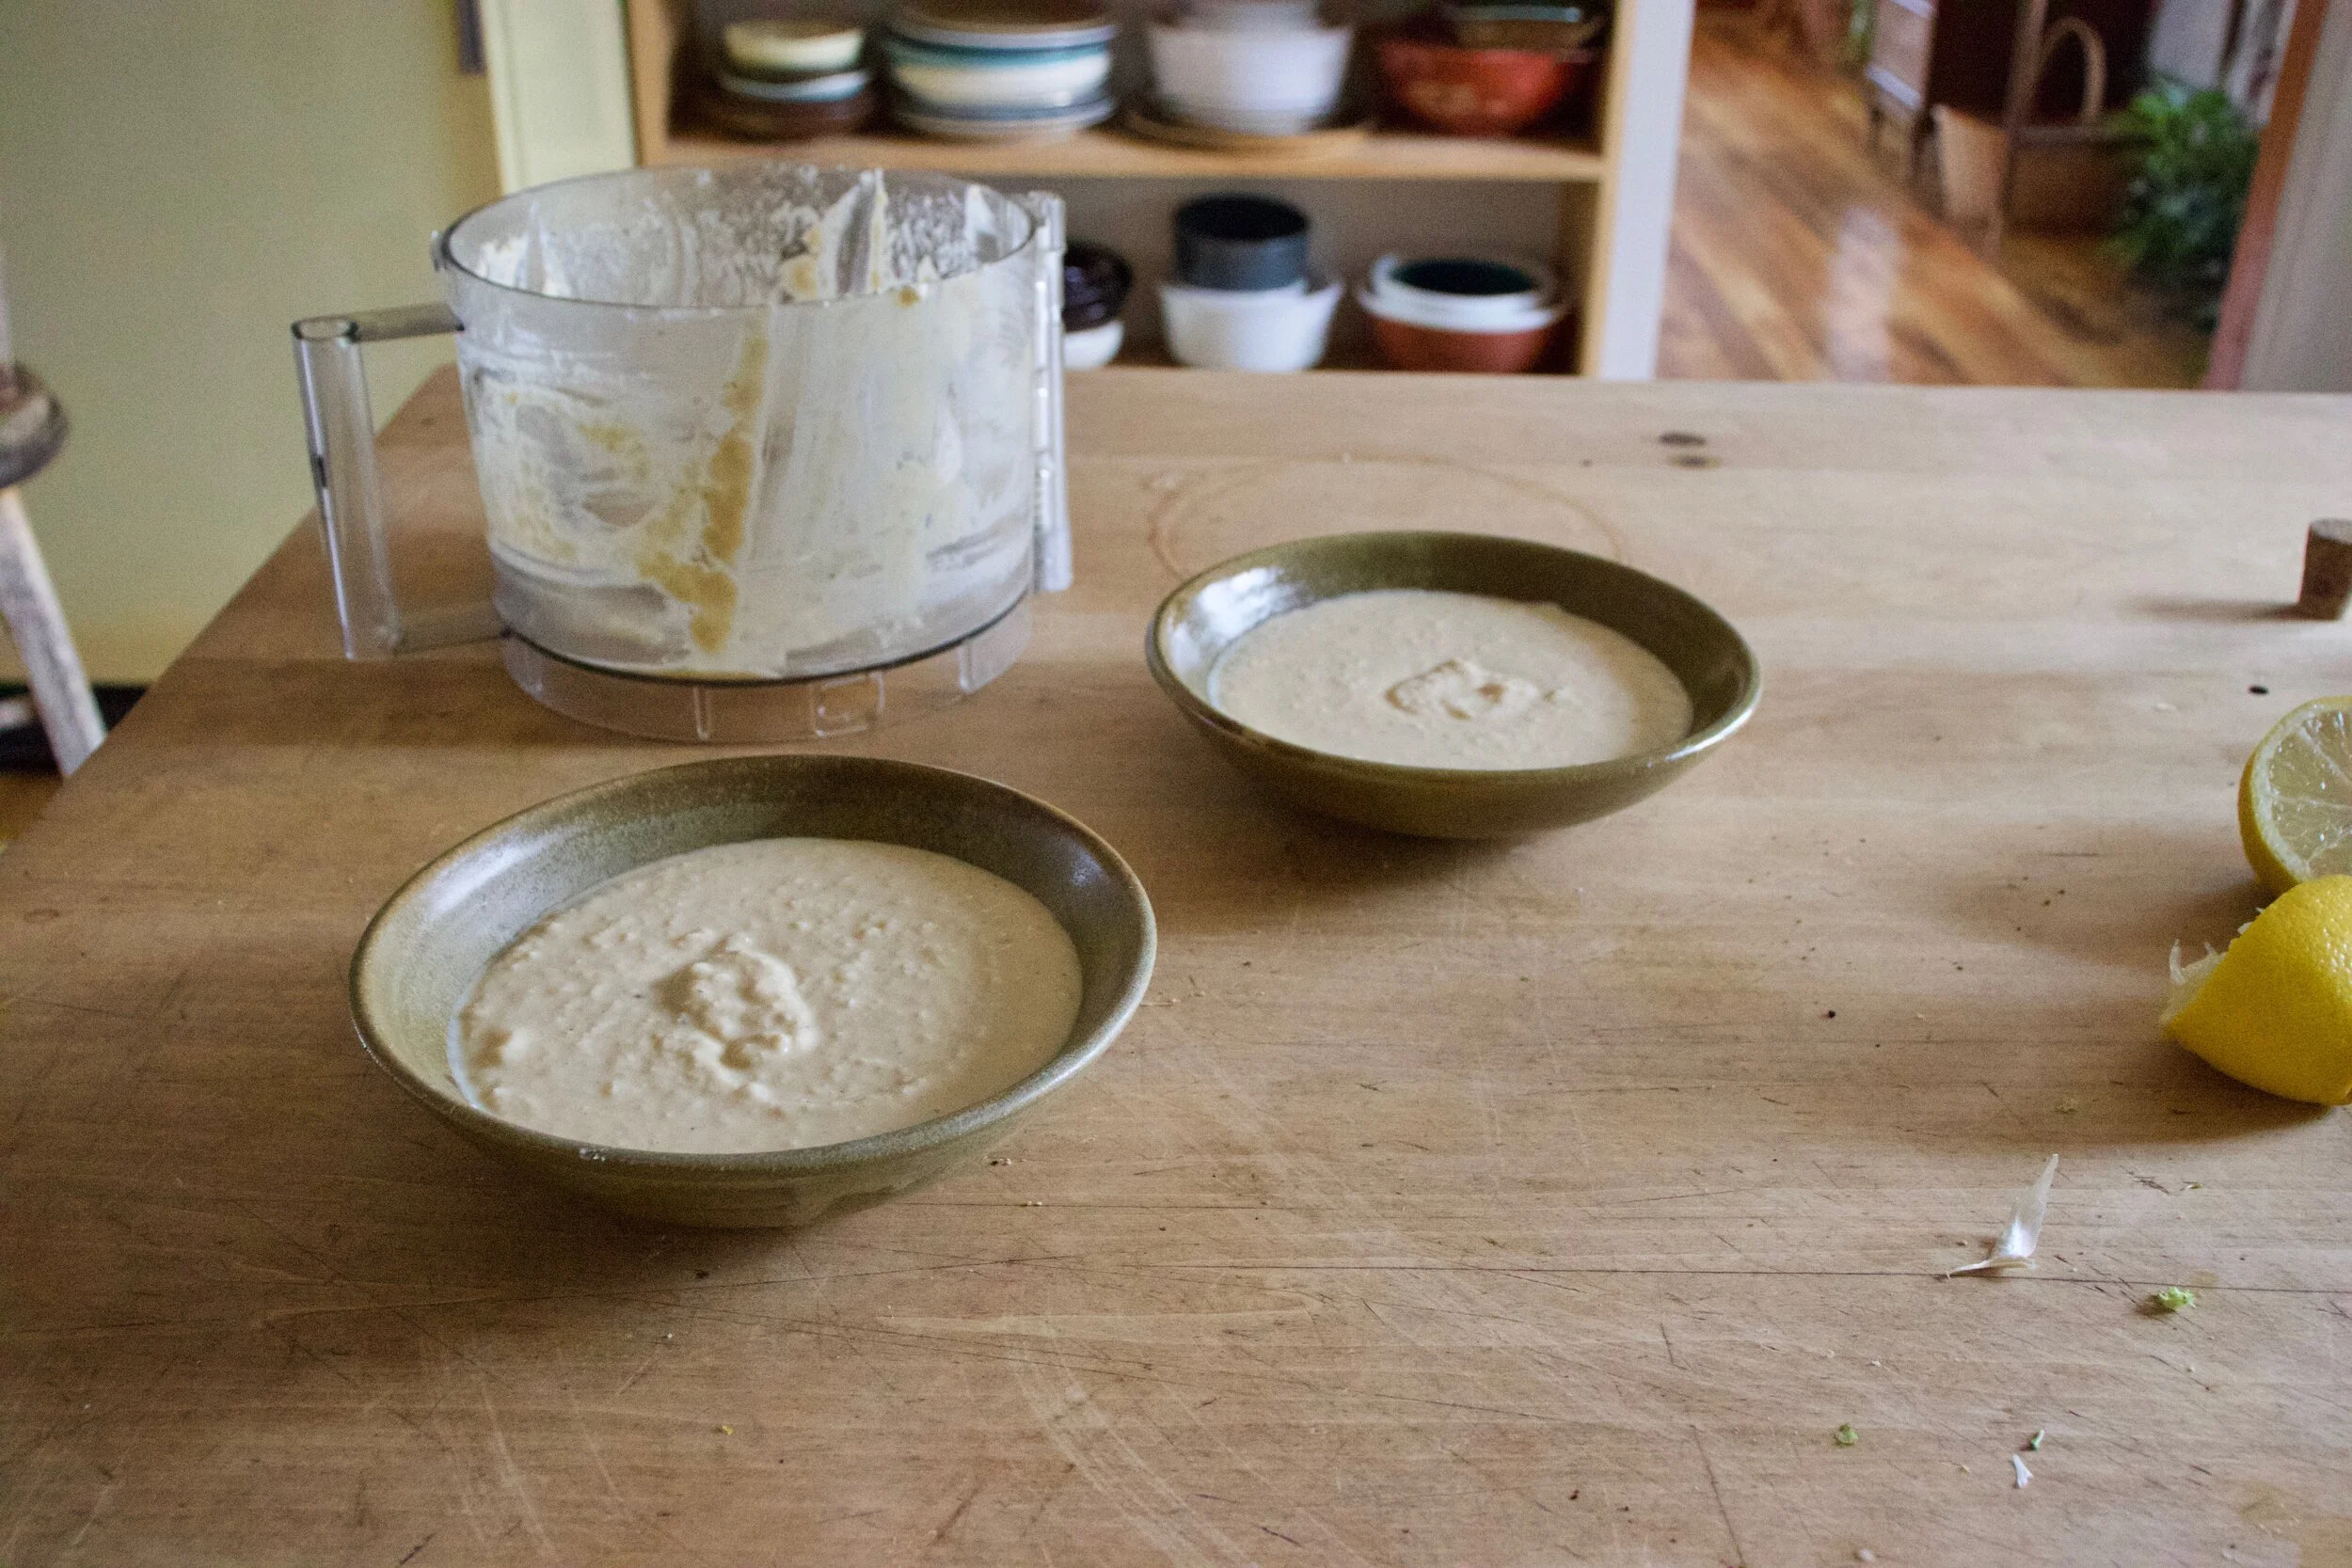
Dump that hummus into bowls.
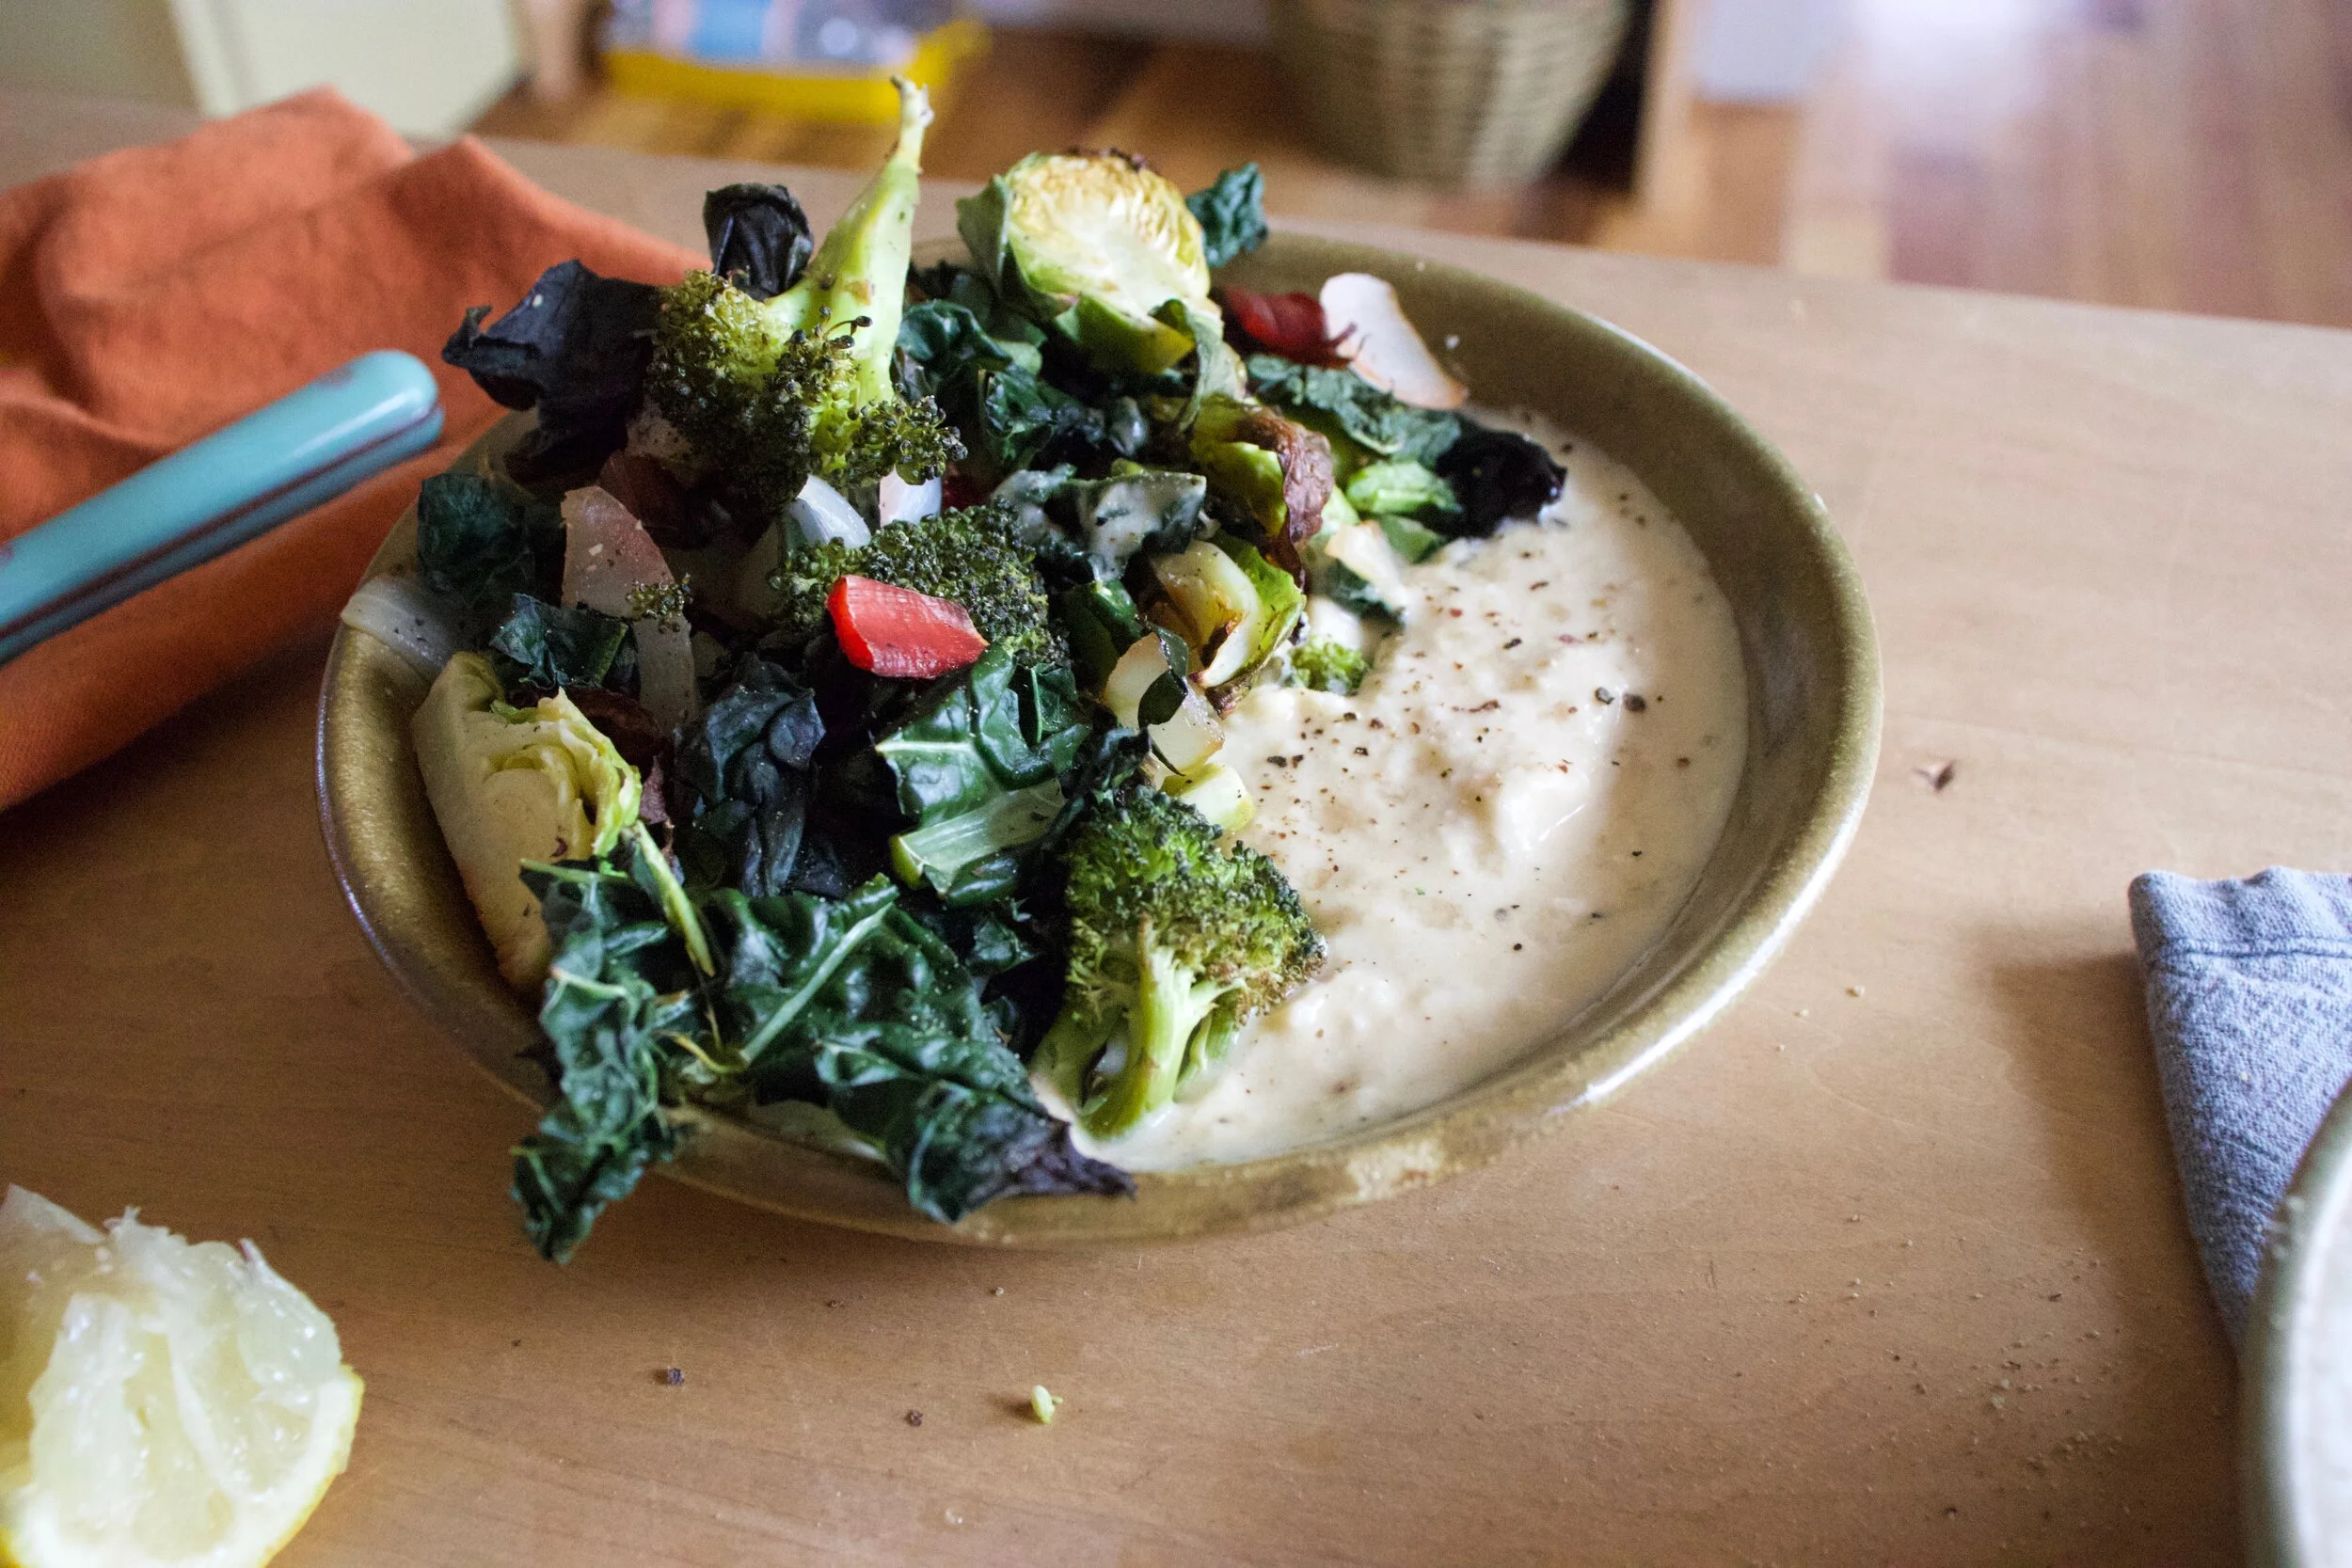
And top with roasted veggies.
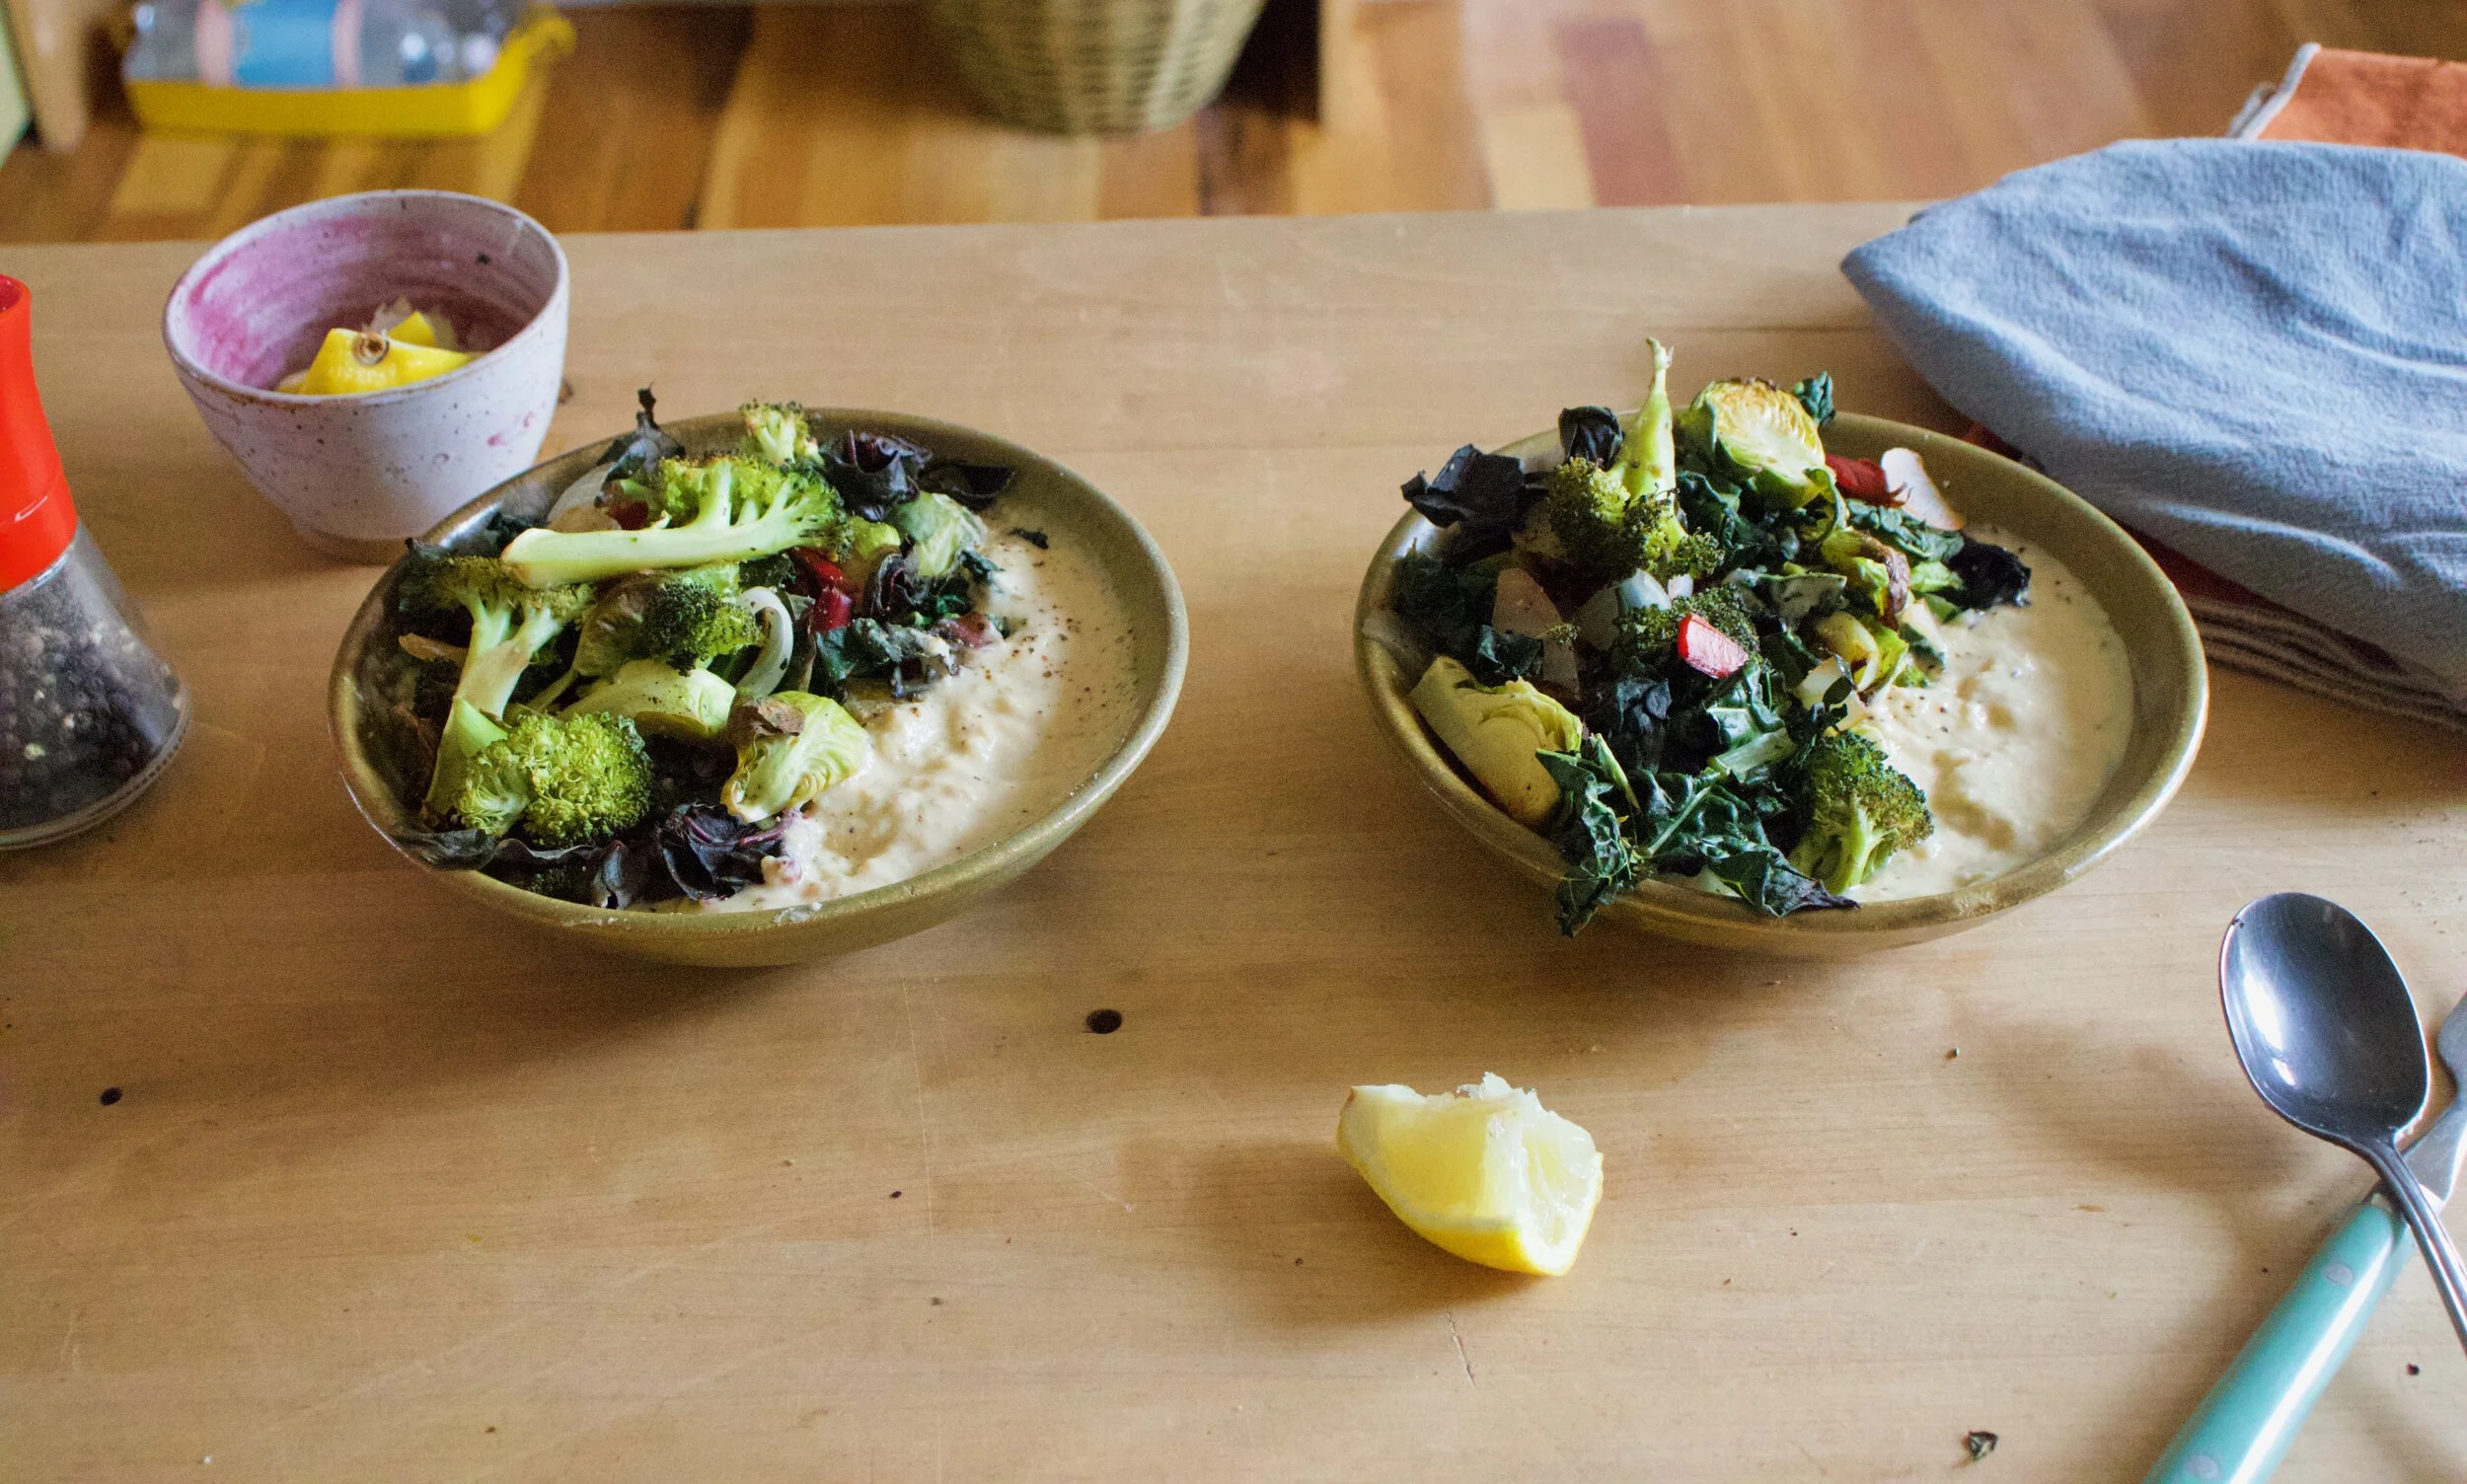
Would you look at that. Now all you need to to is dig in. Serve with extra lemon and black pepper. Grab your utensil of choice and eat.
-C
makes 2 servings if eating as a meal
-
3 cups cooked chickpeas in liquid
-
A lemon
-
1 tablespoon red wine vinegar
-
2-3 cloves garlic
-
1/4 cup tahini
-
salt and pepper
-
10 or so Brussel sprouts
-
A small head of broccoli
-
A small onion
-
5-6 kale and or Swiss chard leaves
Note. Use whatever veggies you want. Fresh or already prepared. All and any leftovers would be great.
Preheat oven to 450.
Cut Brussel sprouts in half, chop the onion into small pieces, and cut up the broccoli and toss onto a baking sheet or an oven safe skillet. Sprinkle with a little salt and pepper and stick into the oven to roast for about 20 ish minutes or until nice and roasted. Feel free to toss the veggies in a little oil if you want. Chop up the kale and chard into smaller pieces. Once veggies are just a few minutes from being cooked to you liking, remove from oven, and toss in the greens. Cook for another 5 or so minutes until those are nice and wilted. Remove veggies from oven.
While veggies are roasting, make hummus. Place chick peas with liquid, the juice of the lemon, vinegar, garlic, and tahini into a food processor. Blend until smooth and creamy. Taste and season with salt and pepper to your liking. Dump into a bowls.
And when you have hummus make and veggies roasted, its time to compile. Dump the hummus into 2 bowls. Dump half of the roasted veggies into each bowl.. Squeeze more lemon juice onto both then grab a fork.
Eat. And yes, lick bowl clean. No shame.
If you are a falafel fan, as I am, then this one is for you. Carrot ginger falafel. Oh yes. Warm and spicy and carroty and all the things that are good, packed into a chickpea ball of mouth sized proportions. When I thought of it it sounded good, When I made it and ate it, it was everything and more I could have asked for in a freaking fantastic falafel. As for the tahini cabbage slaw, I might just be making it in my house every dang day. Super easy, super tasty, goes with the falafel like whoa but is just as good eaten on it%u2019s own. Eaten together the pair make every inch of mouth space happy. A happy mouth space, what more can you ask for?
To the falafel!
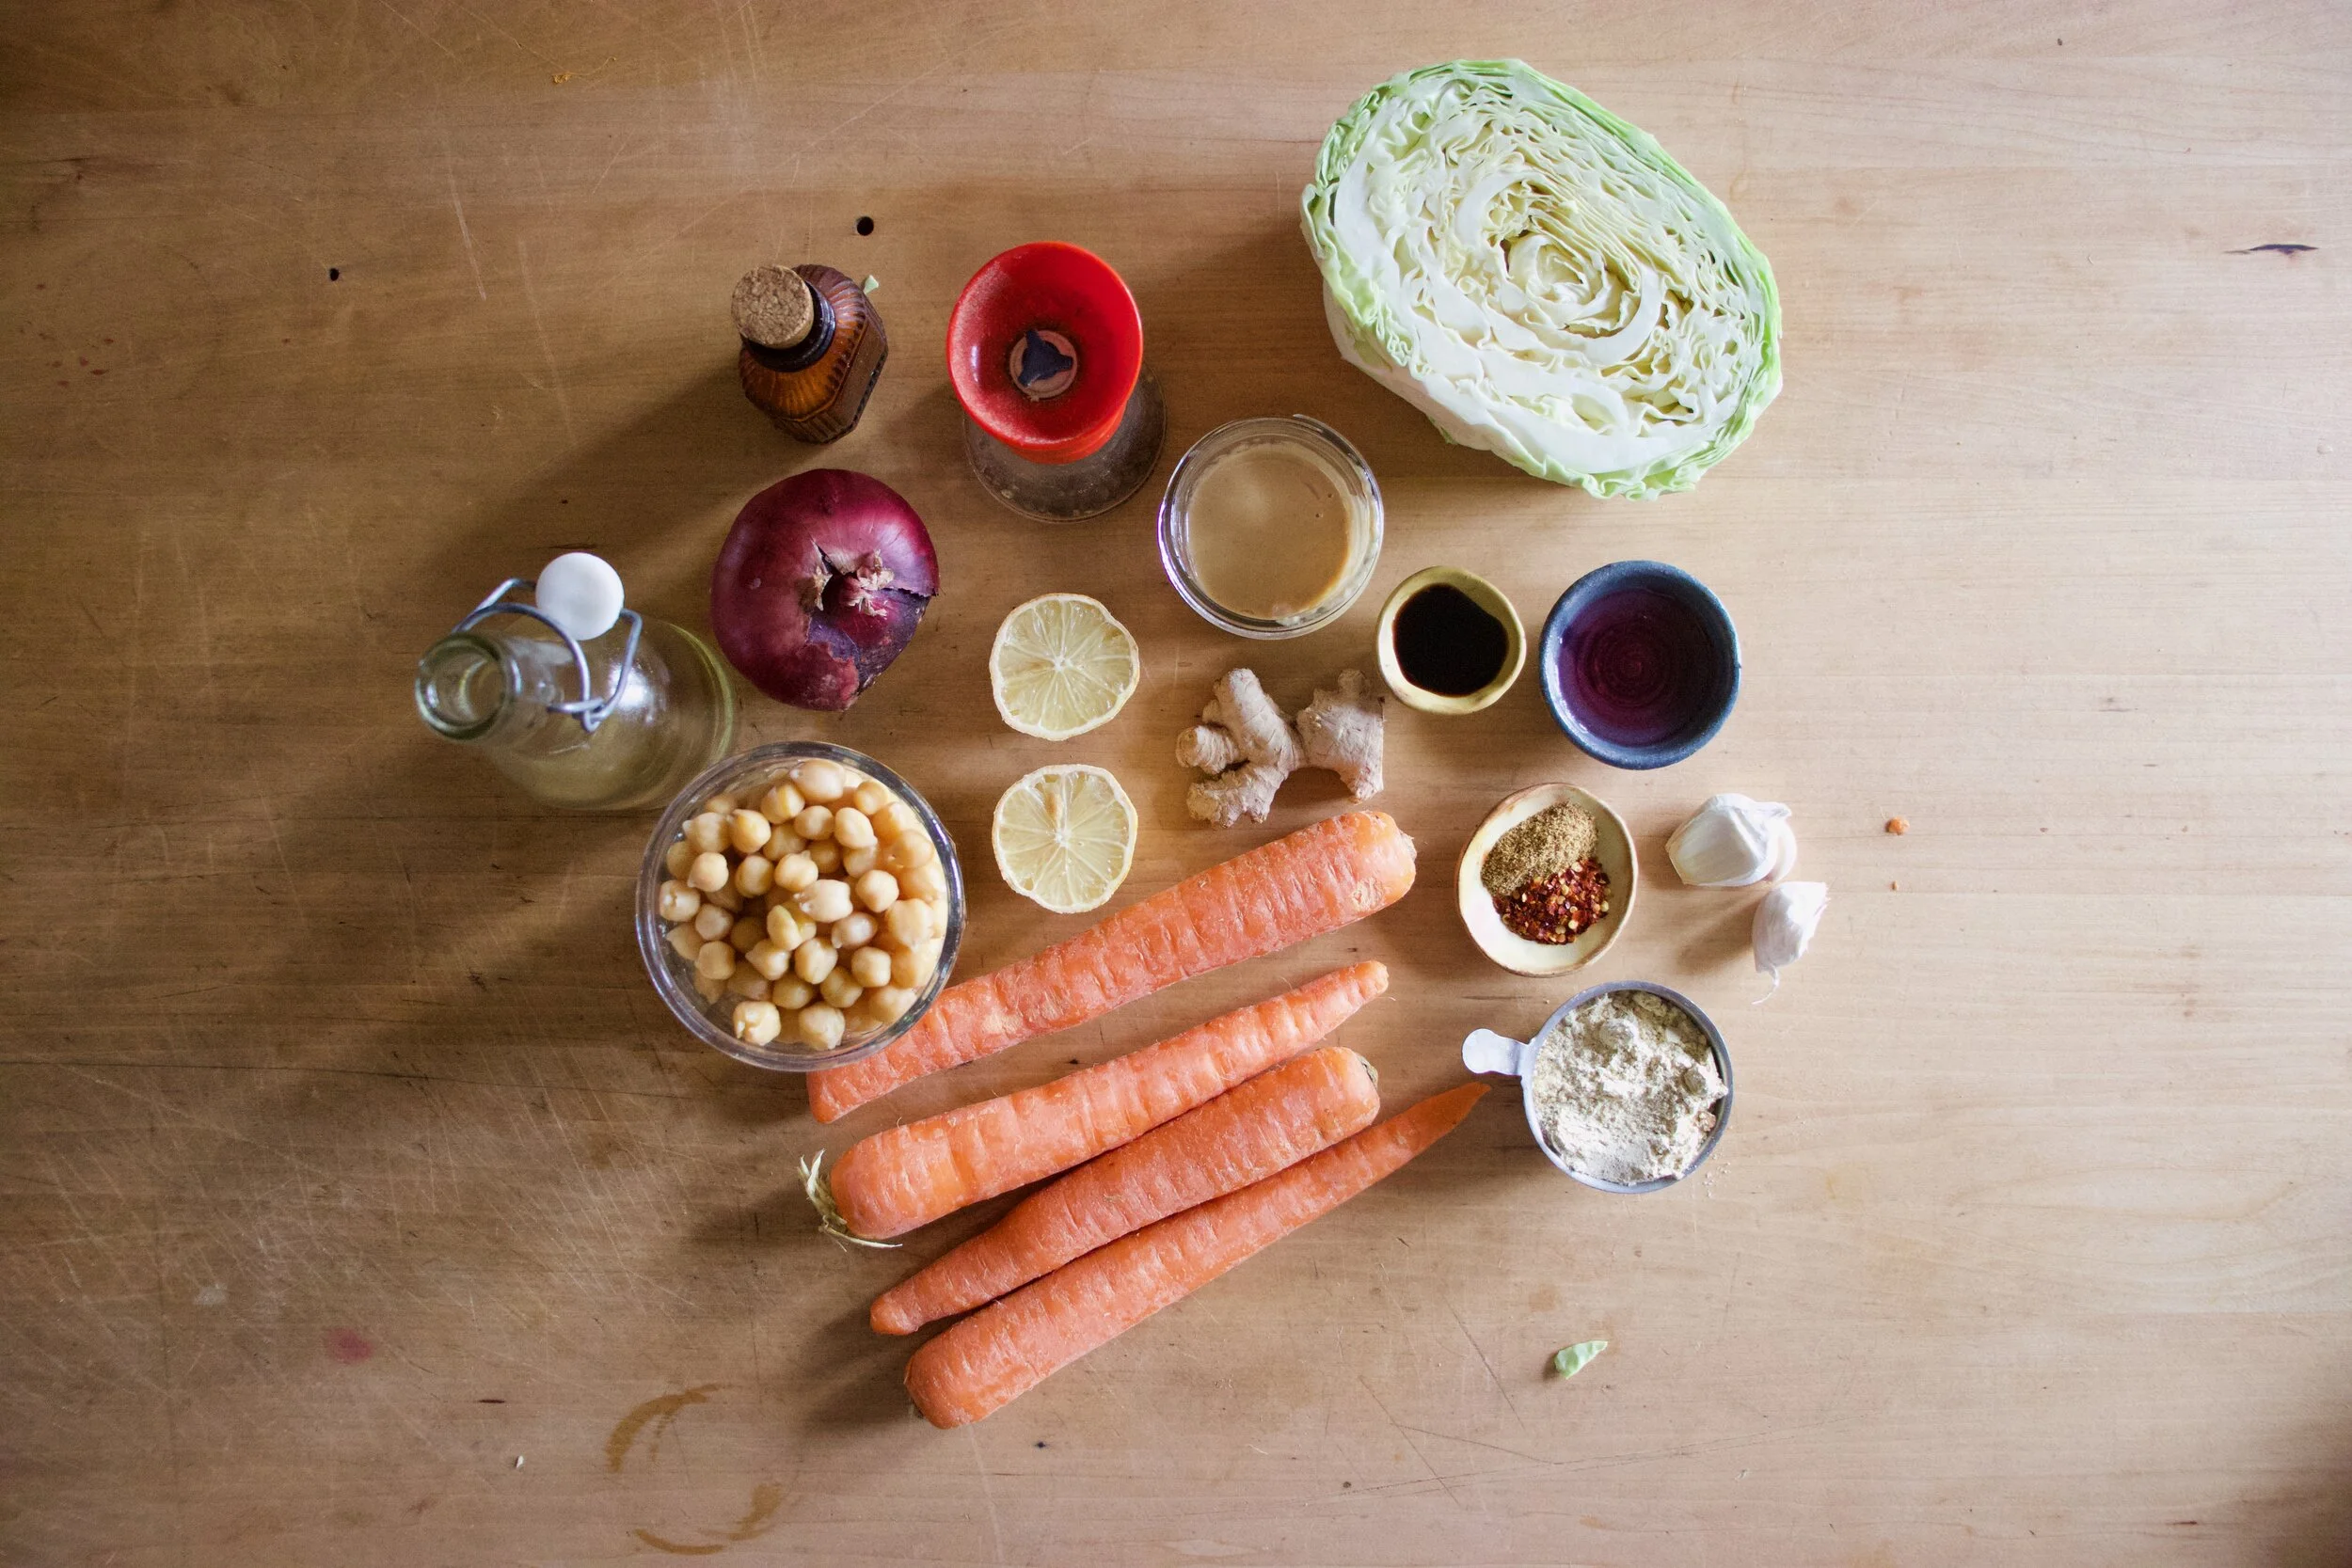
The stuff. Cooked chickpeas, carrots, a piece of fresh ginger, tahini, soy sauce, cabbage, an onion, a few cloves of garlic, red wine vinegar, some cumin and red pepper flakes, a lemon, chickpea flour, salt and pepper, and oil.
Start off by chopping the carrots into small pieces. Then cut half of the onion into small pieces. Rough chop the garlic and the ginger as well. No need to peel ginger unless you really want to.
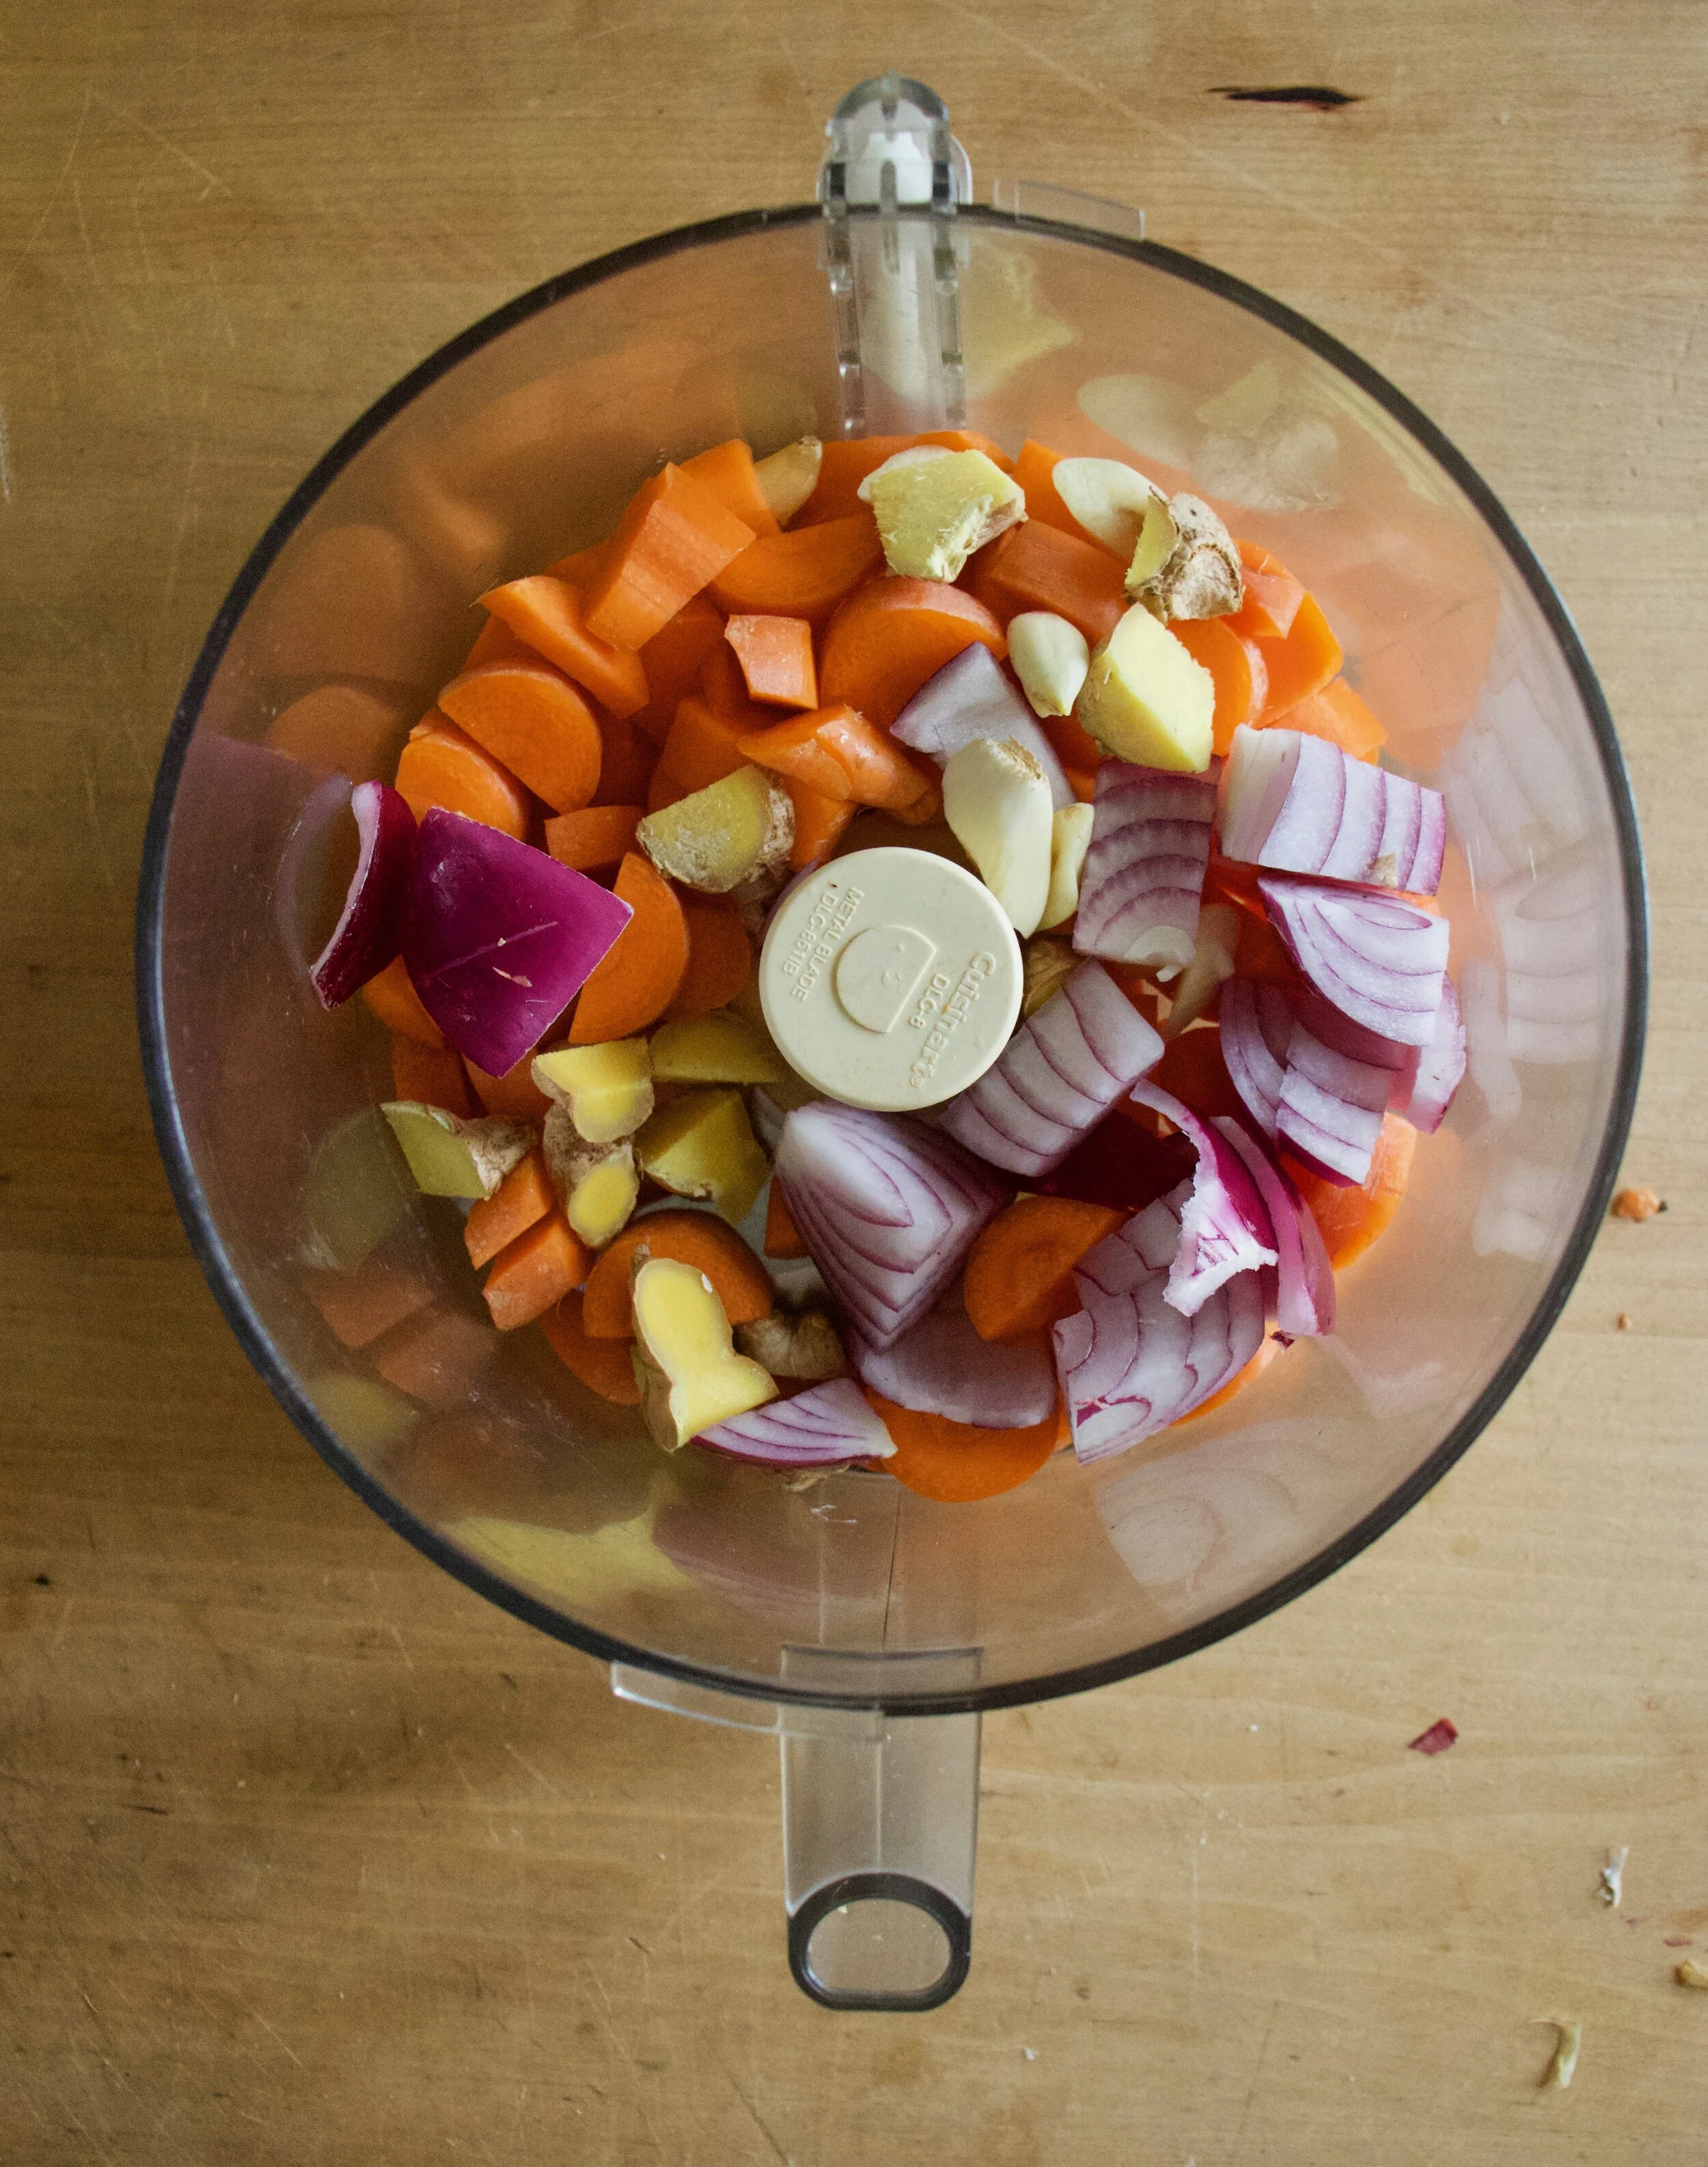
Place it all into food processor and pulse until a small crumble.
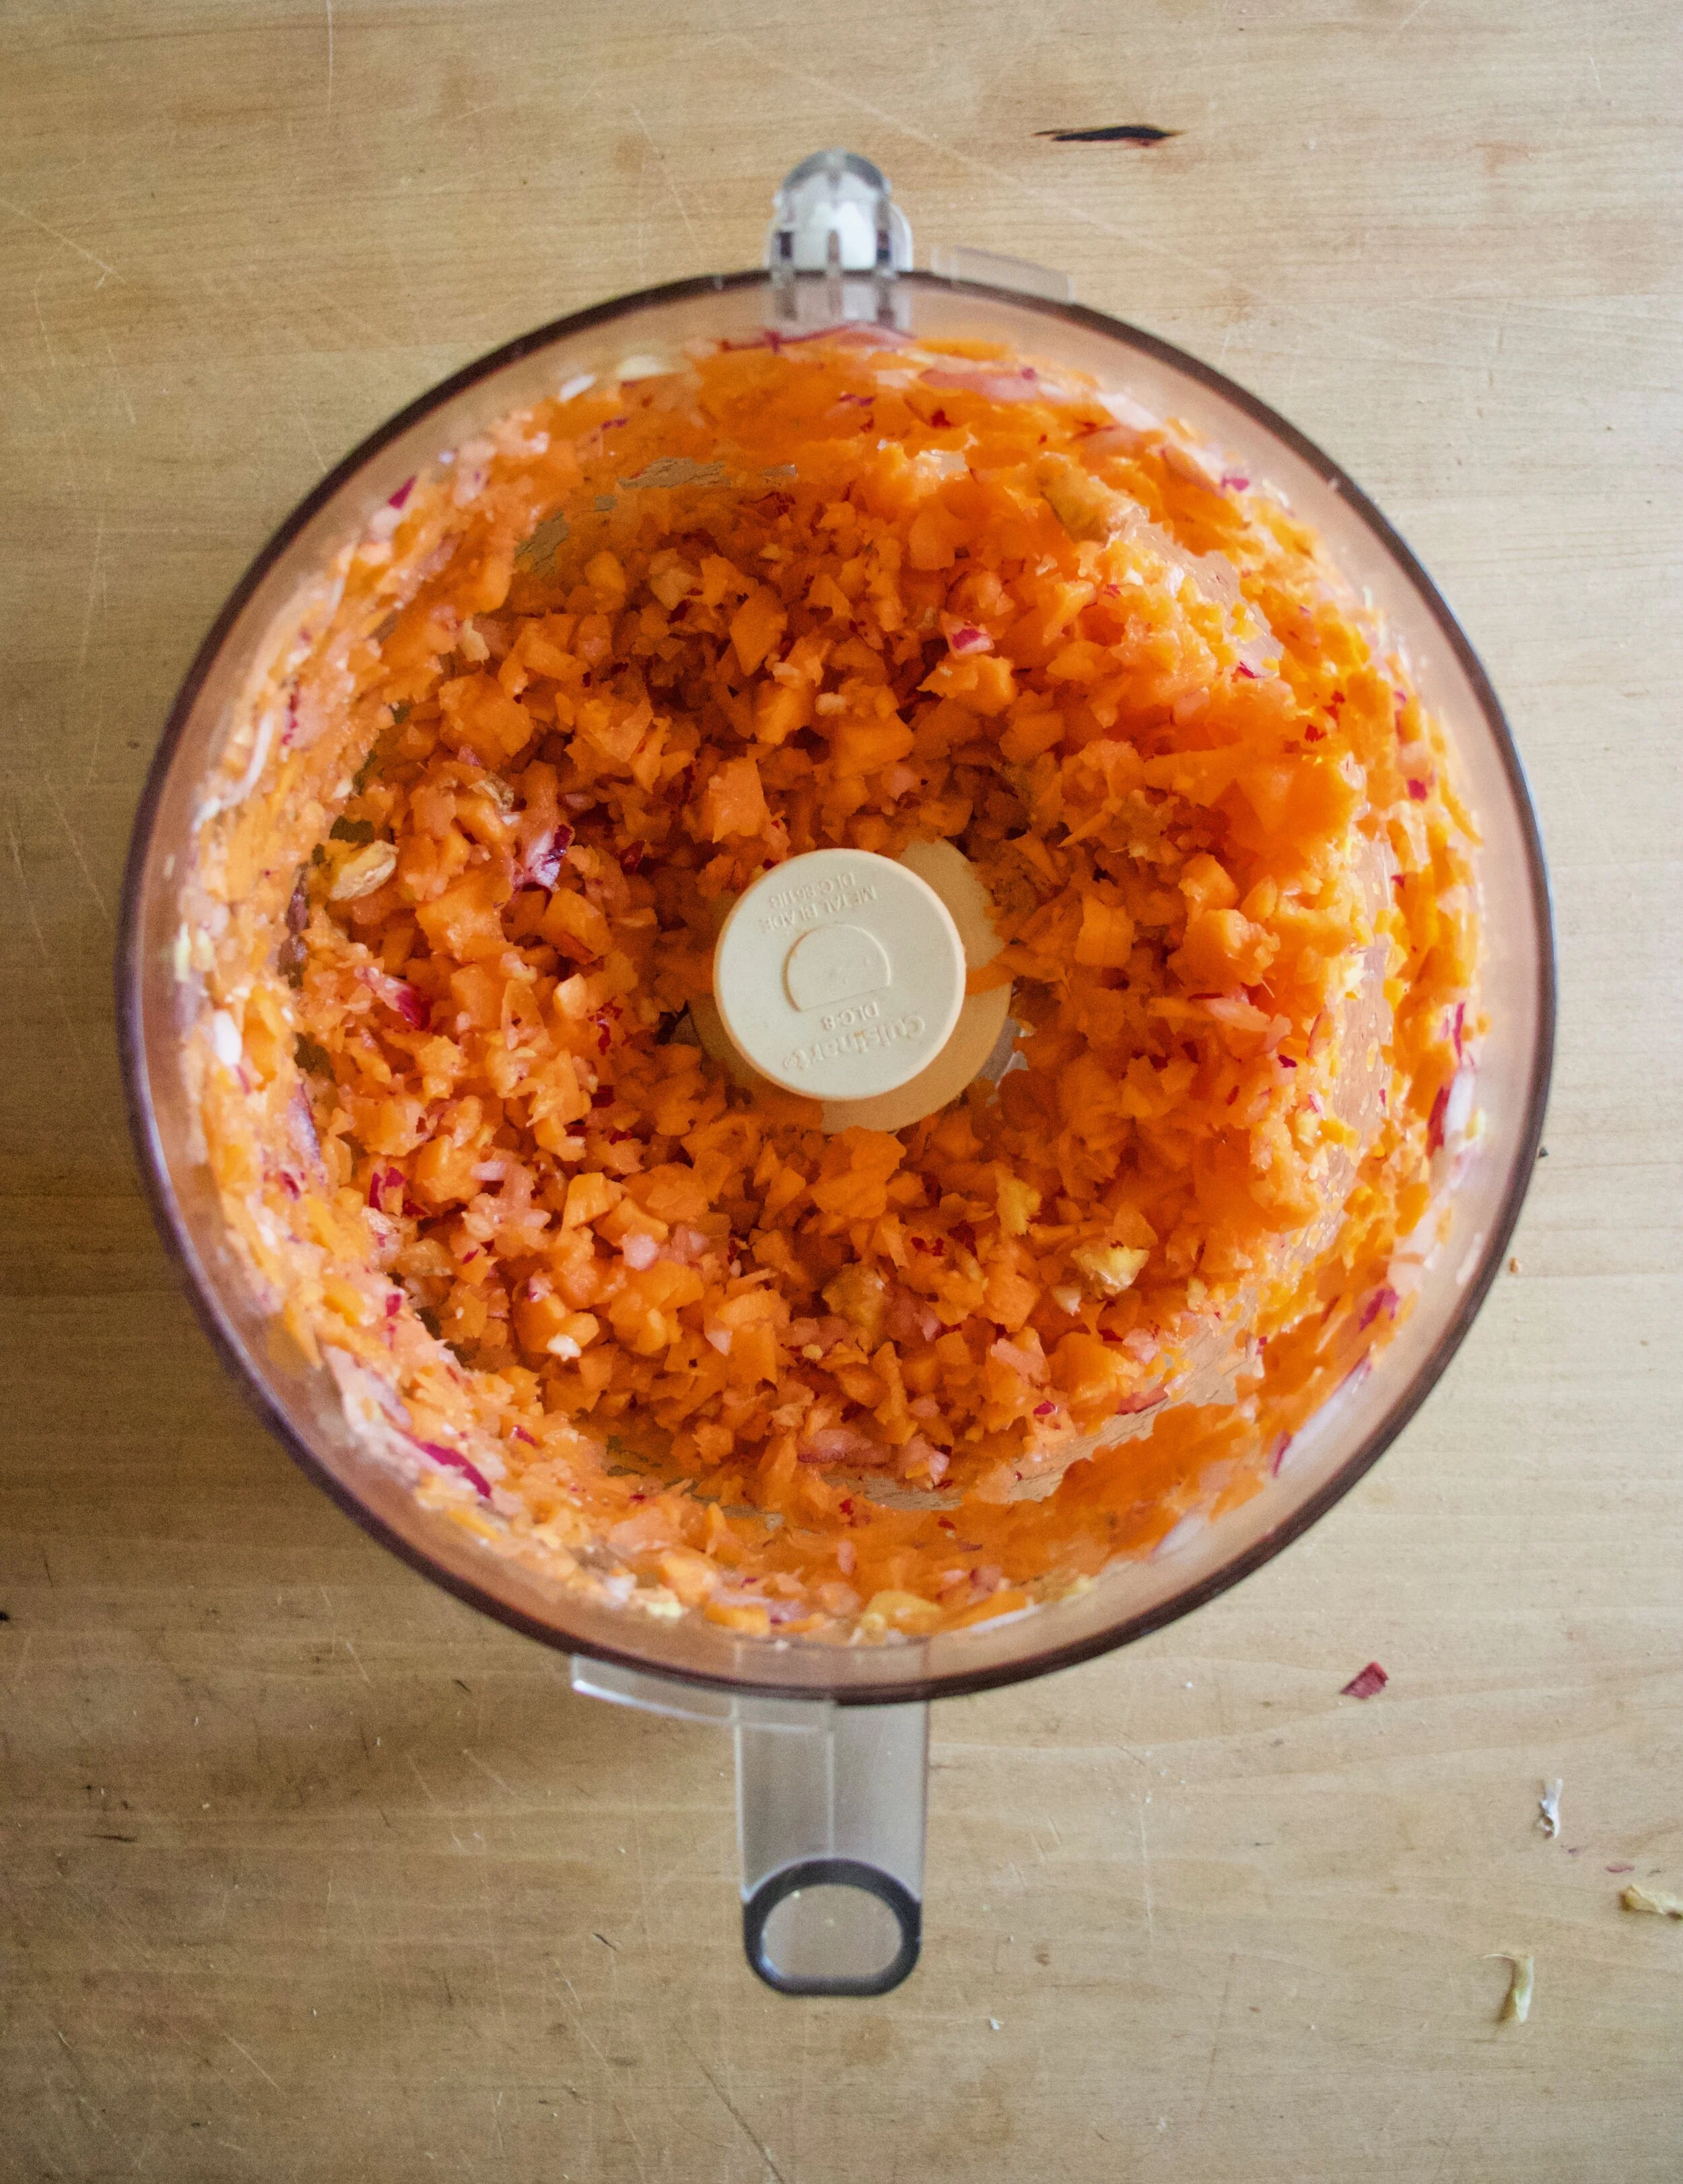
Carrot onion garlic ginger mixture.
Dump mixture into a skillet with a splash of water. Add in the cumin, chili flakes, and a good pinch of salt and pepper and cook on the stove for 5-8 minutes until the crumble softens and becomes fragrant.
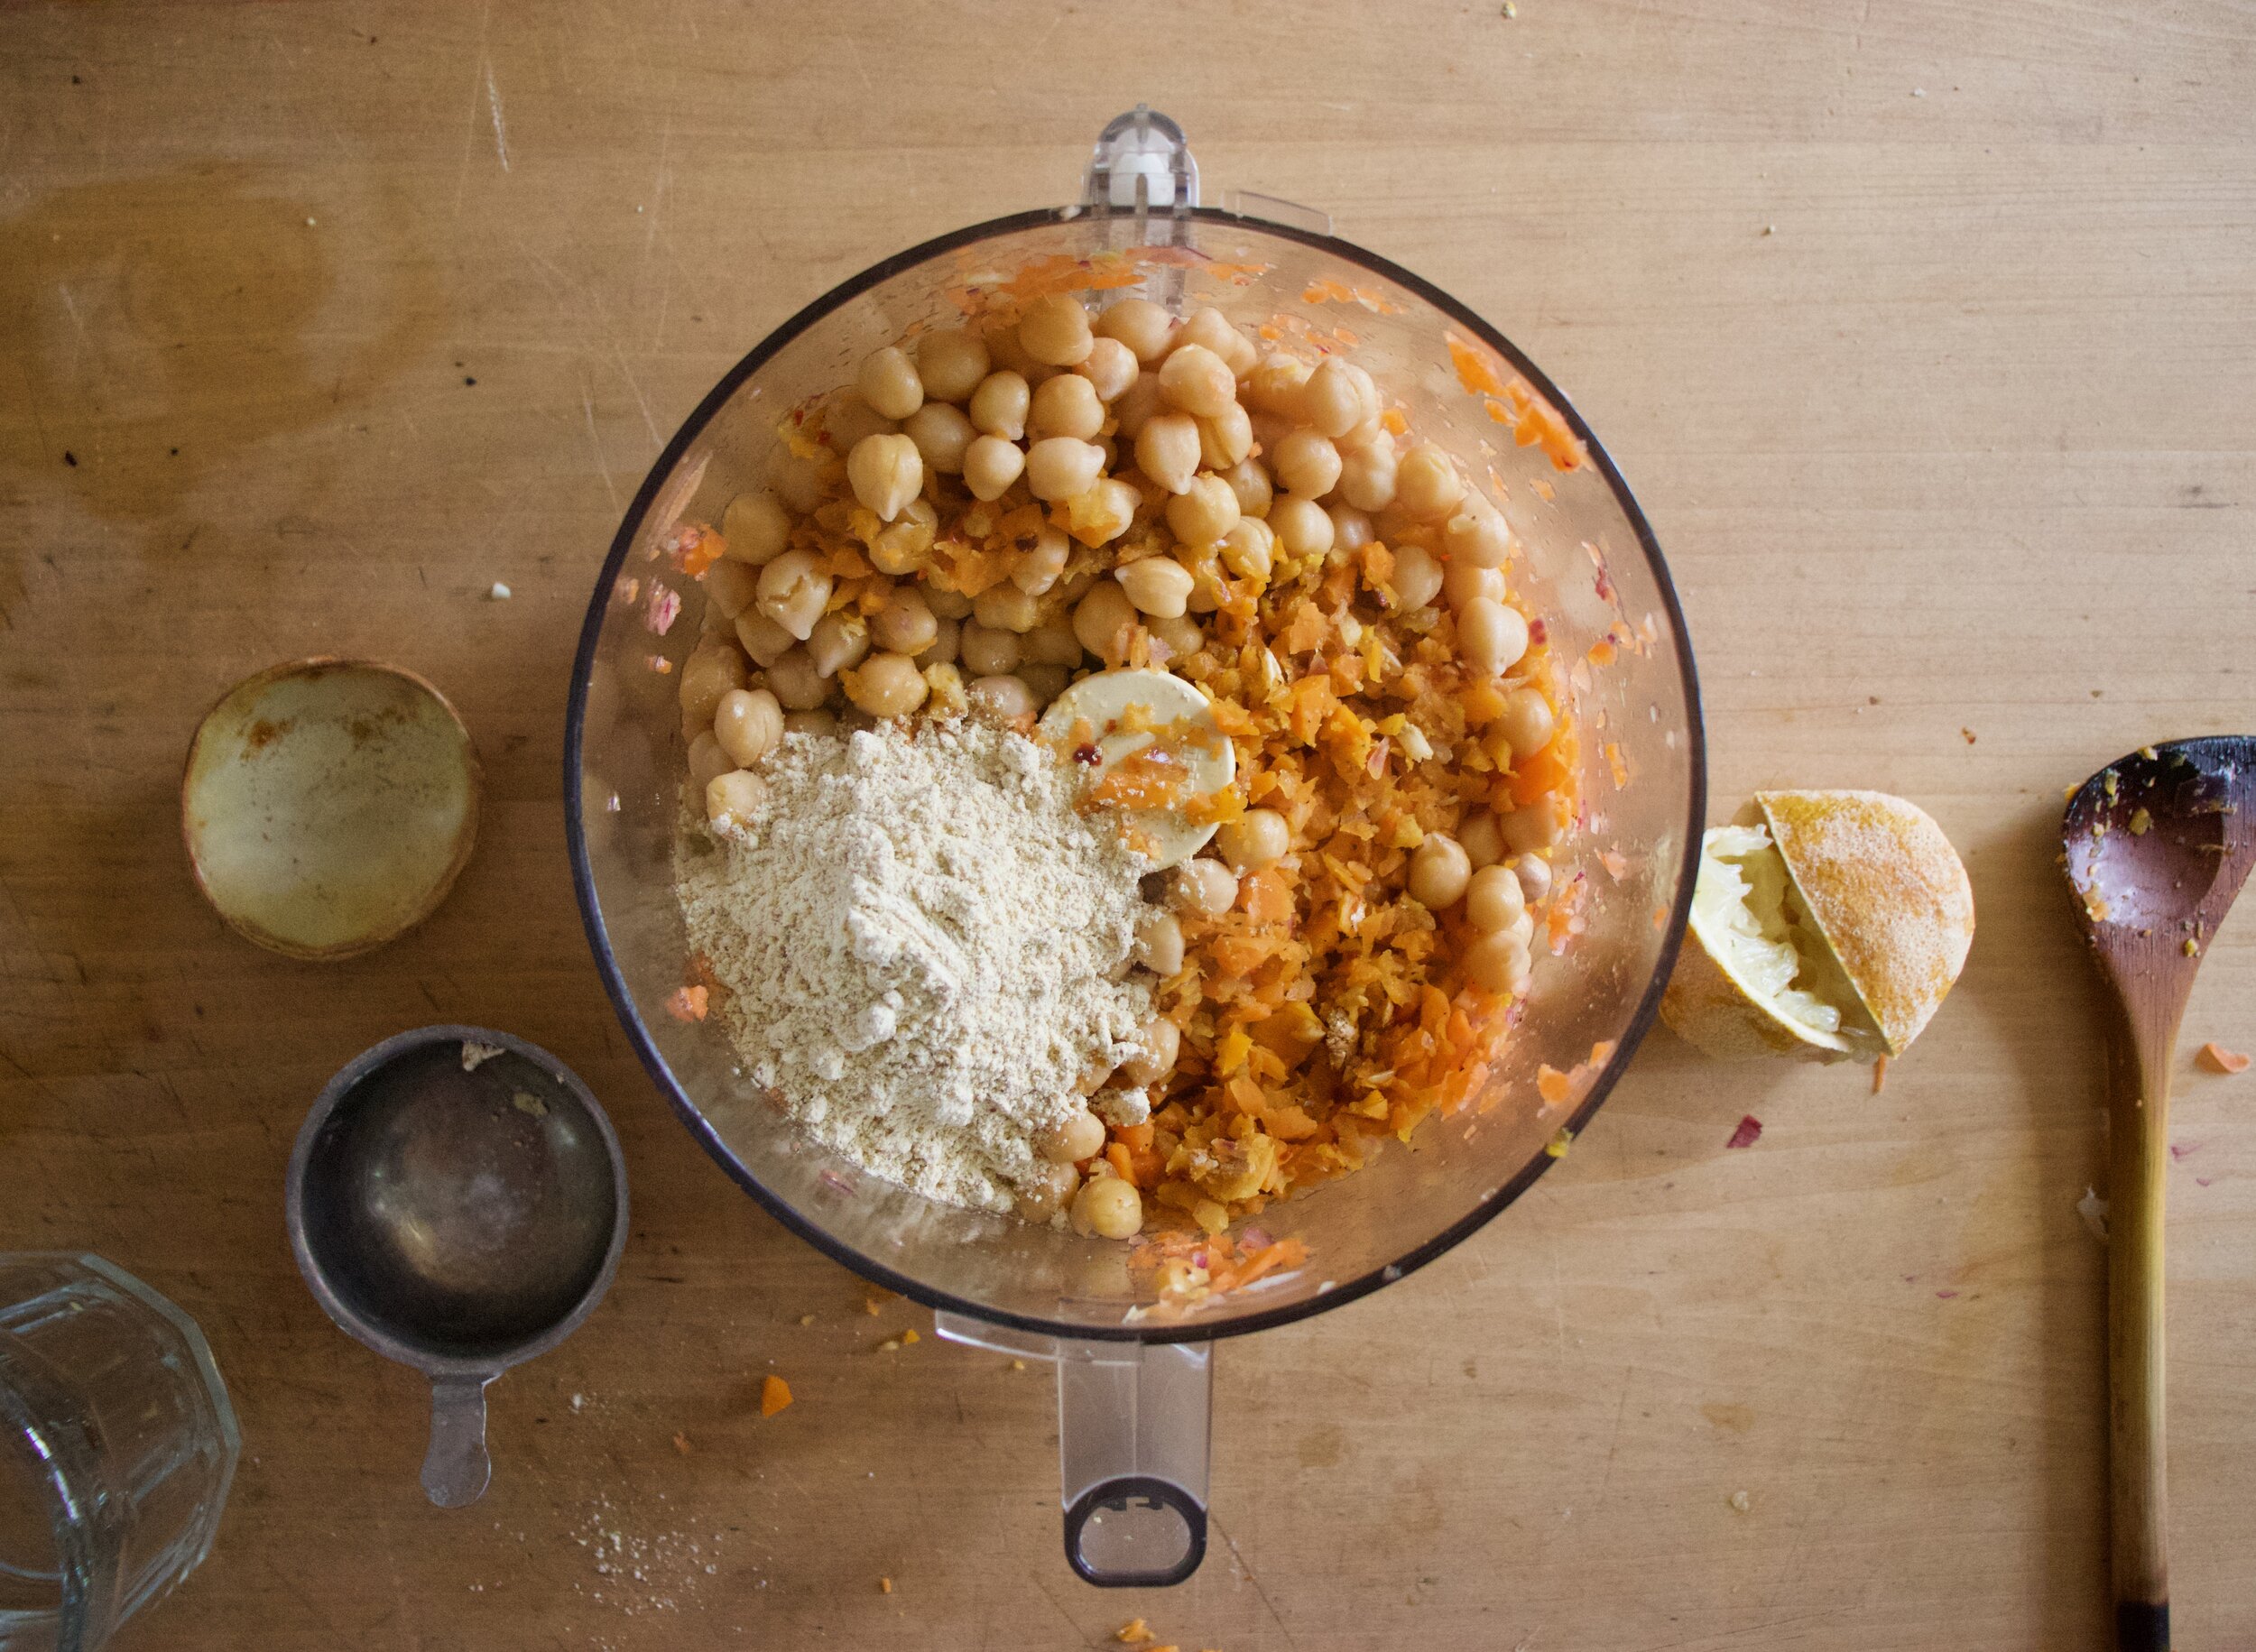
Dump carrot ginger mixture back into food processor along with the chickpeas, chickpea flour, and the juice of the lemon. Puree until smooth.
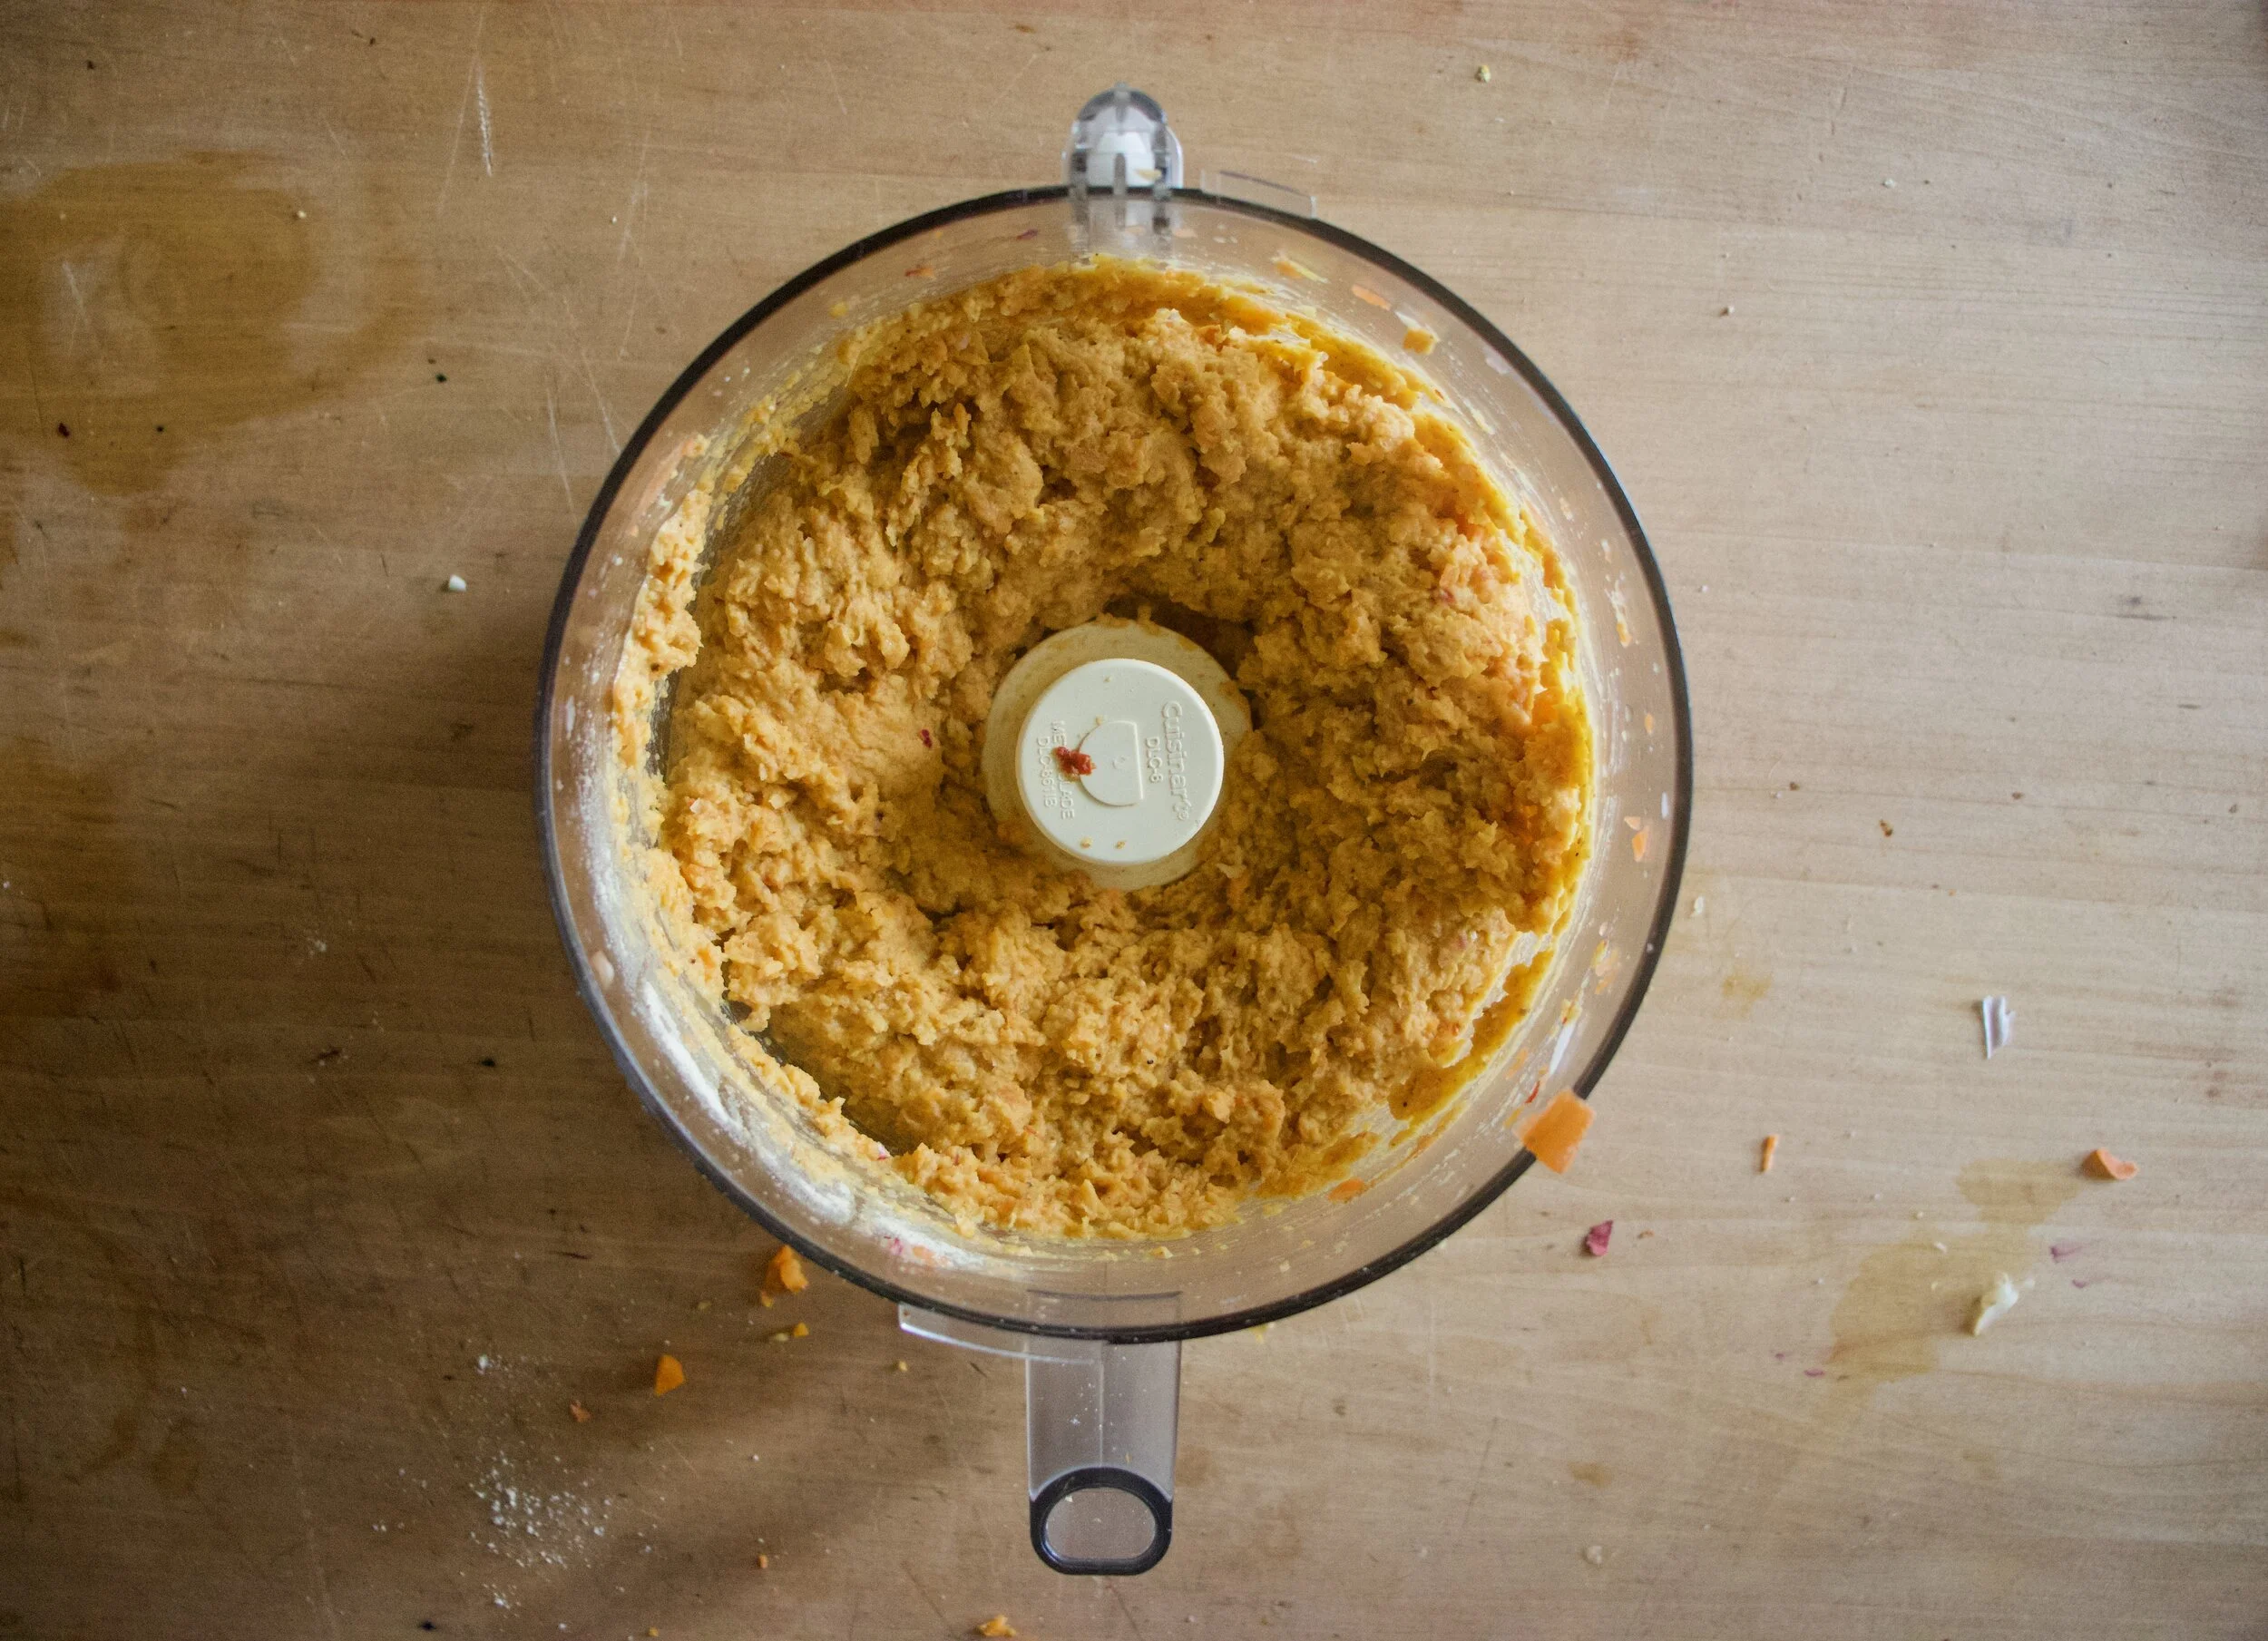
Carrot ginger falafel mixture. Now stick it in the fridge. For a little while to a day, just to let it set up a bit.
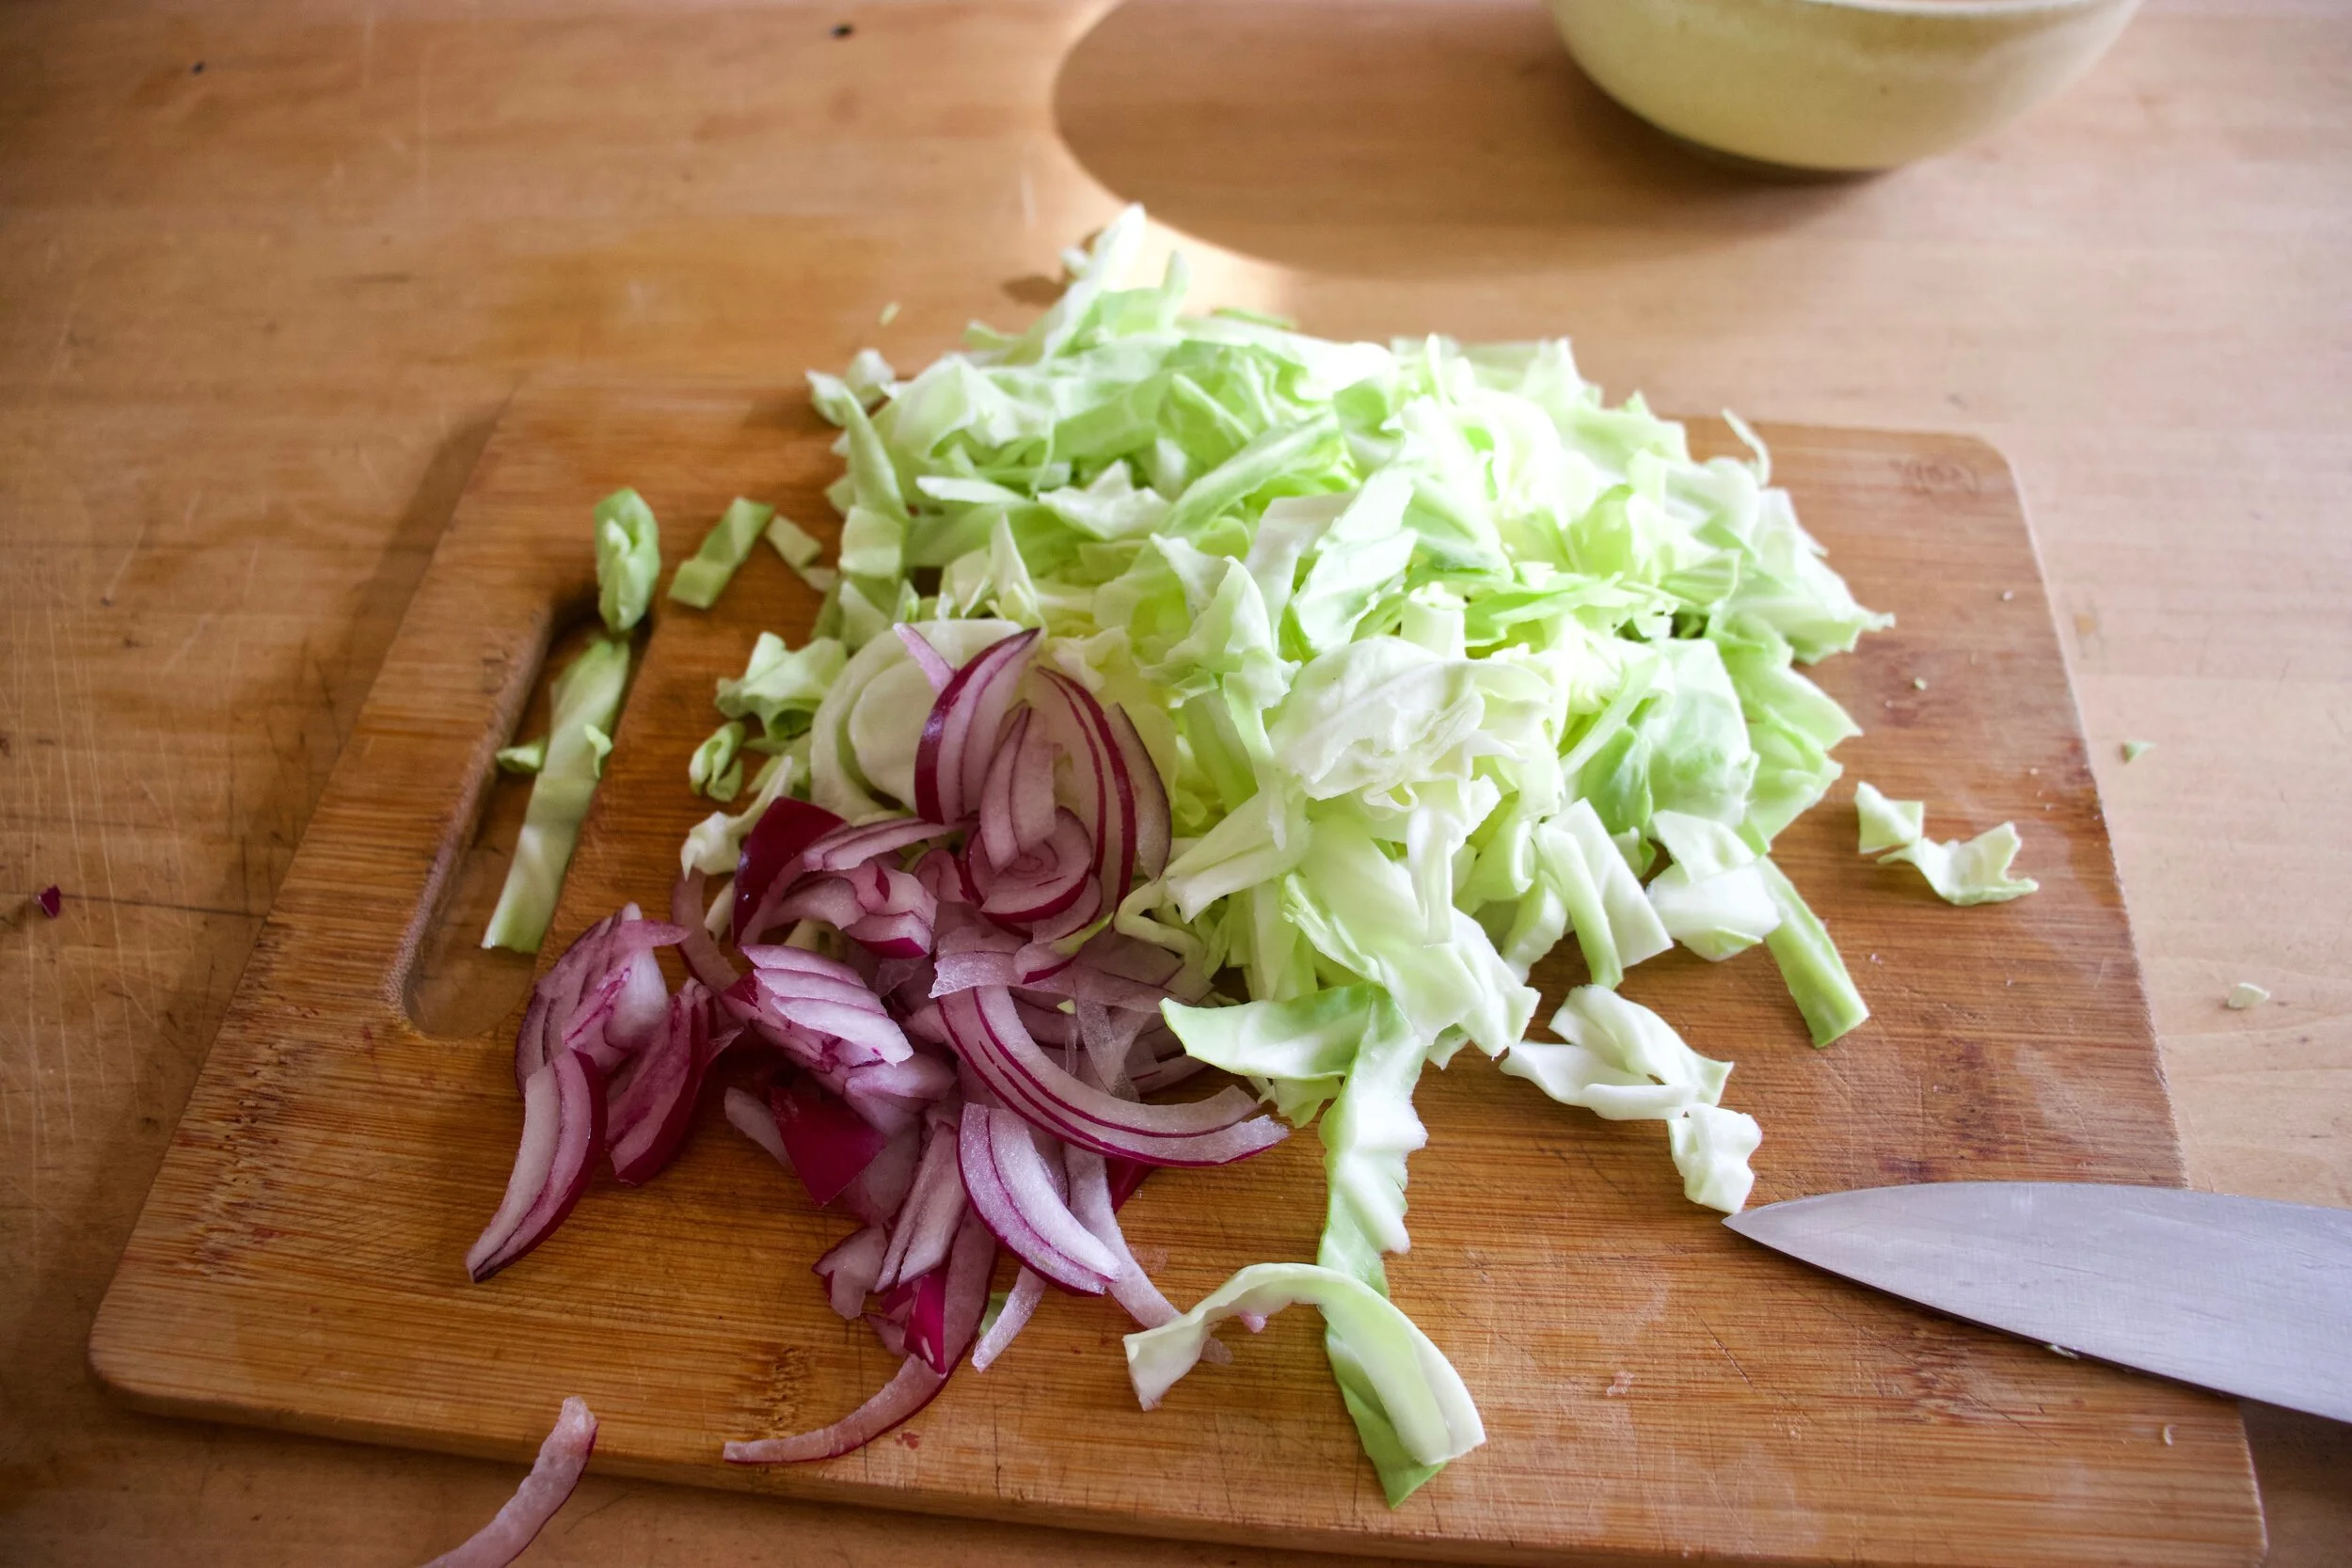
And in the mean time you can make the slaw. Shred cabbage and cut up onion all nice and thin.
Dump tahini, soy, vinegar, and a few tablespoons warm water into bowl and mix until creamy and good.
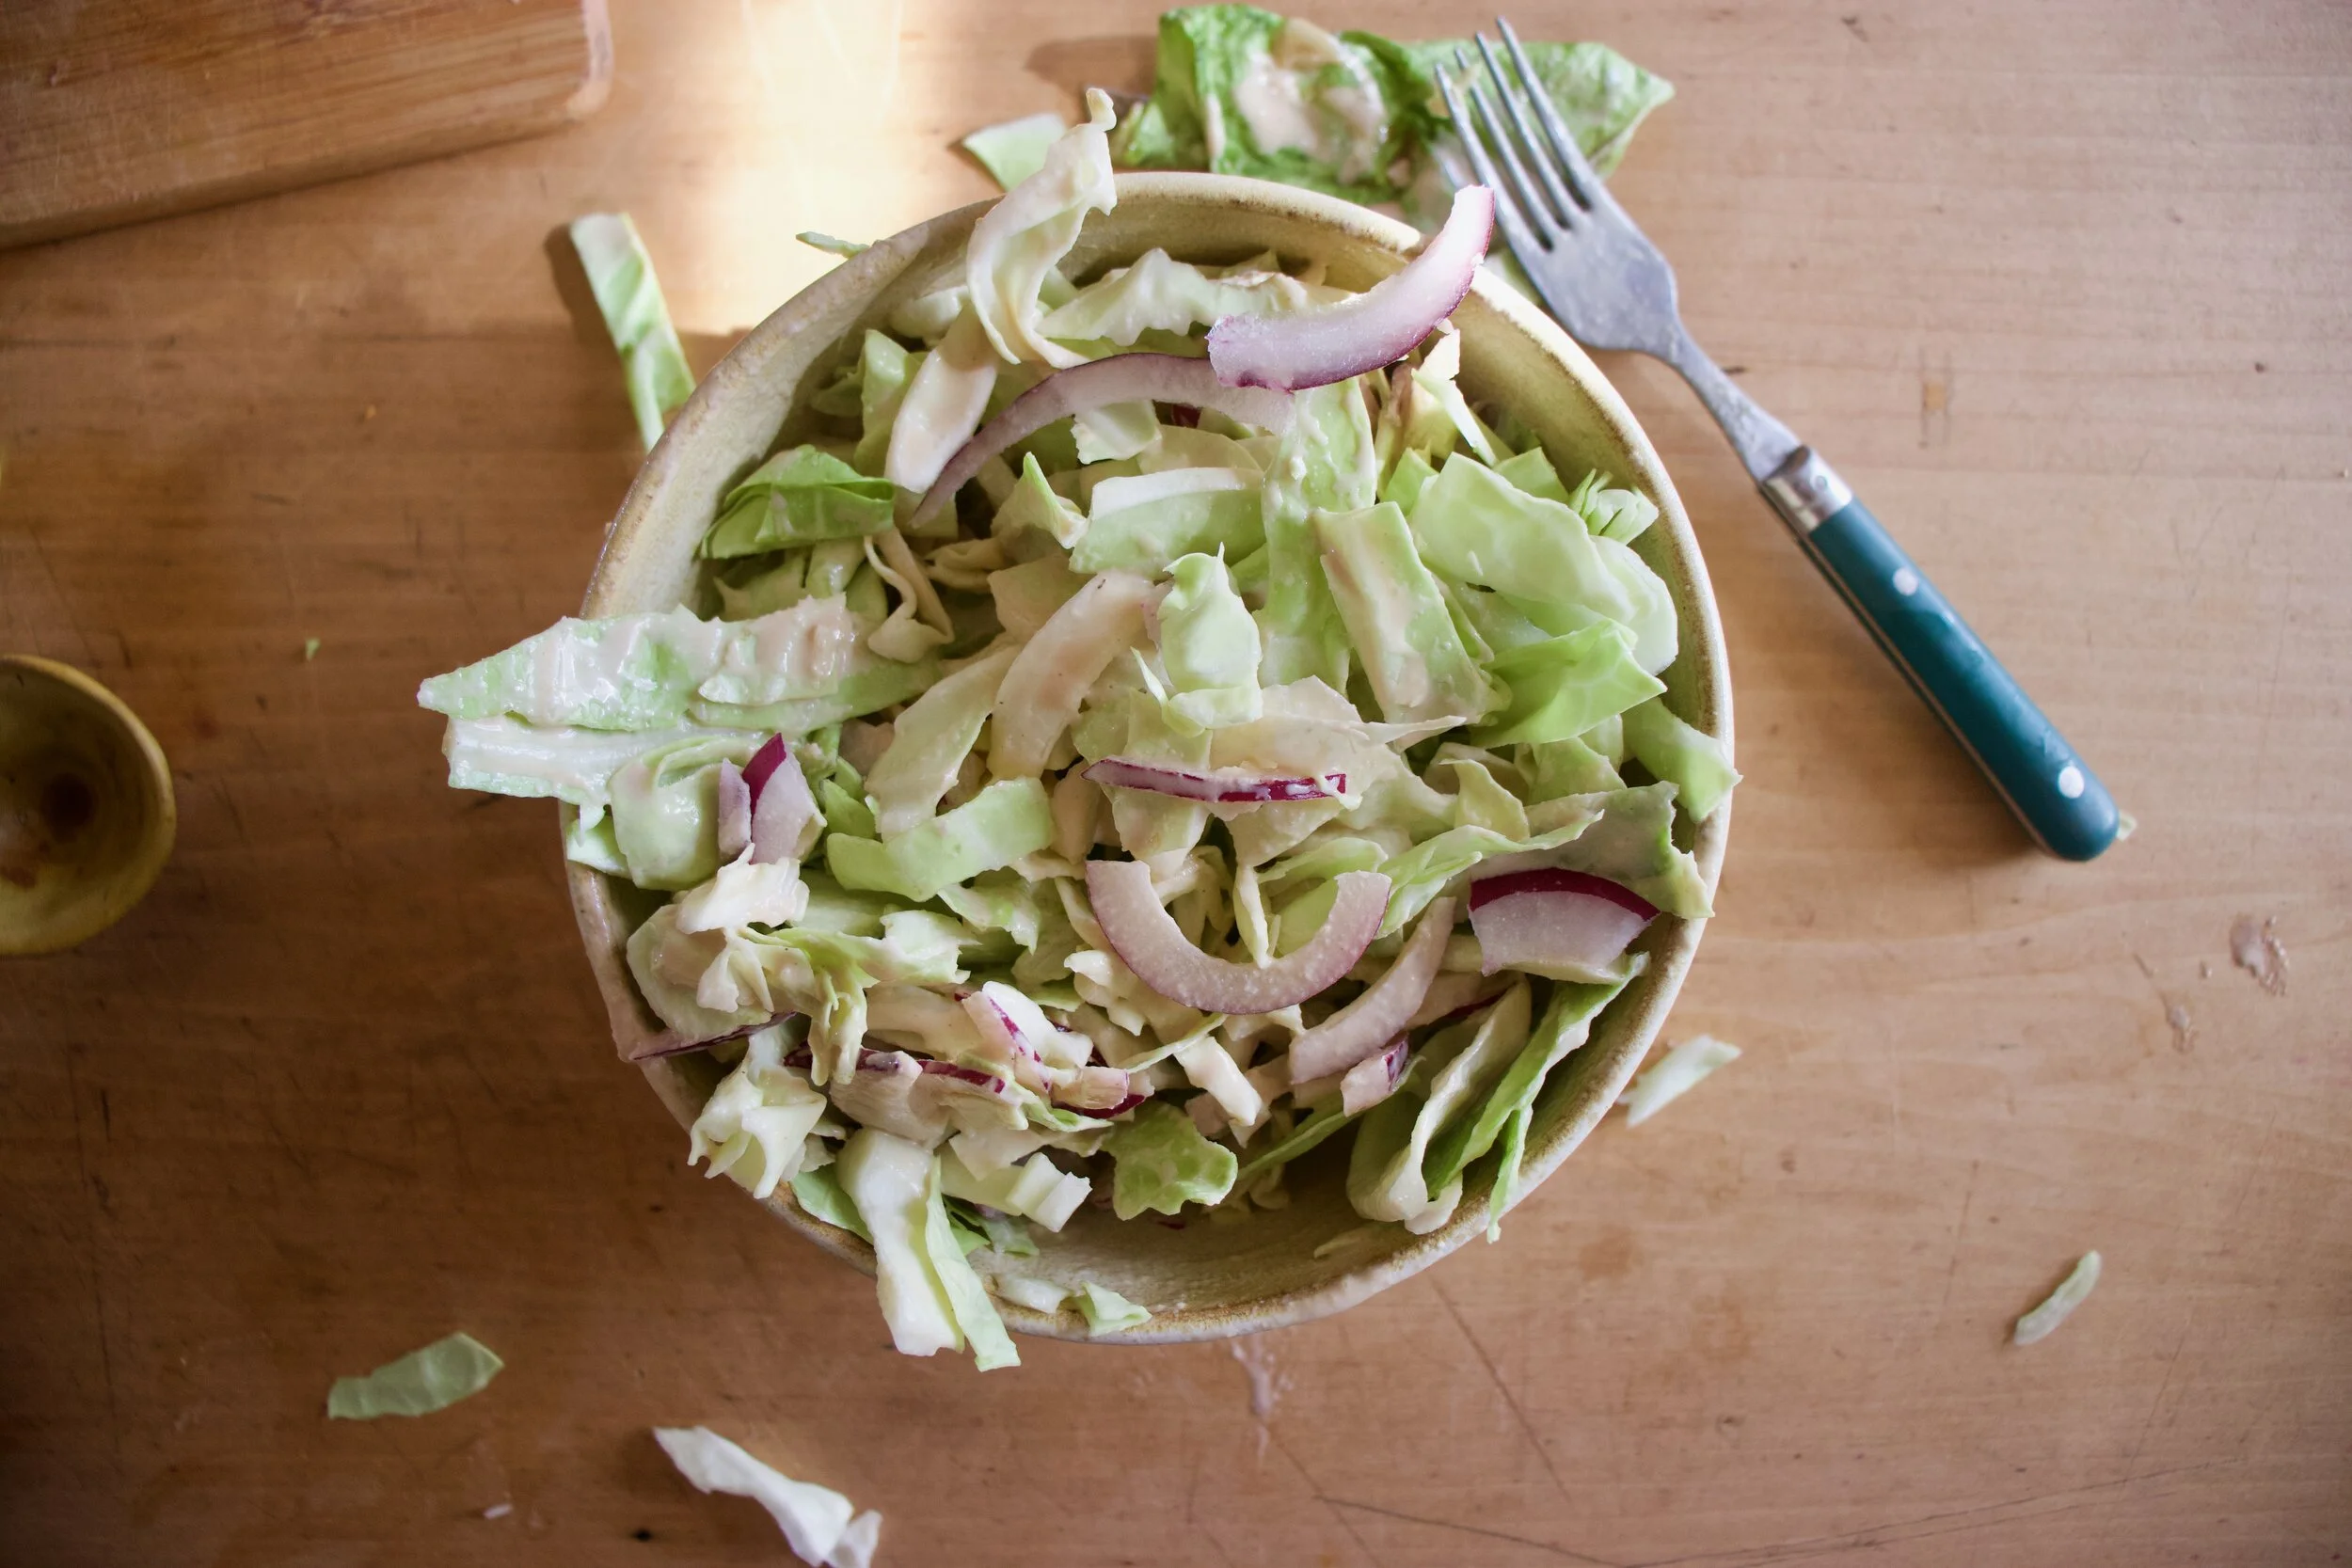
Toss in that cabbage and onion. Now you have tahini cabbage slaw.

Now to cook falafel. Grab the batter, scoop into balls then smoosh into disks. Place in a light oiled skillet and brown each side a nice golden brown.
After browning, place on a baking sheet. Once all the falafel has been browned, place the baking sheet into the oven to finish up cooking. 20 minutes or so and you got yourself falafel.

Then eat it. Falafel topped with tahini cabbage slaw. That is how it%u2019s done, with or without wraps or pitas or whatever your want. Just as it is. Falafel, cabbage slaw, into mouth.
Good things friend.
-C
serves 3-4 people or makes 14-16 falafel balls
-
For the falafel
-
2 cups cooked chickpeas drained
-
3-4 carrots (around 2 cups diced)
-
1/2 of a red onion
-
2 inches fresh ginger
-
2-3 cloves garlic
-
1 teaspoon cumin
-
1/2 teaspoon chili flakes
-
1/3 cup chickpea flour (can sub in oat flour if needed)
-
juice of a small lemon
-
salt and pepper
-
For Tahini Cabbage Slaw
-
1/2 head red or green cabbage (about 3 cups shredded)
-
1/2 of a red onion
-
3 tablespoon tahini
-
1 tablespoon soy or liquid aminos
-
2 tablespoon red wine vinegar
-
a few tablespoons warm water
Grab carrots and red onion. Chop carrots into small chunks and cut onion in half. Cut one half into chunks. Place in food processor. Take the ginger and cut into small chunks (you don%u2019t need to peel it) and peel and slice garlic and cut into small pieces. Add that to the food processor. Pulse the mixture into a very small crumble then dump the mixture into a skillet with a splash of water. Add in the cumin, chili flakes, and a good pinch of salt and lots of pepper, and place on medium heat and cook for 5-8 minutes until soft and fragrant. Once cooked, scoop back into food processor along with the chickpeas, chickpea flour, and the juice of the lemon. Turn on and and puree until smooth, stopping when needed to scrap down the side. Then either dump mixture into a bowl or leave in the container you processed it in and place in fridge for 1/2 hour to a day.
When ready to cook, preheat oven to 400.
After letting the dough sit for a bit, remove from fridge. Grab skillet and lightly oil it and place on medium heat. Take a cookie scoop or just a spoon and scoop balls of falafel into your hand and roll them around so they are packed together. Smoosh then balls a little into disks and place into hot skillet. Let cook until bottom is golden brown then gently flip and cook the other side until browned. Place cooked falafel on a baking sheet. Once you have browned all the falafel, place into oven to bake for about 20 minutes or until the falafel has firmed up to your liking.
To make the tahini cabbage slaw. Shred cabbage and cut the remaining half of red onion into thin pieces. Place tahini, soy, vinegar, and 2 tablespoons warm water into a big bowl. Mix together until light and creamy. If the mixture seems to thick, add another tablespoon of warm water. When happy with consistency, add in the cabbage and onion and toss around until everything is coated.
Now when the slaw is made, the falafel is cooked, you eat it. Serve with warm pita or wraps or a bed of greens or nothing. Just slaw on top of falafel. And FYI, this whole shebang can be eaten hot or cold or anywhere in between.
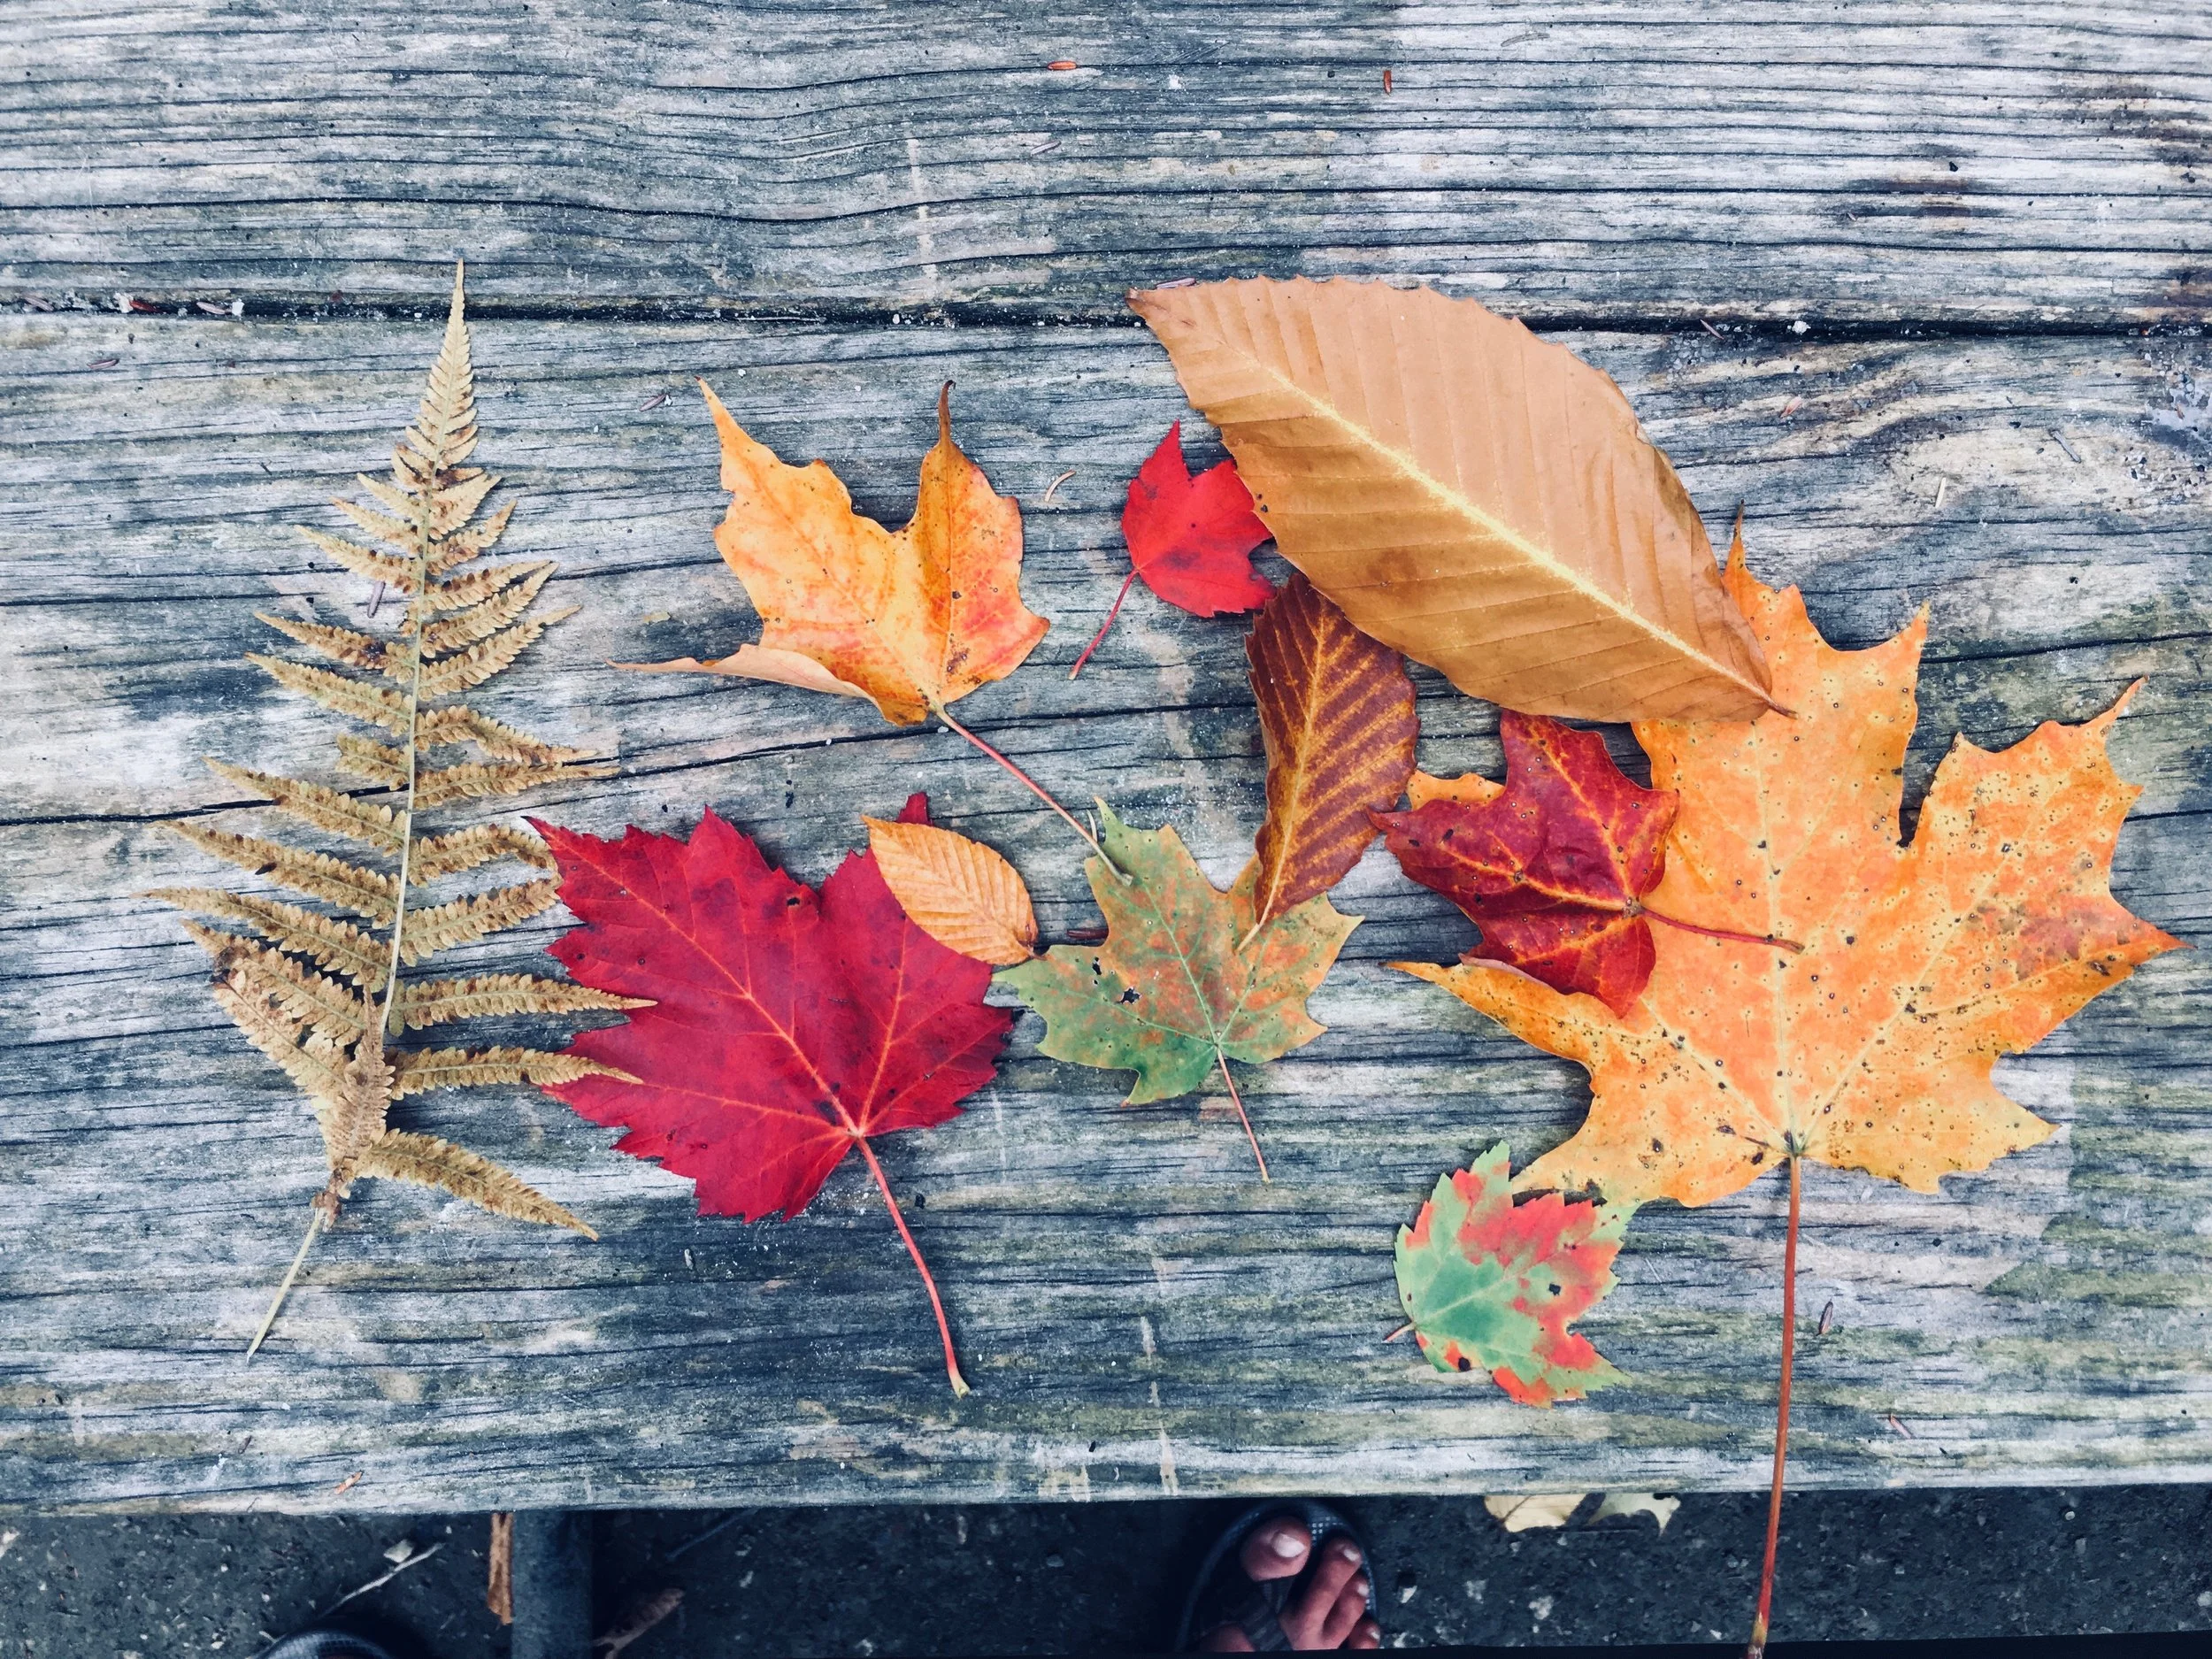
It%u2019s officially fall and officially fantastic. All of my sweaters are so happy to see me, and me them. So are the sweatpants and the socks. They are here for me to keep me all cozy and warm. Nothing like coming home on a cold dreary day and throwing on a big chunky sweater, a oversized pair of soft sweatpants, and thick wool socks. Add a cup of hot tea, a good book, and a lap blanket and heading out tp sit on the front porch and breathing in all that fresh fall air. So good. So freaking good.
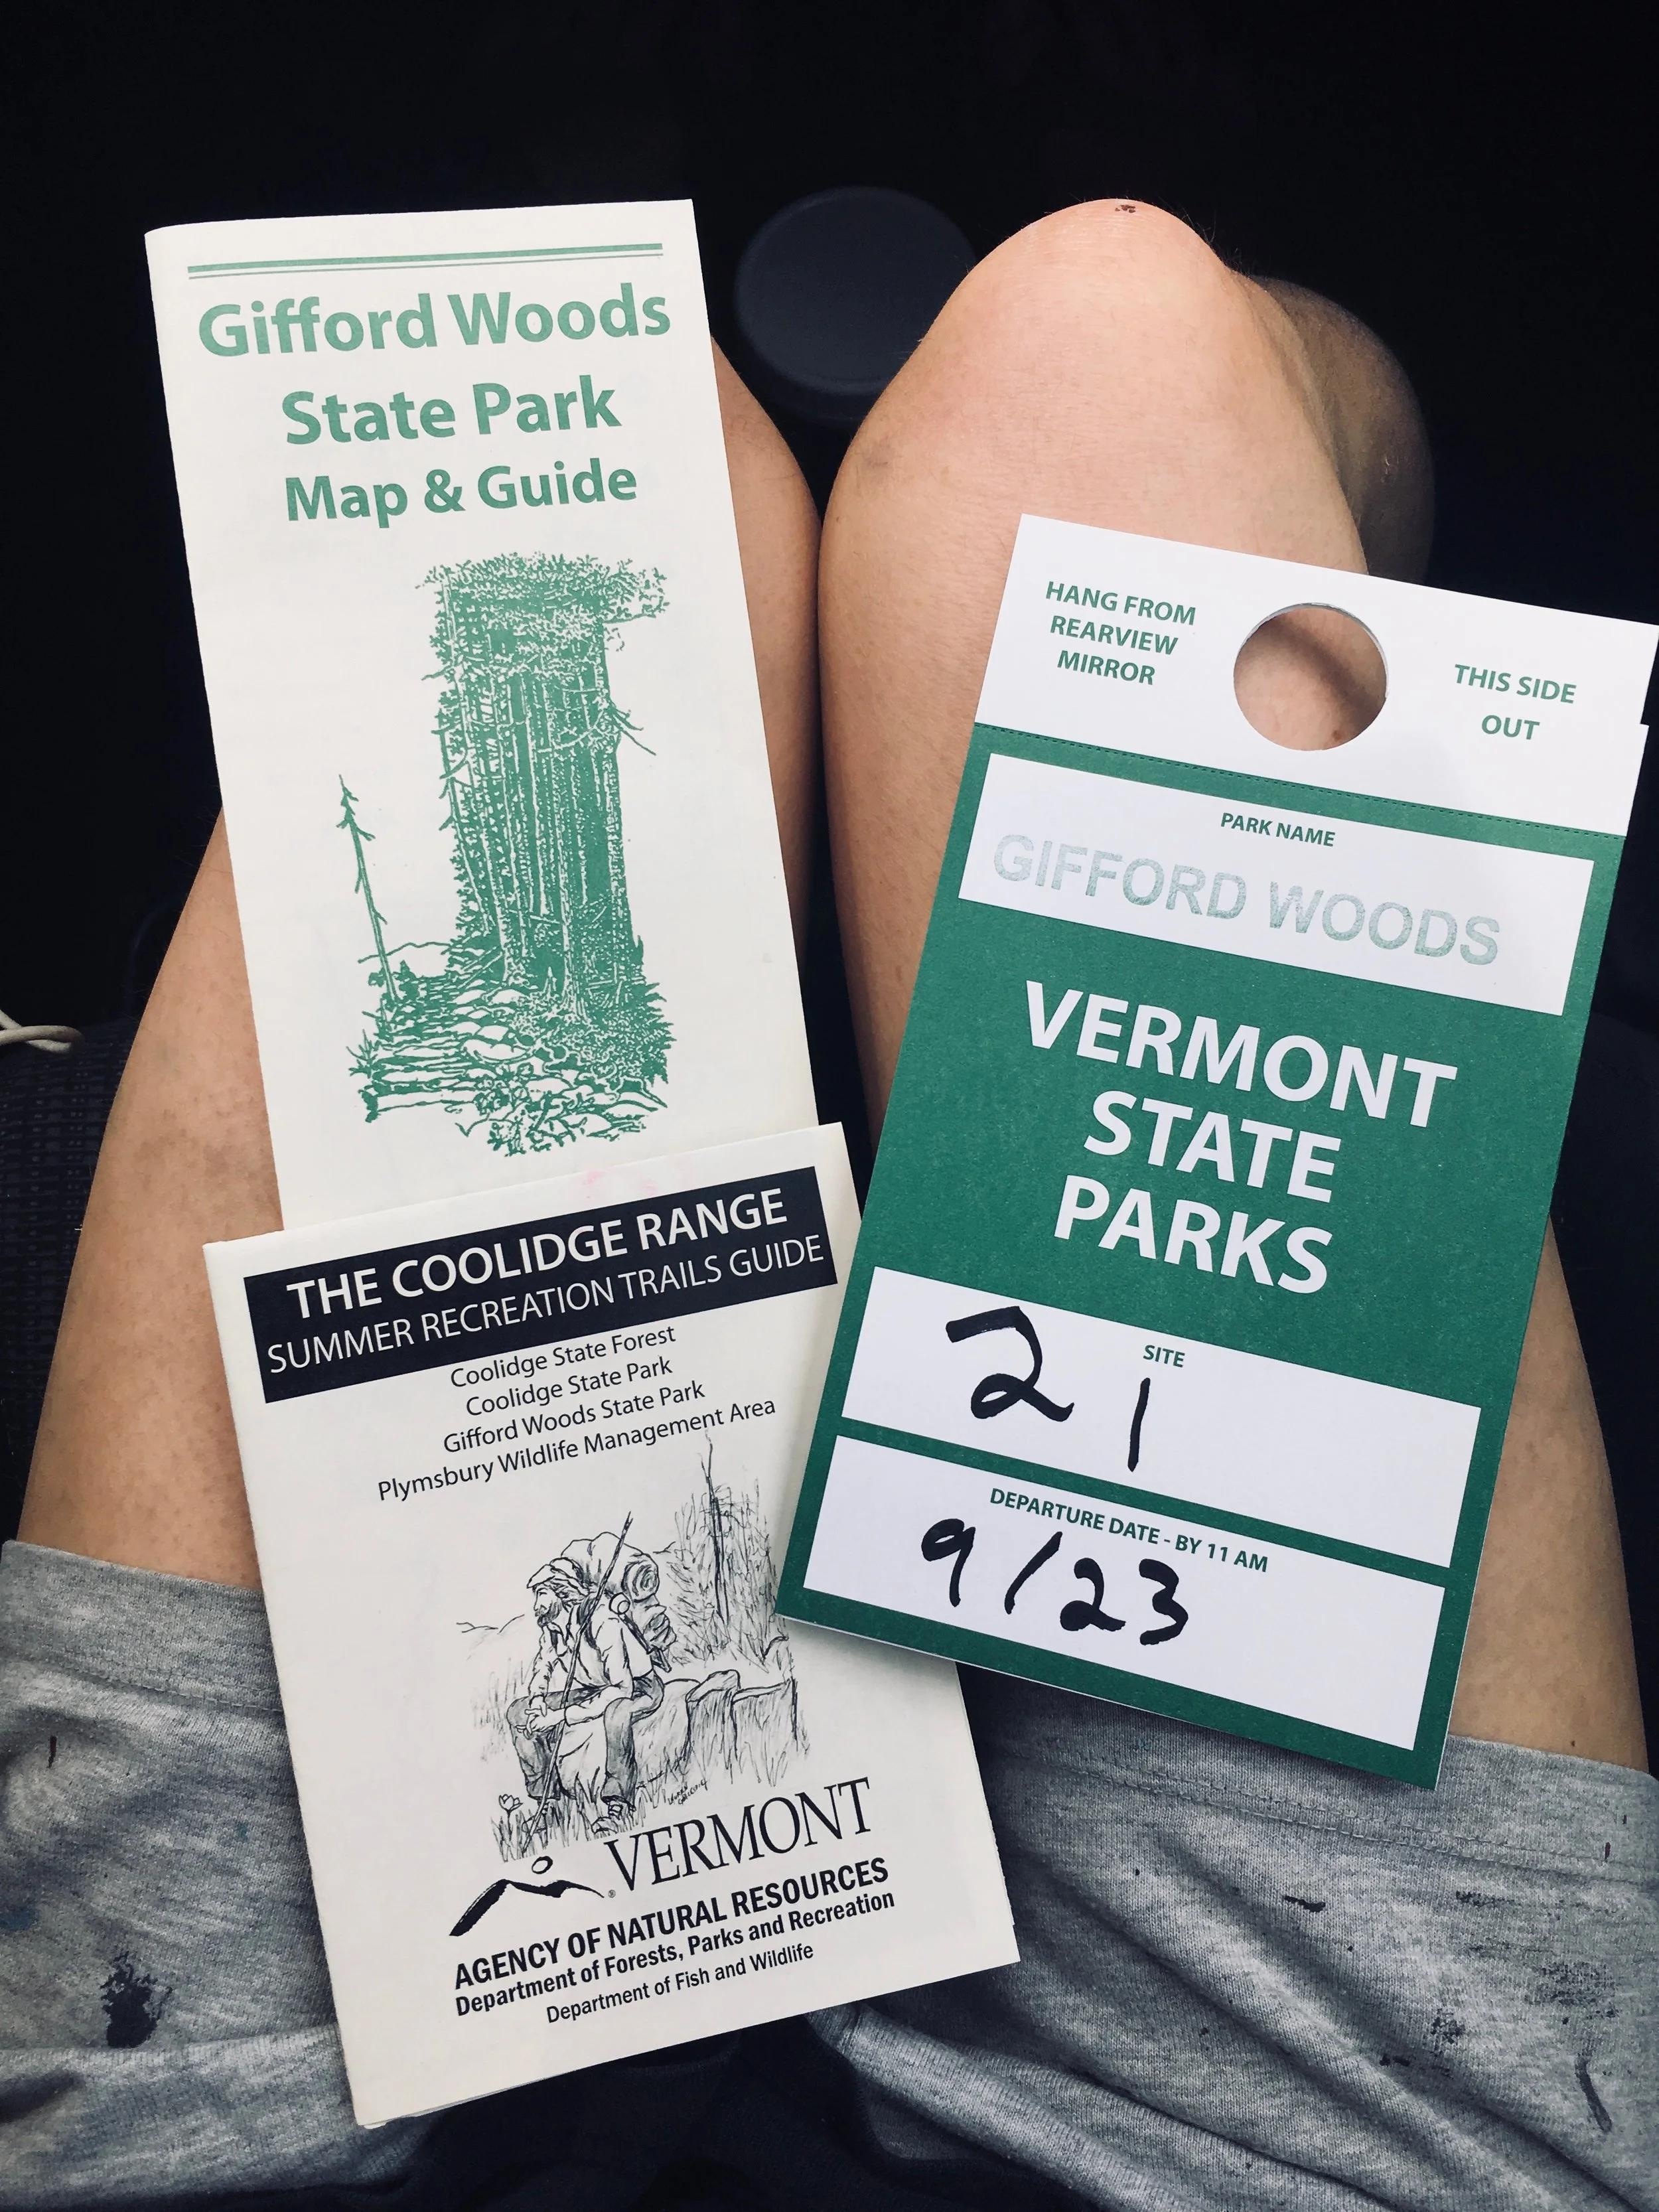
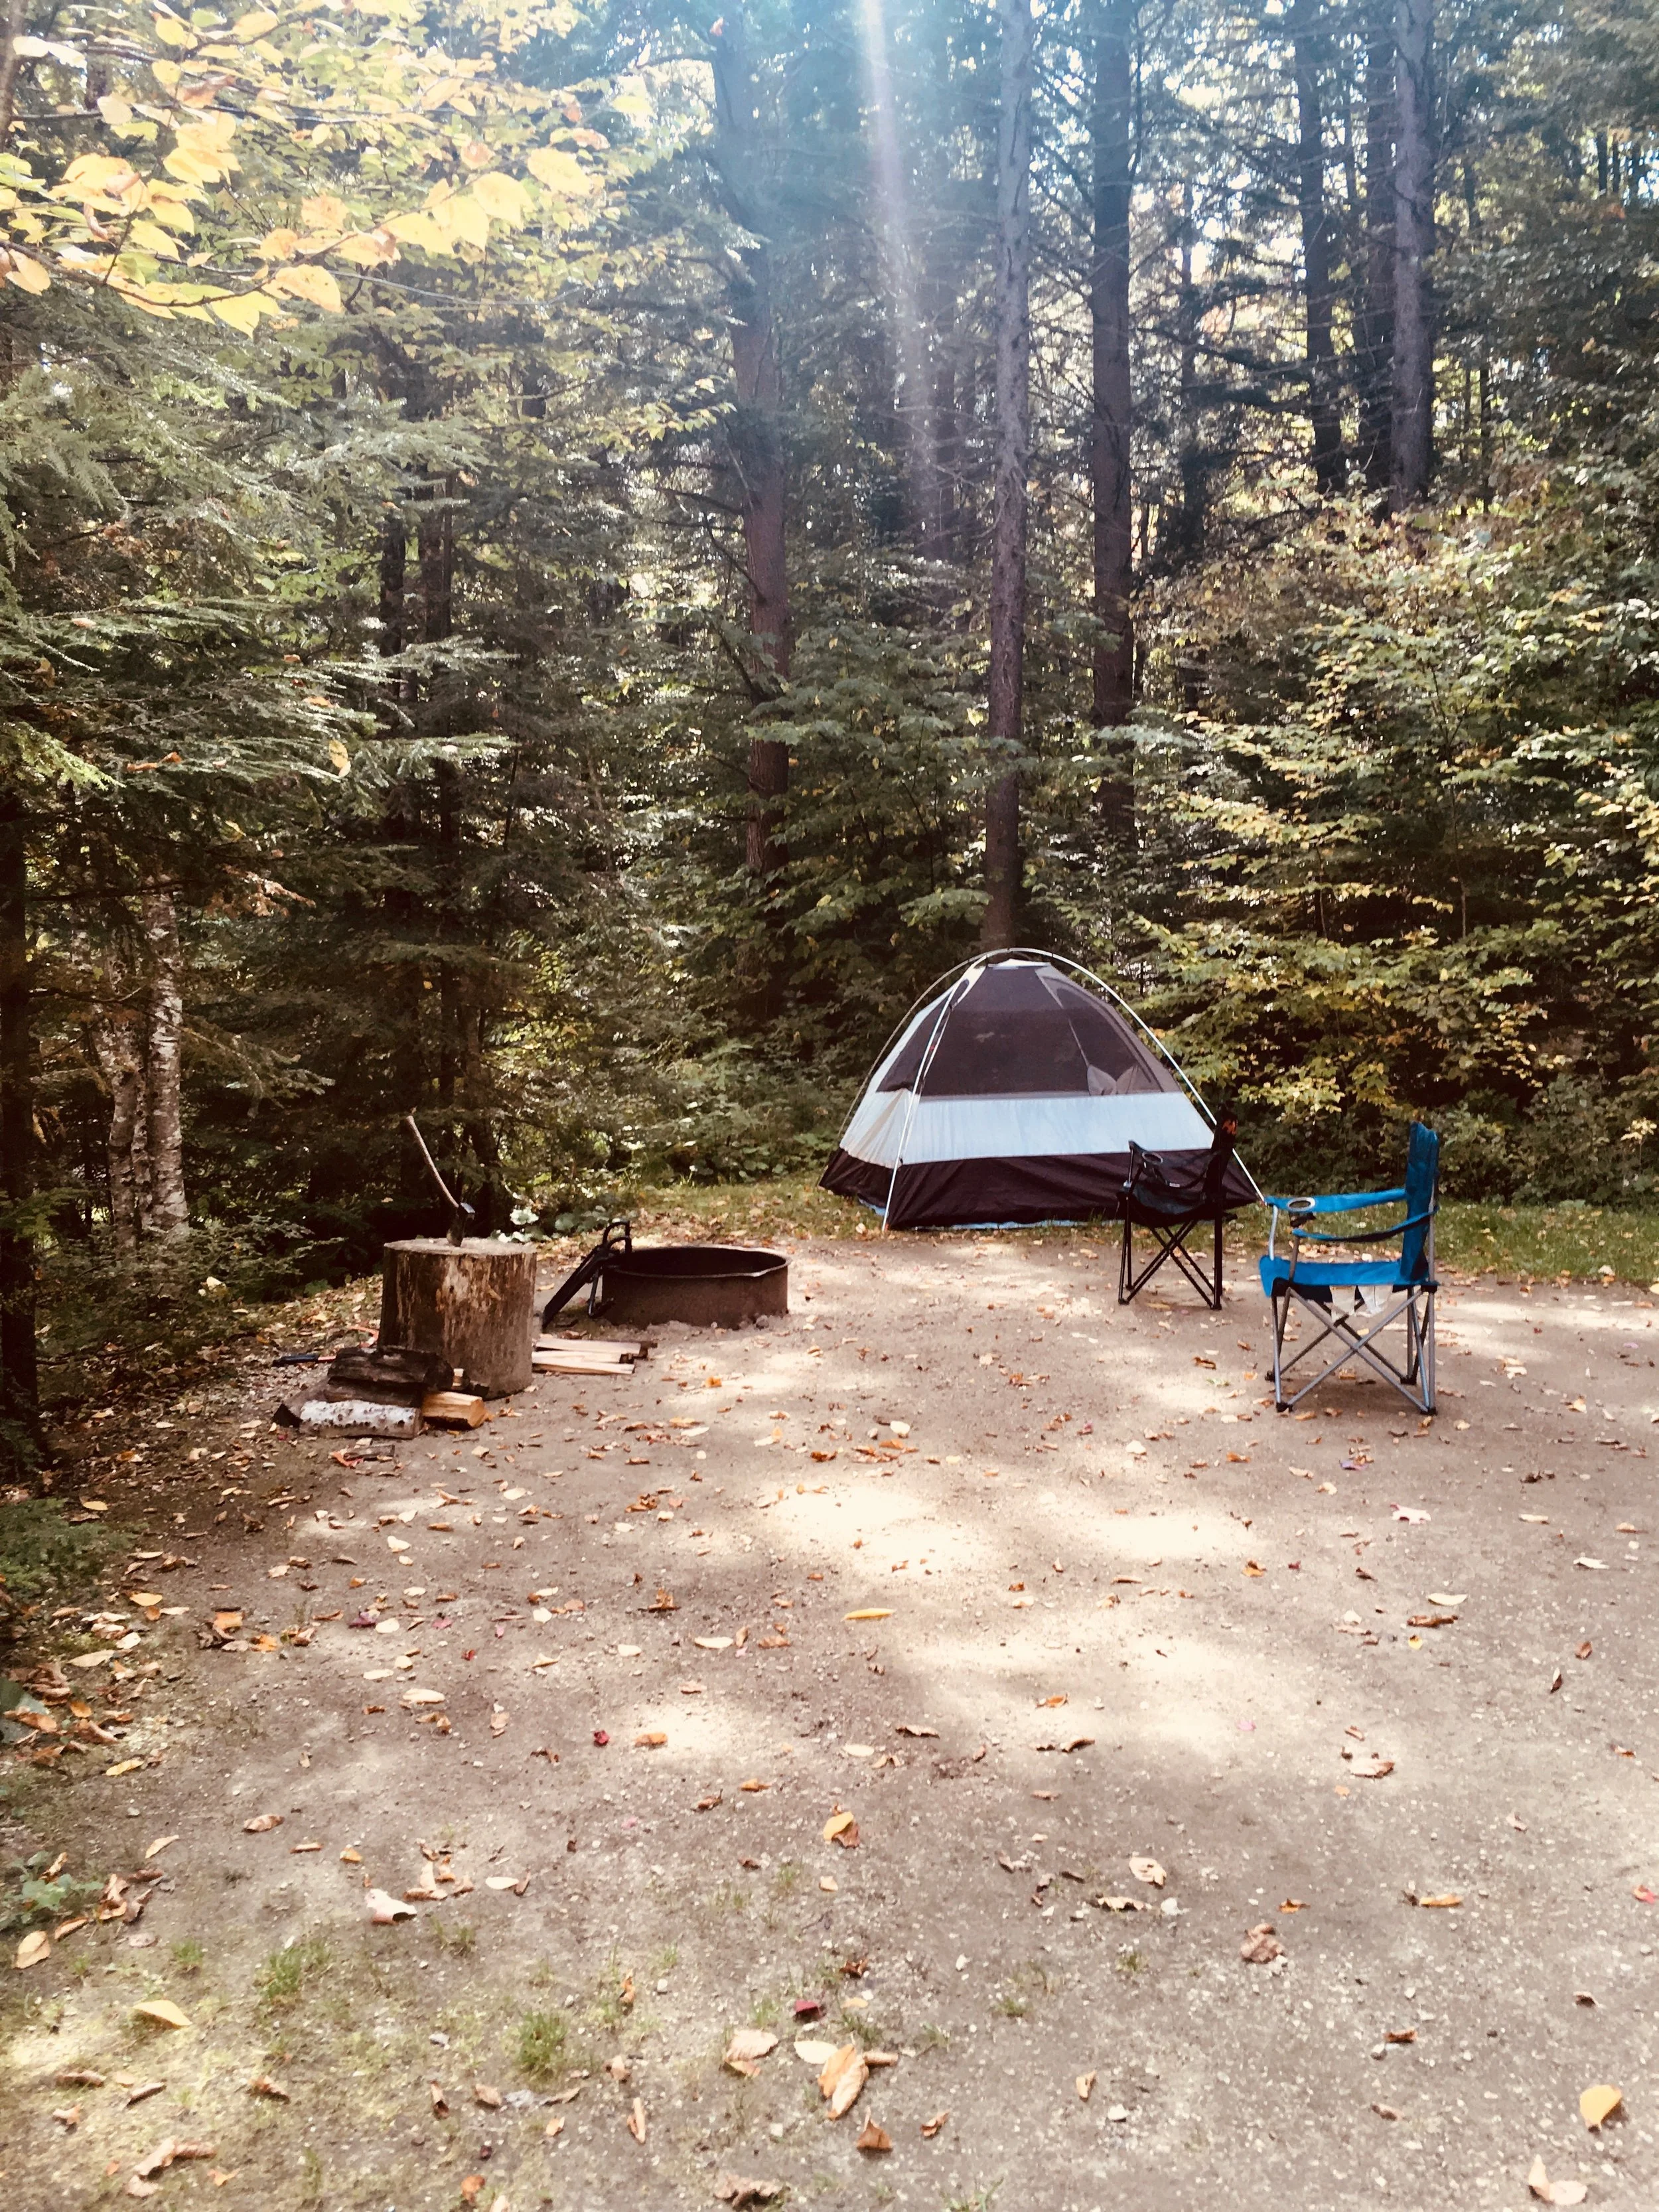
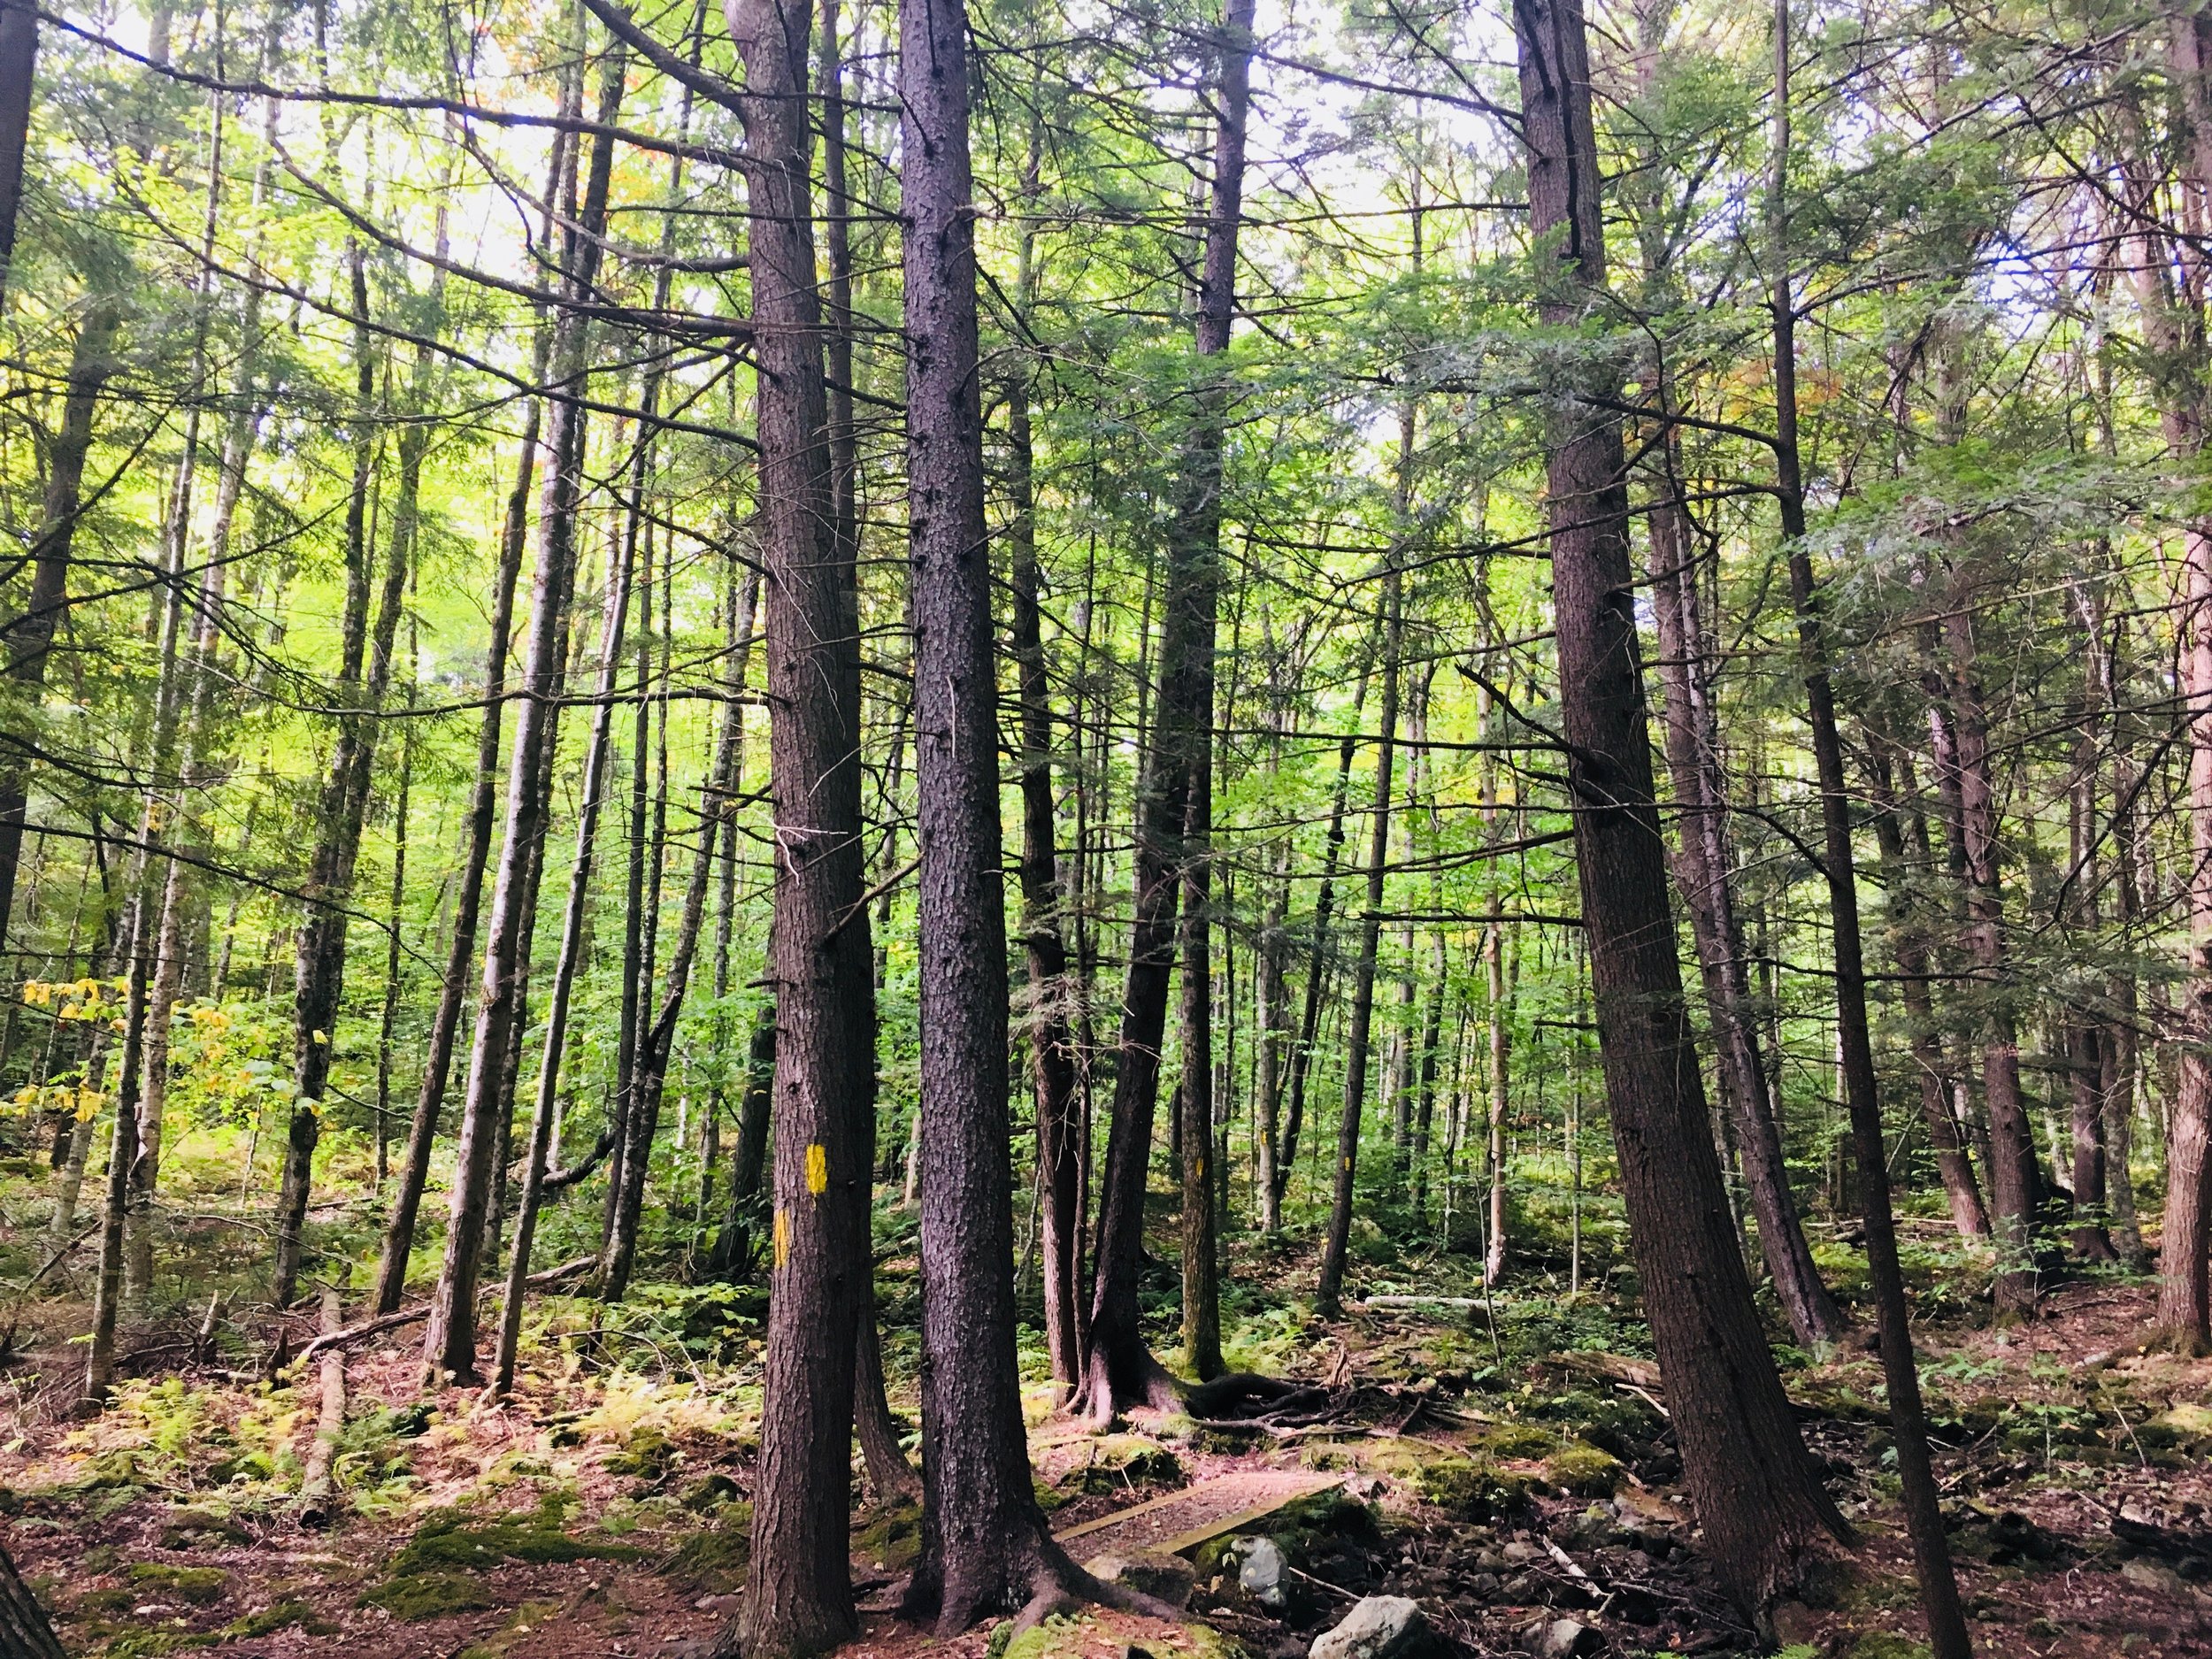
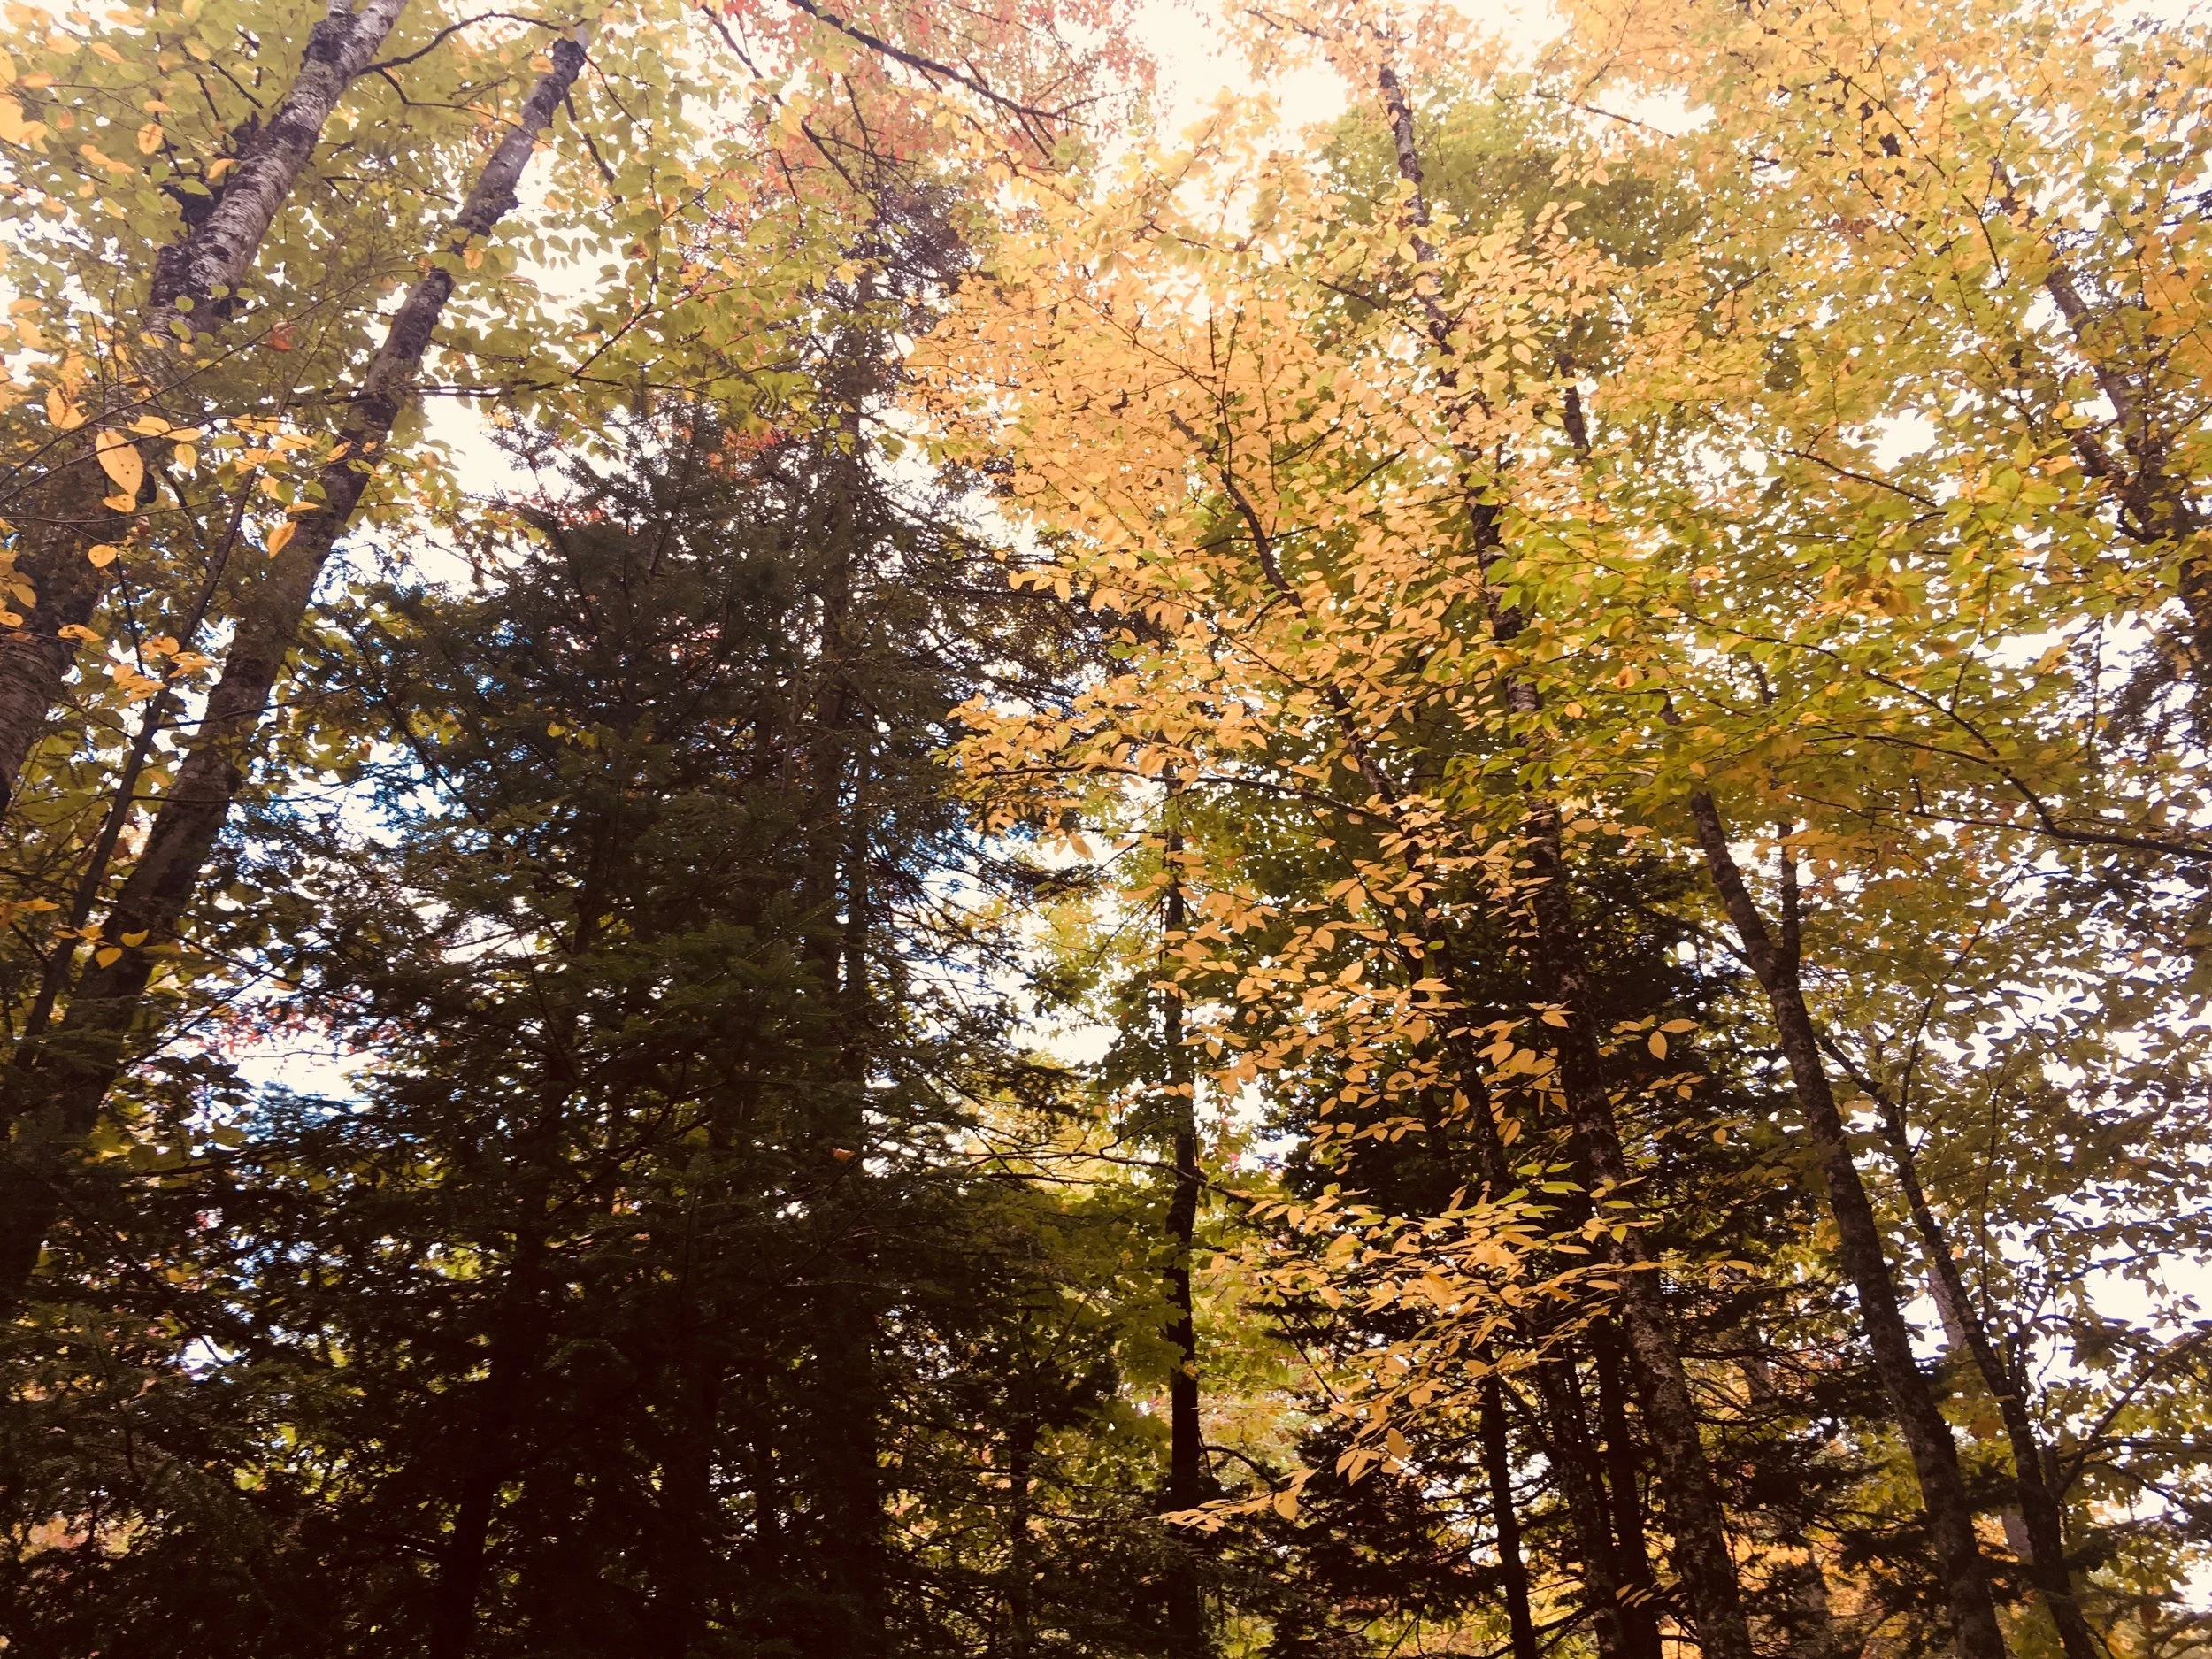
Last Sunday camp was at Gifford State Park. Another Vermont gem. So pretty, so quite, the colors starting to show in the trees. We went for a nice hike into a forest of old growth trees, then launched out the kayaks on a nearby pond and paddles around for awhile. Back to the campsite for lentils and zucchini then the mr fired up some wood and we watched the sun set behind the golden trees. Laid under a sky full of the brightest stars and watching the trees whip around and listened to the wind blow hard and wild all night long. It was dang near perfect. And after the morning coffee making and tent taking down, off into the week we went.
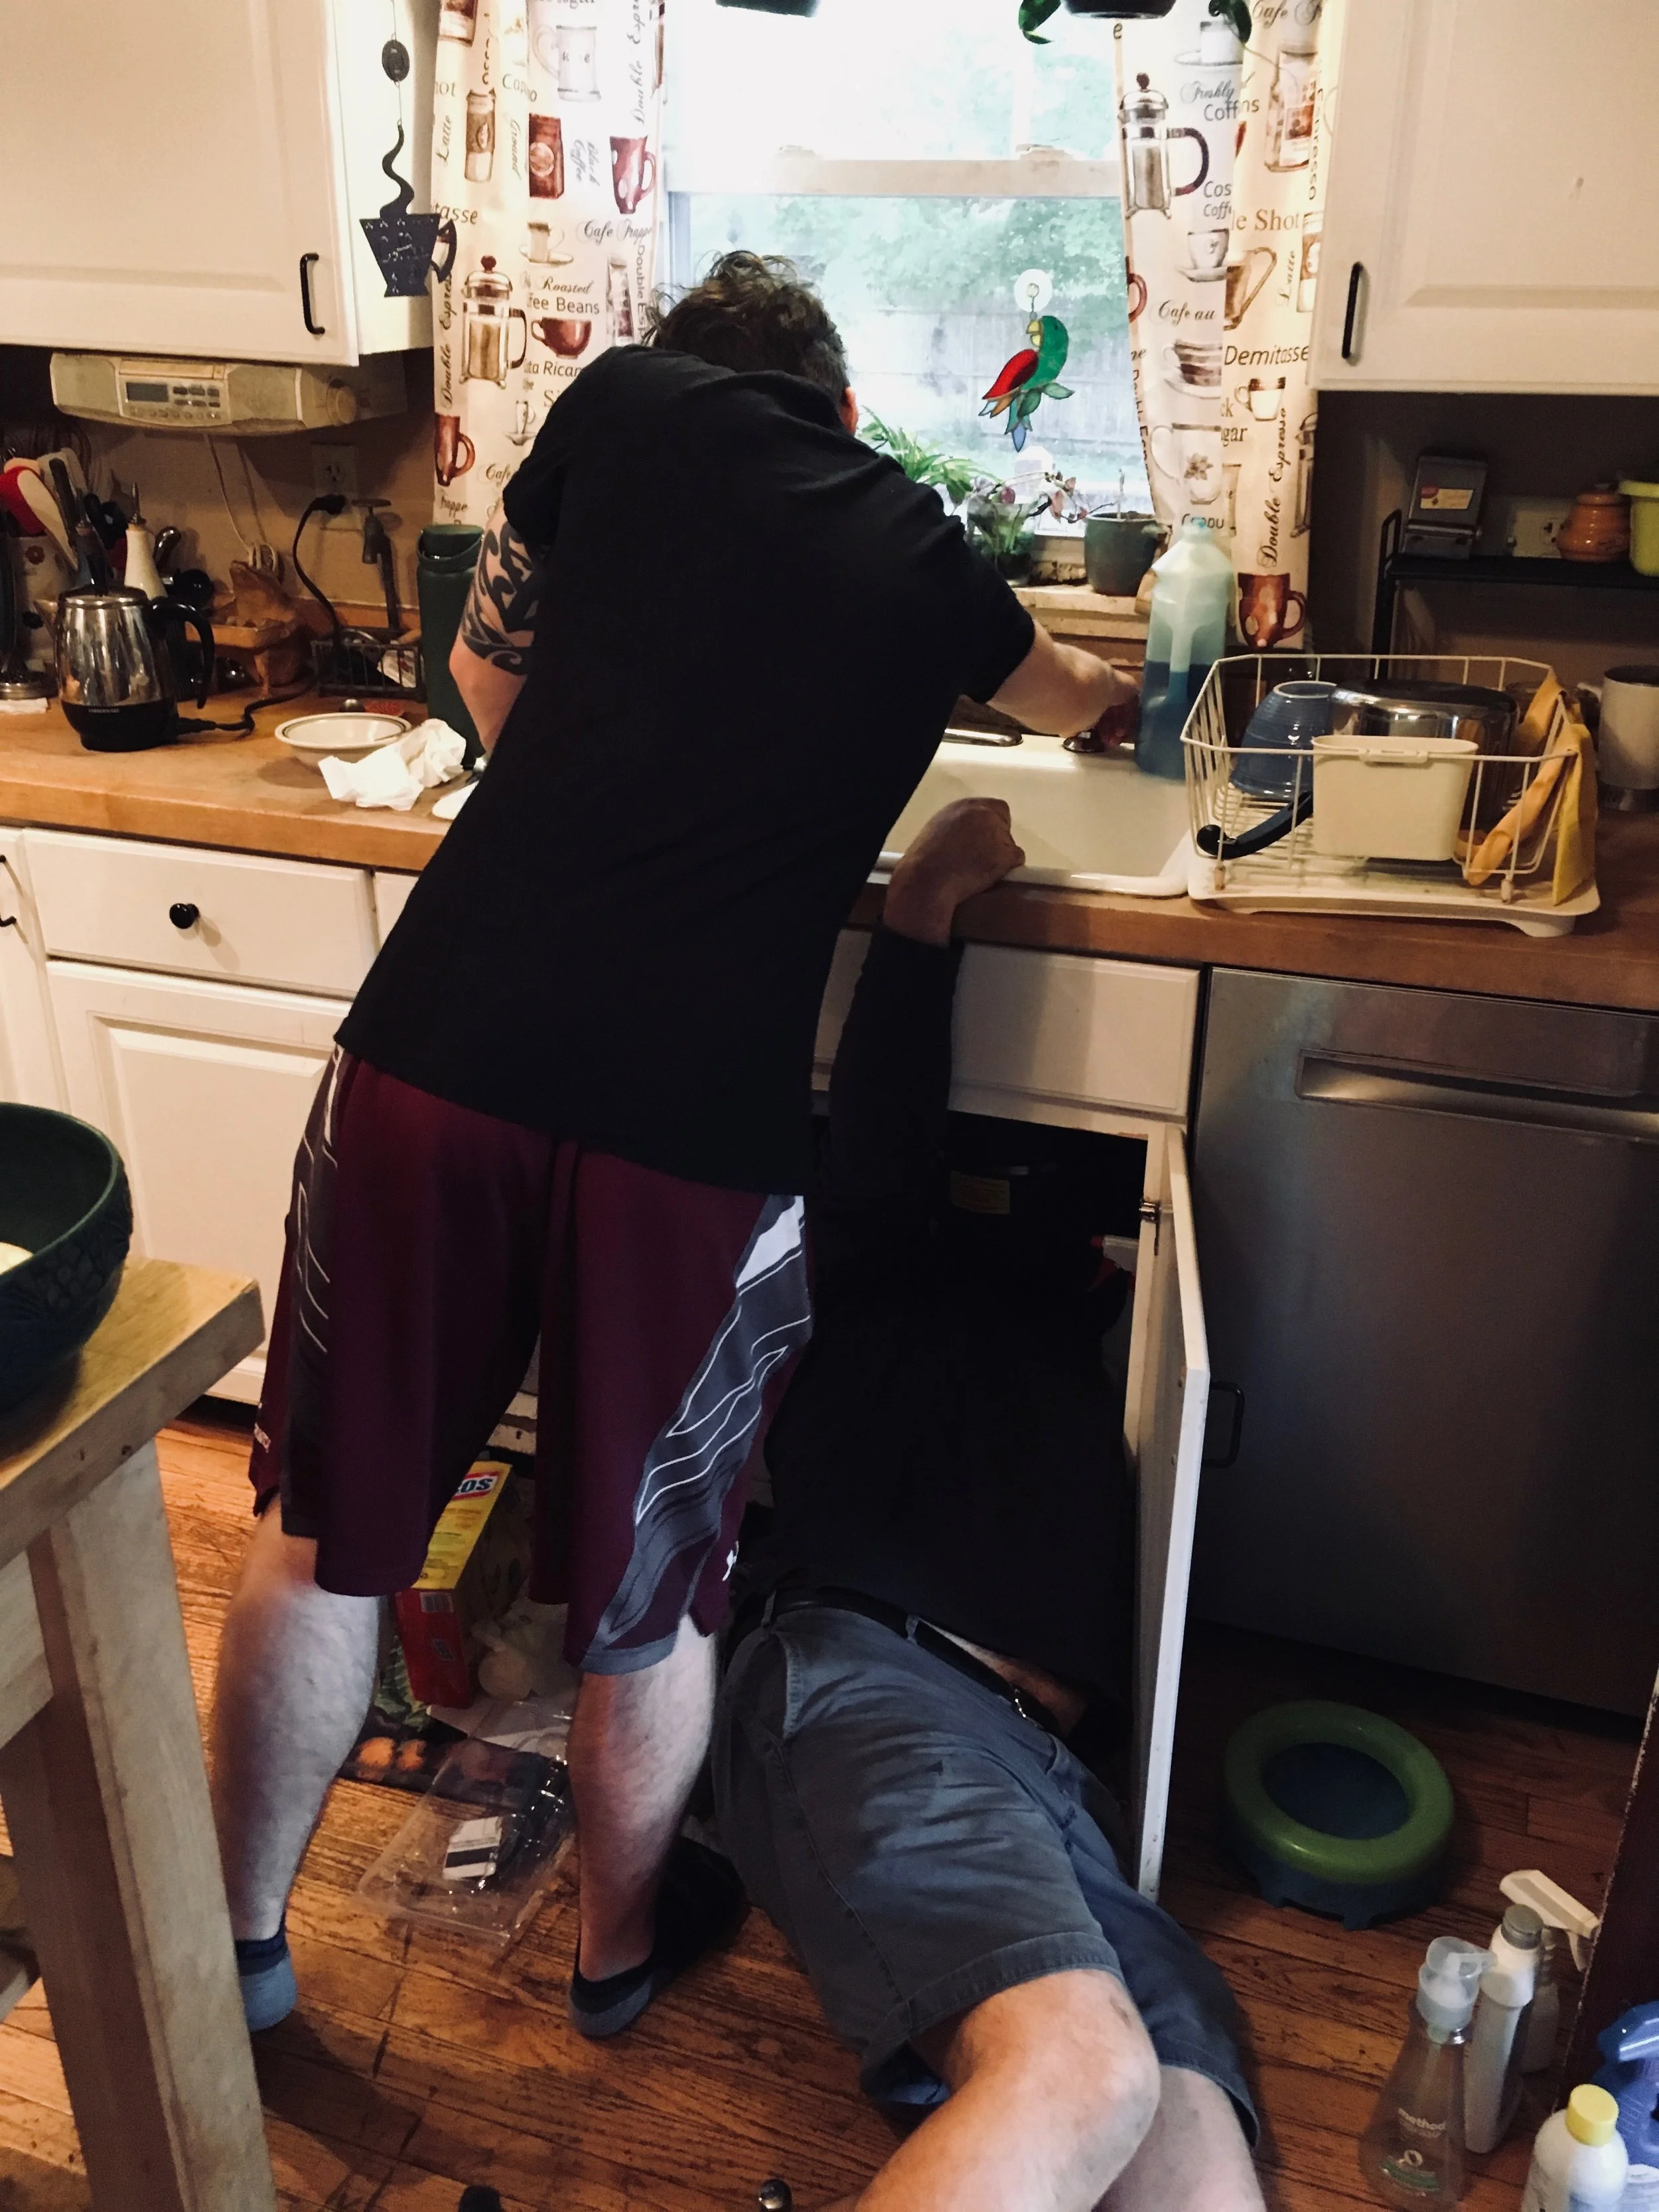
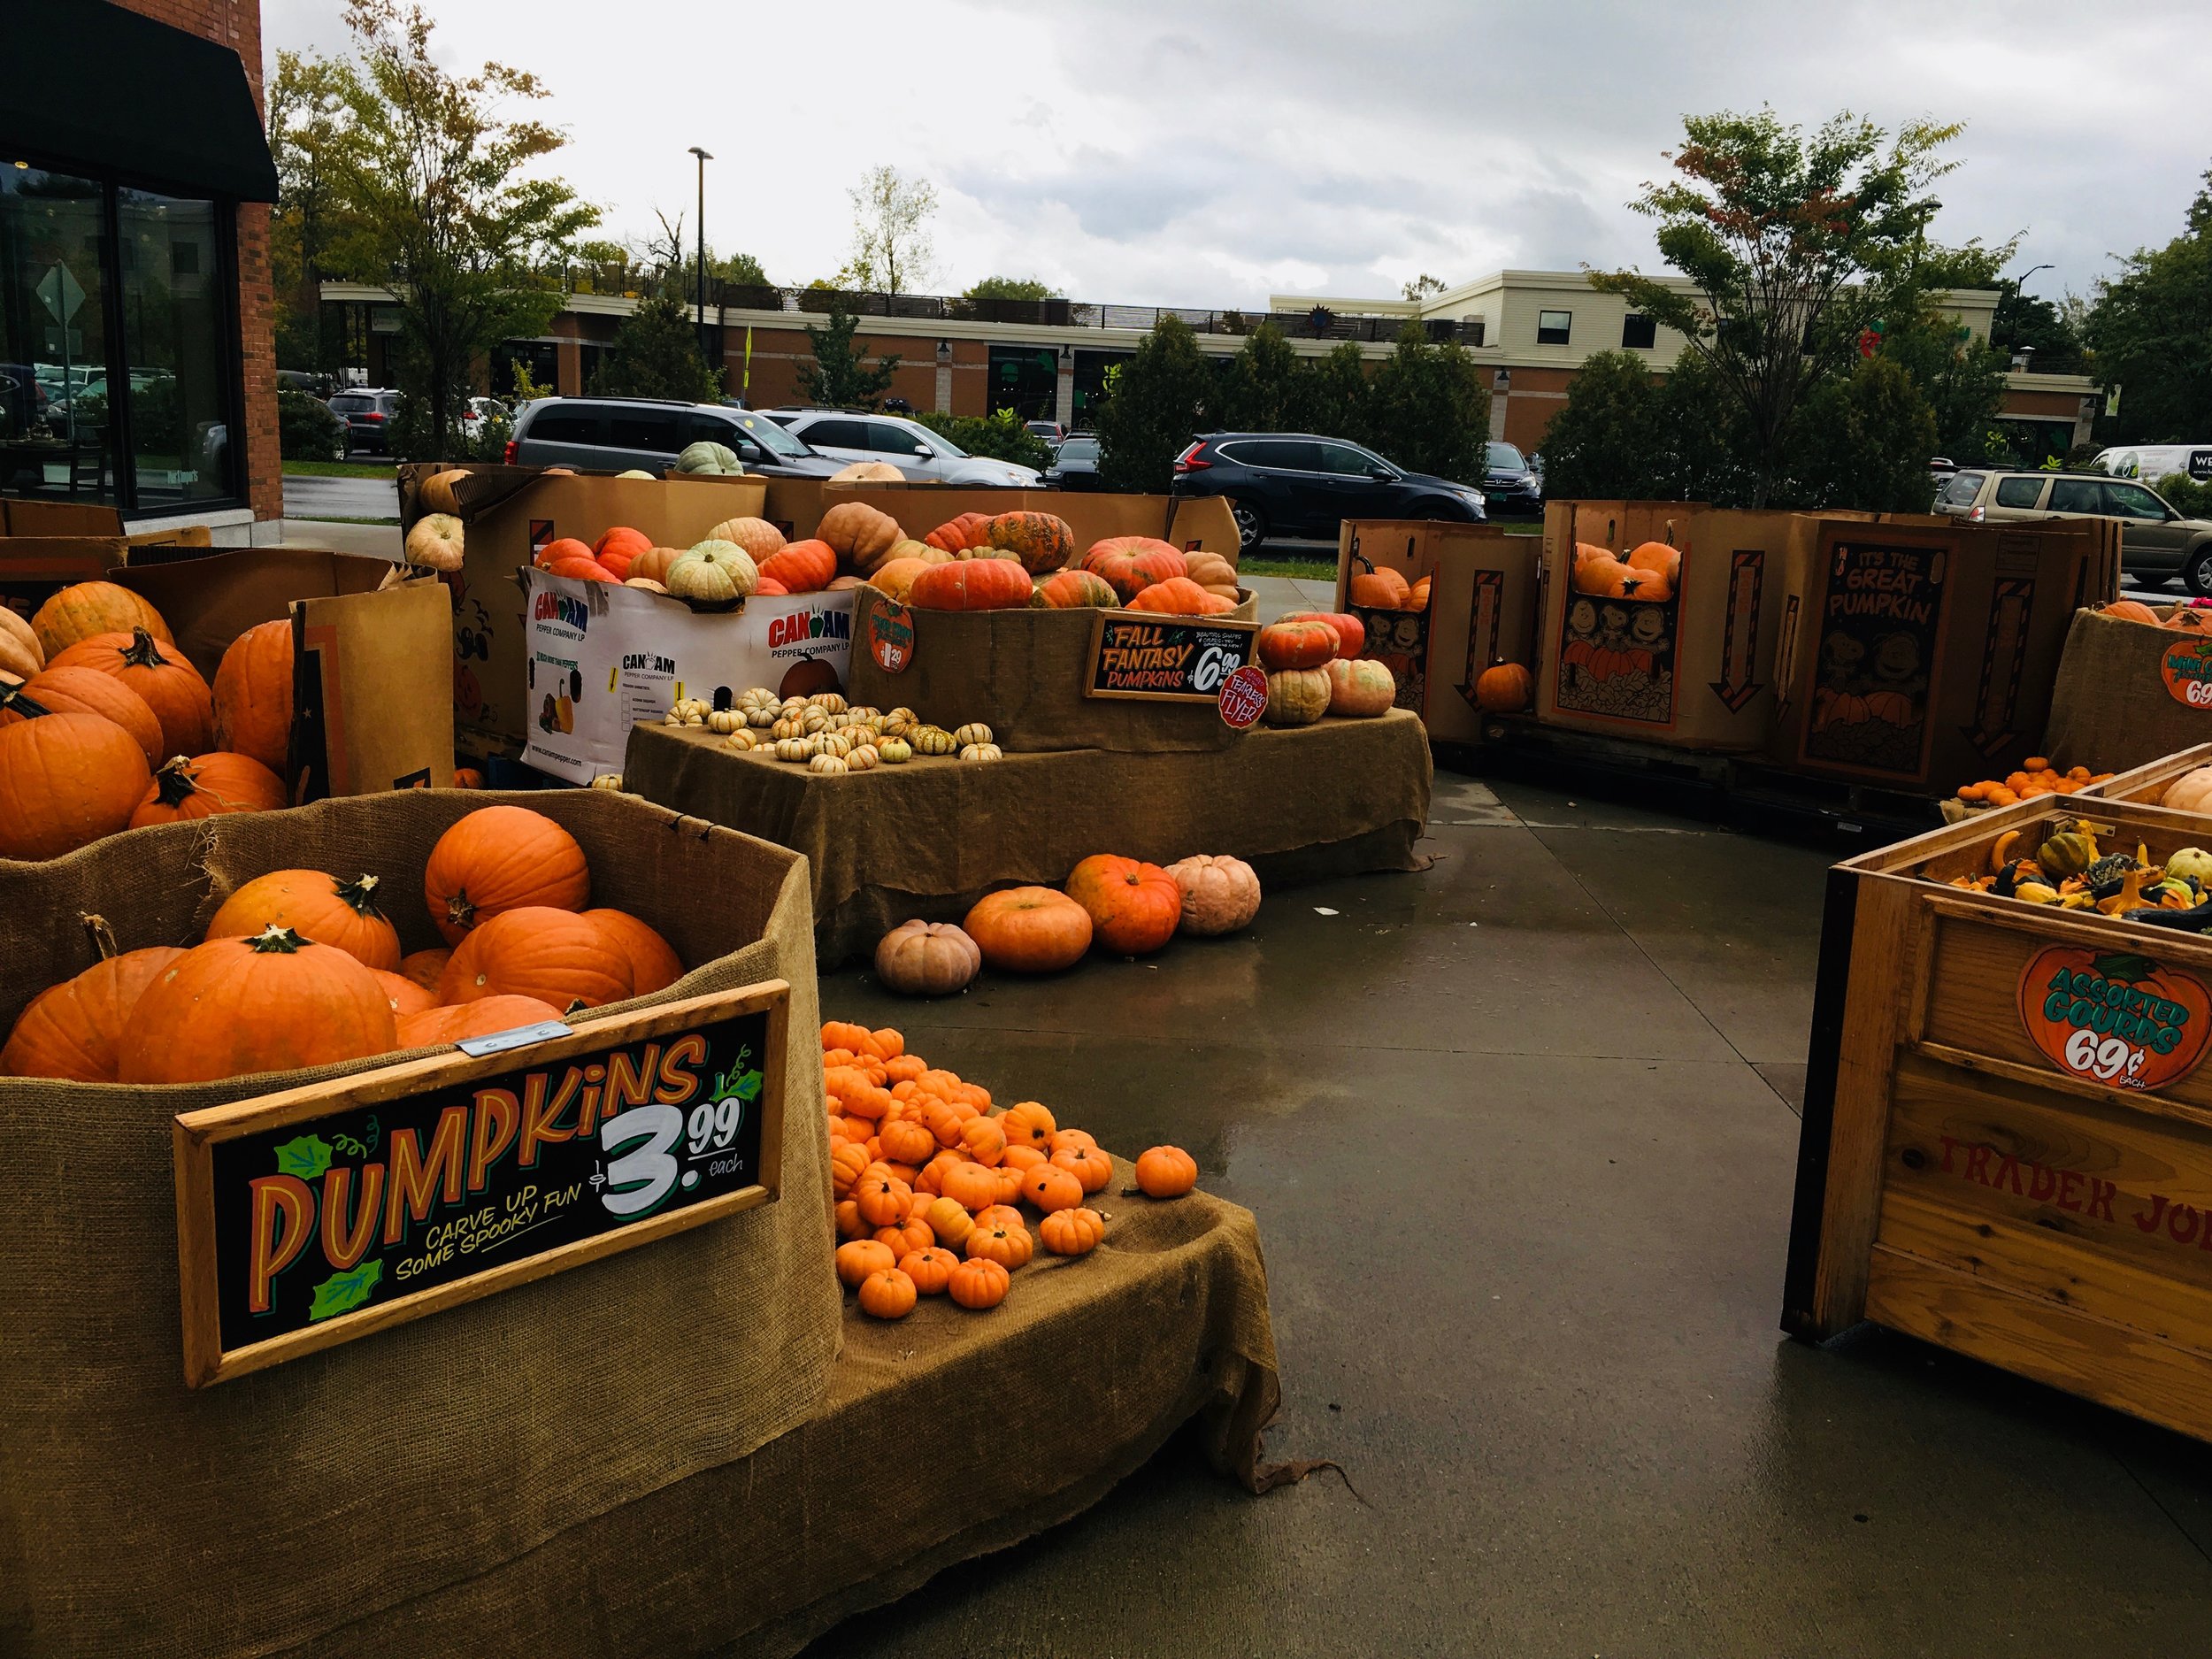
Back in town we got back to it as per usual. The this and that of life. I made gallons of applesauce, fed Barb and went on a tea and pumpkin run (fall essentials). Went over to Moms for dinner and so the mr could fix her sink. I harvesting the last bits of summer from the garden then went to Costco to find a Christmas tree??? (They had them set up right next to the bathing suits and halloween candy. %ud83e%udd37%ud83c%udffb%u200d%u2640%ufe0f) We did some more stuff that needed doing. Looked at land in the wilds of Vermont (found a piece but there were offers on it already. So bummed) I worked the studio, picked up farm share, and I worried about the mr after he stabbed himself in the eye with a screwdriver and almost lost the eyeball. Then we had the boys sleep over Friday for Mileys birthday so she could have a sleep over with her friends at her house. We made pizza, went to the park, and all cuddled up in pile of blankets while they watched a weird cartoon something that I paid zero attention to and I read and kind of fell asleep. The next day after pancakes we dropped the off, the mr and I did the chores and then went back over for a little family party for the birthday lady. The mr made spaghetti, Miley and I decorated her cake, then they ate the pasta, then the cake, and then the mr and I peaced out to come home. Straight up, I was feeling way over stimulated from days of human interaction. So I pretty much passed the F out when we got home. I love my family but jeez can they make a lady tired.
Sunday for reals and I am feeling ready. Today is suppose to be another fantastic day, slightly on the chilly side maybe but not raining so that is good. We are heading out for one of the few camps we have left for the year. Zack Pond Woods. A little pond with a couple of undeveloped designated campsites. It is first come, first to use so we are super hoping that we get there and there will be a place available to set up for the night. If not, we might have to boogie over to a campground near by that we have already been too. But I am feeling like there might not be a ton of people trying to camp out on a Sunday night when it is suppose to get into the 30%u2019s overnight and maybe rain the morning. I am ok with all that, especially if that means other people aren%u2019t and leave us be. HA.
Anyway, hope you all are having a grand old weekend and taking in all the fall and focusing on eating all the apples and pumpkins. We know your priorities!
Links to things that I read and looked at n the internet this week.
-Today is National Coffee day!!!!! Everywhere You Can Get Free Coffee for National Coffee Day
–You%u2019ll Be Shocked by How Much Food Americans Waste Each%u00a0Year. Sadly, I was not shocked.
-Fall medicinal shopping list. These to make a syrup for cold and flu, and this for everything. Get it before you need it (and it%u2019s out of stock)
–Tree-Poaching Is On the Rise. What the fuckers. Also, so sad for trees and for the people.
-If telling people a little more gets them to recycle, well tell them what they want to hear! This simple tweak could drastically raise our pathetic recycling rates
–Vegans are more than what they do not eat. Hear Hear!!!!
-Did you know? Peanuts Aren’t Real Nuts (And More Essential Nut Info). Especially good to know when allergies are involved
–Is corn a fruit, a vegetable, or a grain? What were you thinking?
-IF you are going to smoke weed around people, you have to share it. No way around it unless you are an asshole. HA. How to politely smoke weed
–Why Millennials Are Suddenly So Obsessed With Houseplants. I grew up with a million house plants so thats one reason, but also I need real living things around me to feel good feels.
Pictures from the week












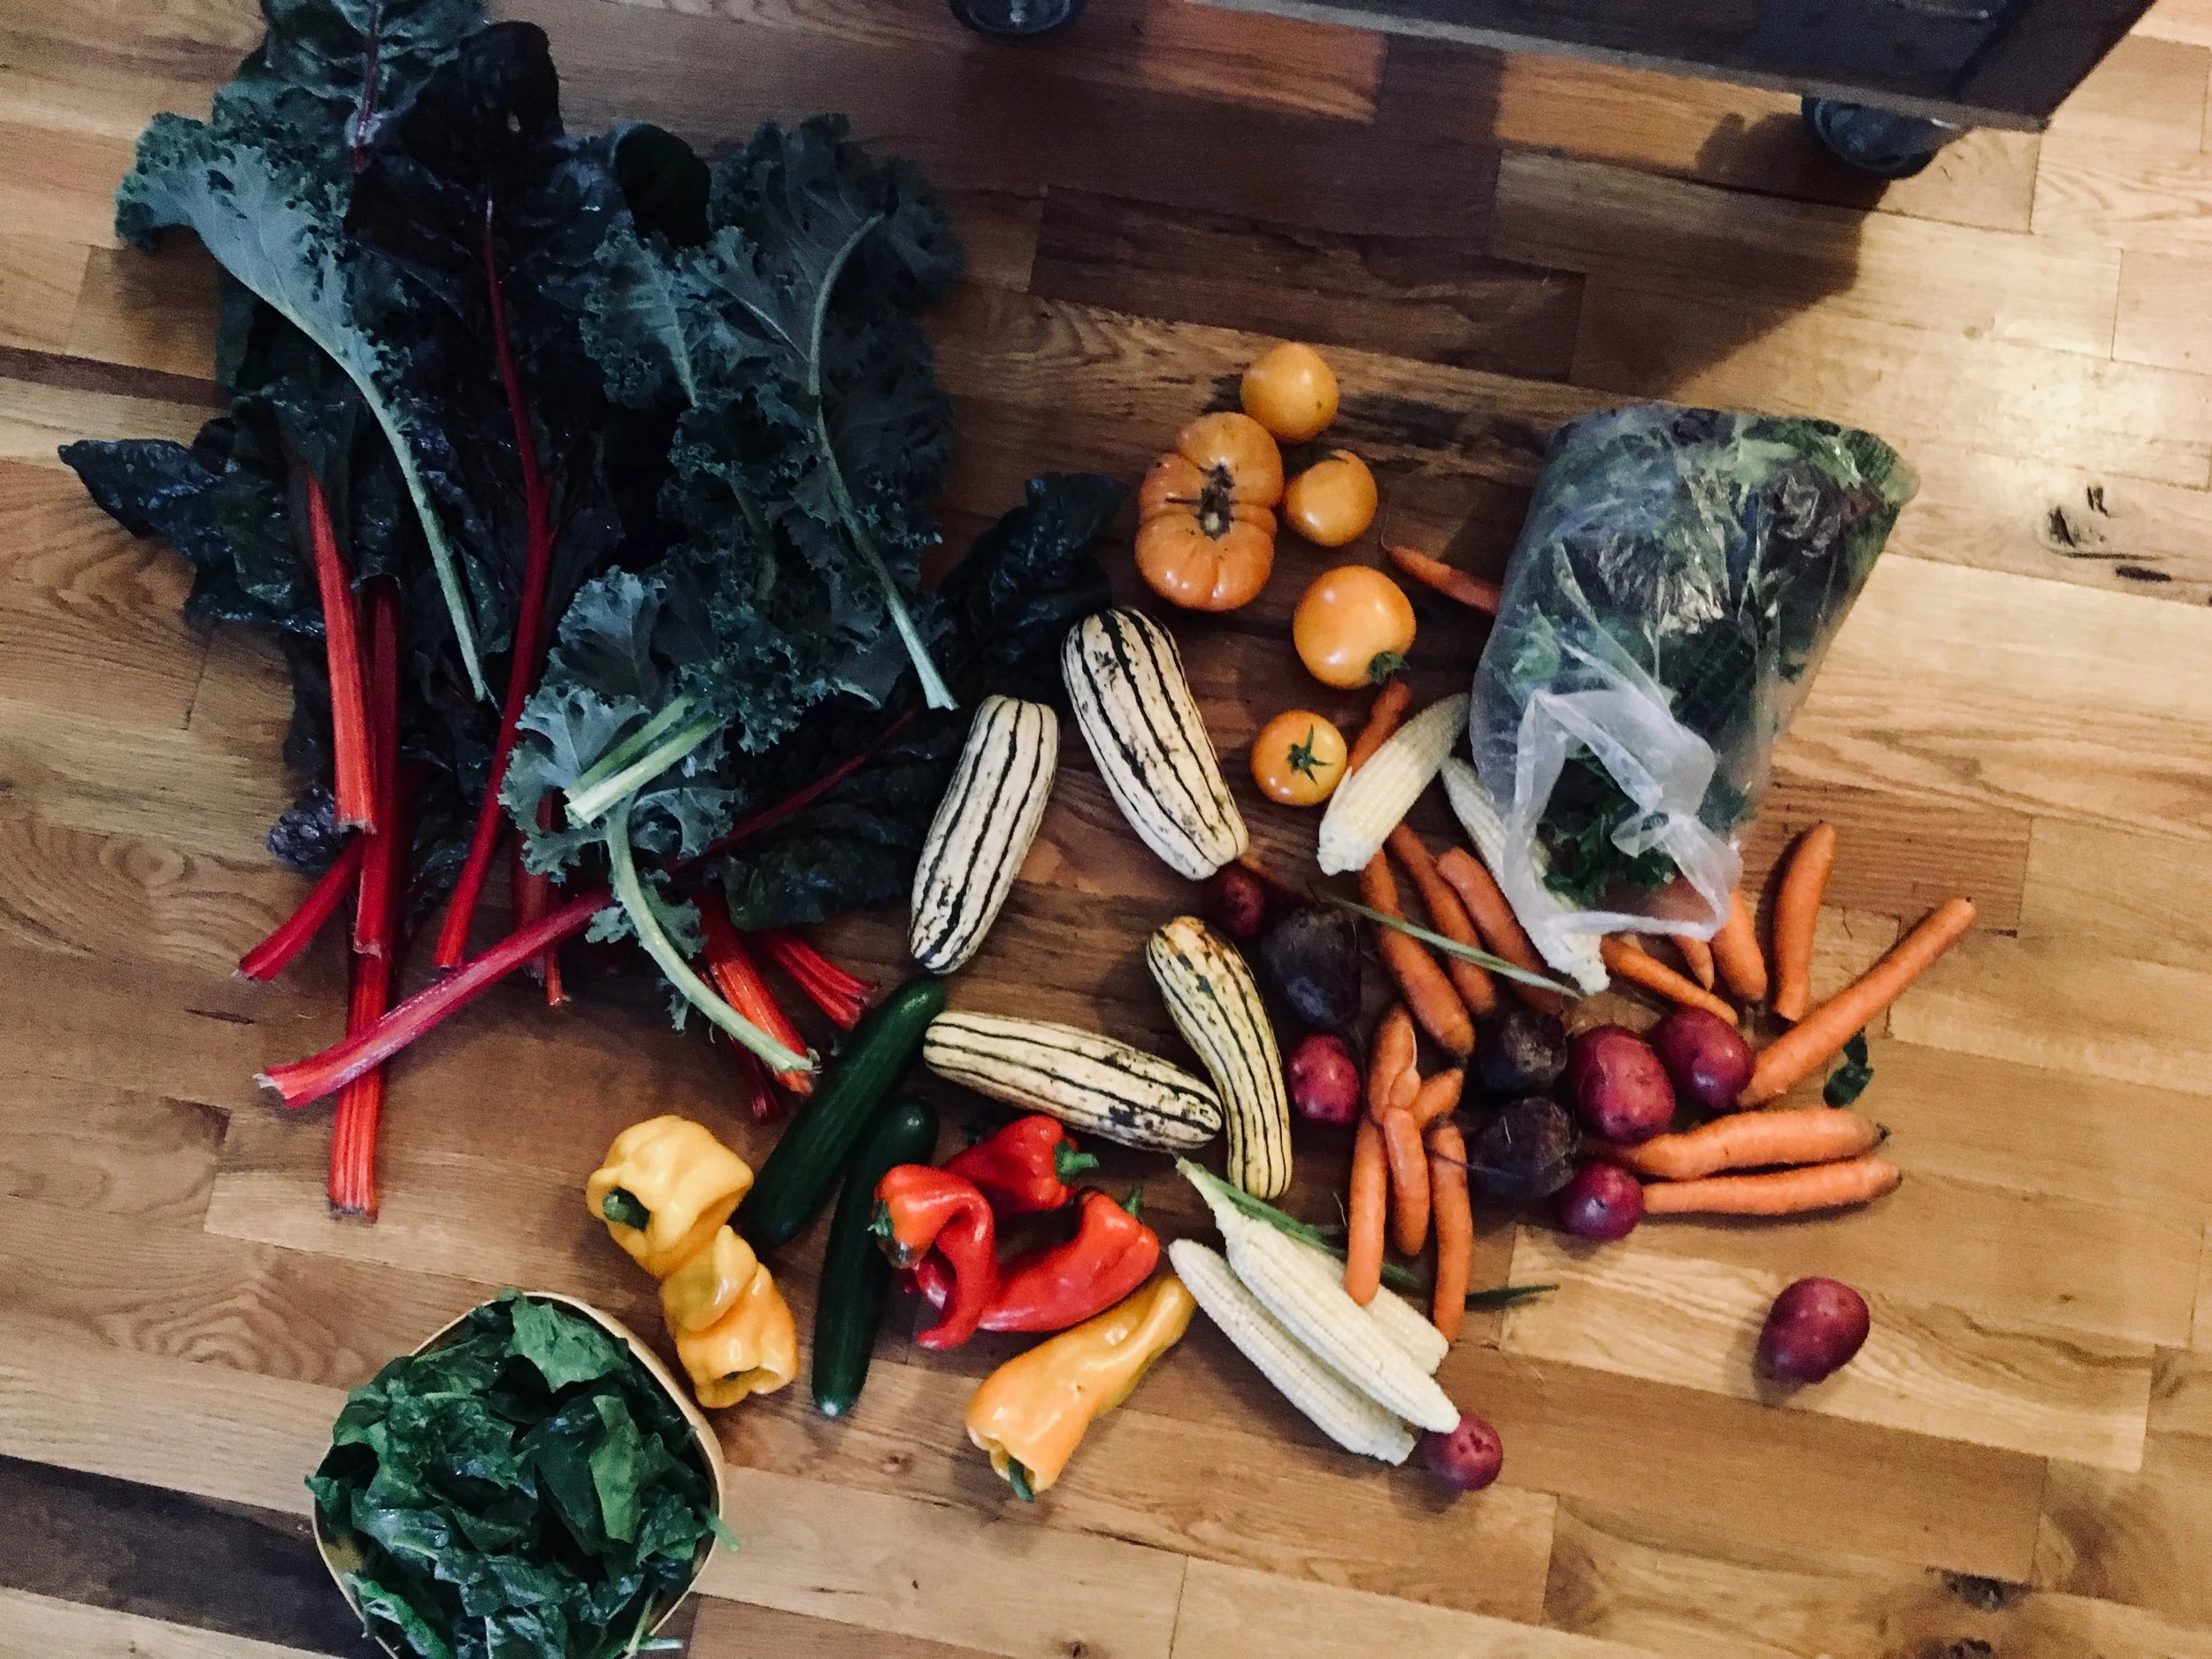












Summertime is in full swing. Hot ass days, garden fresh veggies, zucchinis as big as whales, and did I mention that hot ass heat? If you have been around here before, you know how well I handle the heat. (NOT WELL AT ALL!)
I think we are all hot these days. But really, lets just focus on the good things, like fresh summa veggies!
This sandwich is all about summertime and not having to turn on a single flame or heat source and takes all of 5 minutes to make. Zucchini because it is everywhere, beans for more substance and they are delicious, all mixed up in a creamy bean and tahini sauce. Super fast, fresh and oh so delicious. I made a big batch for sandwiches but also I was just eating it with a fork. It%u2019s a tasty one that will be on the summer rotation for sure for the next few months, or until the zucchini runs out and I dare to turn the oven on again. (Ok, I am being a whine ass. It%u2019s not THAT bad and I did turn the oven on, early morning, to bake bread. So yeah.) But for real. This is a great, super fast, throw together, fresh, light but filling, sandwich situation for any and all of your summertime eating needs. What more do we need? The mr said all he needed with the sandwich were chips. Chips and a nice cold drink.
Done sir. Done.
Now to the sandwich!

The stuff. White beans, a zucchini, and a fresh spring onion. Also some tahini, a lemon, a few cloves of garlic, a little vinegar and water, and salt and pepper. And to serve as a sandwich you need bread. lettuce, and tomato. Well you only need the bread, but you get what I am saying.
Fist off. Half the white beans go into blender or jar with the tahini, the juice of the lemon, garlic, vinegar and a splash of water. Blended unit nice and creamy smooth. And yes, it is basically hummus but whatever.

Julienne the zucchini and chop up the onion.
Note. You don%u2019t have a mandolin or done%u2019t want to julienne with a knife, well just chop the zucchini into small little chunks.
Bean, onion, and zucchini in a bowl. Add in the bean tahini mixture and mix. And ta da, all done. All of 5 minutes and no heat. Good for us.

Now here is the thing. This salad is ready to eat now. You can continue onto the sandwich path or just eat it like it is with a fork. What I really liked to do is scoop spoonfuls into lettuce cups with a slice of tomato and a squirt or mustard. So yes sandwich, but also whatever else you want it to be.

But as a sandwich%u2026. Bread. And lettuce and tomato and heck, whatever else you want to throw on there. (Again, mustard is A+)

Now stop. Sandwich time.
Stay cool!
-C
makes 3-4 sandwiches
-
1 medium sized zucchini
-
2 1/2 cups cooked and strained white beans (a can will do)
-
1 spring onion (or a small white or red onion)
-
3 tablespoons tahini
-
2-3 cloves minced garlic
-
1 lemon
-
1 tablespoon white or red wine vinegar
-
2-3 tablespoons warm water
-
salt and pepper
-
And to serve as a sandwich
-
bread or wrap of your choice
-
tomato slices
-
lettuce
-
anything else you want
Place half of the beans, tahini, garlic, juice of the lemon, and the vinegar into a jar and use a immersion blender or a regular blender and blend until creamy smooth. Add in a tablespoon at a time of water until the consistency is just slightly thinner then hummus.
Grab zucchini and using a mandolin or a knife and julienne it. (You can also just cut into small little cubes.) Dice the onion up into small pieces and toss with zucchini, onion, and the other half of beans into a big bowl. Dump the bean tahini mixture all over and veggies bean mixture and toss around. Add salt and pepper to taste.
To make it a sandwich%u2026 Place a scoop onto a bread situation, add some lettuce and tomato and whatever else you want, and eat it.
Spring is here for reals, I think. No, it is here, it has just been a bit raw and maybe a bit more rainy then it really needs to be, but whatever, it is spring and it is good. Things are greener by the day, the temperatures although not exactly warm are still inhabitable and without cause for winter jackets (although I have still been rocking the mittens) and spring veggies are popping up all over. Things are looking good.
So last week I made a pie crust with the intention to make a veggie pot pie and stuck it into the freezer. When the time came to make said pot pie, I forgot to take it out of the freezer so the crust was not meant to be for pot pie (it will probably end up as a rhubarb pie%u2026we shall see). Without pie crust, I wasn%u2019t exactly feeling like I should make a pot pie, but a tart, well yeah, sure. A crispy and chewy crackery crusted thing with almond ricotta a spring veggies because that is where the mind went and what the mr agreed sounded good. (When I make up recipes I just start taking about ingredient and preparations and wait til the mr says %u201cYea, that loud good. I%u2019ll eat that %u201c He usually will say it right away and for anything. Very easy to please or he just doesn%u2019t care%u2026hum? )
And so the tart was made and the tart was eaten in all entirety for dinner by the mr alone. Usually when he eats all of something it means it was one of the really good things. Or he is really really hungry. But he said it was a really good thing. I trust him because I agreed. I got in a few spoonfuls of the almond ricotta mixture and it is really freaking good if I do say so myself (I could eat bowls of almond ricotta all day long).
Anyway, heres to spring and all things that are green and good.
To the tart.

The stuff. Flours (white and white whole wheat), baking powder, and a little salt in the bowl. Water and olive oil, blanched almonds, a lemon, a clove of garlic, asparagus, peas, frozen and thawed spinach, a small red onion, and salt and pepper.
Start with making the crust. Mix the dry together then add in the oil and water to form a dough. Knead dough a minutes until the dough is uniform and place back in bowl and cover. Dough needs a few alone minutes to rest. I can relate to that.

While dough is resting, make the almond ricotta. Almonds, garlic, the juice of the lemon, and a bit of water go into blender. Add in a pinch of salt and pepper too.

Blend until creamy and smooth.
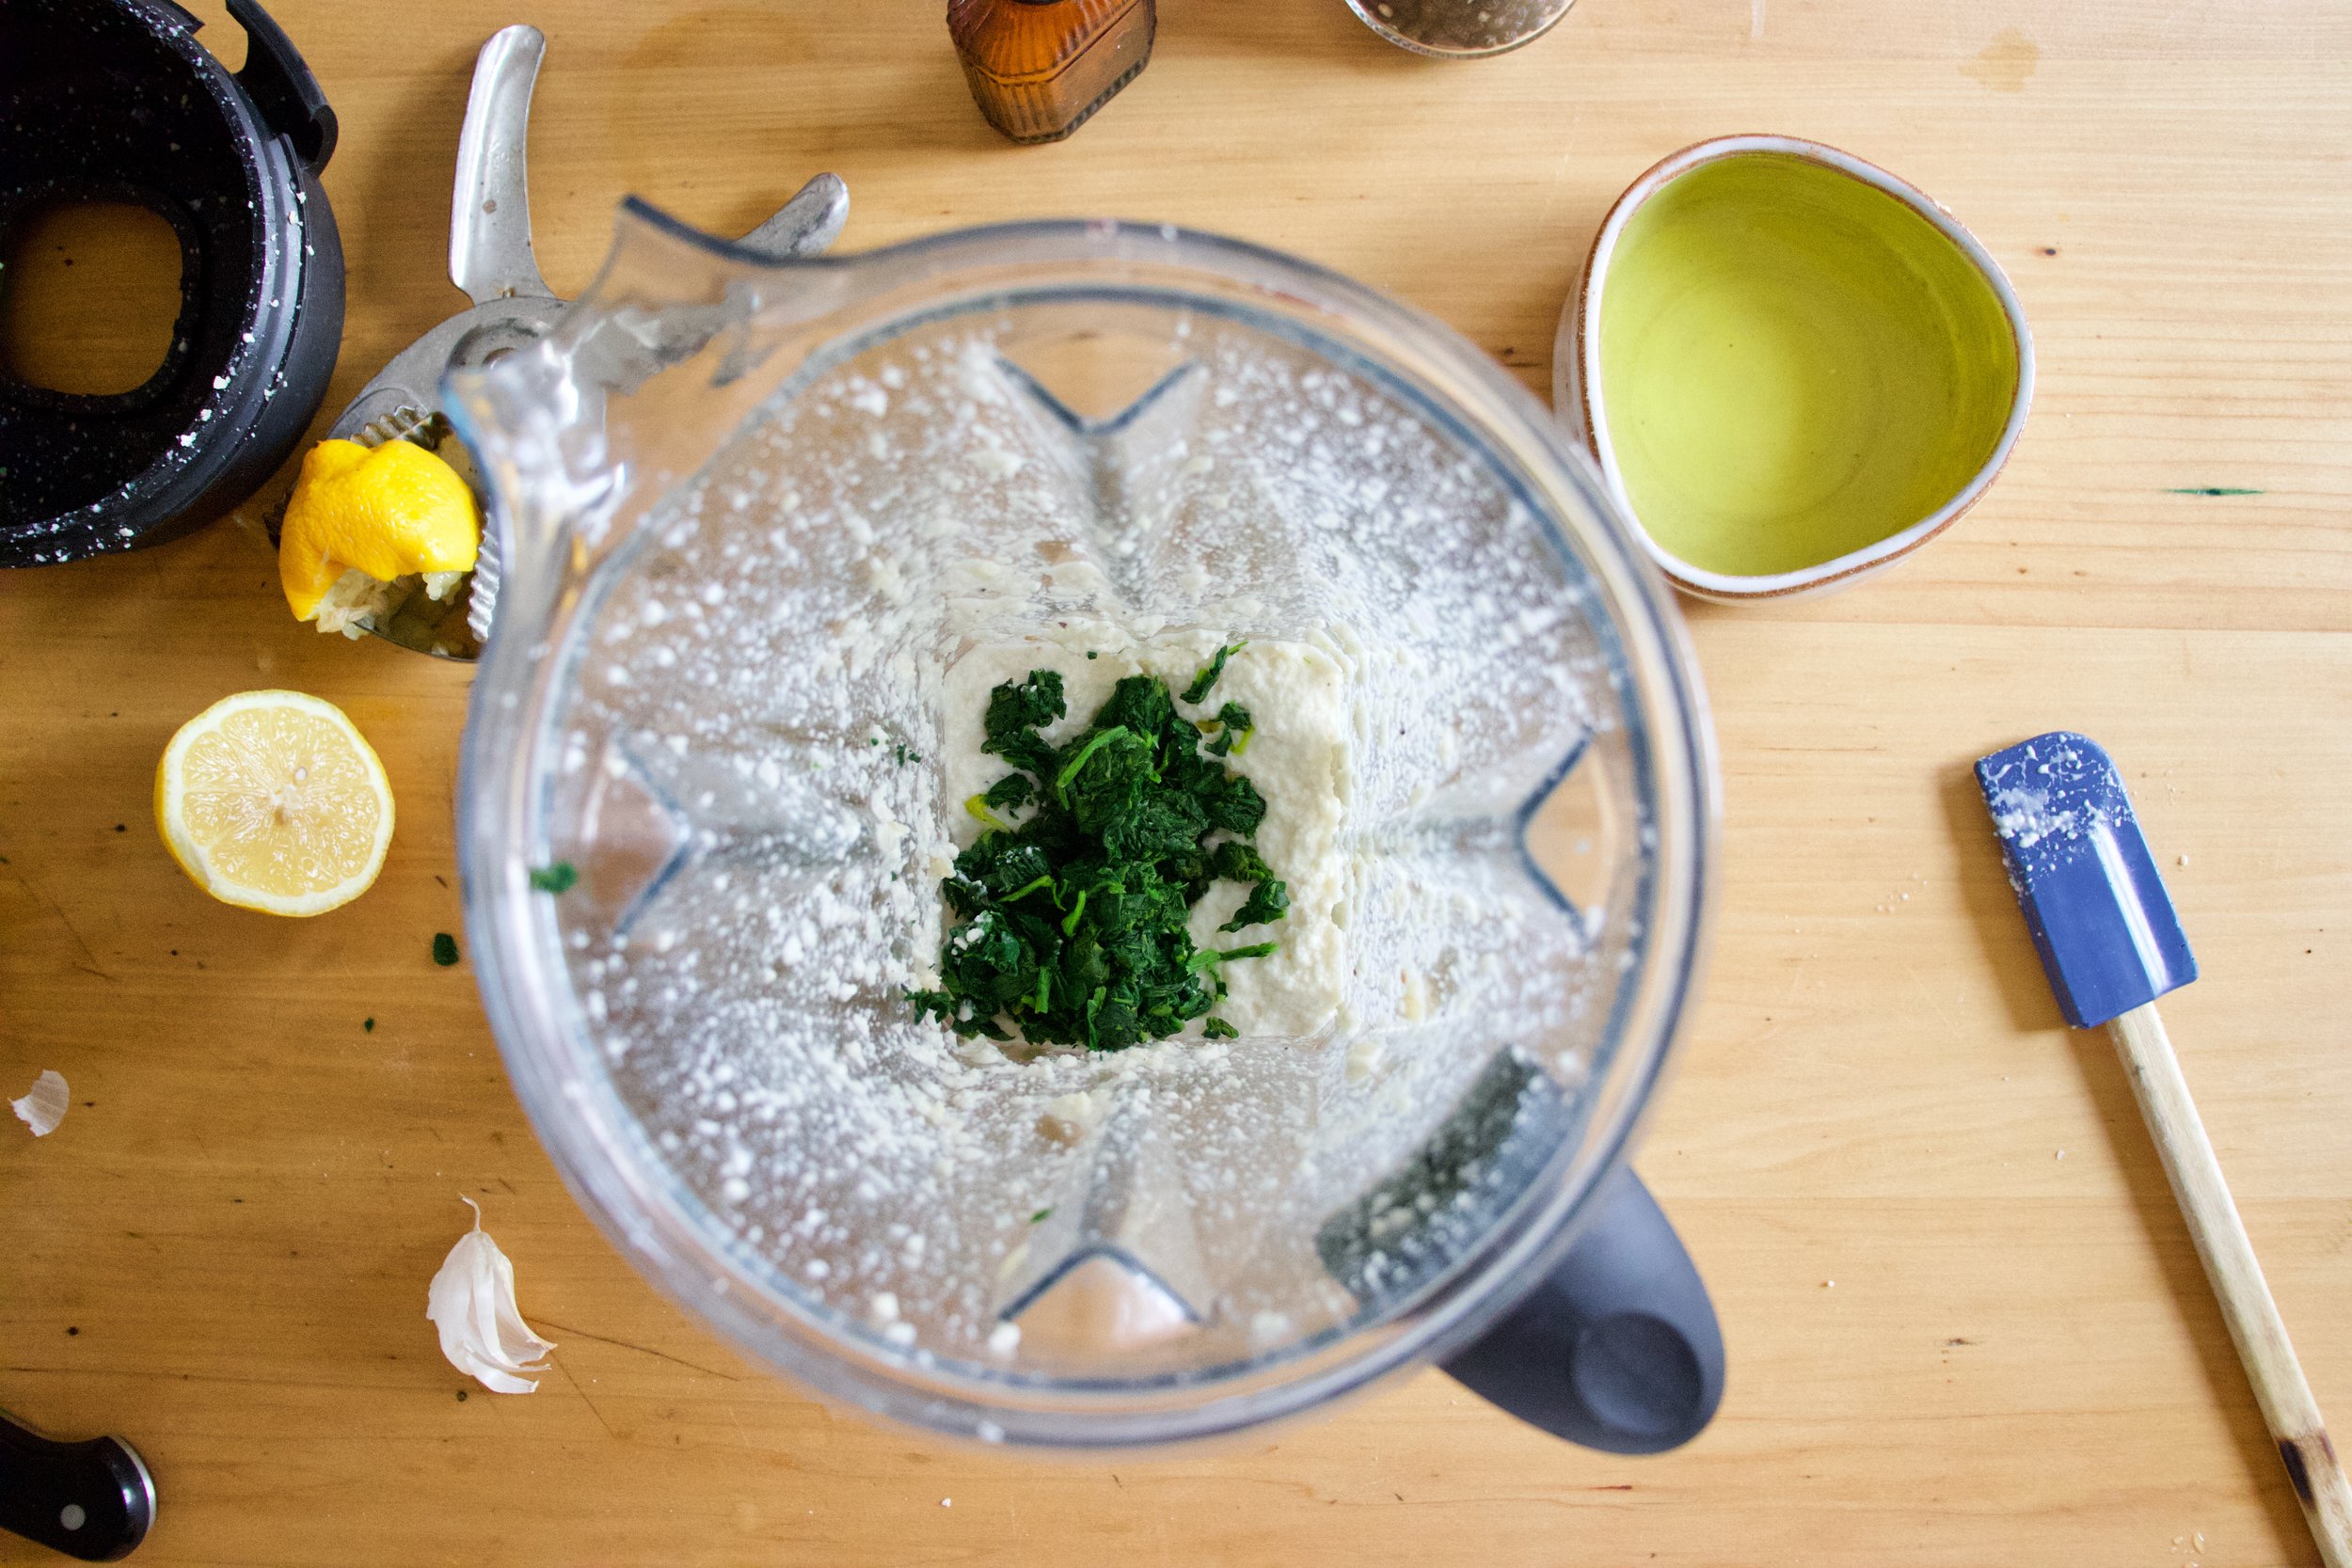
Dump in the spinach and blend, just until combined.
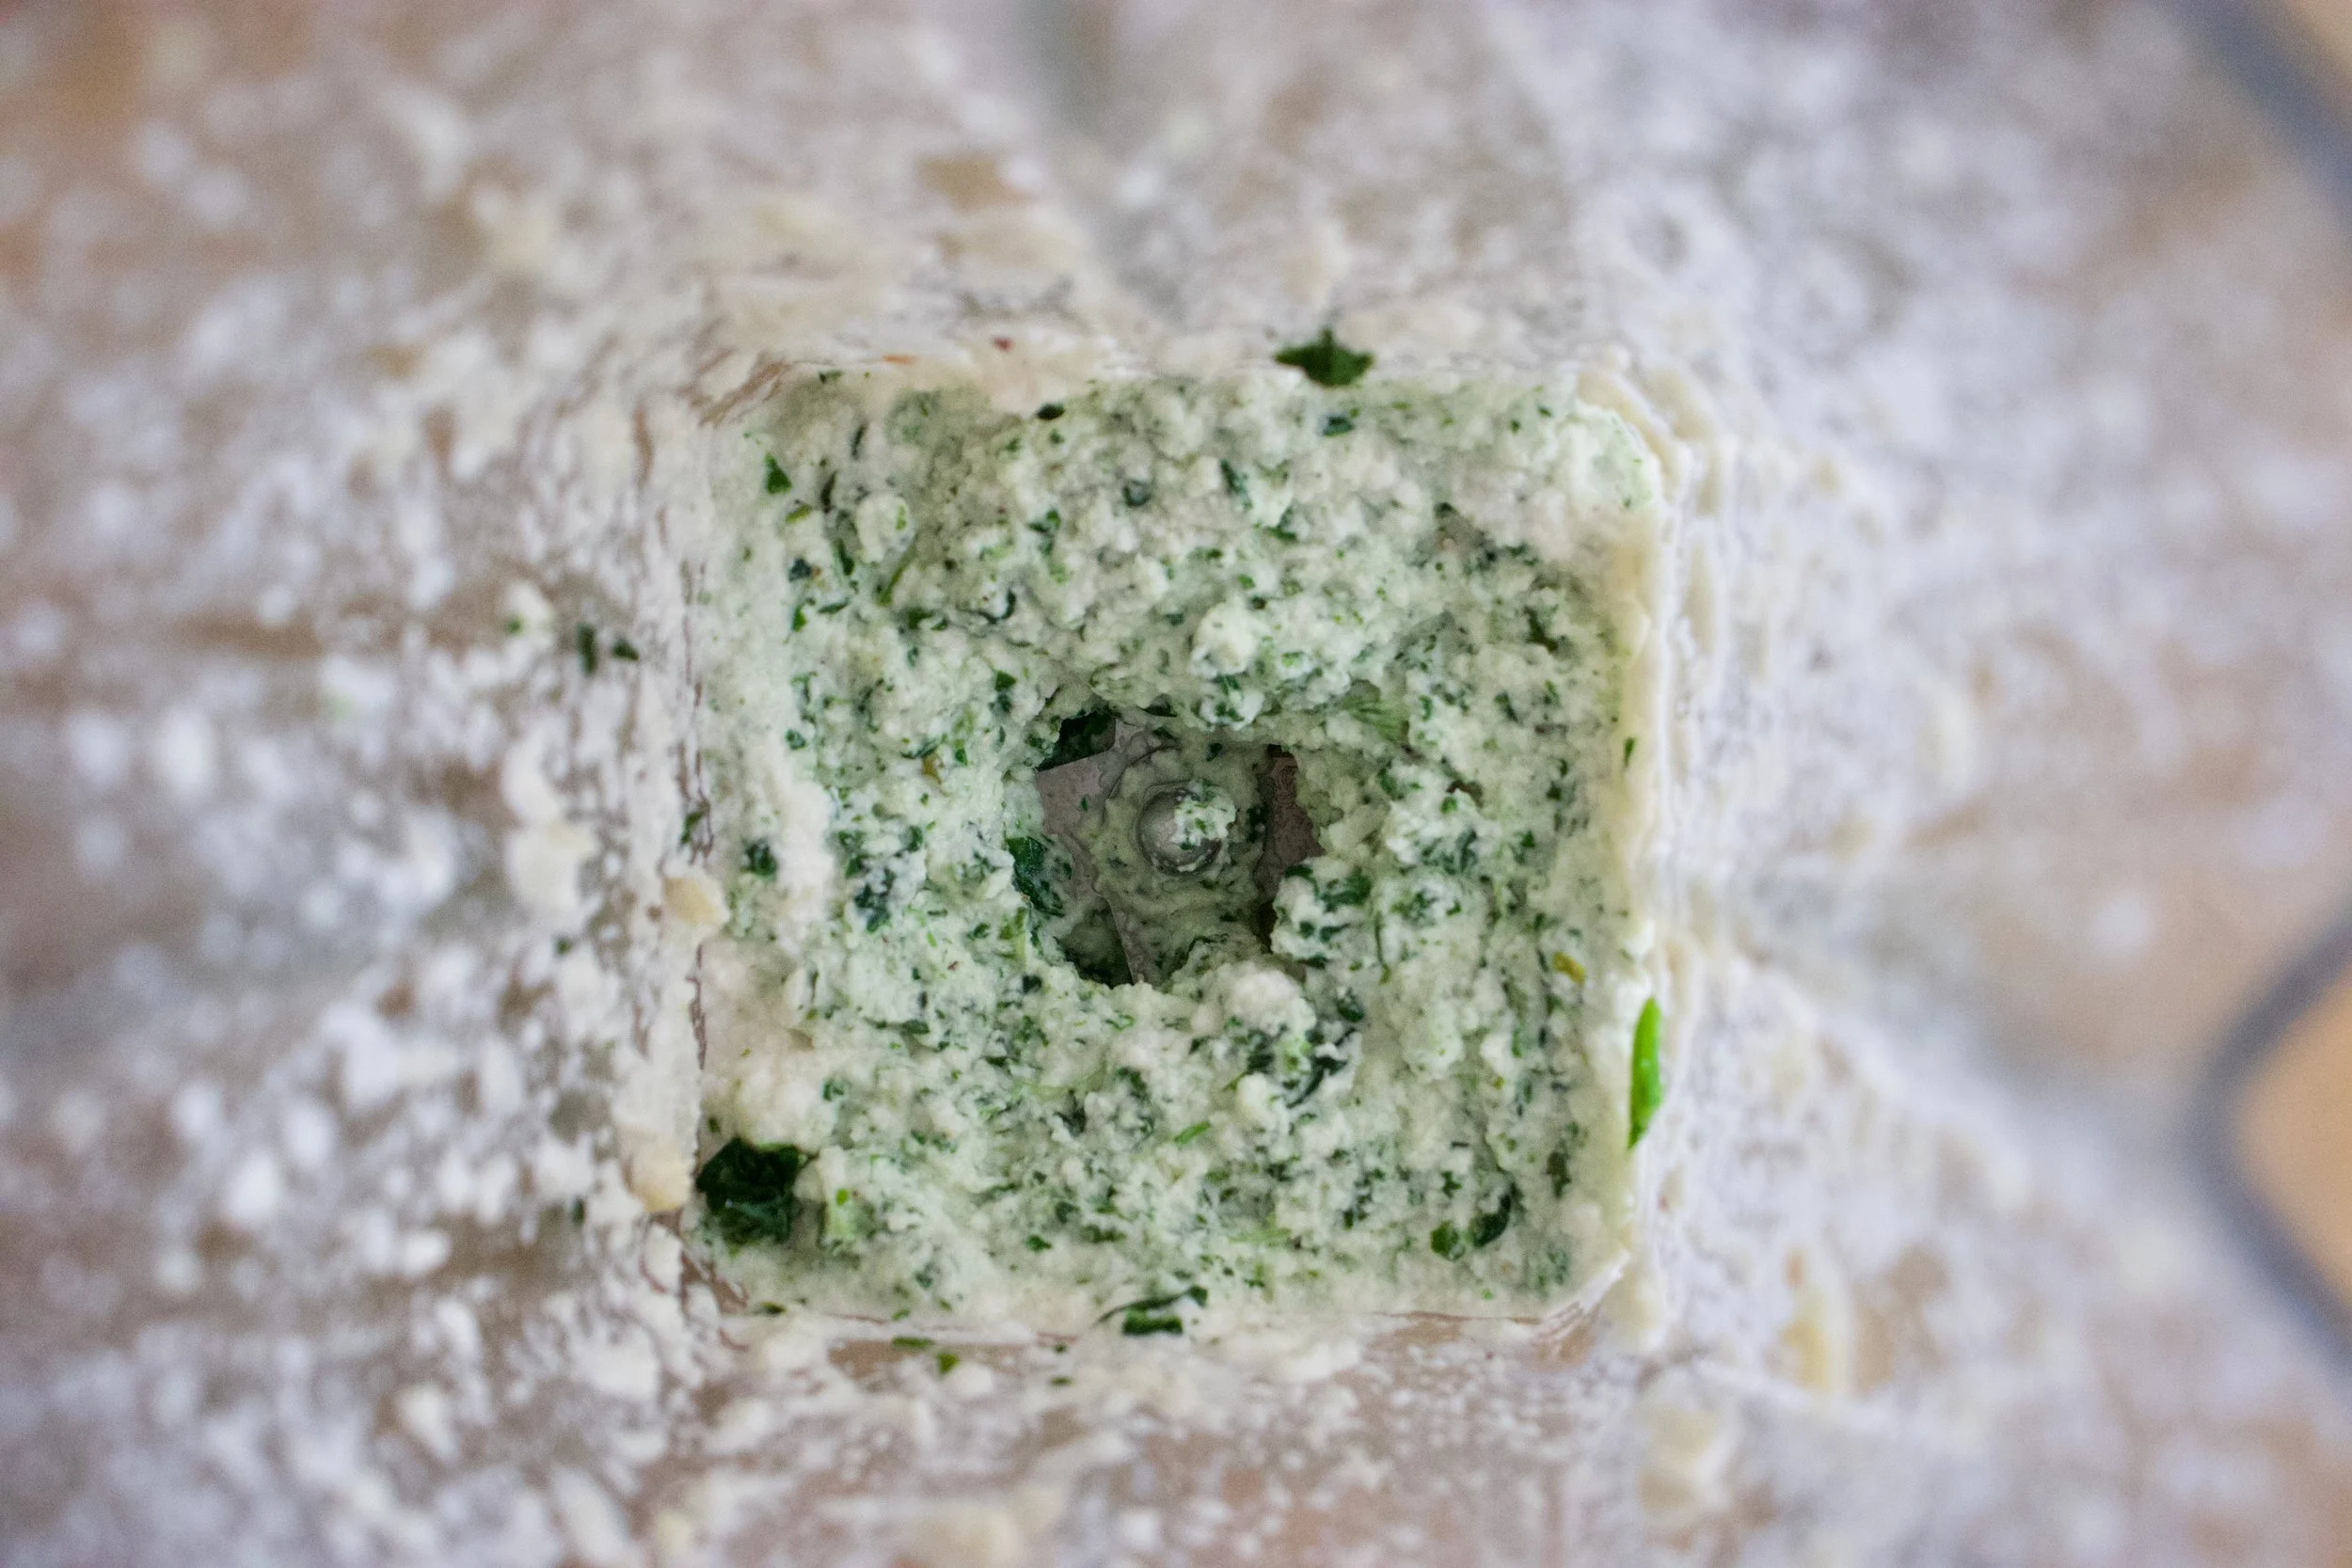
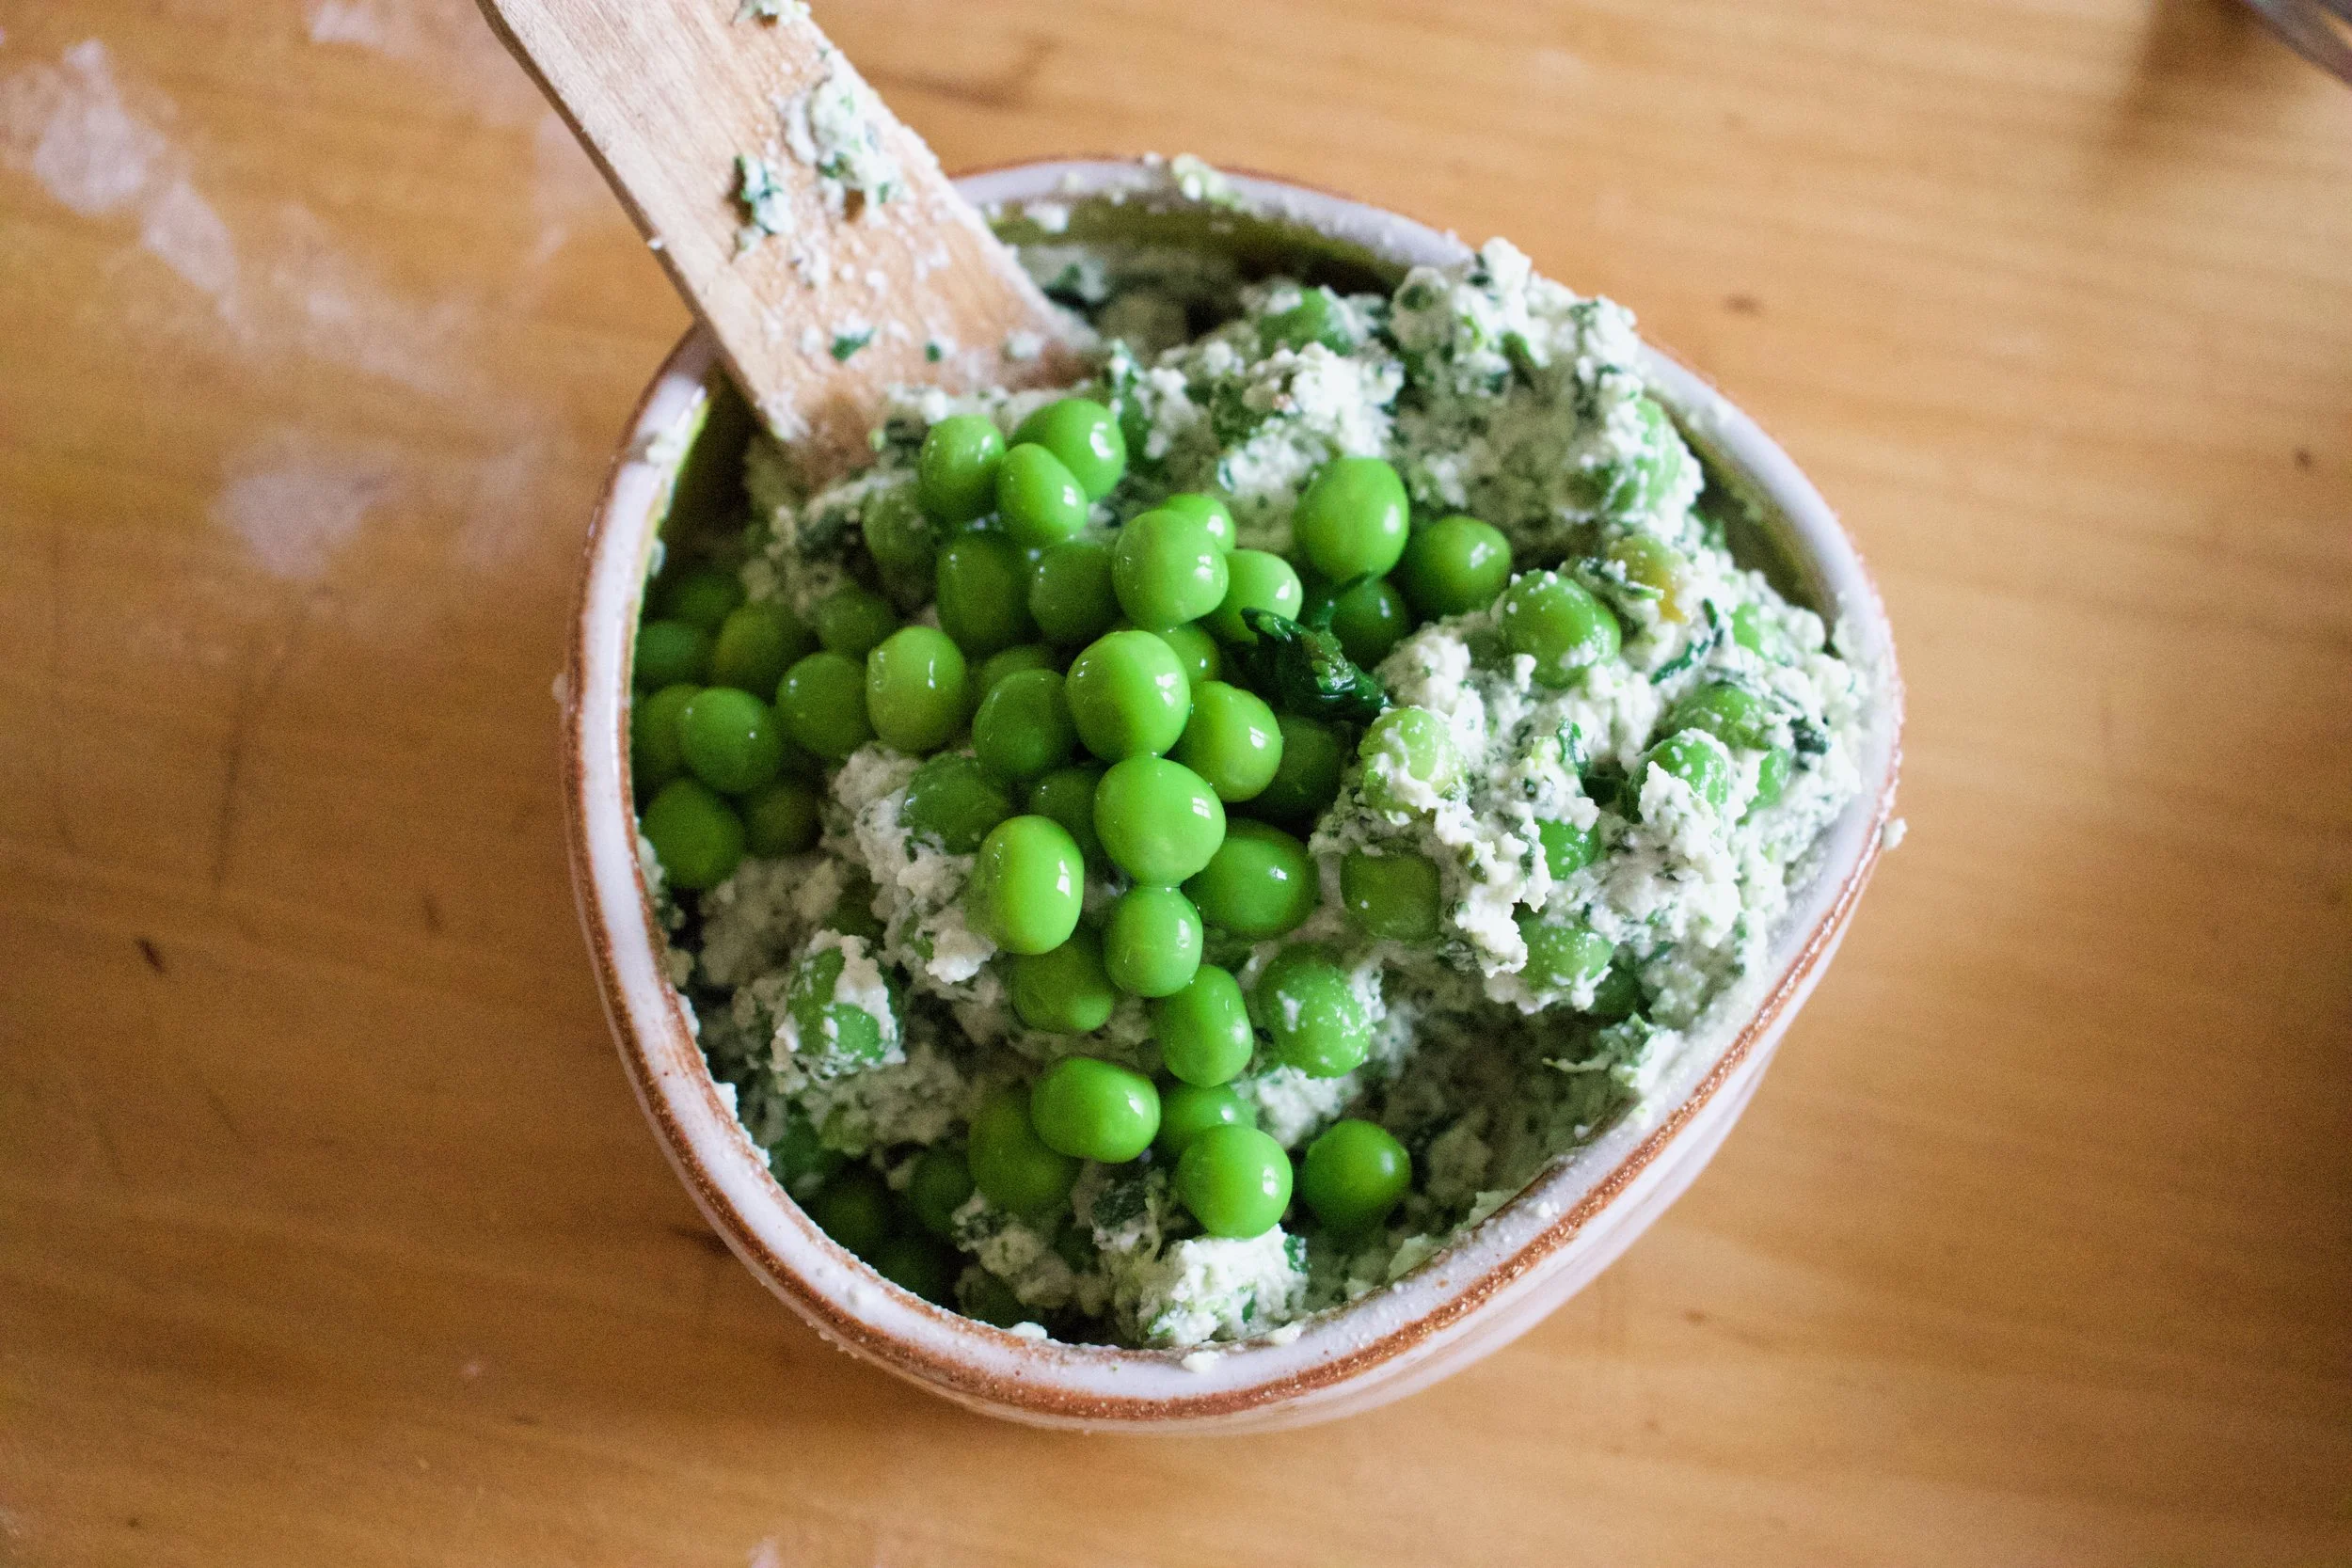
Scoop ricotta into a bowl and mix in the peas. And sure give it another taste but try not to eat it all.
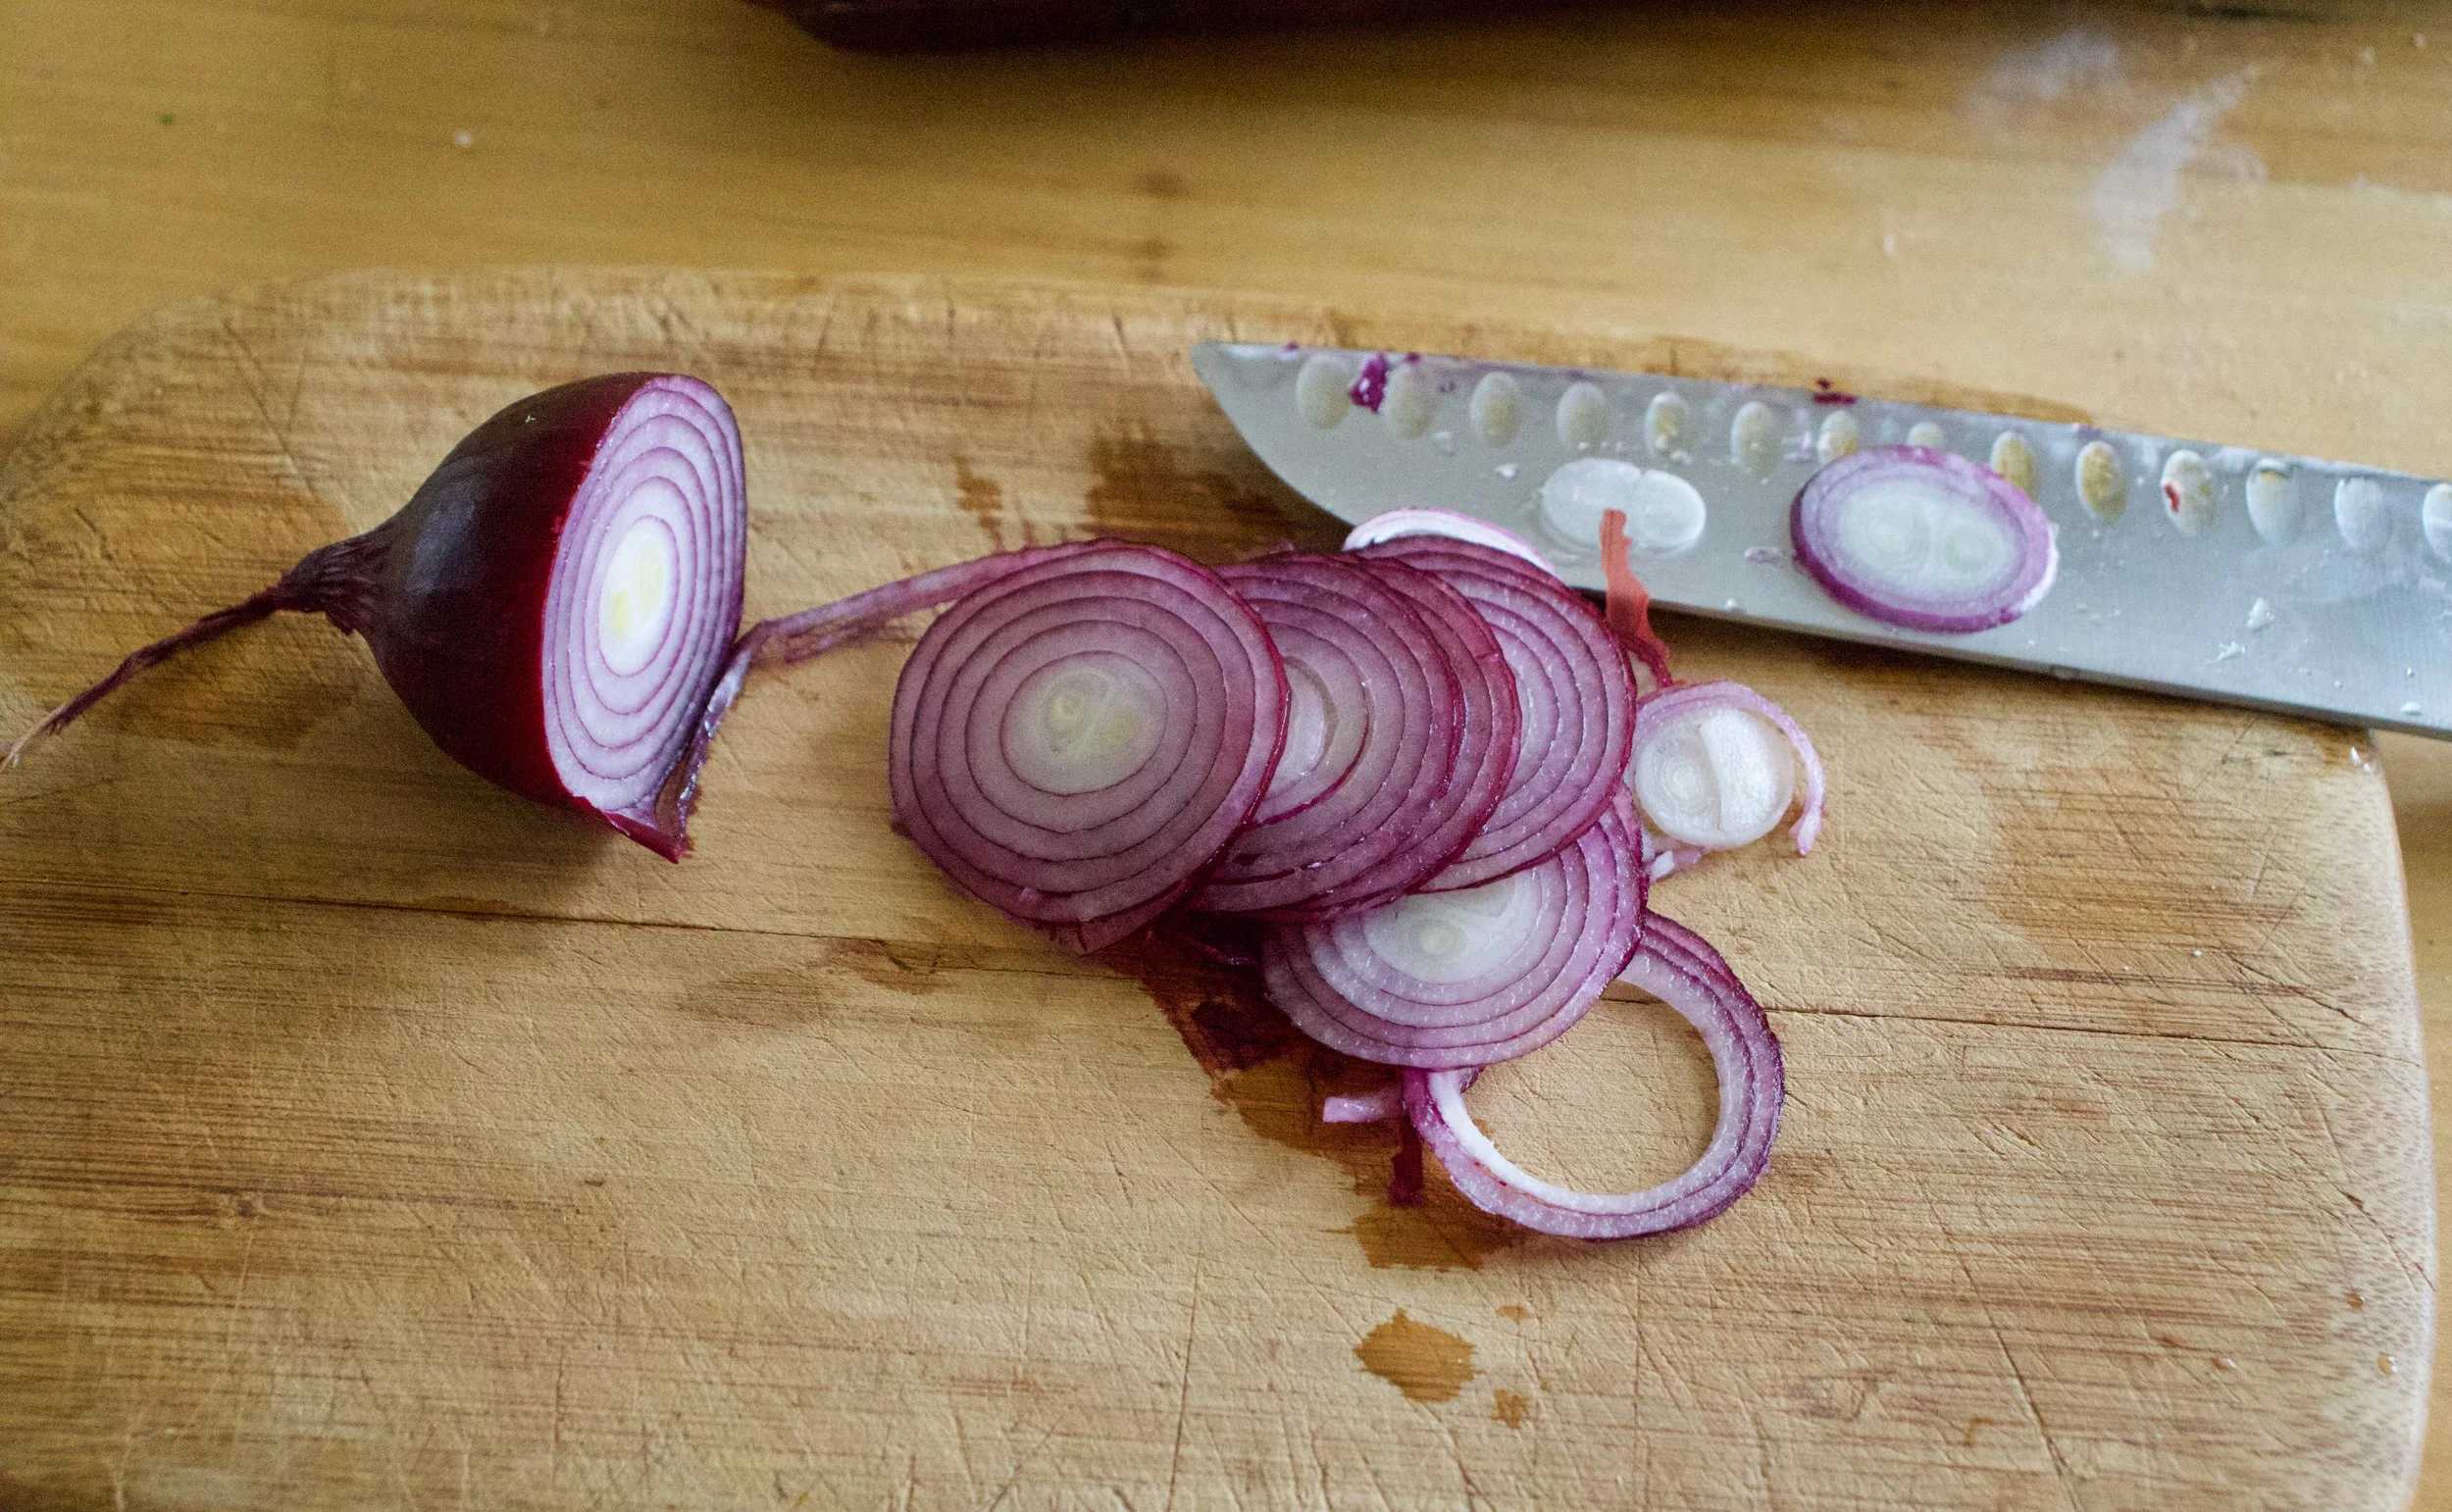
Grab the onion and slice it all nice and thin.

And after the resting time, grab dough and roll it out. Try for a rectangular shape or as rectangular as you can get it, but nice and thin. Thiner is better.
Place rolled out dough onto a baking sheet and poke the bottom with lots of little hole. Take ricotta mixture and spread evenly all over crust, leaving a 1 1/2 border all the way around.


Then top with the asparagus and more onions.
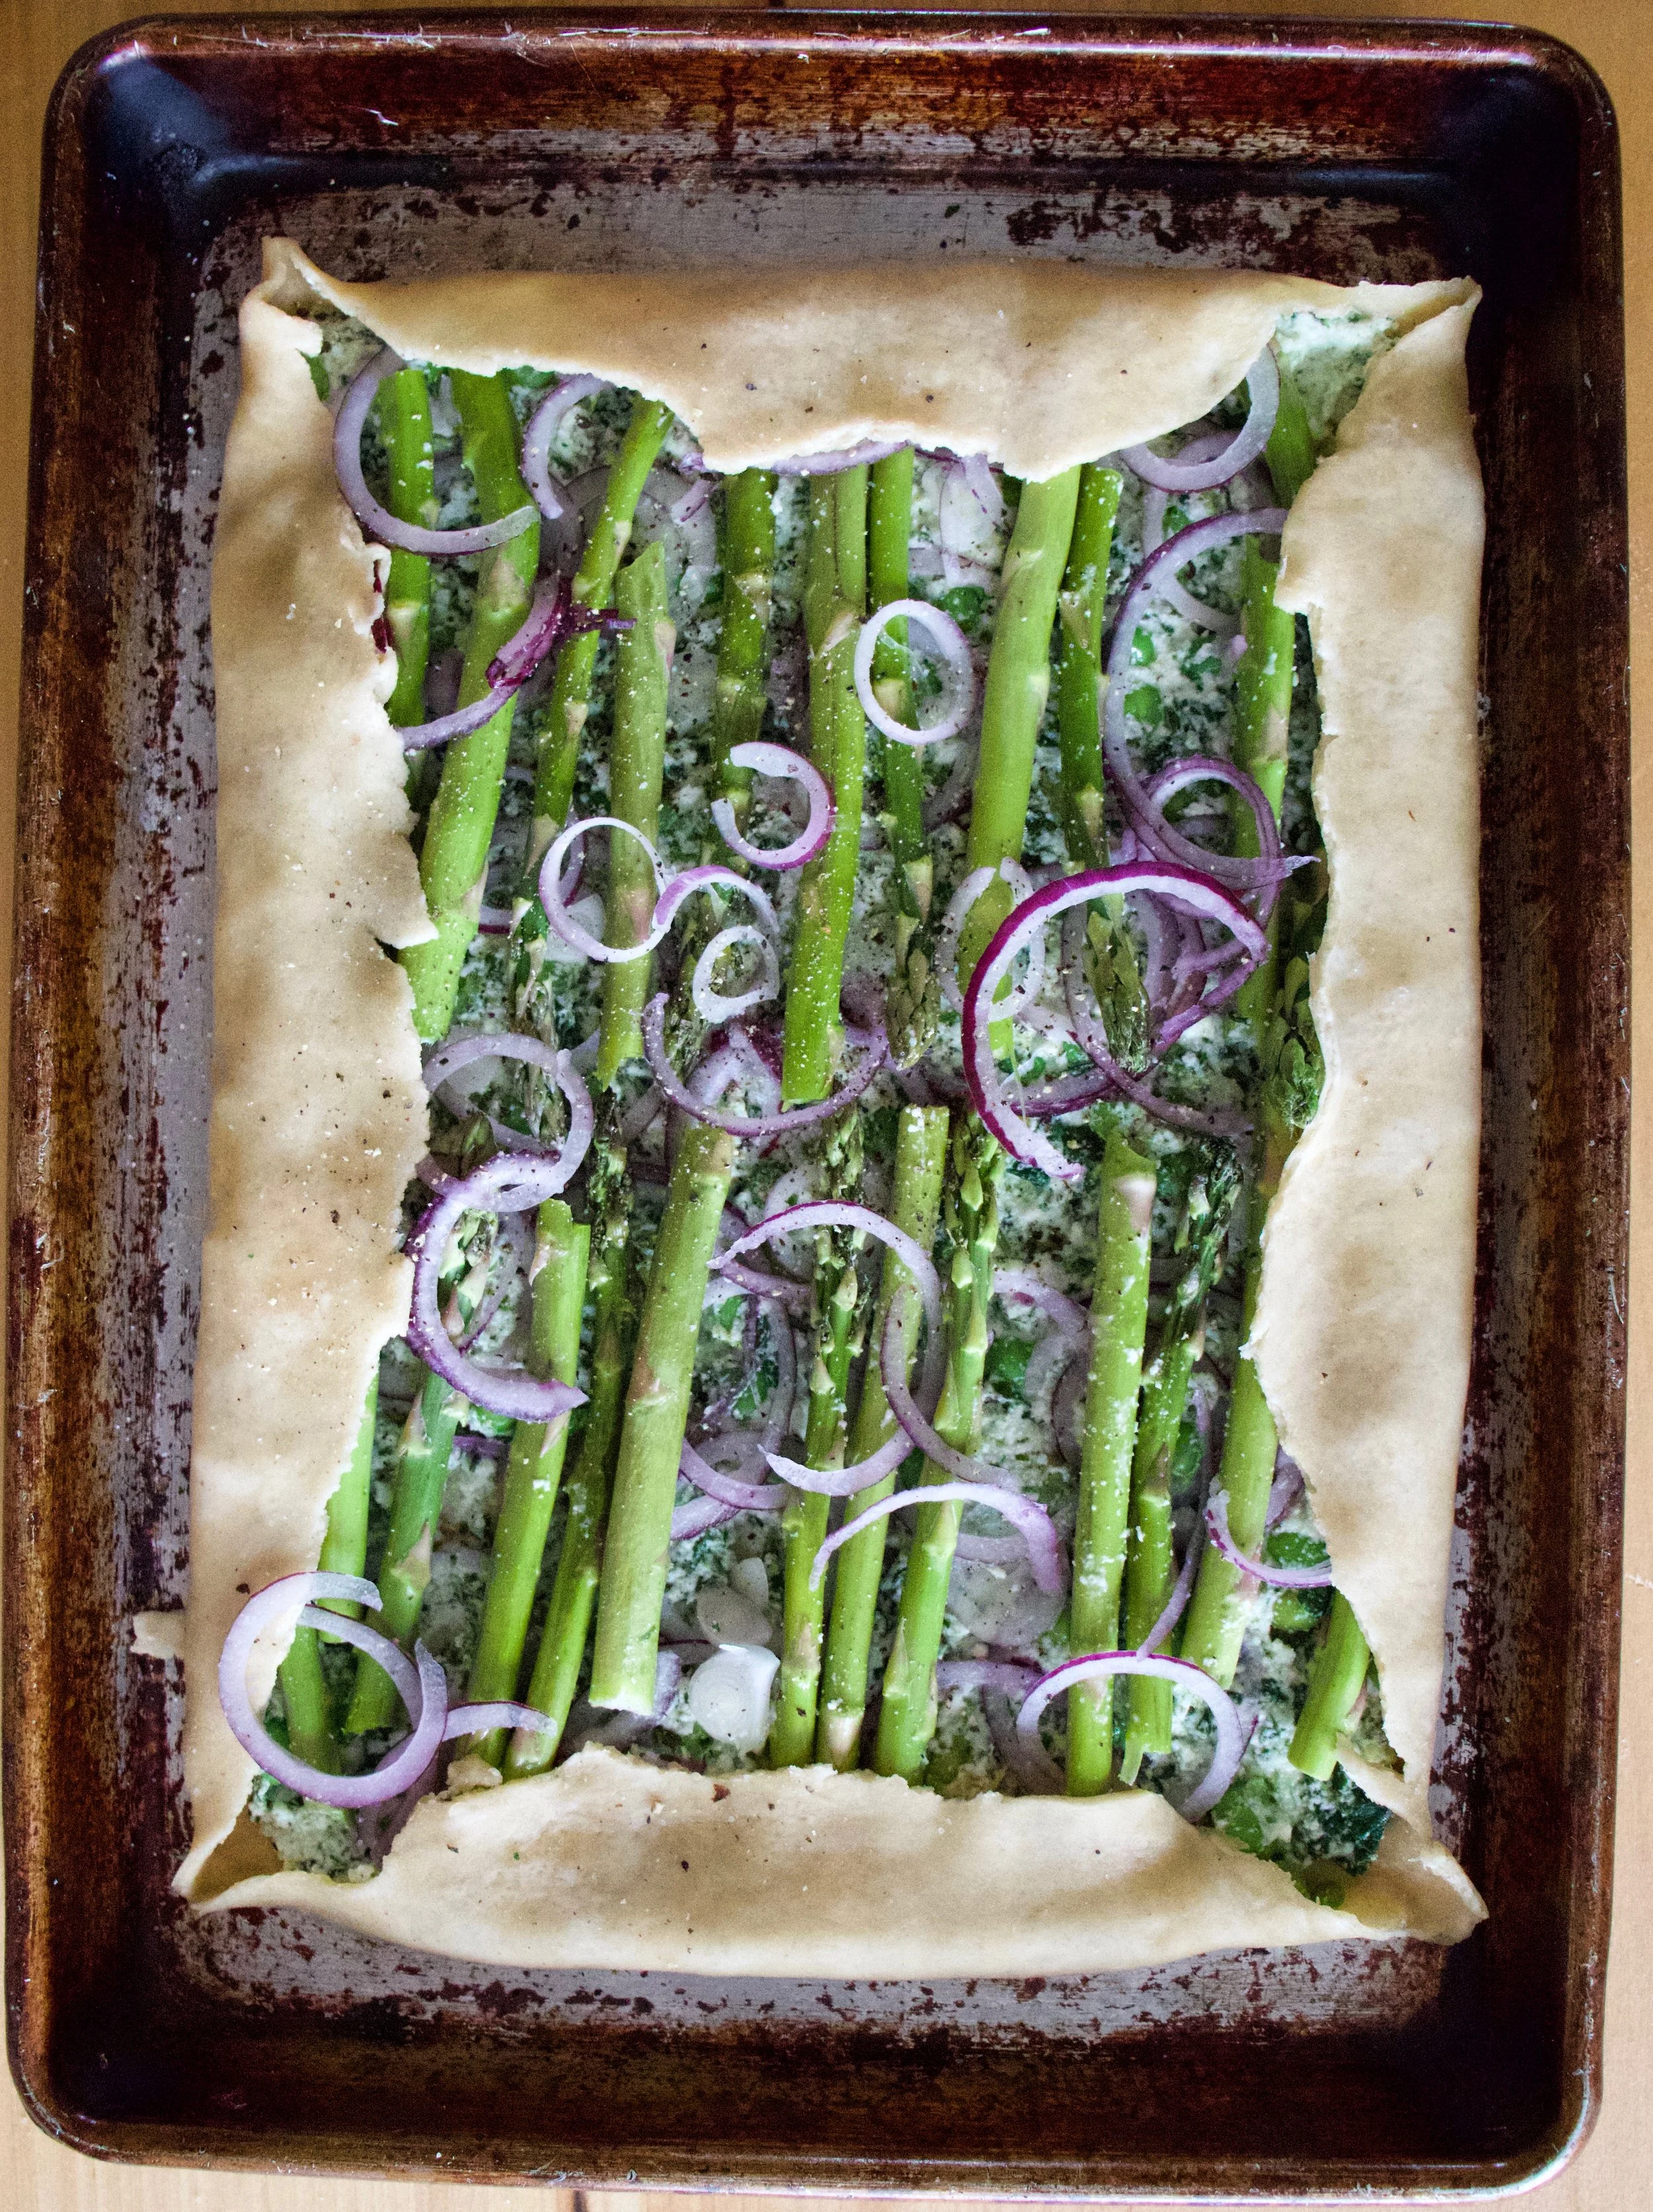
Fold over the edges of the crust, sprinkle with a pinch of salt and pepper, and into the oven it goes to bake.
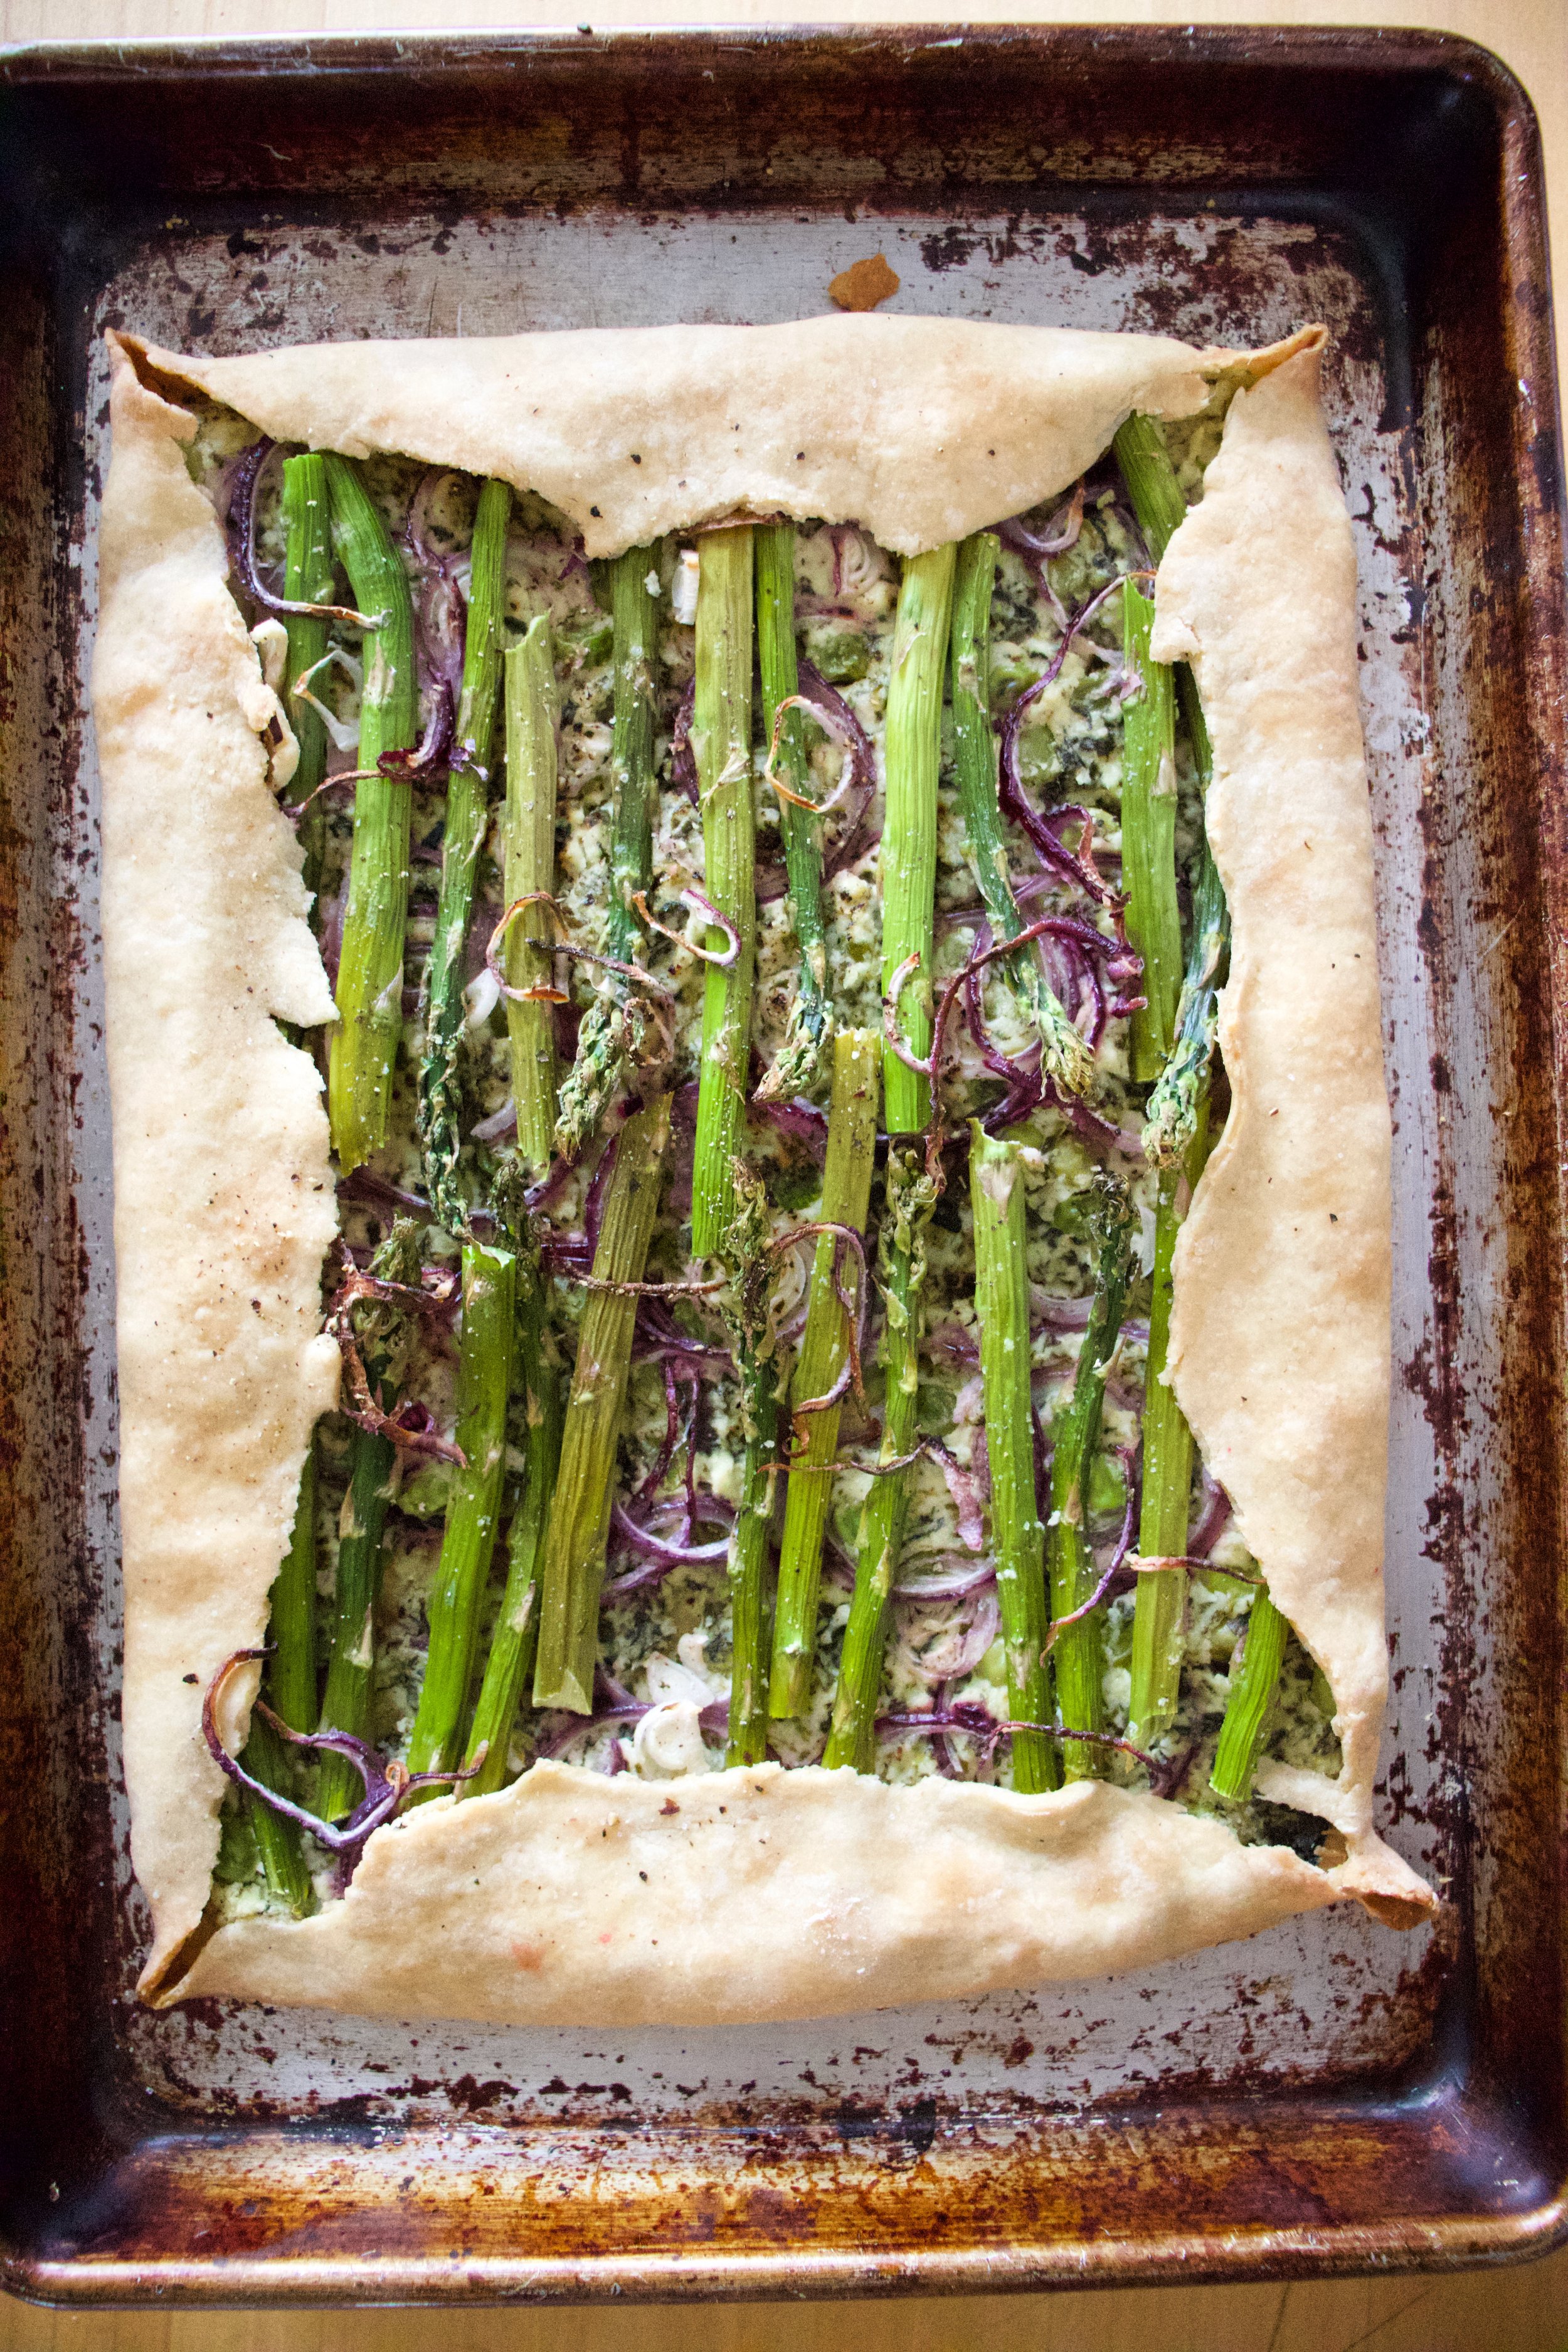
And then it is baked. And ready to eat (after a few minutes of cooling).
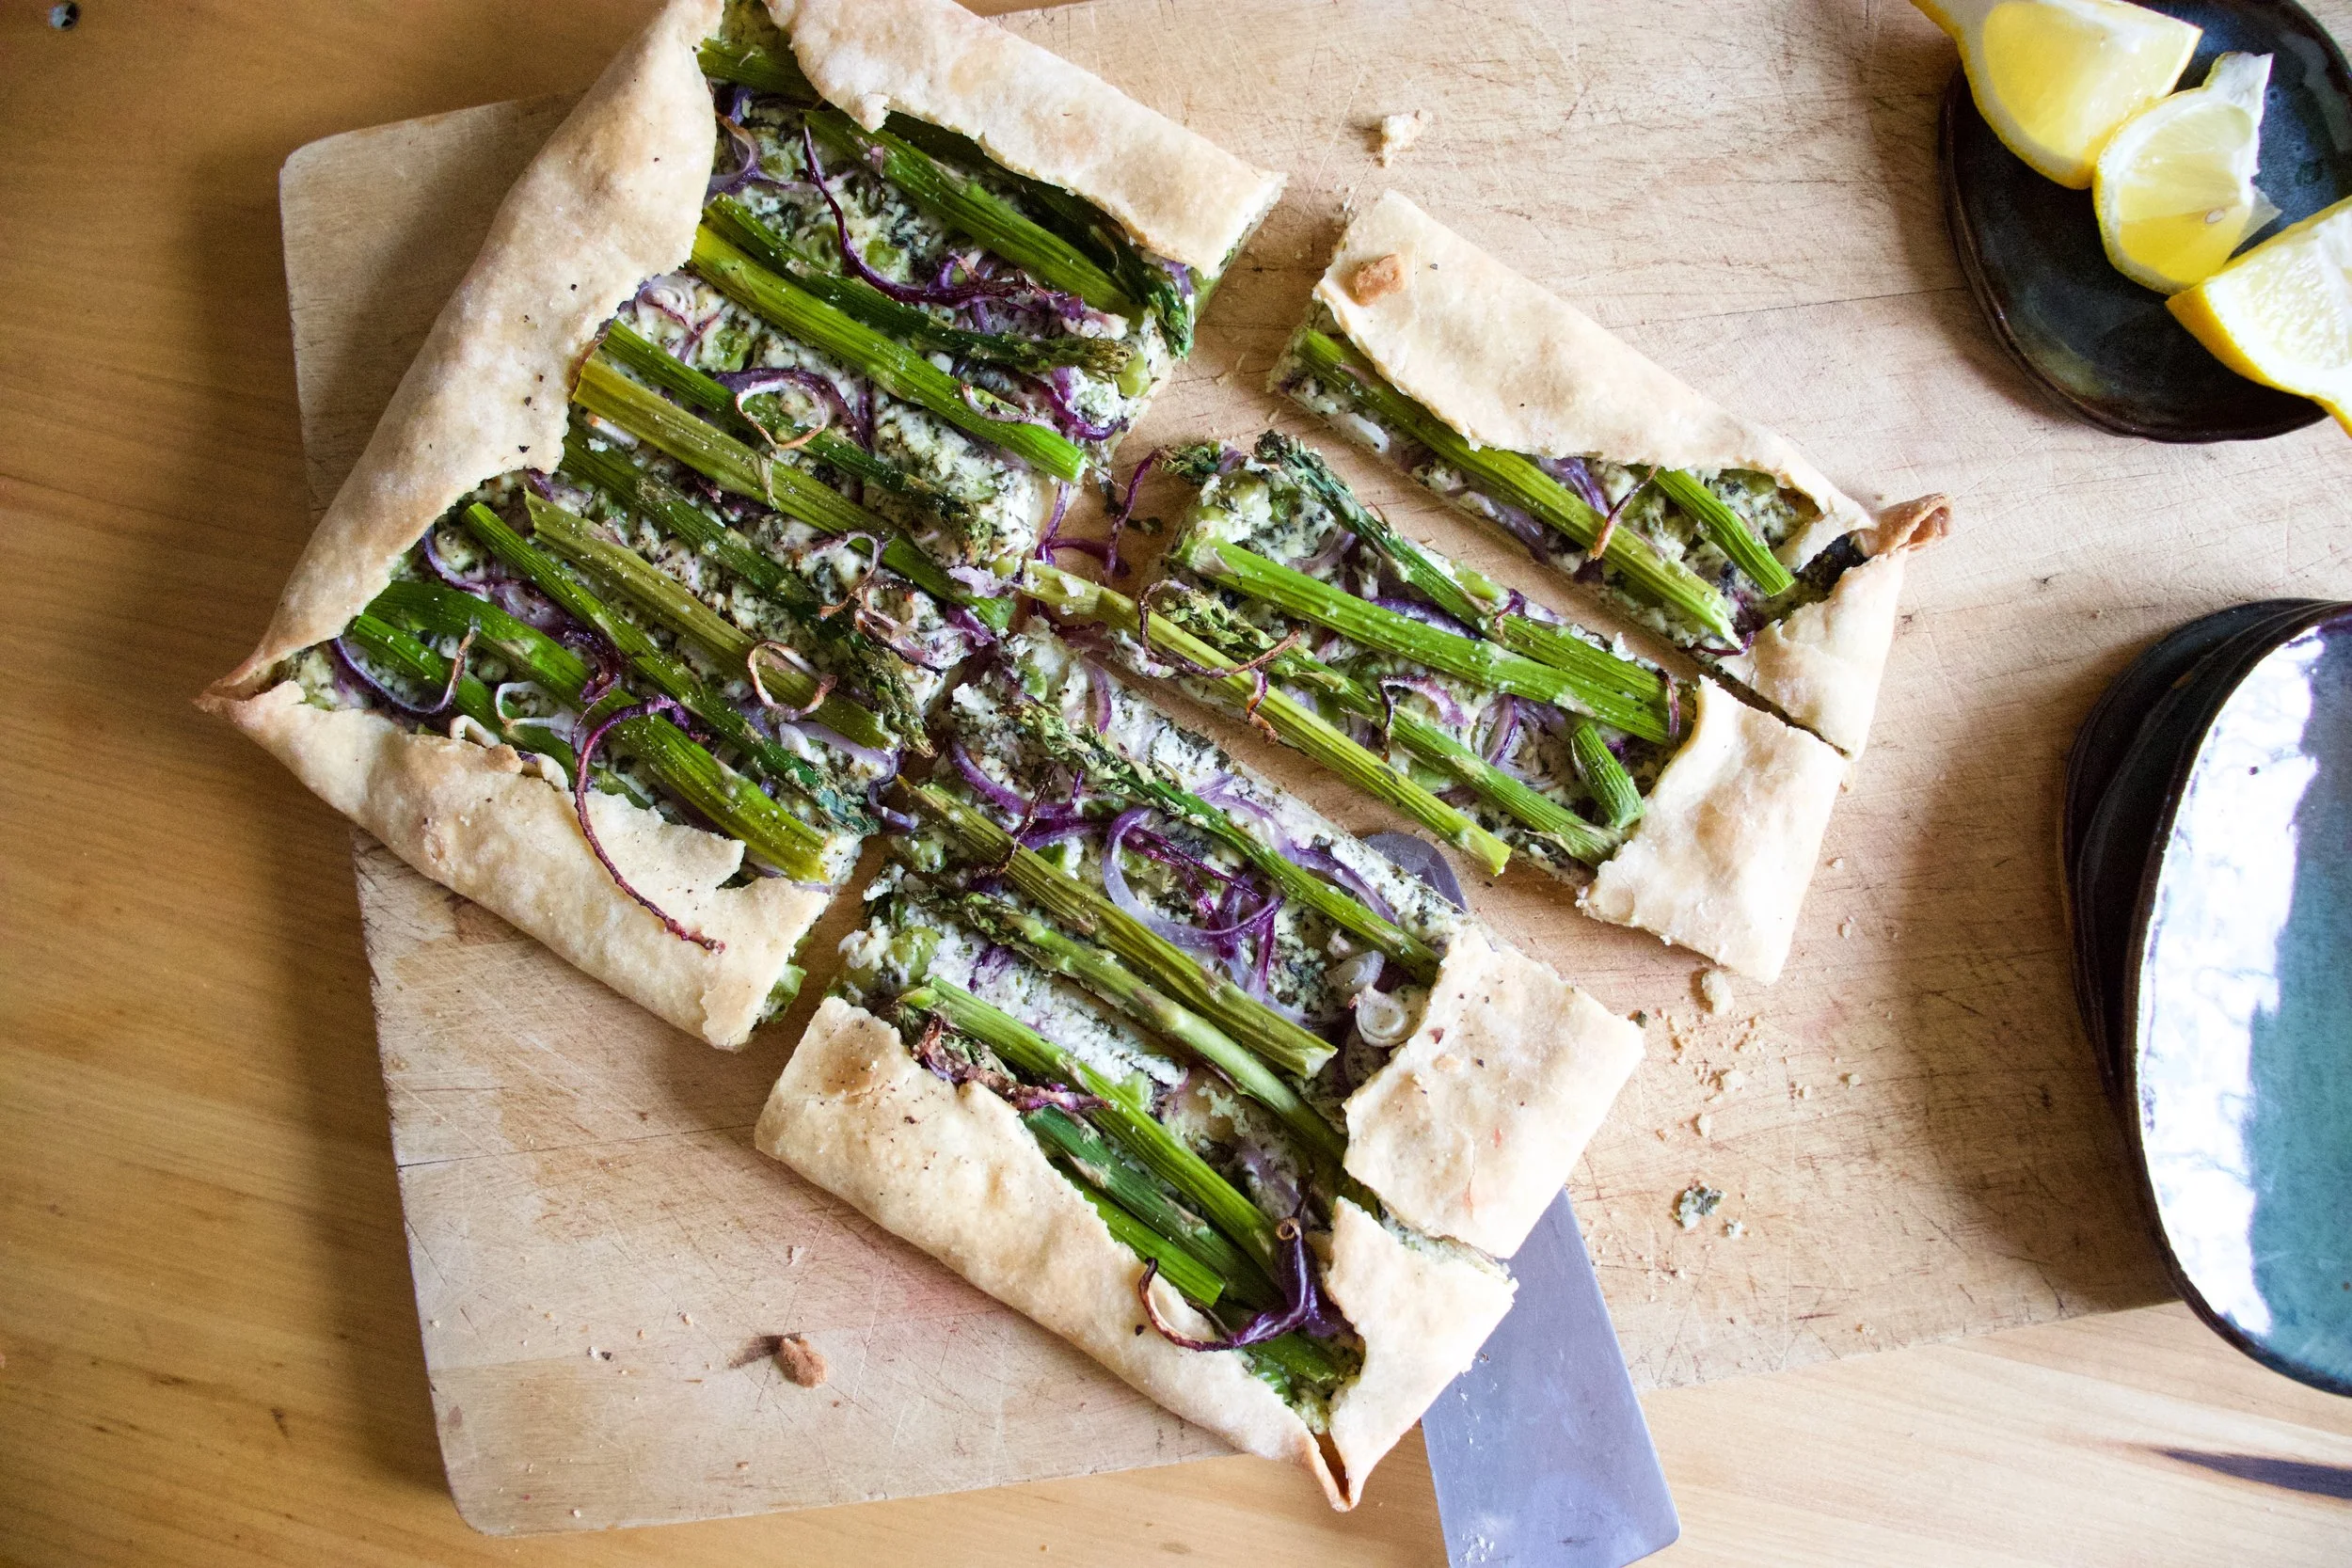
Nothing left but to cut it up and eat it.
Spring. Green. Food.
Things are good.
-C
Makes a 8×12(ish) tart
-
For the Crust
-
1/2 cup all purpose flour
-
1/2 cup white whole wheat (can sub for all purpose)
-
3 tablespoon oil
-
1/3 cup room temp water
-
1/4 teaspoon baking powder
-
1/2 teaspoon salt
-
For the Almond Ricotta and Veggies
-
1/2 cup blanched almonds
-
1/4- 1/3 cup warm water
-
1 lemon
-
1 clove garlic
-
1/2 teaspoon salt and pepper or more to taste
-
1/4 cup frozen and thawed spinach squeezed of liquid
-
9-10 spears of Asparagus
-
1/4 cup peas (fresh or frozen and thawed)
-
1 /2 red onion
First make the crust. Whisk together the flours, salt, and baking soda. Add in the oil and water and mix until a dough forms. Form dough into a ball and knead for minute or two on counter then place dough back into the bowl and cover. The dough needs to rest for 10-15 minutes.
While dough is resting, make the almond ricotta. Place almonds, garlic, and juice of lemon into a blender. Start blending and add in the lesser amount of water, adding a little more until the stuff all starts to blend. Blend on high for a minute or two until the mixture is nice and creamy. Season with salt and pepper, blend a second to mix then add in the squeezed out spinach. Blend until mix together then dump or scoop the mixture into a bowl and mix in the peas. Then thinly slice up the onion.
Preheat the oven to 450
After doughs little rest, lightly flour a counter and roll it out, thin as you can, in a rectangular shape. Try for at least 12in x 16in. The rectangle doesn%u2019t need to be perfect. Rough is good.
Place the rolled out crust onto a baking. Take a fork and dock the surface (poke holes into it to prevent air bubbles). Take the ricotta and pea mixture and spread evenly on crust, leaving about a 1 1/2 inch border all the way around. Add a layer of sliced red onion and then take asparagus (trim off woody ends) and either lay on whole or break in half and lay on. Add more onions on top. Fold the border of the crust over the top. Sprinkle the whole thing with pepper and place into the hot oven.
Bake for 22-25 minutes or until the crust becomes a nice golden brown. Remove and let cool a few minutes
And then cut up and eat. Right away or at room temperature. Or some now and some later. All up you you.
Store left over in fridge in air tight container for up to a few days. the crust will not be crispy but more chewy. Can stick it back in oven for a few minutes to crisp it up.
Do you ever wake up first thing in the morning with a craving, a maybe somewhat strange food craving? Lately I have been waking up and within an hour of being up, I start to think about olives. My mouth starts to water and it%u2019s like I can almost taste the salty, briny, fattiness in my mouth, which in itself is kind of weird, but for me is really really weird because up until very recently I completely hated olives. Now, well now I just want to eat them all. And first thing in the morning.
I don%u2019t pretend to understand such things. My brain is going to do what it%u2019s going do. Tell me I like olives, well all right then.
Another thing I am desperately craving is freshy fresh greens which makes complete since because I always crave greens. I am still pretty deep in root veggies and cooked things because winter and Vermont and all, but all I really really really want to eat are buckets of greens. Any kind will do, but the sweet tender baby ones%u2026. So good.
And so I combined my two cravings, greens and olives and hit those craving like POW! BAM! POOF? A salad so simple yet so amazing and mouth watering. I outdid myself here.
To the bestest, most amazingly perfect salad yet!

The stuff. A big ol%u2019 bowl of greens. Black pitted olives, half an avocado, a lemon, toasted almonds, a chunk of red onion, a couple cloves garlic, and pepper.
Almond crumbs. Exactly what it sounds like. Place almonds into a clean food prosessor and pulse until they are crumbs.
Dump the almonds into a bowl. Don%u2019t bother cleaning it out, you are about to use it again. Olives, avocado, garlic, and all the juice of the lemon now get a go in the food processor. Pulsed together into a creamy, kinda of chunky but mostly smooth, mixture of amazing. Add a few tablespoons of cold water if the mixture seems really thick, but other then that, you be done.
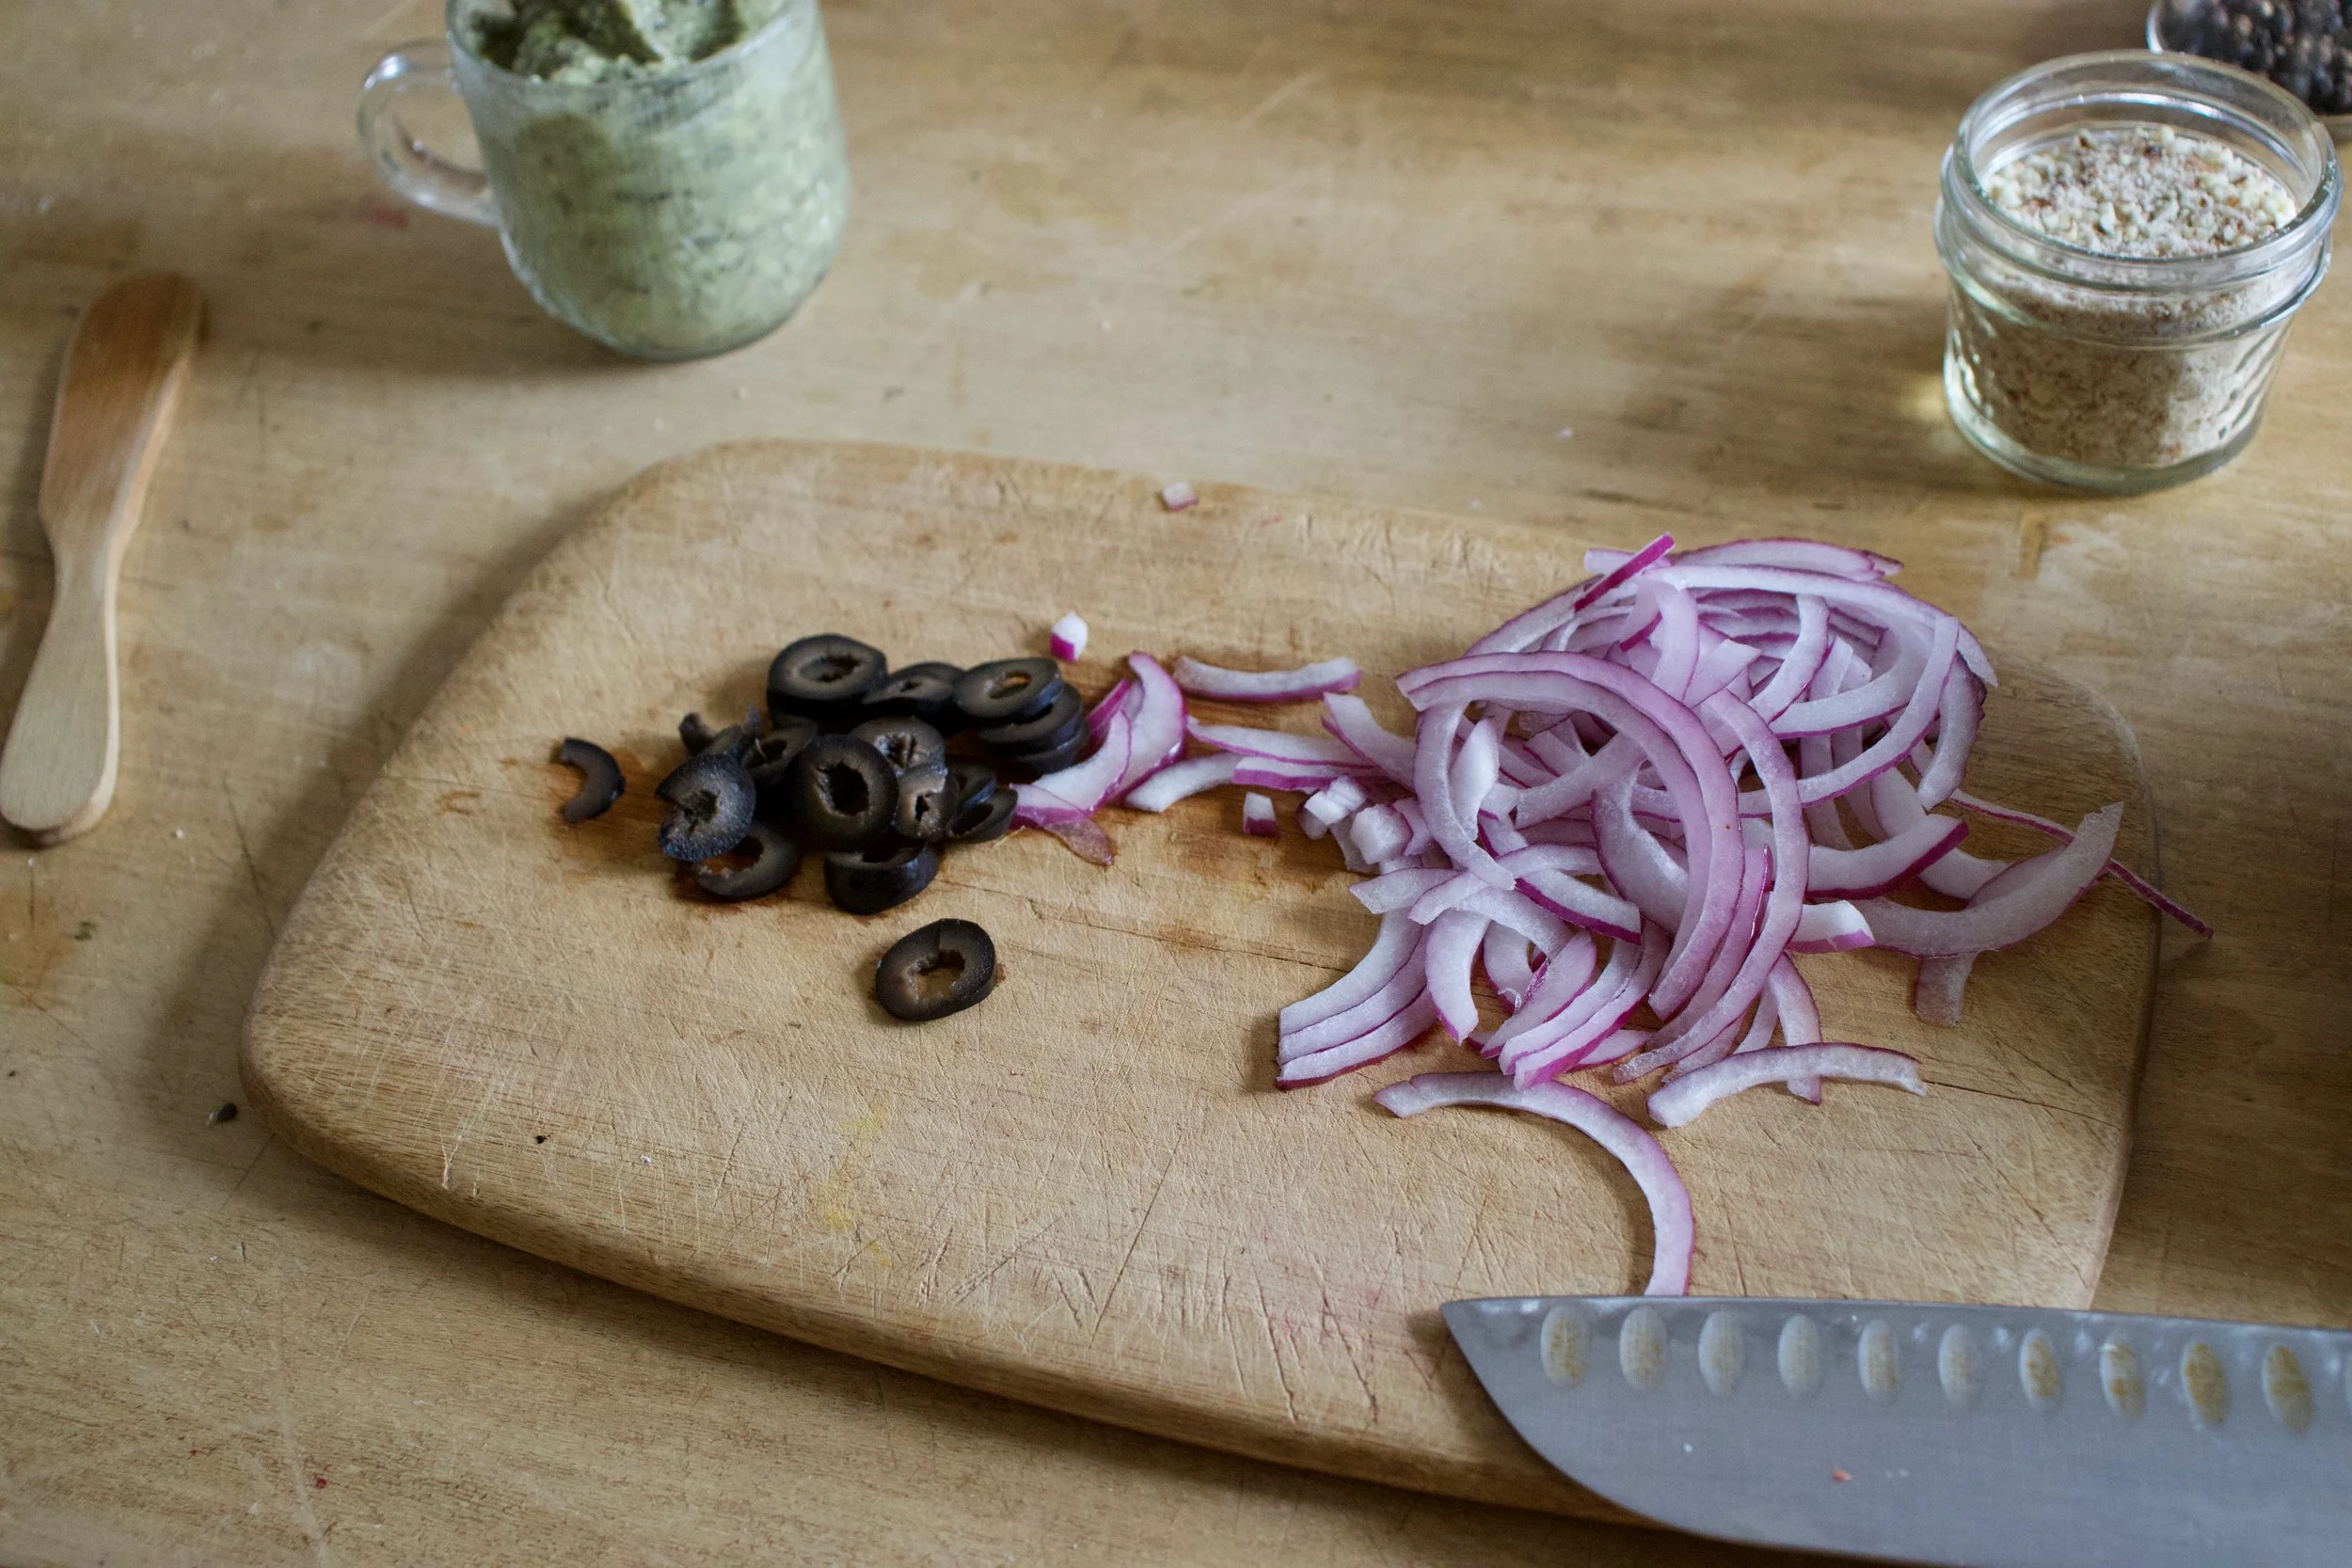
Very thinly slice up red onion and slice up a few extra olives.

All here, all ready to go. Just got to toss it together now.

Greens, some slices olives and onion tossed all together in a good amount of the olive avocado goodness then topped with a hardy helping of almond crumbs. Fresh pepper to finish it off.
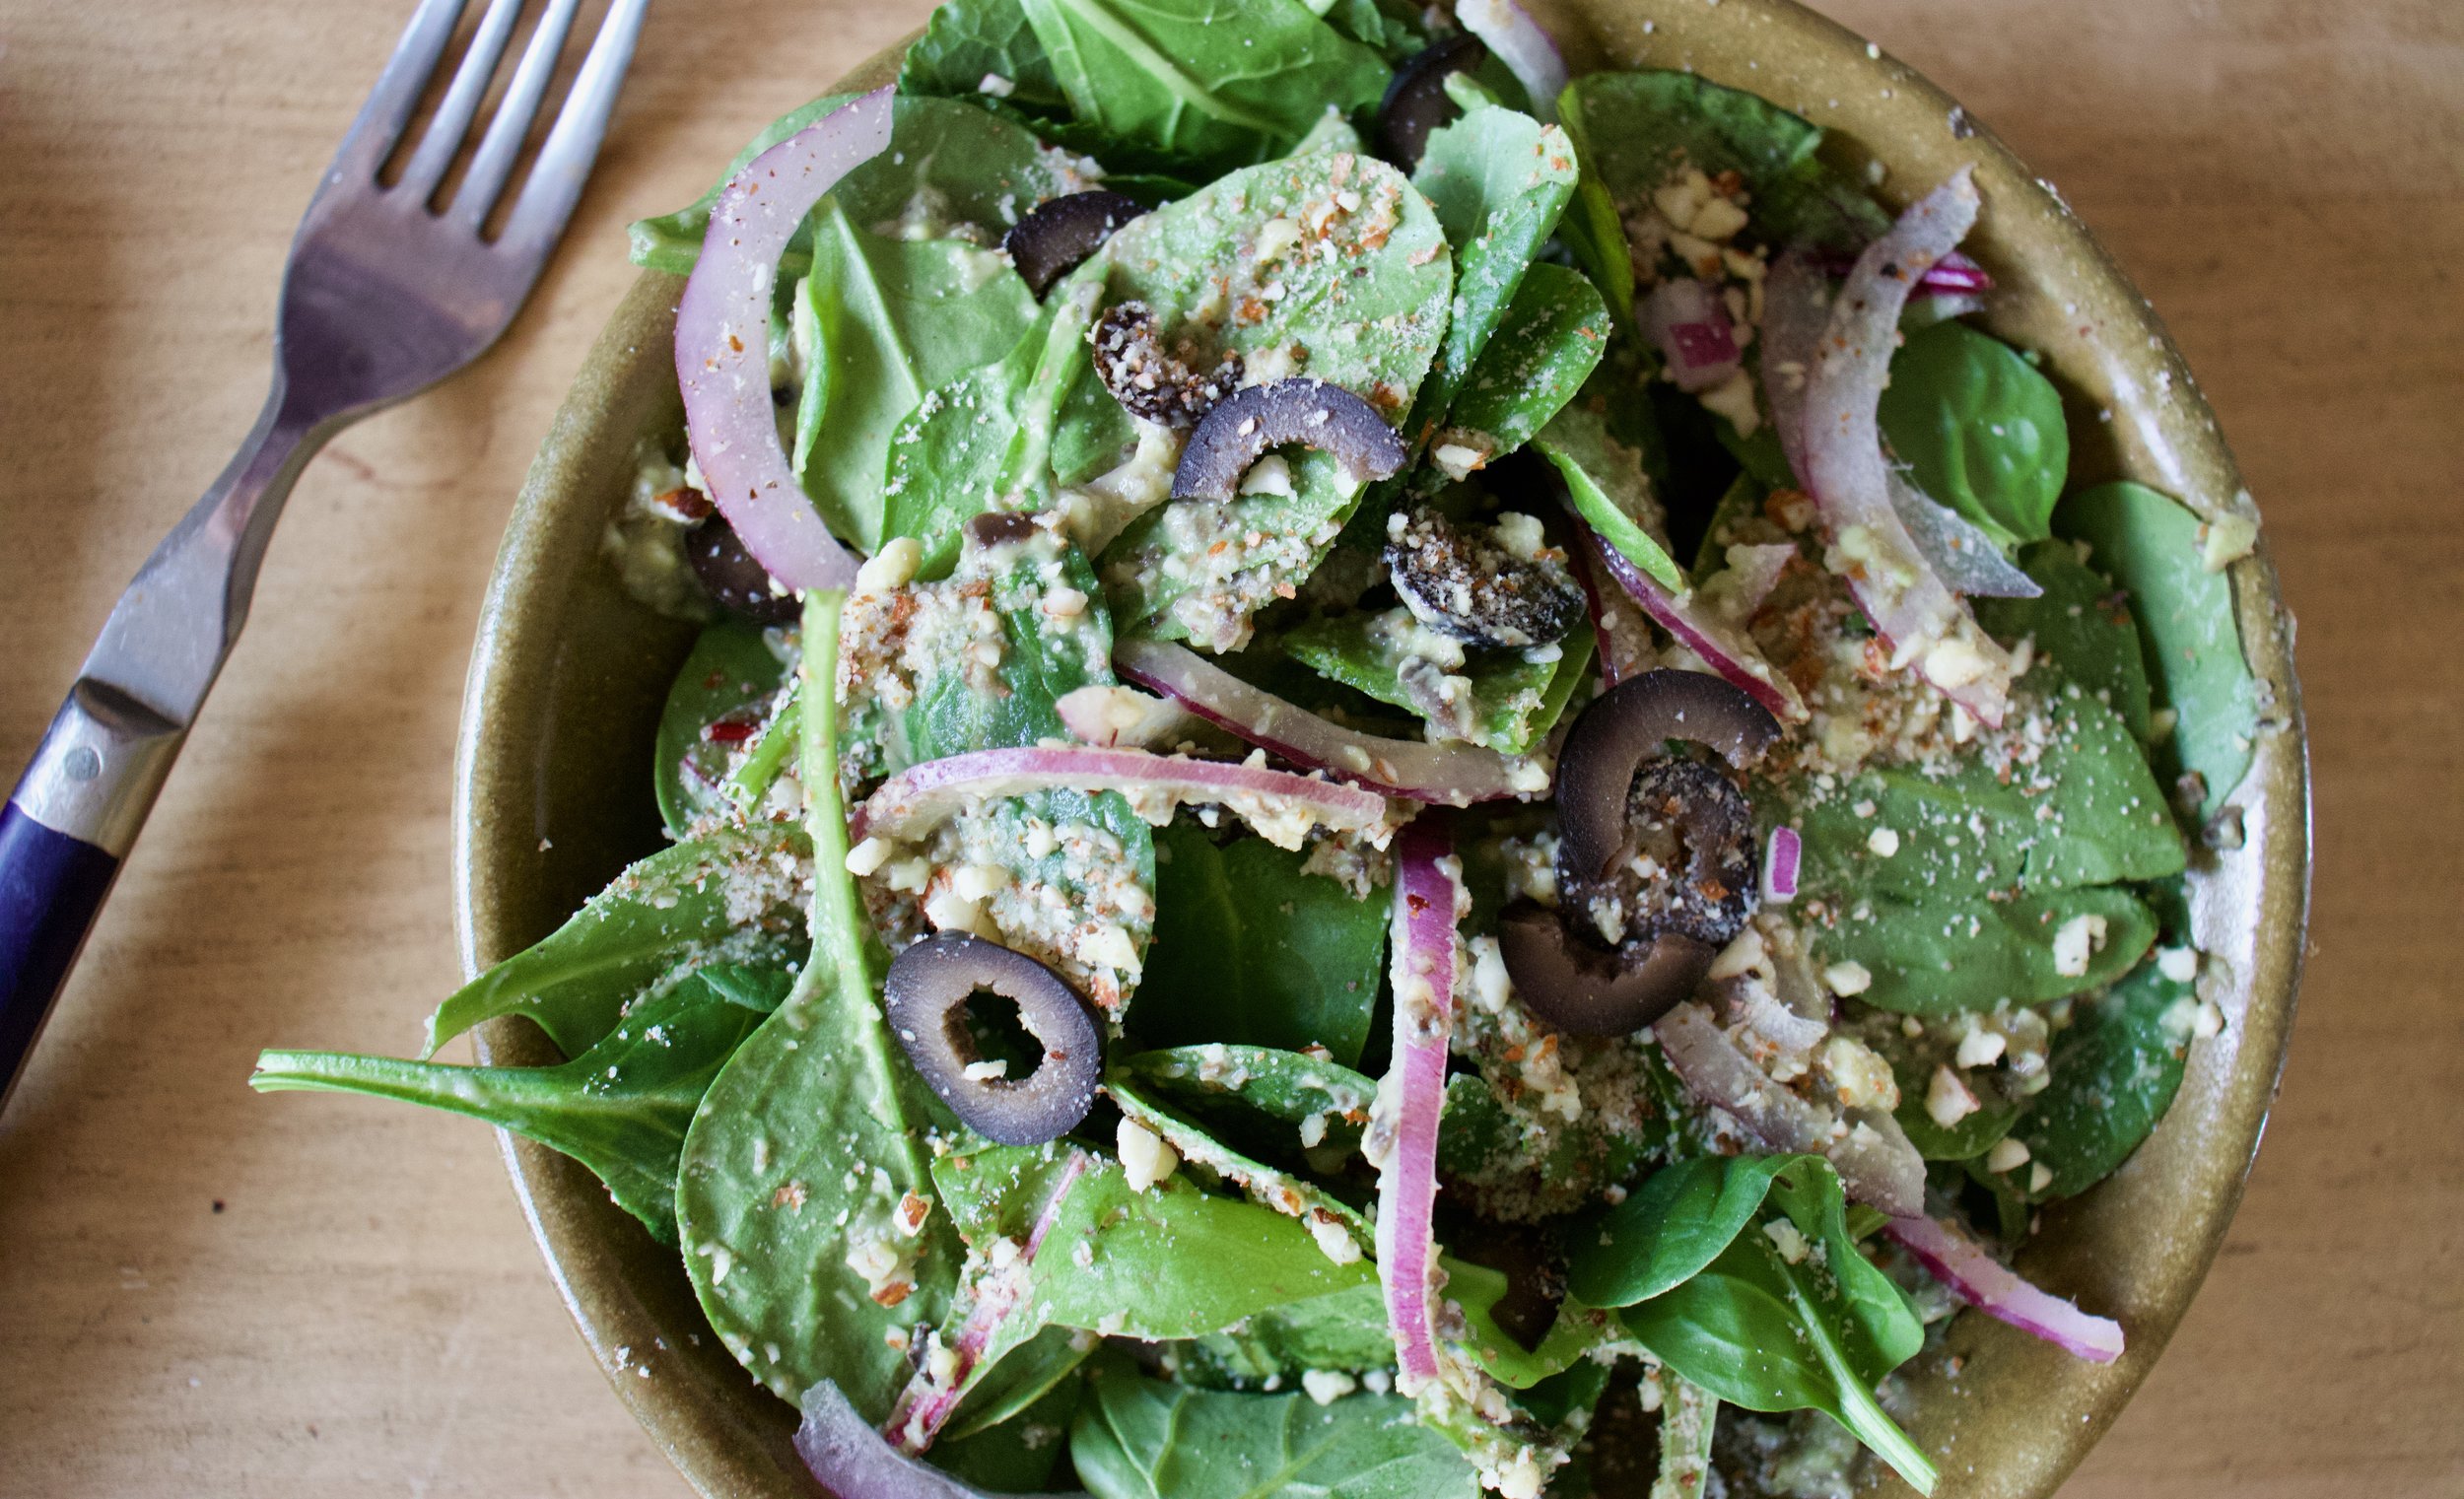
I was barely able to stop myself from eating it all before snapping a few pictures.
All of my cravings come true%u2026
It%u2019s salad time!
-C
Makes enough dressing and crumbs to feed 2-4 people
-
1/2 of a ripe avocado
-
1 cup pitted black olives
-
1 lemon
-
2-3 tablespoons cold water
-
1-2 cloves garlic
-
1/4 cup toasted almonds
-
2-4 large handfuls of fresh greens (I used a mixture of baby spinach, baby chard, and baby kale. Spring mix or even chopped leaf lettuce would be grand as well)
-
about 1/2 a small red onion
-
pepper to taste
Place almonds in food processor and pulse until they are crumbly. Not to fine, a few big chunks are good.. Remove and set aside
Roughly chop the garlic and place in the food processor (no need to clean it out after the almonds). Add in the avocado and most of the olives (leave few behind to slice up). Add in the juice of the lemon. Pulse until mixture is combined but with little specks of olive left.or completely smooth if you wanted too. Scoop out into a container. You want it to be slightly loos so it will mix well with the greens. If the mixture seems really thick, add in a a few tablespoons of cold water to thin out.
Grab the onion and remaining olives and thinly slice.
Now to assemble salad. Place a handful of clean greens into a bowl. Toss a some onions and extra sliced olives into greens. Add as little or as much olive avocado dressing as desired then sprinkle as much or as little of the almond crumbs all over that. Top with freshly find pepper
Then eat it.
Nothing here but a mere craving, the fact that I had a fresh head of cauliflower, and I really wanted tahini. TA DA. I made exactly what I wanted and it was so so sooooo good. Maple Cumin is one of those super A+++ taste pairings and anything roasted cover in tahini is basically going to be a win so I had no fear when making this dish that it was going to be anything but fanatic.
And of course I was right. It was so freaking good, like now I am going to make it again and again because I don%u2019t want make cauliflower any other way ever or at least until I get sick of it or of roasted vegetables. But that probably won%u2019t happen for a while.
So if you like cauliflower and tahini and amazingness, here, make this.
To the cauliflower
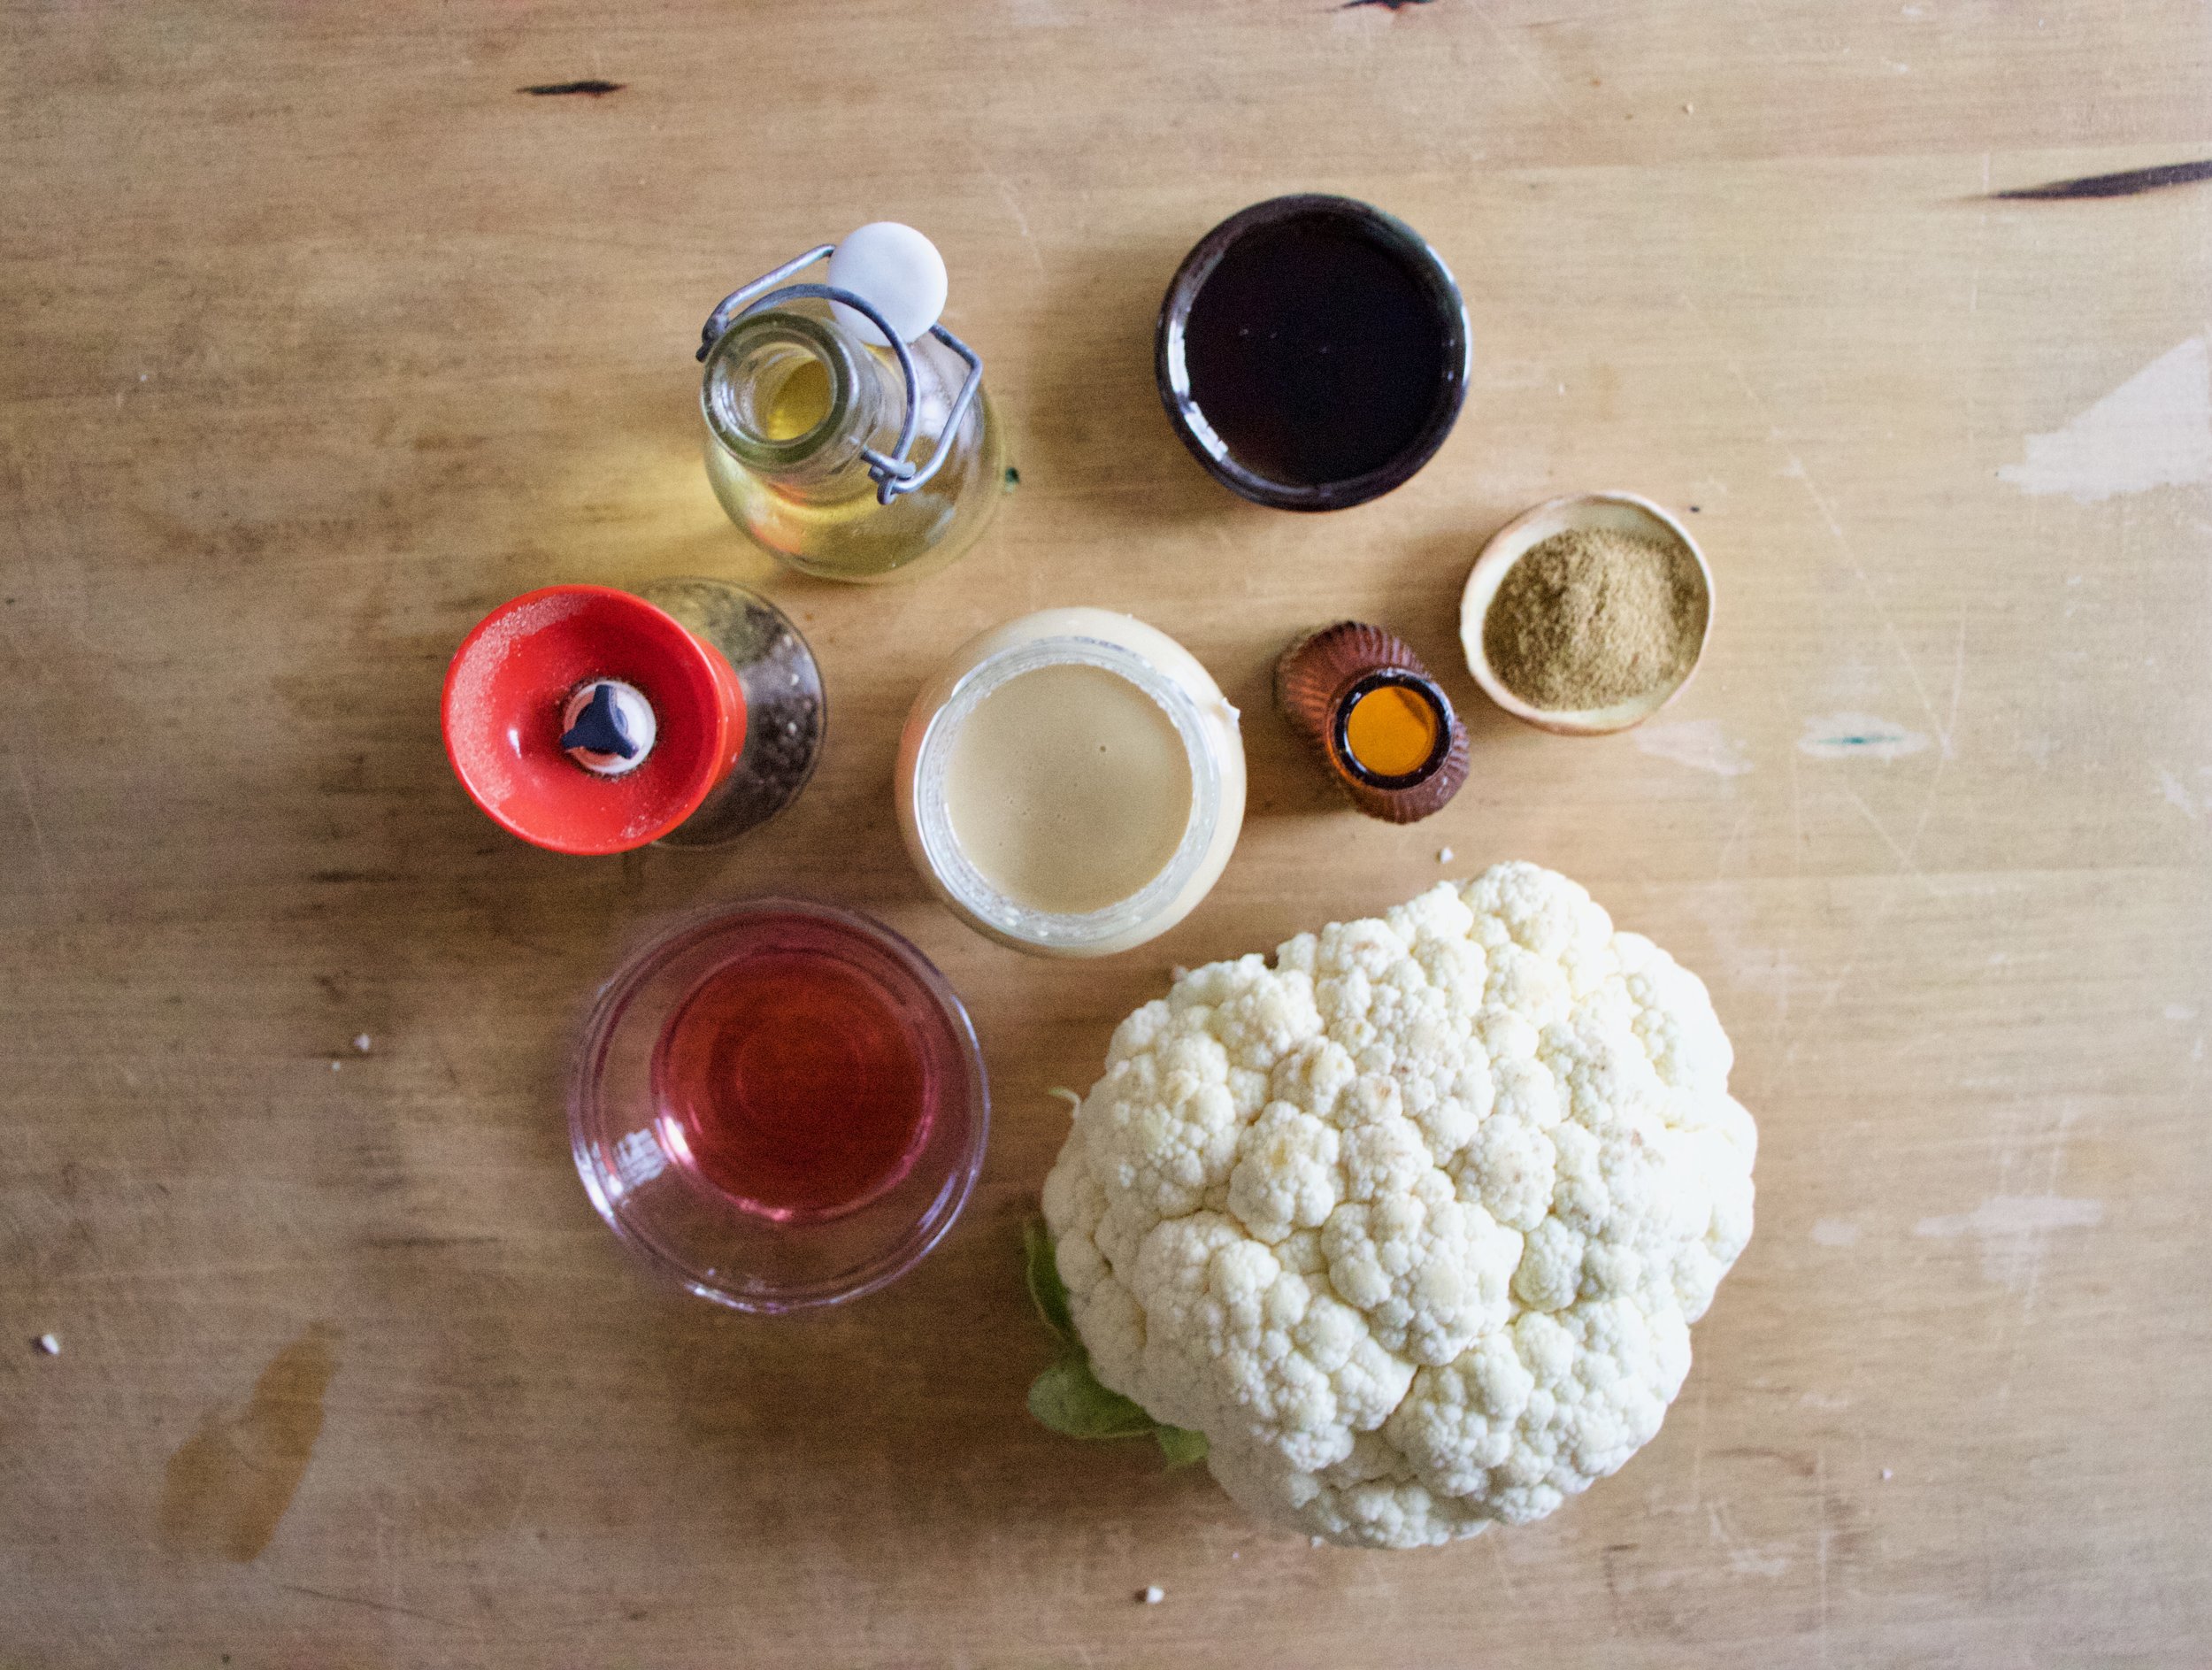
The stuff. A head of cauliflower, tahini, maple syrup, cumin powder, red wine vinegar, salt and pepper, and olive oil.
Break or cu the head of cauliflower up into florets and toss with a little oil, the maple and cumin, and a little salt and pepper.

Scatter on a baking sheet and stuff it into a hot oven.

Meanwhile mix tahini with vinegar, salt and pepper, and enough warm water to thin out.
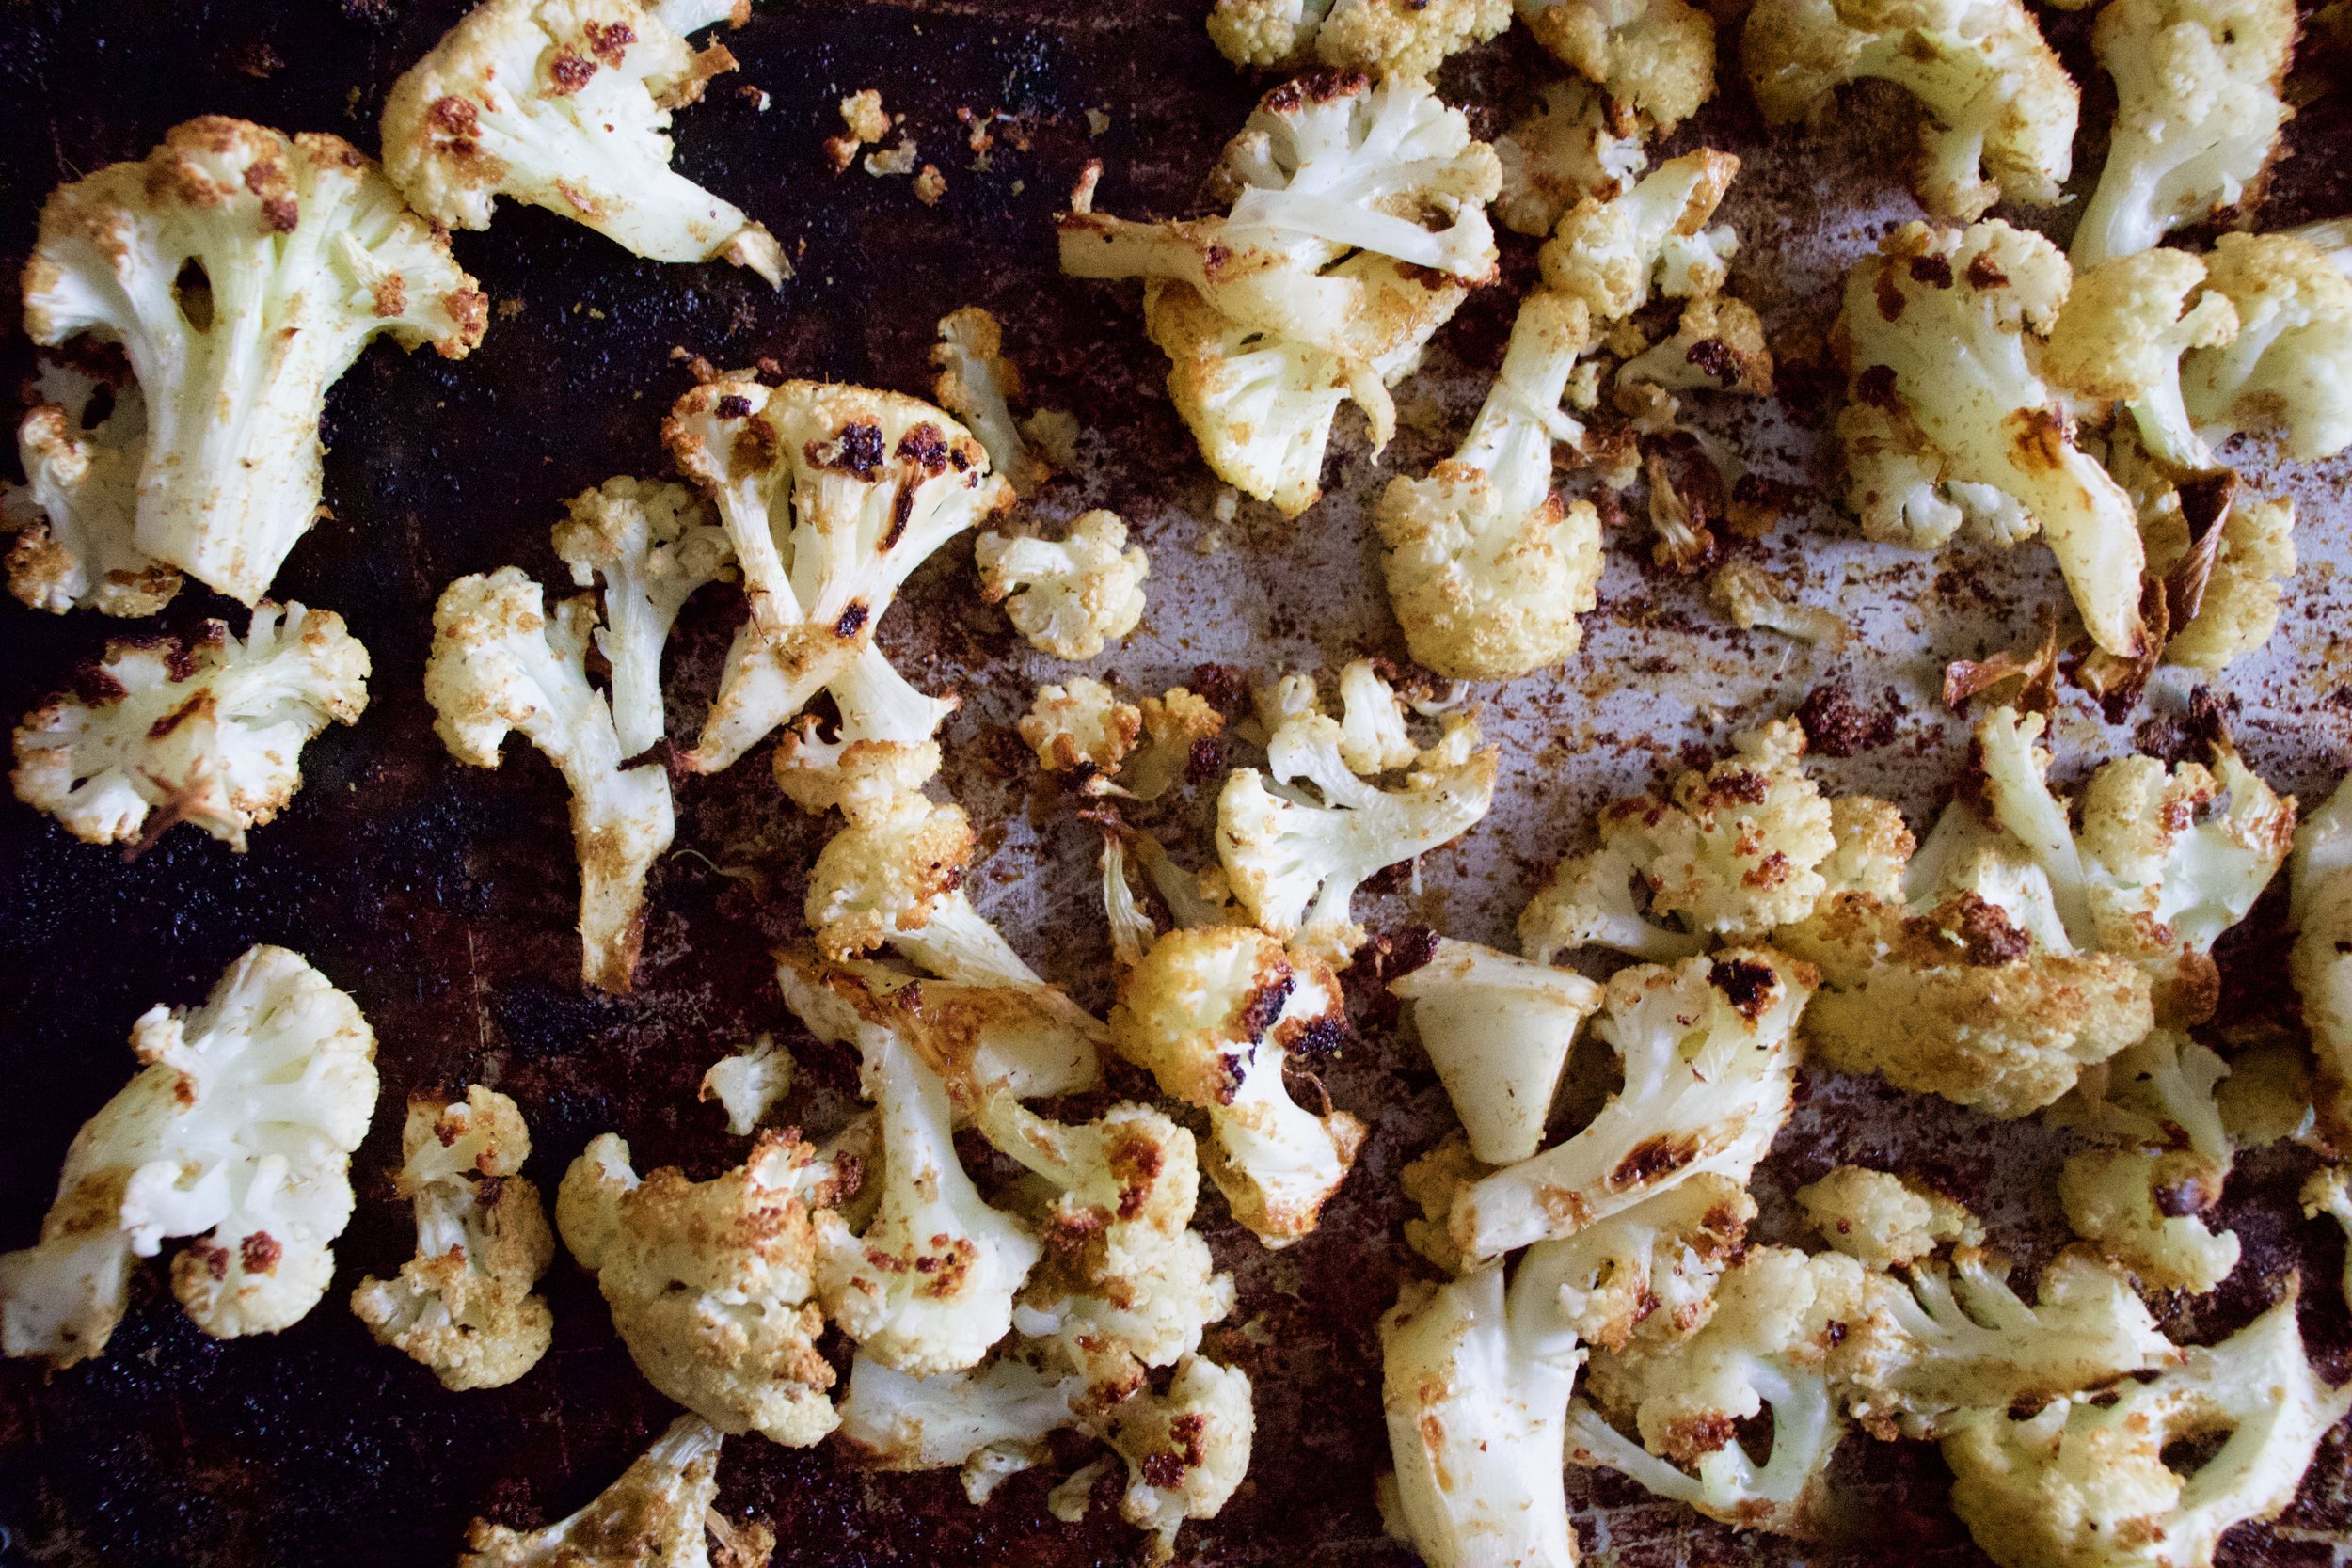
Roasted all nice and crisp and delightful.
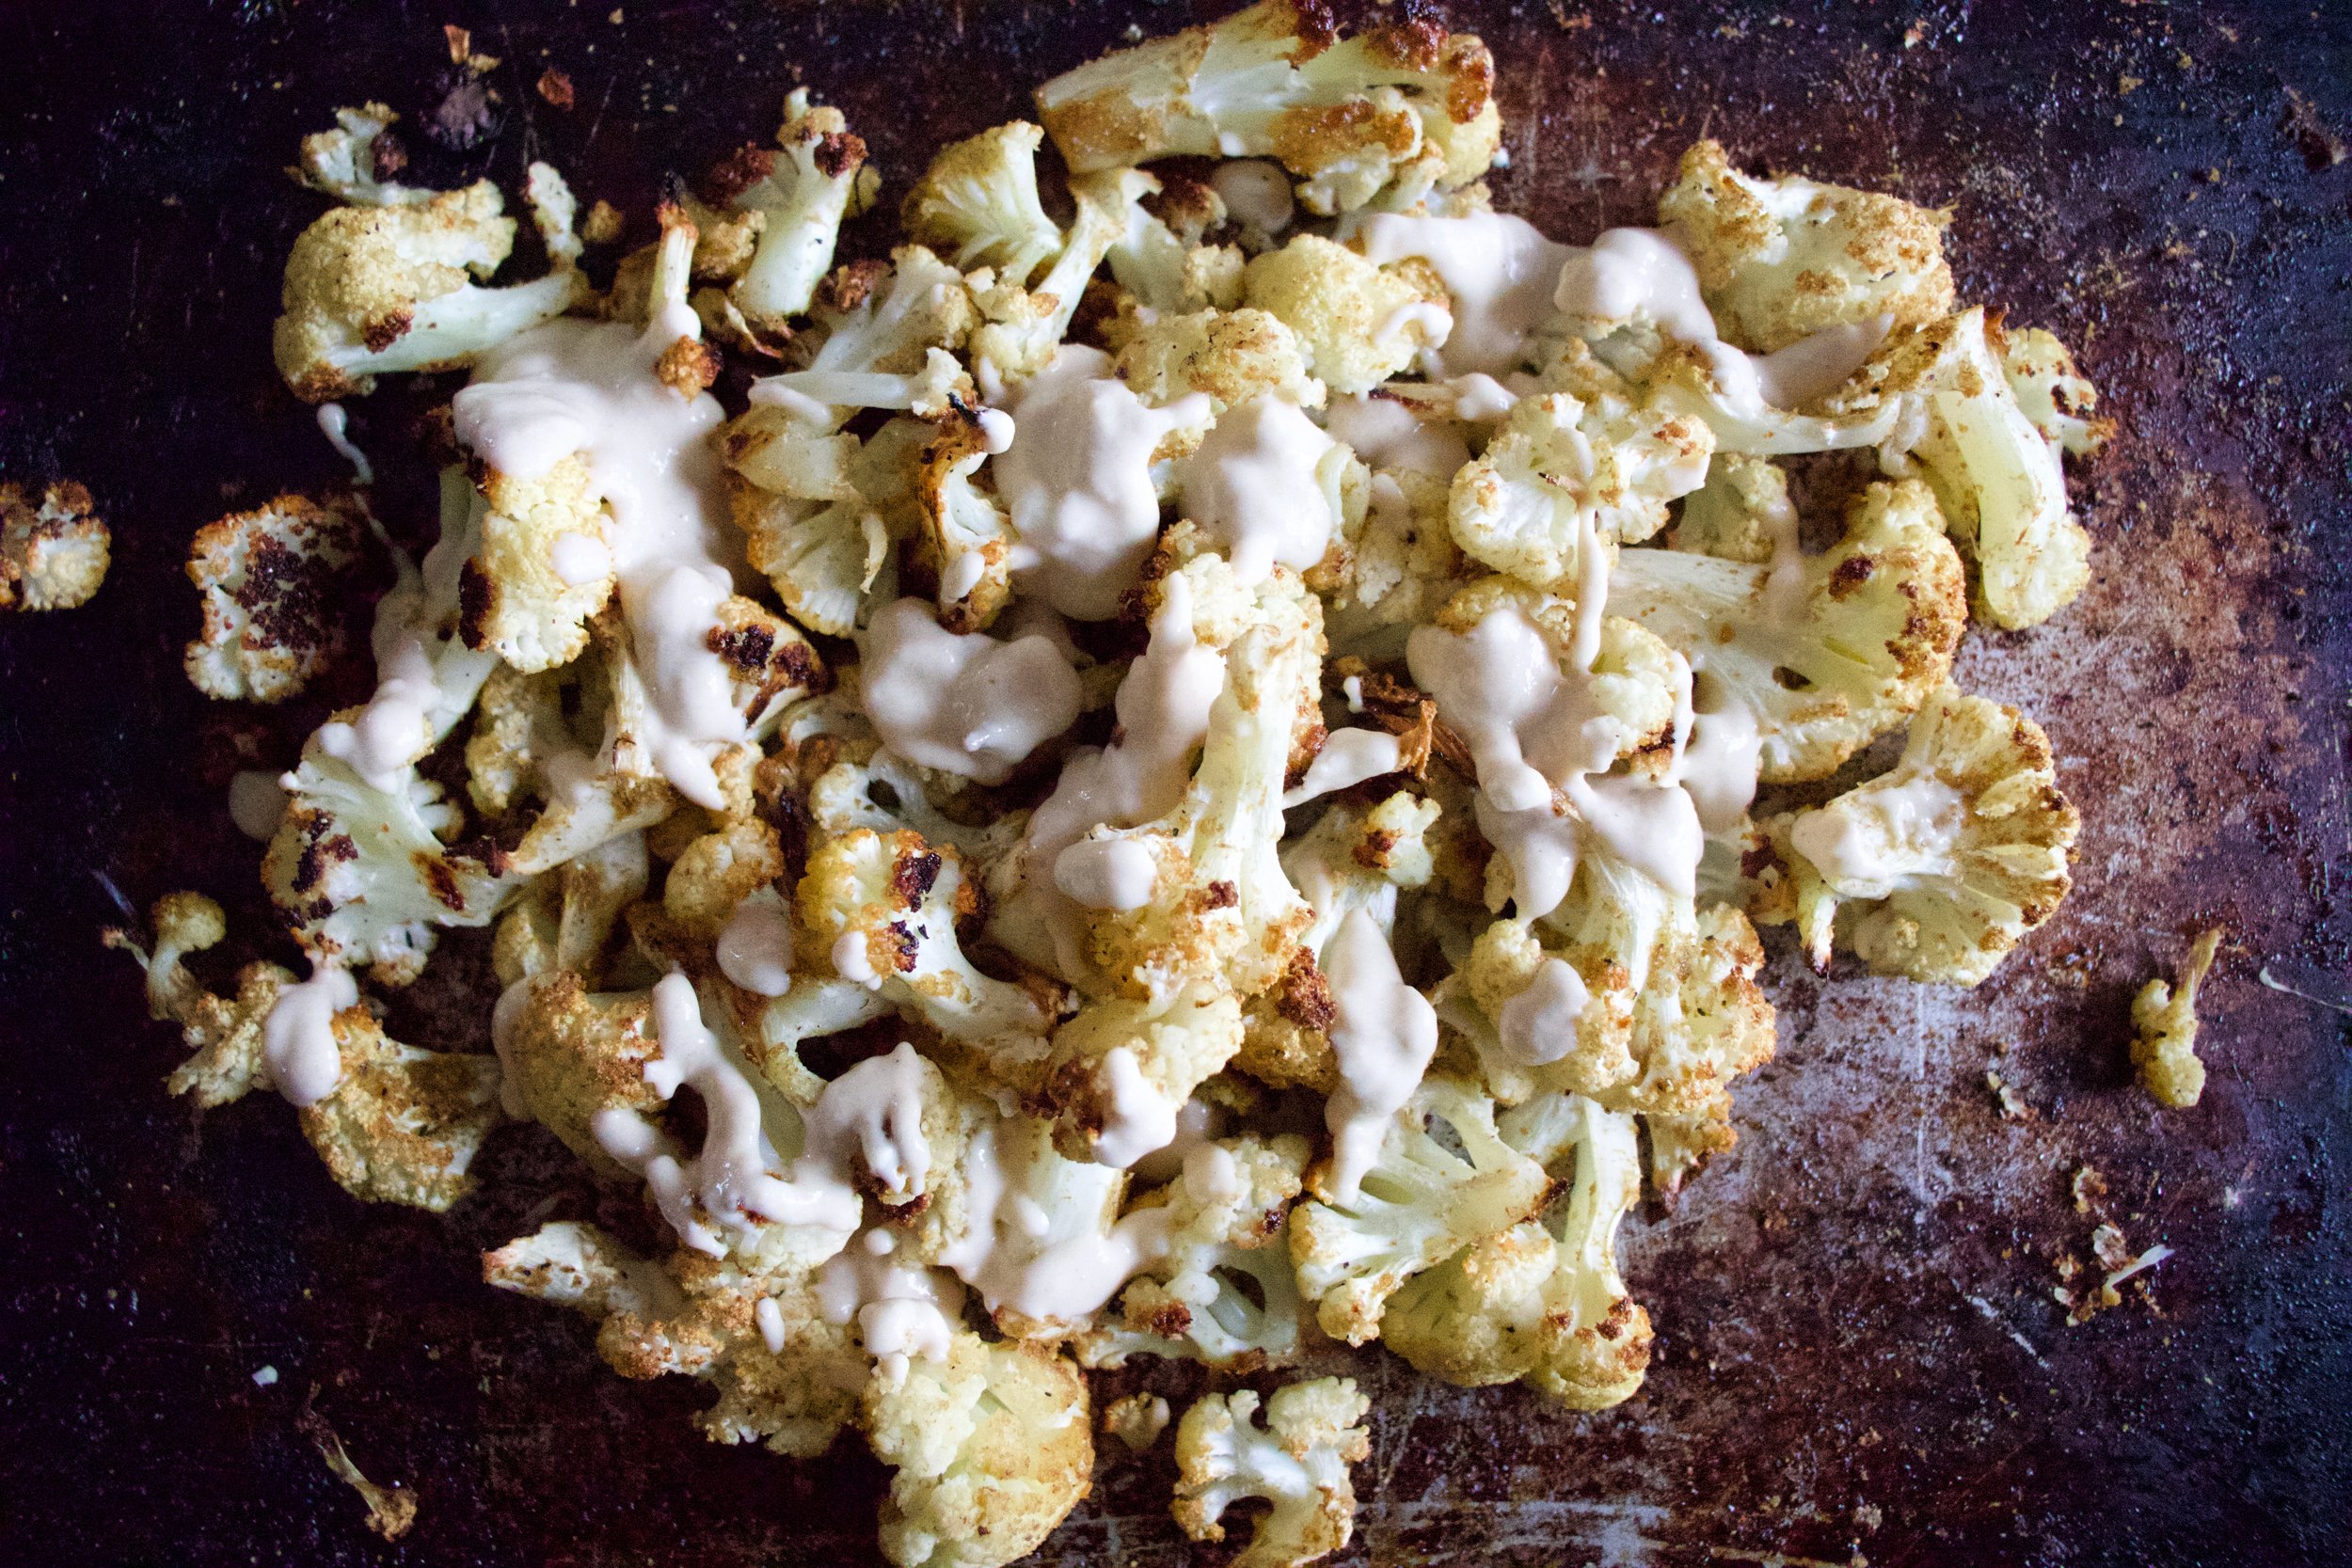
And now you gather up all that cauliflower and cover with all the tahini you want. Grab a bowl, or just eat off baking sheet, and get to it.
And there is no shame in eating a whole head of cauliflower because hey, its cauliflower.
-C
Makes a meal for one or a side for a few
-
a head of cauliflower
-
3 teaspoons cumin
-
2 tablespoons maple syrup
-
olive oil
-
3 tablespoons tahini
-
2 tablespoons red wine vinegar
-
2-3 tablespoons warm water
-
salt and pepper
Preheat oven to 450
Break or cut the cauliflower into medium sized florets. Place in a bowl and drizzle with a teaspoon or so olive oil and toss around. Drizzle in maple, add in the cumin, and a pinch of salt and pepper. Toss until coated then dump the cauliflower onto a baking sheet. Place in hot oven for 25-30 minutes or until roasted to your liking.
While that%u2019s roasting, mix up the tahini, vinegar, and a pinch of salt and pepper. Add in warm water until the mixture is a drizzlable consistency.
Once cauliflower is out of oven, cover with tahini.
Now eat.
There will be no left overs so don%u2019t worry about it.




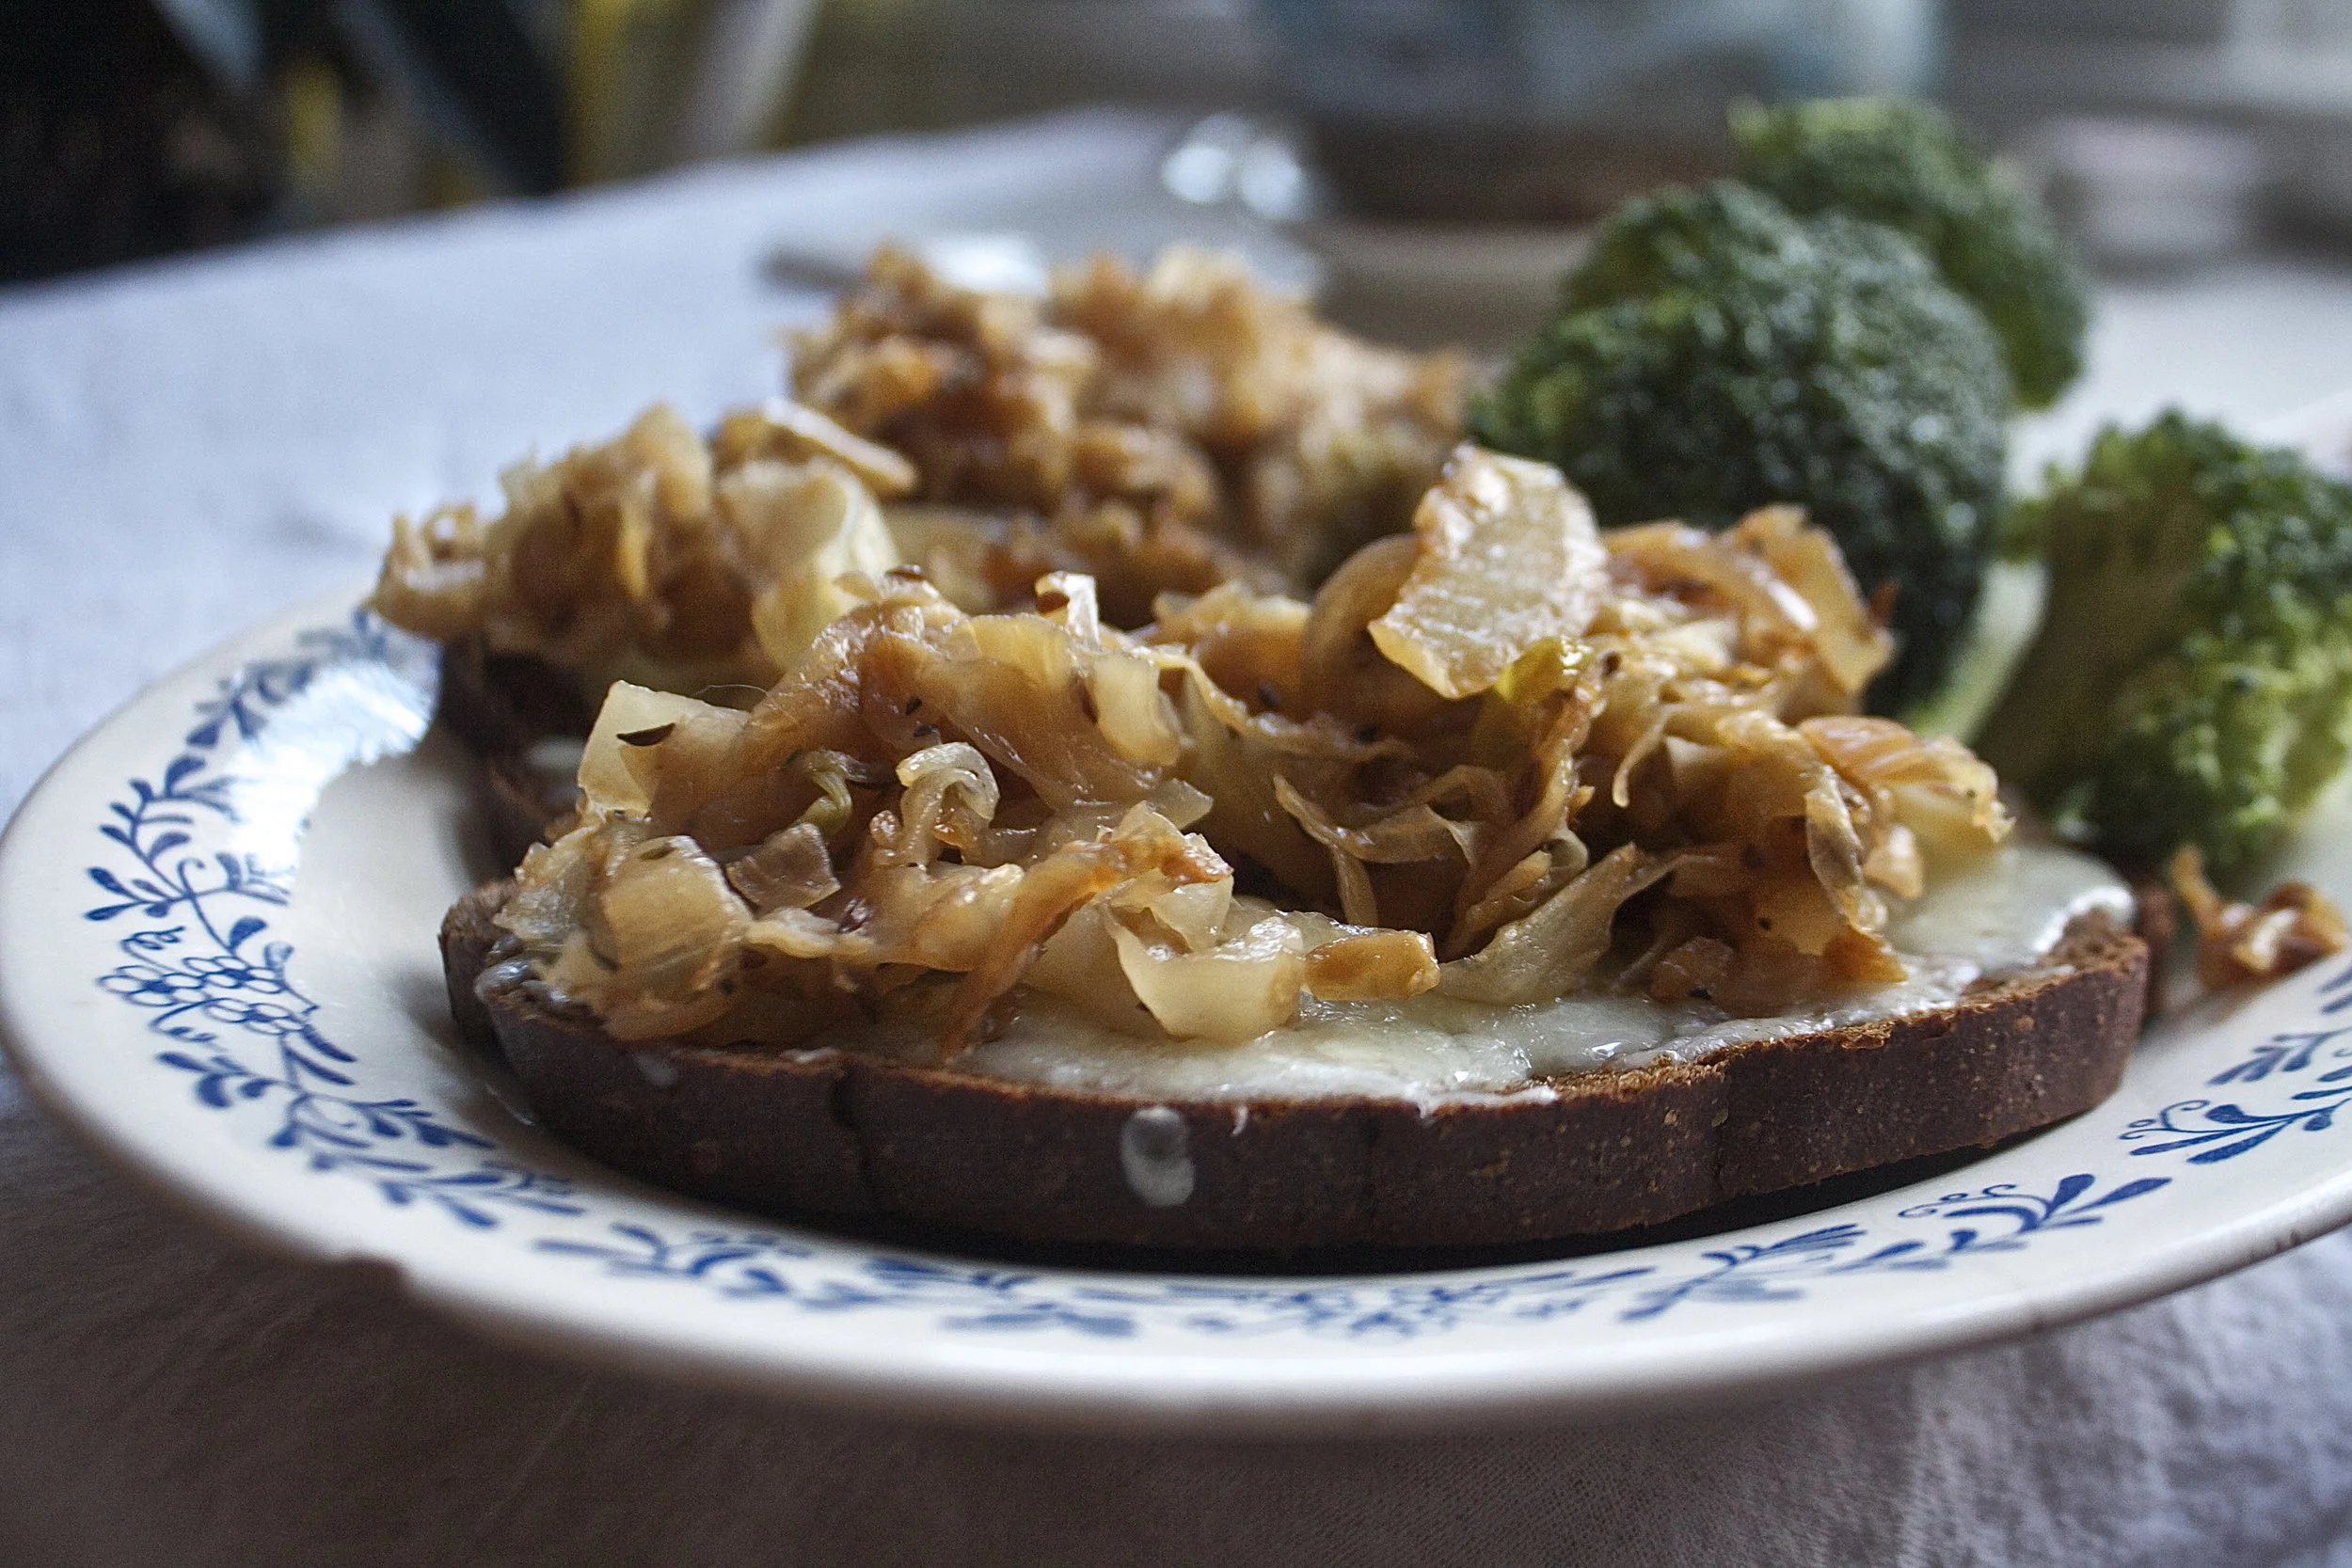

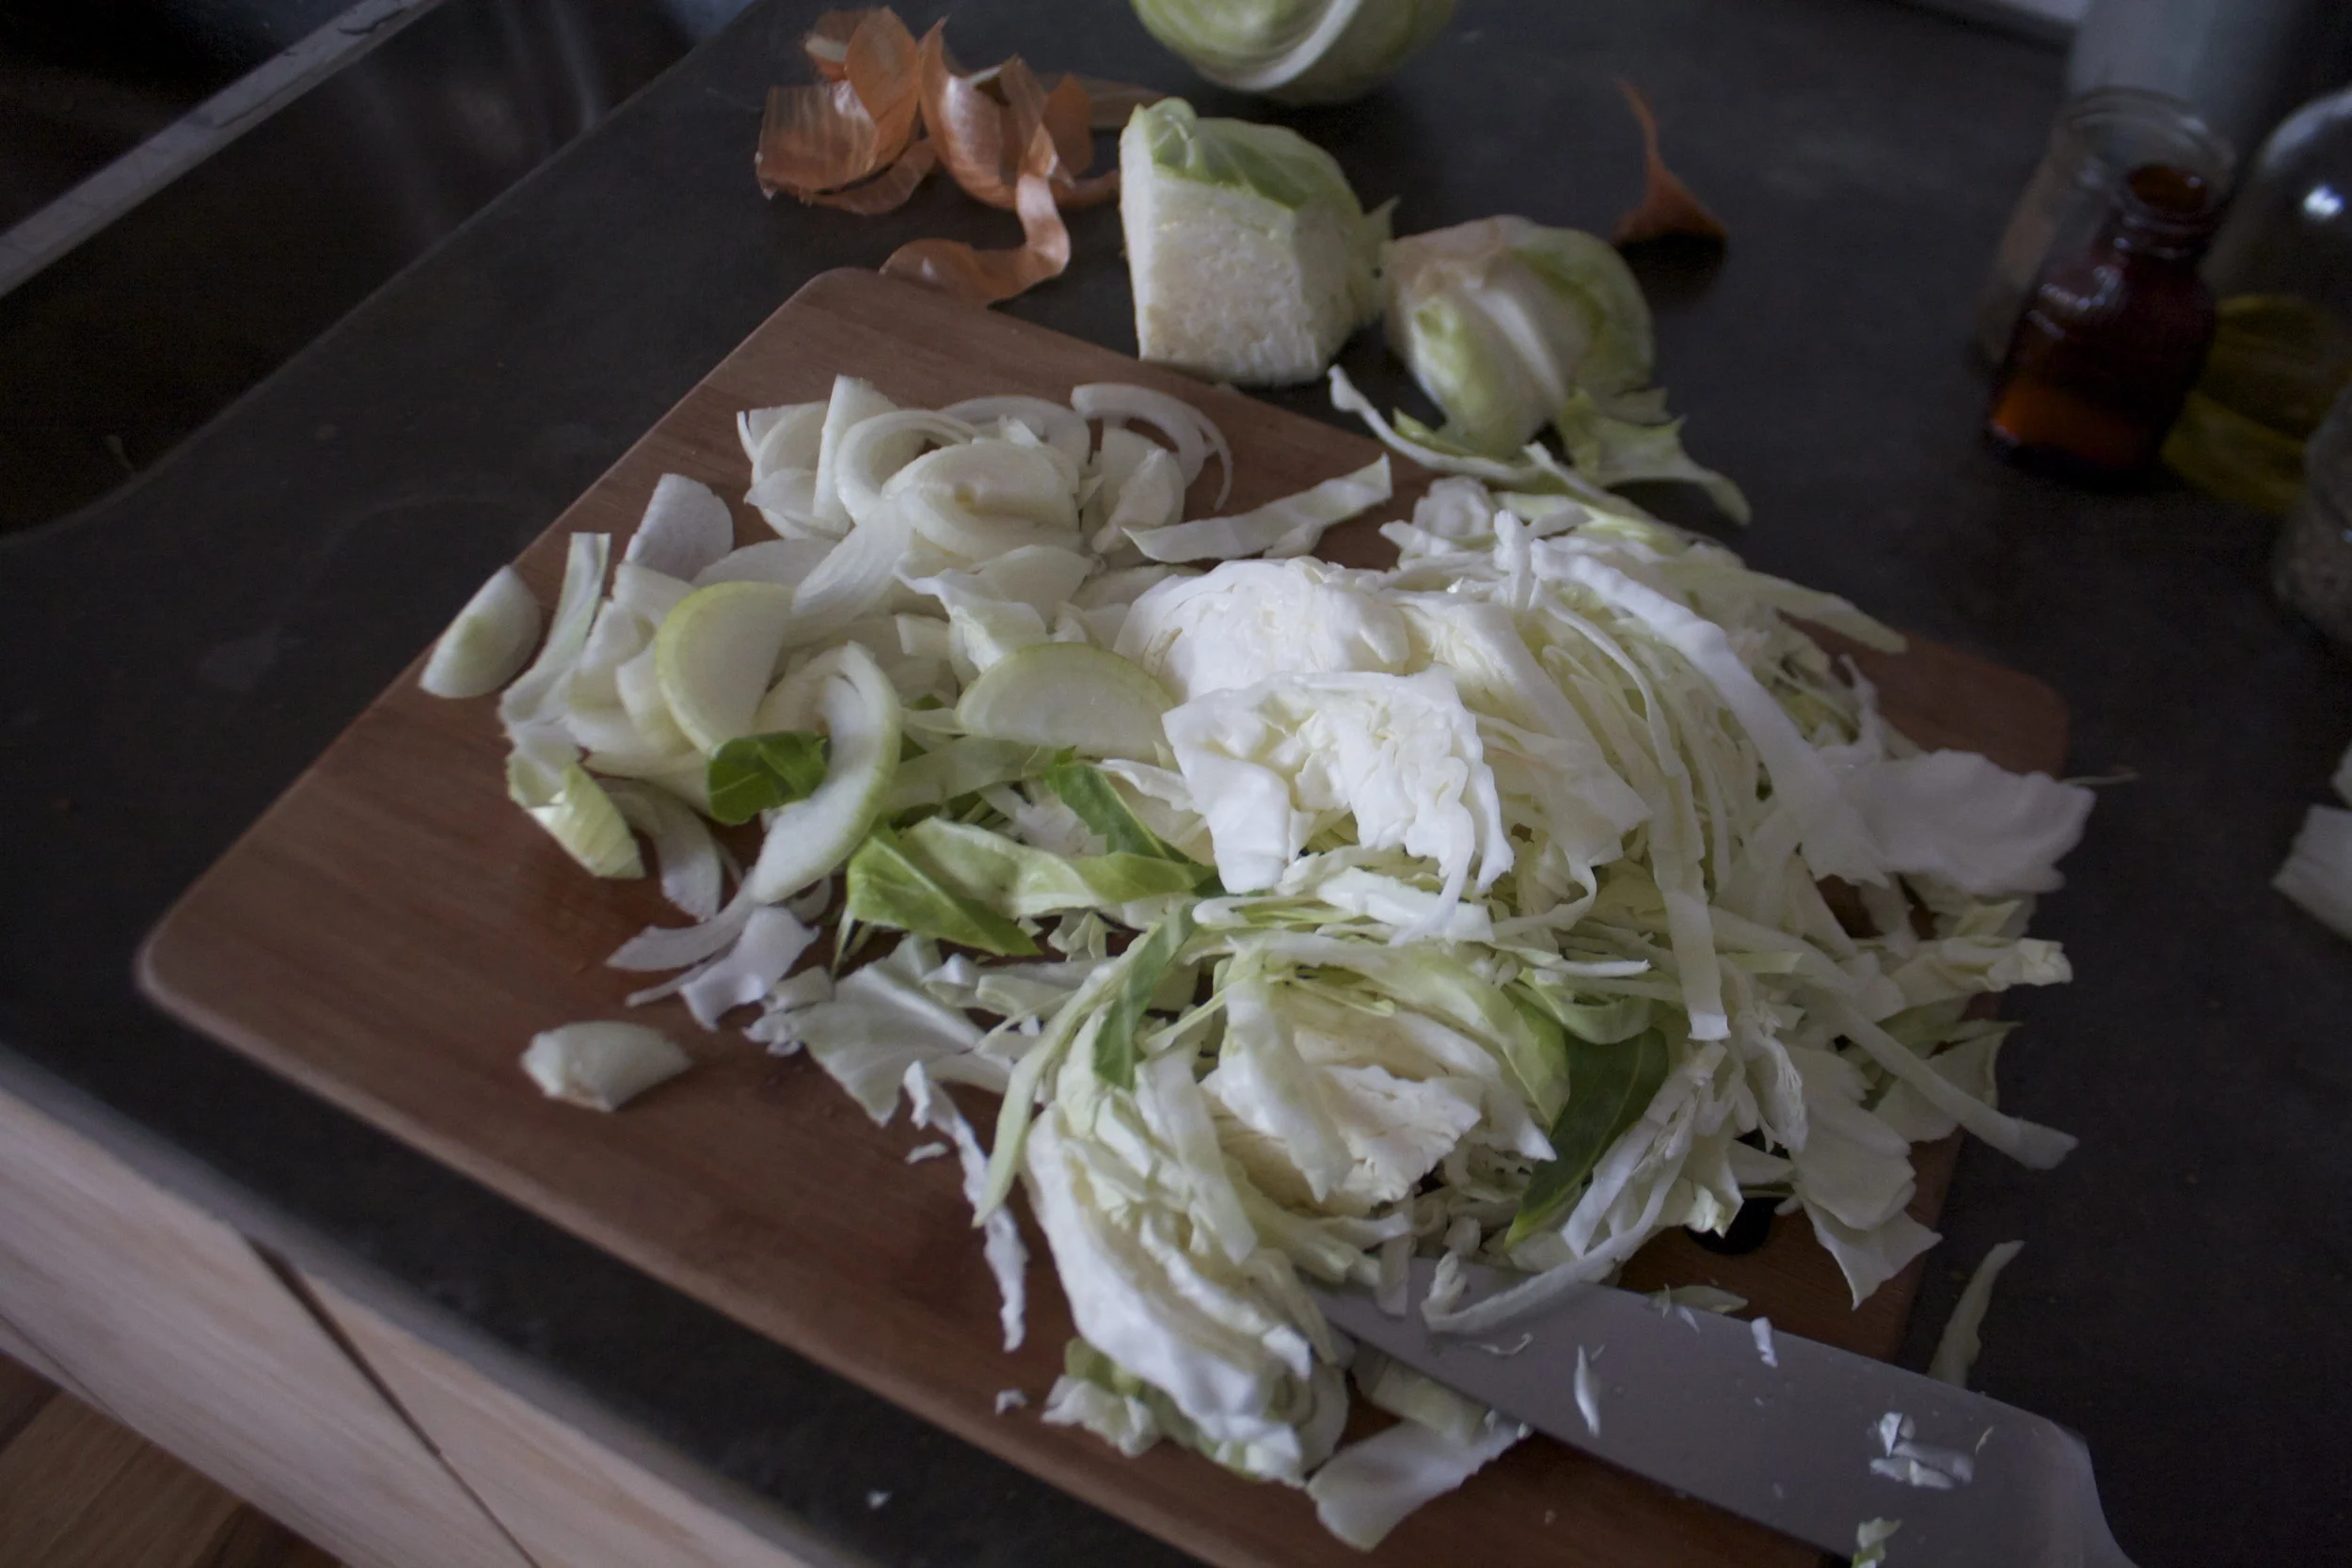
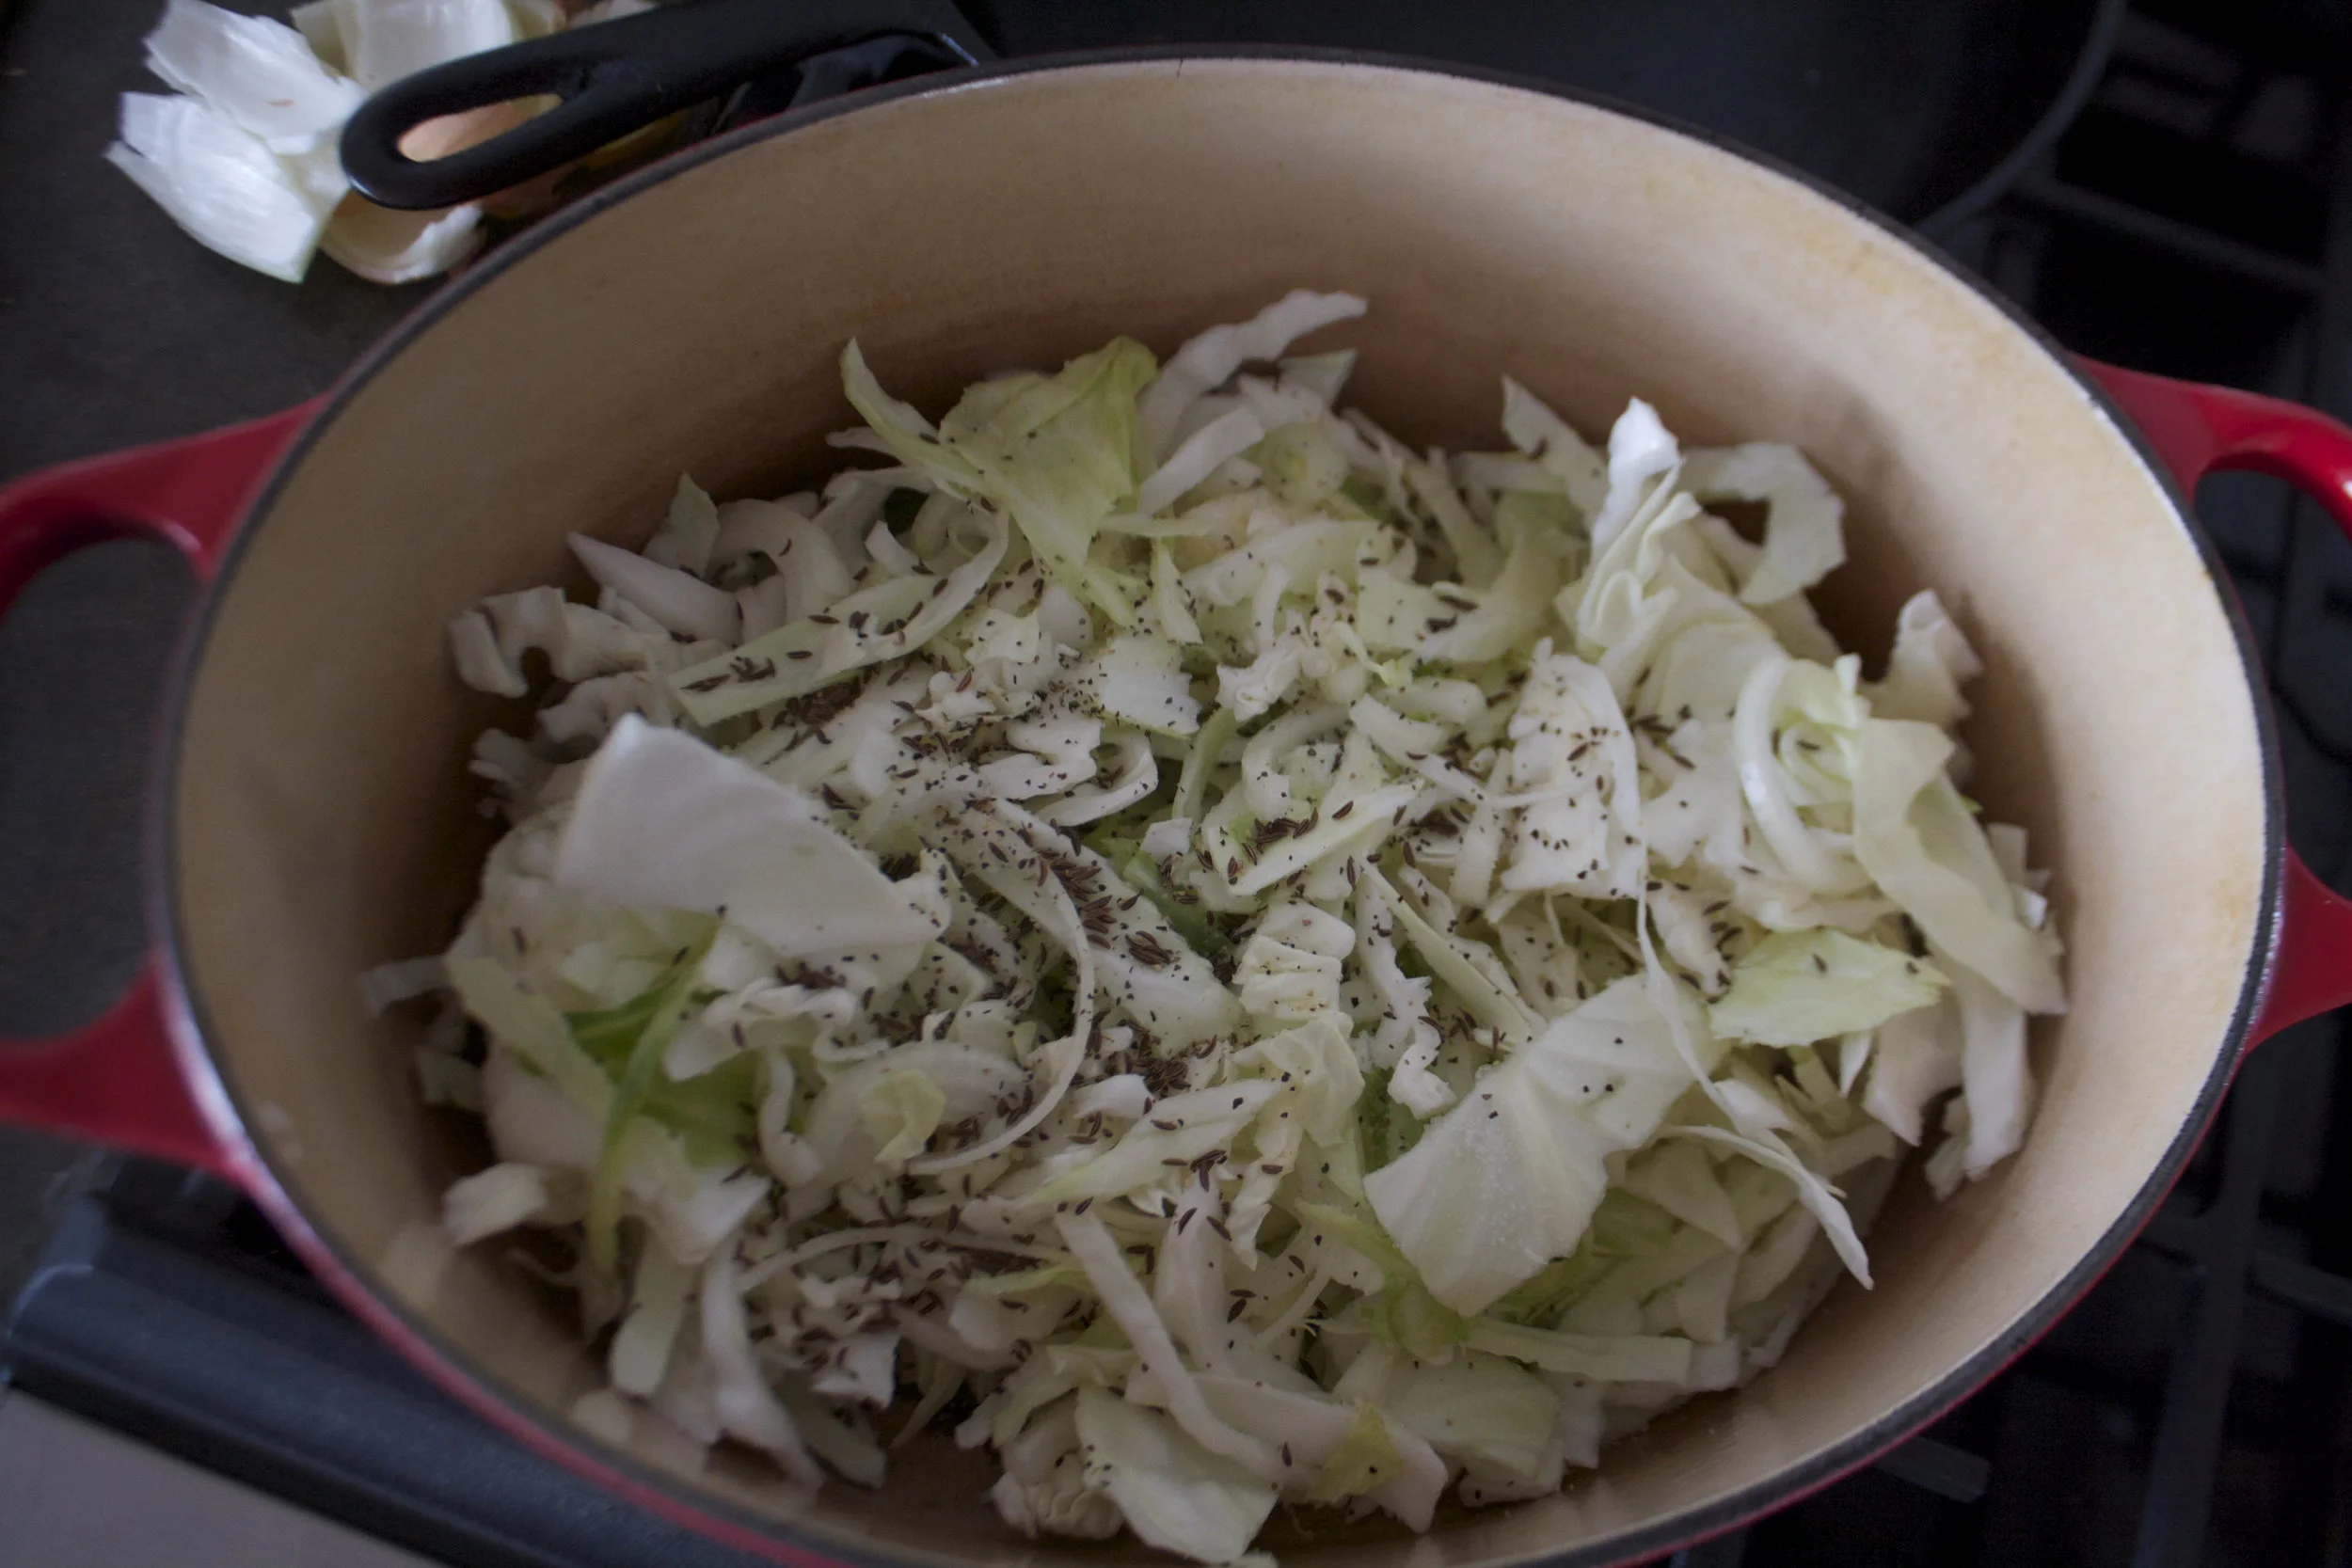
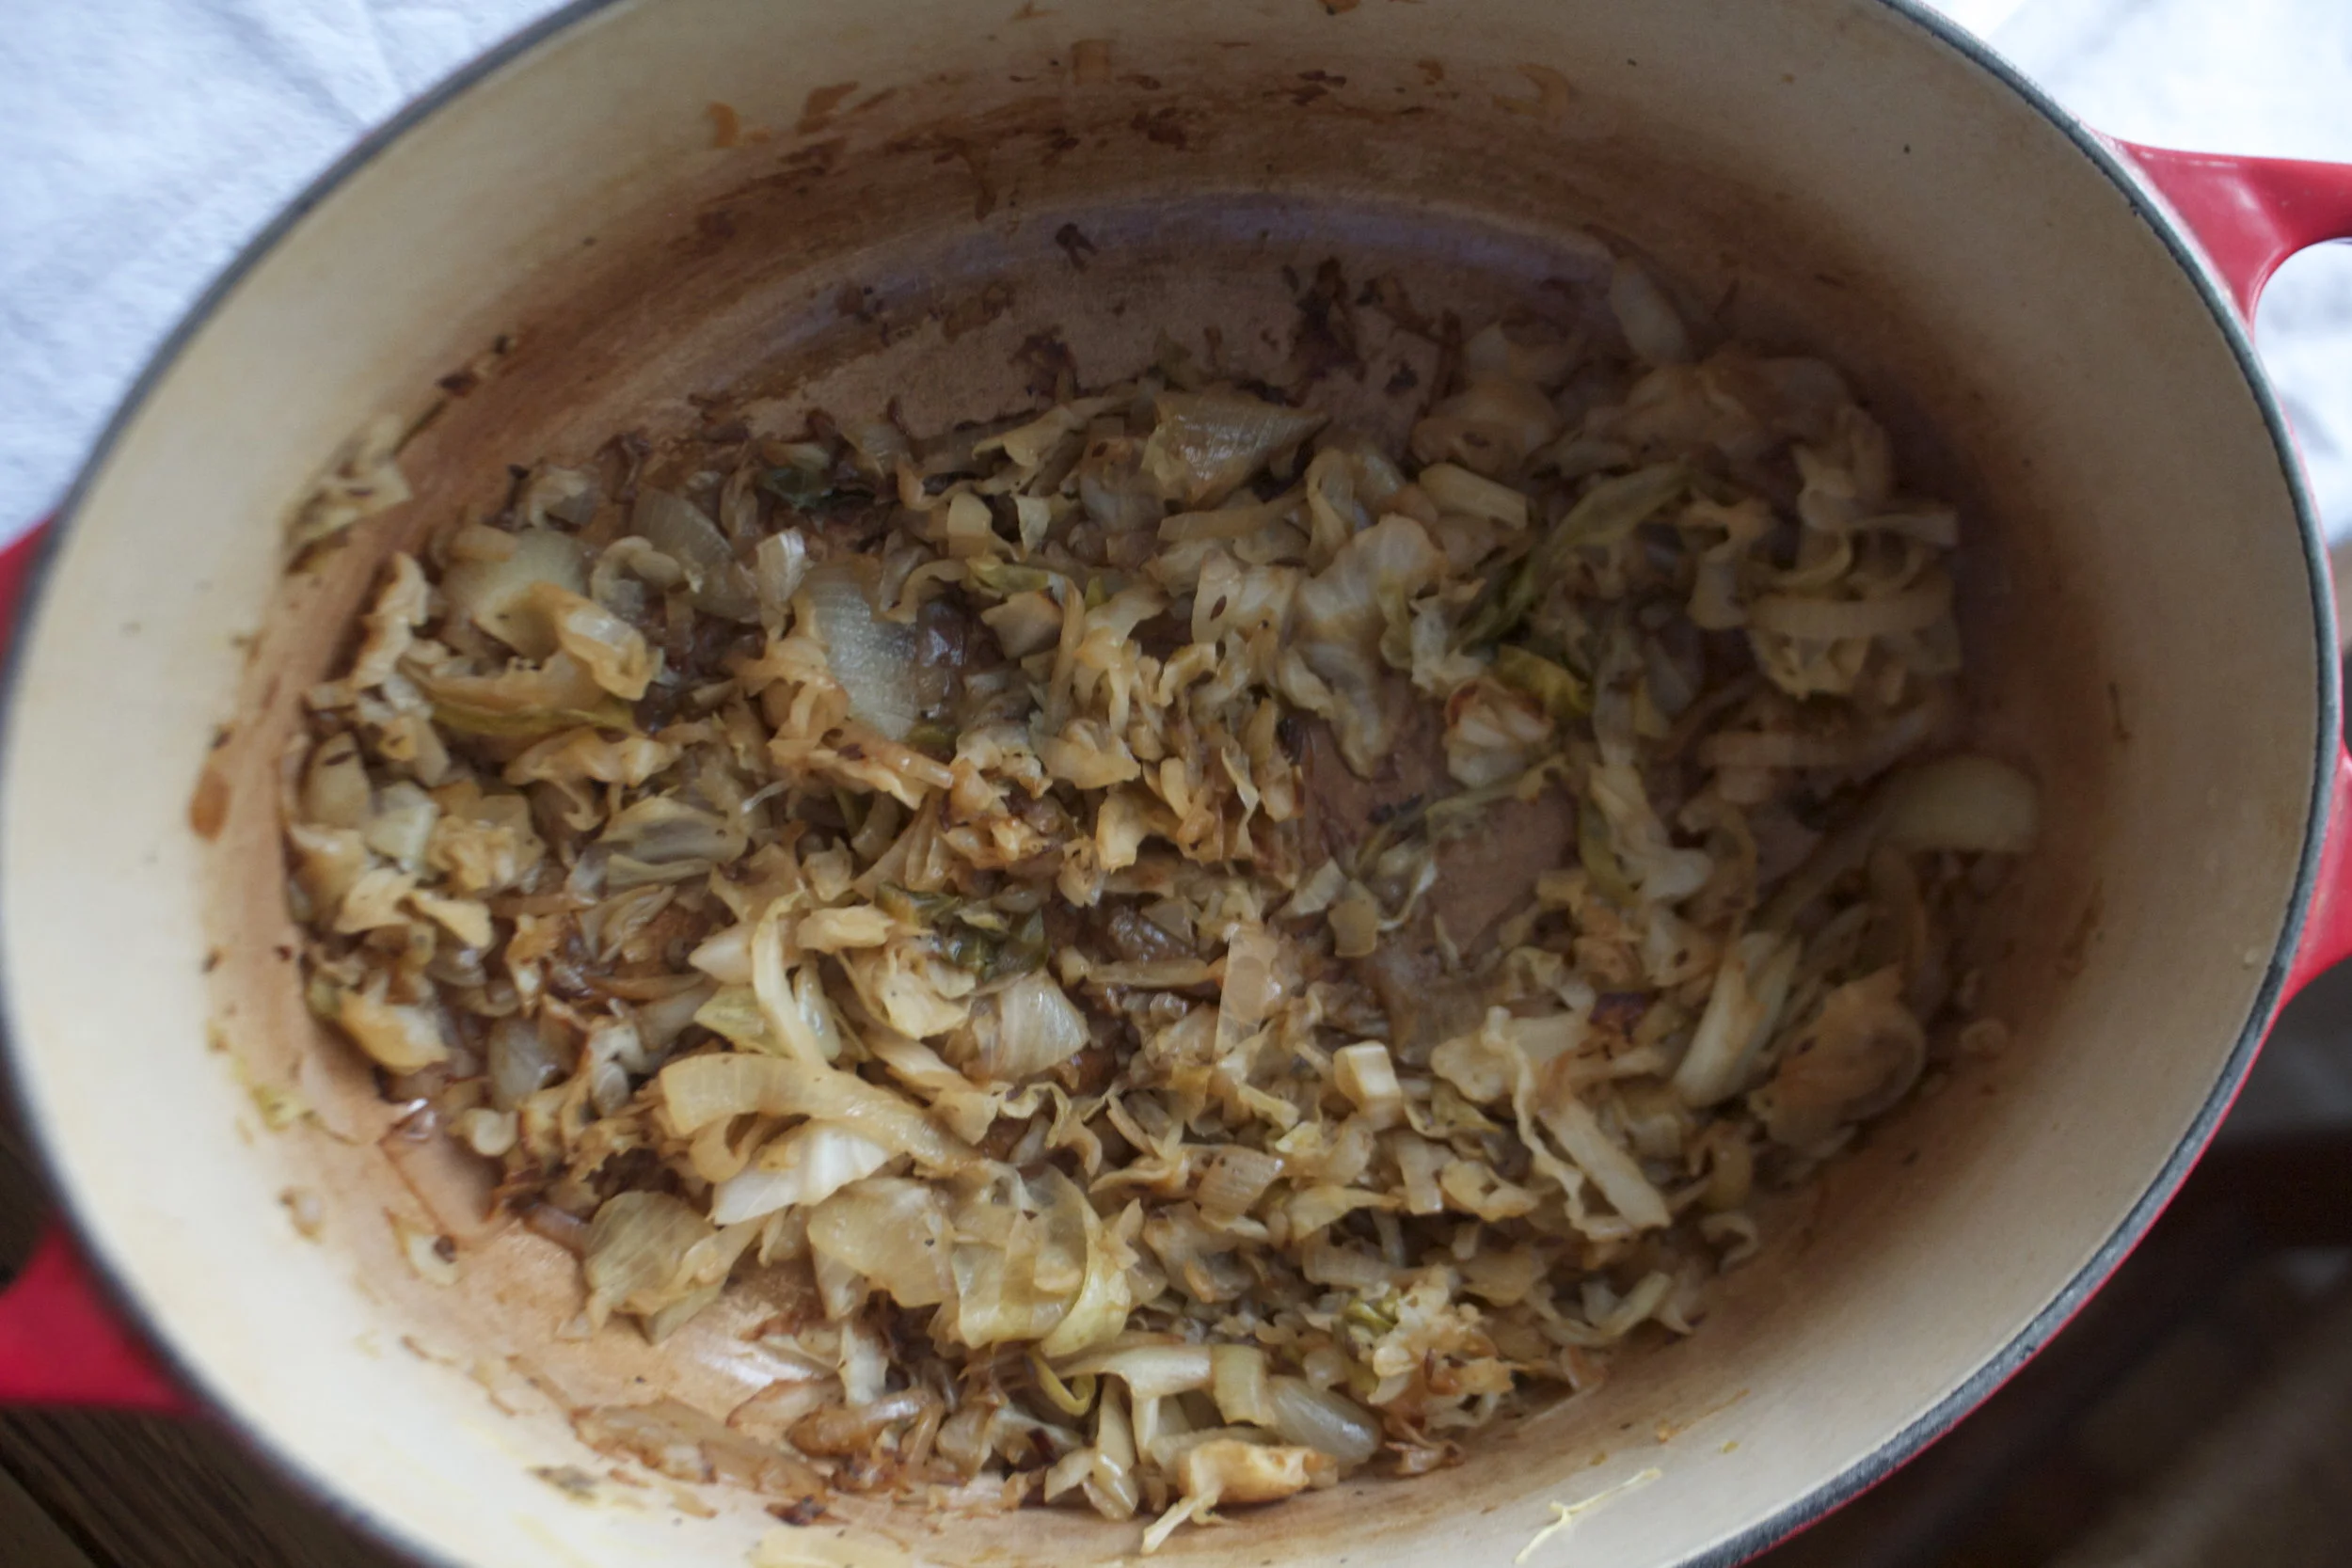

 The other day the mister and I started reminiscing about some of our earliest memories of what our parents fed us or what they used to eat when we were growing up. One of the dishes that we both remember eating was the classic creamed beef on toast, or as my mom use to call it, shit on a shingle. %u00a0 Yup, shit on a shingle. (who ever started calling creamed meat on toast is a freaking genius)%u00a0I think that as a kid, I liked %u00a0the dish just for the mer fact that I could say the word shit and get away with it. %u00a0I think my mom liked it for few reasons; she could make a big butt load of it really fast, for a crap load of kids, on the super cheap. And I think that she just really like it. %u00a0
 The shit%u2026.. A few mushrooms, a bit of onion, cooked lentils, flour, milk, oil, salt and pepper, and garlic powder. And the shingles.. 2 pieces of thick white country bread.%u00a0
 Slice the mushrooms and the onion and toss into a skillet with a drizzle of oil. Cook on medium heat until browned and fragrant..Remove from pan.
 In the empty pan still on medium heat, add in the olive oil and the flour. Whisky constantly, slowly add in the milk. Keep whisking until sauce thickens. Remove from heat. Add in %u00a0salt, pepper, and garlic powder.
 Add the mushrooms and the lentils into the sauce and give it a good mix. Oh, and don’t forget to %u00a0toast up the bread.
  Now dump that shit all over those shingles! Oh the memories.
 I know that it it spring, but I still have a winter farm share for another month and will be cooking and eating roots and squash until the summer share starts in early June. And I am good with that cause I love me some root veggies and butternut squash.%u00a0 But, yes, it is spring and my body isn’t craving the super hearty, rich foods that it was just a few short weeks ago (more like last week) When the temperatures first start to go up, I usually want my food to not feel as heavy or my spices to be quite at warming (I am still all over curries and hot hot hot sauces in the summer). It’s like I have said before, I tend to change up my spices with the seasons. %u00a0
 Half of a medium sized butternut squash (or use a whole one.. I had a half in the fridge that was waiting to be cooked) %u00a0and one whole onion (two if you use a whole squash) %u00a0Apple cider vinegar, olive oil, salt , pepper, garlic powder, and, last but not least, the oh so fragrant and tasty, tarragon.%u00a0
 Chop the onion %u00a0and the squash into big chunks. If you don’t like the skin of the squash, you can peel it, but I like it so I don’t peel. Drizzle olive oil in a pan or a baking sheet, toss the veggies in and add the garlic powder, tarragon, salt and pepper and a few splashes of apple cider vinegar. Toss around. Stick into oven at 425 degrees for about 30-40 minutes.%u00a0
 When the squash is tender and the onions are cooked, remove from oven.%u00a0%u00a0
 Wowzers.. What was I thinking! I know, the same thing you are%u2026YES YES YES!!! Gluten free what now.. My lovely sister is on that ban wagon. She has been having”issues” lately(so many, it’s hard to pin point) and says she is feeling better without the gluten. Me being the lovely person that I am want to feed my poor sister, make her happy with food. %u00a0I HAD to prepare that lady a dinner and it had to be pizza cause I know how much she likes her pizza. So I brain storm. What would be a good gluten-free pizza crust? I could do the obvious and %u00a0get gluten-free flour, but to be honest, that’s some expensive stuff and I really didn’t feel like going to the store. I wanted to work with what I had in the house%u2026.and ah ha, there it is, %u00a0cornmeal.. With a little bit of water I can turn that into some polenta and a super gluten-free pizza crust.
 %u00a0There really isn’t a whole lot of ingredients to this pizza%u2026 Cornmeal for the polenta. Marinara sauce%u2026.I used jarred marinara because it was a little easier and we don’t always need to make things from scratch%u2026Lots of onions(2 finely sliced), handful of %u00a0sliced mushrooms, thinly sliced squash and parmesan cheese. Most of the prep takes place at the same time, but that’s good, we can multi task, just have everything pre chopped and ready to go. First thing first, start the polenta

 %u00a0 %u00a0
 %u00a0 %u00a0 %u00a0 %u00a0%u00a0On a well oiled baking sheet or pizza sheet..spread the polenta into the shape of your desire. I went with a somewhat circular shape, but now that I think of it, I wish I had been more creative, like maybe a triangle or even the shape of a bus%u2026.Yeah, a bus shaped pizza would have been cool.
 %u00a0
 %u00a0 %u00a0 %u00a0 %u00a0 %u00a0 %u00a0You can do this pre crust or at the same time, but roast your sliced squash. Place single layers squash on an oiled pan, salt and pepper, then into the oven. It should take 10 minutes on each side.
 %u00a0 %u00a0 %u00a0
 %u00a0 %u00a0%u00a0
 %u00a0
 %u00a0 %u00a0 %u00a0I Sprinkle a layer of parmesan cheese and pile on those onions and mushrooms,. Sprinkle with a little more cheese. %u00a0( use vegan cheese or no cheese if you want it vegan) Back into the %u00a0oven for another 15 minutes to give everything some time to crisp and melt. %u00a0
 Remove from oven and appreciate%u2026That is one good looking pizza. I took %u00a0a long spatial and run under the crust just to make sure if wasn’t stuck. I also found that if you let it %u00a0cool for a few minutes before serving, the polenta gets a little stiffer and easier to handle, but not necessary.


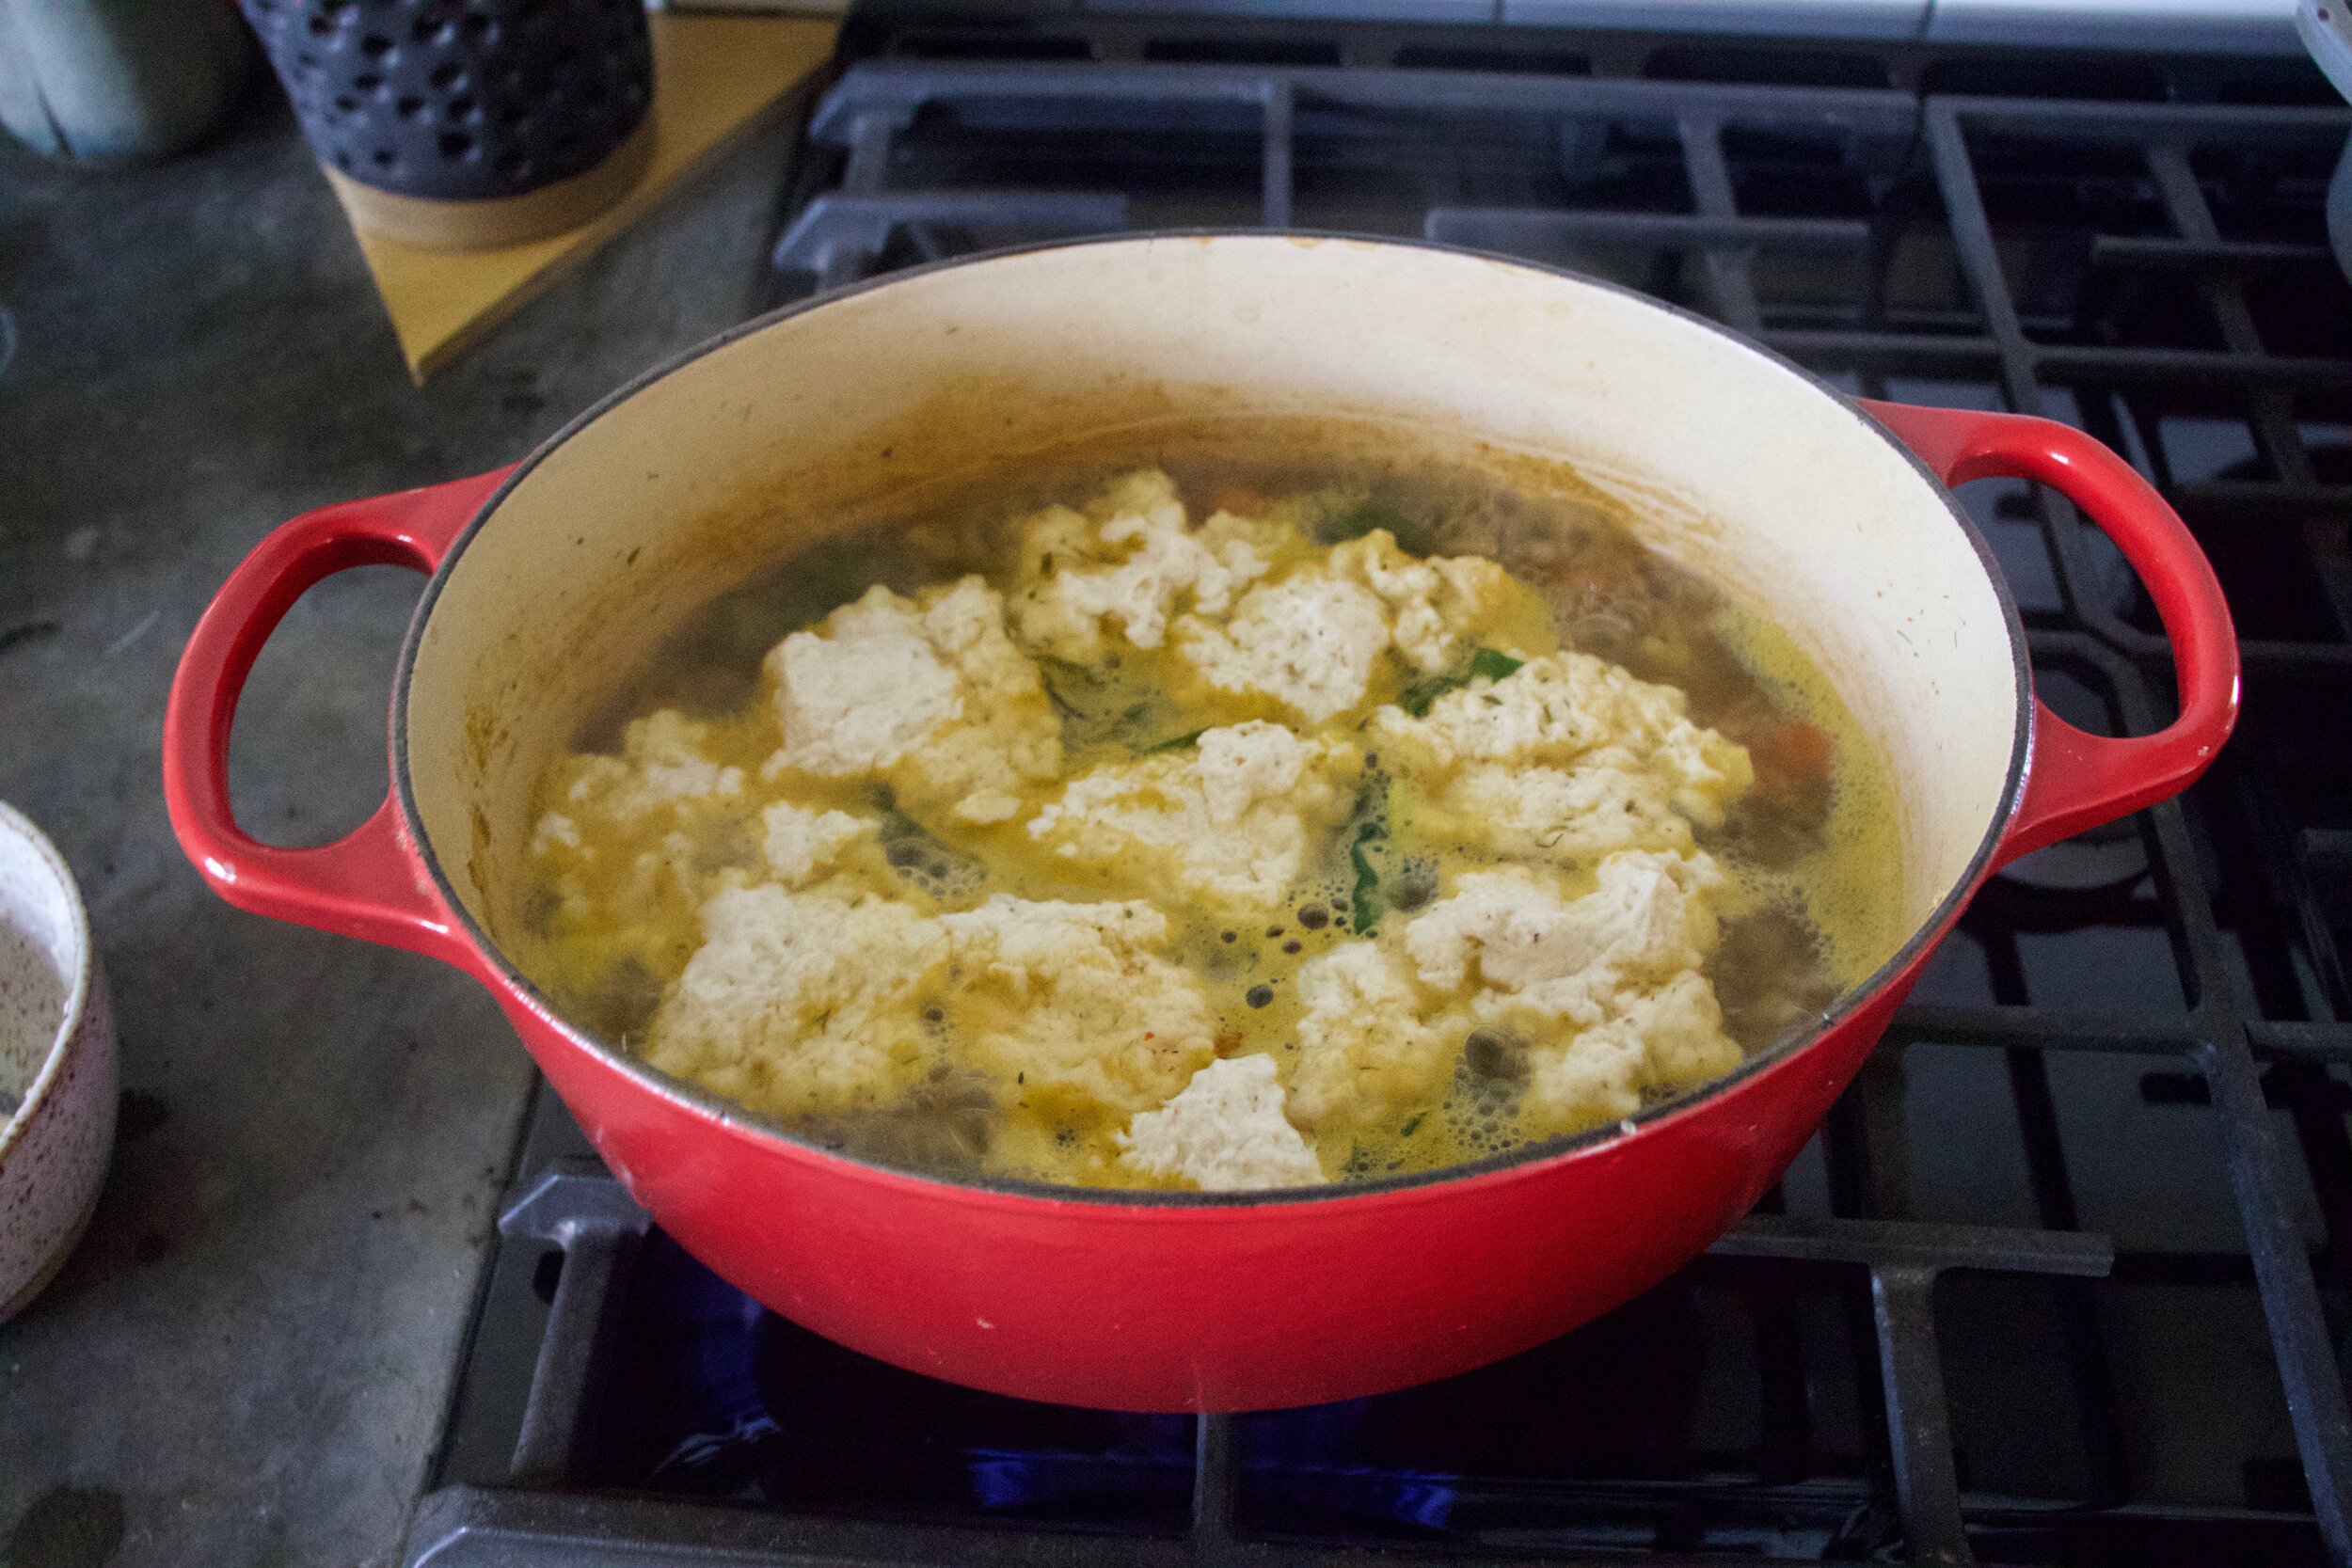


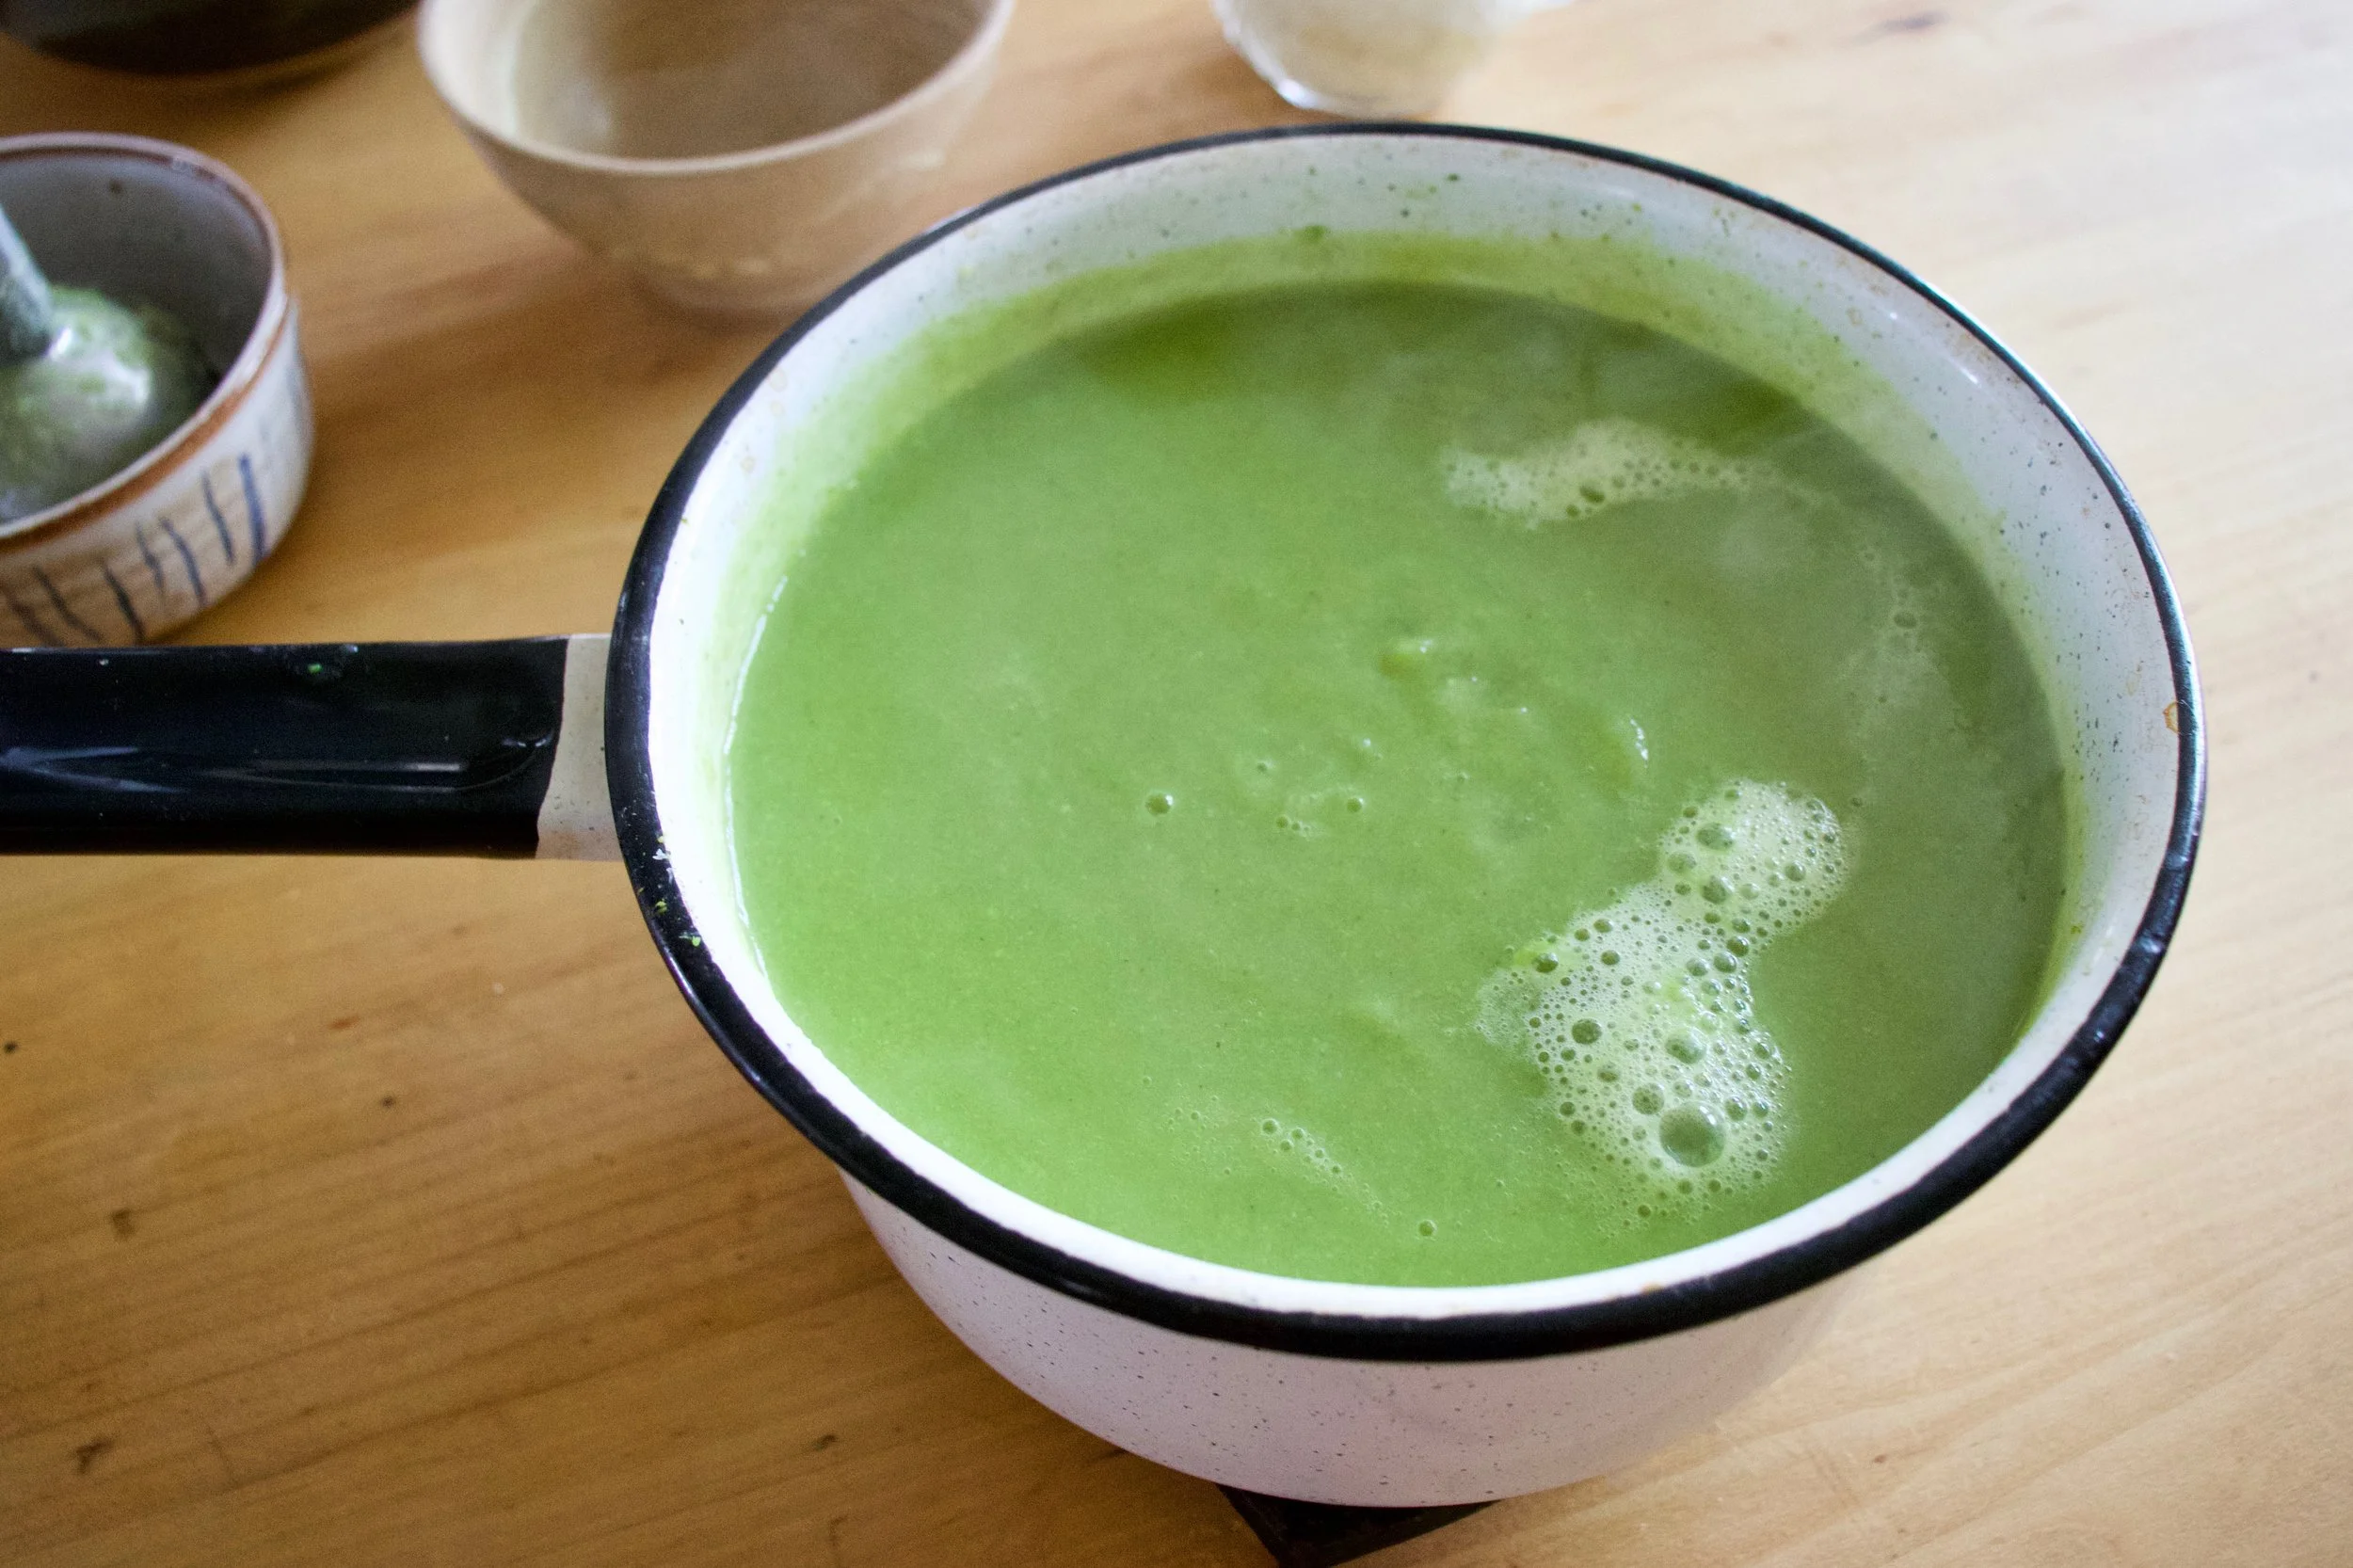
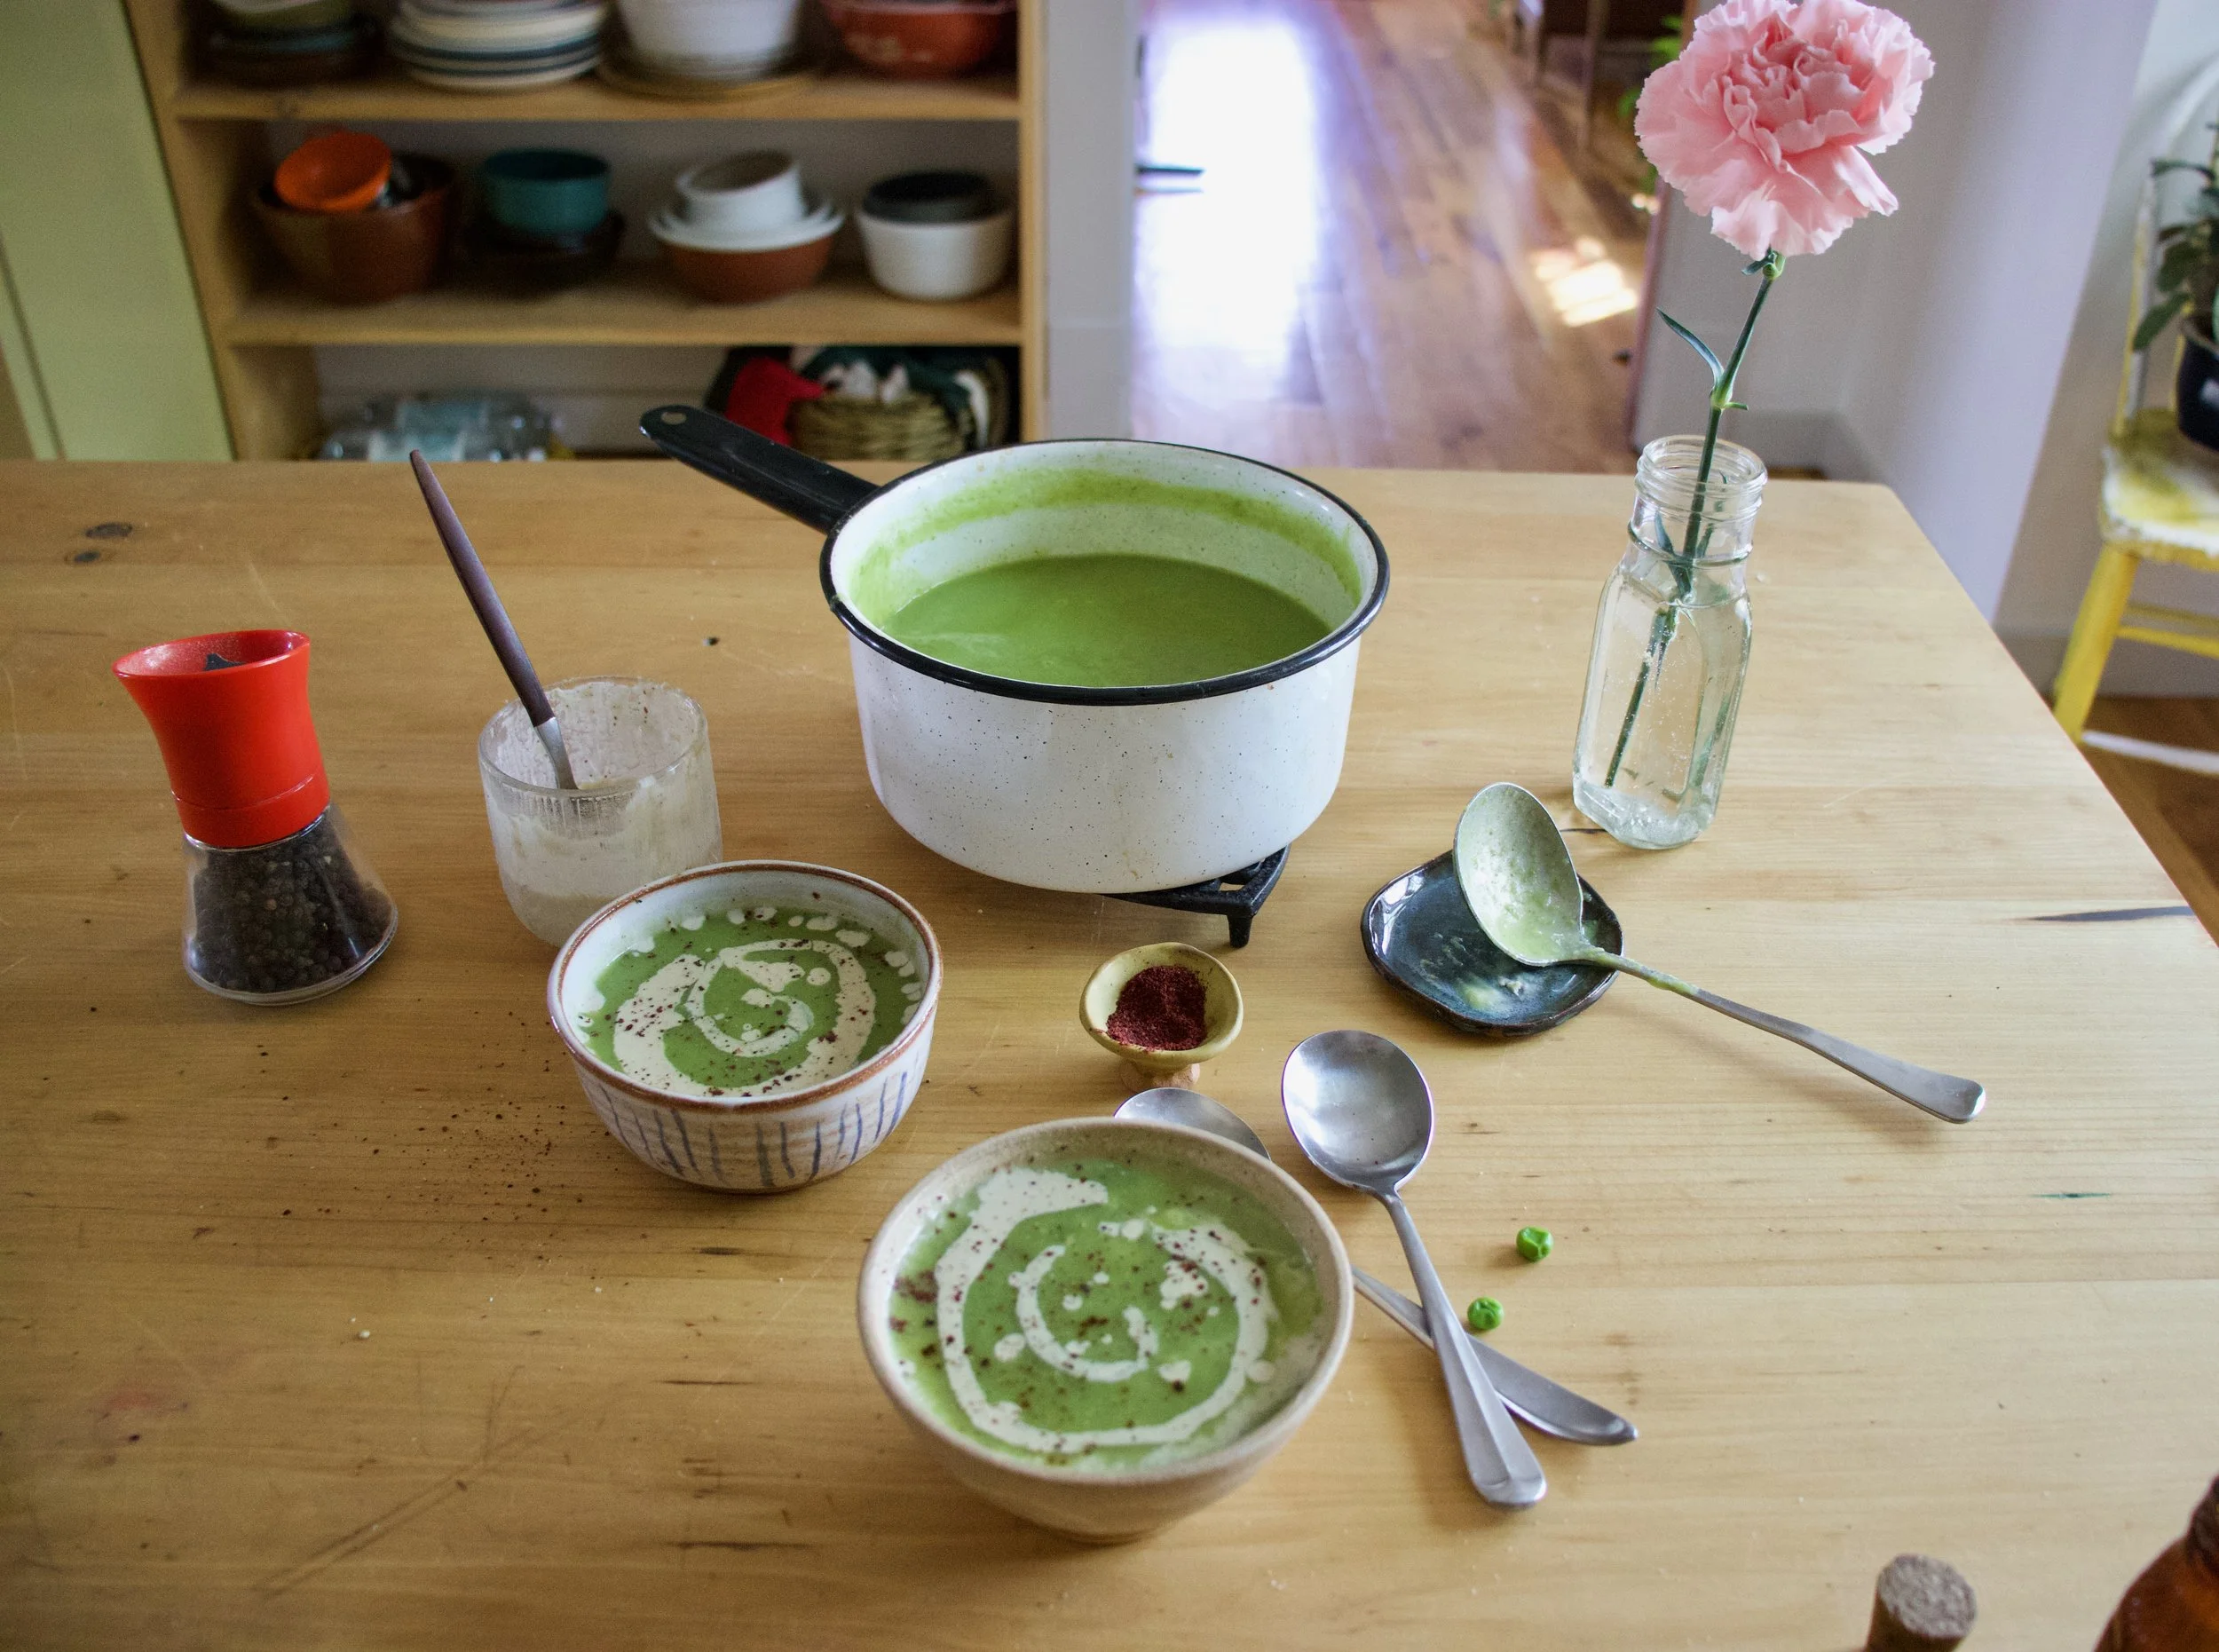
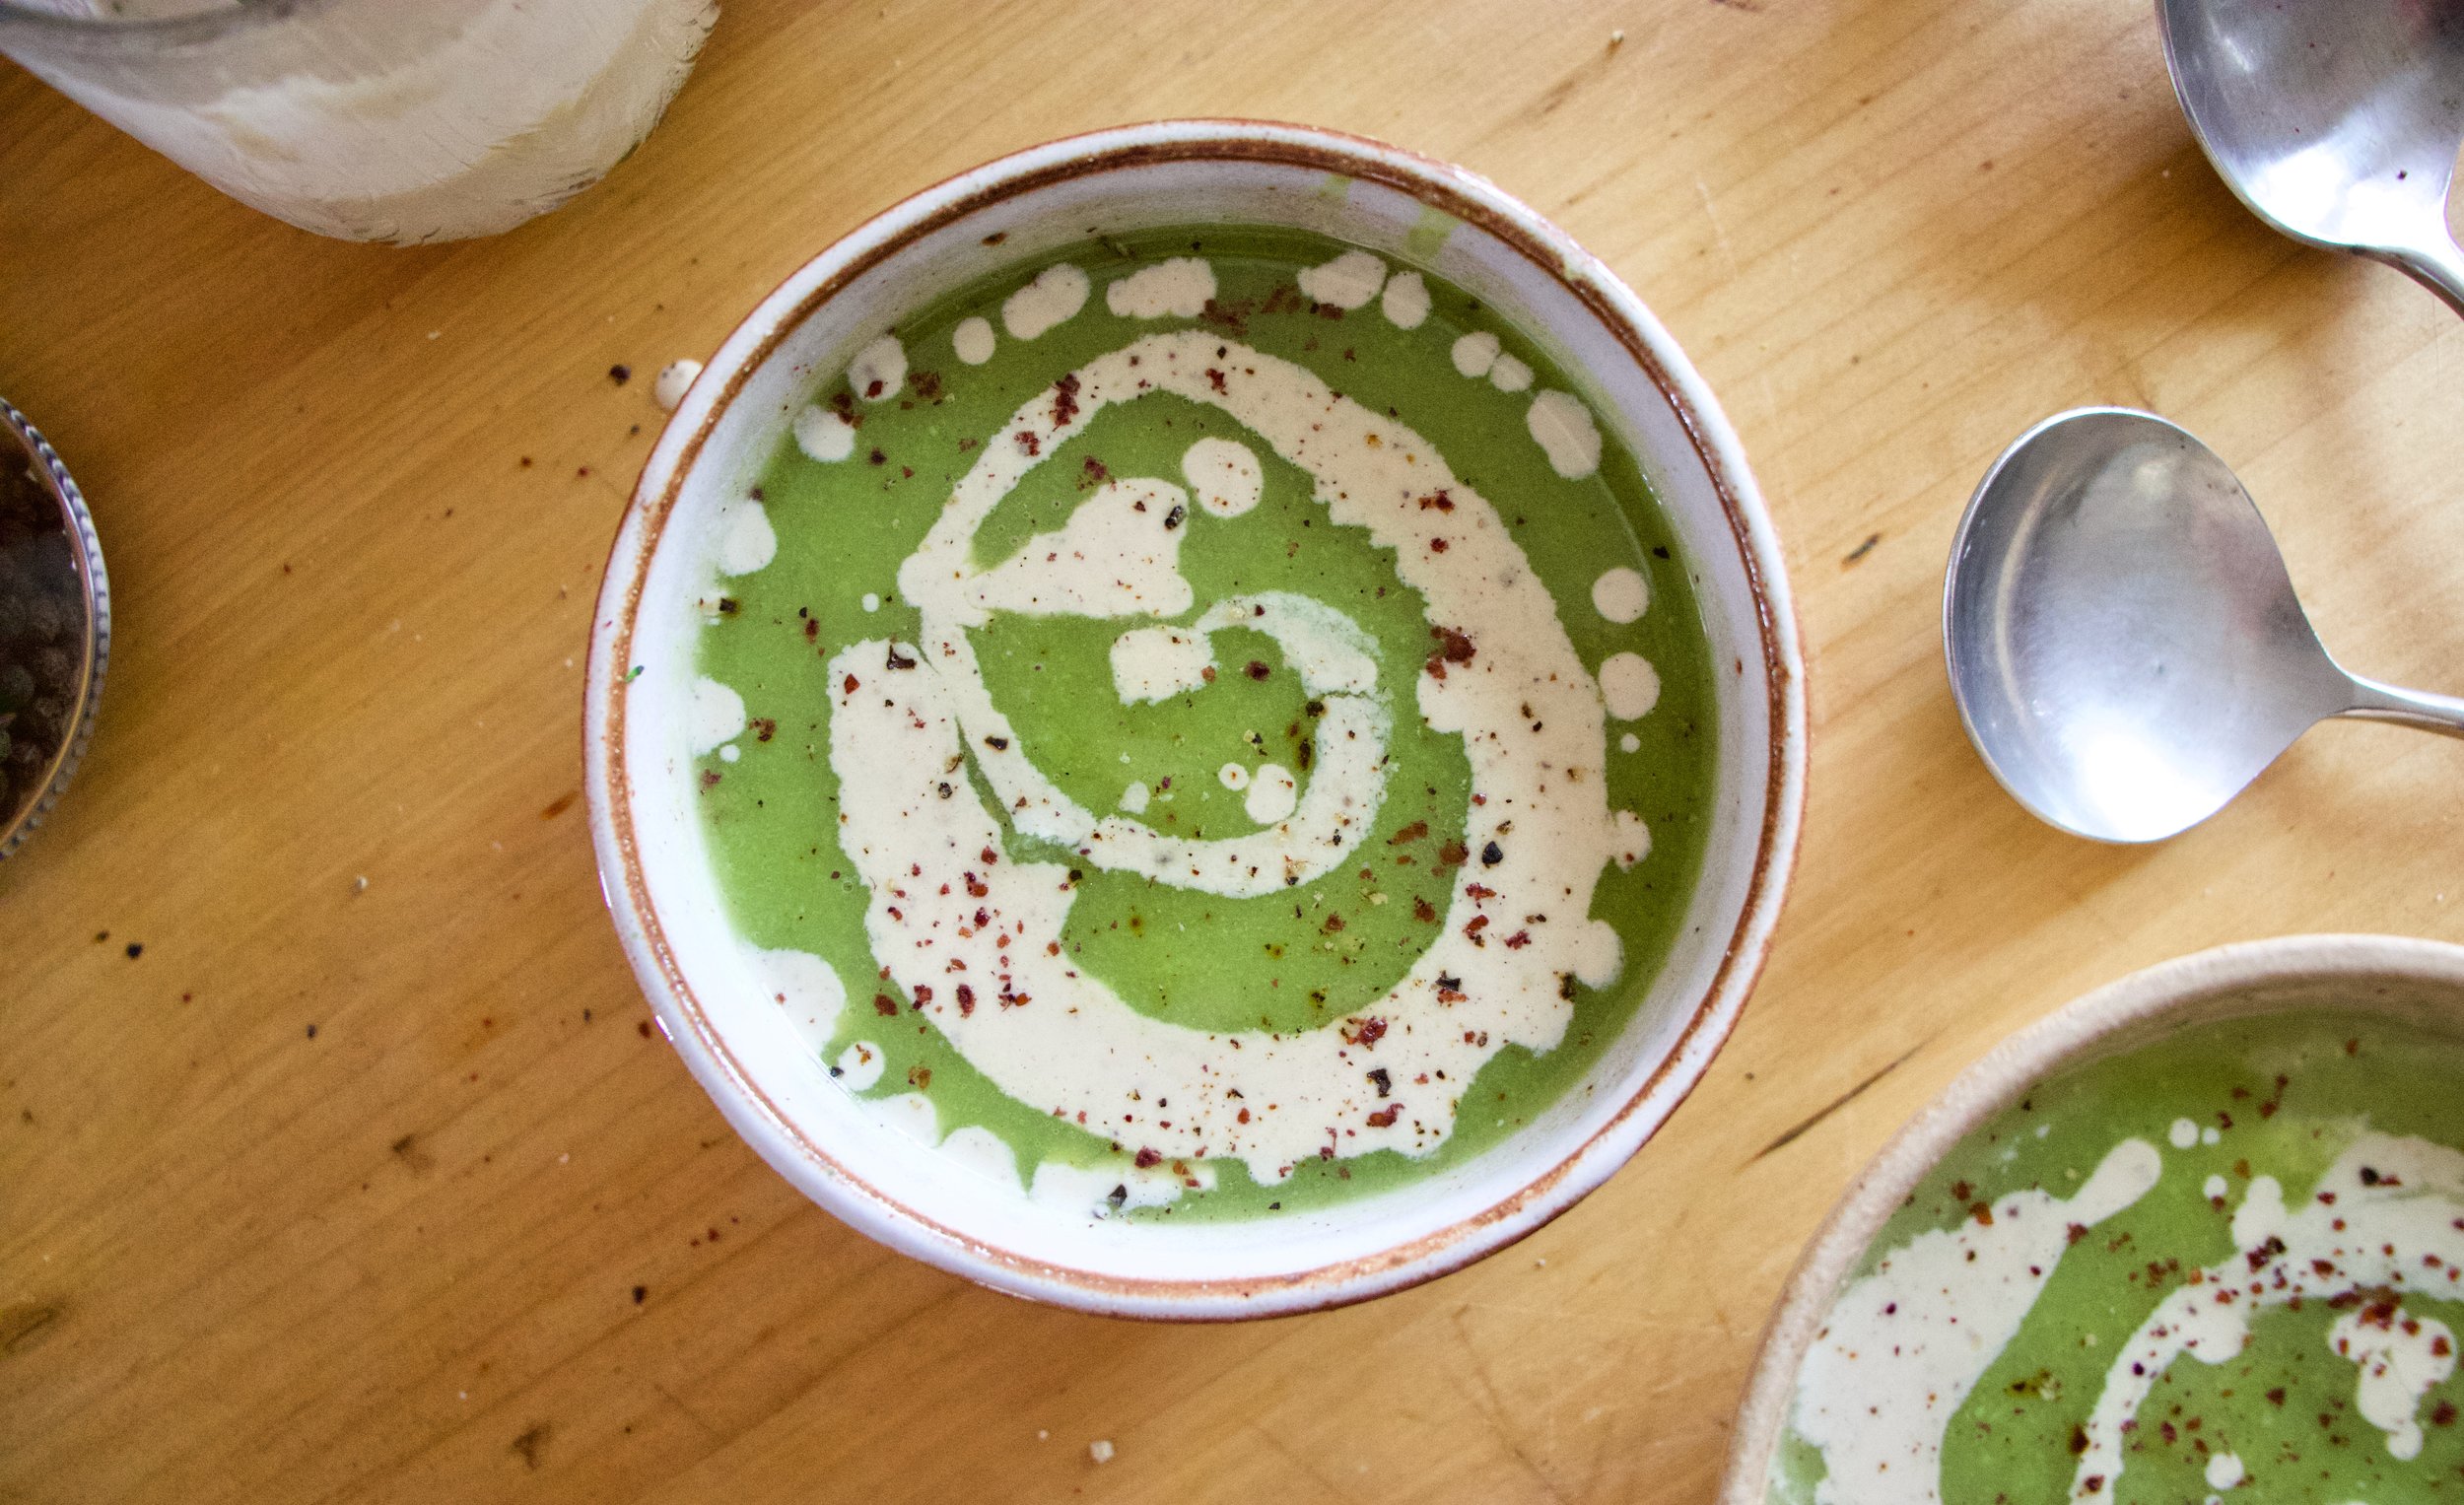


















 A couple of days ago, during a grocery store porous, I stumbles upon a produce item that I have not seen sold in stores before, Broccoli leaf. And I%u00a0was kind of surprised %u00a0to see that they were selling bunches of the leaf, %u00a0organic, %u00a0at 2 bucks a bunch.%u00a0I was very excited ! But wait.. You can eat broccoli leaves? Heck yes you can! Broccoli leaves %u00a0are fantastic. They taste kind of like broccoli, have a hearty texture like a collard, and can be used raw or cooked just like any other green. Its just one more super yummy green to add to your repertoire.%u00a0 So when I bring home something that I find to be a good score, like a bunch of broccoli leaves, I feel like I have to share it with the mister. (I am so nice) And this dish was how I shared them%u2026. Tossed into a bowl of garlic raging pasta.
  The stuff%u2026. A bunch of broccoli leaves, lots of garlic, pasta, olive oil, salt and a lemon. Pretty simple right?
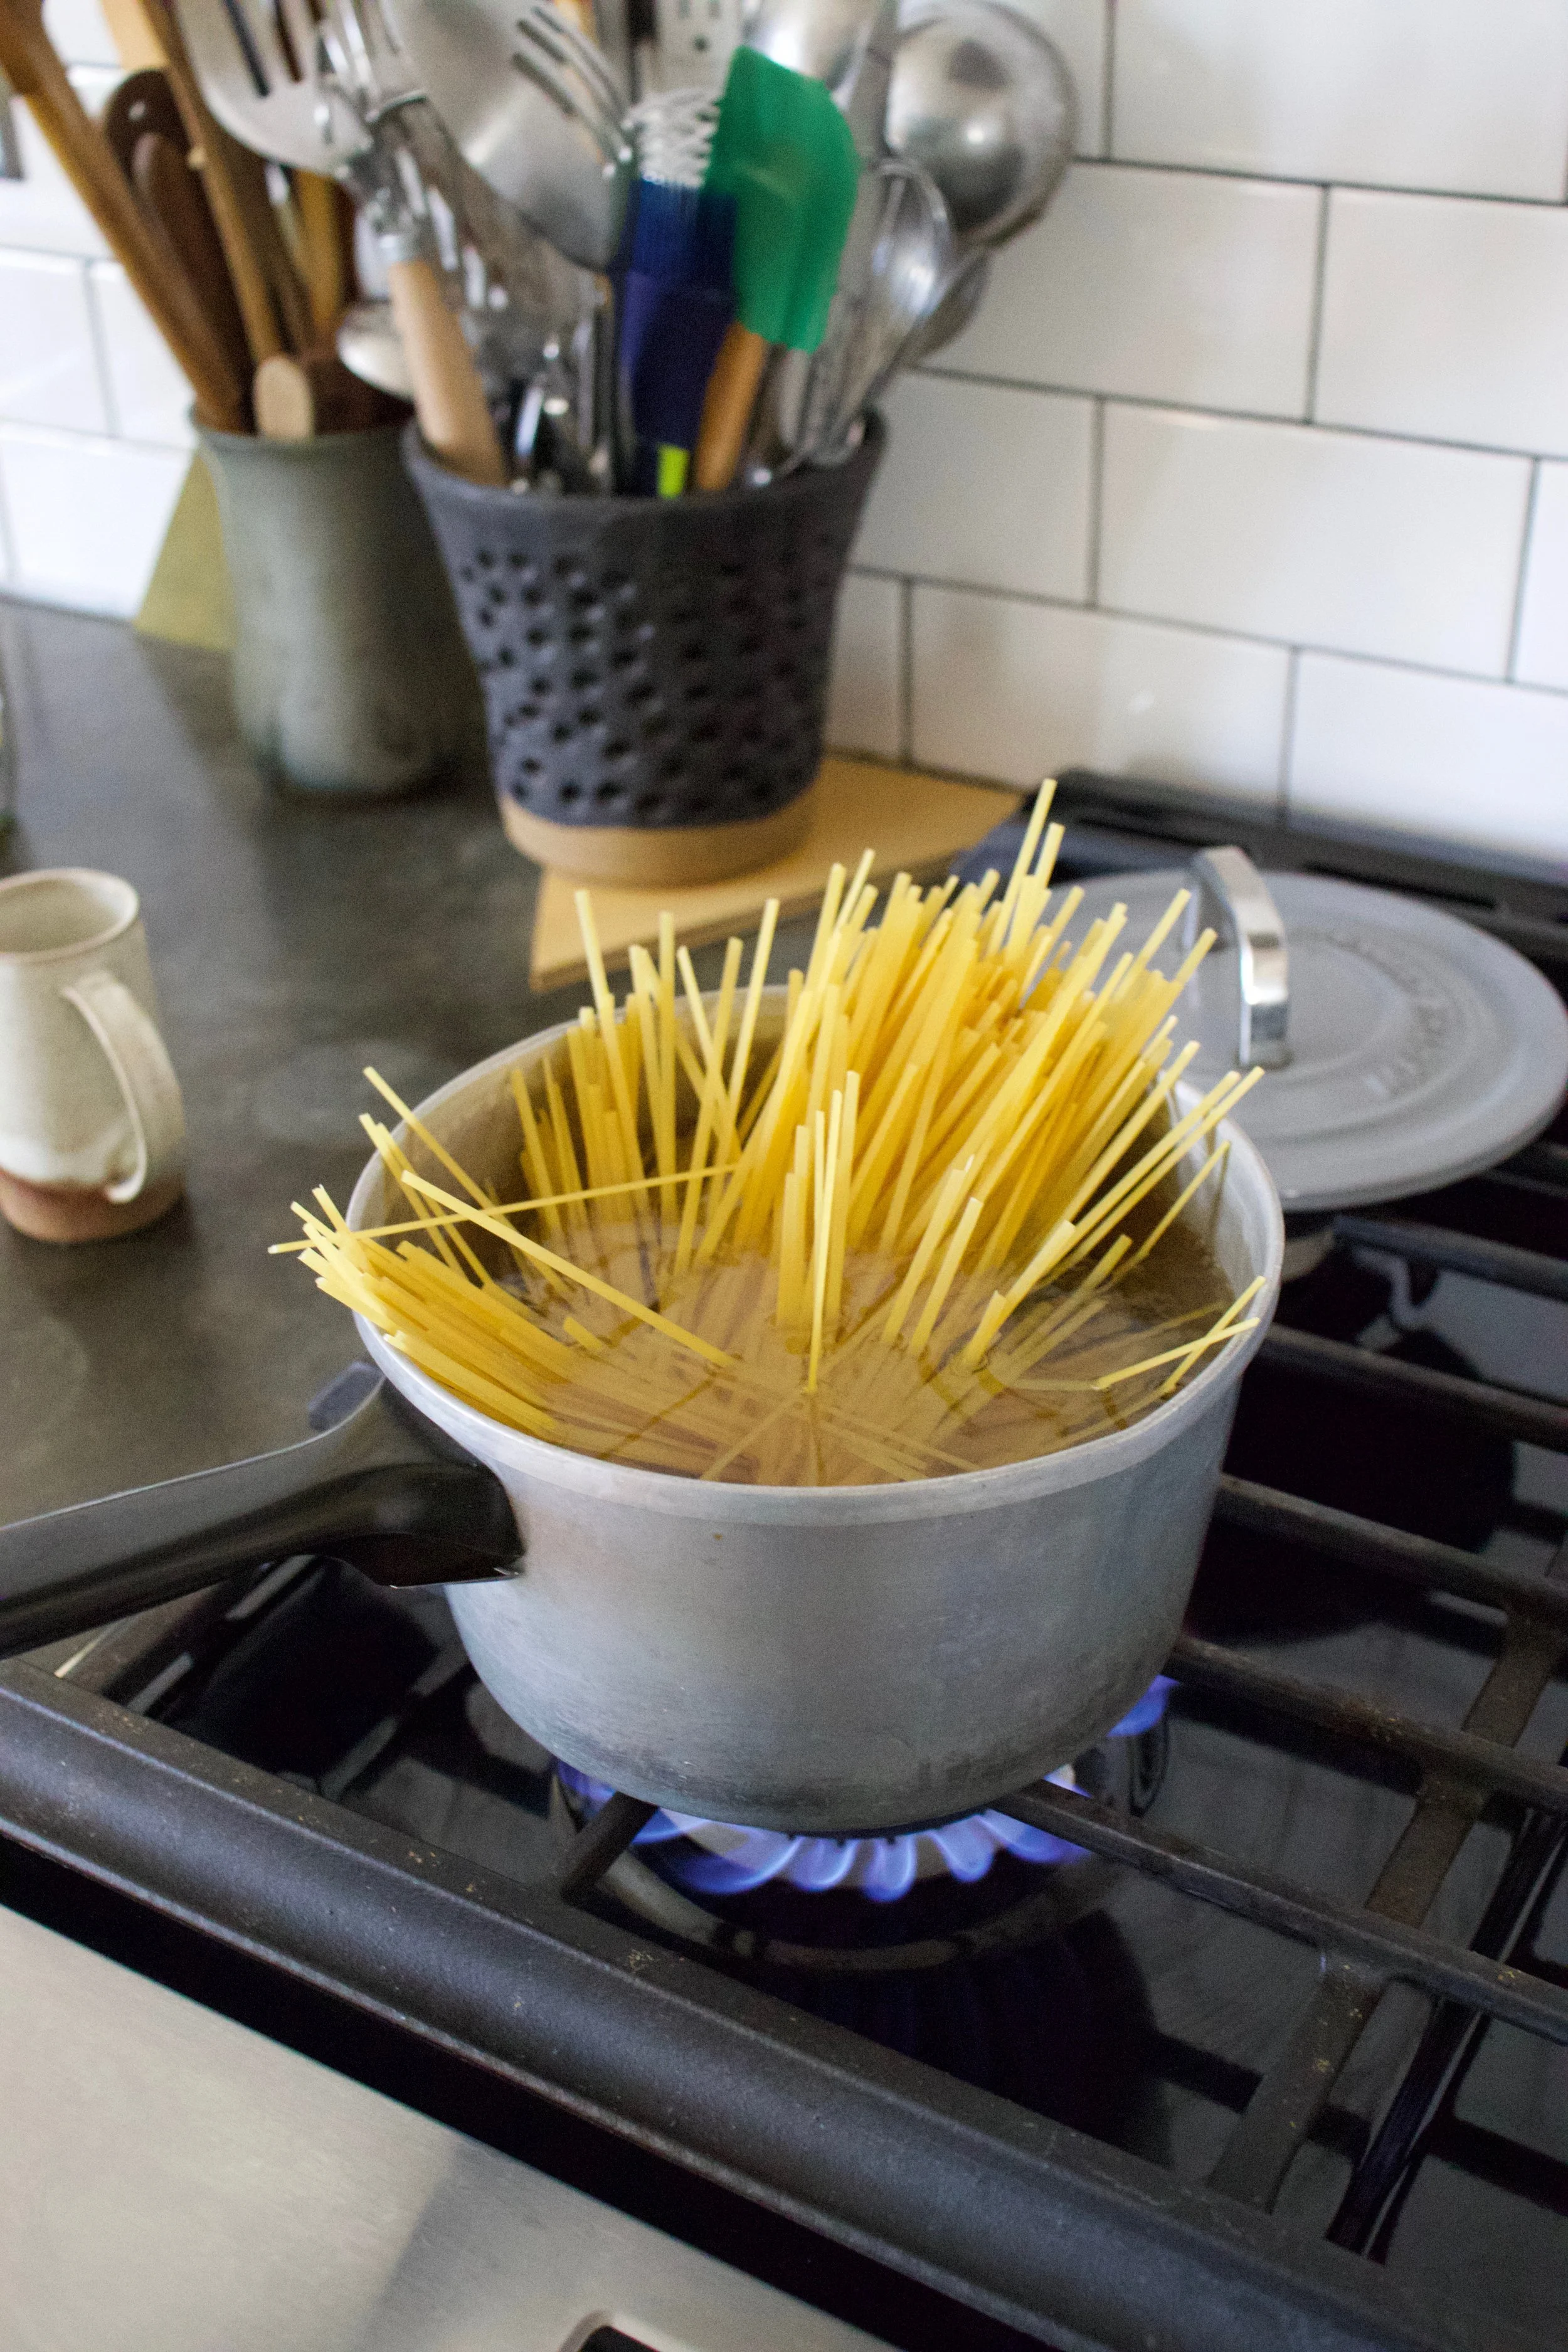
  Fist off, get your water boiling for the pasta. Once its ready, drop a pinch of salt into the water and stick pasta in for the amount of time recommend by pasta box people. While the pasta is boiling, mince up the garlic (I used my garlic press) into a skillet and add in the oil. %u00a0Stick on a burner on medium for a few minutes, stirring around to make sure the garlic doesn’t stick and burn.%u00a0
  %u00a0 %u00a0%u00a0
 Once you start to smell the garlic, turn heat onto low, chop up the broccoli leaves (stems and all) %u00a0and stir around until wilted and add in the juice of half a the lemon.When the pasta is cooked, remove a few tablespoons of starchy water and %u00a0strain the noodles. Add water and pasta right into the skillet with the other stuff. %u00a0Toss around, taste, season with salt and pepper.%u00a0 Go ahead and add some chopped tomato and or parmesan cheese if you want. %u00a0
 And serve your amazingly amazing pasta. %u00a0And make sure that you are ok with really smelly garlic breath%u2026Casue it’s going to happen. Keep it good! -C


 My winter farm share is coming to an end this week. One more pick and then a three week stretch until the summer share starts%u2026 WHAT AM I GOING TO DO!!! Stock up as much as I can is what.
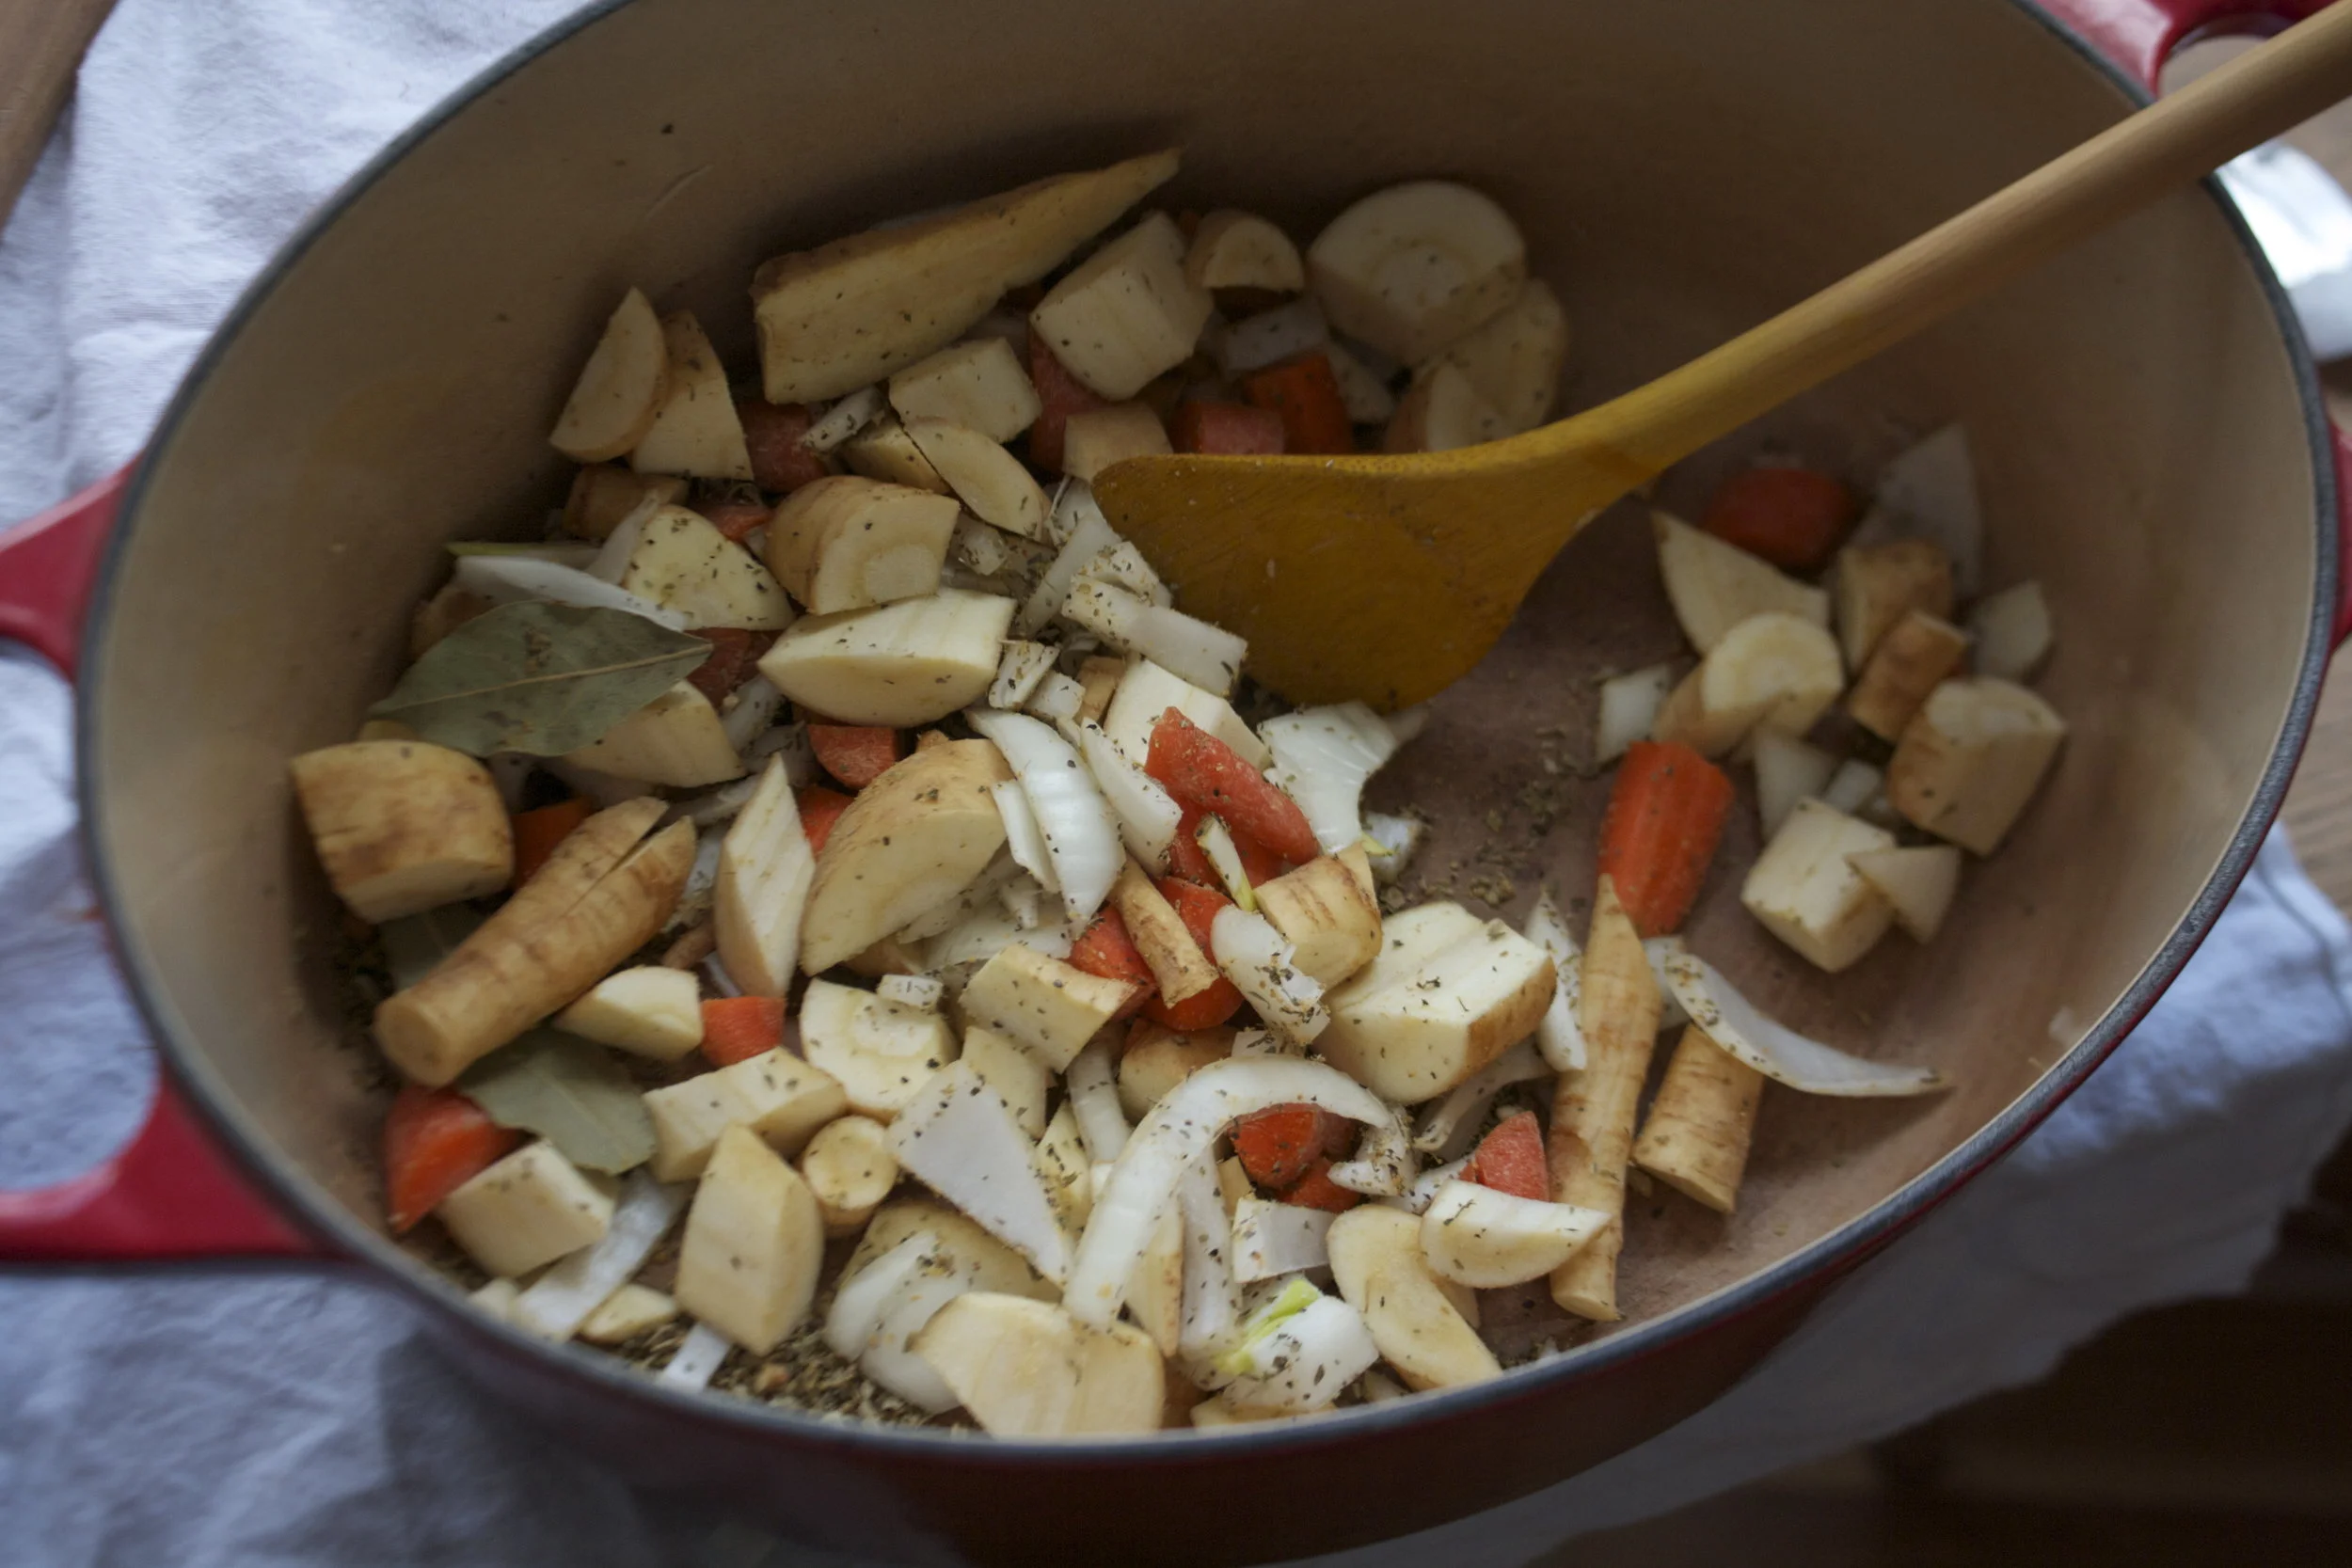
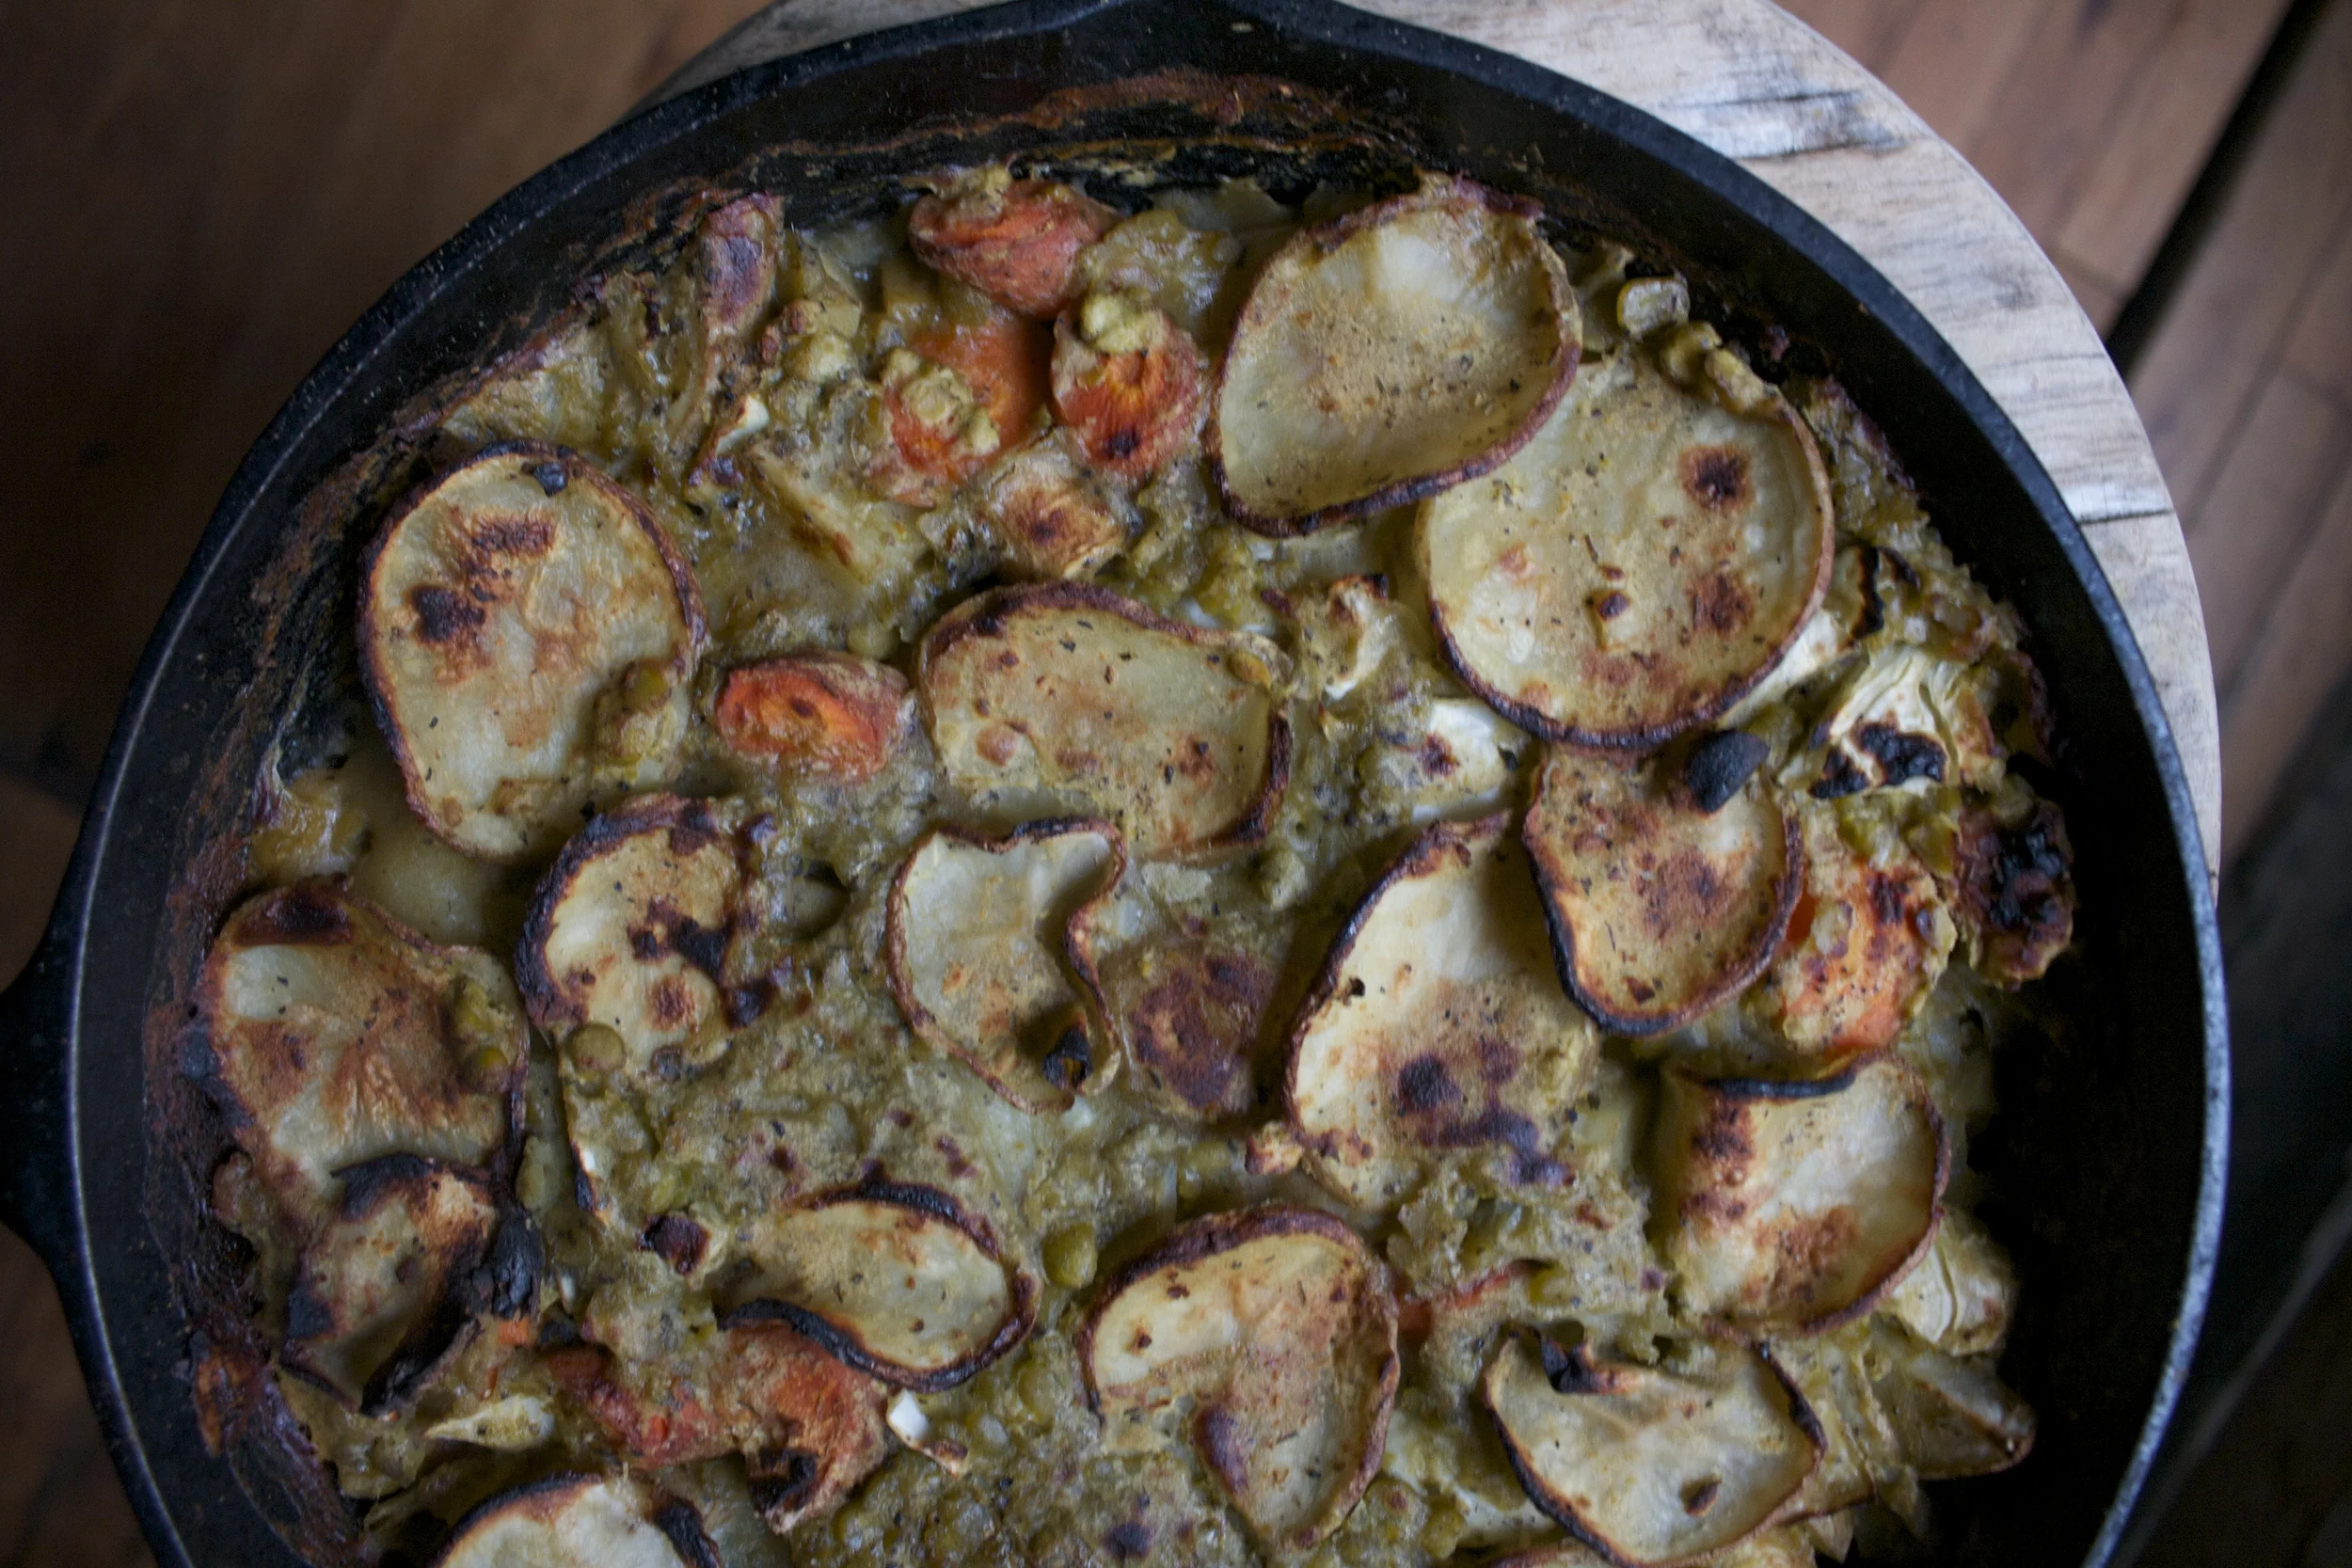
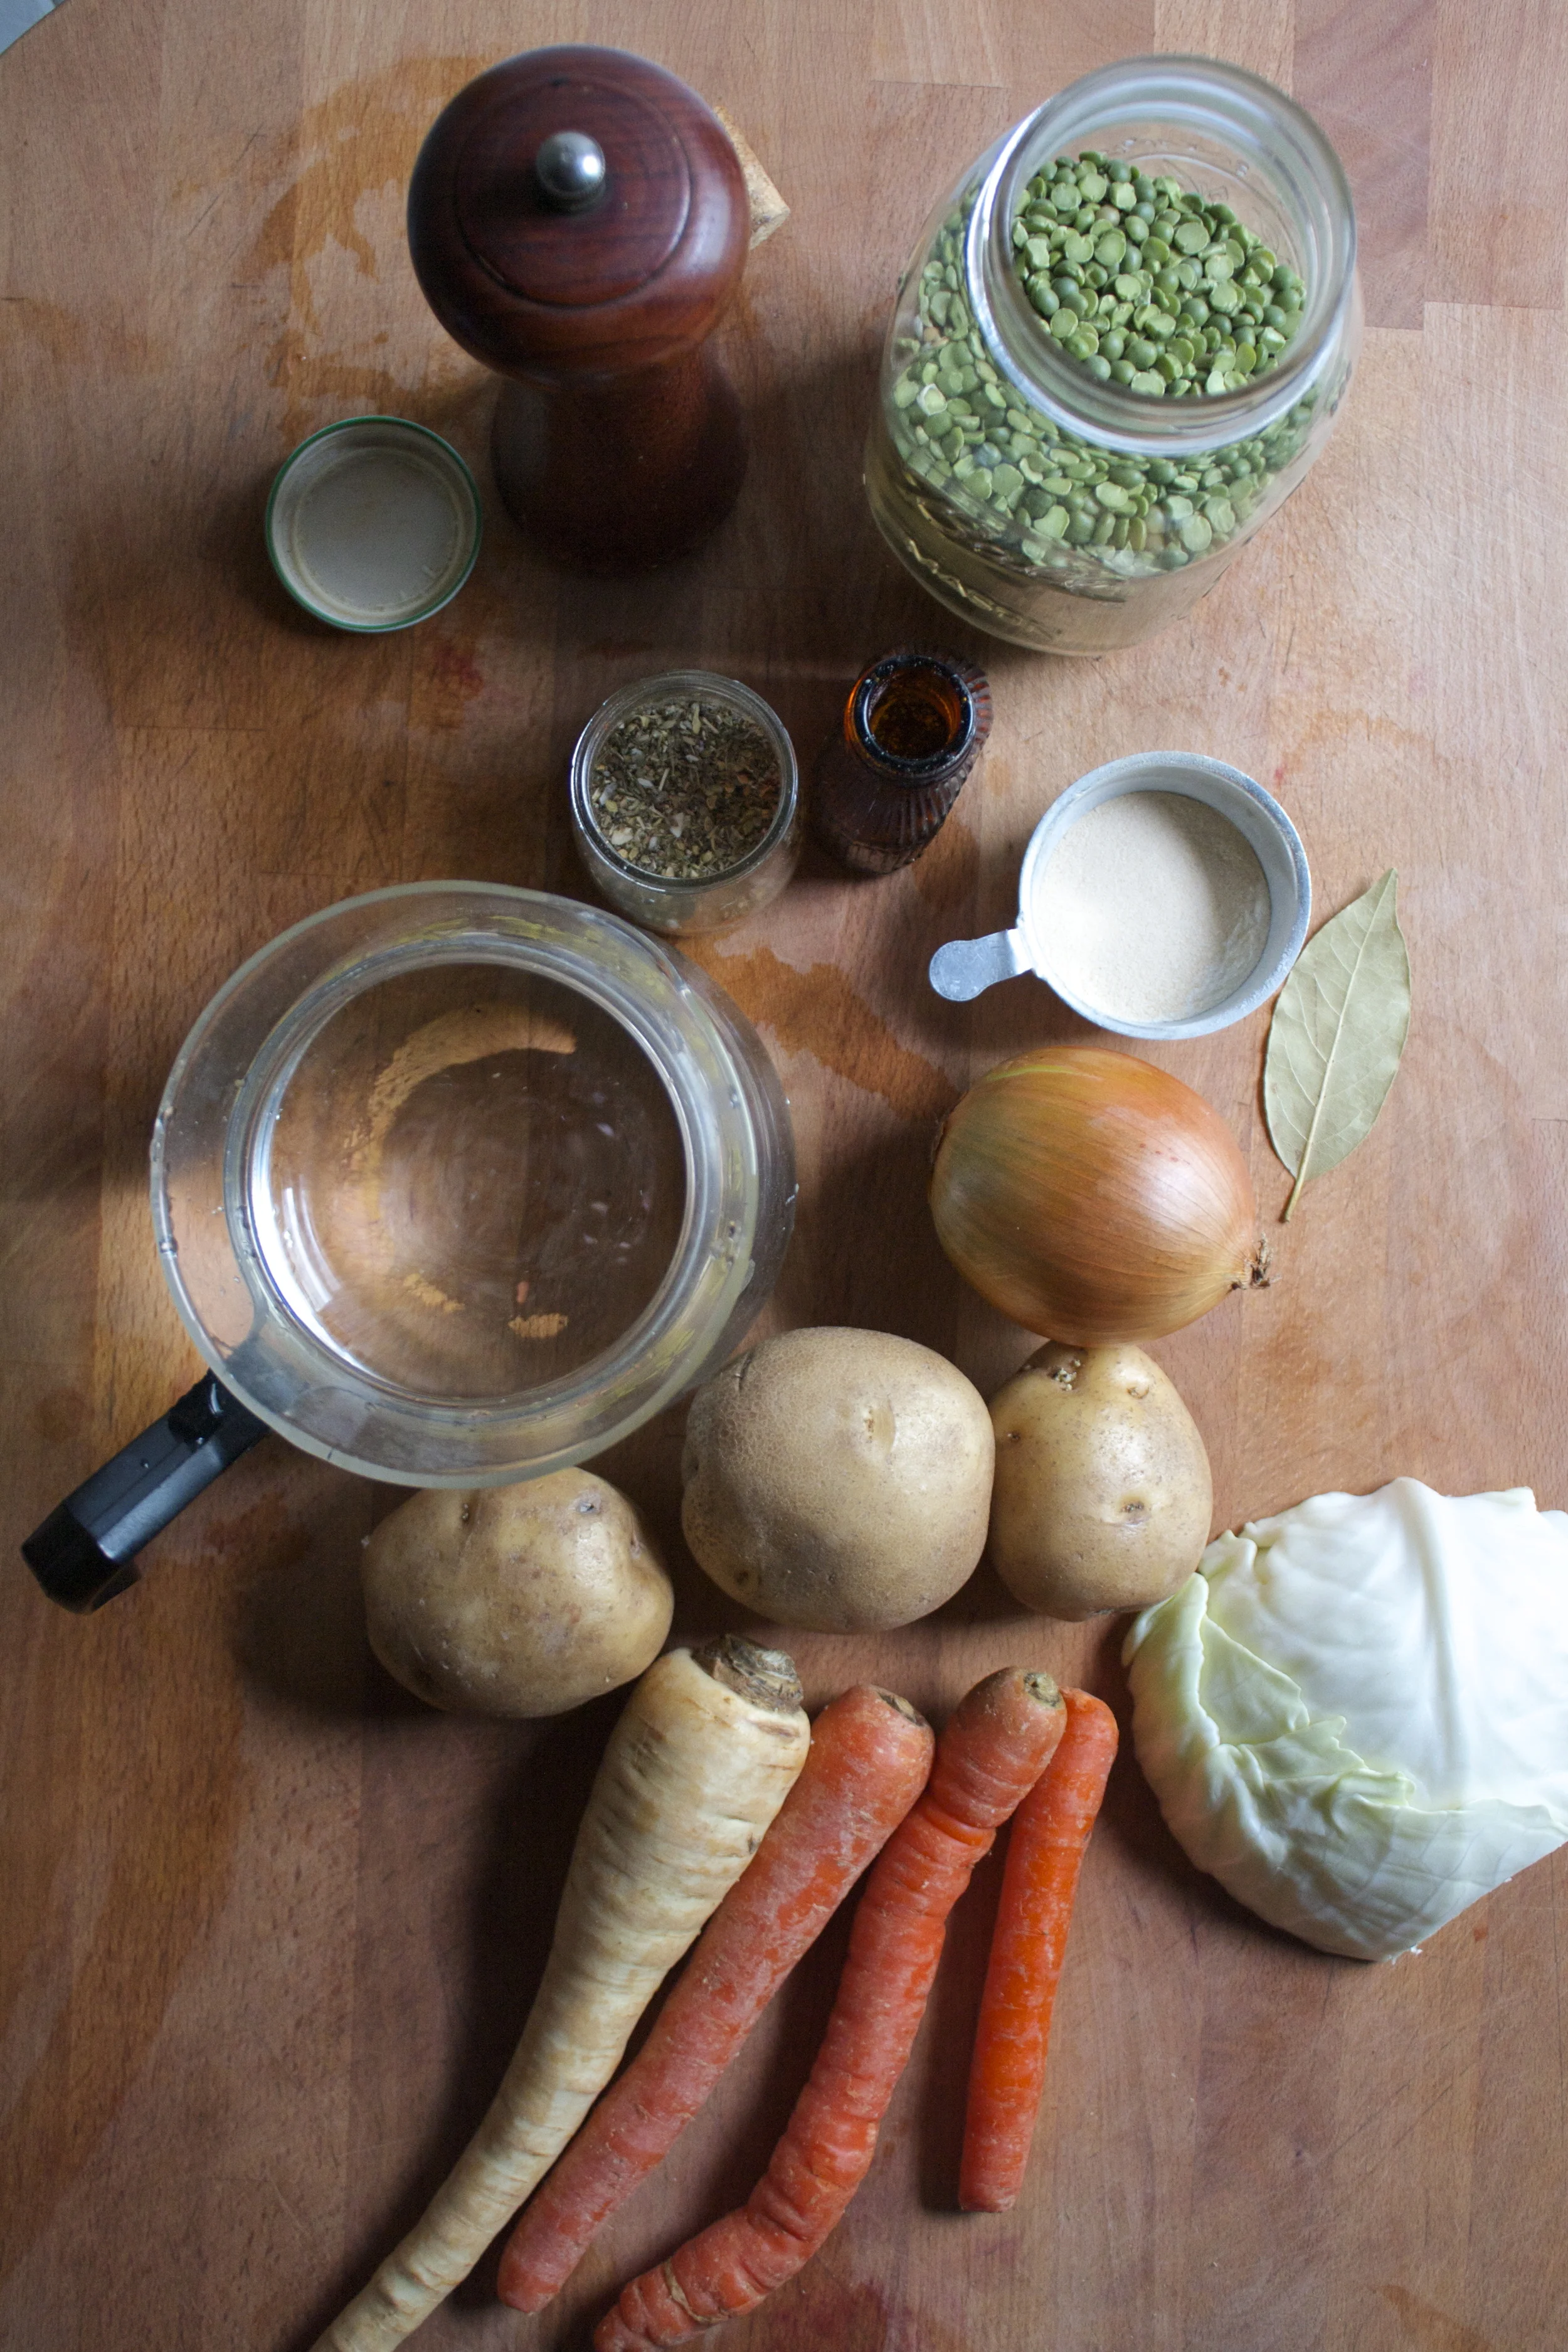
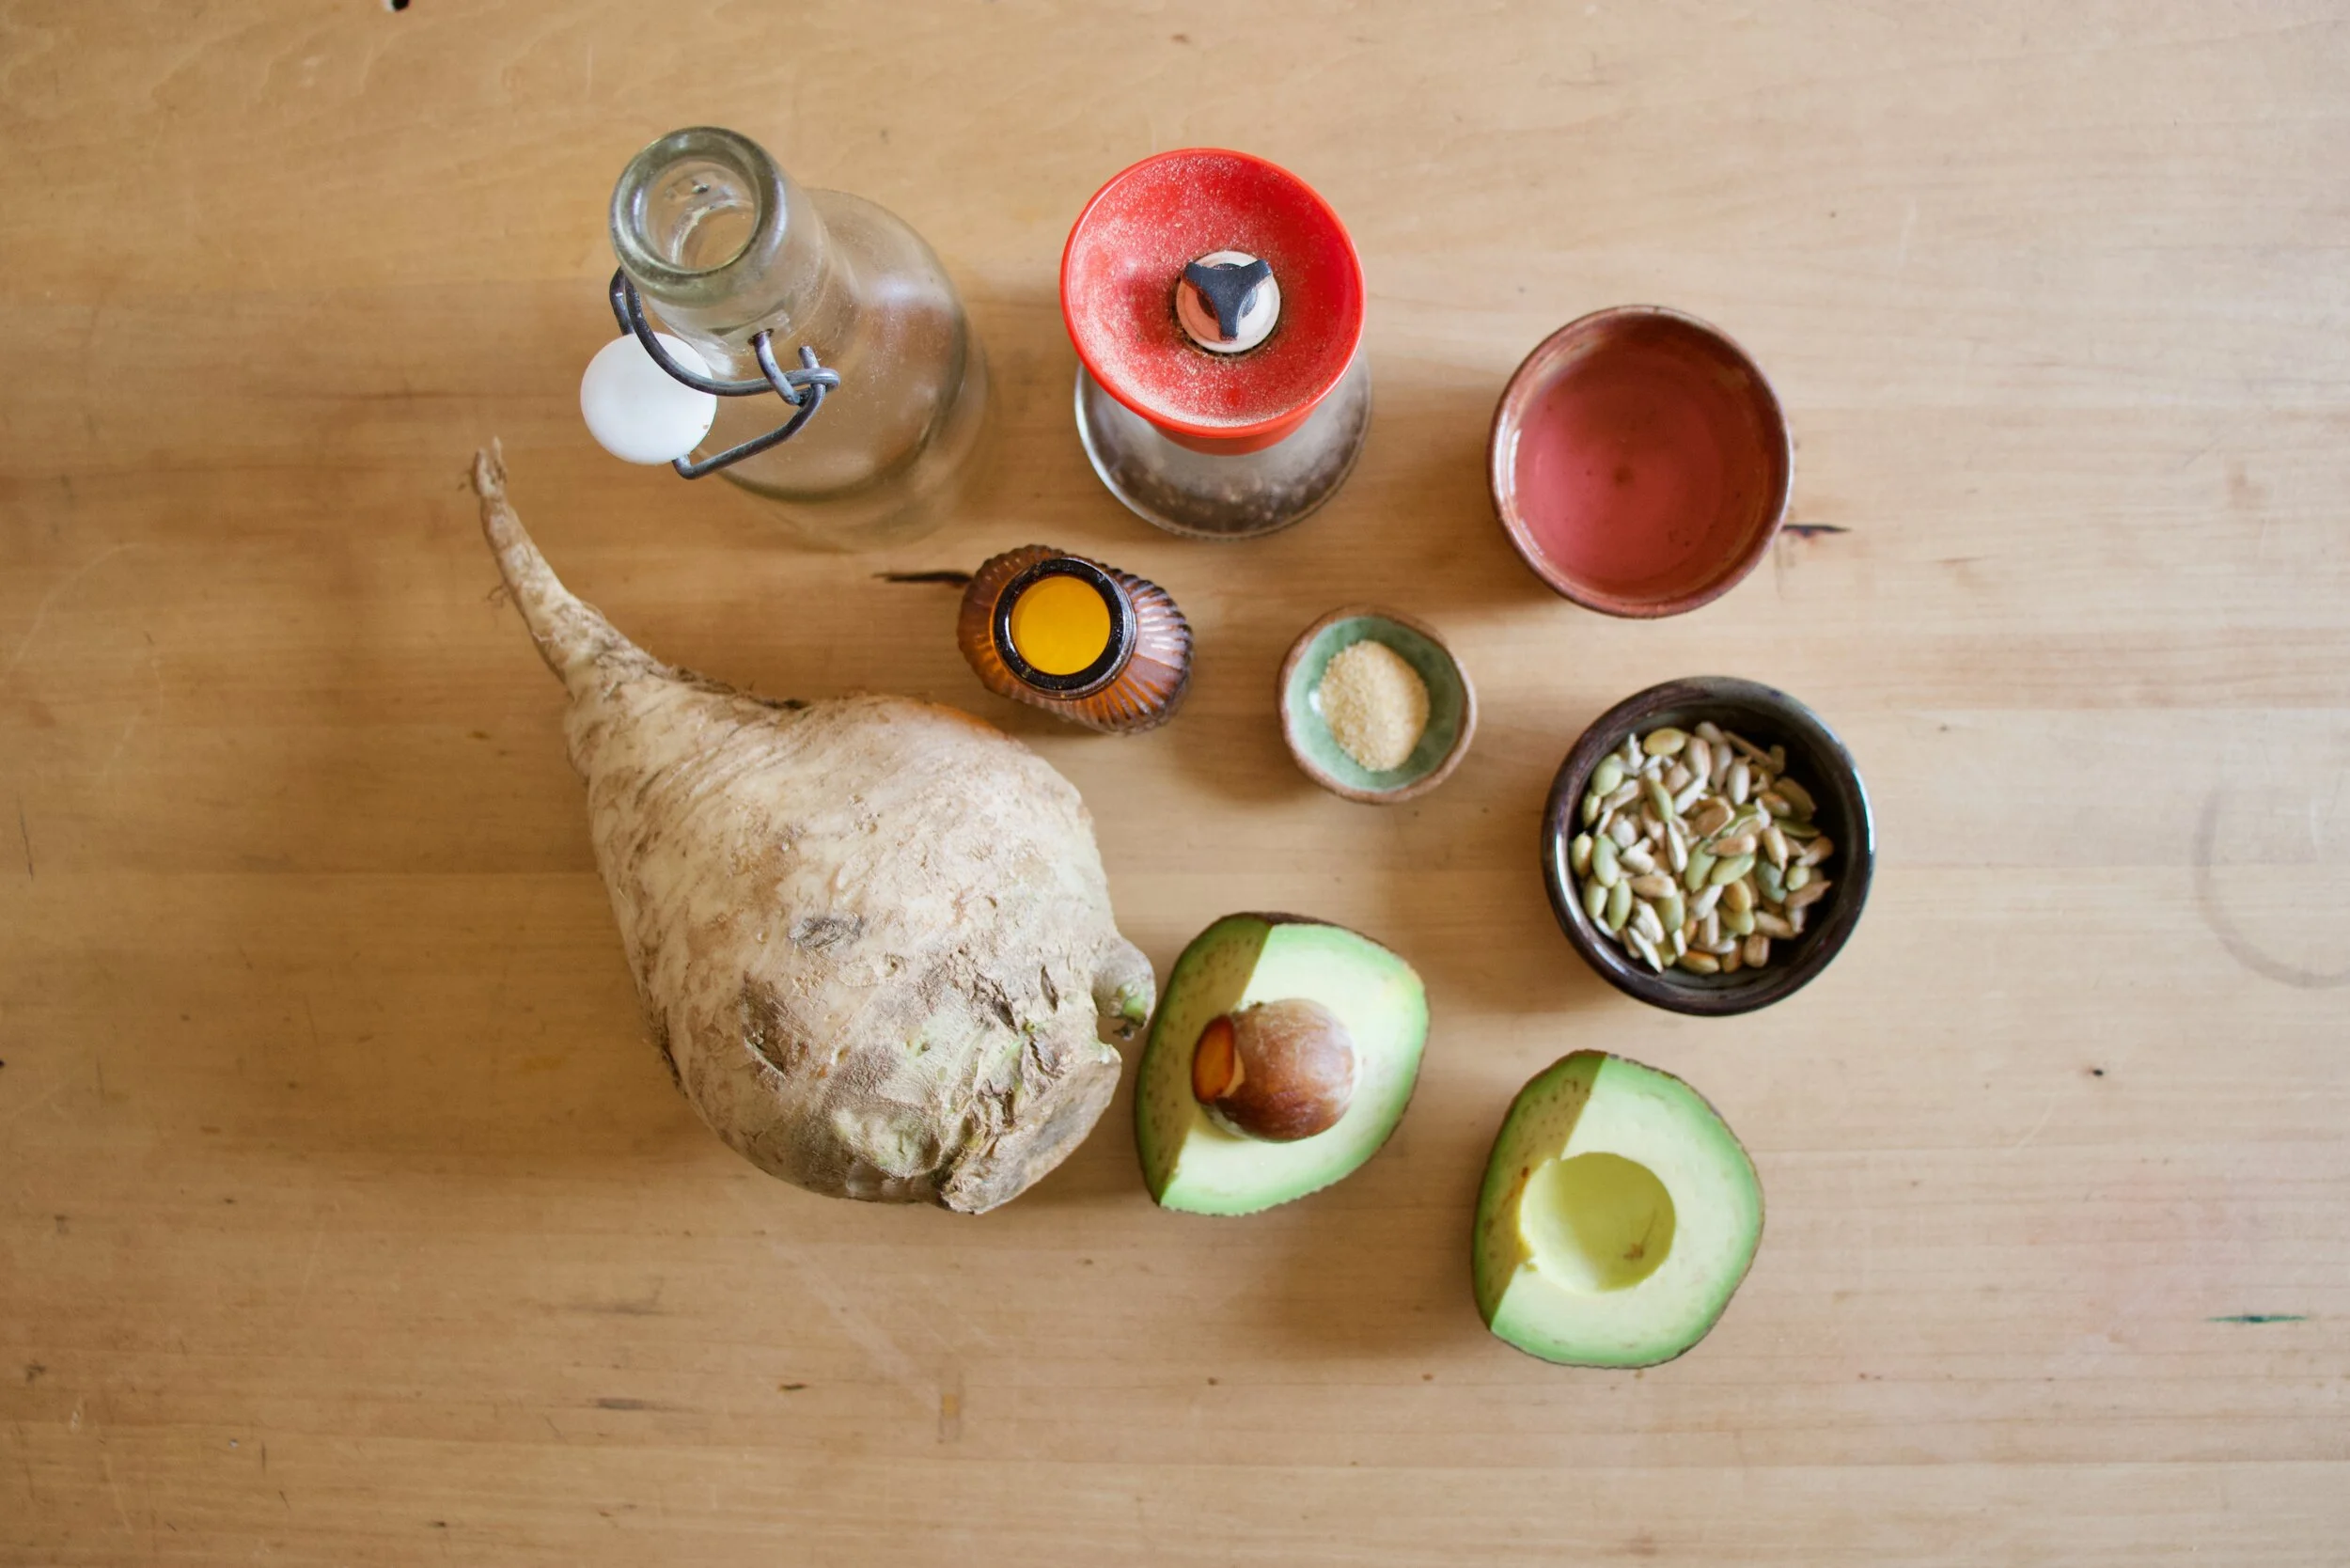
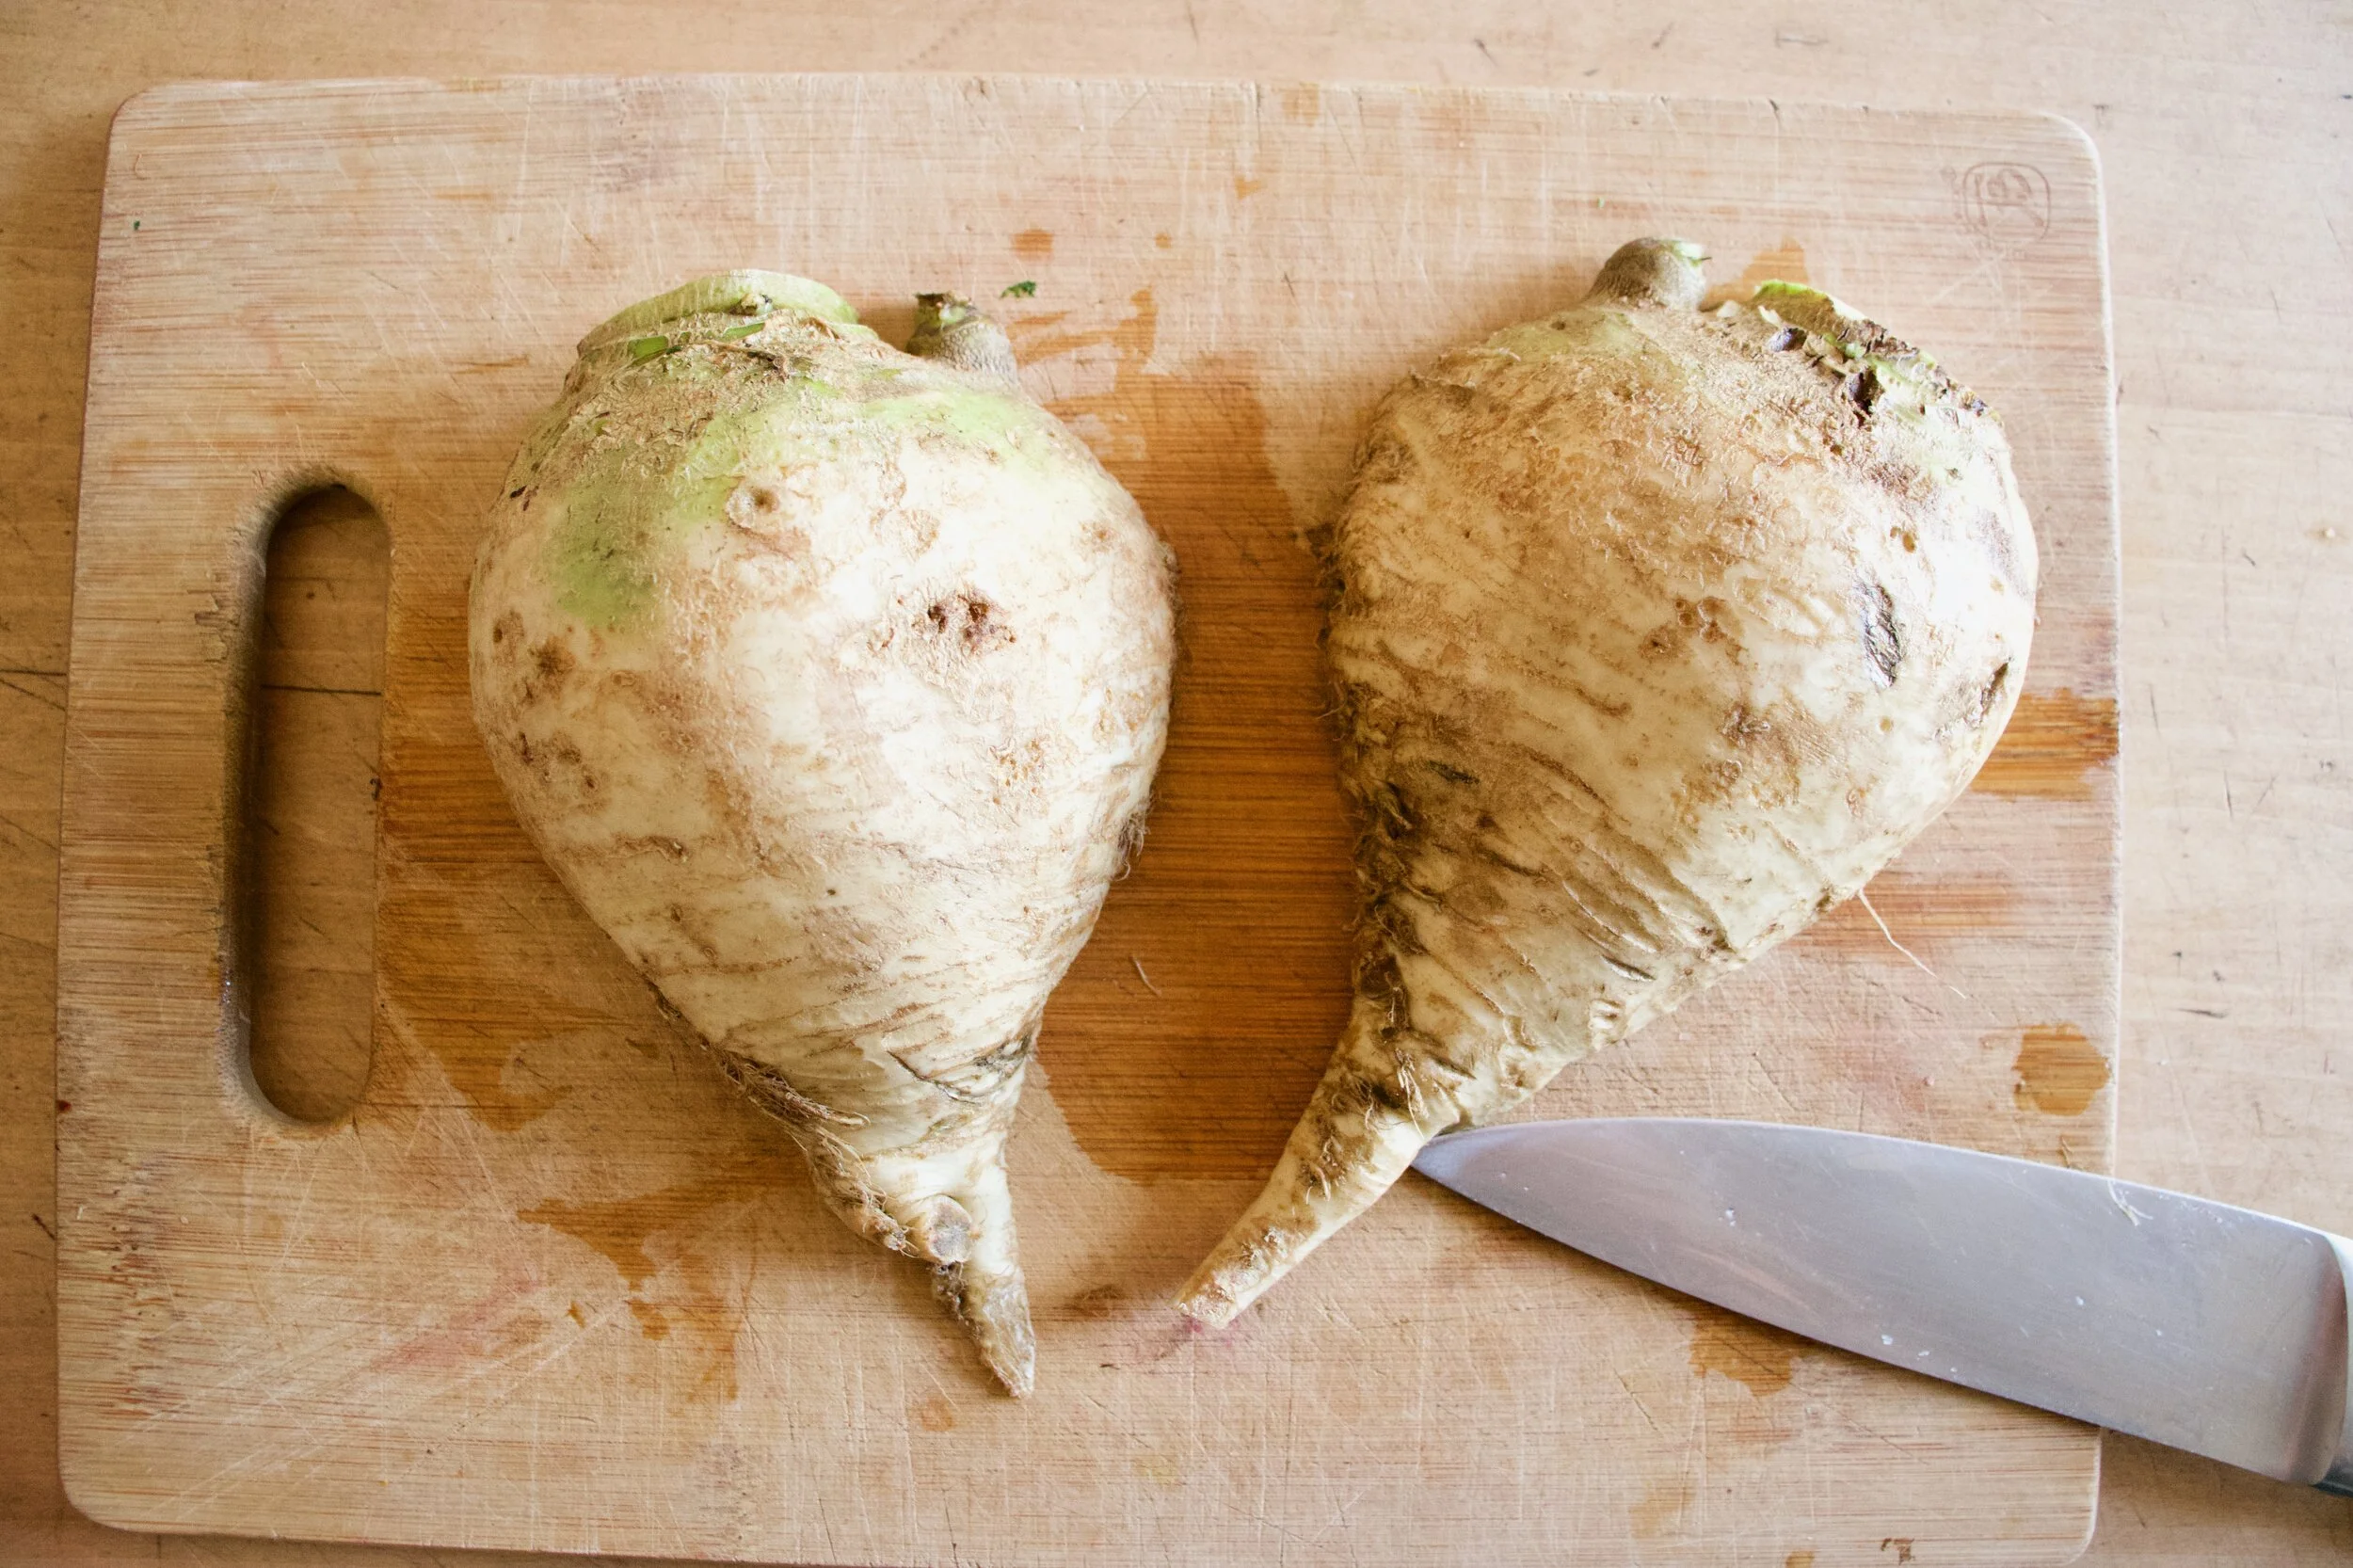
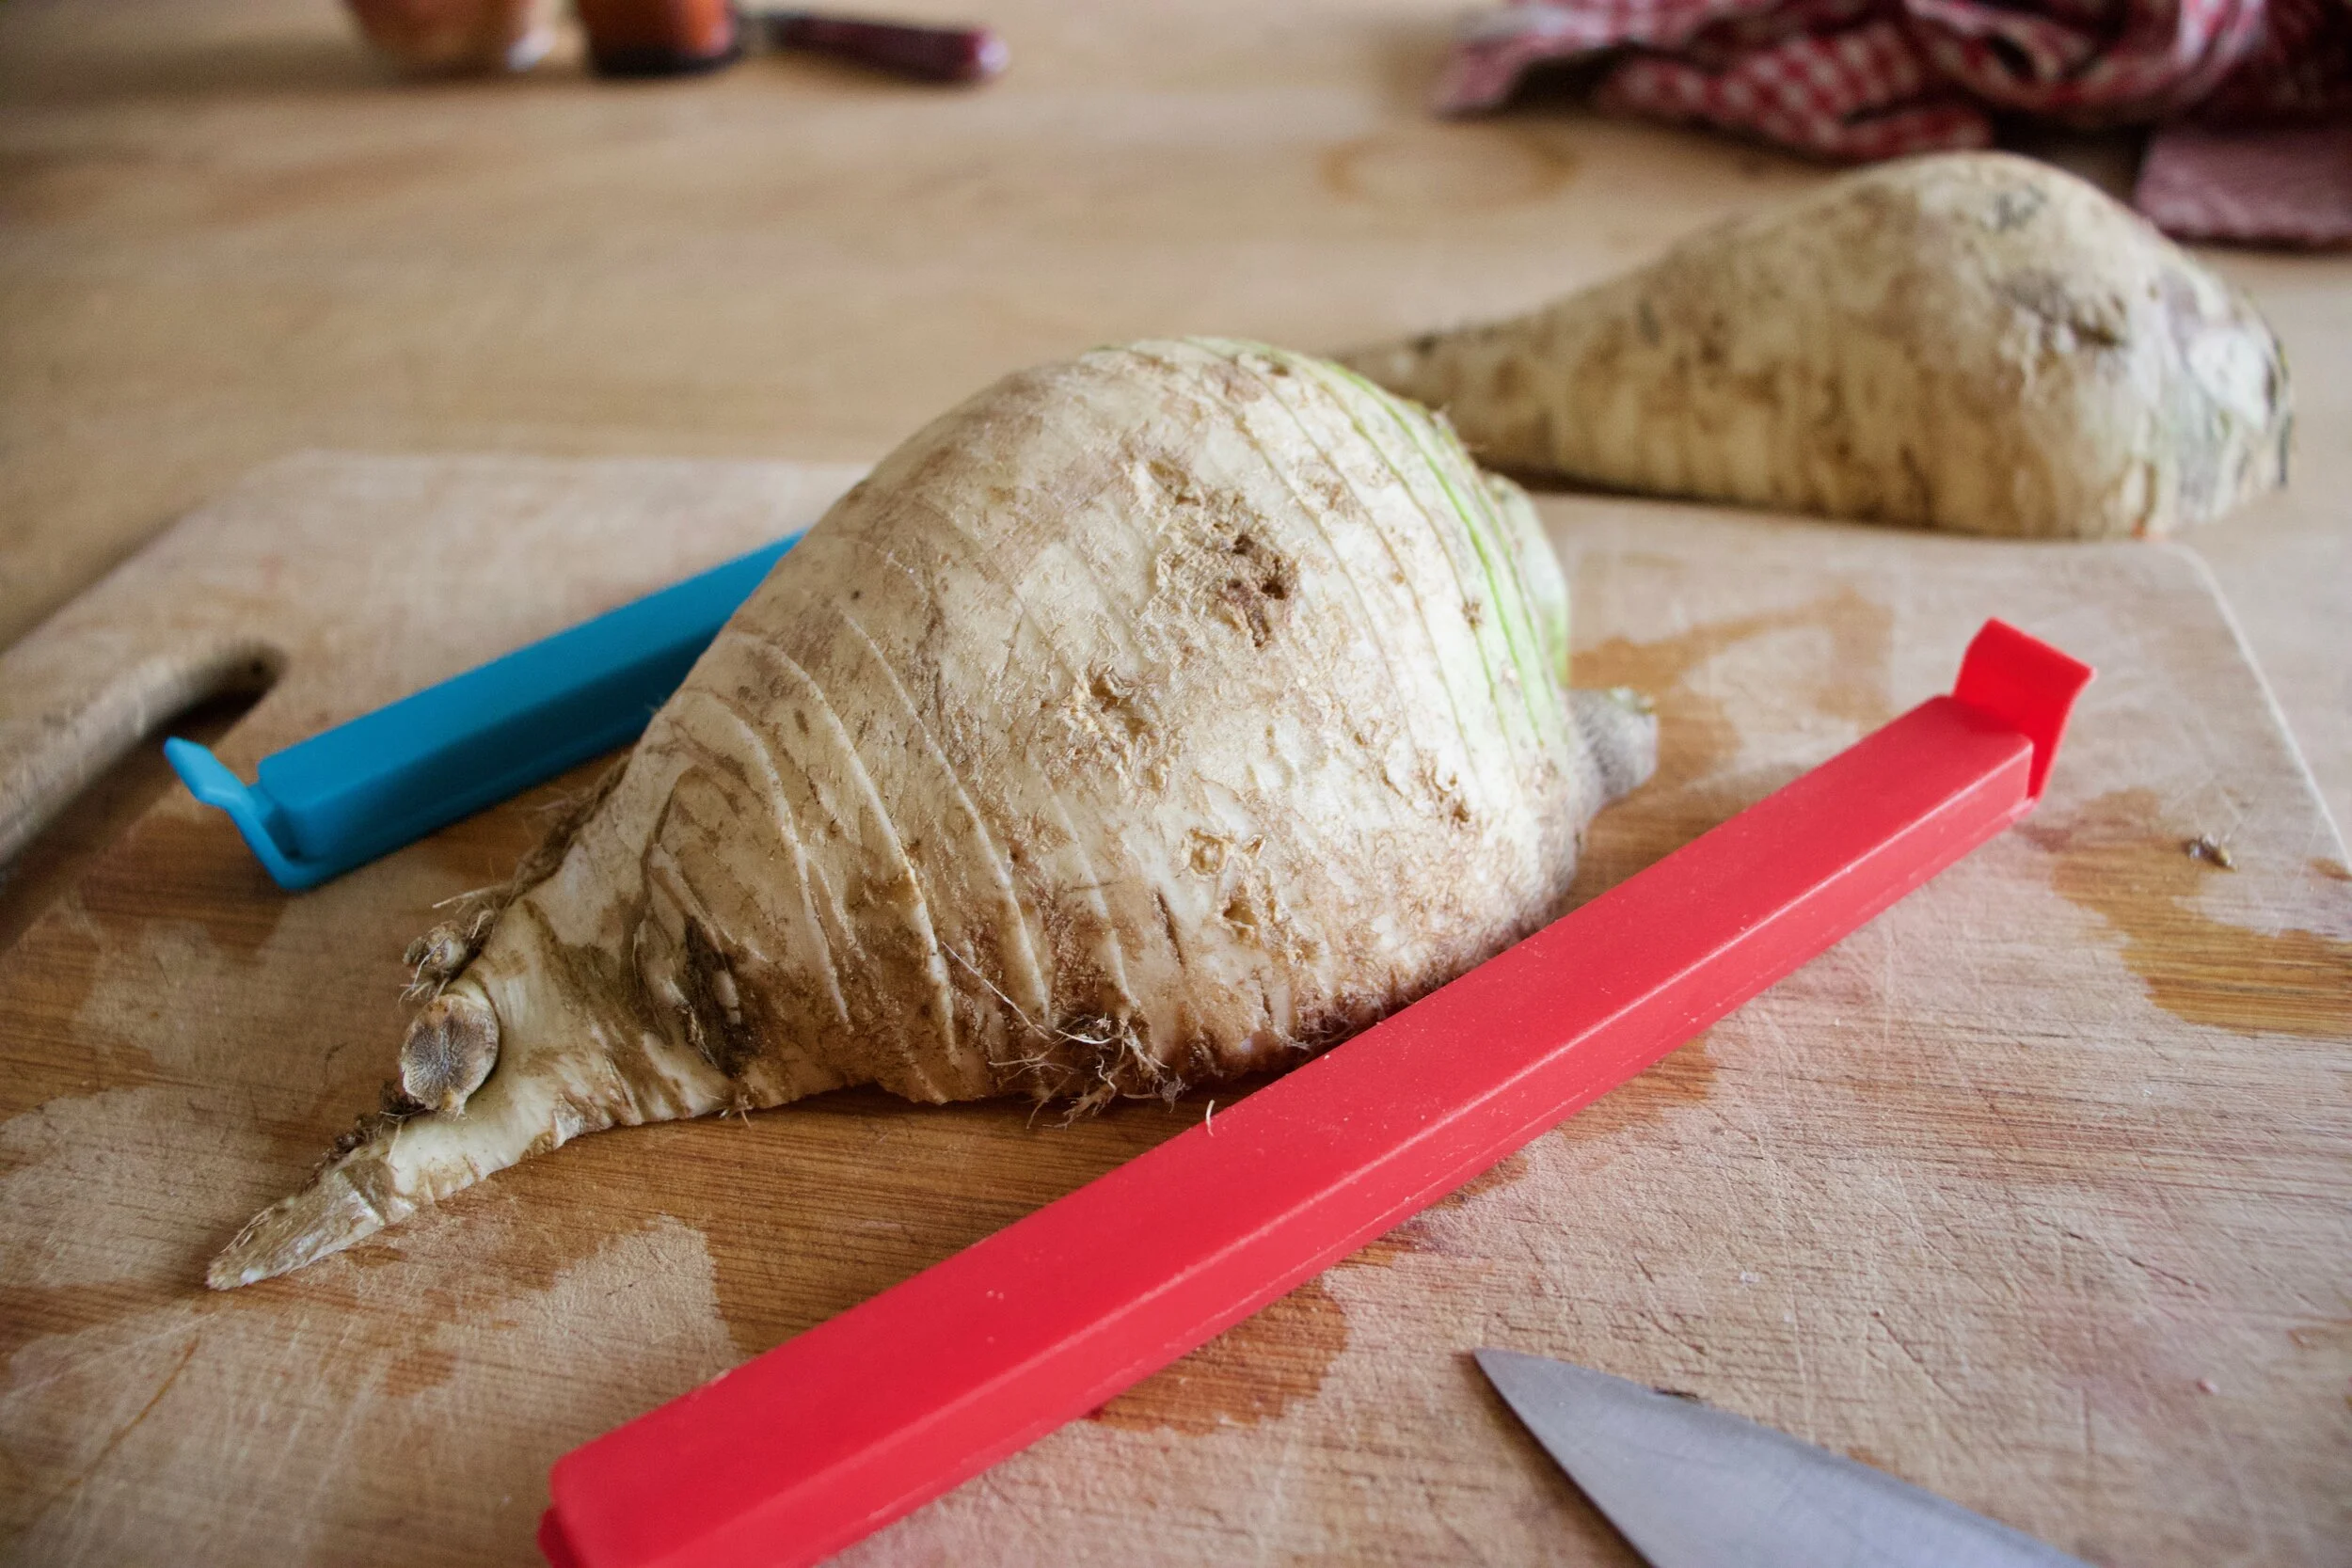
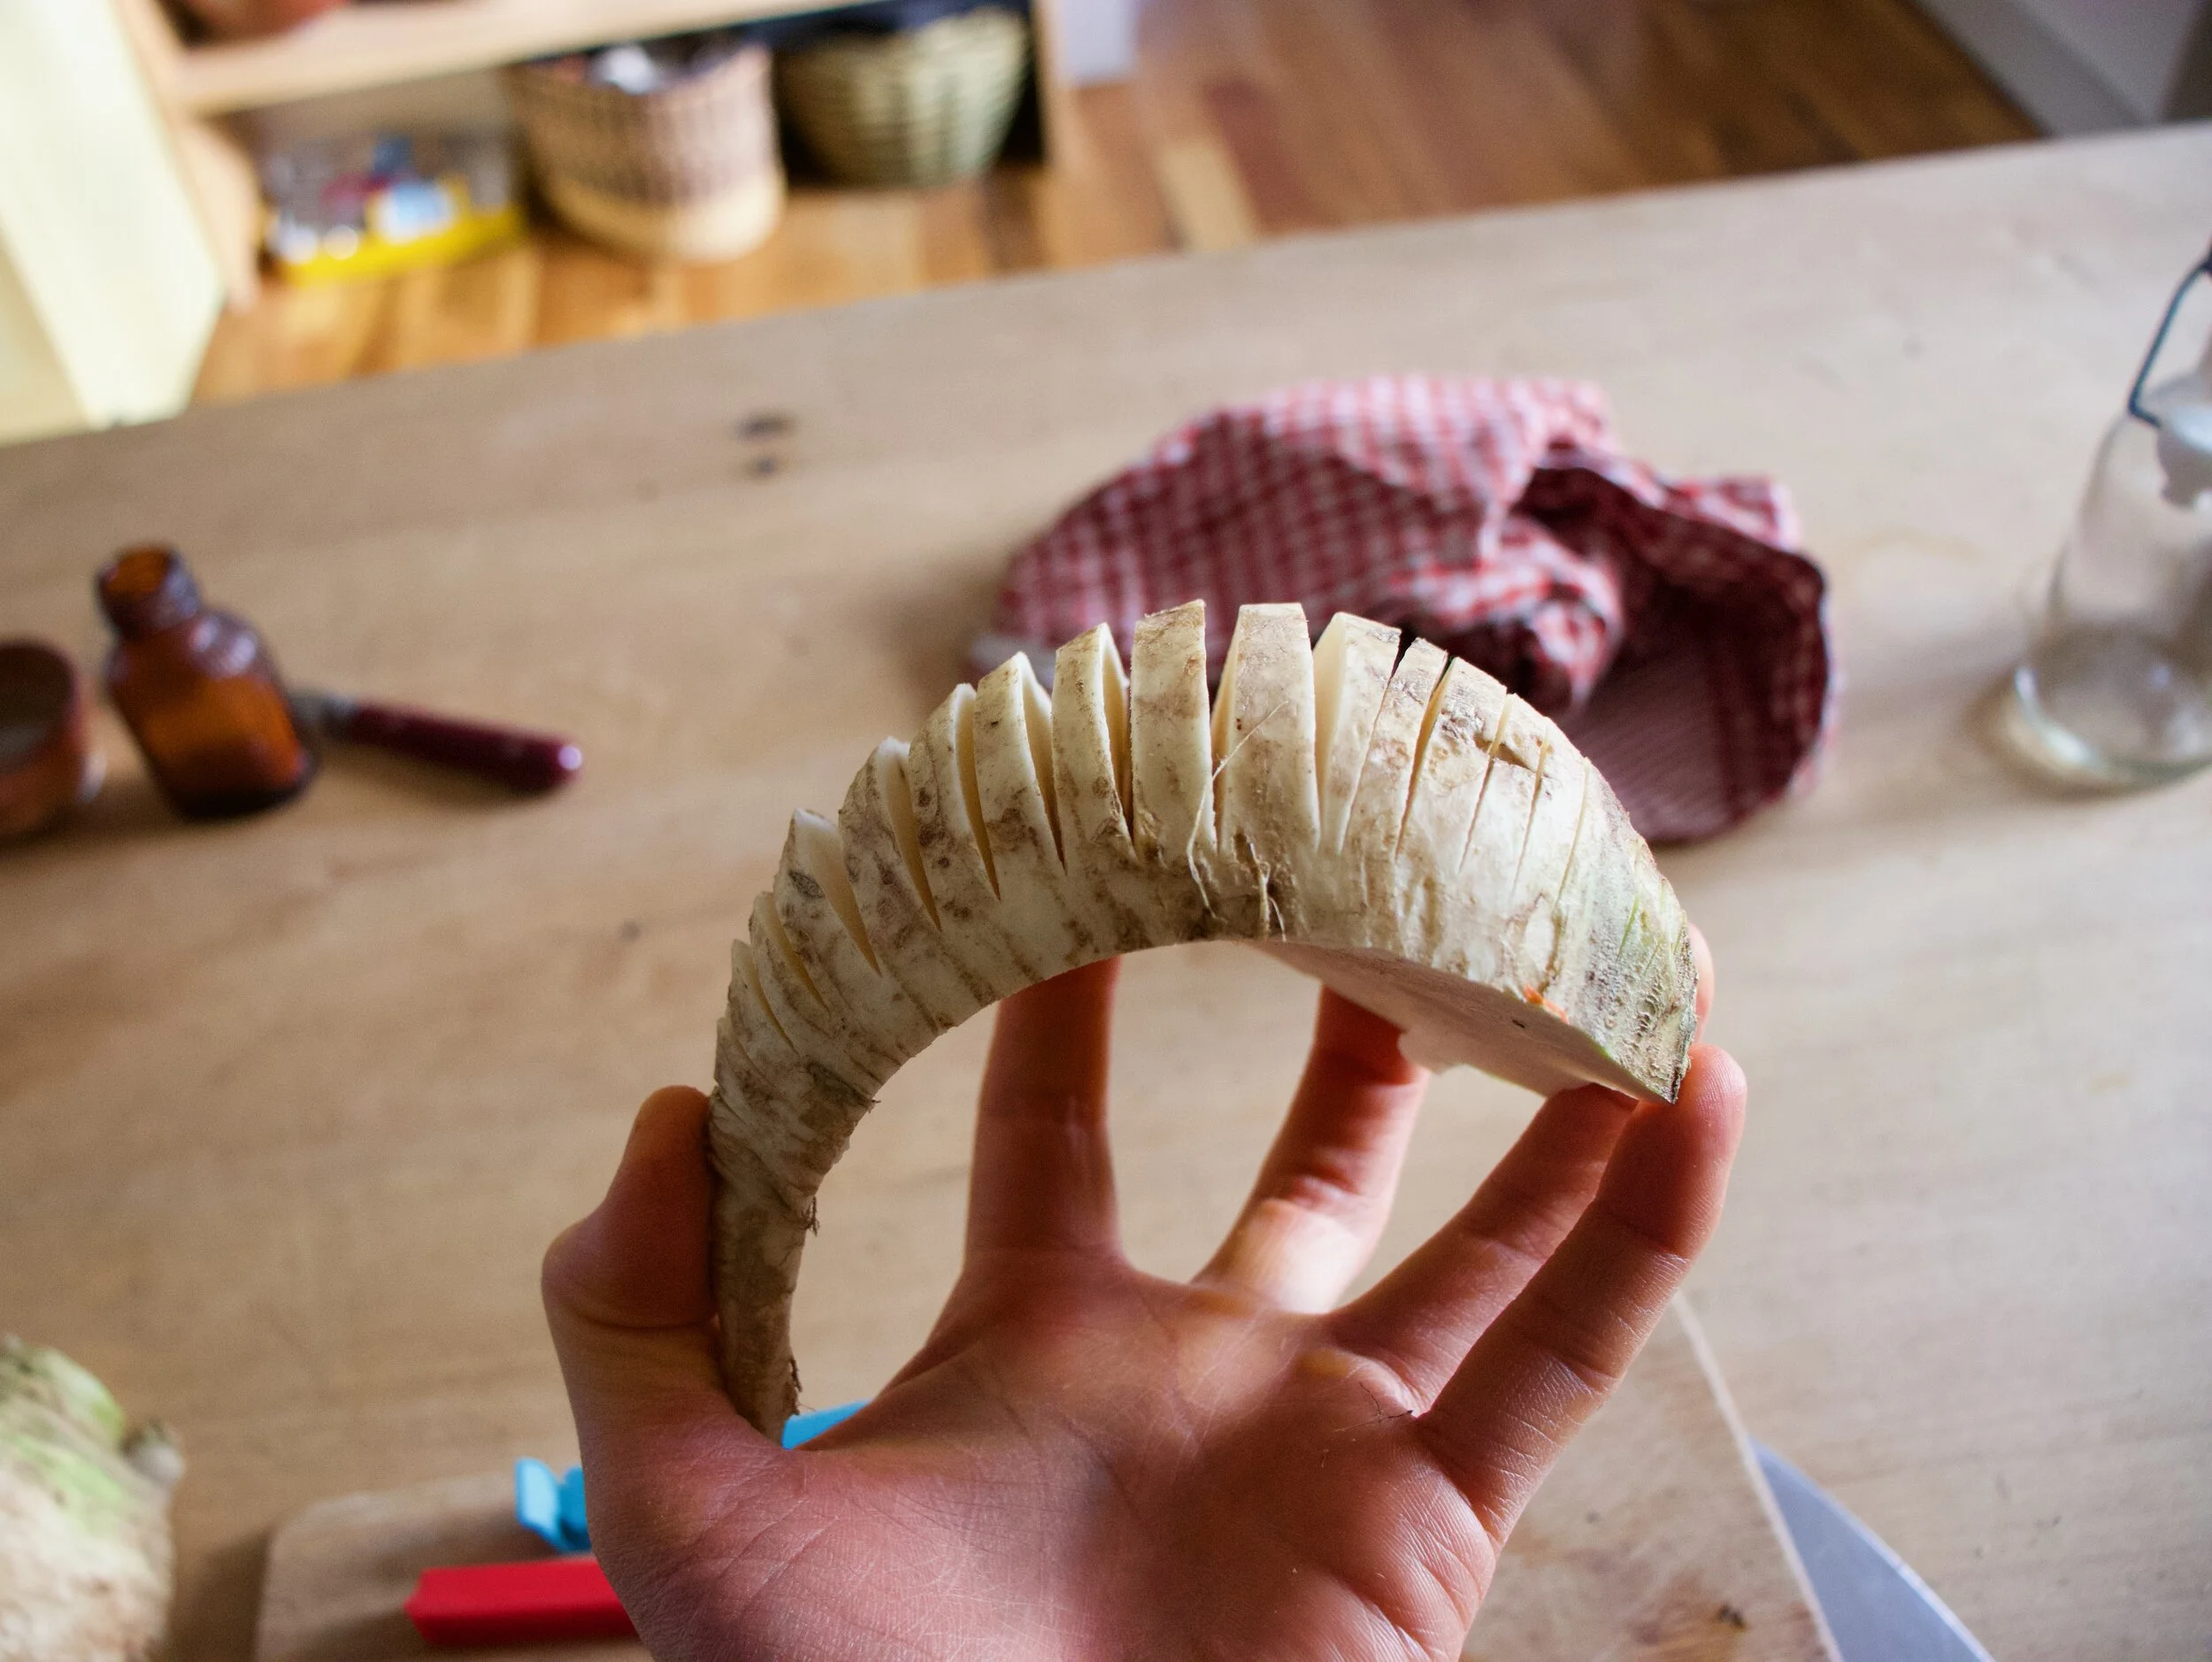
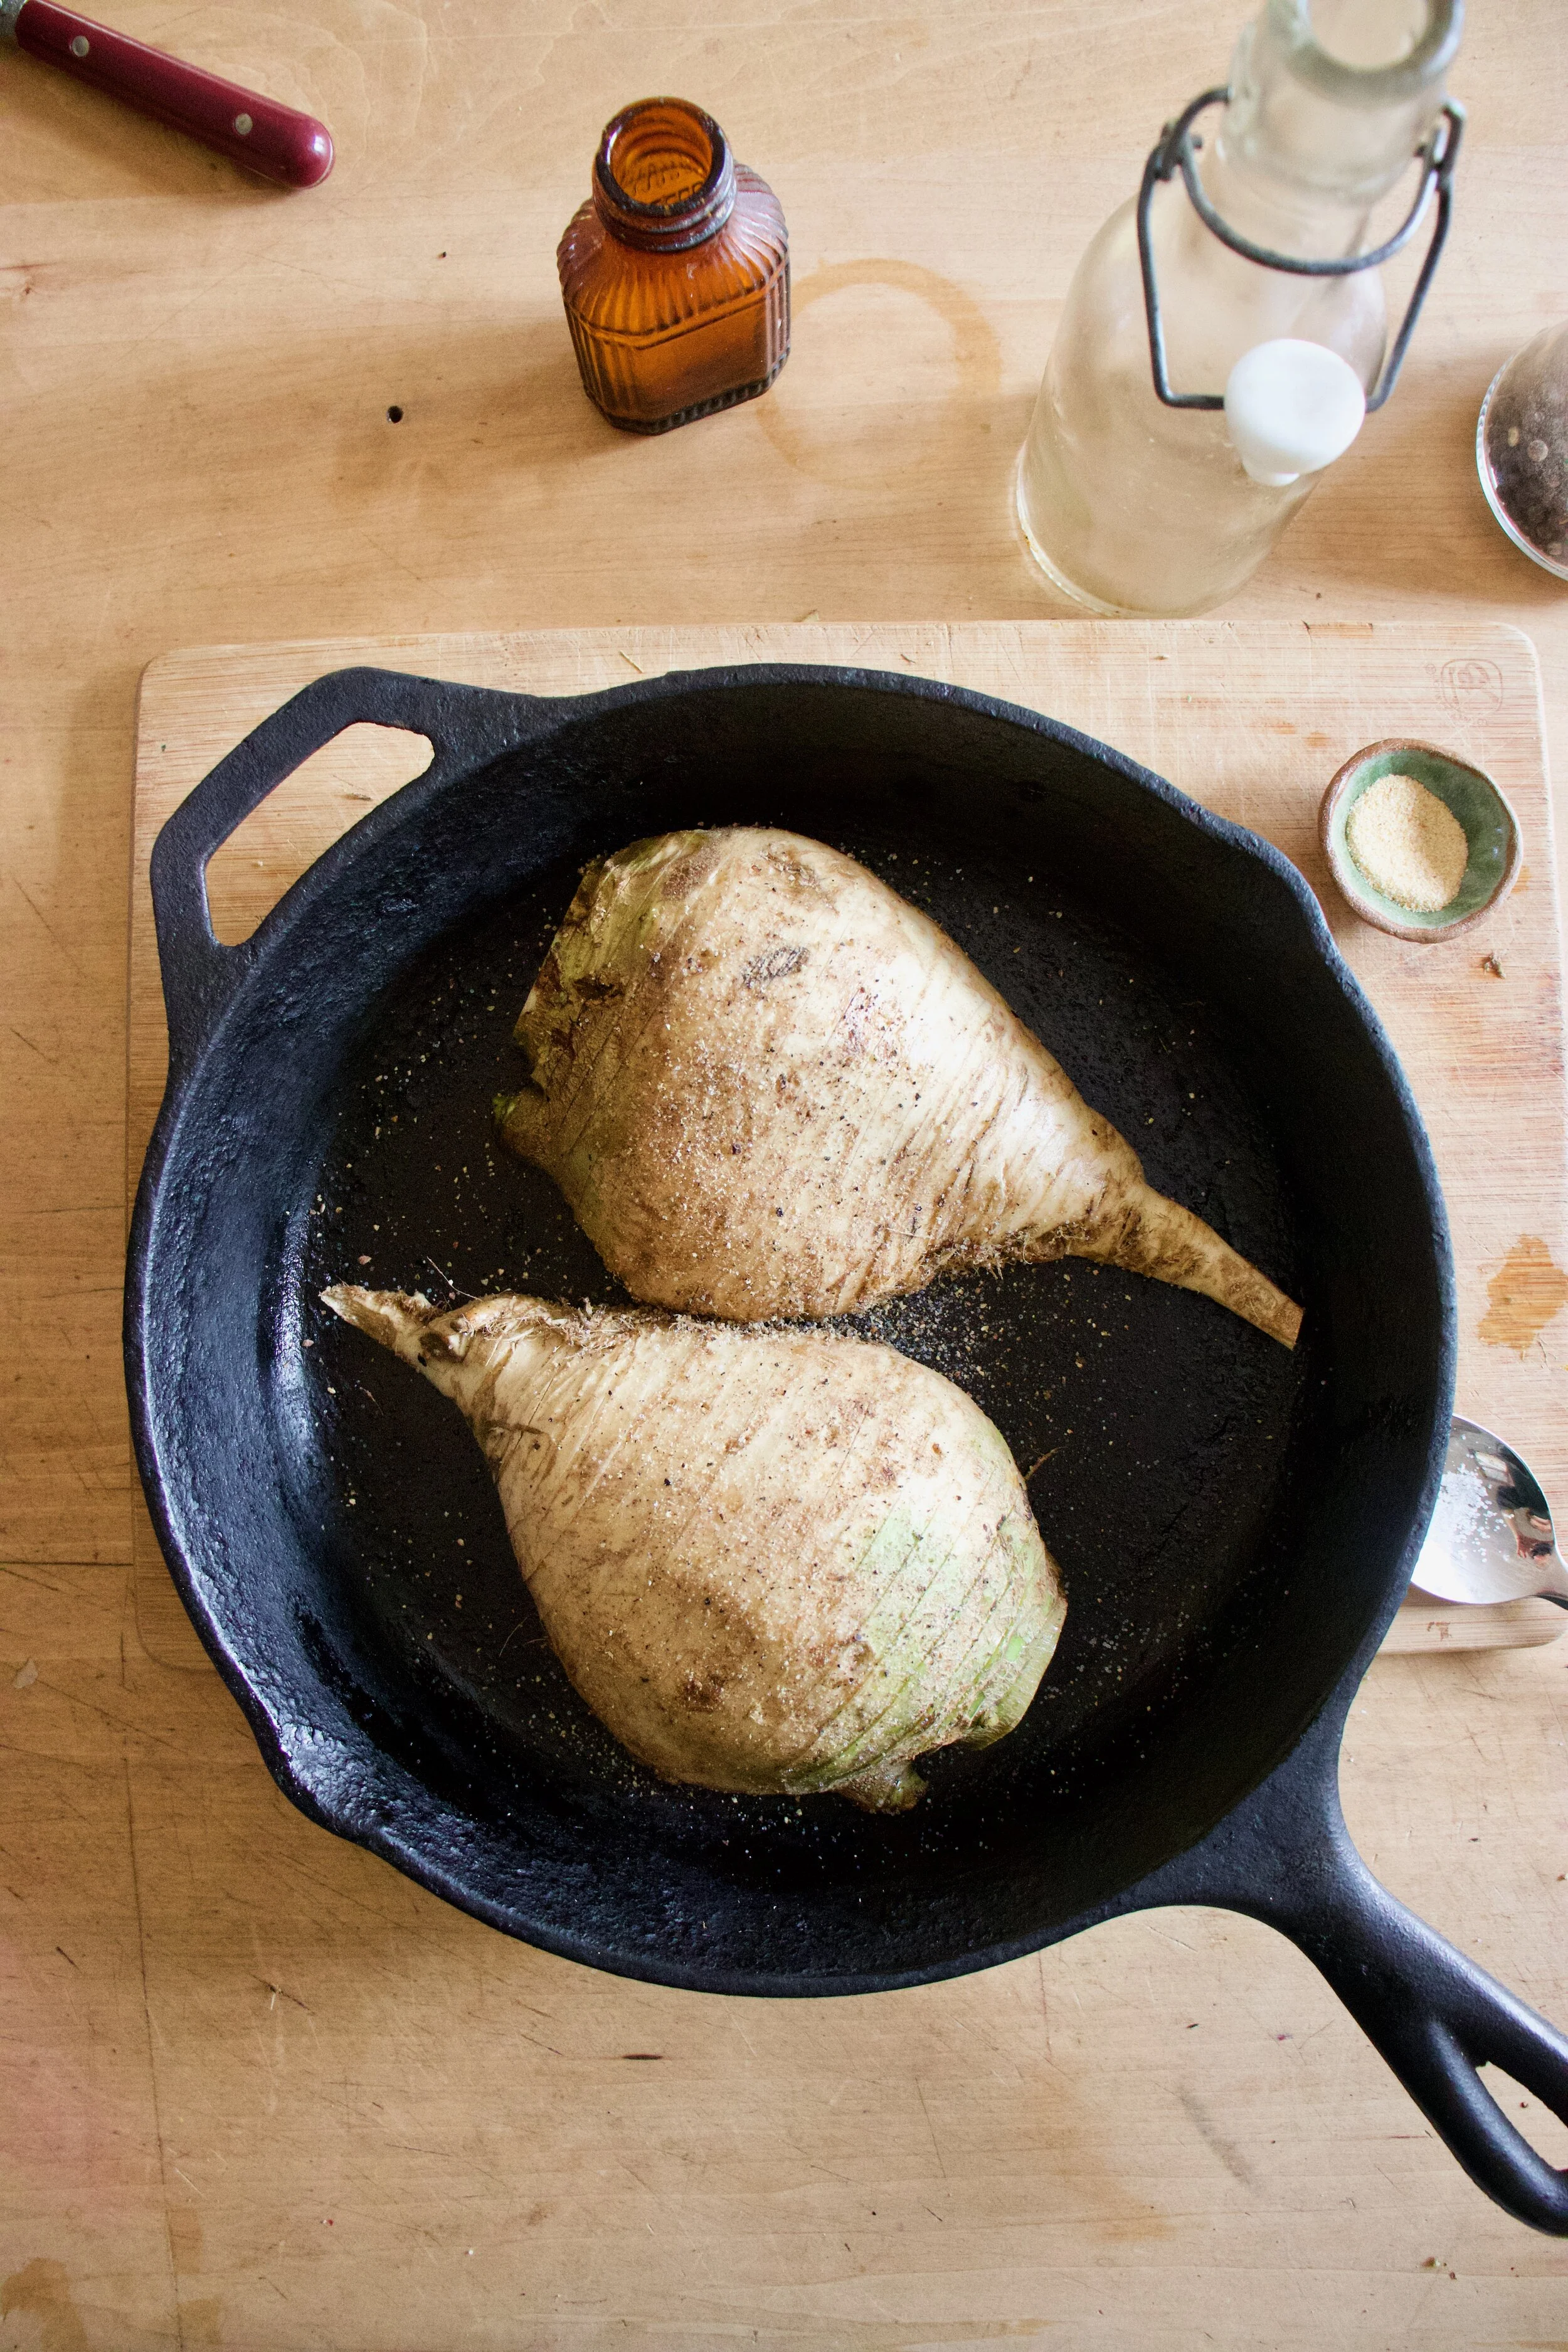
 %u00a0The stuff%u2026.For the split pea gravy we have a carrot, a parsnip and a large onion chopped into small chunks. %u00a0Salt, thyme, a bay leaf and of course the split peas. Then there is the celeriac root* sliced into 1/2 inch thick rounds and some plain old yellow mustard .
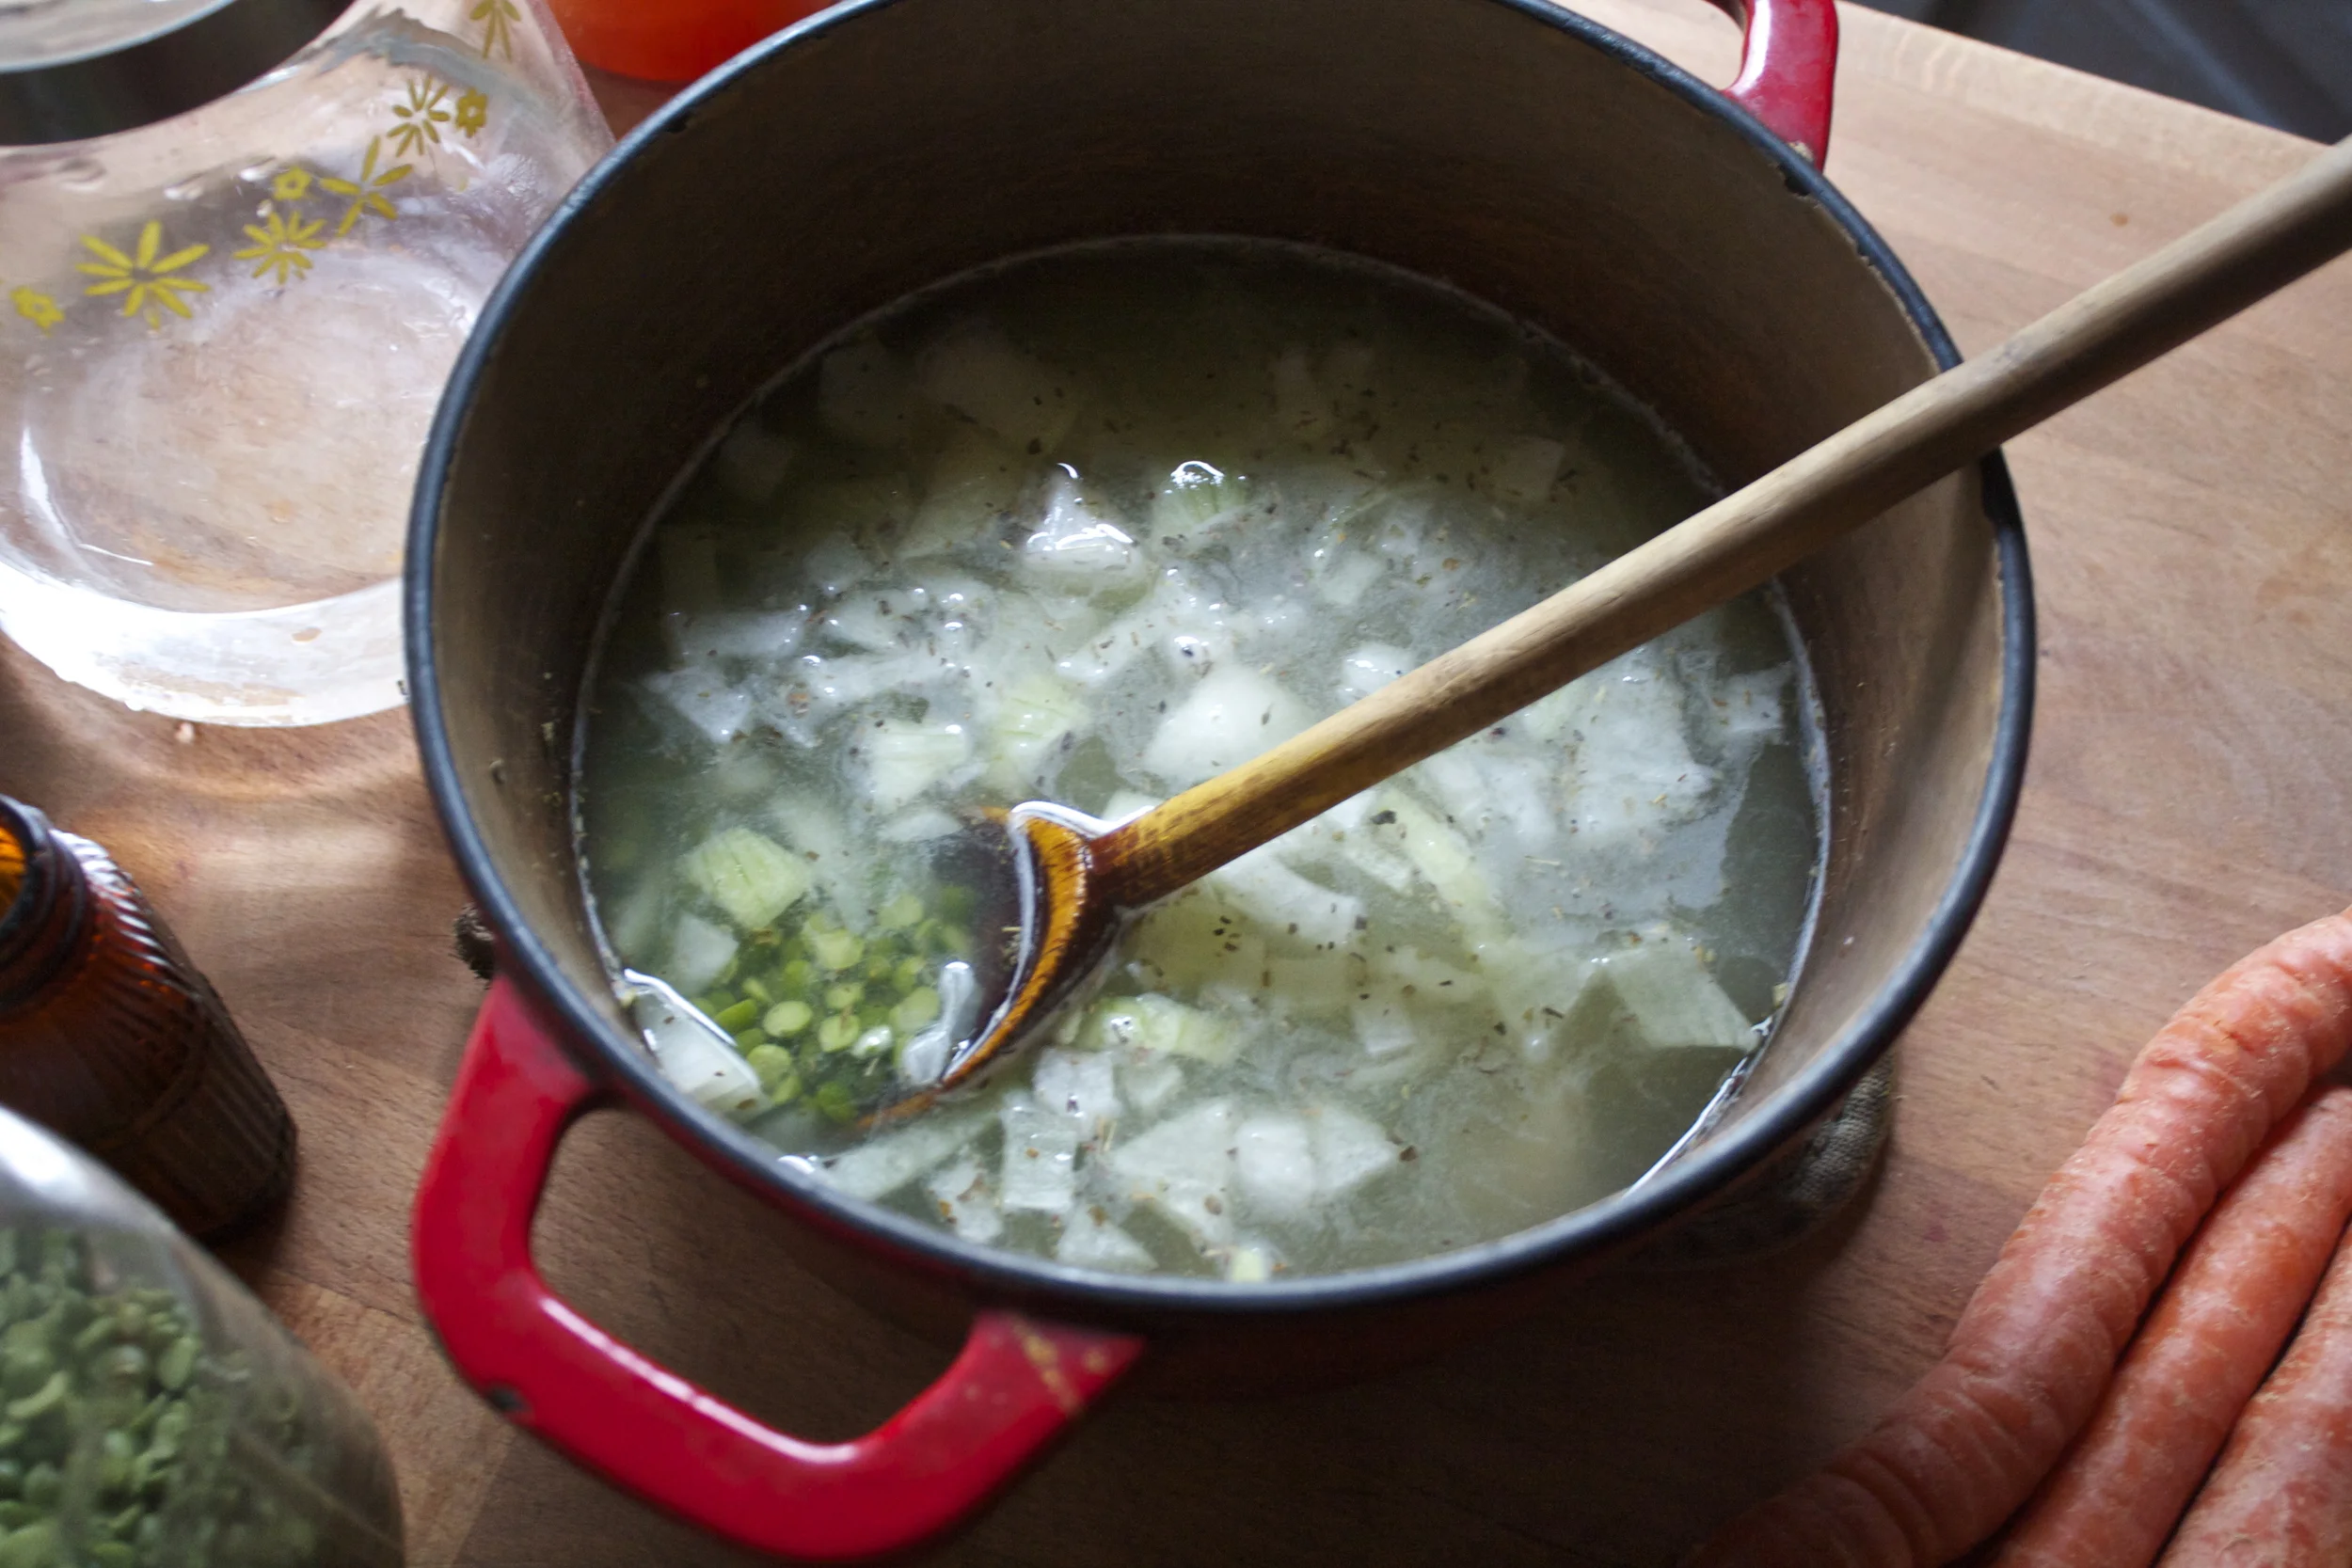
 Toss the chopped parsnip, carrot, onion and the spices into a pot on medium heat and let veggies sweat a few minutes until tender. %u00a0Add in the split peas and enough water to cover everything. %u00a0Turn pot on high and bring to a boil, then cover and turn to low. Make sure to give the pot a good stir ever few minutes and add more water if needed%u00a0
 Once the peas have soften, remove the bay leaf and puree until smooth and oh so creamy. Taste and add more salt and pepper if needed. If you find that the gravy seems to thick, just add in more water until it’s the consistency that you want.%u00a0
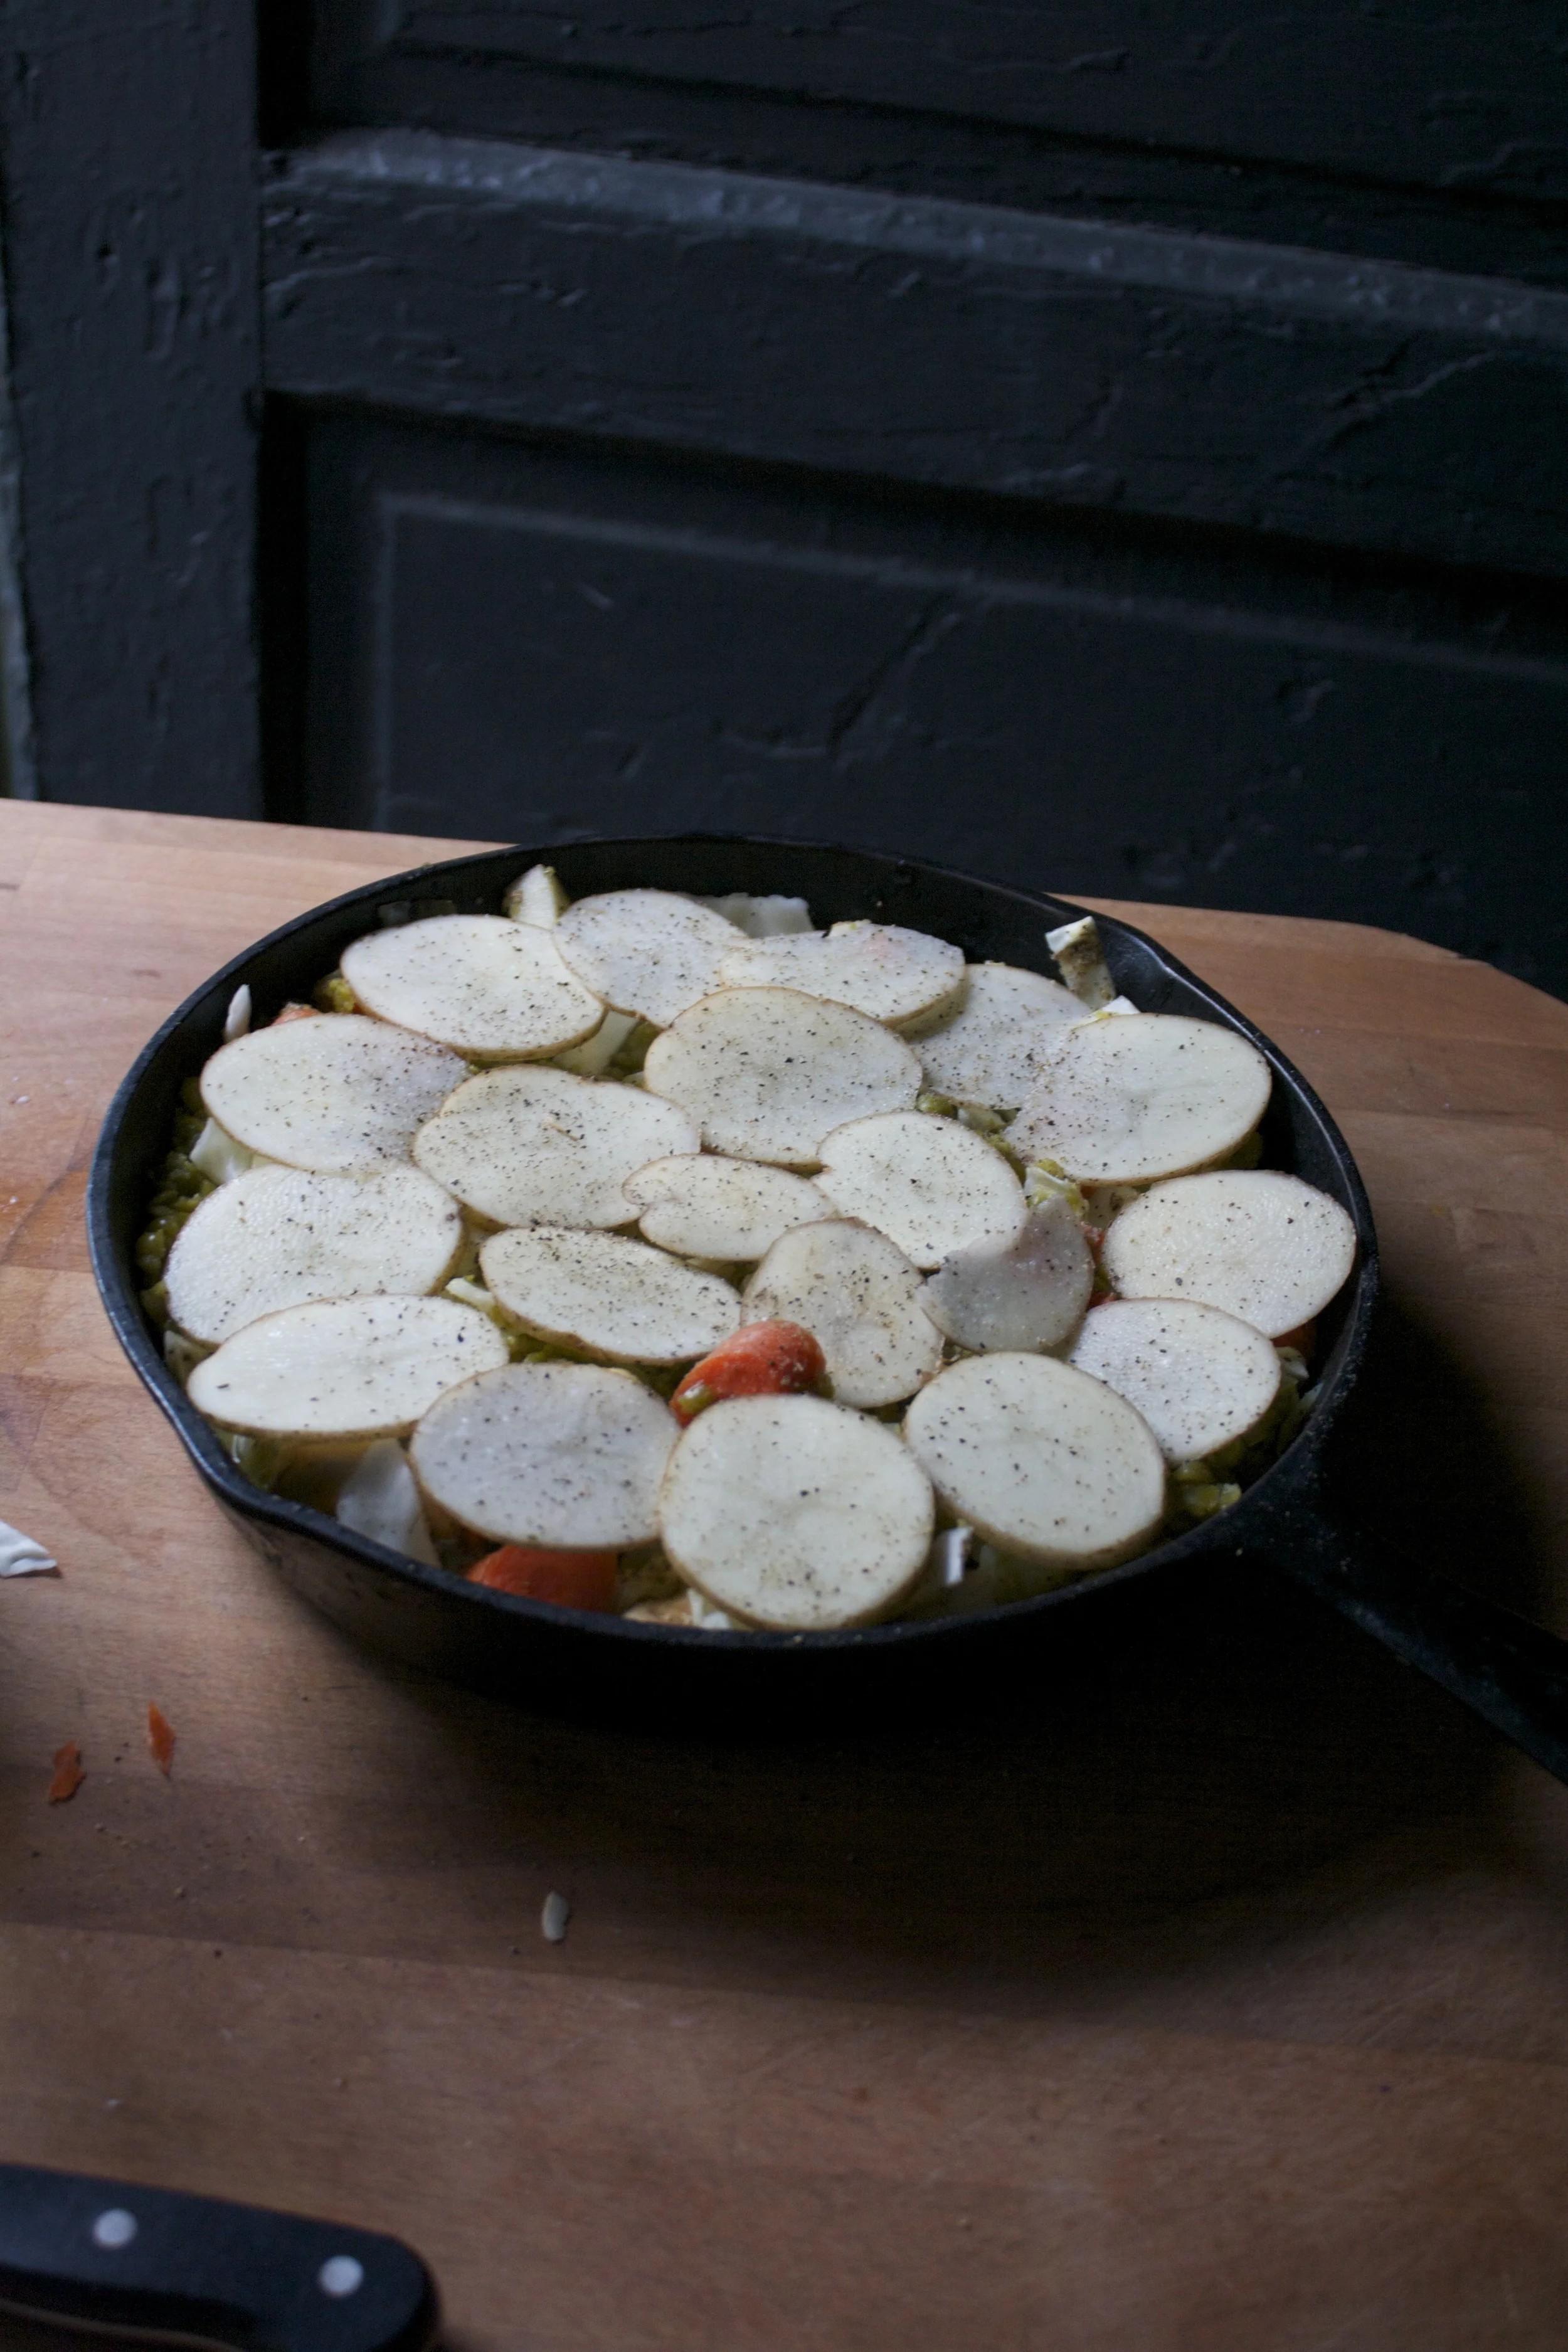
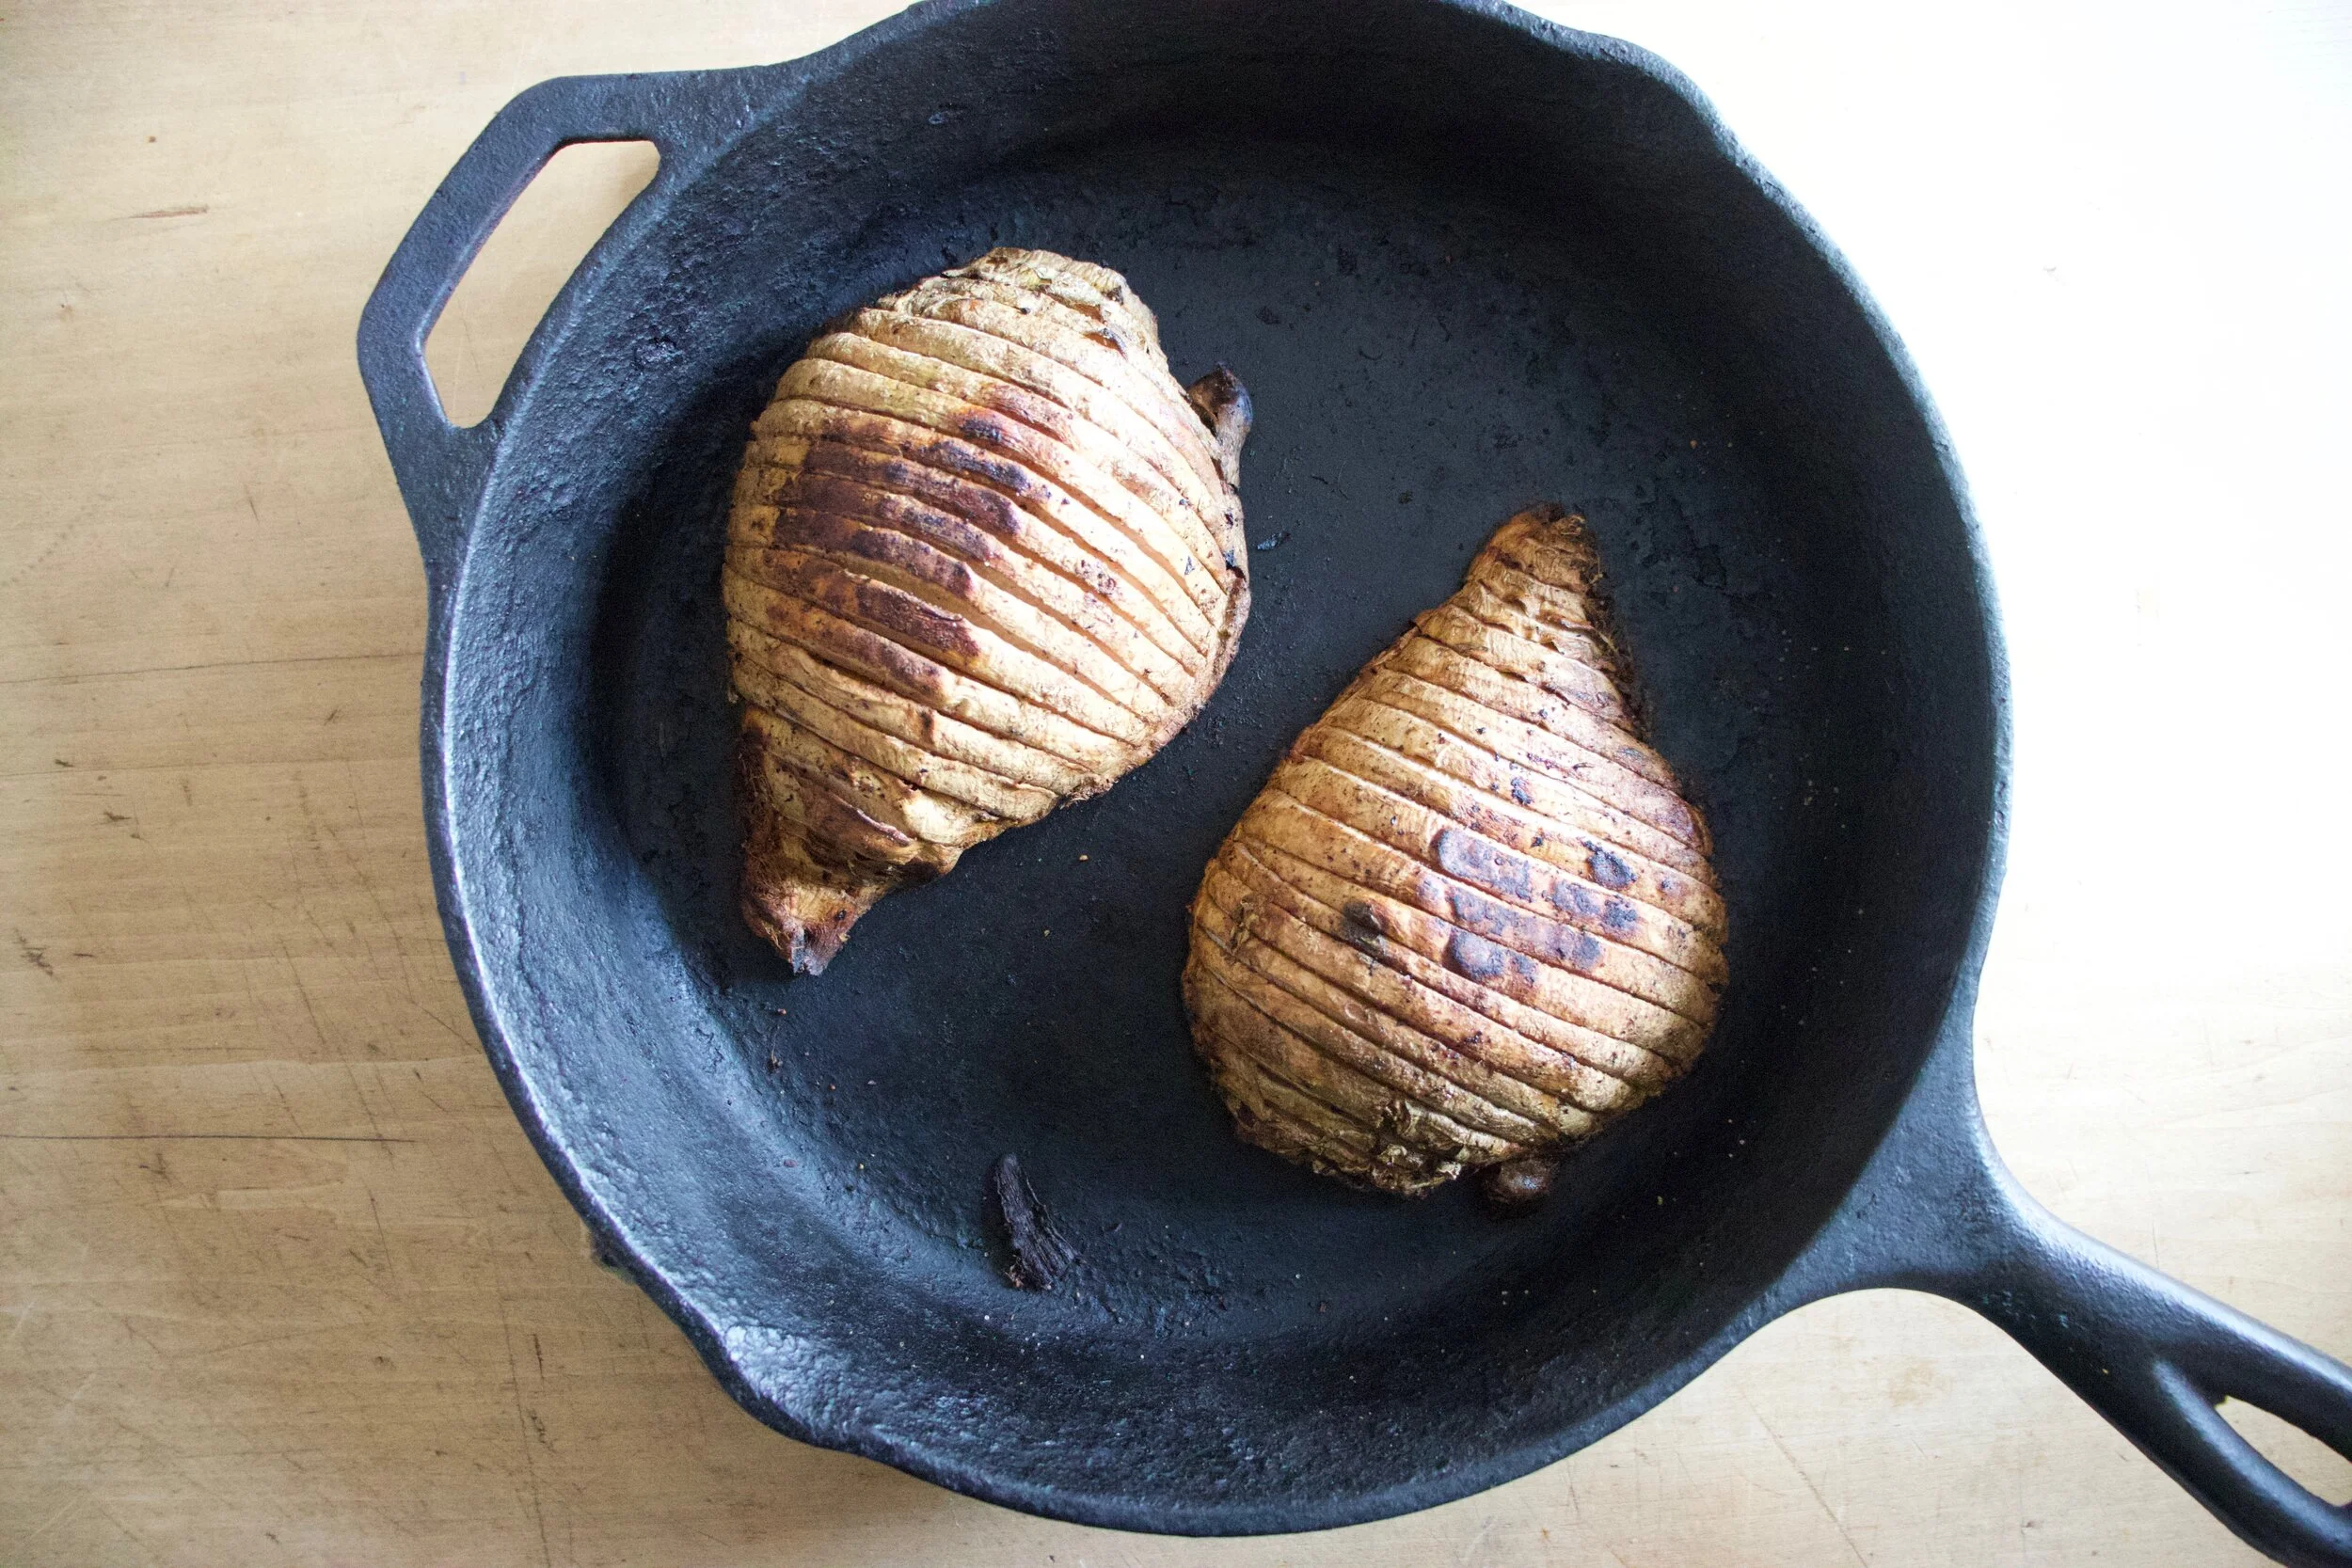
 The gravy is made, the celeriac is roasted%u2026 now we are ready to eat!!%u00a0
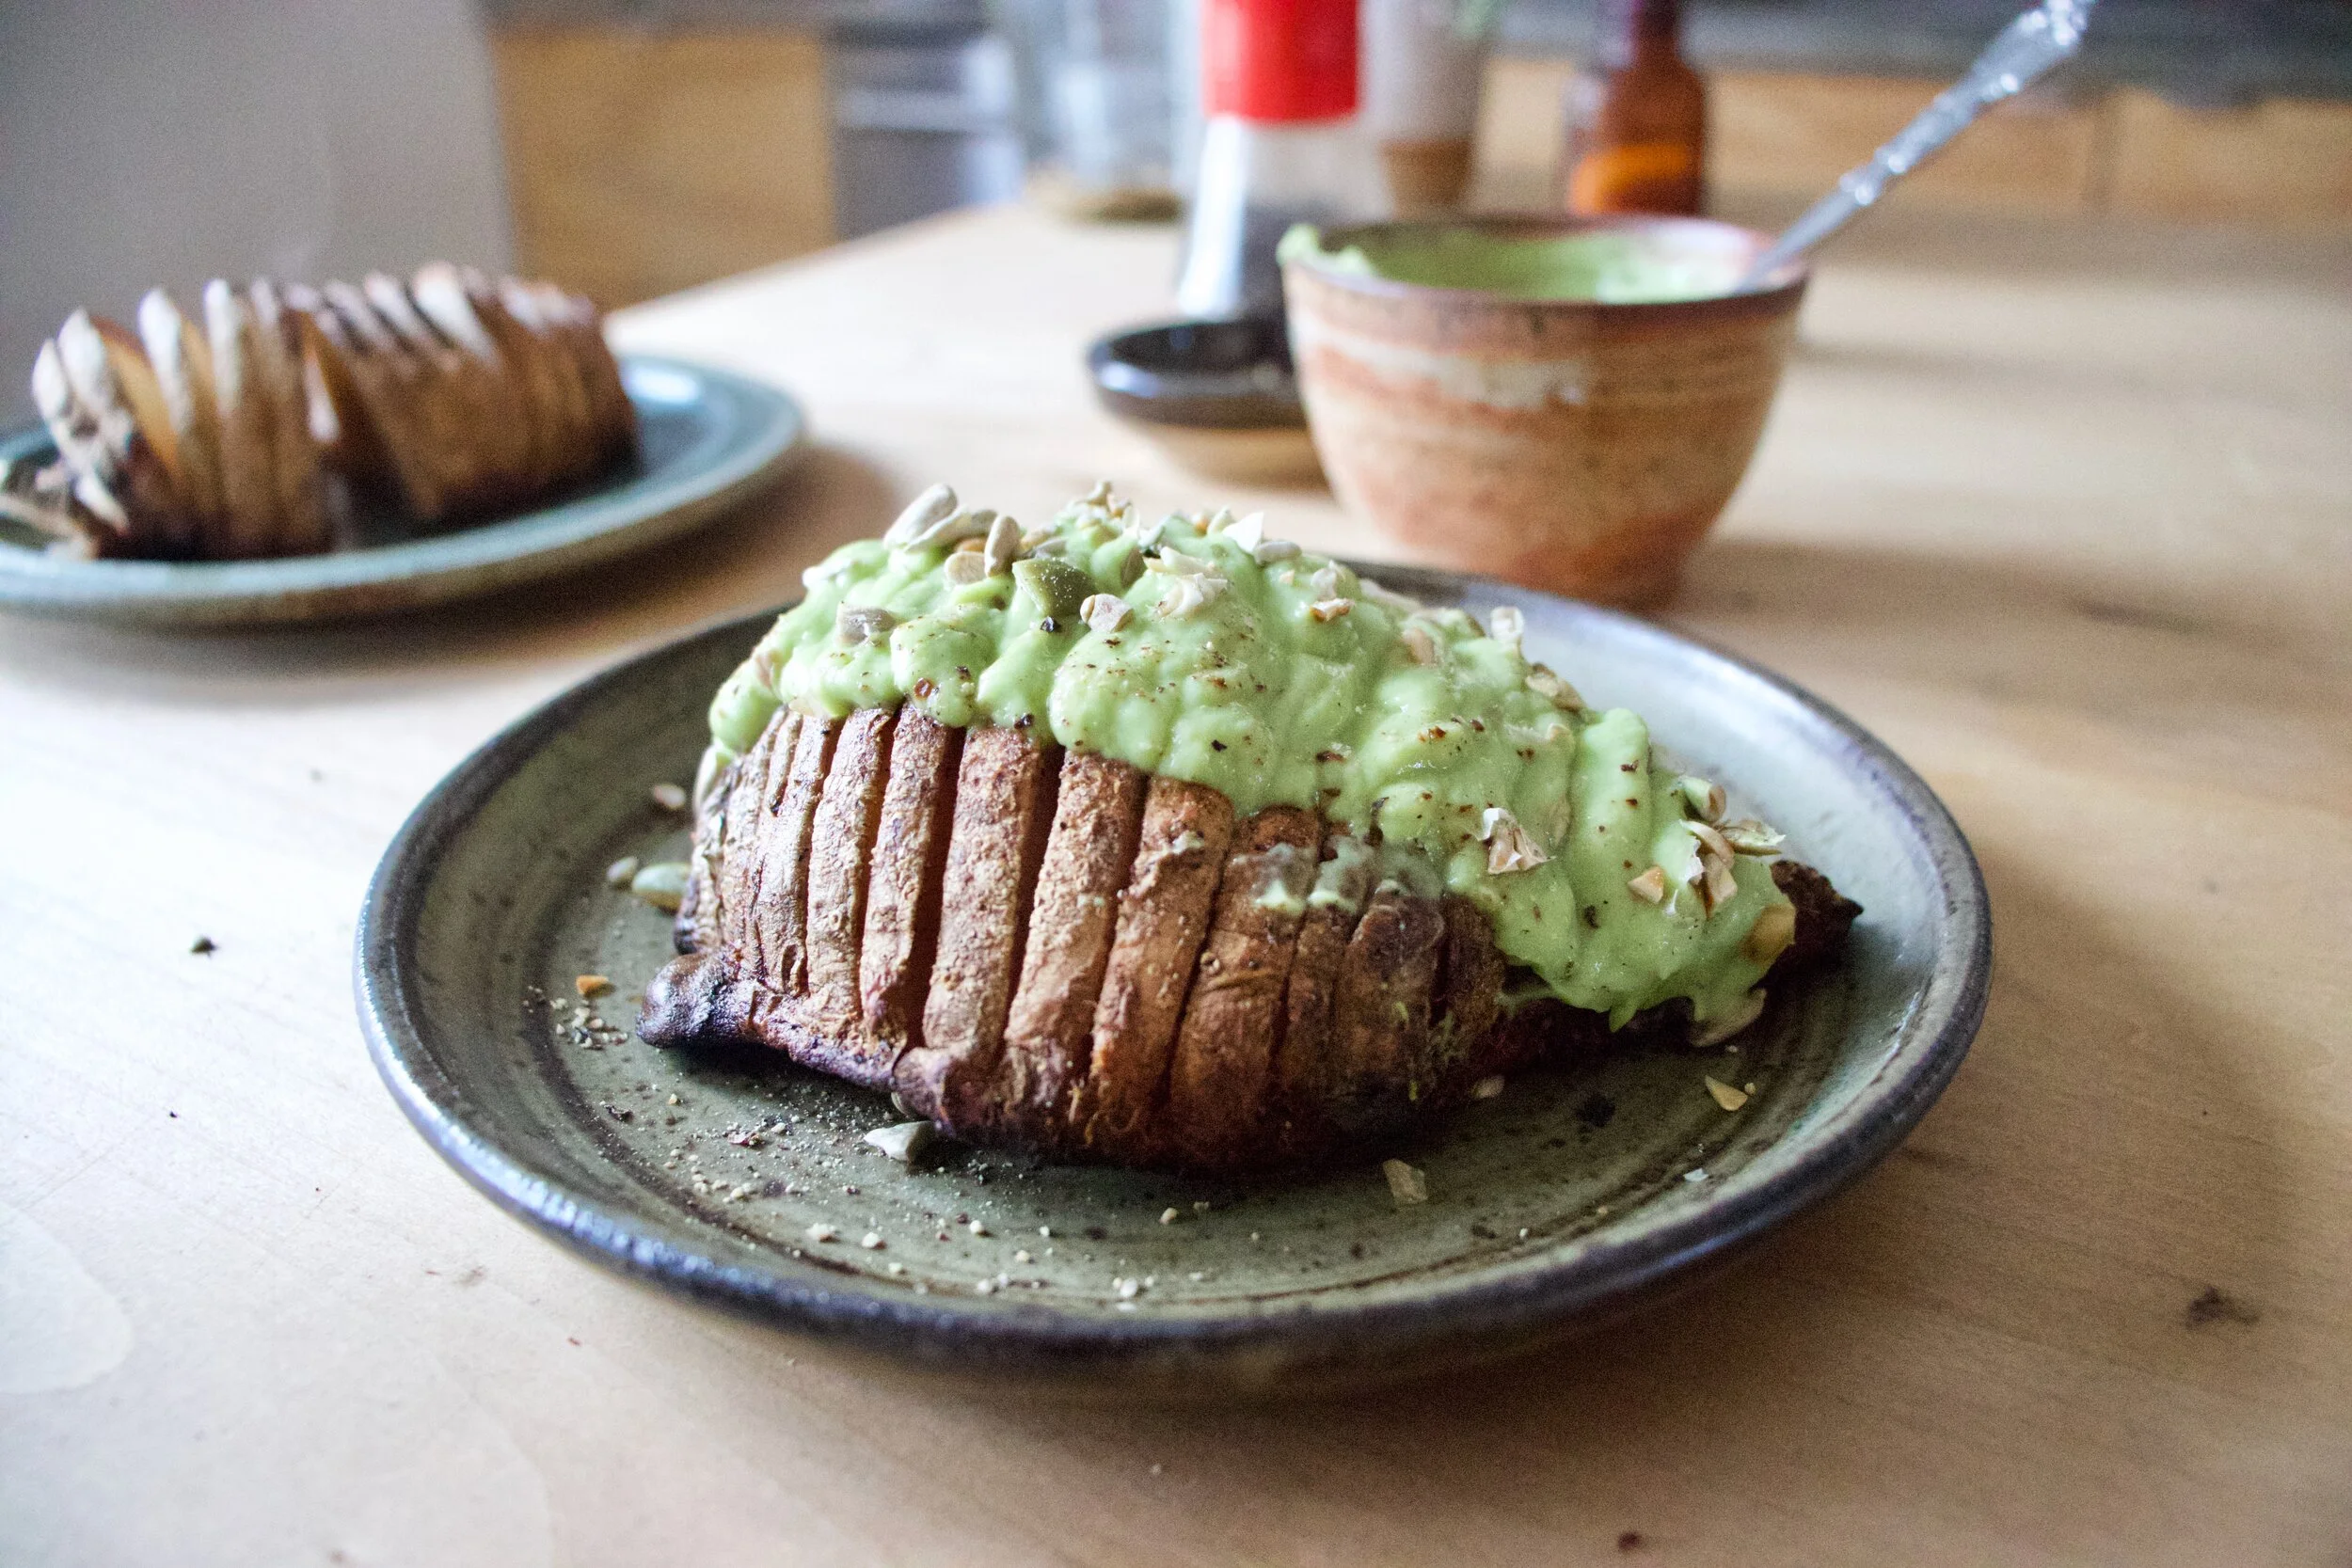
 Stick the celeriac on a plate and dump good amount of that gravy right on top. Feel free to add a bed of spinach, or a grain or anything you want, because why not, and also some chopped tomatoes for a little acid and prettiness.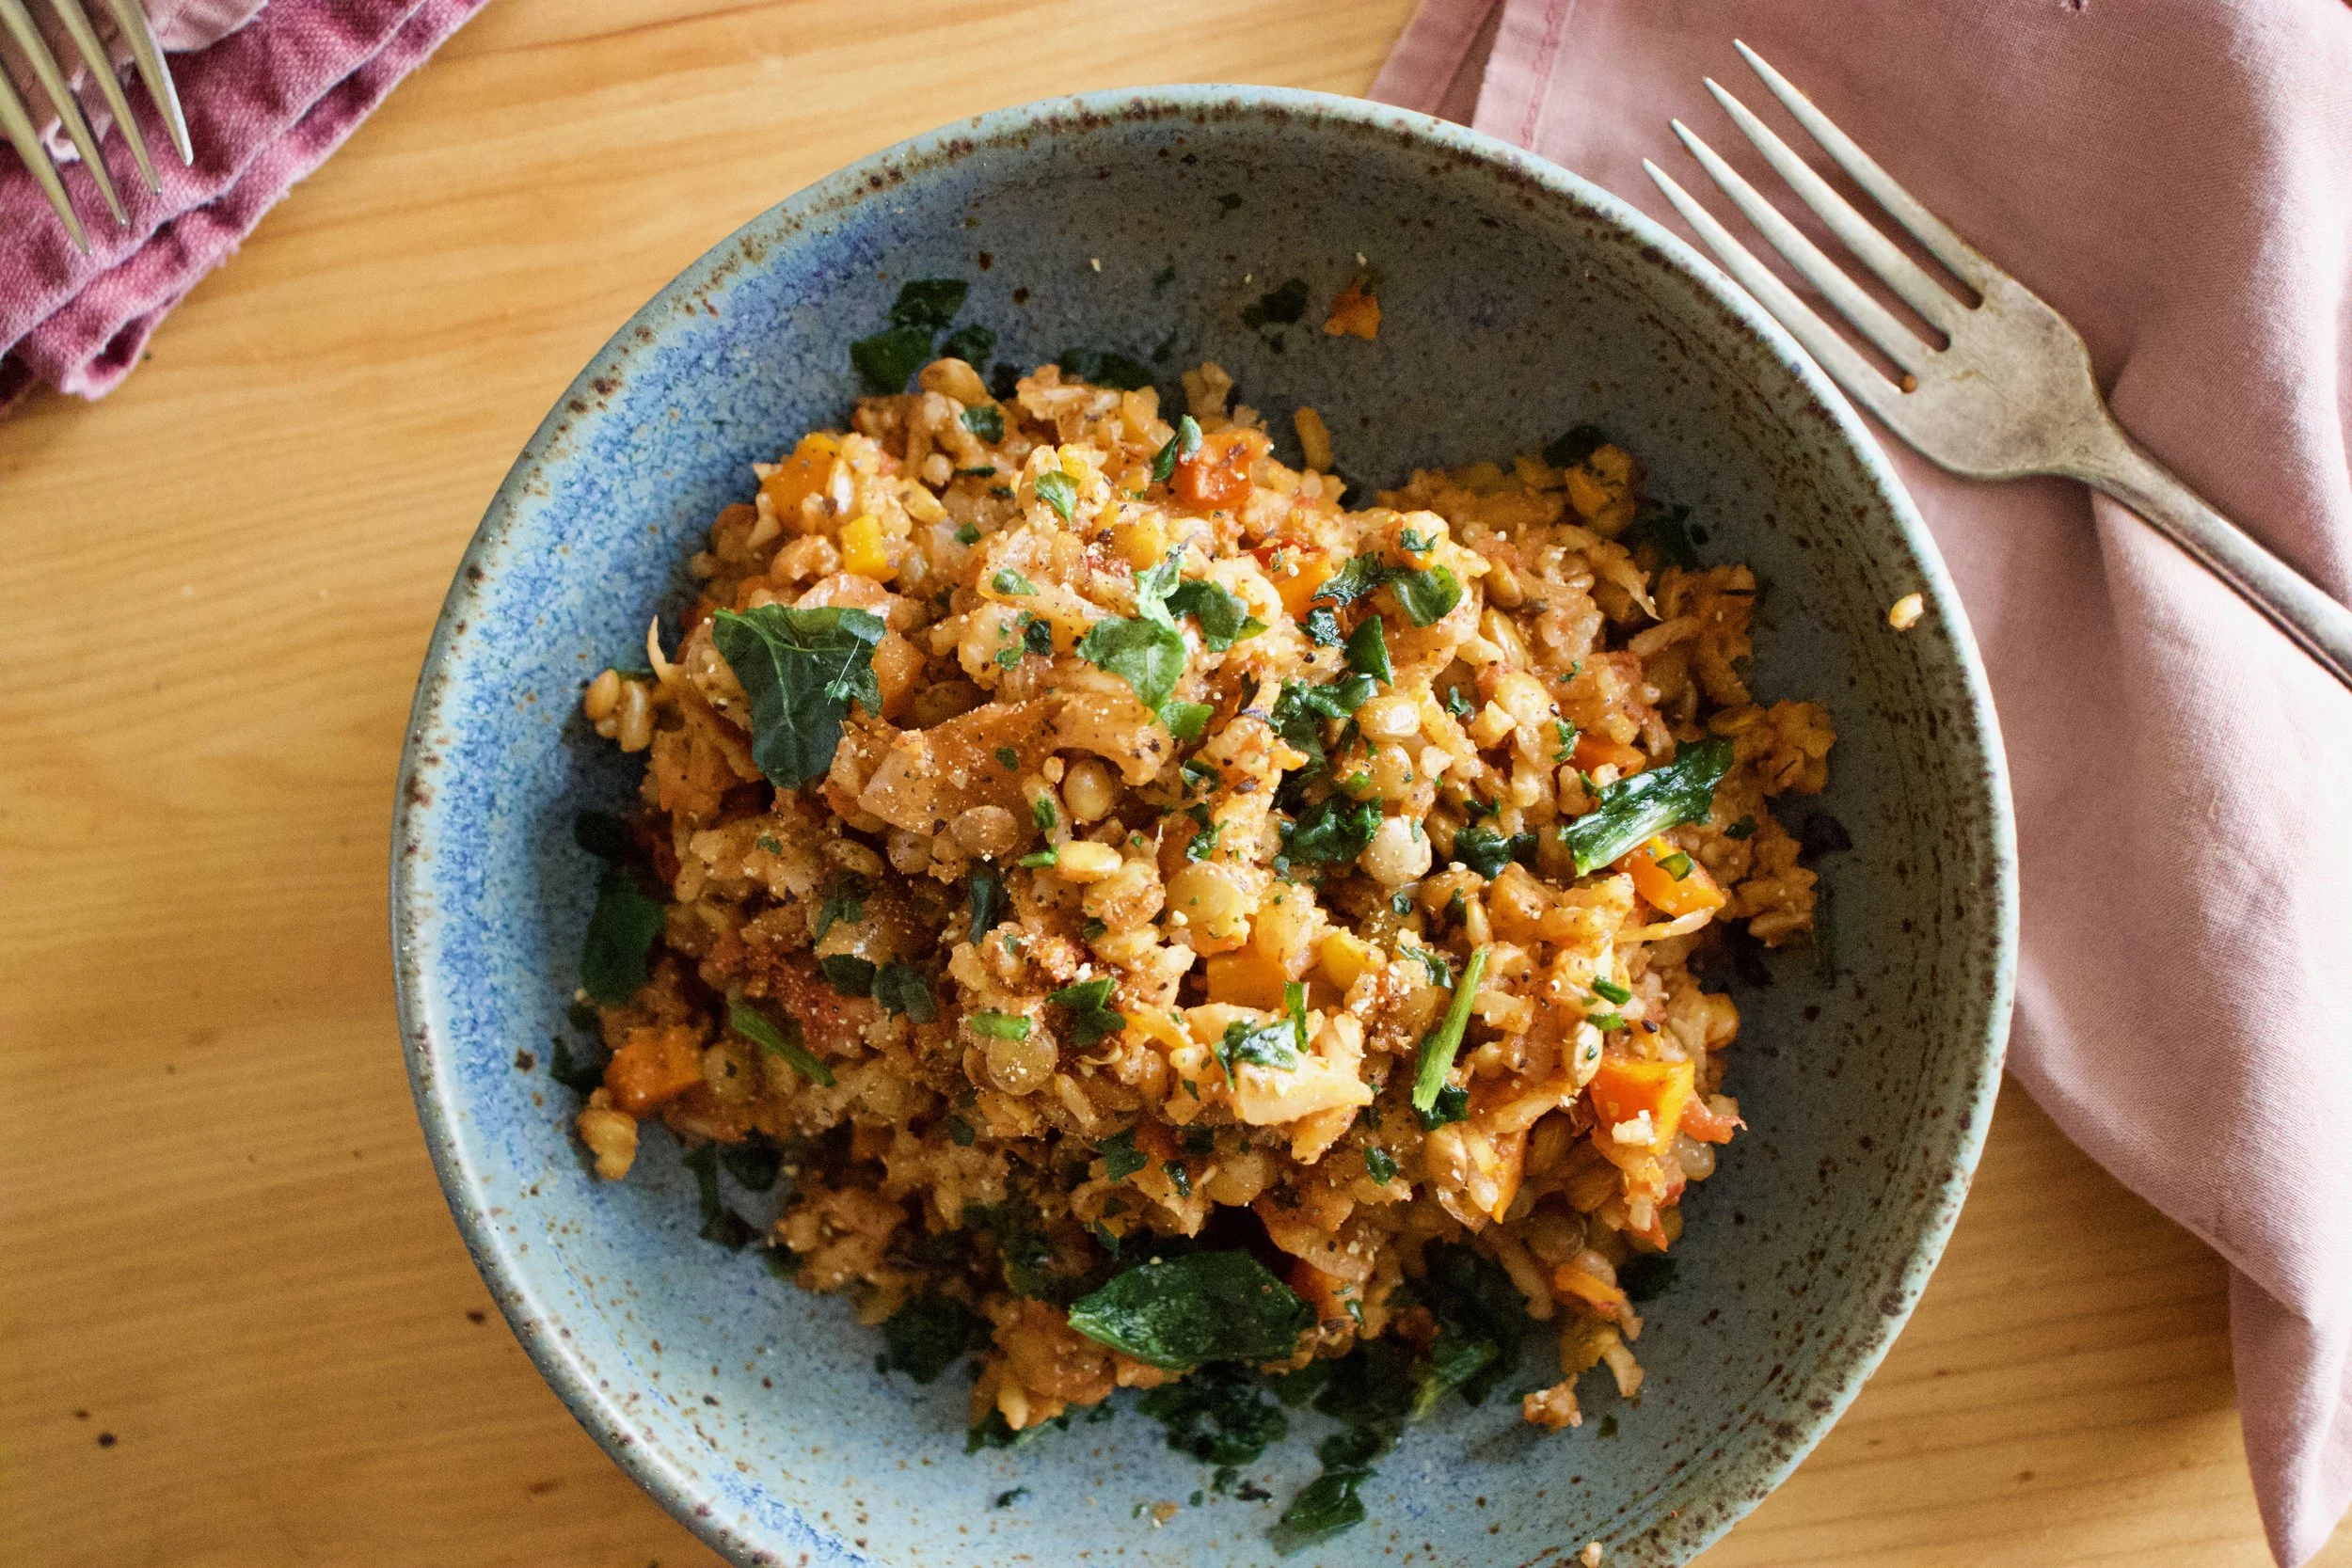


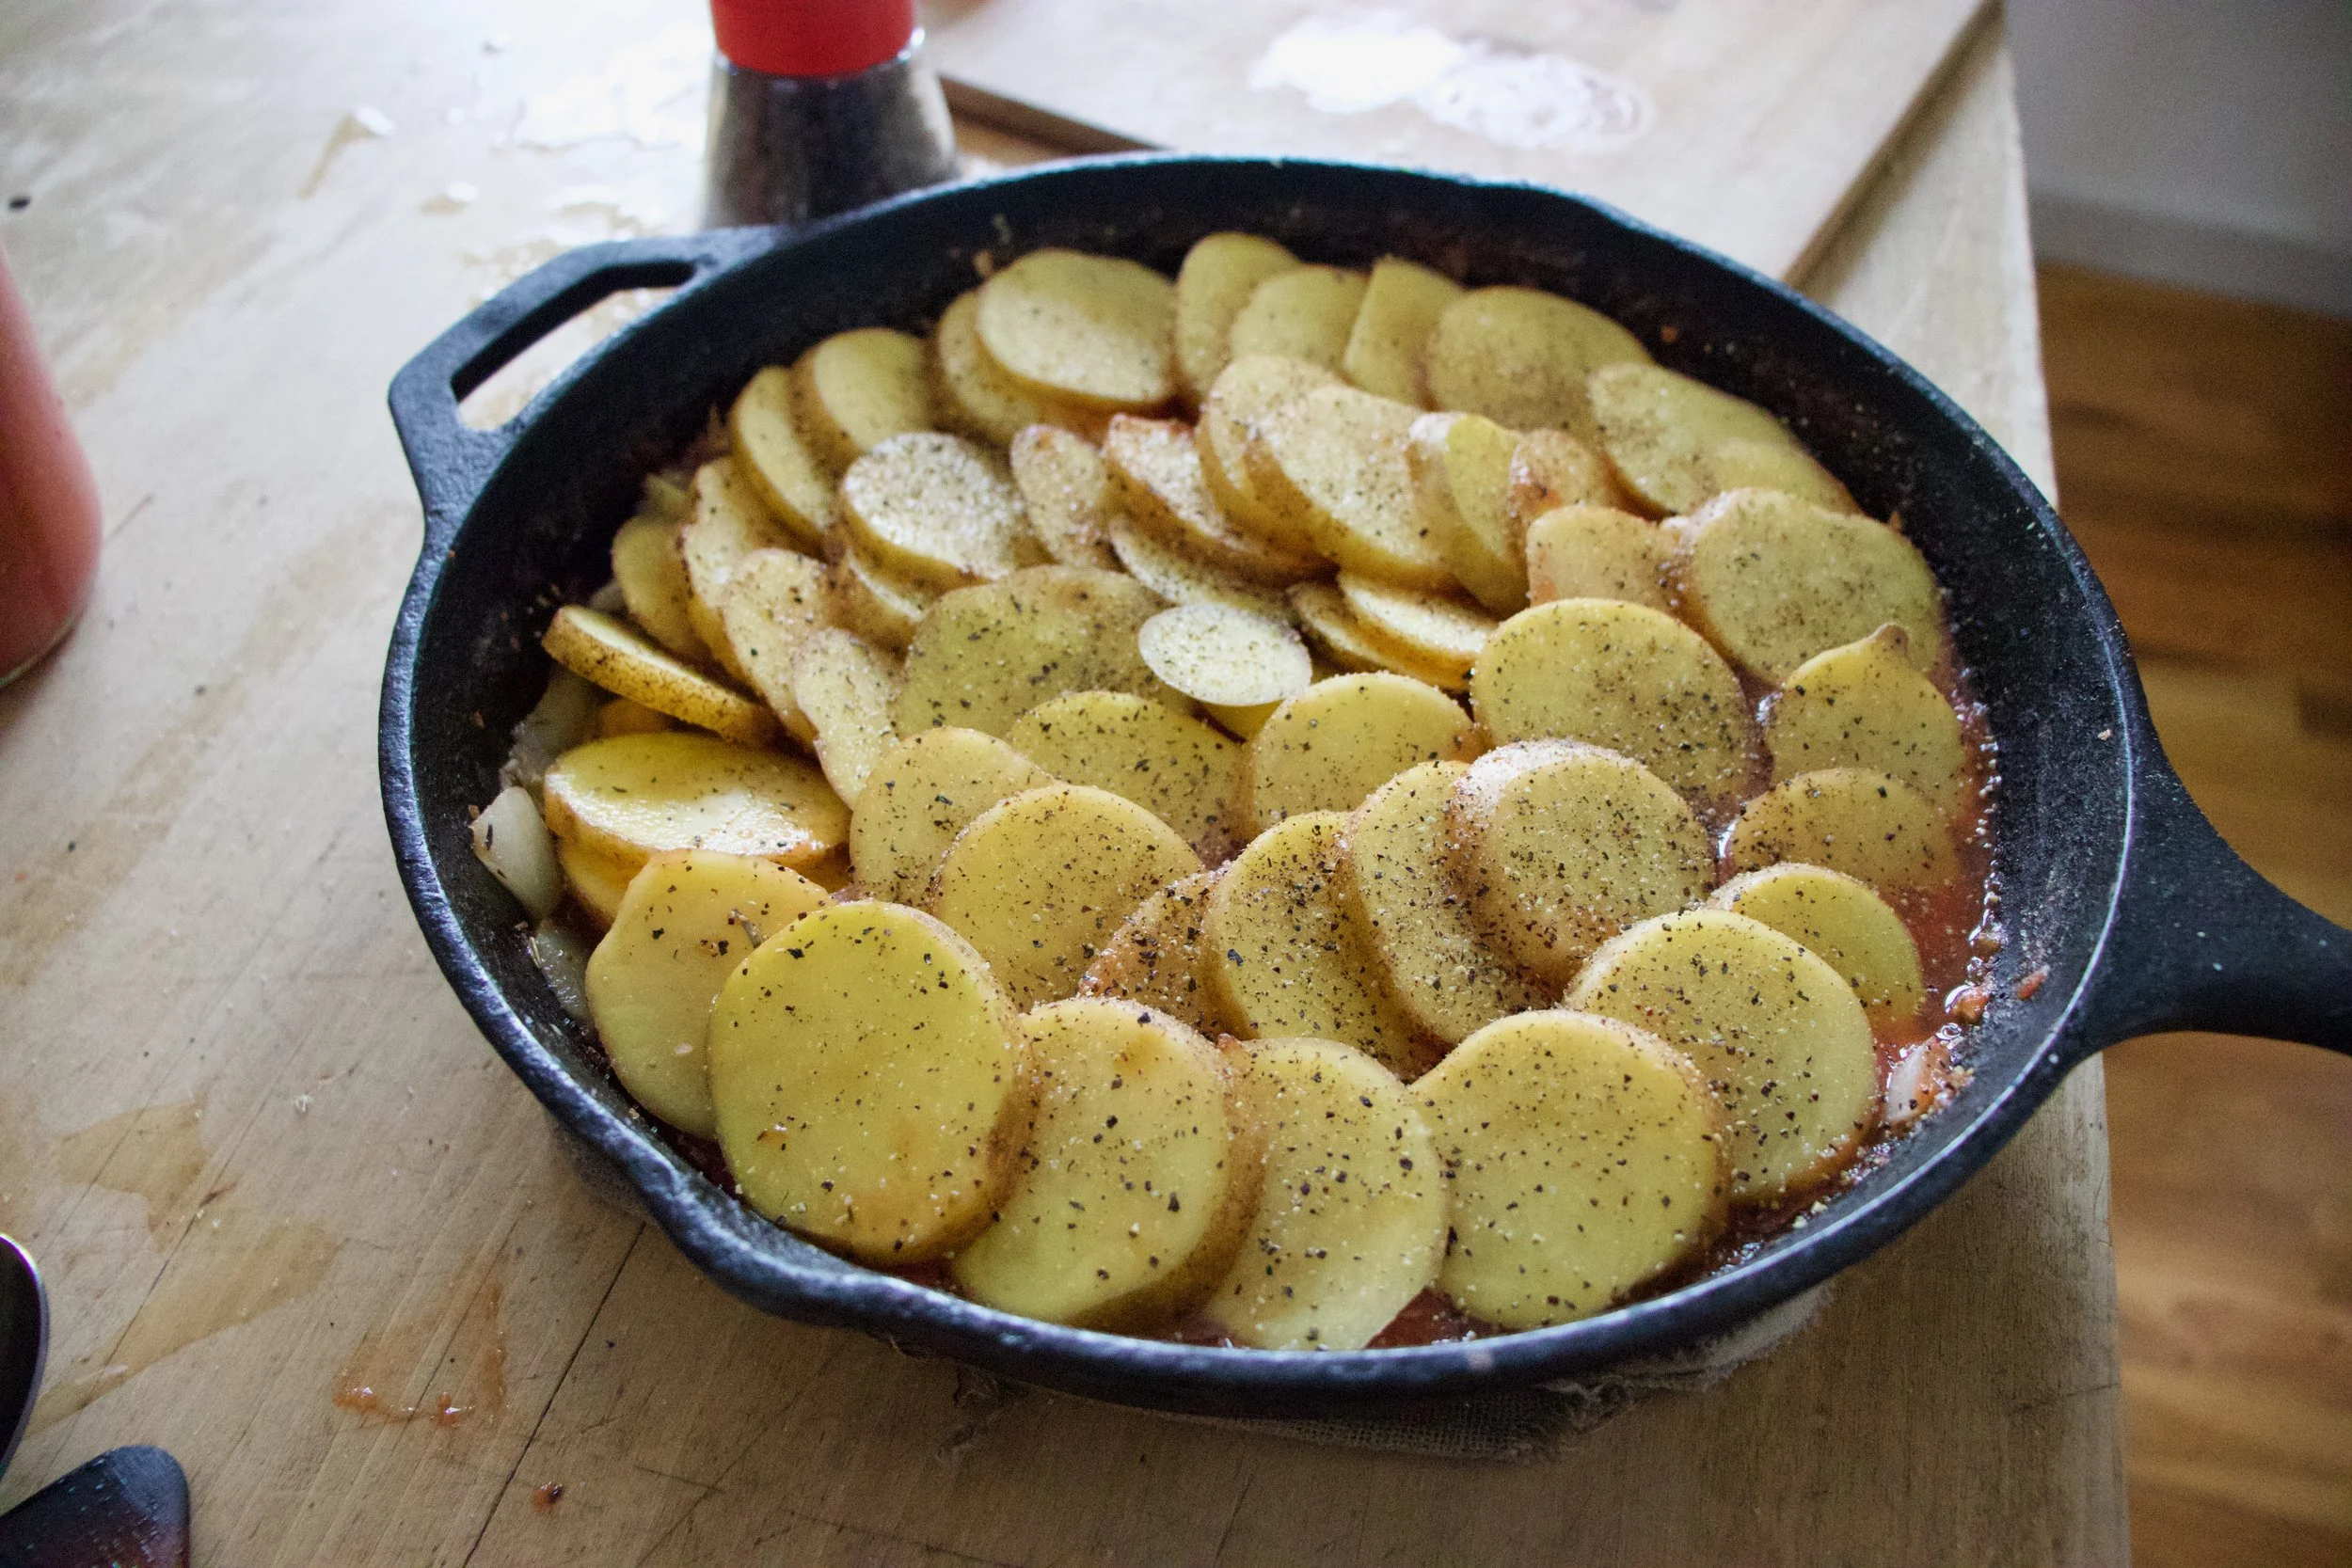
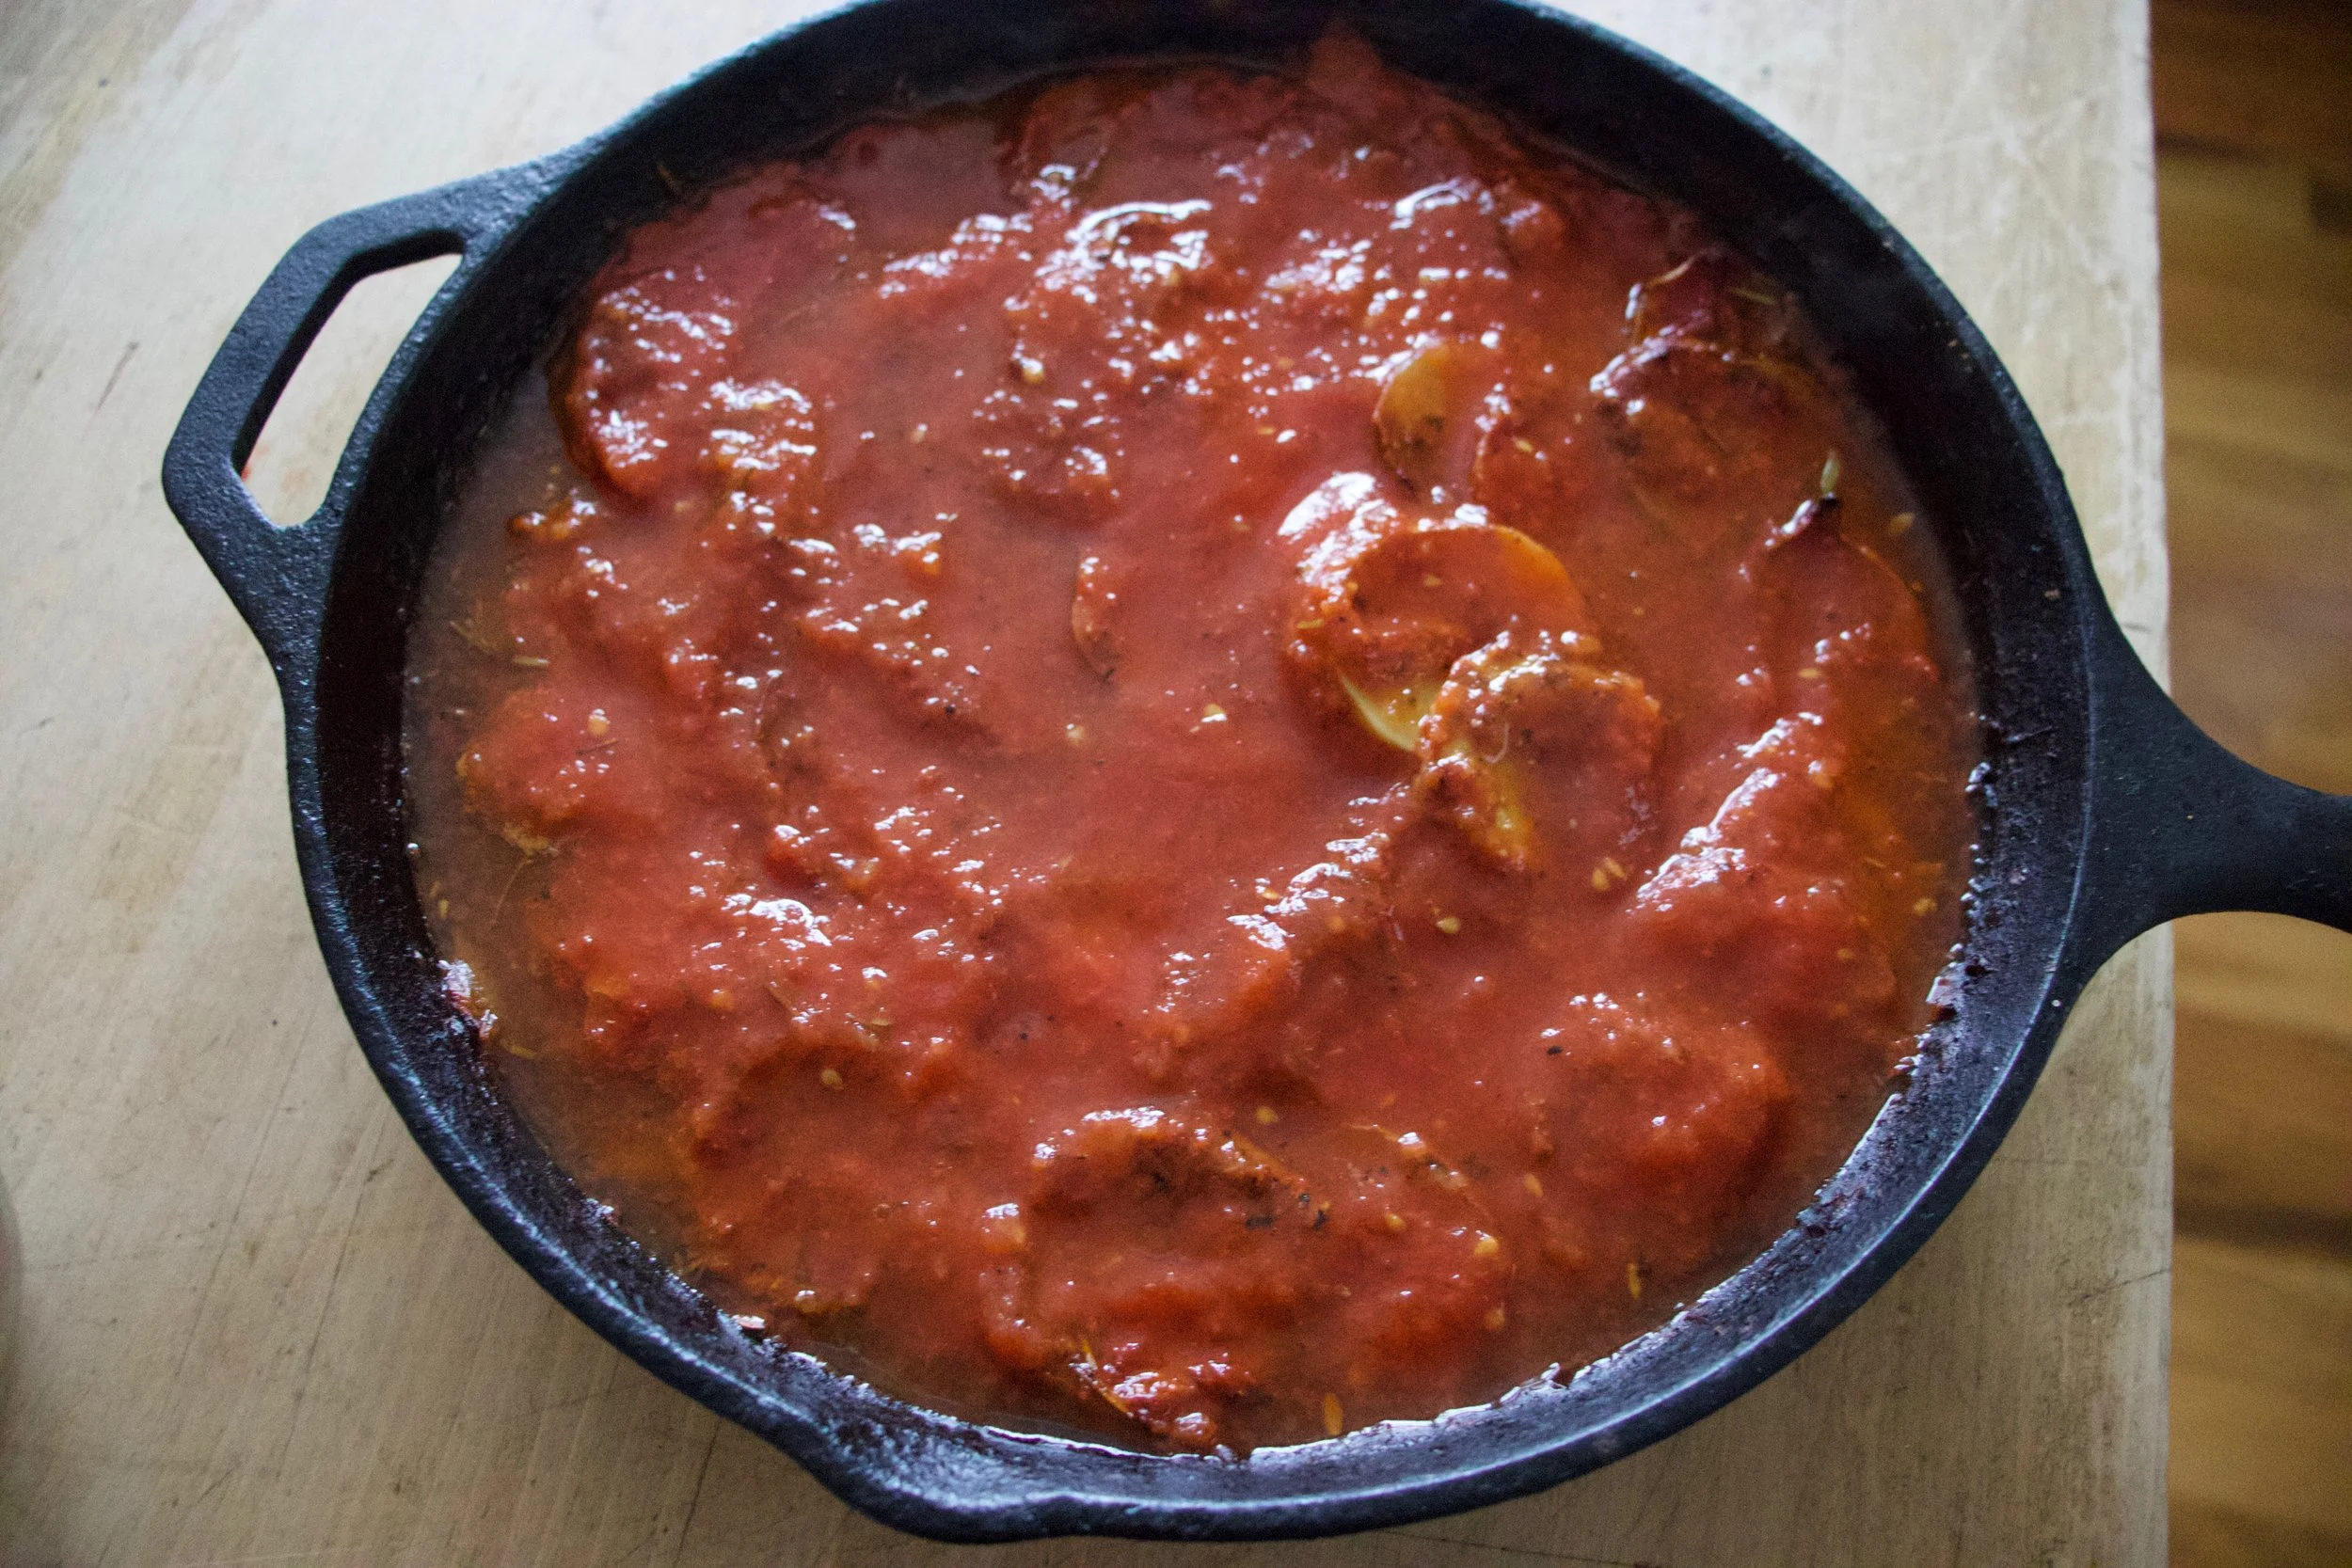
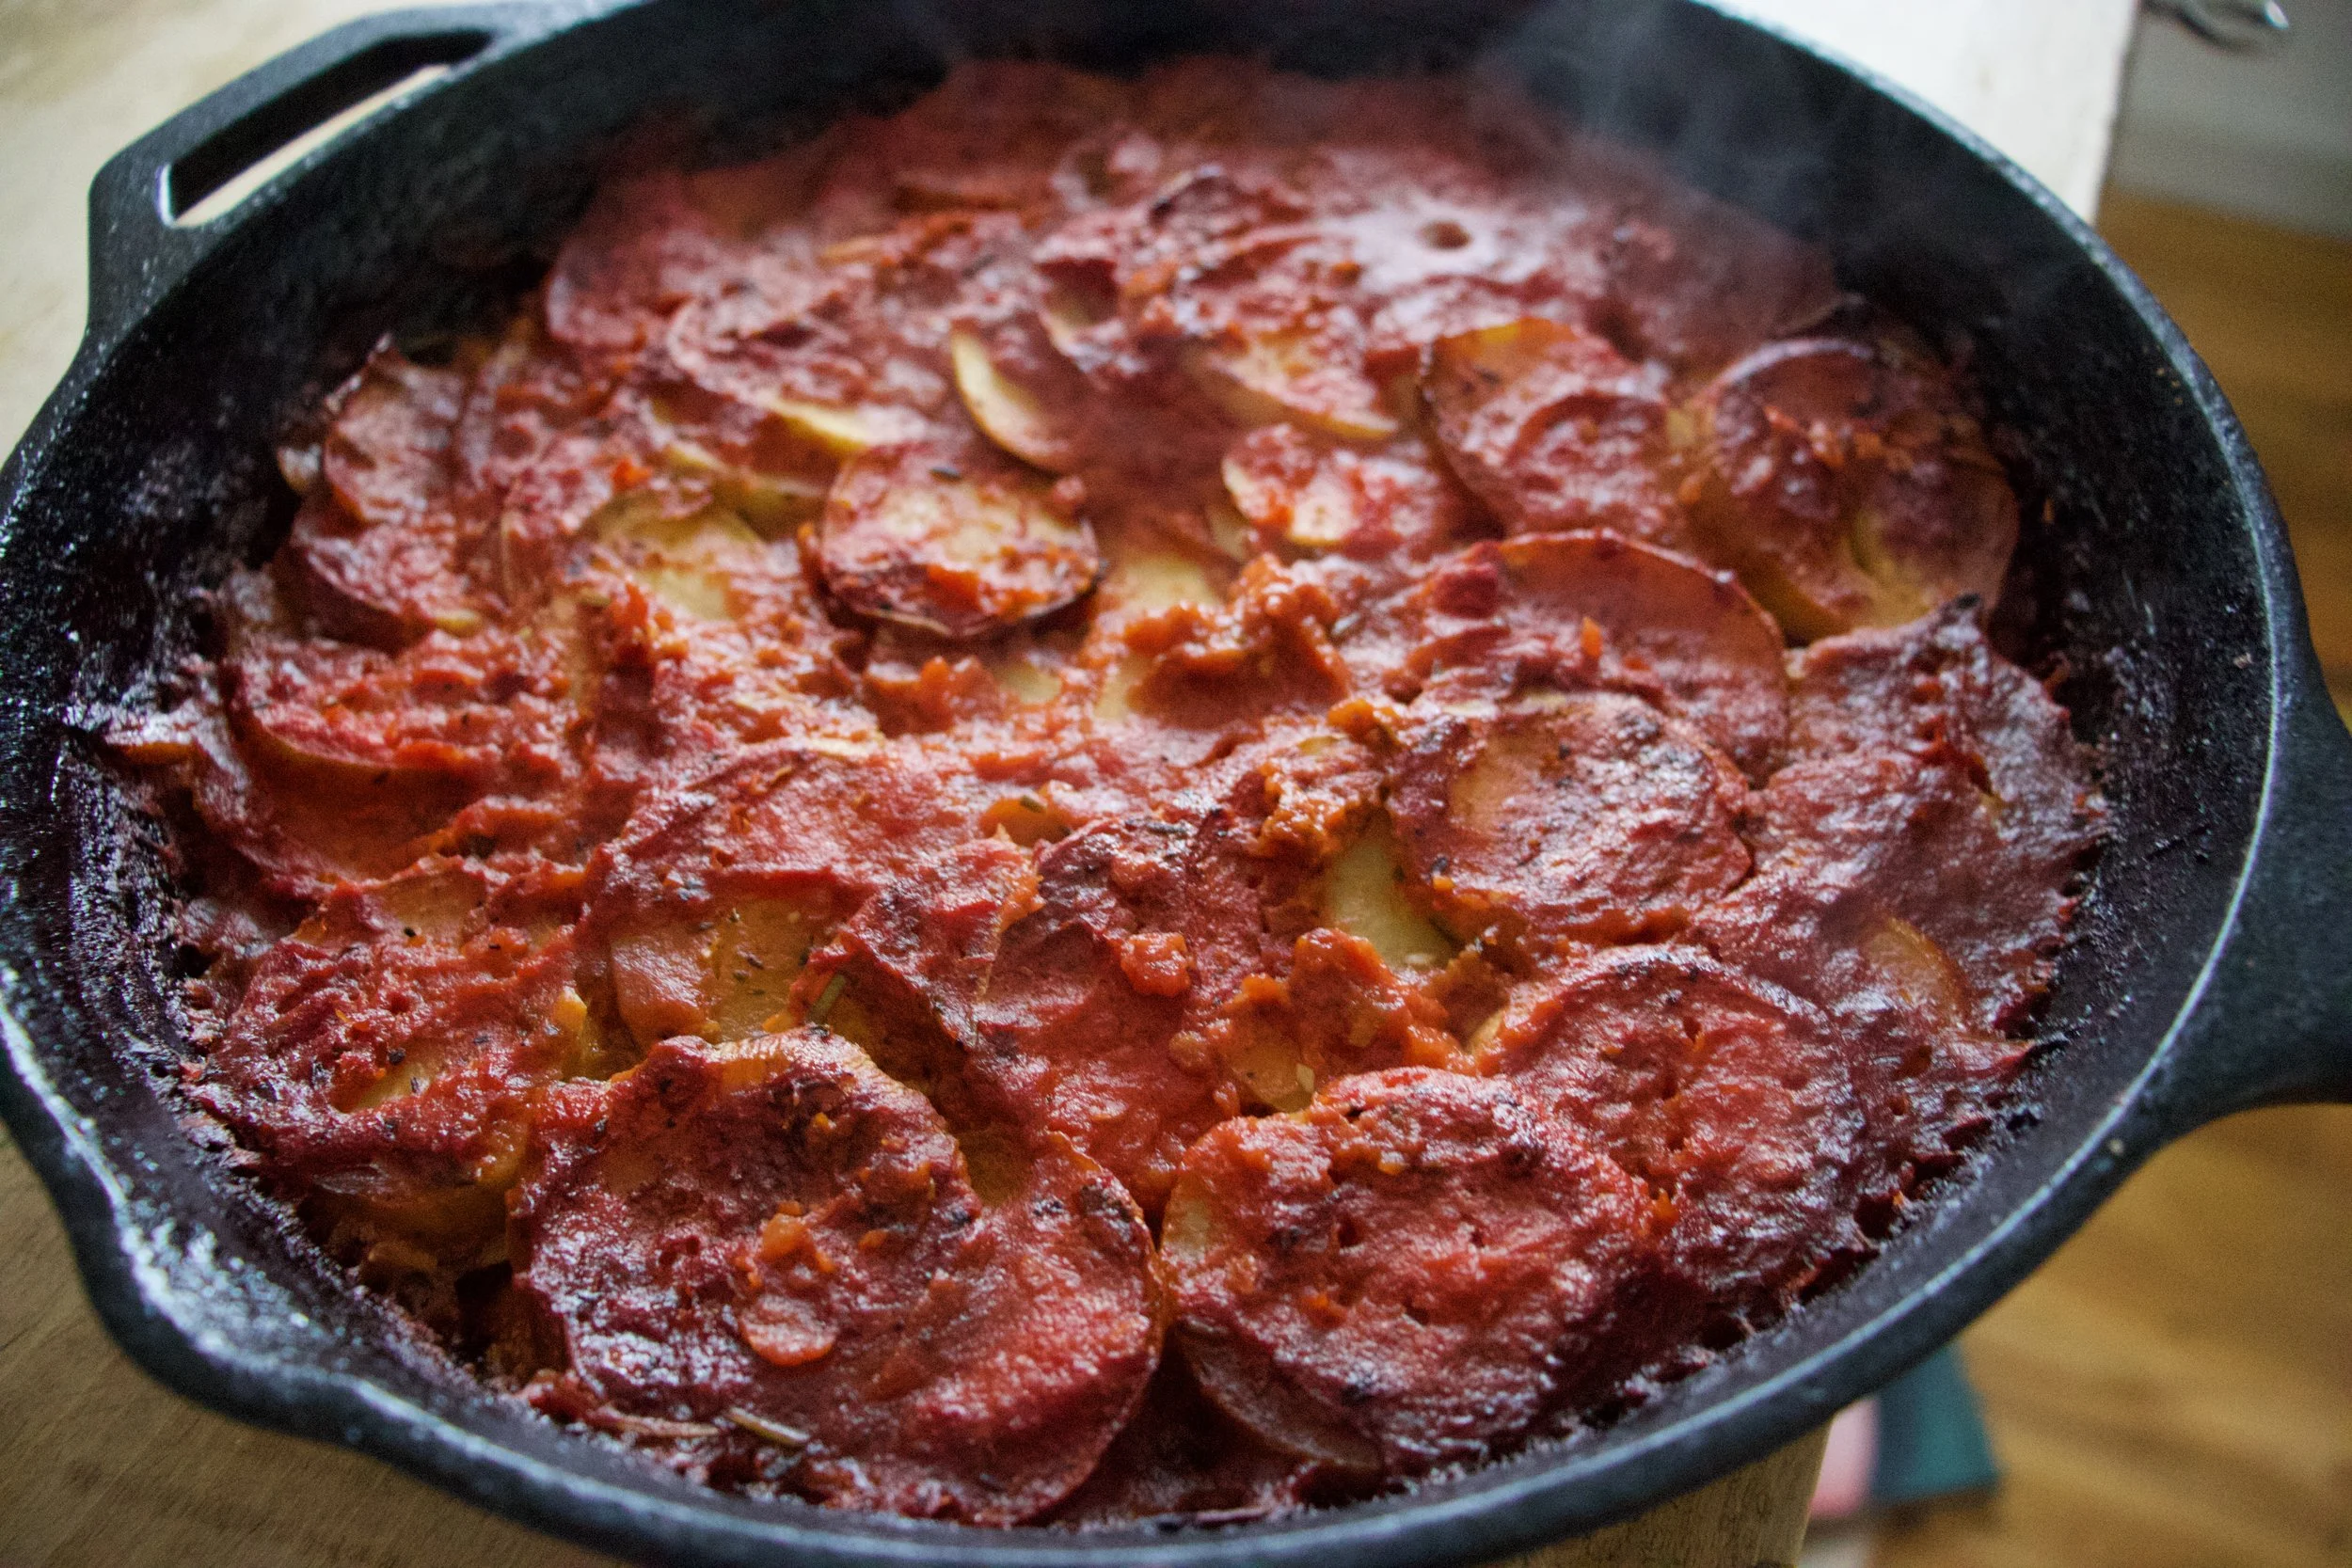


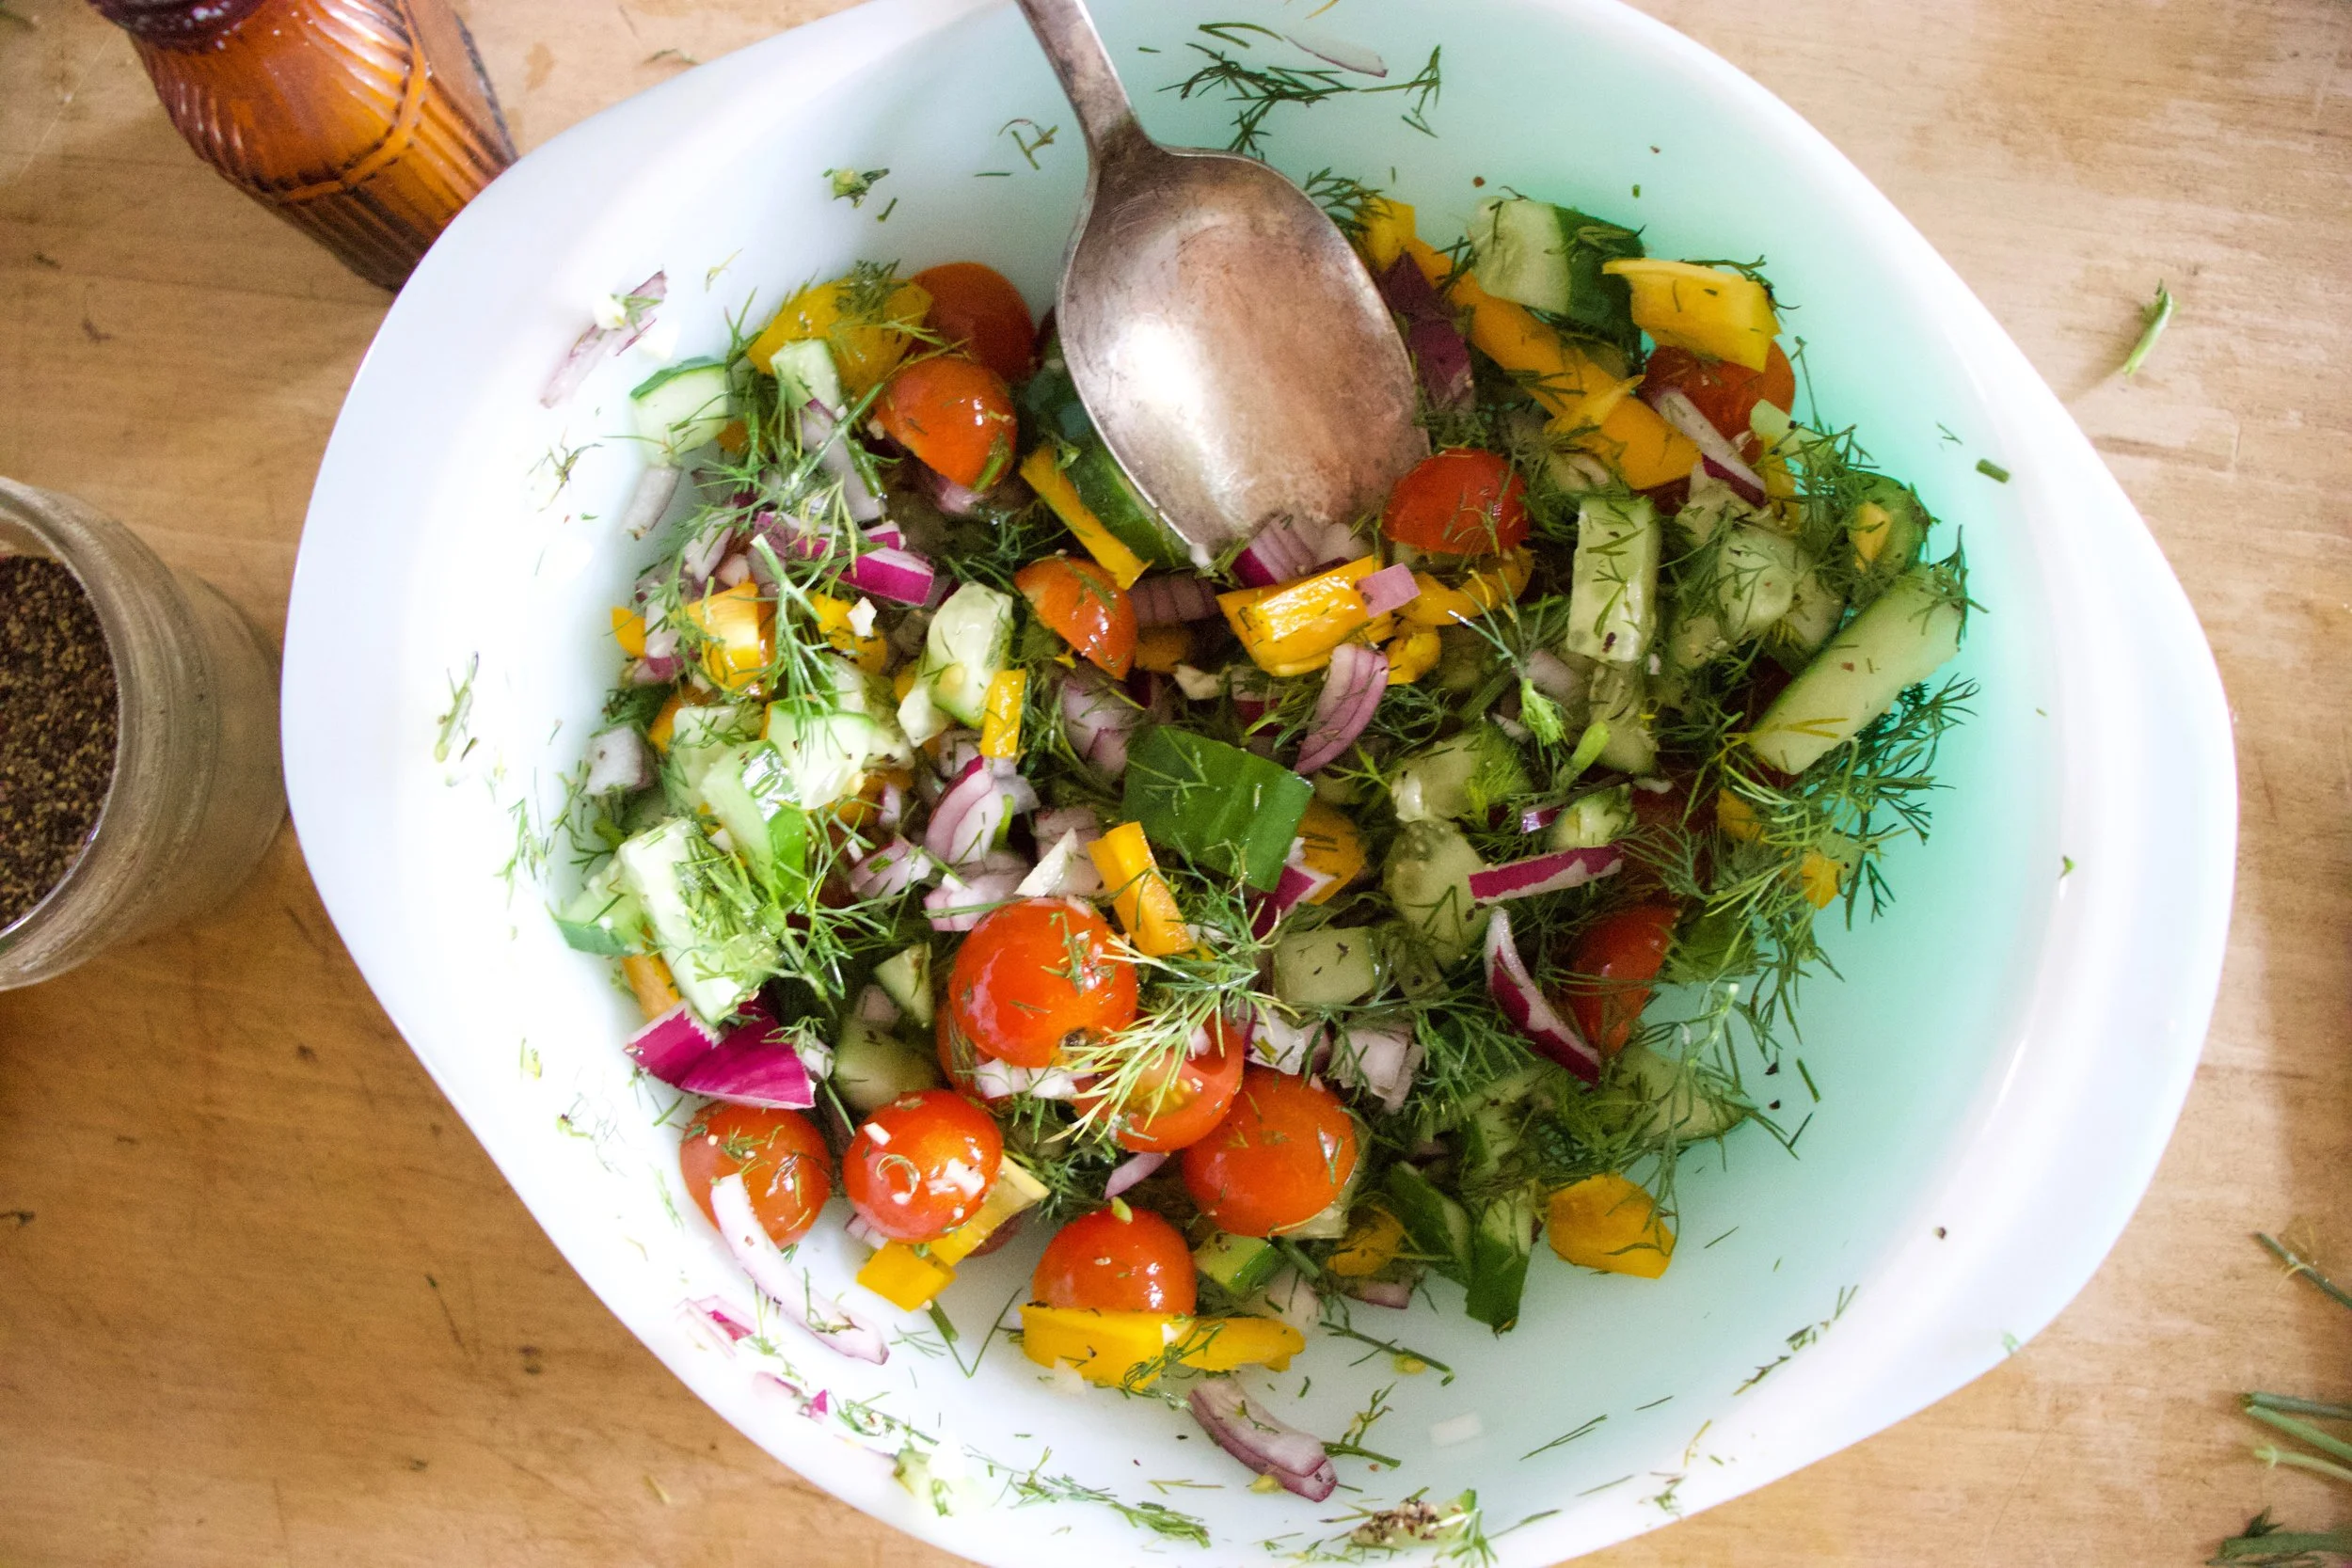
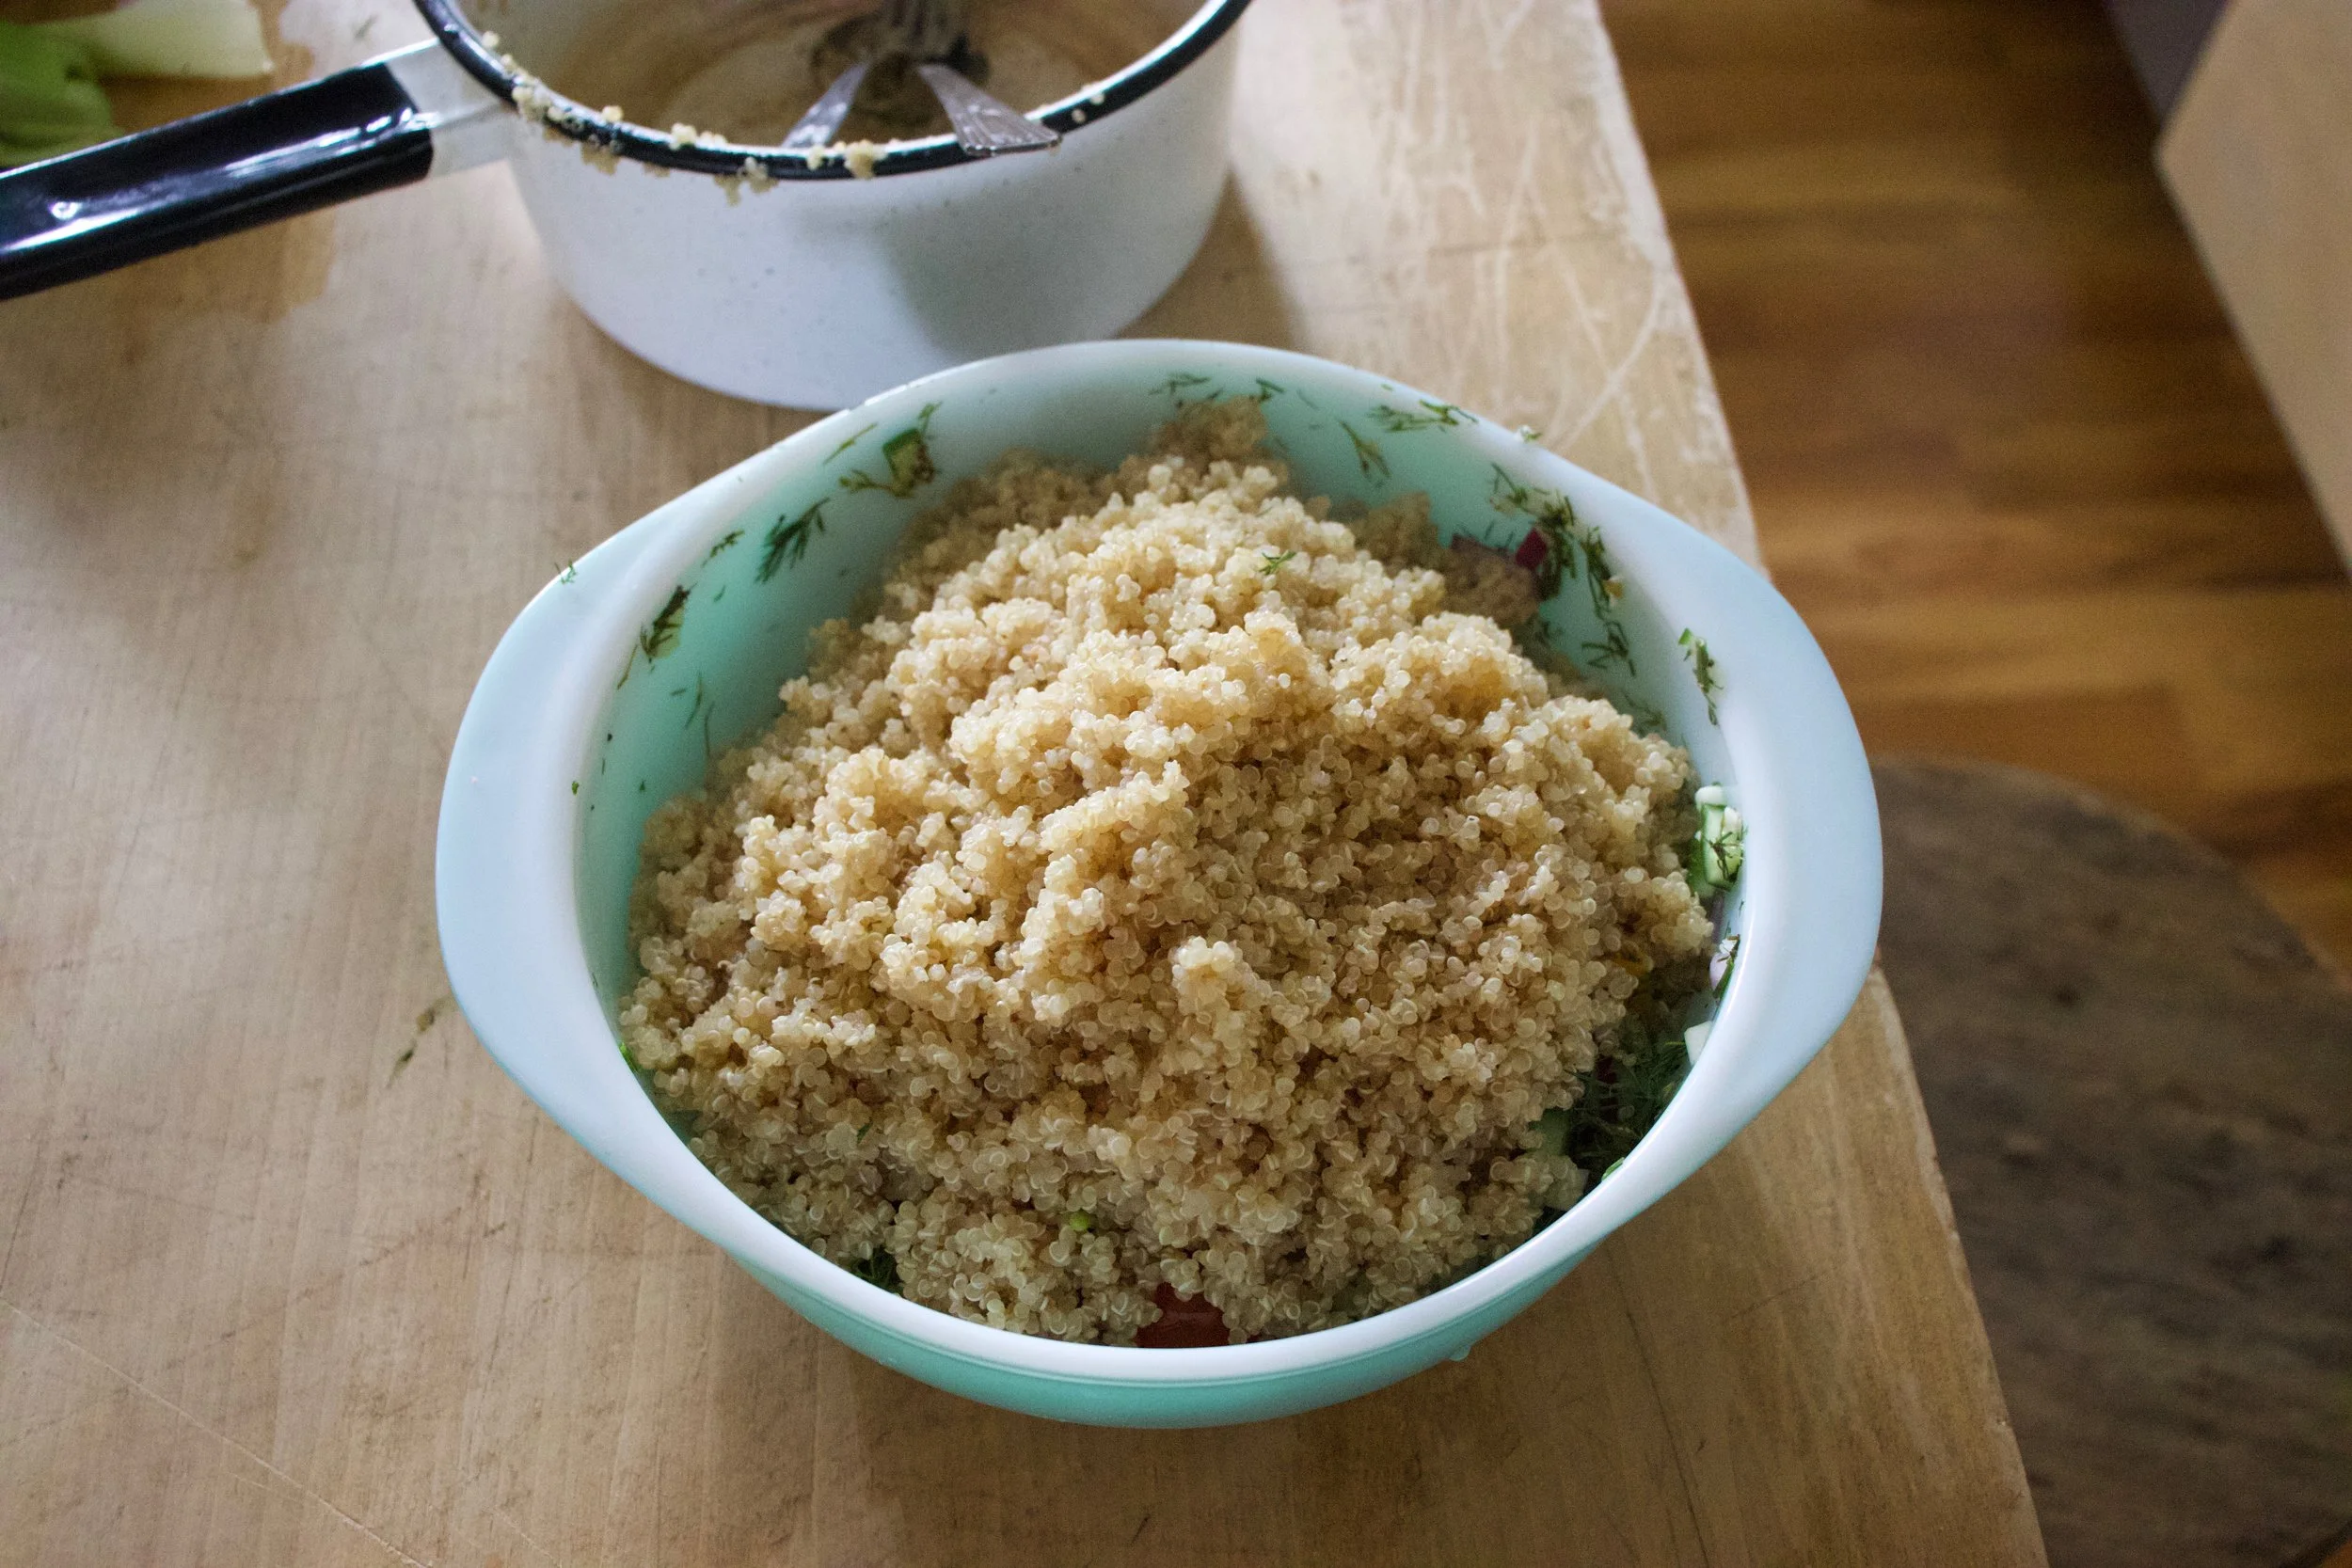
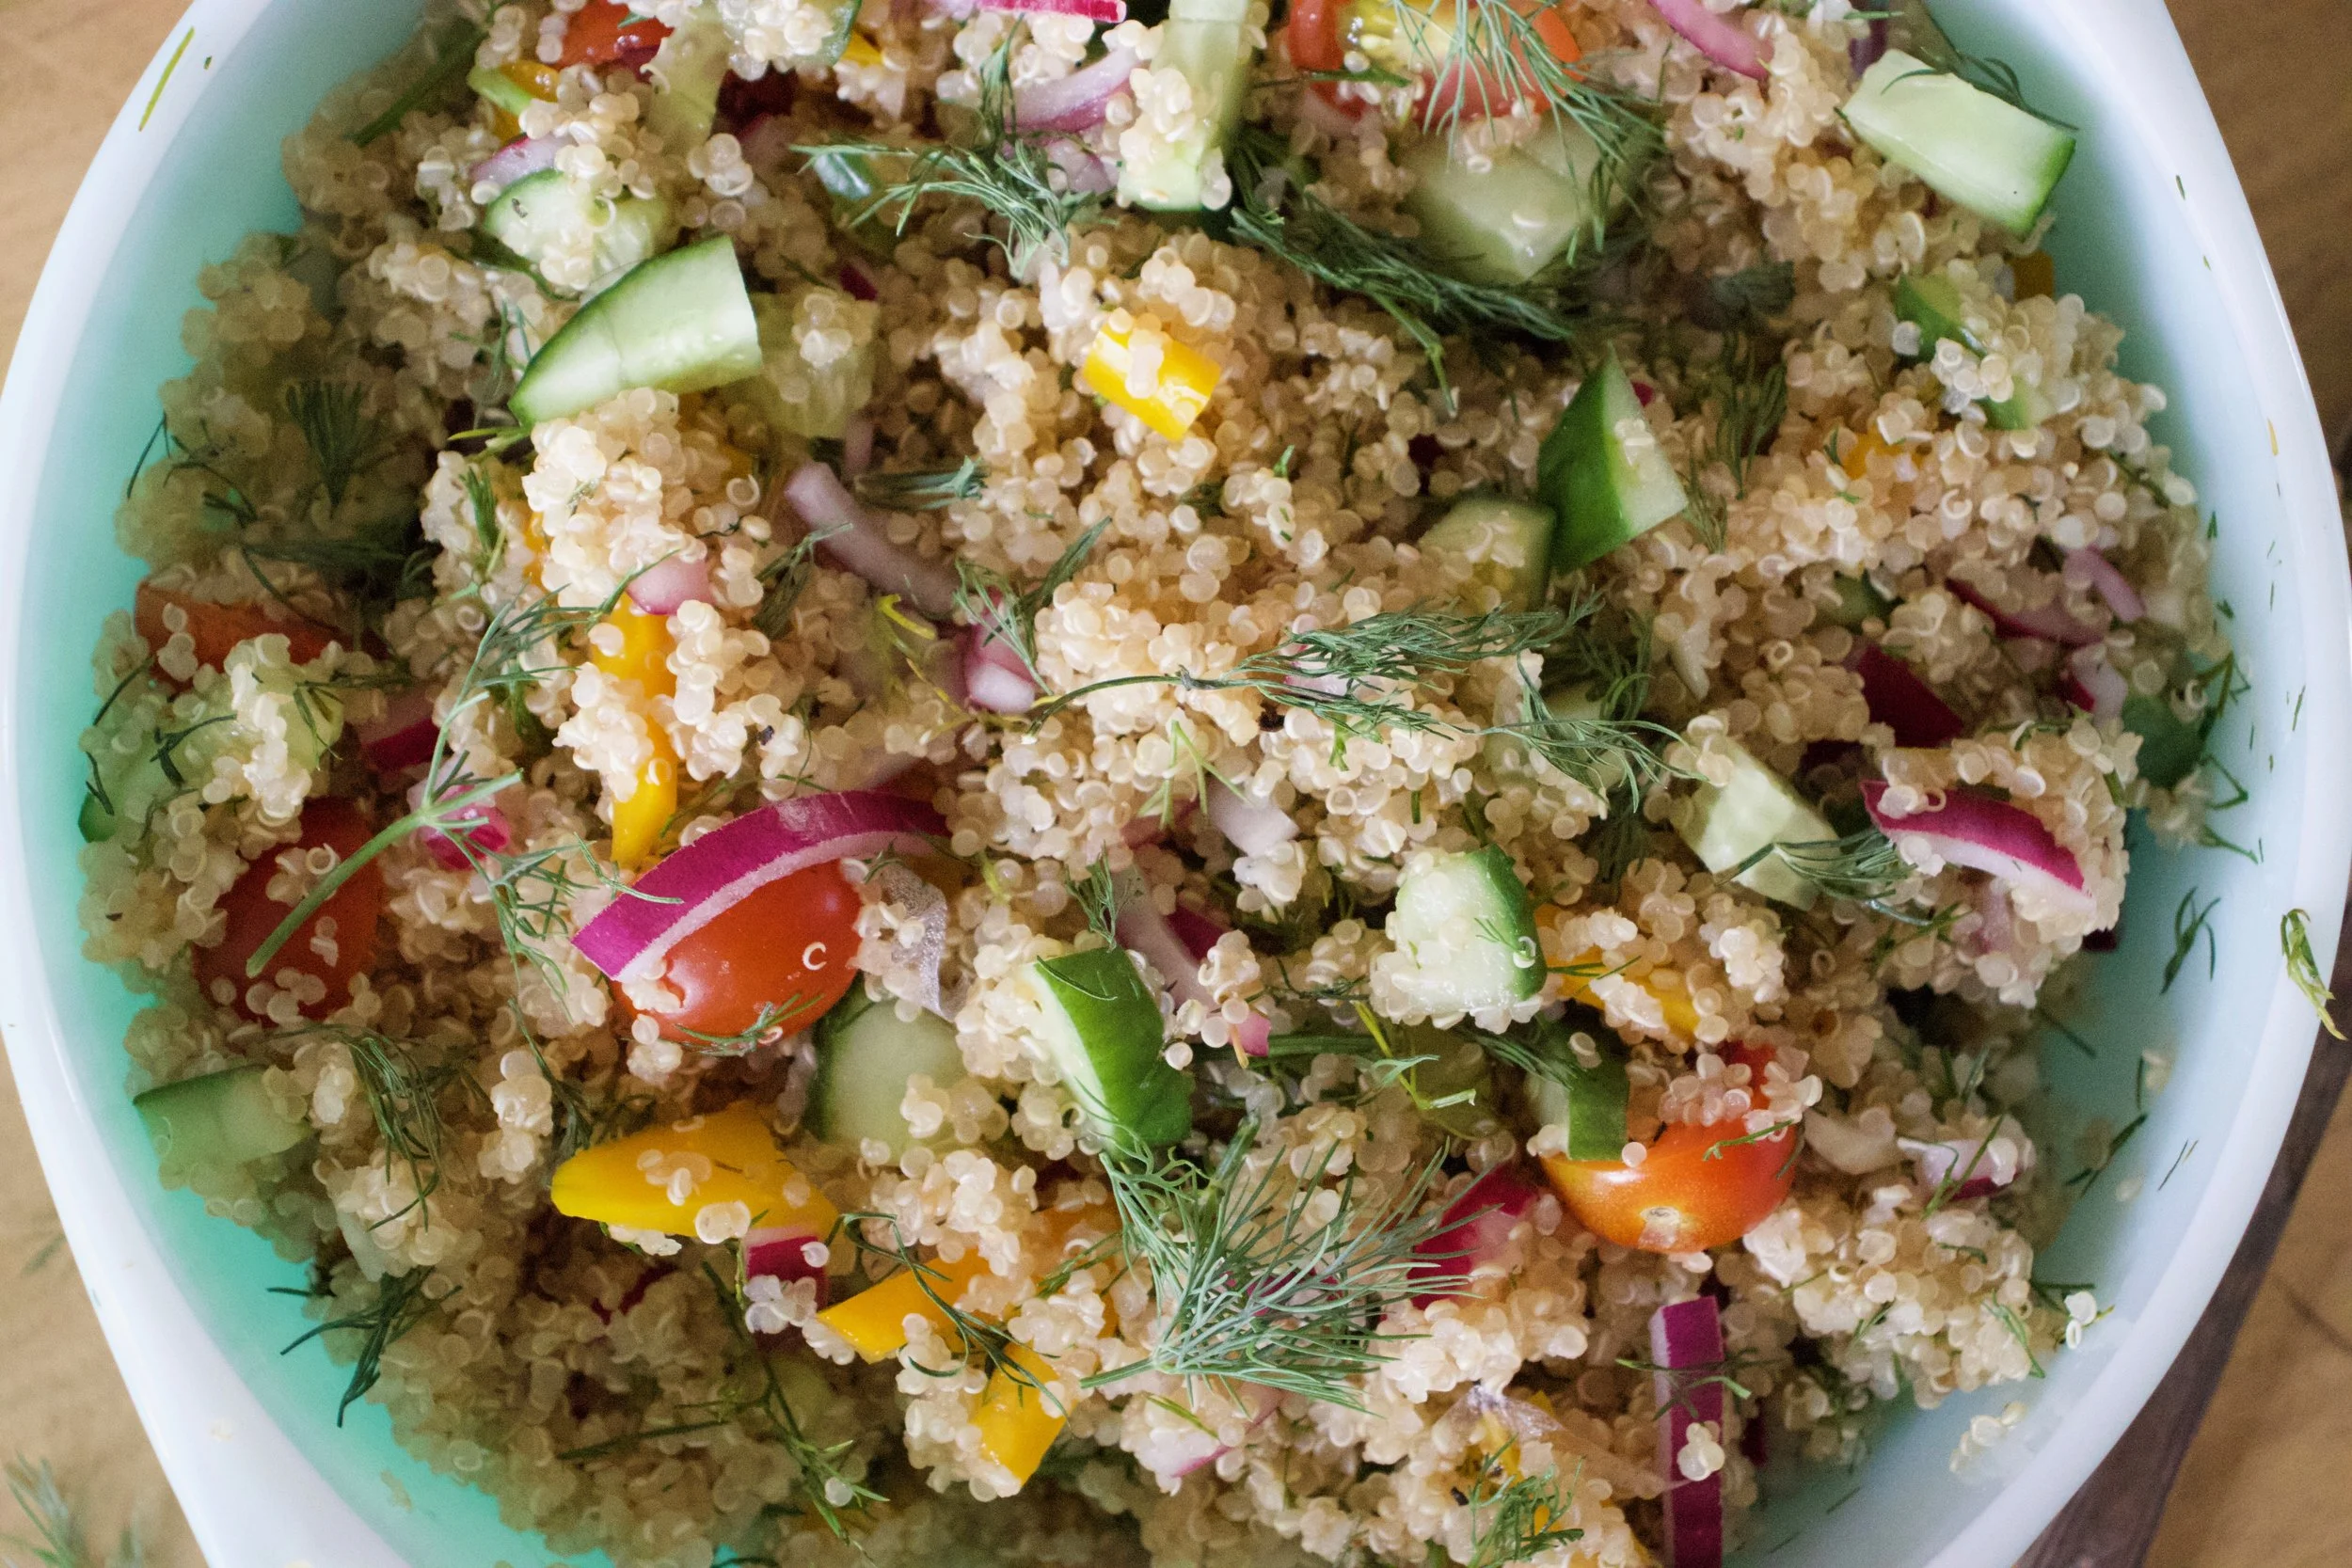

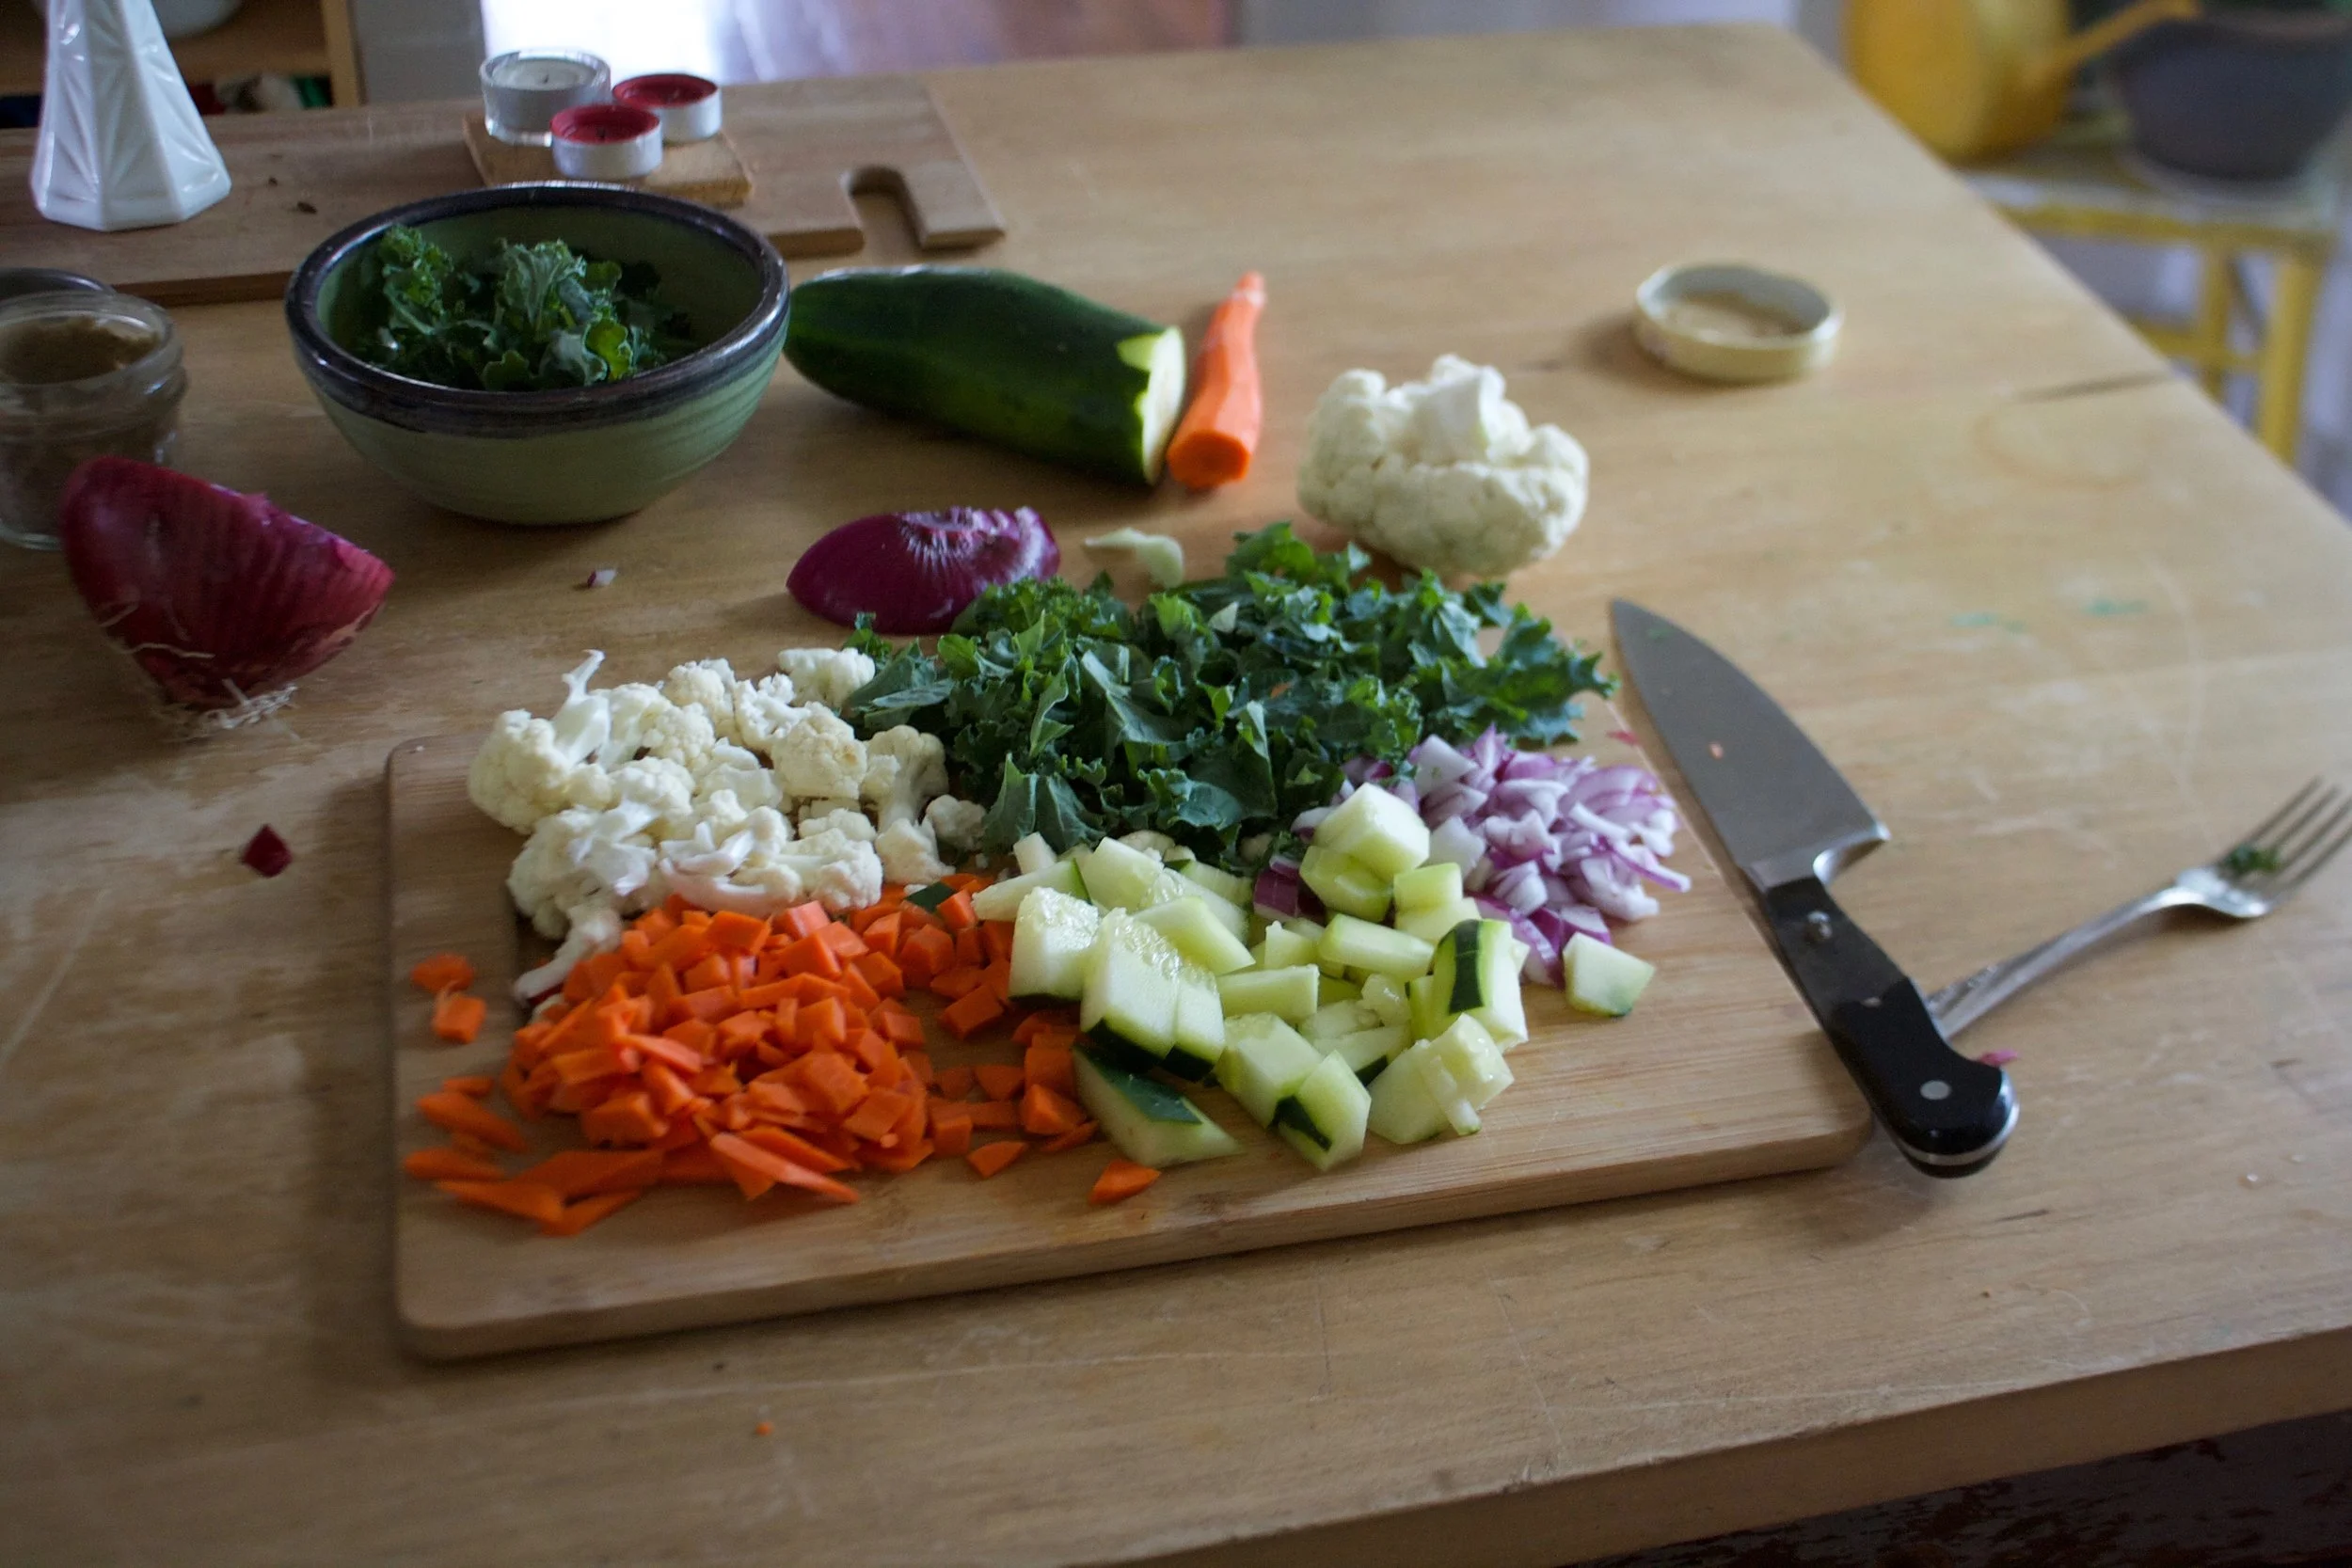

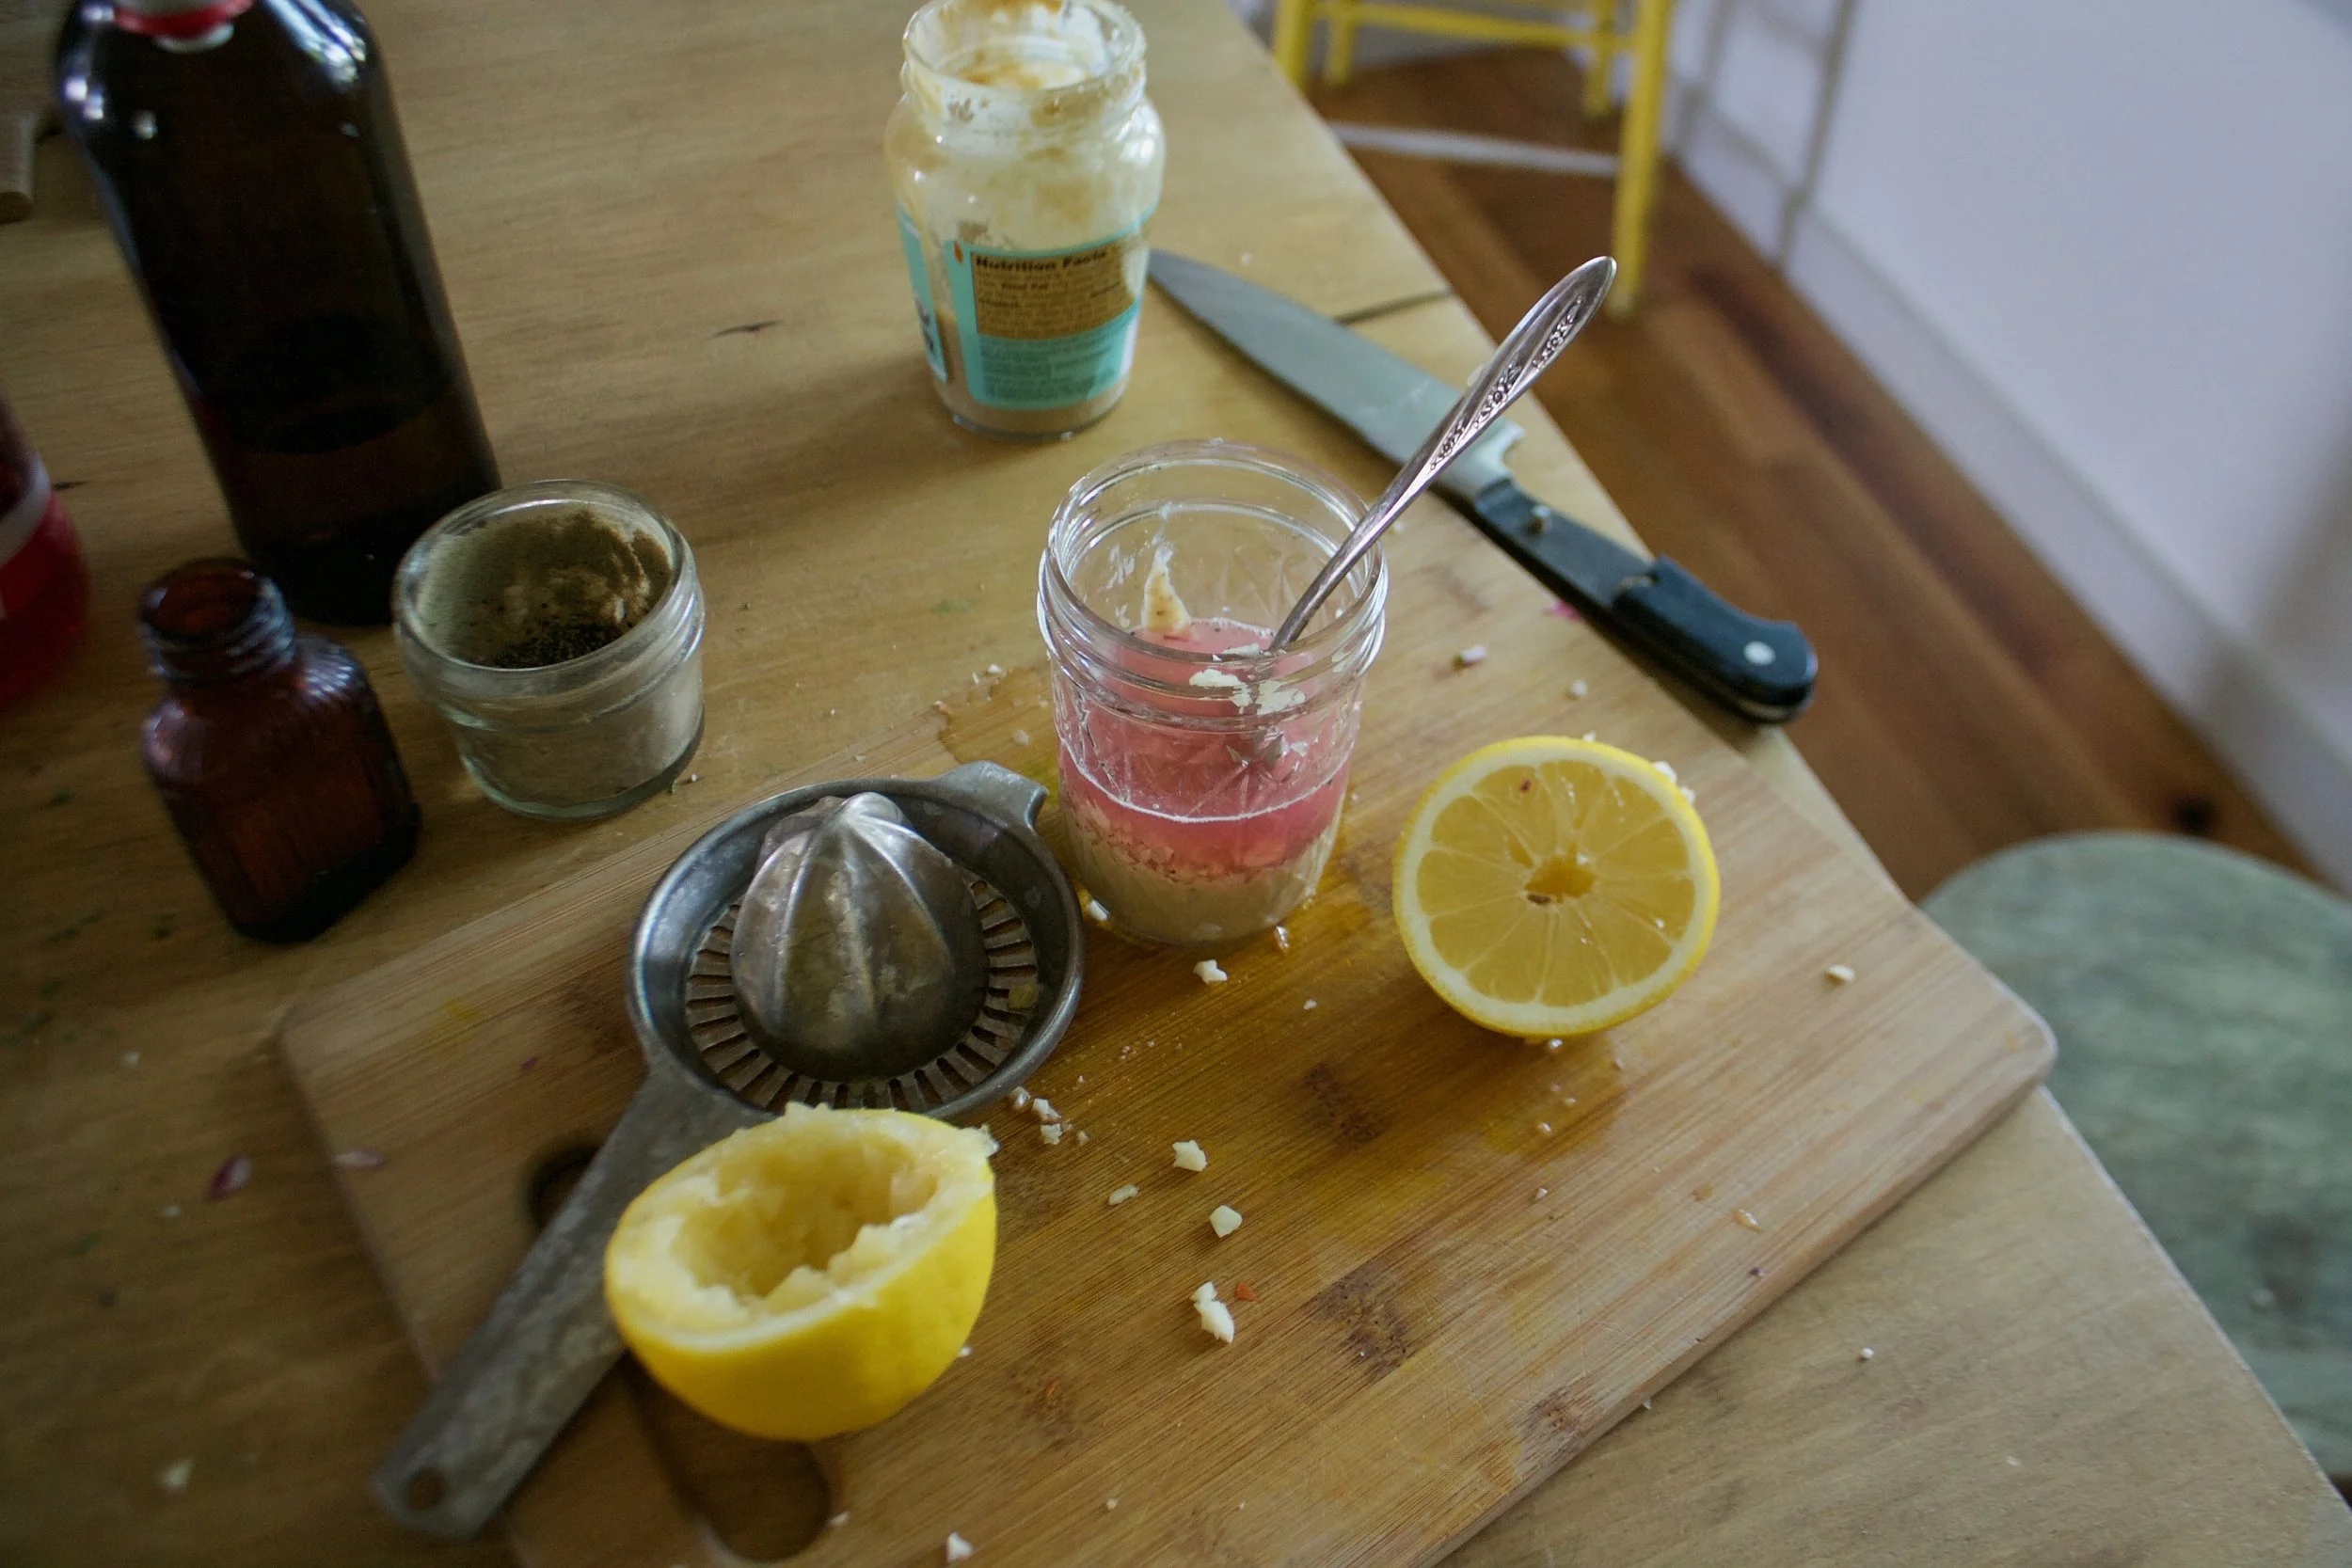








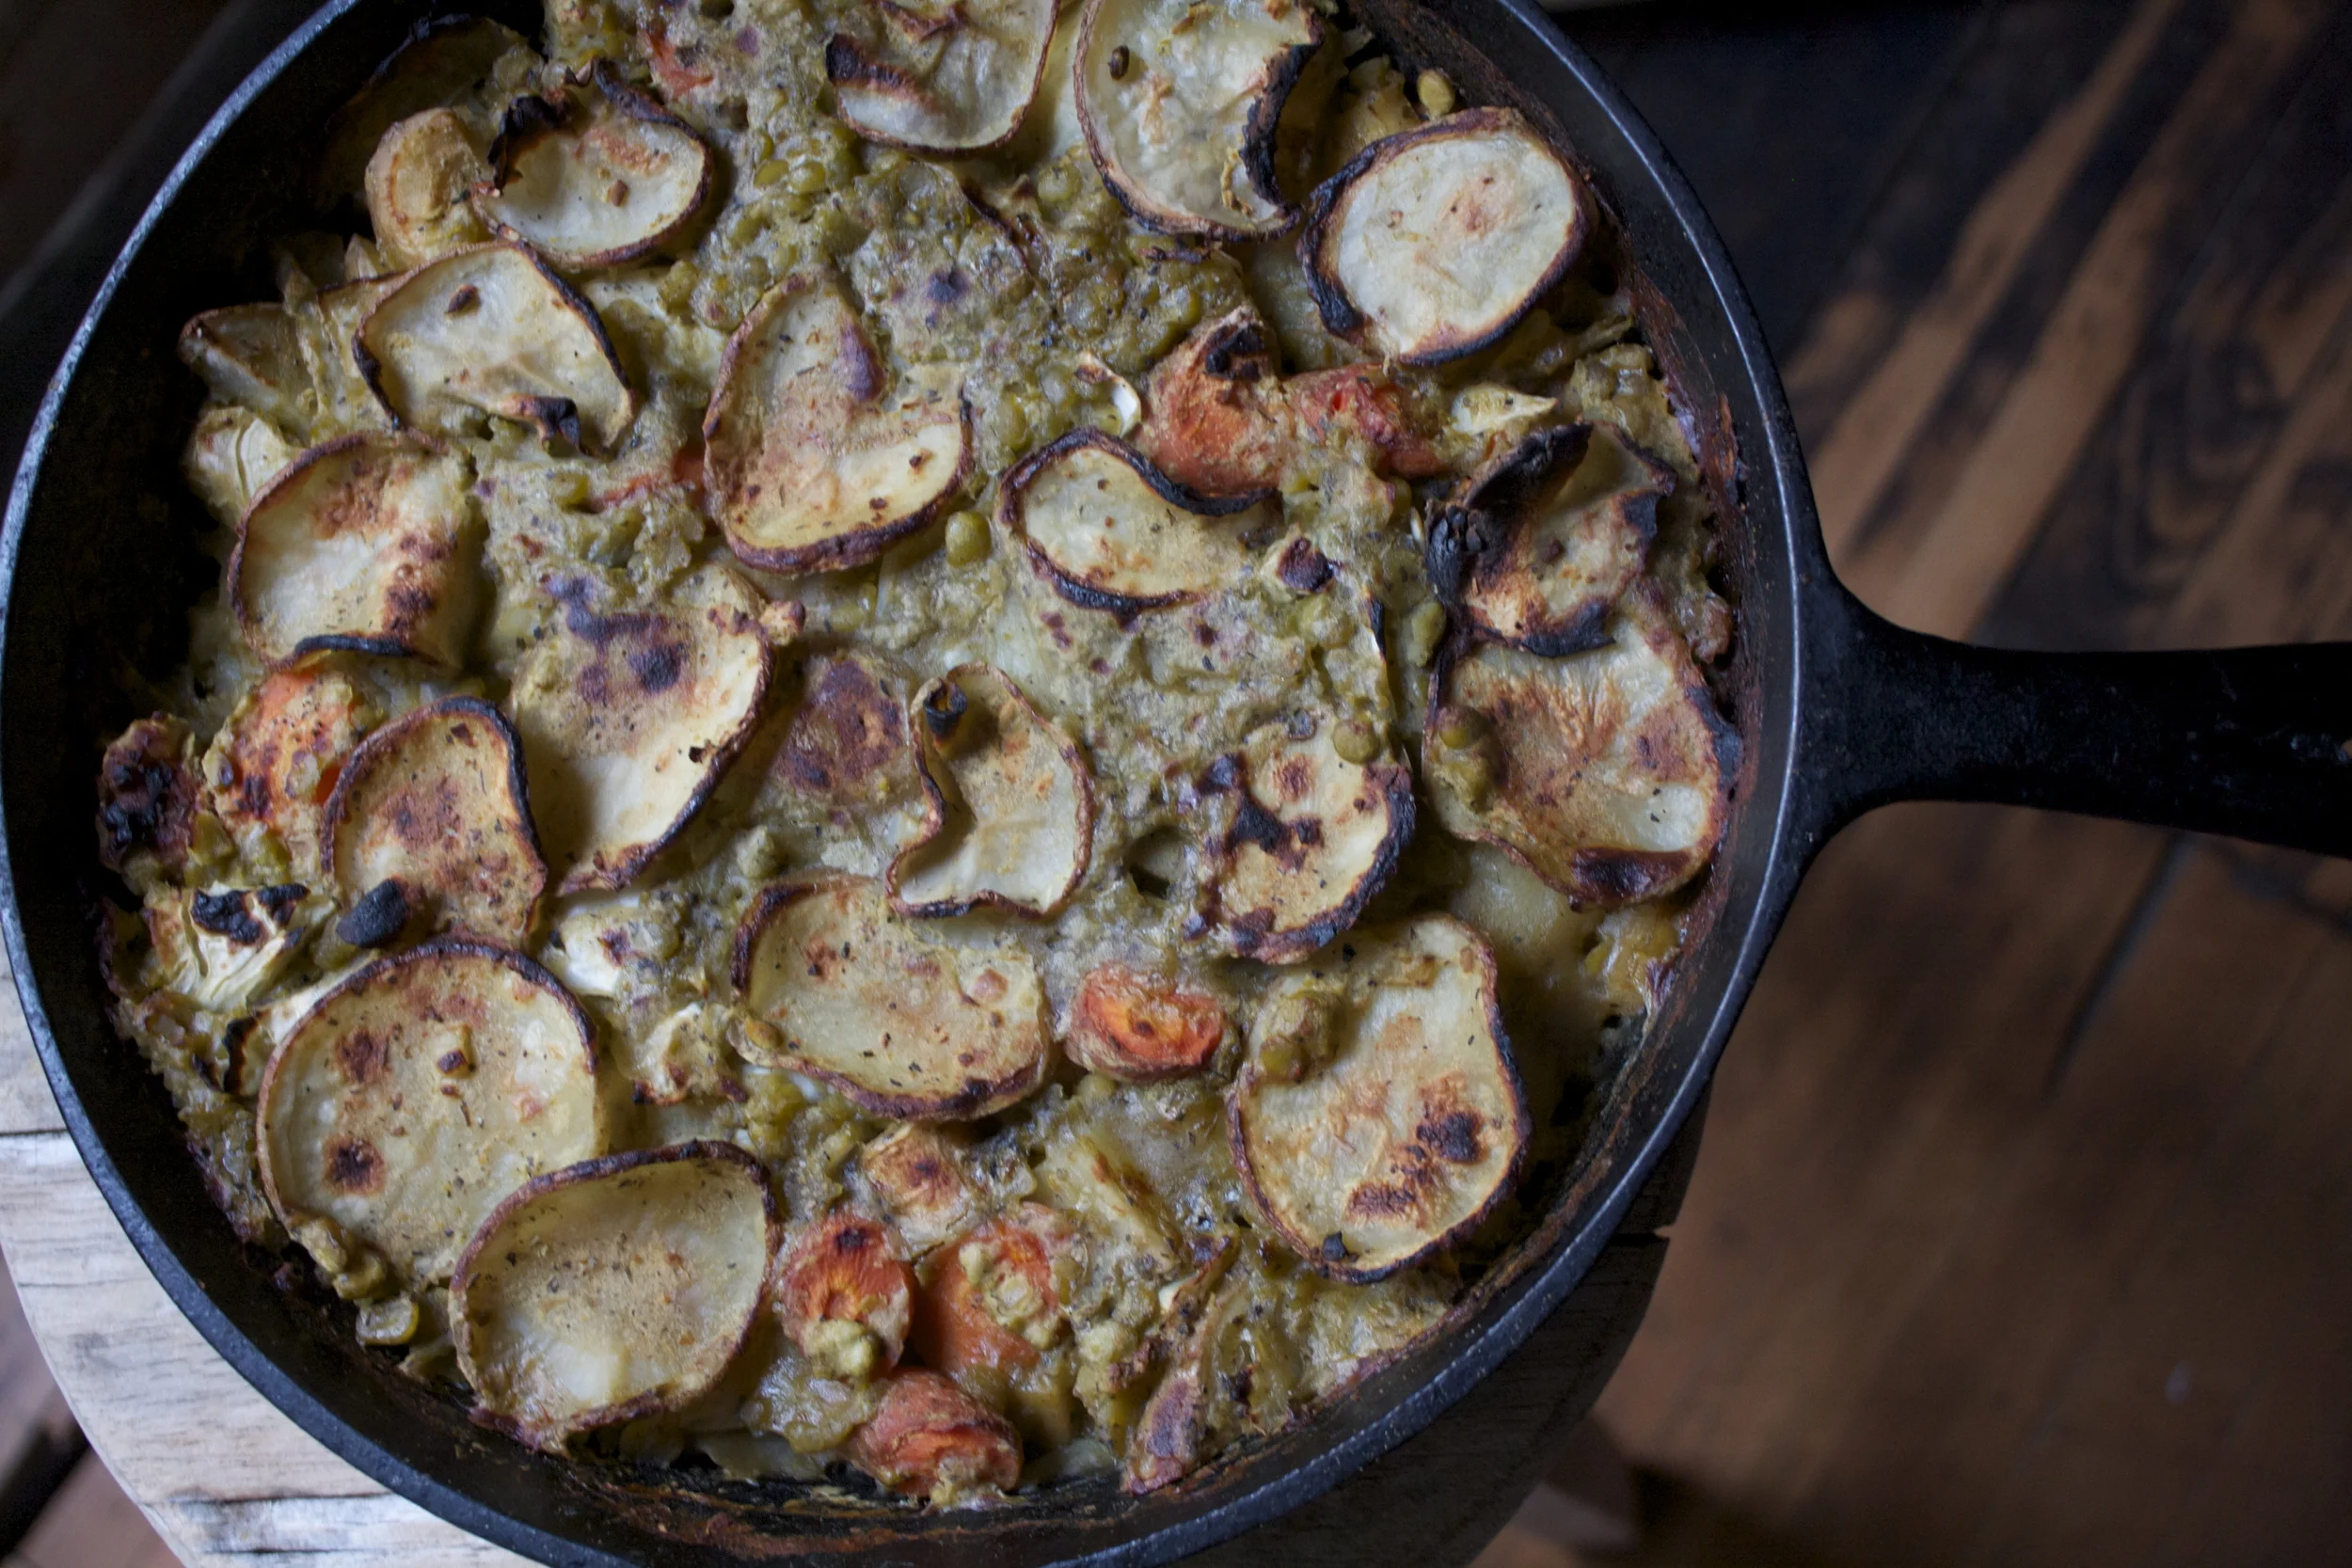
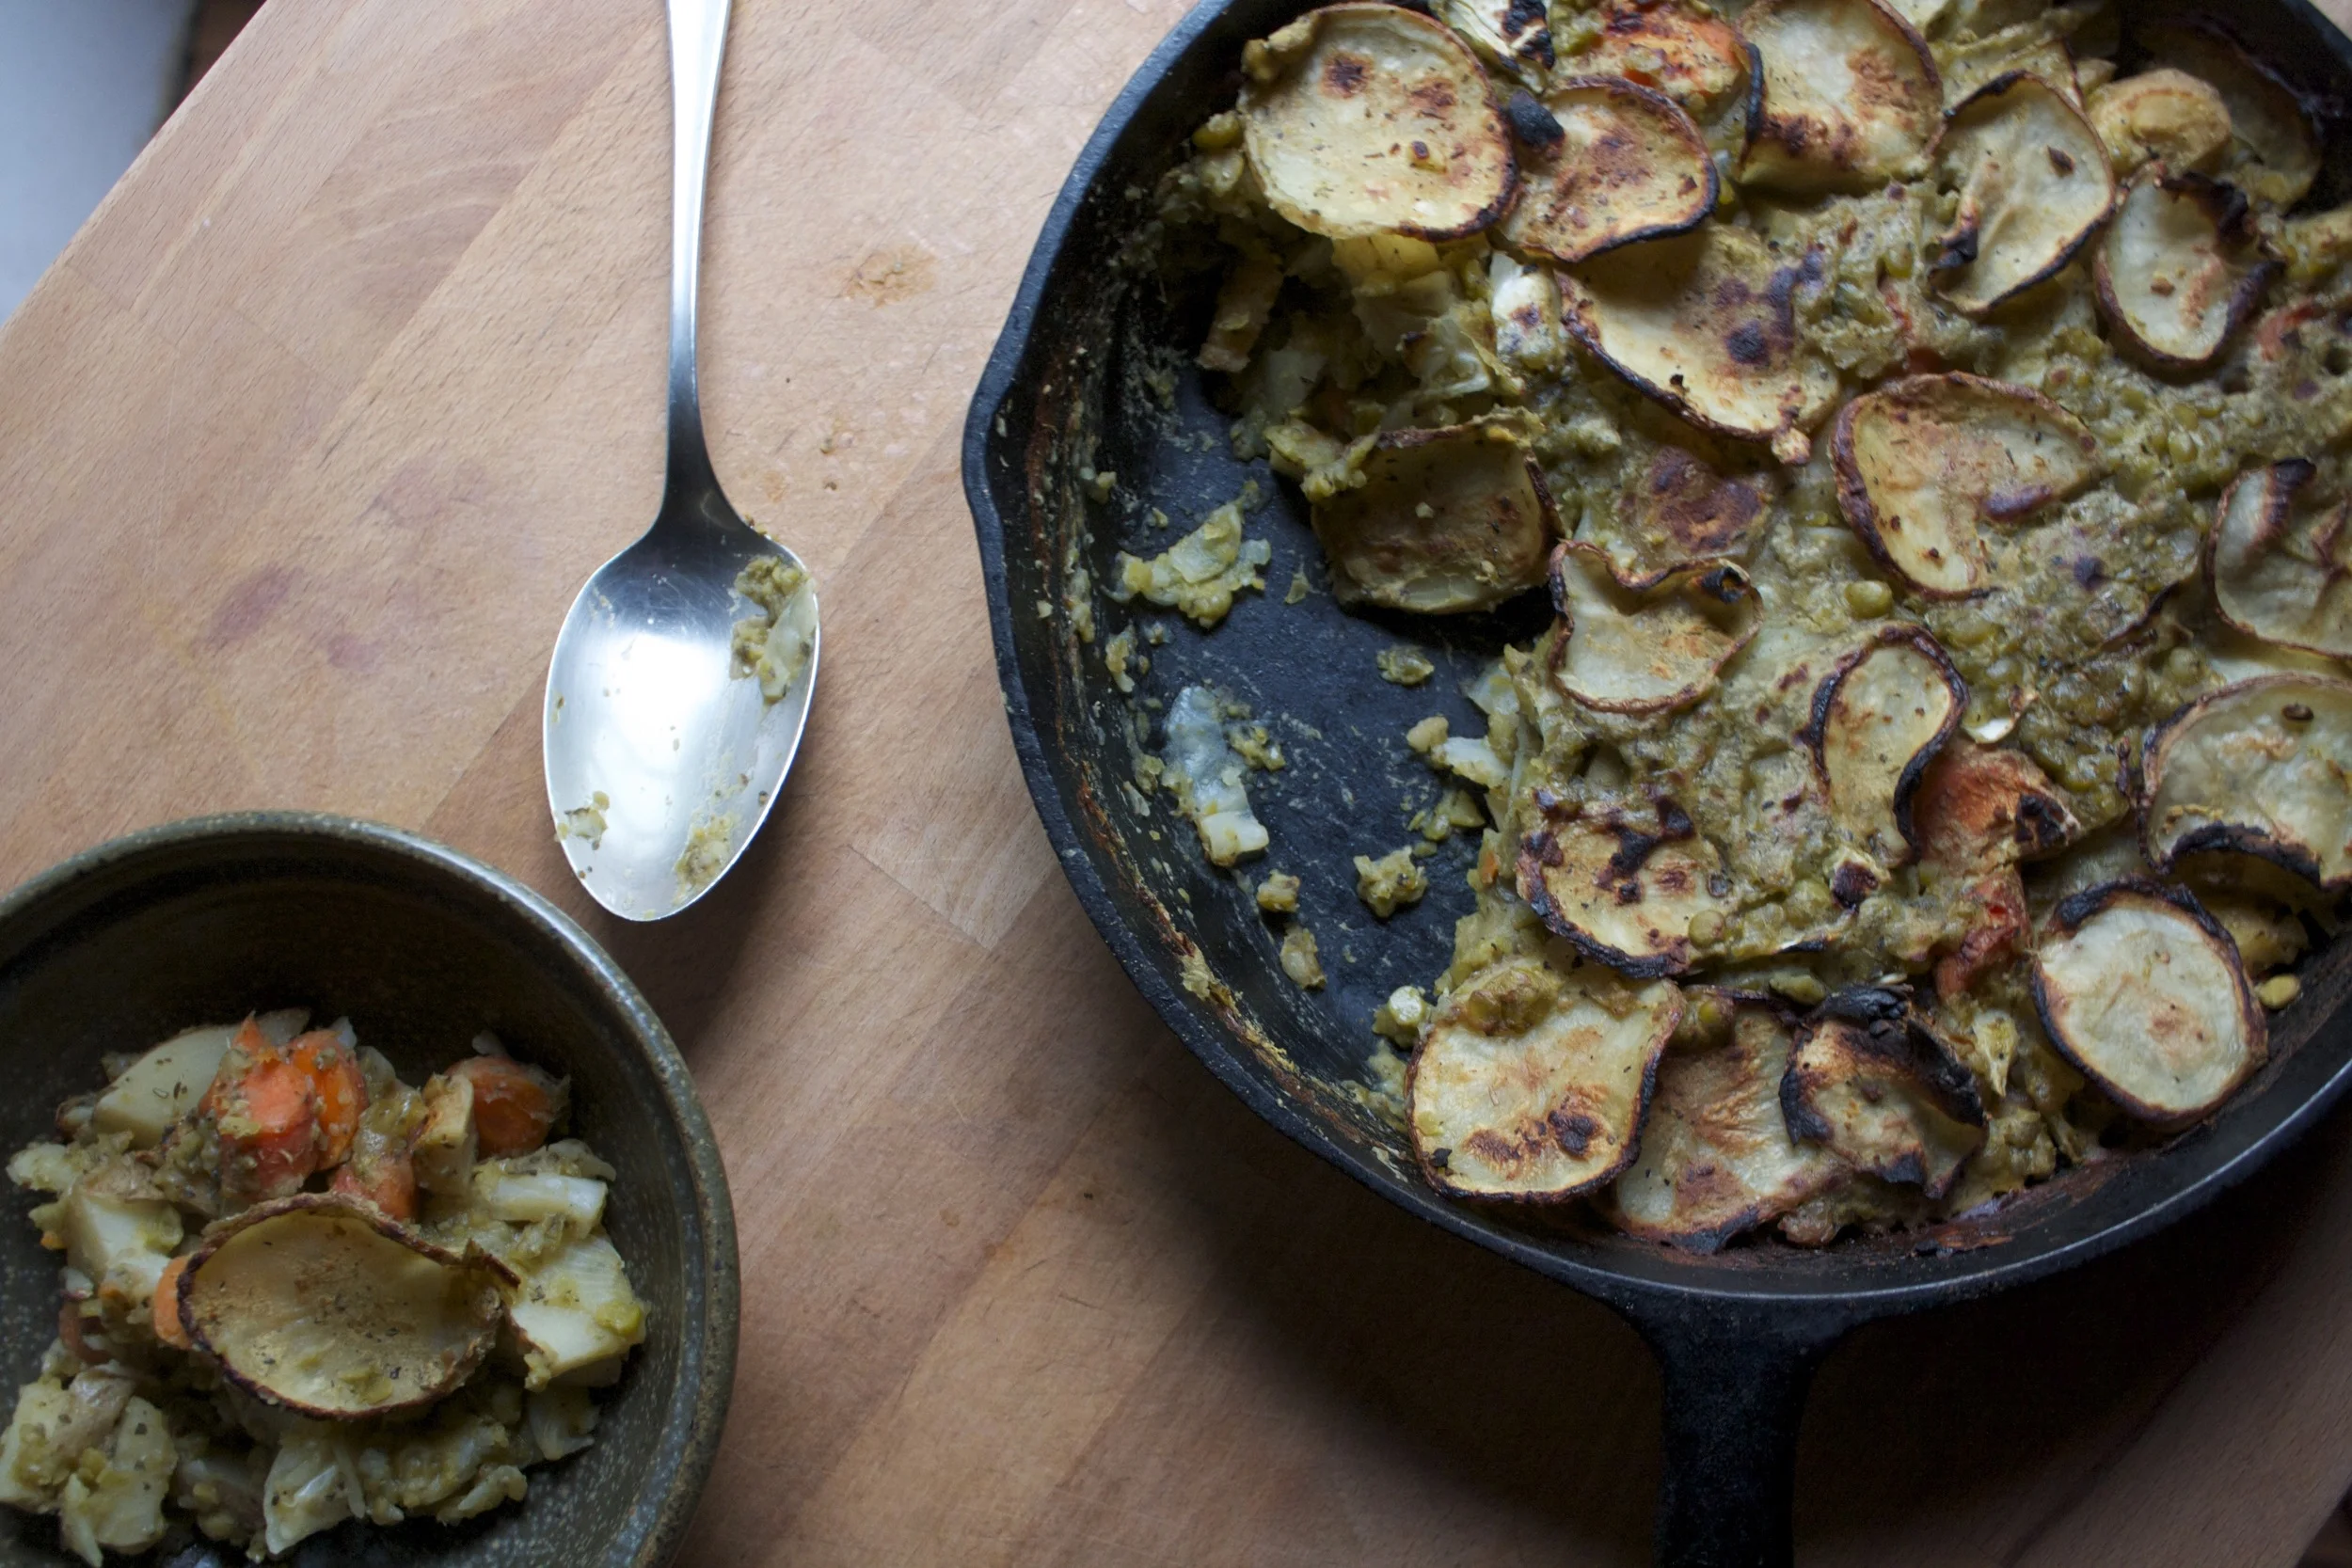
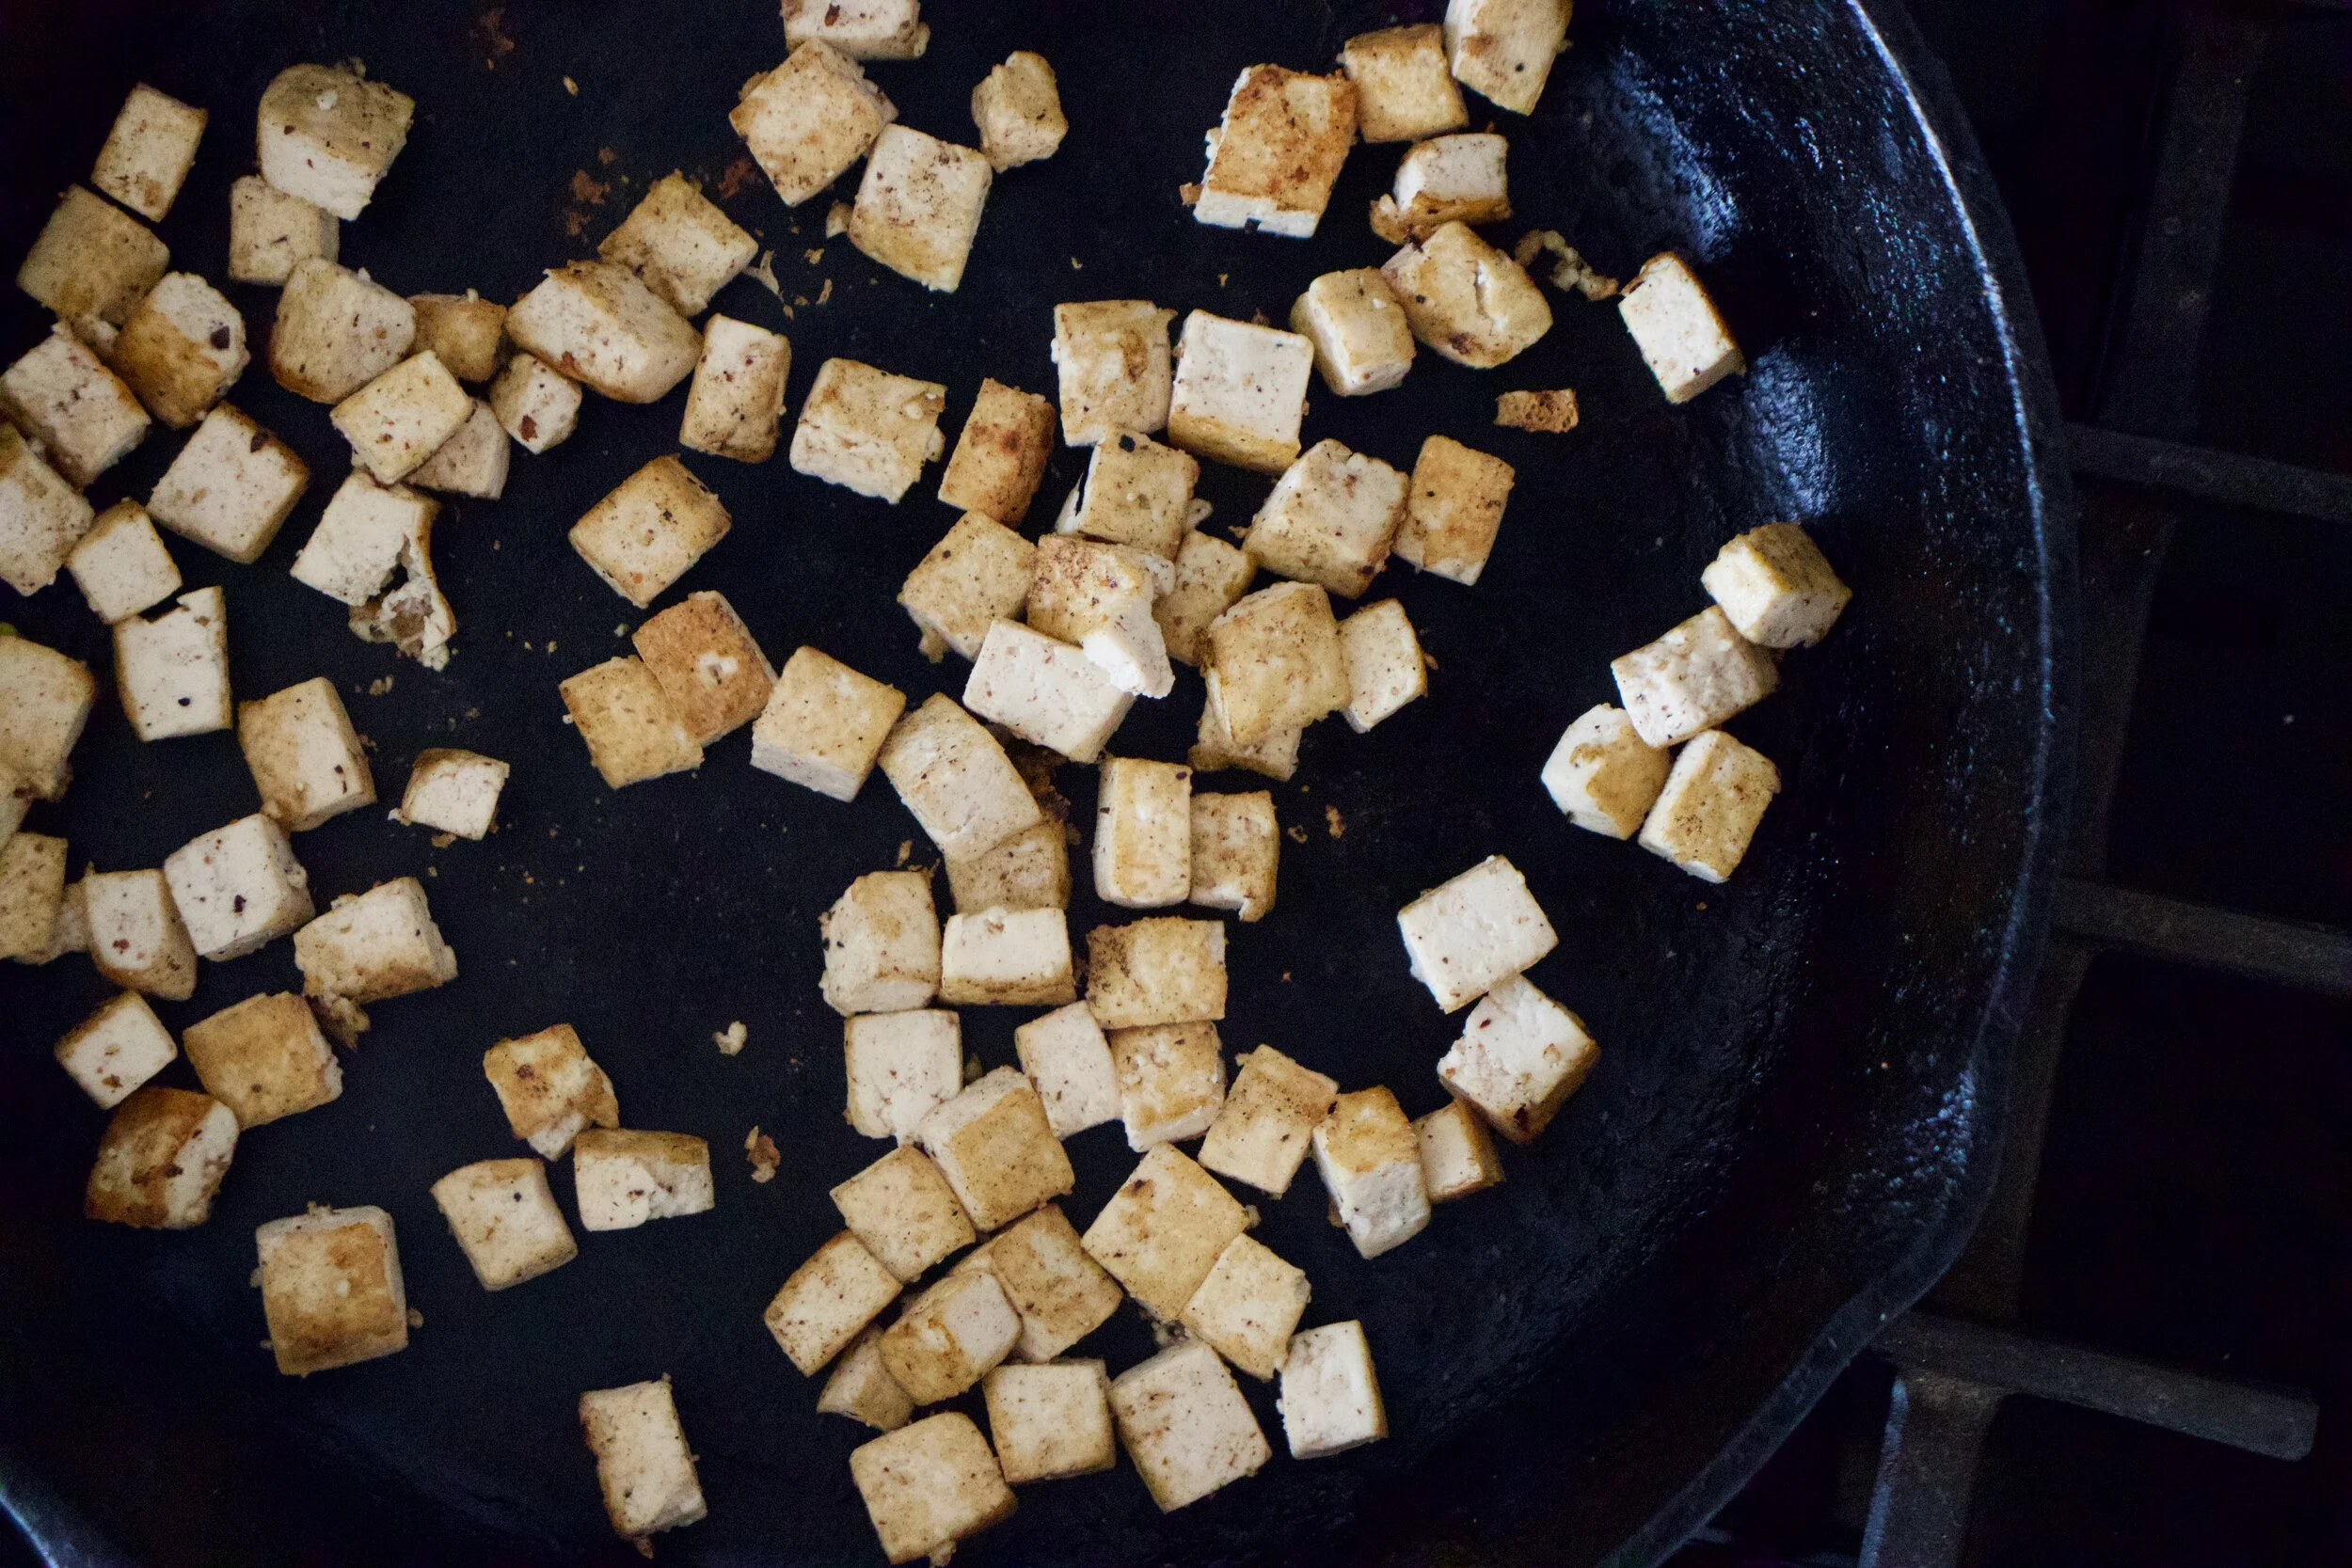
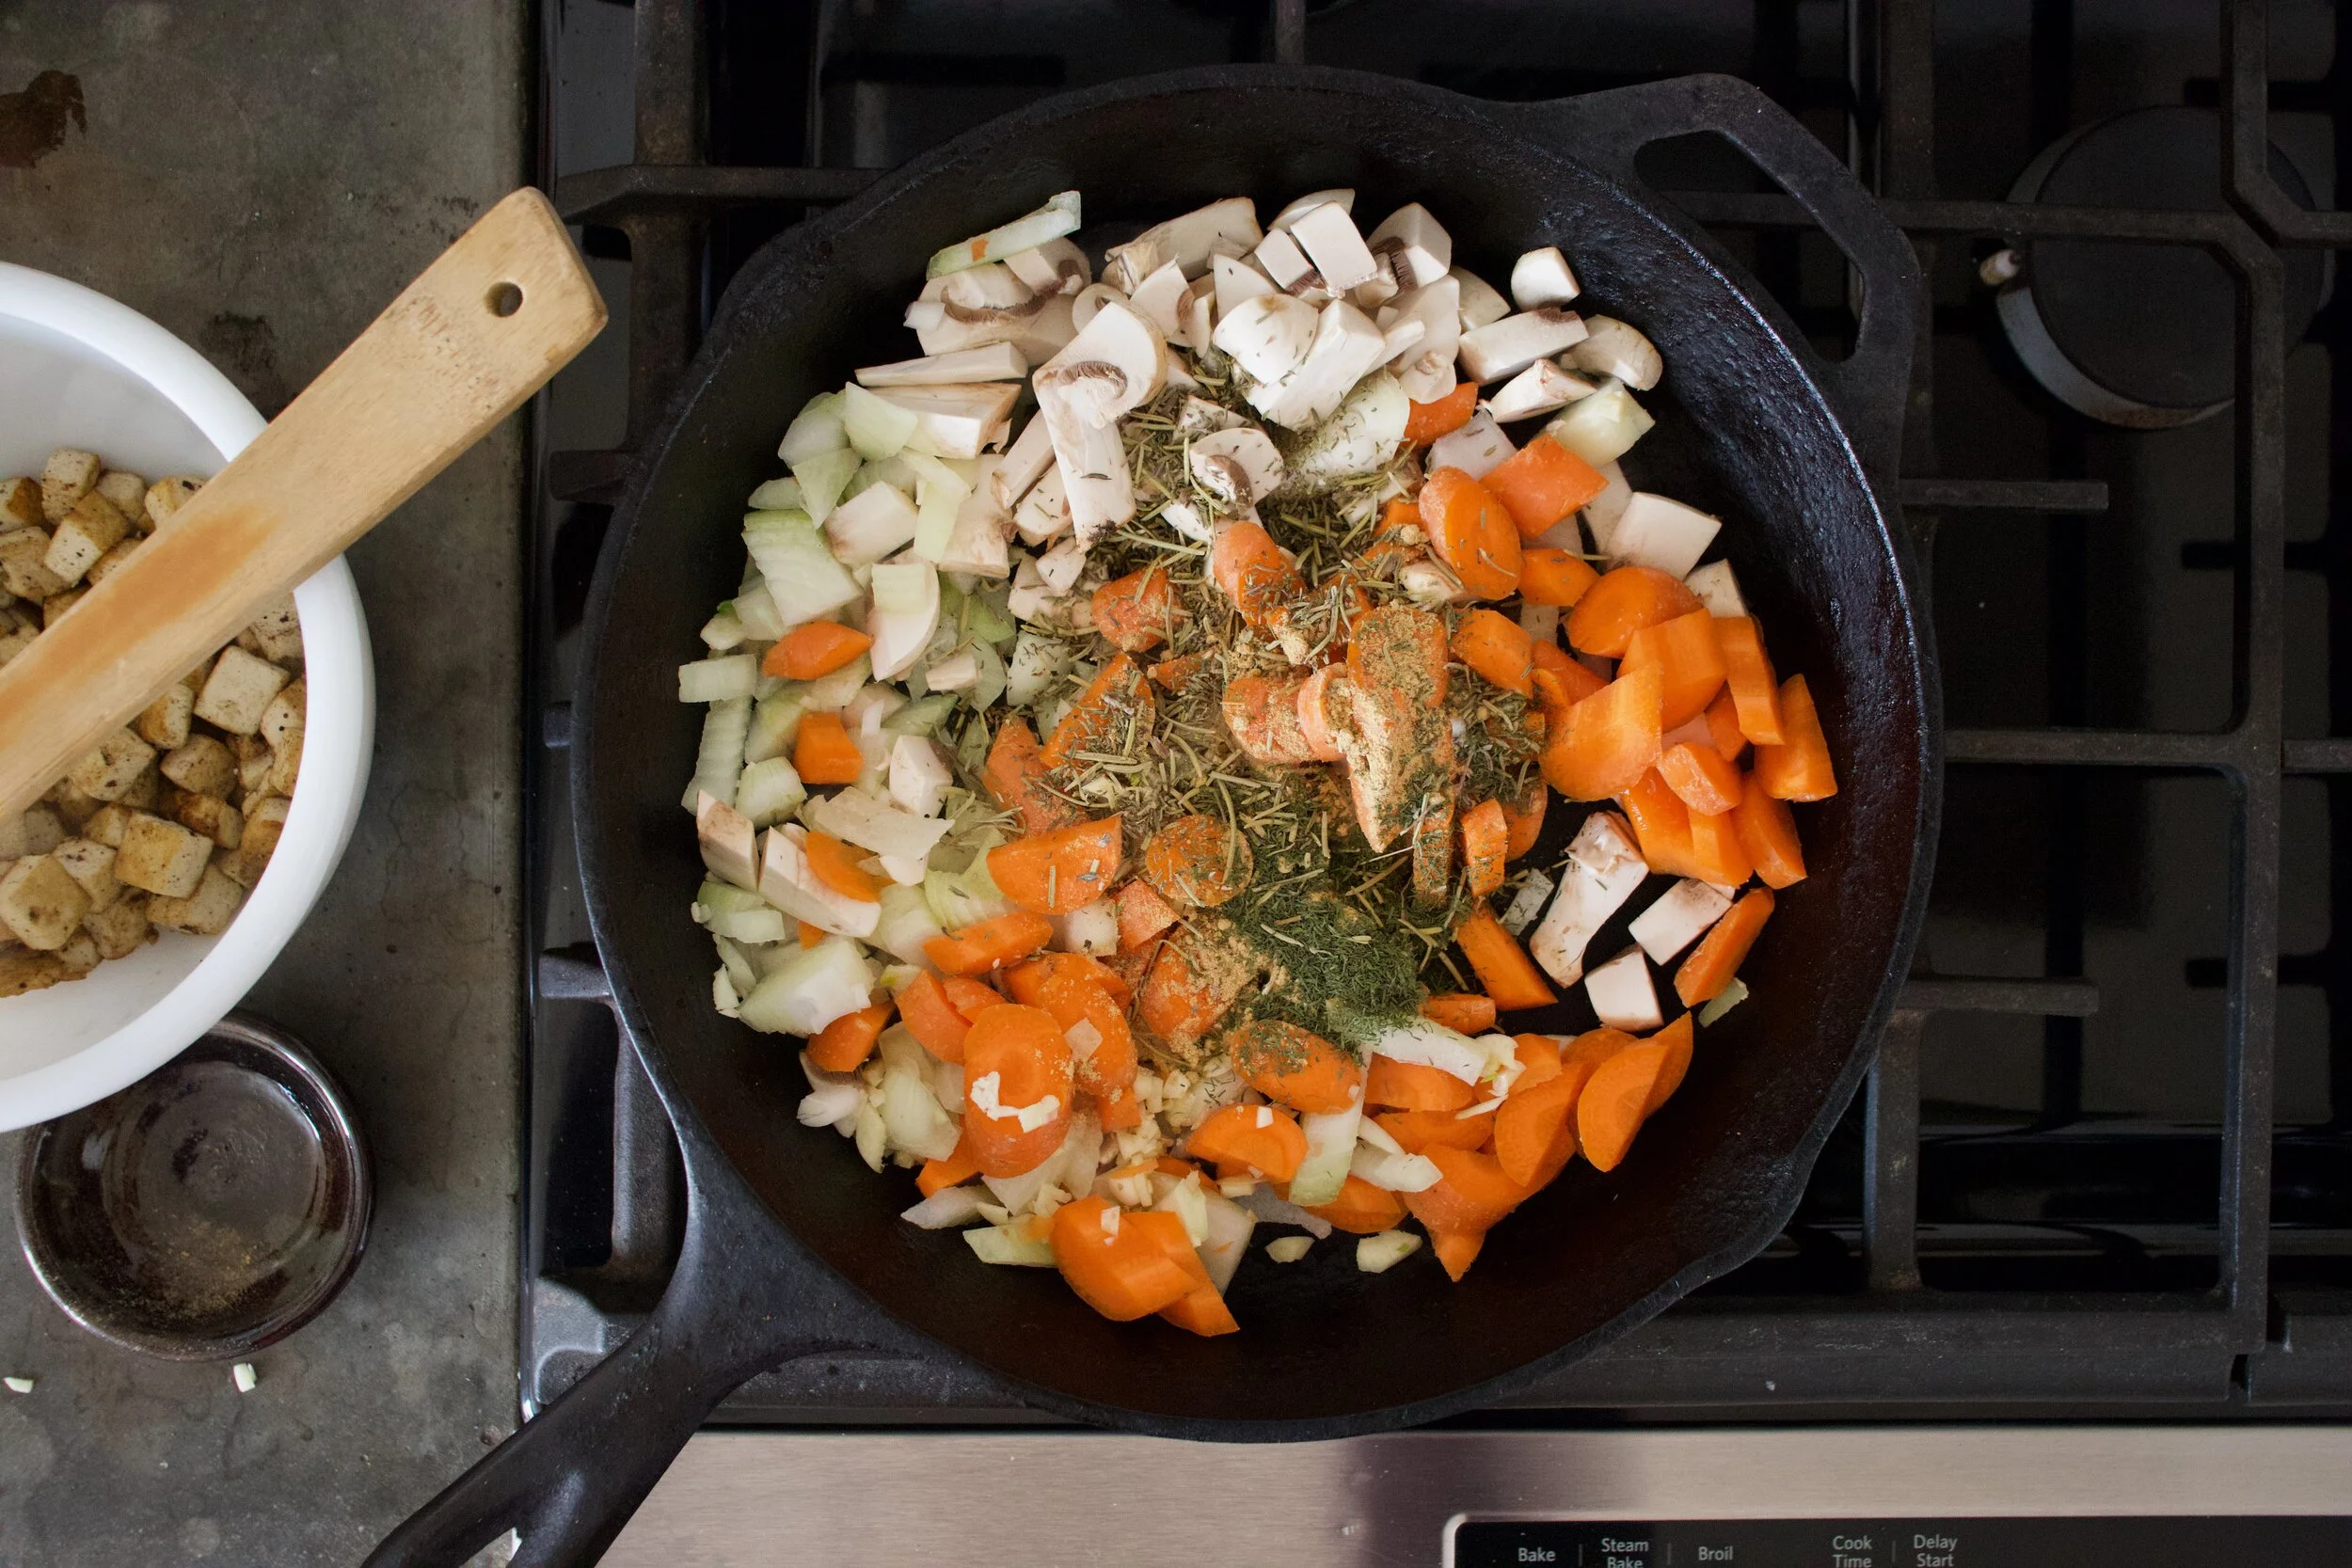
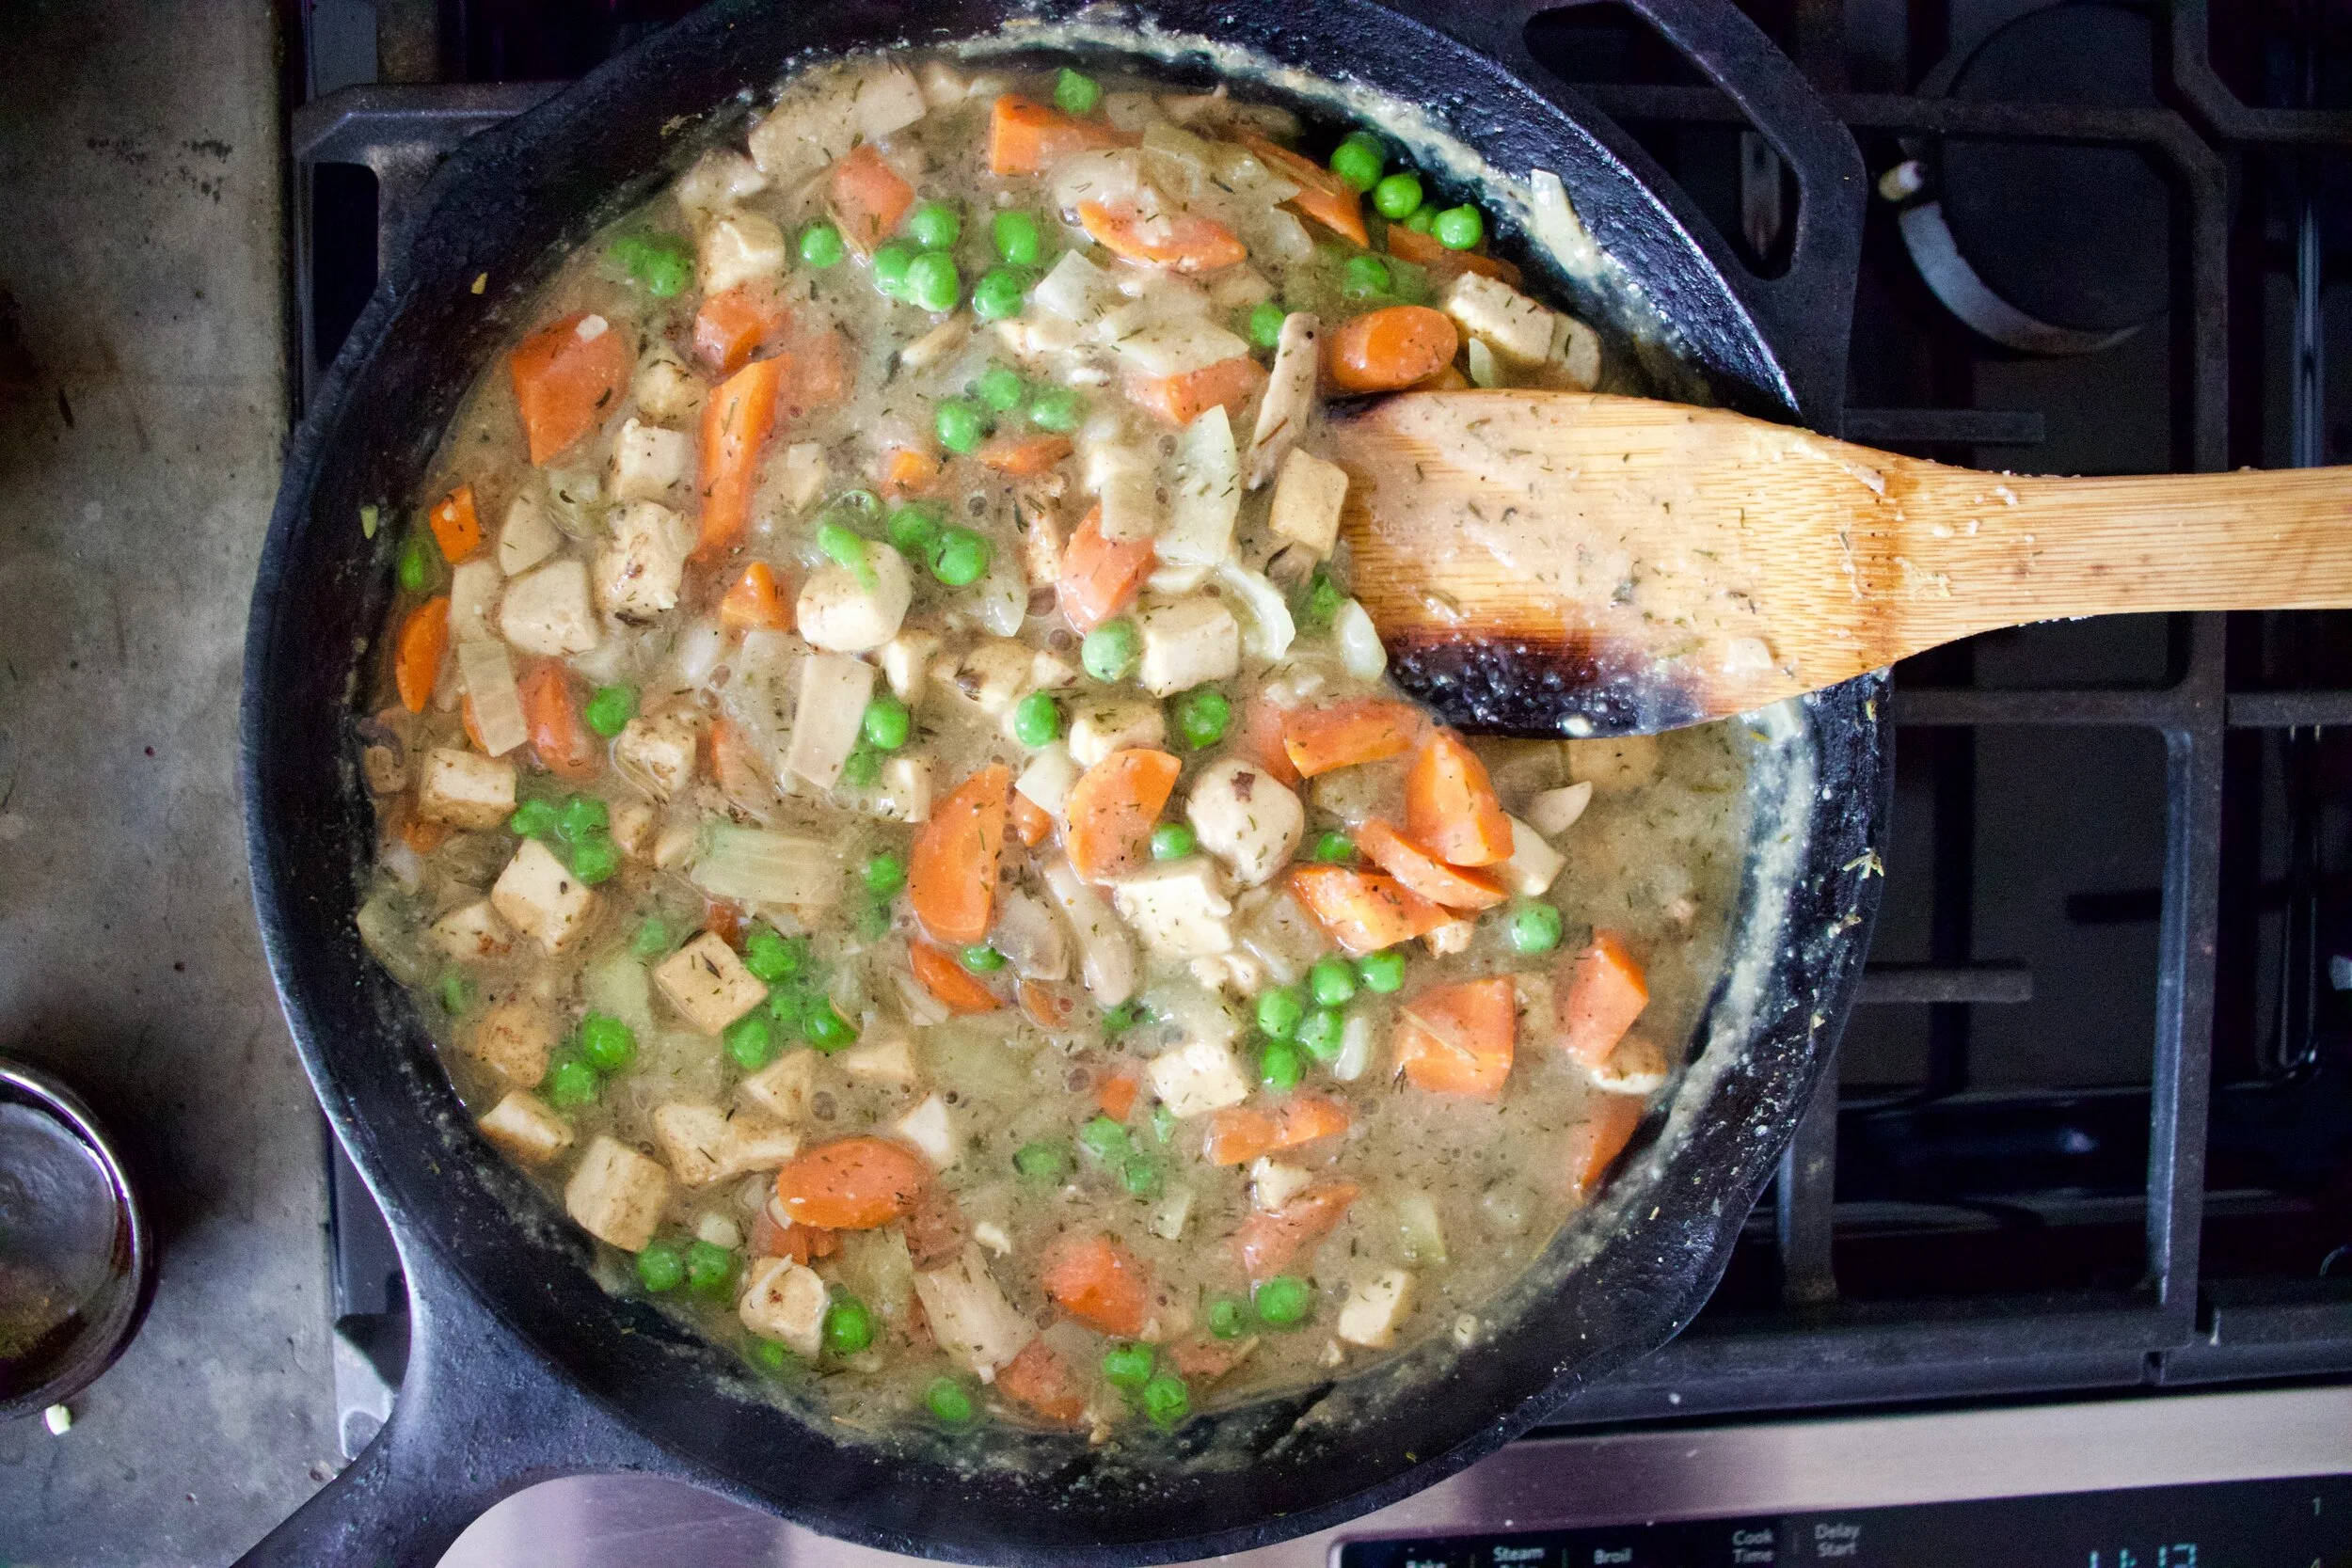


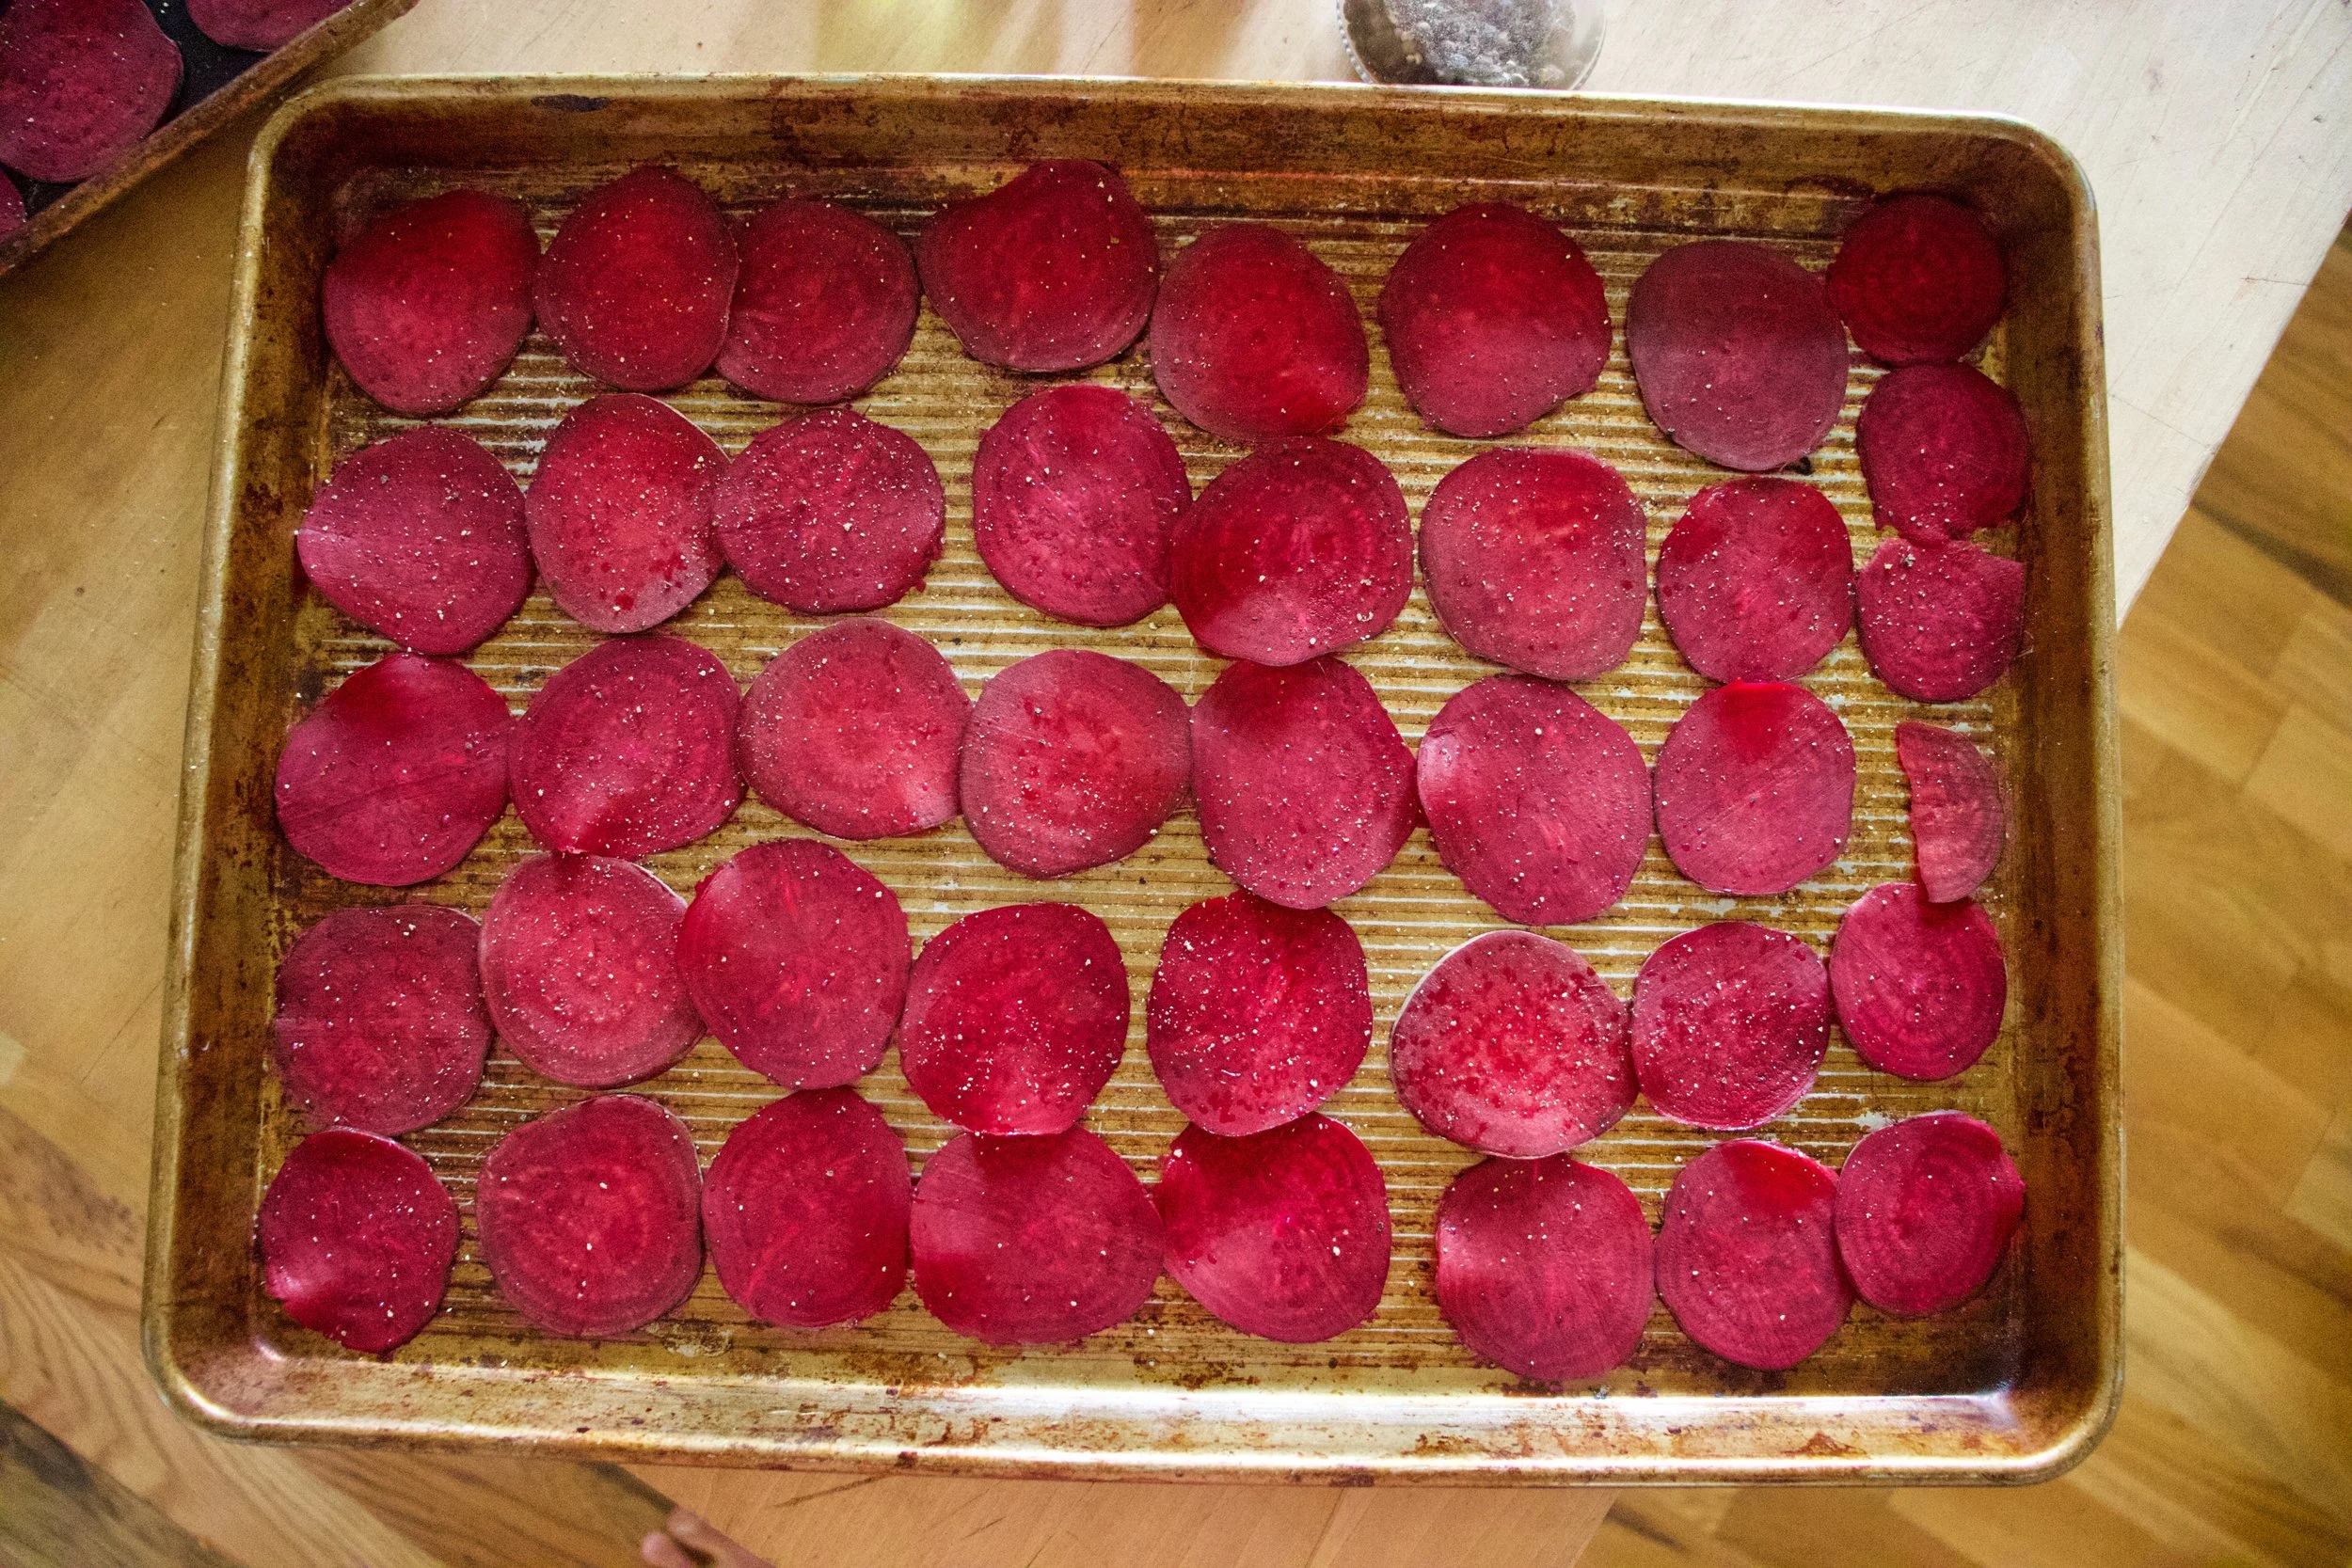
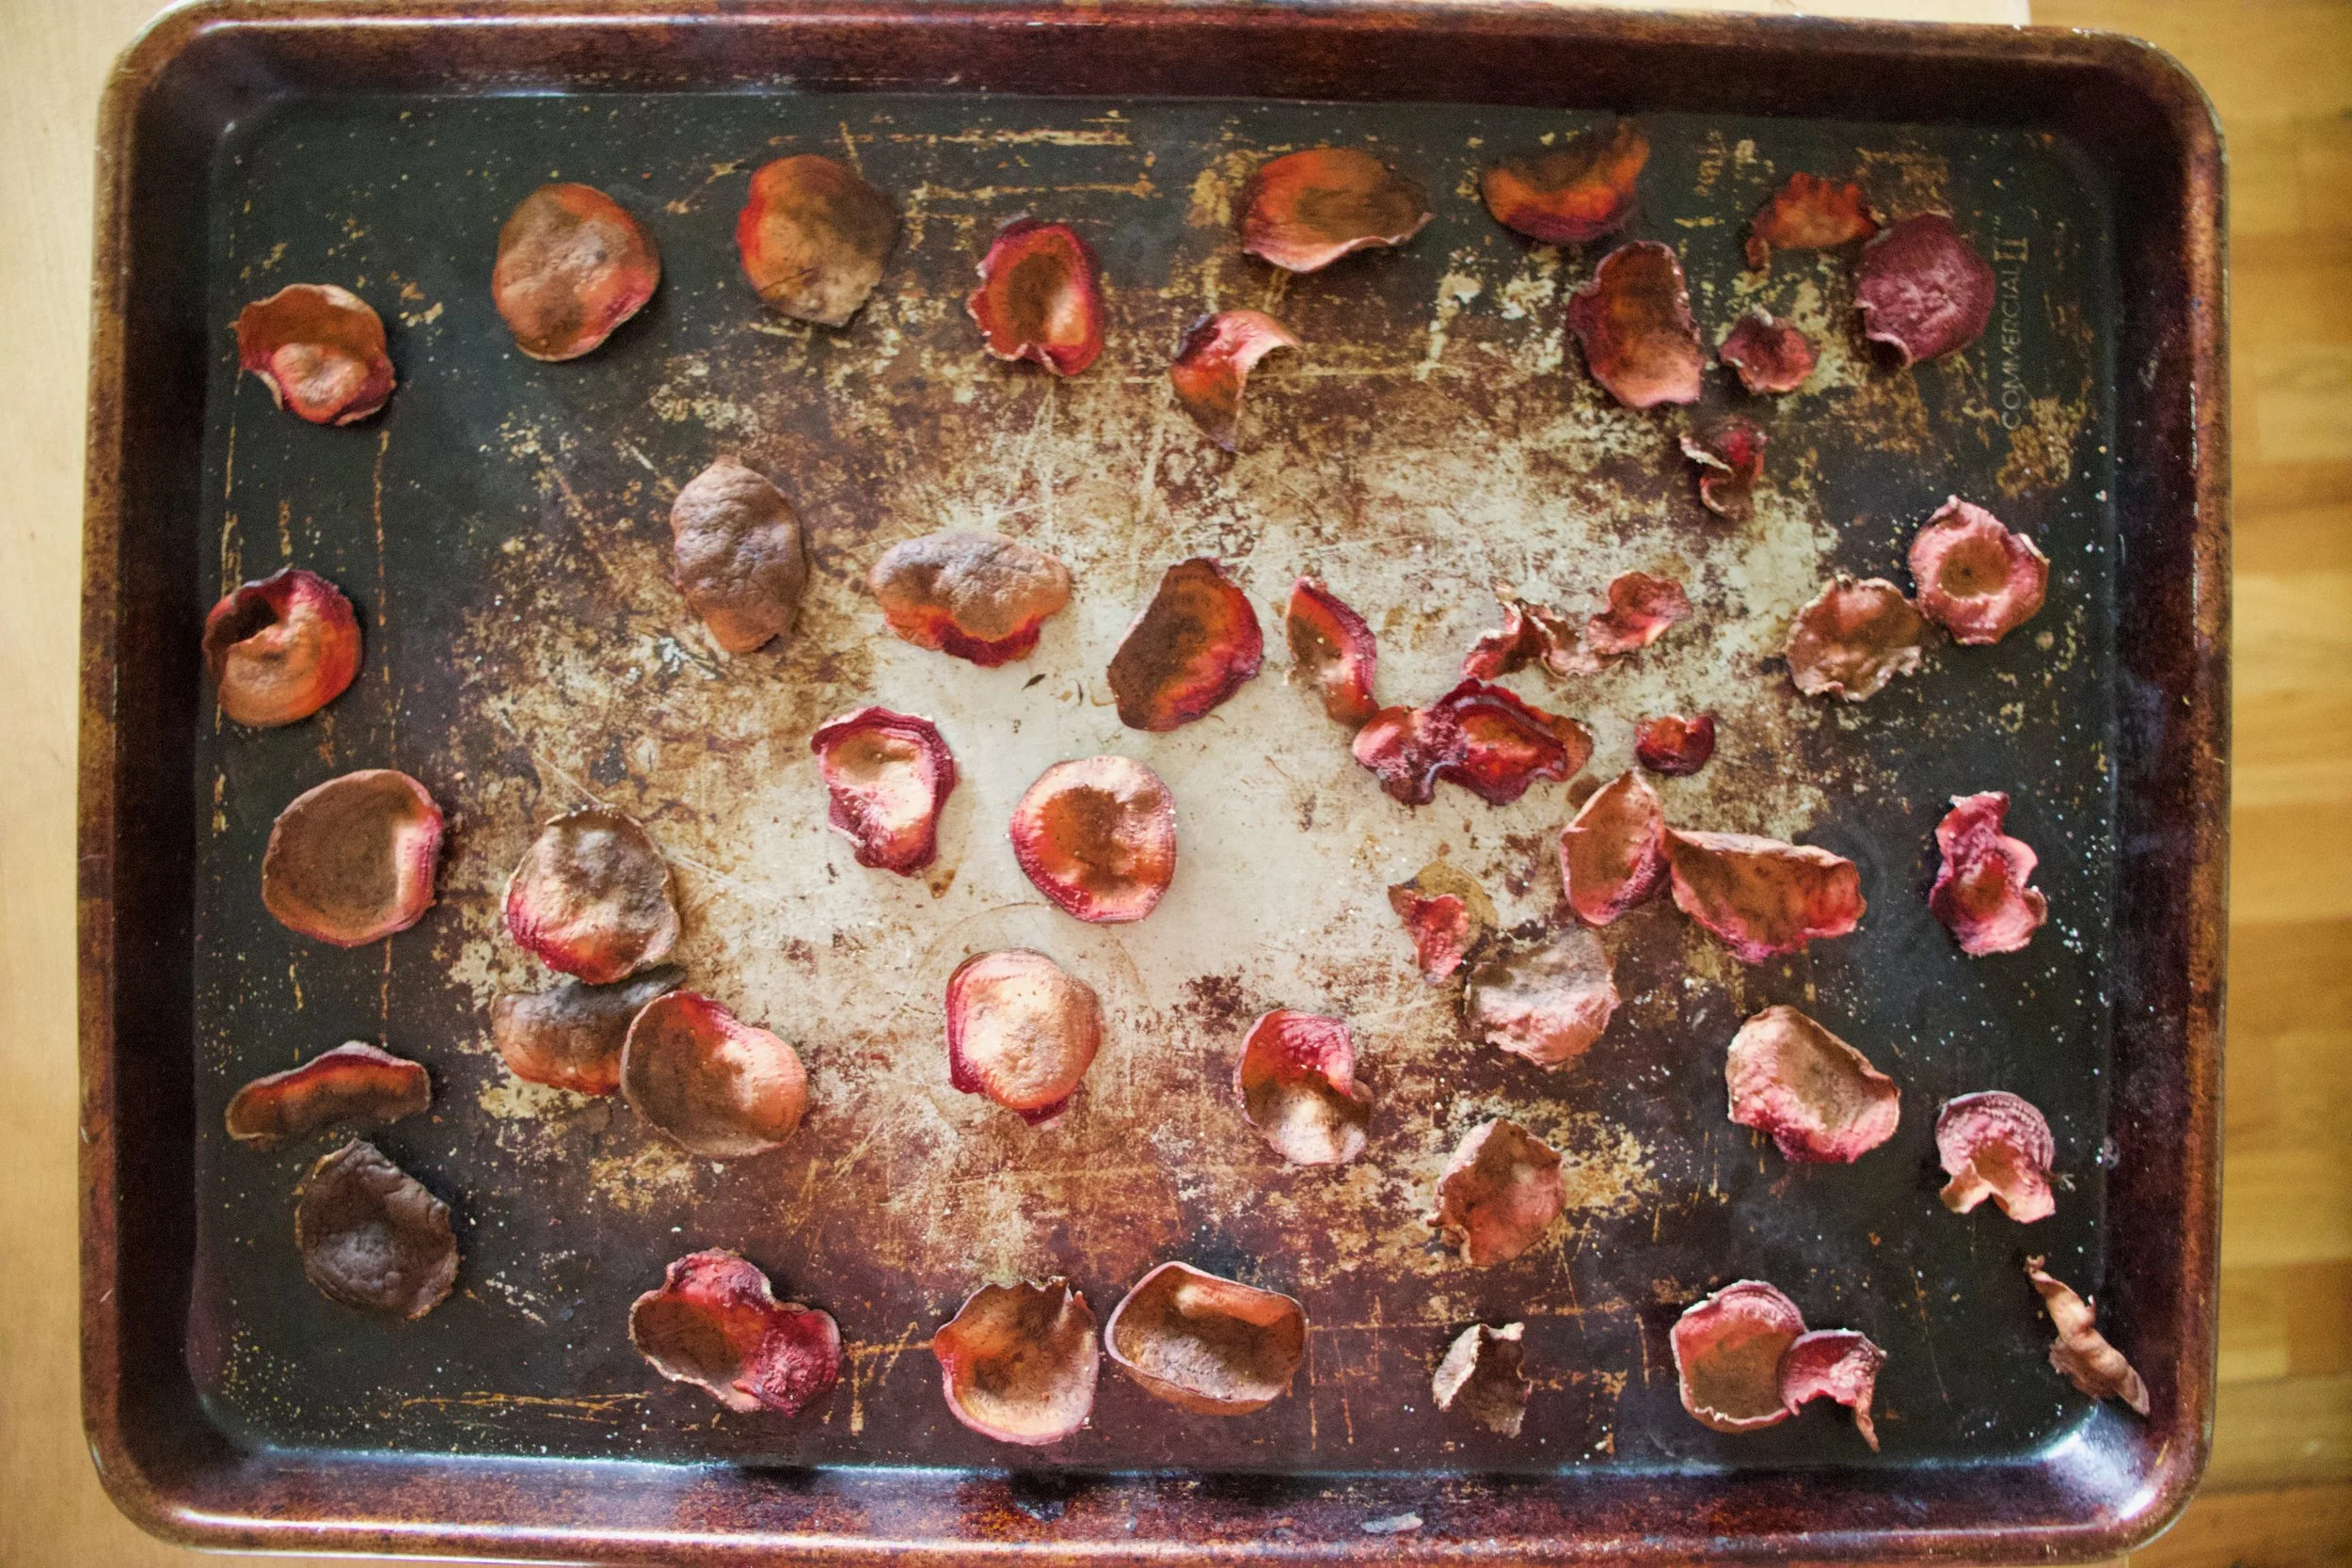

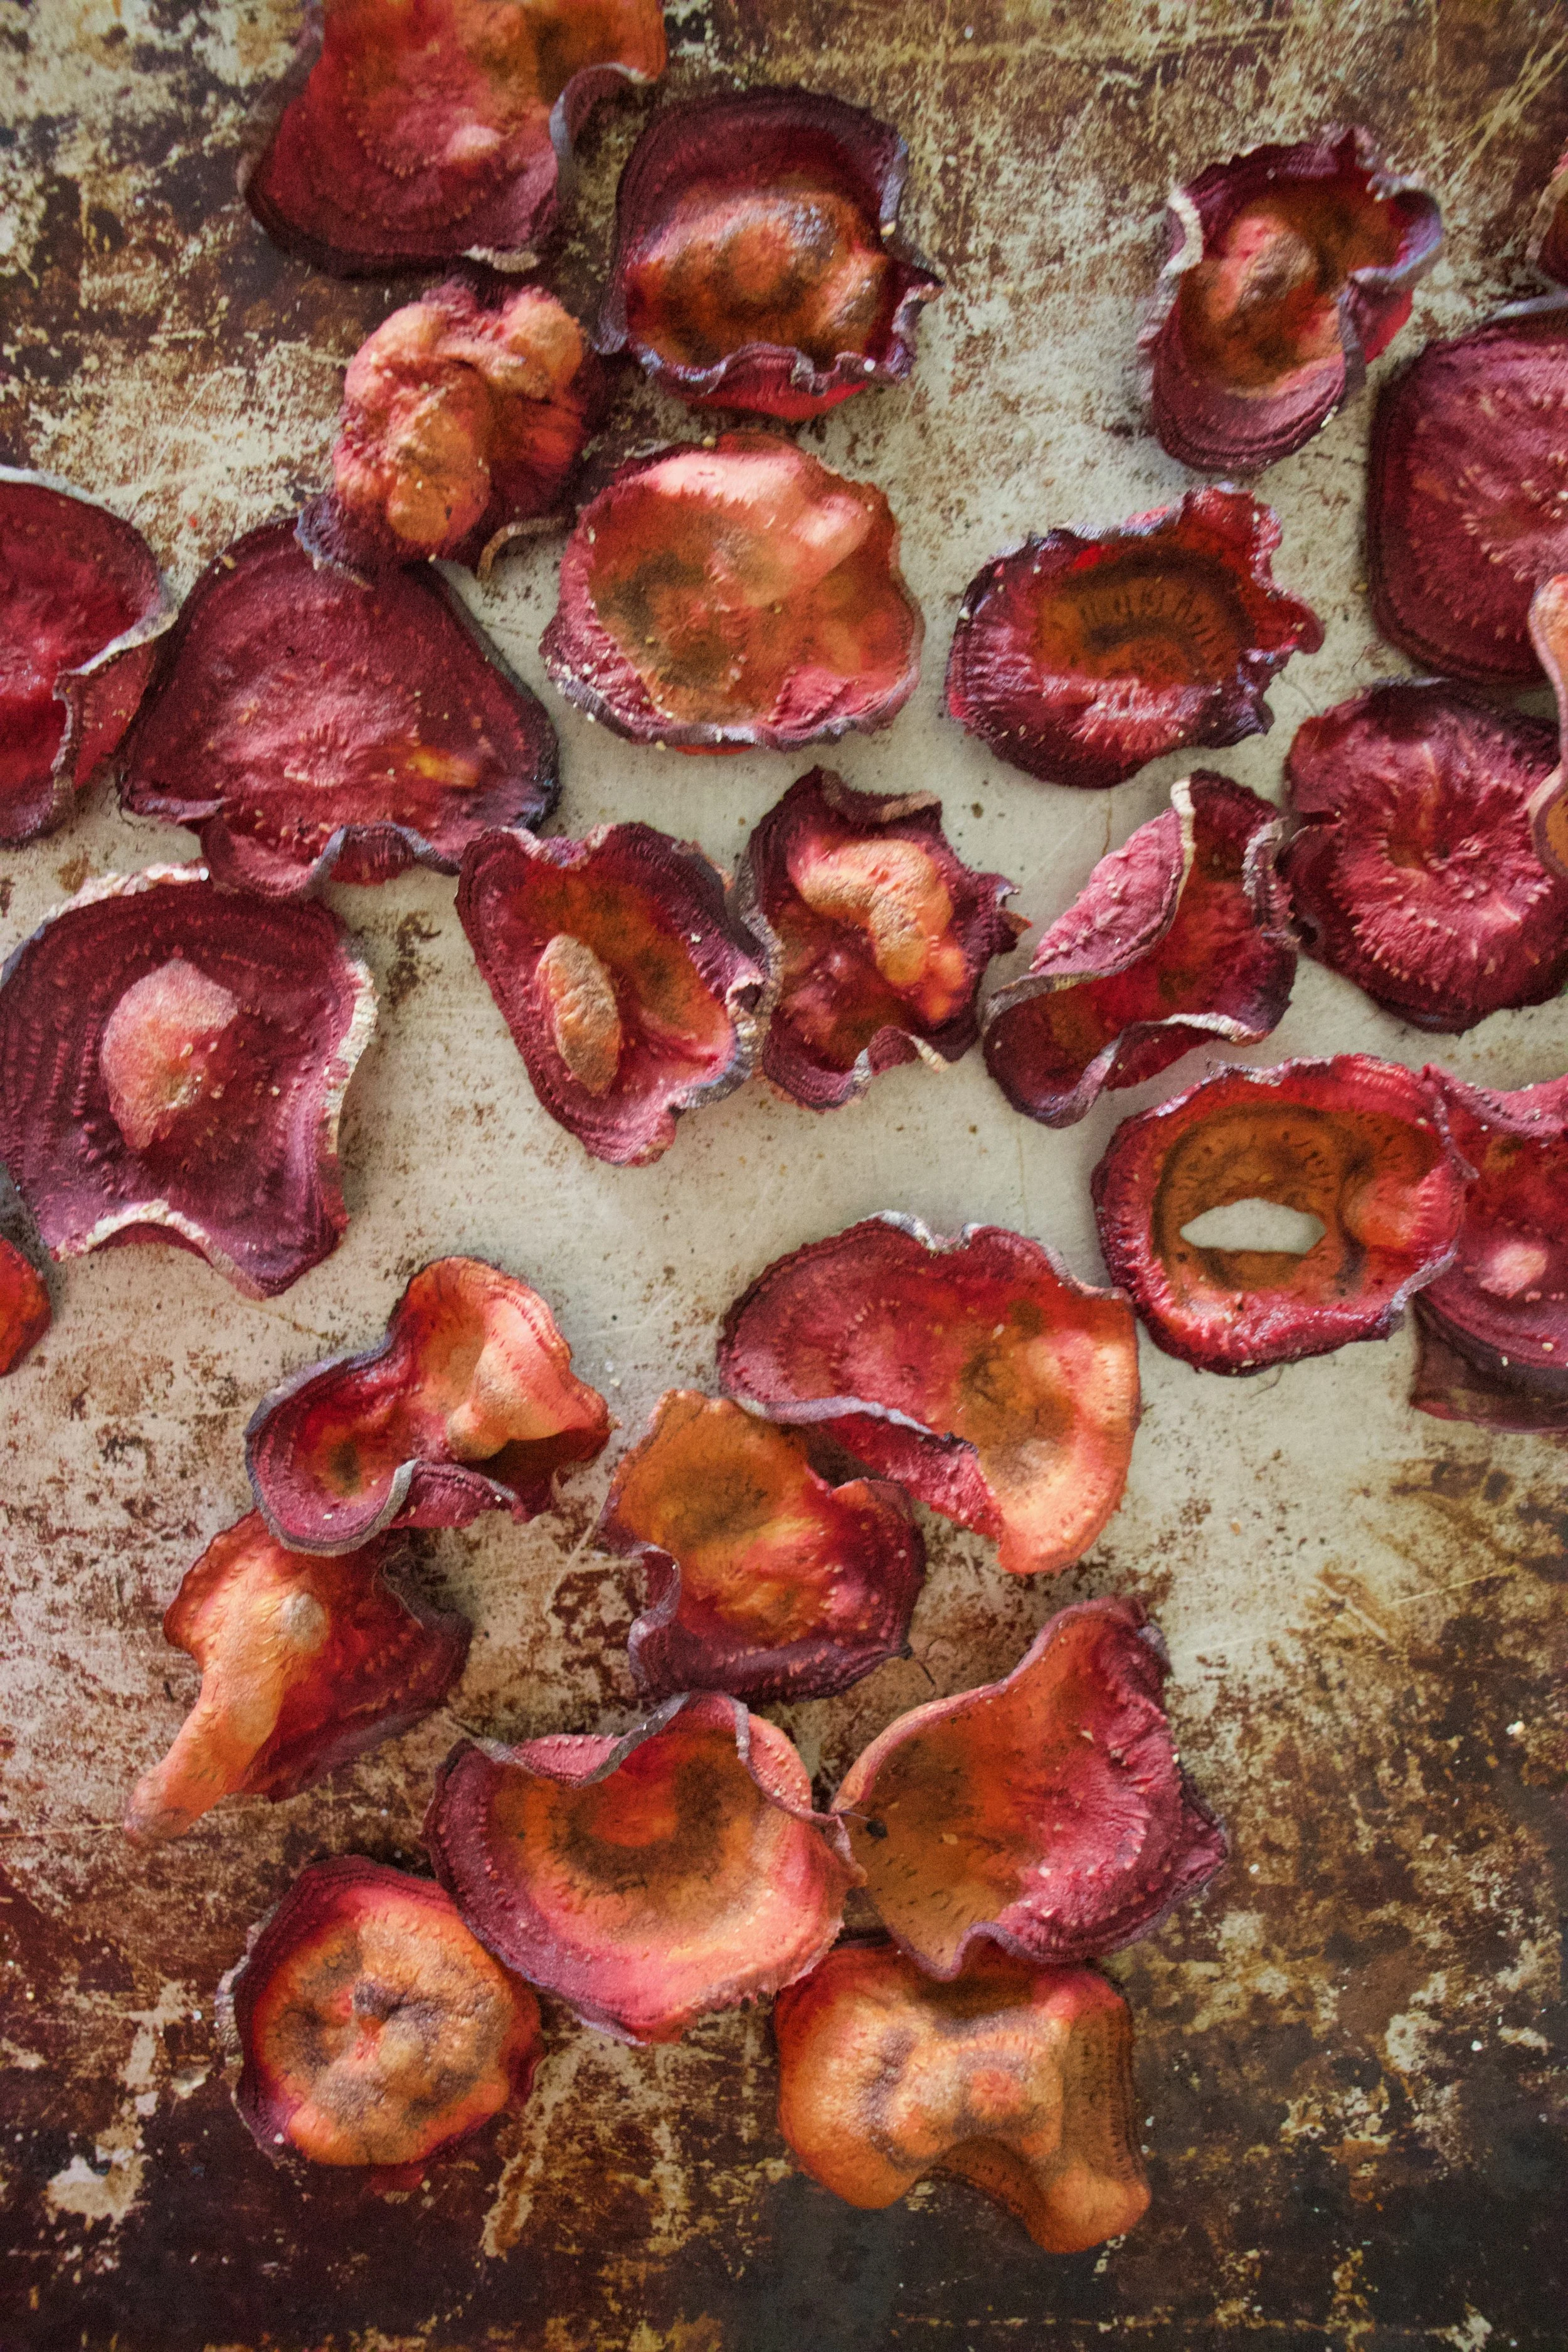
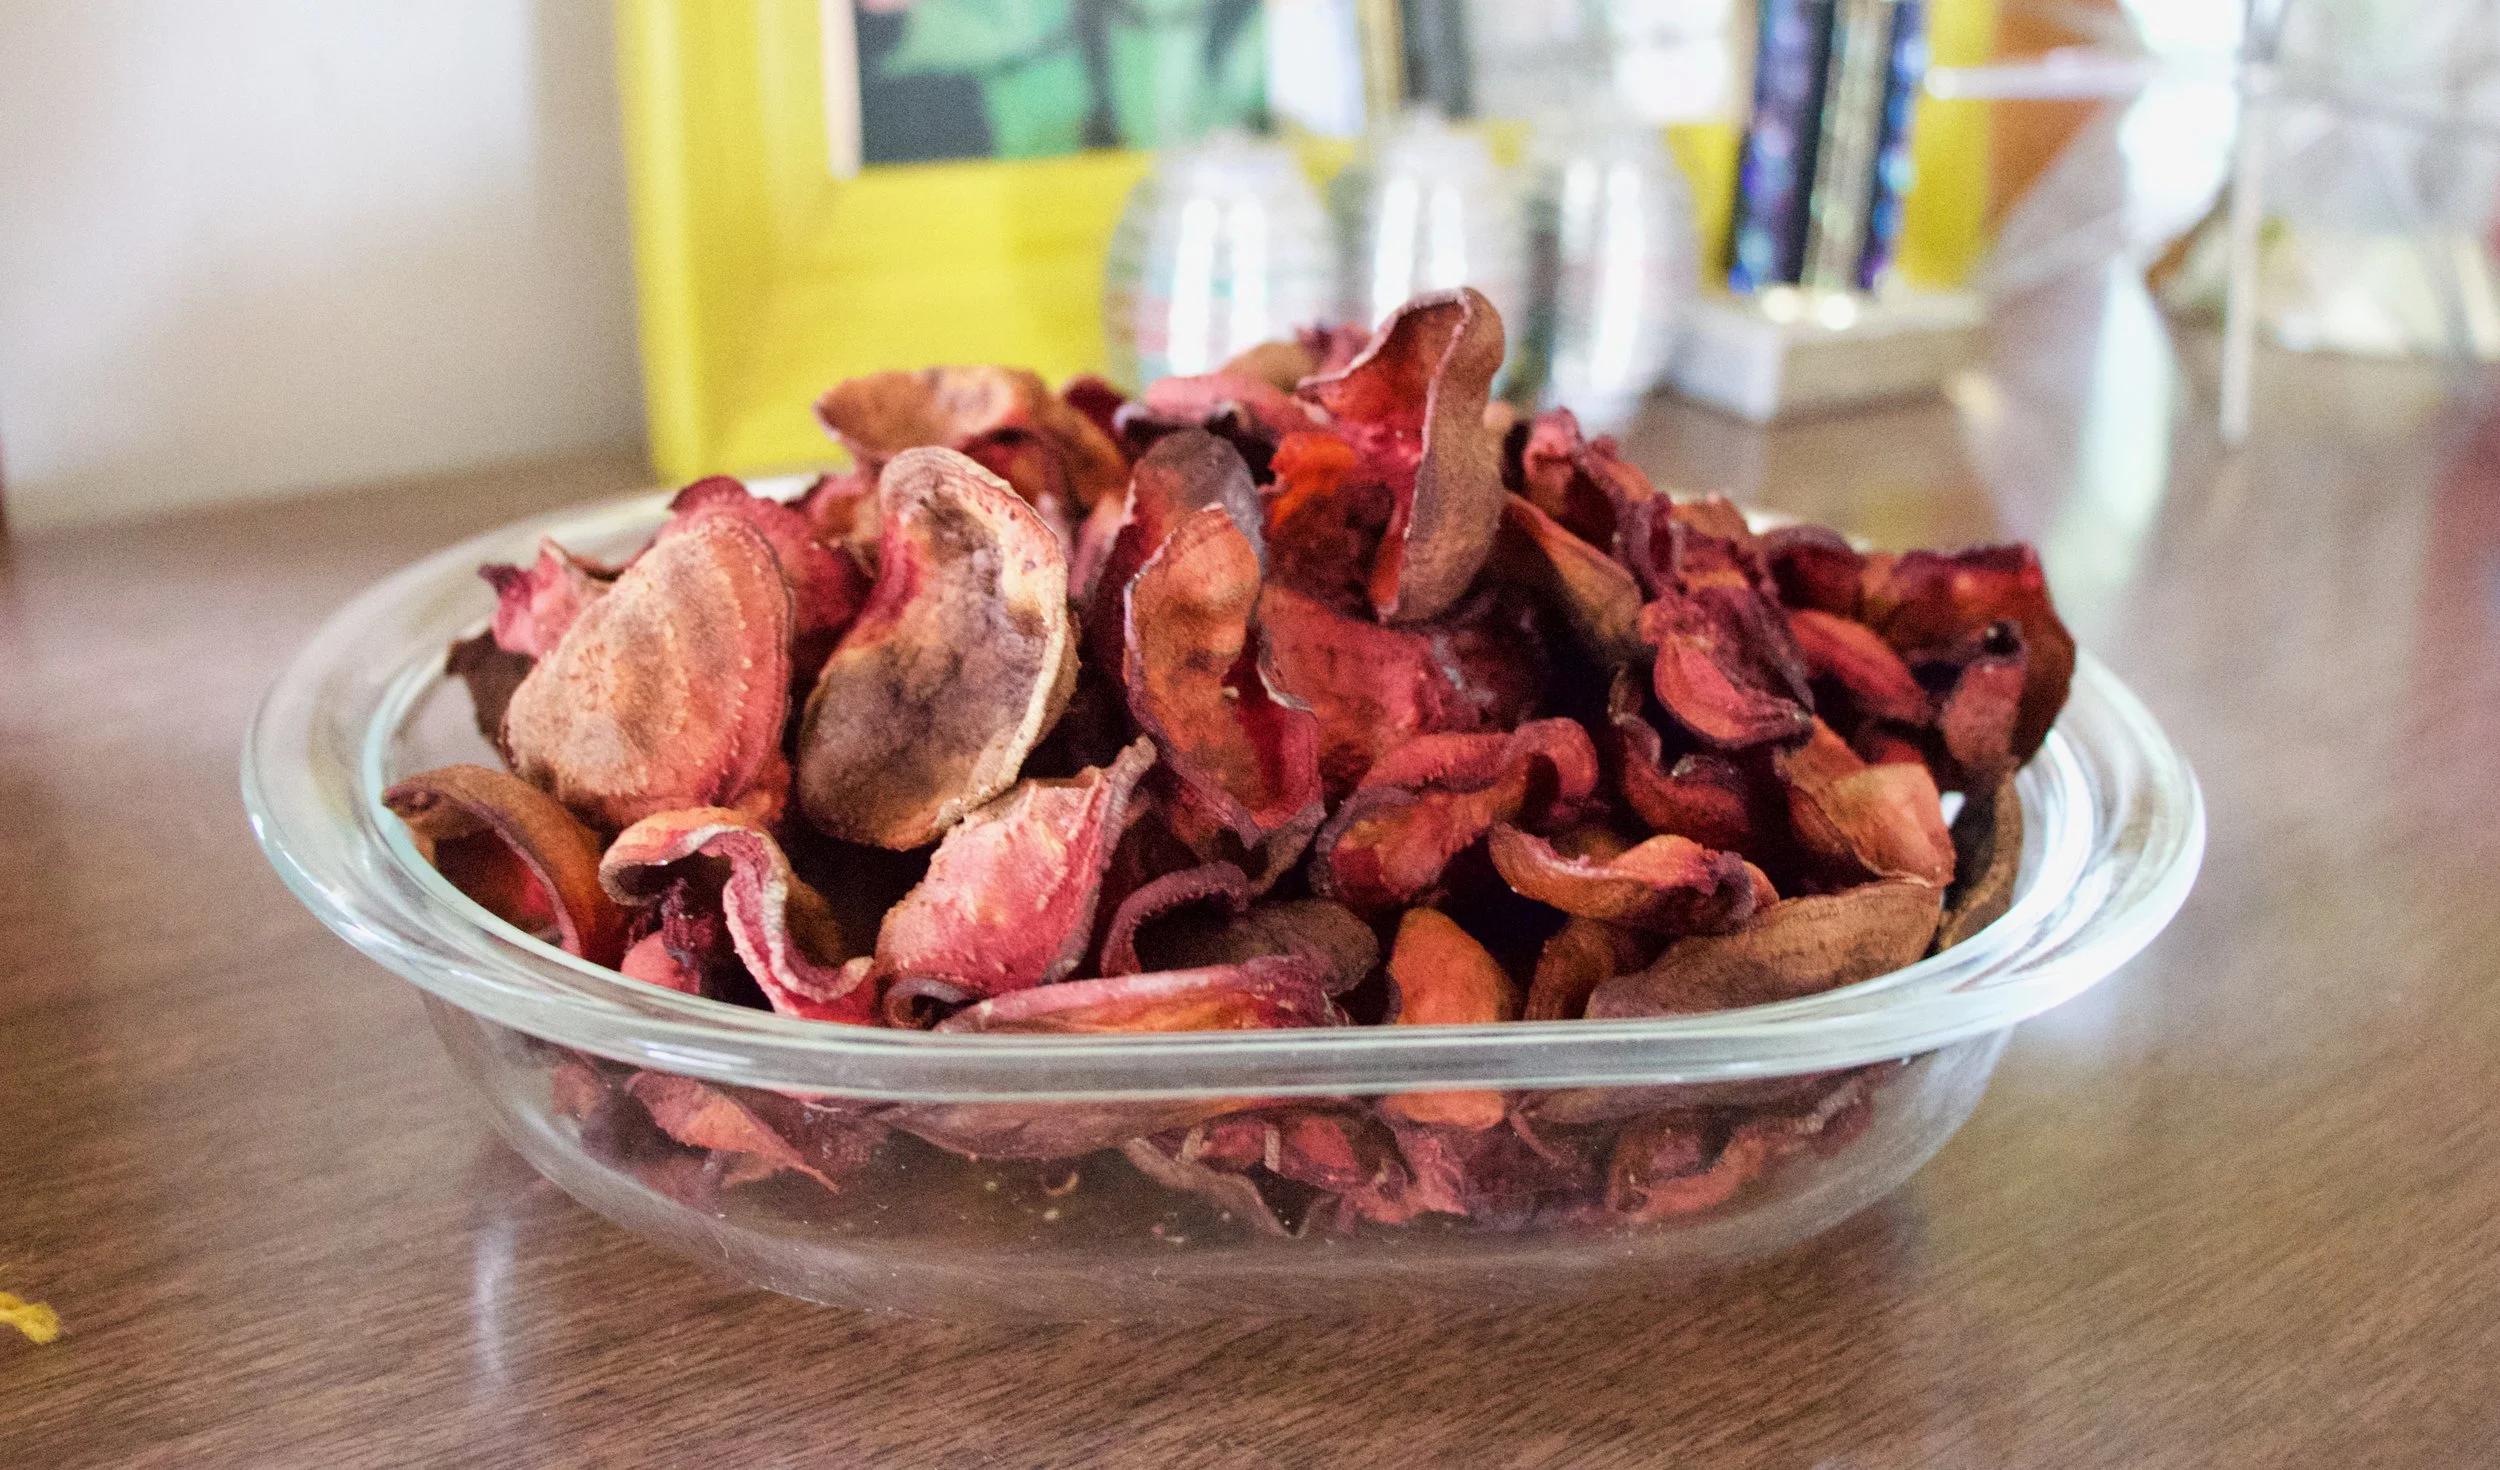






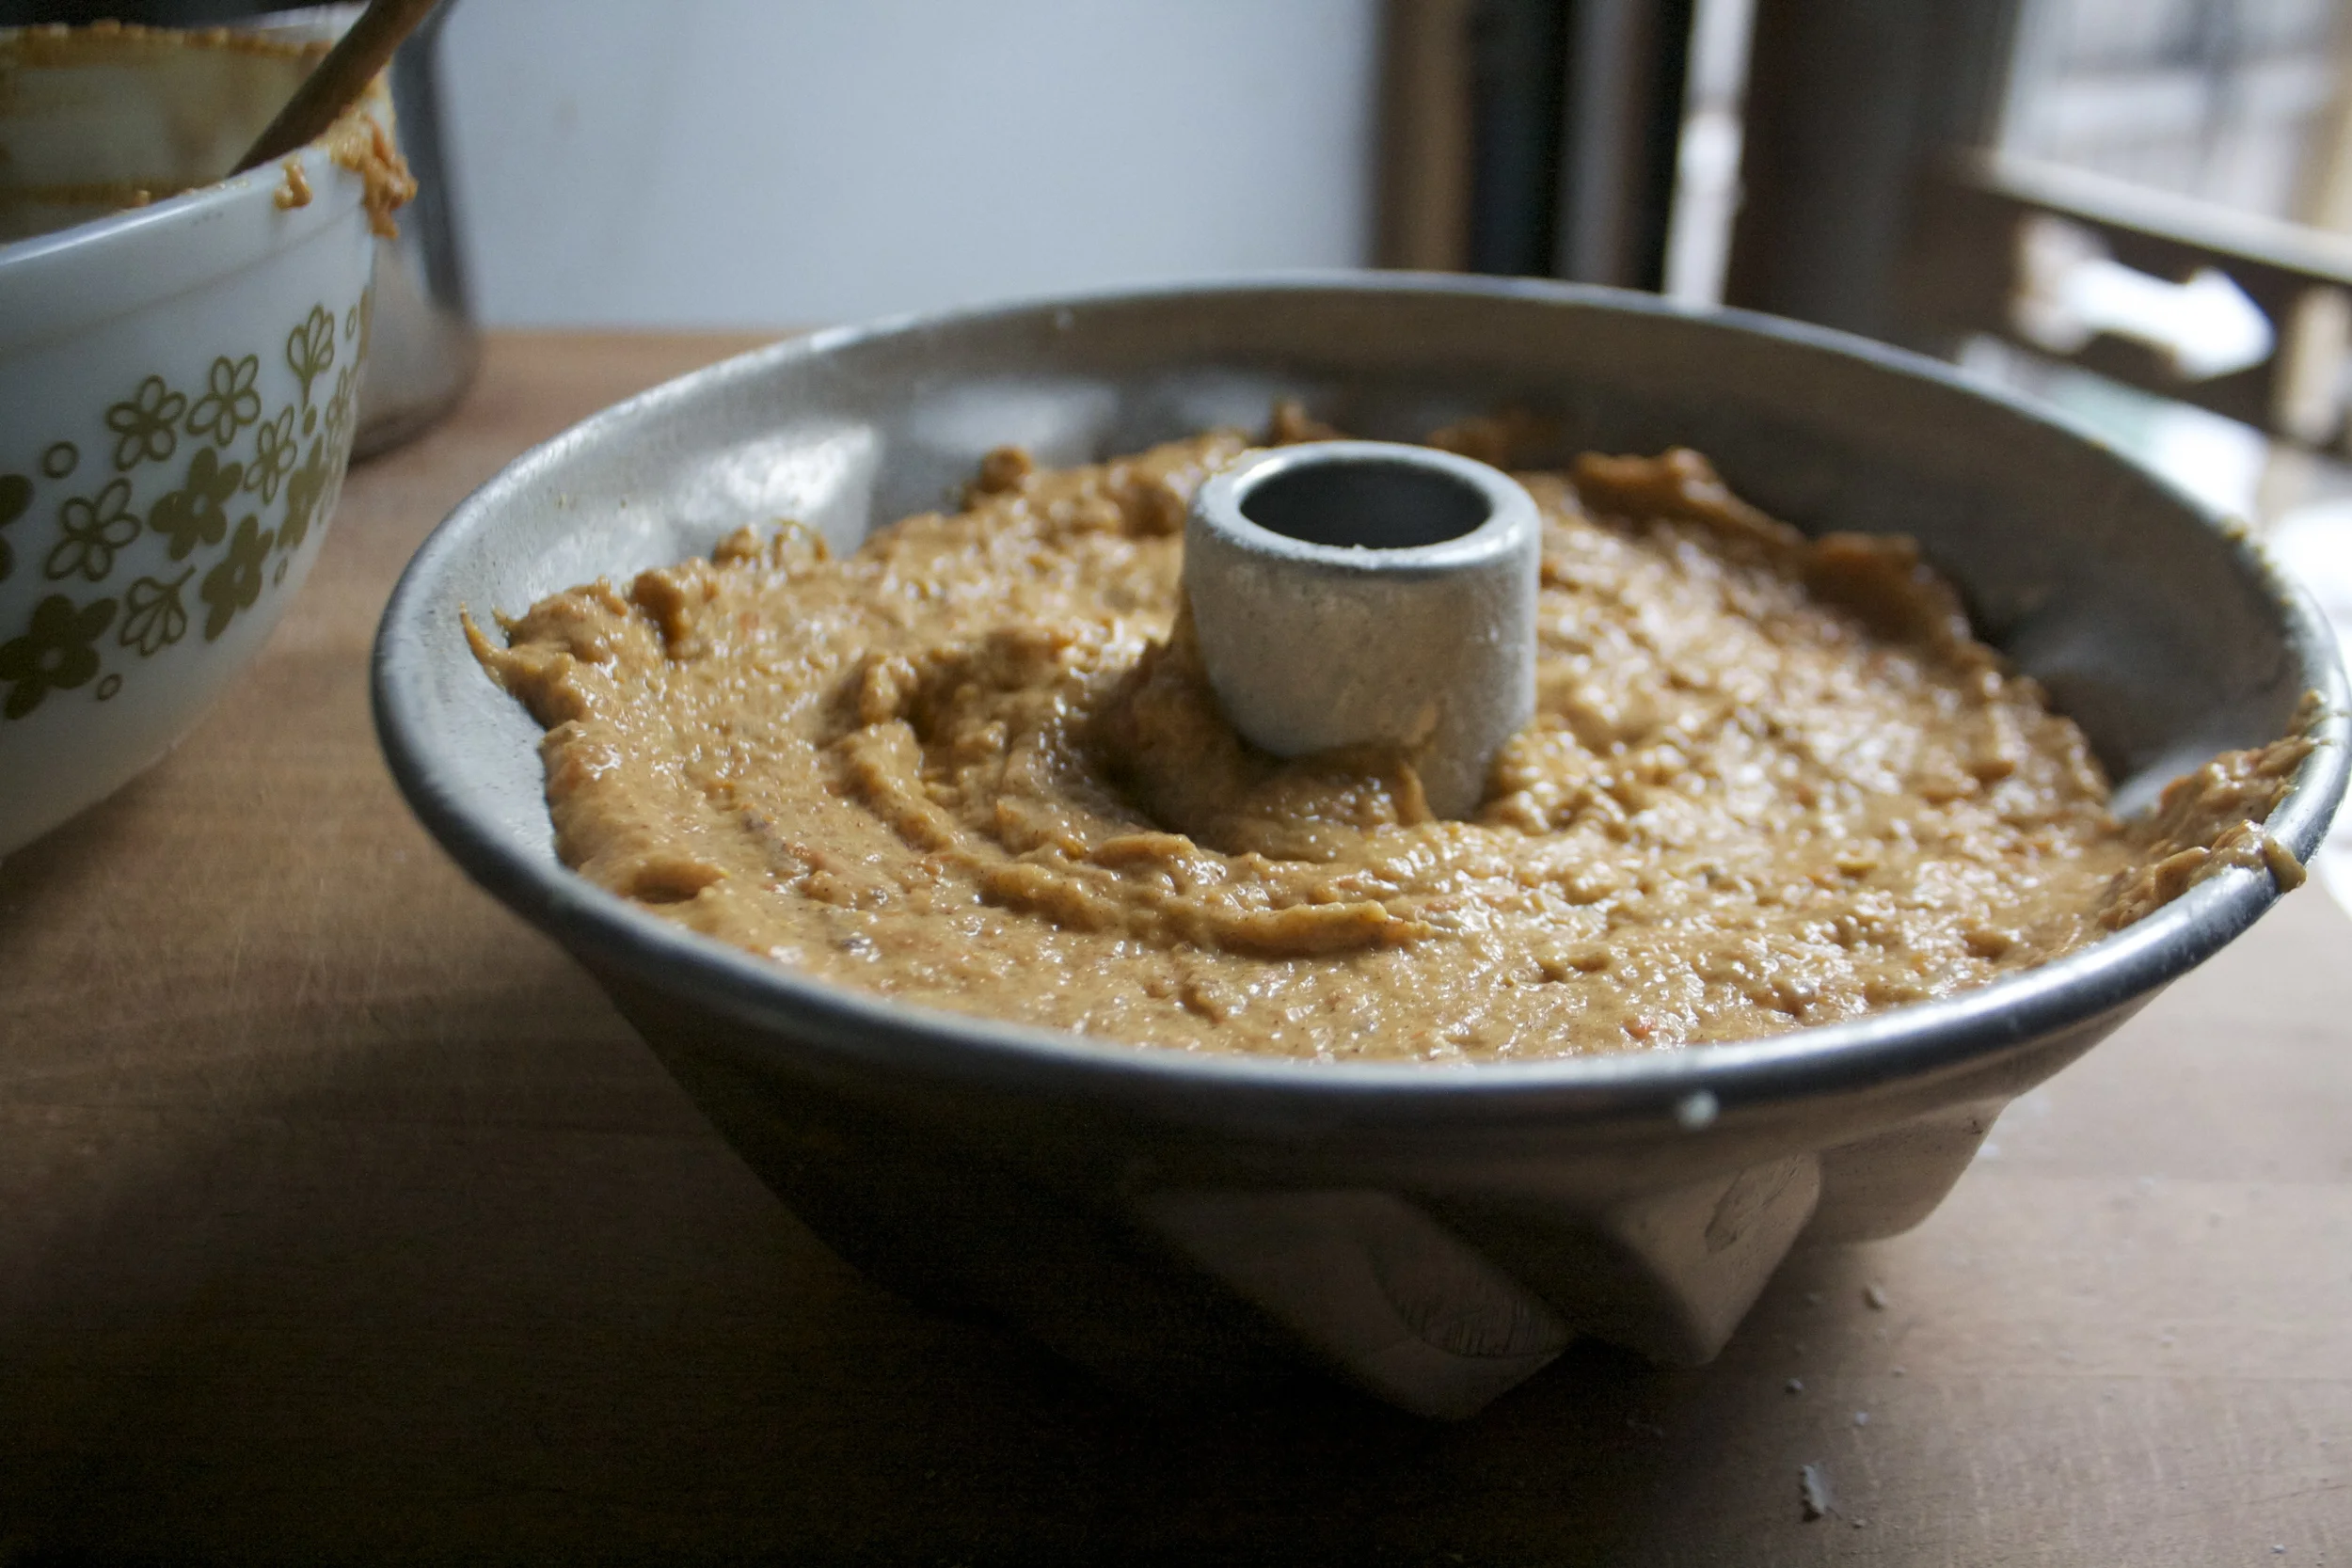


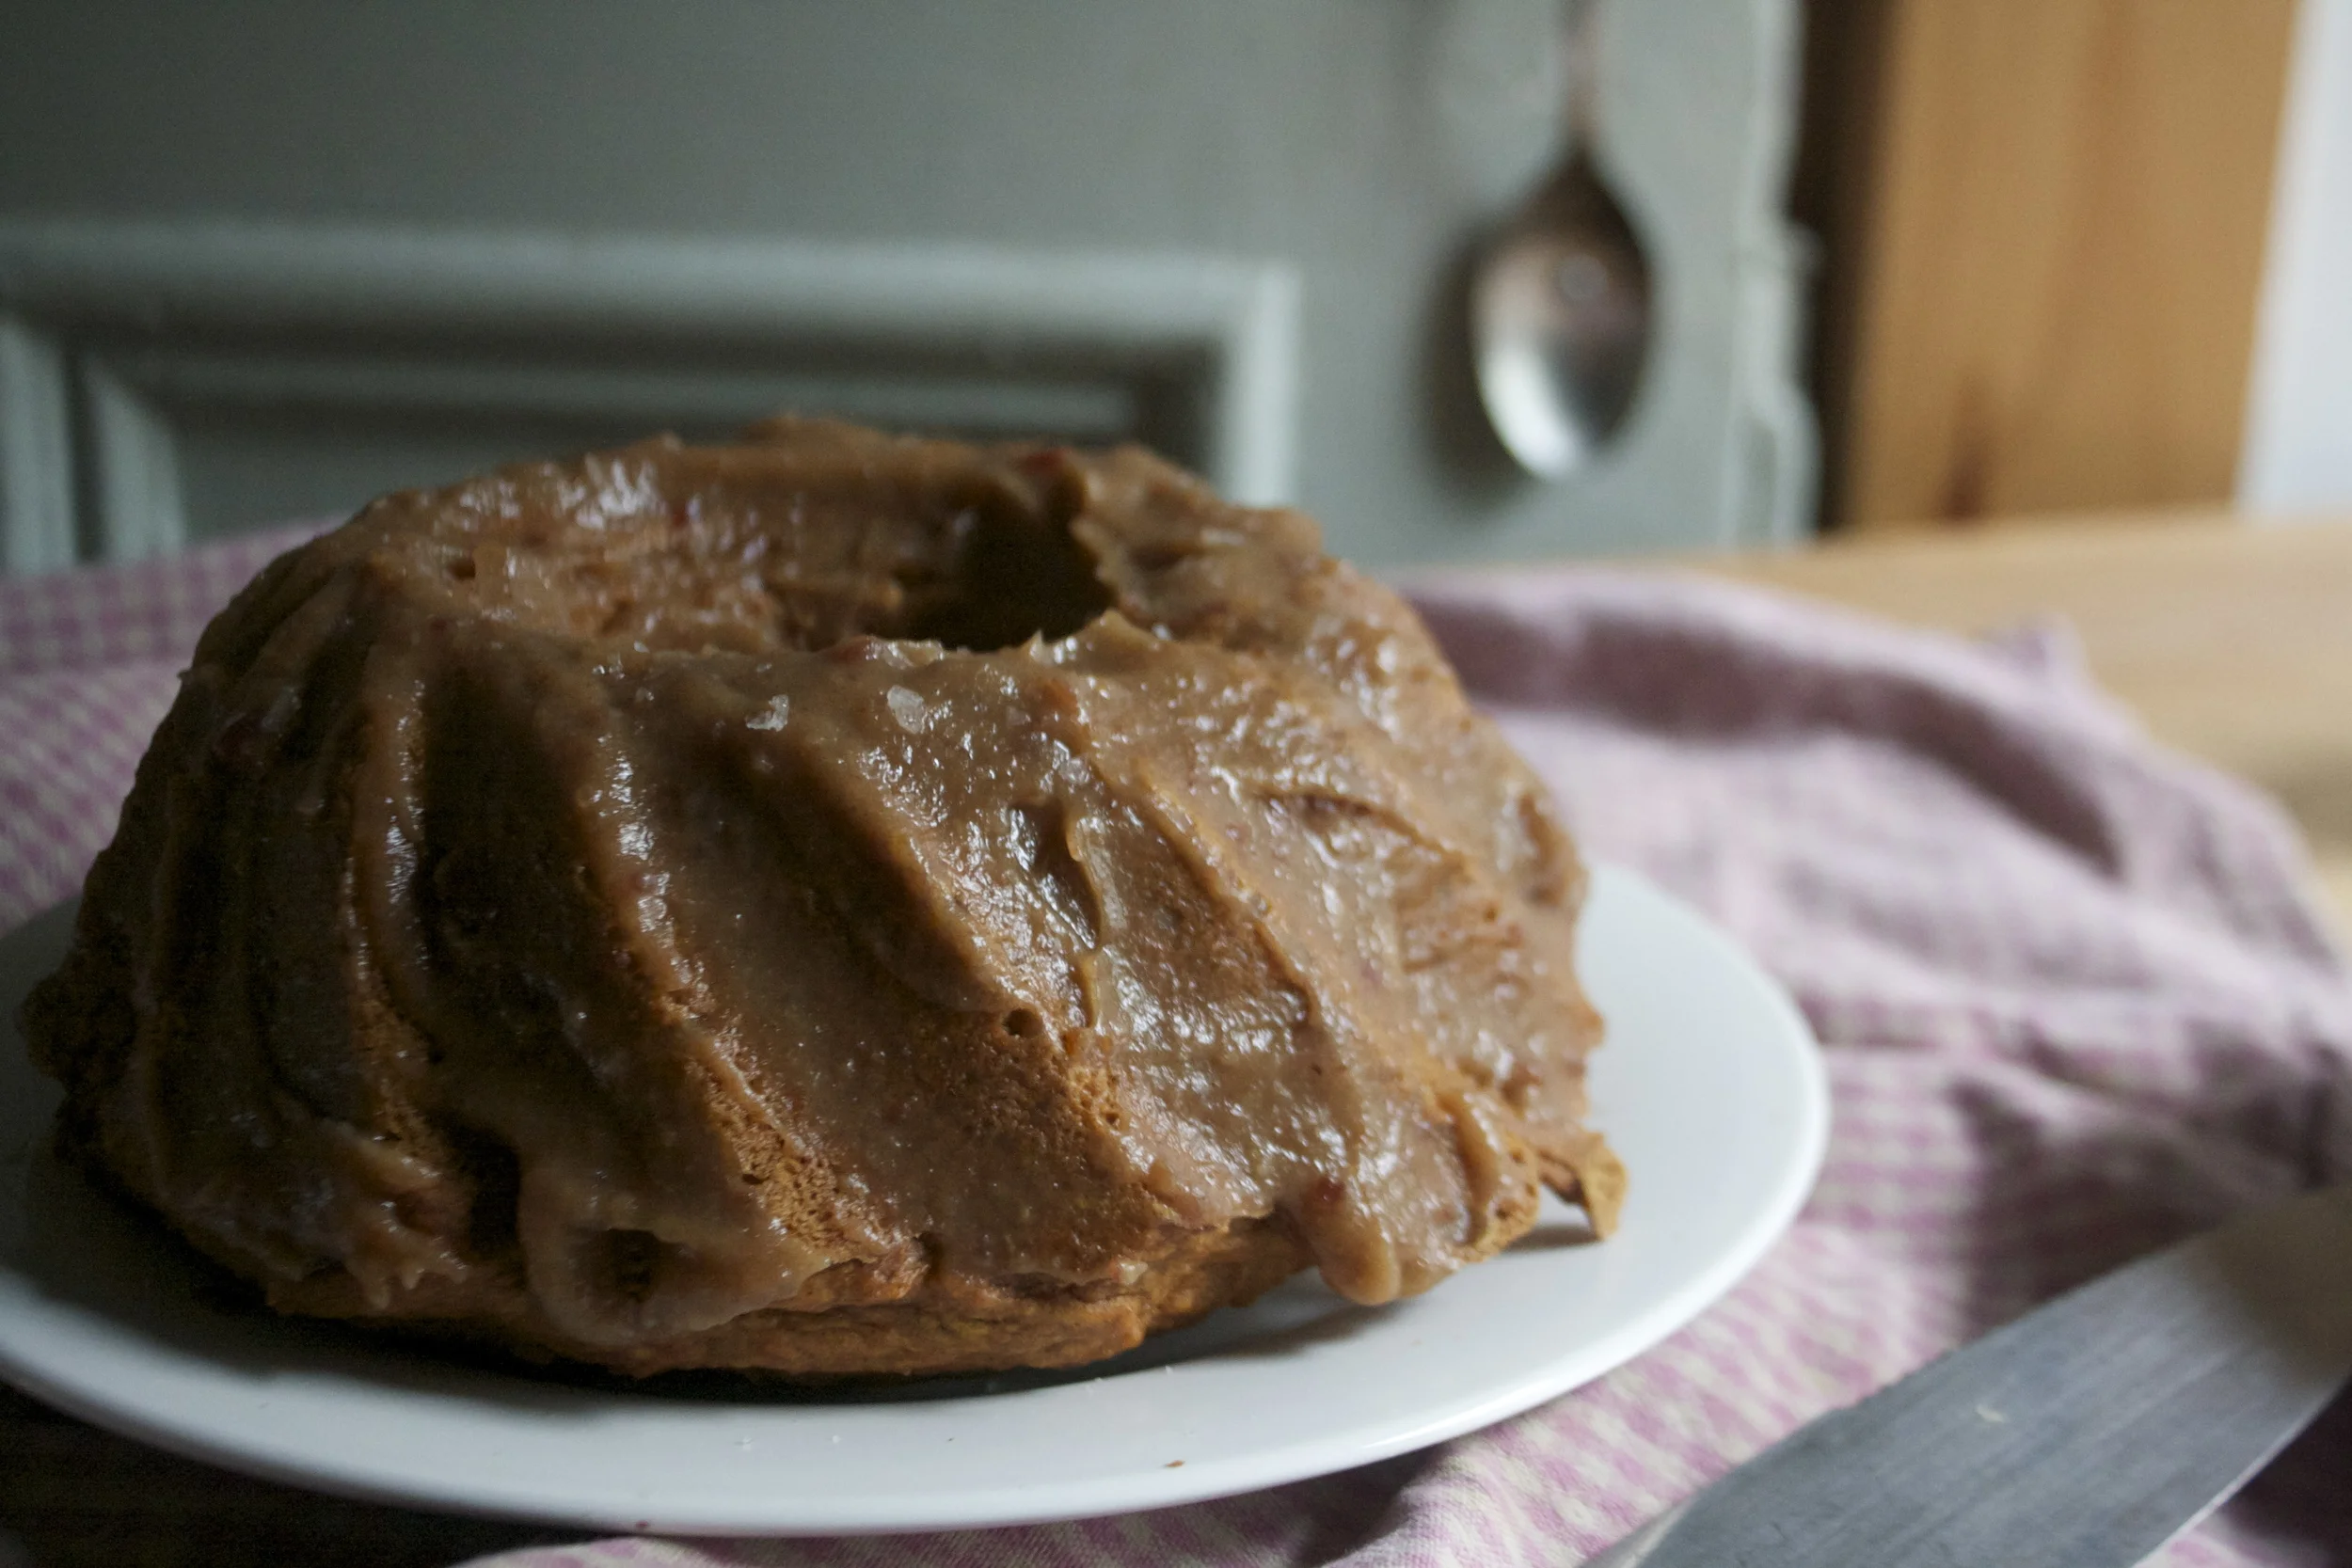
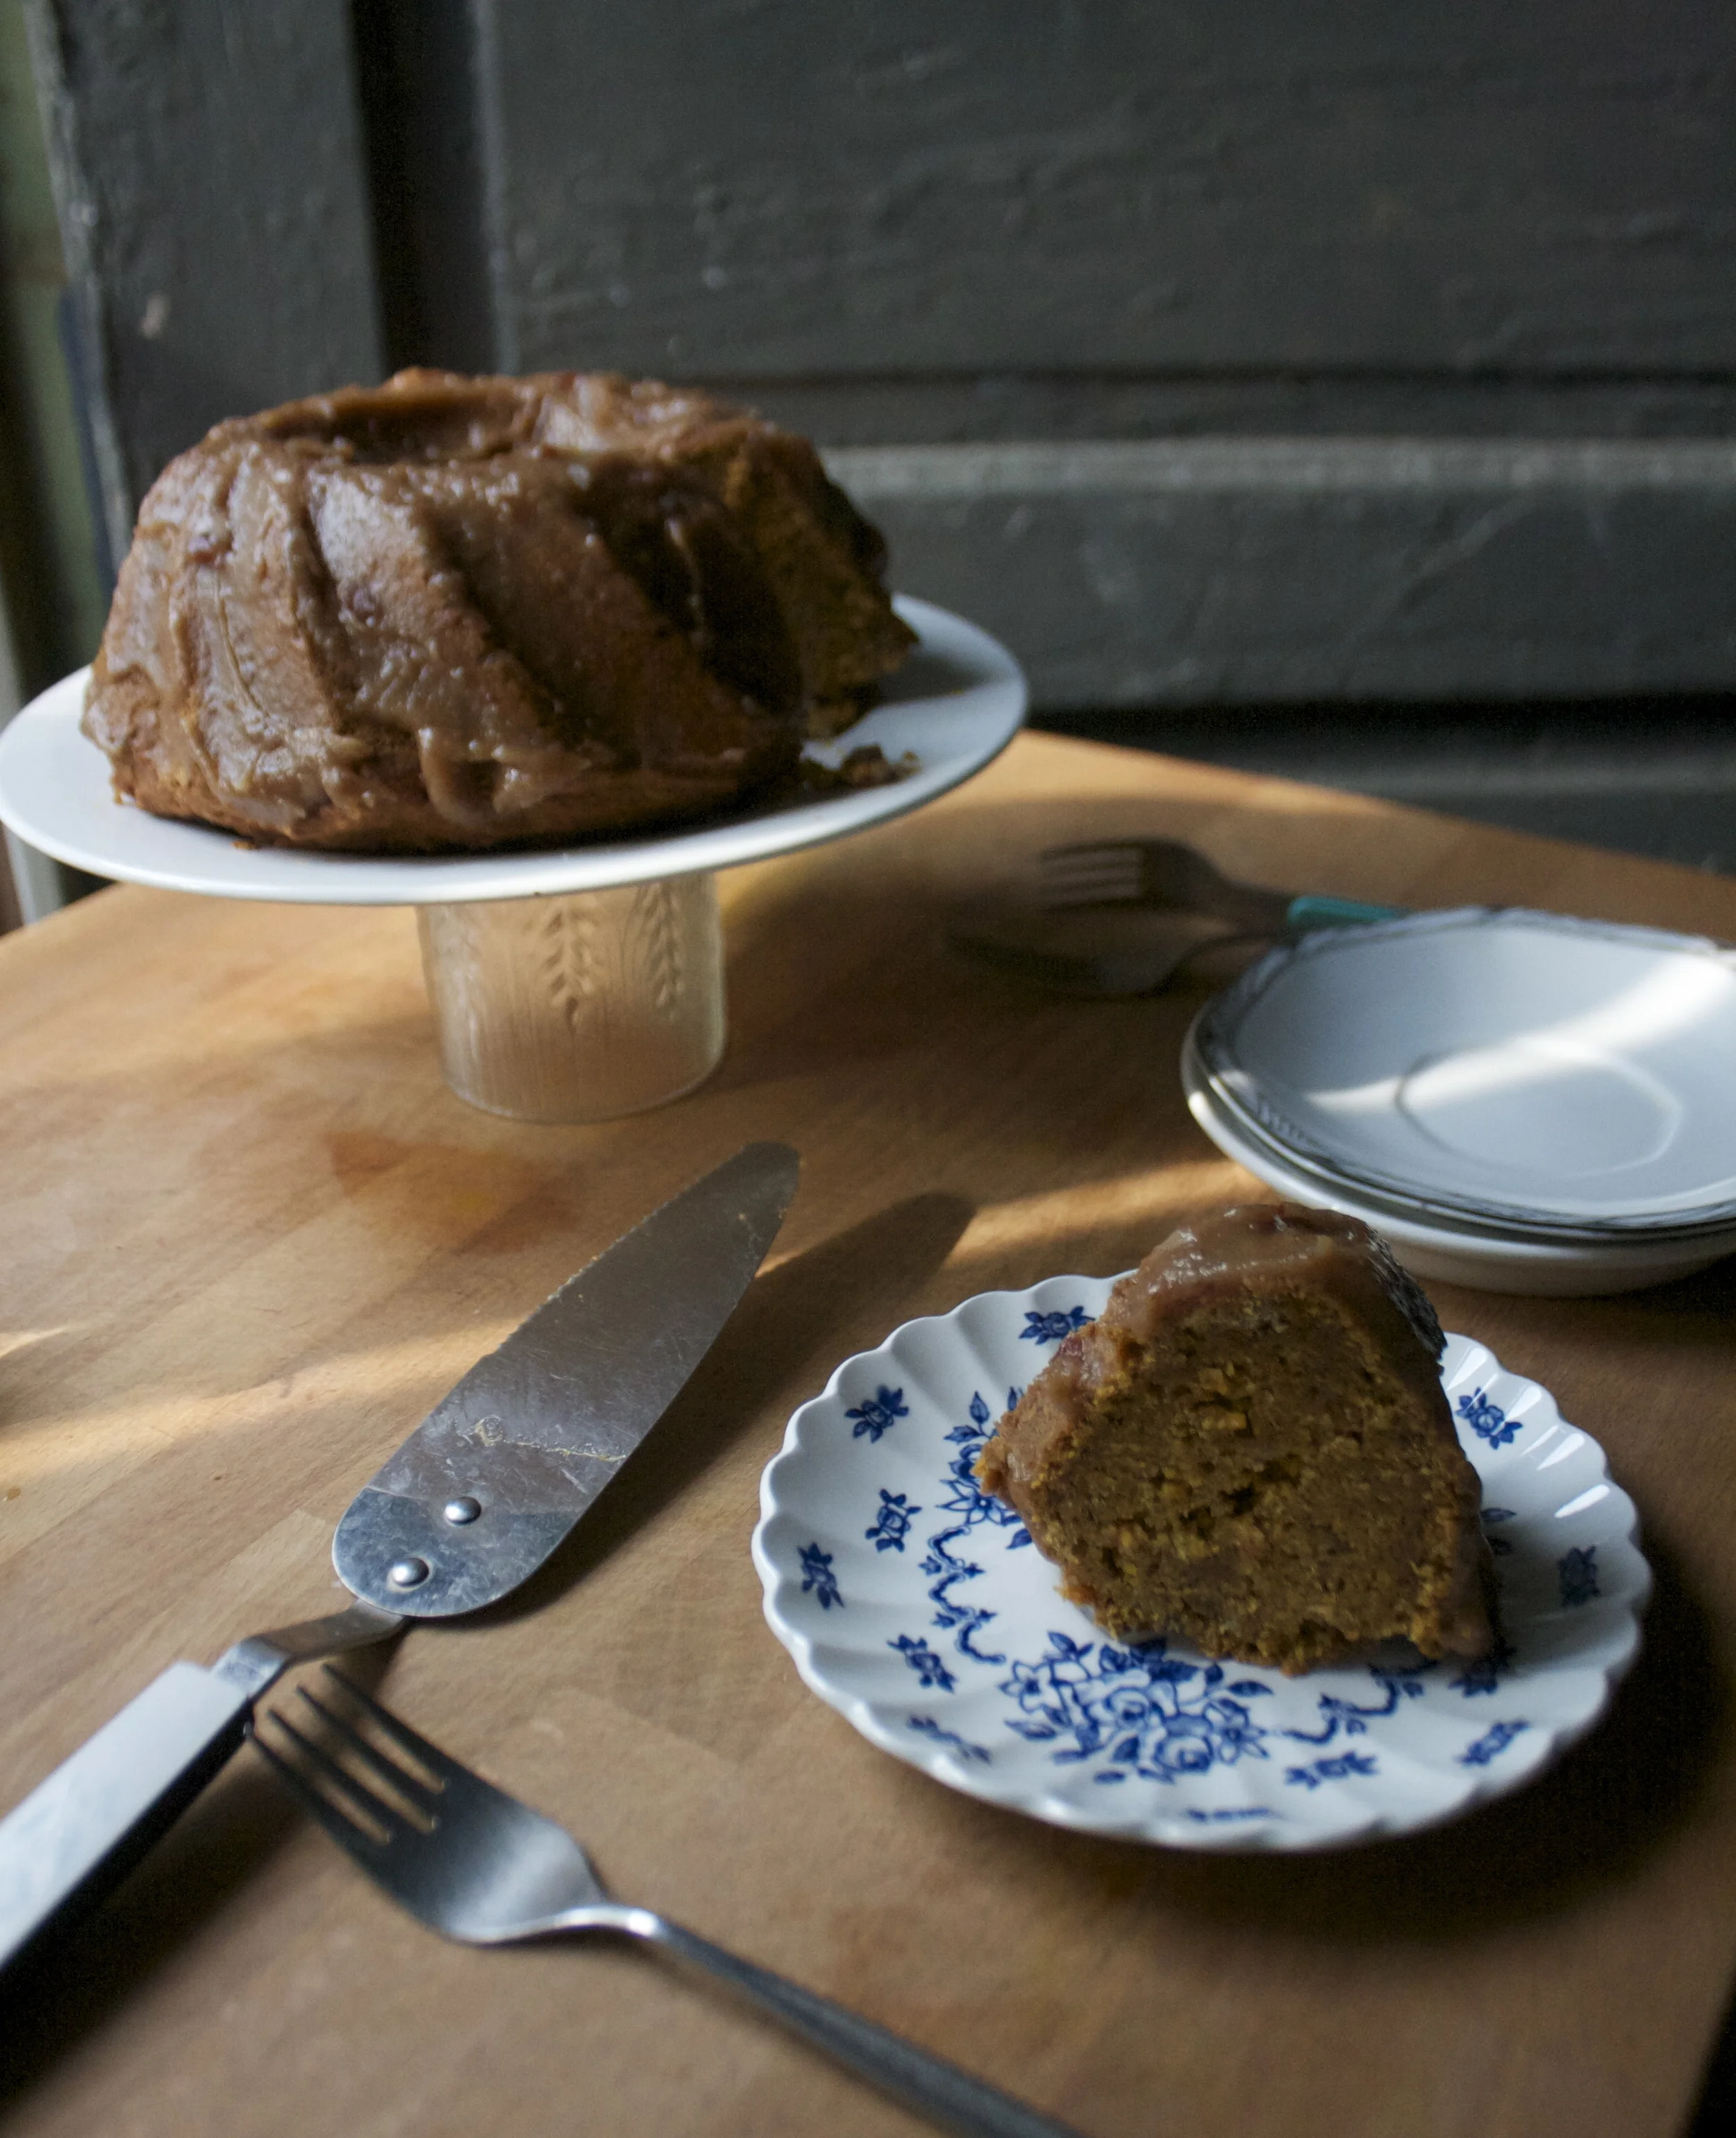

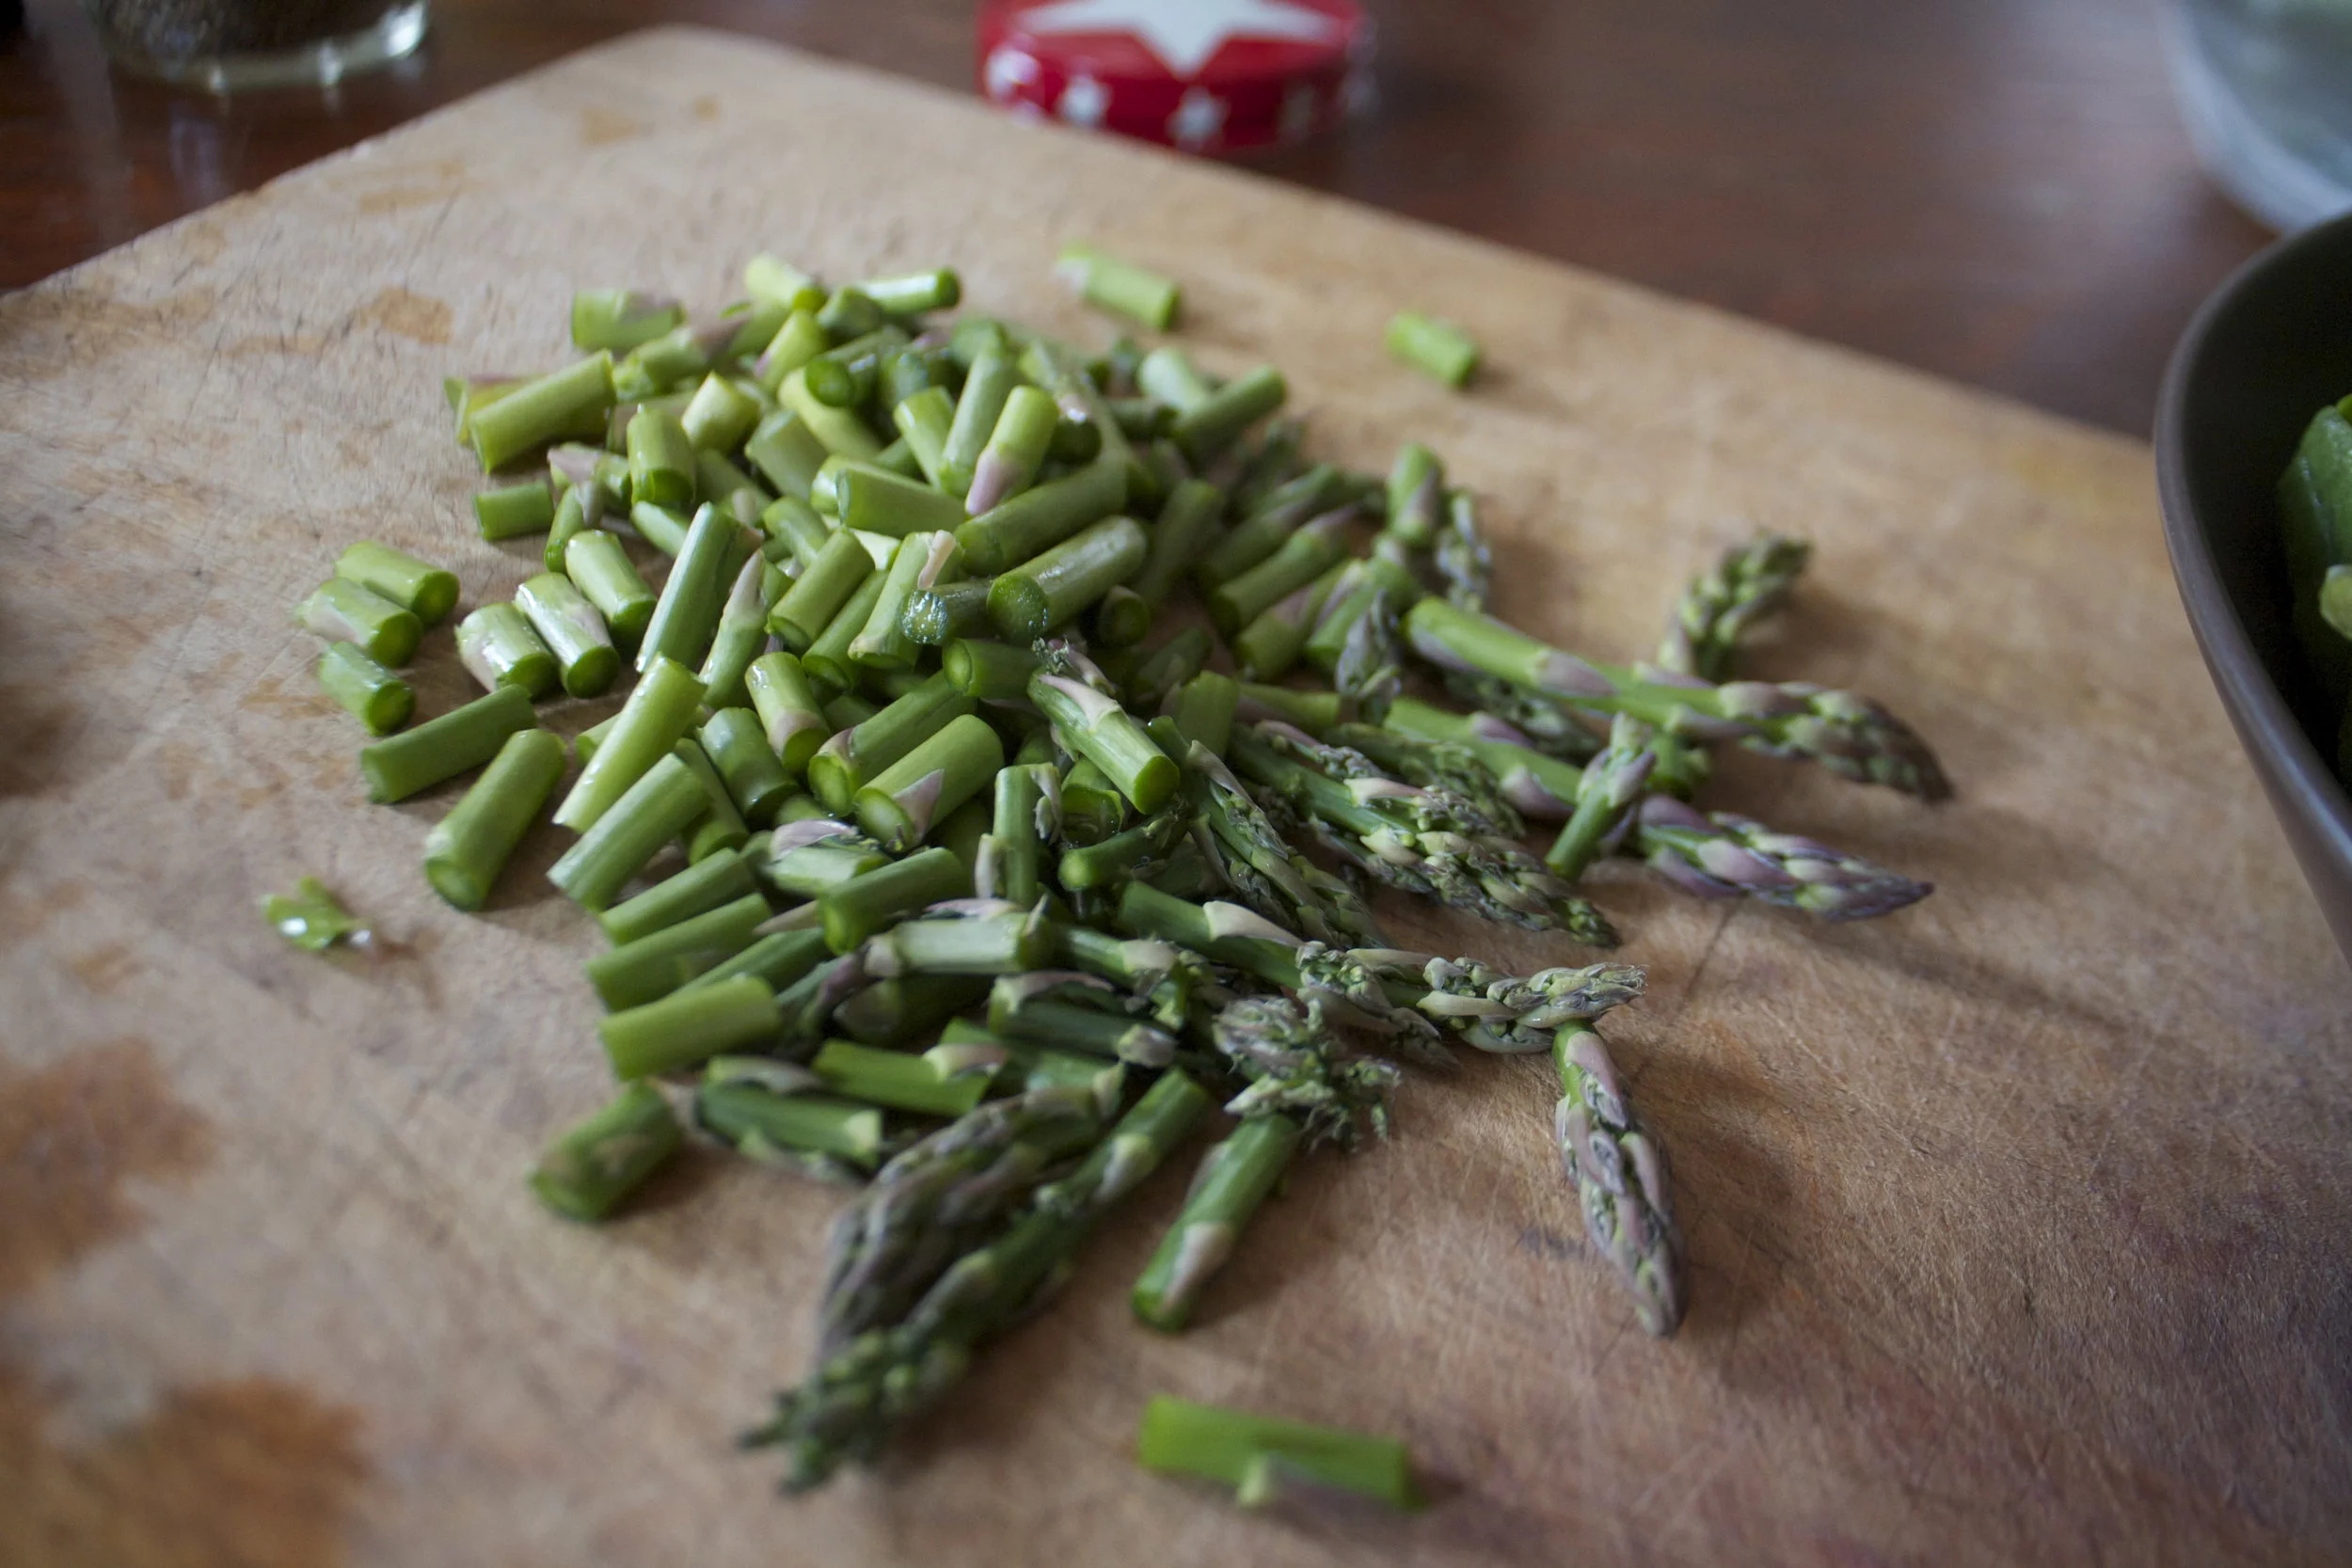














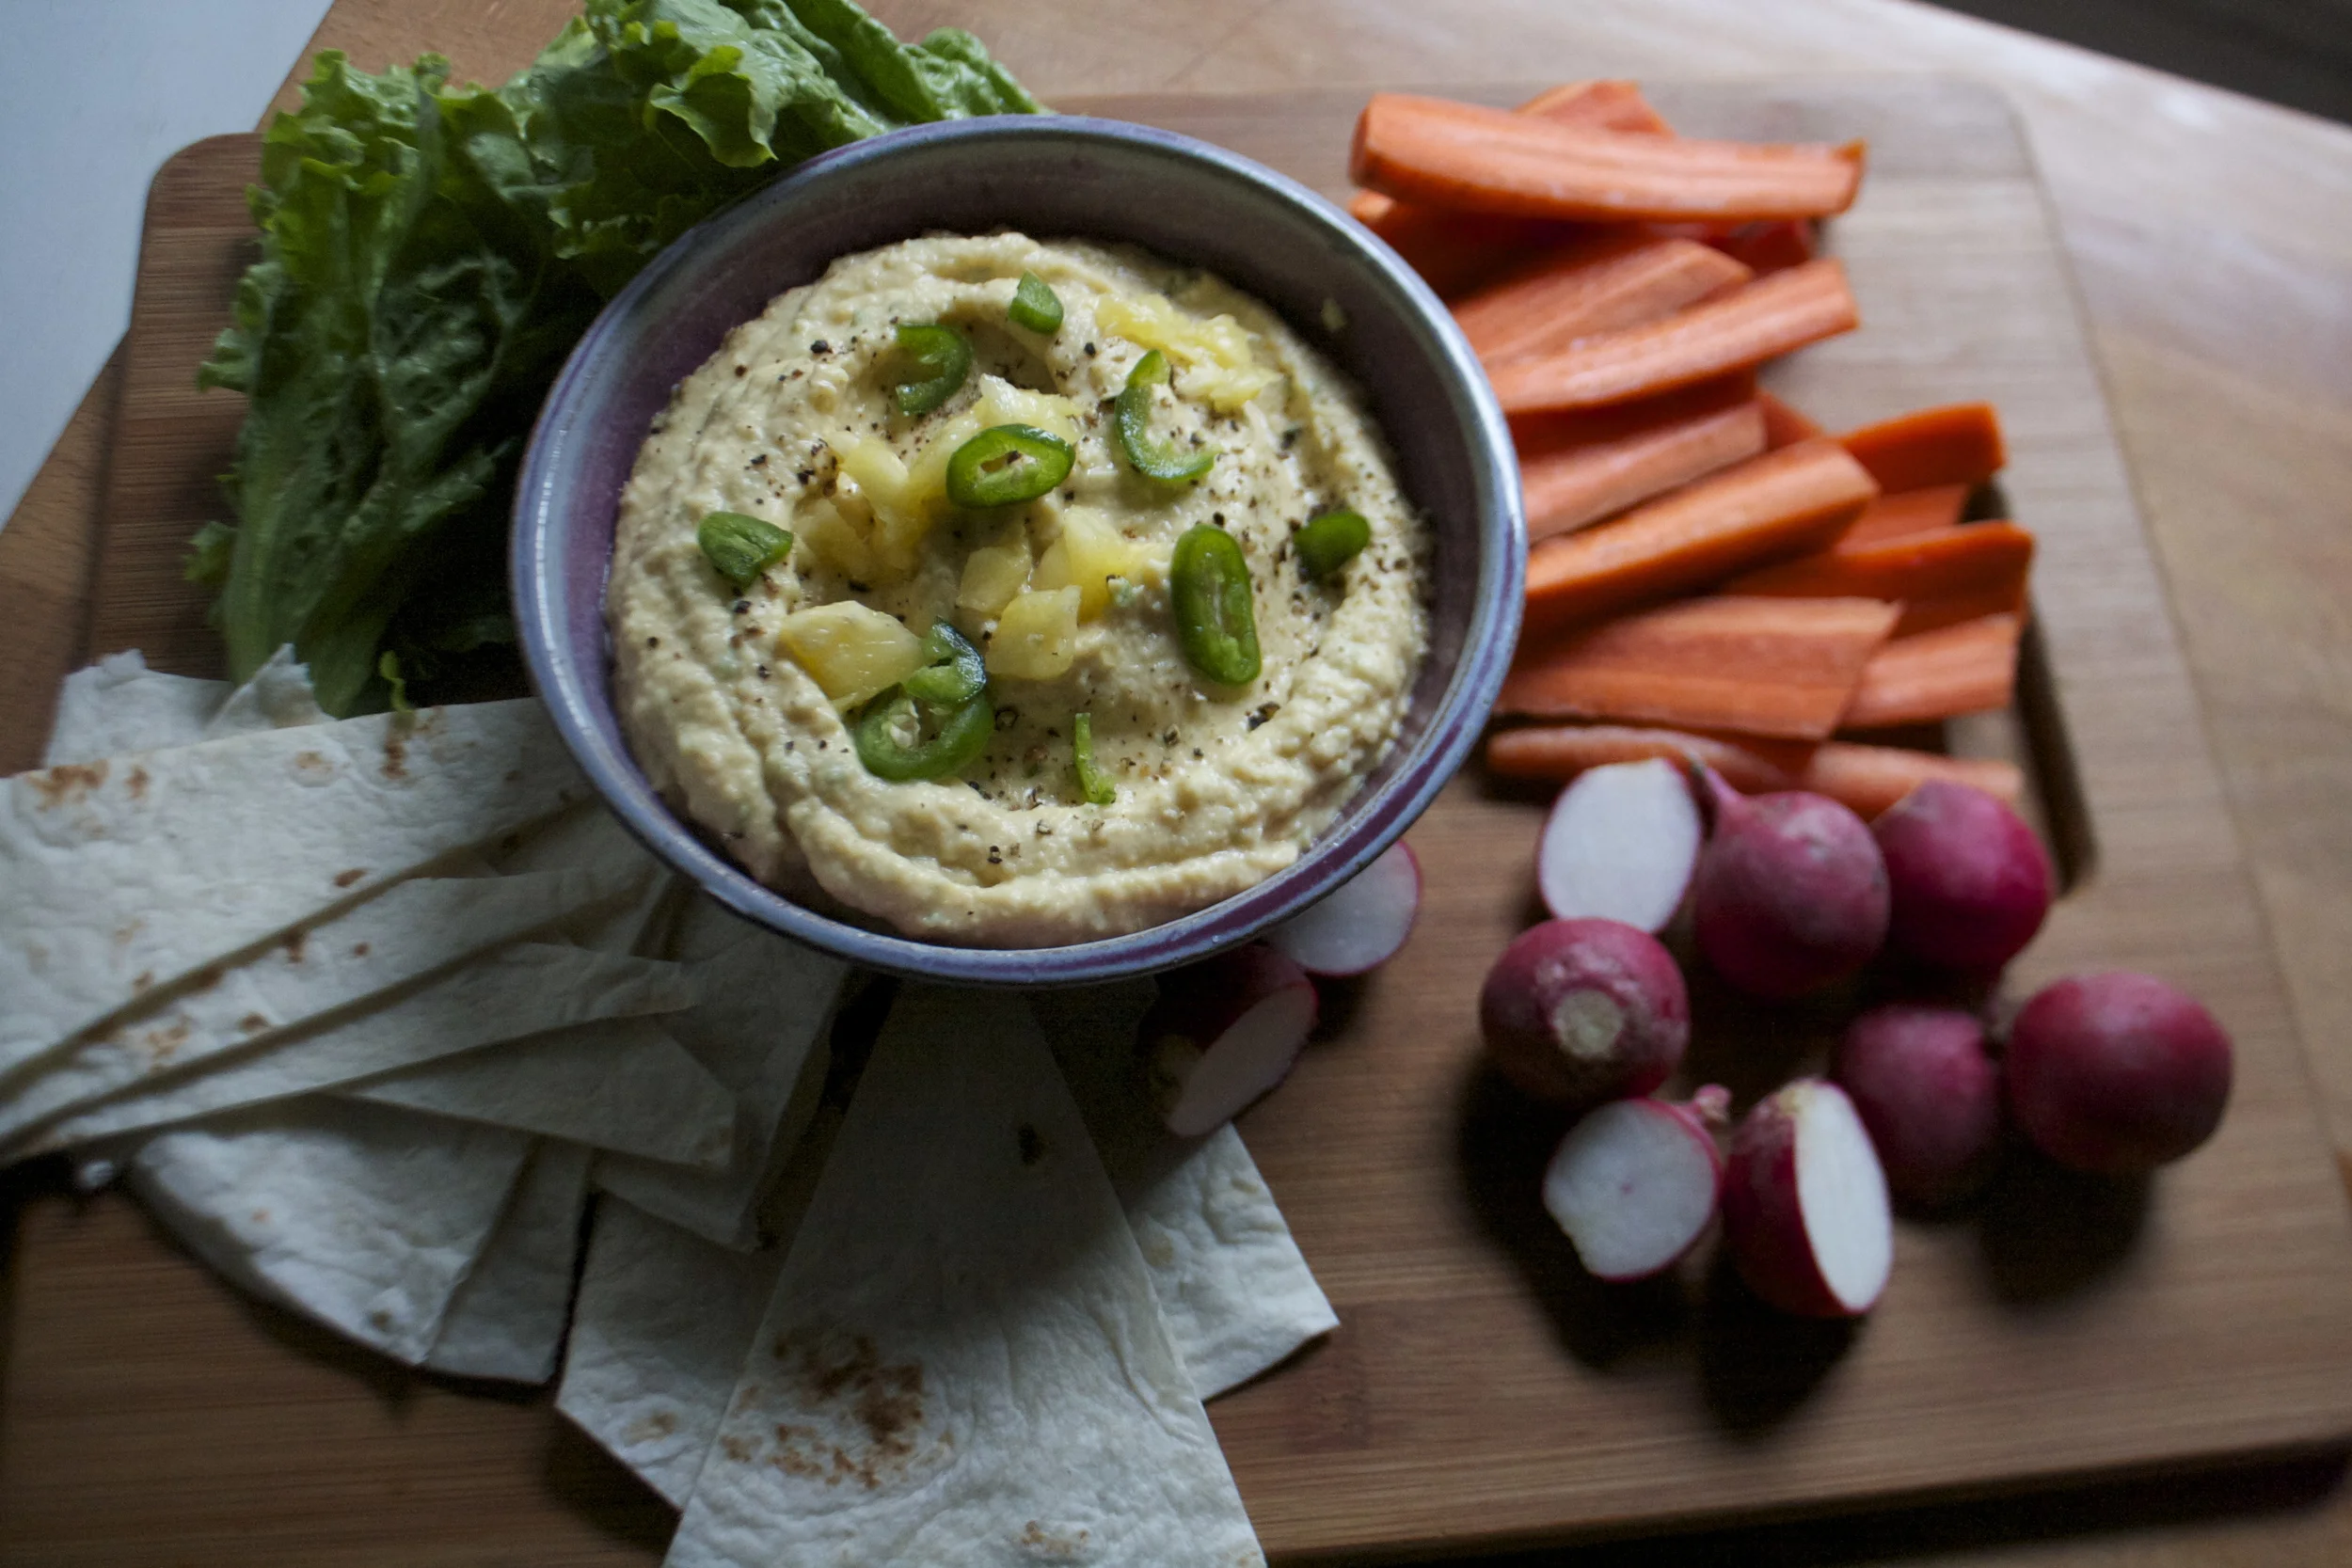






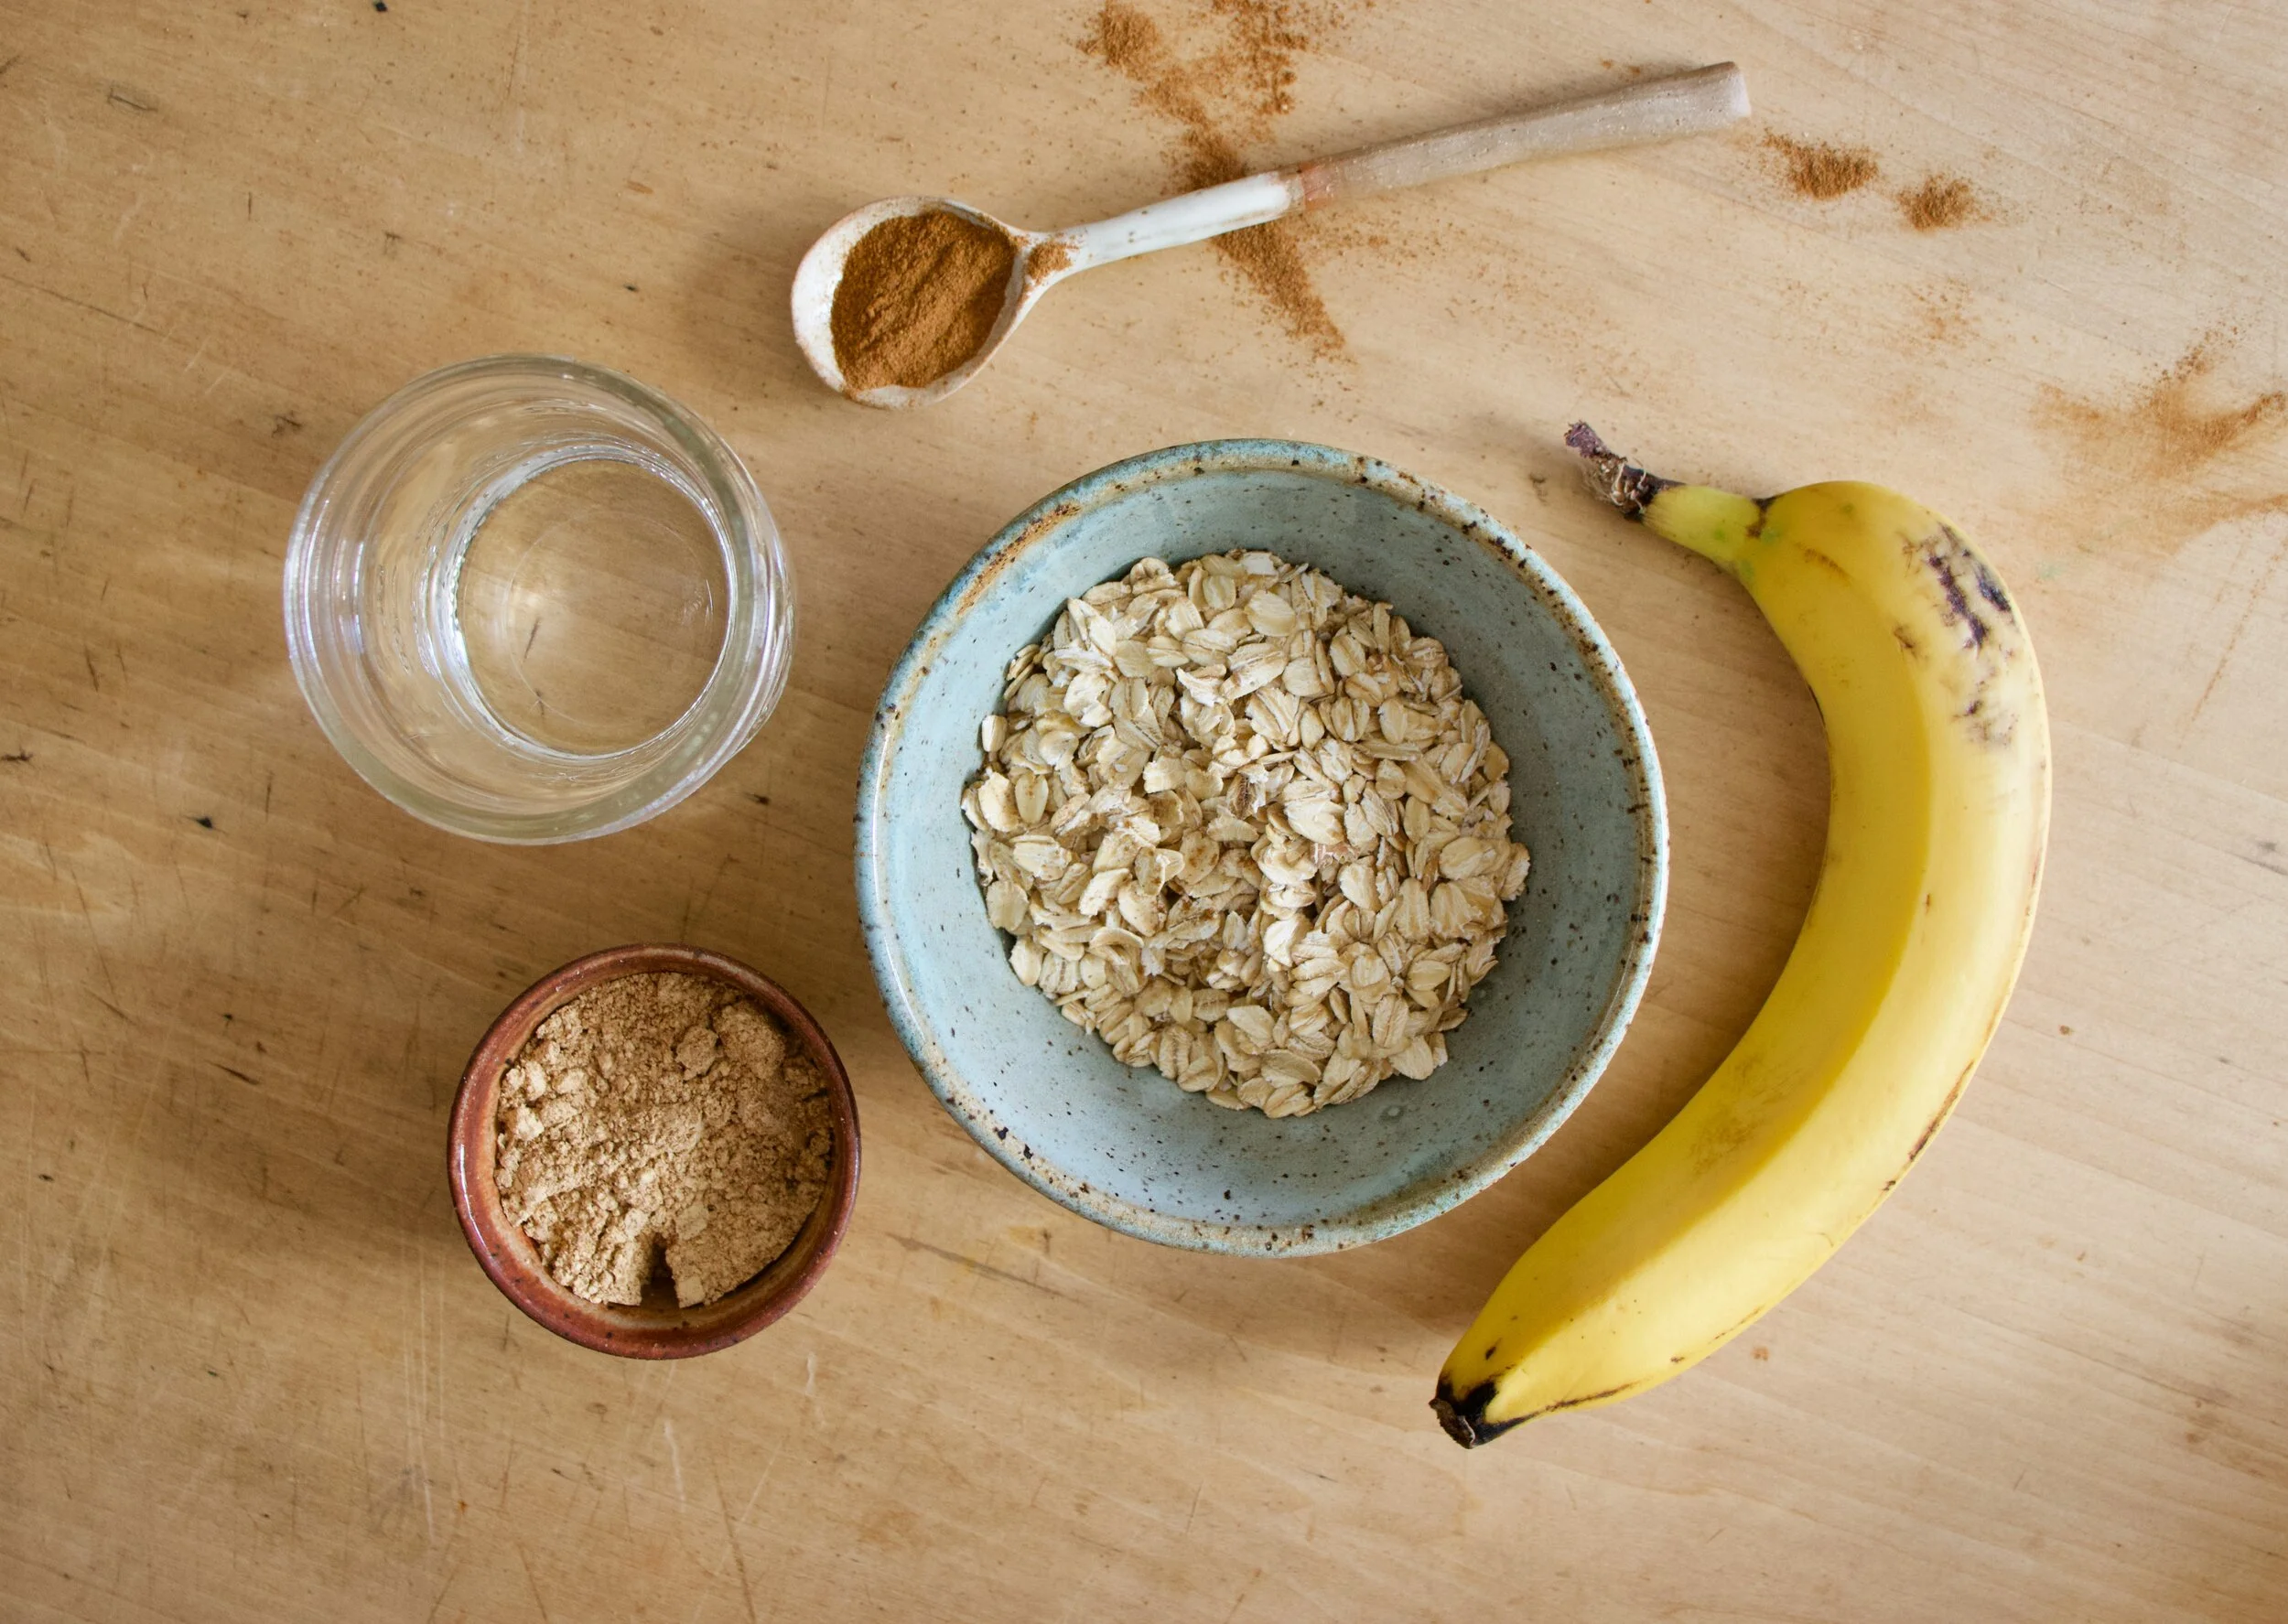
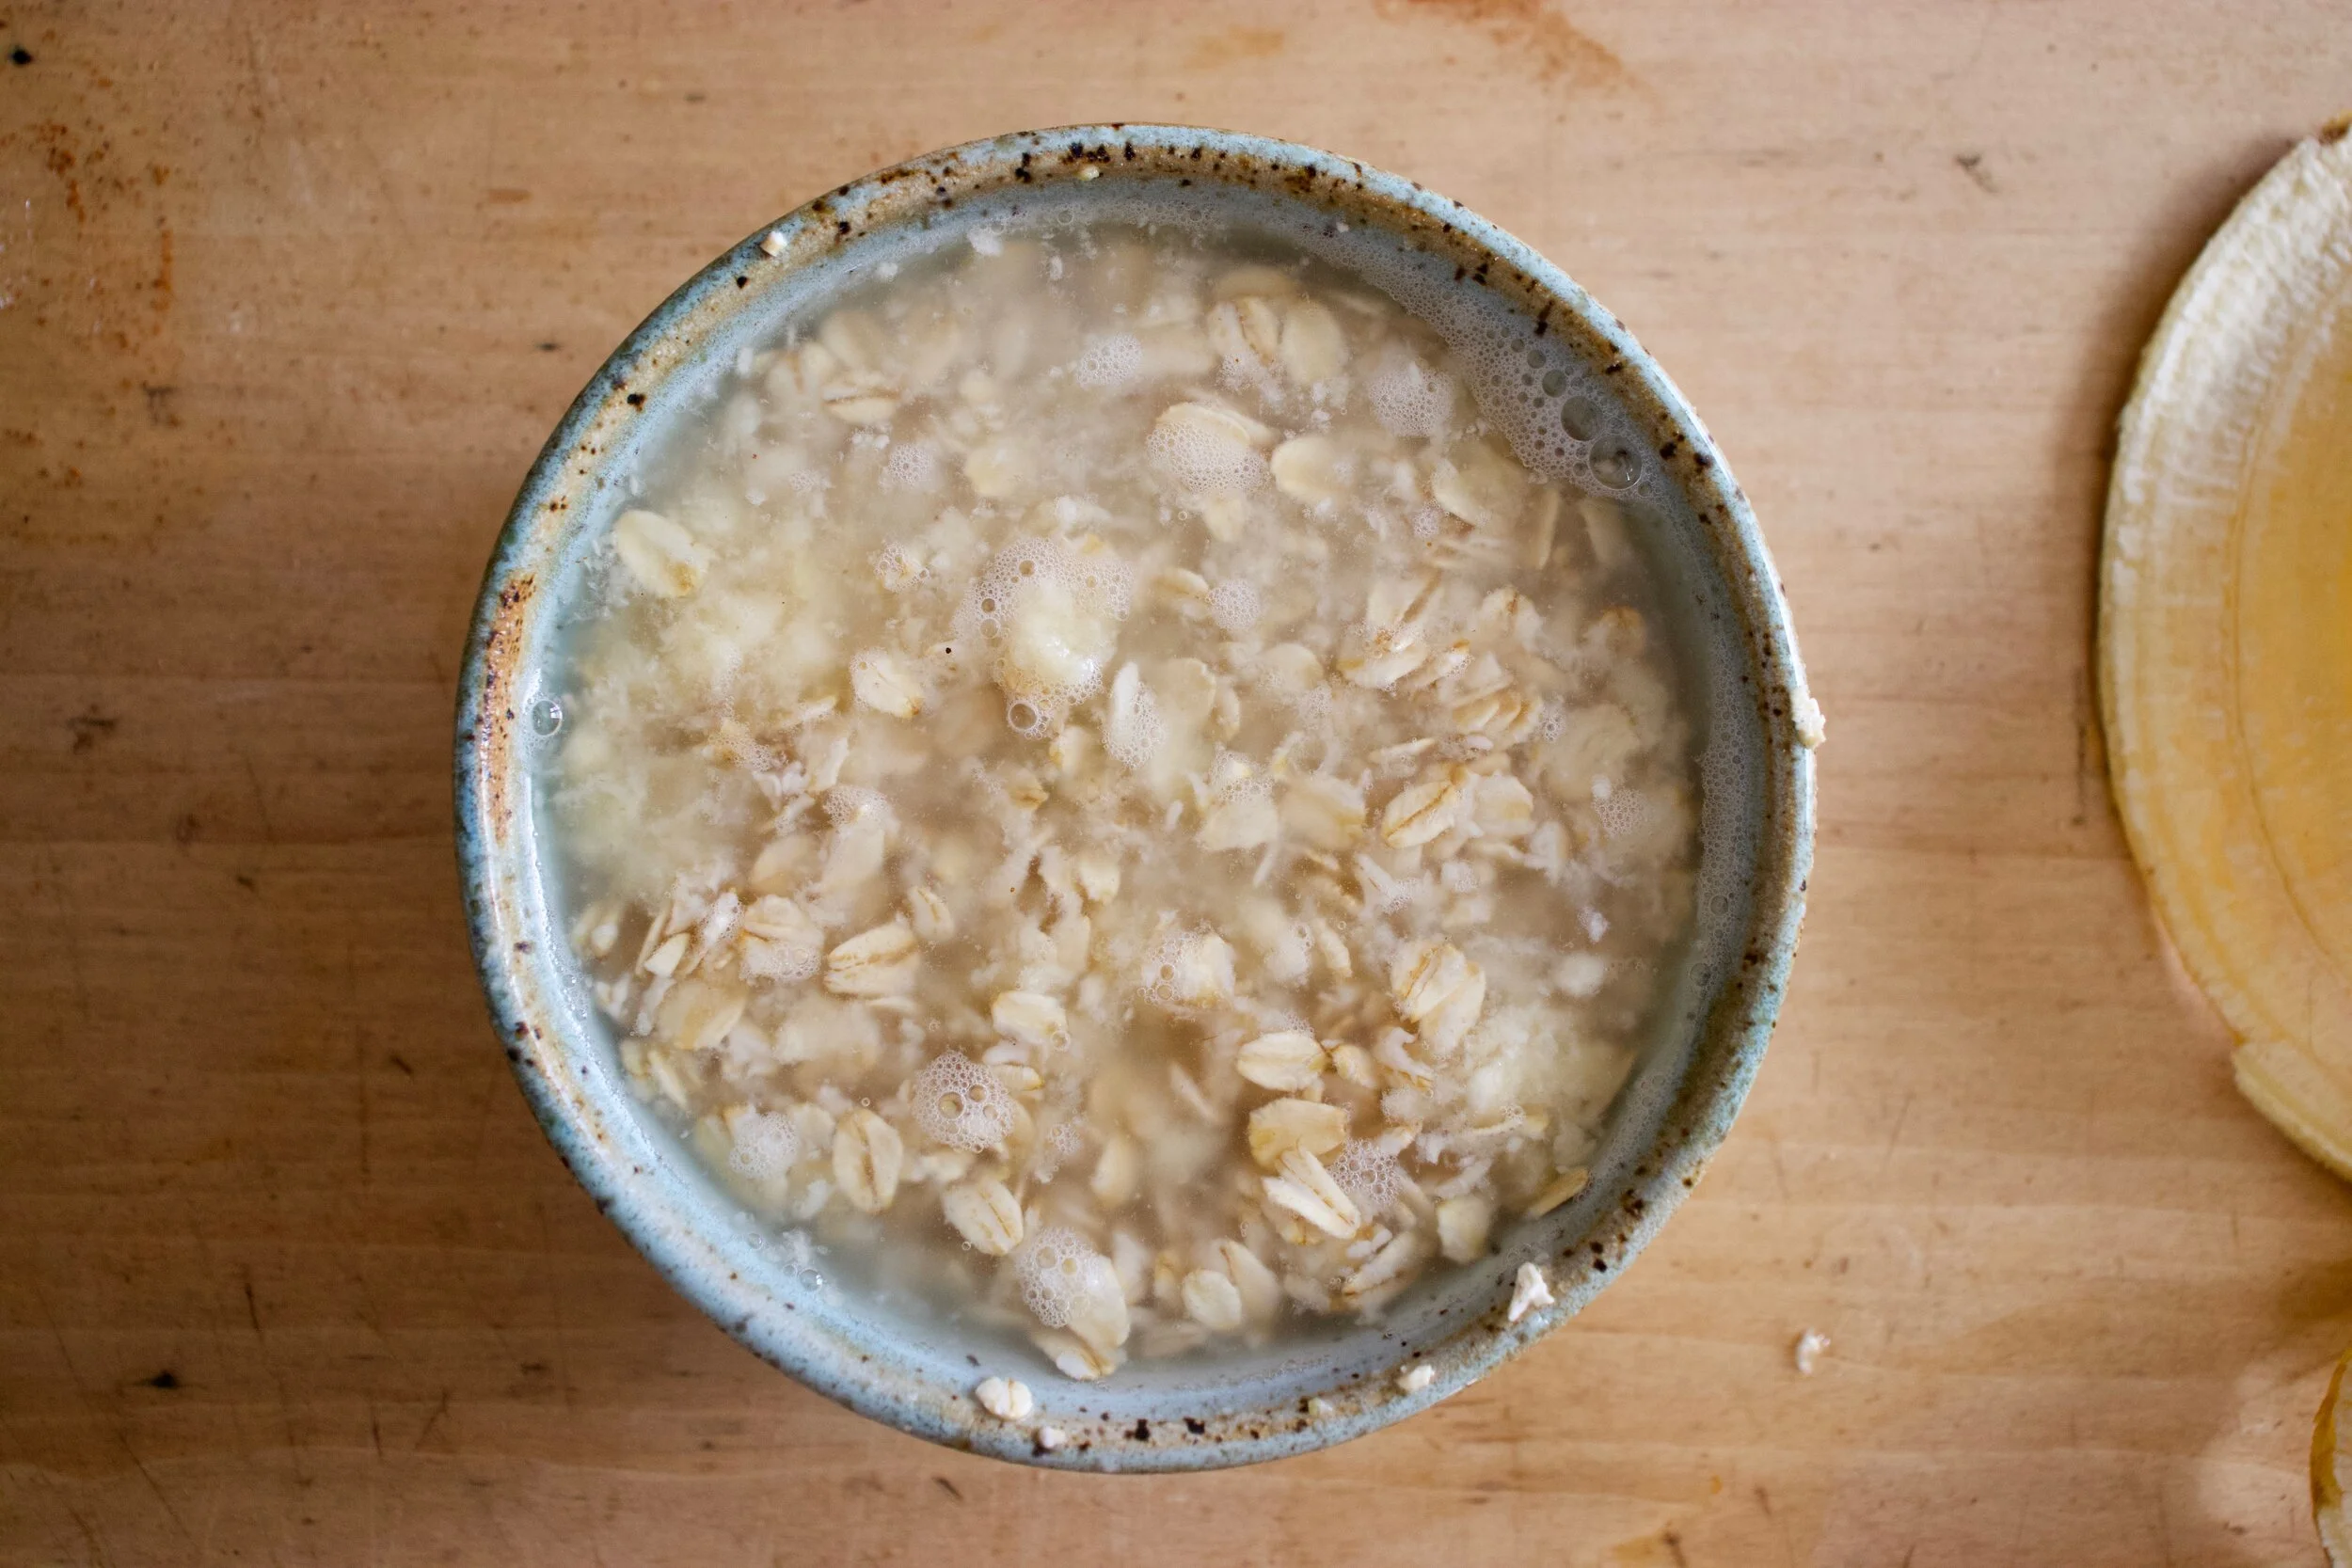
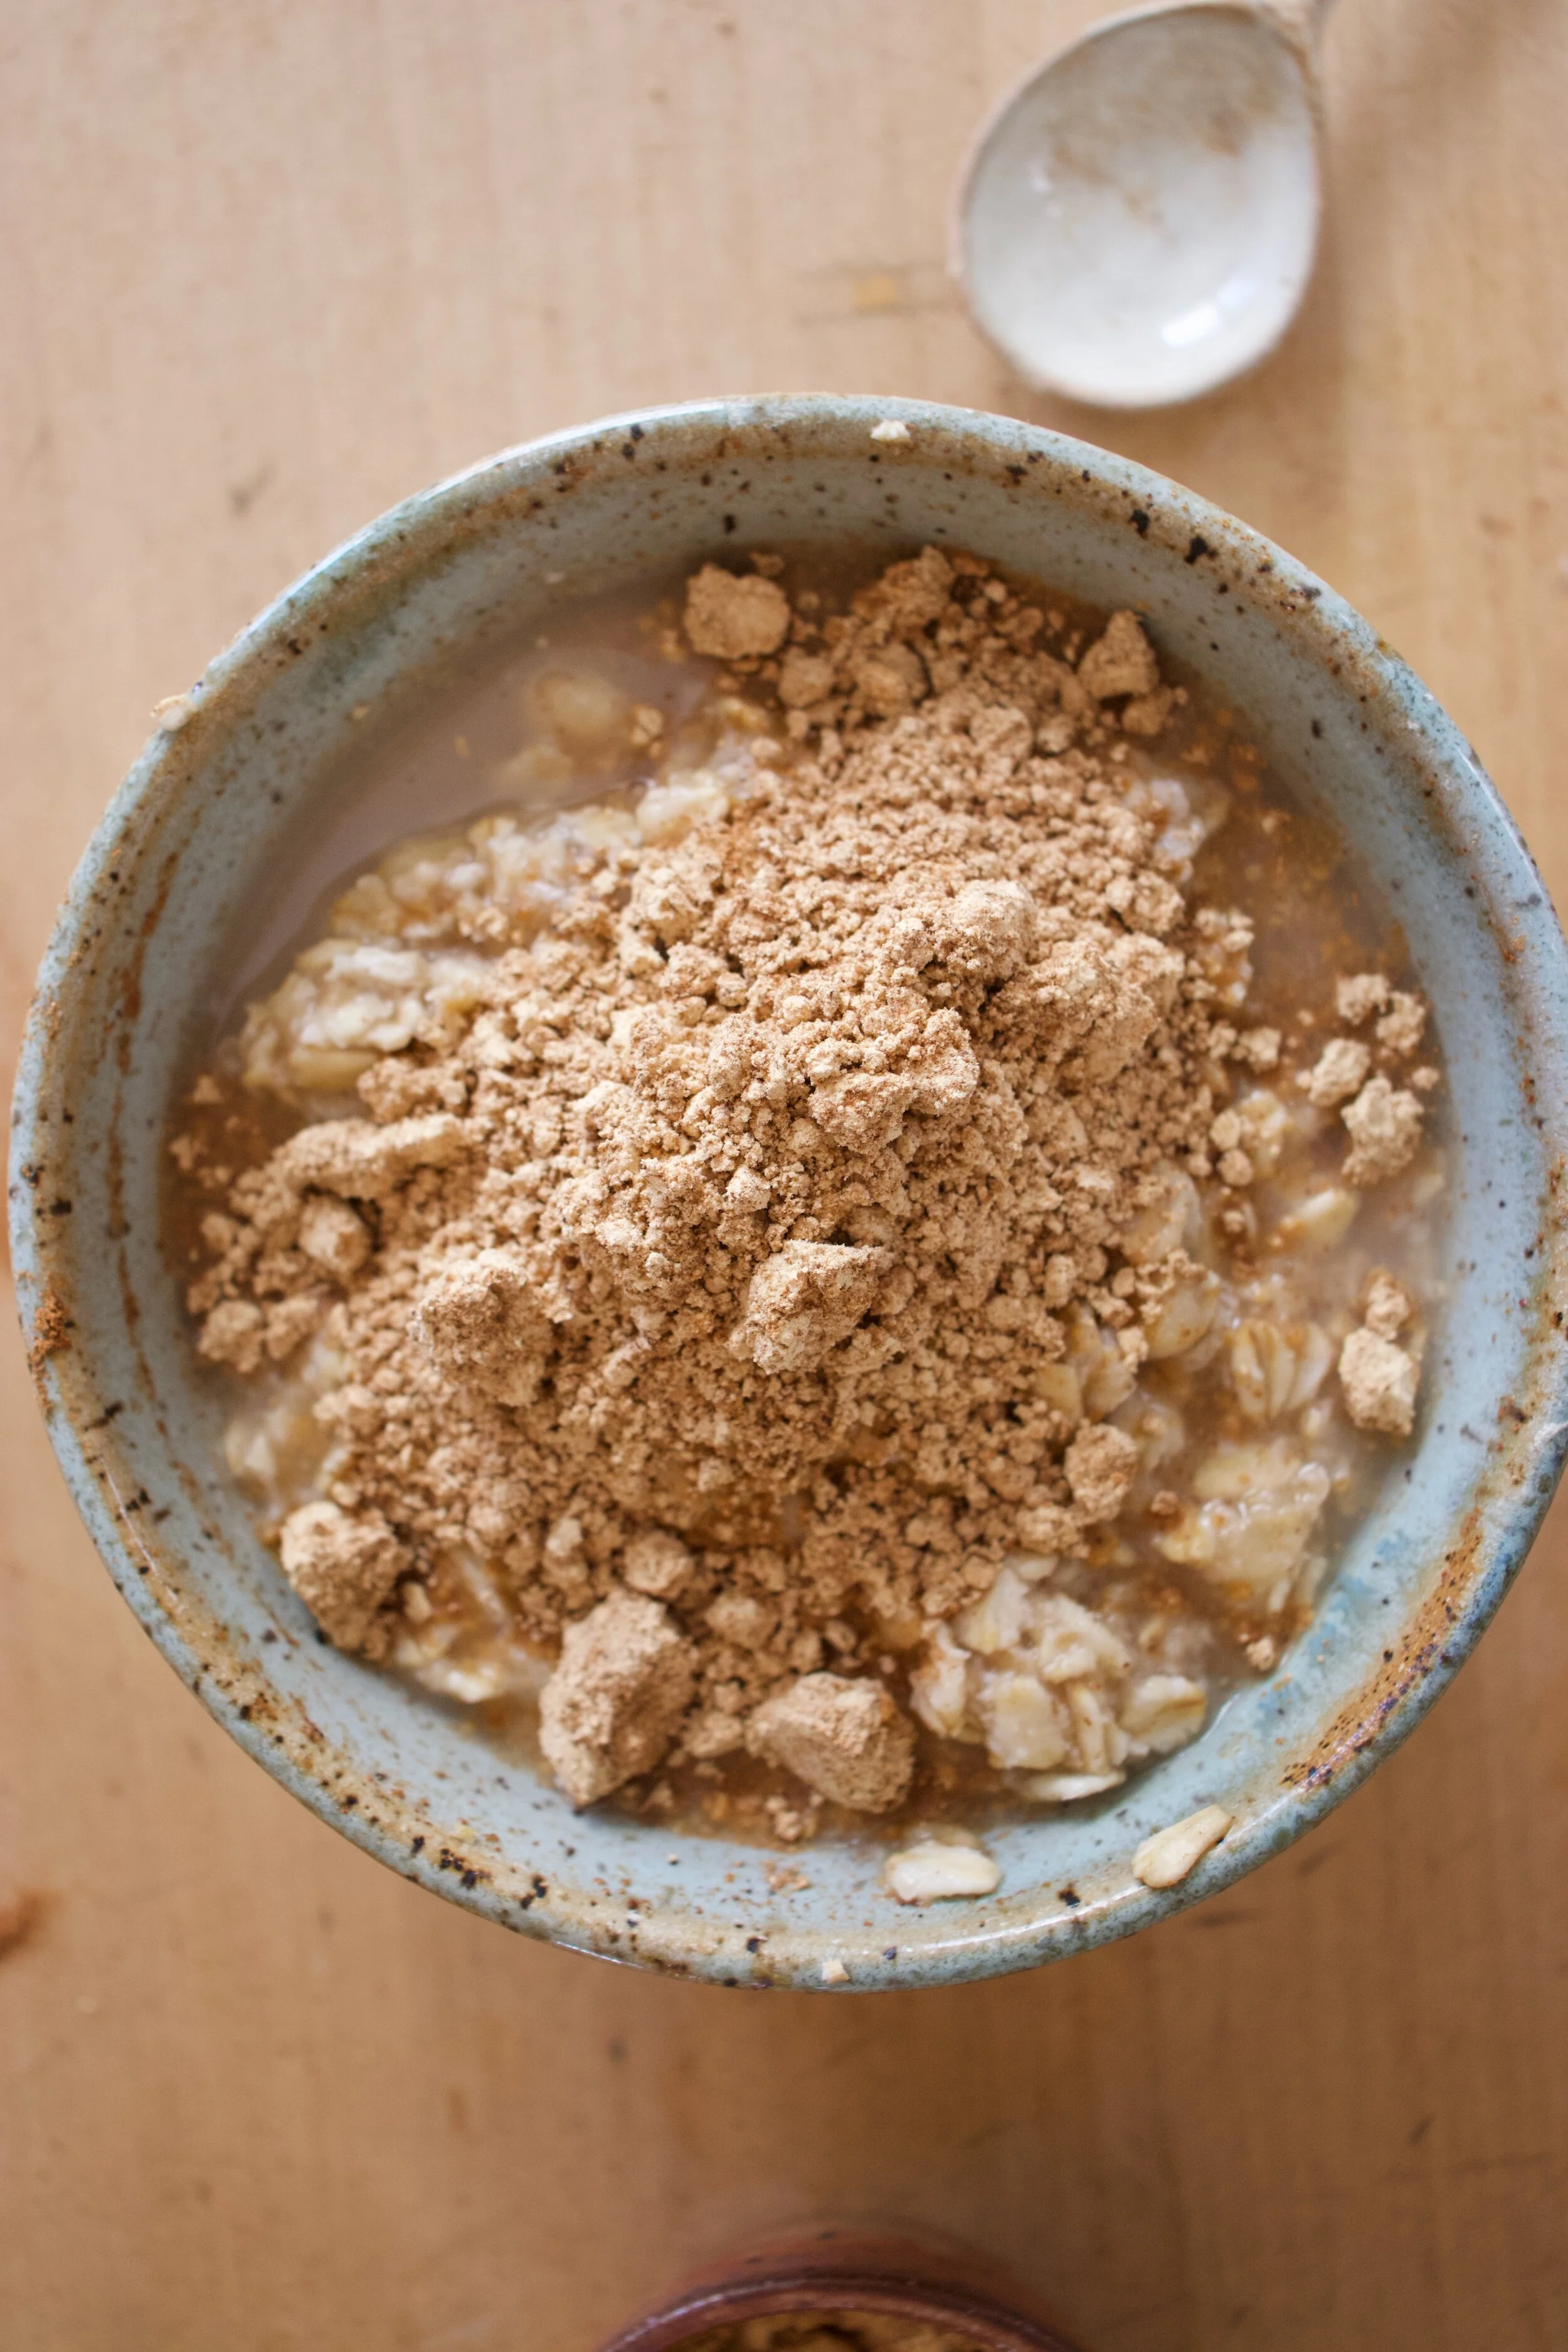
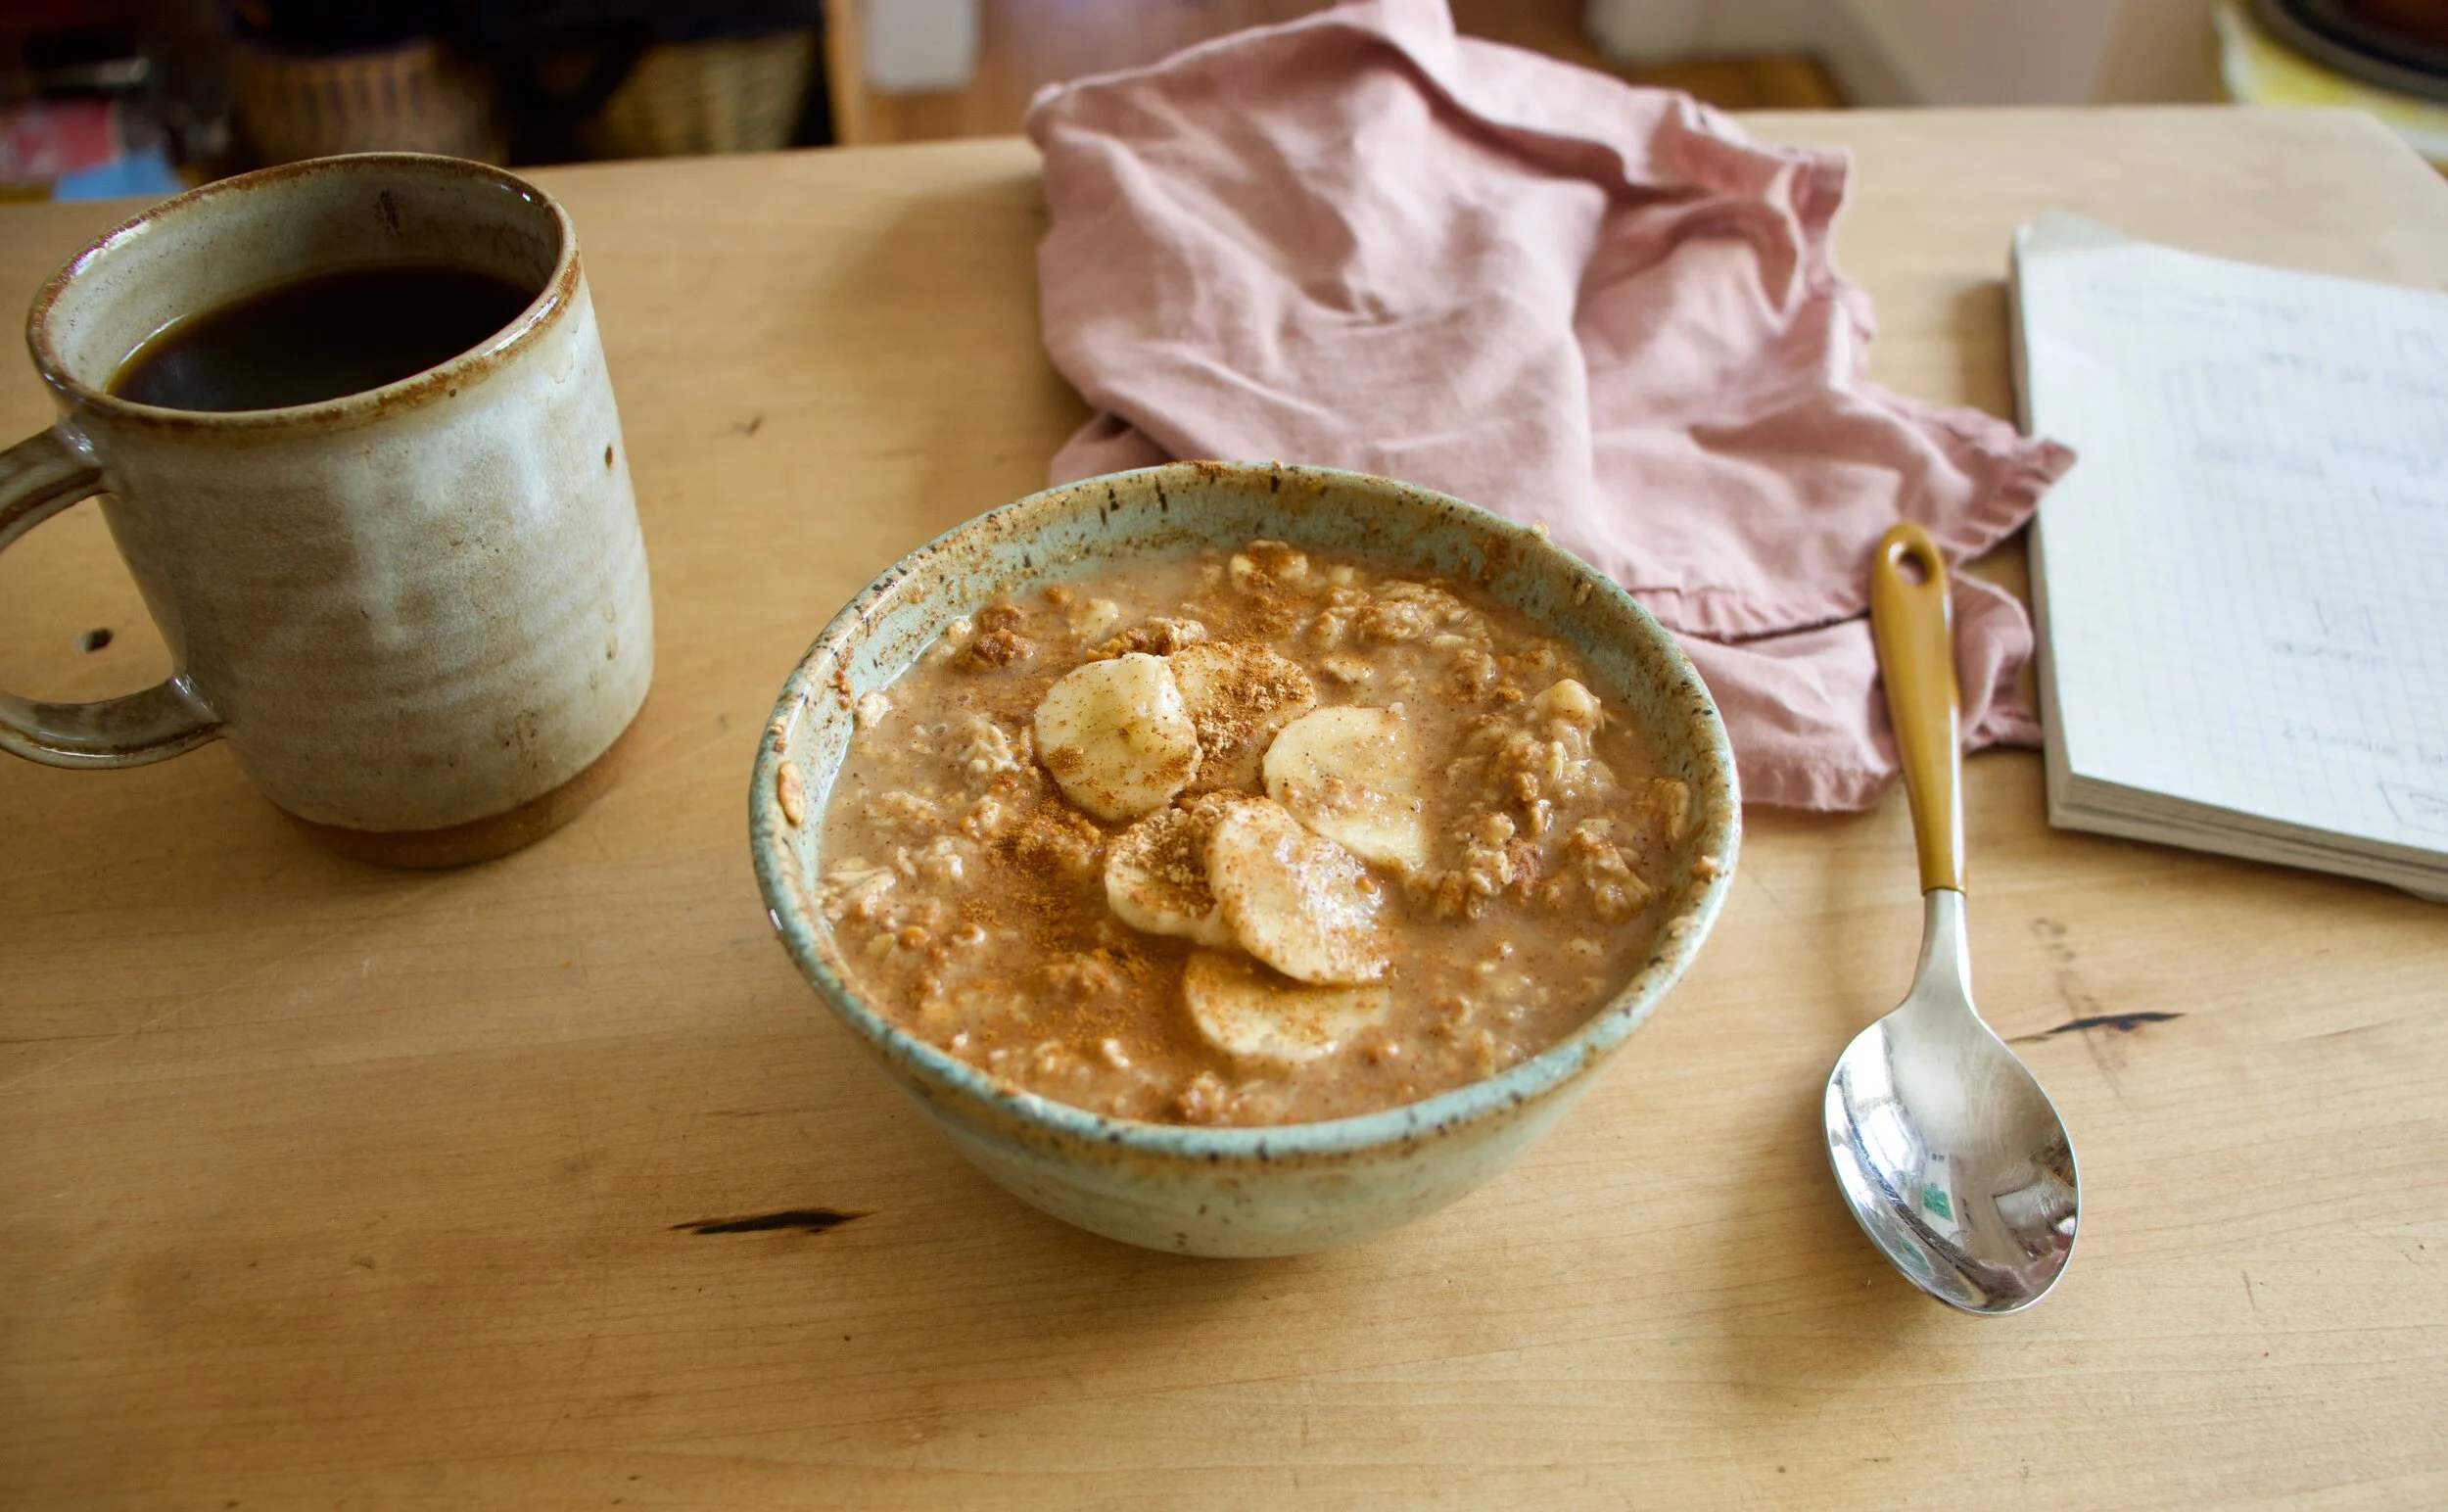
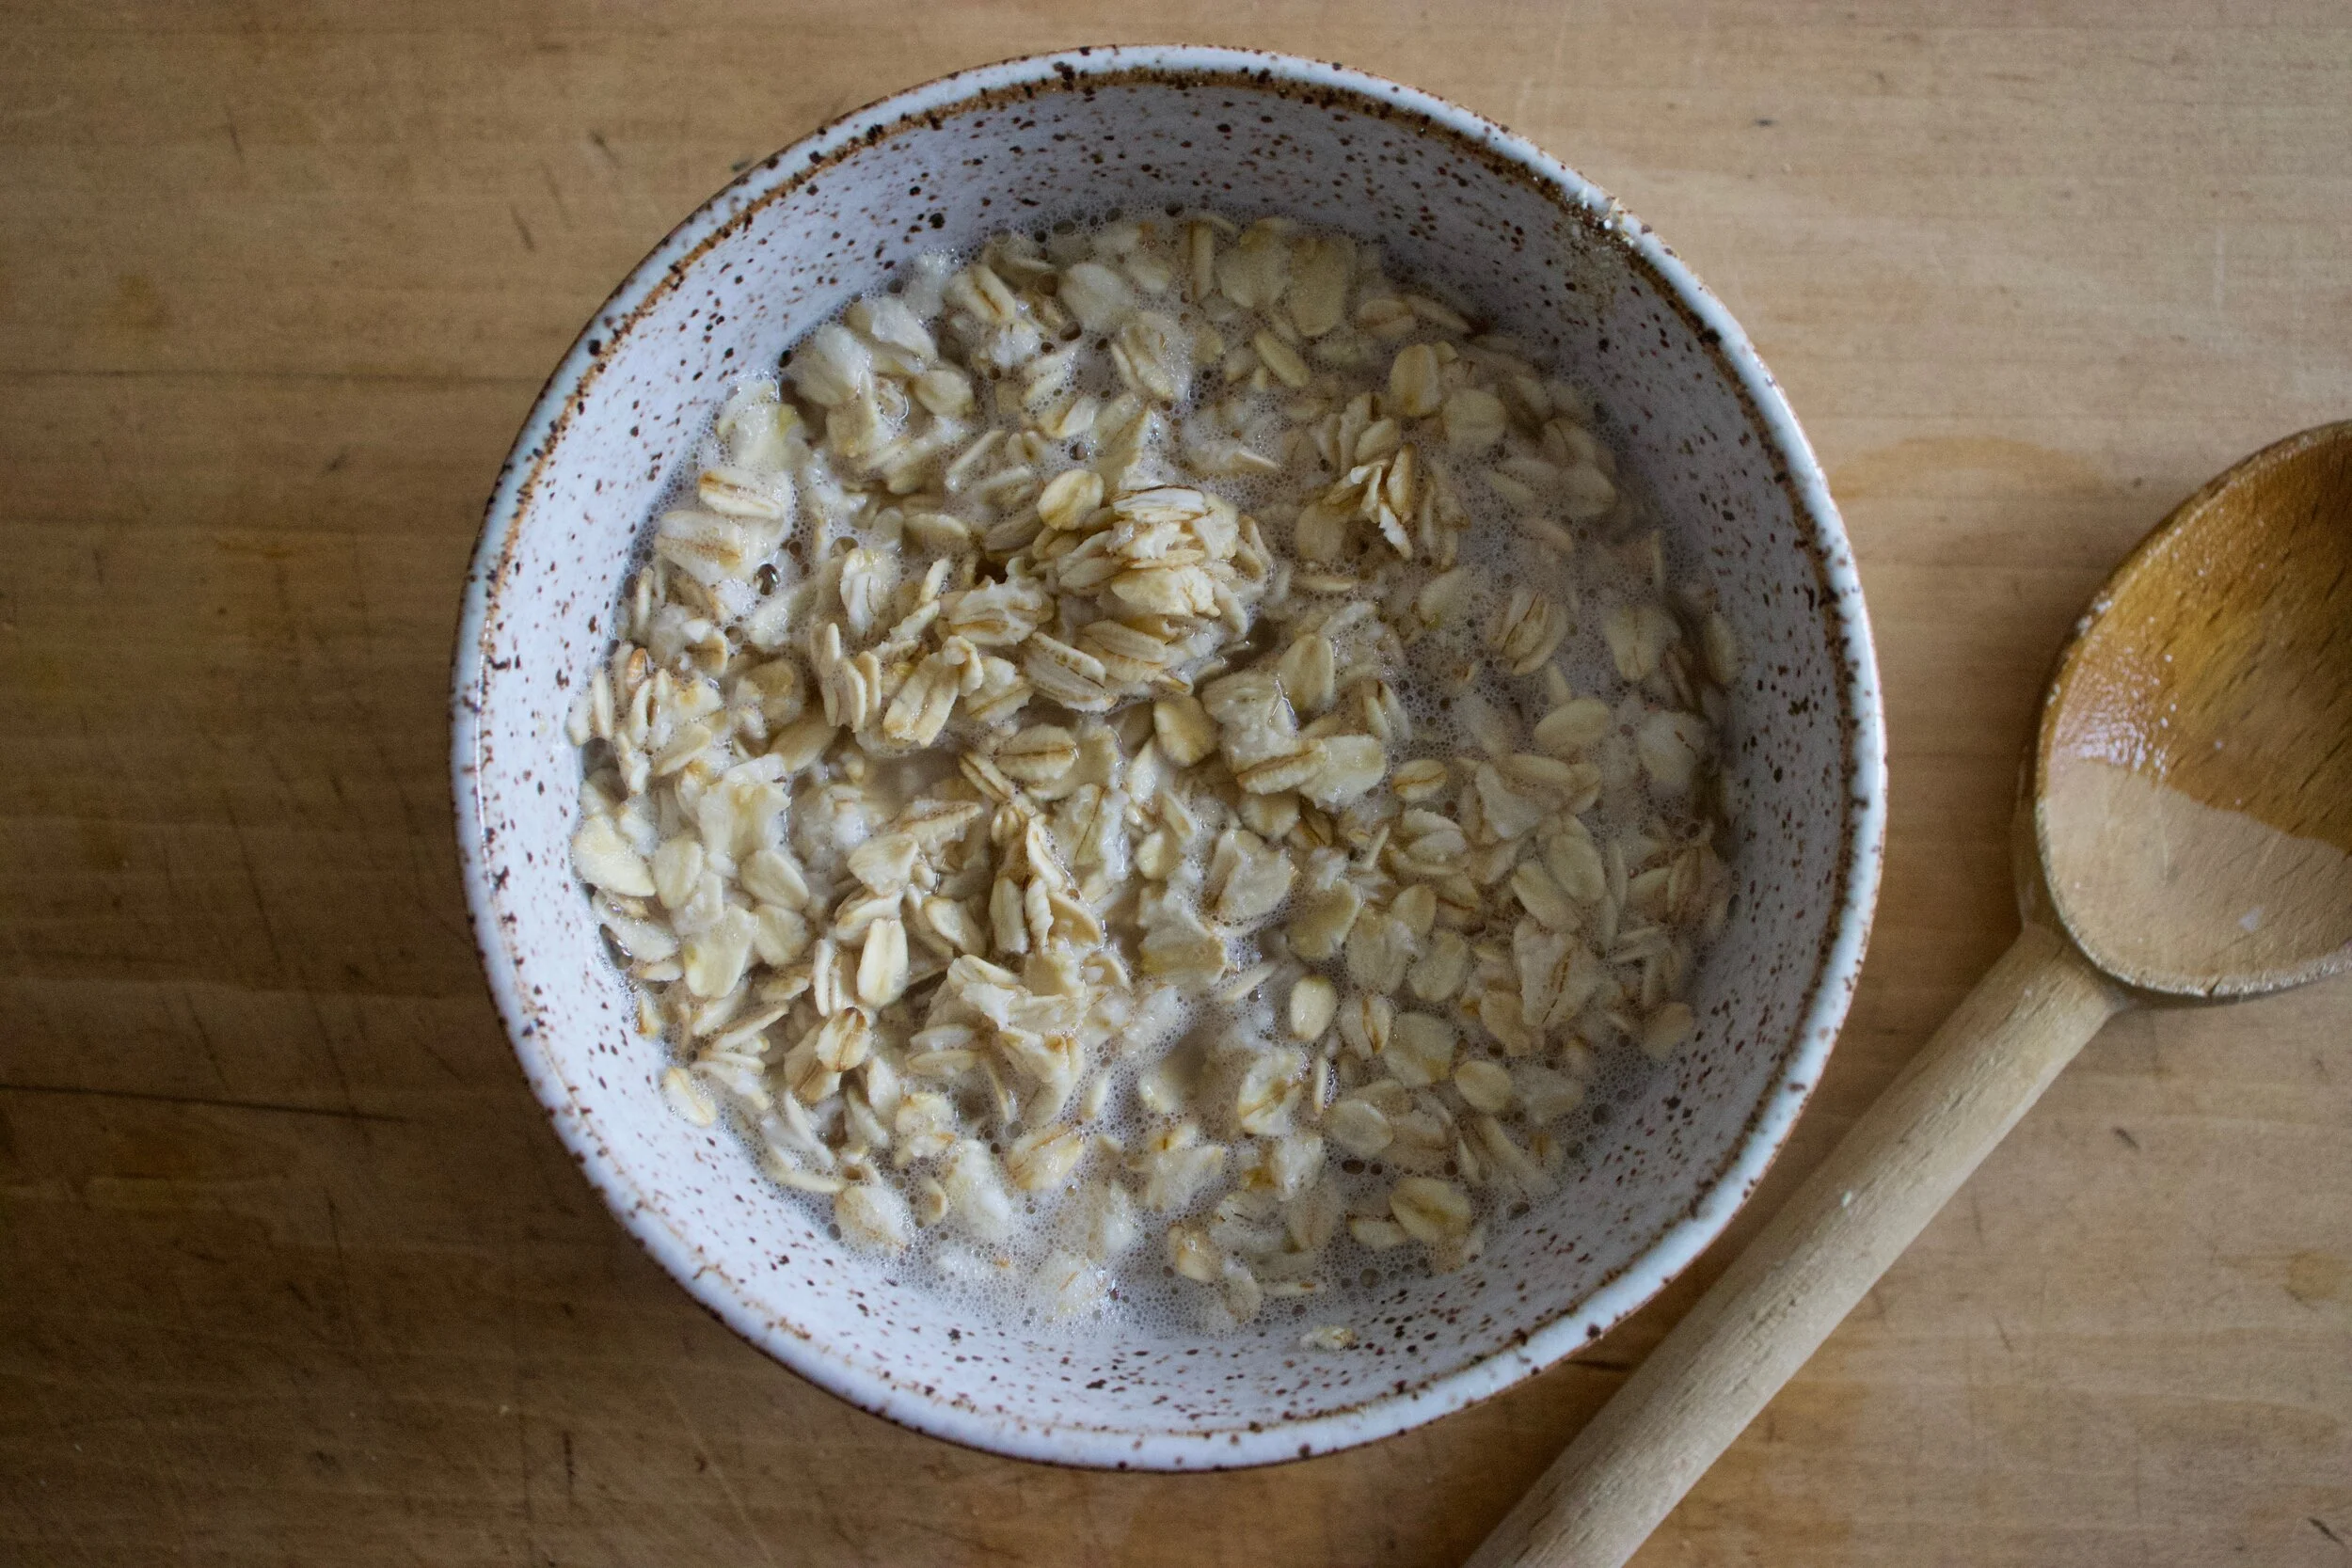
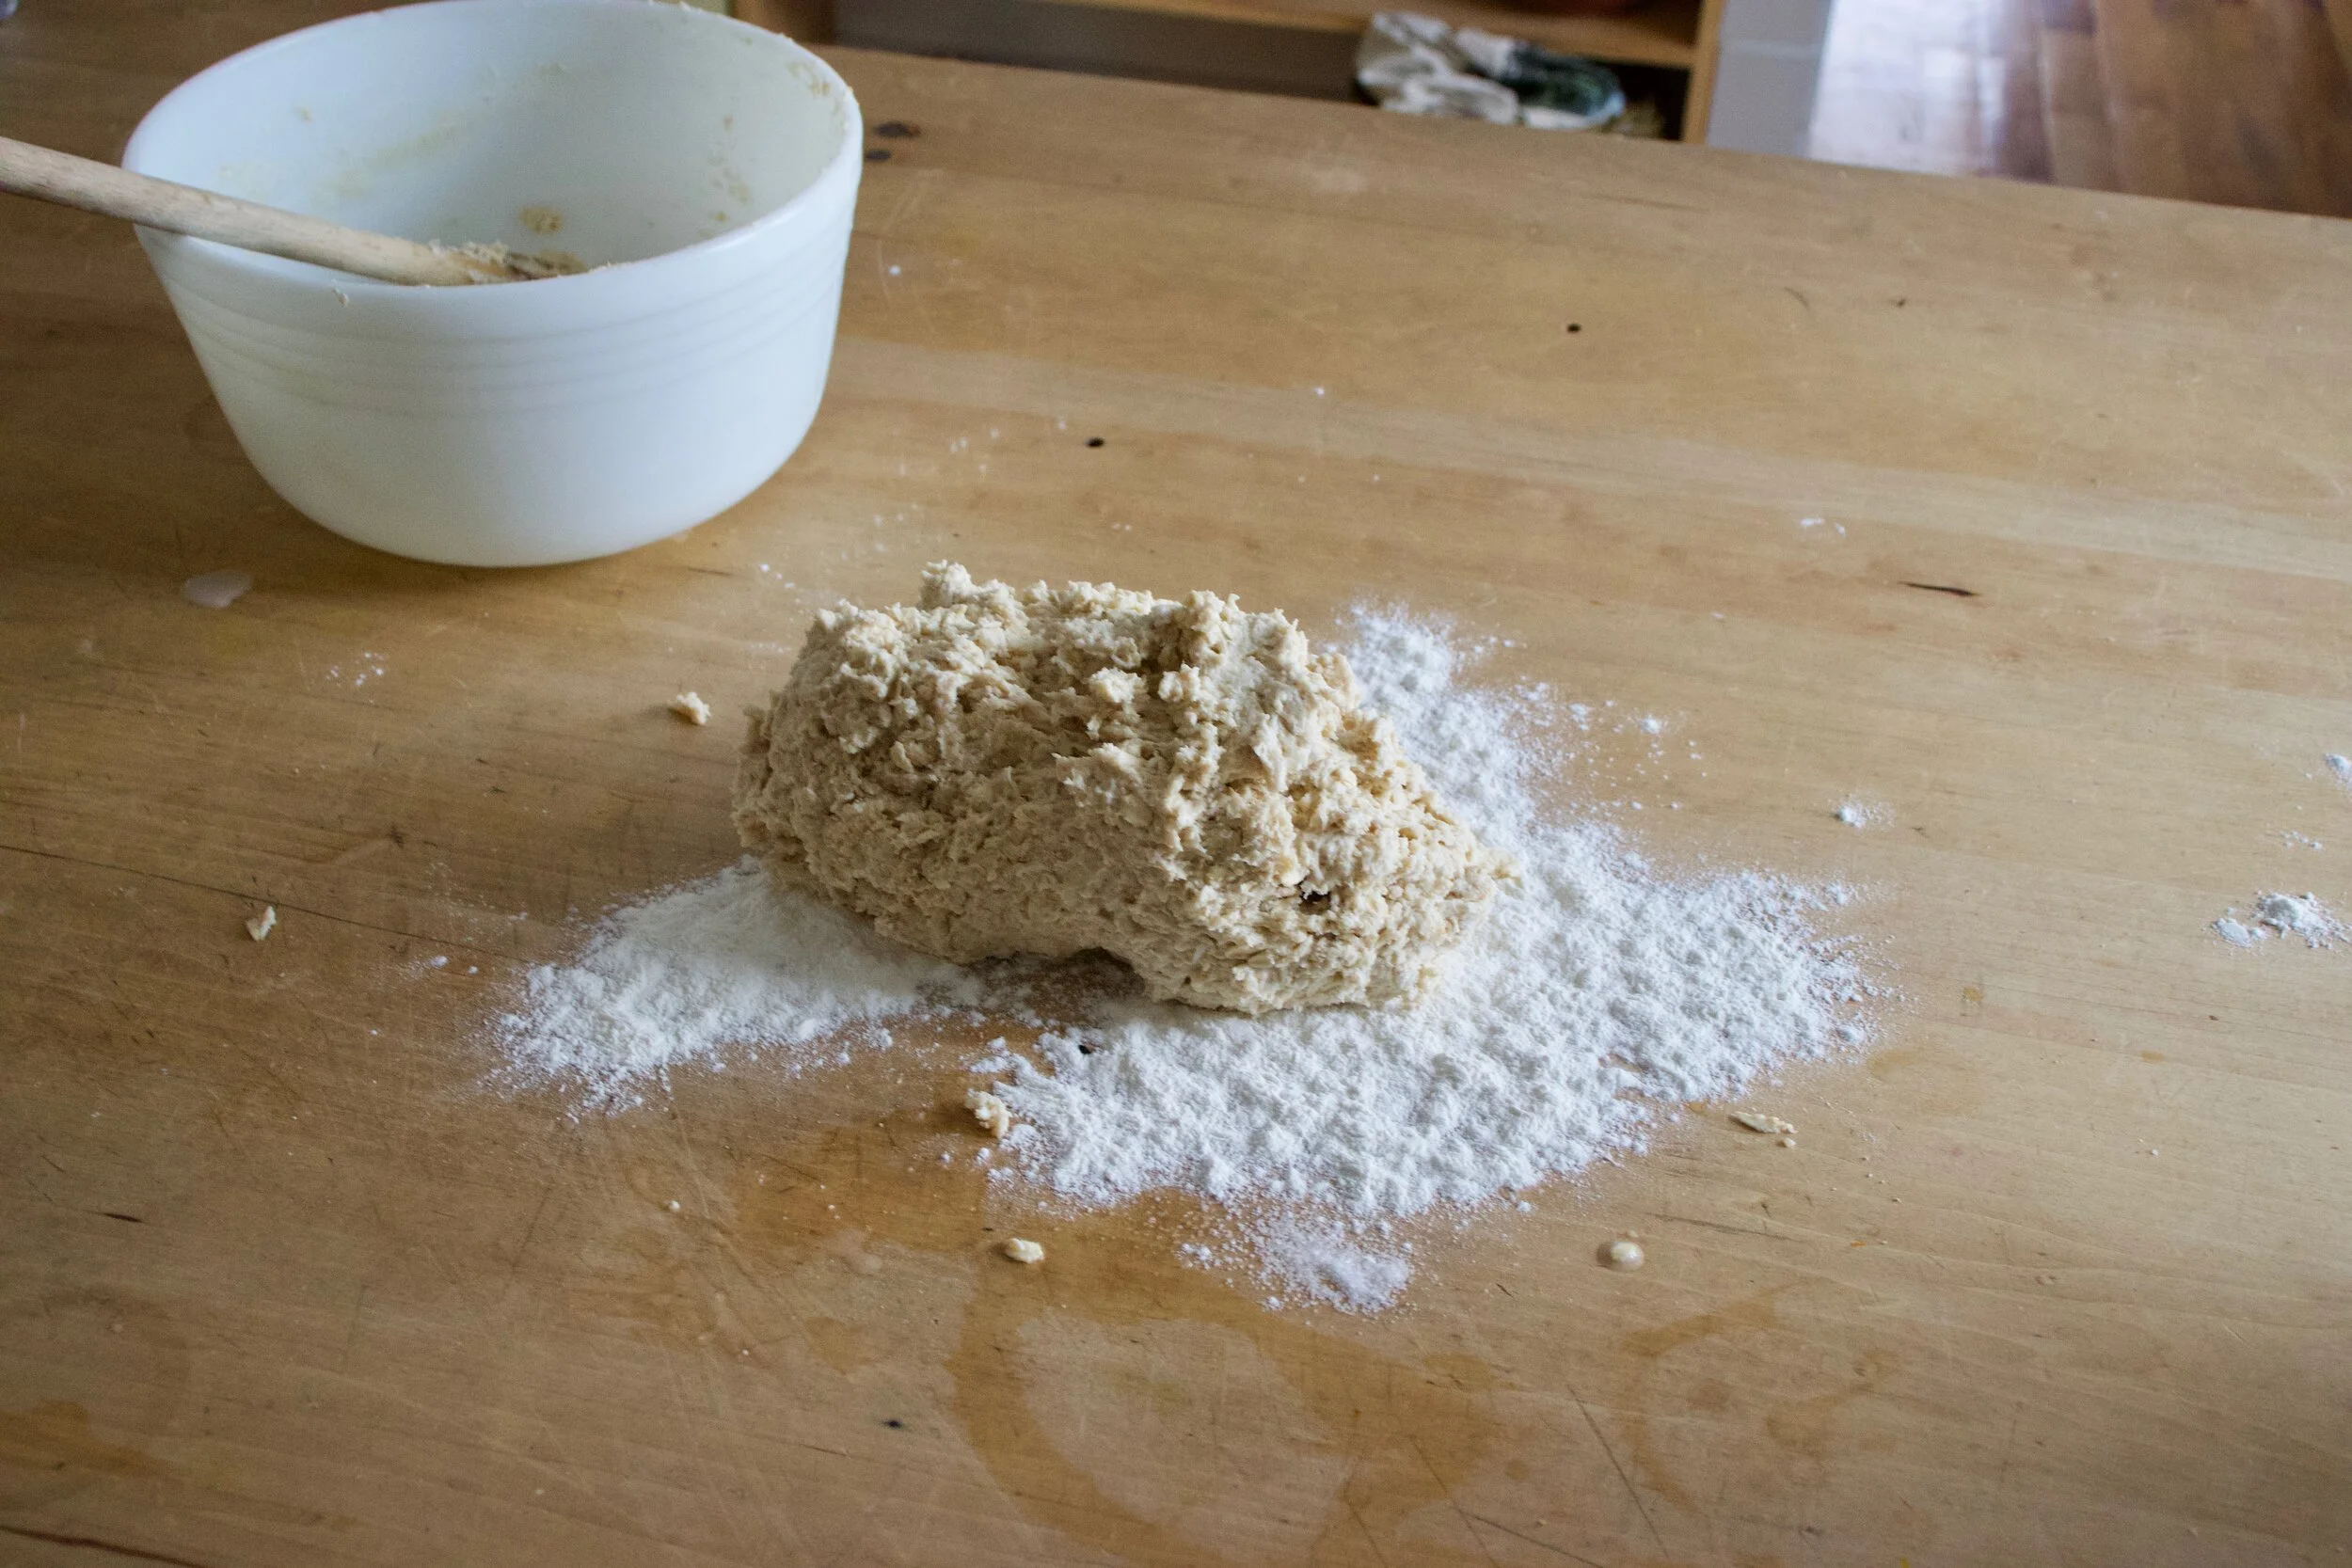
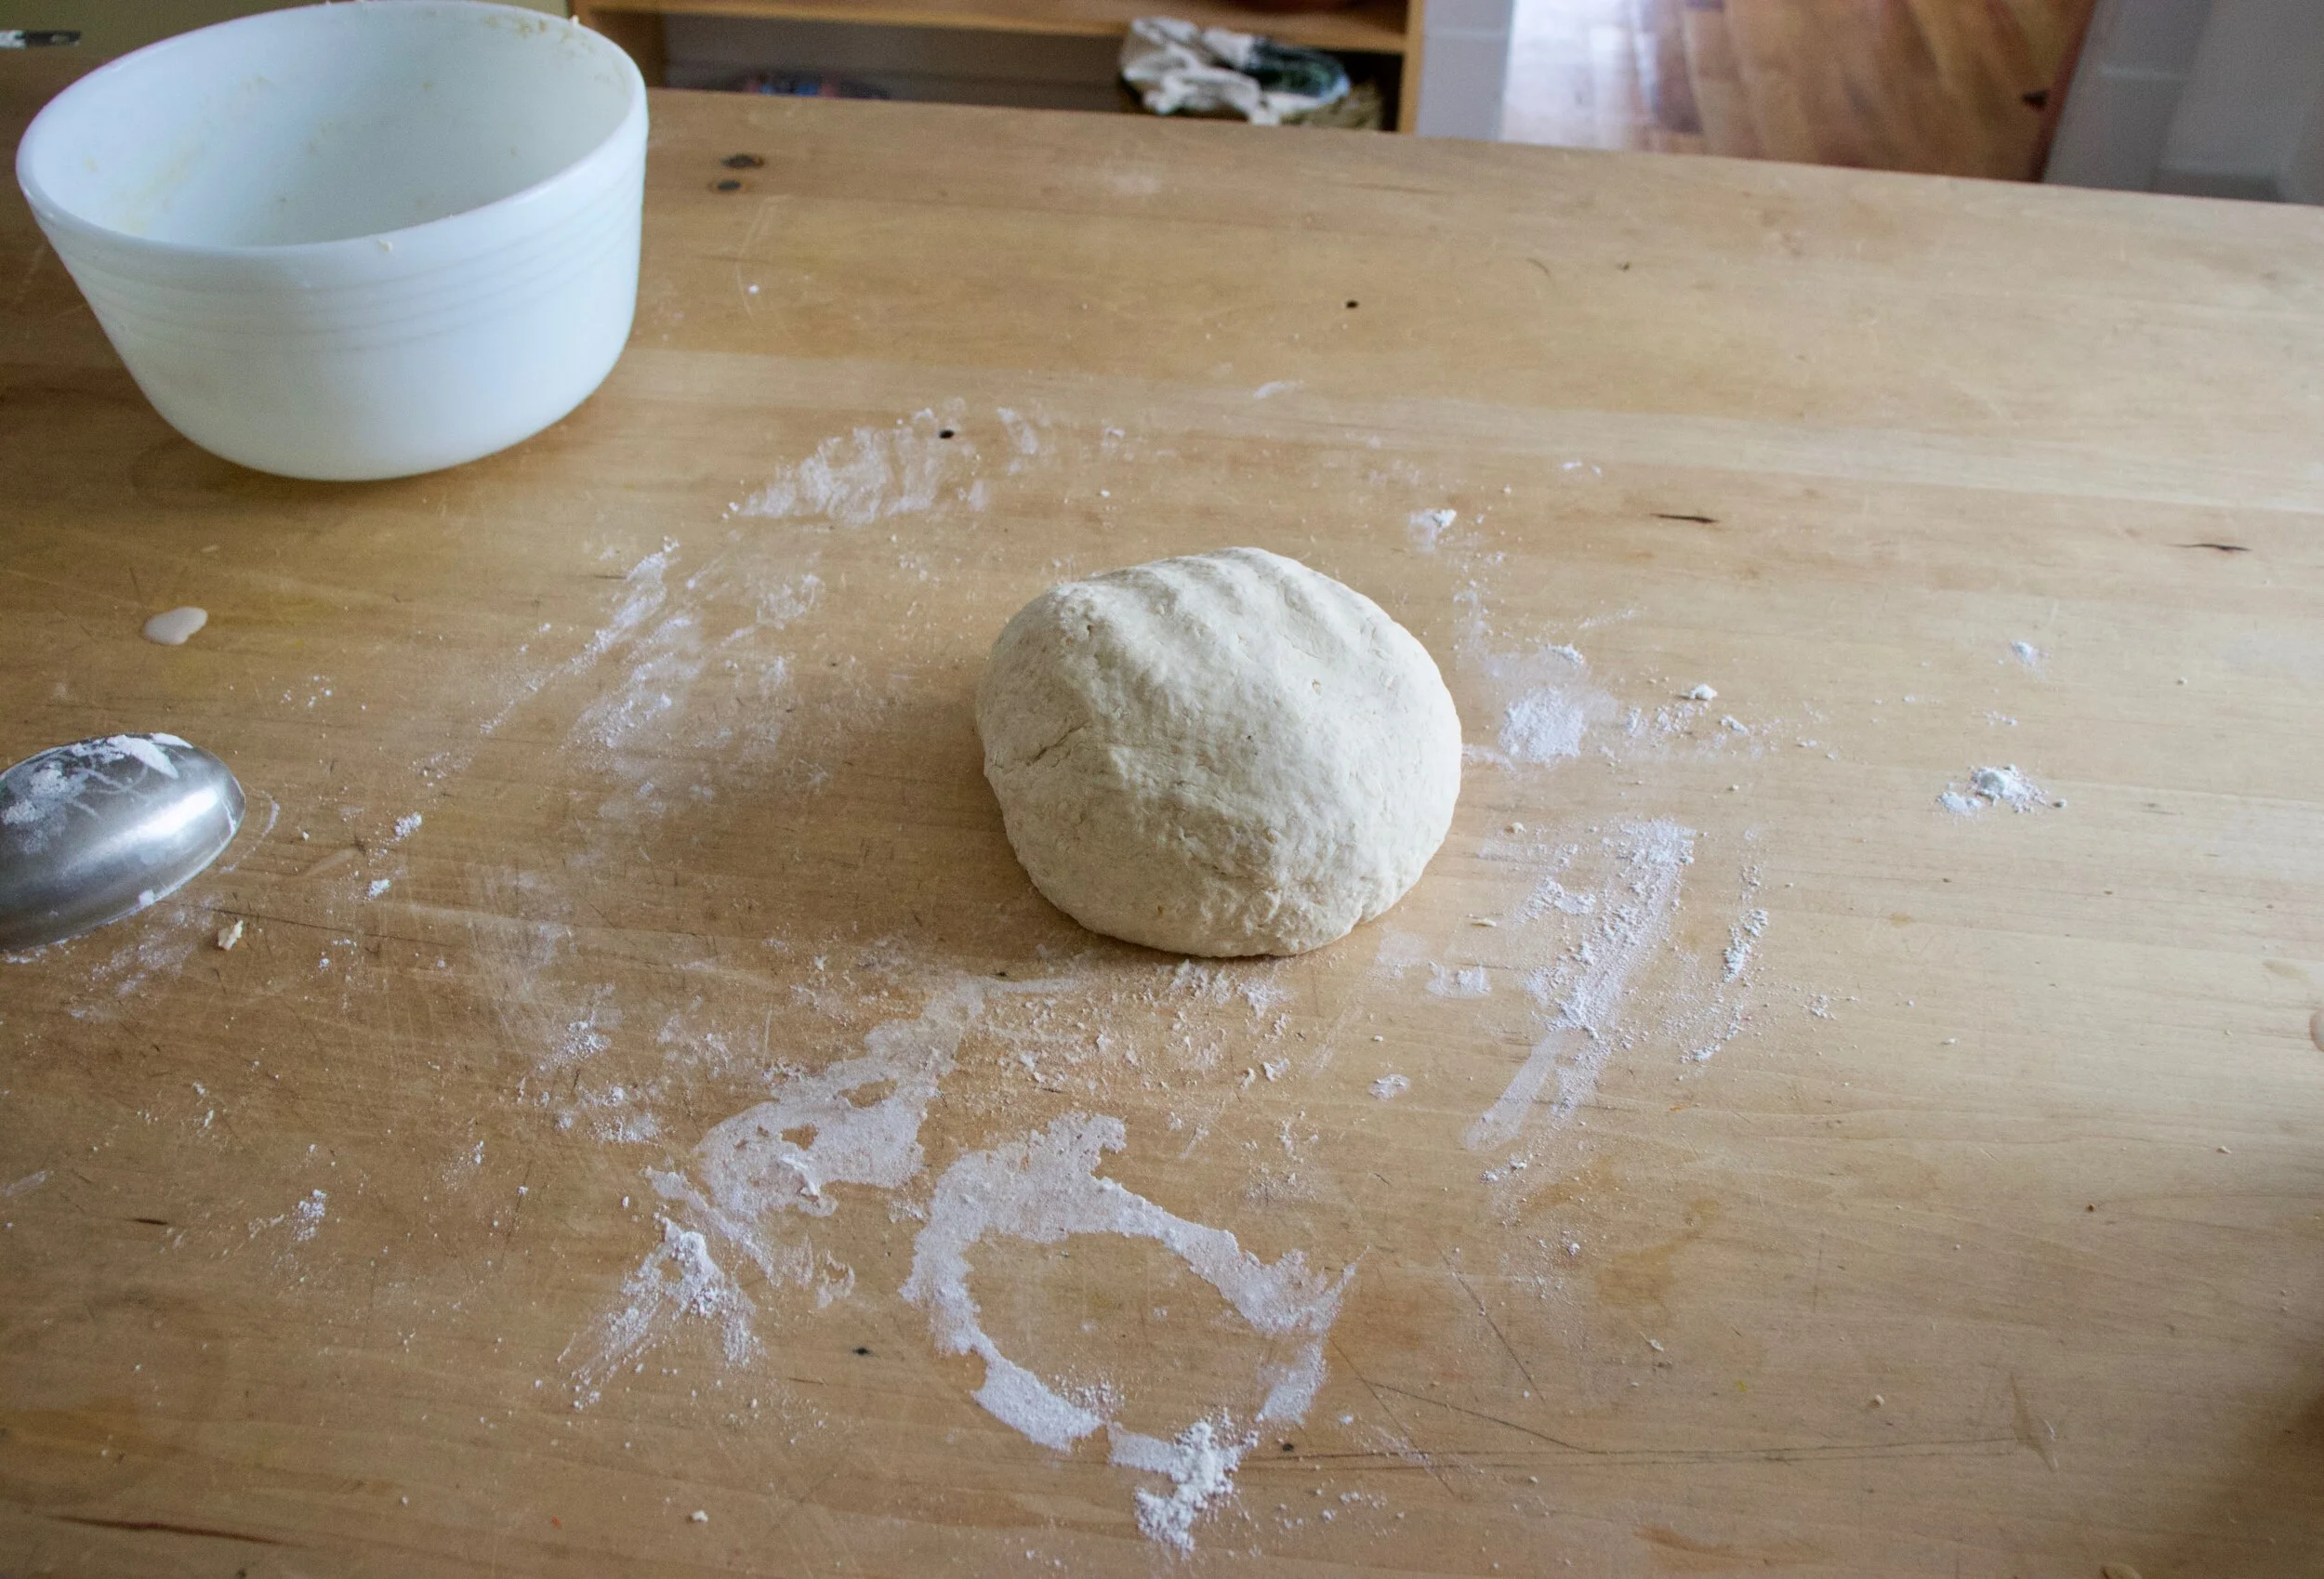
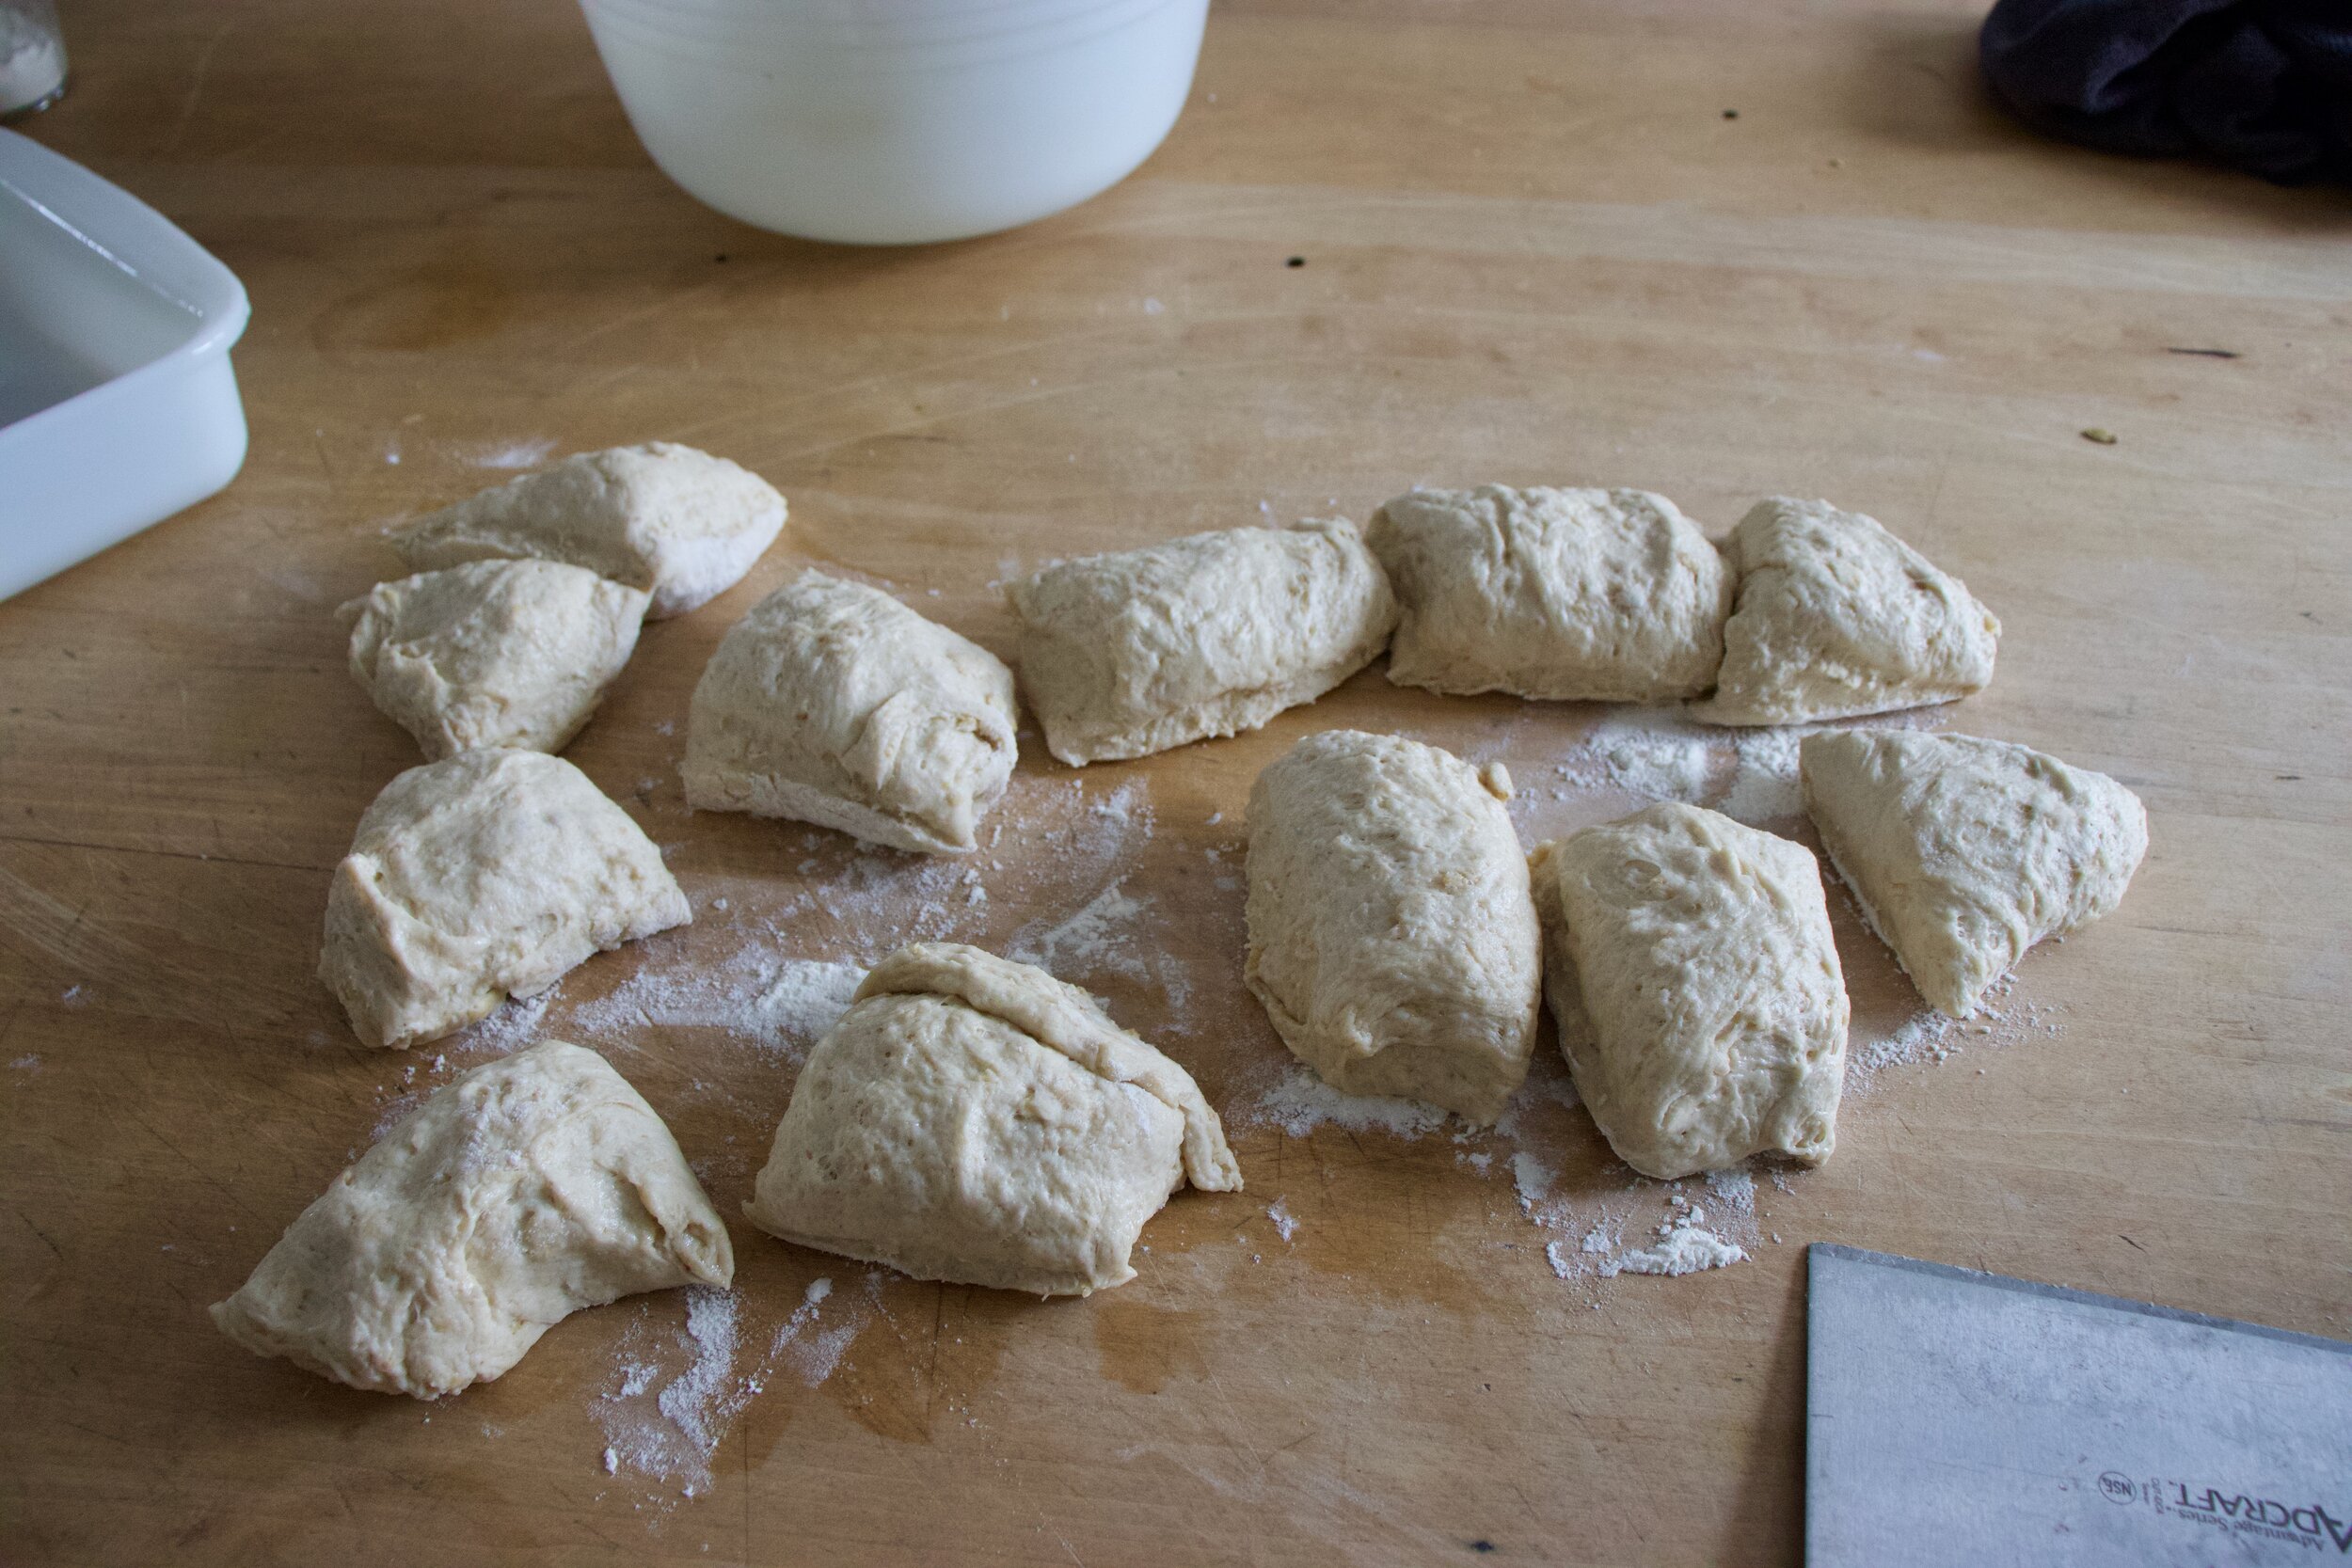



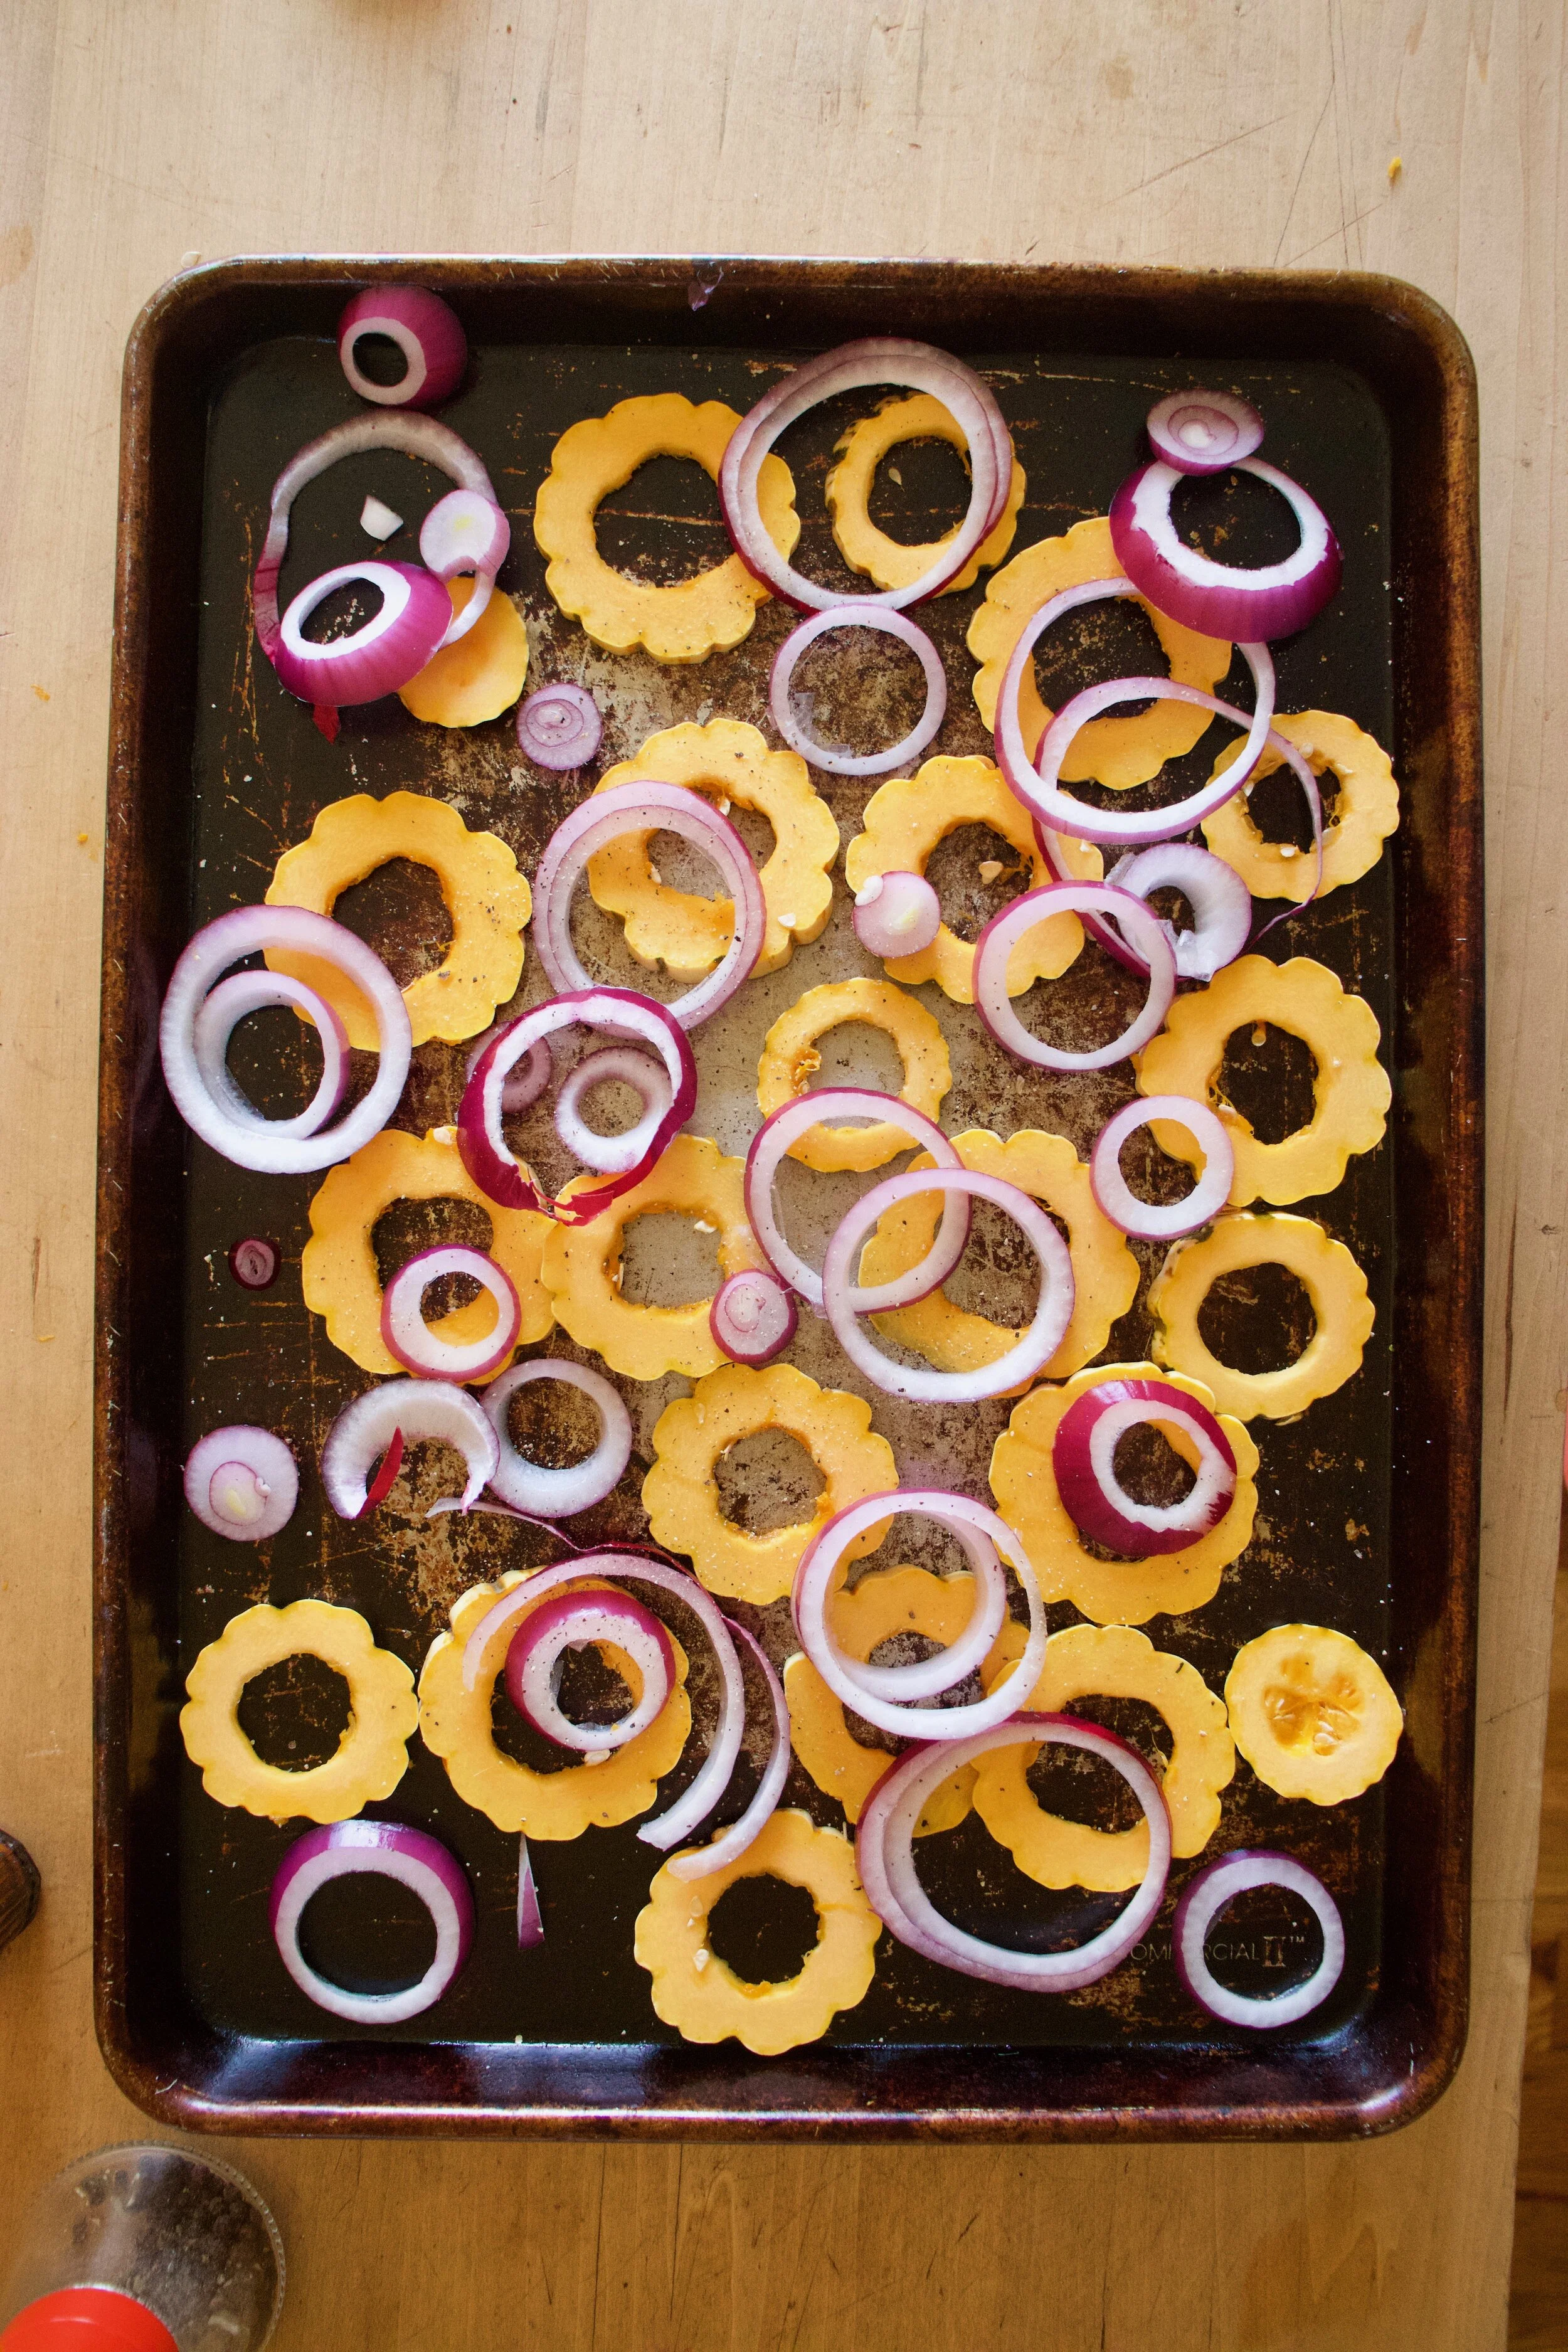

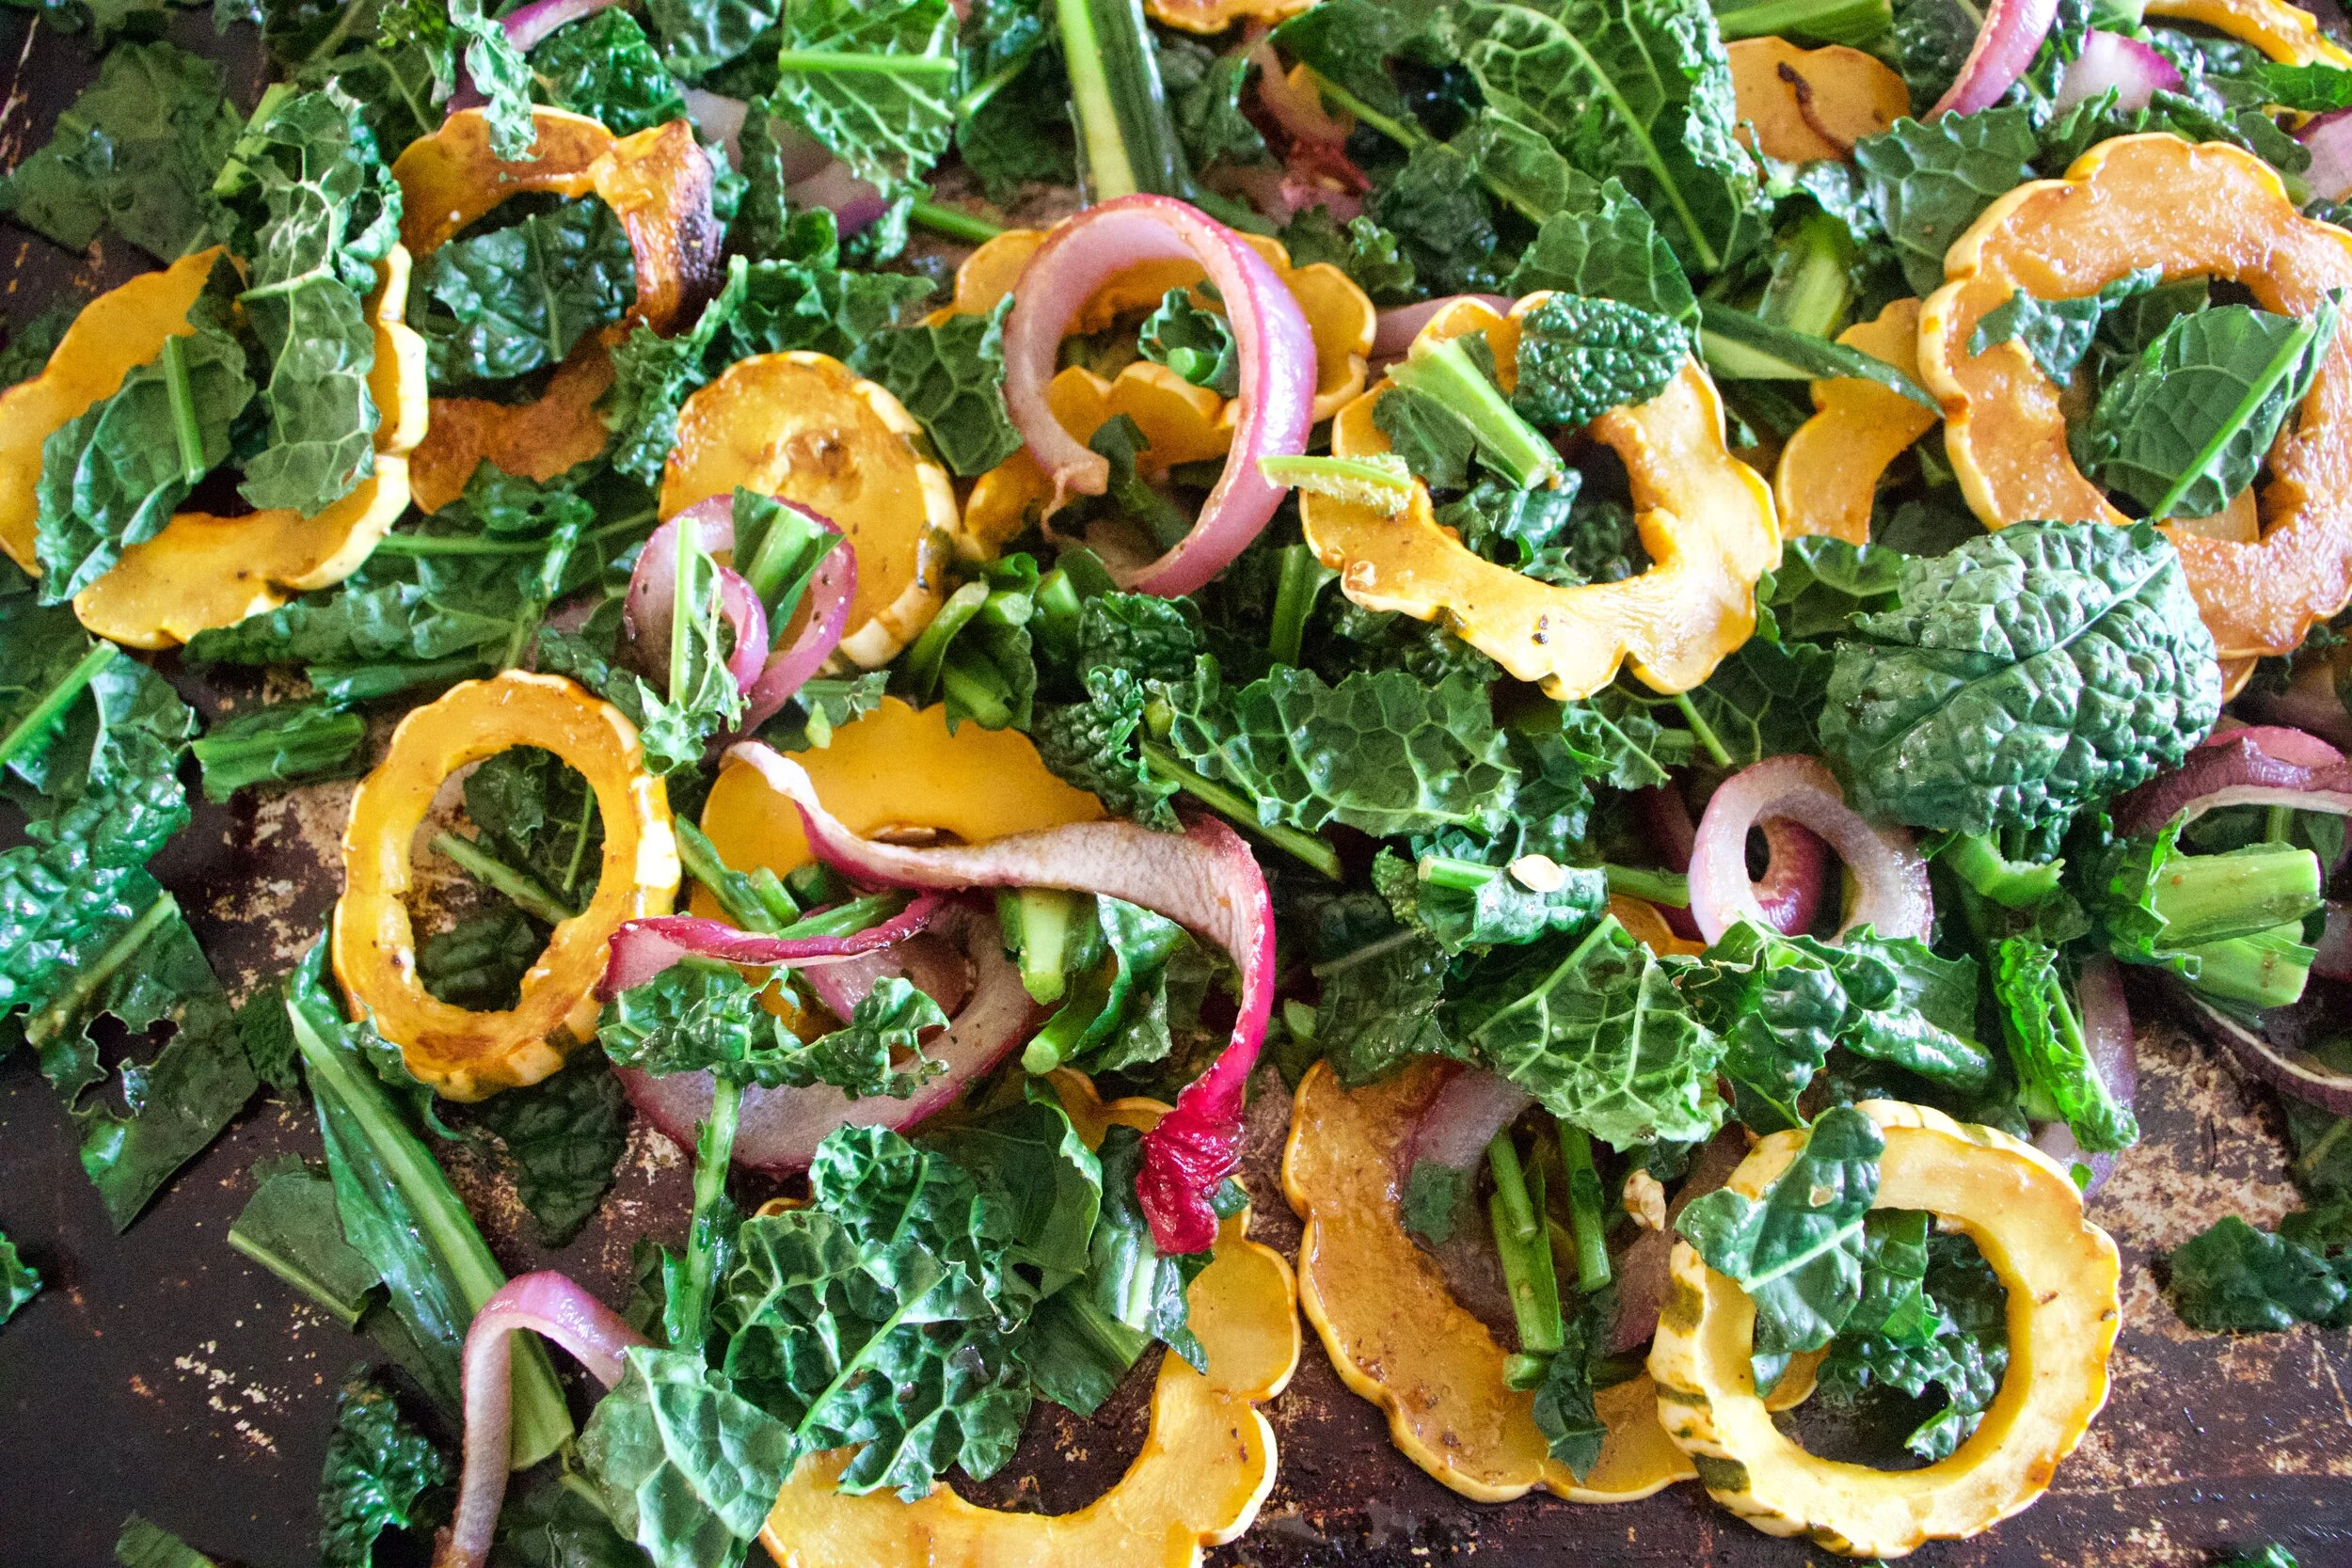
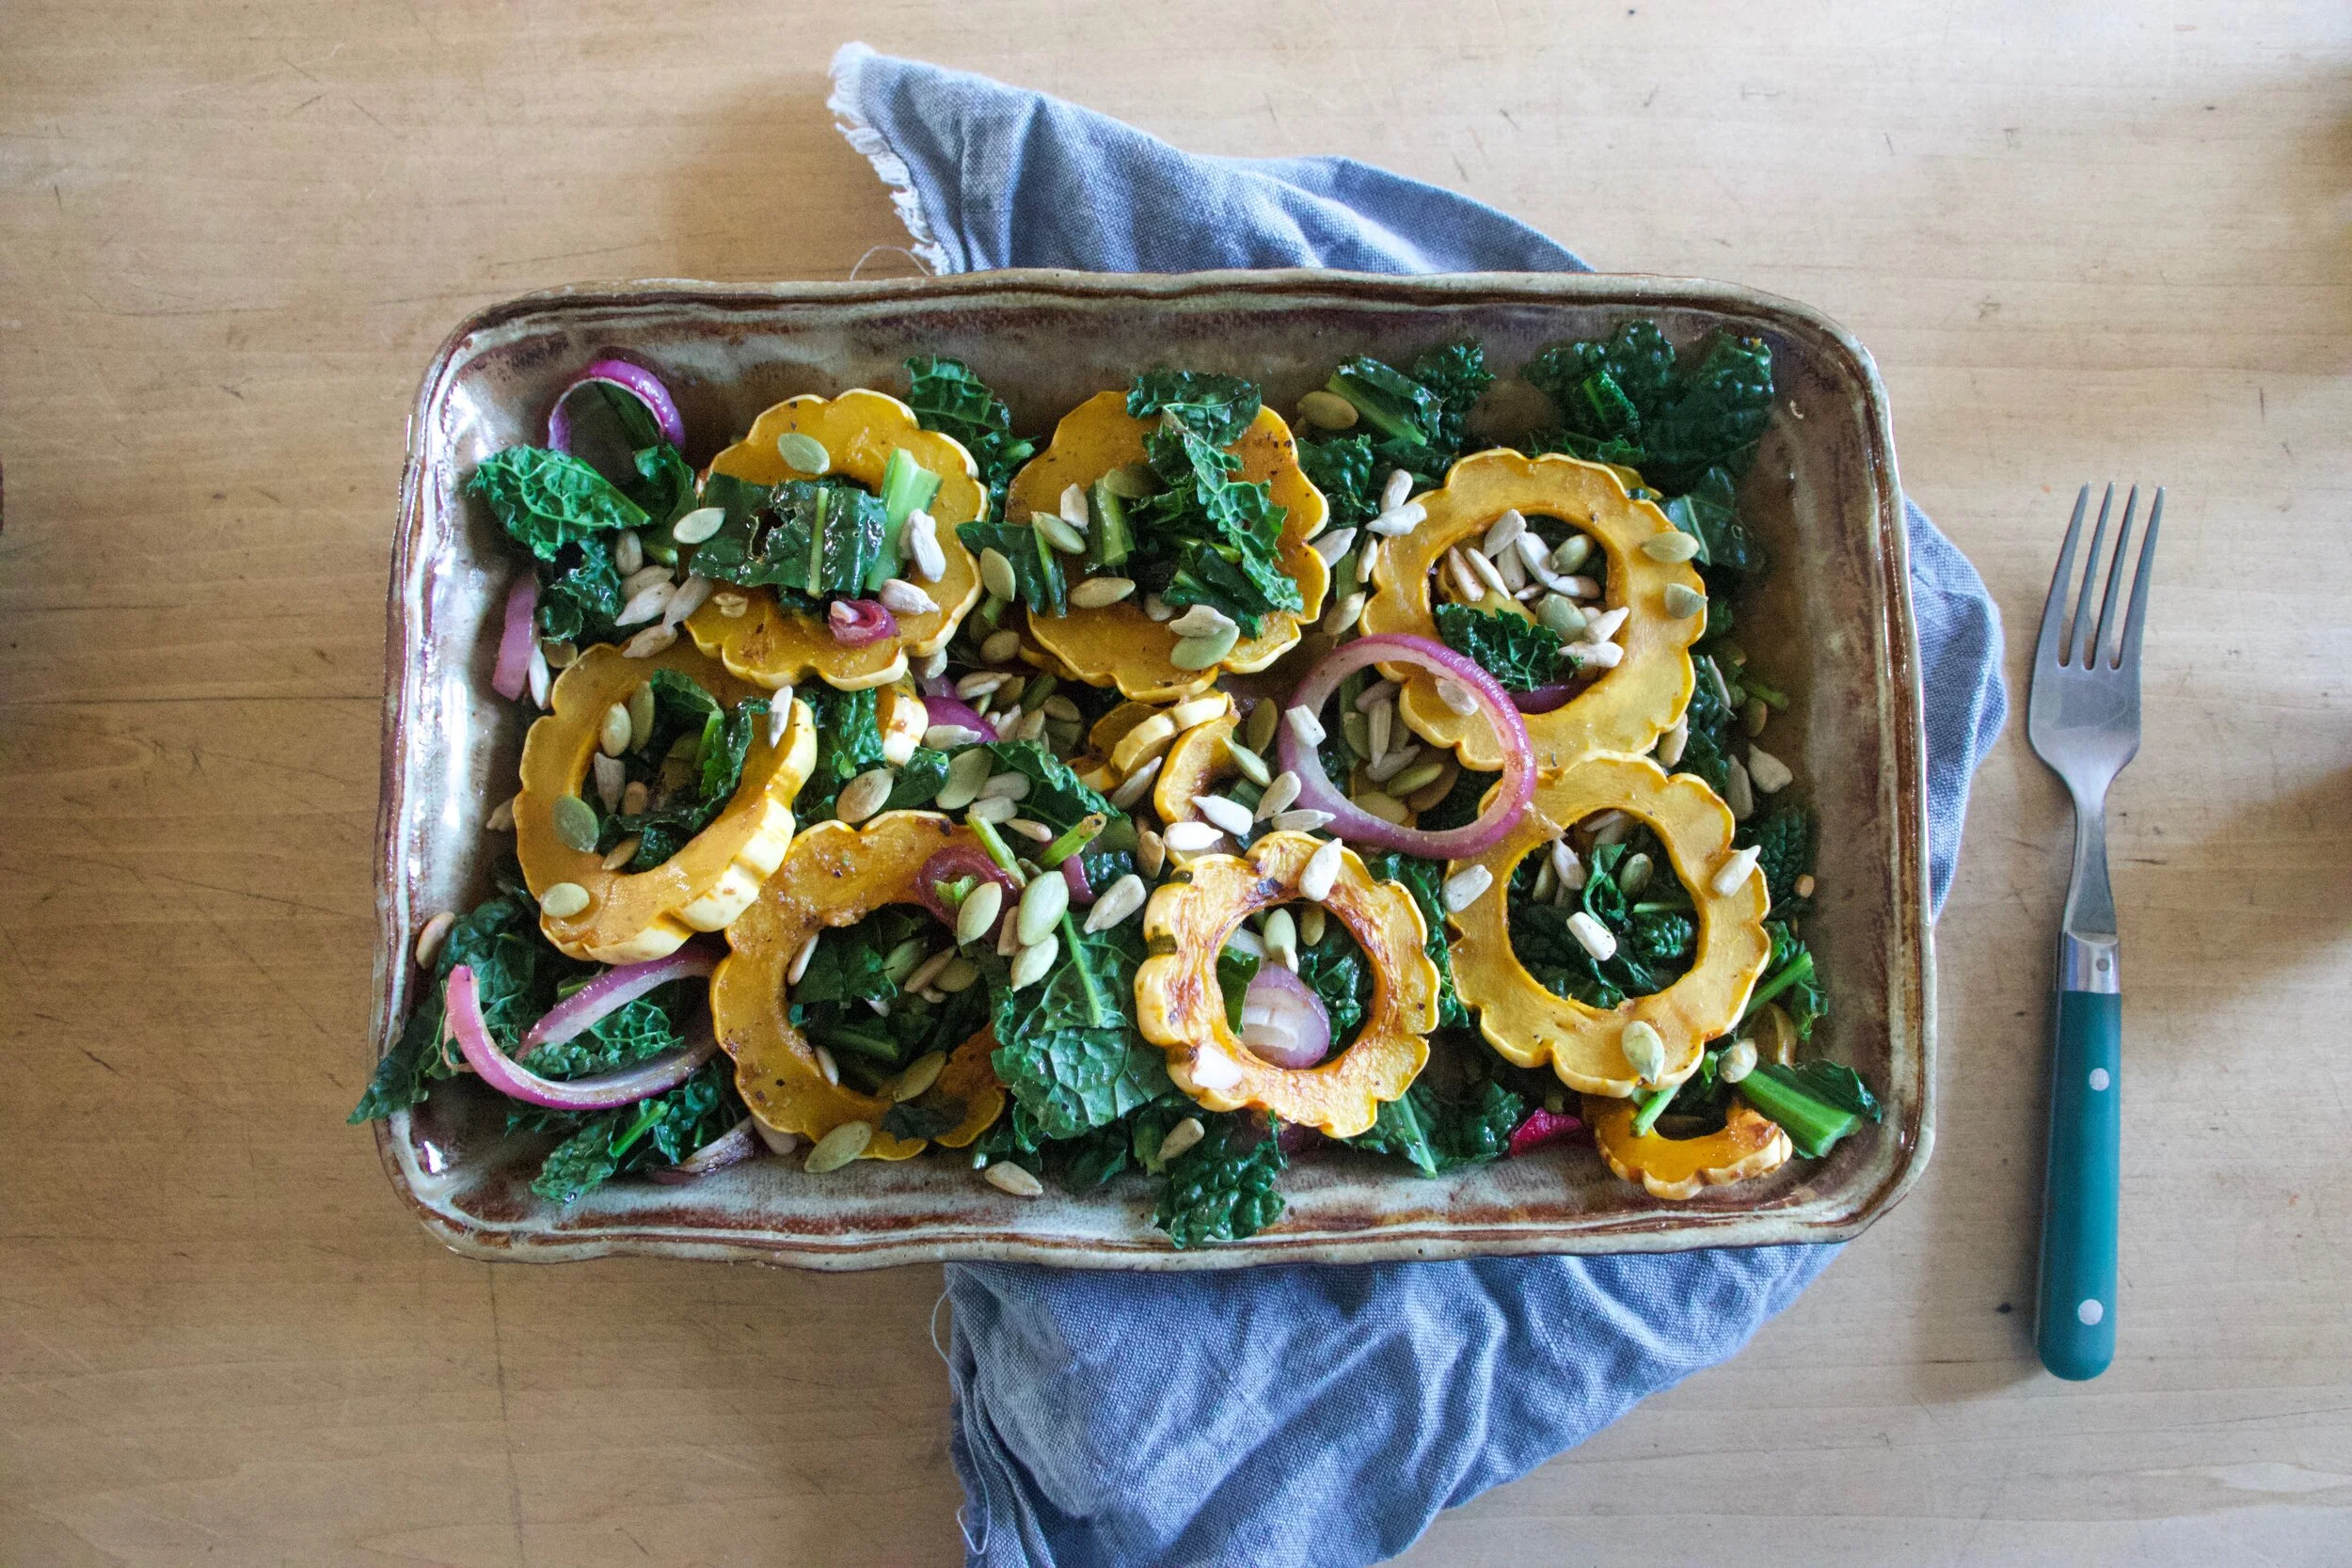
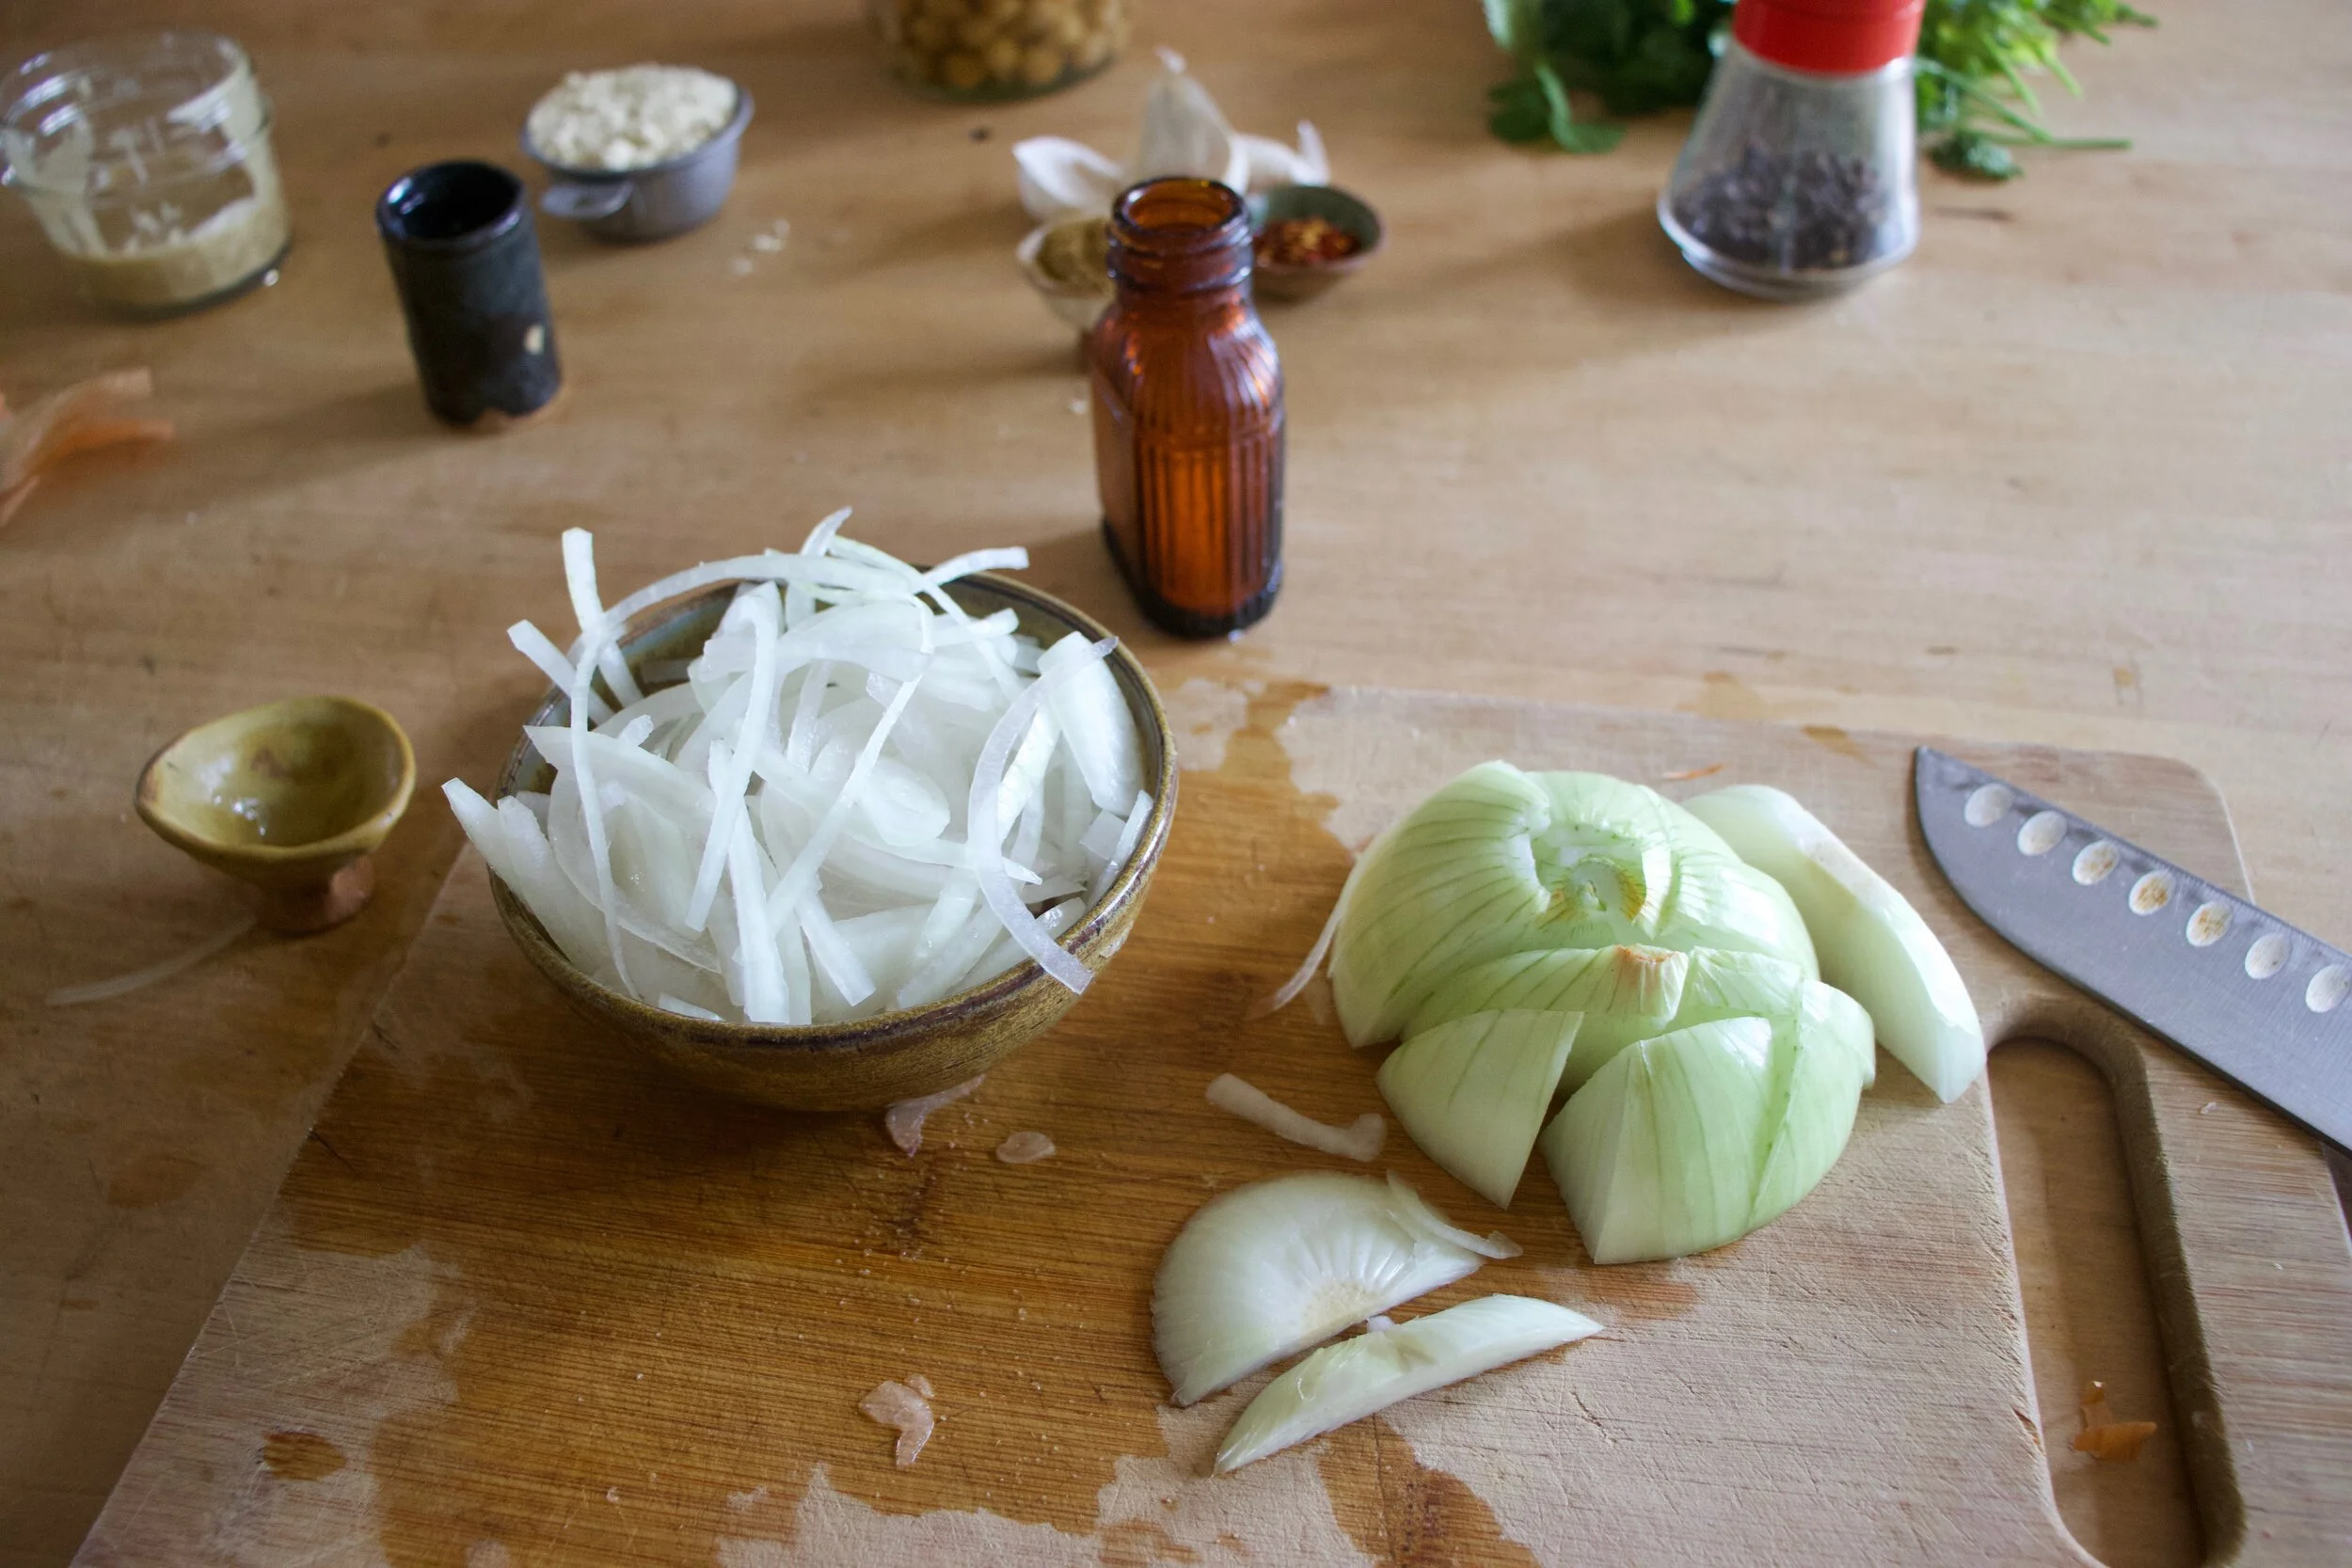
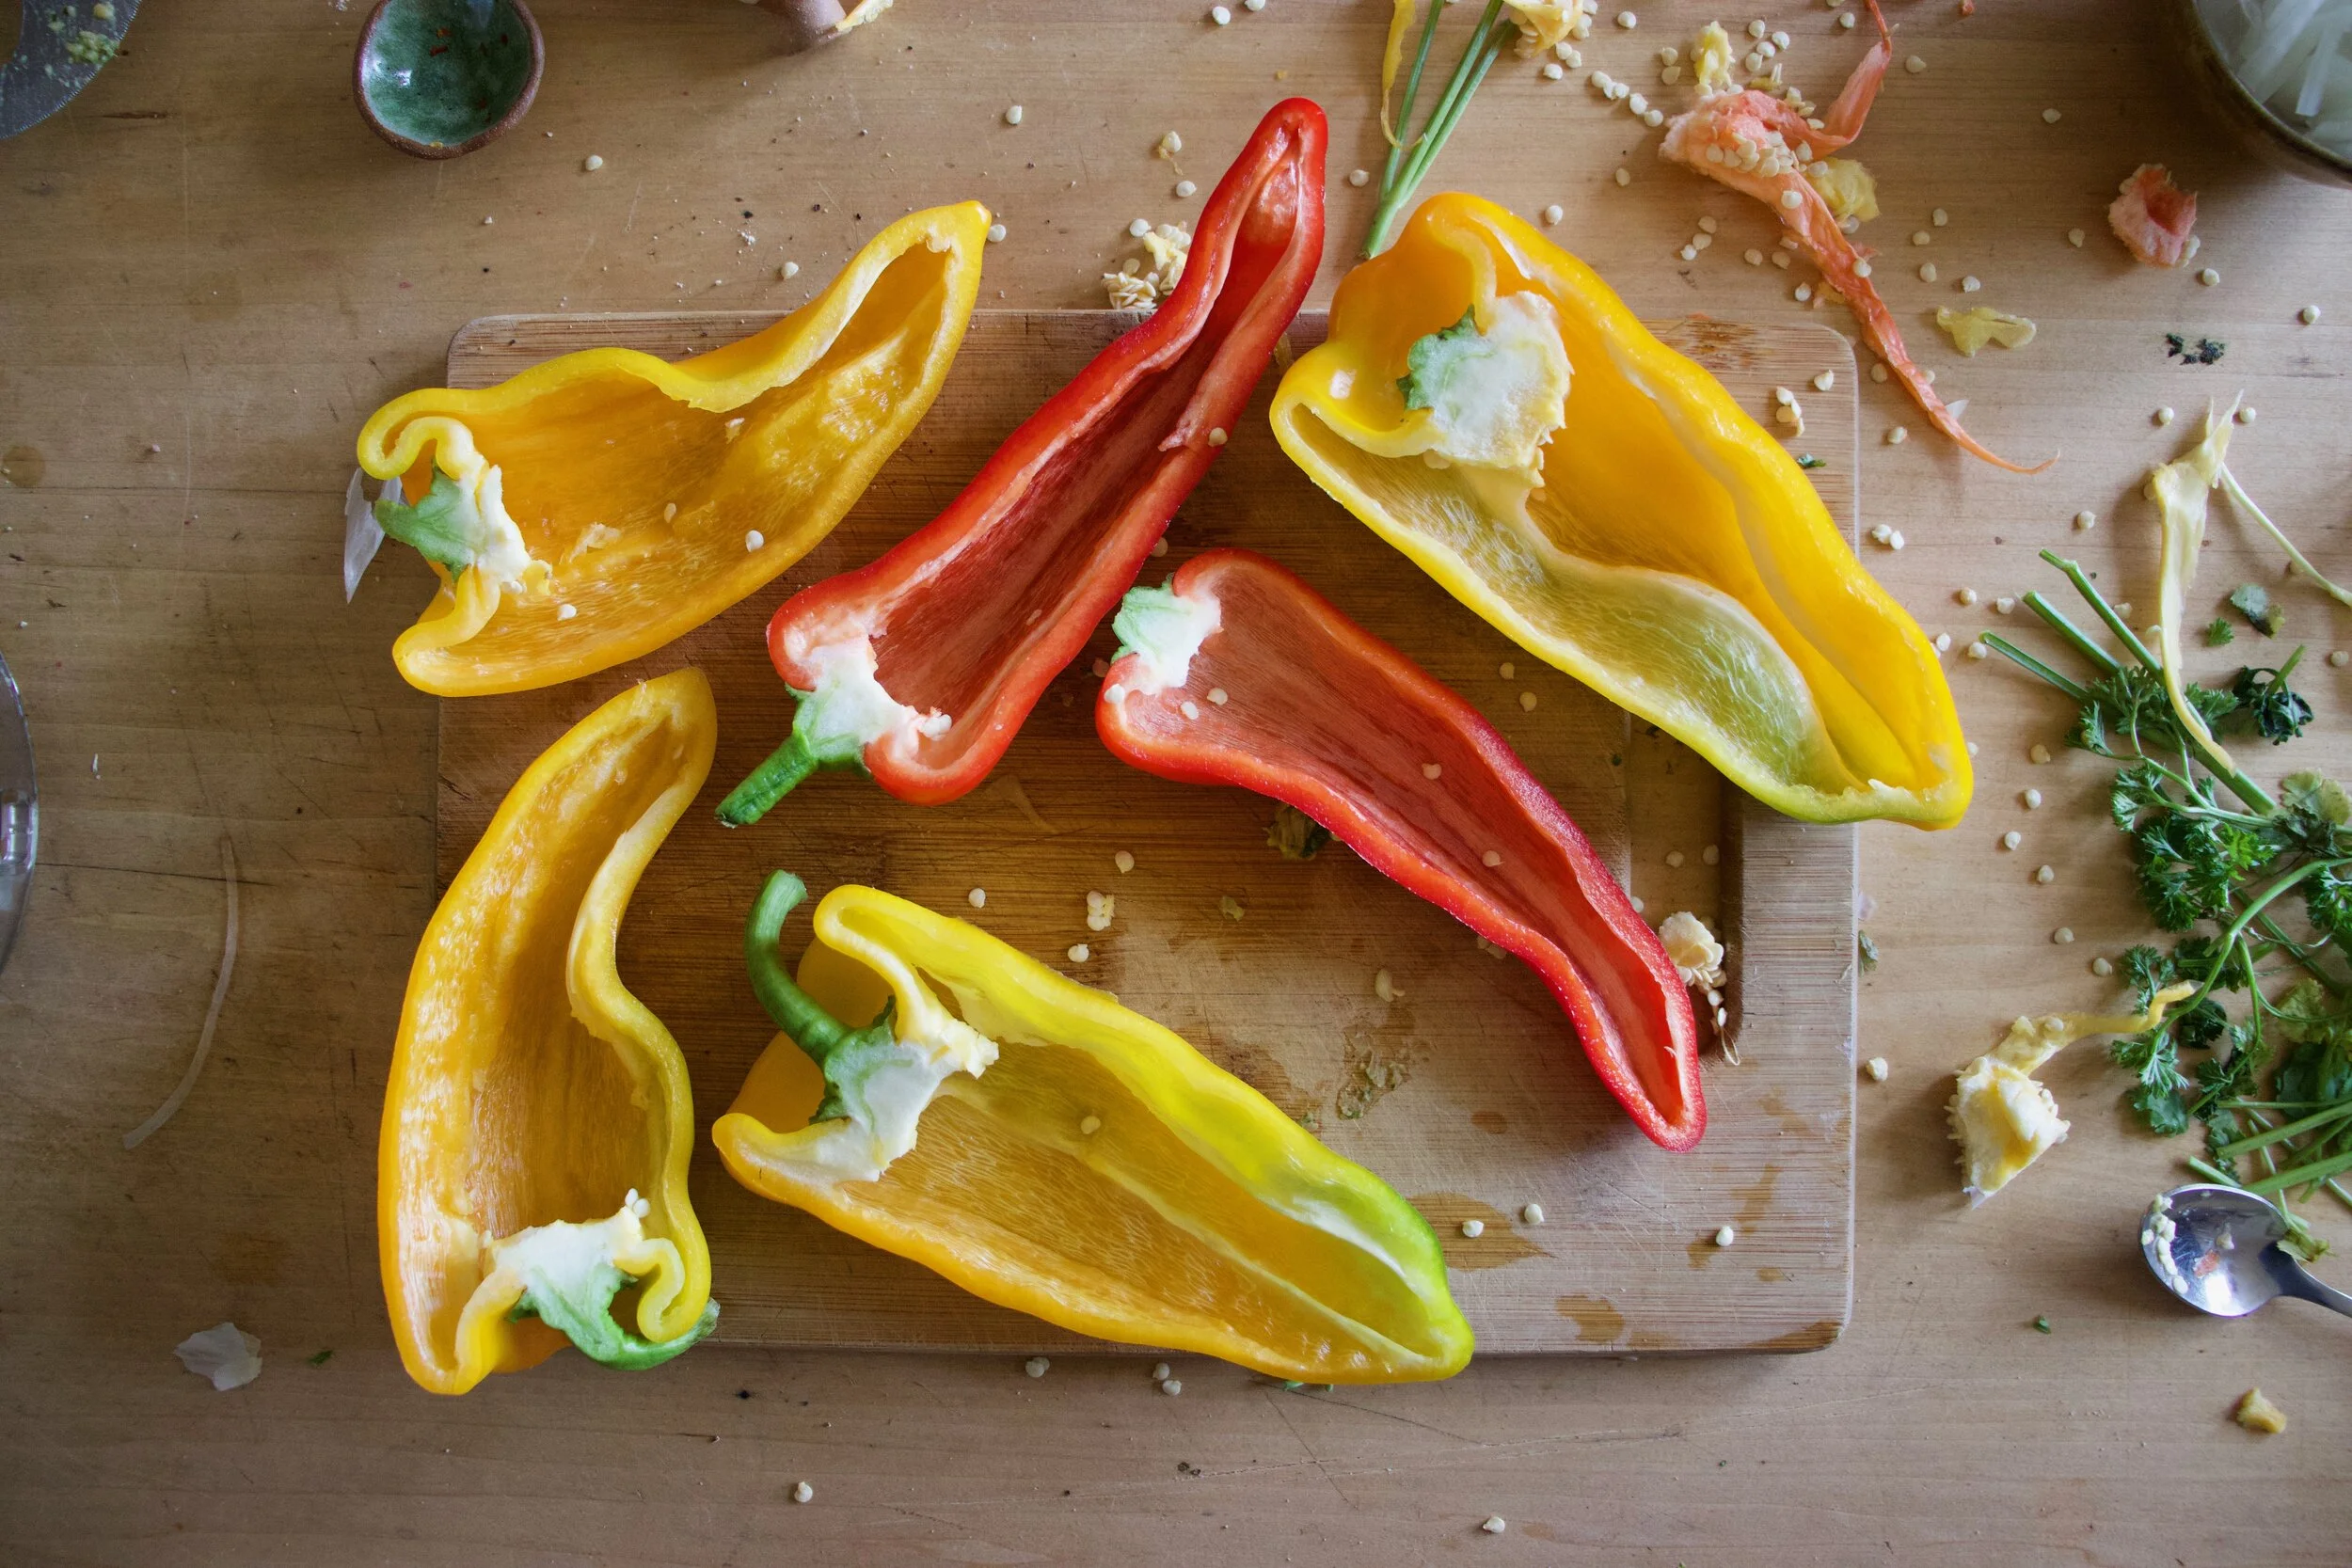


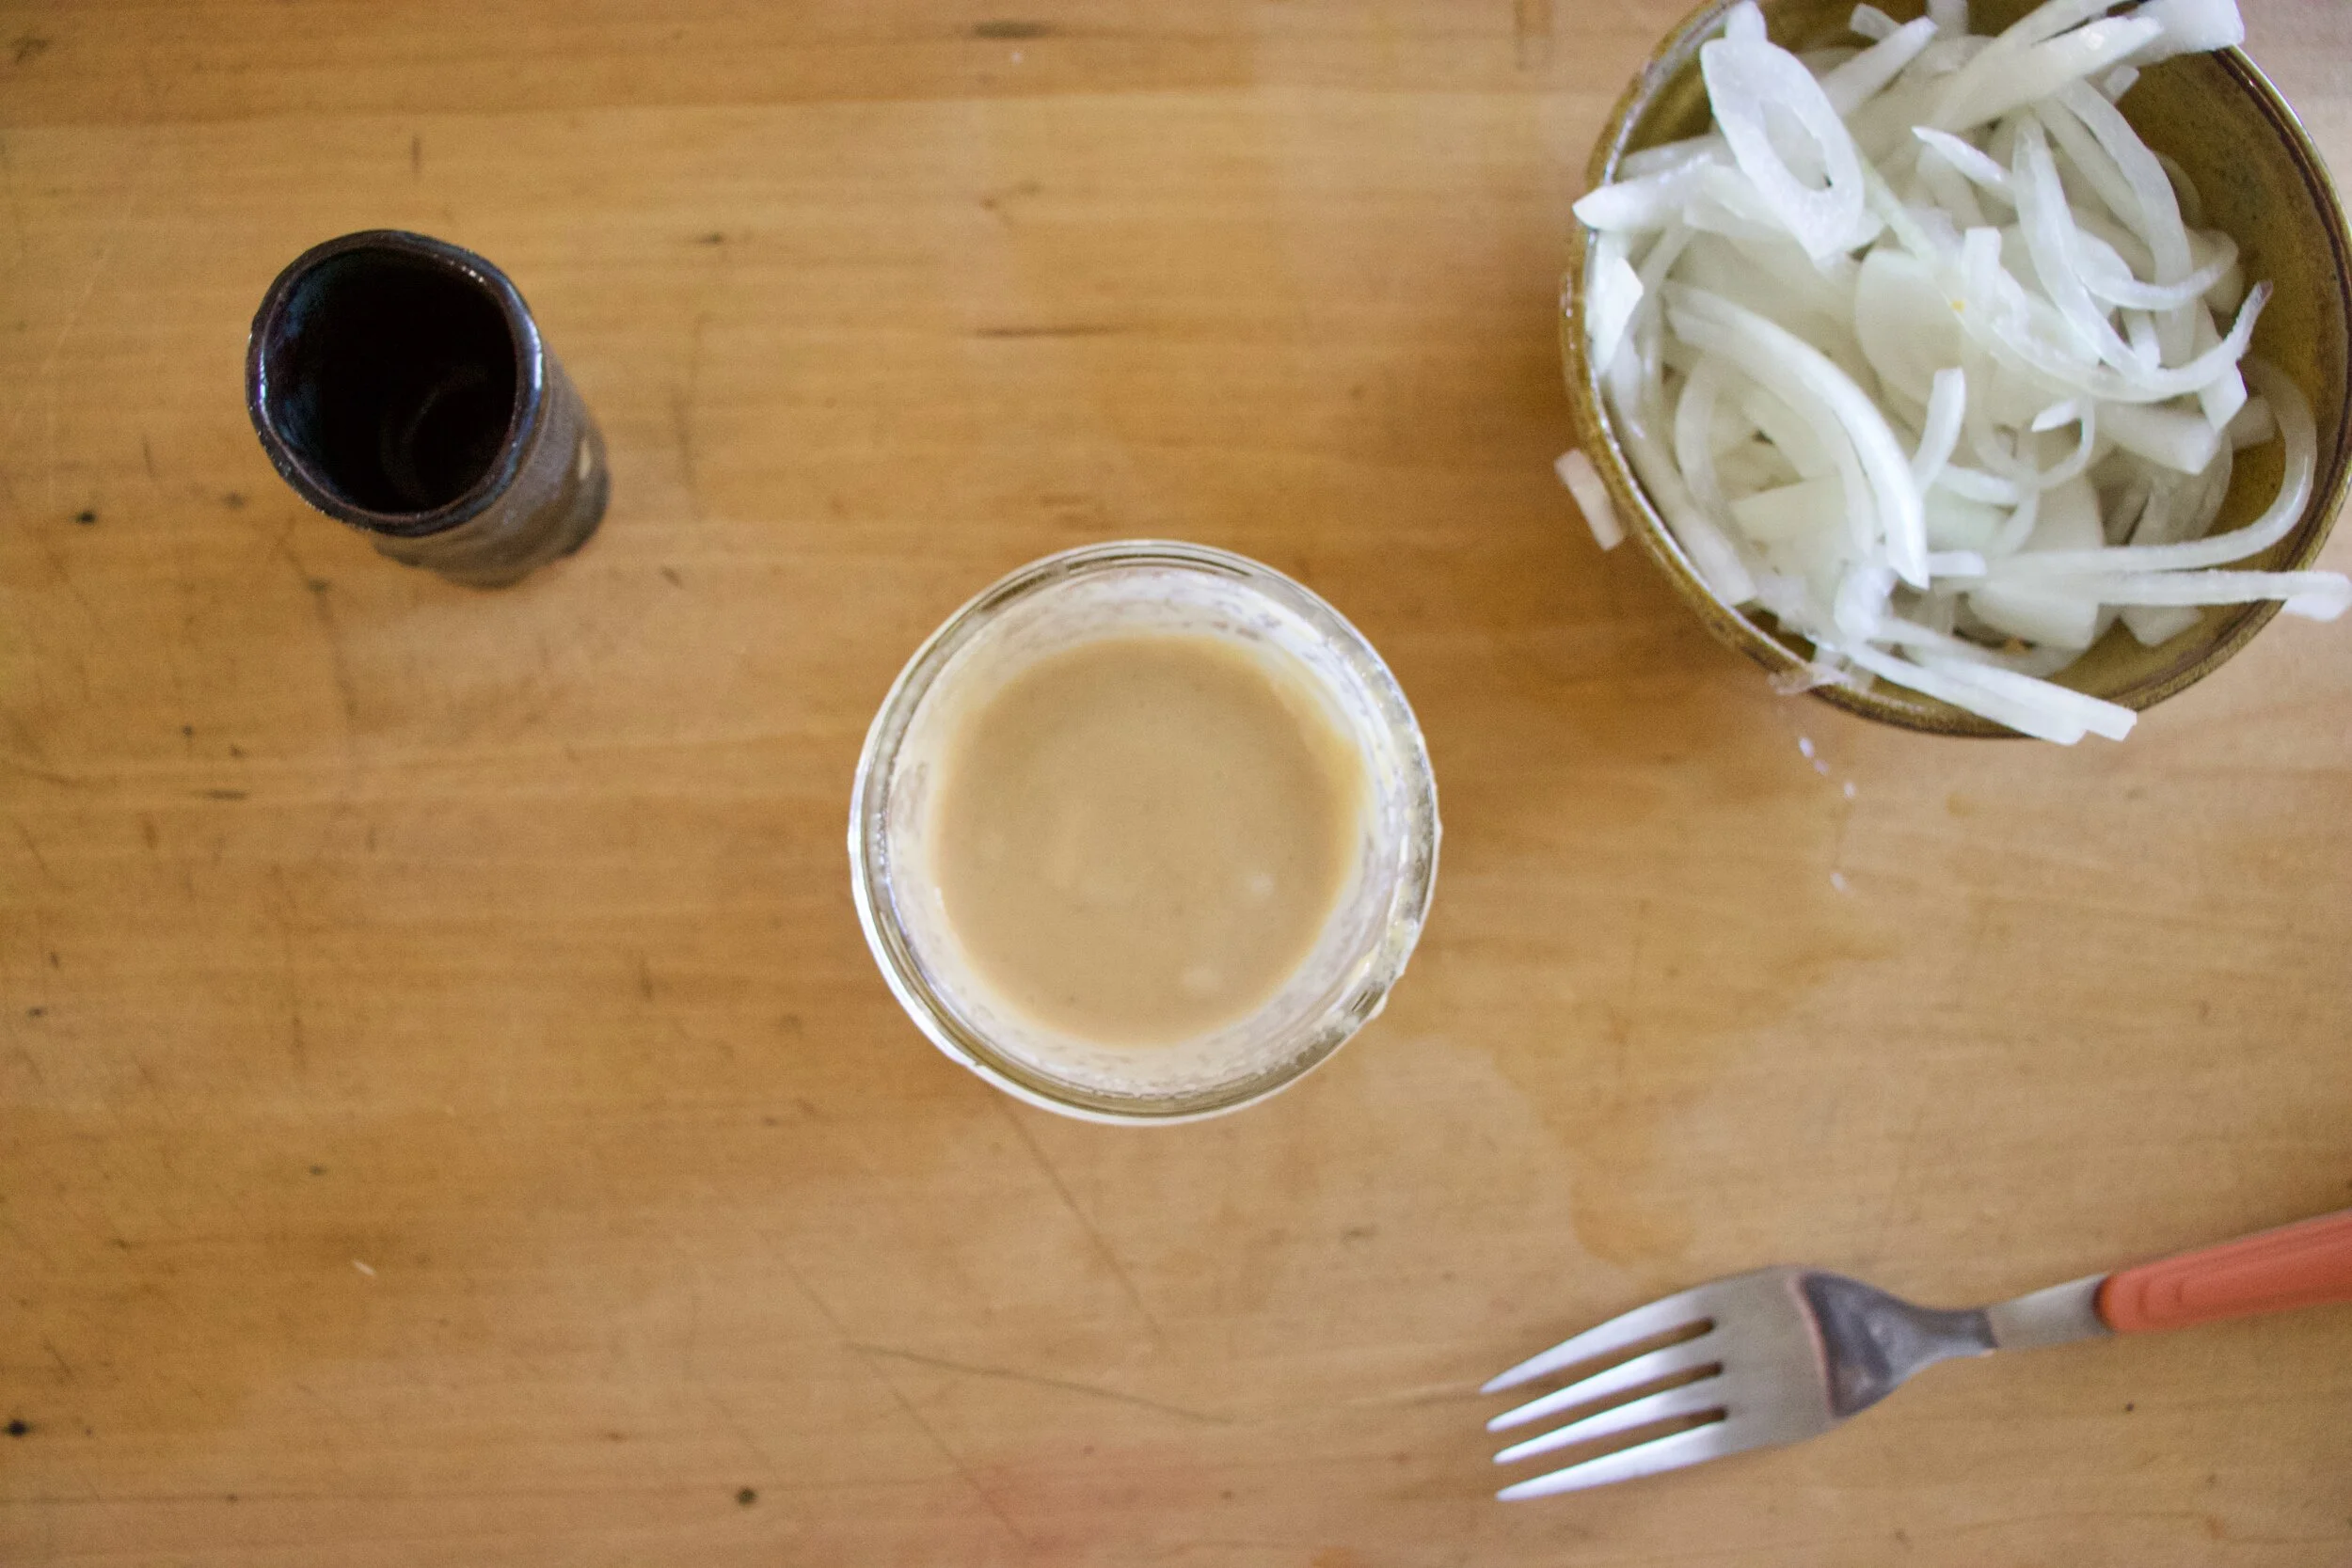
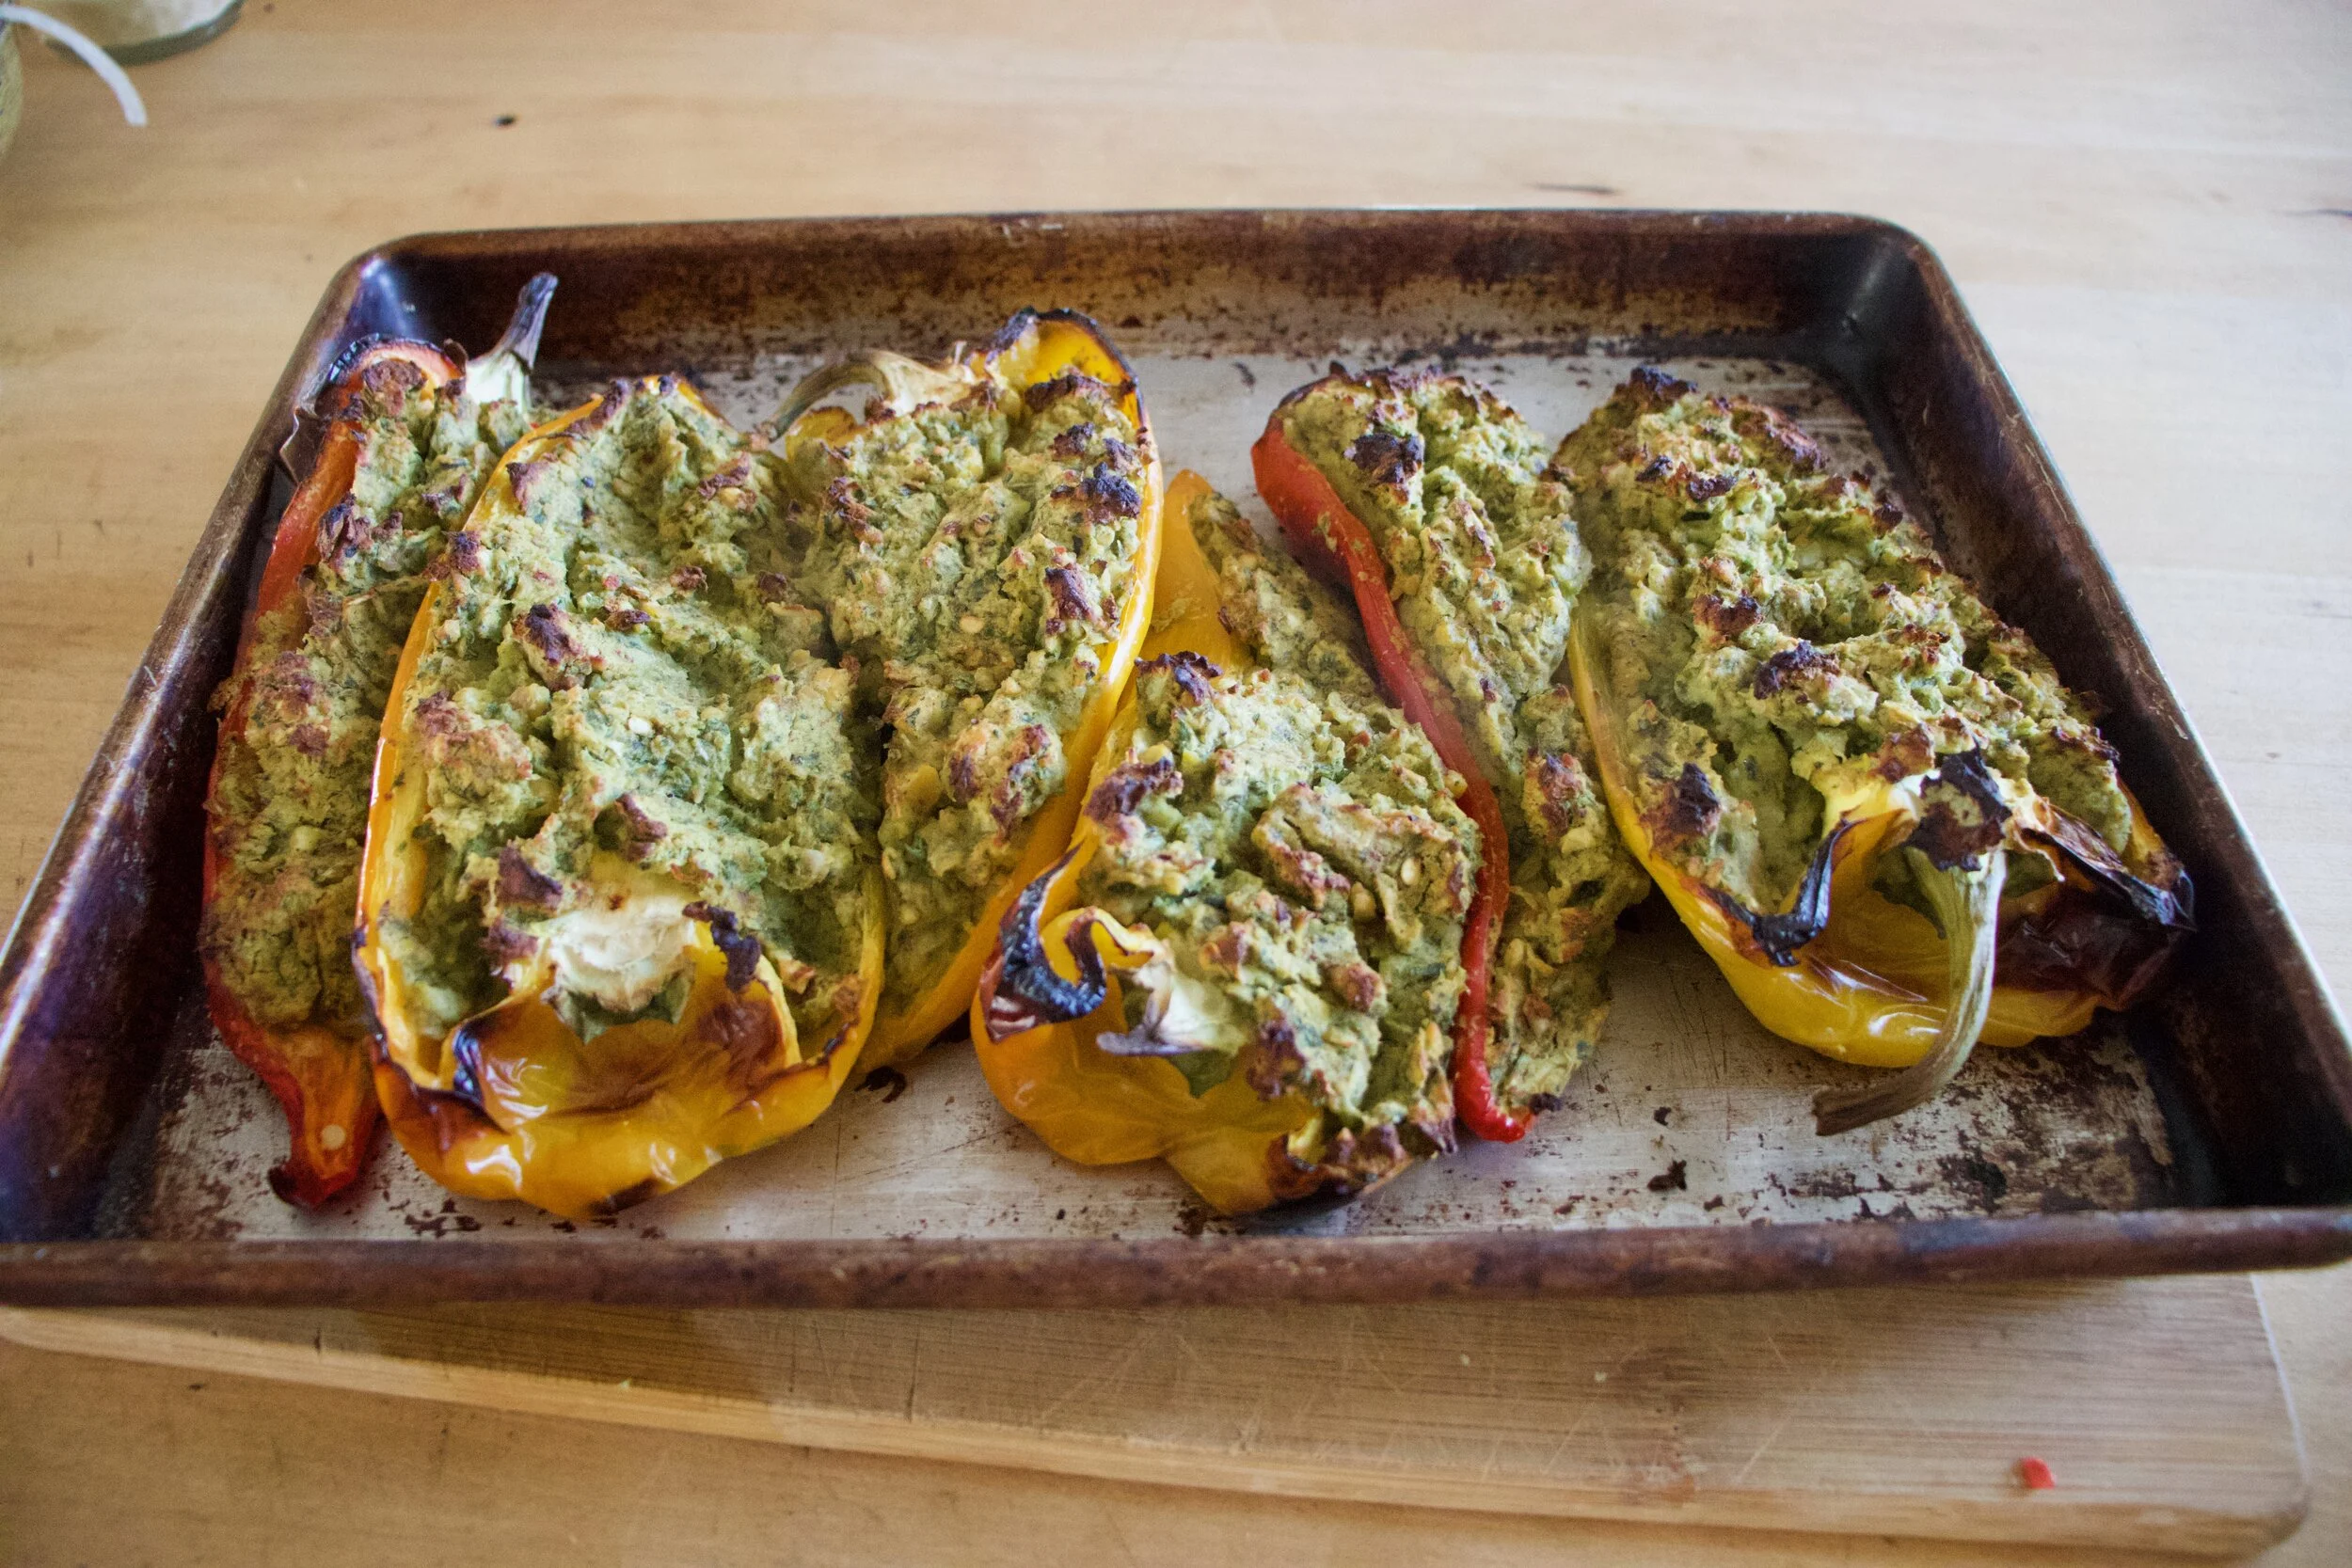
 I’ll let you know now, I am a make and eat soup all year long person. I can think of few things better then sitting outside, basking in the sun, hopefully with a light wind, a book in hand, enjoying a nice big cup of some good homemade soup. (Doesn’t that sound so freaking lovely?) This soup right here is perfect for just that. Parsnips are the best, kind of like a big white sweet, yet starchy carrots. And cooked together with a little bit of light and lemony thyme, rich earthy turmeric and a couple more chopped veggie….. you got yourself a nice thick and fragrant bowl of happiness that fills you up without weighing you down. It’s food you can eat that fills you up, leaves you feeling cozy, yet still wanting to hop on a bike or lace up the running shoes. Hearty without the feeling of all the heaviness.
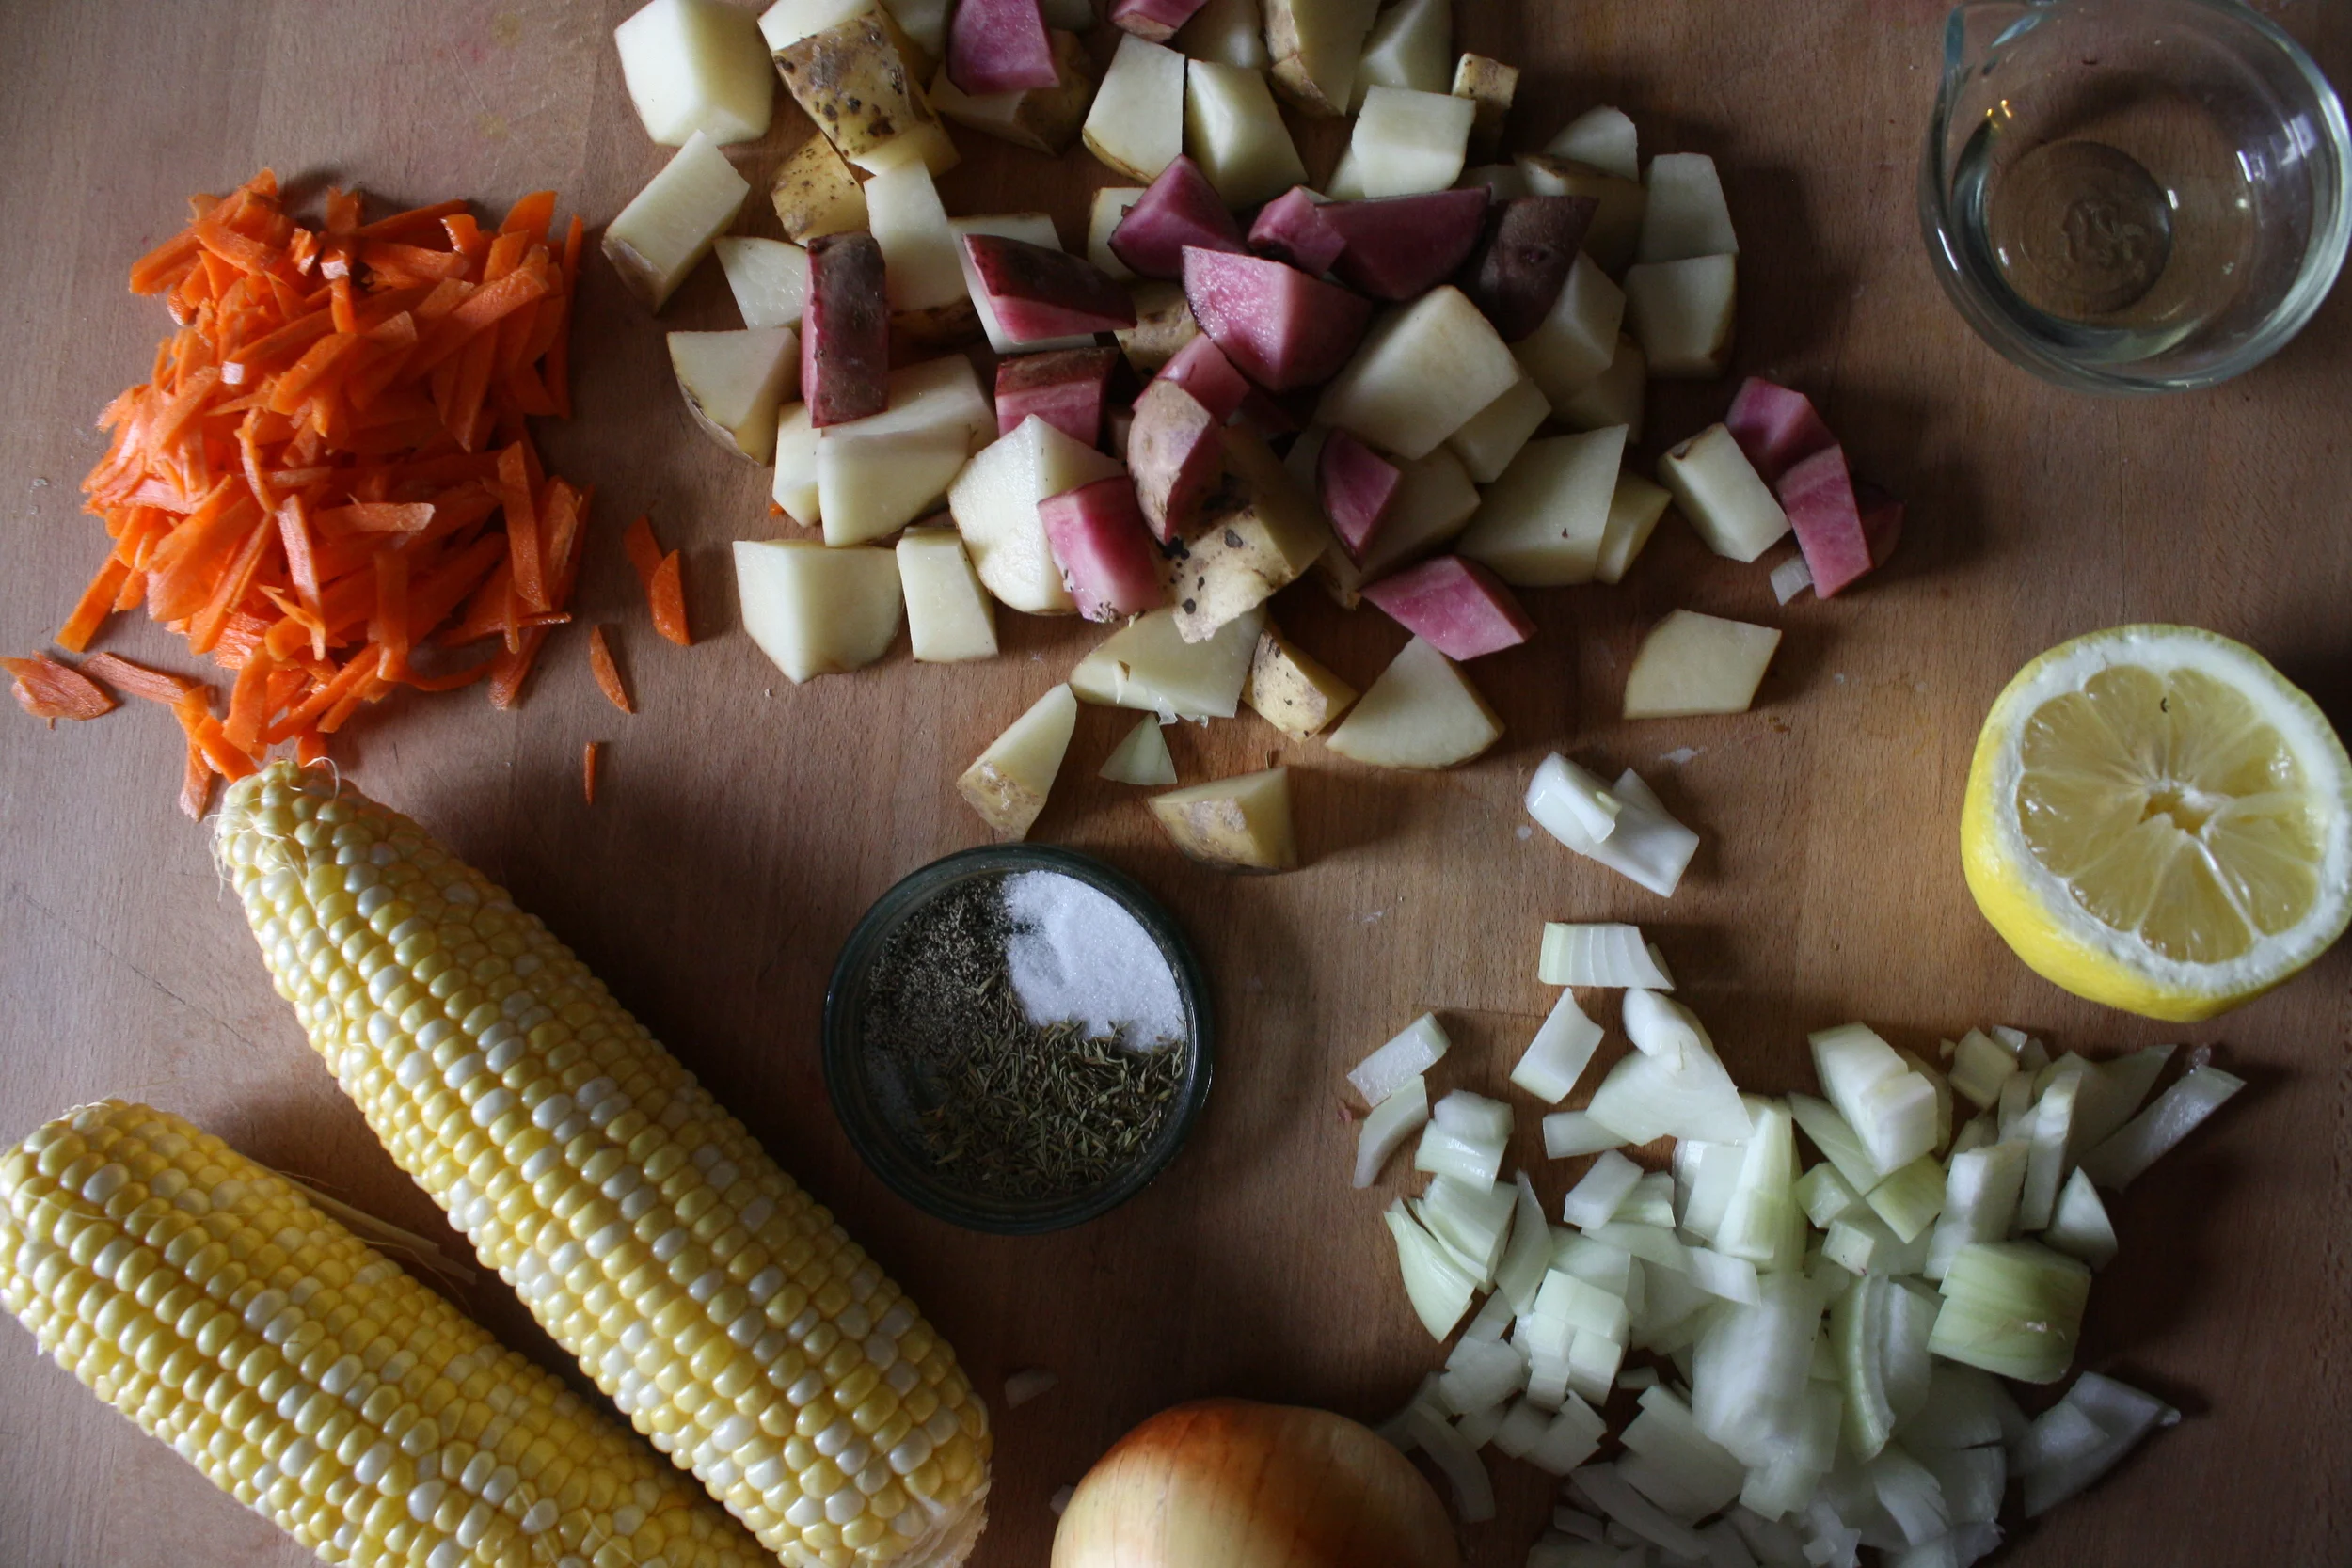
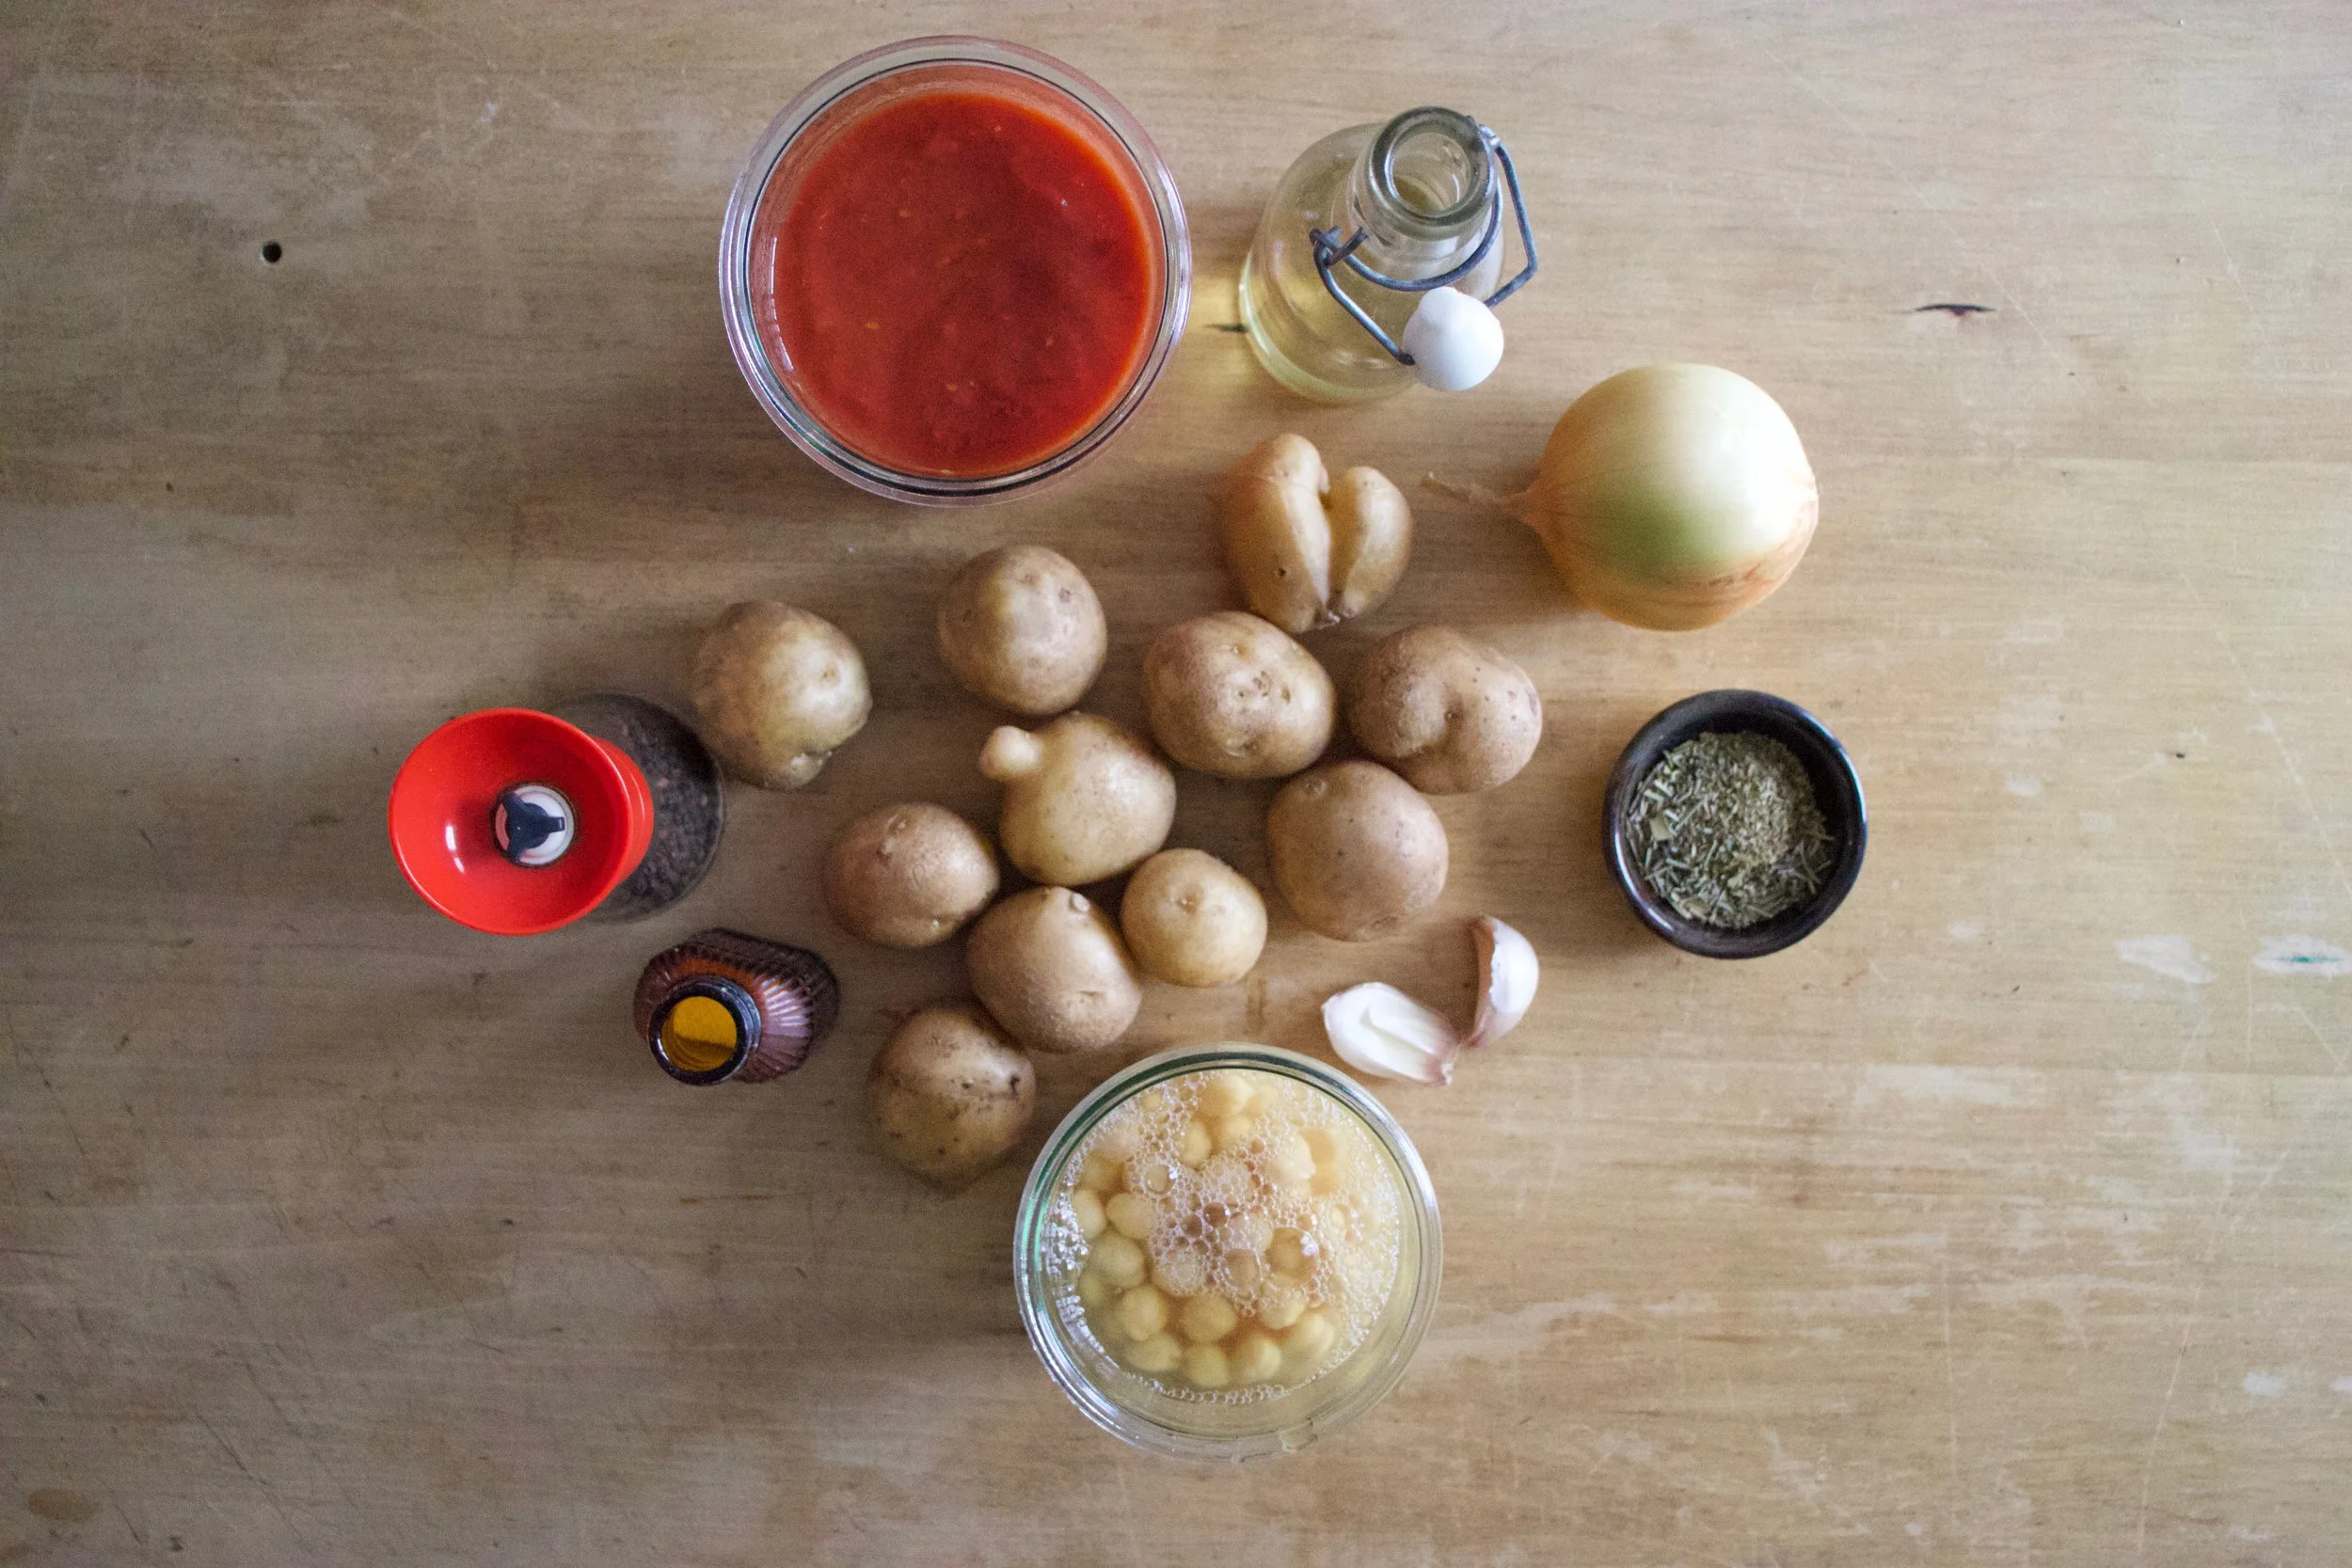
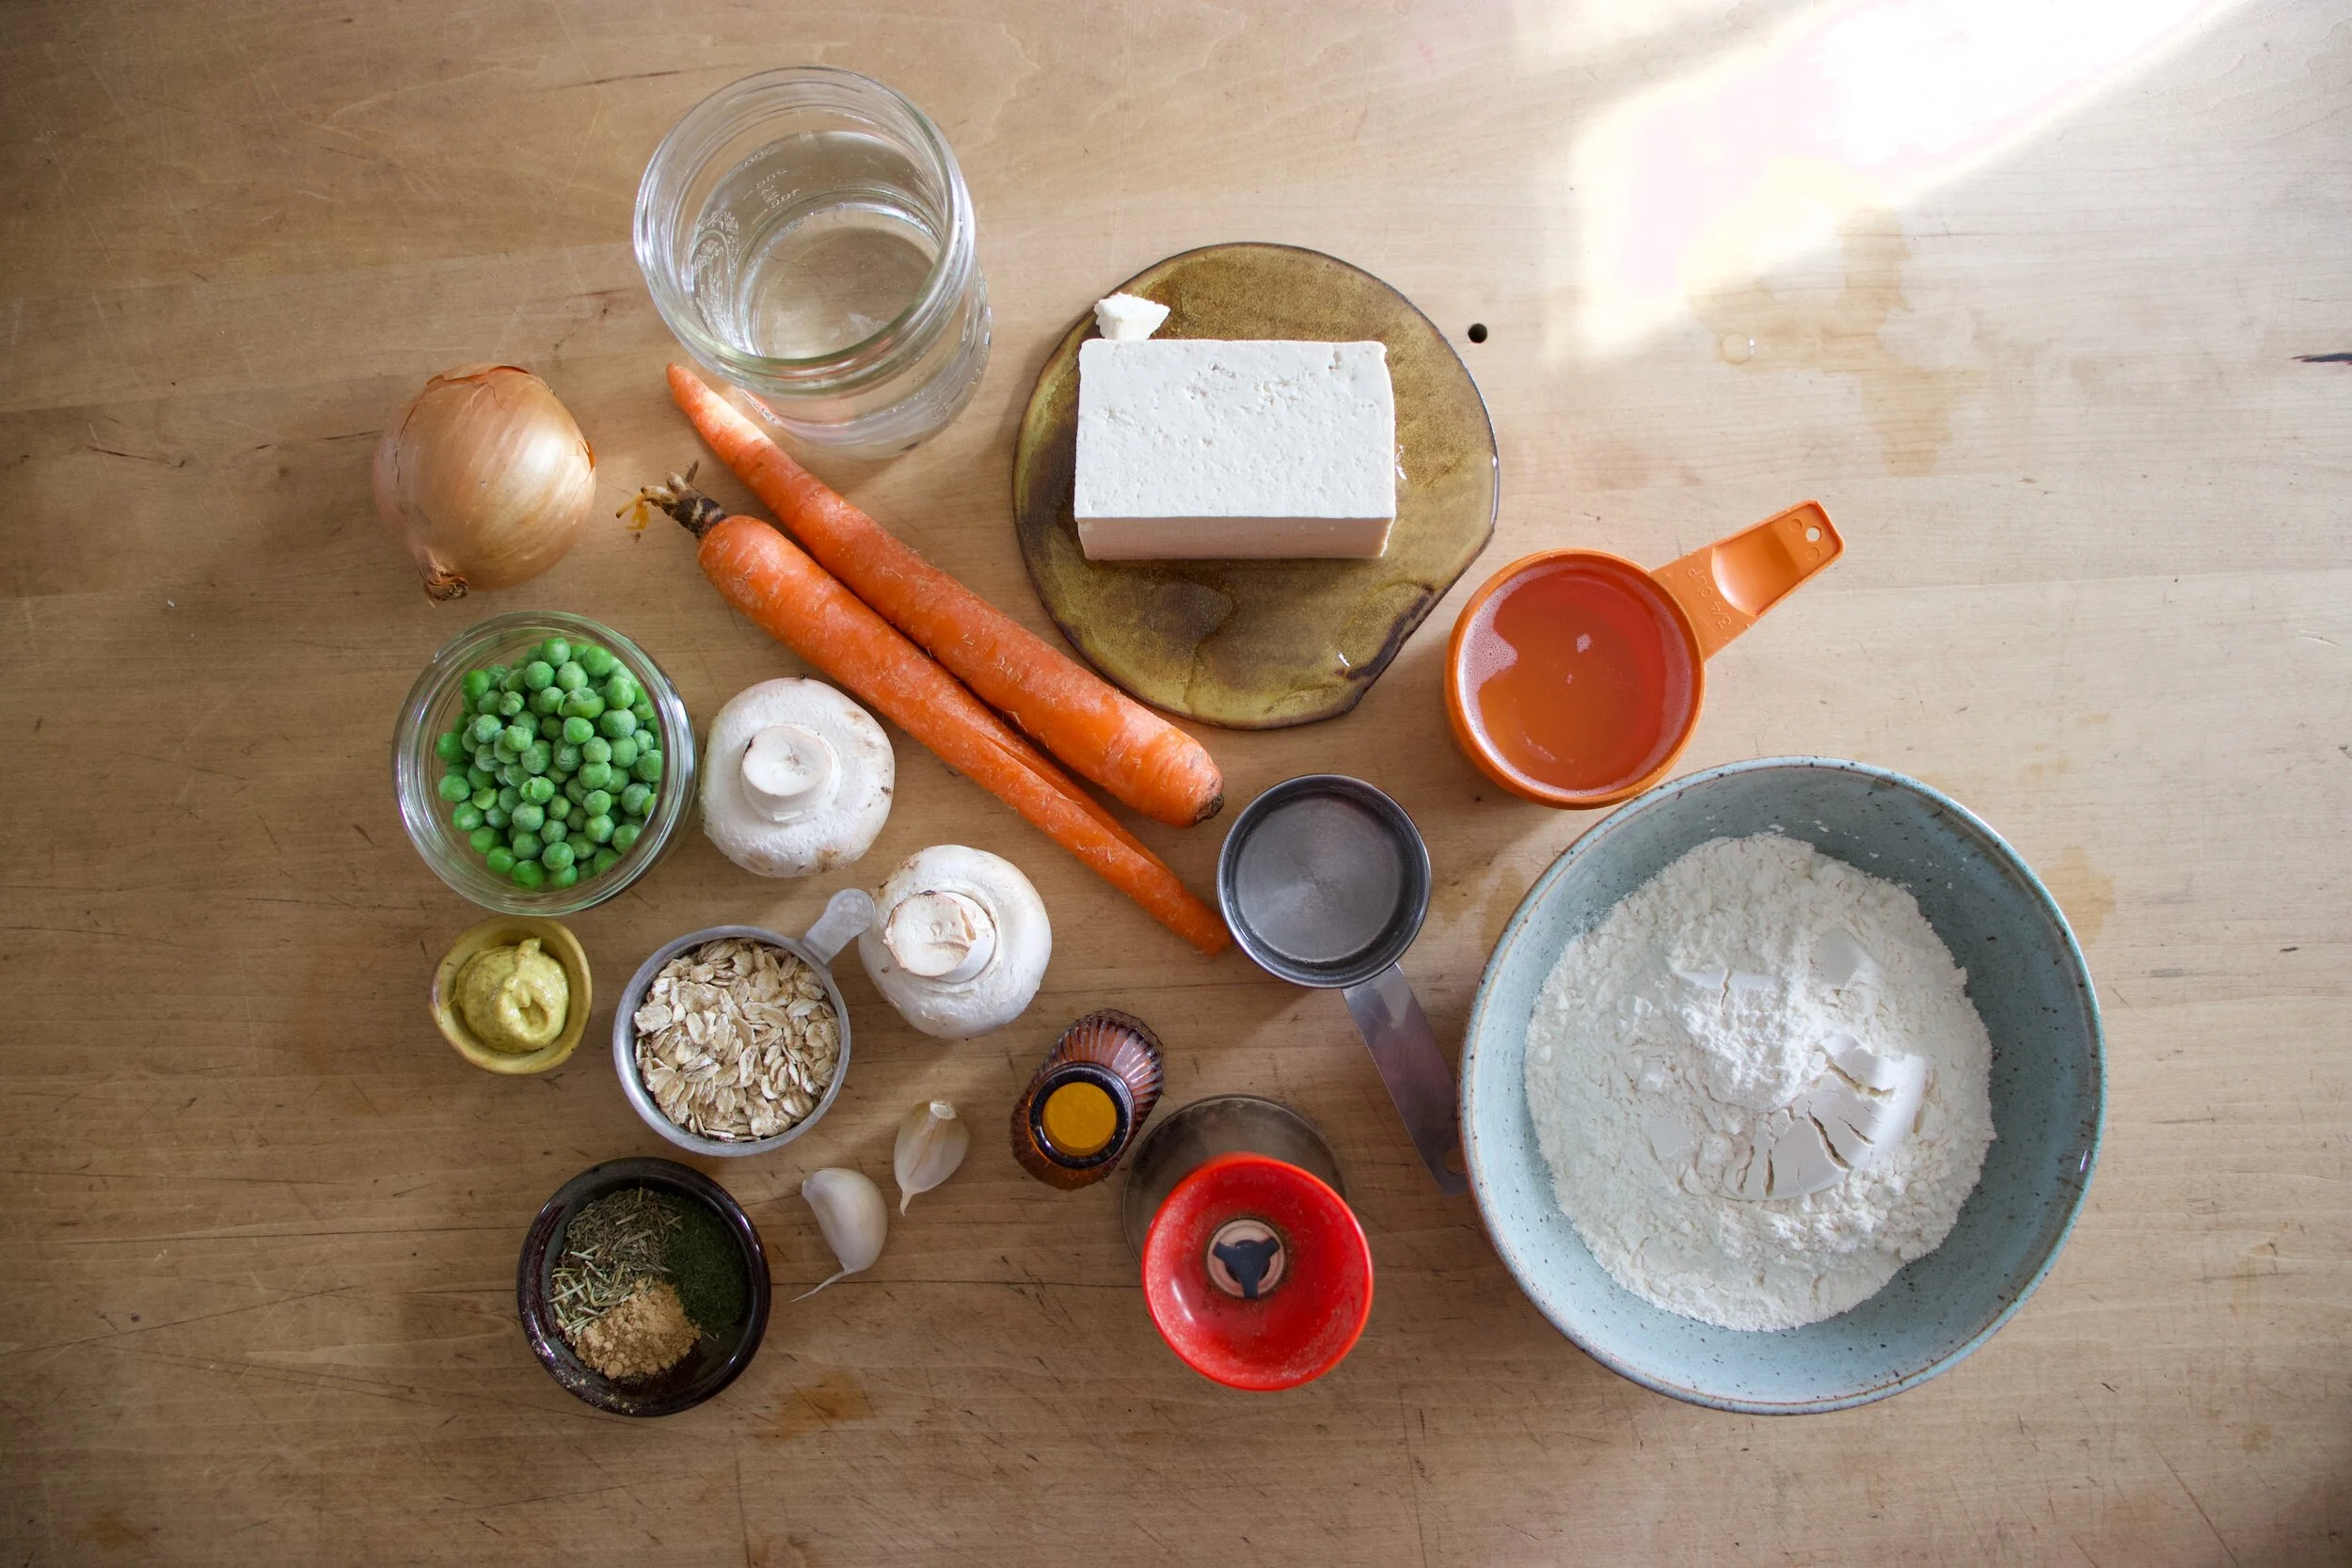
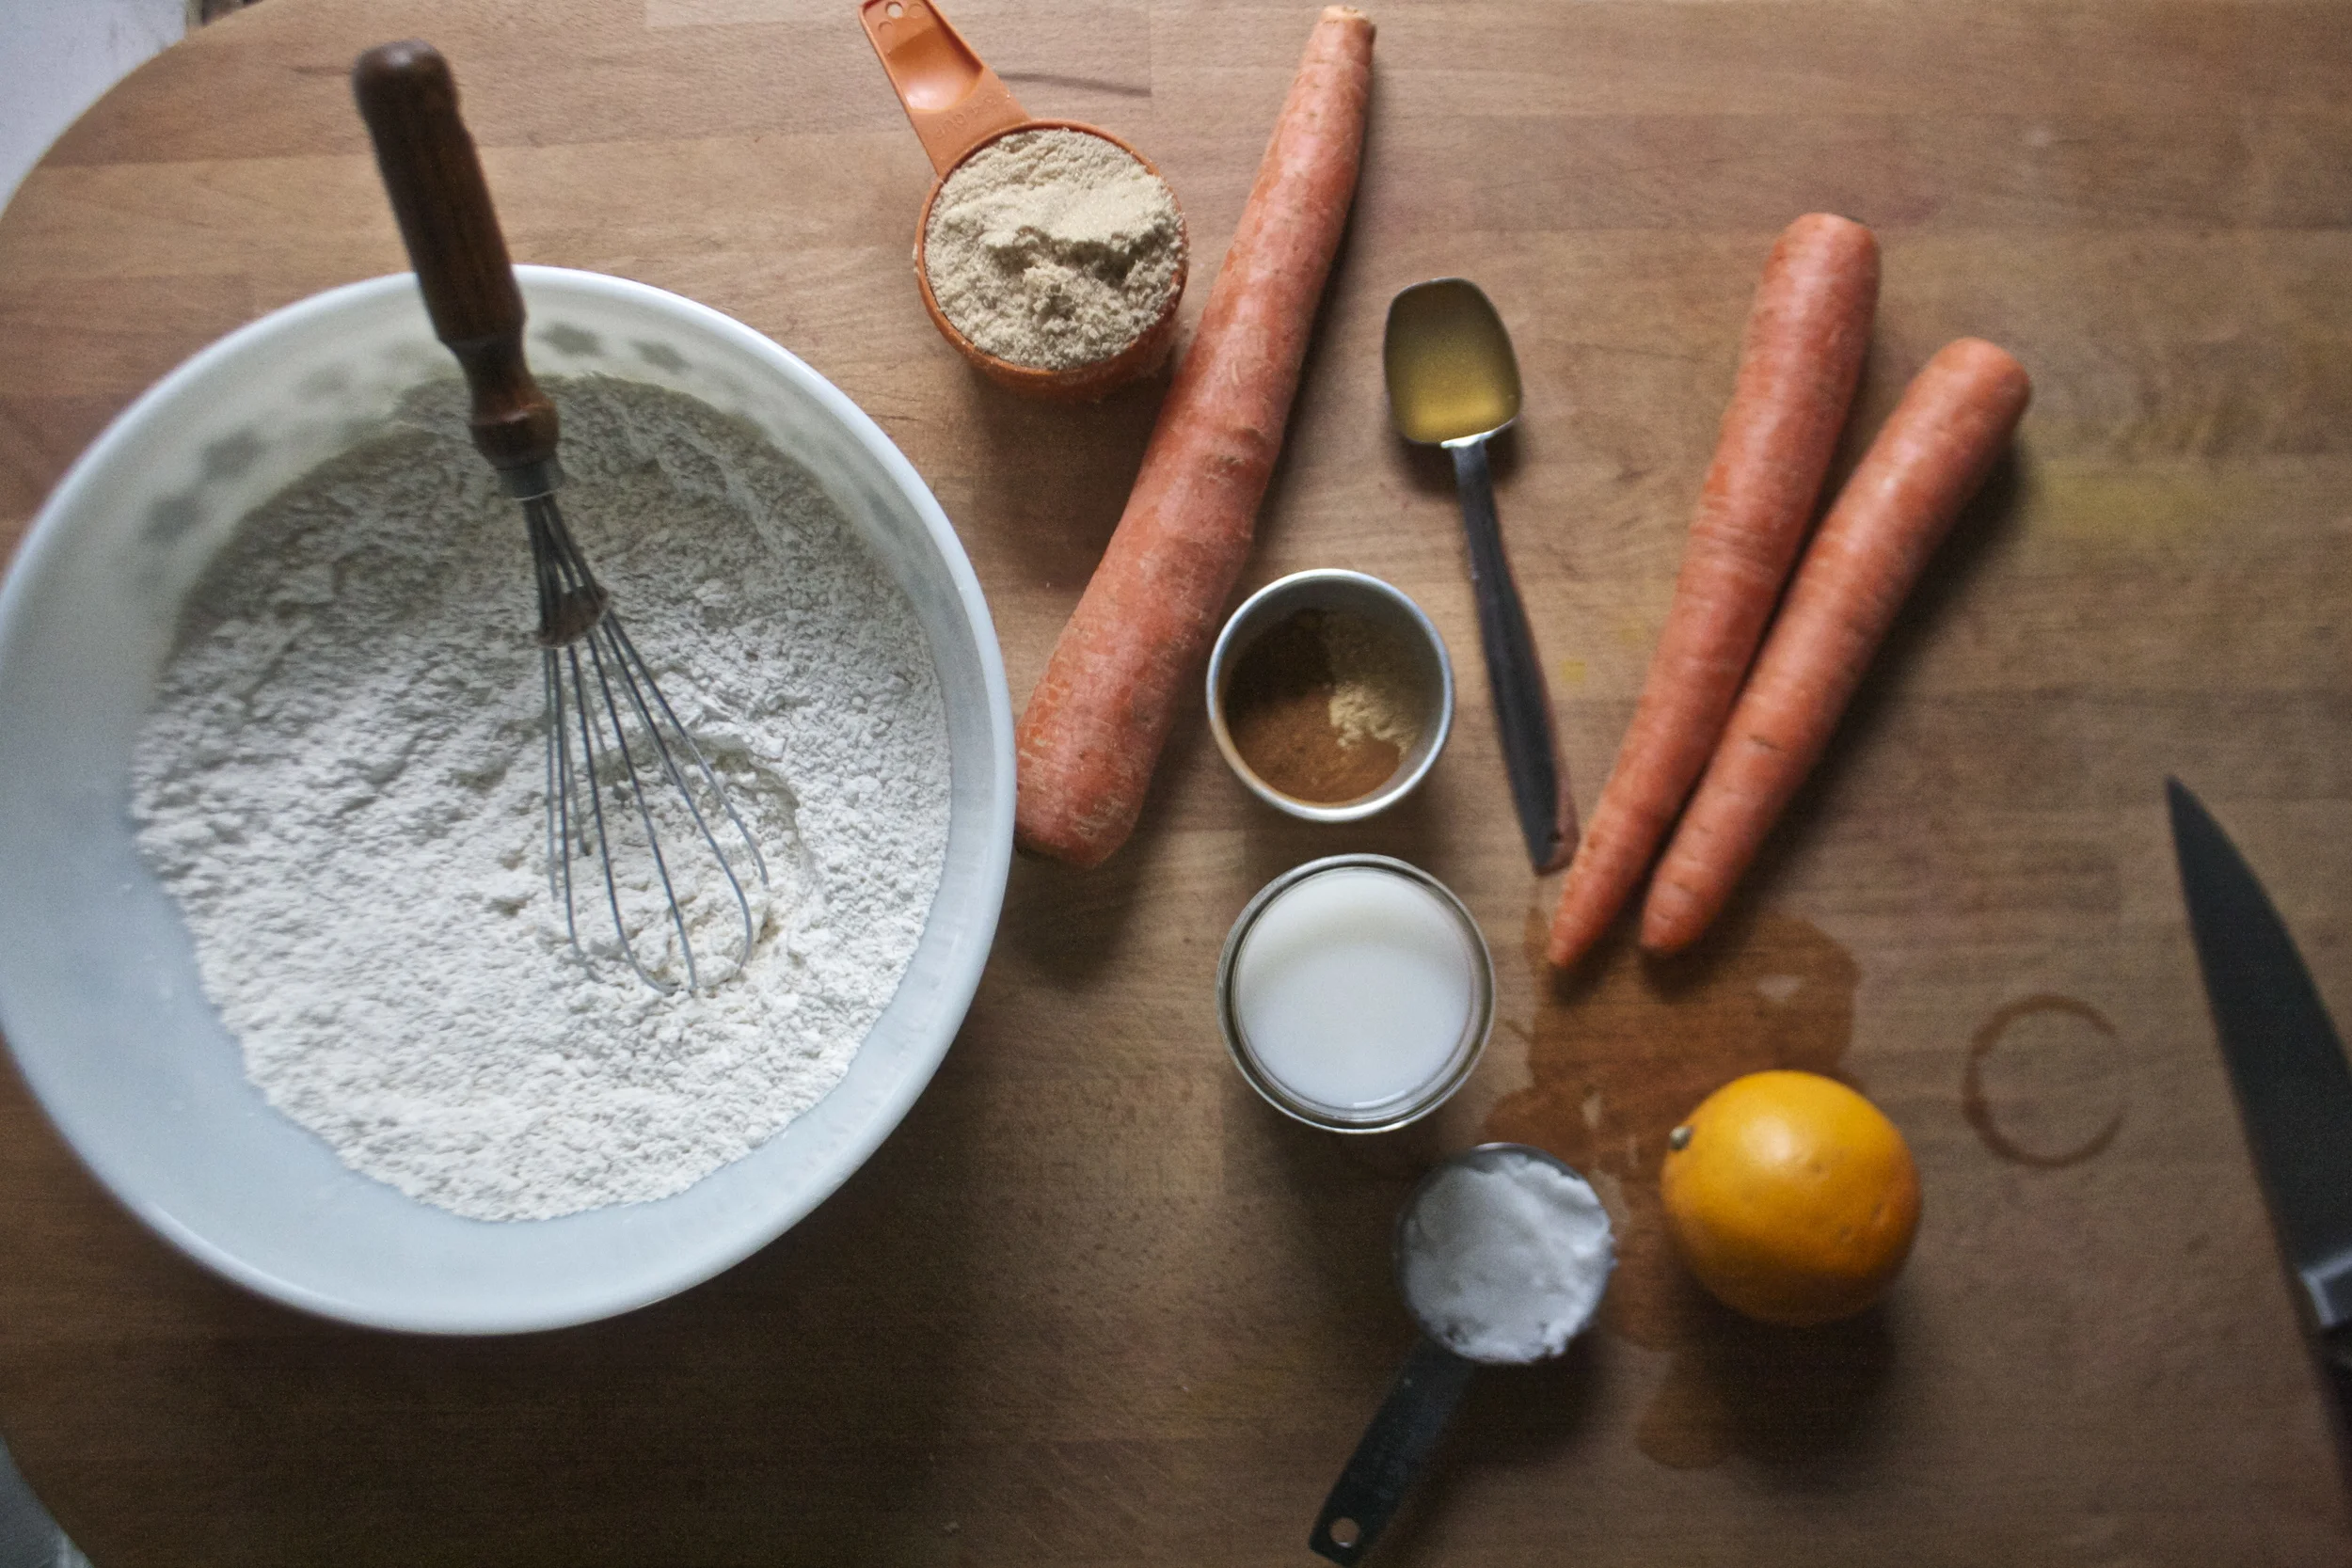
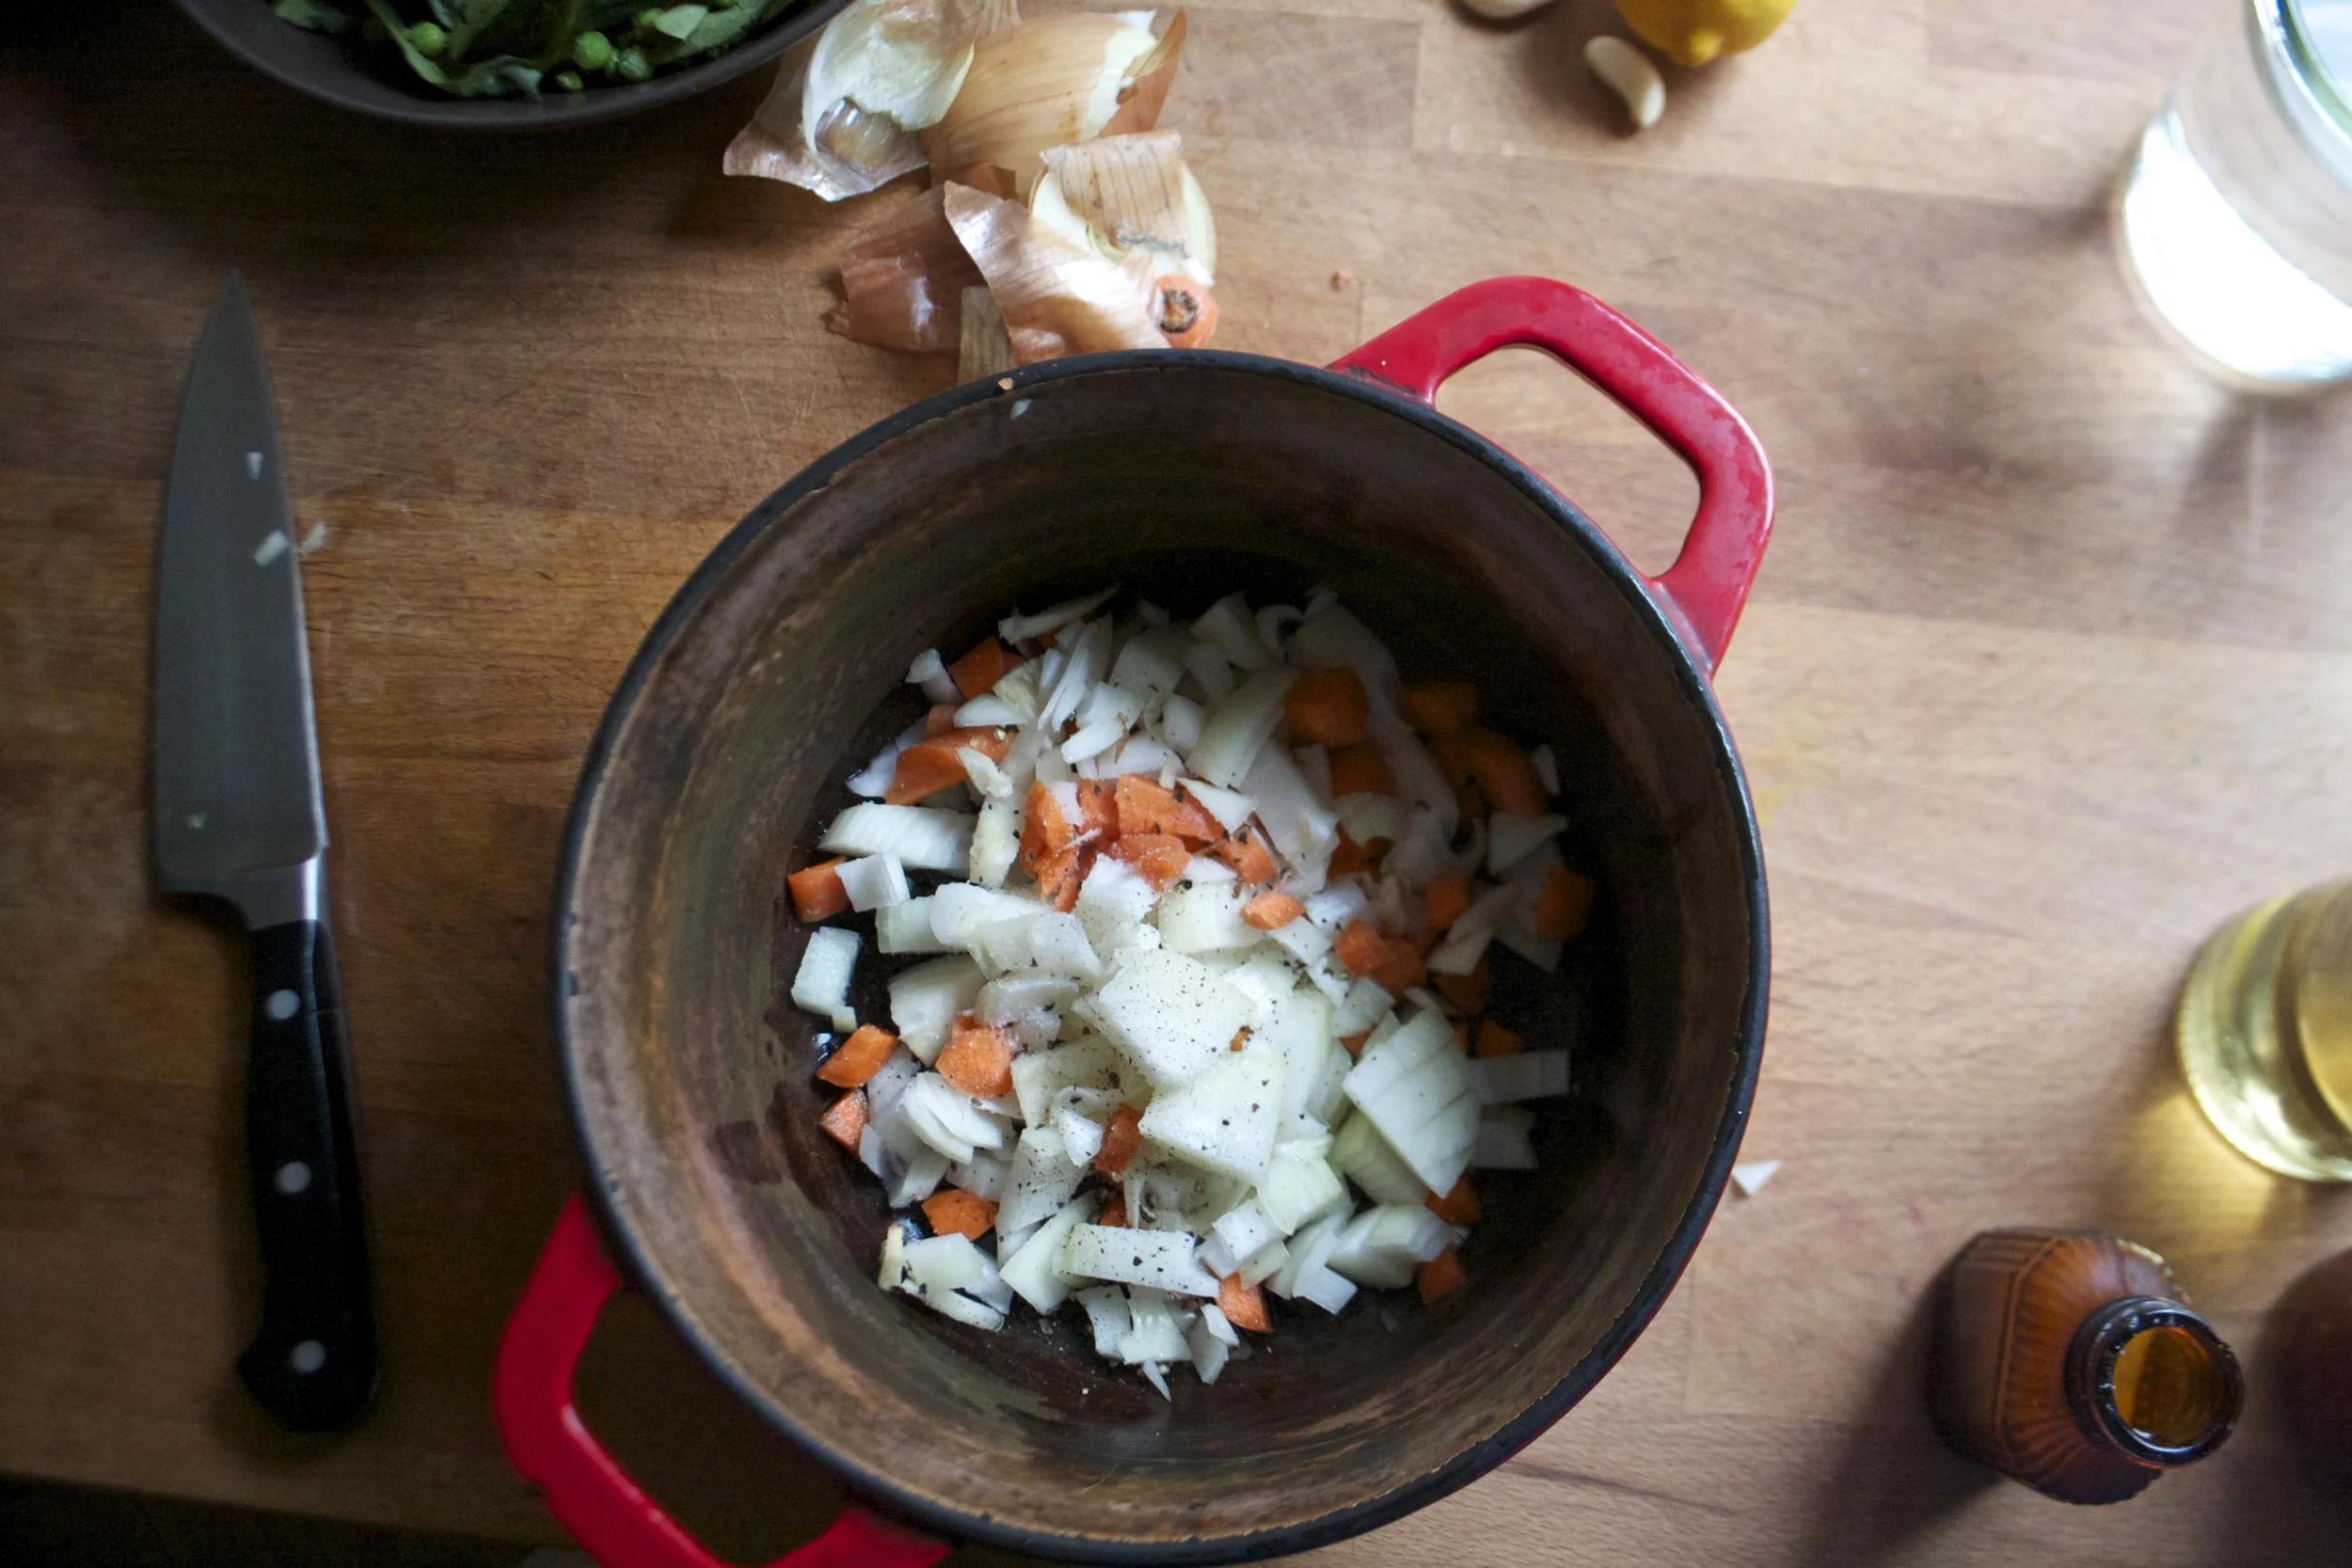
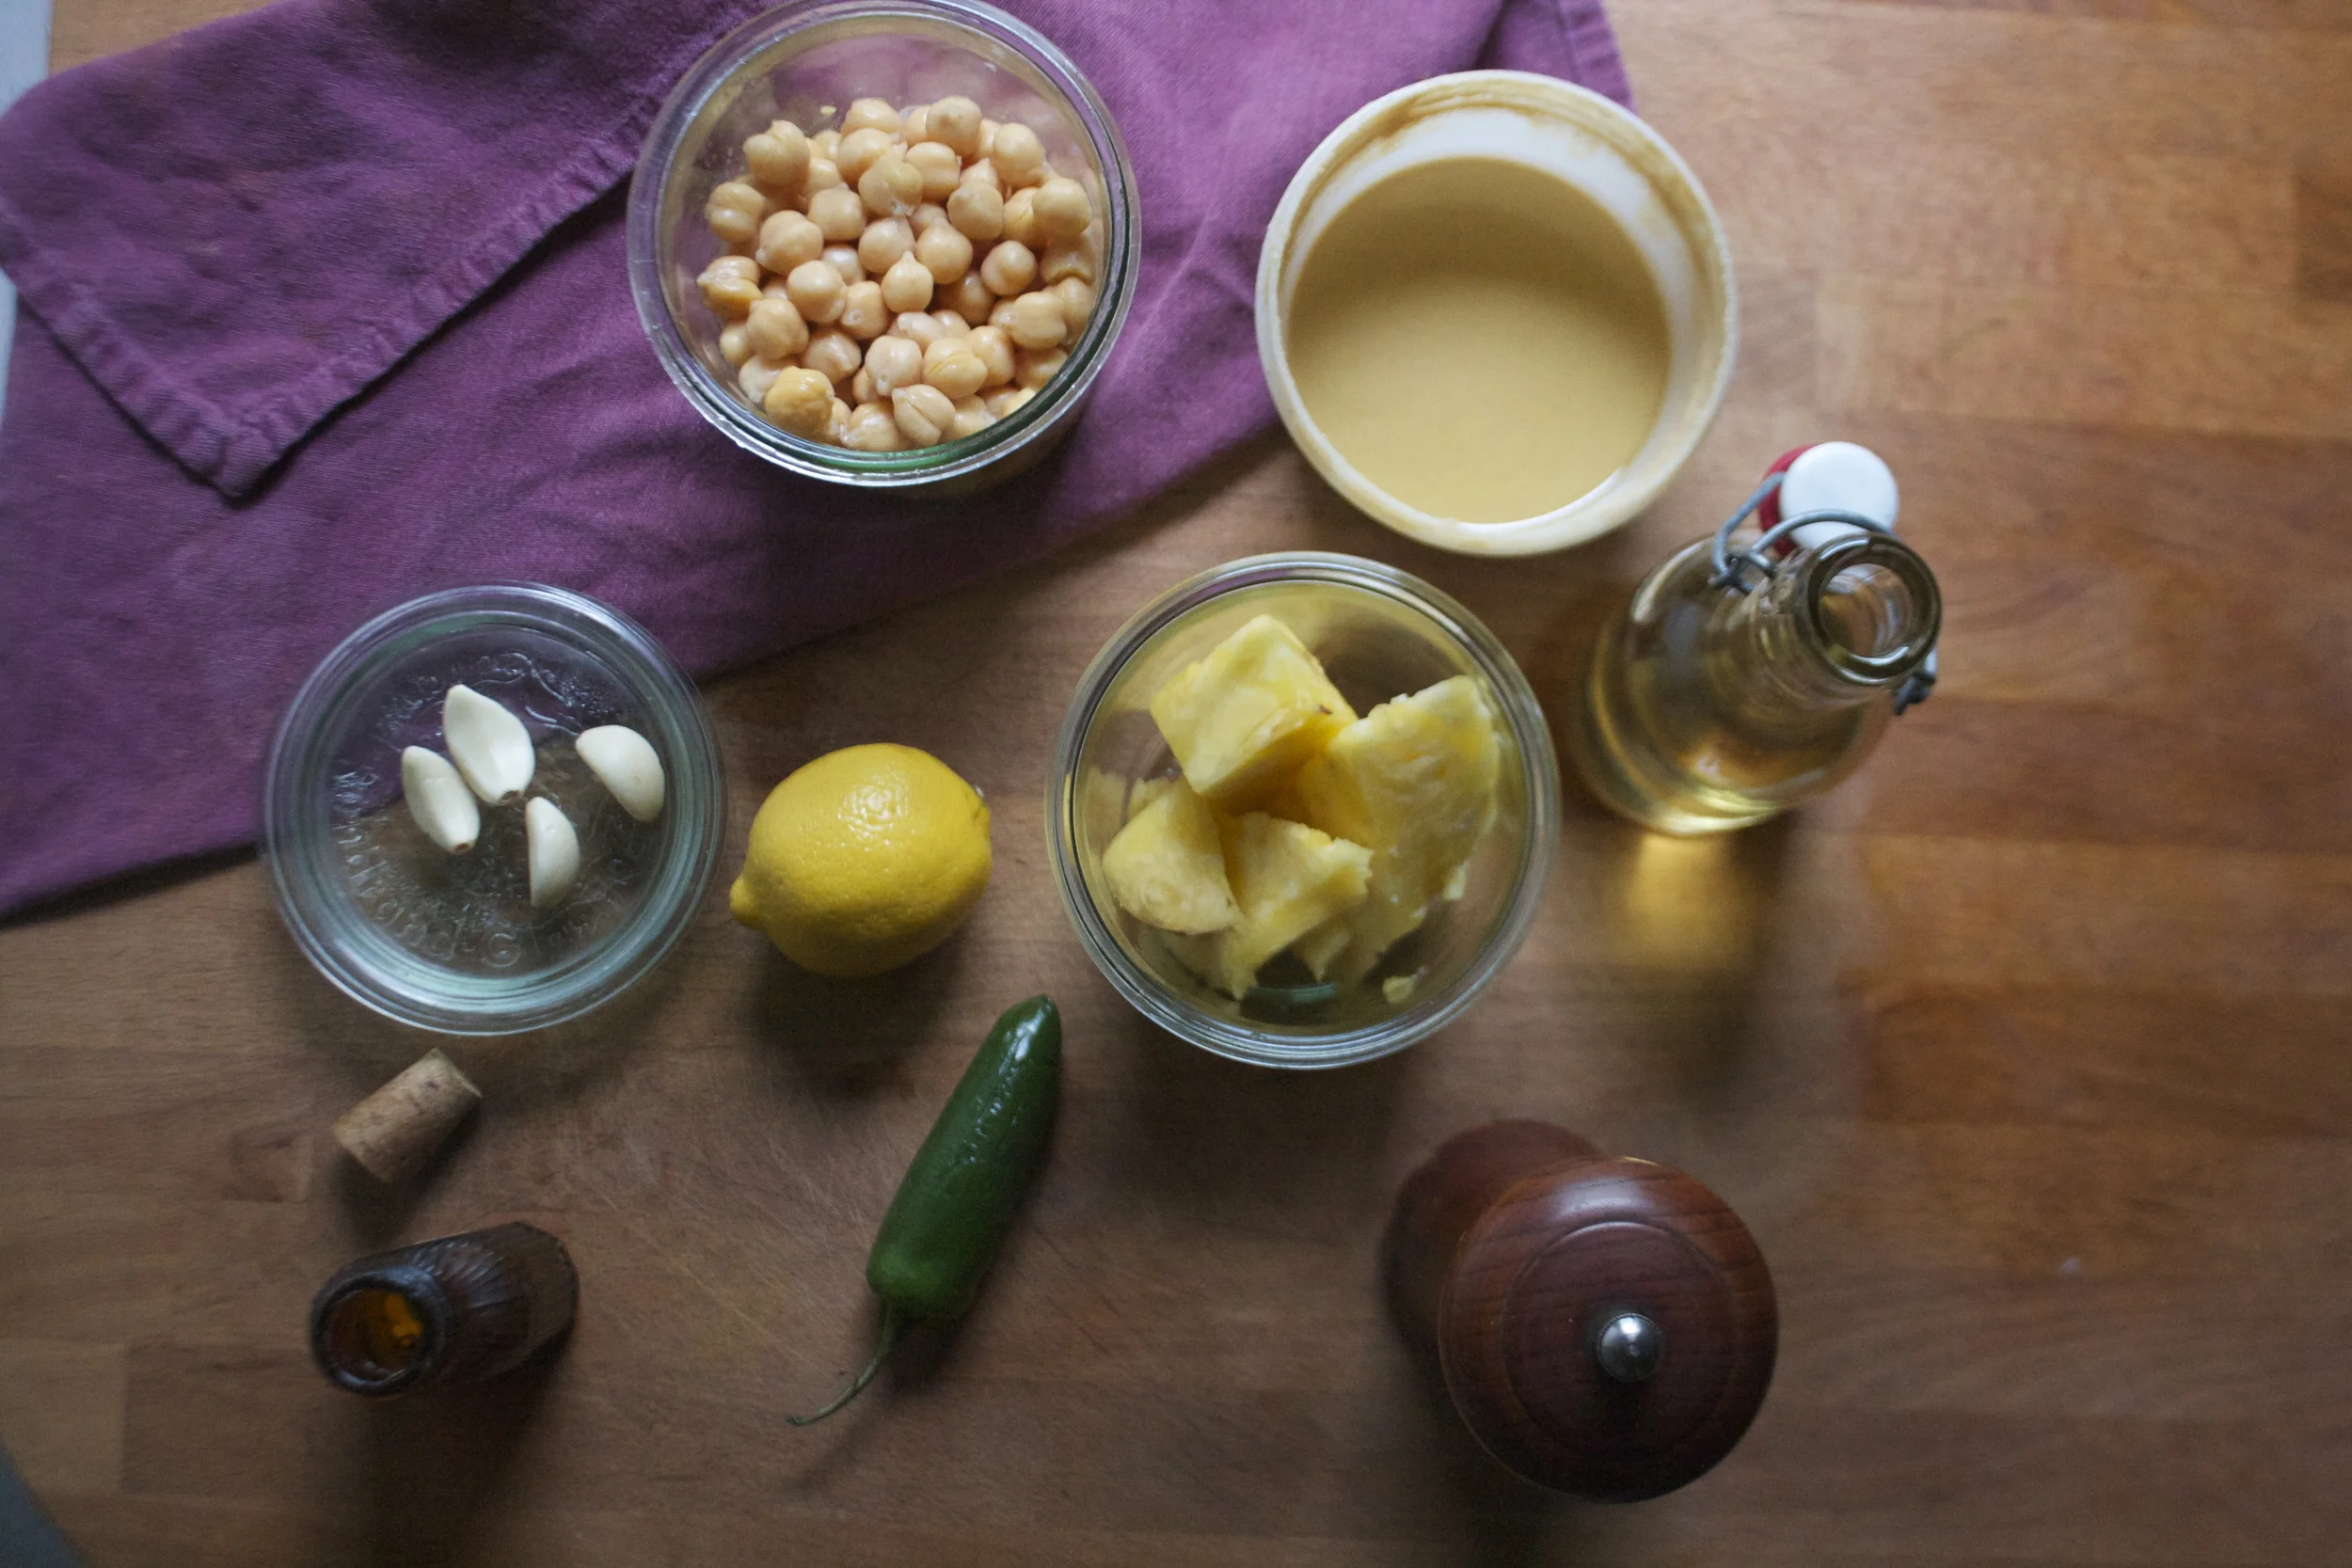
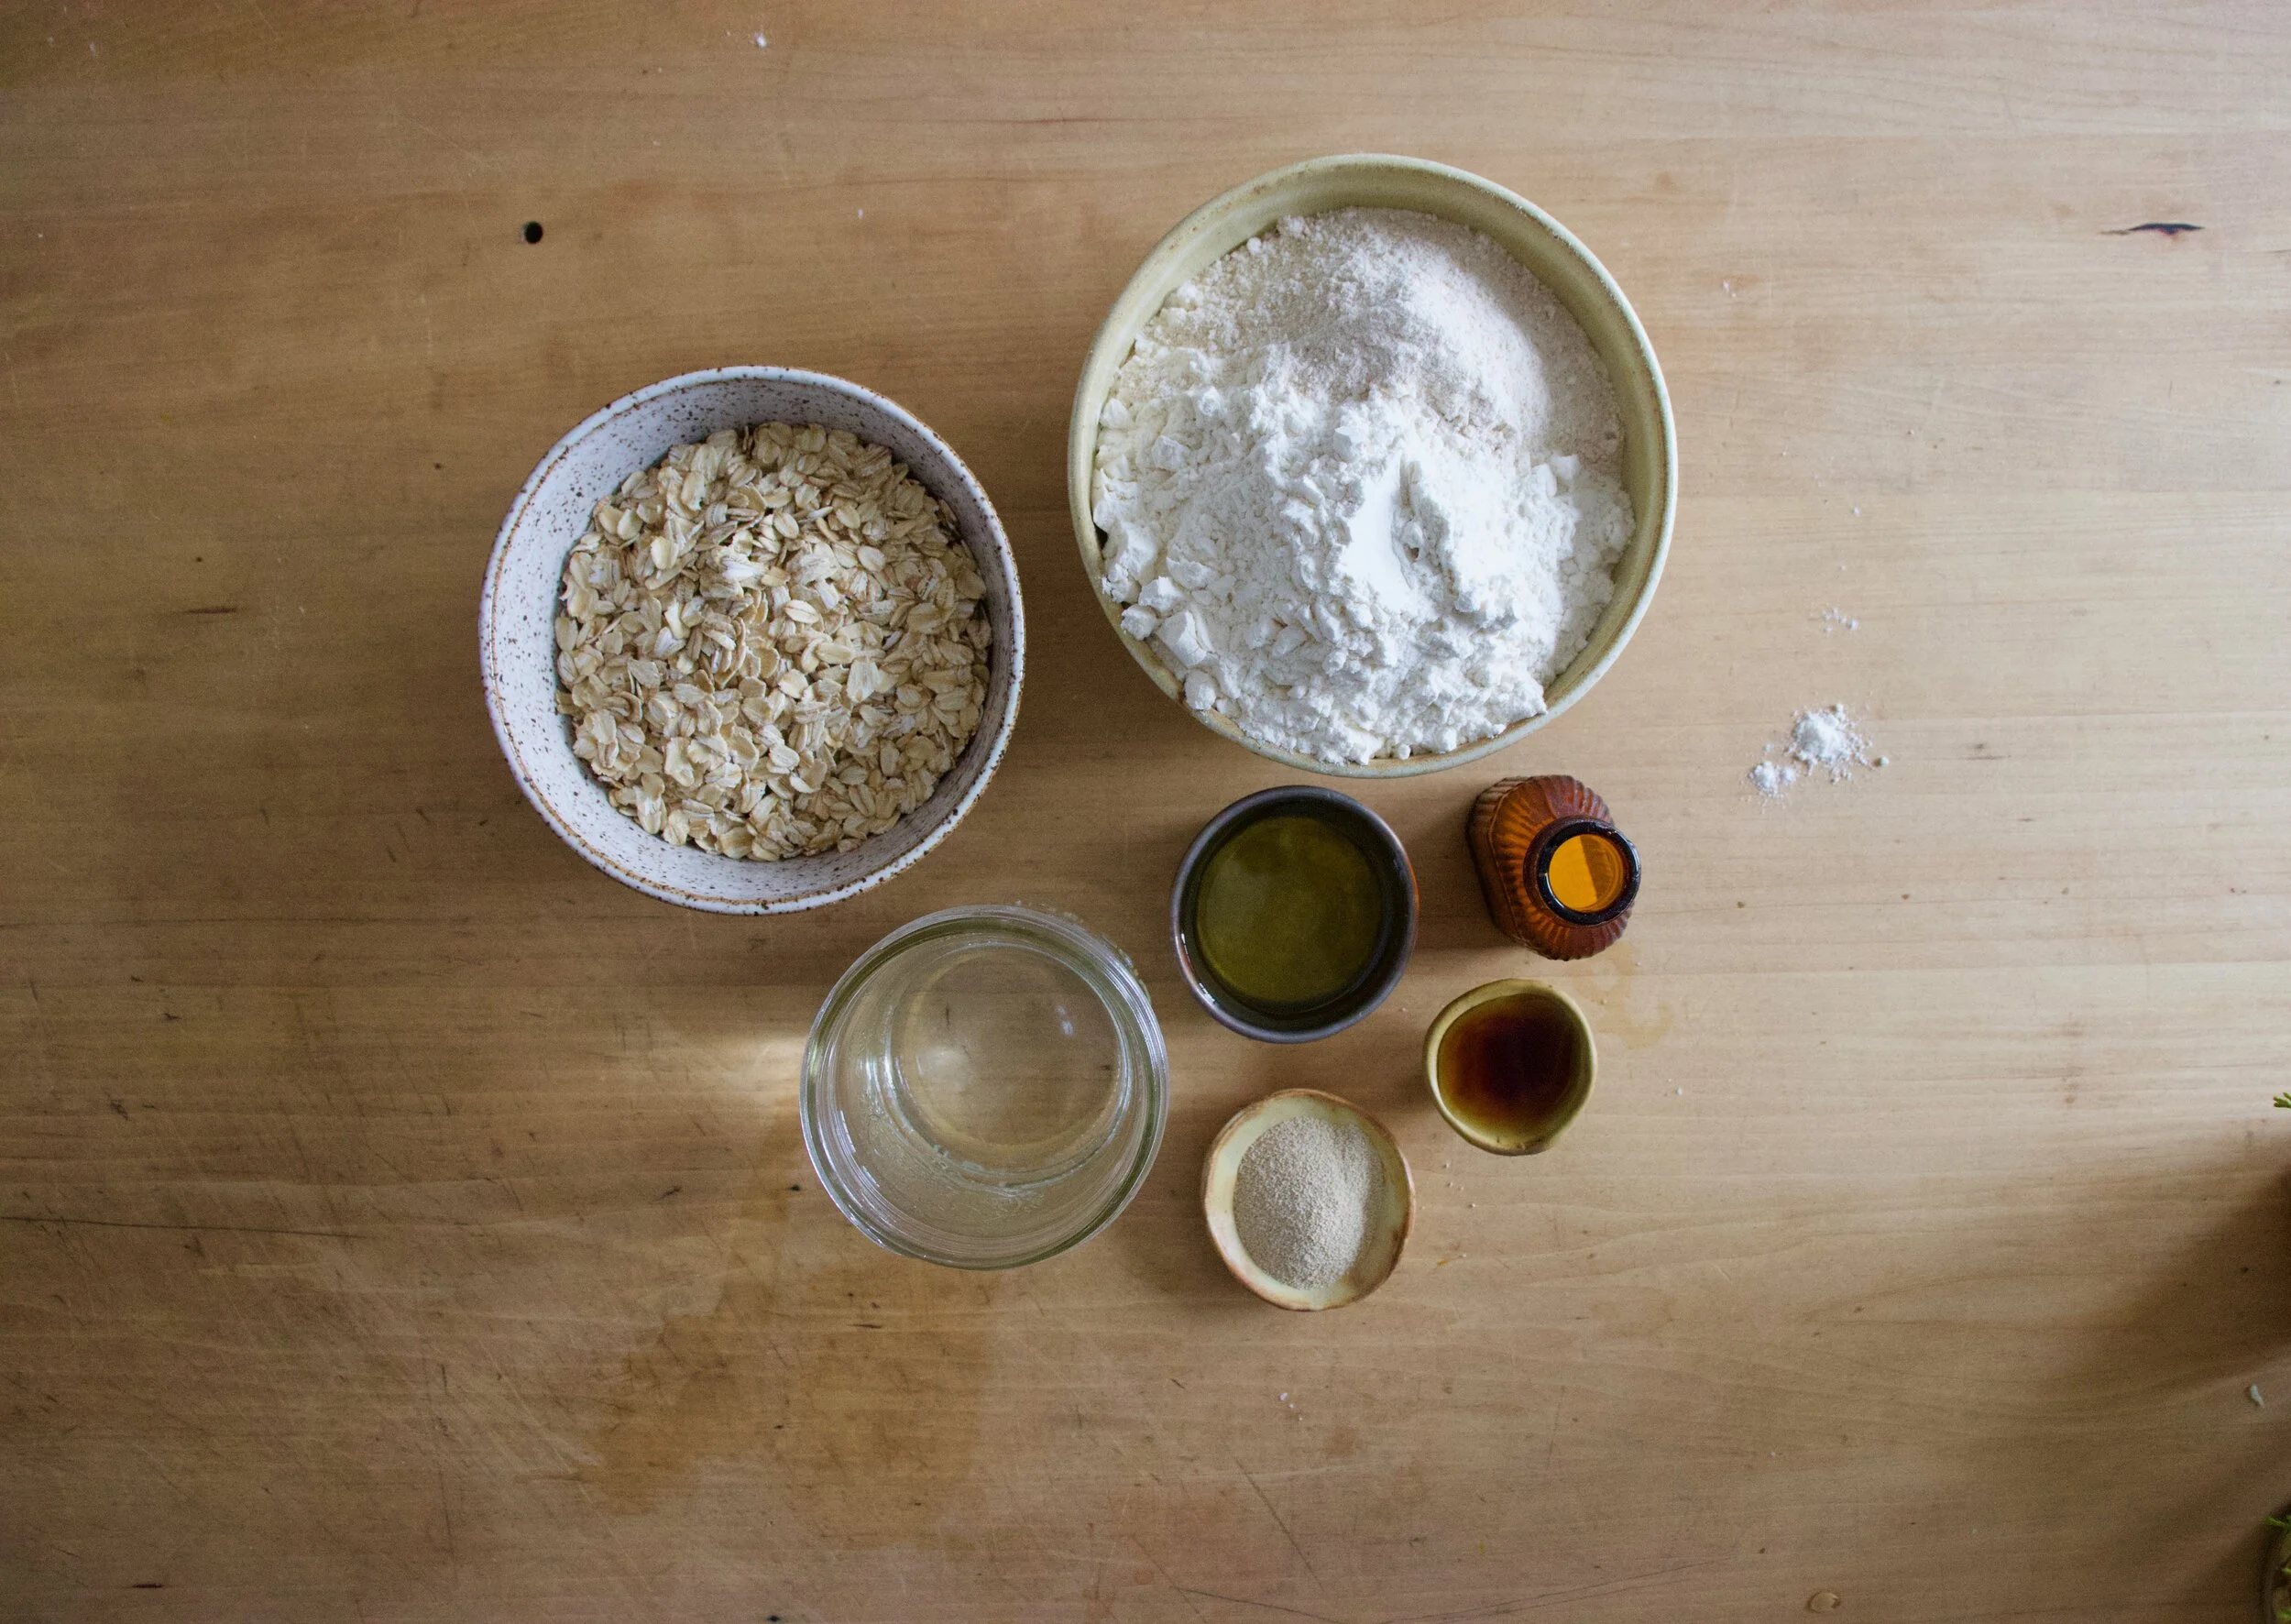
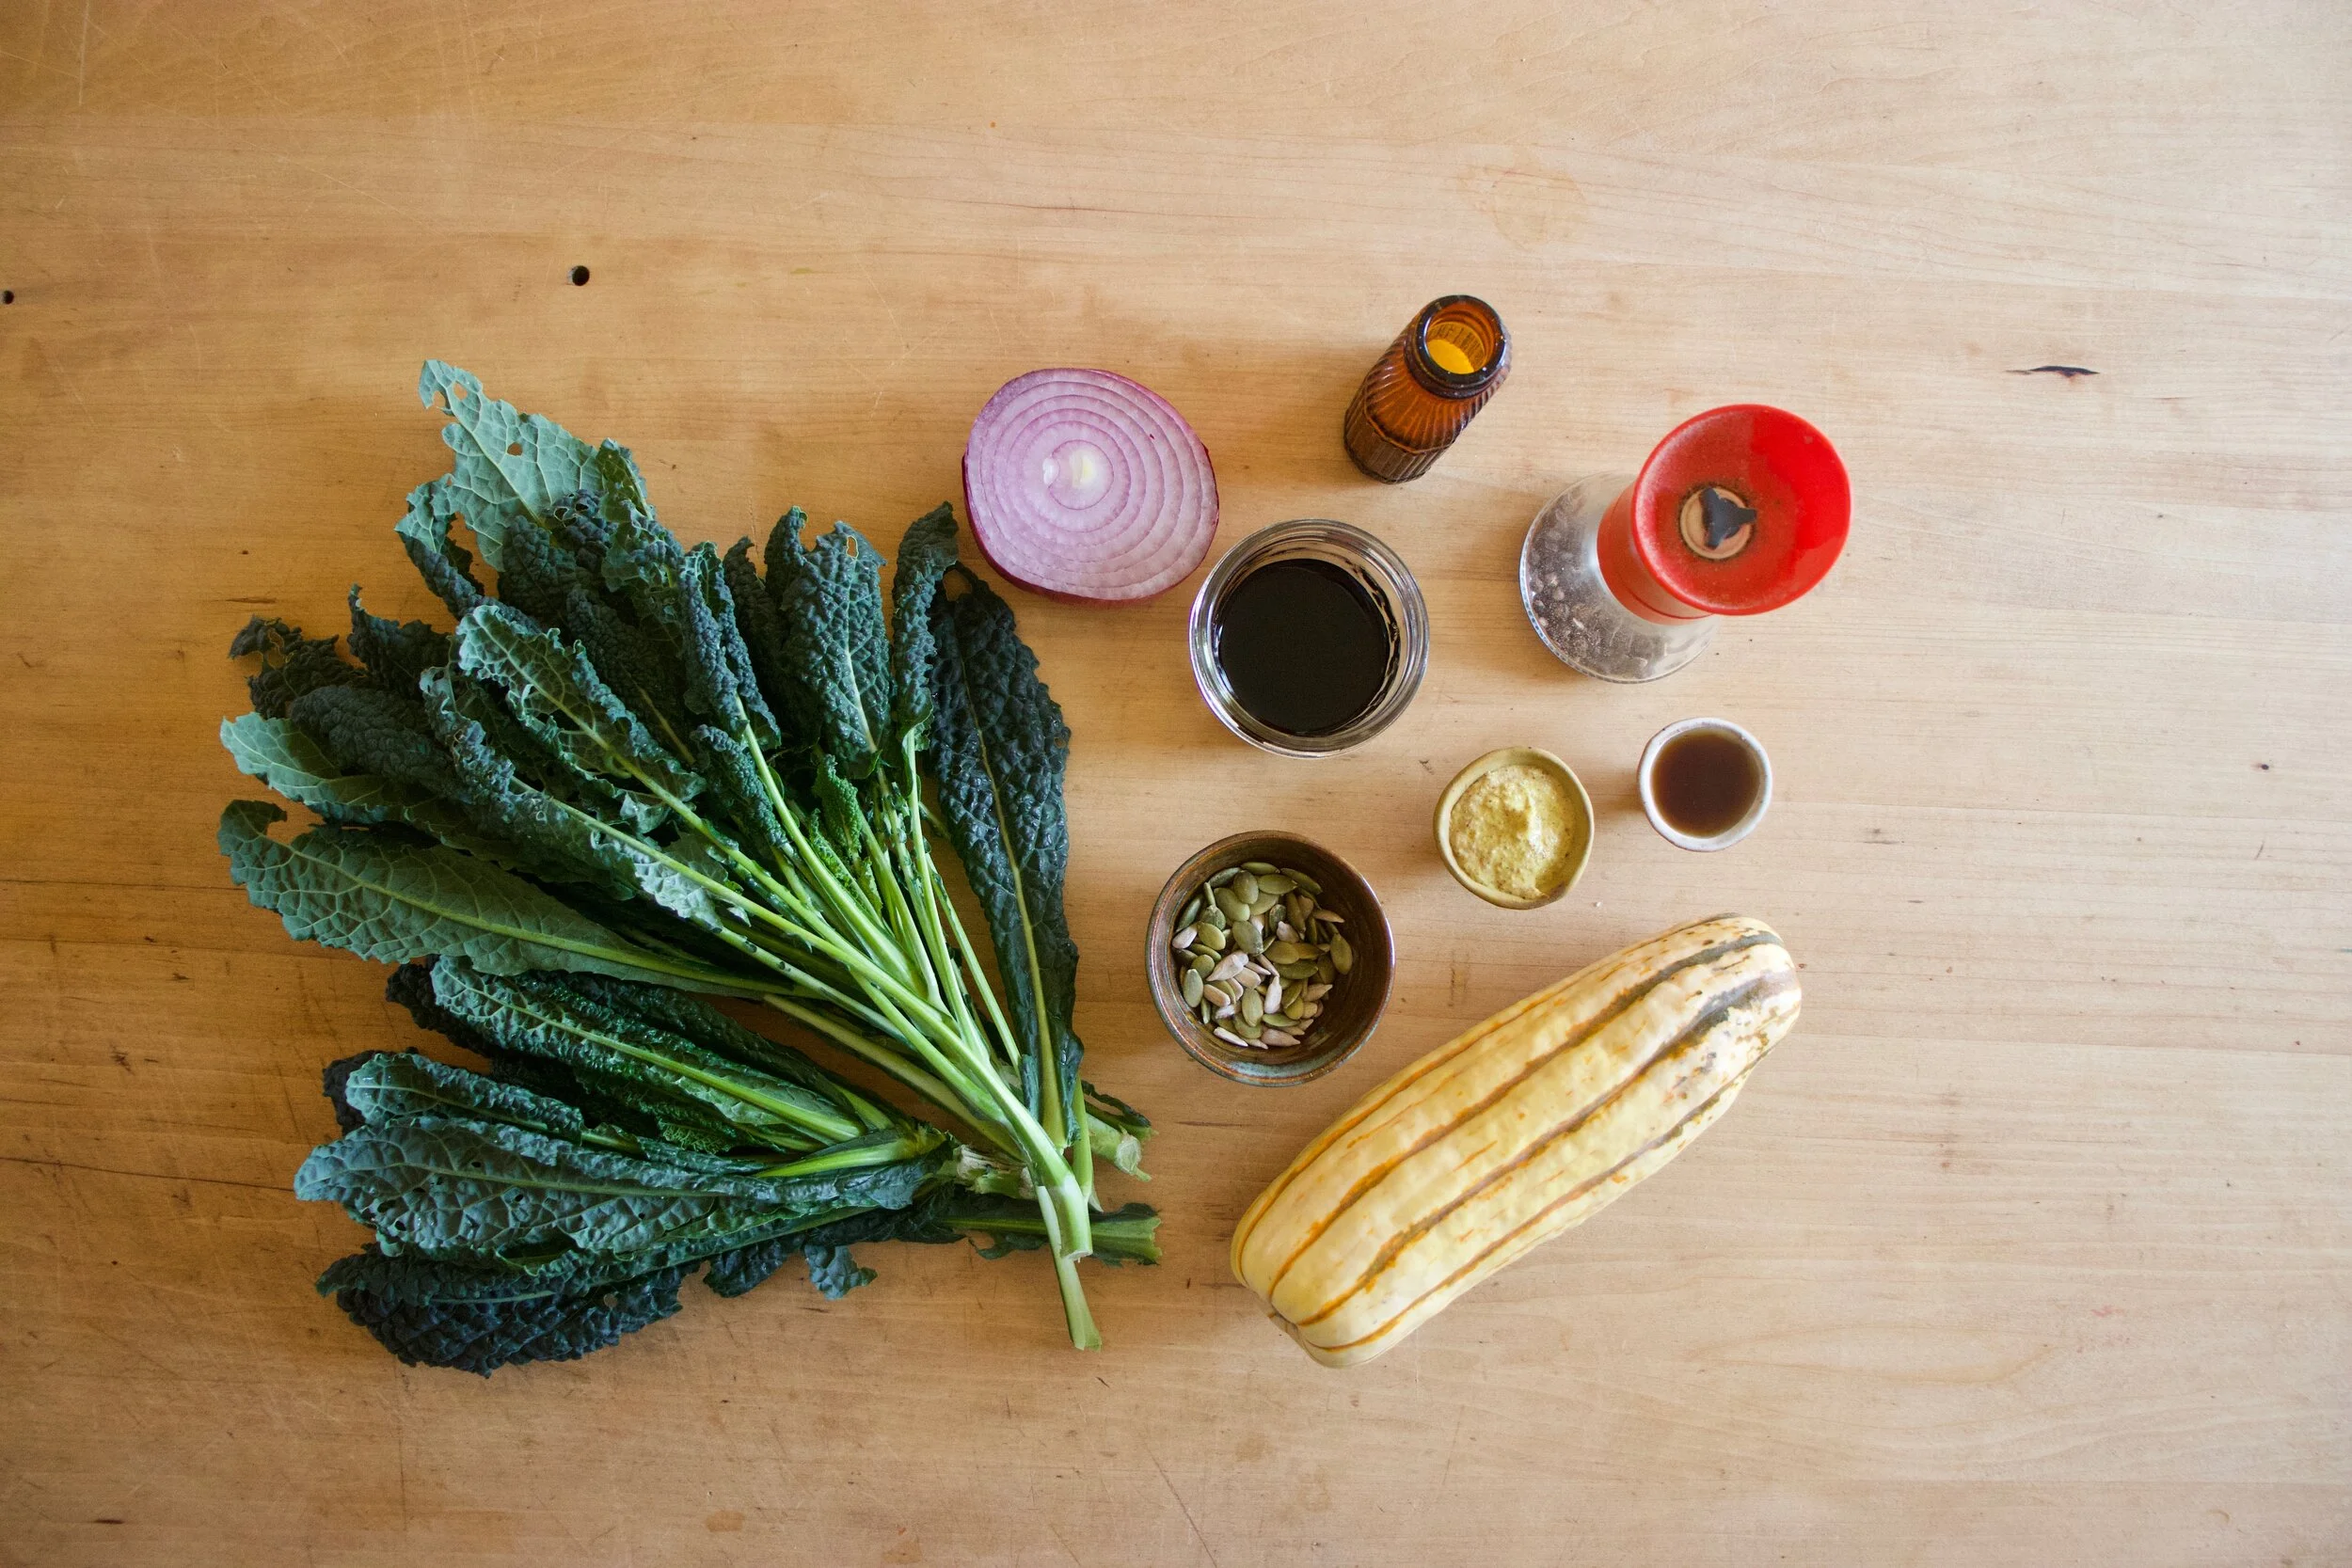
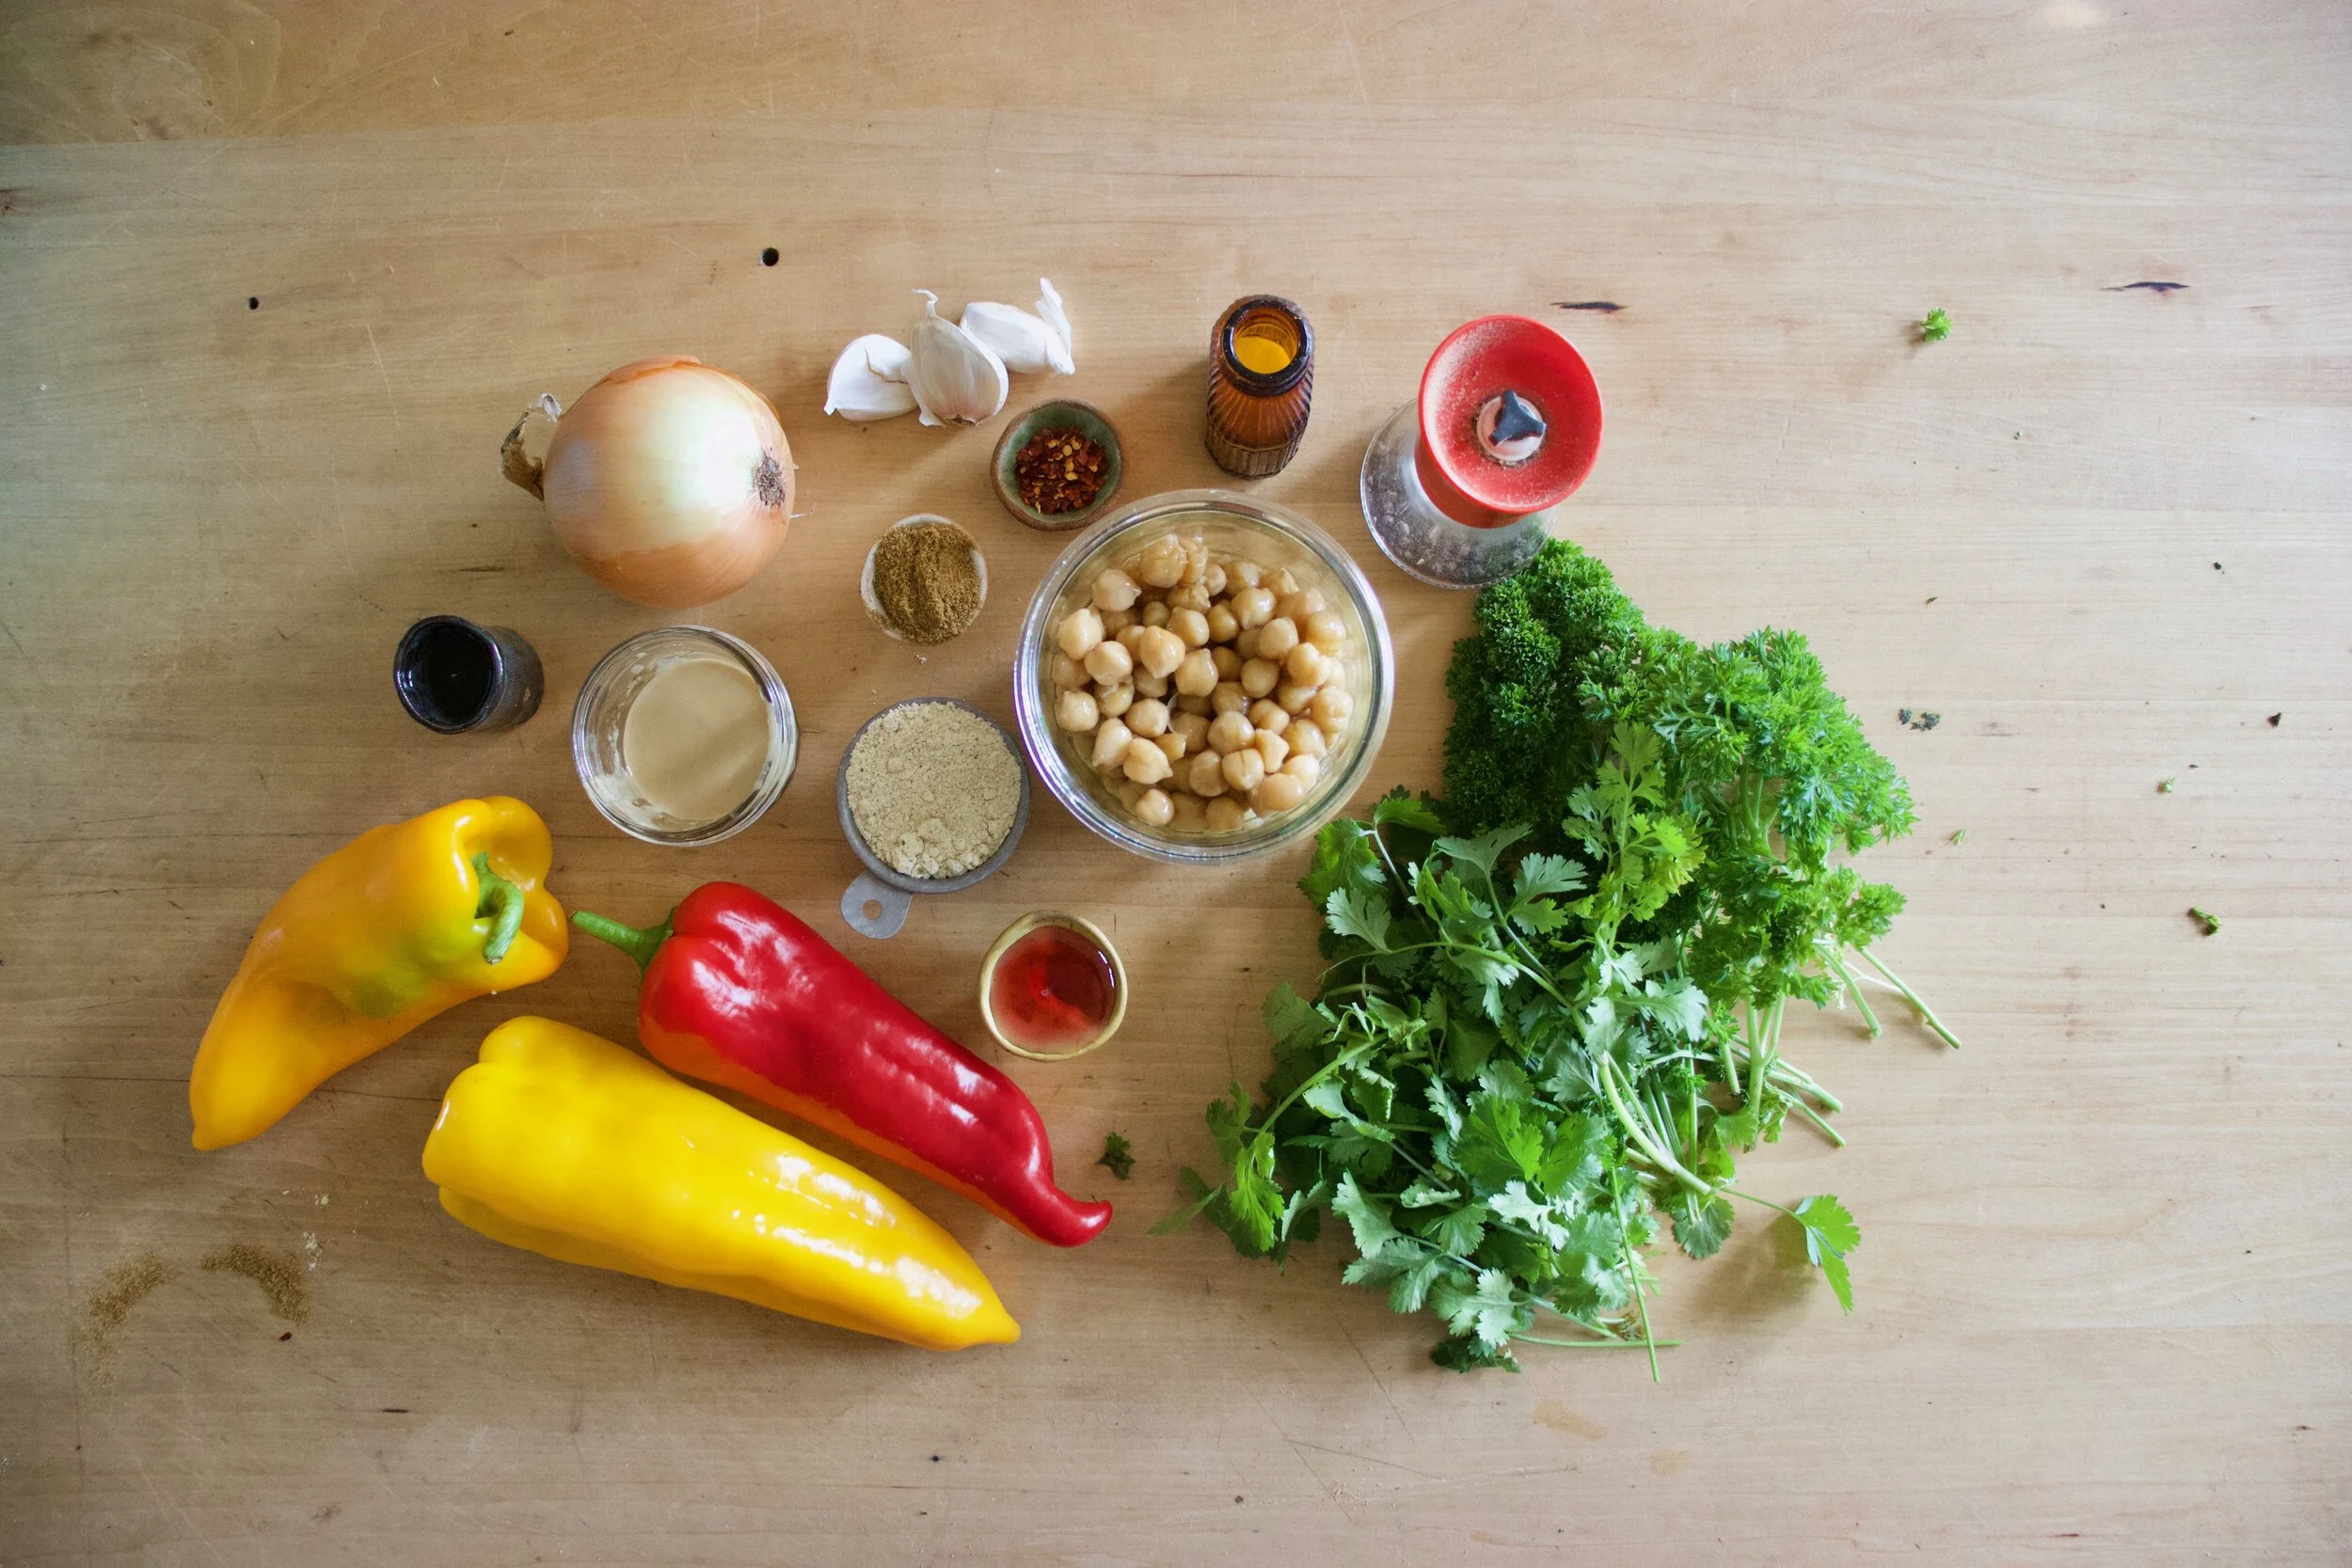
 The stuff. Parsnips, carrots, onion and garlic. Thyme and turmeric, salt and pepper. the tinniest bit of oil and water (water not shown)
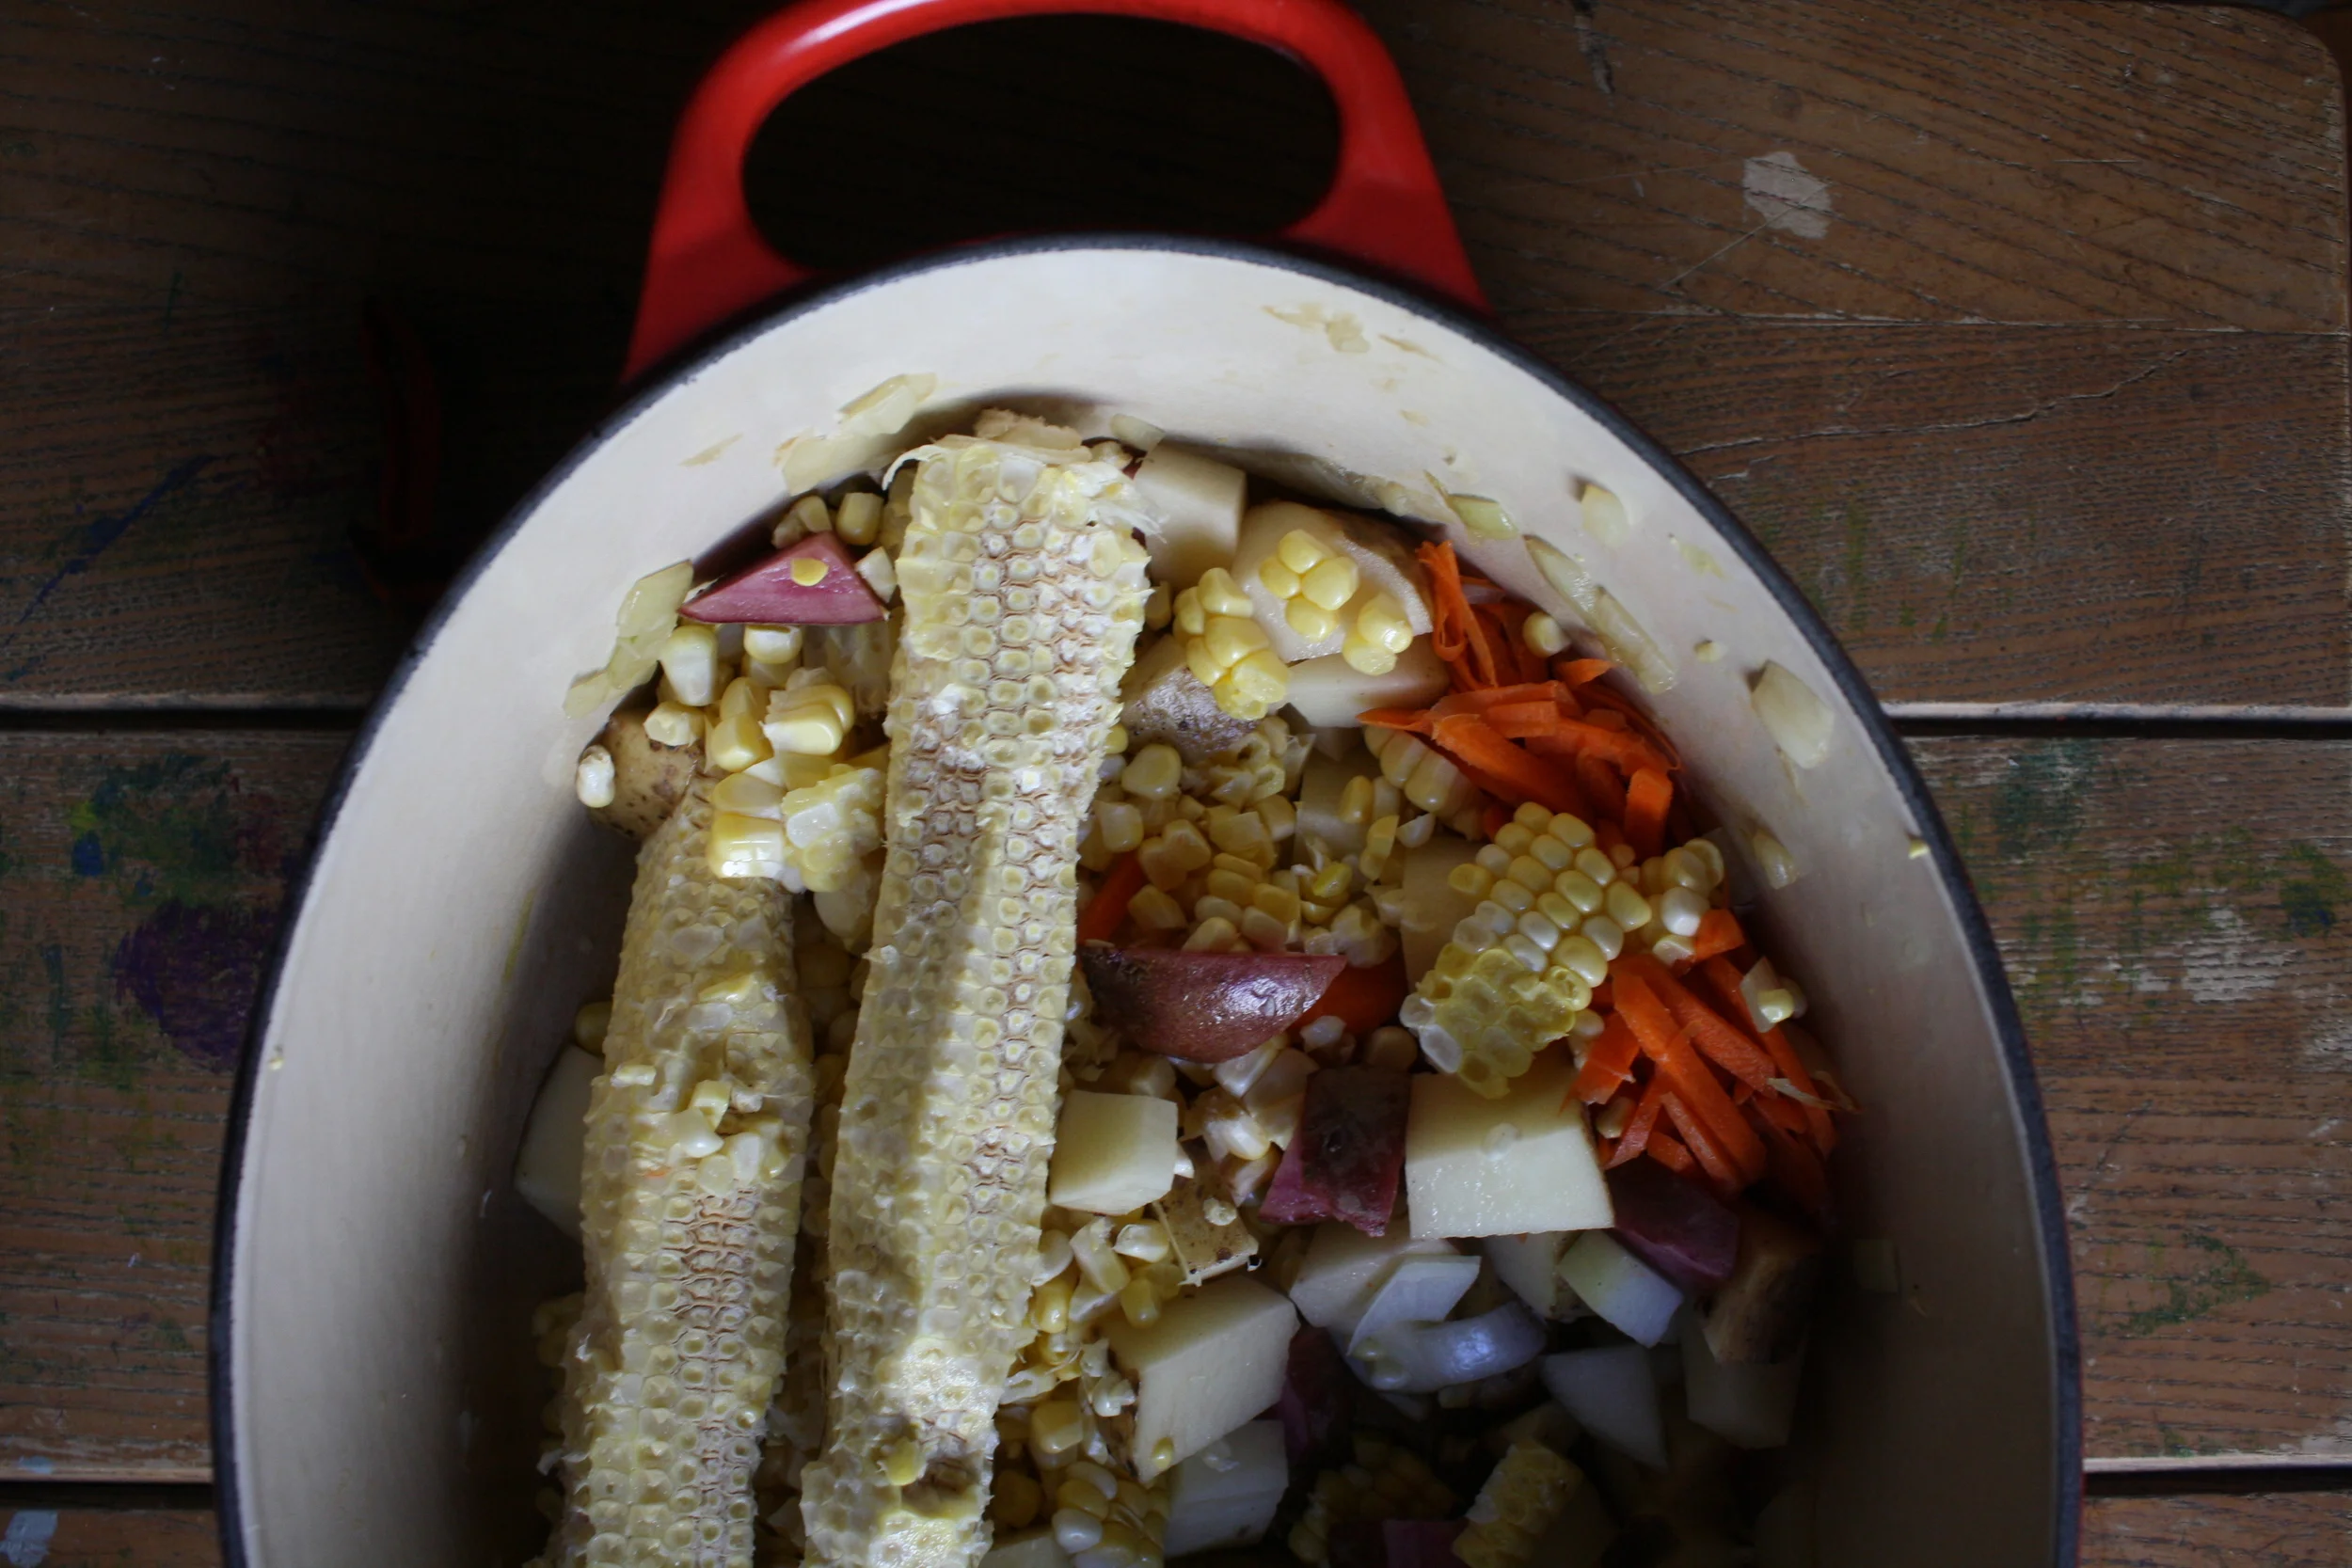
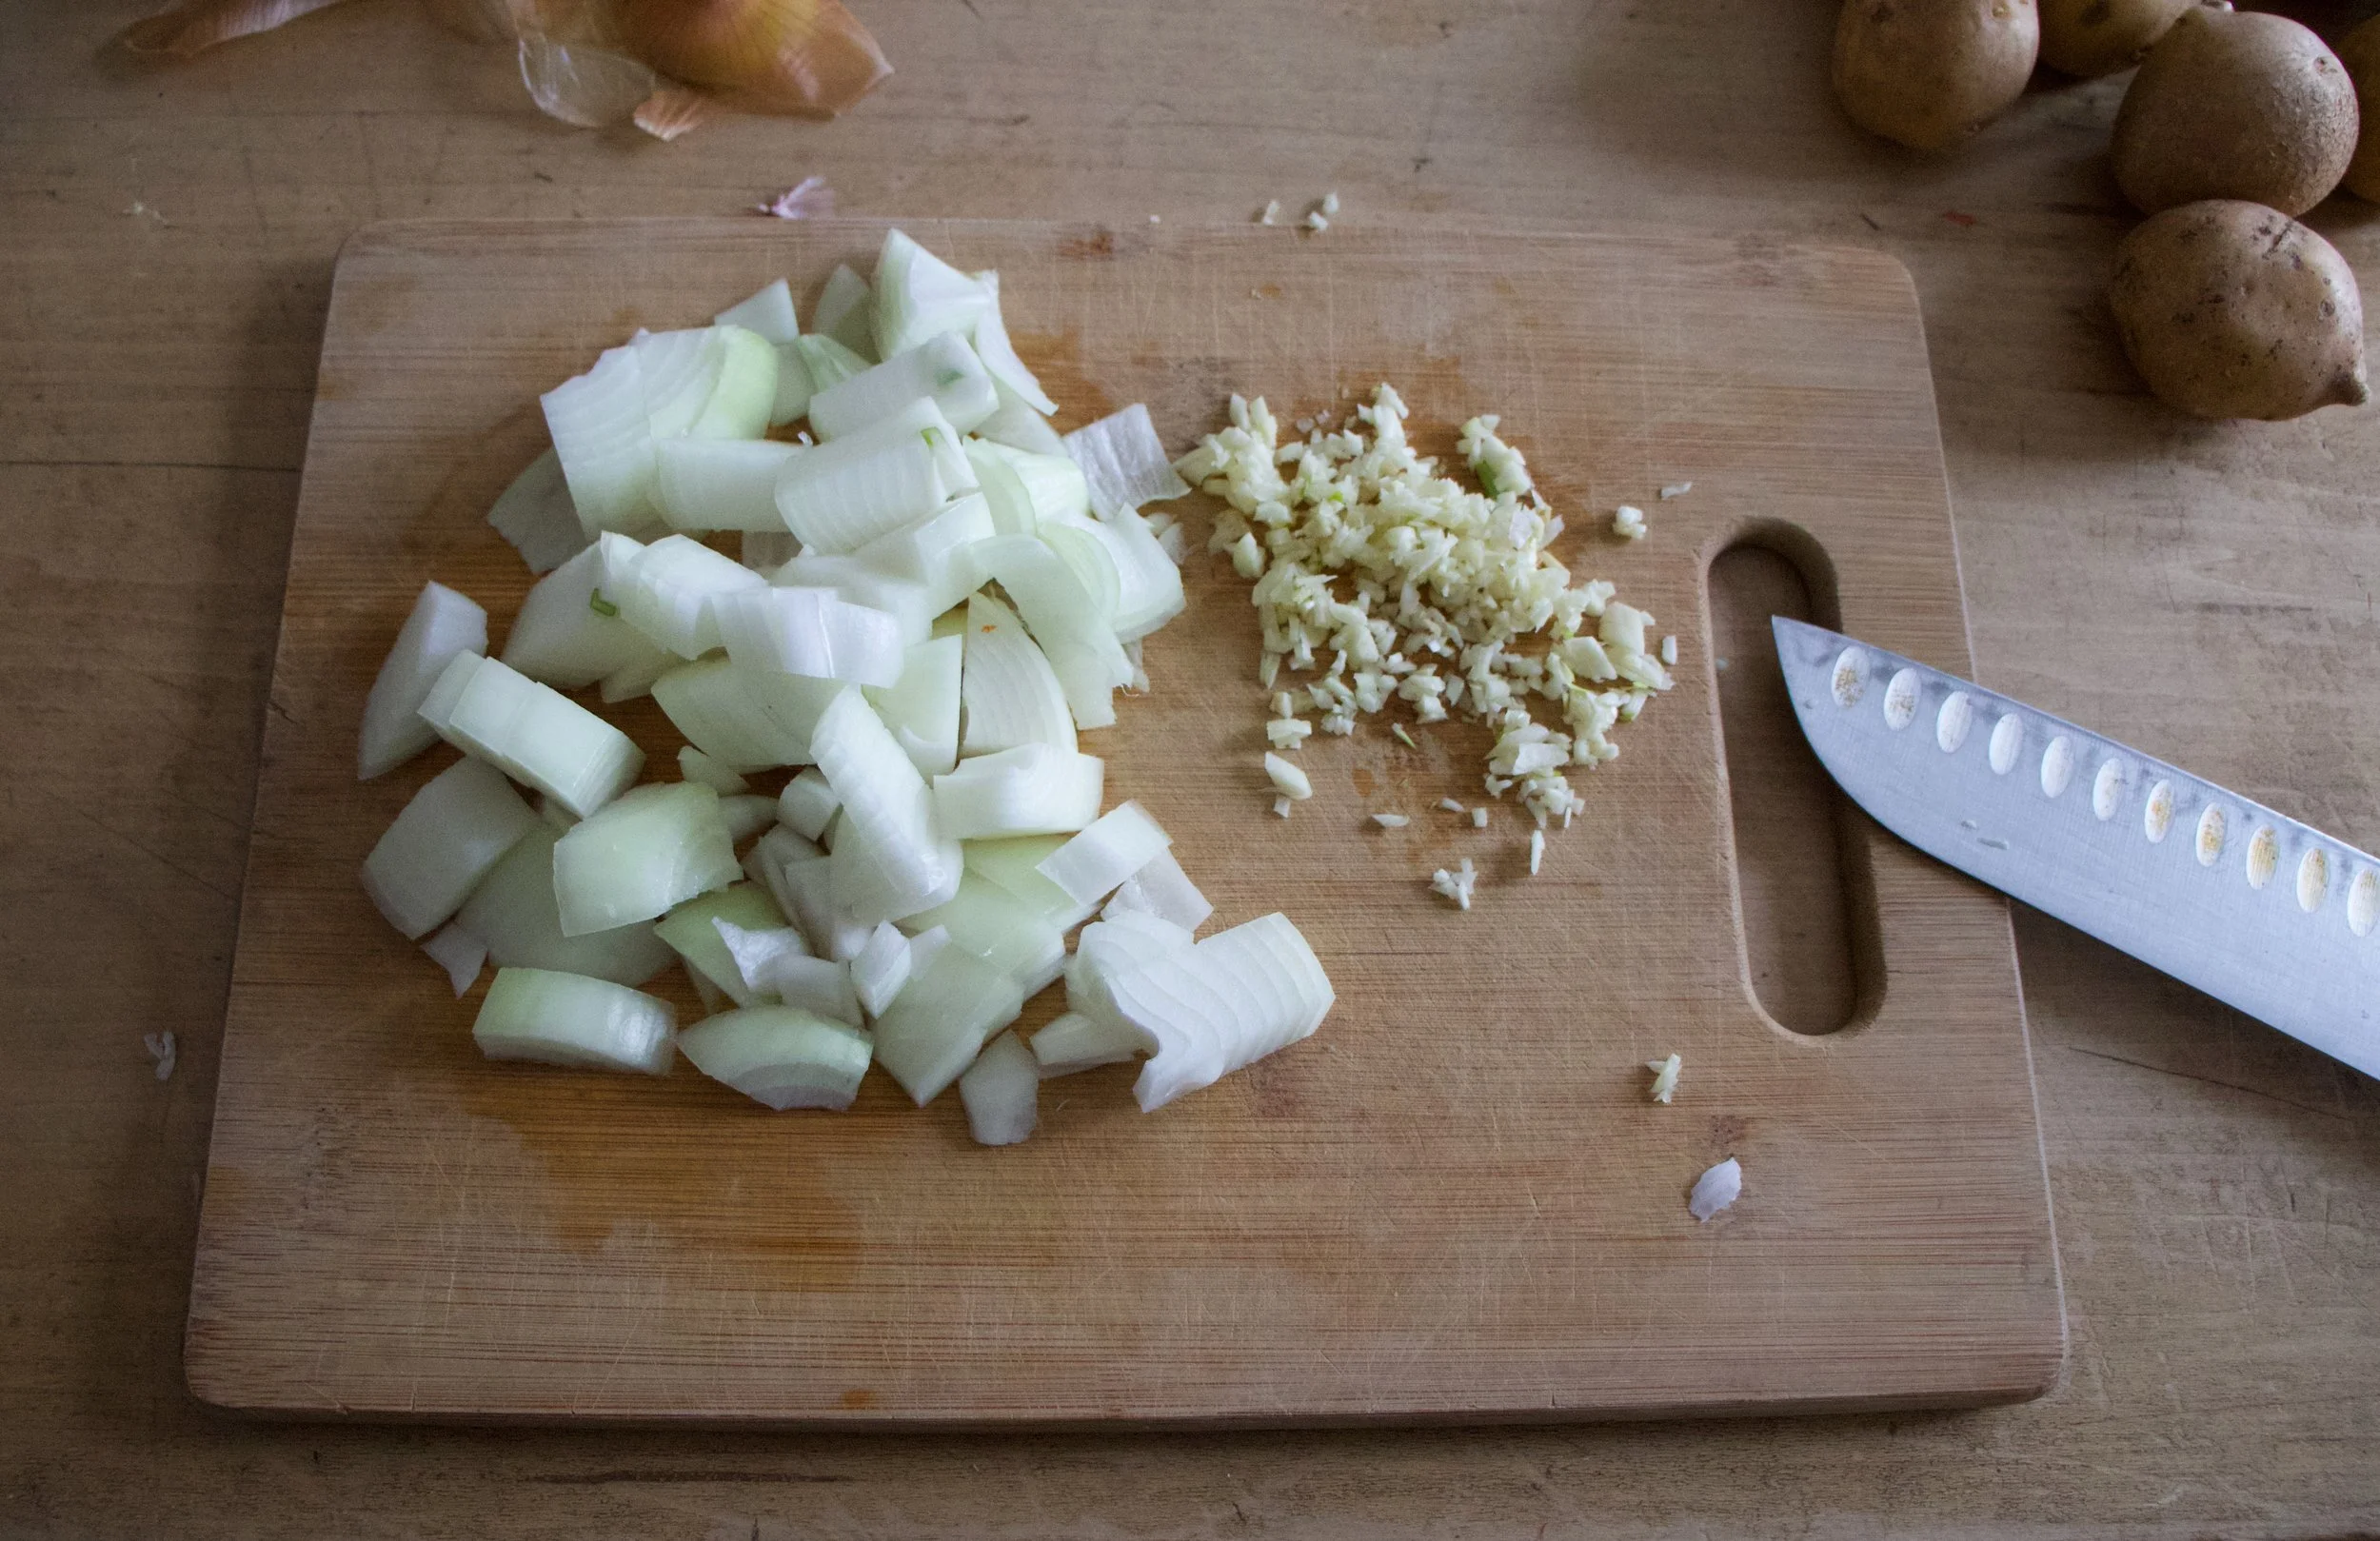
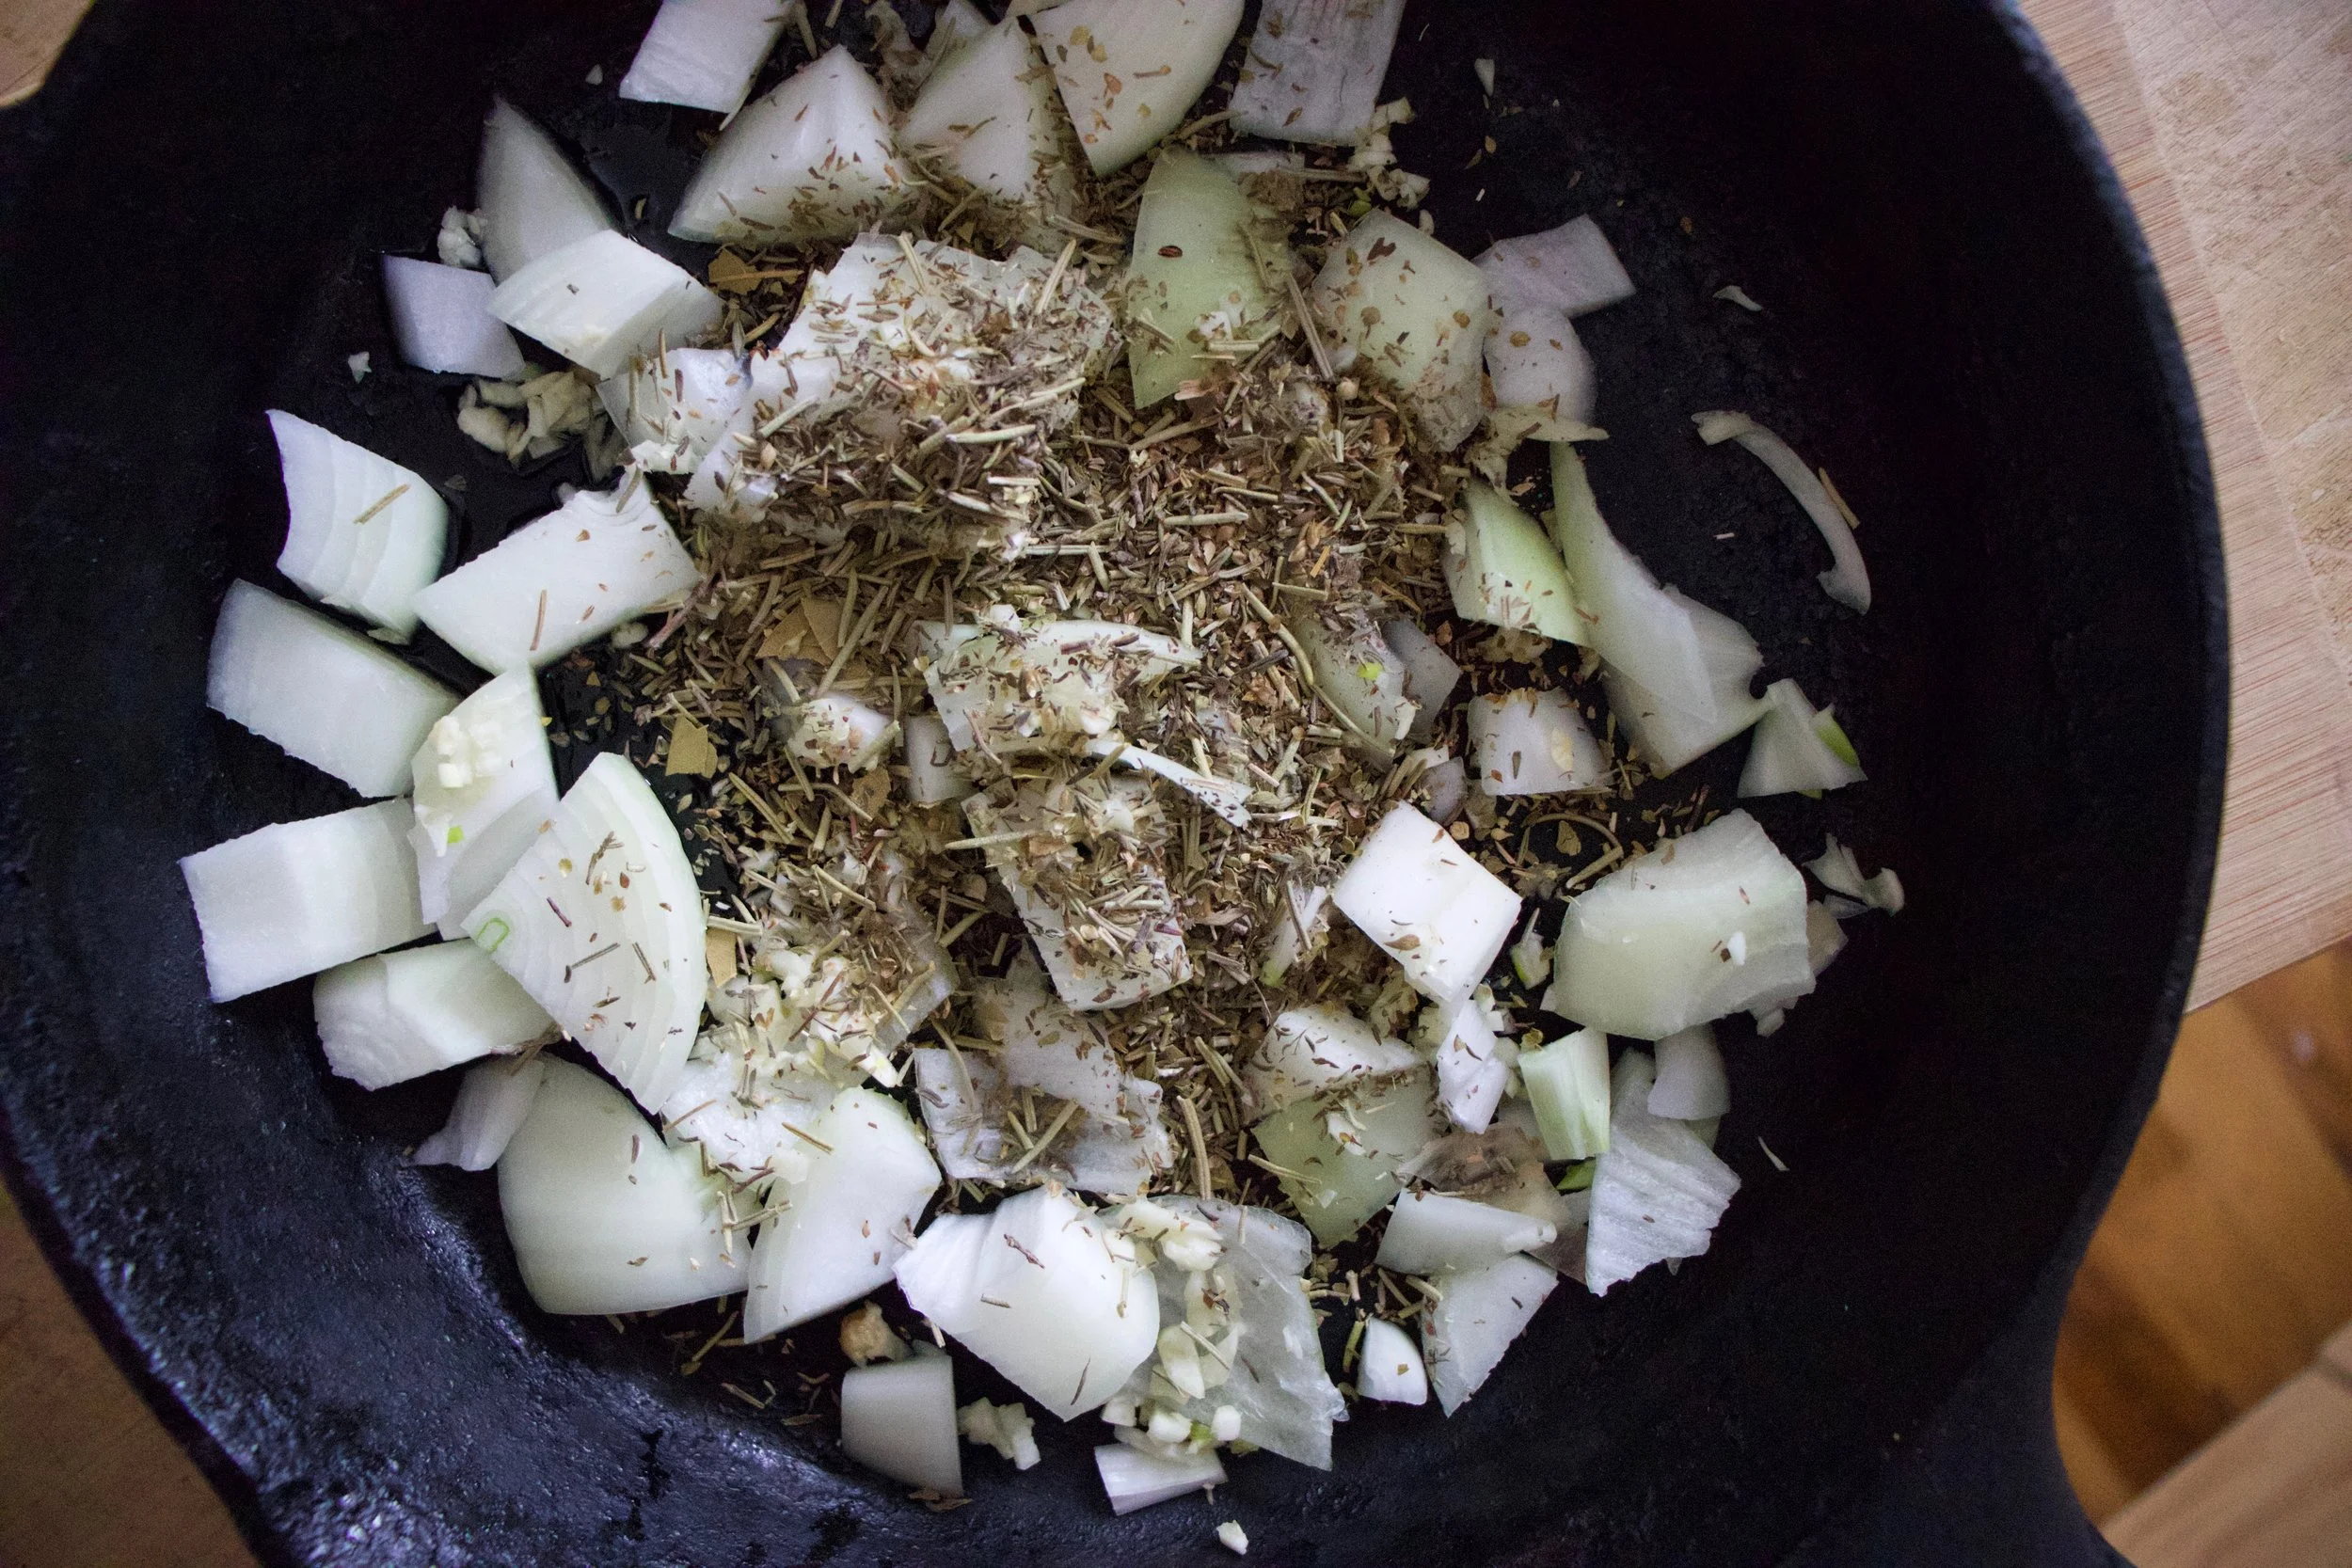
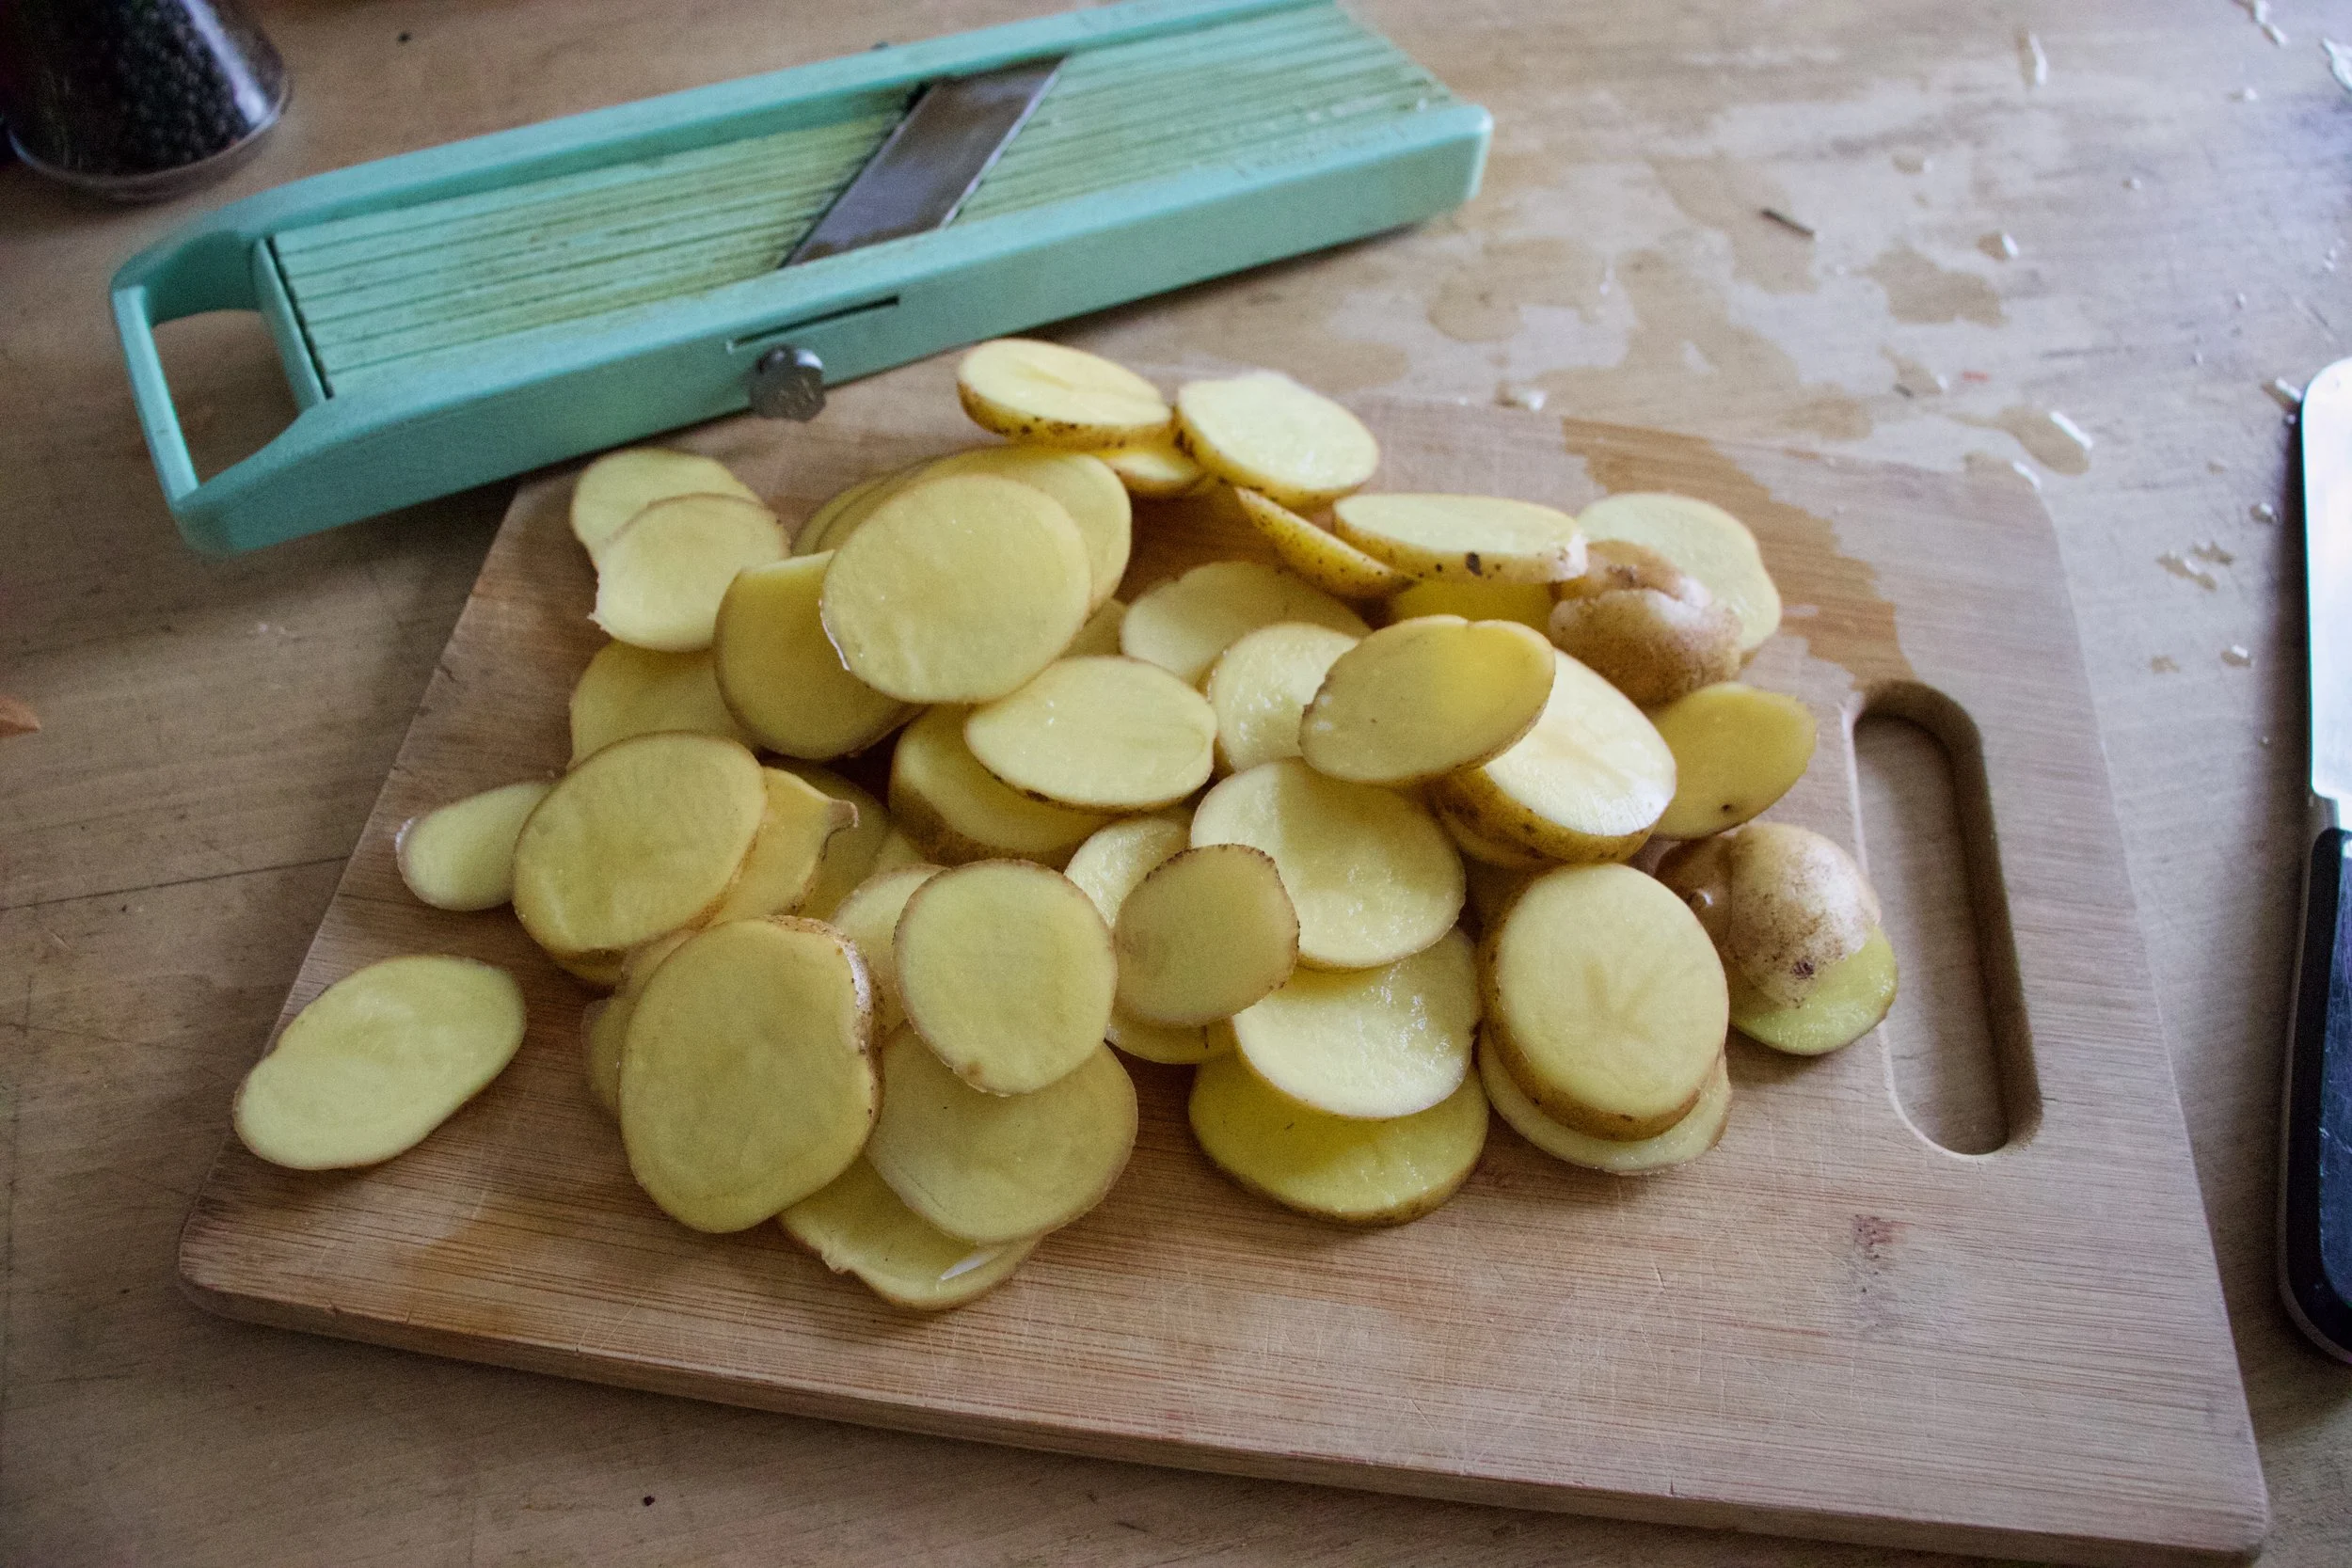
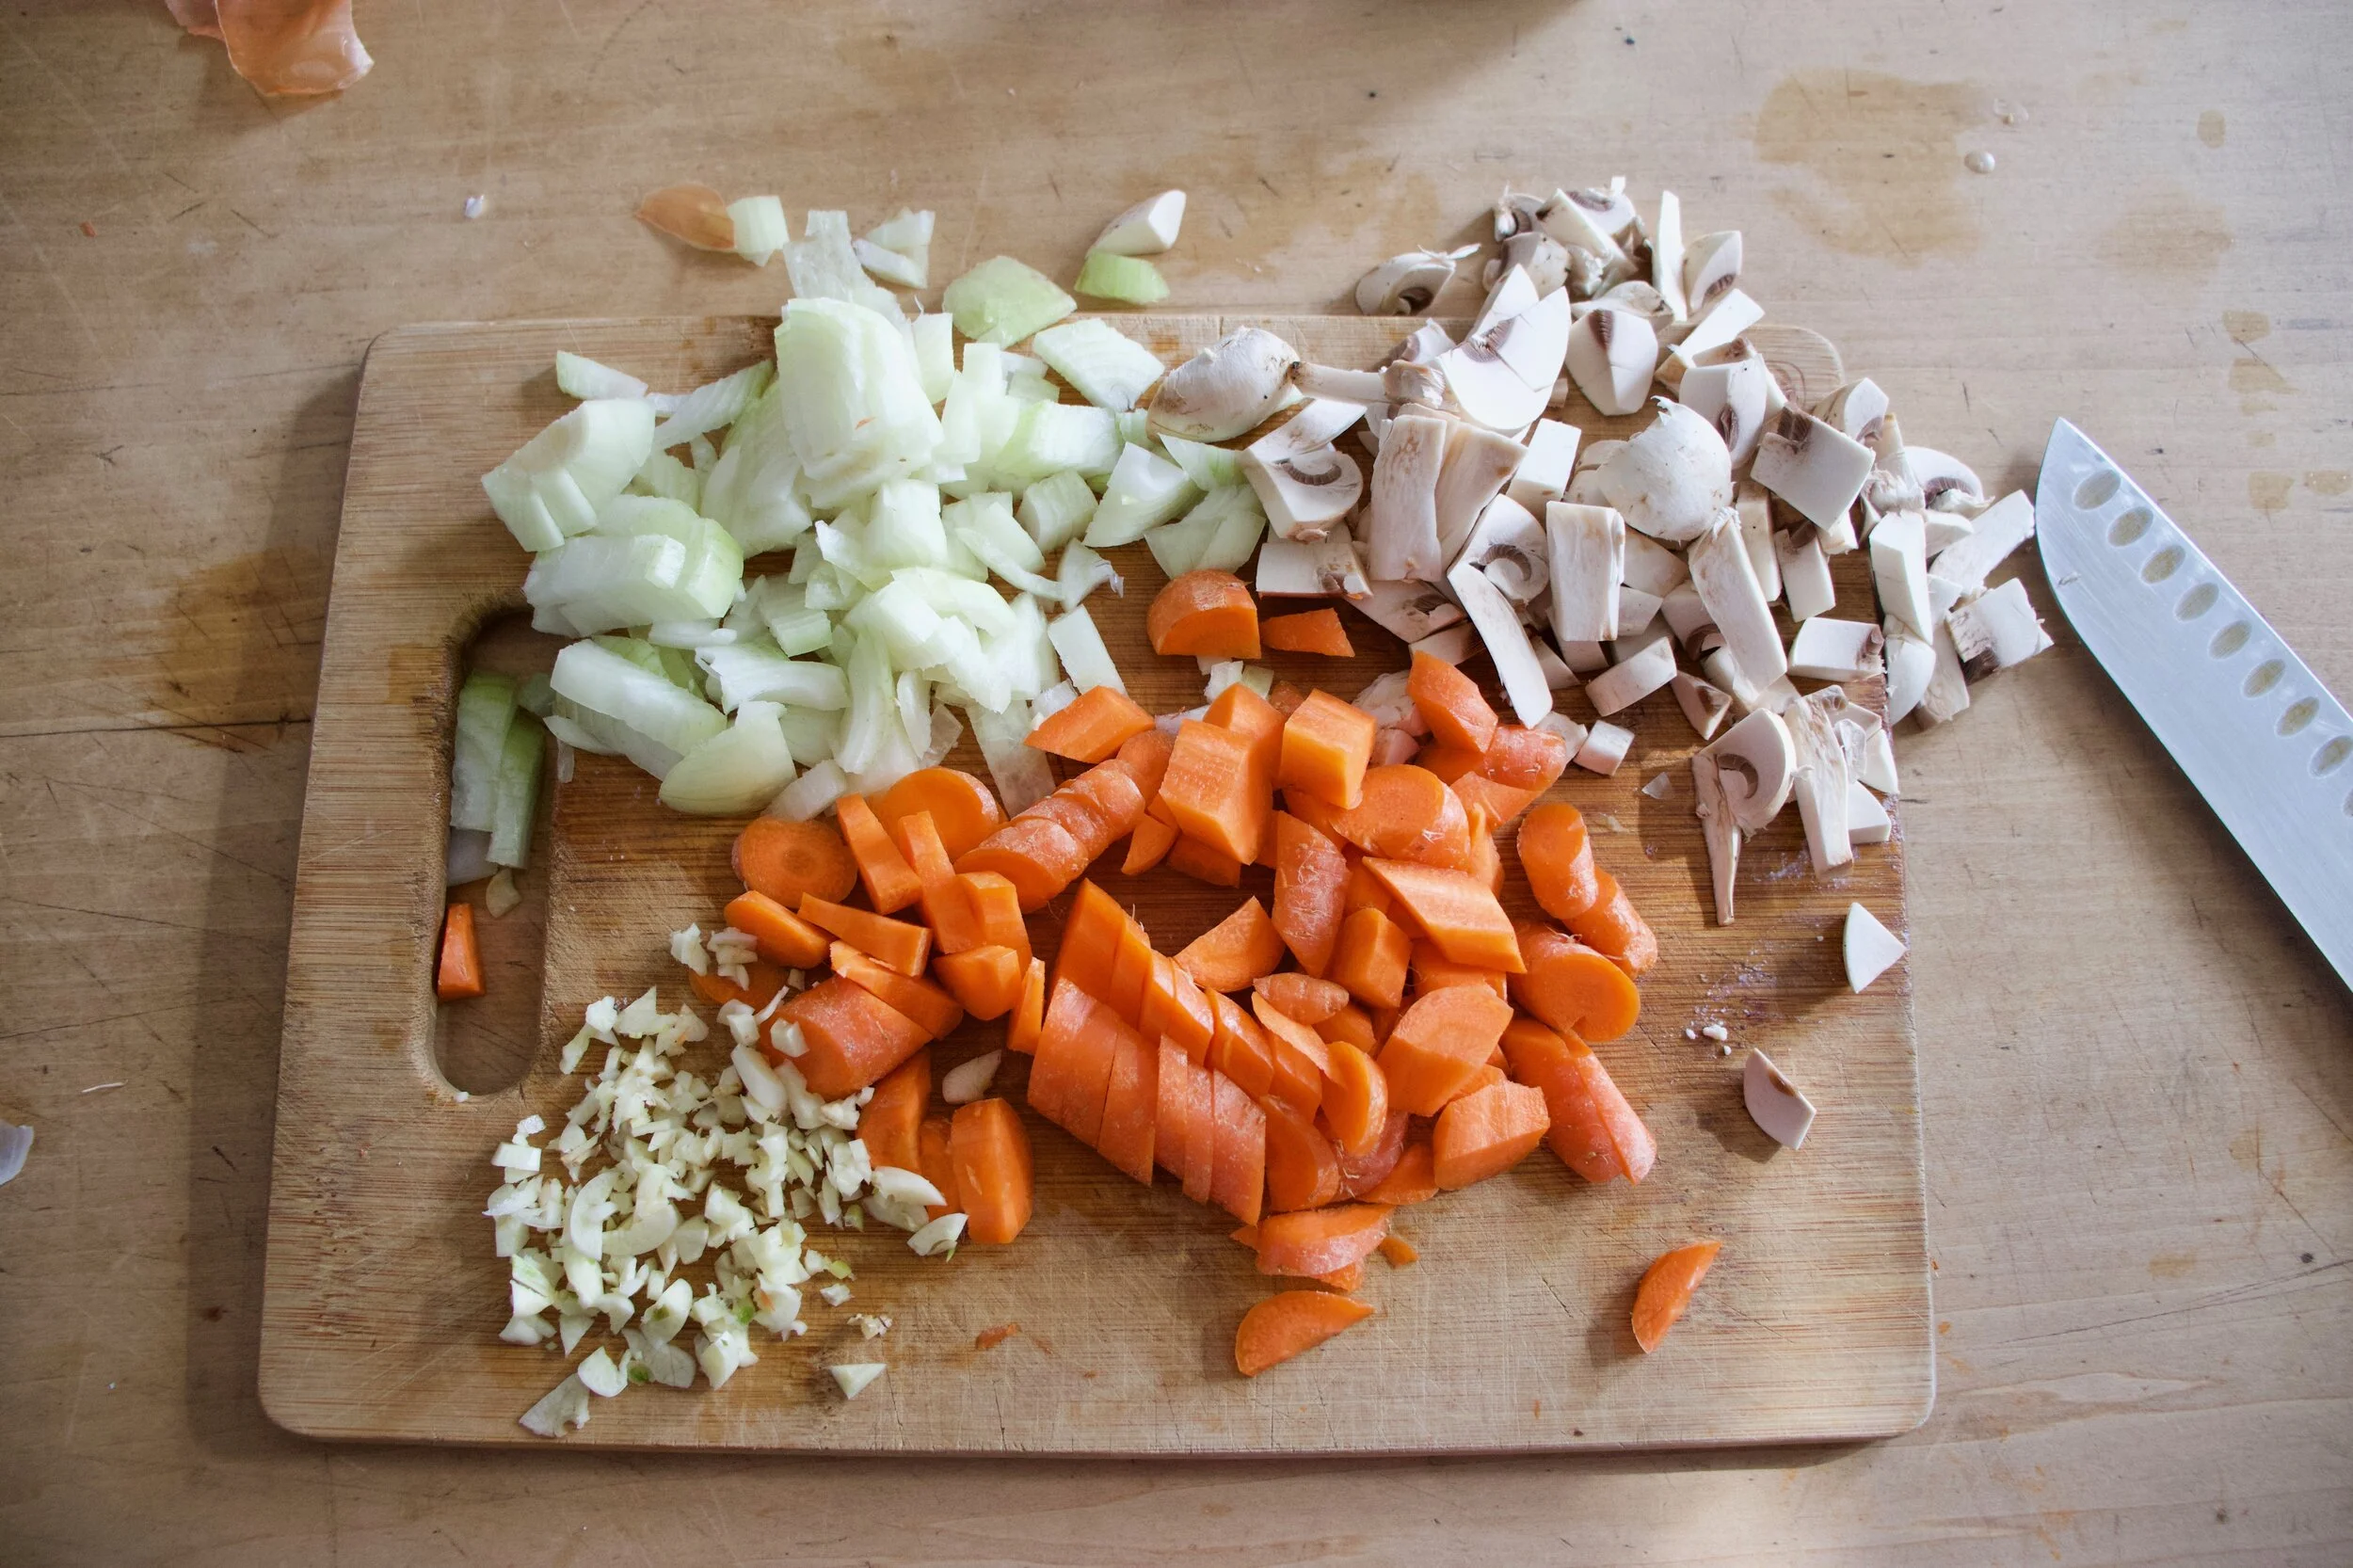
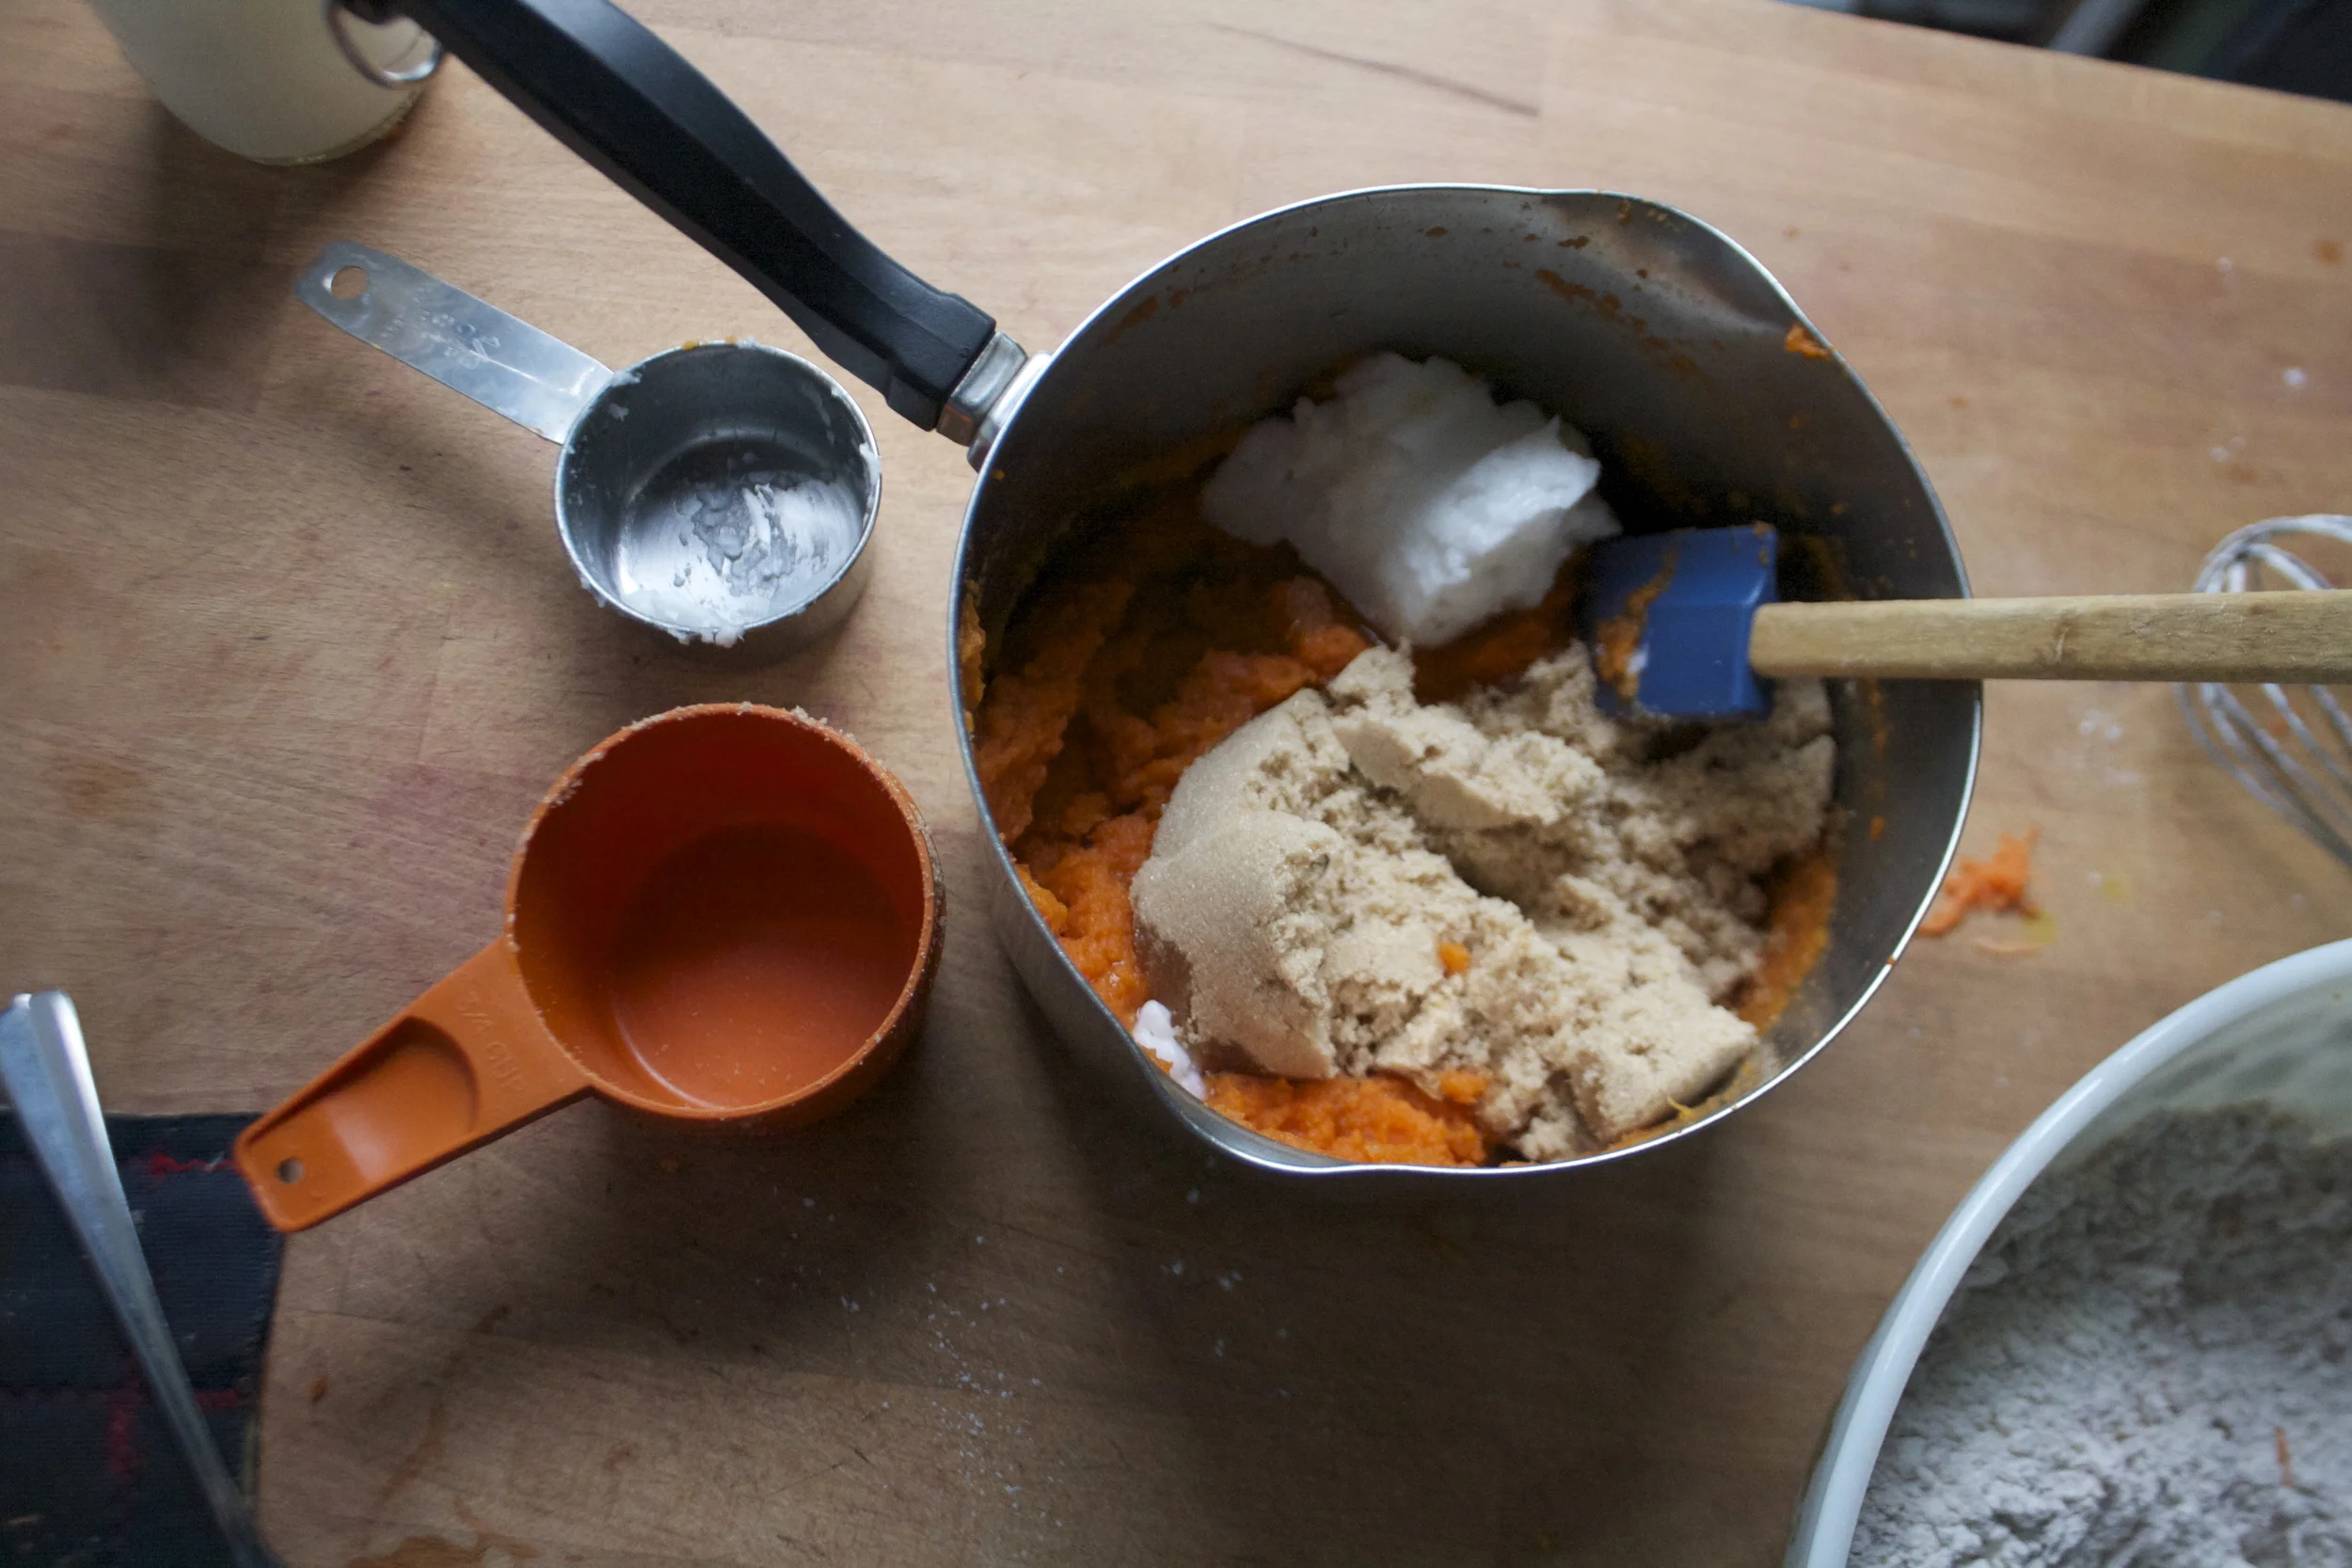
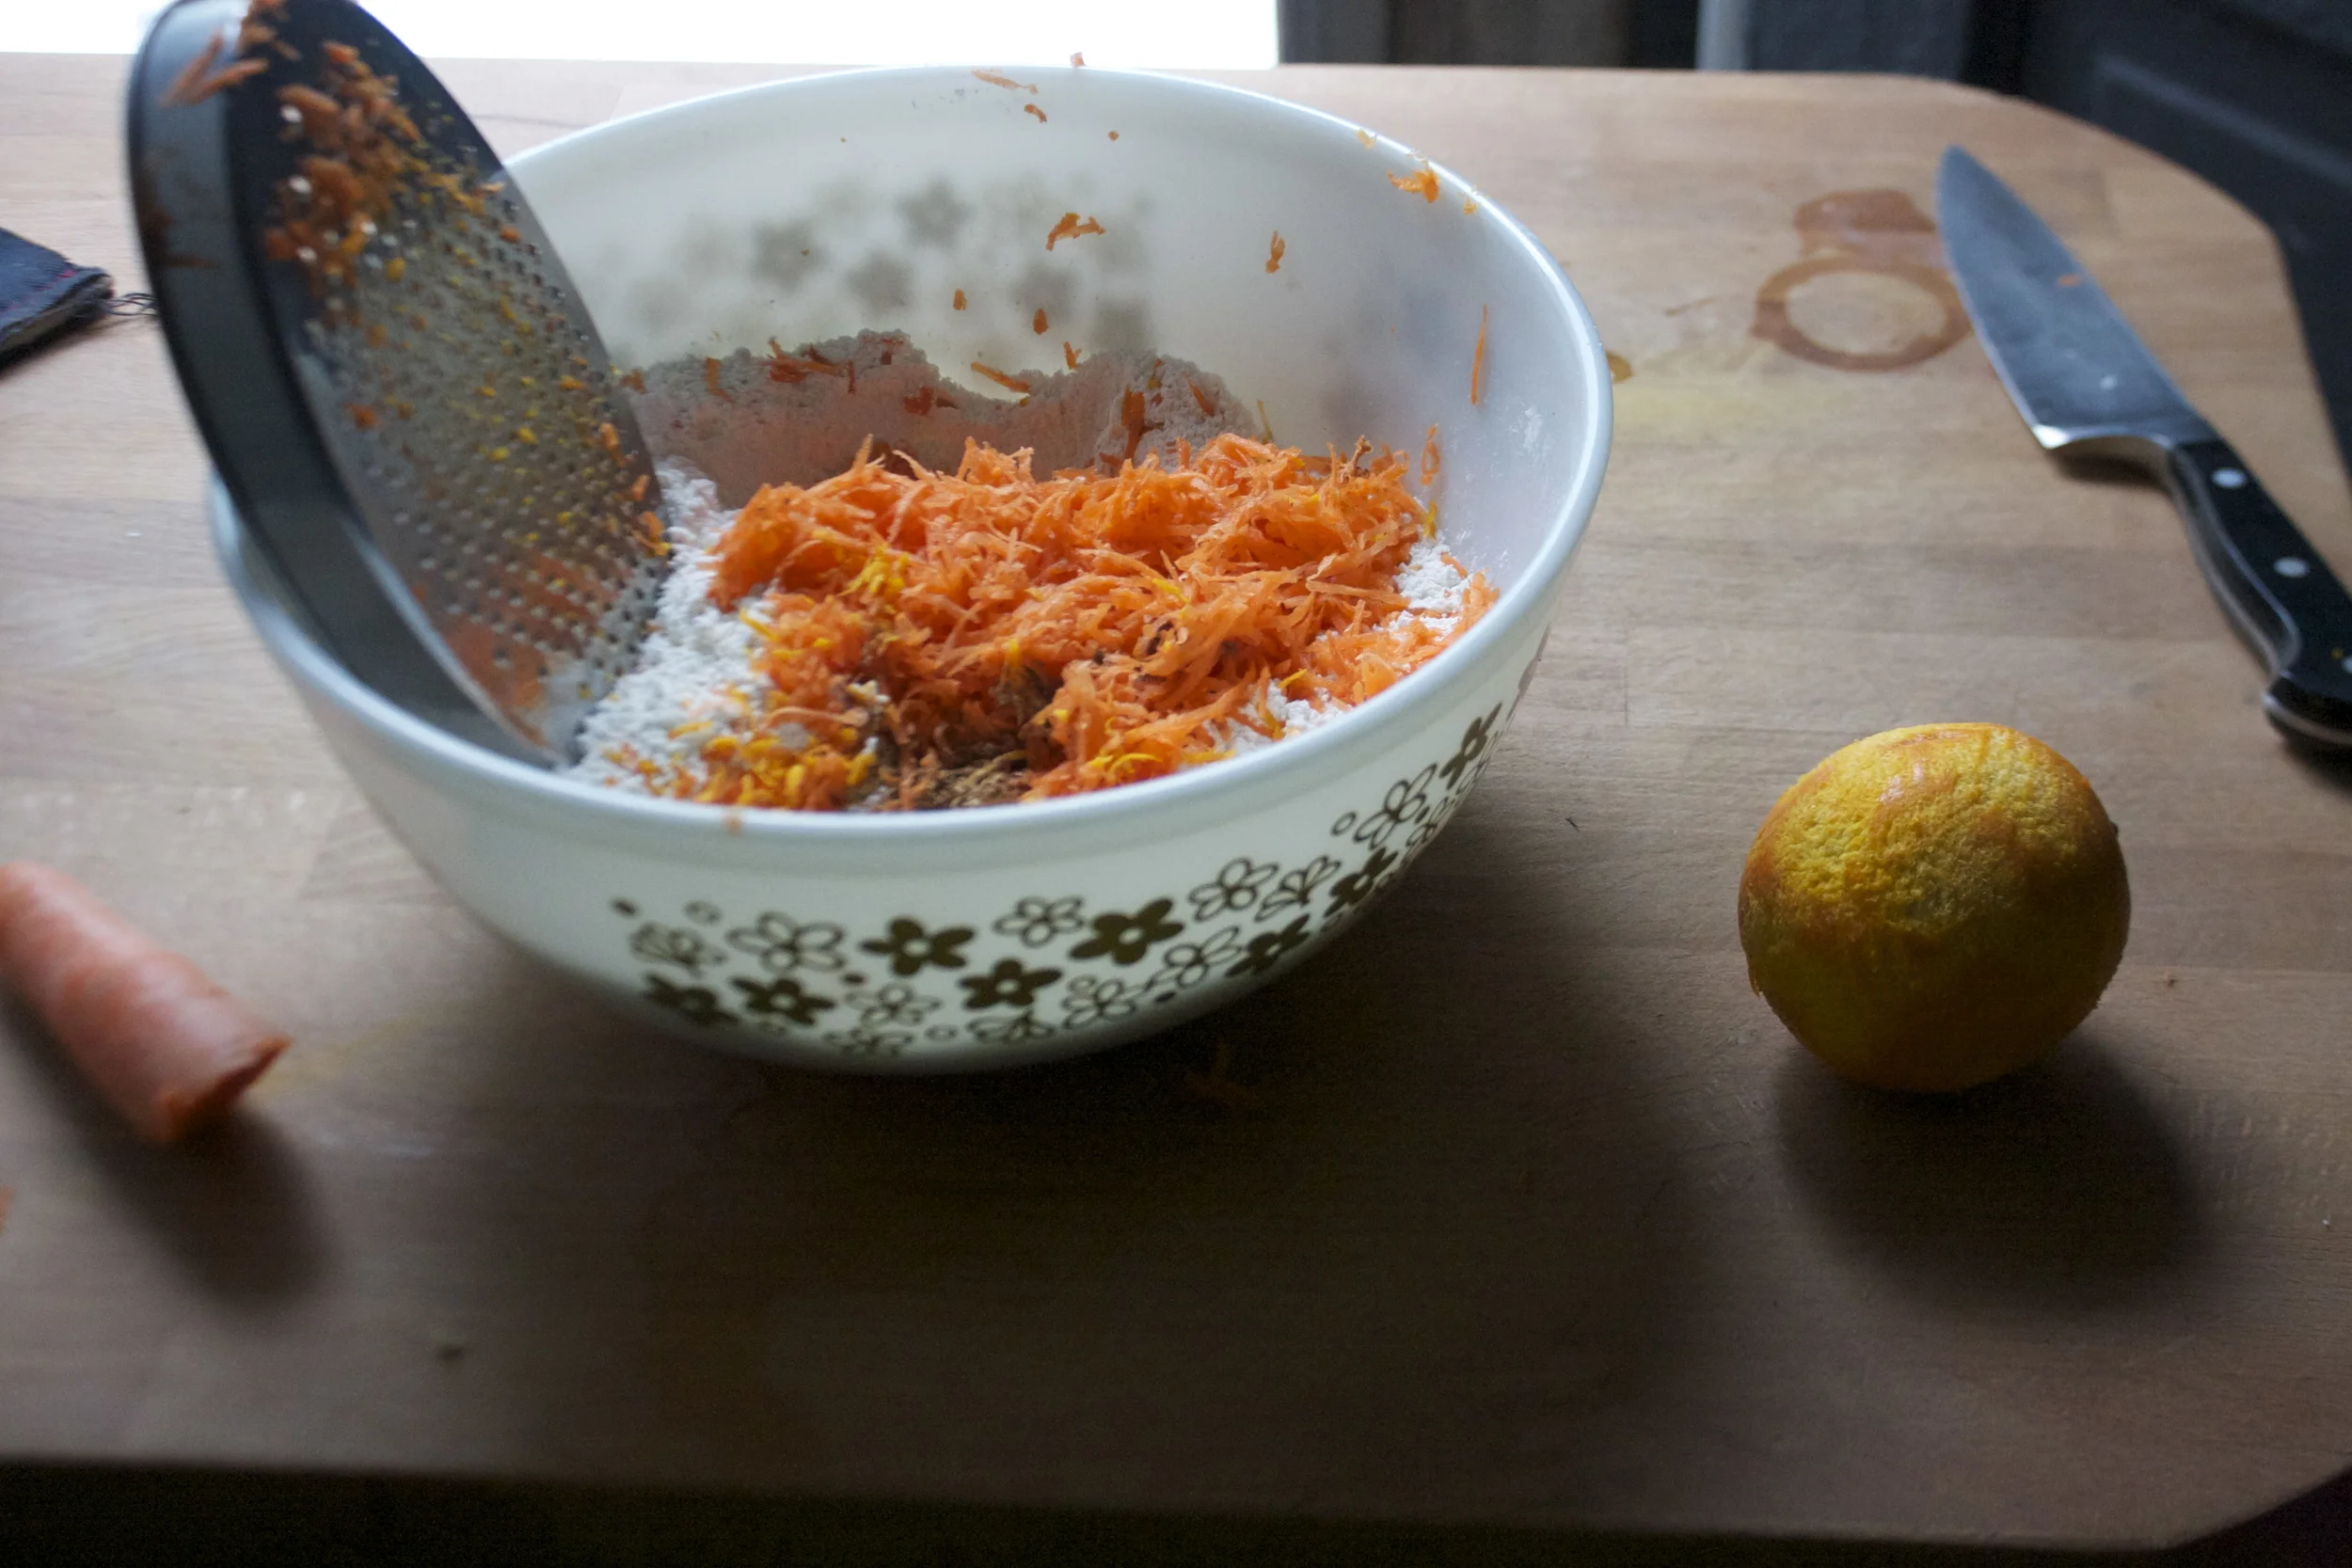
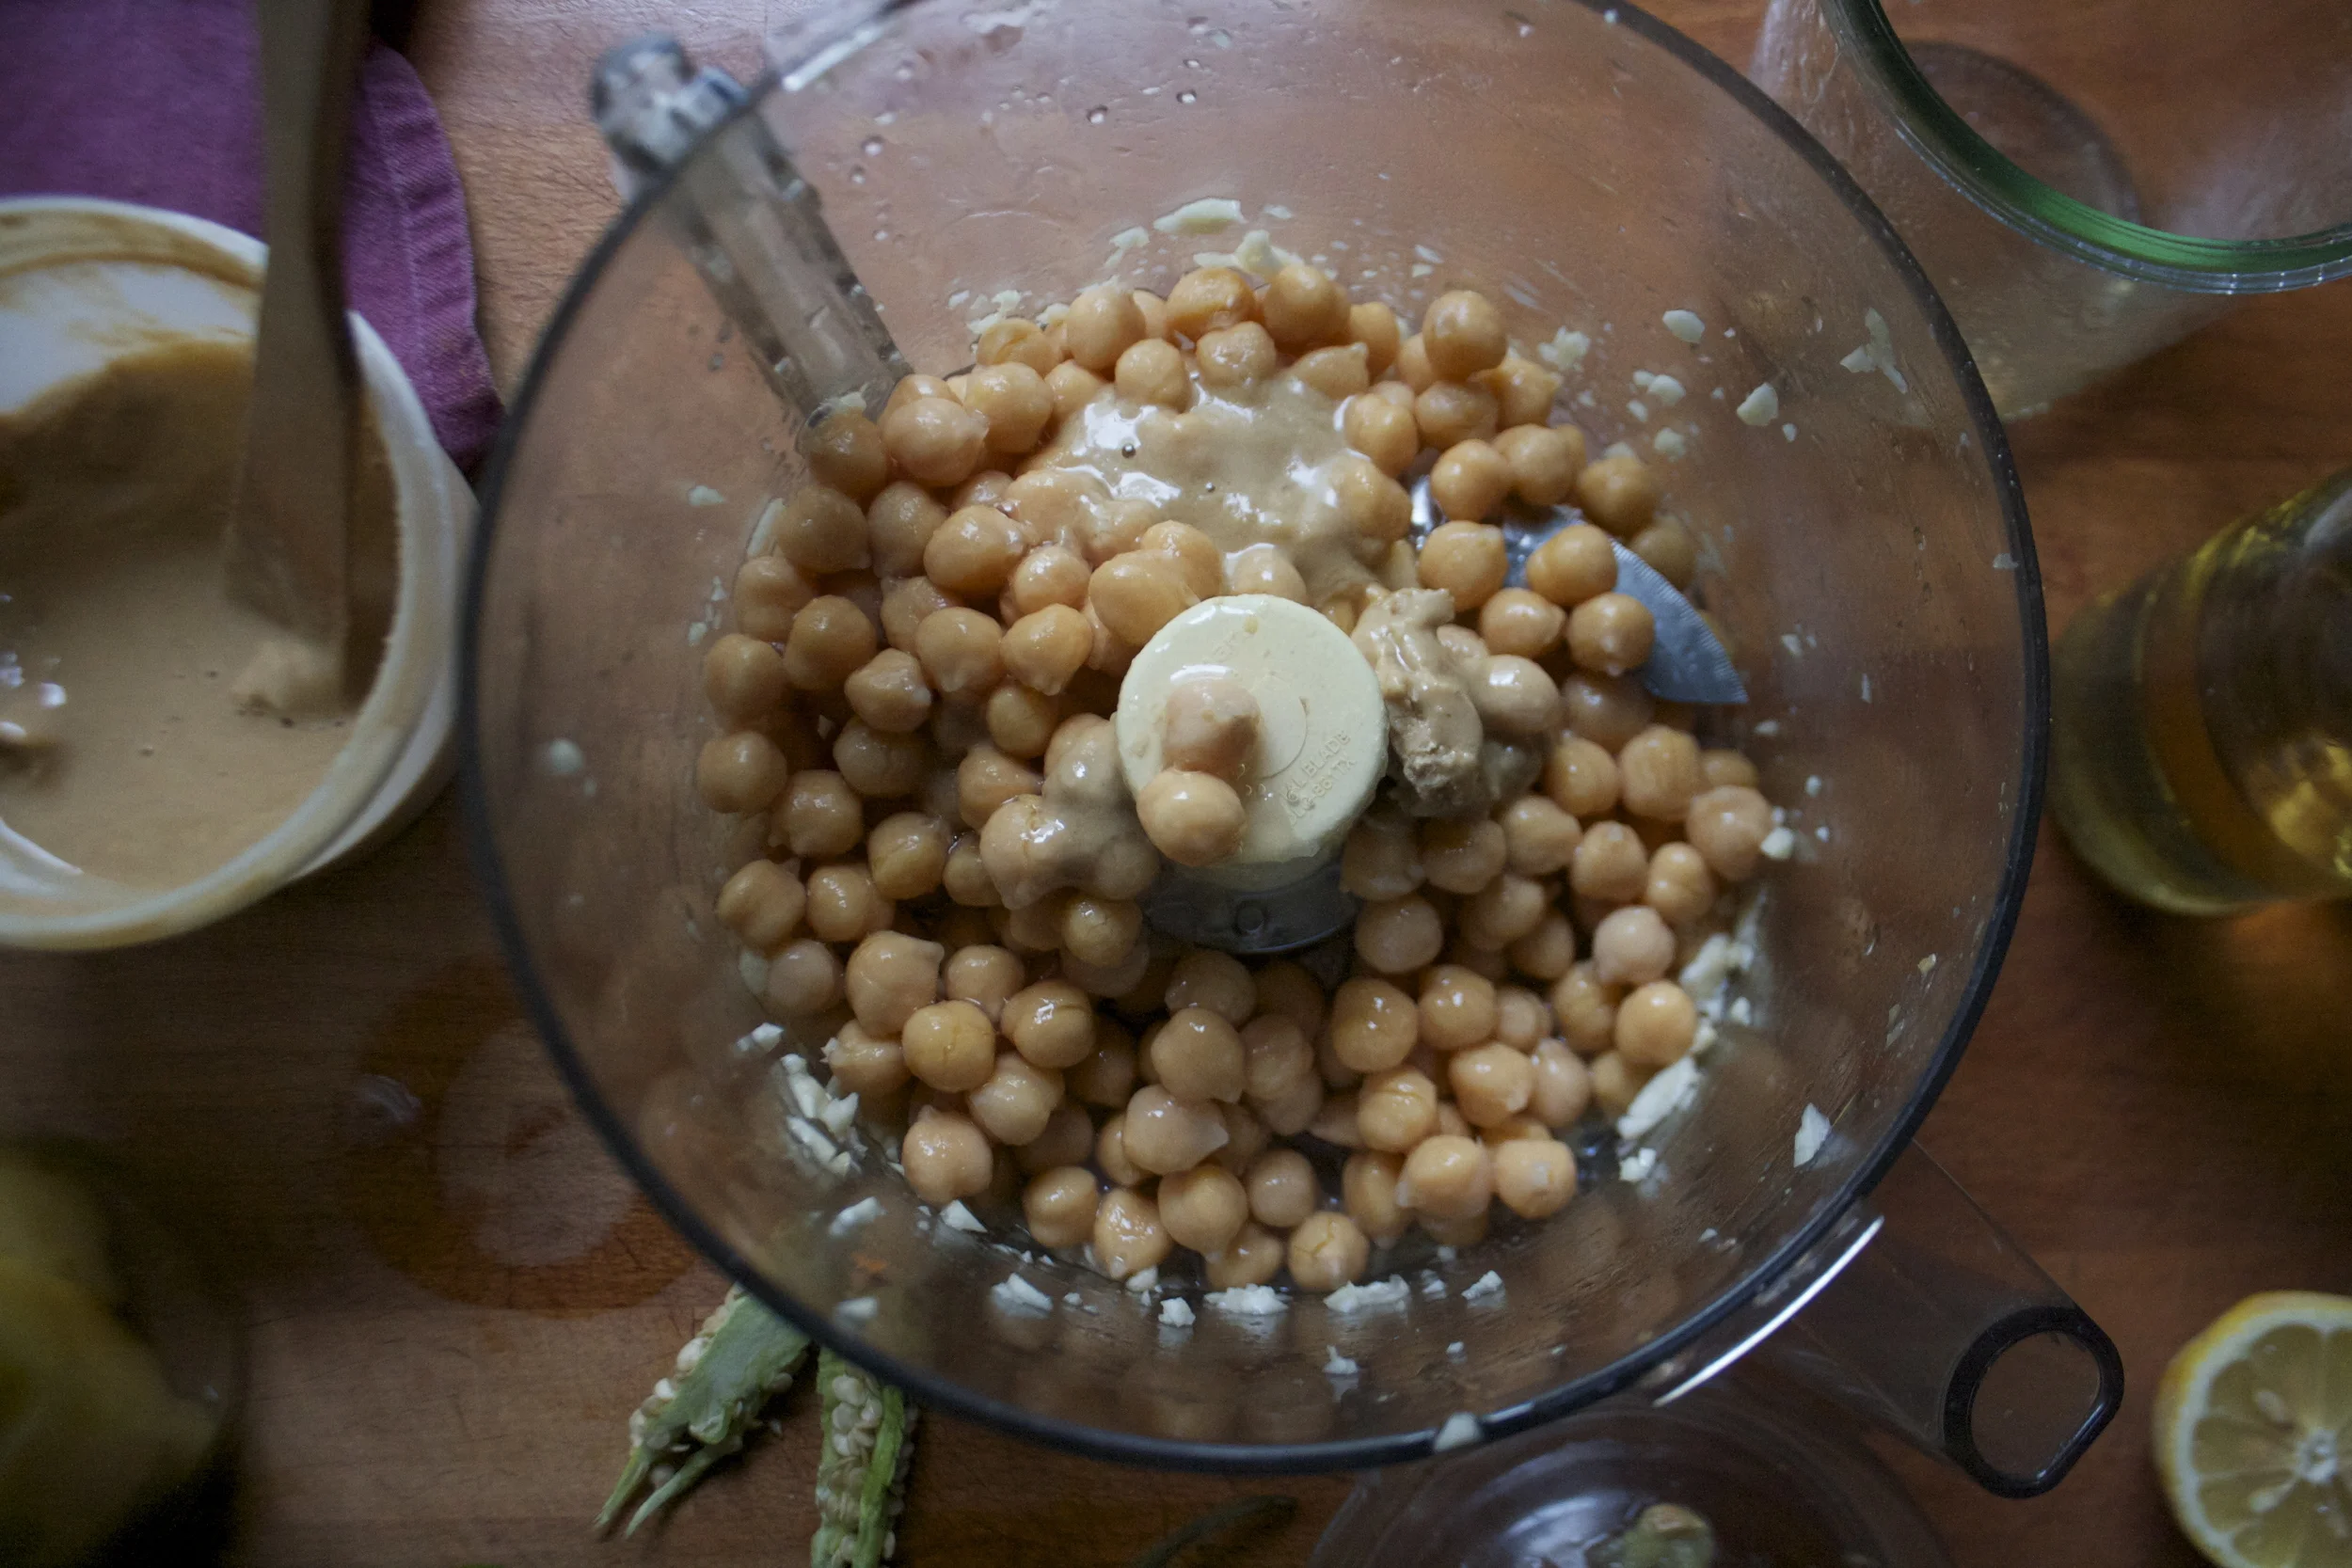
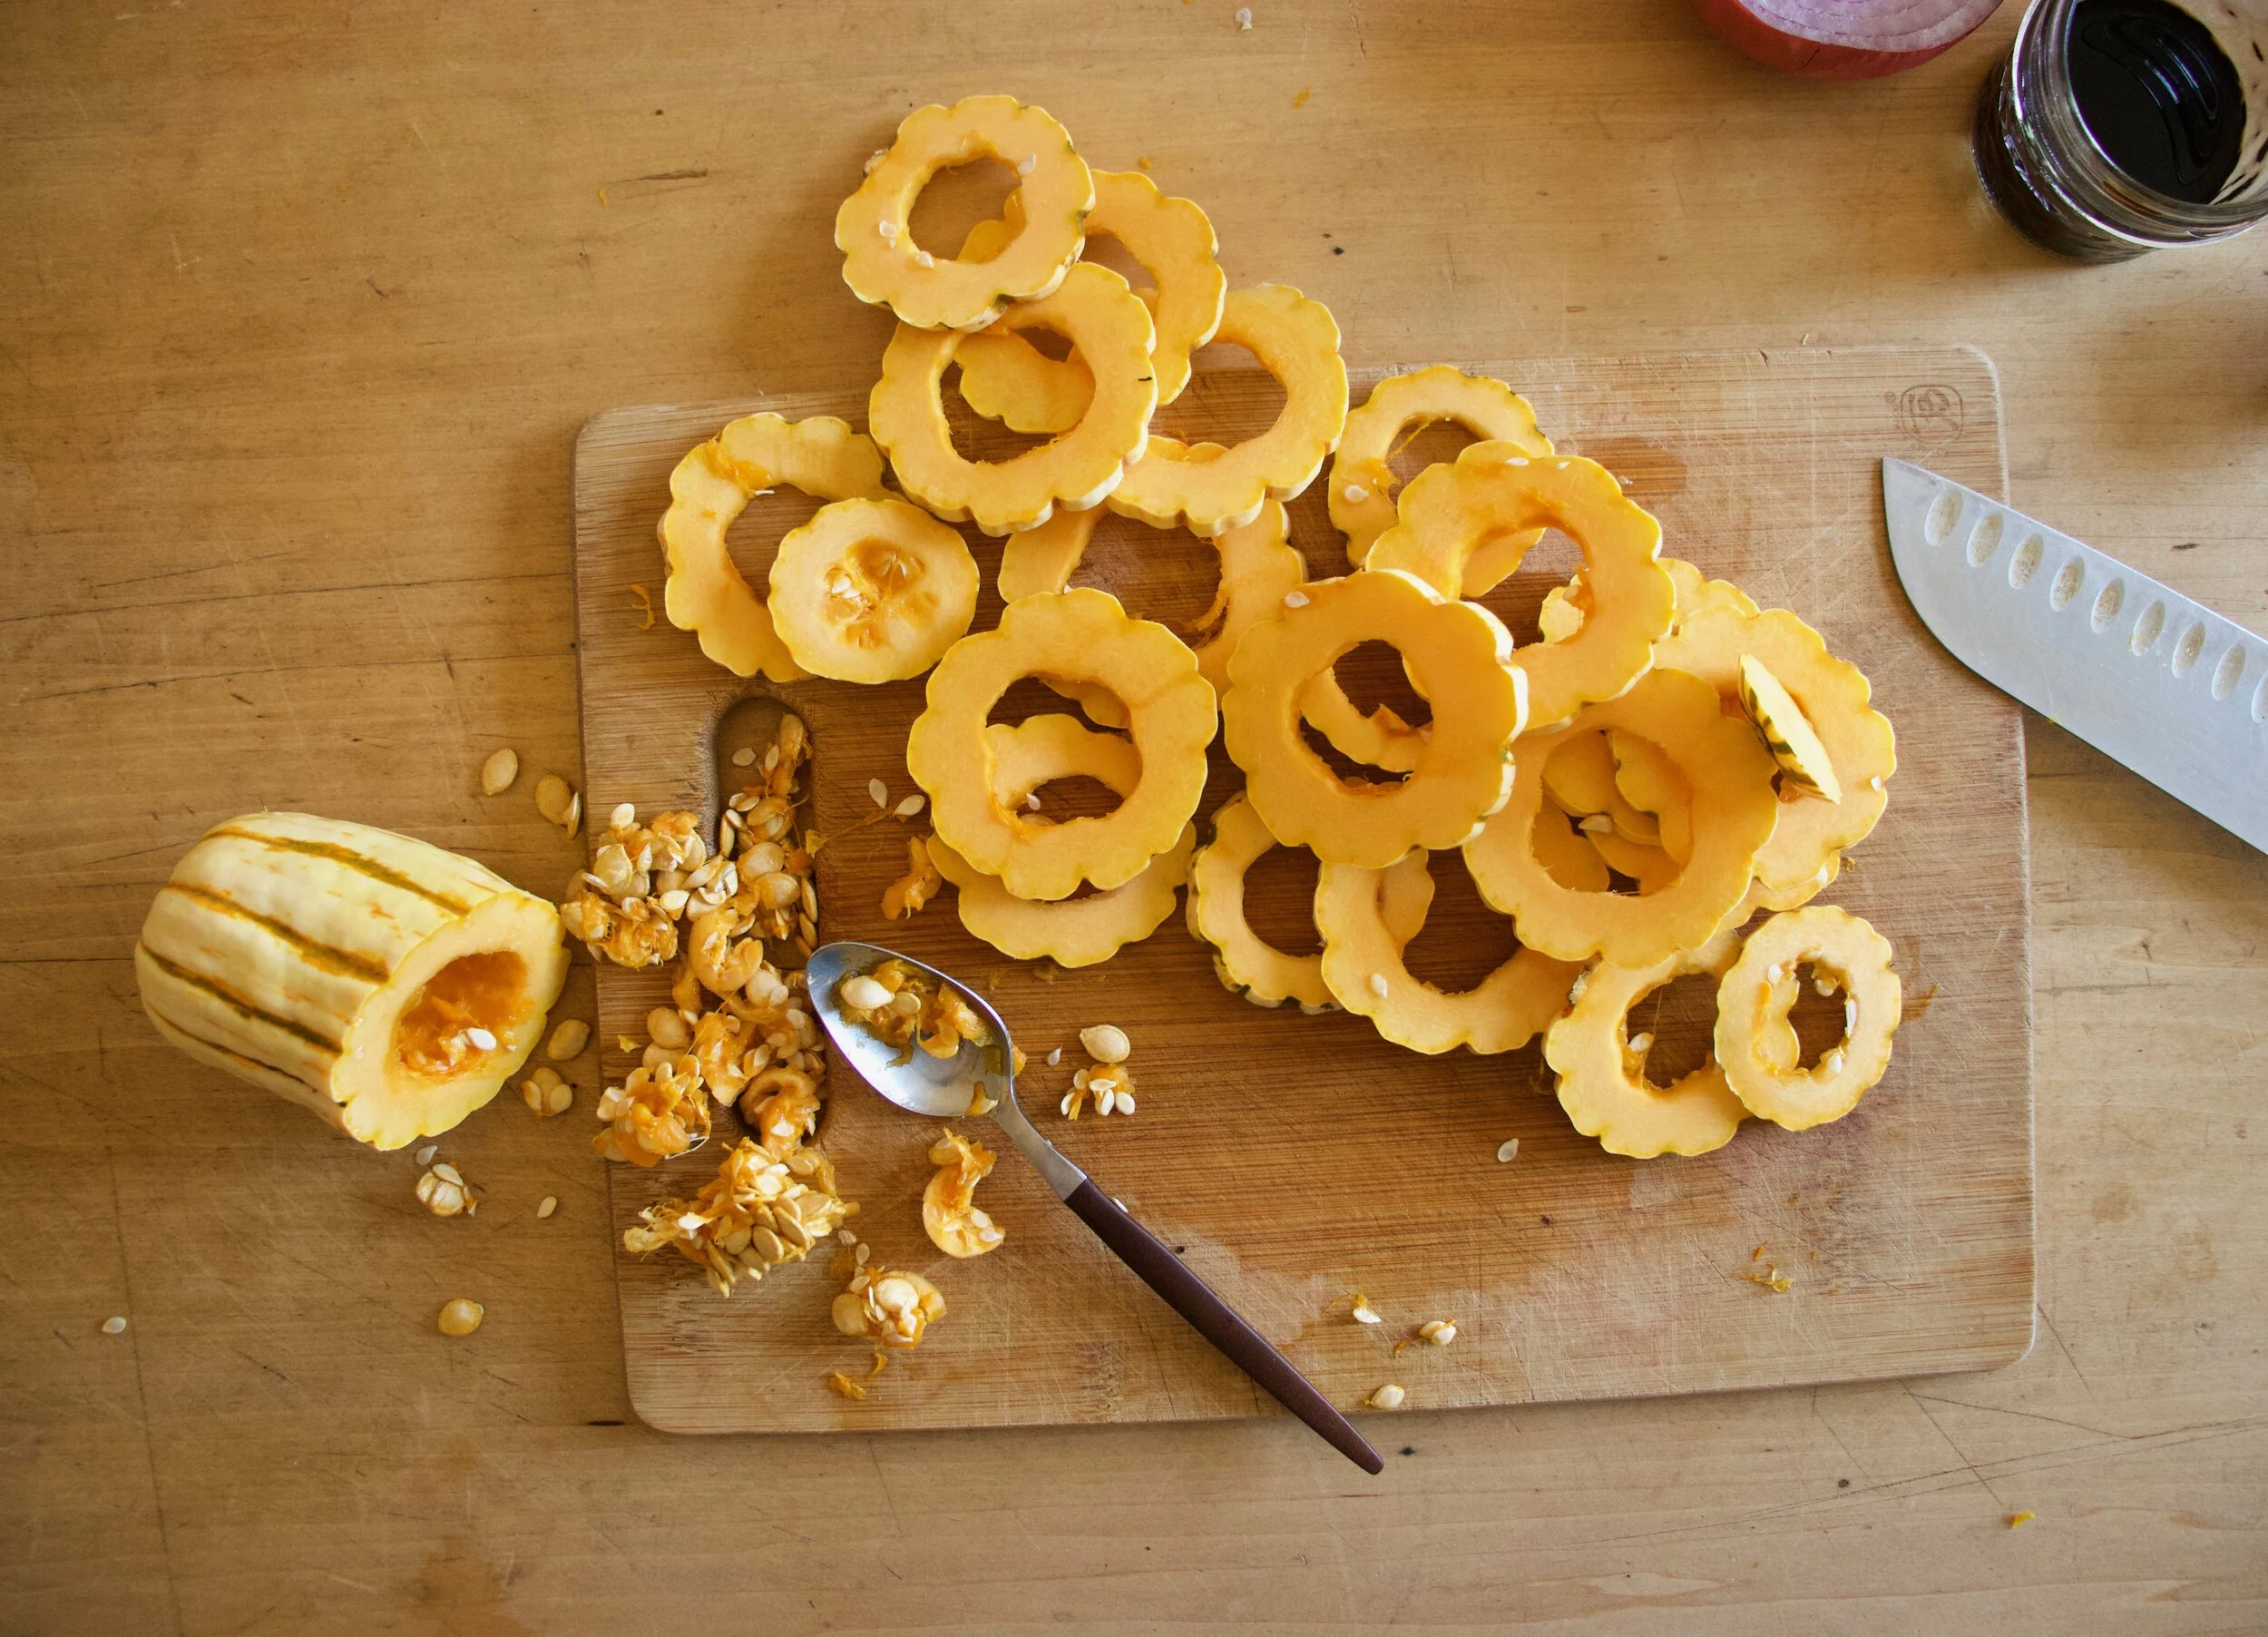
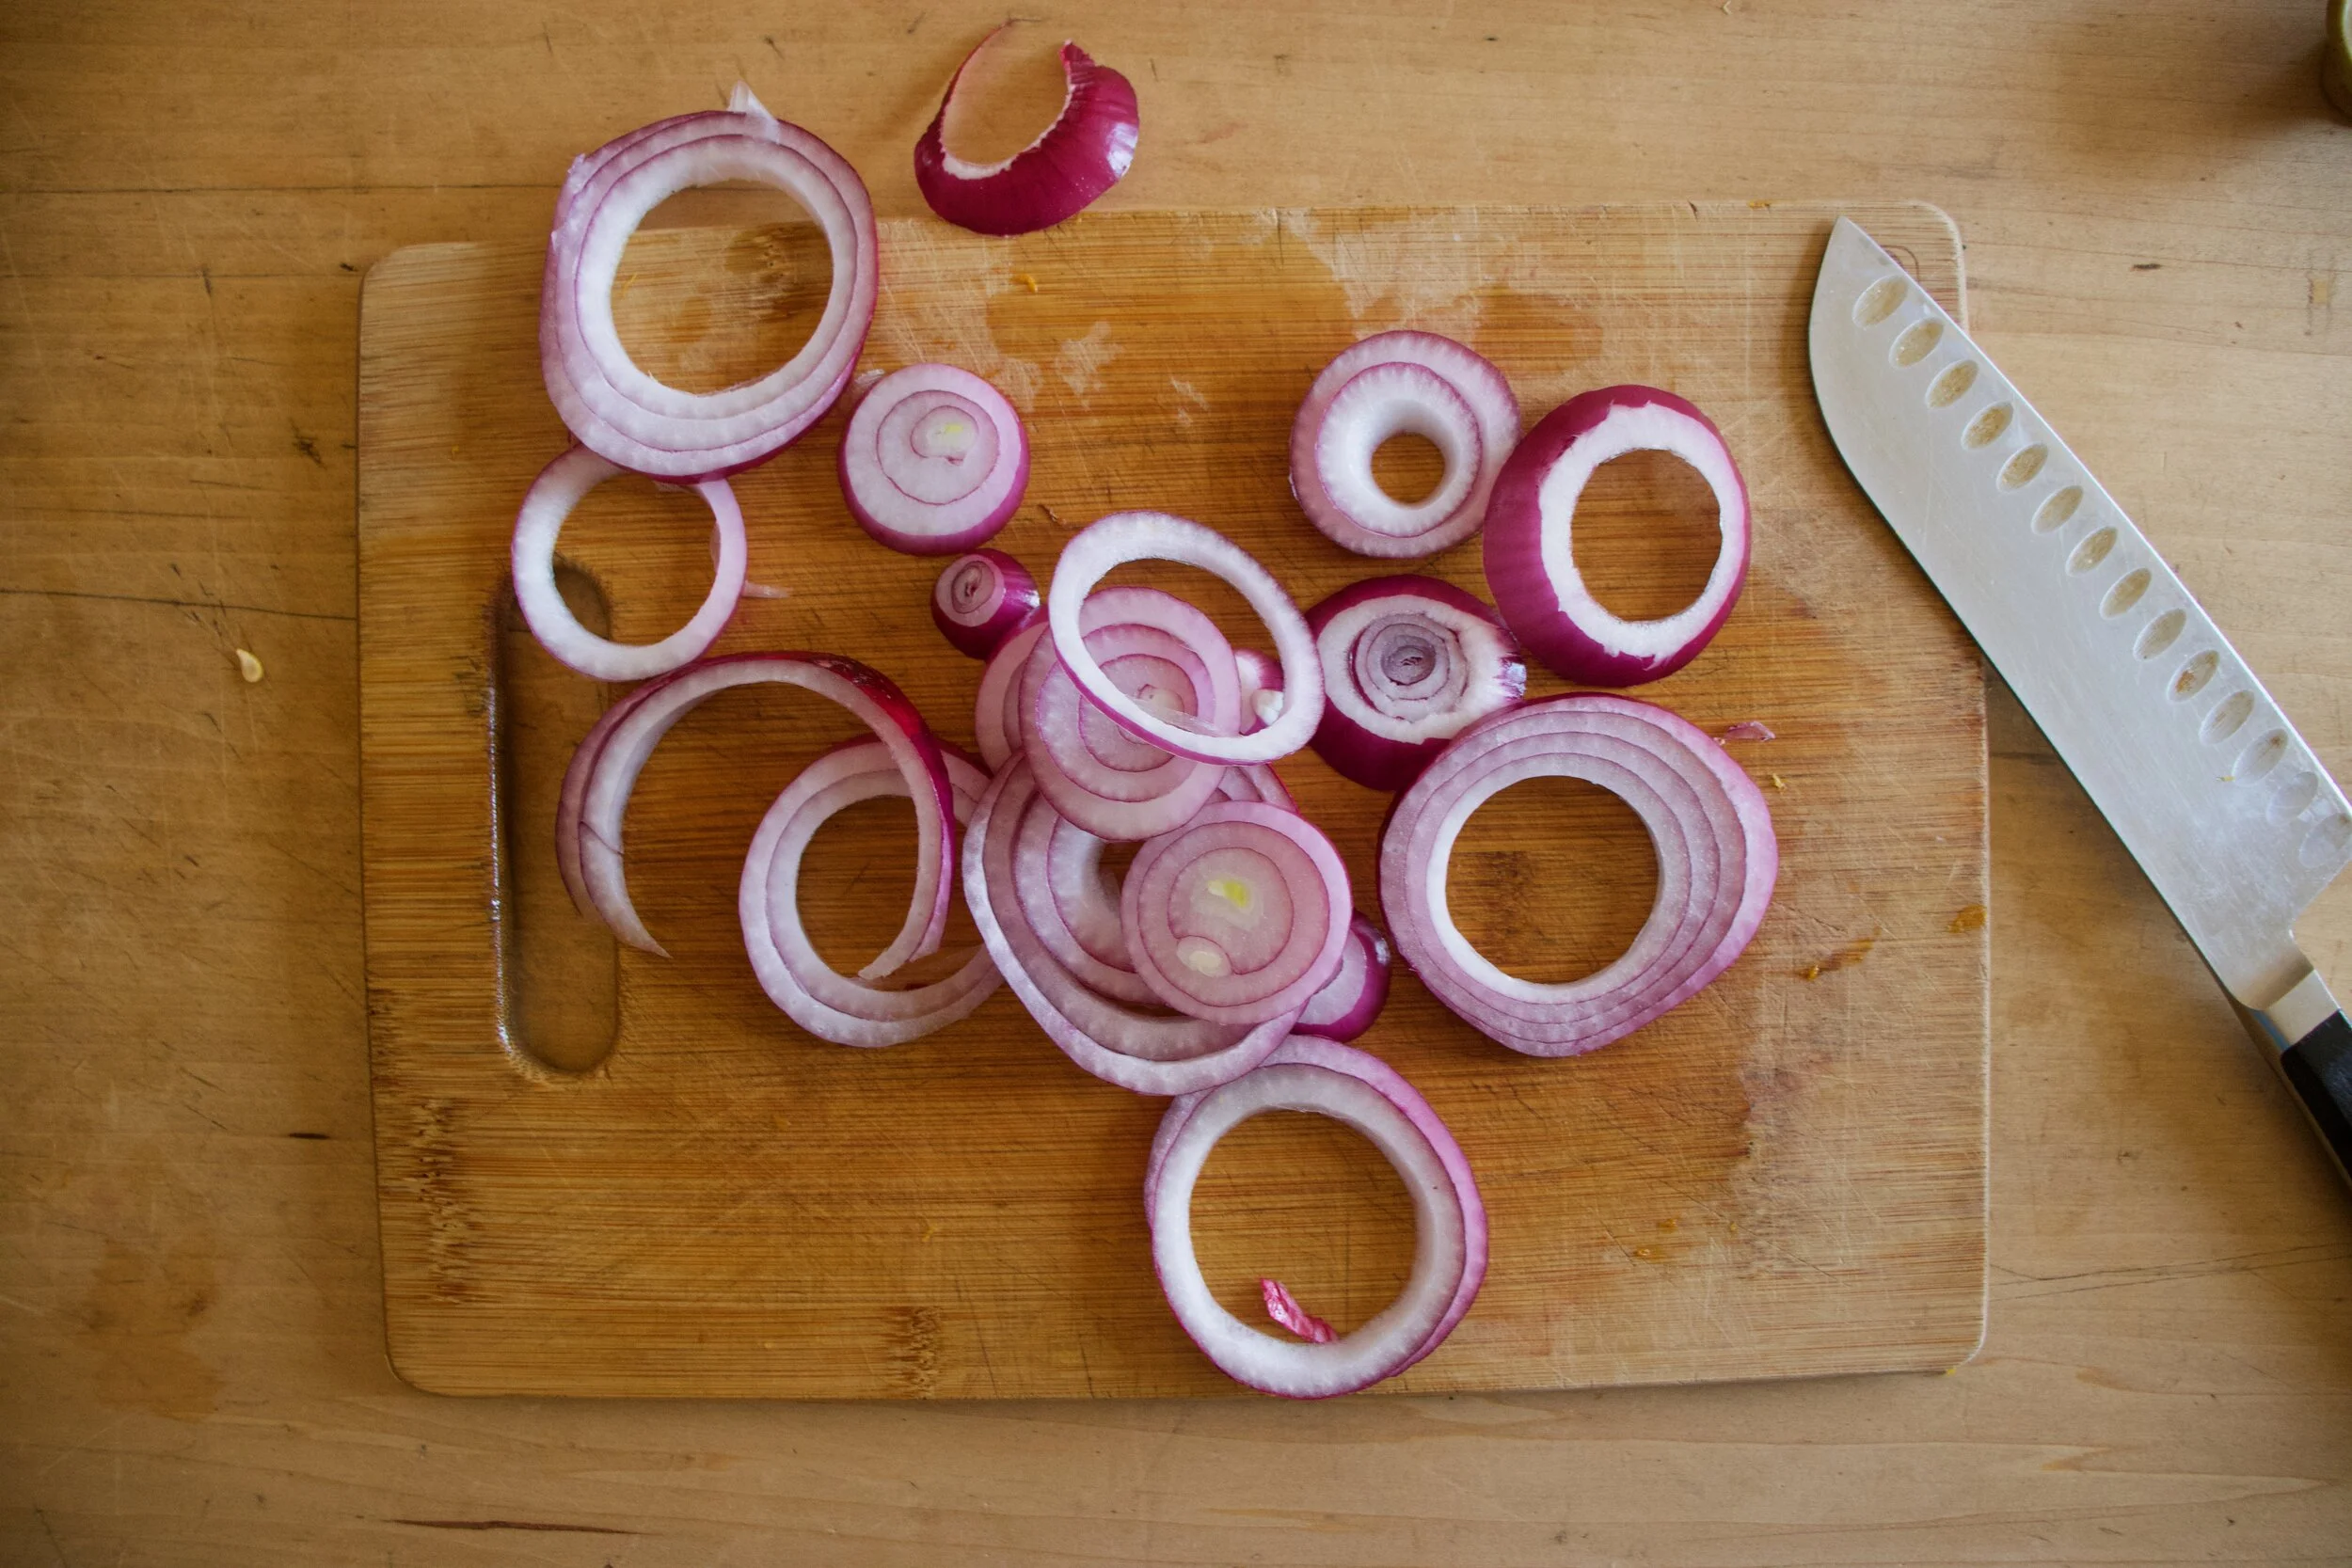
 Chop all the veggies and the garlic, drizzle a dutch oven or a pot with oil, toss in the veggies. Add the turmeric, the thyme, and 1/2 cup of water.
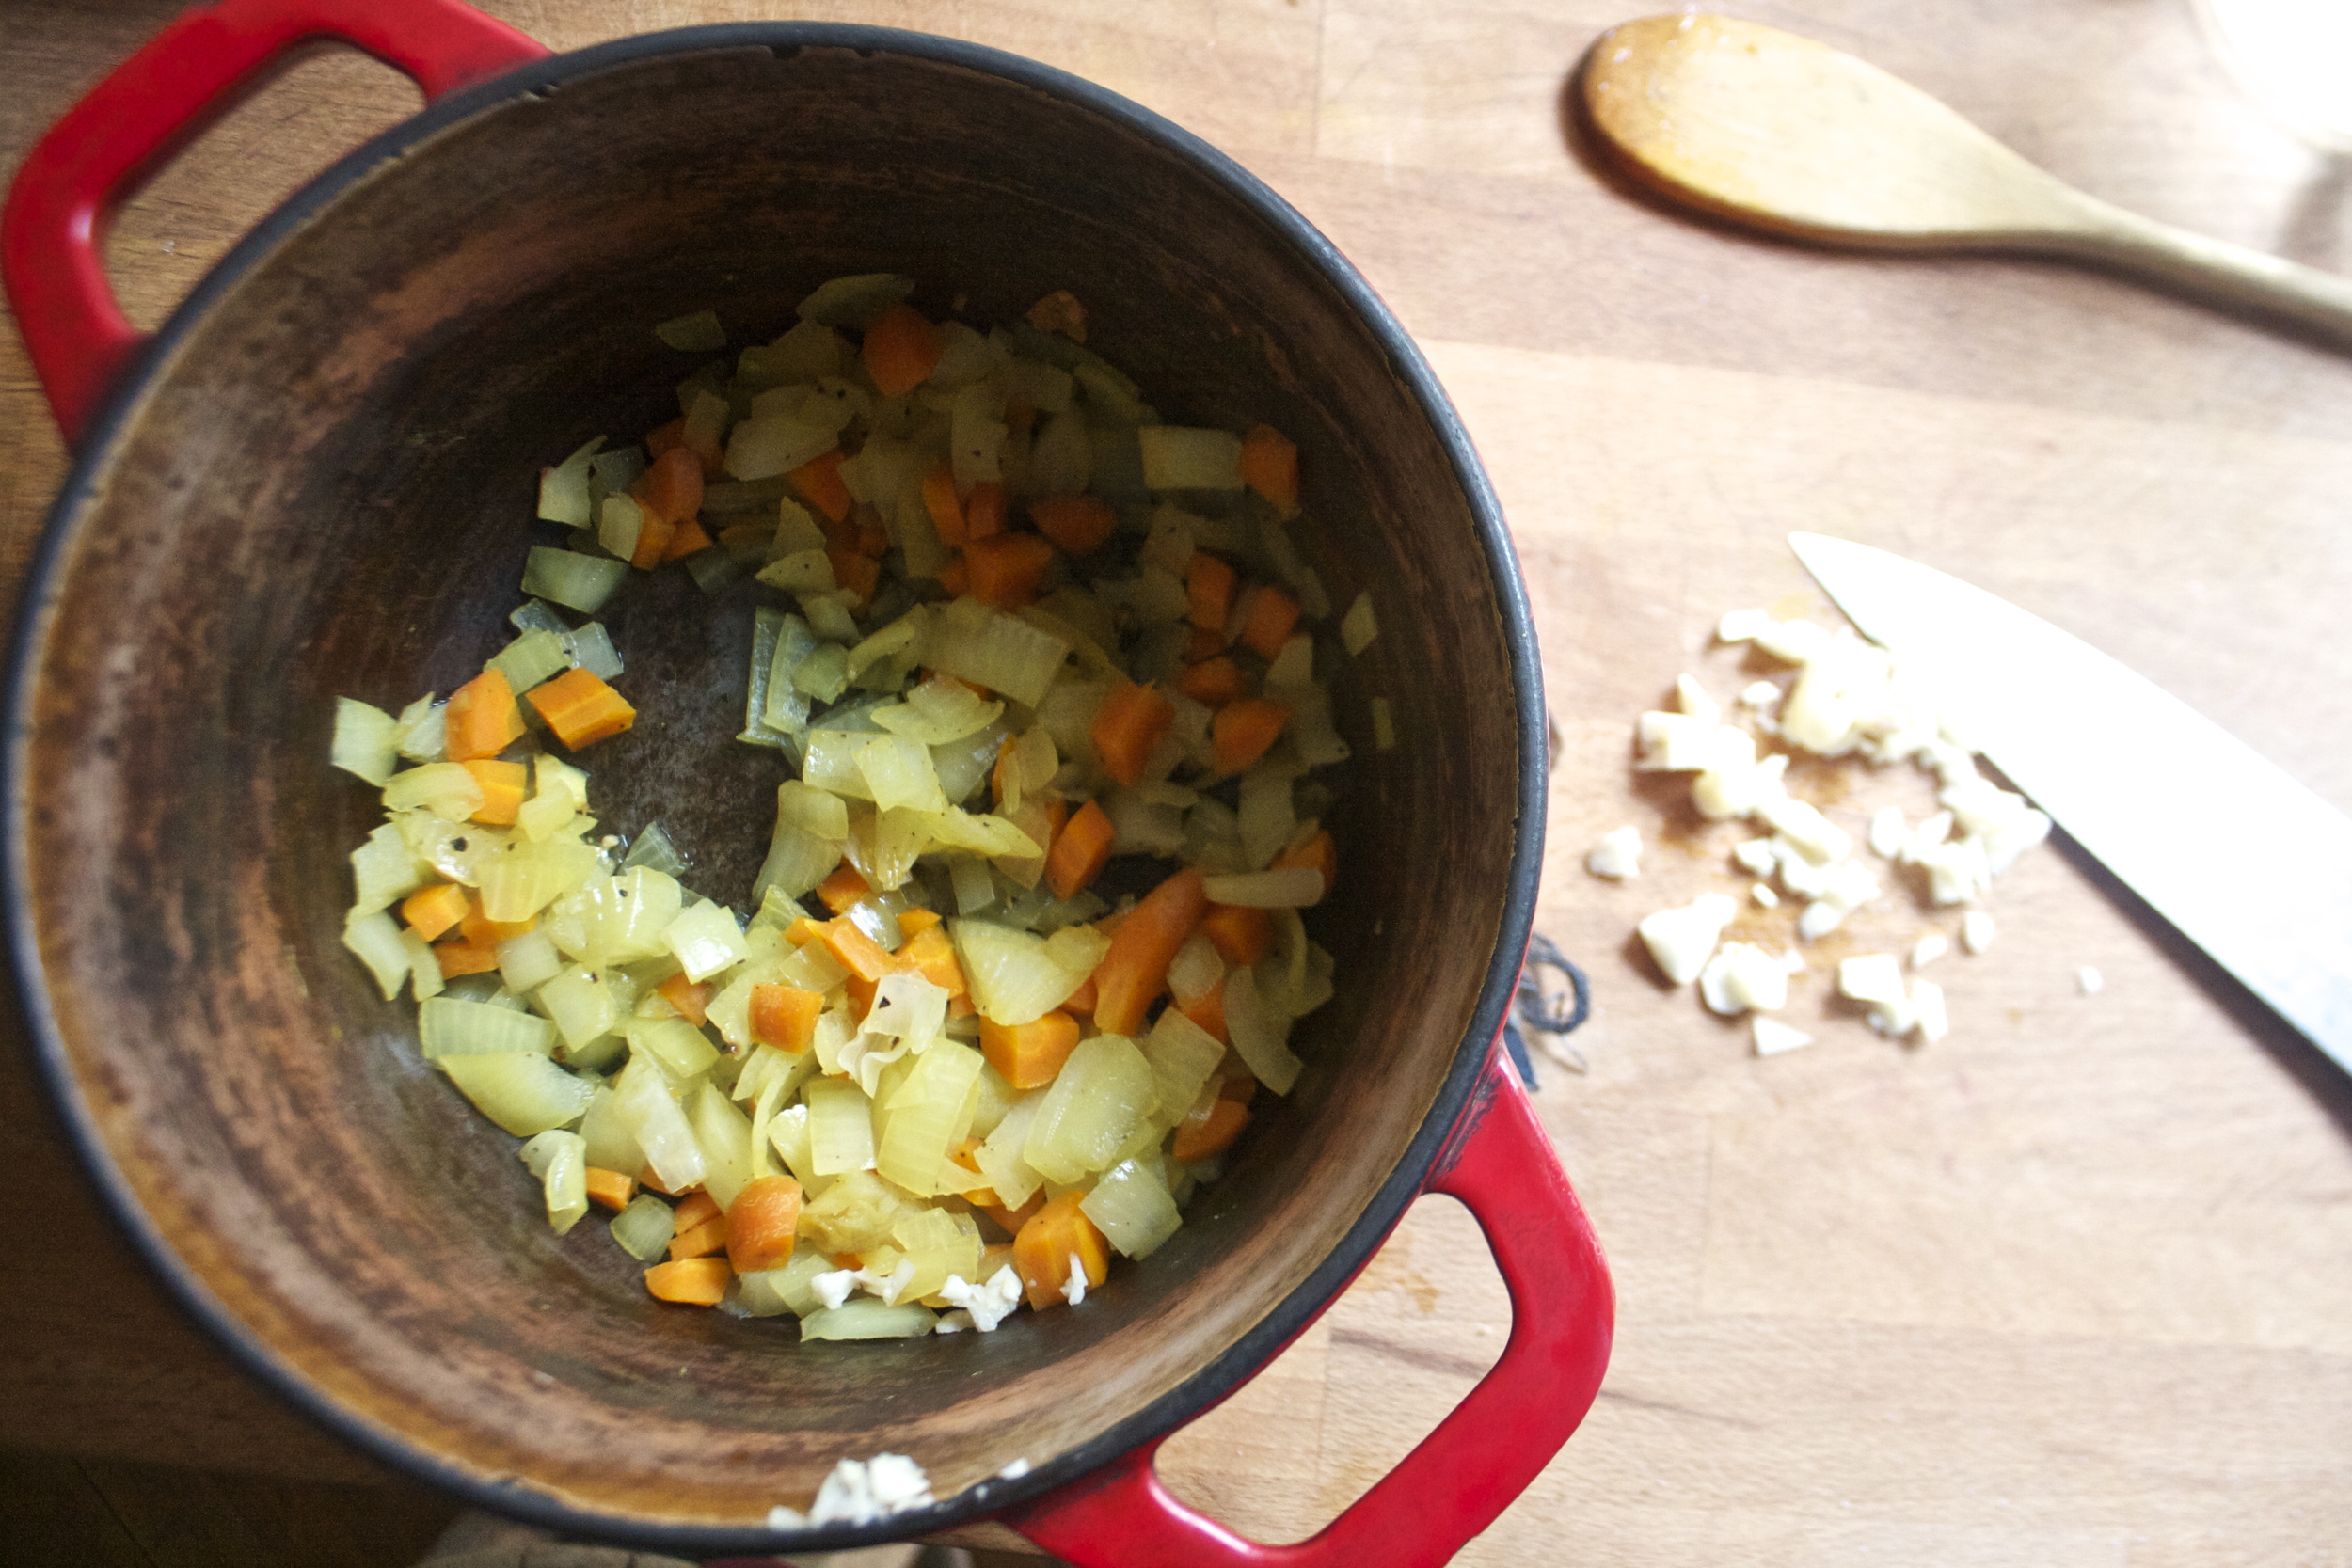
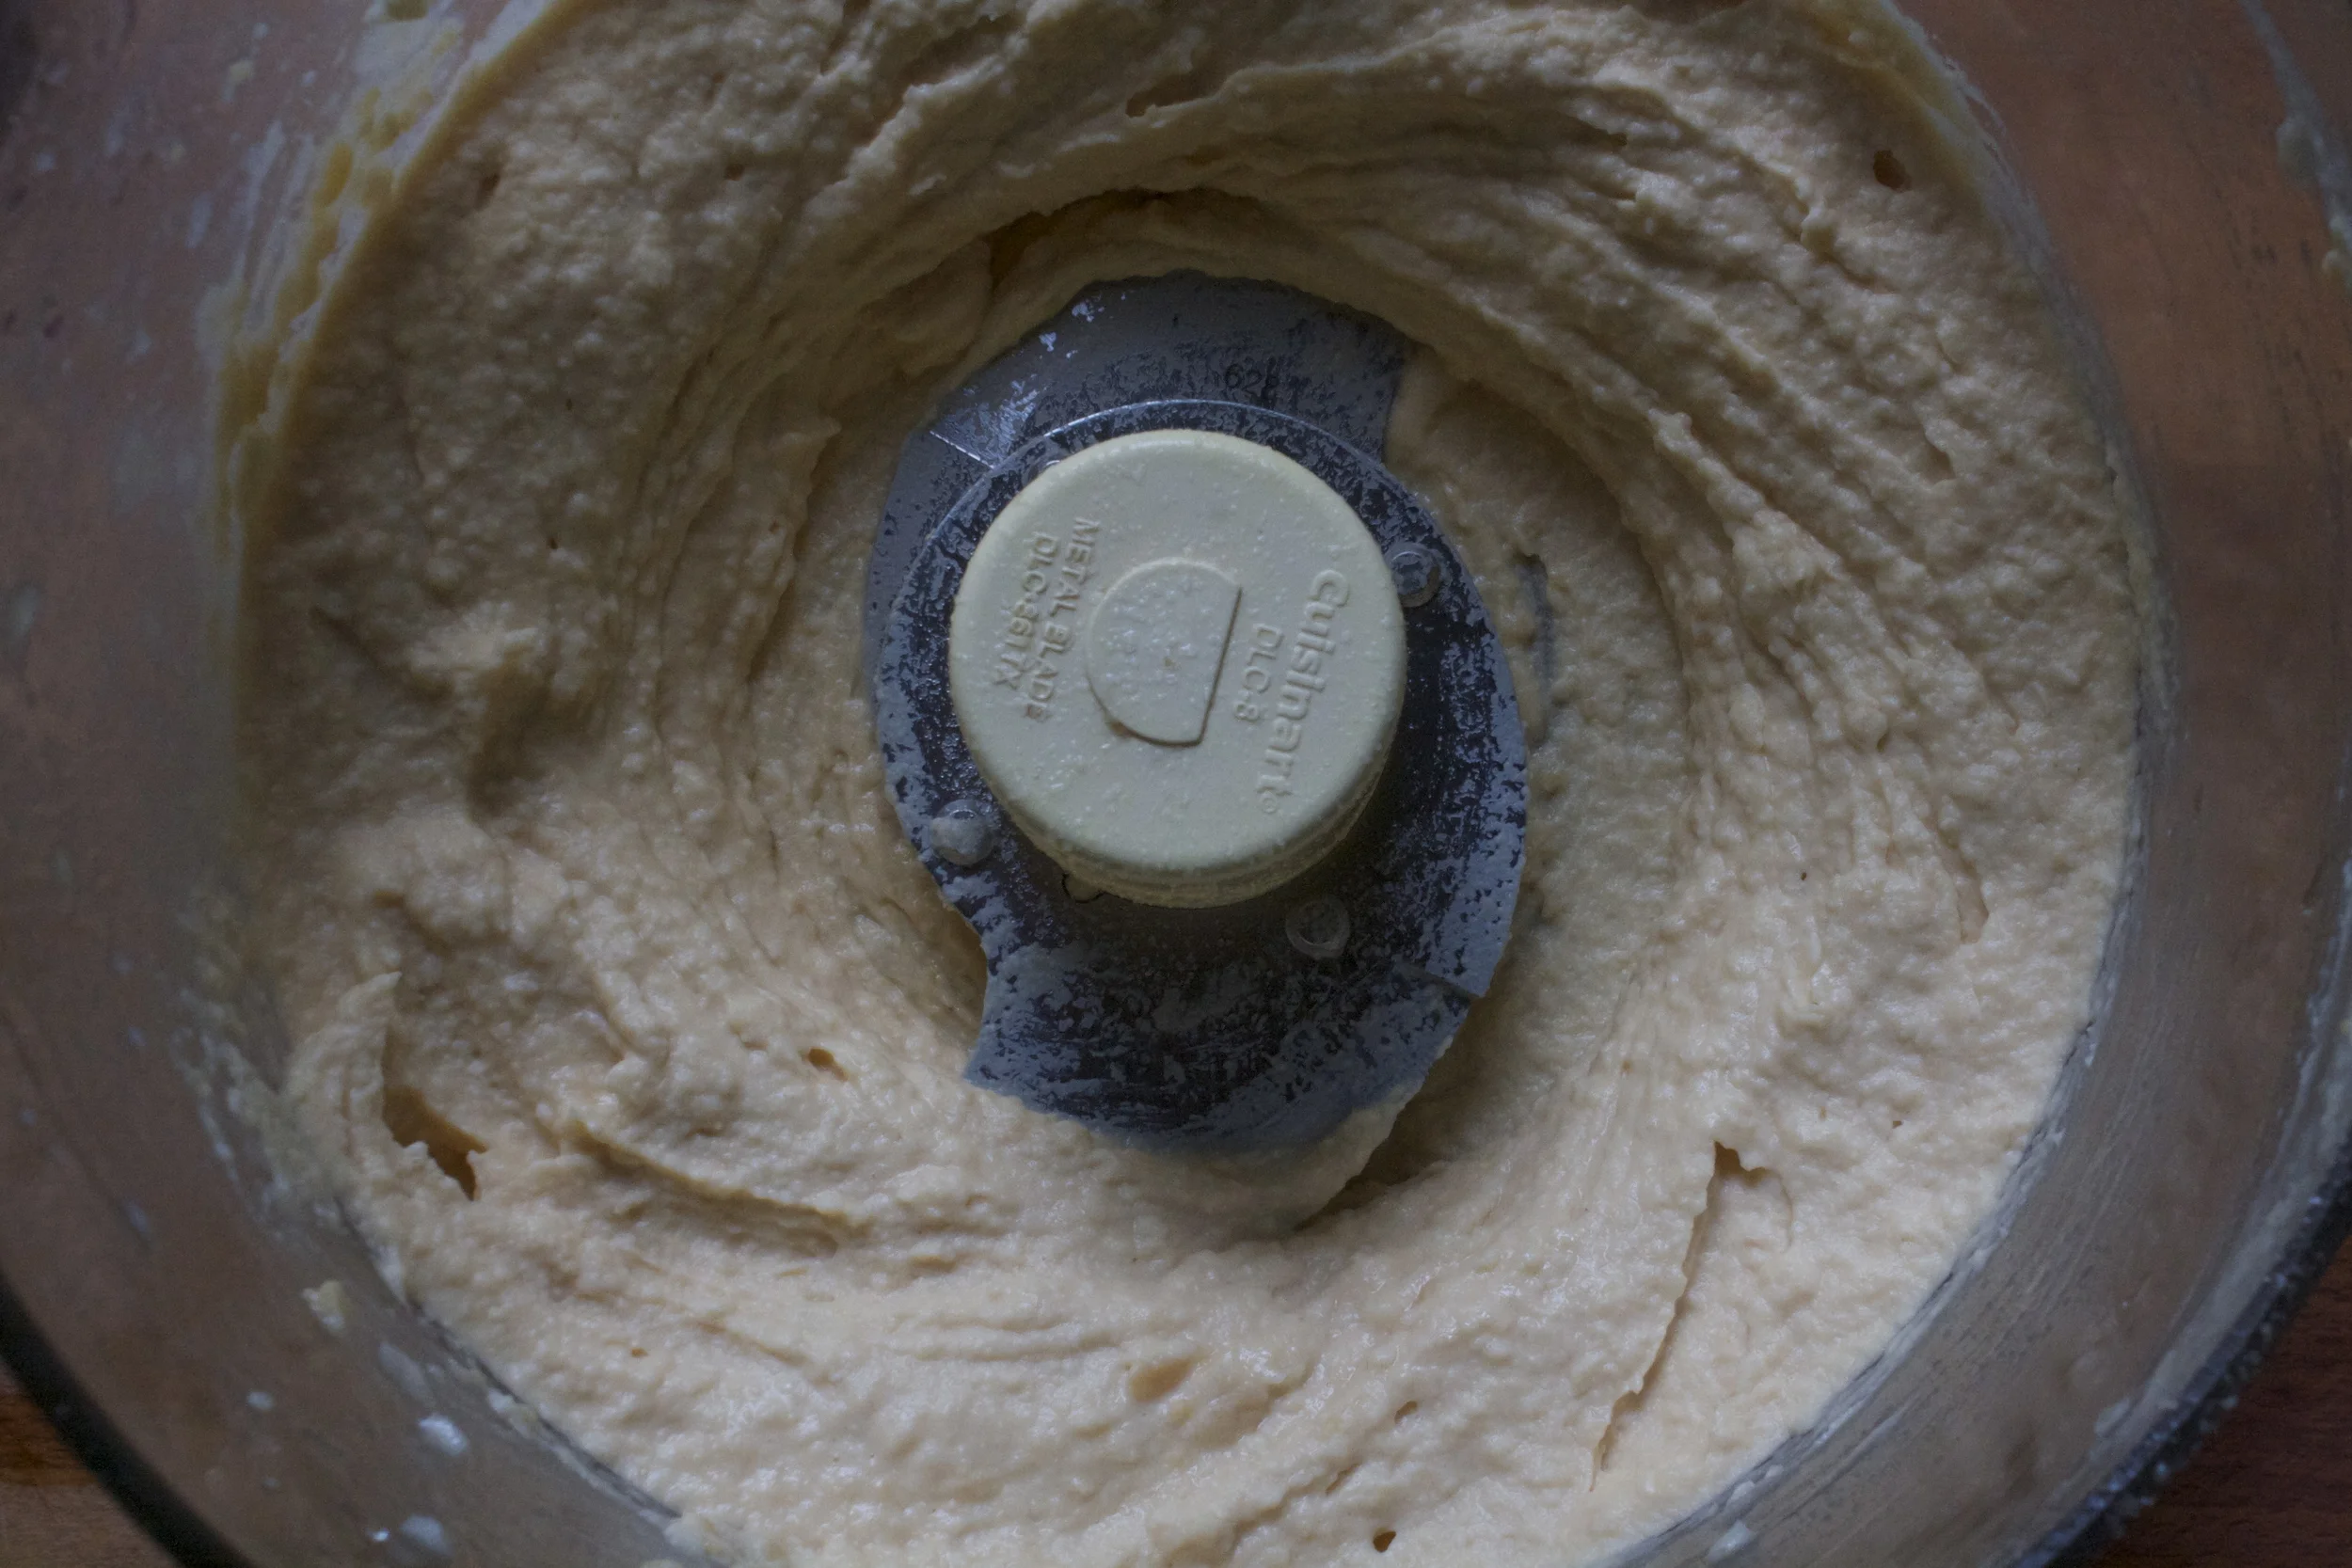
  Sweet sweating the veggies. Turn pot on medium and cook until the water completely cooks out. When the veggies start to brown and stick to the pot, deglaze with water. Give a good stir and keep cooking. Repeat the deglazing process until the veggies are super soft and ready to blend. (I did this 4 times.. it only took 10 minutes)
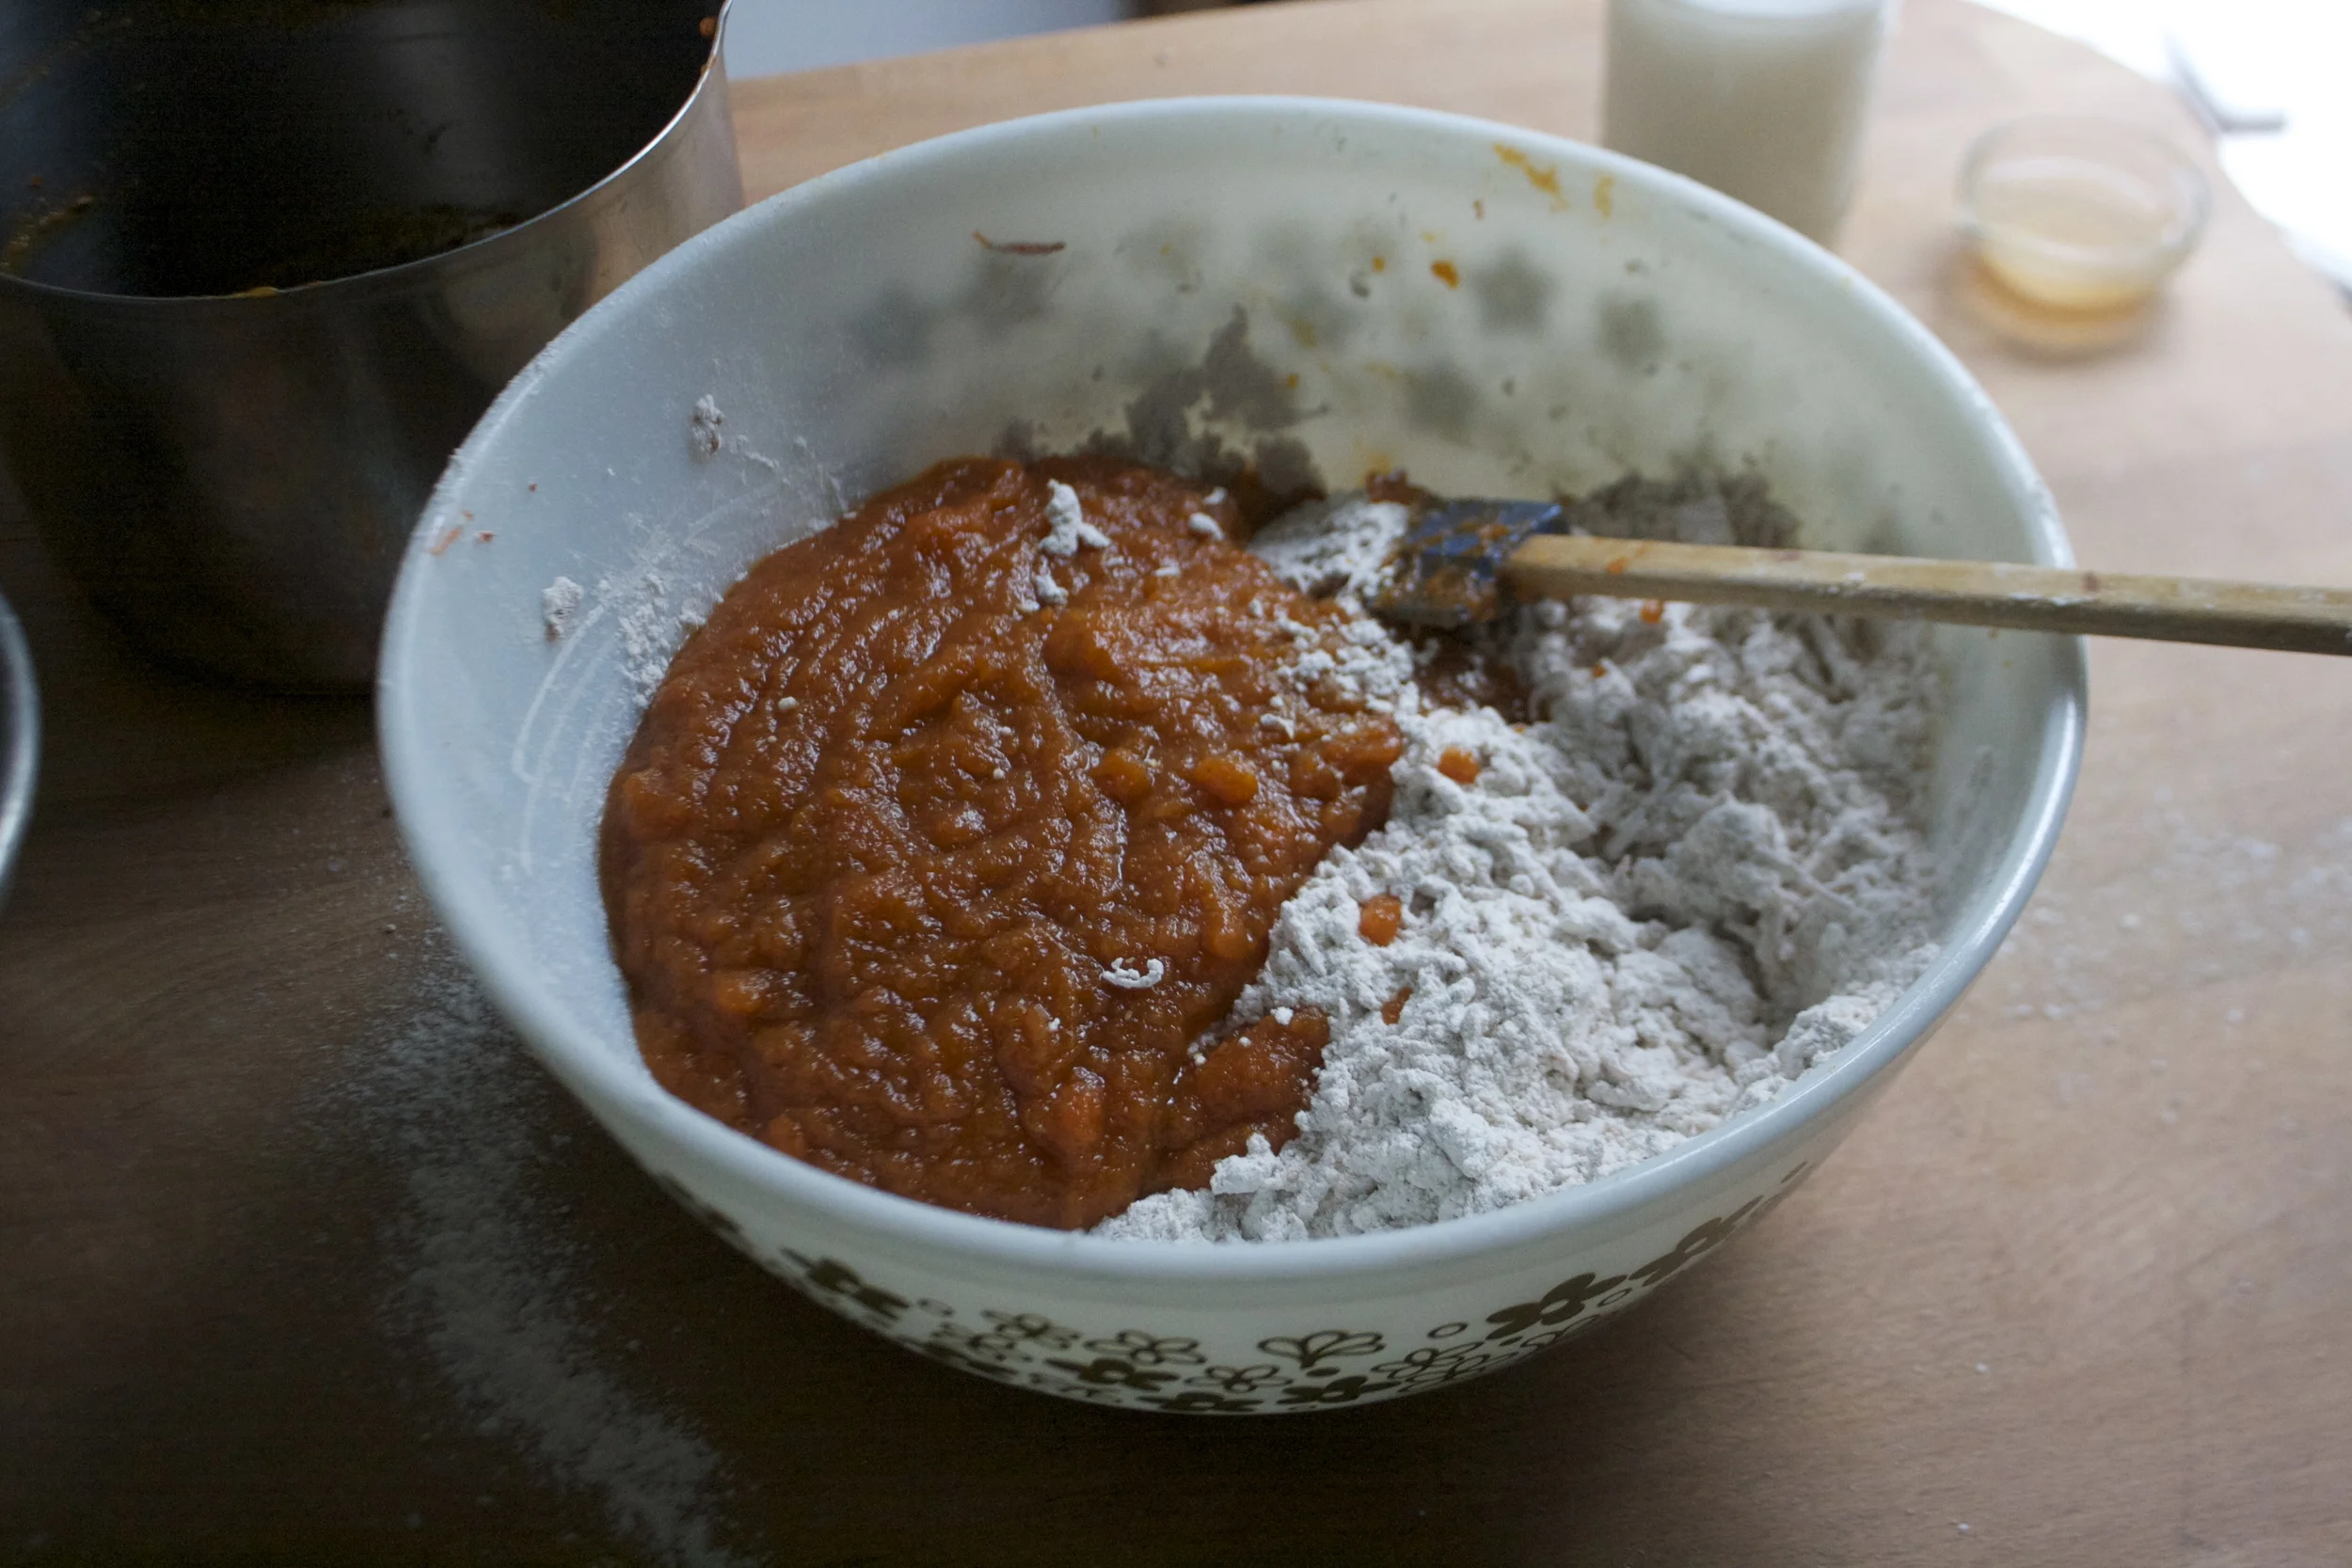
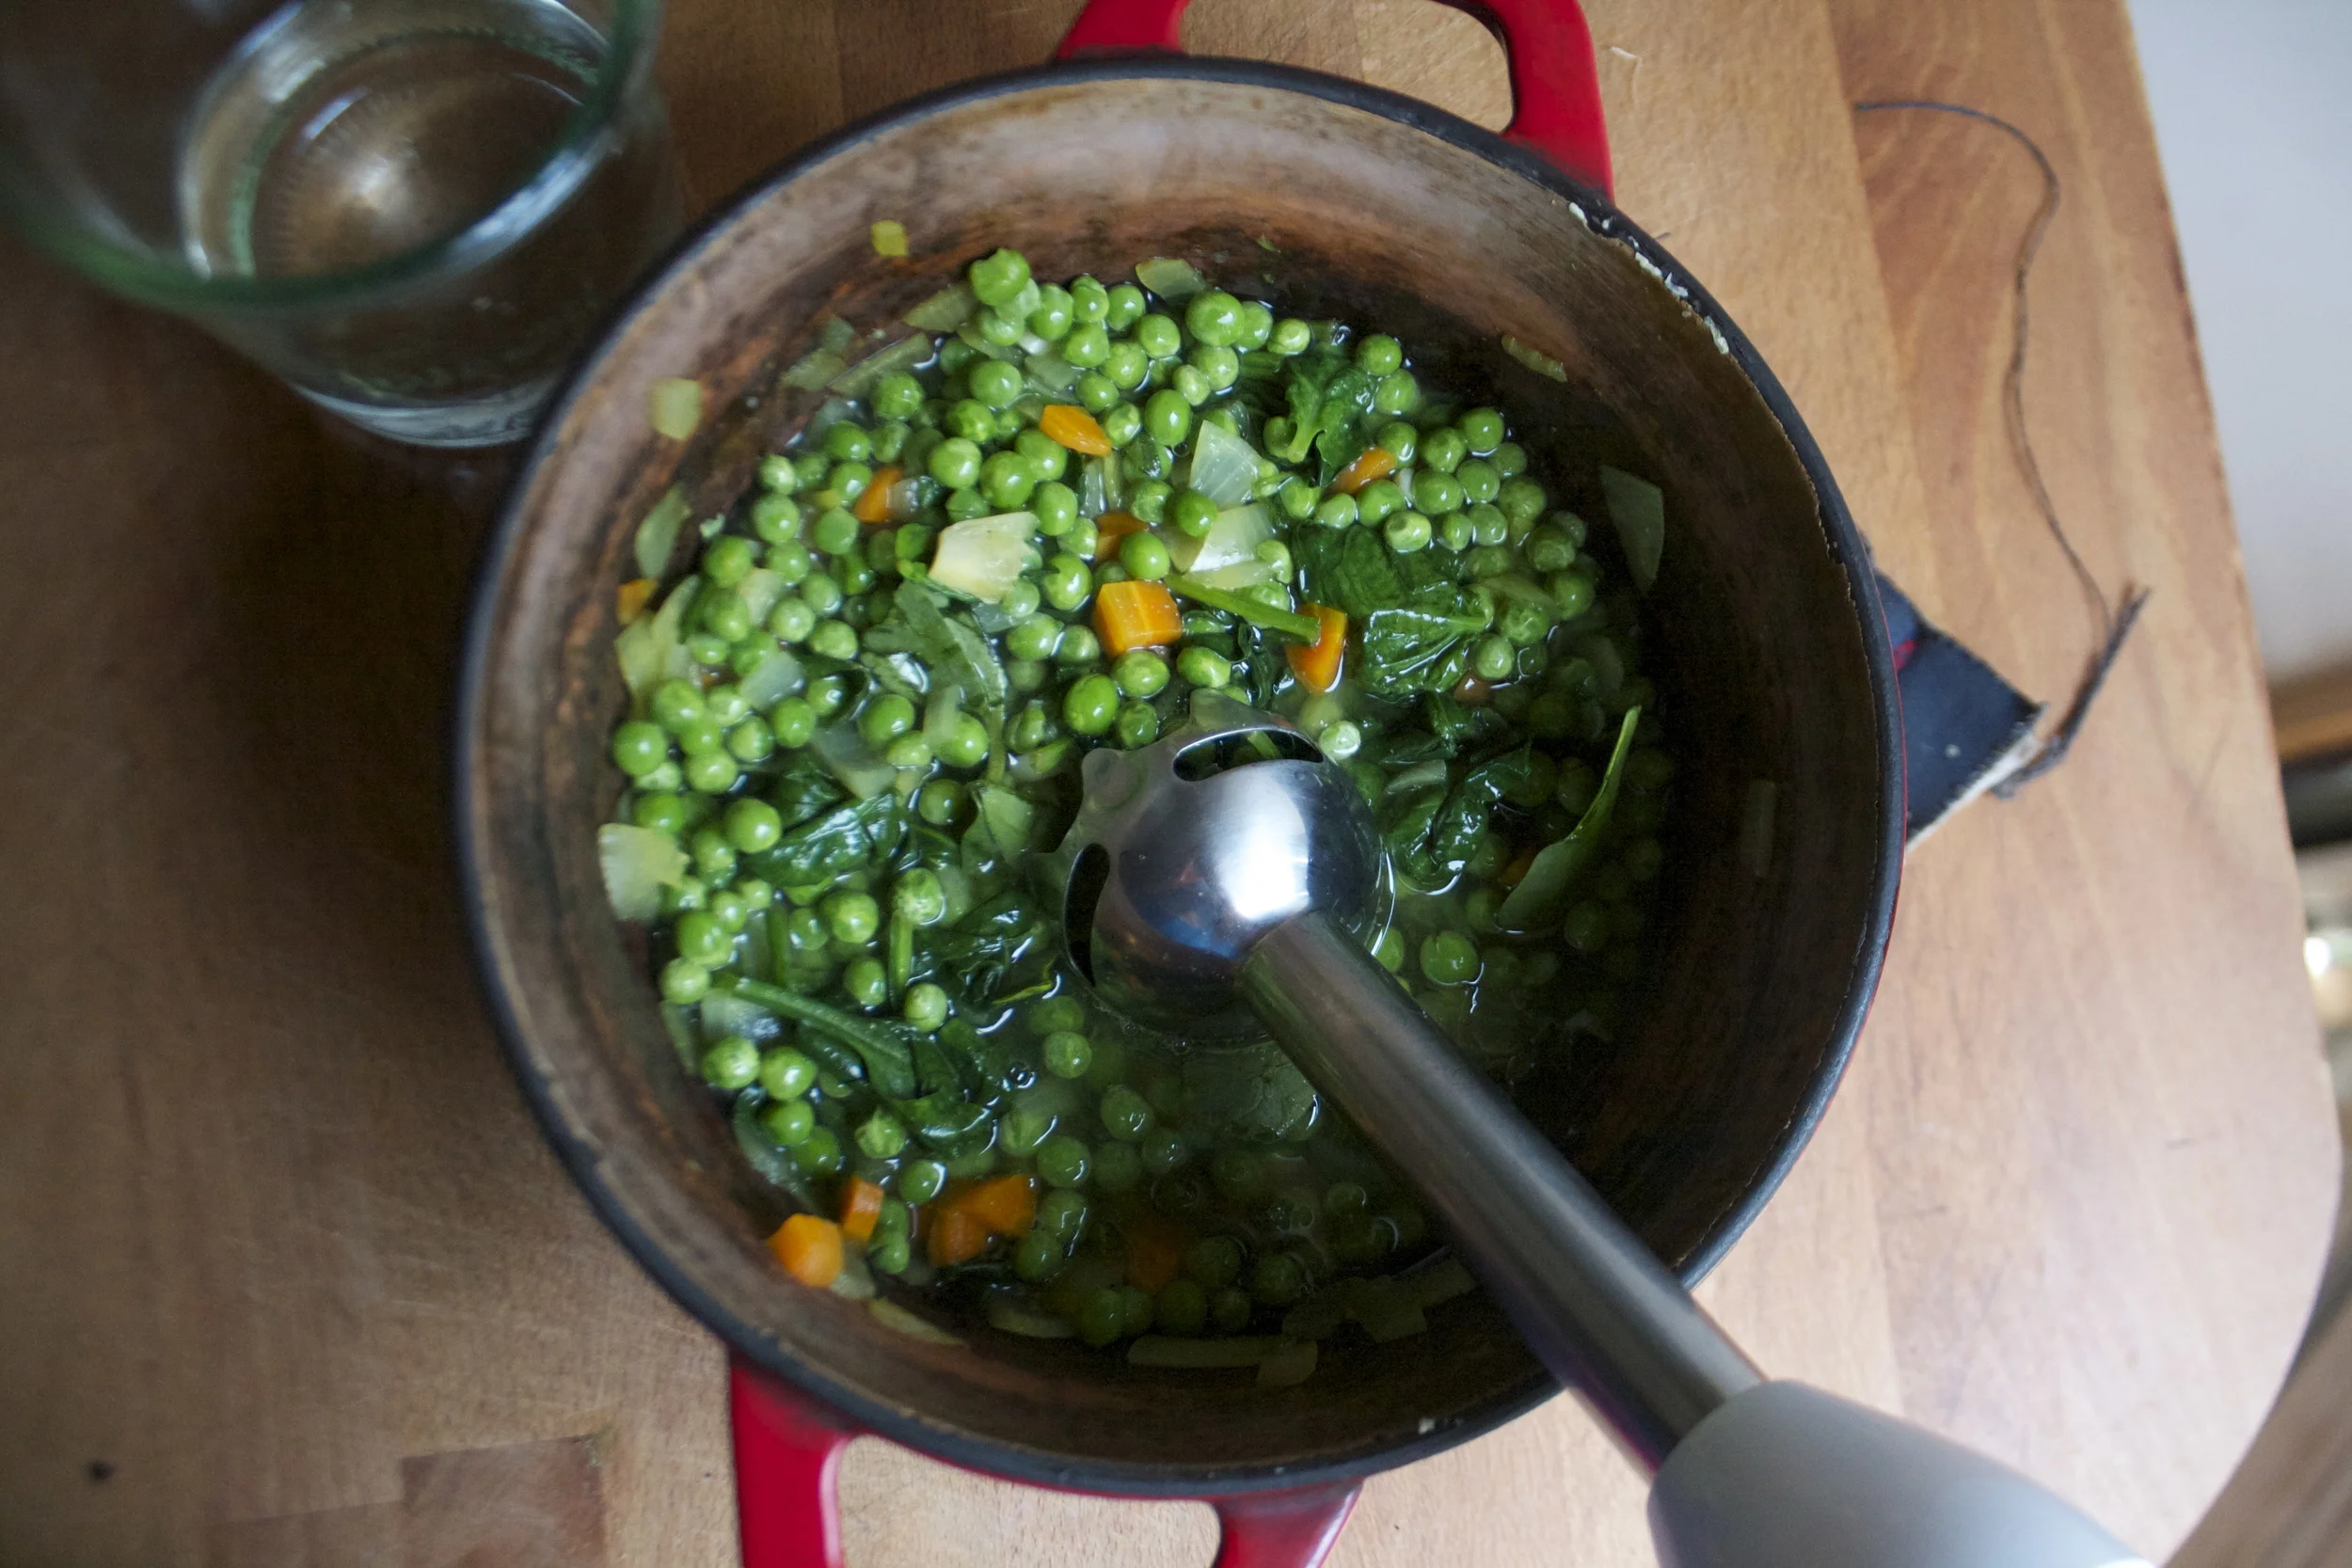
 Add enough water to cover the cooked veggies.
  And now blend the heck out of it.. Go as smooth or chunky as you want. I blended as smooth as I could get with this crappy immersion blender. (Blender on loan until I finally decide on, and buy a new one)
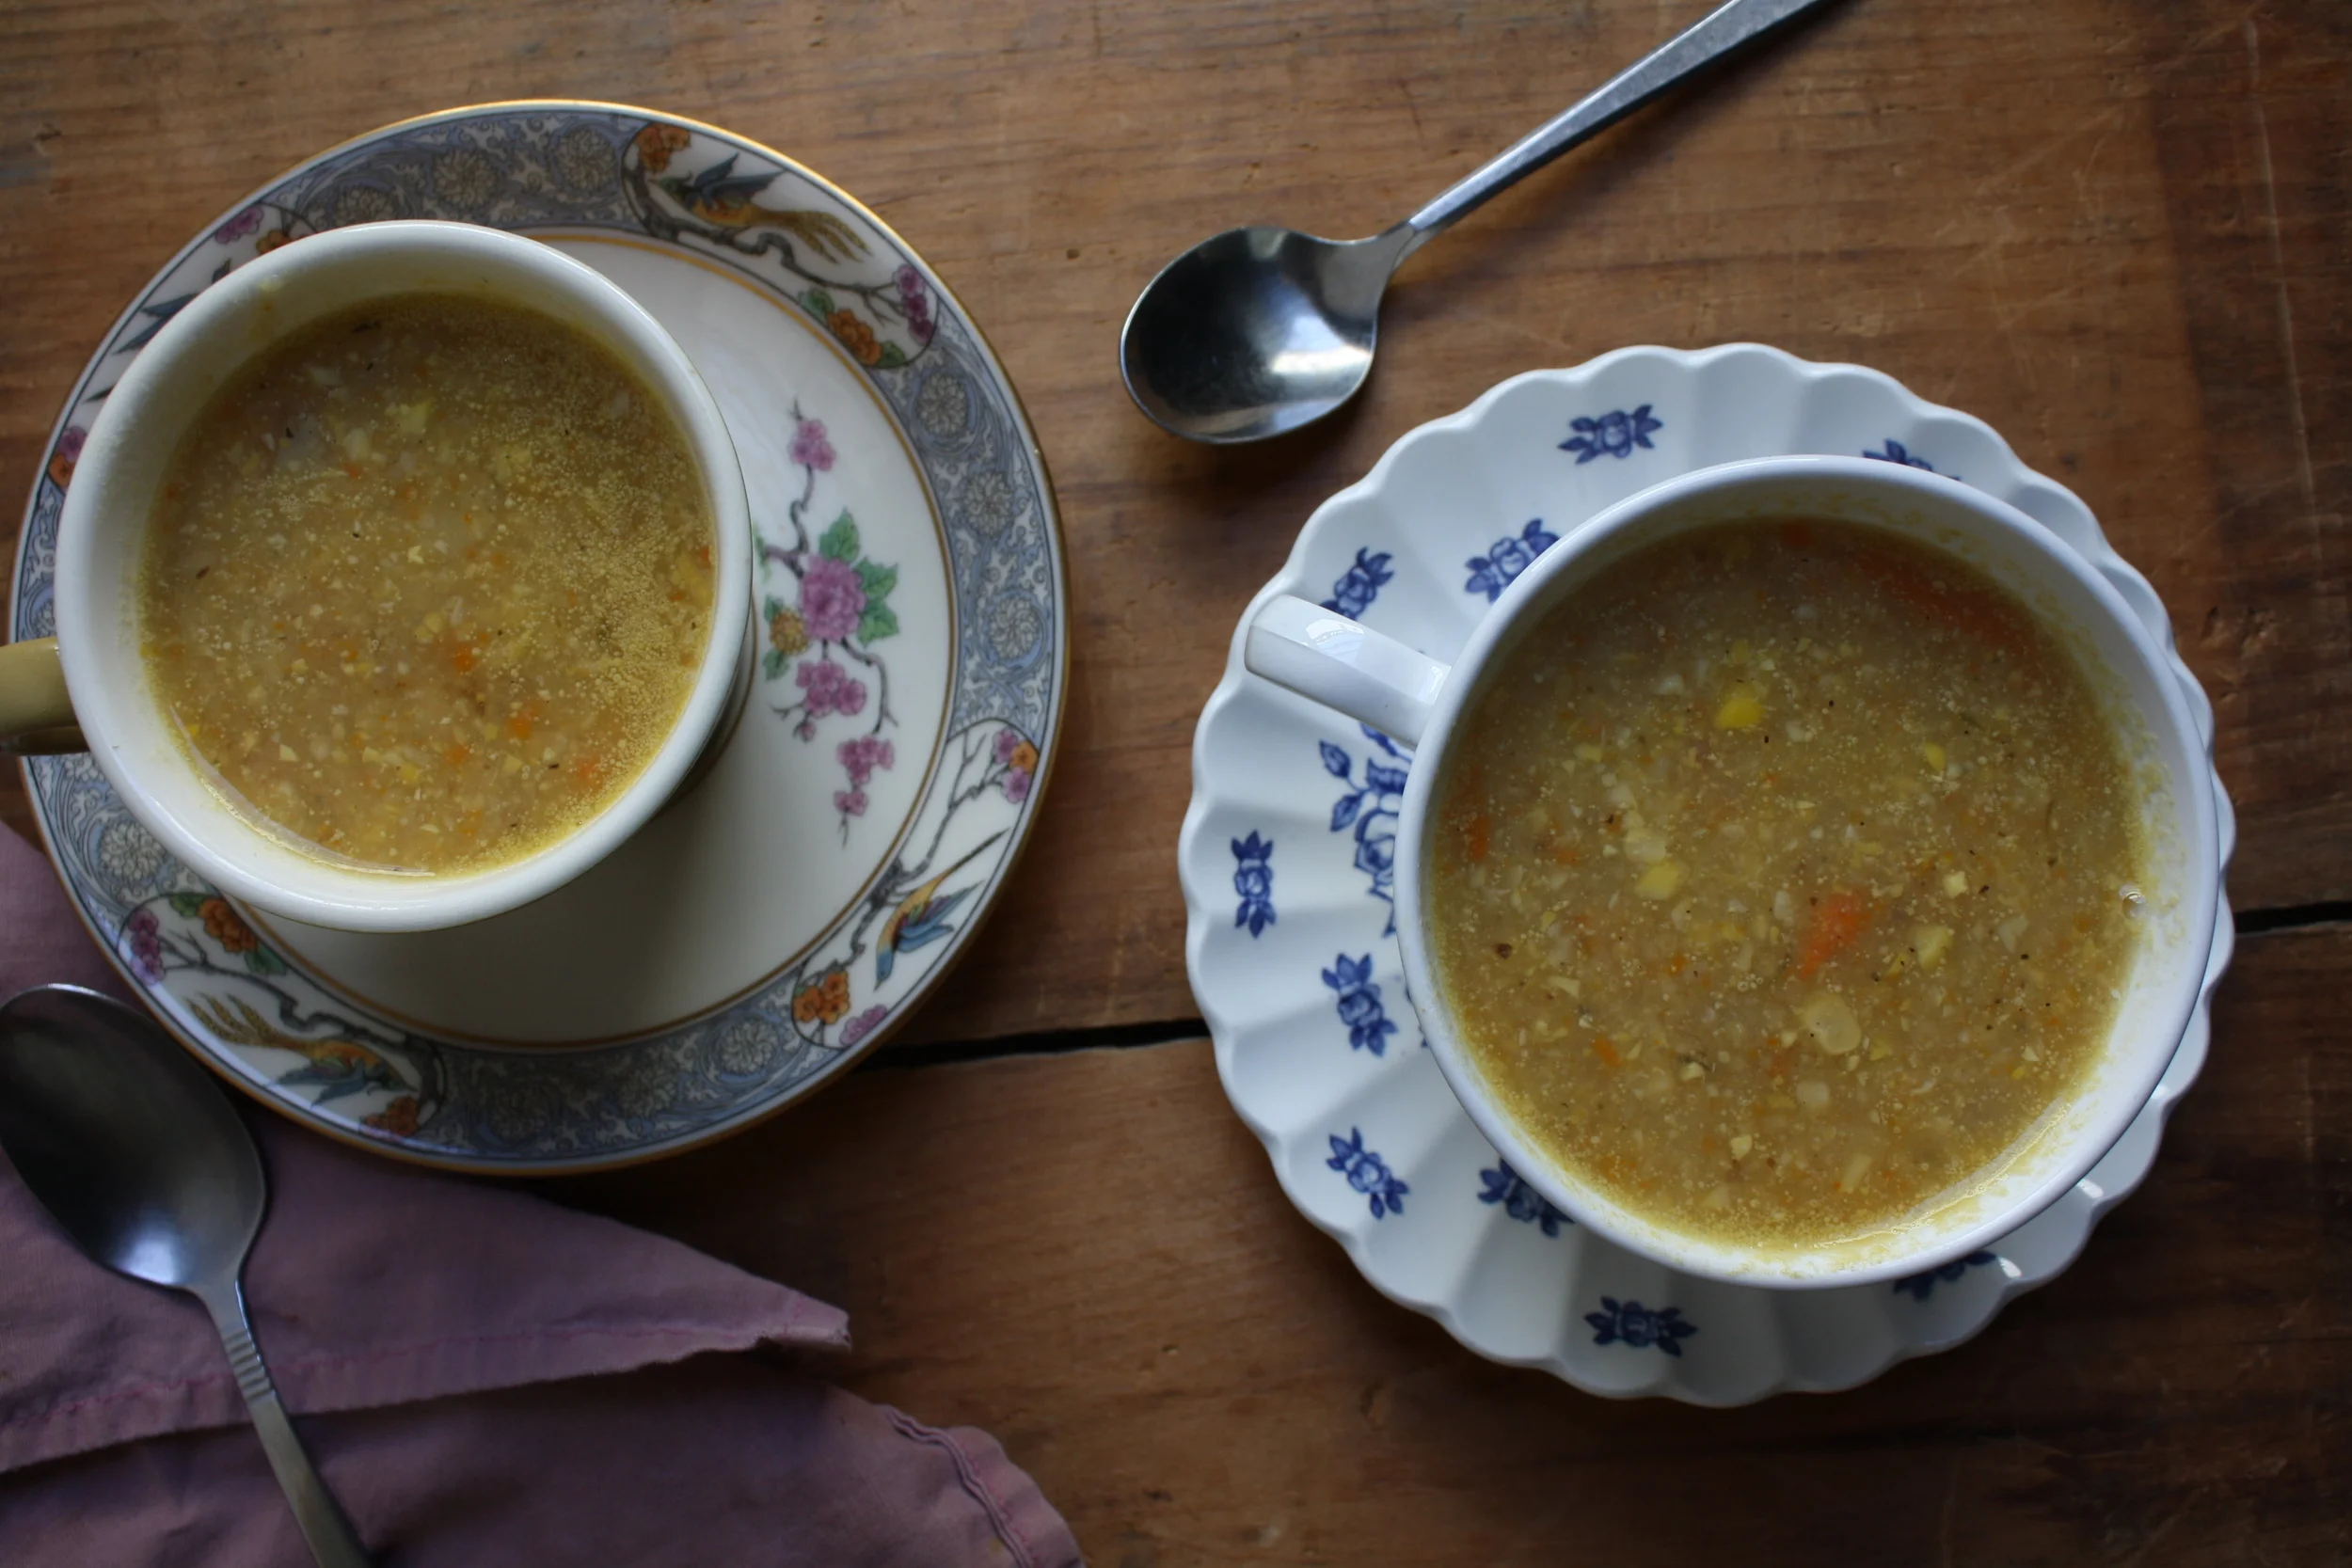
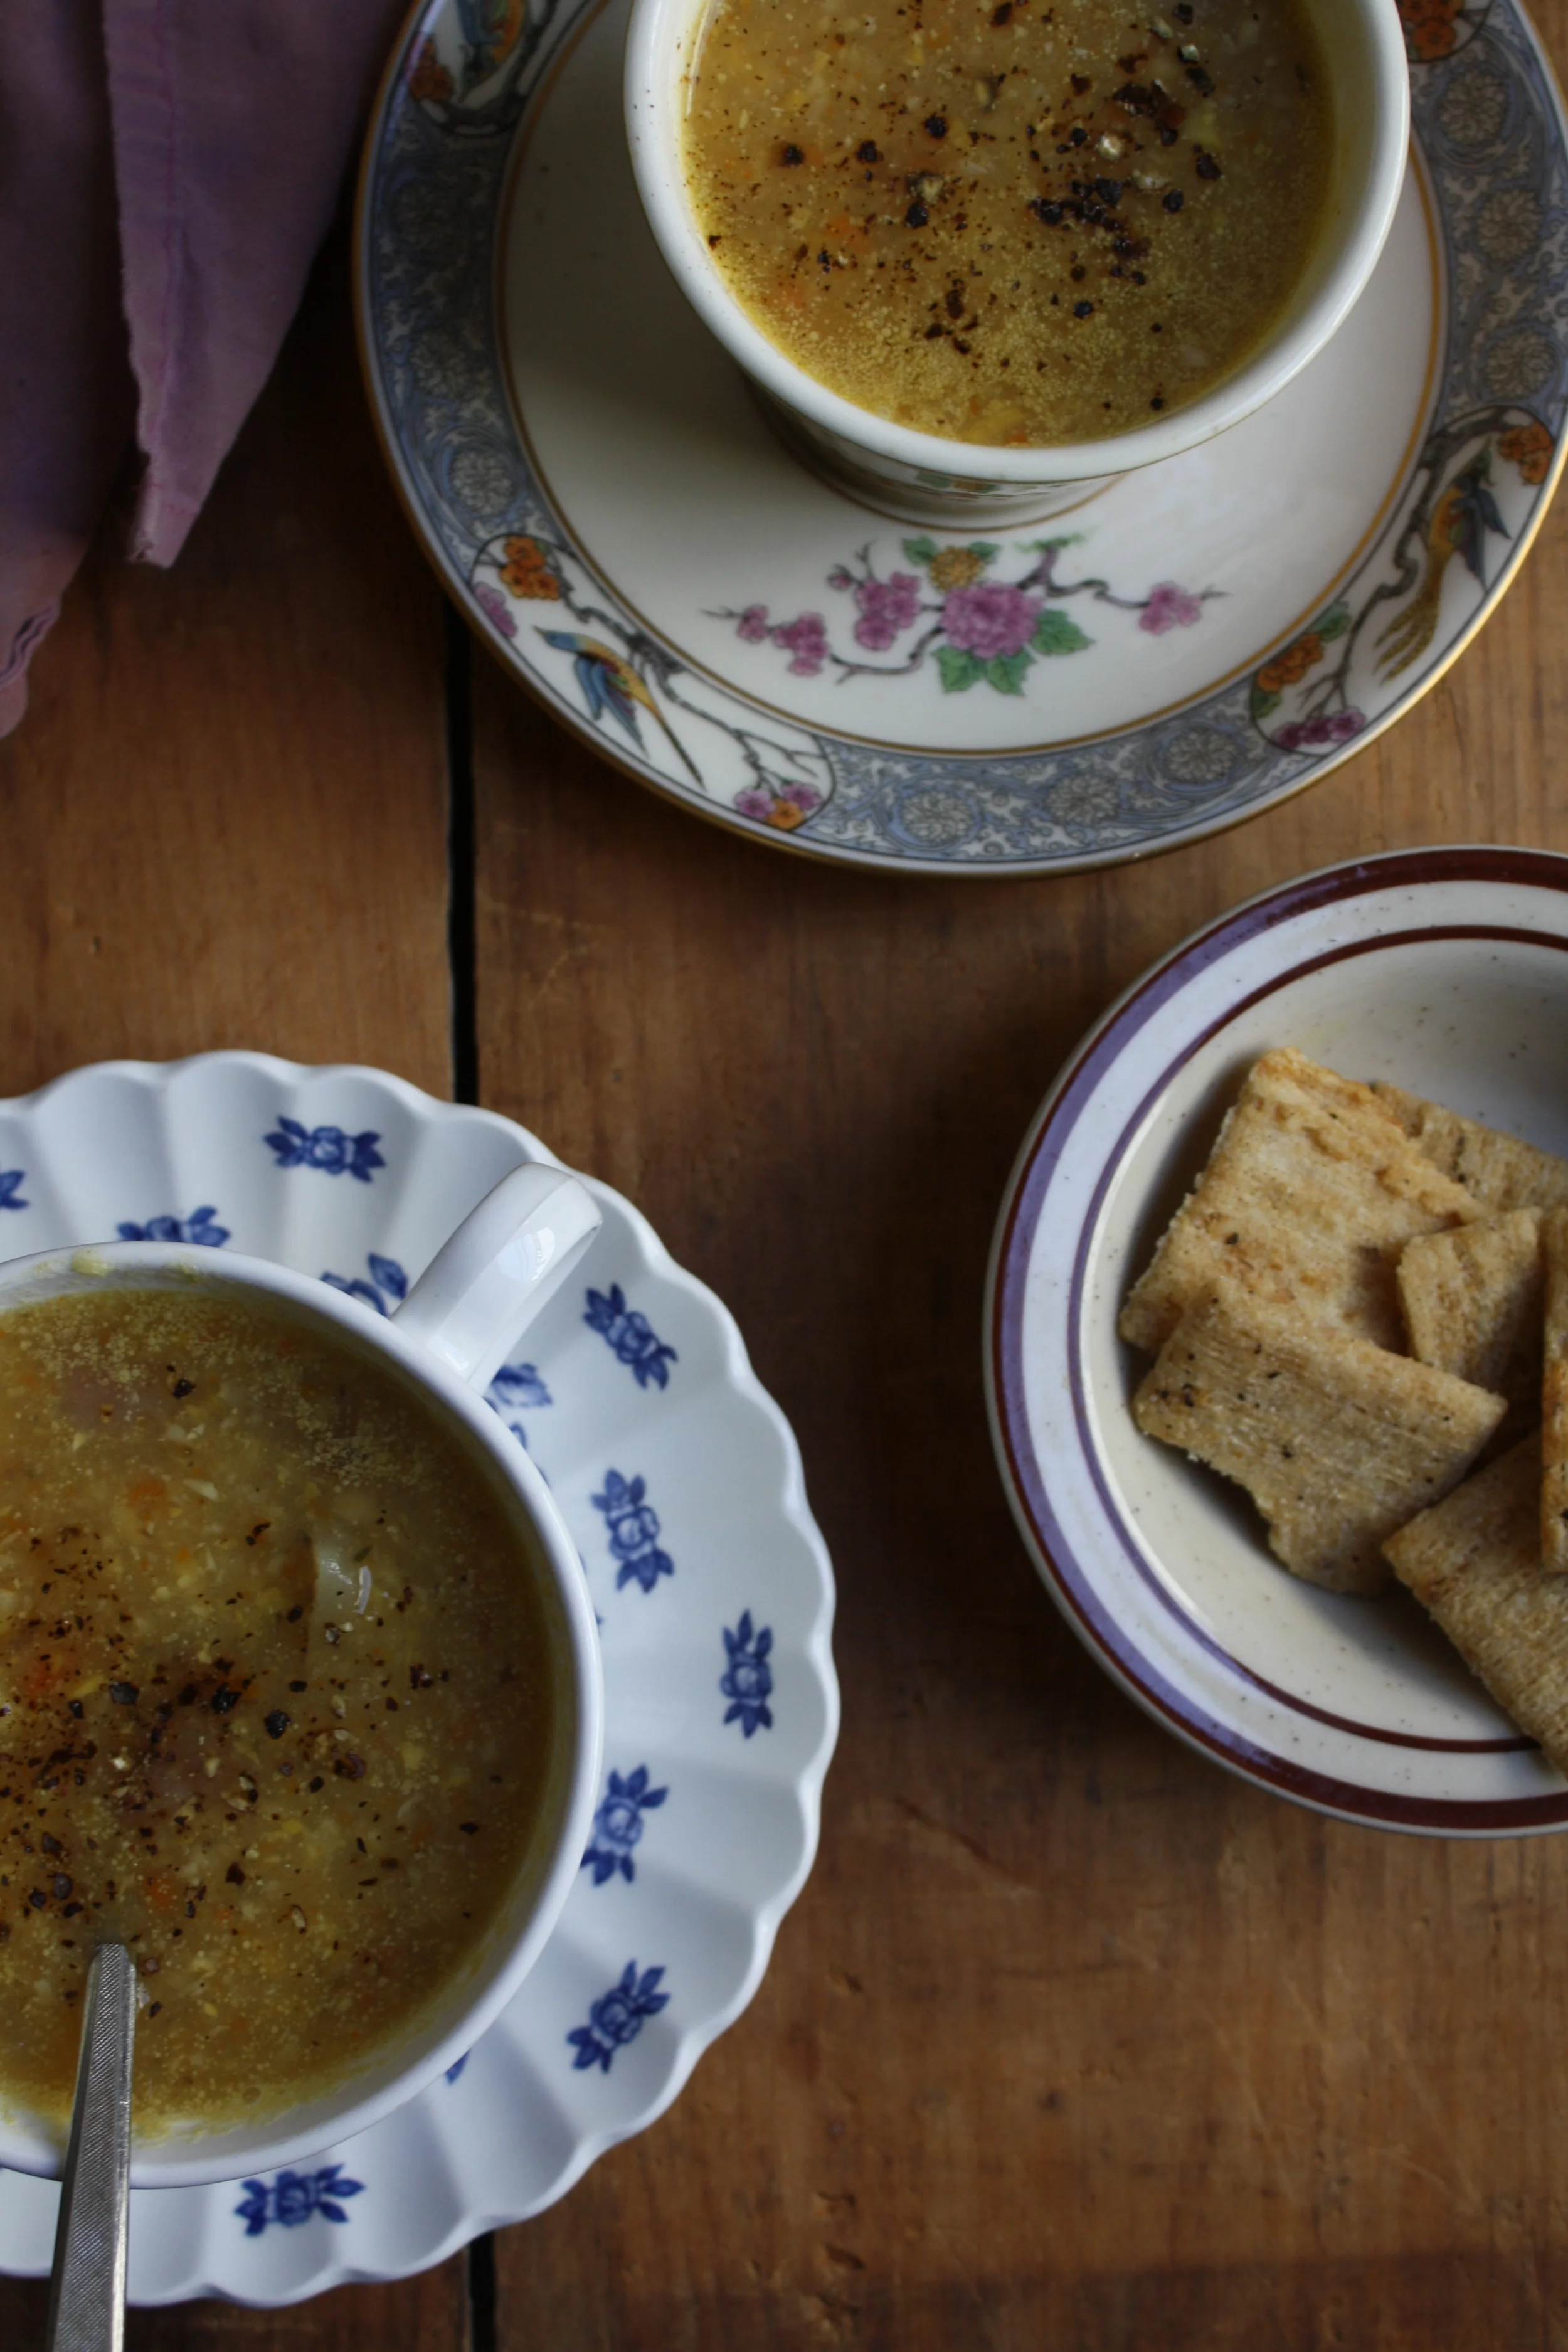
 And there you have it. Scoop into bowls, add lots of cracked black pepper, and go to town. I made enough to save a bowl for later… it didn’t last for later.
Sunflower Seed Hummus — The Lovely Crazy
February 24, 2020 by maximios • Blog
Whatever you do, do not turn on your oven this weekend! But I guess if you have air conditioning and don’t mind cranking it… well then go for it. And can I come stay with you?
But for the rest of us doing this weekend without the old A.C., we need to feed ourselves, feed ourselves without any fire because 100 degrees is no joke and any added heat from anything will likey tip us over the edge. I am already so close to that edge and it’s a long way down..(Just ask the mr, he could tell you a thing or two about heat and me.. not good)
Enter hummus and veggies.
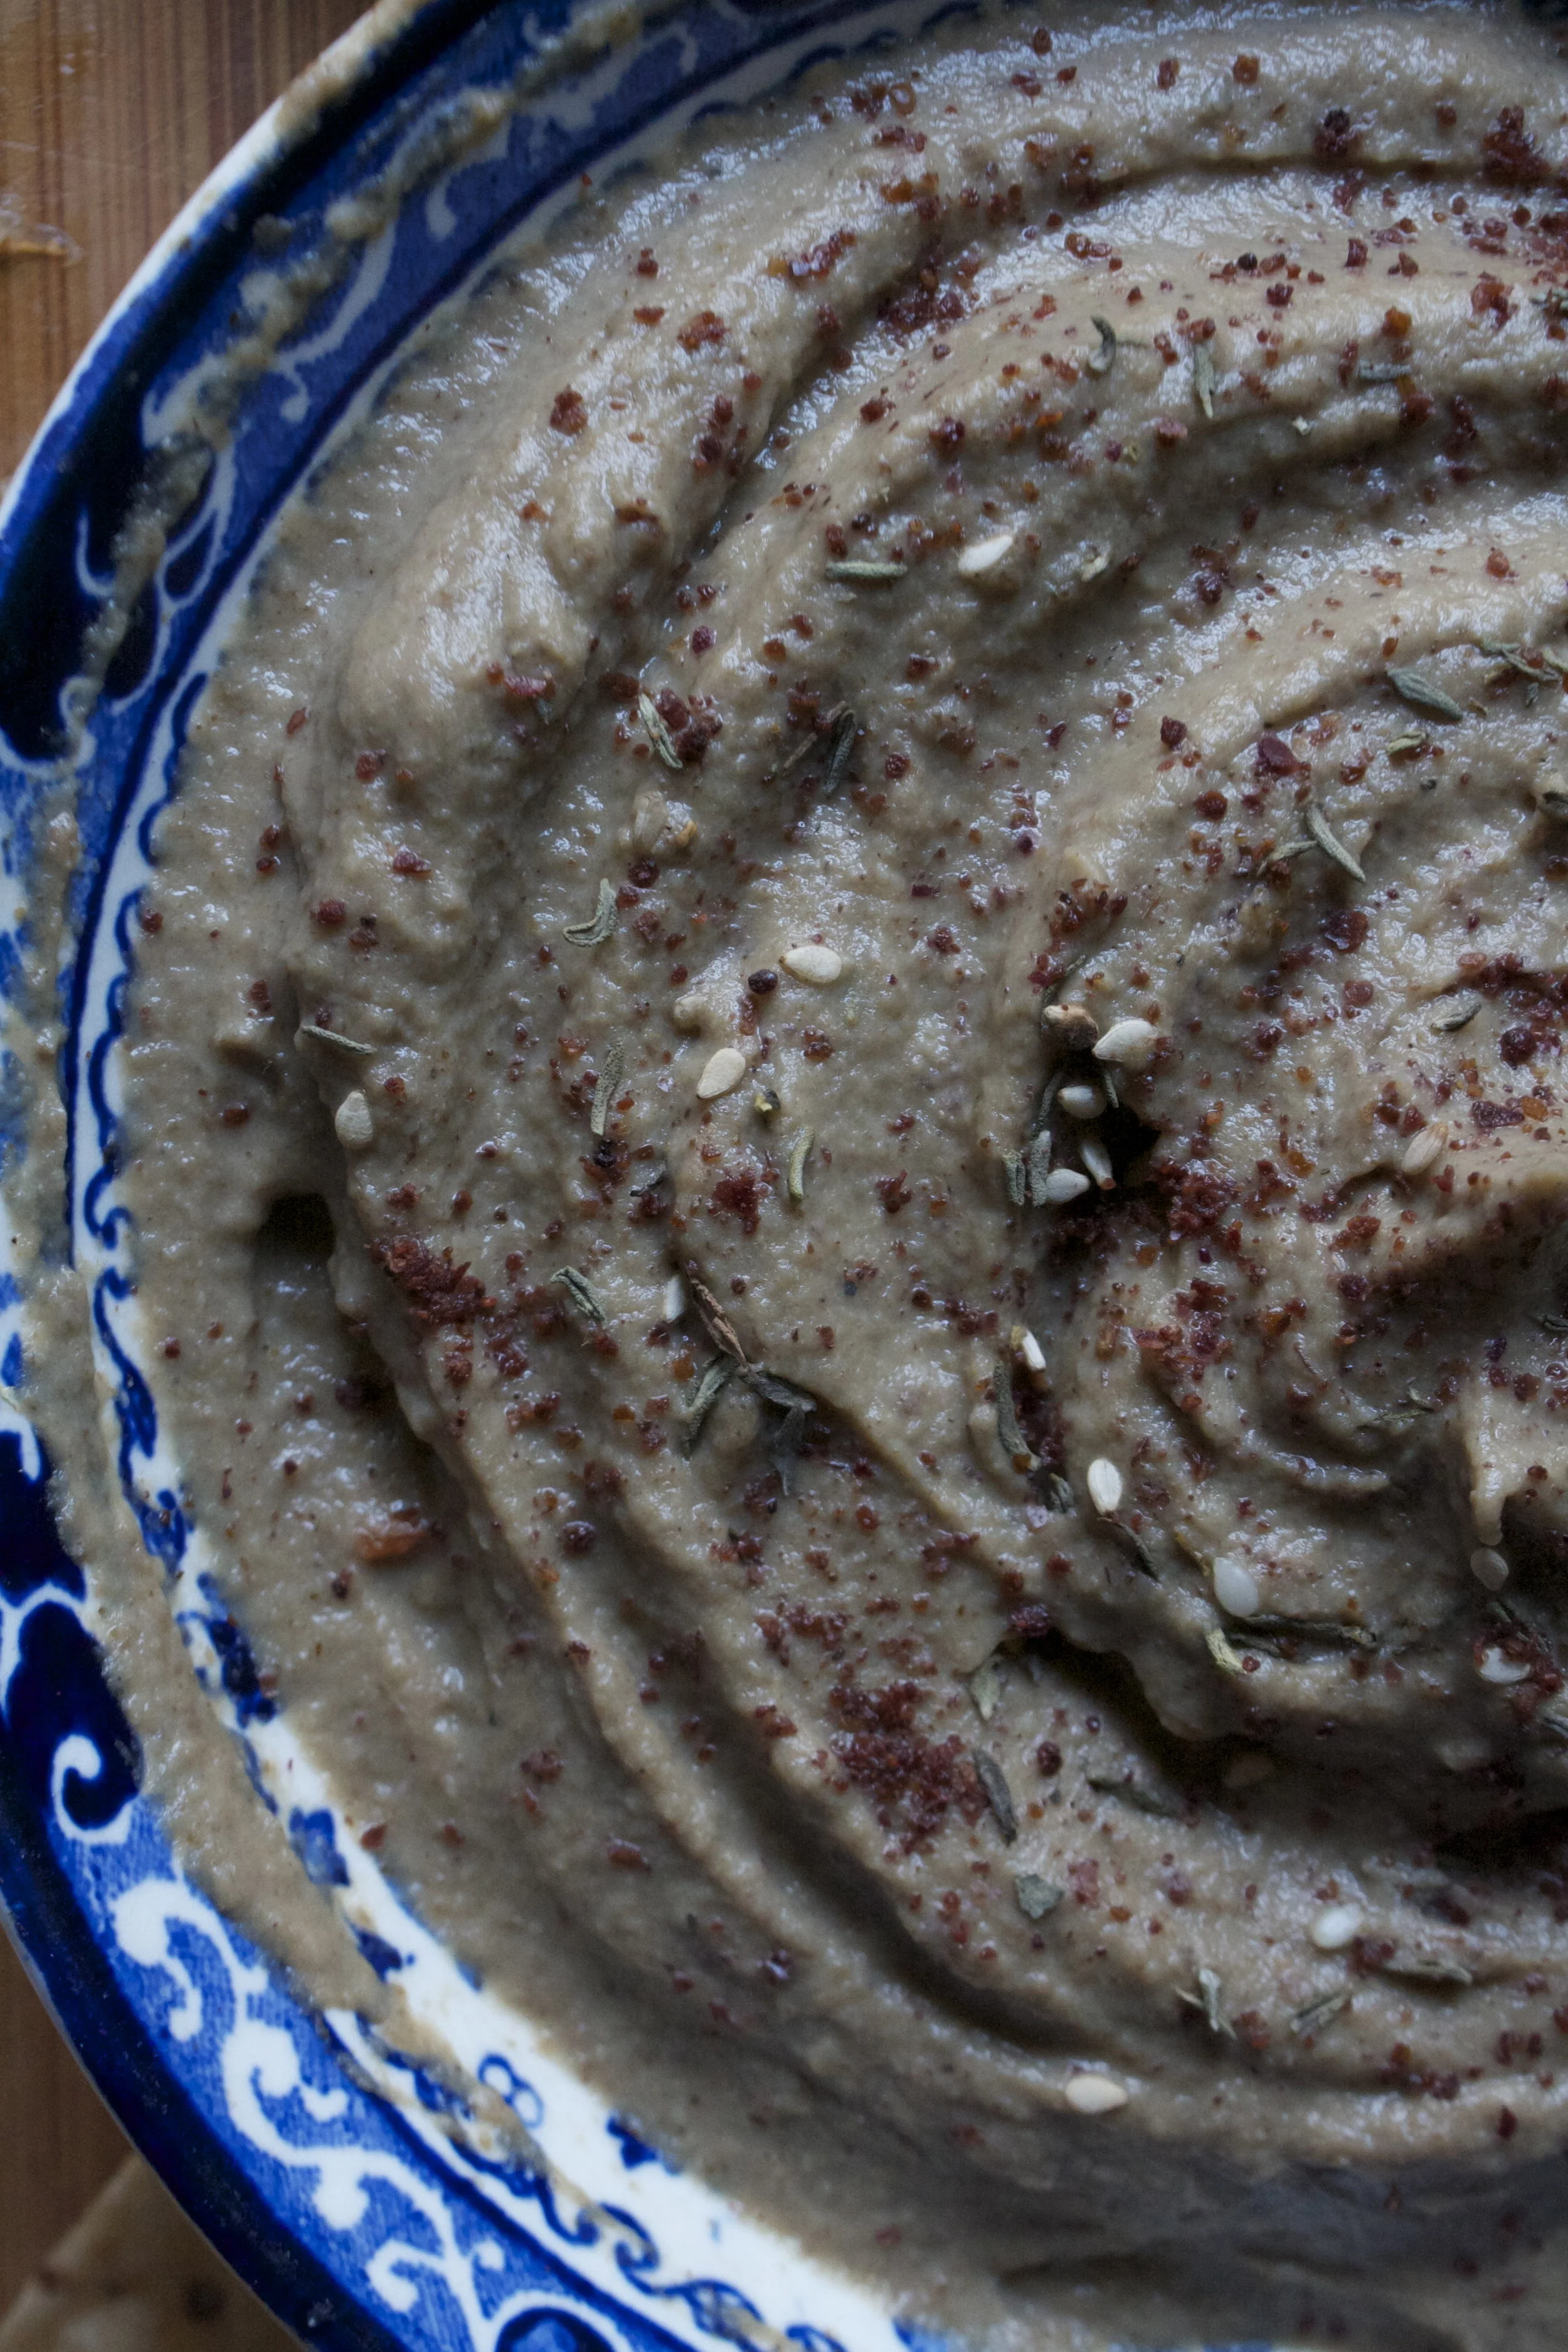
You can’t really go wrong with a good hummus and veggies meal situation and sometimes it’s all that can be right. I for one could eat bowls and bowls of hummus, and sometime do, so this is not a stretch for me. Especially this hummus. I knew I would like it, but man, was (was because I ate it all) it freaking delicious. The sunflower seeds really did it for me, gave it a little something extra, like a freshness that is still creamy and earthy, but is not quite, I don’t know, dark as tahini? %u00a0It’s kind of hard to explain without having you taste it (so make it and you tell me)%u00a0%u00a0Don’t get me wrong, I love tahini, but sometimes you just %u00a0got to mix it up. (Plus sunflowers seeds are dirt cheap. Tahini is not nearly as cheap so bonus there too.)%u00a0%u00a0Maybe its because the sunflower seeds bring the sunshine to your mouth. A sun filled mouth of pureed seeds and beans.%u00a0 Yup, that’s what it is.
So here ya go, a no heat meal (or snack or spread).%u00a0We got this.
The stuff. %u00a0Cooked chickpeas (no need to cook your own, canned is a okay), sunflower seeds, a lemon, a few cloves of garlic, salt, pepper, a little water, and some herby green like parsley or cilantro.%u00a0
Hummus is pretty basic, it’s just stuff blended up, but because we are starting with raw sunflower seeds, we need to really bend the shit out of them until they turn into a paste, so do that, which is going to a take about 8-10 minutes. Then once its pasty, add in the garlic and the juice of the lemon and blend until its all smooth.
Could almost stop here at this point. Sunflower seed goodness all emulsified. Taste it, it is so good.
Now add in the chickpeas and a pinch of salt and pepper.
Blended until smooth with a little drizzle of water to give just the right consistency. %u00a0And that’s it.
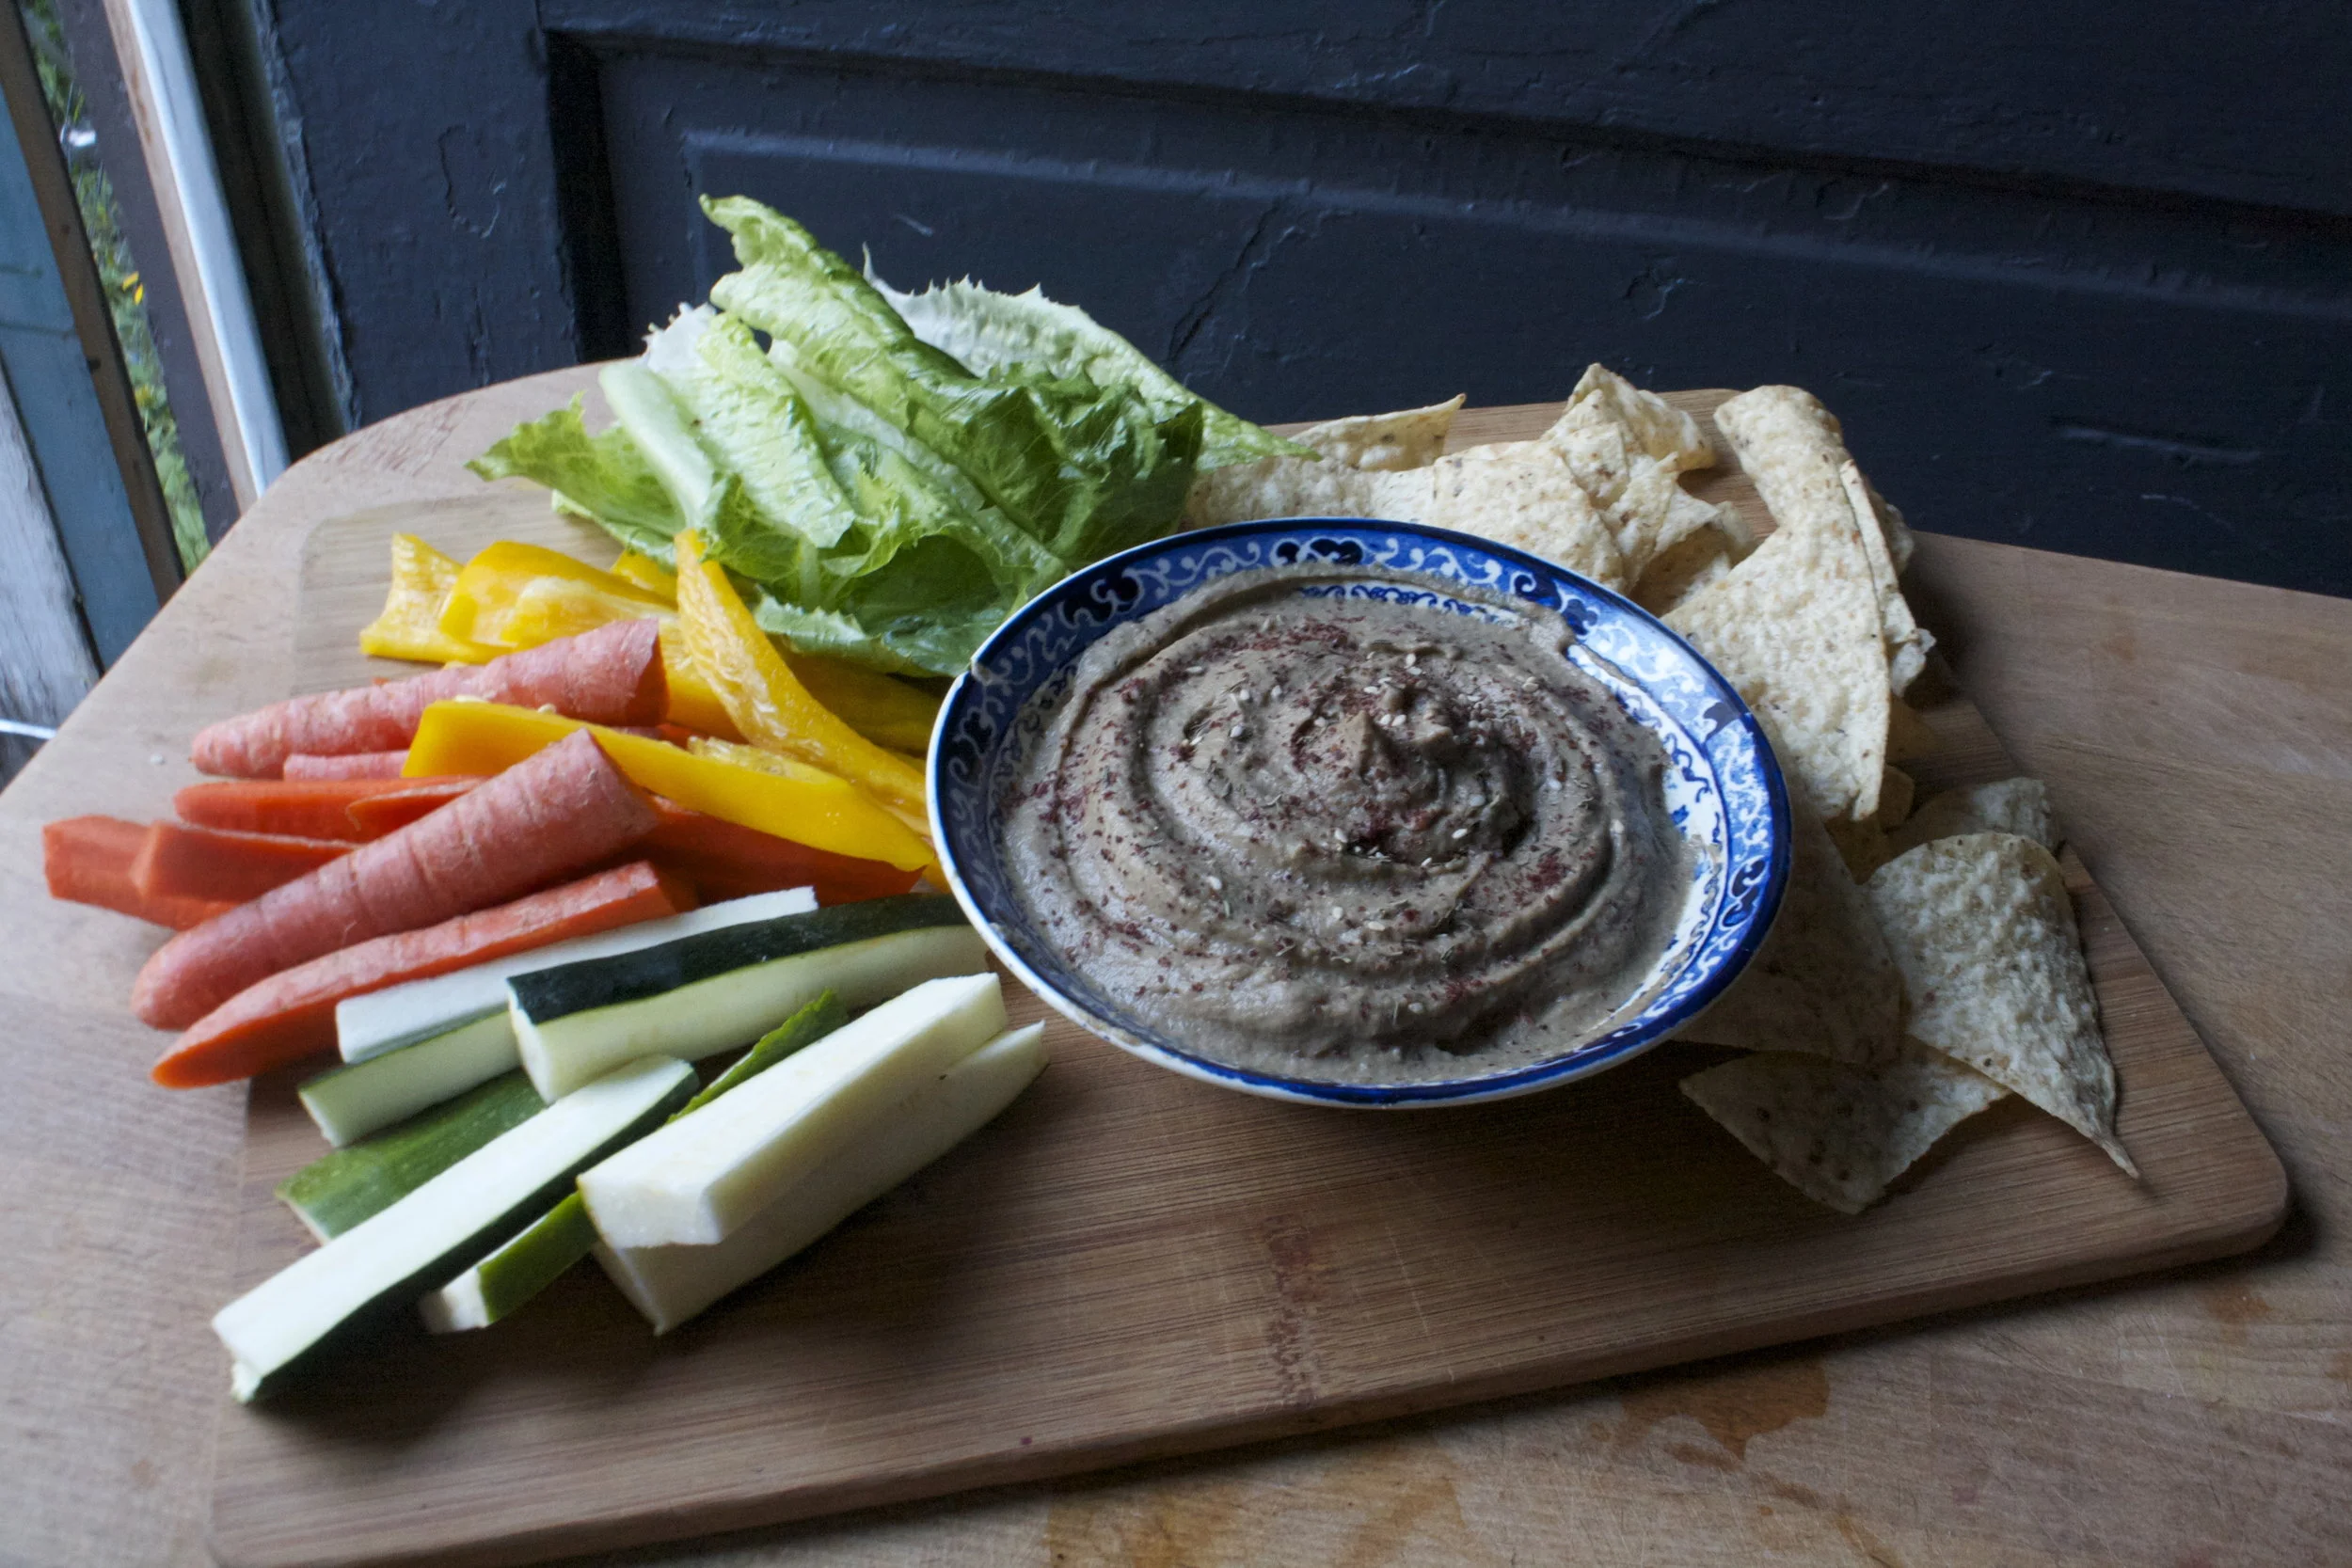
Pile a bowl full enough that you can call it dinner them top with a good amount of fresh herbs. Serve with chopped up fresh veggies or whatever you like and we are good to go.
Creamy, dreamy sunflower hummus, no heat required!%u00a0
Stay not melted!
-C
Makes about 2 3/4 cups
Place the sunflower seeds in food processor and turn on until seeds turn into a paste, which will take about 8-10 minutes. After every few minutes, scrap the sides down to make sure it all gets blended. Once the seeds reach paste consistency,%u00a0add in the juice of the lemon and the garlic. Blend until smooth. Last off, add in the chickpeas and a pinch or salt and pepper and blend until smooth, adding %u00a0in a tablespoon or two of water to get the hummus to the consistency of your liking. Once blended taste and check for seasoning (add more salt and or pepper if needed)%u00a0
When the hummus is done, scrape into bowl(s), and top with lots of fresh herbs and a sprinkle more of sunflower seeds. Now eat it. Eat with veggies, with bread, with pretzels, or with a spoon (or finger). Do what you need to do.
%u00a0Any left over, if there is any, can be store in the fridge for 2-3 days.%u00a0