This past Christmas, my (kinda)mother- in-law gave me and the mr these really cool honey bee pins in our stockings. Nothing fancy, just a little pin, but I think it was one of the best gifts that I had gotten all year. The pin lives on my winter jacket.
And now I am into pins.
So a couple of the little’s came over yesterday after school for crafts and dinner and I figured a bit of pin making would be a perfect little project for us to do. And being that it’s the big V day coming up,%u00a0 making these pins heart shaped was more then overly appropriate. (What’s Valentines day without cute little hearts?) Well pin making we did, or I did, not so much for them. They made a few, but in the end, they were more excited to beat the crap out of the mr and to eat carrot shavings with peanut butter and nutella.. Totally ok with me because really, I was the one that wanted a little craft time and the mr did need to get his butt kicked.
Sure I made these pins pretty much for myself, but imagine the possibilities. Make a bunch to give out to your friends, family, neighbors, or even the mail man!? Or if you have yourself a little, how great would these pins be make and to give to all their little classmates. I know that if received one of these pins in my homemade shoe box mail box meant to collect all of my candy studded, drugstore bought valentines. I would have been elated and rocked that pin all year long on my super cool backpack.(grade schooler, they have all the fun) Right after I finished painting and gluing all my pins, Miley then decided that they were freaking awesome and wanted to make a bunch more…. Well little little, to late, time to go home. But I did give her a bunch to bring back with her. She will just have to bug her mom to make some more.
And sure, I mention valentines day when talking about these pins, but really, hearts are for everyday, and are still really great long after V day is over.
Handmade heart pins = love!
Stuff you need for some awesome pins.
Polymer clay (I used white but any color will do)
red and white paint (preferably enamel or a high gloss paint) and a paint brush
bar pin backs (I bought these at Michael ‘s craft store. 64 for like 3 bucks!)
industrial strength glue (E600 is great and is used and recommended by many a crafters)
rolling pin or wooden dowel
small heart shaped cutter
sharpie pen to write on pins (optional)
Glitter( also optional)
A couple notes. You could use red clay but I have found that when I buy the red dyed clay, its always harder to work with and plus, it stainsyour hands. Also, I like to seal the clay and enamel paint does the trick. If you don’t want to paint it, just pain on a coat of clear sealer.
Start buy kneading a chunk of clay a little bit to get it to a workable state, then roll into a ball and roll out flat. I rolled mine out about 1/3 of an inch, but I also knew I wanted to squish it out a little flatter once I cut the shapes out.
Cut out your hearts, or if you want, free form them.%u00a0 What I did was used my tiny heart cookie cutter to cut the initial shape, but then used my thumb and squished them all out a bit bigger.
Note here.. Hears are awesome and amazing, but other shapes….Go for it. You probably have a shit tone of those pin backs.
And just before you bake them, make sure that the pins you are using will fit behind the hearts. (if you notice any visible pin, just smoosh the heart out a little more).
Into the oven,, out of the oven. Read the package to make sure, but the stuff I used only needed to be baked for 15 minutes at 275
Once out of the oven, let completely cool and harden.
Once the hearts are cooled, go ahead and paint them. Use straight up one color, or mix and make a few different shades. (red, white and pink are nice together)
You can add some glitter to the wet paint to add a little bling….
Or add designs or what have you. Do whatever feels right.
Now stick a pin thingy on the back of each heart with a blob of glue. (If you use the E600, make sure to use it near a window or somewhere ventilated.. it really stinks for a few minutes)
Let the glue dry (this glue was completely dry within an hour, but follow glue package instructions)
And if you want, grab the sharpie, make sure the paint is really dry (at least an hour) and write a little something on the hearts.
And now the hard part.. which one goes to who and which one (or 4) do you keep for yourself. (you can always make more!)
This past Christmas, my (kinda)mother- in-law gave me and the mr these really cool honey bee pins in our stockings. Nothing fancy, just a little pin, but I think it was one of the best gifts that I had gotten all year. The pin lives on my winter jacket.
And now I am into pins.
So a couple of the little’s came over yesterday after school for crafts and dinner and I figured a bit of pin making would be a perfect little project for us to do. And being that it’s the big V day coming up,%u00a0 making these pins heart shaped was more then overly appropriate. (What’s Valentines day without cute little hearts?) Well pin making we did, or I did, not so much for them. They made a few, but in the end, they were more excited to beat the crap out of the mr and to eat carrot shavings with peanut butter and nutella.. Totally ok with me because really, I was the one that wanted a little craft time and the mr did need to get his butt kicked.
Sure I made these pins pretty much for myself, but imagine the possibilities. Make a bunch to give out to your friends, family, neighbors, or even the mail man!? Or if you have yourself a little, how great would these pins be make and to give to all their little classmates. I know that if received one of these pins in my homemade shoe box mail box meant to collect all of my candy studded, drugstore bought valentines. I would have been elated and rocked that pin all year long on my super cool backpack.(grade schooler, they have all the fun) Right after I finished painting and gluing all my pins, Miley then decided that they were freaking awesome and wanted to make a bunch more…. Well little little, to late, time to go home. But I did give her a bunch to bring back with her. She will just have to bug her mom to make some more.
And sure, I mention valentines day when talking about these pins, but really, hearts are for everyday, and are still really great long after V day is over.
Handmade heart pins = love!
Stuff you need for some awesome pins.
Polymer clay (I used white but any color will do)
red and white paint (preferably enamel or a high gloss paint) and a paint brush
bar pin backs (I bought these at Michael ‘s craft store. 64 for like 3 bucks!)
industrial strength glue (E600 is great and is used and recommended by many a crafters)
rolling pin or wooden dowel
small heart shaped cutter
sharpie pen to write on pins (optional)
Glitter( also optional)
A couple notes. You could use red clay but I have found that when I buy the red dyed clay, its always harder to work with and plus, it stainsyour hands. Also, I like to seal the clay and enamel paint does the trick. If you don’t want to paint it, just pain on a coat of clear sealer.
Start buy kneading a chunk of clay a little bit to get it to a workable state, then roll into a ball and roll out flat. I rolled mine out about 1/3 of an inch, but I also knew I wanted to squish it out a little flatter once I cut the shapes out.
Cut out your hearts, or if you want, free form them.%u00a0 What I did was used my tiny heart cookie cutter to cut the initial shape, but then used my thumb and squished them all out a bit bigger.
Note here.. Hears are awesome and amazing, but other shapes….Go for it. You probably have a shit tone of those pin backs.
And just before you bake them, make sure that the pins you are using will fit behind the hearts. (if you notice any visible pin, just smoosh the heart out a little more).
Into the oven,, out of the oven. Read the package to make sure, but the stuff I used only needed to be baked for 15 minutes at 275
Once out of the oven, let completely cool and harden.
Once the hearts are cooled, go ahead and paint them. Use straight up one color, or mix and make a few different shades. (red, white and pink are nice together)
You can add some glitter to the wet paint to add a little bling….
Or add designs or what have you. Do whatever feels right.
Now stick a pin thingy on the back of each heart with a blob of glue. (If you use the E600, make sure to use it near a window or somewhere ventilated.. it really stinks for a few minutes)
Let the glue dry (this glue was completely dry within an hour, but follow glue package instructions)
And if you want, grab the sharpie, make sure the paint is really dry (at least an hour) and write a little something on the hearts.
And now the hard part.. which one goes to who and which one (or 4) do you keep for yourself. (you can always make more!)
This past Christmas, my (kinda)mother- in-law gave me and the mr these really cool honey bee pins in our stockings. Nothing fancy, just a little pin, but I think it was one of the best gifts that I had gotten all year. The pin lives on my winter jacket.
And now I am into pins.
So a couple of the little’s came over yesterday after school for crafts and dinner and I figured a bit of pin making would be a perfect little project for us to do. And being that it’s the big V day coming up,%u00a0 making these pins heart shaped was more then overly appropriate. (What’s Valentines day without cute little hearts?) Well pin making we did, or I did, not so much for them. They made a few, but in the end, they were more excited to beat the crap out of the mr and to eat carrot shavings with peanut butter and nutella.. Totally ok with me because really, I was the one that wanted a little craft time and the mr did need to get his butt kicked.
Sure I made these pins pretty much for myself, but imagine the possibilities. Make a bunch to give out to your friends, family, neighbors, or even the mail man!? Or if you have yourself a little, how great would these pins be make and to give to all their little classmates. I know that if received one of these pins in my homemade shoe box mail box meant to collect all of my candy studded, drugstore bought valentines. I would have been elated and rocked that pin all year long on my super cool backpack.(grade schooler, they have all the fun) Right after I finished painting and gluing all my pins, Miley then decided that they were freaking awesome and wanted to make a bunch more…. Well little little, to late, time to go home. But I did give her a bunch to bring back with her. She will just have to bug her mom to make some more.
And sure, I mention valentines day when talking about these pins, but really, hearts are for everyday, and are still really great long after V day is over.
Handmade heart pins = love!
Stuff you need for some awesome pins.
Polymer clay (I used white but any color will do)
red and white paint (preferably enamel or a high gloss paint) and a paint brush
bar pin backs (I bought these at Michael ‘s craft store. 64 for like 3 bucks!)
industrial strength glue (E600 is great and is used and recommended by many a crafters)
rolling pin or wooden dowel
small heart shaped cutter
sharpie pen to write on pins (optional)
Glitter( also optional)
A couple notes. You could use red clay but I have found that when I buy the red dyed clay, its always harder to work with and plus, it stainsyour hands. Also, I like to seal the clay and enamel paint does the trick. If you don’t want to paint it, just pain on a coat of clear sealer.
Start buy kneading a chunk of clay a little bit to get it to a workable state, then roll into a ball and roll out flat. I rolled mine out about 1/3 of an inch, but I also knew I wanted to squish it out a little flatter once I cut the shapes out.
Cut out your hearts, or if you want, free form them.%u00a0 What I did was used my tiny heart cookie cutter to cut the initial shape, but then used my thumb and squished them all out a bit bigger.
Note here.. Hears are awesome and amazing, but other shapes….Go for it. You probably have a shit tone of those pin backs.
And just before you bake them, make sure that the pins you are using will fit behind the hearts. (if you notice any visible pin, just smoosh the heart out a little more).
Into the oven,, out of the oven. Read the package to make sure, but the stuff I used only needed to be baked for 15 minutes at 275
Once out of the oven, let completely cool and harden.
Once the hearts are cooled, go ahead and paint them. Use straight up one color, or mix and make a few different shades. (red, white and pink are nice together)
You can add some glitter to the wet paint to add a little bling….
Or add designs or what have you. Do whatever feels right.
Now stick a pin thingy on the back of each heart with a blob of glue. (If you use the E600, make sure to use it near a window or somewhere ventilated.. it really stinks for a few minutes)
Let the glue dry (this glue was completely dry within an hour, but follow glue package instructions)
And if you want, grab the sharpie, make sure the paint is really dry (at least an hour) and write a little something on the hearts.
And now the hard part.. which one goes to who and which one (or 4) do you keep for yourself. (you can always make more!)
Have fun!
-C
I think of myself as a problem solver. I see a problem and I look for a solution. And not to sound like a broken record, but the problem that I am having now is that it is winter here in Vermont, but you wouldn’t know it cause it’s 50 degrees and there is no f-ing snow. Yes, this is a problem for me. I don’t think its just me, everything around here is acting weird.%u00a0 My plants are not going into winter mode and are starting to droop and be sad. My fall allergies are coming back, plants are starting to bud again, Washer is shedding like crazy, and my snowshoes have not left the barn. It’s just weird and it makes me sad.Vermont is suppose to be cold ans snowy right now. Sure, there are people that might like this wonky weather, think they are getting a little extra treat, but not me. NOT ME!%u00a0 So this is the problem. And the solution that I have come up with, short of moving, is to cover all the windows with wax paper snowflakes.
See. Problem solver.
We have been spending a good amount of time over at the new house working away so this is where I decided to plaster my flakes. In between cleaning up pieces of broken wall and moving 500 lb bags of trash out of the house, I sat down at the little table, plugged in the Christmas lights, turned on some Christmas music, and totally zoned out. Sipping coffee and sniping away..it felt so right. And the results were quite good if I do say so myself. A window full of flakes that made me smile. Maybe the snow gods will see my effort and grace us with a huge ass storm. Wouldn’t that be so lovely!
All you need to make some flakes is
wax paper (mine is slightly tan because it’s not bleached)
scissors
tape
Optional things
glitter/glue
paint/brush
Christmas music
A hot beverage such as coffee or cocoa
Note. Why wax, well wax paper is really thin and makes cutting through all the folds easy. It also lets light shine through rather nicely and best part, the wax keeps the paper from getting soggy and gross from window condensation. But if you want, use paper. I don’t mind.
This is how learned to make a snowflake… Start with a square piece of wax paper (any size you like) and fold it in half on the diagonal. Then fold that in half at the point.%u00a0 And fold old again at the point. One more time after that. (from start to finish, 4 folds) You end up with a little dart like triangle with a little extra point at the top. Cut that extra bit off.
And snip away.. It can be thought-out or random (I like random snips)%u00a0 Just make sure that you don’t cut off all the folded paper parts cause that is what is holding it together.
Now for the most exciting part. Open (very gently) and see your snowflake creation.
Note. This is important to remember.. No snowflake is the same, and no snowflake is ugly.
Now tape the flake to where ever it should land (the window)
Stand back and enjoy all of the snow you can handle. I have gotten to one window, just 10 more to go!
This one is my favorite.
Happy weekend full of snow!
-C
I never can really tell how I honestly feel about halloween. I love fall, I love pumpkins and cider, but thats fall ,not halloween.%u00a0%u00a0I love to see all the happy little littles running around being super cute. all jacked up on way to much sugar.%u00a0%u00a0And %u00a0I know when I was a kid I was all about it. I mean, what kid doesn’t get jazzed to run around, dressed up (I was alway a black cat),%u00a0with a pillowcase full of candy all night long? That is just magic.%u00a0But as an adult, I haven’t really done too much. Sure I help wit the costumes of the littles and sometime I hand out candy, but where we live now, it’s not possible to give out candy. And the littles, they go do stuff with there friends, not there old lady aunt.%u00a0And I guess me and the mr could dress up and go to a party or something, but %u00a0honestly, we are not really party people%u2026. So yeah, don’t know. I think when I finally have my own kids It will be more fun.%u00a0But whatever, at least I can do a little decorating.
For as long as I have been as adult with my own living place, I have really gotten into holiday decoataing. But here is the thing. I like my decor to be minimalistic,%u00a0not to over the top, or super cheesy. (although I really do like when other people go super overboard and cheesy) But no, you won’t find a 20 foot blow up of a witch or severed hands in my front lawn.(maybe a few dead mice, but thats the cat, not me)%u00a0And I like to make my decorations. I even like to get some littles in one it, cause hand made kiddo decorations are the best.%u00a0
These bats are the perfect bit of halloween decoration. I made a ton of them a few years back and lost them, so I just whipped up a new strand.%u00a0Fast and easy to make, are not overly crazy or gory, and can be hung anywhere. An yeah, making them with a few littles is fun, but you don’t need them. I made them all on my lonesome%u2026. Oh me..
Anyway, to the bat mobile (garland)!
The bat stuff
2-3 pieces of Black card stock (construction paper %u00a0is fine, but will the color will fade over time)
scissors
pencil
needle and thread*
clear tape or tacks (not shown.. to hang bats)
Note. You can use embroidery floss instead of thread, but the thread is much more visible and you are going to need a tapestry needle.%u00a0
Take a piece of paper and fold in half, either length or width wise.( If you do lenght wise, you can cut out a few more bats per piece of a paper, width wise, the bats wings are longer.. up to you, do it both ways if you want)%u00a0
Outline a bat.
Bats are all jagged %u00a0lines.. nothing too complicated so I figured a stencil is not needed. If you really need a stencil, I can email you one…
Cut out bat and open up.
See, easy. And now you have a bat. If you do not like the exact way it looks, fold in again and cut a little more, but don’t get to picky, you have many more to cut.
Now make yourself a %u00a0bat army. As many or as few as you like. I think 12 is a good number. If you want, take the first bat that you cut out and use that as a stencil. Me, actually just free form cut the guys, so none of them look the same.
Bats are ready, now thread you needle.%u00a0%u00a0Don’t cut the end loose or tie the two ends together.
Fold bats back flat and thread them through the upper portion of the wings.%u00a0%u00a0Do that to all your bats.. and make sure that you are threading them on all the dame direction (if you care)
Once all the bats are threaded on. remove needle and tape the end of the thread. Space the bats out evenly or however you like, and hoe ever far apart you like, and cut thread of spool. Tape that end off too.
And hang them%u2026.%u00a0Most of my bats stay where I placed them, but a couple wanted to slide around on the thread, so I just stuck a tiny piece of tape on the inside of the wing over the thread to stop that.
They can fly threw the air%u2026.
Or drape on the wall.%u00a0
Any way, these bats are freaking bad ass and the coolest!
Do you realize that Christmas is just a handful and a half of days away? I knew it, but like didn’t really register it. And now I am like, fa la la la fuck! We have been so busy and distracted that I haven’t really focused to much on the holiday, but at least we decorate the tree. And if I am remembering correctly, there were a few years, long ago, that the mr and I wouldn’t even start celebrating or get our tree until a few days before Christmas so if I am judging us on my past selves, well we are golden. And now we let the celebrating begin!
One of our Christmas traditions is to string popcorn while watching elf for the tree. This is a big deal night because I won’t let myself watch it until that night, but after that, I can watch it as many times that I want. (once a day) We got our tree like two weeks ago, and finally late last week we did the popcorn, watched some elf, and a few days after that we decorated, kinda.%u00a0 It was much lacking in ornaments. We had the lights, the popcorn garland, the paper chain (we made it a few years back), and the carved wooden carrots, but the bulbs we usually stick on it, I just wasn’t feeling. The tree was looking pretty good but was still lacking something. That’s when I went to my fruit bowl and grabbed an orange, a clementine and the dehydrator out of the basement over at the loft and went to work. I turned on the Christmas music (A very special Christmas, the red cover) sliced the citrus, stuck it in the dehydrator, and then, well, then I waited a good few hours. During those hours, the music was going, the house smelled up like citrus and lovely, and I felt that slight holiday tingle.
I think these orange slices are going to be a new holiday tree decorating tradition. I will probably tweak it next year ans spend the 6 hours waiting for the fruit to dry baking cookies and not pouring concrete, but maybe not.
And if you are thinking its too late to make any more holiday stuff, well you are wrong. And honestly, I might just make a sting of these slices to hang up all year long.
To make the orange slice ornaments..
All you need is..
oranges or whatever citrus you want to use
a sharp knife
needle and thread or ornament hangers
a dehydrator or a baking sheet.
The dirty work. Slice the orange about a 1/4 inch thick. Try to make all the slices the same thickness.
I am using my dehydrator so the slices go single layer onto a rack. If you are using the oven, line a baking sheet with parchment and single layer the slices. Pop those suckers into the oven at the lowest possible setting you got. Either way you do it, the slices are going to take anywhere between 5-8 hours to completely dehydrate. It all depends on how juicy your oranges are. Just keep an eye on them after the first few hours. You want them to dehydrate, not burn into crisp.
They are done when they look like so, all dried and crispy and delicate. They should feel dry to the touch.
%u00a0Once the slices have cooled off a bit, they are ready to be handled and hung. I used thread to hang my orange slices, but feel free to use whatever you want.(I was going to use ornament hangers but didn’t have any and I was not about to go buy some)
Slices of orange so pretty. They look so good with the wooden carrots, the popcorn garland, and the glittery acorns on the tree.
I definitely will be making more.
Enjoy!
-C
The trees are on fire, the sky has been lighting up like a masterpiece and the temperatures have been on the cooler, crisper side. I am one lucky lady to be living in such a beautiful place. If you don’t know the awesomeness of fall in Vermont, you should put it on your life list cause it’s amazing and will bring you so many good feelings.%u00a0
Another super productive week for the books.%u00a0We finished laying all the hardwood downstairs then went straight to tiling the bathroom which was awesome cause it was my first real tiling project and now that floor is down too. But man did it do a number on me. The one thing the mr always bitches about are his knees, and now I now why. Kneeling on anything, especially cement board, for 5 hours pretty much will kill your shit. I might be a little whinny, but crap on a shoe do my knees hurt. (now I am done complaining) What else……..Oh yeah, a large quantities of construction waste was brought to the dump that has bee accumulating in large piles in the back yard..(that was fun) I invented a new sport, storage unit parkor (I am really good at climbing and jumping around packed storage units), and got to see the new little monster baby while doing it. Then my little brother came over for a while to help carry the cast iron bathtub from the backyard to the upstairs. (thanks Paul!)%u00a0 I even made a point during the week to stay home for just enough time to made donuts with sprinkles while I sat in front of the oven knitting cause I was freezing my ass off. And I ate 2 roasted pumpkins, an acorn squash, and a sweet potato this week. Feeling pretty good about life.
So I don’t know about today. We might or might not work. We may or may not run away to the woods.(I need to be with the trees for a while) Most likely both. But one thing is for sure, I will be icing my knees. And drinking a butt load of coffee. And eating the butternut squash I picked it yesterday. I am a winter squash addict.
The things I clicked on and reading doing the internet this week.
-Have you noticed the crazy moon lately? How to See the Hunter%u2019s Supermoon This Weekend
– How We Got %u2018Bark%u2019 for Dogs, %u2018Quack%u2019 for Ducks, and Other Words for Animal Sounds
-A classic pencil is so underrated. Trace The Remarkable History Of The Humble Pencil
-%u00a0Incredible Origami Animals.. Like super incredible
-Lots of sweetbread, muffins, and all sorts of baking things in my future. The Best Way to Store Quick Breads and Muffins
-This guy tasted a shit load of butter for his Fancy Butter Taste Test
–Photo Of An Elephant Snuggling An Ostrich because it made me smile and is really freaking cute
– Check out this This Triangular House.. Its pretty crazy cool
–Can We Trust the Cooking Methods on the Back of the Bag? Question everything!
–Bob Dylan Wins Nobel Prize, Redefining Boundaries of Literature.His words are beautiful.
The week in some picture
House update.. Check it out! Our entire upstairs is wires, the plumbing is ran, (not hooked up to anything yet) and completely insulated. It’s freaking sea foam green crazy up there.%u00a0
%u00a0Now the next big step up hear is sheetrock! That’s going to be a bitch of a week, but for the mean timewe have left the upstairs alone because we are waiting to get a rough inspection from the city. And so we get to enjoy the green for just a bit longer.
For now we have ventured back down stairs. A few unseen things have been done likethe re- supportingof the floor with beams in the basement and running all the water lines and elecrrical from upstairs to the basement. We started tackling the clean up of the windows, there has beenlots of sheetrock patching and mudding and adding in light switched and outlets to all the boxes. And recently we have decided that we are going to either rip up the wide softwood downstairs and patch in oak or, if we cant find the right flooring to match, we are going to re-floor the entire downstairs, you know, just to make things a little harder on ourselves.
So yeah, this is where we are at. It’s all smooth sailing from here!
For the longest time now, I have been drinking a little turmeric with a little lemon first thing in the morning. It started as a medicinal drink, but quickly became a tasty habit. I have some stupid weird circulation condition called raynaud’s where changes in temp turn my fingers and toes into icicles. And for me, the worst time of the year for this condition is the spring (but spring is still my favorite). All the up and down of temperature and the wet cold damp weather is my trigger, not to forget to mention that those temp swings can get a girl sick. (I can’t get sick!!)
So way back when I started to drink for my health and the feeling in my fingers. Turmeric, ginger, and cinnamon , all super warming spices that help greatly with blood circulation, not to mention a whole bunch of other good things. (I could tell you and go on and on, but you can just look it up yourself) Ever since I started drinking and eating lots of these spices, my raynauds has gotten soooo sooo soooo much better. I still get cold finger and toes, but no where as severe and the way less often.
Now a few weeks ago the mr started making himself an afternoon turmeric tea. He read something on the internet about how it’s the best anti-inflammatory and good for achy joints. (Sure dude, listen to the internet and not me) Being a big guy doing construction and such, he gets really achy joints and there is only so much arnica and frozen peas a guy can do. So now he drinks this and I think he is starting to notice a difference. (less time with the frozen peas) And since he is making himself tea every afternoon, I started to make a spicy tea for myself in the afternoons too. I figured that a little extra goodness to ward off the chills and any larking illness is only a plus. It’s our after lunch treat that tastes good, is warm and soothing and is doing the body all sorts of good.
Spicy turmeric tea. You will get addicted and feel like awesomeness.
The stuff. Ground turmeric, ground ginger, saigon cinnamon and hot water. Additional yums with a little lemon and some honey if you like it sweet or have a scratchy throat.
Spices into a drinking vessel (I like a big jar)
And in goes the hot water. Give it a good stir and a squeeze of lemon (and sweeten if your gonna)
And watch it swirl. A drink that keeps this girl happy and healthy.
Something great to look forward.
-C
1 tablespoon ground turmeric
1 teaspoon ground saigon cinnamon (can use regular, but it’s not as spicy sweet)
1/2 teaspoon ground ginger
1 1/2- 2 cups hot water (not quite boiling)
honey to taste (I only use if my throat is sore)
lemon juice (optional)
Note… My measurements are just guidelines. You might like a little less turmeric or more ginger so make this drink any way that tastes best for you.
Grab yourself a big mug or jar, add in the spices and hot water, honey if you want it and a squeeze of lemon juice if using. Stir with a spoon and drink. Keep spoon handy to give it a good stir every now and then
Yup. this is the current kitchen. Everything is ripped out (besides the floors… doing that on Monday)
And now the big question…What are we doing? Honest, I have no freaking idea. No that’s not true, I have way to many freaking ideas. The internet is driving me crazy with all of it’s pretty pictures and cool ideas, it’s so overwhelming. And then there is the budget. Did you know that everything is not free? I know, sucky, but we are on not in a position to spend away… Plus I like my things used or recycled with character and charm. (and free of cheap(but well made))
And it’s not like this isn’t like my 100th kitchen remodel, but this one is personal. Like has potential to me the kitchen of my (our, but mostly my) dreams. And that’s a lot of pressure. Here is the list of the big things we need to figure out. Soon.
Do I eat grass and dirt for a few months and save enough money to get a wolf gas range or do I get a way less expensivedecent stove that I will probably burn out within 5 years (I burn out ovens… I like to cook hot!)
Where does the fridge go ? Currently the old fridge is on the opposite wall, and it almost kinda works there, but I wanted that wall to be bare. so?
Dish washer? I could live without, but the mr wants one. He is probably right but we have been hand washing for so long now that I might miss it. (ok, probably not)
And the sink. Old farm sink or a newer 2 bay?
Do we do a tile back splash? And if yes, white subway or what ?(no color or anything trendy…)
The floor. We know that if the there is hard wood or any nice soft wood under the layers of shit on top, we will sand and keep. I am hoping for that, but it’s not looking good from what we see so far. So then what? I don’t think I want tile but should we really lay hardwood down?
Lighting. Actually not a big deal here cause I feel like lighting is so easily changed out for us that if we don’t like it,we’ll just change it.
And the biggy big big.. Cabinets and counter tops.%u00a0 I know no laminate and no wood countersbut I don’t want fancy or expensive or ugly. And the cabinets could possibly come from ikea and we face them ourselves or I find some cool old dressers!?
What we do know is that we are going to stick some type of french door situation here. The doors have to be cool, old, and be half, if not entirely made of glass. I have my heart set on a pair of antique garden doors that came from FranceI saw last year at a reclaim store which have sense been sold.. SO whoever bought them give them back. That’s not a lot to ask right?
Yeah. Just looking for the right set. We might even find cool doors we like and DIY something. We want the doors soon, but are not going to settle on anything mah… we will wait for the right ones.
Thinking that the stove is going to go on the far wall where the black is. Have a little counter and a long counter against the opposing wall…. Still not 100% The sink is (was) in a good spot so it’s staying under the window.
Definitely our favorite spot in the house. The heater is getting removed, but other then that, again, not sure. Just know that it has to stay a fantastic nook for coffee consumption.
So that’s where we are right now with the kitchen. We have a little more time, but soon all ofthese decisions have to be made and we will start putting it all back together (SO EXCITED!) Until then, I will continue to scour the internet for ideas , the salvage yards and craigslist for all the cool stuff, and all the vending machines for any left change.
-C
This past Christmas, my (kinda)mother- in-law gave me and the mr these really cool honey bee pins in our stockings. Nothing fancy, just a little pin, but I think it was one of the best gifts that I had gotten all year. The pin lives on my winter jacket.
And now I am into pins.
So a couple of the little’s came over yesterday after school for crafts and dinner and I figured a bit of pin making would be a perfect little project for us to do. And being that it’s the big V day coming up,%u00a0 making these pins heart shaped was more then overly appropriate. (What’s Valentines day without cute little hearts?) Well pin making we did, or I did, not so much for them. They made a few, but in the end, they were more excited to beat the crap out of the mr and to eat carrot shavings with peanut butter and nutella.. Totally ok with me because really, I was the one that wanted a little craft time and the mr did need to get his butt kicked.
Sure I made these pins pretty much for myself, but imagine the possibilities. Make a bunch to give out to your friends, family, neighbors, or even the mail man!? Or if you have yourself a little, how great would these pins be make and to give to all their little classmates. I know that if received one of these pins in my homemade shoe box mail box meant to collect all of my candy studded, drugstore bought valentines. I would have been elated and rocked that pin all year long on my super cool backpack.(grade schooler, they have all the fun) Right after I finished painting and gluing all my pins, Miley then decided that they were freaking awesome and wanted to make a bunch more…. Well little little, to late, time to go home. But I did give her a bunch to bring back with her. She will just have to bug her mom to make some more.
And sure, I mention valentines day when talking about these pins, but really, hearts are for everyday, and are still really great long after V day is over.
Handmade heart pins = love!
Stuff you need for some awesome pins.
Polymer clay (I used white but any color will do)
red and white paint (preferably enamel or a high gloss paint) and a paint brush
bar pin backs (I bought these at Michael ‘s craft store. 64 for like 3 bucks!)
industrial strength glue (E600 is great and is used and recommended by many a crafters)
rolling pin or wooden dowel
small heart shaped cutter
sharpie pen to write on pins (optional)
Glitter( also optional)
A couple notes. You could use red clay but I have found that when I buy the red dyed clay, its always harder to work with and plus, it stainsyour hands. Also, I like to seal the clay and enamel paint does the trick. If you don’t want to paint it, just pain on a coat of clear sealer.
Start buy kneading a chunk of clay a little bit to get it to a workable state, then roll into a ball and roll out flat. I rolled mine out about 1/3 of an inch, but I also knew I wanted to squish it out a little flatter once I cut the shapes out.
Cut out your hearts, or if you want, free form them.%u00a0 What I did was used my tiny heart cookie cutter to cut the initial shape, but then used my thumb and squished them all out a bit bigger.
Note here.. Hears are awesome and amazing, but other shapes….Go for it. You probably have a shit tone of those pin backs.
And just before you bake them, make sure that the pins you are using will fit behind the hearts. (if you notice any visible pin, just smoosh the heart out a little more).
Into the oven,, out of the oven. Read the package to make sure, but the stuff I used only needed to be baked for 15 minutes at 275
Once out of the oven, let completely cool and harden.
Once the hearts are cooled, go ahead and paint them. Use straight up one color, or mix and make a few different shades. (red, white and pink are nice together)
You can add some glitter to the wet paint to add a little bling….
Or add designs or what have you. Do whatever feels right.
Now stick a pin thingy on the back of each heart with a blob of glue. (If you use the E600, make sure to use it near a window or somewhere ventilated.. it really stinks for a few minutes)
Let the glue dry (this glue was completely dry within an hour, but follow glue package instructions)
And if you want, grab the sharpie, make sure the paint is really dry (at least an hour) and write a little something on the hearts.
And now the hard part.. which one goes to who and which one (or 4) do you keep for yourself. (you can always make more!)
Have fun!
-C
I think of myself as a problem solver. I see a problem and I look for a solution. And not to sound like a broken record, but the problem that I am having now is that it is winter here in Vermont, but you wouldn’t know it cause it’s 50 degrees and there is no f-ing snow. Yes, this is a problem for me. I don’t think its just me, everything around here is acting weird.%u00a0 My plants are not going into winter mode and are starting to droop and be sad. My fall allergies are coming back, plants are starting to bud again, Washer is shedding like crazy, and my snowshoes have not left the barn. It’s just weird and it makes me sad.Vermont is suppose to be cold ans snowy right now. Sure, there are people that might like this wonky weather, think they are getting a little extra treat, but not me. NOT ME!%u00a0 So this is the problem. And the solution that I have come up with, short of moving, is to cover all the windows with wax paper snowflakes.
See. Problem solver.
We have been spending a good amount of time over at the new house working away so this is where I decided to plaster my flakes. In between cleaning up pieces of broken wall and moving 500 lb bags of trash out of the house, I sat down at the little table, plugged in the Christmas lights, turned on some Christmas music, and totally zoned out. Sipping coffee and sniping away..it felt so right. And the results were quite good if I do say so myself. A window full of flakes that made me smile. Maybe the snow gods will see my effort and grace us with a huge ass storm. Wouldn’t that be so lovely!
All you need to make some flakes is
wax paper (mine is slightly tan because it’s not bleached)
scissors
tape
Optional things
glitter/glue
paint/brush
Christmas music
A hot beverage such as coffee or cocoa
Note. Why wax, well wax paper is really thin and makes cutting through all the folds easy. It also lets light shine through rather nicely and best part, the wax keeps the paper from getting soggy and gross from window condensation. But if you want, use paper. I don’t mind.
This is how learned to make a snowflake… Start with a square piece of wax paper (any size you like) and fold it in half on the diagonal. Then fold that in half at the point.%u00a0 And fold old again at the point. One more time after that. (from start to finish, 4 folds) You end up with a little dart like triangle with a little extra point at the top. Cut that extra bit off.
And snip away.. It can be thought-out or random (I like random snips)%u00a0 Just make sure that you don’t cut off all the folded paper parts cause that is what is holding it together.
Now for the most exciting part. Open (very gently) and see your snowflake creation.
Note. This is important to remember.. No snowflake is the same, and no snowflake is ugly.
Now tape the flake to where ever it should land (the window)
Stand back and enjoy all of the snow you can handle. I have gotten to one window, just 10 more to go!
This one is my favorite.
Happy weekend full of snow!
-C
I love me a good tree, pretty much any tree, real or fake.%u00a0 And come December, my house if full of different little trees, of all sizes, shapes and colors. It’s my holiday thing because really, there is nothing better then a tree.
And yeah, I was feeling crafty, and maybe a little bit sad that there is no snow around here. And we still hadn’t gotten our real tree yet (but we just got it!) so I wanted to make some more little trees to make me feel better, and this time I wanted them to light up. I was also thinking that it might be nice to bring a few little tree decorations over to the new house so I have happy little trees over there while we are working. So yeah, I needed some more little trees. And I figure you do too, that’s why I am sharing this.
This is a great project to do with a few littles (they make the trees, you use the hot glue and sharp blade) or make while baking bread and watching a festive movie.%u00a0 You could even make and share with a loved one as a sweet little gift. And best part…it doesn’t need to be packed away after the holidays because trees are not just for Christmas. These are pretty little winter trees, for everyone who is awesome and likes a tree to enjoy all winter long!(even if winter hasn’t come yet)
The stuff you will need
A piece of cardboard about 12×16 (I used an old pizza box I found in the recycling)
assorted paper of size an color
white tissue paper (optional)
a strand of 20 lights (colored or white)
a ruler
scissors
hot glue gun
glue stick
tape
pencil
xacto knife
Note. If you have an empty shallow box that is a good size for you, just use that. And hot glue works best, bt can be subed out with any glue, or tape for that matter (if you don’t mind seeing tape on your trees)
Start with making the cardboard box base. Measure each corner in 1 inch and cut our the corner. Repeat with all corners. Once they are allcut, fold each side at the cuts to make the sides.
Tape the corners together and now you got yourself a sallow box. (now you can make boxes for everything !!!) Set box aside
Now to make the trees. Take a piece of paper and, depending if it is already a square or not, but it into a square. (does not have to be perfect, just eyeball it)
Got your square paper, now take an edge and fold it over about 1/2 inch. And then taking you scissors and snip of the corner edge at an angle (again, not going for perfections here)
The poin is the tip that was cut, now fold the two sides together.
So you can stop here ans glue or if you want light holes…..
Unfold the paper and with a pencil, mark off where you wnt the holes (random is good). Take the xacto blade and cut little x’x over each hole.
Then push through each x with the eraser end of the pencil
Now glue the cone together using the hot glue gun.
You will have a weird tail left on the bottom of the cone, so just trim that off and any extra that needs to come off to make it stand up straight.
Ta Da!! A paper cone tree. Now make a bunch of them, all different sizes and colors (or all the same size and color.. up to you) And not all of them need to have light holes in them either, a couple non light trees are good.
Once you have made all the cone trees, grab the box base and set up the trees how you want them to be on the base
Take the trees off and mark the spots with the pencil. Grab the xacto and cut X’s into the marks.
Take your lights and push the bulbs through (there will be a extra bulbs on the underside…. it makes the box glow.)
And tape down the trees back into place
So cute!
Note.. I stuck a couple extra lights through the box that have no trees. They will be covered in a minute with snow.. So you can do the same. (if you want)
Now you check it out!!! Love it right?%u00a0 And stop here if you like, or go one more step and add some fake snow.
Before you tape down the trees, take glue stick and glue random pieces of tissue paper all over the box, leaving the lights uncovered. (I covered over the extra lights I popped through to make it look like glowing snow)
Stick trees back on.. same way with the tape (You might need to fanagle the trees a little bit to get them to stay)%u00a0 and plug it in.
This makes me happy.
Now go get some paper and start making some trees.
This past Christmas, my (kinda)mother- in-law gave me and the mr these really cool honey bee pins in our stockings. Nothing fancy, just a little pin, but I think it was one of the best gifts that I had gotten all year. The pin lives on my winter jacket.
And now I am into pins.
So a couple of the little’s came over yesterday after school for crafts and dinner and I figured a bit of pin making would be a perfect little project for us to do. And being that it’s the big V day coming up,%u00a0 making these pins heart shaped was more then overly appropriate. (What’s Valentines day without cute little hearts?) Well pin making we did, or I did, not so much for them. They made a few, but in the end, they were more excited to beat the crap out of the mr and to eat carrot shavings with peanut butter and nutella.. Totally ok with me because really, I was the one that wanted a little craft time and the mr did need to get his butt kicked.
Sure I made these pins pretty much for myself, but imagine the possibilities. Make a bunch to give out to your friends, family, neighbors, or even the mail man!? Or if you have yourself a little, how great would these pins be make and to give to all their little classmates. I know that if received one of these pins in my homemade shoe box mail box meant to collect all of my candy studded, drugstore bought valentines. I would have been elated and rocked that pin all year long on my super cool backpack.(grade schooler, they have all the fun) Right after I finished painting and gluing all my pins, Miley then decided that they were freaking awesome and wanted to make a bunch more…. Well little little, to late, time to go home. But I did give her a bunch to bring back with her. She will just have to bug her mom to make some more.
And sure, I mention valentines day when talking about these pins, but really, hearts are for everyday, and are still really great long after V day is over.
Handmade heart pins = love!
Stuff you need for some awesome pins.
Polymer clay (I used white but any color will do)
red and white paint (preferably enamel or a high gloss paint) and a paint brush
bar pin backs (I bought these at Michael ‘s craft store. 64 for like 3 bucks!)
industrial strength glue (E600 is great and is used and recommended by many a crafters)
rolling pin or wooden dowel
small heart shaped cutter
sharpie pen to write on pins (optional)
Glitter( also optional)
A couple notes. You could use red clay but I have found that when I buy the red dyed clay, its always harder to work with and plus, it stainsyour hands. Also, I like to seal the clay and enamel paint does the trick. If you don’t want to paint it, just pain on a coat of clear sealer.
Start buy kneading a chunk of clay a little bit to get it to a workable state, then roll into a ball and roll out flat. I rolled mine out about 1/3 of an inch, but I also knew I wanted to squish it out a little flatter once I cut the shapes out.
Cut out your hearts, or if you want, free form them.%u00a0 What I did was used my tiny heart cookie cutter to cut the initial shape, but then used my thumb and squished them all out a bit bigger.
Note here.. Hears are awesome and amazing, but other shapes….Go for it. You probably have a shit tone of those pin backs.
And just before you bake them, make sure that the pins you are using will fit behind the hearts. (if you notice any visible pin, just smoosh the heart out a little more).
Into the oven,, out of the oven. Read the package to make sure, but the stuff I used only needed to be baked for 15 minutes at 275
Once out of the oven, let completely cool and harden.
Once the hearts are cooled, go ahead and paint them. Use straight up one color, or mix and make a few different shades. (red, white and pink are nice together)
You can add some glitter to the wet paint to add a little bling….
Or add designs or what have you. Do whatever feels right.
Now stick a pin thingy on the back of each heart with a blob of glue. (If you use the E600, make sure to use it near a window or somewhere ventilated.. it really stinks for a few minutes)
Let the glue dry (this glue was completely dry within an hour, but follow glue package instructions)
And if you want, grab the sharpie, make sure the paint is really dry (at least an hour) and write a little something on the hearts.
And now the hard part.. which one goes to who and which one (or 4) do you keep for yourself. (you can always make more!)
Have fun!
-C
I think of myself as a problem solver. I see a problem and I look for a solution. And not to sound like a broken record, but the problem that I am having now is that it is winter here in Vermont, but you wouldn’t know it cause it’s 50 degrees and there is no f-ing snow. Yes, this is a problem for me. I don’t think its just me, everything around here is acting weird.%u00a0 My plants are not going into winter mode and are starting to droop and be sad. My fall allergies are coming back, plants are starting to bud again, Washer is shedding like crazy, and my snowshoes have not left the barn. It’s just weird and it makes me sad.Vermont is suppose to be cold ans snowy right now. Sure, there are people that might like this wonky weather, think they are getting a little extra treat, but not me. NOT ME!%u00a0 So this is the problem. And the solution that I have come up with, short of moving, is to cover all the windows with wax paper snowflakes.
See. Problem solver.
We have been spending a good amount of time over at the new house working away so this is where I decided to plaster my flakes. In between cleaning up pieces of broken wall and moving 500 lb bags of trash out of the house, I sat down at the little table, plugged in the Christmas lights, turned on some Christmas music, and totally zoned out. Sipping coffee and sniping away..it felt so right. And the results were quite good if I do say so myself. A window full of flakes that made me smile. Maybe the snow gods will see my effort and grace us with a huge ass storm. Wouldn’t that be so lovely!
All you need to make some flakes is
wax paper (mine is slightly tan because it’s not bleached)
scissors
tape
Optional things
glitter/glue
paint/brush
Christmas music
A hot beverage such as coffee or cocoa
Note. Why wax, well wax paper is really thin and makes cutting through all the folds easy. It also lets light shine through rather nicely and best part, the wax keeps the paper from getting soggy and gross from window condensation. But if you want, use paper. I don’t mind.
This is how learned to make a snowflake… Start with a square piece of wax paper (any size you like) and fold it in half on the diagonal. Then fold that in half at the point.%u00a0 And fold old again at the point. One more time after that. (from start to finish, 4 folds) You end up with a little dart like triangle with a little extra point at the top. Cut that extra bit off.
And snip away.. It can be thought-out or random (I like random snips)%u00a0 Just make sure that you don’t cut off all the folded paper parts cause that is what is holding it together.
Now for the most exciting part. Open (very gently) and see your snowflake creation.
Note. This is important to remember.. No snowflake is the same, and no snowflake is ugly.
Now tape the flake to where ever it should land (the window)
Stand back and enjoy all of the snow you can handle. I have gotten to one window, just 10 more to go!
This is the golden time of the summer. Warm days, cooler nights. It’s still summer but fall is so close that sometimes you can almost feel it, like in the morning when it’s chilly enough for a sweater or see it when you notice a few tips of trees turning colors. It’s the best and I am eating it all up.%u00a0 Plus I am really excited for apple soon. Early macs should be on there way and I am craving me some apple stuff.
The week has been a little foggy very much productive. Foggy because my allergies have taken hold of my brain making me cranky and at some points unable to hold a single though. Productive because well we got so much done. See the porch(picture above) It’s freaking amazing. The mr is so so good. (he did most of it)%u00a0 And I am not the only one to think it. Every day that we are outside working on it, at least 5 old ladies have to stop and tell him how amazing he is. I think a few of them might have a little crush (hehe) So porch is built and painted and the sealant is drying out now, the rest of the house is painted, all the siding is finishes,%u00a0 and it’s pretty much done out there besides a few little things and landscaping. It’s crazy, I didn’t think it was ever going to happen. But it did and now on to the last big house project…The downstairs bathroom. Saving it for last because we have been using it as the dirty paint sink and litter box room (need to figure out a new spot for that) but now it’s time and back to the fixations of a bathroom remodel.%u00a0 I am on the hunt for a very specific, never to been seen in real life, cast iron corner shower base. I have seen a few pictures, but not many and I even had found one for sale but it was (was because they sold it) 4 hours away and we thought we could wait to buy it. Lesson learned on that one. We even took a trip to a few salvage yards and come up with nothing. So if you by chance have something like that, let me know. I need it to be happy.
Today is going to involve a bit of cleaning and organizing and bean picking? I have been slacking on my farm share pyo (it’s beans and flowers right now) because the garden in the back yard has been keeping me plenty busy picking out there. The tomato plants alone are a freaking jungle with a thousand pounds of fruit that is going to need to be picked this week. I am going to have tomatoes all winter long. So yeah, go to farm, maybe library, clip my nails, just take it easy. You know, do the Sunday thing.
Internet reads from the wee.
–These Are the Foods Climate Change Will, Well, *Change*
-Don’t just stare up at the sun, it will be bad. Planning To Watch The Eclipse? Here’s What You Need To Protect Your Eyes
-Bring back the swing set so I can play on it. A Short-Lived Swing Set Makes a Splash in Burlington’s South End
–It%u2019s Officially Too Goddamn Early for Pumpkin Spice. I completely agree. Also to freaking early for all the Halloween candy on display at the grocery store. IT’S NOT EVEN FALL YET!
-I would like to think I would be fine with this but I am not so sure. I guess I need to try it to see .World%u2019s longest suspension footbridge opens in Switzerland
-I would so buy it if I lived in Sweden, and had the money. This Gorgeous Greenhouse in Sweden is For Sale
–Why You Should Slurp, Not Sip, Your Soup. I am a slurper
–Why Newborn Babies Smell So Delicious. I hear it all the time from people around babies. What does it mean that I never find newborns to smell all that pleasant?
-Do you watch the GBBO? If yes, you gonna watch the new season? After seeing this, I am for sure. I mean, biscuits barfing up jam…. The New Great British Bake Off Trailer: Is It Saccharine? Creepy? A Surrealist Stop-motion Extravaganza?
–Vibrant Mushroom Arrangements
A few pictures from the week.
This past Christmas, my (kinda)mother- in-law gave me and the mr these really cool honey bee pins in our stockings. Nothing fancy, just a little pin, but I think it was one of the best gifts that I had gotten all year. The pin lives on my winter jacket.
And now I am into pins.
So a couple of the little’s came over yesterday after school for crafts and dinner and I figured a bit of pin making would be a perfect little project for us to do. And being that it’s the big V day coming up,%u00a0 making these pins heart shaped was more then overly appropriate. (What’s Valentines day without cute little hearts?) Well pin making we did, or I did, not so much for them. They made a few, but in the end, they were more excited to beat the crap out of the mr and to eat carrot shavings with peanut butter and nutella.. Totally ok with me because really, I was the one that wanted a little craft time and the mr did need to get his butt kicked.
Sure I made these pins pretty much for myself, but imagine the possibilities. Make a bunch to give out to your friends, family, neighbors, or even the mail man!? Or if you have yourself a little, how great would these pins be make and to give to all their little classmates. I know that if received one of these pins in my homemade shoe box mail box meant to collect all of my candy studded, drugstore bought valentines. I would have been elated and rocked that pin all year long on my super cool backpack.(grade schooler, they have all the fun) Right after I finished painting and gluing all my pins, Miley then decided that they were freaking awesome and wanted to make a bunch more…. Well little little, to late, time to go home. But I did give her a bunch to bring back with her. She will just have to bug her mom to make some more.
And sure, I mention valentines day when talking about these pins, but really, hearts are for everyday, and are still really great long after V day is over.
Handmade heart pins = love!
Stuff you need for some awesome pins.
Polymer clay (I used white but any color will do)
red and white paint (preferably enamel or a high gloss paint) and a paint brush
bar pin backs (I bought these at Michael ‘s craft store. 64 for like 3 bucks!)
industrial strength glue (E600 is great and is used and recommended by many a crafters)
rolling pin or wooden dowel
small heart shaped cutter
sharpie pen to write on pins (optional)
Glitter( also optional)
A couple notes. You could use red clay but I have found that when I buy the red dyed clay, its always harder to work with and plus, it stainsyour hands. Also, I like to seal the clay and enamel paint does the trick. If you don’t want to paint it, just pain on a coat of clear sealer.
Start buy kneading a chunk of clay a little bit to get it to a workable state, then roll into a ball and roll out flat. I rolled mine out about 1/3 of an inch, but I also knew I wanted to squish it out a little flatter once I cut the shapes out.
Cut out your hearts, or if you want, free form them.%u00a0 What I did was used my tiny heart cookie cutter to cut the initial shape, but then used my thumb and squished them all out a bit bigger.
Note here.. Hears are awesome and amazing, but other shapes….Go for it. You probably have a shit tone of those pin backs.
And just before you bake them, make sure that the pins you are using will fit behind the hearts. (if you notice any visible pin, just smoosh the heart out a little more).
Into the oven,, out of the oven. Read the package to make sure, but the stuff I used only needed to be baked for 15 minutes at 275
Once out of the oven, let completely cool and harden.
Once the hearts are cooled, go ahead and paint them. Use straight up one color, or mix and make a few different shades. (red, white and pink are nice together)
You can add some glitter to the wet paint to add a little bling….
Or add designs or what have you. Do whatever feels right.
Now stick a pin thingy on the back of each heart with a blob of glue. (If you use the E600, make sure to use it near a window or somewhere ventilated.. it really stinks for a few minutes)
Let the glue dry (this glue was completely dry within an hour, but follow glue package instructions)
And if you want, grab the sharpie, make sure the paint is really dry (at least an hour) and write a little something on the hearts.
And now the hard part.. which one goes to who and which one (or 4) do you keep for yourself. (you can always make more!)
Have fun!
-C
I love me a good tree, pretty much any tree, real or fake.%u00a0 And come December, my house if full of different little trees, of all sizes, shapes and colors. It’s my holiday thing because really, there is nothing better then a tree.
And yeah, I was feeling crafty, and maybe a little bit sad that there is no snow around here. And we still hadn’t gotten our real tree yet (but we just got it!) so I wanted to make some more little trees to make me feel better, and this time I wanted them to light up. I was also thinking that it might be nice to bring a few little tree decorations over to the new house so I have happy little trees over there while we are working. So yeah, I needed some more little trees. And I figure you do too, that’s why I am sharing this.
This is a great project to do with a few littles (they make the trees, you use the hot glue and sharp blade) or make while baking bread and watching a festive movie.%u00a0 You could even make and share with a loved one as a sweet little gift. And best part…it doesn’t need to be packed away after the holidays because trees are not just for Christmas. These are pretty little winter trees, for everyone who is awesome and likes a tree to enjoy all winter long!(even if winter hasn’t come yet)
The stuff you will need
A piece of cardboard about 12×16 (I used an old pizza box I found in the recycling)
assorted paper of size an color
white tissue paper (optional)
a strand of 20 lights (colored or white)
a ruler
scissors
hot glue gun
glue stick
tape
pencil
xacto knife
Note. If you have an empty shallow box that is a good size for you, just use that. And hot glue works best, bt can be subed out with any glue, or tape for that matter (if you don’t mind seeing tape on your trees)
Start with making the cardboard box base. Measure each corner in 1 inch and cut our the corner. Repeat with all corners. Once they are allcut, fold each side at the cuts to make the sides.
Tape the corners together and now you got yourself a sallow box. (now you can make boxes for everything !!!) Set box aside
Now to make the trees. Take a piece of paper and, depending if it is already a square or not, but it into a square. (does not have to be perfect, just eyeball it)
Got your square paper, now take an edge and fold it over about 1/2 inch. And then taking you scissors and snip of the corner edge at an angle (again, not going for perfections here)
The poin is the tip that was cut, now fold the two sides together.
So you can stop here ans glue or if you want light holes…..
Unfold the paper and with a pencil, mark off where you wnt the holes (random is good). Take the xacto blade and cut little x’x over each hole.
Then push through each x with the eraser end of the pencil
Now glue the cone together using the hot glue gun.
You will have a weird tail left on the bottom of the cone, so just trim that off and any extra that needs to come off to make it stand up straight.
Ta Da!! A paper cone tree. Now make a bunch of them, all different sizes and colors (or all the same size and color.. up to you) And not all of them need to have light holes in them either, a couple non light trees are good.
Once you have made all the cone trees, grab the box base and set up the trees how you want them to be on the base
Take the trees off and mark the spots with the pencil. Grab the xacto and cut X’s into the marks.
Take your lights and push the bulbs through (there will be a extra bulbs on the underside…. it makes the box glow.)
And tape down the trees back into place
So cute!
Note.. I stuck a couple extra lights through the box that have no trees. They will be covered in a minute with snow.. So you can do the same. (if you want)
Now you check it out!!! Love it right?%u00a0 And stop here if you like, or go one more step and add some fake snow.
Before you tape down the trees, take glue stick and glue random pieces of tissue paper all over the box, leaving the lights uncovered. (I covered over the extra lights I popped through to make it look like glowing snow)
Stick trees back on.. same way with the tape (You might need to fanagle the trees a little bit to get them to stay)%u00a0 and plug it in.
This makes me happy.
Now go get some paper and start making some trees.
I wanted to be in the kitchen so I asked the mr what he wanted me to make him. Anything he wanted, like a cake, or cookies, or donuts.
He asked for granola bars. (so cute)
I think the reason that he requested granola bars was that he knew I wanted to test out the golden syrup that I brought back from Ireland and I had mentioned that I was going to make myself some granola.%u00a0 (not him, me) but I went with it. And really, I was excited to bust out the golden syrup.
Now what kind of granola bars was the question, but I didn’t even ask him I just went with tahini chocolate chip. Tahini cause its amazing, chocolate chips because, just because. And the golden syrup. The bit of research that I have done on golden syrup had told me that this stuff is like glue (it really is) and that it can be used in lu of other binders that I would normally add to granola bars (like dates) It is pure can sugar that has been turned into a thick, golden syrup (hence the name) and has a more nutty, earthy flavor then just sugar, which went together quite nicely with the oats ans tahini in these bars. (next thing to try it with.. rice crispy treats!)
%u00a0So I got some kitchen time, the bars where made, the syrup was used, the mr was happy.
Win win win. WIN!
The stuff. Oats, tahini, golden syrup, cinnamon, sesame seeds, chocolate chips, and sea salt. Not a whole lot of stuff and nothing else is needed. But if you are feeling it, add some more. (cranberries, chopped dates, coconut, some nuts)
In a big bowl, combine the oats, cinnamon, sesame seed and chocolate chips.
In a separate (microwave safe) bowl or jar mix together the golden syrup and the tahini. Stick it in the microwave for 15 seconds, take it out, stir it, then another stick it in for another 15 seconds. You just want the mixture to be runny. Another way you could do this is on the stove top or, Like me, place jar in the oven and stir until loose. (I don’t have a microwave and I didn’t want to dirty a pot)
Pour the warm mixture into the oat mixture and stir until all the oats and stuff are all coated.
Dump the mixture into a parchment lined pan and press it down as hard as you can with your hands or a bottom of a glass
And optional, but really good, sprinkle the top with sea salt. (do not use table salt)
Now here is the deal. You can do one of two things. If you want a chewer granola bar, place these bars in the fridge for at least an hour until they set up and call them done. For a cruncher bar,%u00a0 stick the granola into the oven for a little bit to give them a slightly crunchier texture
I tossed my into the oven, just for like 12 minutes, just to give them a little color and a bit of crunch. (the longer you leave them in there, the harder and crunchier they become)
Pulled from the oven, chillin out and waiting to be cut.
And piled high. a stack of bars, awaiting a mouth to eat them.
What a bar. The mr is a lucky guy.
Happy day to you!
-C
makes 8 Bars
3 cups oats (gluten free if needed)
1/3 heaping cup golden syrup (can be bought at some grocery stores but can be found online as well)
1/3 heaping cup tahini
teaspoon of cinnamon
1/2-1 cup of chocolate chips
a few pinches of sea salt(optional)
Note. Feel free to add more mix ins if you want (nuts, coconut, dried fruit) just don’t add more then another 1/2 cup of stuff.
In a large bowl toss together the oats, cinnamon, sesame seeds and chocolate chips. In a separate microwave safe bowl (or a pot), combine the golden syrup and the tahini. Place in microwave for 15 second increments,%u00a0 stirring in between until the mixture is loose and pourable. (or heat on stove on low heat until pourable)
Add tahini mixture into oat mixture and mix until all the oats are evenly coated.%u00a0 Dump into a parchment lined, 9×9 inch baking pan and evenly press the granola down as hard as you can with either your hands or a bottom of a glass (or whatever) Sprinkle the top with sea salt.
And now you have two decide if you want a more chewy granola bar or or a slightly crunchier bar. For a chewier one,%u00a0 stick the pan into the fridge for at least an hour until they firm up. For a but more crunch,. place bars in the oven for 10-15 minutes at 350, just until they get a slight golden brown and a little bit of crunch on top.%u00a0 Remove from oven and let cool.
Once bars are ready, remove from pan, grab a knife, cut into bars (or whatever shape you want) and eat them. Store extra in an airtight container (raw ones in the fridge, baked ones are ok on the counter)
Are you so excited that it is spring? I know I am. %u00a0But I am also realistic and know that even though it is “officially” spring, it is not going feel like spring here for a little while. There are still a few more weeks of potential snow storms and cold weather and then there is mud season before we really get to spring and things growing and green. %u00a0And plus there are still plenty of roots to finish up before we get into all the fresh spring veggies. You can’t plant broccoli and pea into frozen snow covered soil.%u00a0
I love me some root veggies, they are some of my favorite, although like every year around this time I am starting to tire of them. But what are you going to do? Stop complaining and stuff them into a spring roll with some lighter veggies and enjoy while you can because once the roots are gone, they are gone (until the fall).%u00a0%u00a0
These spring rolls are good, I mean really really good. The combination of the roasted roots with a fresh tangy mixture of crispy crunchy veggies and fresh ginger and soy and they are just really good.%u00a0When I made these, it was still vey cold outside so I even went an extra step and baked the rolls to give them a little crispiness to the wrapper %u00a0because crispy warm food is kind of nice when its cold out. Because it is still cold out.%u00a0
Happy Spring!!!
The stuff. For roots we are using beet, celeriac, parsnip, and carrot. Then we need onion, kale, cabbage, garlic, fresh ginger and rice spring roll wrapper. Also some sesame seeds, soy or tamari, apple cider vinegar, and a little oil or avocado oil.%u00a0
First thing to do is get the roots roasting. Cut the roots into !/4 inch thick disks %u00a0and place right onto a lightly oiled baking sheet then stick into the oven to roast until browned and tender.%u00a0
As soon as the roots are in the oven, chop the kale nice and small. Thinly slice the onion and the cabbage and mince and grate the ginger and garlic. Cute the carrot into very thin matchsticks.%u00a0
Toss it all into a bowl and mix with the soy and the vinegar… (this mixture is so very very good.. might just be a salad here soon)%u00a0
Don’t be gentle, toss with your hands. You can lick then after too.%u00a0
Roasted and cooled roots get a nice matchstick chop so they fit into the rolls.%u00a0
About time for assembly time. Damp wrapper with a pile of the %u00a0cabbage, kale, carrot, onion mixture and a few pieces of each of the roots topped with a sprinkle of sesame.%u00a0%u00a0Oh so pretty all waiting to be wrapped up.%u00a0
Fold sides over, fold bottom up, and roll nice and tight. Easy peasy.%u00a0
Place the rolls on a lightly oiled baking sheet. Lightly brush each roll with a little oil as well and stick them into the oven. After 10 minutes, flip them over was bake for 8 or so minutes more until both sides are lightly crisp.
And the they be done. Eat right away and serve with extra soy sauce.%u00a0
See, we are still happy to eat our roots. And spring veggies will be here before you know it.%u00a0
-C
make 6-8 spring rolls
1 beet
1 parsnip
a small bulb of celeriac (celery root)
1 carrot
1/4 head of cabbage
1 small red onion
2-3 kale leaves
1 tablespoon soy or tamari%u00a0
1 tablespoon fresh grated ginger
2 cloves garlic
%u00a02 tablespoons apple cider vinegar
tablespoon oil
about 2tablespoons sesame seeds
6-8 rice spring roll wrappers%u00a0
Preheat oven to 400.
Slice the parsnip, celery root, and beet into 1/4 inch thick %u00a0disks and place on a lightly oiled baking sheet. Bake for 15 minutes, flip, then bake for 10 or so more minutes %u00a0or until the veggies are browned and tender.
When the roots are in the oven, thinly slice the cabbage and %u00a0onion and toss into a bowl. Chop the kale into small pieces and thinly slice the carrot into matchsticks about 2-3 inches long. Place it all into the %u00a0bowl with the grated ginger, minced garlic, vinegar and soy sauce. Toss it all around and let it sit while the other veggies are roasting.
Once the roots have cooked, remove form oven and let cool. Keep oven on.%u00a0When they are cool enough to handle,%u00a0%u00a0slice the disks into matchsticks 2-3 inches long.
Time to assemble. Grab all the veggies
Take a shallow dish that can hold a little water and is big enough for a wrapper to fit and add warm water to it.
Keep your baking sheet from the veggies close and lightly oil it again.
Place a wrapper in warm water then place on a wet surface. (keep surface slightly wet or the wrapper will stick)%u00a0%u00a0Add a good pinch or so or the cabbage/kale/carrot veggie mix into the center of the wrapper then add a few of each of the matchstick roots on top. Sprinkle with sesame seeds and then roll. Once rolled, place on baking sheet.%u00a0
When all the rolls are made, lightly brush the tops with oil and %u00a0place into the oven and bake foe 10-15 minutes, flipping half way through
Remove from oven when each slide is lightly crispy and serve right away, preferably with more soy sauce to dip in.%u00a0
Casseroles are a winter staple. So versatile, easy to make, can feed a few or feed a crowd, and best part is you can stick one into the oven and and kind of forget about it for a while. On a cold day having the oven on is always welcome, and timing with these things, well you can keep it in the oven for a little while longer then it needs because the worst thing that will happen is that it will get a little more crispy, and that is only an added bonus because the crispy bits are the best.%u00a0%u00a0And what I really love about casseroles is left overs. If you are smart you make it bigger then needed so you have some left over to either eat the next day or freeze for a meal later. Leftover casseroles are the best.%u00a0
This casserole is a nice, hearty,%u00a0stick toy your bone with our feeling heavy and gross casserole. Coconut milk and butternut squash give a creaminess, chickpeas for protein and goodness, kale because, and hazelnuts for a nice yummy crunch. All the flavors pair well together and also pair well with many different types of seasonings. I was going to go curry, then I was thinking rosemary, but ended up keeping it simple without any spices which was really nice because the flavors were all rich and clean. But really, you could go a bunch of different ways with this because its a casserole and thats what casserole do.%u00a0
The stuff. You will need a can of chickpeas, a can of coconut milk (I used light coconut), some kale, an onion, and a butternut squash (you will only need about 3 -ish cups cubed so your squash doesn’t need to be as big as mine was). Also need some garlic, raw hazelnuts, olive oil, coconut flour, and salt and pepper%u00a0
Start by chopping the onion into small pieces and mincing the garlic. Add to a big pot with a little olive oil and get it on a medium heat to start to cook it all down.%u00a0
While the onions and garlic are cooking,%u00a0%u00a0cube the squash. You probably only need the neck, so cut the bottom off (save for later) and peel the skin (also save for later , for soup or stock). Cut the peeled squash into mouth sized cubes.%u00a0
And by the time you are done with the squash, the onion and garlic have had enough time cooking. Add in the can of coconut milk and the coconut flour. Stir in the flour and bring the pot to a boil, then turn heat down to medium again and let cook for a few minutes until it starts to thicken a bit.
Remove from heat and add in the squash, the chickpeas, and salt and pepper. Mix it all around.
Pour directly into the casserole dish filled with kale and give that all a good mix around.
Level it all out and top with the chopped hazelnuts. %u00a0Now into the oven it goes.%u00a0
And hour or so later, you have yourself a casserole ready for for your face.
Grab a bowl and dig on in.
-C
P.S. We realized as we are eating that a really goof vinegary hot sauce or lime juice are perfect addition to this dish. So do that.%u00a0
serves 3-5
1 can light coconut milk
1 can chick peas drained%u00a0
3 ish cups cubed butternut squash
1/2 bundle of kale (like 5 big handfuls chopped up)
1/2 cup chopped raw hazelnuts
1 onion
2 tablespoons coconut flour ( can sub regular flour)
4-5 cloves garlic
olive oil
salt and pepper%u00a0
Either vinegary hot sauce or a lime wedges (optional for serving)
preheat oven to 375
Start by chopping the onion into small pieces and mincing the garlic. Add to a large pot with a tablespoon of olive oil and place on a medium heat to start cooking.%u00a0
While the onions are going, peel and dice your squash. The easiest way to do this is to cut the neck off and then peel that. (save the peels and the base for soup) Dice the peeled squash into mouth sized cubes and set aside.
Once the onions are lightly cooked, whisk in the canned coconut milk and the coconut flour. Bring mixture to a boil then return to a medium heat. Cook for about 5 minutes or until the milk starts to thicken a bit. Add in the squash, the chick peas, and a teaspoon of salt and pepper. Mix together. Add in the chopped up kale and mix that it then dump it all into 3 quart casserole dish. Level it out and top with the chopped hazelnuts. Place the casserole into the oven and bake for 1 hour ( or a little longer for the crispier crunchy parts.%u00a0
Once you remove from oven, let sit for 5-10 minutes to set up and then call it ready.%u00a0
Serve with hot sauce and or lime wedges.
Any left over is great for a meal %u00a0within then next few days or frozen for a meal down the road%u00a0
This summer I have gotten like 5 lbs of blackberries, a humongo bowl of raspberries, so so so many pears, and lots of random veggies, all from my neighbors and their gardens We live in a very giving and generous neighborhood. And it helps that they can’t possible eat all that they grow and that I am always willing to take it off their hands (and put it into my mouth) In return we have given out rhubarb and jars of honey and overall charm and smiles. (the charm and smiles are on the mr to give out)
The other day on a walk, the mr and I saw this sign outside of a neighbors house. Plums, please take some! Well pull my arm, I guess I will have too, because the sign said please right? Anyway, these little plums, not sure what kind they are, but they are so good. Sweet and bite sized and pretty. I ate a few then decided that I needed to share my shared plums and went about making a cake to stick those said share plums into.
I made the cake, invited my mom and a couple of sibs over. Mom didn’t come but Barb and Paul did so they got the cake, Well they got half the cake, the mr ate the rest. I was told that this cake is one of the best. I bet it is when you used share plums because sharing is caring and sharing cake is all that good stuff.
The stuff. A bowl with flour, baking soda baking powder, and slat. Then you have brown sugar, coconut oil. vanilla extract, soy milk, and a little apple cider vinegar. And plums of course.
Once you have started preheating the oven, cut your plums in half and remove the pit.The best way to do this is to run the knife along the pit all the way around the plum and then twist to break in half. Pop the pit out with you finger.
Set plums aside while mixing cake
Warmed coconut oil, brown sugar, and vanilla all get mixed together into a smooth consistency then dumped into the bowl of dry stuff.
Soy milk and vinegar get added and mixed in.
Batter gets poured into a very well greased cake pan and the plums get placed, cut side down,right on top. A sprinkle of sugar to top it off is not a bad idea.
Into the oven it goes to turn to cake!
Pulled from the oven looking so nice. Let the cake cool completely in the pan before taking it out. Hot cake is hard to handle!
And as soon as you get it out of the pan you can start eating.
Enjoy the last bits of summer. Share if you can!
-C
Makes a 12 inch cake
Ingredients
2 1/4 cups all purpose flour
1 teaspoon baking sods
1 1/2 teaspoon baking powder
1 teaspoon salt
1 cup brown sugar
3/4 cup coconut oil (warmed so it’s liquid)
1 teaspoon vanilla extract
1 cup soy milk
1 tablespoon apple cider vinegar
12-14 small plums (the plums I used where golf ball sized so you might need less for larger plums)
1 tablespoon white sugar
Preheat oven to 350
Start by slicing the plums in half and removing the pits. Set them aside. Hint. for slicing, the best way to do this is to run the knife along the pit all the way around the plum and then twist the plum in half. Pop the pit out with you finger or spoon.
In a large bowl, whisk together the salt baking soda and powder, and salt . In a smaller bowl mix together the coconut oil, brown sugar, and vanilla until smooth. Pour the wet into the dry and add in half the milk, mix together, then the rest of the milk and apple cider vinegar. Mix until all incorporated and smooth.
Pour batter into a well greased 12 inch round cake pan.%u00a0 (If you don’t have that a 9×9 square pan will work) Smooth out the top then grab your sliced plums and stick them, cut side down, on top. Give each plum a little push into the batter so it half submerged. Sprinkle the top with white sugar and pop into the oven
Bake for 45-50 minutes or until a fork or toothpick stuck int he middle comes out clean.
Remove and let cool completely in cake pan, it’s easier to remove the cake when it is not hot.
And once it’s cool, remove cake gently and ta-da. Cake time
All at once is how it goes. The garden is all star fantastic and just won’t quit.%u00a0 I find myself picking 4-6 cucumbers and the same in squash every morning. The tomatoes plant are a freaking jungle and there are so so so many tomatoes, all just about to ripen. The kale is doing it’s thing, growing big and green and I pick a few handfuls a day. And then there are all the beets and carrots and cabbage,chard, and kidney beans. It’s big, and prolific and amazing. I am much proud of myself for growing a shit load of awesomeness.
And then there is the farm share. I get all my garden stuff times 10. Tomatoes, cucumbers, zucchini, kale. Not to mention the corn, onion, carrots, and herbs and all the flowers. The food keeps on coming.%u00a0 I live in a house, with a big kitchen, with lots of counter and a full sized fridge, yet I still don’t have a place for it all. The squash overflow has now made it’s way to the dinning room. But I am not complaining.
The new rule that I have instated in the house. Every meal must contain at least two tomatoes, a cucumber, and some kale. Want a snack, grab a zucchini. You thirsty? well eat a cucumber. No joke. I get a little stressed out about how much food is around that needs to be eaten or canned, but that is good stress. I am on the lookout for a chest freezer to help with the stress. I promised myself that I would have one by now so I need to get on that asap.
Summer harvest. This is the time of year that I gain a few pounds. It’s a zucchini tomato belly for sure.
And this salad. I am a huge fan of the B.A.S (big ass salad). A big ass bowl of all the goodness from farm and garden plus some lentil protein and a little good avocado fat. Fresh and clean and delicious. Makes you feel all good when you eat it.%u00a0 So go for it. Eat yourself a B.A.S. you wont regret it.
The stuff. Cucumbers (that is a white cucumber and it’s really tasty) tomatoes, some kale, parsley, and cilantro. Also need some onion, cooked lentils, and at least half an avocado. Salt. pepper, and red wine vinegar for the finish.
Kale. parsley, and cilantro get a good rough chop and then tossed into a big ass bowl.
Cucumber, onion, and tomatoes get their turn next and chopped into mouth sized pieces. Into the bowl as well.
Top it all with cooked lentil, some avocado, and a glug glug of vinegar. Season with salt and pepper.
Now all you need is a fork.
All the summertime in a bowl. Here’s to summer bellies!
-C
2 cucumbers
2 small or 1 large tomato
1/2 of an onion
1 cup cooked lentil
1/2 an avocado
3-4 large kale leaves
handful fresh cilantro
handful fresh parsley
red wine vinegar
salt and pepper
First off, grab a really big bowl. Take herbs and kale and chop into small pieces. Place in bowl. Next dice up you onion, tomato, and cucumbers into mouth sized pieces and toss those into bowl. Dump the cooked lentils on top of that and dice the avocado (I used half but you can use whole one) into little pieces and through that on too. Sprinkle with a pinch of salt and pepper and a glug (about a table spoon or two) of vinegar.
Now mix until all combines. Taste and if needed, add more salt, pepper, and/or vinegar.
Now its done. Grab a fork and eat to your face.
The house next door to us is for sale and in the backyard of the house is a whole lot of blackberry bushes. The mr and I have been hopping the fence over there like ninjas and filling large bowls of berries and sneaking back home to eat our weight in those blackberries. (Ok, not entirely true. We are not good enough ninjas to jump the fence so we have been walking through the fence gate. Plus we checked with the current owner, she told us to pick all we wanted to. We are not asshole ninjas stealing fruit)
So many berries. I check every few days and they just keep on coming and I am not one to let perfectly good berries (or any food) go to waste, so I just keep picking. I froze some , ate so so many, and then I was going to make a straight up pie but decided to do pie bars instead because one, I couldn’t find my pie plate (I think Shannon has it) and two, these are just a bit less formal, like pie can sometime be. Plus easier to share because they are cut into little squares and hold there shape really well. And lets be honest, I didn’t want to have to roll out pie dough if I didn’t have to.
Such a good way to use up and share an excess of berries. Now off you go to make some pie crumble bars while I go play with the kittens (I’ll tell you all about the kittens tomorrow….)
The stuff. Flour, sugar, baking powder, and salt. A little soy milk and coconut oil, a lemon, and arrowroot powder. And of course lots of blackberries.
The flour, salt, baking soda, and sugar get mixed in a big bowl then the coconut oil get mixed in into a crumble.%u00a0 Now in goes the soy milk to get it all a little wet.
A little more then half the mixture gets patted down into a greases and lined pan
Berries, sugar, arrowroot powder, lemon juice and lemon zest go into a bowl. Give it a mix.
Dump and distribute all over recently patted down dough..
And crumble the rest of the crumble all over the top.
Now into the oven it go.
All cooked and cooling while you put away the clean dishes (or anything that will distract you for at least a half hour while they cool.)
And when they have cooled enough to cut, it’s time for you to eat.
And yes, these are totally perfect for dessert and breakfast.
-C
makes 16 squares
For the crust
2 1/2 cups flour
1 teaspoon baking powder
1/2 teaspoon salt
2/3 cup coconut oil melted then cooled to soft
2/3 cup cane sugar
4 tablespoons soy milk
For the berry filling
3 cups fresh blackberries
3 tablespoons arrowroot powder
1/3 cup cane sugar
zest and juice of a lemon
Preheat oven to 375
Mix the flour, sugar, salt, and baking powder together in a large bowl. Add in coconut oil and incorporate with a fork or pastry cutter until the dough looks crumbly, add in soy milk and mix in with for again just til until incorporated. (think pie dough-like)%u00a0 Don’t worry if some of the dough seems dry, it’s fine.
Grease and line a 9×9 pan. Dump a little more then half of the dough mixture in and pat down to cover bottom of pan. Try to make sure it’s all an even thickness.
In a separate bowl, toss together the berries, sugar, arrowroot powder, lemon zest and juice of that lemon. Dump the mixture into pan and evenly distribute over dough. Take the remaining dough and crumble all over the top then just stick it into the hot oven.
Bake for about 50 minutes or until the crumble on top is a nice golden brown.
Remove and let cool completely before cutting.
Cut then eat.
Store squares in fridge, some even say they taste better cold.
The radishes in my garden have gone from these tiny little wisps of green to a freaking jungle of greens with bright red bulbs bursting through the dirt. Ah, radishes., those little red balls of zesty crisp goodness that grow like crazy in the garden. They are no fuss, no joke, toss them seeds into the grown and bam, you get you some radishes. No matter how crappy of a gardener you might think you are, I bet you could grow you some radishes no problem.%u00a0
And with those radishes comes a butt load of greens, the greens that everyone seems to just toss away which is crazy because the greens are so good. They are tender and zippy and make for great eating. I usually just toss them into salads or whatever but I guess I went a little overboard with the planting of the radishes and I have so so so many radishes all ready to be pulled now with so so so many greens that need to be eaten. So pesto. Fresh early summer, tangy and bright green goodness. It is super tasty and great. Definitely anew favorite and a great way to use up your radish greens.%u00a0
The stuff. Lemon, olive oil, garlic, walnuts, salt and pepper and a bunch of radish greens.
Pretty freaking simple here. Stick garlic, and walnuts into the bottom of the blender and give that a pulse or two.%u00a0 (I would have used my food processor but the new blade has yet to arrive). Add in all the greens, the juice of lemons, sprinkle with salt and pepper. Turn on low and stream in a oil. You might need to push down greens to get them into the blenders vortex.
And once it’s all blended you have pesto.
Pour it into a jar and it’s ready to go.
Eat it any way you eat your pesto.
Enjoy
-C
Makes about 2 cups
4ish cups radish greens (I used the greens from about 10 radishes)
1-2 lemons
3/4 cup toasted walnuts
4 cloves garlic
about 1/2 cup olive oil
salt and pepper
Stick walnuts, garlic and the juice of the lemons into a food processor or blender. Give it a pulse or two. Add in a pinch of salt ans pepper then the greens. Turn on blender and stream in olive oil. You might need to stop a few times to push the greens down. Blend until combines. Taste and season with more salt and pepper to taste.
Pour finishes pesto into a jar. Eat with pasta, use as dip, smear on toast, dollop in soup. Eat it however you like.
Lasts for a week or two in fridge and freezes really well .
As I was sitting at the table making this simple little ode to spring salad, it started to snow outside. “Look away”, I told myself. “Pretend you didn’t see it.” Well, I saw it then, saw it before bed, and when I woke up this morning , there was (and still is)%u00a0 a few inches of fresh white covering up my hopes of a warm spring day. I have to admit that it is really very pretty, but what the hell.
This salad is all spring. Fresh spinach from the farm, asparagus in abundance every store I go to. Simple, crisp, refreshing. A nice change from a winter heavy with roasted roots and thick stews. I don’t know about you, but this is the time of year that all I want to eat are fist fulls of fresh green stuff. (I could insert a picture here of me sitting on the couch munching away from a bag of baby kale, but I won’t. You don’t need to see that)
Now if it would just stop snowing and be spring for real, that would be great.
The stuff. Fresh spinach. tender asparagus, a lemon, and salt and pepper..
Snap off the woody ends of the asparagus then dice up the rest.
Toss the chopped up asparagus in a bowl with spinach. Squeeze the juice of the lemon all up in that and sprinkle with salt and pepper. That is it.
Fresh, green, springtime goodness in a bowl.
-C
2 large handfuls of fresh spinach
10 ish spears of fresh asparagus
1 lemon
salt and pepper
Wash and dry spinach ans place in bowl. Snap off woody end of asparagus (I save this bits for soup) and chop up the rest into mouth sized pieces. Toss the chopped asparagus into bowl with spinach. Squeeze on the juice of the lemon and sprinkle with salt and pepper to taste.
Eat.
A few weeks ago the mr and I were standing at the check out line at the grocery store when up behind us comes Shannon (sister of mine) which was really weird because I was just saying how I felt like I was going to see her there. (Sister ESP) Of course we just started talking and stopped paying attention. (handed over the bags and wallets to the mr) She was telling me about the party she was going to and the salad she was really excited to go home and make for that party. (like as excited I as I get when I talk about salad, but maybe she was more excited about the party, hard to tell)%u00a0 The lady cashier rang us through while the mr was kind enough to bag and pay, then rang Shannon through, which the mr was also kind enough to bag and pay(using her card). We chatted a bit more, walked our separate ways and moseyed on home. When we got there, I started putting our groceries away and there it was, a bag of Shannon’s groceries, the stuff for the salad she was going to make for her party. Oops. So the mr called her up and told her, was willing to drive all the way back to her house right then and there in the snow to bring it to her no problem, but she just laughed and said no. She would just make something else. All she wanted was for us to eat it, or better yet, make the salad she was going to make and then eat it.%u00a0 And that is what I did, or at least I think I did. I used the cabbage, limes, and broccoli that she bought, some black beans I had,%u00a0 chopped and tossed and ate. Not sure if it is exactly what she as describing, but it’s good.
Thanks Shannon for the bag of groceries, sorry we stole it. I owe you a salad.
The stuff. Some red cabbage, a broccoli crown, black beans (rinsed ans drained) a lime, and salt.
Cabbage gets shredded and broccoli gets chopped into small little pieces.
Chopped veggies, beans, lime juice and salt go into a big bowl.
Tossed. Now it may look done, but what this salad really needs is time to let the lime juice do it’s work. Let the salad sit for at least 30 minutes, but heck, if you make this a few hours, if not even a day ahead, well it’s only going to taste that much better.
And after the wait, eat it.
This salad makes for a great light Lunch or a pre-dinner (the small meal you eat before dinner, that’s a thing right?)
Enjoy your weekend.
-C
serves 4-6
2 cups cooked or 1 can of black beans, rinsed and drained
Half of a small head of red cabbage
1 large broccoli crown
1 or 2 juicy limes
a good pinch of salt
Finely shred the cabbage and small chop the broccoli. (stem and all) Dump the veggies into a bowl and sprinkle with salt. Mix in the drained black beans and toss with the juice of the lime. Let sit for at least 30 minutes. This salad taste good just made but only gets better with time, like if you can make it a few hours, if not a day ahead, go for it. When you are ready to eat. well eat it.%u00a0 Add more salt if needed, more lime juice if you want, maybe a pinch or two of pepper.
Not just sweater weather, which it had been all week and I am LOVING IT, but it%u2019s lamp light weather too. I forgot that I had all these fantastic lights around my house and yesterday when it was dark out at 6 (it was raining so the sky was cloudy) I got to turn on a couple lamps that haven%u2019t had any action in months. It was soooo nice and cozy. This my friends, this is the best time of year!
Camping last week was great and not so great. The campground was pretty, but our fellows campers were very rawdy and loud and there was a party at the picnic pavilion that had a shitty classic rock cover band playing. The noisy people and shitty music echoed through the park for longer then anyone should have had to deal with it. But I guess that happens, especially on a long holiday weekend. And really, besides the buttheads, we had fun. We went for a nice hike through the woods and into giant fields of wildflowers and goldenrod then spent some great time in the kayaks on a nearby lake (away from all the people). Plus after eating dinner and then packing it in for the night, we didn%u2019t get soaking wet, which we could tell by the many car doors slamming and people screaming at 1am , a good few people did. Our tent stayed nice and dry inside and we even managed to stay dry when we got out of the tent and and realized it was sitting in a giant puddle. We even managed to stayed pretty dry packing up and getting on our way home, in the rain! It%u2019s because we are good at coming I guess.
Then the rest of the week came and went in a fast blur. Mostly some same. Had lunch with Barb, cleaned apartments for new tenants,, made cards for artwork, picked up farm share, and you know, other life stuff. I have been busy in the kitchen harvesting garden food and canning or freezing it as well. Trying to stock up on as much food as I can for the winter. Then the littles slept over Friday. We watched Dumb and Dumber and I fell asleep on the couch. Woke up made waffles (I was so excited to use my waffle iron. It%u2019s been too long) and sent them on their way home to be moody tweens because that is now happening.
Oh, and I can%u2019t forget about how some little shithead smashed in the back of our car. Yup, that happened too. But that is pretty much it. I think%u2026.
Now for today. Mt Auscunty State park if all goes to plan. Should be a fun one with lots of hiking and a big high tower and stuff. I know it is gonna get mighty cold tonight so I am packing my winter long underwear and a jacket, hat, and mittens. So excited!
Links to explore on the internet.
–Doctors are now prescribing houseplants to help treat anxiety and depression. Makes a whole heck of a lot of sense to me. And why not try this simple remedy before trying a bunch of drugs?
-I wasn’t;t surprised much when I read this. Junky processed food is so bad, especially if it is all you eat. .19-Year-Old Goes Blind Due to Diet of Pringles, Bread, Fries, and Processed Meats
–Lush Botanical Forms Translated Into Abstract Embroideries%u00a0. So very pretty.
-Another good reason to ditch that pessimistic attitude and to look at he bright side of things. It doesn%u2019t hurt to try. Optimists For The Win: Finding The Bright Side Might Help You Live Longer
–Why do clowns creep us out?%u00a0Because they are creepy, that is why.
-I want, no, I need this cabin. Totally Off-the-Grid Cabin in the New Hampshire Woods
–This Apple Might Be the Most Anticipated Piece of Produce in History. I heard about this apple few years ago. I wonder if it%u2019s gonna live up tp all the hype. We shall see.
-Why don%u2019t we have one of these? The Otter: The 1950s Amphibious Caravan That Time Forgot!
–Can Bullet Journaling Save You? I am a list maker in all the ways. I a ma doodler to no end. I love pretty things and I love hand writing and have a ton of sketch books but besides the occasional list of note in a sketch book, I have never really gotten into Buju. It%u2019s to time sensitive I think, for me anyway.
–Squeeze in a Quick Nap at Work with This Under-Desk Hammock. A new way to sleep on the job. HA.
Pictures from the week.
Corn is the name of the game, and this game I won!
The mr doesn%u2019t much like to eat corn. But I do. And this time of year I get like 10 ears of corn every week from farm share, which is a lot of corn for one person to have to eat every week and sometimes I just can%u2019t do it. So every now and then I make something that I think the mr will tolerate, if not like, to get him to help me eat the stash of a hundred ears or corn that I have going on in the fridge.
These fritters helped me with that and I think with all the future corn that I will get from the farm. They are soooo good! The mr liked them! As for me, I couldn’t stop eating them and almost didn’t want to share because they we just so dang good. Sweet fresh corn, nutty and slightly chewy oats. Scallions. And that%u2019s pretty much it. So fresh and clean and yummy tasting. A summertime fritter situation that takes corn to a place where even the corn hater likes it.
Although who the hell hates corn? I know one person. One. And I live with him. Weirdo.
Anyway, to the fritters!
The stuff. Fresh sweet corn, old fashion rolled oats, and a few scallion. Also some ground flax seed, water, baking powder, salt and pepper, and a little oil.
Start with oats. Add most of what we need to a blender and blend until it becomes oat flour.
Then the corn. Remove the kernels from the cobs. Best way is to hold corn in a large bowl and cut downward. Don%u2019t want corn flying all over the place!
Add most of the corn you just cut off the cob to the blender with the oat flour, along with with flax and water. Blend until smooth.
Chop the scallions into thin and tiny pieces.
Now dump the contents of the blender into a bowl, add in the scallions, the baking powder, and the extra oats and corn. Mix it all up and then let the batter rest for a few minutes (like 10) so the oats have a chance to really absorb all the liquid.
And then to cook them. Heat a lightly oiled skillet to medium high heat. Once skillet is hot, drop scoops of batter into it. Cook for 3-4 minutes or until the bottom is a nice deep golden brown. Flip and cook the other side the same.
When fritters are done cooking, place them on a wire rack. So they don%u2019t get soggy.
And then serve them right away. I ate mine with fresh salsa. Definitely the way to go. So GOOD!
Now eat your corn.
-C
makes about 12 fritters
3 ears fresh corn ( about 1 1/2 cups of kernels)
1 1/2 cups rolled oats (gluten free if needed)
1/2 teaspoon baking powder
2-3 scallions
1 tablespoon flax meal
3 tablespoons water
salt and pepper
a little oil for skillet
Combine water and flax meal, mix and set aside.
Place 1 cup of oats into blender or food processor and blend for about a minutes or until the oats are a fine flour.
Grab corn and remove from cob. Best way to do this is to place corn vertically in a big bowl and cut downwards so the bowl catches all the kernels. Cut enough corn until you have about 1 1/2 cups of kernels. Also, garb scallions and chop into very small, thin pieces.
Add in a cup of the corn, the flax and water mixture, baking powder, and a pinch of salt and pepper. Pulse or blend until completely combined and the mixture is mostly smooth.. Dump mixture into a bowl and add in the remaining corn, chopped scallions, and oats and mix together. The mixture should not be runny, but also should not be dry enough to pack together. If the mixture seems too dry and tight, add in a tablespoon or two more or water. To wet, add in a small handful of oats.
Once batter is mixed, set aside for about 10 minutes to rest.
Grab skillet and place on medium high heat. Add a touch of oil to pan and make sure it evenly coats the bottom. Once pan is preheated, add scoops batter into pan (about 2 tablespoons each). Cook first side for about 3-4 minutes or until dark golden brown, then flip and cook the other sides for another 2-3 minutes until a dark golden brown. Remove from pan and either place on a wire rack or a plate. ( I recommend a wire rack just to keep them from getting soggy.)
Serve right away. Fresh salsa goes amazingly with them!
Any left overs can be stored in fridge and reheated in the oven.
For the past few days the mr has been telling everyone that yesterday was the official last day of Summer. For some reason he truly thinks September first is the first day of fall. It%u2019s not true as you probably know (the last day of summer is September 22nd) but around here is sure is starting to feel a lot like fall so I%u2019ll take it.
Last weekend camping was a blast. First we headed to Maidstone, the most remote state park in Vt. Left early in the morning, stopped at a yard sale or two then drove down a very long and bumpy dirt road until we got there.. Maidstone was amazing, a big lake in the middle of nowhere off the edge of nowhere in the nowheres of the NEK. The weather was amazing, our campsite was cool with wooden stairs, the hiking was fantastic, and the loons were all loud and vociferous. And the weather, it was just perfect. Cool and partly cloudy. I got to wear a sweater while hiking and pull on my wool socks in the evening. There are few things that can top a cool night under the stars with the sound of water lapping the shore and loons making sweet loon noises all night and right now I can%u2019t think of them.
After waking up maybe a weee bit to early (I can%u2019t help it), we packed up and headed to the next park, Brighton. A pond in little town still in the middle of nowhere, although it felt more somewhere then Maidstone due to the fact that there was a store and a gas station in town. And there was an actual town. We stopped and walked around the little neighborhood and along the train tracks then we found a few little hiking trails in random places, and hiked them. The mr did some fishing, I did a lot of reading, all before we even got the the park at lunch time. Once we got there, the usual occurred with a good hike, chillin by the fire, eating food, and after being out and about all over for the past few days, we were dead beat. So we crawled into the tent as soon as the sun set and passed the F out. Woke up freezing and happy but then kind of sad. Had to get on getting on home.
Then we were home. The mr went straight away to work, I might have passed out a little bit, but then stuff needed doing so I got on that.
As far as the rest of the week, there was the last day of summer vacation surprise dinner and park play we had with the littles which was followed by first day of school. I spent a good chunk of time finishing up a bunch of rainbows (and clouds) and installed them for Art Hop next week. The floors at the apartment were sanded (the mr all the way) and are now in the process of being urethaned. I picked up farm share (I missed it last week so I was running scarily low on veggies), maintained a casual relationship with my own garden, and watched the 15 foot tall sunflower in the front yard bloom. Did this and that and ran all over. Typical stuff.
Now we are back to Sunday again and we are raring and ready. Gonna grab the camping stuff, toss the kayaks on the car, and head out. Going south this weekend to lake Bomoseem. I am very much excited. The weather looks terrific for the day, (it is suppose to rain in the middle of the night but that is totally fine) and we are just ready to be out of town for the day again. And hopefully tomorrow being labor day and all we can not do to much and just chill. Rainy and cool. Perfect weather for a blanket, a book, and hot coffee all day long. I might even get some knitting out%u2026..
Internet for you.
–The Life of a Person Who Wakes Up Really, Really Early. That%u2019s me, an extreme lark!
-If I ever need to plant grass. A Miracle No Mow Grass. Actually looks so nice and soft.
–The Difference Between Pepitas & Pumpkin%u00a0Seeds. Nope, they are not the same but kinda are?
-Could you imagine nit having a summer vacation from school? Honestly, I think I would rather have a winter vacation, or 4 smaller vacations if I had a choice I the matter. The Case For Summer Vacation
-It%u2019s back. A short cultural history of tie-dye
–On Being a Great Aunt. I am a great aunt%u2026 right? I think so anyway.
-Among other things I want to protect myself from Gwyenth. Dr. Jen Gunter Wants to Protect Your Vagina From Gwyneth Paltrow
–FOR THE CHAIR COLLECTORS OUT THERE. Love a good chair.
-We are drowning in plastic. U.S. Recycling Industry Is Struggling To Figure Out A Future Without China
–Battle of the Bubbles. I should have started a seltzer water business when I had the idea 10 years ago. Oh well.
Pictures from the week.
Basically we just got back from a long camping weekend and I am dead tired. In between all the hiking, meandering, and not sleeping due to my pointy bones and a mr that snores but is snoring especially loud these days (allergies), I am ready to bed myself. But it was a blast. Now all I need is a shower, a good night sleep, and to check on the garden, then I will be ready to get back out there. I love me the great outdoors!
Being shit ass tired, I am giving myself a pass on accounting caompetley for last week. Basically is was crazy, the mr was crazy, I was crazy. We didn%u2019t go camping. The bar top is in an looking oh so fine. We had food with people. I loaded kilns, the mr worked all over town, we watched my skyscraper sunflower grow even bigger, and baked cupcakes with the littles. That was the gist of it, I think. Basically, just look at the pictures because that is how I remember what I did. HA. (for real) As for this past weekend camping pictures, I get to those later.
And since it%u2019s already Monday, we are already back at it. I got bills bills bill and lots of paperwork to get through today. There is food to process, dentist appointments to go to, art work that needs to be hung for art hop, on top of an apartment floor we need to remove carpet from, sand, and urethane by the end of the week. So yeah, gonna get on that. But first I nap!
The pictures from the week.
There are a million things you can, and should, do with tomatoes. Salsa is one of those things. Especially with the super fresh and ripe summertime tomatoes that may or may not be overflowing every empty surface of your kitchen (my current predicament). And peaches. Now is the time friends to eat your peaches. In season and oh so tasty. Do it now before it%u2019s too late and those oh so deliciously ripe and sweet peaches are gone and all that is left are mealy, gross, supermarket fakes. Only eat in season peaches. That is a life lesson everyone should know.
This salsa is perfect. Super fresh, sweet and slightly spicy, with a hint of tangy goodness and just, you, really freaking perfect. A salsa that hits all the right notes with out being overly anything and underly nothing if you know what I mean. All the tastes of summertime. A darn good salsa. Darn good.
This salsa also makes me a winner at the game I am playing with myself called %u201cGet the mr to eat tomatoes and like it”%u201c. The game started when he told me he was sick of tomatoes and he didn’t want to eat anymore. I made the salsa (which also made me a winner in the other game I play called %u201cGet the mr to eat fruit in his savory dishes%u201d, because he also tells me how much he hates fruit in savory), he tried the salsa, raved about the salsa, and then went and ate the rest of the salsa with his rice and beans. .
I win again! Haha
Anyway, super fast, super fresh, super super. A great way to use up a any of your shit load of tomatoes you might have laying around and to get in a few more of those summertime peaches before they are gone again for the year.
Now to the salsa.
The stuff. Cherry tomatoes, peaches, an onion, a jalape%u00f1o, a lime, a bunch of cilantro, salt and pepper, and a little vinegar.
Start by cutting up the tomatoes into quarters. Do this carefully or else you will have tomatoes rolling around everywhere. Place chopped tomatoes into a bowl.
Then dice up those peaches into small little pieces and toss into bowl with tomatoes.
Onion gets diced up too and placed into bowl.
Jalapeno, seeds removed, diced up nice and small. Get it into the bowl.
And cilantro. Give it a rough chop and into the bowl it goes.
A sprinkle of salt, lots of pepper (to taste of course), the juice of the lime, and a splash of vinegar. Mix it all up and there you have it.
Into a jar (or you can just keep it in the bowl if you want), and it%u2019s ready for eating. Chips, tacos, to top a salad%u2026 This salsa does it all. Heck, just eat it with a spoon. There is absolutely nothing wrong with that.
-C
Makes about 32 oz of the good stuff
1 overflowing pint cherry tomatoes (red, yellow, sun gold or a mix of any)
2 ripe but firm peaches
1 bunch cilantro
1-2 jalape%u00f1os (depending on how hot you want it)
1 small red or white onion
a lime
salt and pepper
splash red or white wine vinegar
Grab the tomatoes and carefully, so they don%u2019t roll away, cut each one into quarters. Place in a big bowl. Cut peaches in half, remove pit, and dice the flesh into very small little piece and toss into bowl. Now onion, dice that into small little pieces, along with the jalape%u00f1o and toss into bowl. Cilantro gets a rough chop then into the bowl it goes. Now sprinkle in a little salt and lots of black pepper. Add the juice of the lime and a splash of the vinegar and toss it all around. Let sit for a few minutes, taste, then season with more salt and pepper if needed. Can add more vinegar for more acid if needed too.
This salsa only gets better with a little age so you can definitely make it a day or two ahead of time.
Store in a bowl to serve or a jar for longer storage. Use within a 4-5 days of making it.
Feels like we are nearing the end of summer, no? I am all on board, feeling that feeling one gets when the season starts to change over. It%u2019s that deep down in my bones feeling, the feeling my body gets because it knows whats coming and is getting ready. The shift is coming on fast. Grasp those last summer days as much as you can.
Another intense week. After a super duper good camp at Ricker State Park, it was full steam ahead. The mr has been super crazed, all out, sanding and assembling bowling alleys into gigantic countertops for a local restaurant. Most days he is gone as I get home, home when I am in bed. But not quite as bad as last week. We have managed a few meals together and an adventure or two, like when we went to a church in the islands,, had ourselves a picnic and picked their apples. The apples were not good yet. But the church was lovely.
Other then being busy busy, there was other stuff. Barb and her man child came over for dinner and brought along Coco. We ate, he cried. I gave him a cookie, he laughed and ran around like a lunatic. (Coco, not barbs boyfriend) The older littles have been away at summer camp all week so we saw none of them.(We miss them!) We had dinner at my moms with the boys and Barb and I was lucky enough to see the world greatest tan lines ever. I also worked the last day of art camp (YAY!), picked blackberries, gave the mr a haircut, and scrubbed the shit out of the bathtub. All the fun stuff. Not fun stuff was when the car battery died when I Was trying to leave the house, the underglaze I was bringing home to use dumped all over me and the inside of the car (I was so pissed!) or when I was at the grocery store, lost my credit card, freaked out and ran around the store, then drove home, and back to the store looking for it, only to find it underneath one of my canvas bags in the shopping cart. The whole freaking time. At least I found it though cause I was about to cancel it. Look at me seeing the bright side.
Then I picked up farm share and all the tomatoes. Coming off of last weeks tomato hall, and all the tomatoes that are starting to come in in my garden, I am up to my ears in so many tomatoes. I have been cooking down pots and pots, freezing and jarring and of course eating. Eating so many tomatoes that my belly is on fire. And of course I have no help from the mr. He says he is officially tomatoed out. I wonder how is that possible? I think he is just being a butt is all. But whatever, no more tomatoes for him. (that he will know of. HAHA) And I%u2019l just have to keep on keeping on and eat them. The season only lasts so long.
Yesterday the mr and I took a few hours to get away. We packed lunch and went in search of land. Picked a few properties to look at (but only made it to one) and hiked around the property. It was really nice, had a lot of what we are after but probably not THE property. But close so we are getting there and hopefully we will get there sooner then later. Ready to build our cabin life. And then we went home, I started cleaning and the mr went back to work and didn%u2019t get home until like 3 am this morning.
Not gonna lie, I am bumming. We are not going camping today because well, the mr is still working like a madman and installing those bowling alleys today and tomorrow and we just can%u2019t make it happen. So today, well I am going to make good use of it. Probably going to weed out some dead shit from the garden, maybe do a little replanting. Grocery shopping, clean the car, do a few loads of laundry, return books to the library, process food like a boss. (More tomatoes, hot sauce, freeze chard and pickles!) That and probably do some porch reading. And coffee all day. All. Day. It%u2019s no camping but it will do. Next weekend we are back at it.
Internet read by me, shared with you.
-Are you a camper? If you are, here is some things to consider to optimize a good time. 10 rules for picking the perfect campsite
-Eat all the plants. Gorgeous Portraits of America%u2019s Wild (and Surprisingly Delicious) Edible Plants
–You Should Pour Vinegar into Your Washing Machine%u2014Here%u2019s Why. What can%u2019t vinegar do?
-Always a good idea when you pack lunches or any food. HOW TO MAKE REUSABLE SANDWICH BAGS AND SNACK BAGS
-I don%u2019t consider myself a cat person or a person who wants a book of cats, but this book looks, well, it freaking awesome. A New Book Compiling Hundreds of Timeless Feline Photos by Walter Chandoha is the Cat%u2019s Meow
–Oatly and the quest for the perfect alt-milk. Have you had Oatly? I haven%u2019t but I do really like me some oat milk.
–Is crying truly cathartic?I think it can be. Can also be annoying and exhausting.
-Why does anyone ever listen to anything that guys says, ever? Greenland is not for sale. Seriously, why?
–Don%u2019t Burn Trees to Fight Climate Change%u2014Let Them Grow. I just thought that was common sense but what do I know.
-I don%u2019t know about you, but I start baking a lot more around this time of year. So this is good to know. The Best Substitute for Cake Flour and Self-Rising Flour in%u00a0Baking
Pictures from the week
It%u2019s been a week of weeks if you know what I mean. The world. There is a lot to process, good and bad. And now I think I need to catch up with my mind. I feel like I have let it run to far ahead of the rest of me. Or maybe I am running away from it? Either way. I need to reign it it and focus. That is the goal anyway.
As our routine, we went camping on Sunday and it was just the best, an unexpected greatness. We started with a great hike through pastures and woods and to a gorge and then headed to the park to pitch the tent. D.A.R State park. Neither of us had ever been there before and hadn%u2019t heard anything about it, so we were not sure what to expect. And it turned out to be just fantastic. Big and spacious, pretty, relaxing, and right on the lake. Very few campers, all of which were old people. So quite. Our site was perfect and there was a sink near the bathrooms to wash dishes in. What more can you ask for? We played on the rock beach, made dinner, hug out by the fire, walked around the camp, went back down to the beach and skipped rocks while watching the sun set, and then crawled in to the tent for the night. The stars were crazy bright, the fireflies were everywhere, the sounds of the waves were faint but there. I was just as happy as as clam. Even when I woke up chilly. And then we woke up, made coffee, the mr fished for a few while I read and watched the sun come up then off and back to life we went.
After we got home Monday things got really busy and completely out of the norm. First off, the mr has been working a time sensitive job that has had him leaving as soon as I walk in the door in the morning and not getting home until I am in bed. And that in itself is not usual, but if that does happen, we will see each other during the day, at least for meals. It might not seem like such a biggy to most people, but for the past 17+ years, we have eaten almost every single meal together, and this week, no meals. I have been eating alone all week. At first I loved it because I love reading while I am eating and only ever do it on the very rare occasion that the mr is not home for a meal. But all week for lunch and dinner, alone. I have read 2 books, but I was starting to get lonely. I missed my mr. So sad. HAHA.
Anyway, while he was gone all week, I did some work, had coffee with my mom, made cookies with the littles, met Barb%u2019s boyfriend, and ate ten thousand tomatoes. I also spent a good chunk of time cleaning out the loft (again) for my dad, and oh, I don%u2019t even know, a bunch of other stuff. Then Jeff Dad came to VT. We went for a hike with couple littles at a state park, sat in traffic on the interstate for far too long, and then went to Megans house where I made dinner for everyone. I got to meet Anthony%u2019s girl friend ( a week of meeting the significant others), got a glimpse of the butterfly chrysalis, and made Sophia cry because we picked all her basil for pesto and she really really didn%u2019t want to share it. So I owe the girl a new basil plant.
Yesterday was family reunion up in Belvidere. The whole crew. Great as always. Seeing family is always the best. I love them all, even if they exhaust me and maybe make me want to run away screaming. But isn%u2019t that the way it suppose to be?
And then we came home, the mr left again to finish this job last night and came home while I was in bed. Again. But now he is done. And I am so excited to have him around, although this week is a new job that will be taking him away again. At least we have today. Camping. Ricker Pond State Park. I am excited. No work for the mr. Just him and me heading out into the wilderness with our tent and sleeping bags and a socks! Socks cause it had been getting chilly at night%u2026.YAY for cool late summer nights! I am so ready for some cool weather and to bust out all my sweaters!!!!
Internet from the Internet.
-It%u2019s that time of year again. One day theres one, the next there are a million! How to Get Rid of Fruit Flies Before They Take Over Your%u00a0Kitchen
–Call Me Crazy, but I Think an Active Vacation Eases Stress More Effectively Than the Beach. No, not crazy at all. I need activity all the way, whether it is hiking, biking, or just walking 20 miles around a city. No beach reading for me.
-Avoid the toilet plume! Hey, Just Always Close Your Toilet Lid, OK?
-I don%u2019t really get it, but it is awesome. Watch the New, Brilliant Trailer for Season 10 of %u201cThe Great British Bake Off%u201d
–It%u2019s the Season for Fruit, and Also for Writing About Cutting Fruit as an Act of Love. I always cut fruit up for the ones I love. HAHAHA, but for real.
-Oh fuck. A New Study Reveals Just How Toxic a Bee%u2019s World Has Become
–Collards vs. Kale: Why Only One Supergreen Is a Superstar. Strange how people perceive certain things%u2026
-I like. ON TREND: THE ART DECO BED.
–Fun People Order Pancakes: What Your Diner Order Says About You. Black coffee all the way.
-Can you imagine%u2026 3 feet tall. Super bad ass and super scary! I wonder if they could talk too? This three-foot-tall parrot proves New Zealand is the mecca of giant weird birds
–Give Up Your Gas Stove To Save The Planet? Banning Gas Is The Next Climate Push. Would you? I think we all are going to need too. I am already thinking of induction. Definitely next kitchen I remodel.
And pictures from the week.
August. Then gem of the summer. Warm days, cool nights. The knowledge that yes, it is still summery now, but soon it will be crisp, and cool, and all fall with sweaters and apples and%u2026 I am getting ahead of myself. Still summer here, and I should just enjoy it will it lasts. So that is what I will do.
This past week was busy and a little on the stressful side at times. It started with camping on Sunday which was good, maybe not the best, but no camping is bad camping, unless it is bad. It just that is was terribibly hot and there was a lot of people around and poison ivy everywhere which made me anxious because I was also getting attacked by mosquitoes so I kept thinking I was starting to get it. (I am very allergic to poison ivy). Also I woke up in the middle if the night to the mr yelling because someone was looking into our tent. I didn%u2019t see said person because I was asleep until I wasn%u2019t and I did questioned whether or not he might have dreamed it, but needless to say, I didn’t not sleep much after that. So yeah, other then that, not bad. And then we got out of the tent early, made the coffee and went on our way home. To life. We had (and still have) a lot of stuff going on, all at once because that is how it goes. But we got stuff done, and then some. And we even managed to get in a couple kayak sessions! First of the year because we are butts and also we just finally got around to getting racks for the car.(No more truck to throw them into. Sad). We also made time to look at a big chunk of land that I was sooooo expecting to love but nope, wasn%u2019t for us. We test drove a newer van that was awesome, but again,wasn;t for us. We picked up farm share together and ate ten thousand tomatoes, and are now officially 100% filed and finished our taxes. Checks were wrote, I might have cried a little, but done they are.
So yeah, the week went, we did, I am tired, the mr is really tired, and we are ready to get out of here for the night. Our camping stuff is packed and ready to go. Now where are we going is the question%u2026..Somewhere without night creepers would be nice.
Links from the internet for you to take or leave.
-Plastics Or People? At Least 1 Of Them Has To Change To Clean Up Our Mess. A beach of flip flops. How depressing. People, let%u2019s all just stop buying plastic!
-I don%u2019t know what the heck is wrong with people but curly parsley is the shit! It%u2019s delicious and I can eat handfuls of it. For real. How Did Curly Parsley Get So Uncool?
-Reading this made me sad and angry. Greenland Is Melting Away Before Our Eyes
–This Must Be What It%u2019s Like to Live Inside a Rainbow. I can appreciate it and I would love to say there but I don%u2019t think I could actually live with that much color. Sensory overload!
-Now these rooms. I could live in. Cool Pics Show Hotel Rooms of the U.S in the 1950s and ’60s
-This reminded me so much of my sister Erin. She would do something like this (or already has) Three Cats in Japan Have a Closet Full of Custom-Made Hats Felted From Their Shedded Fur
–This Remote Corner Of Nevada Is One Of The Darkest Places In The World. I want to go. I will go. And I bet everyone else wants to to, so lets all not be assholes and trash the place like happens when cool places are discovered.
-I am a slut for bedding. Just pictures of pretty textiles make me happy. BOHO BEDDING.
–At Burger King, Your Meat-Free Burger Might Come With a Coating of Real Meat Juice. This is another reason why I don%u2019t ever go out to eat. And this 1 In 4 Food Delivery Drivers Admit To Eating Your Food. I trust no one!
–Japanese Way of Making Iced Coffee. Do you drink Iced coffee? I love it but rarely drink it because I have no will power when it comes to coffee and will basically chug it and then it is gone and I am sad. Hot coffee slows me down, if only a little bit.
I am a glutton for punishment. 91 degrees, super humid, and what do I do, I turn on the oven to make bread. And this is after I drag the poor mr to the middle of a field on the hottest most humid day to pick strawberries. He didn’t complain once (well, maybe on our walk back to the car, but I was bitching a little too).
At home. recuperating from the picking, I made myself a snack of shredded zucchini with chopped strawberries covered in black pepper (try it, it is so freaking good) and was like “this would make a killer bread situation”. And that’s when I turned on the oven and went to town making bread with the zucchini and strawberries (minus the pepper cause, well I wasn’t sure if the mr would like it, but I think I’ll add it to the next loaf). And I know, hot day, hot oven=no but really, I was so F*ing hot that I didn’t think I could have gotten any hotter, so I figured why the hell not turn on the oven. (The mr and he pup where at the other house so I wasn’t torturing them with the heat)
And when the mr came home sure the house was still hot, there was fresh loaf of the sweetest smelling strawberry zucchini bread waiting for him. And so what ifI might have been slightly delirious, I had accomplished something great and was then okay with spending the rest of the say laying in a heap on the floor.
The mr says the bread was worth it.
The stuff. A good sized zucchini and a pint or so of the loveliest strawberries . Also have a bowl with flour (all purpose and while whole wheat) baking soda and baking powder, and a little salt. Sugar, oil, cinnamon, and a little vinegar are needed and a handful of walnut if you want too.
Oil and sugar go into a bowl and get mixed together until combined.
Zucchini gets shredded and added to the bowl.
And strawberries get chopped (stems removed) and go into the bowl along with the zucchini.
Mix the wet mixture up until it starts to get all juicy then mix in the vinegar.
The dry stuff gets mix together along with the walnuts.
%u00a0Now in goes the wet mixture. Mix it all together until just combined (don’t over mix)
Batter goes into a nicely greased pan and if you have it, sprinkle a little brown sugar on top.
Pop pan into preheated oven to do it’s thing.
And it’s thing it did. All dark brown and pretty with red and green bits all over. Quite the stunning loaf if I do say so myself. Remove from pan and let the bread cool for a little while..(you should wait until it’s completely cooled, but at 15 minutes would be ok)
You have waited long enough.. time to cute the bread.
Bread all day long.
Enjoy.
-C
makes 1 loaf
1 cup all purpose flour
1 cup white whole wheat flour
1 teaspoon baking soda
1 1/2 teaspoon baking powder
1 teaspoon salt
1 teaspoon cinnamon
3/4 cup brown sugar plus about a tablespoon to sprinkle on top
1/2 cup canola oil
1 tablespoon apple cider vinegar
1 medium zucchini (2ish cups shredded)
1 pint fresh strawberries (about 2 cups chopped)
1/2 cup walnuts (optional)
preheat oven to 350 degrees
In a large bowl, whisk together the flours, baking powder ans soda, salt, cinnamon, Toss in the walnuts as well.
In a separate bowl mix together the sugar and oil until combined then shred zucchini and dump it it. Grab strawberries, remove the stems, and chop those up into small chunks and add to the bowl with the zucchini. Mix until everything is mixed and starts to get juicy then mix in the vinegar.
Now dump the wet mixture into the dry and mix just until everything is incorporated and pour/scrape batter into a well greased loaf pan. Sprinkle he top with a little brown sugar and stick the pan into the oven.
Let cook for about an hour or until the top is a deep brown and a tester stuck into the middle comes out clean. Once out of the oven, let cool for a a few minutes, remove from pan and let cool completely on a wire rack.


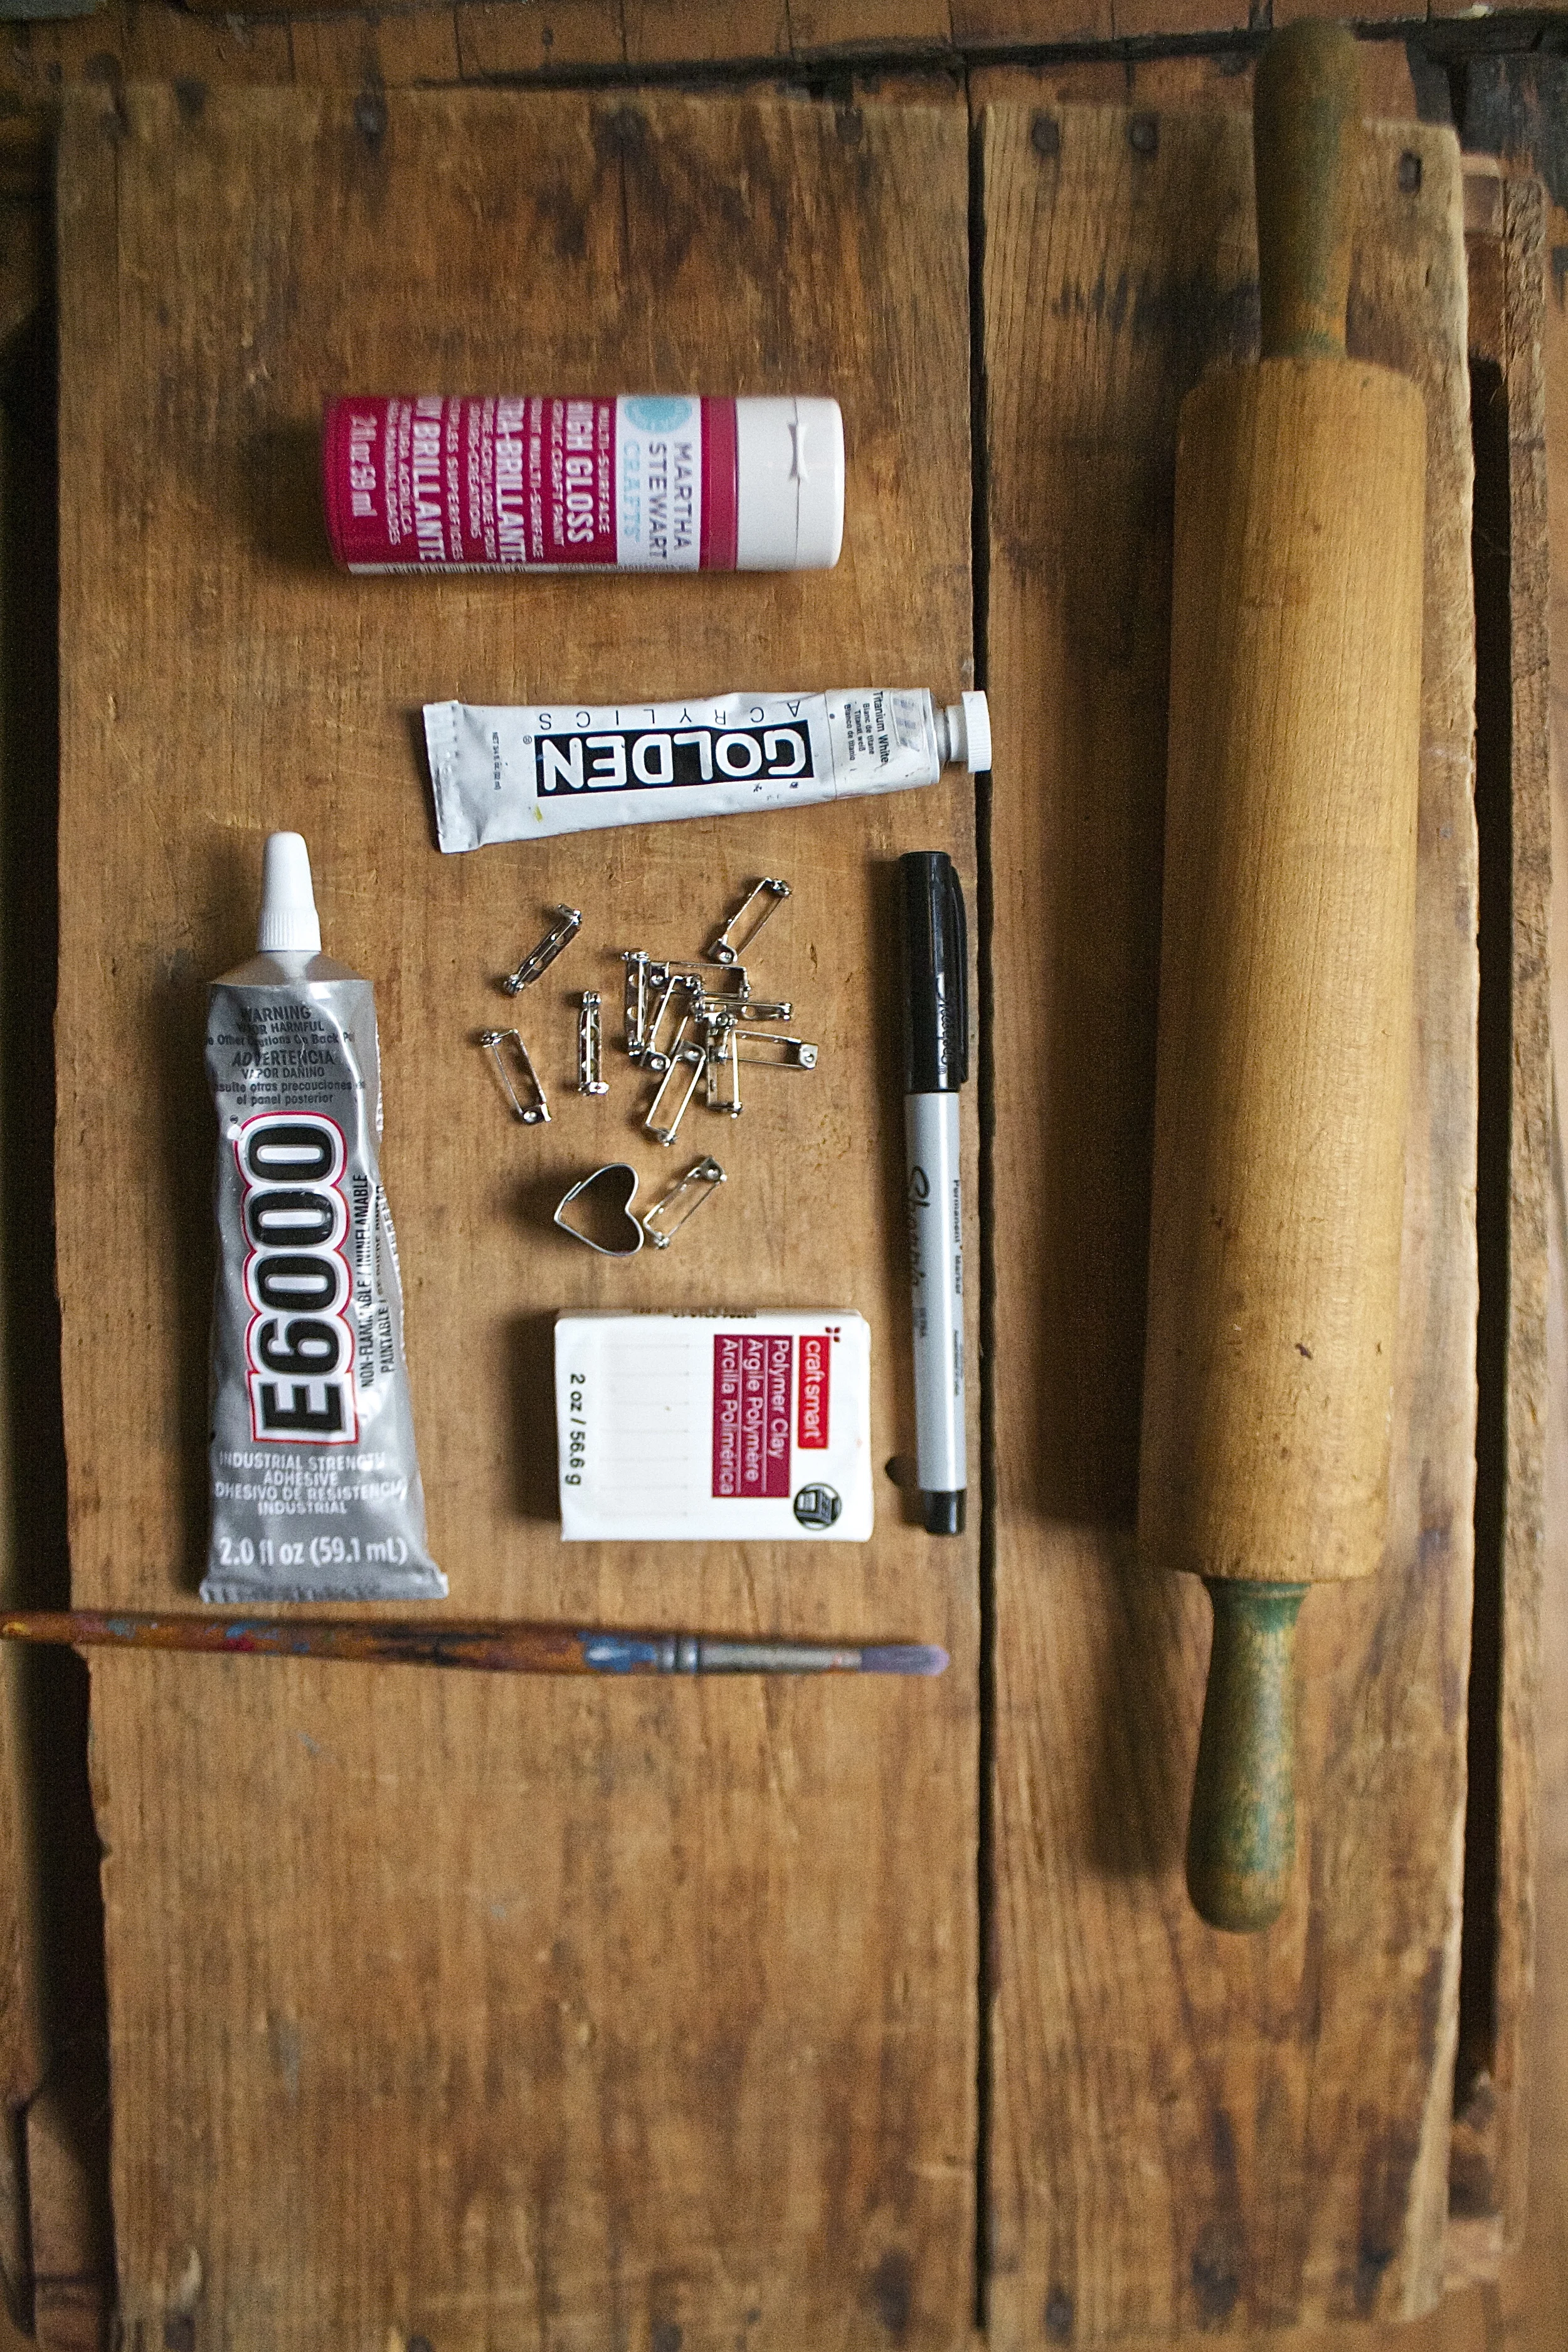
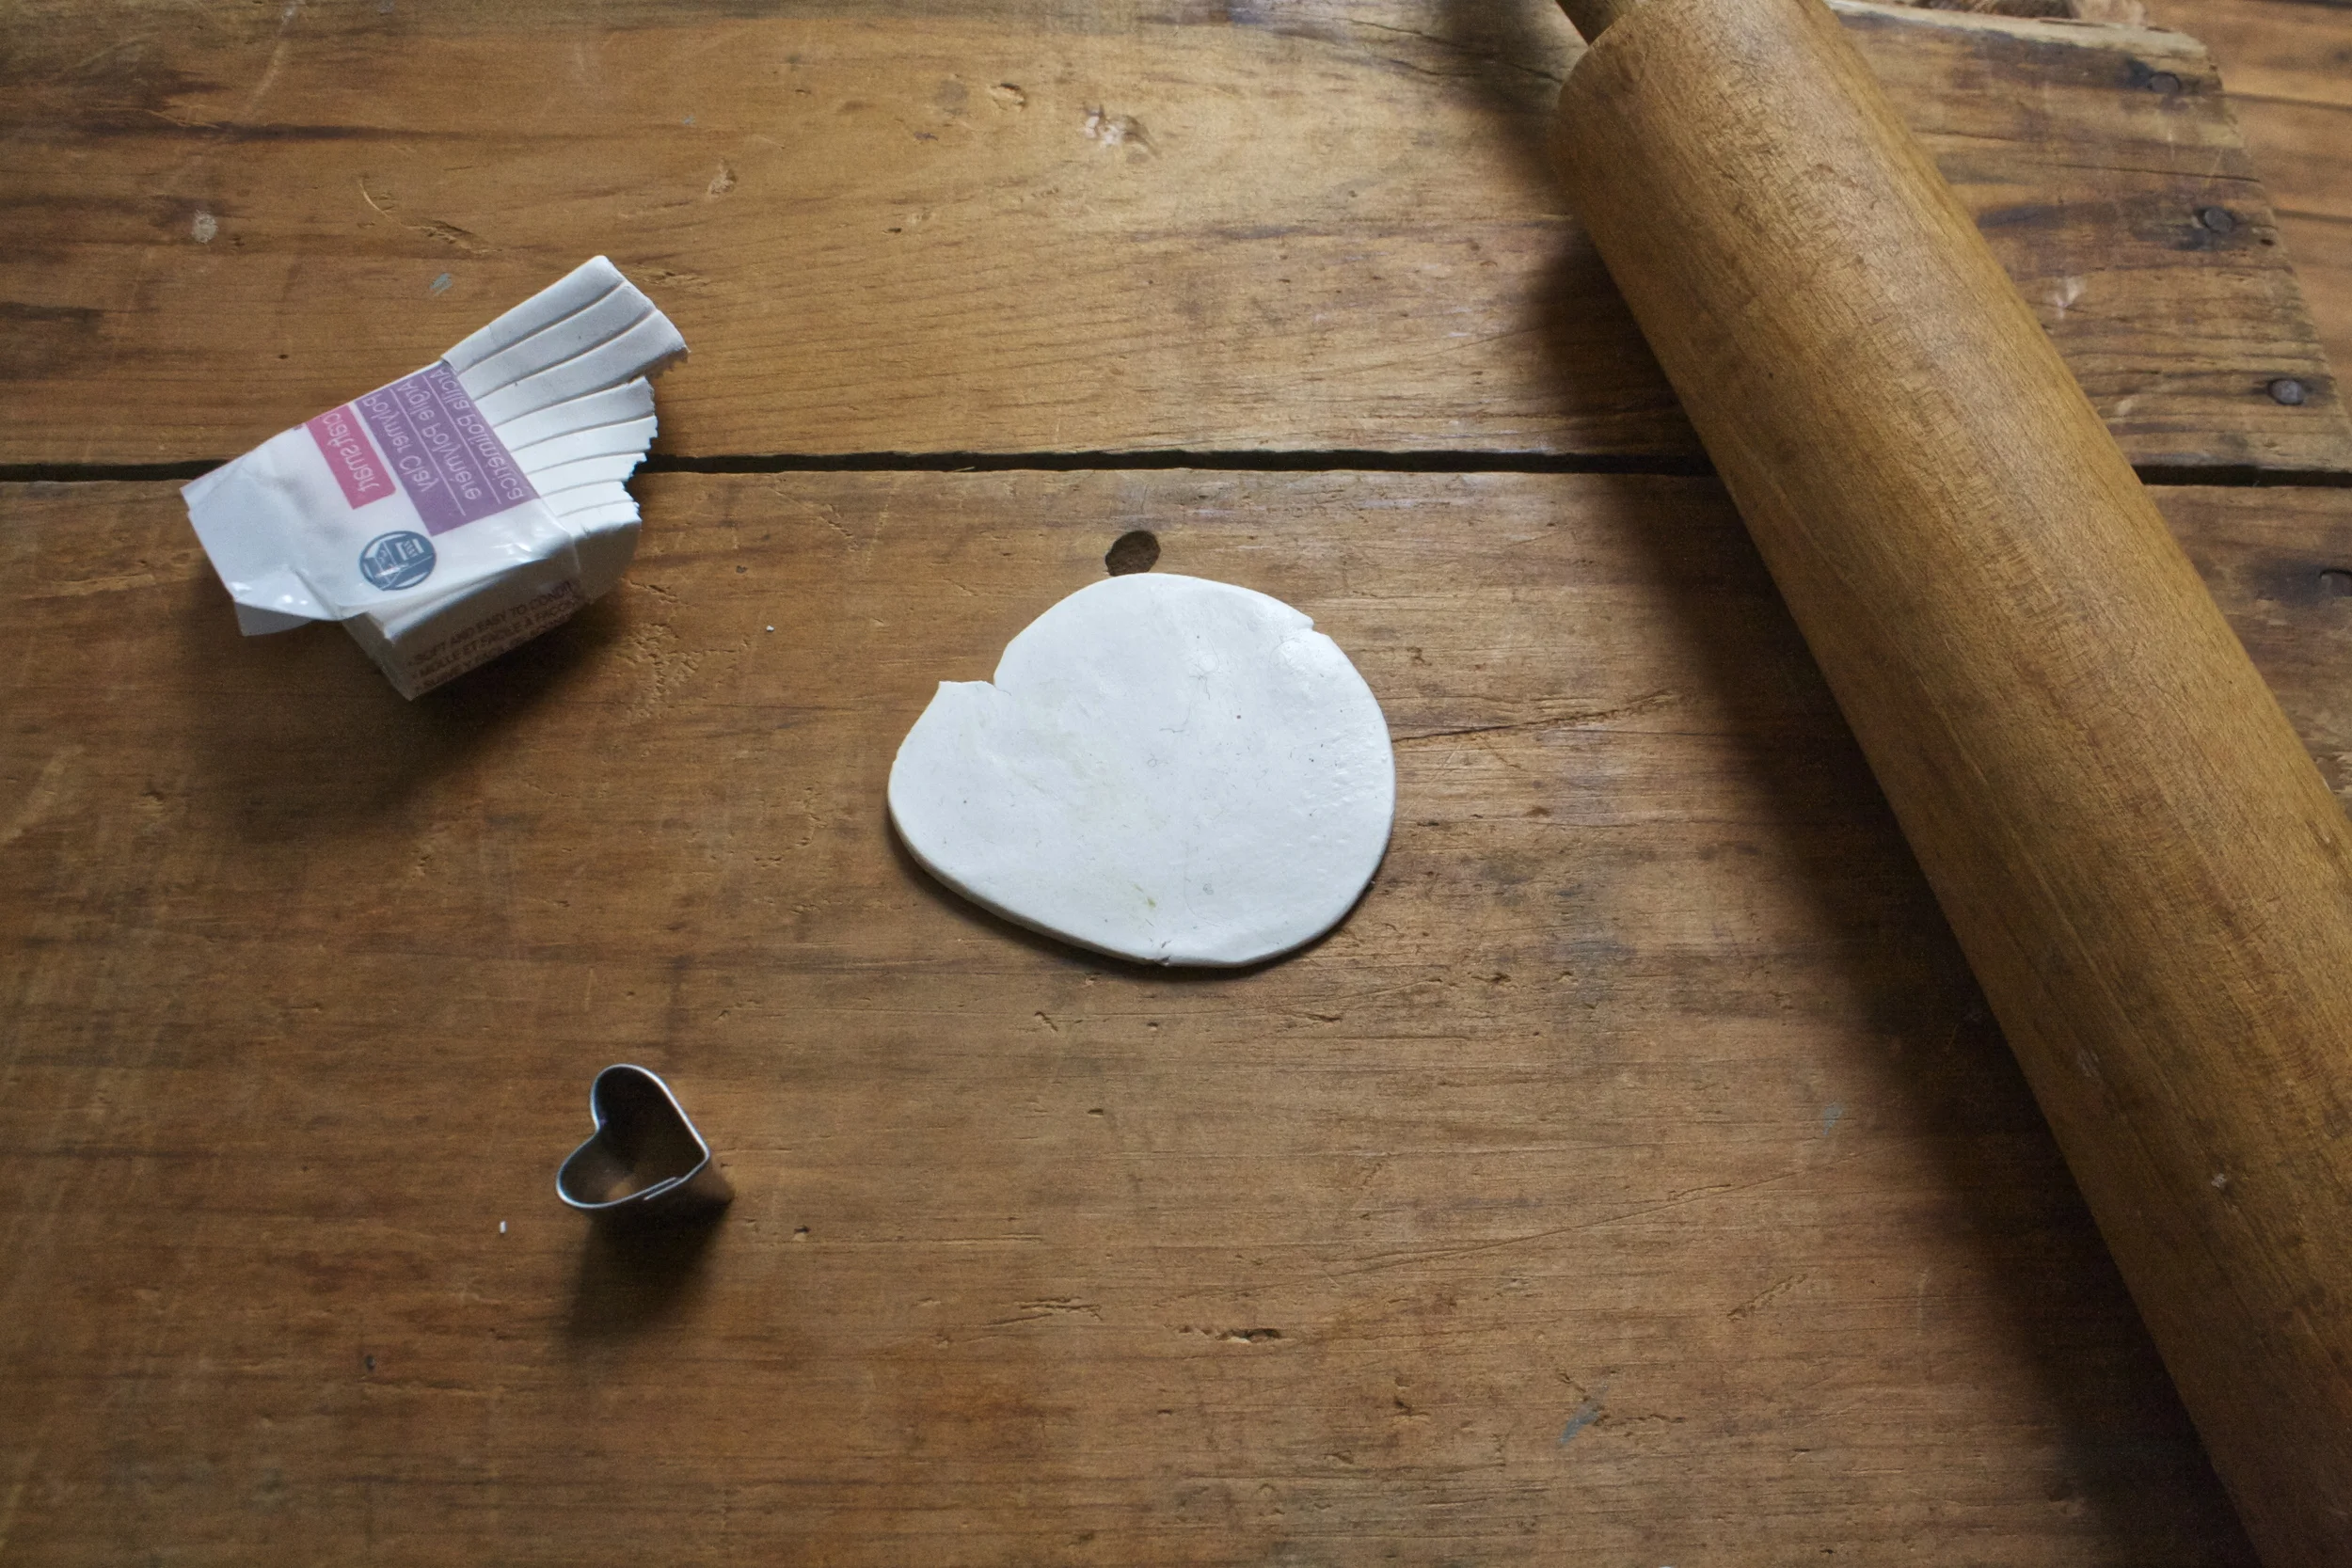


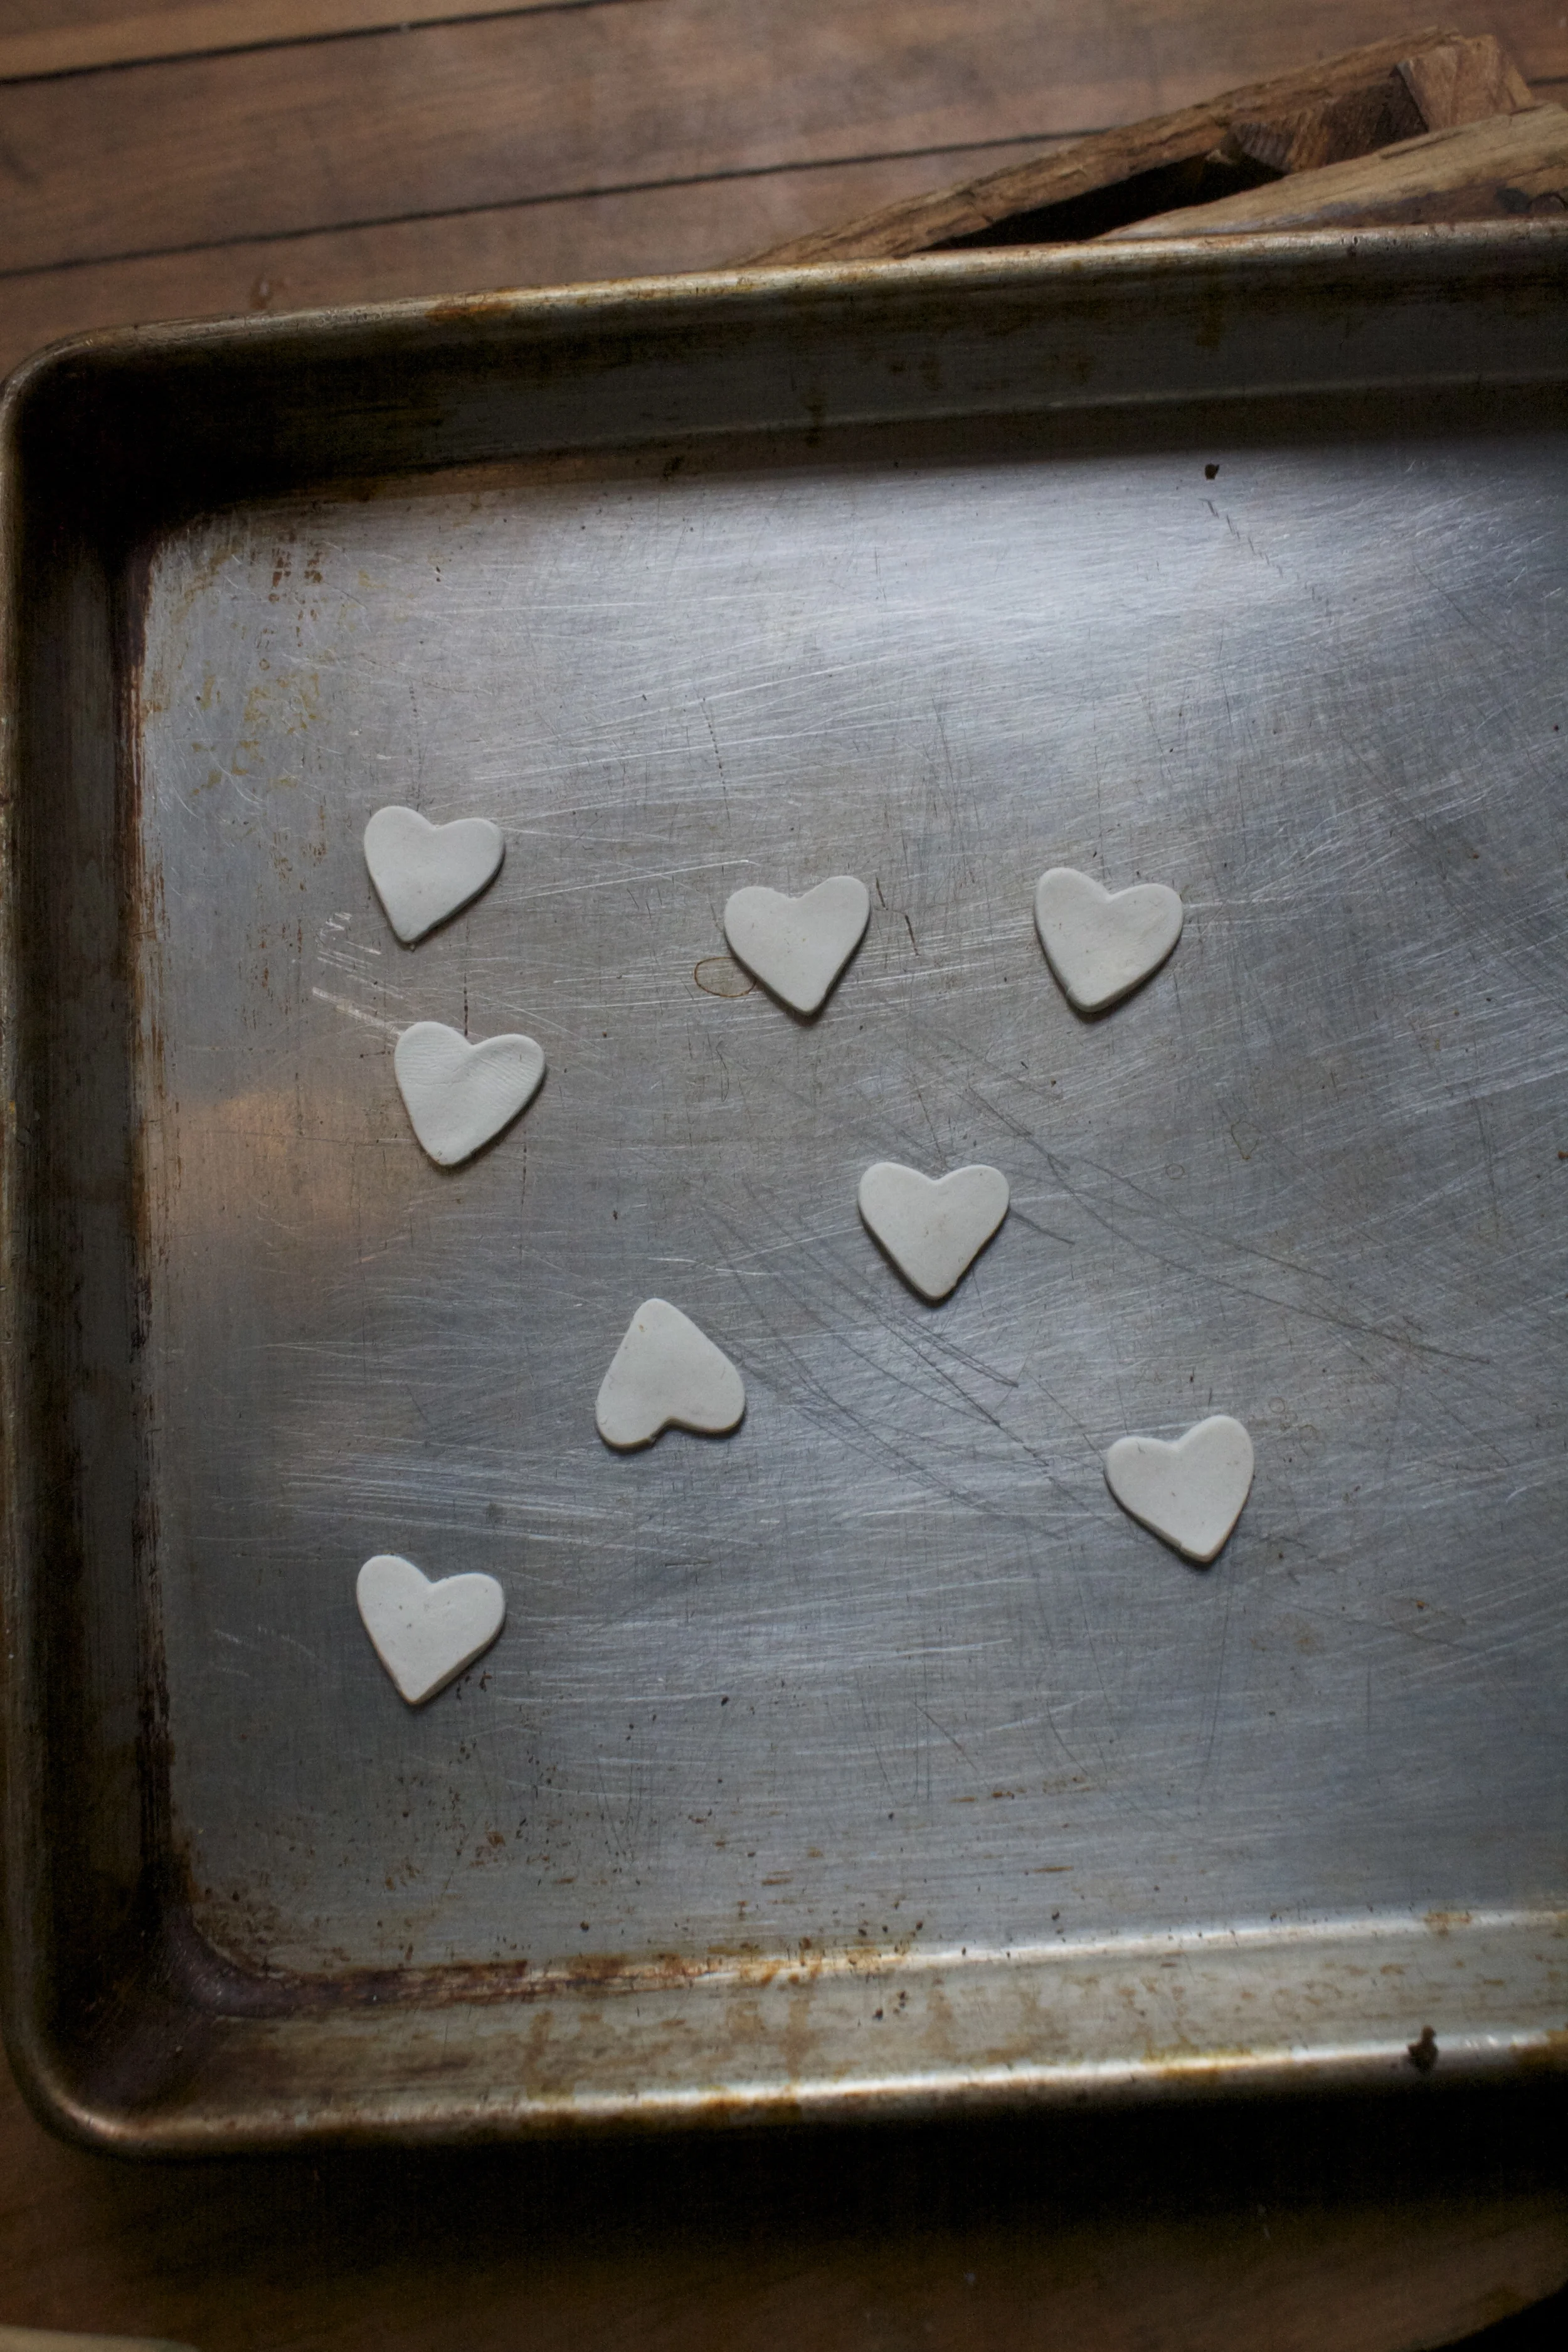

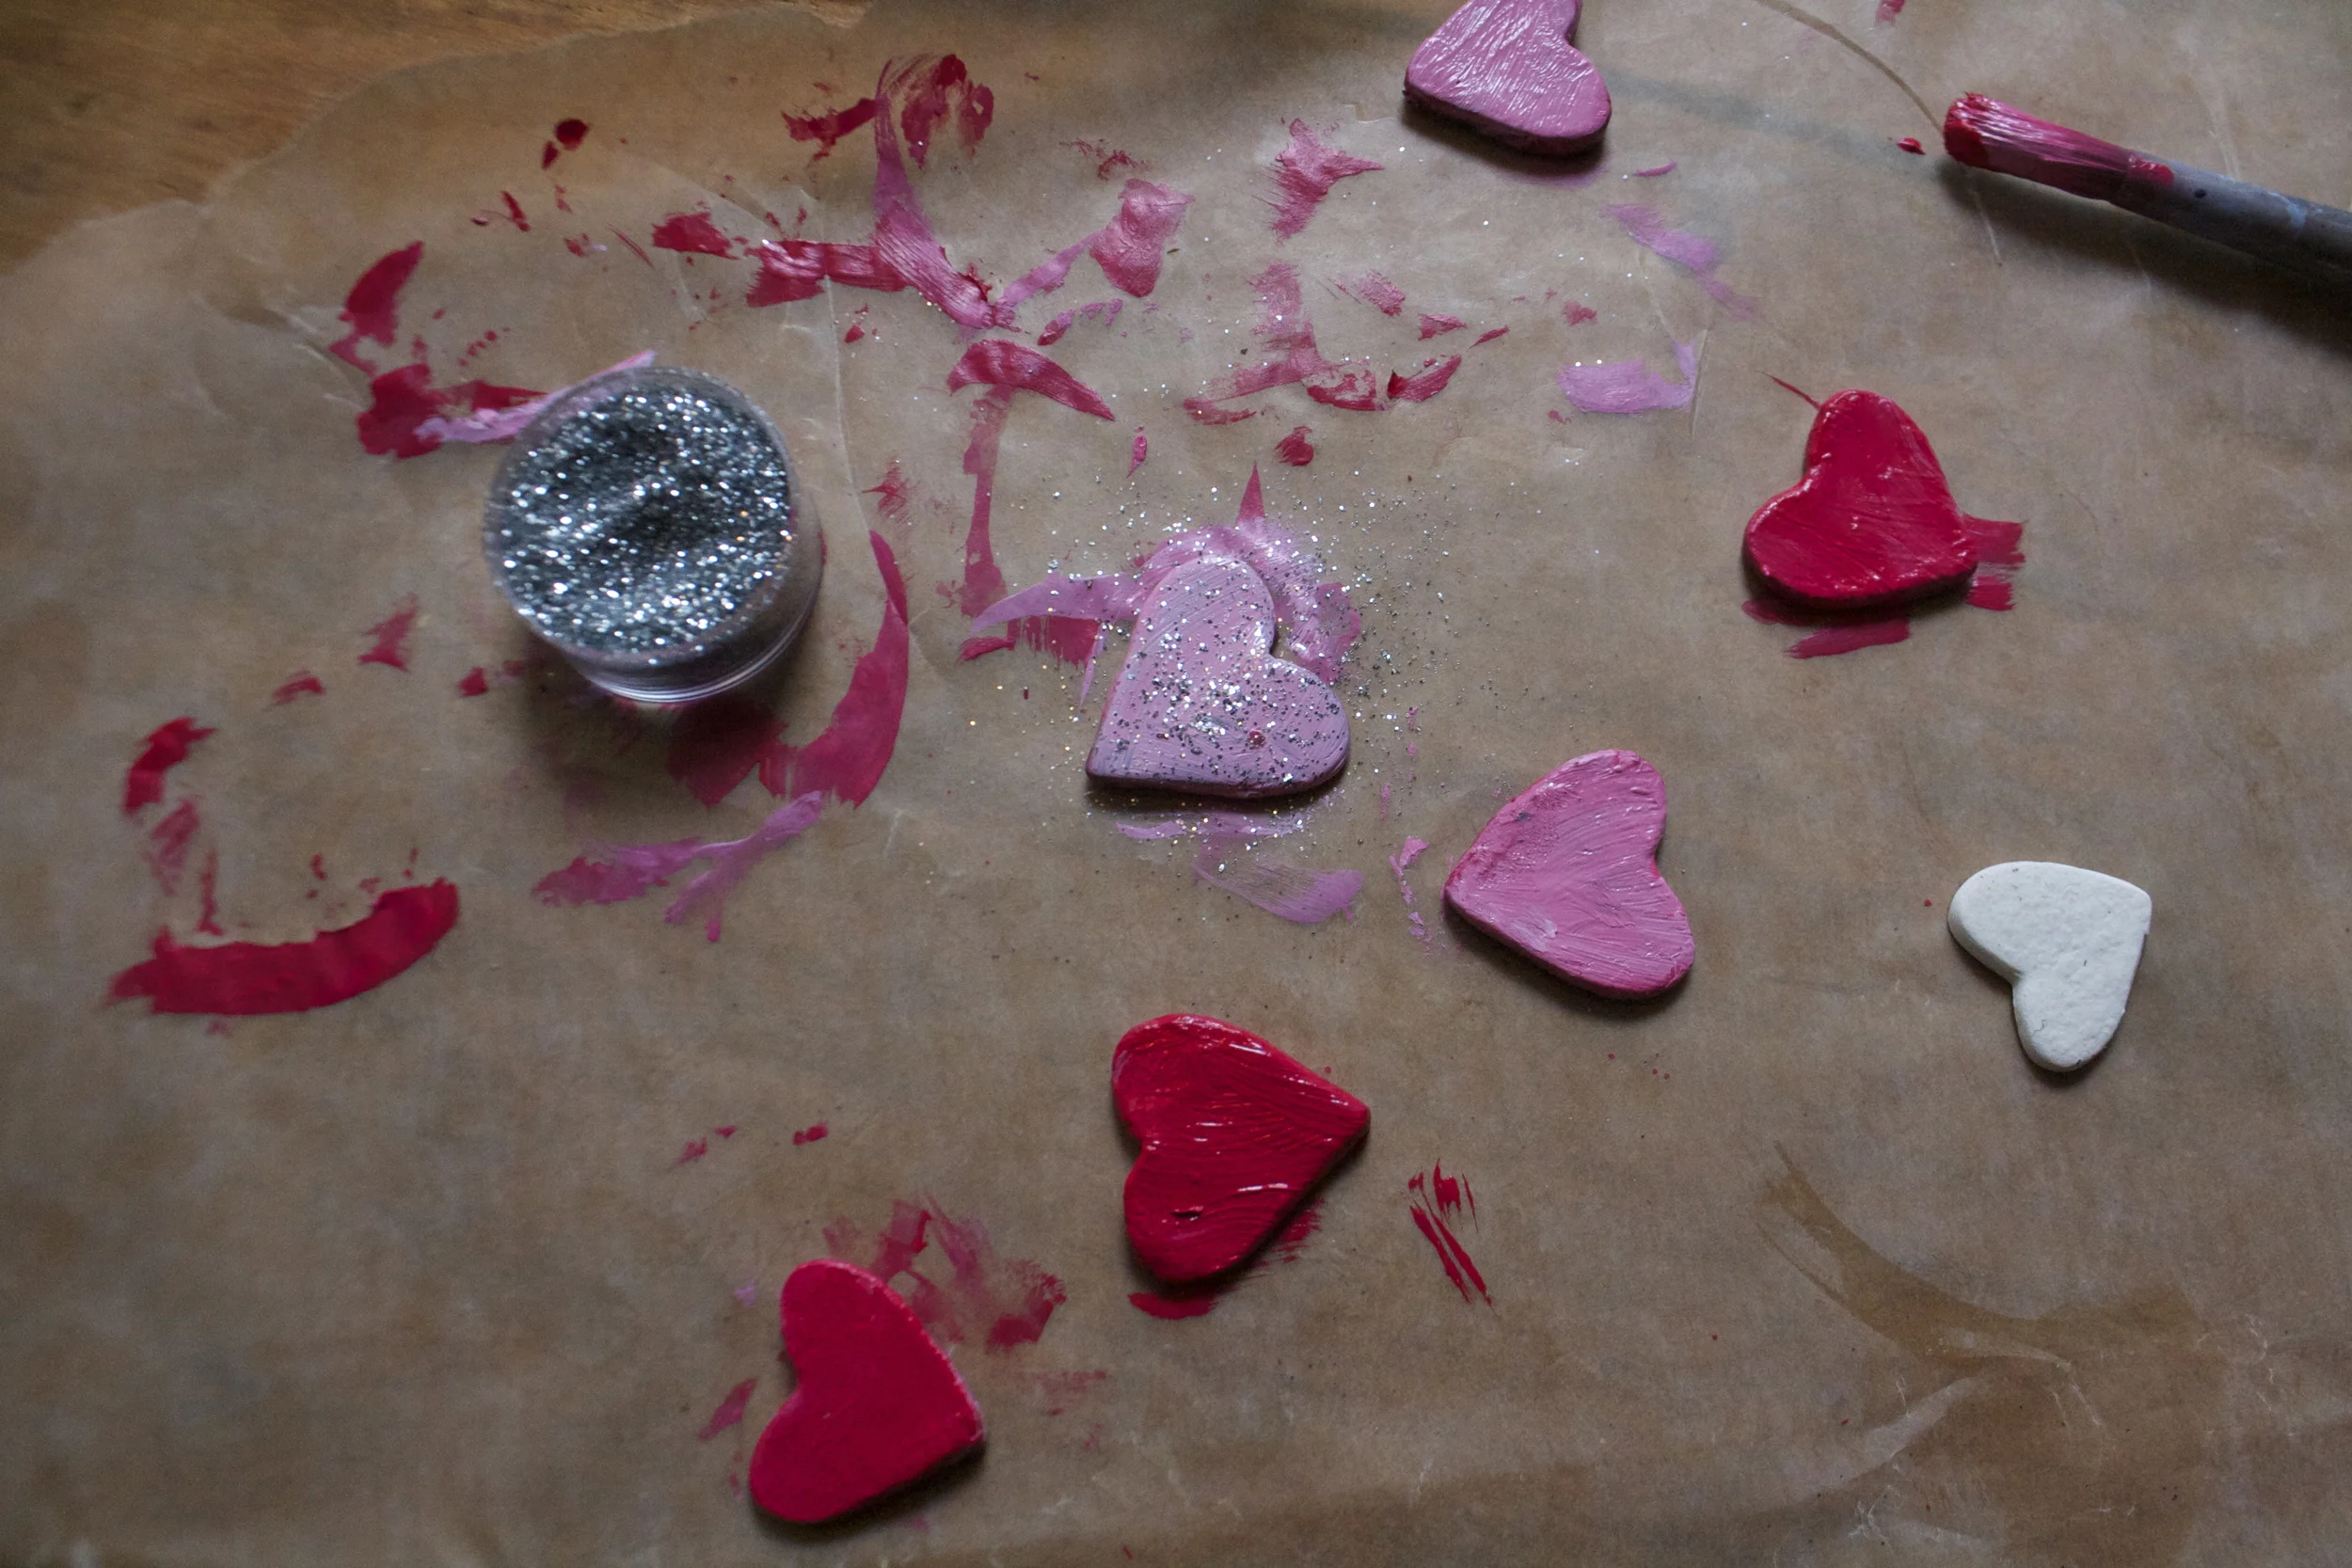


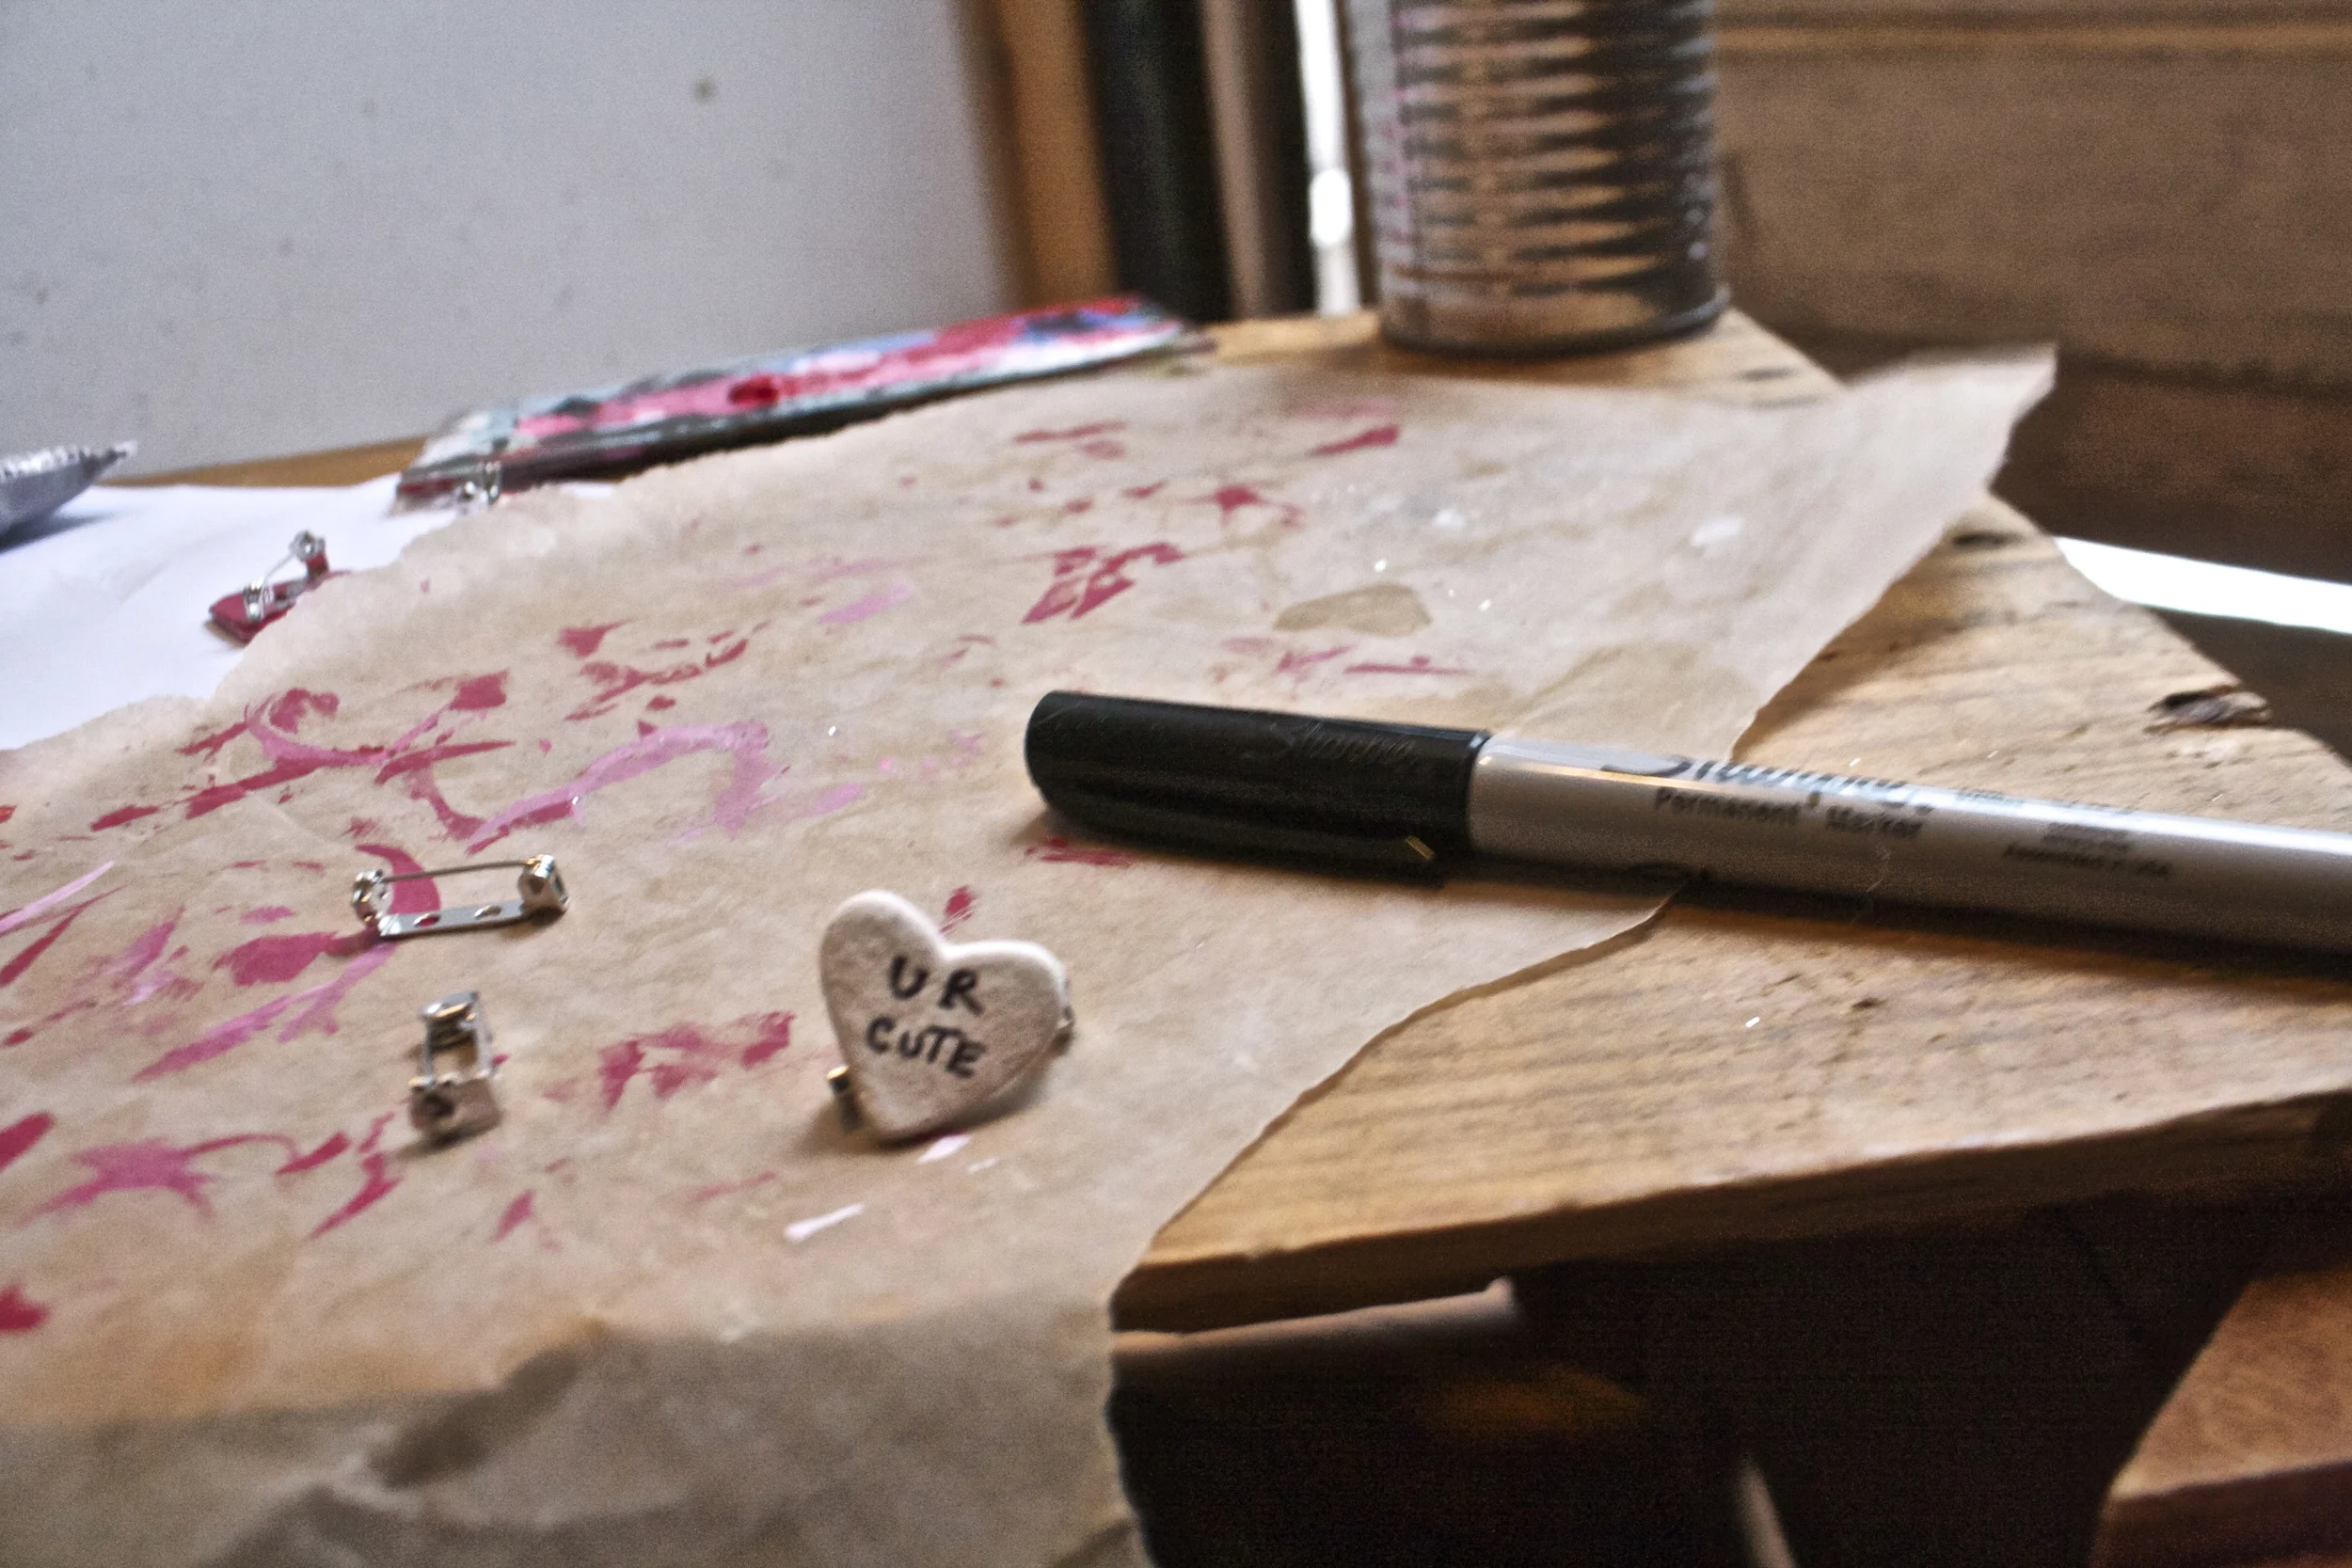



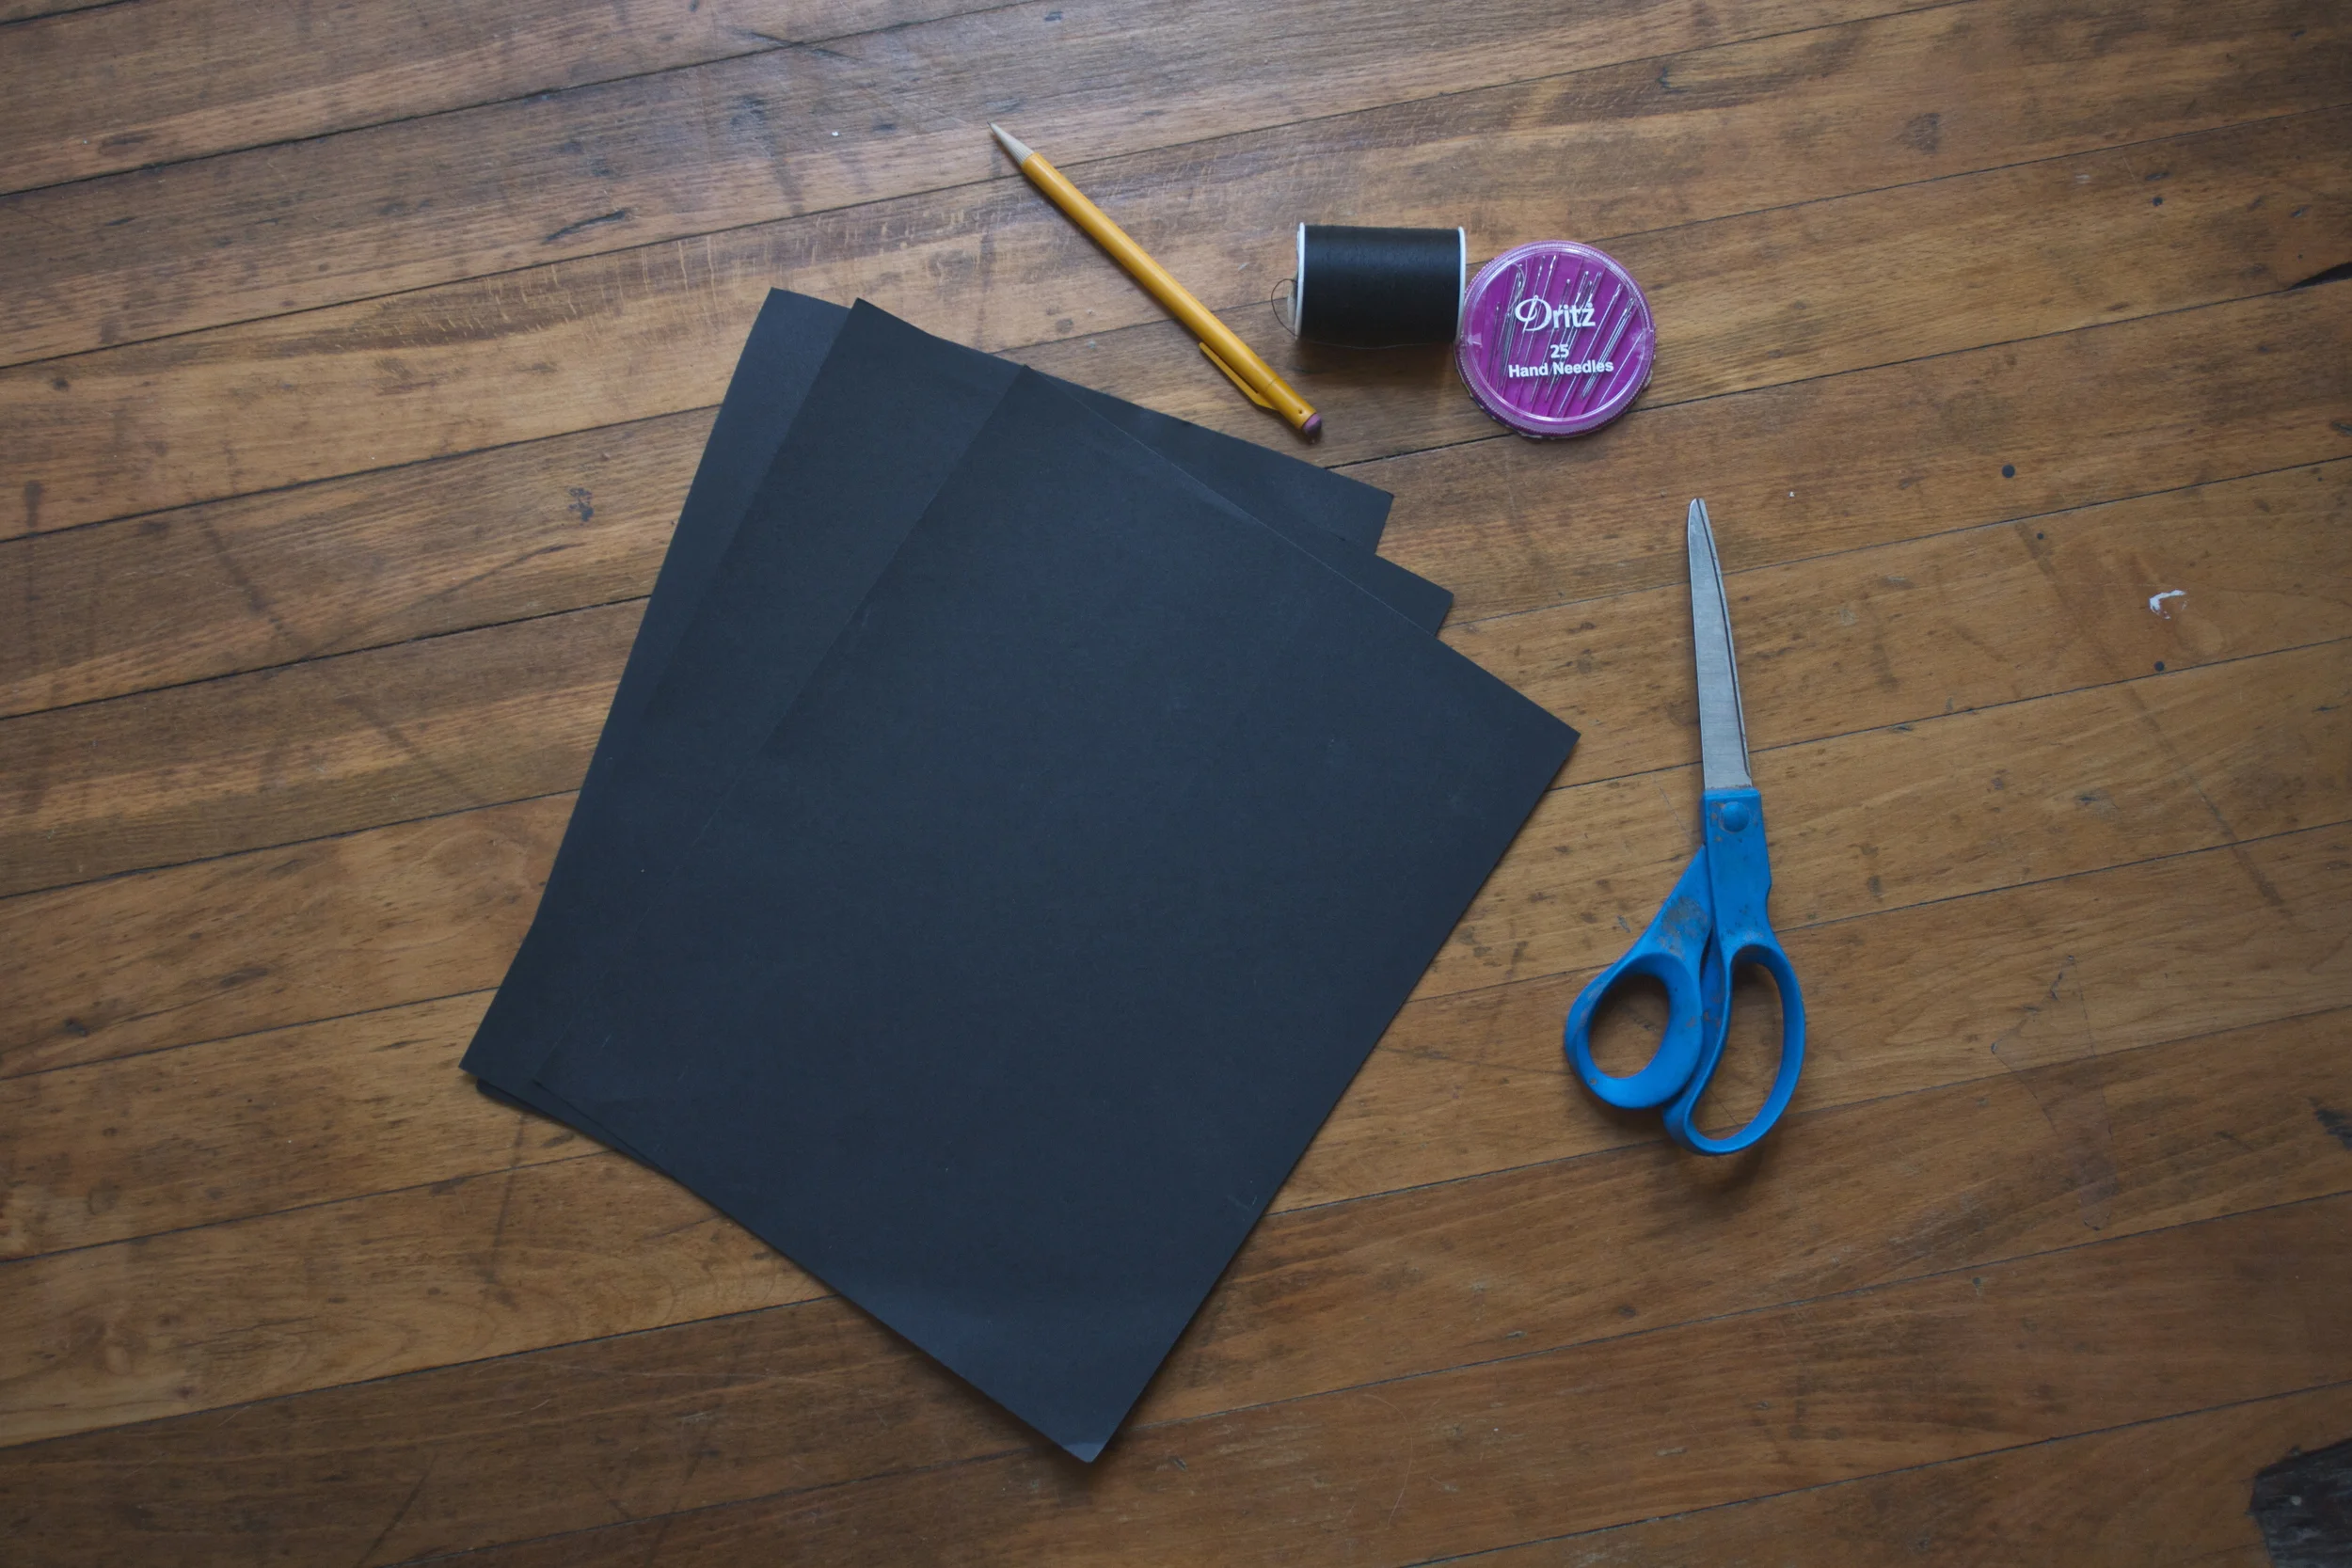


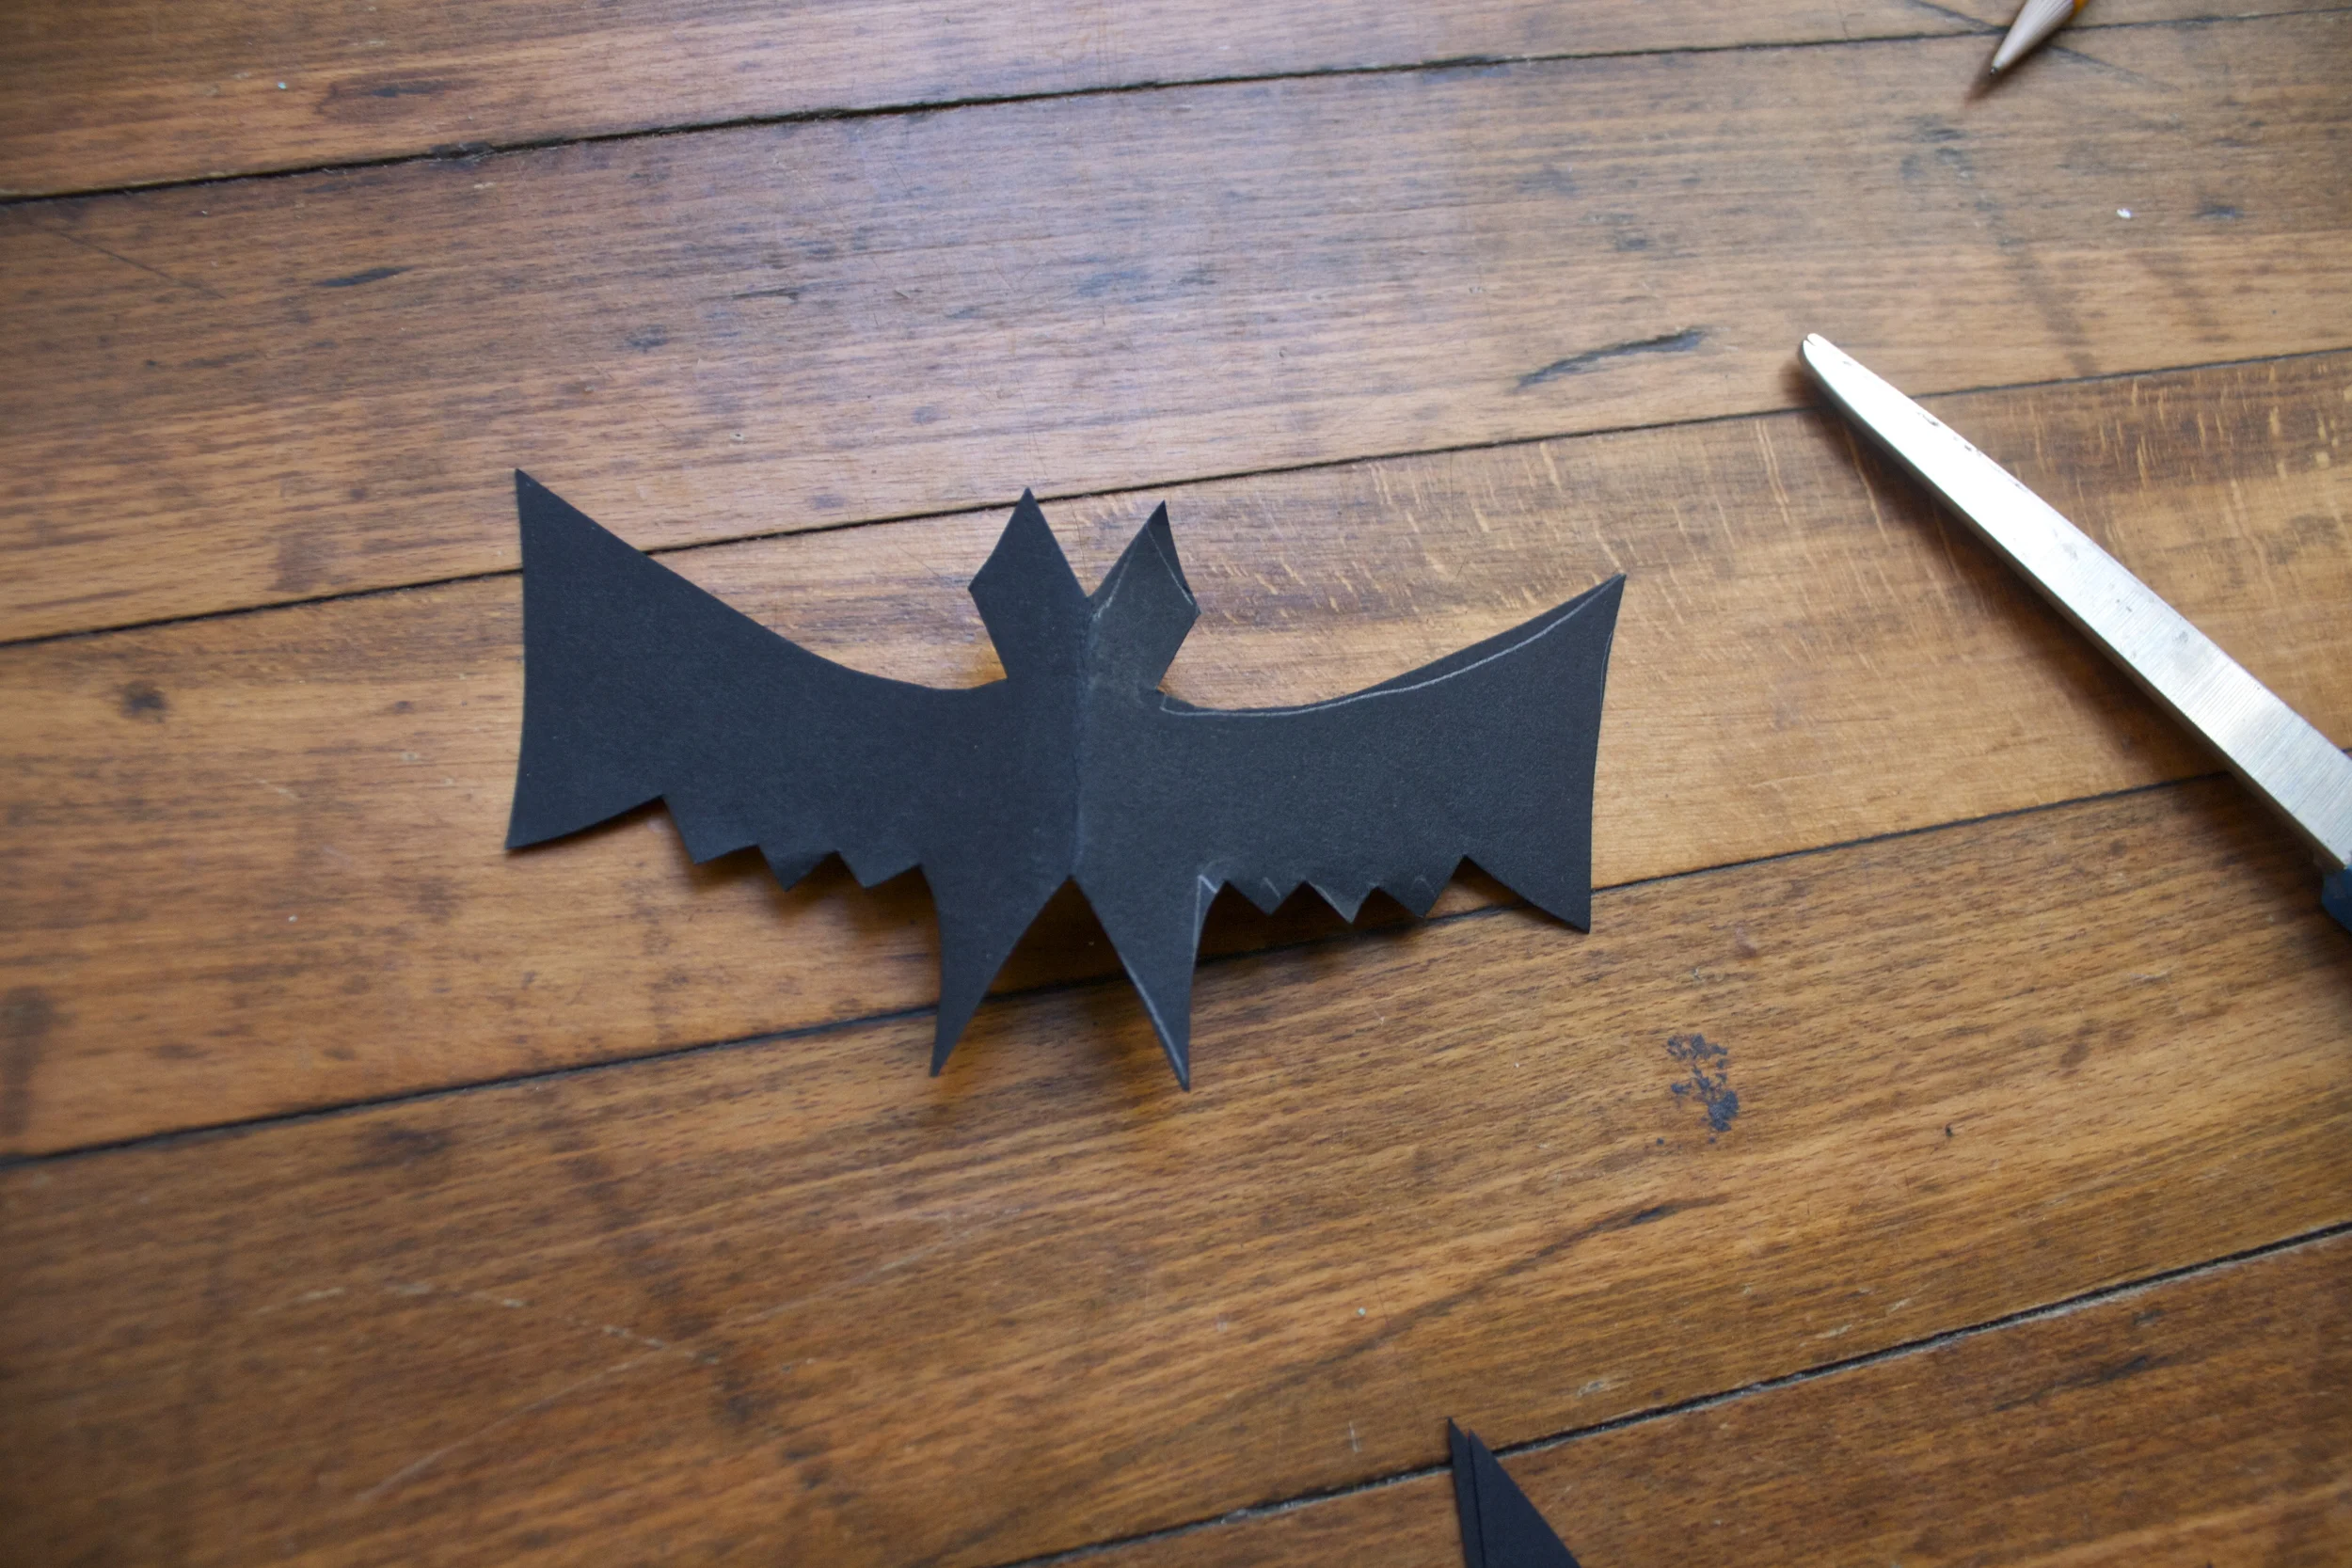
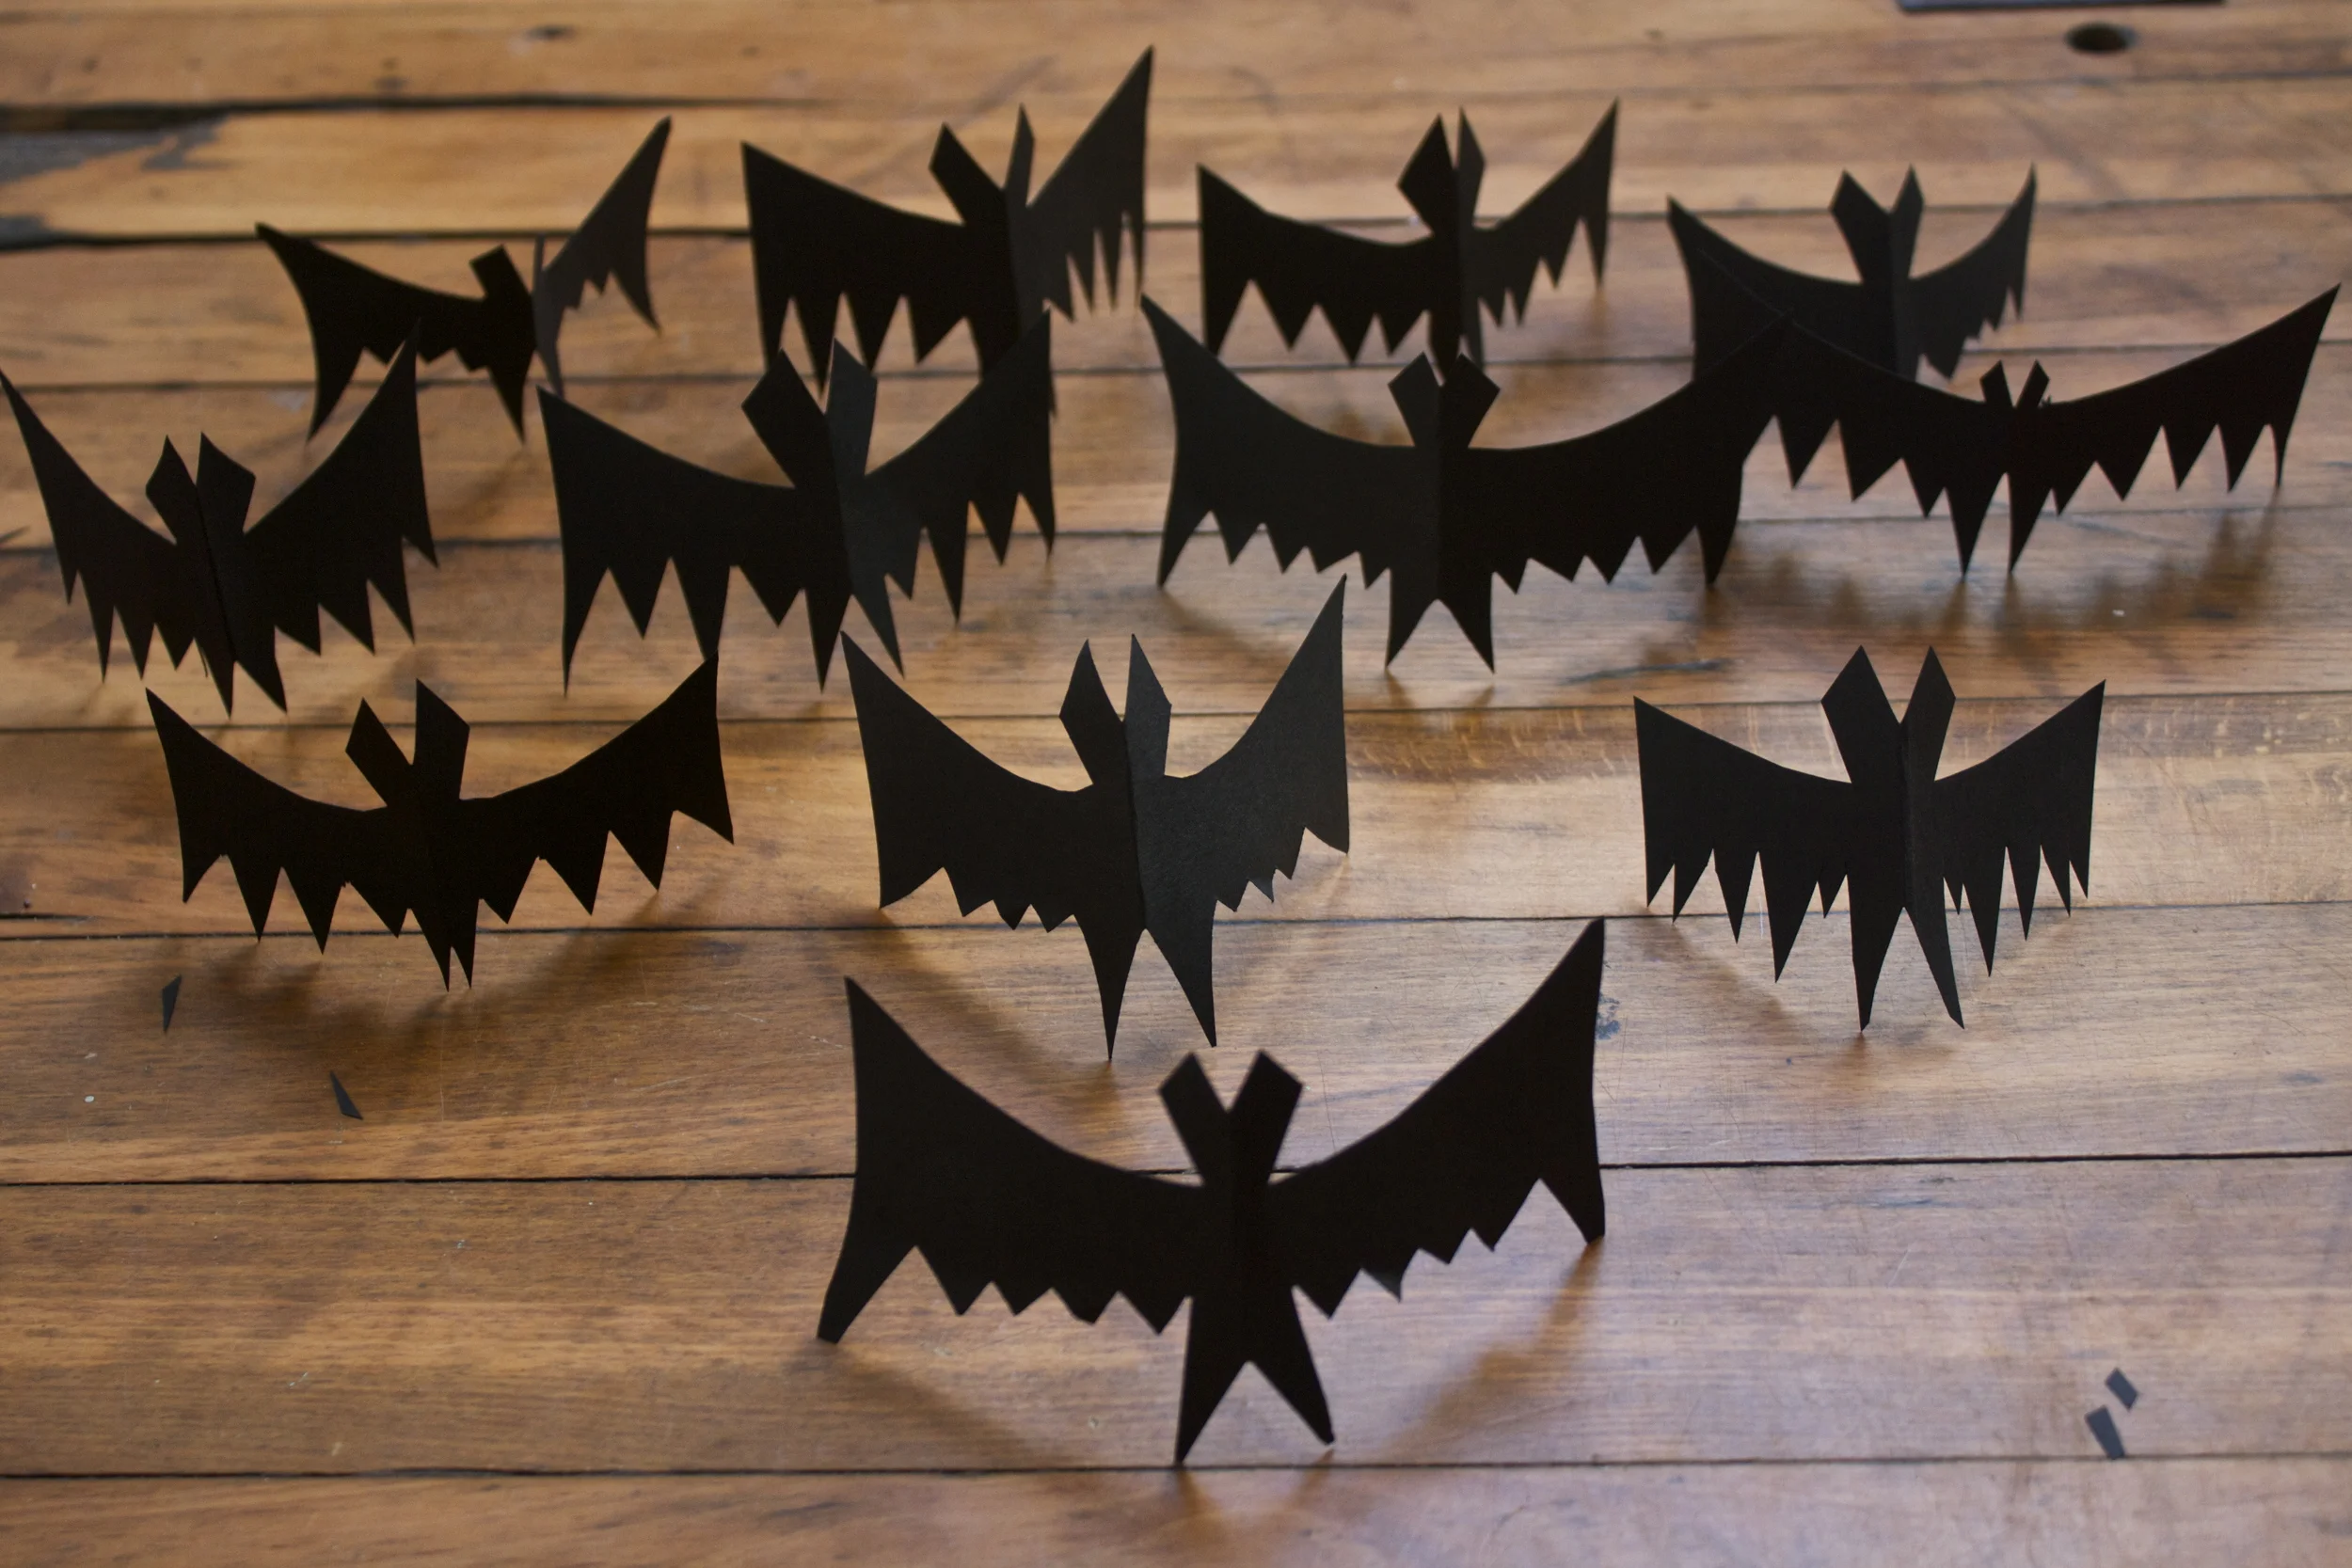
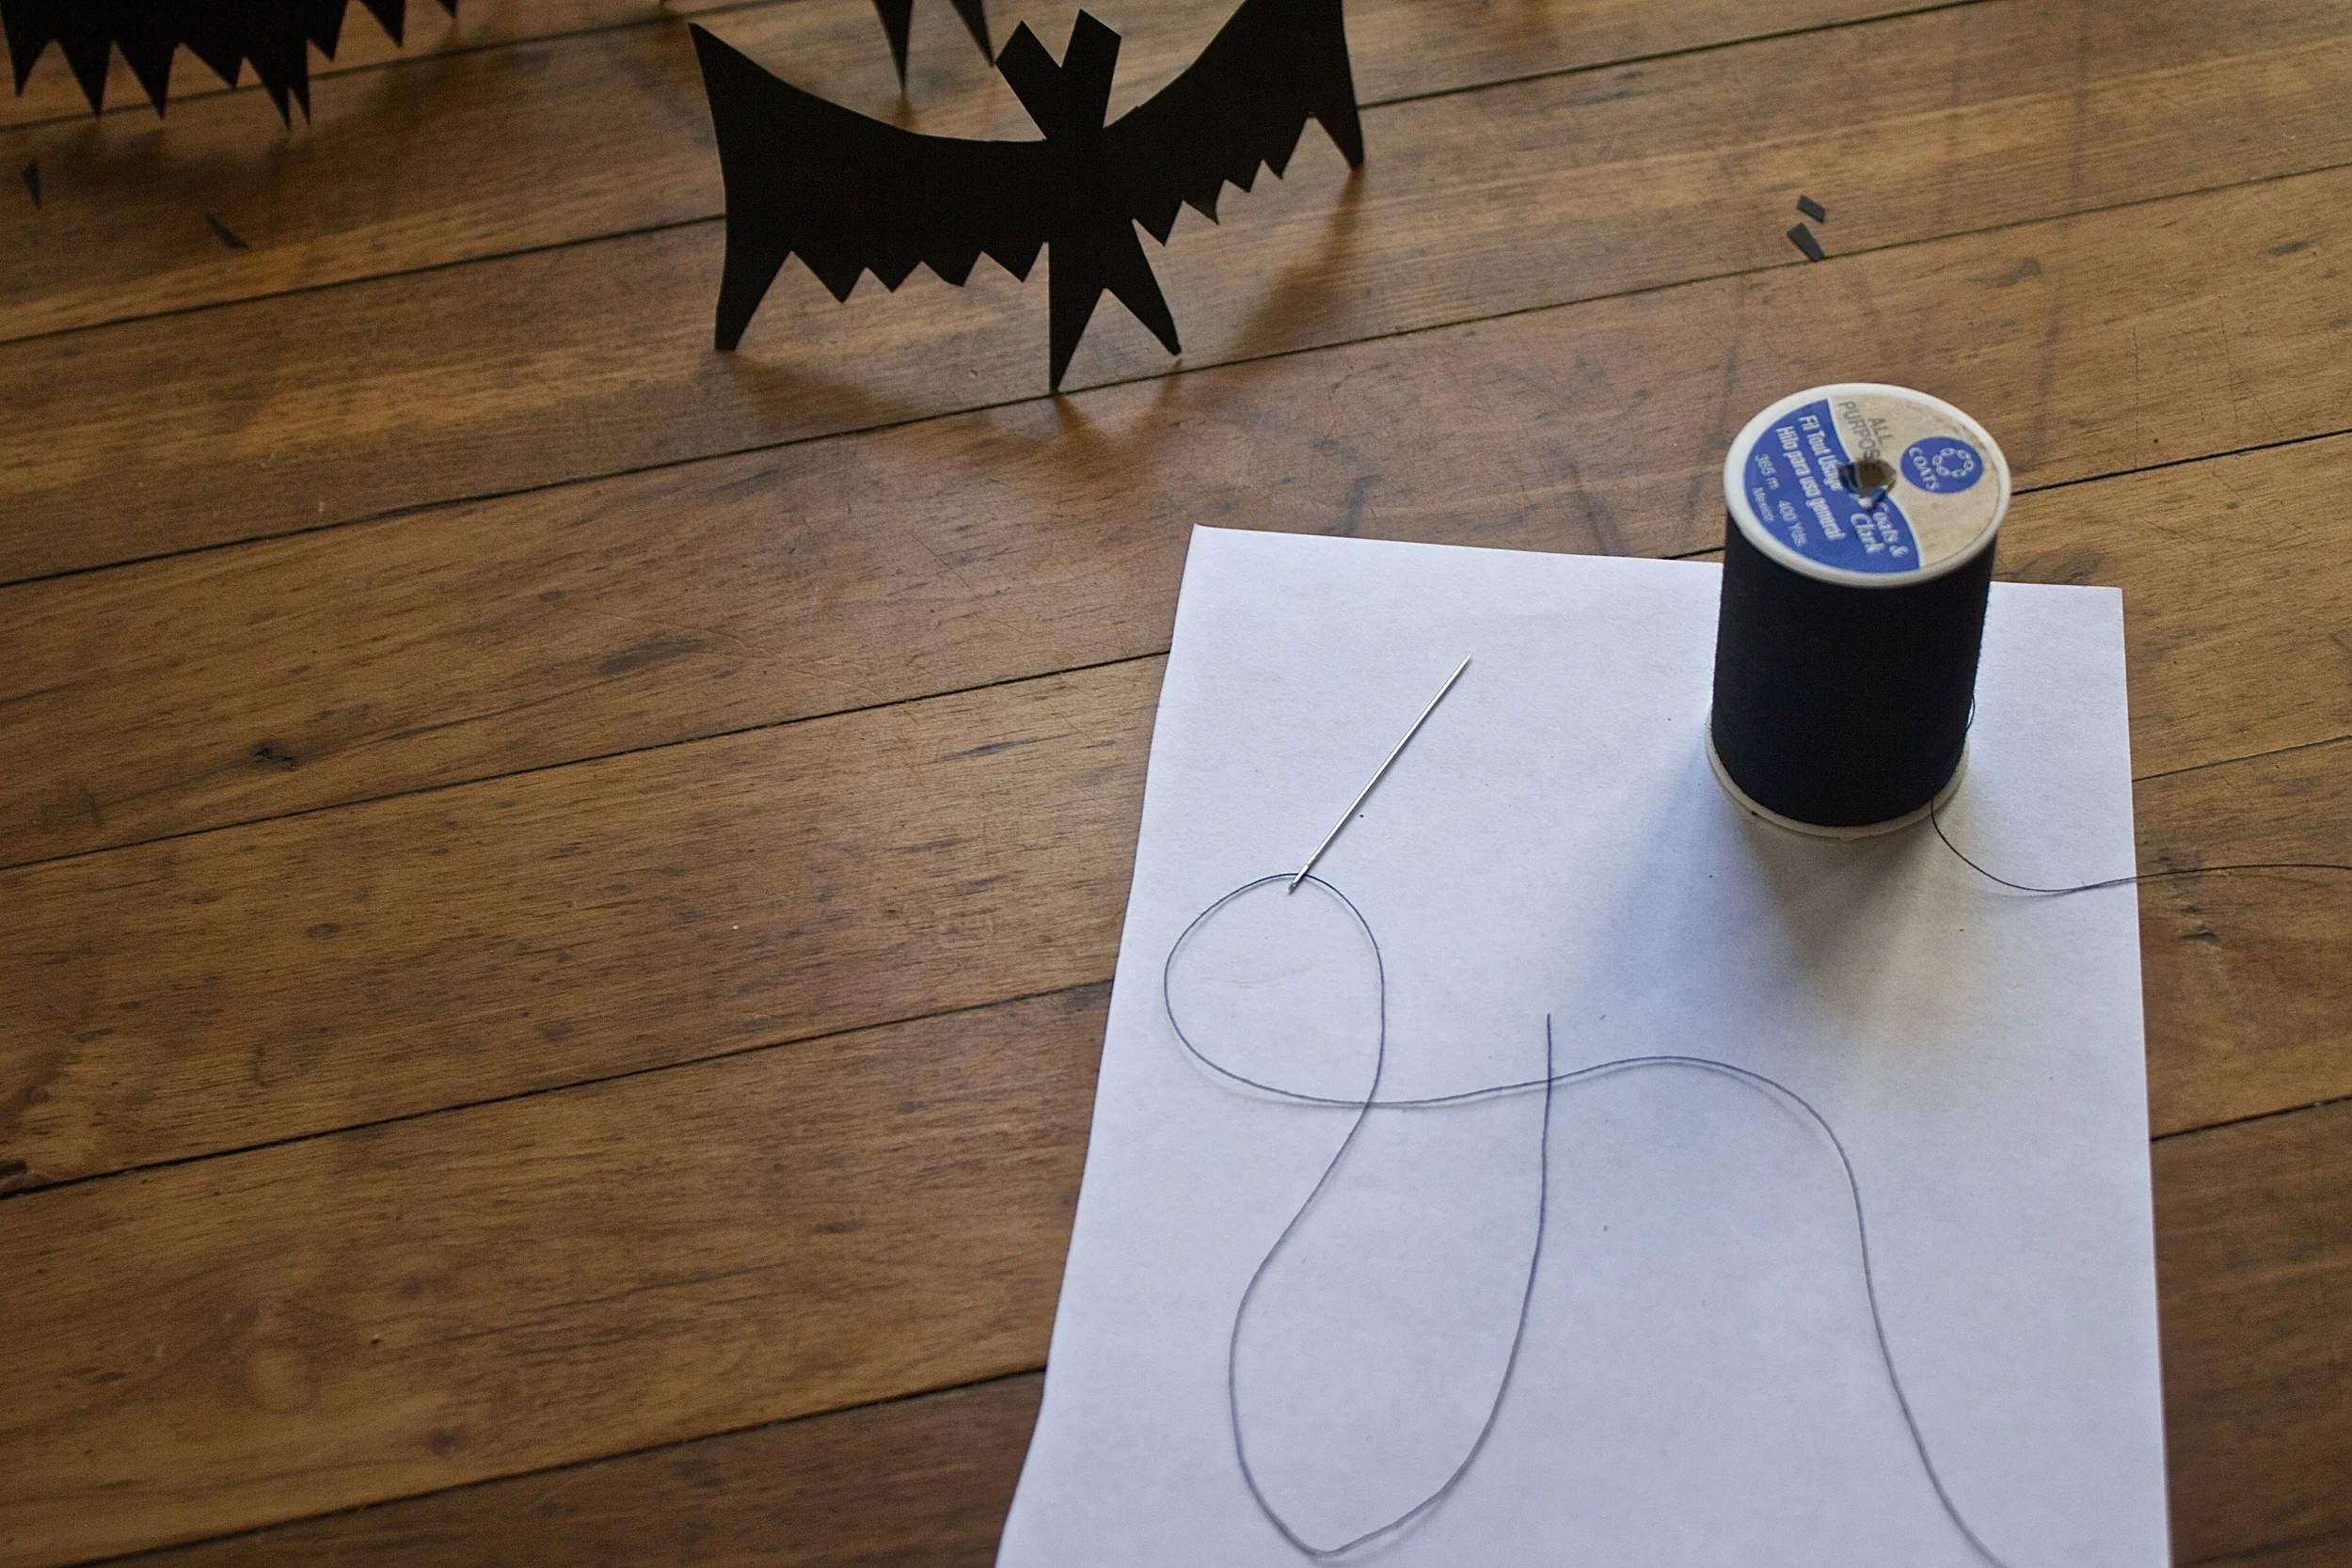
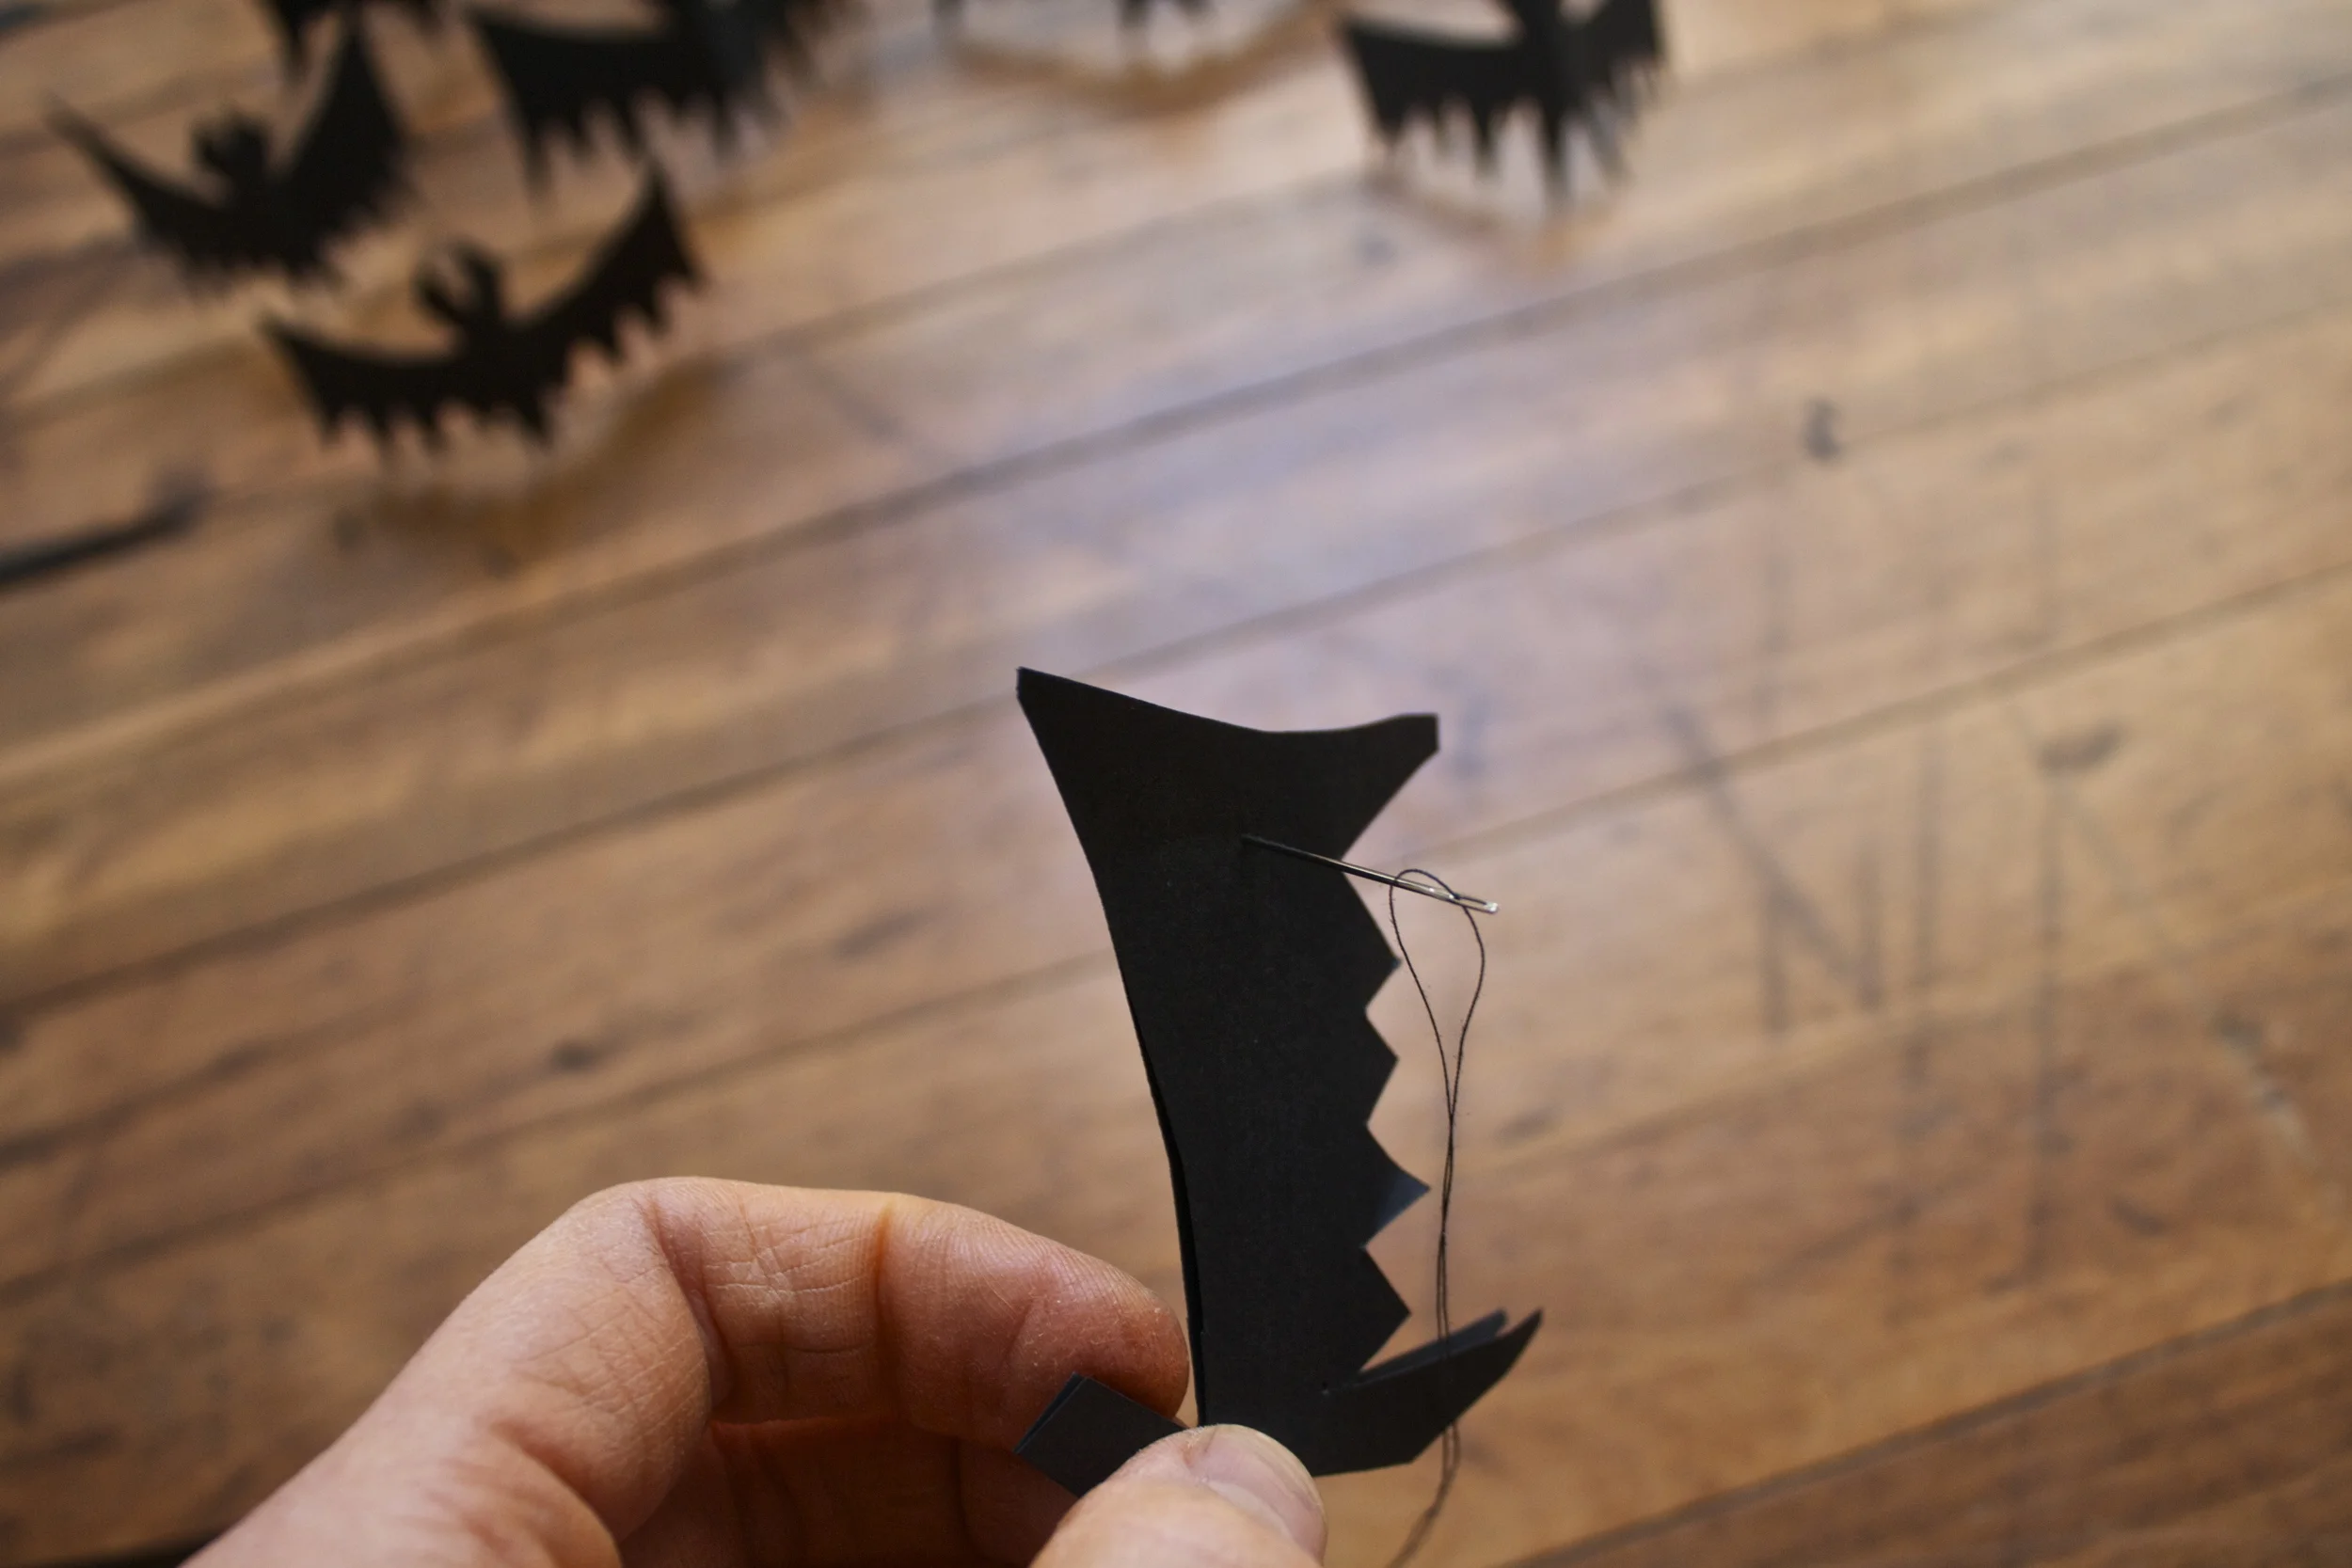
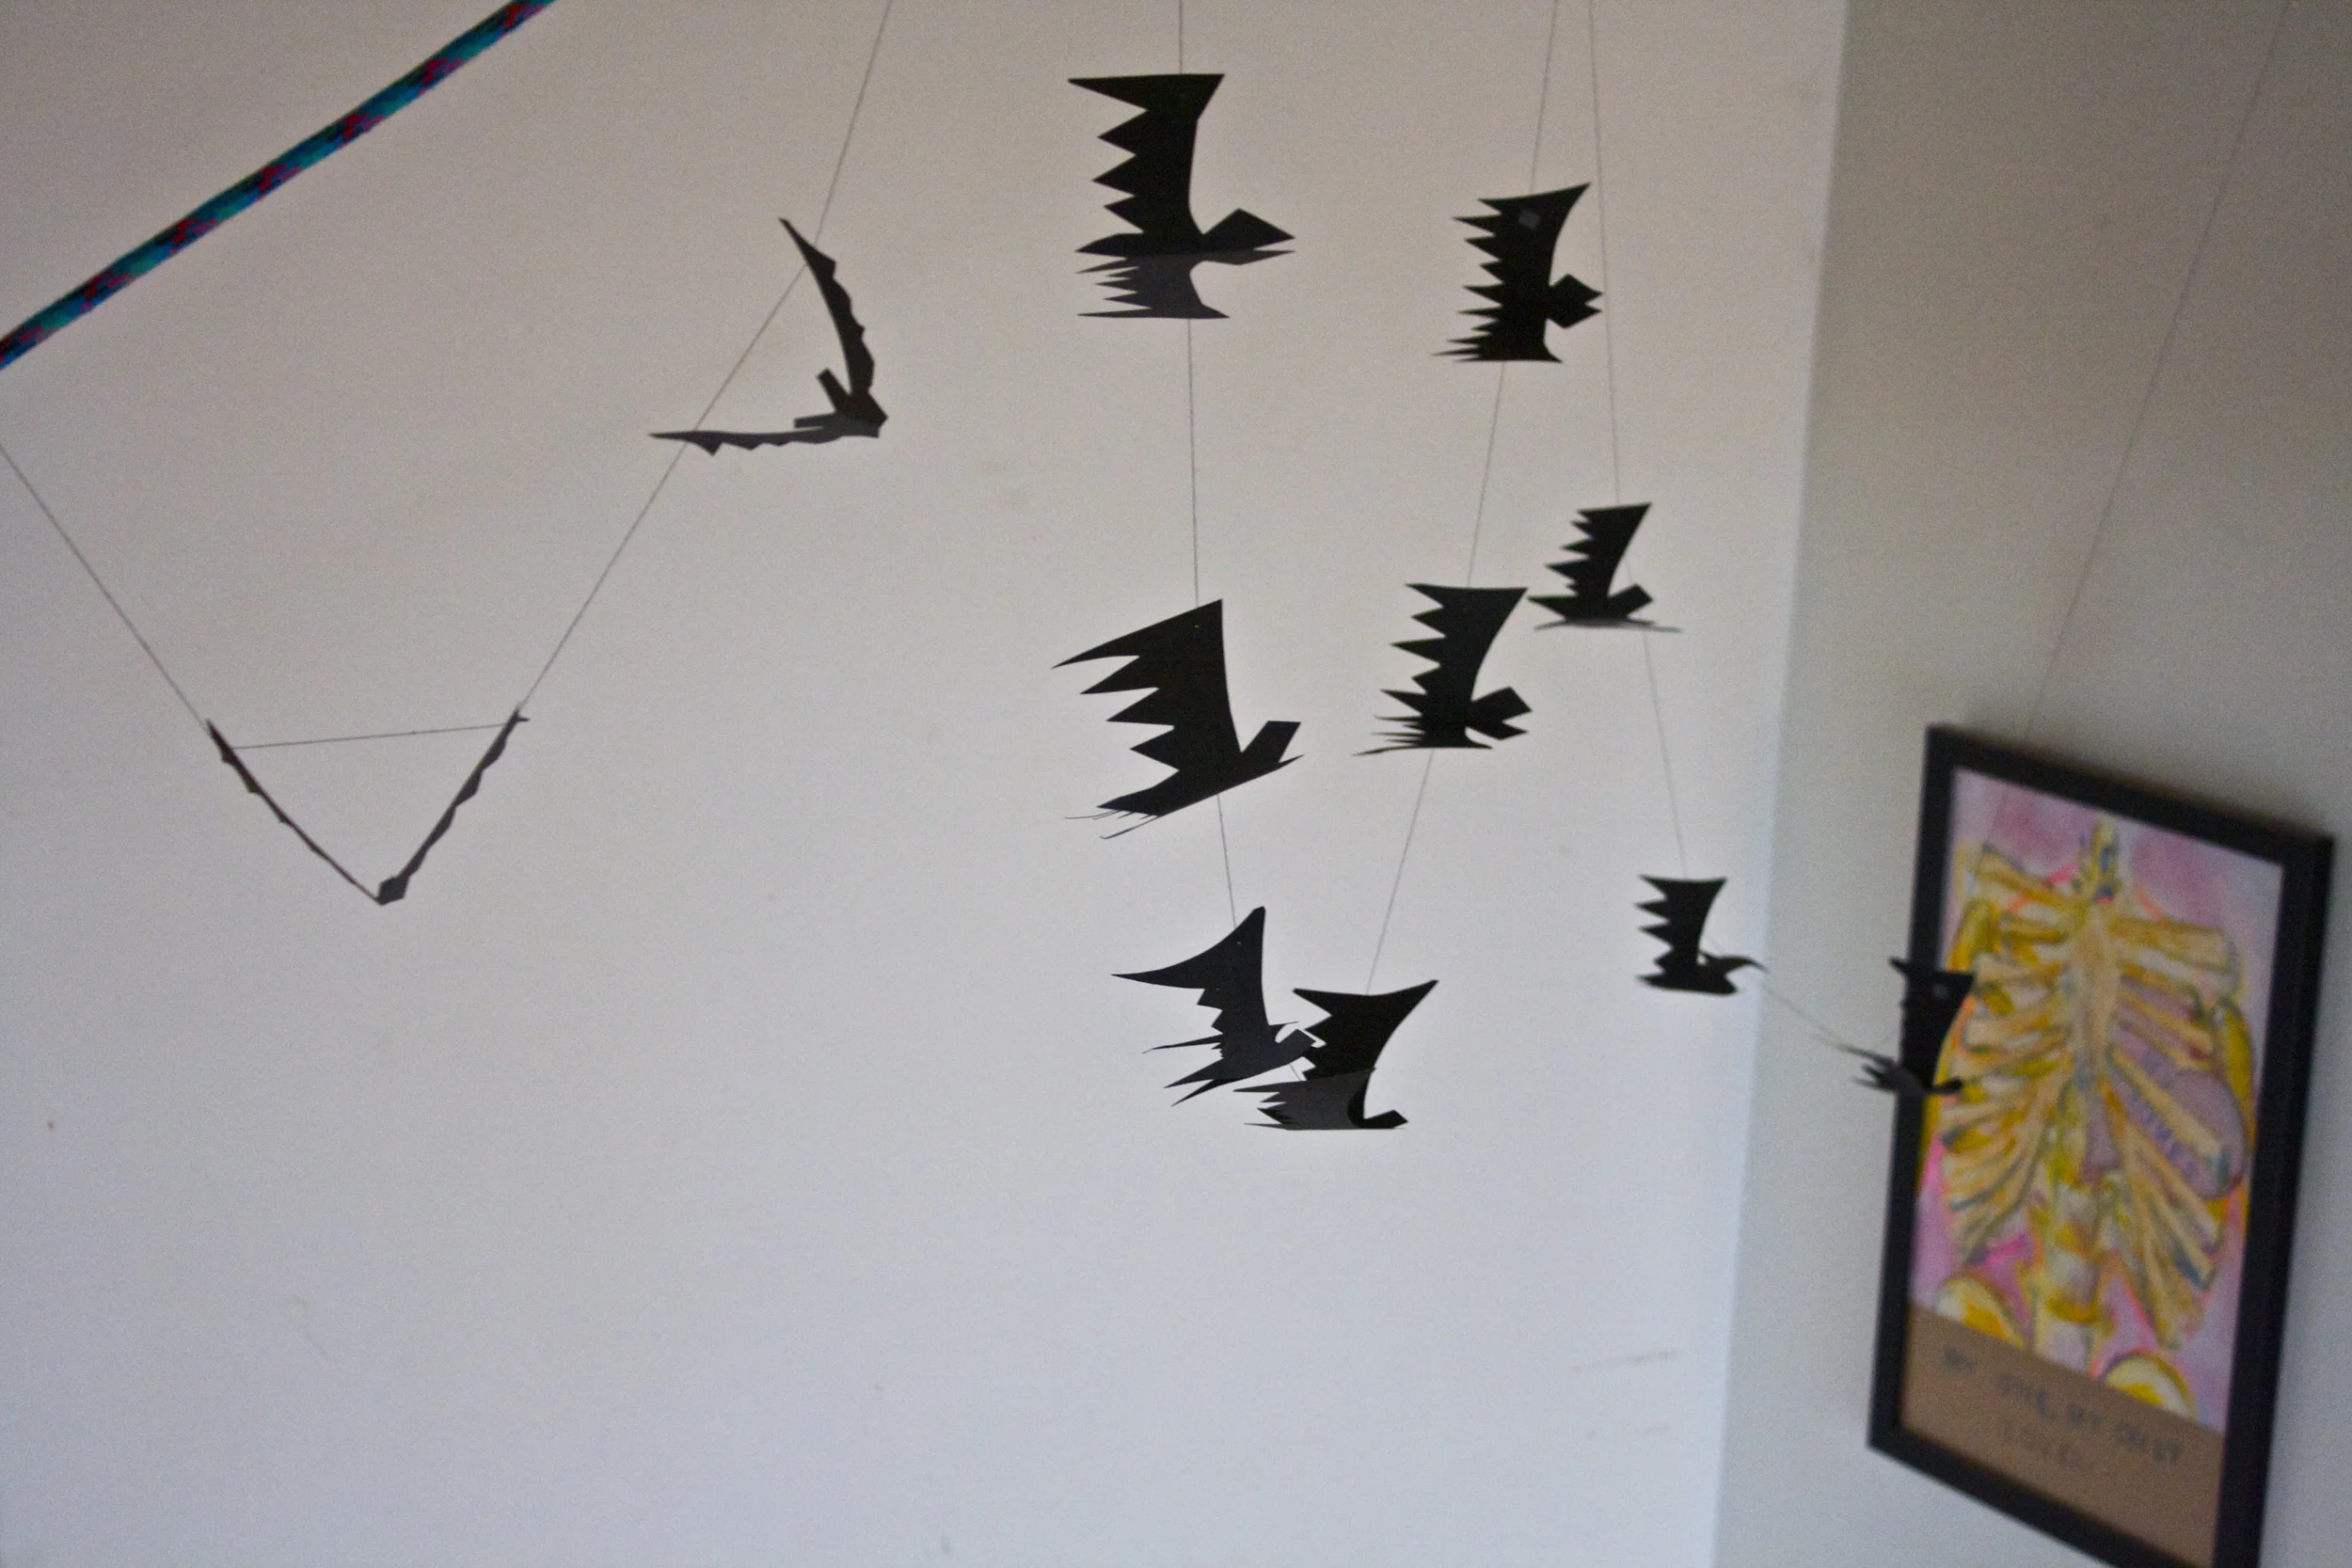


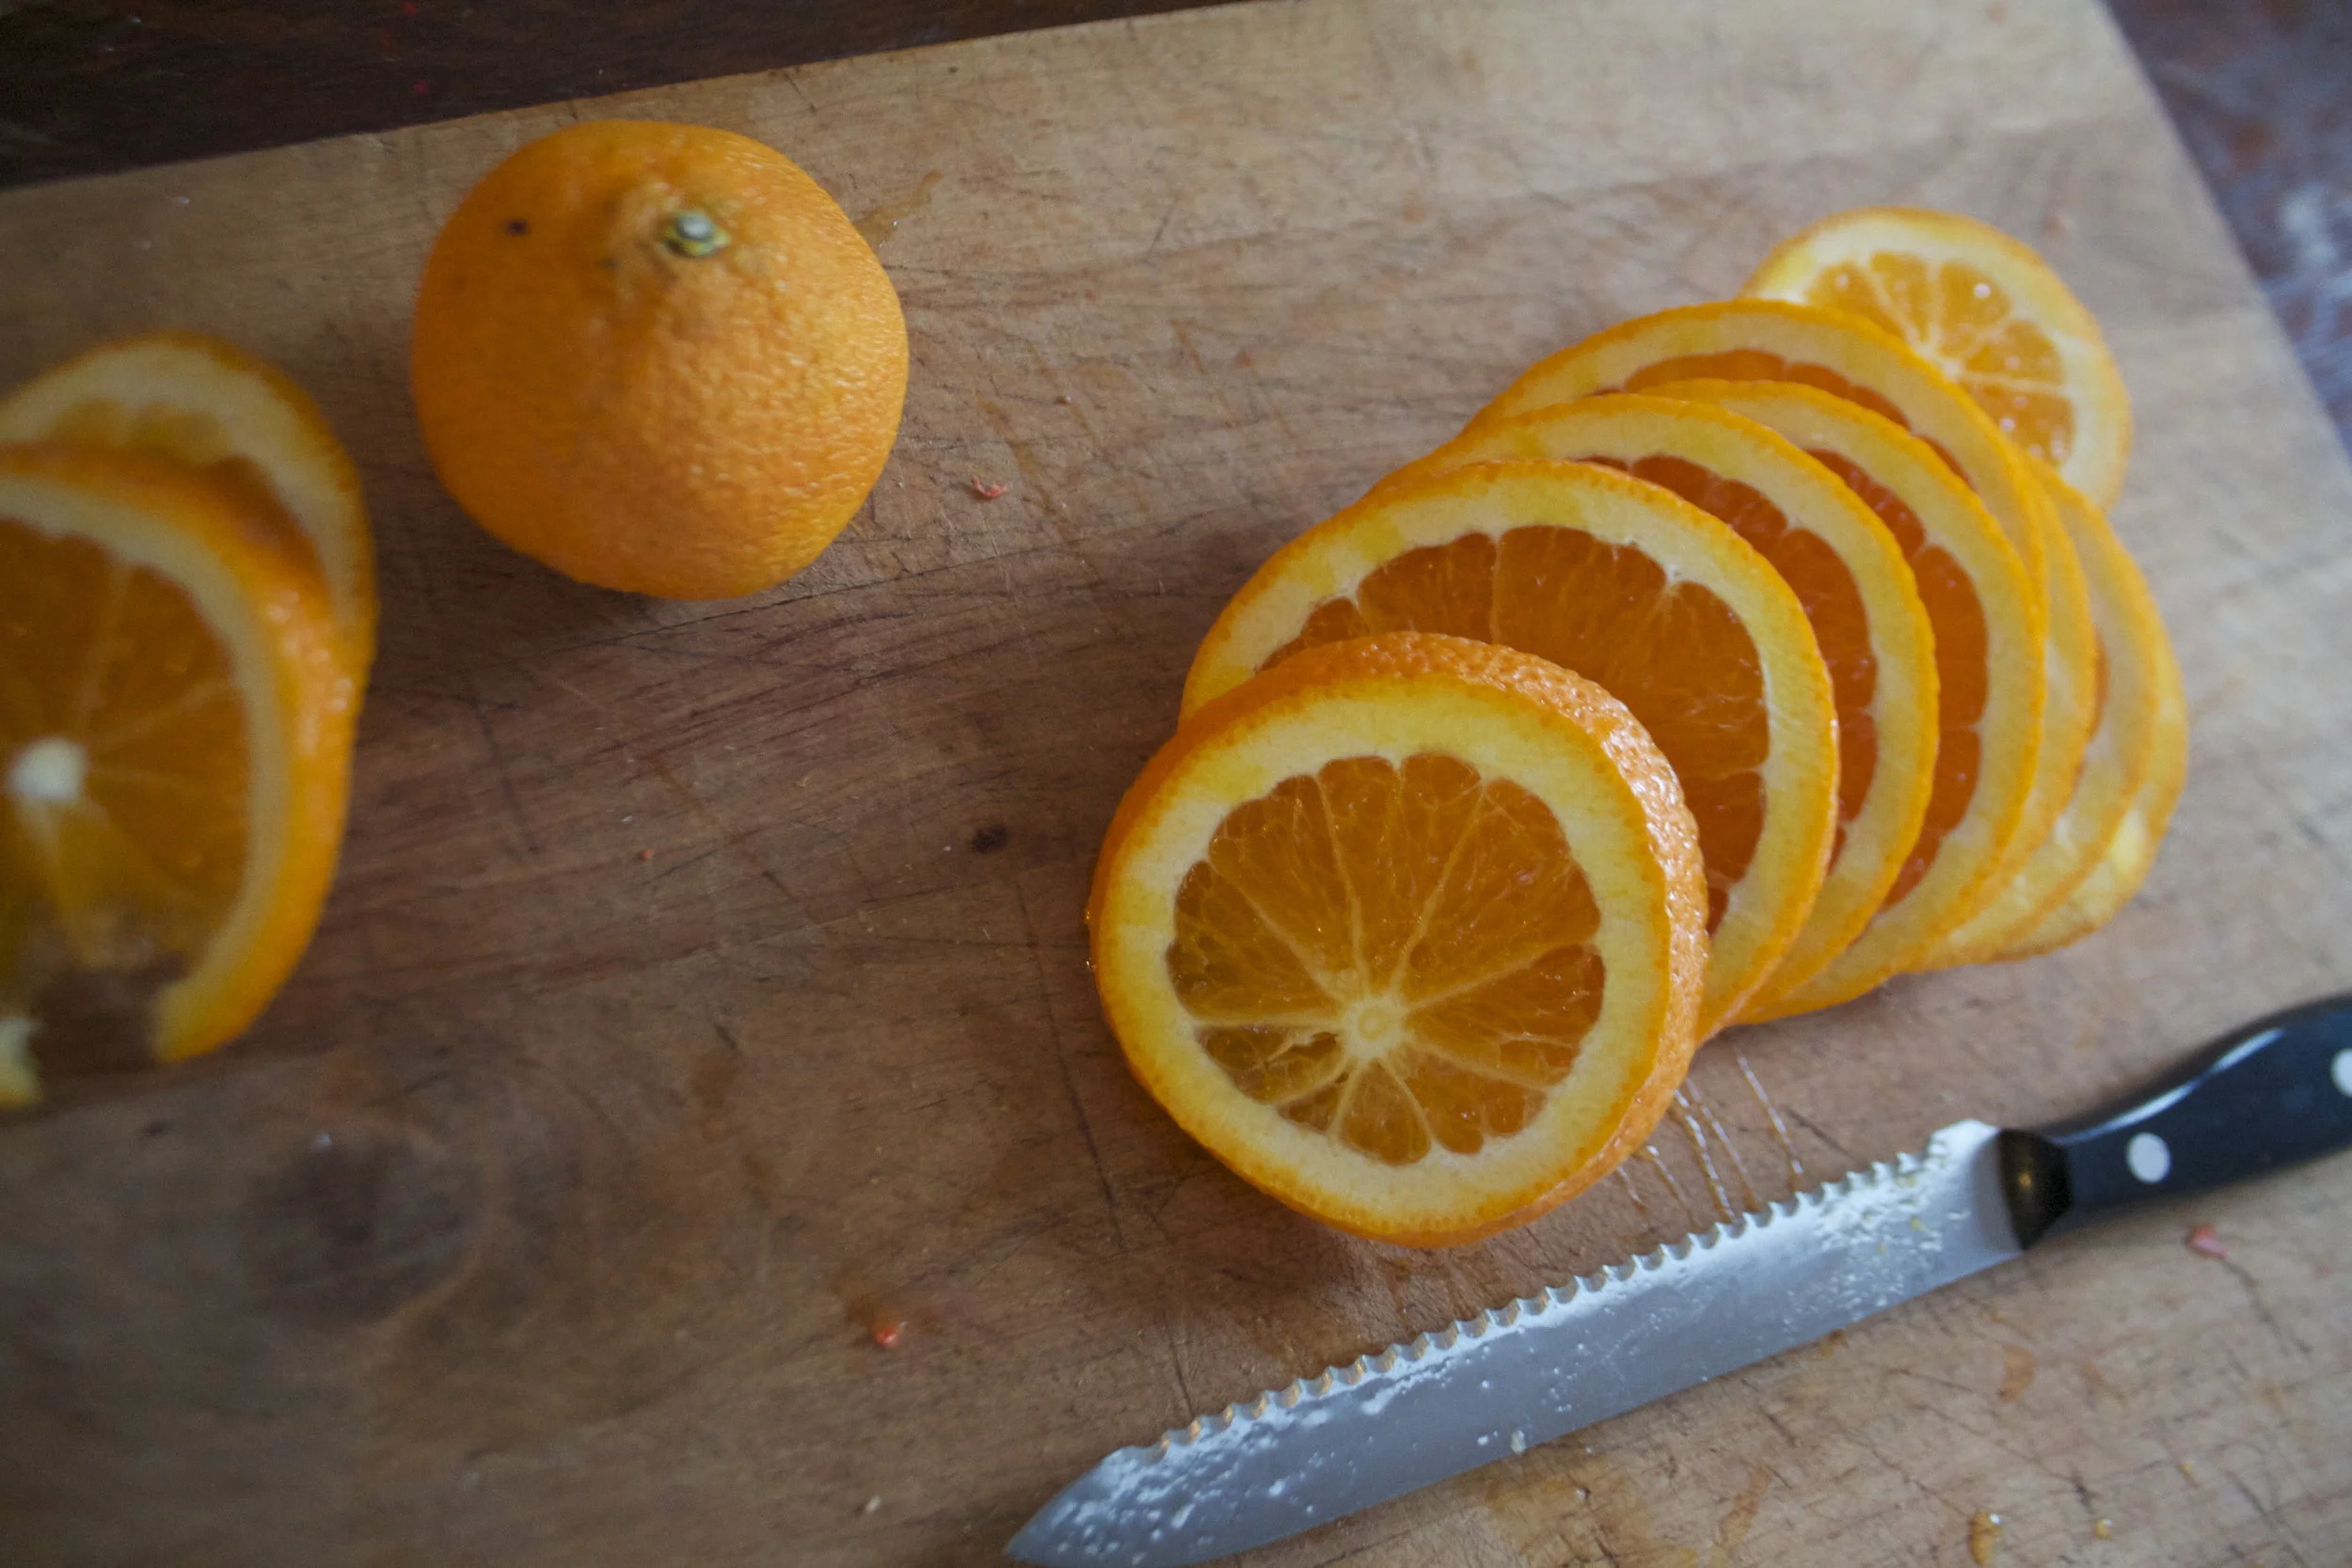
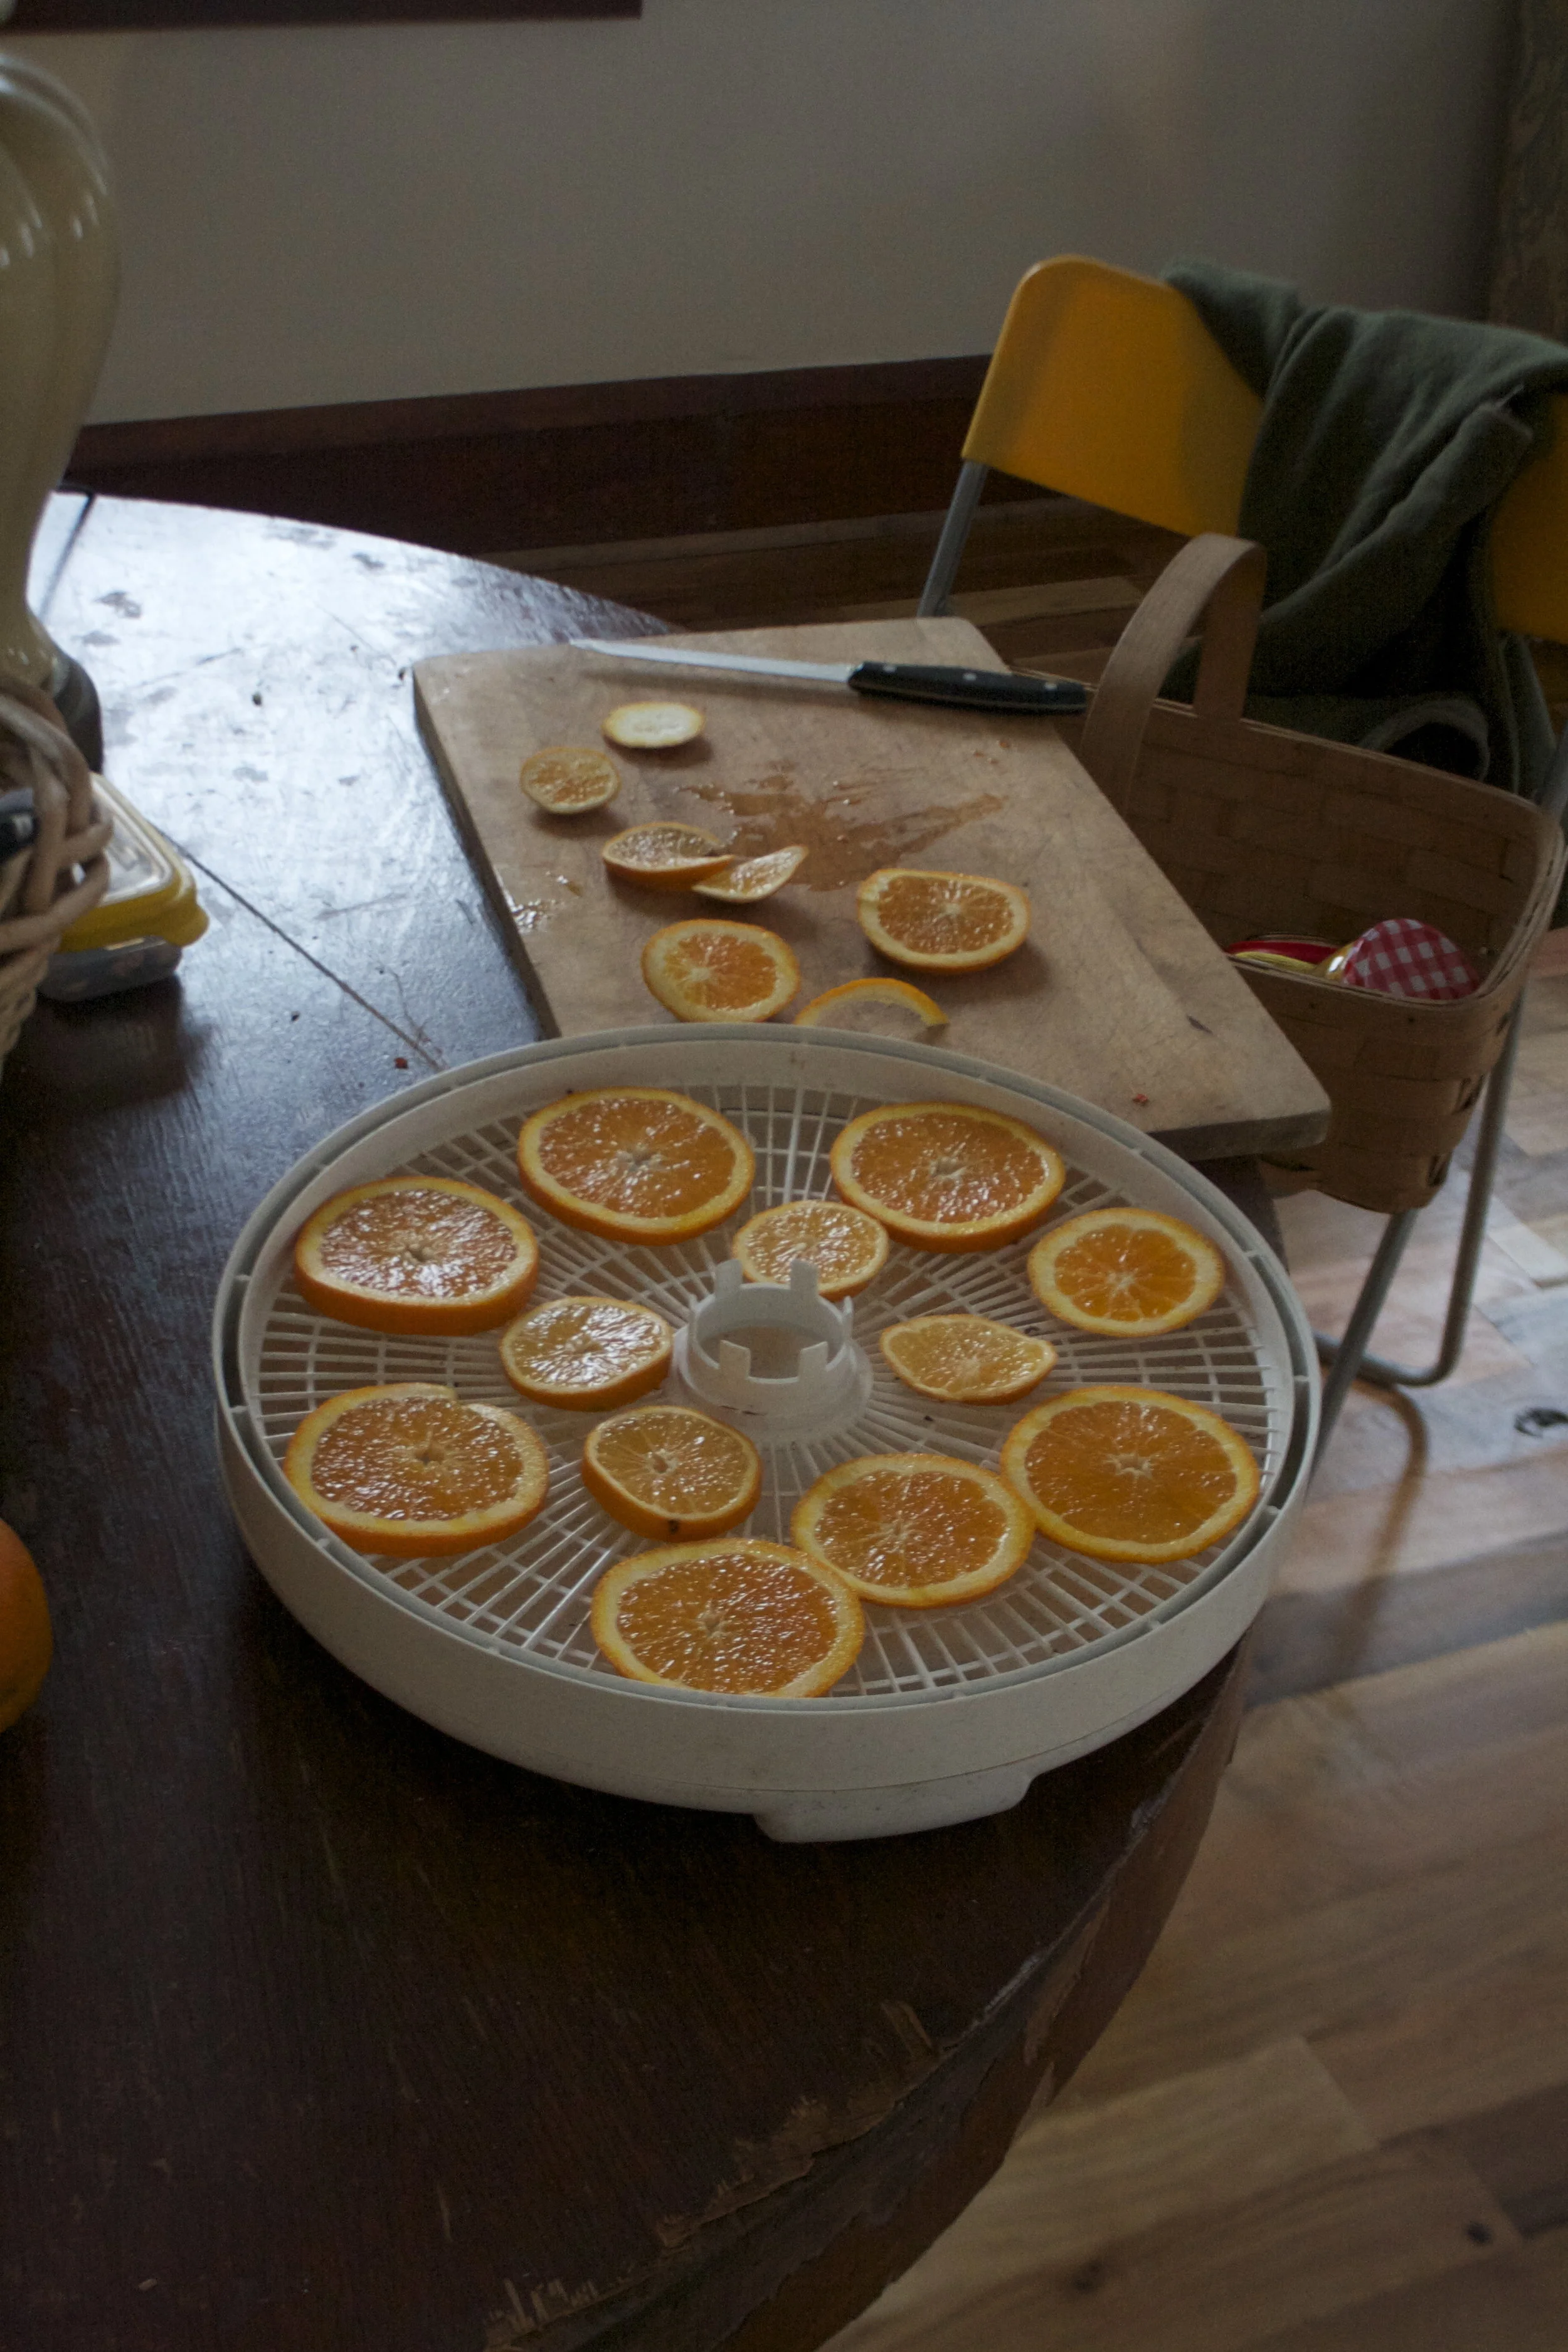

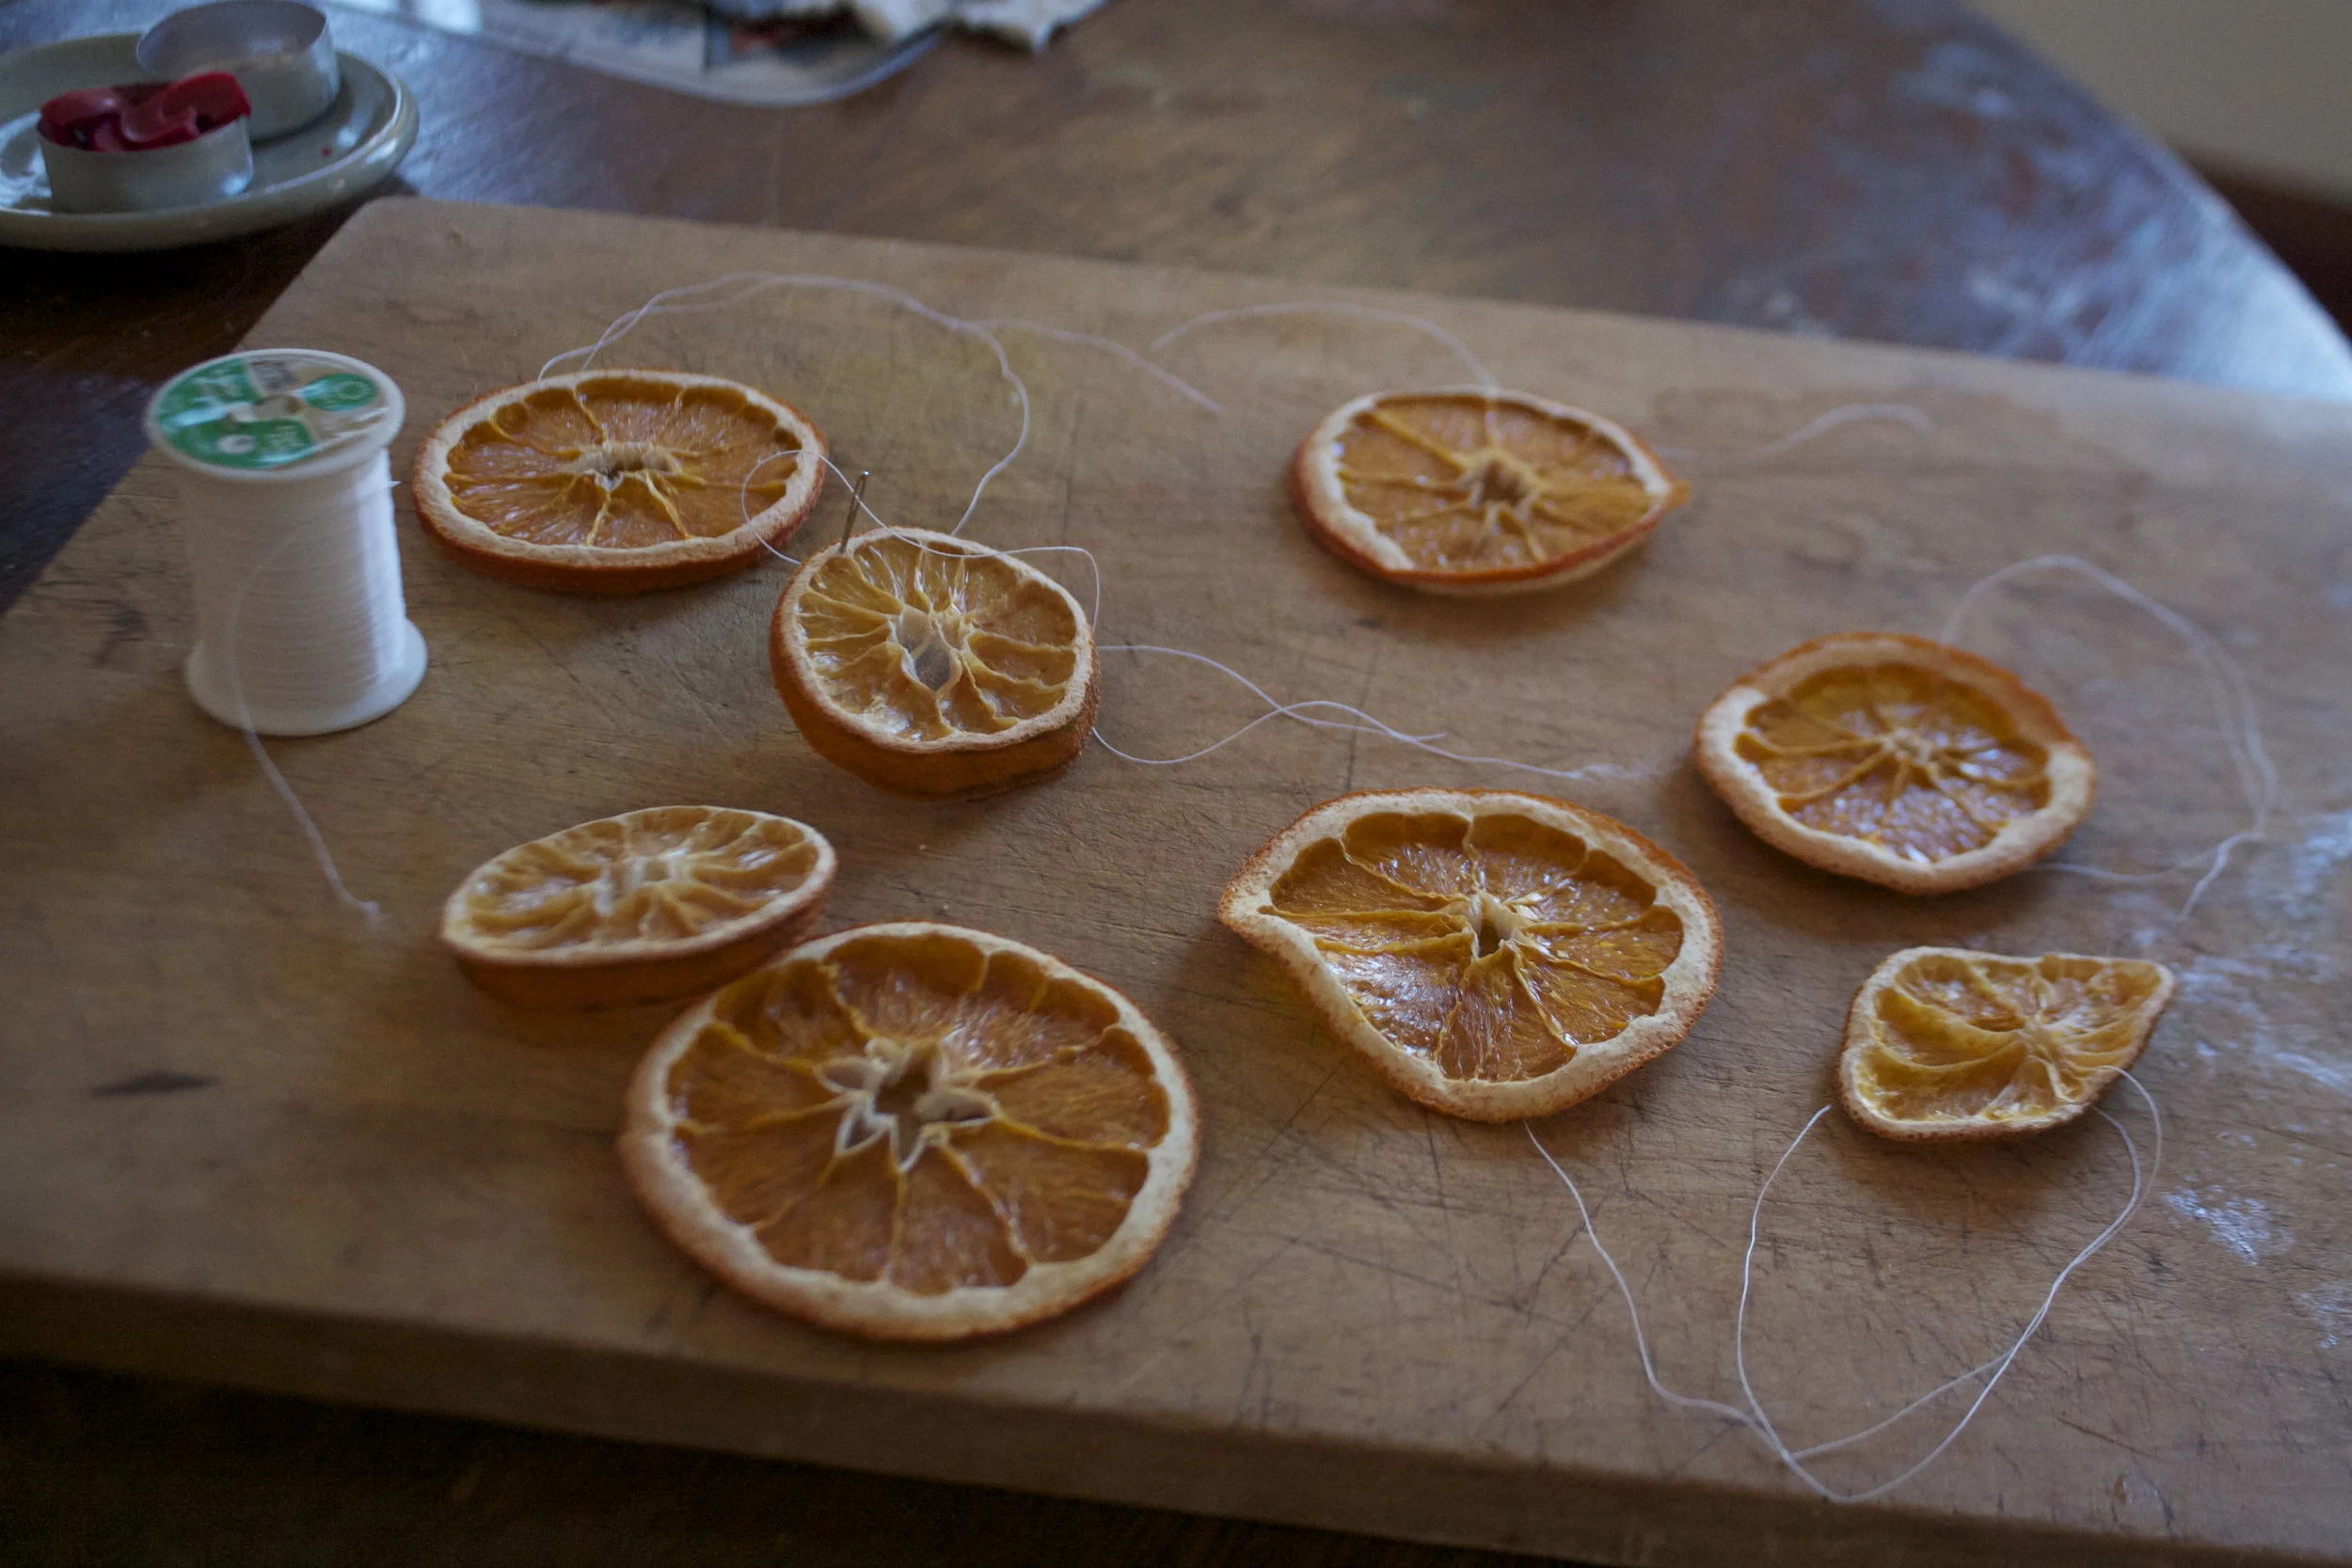
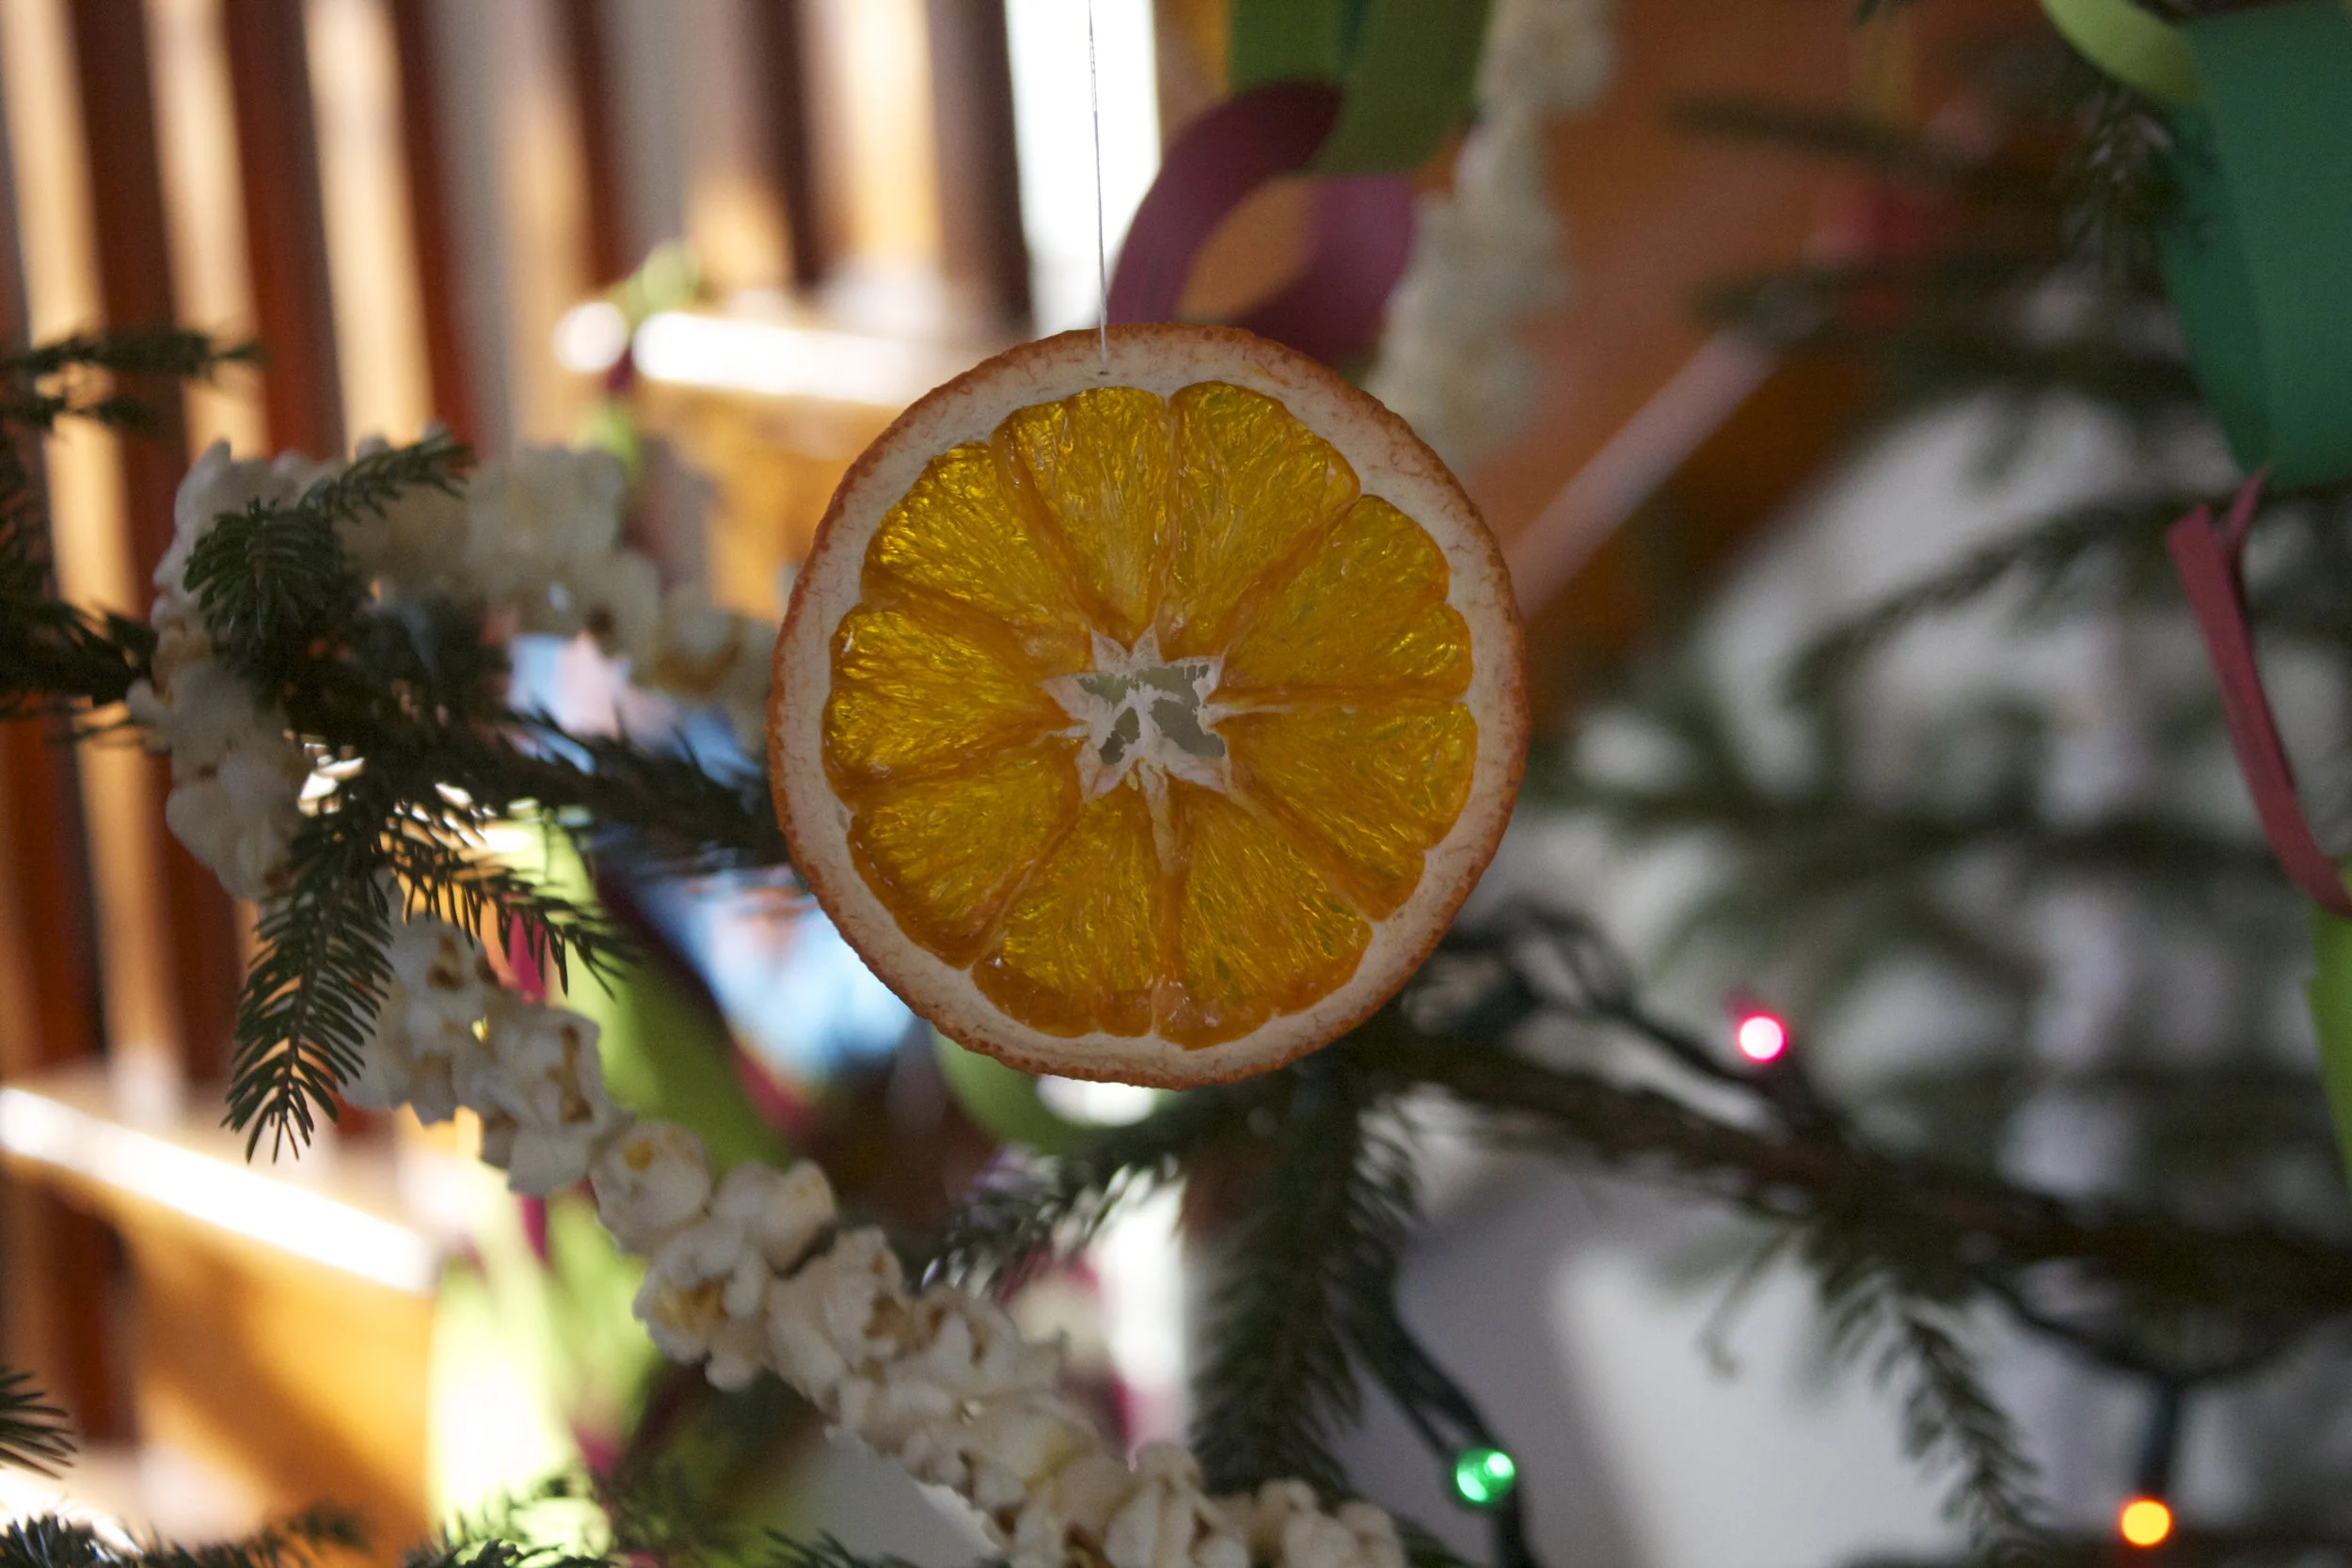




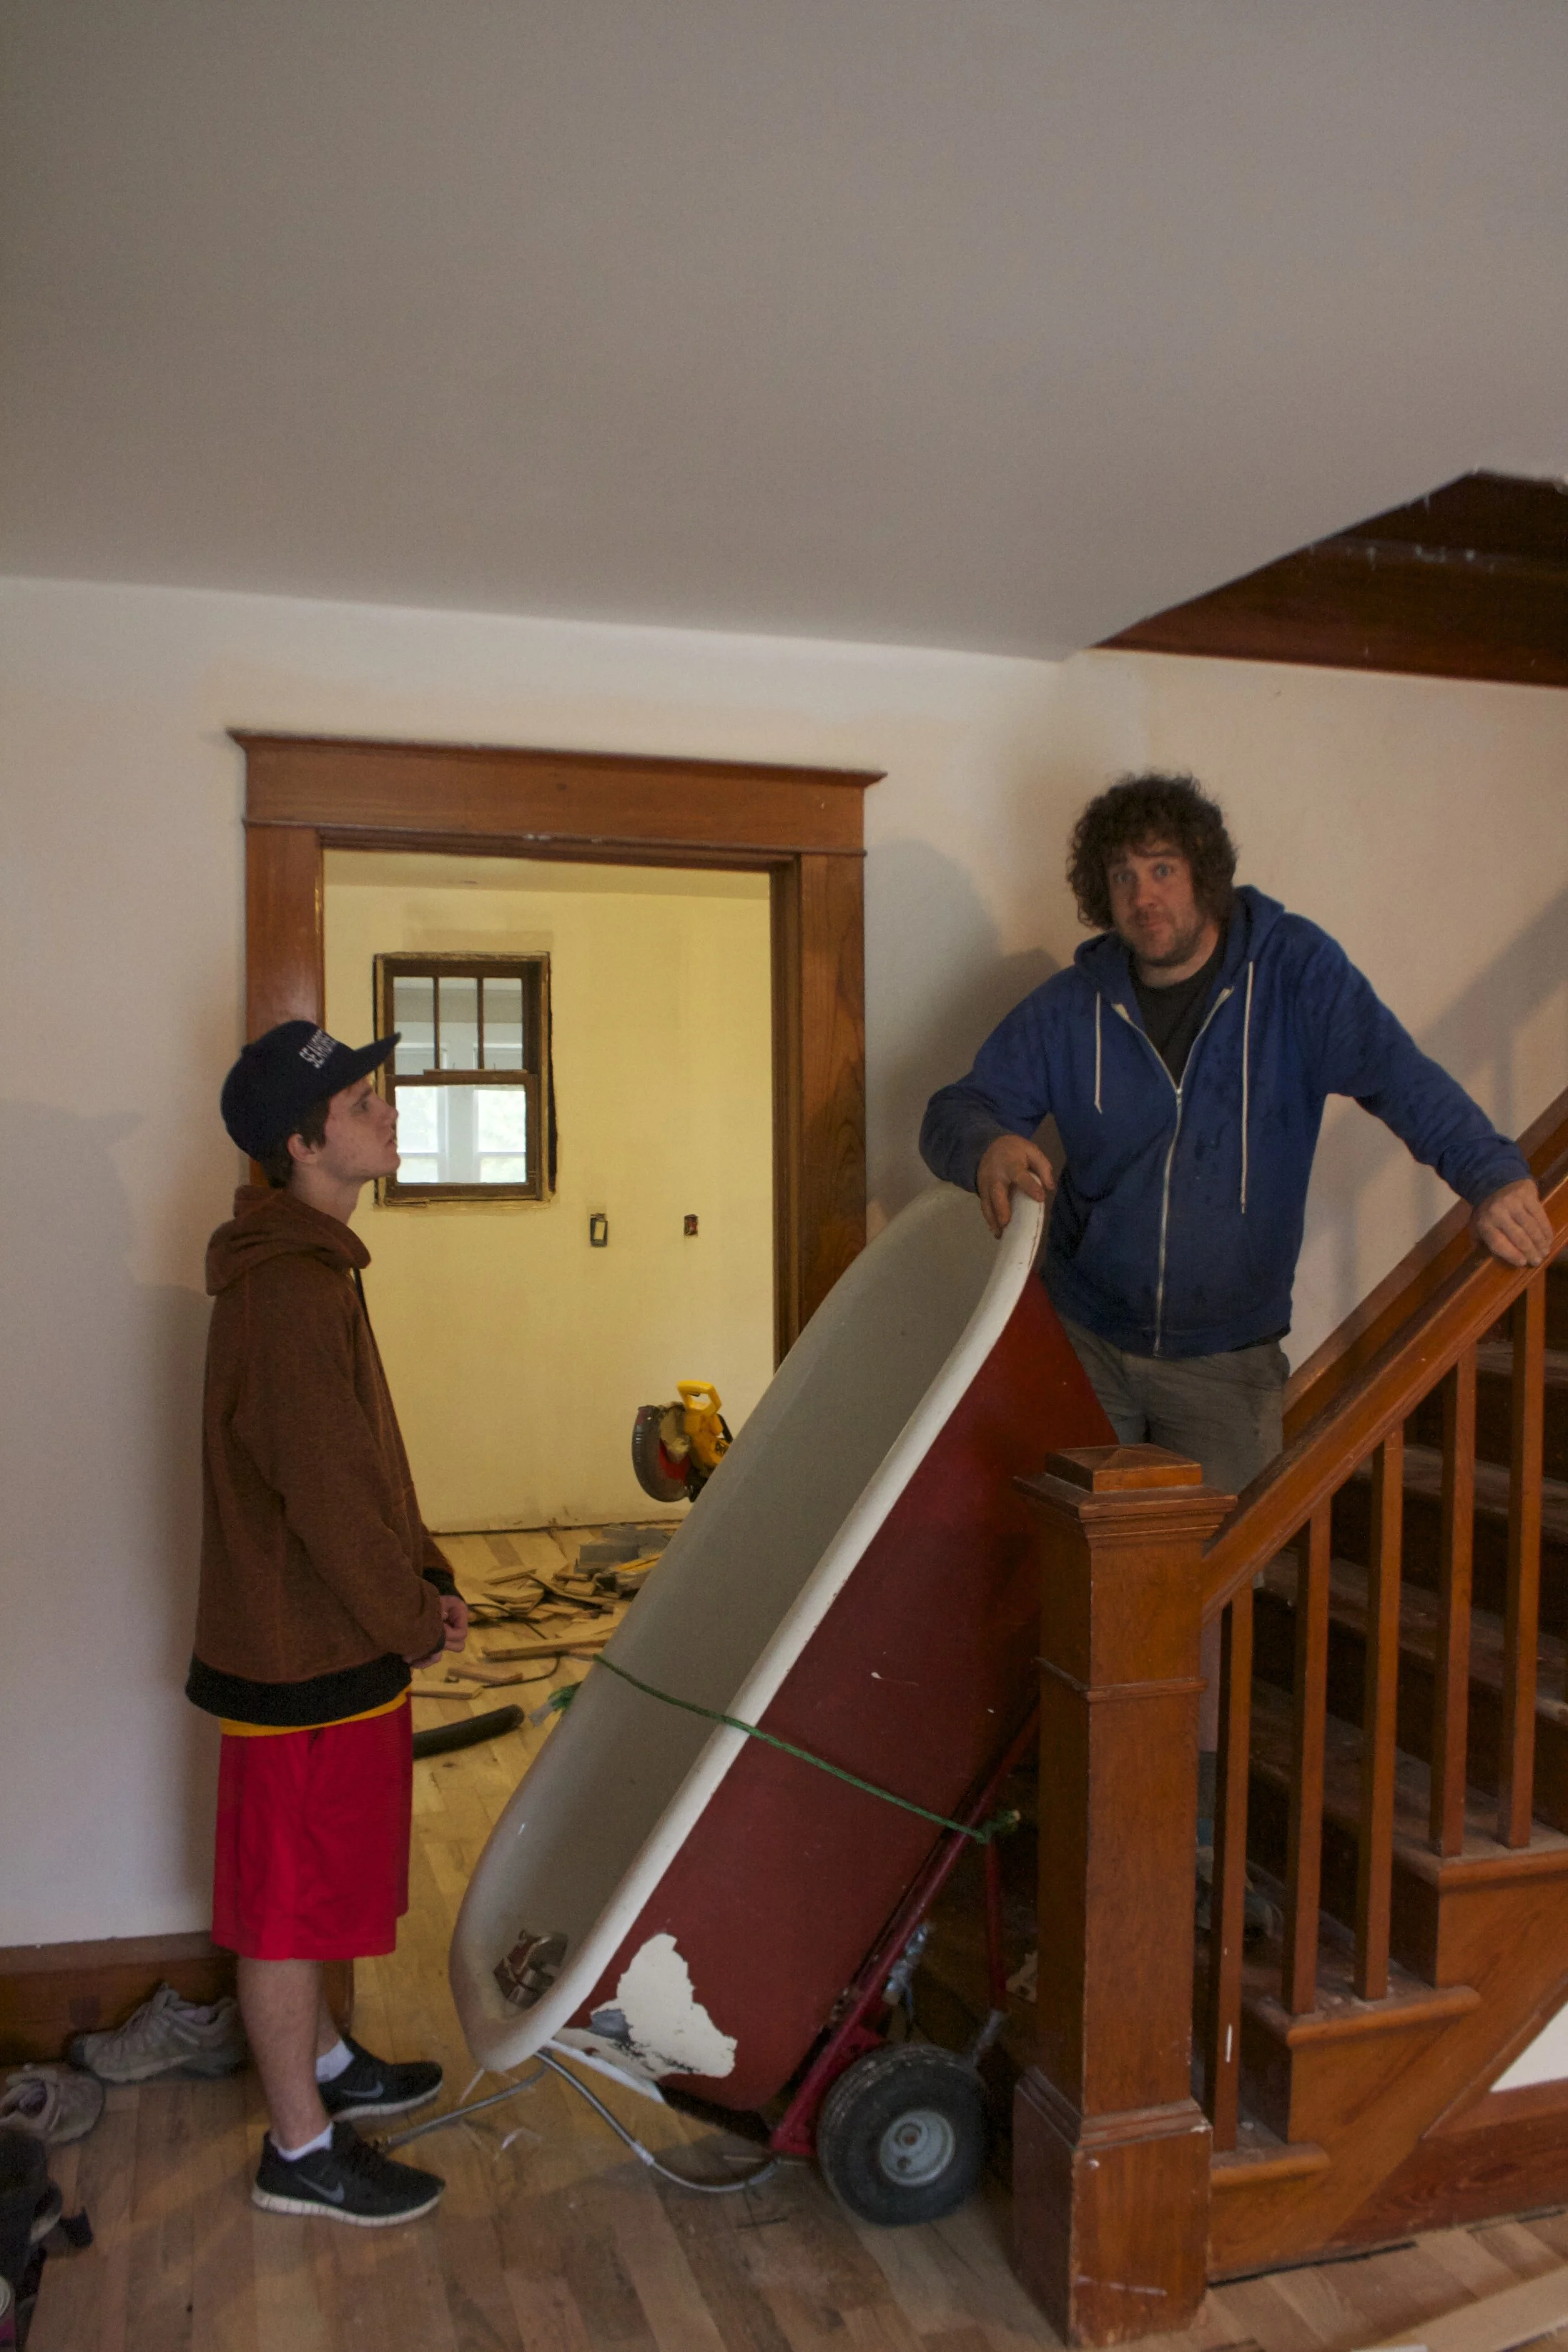
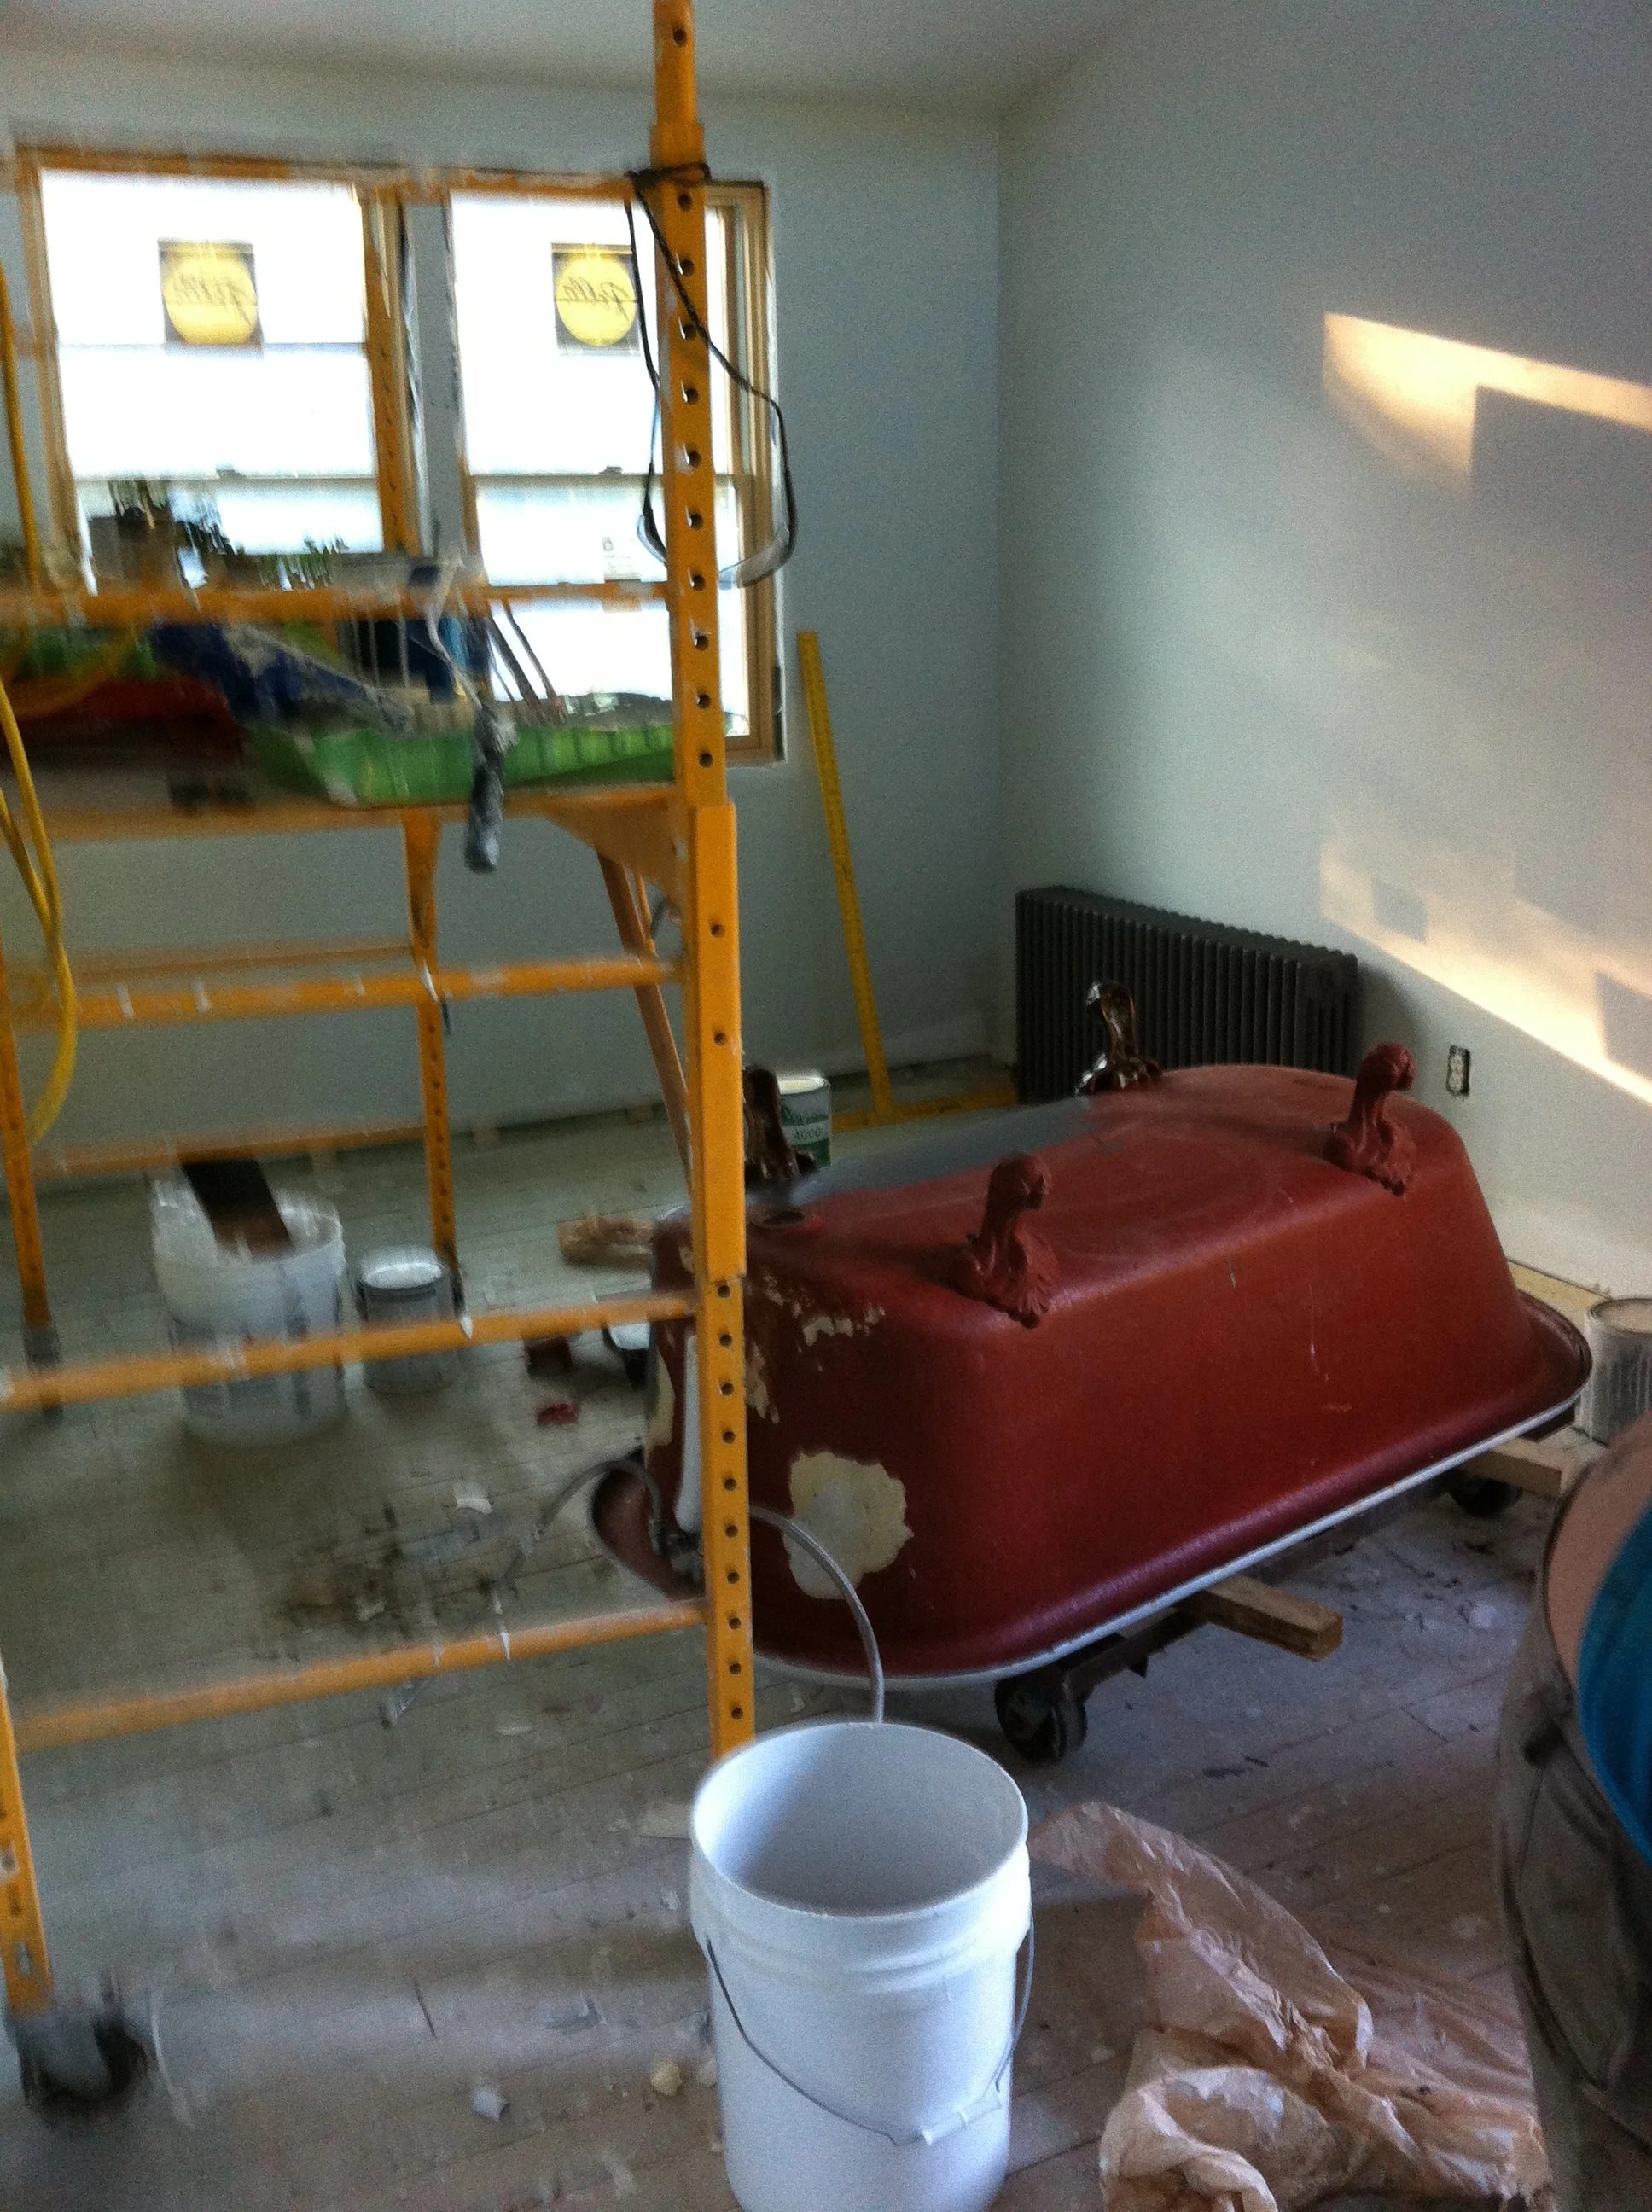
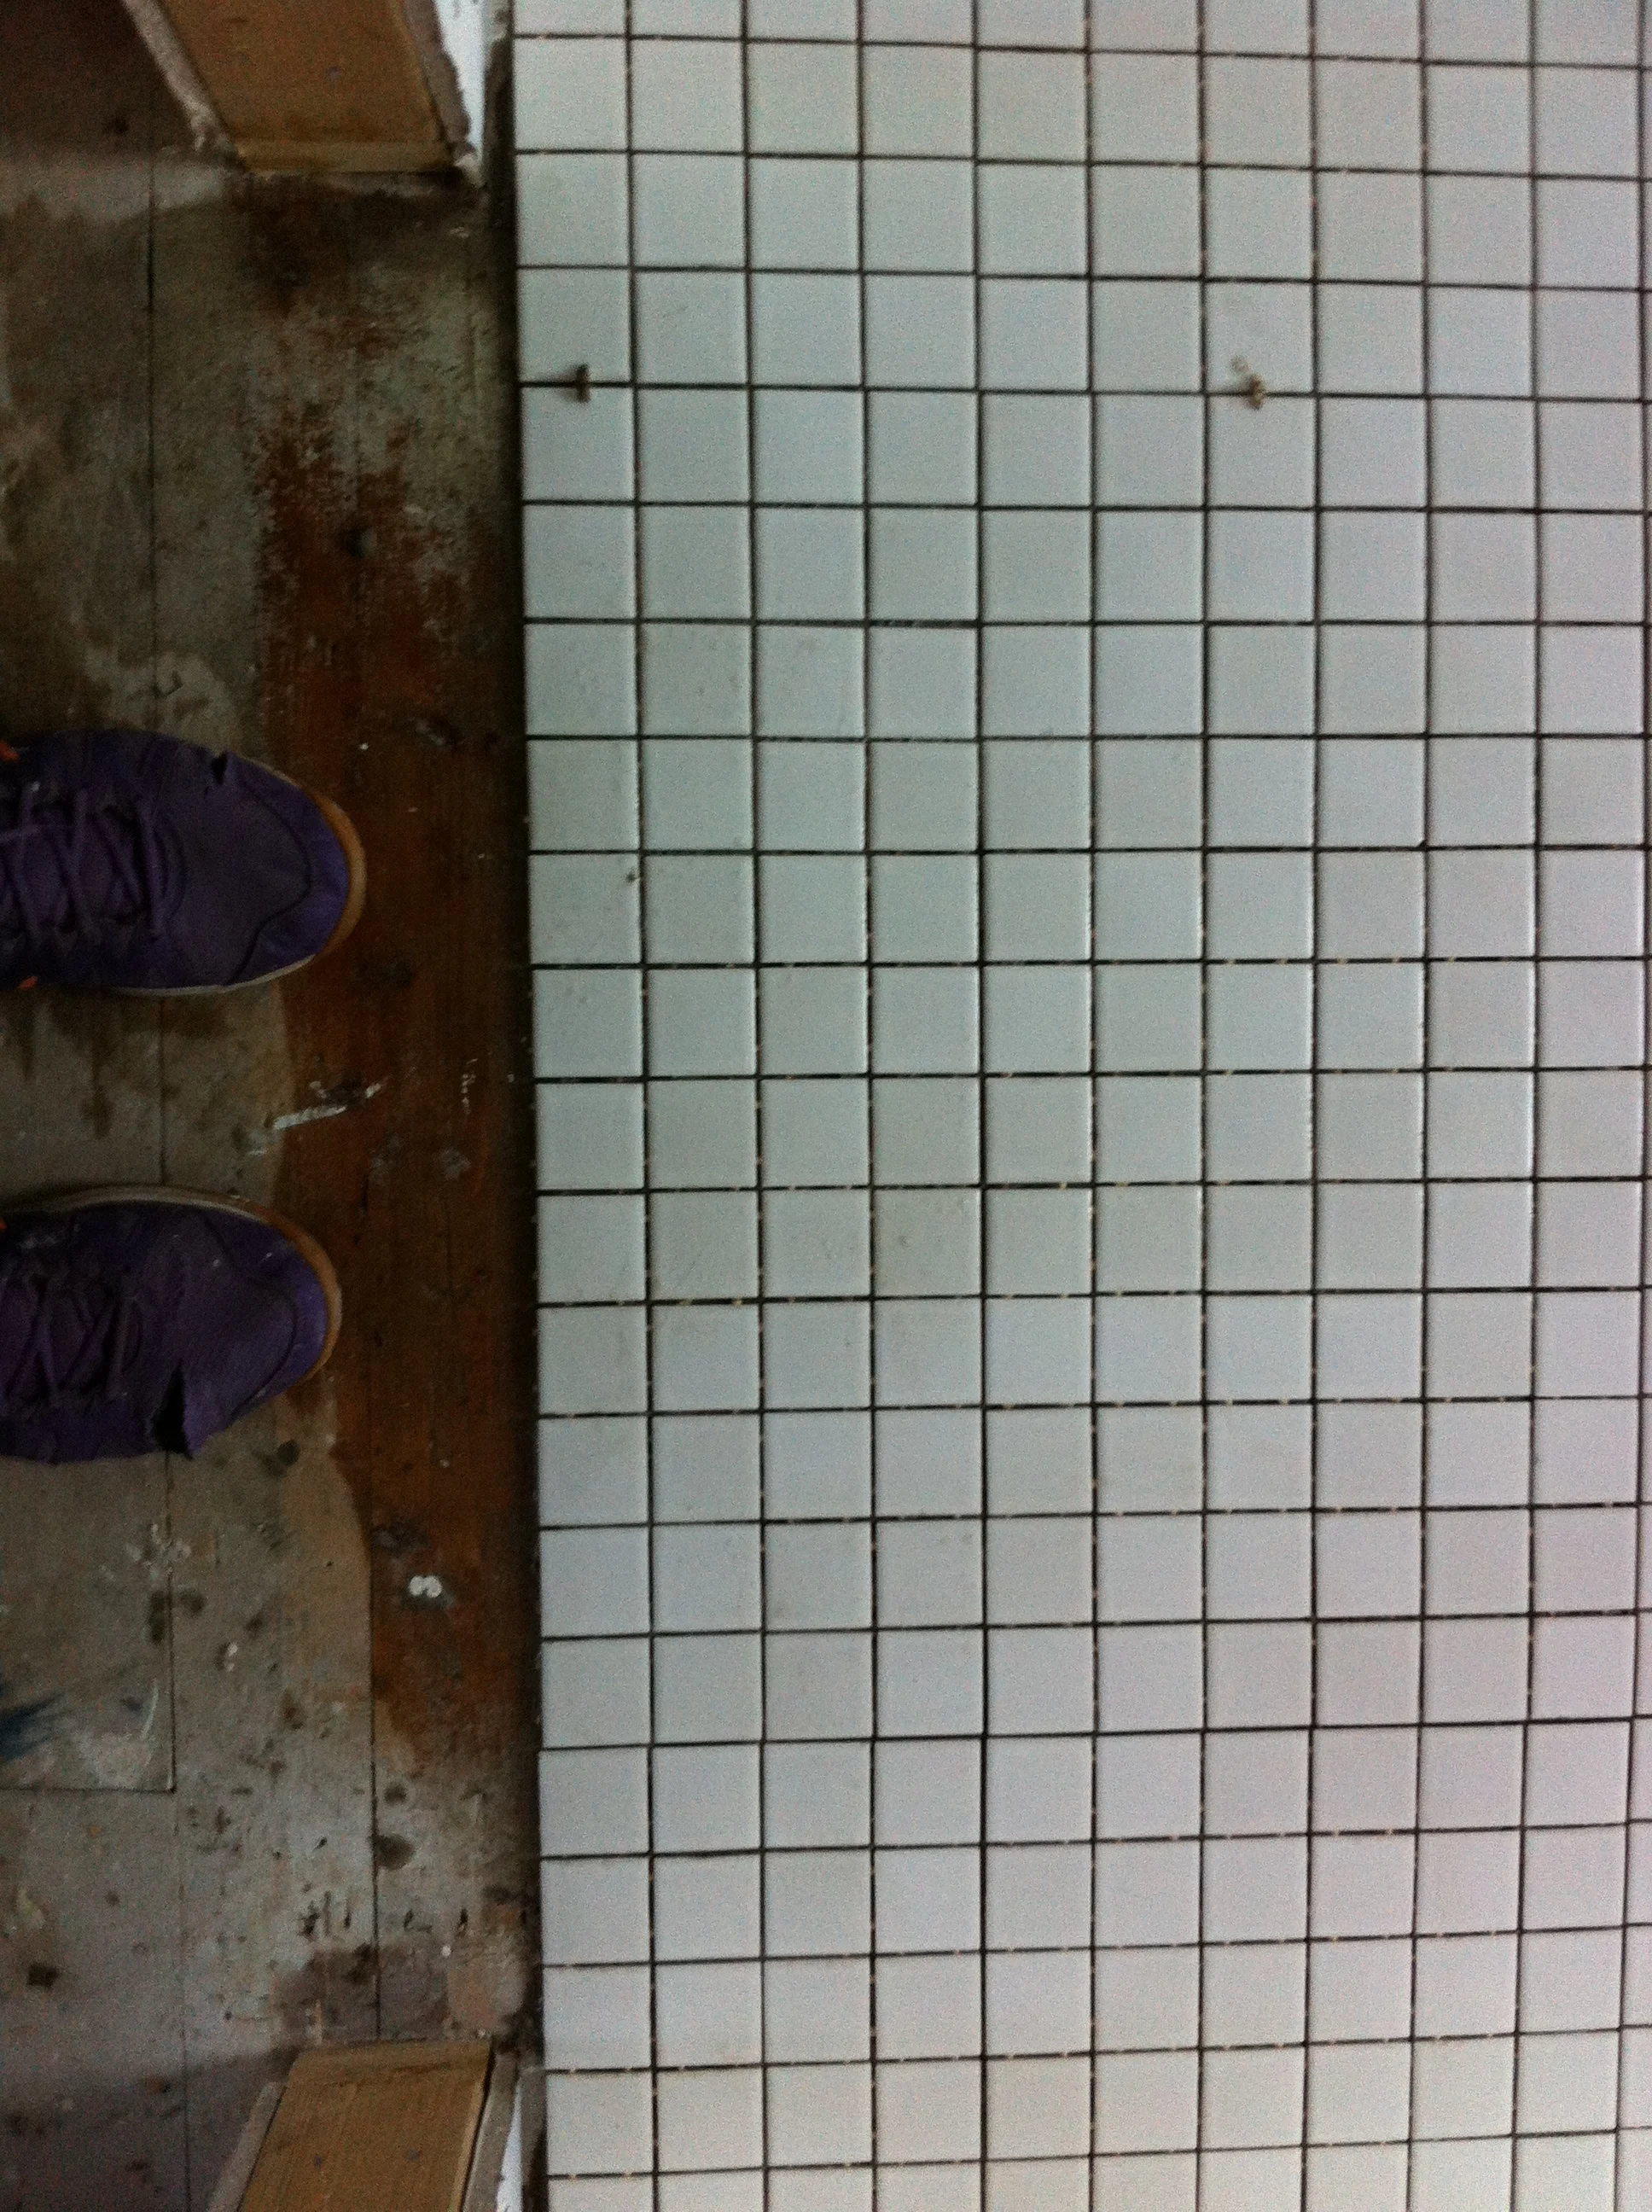
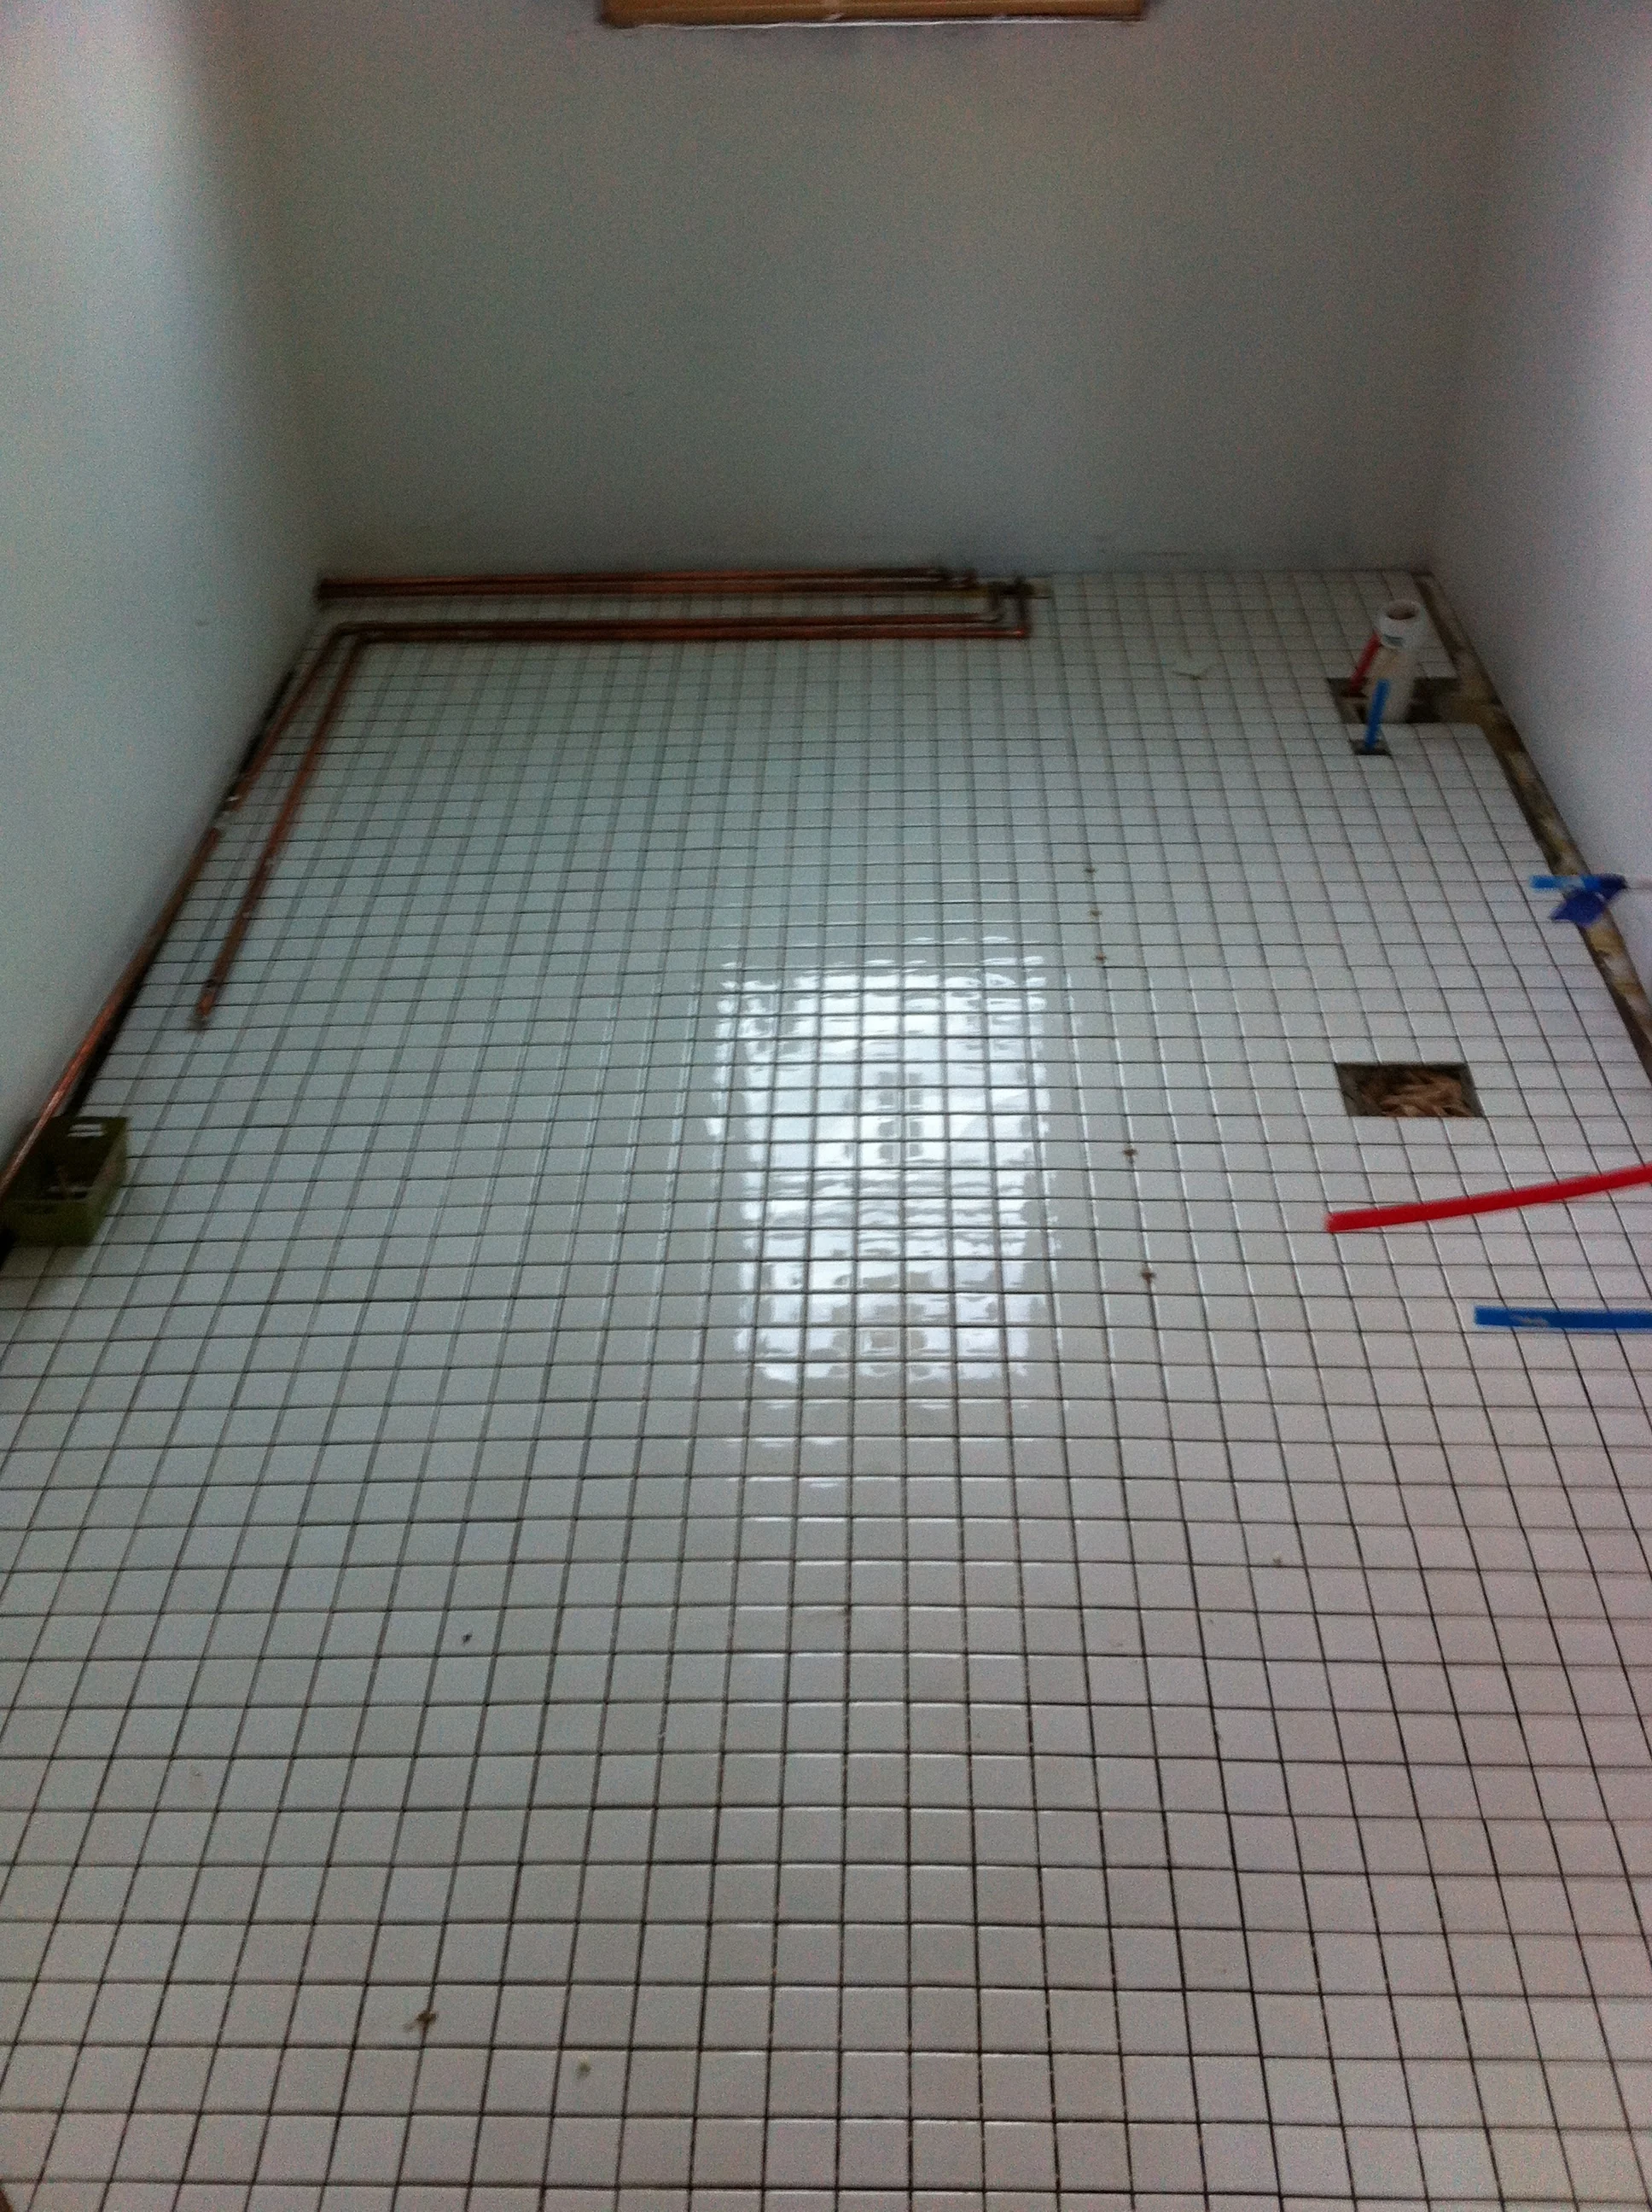
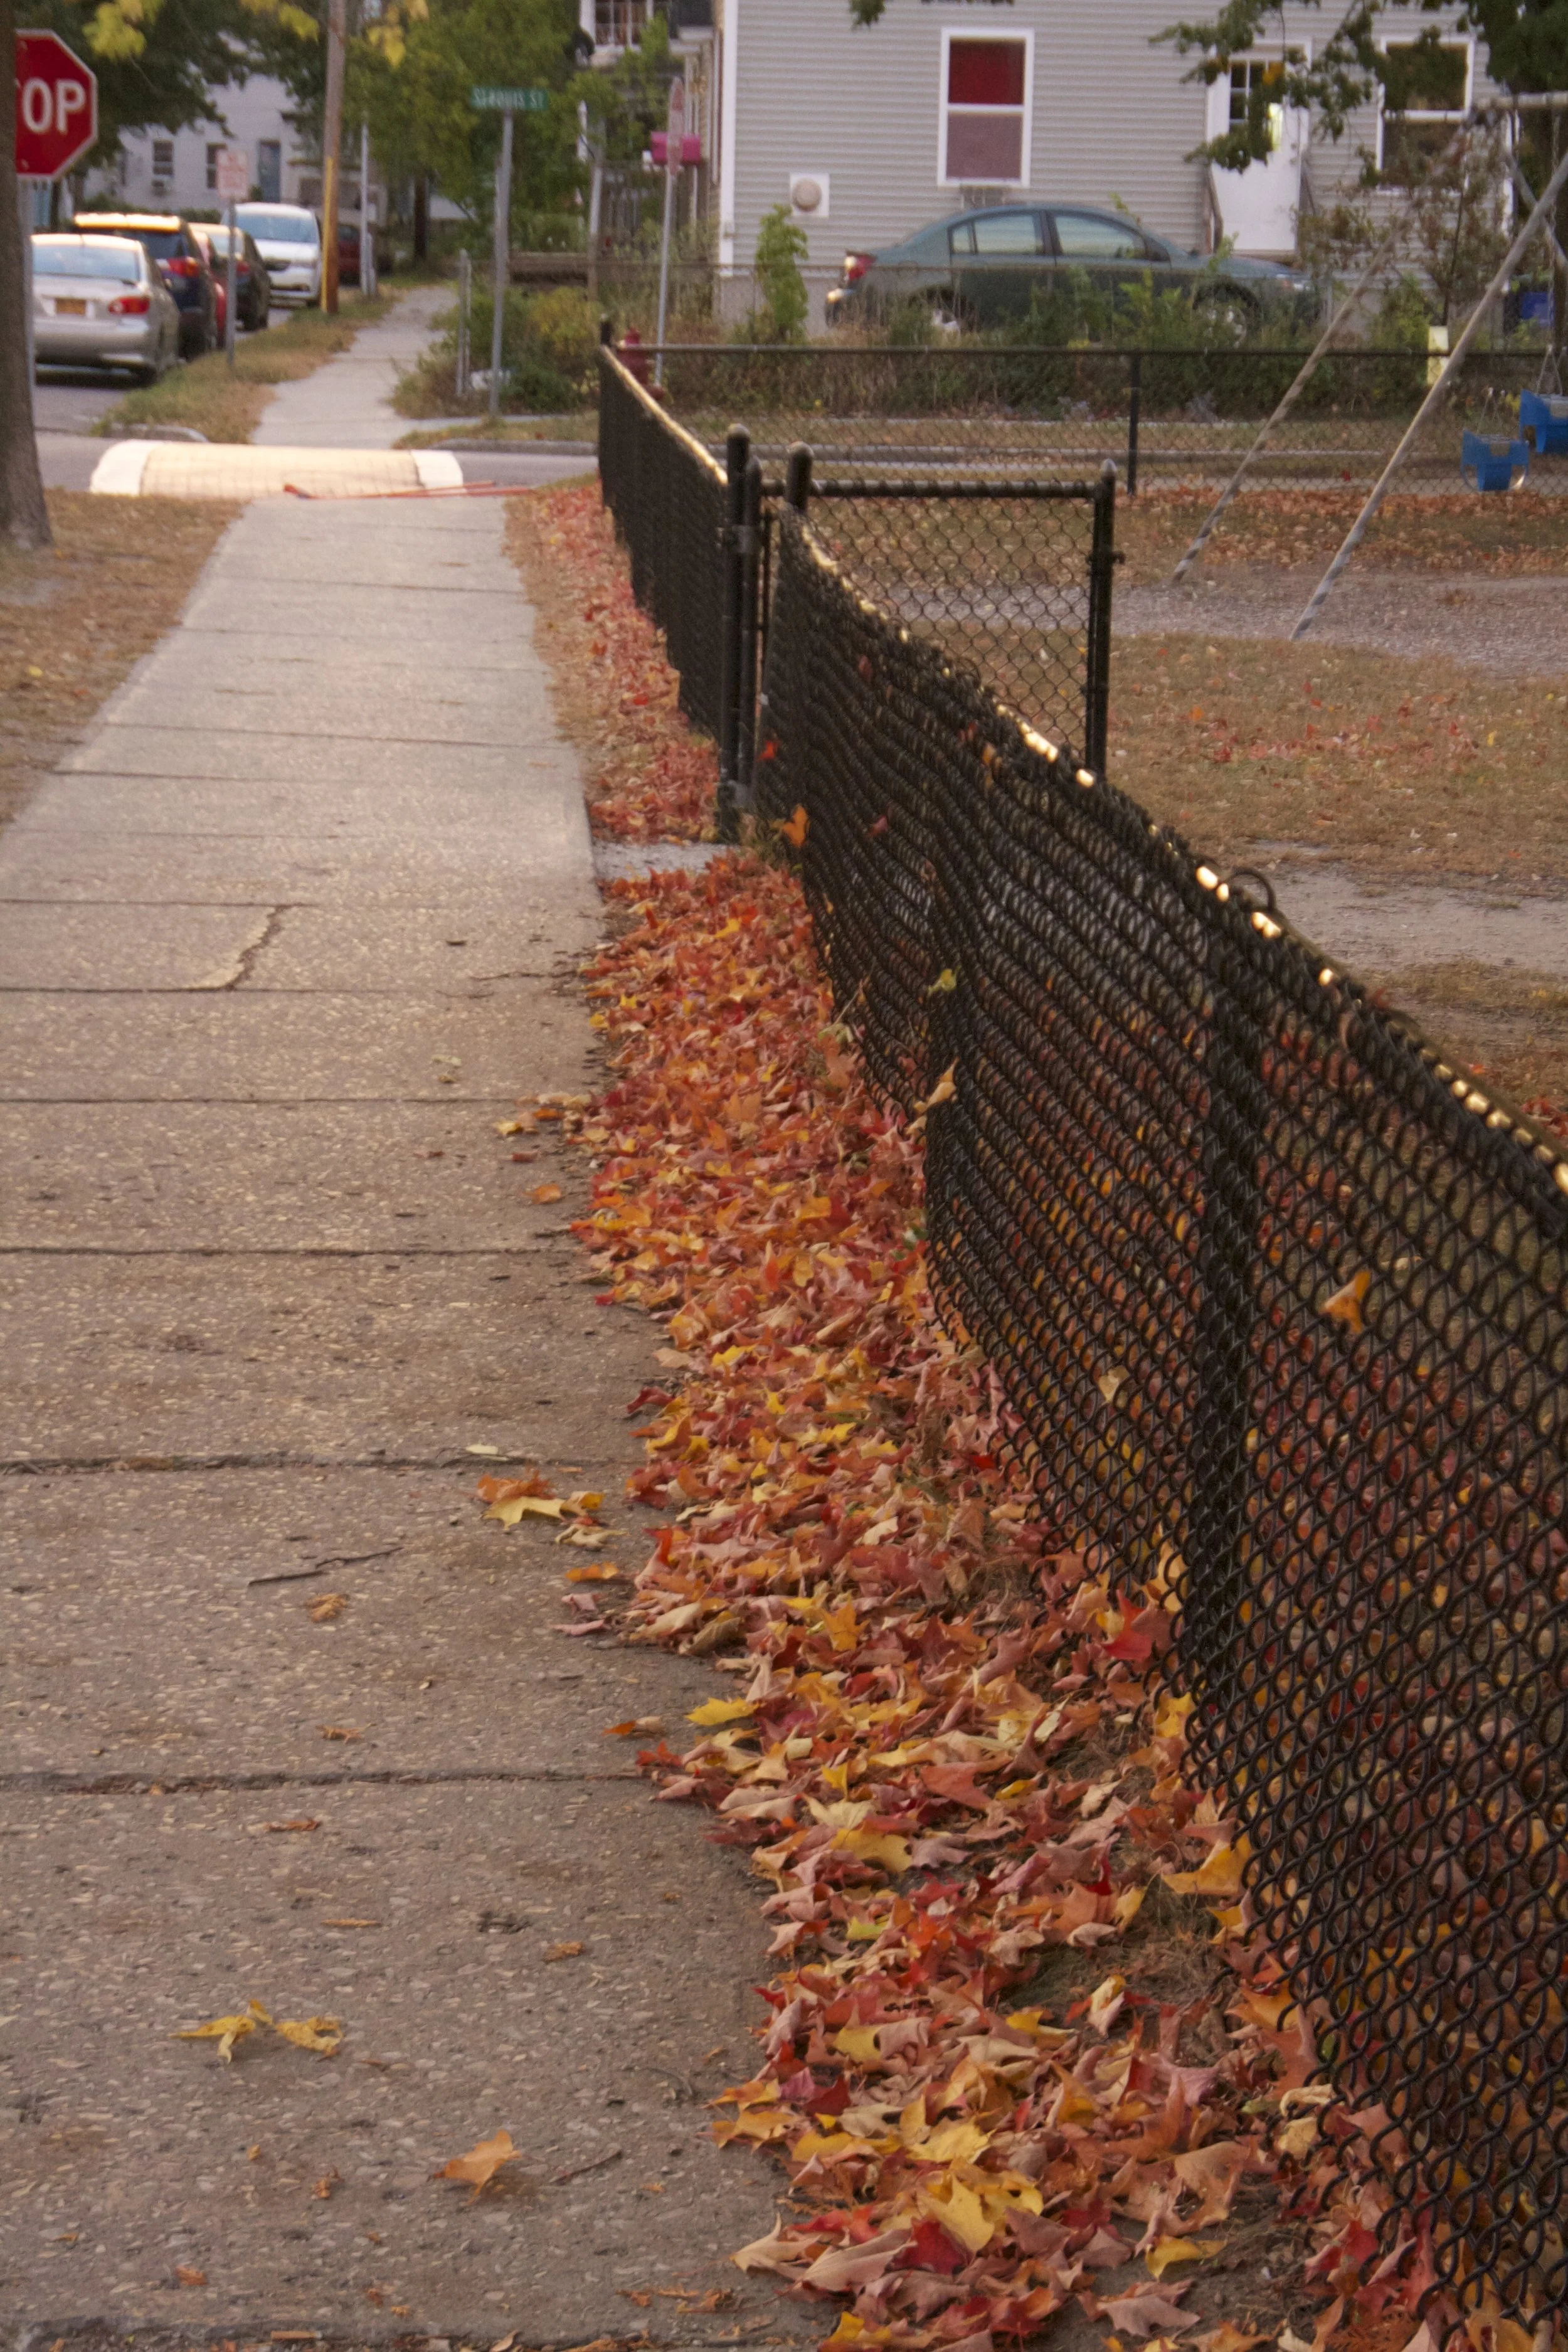




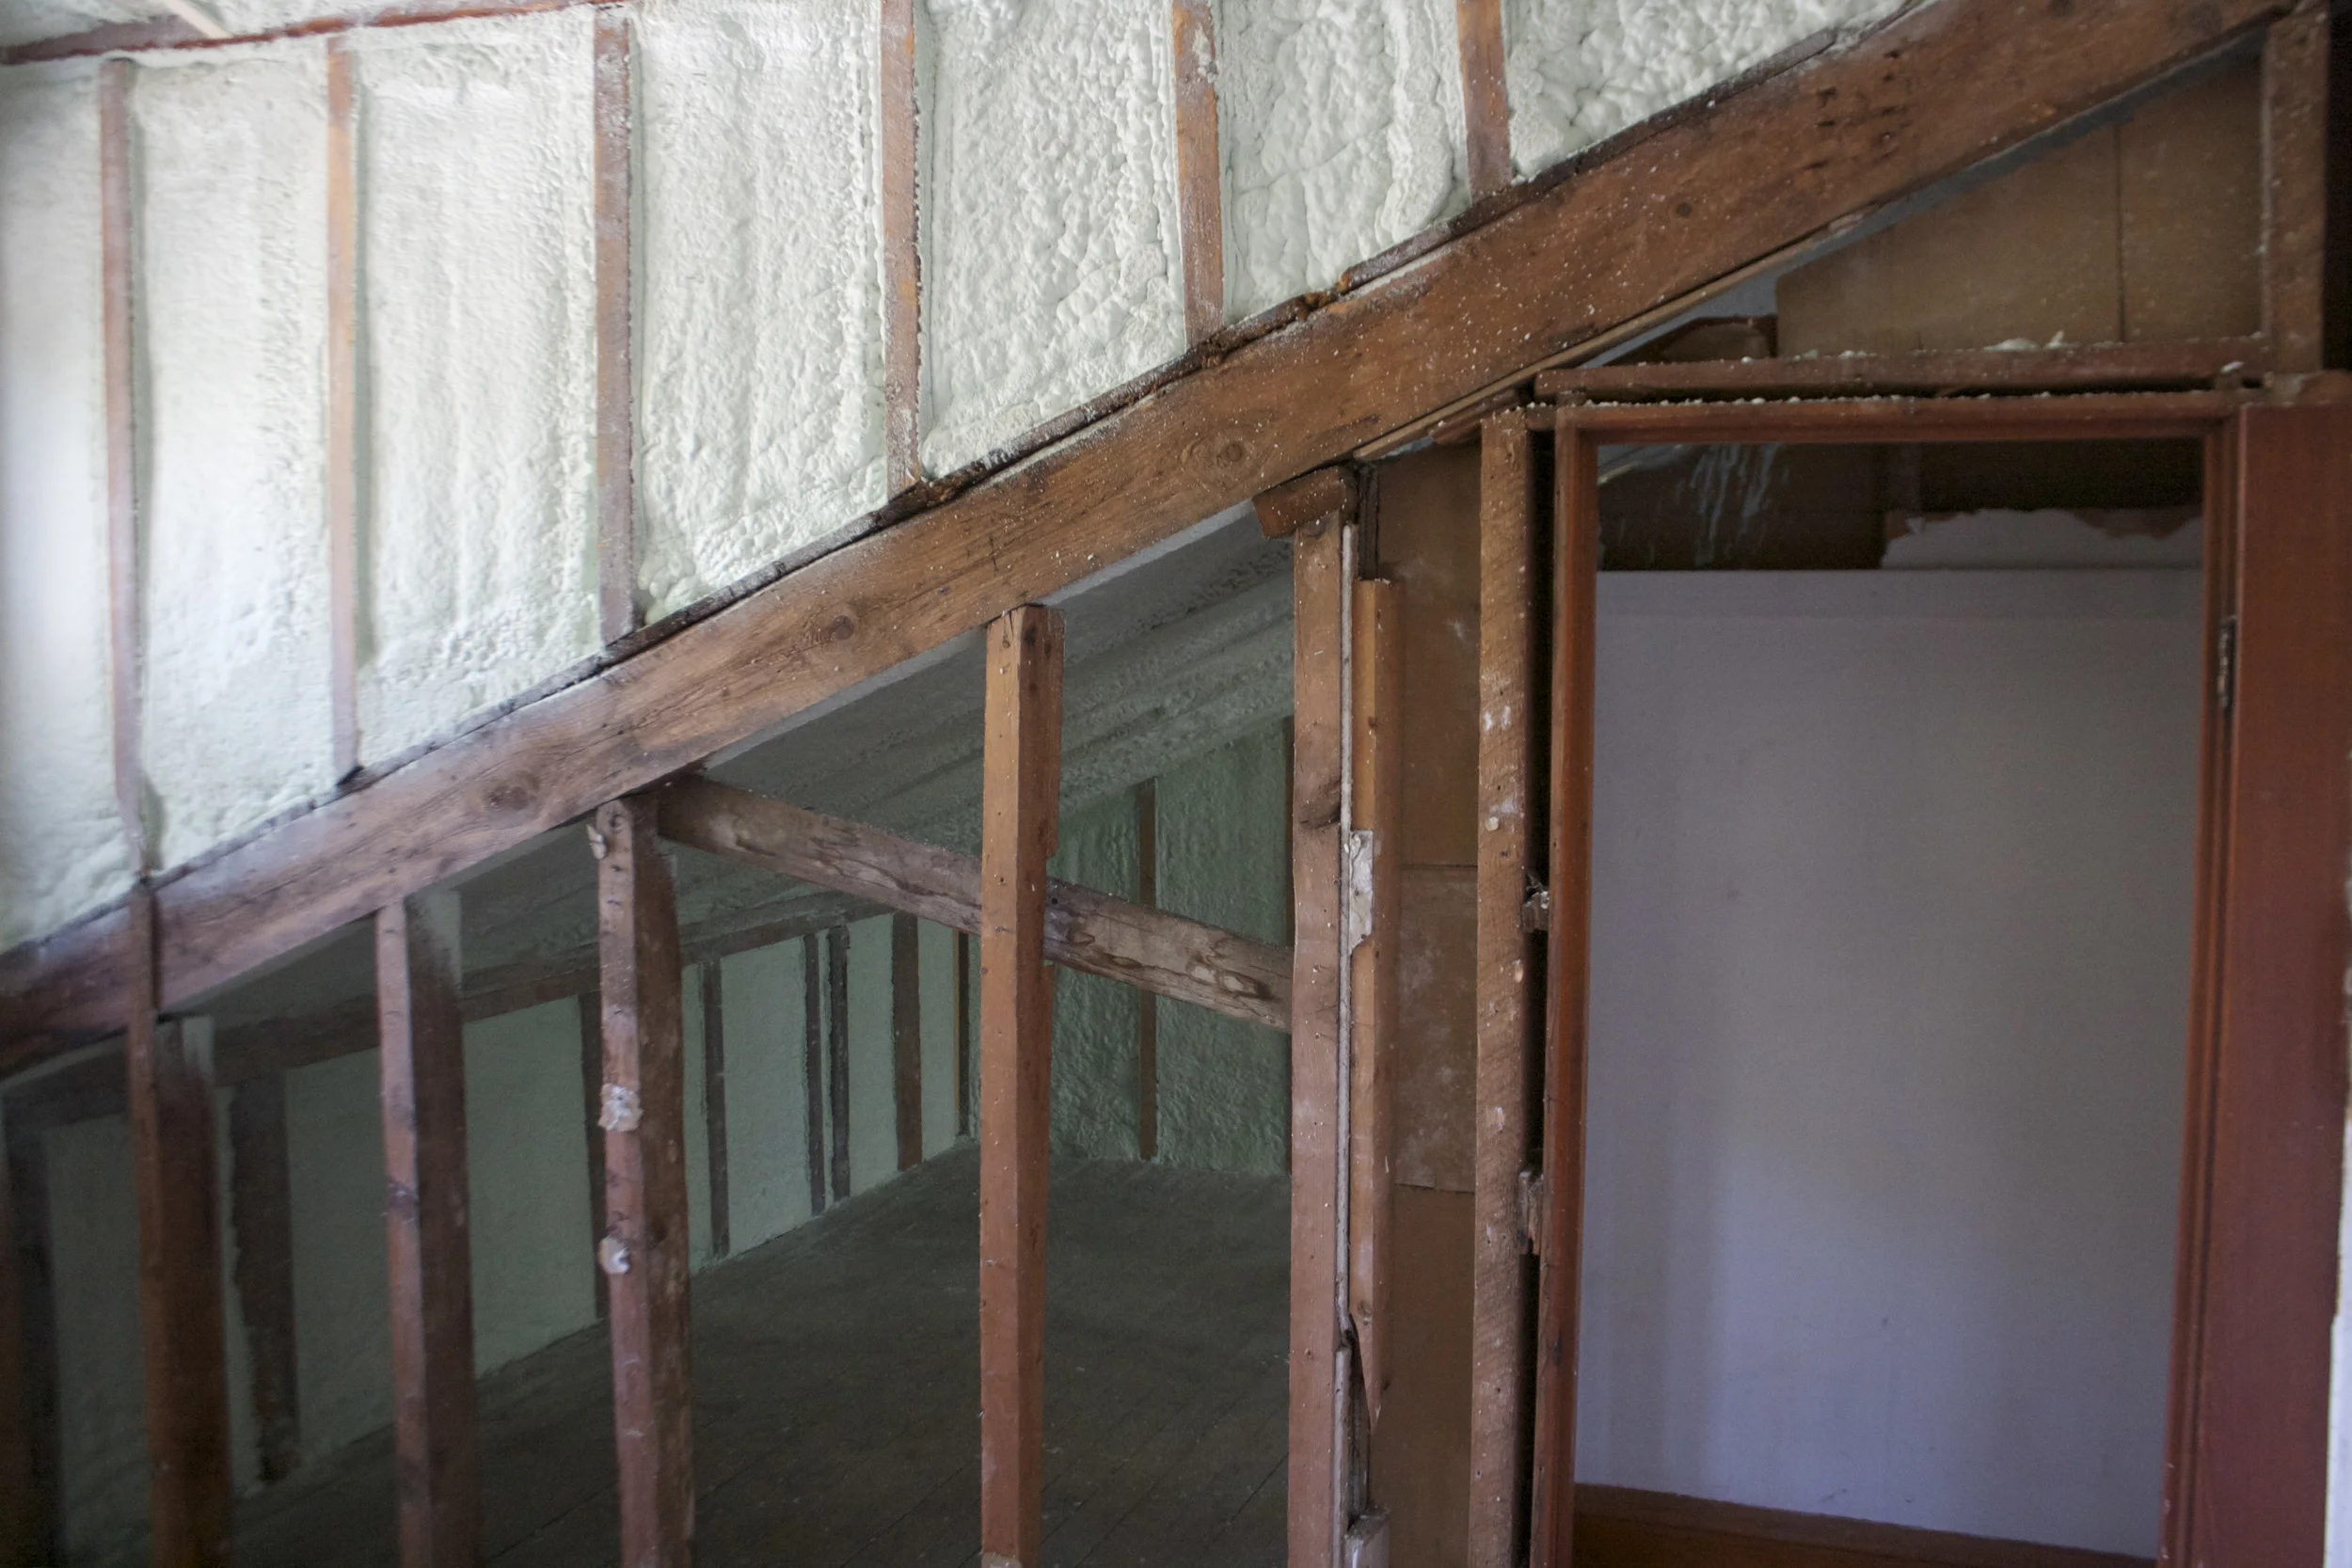

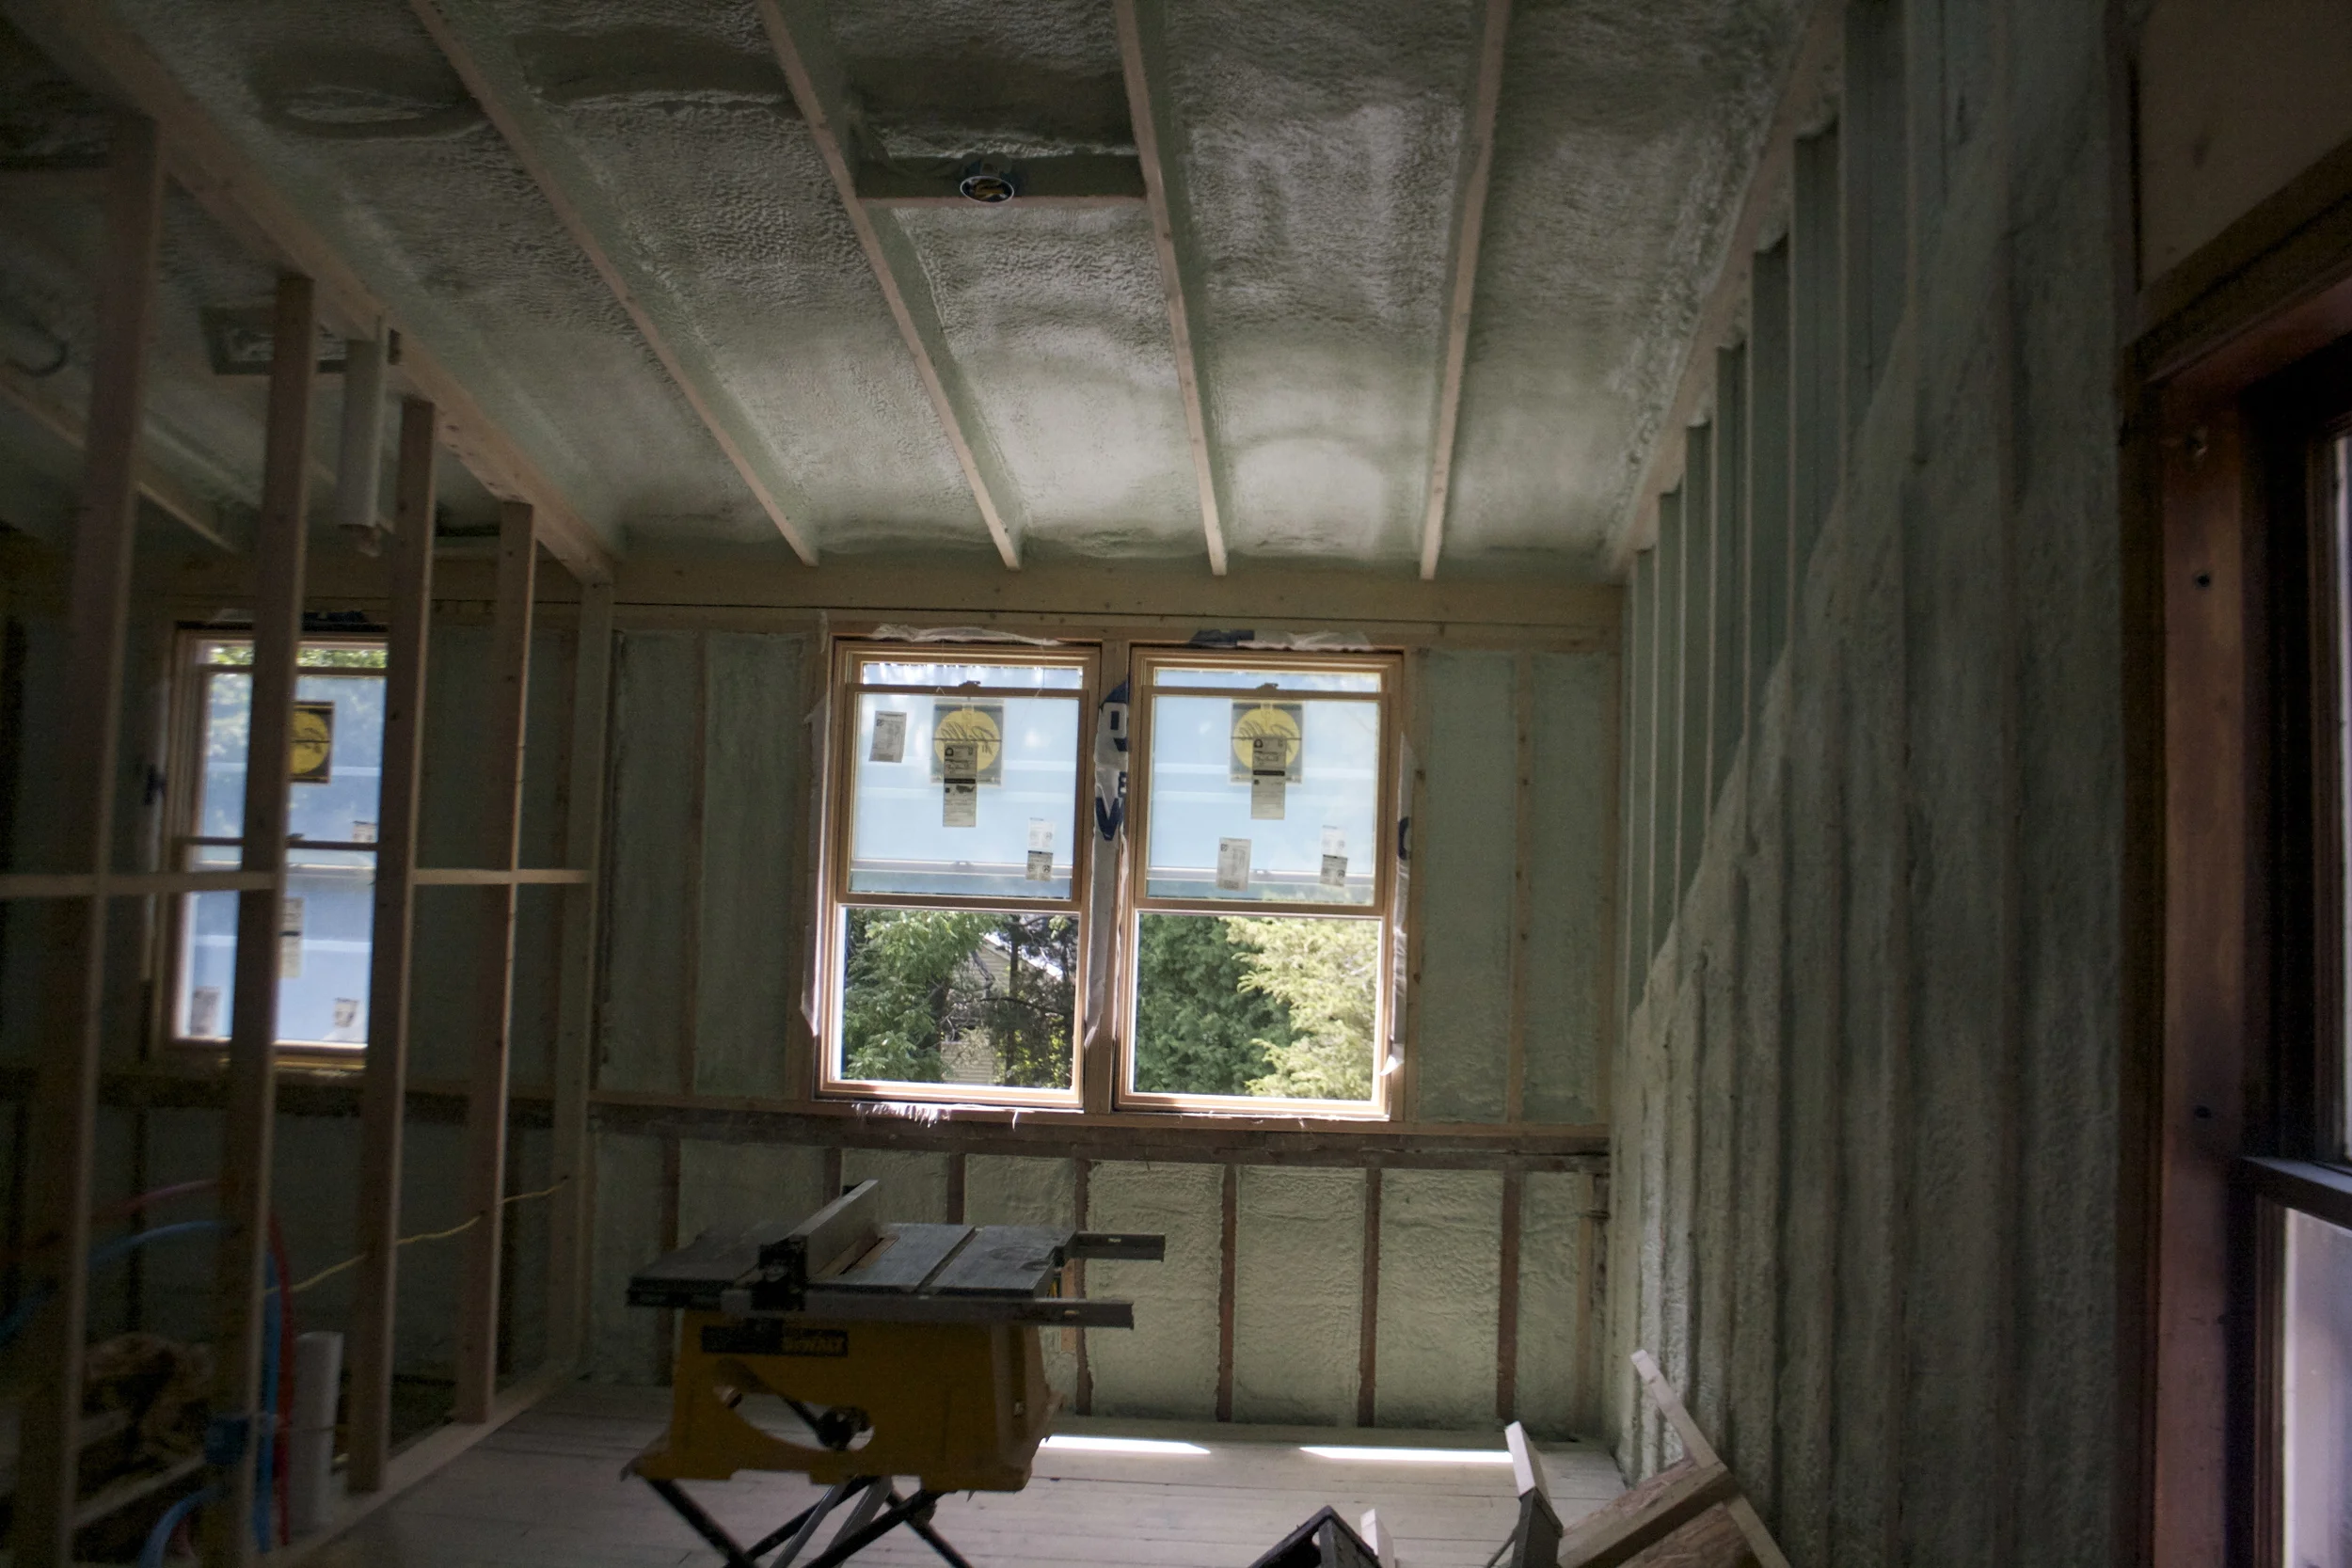
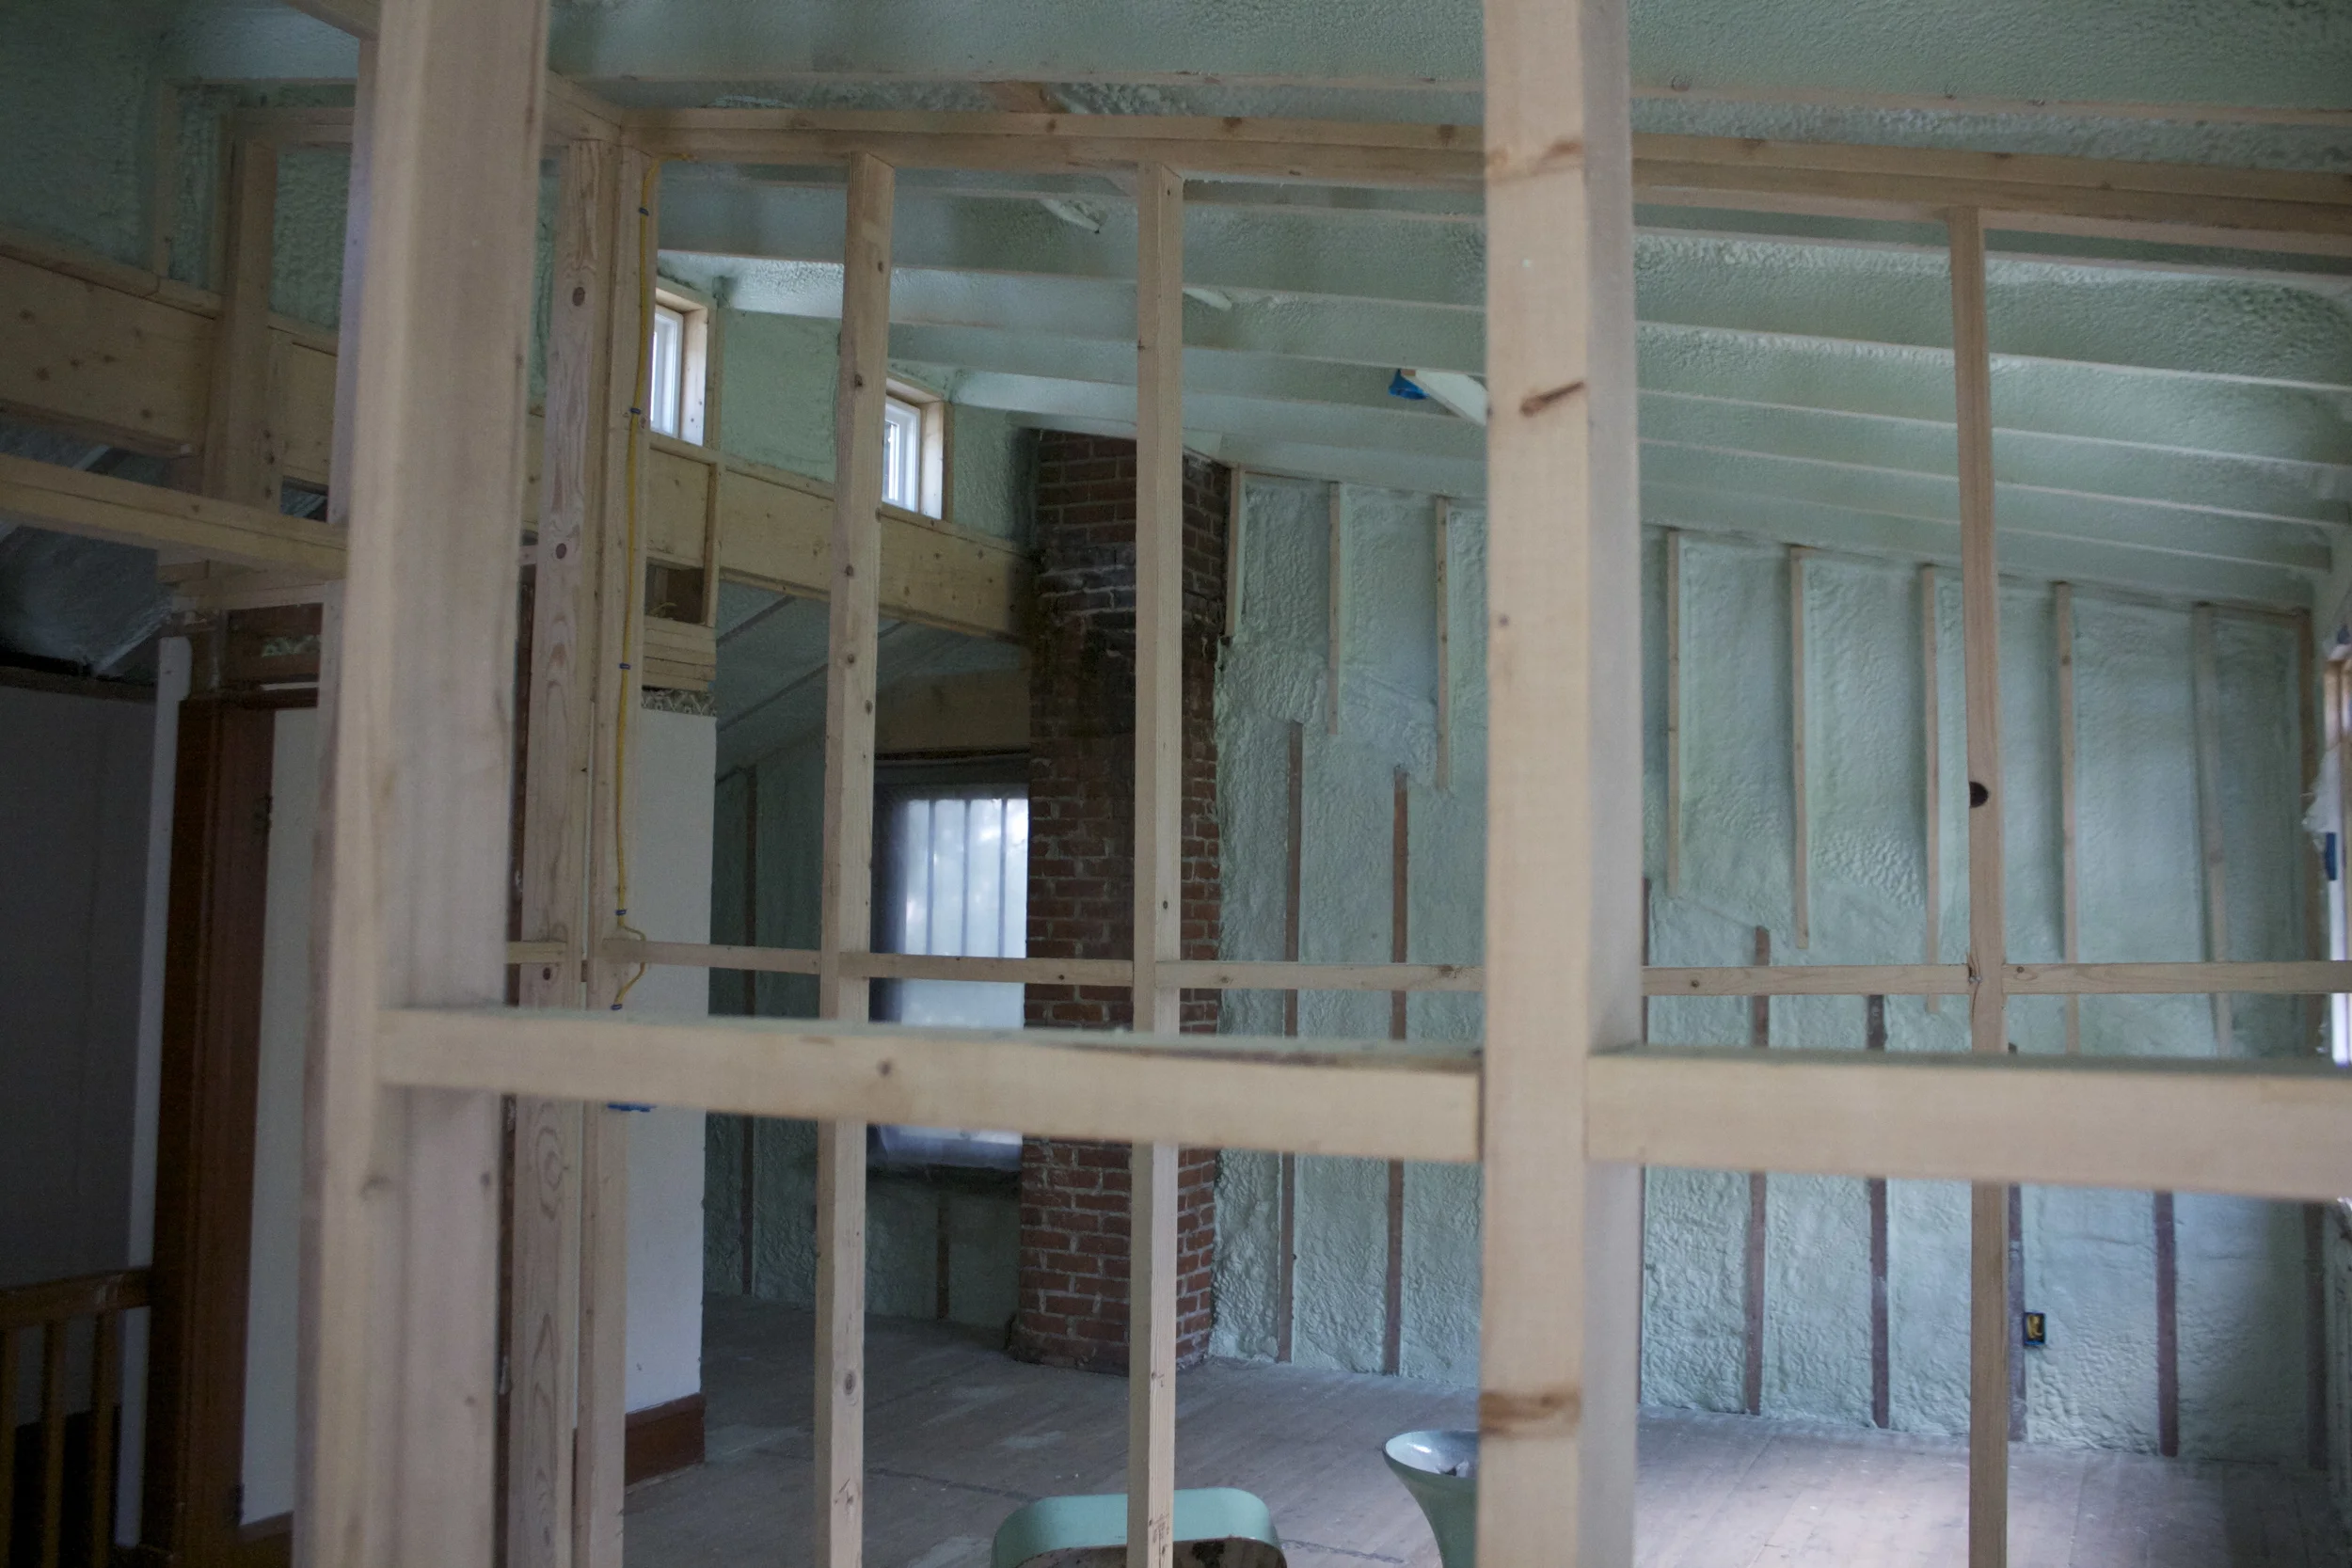
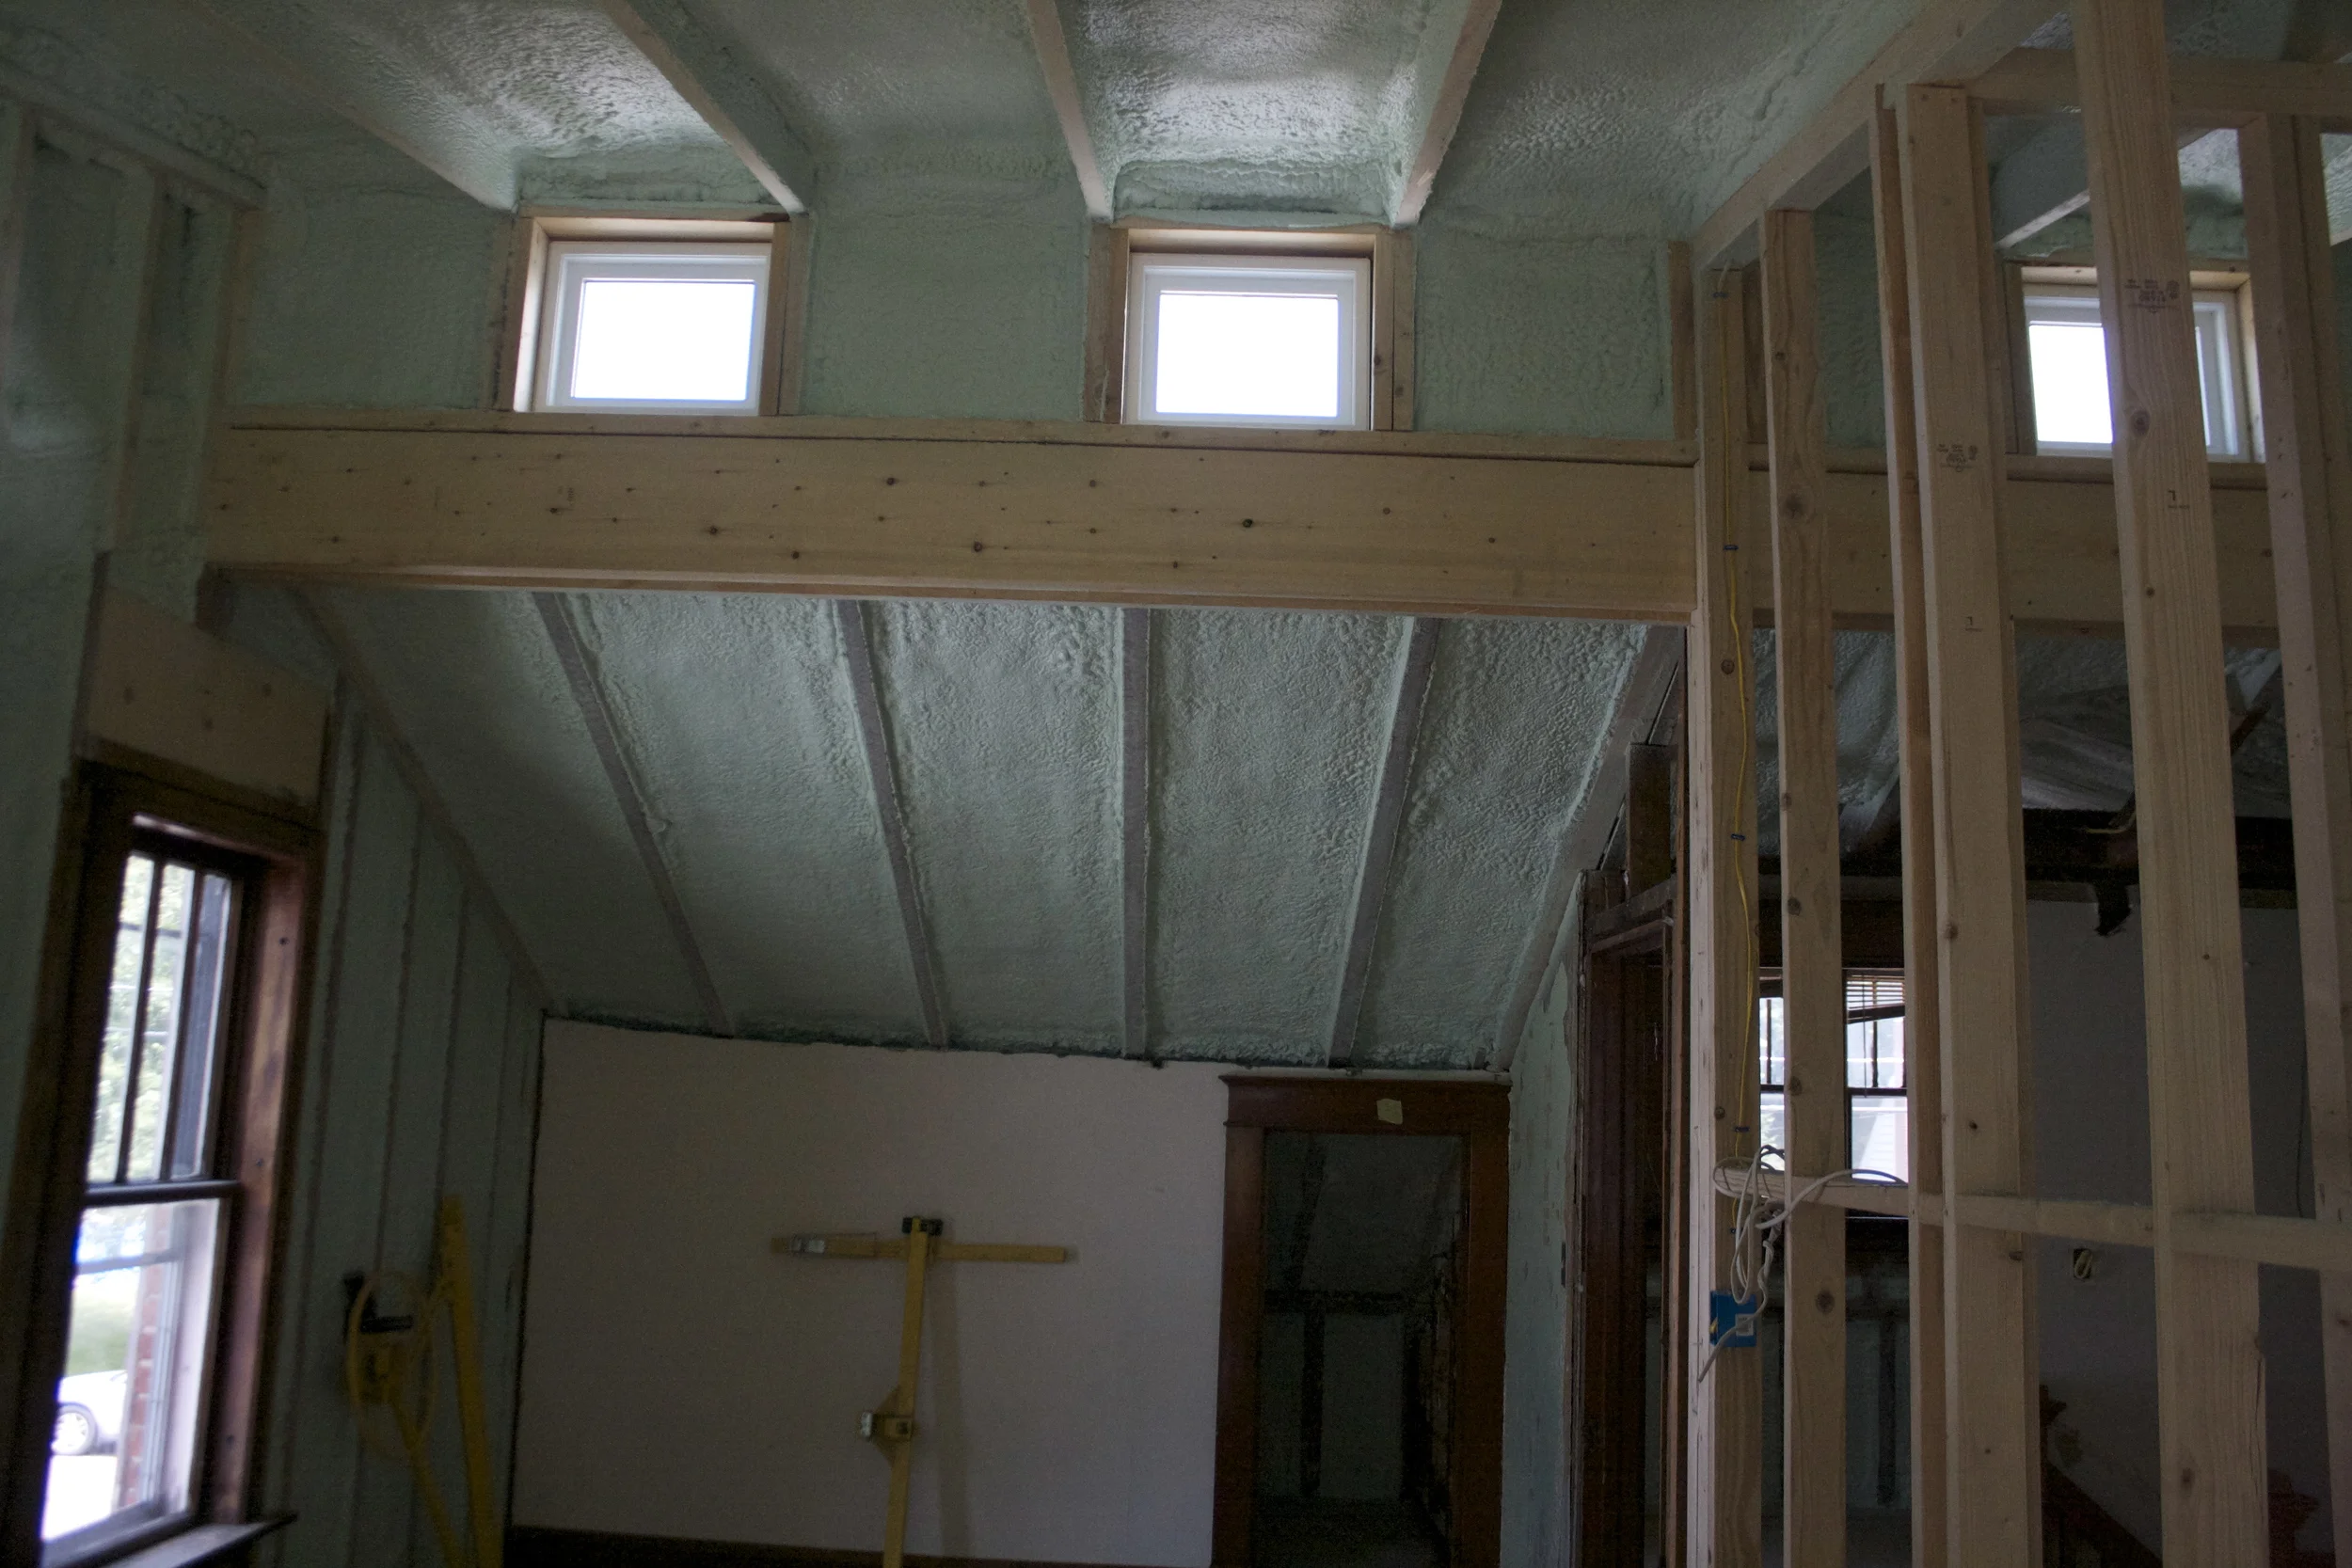
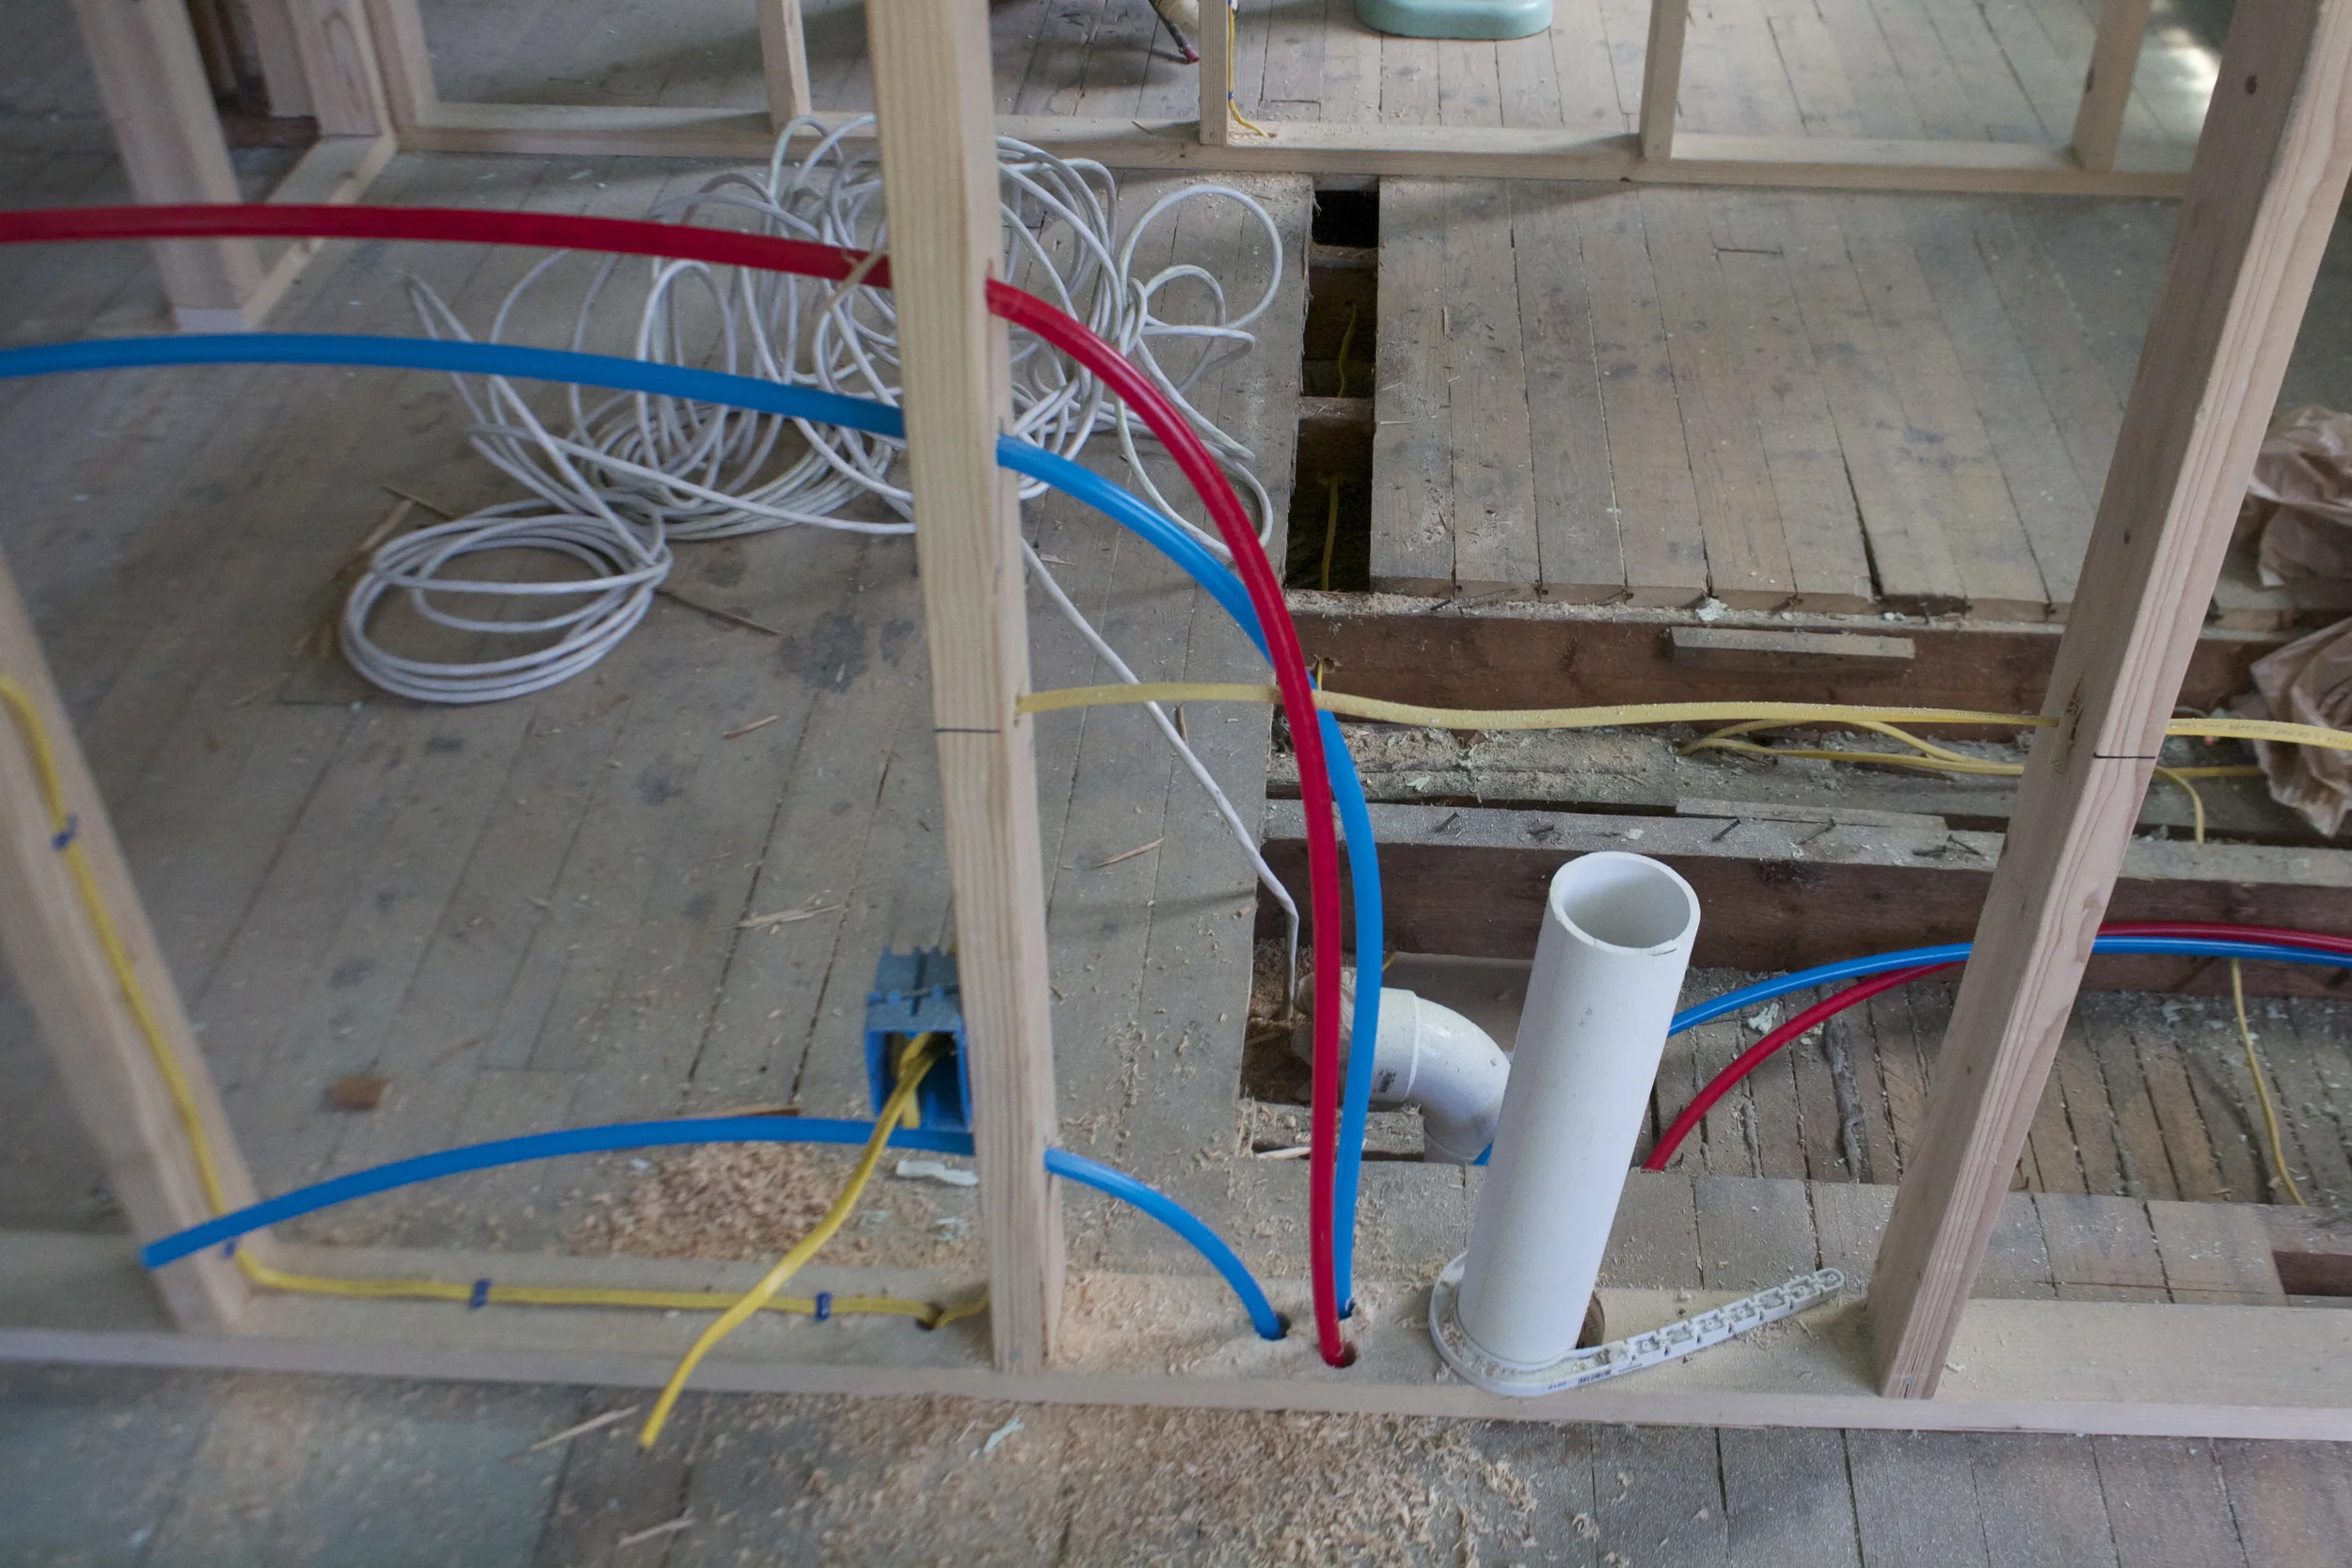
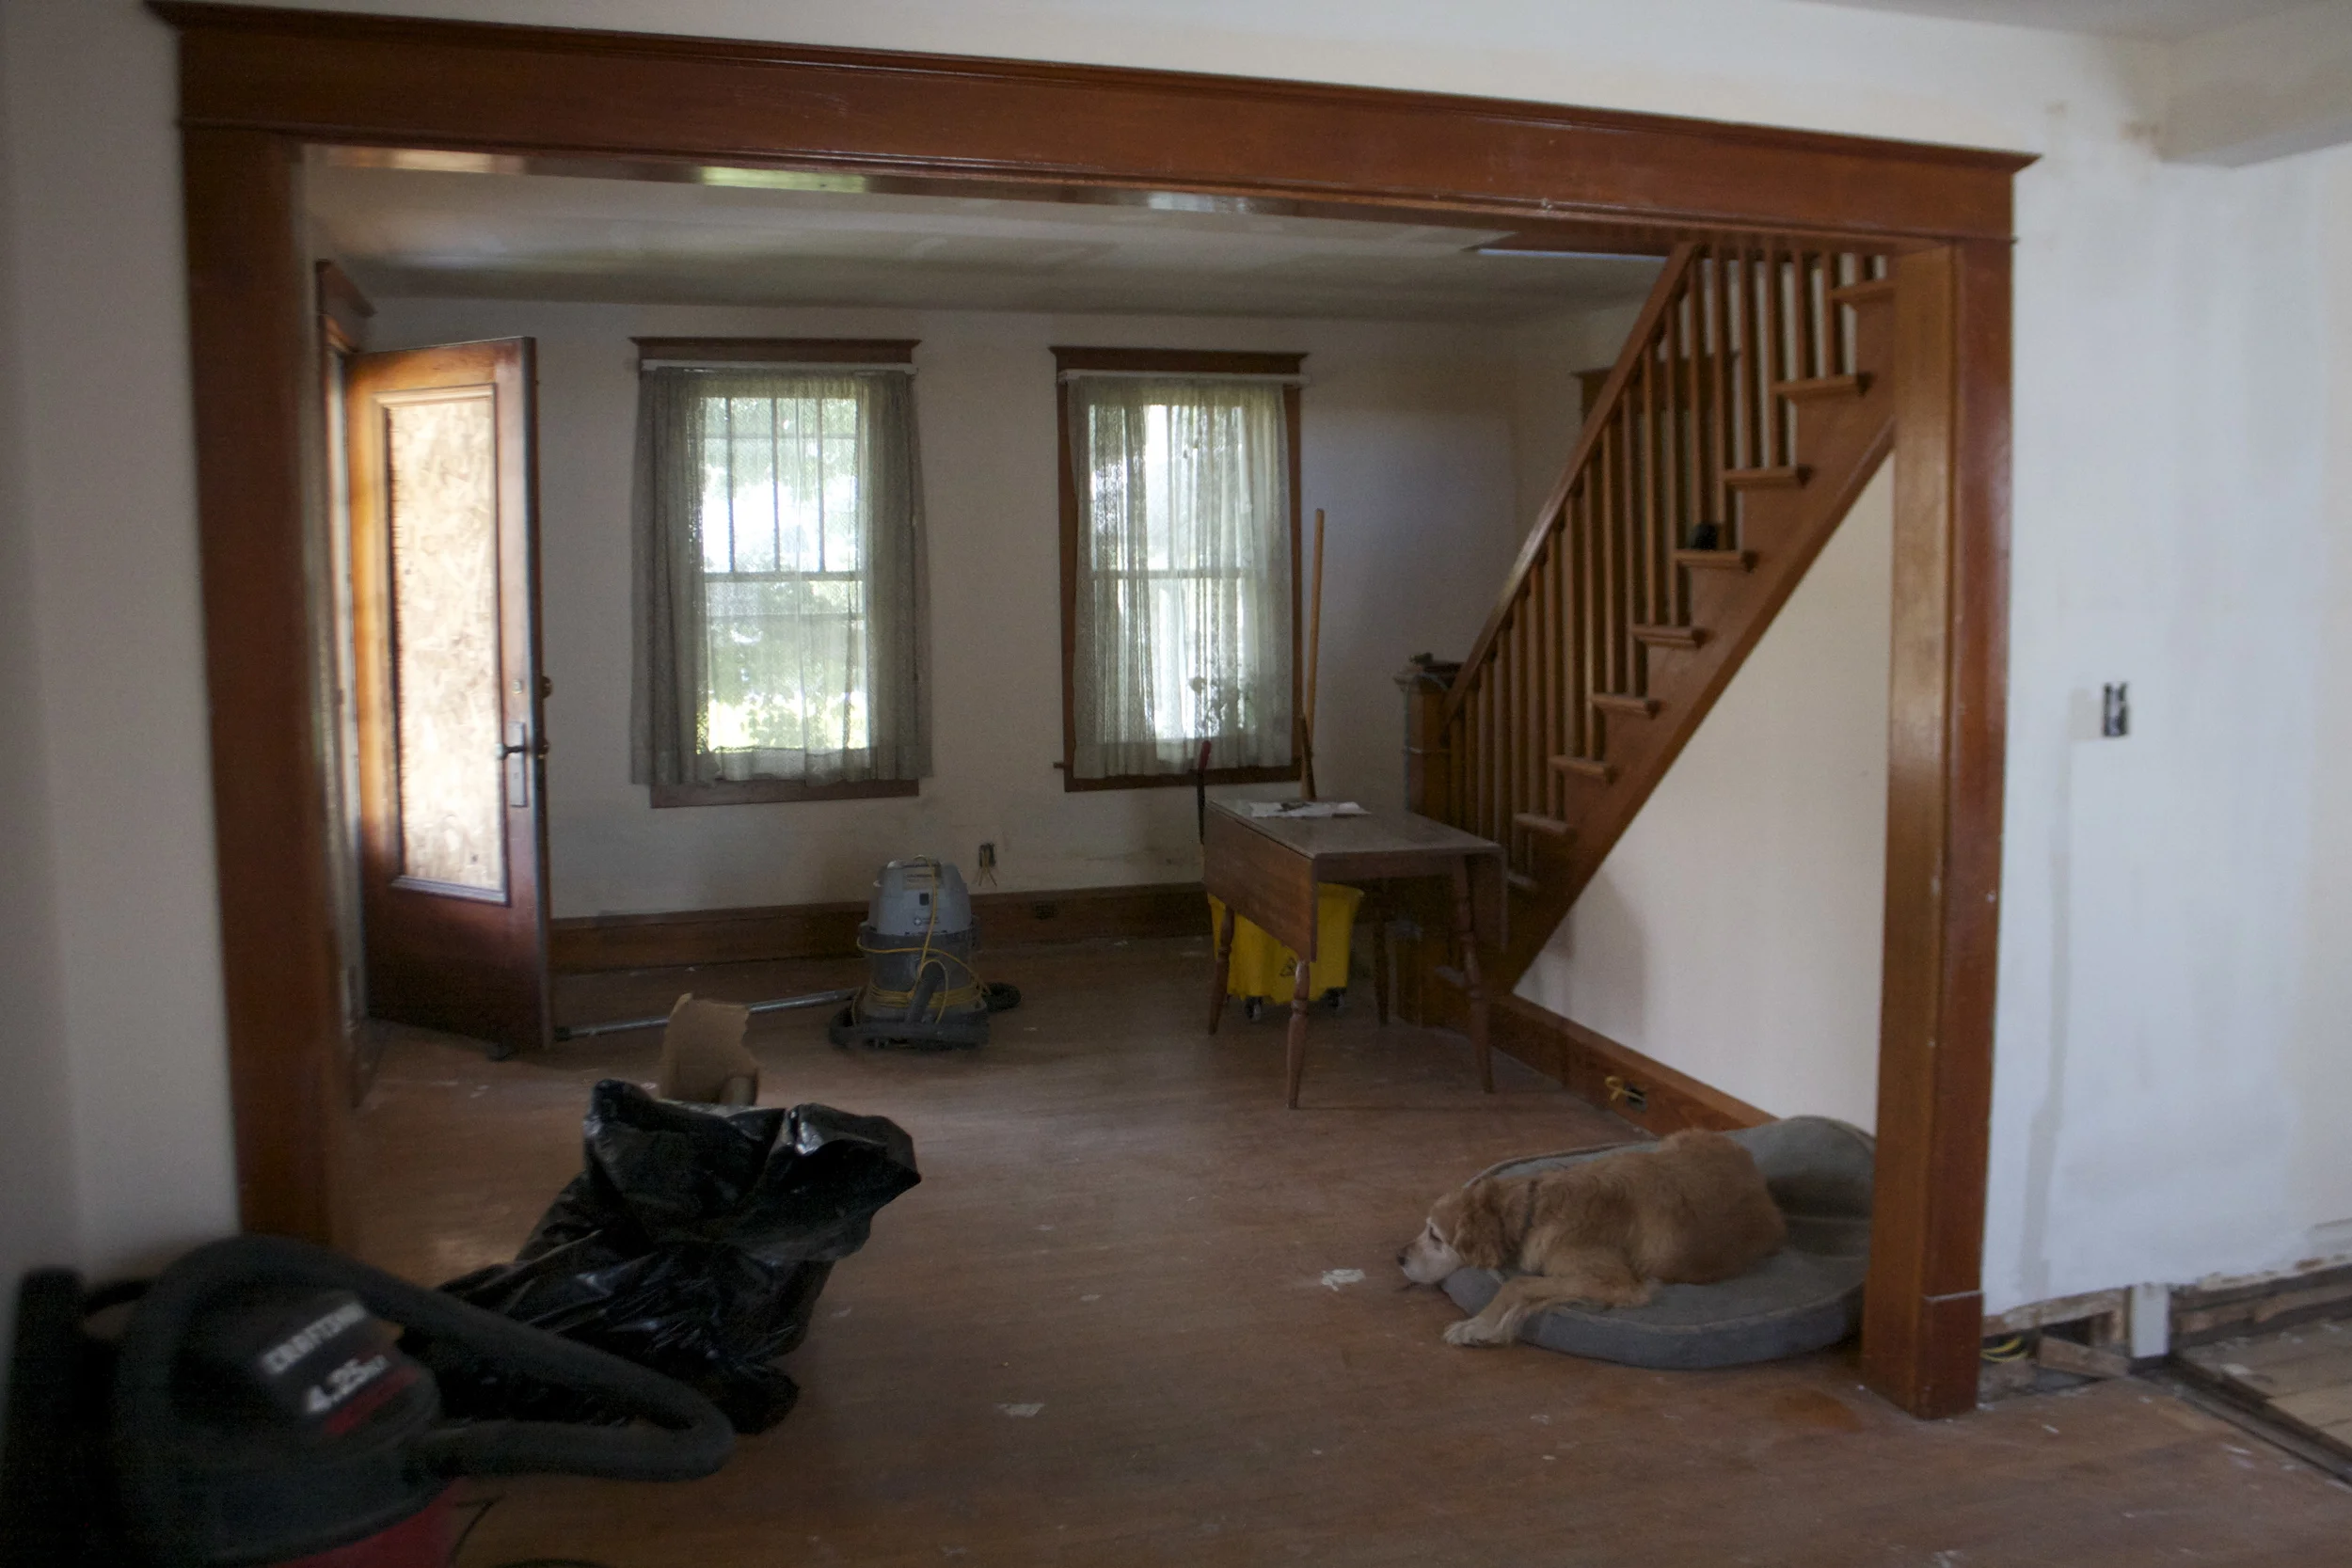

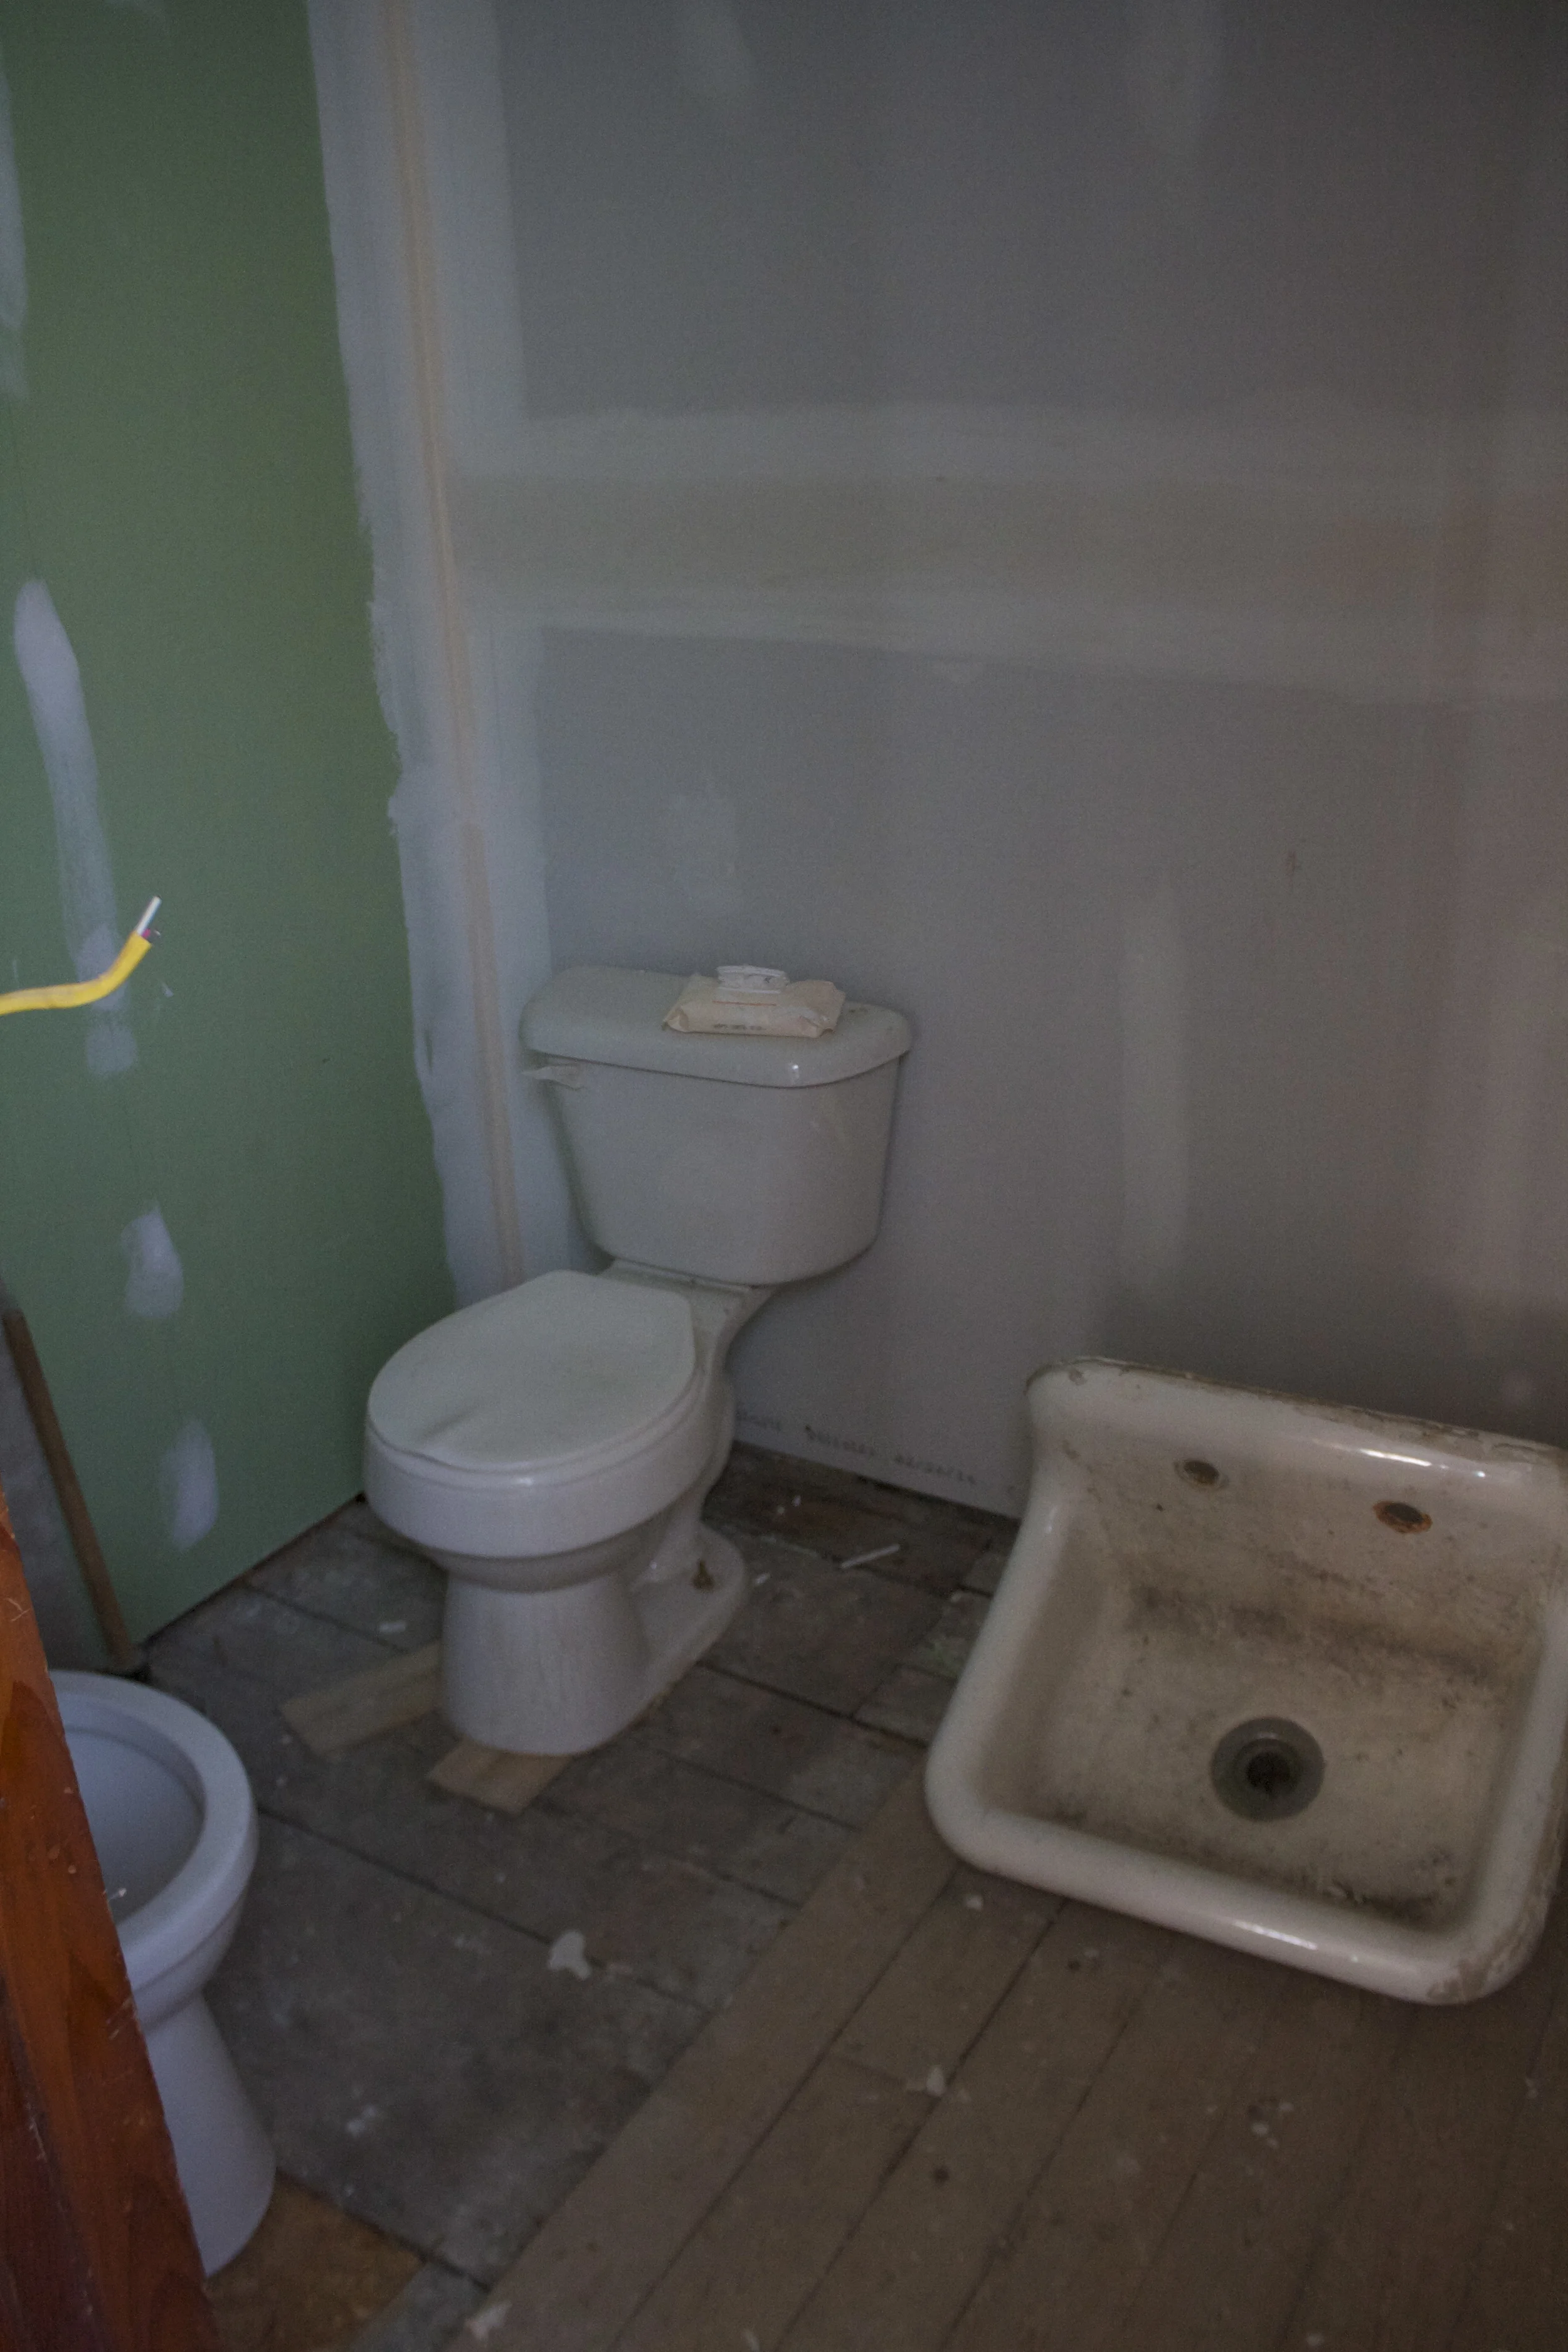

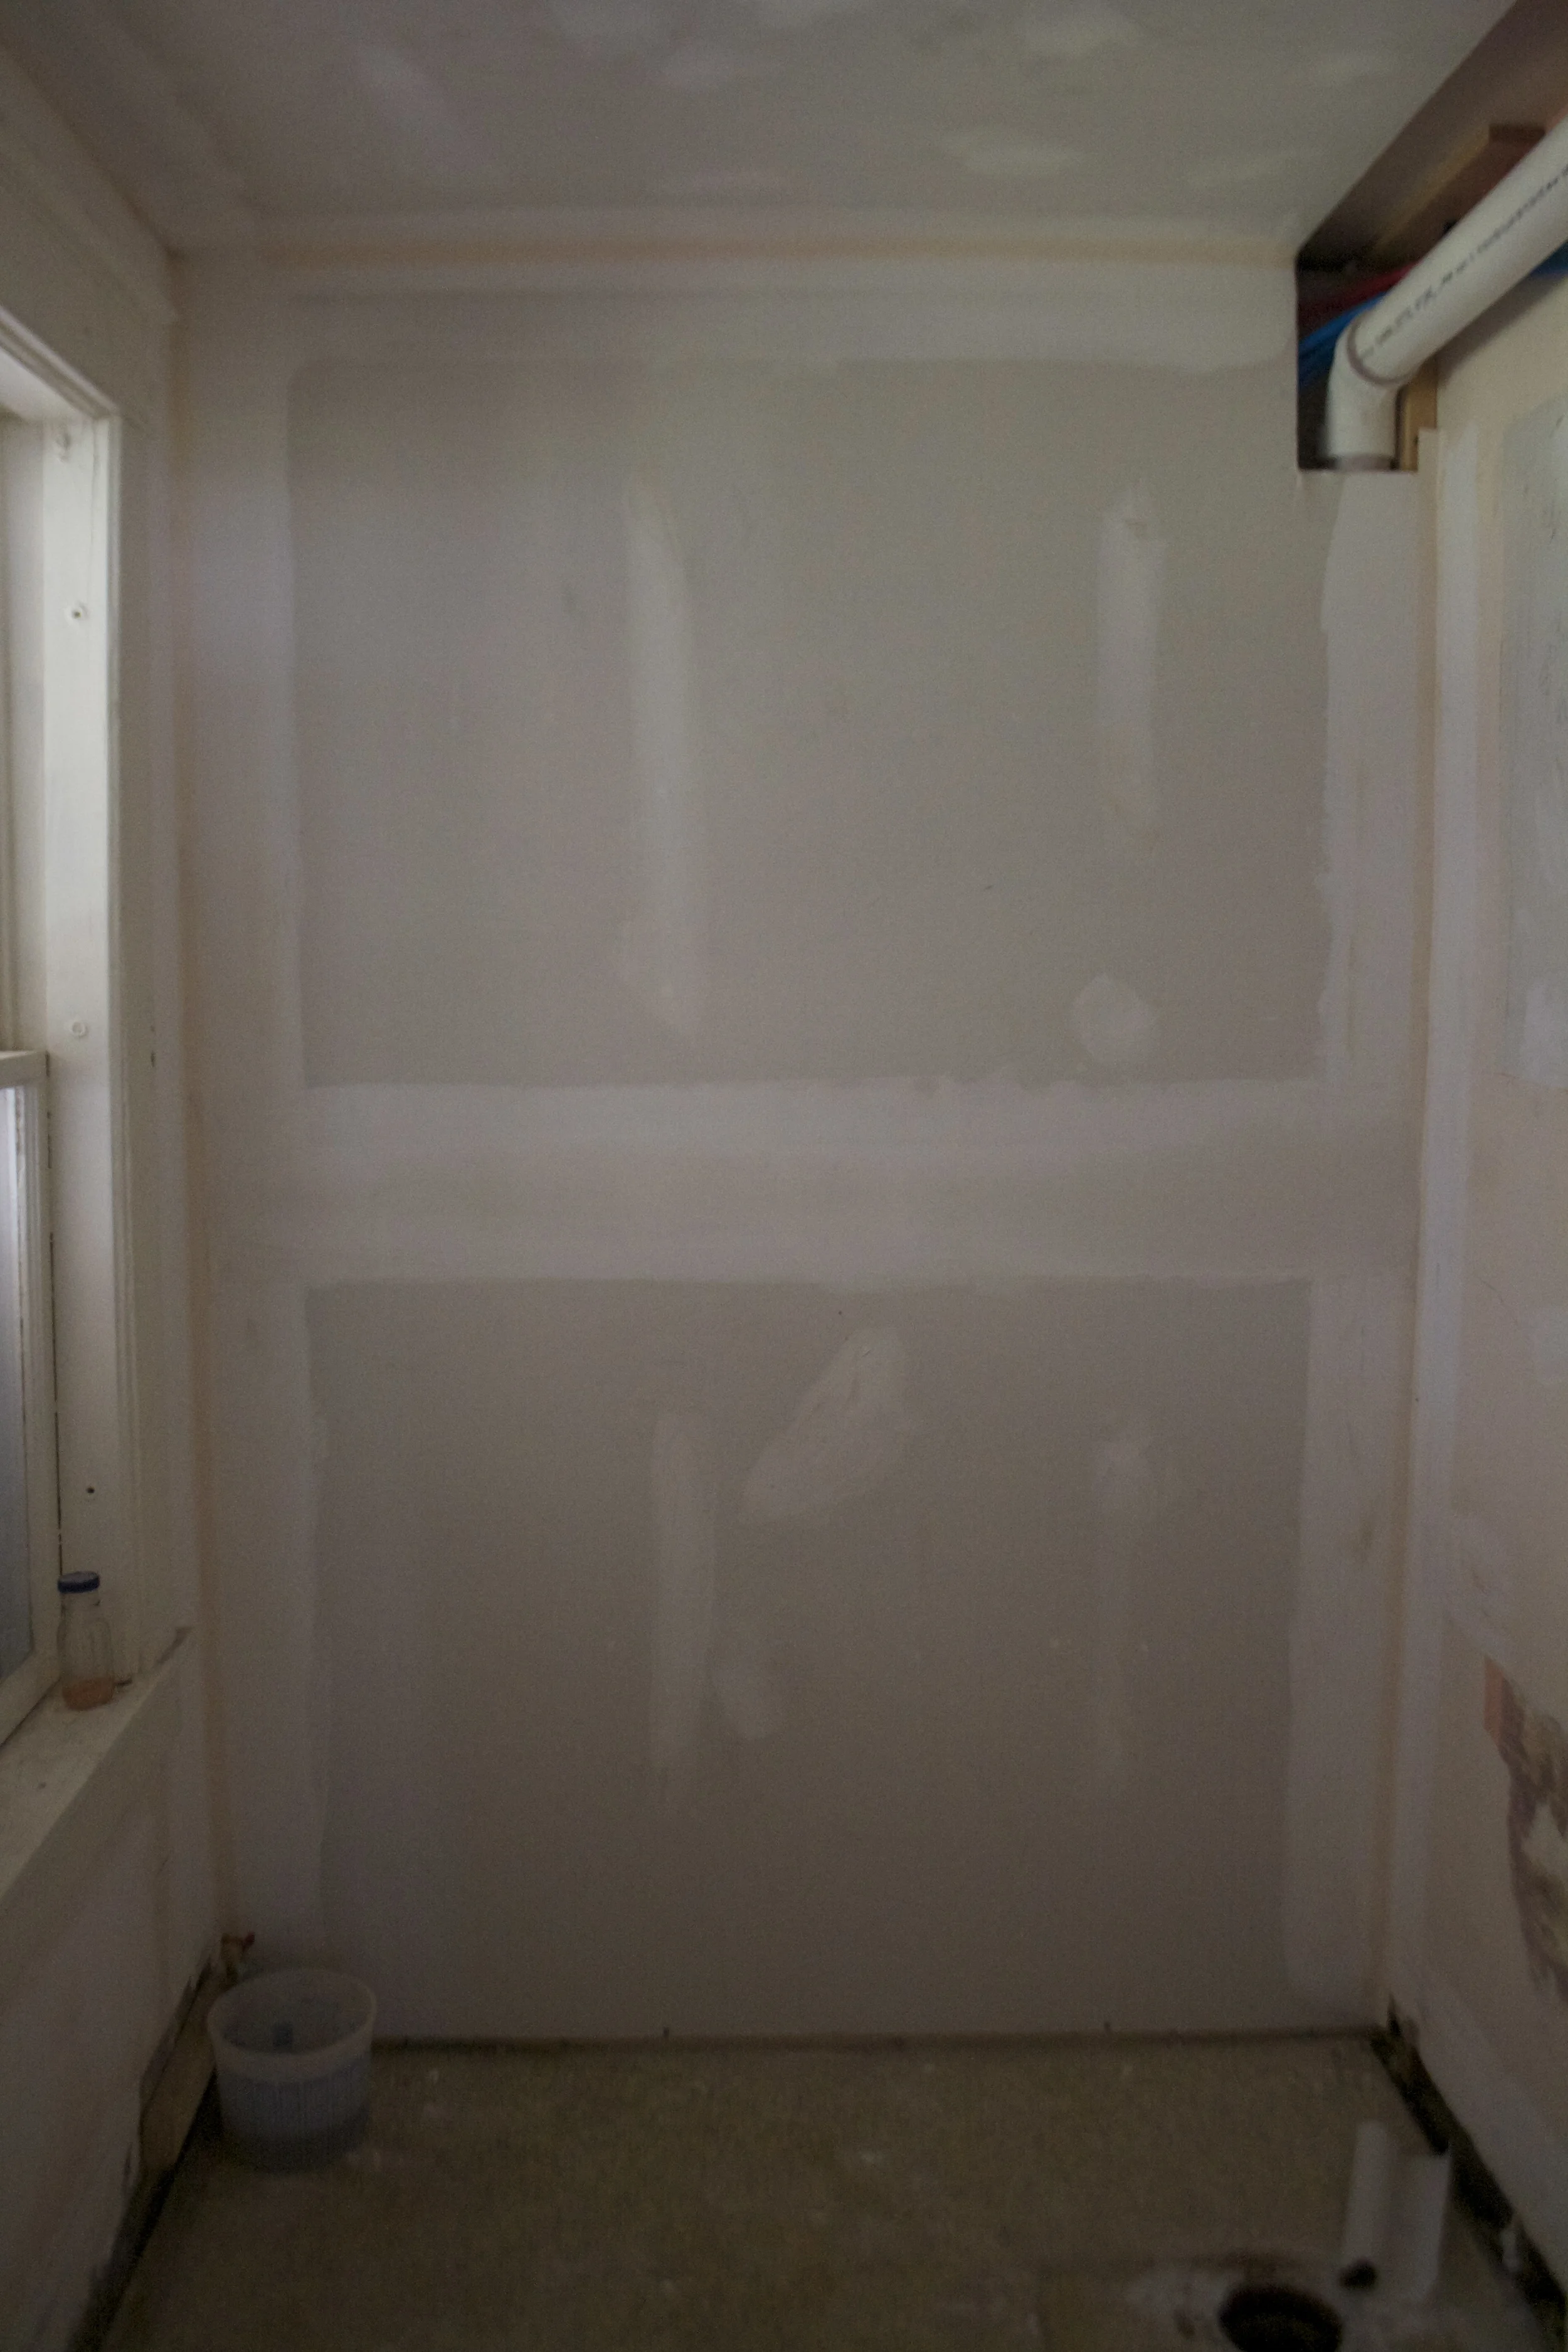
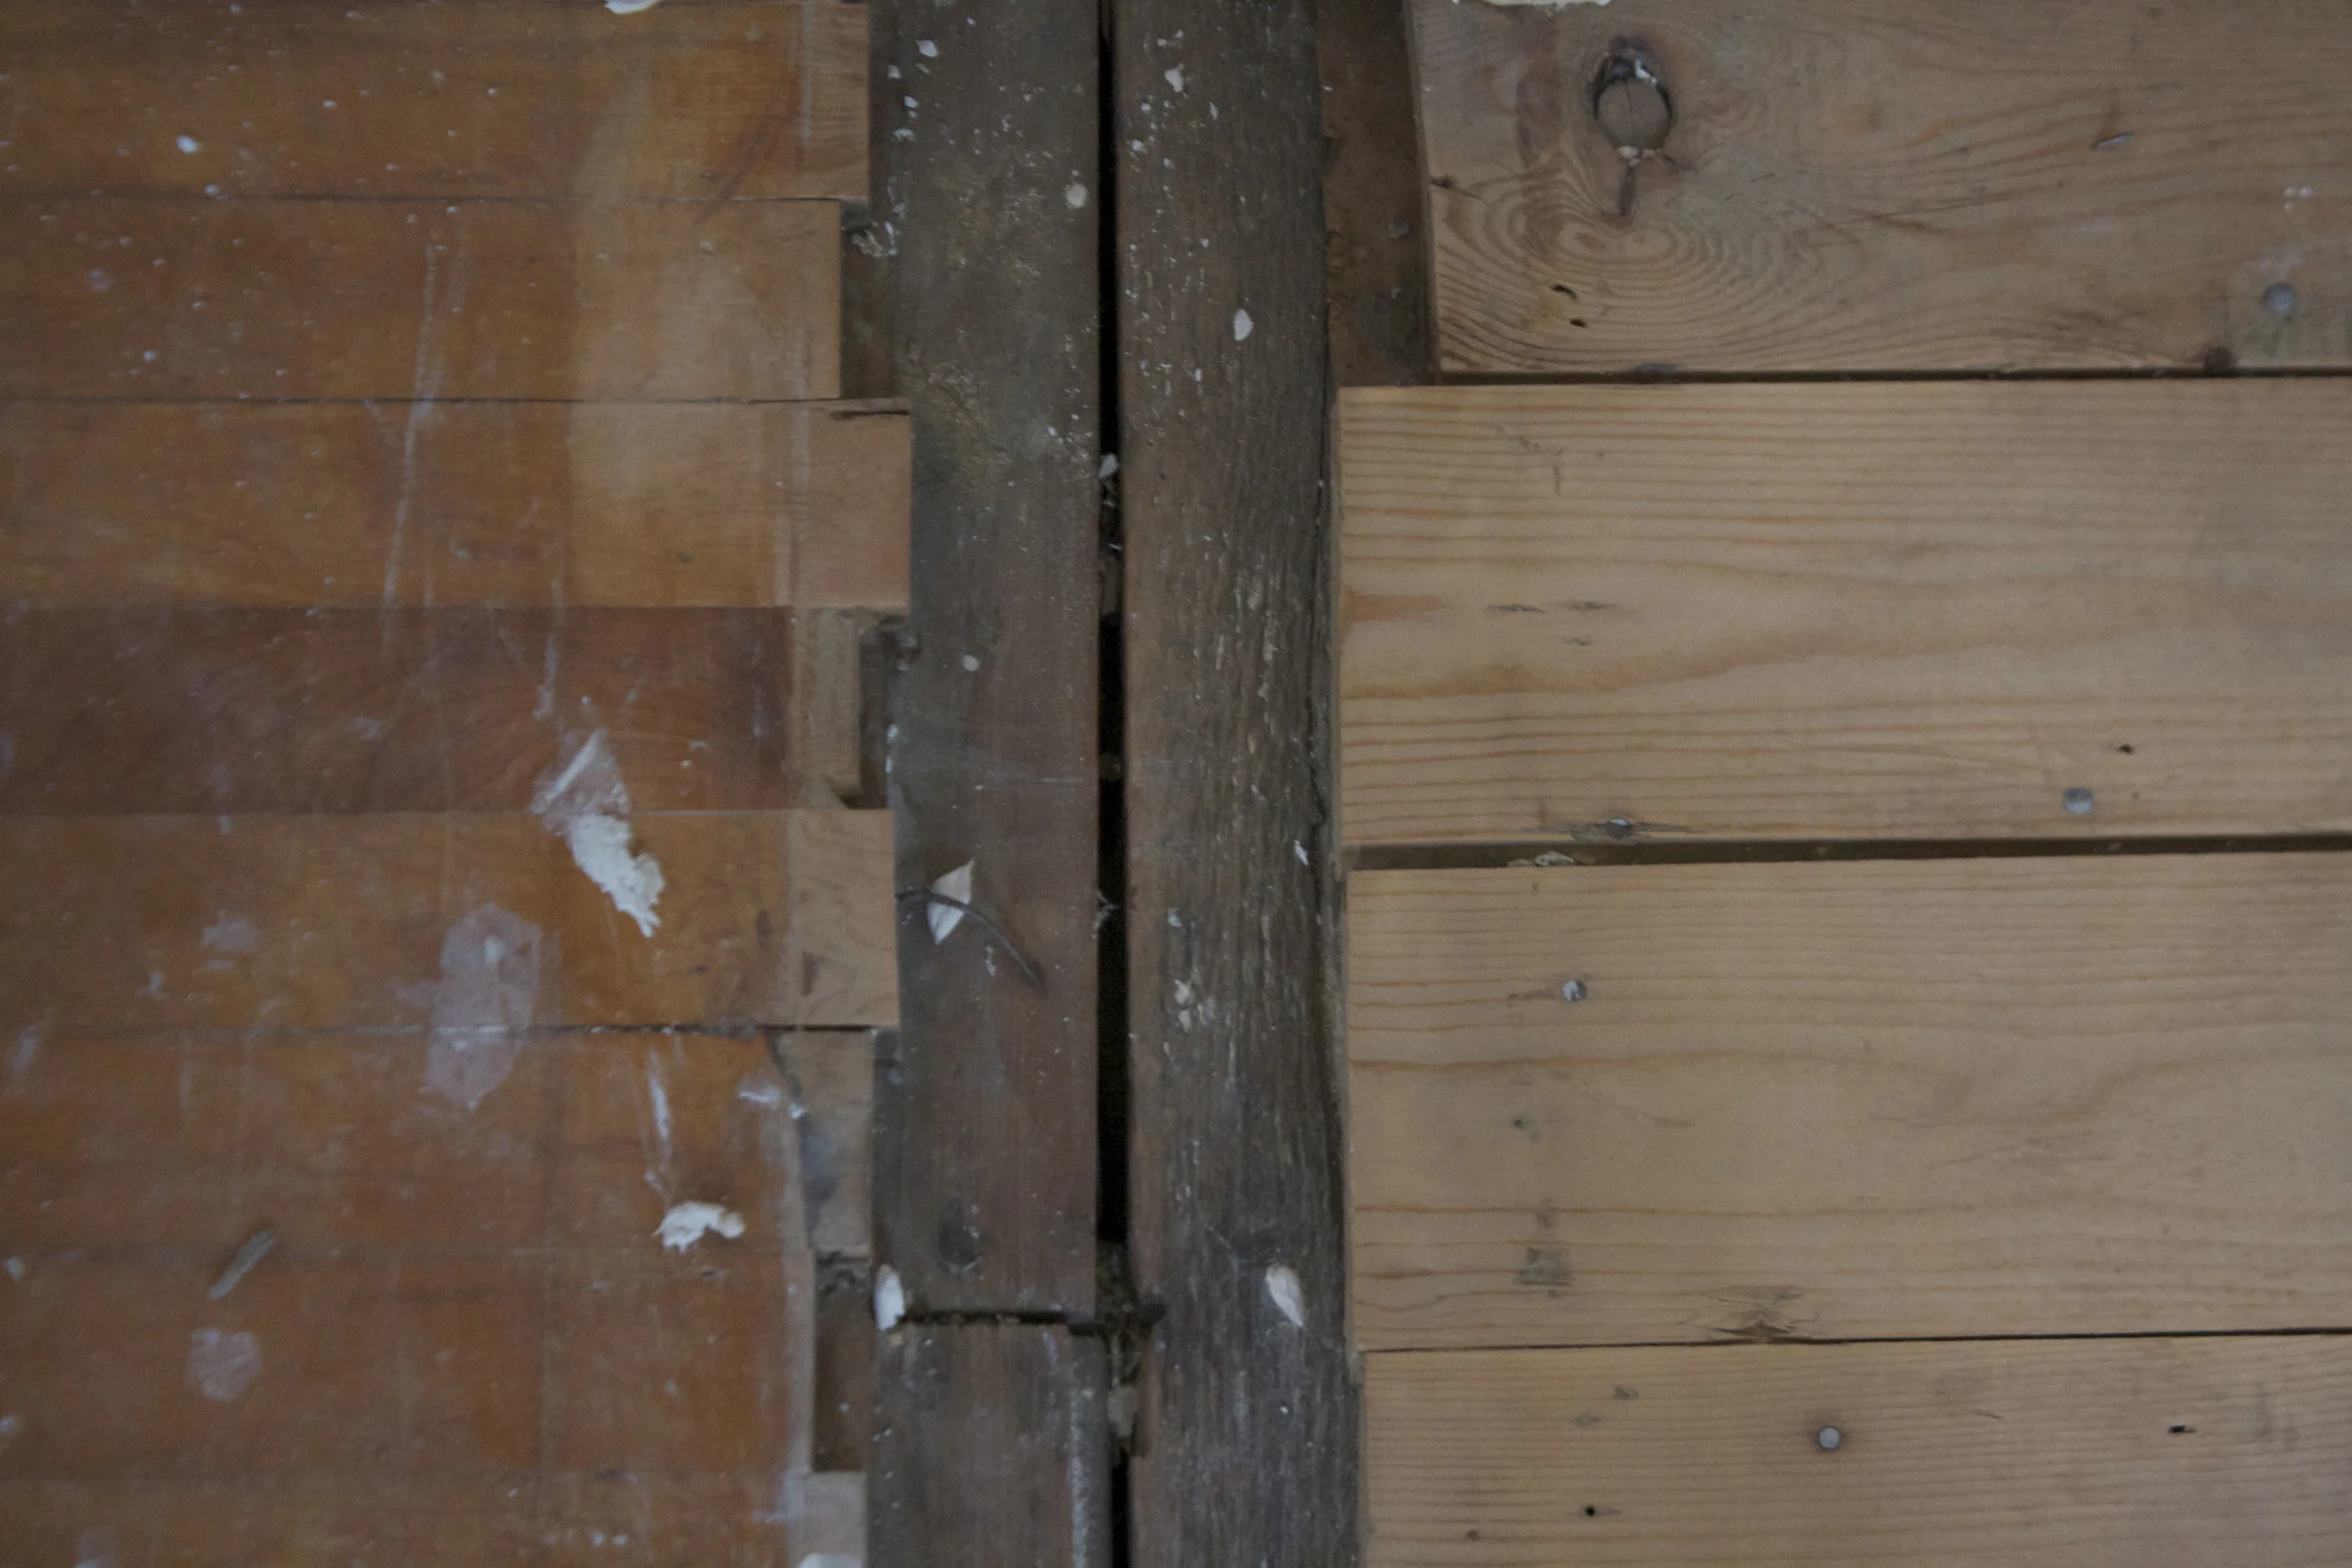
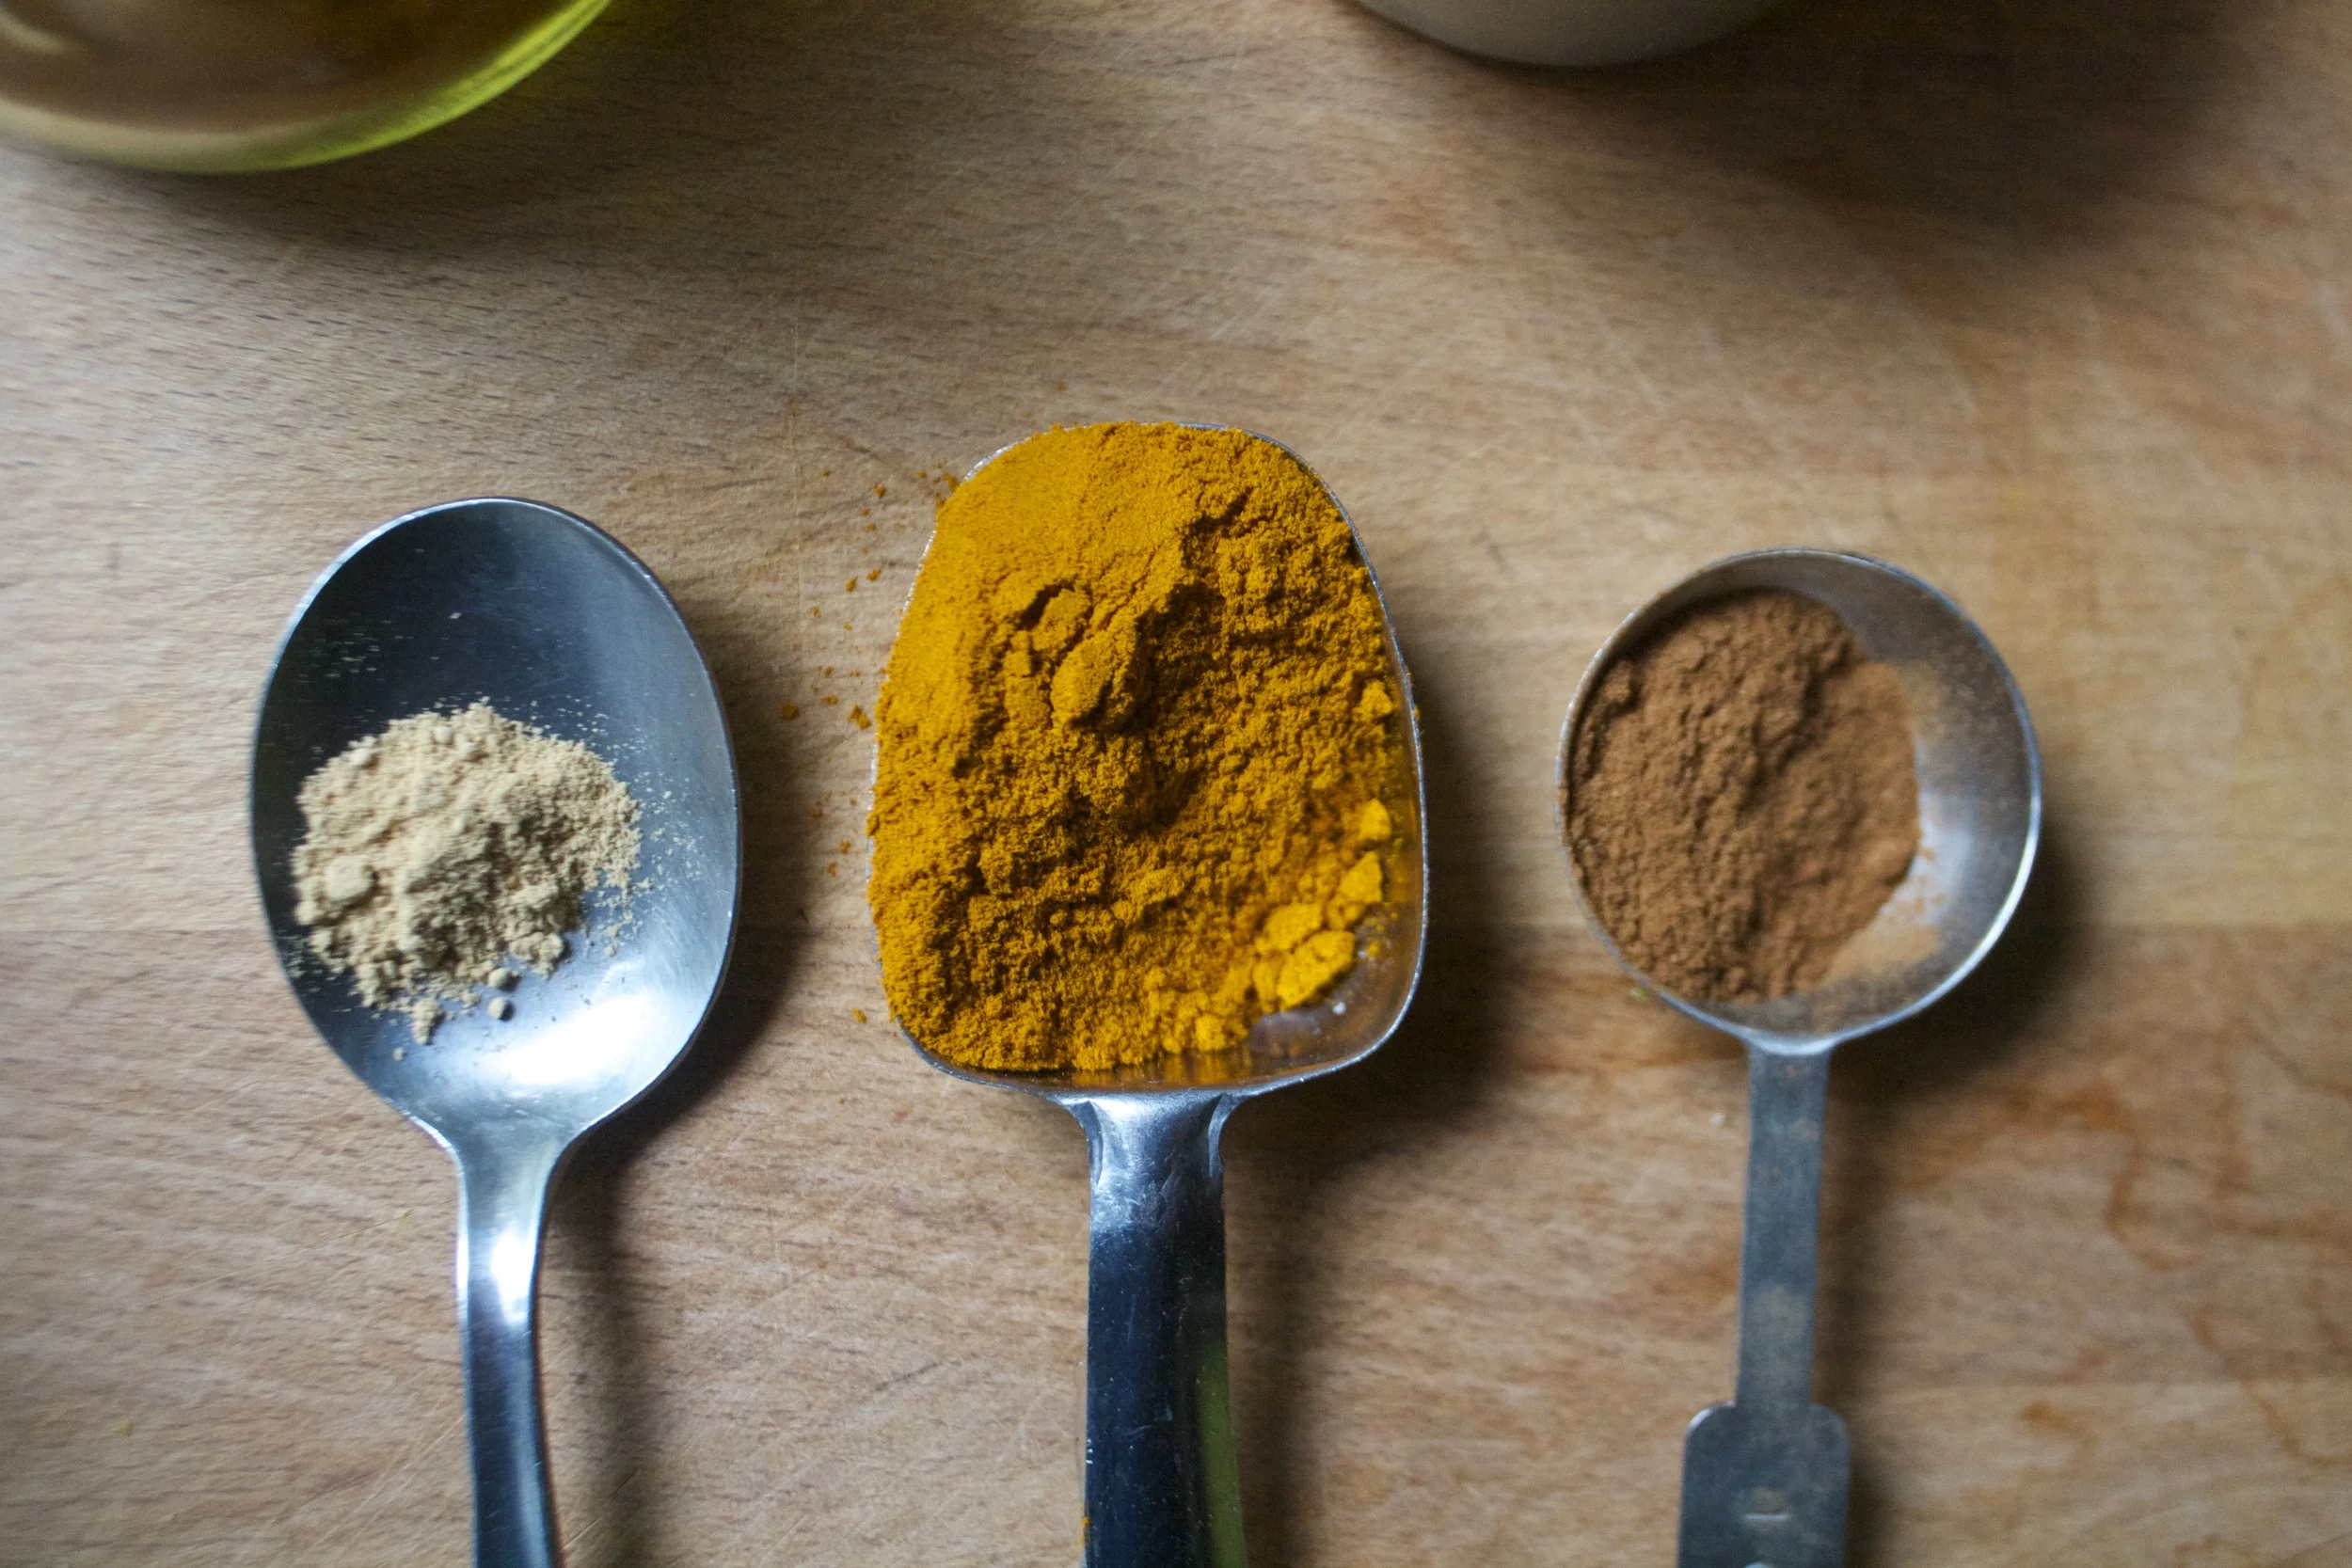
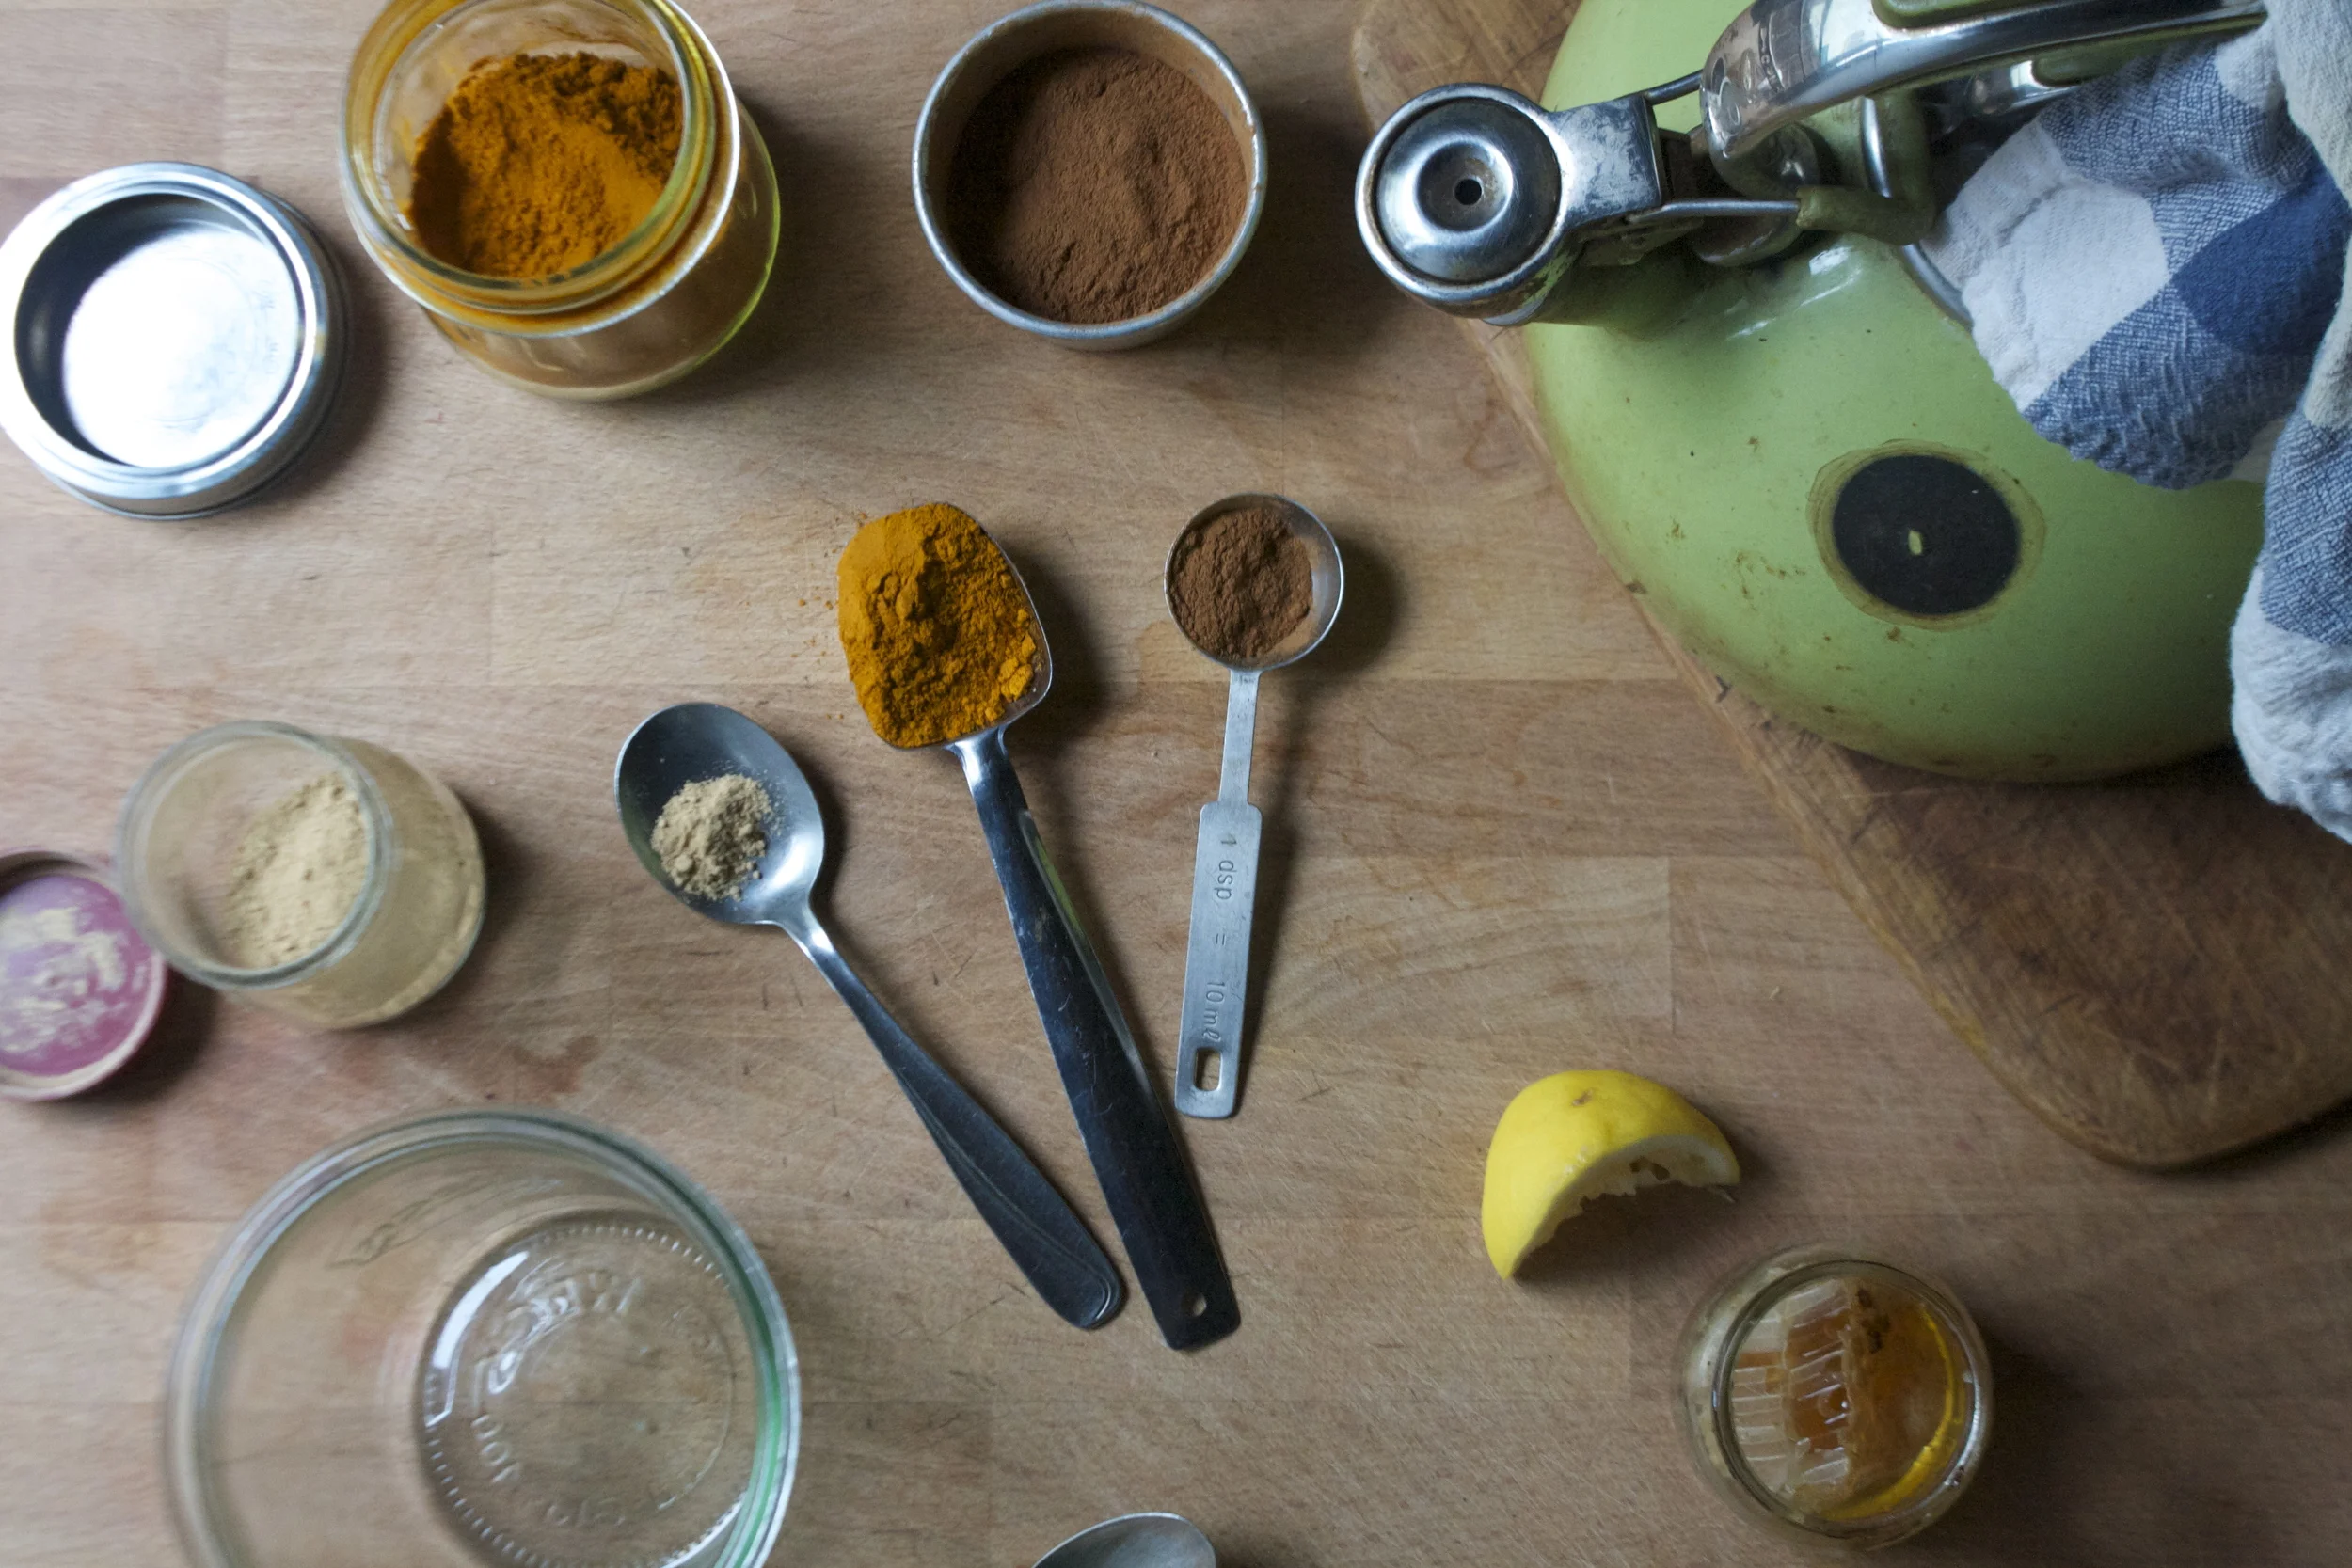
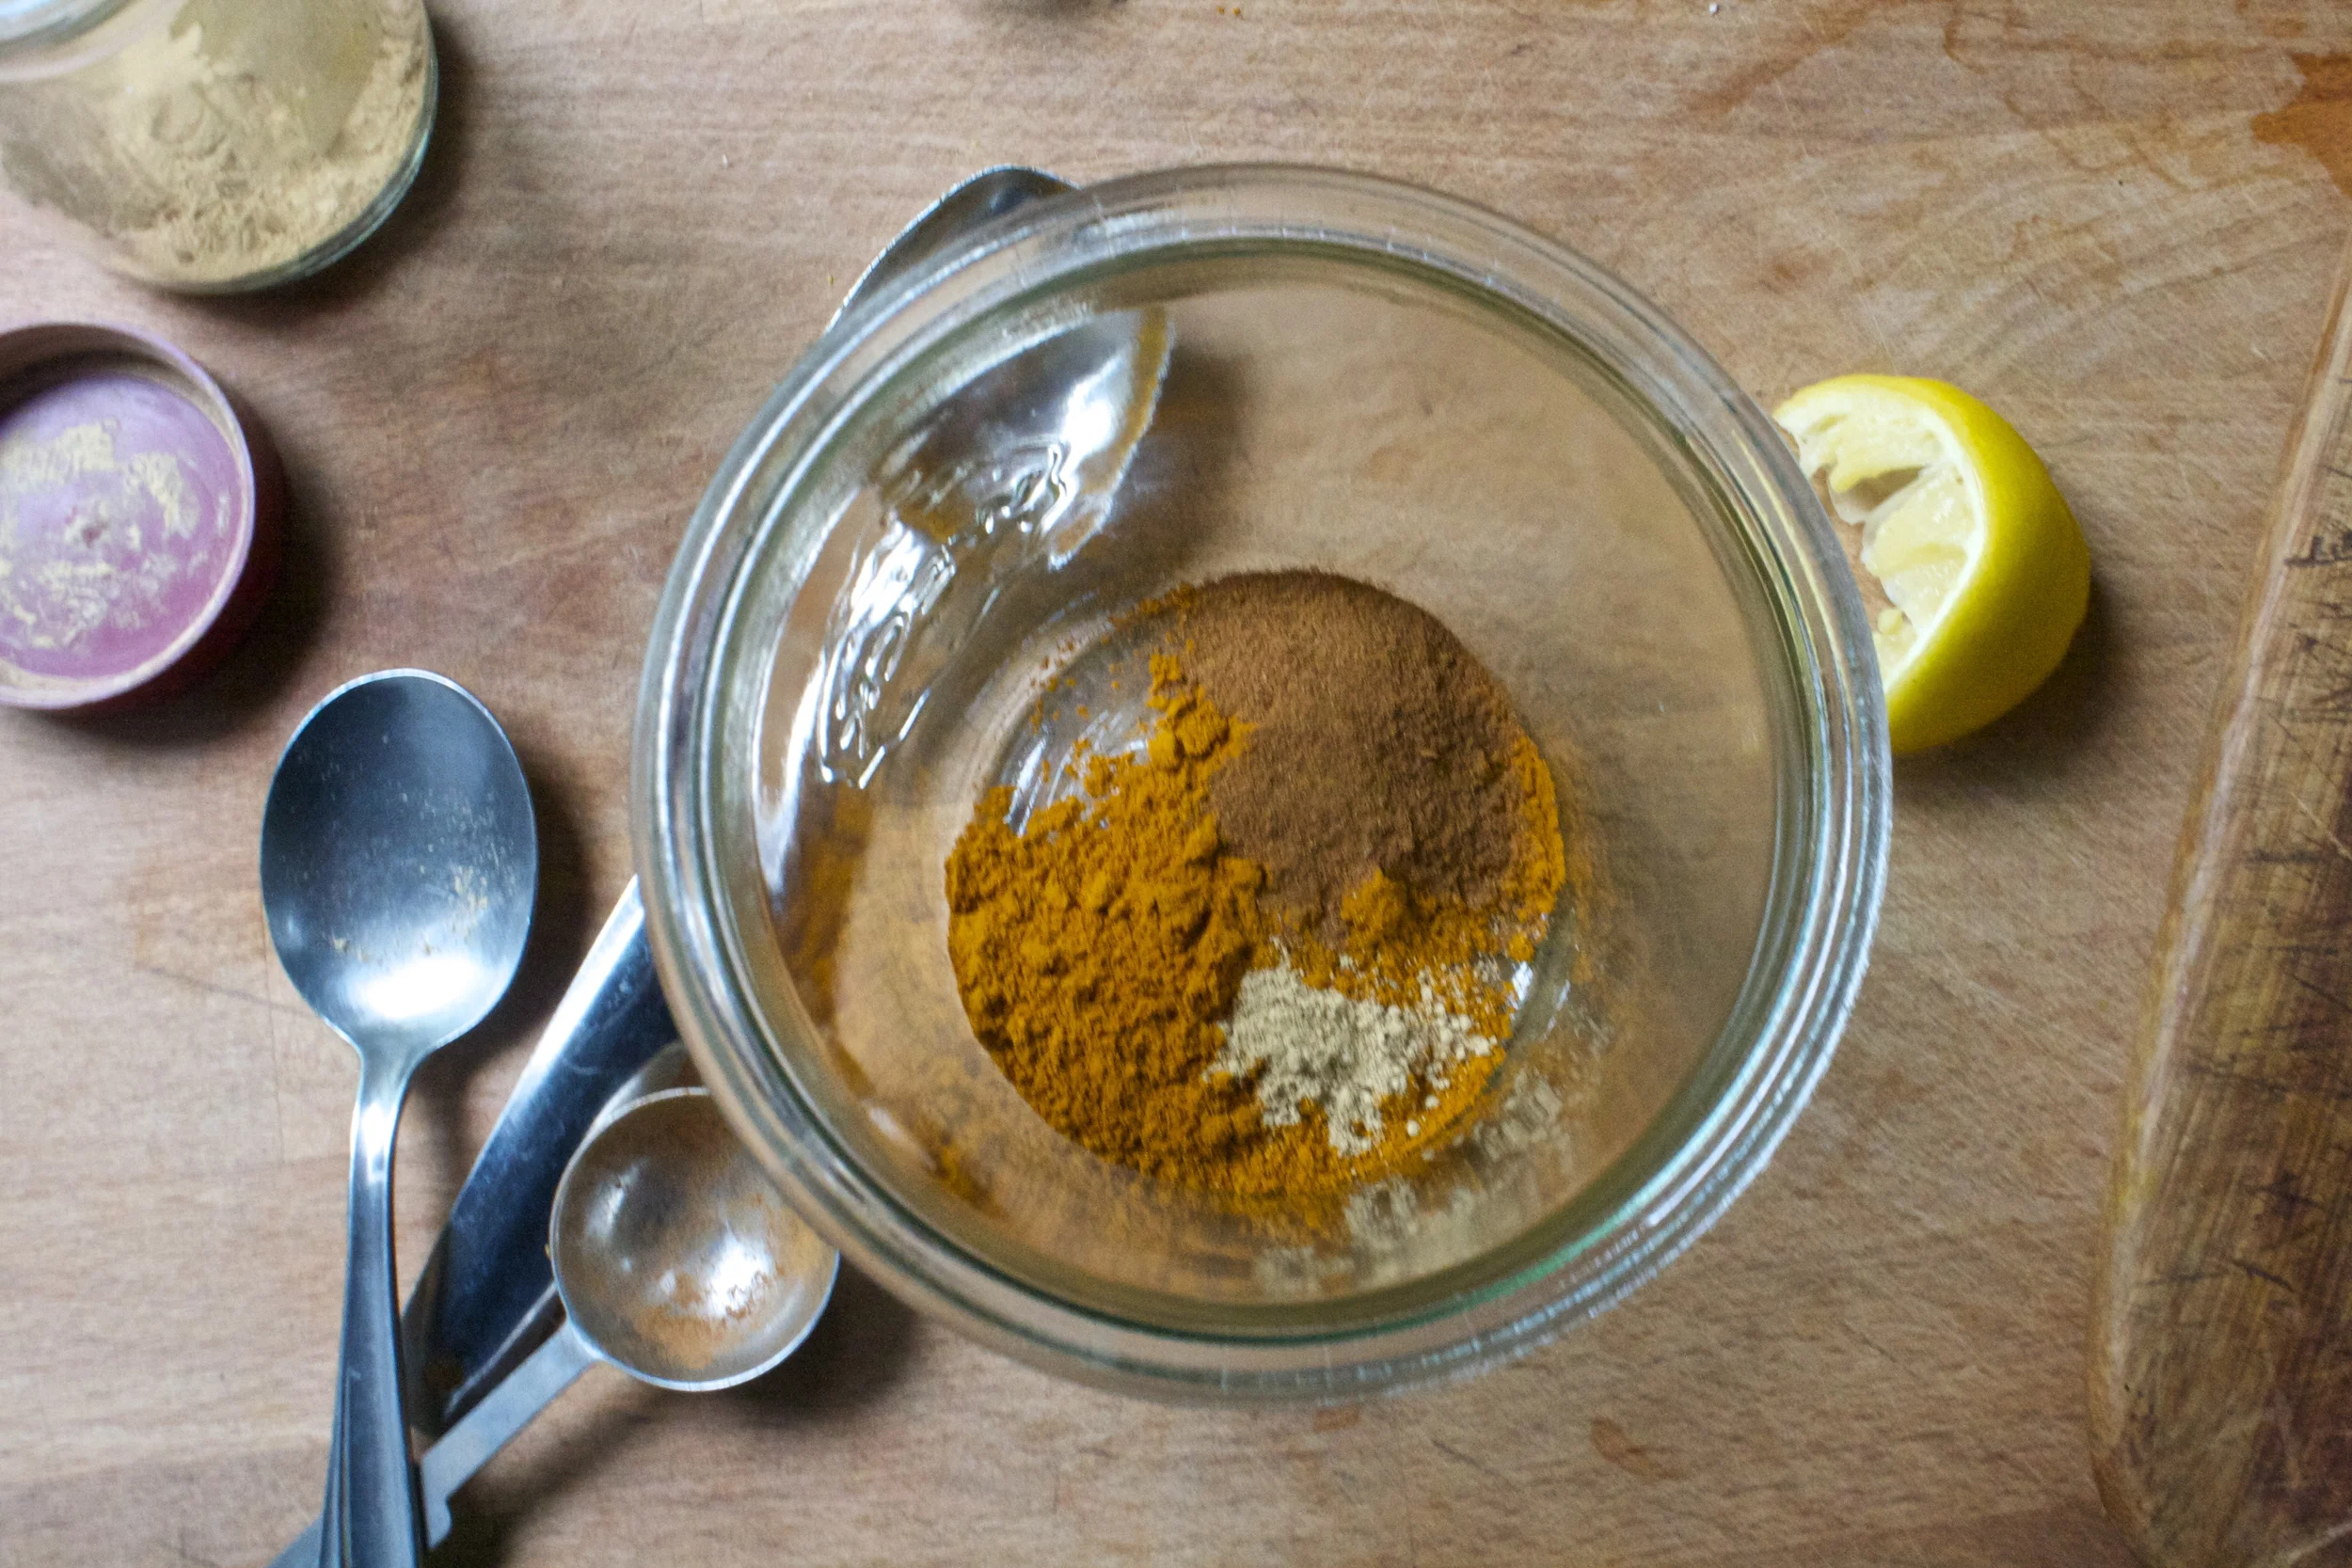
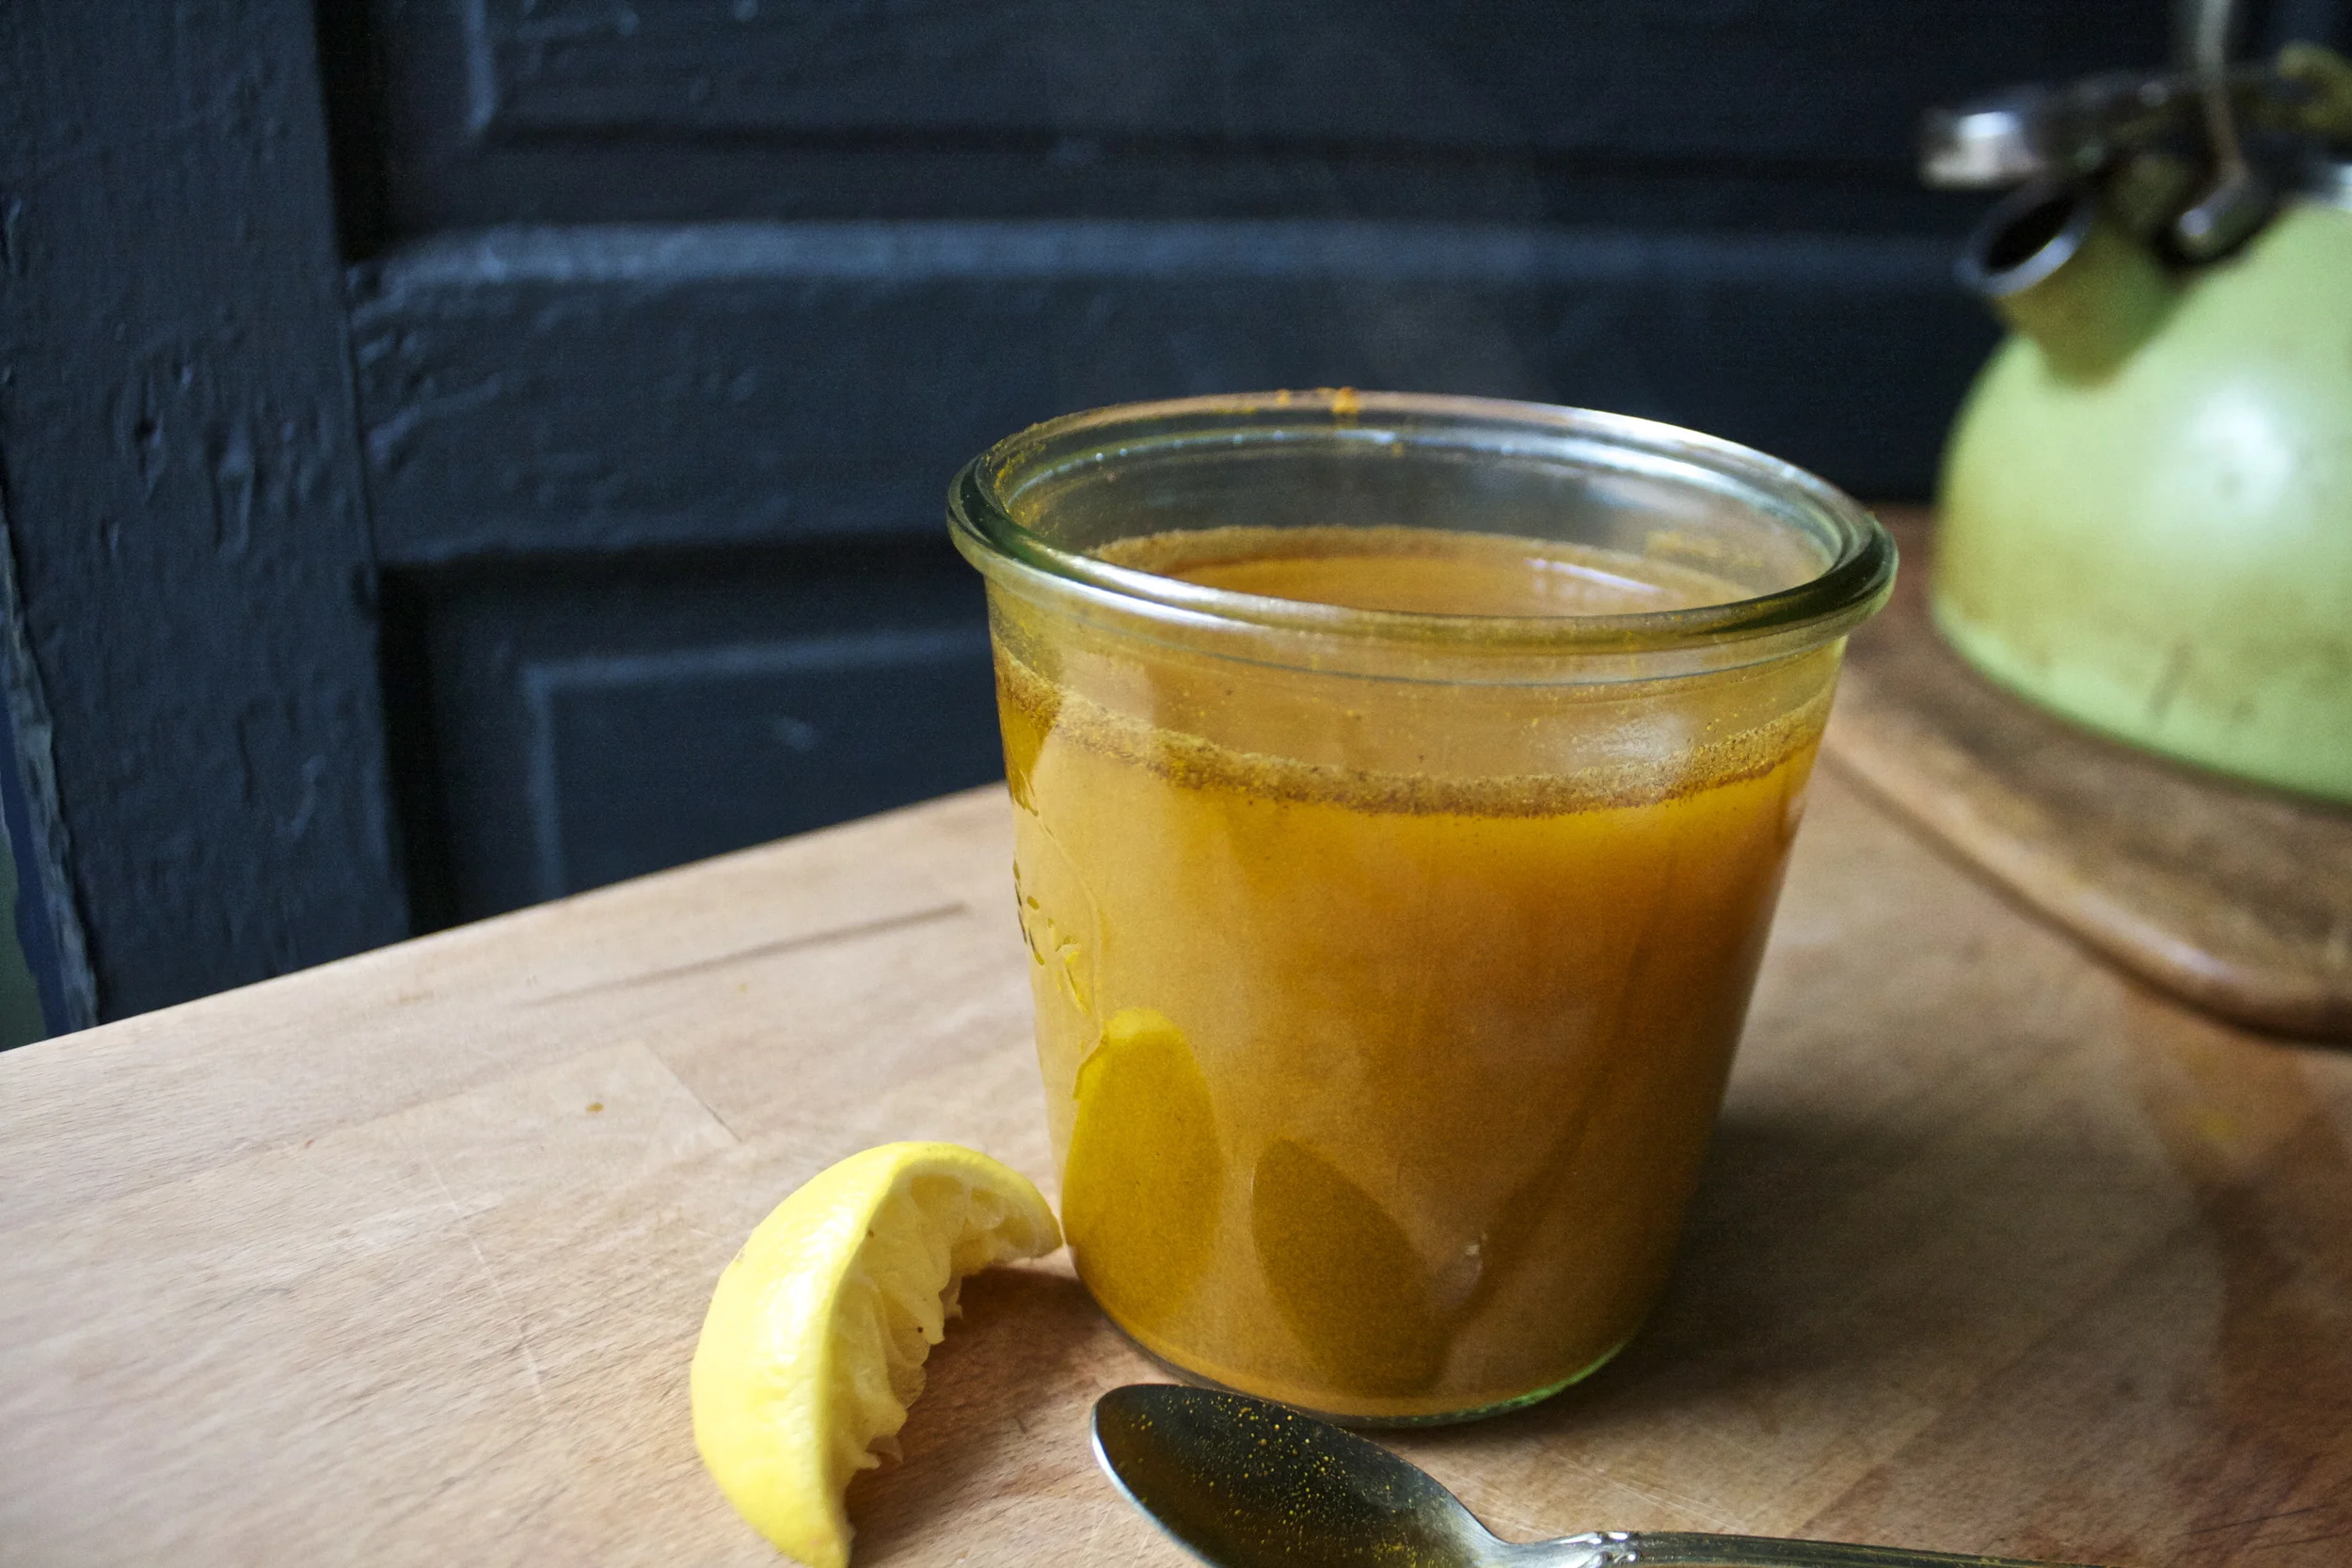
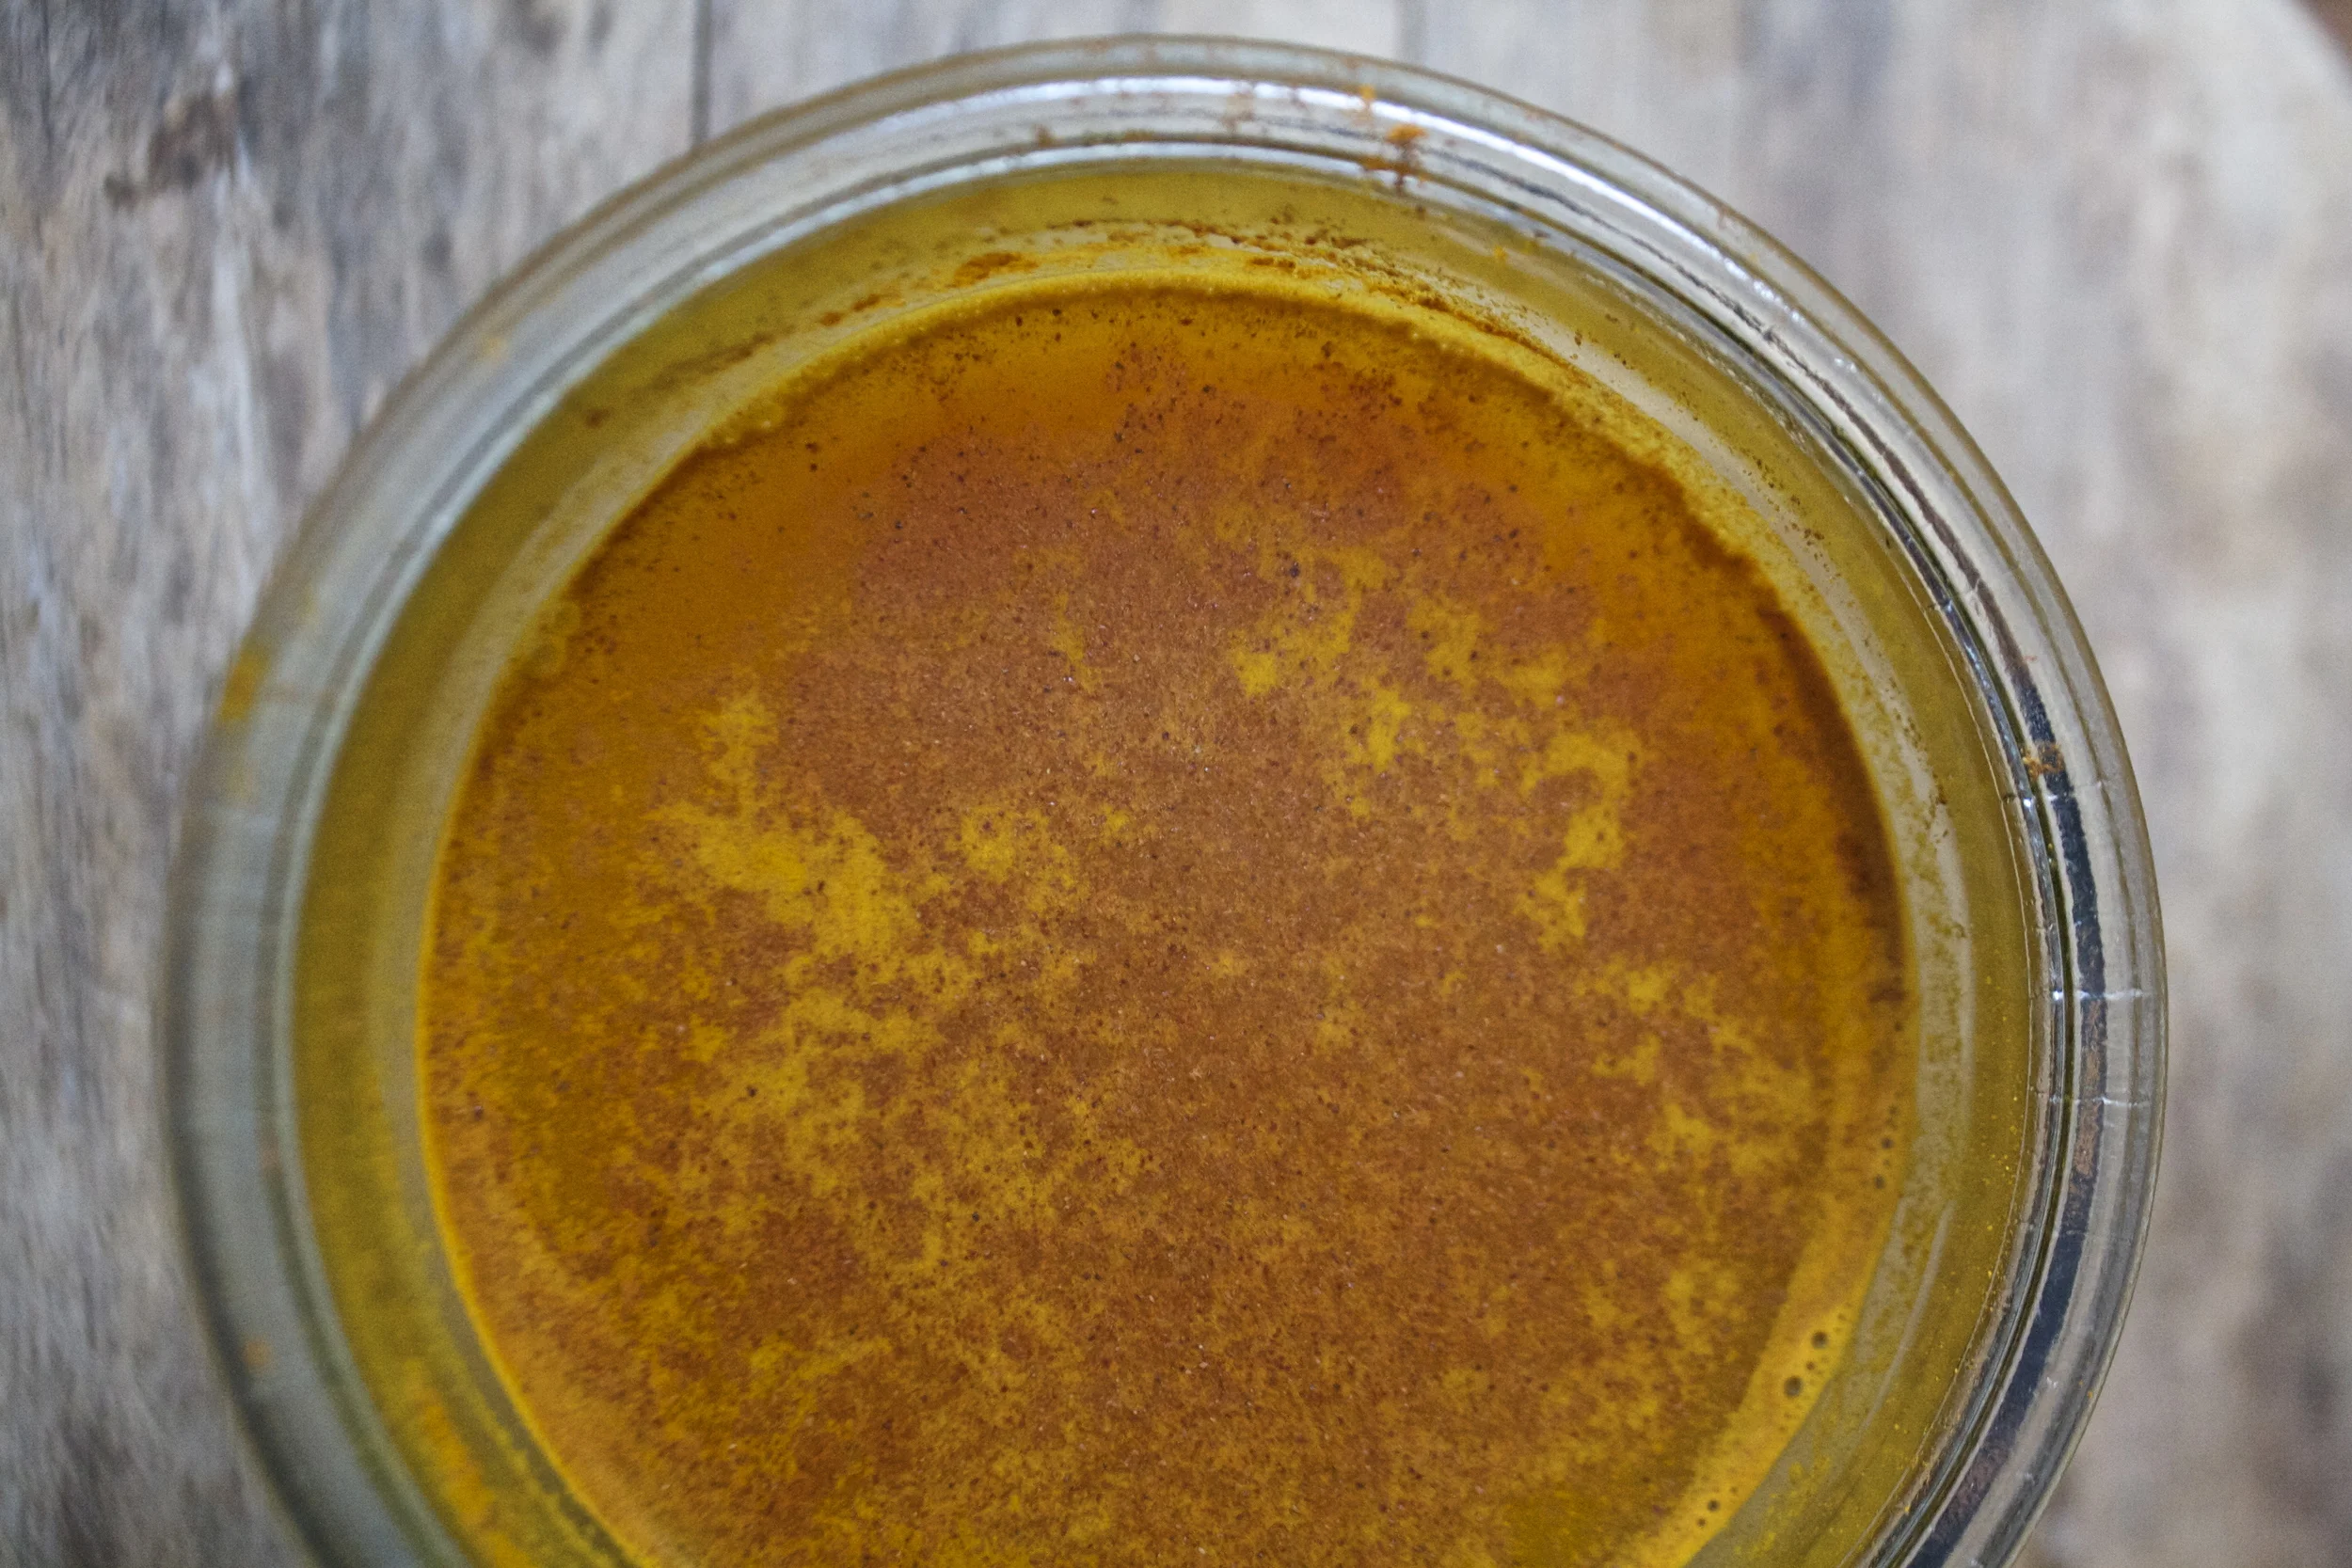
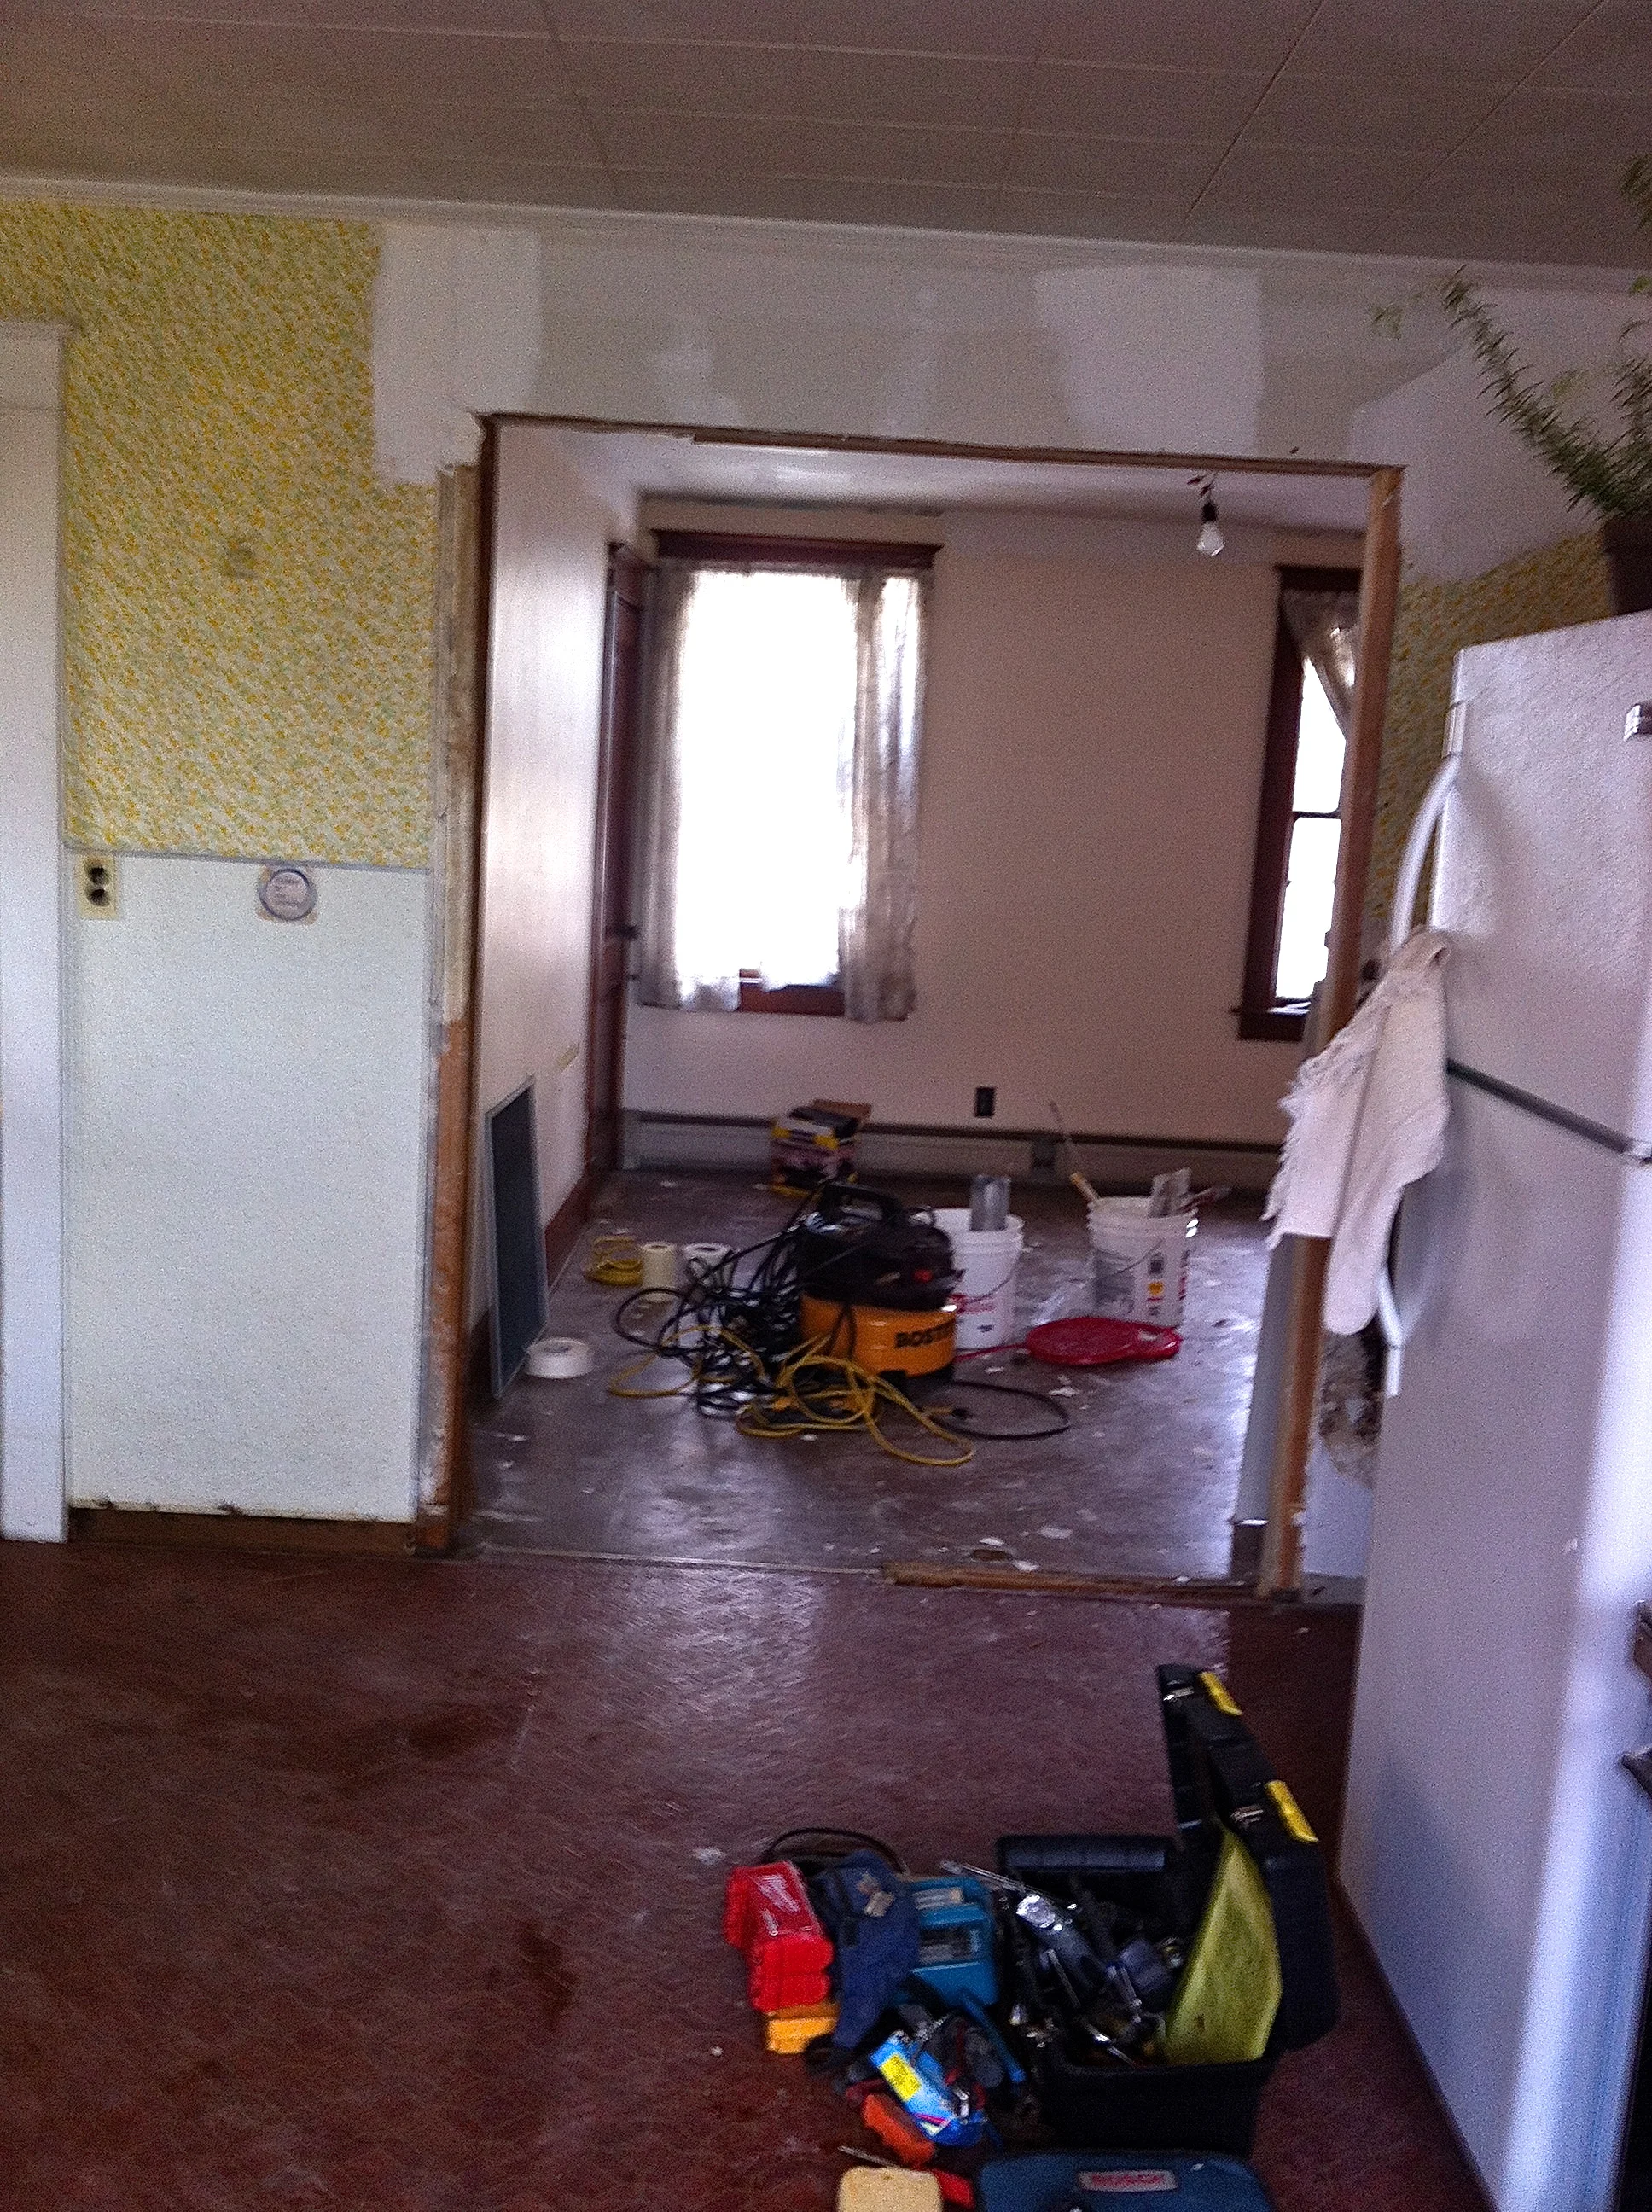
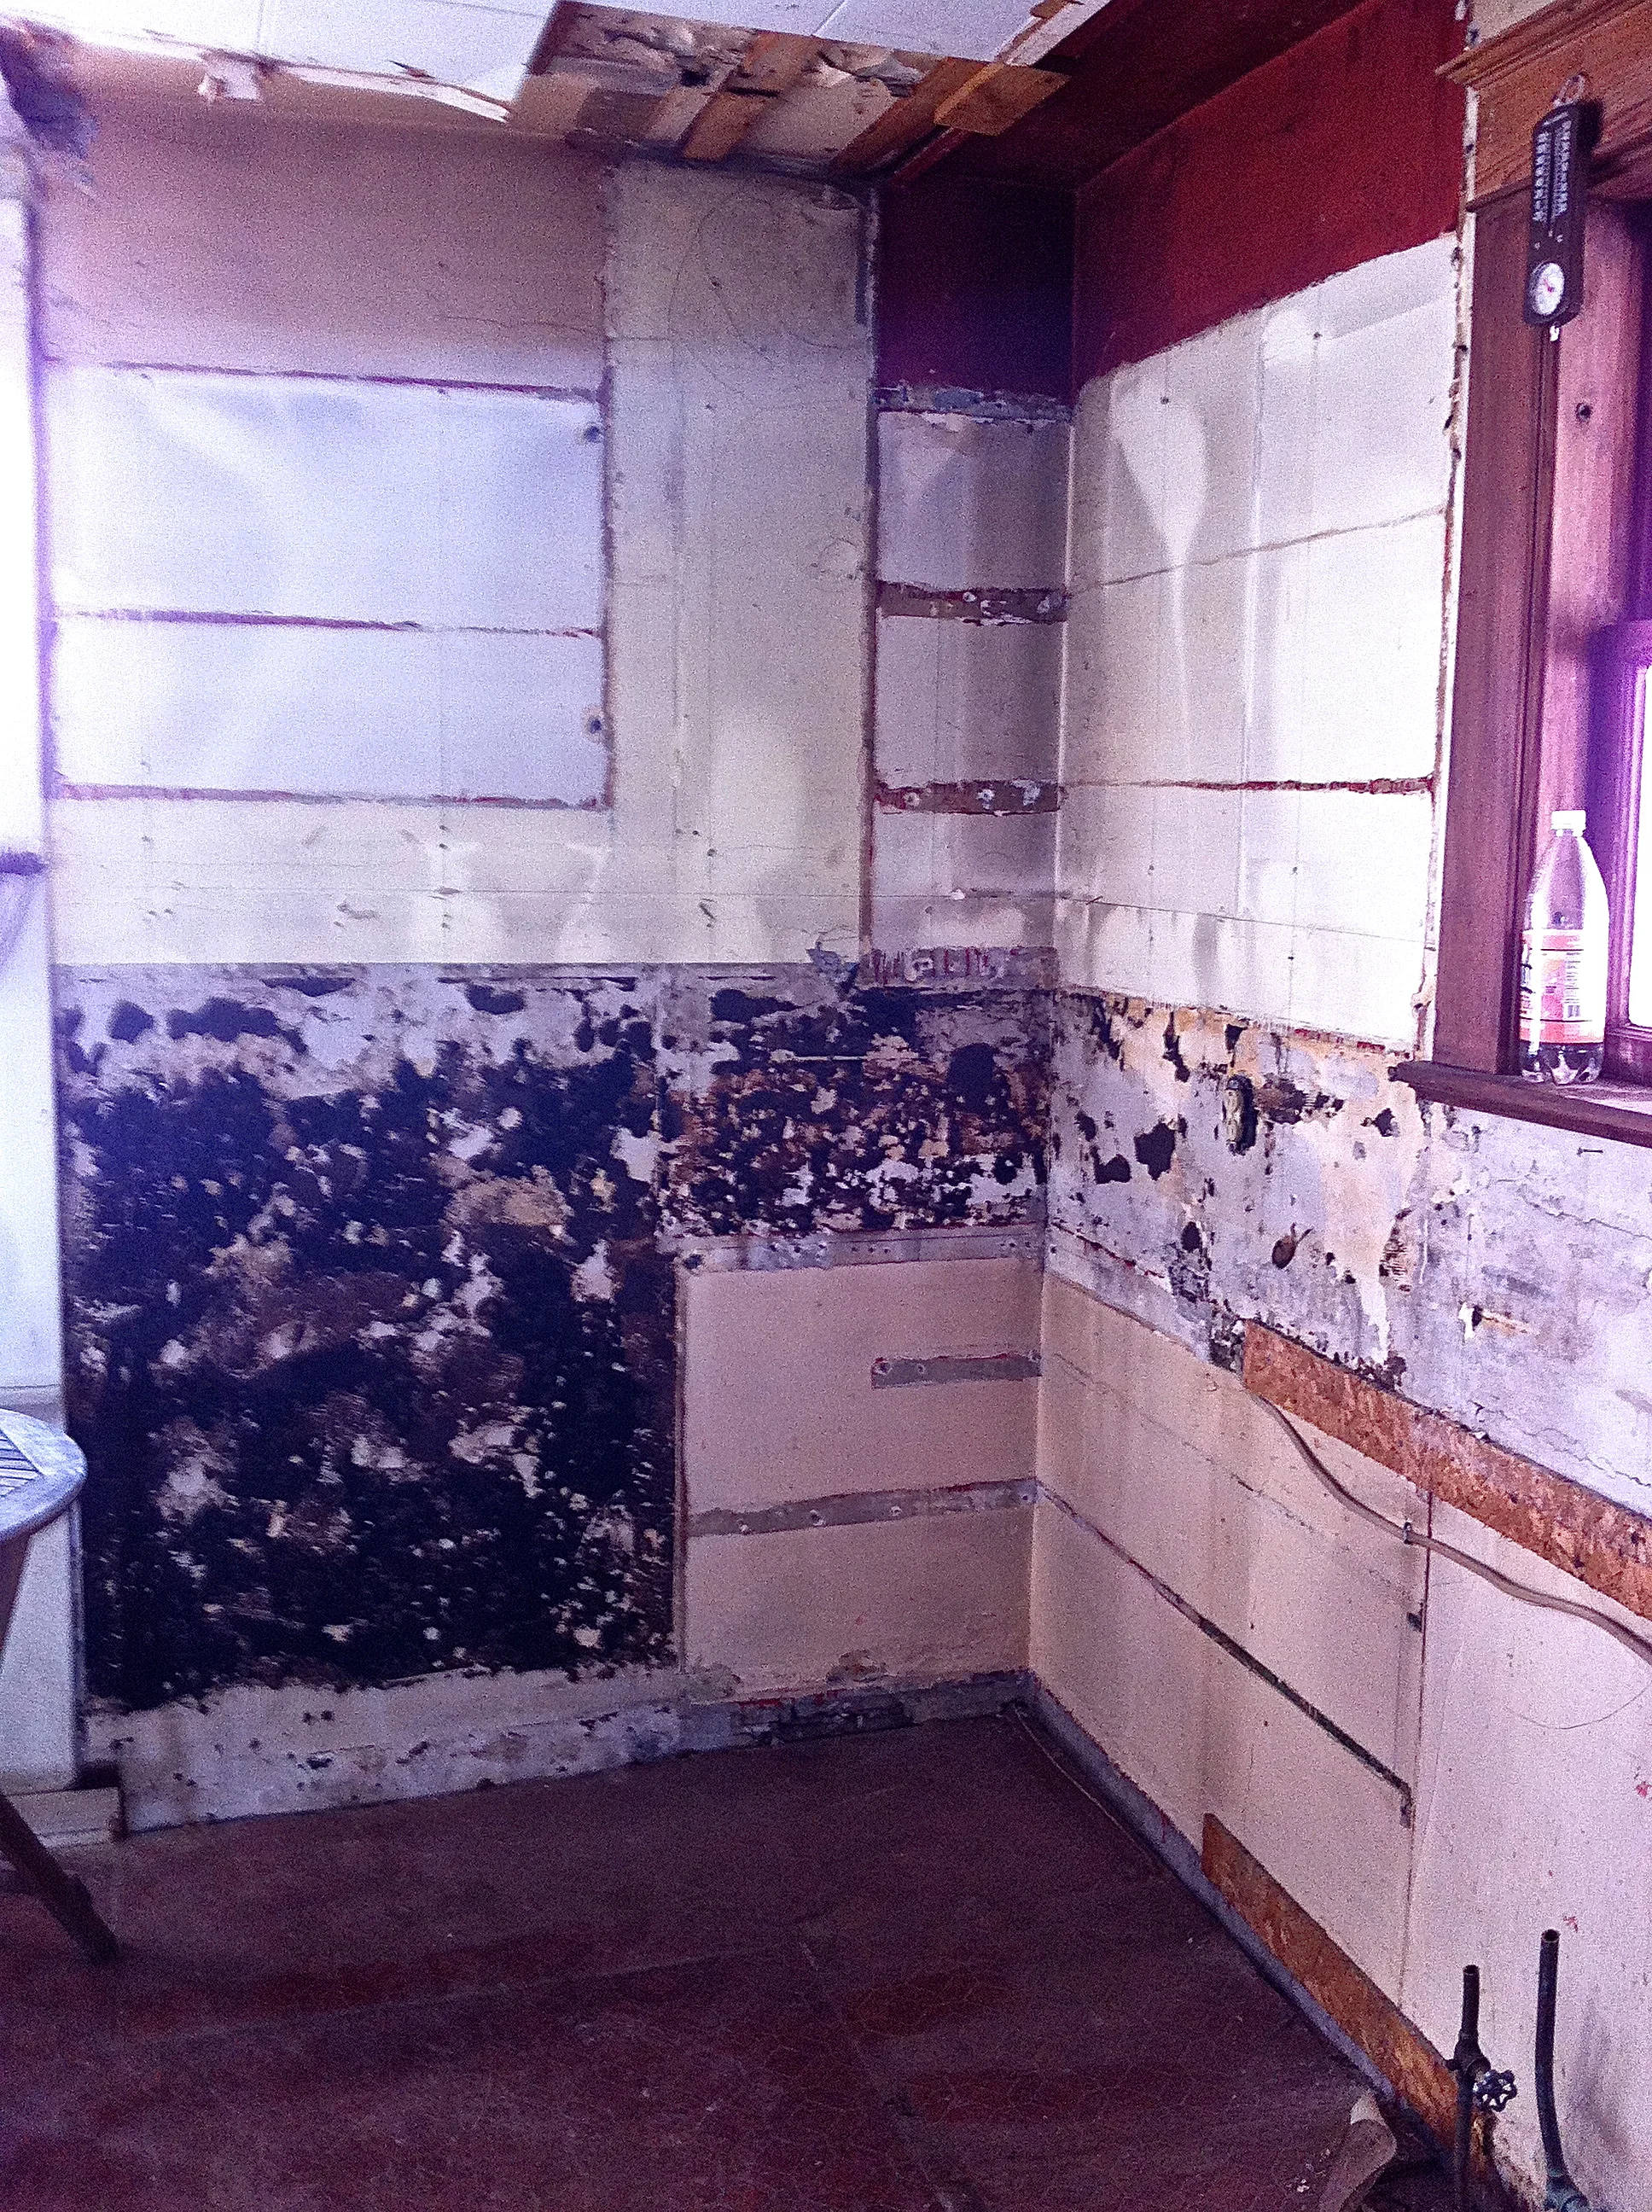
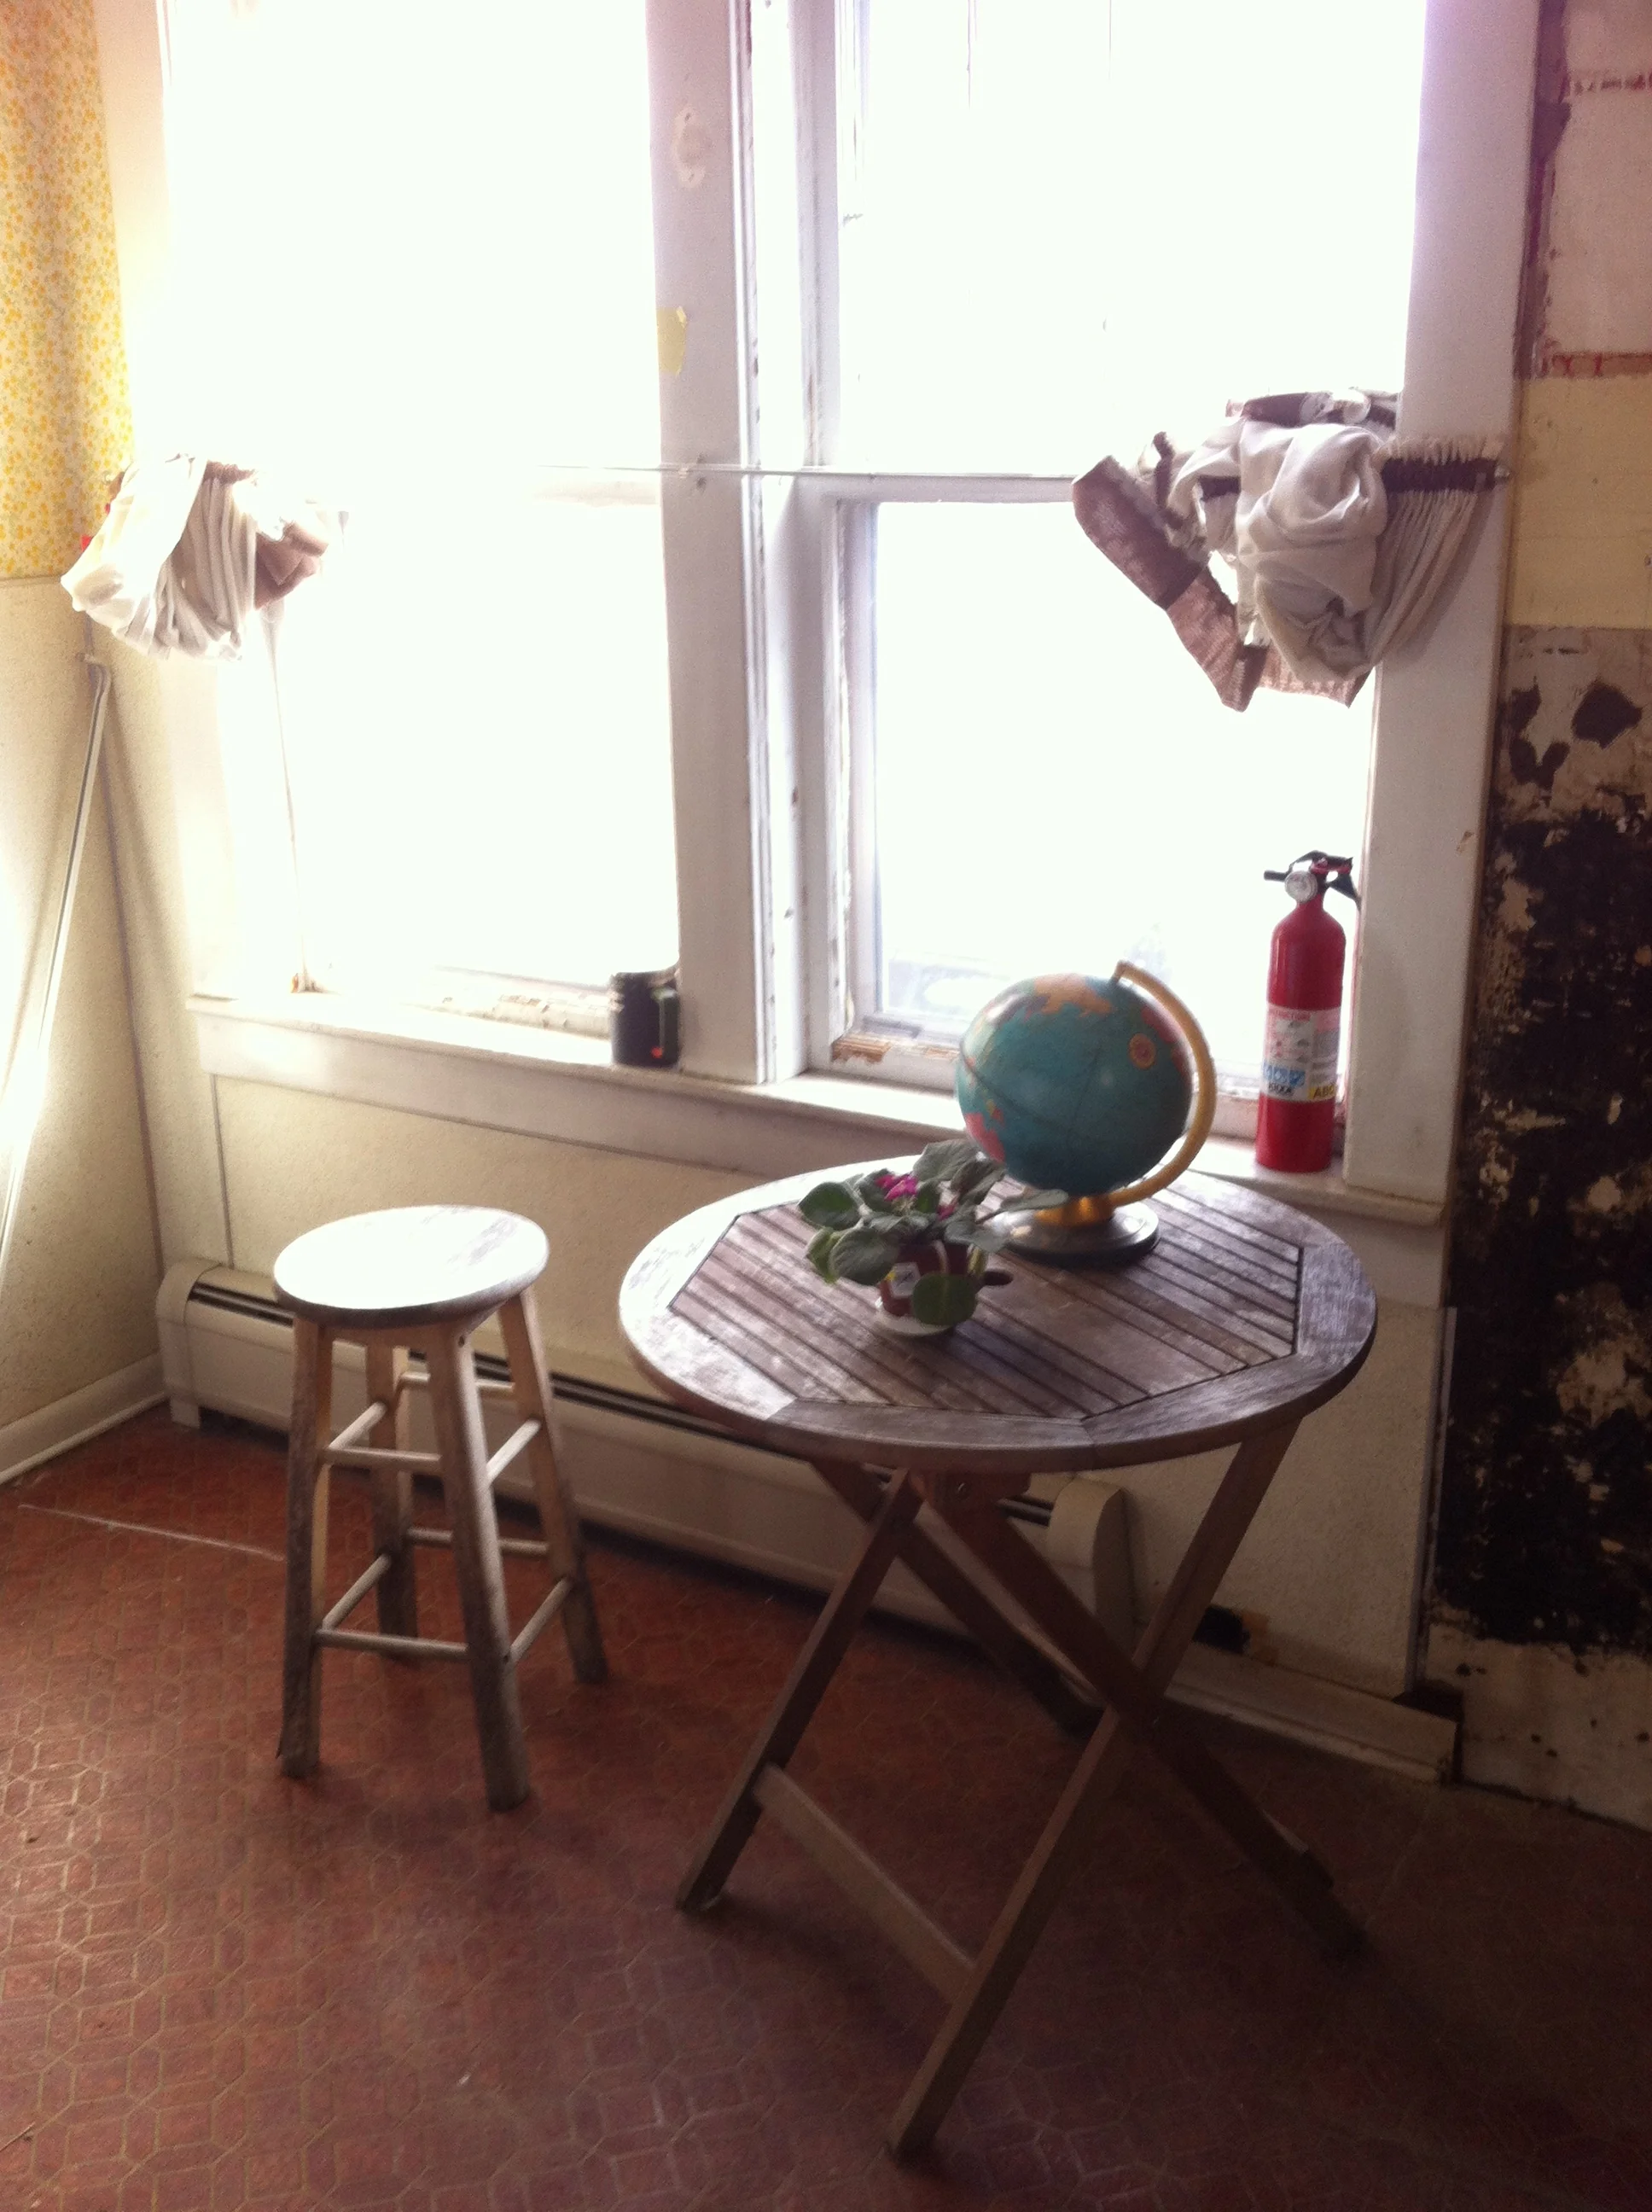


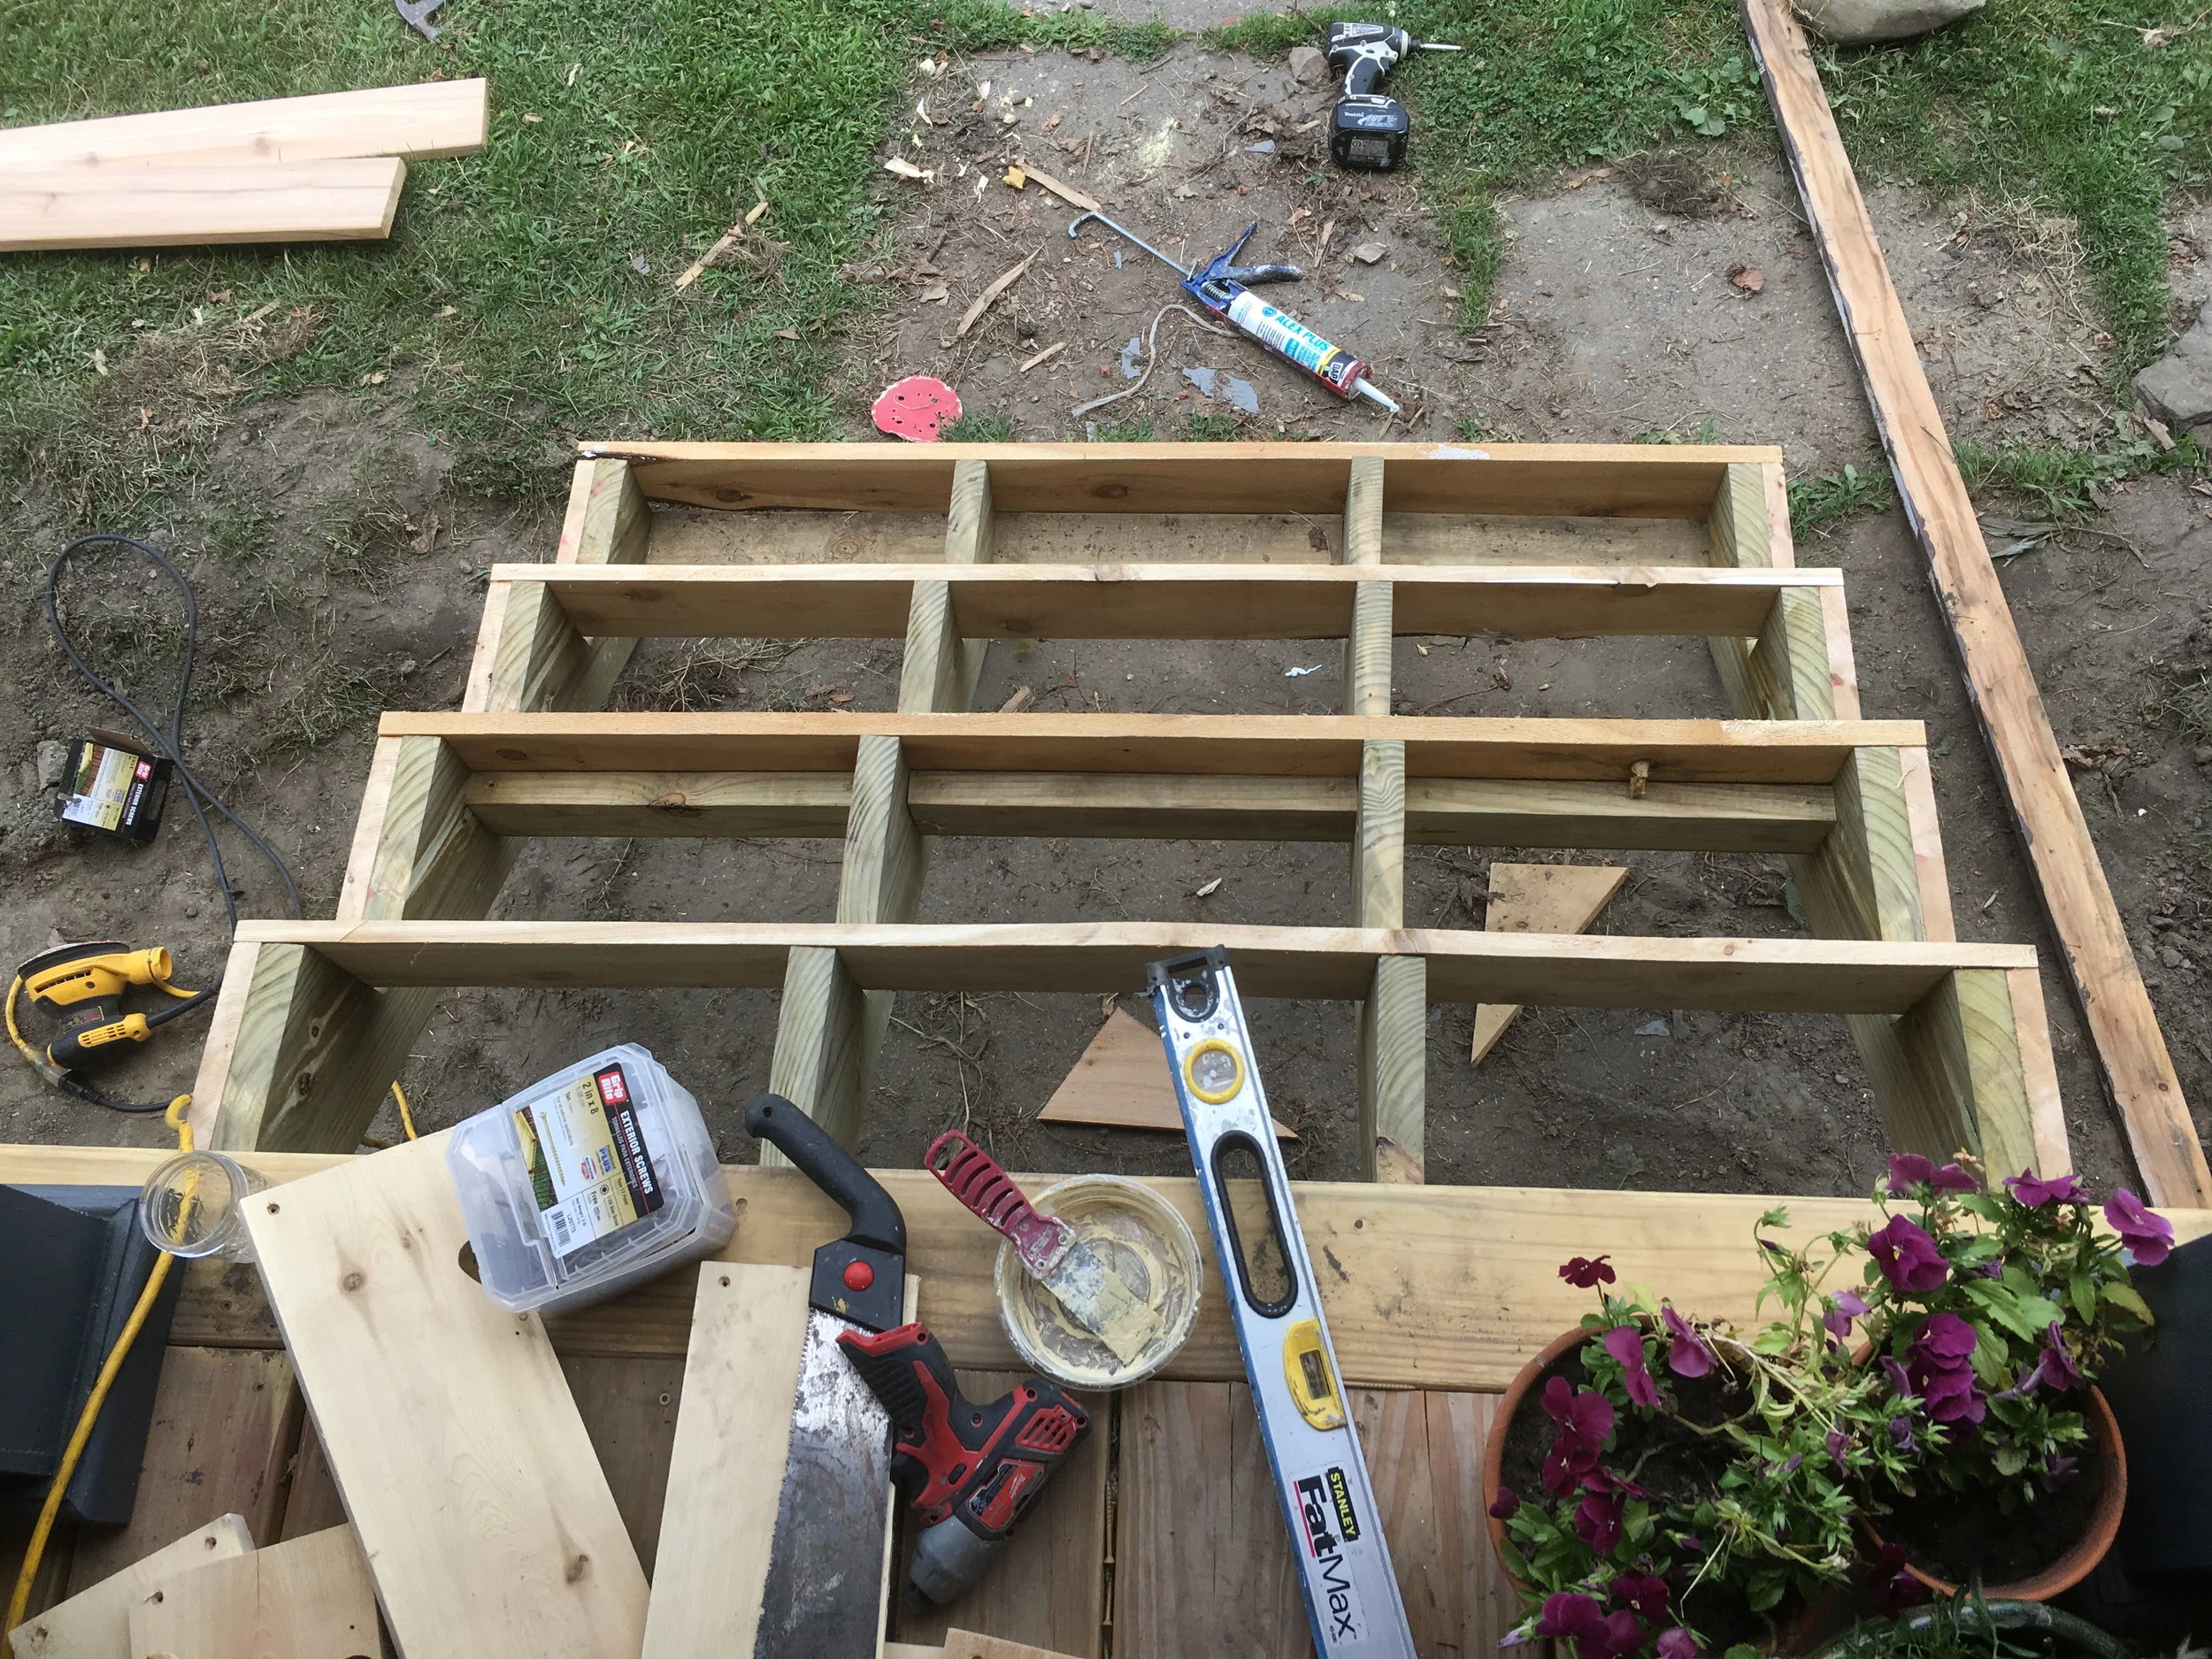
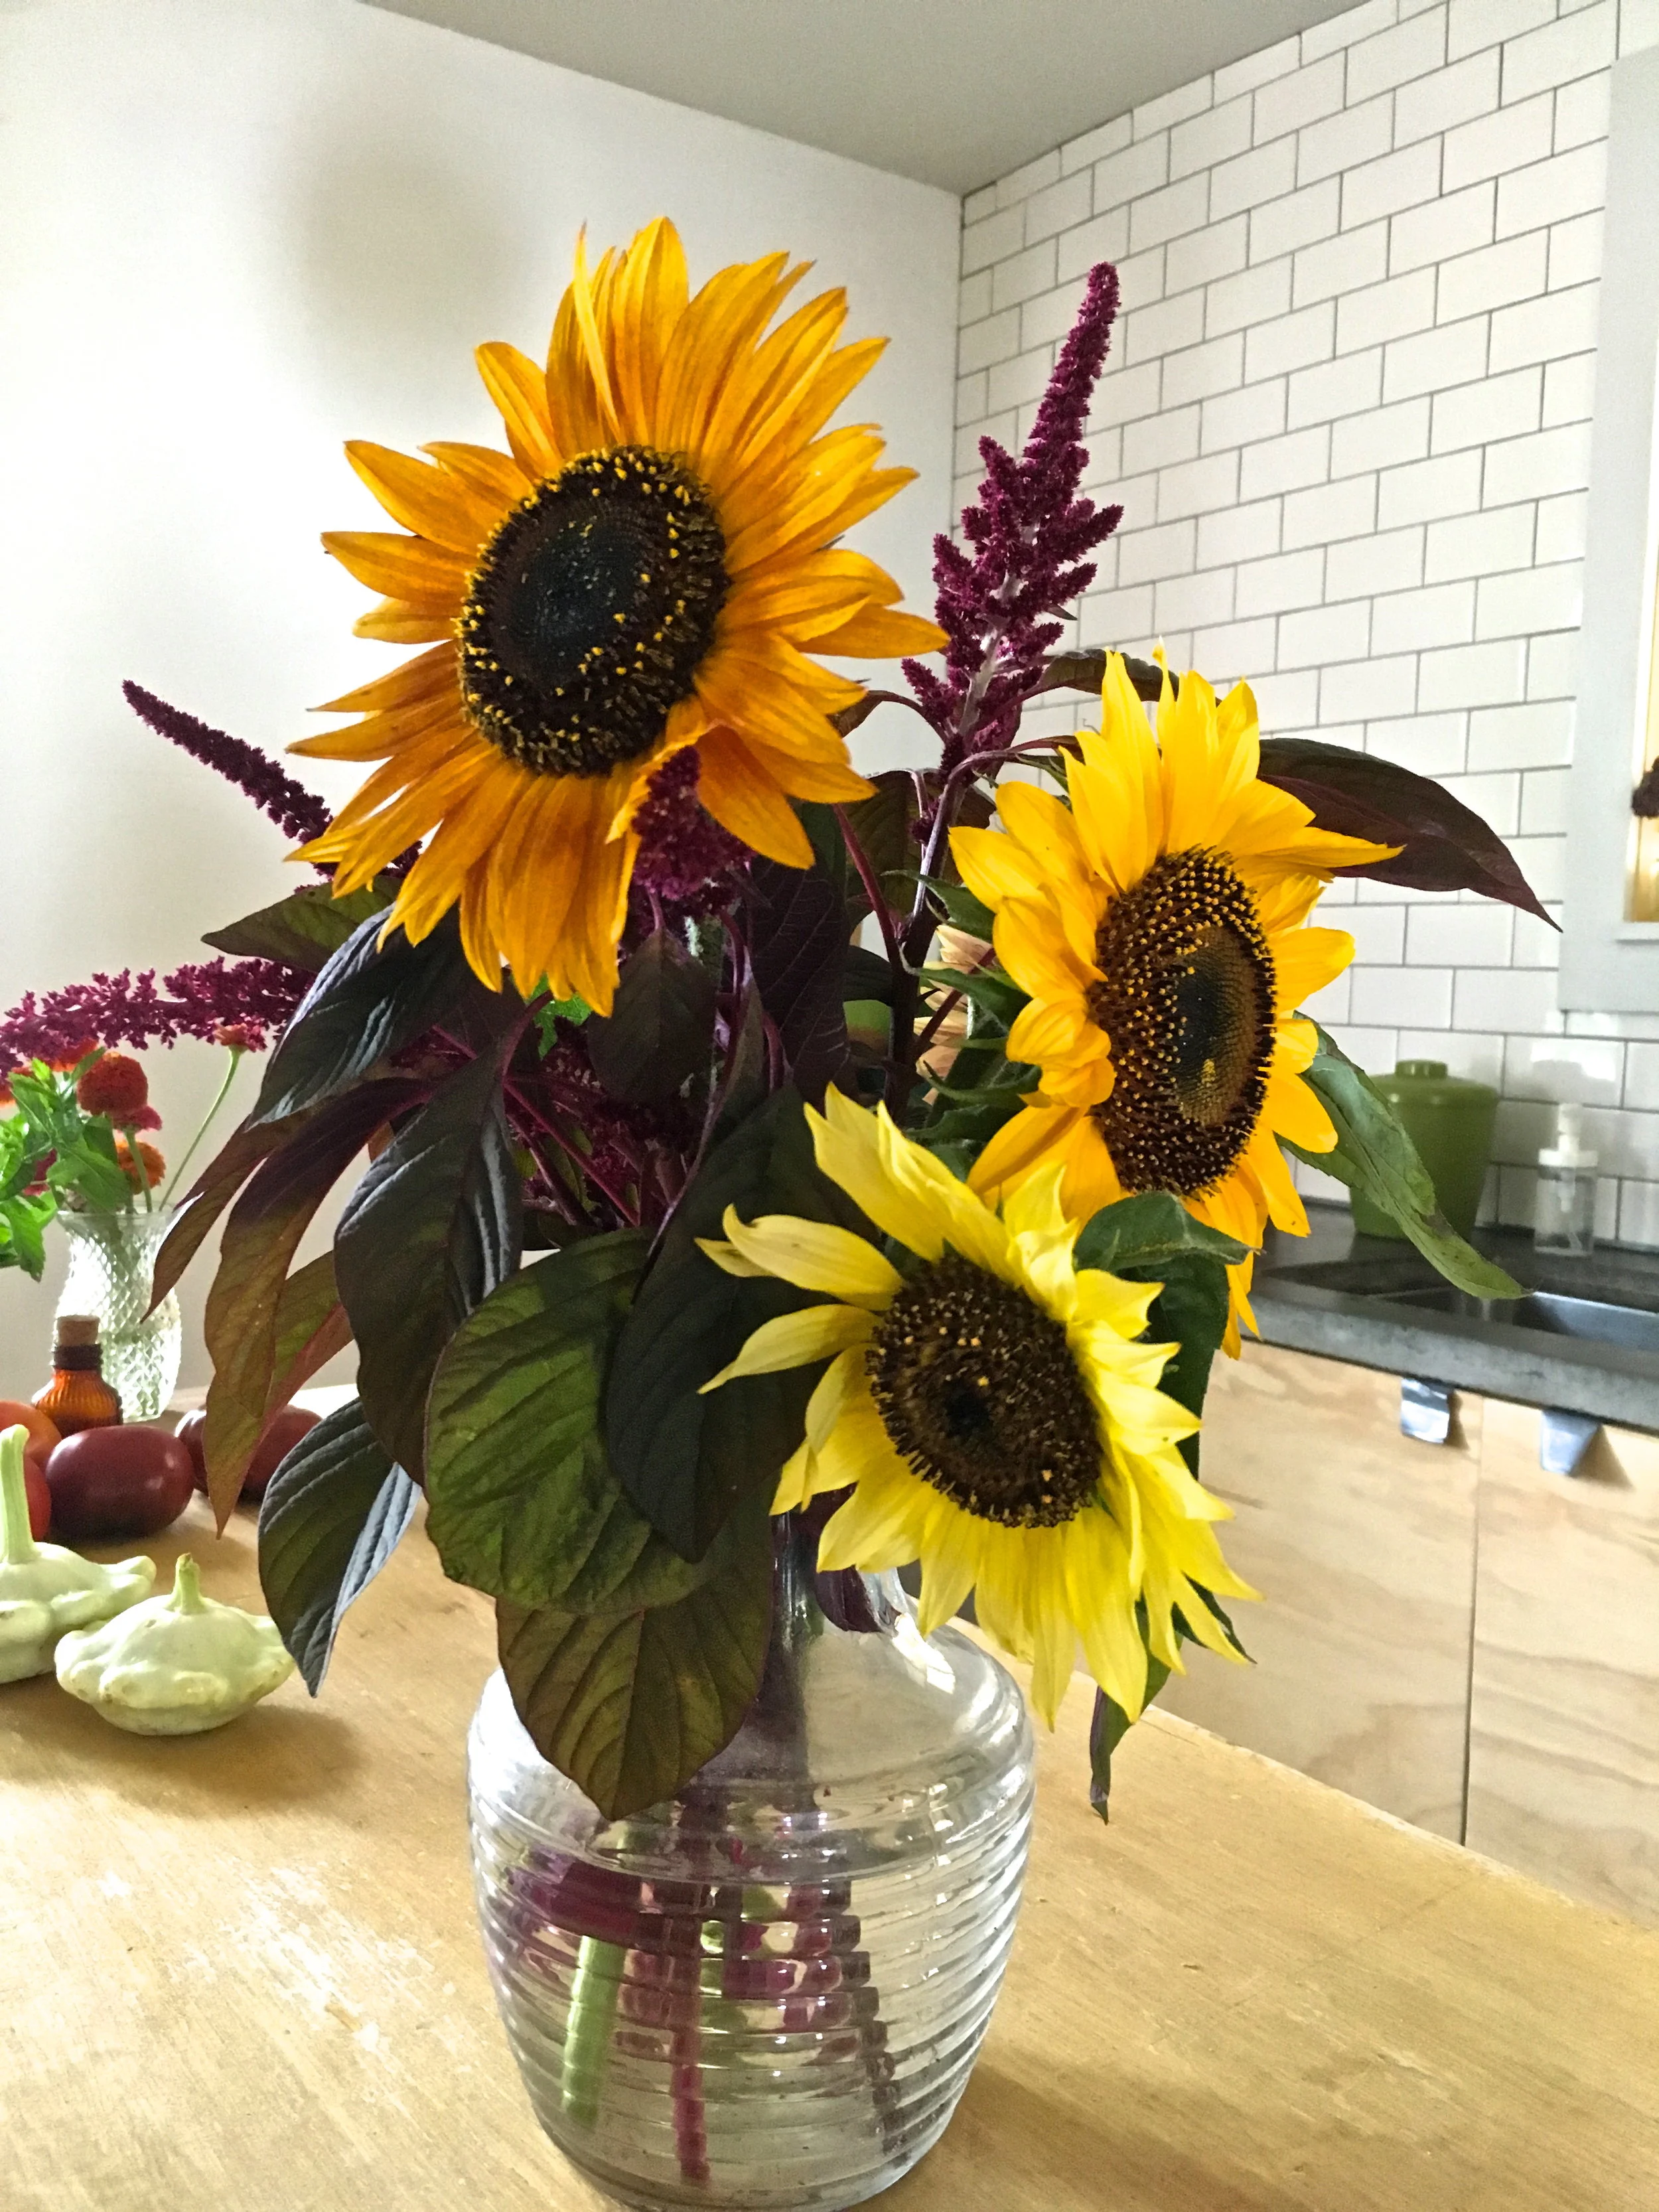
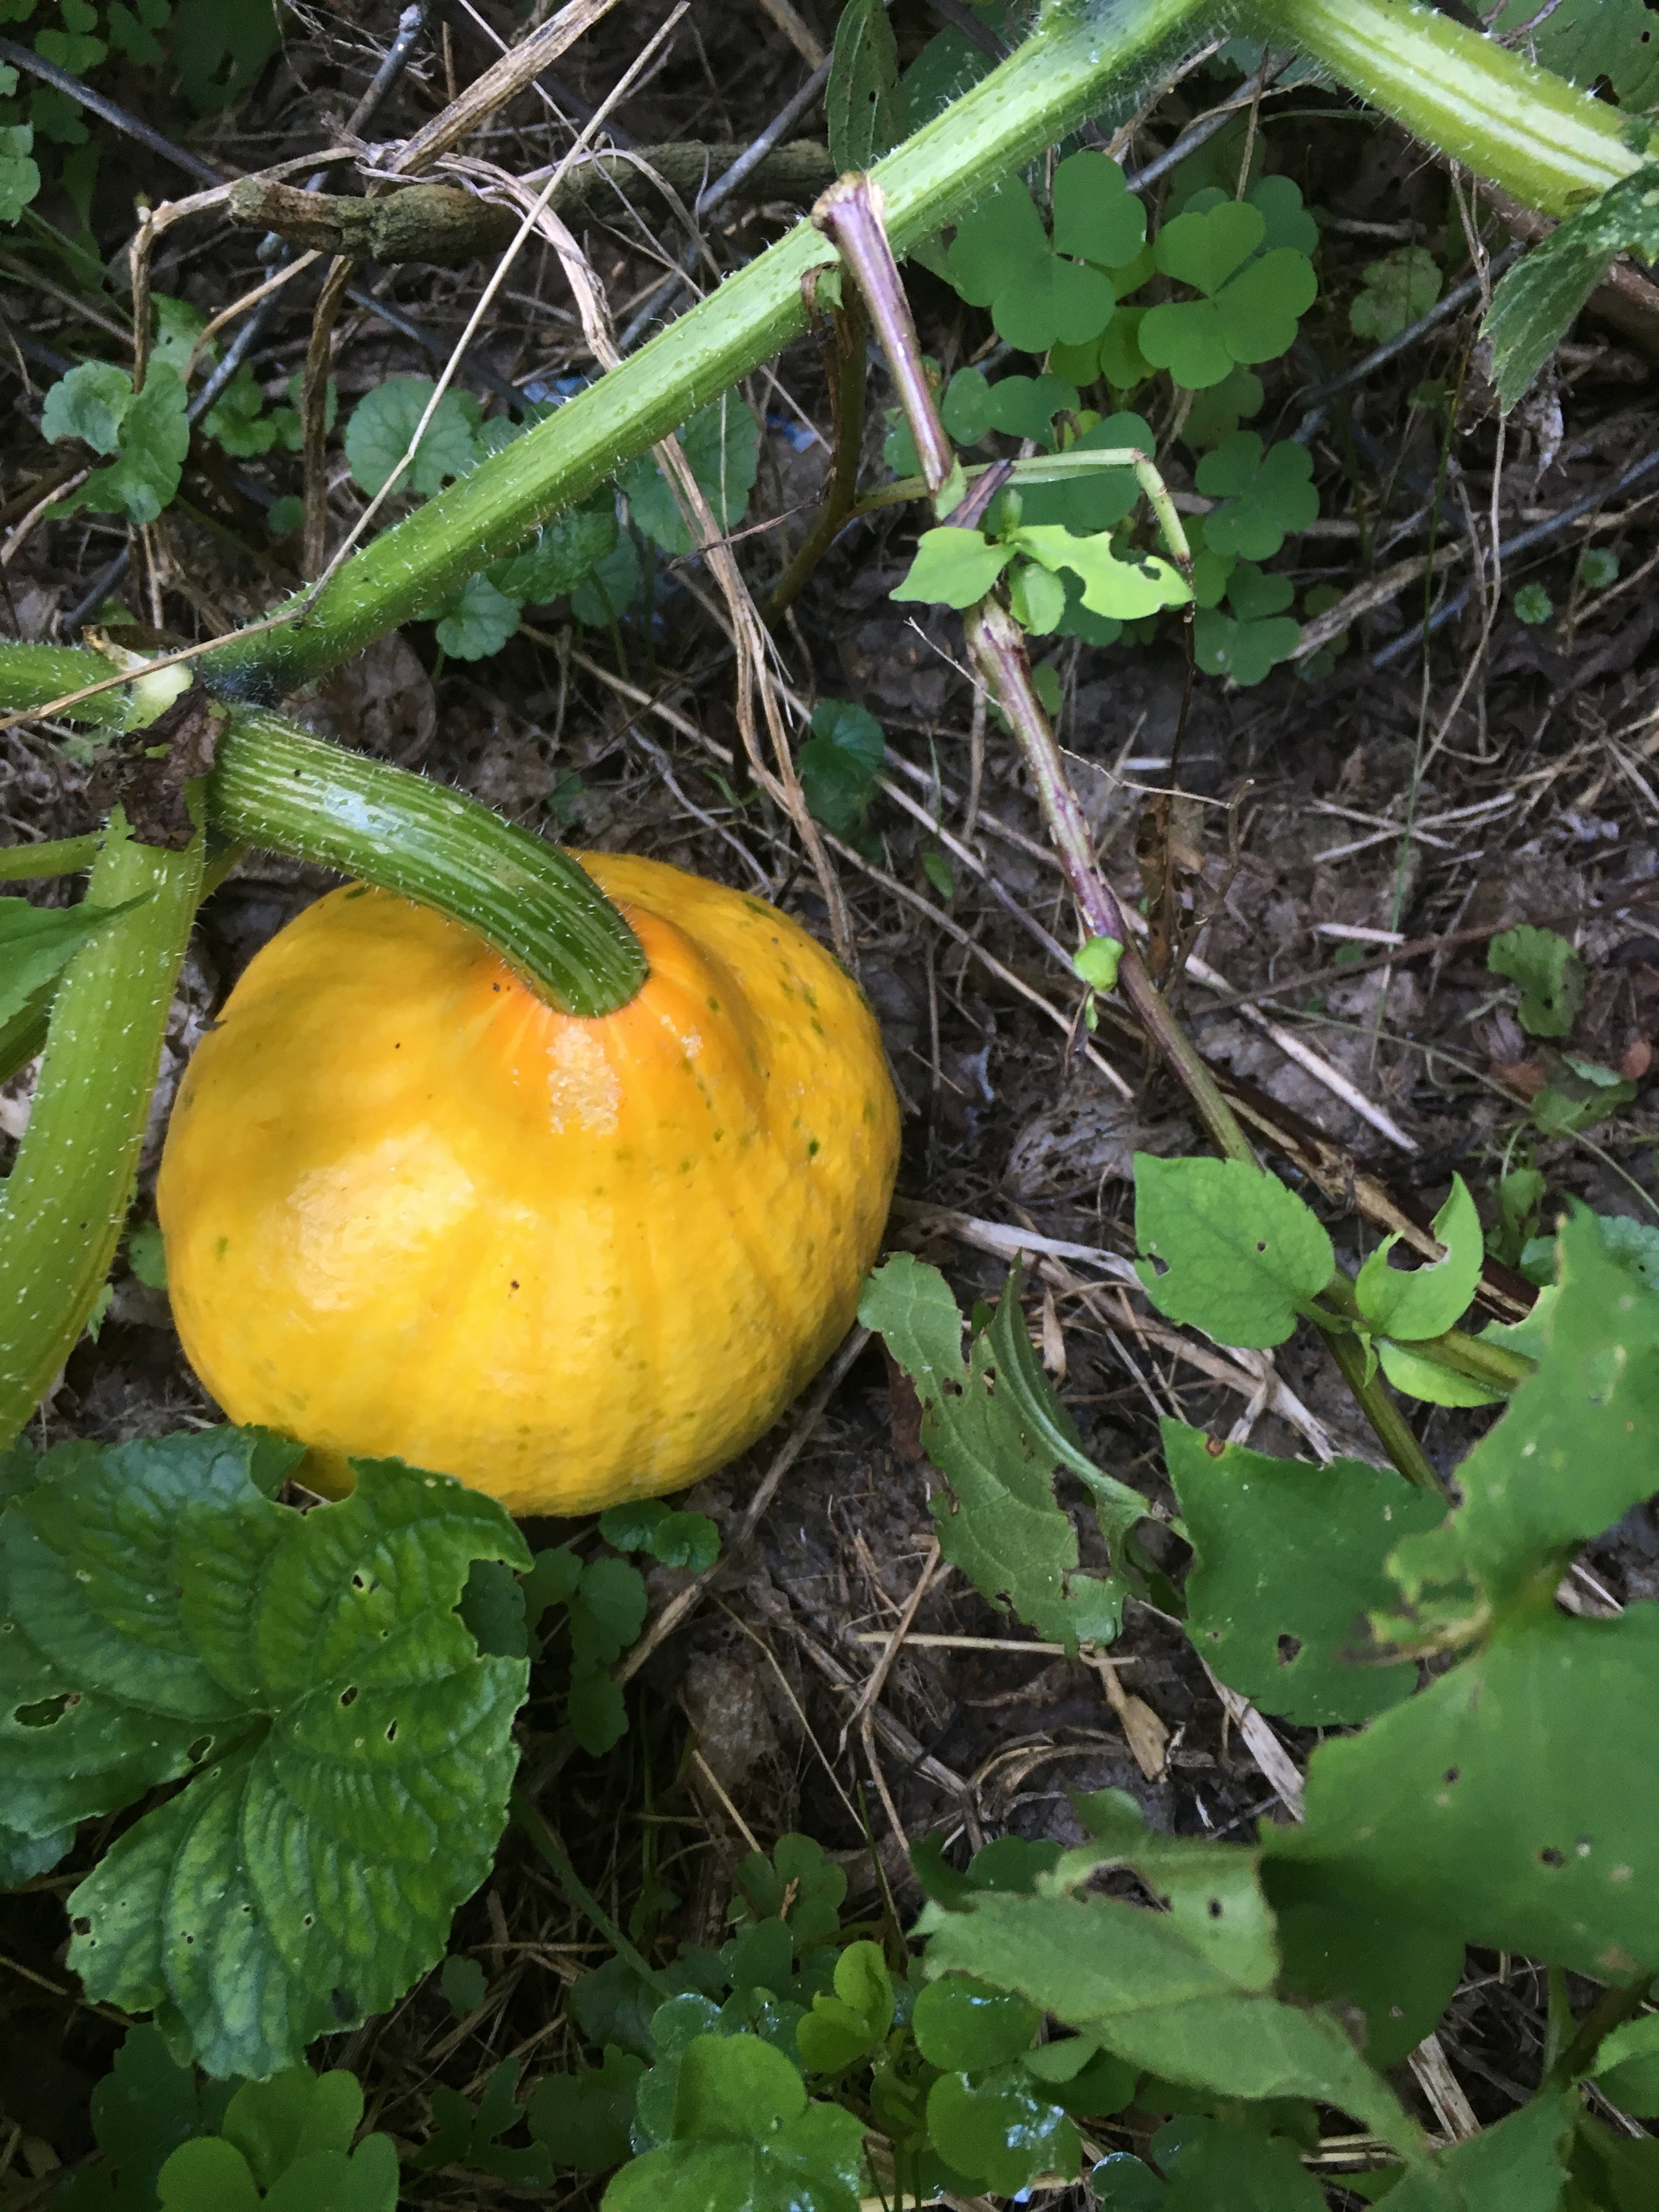
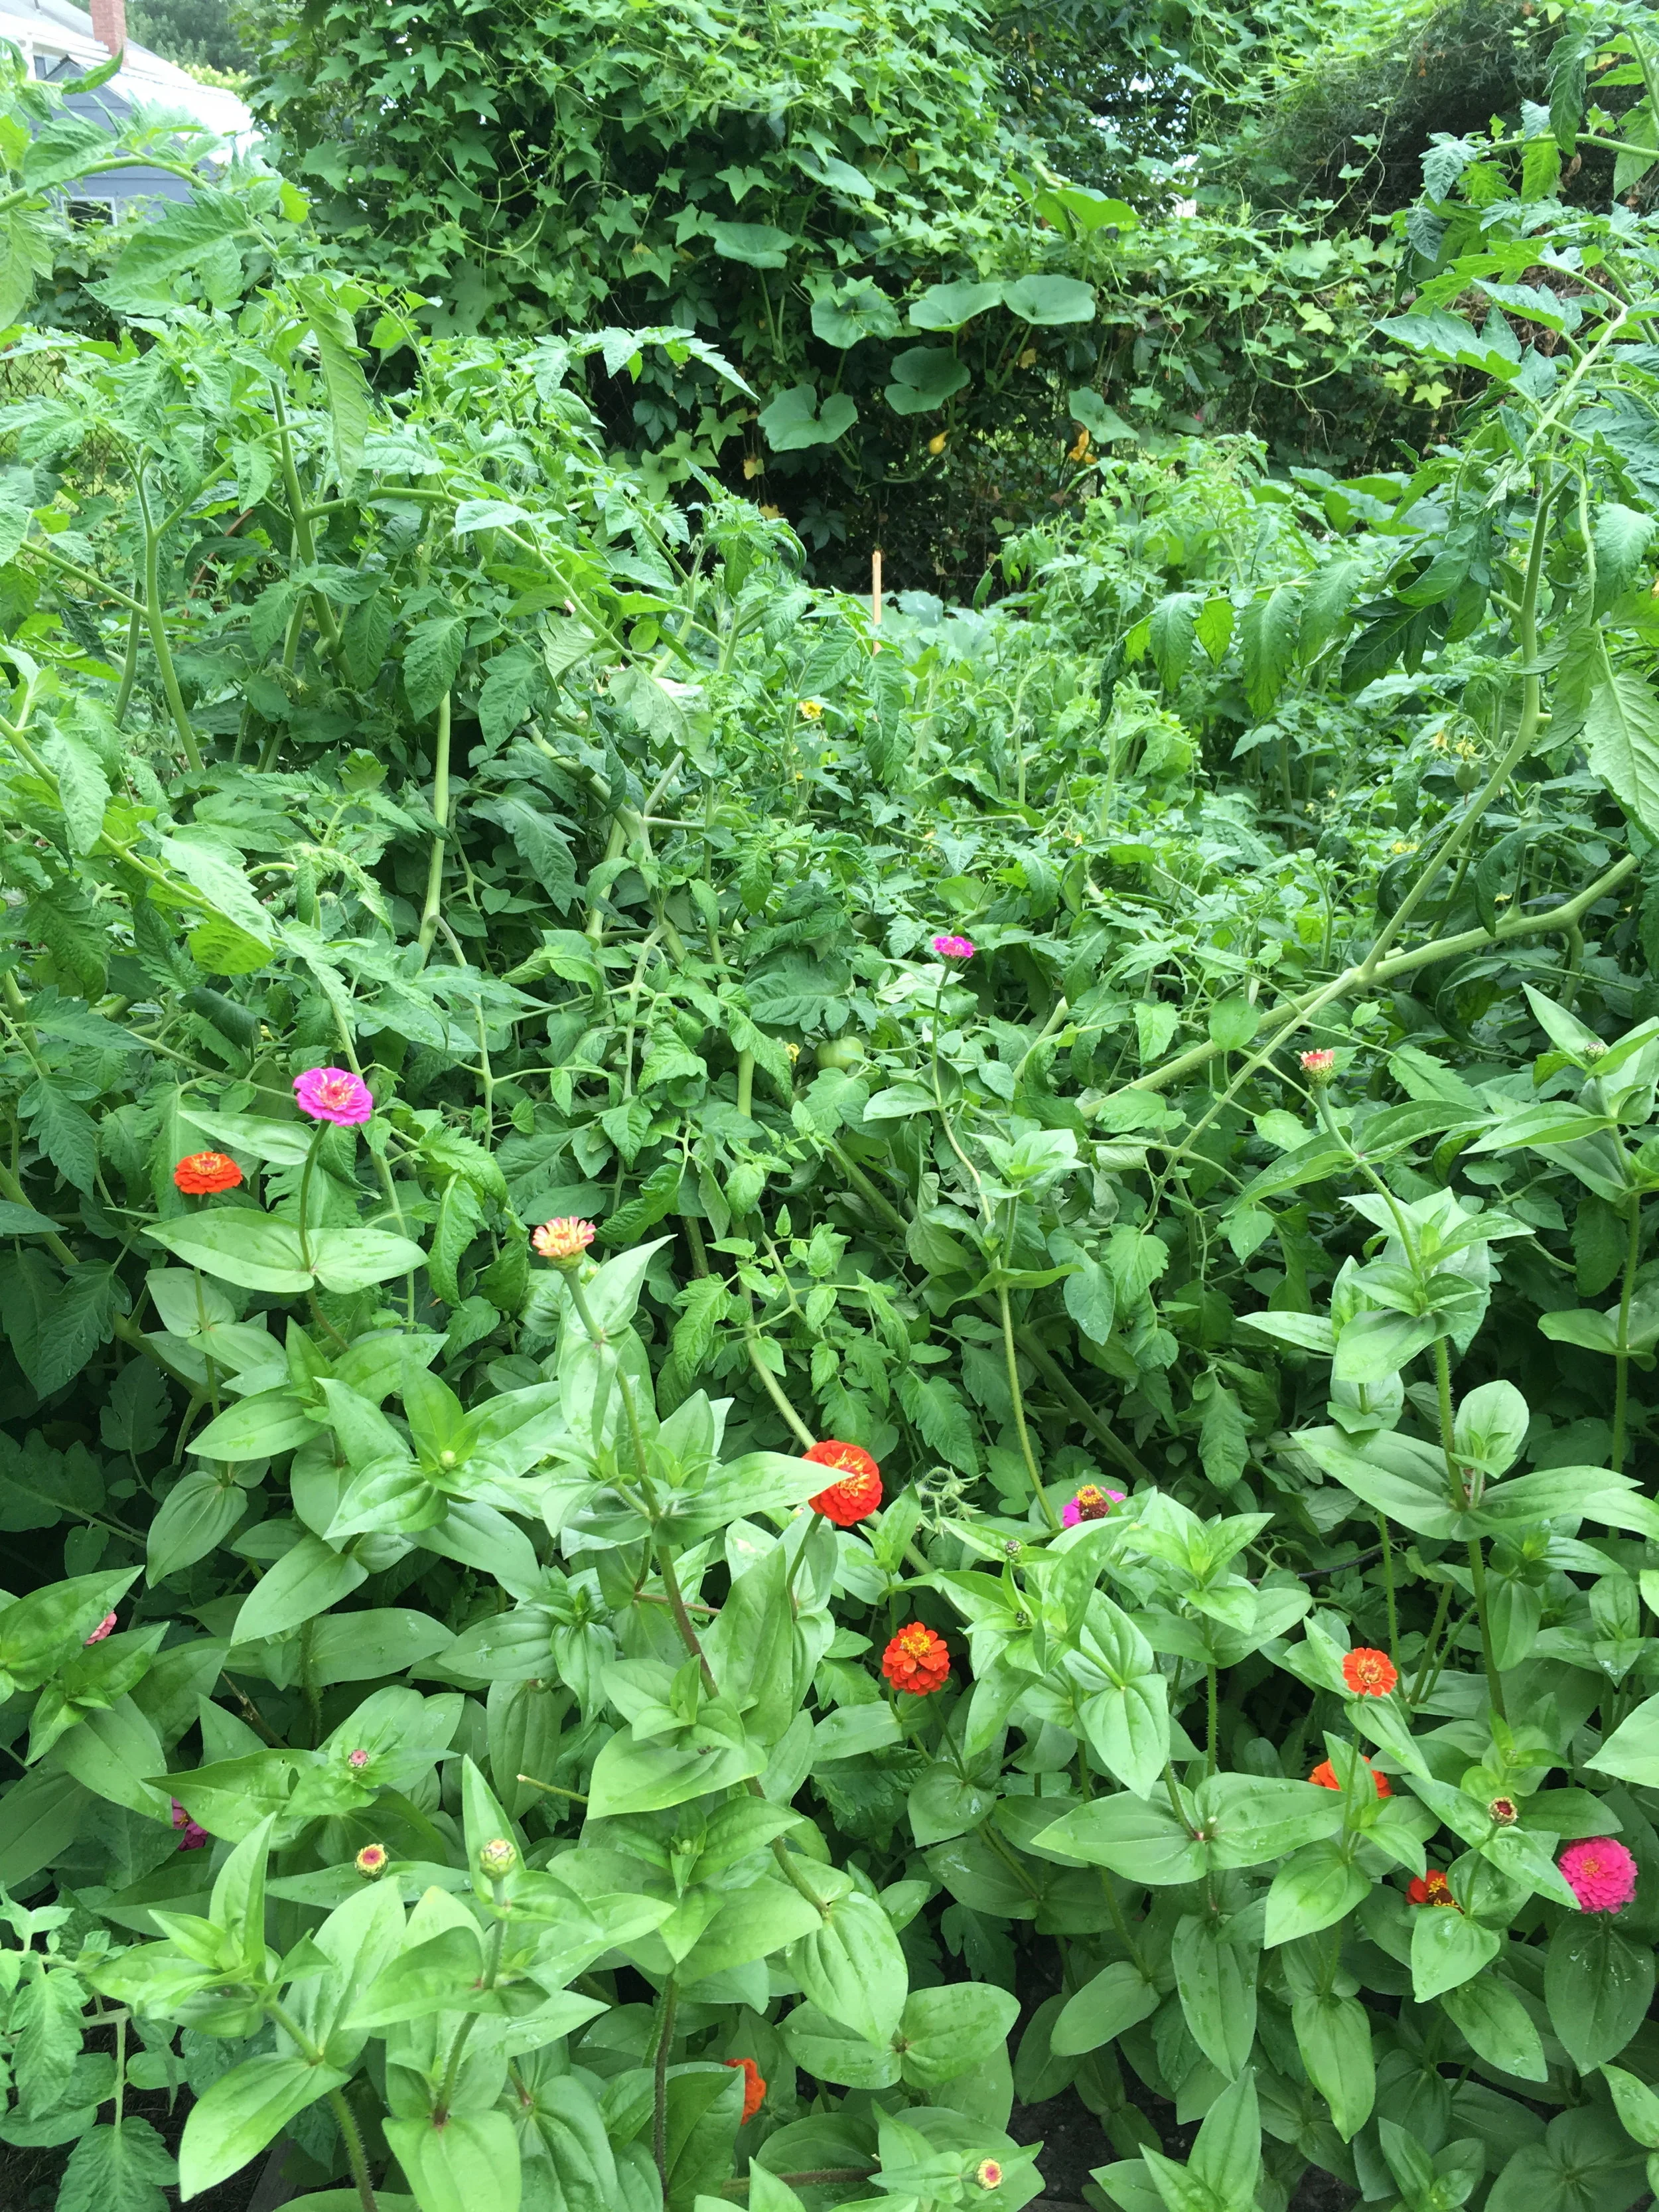
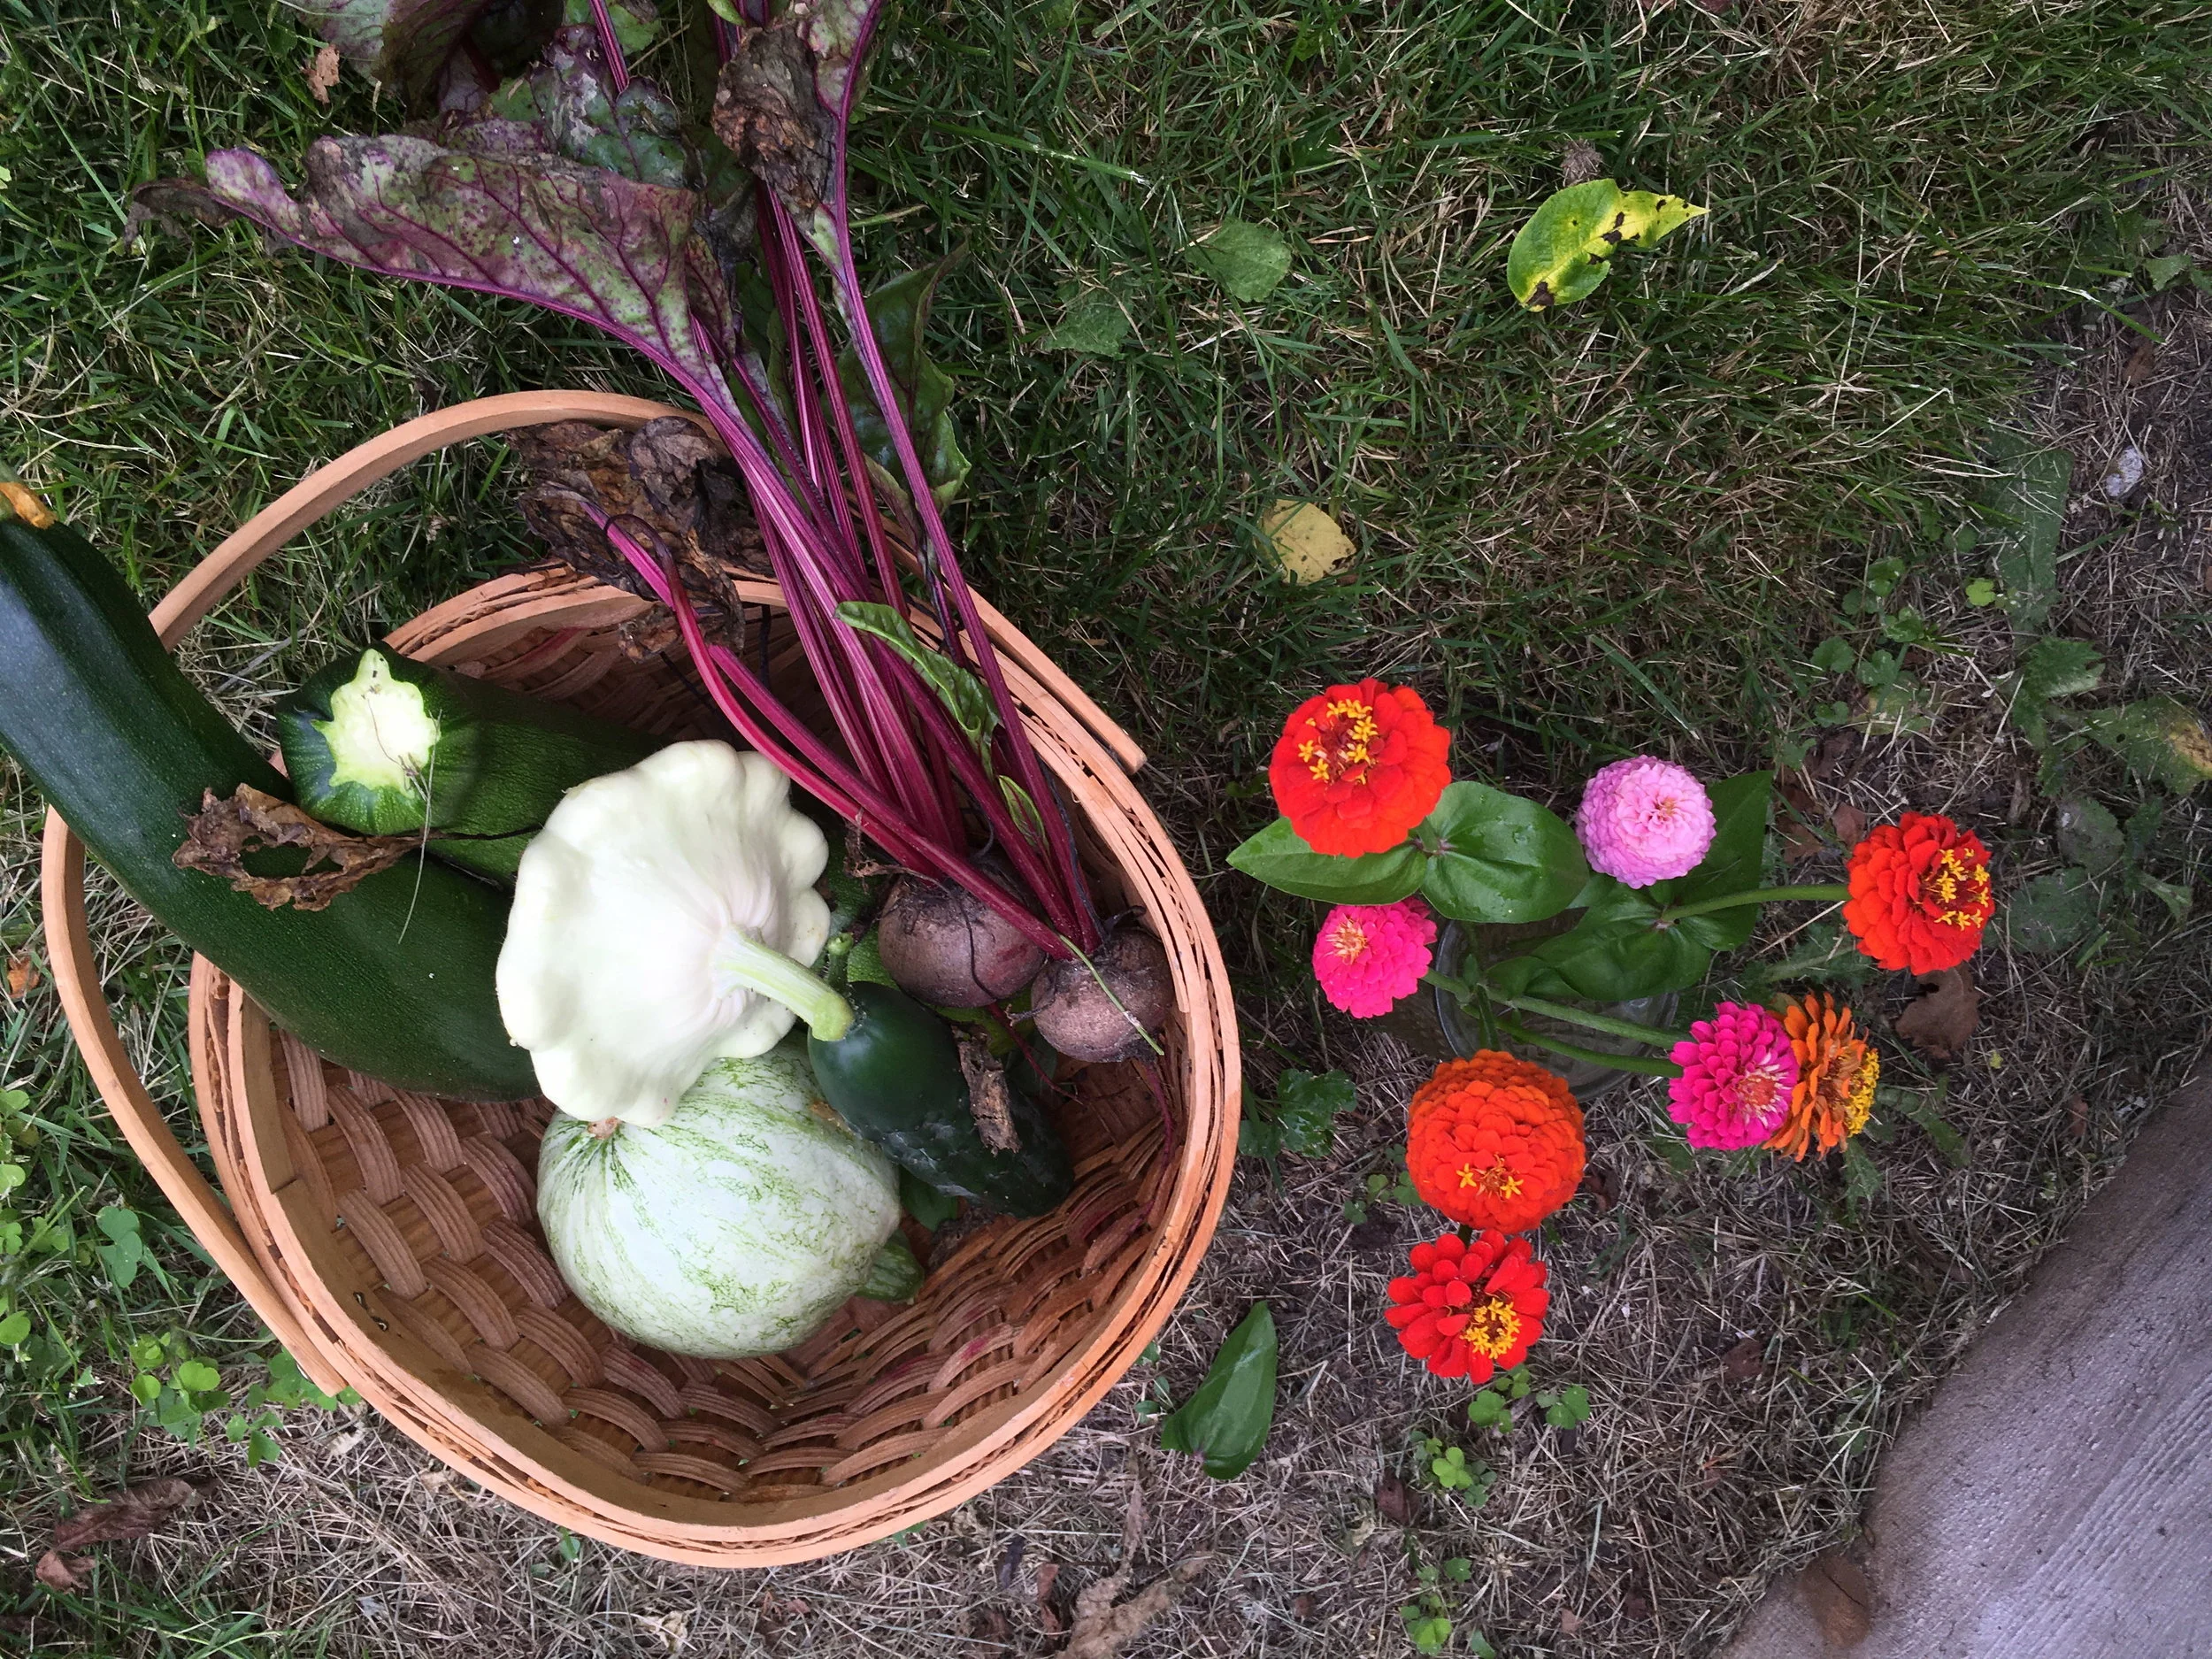
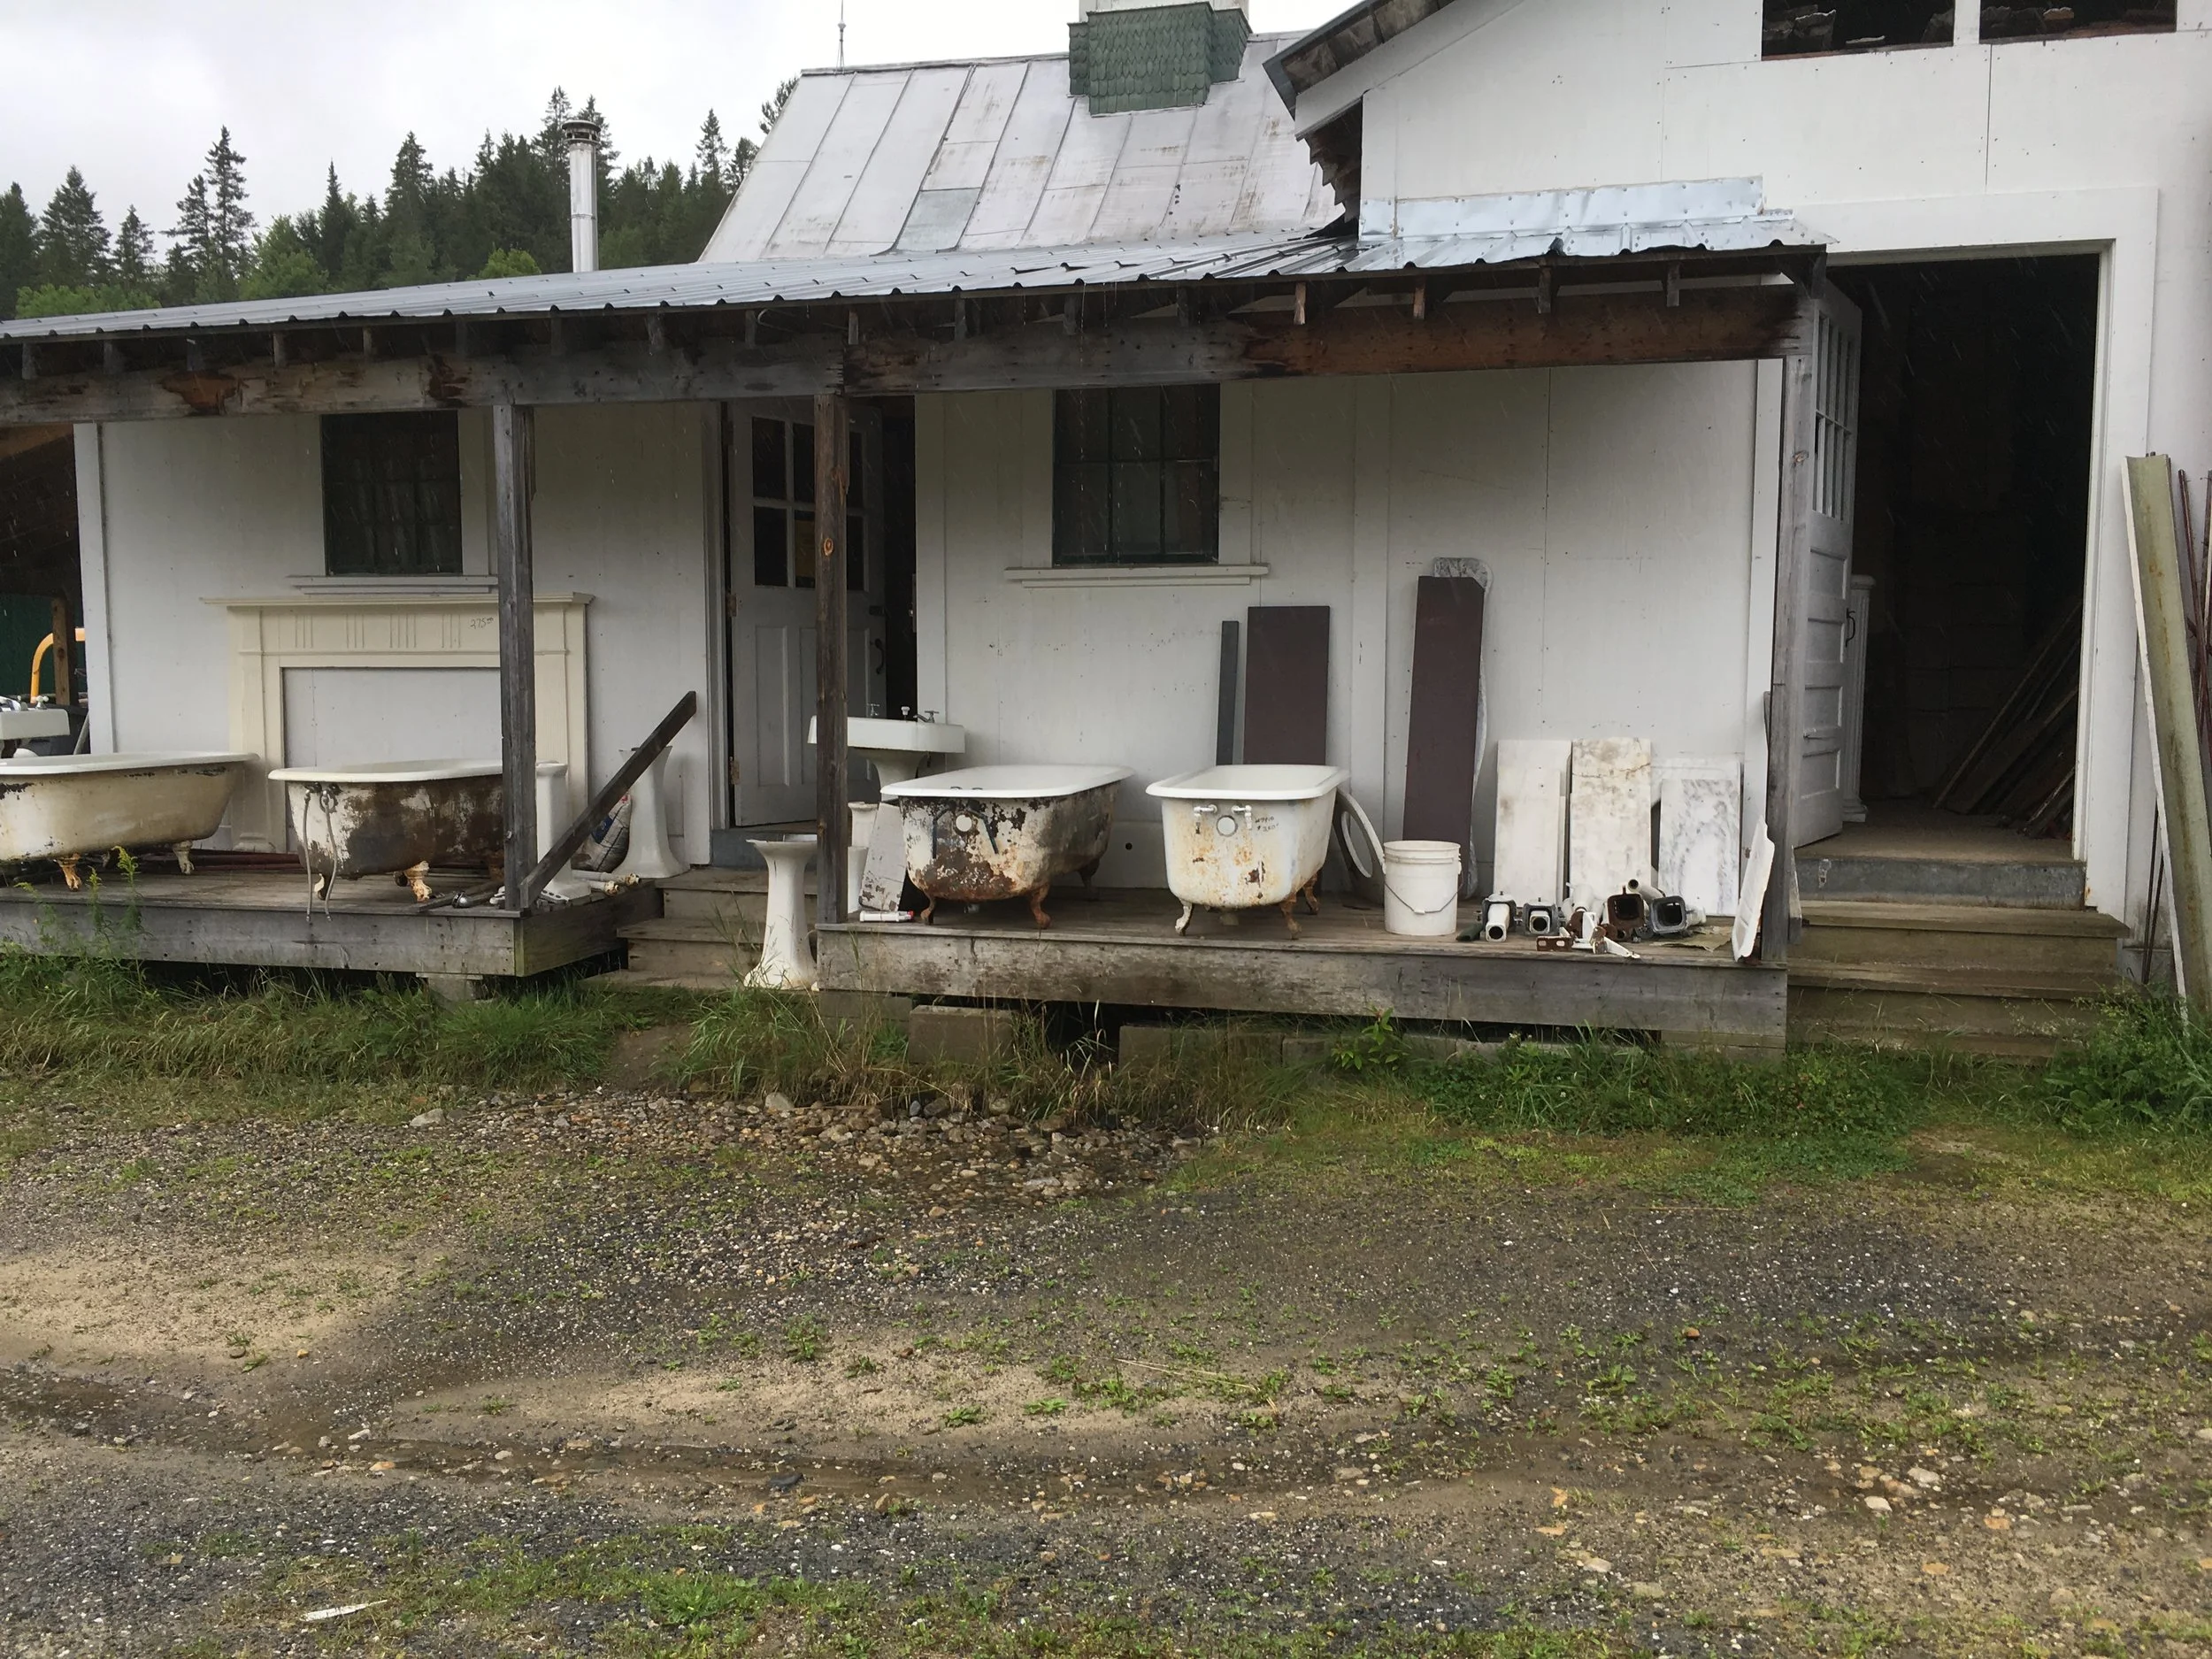


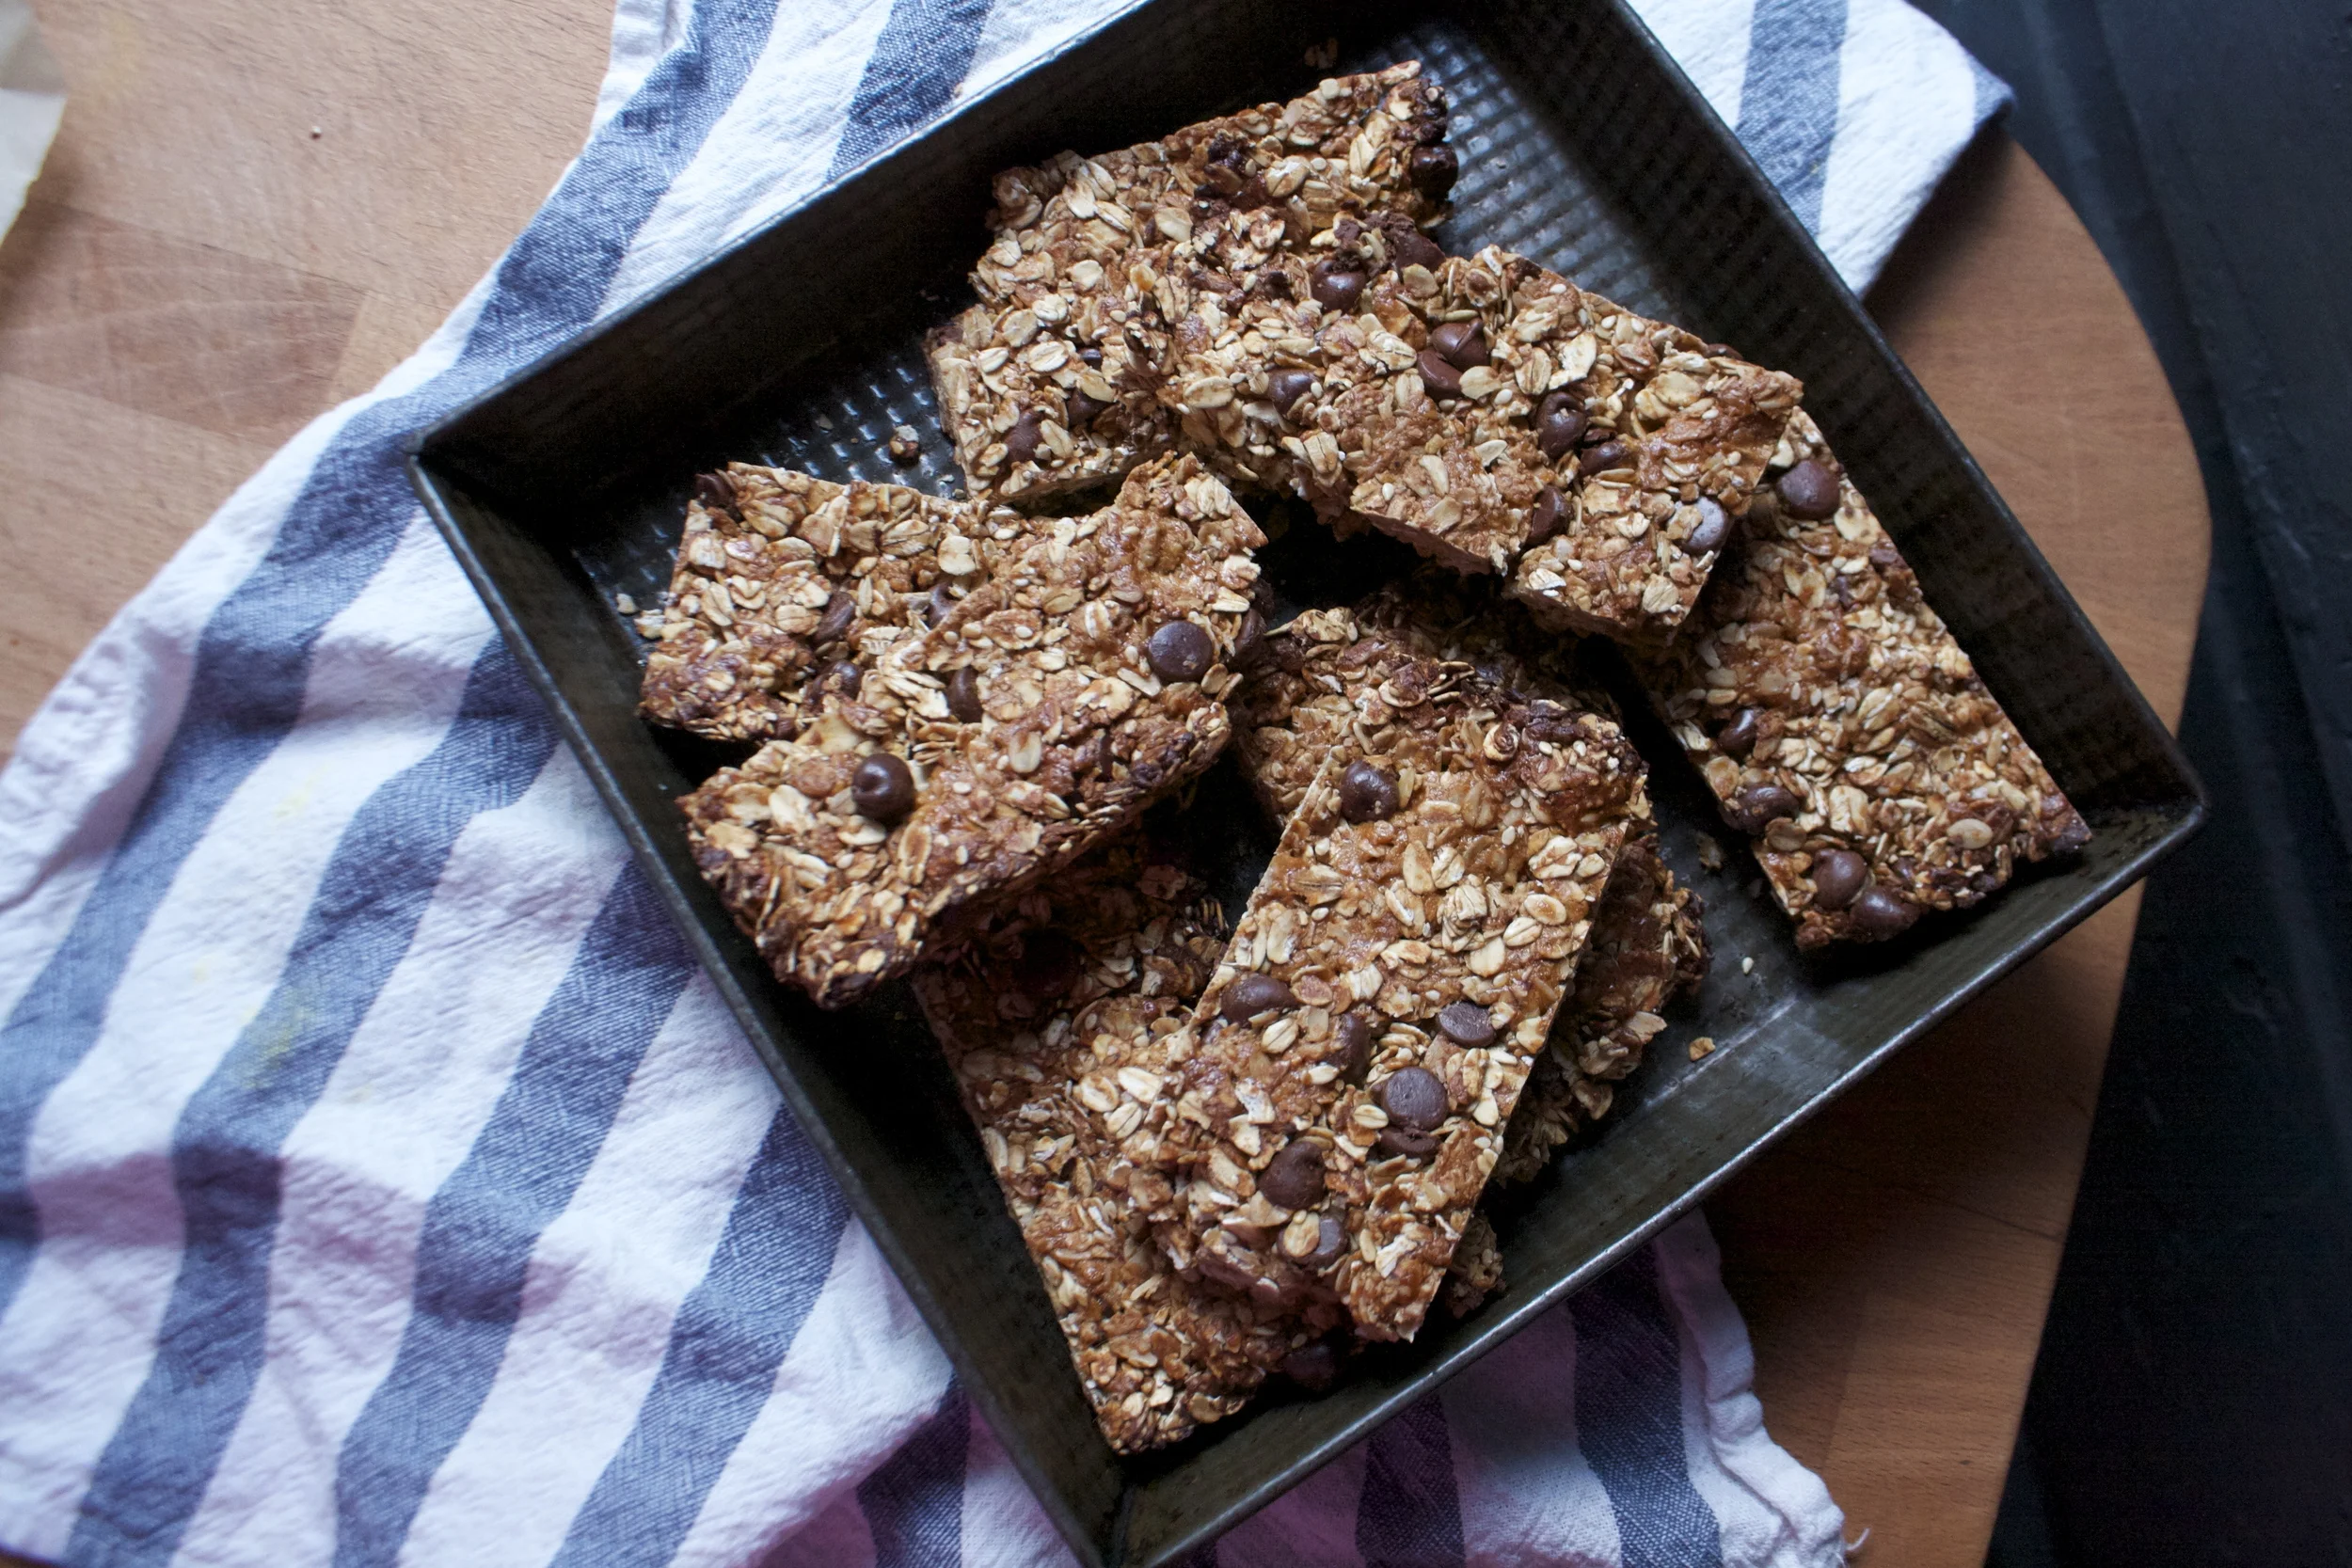

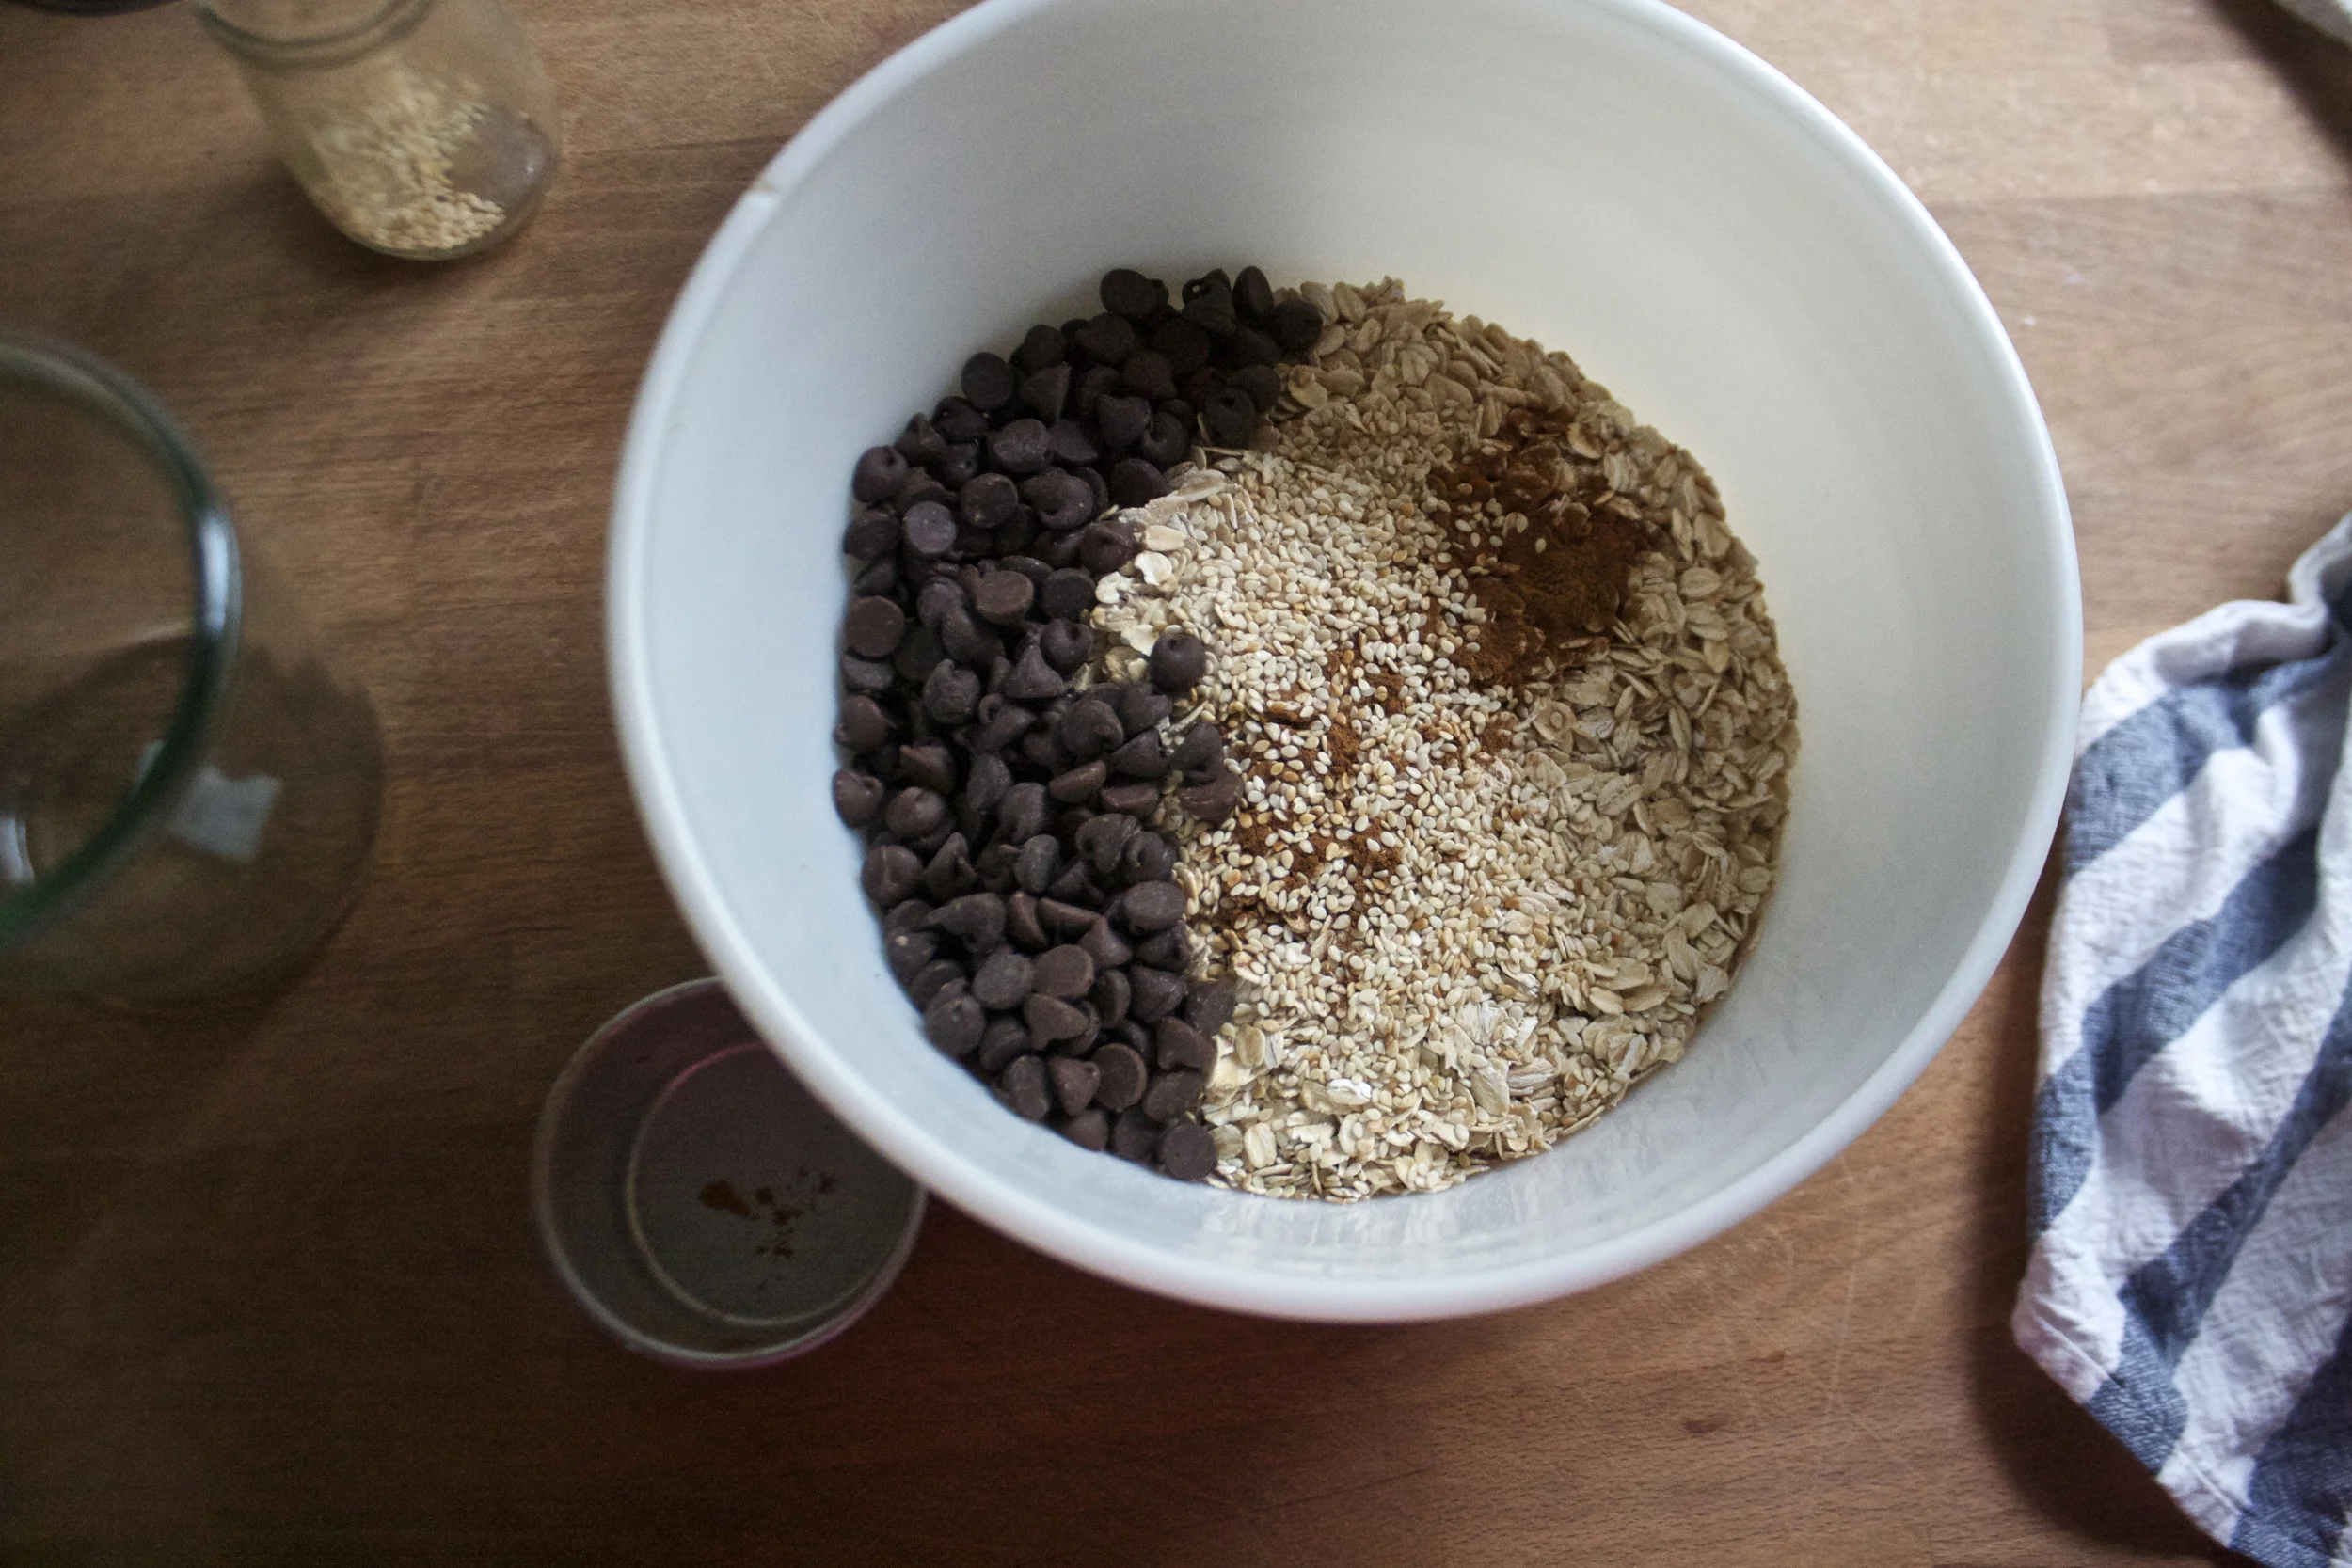
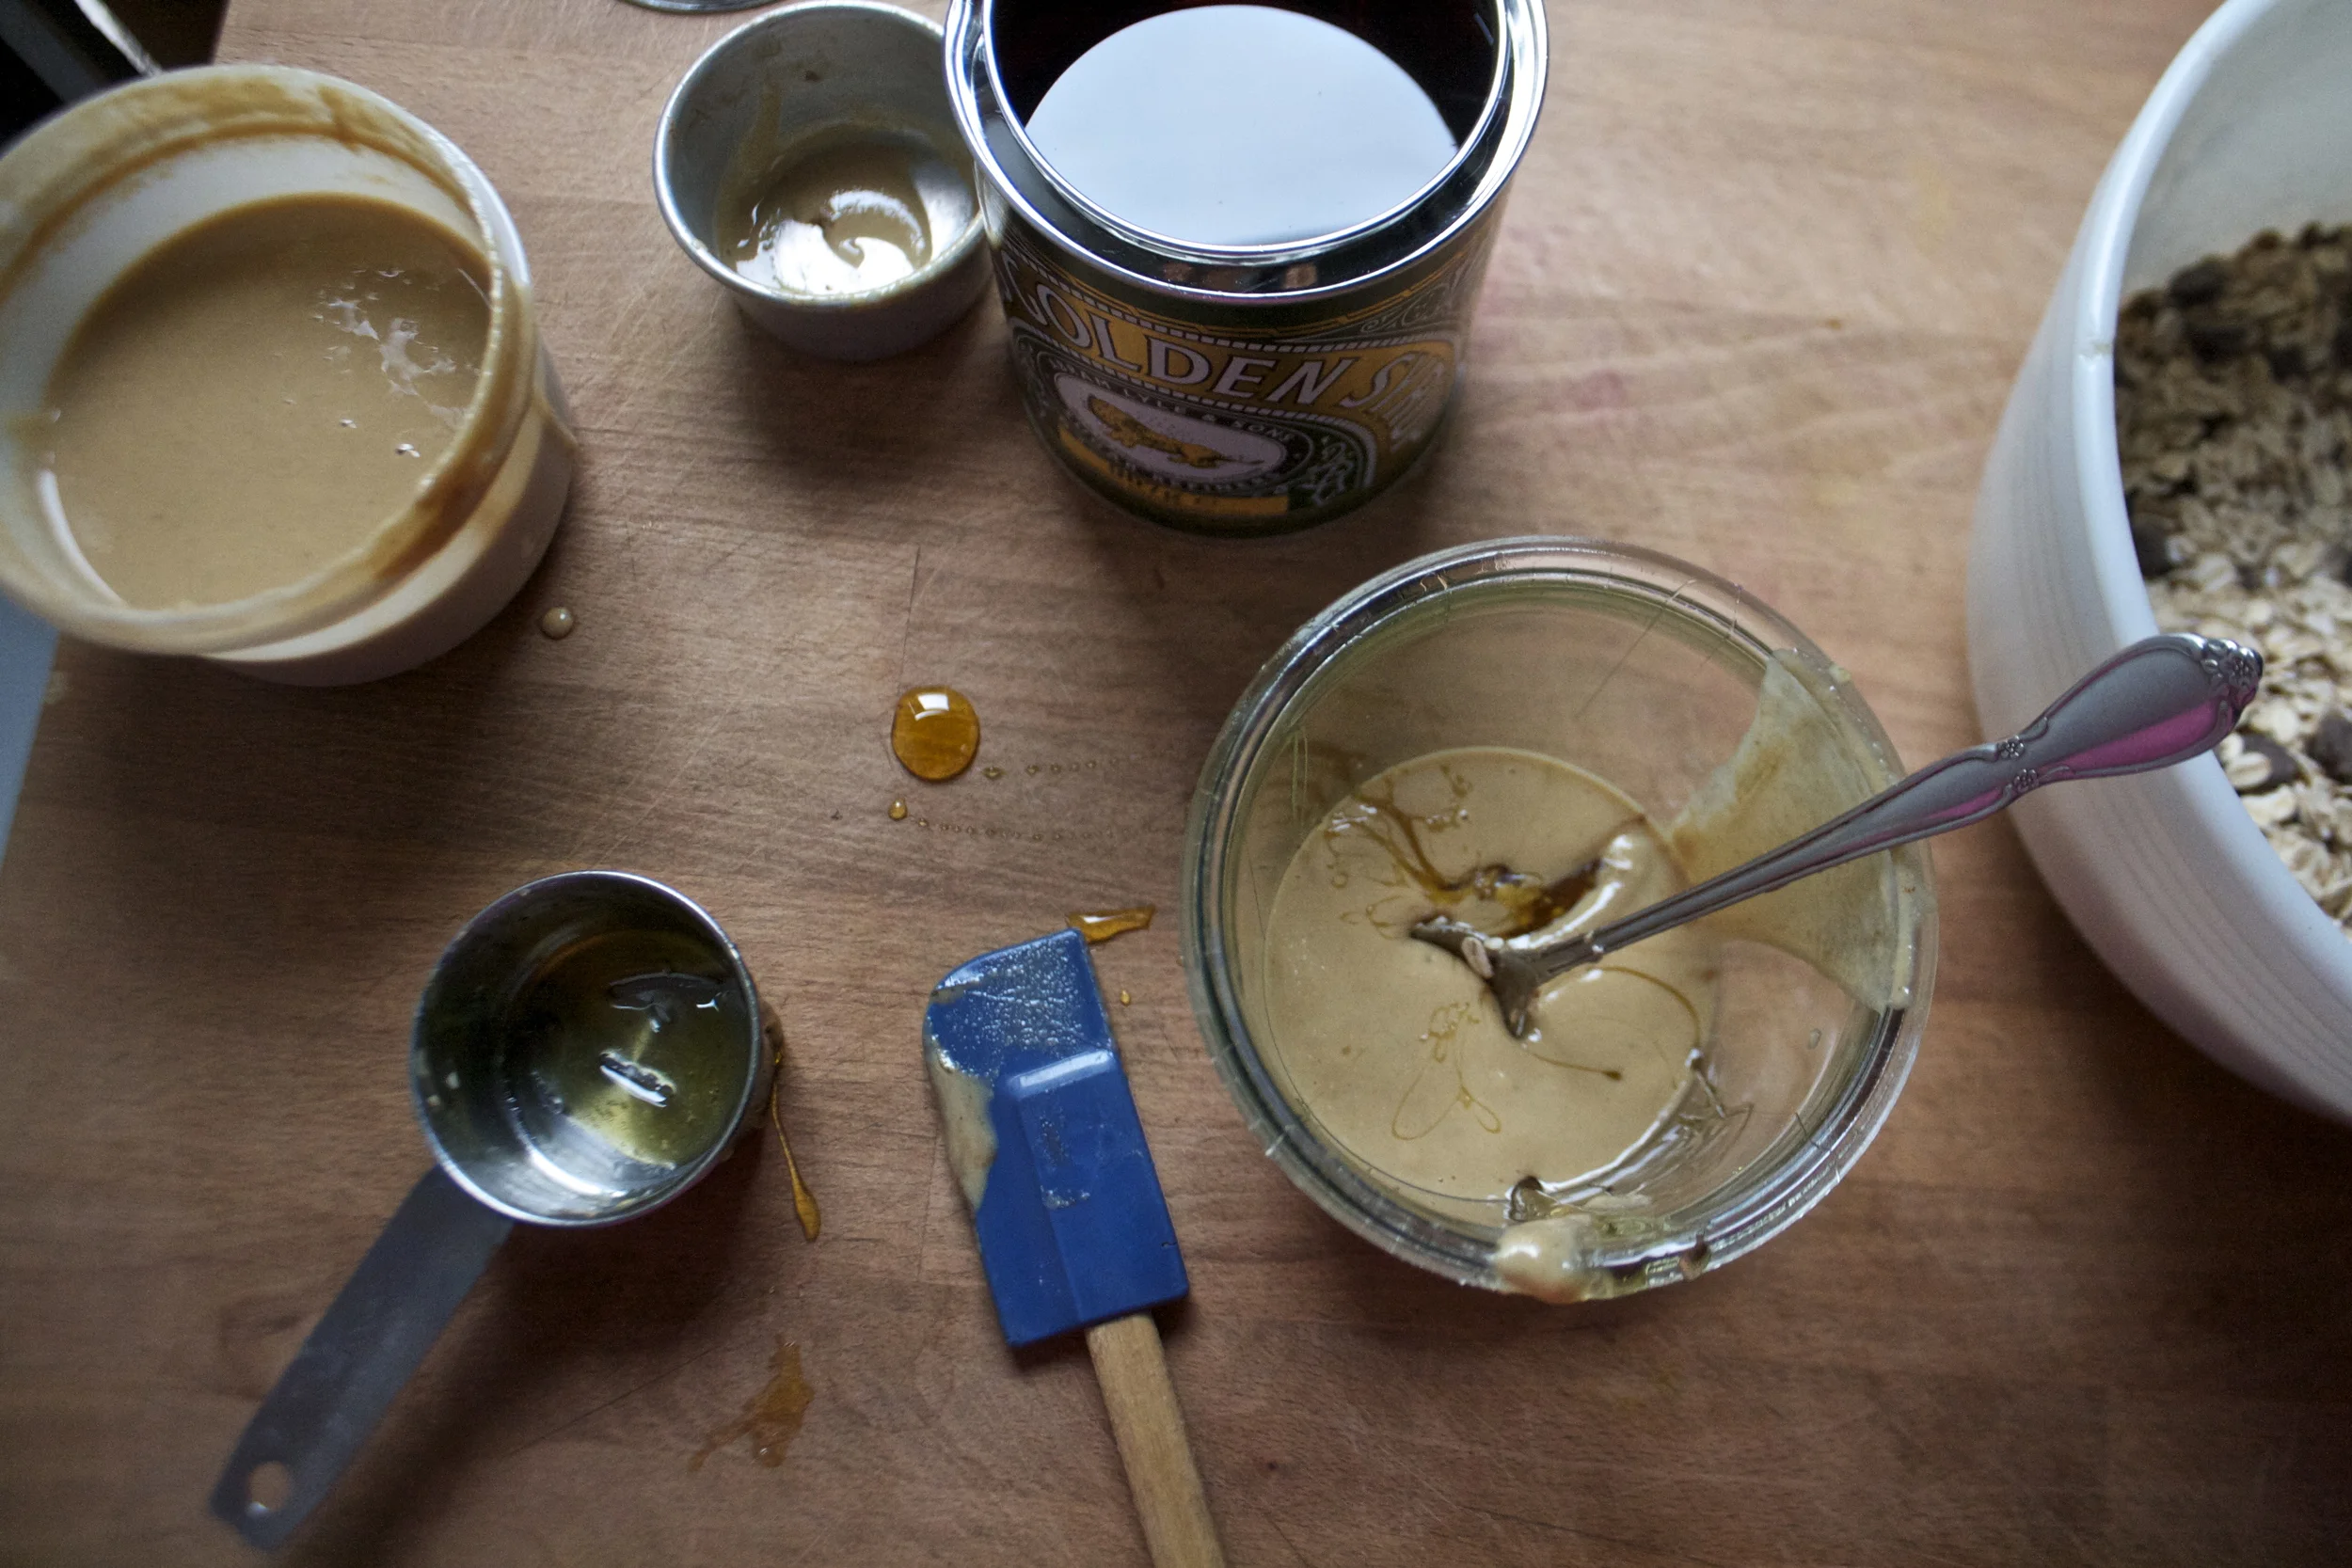
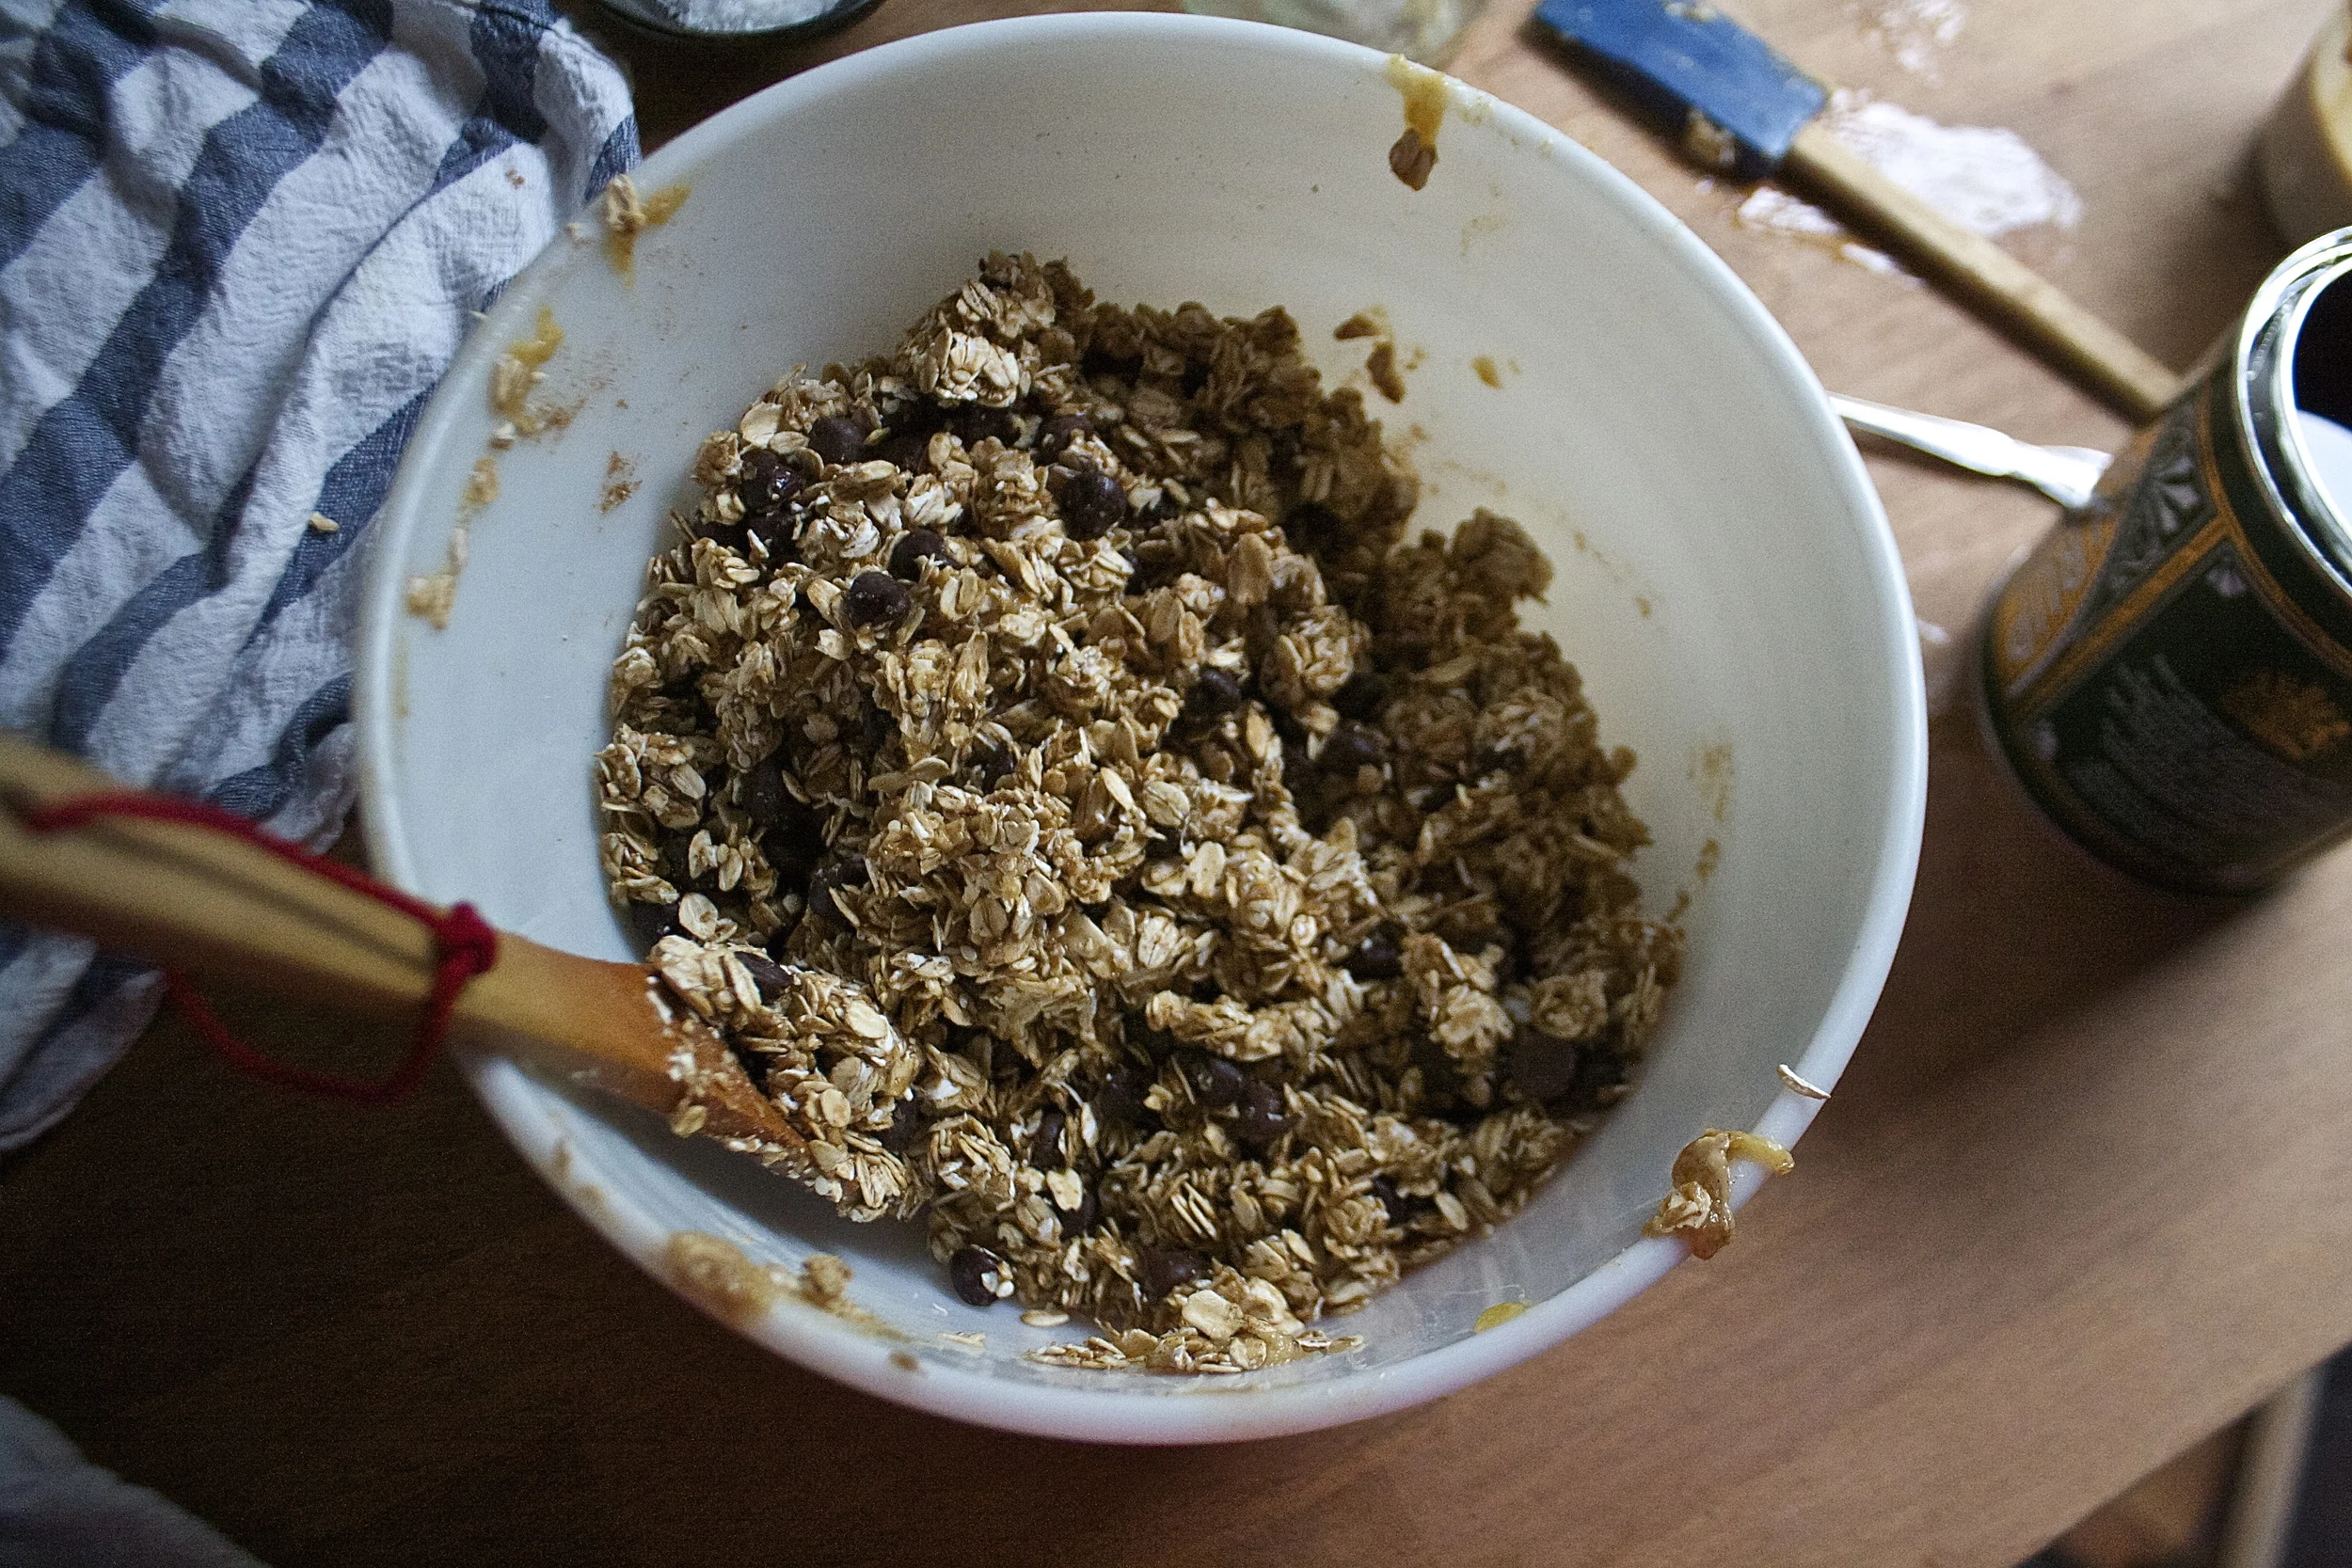
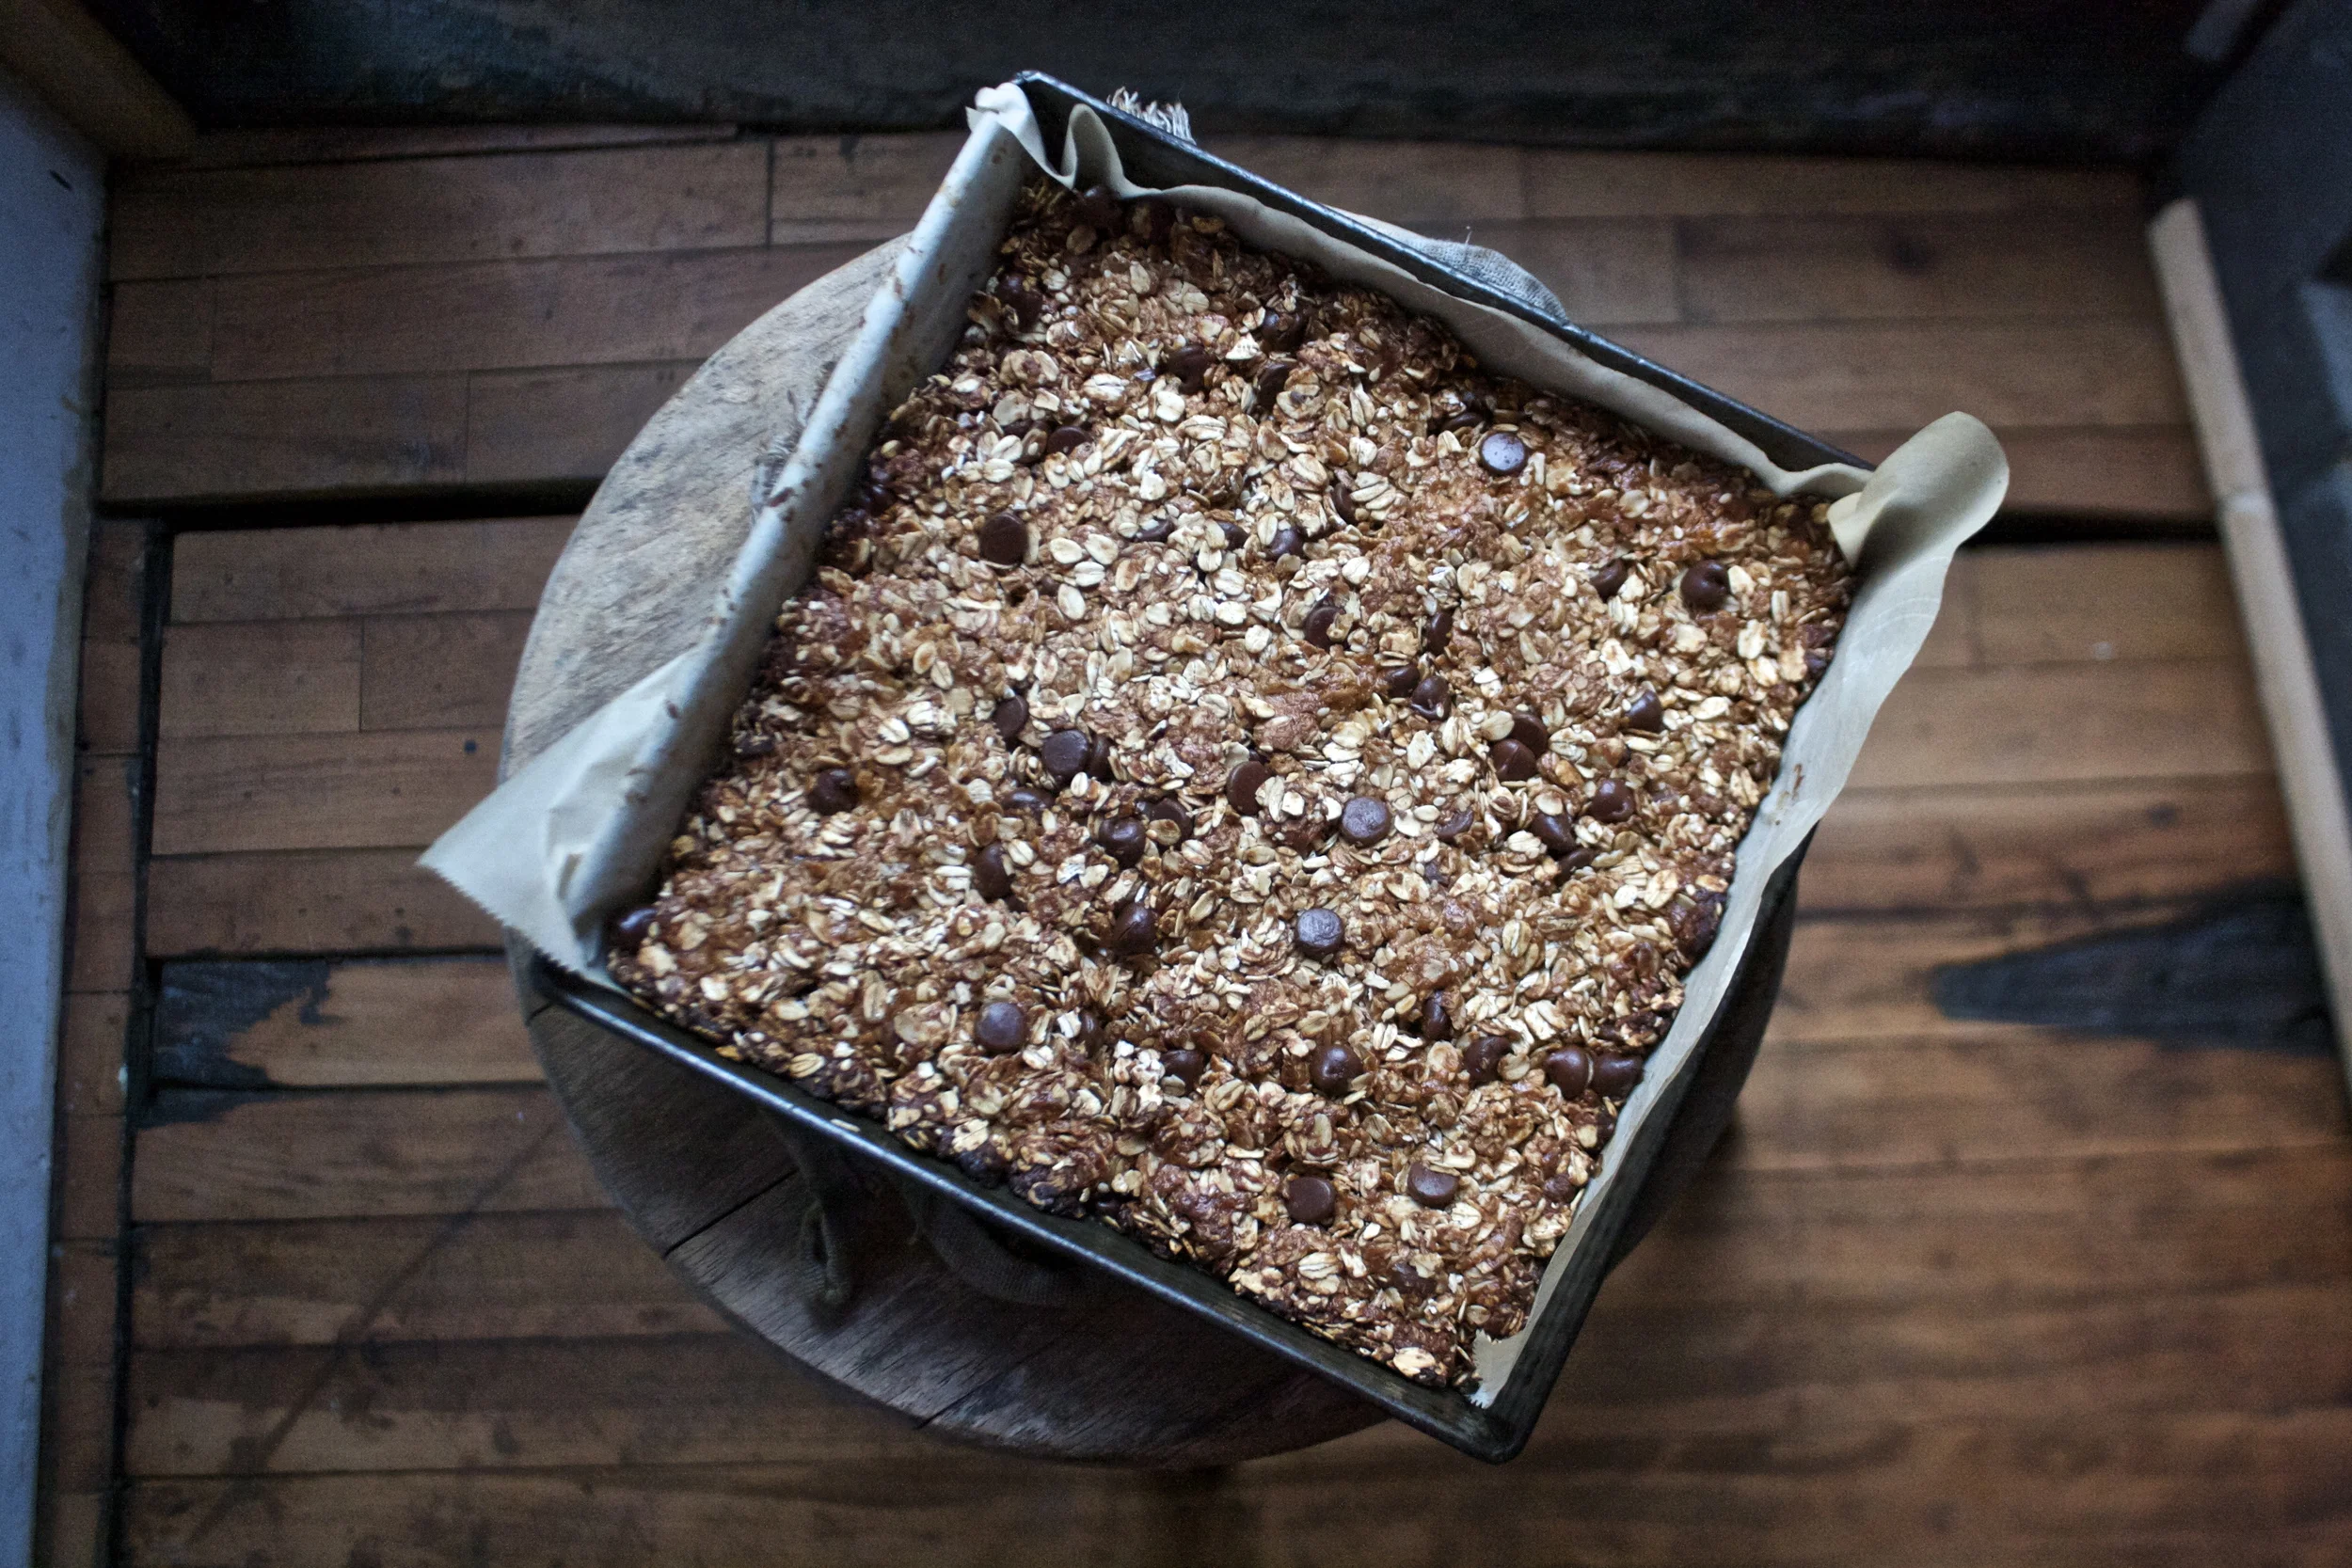
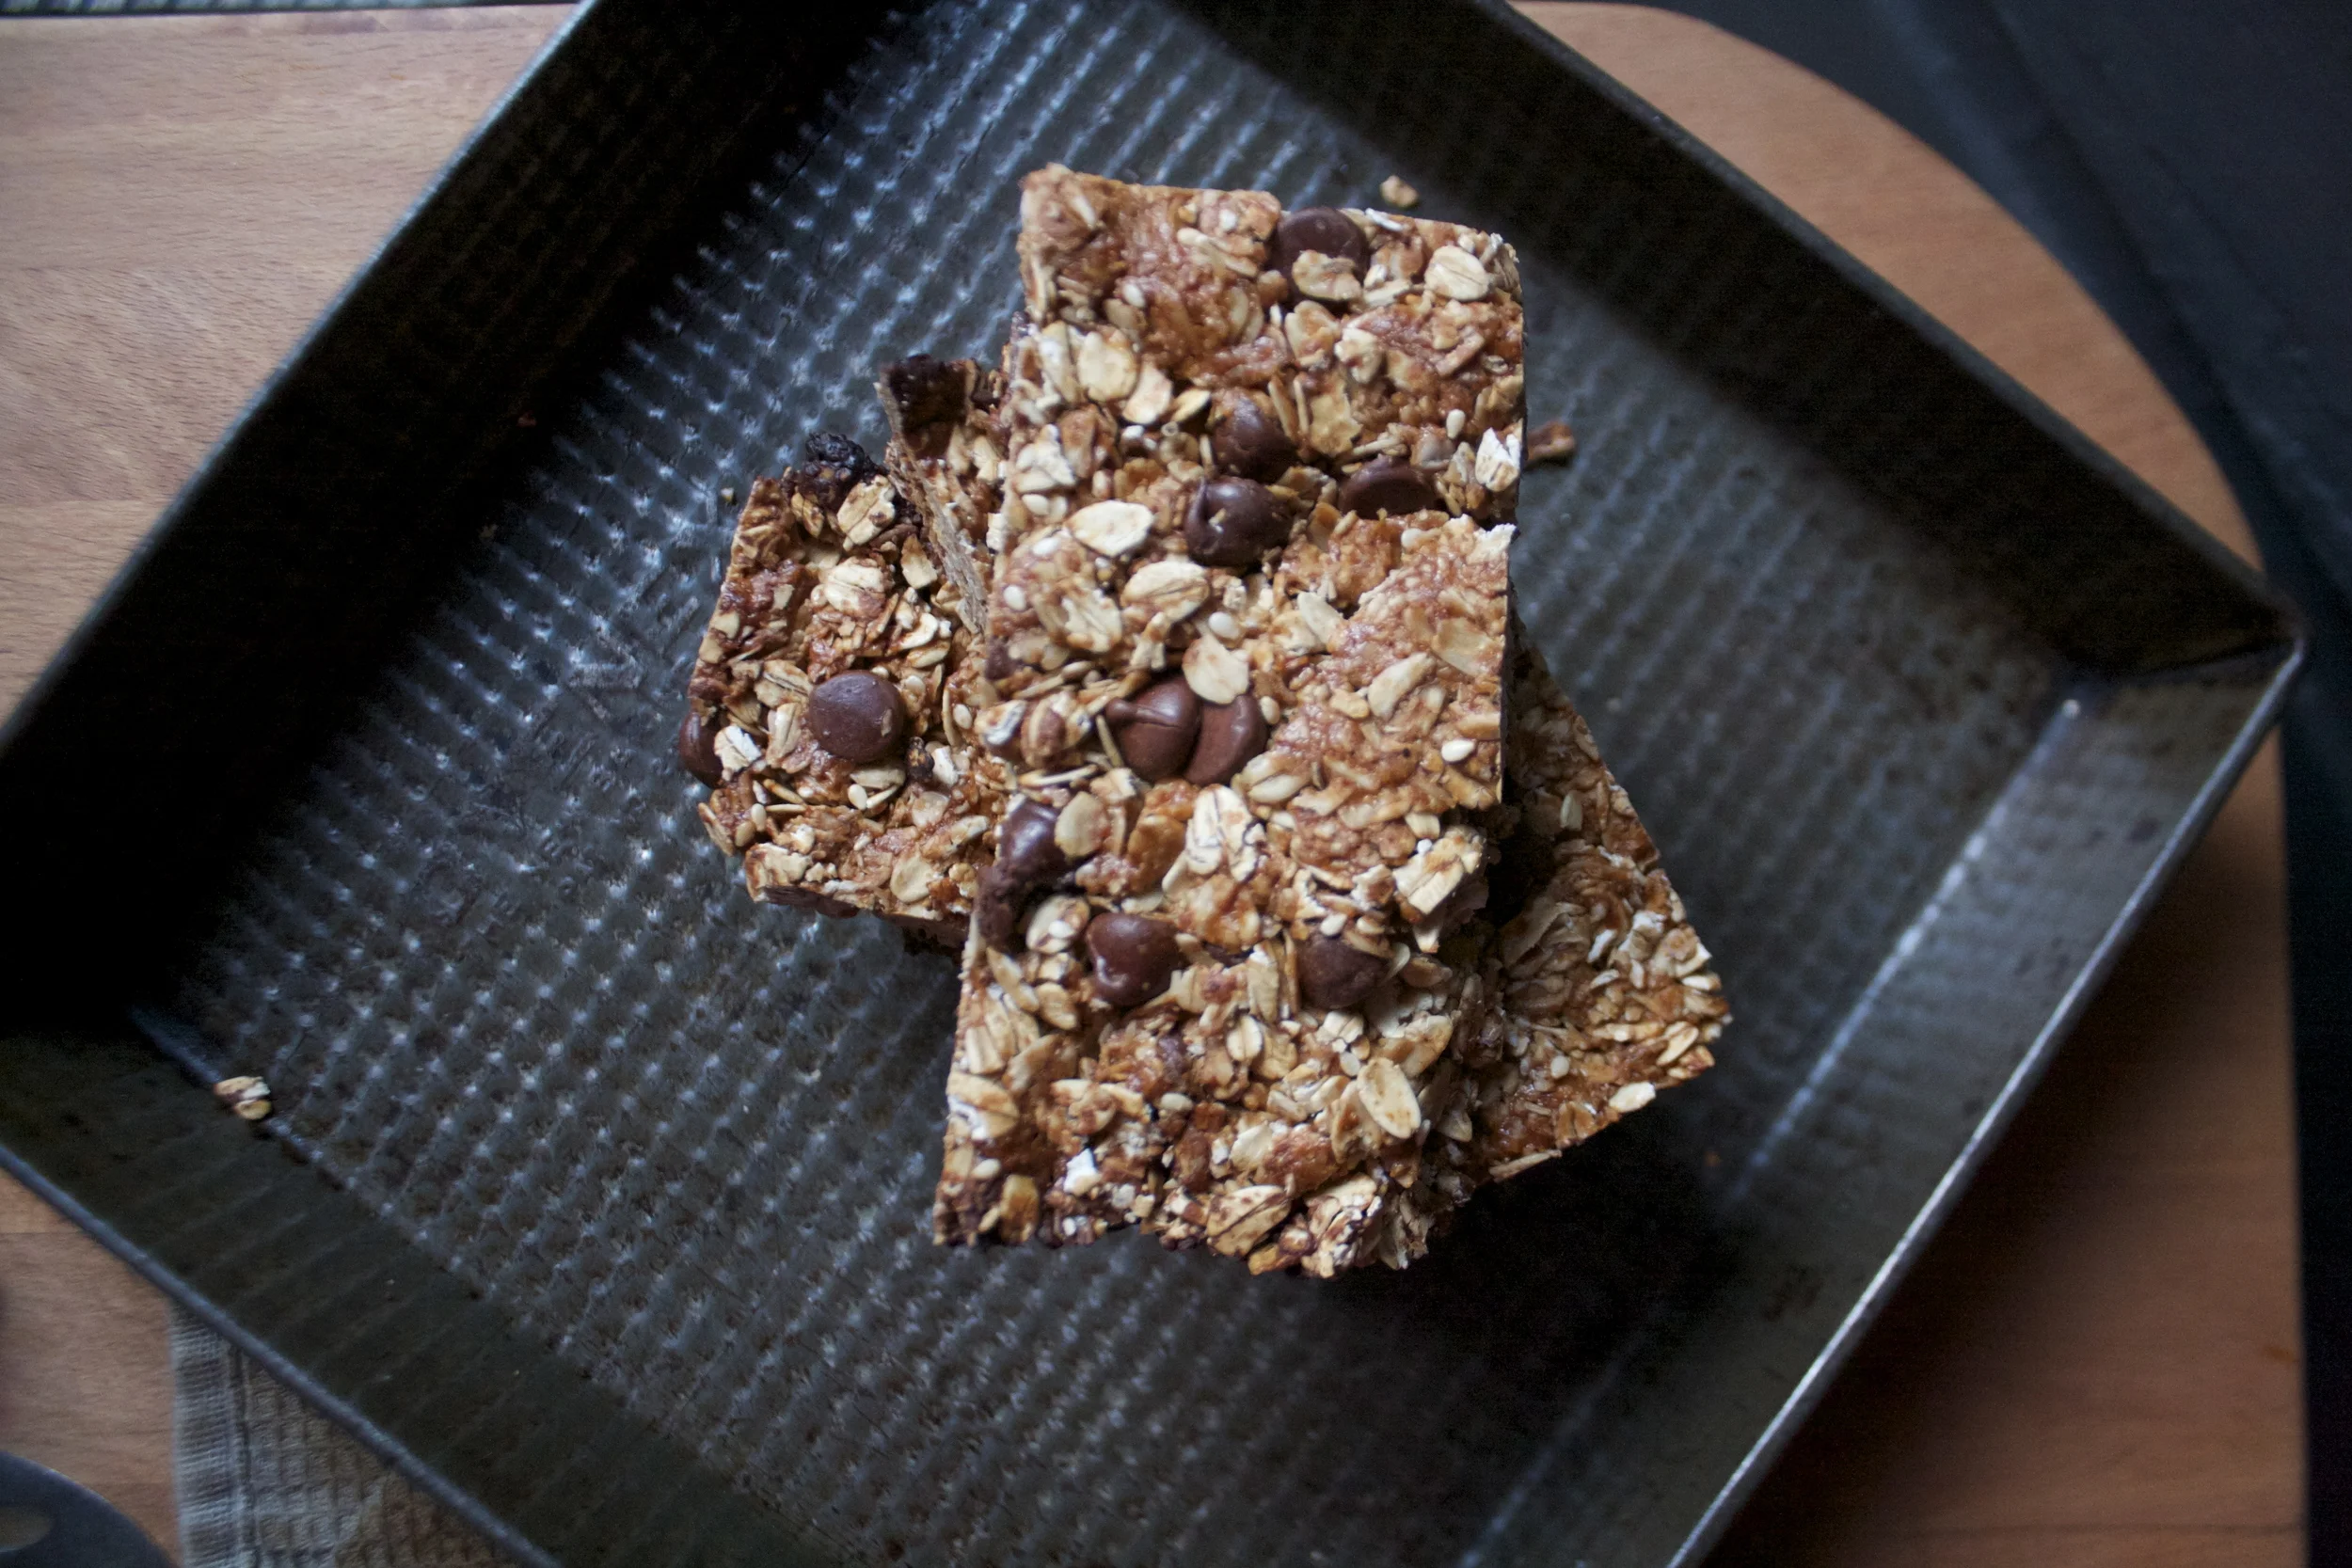
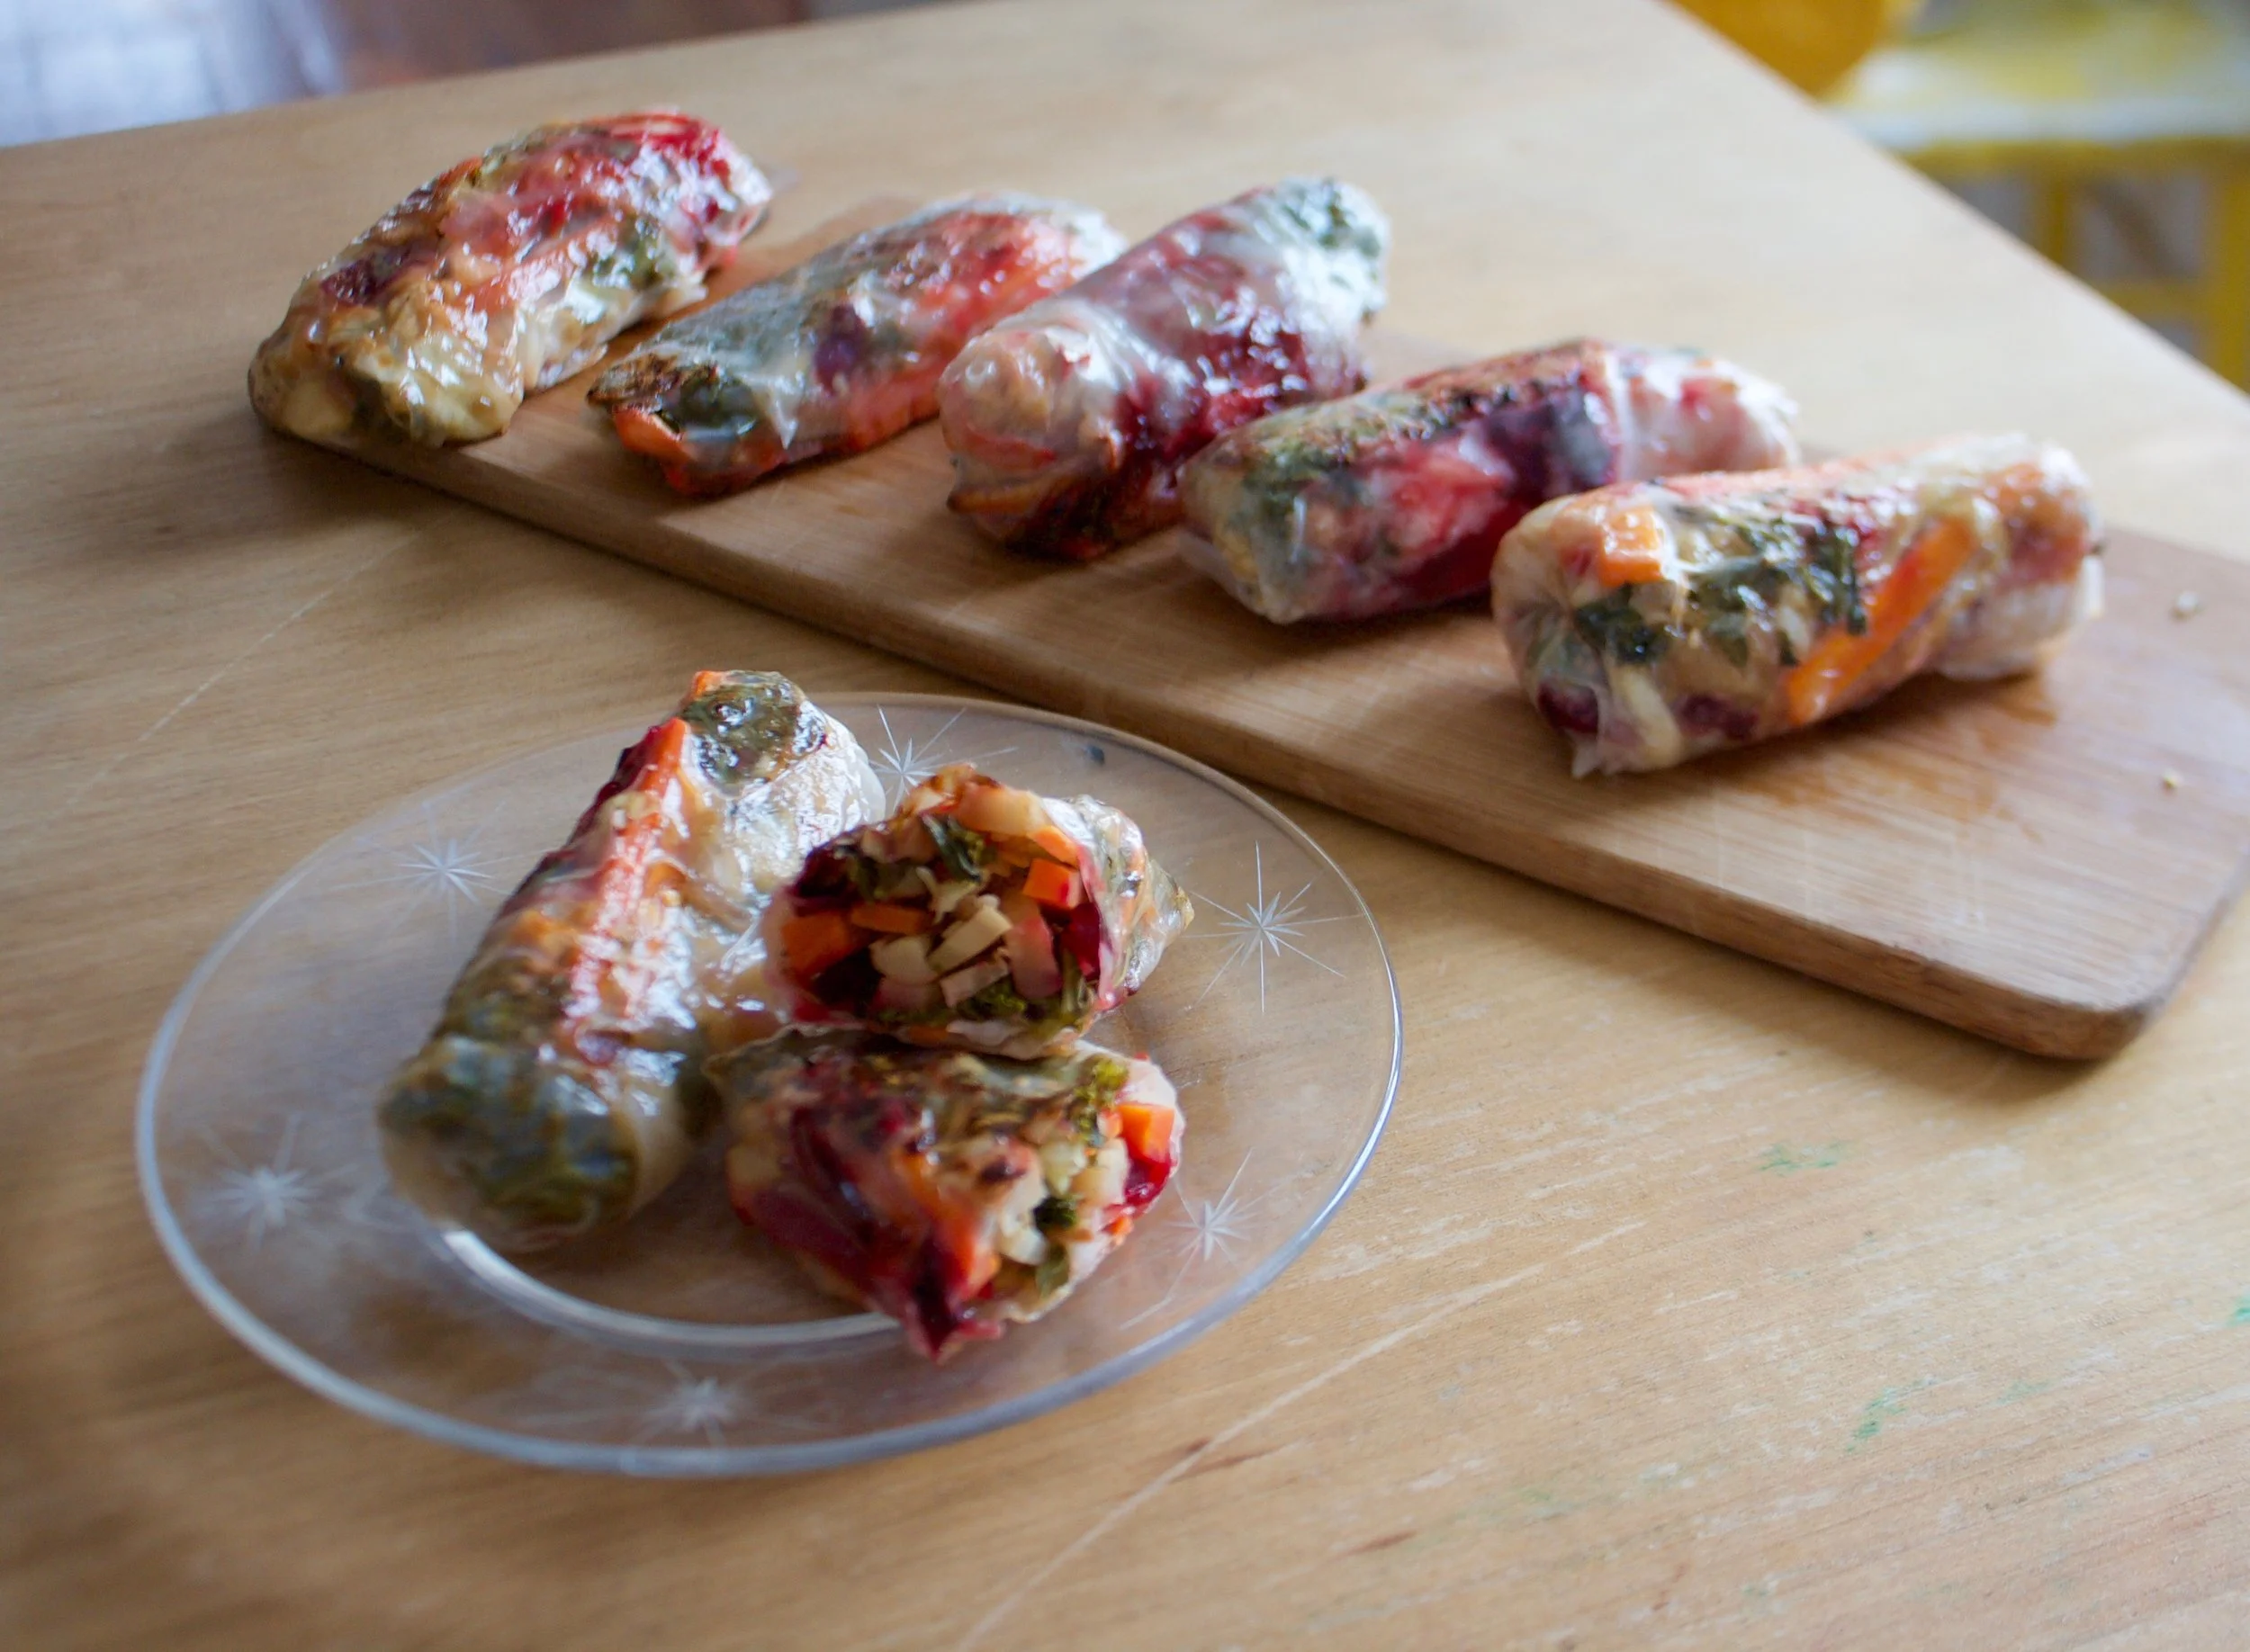
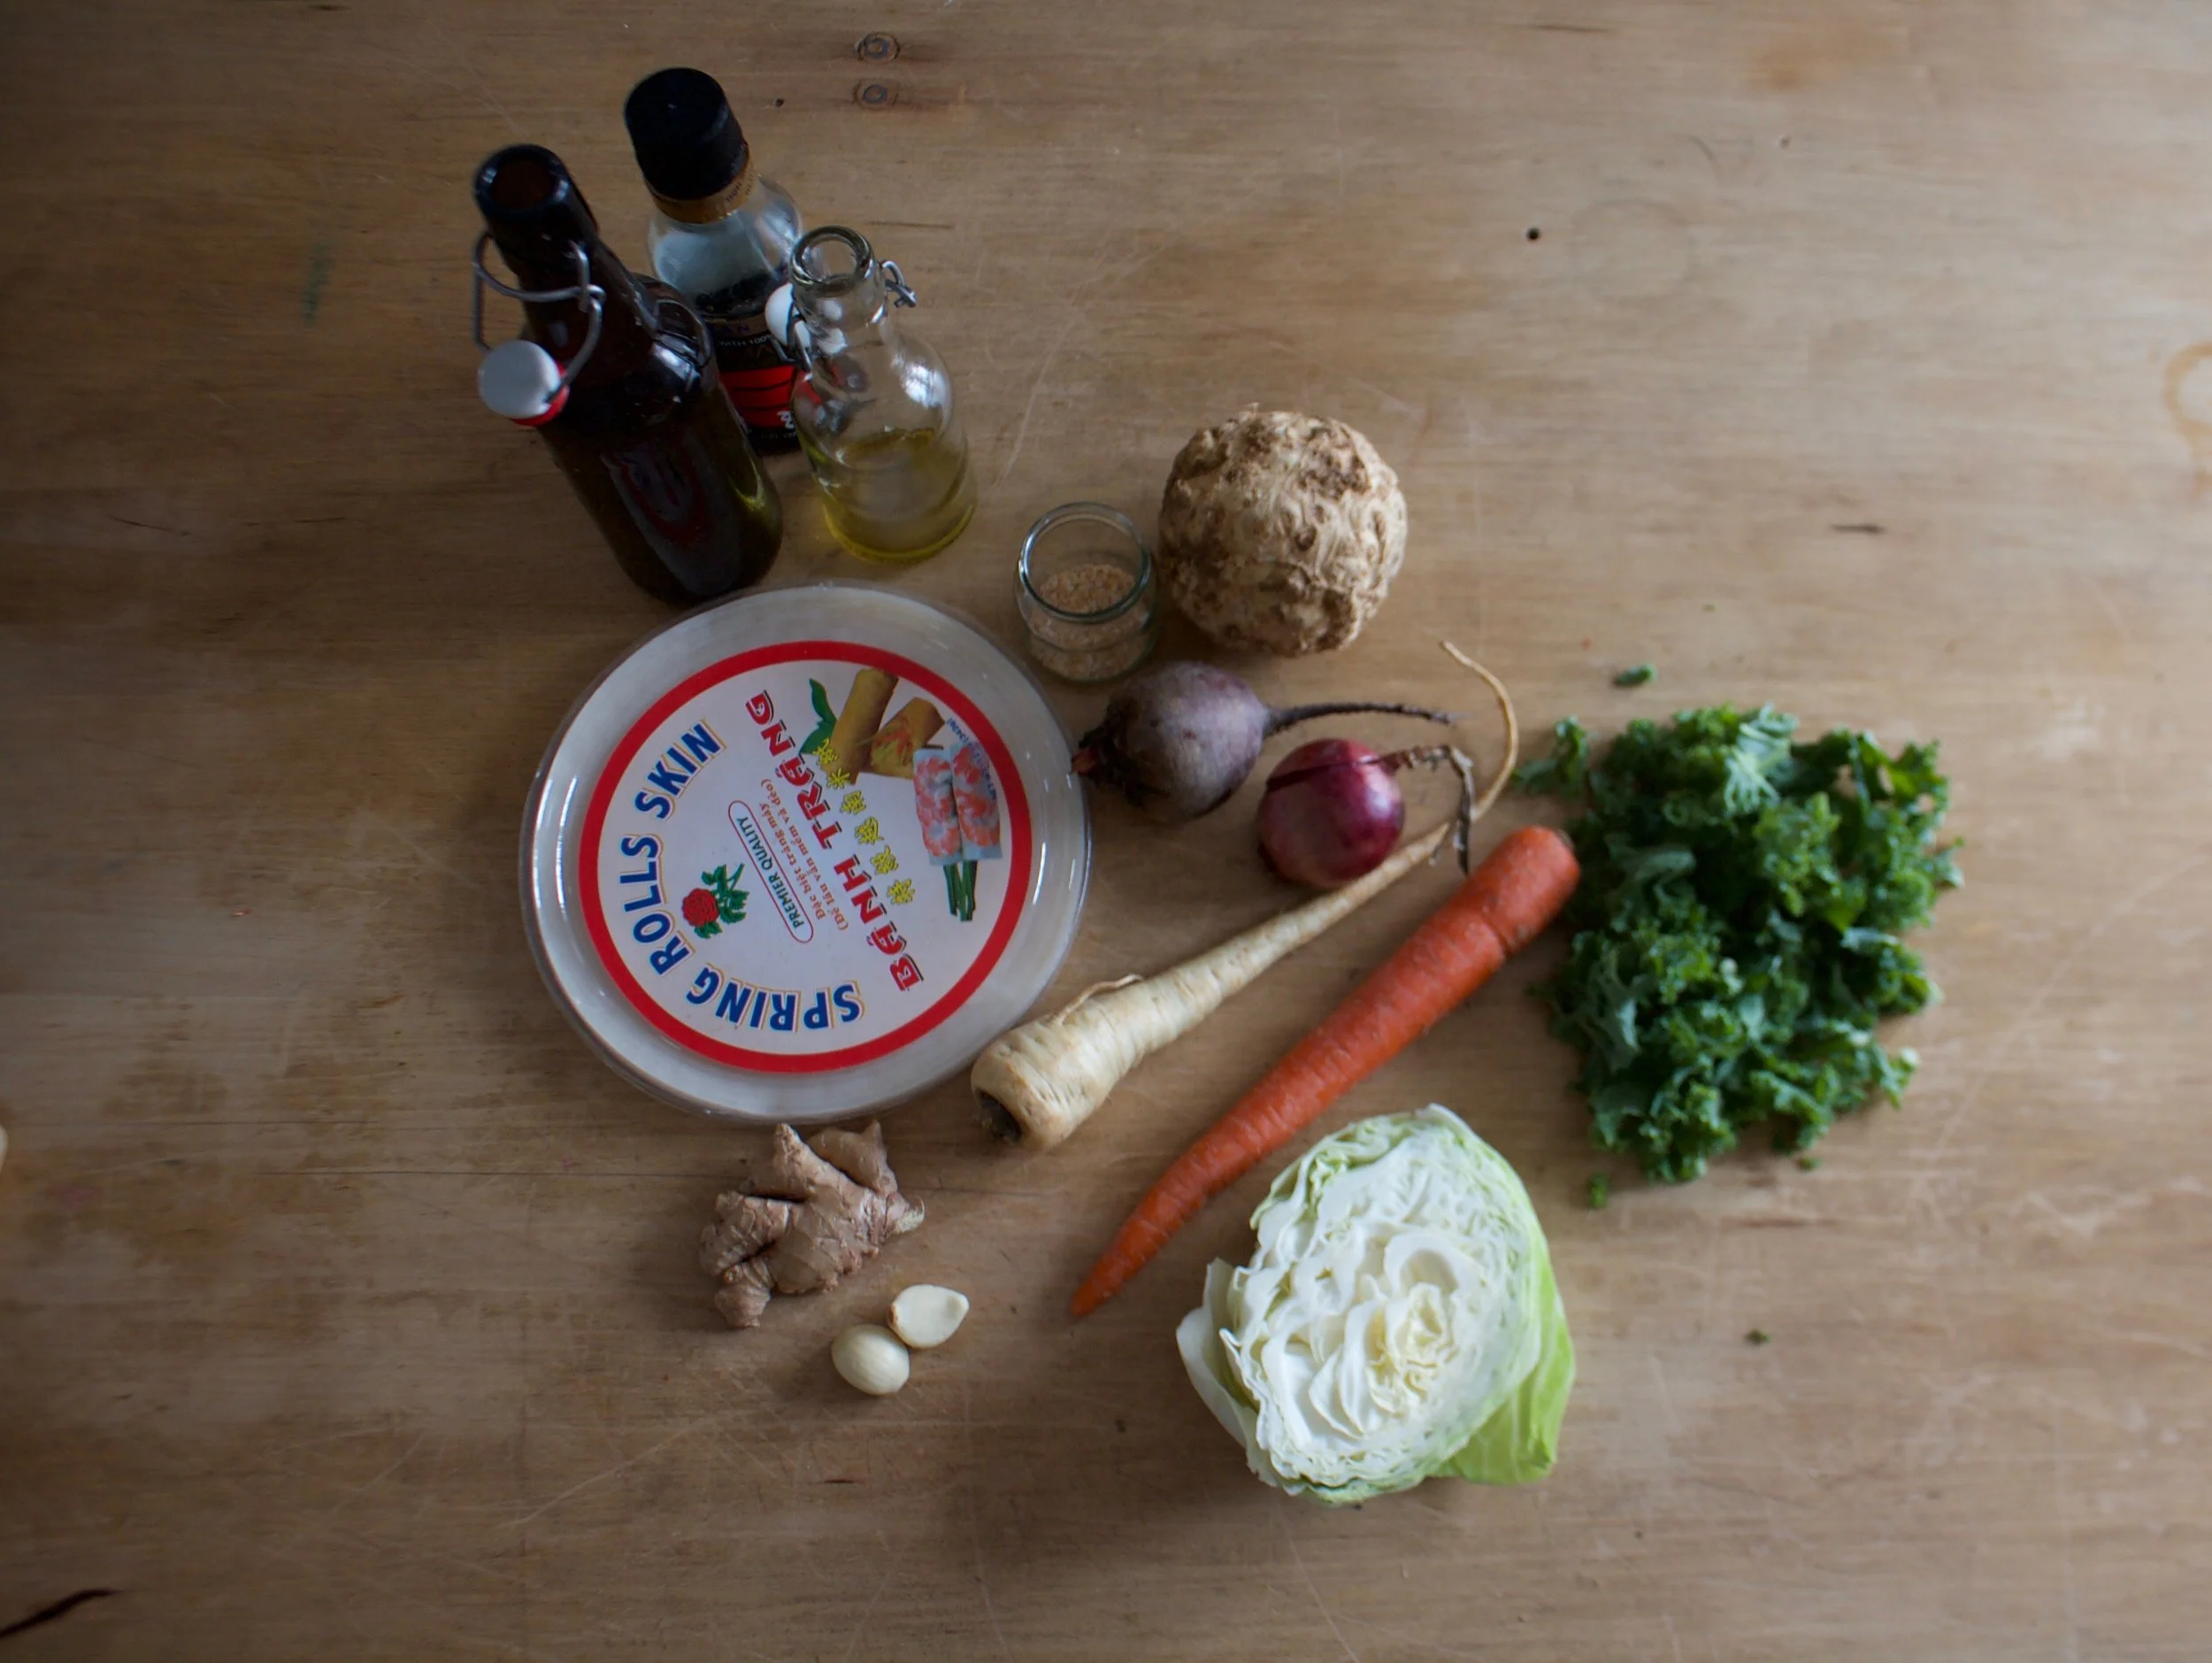
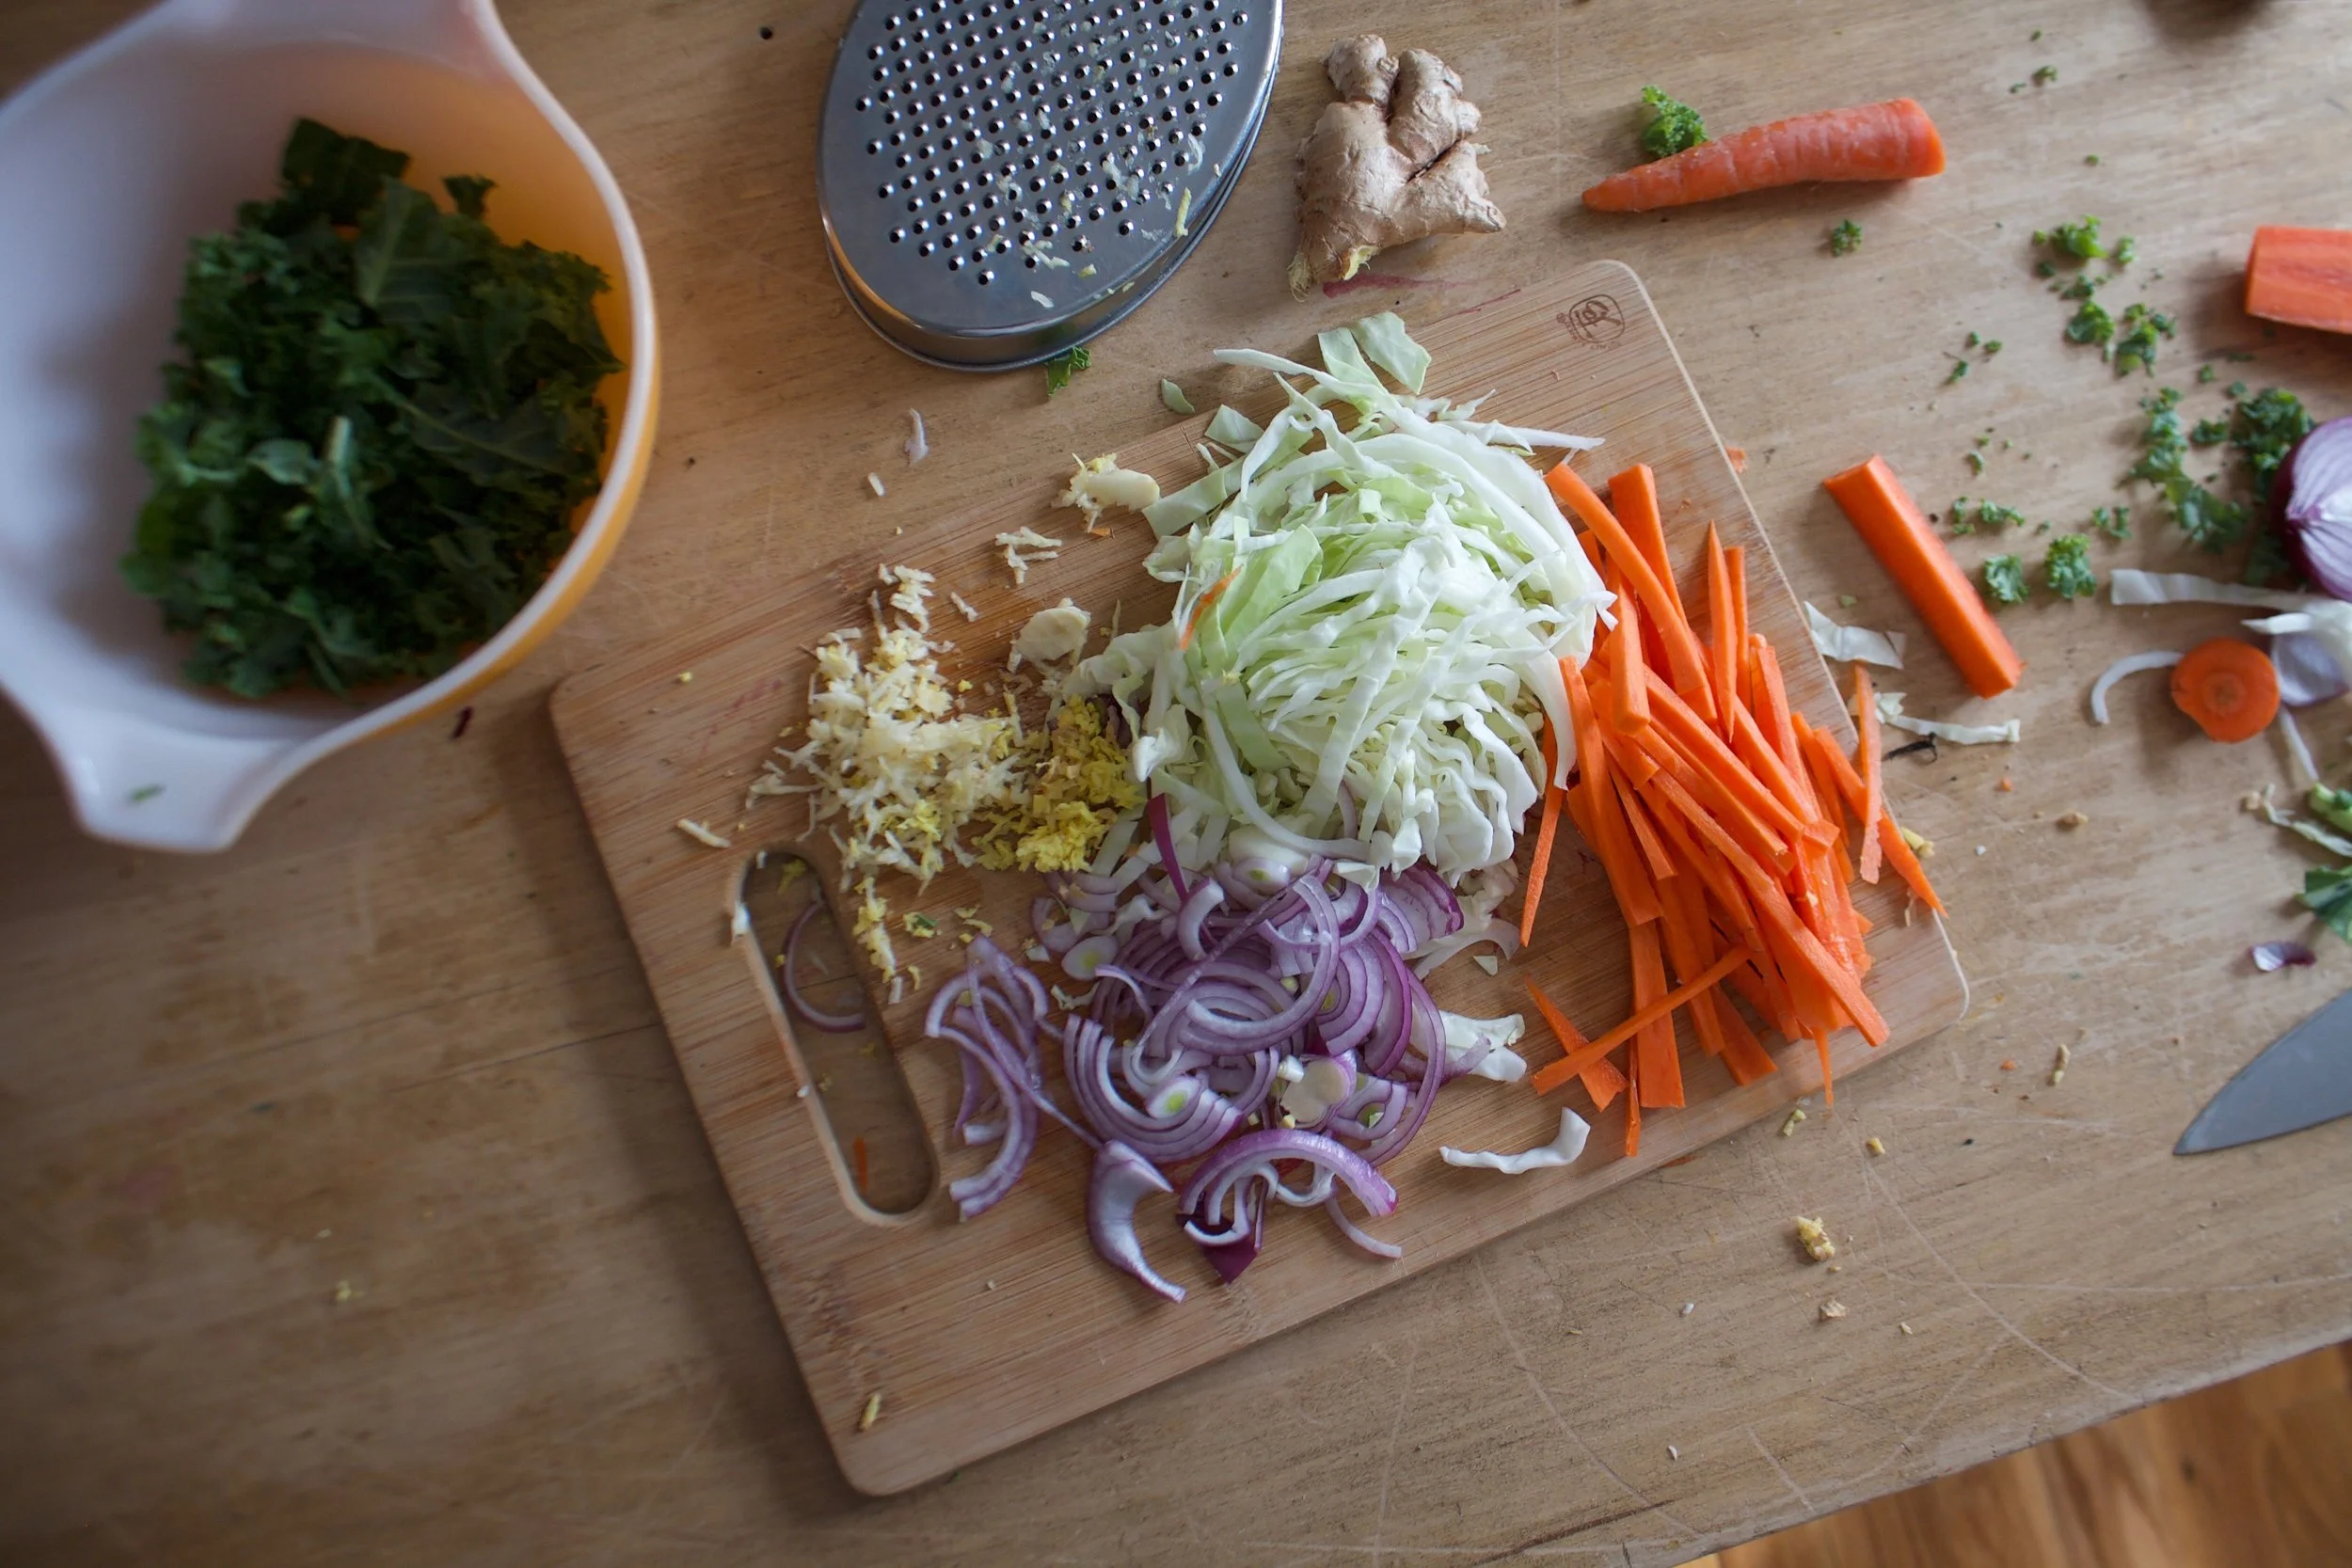
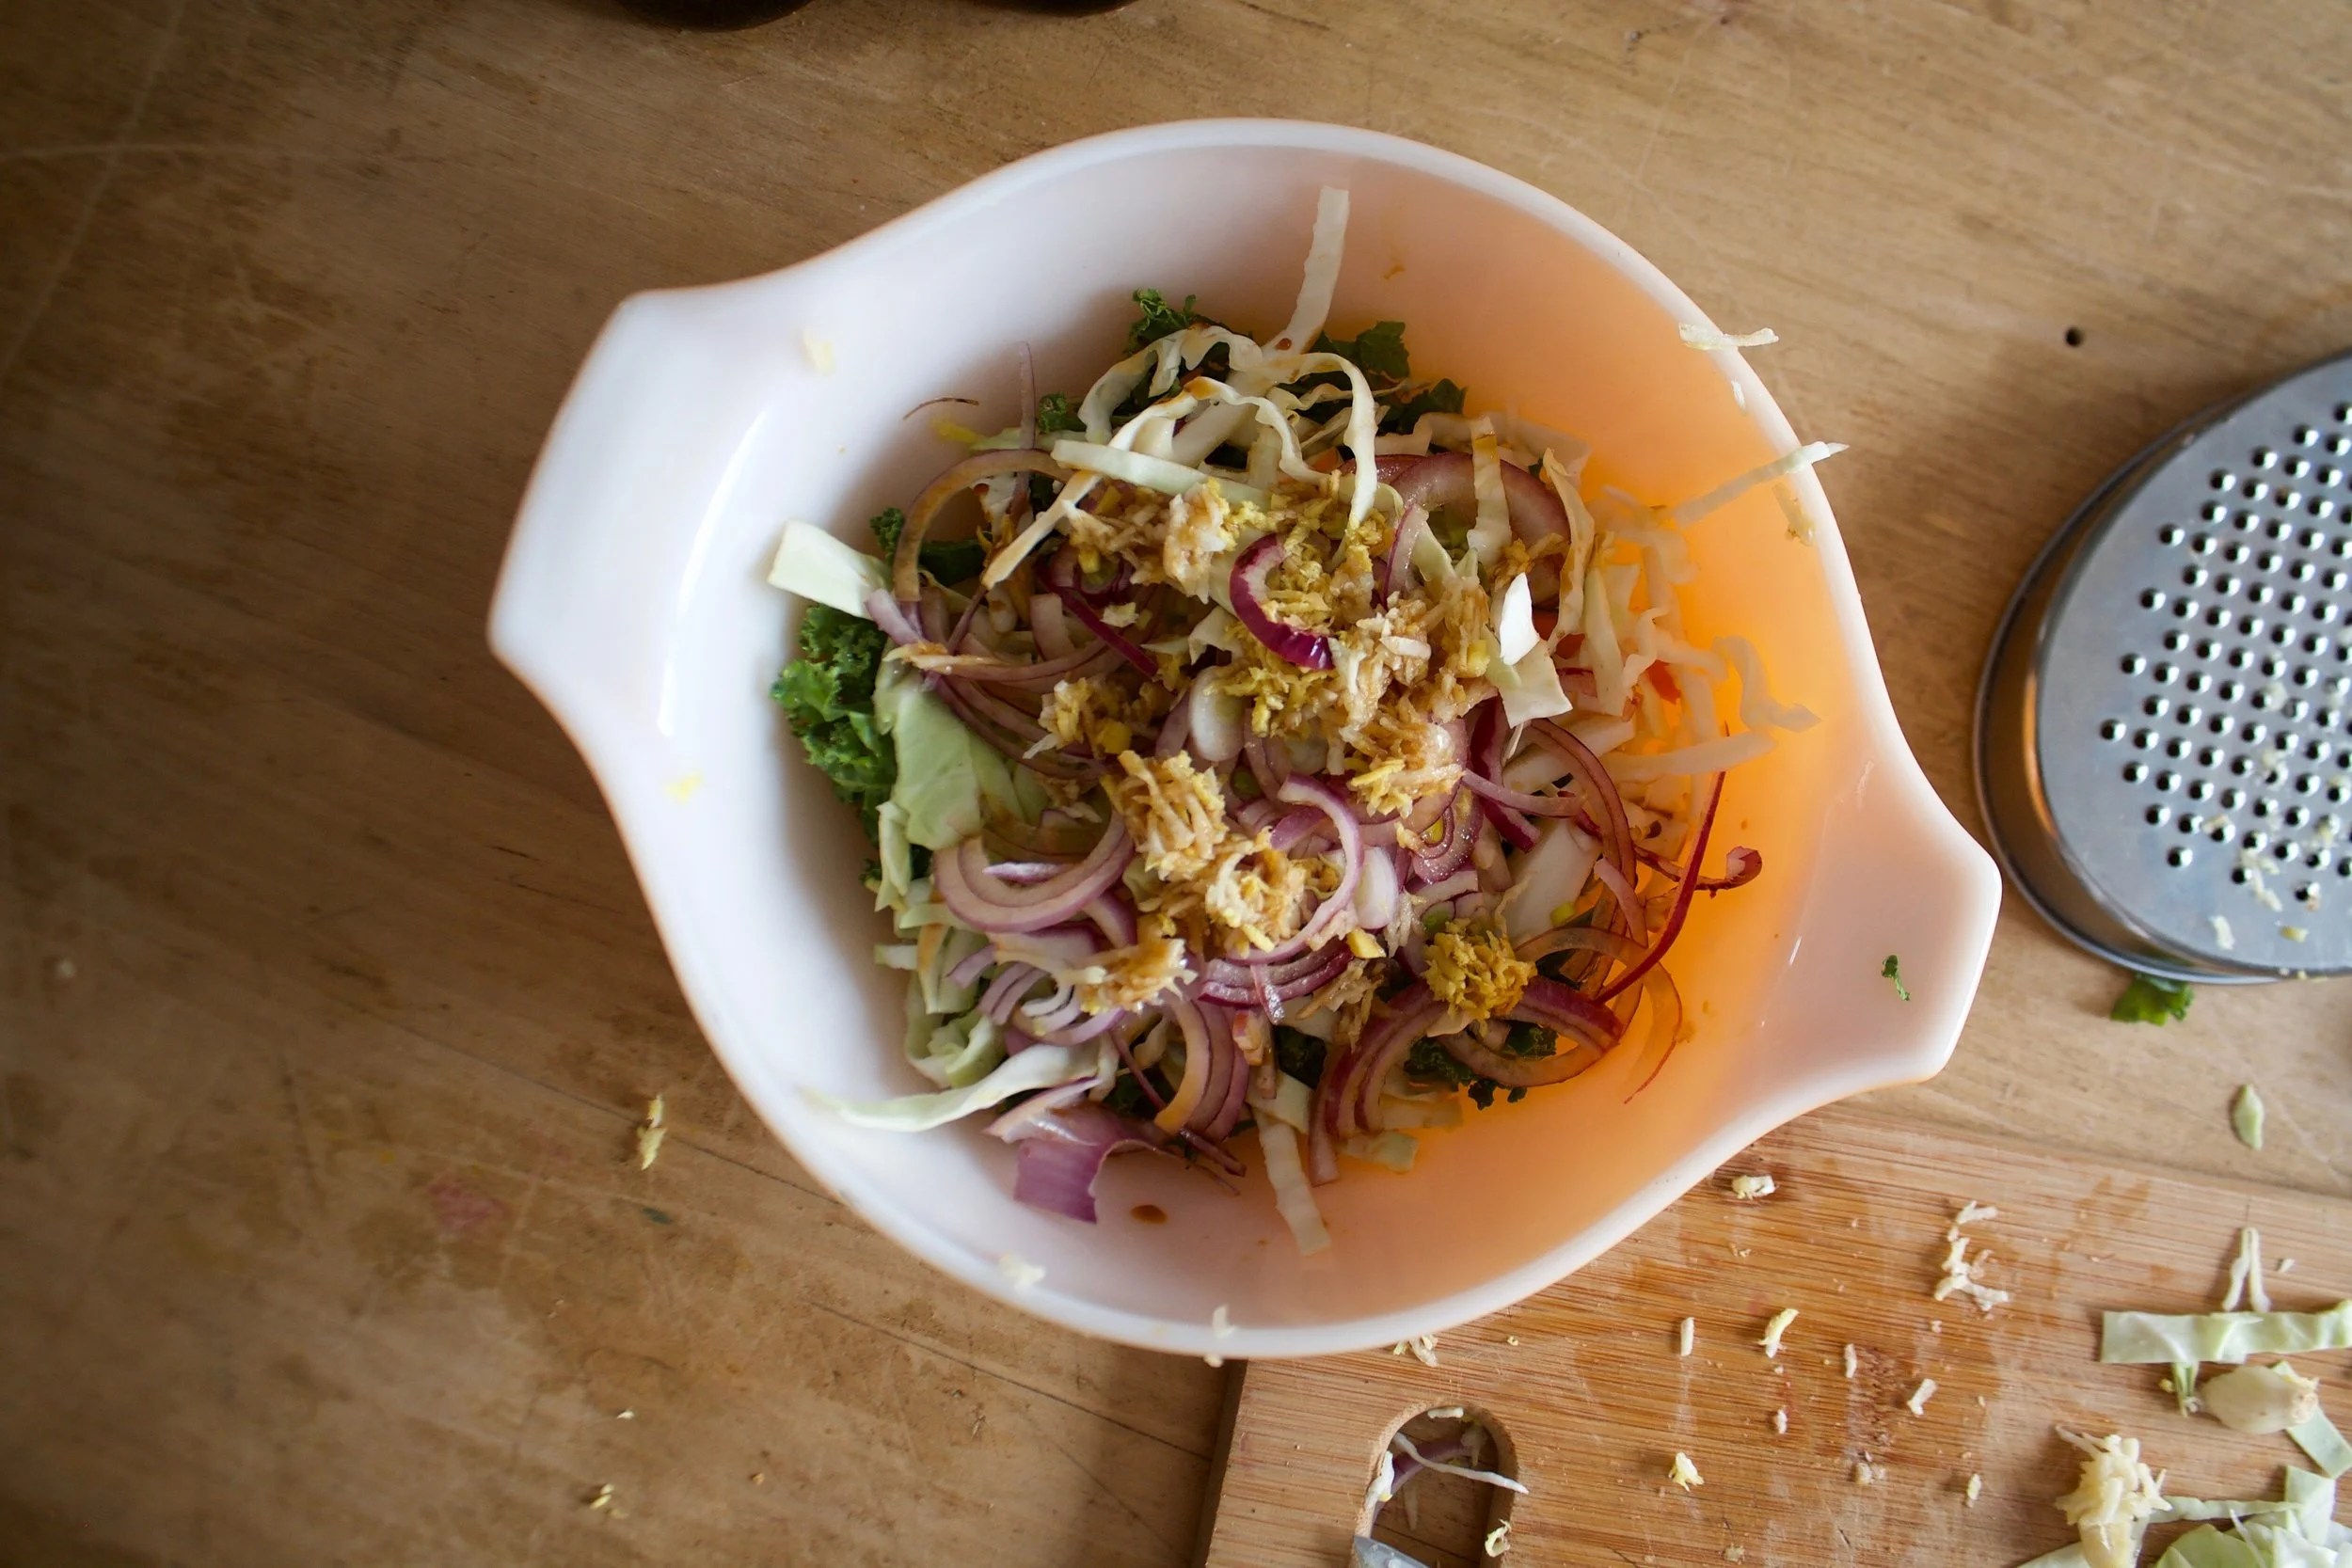
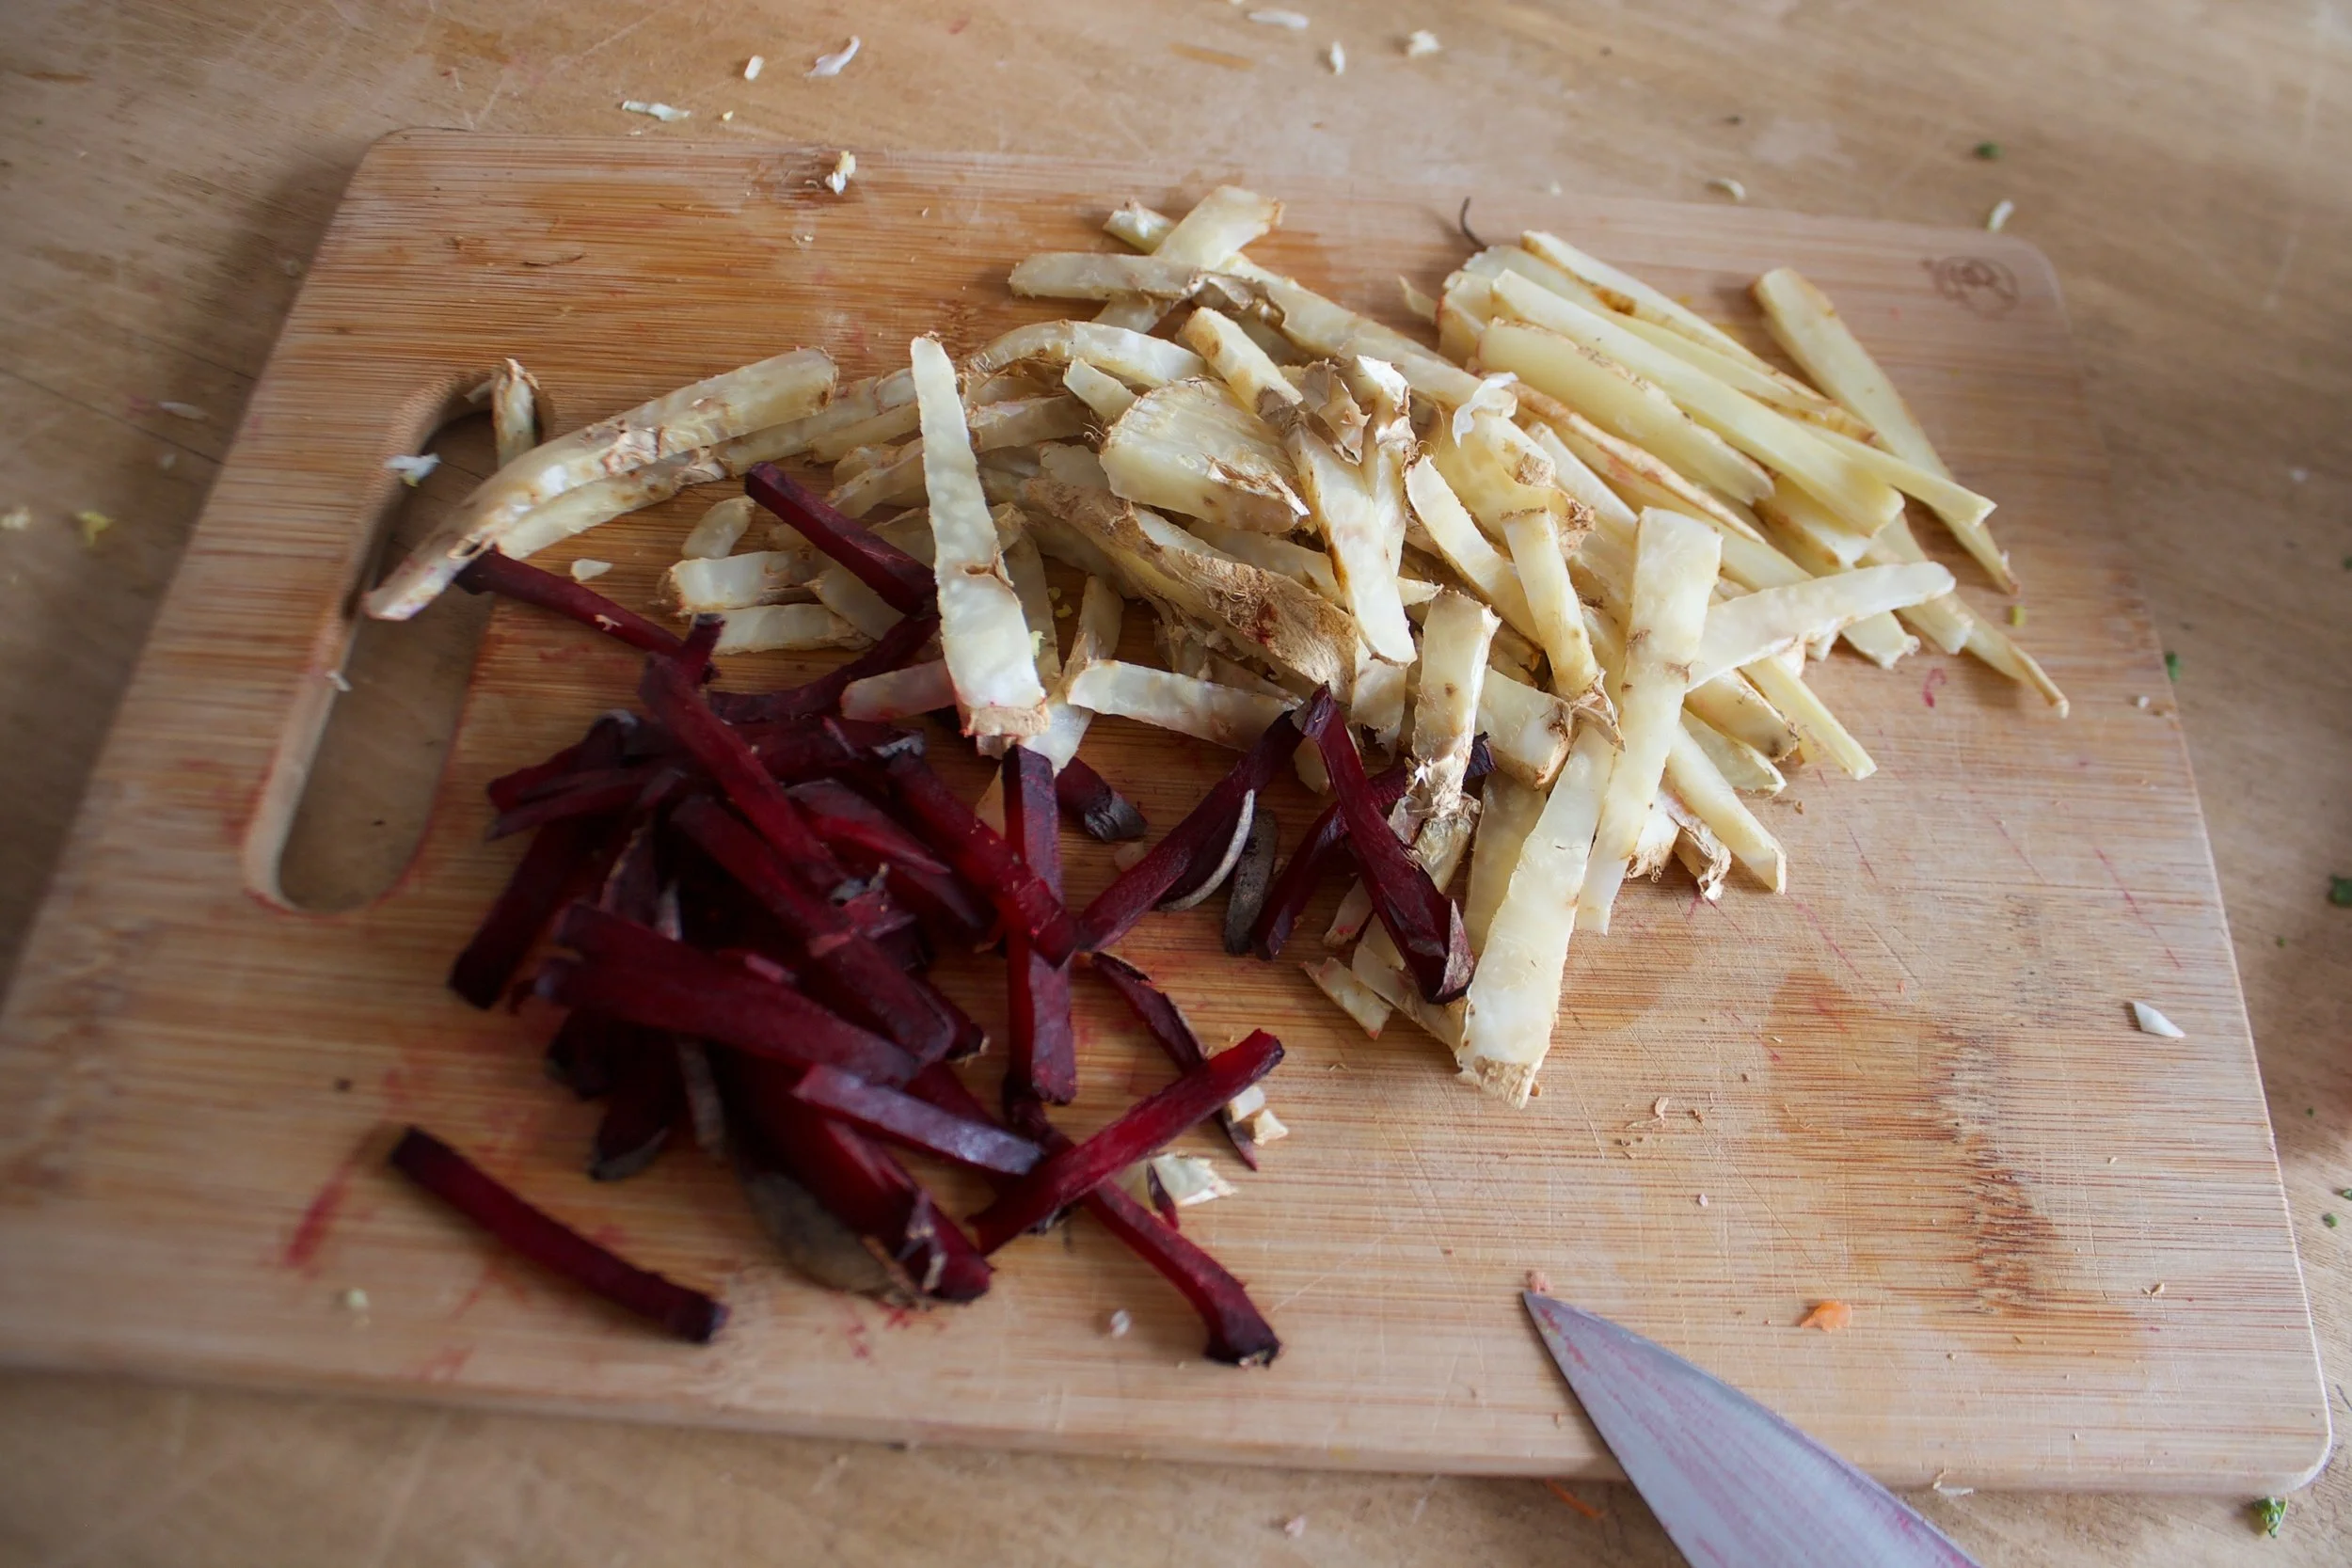
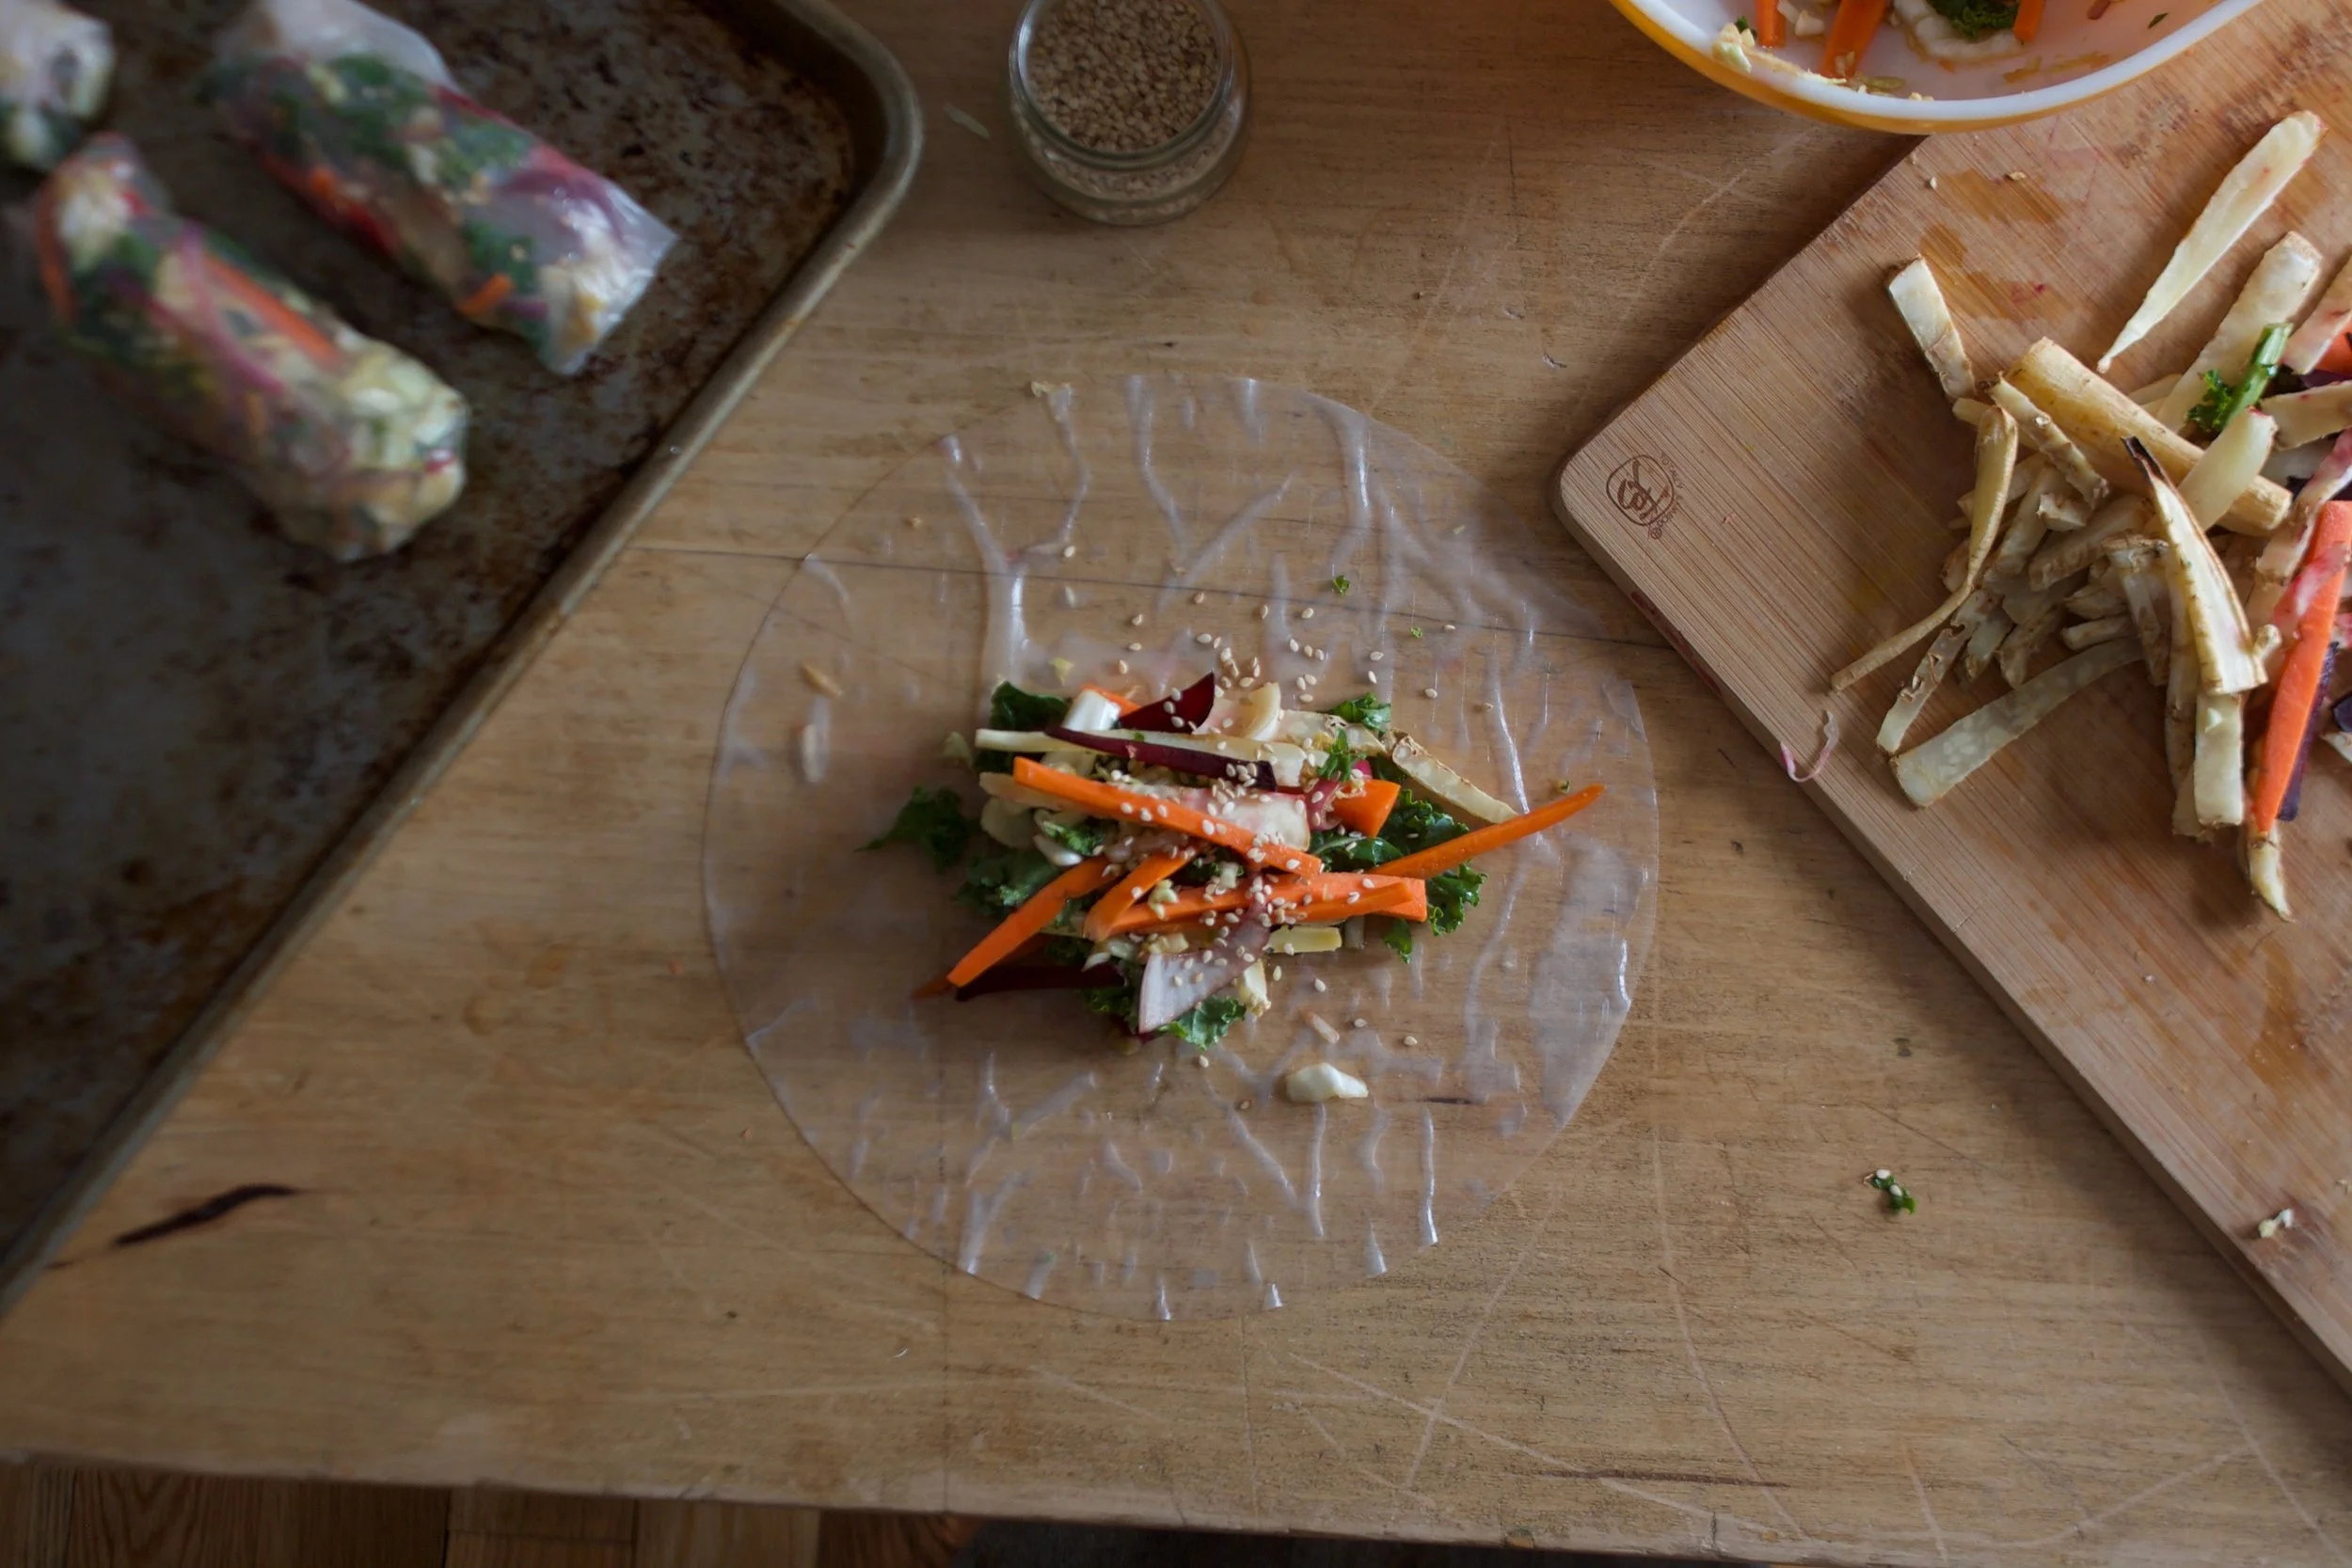
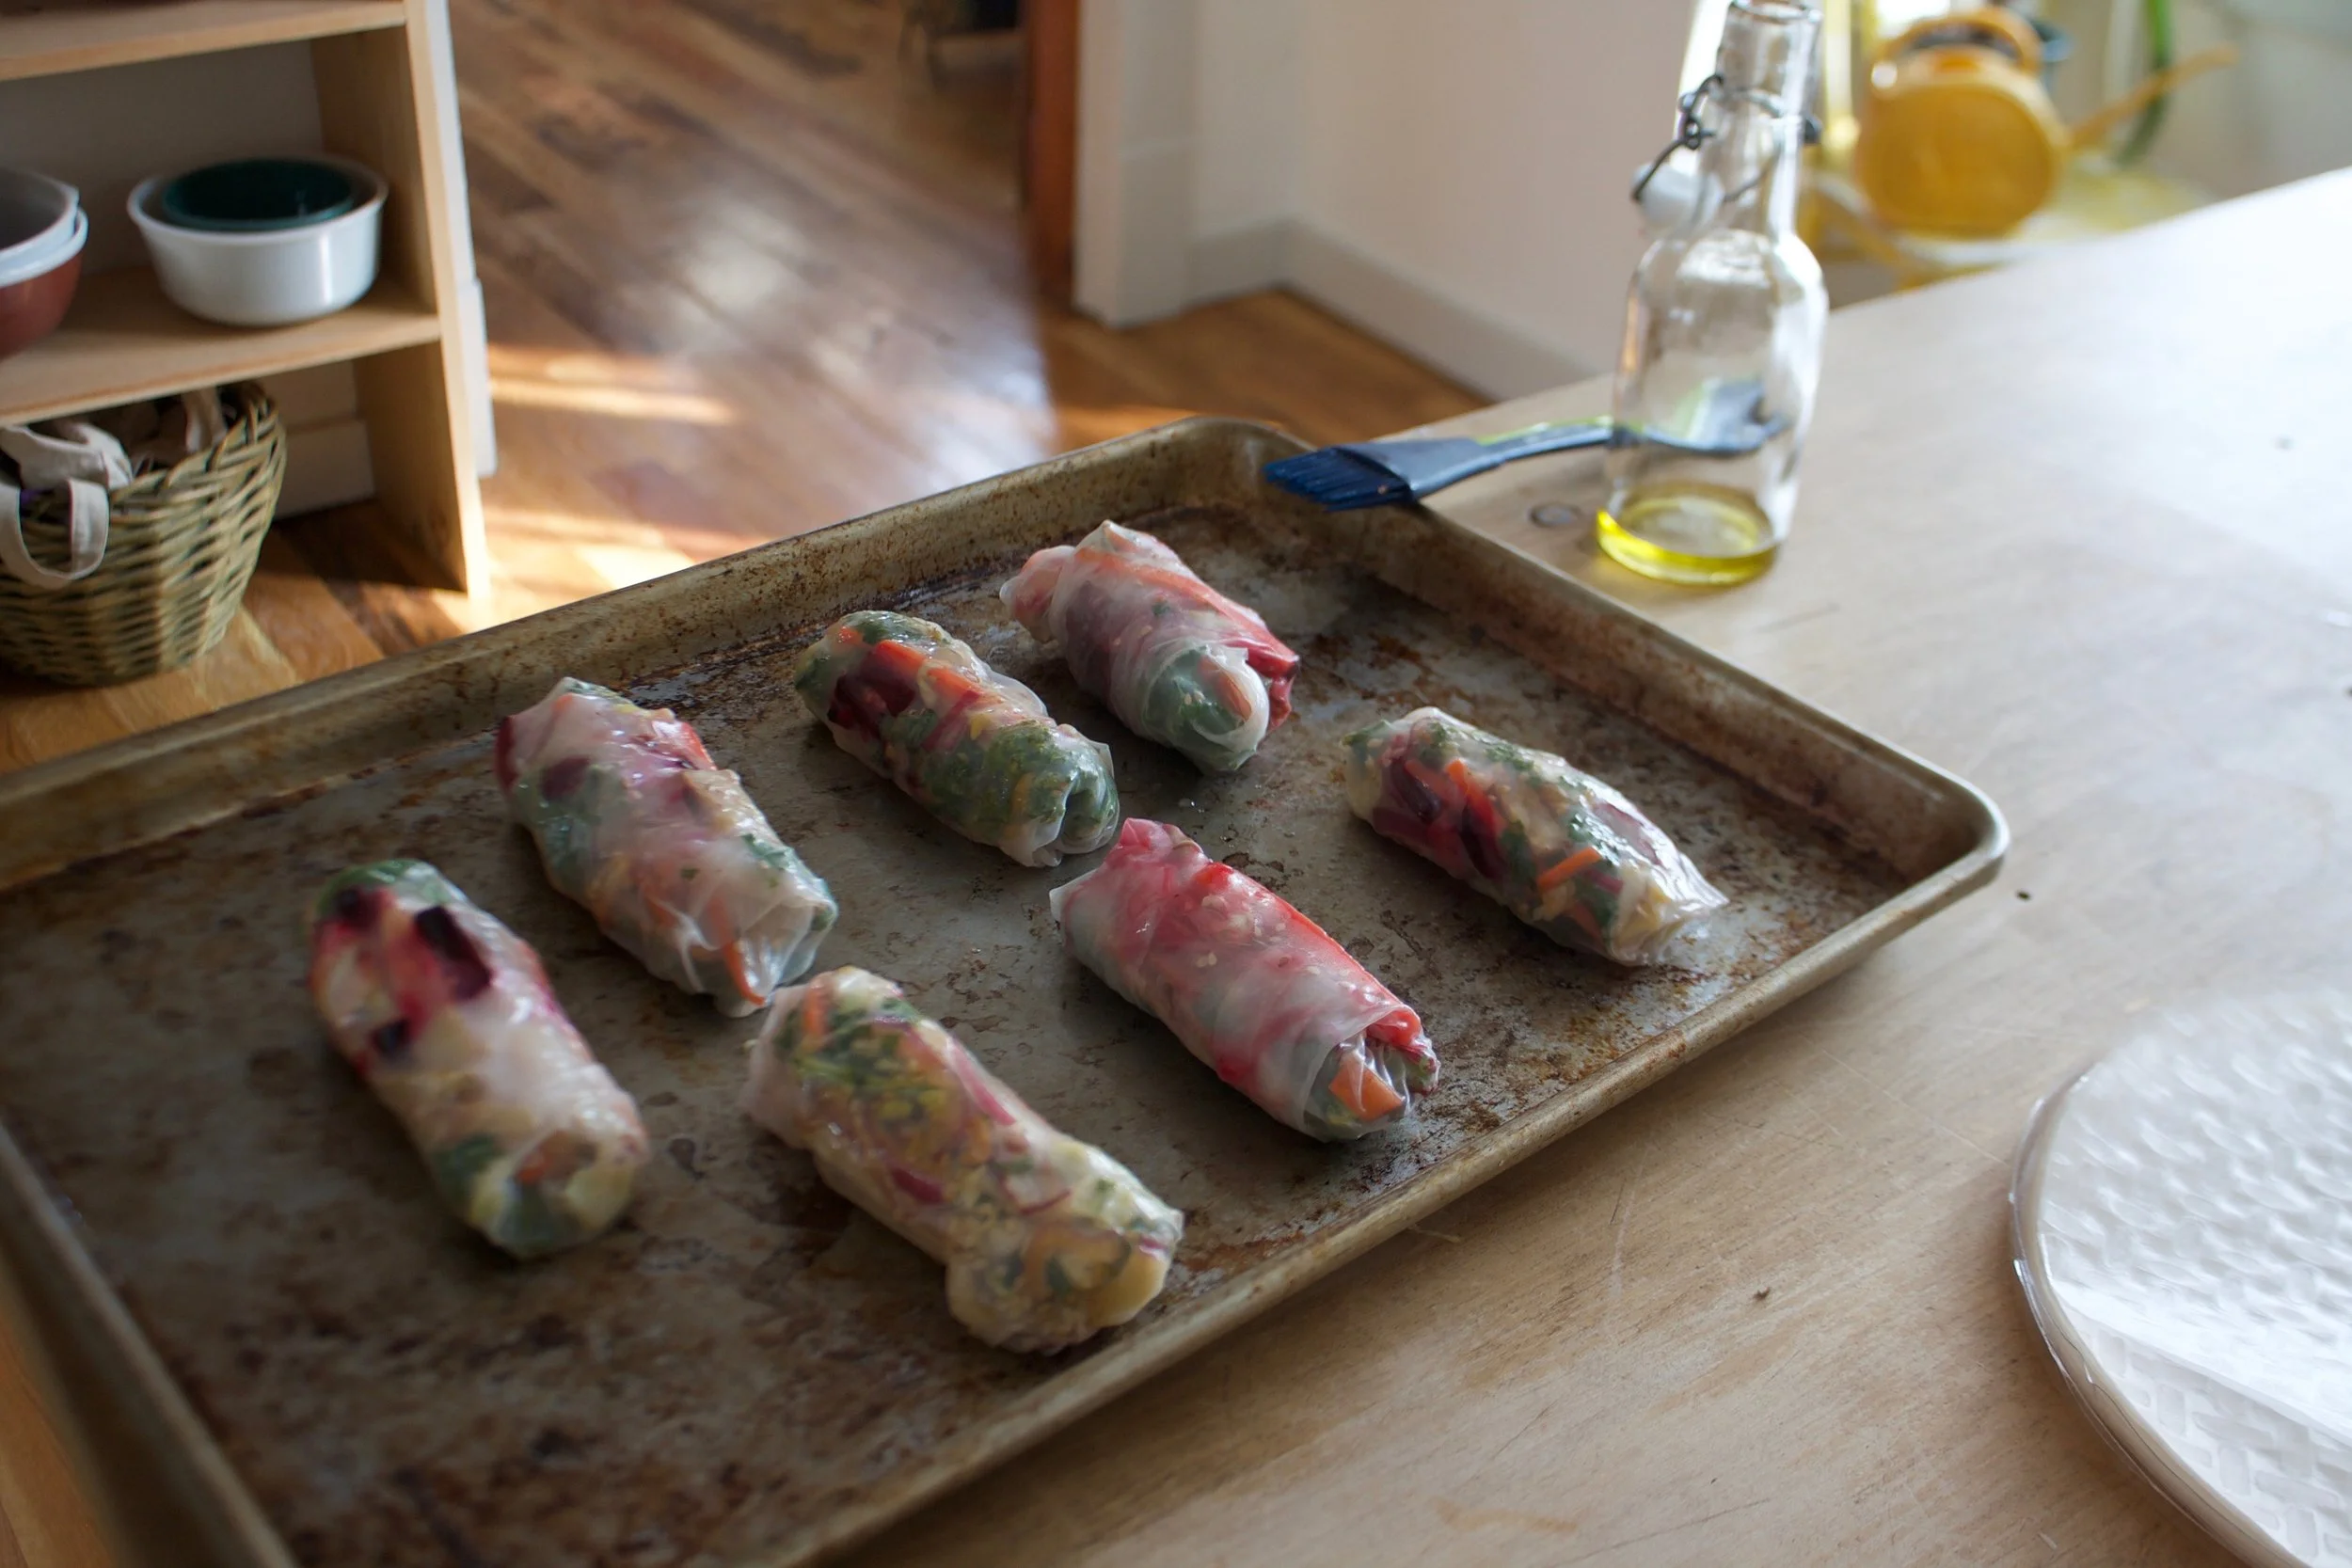

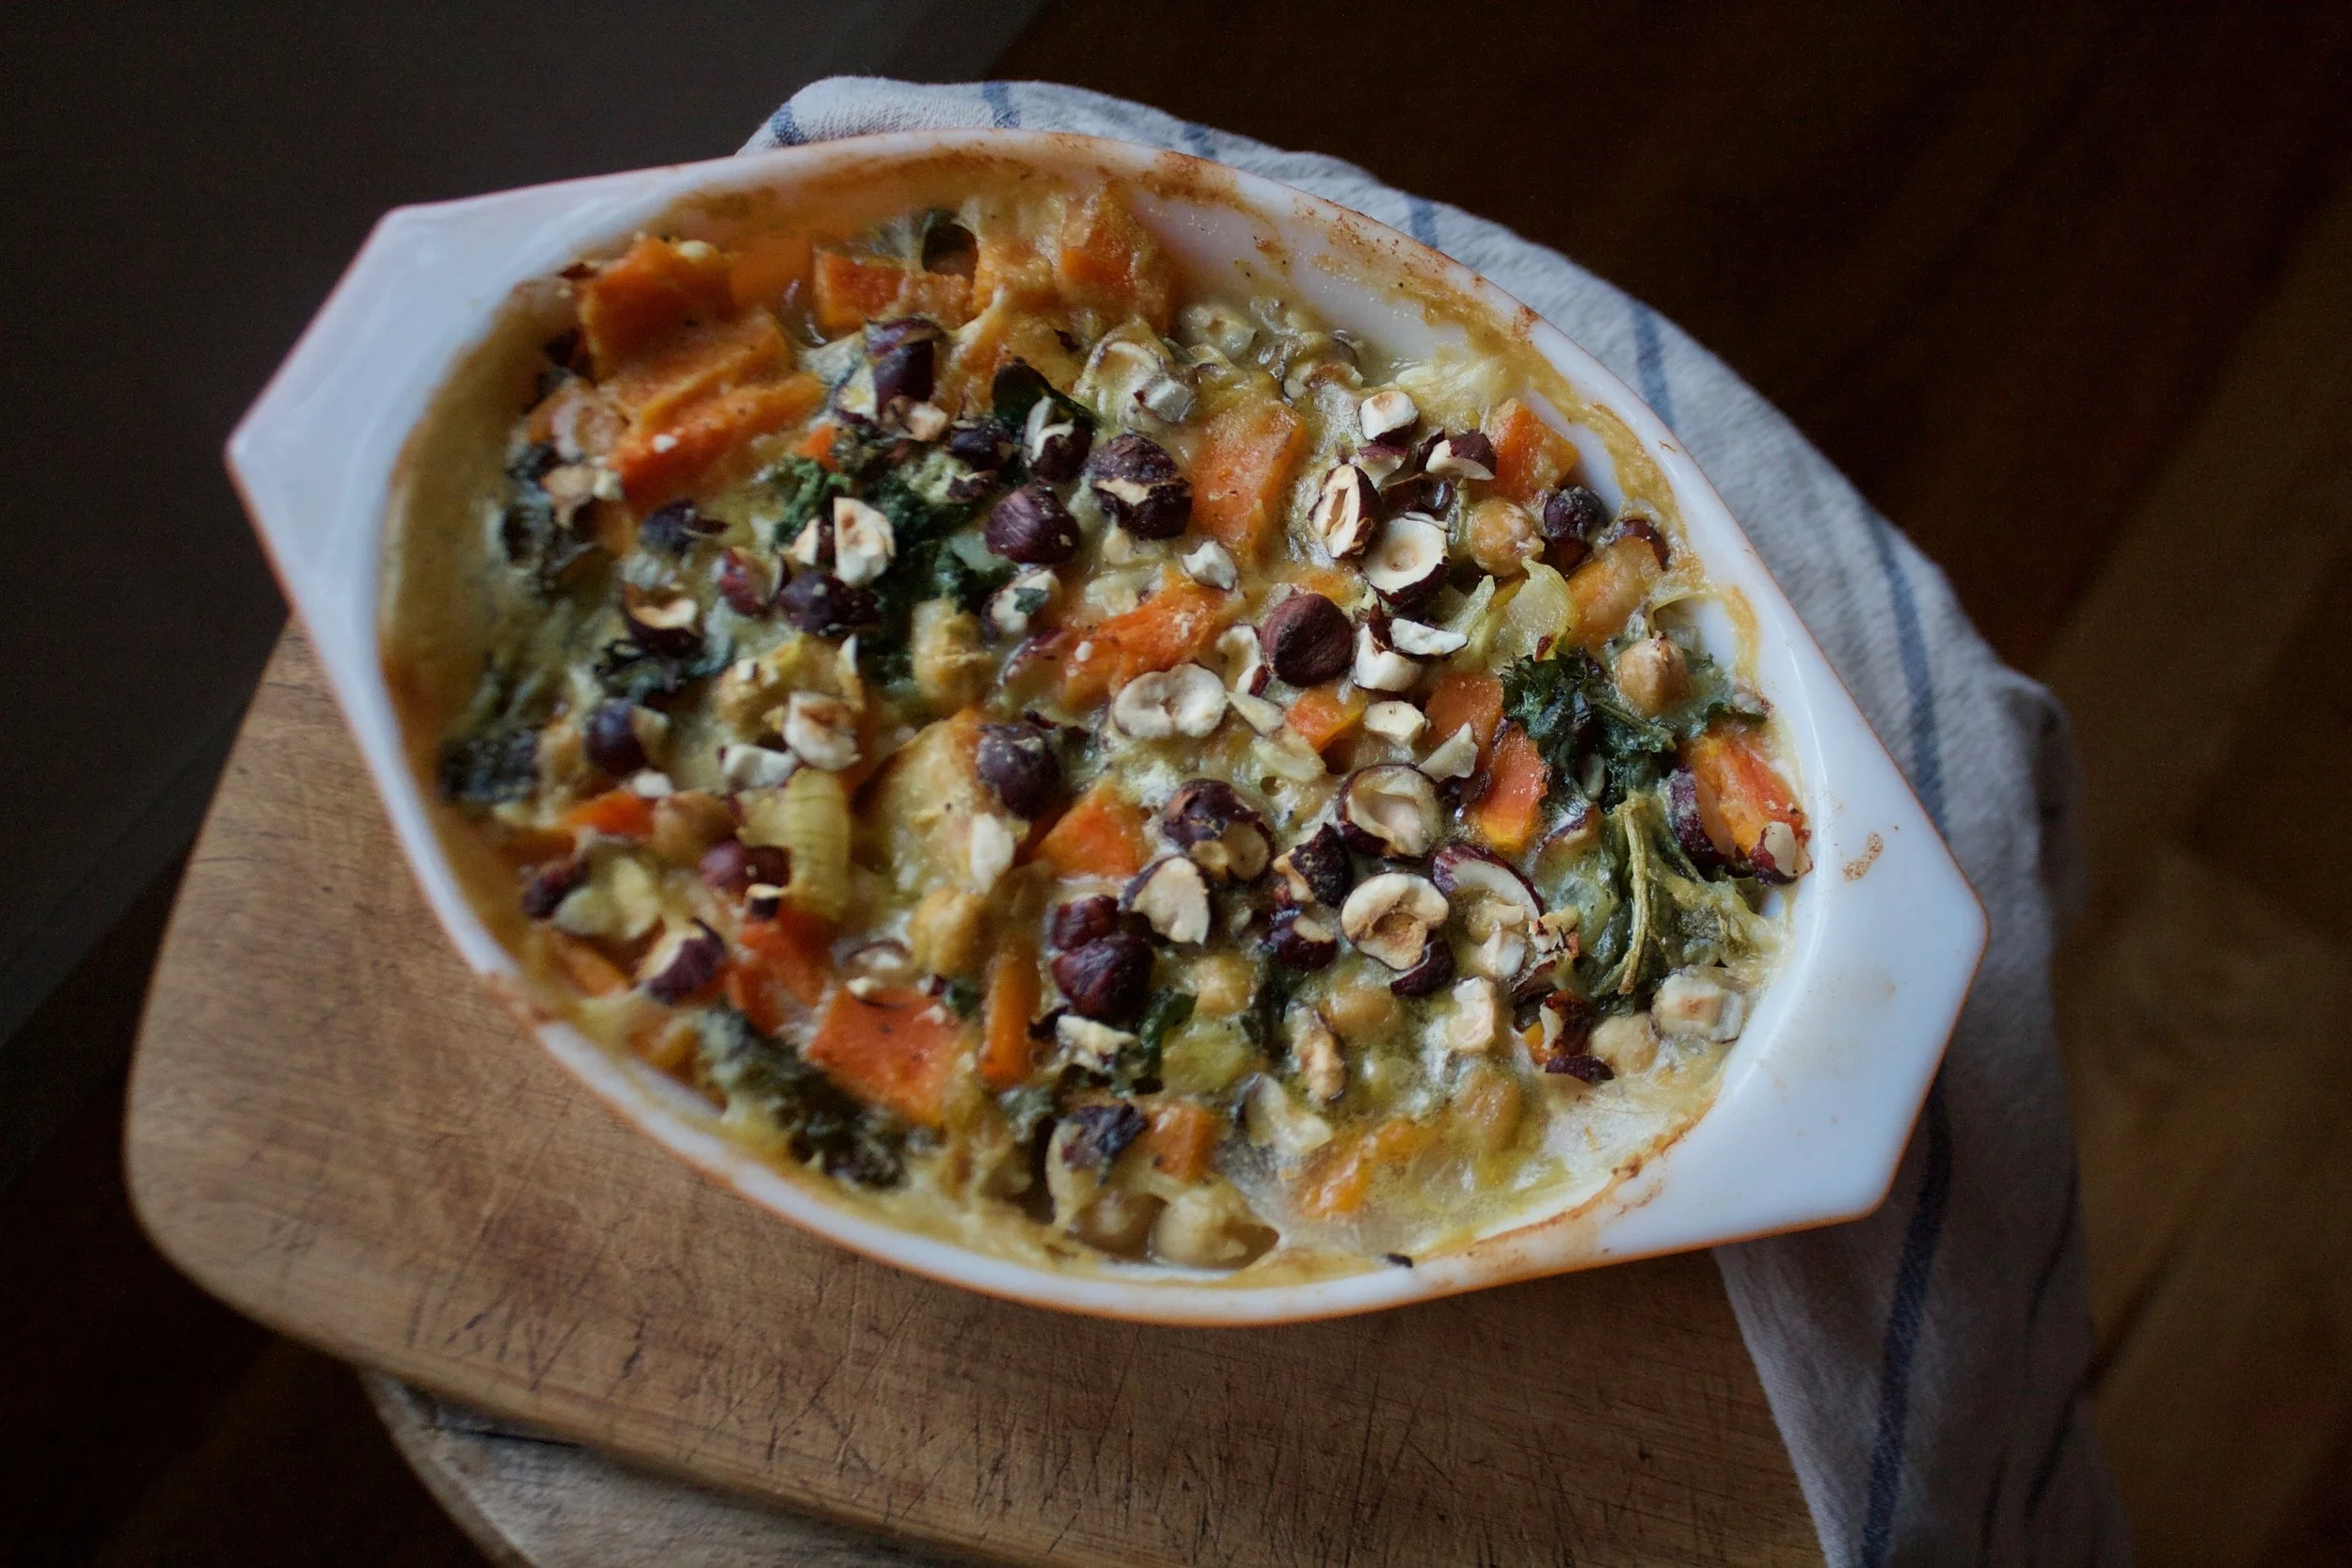

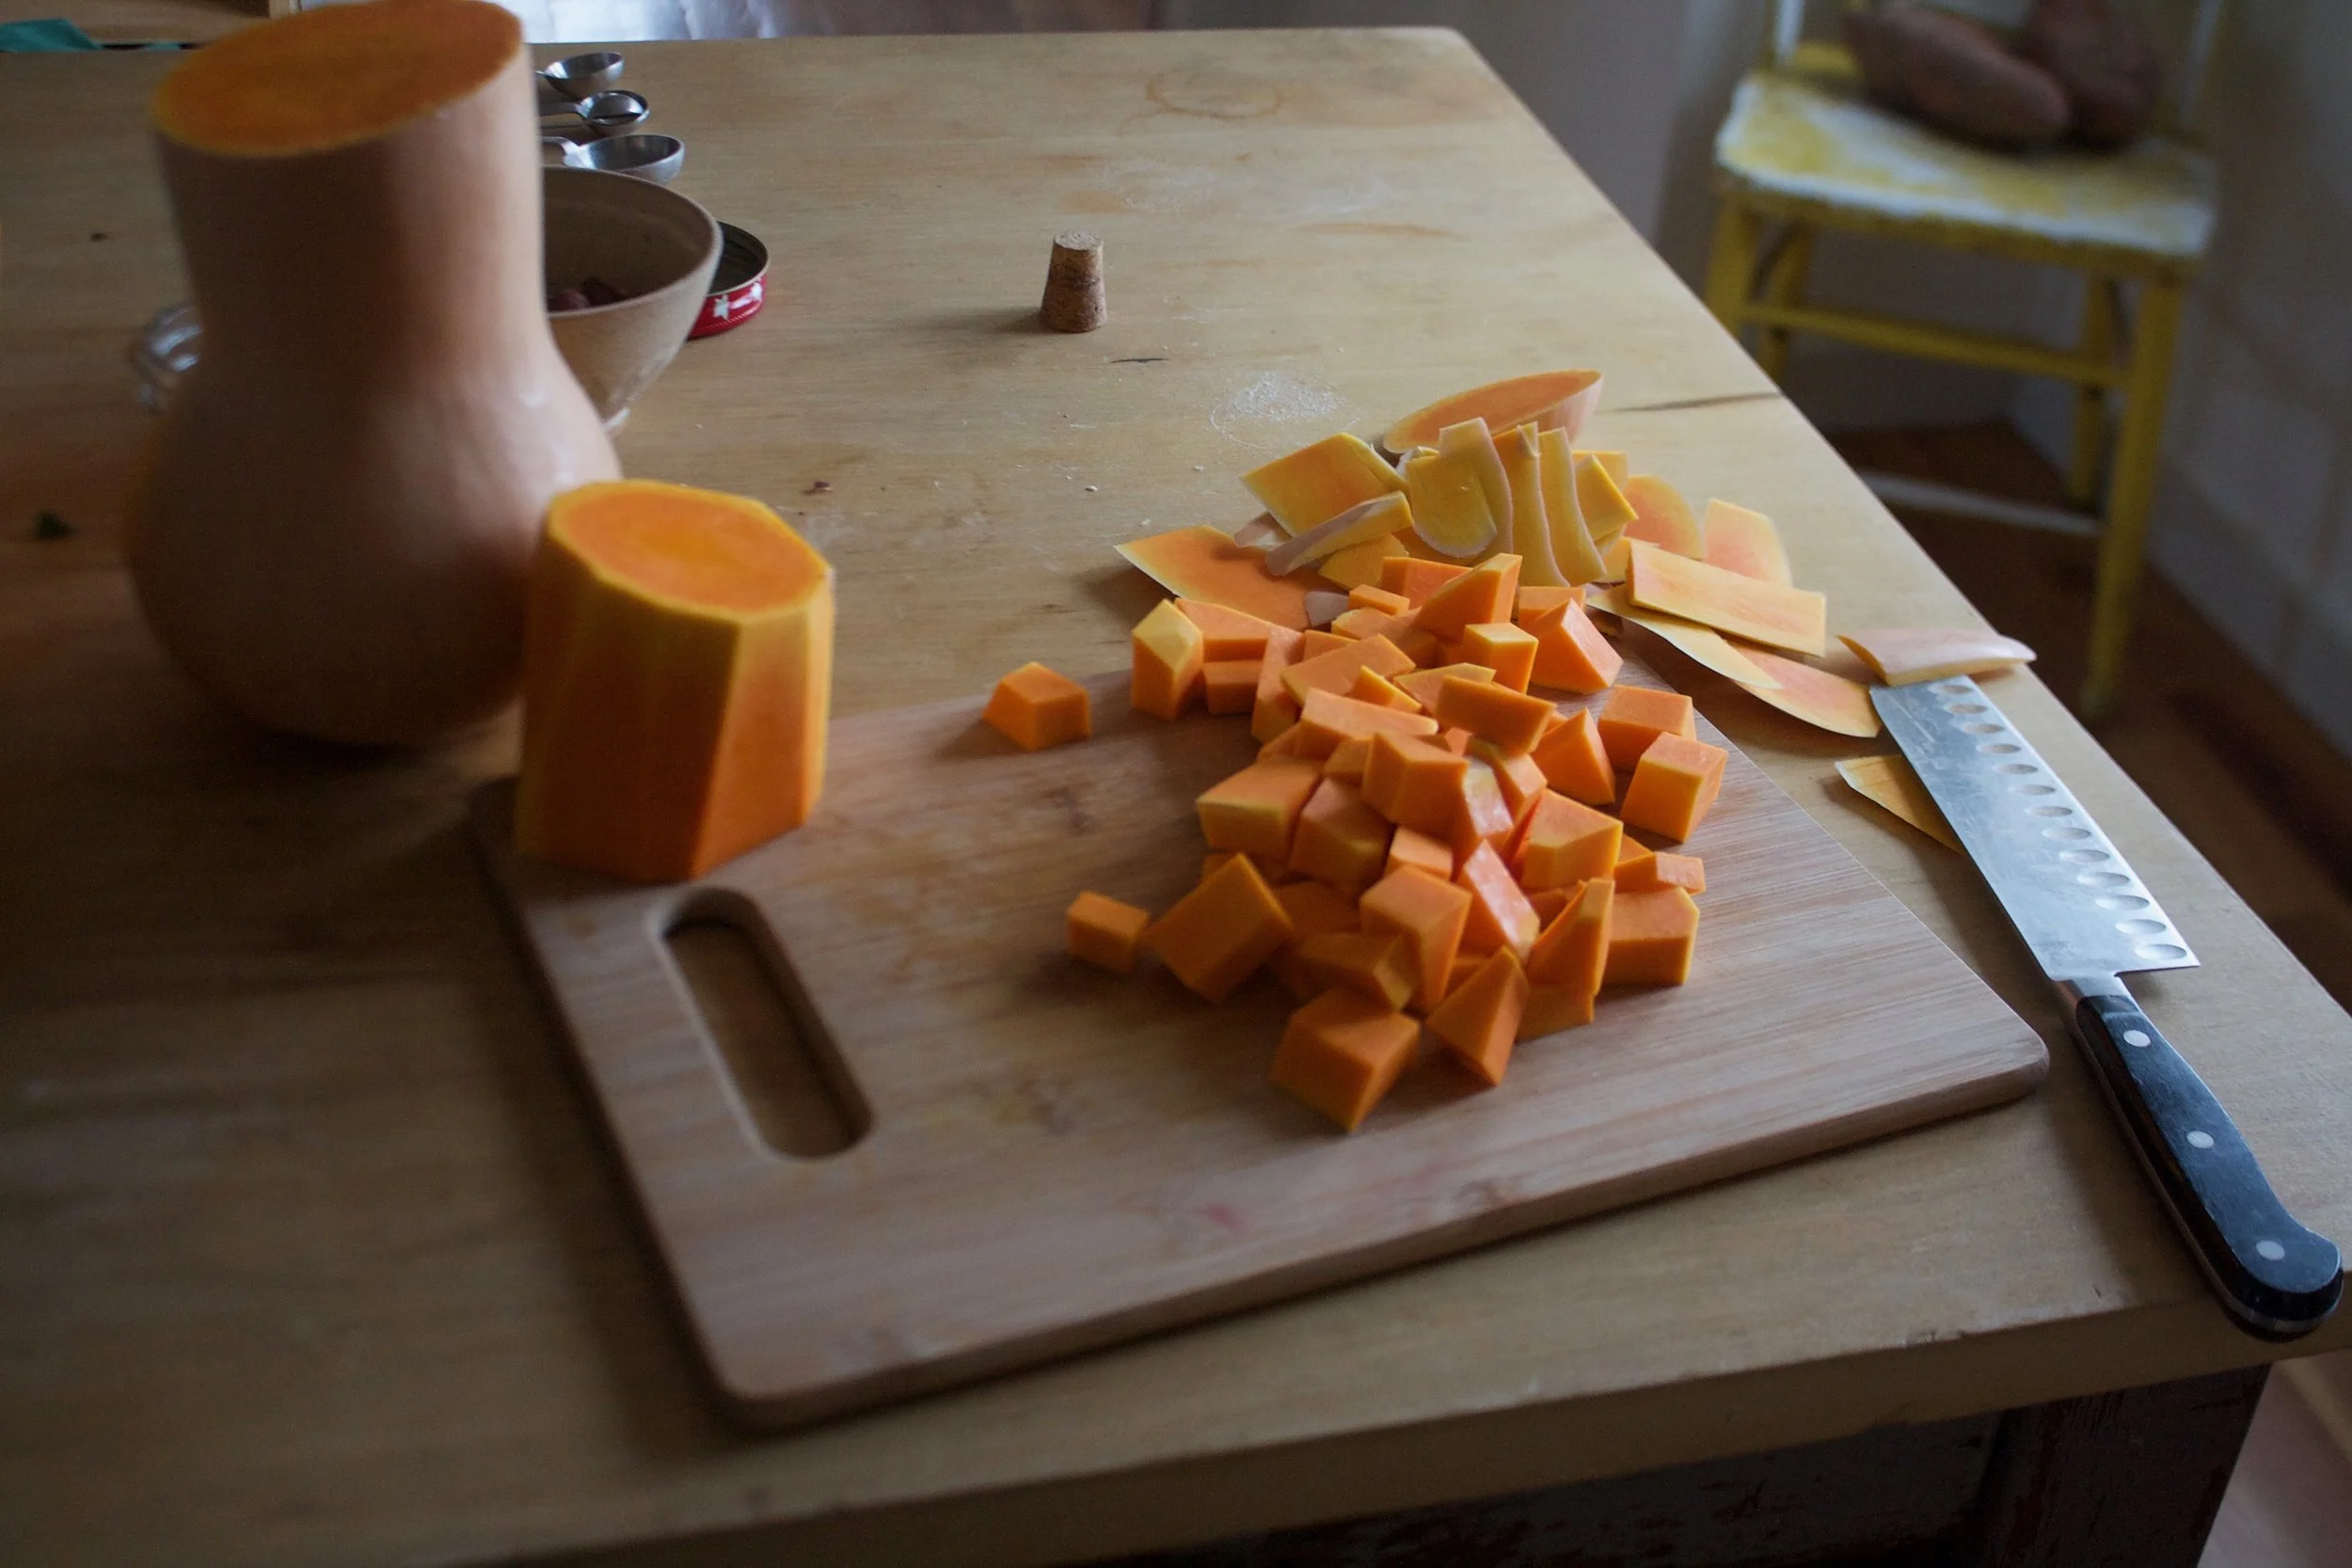


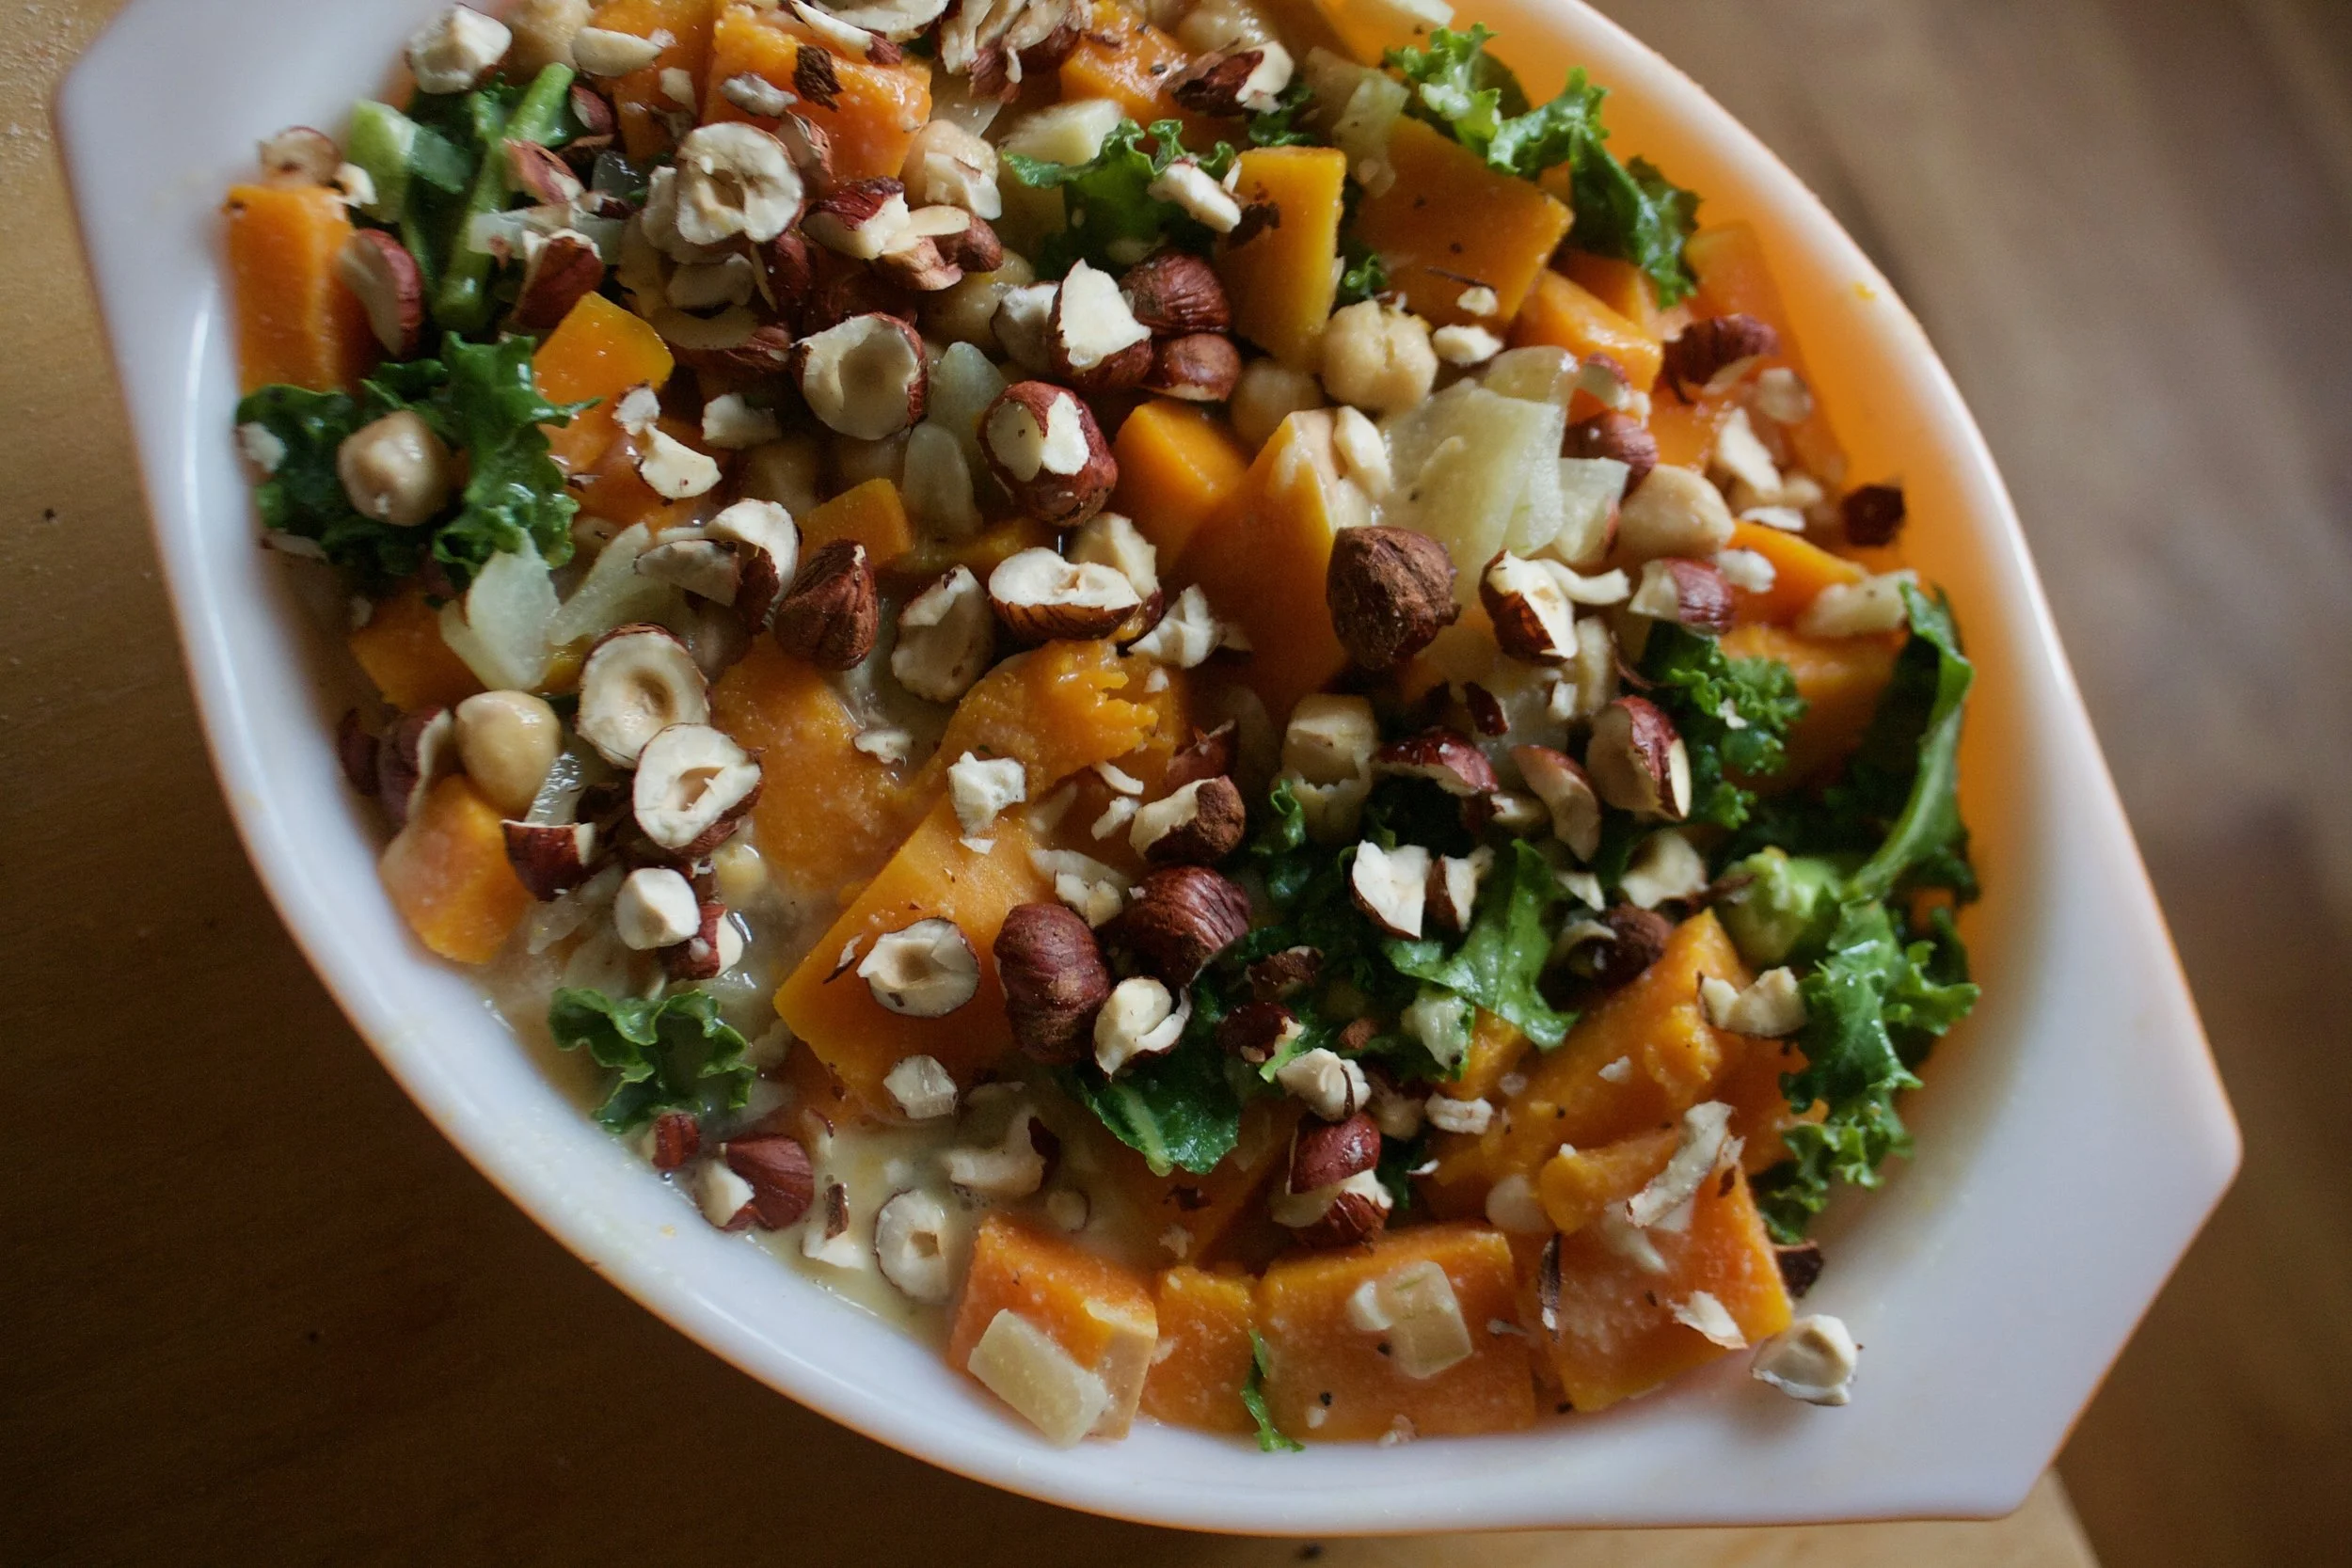
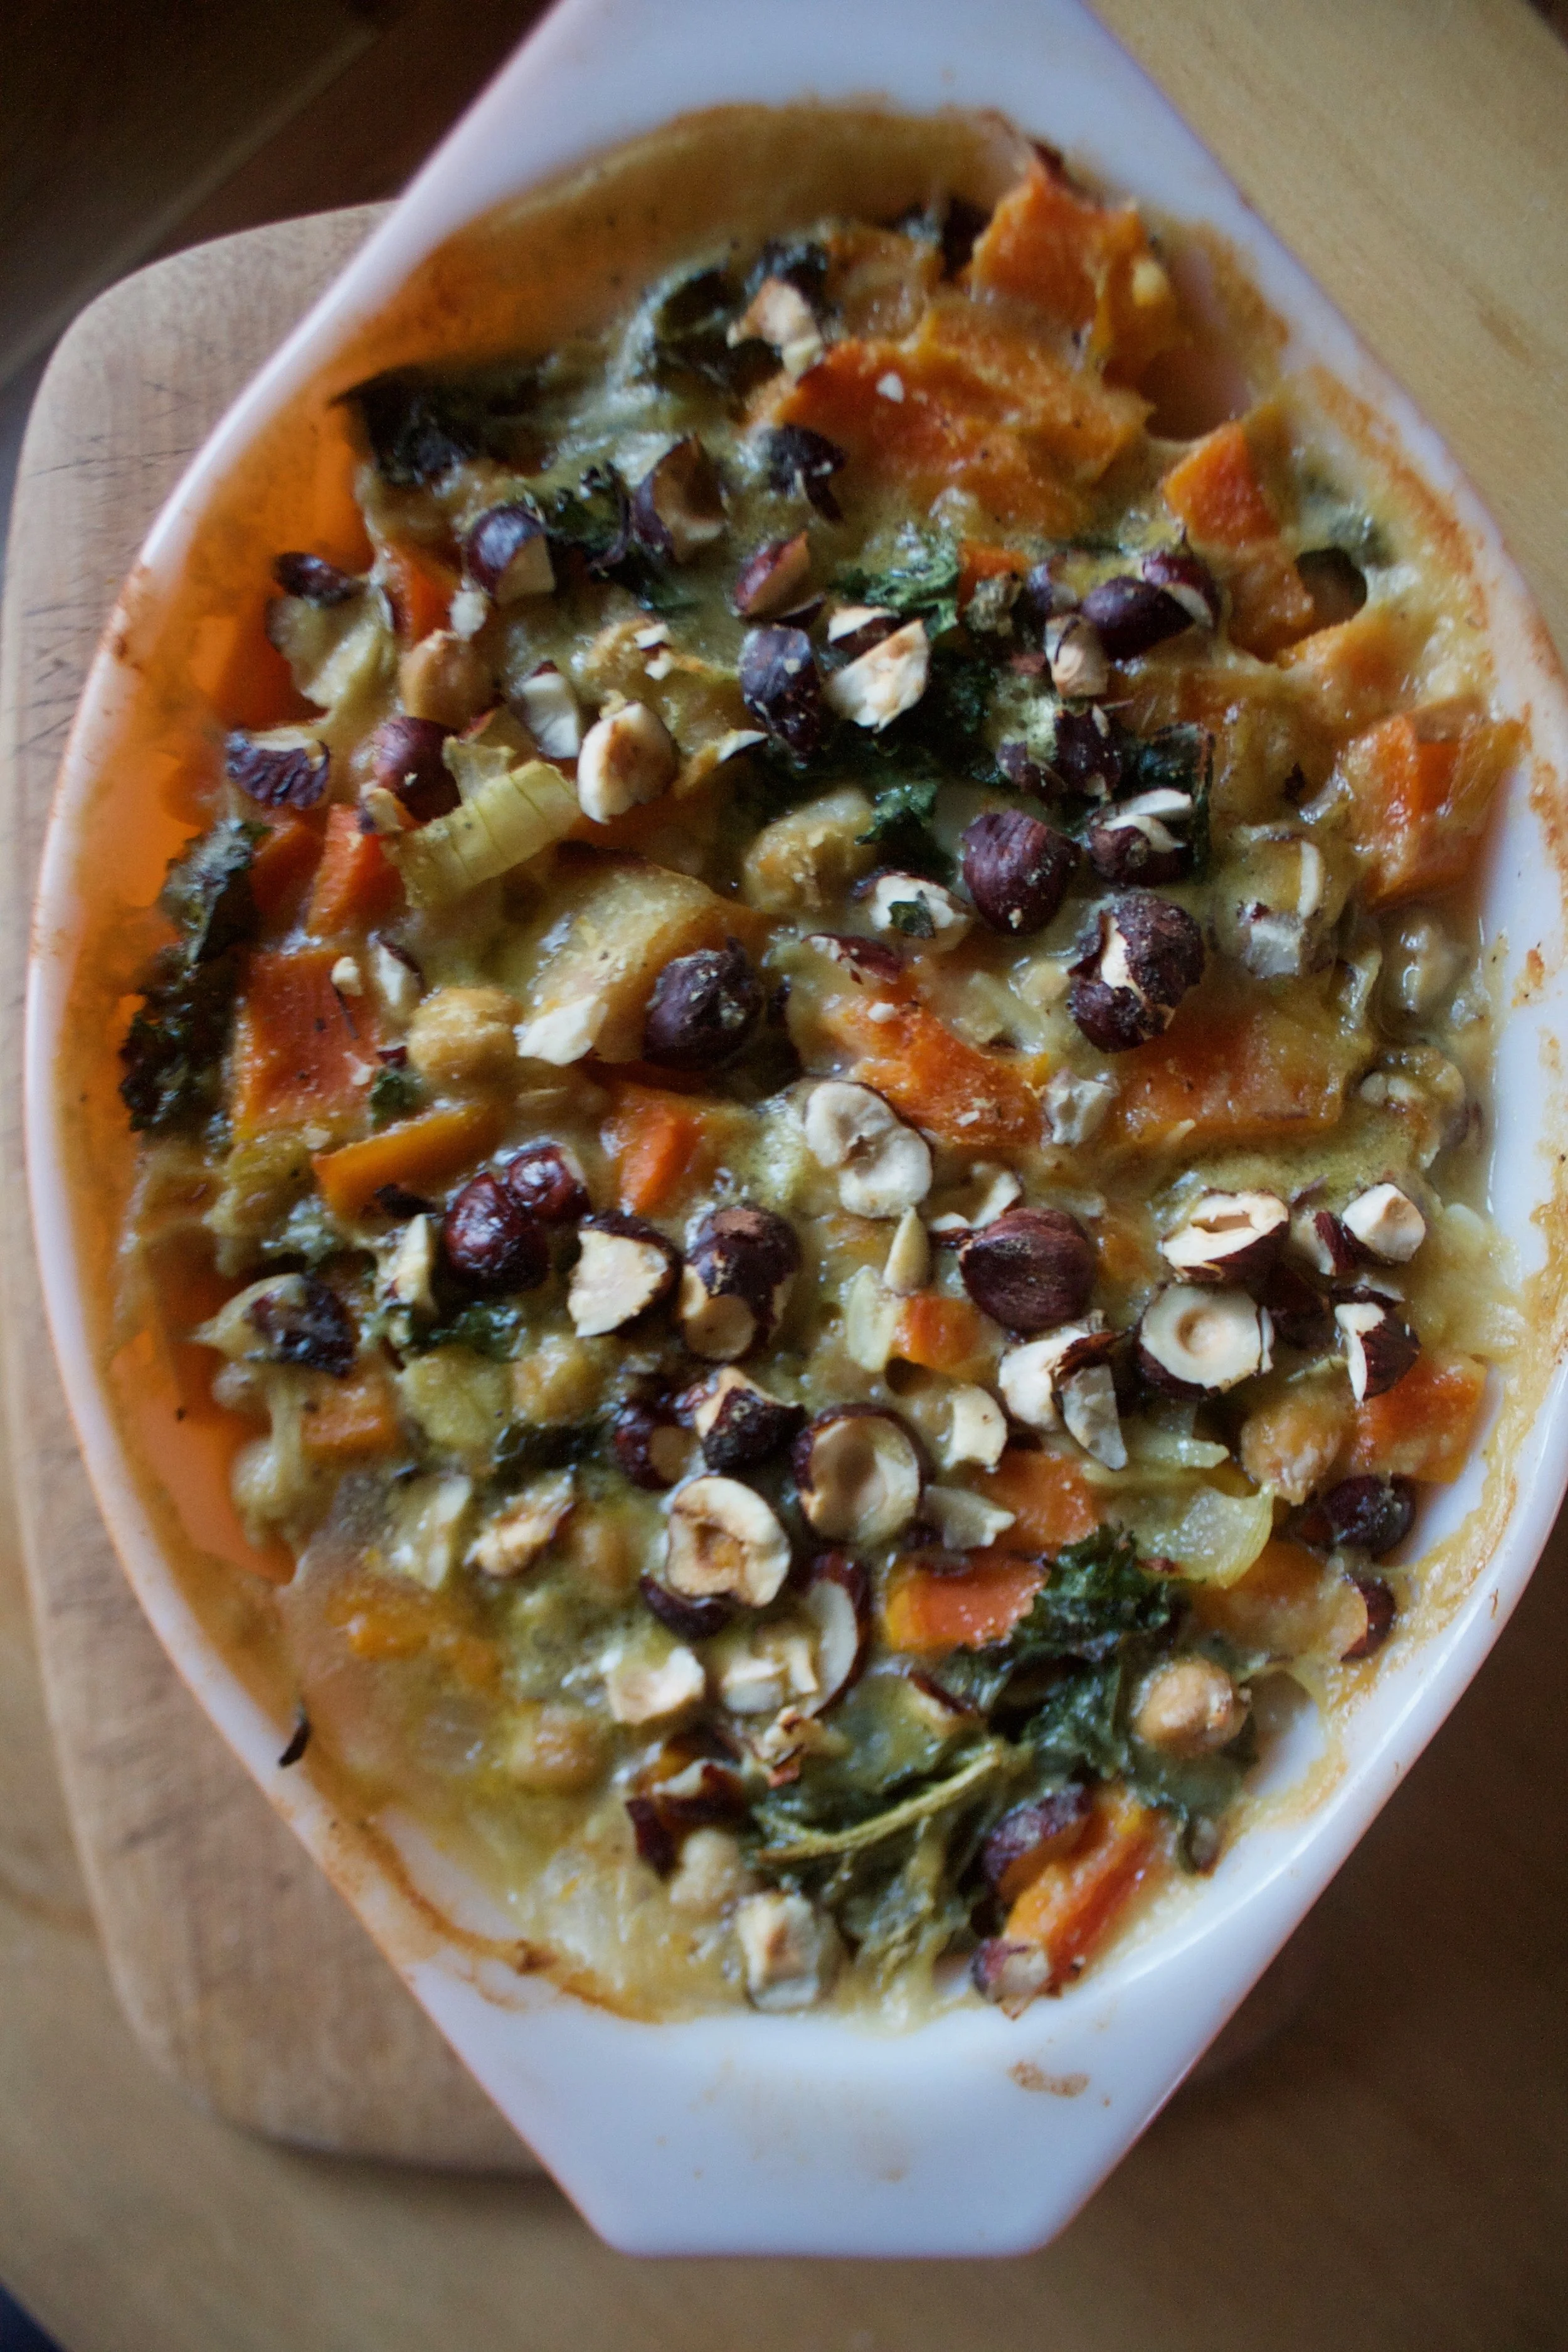

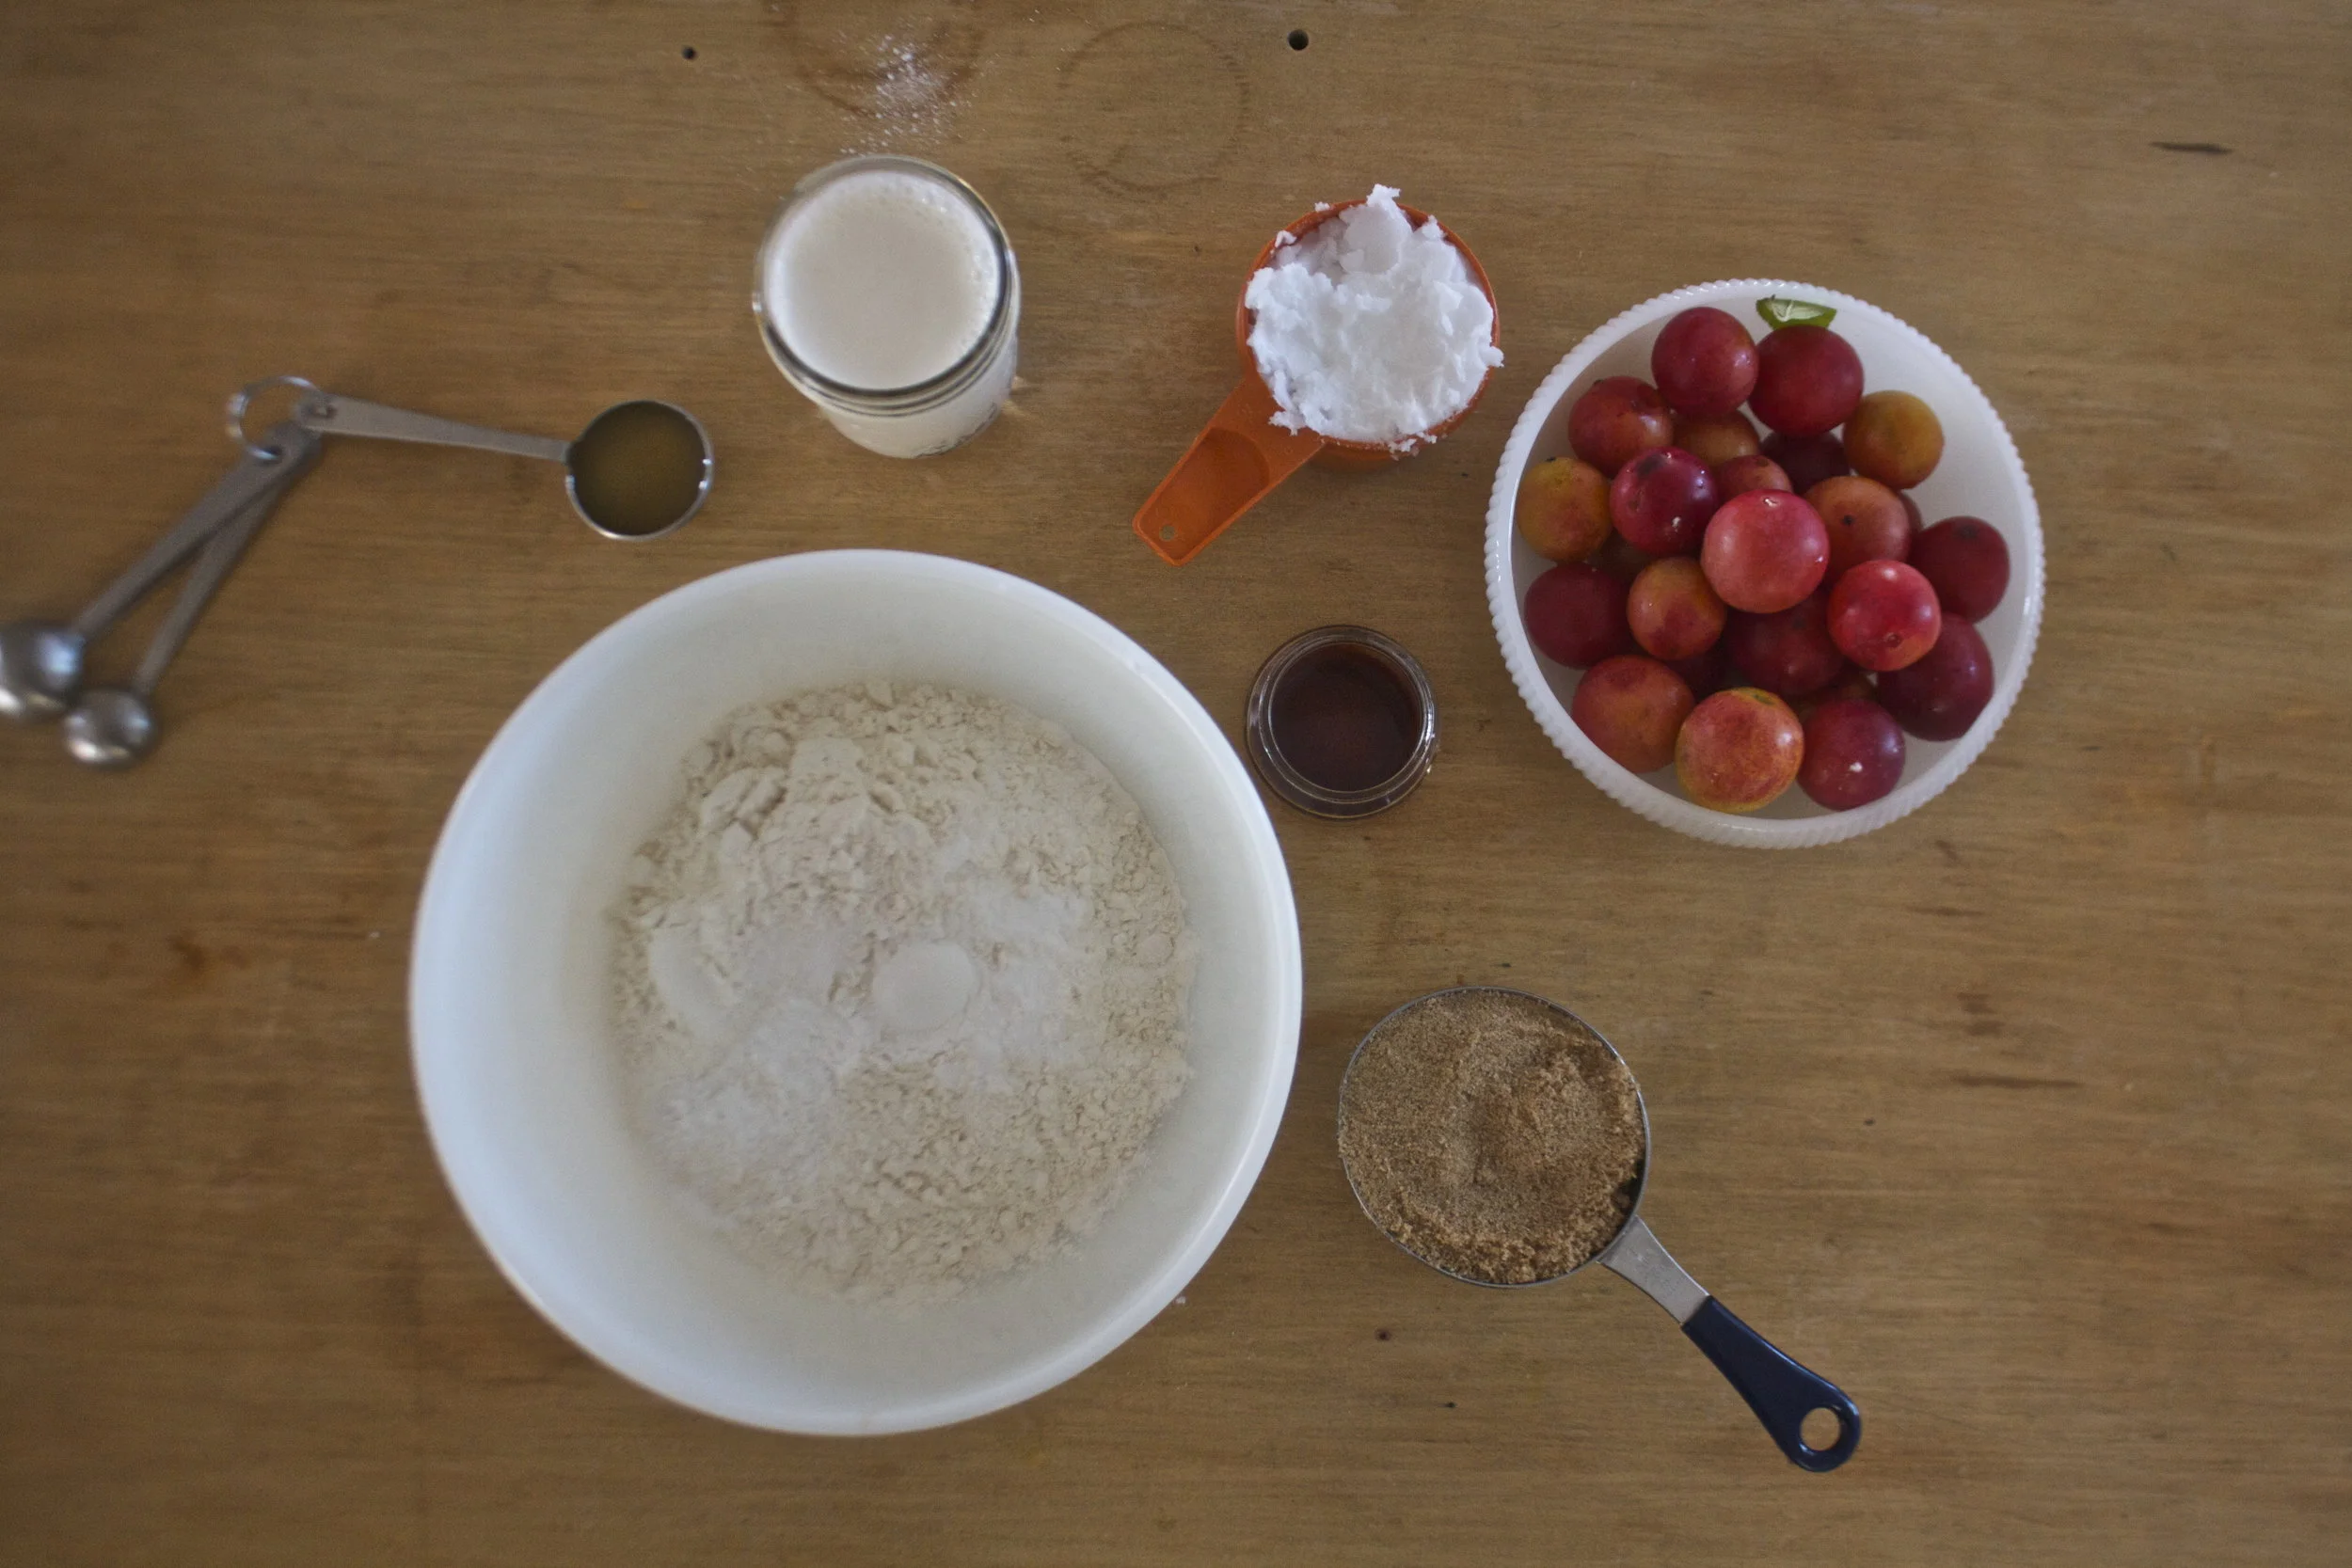

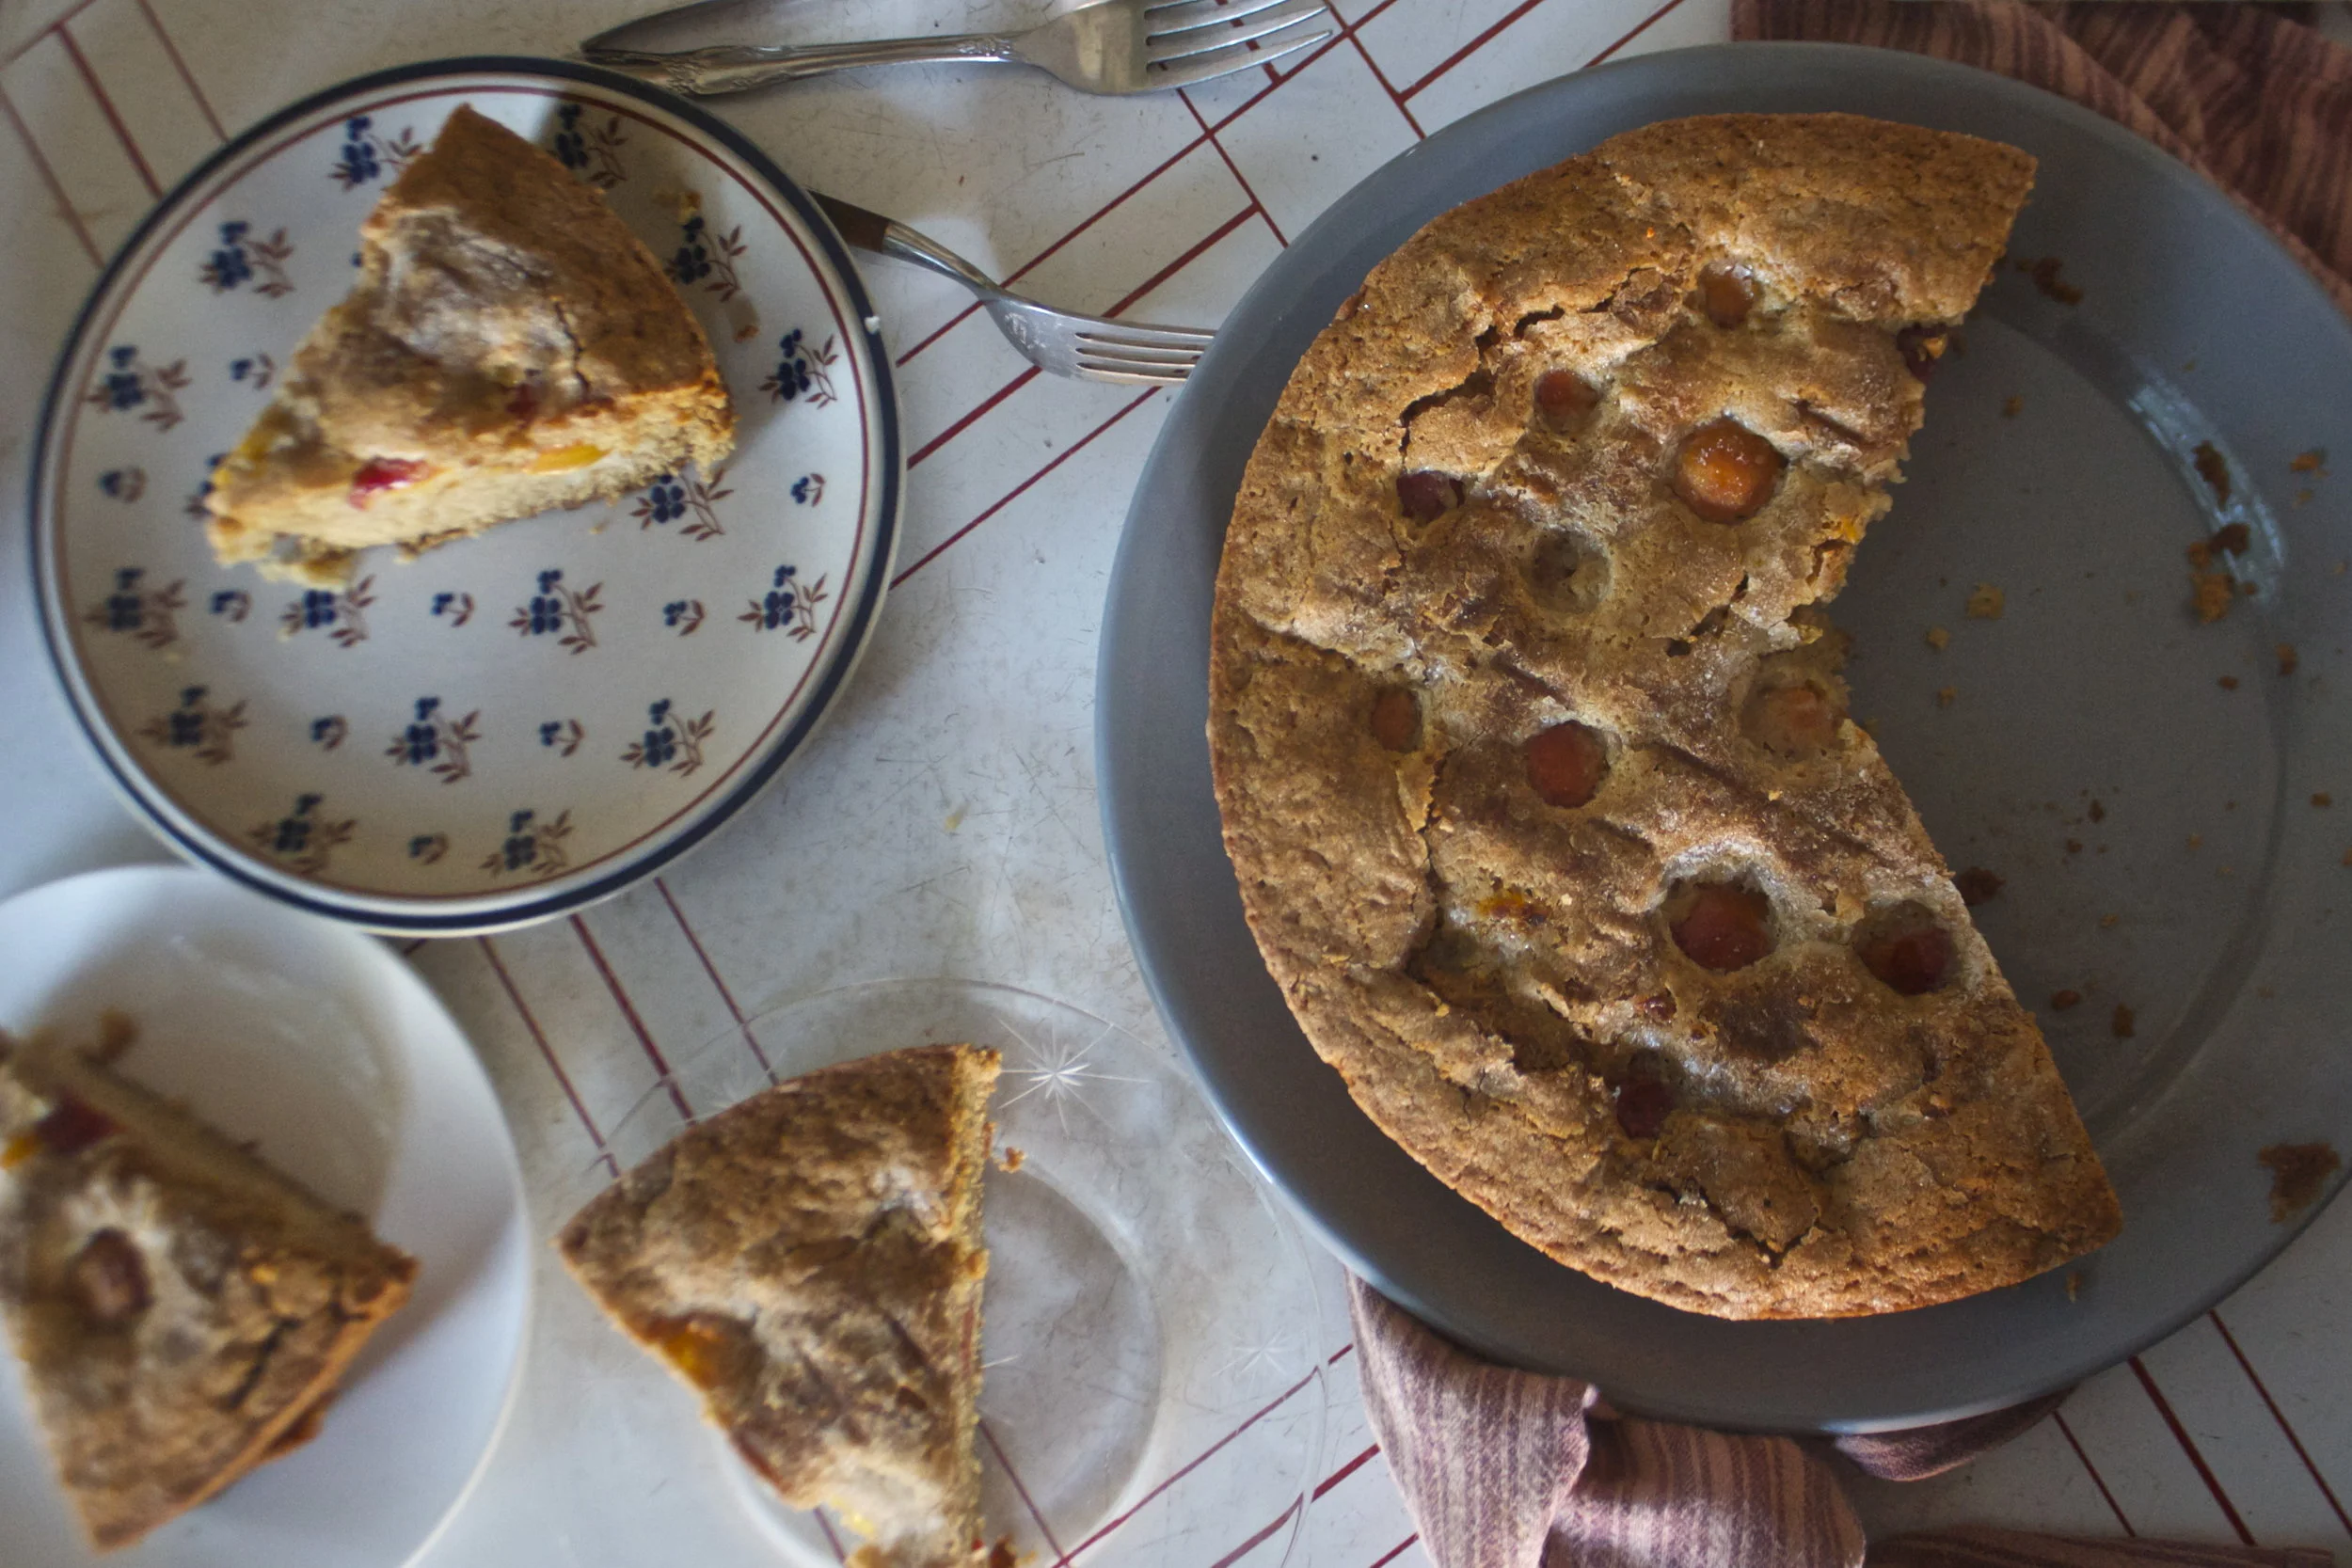

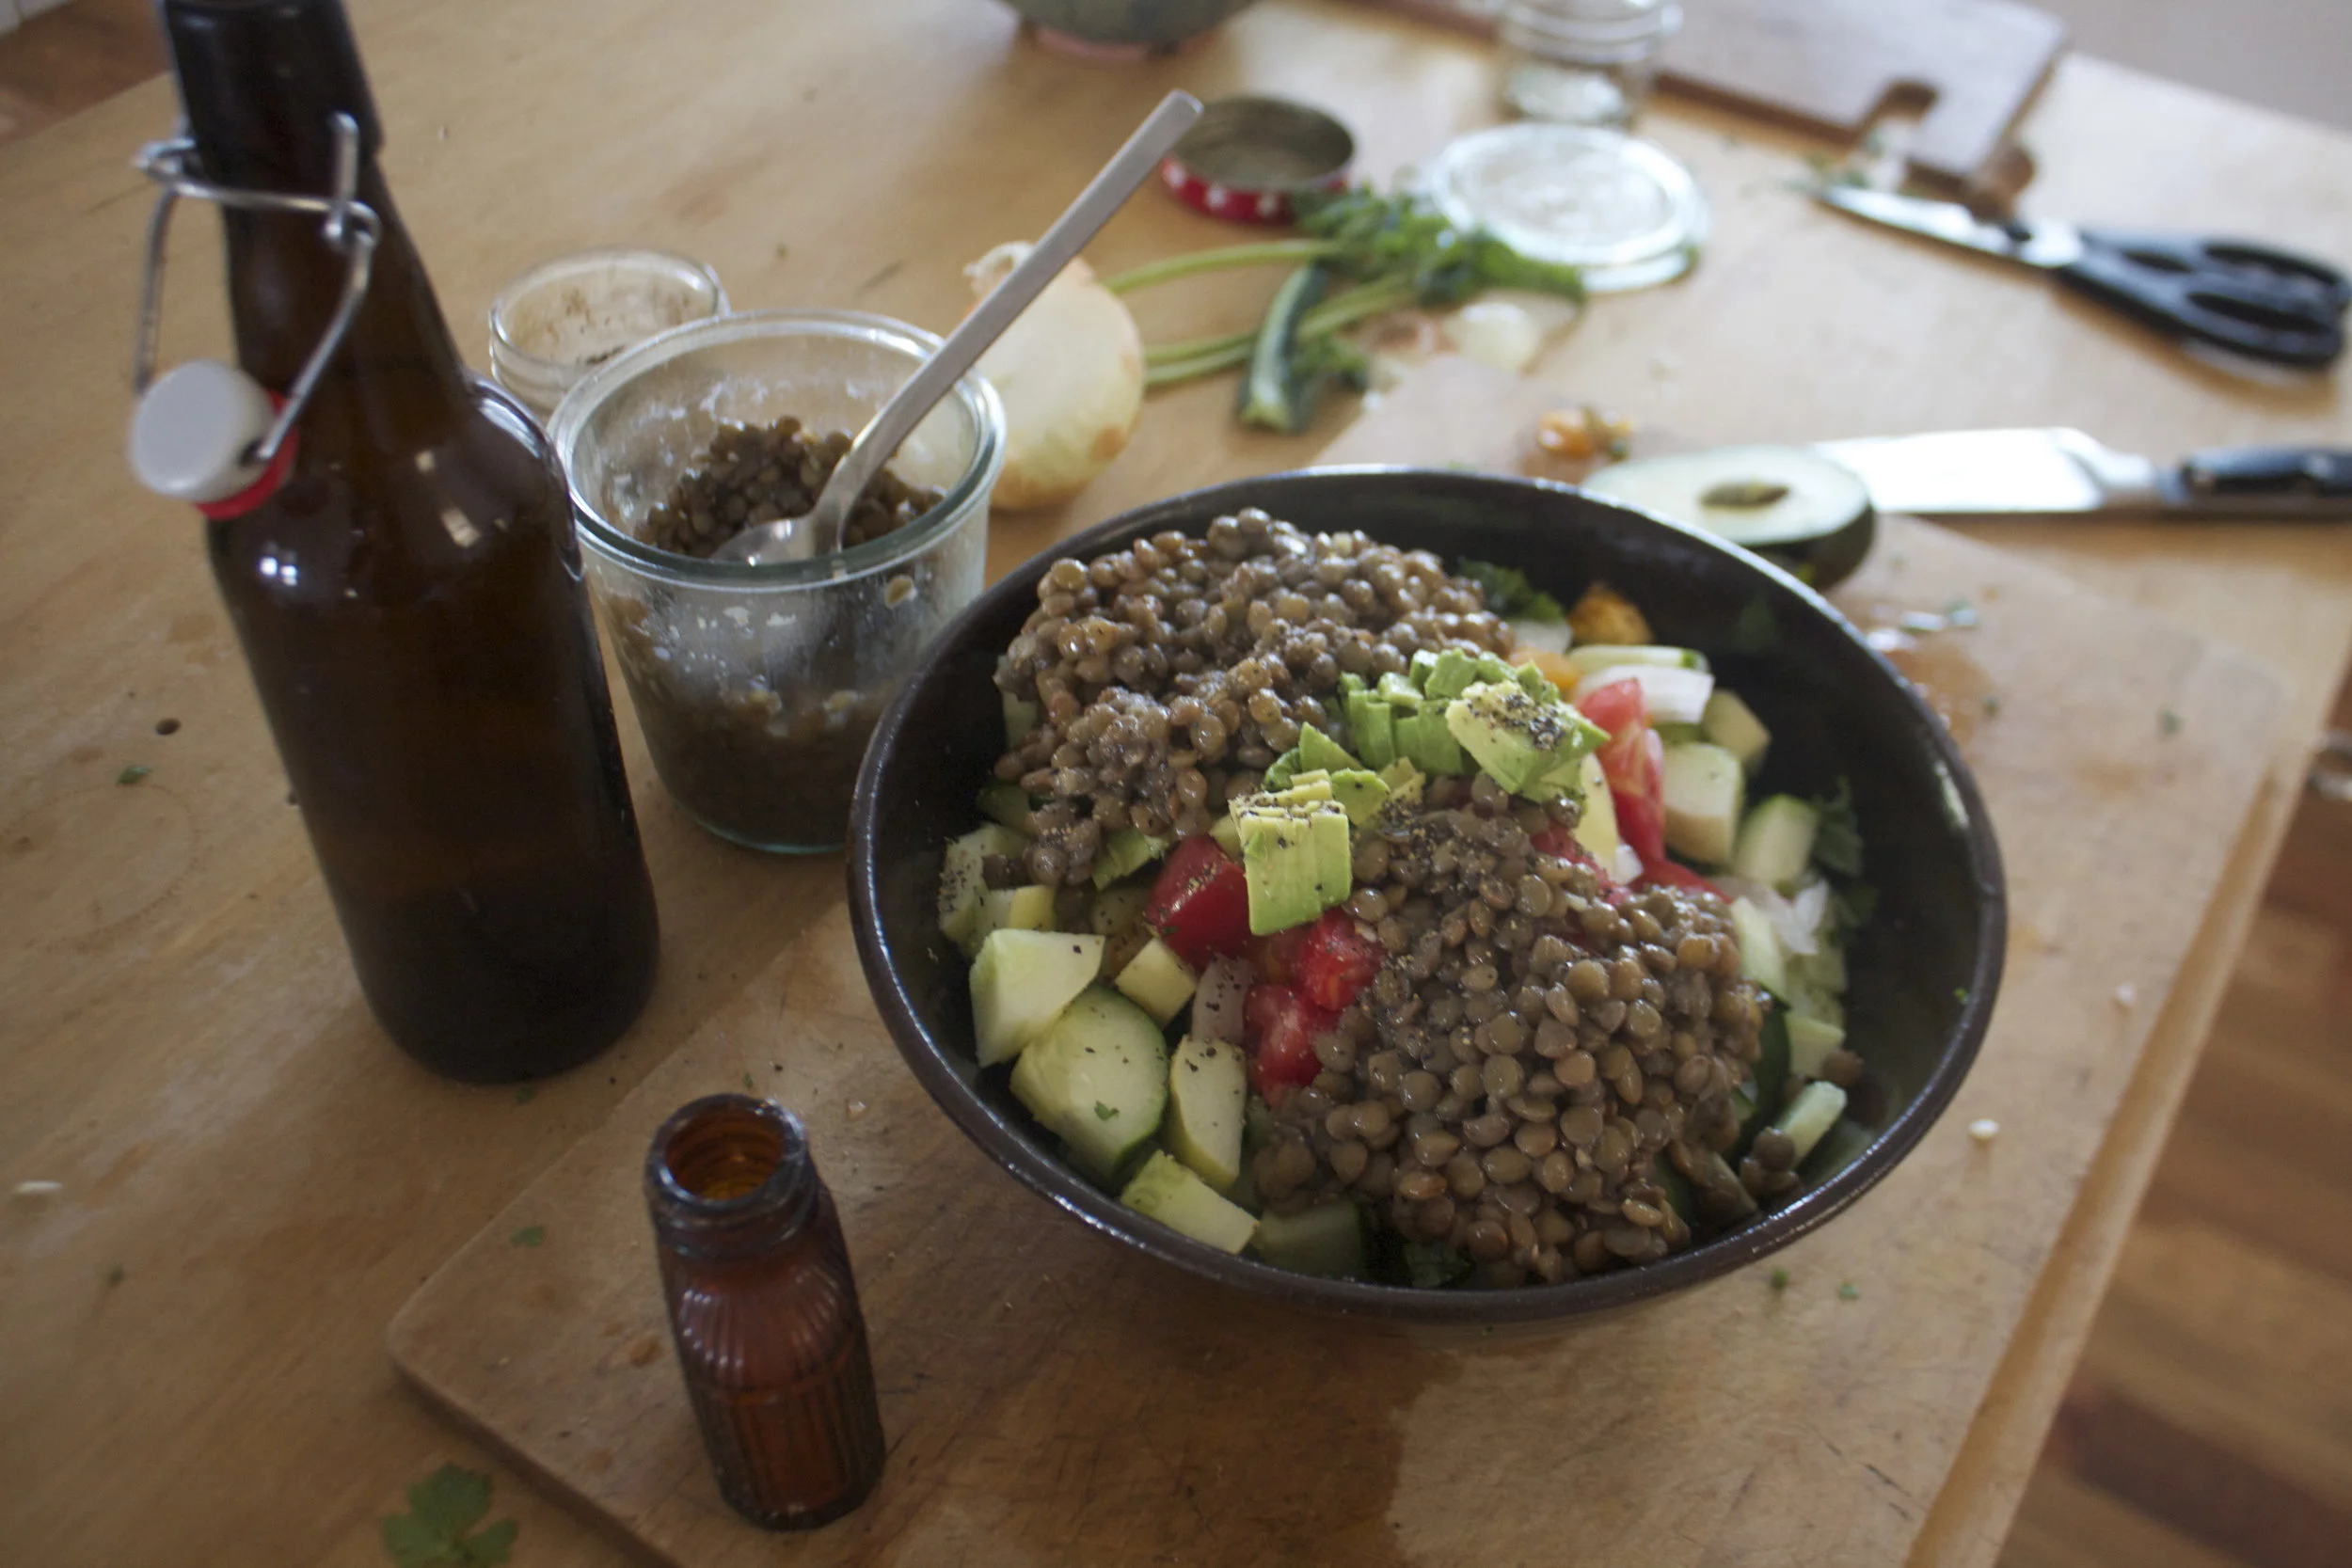

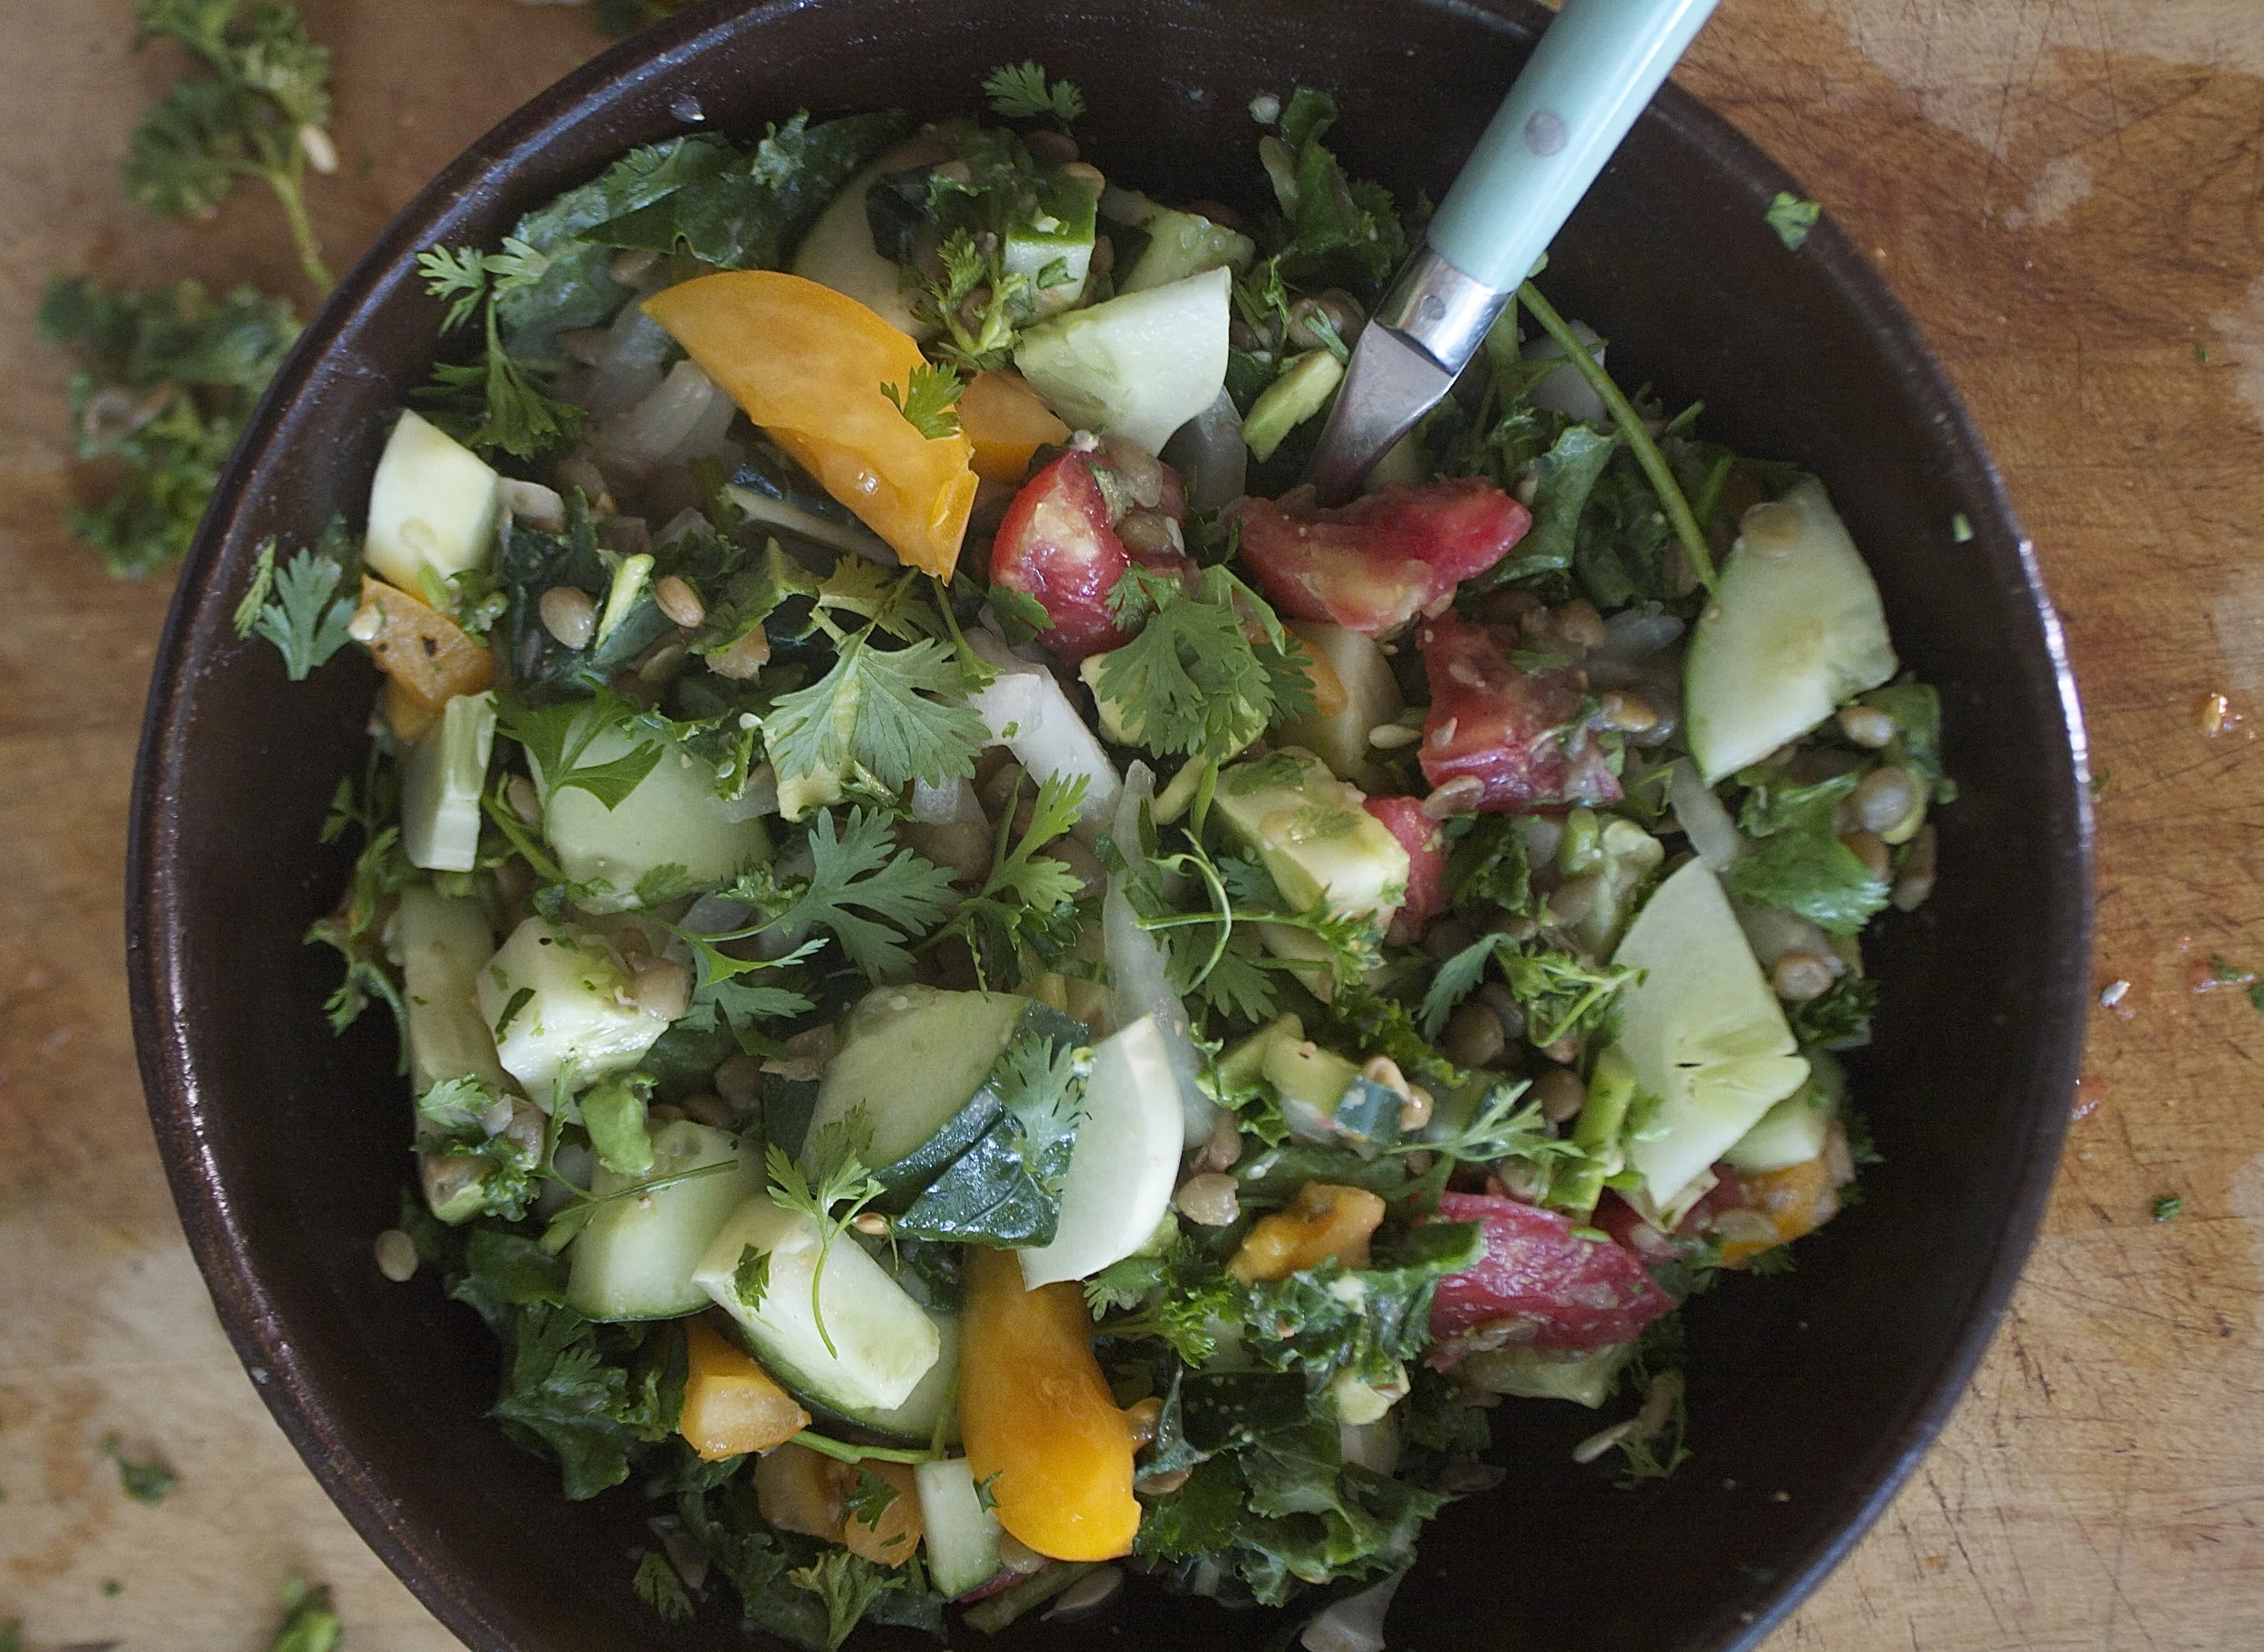

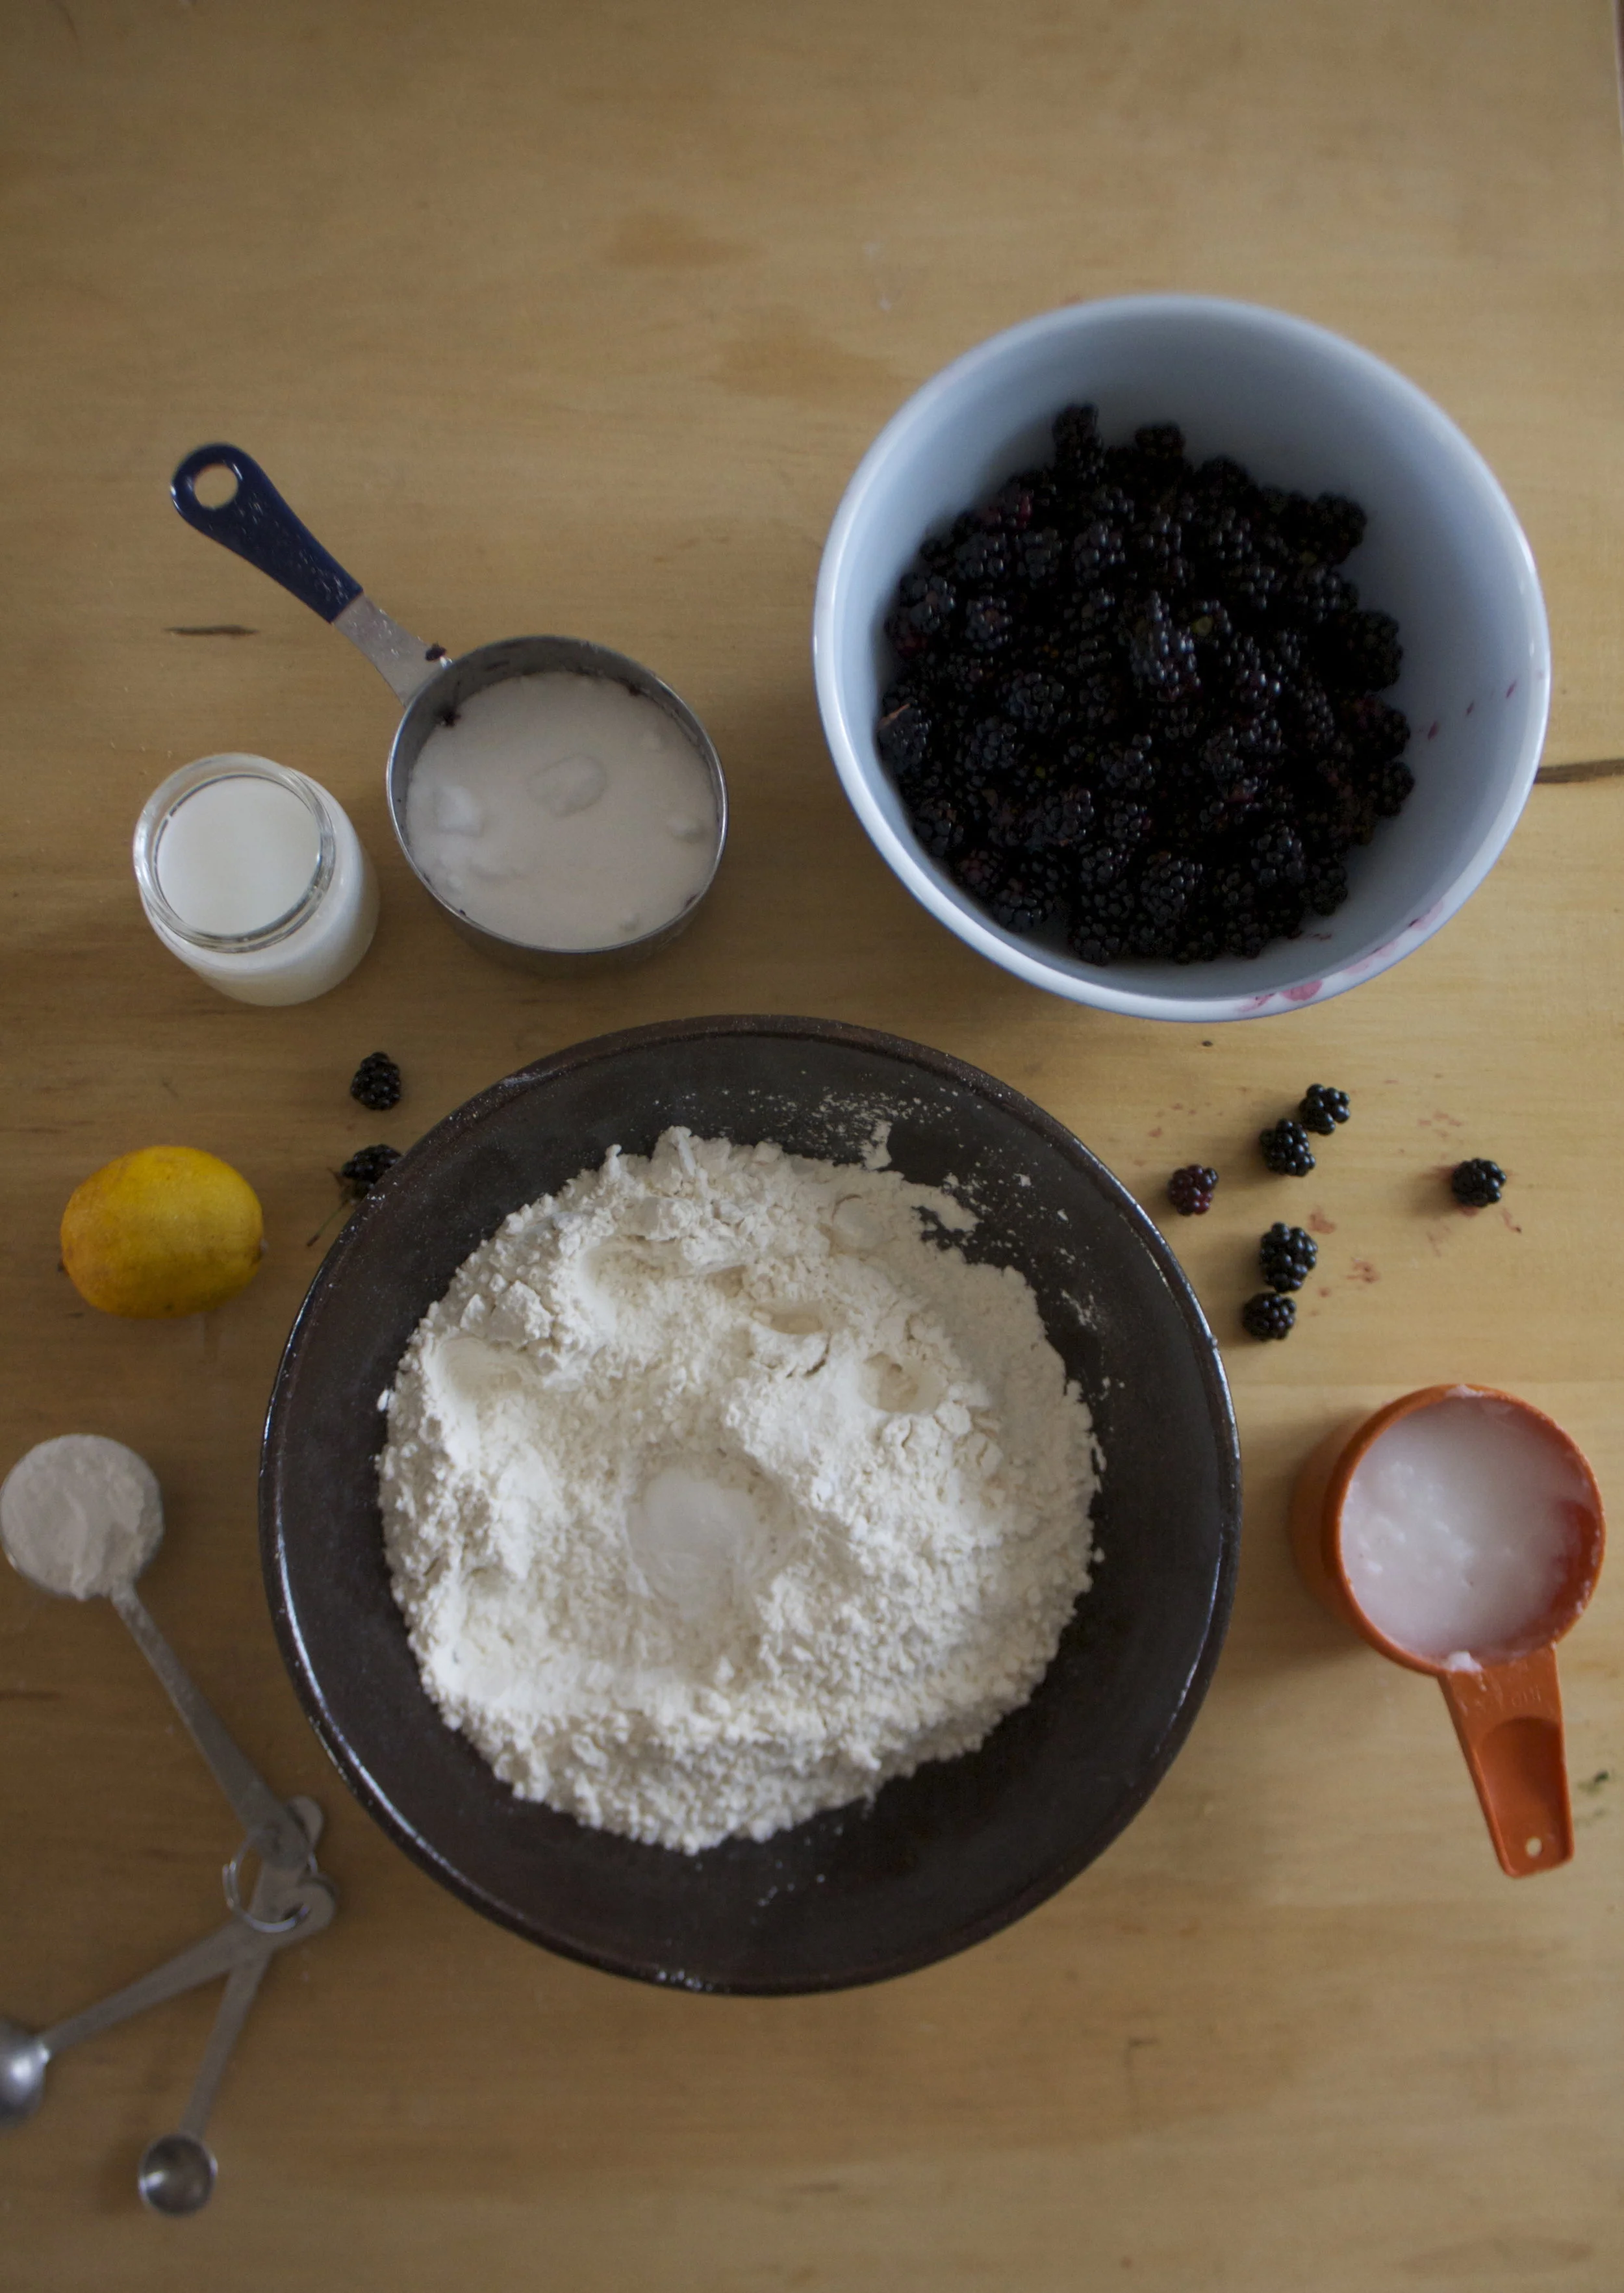

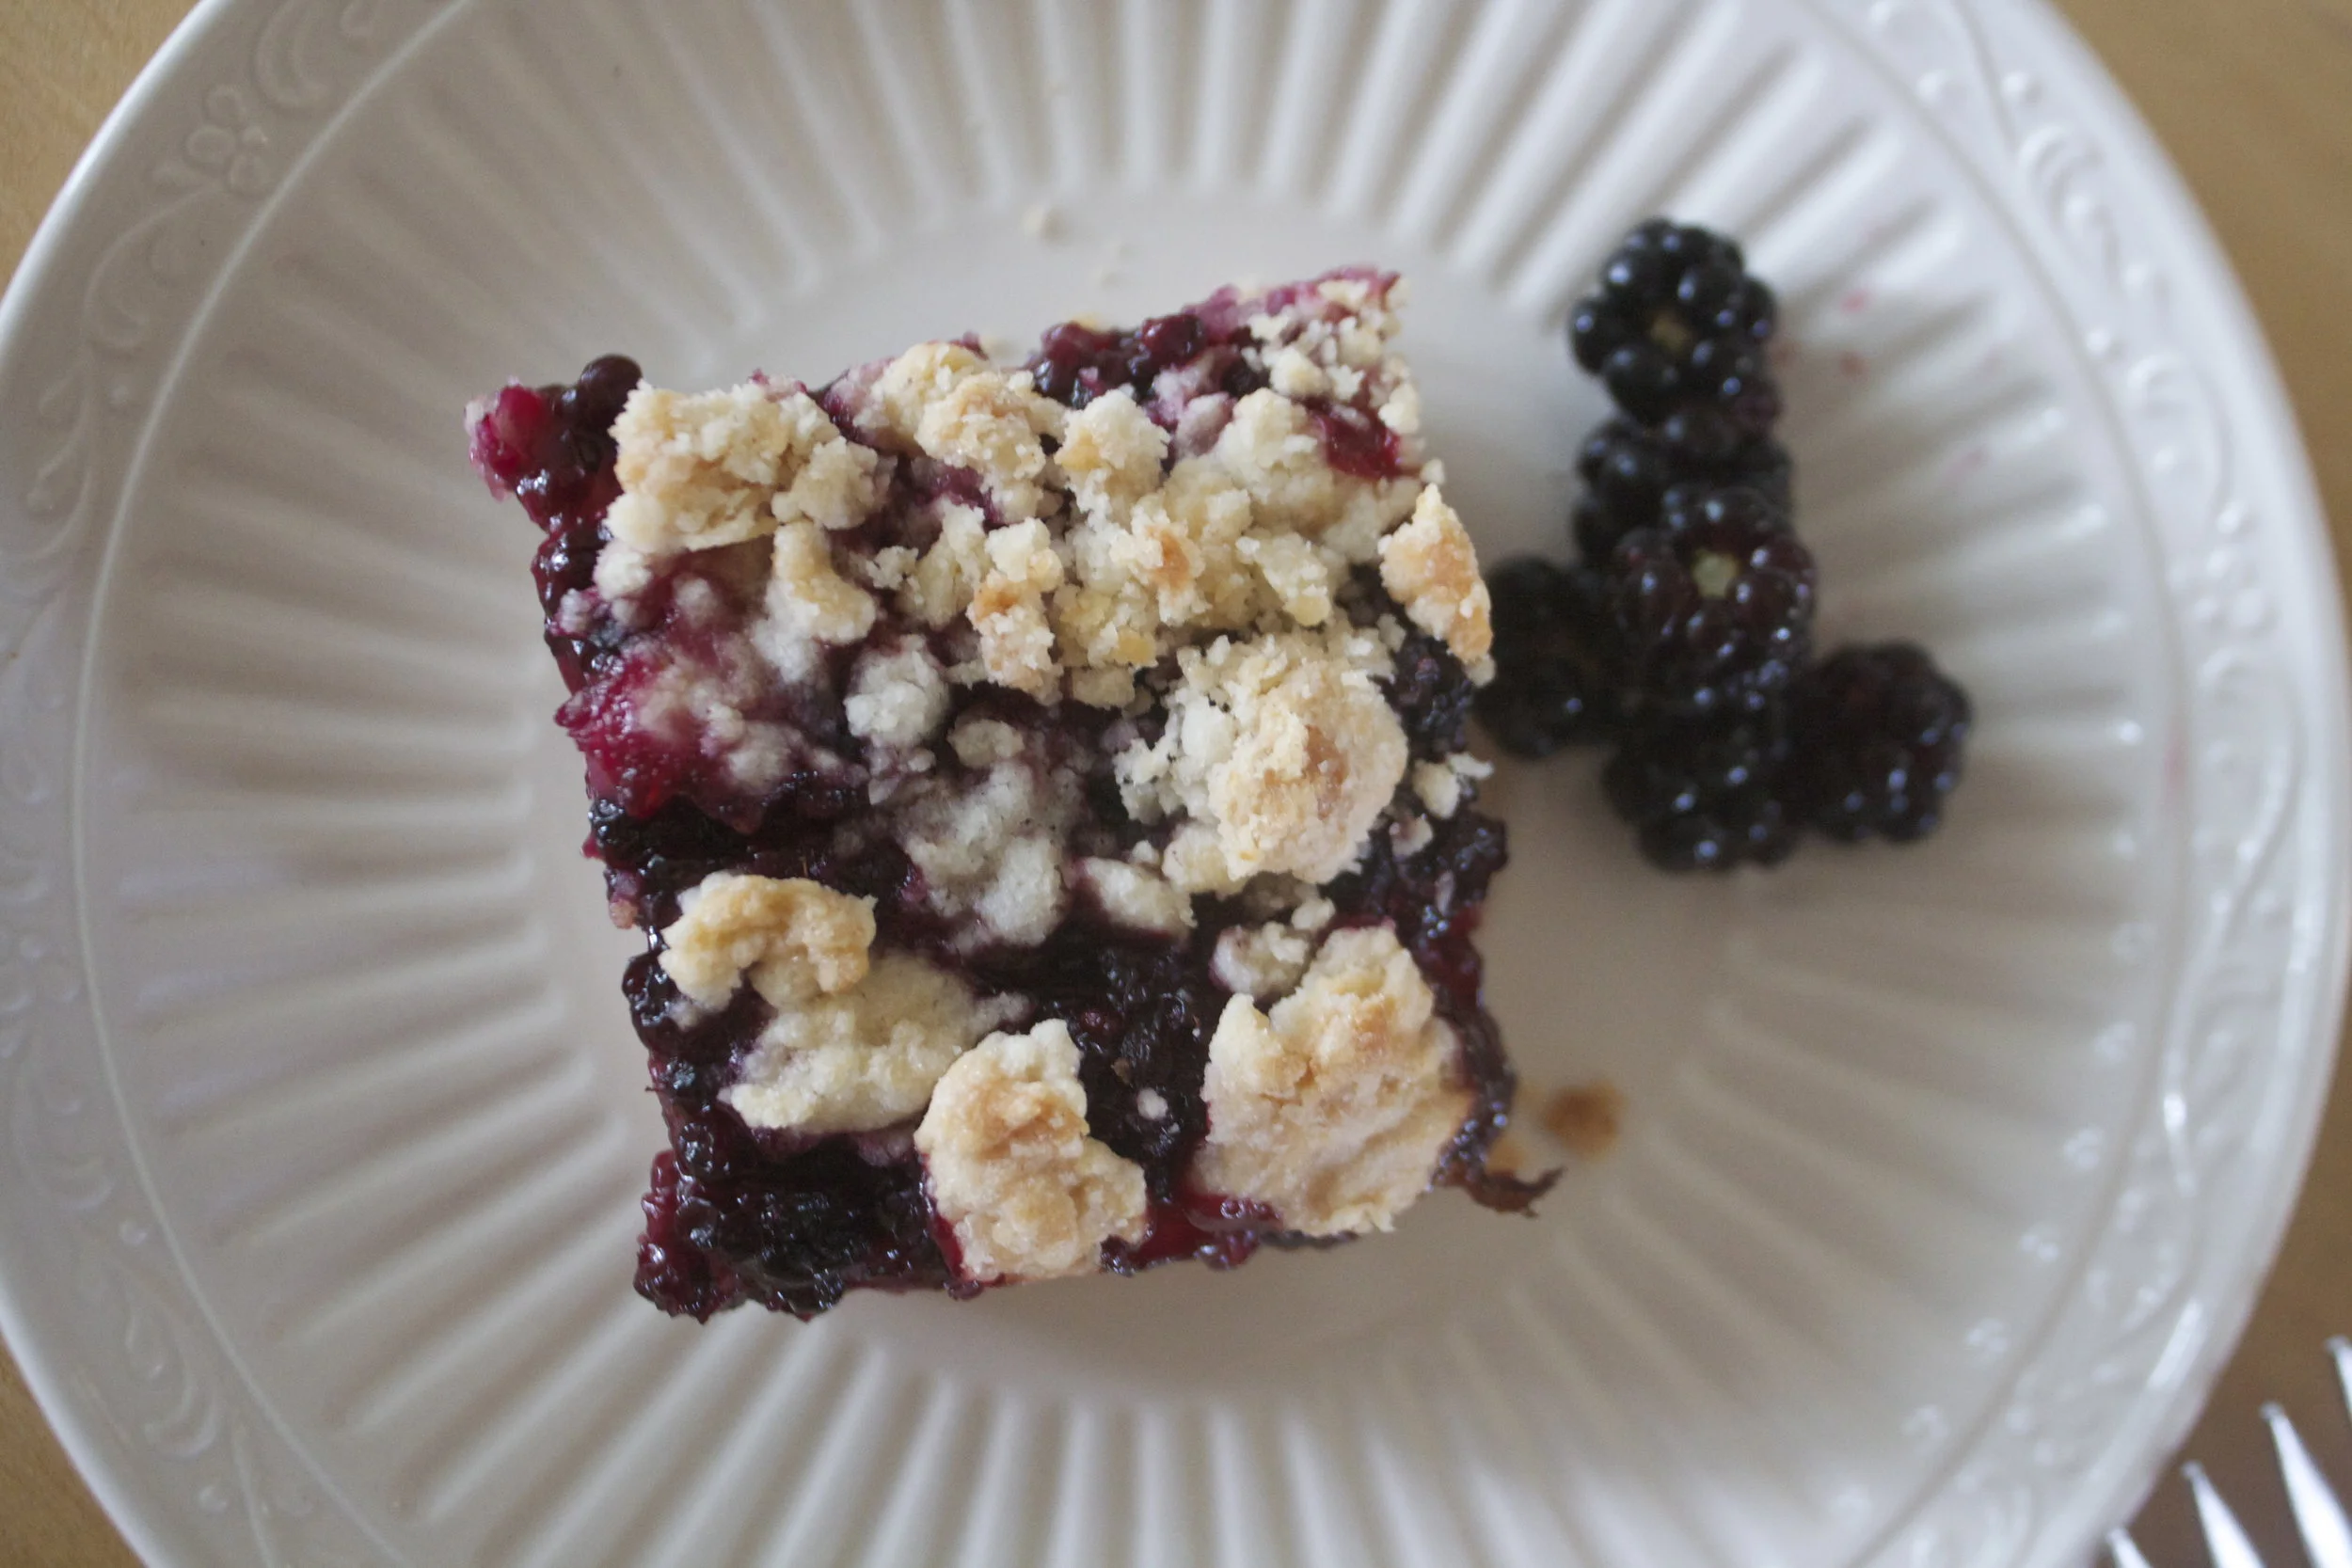
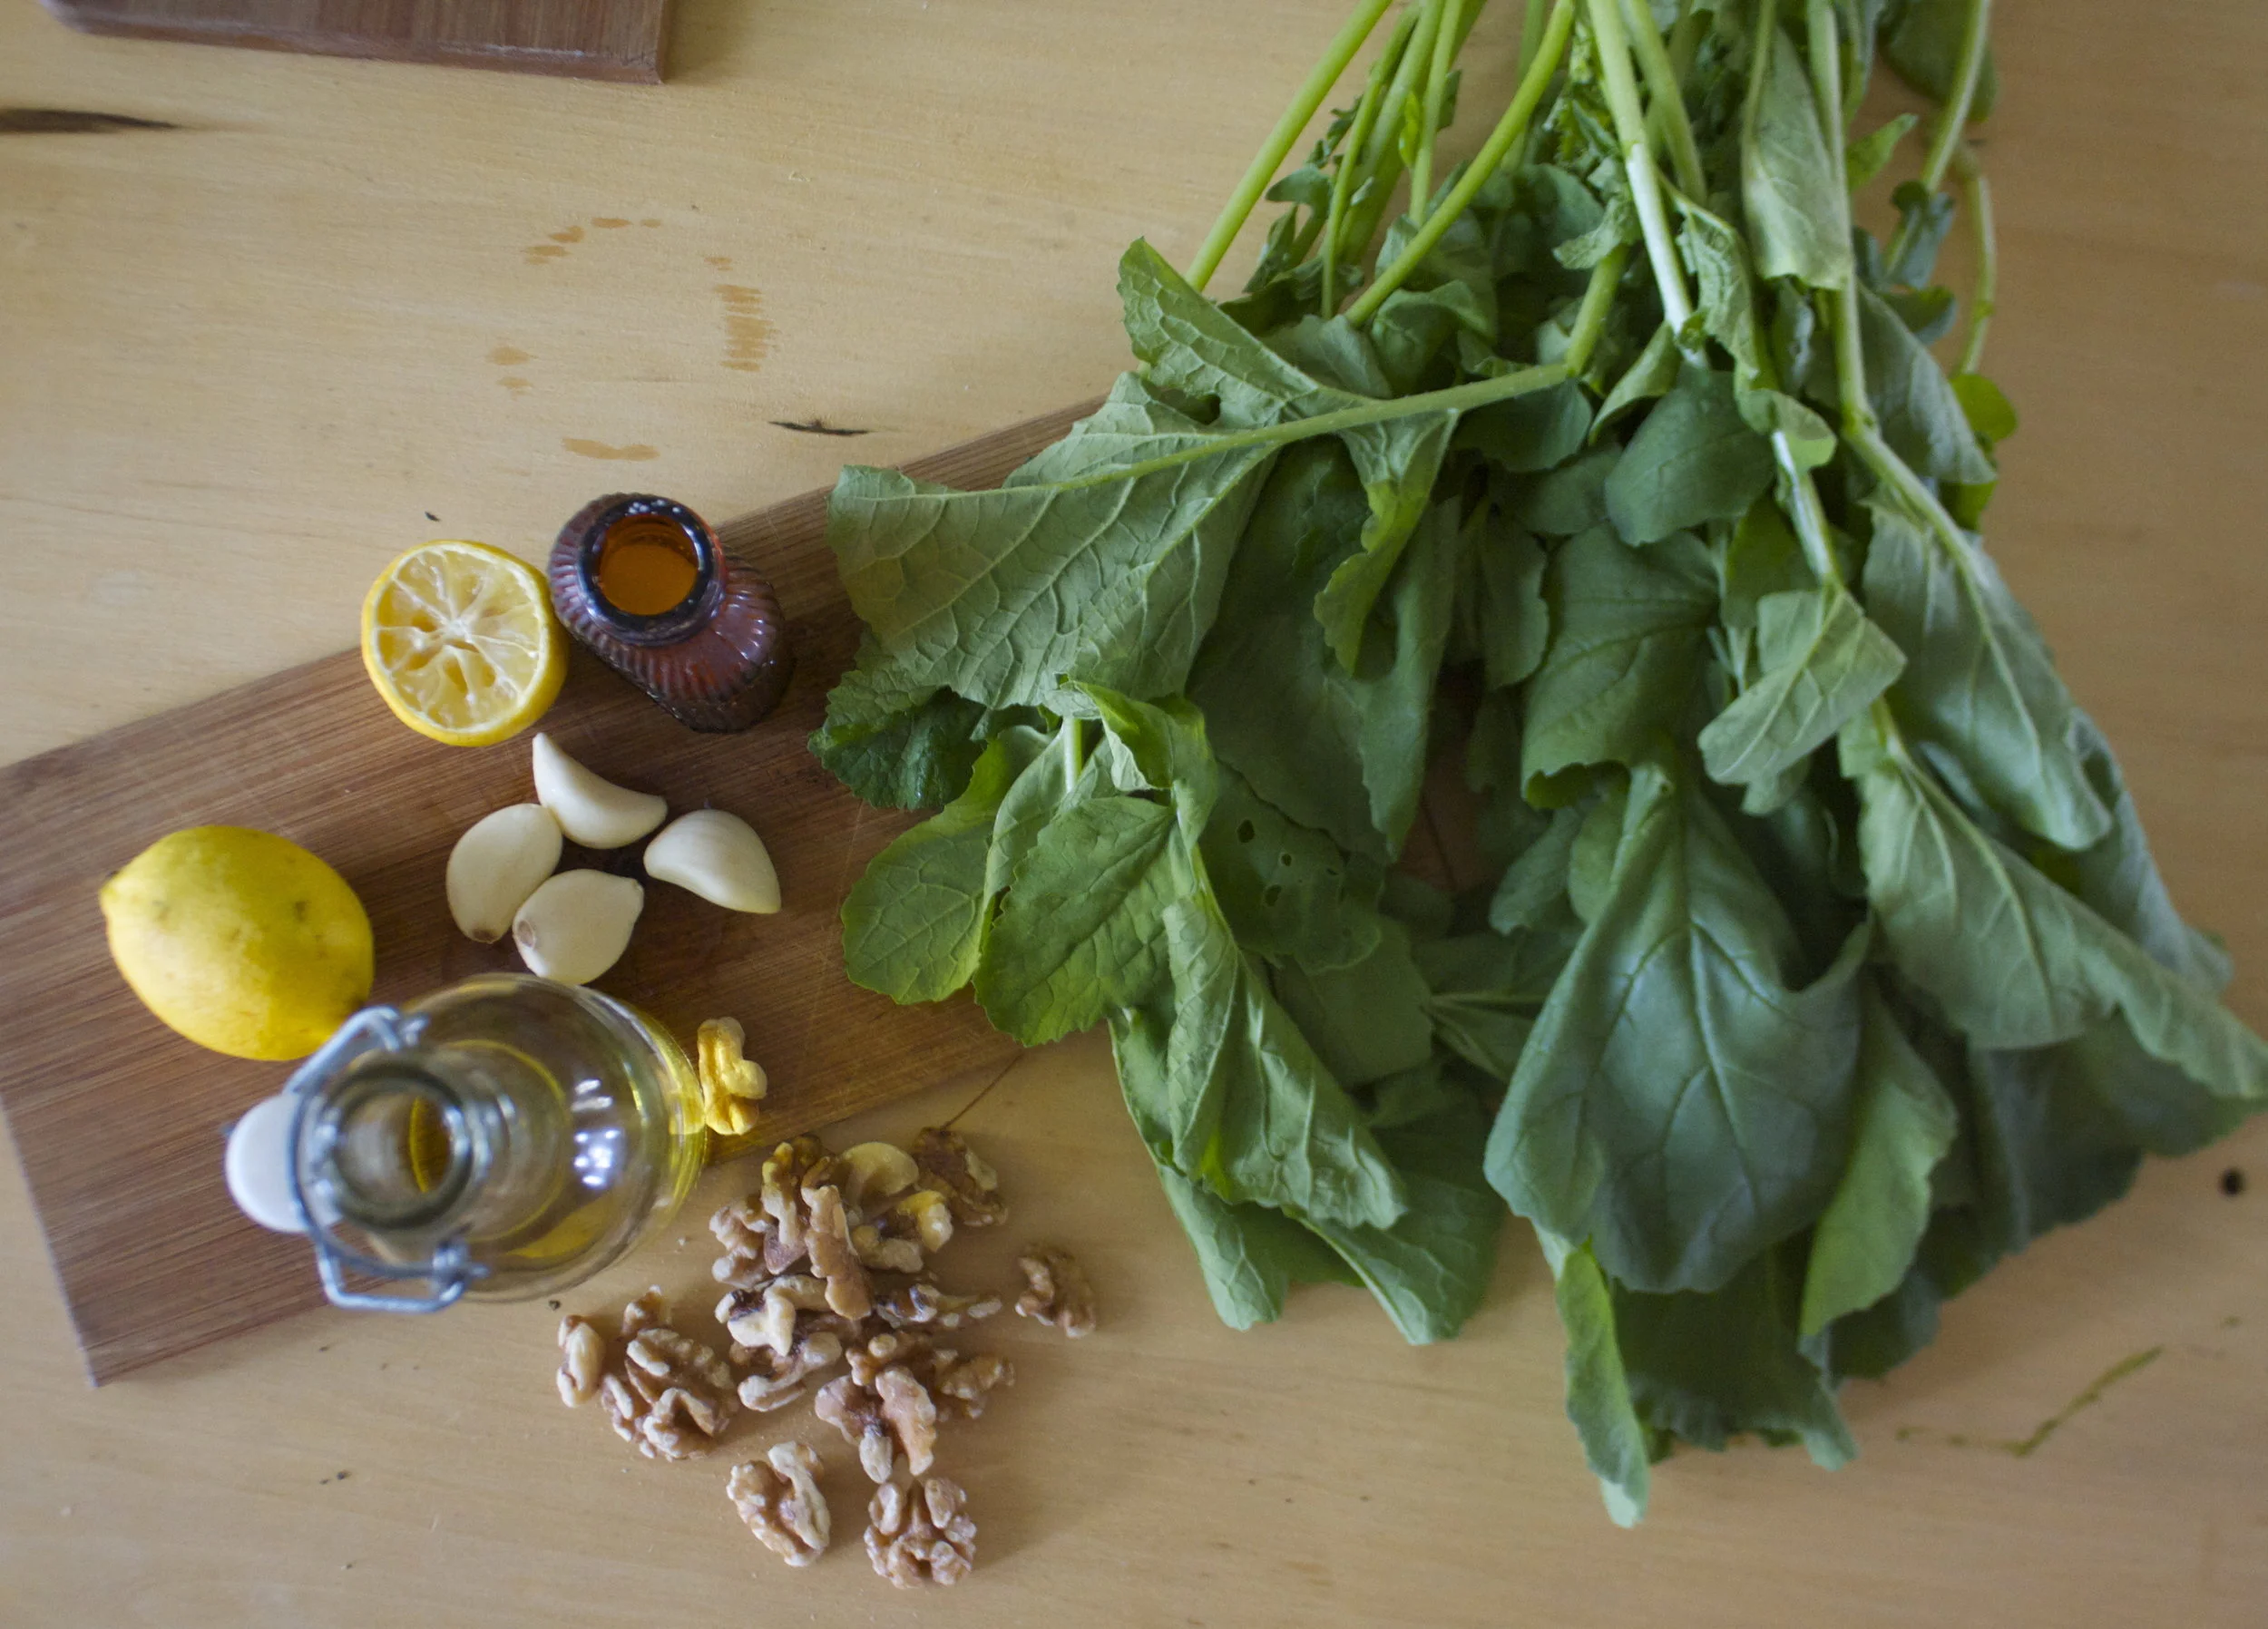


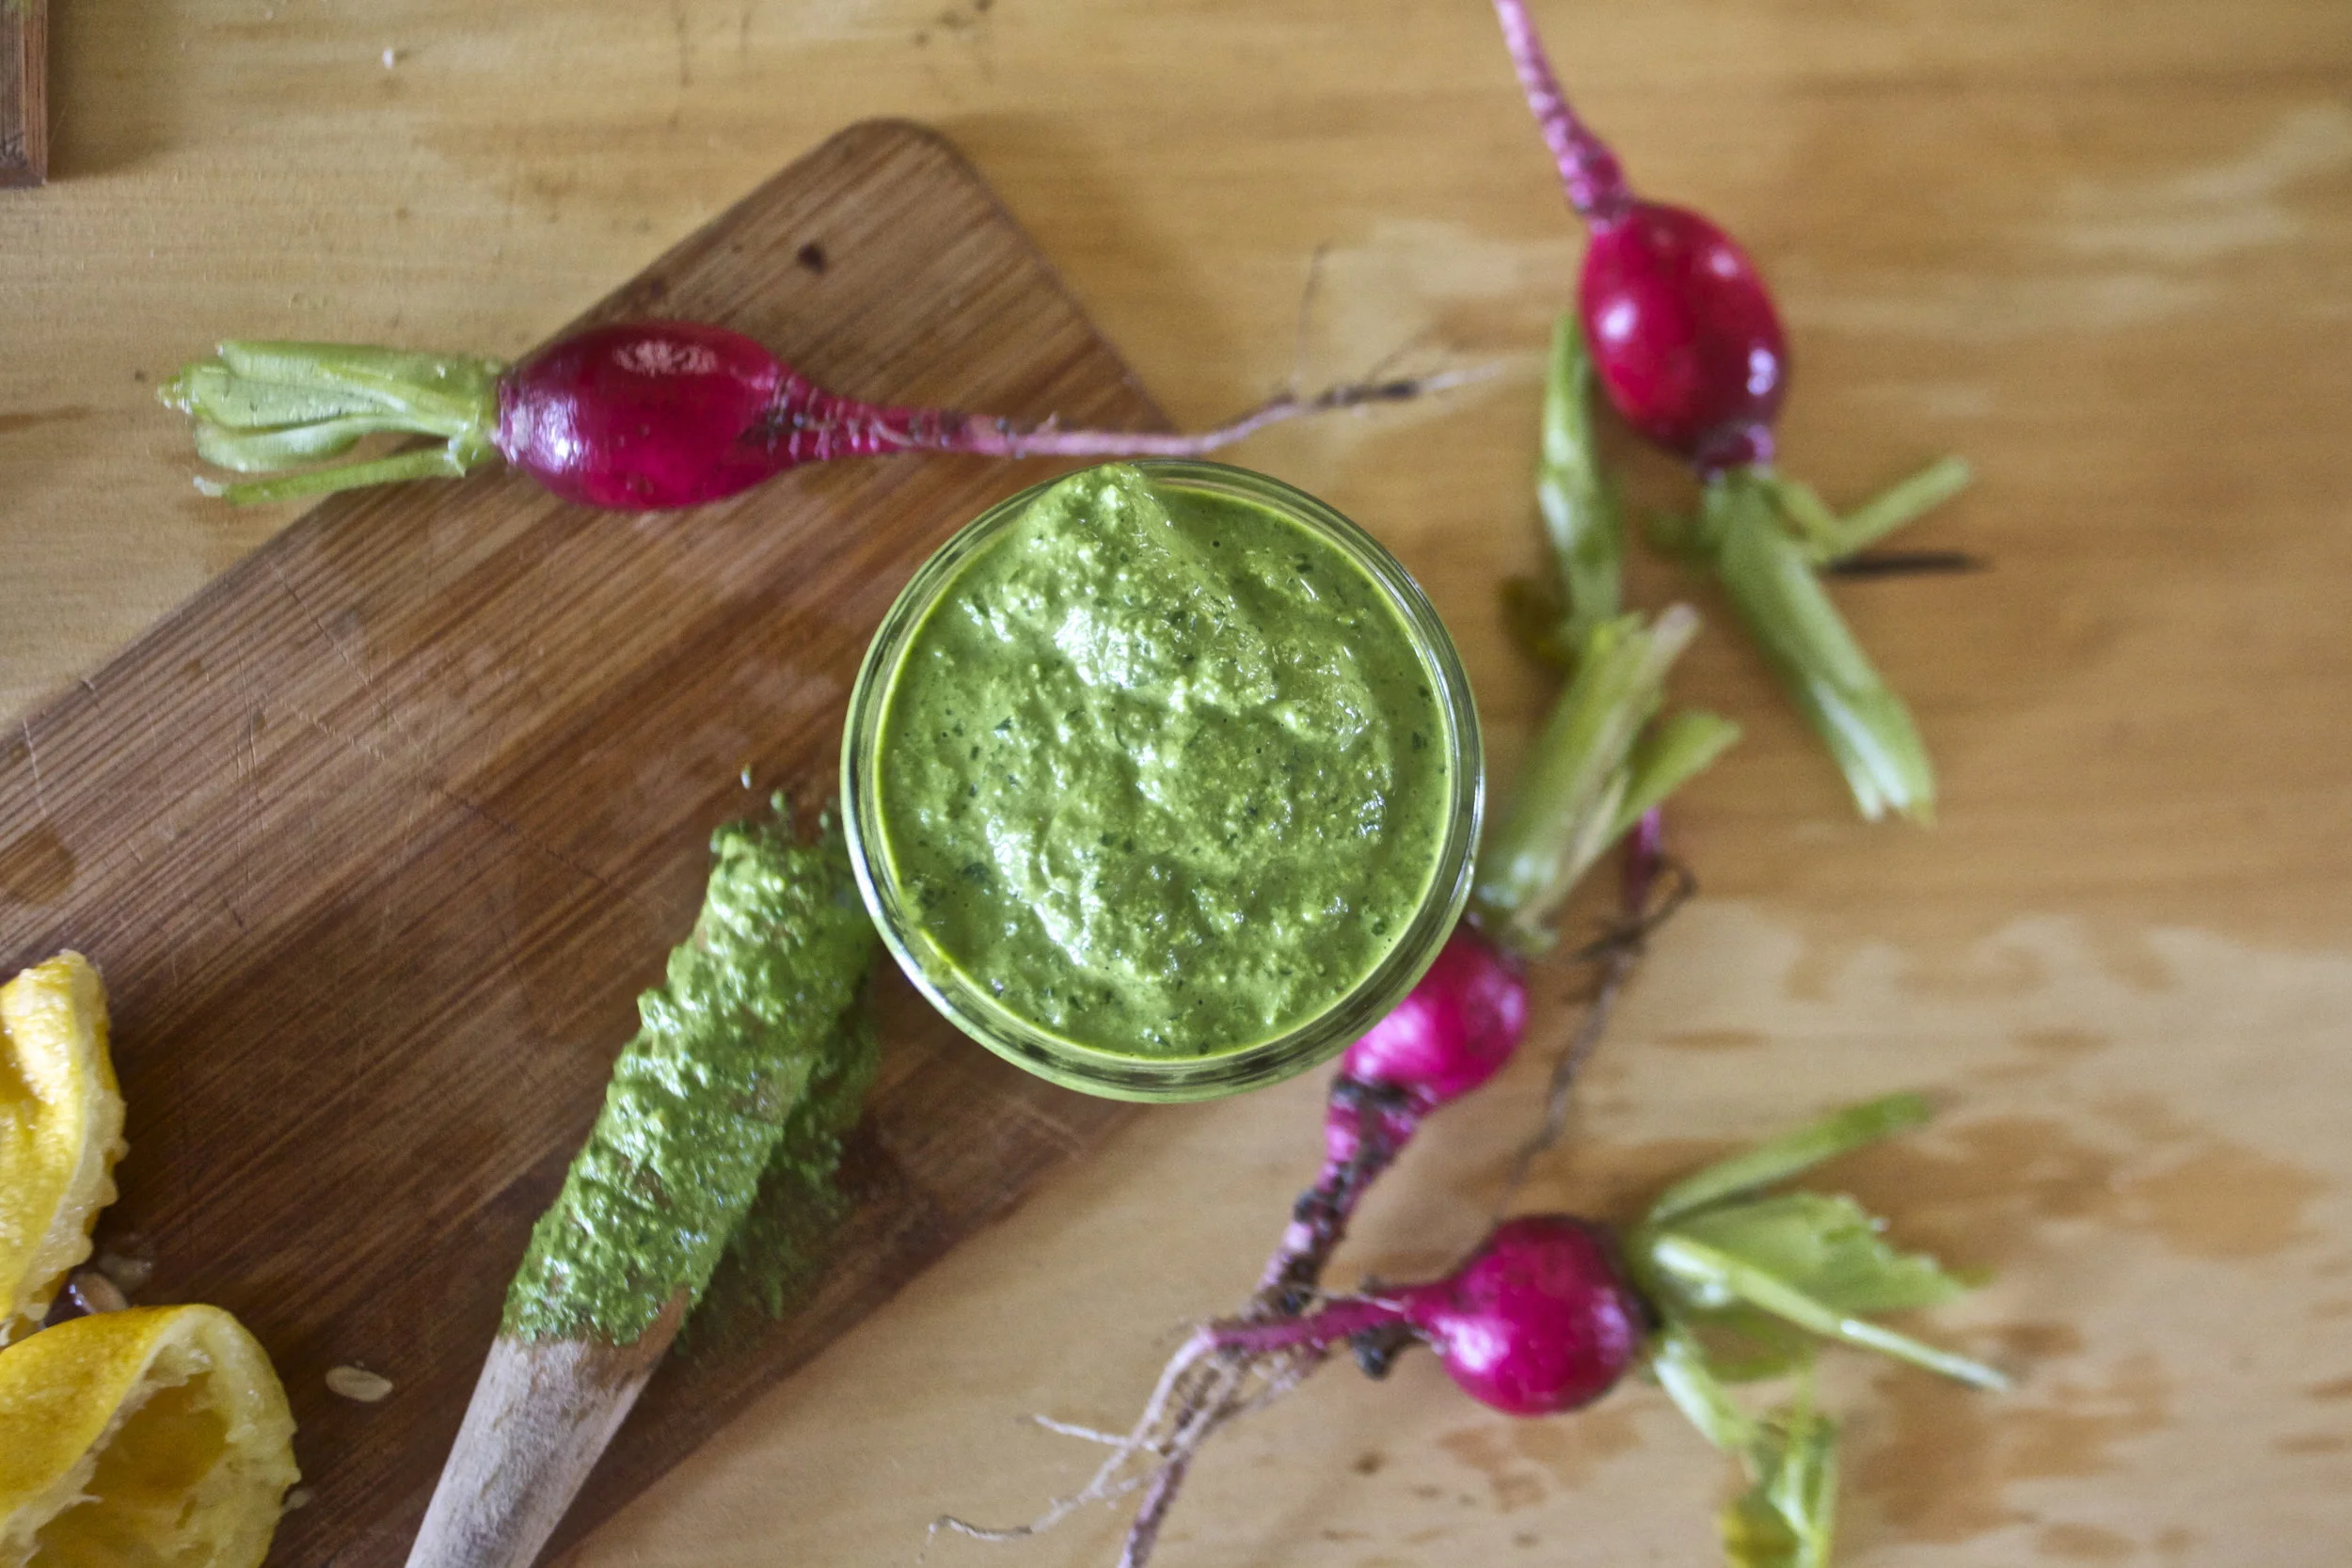

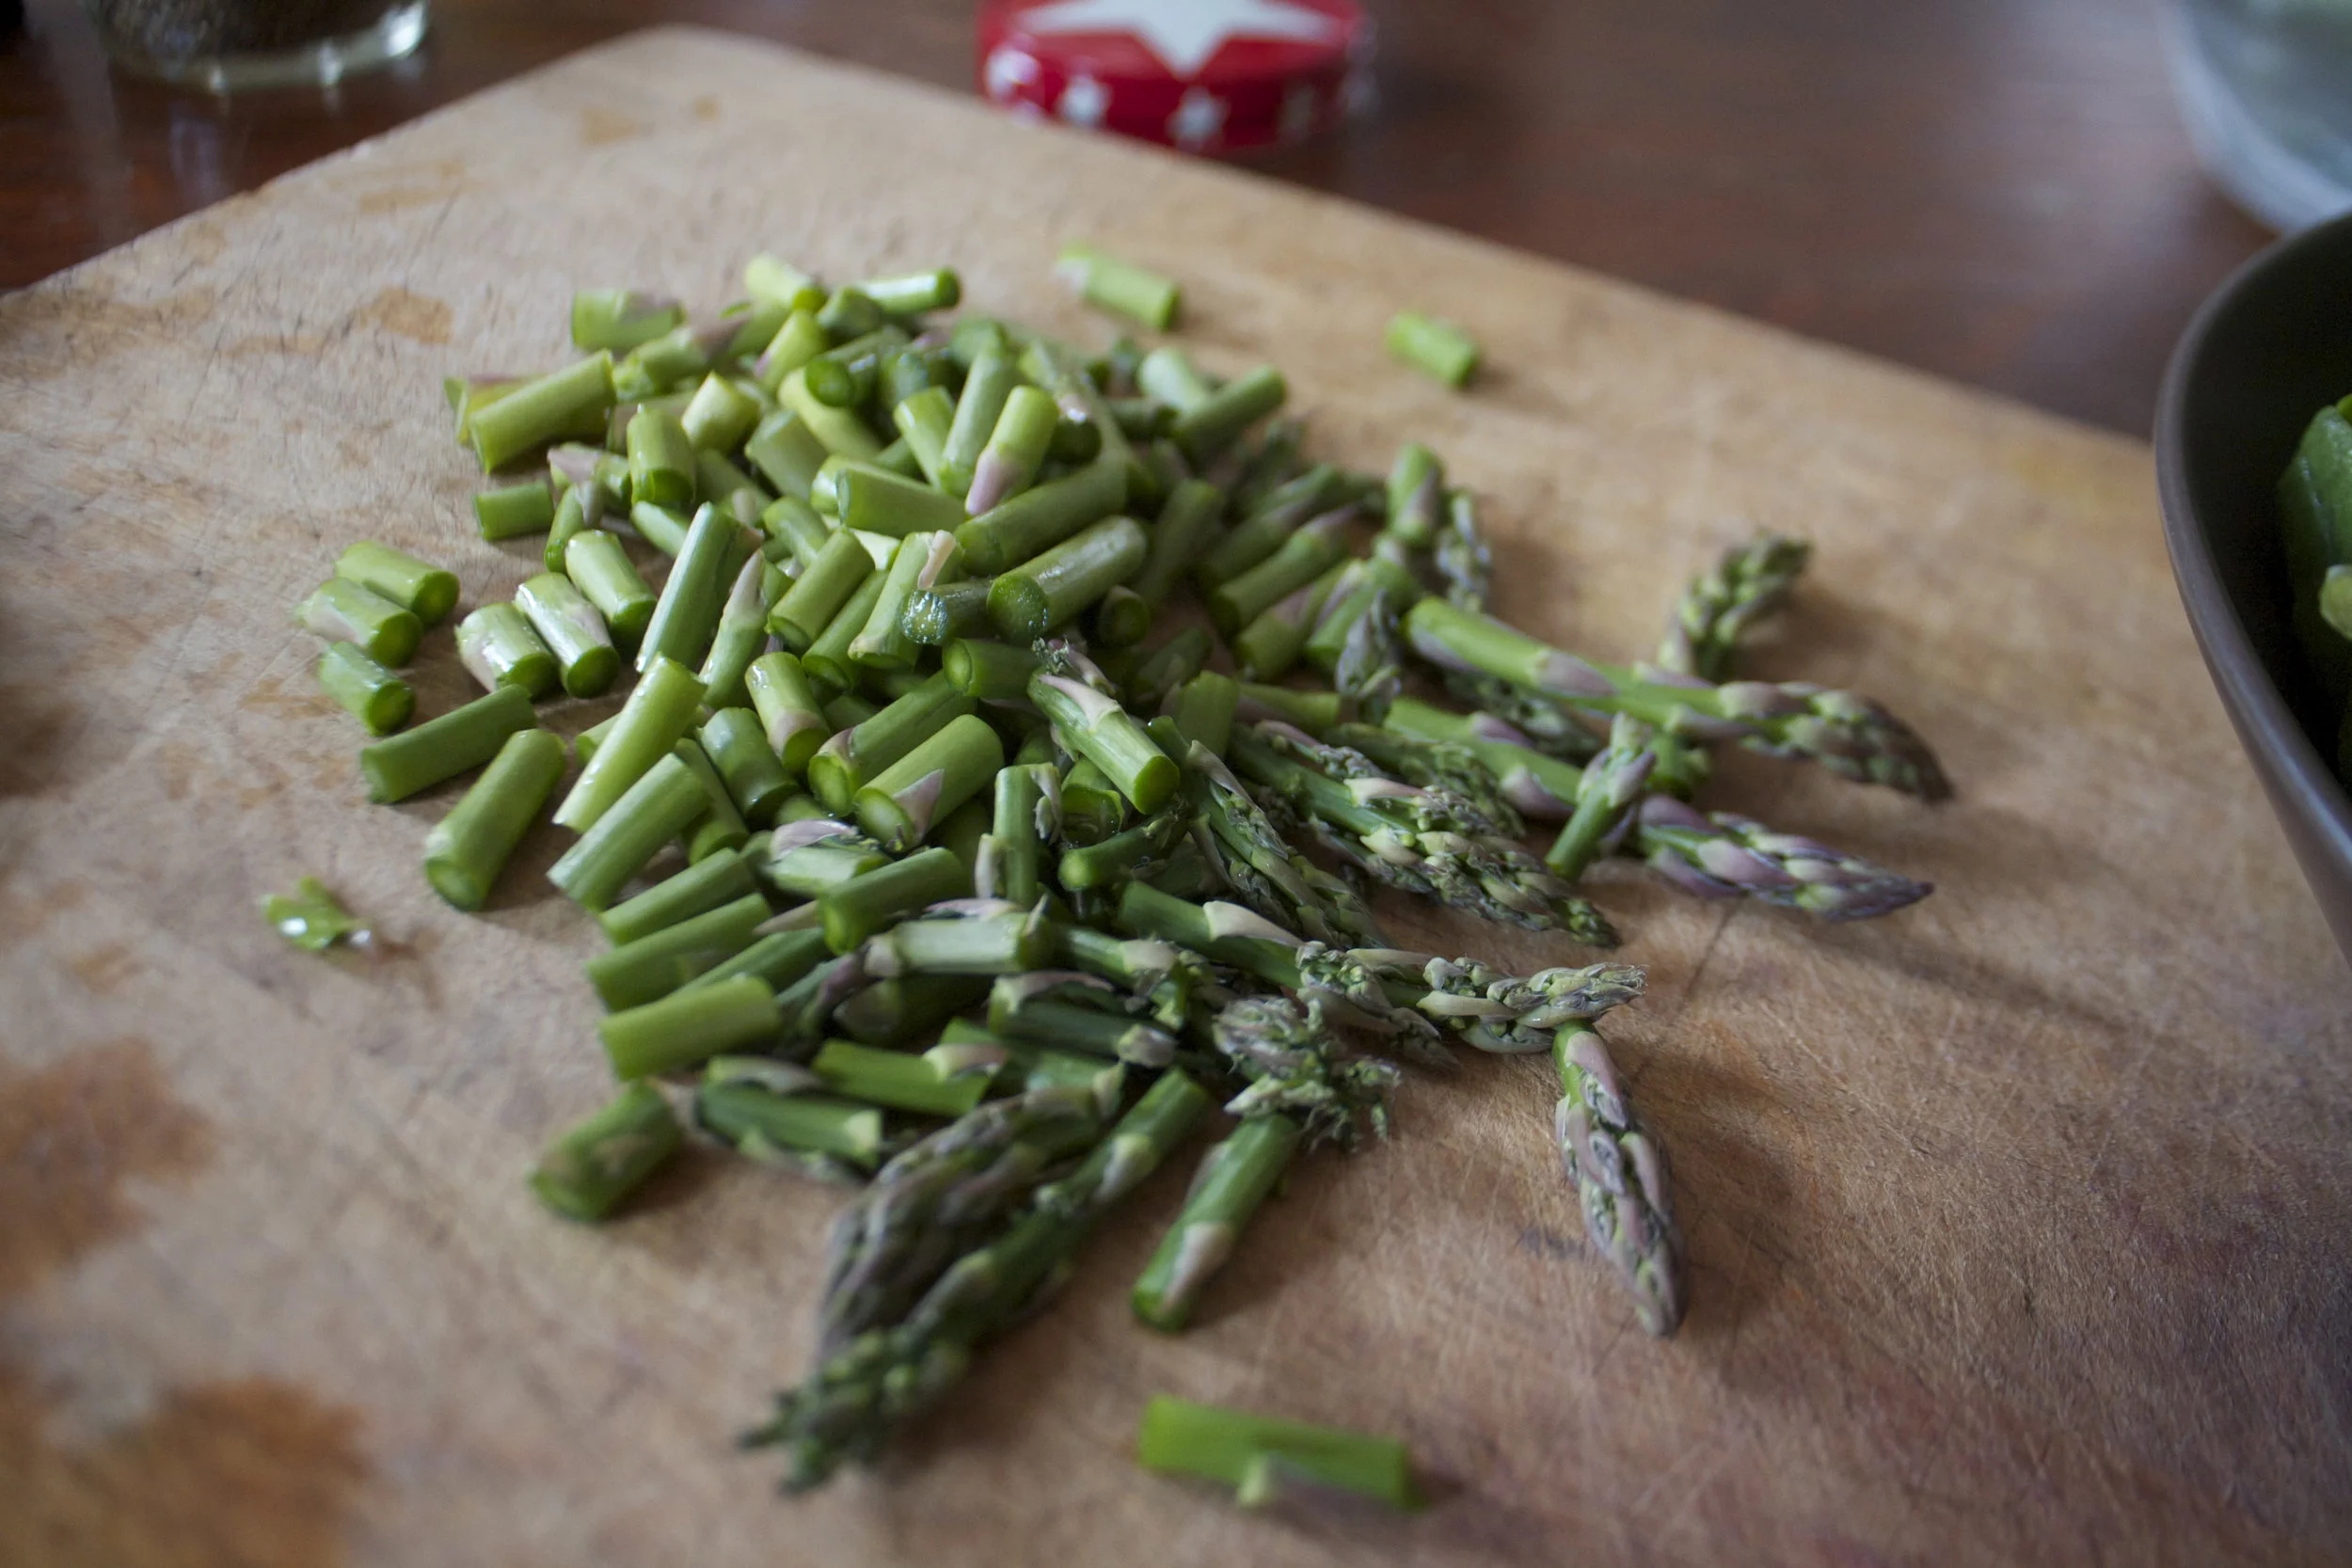
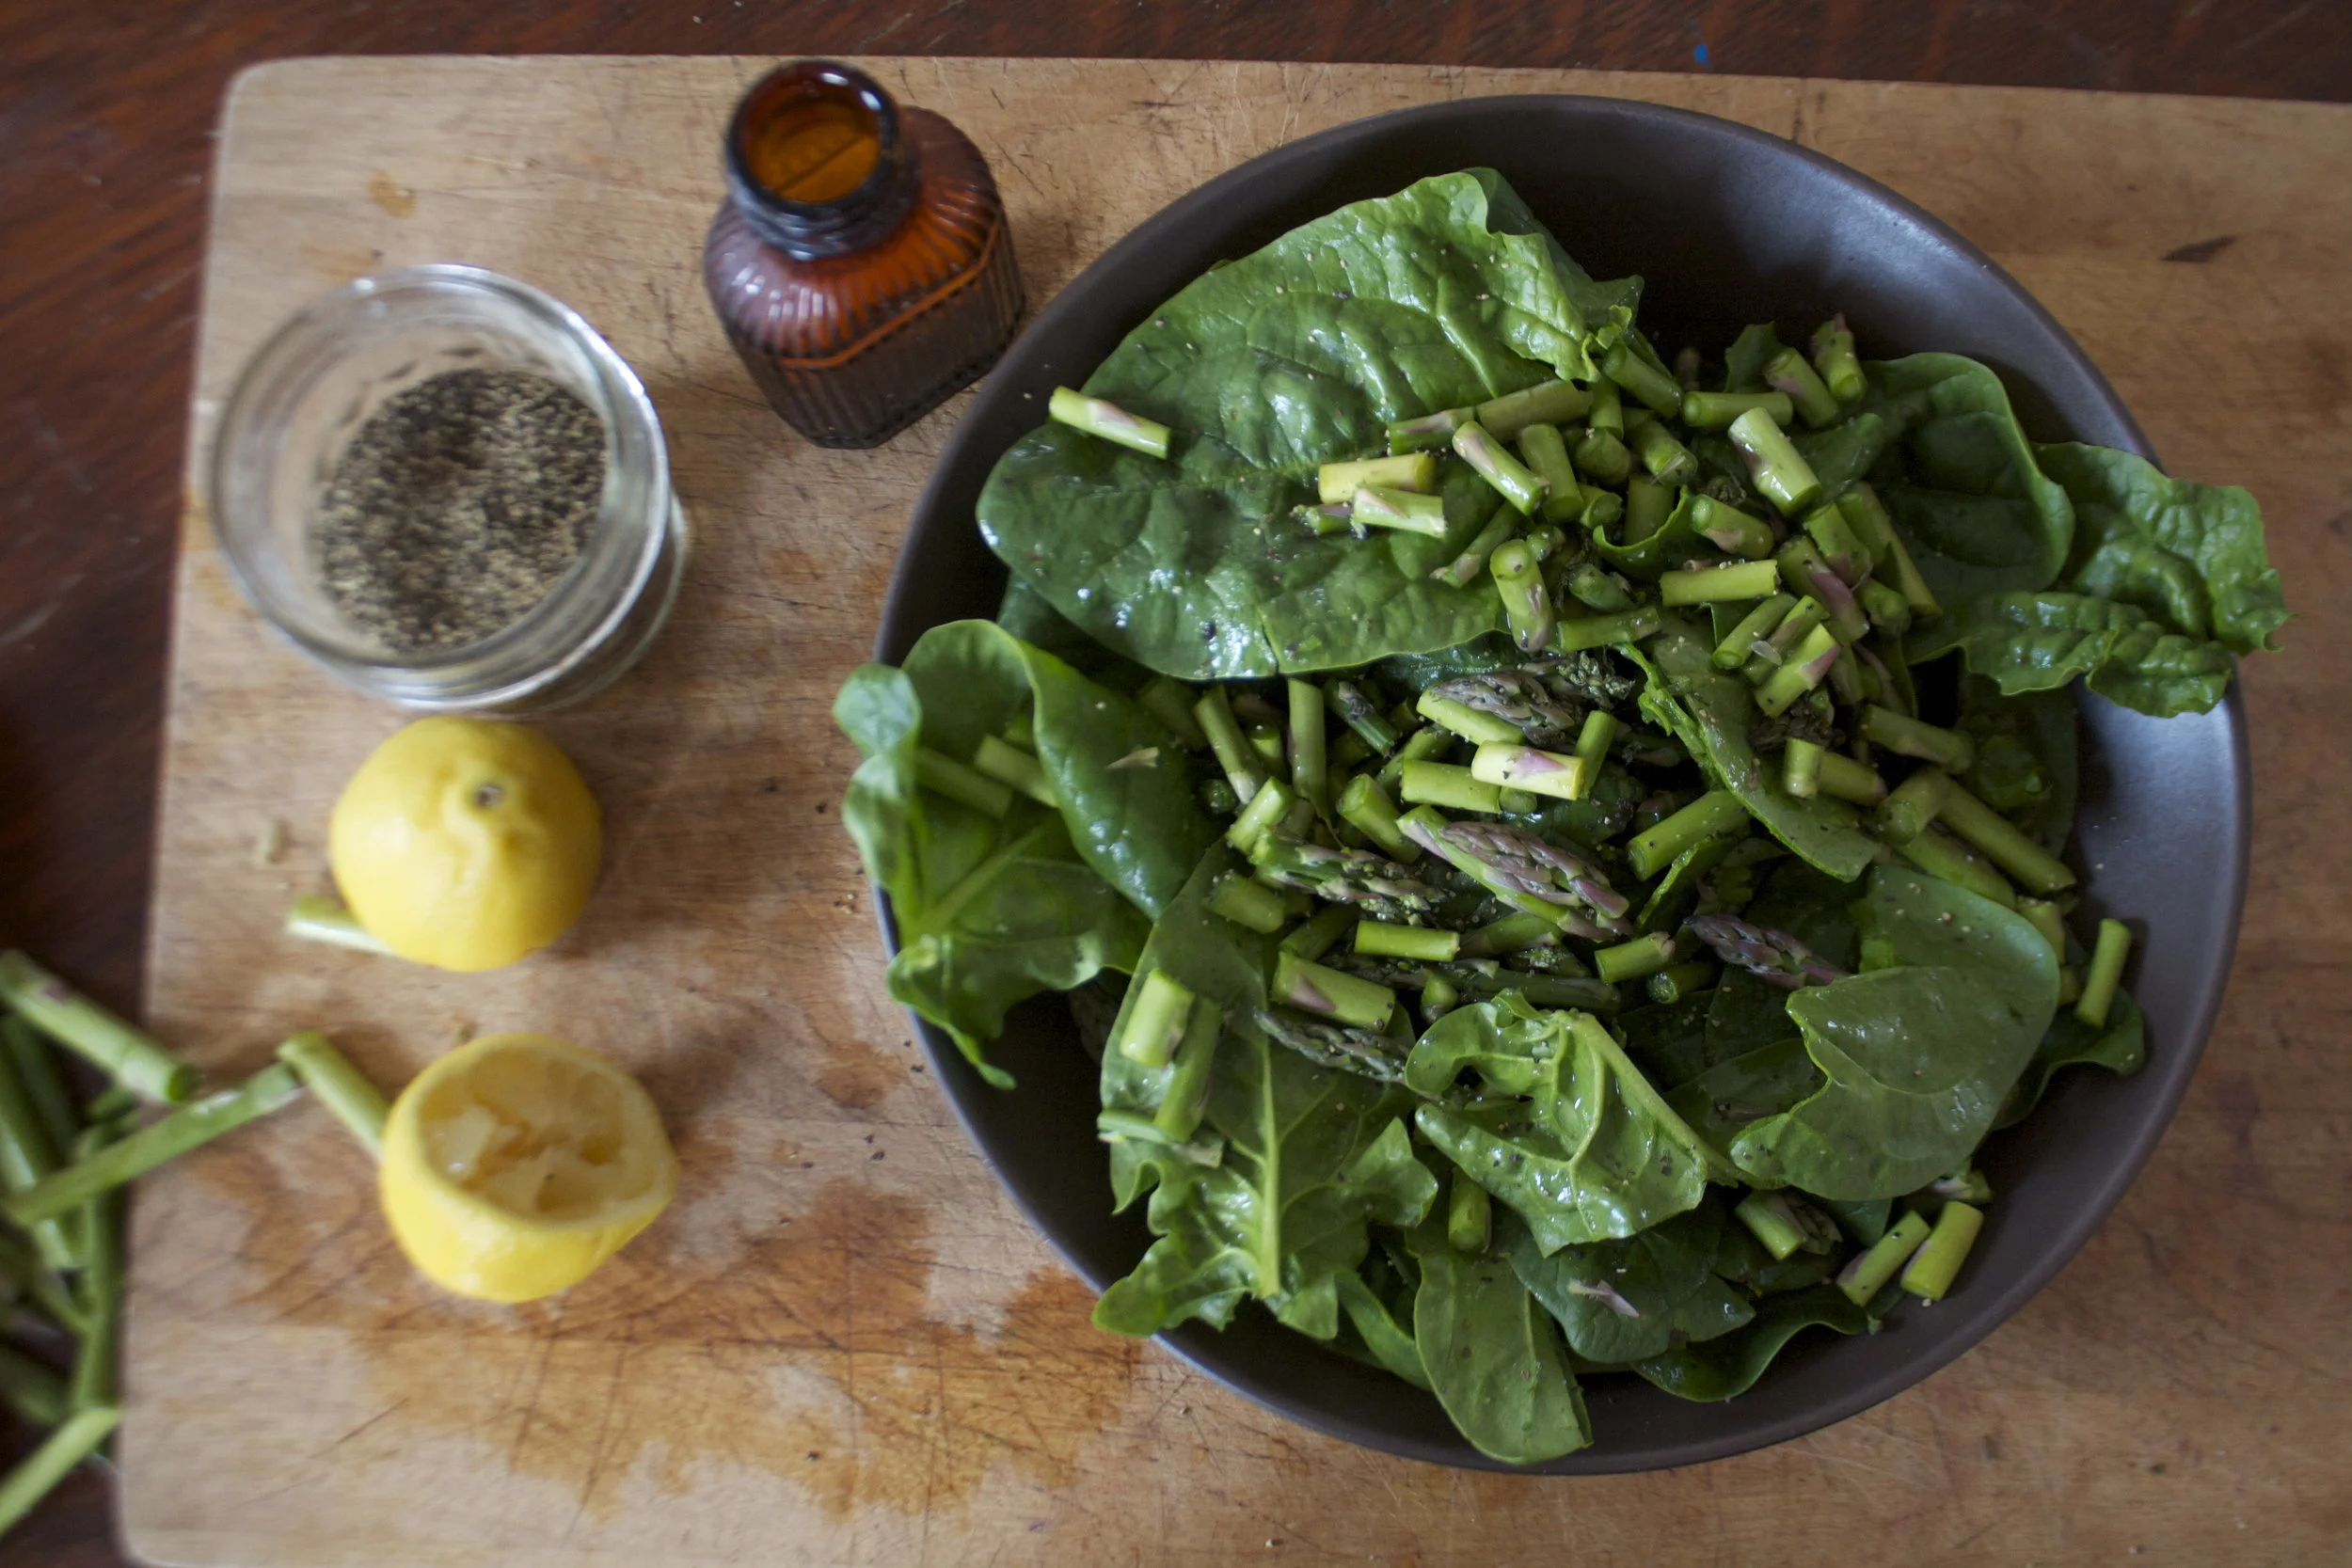




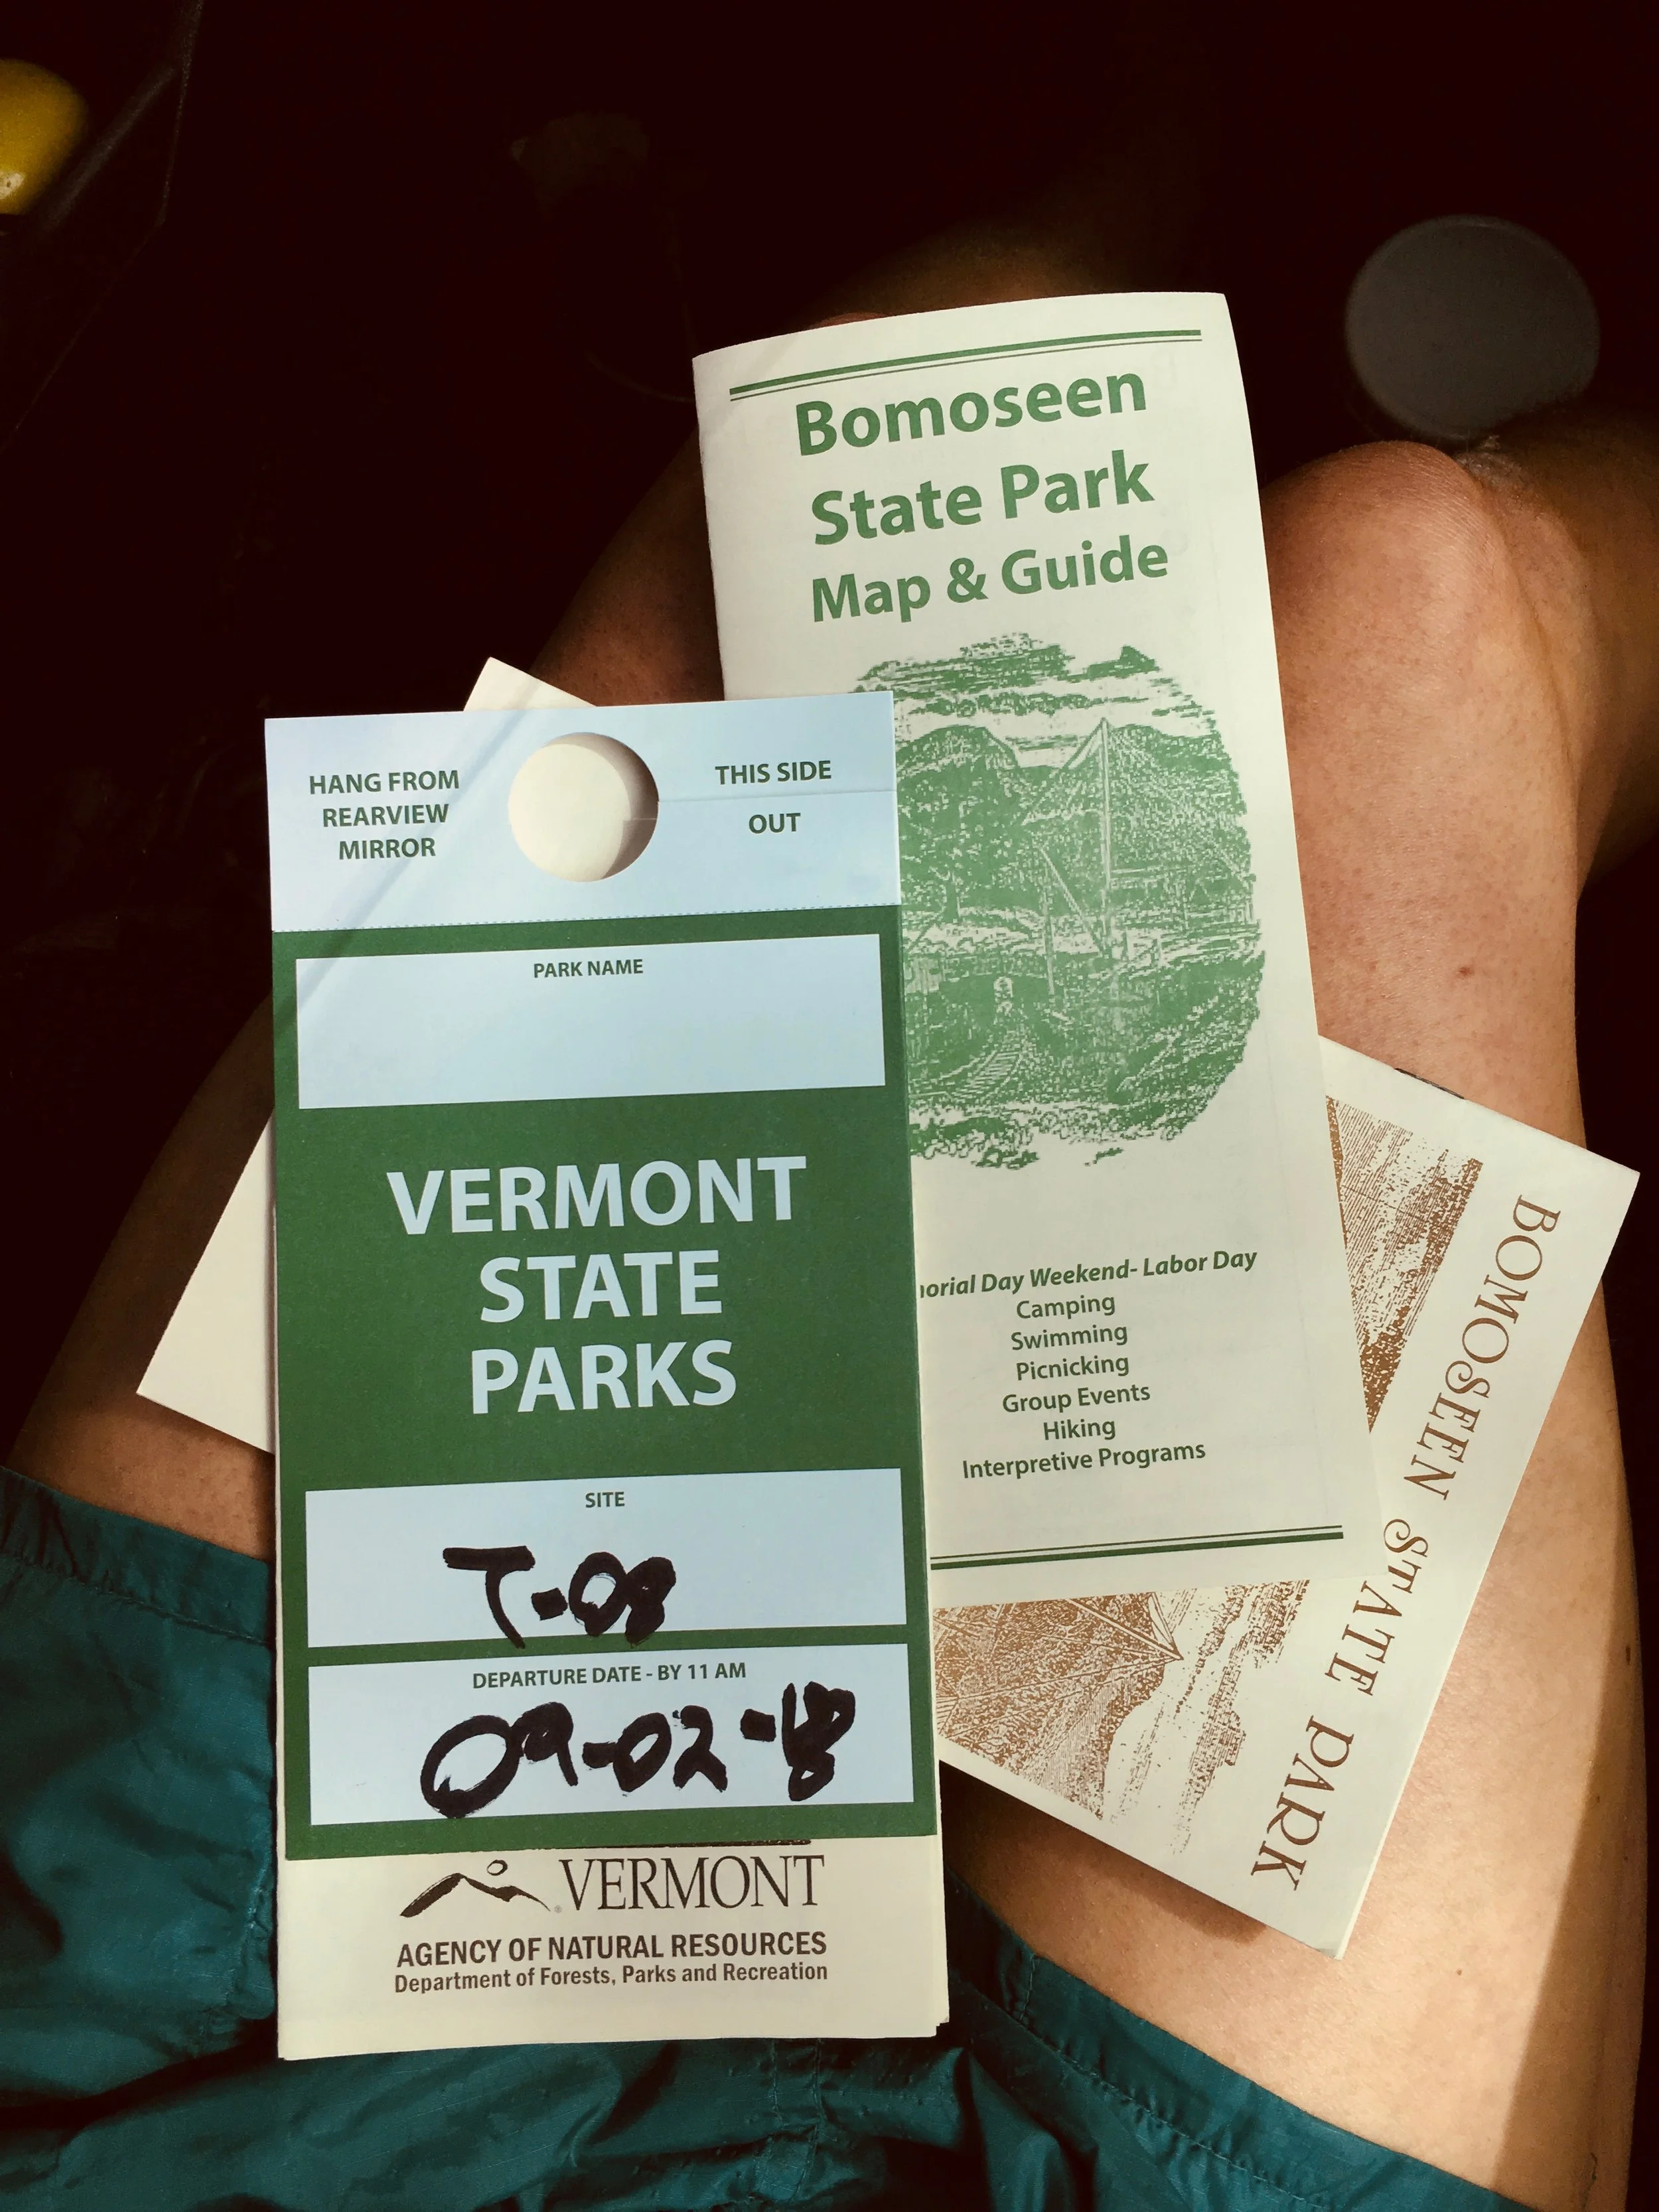




















































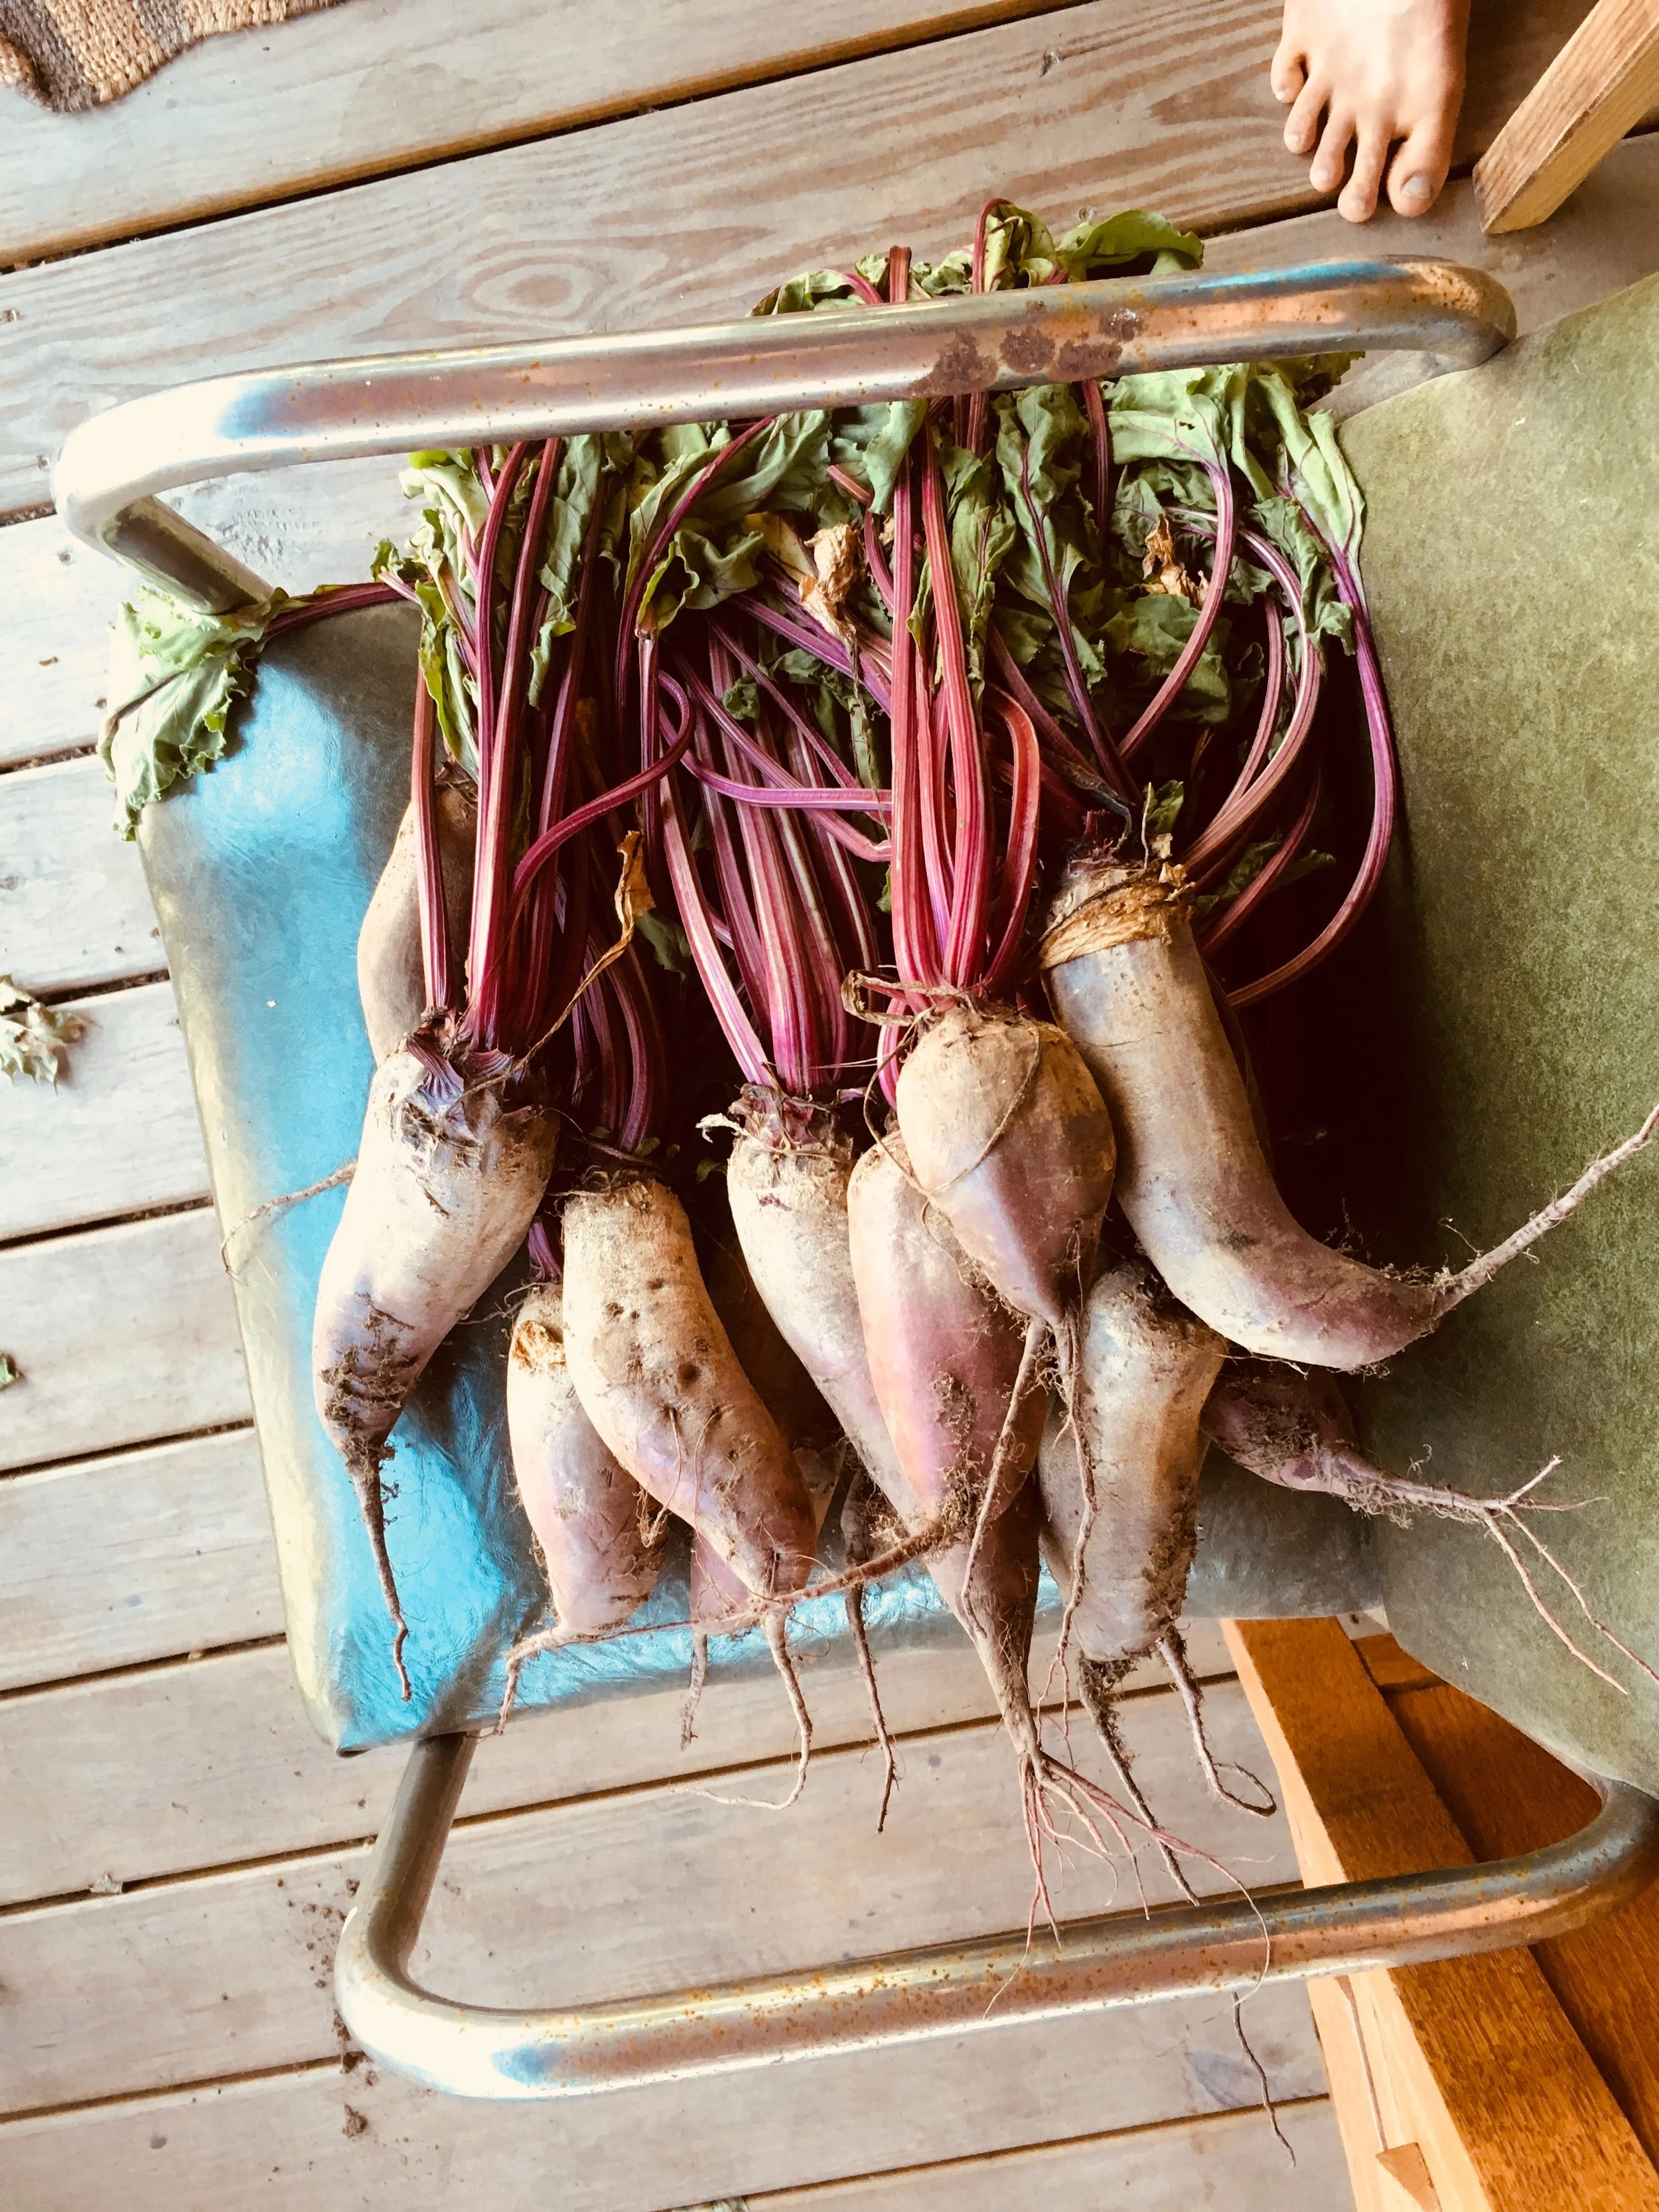





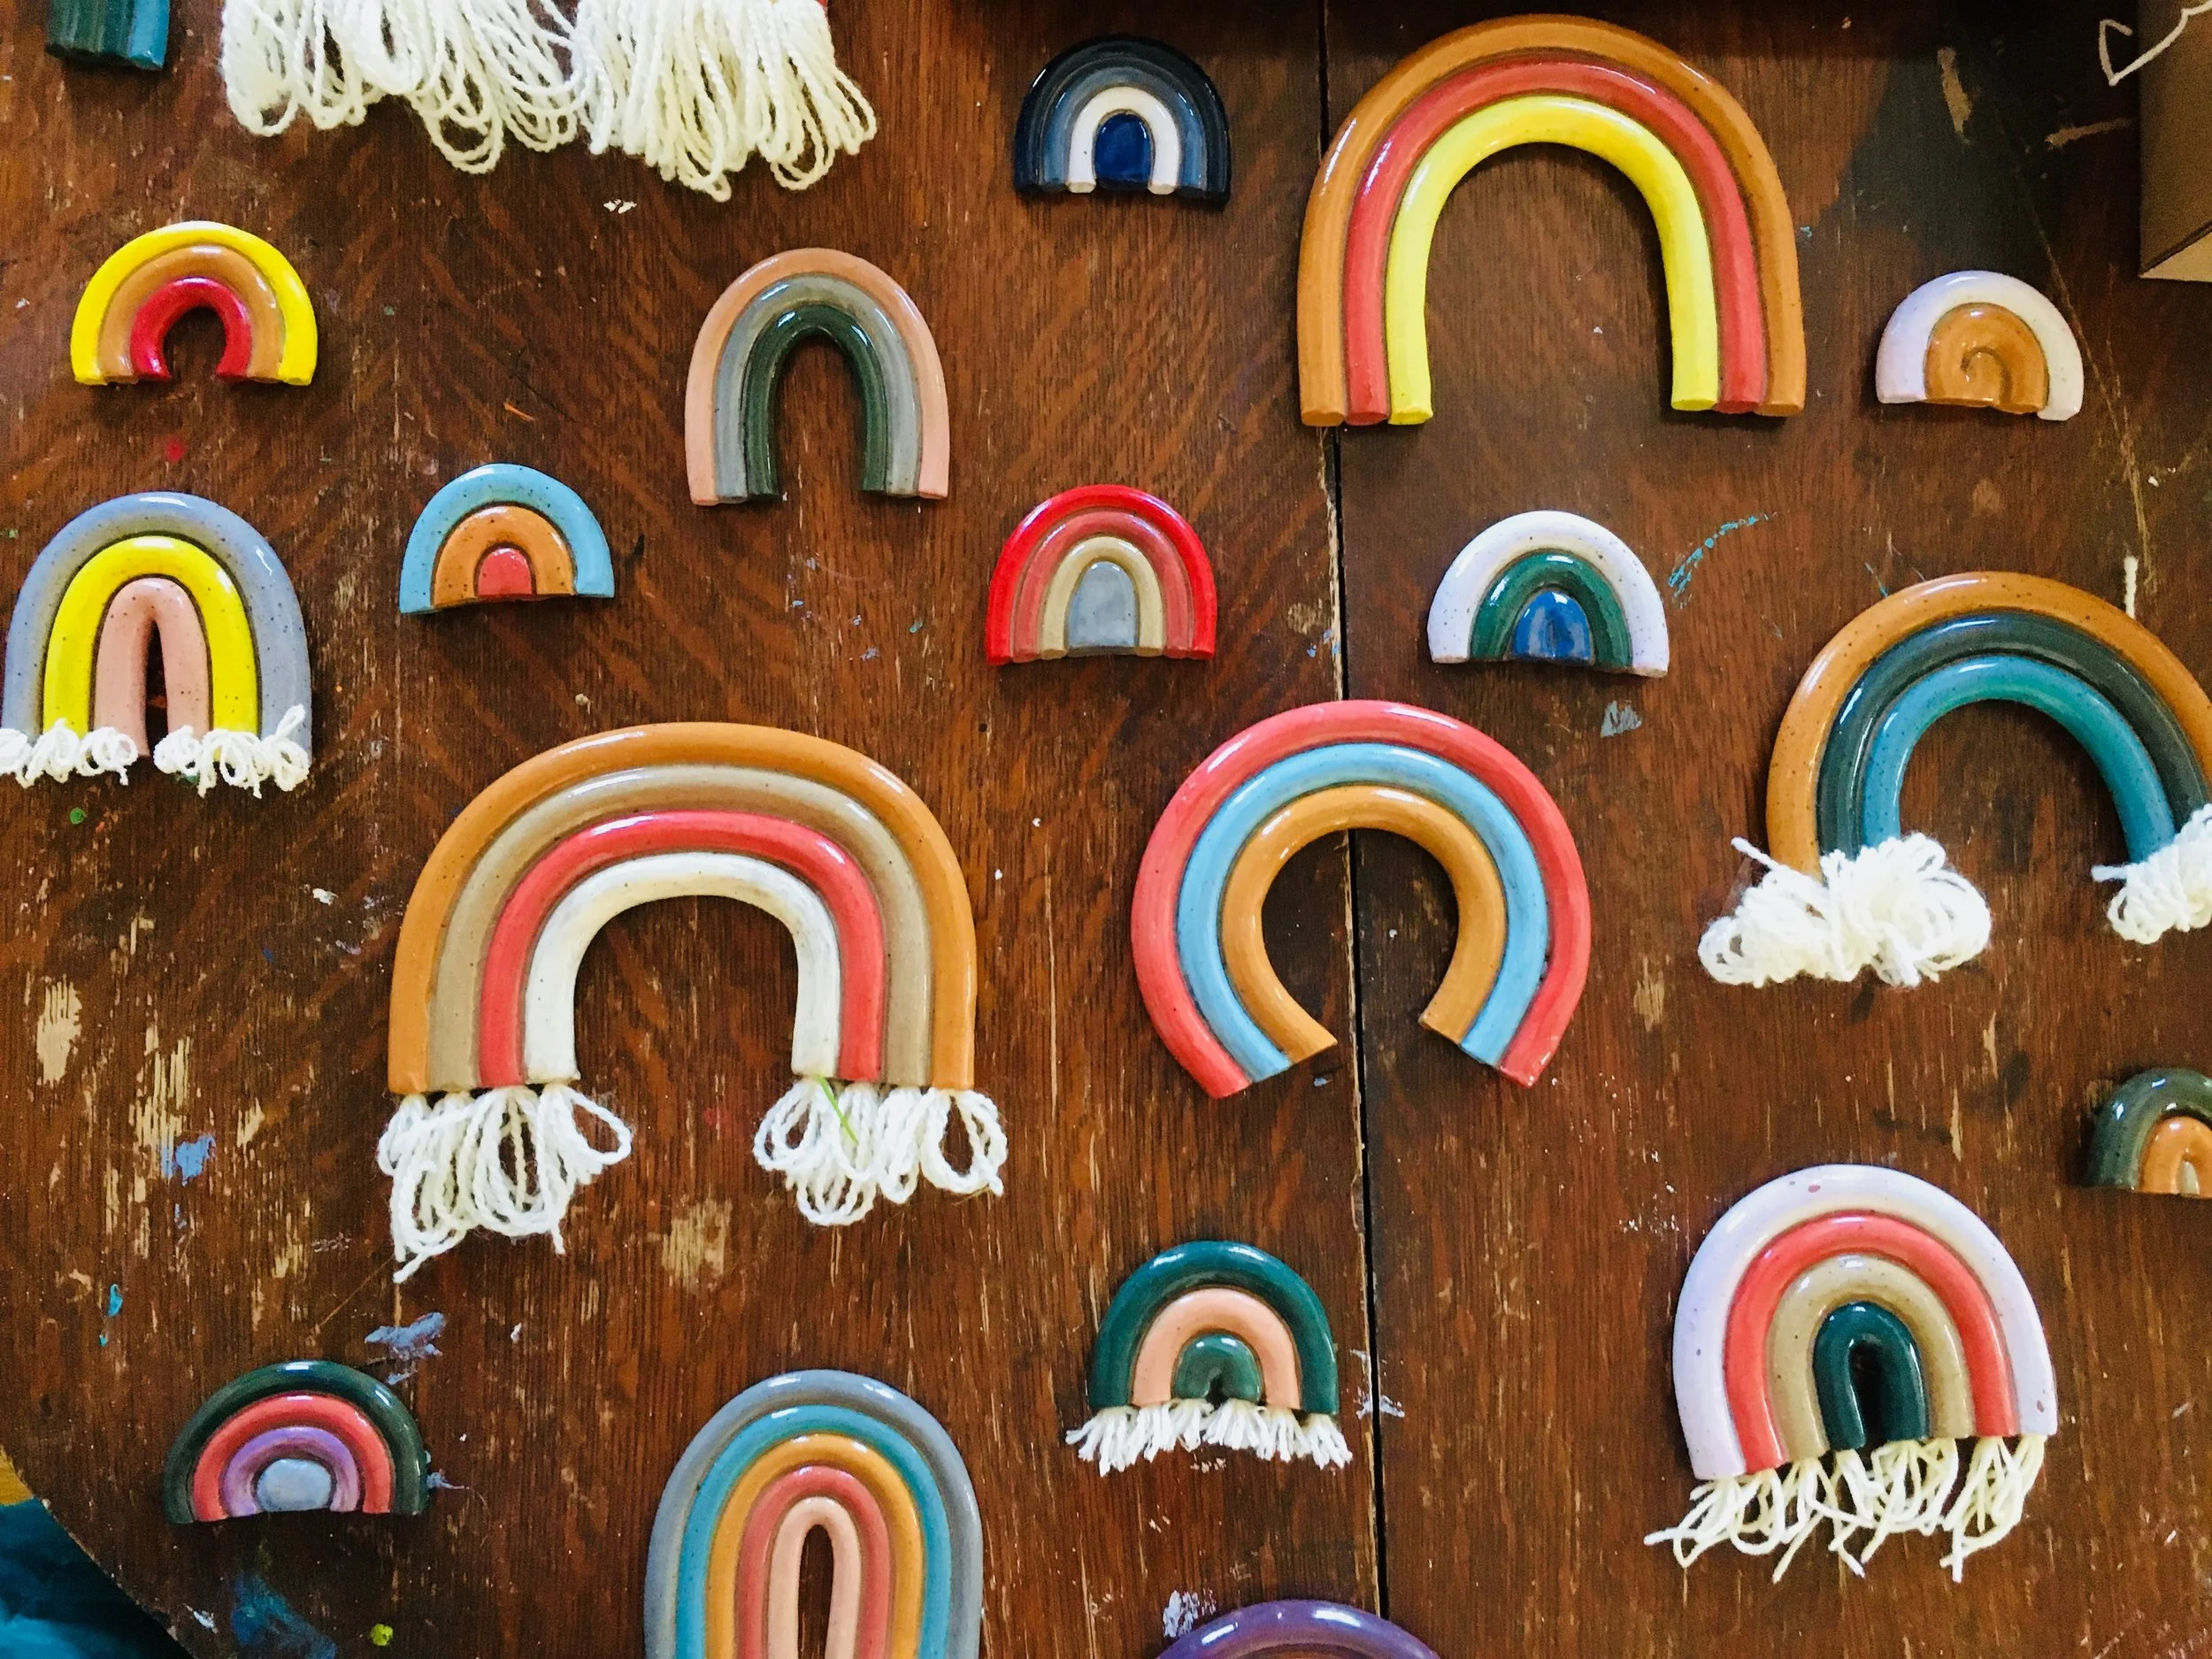




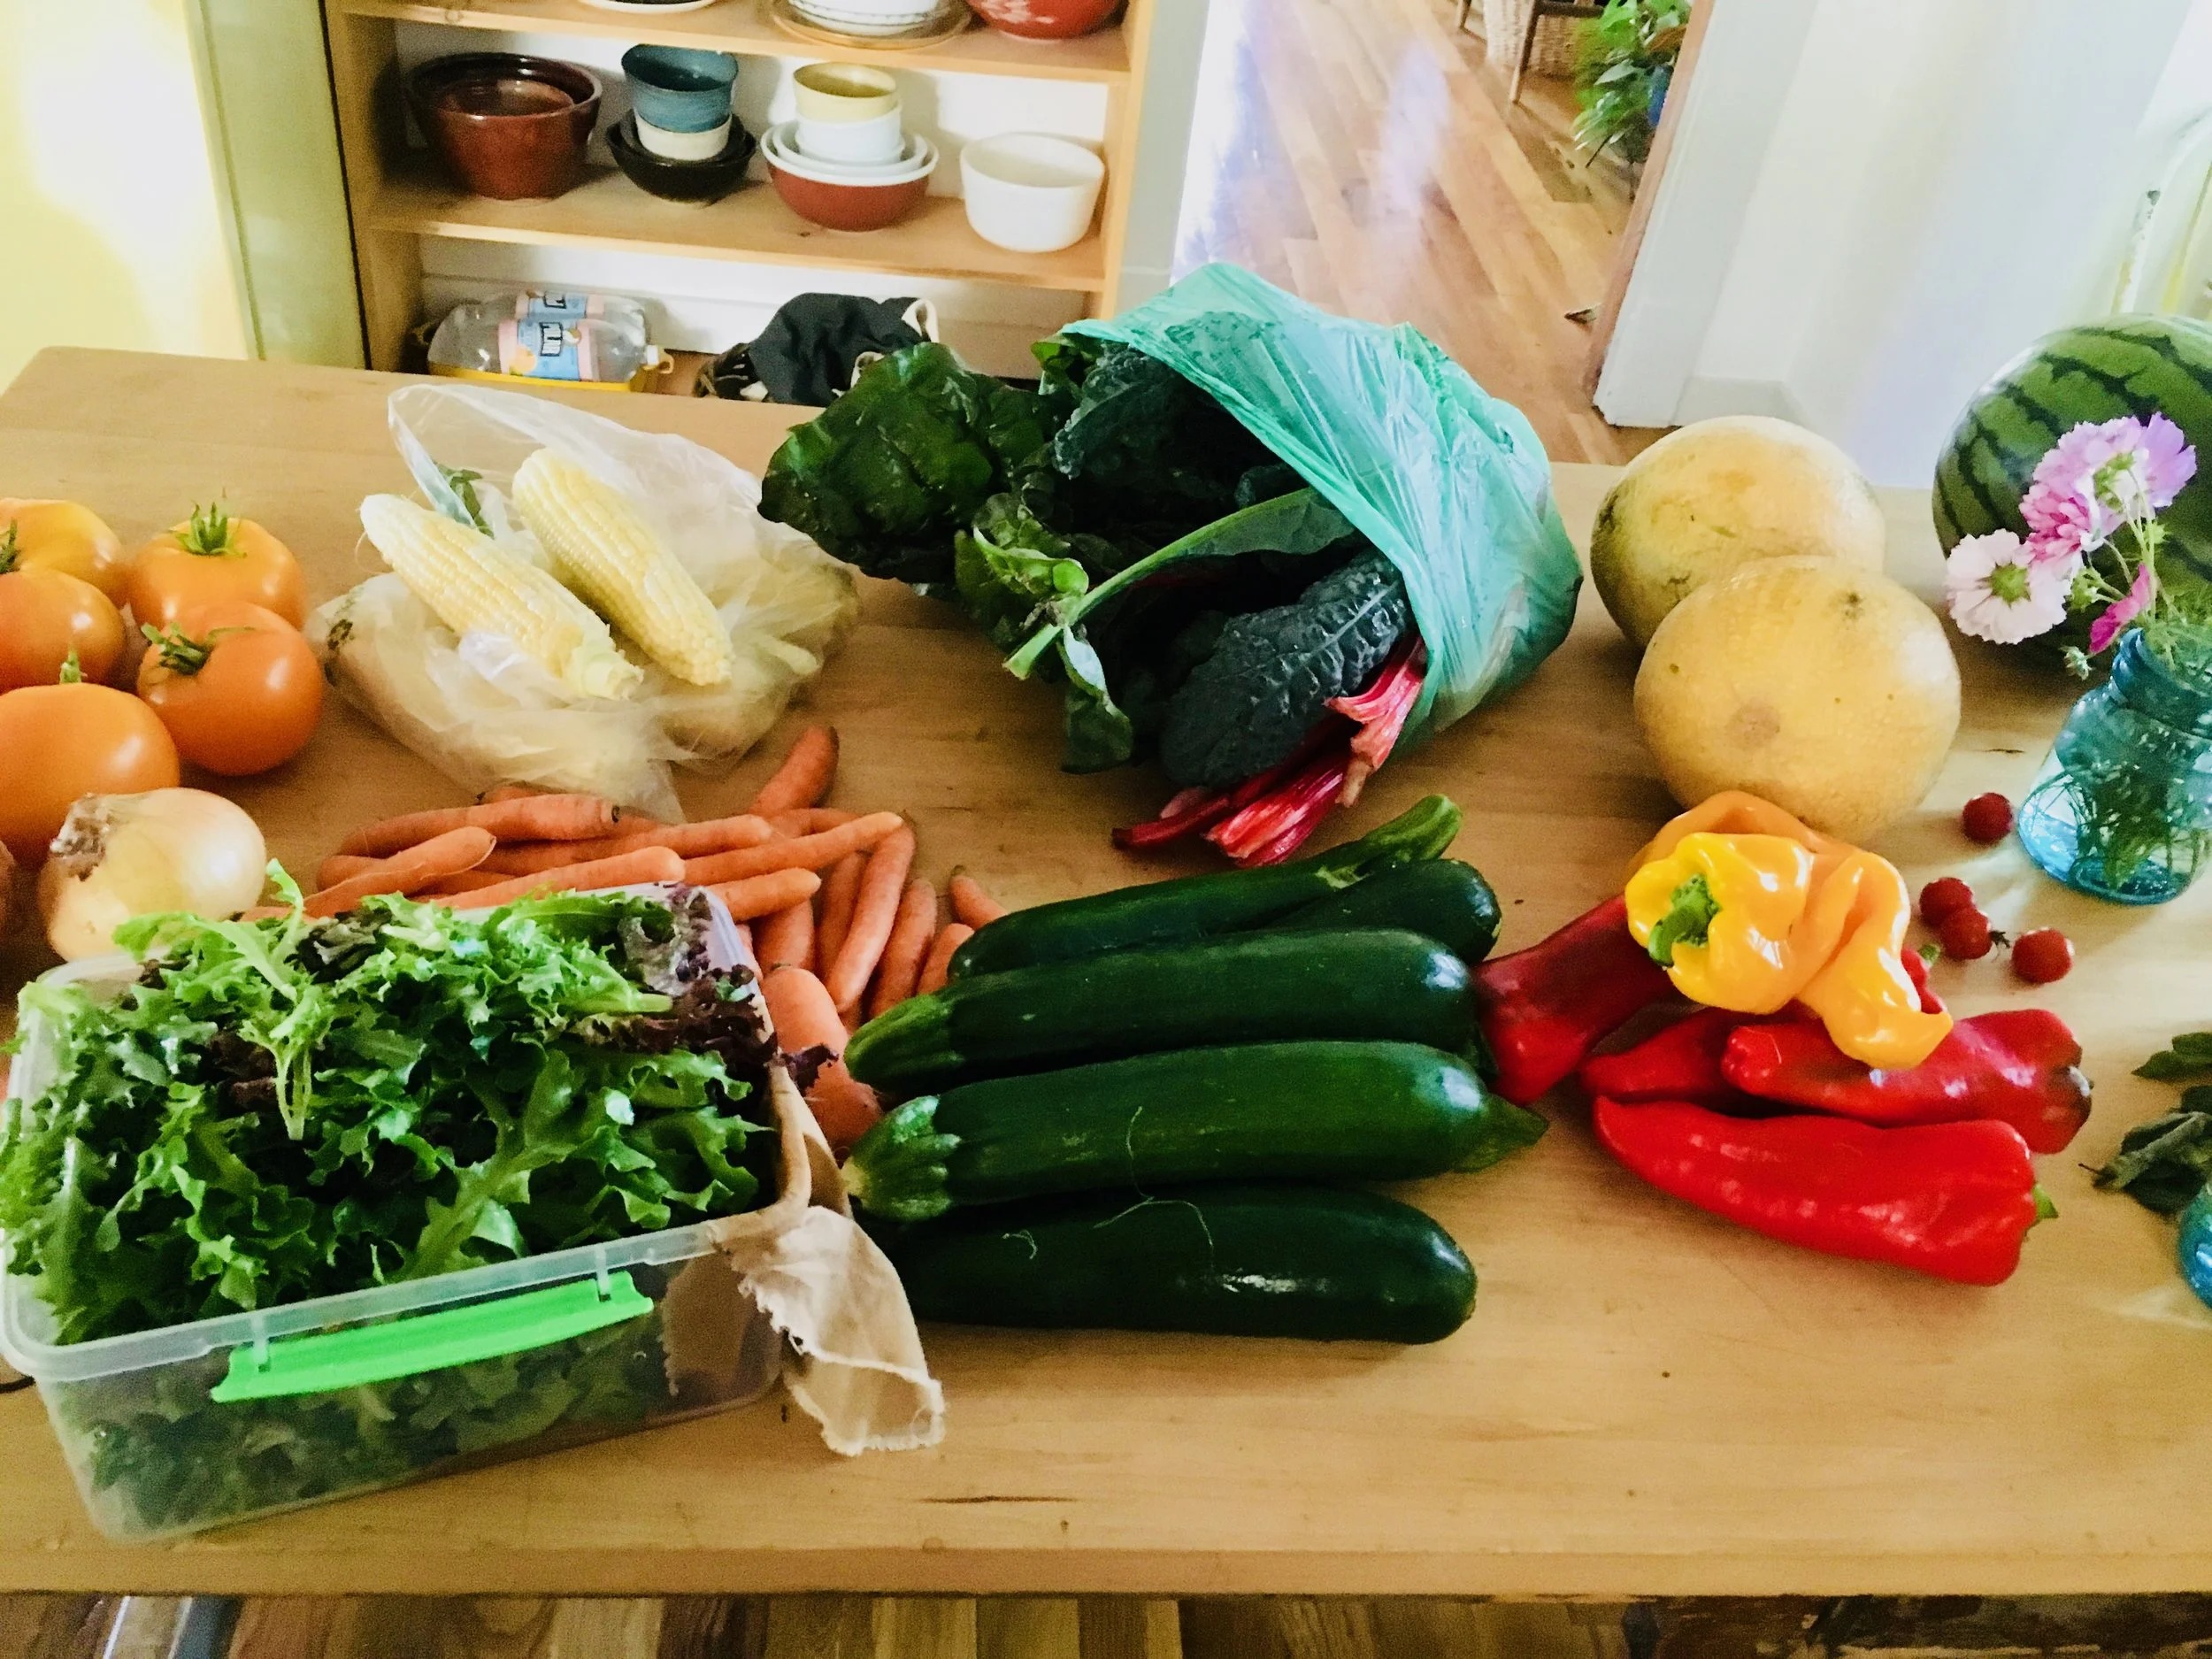








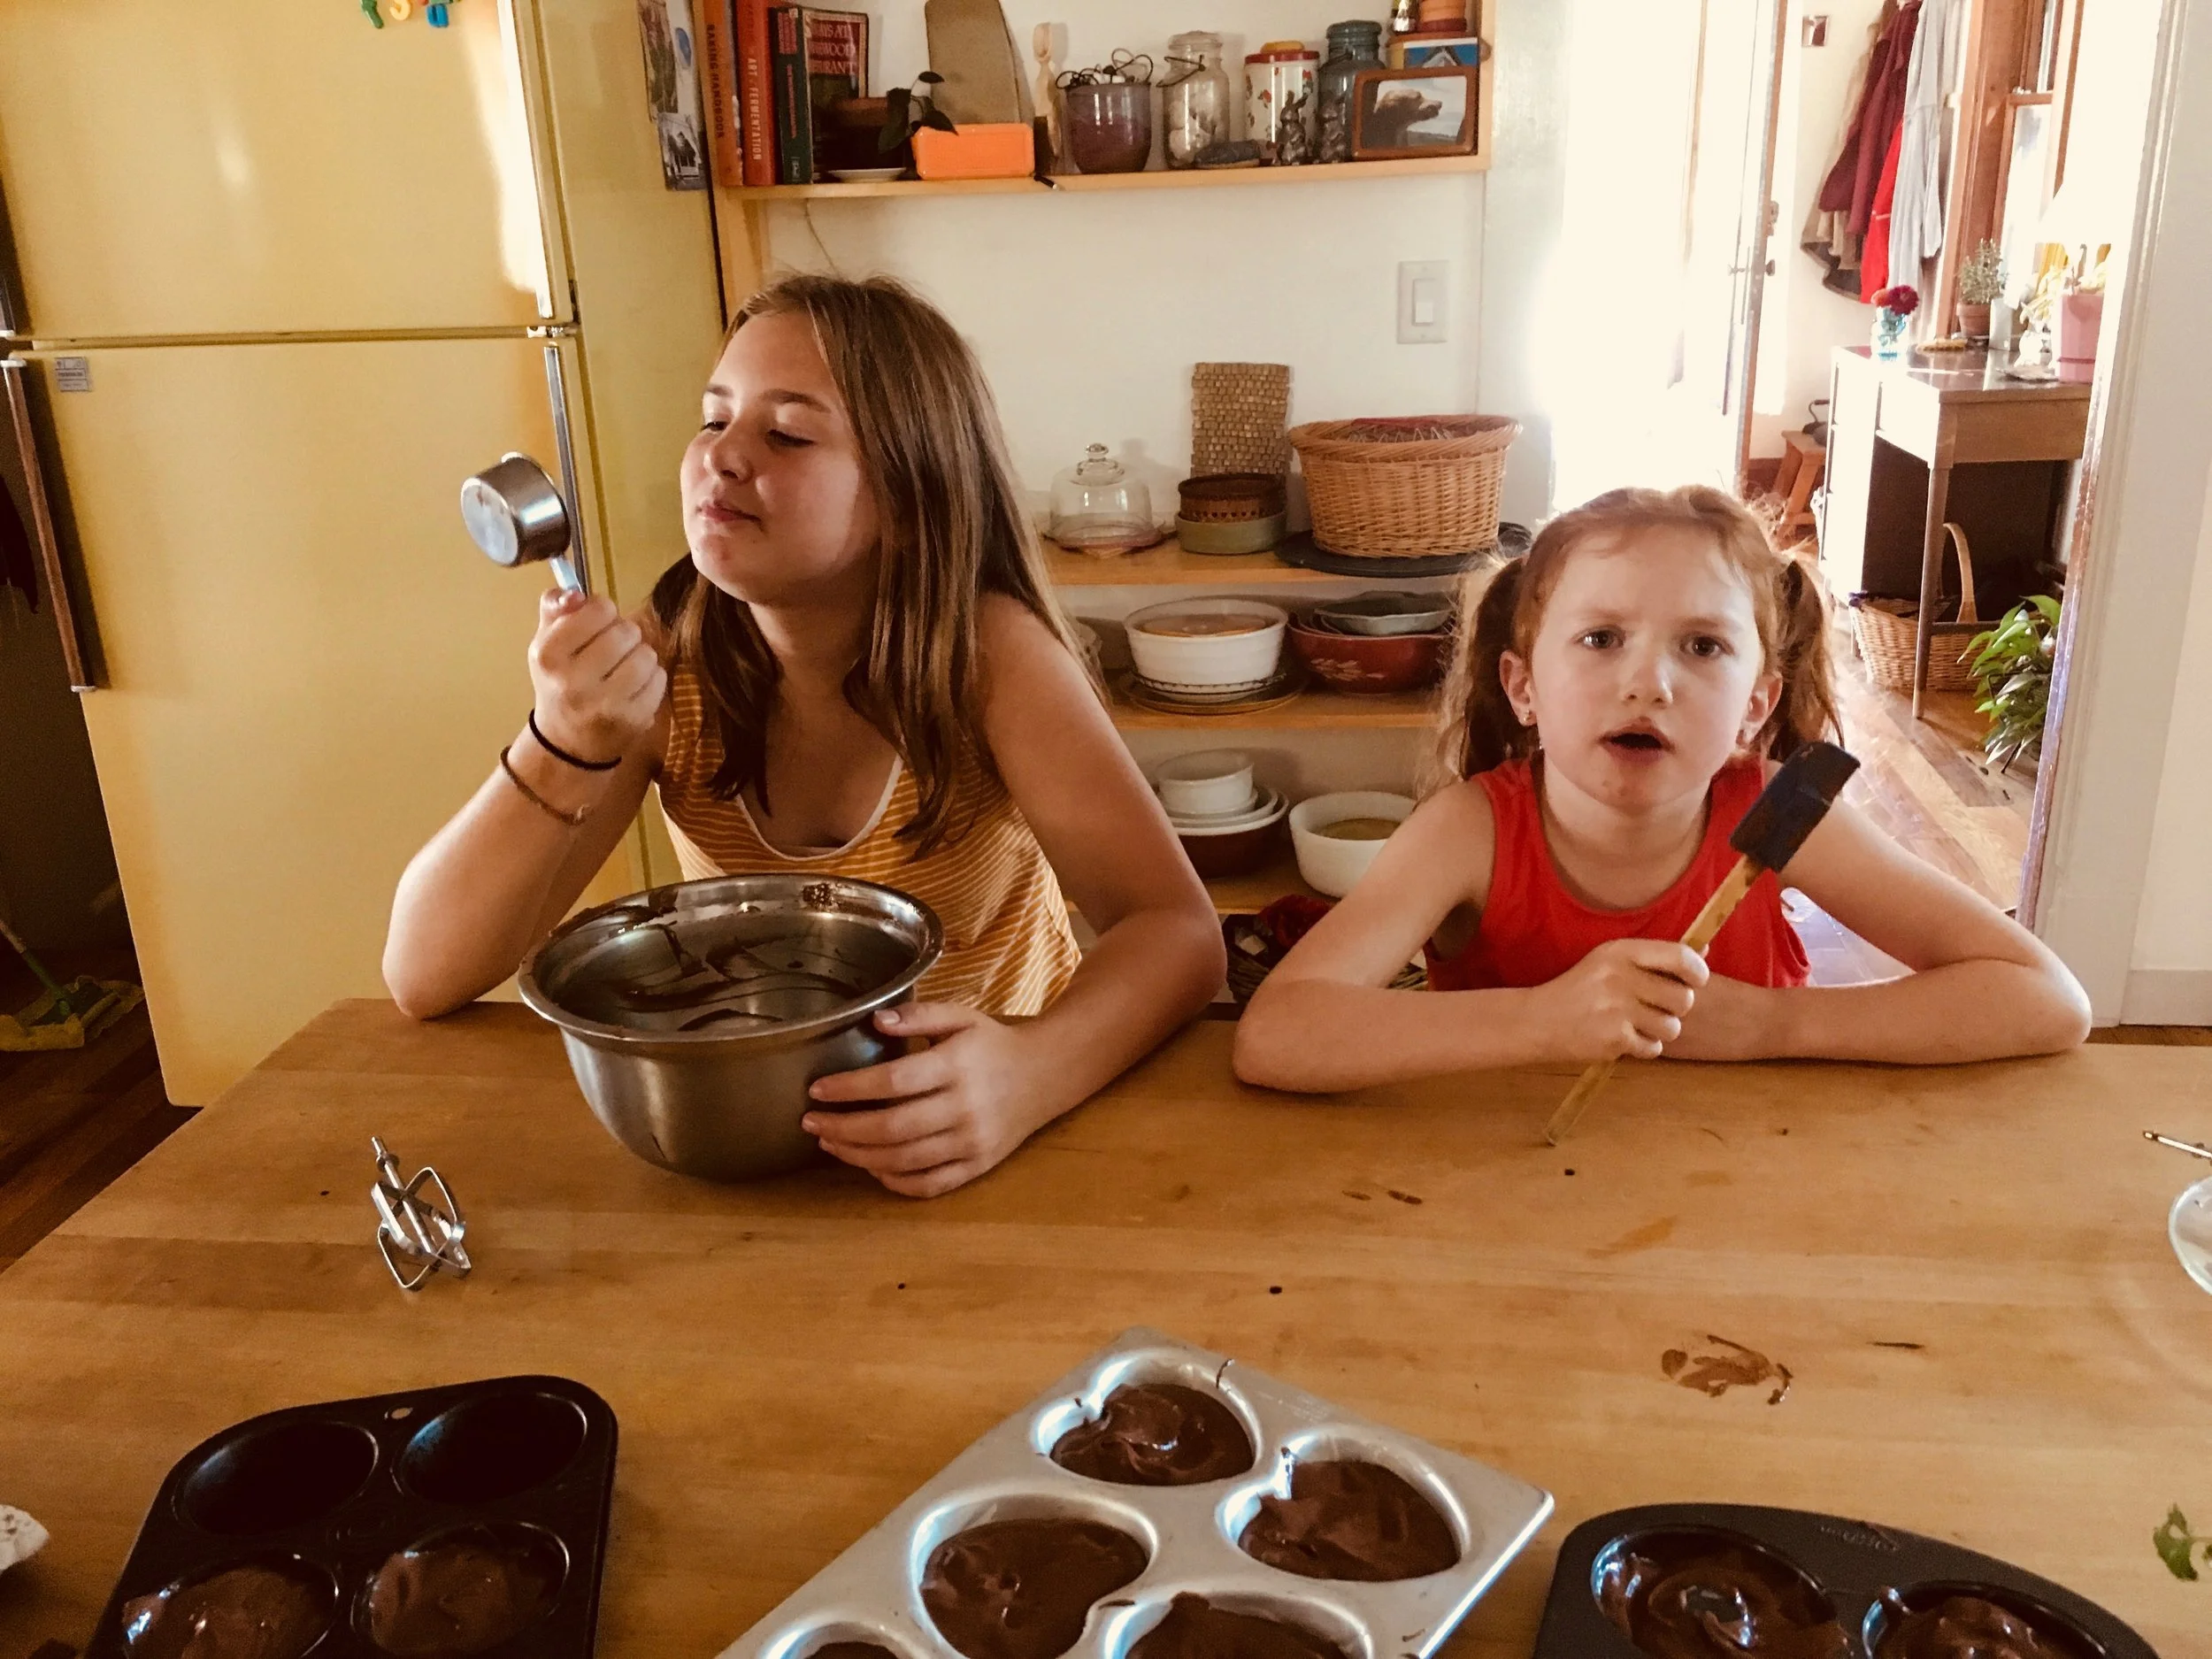



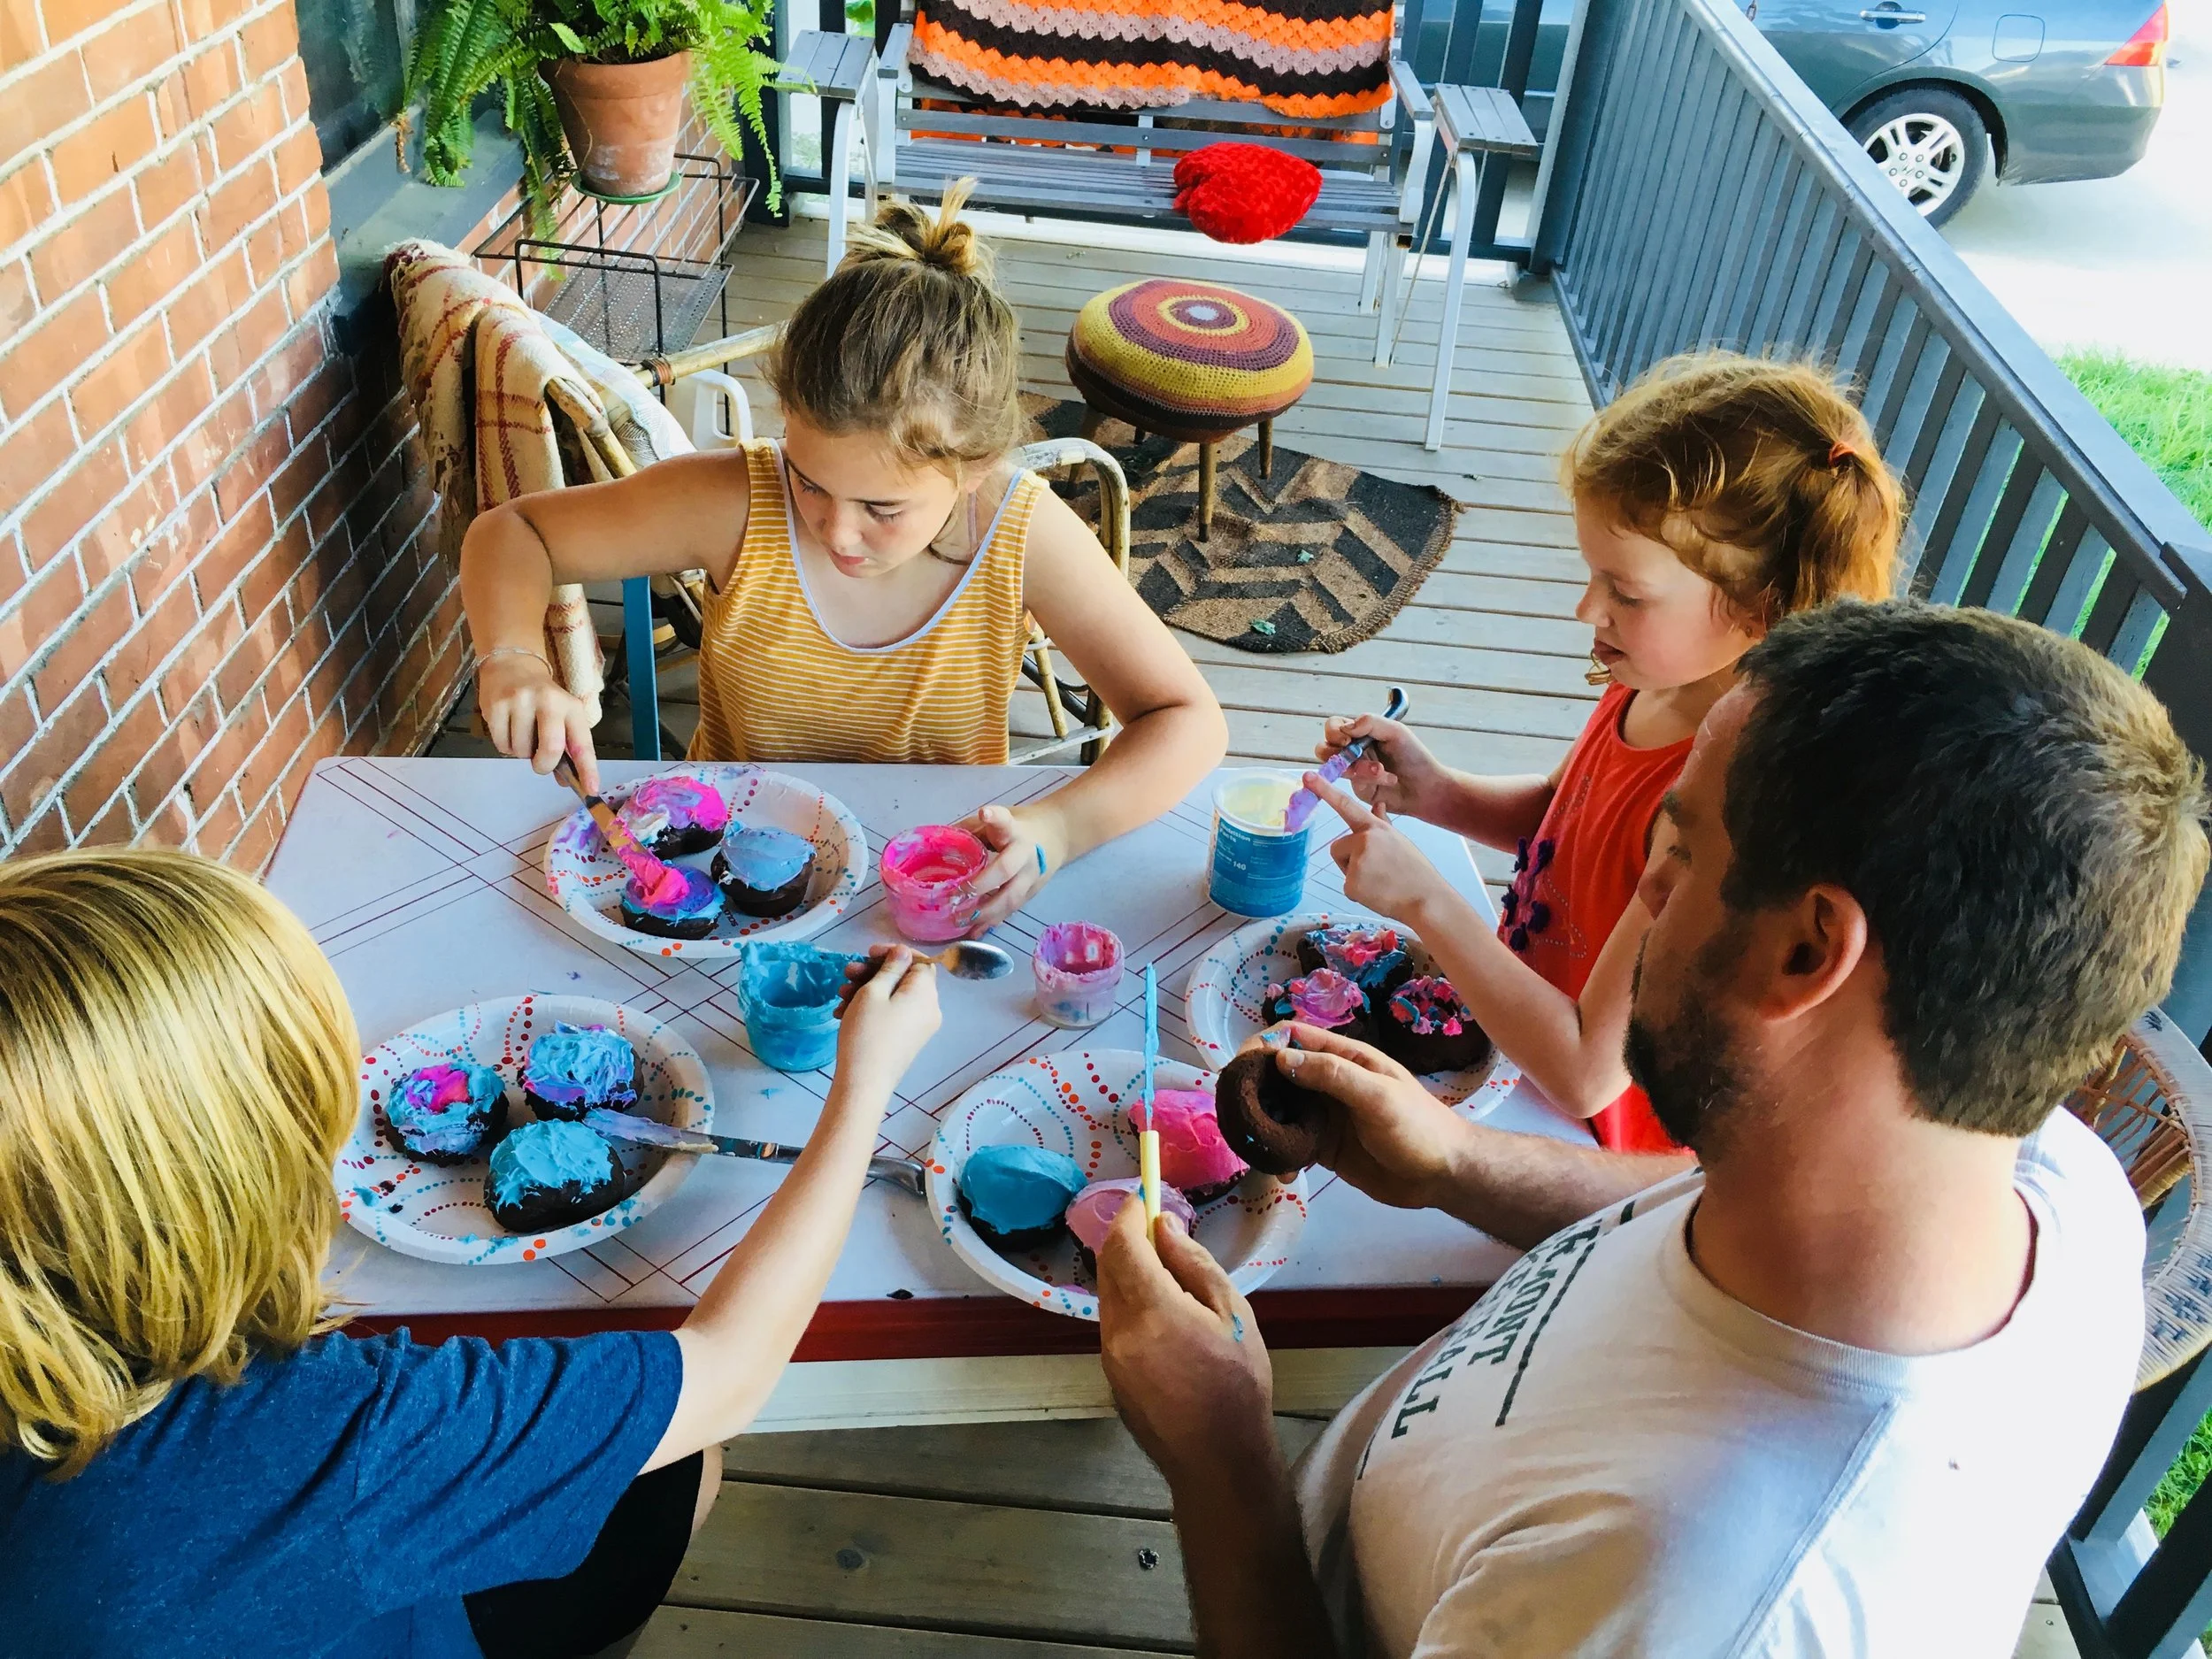





































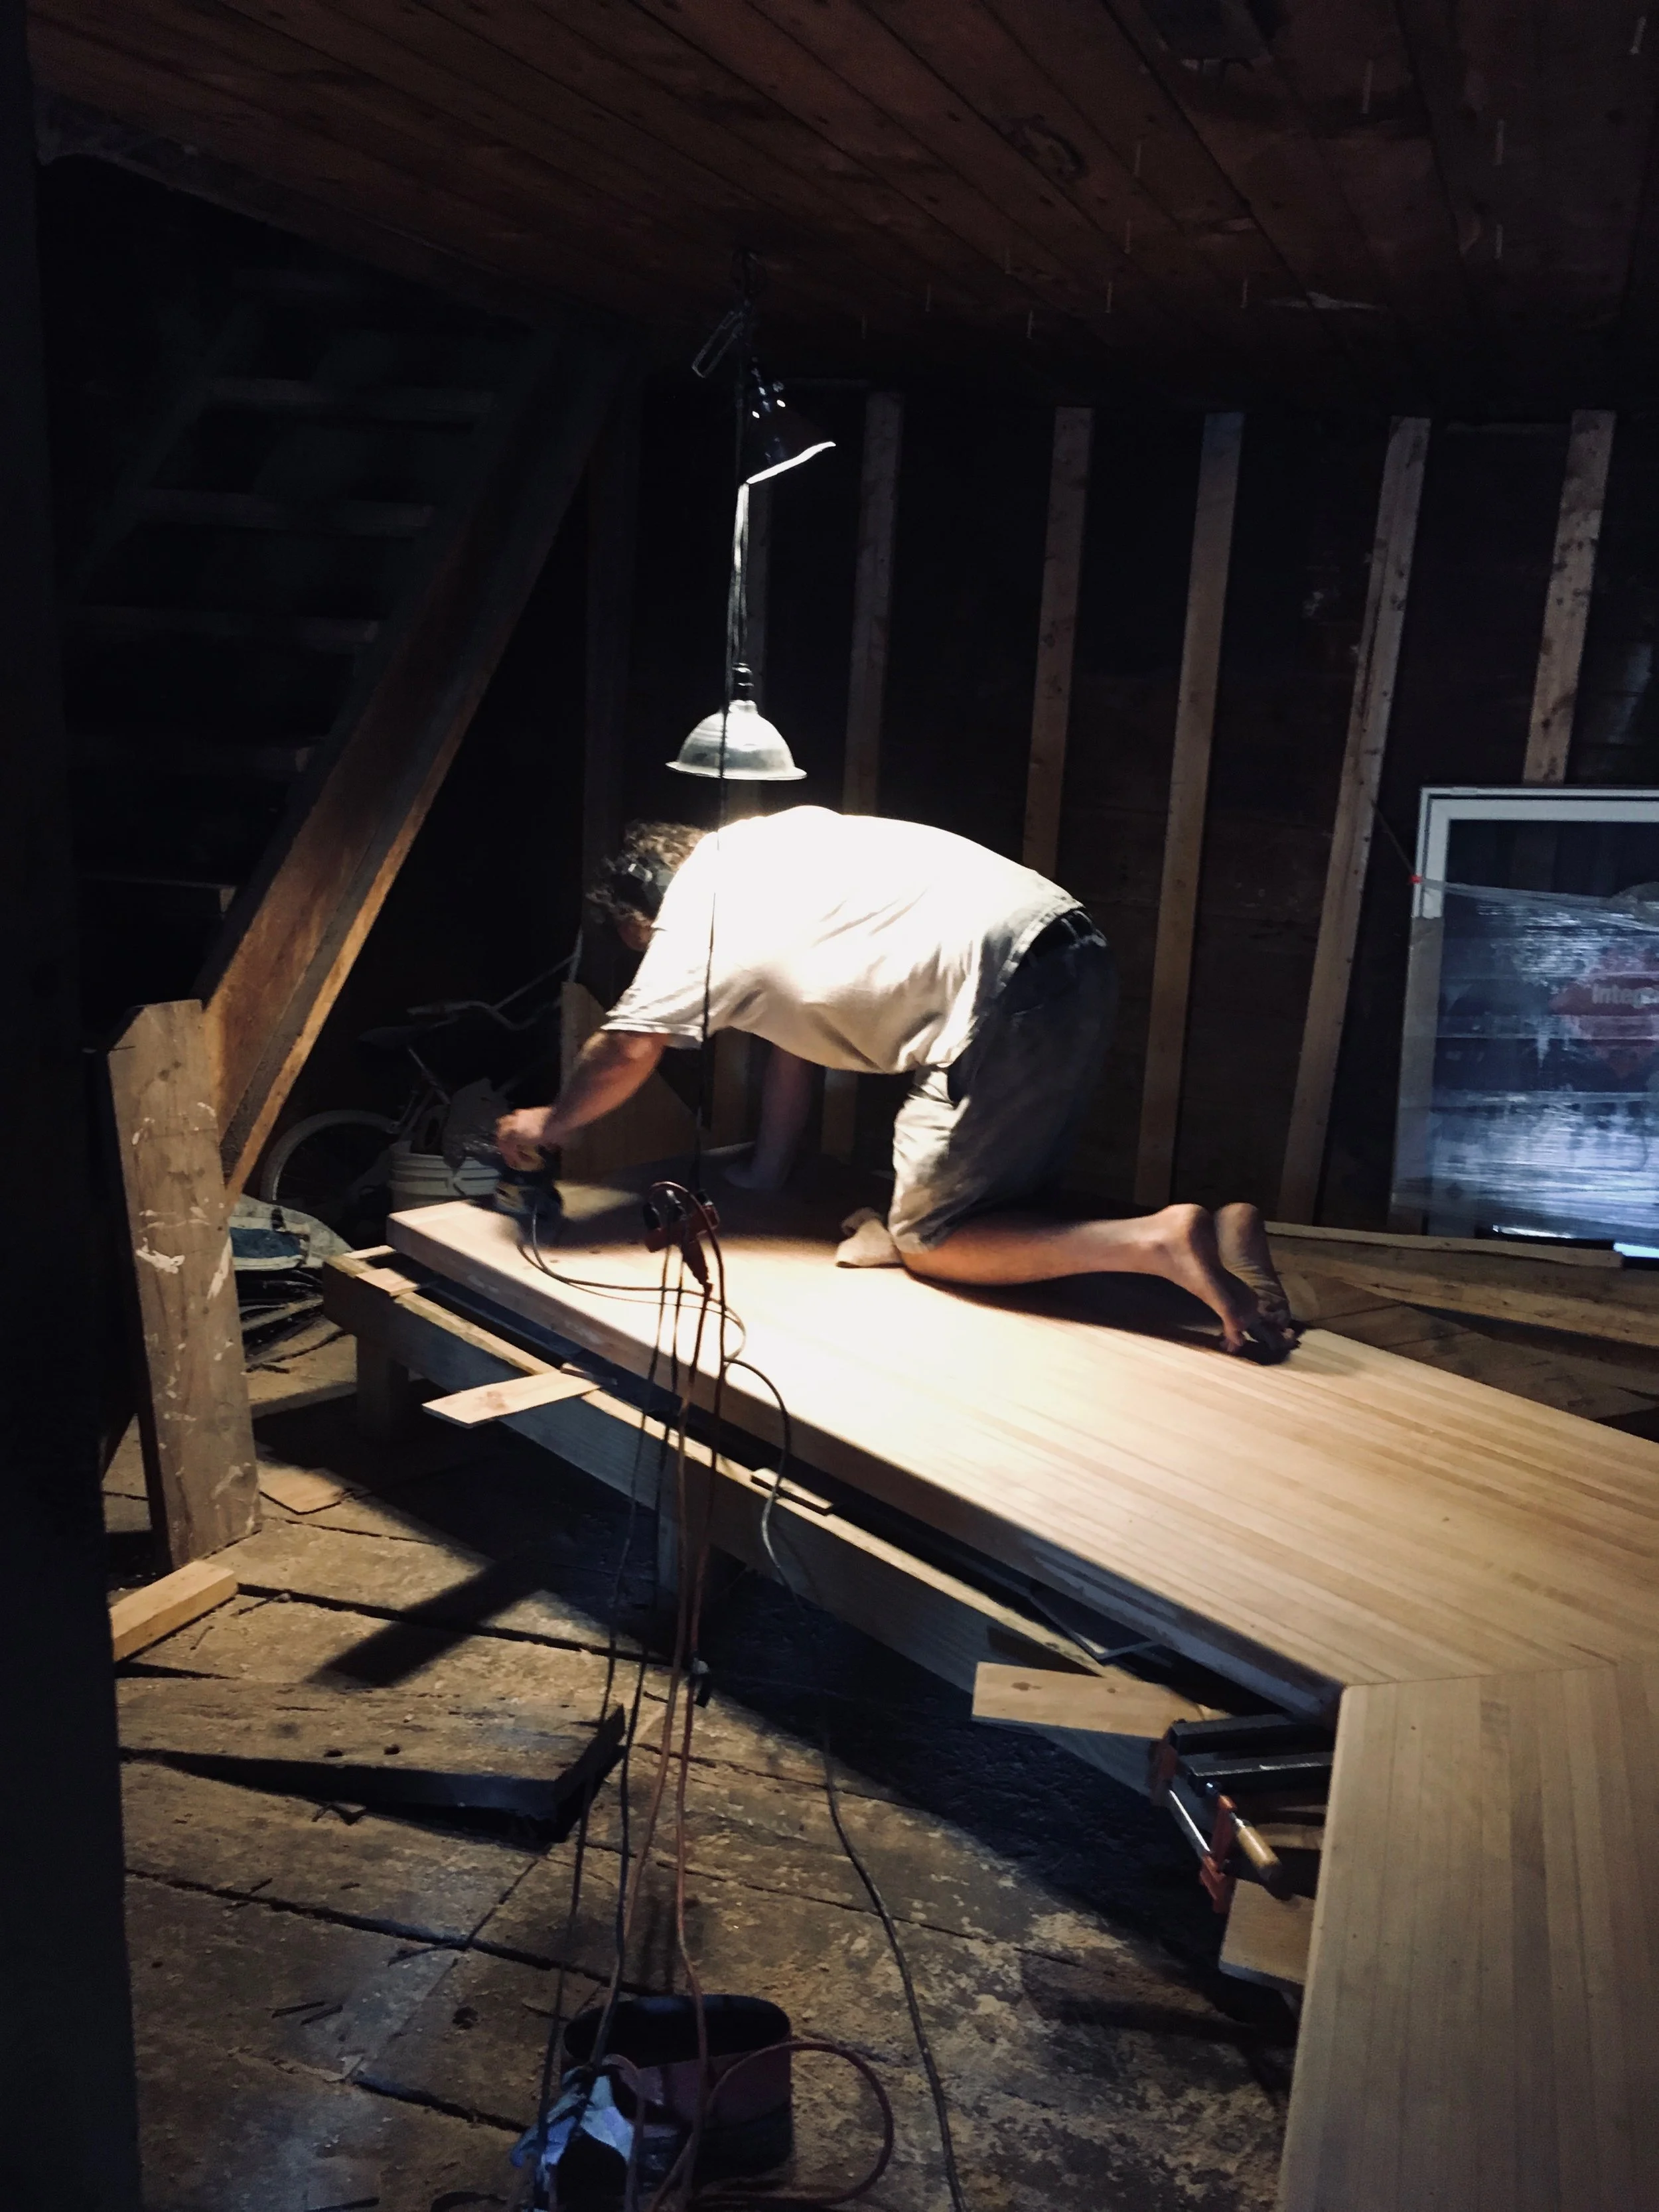


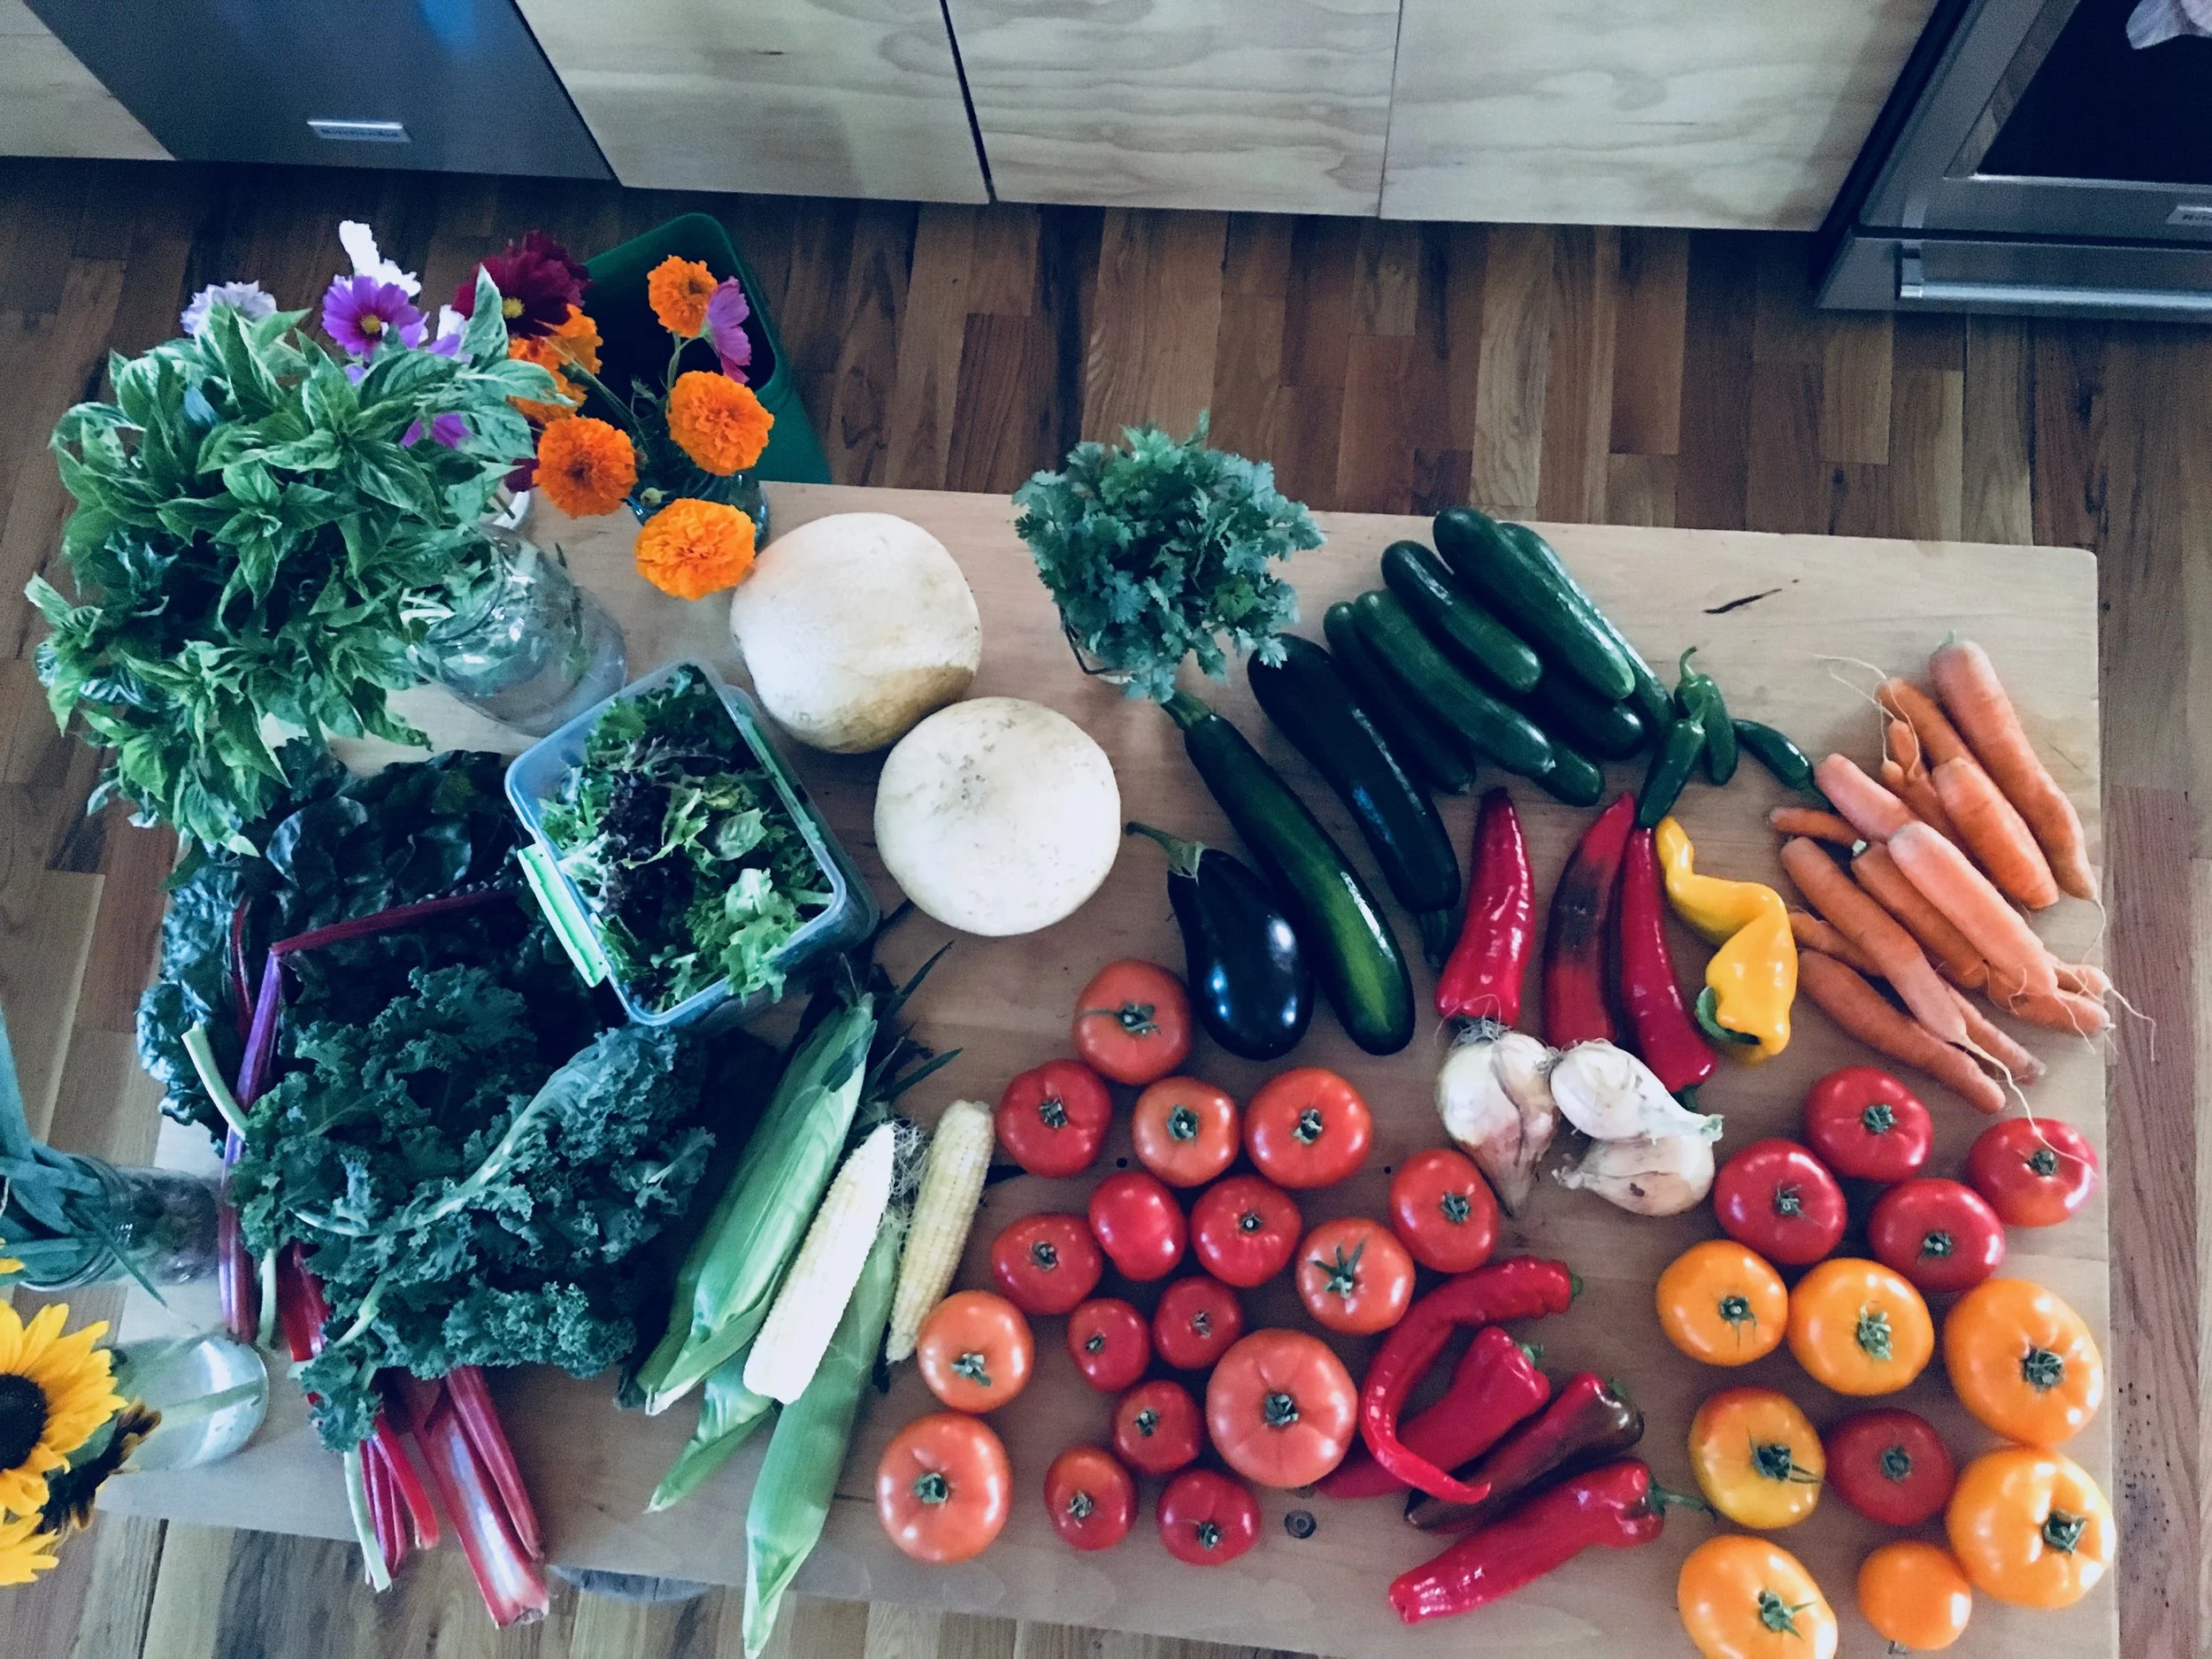


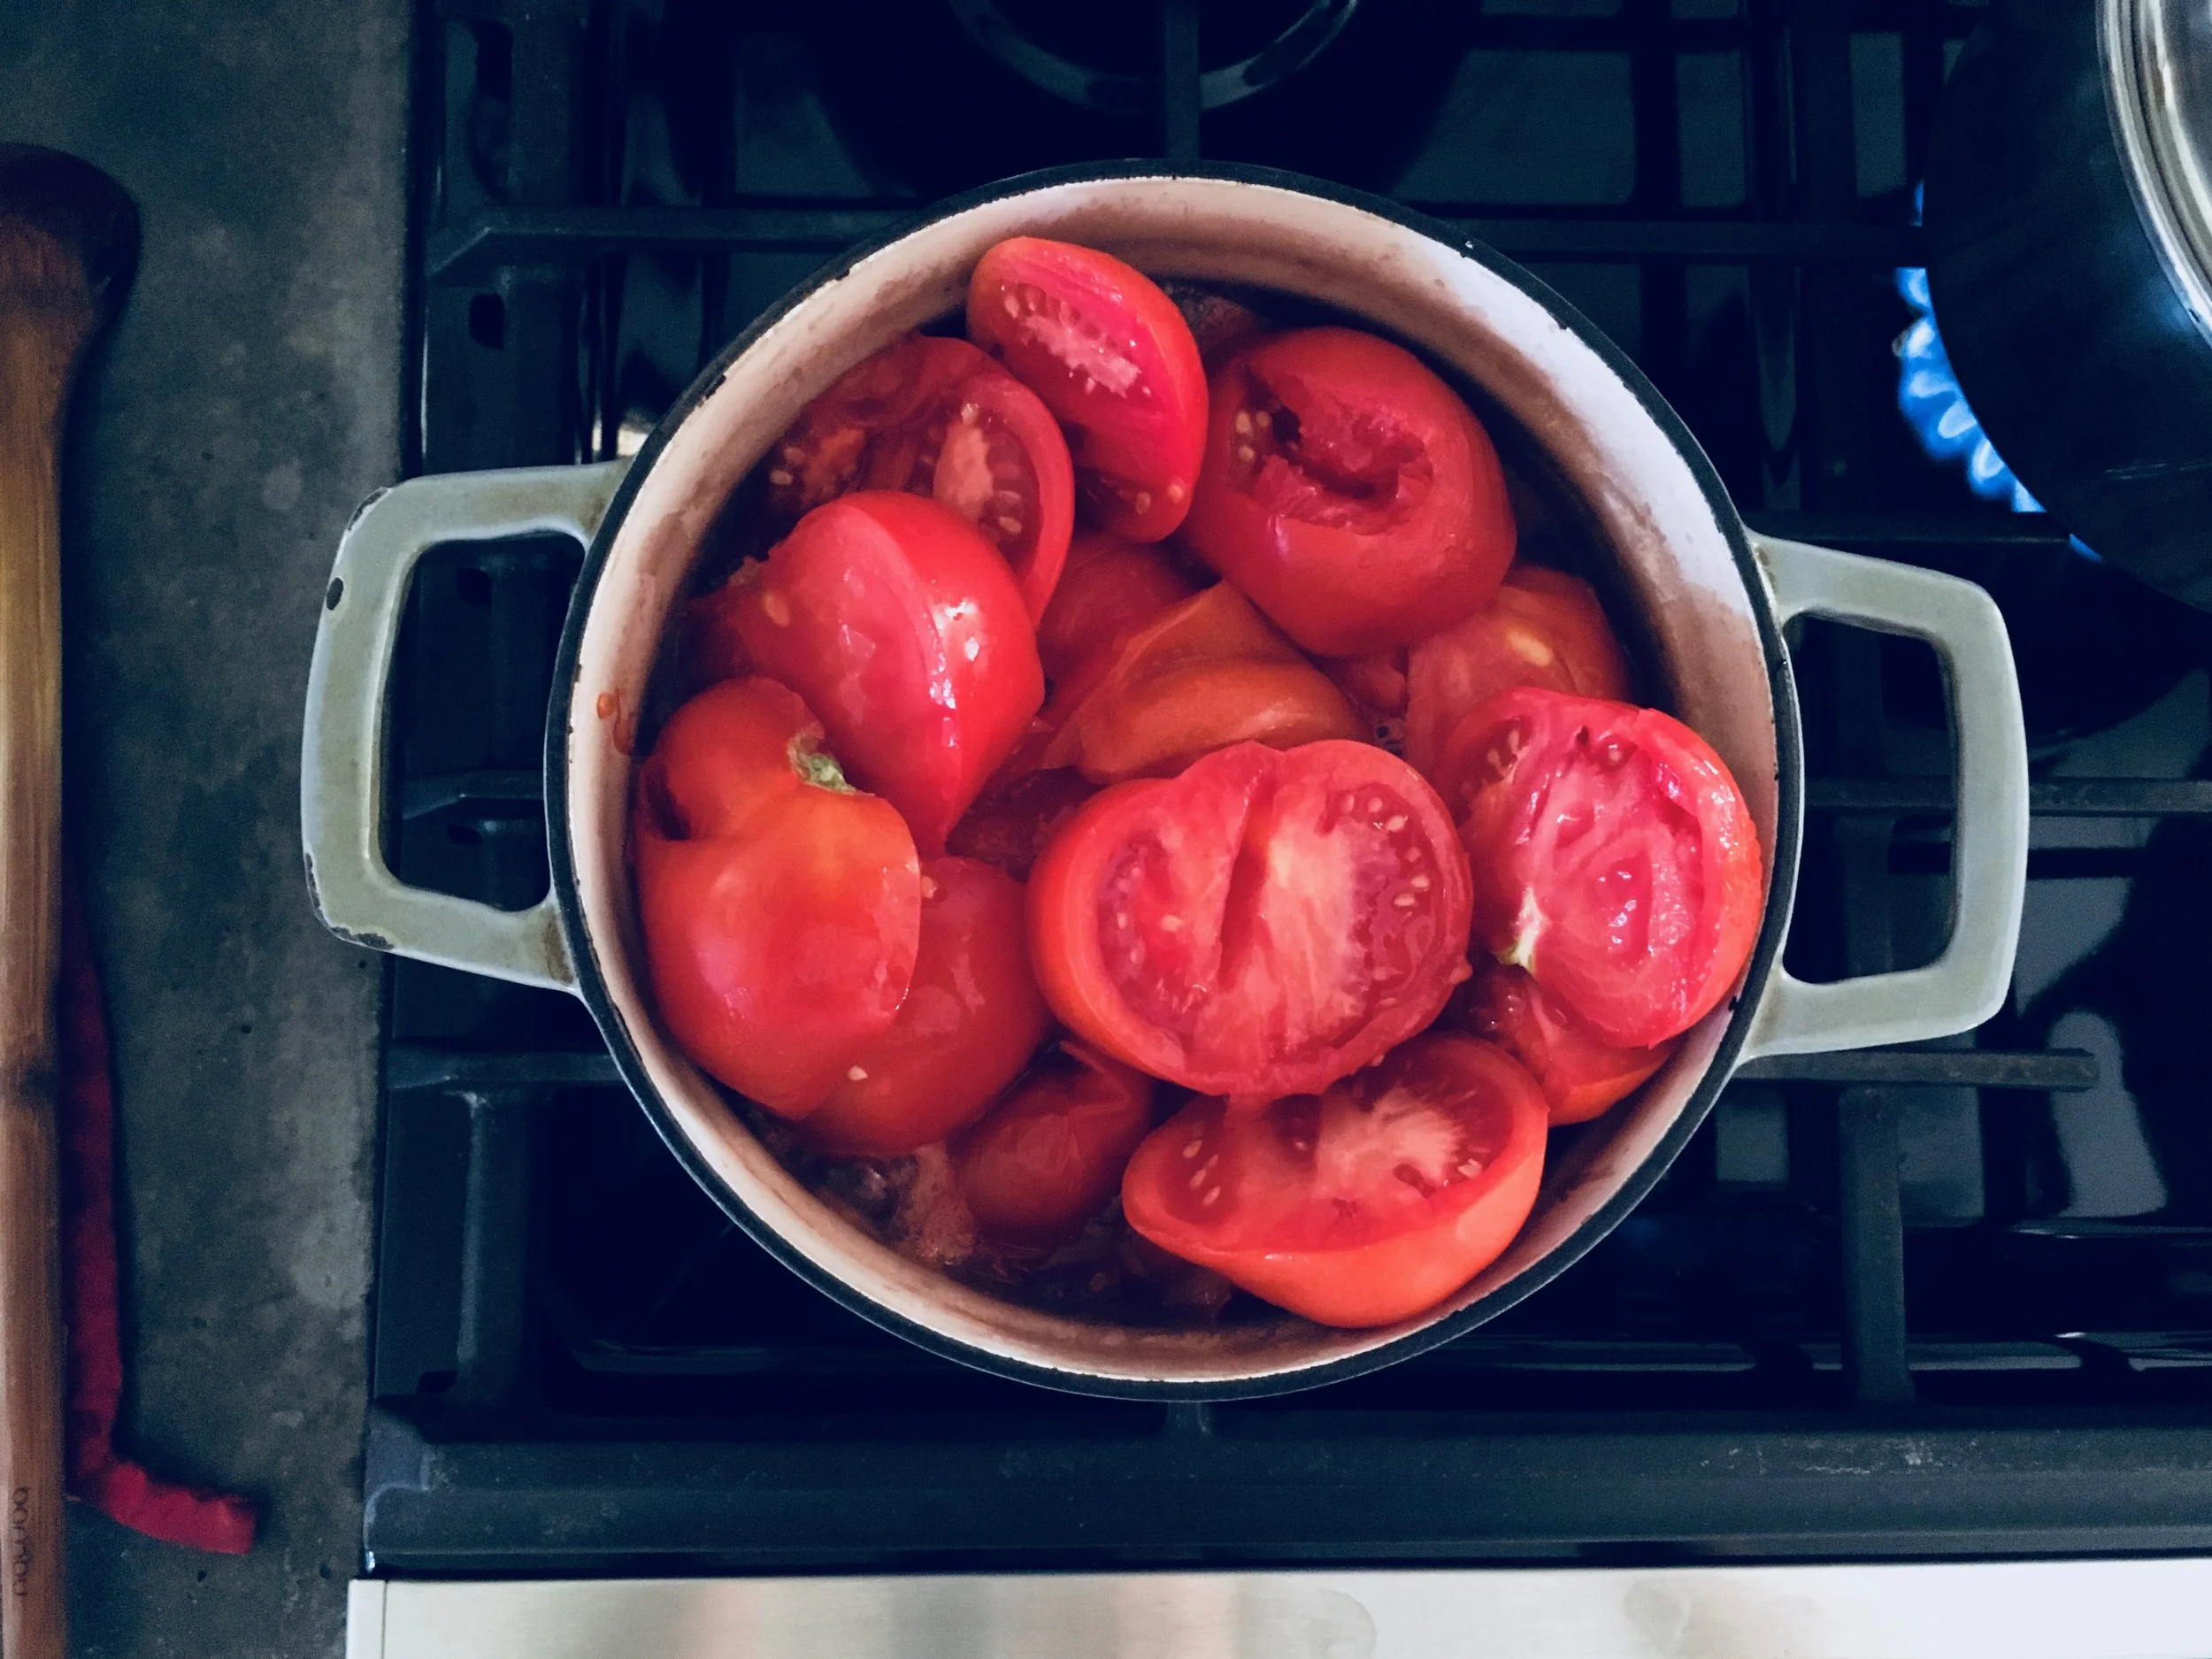
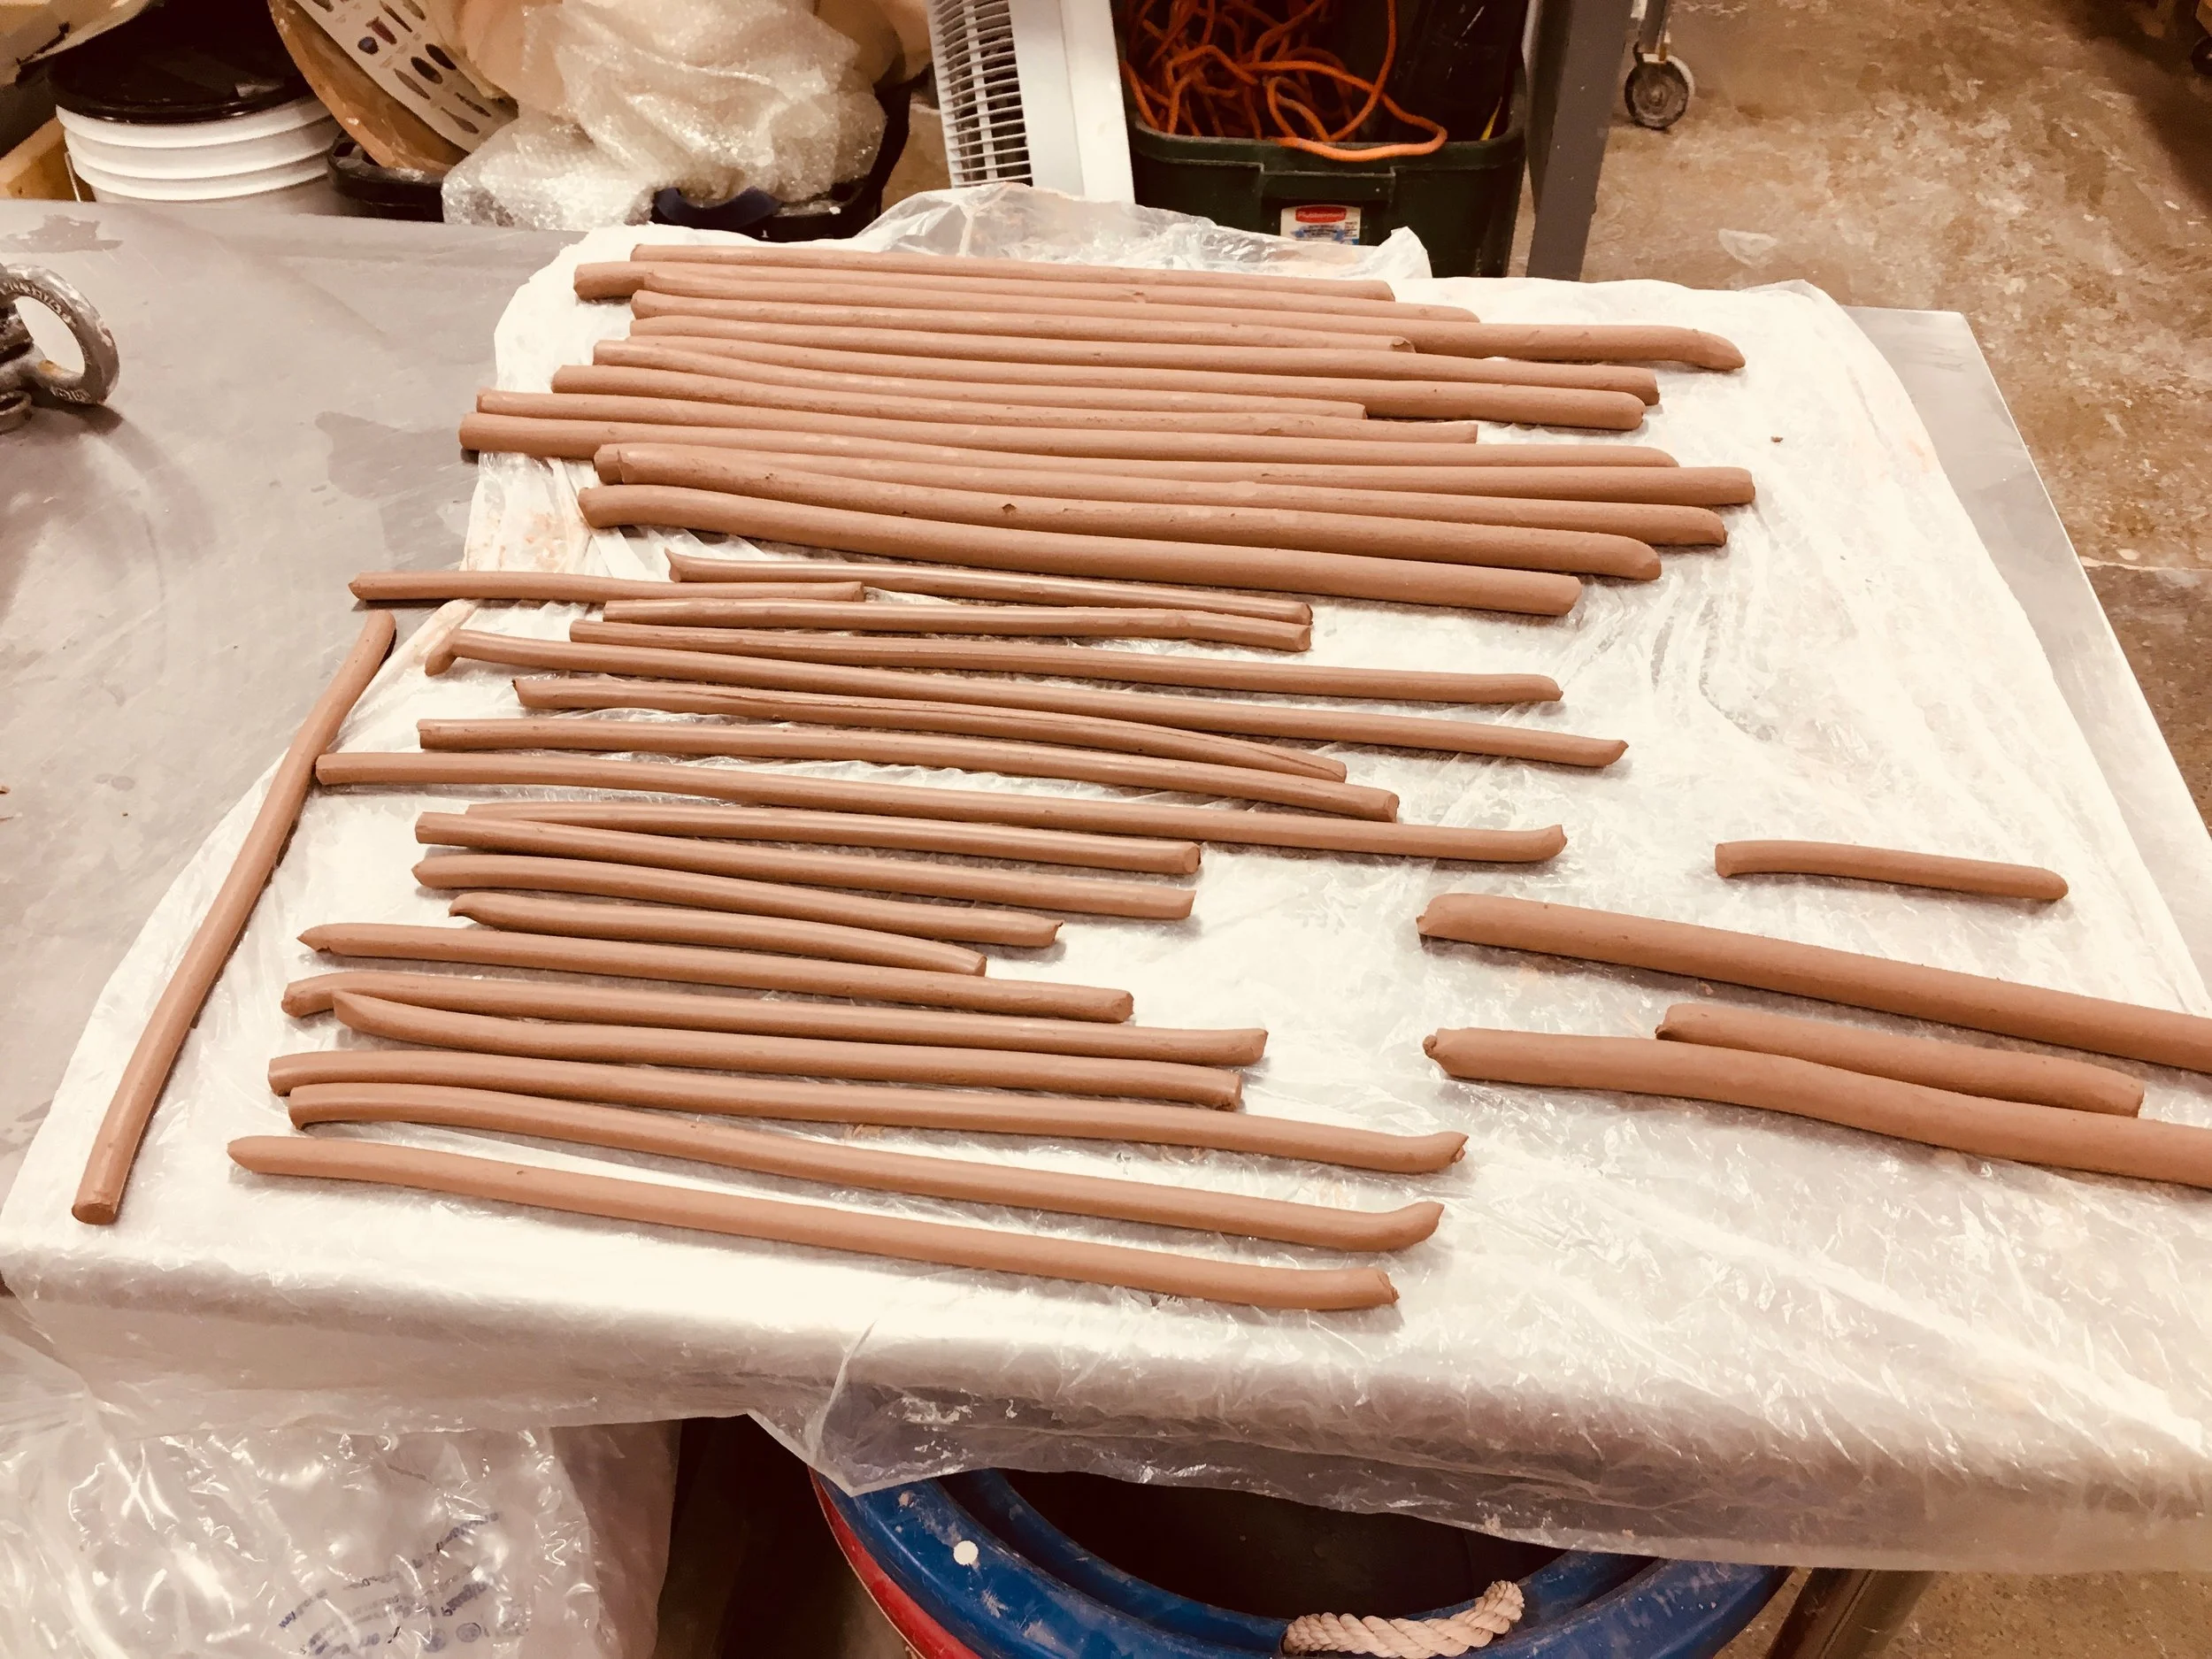
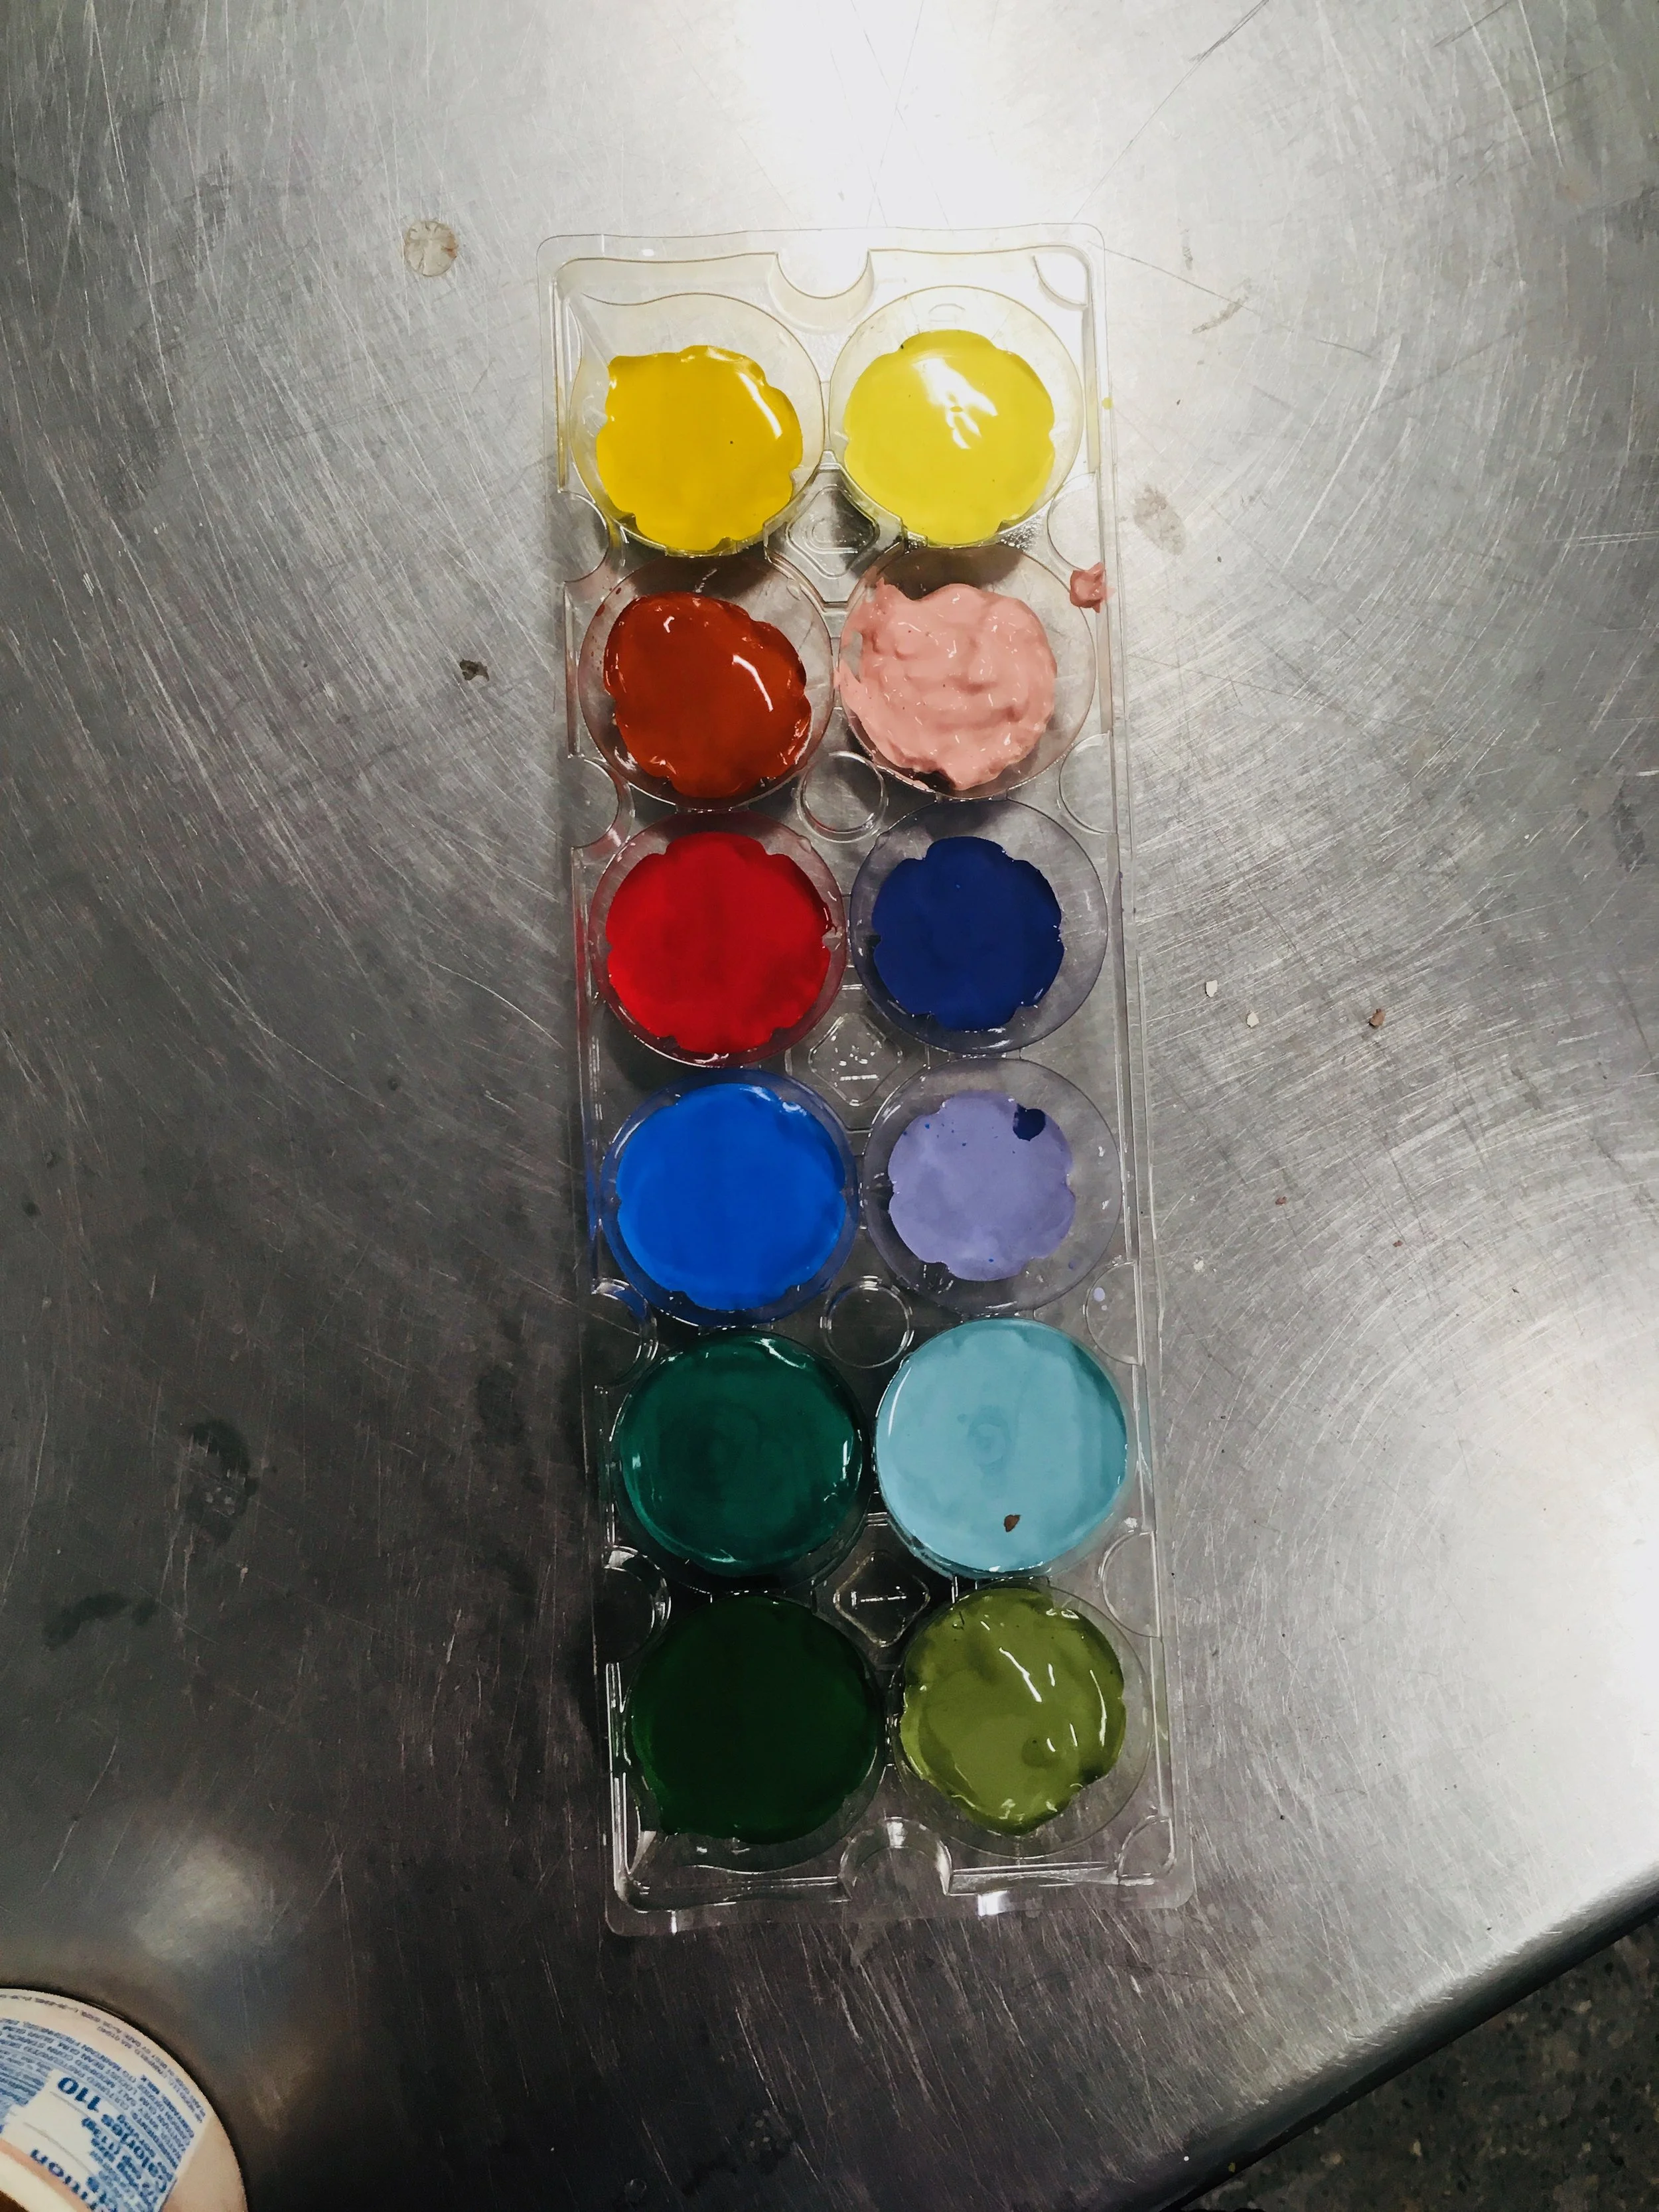

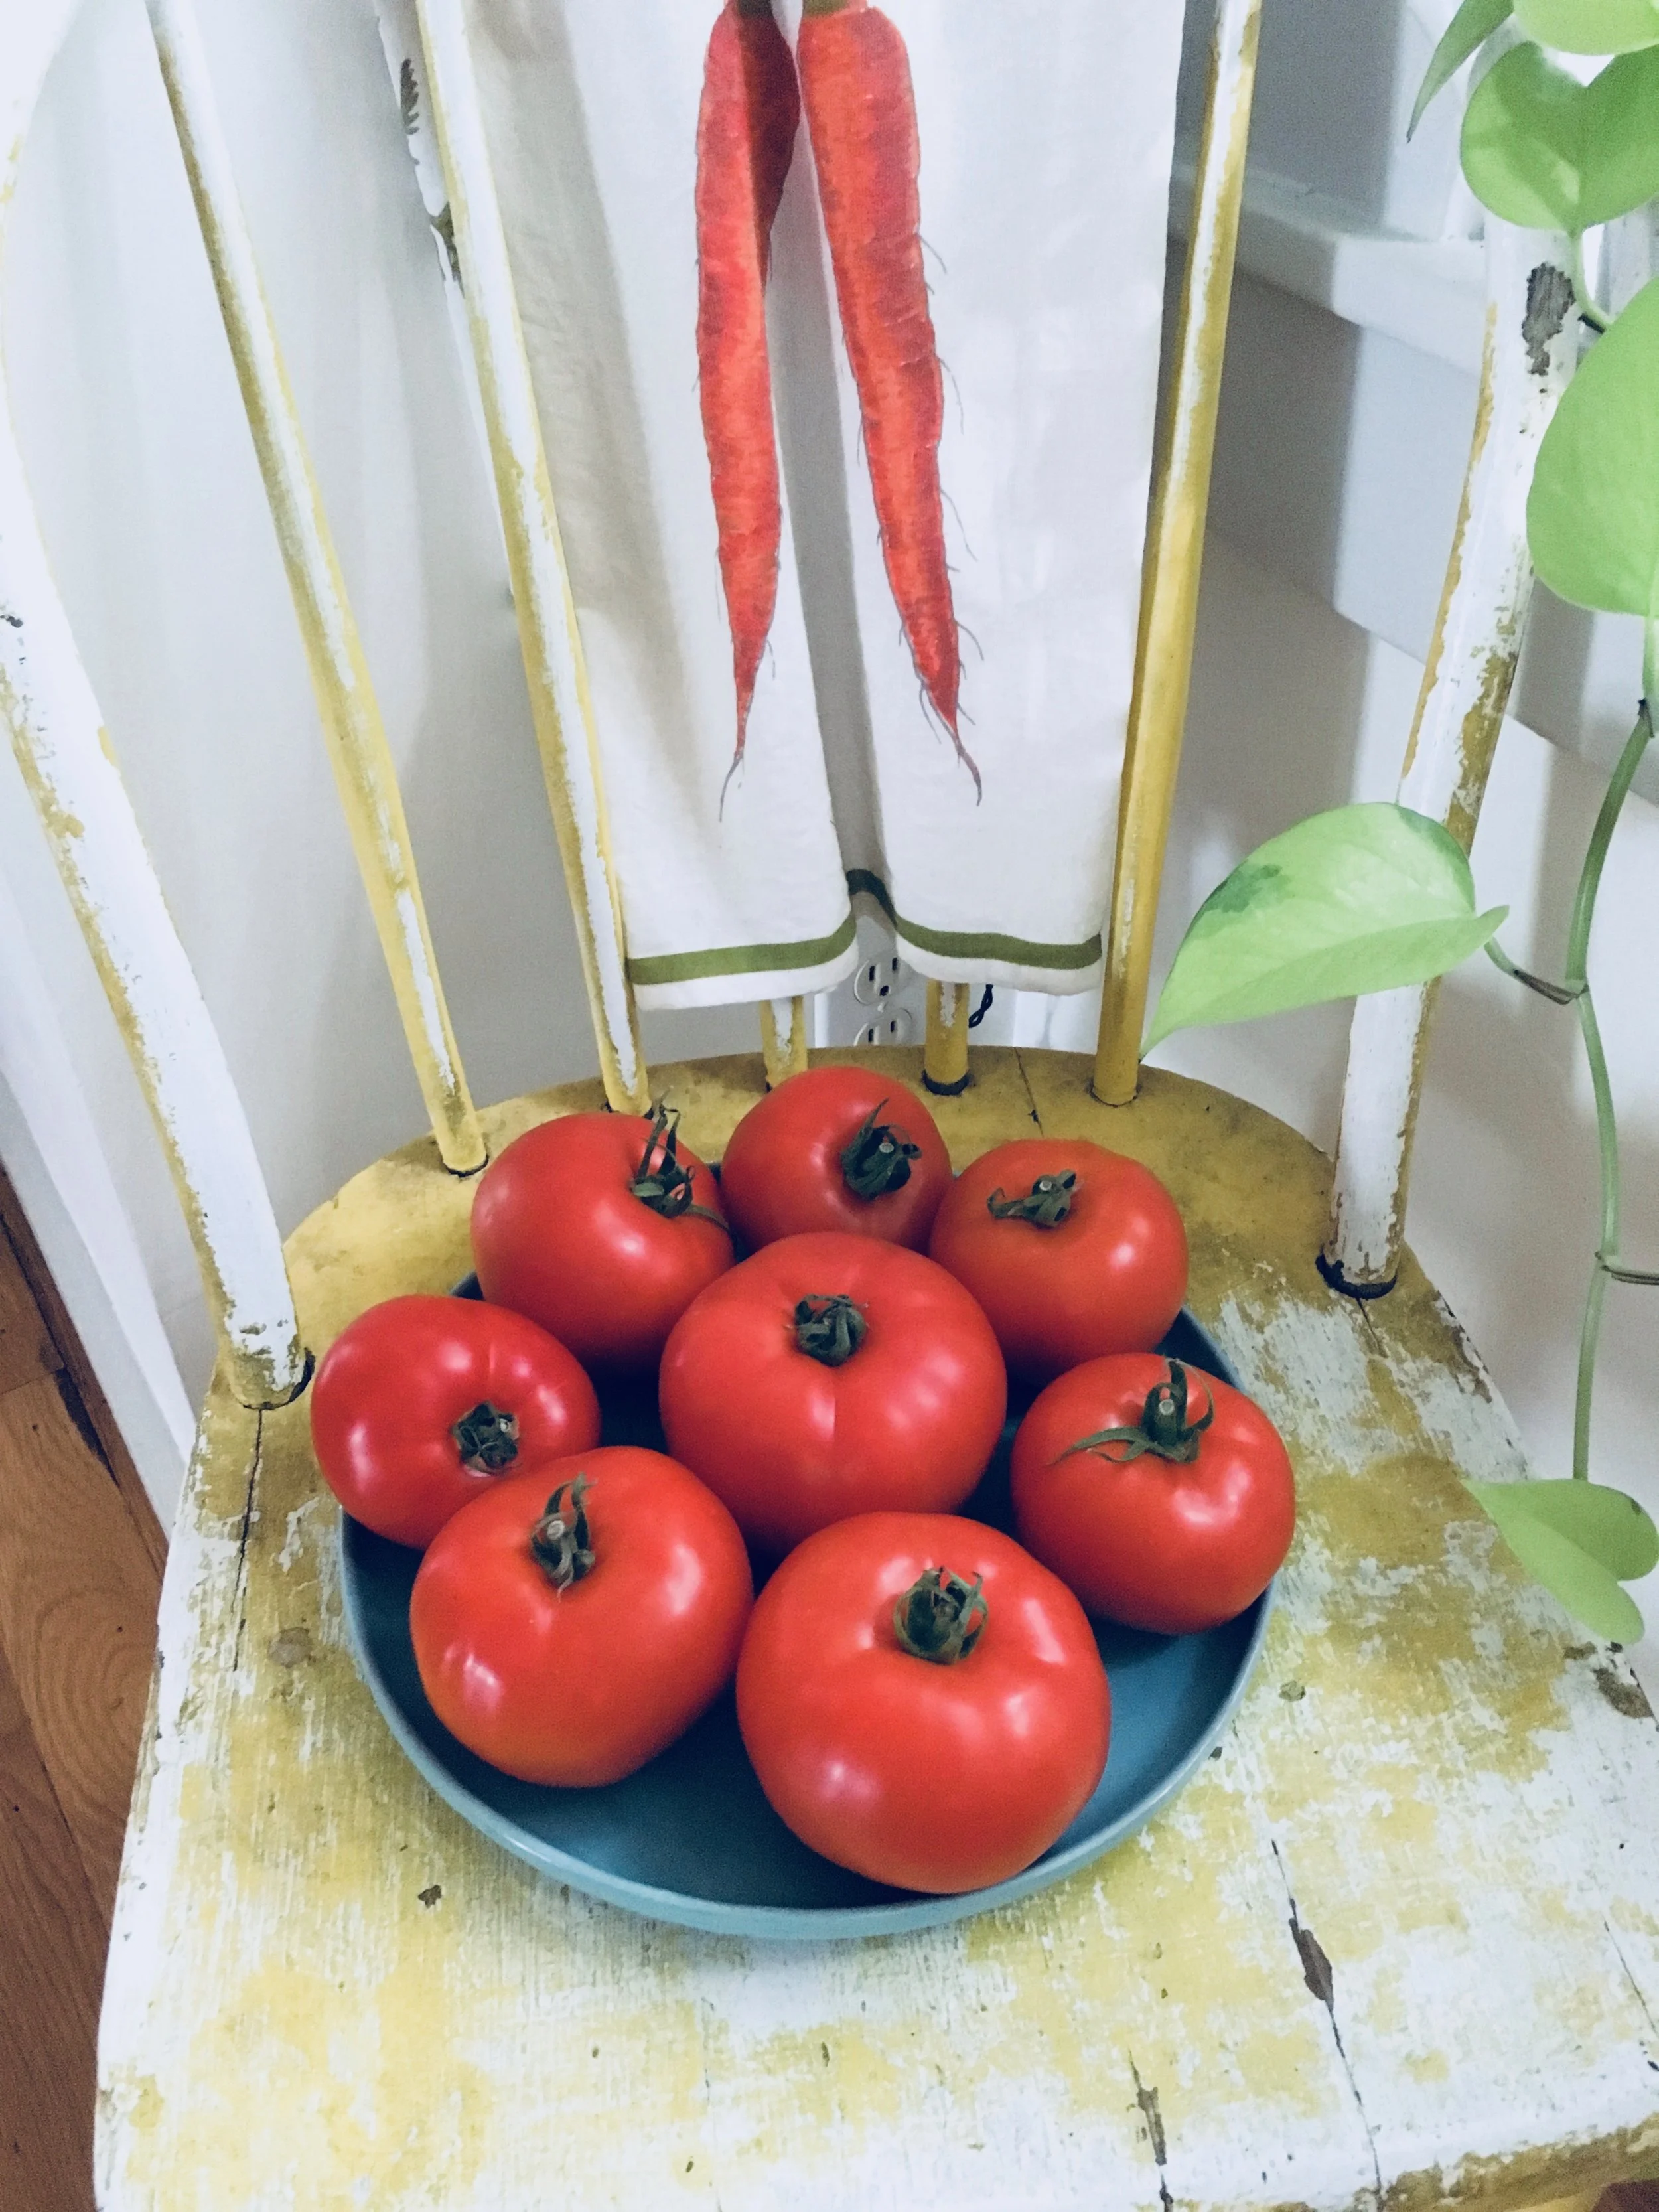




























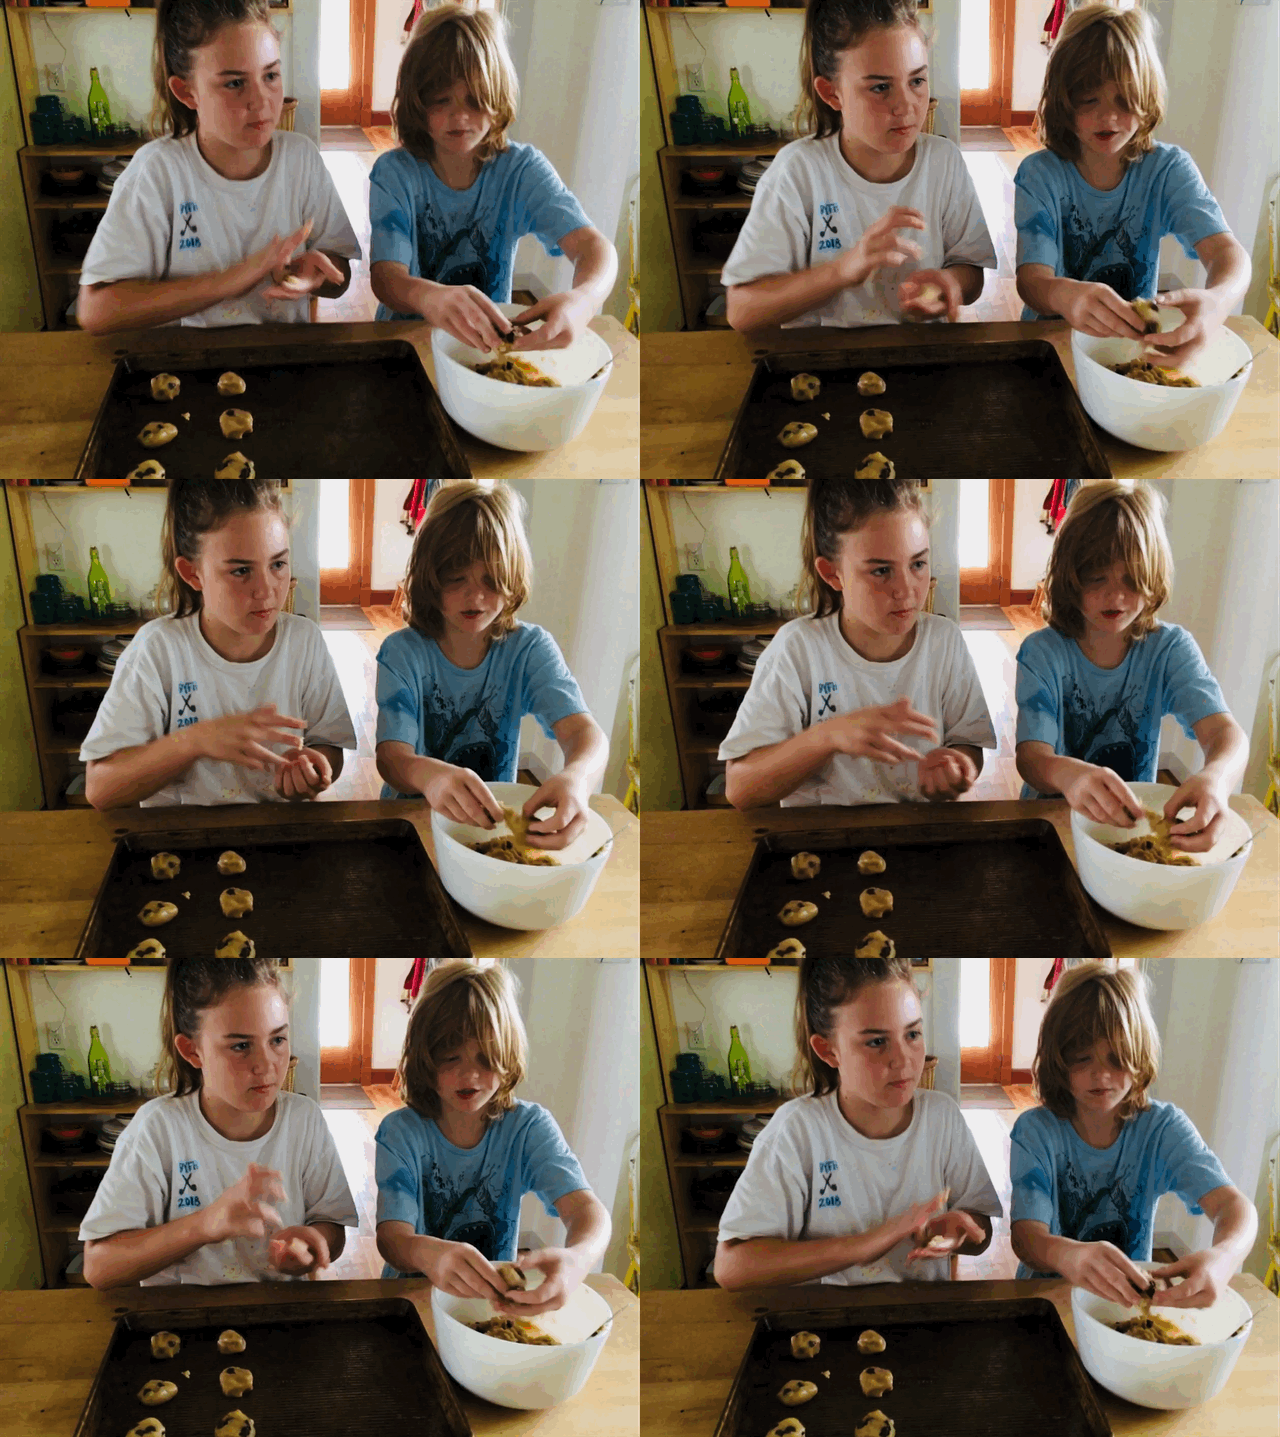
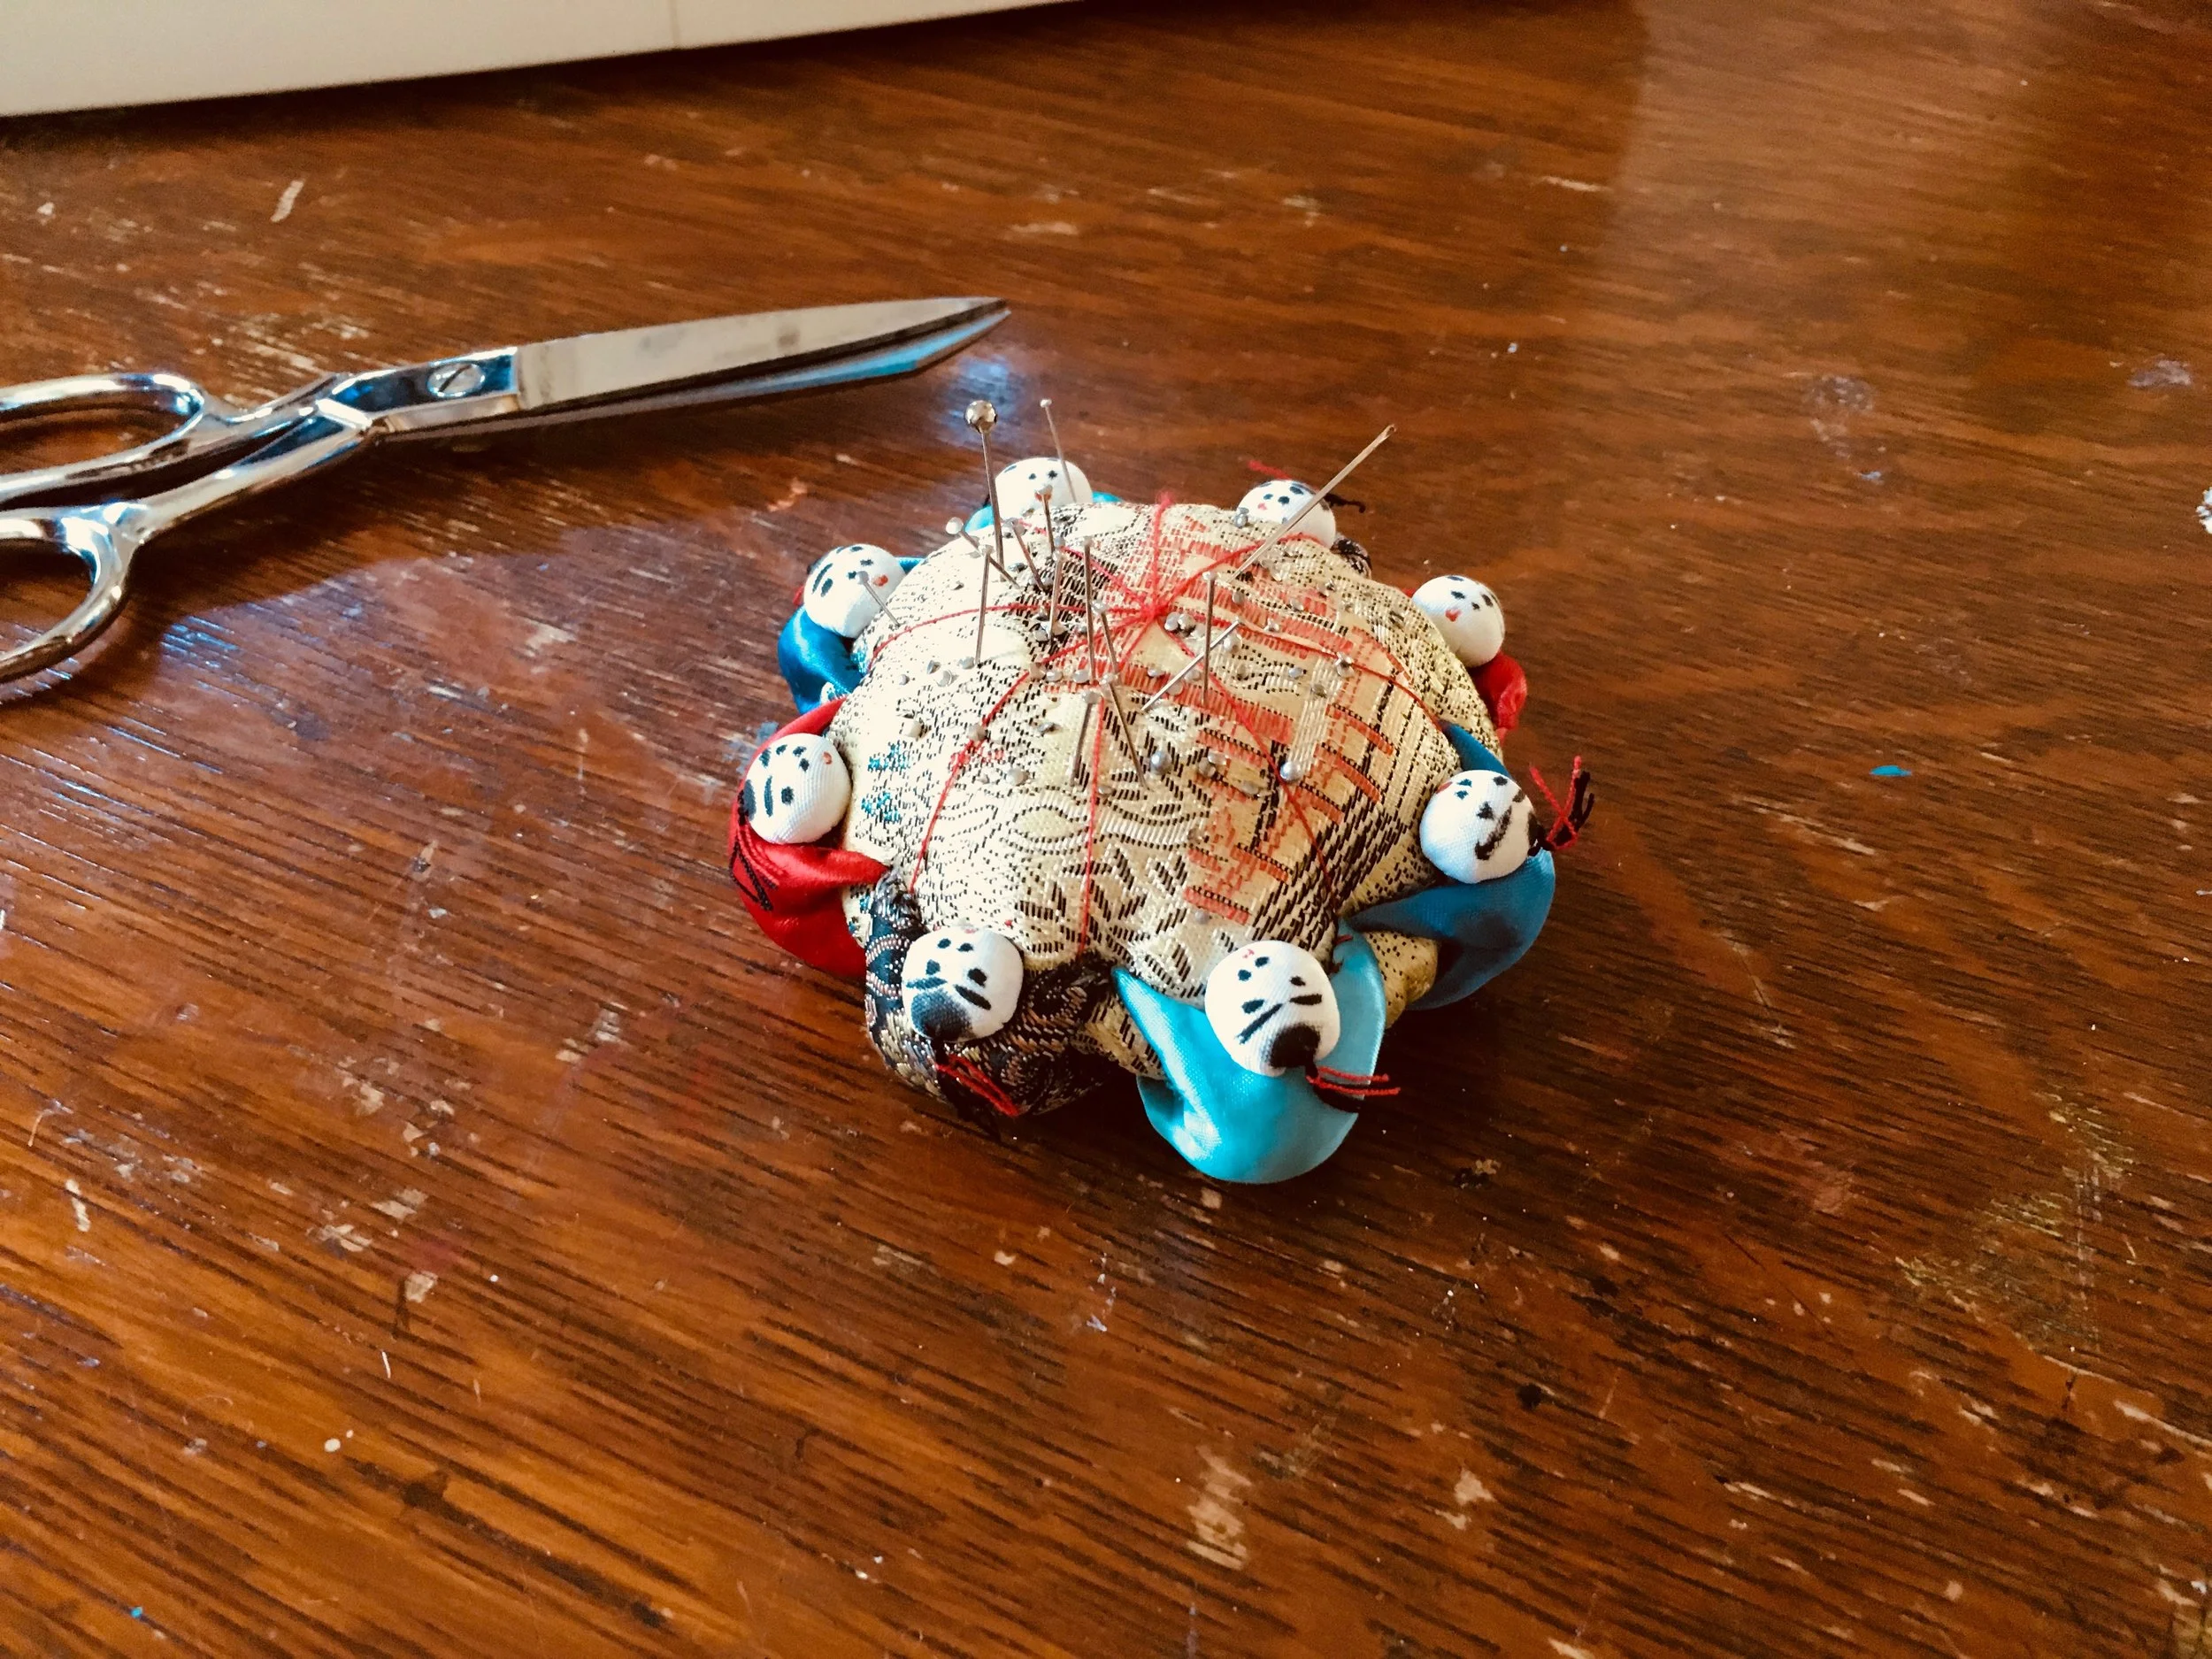




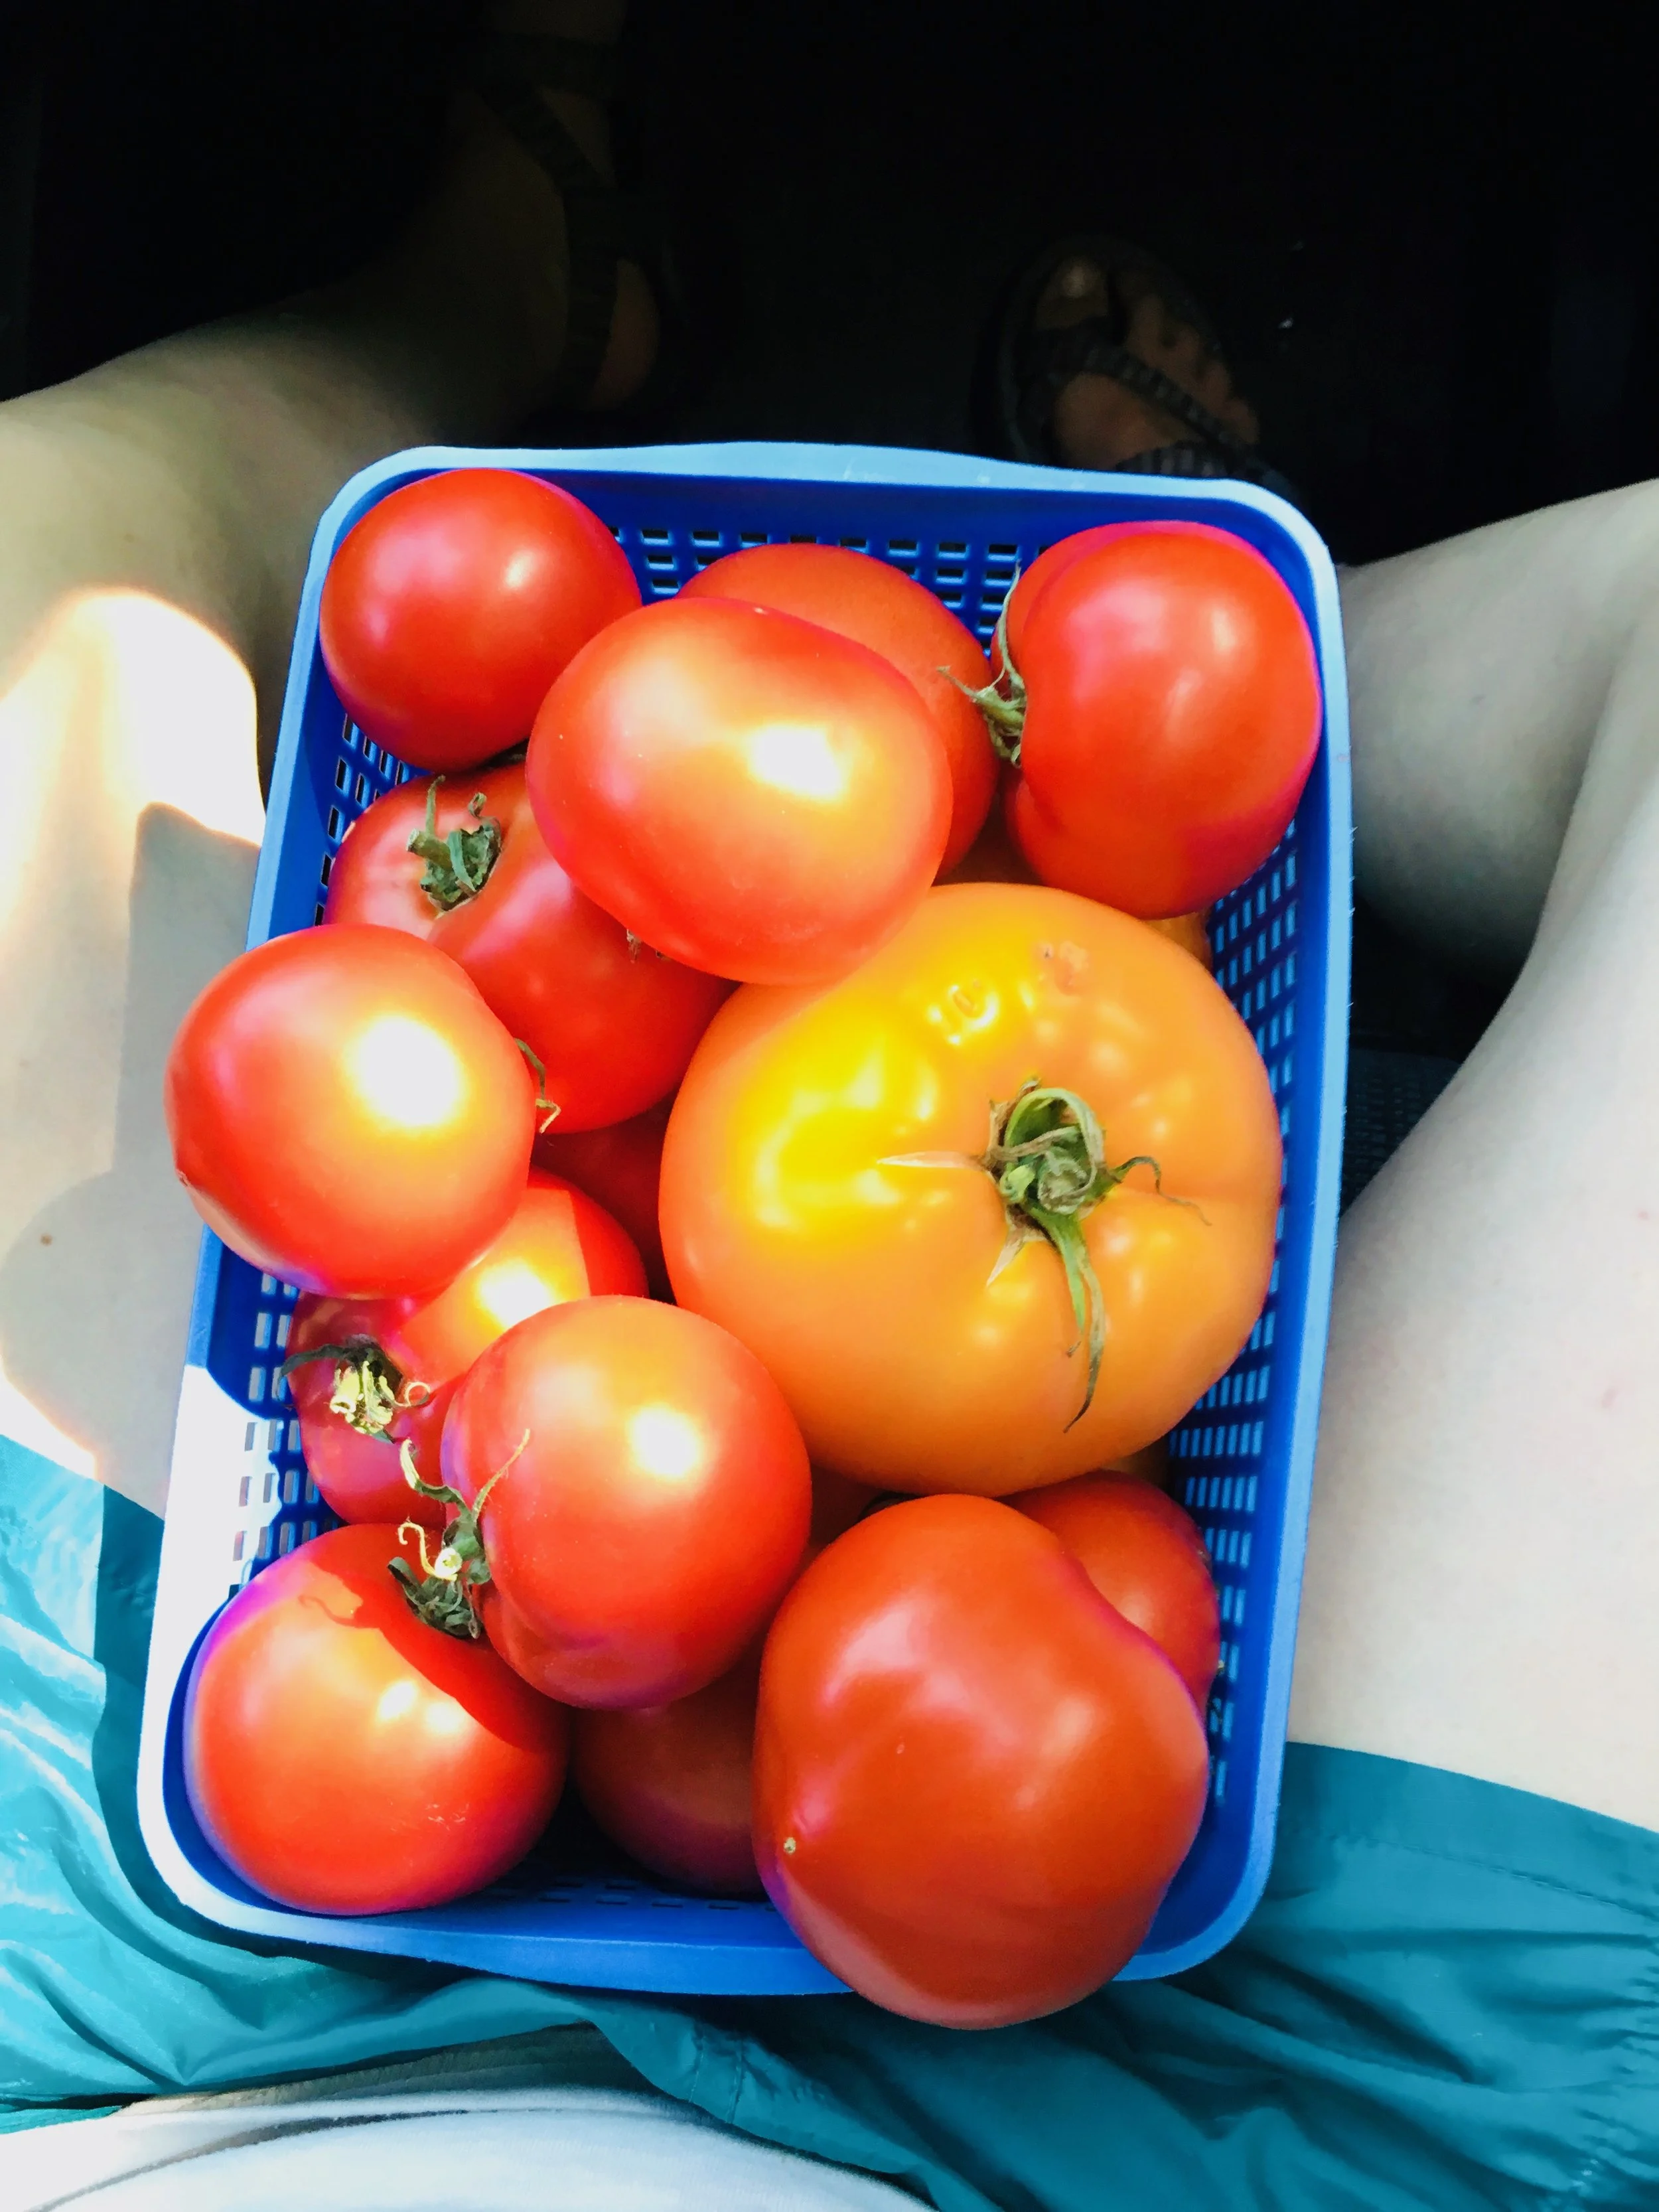
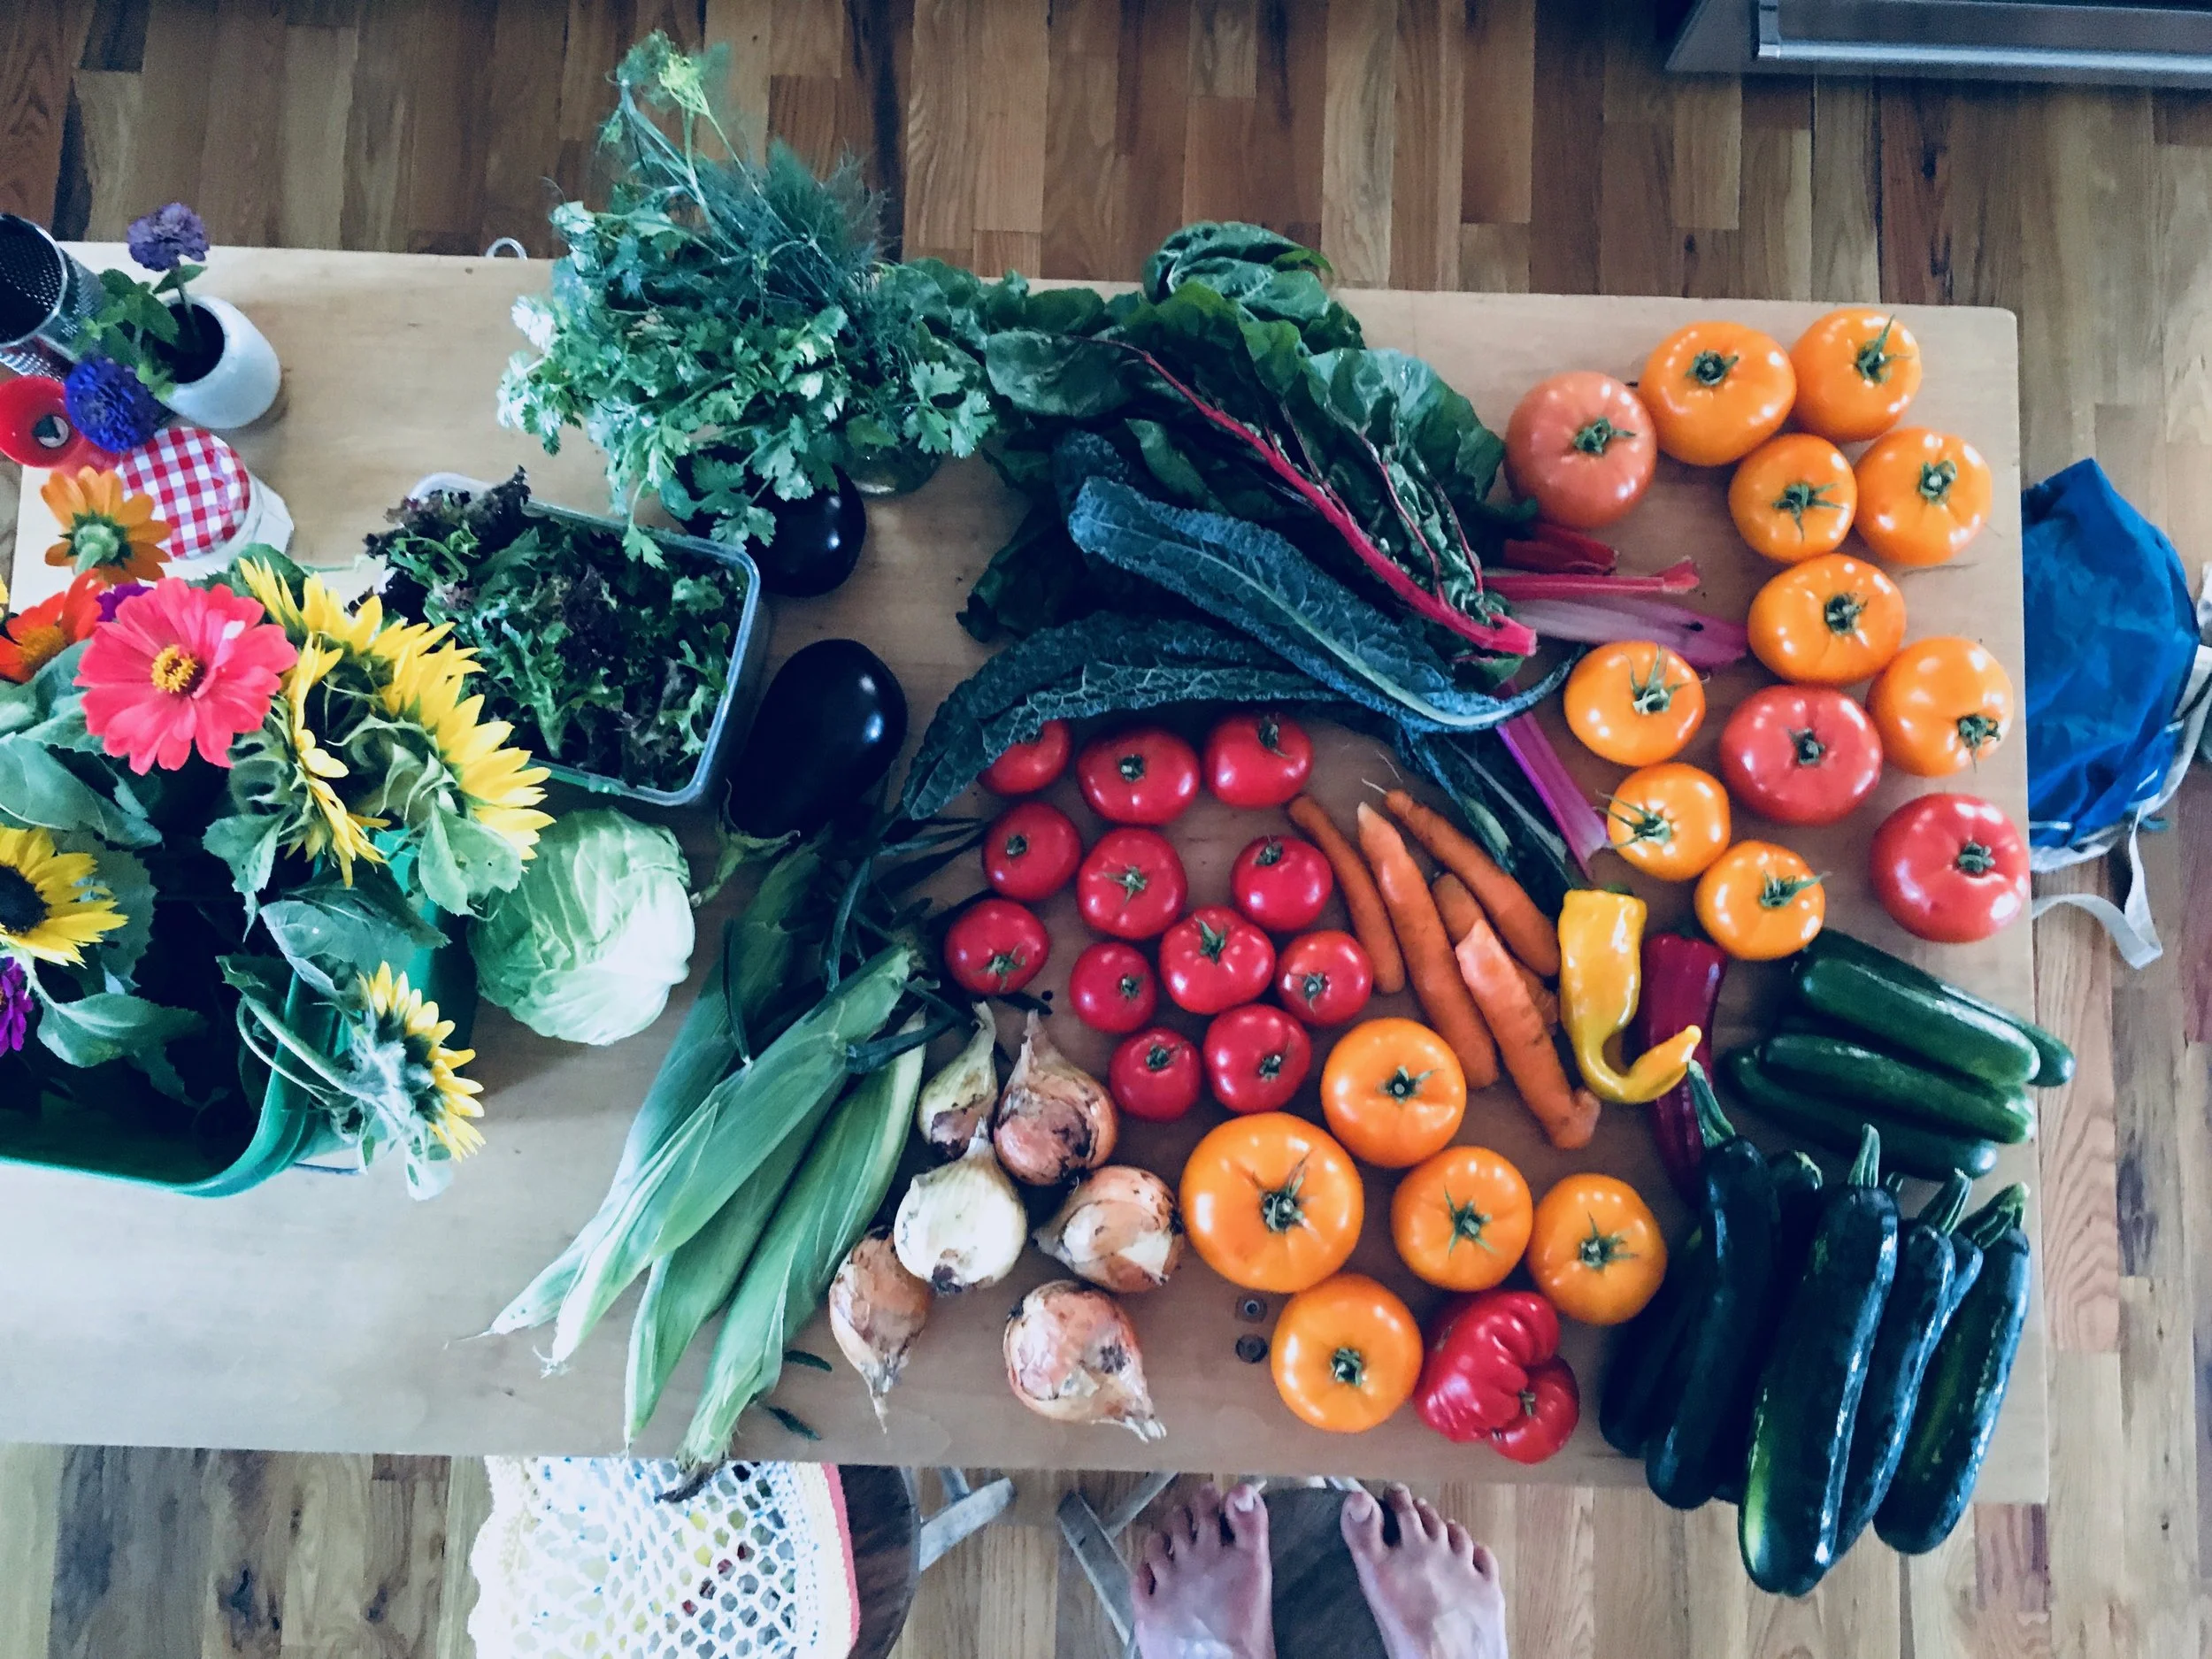























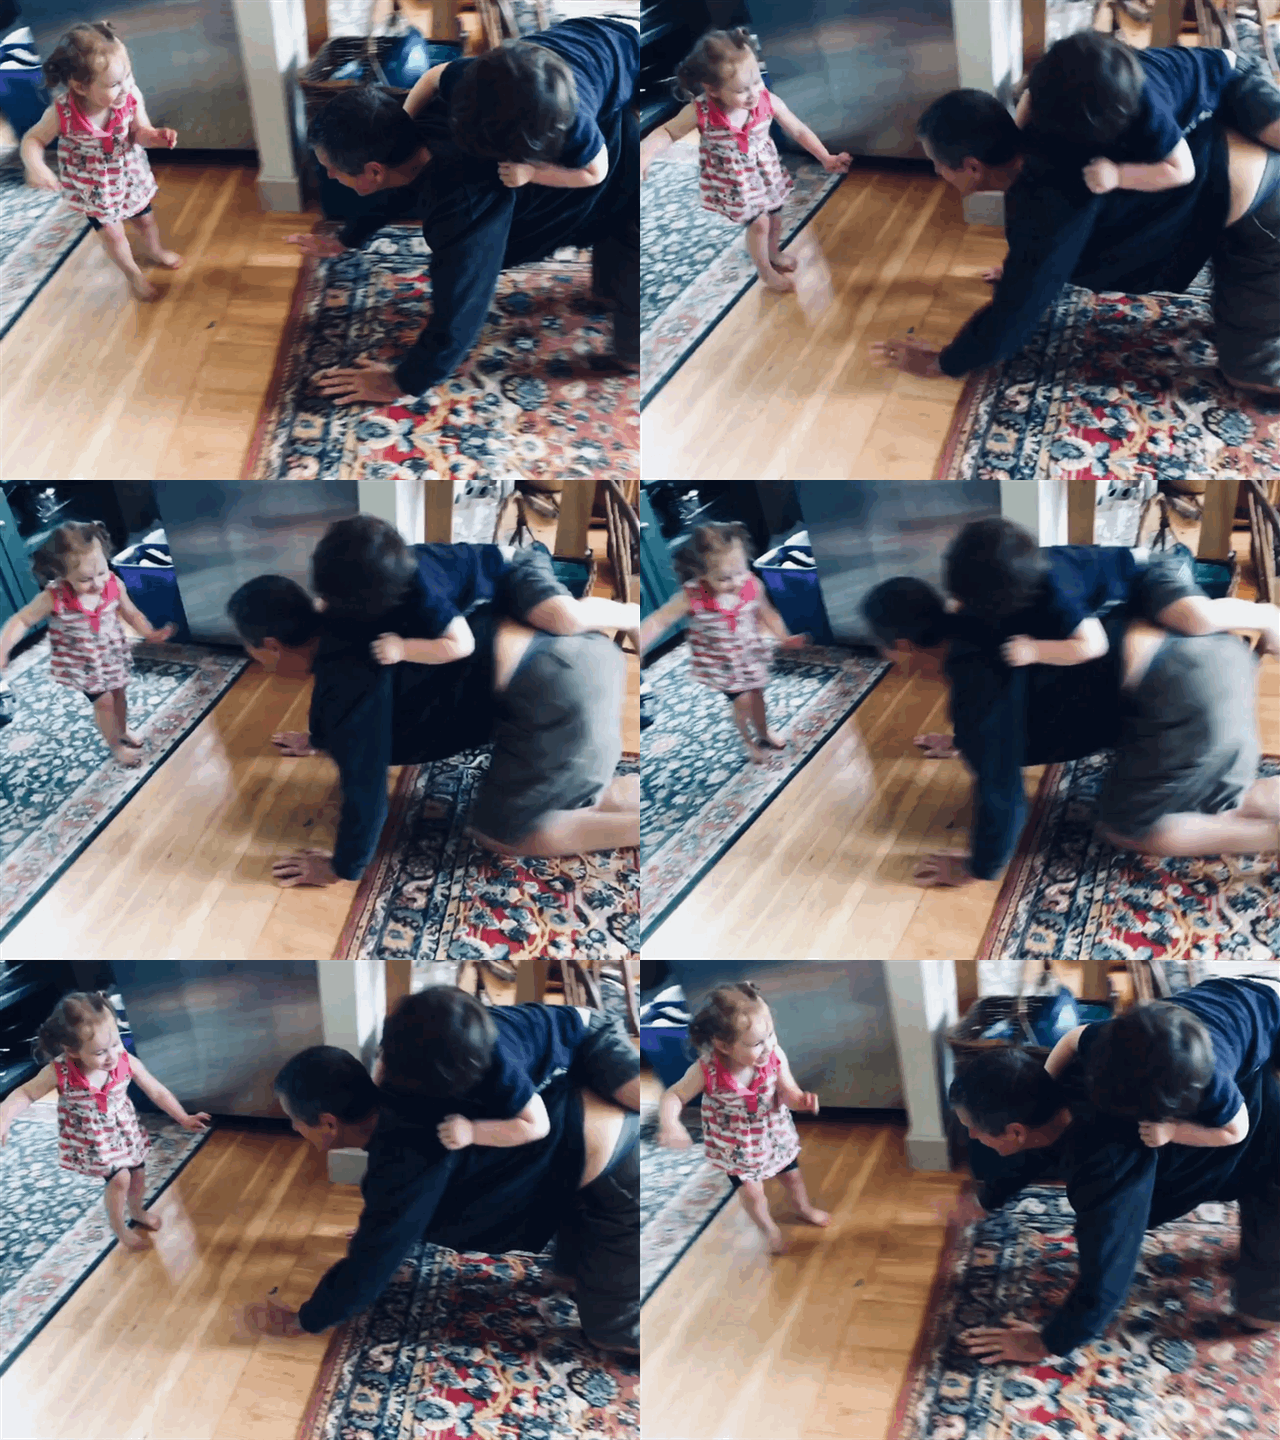





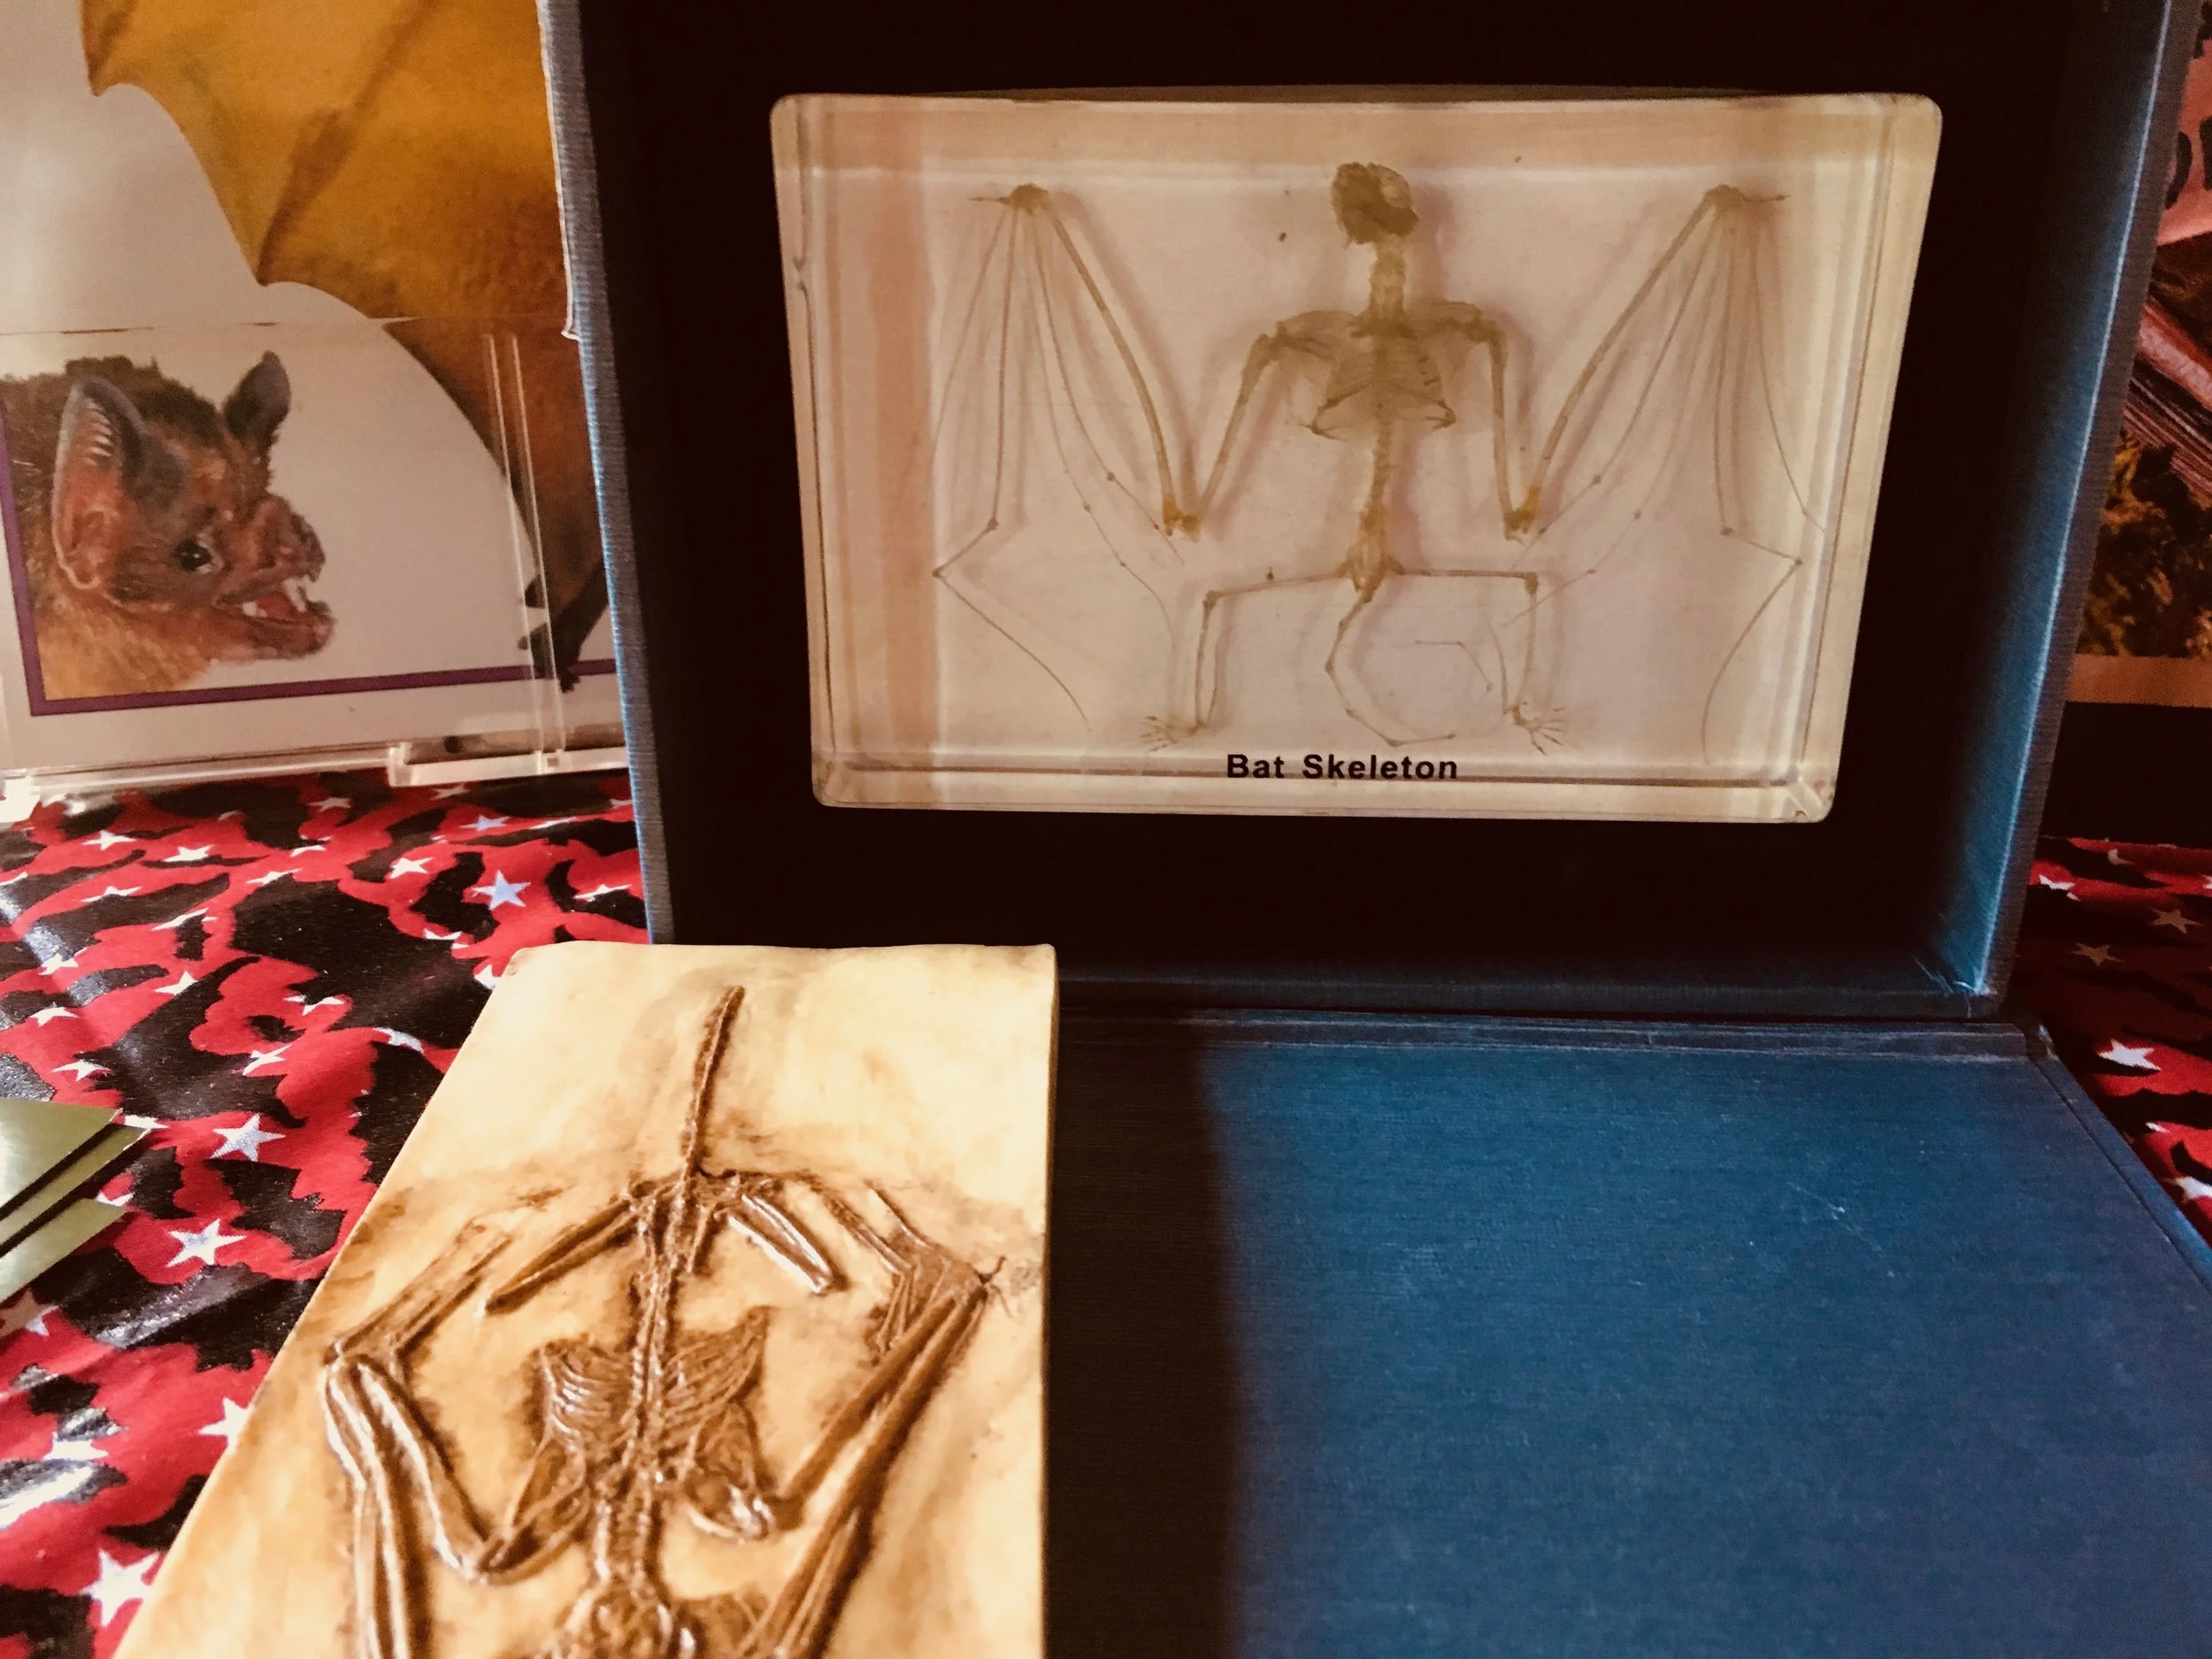


























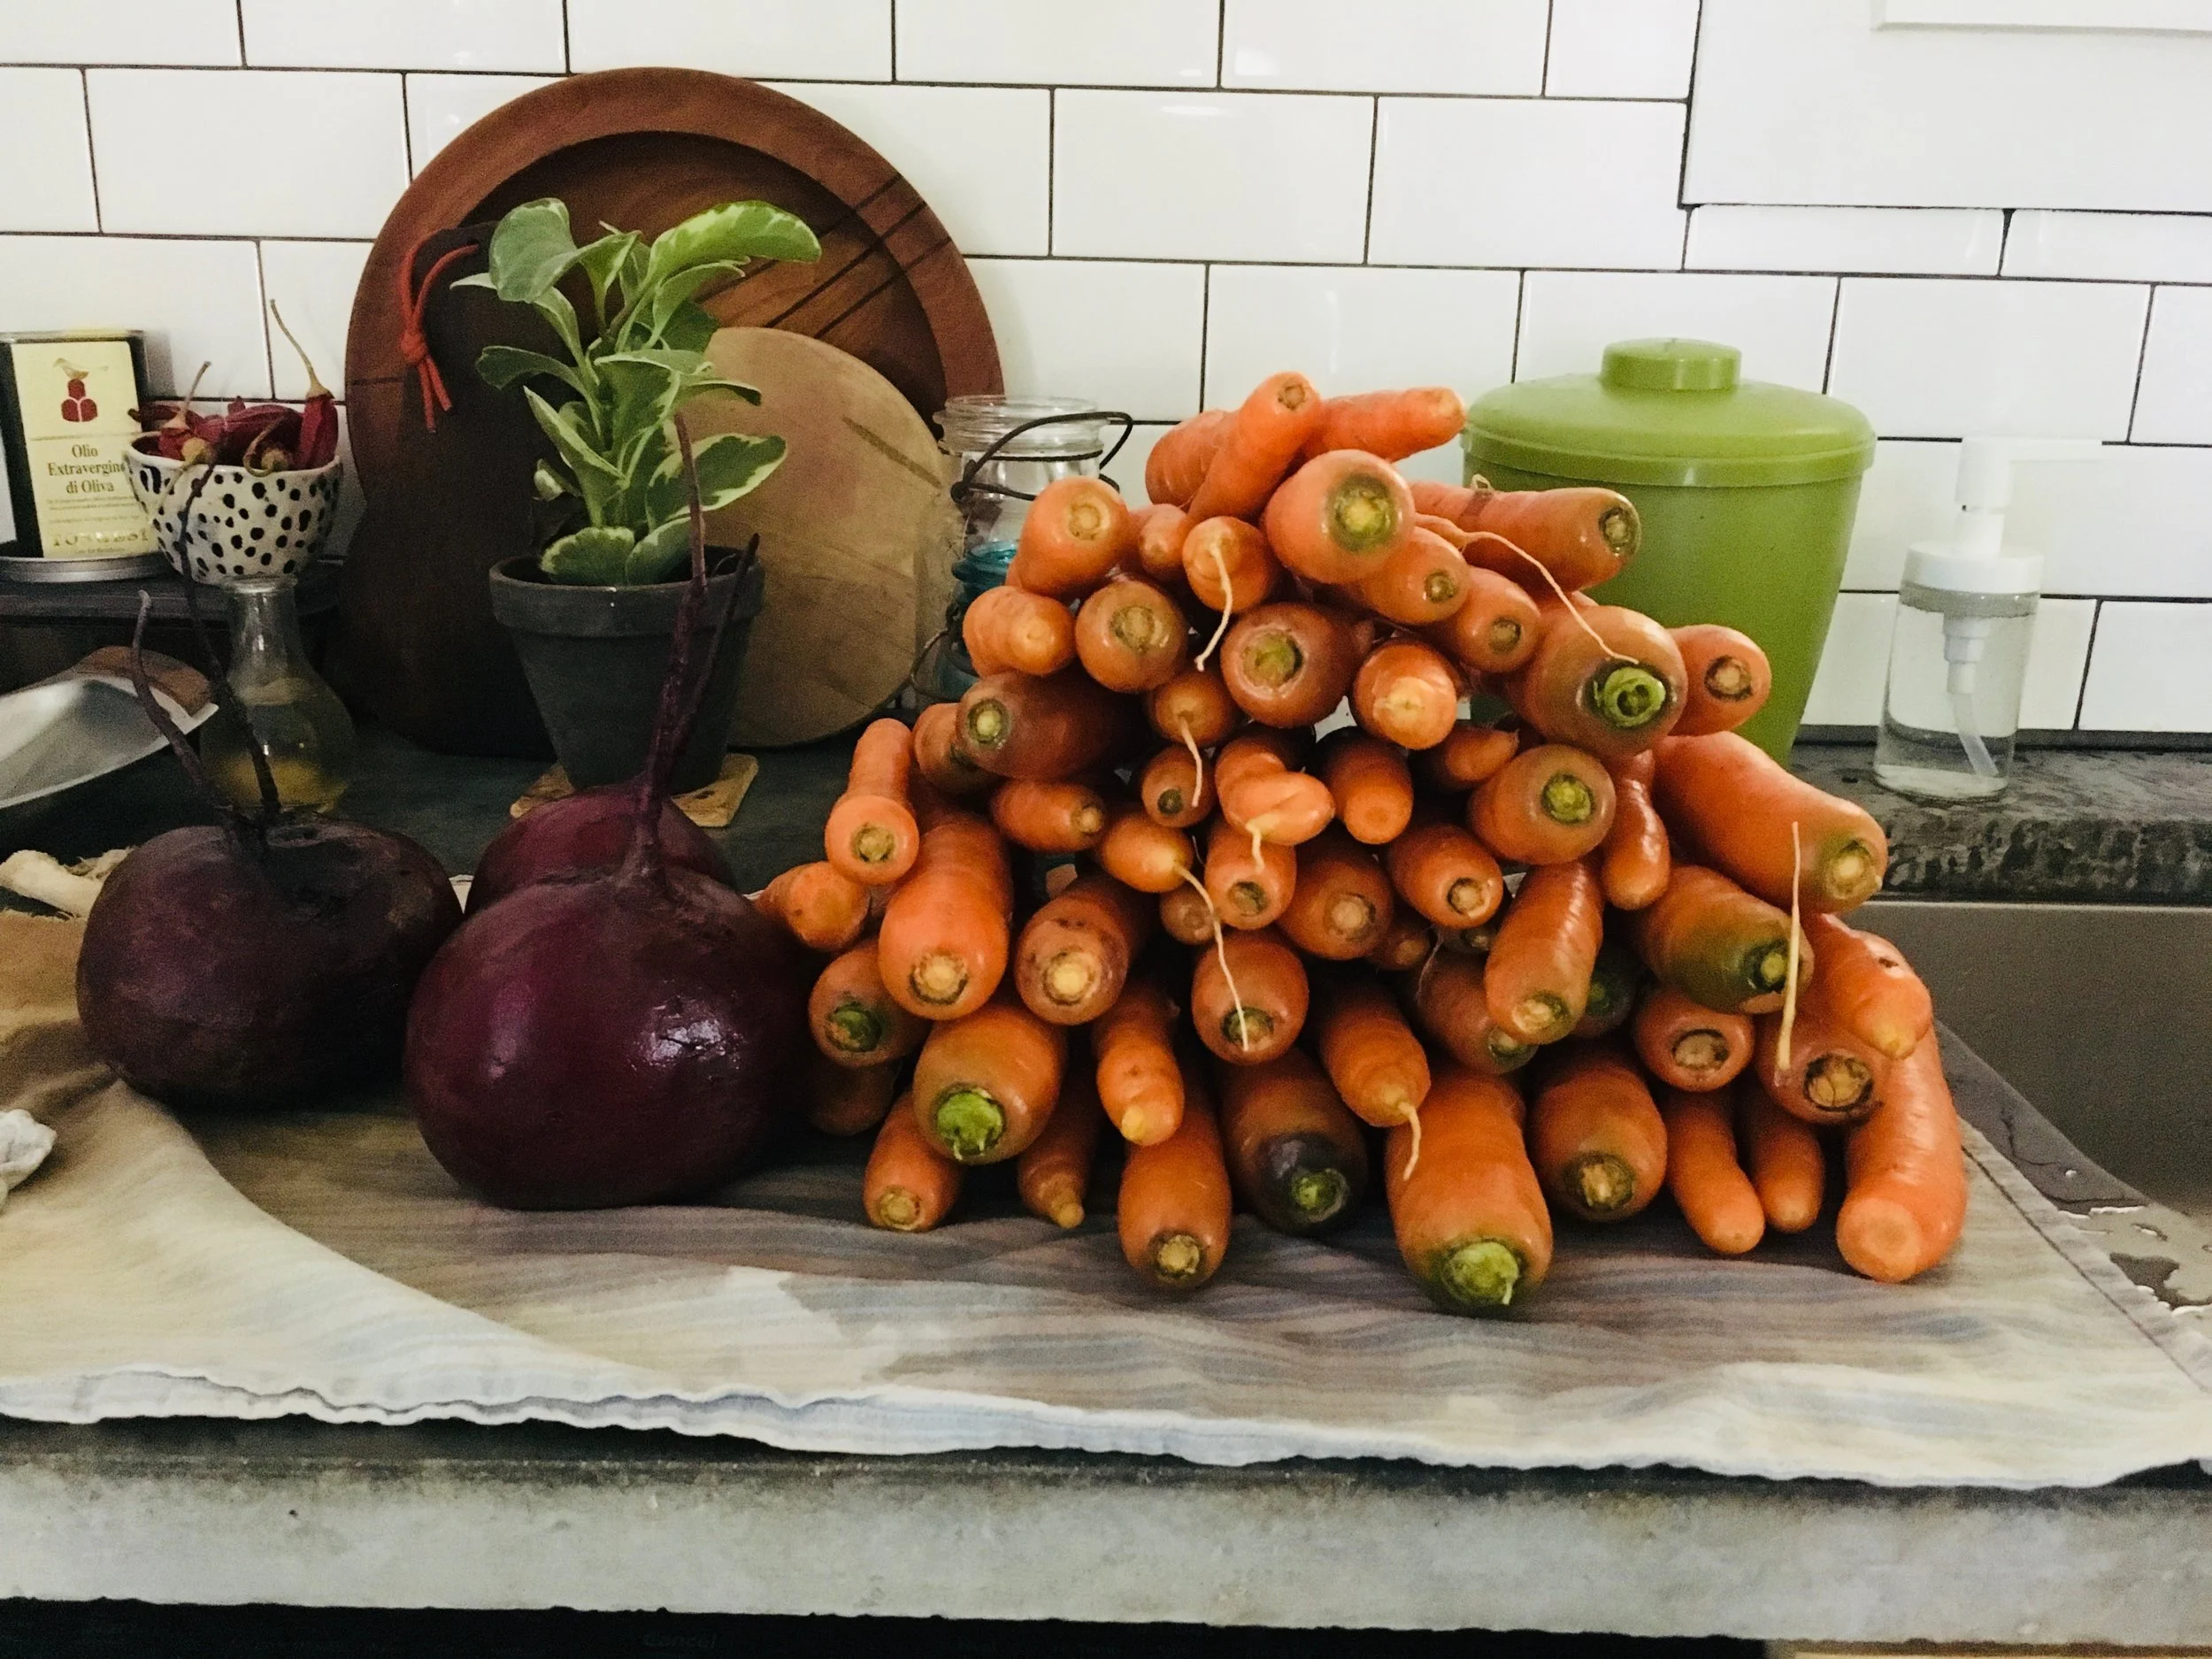
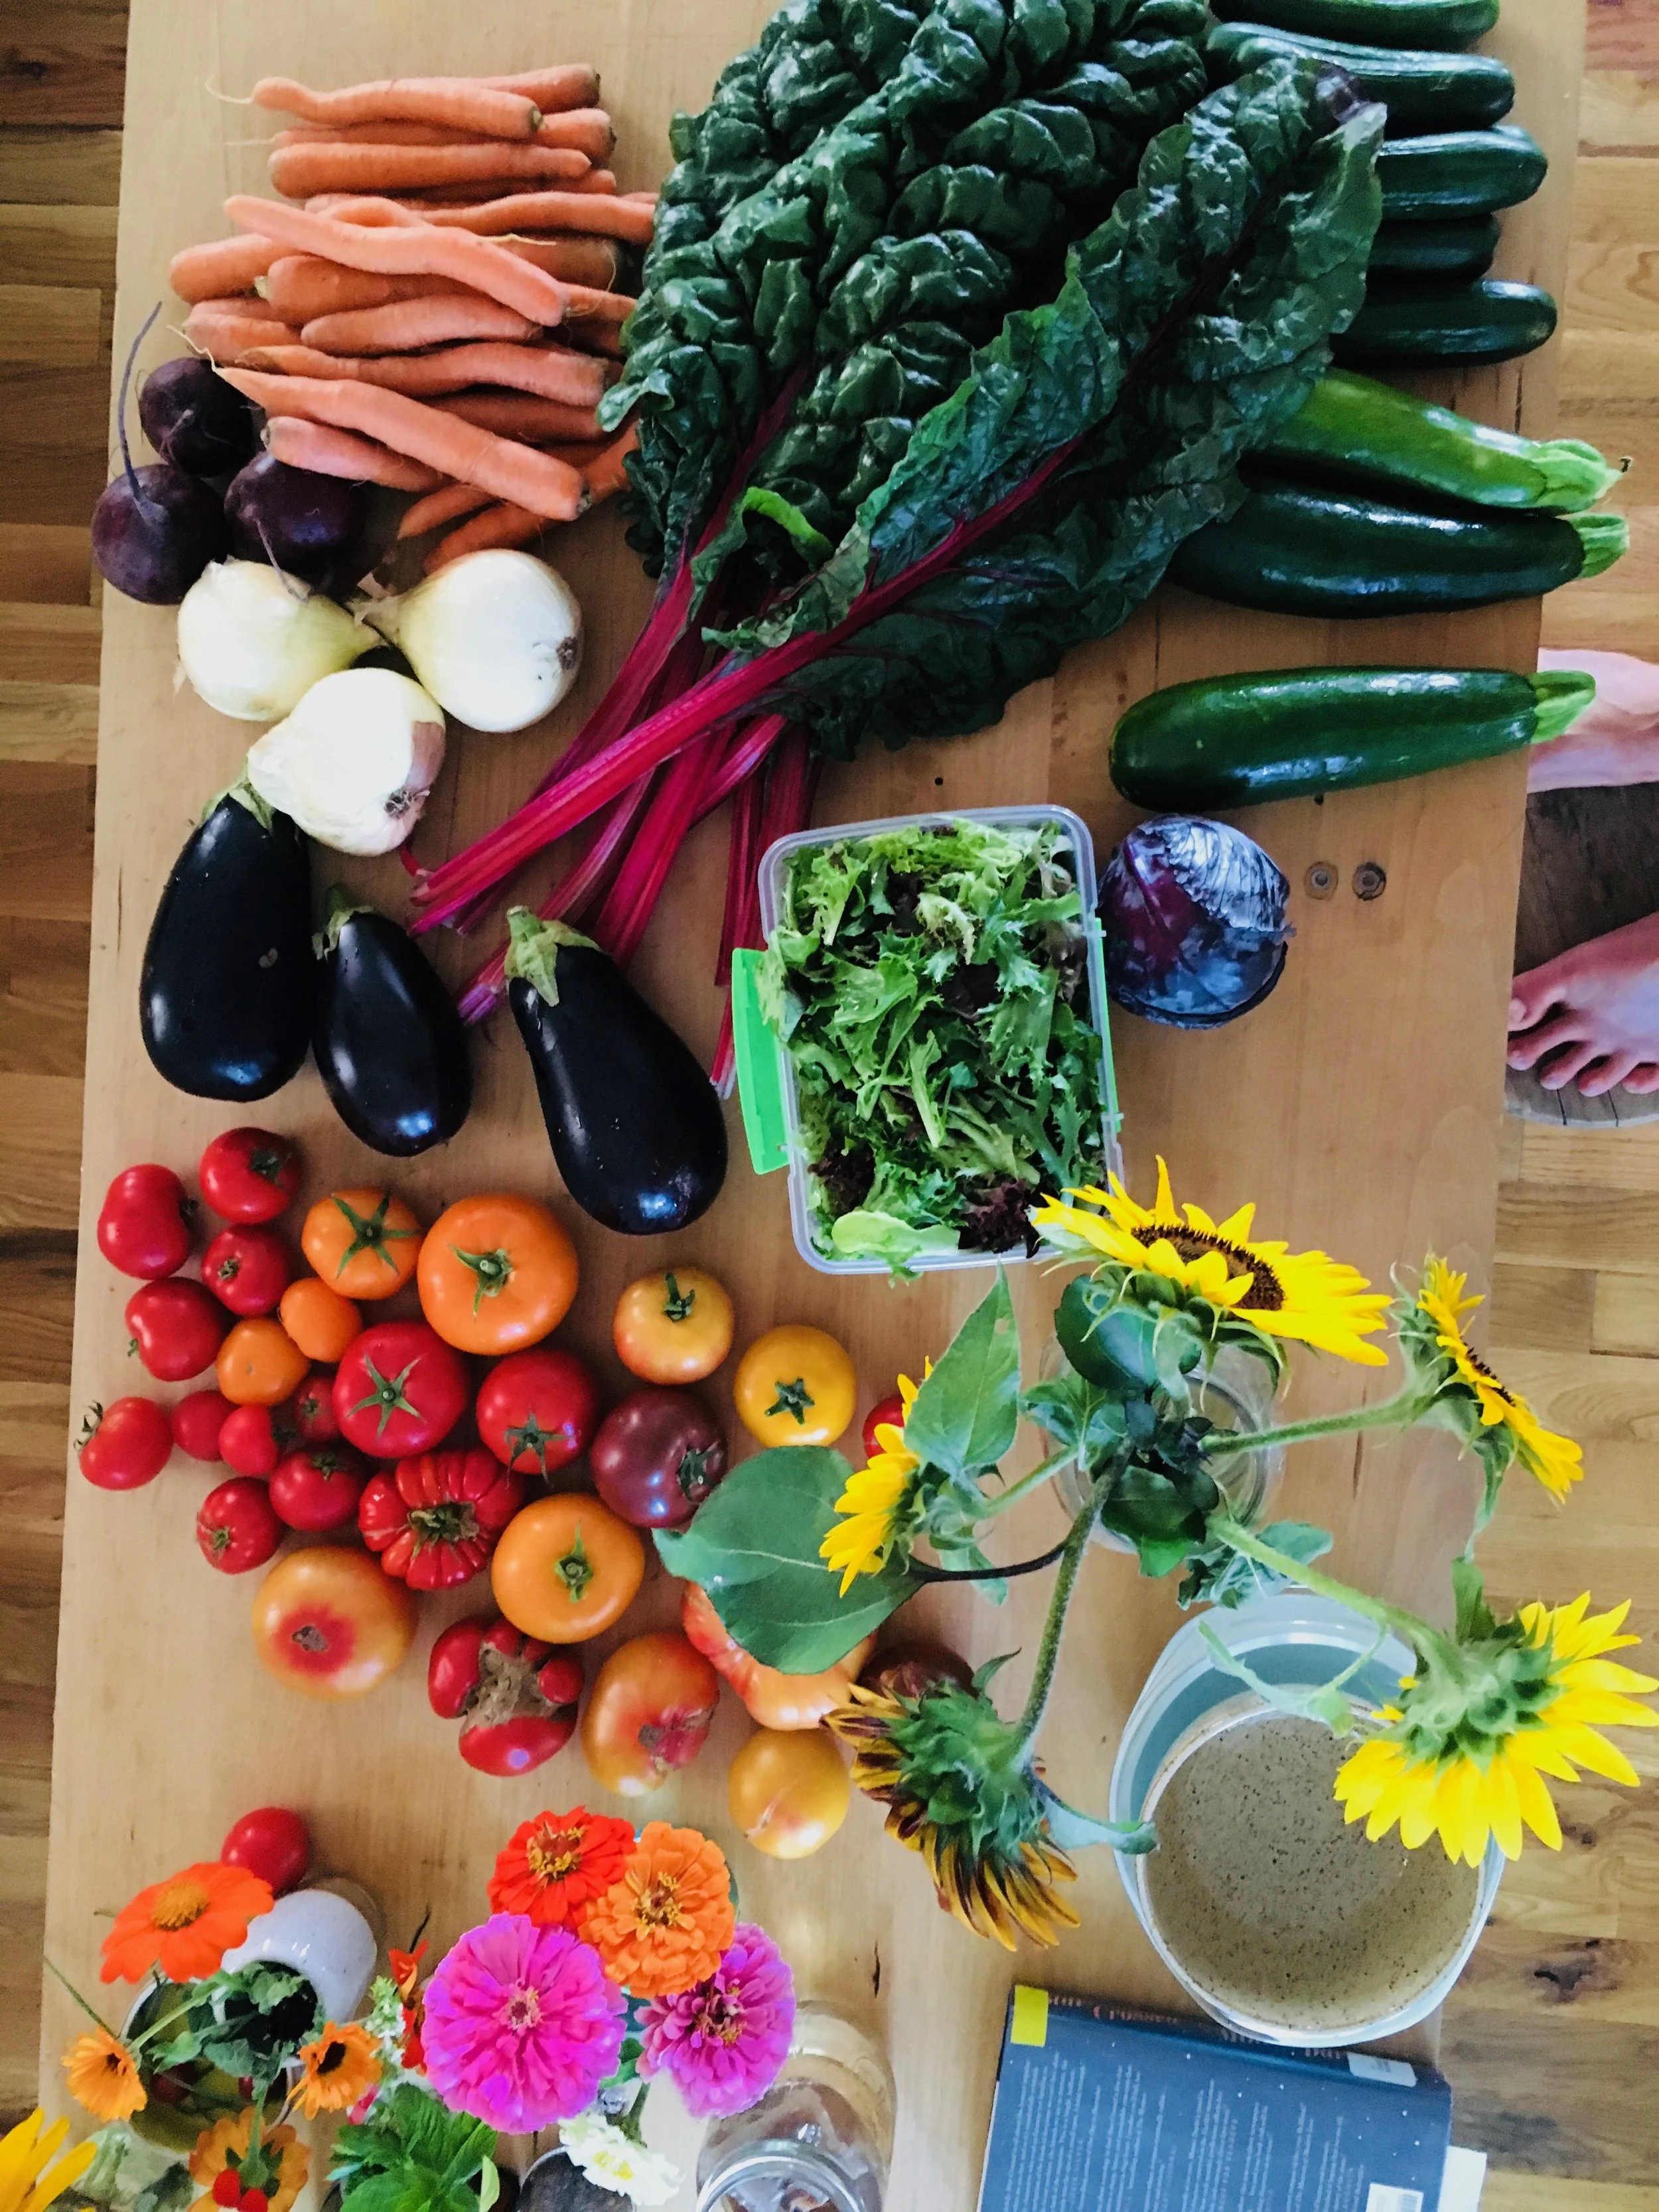

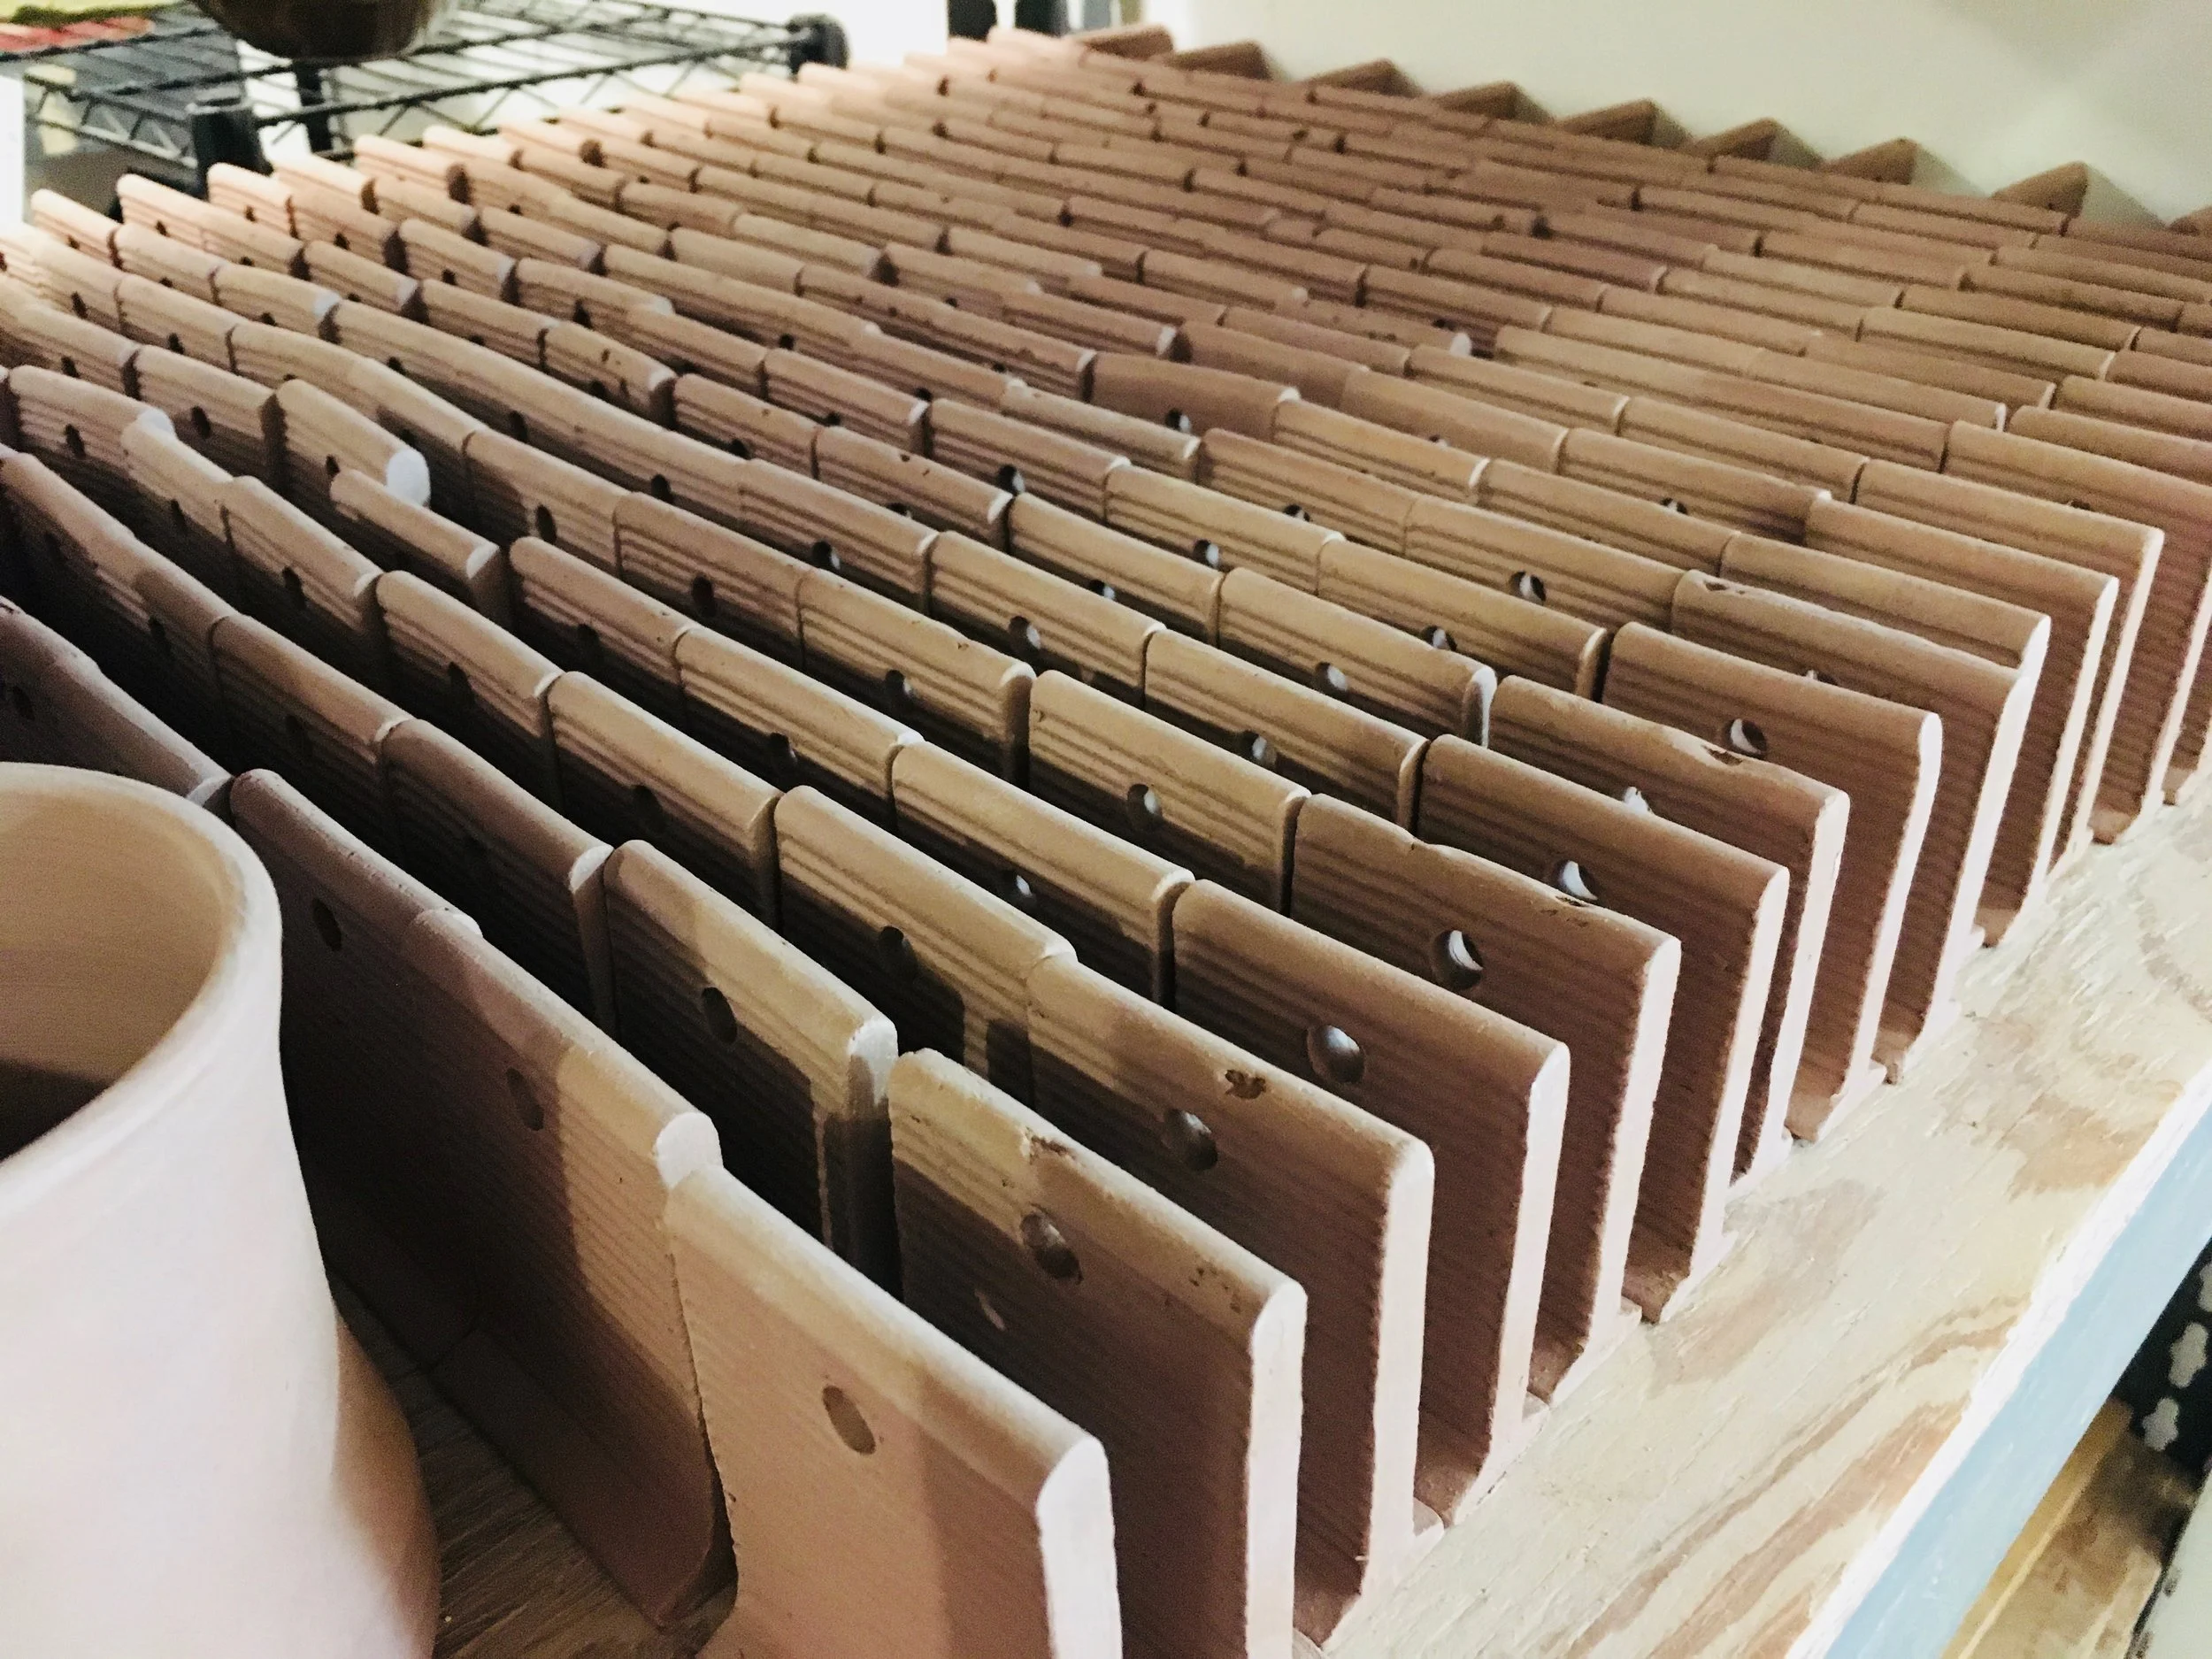





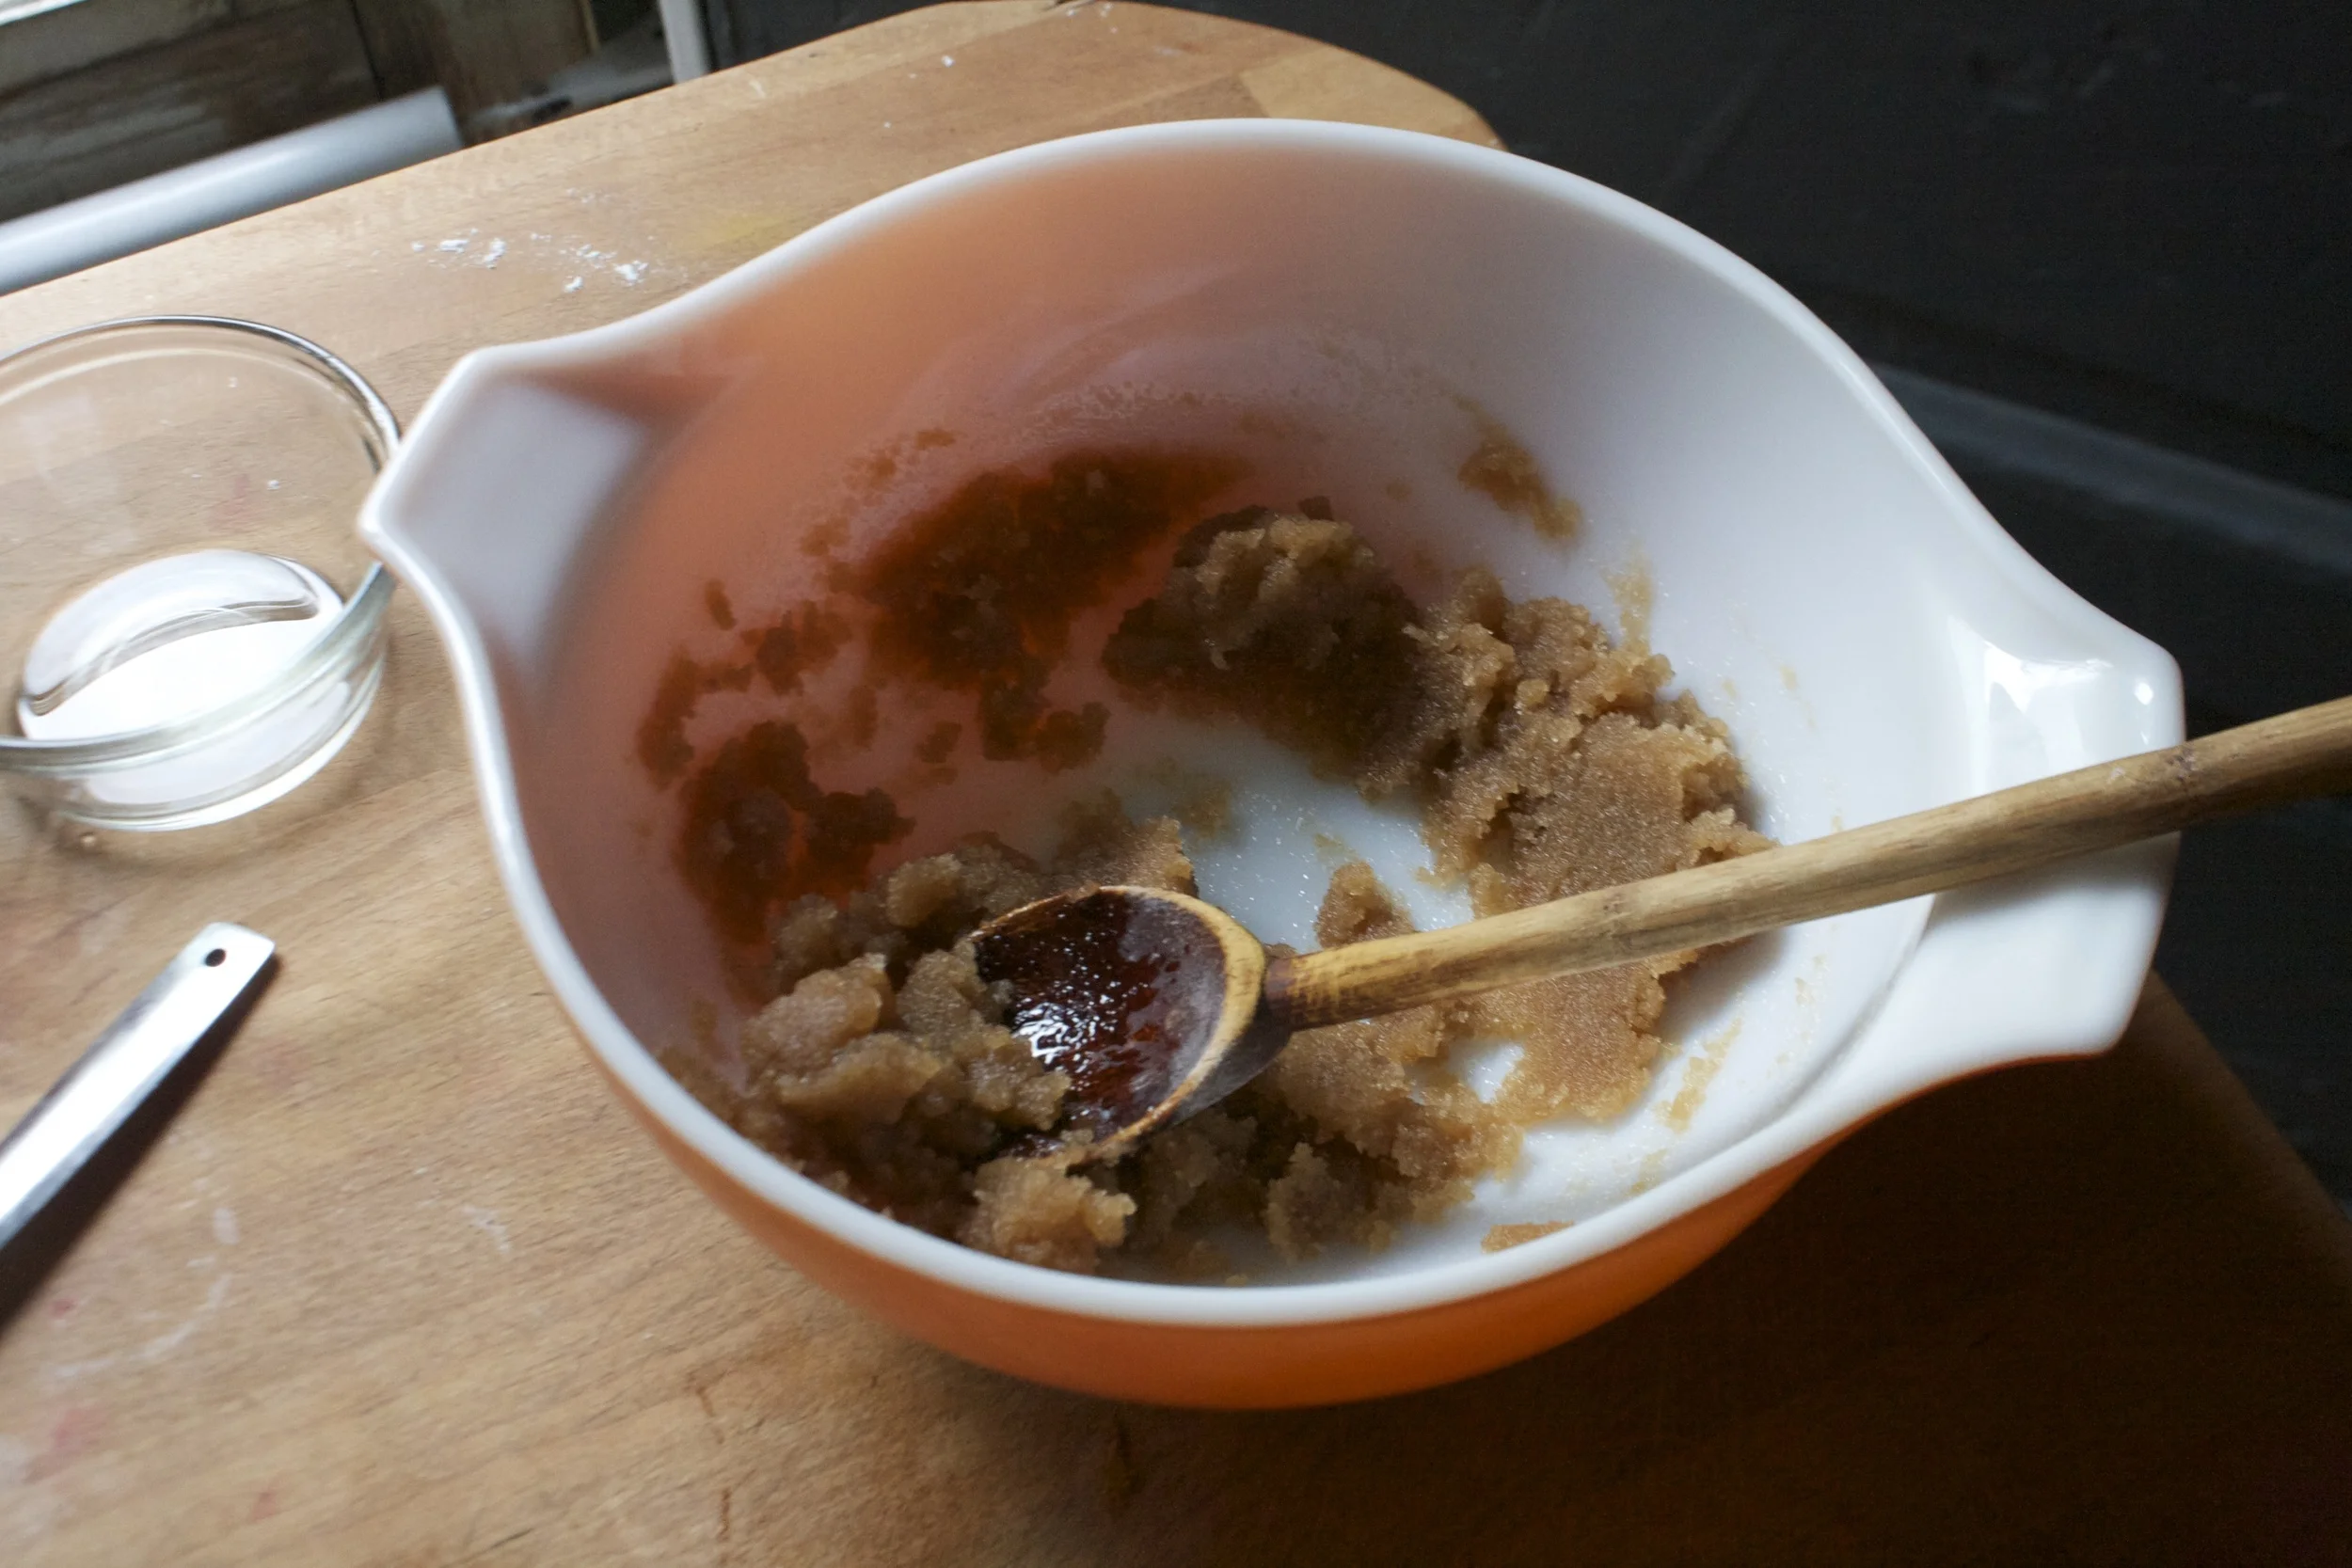

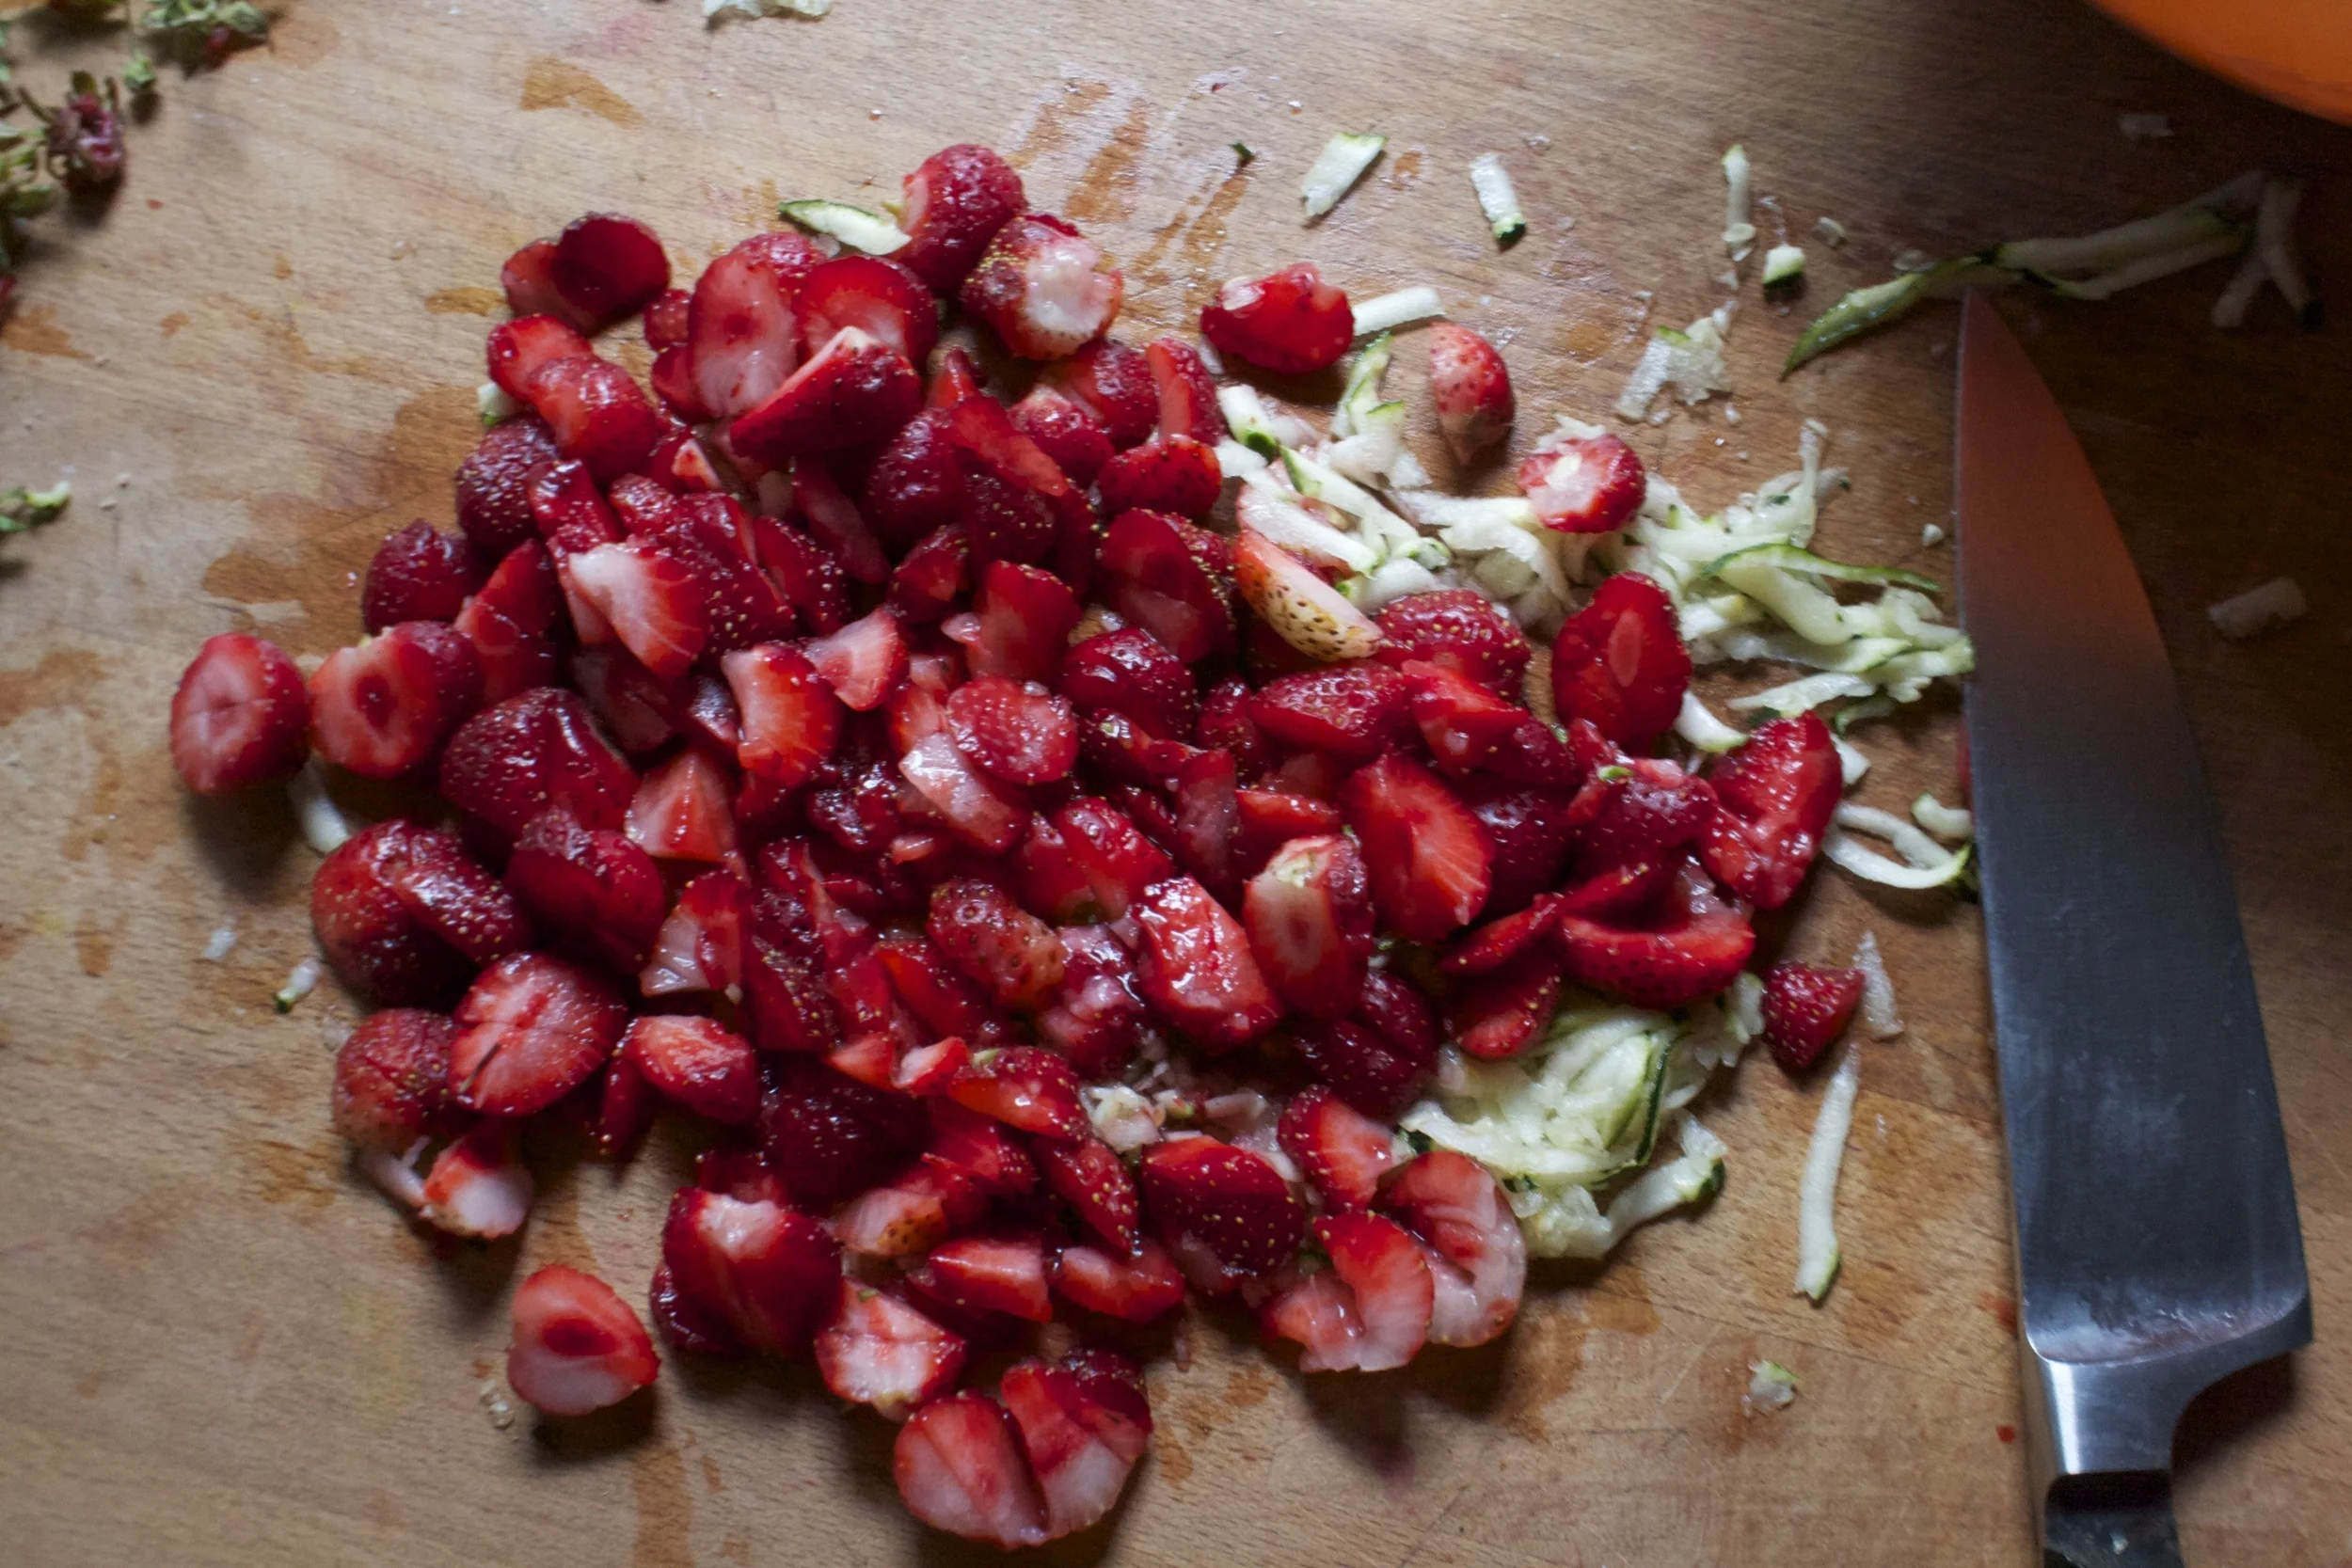



THE LOVELY CRAZY
January 7, 2020 by maximios • Blog
This past Christmas, my (kinda)mother- in-law gave me and the mr these really cool honey bee pins in our stockings. Nothing fancy, just a little pin, but I think it was one of the best gifts that I had gotten all year. The pin lives on my winter jacket.
And now I am into pins.
So a couple of the little’s came over yesterday after school for crafts and dinner and I figured a bit of pin making would be a perfect little project for us to do. And being that it’s the big V day coming up,%u00a0 making these pins heart shaped was more then overly appropriate. (What’s Valentines day without cute little hearts?) Well pin making we did, or I did, not so much for them. They made a few, but in the end, they were more excited to beat the crap out of the mr and to eat carrot shavings with peanut butter and nutella.. Totally ok with me because really, I was the one that wanted a little craft time and the mr did need to get his butt kicked.
Sure I made these pins pretty much for myself, but imagine the possibilities. Make a bunch to give out to your friends, family, neighbors, or even the mail man!? Or if you have yourself a little, how great would these pins be make and to give to all their little classmates. I know that if received one of these pins in my homemade shoe box mail box meant to collect all of my candy studded, drugstore bought valentines. I would have been elated and rocked that pin all year long on my super cool backpack.(grade schooler, they have all the fun) Right after I finished painting and gluing all my pins, Miley then decided that they were freaking awesome and wanted to make a bunch more…. Well little little, to late, time to go home. But I did give her a bunch to bring back with her. She will just have to bug her mom to make some more.
And sure, I mention valentines day when talking about these pins, but really, hearts are for everyday, and are still really great long after V day is over.
Handmade heart pins = love!
Stuff you need for some awesome pins.
A couple notes. You could use red clay but I have found that when I buy the red dyed clay, its always harder to work with and plus, it stainsyour hands. Also, I like to seal the clay and enamel paint does the trick. If you don’t want to paint it, just pain on a coat of clear sealer.
Start buy kneading a chunk of clay a little bit to get it to a workable state, then roll into a ball and roll out flat. I rolled mine out about 1/3 of an inch, but I also knew I wanted to squish it out a little flatter once I cut the shapes out.
Cut out your hearts, or if you want, free form them.%u00a0 What I did was used my tiny heart cookie cutter to cut the initial shape, but then used my thumb and squished them all out a bit bigger.
Note here.. Hears are awesome and amazing, but other shapes….Go for it. You probably have a shit tone of those pin backs.
And just before you bake them, make sure that the pins you are using will fit behind the hearts. (if you notice any visible pin, just smoosh the heart out a little more).
Into the oven,, out of the oven. Read the package to make sure, but the stuff I used only needed to be baked for 15 minutes at 275
Once out of the oven, let completely cool and harden.
Once the hearts are cooled, go ahead and paint them. Use straight up one color, or mix and make a few different shades. (red, white and pink are nice together)
You can add some glitter to the wet paint to add a little bling….
Or add designs or what have you. Do whatever feels right.
Now stick a pin thingy on the back of each heart with a blob of glue. (If you use the E600, make sure to use it near a window or somewhere ventilated.. it really stinks for a few minutes)
Let the glue dry (this glue was completely dry within an hour, but follow glue package instructions)
And if you want, grab the sharpie, make sure the paint is really dry (at least an hour) and write a little something on the hearts.
And now the hard part.. which one goes to who and which one (or 4) do you keep for yourself. (you can always make more!)
Have fun!
-C