Spicy, crispy cauliflower… um yes please. I really like cauliflower. The mister loves it, or at least likes it better than any other vegetable. So when he asked for spicy cauliflower, well yea I am going to make it because I am so nice and really, could I say no to a veggie request? (I might have said no if it involved deep frying) Also, I found fresh cauliflower on sale! ($2.25) I don’t usually cook fresh cauliflower, but I figured at that price, it wouldn’t be bad to cook a head. (If I am cooking cauliflower, which I do a lot, I just use frozen….casue it be waaaay cheaper)
Fresh, cheap and requested veggies….those are must makes. And the mister was happy with I handed him the plate of oh so lovely looking crispy crunchy loveliness. (I kind of like to make him happy…sometimes)
The stuff. Cauliflower, chopped and broken into pieces. Corn meal mixed with salt, pepper, onion and garlic powder, and because I made this for the mister, parmesan cheese. And in the green bowl, srirsachi and a little oil. The cauliflower gets a coat of the hot sauce and then tossed around in the corn meal mixture. Handling as little as possible, place coated pieces on a lightly oiled baking sheet and stick those suckers in the oven for about a half hour, taking them out and flipping half way.And take them out of the oven when pieces tuned golden brown, stik them on a plate, and serve immediately.
A bit of spice, a bit of crispy , a lot a yum. Serve with some crunchy veggies, maybe a squeeze of lemon and definitely some type of avocado situation.
A beer would be lovely too!
Have a fantastic weekend!
-C
Spicy Crispy baked Cauliflower
1 head cauliflower, chopped or broken into florets
1/2 cup corn meal
3-4 tablespoon sriracha or your favorite hot sauce
1 tablespoon olive or coconut oil
salt and pepper
Any seasonings you might like (garlic or onion powder, parmesan cheese, national yeast…. whatever floats your boat)
Preheat oven to 400 degrees
In a bowl, mix together sriracha and oil. In a separate bowl, mix salt, pepper, any seasonings you might like, and corn meal. Take cauliflower and toss in sauce to coat. Remove from sauce and toss around in cornmeal mixture till fully coated, but try not to hand too much so the coating doesn’t come off. Place pieces on a lightly oiled baking sheet and stick into oven. Bake for about 15 minutes, remove and flip pieces. Back into the oven for another 15-20 minutes (depending on you crispy preference) Remove when golden brown (or darker if you like) and serve immediately.
Cucumber, celery, and carrots are great accompaniments.. also a little mashed avocado or guacamole is much appreciated.
I have never in my life seen, let alone received, a kohlrabi as big as the one I picked up from my farm share last week. It was, no joke, bigger then my head. (completely nuts) If I didn’t know the farm and the farmers of my CSA, I would have to question whether or not it was grown in radioactive sludge…(kind of like the dandelions in the Teenage Mutant Ninja Turtle movie from the 90’s)
What is a kohlrabi you ask? It’s kind of a cross between a turnip and a cabbage that is usually the size of a baseball. It can be eaten raw (I like chunks dipped in mustard) or cooked. (roasted chunks dipped in mustard) It pairs well with sweet stuff like apples and honey, or in any savory stuff. Its one of my favorite vegetables (I say that about them all!)
So now that you know about kohlrabi (if you didn’t already) its time to get yourself some and make this soup. Because for real, I am not kidding when I say that this is one of the best soups that I have ever made. You really must try it. And do it soon because hopefully in the next few weeks the soup weather will turn into fresh pea weather and we might not want soup as much (I eat soup all year long)
A gigantic kohlrabi cut in half ( I only used one of the halts) A whole yellow onion and 2 large carrots. I also added in 4 cloves or garlic
Peel the kohlrabis tough skin off and chop up into chunks. Chop the carrot, garlic and onion as well .
All of those chopped veggies get thrown into a pot with two cups of water and a good sprinkle of salt and pepper. Cover and place on medium heat for about 20-25 minutes. (give a stir ever now and then) Keep cooking until the veggies are fork tender.
Once the chunks are all cooked up, its time for the immersion blender. (or into a regular blender) Add in at least 3 cups of water, but more to thin out to your desired consistency and let it rip. Stop blending once the soup is nice and creamy. Taste and season with salt and pepper to taste. Leave on low heat to bring back to a good soup eating temperature.
Now the soup is done.. and you can eat it just as it is, but you should really add in the asparagus. It is just so f*ing good. Just grab a few spears, dice them nice and small, and throw into the soup pot. Let it cook for another 5 minutes and wa la.. Soup is done. Ladle into bowls and if you want a little fancy presentation, add a swirl of mustard (it’s so good) and a whole cooked asparagus spear.
And eat one of the greatest soups ever!
Happy Day Wednesday!
-C
Creamy Kohlrabi Soup with Asparagus
3-4 kohlrabi (or 4 cups chopped Kohlrabi)
2 large carrots
1 large onion
4 or more cloves of garlic
Salt and Pepper
4-6 spears of Asparagus (extra if you want to garnish)
Yellow Mustard (optional)
Peel outer layer of kohlrabis. Roughly chop the onion, carrot, kohlrabi and garlic and stick it all into large dutch oven or stock pot. Add water until veggies are half submerged . Add a good sprinkle of salt and pepper and place on burner on medium heat and cover. Check ever 5 or so minutes and give the pot a good stir. After about 25 minutes, all the veggies should be very tender and almost fall apart when stuck with a fork. With an immersion blender or regular blender, blend till smooth, adding water until soup is at your desired constancy. Return soup to medium heat. Small dice asparagus and add to pot. (I added 2 extra whole pieces and fished them put once cooked for garnish.) Keep on heat for another 5-10 minutes until asparagus is cooked.
Scoop into bowl and squirt top with yellow mustard and top with a spear of cooked asparagus.
Eat with a spoon and lick bowl clean.
I am kind of obsessed with pickled jalapeños… like I want to eat a whole jar with a fork and then drink the juice. So much hot and spicy love. One of my sisters is the same way, pickled hot pepper obsessed. We used to buy the humongo gallon sized jars of jalapeños at Costco and go through them in like a month. But sadly, Costco stopped selling those humongous jars and we have been left buying the itty bitty jars that actually fit in a normal fridge. (I know, so sad). And maybe because the jars were normal sized and I was more aware that I shouldn’t eat a of cup of jalapeños at one sitting, or just the mire fact that a tiny jar cost the same as a gallon, but the store bought little jars weren’t doing it for me anymore. And then fate happened. The grocery store was having a super sale on fresh jalapeños and I figured it was time to make make my own. Now I don’t think I can ever go back to those store bought jars of blah because the ones I made are the best freaking pickled jalapeños this girl has ever eaten. I might even start making my own gallon sized jars!!!!
Note….Don’t toss the pickled juice! It is a super yummy, full of flavor, liquid gold. You can use it as a straight up salad dressing or add to a homemade dressing. Add juice to soups, casseroles, marinades. Replace some of the liquid in a bread recipe and use the pickled juice. Use it in your favorite cocktail drinks. There is no end to what you can use the juice for.
-C
Pickled Jalapeños
for a half pint jar
8-10 Jalapeños
Apple cider Vinegar
1 teaspoon salt
Remove stem and seeds*of jalapeños and thinly slice. (I used a mandolin which works really well, but a sharp knife does the trick) Pack Jalapeños into a clean glass half pint jar and fill with half water/half apple cider vinegar and a teaspoon of salt. Dump into a pot with a lid, and bring to a boil. Take of heat and let cool for a few minutes. Stick back into jar (leave an inch of head room) Stick in fridge for at least a day. Eat your heart out.
*I like to keep some of the seeds. It adds heat.
You ever have one of those days where its 9 am and your ready to call it a day? . Yesterday was one of those day for me. Its spring vacation around here (more like an arctic vacation) and I had volunteered my day to babysitting/ hanging out with 2 of my nephews, ages 11 and 13. (I know, I am the greatest sister). I had all of these great ideas and plans of things to do, but when it came down to it, they wanted to do nothing but play video games and not really listen to anything I said. I basically had to drag them outside to go for a walk we me and that’s all I could get them to do My great little nephews, I love them so much, but yesterday they had their minds set on being little monsters.
I needed a drink. And I needed lunch. And so I was inspired to make this bloody mary tomato soup. Its got all the essentials to a great drink, the tomato, the spice, the zingy flavors, but warm and thick to eat as soup which was a perfect lift for a freezing cold dragging day. And no, I didn’t add the vodka to it because that would be irresponsible of me. I am not about to serve up lunch soup to a couple young boys with alcohol in it. I am not a dumb ass…Save the vodka for when the kids go home!
What we have going here…… Chopped up onion, celery, and carrot in a pot. Stick that pot on the stove for a few minutes on medium heat to start the cooking process. While that happening get the other stuff ready. A big can of diced tomatoes, hot sauce, worcestershire sauce*, prepared horseradish*, celery salt, garlic powder, salt and pepper And last but not least a good squirt of yellow mustard. Now add it all to the pot and bring to a boil. Turn down to low and stick a lid on it.
*I used the horseradish that is made with only horseradish and vinegar…..You can use the other stuff that contains sugars and milk, but I don’t know how tastes. And the worcestershire sauce I used did not contain fish but be aware that a lot of the popular brands do, so if you care, check labels!
After about 20 minutes the veggies should be soft and the flavors should all have melded together. Taste soup as it is cooking and add any more spice that you want.
Now in goes the emulsifying stick of fun! (Or dump in a blender) Blend blend blend!
I stopped when I got to a smooth consistency with the littlest bit of texture.
And now the soup is now ready for the bowls!
And there it is…served with a stock of celery and a wedge of lemon (I forgot to add them to the pictures!) A bloody Mary to take the edge off any drag of a cold weather day. And best part.. left over soup is great served chilled with a shot of vodka to loosen this Mary up!
Have a Happy Day!
-C
Bloody Mary Tomato Soup
The Stuff
Side note…The spicier ingredients…hot sauce, horseradish, and worcestershire sauce are pretty flexible. My advice is to start with the lesser amounts of the ingredient and work your way up until you get to your happy soup place.
32 oz can of crushed or diced tomatoes
2 medium carrots
1 small onion
2 stalks or celery plus more for garnish
1-2 teaspoons horseradish
1-2 teaspoons worcestershire sauce
1-2 teaspoons hot sauce or ground cayenne pepper
1 tablespoon yellow mustard
A lemon cut into wedges (To squeeze on as a garnish)
2 teaspoons celery salt
1 teaspoon garlic powder
Salt and cracked pepper to taste
Dice up carrots, onion and celery and place in a large pot and cook on medium heat for about 5 minutes. Once the veggies are slightly soft, add in the rest of the ingredients plus one tomato can worth of water. Bring to boil, cover and turn heat down to low. Cook for another 15-20 minutes or until all the veggies are super soft and the flavor have all developed. Add salt and pepper, taste and add any additional spicier spices that you want.
When happy with taste, either in a blender or with a hand emulsifier, blend soup until smooth (or to your desired constancy) Soup is now ready to serve.
Ladle or pour into bowls and serve with a stalk of celery and maybe a wedge of lemon. Crackers or croutons are welcome too.
Eat with a Spoon
Soup left overs are great refrigerated and served cold. Add a splash of vodka to make it fun.
Have you heard of switchel? A lot of people haven’t so don’t feel bad if you don’t know what the hell I am talking about (like my computer. It keeps auto correcting switchel to switched). So switchel. It’s basically a drink made from water and apple cider vinegar. But wait, don’t grimace and click away, it’s also has fresh ginger, lime, and maple syrup mixed in and is really really really freaking refreshing and tasty and just really good. I guess it was even used back I the day as a sort of sports drink, like Gatorade because it has all sorts of electrolytes and anti-inflammatory properties from the ginger.%u00a0%u00a0Plus apple cider vinegar has got all sorted or health benefits,%u00a0so it’s a tasty treat with benefits. Who doesn’t love the benefits?%u00a0
You can drink the switchel %u00a0straight up hot or cold, add it to seltzer for a bubbly soda like drink or even %u00a0mix some cocktails with it. I enjoy a nice cold glass when I am feeling thirsty but what I usually do it fill up half a %u00a0jar with boiling water, then fill the rest of the jar up with the cold switchel. It’s a nice tangy, spicy,%u00a0refreshing and warming drink that I look forward to every day. I even got the littles to try it.%u00a0%u00a0One thought it to be nasty (can’t win them all), but the other one really liked it too, so you know it’s not just me that thinks it good.%u00a0
The stuff. Apple cider vinegar (the good stuff that is raw and has the mother), fresh ginger, limes, maple syrup, and water.%u00a0
Fresh ginger is the best. Give it a little peel with a spoon, just to maximize gingerness exposure then chop into small pieces.%u00a0
Ginger and water goes into big pot. Bring it to a boil then turn down to a high simmer for 10-15 minutes to really get the ginger infused into that water.%u00a0
After it’s cooled a bit, strain the now ginger water into a pitcher or a big jar.
Add in the vinegar, the juice of the limes and a bit maple syrup. Start off with a little maple, you can alway add more later if needed.%u00a0
After the switchel has some time in the fridge to cool (at least 2 hours, but I like it best when it’s sat overnight) grab a glass ,some ice cubes, and a slice of lime. It’s go time.%u00a0
A drink to you my friends
-C
Makes bout 6%u00a0 cups%u00a0
1/2 cup raw apple cider vinegar (with the mother. Braggs is a popular option)%u00a0
5-6 inch piece of fresh ginger%u00a0
2 limes
5 1/2 cups water
1-4 tablespoons maple syrup%u00a0
With a spoon, gently peel ginger . Not perfectly, just get some of the skin off. Chop it into small pieces and place it into a large pot with the water. Bring to a boil then let simmer for 10-15 minutes. Strain ginger water int a large pitcher or jar.
Add in the apple cider vieager, the juice of the limes, and a tablespoon or two of maple syrup. Give it a good stir then place in the fridge until cold (about two hours but overnight is best)%u00a0
When it’s cold, give it a good stir again, taste, and if it needs more maple, add it in. And then it’s ready.
You can drink it on ice, maybe add some seltzer to it, or mix it into some fancy cocktail. It can also be reheated for a nice spicy warming treat.%u00a0
It%u2019s hot out and we are thirsty. Water is good, water is great, but sometimes a little somethin%u2019 somethin%u2019 is called for, for you know, being that we need to deal with it being so freaking hot out. and sticky and gross. (BLAH. This past week we have had some temperatures it had make me crankers.)
Anyway, what is more refreshing then cucumber? Not much. And so we blend up cucumber, add some mint and lime juice and stick it into a glass with ice and bubbles. What can be more refreshing then that? Plus look at how pretty it is. Bright ass green. A true summertime drink.
To the Spritzer!
The stuff. A thin skinned cucumber, a lime, a spring of mint, club soda, and if you want, a little simple syrup.
Chunk up the cucumber and into the blender it goes with the juice of the lime and a couple mint leaves.
Grab a couple glasses, add in some ice, and fill each glass half way with the cucumber juice. (mix in liquid sweetener in now if you want it.)
Top off with club soda, a mint leaf and a few slices of cucumber and you are golden cool and fancy free.
Stay cool%u2026..as a cucumber.. HAHA!
Makes 2 or 3 drinks
1 cucumber (thin skinned and 6-8 inches long)
a lime
a few mint leaves
club soda or plain seltzer
1-2 teaspoons liquid sweetener (optional)
Take cucumber and place into blender along with the juice of the lime and a couple mint leaves. Blend until smooth. Grab a couple glass, fill each with ice, then fill each glasses half way with cucumber mixture. Add in any liquid sweetener if using and stir. (I recommend trying without sweetness, that is that way I like it, and then add sweetener if you need it.) Top glasses off with club soda. Garnish with sliced cucumber, lime wedges, and or mint leaves if you want.
I am channeling all my summer time feels here in hopes for warmer weather. As of yesterday there was still a pile of snow outside of my house and I am still leaving every morning in a hat, mittens, and a winter jacket.
I want t-shirts and shorts, I want sandals, and I want to set my winter jacket on fire (not really, but kinda).
This cold weather has crept back into my soul and I needed something to remind me that there will be warmer days to come and I will soon be bitching about how hot I am and blah blah blah.. you know how it goes.
So I make lemonade. This lemonade as inspired by my favorite tea as of late, raspberry zinger. It’s a nice and tangy tart and really tasty. I make great big jar of it at night and add a little squeeze or two of lemon to it for that little extra zing. I figured if it tastes good hot, it will taste great cold, which in fact, it does. It taste really freaking good. And it just occurred to me that there is probably a little subliminal inspiration from Beyonce in wanting lemonade, so thanks for the B.
Anyway, it’s suppose to me nice and seasonably warm this weekend. Maybe bust out your lemonade game and try a batch of this one.
The stuff. Lemons, a raspberry zinger tea bag, honey (or any sweetener you like to use) water and ice.
Bring some of that water to aalmost boil and pour it over the tea bag (make sure you stick the bag into a jar or pitcher)
While the tea is steeping, juice the lemons. And a personal preference, you can strain out the pulp or not. I use the strainer to catch the seeds but then stick the pulp back in cause I like pulp. All up to you.
While the tea is steeping and still hot, add in any sweetener that you want to use. ( I used a little honey) Stir until that sweetness is all dissolved.
And after the tea has had a good steep, dump the brewed tea into the pitcher with the lemon juice then add in the really cold water. Stir it all around.
Add acouple thin slices of lemon to make it all fancy anda few big chunks of ice to make it super cold
Refreshing, crispy, tangy with a touch of sweet….Perfect for all those warm summer days to come (hopefully)
Have a great weekend people.
-C
Makes 5 cups
1 raspberry zinger tea bag( I used Celestial Seasonings)
3/4 cup fresh lemon juice (3-5 lemons, depending on size)
Anywhere between no to 1/2 cup of sweeter (can use sugar, honey or maple, I like a touch of honey)
4 cups water (2 hot, 2 cold)
ice
Place tea bag in 2 cups of hot water (can be done directly in a pitcher) Add in the sweetener while its still hot and mix until completely dissolved. Let steep for about 10 minutes.
Remove tea bag and add in the lemon juice, 2 more cups of cold water and mix, Top with ice and garnish with a few more lemon slices if your feeling fanciful.
Serve in a glass full of ice with a wedge of lemon and a smile on you face.
It%u2019s hot out and we are thirsty. Water is good, water is great, but sometimes a little somethin%u2019 somethin%u2019 is called for, for you know, being that we need to deal with it being so freaking hot out. and sticky and gross. (BLAH. This past week we have had some temperatures it had make me crankers.)
Anyway, what is more refreshing then cucumber? Not much. And so we blend up cucumber, add some mint and lime juice and stick it into a glass with ice and bubbles. What can be more refreshing then that? Plus look at how pretty it is. Bright ass green. A true summertime drink.
To the Spritzer!
The stuff. A thin skinned cucumber, a lime, a spring of mint, club soda, and if you want, a little simple syrup.
Chunk up the cucumber and into the blender it goes with the juice of the lime and a couple mint leaves.
Grab a couple glasses, add in some ice, and fill each glass half way with the cucumber juice. (mix in liquid sweetener in now if you want it.)
Top off with club soda, a mint leaf and a few slices of cucumber and you are golden cool and fancy free.
Stay cool%u2026..as a cucumber.. HAHA!
Makes 2 or 3 drinks
1 cucumber (thin skinned and 6-8 inches long)
a lime
a few mint leaves
club soda or plain seltzer
1-2 teaspoons liquid sweetener (optional)
Take cucumber and place into blender along with the juice of the lime and a couple mint leaves. Blend until smooth. Grab a couple glass, fill each with ice, then fill each glasses half way with cucumber mixture. Add in any liquid sweetener if using and stir. (I recommend trying without sweetness, that is that way I like it, and then add sweetener if you need it.) Top glasses off with club soda. Garnish with sliced cucumber, lime wedges, and or mint leaves if you want.
Summertime is in full swing. Hot ass days, garden fresh veggies, zucchinis as big as whales, and did I mention that hot ass heat? If you have been around here before, you know how well I handle the heat. (NOT WELL AT ALL!)
I think we are all hot these days. But really, lets just focus on the good things, like fresh summa veggies!
This sandwich is all about summertime and not having to turn on a single flame or heat source and takes all of 5 minutes to make. Zucchini because it is everywhere, beans for more substance and they are delicious, all mixed up in a creamy bean and tahini sauce. Super fast, fresh and oh so delicious. I made a big batch for sandwiches but also I was just eating it with a fork. It%u2019s a tasty one that will be on the summer rotation for sure for the next few months, or until the zucchini runs out and I dare to turn the oven on again. (Ok, I am being a whine ass. It%u2019s not THAT bad and I did turn the oven on, early morning, to bake bread. So yeah.) But for real. This is a great, super fast, throw together, fresh, light but filling, sandwich situation for any and all of your summertime eating needs. What more do we need? The mr said all he needed with the sandwich were chips. Chips and a nice cold drink.
Done sir. Done.
Now to the sandwich!
The stuff. White beans, a zucchini, and a fresh spring onion. Also some tahini, a lemon, a few cloves of garlic, a little vinegar and water, and salt and pepper. And to serve as a sandwich you need bread. lettuce, and tomato. Well you only need the bread, but you get what I am saying.
Fist off. Half the white beans go into blender or jar with the tahini, the juice of the lemon, garlic, vinegar and a splash of water. Blended unit nice and creamy smooth. And yes, it is basically hummus but whatever.
Julienne the zucchini and chop up the onion.
Note. You don%u2019t have a mandolin or done%u2019t want to julienne with a knife, well just chop the zucchini into small little chunks.
Bean, onion, and zucchini in a bowl. Add in the bean tahini mixture and mix. And ta da, all done. All of 5 minutes and no heat. Good for us.
Now here is the thing. This salad is ready to eat now. You can continue onto the sandwich path or just eat it like it is with a fork. What I really liked to do is scoop spoonfuls into lettuce cups with a slice of tomato and a squirt or mustard. So yes sandwich, but also whatever else you want it to be.
But as a sandwich%u2026. Bread. And lettuce and tomato and heck, whatever else you want to throw on there. (Again, mustard is A+)
Now stop. Sandwich time.
Stay cool!
-C
makes 3-4 sandwiches
1 medium sized zucchini
2 1/2 cups cooked and strained white beans (a can will do)
1 spring onion (or a small white or red onion)
3 tablespoons tahini
2-3 cloves minced garlic
1 lemon
1 tablespoon white or red wine vinegar
2-3 tablespoons warm water
salt and pepper
And to serve as a sandwich
bread or wrap of your choice
tomato slices
lettuce
anything else you want
Place half of the beans, tahini, garlic, juice of the lemon, and the vinegar into a jar and use a immersion blender or a regular blender and blend until creamy smooth. Add in a tablespoon at a time of water until the consistency is just slightly thinner then hummus.
Grab zucchini and using a mandolin or a knife and julienne it. (You can also just cut into small little cubes.) Dice the onion up into small pieces and toss with zucchini, onion, and the other half of beans into a big bowl. Dump the bean tahini mixture all over and veggies bean mixture and toss around. Add salt and pepper to taste.
To make it a sandwich%u2026 Place a scoop onto a bread situation, add some lettuce and tomato and whatever else you want, and eat it.
Roasted veggies of any kind can get this girl in trouble. Place a sheet pan meant for many full of roasted veggies and watch out, I will probably eat them all. I can%u2019t stop, won%u2019t stop and you know what, I am not sorry, especially if its roasted brussel sprouts and squash.l I am grabbing at every last bit, especially all the really crispy, almost burnt pieces. Burnt food is one of my favorite flavors.
This dish is pretty basic, but also not. A slightly overlooked grain, spelt, makes for a hearty backdrop to the magic of roasted sprouts and squash, covered with a sunflower butter sauce which is a nice spin on a traditional peanut sauce. It%u2019s pretty easy to make and pretty to look at as well. A nice hearty and warming meal for all of those cold winter nights. And it%u2019s not going to make you feel heavy or gross, like if you sat and ate an entire lasagna. No, you will feel full and fantastic and ready for a cookie (it is the holidays after all).
The ingredients in this dish are mainly inspired by the half eaten jar of sunflower butter a friend of mine gave me at the gym, plus the fact that I have been getting a few stocks of brussel sprouts each week at farm share so we are eating them at ever meal, (plus I LOVE brussel sprouts) and me trying to use up all of the grains and such in the pantry before restocking anything more or new. A dish of convenience sure, but also a damn delicious one at that. With this being said, if you had a different grain you wanted to use, or an abundance of some other veggies that you have or prefer, well go ahead and use them. You do you my friend.
And really, I was thinking of you when I made this dish. Sometimes at this time of year people tend to forget to eat, or tend to eat on the not so healthy side. This grain bowl situation is just what your body is in need of. Simple delicious nourishment.
The stuff. Spelt that has been soaking in water for a while, half a butternut squash, brussel sprouts, a red onion. Also sunflower butter, a few cloves garlic, a lime, soy sauce, a touch of maple, salt and pepper, and olive oil.
The spelt will probably take the longest so get it on the stove. Strain away the soaking water and place into with fresh water. Bring to boil then reduce heat to a simmer. Place a lid on pot ans let it go.
Next, get to the veggies. Halve the big sprouts (small ones can stay whole) chop onion into chunks and cube the squash.
A drizzle of oil, a sprinkle of salt and pepper, and a good toss around and it ready for the oven.
Meanwhile, make the sunflower butter sauce. Its pretty basic. The sunflower butter, minced garlic, soy, maple, and juice of the lime all into a vessel that can hold it. Add a couple tablespoons of warm water to thin it out and done. Sunflower butter sauce. Easy Peasy.
After about an hour, your slept should be cooked (that sounds aggressive to me) Tender and chewy and just right.
The veggies should be roasted and done too. Crisp as you like ( I actually like mine even darker, but the mr does not so I went a light roast this time)
And it%u2019s all ready for you to eat.
Roasted butternut squash and brussel sprouts on a warm bed of spelt covered in sunflower butter sauce. Living the good life here.
Take care of yourself this week, and always for that matter. Eat some good food. Your body will be happy for it.
Bye.
-C
Serves 2-3
1 cup spelt berries (soaked in water overnight if you remember)
3 cups water
about 1/2 of a butternut squash
about a pound of Brussel sprouts
a medium red onion
1/4 cup sunflower seed butter (unsalted and unsweetened)
2 tablespoons liquid amionos or soy
1 teaspoon maple or honey
1 lime
2 cloves garlic
salt and pepper
olive oil
Preheat oven to 425
Place soaked spelt berries in a pot with water and a pinch of salt. Bring a boil then reduce heat, place a lid on pot and simmer for 45 minutes to an hour or until spelt berries are tender and all the water has been absorbed.
While spelt is cooking, cut sprouts in half (unless they are very small), cube the butternut into pieces about an inch big, and chop the onion up into chunks. Place all that you just chopped onto a baking sheet, drizzle with a teaspoon or two of olive oil and toss around. Sprinkle the veggies with a pinch or so of salt and pepper and pop into the hot oven. Roast for 40-45 minutes or until roasted to your desired doneness. (I like things a lot darker then the mr so I would leave my veggies in for closer to an hour)
For the sunflower butter sauce. Mince garlic and place into bowl or cup with the sunflower butter. Add in the maple, soy, and the juice of the lime. Mix together and add in a 2 tablespoons of warm water to thin out. Add more water if needed to get to a thick but pourable consistency.
Once the spelt is cooked, the veggies are roasted and the sauce is made, well you can assemble and eat. Spelt in a bowl, toss on some roasted veggies, and cover in the sauce. And then you eat it.
Last week I bought this nice hunk of locally made tofu to%u00a0bring to my sisters for dinner. I was planning on making%u00a0T.A.L.T.’s, but when I told her%u00a0what I planned on making, she turned it down. She asked, ” is there bacon with that? If not, I don’t really feel like tofu”. And I was like, “No there is not F**king bacon%u2026.. when did I %u00a0mention bacon?”
We still went over for dinner, Just me,her,and the Mr.%u00a0I brought myself a big salad. The other two ended up eating a frozen pizza and%u00a0%u00a0blue cheese dressing (I think they might have eaten dressing with a little bit of pizza%u2026barf) But whatever,%u00a0her lose, cause I made the T.A.L.T.’s %u00a0a few days later. They were amazing (the tofu was soo good!)%u00a0and I am pretty sure she would have loved them. Oh well, now she will just have to make them for herself if she ever decided to she wants one.
So here.. To everyone%u00a0%u00a0and to Shannon%u2026.. How to make a T.A.L.T. .. There is NO BACON!
The stuff%u2026 Some nice firm tofu, half a ripe%u00a0avocado,lettuce (I used baby greens),%u00a0and some sliced up fresh and tasty tomato. To spice up the tofu, we use%u00a0galic powder, salt pepper, and a nice smokey paprika. Oh.. and a big hunk of a soft and crusty baguette%u00a0to stick it all in.%u00a0
To get this TALT going, thinly slice up as about a 1/3 of a block of tofu. (for one sandwich) Or slice up the whole thing to%u00a0make more sandwiches.
On a plate or in a bowl, mix together the garlic powder, paprika and a little salt and pepper.%u00a0Gently dredge both sides of each piece%u00a0in the mixute.%u00a0
Paprika is so bright and pretty.
Place the tofu in a lightly oiled%u00a0and preheated skillet on medium heat. Cook each side until crispy and golden brown.
Slice you bread open and toast if you want. %u00a0Scoop avocado%u00a0onto the%u00a0bread(%u00a0a little on both sides).%u00a0Add the tomato and the seasoned tofu and last but not least, %u00a0pile on the greens.%u00a0
TA DA! A Sandwich%u2026 a damn good one at that .
-C
Makes on 6-8 inch sandwich
%u00a01/3 block of extra firm tofu*
1/2 of a ripe avocado
1 small tomato thinly slices
a handful of baby greens or a few lettuce leaves
A 6-8inch hunk of a soft and crusty baguette (use a gluten free bread of choice if needed)
1 tablespoon SMOKEY paprika*
1 tablespoon garlic powder*
salt and pepper.*
*Note.. This is enough for one sandwich. If making more then one, use the whole block, or even if you not, you might as well cook the whole thing for and have some extra for later use.%u00a0If you do cook it all,%u00a0just add another tablespoon or so of the paprika and the garlic powder.
Remove tofu from package and stick between a clean dish towel. Press as much liquid out as you can without smooshing it. Cut tofu into 1/4 inch thick slabs. Mix the spices with a pinch of%u00a0salt and pepper in%u00a0a shall bowl or plate and dredge both side of %u00a0the tofu in the mixture. Lightly oil and preheat a skillet to medium heat. When the tofu is seasoned, stick onto skillet and cook each side until crispy and brown. Remove from heat and let cool for a minute. (If you like you tofu a little more on the crunchy and dried out side you can stick the tofu in the oven for a few minutes)
To assemble. Slice bread, toast if you want. Place %u00a0equal amounts of %u00a0avocado %u00a0on each side of bread. Layer on the sliced tomatoes, the cooked tofu and add on the greens. Close up sandwich and place on a plate.
I can%u2019t remember the last time I have gone a day without eating lentils. Seriously, even when we travel I buy or bring along a bag of lentils. Or when we are camping, its basically all we eat. So it is safe to say that I know my way around a lentil or two. They are probably my favorite food (I say that about all my favorites)
Other then lentils being amazing delicious, the are so versatile. I am sure I say it all the time, but there is nothing you cannot make with lentils, sweet or savory. And nutritional as all heck. So much iron and a super amount of protein. Lentils are basically the perfect food in tiny little coin shaped form. Take it from this vegan lady here. Lentils help keep me alive. HA.
But enough about how many lentils I eat, what we need to address is this chili. It doesn%u2019t matter if you are a lentil feen or not, you will very much enjoy yourself a big bowl of this hearty, slightly spicy, warming goodness. Especially now, when it%u2019s cold outside and the days are short and you just want to eat something filling and healthy and that is not left over holiday cookies. And big bonus, this is a chili that you could come home to start at 5 and basically have it ready to eat by 6. That is just one bit of the magic of lentils, they so cook so fast.
And it%u2019s chili and chili is the best so you really should just get it made. It%u2019s what you need, I can tell.
To all the lentil goodness!
The stuff. Green lentils, crushed tomatoes, a cubanelle pepper, an onion, a couple carrots, and some cauliflower. Also a few cloves or garlic, cumin, chili powder, ground ginger, a red jalape%u00f1o, and salt and pepper.
Get started by small choping the carrot, onion, and pepper. Mince up the garlic too.
Grab that jalape%u00f1o and remove steam (and seeds if you want heat) and dice into very very small piece.
Into a big old pot it all goes, along with the cauliflower and all the spices. Add a splash of water and a sprinkle of salt and pepper and stick it on the stove for a few minutes to warm up the veggies and spices.
Looking good.. So good I wanted to eat it all, but don%u2019t, it%u2019s for the chili.
Now add all the tomatoes and water and place back on stove on high heat until it starts to boil, then reduce heat to a medium and cook until lentils are tender.
Well look at that, chili.
And why not top with a little avocado while you are at it. It is a very good addition, to the spiciness.
Very little amount of works for such great rewards. Probably going to be your new favorite chili recipe just so you know.
Lentil chili. Grab a bowl, kick up your feet, and dig on it.
-C
makes a lot of chili, like 10-12 servings
1 pound green lentils
1 large onion
5-6 cloves or garlic
1 cubanelle pepper (or any green or sweet pepper)
2 large carrots
3 cups chopped cauliflower (fresh or frozen)
6 cups (two 28 oz cans) crushed tomatoes
2 hefty tablespoons cumin
1 hefty tablespoon chili powder
1 teaspoon ground ginger
1 jalape%u00f1o pepper
6-8 cups water
salt and pepper
diced avocado for serving (optional)
Remove steam and seeds from cubanelle pepper and small dice it along with the carrots and onion then place int all nto a large heavy bottom pot. Mince the garlic add into pot. Remove steam and seeds from jalape%u00f1o pepper and finely dice it and add to pot. Last but not least, add the spices to the mix. Add a splash of water and place on high heat and cook the veggies and spices until for 5 or so minutes, just to give them a little heads start and to activate the spices.
Once the veggies have had a few minutes of heat, dump in the dried lentils, the tomatoes, and 6 cups of water. Stir around and keep on high heat until it starts to boil then turn down to medium and continue to cook, stirring once in a while, until the lentils are tender and the chili has thickened, which should take about 35-40 minutes. If at any time you the lentils are not submerged in liquid but are not cooke through, add more water. And once the lentils are cooked you can thicken bu continuing to cooke does or thin it out by adding more water. Taste soup and season with salt and pepper as you see fit.
To serves, ladle into bowls and tope with diced avocado.
Left overs are fantastic hot or cold and will last in the fridge for about a week. Or if you want, you can freeze a few servings.
What are you doing this weekend? It is suppose to be cold and rainy (if not snowy) and crappy and just not a good weekend to be hanging outside, which makes it the perfect weekend to spend some time inside, SPRING CLEANING! Haha. Doesn’t cleaning get you excited? No, well,%u00a0sorry for you. Me, I like to clean, and I really like to tackle jobs that really really need to be tackled, like cleaning out the fridge. And a crappy weather spring weekend is probably the best time to do it.%u00a0
The refrigerator. My pride and joy of the kitchen. It’s an old harvest gold Fridgaire from like 1970. This is the fridge I spent almost a year hunting down and finally finding on craigslist from a man who was cleaning out his dead mothers house. The fridge that I almost gave up on when I couldn’t find it and almost bought a big stainless steal thing instead.mBut last minute, I found it, like it was %u00a0meant to be. And this fridge has a story all of it’s own. It was a prize won by on of the ladies daughters from a cereal company contest.%u00a0The family kept it for all these years and took such good care or it because of that.%u00a0A well cared for and loved fridge.%u00a0It is a good one with faux wood trim and metal shelving. It keeps my food cold and frozen %u00a0(sometimes frozen when it shouldn’t be. The back top shelve %u00a0in the fridge has a few cold spots the might freeze whatever is there. My solution to that is to not stick things in the cold spots.) and is just as pretty as can be. Some people question it, don’t understand why I didn’t just buy a matching fridge to my stainless steal stove, but you know what, if you don’t like it, well I really don’t care. It makes me happy and I love it.
And to what goes on on the inside. To know me is to know what is inside of my refrigerator. It is always packed. There is and always will %u00a0be carrots, beets, lemon, cabbage, turmeric, greens, greens, and more greens in there. There will always be some hummus of some kind, mustard, bread dough, tofu,%u00a0and lots and lots of any and every veggies you can think of. Plus a bunch of %u00a0jars and container, which I have a bad habit of not placing lids on all the time, full of lentils and beans, rice, and quinoa. %u00a0There is usually a %u00a0baked sweet potato or some squash and more likely the not, tomatoes and plant milk. In the freezer, well that’s getting pretty empty now, but after harvest in the fall, it is packed to the brim with bags of frozen veggies. Now it has a few bags of veggies, frozen bananas and berries,flours, and nuts. But the fridge,%u00a0The fridge is always full. And it an get a little messy….
And now I it’s time to clean it out.%u00a0
I spot clean and straighten it out often. Usually before I pick up farm share I go through it and tidy up, make more space, and pull stuff out that needs to be eaten first. But that is just the surface cleaning. Stuff gets sticky, stuff gets stuck, and especially with veggies, stuff gets dirty.%u00a0%u00a0Spot cleaning has a place but it’s not cutting it anymore. It’s spring and it’s time for a full fledge deep clean.%u00a0
Now I know most people have their own methods for cleaning but here are a few tips and techniques that I have to tackle the beast.
-Prepare. You don’t want to just go at it without a plan and supplies. Get out your cleaning supplies. Grab a recycling can and a compost bucket, and have a big lean surface ready to place stuff on. The vacuum or a broom should be handy too.%u00a0
–Cleaning solutions. It is a fridge so you don’t want to be cleaning it with a bunch of chemicals. What I use is a vinegar solution. 50/50 white vinegar and water and a squirt of dish soup. It cleans, degreases, disinfects, and won’t kill you.%u00a0
–An empty sink or bathtub to wash all the drawers and shelving off.%u00a0
–A few clean containers. Just have them on hand,%u00a0with lids, to place stray things roaming around in there.%u00a0
–Clean from%u00a0%u00a0top to bottom. This avoids crap falling into something you already cleaned.
–Labels. Any containers that are not clear might benefit from a label. And if you tend to leave things in the fridge for a long time, a label for the date of opening is also a good idea.%u00a0
–Inventory. Knowing what is in the fridge is very important, this prevents food waste.
–Too many condiments. I don’t know how many times I have looked in peoples fridges and seen 5 different bottles of ketchup or Italian dressings open. Consolidate. %u00a0And if you don’t like it or don’t use it, get rid of it.
–Wipe it all down. Not just the fridge itself, but all the stuff going back into it. So many times I have stuck the soy sauce in the door and had it leaked all over.%u00a0
–Know your fridge and place accordingly. Most people don’t have super old fridges, but even the new ones have some quirks. Know if there are cold spots or dead zones or places that things get stuck and place food accordingly. Also think about where you are placing food. It don’t make sense to but the milk way in the back if you use it all the time.
–Under and behind. Don’t forget to clean under the fridge and behind the fridge. It will be dusty, maybe a little gross, but it must be done.
–Music. A good playlist is always going to make you better are cleaning.
As for the Use it Up Soup, do just that.%u00a0This is the perfect time to use up what you got. I know that I have way more veggies then the average person, but don’t let that stop you. You could even pull stuff out and fill in missing ingredients form the store if you want. And be creative, %u00a0pickled hot peppers, all the frozen veggies, any wilted greens. Even almost empty bottles of mustard. If you think it sounds good in soup,%u00a0use it up. Add some canned tomatoes and a handful of spice, you are gonna end up with something tasty.
. A clean fridge and soup, how can it get any better?%u00a0
The before. Veggies all over. Jars and containers stacked, with and without lids. A stray half of banana, and empty water bottle, and a half eaten salad in a bowl just having out. %u00a0The shelves are kind of gross. The veggie drawers are nasty, and I think almost everything is wet because I dumped over a container of tofu the other day and all the tofu water leaked all over…… This deep clean was a long time coming.
I always have so many bags and containers of veggies and beans in the fridge.
The stuff in the door too. This is actually a lot of crap. The last dinner party we had someone brought over salad dressings. The mr and I don’t use salad dressing,%u00a0but I guess it’s not so bad to have them here. The littles like them and I know that they will be eaten.
And the stuff that is going to be soup. I found a wrinkly parsnip, some celery, carrots, a few cooked potatoes, some cooked butternut squash and a half a kale and carrot salad. The jar of almost gone lentils, and jar of tomatoes.%u00a0Some ginger and turmeric root which is always is the fridge. A rutabaga, some cabbage, an onion,%u00a0and I also grabbed some frozen green beans and the rest of the frozen rhubarb ( resh rhubarb is on it’s way)%u00a0
I chopped it all up, tossed it into a big pot. Added some spices and %u00a0water and stuck it on the stove to cook away while I got to the cleaning.%u00a0
After. Clean fridge wand clean food. All organized and pretty.
The freezer before. It looks a little crazy but there really isn’t that much in there.%u00a0
After. I pulled it all out, wiped it down, and put it all back, organized, and wth lids (again, my bad habit of no lids)%u00a0
And all the while I was cleaning, the soup was cooking.
Clean refrigerator. Makes this lady happy here.%u00a0
And the reward for all of your cleaning. A big bowl of soup.
-C
Whether you are stuck at home because you have the flu or because you do not want to leave the house for fear of turning into a human popsicle, or maybe even you just don’t want to because this is the first weekend that you have no plans, no obligations, no parties, well then you are in good company.%u00a0
Unfortunately for me, I have to leave the house.%u00a0I have obligations, I am getting over the flu, and I am pretty sure I am going to turn into a popsicle because when -8 is the high for the day, well, it’s bound to happen.%u00a0
But lucky for me I already made the soup, in my fitful sicky, but able to think about and eat food again state. Yes I had the flu, or better yet, the stomach flu. And the stomach flu and food do not mix. Even the thought of food would send me reeling and it was just no good. I seriously thought I would never be able to think or better yet, eat food again without turning straight to the bucket.%u00a0But I will stop there because you don’t need to hear about my misery. Anyway, the death spiral subsided and food was no longer the enemy. I actually wanted (kinda of) to eat again. So food it was to be.
Because it was my first day back to food, I really wanted to take it super easy. (Before I made this soup I actually boiled a carrot until it was mush and ate that just to test my tummy)%u00a0%u00a0Nothing heavy, obviously hot and warming, not to spicy. %u00a0Just soothing and nourishing. And I didn’t really want think about it and worry about it and spend much time in the kitchen. Sure I could have bought a can of soup but actually no, canned soup is not for me. And I know the mr would have thrown something together for me but I was determined to be a slightly productive human and do something with my day even if it was minimal.%u00a0%u00a0I had to make the soup, I had to do it.%u00a0
This soup was exactly what I needed and could not have been any easier to make.%u00a0Chop up some shit, toss it into a pot, and walk away (or nap on the couch) for a little while. It can be done on the stove, in a slow cooker, or if you have a Instapot and want to do that, I should say go for it. And I am not saying this because I was starving, but %u00a0this was one dang fantastic tasting soup. Right in every way. It’s going on my semi permanent soup rotation for the next few months.%u00a0%u00a0%u00a0%u00a0
No bad after 48 hours of dying and no food. (stupid flu)
The stuff. Carrots, celery, a small rutabaga, and and onion. A red potato, a parsnip, some green been, garlic, canned tomatoes, navy beans, %u00a0thyme, rosemary, a bay leaf, and salt and pepper.
Note here that all this stuff was already in my house. Say you do not have a rutabaga or a parsnip, it’s totally fine. You can add%u00a0
Here is the hardest part. Chop it all up into little pieces. All of it all mixed together, just get it chopped.
And toss it all into a big pot with he green beans,%u00a0a handful of dried beans,%u00a0and the spices.
Add in the can of tomatoes
Then fill the pot with water.
Now stick the pot on the stove and bring to a boil then reduce heat to a little lower the medium and loosely cover with a lid.%u00a0
A couple hours later, once the beans are cooked and the veggies are tender, you got yourself a big ol’%u00a0pot of some fantastic home made, easy as can be, vegetable soup.%u00a0
Chunky, hearty, and easy as can be. And the best part is that I have left overs and we all know that left over soup is the best soup.%u00a0
Stay warm, don’t turn into a popsicle.
-C
Makes a big pot of soup
2 carrots
3 stalks of elery
1 onion
1 small rutabage
1 red onion
1 parsnip
2 cups frozen green beans%u00a0
1/2 cup navy beans
3-4 cloves garlic
1 28oz can %u00a0(no salt added)%u00a0crushed tomatoes
1 teaspoon roasemary
1 teaspoon thyme
1 bay leave
salt and pepper
water
Note. You might not want rutabaga in this or you might want to add some cauliflour or peppers, so go for it. It’s a pretty adaptable soup so use what you got and like.%u00a0
Grab all you raw veggies, give them a quick wash, then chop them all up into bite sized pieces. Mince up the garlic.%u00a0Dump it all into a large heavy bottom pot. Add in the frozen green beans, the dried beans, the spices and the can of tomatoes. Add a pinch of salt and pepper and %u00a0enough water to cover the everything 3-4 inches.%u00a0
Place pot on stove, bring to a boil, then reduce heart to medium low and loosely cover wit a lid. Cook, giving it a stir once in a while, %u00a0for a least 1.5 hours ( can cook all day on long on simmer if you like)%u00a0%u00a0or until the beans are coooked through and the veggies have soften.%u00a0Add more water if needed.
Serve when you are ready to eat. Refrigerate leftovers.
It’s finally getting cold around here which I know some people are pretty bummed about but not me, I am ready for the days of it being cold and dreary (seriously).%u00a0These are the days that I like to hunker down and keep myself all warm and cozy. And what is more cozy then a big bowl of hot soup? Nothing I say. Or maybe a big cup of hot tea and a cozy blanket by the fire, but I don’t have a fire so soup it is.%u00a0
And I know a few of you people have a little pie pumpkin or two laying around from Halloween and are thinking ” what the heck am I going to do with it”. Well I got you here. You are going to make that pumpkin into something great and amazing that is not a dessert (because you are still working your way through all the Halloween candy). You will make it into soup and then you will eat it and then you will thank me later.%u00a0
The stuff. A little old sugar pumpkin, some red lentils, celery, a carrot, and an onion. A few heads of garlic, turmeric, coriander, cumin, and ginger, salt and pepper, and water to round it out.%u00a0
Start with dicing up the carrot, celery, onion and garlic.%u00a0
Into a heavy bottom pot they go. Stick the pot on heat to sweat the veggies a bit.
Dicing up the pumpkin. No fuss here, just chop it in half and scoop out the seeds (keep seeds to roast and %u00a0top soup with) then cut into little chunks.%u00a0
Grab the pot that the veggies are cooking in and toss in the pumpkin, the spices, the lentils, and the water. Give it a good stir and back to the stove.
All cooked, smelling and looking so good.
A smooth creamy delicious bowl of pumpkin warmth and goodness. A soup to take into the chilly days ahead.%u00a0
serves 3-5
2 1/2 -3 cups diced pumpkin (one small sugar pumpkin)
1/2 cup red lentils
1 medium onion
3-4 cloves garlic
2 stalks celery
1 carrot
1 %u00a0teaspoons ginger
1 teaspoon turmeric%u00a0
1 teaspoon coriander%u00a0
1 teaspoon cumin
3-4%u00a0 cups water or veggie stalk
salt and pepper
olive oil
toasted pumpkin seeds for garnish (optional)
Start by dicing up the carrot, celery, onion and garlic. Toss into a large heavy bottom pot with a splash of olive oil. Place on medium heat to start cooking. Now grab pumpkin, cut in half, and remove all the seeds (reserve seeds for roasting) Dice up the pumpkin and toss into the pot with the veggies. Add in the spices, the lentils,3 cups of the water or stock, and a pinch of salt and pepper. Bring pot to a boil then reduce heat to low. Place lid on pot, but not tightly, and let the soup cook for about a 1/2 hour or until the pumpkin is fork tender.%u00a0
Once everything in the pot is all cooked up it needs to be blended. You can either transfer to a blender or use a emersion blender and blend until the soup is a silky smooth %u00a0Either way, be freaking careful cause the soup is hot! While you are blending, if you think you need to add more liquid, go for it. You can make this as thick or thin as you like.
And now soup time! Laddle into bowls, top with parsley and roasted pumpkin seeds (optional) and get to eating all the good.%u00a0
Place any leftovers in fridge and heat up later (makes a great breakfast soup)
I’ve gone on a complete split pea binge. I have been making it (or reheating it if I have left overs) every day for the last two weeks, no joke. (This lady needs her protein) I get home, grab what ever veggies I see first in the fridge, a few jars of some spices, the giant jar of dried peas, and make quick work of lunch. Chop chop, dump, splash, stir. I am a soup (stews and bisques too) master. Soup for lunch. Right in all ways and just needs to happen.
Sometimes I’ll make soup and it’s just good soup.%u00a0 Sometimes it will end up being really good .This soup, well this soup is really freaking awesome and is my new go to for split peas. Thick and creamy, mildly sweet from the parsnips and ginger, but mellow at the same time. Add a little or a lot of pepper (lots of pepper here) and you got yourself perfection.
Soup that warms you up from the inside out and leaves you happy and full.
Split pea for life!
The stuff. Dried split peas, parsnips, a carrot, and onion, some Italian seasoning, ground ginger, bay leaves, and salt and pepper. Also need water.
Chop the veggies. Smaller chunks are good, but don’t worry to much, it’s all getting blended up anyway.
Now toss all those veggies into a big heavy bottom pot and mix in all the spices. Stick o stove with a splash of water and turn up the heat to give the veggies and spices a few minutes alone to active all the goodness.
Once the smell hits you nose and the veggies look like they need some water, dump in the split peas and add enough water to completely cover everything plus a few extra inches. Bring the pot to a boil then turn down to low, stick a lid on pot, and let cook. Check an stir every 10 minutes or so. If it starts to look dry, add in another few cups of water.
Peas are soft, veggies are cooked and now soup is almost ready to go.
Just blend it until smooth. Take liberty hear and smooth it as much or as little as you like. Also if you want to thin it out, just add more water. Want to thicken it up, just cook for a little while longer. ( spit pea is so easy).
And that is it.
You know what to do from here.
Soup time!
Stay warm and have a great weekend.
-C
makes a large pot of soup that will feed 4-6
1 pound dried split peas
1 medium yellow onion
1 large carrot
1 pound (about 4-5) parsnips
2 tablespoons Italian seasoning*
2 teaspoons ground ginger
2 bay leaves
salt and pepper
water
*Note. Italian seasoning is pretty basic and you probably have it, but if not you can make your own by mixing equal parts thyme, oregano, basil, and rosemary.
Start by rough chopping all the veggies and placing them in a large heavy bottom pot. Mix in the spices and bay leaves. Stick on the stove with a splash of water and cook for a few minutes to let the spices ans veggies heat up and smell all nice. Add in peas and enough water to completely cover everything in the pot plus a few inches. Bring to a boil, them turn heat to low, cover pot, and let cook for about 1/2 hour-45 minutes, checking and stir ever 10 minutes. If the soup seems to get too dry, just add in a few extra cups of water.
Once the veggies and peas are soft, turn heat off and using the blending device of your choice, blend until smooth. Season with salt and pepper to taste and eat hot but watch your tongue.
Yesterday we had a few pieces of really log ass metal roofing delivered to the new house so we can finish the little side parts of the roof off. The funny thing is we ended up with way more wood then metal. The roofing is super light and flexible so it has to be strapped to a super long wooden structure. And it was perfect. The mr and I have pretty much finished the fence except for the gate from the driveway which sucks because we still can’t bring Washer over to play without it ans we pretty much fenced the yard in for him. But the long ass wooded palette things.. IT was perfect. Well a perfect for now solution. A Already constructed tall and long (too long, we had to cut it down) wooded wall that is now our temporary gate.What a score! And now the pup can spend all day long laying around outside and not getting into any neighborhood fights with the other dogs. And look at us making use of all the scraps. We are so awesome.
Ok, so besides our awesomeness and the new temp gate, let talk about this greenest freaking soup that there ever was. It is probably the best green soup that I have ever tasted. (I know,%u00a0 I have habit of proclaiming all of my soups as the best soup ever, mostly because they are.) It’s one of those soups that is super fast and so simple to make and is perfect for all the spring and summer time eating that will be going on. Eaten hot or cold and out of a bowl or a drank out of a glass. A soup for any time, any place. The mr even liked it and he says he doesn’t like peas. (but he so does). Who doesn’t like the best soup ever?
Now here is how to make it.
The stuff. A big bowl of fresh spinach and a bowl of peas (fresh or frozen.. mine were frozen) Also need an onion, a carrot, a few cloves or garlic, water, olive oil, and salt and pepper.
First thing first. Get the onion and carrot all nice and chopped up and tossed into a big pot with a drizzle of olive oil, a little splash of water,and salt and pepper. Stick that pot on the stove on medium high heat and start to cook cook.
Soften and yummy carrots and onion. I am not exactly sure if my carrots turned the onion orange or if my pot because it is so stained with turmeric that it turns everything yellow. Keep the pot on low heat and mince and stir in the garlic.
And for magic. The pot is sill on low and you are going to pile all the fresh spinach right on in to the pot. Add a few splashes of water and a lid and let it cook for a few minutes. And when you go back and remove the lid..Ca bang ! All the spinach is gone (not really, it just wilted).
It’s time for the peas and water to be added.The blender comes out and the soup gets blended until super smooth.
So green, so good.. This soup is all ready to go. But here is the thing, you can eat it at any temperature and it will be amazing so if you want to heat it up a little more, go for it. Cold soup shooters, just stick it in the fridge for a while and wait until its chilled. Or both. I ate a bowl warm then had cold soup for dessert.
And to finish, you must serve with fresh lemon and if you have it, a pretty little mint plant. I love the flavor of a little fresh mint added, but not all do. So mint if you like( it really is so good) but lemon in a must!
Enjoy all the green things!
-C
serves 3-4
2 cup peas (fresh or frozen.. I used frozen)
3 packed cups fresh spinach
a few sprigs of fresh mint (optional)
3 cups water
1 small onion
a carrot
3 cloves garlic
1 lemon
olive oil
salt and pepper
Small chop onion and carrot and toss into a big heavy bottom pot with a drizzle of olive oil and salt and pepper. Stick on stove on medium heat and cook until it becomes soft and fragrant. Now mince garlic and add that it too. Stir and cook for another minute or two then add in all the spinach and a splash of water. Place o lid on pot and let until cook until spinach is all wilted. (give it a stir to get it all cooked down). Once wilted, add the peas and the water. Stir all together and let simmer for a few minutes then remove from heat. Now blend the crap out of it until silky smooth.(use your blending device of choice).
And it’s done. You can either serve right away as a hot soup or sick it in the fridge and serve cold! Just remember that you need to serve it with cracked pepper, a squeeze of fresh lemon and some chopped up fresh mint(mint it optional but so good)
Eat with a spoon or forget the spoon and slurp out a a cup like the cool kids.
My brain is buzzing with all sorts of happy fall feelings. Warm, fuzzy feelings %u00a0about sweaters, socks, and the smell of decomposing leaves. I think that we are %u00a0pretty much entering the fall season around here and I couldn’t be happier. (about the weather)
Fall means soup. Soup all the time. And yeah, I am a soup person all year round, but soup in the fall just so right and almost taste better because: one, you are not sweating profusely while making and eating it, Two, there is so much fantastic stuff coming from the farm and garden that the ingredients are just aces. And three,%u00a0pretty leaves and cozy cuddles on the couch make soup a magic treat.
Doesn’t that sound about right?
And this soup is one of my go to favorites. Especially this time of year when I have tomatoes coming out of my ears and peppers stuck into every available crevice in the fridge. (Oh what farm people problems I have) I take all of my tomatoes, pick out the best looking ones, stick those back on the tables, and use the leftover ones, the ones that are starting to maybe go a little or are not as pretty as the others. Then I do the same with the peppers, whichever ones are starting to go or looking a little sad, I grab those and use those as well. That’s another thing about soup, you can use the veggies that might not be up to snuff for other dishes. Soup is a good way to cut back on any food waste! Soup. Tastes so good and is combating food waste with ever bowl! But yes, you can use the prettiest of your produce too cause if you don’t use the pretty up, it will eventually turn into the not so pretty and mold stuff. Anyways..
Roasted red peppers and roasted tomatoes= (in a Mavin Gay voice) %u00a0Oh yeah!
Now lets just crank on the oven and make the soup!
The stuff. Tomatoes, peppers, onion, garlic, a lemon, salt pepper and olive oil. %u00a0
Take tomatoes, remove cores and chop into chunks. Remove stem and seeds from peppers and chop into a few chunks as well. Grab the onion and chop that up too.The garlic can go in as whole cloves.. no need for chunks.
Dump it all into a well oiled skilled or dutch oven and sprinkle well with salt and pepper. Place into oven to roast away.
And when everything in the skillet is all roasted soft and falling apart, remove from oven.
And dump the roasted stuff into a pot and add in a few cups of water.
Squeeze in the juice of the lemon and using a hand blender, go to town. Belnd unit la nice creamy smooth. Now I let my soup simmer on the stover for a little longer, like 10-15 minutes, just for it to meld a little more, but really you could go for it right away, or even let it simmer for longer.
When you are ready, ladle into bowl, grab a spoon, maybe a book (soup and a book is my happy place) and eat you until your belly is happy.
Have a super awesome friday!!
-C
6-8 medium tomatoes
3-4 big red (yellow or orange work too) peppers
1 large onioon
1 head of garlic
1 lemon
salt
pepper
olive oil.
2-3 cups water
Tunn oven on to 450
Core tomatoes and core and remove seeds from peppers. Cut into big chunks along with the onion and toss into a large well oiled oven safe skillet or dutch oven. Add in the cloves of garlic and season with salt and pepper. Stick into oven to roast %u00a0for about 45 minutes or until everything is all soft and bubbly and good.
Once everything is roasted all the way, remove from oven and transfer the veggies to a pot (unless already in a pot). Add in the juice of the lemon, about 2 cups of water (more if you want it a bit thinner) %u00a0and using a hand blender, blend until smooth and creamy. If you don’t have a hand blender, use a regular one.
Place soup in pot on medium low heat and simmer for 1at least 10 minutes (if you can wait, 1/2 is good)%u00a0or until ready to eat.
Serve with lots of %u00a0cracked pepper and a spoon and maybe something crunchy.
I probabaly have already told you, but August is for sure my favorite month of the year (well,one of my favorites)
There is bounties of bounties of fresh, sweet and colorful, oh so juicy, crispy crisp, just so f ing %u00a0amazing, produce exploding all over the place. I have probably gained like 75 thousand pounds in the past month due to all of the fruits and veggies that I have been consuming. I am starting to consider it a full time job just to keep up with the eating.
%u00a0Another reason why I love August so much is becauuse the days are still nice and warm, but the nights are starting to cool which means I get to make so much soup!!!!!.%u00a0
This soup is the freshest freshy soup yet. Everything is from the farm and or the garden (except the salt pepper, vinegar and oil), some picked within hours of me making this.
. I am a lucky/spolied veggie brat.
Anyways. This soup. The fresh tomato base gives it a sweet, slightly acidic kick.%u00a0So super creamy due to the lovely earthy stocks of the chard. Slightly spicy and earthy from the arugula* and chard green green. This soup…%u00a0it just tastes so fresh and clean, yet hearty and satisfying. A perfect soup for a mid August night, eating outside, watching the sun slide behind the mountains and the temperature dropping just enough that you might want a light sweater. Or you can just eat it from the pot in the kitchen while watching TV. It’s good eating anyway you want.%u00a0
*Here in America, it’s called arugula.%u00a0%u00a0Else where , it’s %u00a0called rocket. I wish we all called it rocket, although I do like the name arugula, but for like my first born child or maybe a pet goldfish. Anyway, rocket is arugula,%u00a0%u00a0or vice versa.
Soup time!.
The stuff. Some big %u00a0fresh tomatoes, a few stalks of chard, and a few handfuls of arugaula (aka rocket). A couple carrots, an onion, some garlic, salt and pepper and a bit of olive oil.. Oh, and I added some balsamic vinegar, which for some reason didn’t make it into the picture (sorry vinegar)
Start by removing the chard leaves from the stalks. Set aside leave with the arugula. Chop up the carrot, chard stems, onion and garlic and toss into a big pot with a drizzle of olive oil, a splash of water,%u00a0and a sprinkle of salt and pepper. Stir around and stick o nthe stove on medium heat for about 10 minutes until the veggies start to soften up.
Now chop up the tomatoes into chunks and toss those right into the pot with the other stuff. Add in a few cups water and a few glugs of balazmic vinegar. Bring everything to a boil and then turn heat to medium low and place a lid on pot and let cook at medium heat for another 20 ish minutes, or until the tomatoes are falling apart.
Now that everything is all cooked up, blend it up.
And now take the chard leaves and the aruglula and chop into little pieces%u2026.into the pot they go.
Mix it all up.. and take the blender to the soup again%u2026.if you want a smaller sized bite.
To start, remove stalks of chard from leaves and chop stalks, onion, carrot and garlic into chunks and place int a big pot with a drizzle of olive oil, a splash or water,%u00a0and spinkle of salt and pepper. Place on stove on medium low heat sand cooke the veggies down until starting to soften and garlic is becoming fragrant. While that cooking, remove core from tomatoes and dice them up. Toss into pot with the cooked down veggies with the vinegar and water. Place a lid on the pot and let cook for about 20-25 minutes or until the tomatoes are falling apart.%u00a0
When cooked, using with a hand blender or a normal blender, blend the soup until smooth. (if using blender, pour back into pot)
Now take the arugula and chard leaves and chop them into wee little picese and mix into soup. If you want to, blend the greens into the soup.. but not until smooth, unless thats what you want.%u00a0%u00a0Cook for another 5 minutes. Taste and season with more salt and pepper to taste.
Ladle into bowl and serve with lots of fresh cracked pepper, maybe a little balsamic drizzle or even some mustard (I at left overs with mustard and it rocked my world)
Roasted veggies of any kind can get this girl in trouble. Place a sheet pan meant for many full of roasted veggies and watch out, I will probably eat them all. I can%u2019t stop, won%u2019t stop and you know what, I am not sorry, especially if its roasted brussel sprouts and squash.l I am grabbing at every last bit, especially all the really crispy, almost burnt pieces. Burnt food is one of my favorite flavors.
This dish is pretty basic, but also not. A slightly overlooked grain, spelt, makes for a hearty backdrop to the magic of roasted sprouts and squash, covered with a sunflower butter sauce which is a nice spin on a traditional peanut sauce. It%u2019s pretty easy to make and pretty to look at as well. A nice hearty and warming meal for all of those cold winter nights. And it%u2019s not going to make you feel heavy or gross, like if you sat and ate an entire lasagna. No, you will feel full and fantastic and ready for a cookie (it is the holidays after all).
The ingredients in this dish are mainly inspired by the half eaten jar of sunflower butter a friend of mine gave me at the gym, plus the fact that I have been getting a few stocks of brussel sprouts each week at farm share so we are eating them at ever meal, (plus I LOVE brussel sprouts) and me trying to use up all of the grains and such in the pantry before restocking anything more or new. A dish of convenience sure, but also a damn delicious one at that. With this being said, if you had a different grain you wanted to use, or an abundance of some other veggies that you have or prefer, well go ahead and use them. You do you my friend.
And really, I was thinking of you when I made this dish. Sometimes at this time of year people tend to forget to eat, or tend to eat on the not so healthy side. This grain bowl situation is just what your body is in need of. Simple delicious nourishment.
The stuff. Spelt that has been soaking in water for a while, half a butternut squash, brussel sprouts, a red onion. Also sunflower butter, a few cloves garlic, a lime, soy sauce, a touch of maple, salt and pepper, and olive oil.
The spelt will probably take the longest so get it on the stove. Strain away the soaking water and place into with fresh water. Bring to boil then reduce heat to a simmer. Place a lid on pot ans let it go.
Next, get to the veggies. Halve the big sprouts (small ones can stay whole) chop onion into chunks and cube the squash.
A drizzle of oil, a sprinkle of salt and pepper, and a good toss around and it ready for the oven.
Meanwhile, make the sunflower butter sauce. Its pretty basic. The sunflower butter, minced garlic, soy, maple, and juice of the lime all into a vessel that can hold it. Add a couple tablespoons of warm water to thin it out and done. Sunflower butter sauce. Easy Peasy.
After about an hour, your slept should be cooked (that sounds aggressive to me) Tender and chewy and just right.
The veggies should be roasted and done too. Crisp as you like ( I actually like mine even darker, but the mr does not so I went a light roast this time)
And it%u2019s all ready for you to eat.
Roasted butternut squash and brussel sprouts on a warm bed of spelt covered in sunflower butter sauce. Living the good life here.
Take care of yourself this week, and always for that matter. Eat some good food. Your body will be happy for it.
Bye.
-C
Serves 2-3
1 cup spelt berries (soaked in water overnight if you remember)
3 cups water
about 1/2 of a butternut squash
about a pound of Brussel sprouts
a medium red onion
1/4 cup sunflower seed butter (unsalted and unsweetened)
2 tablespoons liquid amionos or soy
1 teaspoon maple or honey
1 lime
2 cloves garlic
salt and pepper
olive oil
Preheat oven to 425
Place soaked spelt berries in a pot with water and a pinch of salt. Bring a boil then reduce heat, place a lid on pot and simmer for 45 minutes to an hour or until spelt berries are tender and all the water has been absorbed.
While spelt is cooking, cut sprouts in half (unless they are very small), cube the butternut into pieces about an inch big, and chop the onion up into chunks. Place all that you just chopped onto a baking sheet, drizzle with a teaspoon or two of olive oil and toss around. Sprinkle the veggies with a pinch or so of salt and pepper and pop into the hot oven. Roast for 40-45 minutes or until roasted to your desired doneness. (I like things a lot darker then the mr so I would leave my veggies in for closer to an hour)
For the sunflower butter sauce. Mince garlic and place into bowl or cup with the sunflower butter. Add in the maple, soy, and the juice of the lime. Mix together and add in a 2 tablespoons of warm water to thin out. Add more water if needed to get to a thick but pourable consistency.
Once the spelt is cooked, the veggies are roasted and the sauce is made, well you can assemble and eat. Spelt in a bowl, toss on some roasted veggies, and cover in the sauce. And then you eat it.
Salad season is here. Green salads, fruit salads, potato salads, and grain salads. All the salads and we are not mad about it.
This is a good grain salad using millet, which I am sightly surprised to hear that a lot of people have never had. Millet is kind of like quinoa, but not. I cooks fluffy and looks kind of the same, and is gluten free like quinoa. I think the biggest difference is that millet is slightly softer and tastes a bit more nutty. It also is really good at absorbing liquid flavors.
But who are we to compare. The main thing is that it is nutritious and delicious so we will eat it.
Back to the salad. This is one of those grain salads that is good cooked and served warm but only gets better with a little age (like an hour or a day) in the fridge. Served hot or cold or room tempature, and is hearty enough to be meal like but is also a fantastic addition as a side to any of you meal plans. Like maybe a BBQ? Whatever the occasion, or non occasion, this is just a really good grain salad situation and I think you will be pleased, smiling all smiles while eating it.
To the millet salad.
The stuff. Millet, a couple handful of greens, a few mushrooms, an onion, dijon mustard, a little maple syrup, red wine vinegar, a lemon, a couple cloves or garlic, some toasted sunflower seeds, and salt and pepper.
Start by giving the millet a little toast, just enough to really up the nutty flavor and make it that much more yummy. It only takes a few minutes in a skillet on medium heat. Not an entirely necessary step, but you should do it.
Toasted millet goes into pot with water. Bring pot to a boil and then turn to the lowest simmer and cover.
While millet is cooking, get to the mushrooms and onions. Chop the onion thin and small and the mushrooms thin and small as well. Place them into the skillet with a drizzle of oil and place on medium heat. Mix around every now and then and cook until the mushrooms and onions are soft and a nice golden brown.
And make the vinaigrette. Minced garlic, mustard, vinegar, the juice of the lemon, and maple syrup get put into one place.
Mixed and now all is one.
Millet. Cooked and fluffed and ready to go.
Cooked mushrooms and onions go into the pot, along with the greens, the sunflower seed, and the vinaigrette. This step can be right away or you can wait a little while for things to cool as to not wilt the greens. Up tp you.
Mixed with love and hunger.
Even if you are making it ahead of time, just do yourself a favor. Grab a bowl, grab a fork, and get down on it.
-C
Seves 4-6
3/4 cup uncooked millet
2 cups water
1 sweet onion
3-4 big button mushrooms
Large handful or two of bitter greens like arugula, spinach or a mixture.
2 tablespoon brown or dijon mustard
2 tablespoon red wine vinegar
1 teaspoon maple syrup
2 cloves garlic
salt and pepper
handful toasted sunflower seeds
To start, toast millet. Dump the uncooked millet into a pan and place on a medium heat tt for about 5 minutes or until you start hearing the millet crackle.This gives the millet a slightly more nutty flavor but you can skip this step if you don%u2019t care.
Dump millet and water into medium pot. Place on high heat until water starts to boil then tun heat down to simmer and over. After about 15 or 20 minutes, when most of the water is gone, turn pot completely off. Let sit, covered for another 10ish minutes then take a fork and fluff it.
While the millet is cooking, cook the veggies. Grab the onion and slice it up into thin pieces. Clean off the mushrooms and chop them into small thin pieces too. Place the chopped stuff into the skillet with a drizzle of olive oil and a pinch of salt and place on a medium heat. Stir occasionally and cook for about 15 minutes or until the onion and mushroom are a nice dark, golden brown.
And make the mustard vinaigrette. Mince garlic and place into a jar or bowl with the vinegar, the mustard, the maple, and the juice of the lemon. Mix and set aside.
Once the millet is cooked, the mushrooms and onions are cooked, and the vinaigrette is made, all you have left to do is mix everything together. You can do this while things are slightly warm which will wilt the greens a bit, o let them cool so the greens stay fresh. Up to you. (I like the greens fresh)
Finally, dump cooked mushrooms and onions into pot with cooked millet. Add in the greens and sunflower seeds and drizzle the vinegertte all over. Toss around until fully mixed. Sprinkle with lots of fresh cracked pepper.
Then eat. Or place in a container to bring to the BBQ.
This time of year, there are so many reasons for popsicles, but I think that main reason is that%u00a0I don’t want to willingly turn on the oven for any amount of time. It’s just to f-ing hot.
Lately, it’s been hot. And humid. And gross. Just way%u00a0too hot to make anything in the oven.%u00a0So when I grabbed the rhubarb out of the fridge, knowing that if I didn’t use it soon it would go bad, I immediately thought to make pie. Then I was like,” hell no, not going to happen. I need to freeze this shit”. And freeze it I did..into the greatest, slightly sweet, slightly tart, bright pink popsicles of happiness. They are really the perfect little frozen treat. Not overly sweet and sticky, have a lot a fresh clean flavor, and takes the edge off of the super summer heat and humidity, even if only for a few minutes.%u00a0
I love popsicles.%u00a0
But sadly this is probably the last rhubarb for the season (Or maybe the second to last..I think I saw some for sale at the coop a few days ago)
So get it while you can and make these%u00a0popsicles!%u00a0
The stuff. Rhubarb, a lime and a little bit of honey (or any sweetener you like). Plus you are going to need some water, but I bet you have some of that on hand.
Chop the rhubarb into inch chunks and toss into a big pot with the water. Stick on the stove and bring to a boil then turn heat to low and let simmer.%u00a0
Once the rhubarb is so soft that it falls apart, remove from heat and let cool for a few minutes.
With a fine mesh stainer, strain juice into a large jar or bowl.%u00a0
Now you have the juice for the popsicles and the left over rhubarb stuff%u00a0is the%u00a0rhubarb butter.
Place the%u00a0rhubarb butter into a jar, adding a little honey(or whatever)%u00a0if you want and eat with anything and everything%u00a0%u00a0(%u00a0I’ve been adding%u00a0%u00a0it to the mr’s%u00a0yogurt and just%u00a0eating it with a spoon)
And now add the juice of the%u00a0lime%u00a0to the rhubarb juice and add a little honey or whatever%u00a0sweetness to taste.
And add the rhubarb juice to your popsicle molds and stick in the freezer with sticks tops or wait two hours and add wooden sticks.
When frozen, run the mold under a little hot water and pop those suckers out.
A two for one deal here. And timed perfectly. You%u00a0%u00a0have the rhubarb butter%u00a0to eat while%u00a0you wait%u00a0for the popsicles to freeze.%u00a0So smart
Happy Tuesday.. Keep it cool!
-C
makes 6%u00a04oz popsicles and about a cup of jam
3 cups chopped rhubarb
2 1/2 cups water
1 lime
Anywhere from 4%u00a0tablespoons honey (2 for popsicles and 2 for jam)
Chop the rhubarb into inch ish chunks and stick into a big pot with water. Turn on high heat and bring to a boil. Once boiling, turn heat to low and simmer until the rhubarb is so soft its falling apart. Remove from heat and let cool for a few minutes. Take a big jug or bowl with a fine mesh strainer,strain the liquid from the solids. You can use a wooden spoon to stir around to help get the juice flowing. Place remaining solids into a jar and add as little or as much or as little honey (any sweetener you like) and give it a stir. Thats your jam
Now for the popsicles. Add the juice of the lime and a tablespoon or two of honey (or whatever sweeteners you like) and mix around. Pour into popsicle molds and stick into freezer.Know your mold.. if you need to insert a stick, do so after about 2 hours.%u00a0
When pops are frozen, remove from mold and eat your heart out.


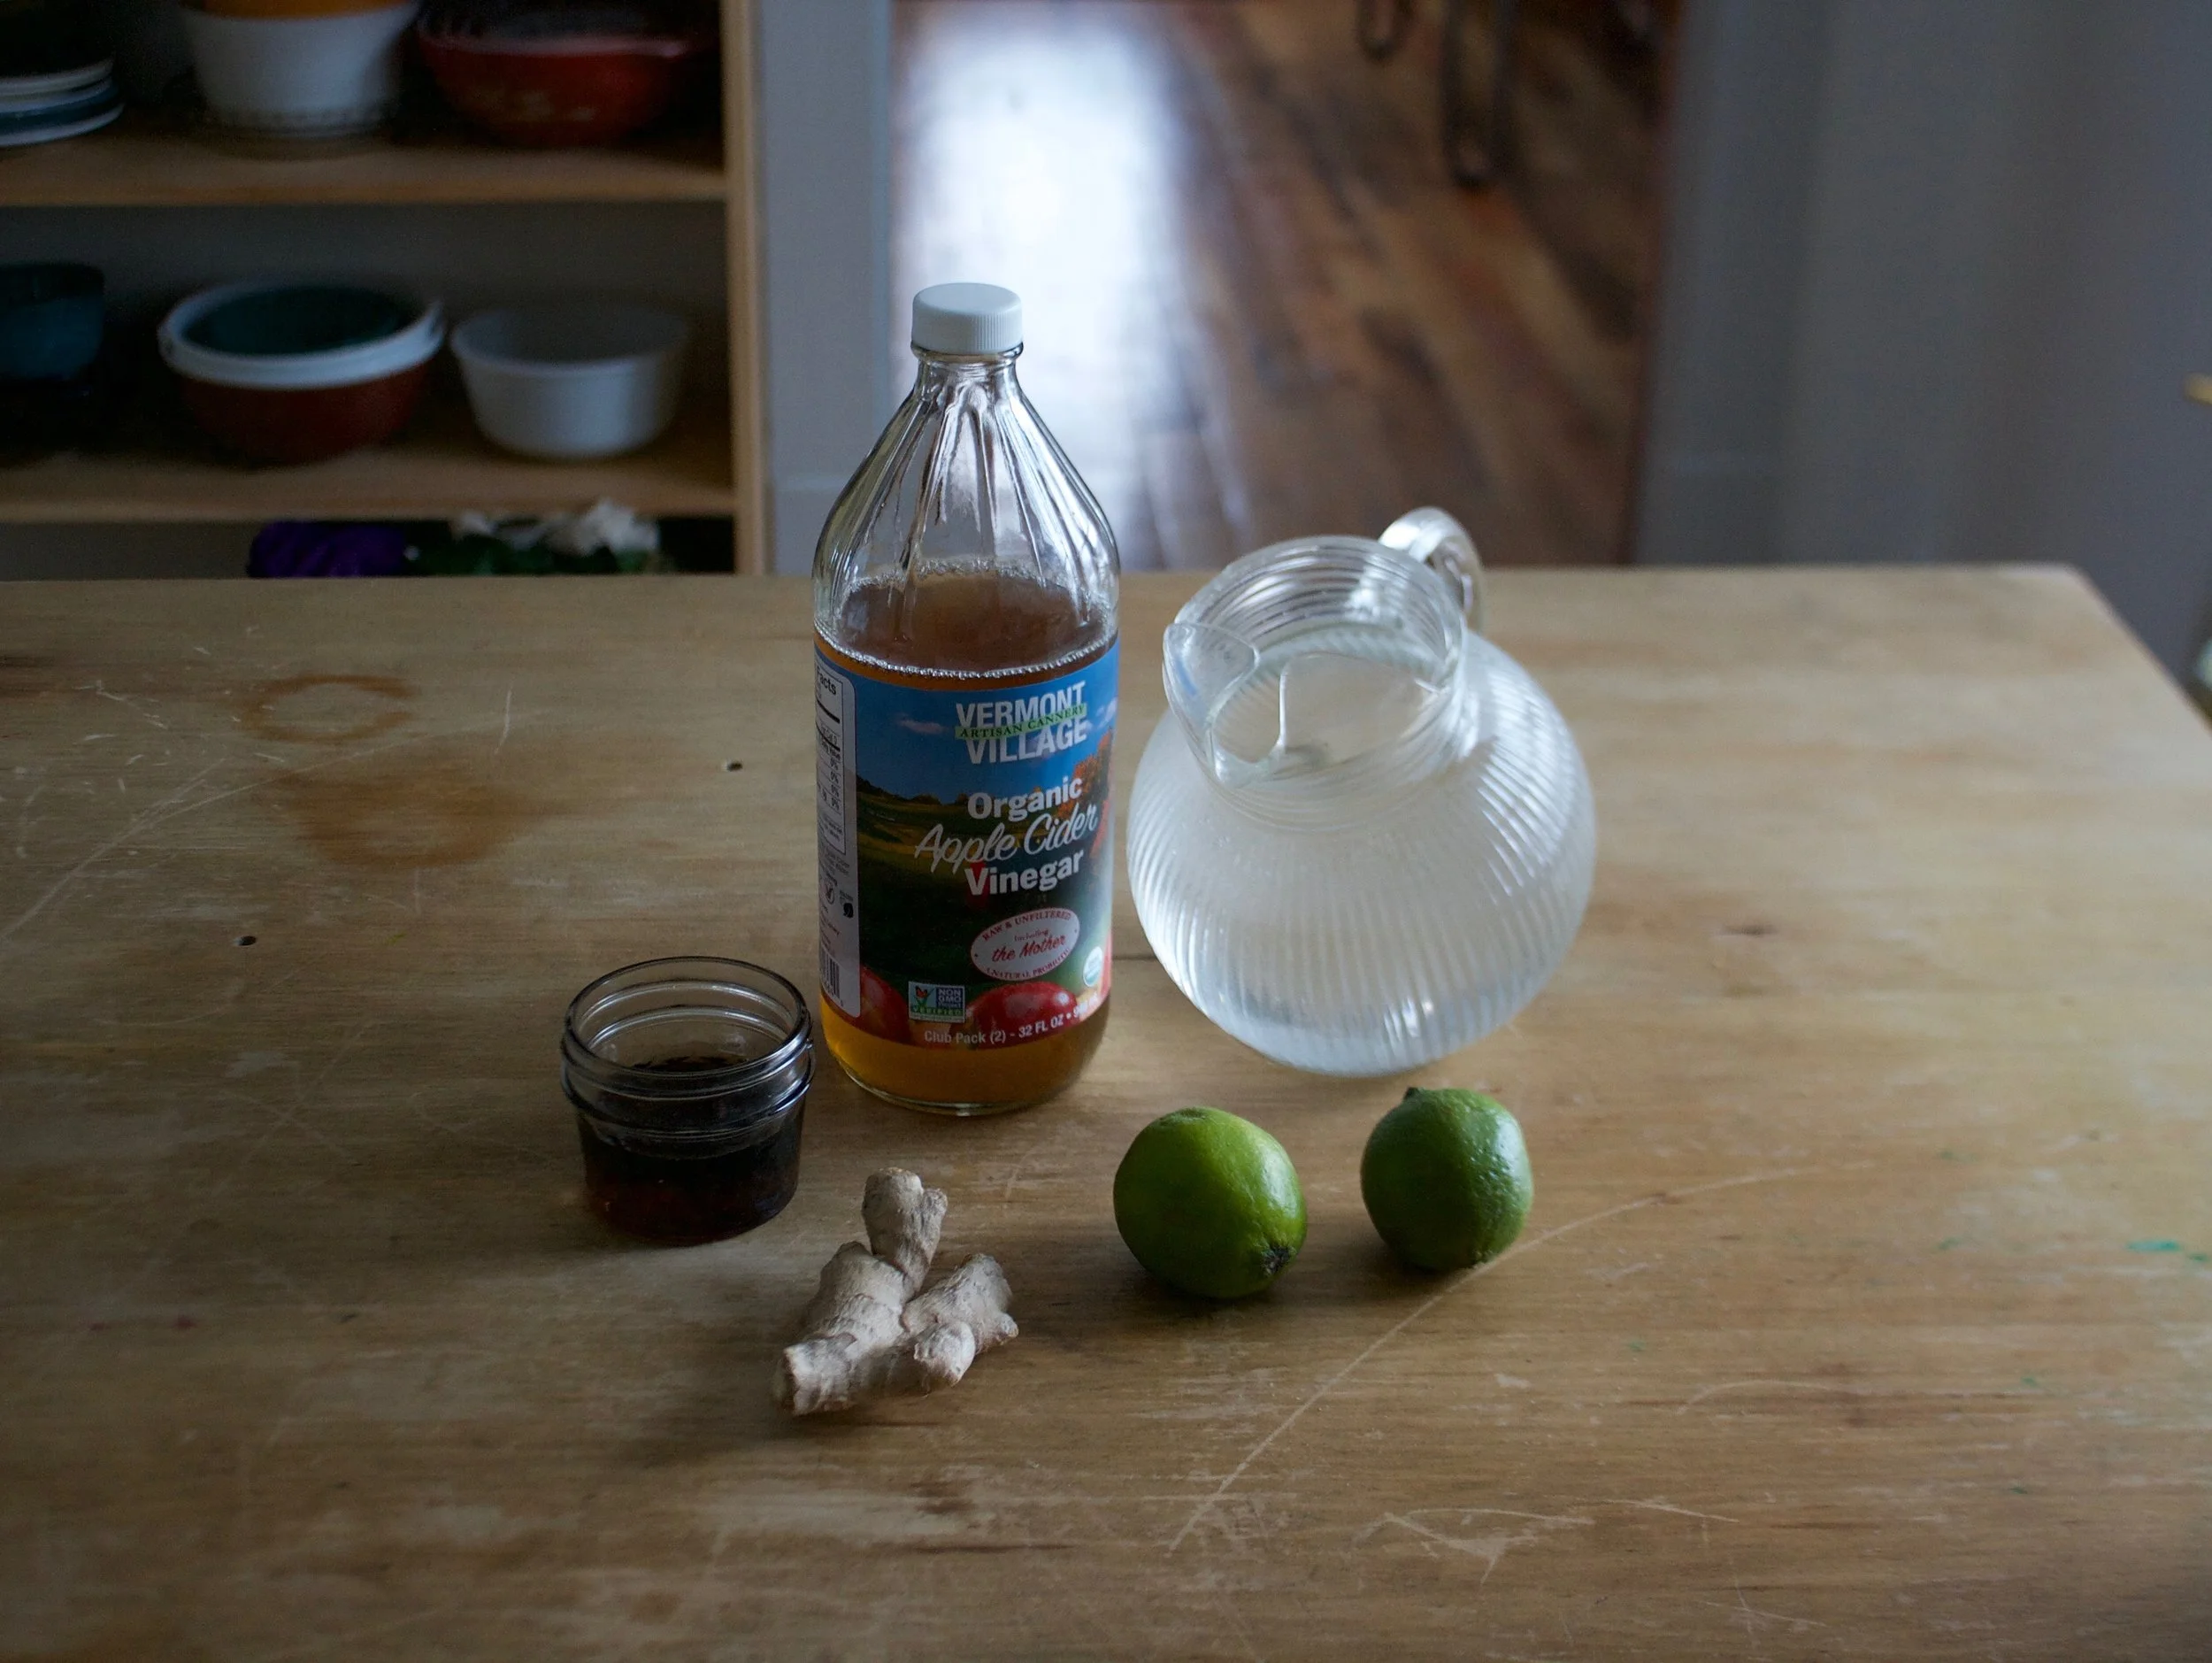
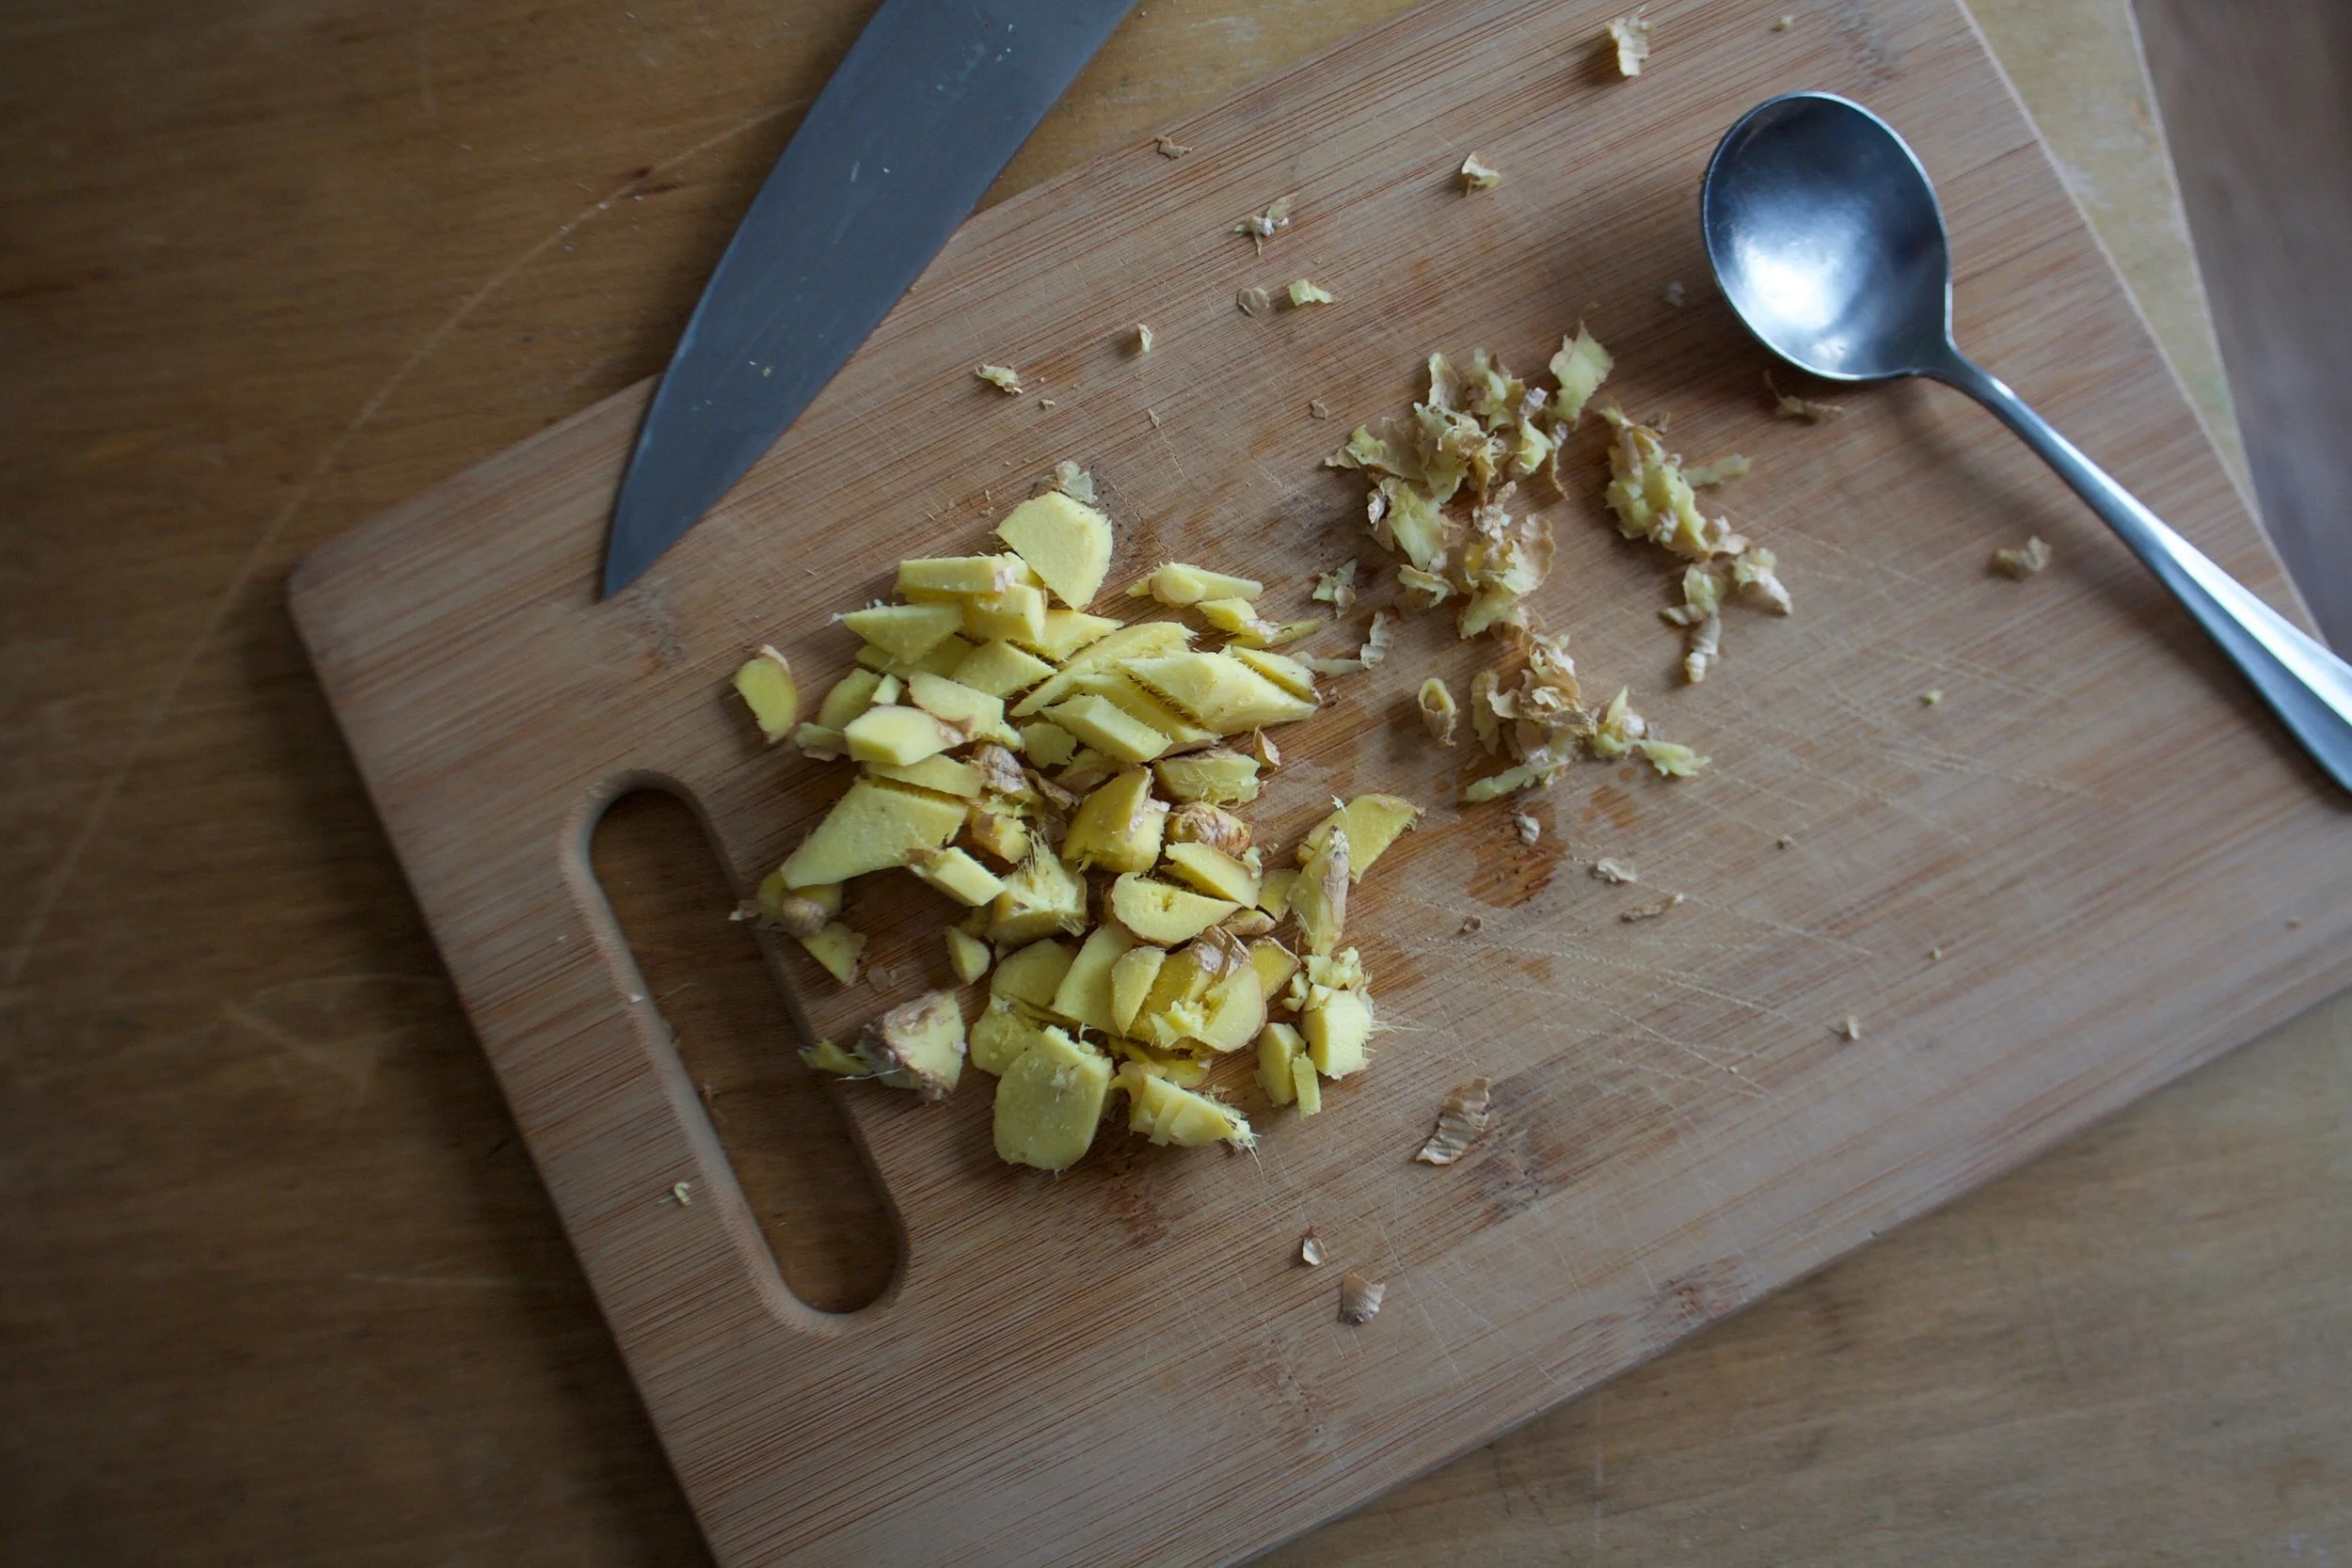


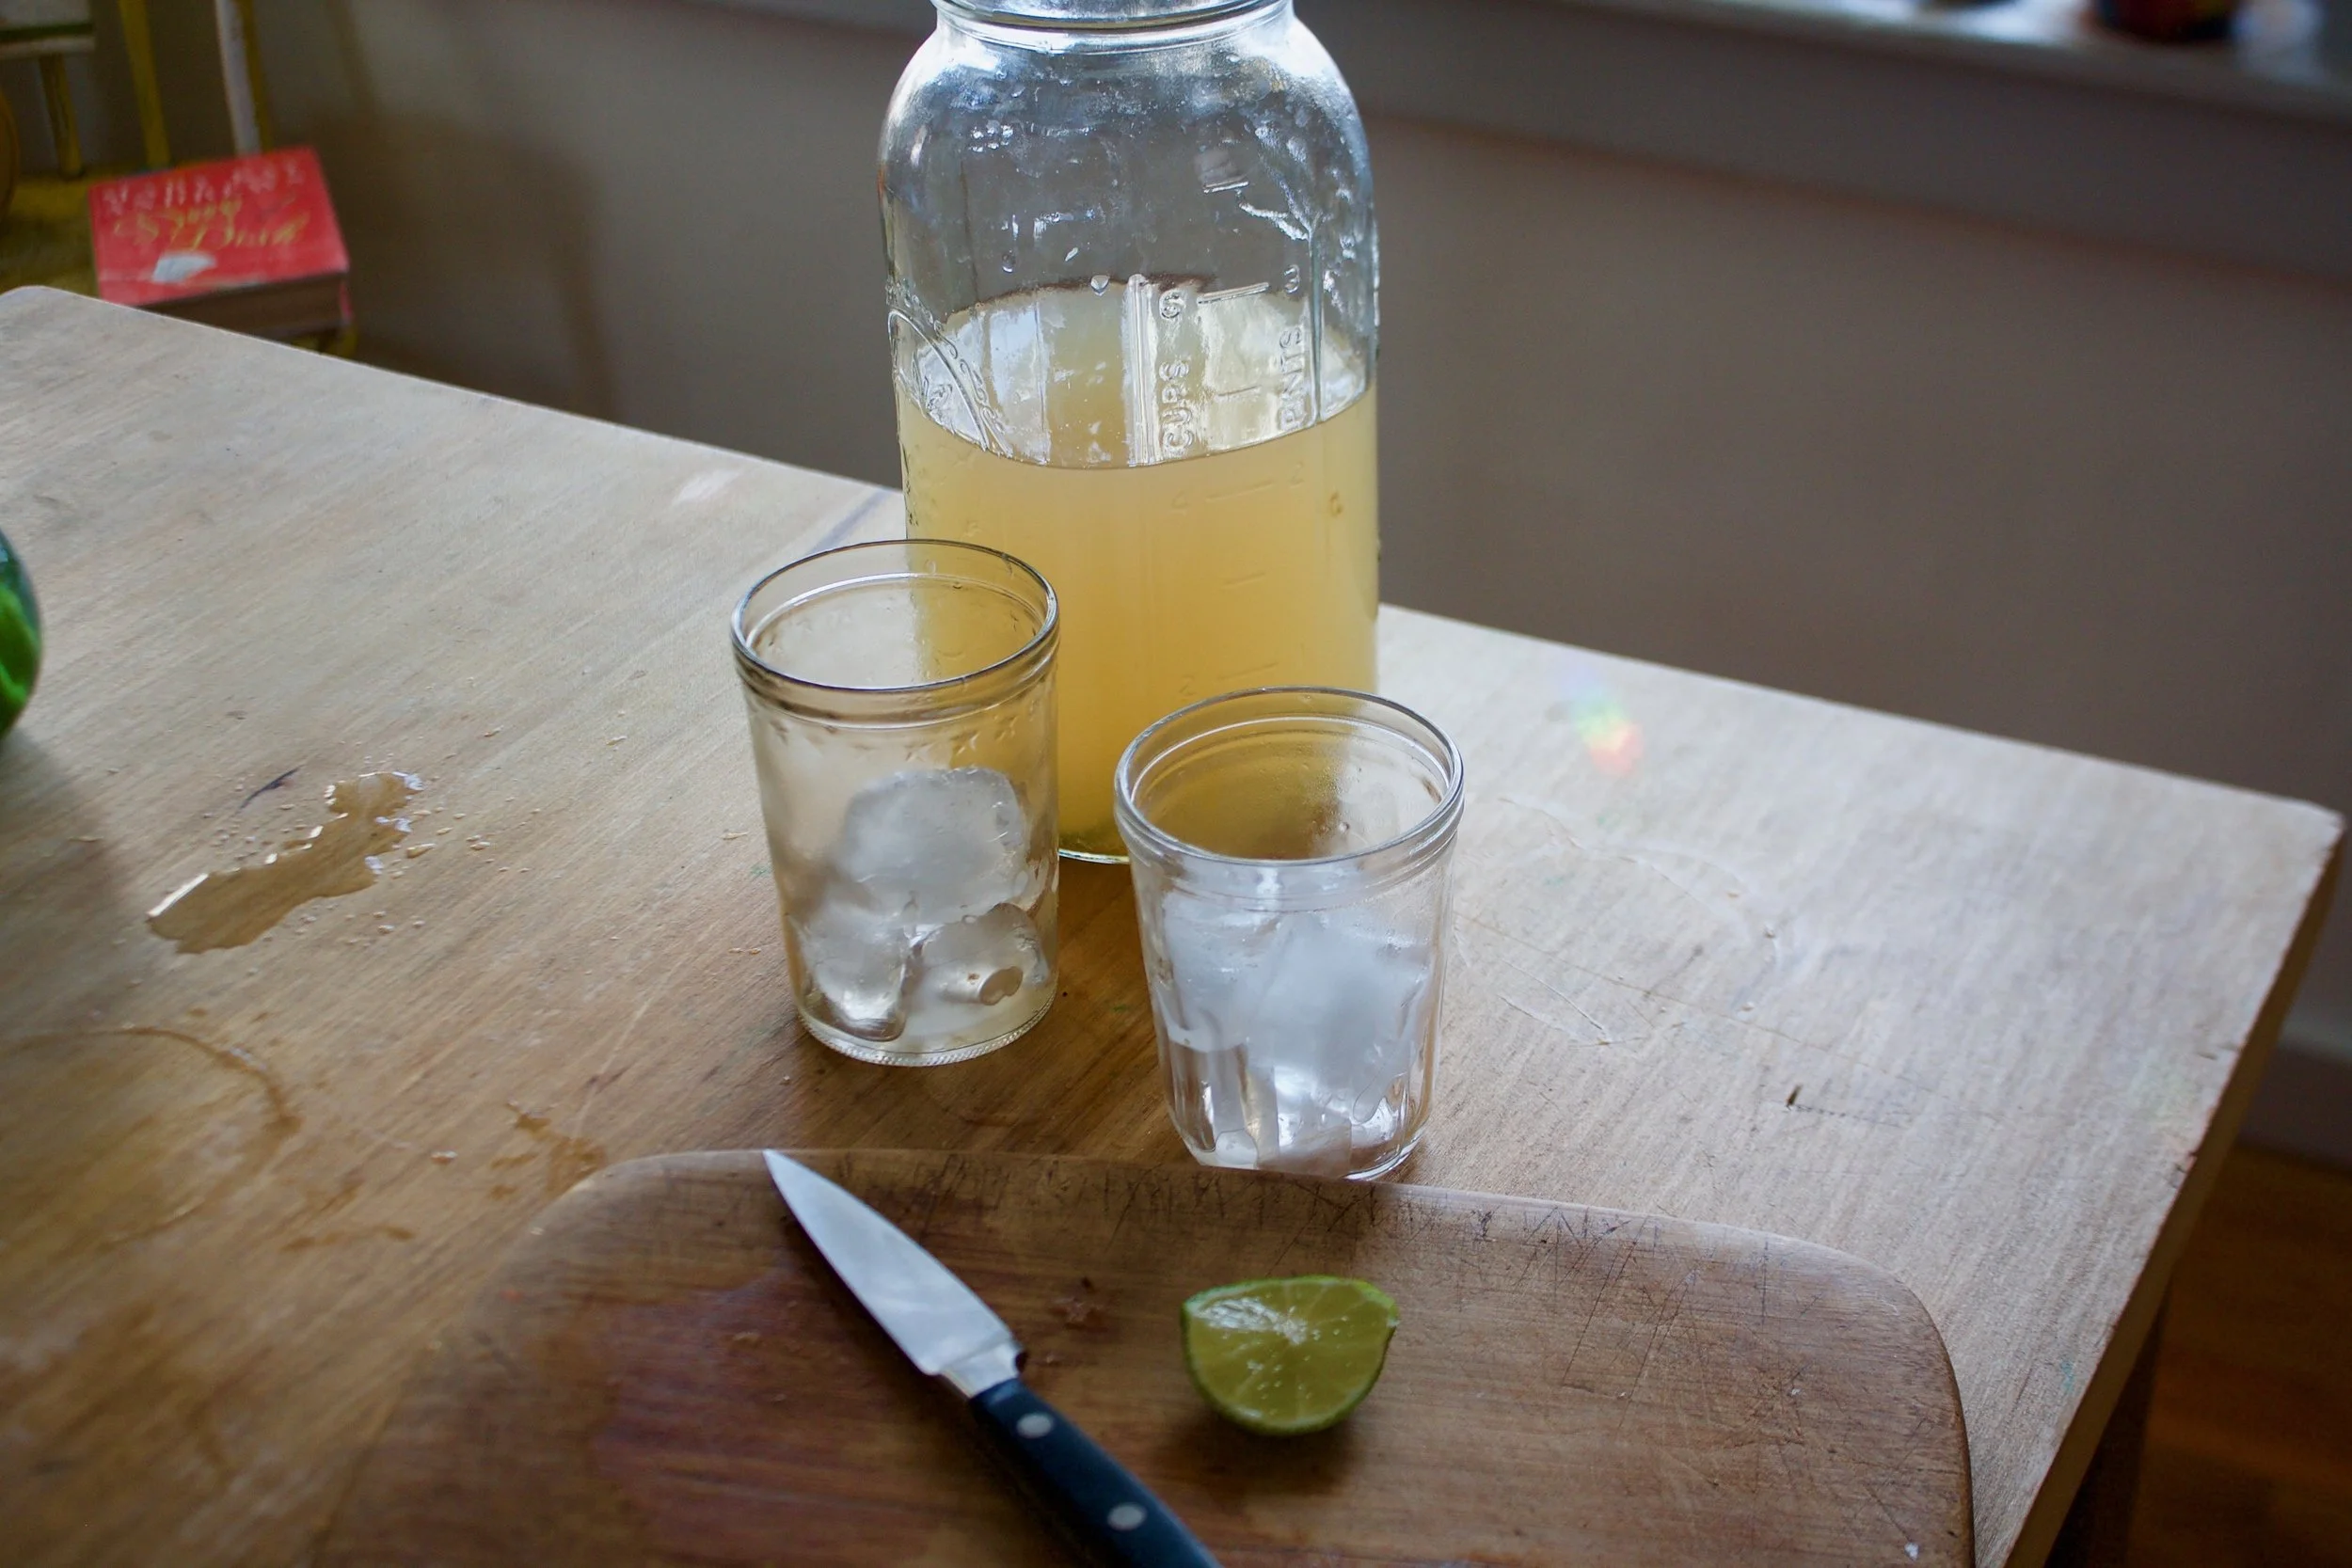
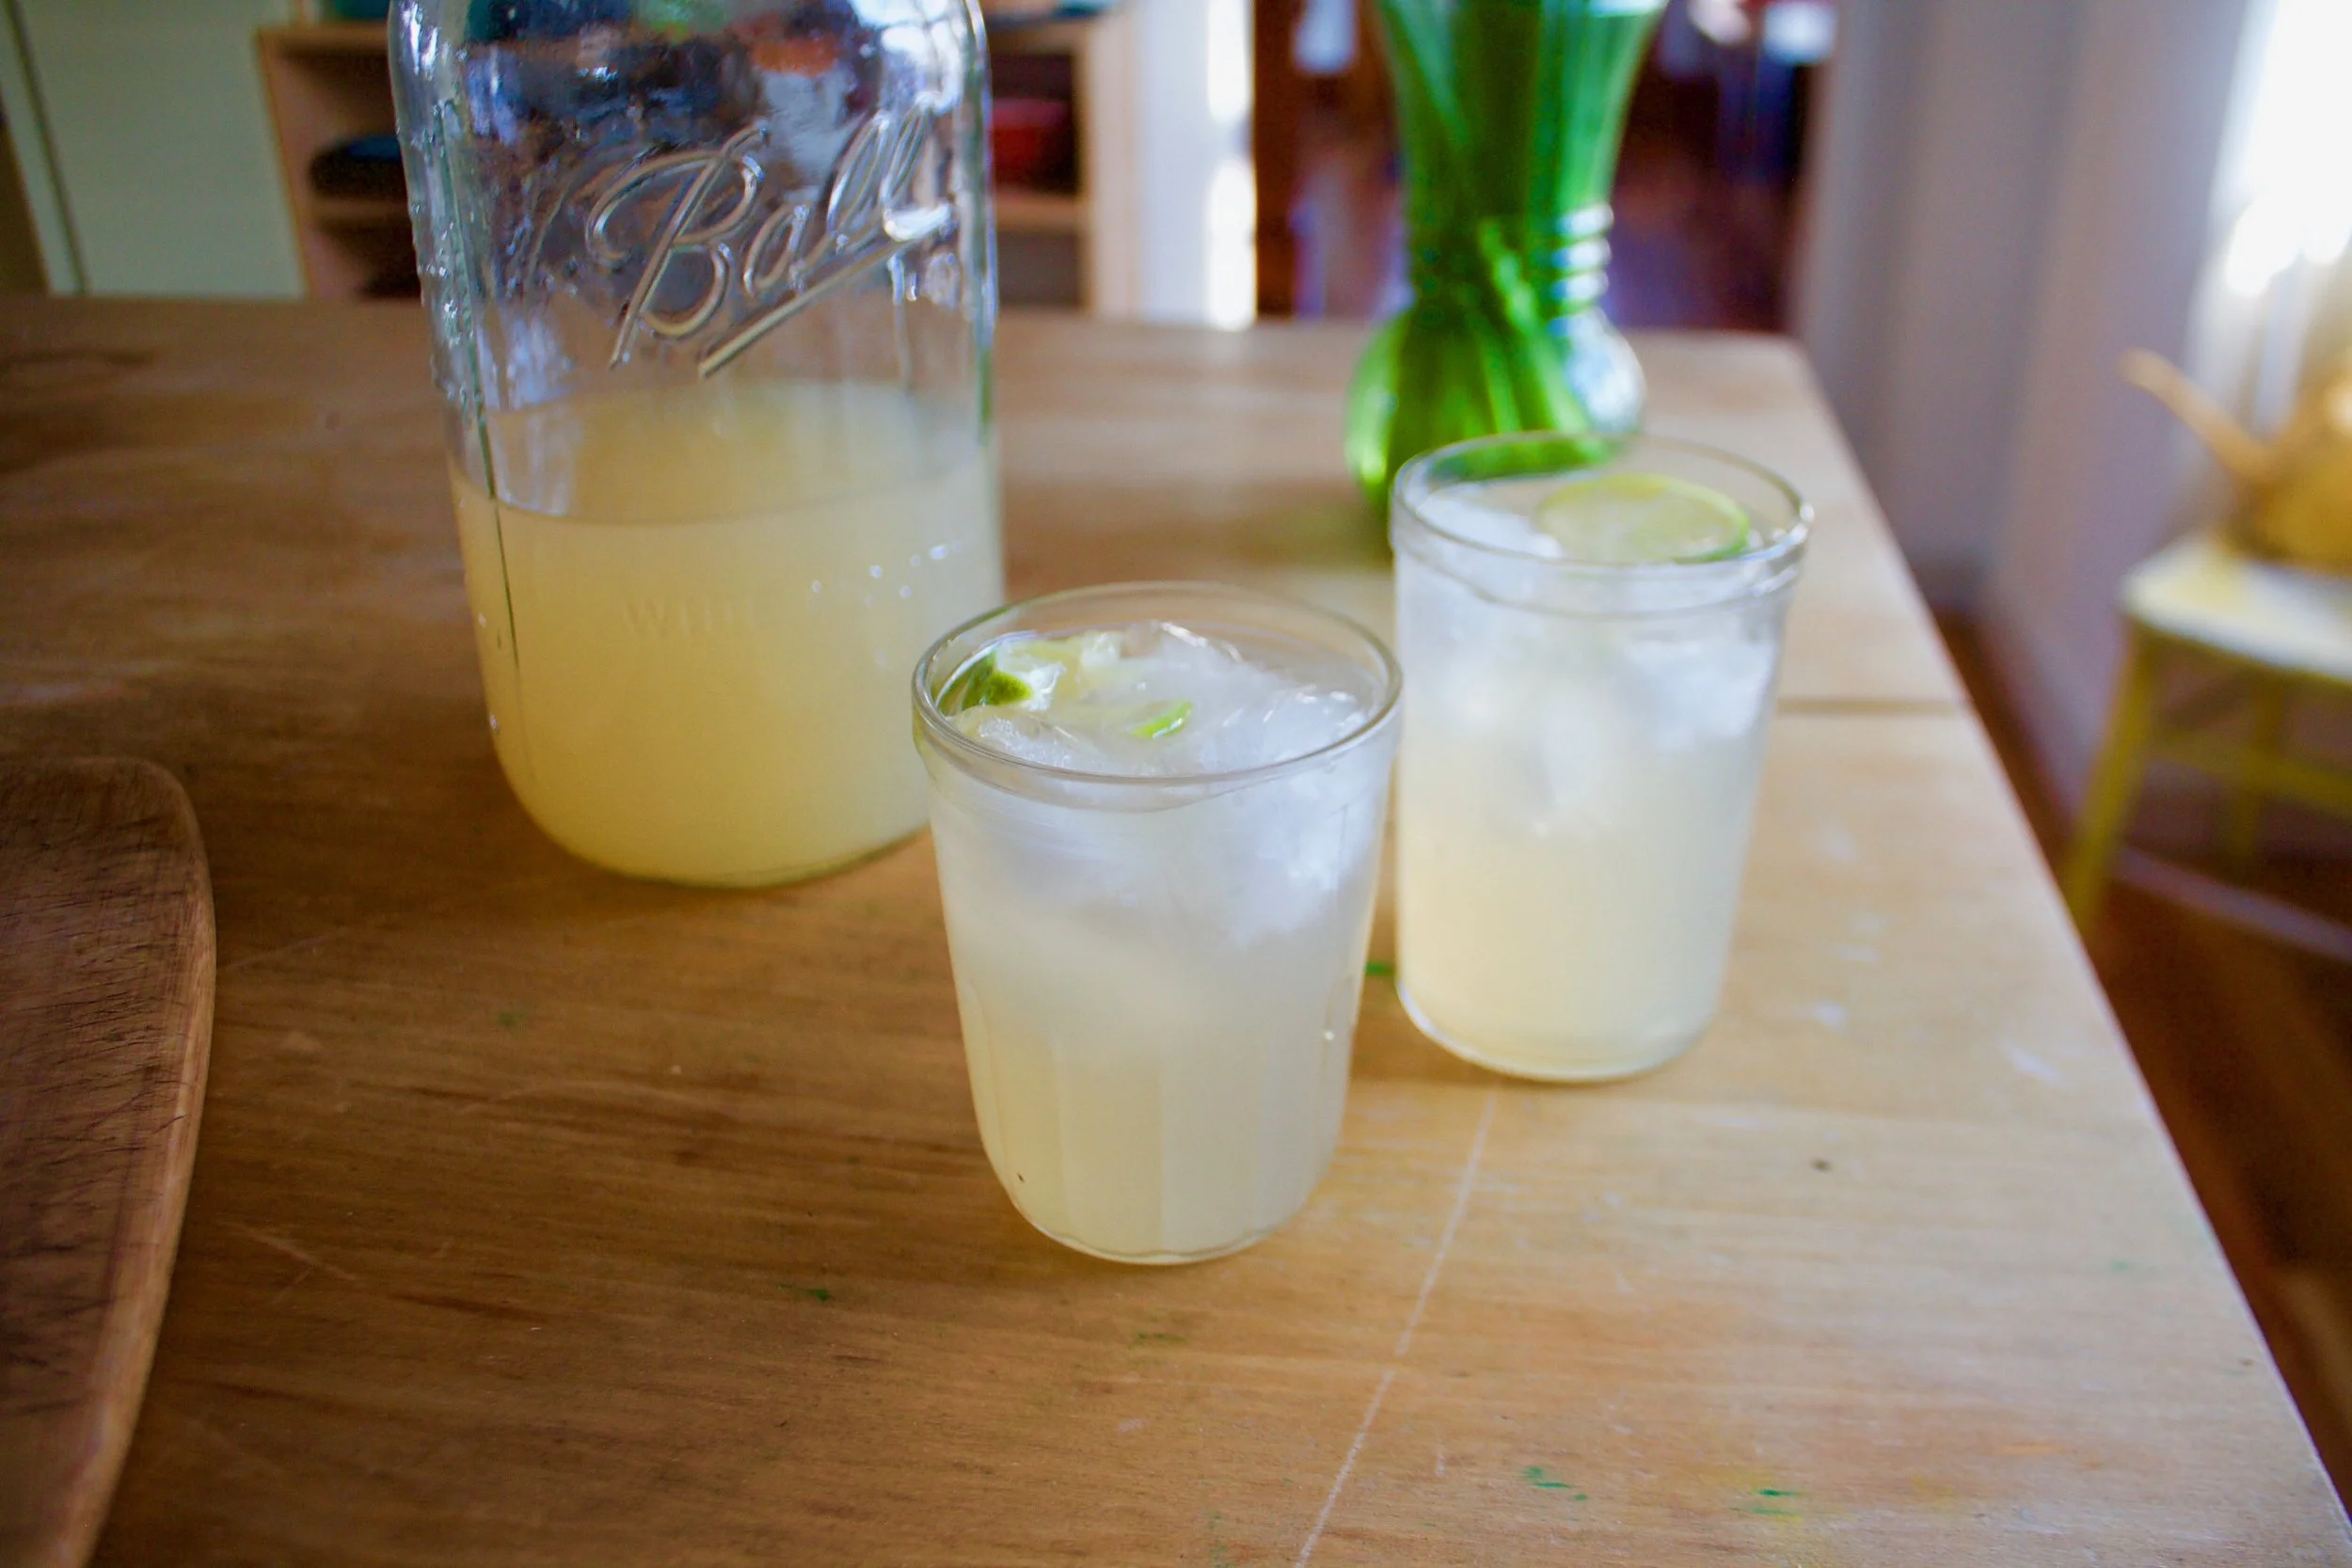
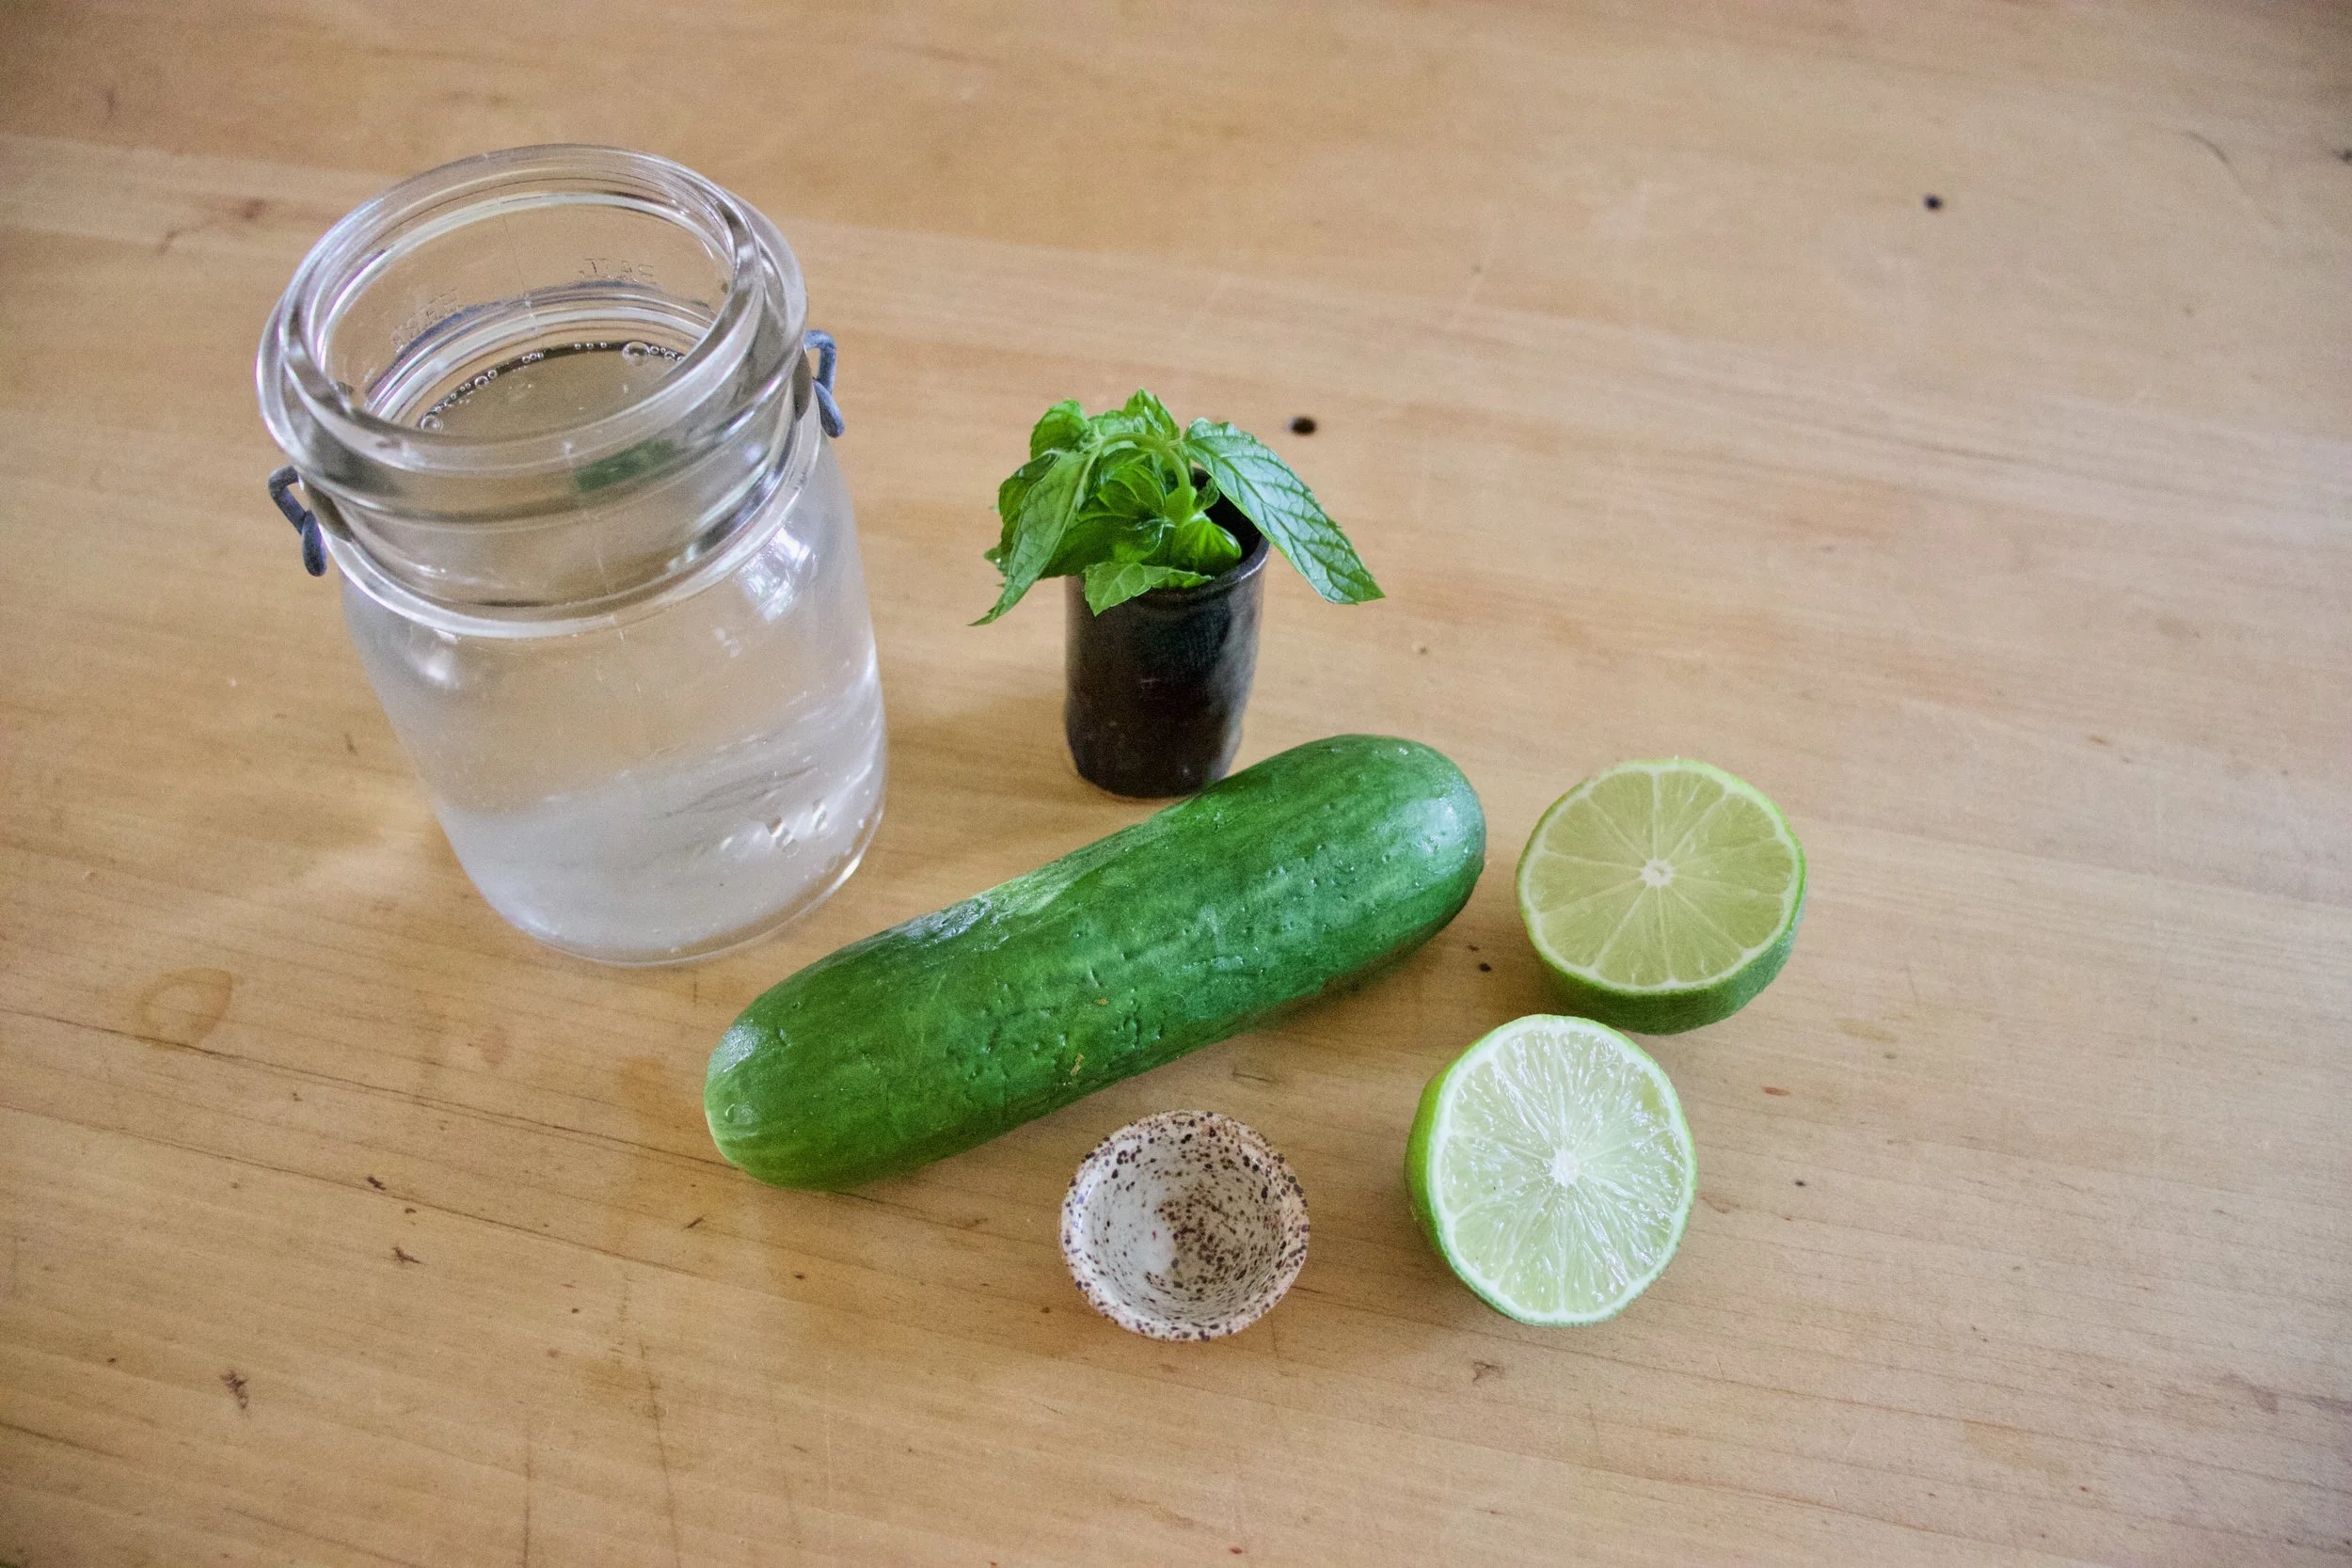
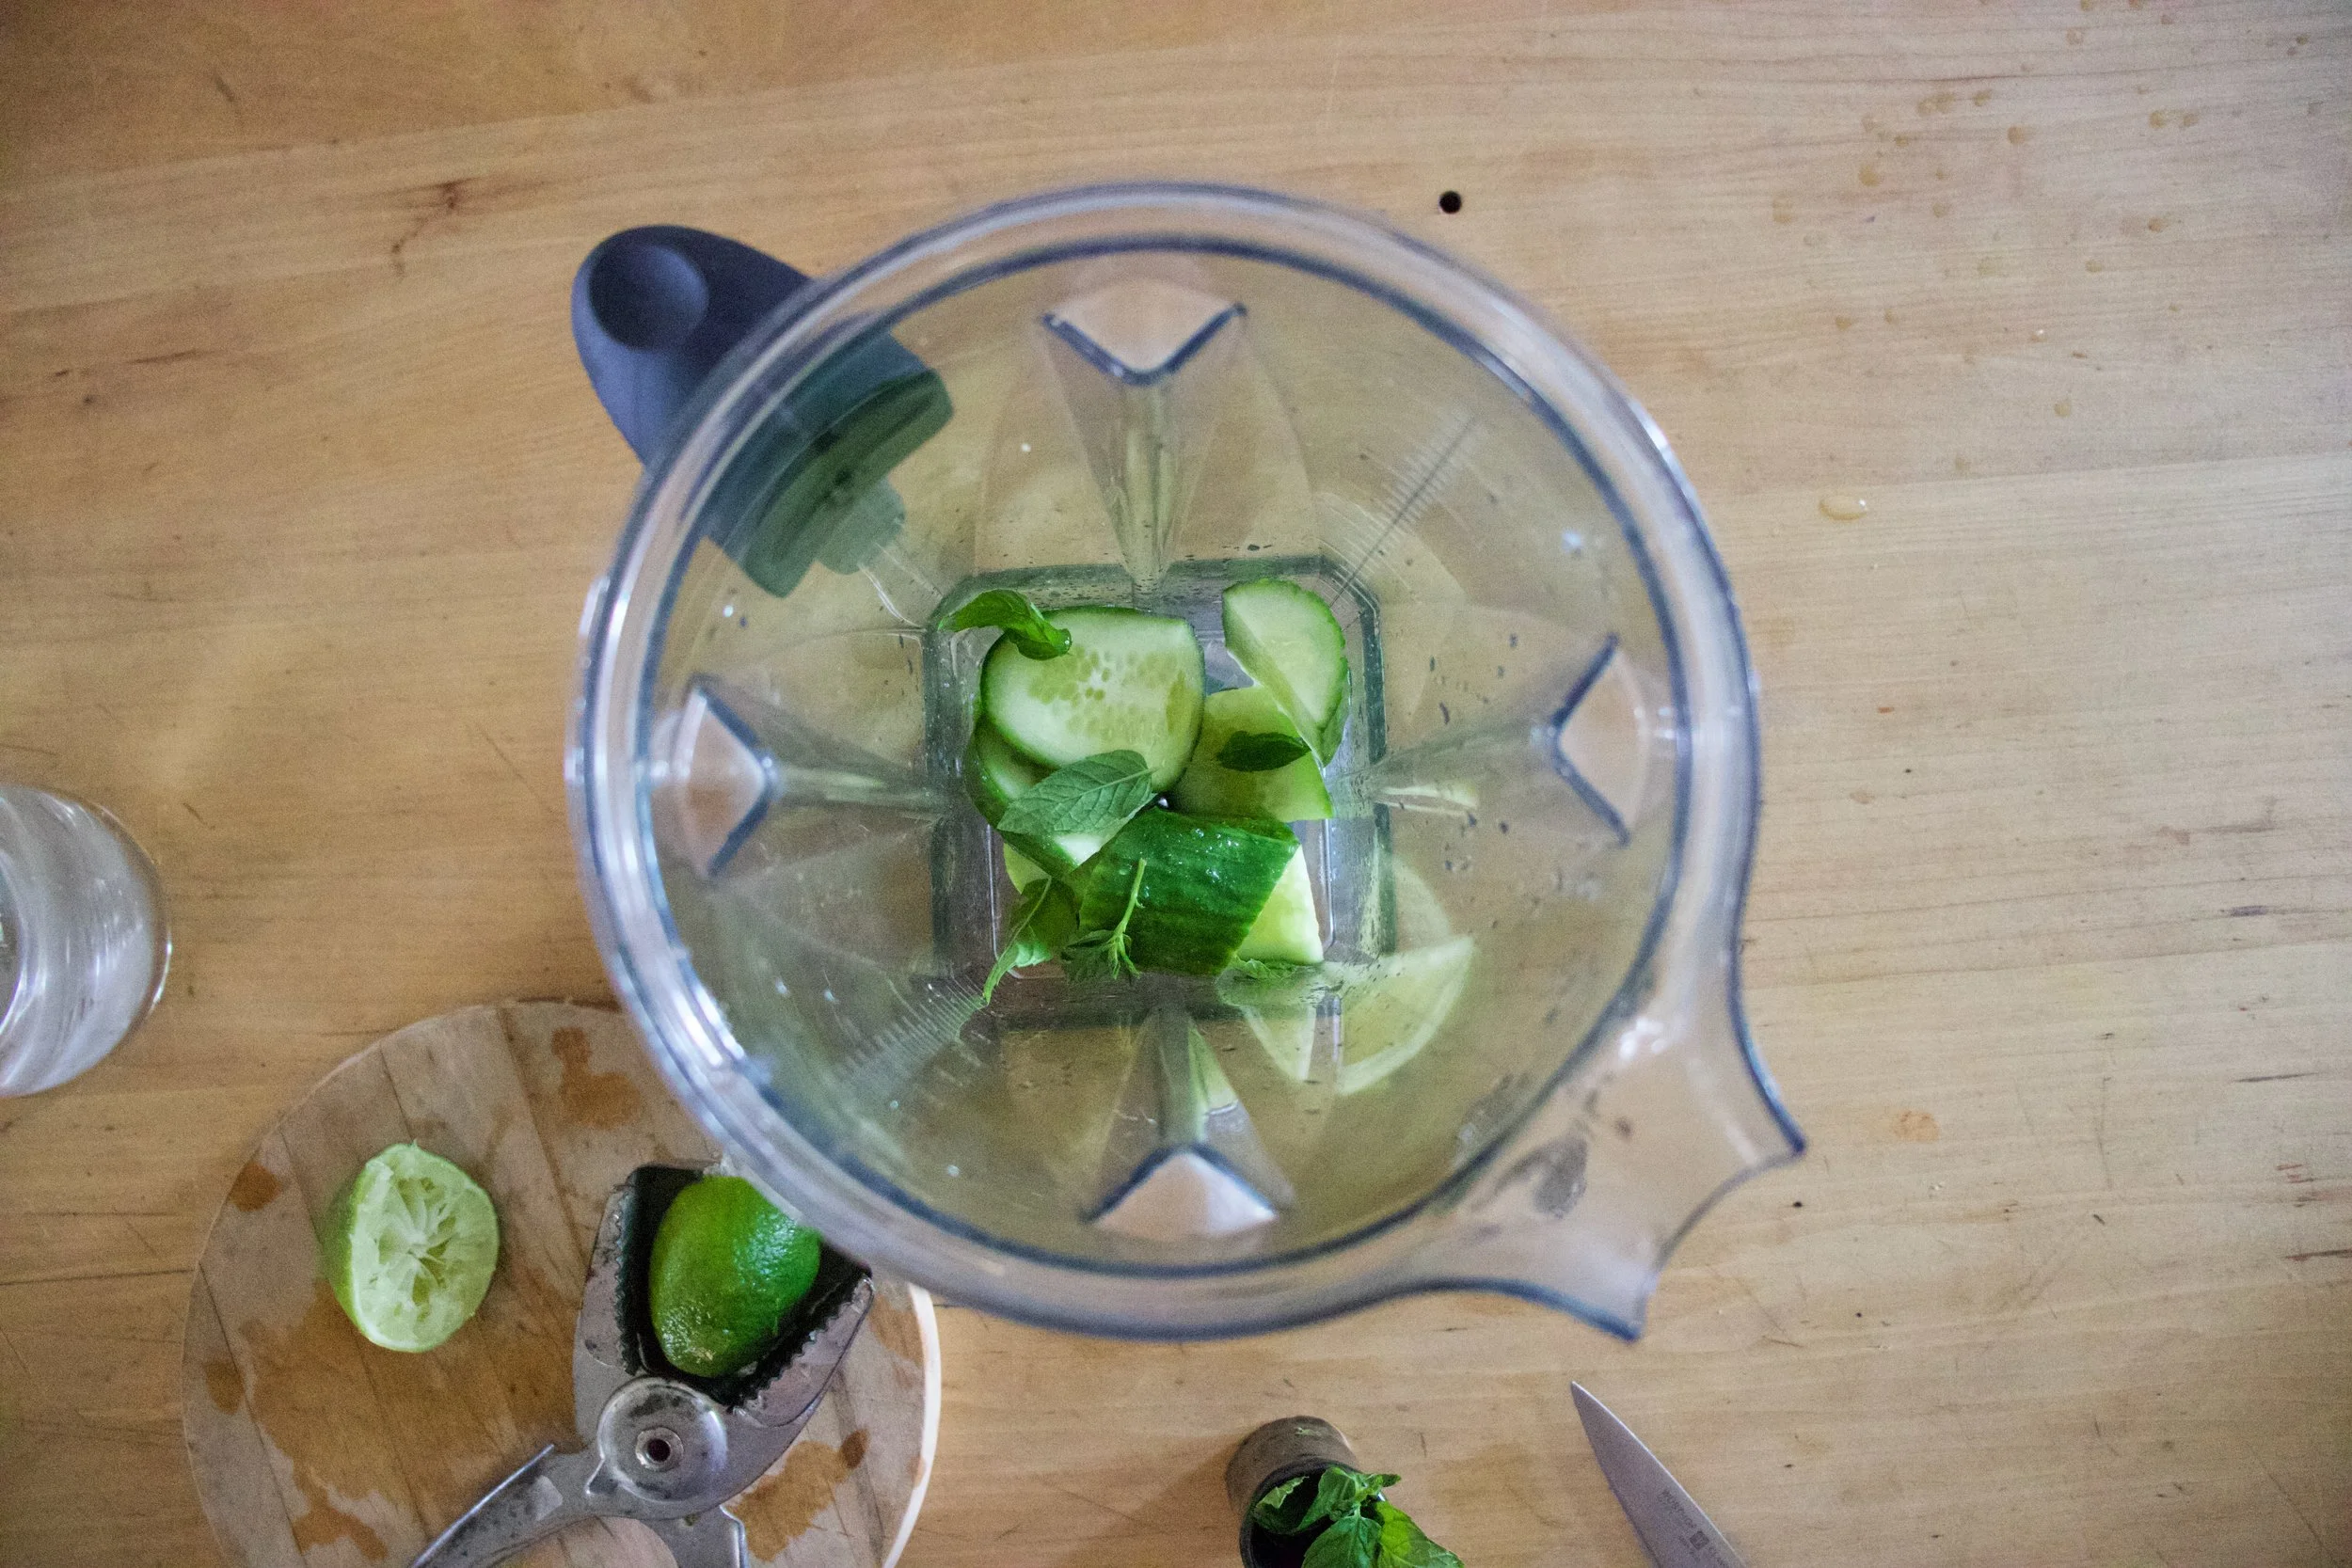


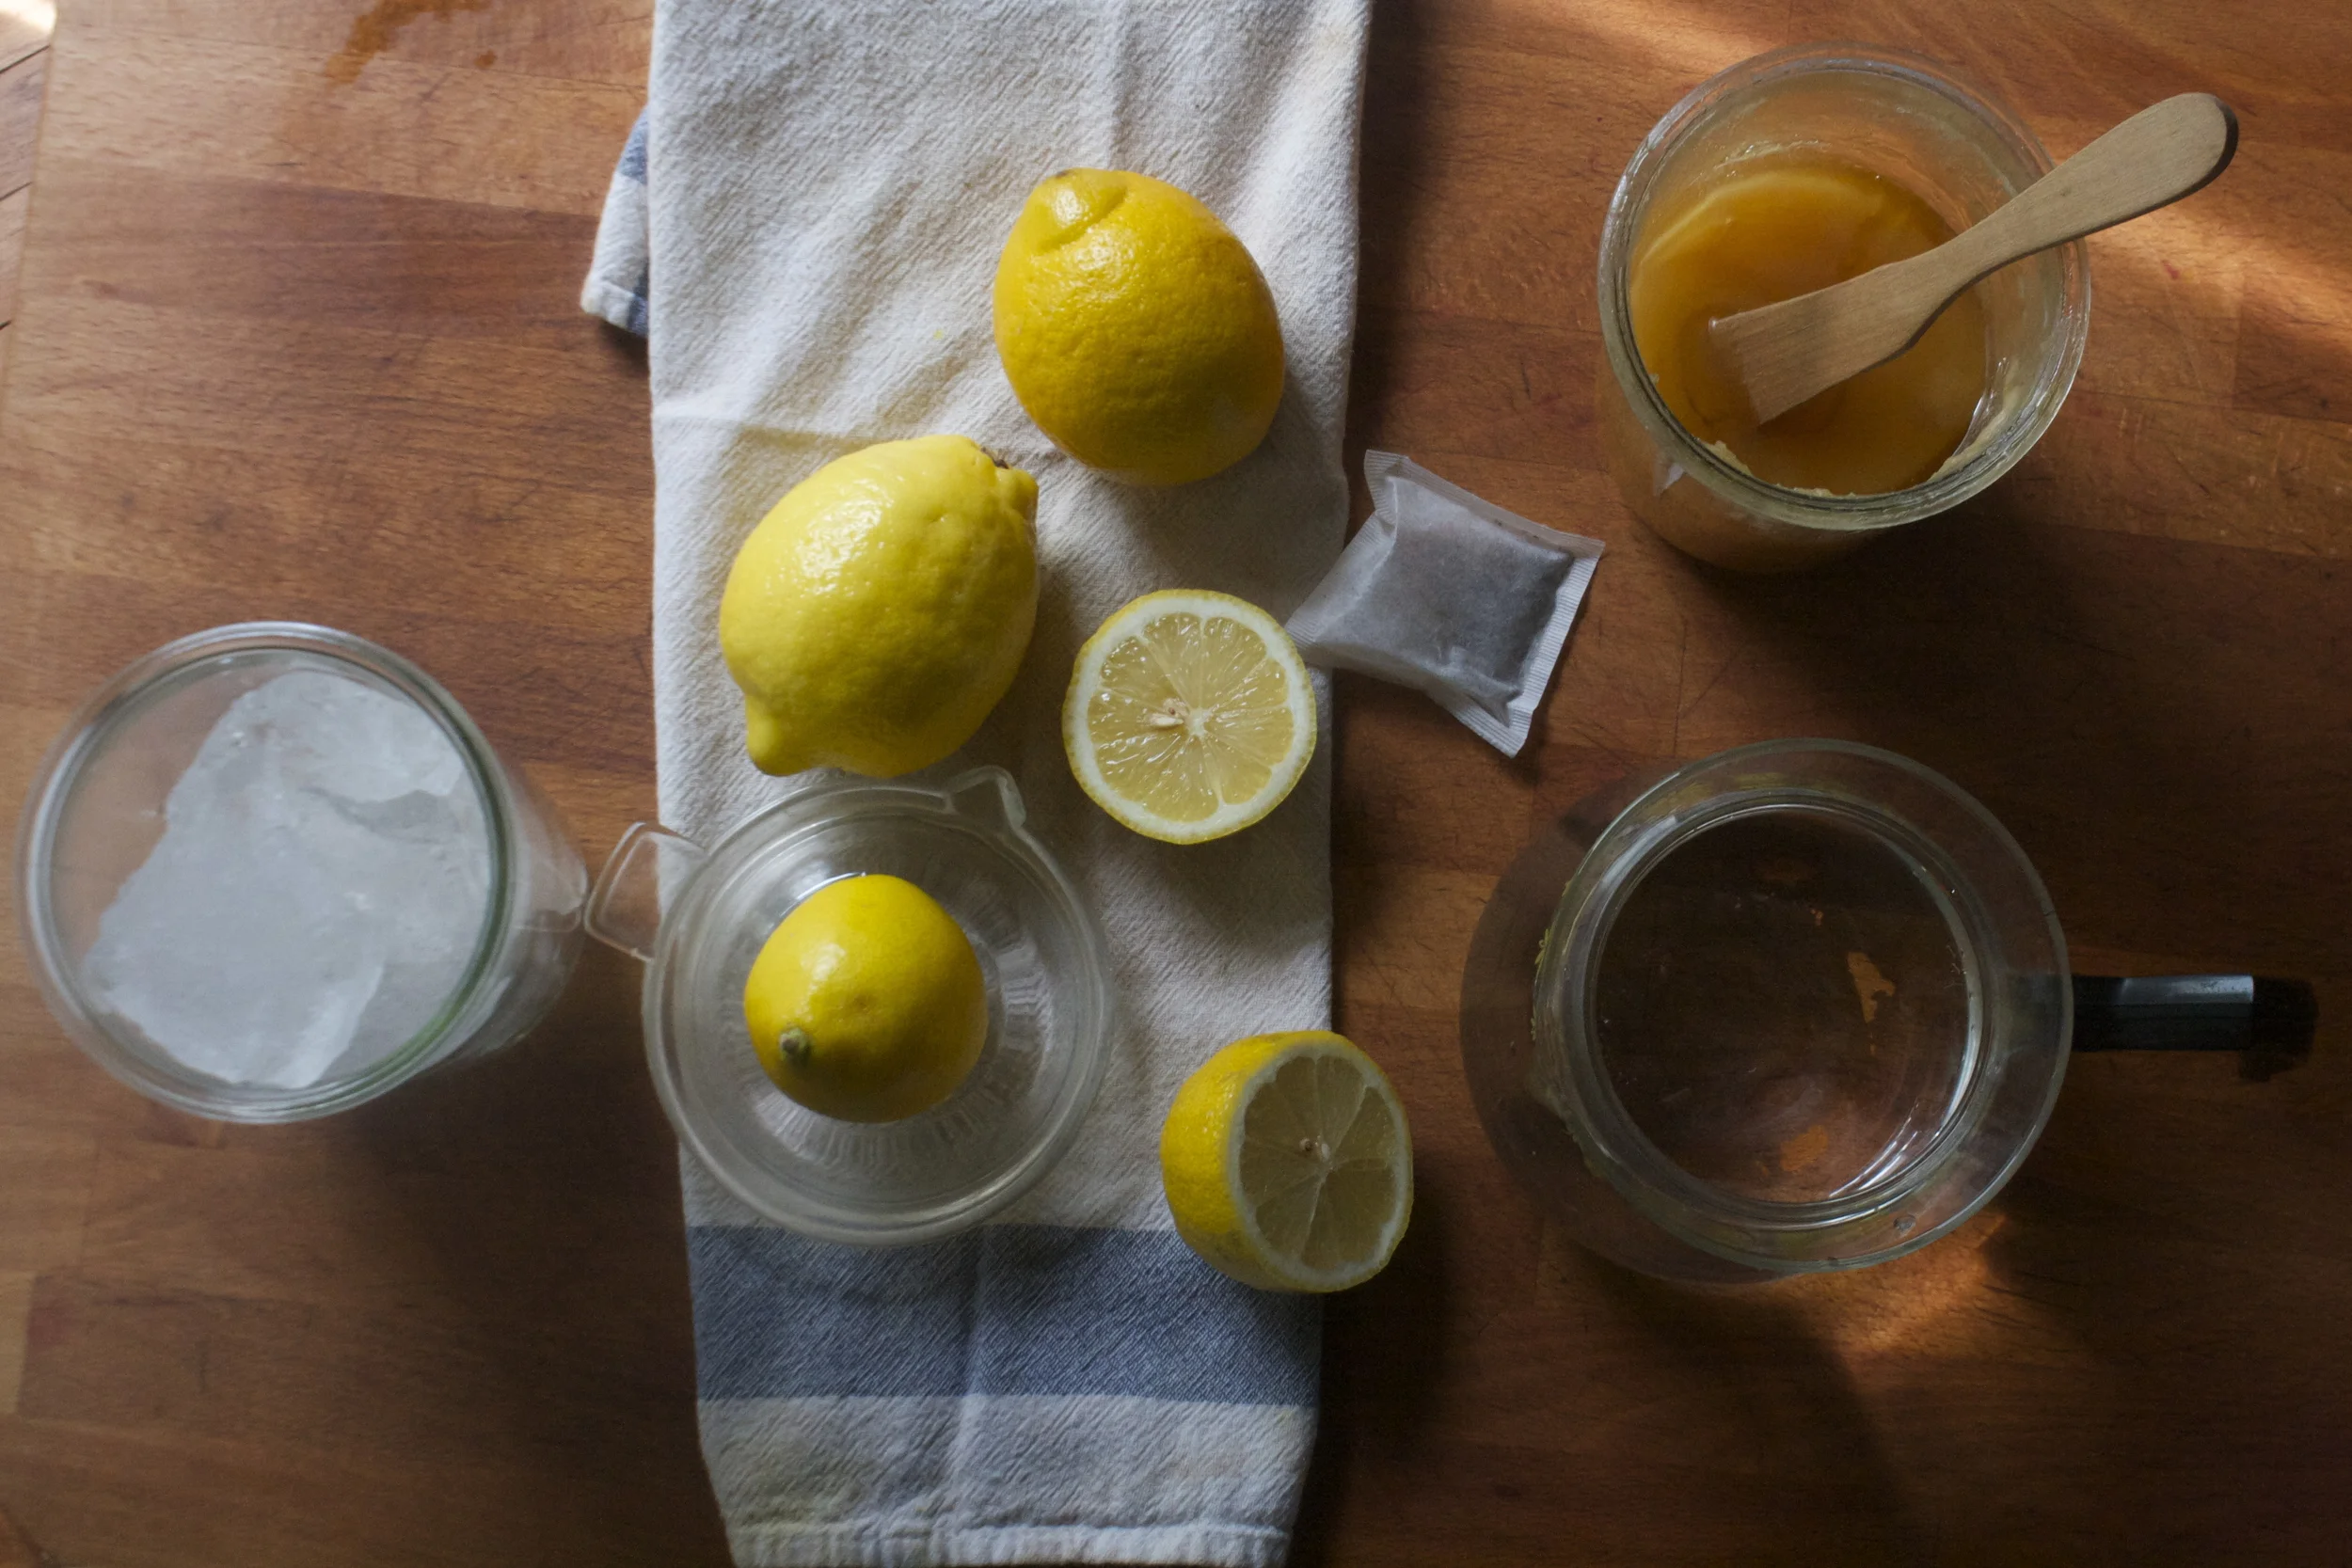

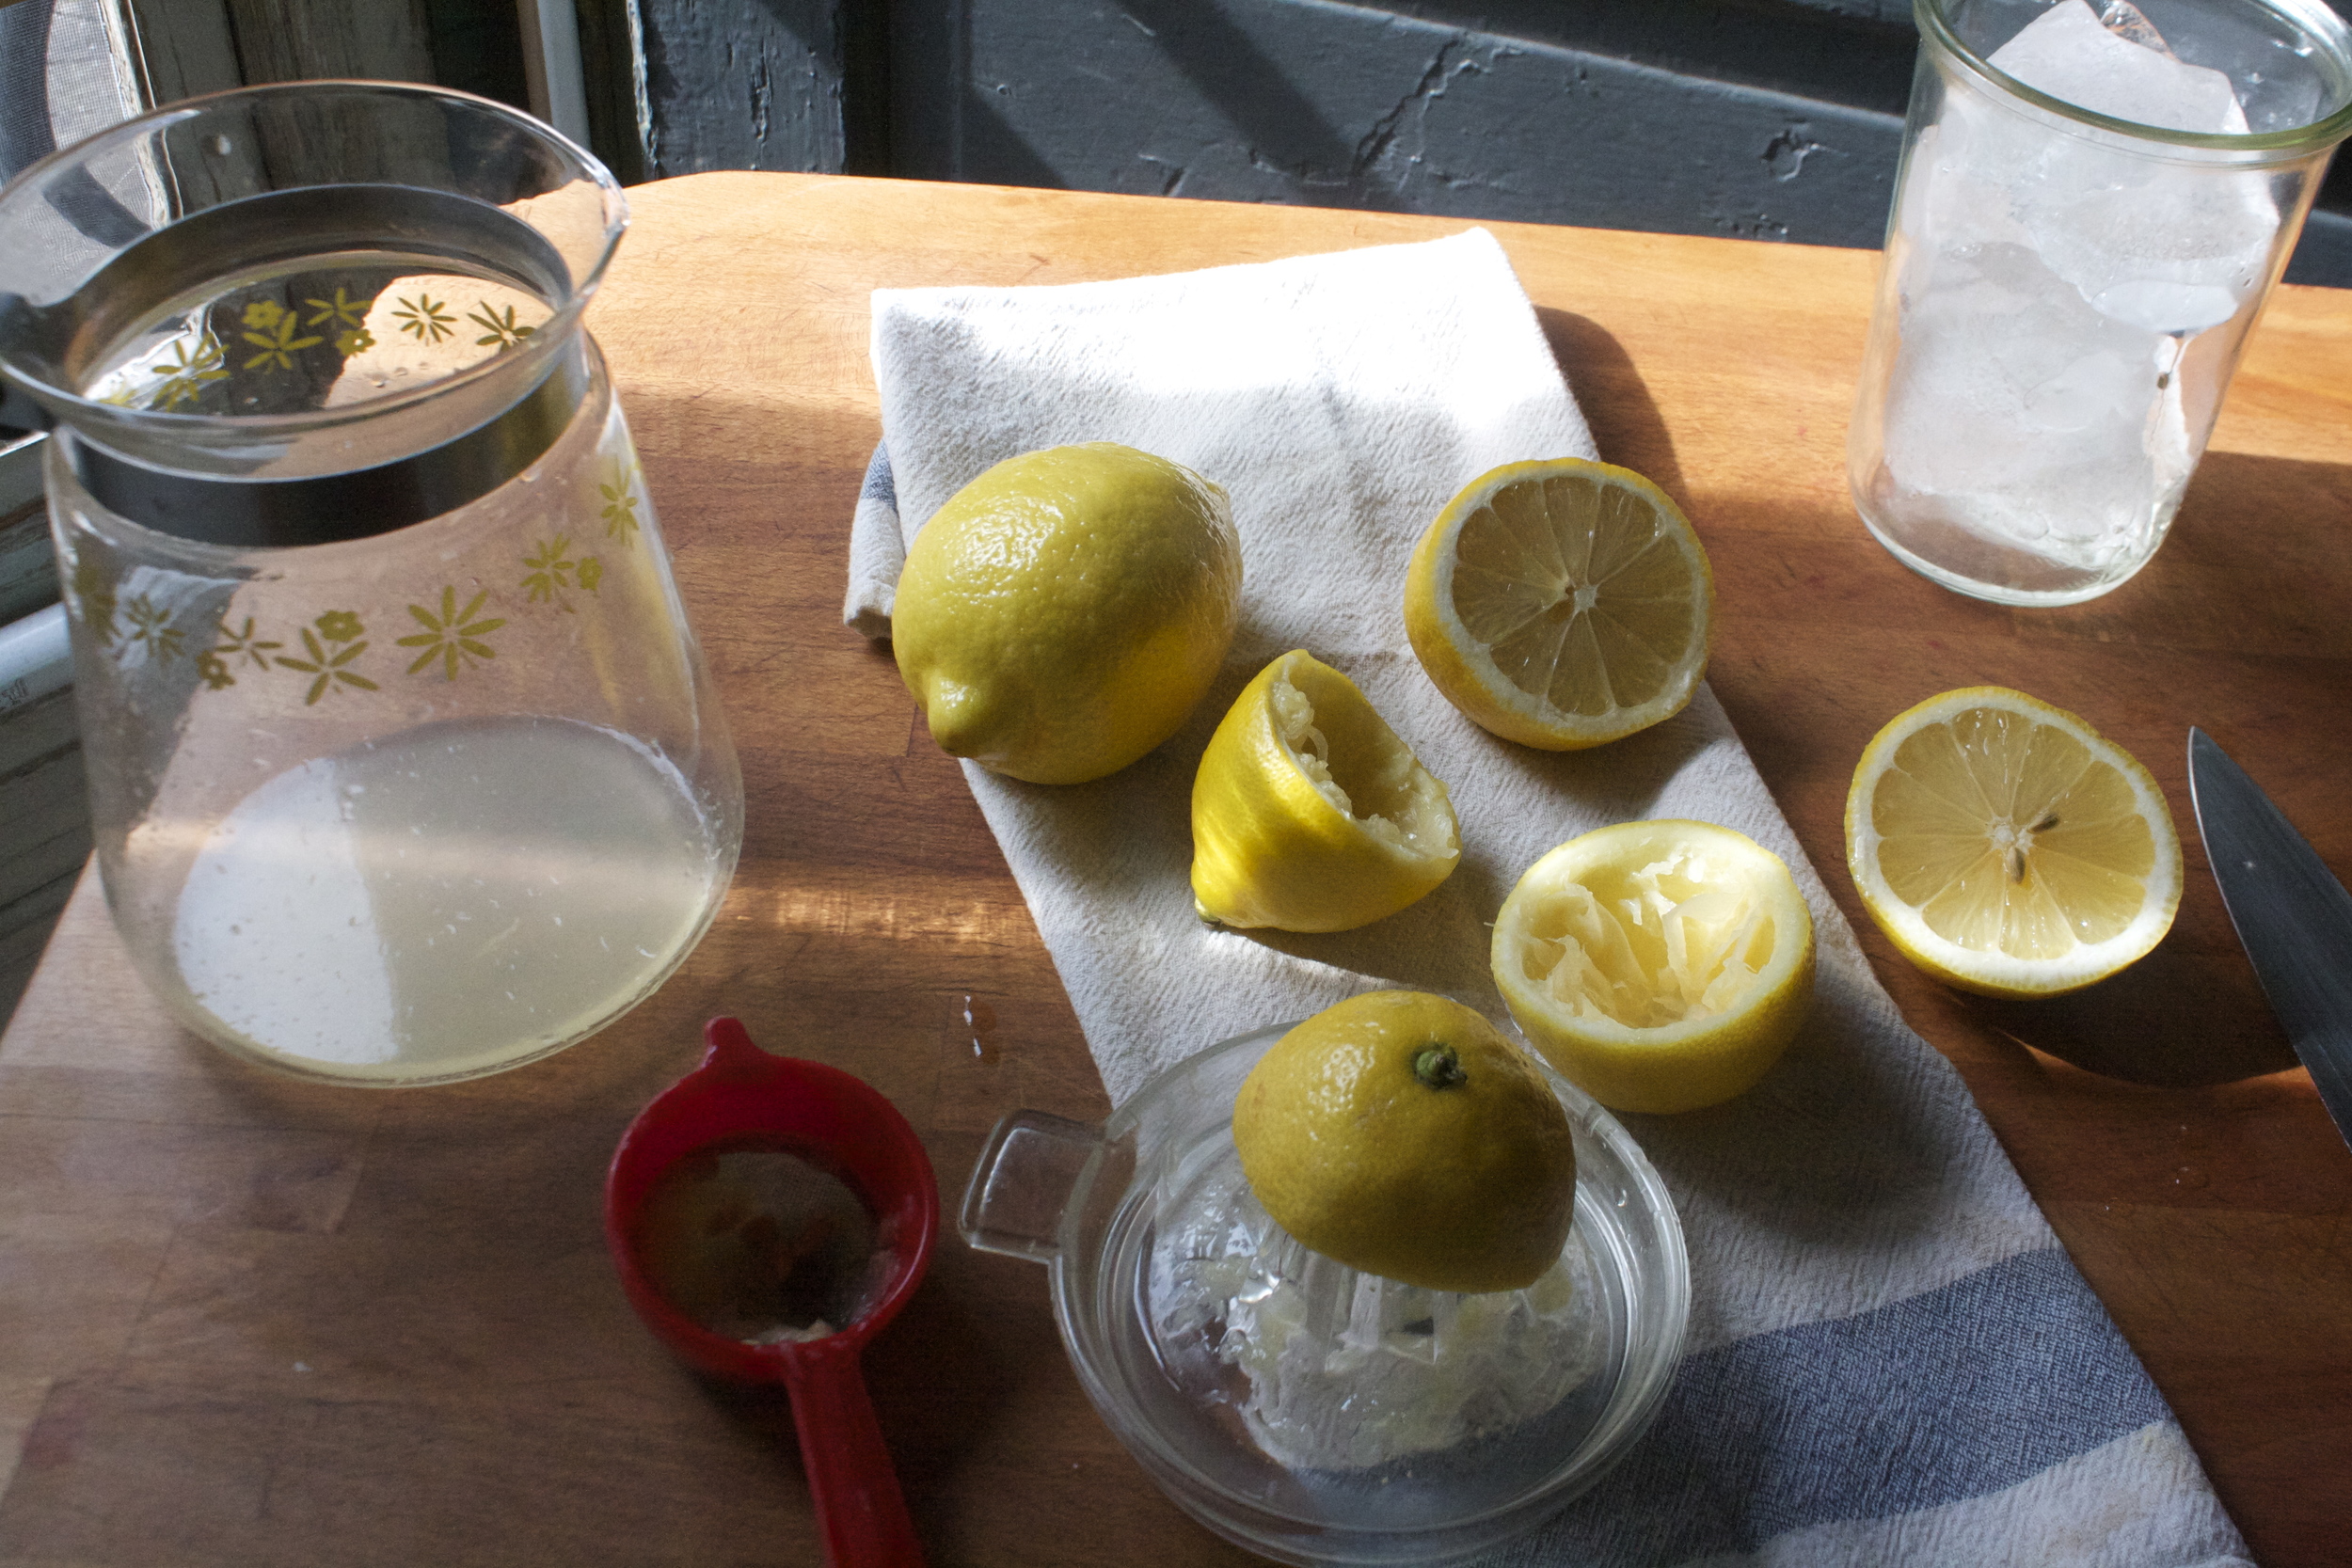
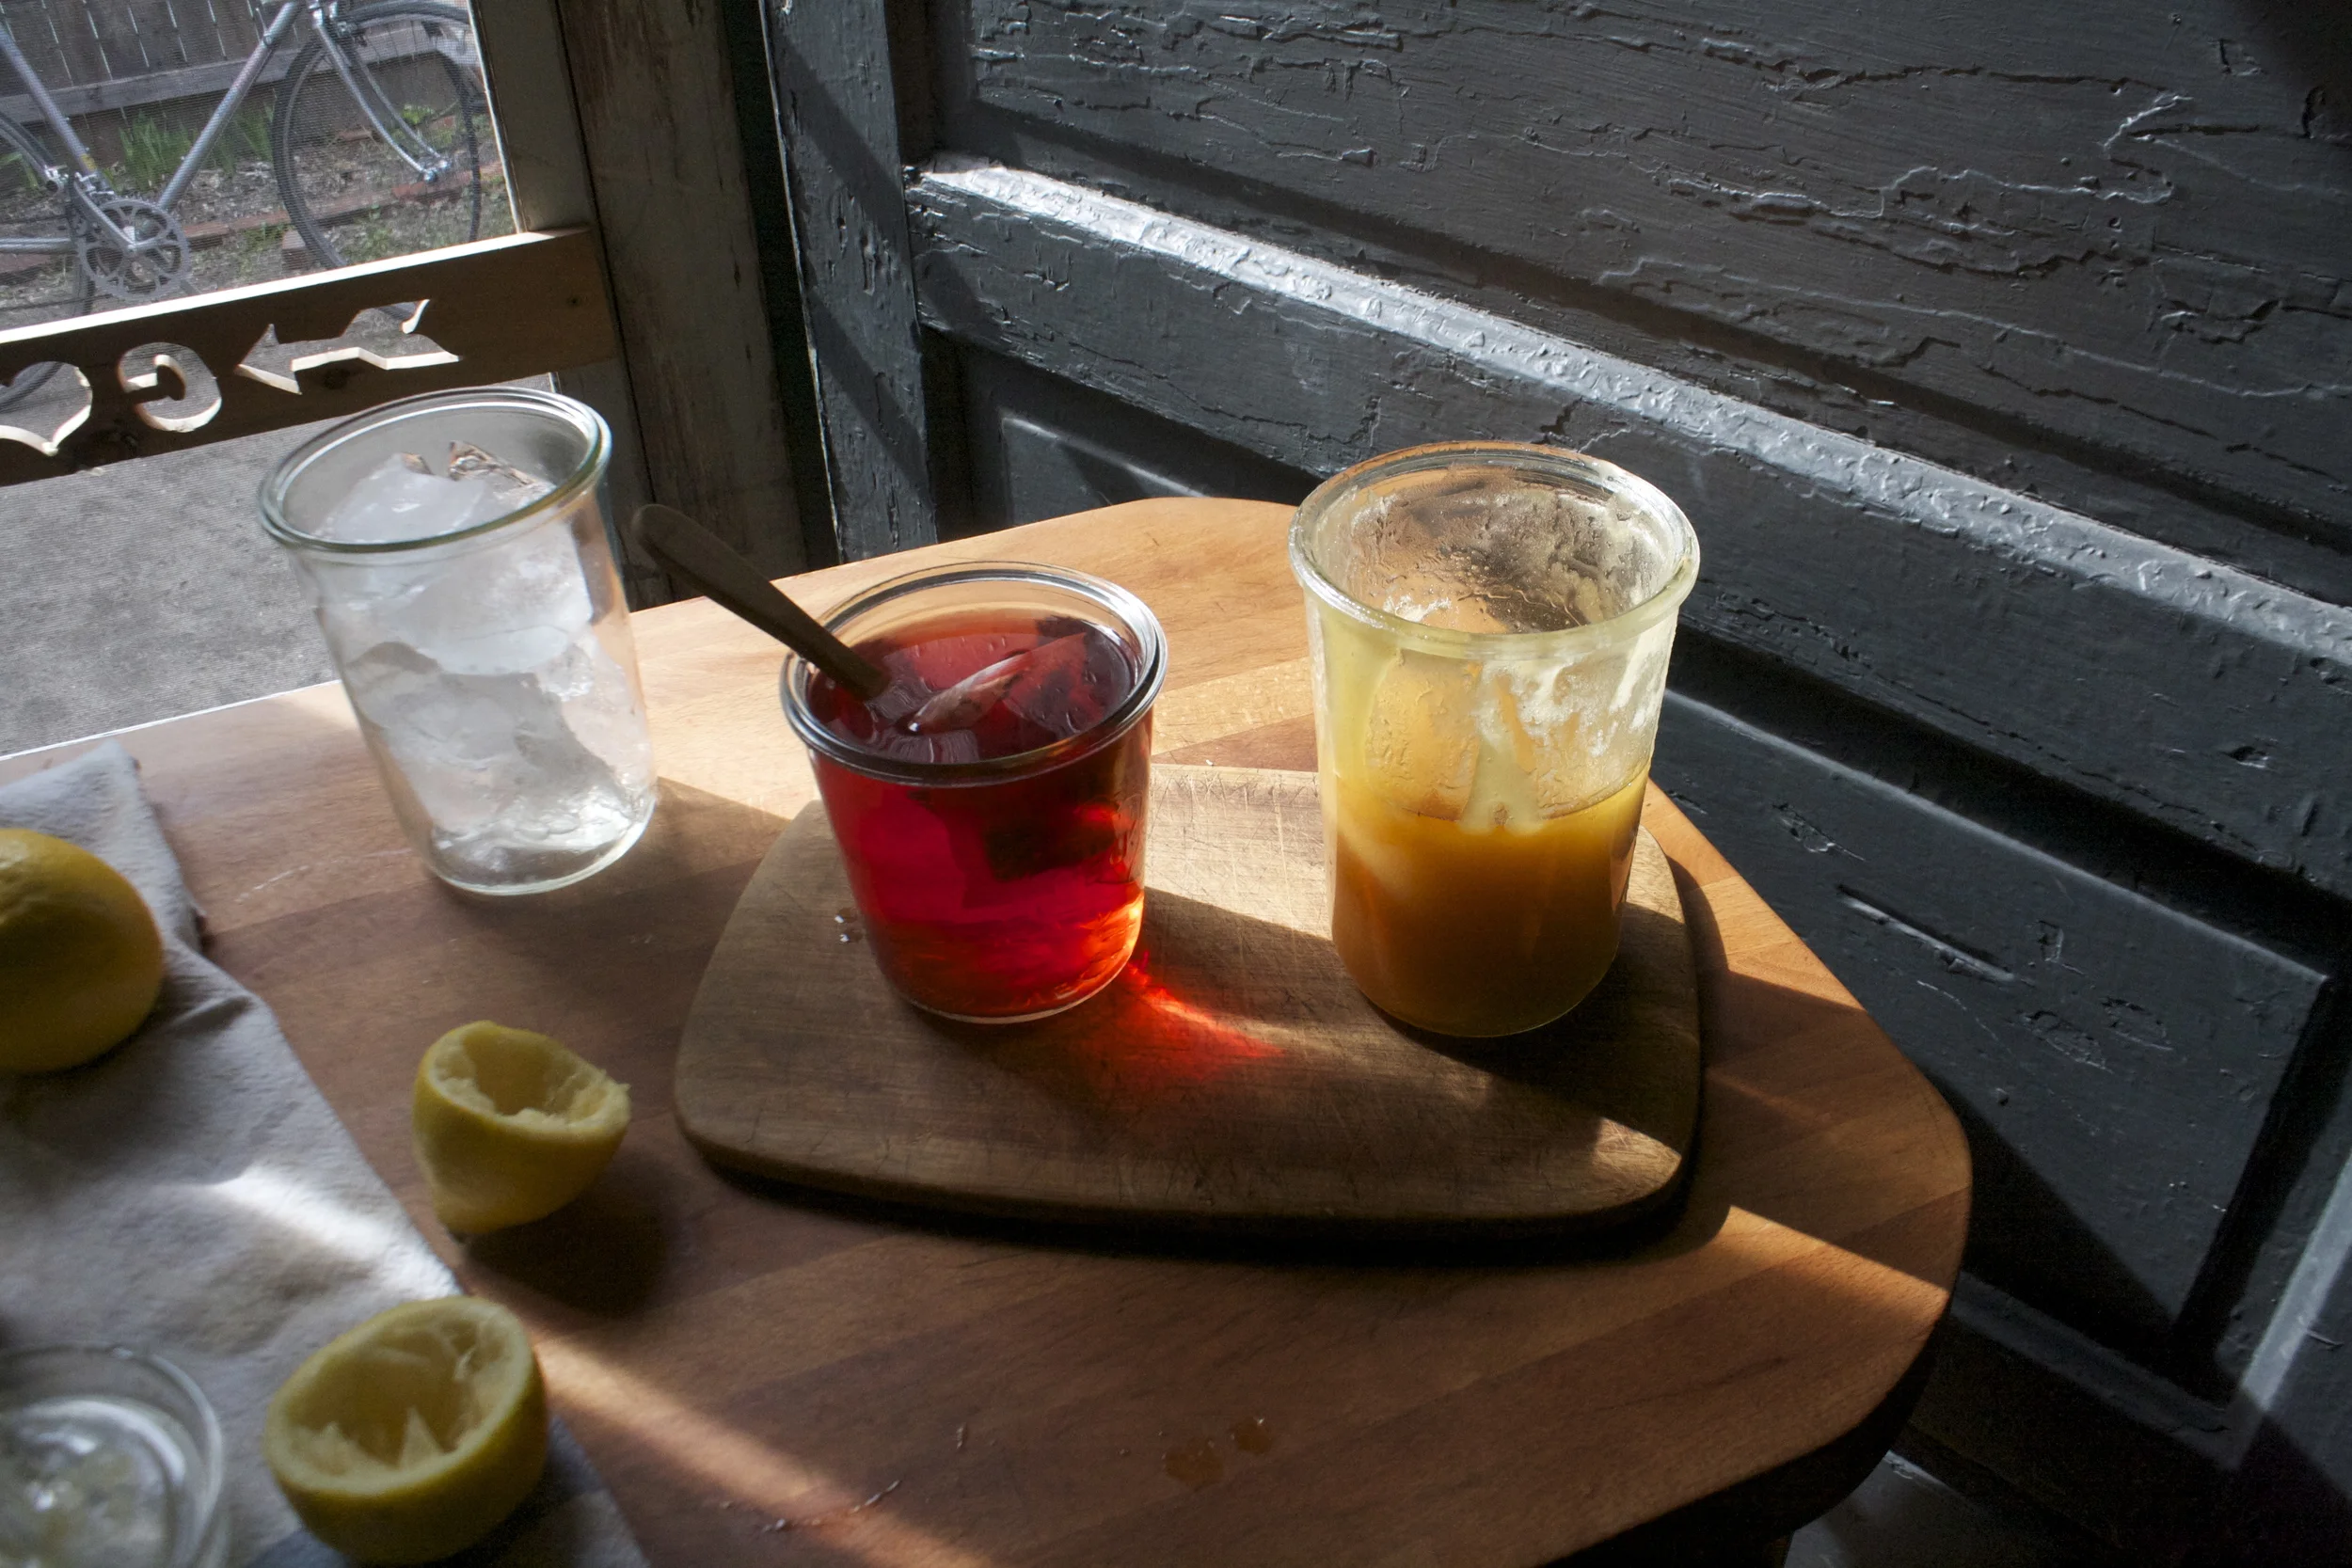





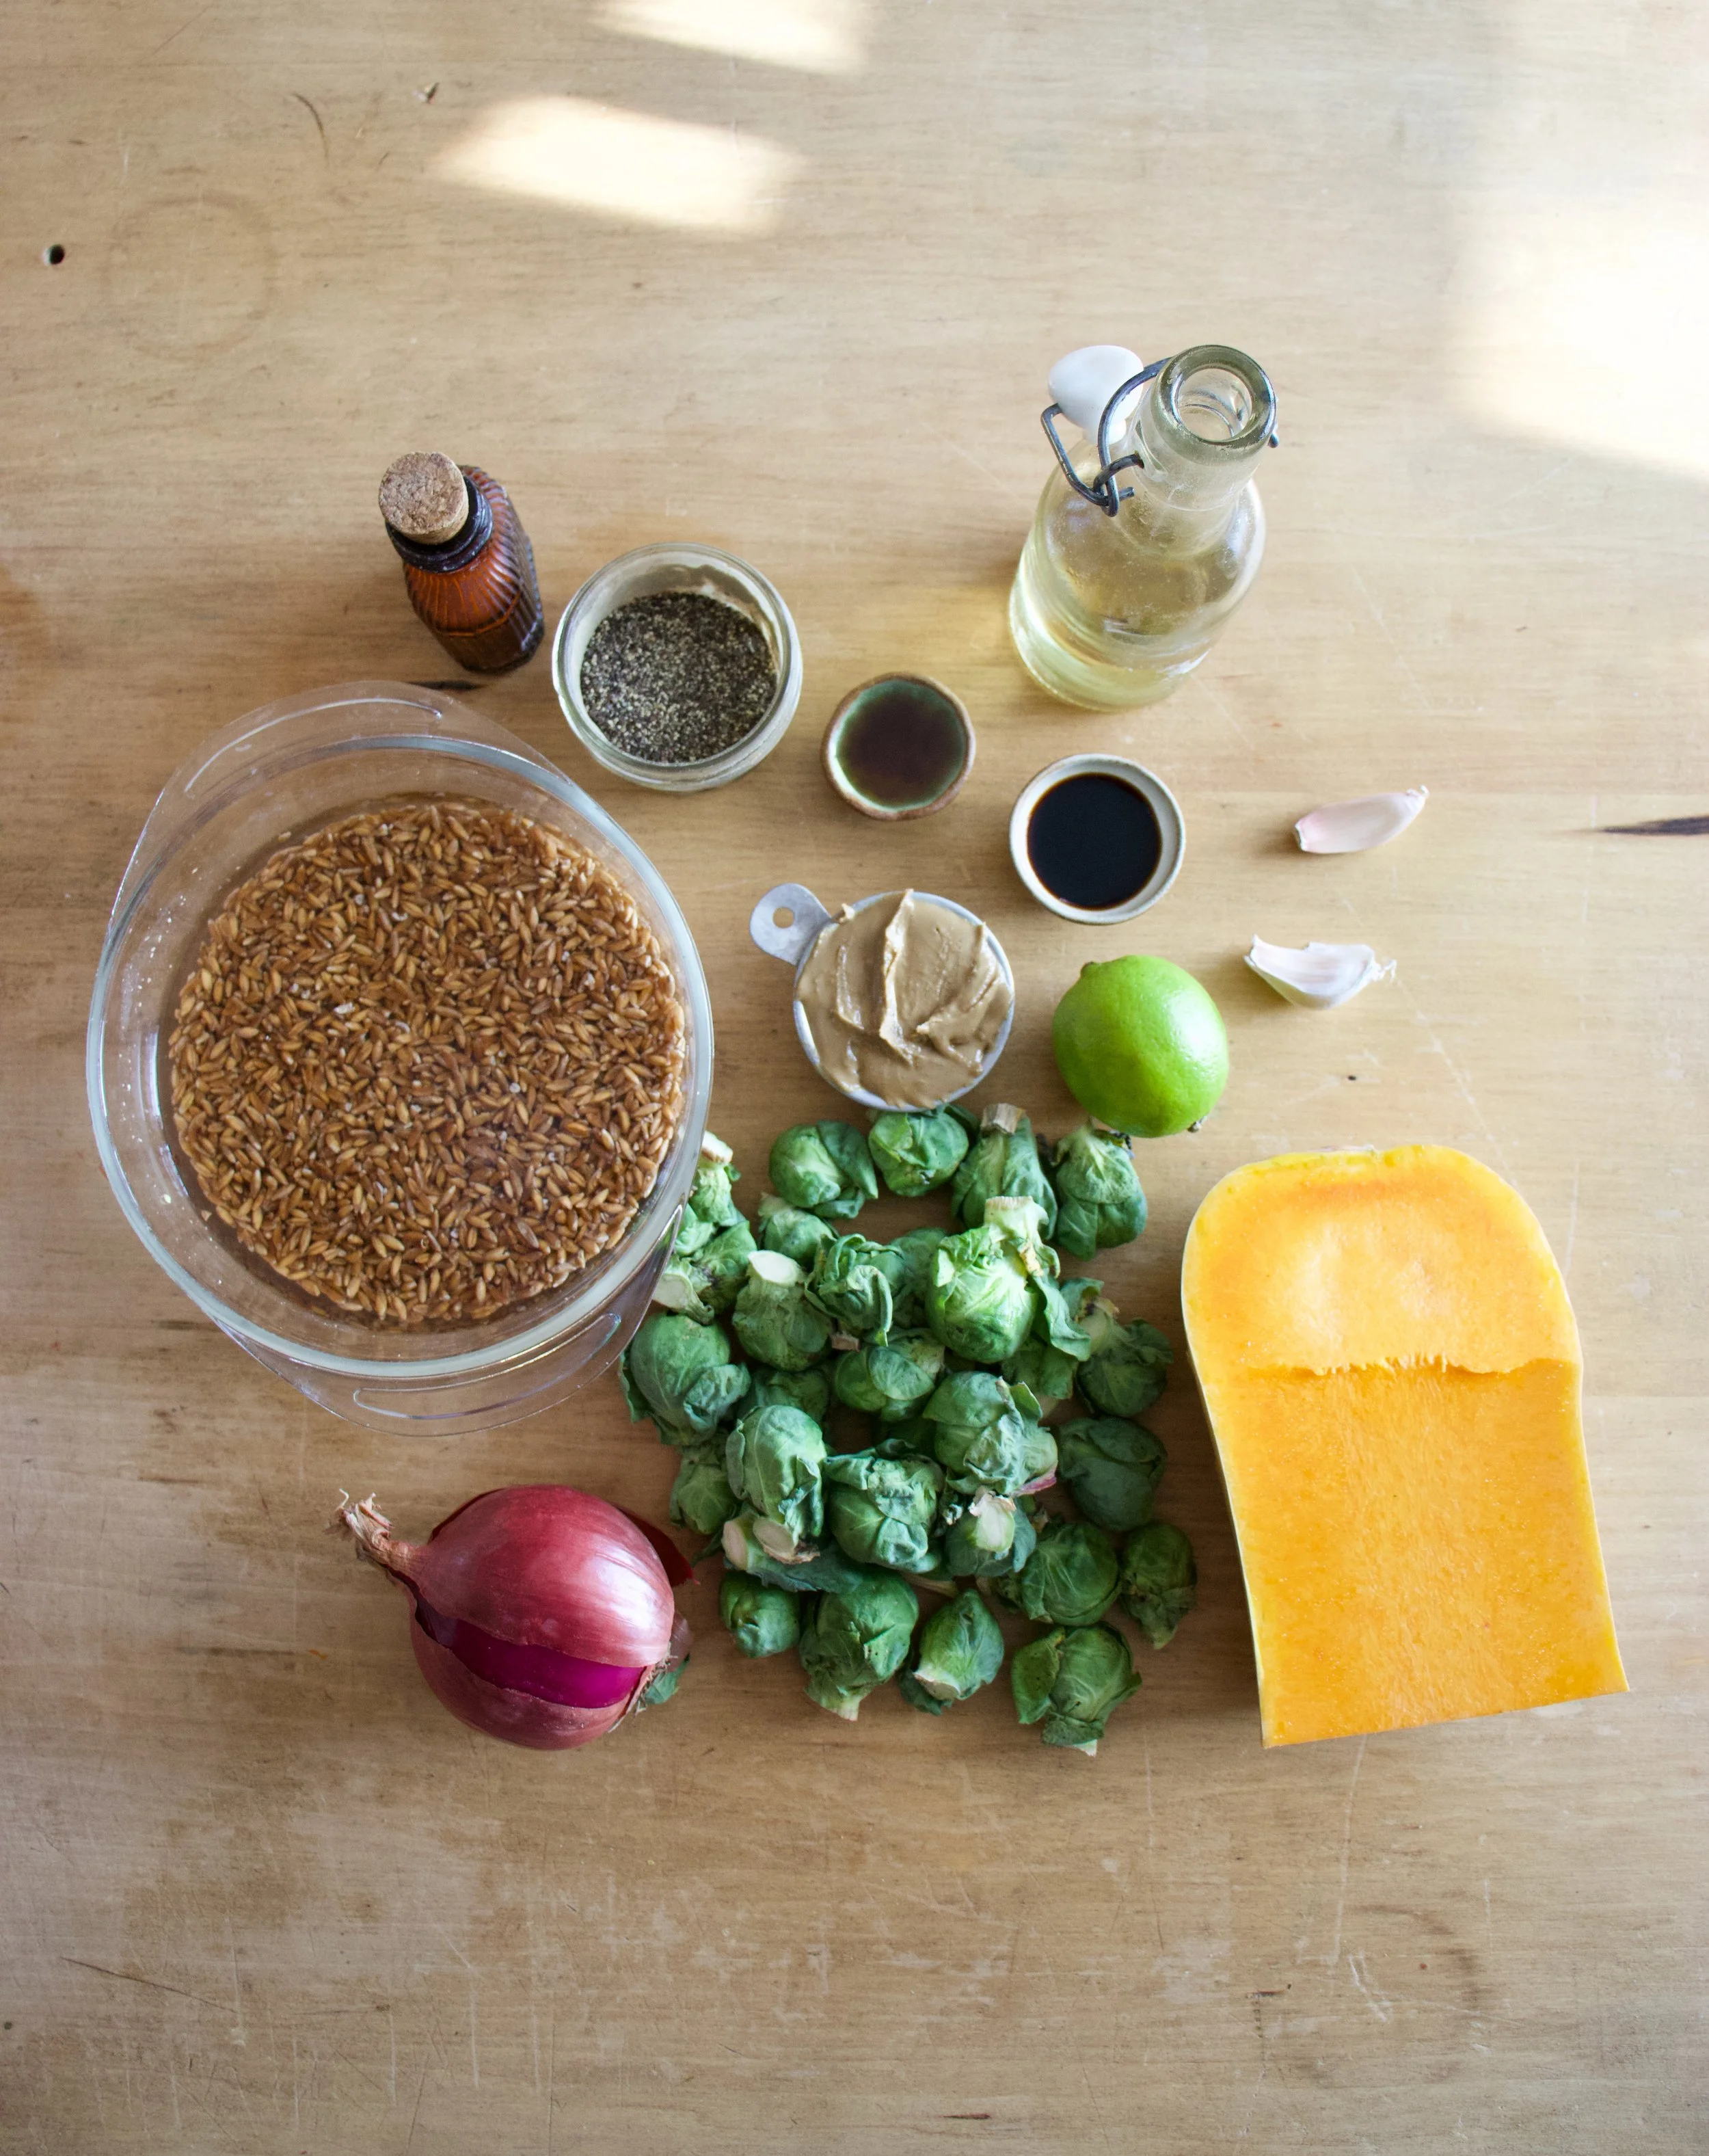
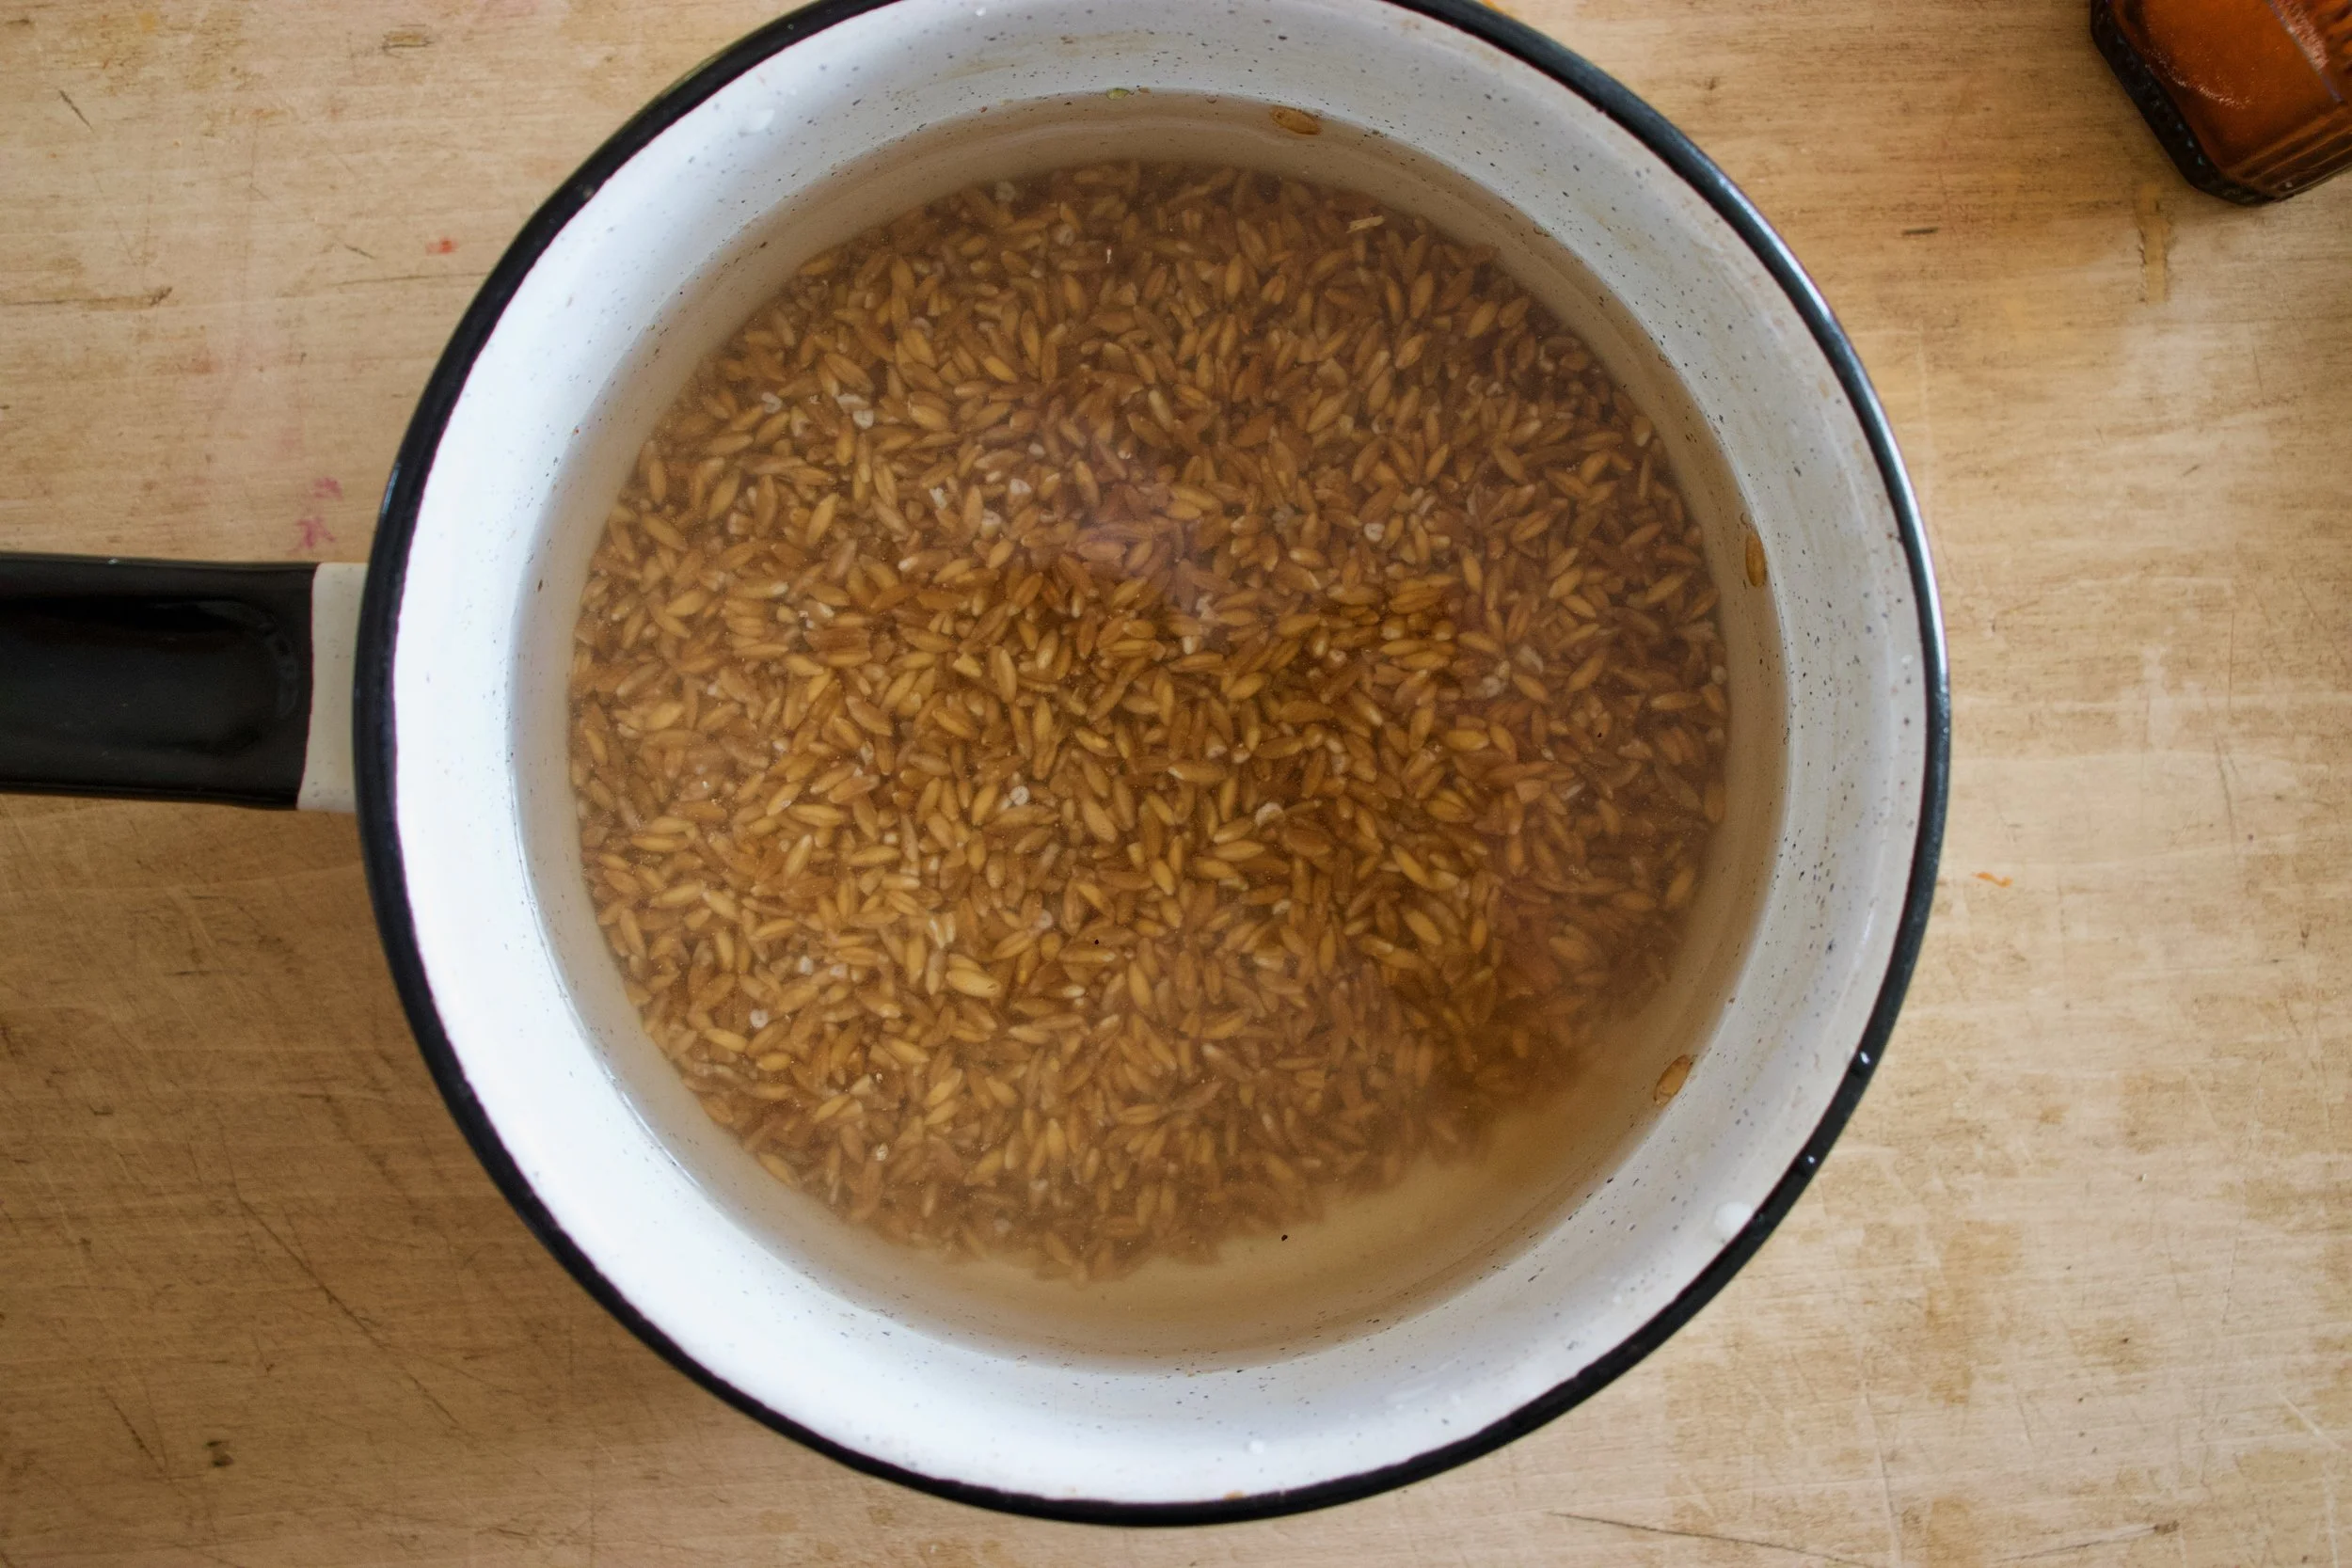
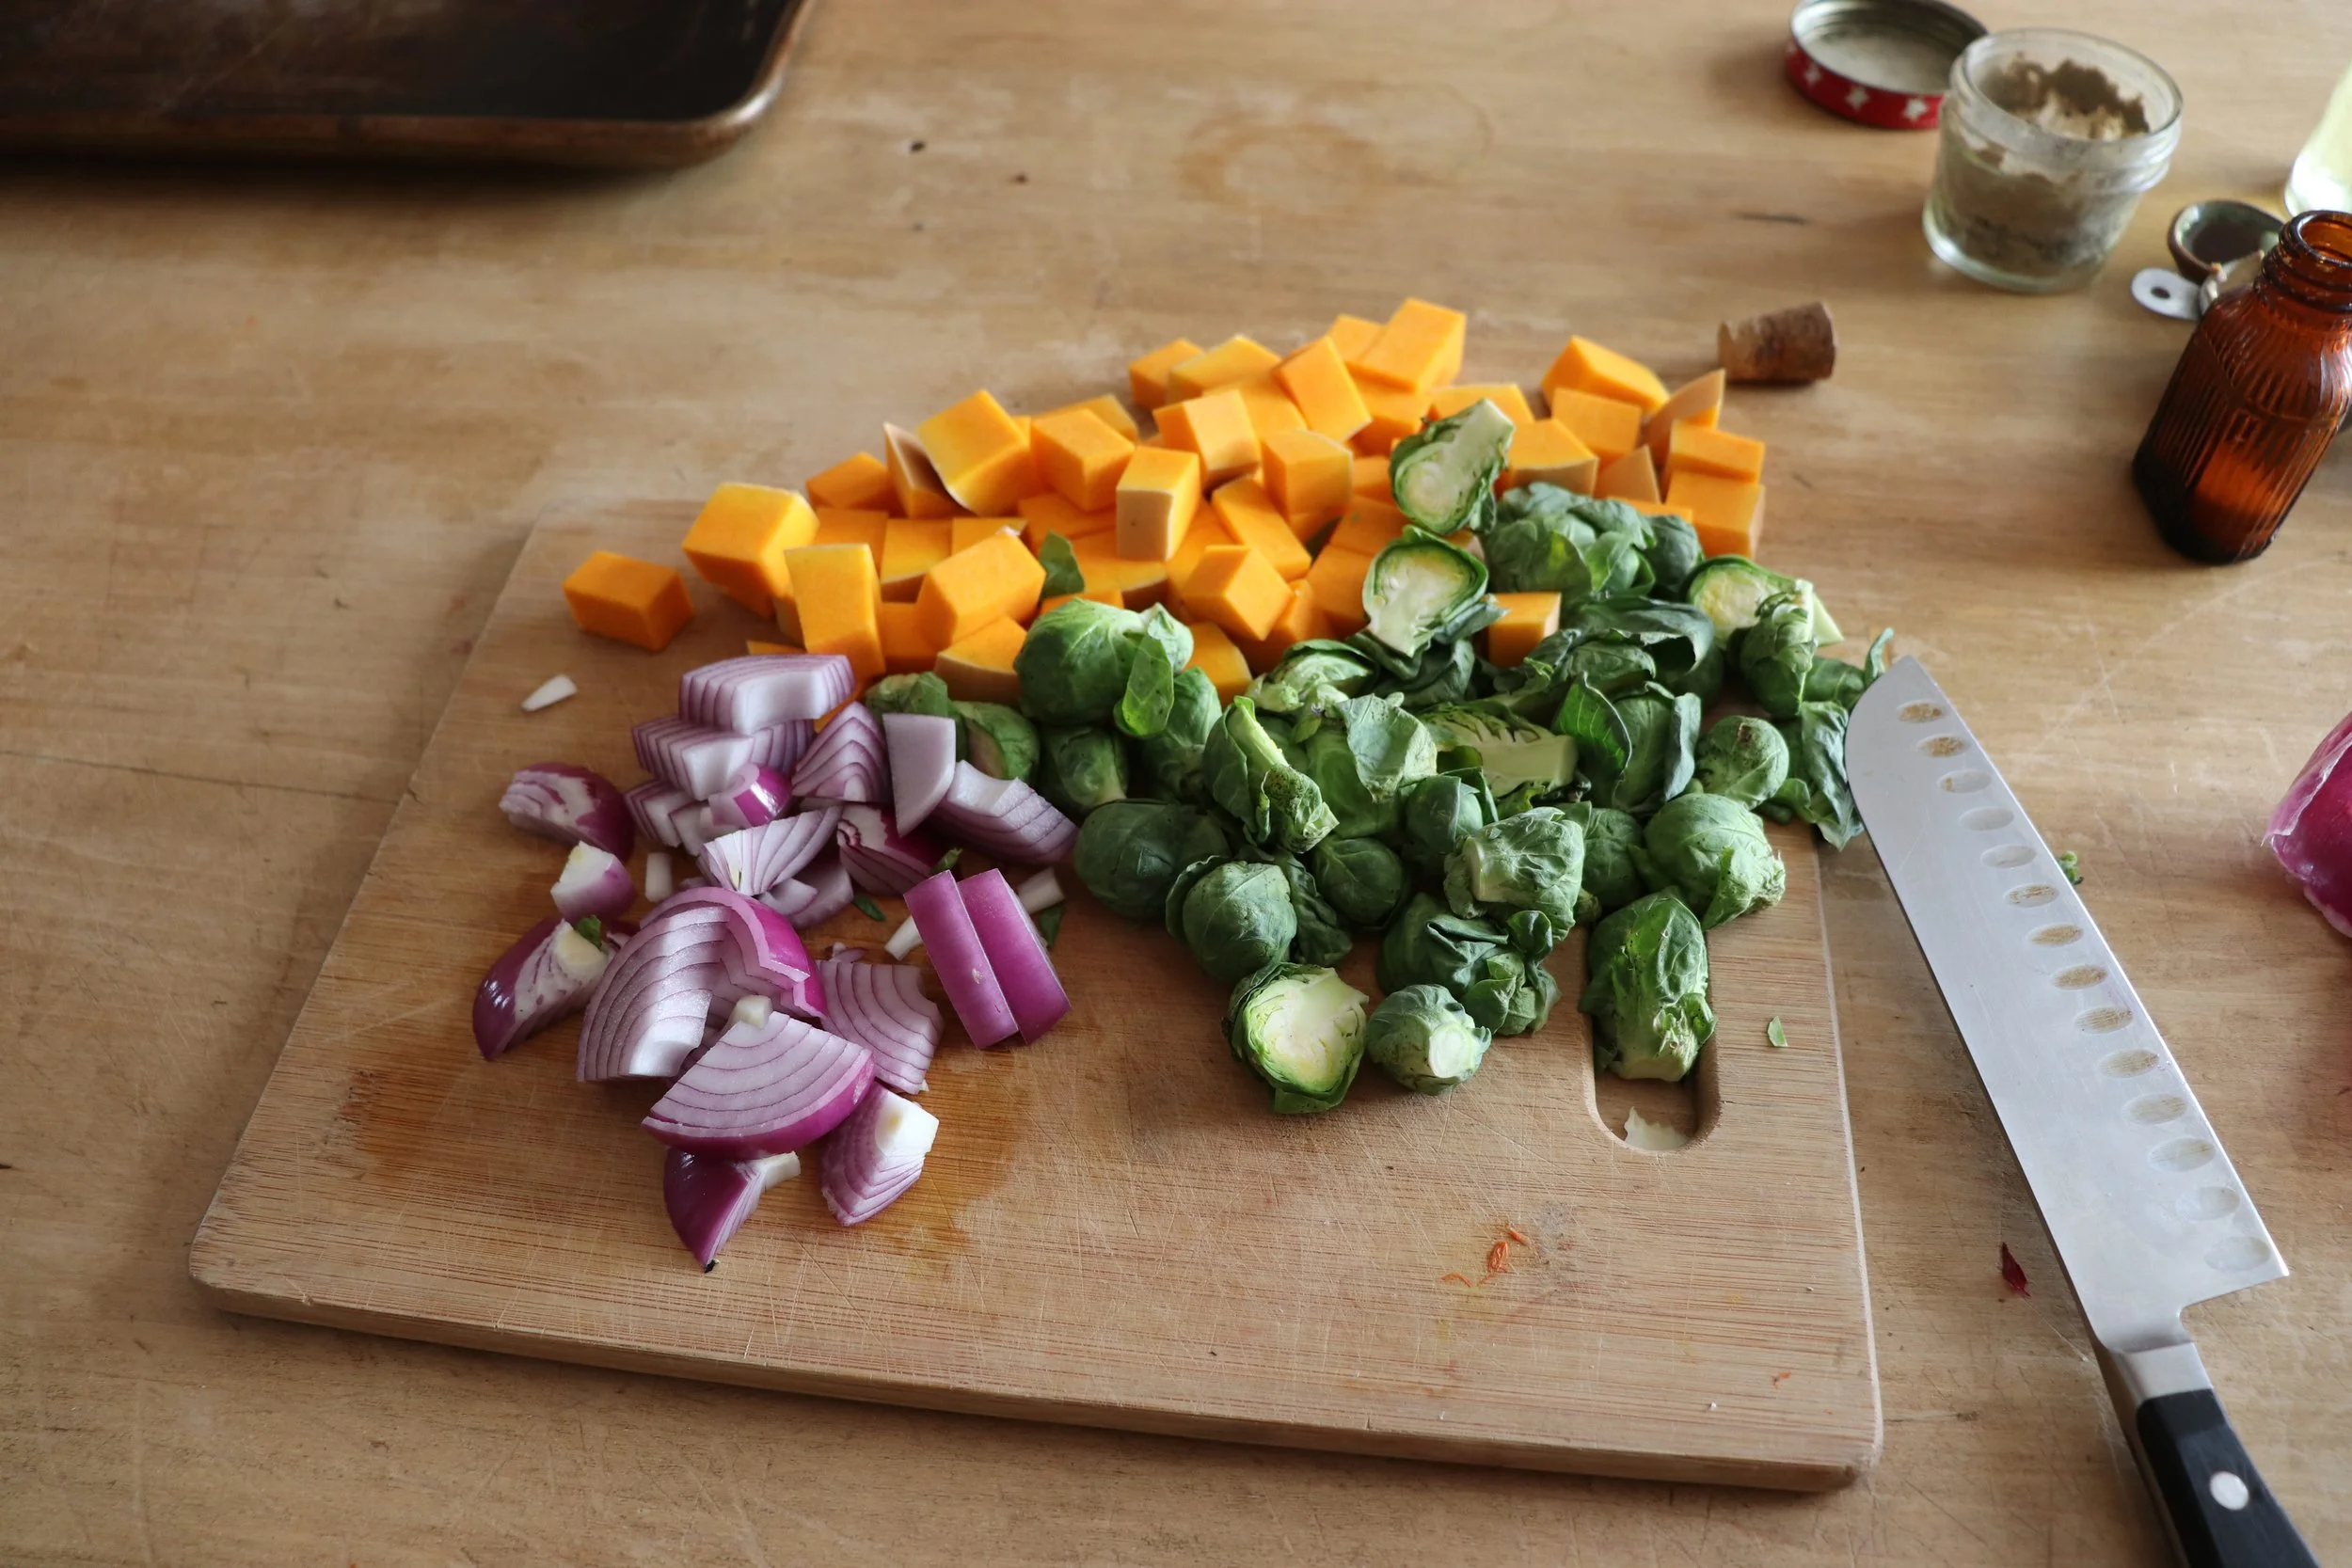
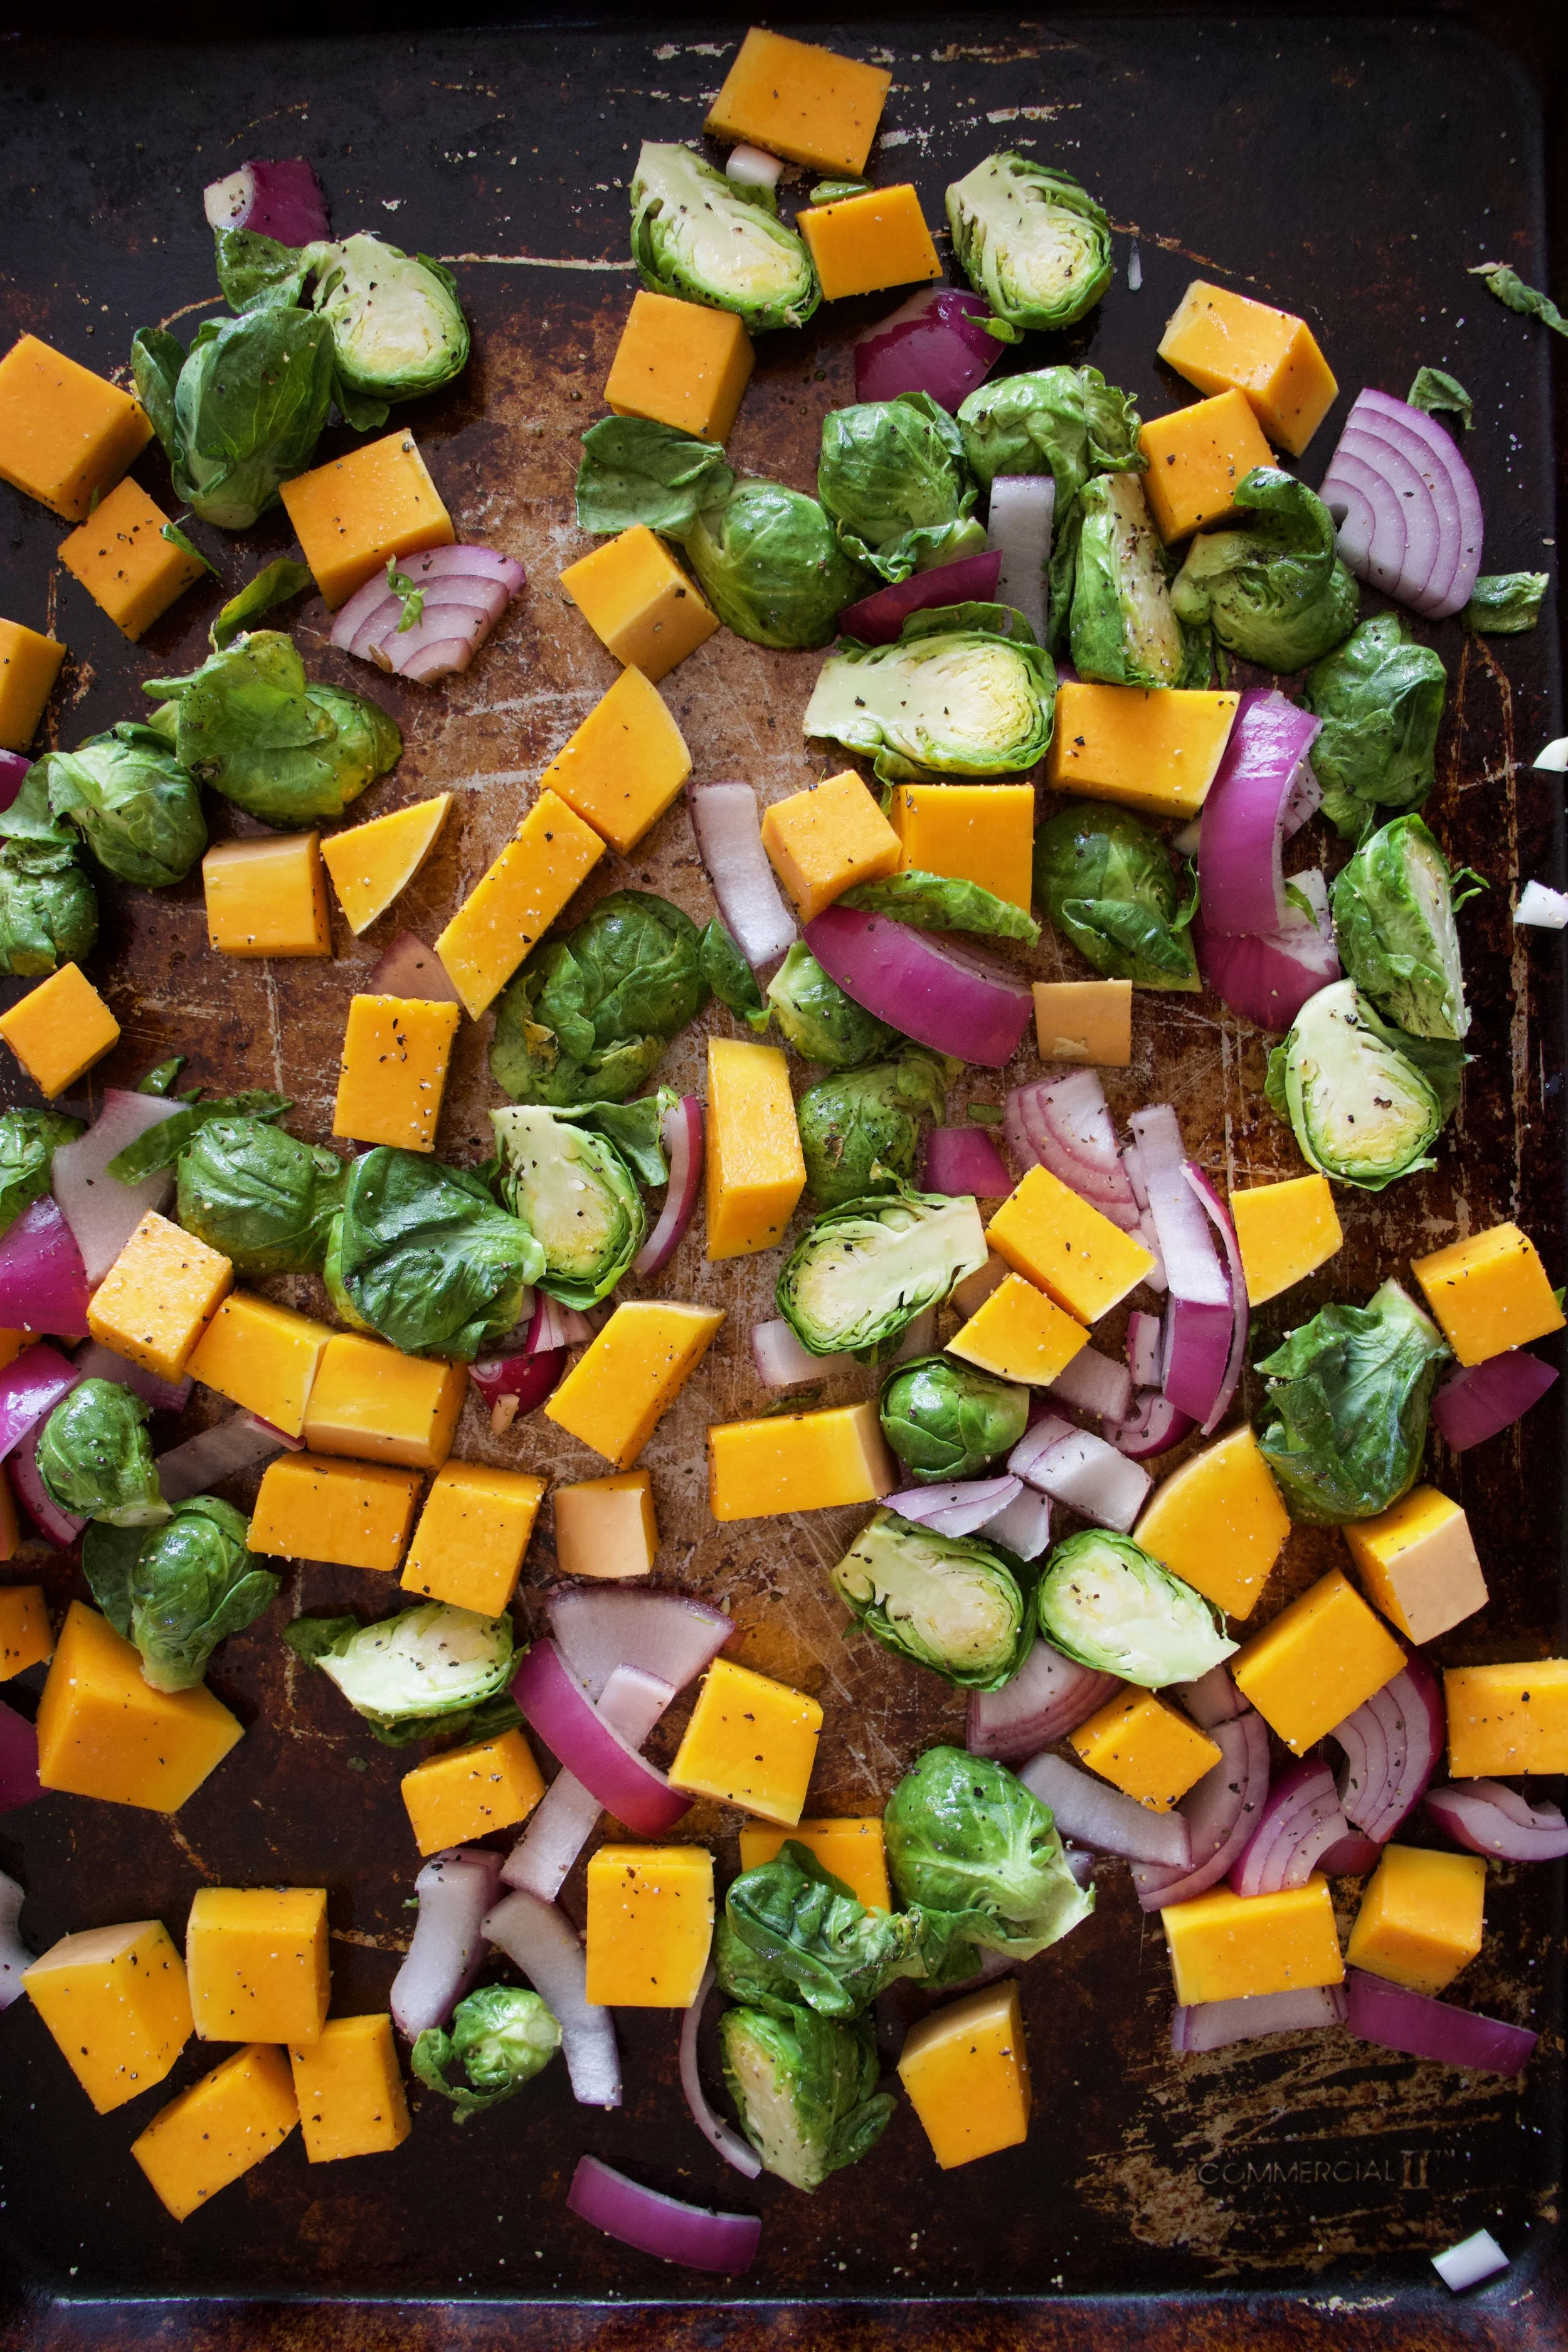

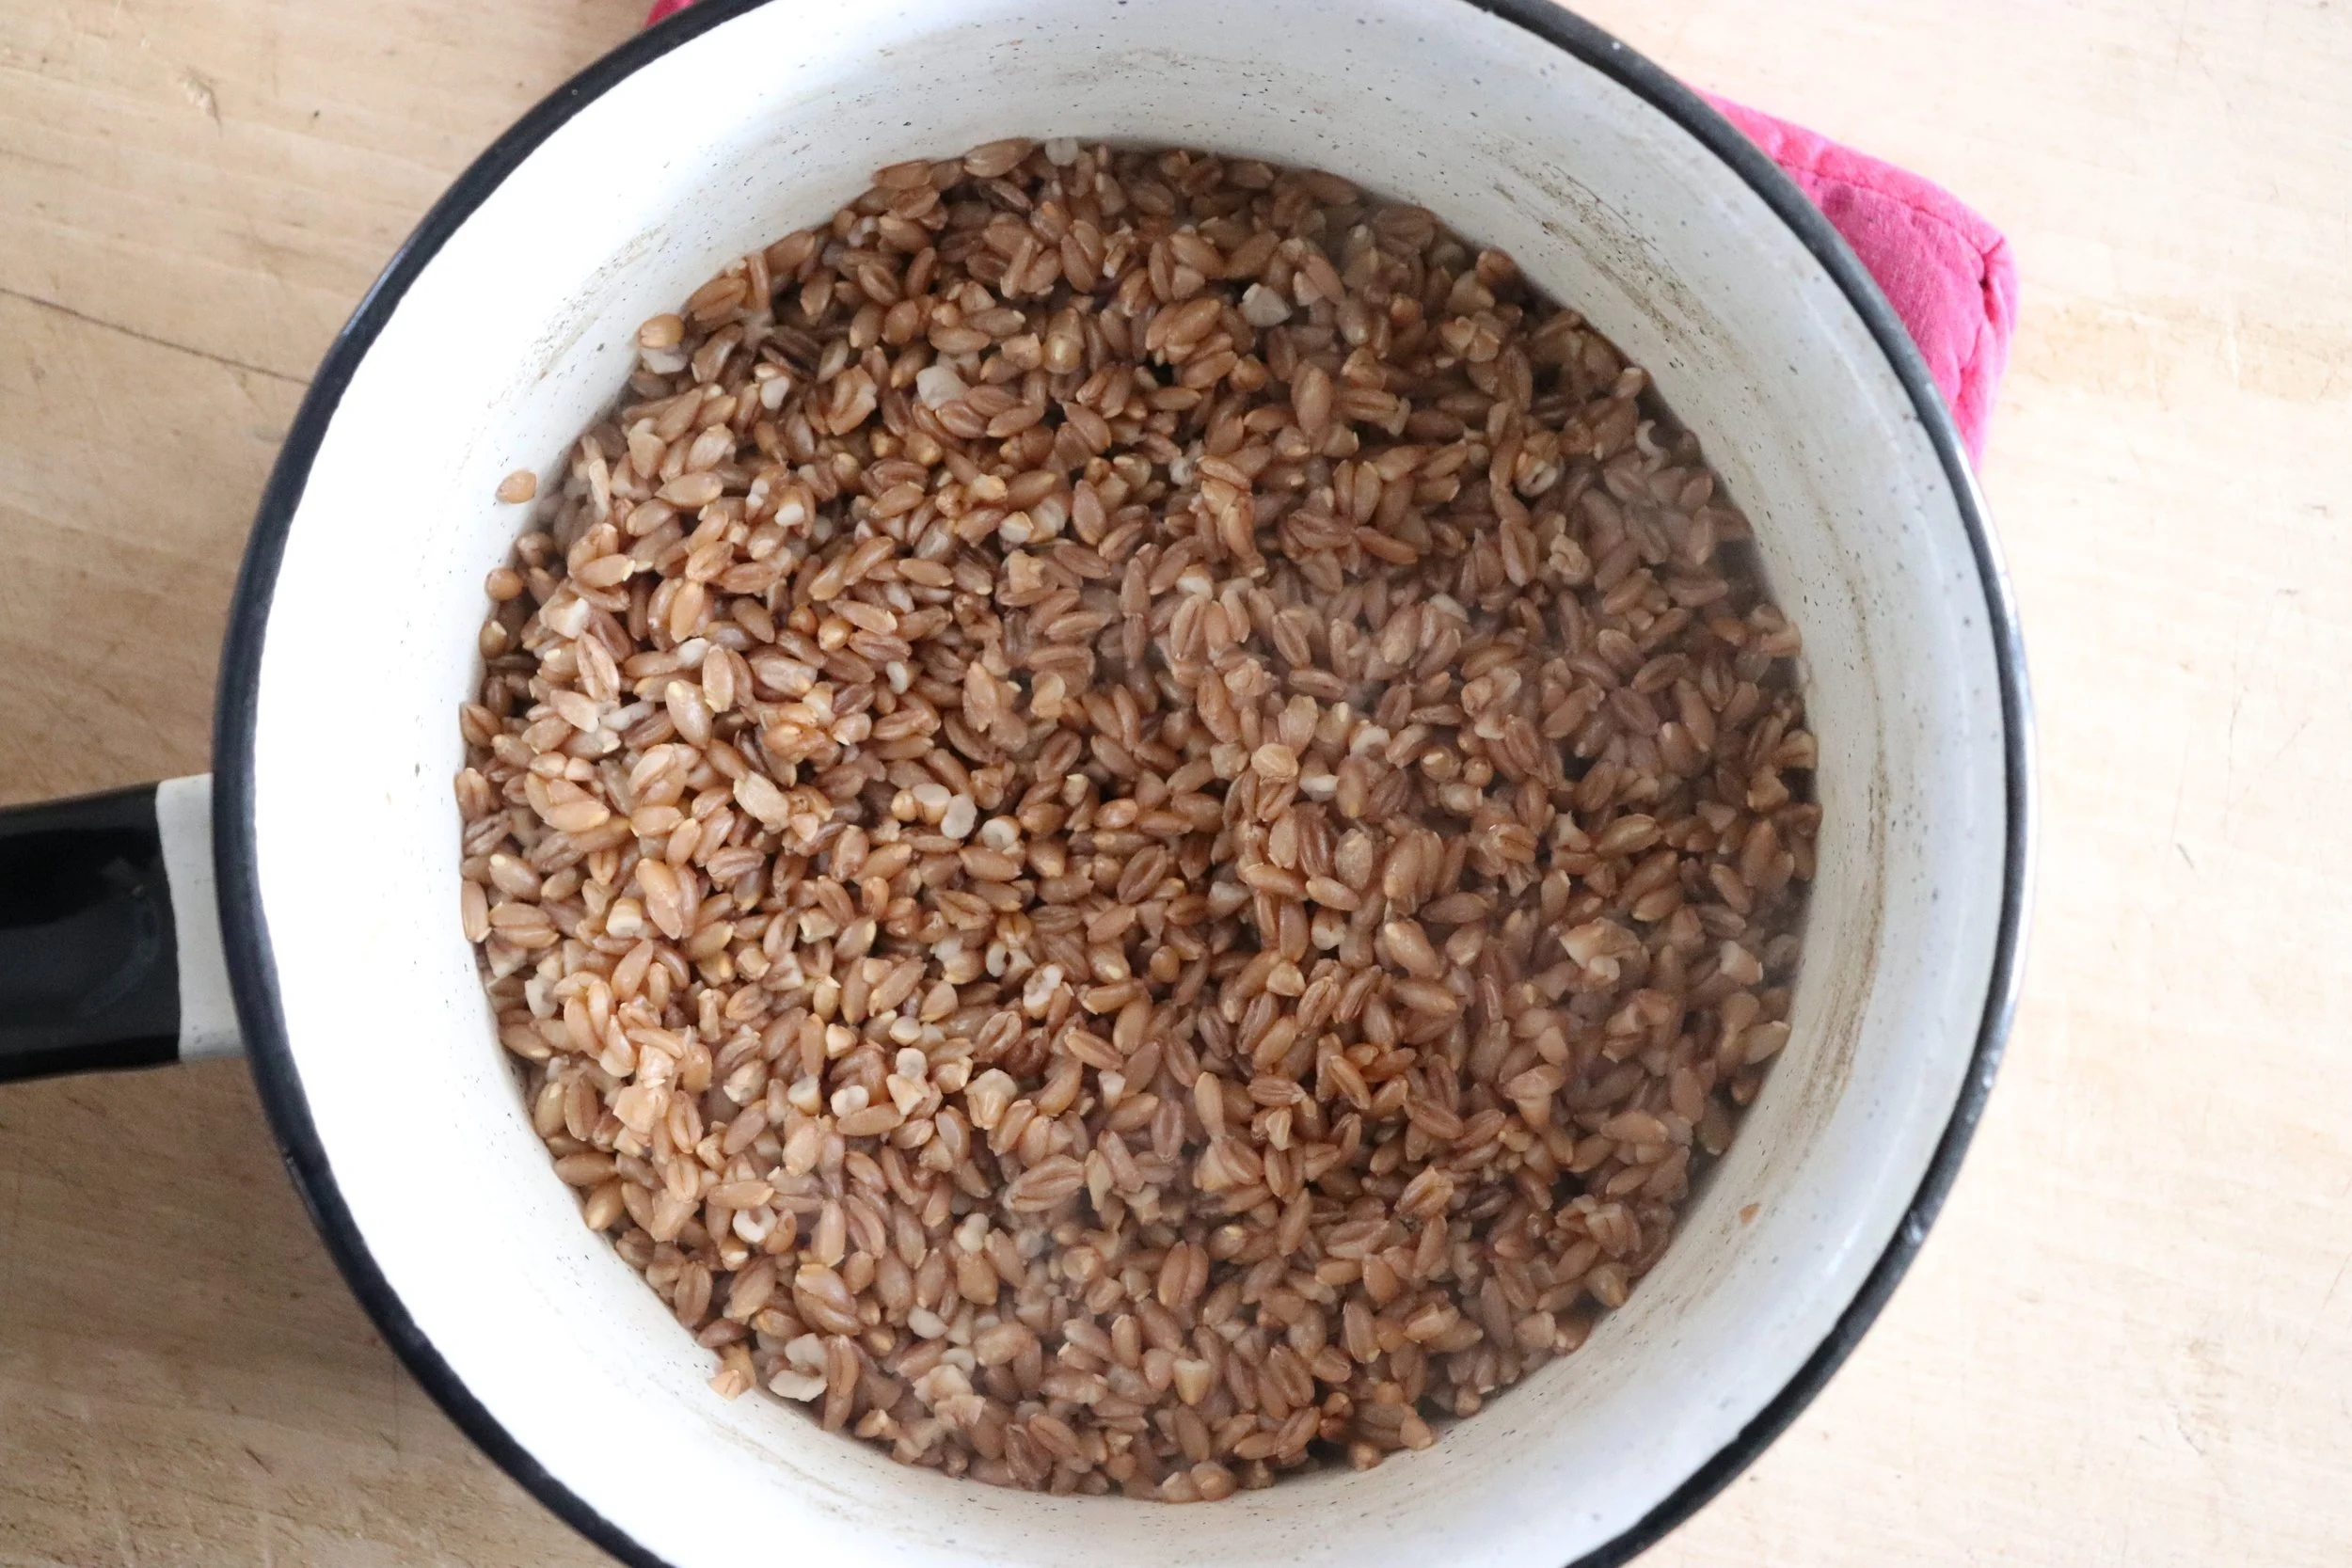

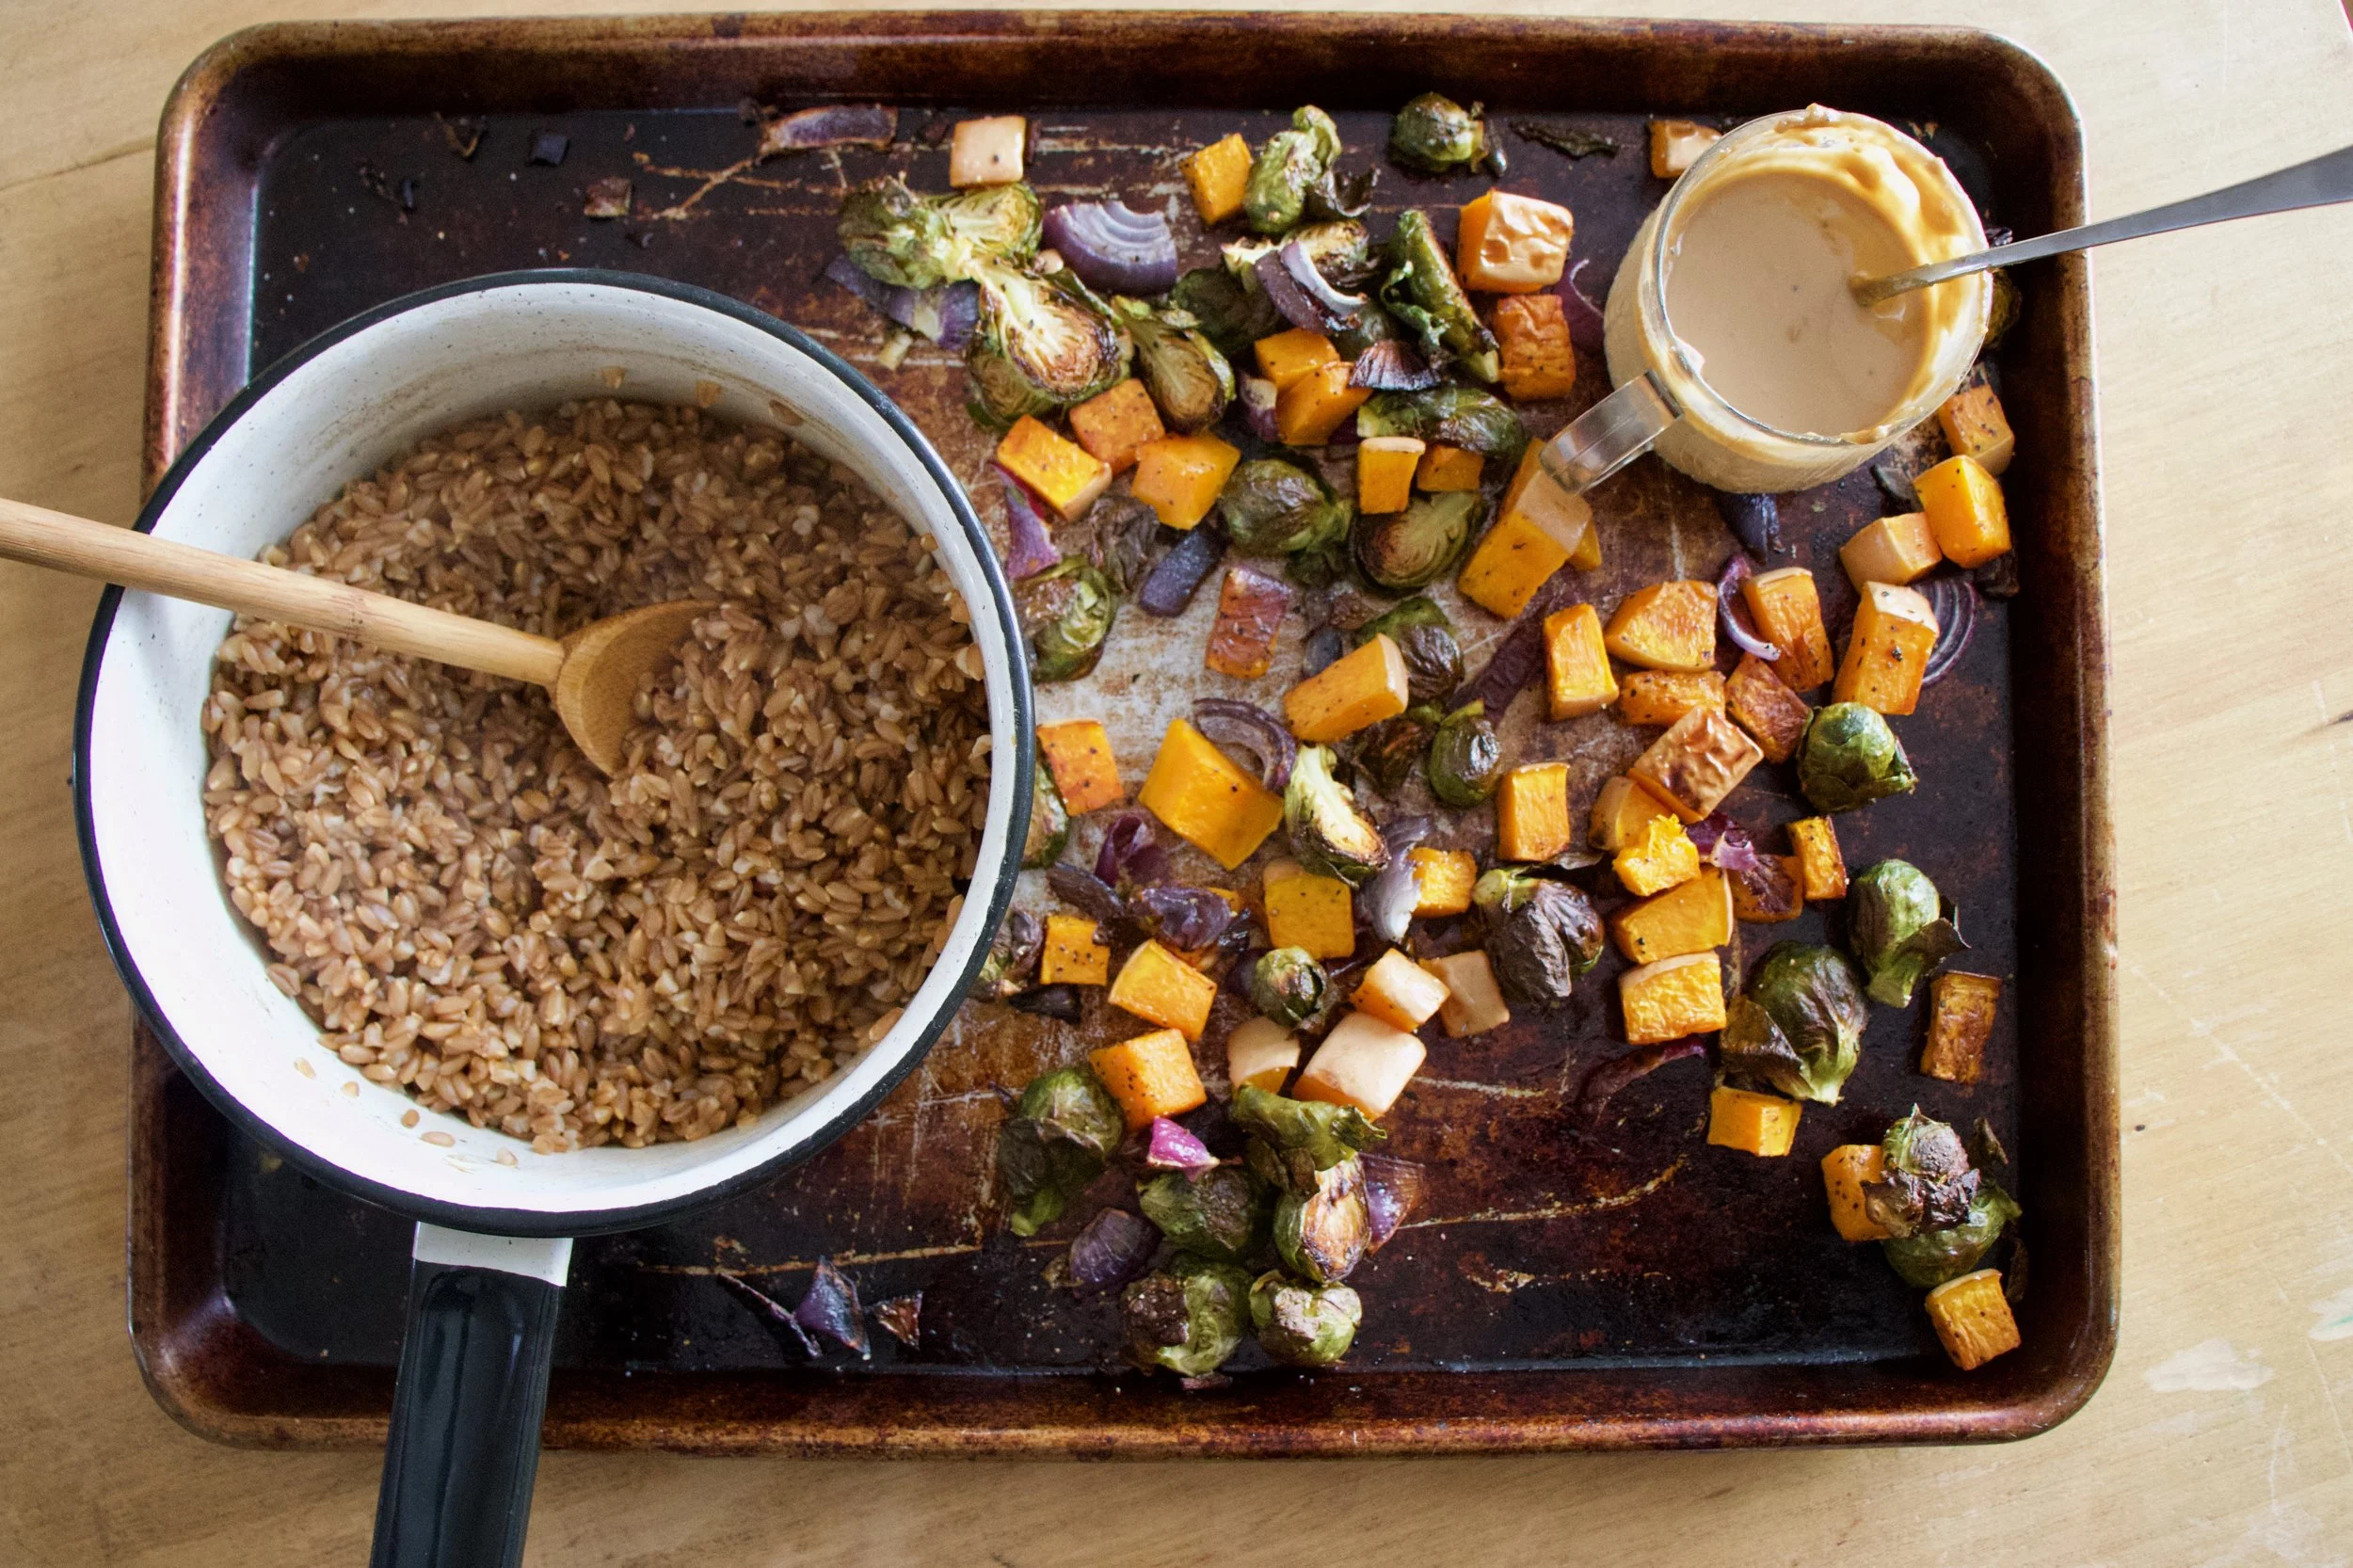


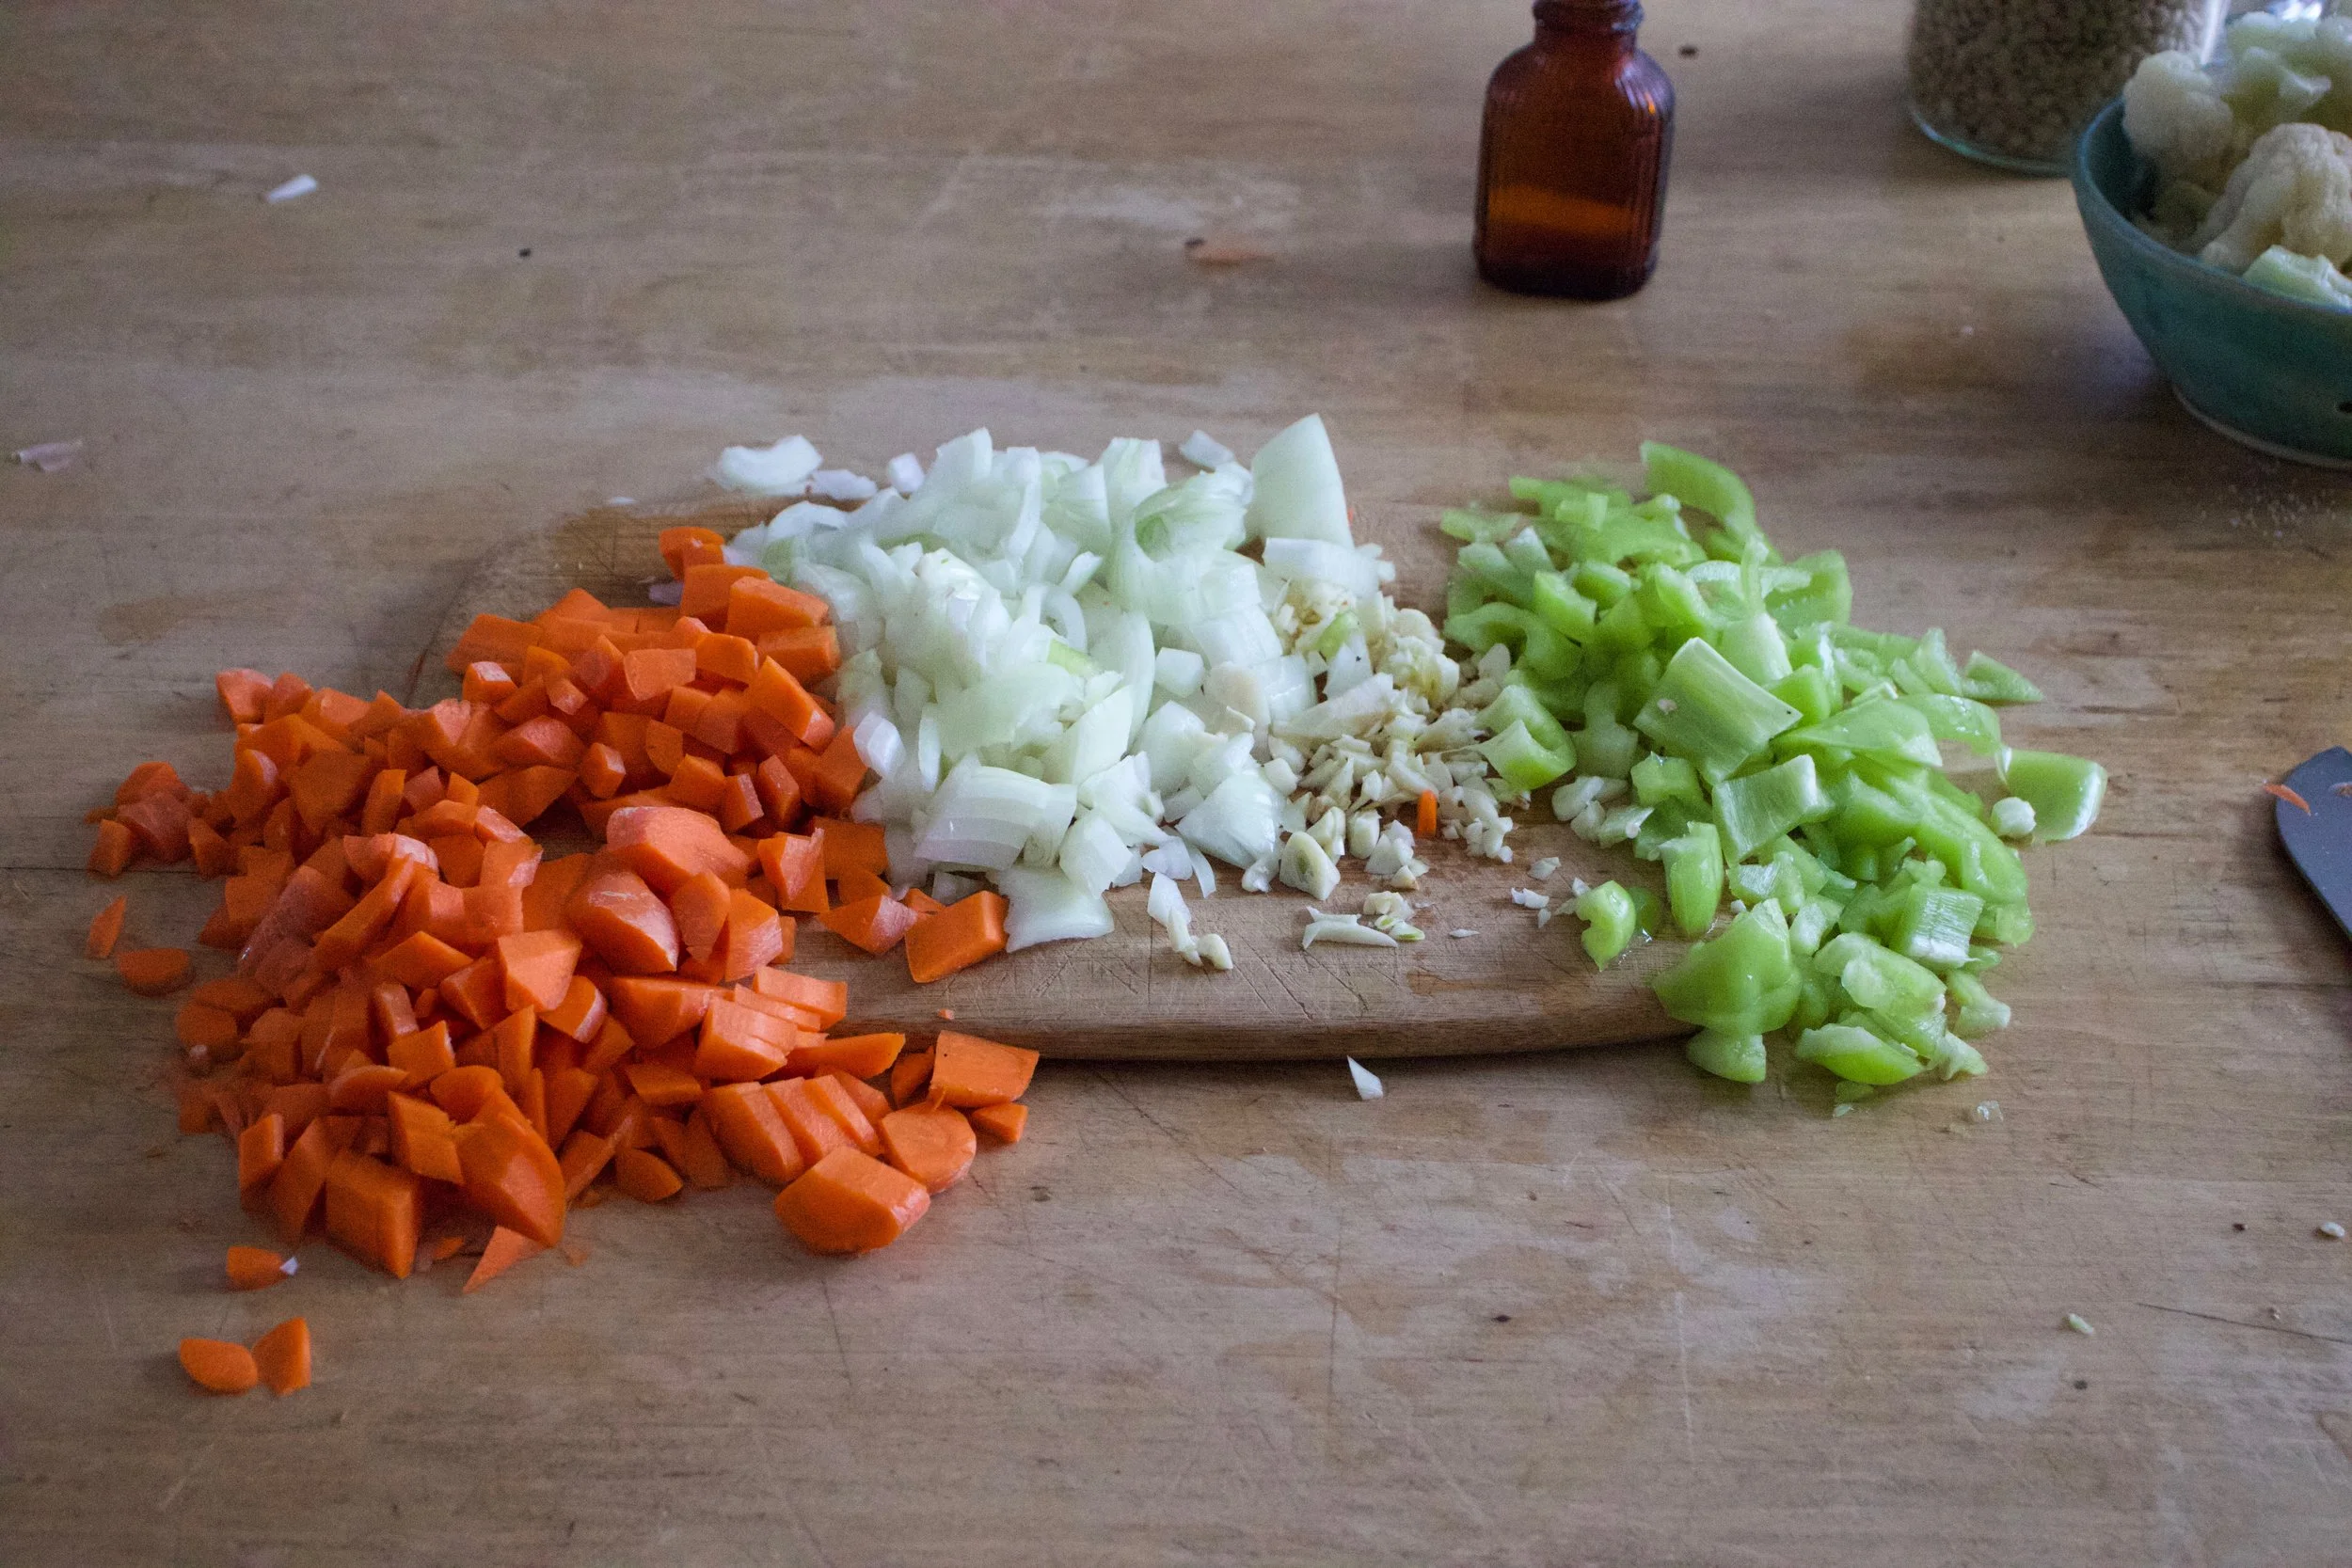


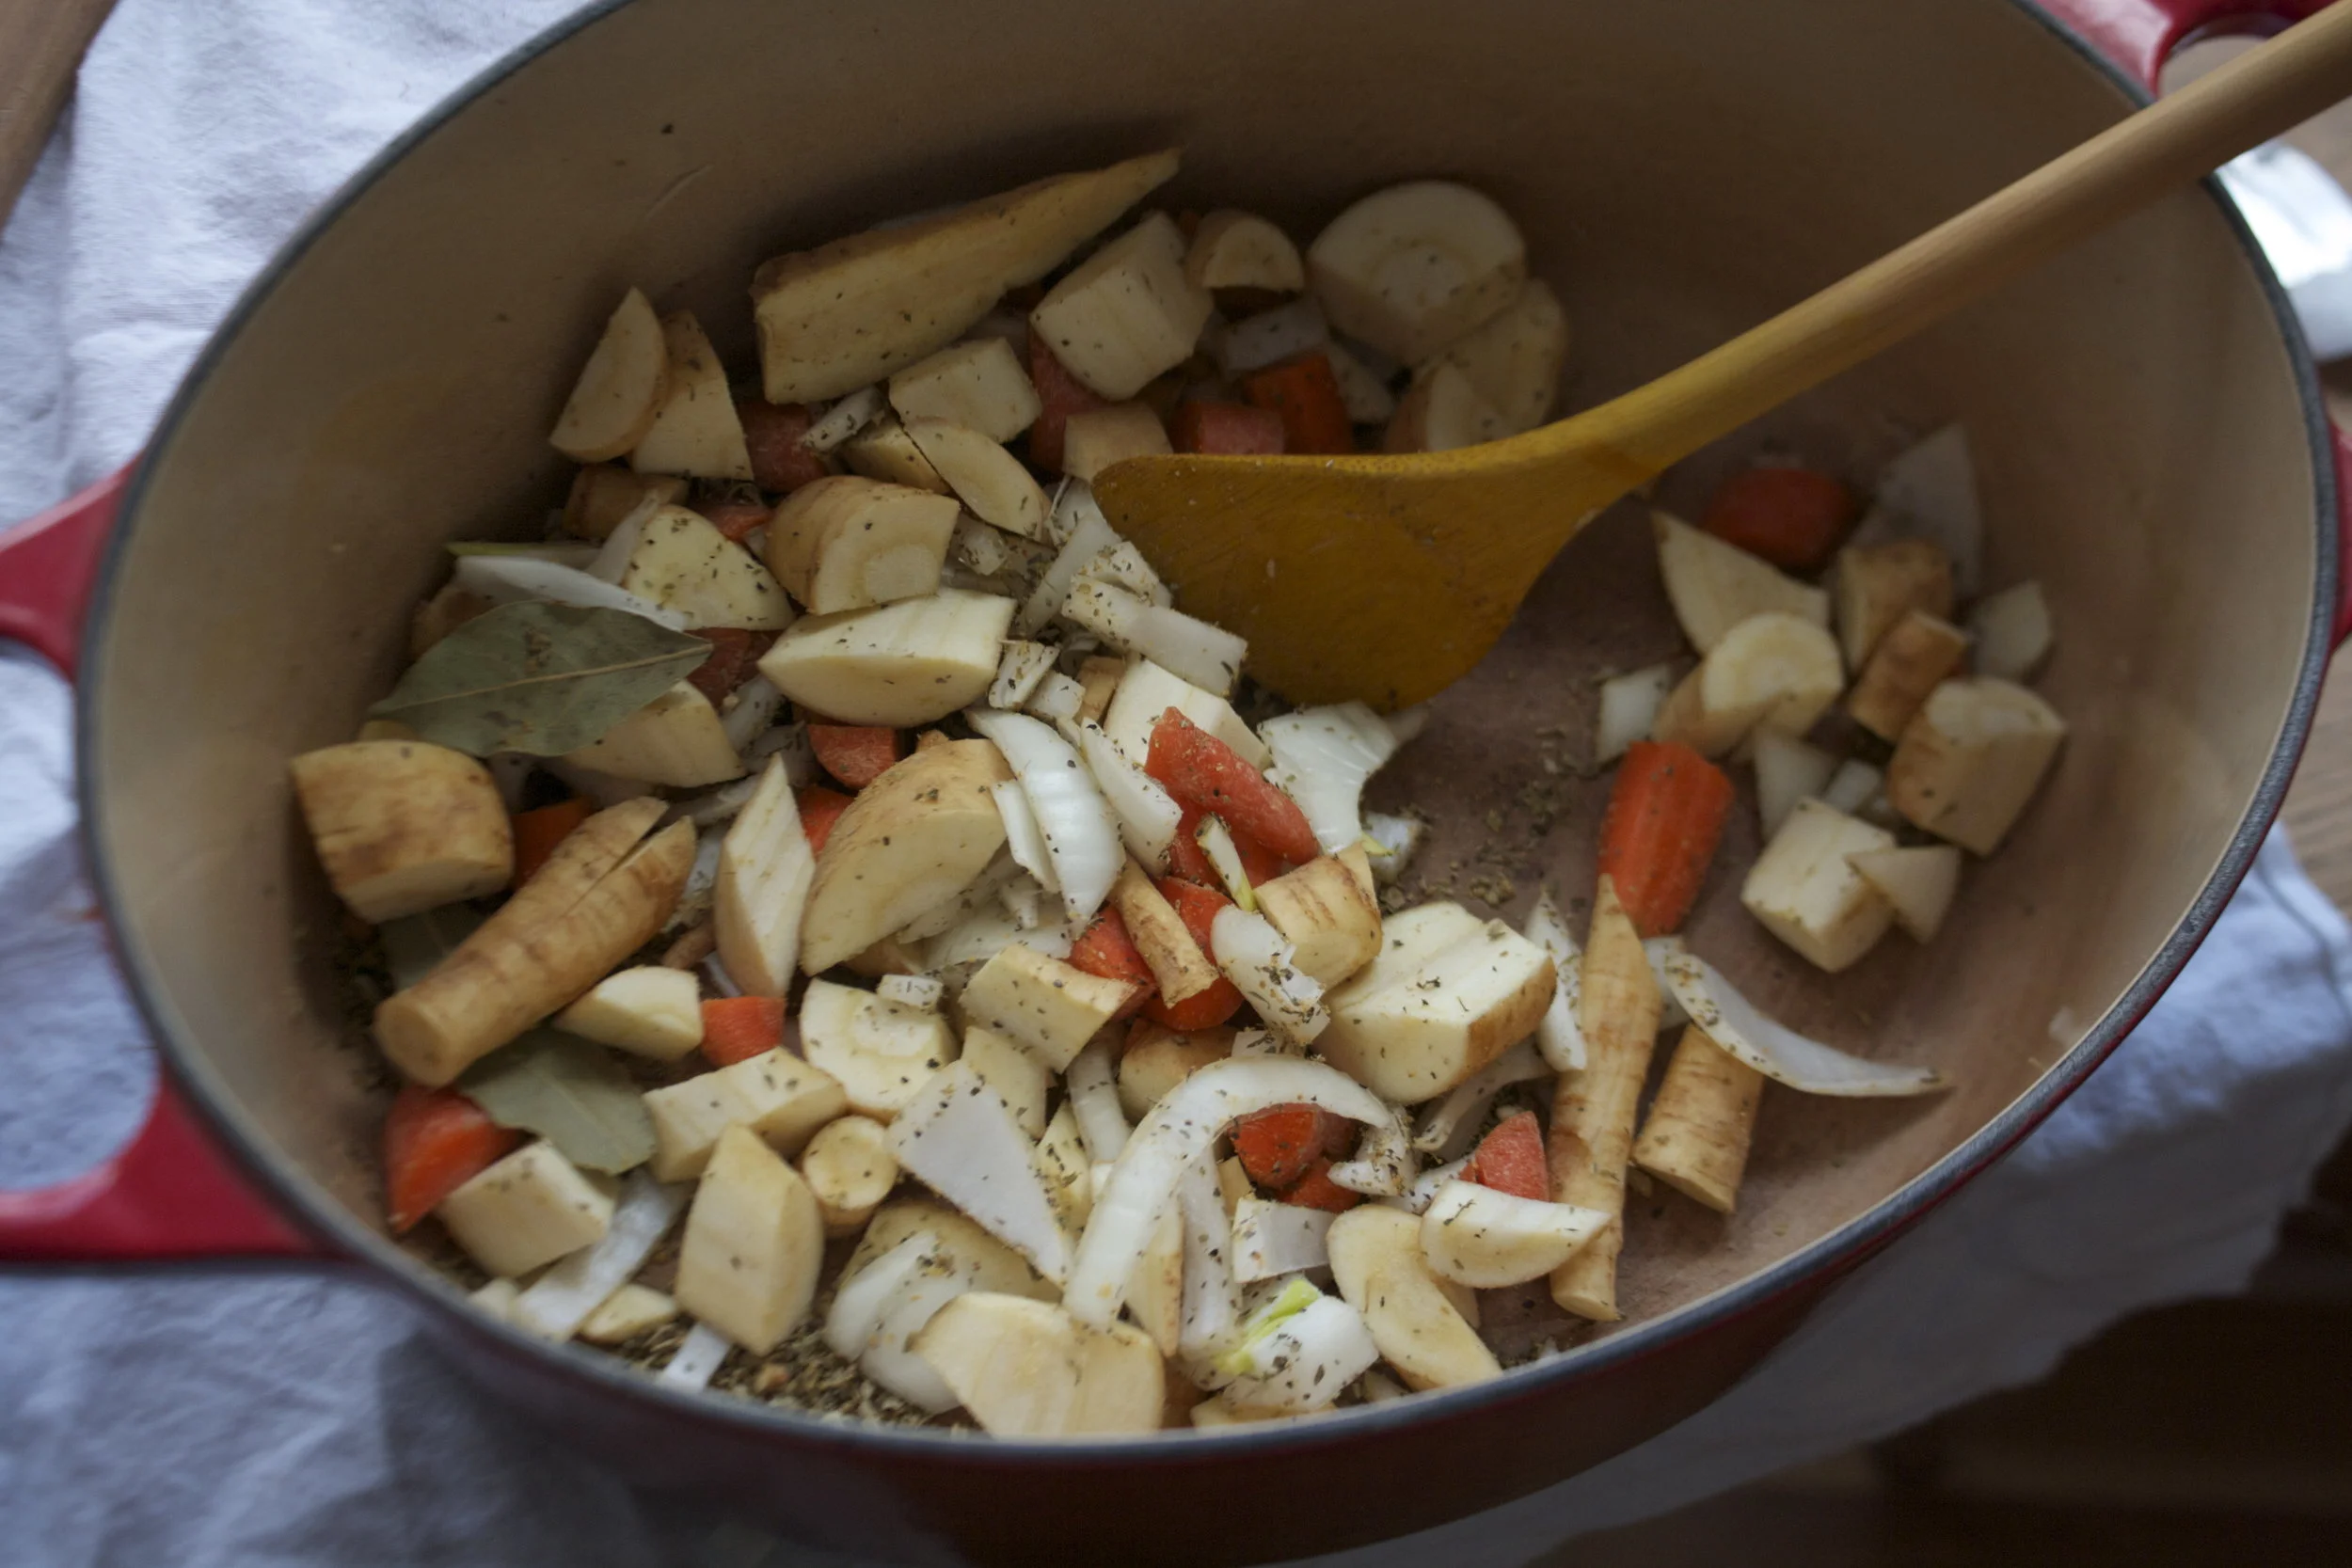


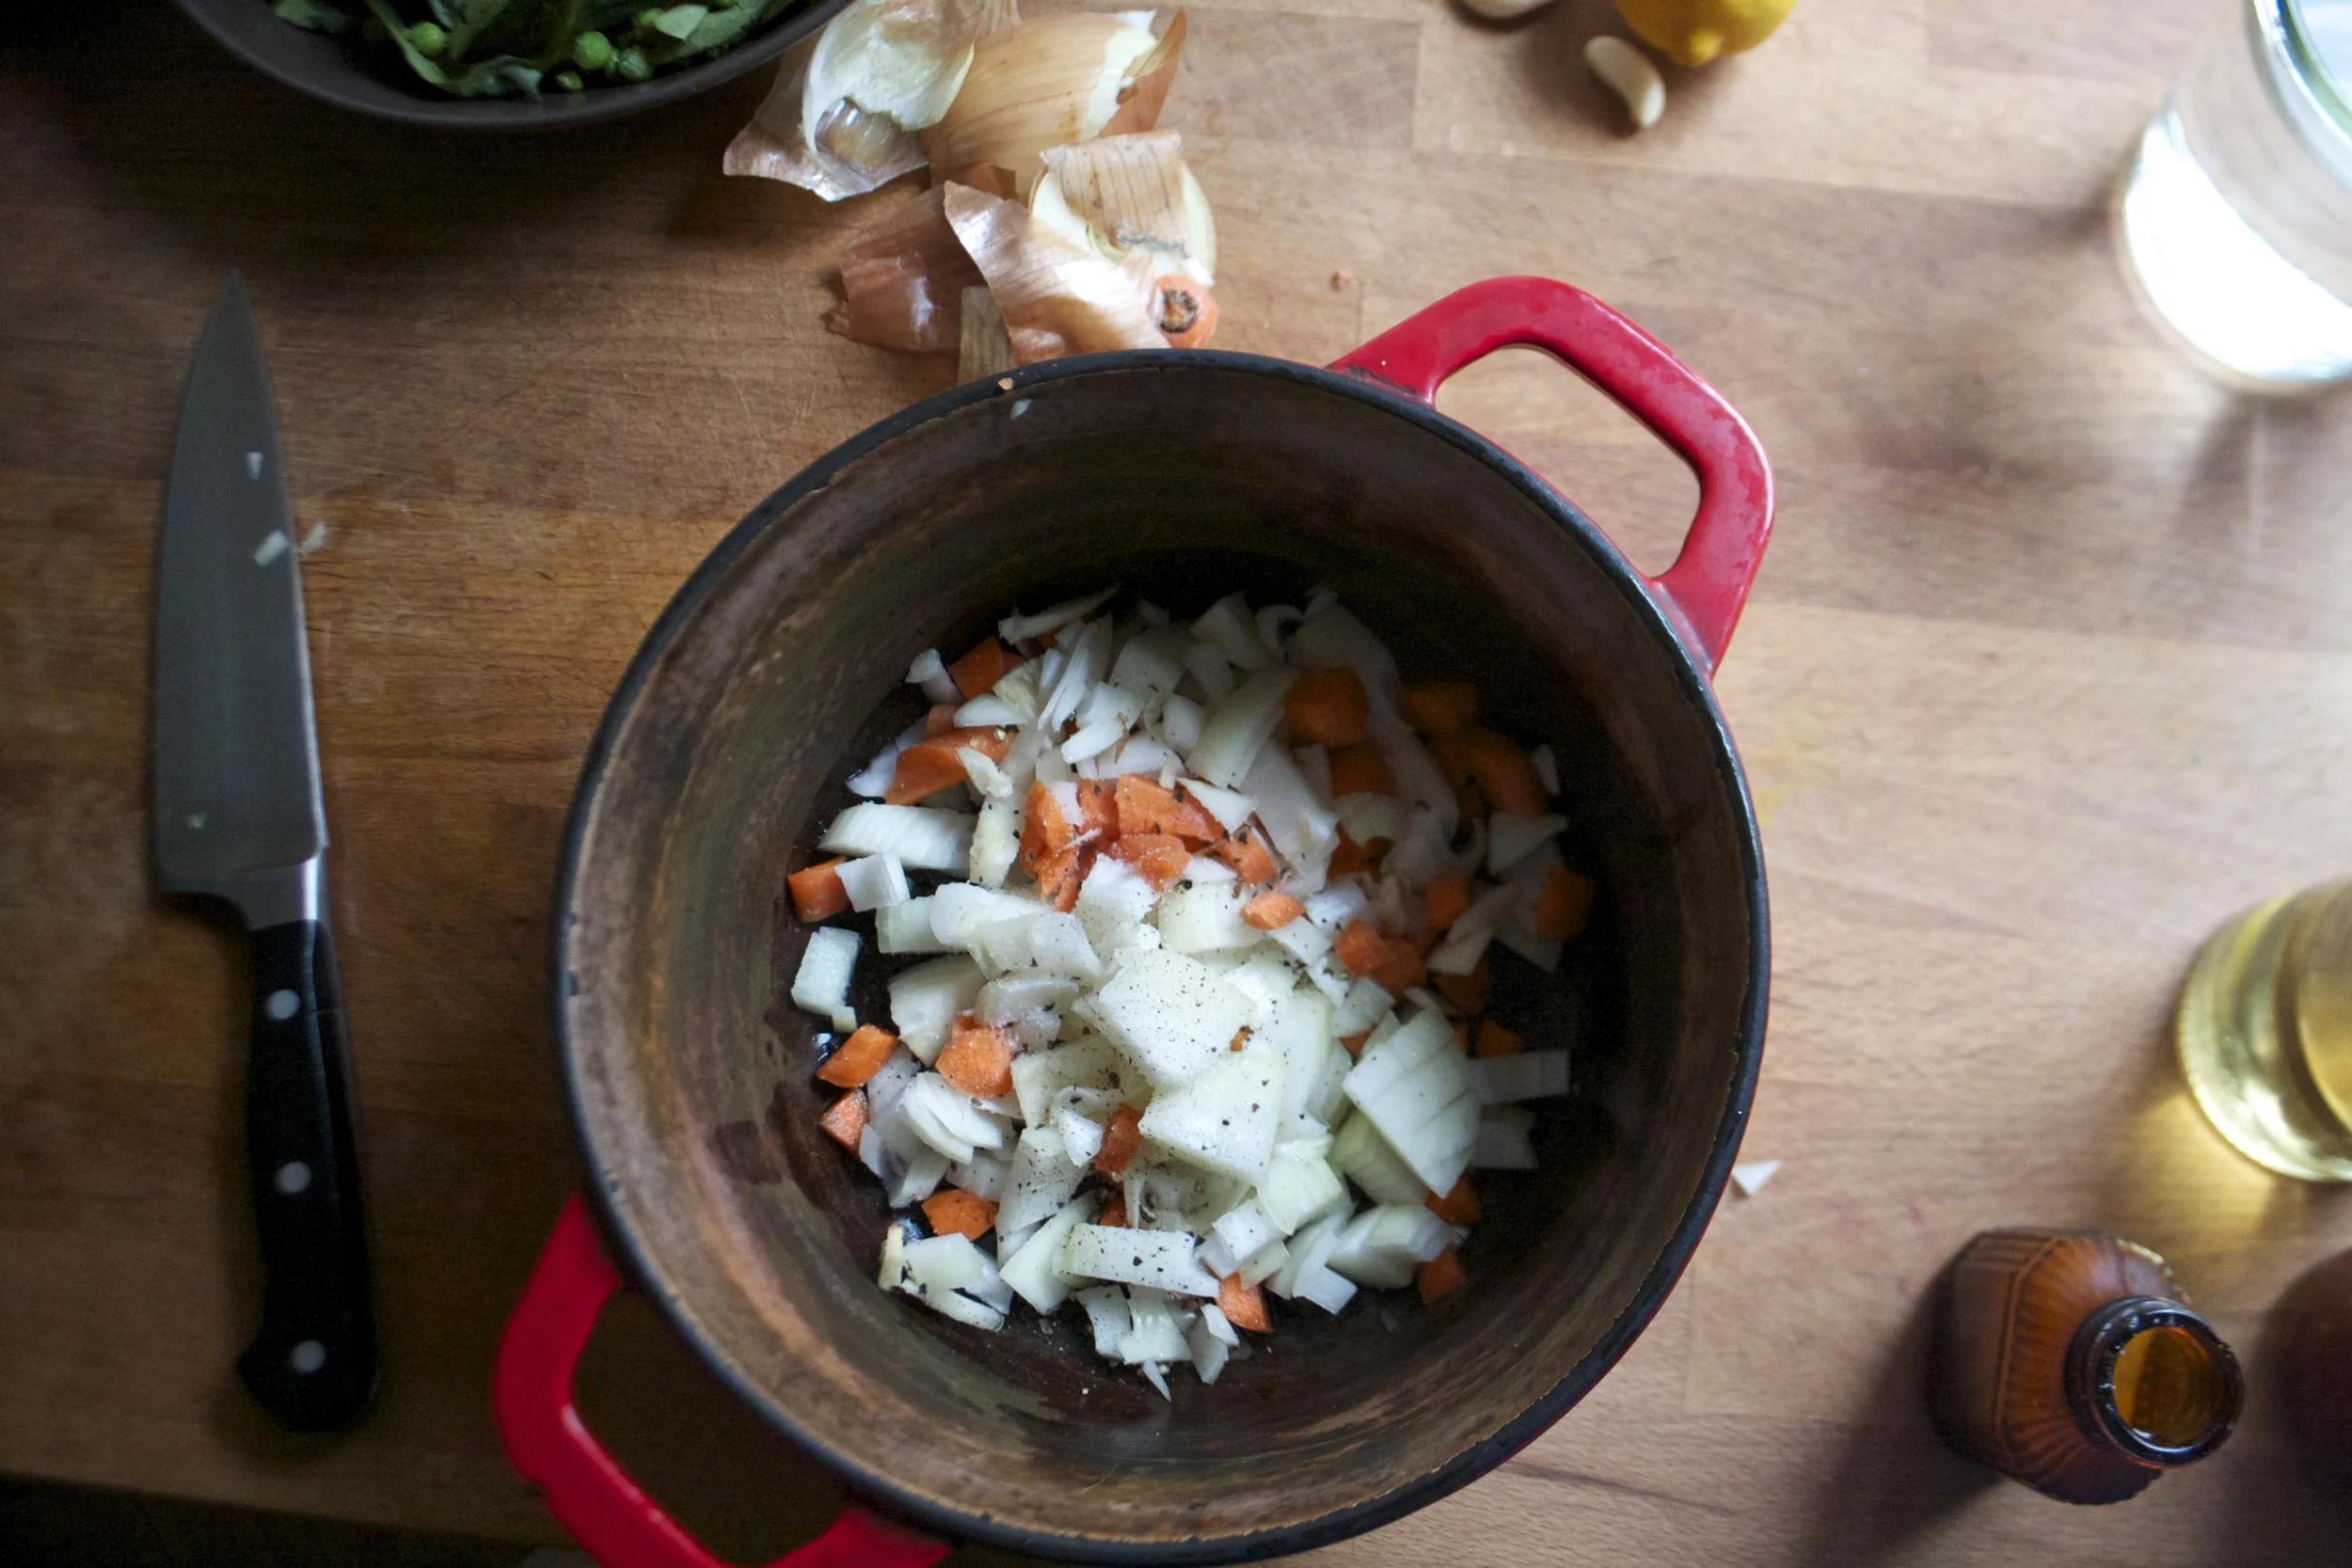
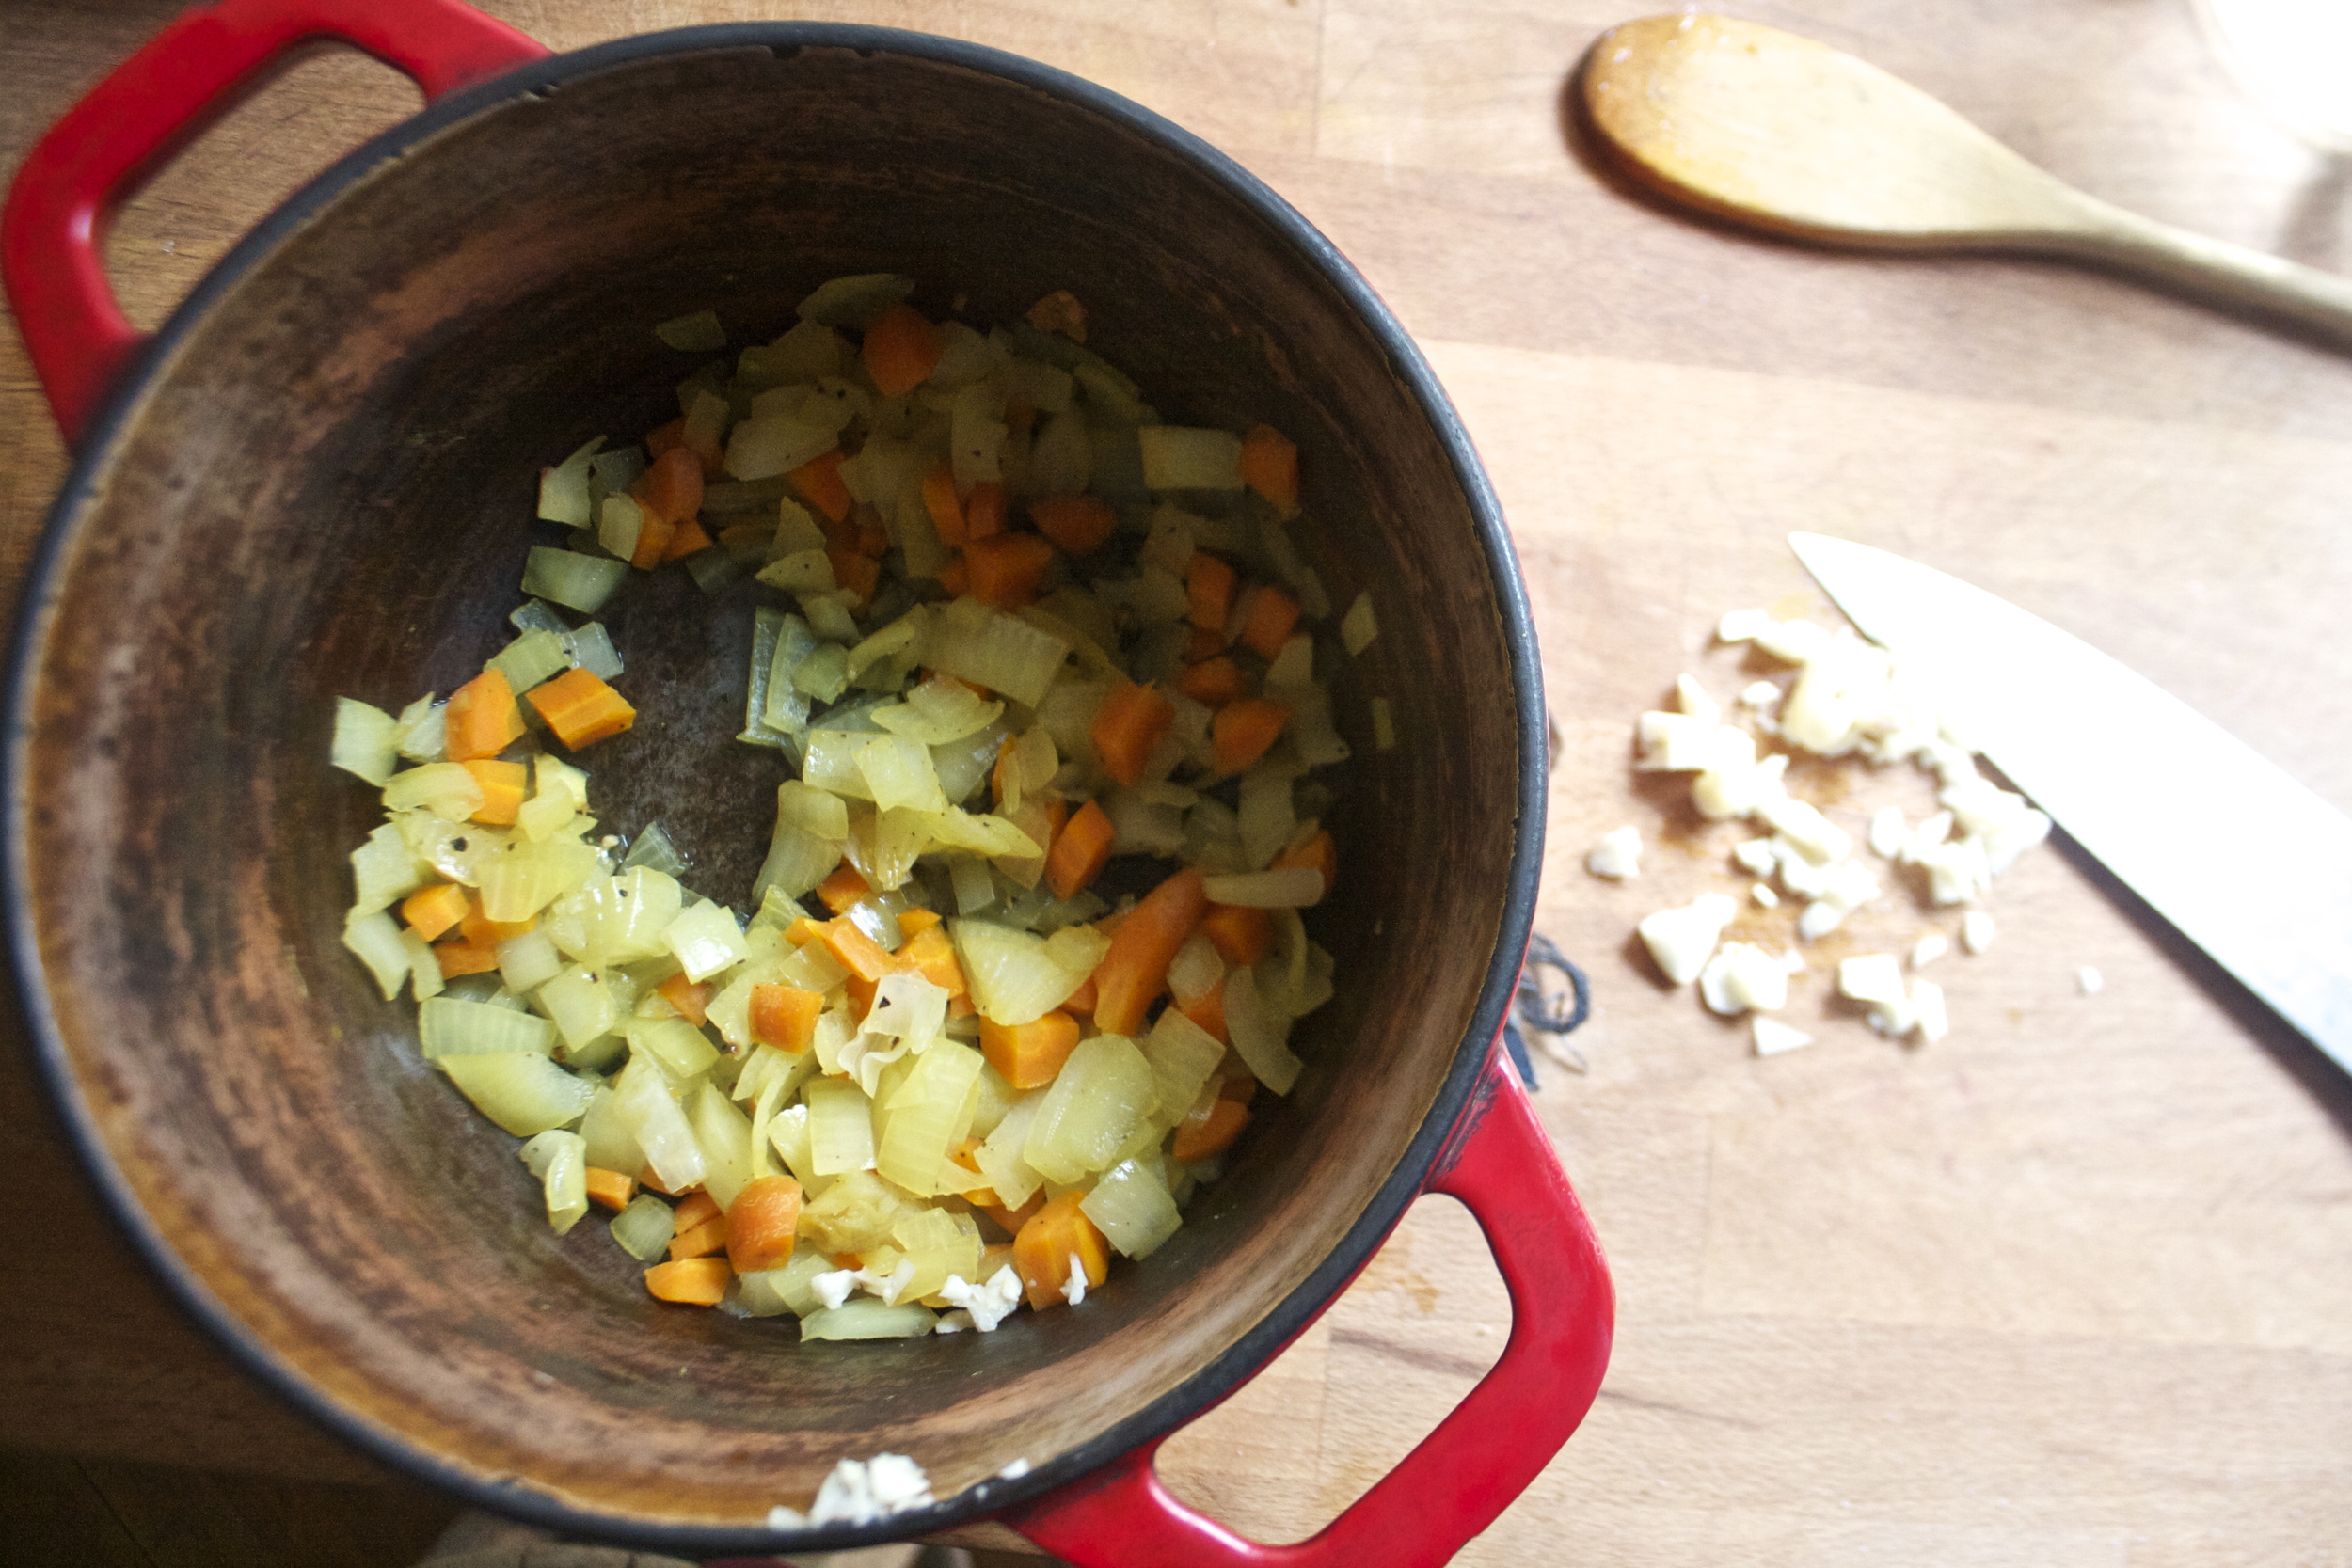
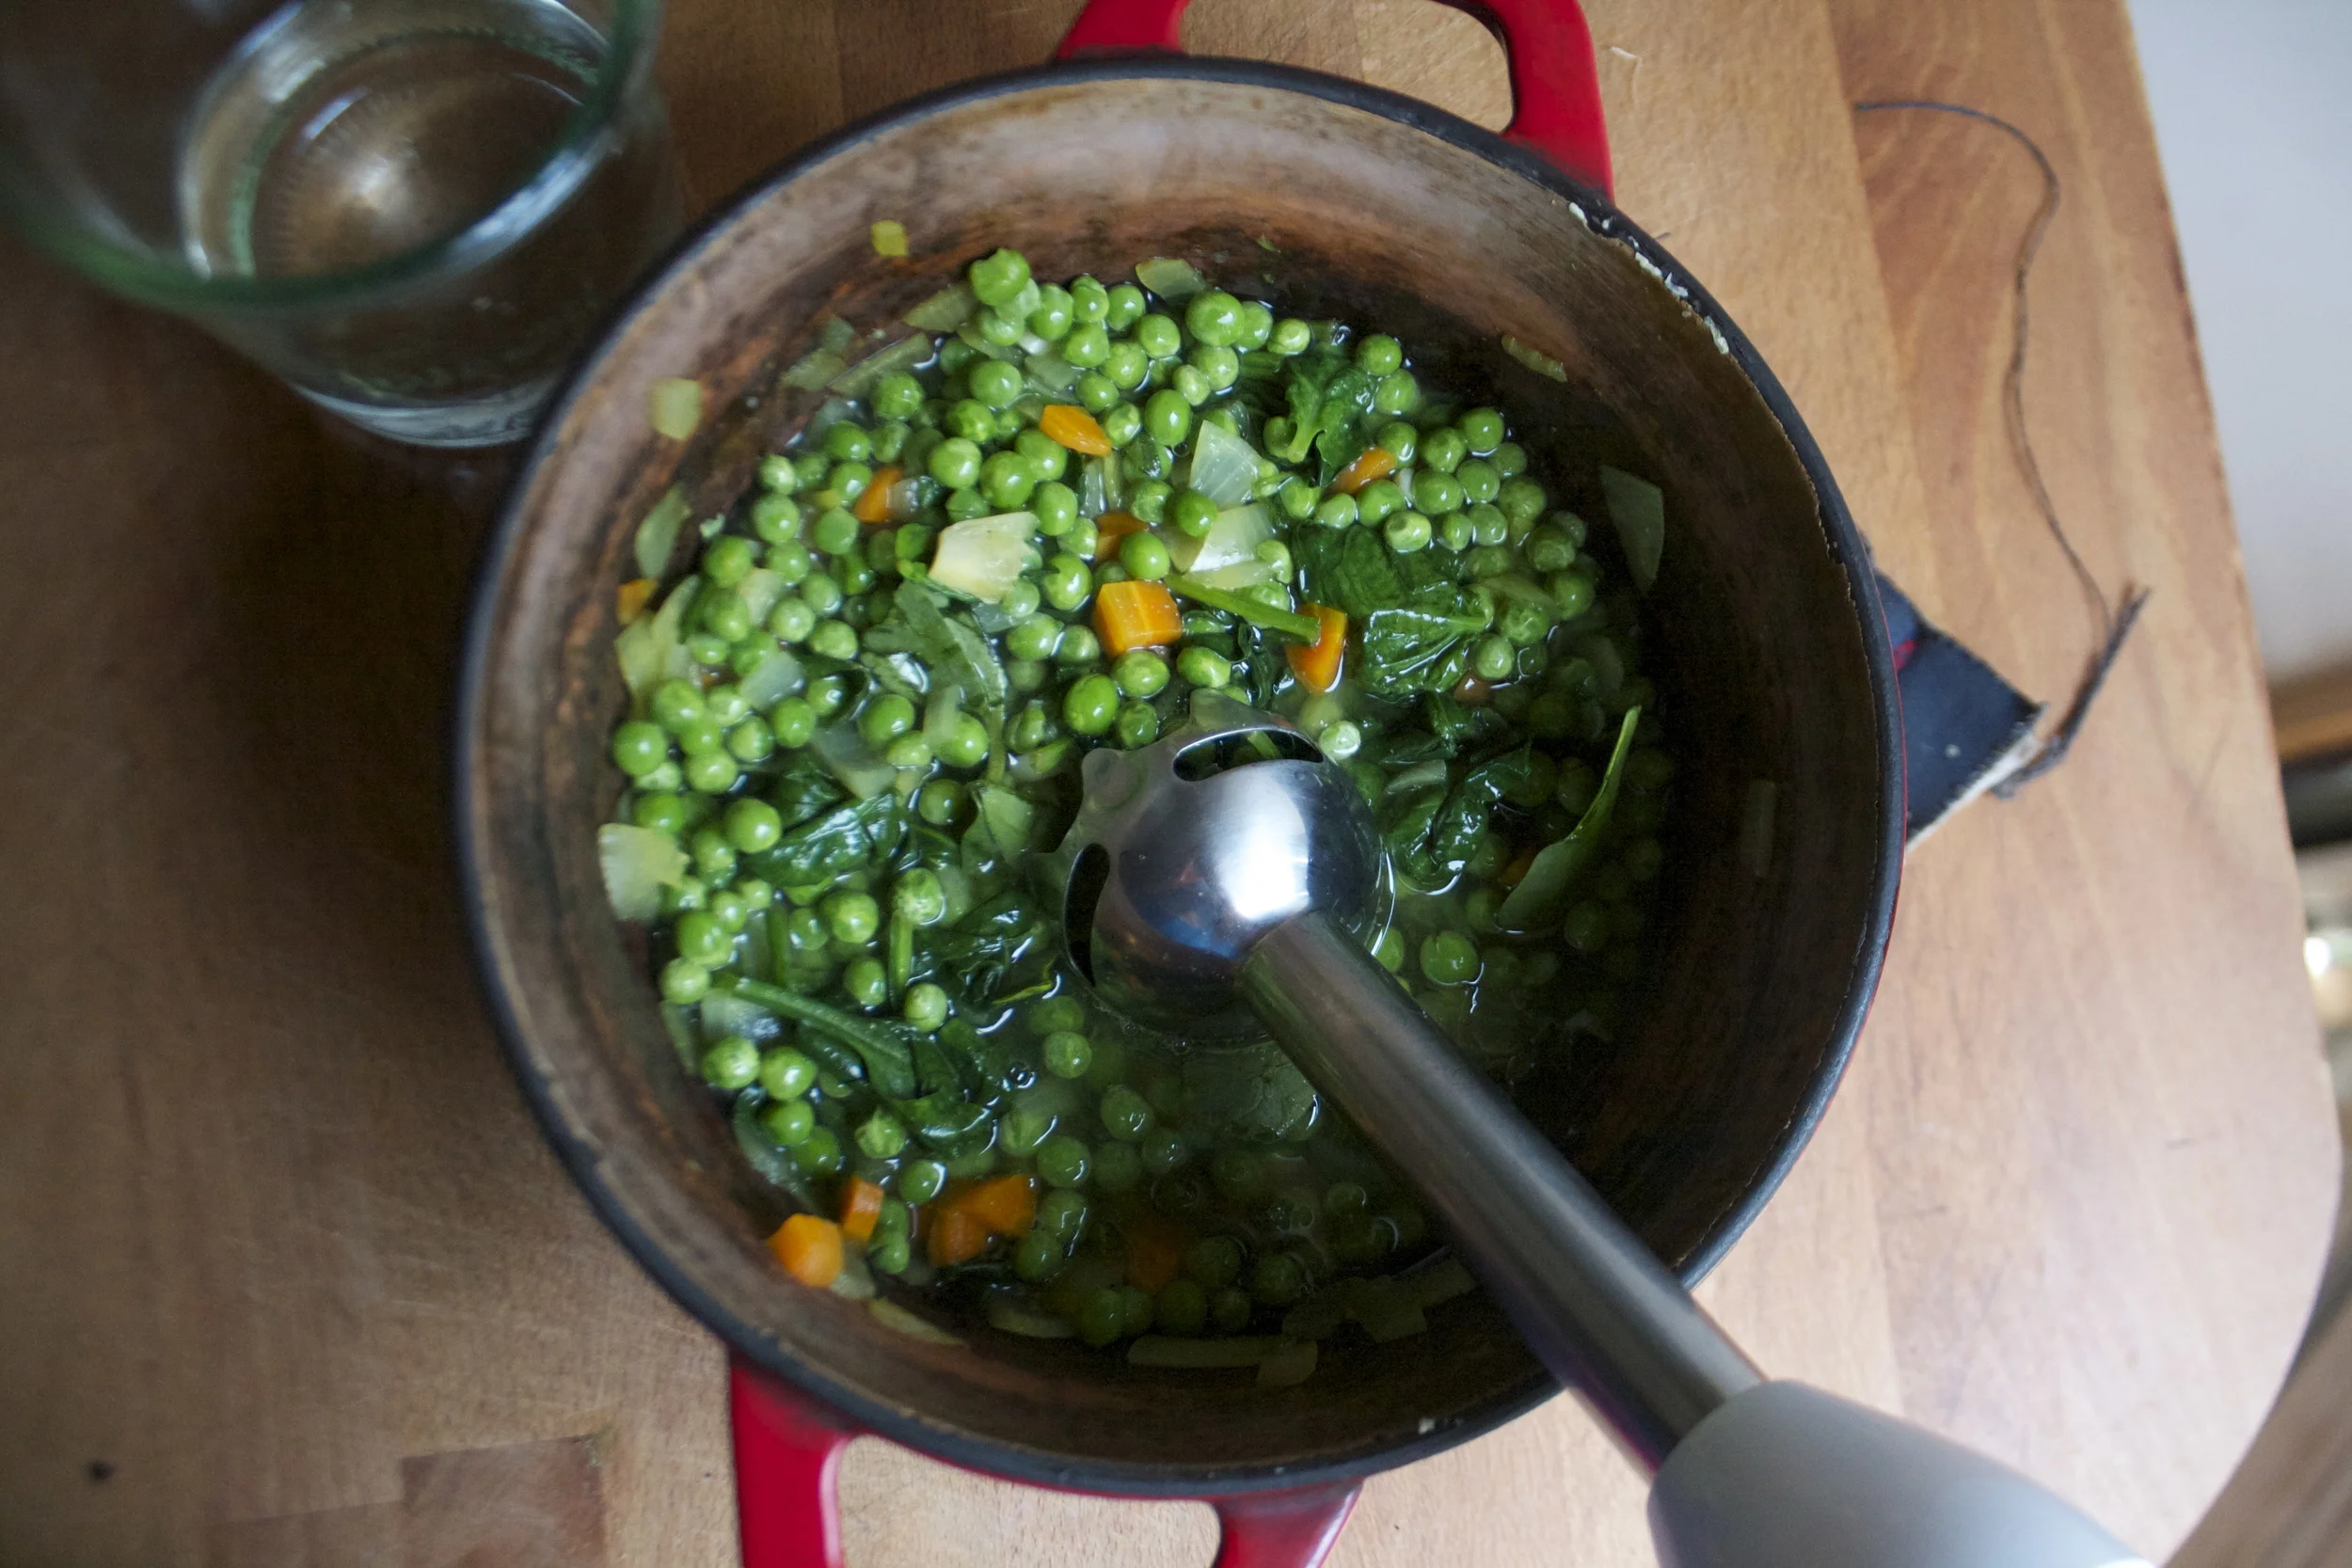


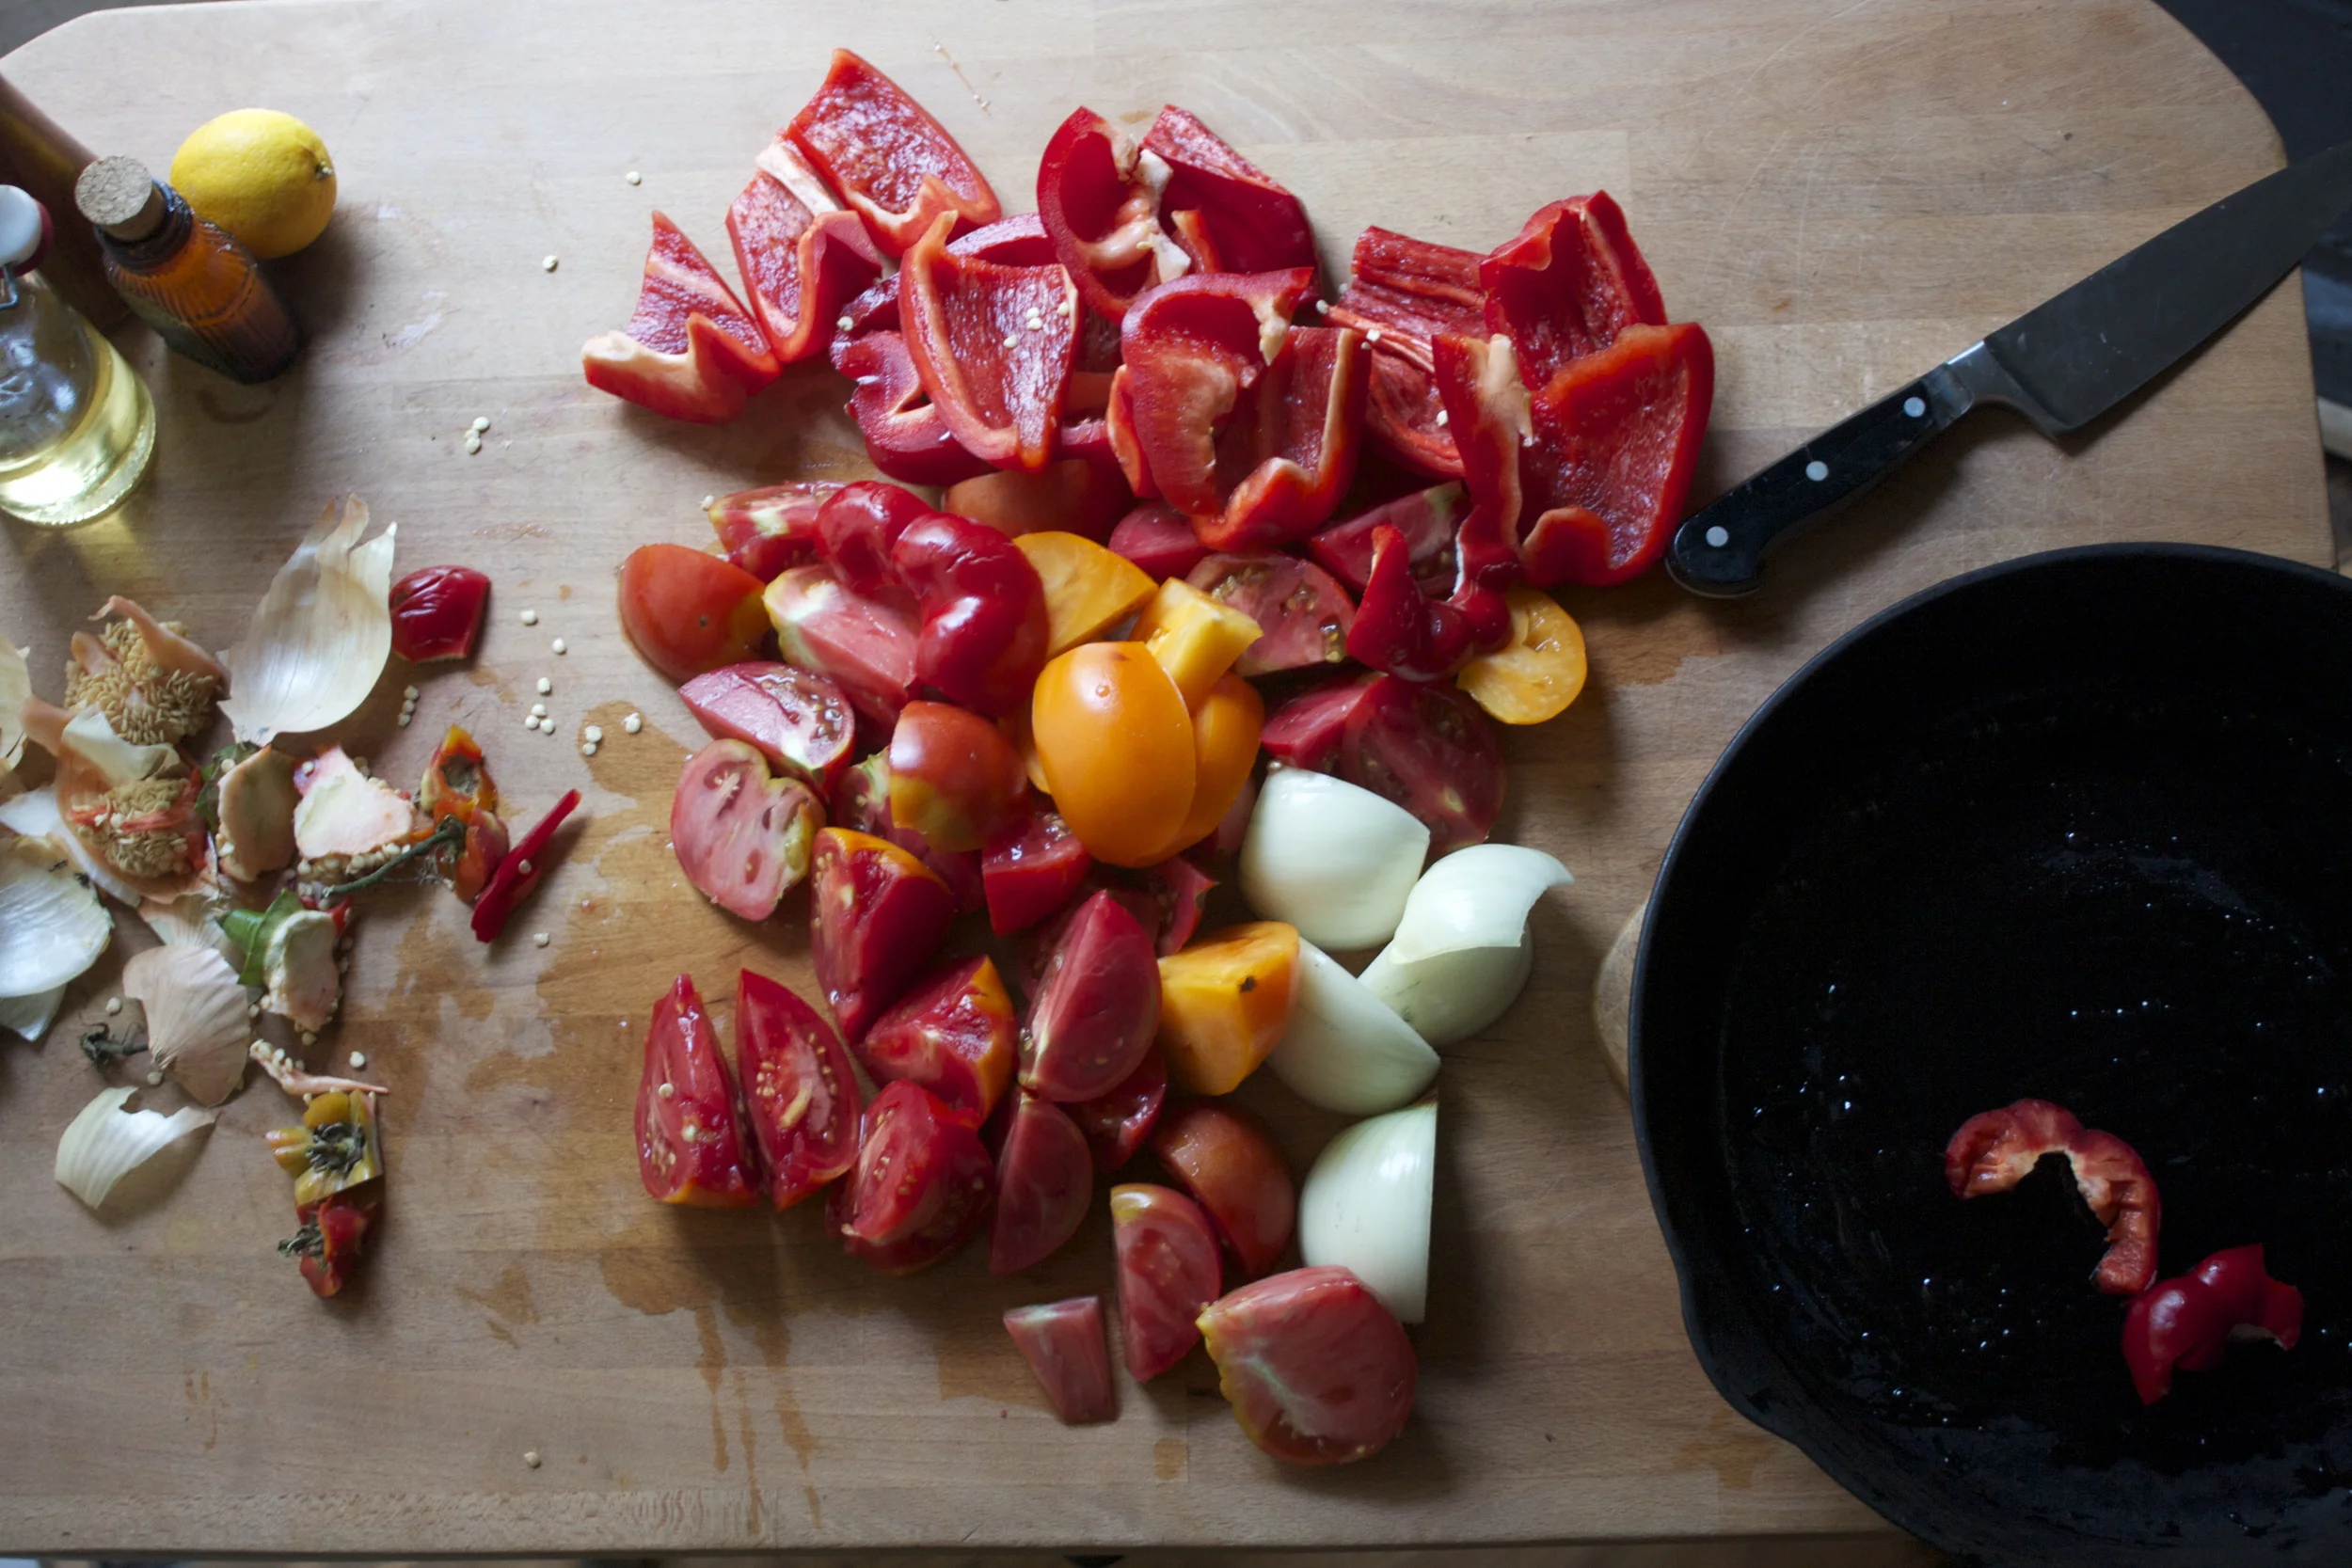
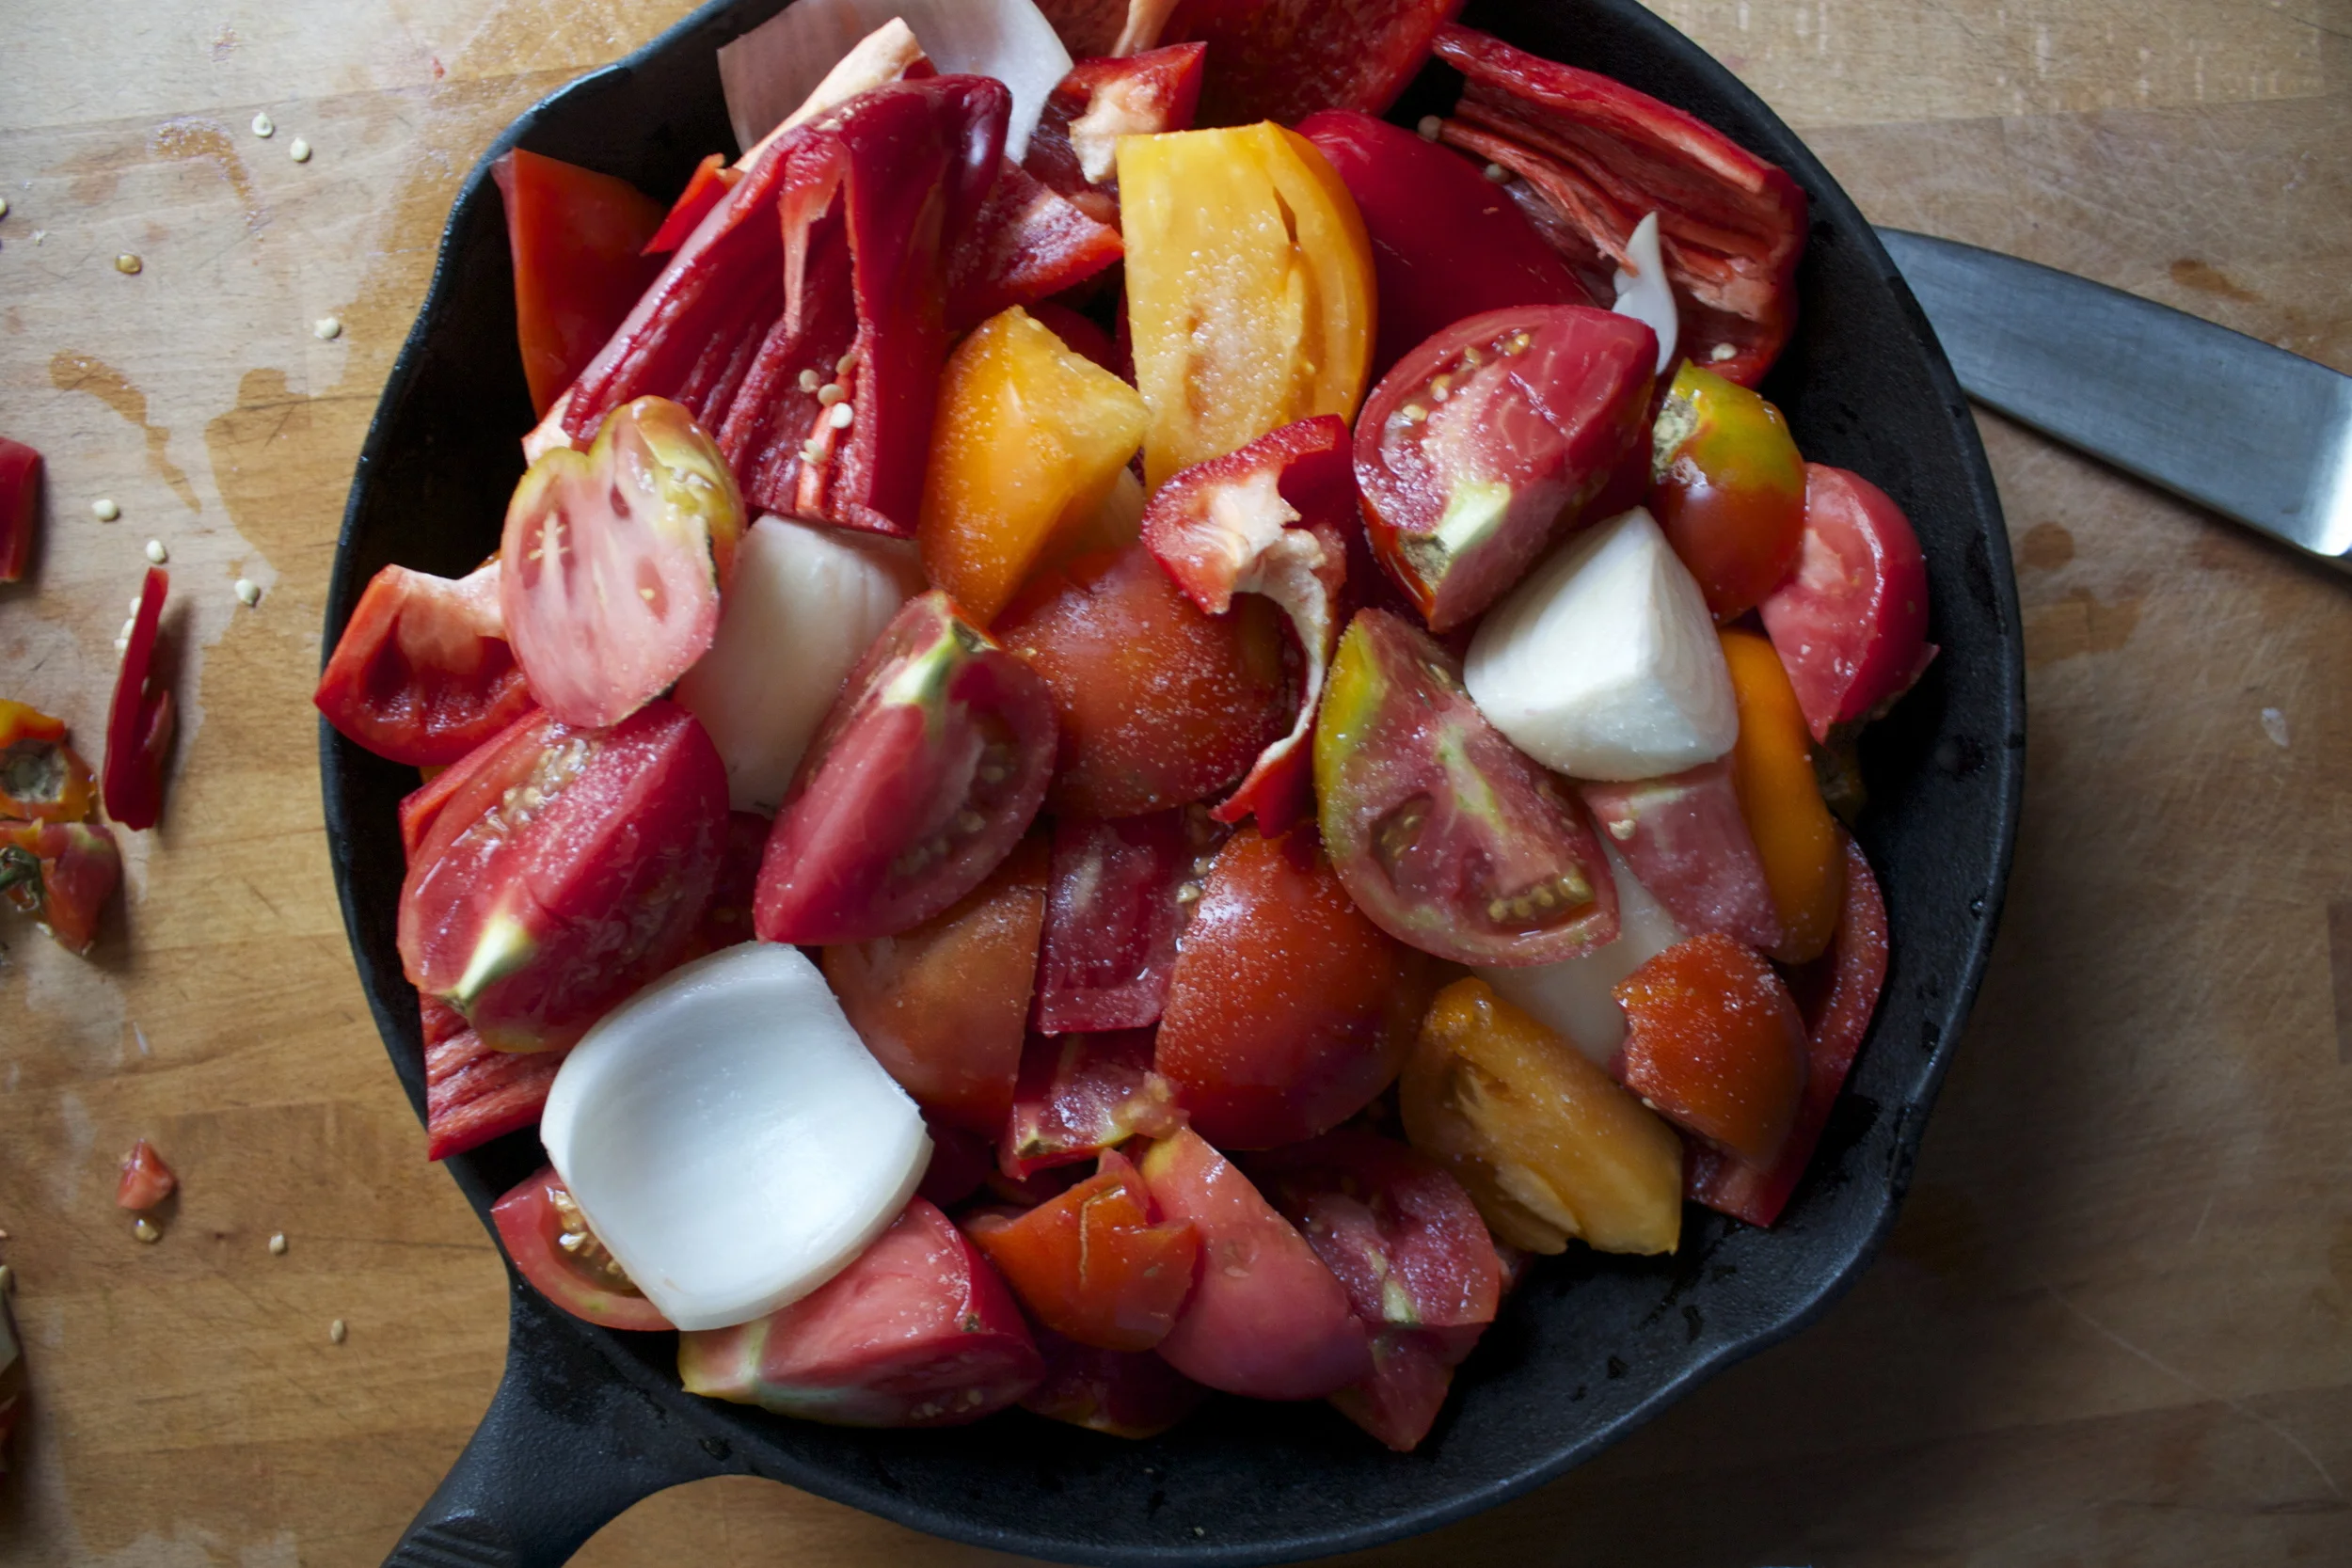
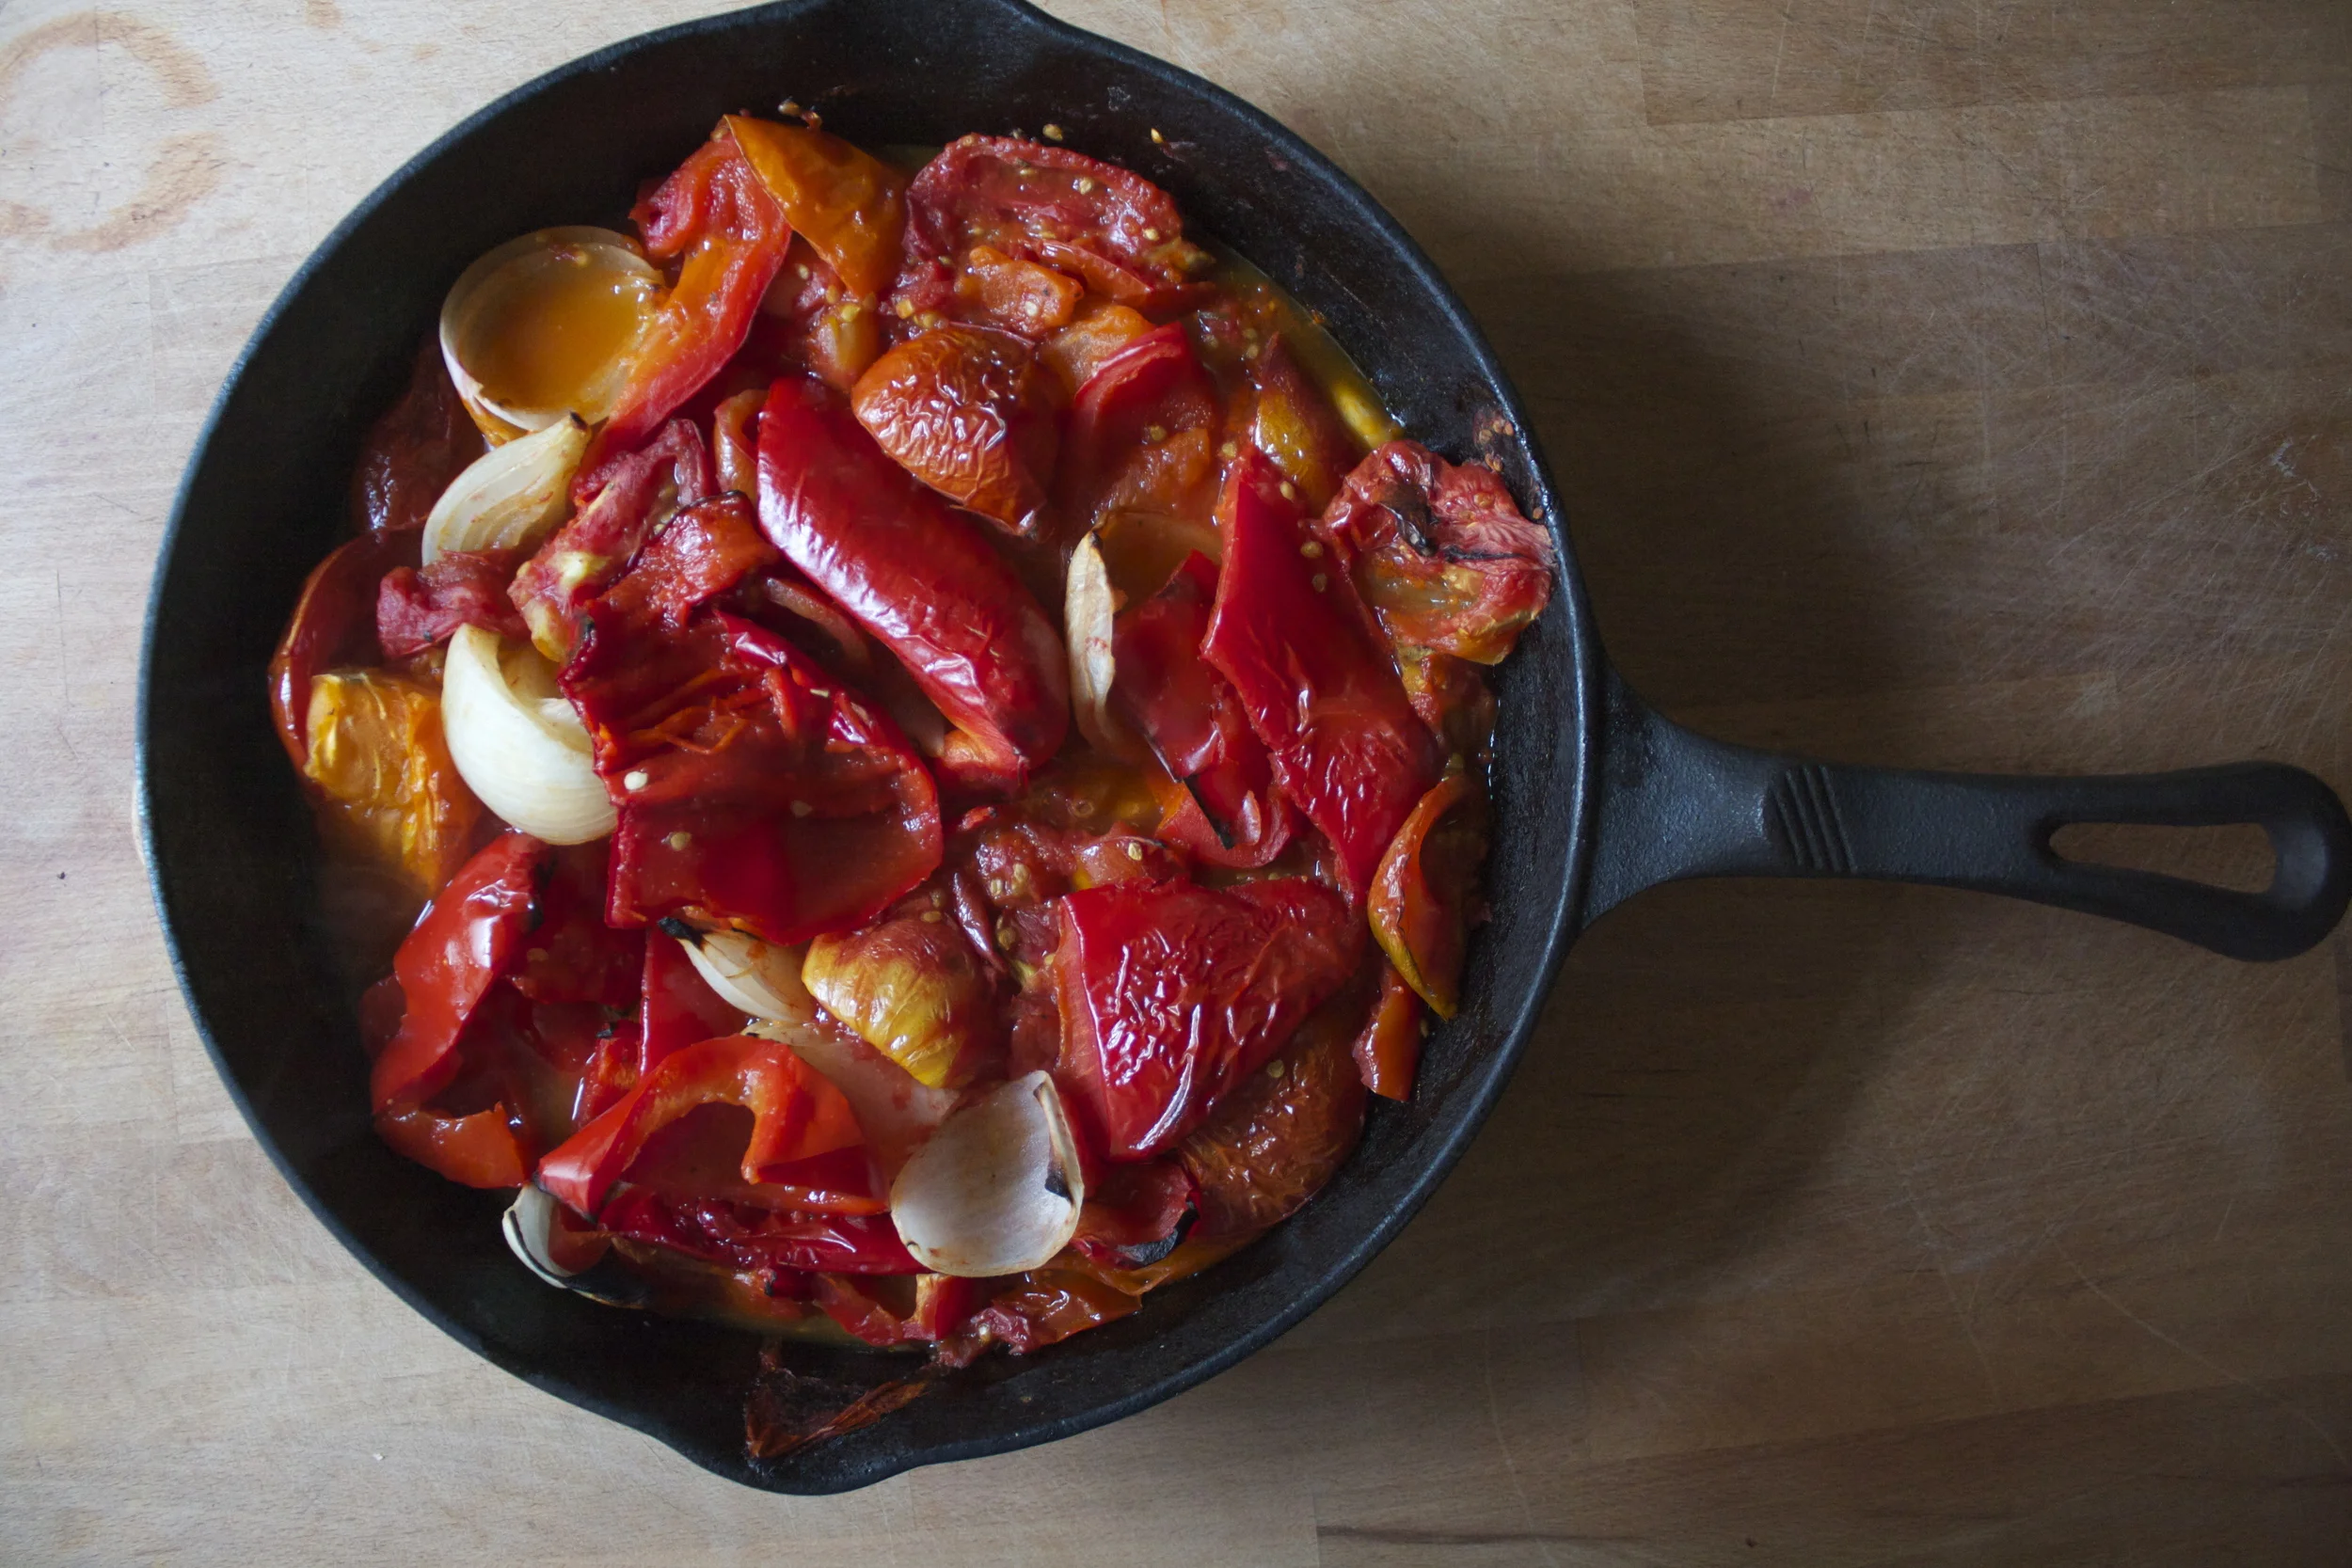
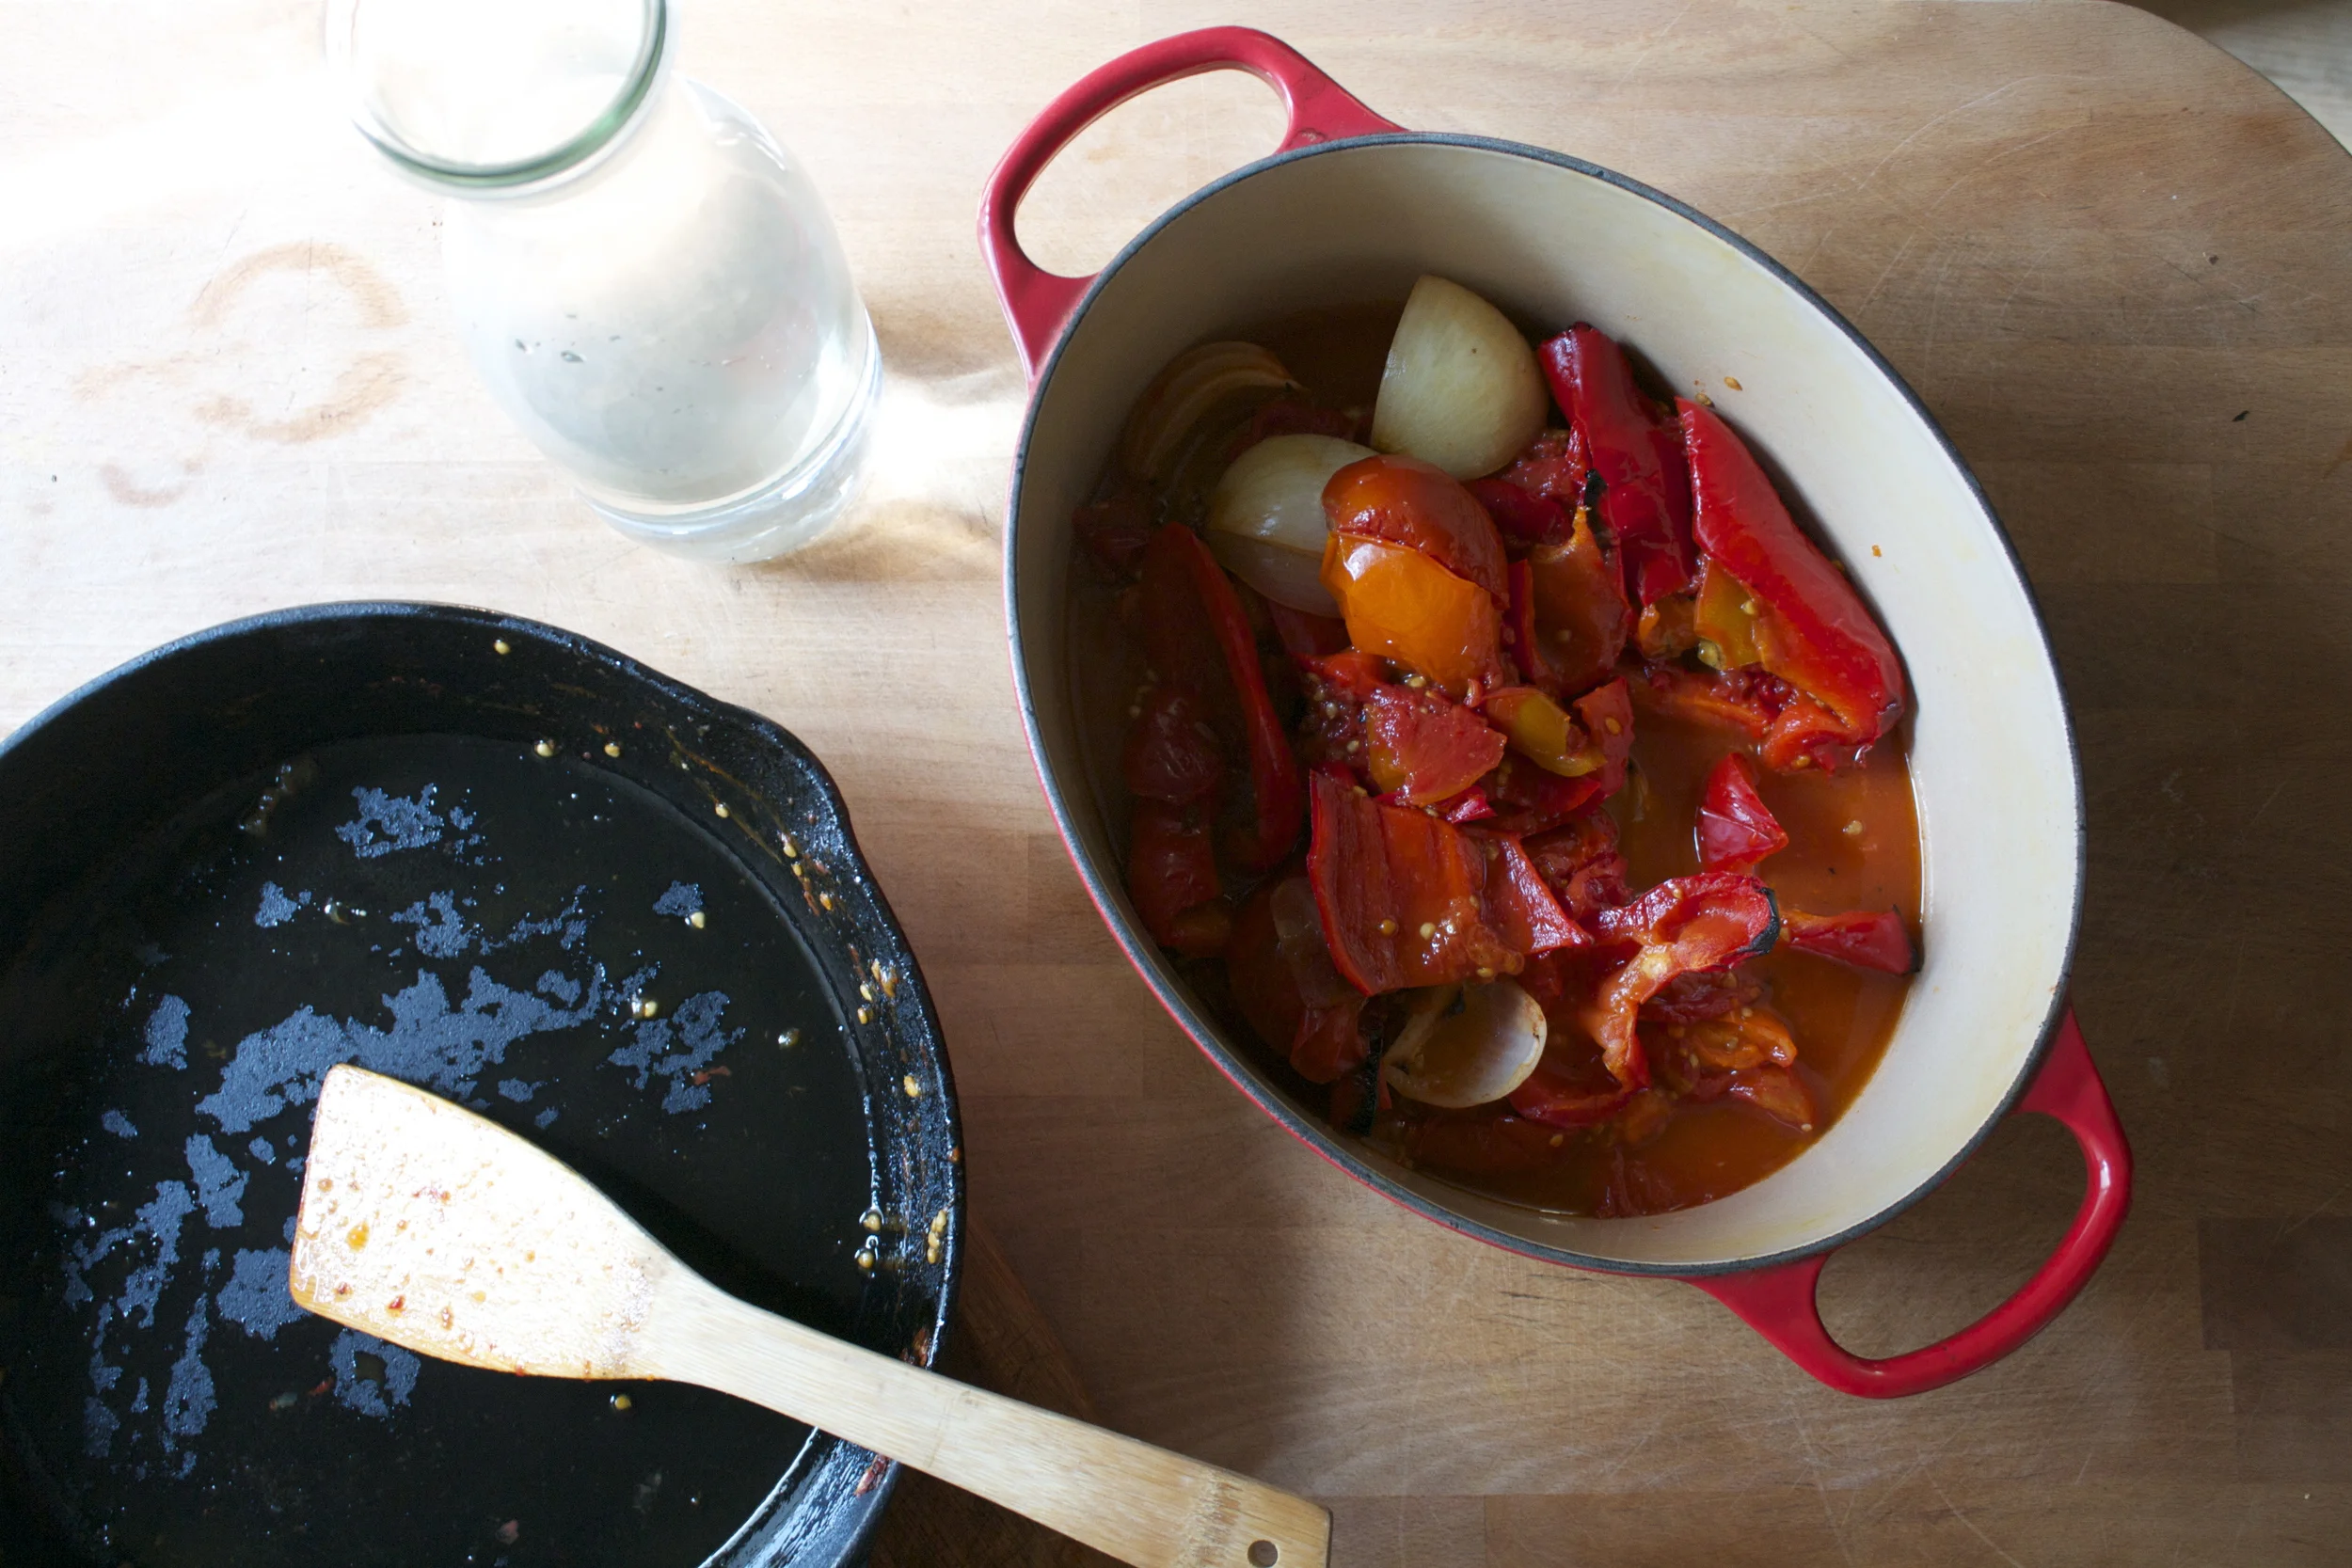
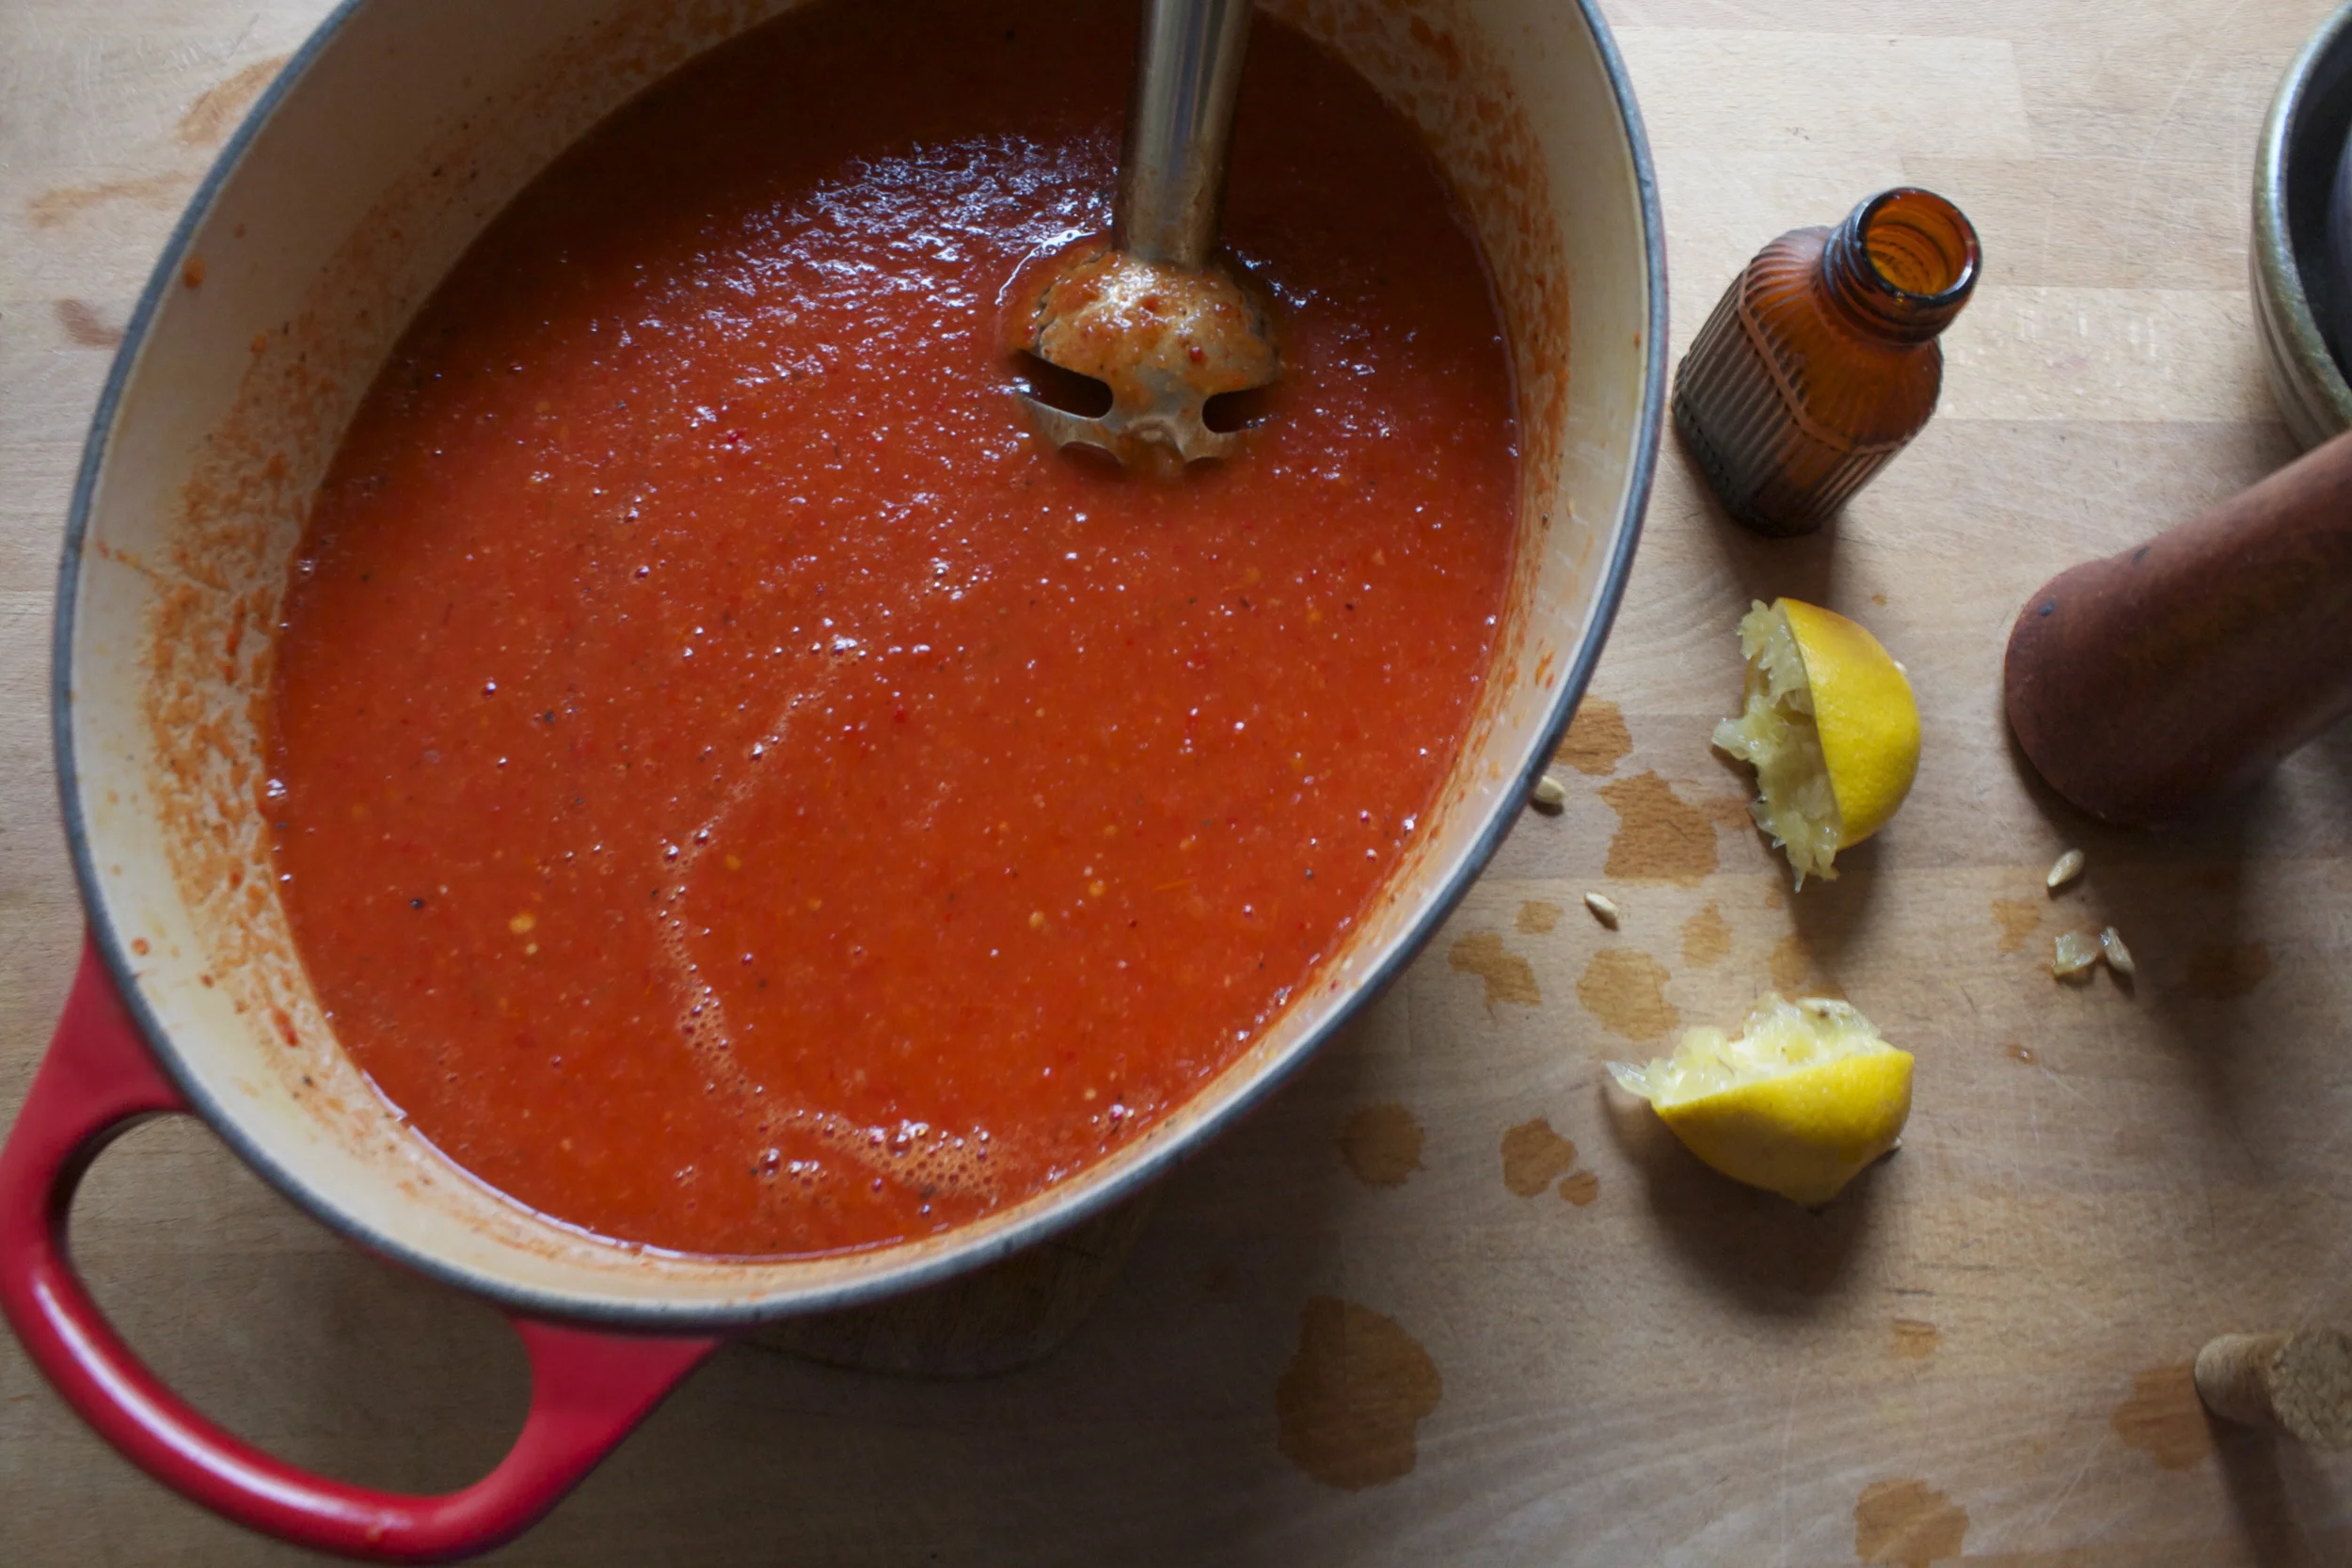


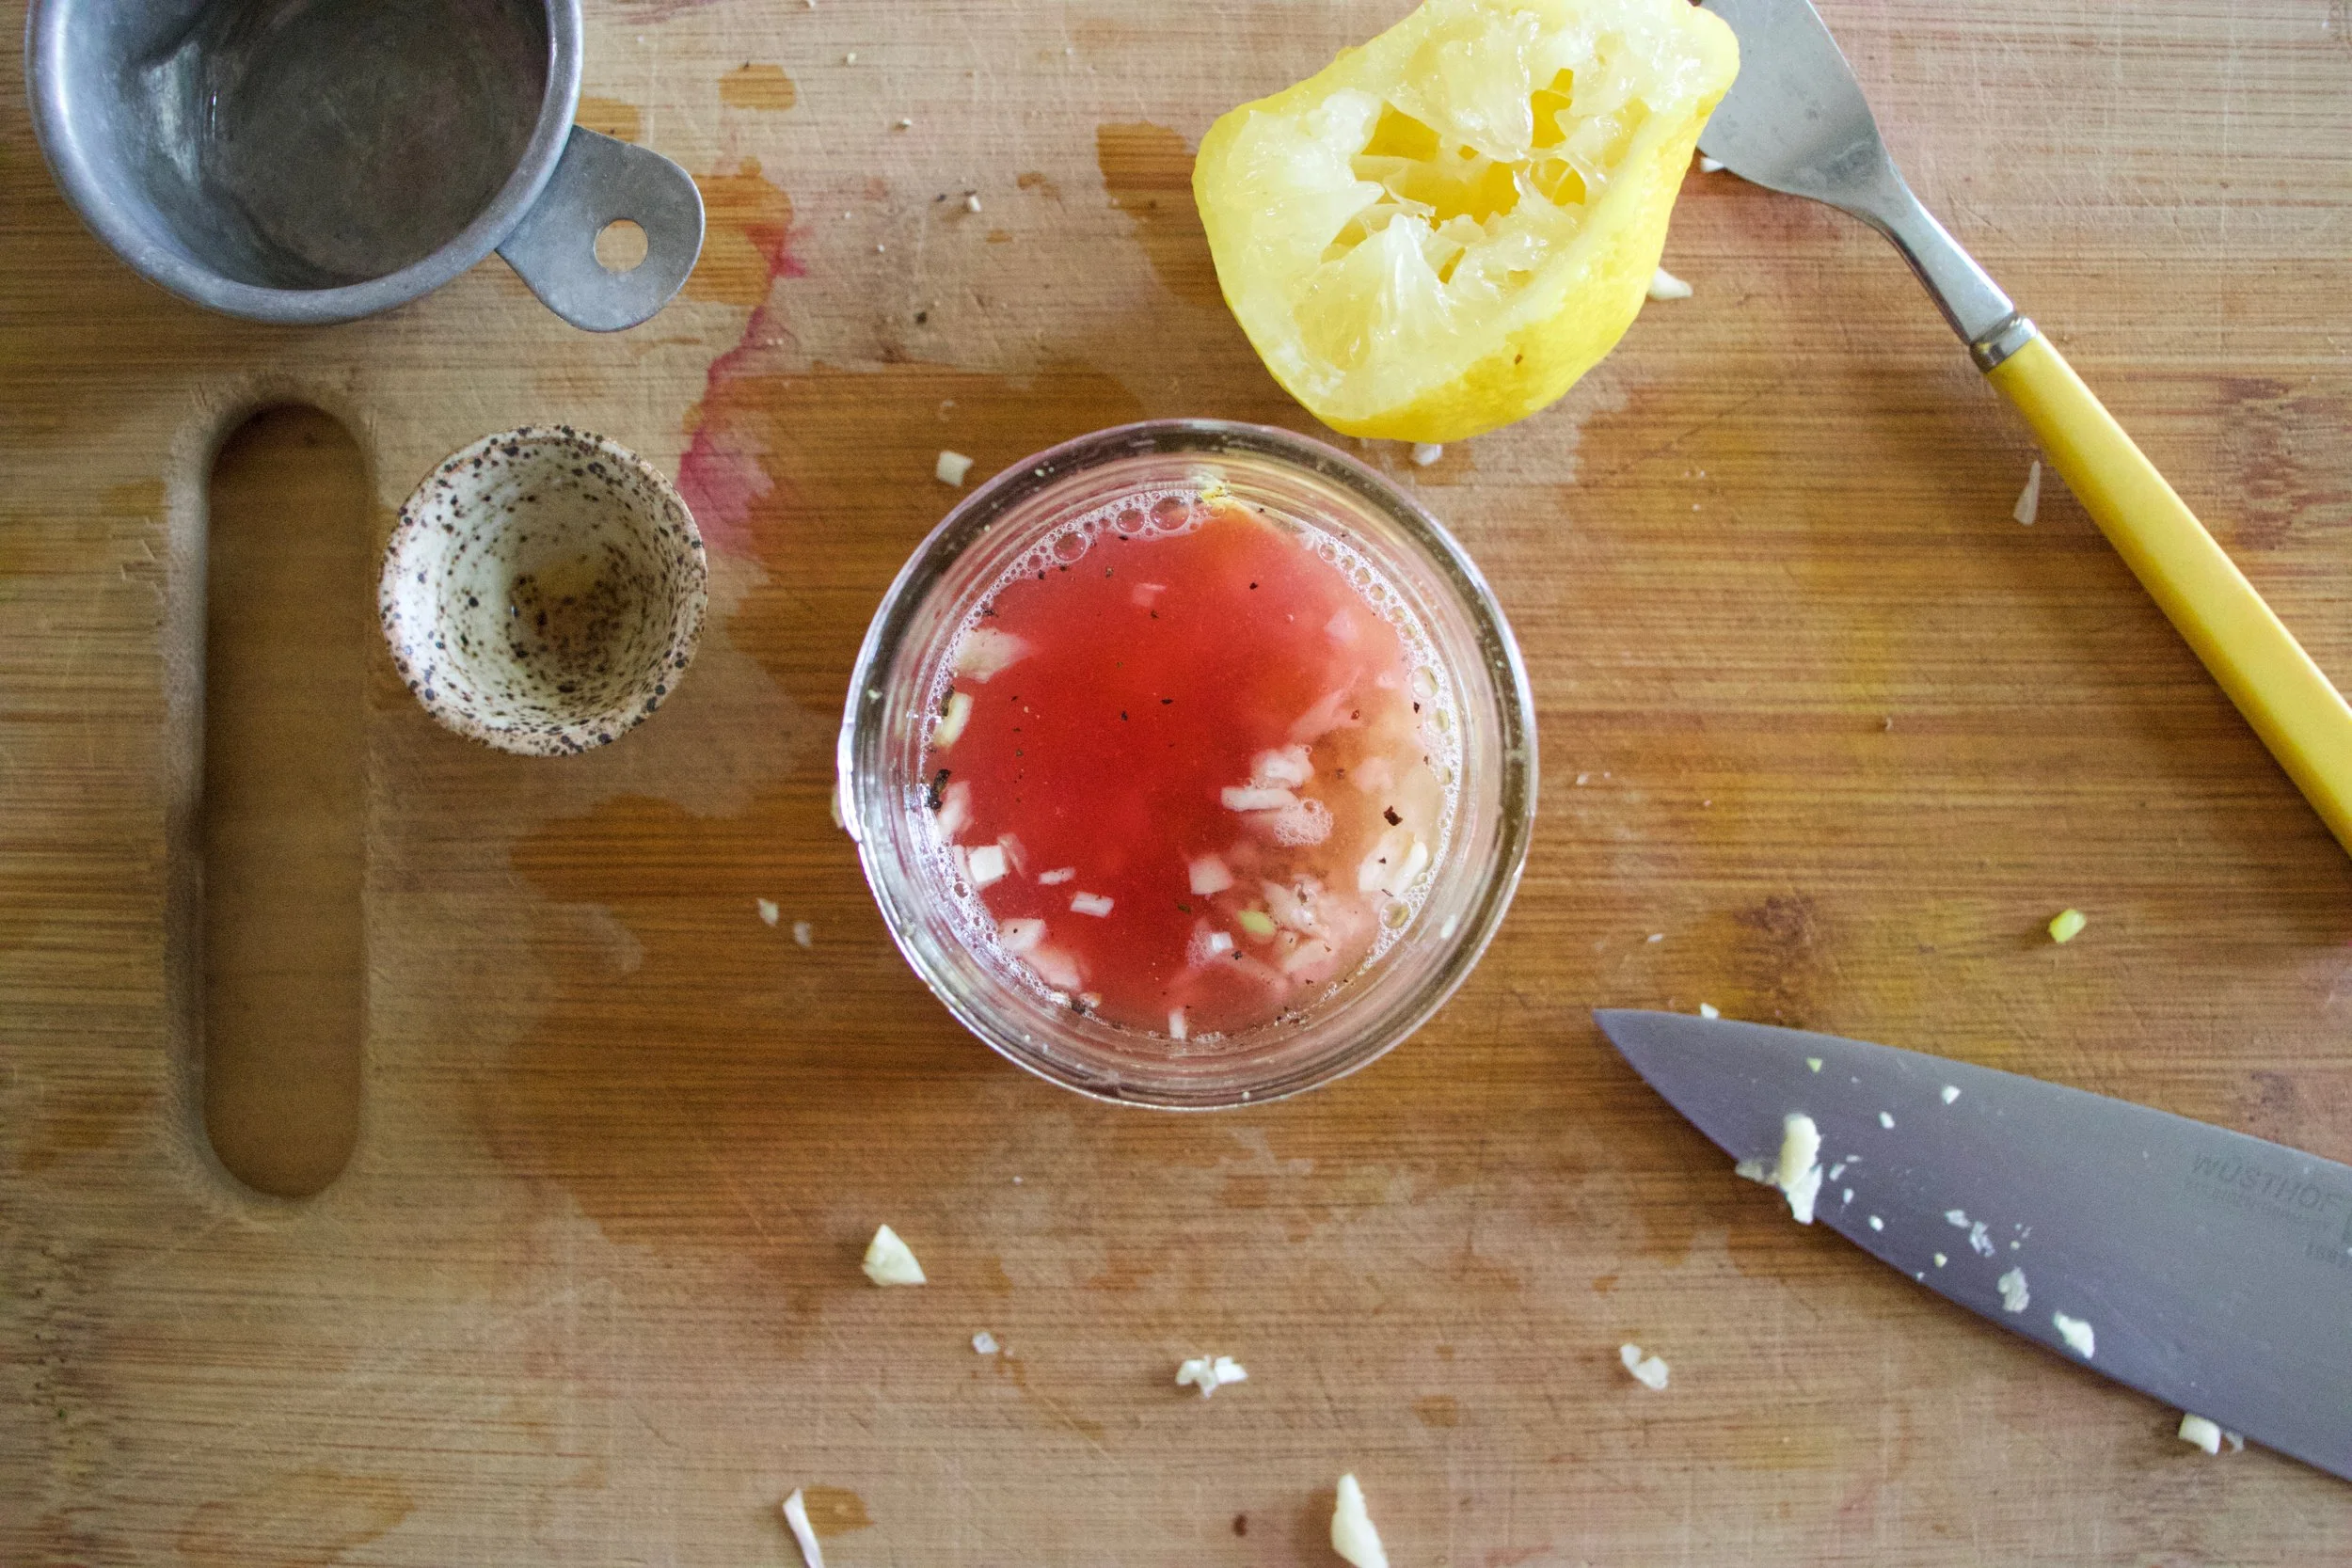
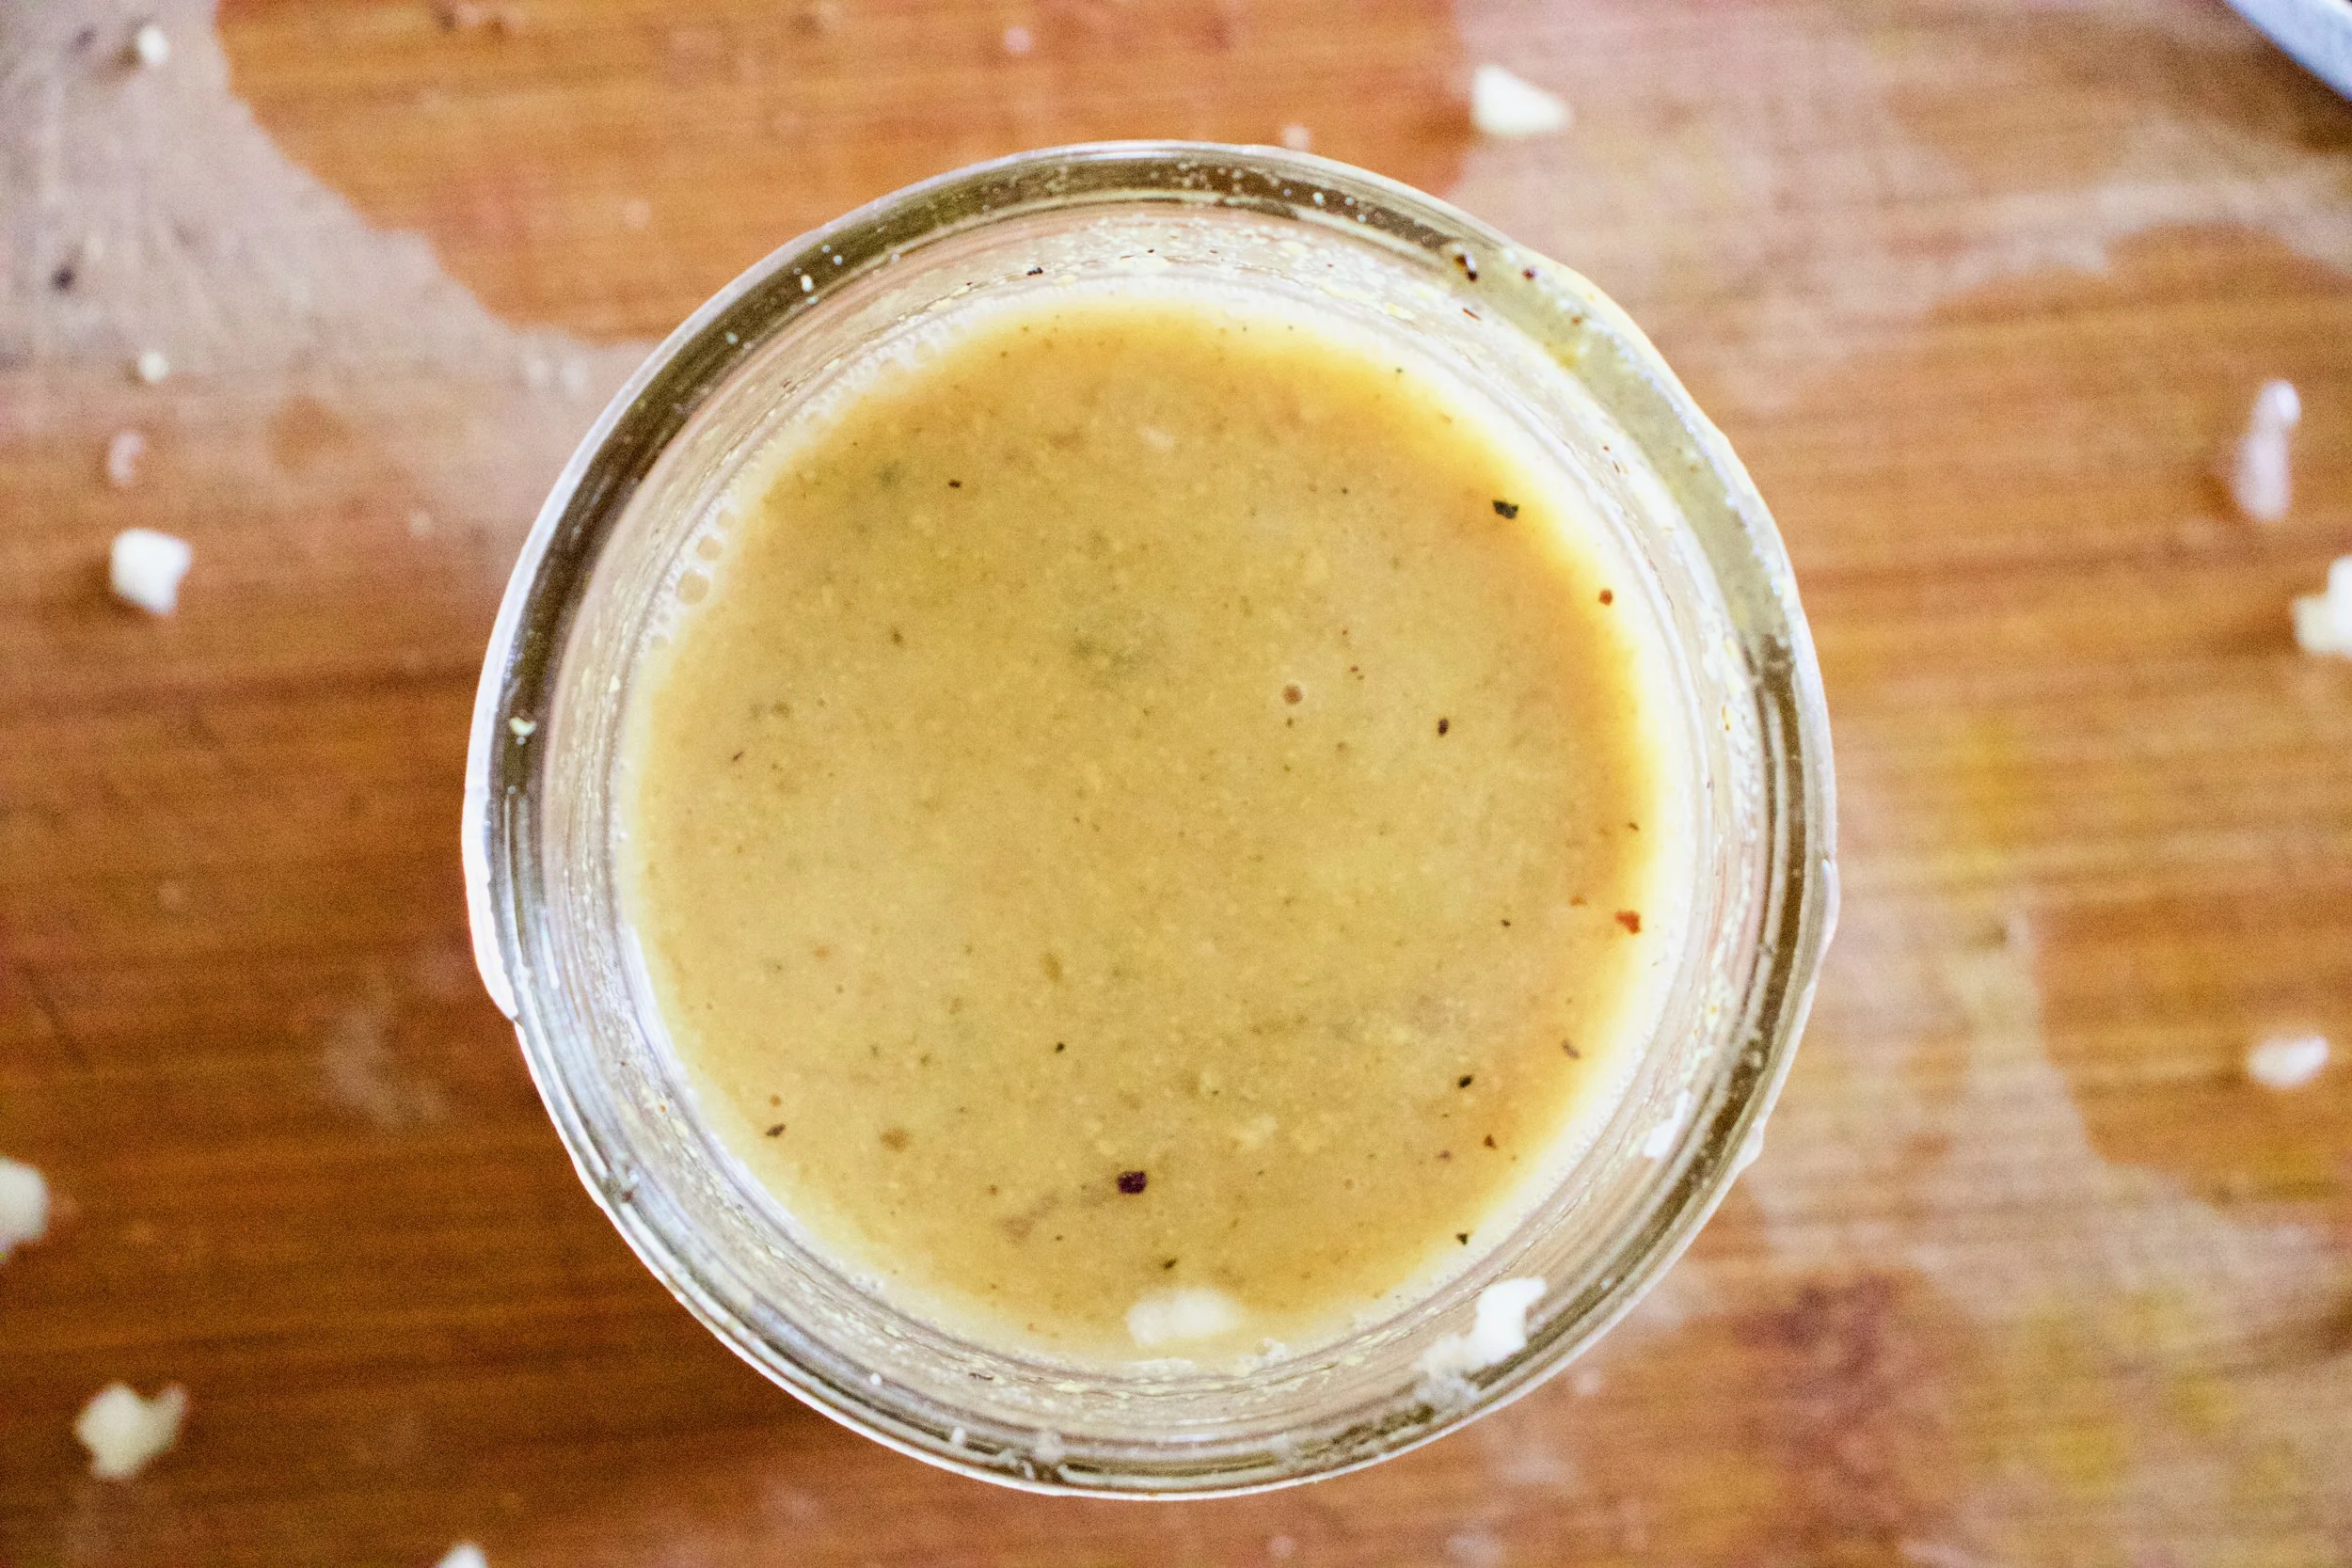


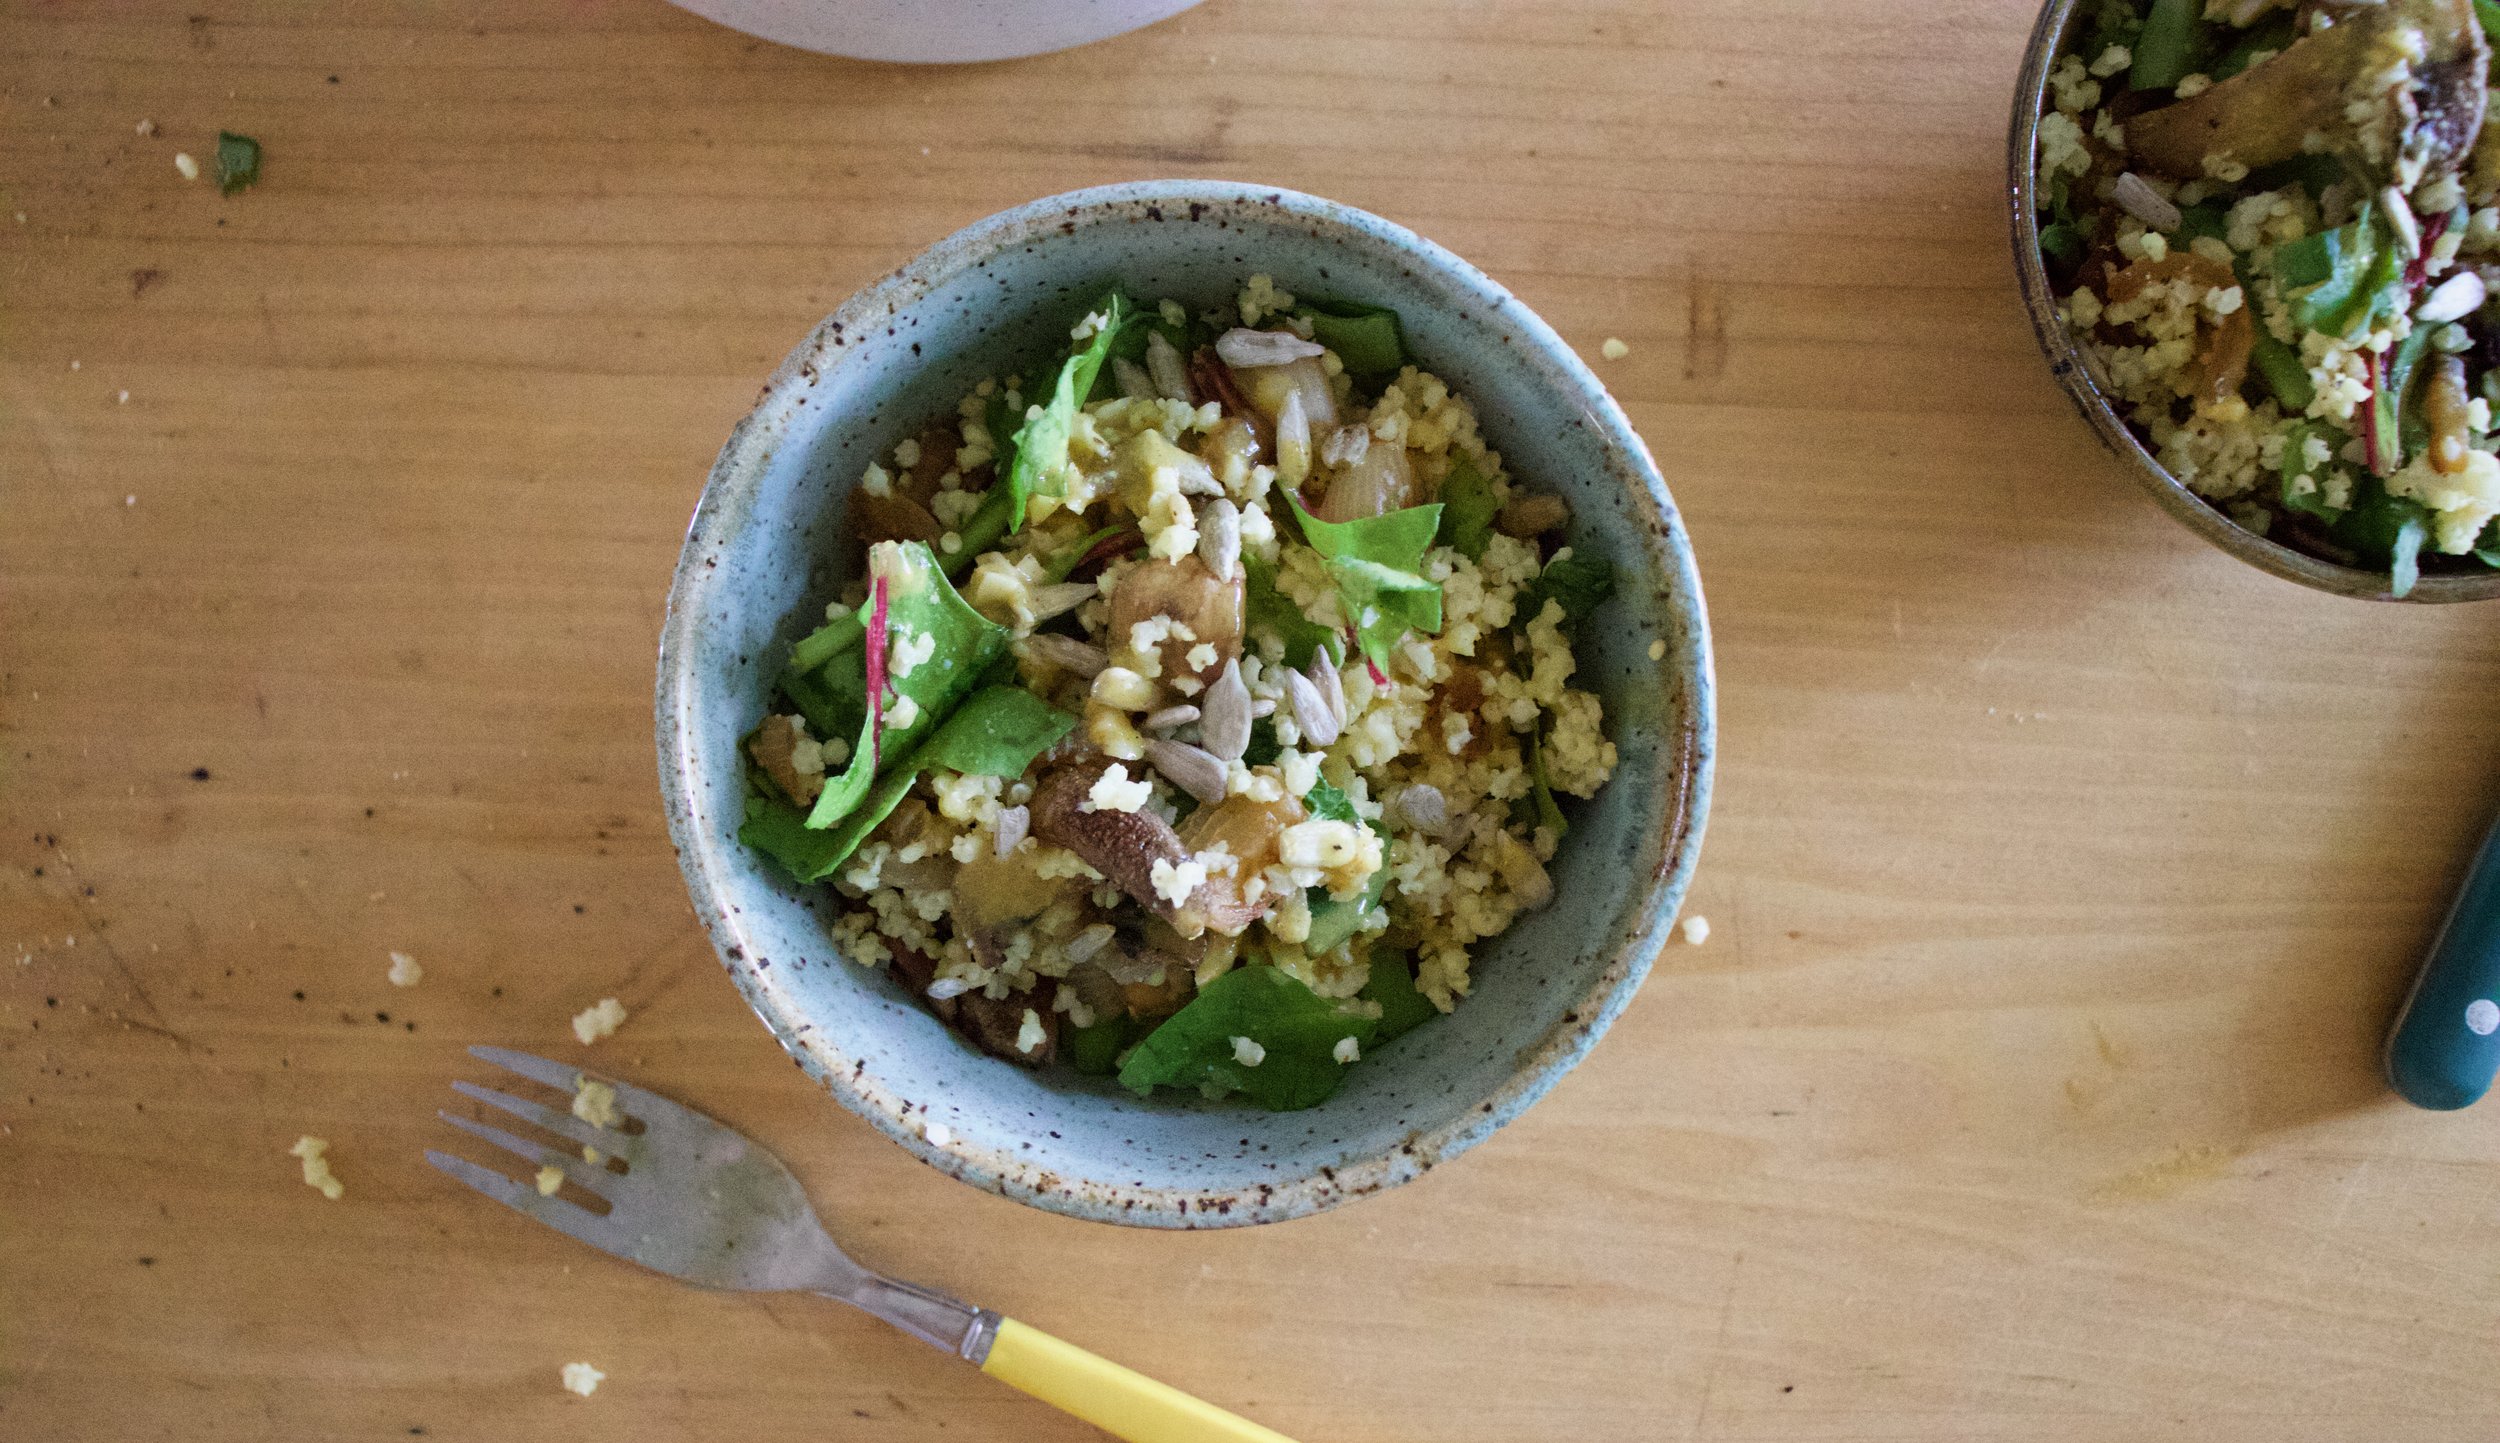
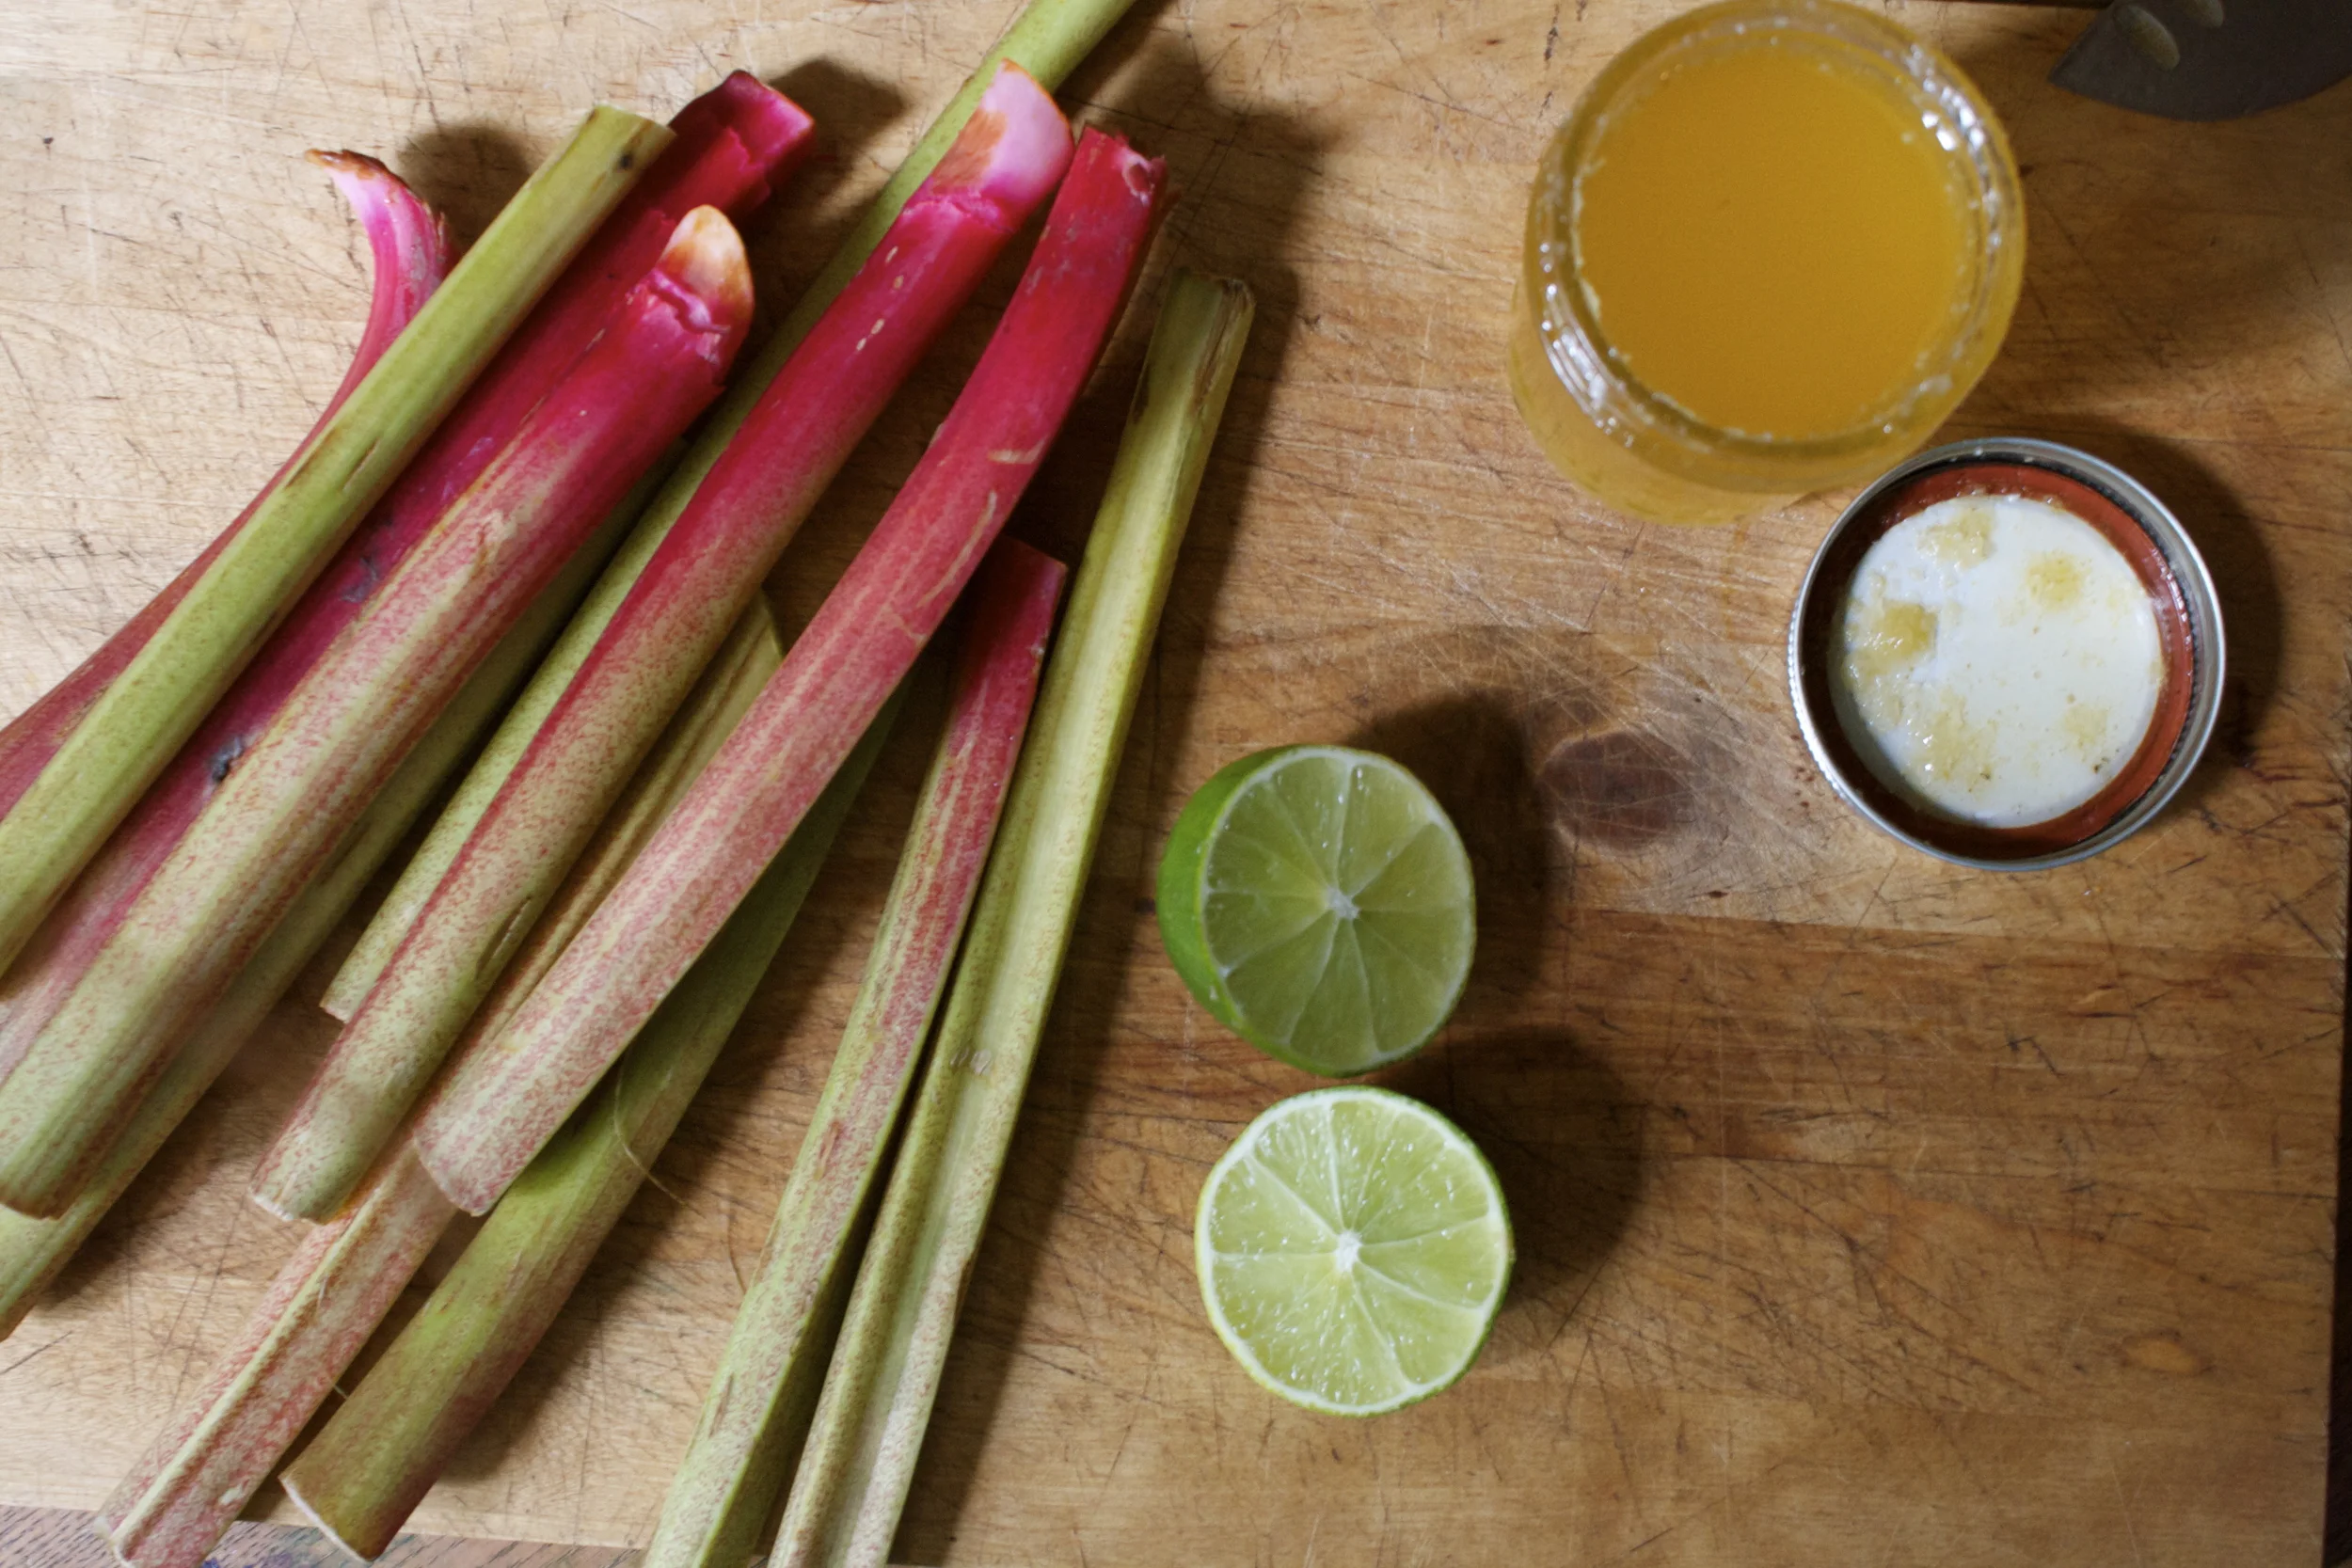
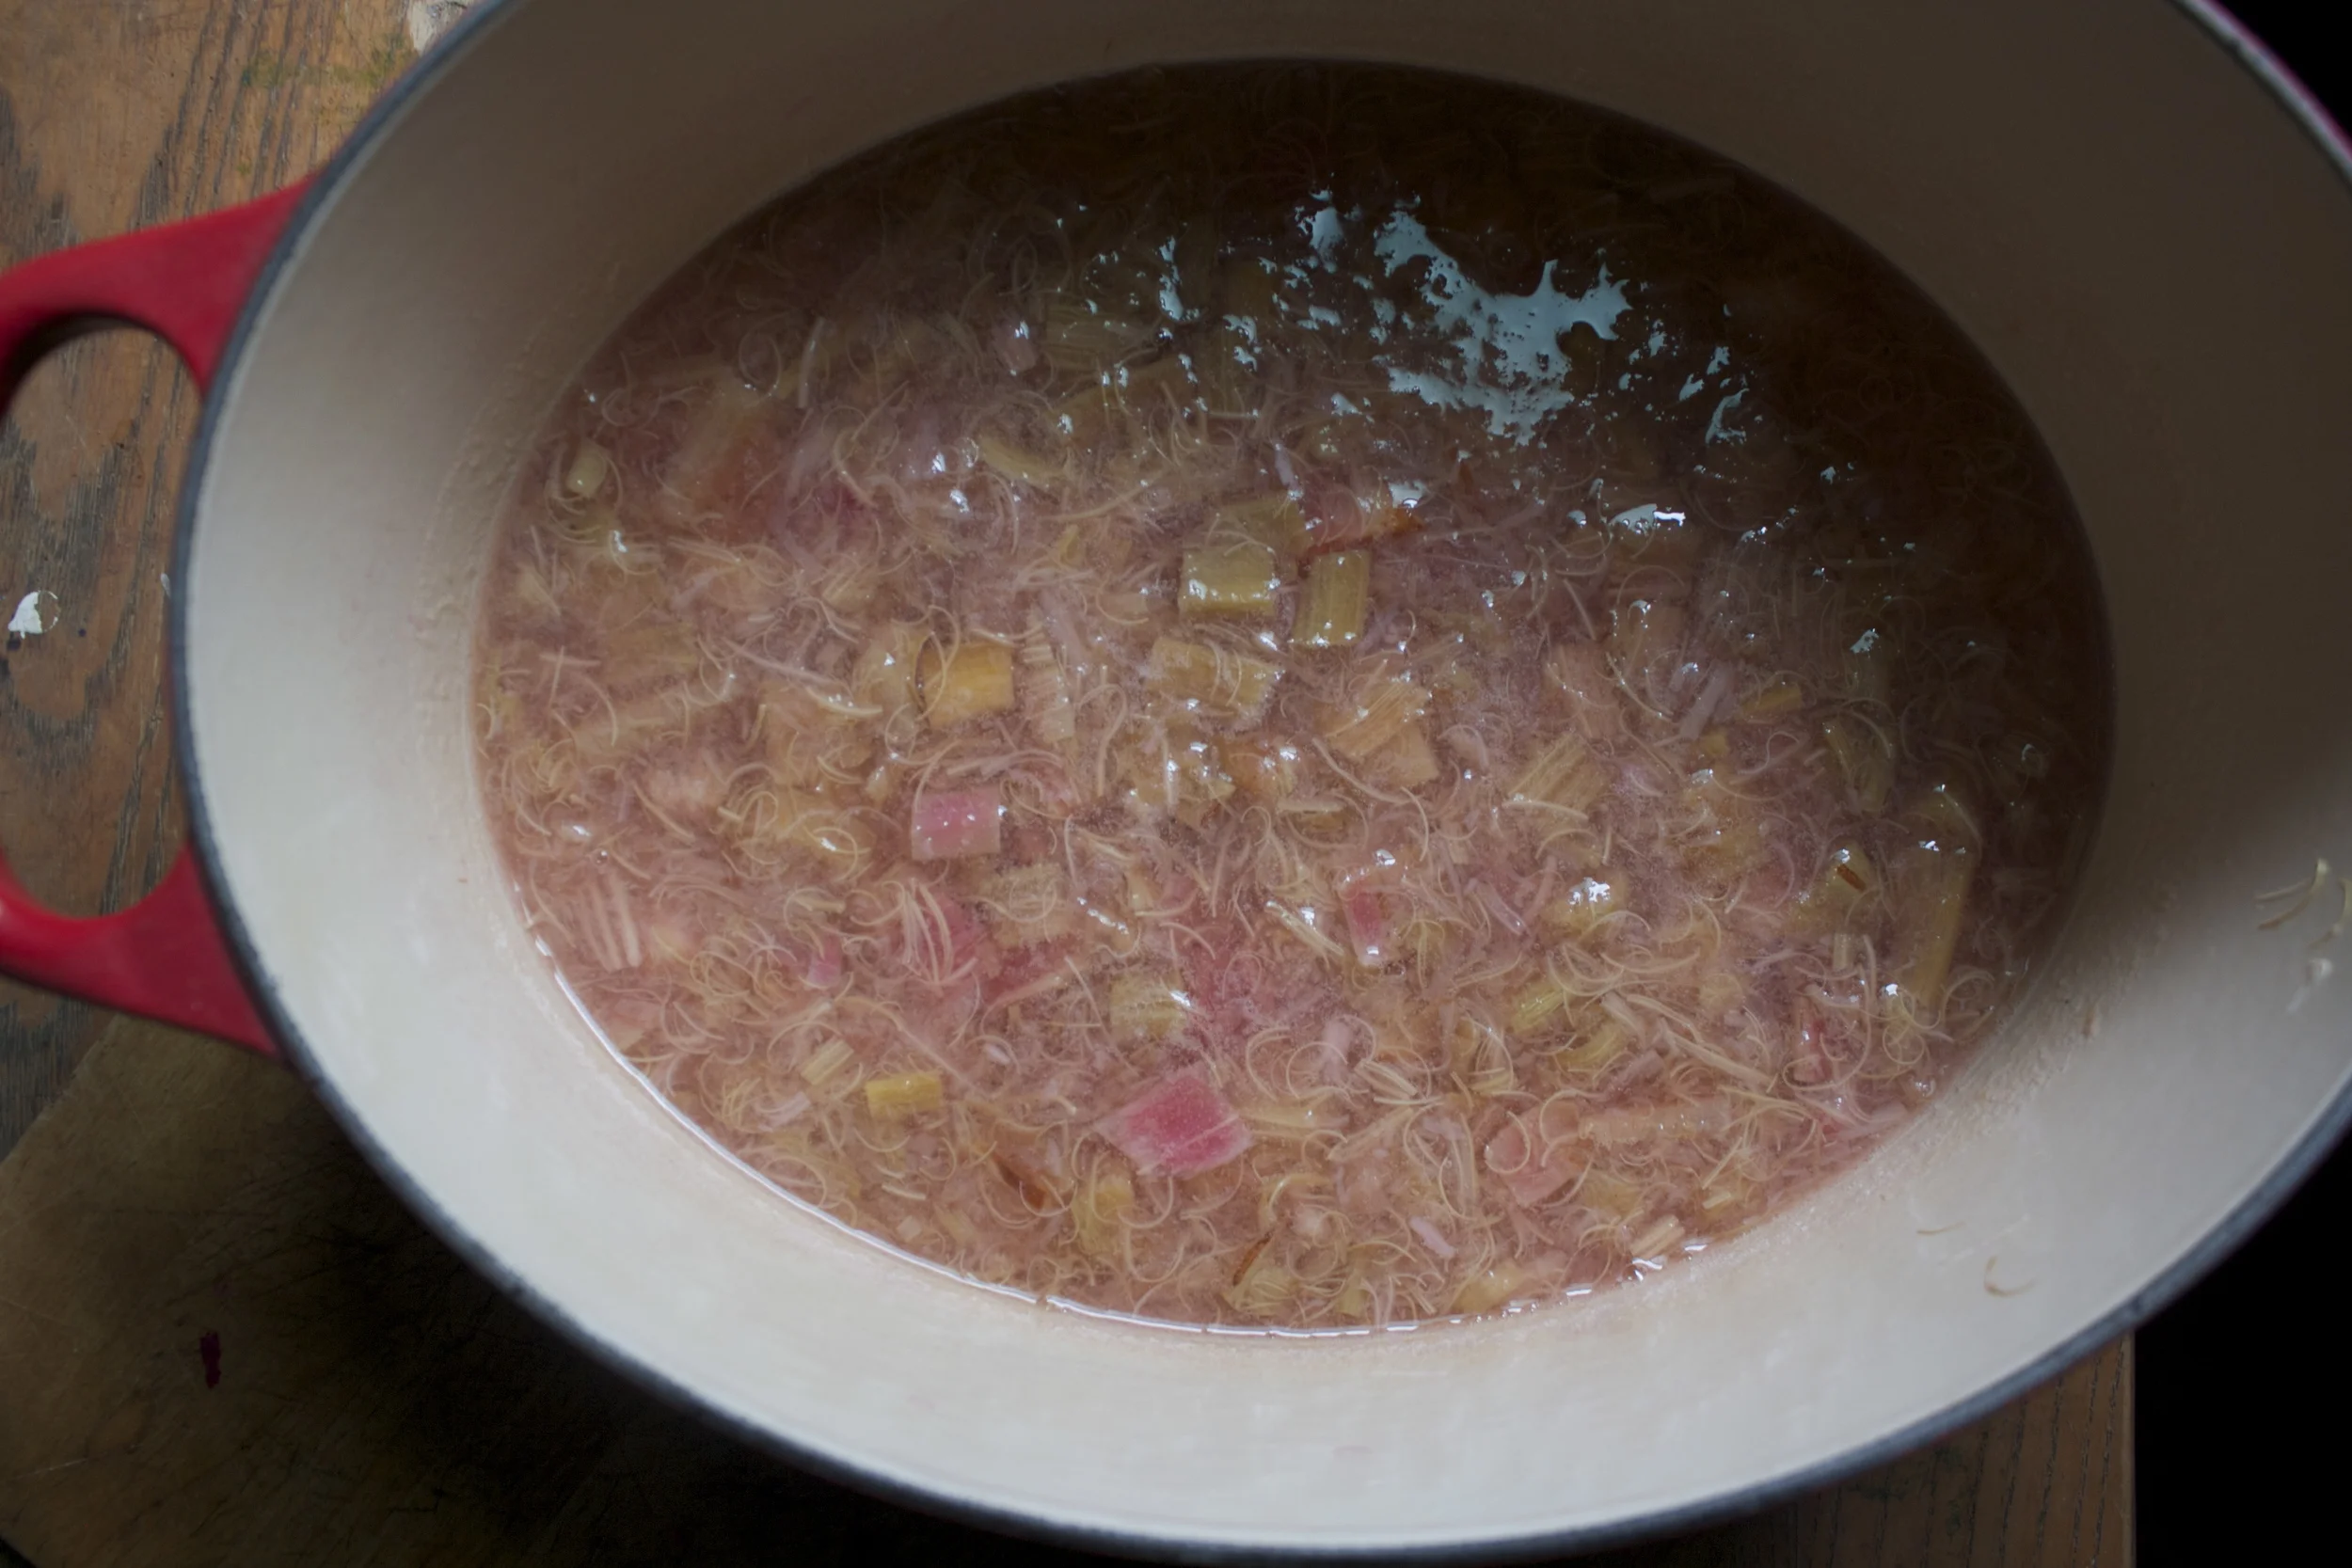
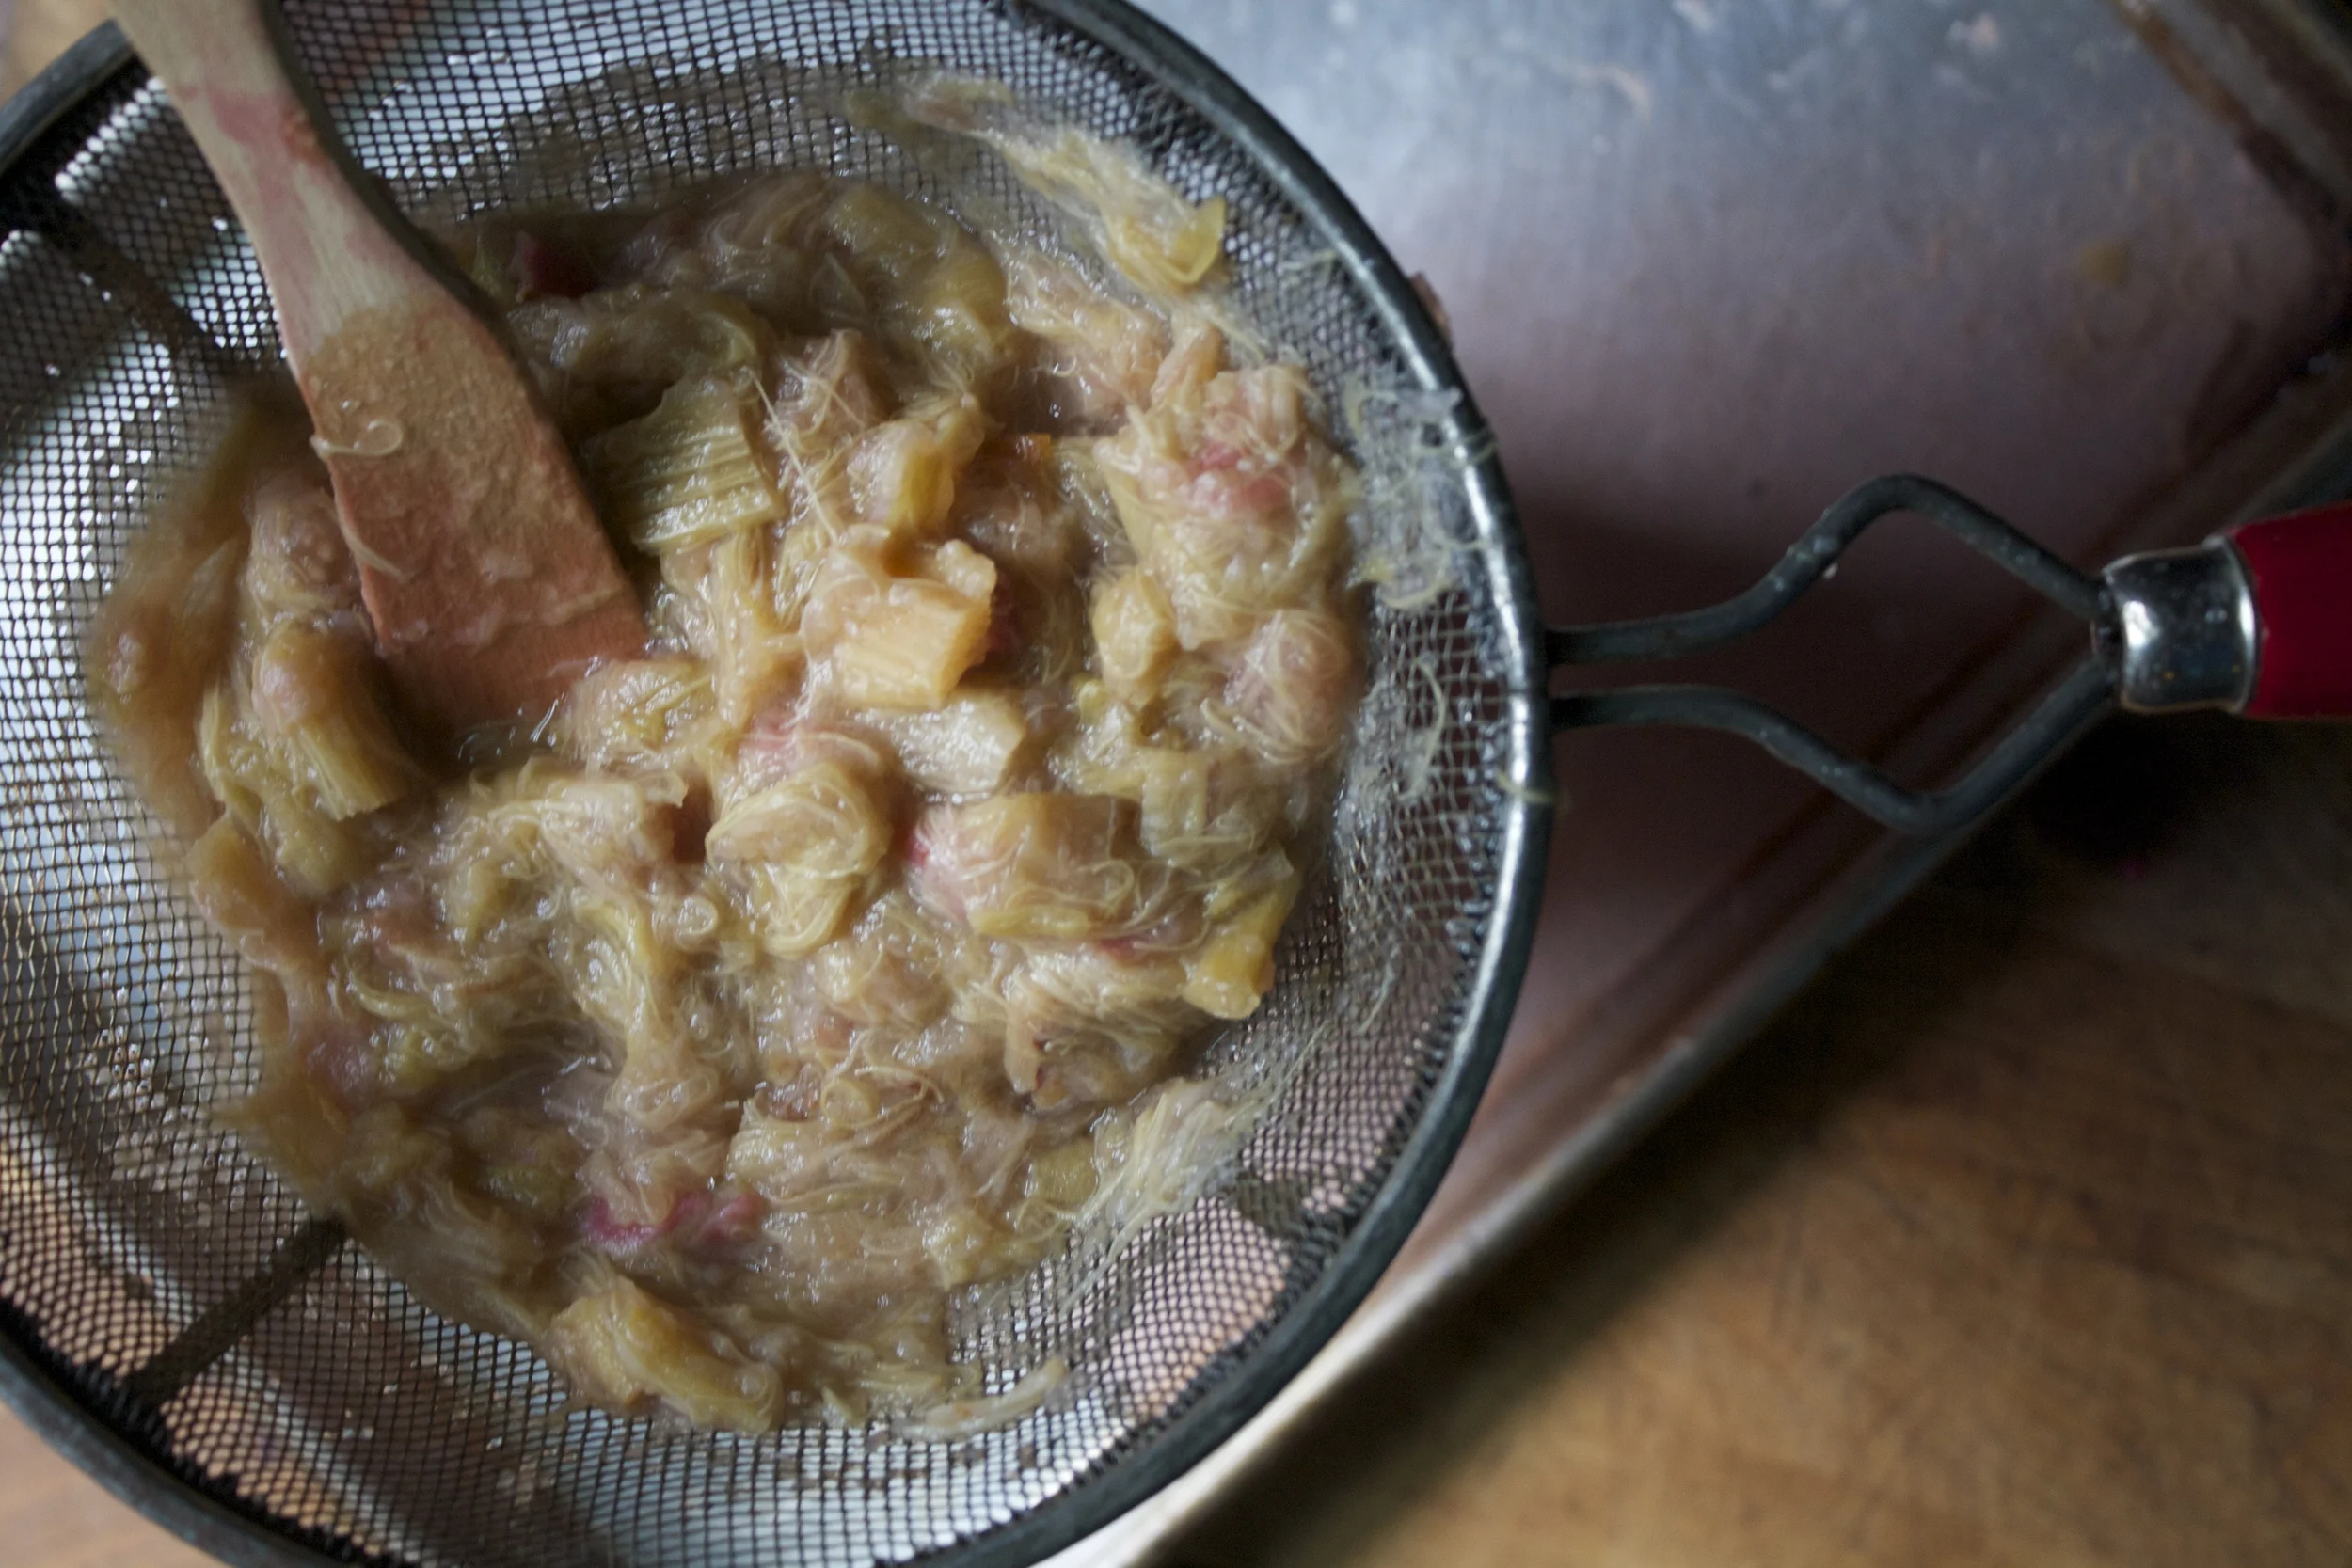
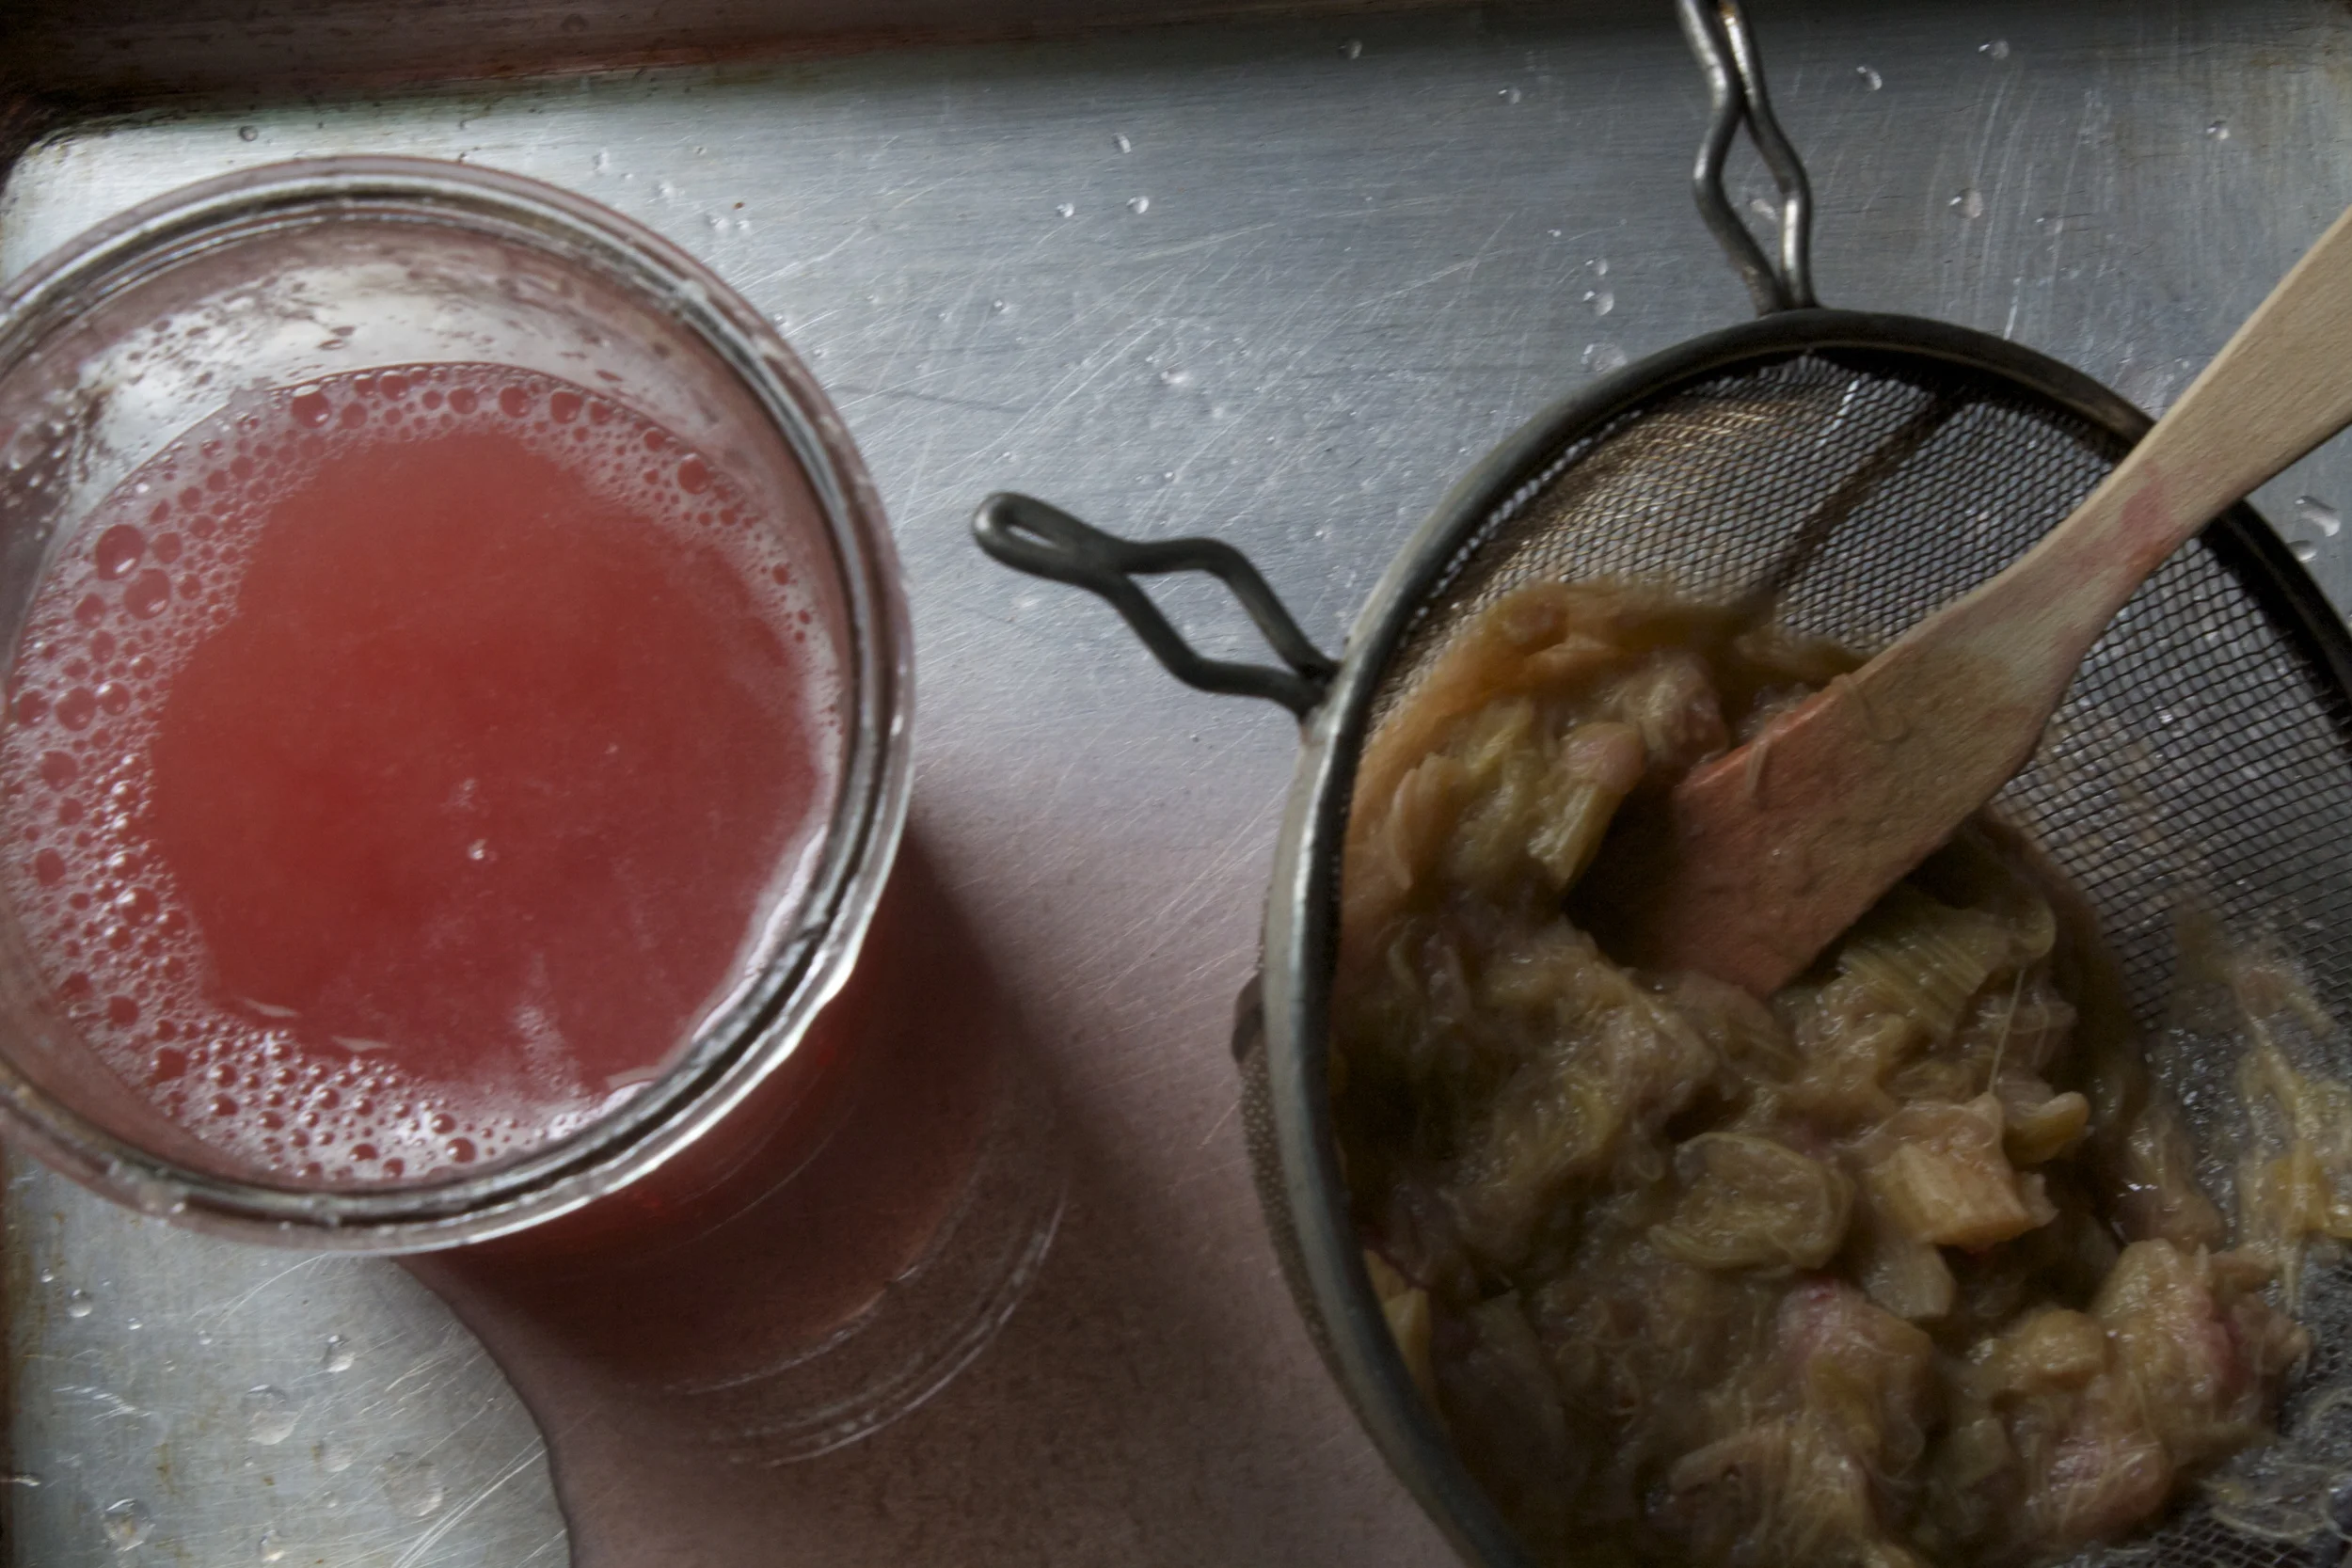




THE LOVELY CRAZY
October 15, 2019 by maximios • Blog
Fresh, cheap and requested veggies….those are must makes. And the mister was happy with I handed him the plate of oh so lovely looking crispy crunchy loveliness. (I kind of like to make him happy…sometimes)
A bit of spice, a bit of crispy , a lot a yum. Serve with some crunchy veggies, maybe a squeeze of lemon and definitely some type of avocado situation.
A beer would be lovely too!
Have a fantastic weekend!
-C
Spicy Crispy baked Cauliflower
Preheat oven to 400 degrees
In a bowl, mix together sriracha and oil. In a separate bowl, mix salt, pepper, any seasonings you might like, and corn meal. Take cauliflower and toss in sauce to coat. Remove from sauce and toss around in cornmeal mixture till fully coated, but try not to hand too much so the coating doesn’t come off. Place pieces on a lightly oiled baking sheet and stick into oven. Bake for about 15 minutes, remove and flip pieces. Back into the oven for another 15-20 minutes (depending on you crispy preference) Remove when golden brown (or darker if you like) and serve immediately.
Cucumber, celery, and carrots are great accompaniments.. also a little mashed avocado or guacamole is much appreciated.
What is a kohlrabi you ask? It’s kind of a cross between a turnip and a cabbage that is usually the size of a baseball. It can be eaten raw (I like chunks dipped in mustard) or cooked. (roasted chunks dipped in mustard) It pairs well with sweet stuff like apples and honey, or in any savory stuff. Its one of my favorite vegetables (I say that about them all!)
So now that you know about kohlrabi (if you didn’t already) its time to get yourself some and make this soup. Because for real, I am not kidding when I say that this is one of the best soups that I have ever made. You really must try it. And do it soon because hopefully in the next few weeks the soup weather will turn into fresh pea weather and we might not want soup as much (I eat soup all year long)
Peel the kohlrabis tough skin off and chop up into chunks. Chop the carrot, garlic and onion as well .
And eat one of the greatest soups ever!
Happy Day Wednesday!
-C
Creamy Kohlrabi Soup with Asparagus
Peel outer layer of kohlrabis. Roughly chop the onion, carrot, kohlrabi and garlic and stick it all into large dutch oven or stock pot. Add water until veggies are half submerged . Add a good sprinkle of salt and pepper and place on burner on medium heat and cover. Check ever 5 or so minutes and give the pot a good stir. After about 25 minutes, all the veggies should be very tender and almost fall apart when stuck with a fork. With an immersion blender or regular blender, blend till smooth, adding water until soup is at your desired constancy. Return soup to medium heat. Small dice asparagus and add to pot. (I added 2 extra whole pieces and fished them put once cooked for garnish.) Keep on heat for another 5-10 minutes until asparagus is cooked.
Scoop into bowl and squirt top with yellow mustard and top with a spear of cooked asparagus.
Eat with a spoon and lick bowl clean.
Note….Don’t toss the pickled juice! It is a super yummy, full of flavor, liquid gold. You can use it as a straight up salad dressing or add to a homemade dressing. Add juice to soups, casseroles, marinades. Replace some of the liquid in a bread recipe and use the pickled juice. Use it in your favorite cocktail drinks. There is no end to what you can use the juice for.
-C
Pickled Jalapeños
for a half pint jar
Remove stem and seeds*of jalapeños and thinly slice. (I used a mandolin which works really well, but a sharp knife does the trick) Pack Jalapeños into a clean glass half pint jar and fill with half water/half apple cider vinegar and a teaspoon of salt. Dump into a pot with a lid, and bring to a boil. Take of heat and let cool for a few minutes. Stick back into jar (leave an inch of head room) Stick in fridge for at least a day. Eat your heart out.
*I like to keep some of the seeds. It adds heat.
I needed a drink. And I needed lunch. And so I was inspired to make this bloody mary tomato soup. Its got all the essentials to a great drink, the tomato, the spice, the zingy flavors, but warm and thick to eat as soup which was a perfect lift for a freezing cold dragging day. And no, I didn’t add the vodka to it because that would be irresponsible of me. I am not about to serve up lunch soup to a couple young boys with alcohol in it. I am not a dumb ass…Save the vodka for when the kids go home!
*I used the horseradish that is made with only horseradish and vinegar…..You can use the other stuff that contains sugars and milk, but I don’t know how tastes. And the worcestershire sauce I used did not contain fish but be aware that a lot of the popular brands do, so if you care, check labels!
Now in goes the emulsifying stick of fun! (Or dump in a blender) Blend blend blend!
And now the soup is now ready for the bowls!
Have a Happy Day!
-C
Bloody Mary Tomato Soup
The Stuff
Side note…The spicier ingredients…hot sauce, horseradish, and worcestershire sauce are pretty flexible. My advice is to start with the lesser amounts of the ingredient and work your way up until you get to your happy soup place.
Dice up carrots, onion and celery and place in a large pot and cook on medium heat for about 5 minutes. Once the veggies are slightly soft, add in the rest of the ingredients plus one tomato can worth of water. Bring to boil, cover and turn heat down to low. Cook for another 15-20 minutes or until all the veggies are super soft and the flavor have all developed. Add salt and pepper, taste and add any additional spicier spices that you want.
When happy with taste, either in a blender or with a hand emulsifier, blend soup until smooth (or to your desired constancy) Soup is now ready to serve.
Ladle or pour into bowls and serve with a stalk of celery and maybe a wedge of lemon. Crackers or croutons are welcome too.
Eat with a Spoon
Soup left overs are great refrigerated and served cold. Add a splash of vodka to make it fun.