No it is not weird or gross or anything. I wouldn’t do that to you. These popsicles are down right deeee-lightful. Rich and creamy and sweet. Both the creamy coconut and the toasted coconut pair perfectly with the sweet corn flavor. They truly are delicious and I think that if you give them a try, you will think so too. And really, now that it is like almost summer, who doesn’t have a little extra corn laying around. So you might as well just make a batch.
And then you will thank me for introducing you to the goodness that is a toasted coconut and corn popsicle. Heck, the mr even ate one and he (still, after I have proven him wrong on a many occasions) says he hates corn. So if a corn hater likes these, imagine what a corn lover will think. HAHA. Corn lover.
To the popsicles!
The stuff. Corn, full fat coconut milk, shredded coconut, and maple syrup.
First, remove corn from cob and place on a baking sheet. Bake in oven for 10-ish minutes until corn is cooked and all nice and sweet.
And don%u2019t forget to toast the coconut. A few minutes in the oven is all it needs.
Now to blend. Corn and coconut milk go in first to blend until nice and smooth. Then add in the maple and coconut and blend until just combined. That will leave a little coconut texture. If you want it smooth, well just blend until completely smooth. Do what feels right to you.
Thick, rich and creamy popsicle mixture.
Now pour it into the molds and stick into the freezer. You could probably stick the sticks in now or wait a little while for the mixture to set a bit, but just don%u2019t forget to get sticks in those popsicles before they completely freeze. That would suck.
Pop those lovelies out of the molds and there you go.
The anticipation is over. Eat a popsicle
-C
makes 4 average sized popsicles
2 ears corn (about a cup of corn kernels)
1 cup full fat coconut milk (the canned stuff)
1/4 cup shredded unsweetened coconut
2- 4 tablespoons maple syrup
Note. If you have left over cooked corn, just use that. You don%u2019t need to recook it so skip the cooking corn step.
Preheat oven to 400
Remove corn kernels from cob and place on a baking sheet pretty evenly. Pop into the oven for 10 minutes of so or until the corn is cooked through and nice and sweet.
Remove corn and dump it into blender and set aside to cool for a few minutes. Place the coconut onto the baking sheet and pop into the oven for 3-4 minutes to just lightly toast. When the coconut is toasted, remove from oven.
Grab the blender with the corn and pot in the coconut milk. Blend until smooth. Add in the maple (start with 2 tablespoons and work your way up to the sweetness you like) and the toasted coconut. Blend quickly just to combine for a slightly more textures popsicle or blend completely smooth if you would rather a smoother popsicle.
Pour mixture into popsicles molds and place into freezer. After the mixture sets up (about an hour) pop sticks into molds. Continue to freeze until completely frozen. Usually 4-6 hours.
And then when it is popsicle time, remove popsicles from molds and eat them.
First official week of summer plus #popsicleweek means we all have to make popsicles. It is not a option, it’s a must. The question is what kind of popsicles to make.
Well here you go, I got one for you right here. Pineapple, cucumber, spinach popsicles.%u00a0I highly, highly recommend them because they are amazing and you and everyone will love them.%u00a0No joke. I had two littles tell me that they are the best popsicles they have ever eaten. Then Koko damn near ate my hand off when I was trying to slow the baby down while he was eating his so he didn’t get brain freeze. After he finished off his popsicle, he turned around and went after his brothers popsicle. It was crazy. Screaming, green faced, baby charging after a popsicle. It was like an animal planet episode.%u00a0
%u00a0And so there you have it, all the littles we into them, the mr was into his, and me, I might eaten one or two and maybe I was licking all of them in between taking pictures. Ha. And big plus, unlike a lot of popsicles,%u00a0there is no extra shit in these, like no added sugar. And there is veggies in them.%u00a0They are basically an all around, eat for breakfast, lunch, dinner, snack, or dessert popsicle.%u00a0%u00a0How can you even go wrong with that.%u00a0
You can’t.
Now it’s popsicle time!
The stuff. Fresh pineapple, fresh spinach, a cucumber, and a lime. That’s it, nothing else.%u00a0
Pineapple and juice from lime into the blender. Blend until smooth.
Add in the cucumber, blend until smooth%u00a0
Last but not least, add in spinach, blend until smooth.
Bright green goodness. And that’s pretty much it. And really, you could just stick it all into blender at once, I just blended the ingredients one by one for the sake of the pictures.
Pour that goodness into popsicles mold and either stick th sticks in now if they don’t sink or wait about an half hour after they have been in the freezer, just don’t forget the sticks (I almost did).
Mid freeze stick sticking.
Once they are frozen and when it’s feeding time,%u00a0%u00a0you pop them out of the mold and feed the people. Watch your fingers.%u00a0
Happy summer, Happy #popsicleweek
-C
Make 8 3.5 onze popsicles%u00a0
2 1/2 cups fresh pineapple*
1 Lebanese %u00a0cucumber (or half of an English cucumber)
3 large handfuls of spinach%u00a0
Juice of a lime
*Note. You can use frozen pineapple, just thaw it out so it starts to release some of it’s juices. That way you don’t need to add water to the blender to blend everything up.%u00a0
Place all ingredients into a blender and blend until smooth. Pour puree into popsicle molds and stick into freezer. After about 1/2 hour, remove from freezer and stick the popsicle sticks into the molds. Place popsicles back into freezer until completely frozen (about 4-6 hours)%u00a0
Enjoy anytime.
Holy shit is it hot out. My brain is all fizzy, my hair is all frizzy, and my over all being is just blah. I am not a fan of super hot weather (as some of you may know) and am getting more pissy as the days go %u00a0by and I continue to be a sweaty mess. I don’t want to feel like a big wet slob, I want to feel fresh and clean and wear clothes that are not drenched in sweat. I know, bitch, bitch, bitch, but seriously. Even the world around me is wilting, and in the nice, colorful fall foliage kind of way. It’s all crispy and brown.%u00a0%u00a0The garden is barely holding on, the flowers are shriveling in the ground, and a few plants are just plan dead.%u00a0It’s just too hot.
I think that only plus side of this past week of hot crap weather are these popsicles that I made. They were actually suppose to be a treat for the littles, but guess what, me and the mr ate them and didn’t share, and no, I feel zero bad about it. They were so good, so refreshing,%u00a0so cold(if only for a minute) and just so needed. %u00a0A few minute reprieve from being miserably hot. And bonus, a great use of all the watermelon and tomatoes that I have taking over the countertops (I have so much watermelon and tomatoes)%u00a0
And really, these probably (better freaking be) the last batch of popsicles for the summer so I think I am going to make another batch today, eat them, savor the flavors of summer, and move on from there.
.%u00a0Maybe I’ll even share them this time.%u00a0
The stuff. Some watermelon*, a tomato, a handful of basil, and a lime.%u00a0
*My watermelon had seeds,%u00a0but you can use seedless. I also removed the green skin, but kept on as much rind as I could, although this particulate melon had very little white rind.
Dump the melon, tomato (cut in a few pieces, the juice of the lime and the basil into a blender. If your melon has seed, don’t worry about removing them.
The stuff all blended up.
. This step is more necessary %u00a0if you melon is seeded, straining the mixture pretty much caught most of the seed chunks. You can skip this if your melon is seedless.
Now pour the juice into your molds and stick into freezer to freeze.%u00a0
After about 2 ish hours, remove and stick the sticks into the semi harder pops.
And a few more hours later%u2026…Frozen goodness.
And pop one of those suckers out of the mold and savor every frozen delicious bite.%u00a0
Happy Tuesday…%u00a0DON’T MELT!
-C
Make six 3.5 oz popsicles
1 ish cup watermelon (green skin removed.. rind is good)
1 large ripe tomato (about a cups worth)
a few sprigs of basil
Juice of 1 lime
Place all ingredients into blender and blend until smooth. Strain mixture through a fine strainer into a bowl or jar and pour into popsicle molds.%u00a0
Place in freezer for a few hours. About 2-3 hours in the freezer, take them out and stick in sticks (or fallow you popsicle molds instructions) Place back into freezer
Once completely frozen, remove from molds and eat with your mouth.
It’s official, all of the littles started school yesterday%u2026%u2026HOORAY! (I say hooray cause school is cool and the start of school means it’s going to be fall so soon!. Also I like hanging out with the littles more when they are in school. There is more to talk about and any time away from school is cool time so they like to do more stuff and not just be summer bums)
One of the littles had his very first ever day of school.%u00a0So me, being the bestest most awesomest aunt ever, made that little a celebration, hooray for school, banana ice cream cake.
This little %u00a0has been bugging me for a while now to make him an ice cream cake. It all started a few months ago when I gave him a bowl of banana ice cream and told him that when he sleeps over he can have ice cream for breakfast %u00a0That blew his little mind.%u00a0We then proceeded to have a converastawtion about healthy food and what was ok to eat for breakfast. (He is very interested in being healthy)%u00a0I then told him that whenever he sleeps over I would make a banana ice cream cake for breakfast cause bananas are healthy. But every time he is over,%u00a0I never seems to have enough bananas.
Well I had the bananas and there is no better excuse then the first day of kindergarten to make a cake.. A very delicious peanut butter banana ice cream cake! %u00a0And no, it wasn’t for breakfast, but the left overs can be! (there were no left overs here)
The stuff%u2026 Crispy rice cereal, peanut butter (I have some chiunky stuff %u00a0at the moment, but any nut butter is good) and 4 frozen %u00a0chopped up bananas.
Rice ceareal goes into a food processor with the peanut butter. Pulse until everything is all combined and starts to come togerter.
And ump the mixture into a spring for pan. If you do not have a spring form pan, a pie plate will work just as well.
Such a nice looking crust if I do say so myself. Now stick it in the freezer while you make your ice cream.
Frozen bananas go into the processor, get blended for a few mounters, and come out as ice cream%u2026. freaking magic!
Now dump the magic ice cream into the crust.
And smooth it all nice like..and into the freezer it goes until its frozen.
After a few hours, you take it out of the freezer, remove from the pan (or leave it in the pan)
And gather your toppings. A handful of the rice cereal, some melted peanut butter, and a little melted nutella. (use whatever you want.. fruit would be great, some nuts, graham crackers, sprinkles. You get the idea)
%u00a0Now,%u00a0Wait for it%u2026.
Go crazy! Toppings all over!
And serve up, and watch out.. I almost got my hand eaten for kids going for seconds..
Have a fantastic day and happy back to school. to littles and parents alike!
-C
Makes a 6 inch cake%u00a0
For the cake
4-5 frozen bananas
2 1/2 cups crispy rice cereal
4 tablespoon peanut butter%u00a0
To garnish (use any, all or none of what you would like%u2026 and maybe not the super sugary ones if a breakfast cake)
melted peanut butter
melted chocolate
Nutella
handful of rice cereal
fresh fruit
jam
coconut flakes
sprinkles
anything else you would like!
Place cereal and peanut butter into a food processor and pulse until crumbly and combined and starts to come away from bowl.
Dump mixture into a 6 in spring form pan (or if you not have one, a pie plate works too) and press it down evenly on the bottom. Stick into freezer
Take bananas out of freezer and place into food processor.%u00a0Blend until smooth. If needed, you can drizzle a tiny amount of water into it if you think it needs a little help to blend.%u00a0
Once smooth, take crust from freezer and dump the nanaer ice cream on top and carefully smooth it out. Stick back into freezer (a pier of plastic over to prevent ice crystals )for at least 2 hours, or until the ice cream has completely frozen.
When it’s time to serve, remove cake from spring form (or leave it in the pie plate).and drizzle the top with melted peanut butter, melted,%u00a0chocolate and another handful of crispy cereal. Or leave it bare. Or add sprinkles%u2026 the toppings are all unto you!
Eat like a camp, for breakfast or dessert.. Or eat some for dessert and then some for breakfast.
This time of year, there are so many reasons for popsicles, but I think that main reason is that%u00a0I don’t want to willingly turn on the oven for any amount of time. It’s just to f-ing hot.
Lately, it’s been hot. And humid. And gross. Just way%u00a0too hot to make anything in the oven.%u00a0So when I grabbed the rhubarb out of the fridge, knowing that if I didn’t use it soon it would go bad, I immediately thought to make pie. Then I was like,” hell no, not going to happen. I need to freeze this shit”. And freeze it I did..into the greatest, slightly sweet, slightly tart, bright pink popsicles of happiness. They are really the perfect little frozen treat. Not overly sweet and sticky, have a lot a fresh clean flavor, and takes the edge off of the super summer heat and humidity, even if only for a few minutes.%u00a0
I love popsicles.%u00a0
But sadly this is probably the last rhubarb for the season (Or maybe the second to last..I think I saw some for sale at the coop a few days ago)
So get it while you can and make these%u00a0popsicles!%u00a0
The stuff. Rhubarb, a lime and a little bit of honey (or any sweetener you like). Plus you are going to need some water, but I bet you have some of that on hand.
Chop the rhubarb into inch chunks and toss into a big pot with the water. Stick on the stove and bring to a boil then turn heat to low and let simmer.%u00a0
Once the rhubarb is so soft that it falls apart, remove from heat and let cool for a few minutes.
With a fine mesh stainer, strain juice into a large jar or bowl.%u00a0
Now you have the juice for the popsicles and the left over rhubarb stuff%u00a0is the%u00a0rhubarb butter.
Place the%u00a0rhubarb butter into a jar, adding a little honey(or whatever)%u00a0if you want and eat with anything and everything%u00a0%u00a0(%u00a0I’ve been adding%u00a0%u00a0it to the mr’s%u00a0yogurt and just%u00a0eating it with a spoon)
And now add the juice of the%u00a0lime%u00a0to the rhubarb juice and add a little honey or whatever%u00a0sweetness to taste.
And add the rhubarb juice to your popsicle molds and stick in the freezer with sticks tops or wait two hours and add wooden sticks.
When frozen, run the mold under a little hot water and pop those suckers out.
A two for one deal here. And timed perfectly. You%u00a0%u00a0have the rhubarb butter%u00a0to eat while%u00a0you wait%u00a0for the popsicles to freeze.%u00a0So smart
Happy Tuesday.. Keep it cool!
-C
makes 6%u00a04oz popsicles and about a cup of jam
3 cups chopped rhubarb
2 1/2 cups water
1 lime
Anywhere from 4%u00a0tablespoons honey (2 for popsicles and 2 for jam)
Chop the rhubarb into inch ish chunks and stick into a big pot with water. Turn on high heat and bring to a boil. Once boiling, turn heat to low and simmer until the rhubarb is so soft its falling apart. Remove from heat and let cool for a few minutes. Take a big jug or bowl with a fine mesh strainer,strain the liquid from the solids. You can use a wooden spoon to stir around to help get the juice flowing. Place remaining solids into a jar and add as little or as much or as little honey (any sweetener you like) and give it a stir. Thats your jam
Now for the popsicles. Add the juice of the lime and a tablespoon or two of honey (or whatever sweeteners you like) and mix around. Pour into popsicle molds and stick into freezer.Know your mold.. if you need to insert a stick, do so after about 2 hours.%u00a0
When pops are frozen, remove from mold and eat your heart out.
Because%u00a0sometimes you just need to think of yourself and what will make you happy.%u00a0%u00a0Eating this makes me happy.%u00a0
This flavor%u00a0%u00a0situation just made so much sense. All three flavors on their own are fantastic, but combined into one super%u00a0amazing frozen sorbet treat.. I mean, like WHOA! I%u00a0was inspired by the 4%u00a0really ripe and juicy mangos I had waiting on the%u00a0%u00a0counter. I had also just made a batch of jalape%u00f1o jam and was thinking about how nicely jalape%u00f1os and mangos go together. And I happened %u00a0to have a can of coconut cream on hand. My first idea%u00a0%u00a0was to do a%u00a0savory dinner type thing, but after a day of heat and humity, all I wanted was something cold and easy. Ding ding%u2026 Lets freeze this shit and turn it into a sorbet.
Such a good idea.
The Stuff. Simple as can be. 2 mangos, peeled, diced and frozen. A can of coconut cream, and some jalepno jam.%u00a0
Frozen mango is really easy to blend. Just stick into a blending device and add a little bit of water. Mix until a nice creamy puree is formed. And try not to eat it all right now.
Whip up the coconut cream. You don’t need to go to crazy and make it all fluffy, just whisk it for a minute or two just to loosen it up.
Time to scoop. First a few big dollops of the frozen mango puree. Try to work fast to prevent the mango from completely thawing out.
Next, scoop some of the coconut cream and drop a few scoops of jalape%u00f1o jam right on in there to. Add more mango, more coconut%u00a0, and more jam until you container is full.
Note.. My sister had the idea of mixing he jalape%u00f1o jam into the mango puree. I think I might try%u00a0that next time.
Take a knife and cut through the sorbet, first width wise, then%u00a0length, then width. or whatever. You’re%u00a0%u00a0just trying to kind of marble and swirl the flavors together.
Once your done playing and swirling,%u00a0into the freezer it goes%u2026.
Remove from freezer when completely frozen%u00a0and do what you need to do. I flipped the pan and sliced into slabs on a cooking sheet, and me, the sister and the mr.%u00a0took turns with the fork and ate it off the pan. We be so classy.%u00a0%u00a0But go ahead and use o plate or%u00a0scoop it or maybe even eat directly from the container with a fork. No judgement here.
Eat so good!
-C
%u00a02 1/2 cups %u00a0fresh mango (2 large mangos), peeled, diced and frozen. (Or just buy frozen mango)
1/2 cup water
1/2 %u00a0can of cold%u00a0coconut cream (I used Ttrader Joes.. It’s the best)
around 1/3 cup %u00a0Jalape%u00f1o Jam.. more if you like%u00a0(Here is the recipe for that%u00a0)
Place frozen mango into a blending device, add about 1/3- 1/2 cup water and blend until a smooth puree. %u00a0Open coconut cream, drain the liquid, and place half the cream into a bowl. Whisk until loose and slightly fluffy%u00a0.%u00a0
In a freezer safe container. scoop a few dollops of the mango puree,%u00a0%u00a0add in a few dollops if coconut cream and then a few dollops of the jalape%u00f1o jam. Keep adding dollops of the stuff%u00a0until you use up all of the ingredients.%u00a0Take a knife and run through thet sorbet length and width wise a few times to swirl %u00a0the flavors. Place in freezer for at least 3 hours or until fully frozen
Remove and either scoop,%u00a0slice,%u00a0or eat directly from container.
It’s Mother’s Day weekend which means that you and I and everyone out there should feel the slightest bit obligated to at least do a little something nice for your mom for the mere fact that you were borned. And really what better way to celebrate mom than with food%u2026 It really is the least that you can do. (I think mom’s also like flowers and cards and handmade pasta necklaces) My mom is defiantly about the food. (she has had her fair share or pasta necklaces) %u00a0A many years back on Mother’s day, this sweet little girl (me) made her mother a special %u00a0breakfast treat%u2026blueberry scones. And ever since that day, for every freaking holiday, birthday, whatever day, my mother requests (demands) a batch of those scones. She is always saying that these are her favorite treat and that no one has ever made them as good as I do. (I guess that just reiterates that I am her number 1 child)
And for the last few months my mom has been up my butt, trying to get me to make her some. Not going to lie, I have been saying I’ll get her a batch, but for some reason, I haven’t gotten around to making them. So two birds here.. Make the scones and she gets off my back for a least a little while (a month.. maybe 2) and I give her a fantastic Mothers day gift that I know she will love.
So here they are , oh mother of mine. Blueberry scones!
The stuff. Flour, baking soda, baking powder and salt. A bit of sugar, vanilla, buttermilk, and butter (use vegan butter and nut milk if you want to make them vegan) And of course we need the blueberries which can be fresh or frozen. I usually use fresh, but the store I stopped at only had really big containers of fresh that were like $1000 dollars a piece and the organic frozen happen to be on super sale. So you know, the cheap in me won that battle.%u00a0So into the bowl goes all the dry stuff; flour, baking powder and soda, salt, and the sugar. Give it a good whisk.
Now for my special trick for a perfectly distributed cold butter in a pastry. Freeze your butter and grate it!
With a large wholed grater, grate the frozen butter directly into the bowl with the dry, stoping a few times to toss the butter chunks around so you don’t end up with a huge pile of grated butter. When it’s all grated, gently toss around so the butter is evenly distributed.%u00a0Now dump the blueberries into the flour mixture. Toss them around to give them a coat of flour. Add in the buttermilk and vanilla and give a little mix until liquid is absorbed. We are trying to handle the dough as little as possible.Turn mixture onto counter. It’s very loose, but thats what it should look like. Very gently and with as little handling as possible, gather dough up, knead a few times till everything %u00a0just comes together. Press dough into a disk that is roughly an inch thick%u2026. and it doesn’t need to be perfect.%u00a0Cut the disk into even sized pieces. Do 6 big, 8 normal, maybe even 10 smaller. Whatever size you like. (I did 8) Place the scones onto a baking sheet, using a spatula to transfer, and sprinkle the tops with a little bit of sugar. Into a preheated oven for about 20 minutes.And when the scones look all nice and browned and a tester comes out clean. remove and either serve right away warm, preferably with huge cup of coffee or tea, or stick on a rack to cool before storing in %u00a0air tight container.
Perfect to serve as a breakfast pastry, at brunch, or even as a dessert. A nice little treat for a special lady. (dudes can eat them too)%u00a0
Happy Mothers Day Mom! Thanks for having me!
And Happy Weekend!!!
-C
Blueberry Scones%u00a0
2 cups all purpose flour
1/3 cup sugar plus%u00a02 tablespoons %u00a0to sprinkle on top
1 %u00a0teaspoon baking powder
1 teaspoon baking soda
1/2 teaspoon salt
1/2 cup (1 stick) unsalted %u00a0butter frozen or really cold (use non dairy butter like Earth Balance for vegan)
1 cup blueberries (fresh or frozen)
1 teaspoon %u00a0vanilla%u00a0
%u00a03/4 cup buttermilk (use non dairy milk for vegan)
Preheat oven t0 400 degrees
In a large bowl, whisk together flour, baking soda, baking powder, sugar, and salt. Take the frozen butter and grate directly into flour mixture, tossing around to evenly disrupted. Add in blueberries and toss around till coated with flour, then lastly, add vanilla to buttermilk and mix into mixture until just barely coming together. Turn mixture out onto counter and with your hands, knead mixture a few times until it forms a solid dough. Shape into a disk and smoosh down until about an inch thick. Cut into 6-10 triangles %u00a0and place on a non greases baking sheet and sprinkle tops with remaining sugar. Stick into oven and bake for 20 minutes or until tops start turning a golden brown and a tester in the middle of a scone comes out clean.%u00a0
Remove from baking sheet and serve warm or let cool on a rack.
Mom gets first dibs, and if she is willing to share, eat one yourself with%u00a0your face.%u00a0
%u00a0%u00a0 %u00a0%u00a0%u00a0I figured now is a good time to get this recipe out there before we get to far into spring and summer recipes because there is going to be a lot of banana ice cream filled recipe coming and I figured its a good idea to have the basic banana ice cream recipe ready for people to refer too.%u00a0 And because I made so much fantastic naner ice cream, I also made a cookies and cream naner ice cream for my sisters and the mister.
Comments that I got from my sisters and the mister when I made them this ice cream
-Sister one.”I give this my sister seal of approval.. It’s so good. %u00a0The first dessert you have made that I liked! (not including all the other desserts that you have made that I liked)”
-Sister two- “Wow.. it looks like ice cream and feels like ice cream and tastes like ice cream.. You should make me this ice cream!” (I was confused too because I was pretty sure I just made her some)
-The mister- “I am so excited for my new fly fishing pole!”
Ok, so the naner ice cream isn’t new to the mister and he IS very much excited for his new fly fish pole. So excited that he forgot to tell me how amazing that I am and to thank me for making him a big bowl of yumminess. (It’s ok, I forgive him)
And yes, this is probably one of the easiest, most delicious, healthy and amazing frozen dessert that you will ever eat. You will probably find yourself buying mass amounts of bananas and stocking the freezer until things just start falling out. (which is also ok because it’s only bananas and you can’t have too many frozen bananas)
%u00a0 %u00a0The stuff you need for this ice cream%u2026. Nice and ripe bananas, peeled and then frozen* That’s it.
To make it, place frozen bananas into food processor and hit the on button. Process the crap out of the namers until nice and silky smooth.%u00a0
*Note, the smaller the frozen chunks are , the faster and maybe a little easier for the blender to blend the naners into ice cream. So if you think of it, chop bananas into pieces before freezing or even after.
After all blended and smooth, either eat right away or scoop ice cream into a freezer safe container and stick in freezer. That’s the banana ice cream%u2026 %u00a0And it is amazing and so so so so so addictive. I make a batch, think I am only going to eat a scoop, then find myself eating half of what I have made, but it’s ok cause it’s only bananas.%u00a0
Now for the cookies and cream banana ice cream..One%u00a0batch of banana ice cream, either freshly made, still in food processor or made ahead and placed in a food processor and given a good pulse to smooth it up.
Add cookies in, crushing a bit beforehand and pulse till combined.%u00a0Now you have cookies and cream naner ice cream%u2026. and everybody is happy.
Scoop into a cup, a bowl, a freezer safe container, or directly into your mouth.%u00a0Be careful%u2026. You can still get brain freeze from eating naner ice cream too fast!
Keep it real hump day drum bum!
-C
Basic Banana Ice Cream
Makes one batch. Good for 3-4 servings
4-5 %u00a0ripe bananas peeled and frozen
Peel %u00a0bananas and stick in a freezer bag or container and freeze. When bananas are completely frozen, break into pieces and stick into a food processor or blender and puree until silky smooth.%u00a0
Eat right away or scoop into a freezer safe container for later.
Cookies and Cream Banana Ice Cream
1 batch banana ice cream
5-10 (depending on your cookie need) cream filled cookies like oreos or Trader Joe’s Joe Joe’s (These are gluten free)
In a food processor, blend banana ice cream with cookies.
Eat right away, with a utensil of choice in a container of choice.
Every year I play this game with myself.. Is it allergies or am I sick. The past few days I have been feeling kinda crappy, waking up with itchy, gunky eyes. My throat hurts, my head is like a balloon, and I am just feeling beat..%u00a0
I think it’s that I am sick (because I don’t want to have allergies) but whatever it is, it sucks, but usually goes away after a week (like every year because its really allergies). Blah.
But enough about my balloon head, lets talk these maple banana walnut oat squares. These yummy gems of the oat square world are just what you need in your life. Healthy, protein packed, nutty, and a touch sweet. No junk, just good stuff all made with little to no effort. If you like banana bread, you will be all into them. I was inspired to make these by the extremely ripe bananas that need to be eaten asap and the mr’s lack of eating a healthy breakfast (I want him to eat, and I want it be oatmeal). I know him well enough that if I make a snack like thing and leave it out to eat, that he will eat it. For breakfast.
So weather or not you are looking for a good way to get in some good stuff into your tummy or just want some good tasting stuff in your mouth, this is the breakfast/dessert for you.
The stuff. A couple of ripe bananas, a bunch of rolled oats, some yummy walnuts, real maple syrup, cinnamon, baking soda and a wee bit of water.
Start with the walnuts in a food processor. Turn it on and process until….
You got this walnut butter. Do not eat it, it’s for the squares (it is so good).
Add in the oats, cinnamon and baking soda and turn the processor back on until you get a nice unified crumbly mixture.
Now in goes the bananas and the maple syrup. And you guessed it, blend some more. While you are blending, if the mixture seems to dry, add in a splash of water, to wet, just toss in another handful of oat. The mixture should be like a muffin batter consistency.
And that’s it. If you want some nut chunks, add in a handful more of walnuts (do it) and pulse just to get them mixed into batter.
Then pourthe mixture into a well greased 9×9 baking pan and spread out evenly. Toss those suckers into the oven to bake.
Oh so good bananas give off the best smell when baking. After about a 1/2hour, these bars are nice and golden brown and a fork stuck in the center comes out clean, which means, they are done.
Cut into square , eat one or two, and save the rest. Eat for breakfast, as a snack, or for dessert. And a smear of peanut butter on top is aces too!
Later dudes.
-C
3 cups old fashion rolled oats (gluten free ones to keep in GF)
1 cup plus a a small handful walnuts
1/2 cup maple syrup
2 rip bananas
1 /2 teaspoon baking soda
1 teaspoon cinnamon (optional)
Place 1 cup of walnuts into a food processor and blend until it turns into walnut butter.. about 3 minutes. Add in the oats and blend together until it becomes a crumbly mixture. Add in the maple, baking soda, cinnamon and the bananas (break into chunks) and blend until incorporated. If the mixture seems lie its too dry, add in a splash of water, and if to wet, add in another handful of oats. The batter should resemble a muffin batter.%u00a0 Once blended, mix in the remaining walnuts and pulse just to mix them in.
Pour mixture into a well greased 9×9 baking pan and stick into the fridge for 10ish minutes and preheat oven 350
And after the time in the fridge, remove the pan and slide them into the oven. Bake until golden brown and a tester stuck into te middle comes out clean. (about 30 minutes)
Remove and let cool. Pop out of pan, cut into square, and eat to you face.
Squares will last 3-4 days in a airtight container or freeze them and they will last until you eat them.
Have I told you how amazing my farmshare is? I am sure I have, but if I haven%u2019t lately, well let me just tell you, it is. All summer long we (the members) get to pick a bunch of fresh herbs every week. Basil, scallions, dill, parsely, and cilantro. Planted every few weeks to keep us in the herbs all summer long. And every few weeks there is a herb free for all. Pick unlimited amounts of whatever herb is plentiful. Last week it was unlimited parsley. Yeah there was unlimited basil and that was nice too, but the parsley, the underrated, overlooked herb. That was what I wanted and I picked the shit out of it.
Parsley. No I is not just a green sprig that garnishes your plate at a restaurant. It is a great spicy, fresh, clean tasting herb that plays so well with everything. I really think parsley can, and should, make it%u2019s way into almost any dish. It adds a touch more brightness to any spice blend. And there is just something about munching on some fresh parsley, it just works for me. Parsley is good friends. No. Parsley is great.
So now we match said parsley with another bright herb, mint, and blend it up into a pesto. Magic on the tongue. And a no brainer for pesto is pasta, although this pesto would make a great spread or smothered on grilled veggies or scooped into soup.
A summery pesto pasta salad dish situation. Perfect for all the times that you are hungry and need food.
To the pesto pasta salad!
The stuff. Parsley. mint, a few scallions, toasted almonds, garlic, a lemon, nutritional yeast, salt and pepper, and olive oil. Also pasta, a cucumber, and a big handful of cherry tomatoes.
First for pesto. Start by pulsing the almonds in a food processor until they become a nice crumb. Remove about 1/4 cup and set aside.
Grab the herbs and scallions and remove any really wooden stems (keep the more tender ones) and rip the herbs into smaller pieces.
All the parsley, mint, and scallions now go into food processor with almonds, along with the garlic, nutritional yeast, the juice of the lemon, and a pinch of salt and some crack pepper. Pulse the food processor and stream in the olive oil until everything comes together. You might need to stop and scrape the sides a few times.
Now you need pasta. Cook it to the directions on the package you got it from. Cook it all the way through then when you strain it, rinse it with a little cool water.
Chop up the cucumber into small chunks and half or quarter the cherry tomatoes.
And to put it all together. Pasta goes in a bowl. Add in the pesto. If the pesto seems a little on the thick side and not easily mixes, add in a little warm water to thin it out a bit.
Add the cucumber and tomatoes.
Mix some more, sprinkle on lots of the crumbled almonds you set aside, maybe a few more springs of parsley and a few more leaves of mint for good measure and call it done.
Be ready to eat cause this salad is ready to be eaten.
-C
Makes a pound of pasta
2 cups packed parsley (Curly or flat. I used curly)
1 cup packed mint
a few scallions if you have them
3/4 cup roasted almonds
3 cloves garlic
a lemon
1/4 cup nutritional yeast
1/2- 3/4 cup olive oil
salt and pepper
1 pound bow tie pasta
Big handful cherry tomatoes
a tender skinned cucumber
Note. This recipe makes a big batch of pesto and big pasta salad. You can totally make the all the pesto and only use half and only boil half of the pasta. Just stored left over pesto in a jar in the fridge for about week or so or stick it in the freezer for a few months. And you can use it for all sorts of great things like sandwiches, salads, as a dip%u2026 whatever you want.
To make the pesto. Place almonds in food processor and pulse until crumbly then remove about a 1/4 cup and set aside. Add in the garlic and pulse a few times. Then grab the parsley, mint, and scallions. Remove any tough stems and rip the herbs into smaller pieces. Add them to food processor along with the nutritional yeast, the juice of the lemon, and a good pinch or two of salt and lots of pepper. Pulse while slowly adding in the olive oil. Stop, scrap sides, then pulse until smooth. Taste and add more salt if needed.
Half or quarter cherry tomatoes and cut cucumber into small chunks
Cook the pasta. Big pot of boil water with a pinch pf salt. Cook until fully cooked, then drain. Give it a quick rinse of cool water. Dump the pasta into a big bowl.
To make the pasta salad. Scoop pesto into bowl with the pasta and mix it until all the pasta is evenly coated. If pesto is really thick, just add a little warm water to thin it out. Add in the cut up tomatoes and cucumber, mix, then top with the reserves ground up almonds and a handful more of chopped fresh mint and parsley.
Eat.
Left overs should be stored in fridge for a a few days. Left over pesto a week or so and or in the freezer for a few months.
Farm share started last week (HOORAY!!!!) but always, at the beginning when things are still getting on growing, we are only getting a few things. Lot of greens which I will never get enough of, and lots of potatoes. Also, I made the mistake of buying a very large bag of potatoes last week right before farm share and now I am basically swimming in potatoes. And so the story goes%u2026.
So what do you do with a shit ton of potatoes? Yeah, I thought potato cannon to but then I realized that I would have to use my potatoes and sure I have a lot, but I am not wasting them on that. So gnocchi they became. Gnocchi. Basically a boiled french fry or a mashed potato meat ball. Or maybe more like a ravioli. Whatever they are, they are loved by potato loving people and are fun to make. I mean, when do you ever get to use the ricer? ( Don%u2019t worry, you can make gnocchi without a ricer.)
To the gnocchi.
The stuff. Potatoes, flour, an onion, some tomatoes, a few cloves of garlic, salt, pepper, and olive oil.
Note. Make sure to use russet potatoes because they make the lightest, fluffiest gnocchi. You could probably use Yukon gold, but any hard wax potato just won%u2019t do.
First step is to make baked potatoes. Place potatoes in oven, directly on rack, and bake for 30-45 minutes until nice and soft and tender. Just like you would when you eat it as a baked potato. Once cooked cut them in half and let them cool off for a few minutes.
Once potatoes are cool enough to handle, scoop all the flesh out of skins. Keep skins for soup or a snack for later.
And the fun part. Flour the counter then rice the potatoes. You can also do this with a food mill or even grate the potato with a box grater. Once all riced, cover with flour and start to fold and mix the potato into the flour gently until the dough starts to come together. If the dough seems really sticky and wet, add in a tablespoon or two of flour, to dry and crumbly, add in a tablespoon or two of water. The goal is a nice fluffy dough that hold it shape but is not overly dense.
Cut off a potion of the dough, roll it into a rope about an inch thick, then cut into inch long pieces.
To cook gnocchi. Bring a big pot of water to a boil and carefully drop in a handful of gnocchi into the water. They are gonna sink, but after a minute or two they start to float. Once floating, remove them from the pot with a slotted spoon and place them on a lightly oiled baking sheet. Repeat until all the gnocchi are cooked.
Cooked and ready%u2026 Ready for what? For anything you want but these are going into a tomato and onion situation.
Mince garlic and dice tomatoes and place into skillet with a good pinch of salt and a splash of olive oil. Place on stove and cook until slightly tender. Dice up tomatoes into small chunks and add to skillet along with a cup of water (if you have gnocchi water, use that) Turn heat up and cook until mixture start to bubble, then turn heat down to low and cook until the tomatoes are mushy.
And then drop in gnocchi. Keep on heat until the gnocchi are warmed completely all the way through.
Sprinkle of salt, lots of pepper, and something green if you want to be fancy.
And then you eat them.
-C
Makes 3-4 servings
2.5 pounds russet potatoes
2/3 cup of all purpose flour
1 large onion
3-4 tomatoes
few cloves garlic
salt and pepper
olive oil
water
Place potatoes directly into oven on one of the oven racks and bake on 450 degrees until soft and tender. Should take about 1/2 hour to 45 minutes, depending on size of potatoes.
Once cooked, remove from oven carefully, cut in half, carefully, and let cool for a about 10 minutes, just so you can handle the potatoes without burning yourself. In the mean time, get a large pot, fill it with water, and set it on the stove to boil.
When the potatoes are not to hot to touch, grab them and with a spoon, scoop out all the potato flesh from the skin (keep skin for a snack or for soup). Lightly flour the counter and start ricing the potatoes directly onto the counter. (You can also use a food mill or a box grater if you don%u2019t have ricer). Once all potato is rices, cover with floor and gently fold potato over into flour, over and over, even using a knife, to kind of cut the potato into the flour, until it all mostly comes together. Be careful to not overwork the dough or else it will become dense make the gnocchi chewy. If the dough seems is sticky, add in a few more tablespoons of flour, to dry and seems crumbly, add a few tablespoons warm water.
Once you have the dough, make sure the water on the stove is still there and has not evaporated and is at a gentle boil. Cut dough in thirds then roll out a portion into a rope about an inch thick. Cut the rope into inch long pieces. Repeat with the rest of dough.
When all the gnocchi are made, grab a rimed baking sheet, coat with oil, and place close by the boil water.
Now to cook them. Drop a handful of gnocchi into water carefully. They will sink. Watch and after about a minute or two, they will start to float. Once floating, take a slotted spoon and take them out of water. Place them on the greased baking sheet. Repeat until all the gnocchi are cooked. (when done cooking, save a cup of the cooking water)
After the gnocchi is cooked, you can do whatever you want with it, like eat it right away with salt and pepper or whatever, but to make the quick tomatoes onion situation, dice up the onion and mince the garlic. Place into a skillet with a drizzle of olive oil and a pinch of salt and place on stove and start to cook. Dice up the tomatoes and once the onion is tender, add in the dice tomatoes and about a cup of the gnocchi cooking water. Turn the heat up until the water is bubbling then reduce to low and cook until the tomatoes are mushy and tender. Once cooked, add in the gnocchi, toss them around, and cook until the gnocchi are fully warmed through.
And then eat it. Maybe a little more salt if needed, definitely lots of pepper, and whatever else you want.
It is getting oh so much nicer out yeah? Springing and such, well kind of. Still a wee bit chillier then it should be around here but still, it is spring and I am taking it.
And with the spring, I feel the itch, the itch to spend all of my free time outside. Out doing things that are not inside because I spent the last 7 long months inside way too much. I needed to be outside as much as possible and as it gets even nicer and warmer and garden temperature-able, I am basically going to be living outside.
Bring in sesame noodles. Super fast, super easy, super duper in every way. Make a big old batch and eat now, eat later, eat hot or eat cold. Everyone loves them, they love you, etc. etc%u2026 A perfect meal to have in rotation when you know that you are not going to have or want to spend much time cooking in the kitchen because you will be outside playing in the dirt and soaking up the sun. And think about all the picnics and BBQ%u2019s to come. These suckers are fantastic to have at any outdoor eating event. They are even peanut free so you can safely bring them to potlucks and such and don%u2019t have to worry about accidentally kill a peanut allergy person. And you can make them gluten free as well if you sub in your favorite gluten free pasta. These noodles, I am telling you. They are a winner in every way.
So with out further ado, the noodles!
The stuff. Spaghetti noodles, tahini, a few cloves of garlic, some toasted sesame oil, soy sauce, red wine vinegar, honey (used whatever sweetener you like), red pepper flakes, tasted sesame seeds some cabbage, half a red onion and a carrot.
Get pasta cooking. Boil water, drop noodles in, you know the drill. Cook as long as the the noodles need cooking, just make sure to not over cook them cause soggy noodles are nasty.
Chop, shred and julienne the cabage, onion and carrot. Nice and thin.
Mince the heck out of the garlic. Or use a garlic press if you want.
Now make the sauce. Add the minced garlic, along with the soy, sesame oil, vinegar, sweetener, and chili flakes to the bowl with the tahini. Mix, mix, mix until it is all incorporated and not lumpy. And that is that.
Noodles should be done by now so strain them out.
Add the prepared veggies to a big bowl.
Add in the cooked noodles
Cover with sauce and toss all around until all the noodles are coated and delicious. Sprinkle with sesame seeds and a pinch or so more of pepper flakes.
And then it is time. Eating time.
Happy spring!
-C
serves 3-6
3/4 lb (3/4 of a package) of your favorite spaghetti noodles (or linguine or similar noodle)
2 tablespoons toasted sesame oil
1/4 cup soy (low sodium if you have it and gluten free tamari if needed)
3 tablespoons red wine vinegar
3 tablespoons tahini
2-4 teaspoons red chili flakes
1-2 teaspoons sweetener of choice (maple, honey, or brown sugar)
4-5 cloves garlic
1-2 tablespoons toasted sesame seeds
about a 1/4 head of cabbage
a carrot
small red onion
Bring a pot of water to a boiling cook the noodles as directed on package. You want them al dente, cooked all the way, but barely. No soggy noodles. (unless you like them soggy)
In the mean time, shred the cabbage, julienne the carrot (or shred it) and slice the onion so very thinly. Place into a large bowl. Now mince garlic and place into a bowl along with the soy, sweetener, vinegar, tahini, sesame oil and a teaspoon or two (more for spicier) of chili flakes and whisk until completely incorporated. Taste and adjust if needed. Add more tahini for more body, more sweetener if needed or more hot pepper flakes for more spice.
Once noodles are cooked, drain and place into large bowl along with the shredded and julienned veggies. Pour in the sauce and toss it all around until all the noodles are covered. Sprinkle in the toasted sesame seeds and a small pinch more of the red pepper flakes.
Eat. Eat warm, room temp, or cold. They are delicious any way.
Any left overs just stick in fridge. Can be reheated or not. Also, you can make the sauce and the noodles a few day ahead of time of when you want to have the dish Just mix the sauce with the noodles when you are about to serve them%u2026 So simple!
Barb has been bugging me for a few months to make her pierogi and I keep telling her I will. But for some reason I just kept forgetting and ever time she came over for dinner I would just end up making her lentils . I make lentils for people when I care about them because lentils are perfect and I always figure she could use the nutrients. But finally, FINALLY, I remembered and figured it was about time. Time for Barb to get her pierogi. I got the ingredients, made up a plan, and went about making them thinking she was coming over for dinner. But guess what. She didn’t come over. After all that, she decided it was better for her to go to her classes and then go to her shift at work, that it was not a good idea to skip out on all that just because I decided to finally make her pierogi. Well whatever I guess.
And full disclouse, I don%u2019t think I made actual plans with her for the particular day that I made these pieorgi. I might have just assumed she was coming over%u2026. So maybe my bad. Good thing these things can be made ahead and cooked whenever. So I saved her half for whenever she does come over (today I think). I did make them for her after all.
Anyway. Pierogi. Pretty much a stuffed ravioli I filled these with the potato, chickpea, and onion mixture, tossed a little dill in for the hell of it, and there they were. The mr got the first half, covered in cashew cream. But I bet these would be equally fantastic with marinara sauce. Or ketchup? I could see that if you are into that sort of thing. Ha.
Also have to note. I keep wanting to write pierogies but I think that is wrong. Pierogi is the plural for pierog.. I think.
To the pierogi.
The stuff. Flour, oil, salt and pepper. Cooked chickpeas, a couple russet potatoes, a big onion, some dried dill (optional), warm water, soaked cashews, and a little red wine vinegar.
First make the dough. Flout, salt, water, and oil get mixed together until la shaggy dough is formed. Dump onto a floured surface ans give ut a good knead for a minute until lit comes together into a nice ball. Place dough back into the bowl (clean it out), cover it with a towel, and set aside to let the dough have little rest.
Meanwhile get the potatoes boiling. You are more then welcome to peel your potatoes but I don%u2019t. Chop the potatoes into small pieces, dump into a pot of cold water and cook them (boil until fork tender)
And cook the onions too. Chop the onion into small little bits and place in a skillet with a couple slashes of olive oil. Medium heat and a good stir until they are nice and golden brown.
Cooked onions and cooked ans drained potatoes.
Now to make the filling. Add the potatoes, onions, chickpeas, and ill to a bowl. Sprinkle in salt ans pepper
Mash it all together, small chunks are ok, but not big.
Taste and season with more salt and or pepper if needed. And stop eating all the filling, you need it.
Wen the filling is made, grab the dough, rolling pin, and a large biscuit cutter or a cup.
Roll out dough, then cut out circles.
And to make a pierogi, grab a dough disk, add a mound of filling, then fold in half and pinch closed. Simple. IF the dough doesn%u2019t want to seal, run a wet finger around the edge of the dough. That will do the trick.
All made, and not perfect by any means but perfect to me. Once you have made them, they need a little rest before cooking. Just a half hour or so. Enough time to clean up the mess that you just made and ge ta pot of water boiling on the stove. This is also a good time to prepare some to save for freezing. Any that you do not plan on eating in the next few days, place on a lightly floured baking sheet and stick in freezer. Once frozen, remove from sheet and place in an airtight container or freezer bag and stash away for another day. They can also go I the fridge for 3-4 days without being frozen, just make sure that you give each one a good dusting of flour so they don%u2019t stick to each other.
Oh, and before you finish cooking the pierogi, make a the cashew cream. Place soaked cashews into blender with the vinegar and a splash of hot water. Blend into creamy and smooth. Season with salt and pepper and that is that.
Now to cook those pierogies. Bring a pot of water to a rolling boil. Once boiling, drop (gently) the pierogies one by one into water. A few at a time as to not over crowed, boil until they start to float to the top, which should take 4-5 minutes. Once cooked, scoop them out and place them on a plate or pan while you boil more (if you are indeed cooking more)
After the pieogies had a boil, they then need a little crispness (you can skip this step if you don%u2019t want them crispy). Use the frying pan you cooked the onions in and add a splash more oil. Heat on medium and when pan is hot, add in the boiled (not sopping wet) pierogies. Cook each side for 3-5 minutes or until nice and and browned then flip and cook the other side.
And then all is left is eating. layered on a bed of cabbage carrot slaw and dolloped with a good dollop of the cashew cream. Done and done and ready to for the face.
I don%u2019t know. Maybe Barb should have skipped school and work for dinner.. Just saying
-C
makes about 25
For the dough
2 3/4 cups all purpose flour plus more for dusting
1 cup warm water
1 teaspoon salt
3 tablespoons olive oil
For the Filling
1 large sweet or vidilla onion
2 medium sized russet potatoes
1 cup cooked chick peas
2-3 teaspoons olive oil
1 teaspoon dill (optional)
salt and pepper
For the Cashew Cream (Optional for serving)
1/2 cup soaked cashews (soaked for at least 1/2 hour)
2 tablespoons red wine vinegar
3 tablespoons hot water
salt and pepper
First off, make the dough. Mix the flour with salt then add in oil and water. Mix together until a shaggy dough forms then dump out onto a lightly flour surface and knead a few times to form a uniform ball. Place dough back into (cleaned) bowl and cover. Set aside to rest.
Once dough is made, chop onion into small little pieces and place in a large skillet with 2-3 teaspoons of oil. Stick on medium heat and cook until tender and browned. Also cook the potatoes. Chop the potatoes into small pieces (peel if you want but you don%u2019t need to) and place into a pot of cold water. Bring potatoes to a boil and cook until they are fork tender, almost falling apart.
Once potatoes are cooked, strain from water and place in a big bowl. Add in the cooked onion and the chickpeas. Sprinkle in dill if you are using and season with salt and pepper. Grab a potato masher or a fork and mash the mixture together. It can be a little chunky, but you don%u2019t want really big chunks. Taste and season if it needs it.
Filling is done so now grab the rested dough. Place dough on a lightly floured surface, cut in half, place one half back in bowl and roll the other out about 1/8 inch thin. Take a large biscuit cutter or a large cup and cut out circles. Gather remaining dough and re roll out. Do this until you can%u2019t. Repeat with second half of dough.
Once the circles are cut out, place about a tablespoon of filling into the center of each. Fold the dough in half and pinch closed. If the dough has dried out to much, brush a little water on the edge of circle to help it seal. Place the pierogi on a floured surface (so they don%u2019t stick) And don%u2019t worry if you have a little extra filling.. Just eat it.
When all the pierogi are made, let them rest for about 1/2 an hour. There are a good amount of pierogi here so if you want, stick some in a container and in the fridge to have in the next few days. Just make sure to flour them so they don%u2019t stick together. Or if you prefer, place however many you to want to save on a lightly floured baking sheet and stick in the freezer until frozen. Once frozen, place into a freezer safe bag or container. They will keep for a few months.
Also, before you finish cooking, make the cashew cream (if you want it) Just add soaked cashews to a blender with vinegar and the water. Blend until smooth and creamy then season with salt and pepper to taste. If the mixture seems to thick, just add a splash more water until it is a desired thickness.
To cook the pierogi, bring a large pot of water to a boil. Place pierogi, one at a time, into pot. 5-7 at a time as to not crowd them, and cook until they start to float. Remove the cooked ones with a slotted spoon and stick on a plate. Boil as many as you are going to eat. Grab a skillet and add a few teaspoons of olive oil. Heat to a medium heat and place the pirogies into pan. Cook each side for 4-5 minutes or until browned and crispy. Flip and cook the other side.
Remove form pan, place on a plate, dollop with cashew cream (if desired) and eat.
Dinner for when you have maybe too many (although I never think I have too many… just sometime I end up with a lot at once and that it can get a little chaotic)%u00a0 squash and tomatoes,%u00a0which may be bound to happen this time of year.
Nothing fancy, and is quick and easy,%u00a0filling, and full of all those summertime things that need to be eaten before they are gone and we are back to eating beets and potatoes for months at a time.%u00a0
Savor all of the good stuff the summer is giving us.%u00a0
The stuff. A couple of squashed ( I used a crookneck and a patty pan), cherry tomatoes, an onion, some spaghetti, salt and pepper, and olive oil.%u00a0
Preheat the oven and chop up your squash and onion. Not tiny pieces, but not really bug chinches either.
Toss all that chopped stuff into a skillet along with the cherry tomatoes. Drizzle it all with olive oil, sprinkle with salt and pepper, then stick it into the hot oven.%u00a0
While the stuff is roasting, cook up the pasta, but cook it a little al dente, it will cook a bit more once mixed with the veggies.
Roasted and ready for noodles.
Add the cooked spaghetti to the skillet, along along with about 1/2 of cup of the pasta water (it helps bind the flavors all together). Toss it all around and %u00a0then let it chill in the hot skillet for a minute or two then taste it. So good right? And if you need to, season with more salt and pepper, and drizzle with more oil if needed.%u00a0
That is all you need to do, besides you know, sticking it into a bowl, getting all the good big chunks, and eating it.
-C
2 small summer squash (I used a crook neck and a patty pan… but whatever kind you have on hand works)
1 mild onion (vidalia or walla walls)
1 pint cherry %u00a0tomatoes
2-3 %u00a0tablespoons olive oil
salt and pepper%u00a0
1/2 pound spaghetti and water to boil it in
Preheat the oven to 425.
Chop up squashes into inch-ish sized chunks then chop the onion into medium sized slices and toss into a large oven safe skillet. Add in the tomatoes and drizzle the whole lot with olive oil and sprinkle with salt and pepper and toss around to make sure everything is evenly coasted. Place in oven and roast for 30-40 minutes or until the squash and tomatoes are nice and soft and ready to eat.%u00a0
While the stuff is roasting, boil the pasta per the instructions on the box, but cook it a little al dente (still with a bite to it). Drain the pasta when done, reserving a cup full of the starchy pasta water.
When the pasta is done and the veggies are roasted, dump the pasta into the skillet along with 1/2 a cup of the starchy pasta water. Mix around and let sit for a minute or two. Sprinkle with more salt and pepper and drizzle a tiny more olive oil on top (optional).%u00a0
Serve and eat.%u00a0
Basil goes extremely well with this dish, if you just so happen to have some.
Have I told you how amazing my farmshare is? I am sure I have, but if I haven%u2019t lately, well let me just tell you, it is. All summer long we (the members) get to pick a bunch of fresh herbs every week. Basil, scallions, dill, parsely, and cilantro. Planted every few weeks to keep us in the herbs all summer long. And every few weeks there is a herb free for all. Pick unlimited amounts of whatever herb is plentiful. Last week it was unlimited parsley. Yeah there was unlimited basil and that was nice too, but the parsley, the underrated, overlooked herb. That was what I wanted and I picked the shit out of it.
Parsley. No I is not just a green sprig that garnishes your plate at a restaurant. It is a great spicy, fresh, clean tasting herb that plays so well with everything. I really think parsley can, and should, make it%u2019s way into almost any dish. It adds a touch more brightness to any spice blend. And there is just something about munching on some fresh parsley, it just works for me. Parsley is good friends. No. Parsley is great.
So now we match said parsley with another bright herb, mint, and blend it up into a pesto. Magic on the tongue. And a no brainer for pesto is pasta, although this pesto would make a great spread or smothered on grilled veggies or scooped into soup.
A summery pesto pasta salad dish situation. Perfect for all the times that you are hungry and need food.
To the pesto pasta salad!
The stuff. Parsley. mint, a few scallions, toasted almonds, garlic, a lemon, nutritional yeast, salt and pepper, and olive oil. Also pasta, a cucumber, and a big handful of cherry tomatoes.
First for pesto. Start by pulsing the almonds in a food processor until they become a nice crumb. Remove about 1/4 cup and set aside.
Grab the herbs and scallions and remove any really wooden stems (keep the more tender ones) and rip the herbs into smaller pieces.
All the parsley, mint, and scallions now go into food processor with almonds, along with the garlic, nutritional yeast, the juice of the lemon, and a pinch of salt and some crack pepper. Pulse the food processor and stream in the olive oil until everything comes together. You might need to stop and scrape the sides a few times.
Now you need pasta. Cook it to the directions on the package you got it from. Cook it all the way through then when you strain it, rinse it with a little cool water.
Chop up the cucumber into small chunks and half or quarter the cherry tomatoes.
And to put it all together. Pasta goes in a bowl. Add in the pesto. If the pesto seems a little on the thick side and not easily mixes, add in a little warm water to thin it out a bit.
Add the cucumber and tomatoes.
Mix some more, sprinkle on lots of the crumbled almonds you set aside, maybe a few more springs of parsley and a few more leaves of mint for good measure and call it done.
Be ready to eat cause this salad is ready to be eaten.
-C
Makes a pound of pasta
2 cups packed parsley (Curly or flat. I used curly)
1 cup packed mint
a few scallions if you have them
3/4 cup roasted almonds
3 cloves garlic
a lemon
1/4 cup nutritional yeast
1/2- 3/4 cup olive oil
salt and pepper
1 pound bow tie pasta
Big handful cherry tomatoes
a tender skinned cucumber
Note. This recipe makes a big batch of pesto and big pasta salad. You can totally make the all the pesto and only use half and only boil half of the pasta. Just stored left over pesto in a jar in the fridge for about week or so or stick it in the freezer for a few months. And you can use it for all sorts of great things like sandwiches, salads, as a dip%u2026 whatever you want.
To make the pesto. Place almonds in food processor and pulse until crumbly then remove about a 1/4 cup and set aside. Add in the garlic and pulse a few times. Then grab the parsley, mint, and scallions. Remove any tough stems and rip the herbs into smaller pieces. Add them to food processor along with the nutritional yeast, the juice of the lemon, and a good pinch or two of salt and lots of pepper. Pulse while slowly adding in the olive oil. Stop, scrap sides, then pulse until smooth. Taste and add more salt if needed.
Half or quarter cherry tomatoes and cut cucumber into small chunks
Cook the pasta. Big pot of boil water with a pinch pf salt. Cook until fully cooked, then drain. Give it a quick rinse of cool water. Dump the pasta into a big bowl.
To make the pasta salad. Scoop pesto into bowl with the pasta and mix it until all the pasta is evenly coated. If pesto is really thick, just add a little warm water to thin it out. Add in the cut up tomatoes and cucumber, mix, then top with the reserves ground up almonds and a handful more of chopped fresh mint and parsley.
Eat.
Left overs should be stored in fridge for a a few days. Left over pesto a week or so and or in the freezer for a few months.
I am on a major swiss chard kick. Like I am eating it all day, every day. And I don%u2019t know if it the heat or what, but the other night I was laying in bed, super hot mind%u00a0you, and couldn’t keep my mind from racing. All I could think about was swiss chard and how much I love it and all the ways I want to eat it. Yeah, I know, but that is my brain so what can I do? Anyway, I finally fell asleep, and when I did it was dreams of chard and rainbows and all sorts of colorful things that I cannot remember anymore. I do know I woke up hungry. And with a plan for lunch.
I will just tell you now, this chard situation is sooooo good! And besides me being on a major chard kick, I am also on a ginger and cumin kick and an onion kick as well so it just made sense to make something with them all together. Tender and gingery cumin-y chard with crispy pickled onions. Seriously, is your mouth watering yet? I have made it twice in the past few day and I plan on making it a whole bunch more. So freaking good!
If you like chard, or don%u2019t know if you do (you probably do), this is a great way to enjoy it. You will not be disappointed.
Now to the chard.
The stuff. A bunch of chard in a few different colors, a medium onion, a chunk of fresh ginger, cumin seeds, white wine vinegar, and salt and pepper.
First and the sooner the better, cut onion up into very thin pieces and place into a bowl with vinegar, a pinch of salt, and a splash of water. Toss onions around and let sit, for at least 20 minutes, or if you think of it and can make it happen, do it a few hours in advance. . The longer the onions sit in the vinegar the better.
Ginger. If you haven%u2019t grated it yet, do that.
Remove the stems from the greens of the chard then chop the stems into small pieces.
Now here we go. First, before anything, place the cumin seeds into the dry skillet and place on medium heat to toast for a couple minutes, Then add in the grated ginger, the chard stems, a pinch of salt, and about 1/2 a cup of water. Stir around. Keep on medium heat and let cook until the chard stems start to become tender. If all the water evaporates out before they are done cooking, add a little more.
Now chop up the chard greens.
Greens go into the skillet with the stems and a little more water. Cook the greens down until all wilted and lovey and delicious.
Dump the cooked chard into a bowl or on a place and mix in all the pickled onions. Drizzle with a little of the left over vinegar from the onions.
All there is left to do now is add a lot of cracked pepper and grab a fork.
My dreams come true%u2026..Ha.
-C
Serves 1 as a meal or 3-4 as a side
I bunch (around a pound) Swiss chard Any color or a mixture of colors))
1 mediam onion (red or white)
about an inch or so fresh ginger (1 tablespoon grated)
1 tablespoon cumin seeds
1/3 cup white or red wine vinegar
salt and pepper
around 1 cup water
Grab the onion and slice it very thinly into rings or half rings. Place in a bowl and add the vinegar plus a pinch of salt and about 1/4 cup of water. Toss around and set aside for at least 20 minutes. If you think of it, do this a few hours before saut%u00e9ing the chard. The longer the onions sit in the vinegar, the better.
When you are ready to cook it, grab the chard and remove the stems from the greens. Cut the stems into small little pieces. Grab a big skillet and place on medium heat. Add in the cumin seeds and let toast for a few minutes and while that is happening, grate the ginger. Once cumin is toasted, add in the chard stems, the ginger, and about 1/2 cup of water. Keep on medium heat and cook until the stems are slightly tender. Should take 8 or so minutes. If the water completely evaporates before cooked, add in a little more.
And the greens. roll them up together and slice them into thin pieces. Add all the greens to the skillet with tender stems. Add in a splash more water if needed and a pinch of salt. Mix around and cook for another 4-5 minutes or until the greens are completely wilted. Remove from heat and dump the chard into a bowl or on a plate. Take the onions, remove from the liquid and mix together with the chard. Drizzle a tiny bit of the left over vinegar from he onions on top. Cover with cracked pepper.
Eat. Hot, room temperature, or cold. It fantastic any way.
Summertime is in full swing. Hot ass days, garden fresh veggies, zucchinis as big as whales, and did I mention that hot ass heat? If you have been around here before, you know how well I handle the heat. (NOT WELL AT ALL!)
I think we are all hot these days. But really, lets just focus on the good things, like fresh summa veggies!
This sandwich is all about summertime and not having to turn on a single flame or heat source and takes all of 5 minutes to make. Zucchini because it is everywhere, beans for more substance and they are delicious, all mixed up in a creamy bean and tahini sauce. Super fast, fresh and oh so delicious. I made a big batch for sandwiches but also I was just eating it with a fork. It%u2019s a tasty one that will be on the summer rotation for sure for the next few months, or until the zucchini runs out and I dare to turn the oven on again. (Ok, I am being a whine ass. It%u2019s not THAT bad and I did turn the oven on, early morning, to bake bread. So yeah.) But for real. This is a great, super fast, throw together, fresh, light but filling, sandwich situation for any and all of your summertime eating needs. What more do we need? The mr said all he needed with the sandwich were chips. Chips and a nice cold drink.
Done sir. Done.
Now to the sandwich!
The stuff. White beans, a zucchini, and a fresh spring onion. Also some tahini, a lemon, a few cloves of garlic, a little vinegar and water, and salt and pepper. And to serve as a sandwich you need bread. lettuce, and tomato. Well you only need the bread, but you get what I am saying.
Fist off. Half the white beans go into blender or jar with the tahini, the juice of the lemon, garlic, vinegar and a splash of water. Blended unit nice and creamy smooth. And yes, it is basically hummus but whatever.
Julienne the zucchini and chop up the onion.
Note. You don%u2019t have a mandolin or done%u2019t want to julienne with a knife, well just chop the zucchini into small little chunks.
Bean, onion, and zucchini in a bowl. Add in the bean tahini mixture and mix. And ta da, all done. All of 5 minutes and no heat. Good for us.
Now here is the thing. This salad is ready to eat now. You can continue onto the sandwich path or just eat it like it is with a fork. What I really liked to do is scoop spoonfuls into lettuce cups with a slice of tomato and a squirt or mustard. So yes sandwich, but also whatever else you want it to be.
But as a sandwich%u2026. Bread. And lettuce and tomato and heck, whatever else you want to throw on there. (Again, mustard is A+)
Now stop. Sandwich time.
Stay cool!
-C
makes 3-4 sandwiches
1 medium sized zucchini
2 1/2 cups cooked and strained white beans (a can will do)
1 spring onion (or a small white or red onion)
3 tablespoons tahini
2-3 cloves minced garlic
1 lemon
1 tablespoon white or red wine vinegar
2-3 tablespoons warm water
salt and pepper
And to serve as a sandwich
bread or wrap of your choice
tomato slices
lettuce
anything else you want
Place half of the beans, tahini, garlic, juice of the lemon, and the vinegar into a jar and use a immersion blender or a regular blender and blend until creamy smooth. Add in a tablespoon at a time of water until the consistency is just slightly thinner then hummus.
Grab zucchini and using a mandolin or a knife and julienne it. (You can also just cut into small little cubes.) Dice the onion up into small pieces and toss with zucchini, onion, and the other half of beans into a big bowl. Dump the bean tahini mixture all over and veggies bean mixture and toss around. Add salt and pepper to taste.
To make it a sandwich%u2026 Place a scoop onto a bread situation, add some lettuce and tomato and whatever else you want, and eat it.
Let%u2019s talk about how soup is the perfect food. It can be light and fresh, hearty and deep, chunky or smooth. You can eat it with a spoon, or somtime a fork if warranted, or just drink it from a mug. It%u2019s usually a one pot meal, a small pot for one, a big pot for many. Make a pot of soup and eat some now and save some for later. It freezes amazingly well. Got a few extra sad carrots and wilted greens? Toss them into a pot with whatever you have on hand, maybe those veggies scraps and you got yourself a meal. Want something more filling, just add in some grains. Feeling sick, warm soup will make it all better. Feeling fresh and springy, well soup is there for you too. Seriously soup, you can do anything. If I could, I would marry you. %u2665%ufe0f
This soup is one of this velvety smooth, light but rich, delicious beyond delicious soups. A fresh spring time soup. Not to hearty or heavily spiced. Super rich and creamy and flavorful. Bright ass green which makes it amazing in itself, but then with a nice tangy sumac tahini swirl on top, well it is just about the most perfect soup. I made to share, which I did, (and everyone licked their bowls clean) but then hoarded the little bit left over and ate it cold for a late afternoon snack. That is another thing about soup, you can eat is cold and it is still amazing.
Tasty and delicious, and nutritious. This soup does it all.
To the soup!
The stuff. Peas, chopped broccoli, and chopped cauliflower which are all frozen and slightly thawed. You can totally use fresh here too, but I just so happen to have it frozen so you might as well save the fresh stuff for fresh eating. Also have a big yellow onion, a few cloves garlic, some tahini, a lemon, sumac, and salt and pepper. You need water which I did not picture here.
A pot, some water and a roughly chopped onion and the garlic start off this soup. Bring the pot to a boil, then turn to medium and let the onion and garlic cook until very tender. I have been making a lot of soups starting with this step lately. Boiling the onion and garlic until tender and fragrant really make for a super flavorful and clean soup base. Or soup in itself.
Now add in the broccoli and cauliflower to the pot and cook until tender.
Mid soup cooking time is a good time to make the sumac tahini sauce for the swirl. Basics here, just mix the tahini, the sumac, a pinch of salt and pepper, the juice of the lemon and a tablespoon of warm water together until smooth.
Last but not least, the peas. Add them in and they just need a few minutes to cook through.
And then it all gets blended to become this green creamy goodness.
Ladle into bowls, grab the sumac tahini sauce and swirl it on in. A tablespoon or so is good. And don%u2019t forget a little more pepper and another pinch of sumac for good measure.
Just appreciate for a moment. That is one good looking bowl of soup. And it taste even better then it looks.
-C
Makes about 4 serving
1 1/2 cups fresh or frozen peas
1 1/2 cup chopped fresh or frozen cauliflower
1 1/2 cup chopped fresh or frozen broccoli
1 large onion
3-4 cloves garlic
4-5 cups water
Salt and pepper
1 teaspoon sumac
2 tablespoons tahini
2-4 tablespoons warm water
Start by removing the papery skin from the onion and chop into a few big chunks. Remove the skin from garlic too. Place into pot with 4 cups water. Turn heat on high and bring to a boil then turn heat to medium and let onion are garlic cook until tender which should take about 15-20 minutes
Once the onion is cooked, add in the broccoli and cauliflower. Turn heat back to high and bring to a boil again then turn back down to medium heat. Keep cooking until tender (another 15 minutes or so) then add in the peas. Keep on heat until peas are cooked through then remove the pot from heat and either transfer to a blender or use a immusrian blender to blend the soup until smooth. Add a little more water if needed to get to the right consistency to blend right. Or if you want a thinner soup.
For the tahini sumac swirl just mix the tahini and sumac together along with the juice of the lemon, two tablespoon warm water and a pinch of salt. Mix together until smooth. If the mixture is to thick, add another tablespoon of water.
To serve. Ladle or pour soup into bowls and drizzle and swirl the tahini sumac on top. Sprinkle with pepper and a pinch more sumac and you are good to go.
It%u2019s a smoothie. And no, we have never really been smoothie people in this house, but what can I say, sometimes smoothies happen, especially when you have about 20 ripe bananas in the fruit bowl with no room in the freezer and no need for 7 loafs of banana bread.
So I smoothied. And I like it (a lot).
This is a smoothie of simplicity. Nothing fancy. Simplest of simple. Straight to the point. And all sorts of good.
You might think, does this simple smoothie you speak of taste very good? Yes, yes indeed it does. It is all sorts of fantastic. Basically if you like creamy, nutty, oaty, bananery things, you will like this. And it%u2019s a perfect breakfast, snack, dessert, or just wanting a little treat like thing that is not garbage food. A smoothie of all smoothies with the most basic ingredients. And takes about 15 seconds to whip up. Can%u2019t complain about that.
To the smoothie goodness!
The stuff. A ripe banana, some old fashion rolled oats, a pinch of salt, water, and a smidge of maple syrup if you want it.
Everything goes into blender.
And blended until smooth. Hence the word smoothie.
Pour it into a cup (or if you are feeling primal, drink it straight from the blender%u2026 it%u2019s totally cool)
And done.
A banana oat smoothie.
Let the good time roll!
-C
makes 1 smoothie
1 very ripe banana
1/3 cup raw old fashion oats
1 1/2 cups water
pinch of salt
a tablespoon or two of any sweetener you like (optional)
a pinch of cinnamon (optional)
Place everything into a blender and blend until smooth. Pour into a cup, sprinkle with cinnamon if you wish, and drink right away.
It is getting oh so much nicer out yeah? Springing and such, well kind of. Still a wee bit chillier then it should be around here but still, it is spring and I am taking it.
And with the spring, I feel the itch, the itch to spend all of my free time outside. Out doing things that are not inside because I spent the last 7 long months inside way too much. I needed to be outside as much as possible and as it gets even nicer and warmer and garden temperature-able, I am basically going to be living outside.
Bring in sesame noodles. Super fast, super easy, super duper in every way. Make a big old batch and eat now, eat later, eat hot or eat cold. Everyone loves them, they love you, etc. etc%u2026 A perfect meal to have in rotation when you know that you are not going to have or want to spend much time cooking in the kitchen because you will be outside playing in the dirt and soaking up the sun. And think about all the picnics and BBQ%u2019s to come. These suckers are fantastic to have at any outdoor eating event. They are even peanut free so you can safely bring them to potlucks and such and don%u2019t have to worry about accidentally kill a peanut allergy person. And you can make them gluten free as well if you sub in your favorite gluten free pasta. These noodles, I am telling you. They are a winner in every way.
So with out further ado, the noodles!
The stuff. Spaghetti noodles, tahini, a few cloves of garlic, some toasted sesame oil, soy sauce, red wine vinegar, honey (used whatever sweetener you like), red pepper flakes, tasted sesame seeds some cabbage, half a red onion and a carrot.
Get pasta cooking. Boil water, drop noodles in, you know the drill. Cook as long as the the noodles need cooking, just make sure to not over cook them cause soggy noodles are nasty.
Chop, shred and julienne the cabage, onion and carrot. Nice and thin.
Mince the heck out of the garlic. Or use a garlic press if you want.
Now make the sauce. Add the minced garlic, along with the soy, sesame oil, vinegar, sweetener, and chili flakes to the bowl with the tahini. Mix, mix, mix until it is all incorporated and not lumpy. And that is that.
Noodles should be done by now so strain them out.
Add the prepared veggies to a big bowl.
Add in the cooked noodles
Cover with sauce and toss all around until all the noodles are coated and delicious. Sprinkle with sesame seeds and a pinch or so more of pepper flakes.
And then it is time. Eating time.
Happy spring!
-C
serves 3-6
3/4 lb (3/4 of a package) of your favorite spaghetti noodles (or linguine or similar noodle)
2 tablespoons toasted sesame oil
1/4 cup soy (low sodium if you have it and gluten free tamari if needed)
3 tablespoons red wine vinegar
3 tablespoons tahini
2-4 teaspoons red chili flakes
1-2 teaspoons sweetener of choice (maple, honey, or brown sugar)
4-5 cloves garlic
1-2 tablespoons toasted sesame seeds
about a 1/4 head of cabbage
a carrot
small red onion
Bring a pot of water to a boiling cook the noodles as directed on package. You want them al dente, cooked all the way, but barely. No soggy noodles. (unless you like them soggy)
In the mean time, shred the cabbage, julienne the carrot (or shred it) and slice the onion so very thinly. Place into a large bowl. Now mince garlic and place into a bowl along with the soy, sweetener, vinegar, tahini, sesame oil and a teaspoon or two (more for spicier) of chili flakes and whisk until completely incorporated. Taste and adjust if needed. Add more tahini for more body, more sweetener if needed or more hot pepper flakes for more spice.
Once noodles are cooked, drain and place into large bowl along with the shredded and julienned veggies. Pour in the sauce and toss it all around until all the noodles are covered. Sprinkle in the toasted sesame seeds and a small pinch more of the red pepper flakes.
Eat. Eat warm, room temp, or cold. They are delicious any way.
Any left overs just stick in fridge. Can be reheated or not. Also, you can make the sauce and the noodles a few day ahead of time of when you want to have the dish Just mix the sauce with the noodles when you are about to serve them%u2026 So simple!
Do you ever wake up first thing in the morning with a craving, a maybe somewhat strange food craving? Lately I have been waking up and within an hour of being up, I start to think about olives. My mouth starts to water and it%u2019s like I can almost taste the salty, briny, fattiness in my mouth, which in itself is kind of weird, but for me is really really weird because up until very recently I completely hated olives. Now, well now I just want to eat them all. And first thing in the morning.
I don%u2019t pretend to understand such things. My brain is going to do what it%u2019s going do. Tell me I like olives, well all right then.
Another thing I am desperately craving is freshy fresh greens which makes complete since because I always crave greens. I am still pretty deep in root veggies and cooked things because winter and Vermont and all, but all I really really really want to eat are buckets of greens. Any kind will do, but the sweet tender baby ones%u2026. So good.
And so I combined my two cravings, greens and olives and hit those craving like POW! BAM! POOF? A salad so simple yet so amazing and mouth watering. I outdid myself here.
To the bestest, most amazingly perfect salad yet!
The stuff. A big ol%u2019 bowl of greens. Black pitted olives, half an avocado, a lemon, toasted almonds, a chunk of red onion, a couple cloves garlic, and pepper.
Almond crumbs. Exactly what it sounds like. Place almonds into a clean food prosessor and pulse until they are crumbs.
Dump the almonds into a bowl. Don%u2019t bother cleaning it out, you are about to use it again. Olives, avocado, garlic, and all the juice of the lemon now get a go in the food processor. Pulsed together into a creamy, kinda of chunky but mostly smooth, mixture of amazing. Add a few tablespoons of cold water if the mixture seems really thick, but other then that, you be done.
Very thinly slice up red onion and slice up a few extra olives.
All here, all ready to go. Just got to toss it together now.
Greens, some slices olives and onion tossed all together in a good amount of the olive avocado goodness then topped with a hardy helping of almond crumbs. Fresh pepper to finish it off.
I was barely able to stop myself from eating it all before snapping a few pictures.
All of my cravings come true%u2026
It%u2019s salad time!
-C
Makes enough dressing and crumbs to feed 2-4 people
1/2 of a ripe avocado
1 cup pitted black olives
1 lemon
2-3 tablespoons cold water
1-2 cloves garlic
1/4 cup toasted almonds
2-4 large handfuls of fresh greens (I used a mixture of baby spinach, baby chard, and baby kale. Spring mix or even chopped leaf lettuce would be grand as well)
about 1/2 a small red onion
pepper to taste
Place almonds in food processor and pulse until they are crumbly. Not to fine, a few big chunks are good.. Remove and set aside
Roughly chop the garlic and place in the food processor (no need to clean it out after the almonds). Add in the avocado and most of the olives (leave few behind to slice up). Add in the juice of the lemon. Pulse until mixture is combined but with little specks of olive left.or completely smooth if you wanted too. Scoop out into a container. You want it to be slightly loos so it will mix well with the greens. If the mixture seems really thick, add in a a few tablespoons of cold water to thin out.
Grab the onion and remaining olives and thinly slice.
Now to assemble salad. Place a handful of clean greens into a bowl. Toss a some onions and extra sliced olives into greens. Add as little or as much olive avocado dressing as desired then sprinkle as much or as little of the almond crumbs all over that. Top with freshly find pepper
Then eat it.
Nothing here but a mere craving, the fact that I had a fresh head of cauliflower, and I really wanted tahini. TA DA. I made exactly what I wanted and it was so so sooooo good. Maple Cumin is one of those super A+++ taste pairings and anything roasted cover in tahini is basically going to be a win so I had no fear when making this dish that it was going to be anything but fanatic.
And of course I was right. It was so freaking good, like now I am going to make it again and again because I don%u2019t want make cauliflower any other way ever or at least until I get sick of it or of roasted vegetables. But that probably won%u2019t happen for a while.
So if you like cauliflower and tahini and amazingness, here, make this.
To the cauliflower
The stuff. A head of cauliflower, tahini, maple syrup, cumin powder, red wine vinegar, salt and pepper, and olive oil.
Break or cu the head of cauliflower up into florets and toss with a little oil, the maple and cumin, and a little salt and pepper.
Scatter on a baking sheet and stuff it into a hot oven.
Meanwhile mix tahini with vinegar, salt and pepper, and enough warm water to thin out.
Roasted all nice and crisp and delightful.
And now you gather up all that cauliflower and cover with all the tahini you want. Grab a bowl, or just eat off baking sheet, and get to it.
And there is no shame in eating a whole head of cauliflower because hey, its cauliflower.
-C
Makes a meal for one or a side for a few
a head of cauliflower
3 teaspoons cumin
2 tablespoons maple syrup
olive oil
3 tablespoons tahini
2 tablespoons red wine vinegar
2-3 tablespoons warm water
salt and pepper
Preheat oven to 450
Break or cut the cauliflower into medium sized florets. Place in a bowl and drizzle with a teaspoon or so olive oil and toss around. Drizzle in maple, add in the cumin, and a pinch of salt and pepper. Toss until coated then dump the cauliflower onto a baking sheet. Place in hot oven for 25-30 minutes or until roasted to your liking.
While that%u2019s roasting, mix up the tahini, vinegar, and a pinch of salt and pepper. Add in warm water until the mixture is a drizzlable consistency.
Once cauliflower is out of oven, cover with tahini.
Now eat.
There will be no left overs so don%u2019t worry about it.
No it is not weird or gross or anything. I wouldn’t do that to you. These popsicles are down right deeee-lightful. Rich and creamy and sweet. Both the creamy coconut and the toasted coconut pair perfectly with the sweet corn flavor. They truly are delicious and I think that if you give them a try, you will think so too. And really, now that it is like almost summer, who doesn’t have a little extra corn laying around. So you might as well just make a batch.
And then you will thank me for introducing you to the goodness that is a toasted coconut and corn popsicle. Heck, the mr even ate one and he (still, after I have proven him wrong on a many occasions) says he hates corn. So if a corn hater likes these, imagine what a corn lover will think. HAHA. Corn lover.
To the popsicles!
The stuff. Corn, full fat coconut milk, shredded coconut, and maple syrup.
First, remove corn from cob and place on a baking sheet. Bake in oven for 10-ish minutes until corn is cooked and all nice and sweet.
And don%u2019t forget to toast the coconut. A few minutes in the oven is all it needs.
Now to blend. Corn and coconut milk go in first to blend until nice and smooth. Then add in the maple and coconut and blend until just combined. That will leave a little coconut texture. If you want it smooth, well just blend until completely smooth. Do what feels right to you.
Thick, rich and creamy popsicle mixture.
Now pour it into the molds and stick into the freezer. You could probably stick the sticks in now or wait a little while for the mixture to set a bit, but just don%u2019t forget to get sticks in those popsicles before they completely freeze. That would suck.
Pop those lovelies out of the molds and there you go.
The anticipation is over. Eat a popsicle
-C
makes 4 average sized popsicles
2 ears corn (about a cup of corn kernels)
1 cup full fat coconut milk (the canned stuff)
1/4 cup shredded unsweetened coconut
2- 4 tablespoons maple syrup
Note. If you have left over cooked corn, just use that. You don%u2019t need to recook it so skip the cooking corn step.
Preheat oven to 400
Remove corn kernels from cob and place on a baking sheet pretty evenly. Pop into the oven for 10 minutes of so or until the corn is cooked through and nice and sweet.
Remove corn and dump it into blender and set aside to cool for a few minutes. Place the coconut onto the baking sheet and pop into the oven for 3-4 minutes to just lightly toast. When the coconut is toasted, remove from oven.
Grab the blender with the corn and pot in the coconut milk. Blend until smooth. Add in the maple (start with 2 tablespoons and work your way up to the sweetness you like) and the toasted coconut. Blend quickly just to combine for a slightly more textures popsicle or blend completely smooth if you would rather a smoother popsicle.
Pour mixture into popsicles molds and place into freezer. After the mixture sets up (about an hour) pop sticks into molds. Continue to freeze until completely frozen. Usually 4-6 hours.
And then when it is popsicle time, remove popsicles from molds and eat them.
You know when you eat something that you haven%u2019t had or haven%u2019t had in a long time and it%u2019s all you want to eat?
I am having a moment with apples and onions. Roasted and raw, it%u2019s on my mind every time I am making food. Weird? I don%u2019t know, but it%u2019s sweet and savory and all fall like and comforting. It%u2019s a good moment.
So now I am passing on my moment in the form of cornbread. Why cornbread? Well I think cornbread is a fine fine vessel for things that could be perceived sweet of savory. This cornbread is in fact not sweet, but not not sweet. It is a little both and suits the the apple and onion moment quite well.
People ate it, at first somewhat suspect that it was not going to be good, but after a bite or two they too appreciated the apple onion combination. And the cornbread. Even got a lady that doesn’t even like cornbread to like this so that is something right?
Embrace the moments.. To the cornbread!
The stuff. A couple apples, an onion, cornmeal, flour, salt, and baking soda. Also soy milk, oil, apple cider vinegar, maple syrup, pepper, Sansa little earth balance.
Start by thinly slicing the onions. Toss them into a oven safe skillet with about a tablespoon of earth balance and place on a medium heat.
Once the onions are cooking, thinly slice the apples too.
Toss the apples in with the onions and stir around wait a few minutes and stir around some more until the stuff all looks like%u2026
This. The apples ans onions are super tender sans soft and amazing and do not eat them all, but maybe have bite or two.
Scoop the mixture out of the skillet ans melt another tablespoon of earth balance into the skillet, trying to evenly coat the bottom.
Now to the cornbread. Mix together all of the dry ingredients.
Then add in all the wet and gently mix until completely incorporated.
Pour the batter into the greased skillet
Top with the apple union mixture then pop into the oven for about 40-45 minutes to bake.
Golden crisp and amazing smelling. Check for donees with a tester stuck in the middle and when its done, its done.
Now the hard part. Let it cool. You can go right at it, but it will crumble and fall apart. This bread really needs a little time to chill.
Then it%u2019s time. Eat what you need. Careful, it might be all of it.
I am so confused. Is it December and almost Christmas or did I somehow sleep through it and its actually April and Easter.? If you tell me it’s Easter, I’ll probably believe you.
BUM!!! I am not a hater but man do I freaking HATE HATE this weather. And no, not just because I want a white Christmas, which I do, but because I love winter. I love the cold weather, the fresh crisp air, the quiteness, and the feeling the world takes on after a particularly large dump of snow. Not to mention the fact that I haven’t gotten to enjoy much of my finest winter wardrobe (big baggy knit sweaters, or my happy green winter boots.) So so sad, but I have faith that winter will happen soon and all will be right with the world.
This past week was a good one. The mr turned a big number (lets say thirty something), We did a little birthday dinner here and another one there. He made grilled cheese sandwiches one night and buttered noodles another. The littles got to sing him the happy birthday song and eat strawberry ice cream. (and those same littles were eating my popcorn garland off of my tree. Monsters!) We went for a really pretty, kinda eire hike and a drive through the mountains. I made blondies and pickled crackers and we made a trip to Costco where every giant row of food had a person handing out a candy of some sort. (He came home and found melted chocolate in his sweater pocket)%u00a0 It was a great week and an interesting week of food for him for sure.%u00a0 I on the other hand.. I think I have eaten my weight in carrots and kale and am now glowing more orange then ever.
But it’s Sunday guys! Time for… well today I am probably working all day, but whatever. It’s good work, like new house work (I’ll give you more of an update later this week) and It’s not time sensitive work so I can go at my own slow pace, bring a thermos of coffee, maybe a break time book or a doodle pad and pencils. It will be fun and when I get home I will feel accomplished and ready for a quite night on the couch with a big bowl of popcorn watching either Home Alone 1 and/or 2 or The Santa Clause, We shall see!
How about you? You got any fantastic plans? Are you going to spend half the day on amazon trying to find that thing, at the price that ships on that day? Or is it the Easter eggs that need to be hidden? Well whatever you are doing today, make sure to take some time to yourself and relax., cause it’s Sunday and we all need it.
Some fun and interesting stuff from the lovely world wide web.
-I love Danish architecture and this little cottage..swoon
-And all of these rooms.
-I really like this room divider/mirror thing.
-Pretty freaking cool. Beehive Fences in East Africa Protect Farms from Elephants
-Hows your baloney detector? What Makes People Susceptible To Pseudo-Profound ‘Baloney’?
–The Art of Natural Dyeing + 6 Colors to Start With…On my list of things to do.
-SUGAR!!! A Complete Visual Guide to 11 Different Kinds of Sugar
-These embroidered leaves are so pretty.
-I have been thinking about the kitchen floor at the noosk house and what to do. All the Different Ways You Can Ease the Transition Between Two Floor Treatments
-I need one of each of these chairs.
-Don’t understand the weather. Me wither. El Ni%u00f1o, explained: A guide to the biggest weather story of 2015
A simple little artsy craft project to get down with%u2026 apple printing. ALmost the same as potato print, except smells better and your apple comes with an interior fun shape to print with. And you have to use apple this time of year cause its apple season and there are apples everywhere!
I usually do things like this with a little or two, but at the time, I had no littles in my possession, so I went it did it all by my lonesome.%u00a0(which was actually a lot of fun)%u00a0I made myself big cup of hot coffee, put on some tunes, and zoned out and did a bunch of prints. It was a great little afternoon project that anyone, little or not so much, can do. And the best part about printing is%u2026 you can’t screw it up
And I know that this is going to be a cold dreary weekend%u2026 so this might just be the perfect indoor project to do!%u00a0
Things you are going to need..
apple(s).. And the apple that I use are fallen apples.. so I don’t feel bad about using them.
paper
a knife (or something sharp enough to cut the apple)
paint ( I used cheap-o acrylic paint, but any paint would work)
paint-brush
Cup of water (to rinse brush)
rag (to wipe hands)
Start by slicing your apple. If you cut in in half, you get the cool star shape in the middle, or just chop it into cool shaped pieces.%u00a0
Apply paint to the apple. I found that if I dipped the apple, then remove to much excess paint with a paint brush to work the best for me.. My suggestion is to play around with what works best for you.
Apple goes paint side down on paper%u2026 and that’s how it goes. Now repeat, either with the same shape, or use a new one. OR change up the color.. it’s all how you want to do it.%u00a0
If%u00a0
. I got a little excited with my fist print turned out a little chaotic(note print above)%u00a0but then I rained myself in.%u00a0
And did a few more simpler designs. %u00a0%u00a0
But do it anyway you want cause it’s going to look cool no matter what.
I am not a fancy person by any means, like super, no frills, no one would ever consider me fancy. EVER.%u00a0With that said, I am always and forever a cloth napkin lady. I have a drawer full of them, in all sizes and color. I use one with every meal %u00a0(I am a sloppy eater).And napkin use is not just about functionality, it is also about looking pretty.%u00a0 When I go for a clean napkin, I like to pick one that looks good with the meal that I am eating. I think a pretty clean napkin really makes any meal just a tiny bit better. Does that sound weird? I don%u2019t know but this is just a little look into how my mind works.
And recently I have set a few too many of my kitchen textiles on fire (towels, napkins, and potholders) so I am in need of a few new, nice looking napkins.%u00a0
And let’s get this straight. Cloth napkins are not about being fancy, they are about wiping you hands and face with something lovely, that doesn’t need to be tossed into the trash after use. Cloth napkins are also a great way to add a nice splash of color tot a table settings or a nice doth barrier between your lap and all the food that ends up landing on it. I have even been known to do a cloth napkin-tuck into the shirt- type situation if I am eating something particularly messy and have on decent, clean shirt (doesn’t happen too often).%u00a0Cloth napkins also double up as a rag when the inevitable spill happens at the table. See, not just for fancy people. Cloth napkins just make sense. And sure, if you are introducing them at the Thanksgiving table that happens to set a bunch of guests, or maybe making a few, wrapping them up with a ribbon and gifting them for Hanukah to Christmas%u2026that would totally be cool and not at all showy and over fancy. You just seem like a leveled headed person that uses and or gifts totally cool and useful things. And whatever if it makes you badass for making them yourself%u2026. cause you probably are badass anyway.%u00a0
So if you got the desire and a little bit of time (this project is great to do while watching a good holiday movie) you should make yourself (or someone else ) some cool ass cloth napkins.
What you will need, besides a sew machine
Cotton Fabric that you would like to wipe you face with.%u00a0I use around a 15-20 inch square piece per napkin but you can make it any size you want.. just as log as it has 90 degree conners So count how many napkins you ant to make and get hat touch in fabric.
scissors%u00a0
sewing pins
thread that looks good with your fabric
ruler or tape measurer
iron (optional)
Step 1.
Start by laying out you fabric flat, and if you want, run an iron over it to remove creases %u00a0(I would haven but my iron%u2026 can’t find it anywhere!)
When your ready, fold all the edges in 1 inch and crease with either an iron, or a flat edge (my ruler works great here)
Step 2.
Unfold last fold and the refold %u00a0each side 1/2 inch and crease.
. You now have 1/2 inch and a 1 inch crease on all sides of your fabric.
Step 2.
Now go back to the 1/2 inch crease and stick few pins in otto hold it in place.%u00a0
Start with any corner %u00a0and fold the corner over 1 inch and crease.%u00a0
Step 3.
Take a fabric marker and mark that crease Repeat with all corners.
Step 4.
Grab a marked corner and fold the napkin in half, right side together,making sure the line you just marked match up, Stick a pin in it so it stays put.
Step 5.
Run a stitch through that line.
Step 6.
Snip off the remaining tip of fabric
Repeat step 3-6 with all corners.
Step 7.
And for the most fgratifing part,%u00a0fold over %u2026 Repeat to all corners
ALmost done!
Step 8.
Lastly, run a nice stitch around the border. I went with a simple stitch, but if you are feeling a little zig zag or some other funky-ness your machine can do.. go for it.%u00a0
See, fancy(but not), pretty, made by you. napkins.. and they are so easy!%u00a0
Have fun and if you know me and end up making yourself some, let me know so I don’t end up giving you more napkins for the holidays.
This little guy asked me to make him some%u00a0popsicles, and of course I said yes because, well look at him.%u00a0
So we made a date. A popsicle and playground date to be exact.
For these particular%u00a0pops, I decided to use watermelon, mainly because I had just broken into%u00a0one and once I open a melon, I have a race with myself as to how fast I can consume the in entire%u00a0thing. ( It’s a sick form of watermelon gluttony) But also because%u00a0the little was really really excited to hear that I%u00a0could in fact make%u00a0watermelon popsicles.%u00a0And the other stuff I added because I had it and it all tastes really good together.%u00a0
%u00a0I made the popsicles the day before %u00a0so they would be ready for our date.%u00a0%u00a0He came over, we ate lunch,(peanut butter sandwich and carrot sticks)%u00a0wondered around the neighborhood with the pup,%u00a0and made a quick stop at%u00a0the playground. (we only managed a couple runs on the%u00a0slide %u00a0before it was too hot and%u00a0our sweat had us sticking to the slide%u00a0and it was more of a painful scoot then a glide) We then%u00a0made our way home and rewarded ourselves for a walk well done%u00a0with these%u00a0amazing, super refreshing, and healthy frozen treats that I made just%u00a0for us. While we were eating the popsicles, our conversation turned to food. We talked about%u00a0all the different varieties of popsicle that we could make, and how we could eat them for breakfast, lunch or dinner because they are%u00a0made of only good things and are really healthy (he is really trying to eat healthy)%u00a0%u00a0It was the perfect ending to a fantastic afternoon with a five year old, or any human for that matter…
I would have a popsicle date with this kid every day
The Stuff. %u00a0Fresh seedless watermelon (make sure to have lots on hand cause you are going to be eating it as you make these), a fresh lime, a handful of blueberries and a sprig of fresh mint. And don’t forget%u00a0%u00a0a mold of some kind that form%u00a0the liquid into a popsicle (if you don’t have a mold, little paper cups work too)
Remove watermelon from rind and cut into small chunks. Juice the lime and add that, the watermelon chunks, the mint and the blueberries to a blender or vessel if using%u00a0a hand blender) and blend everything%u00a0until smooth.%u00a0
Look at how pretty that is.%u00a0%u00a0And so tasty%u2026.%u00a0I am not going to lie and say that I didn’t make a little%u00a0extra to drink, cause I did.
Now pour the puree into your molds to the fill line%u00a0(follow the%u00a0instructions that your molds give you) and place into the freezer.
And yes Shannon, these are in fact, your popsicle molds. Don’t worry, I’ll bring them back soon. (I am thinking some type of booze infused situation)
Once the freezer has done its job freezing%u2026 pop those suckers out.. (I let the mold sit on the counter for a few minutes so the popsicle pops out clean)
And heres to%u00a0the best popsicle date ever!
Happy Summer!%u00a0Happy Tuesday!
-C
A big chunk of seedless Watermelon (aboutt 11/2%u00a0cups)
1/2 ish cup of blueberries%u00a0(fresh or frozen)
Juice of 1 lime
a few fresh mint leaves
note. The popsicle mold that I used only needed 2 cups of popsicle juice. If you have a larger mold, just use%u00a0more of everything to get the amount you need
Remove rind from watermelon and add to a blender with the lime juice, mint and blueberries. Blend until eveytthing is pureed%u00a0and mixed all together. Pour liquid into popsicle molds and stick in freezer for at least 4 hours.
When ready to eat%u2026, pop those suckers out of there molds and%u00a0EAT!%u00a0

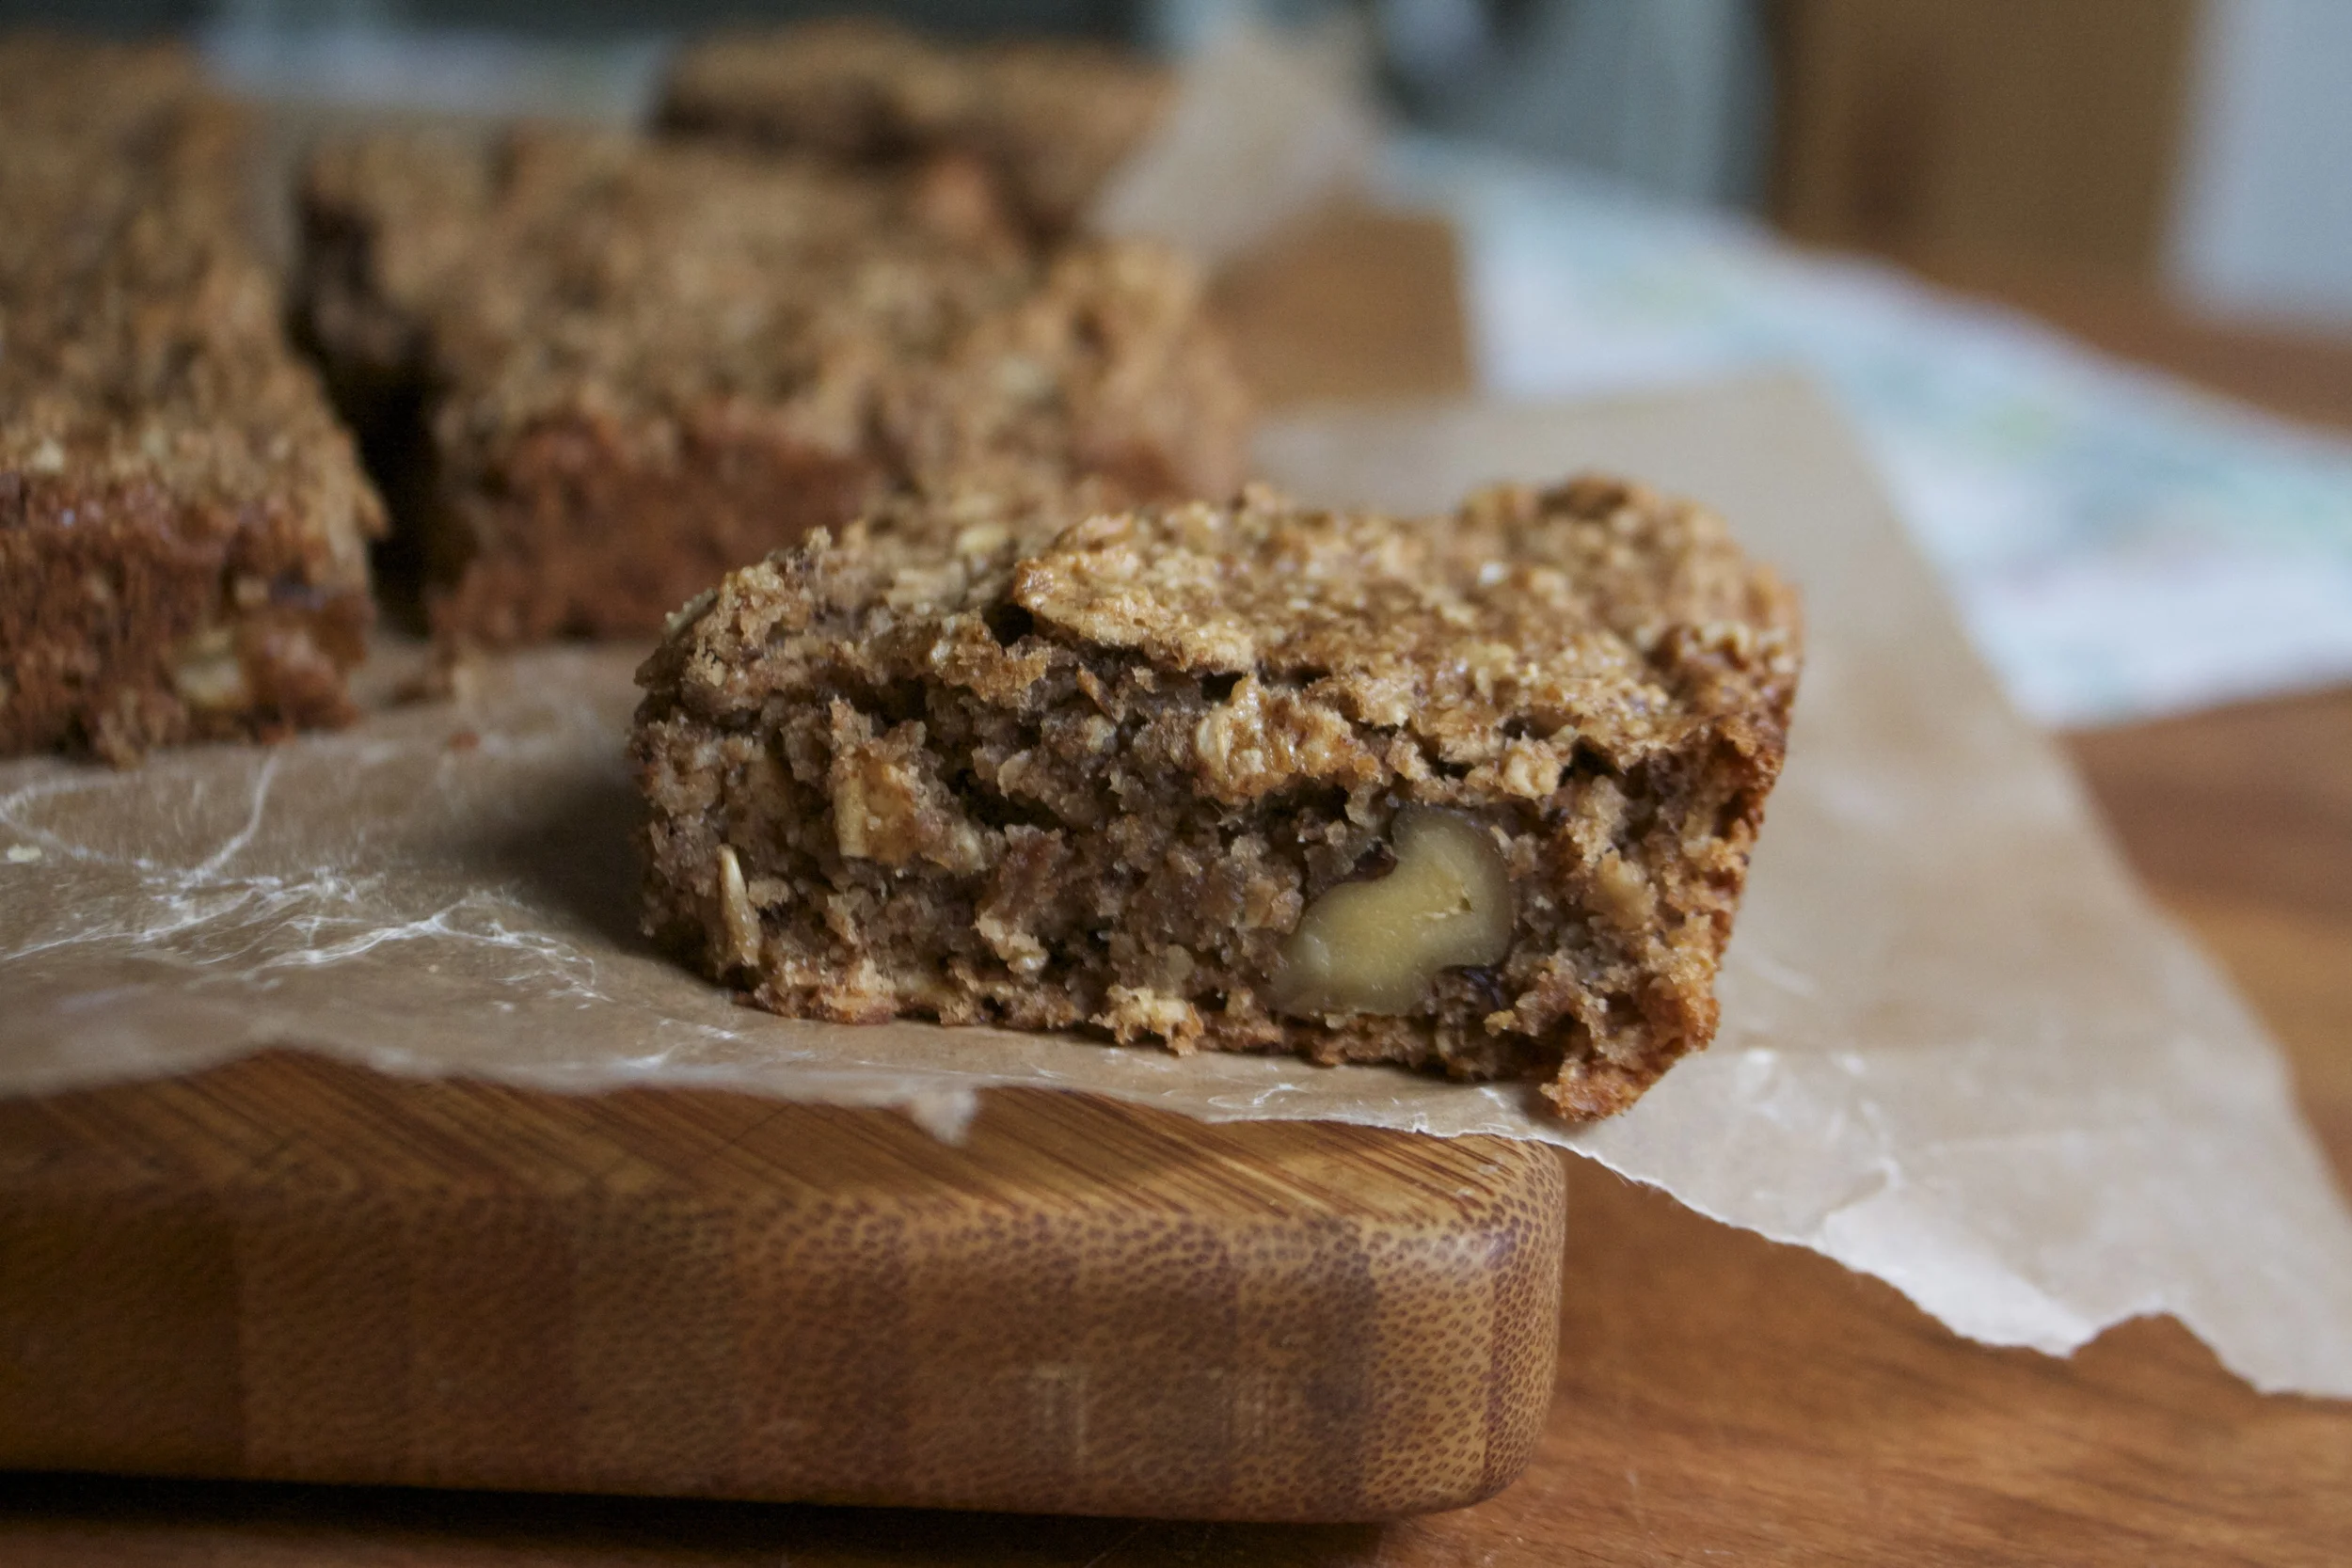

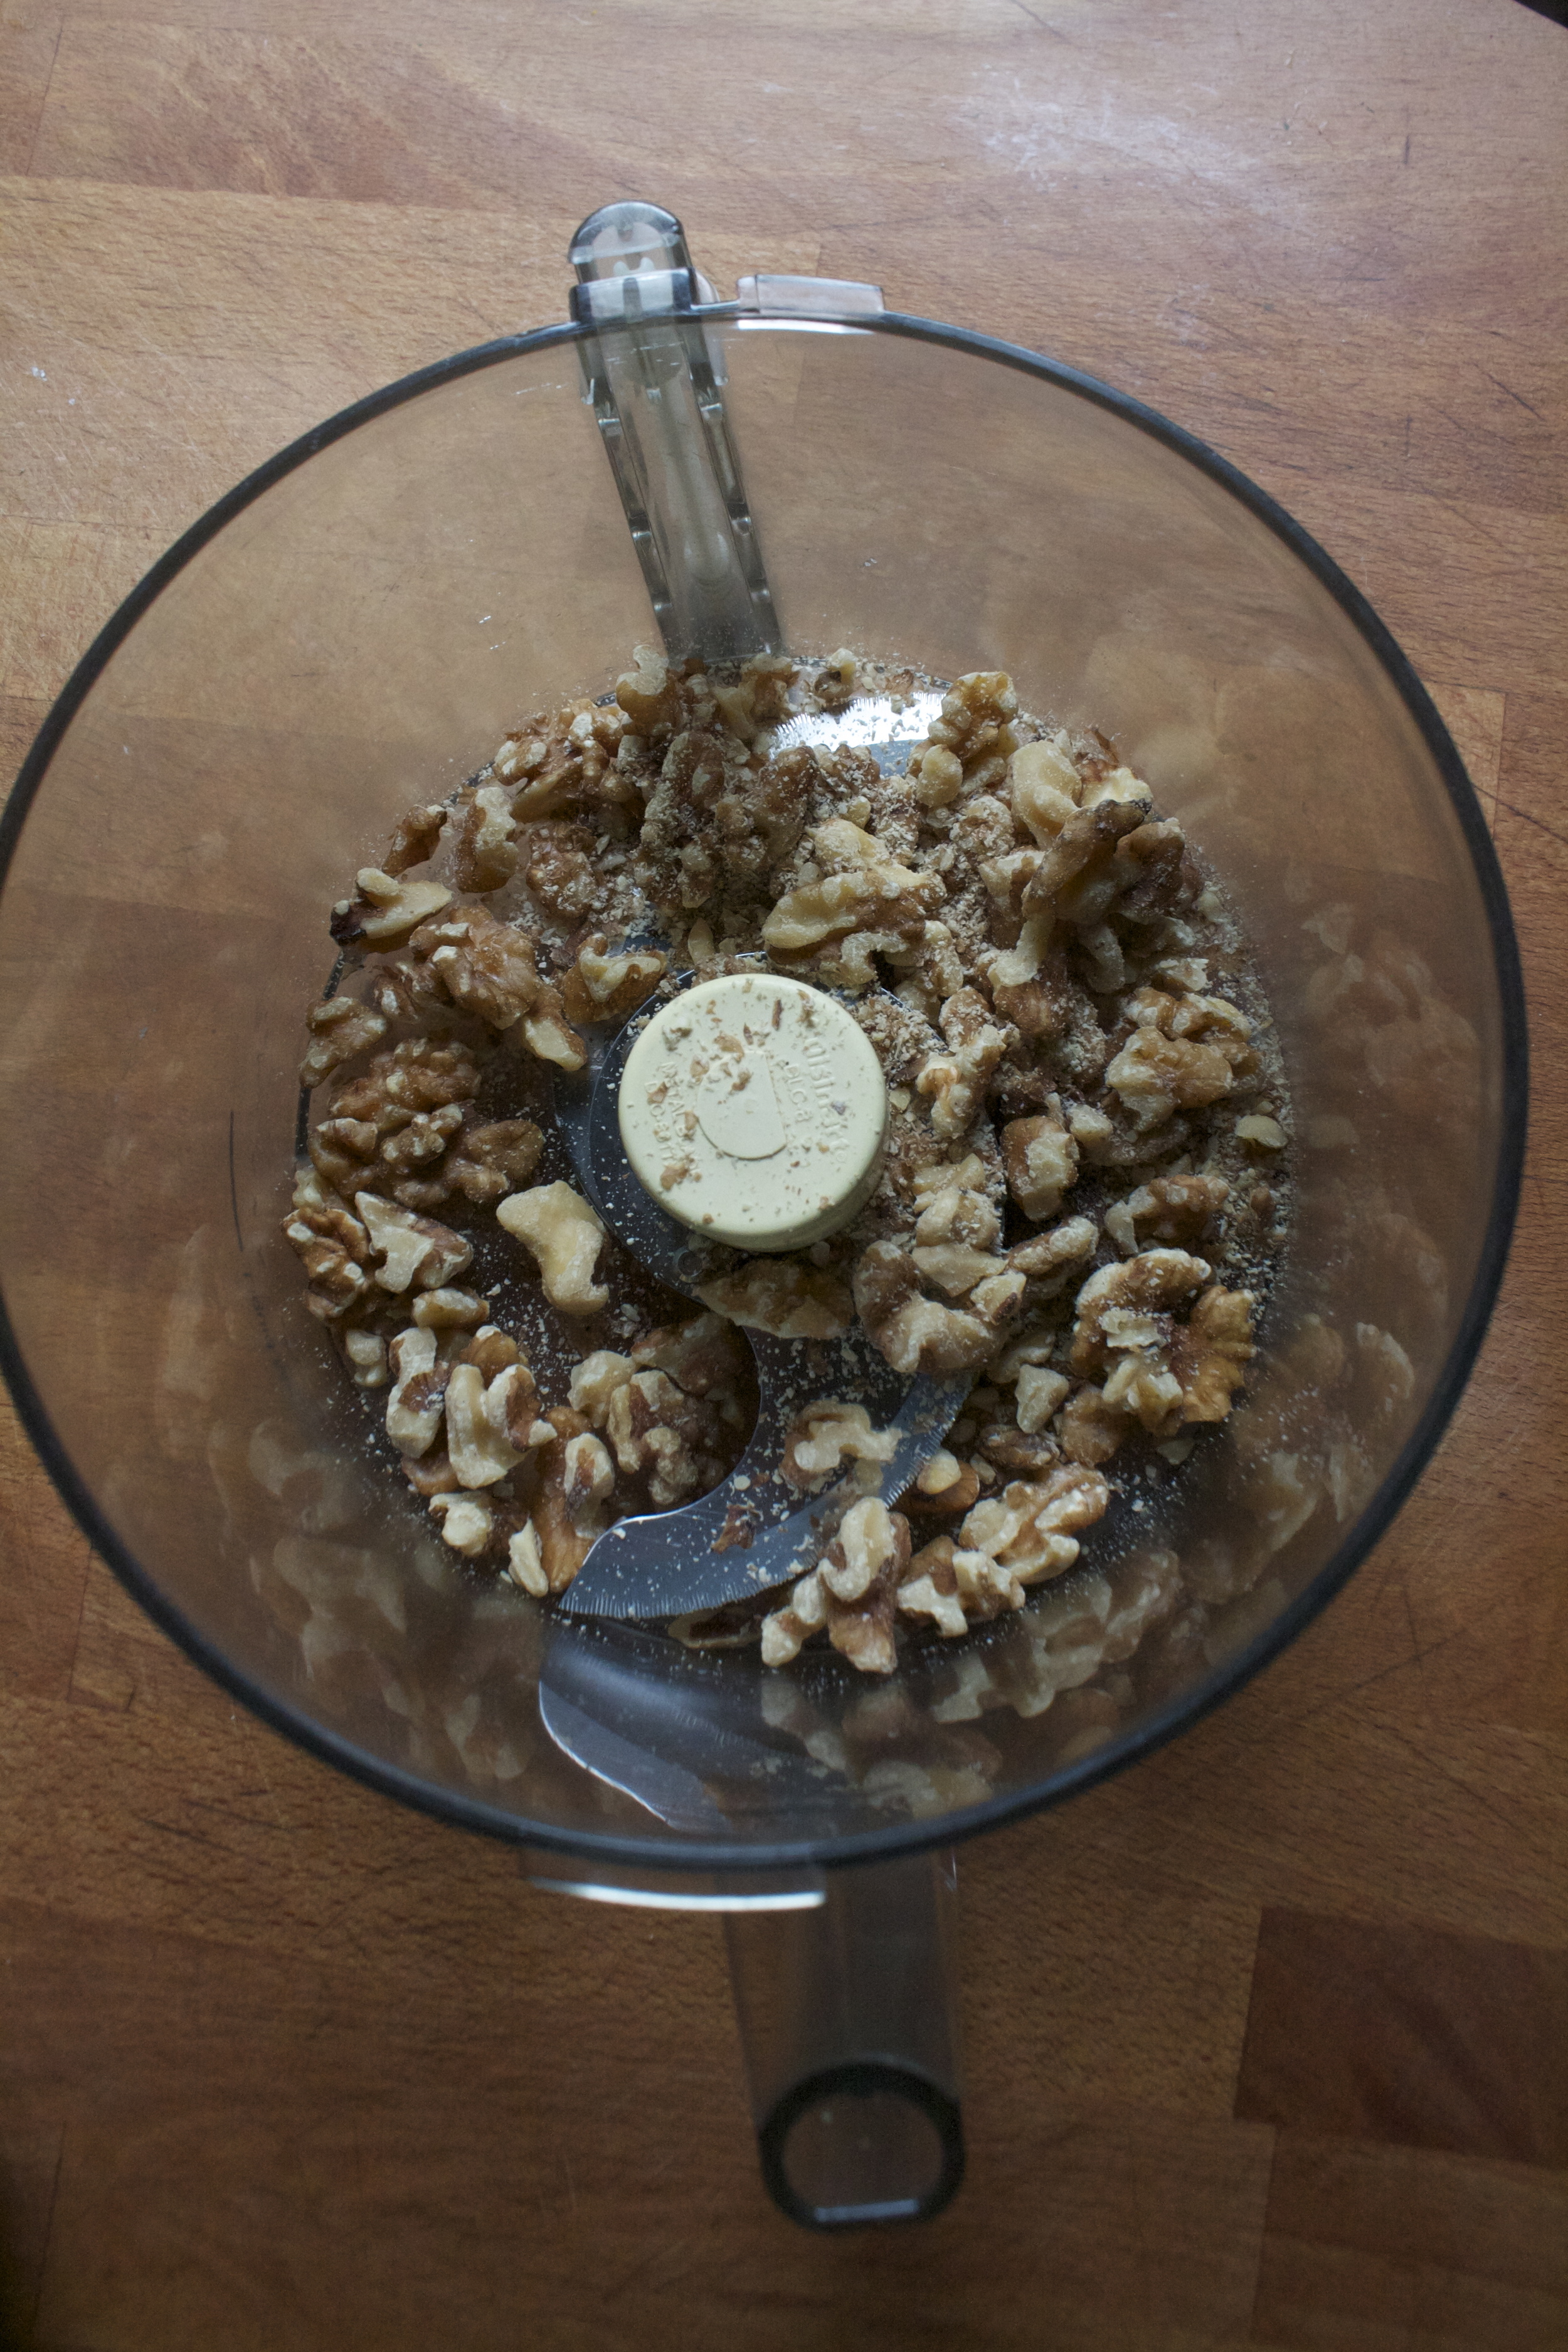
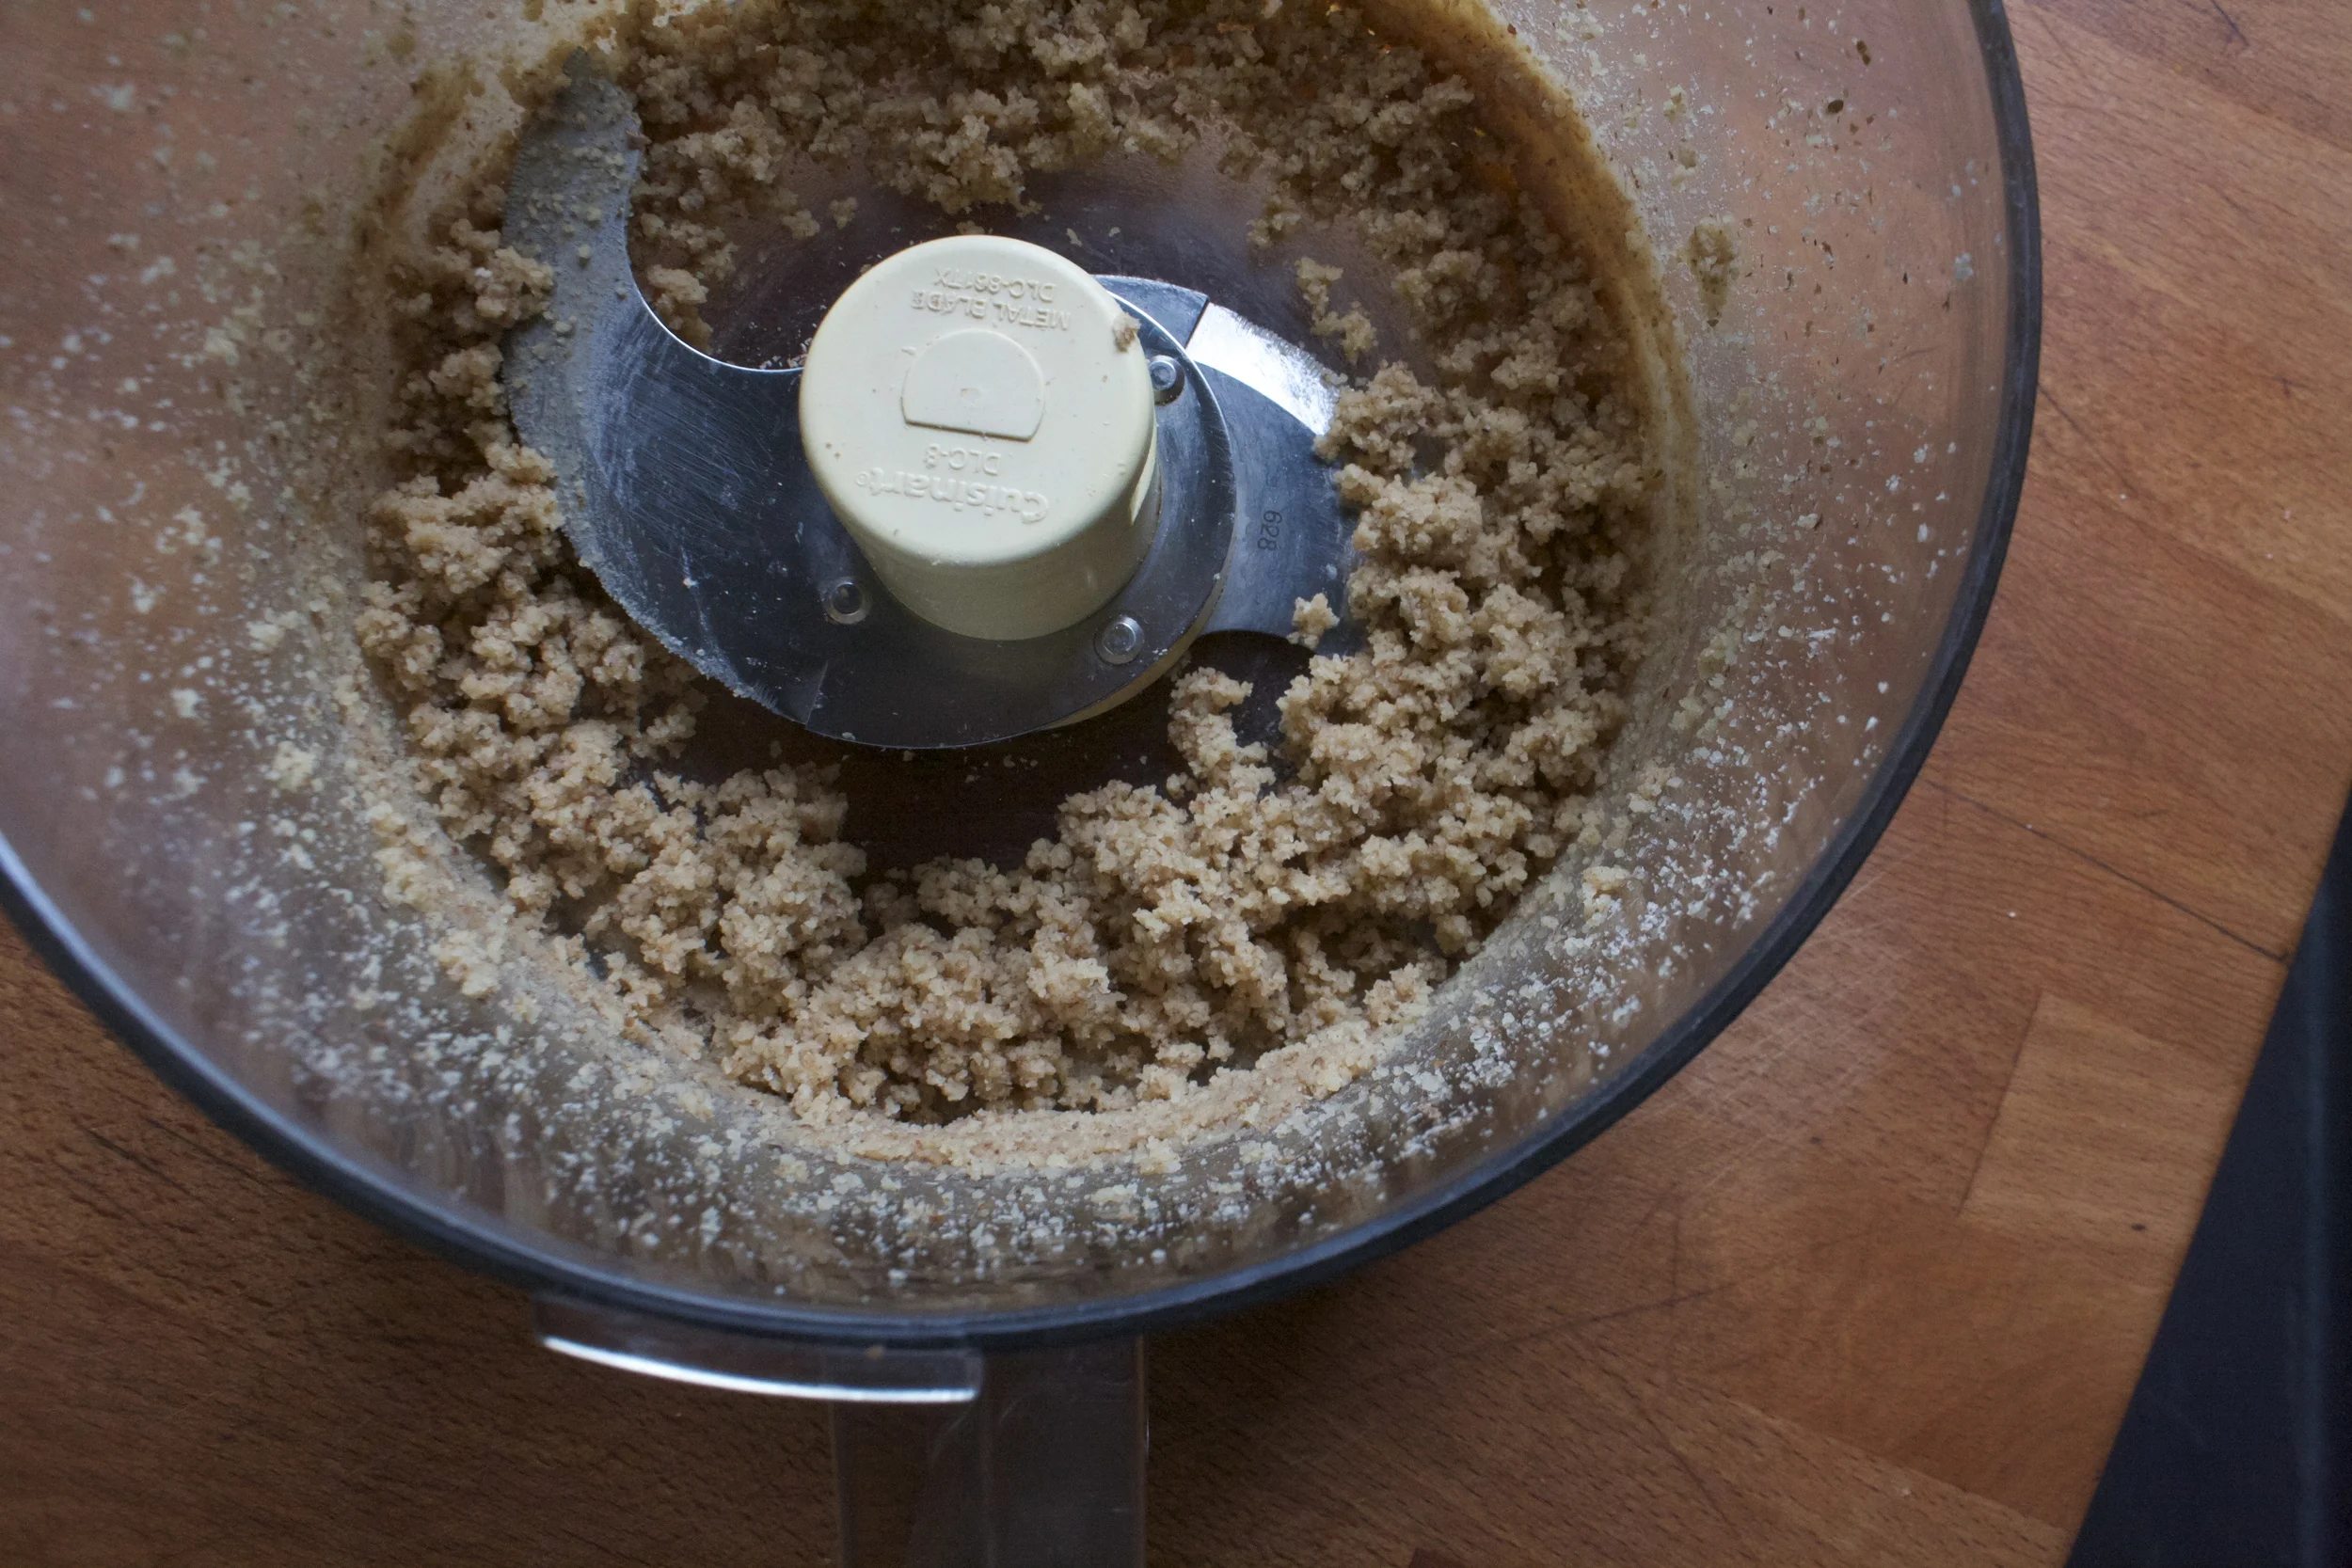


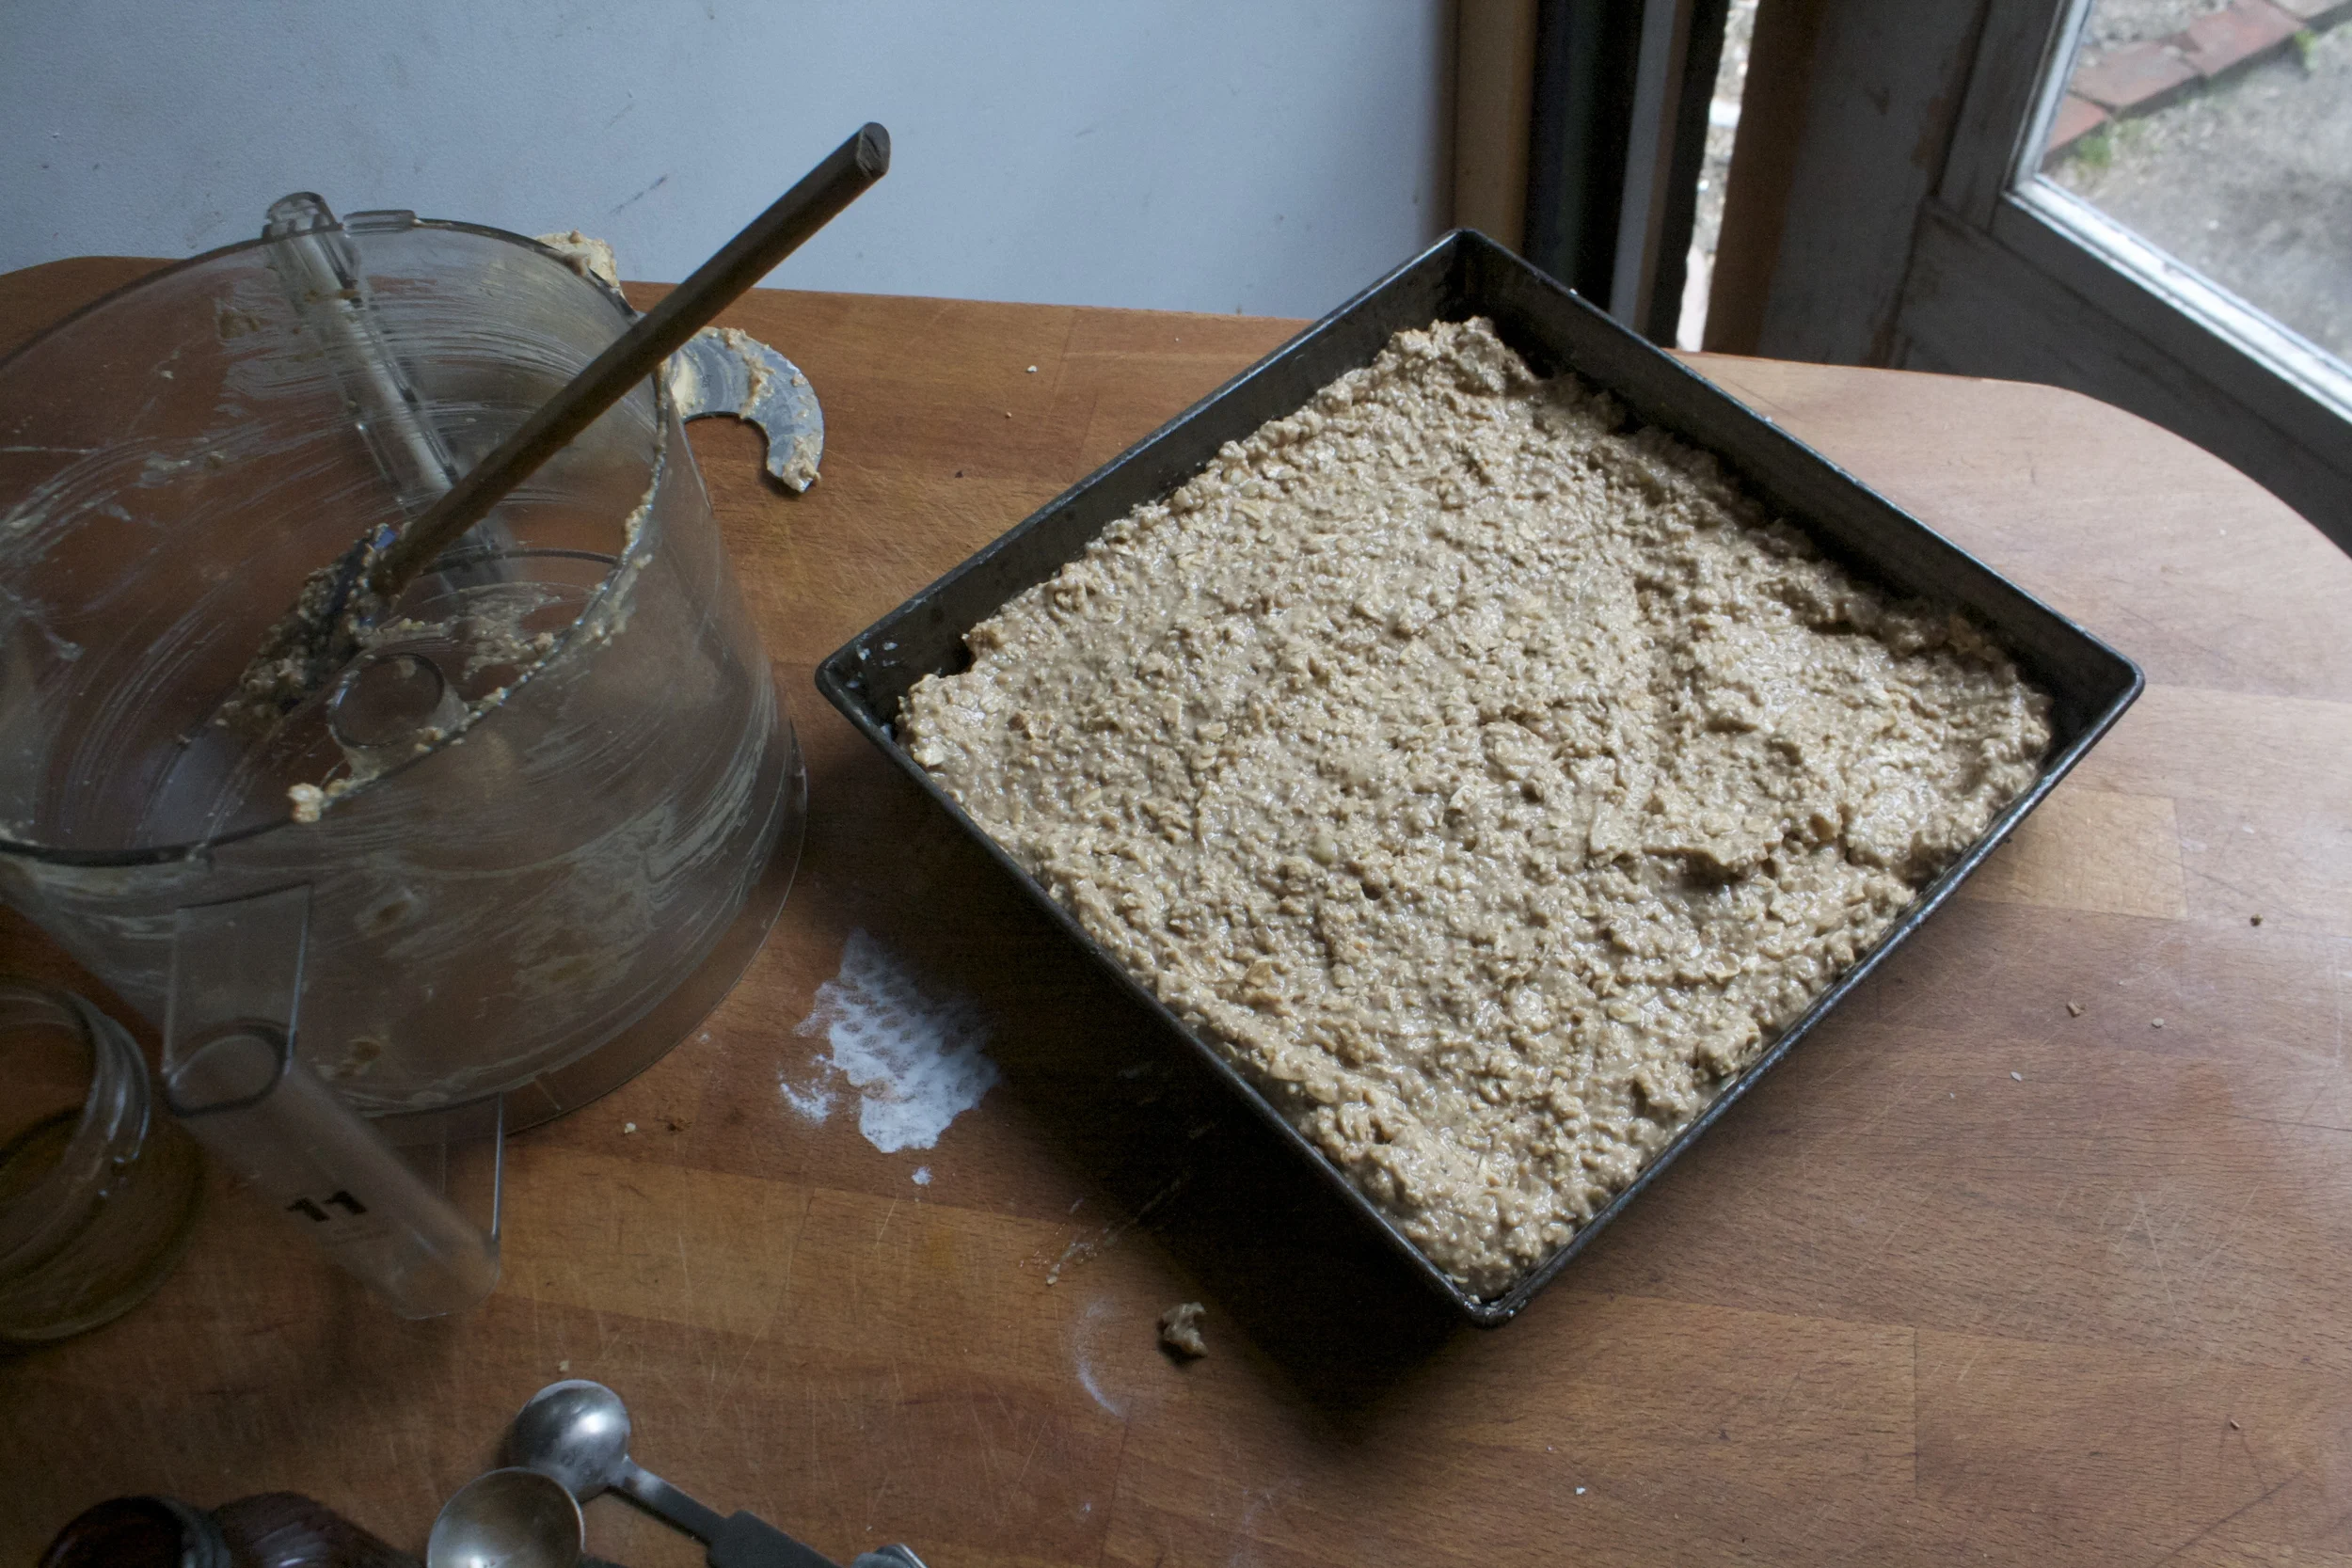

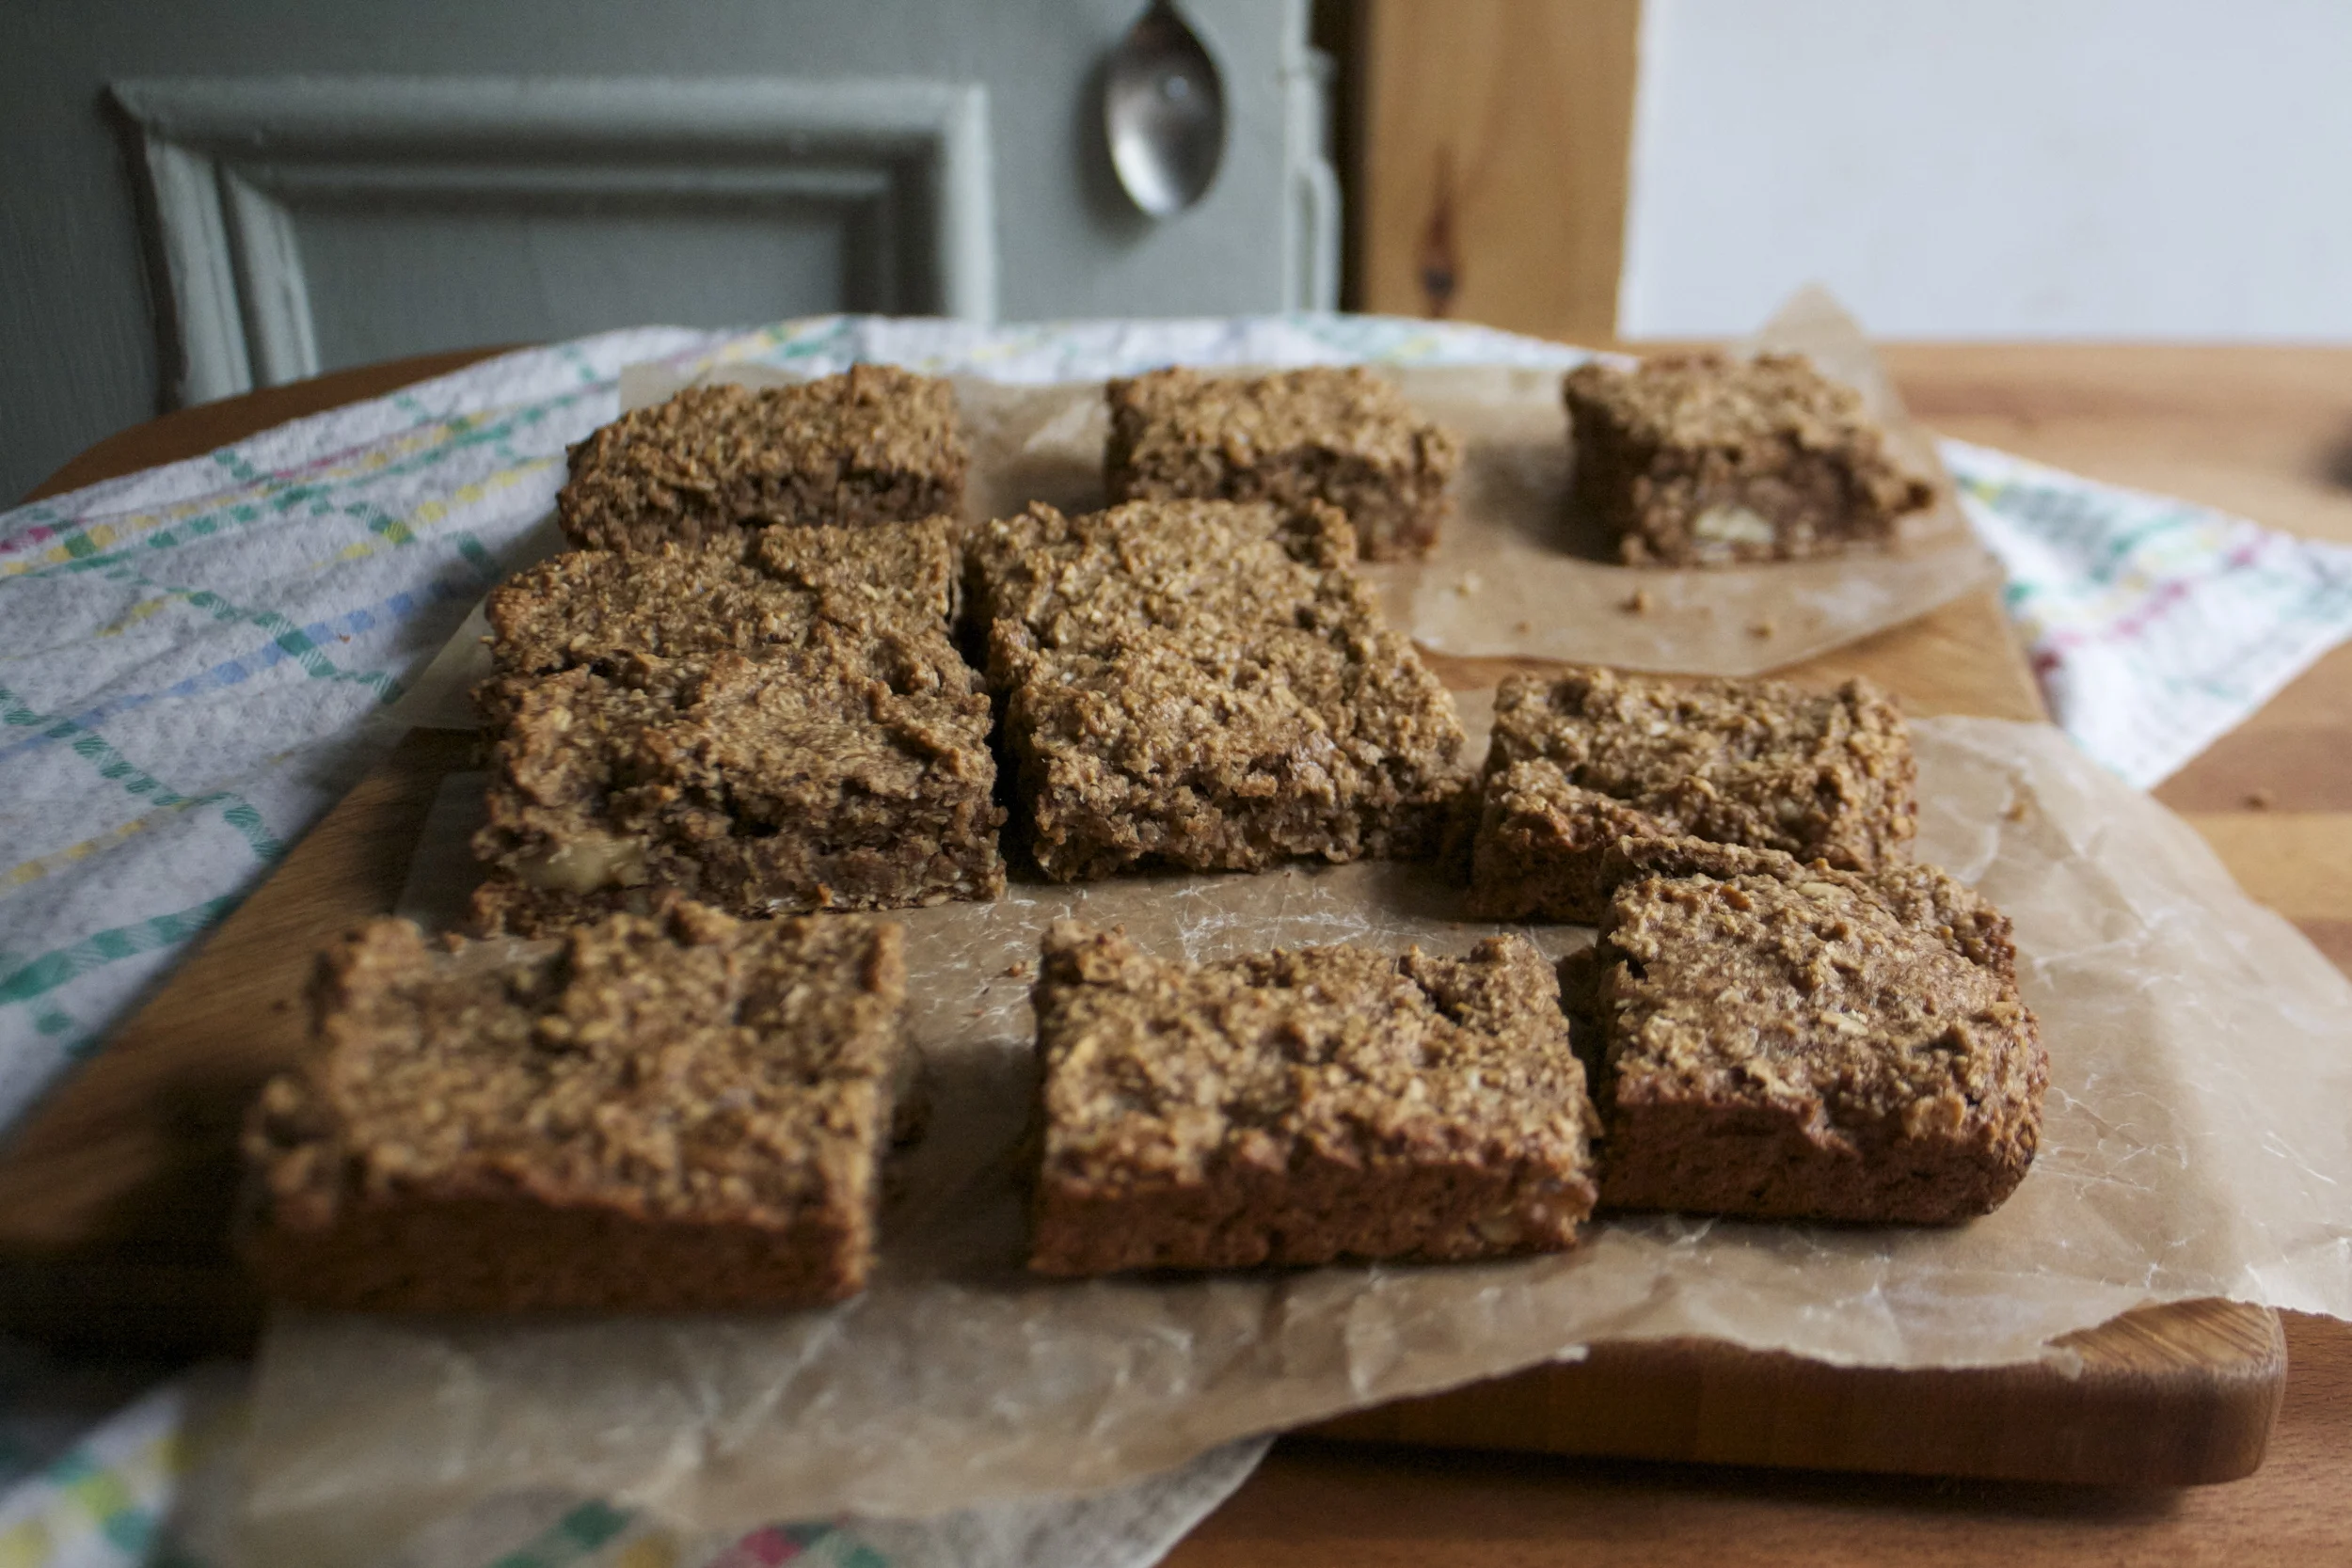

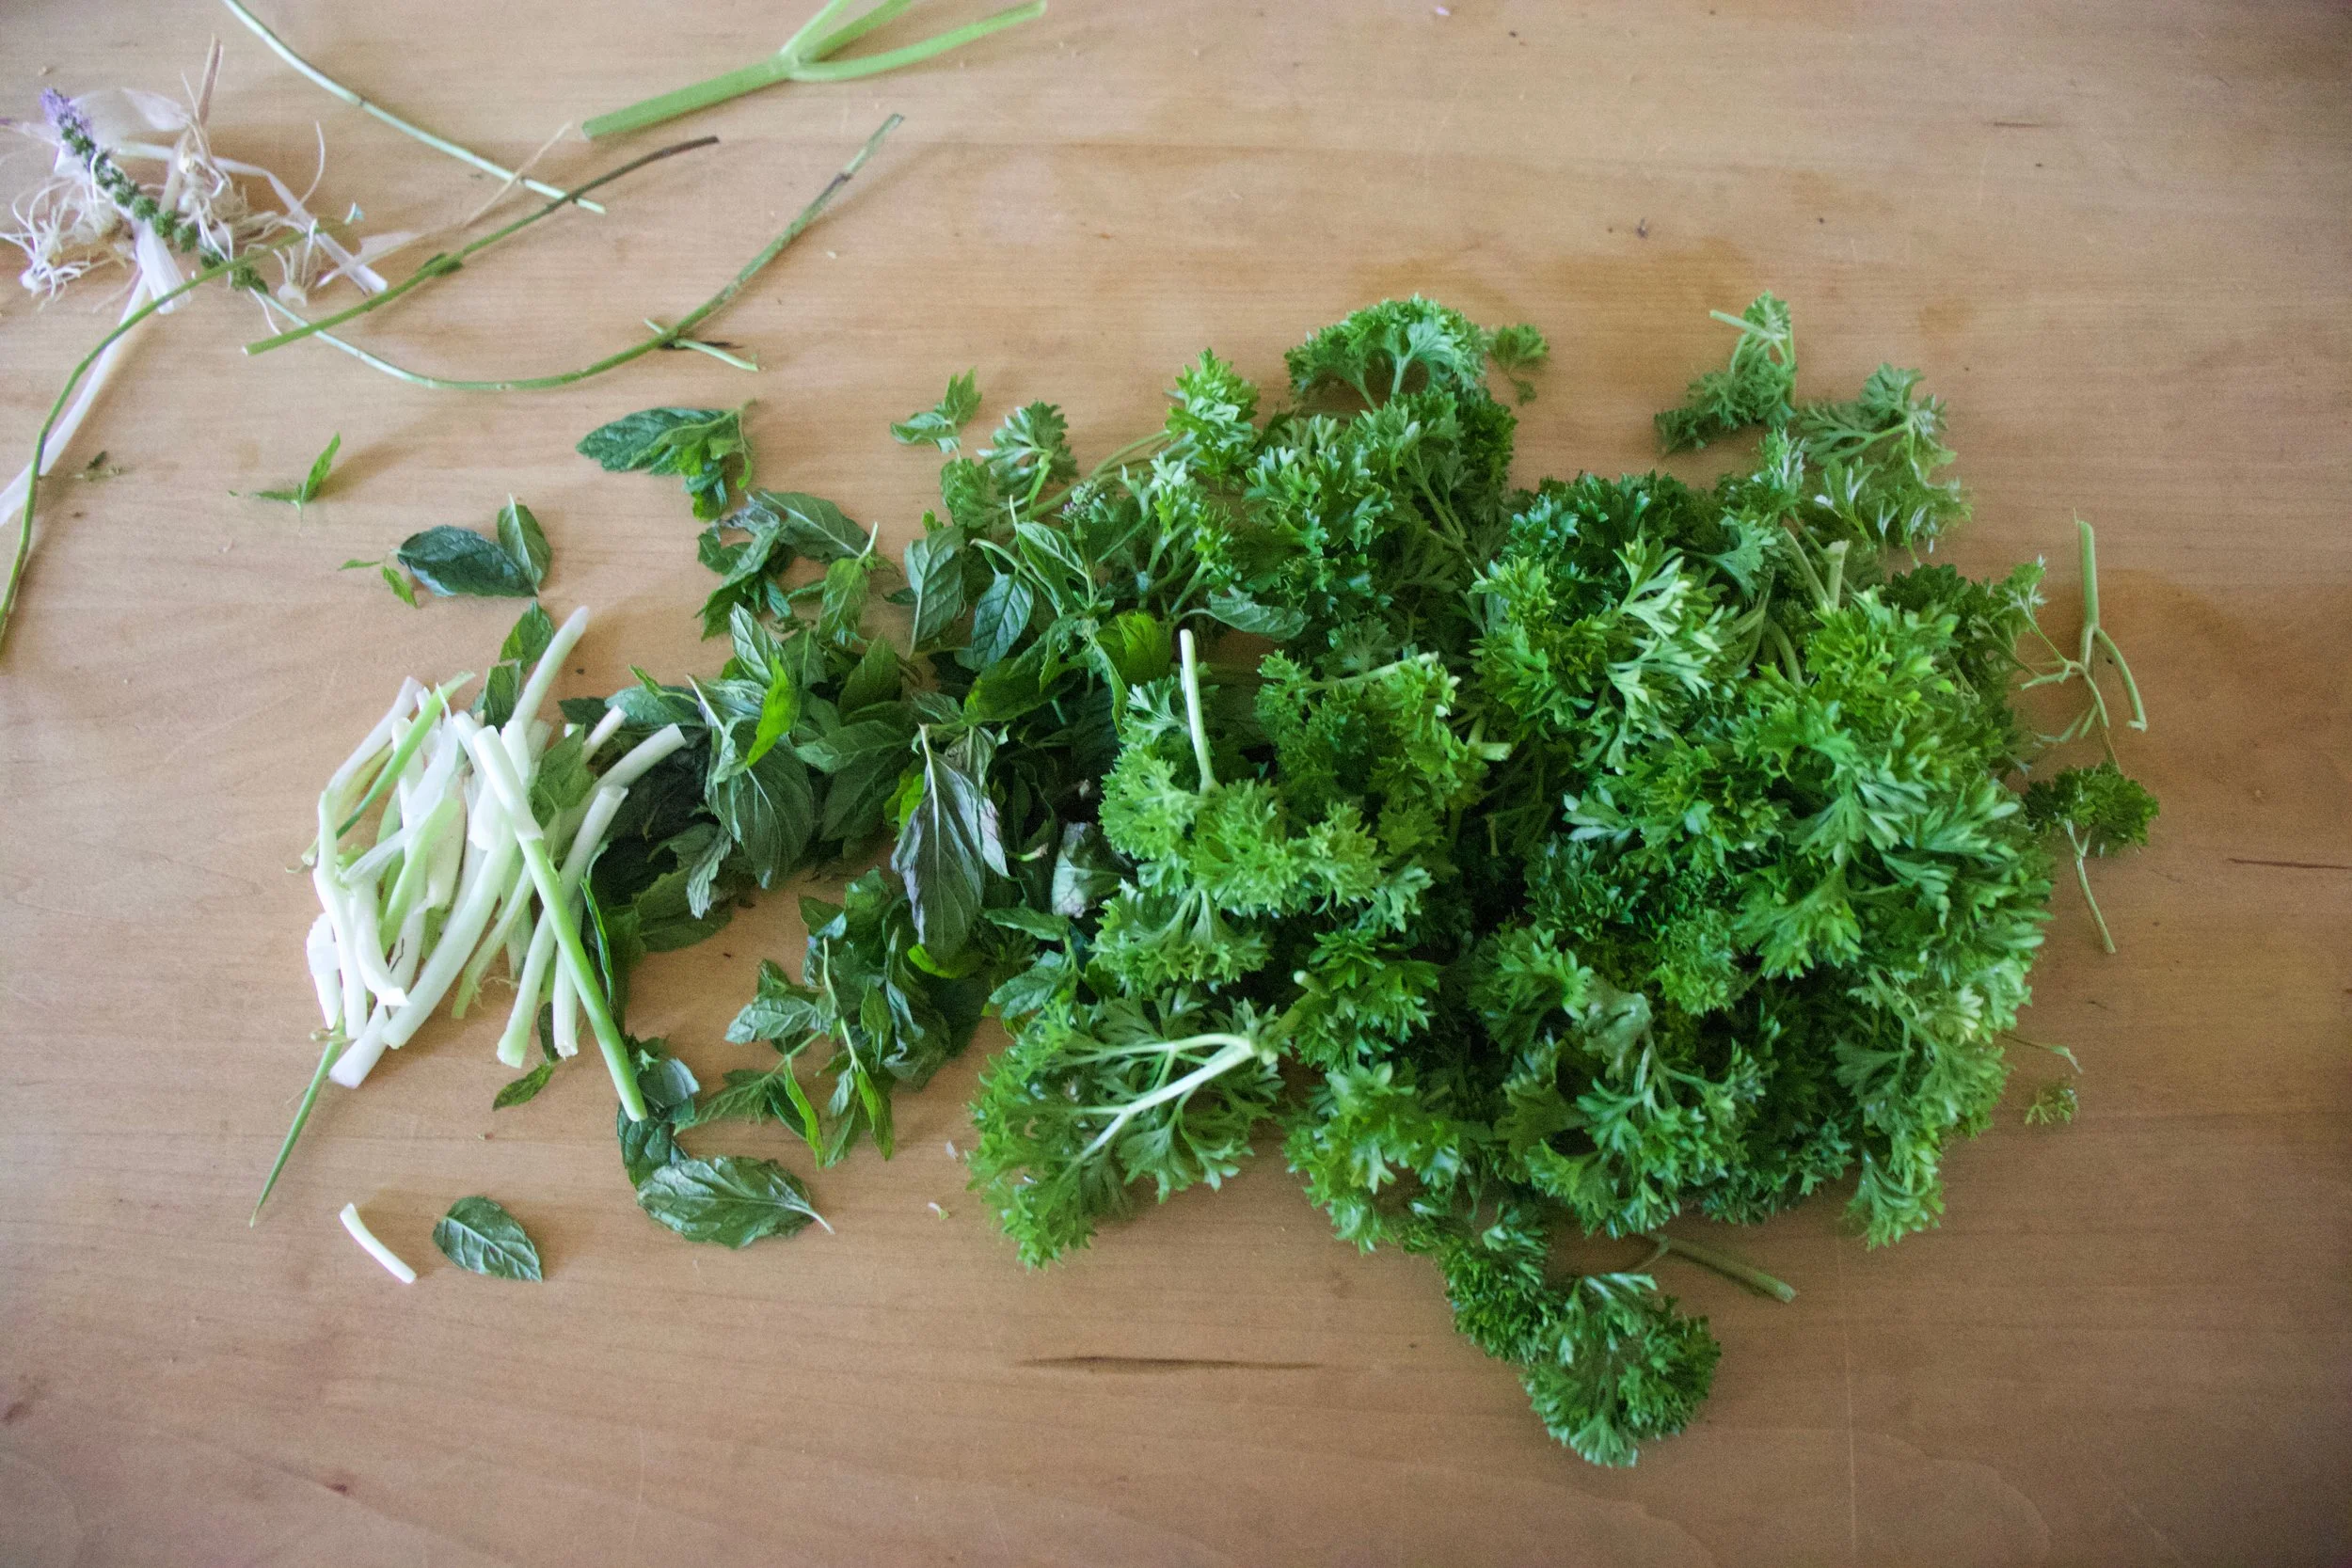
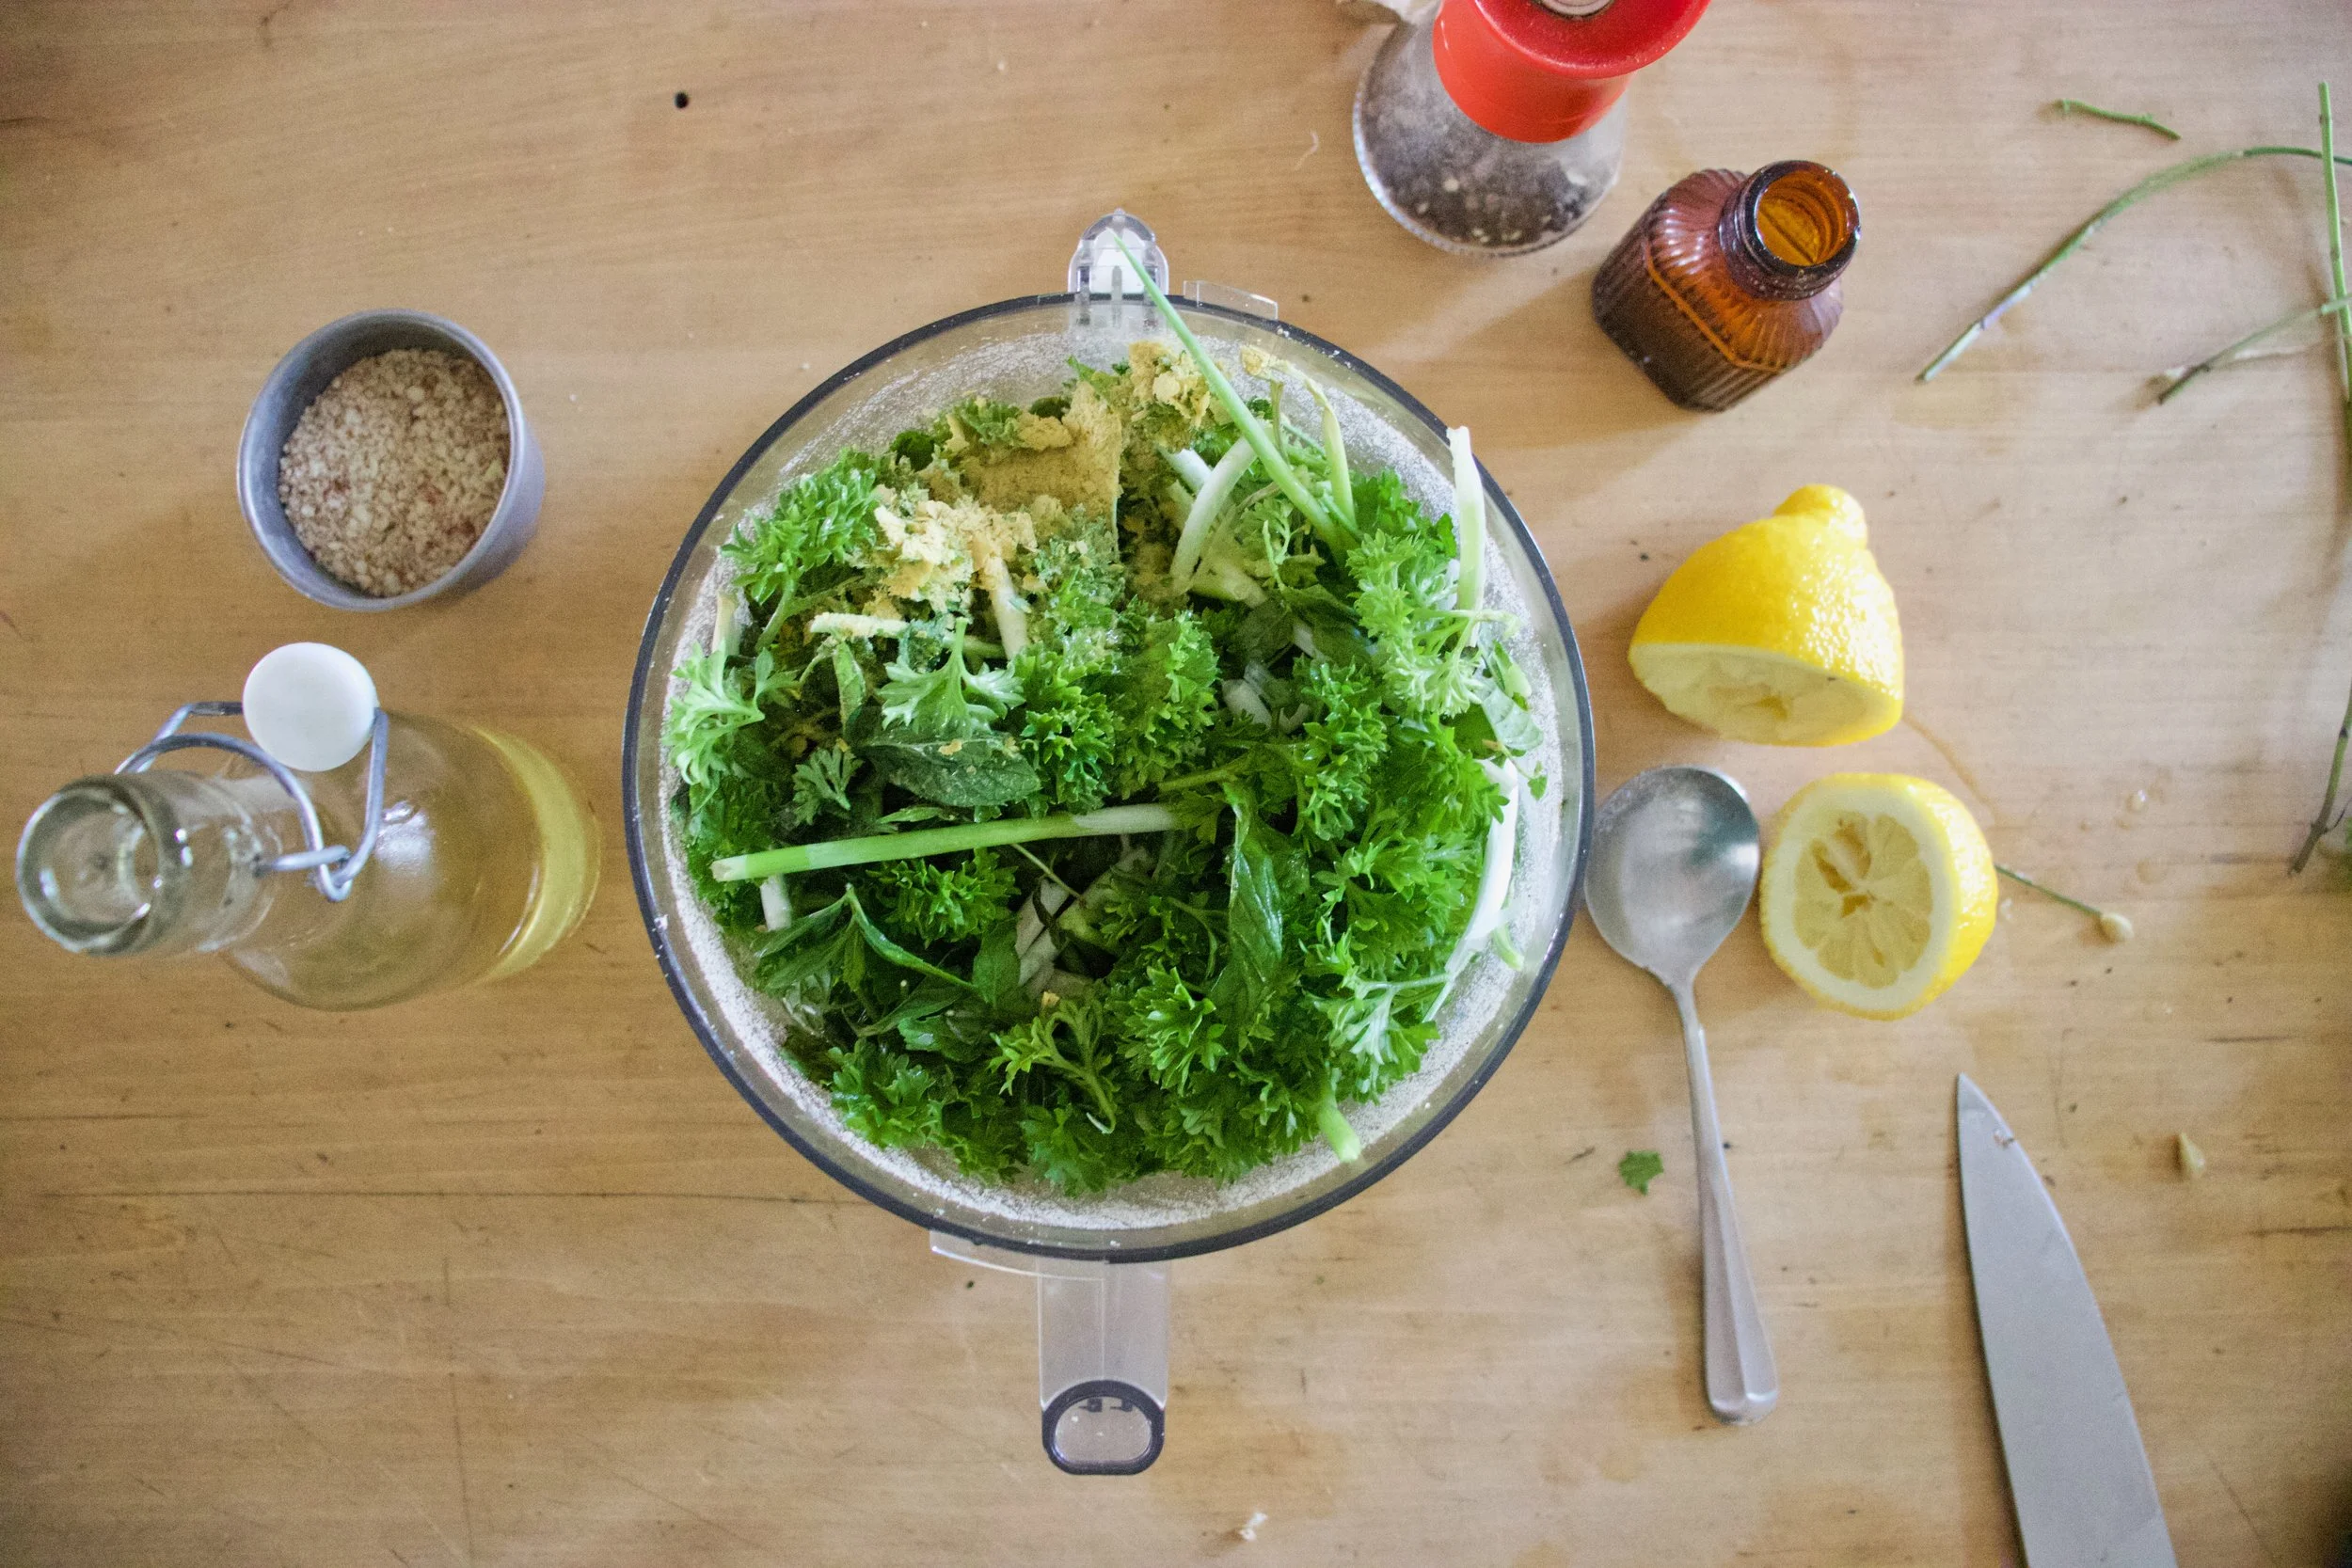
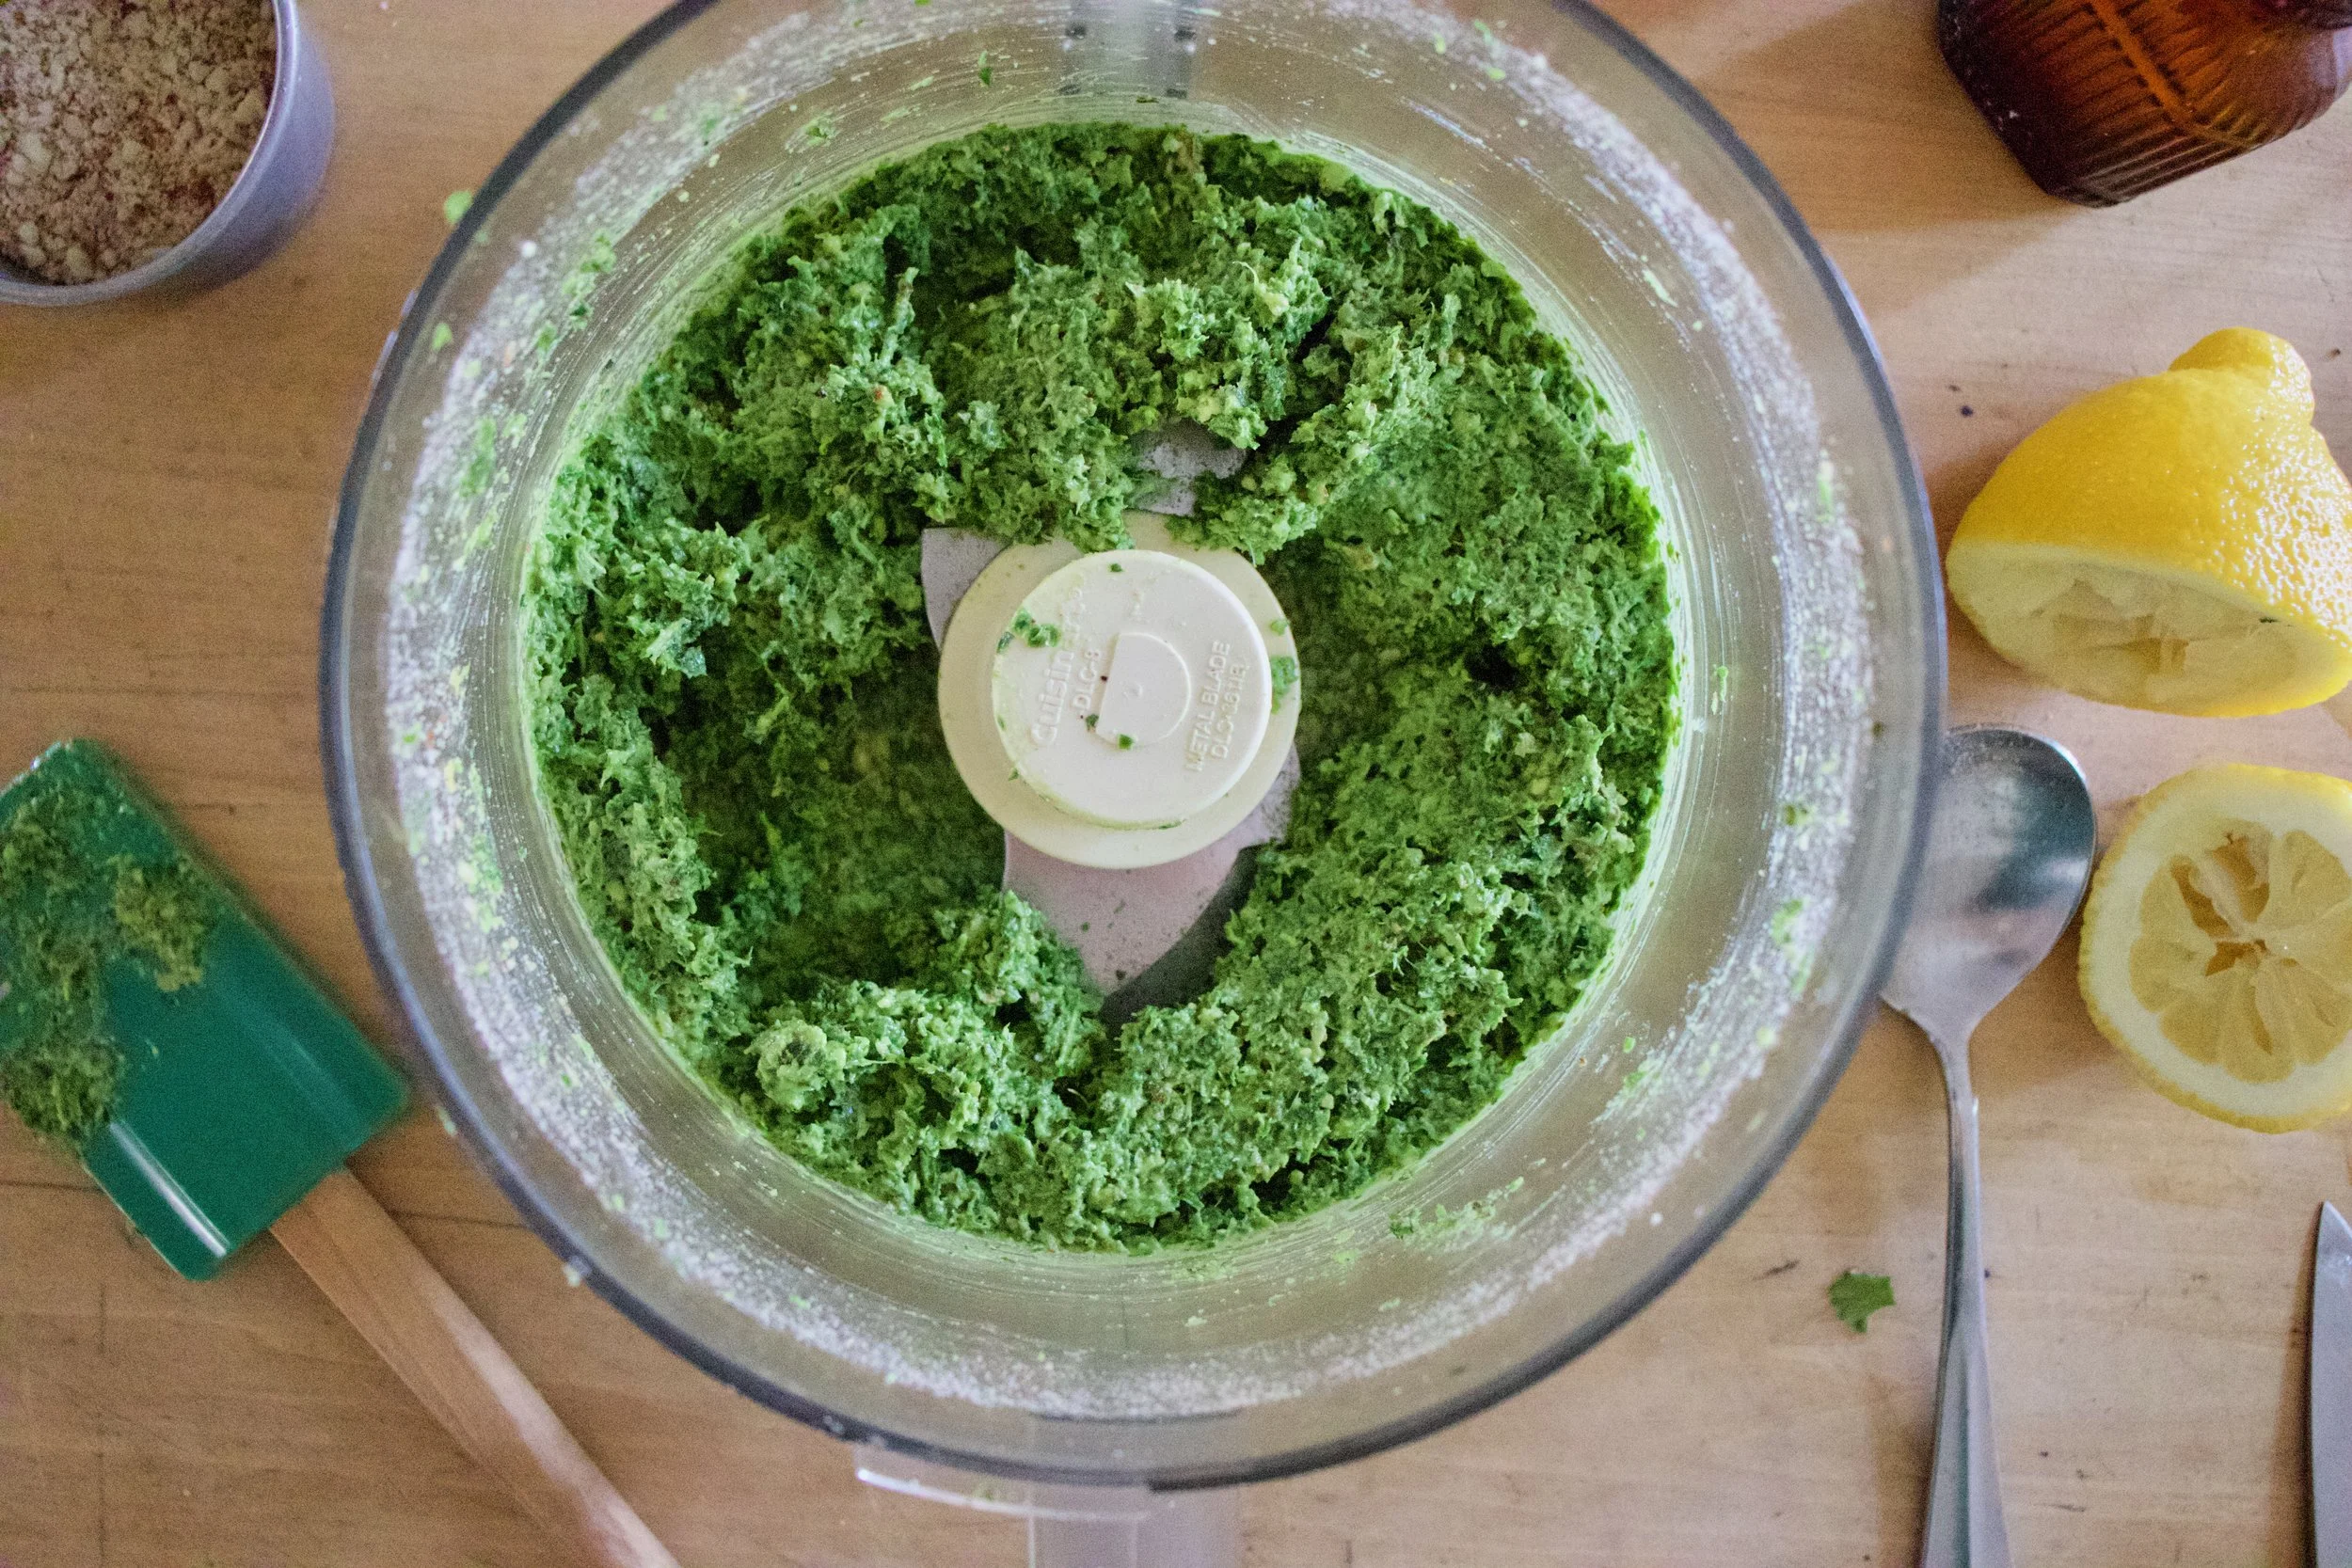


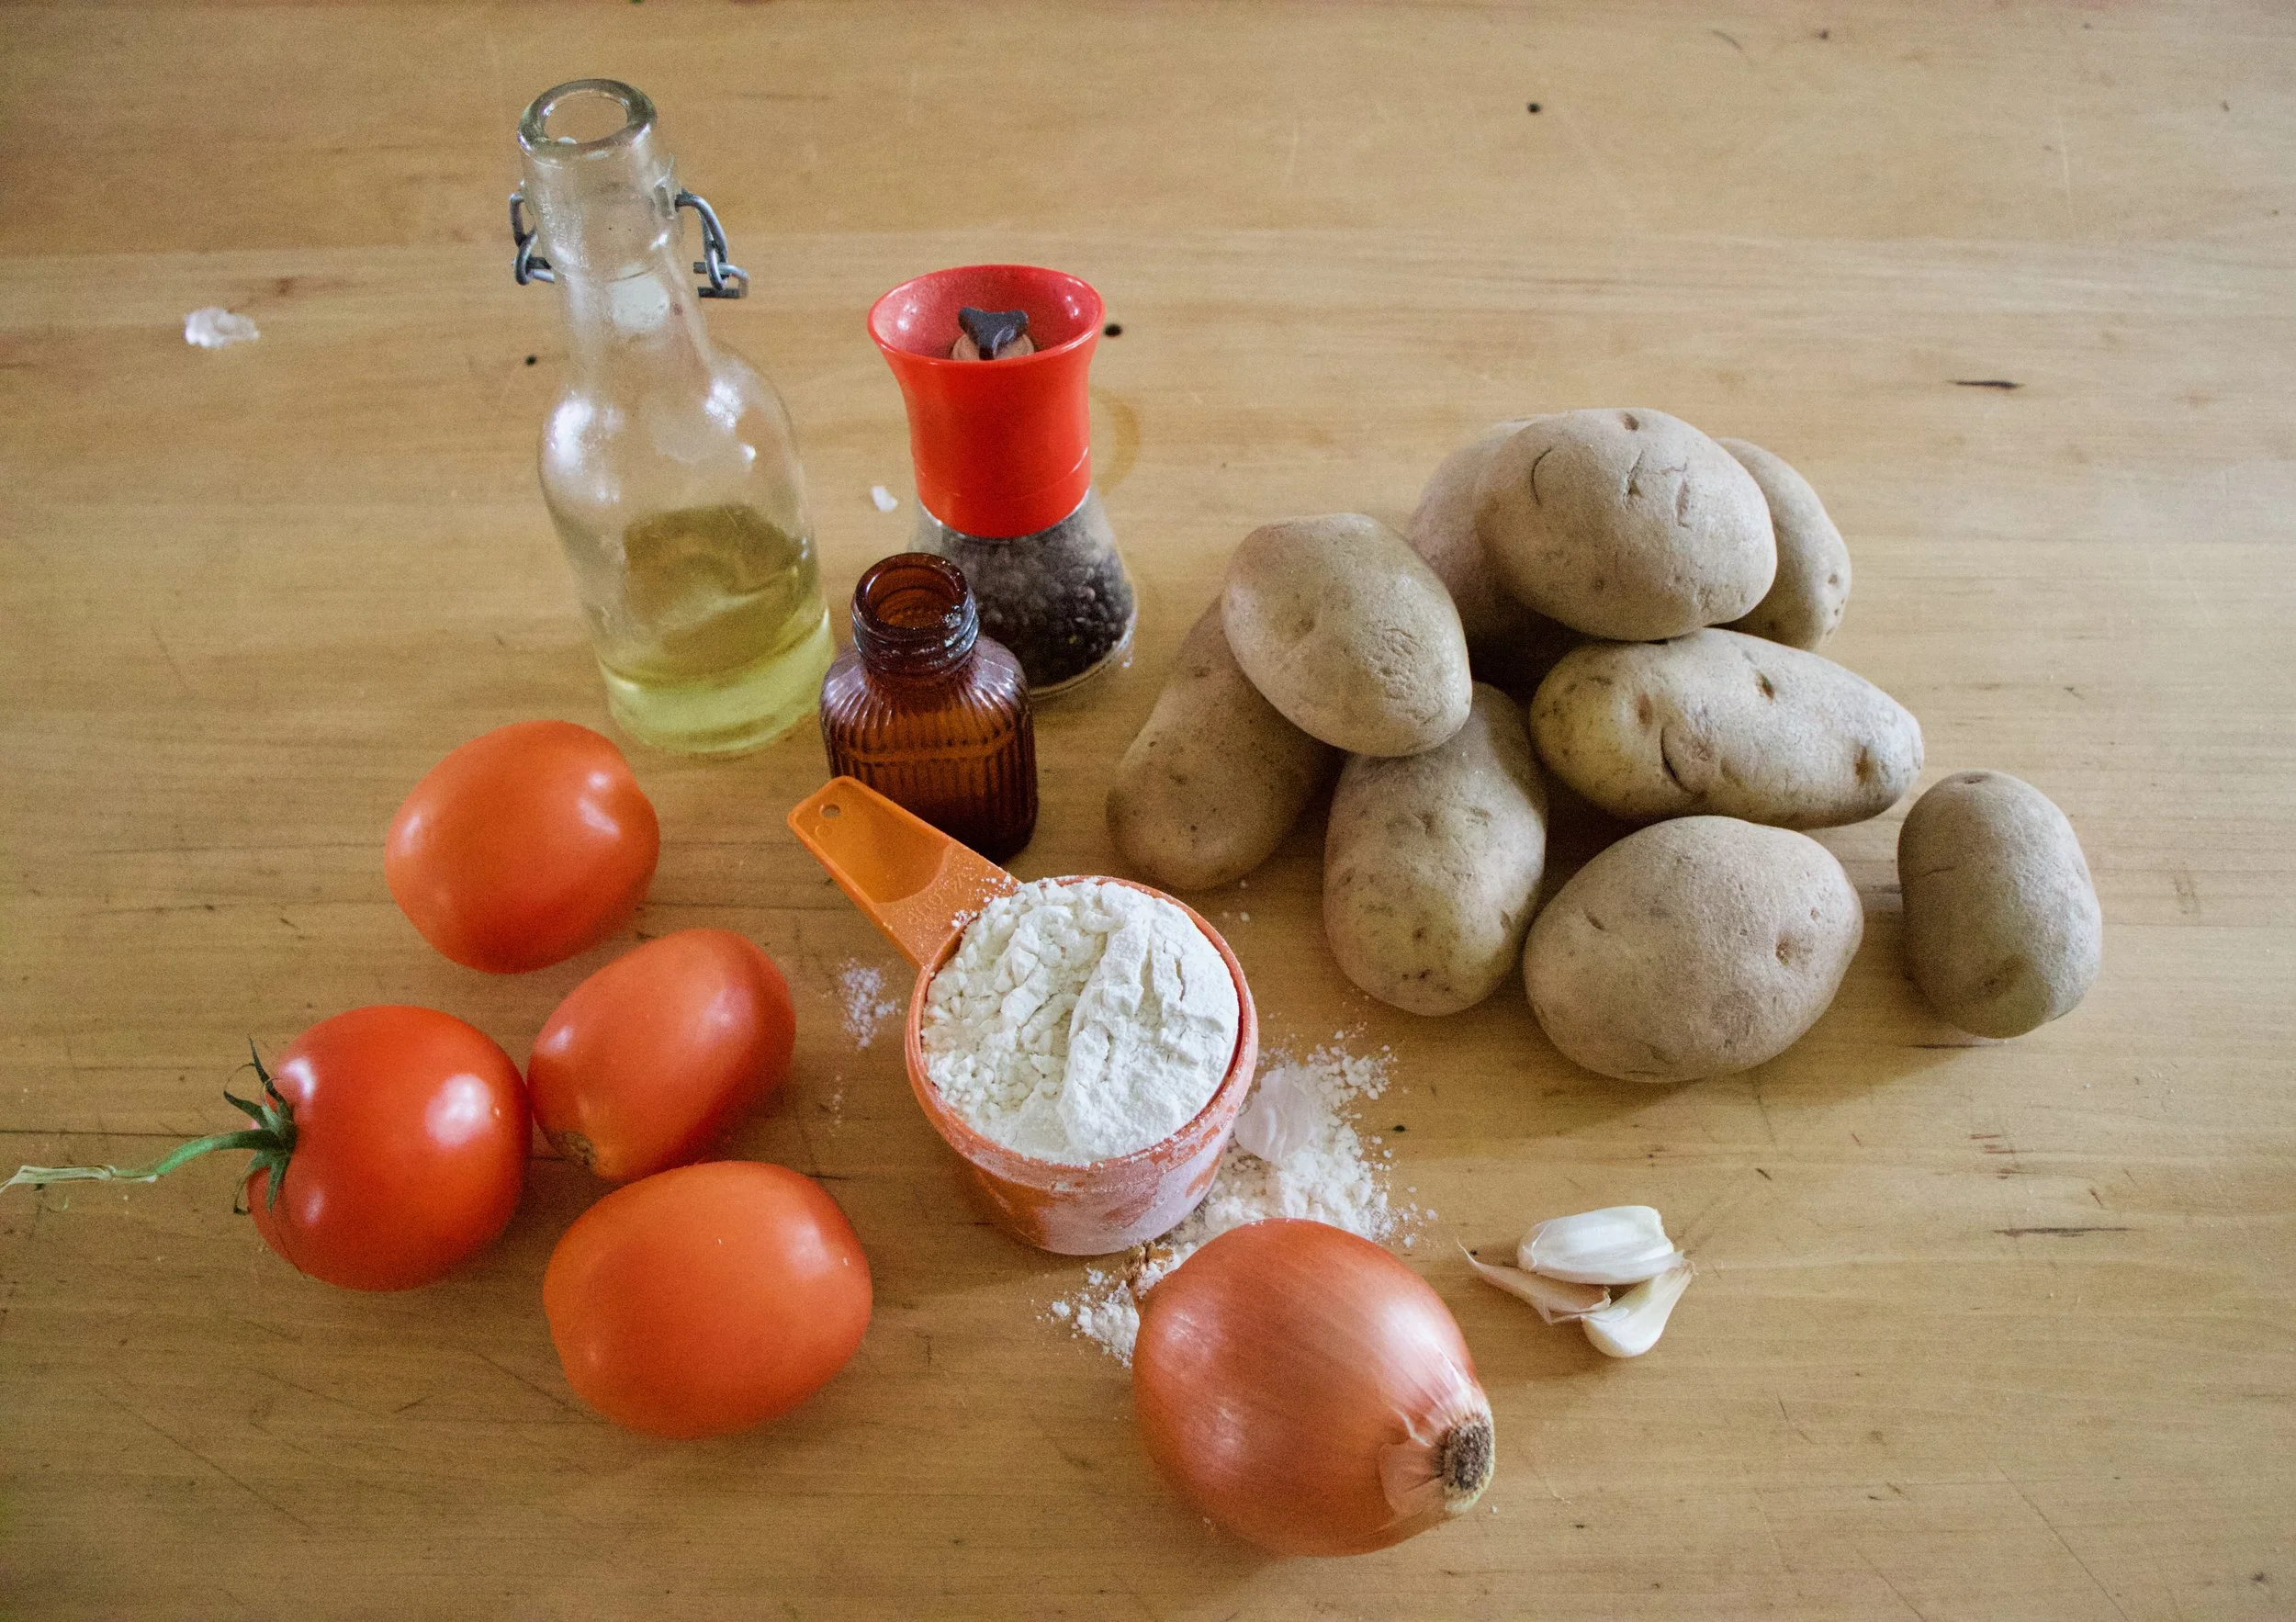


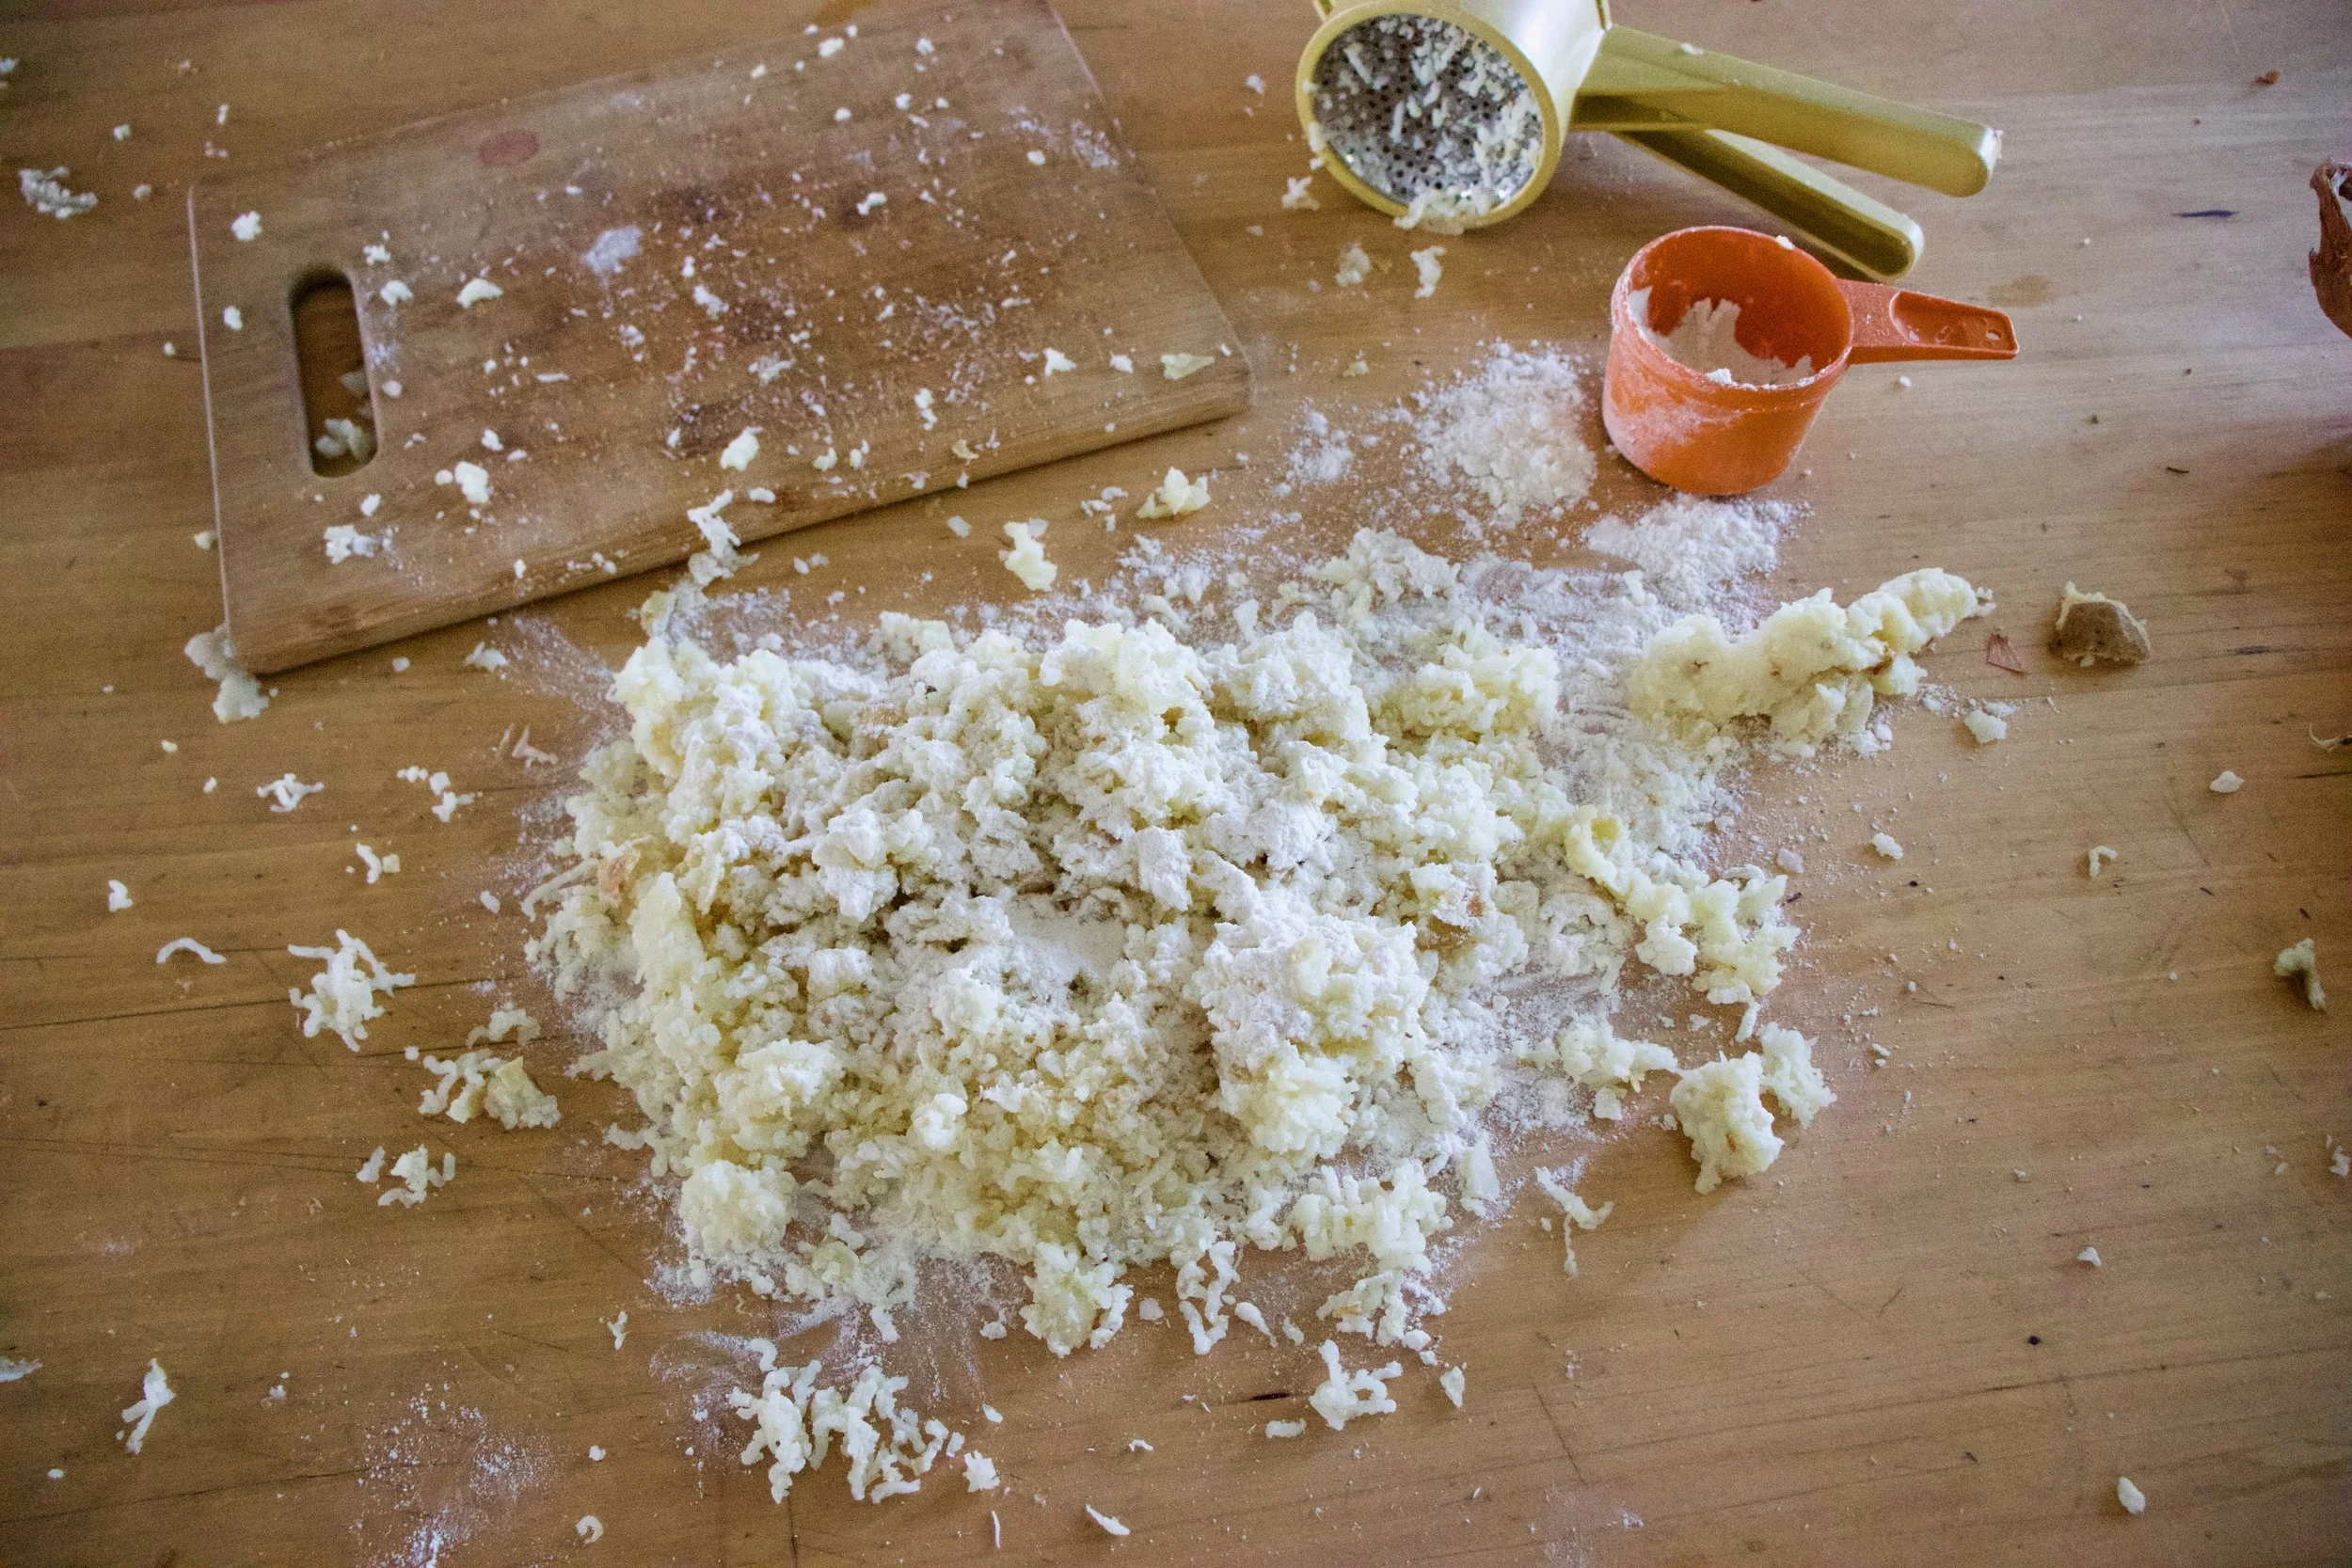
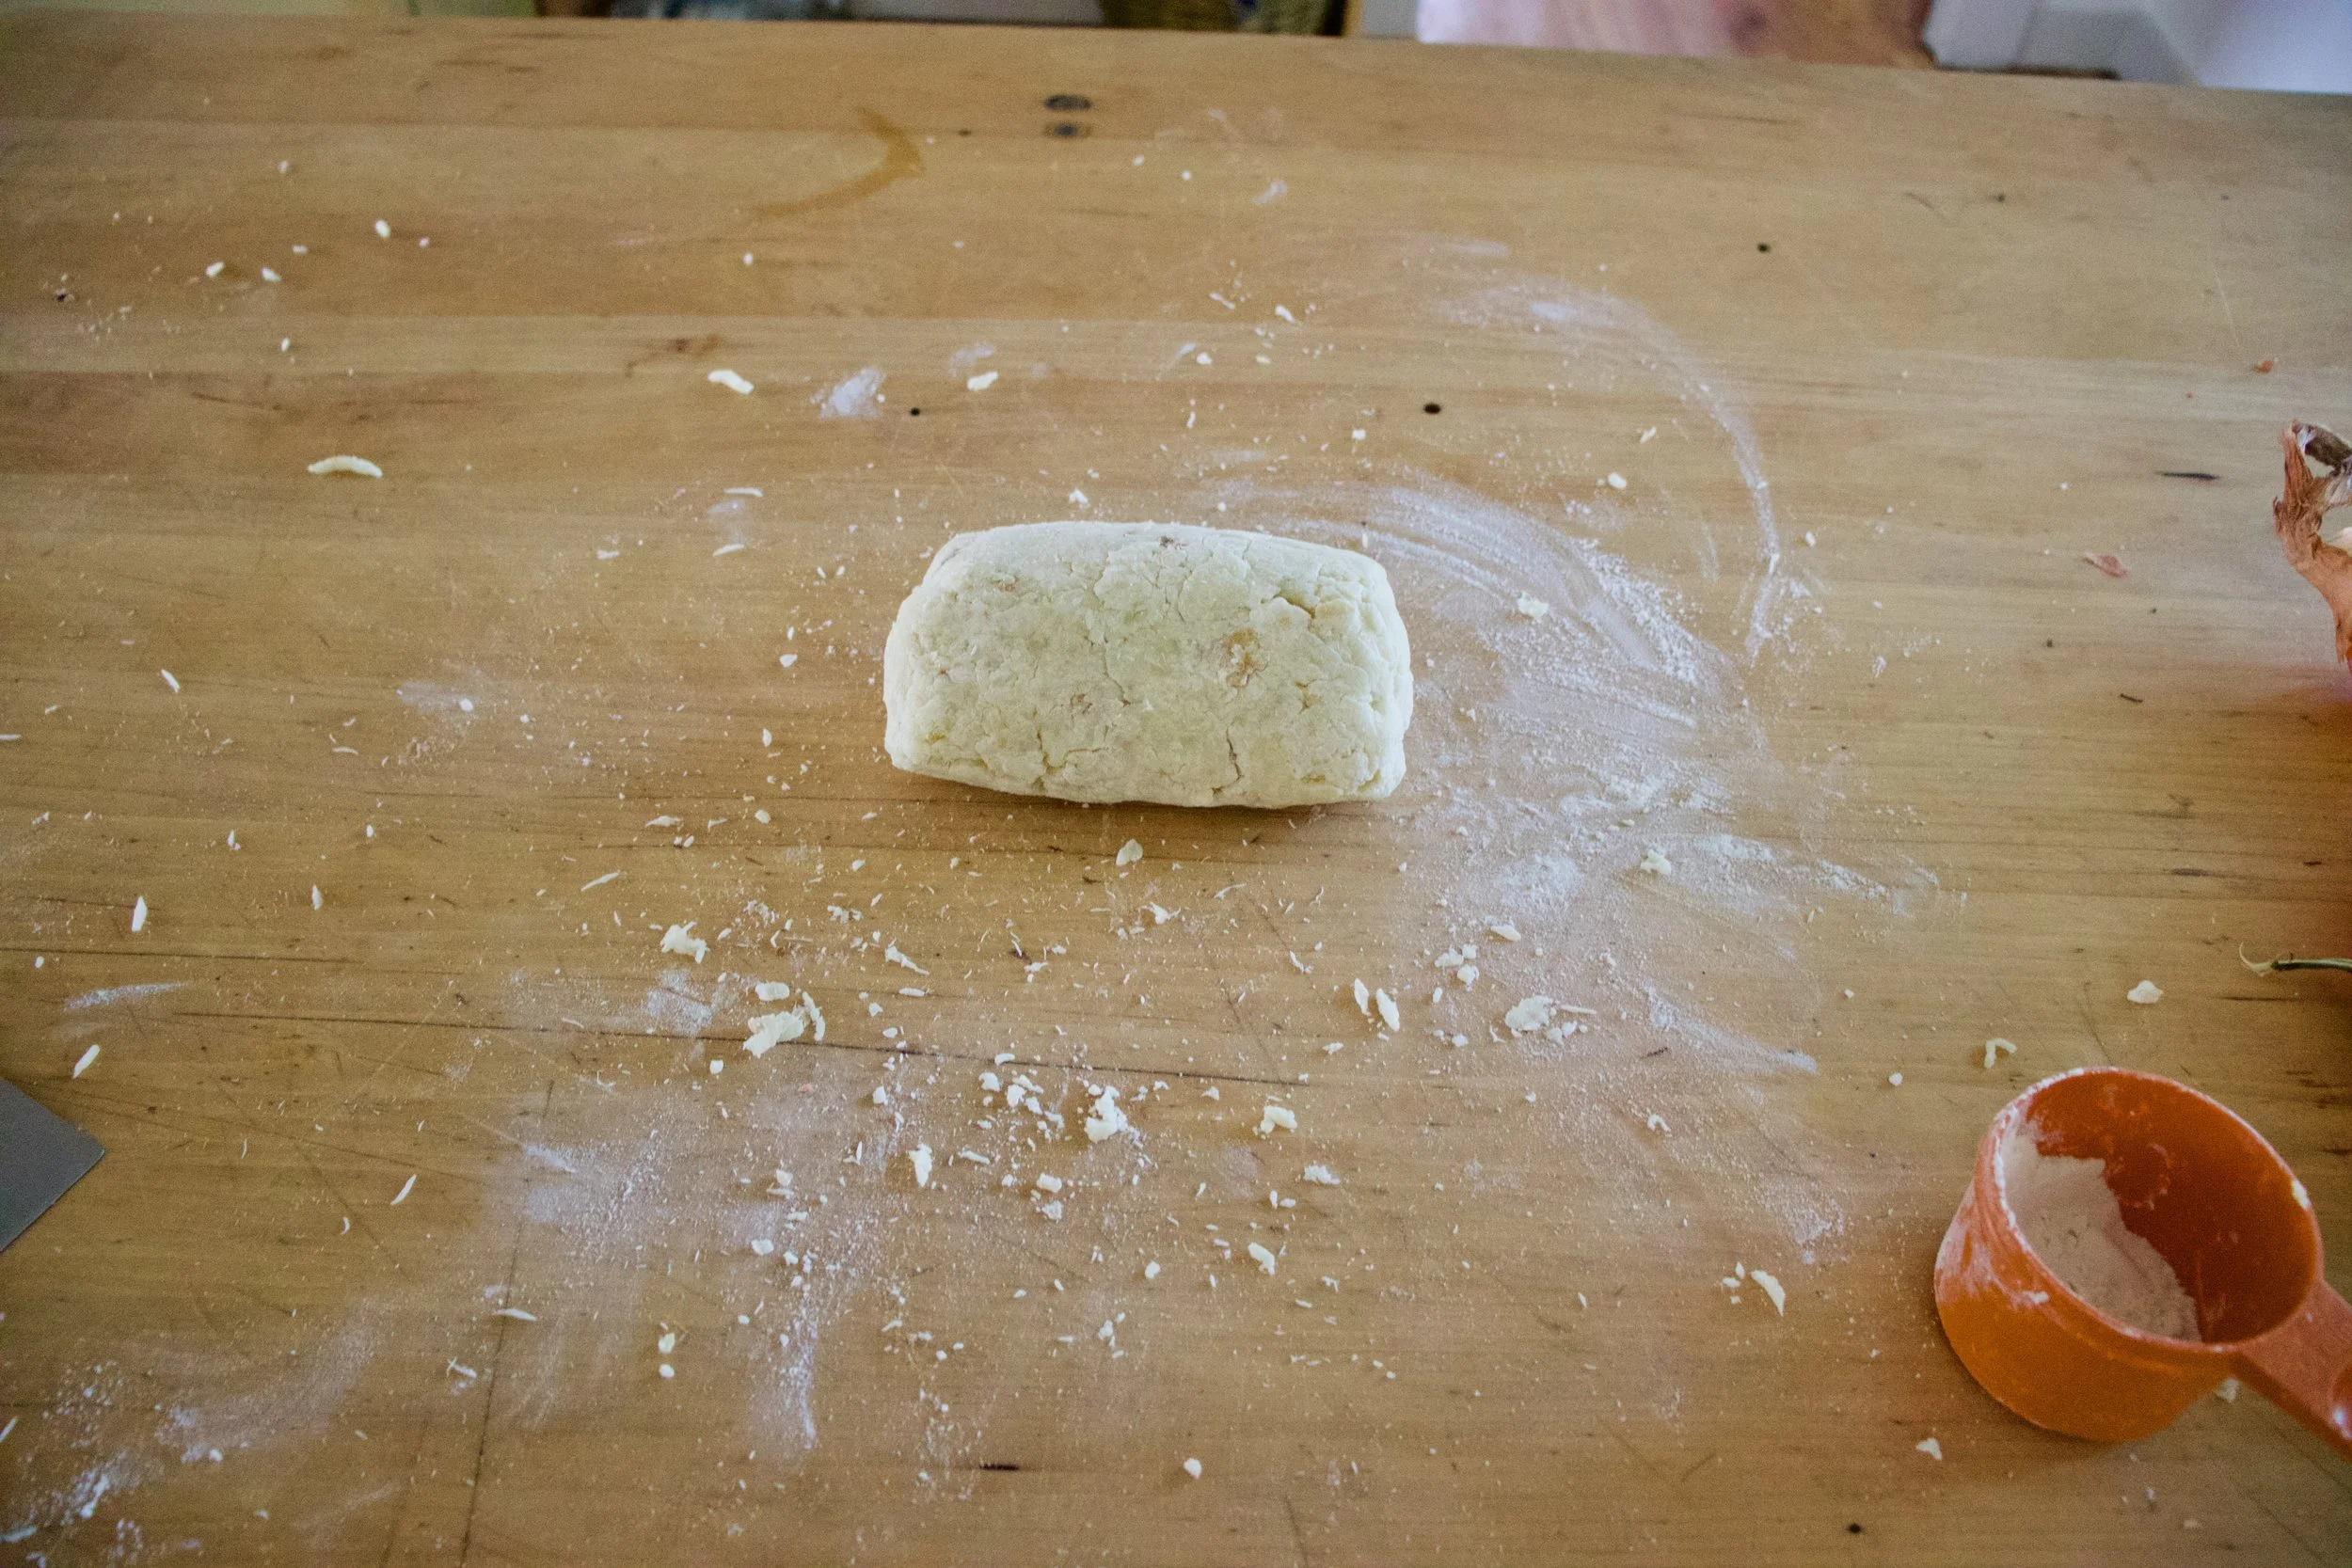


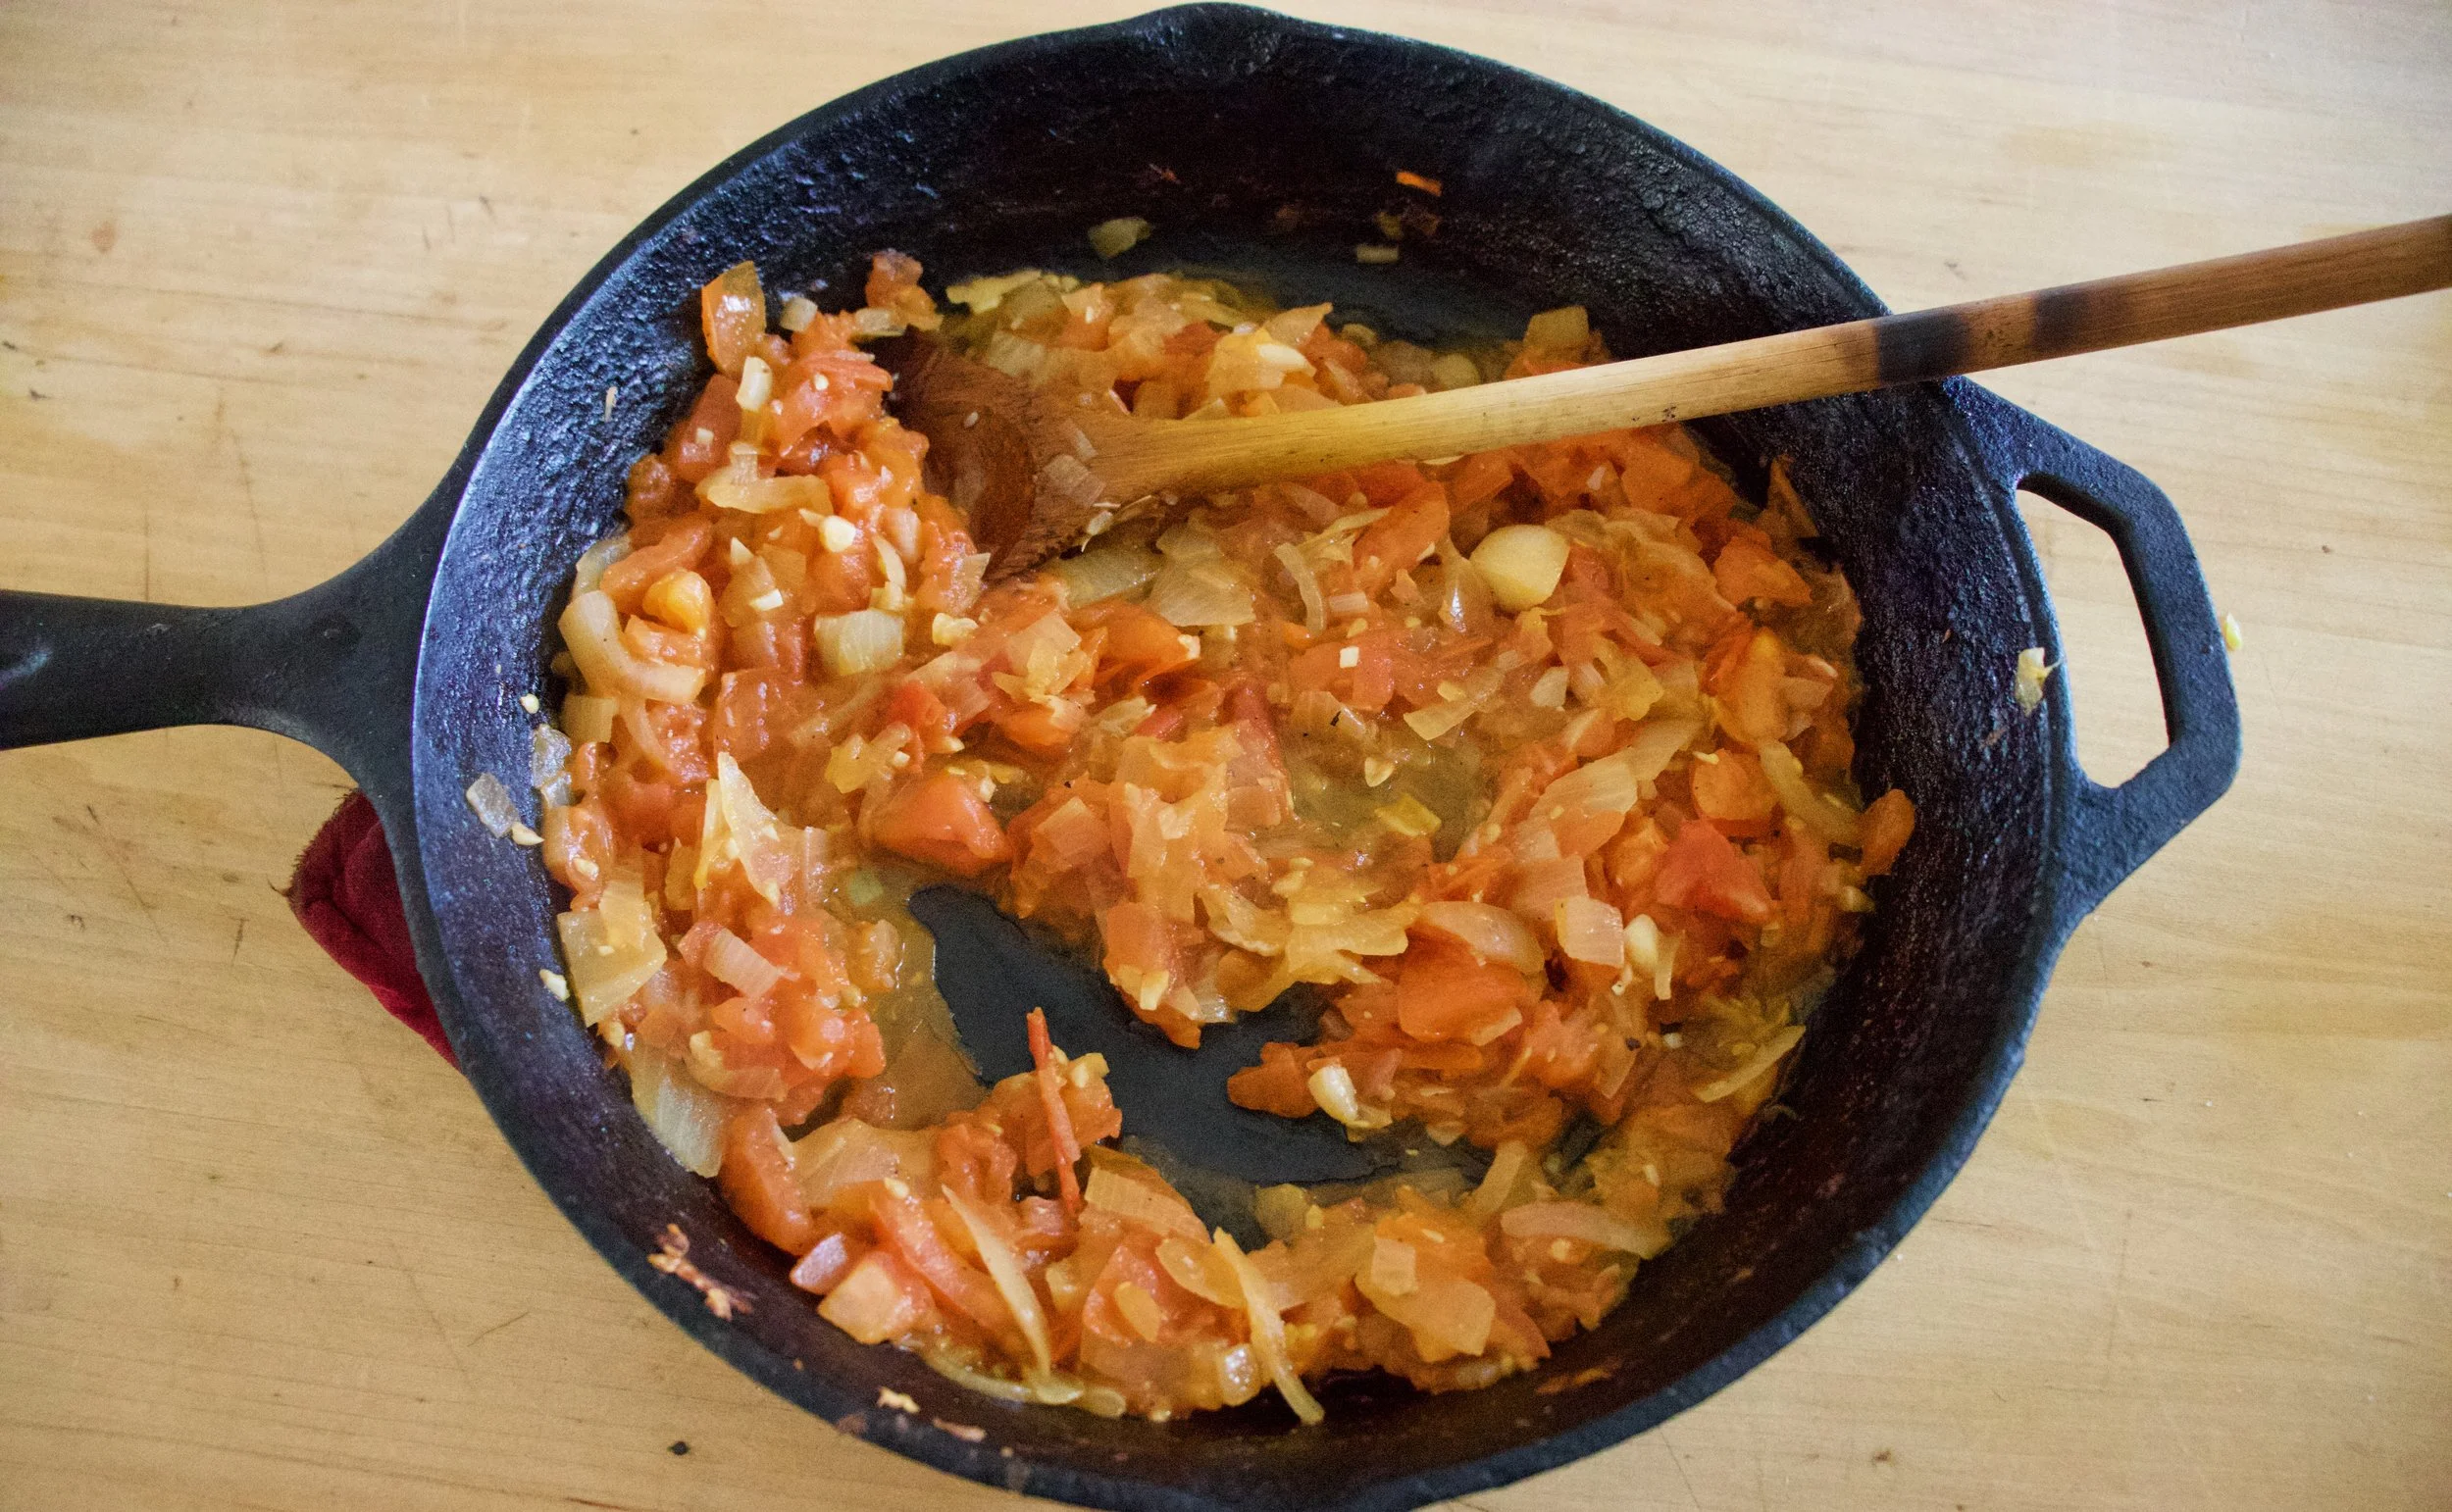
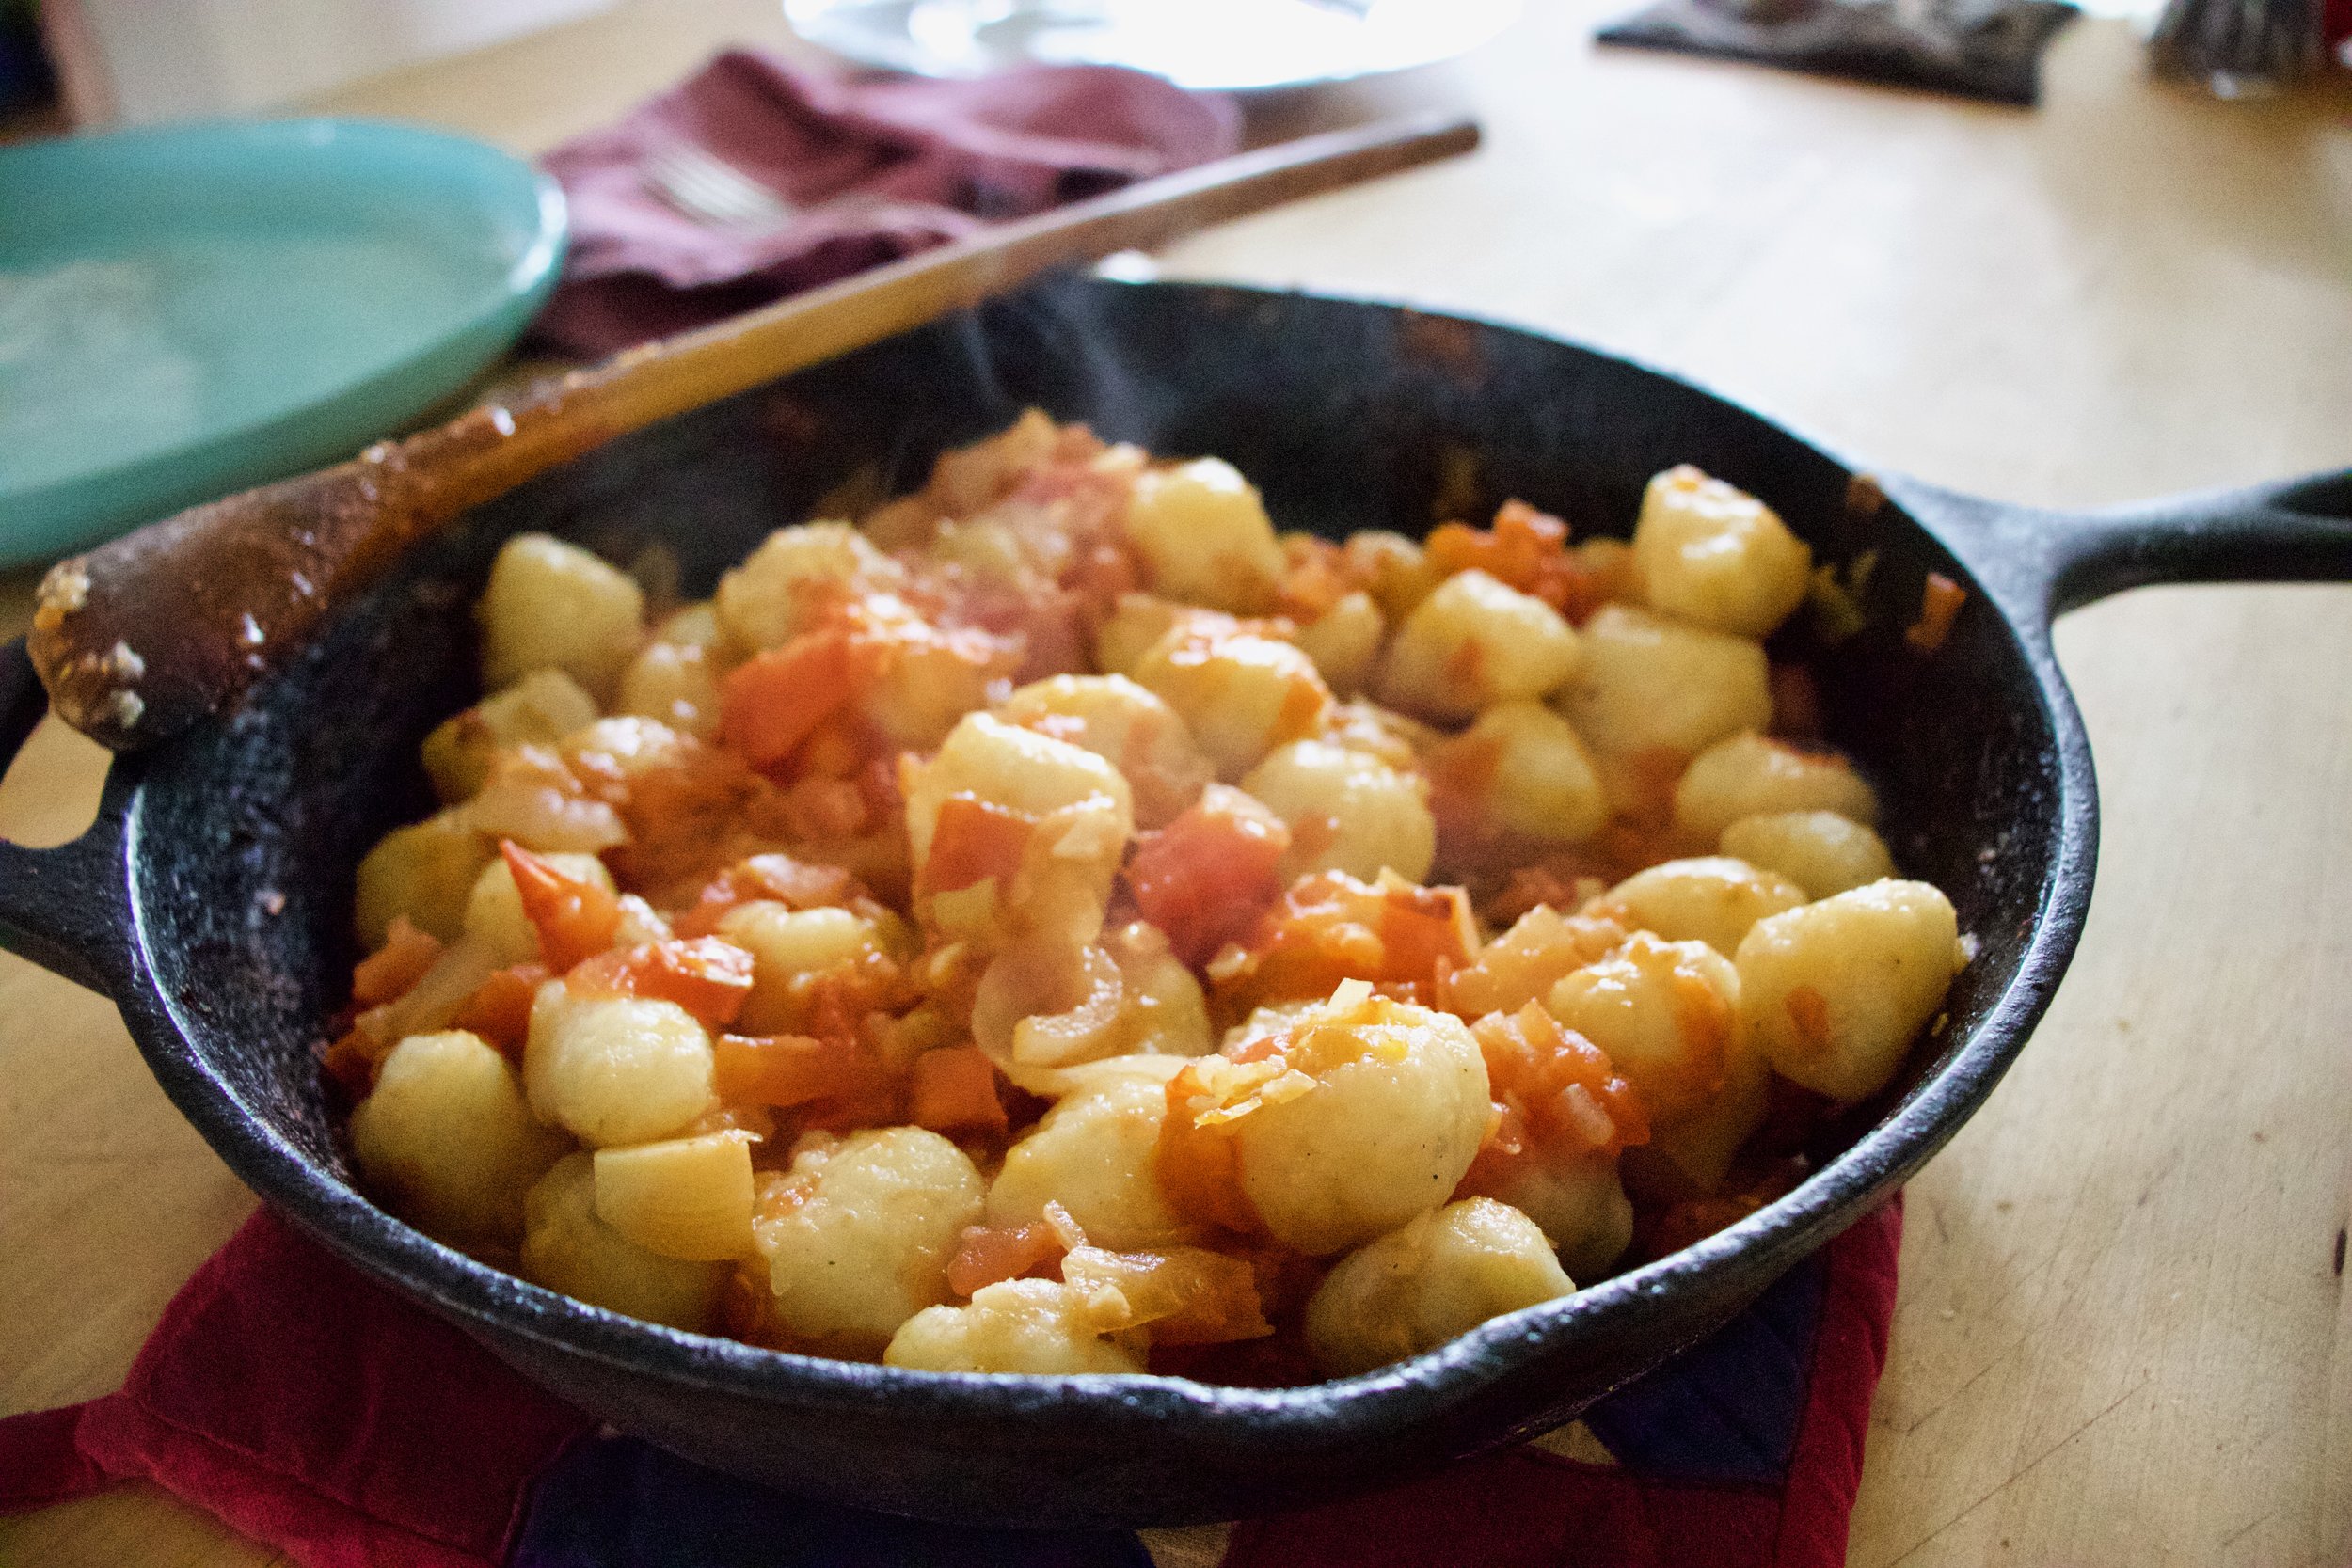
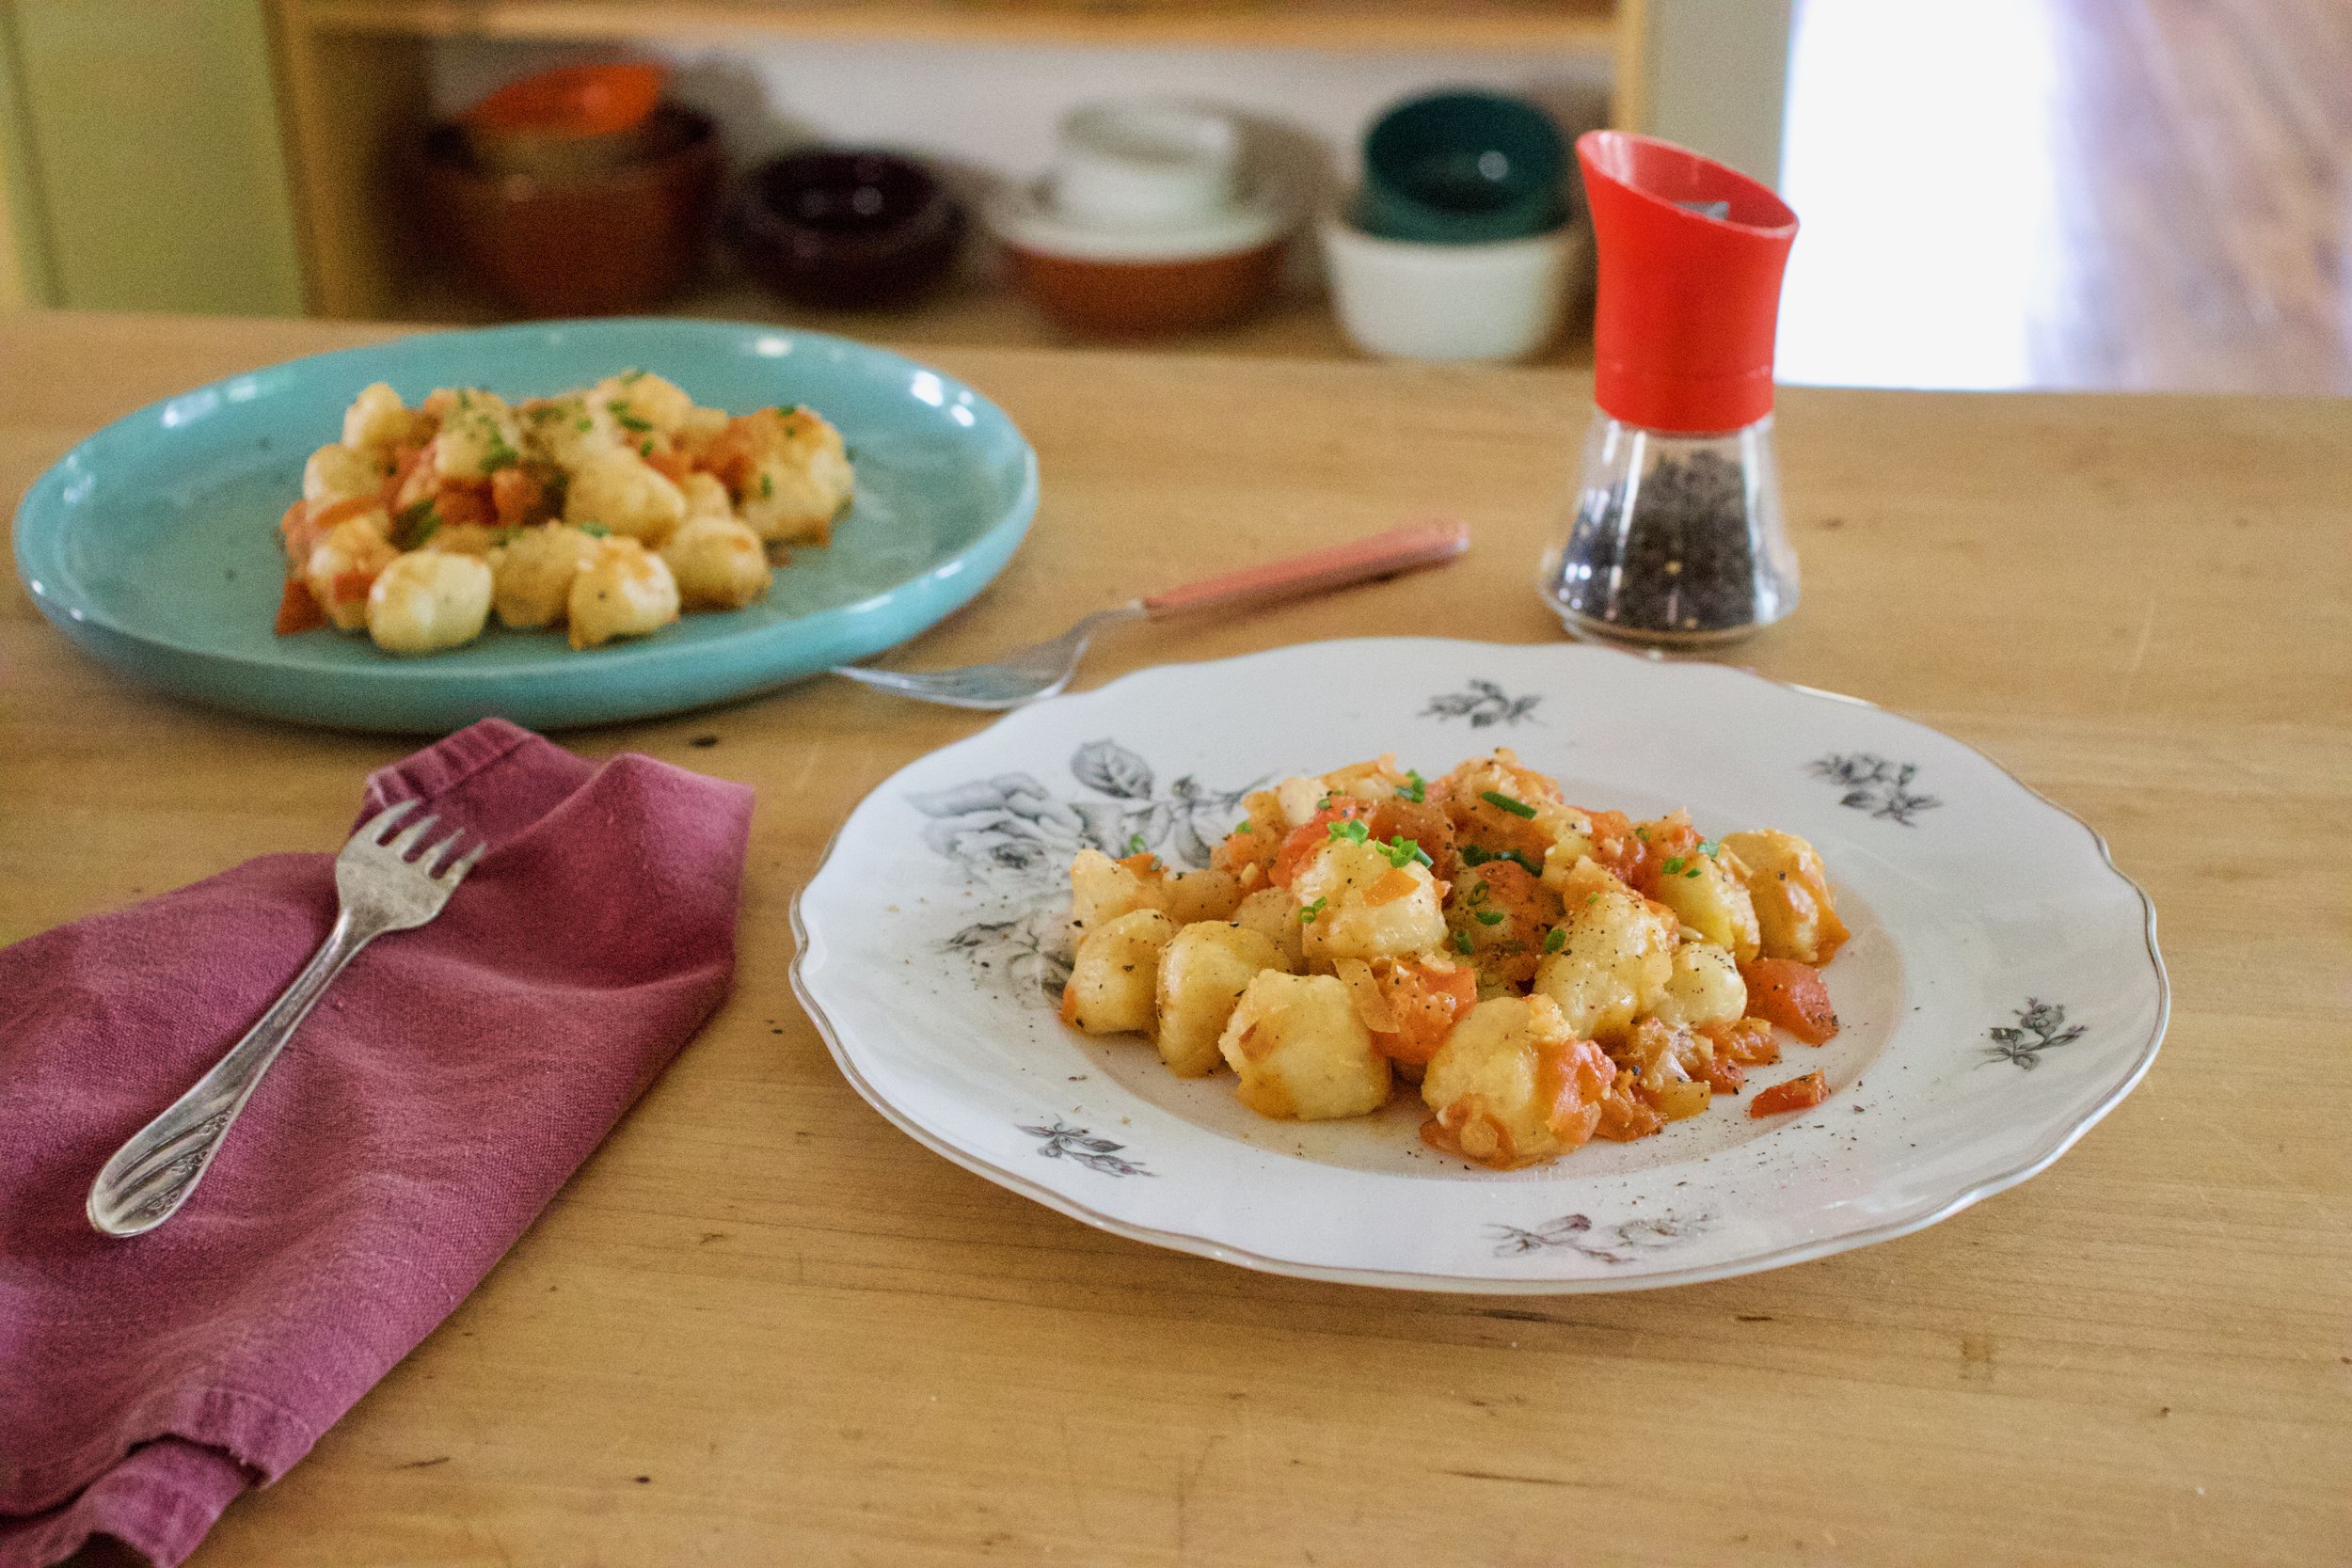

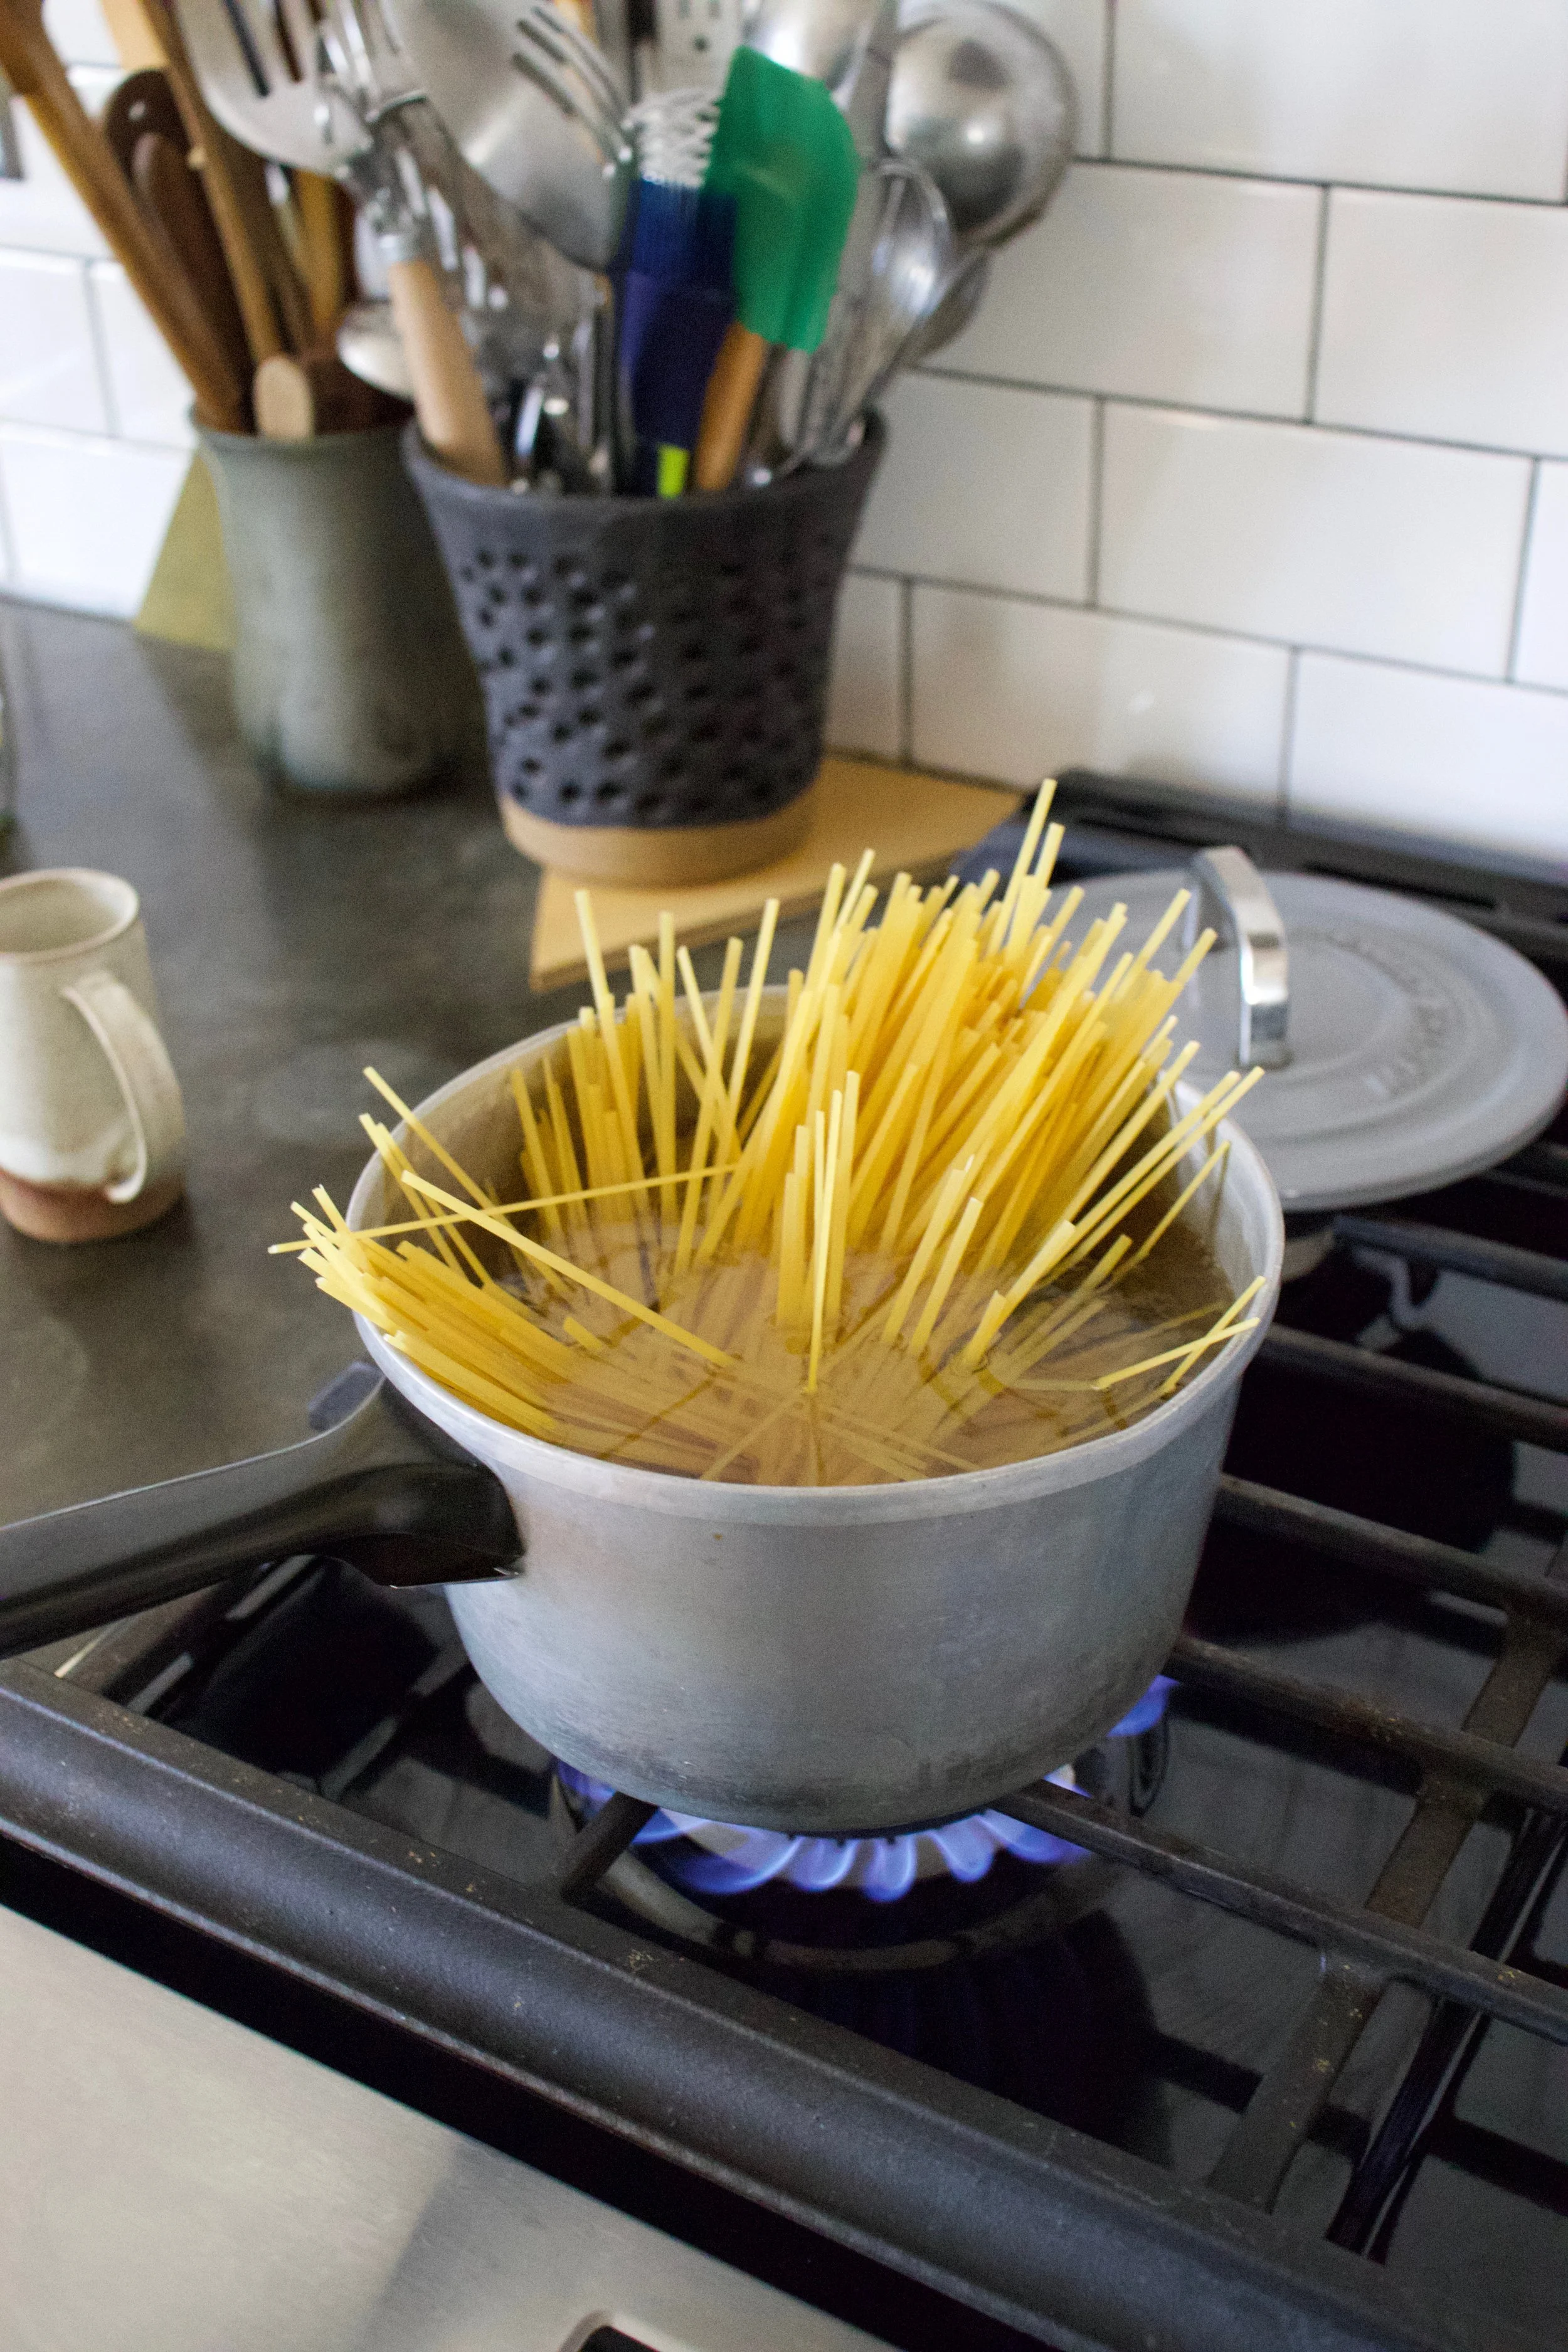
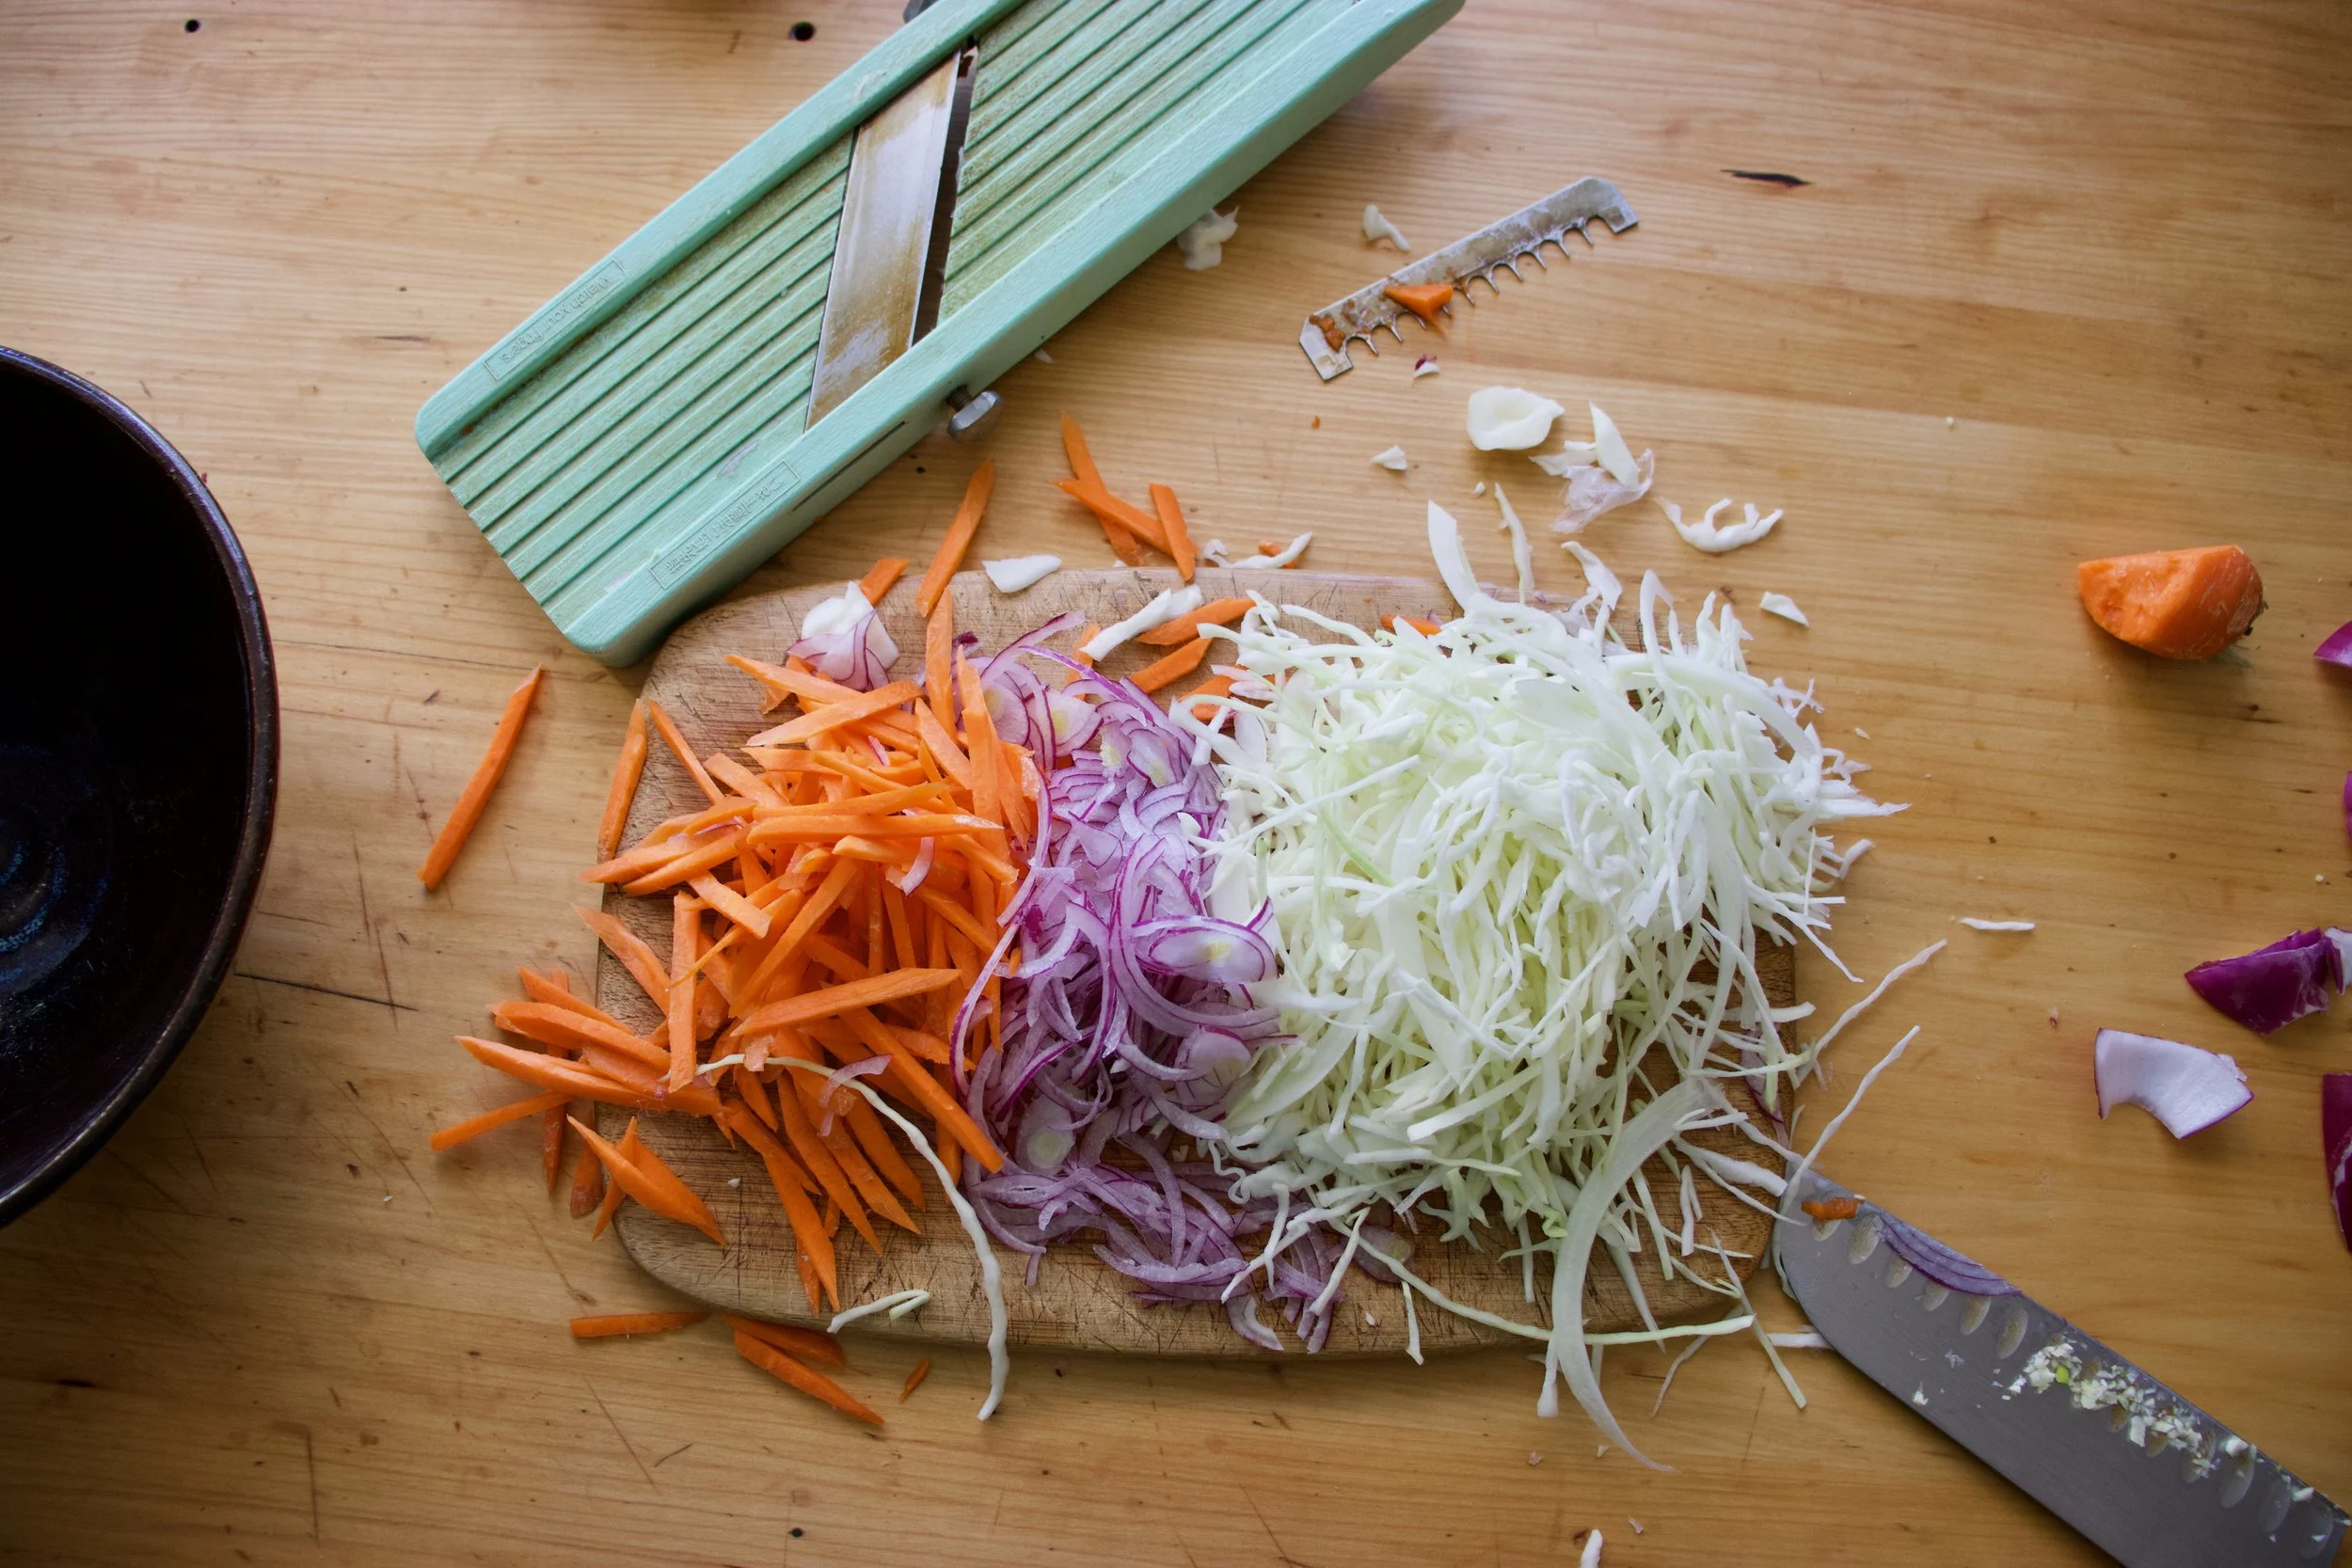


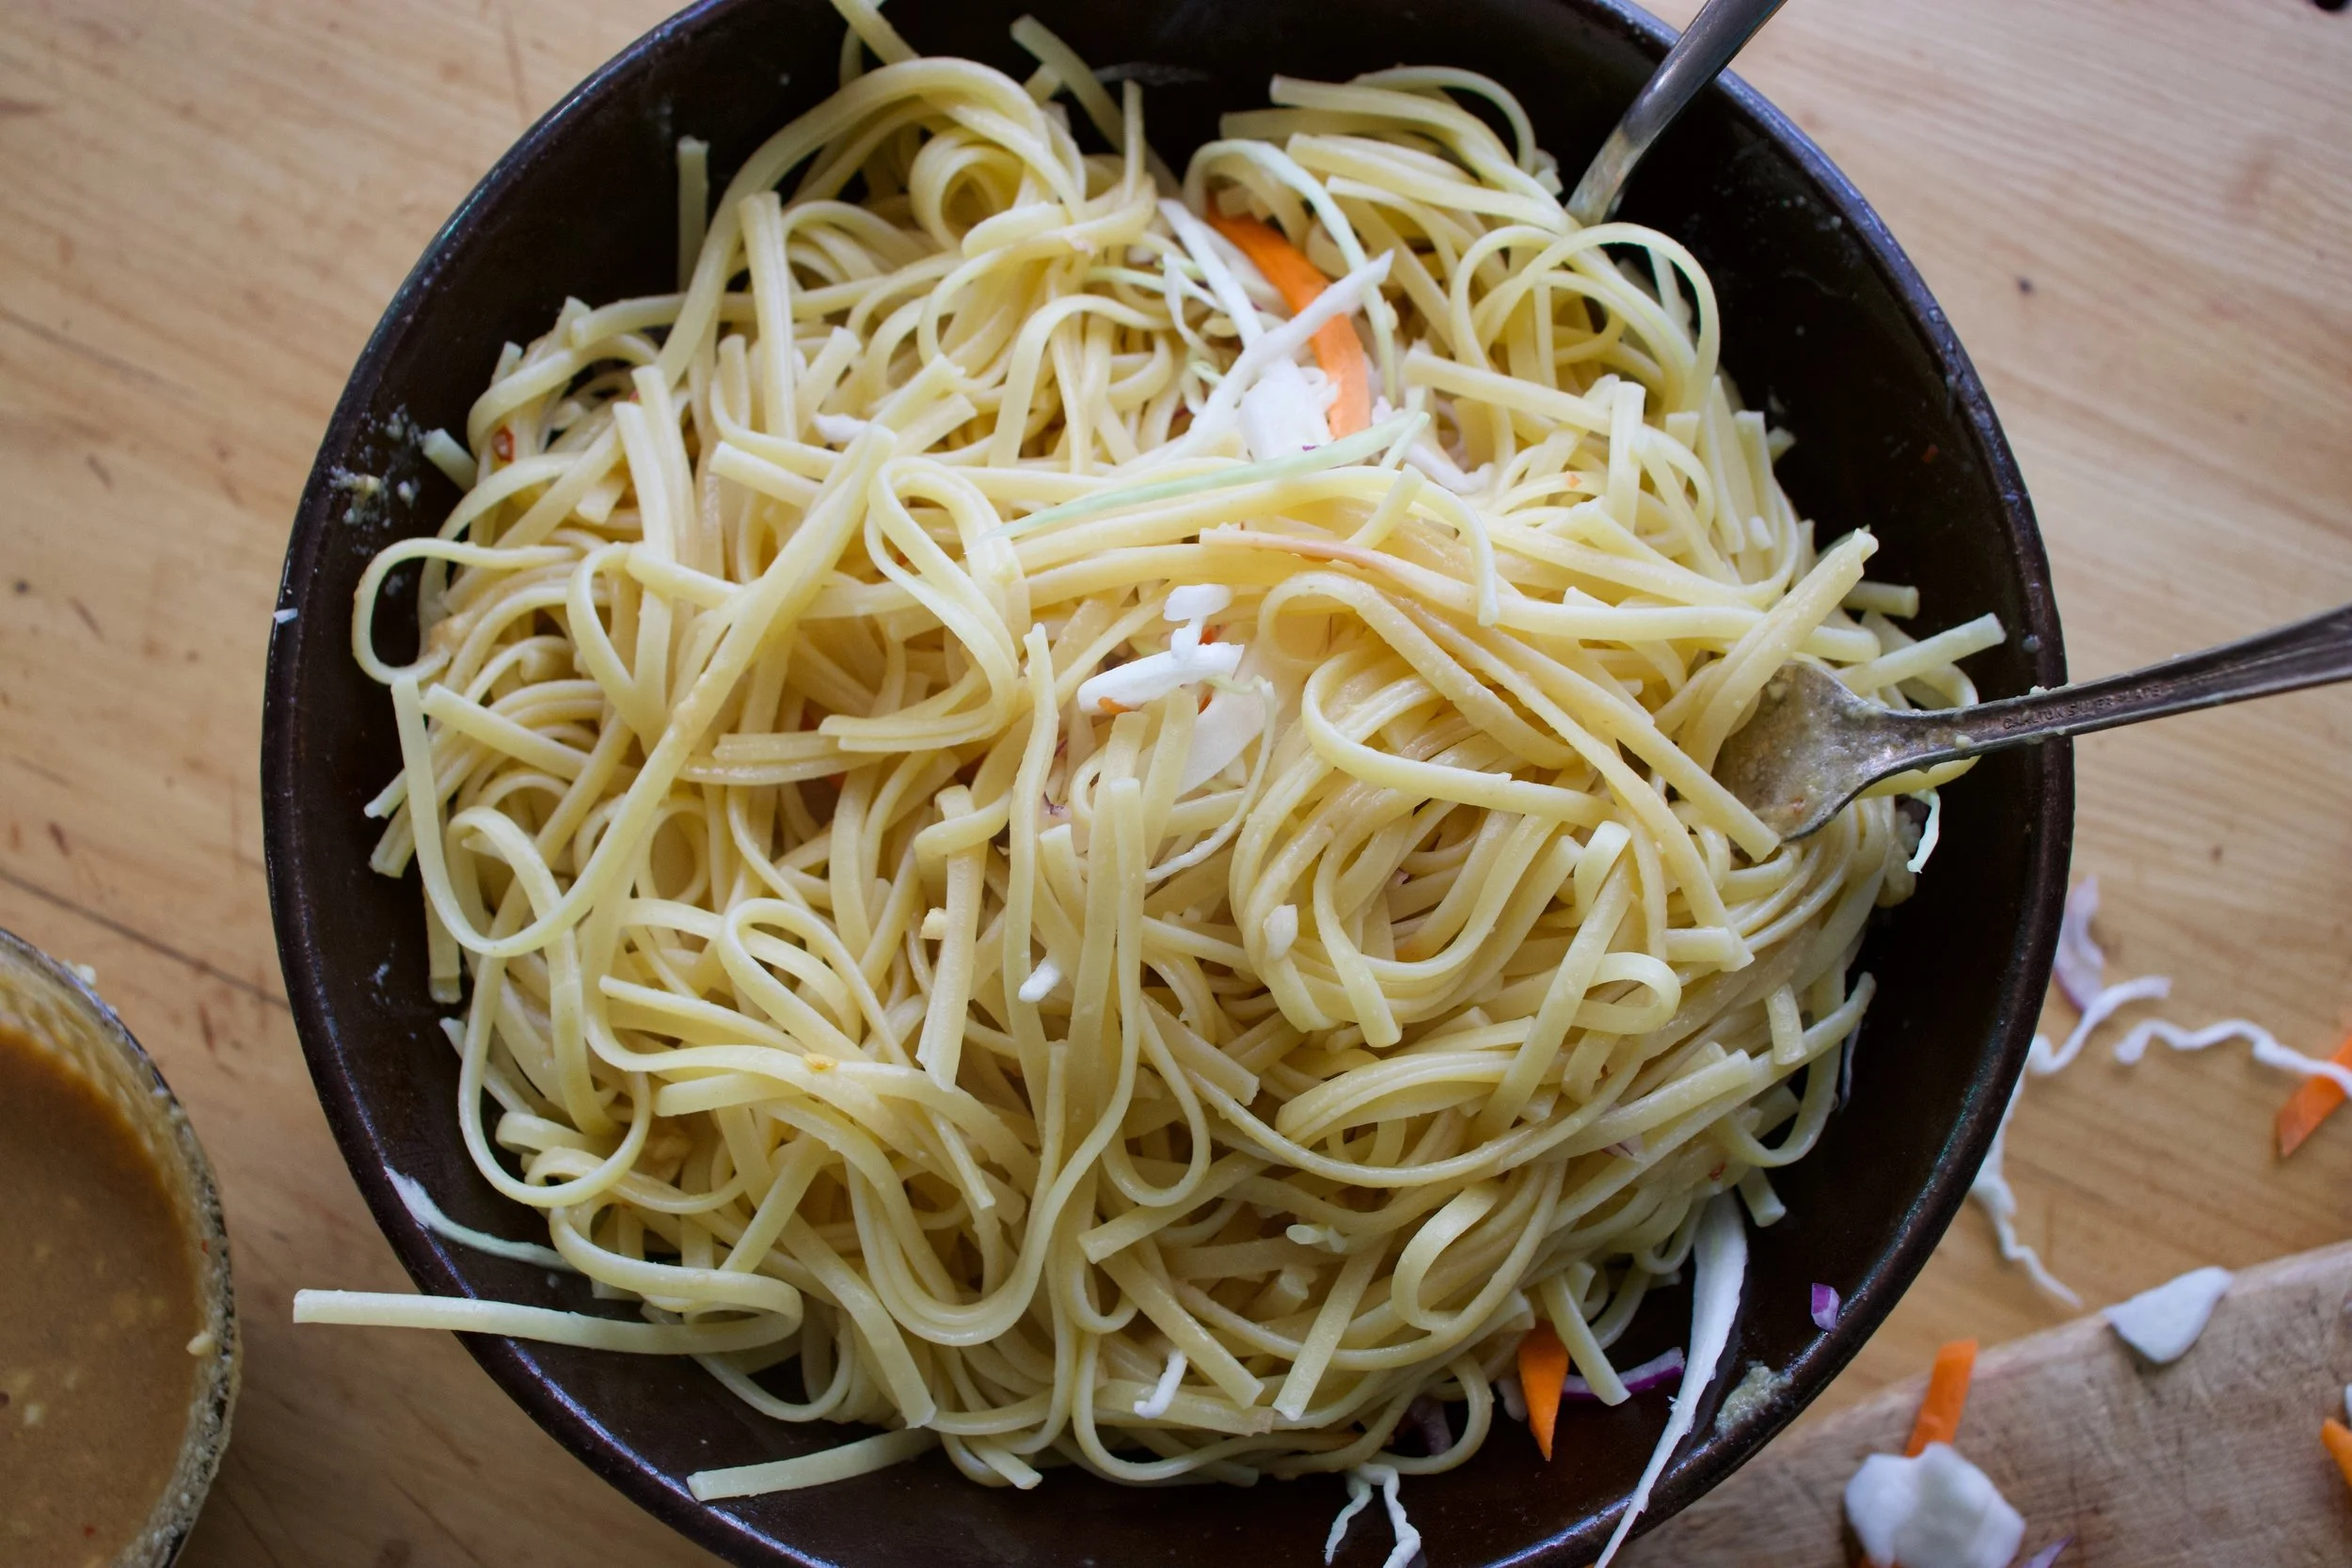
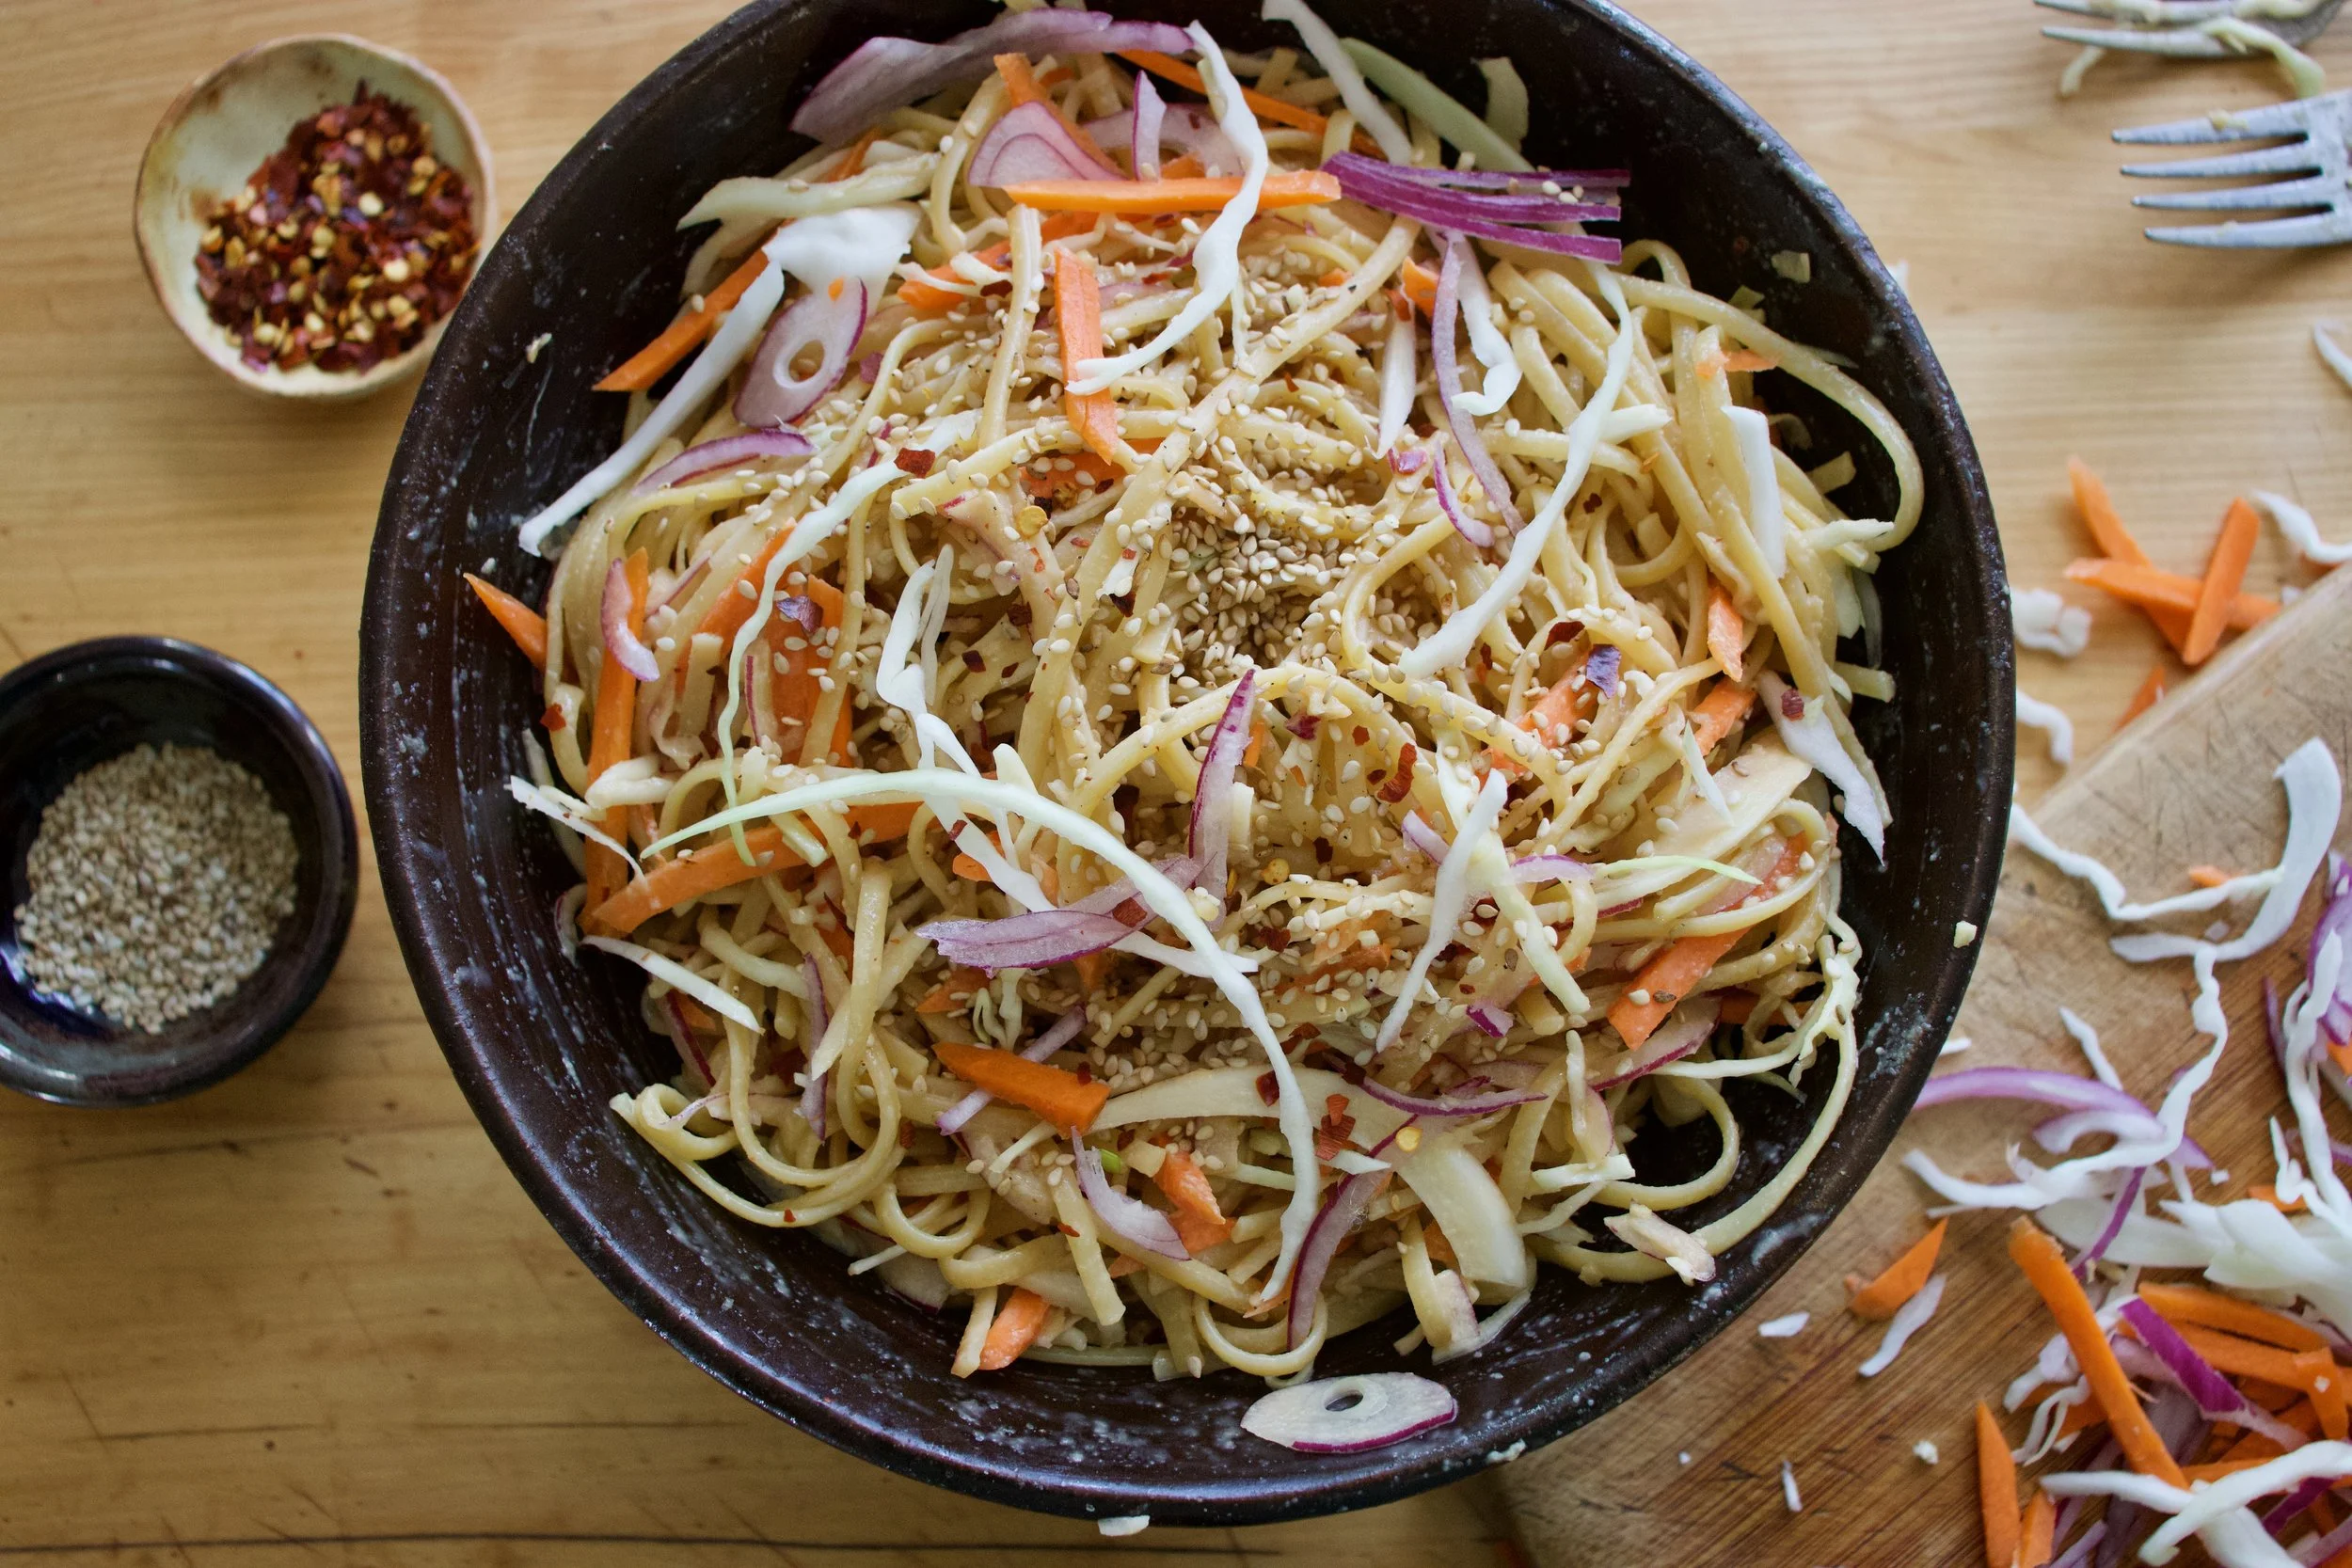

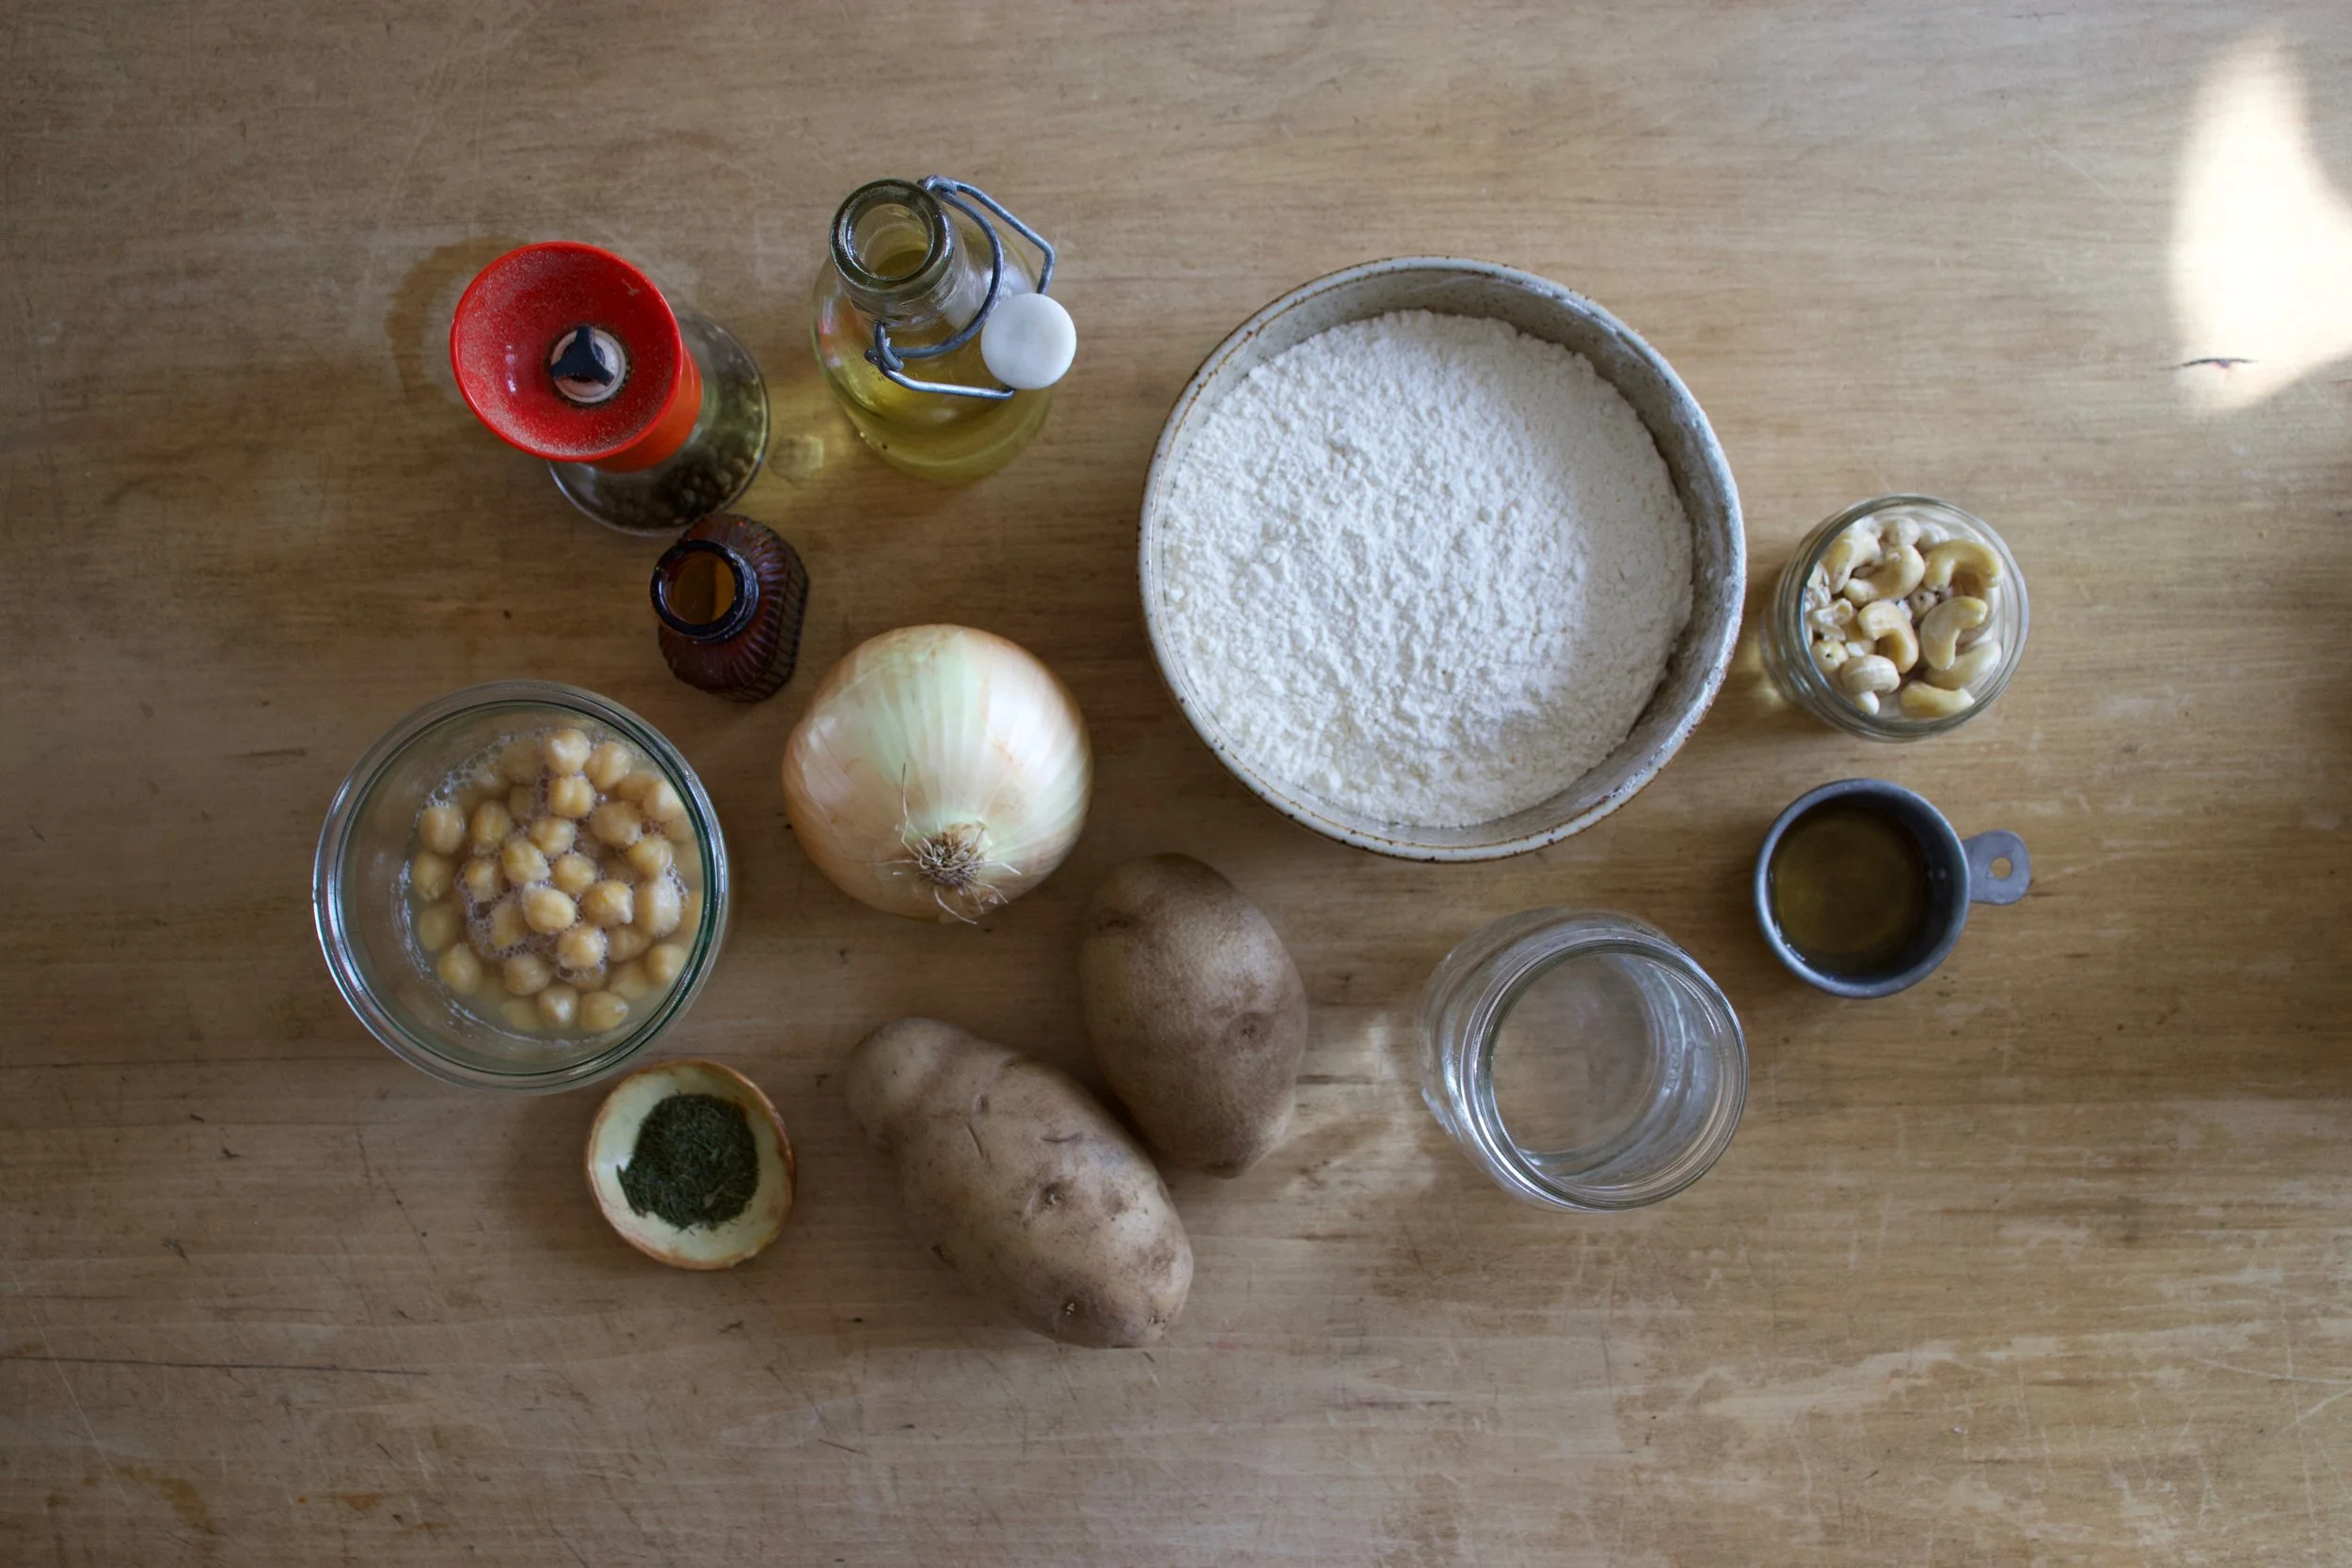
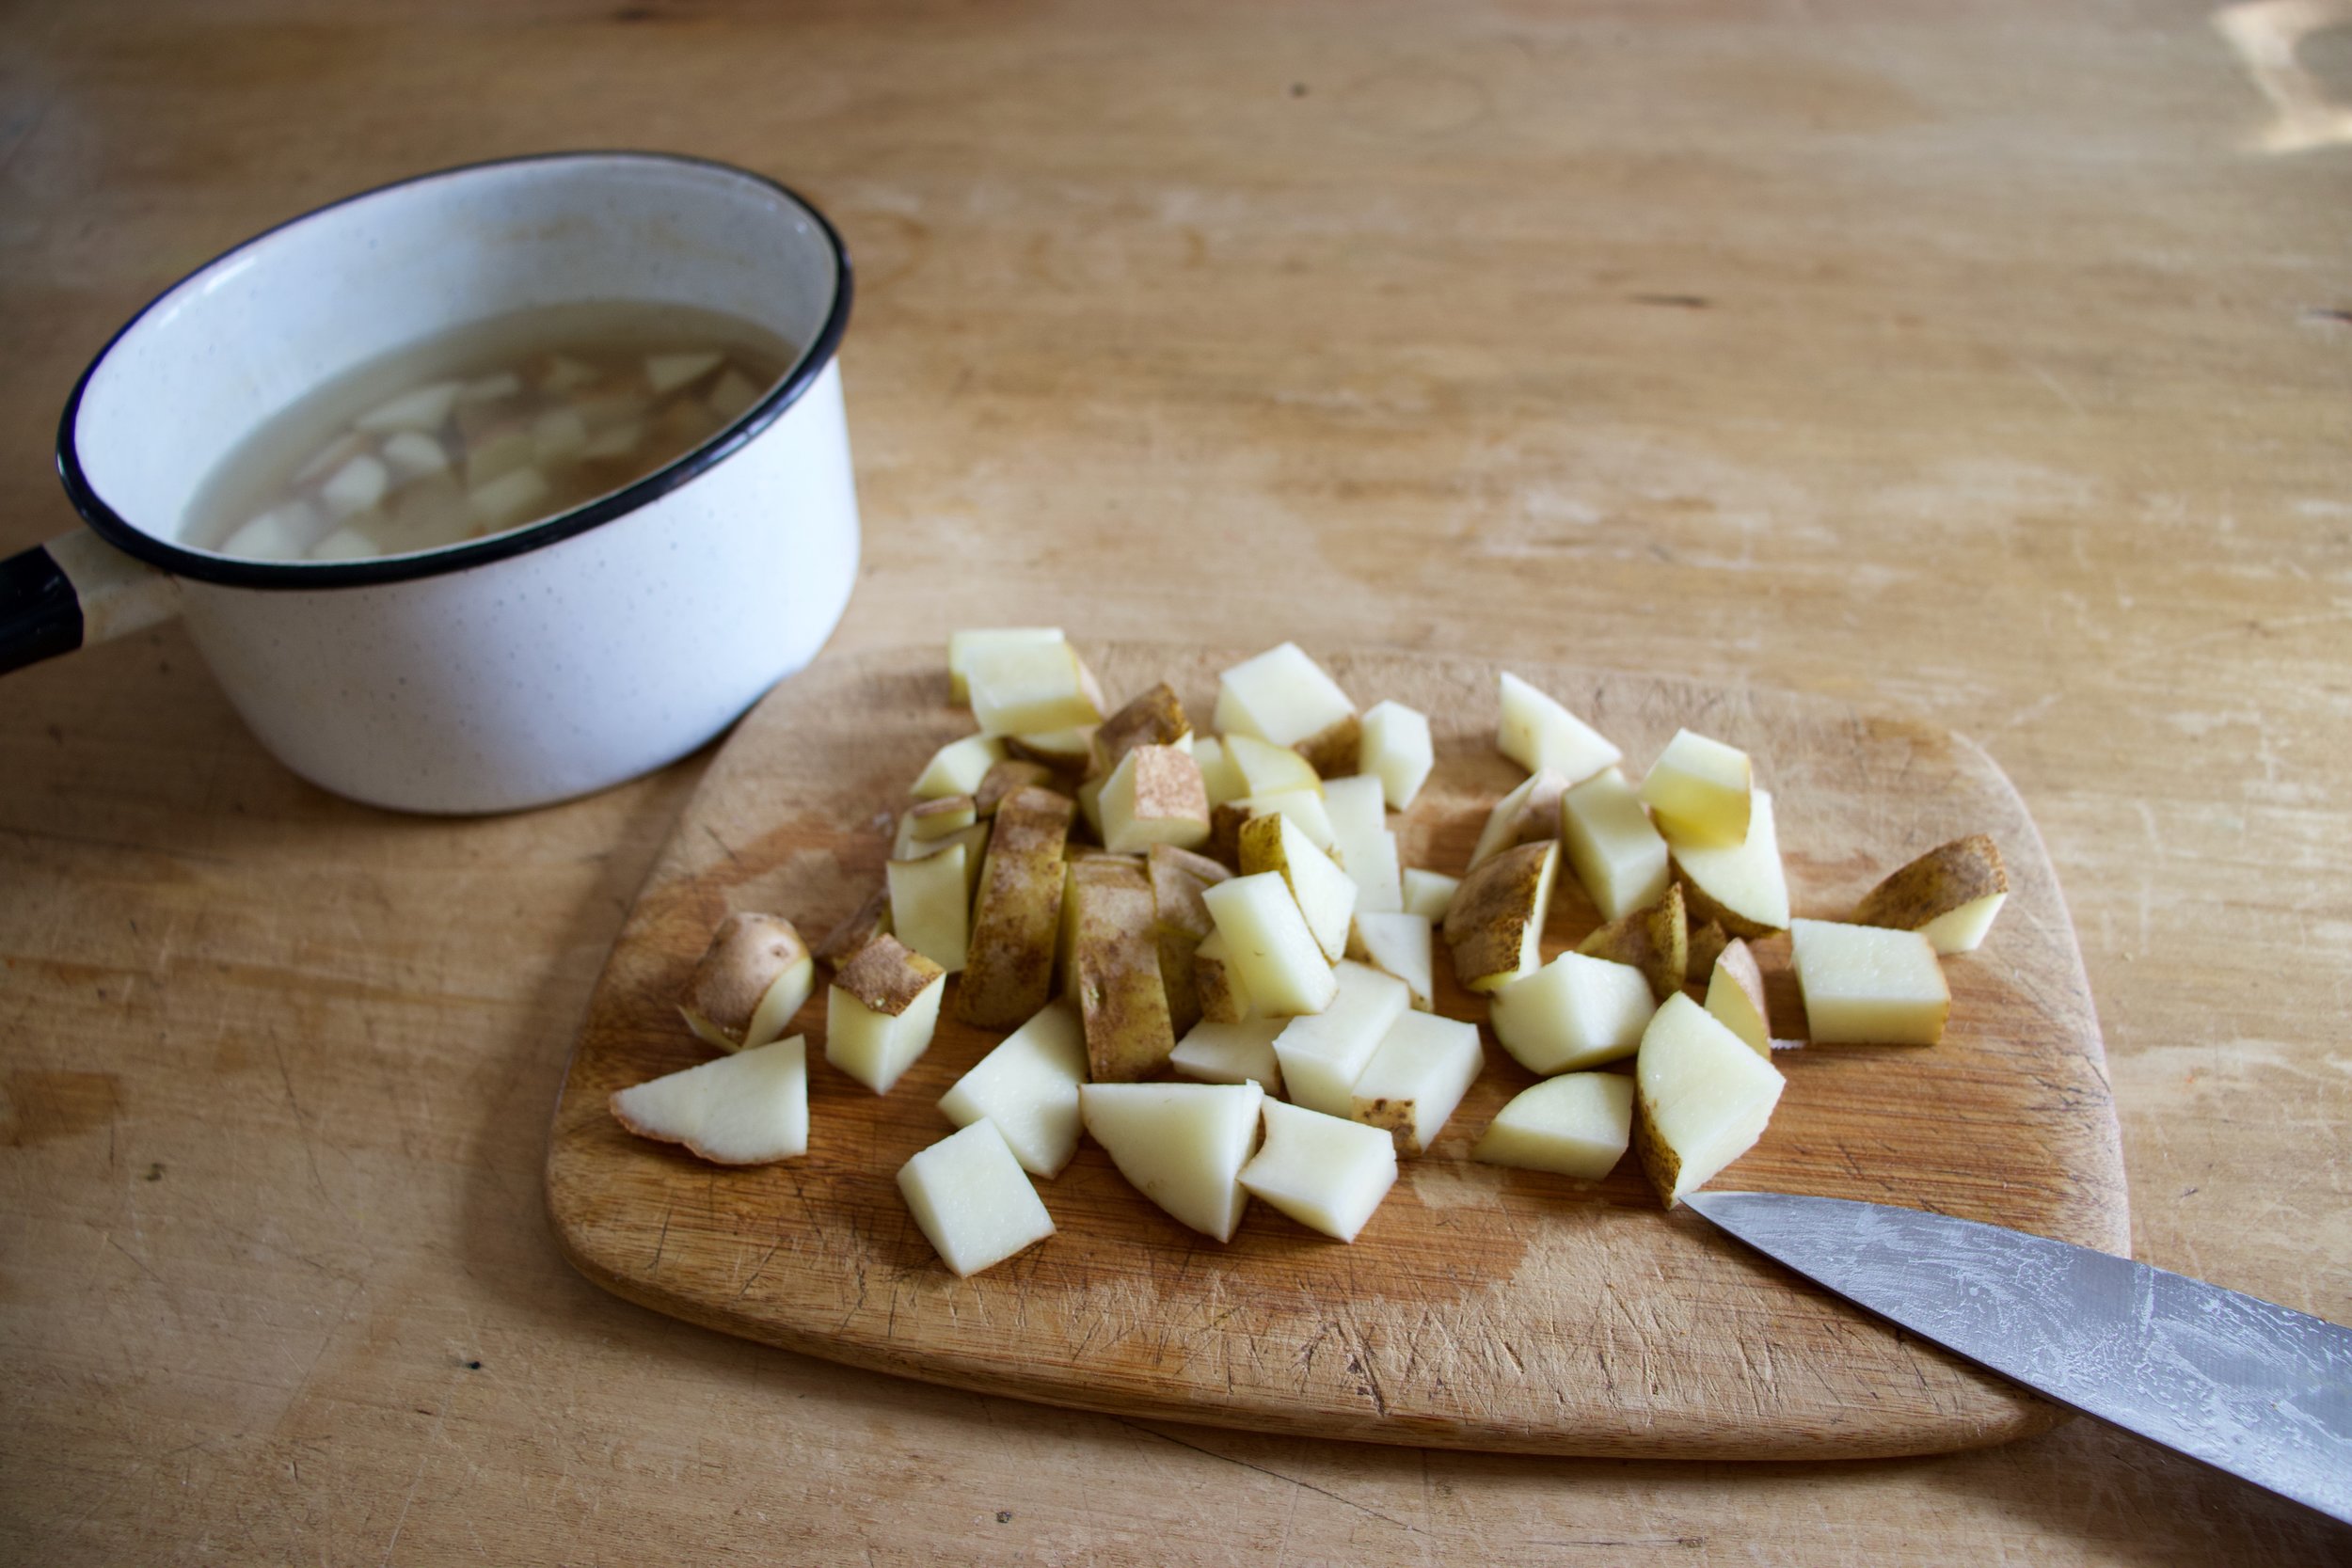
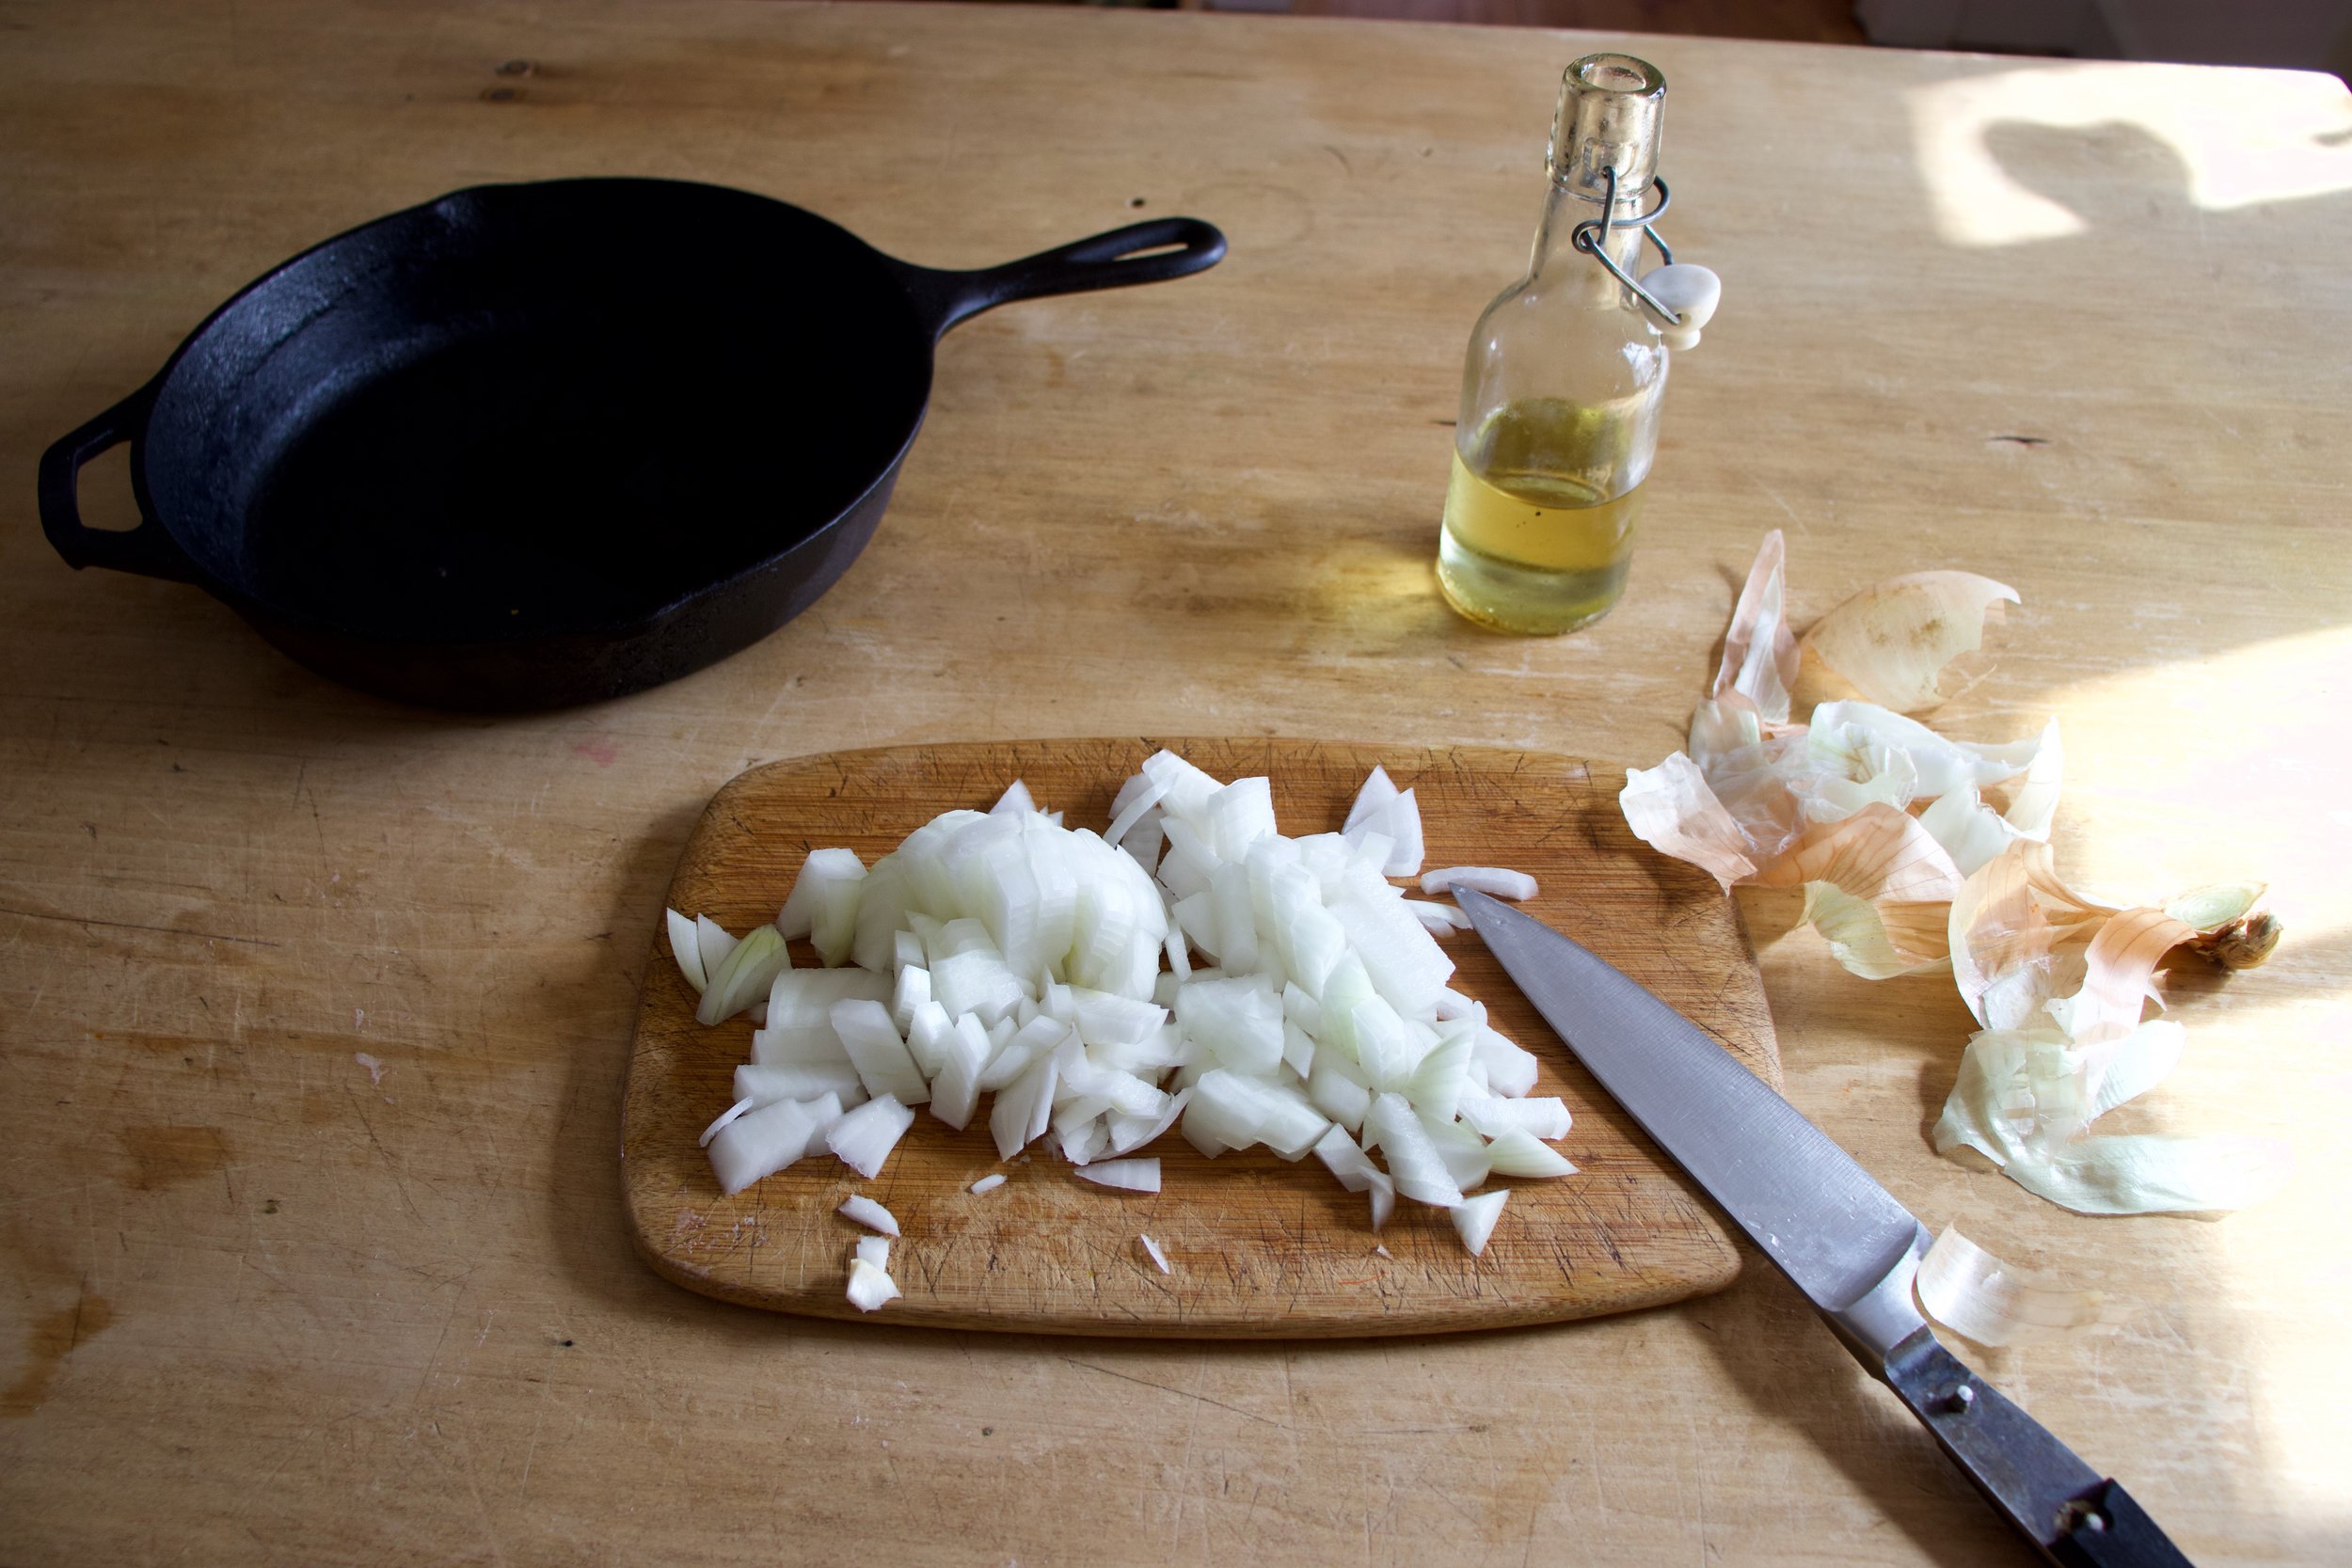
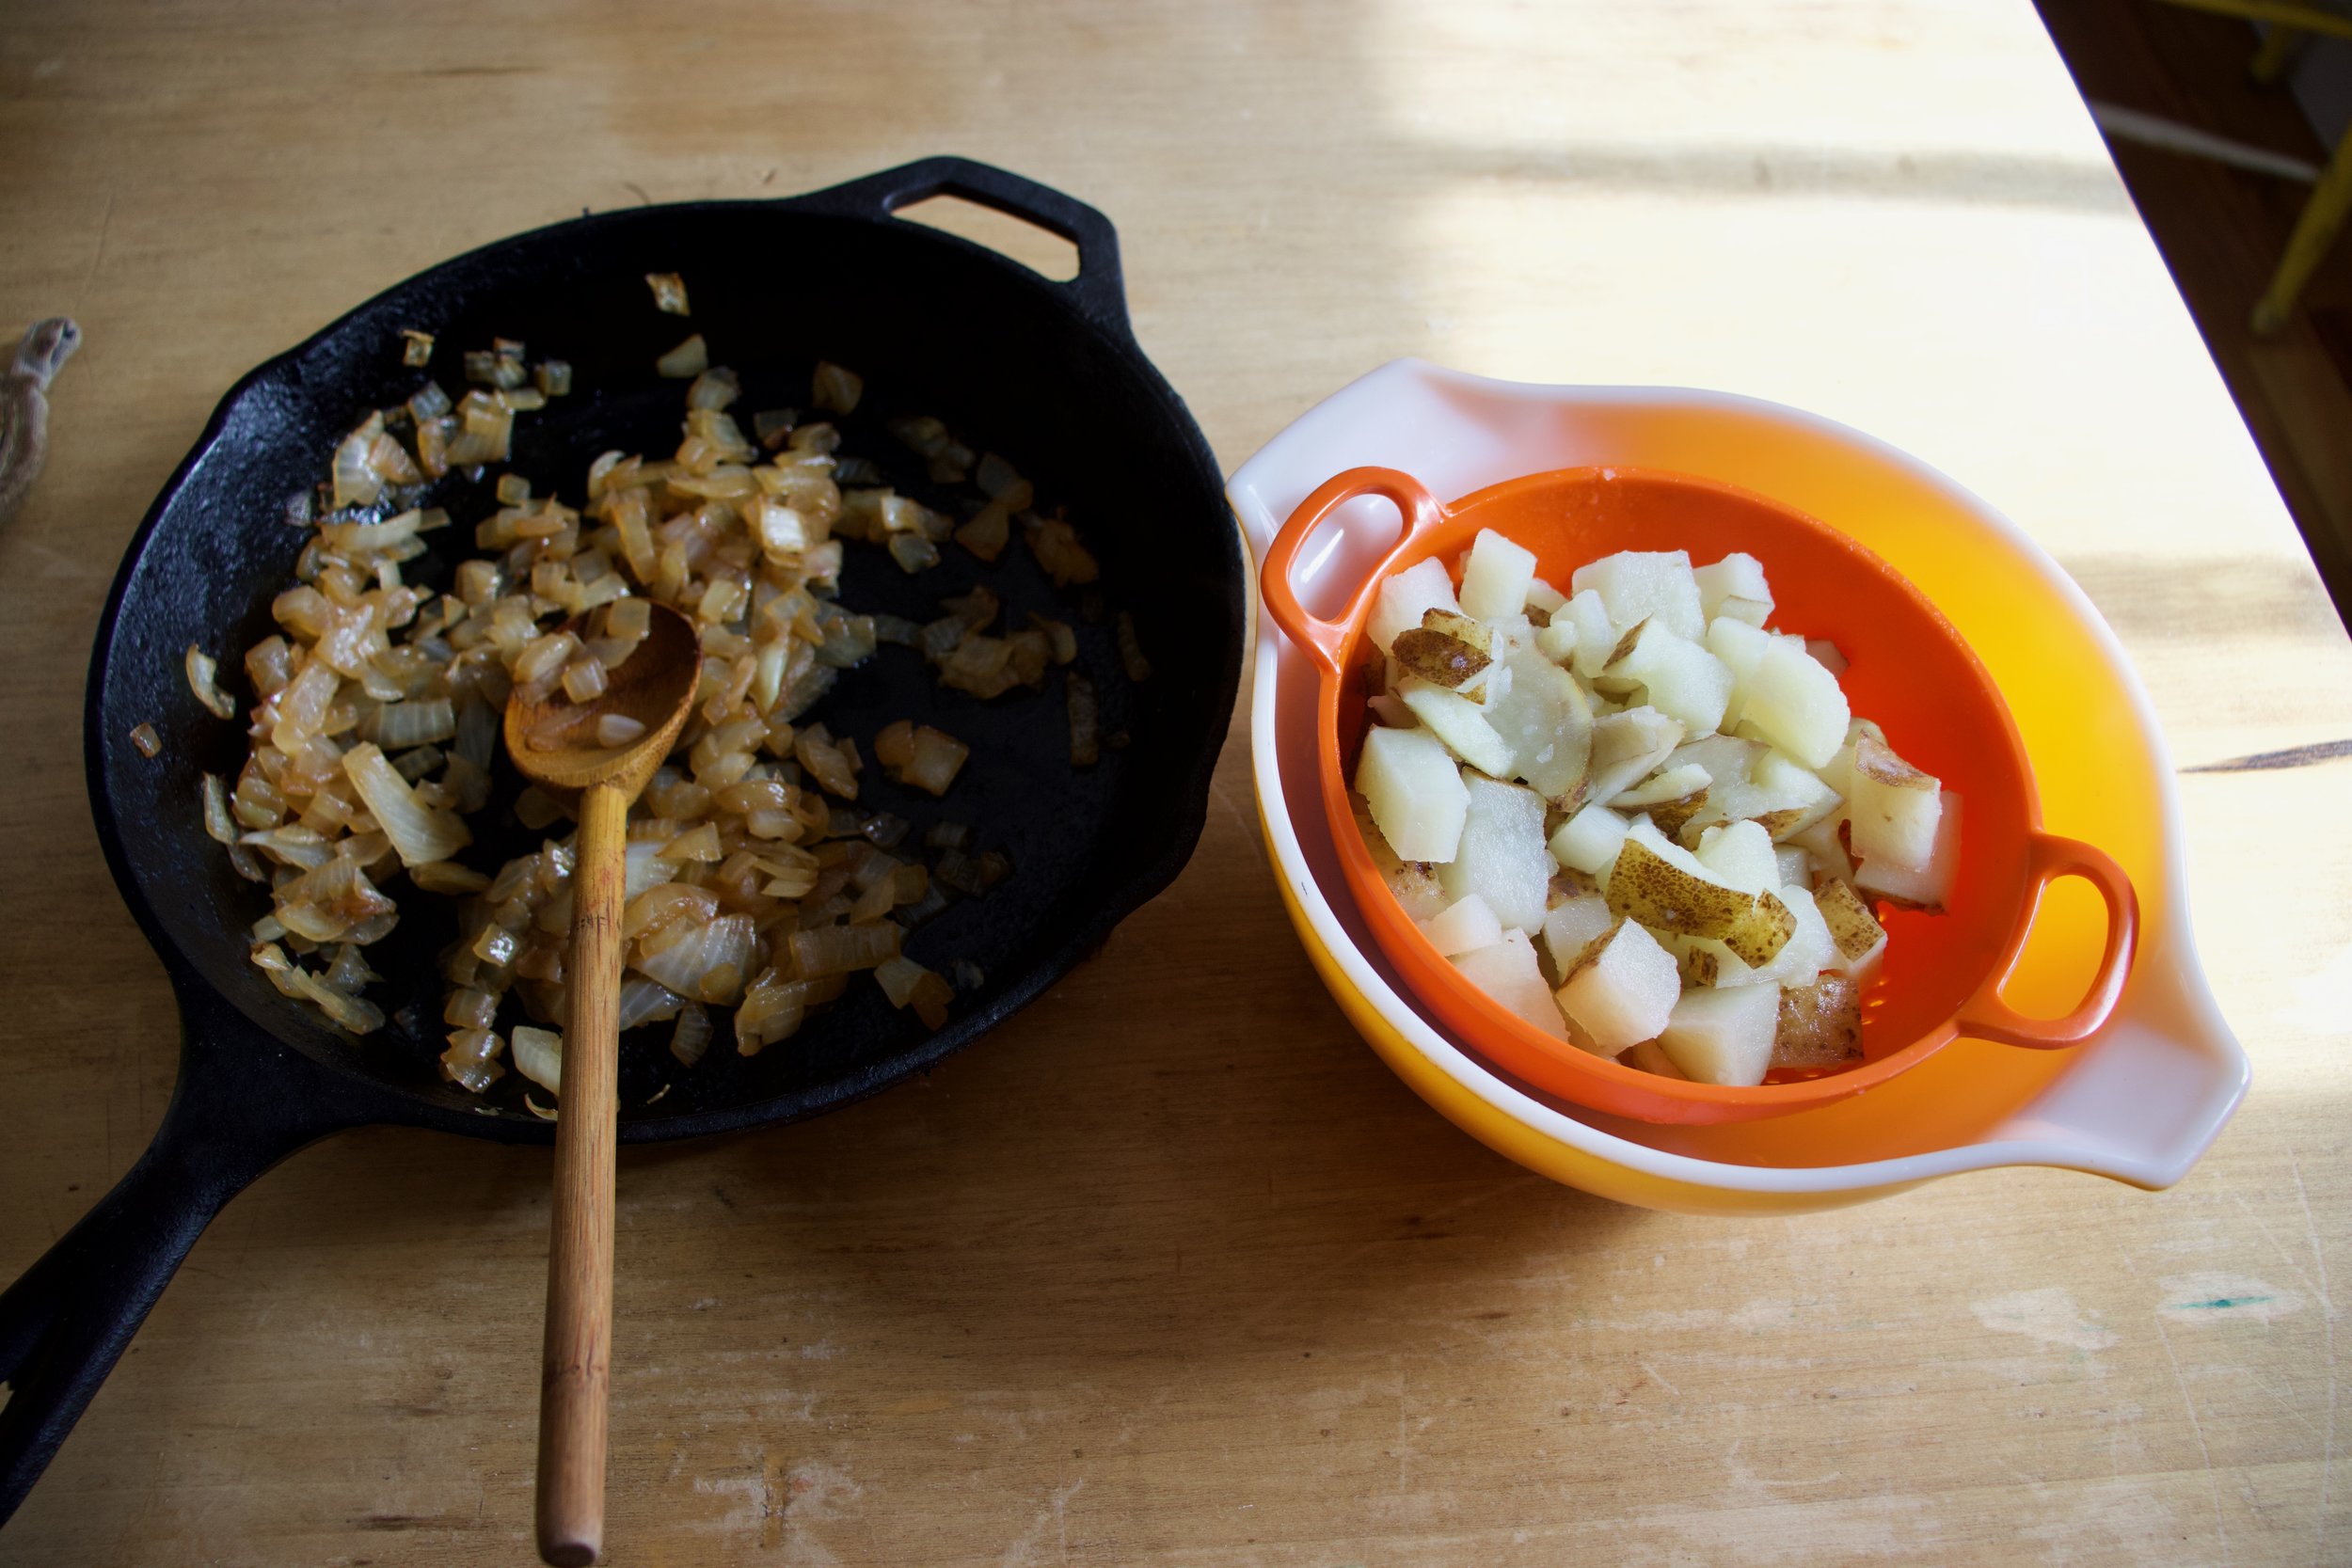
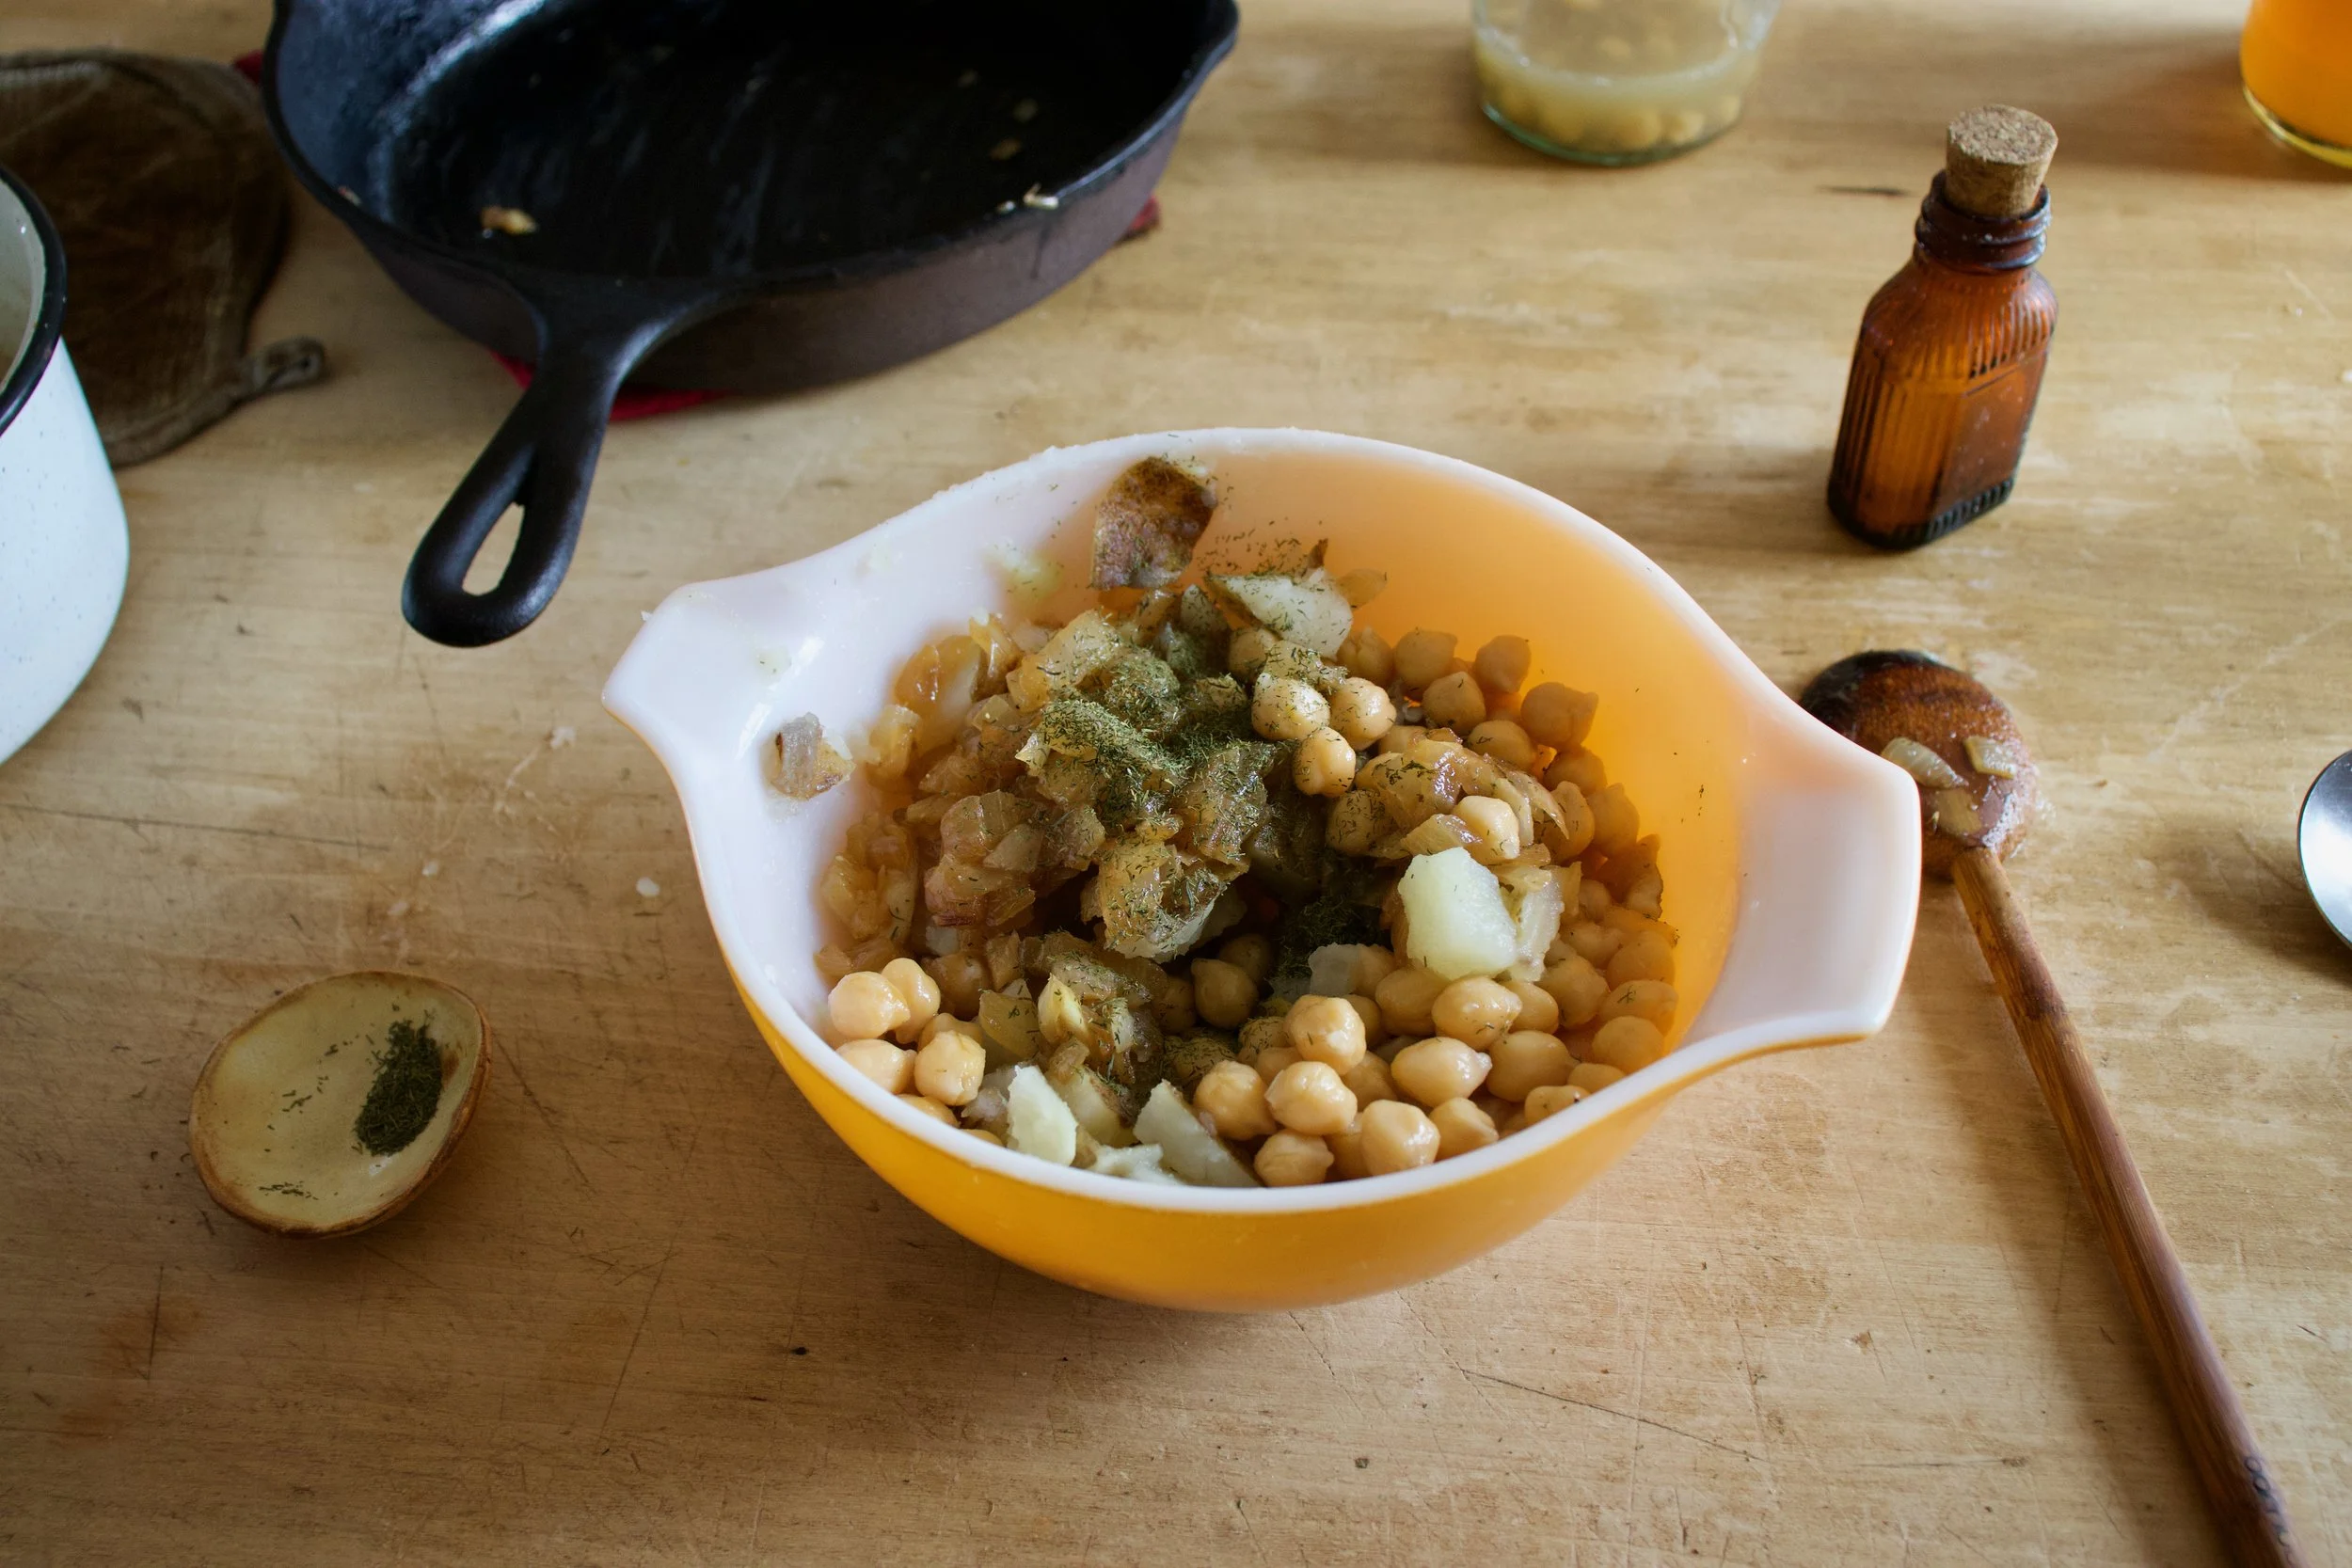
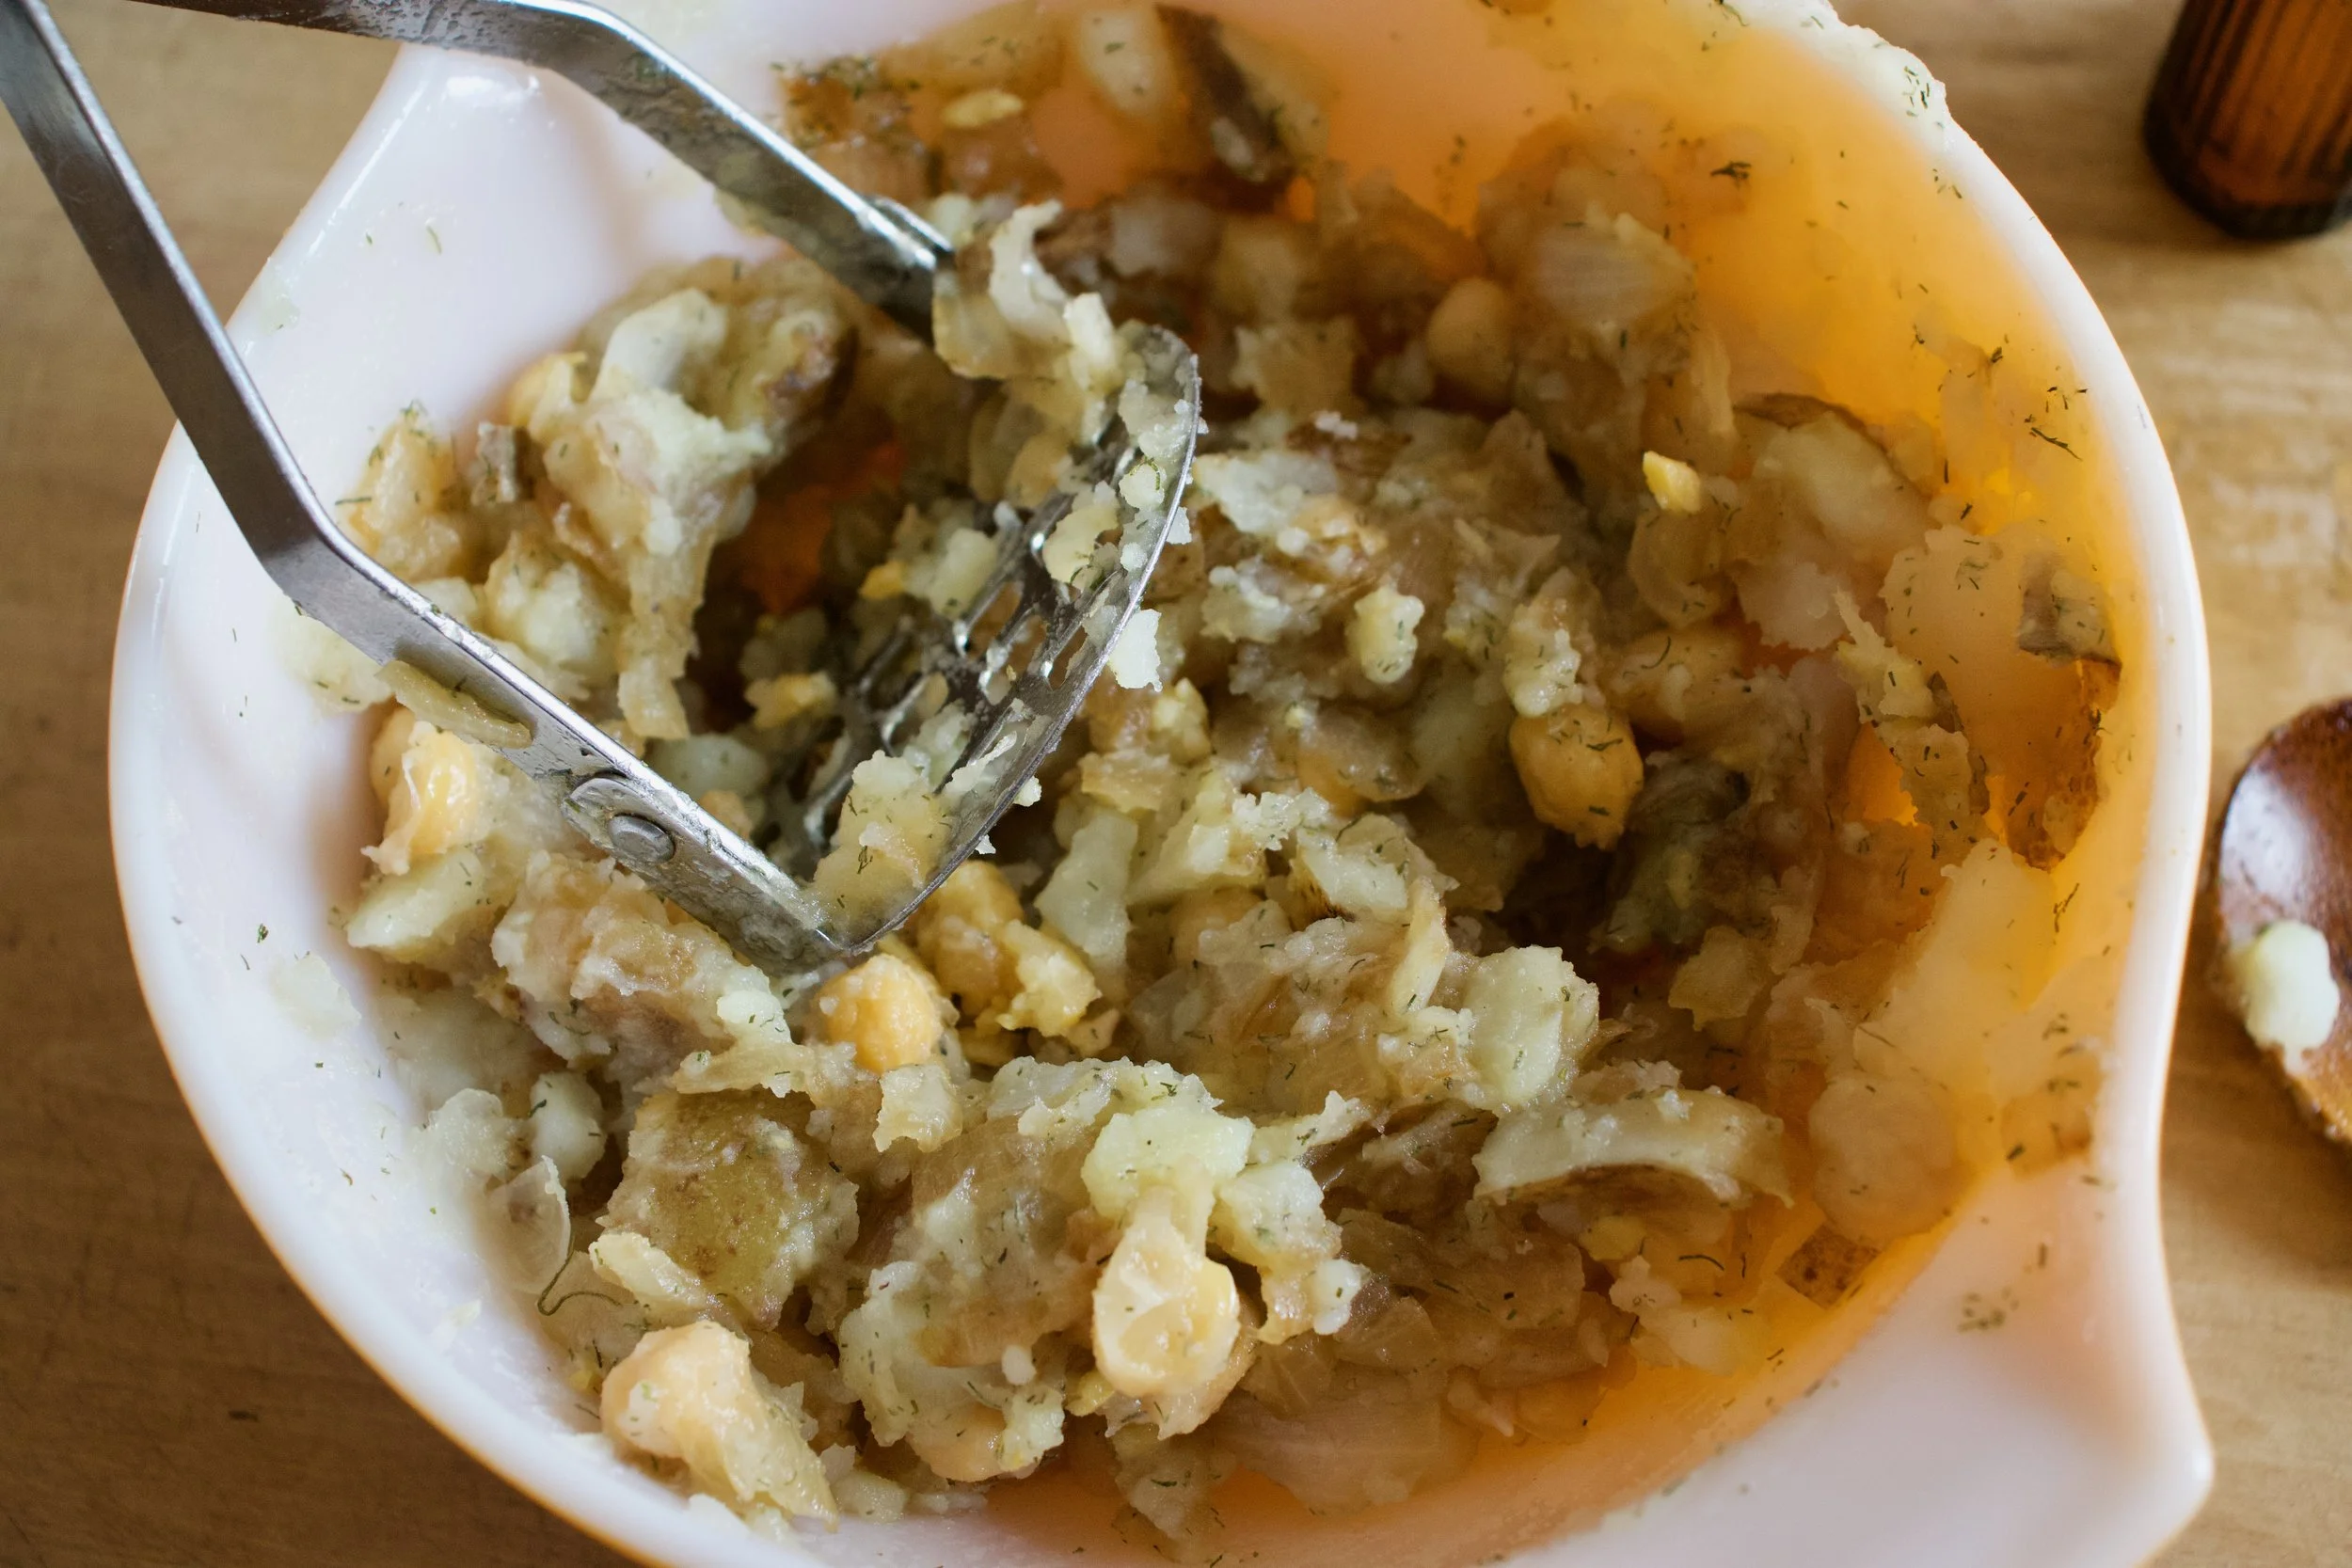

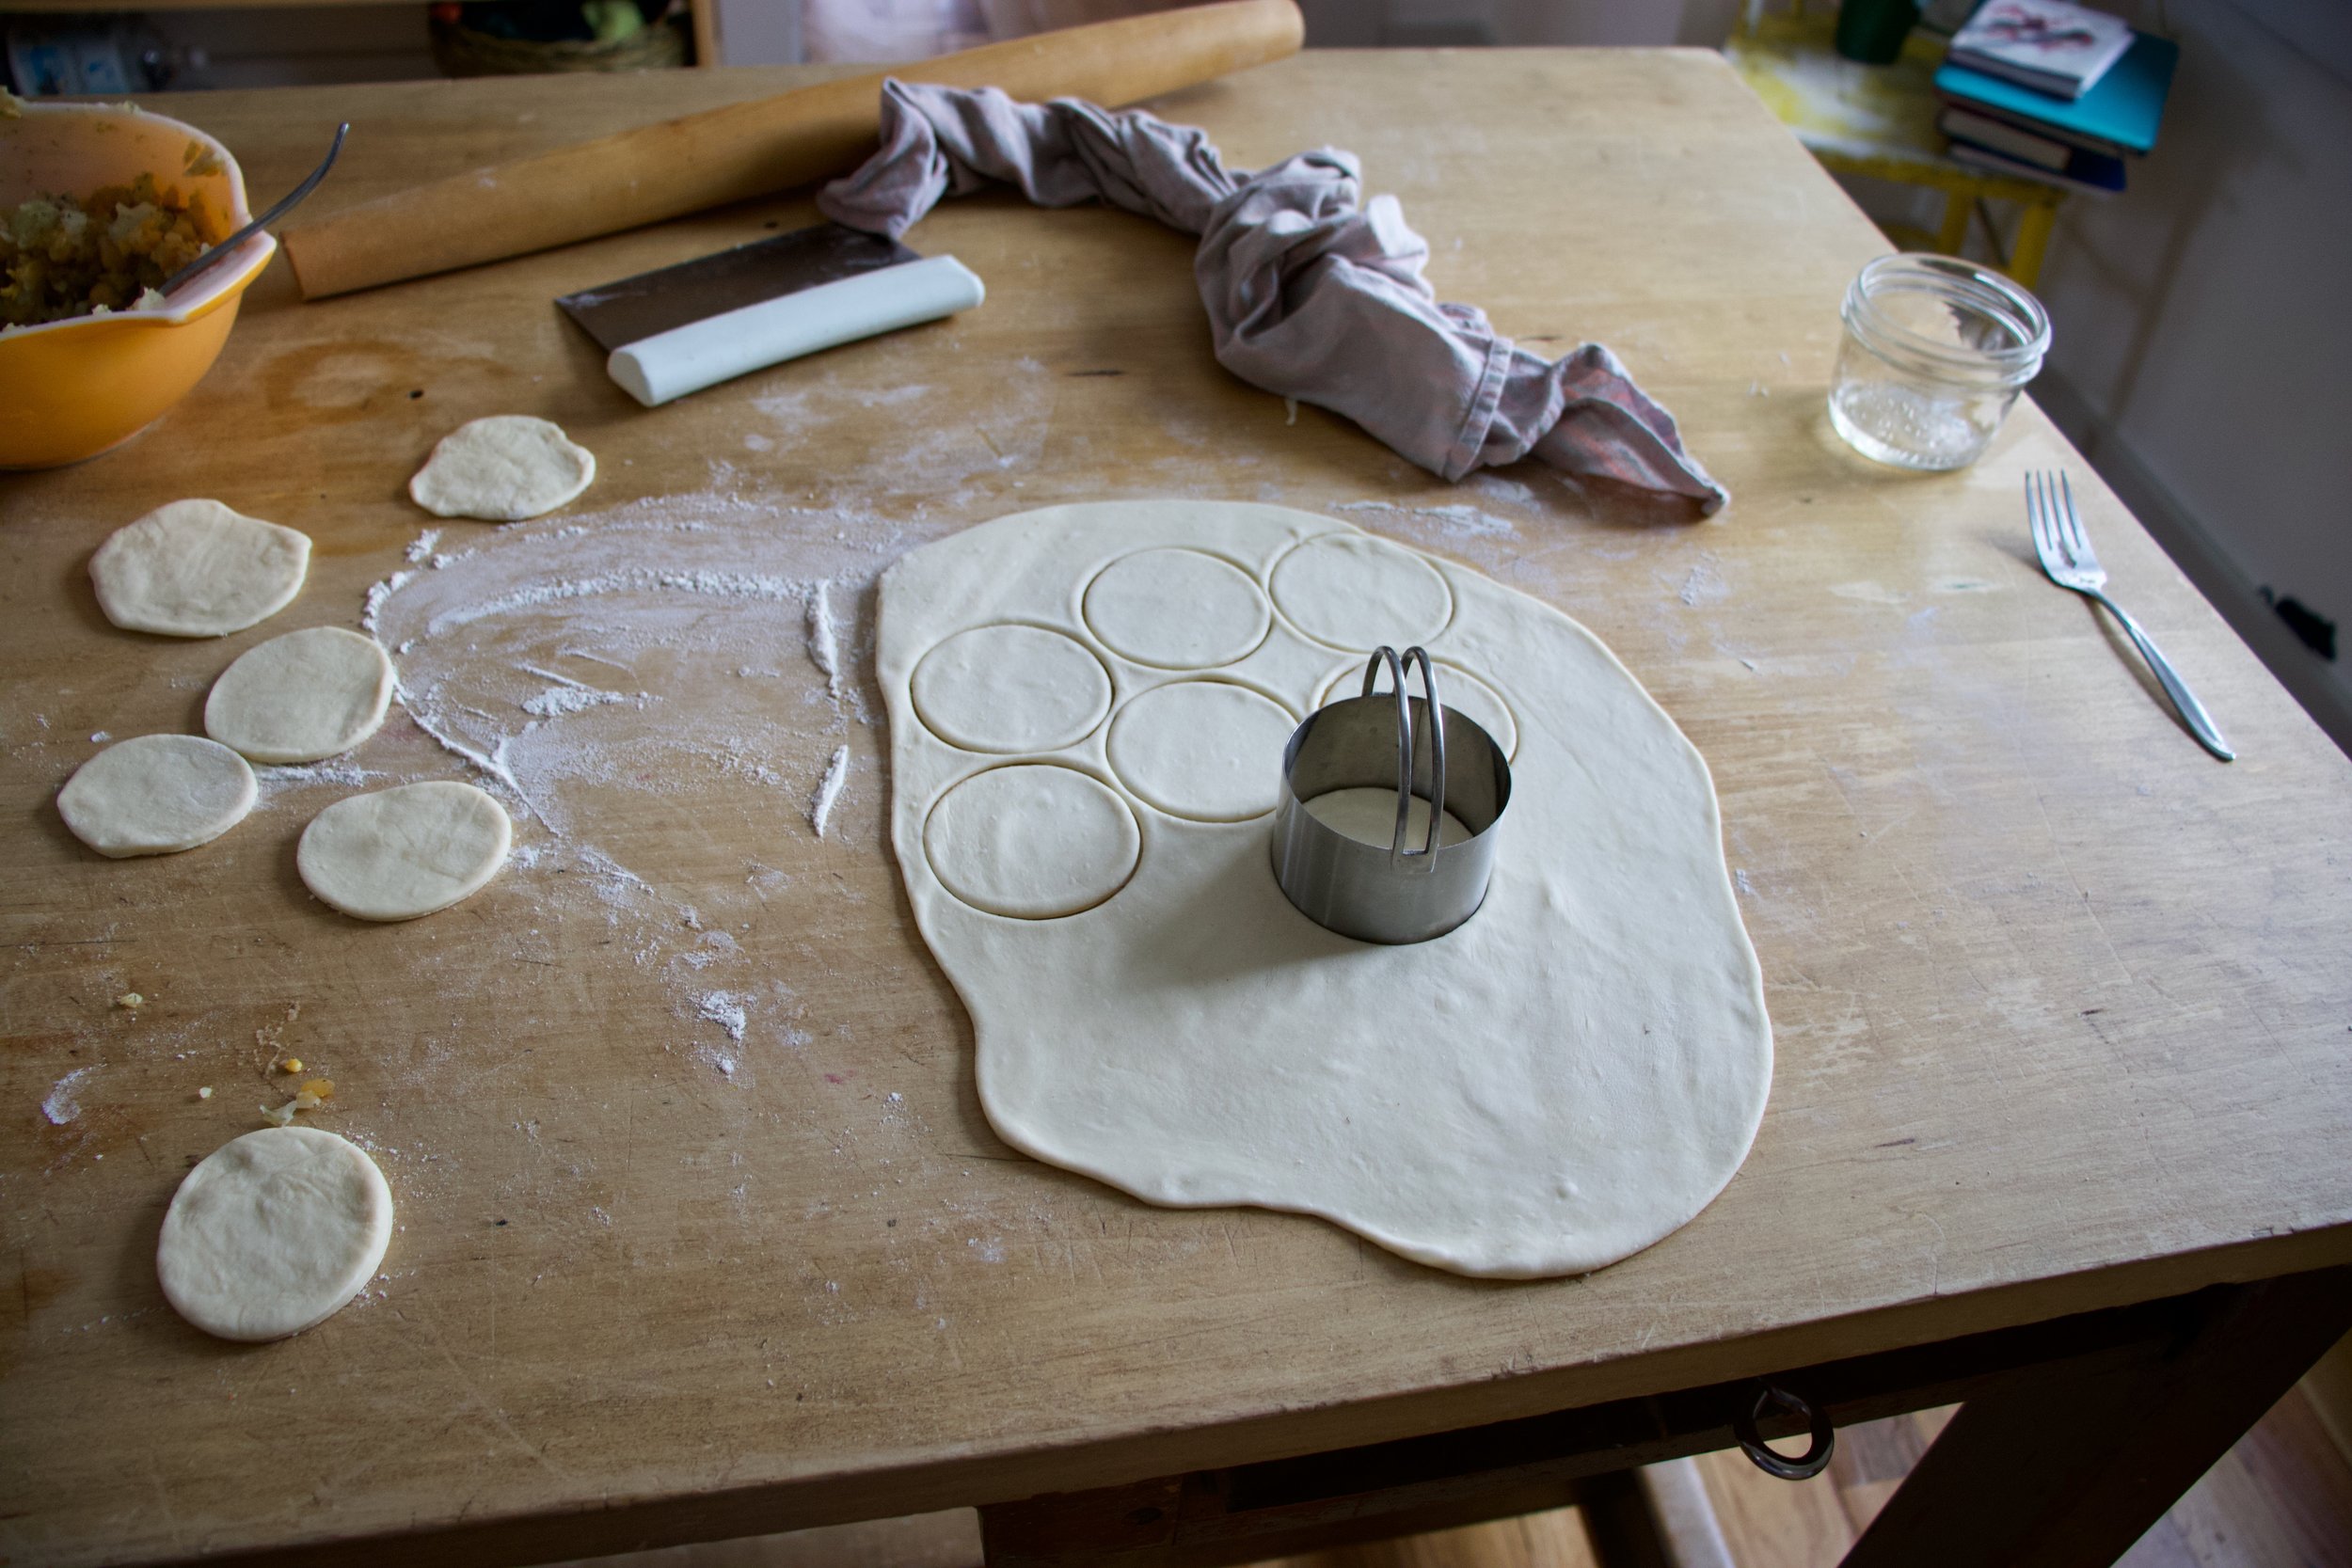
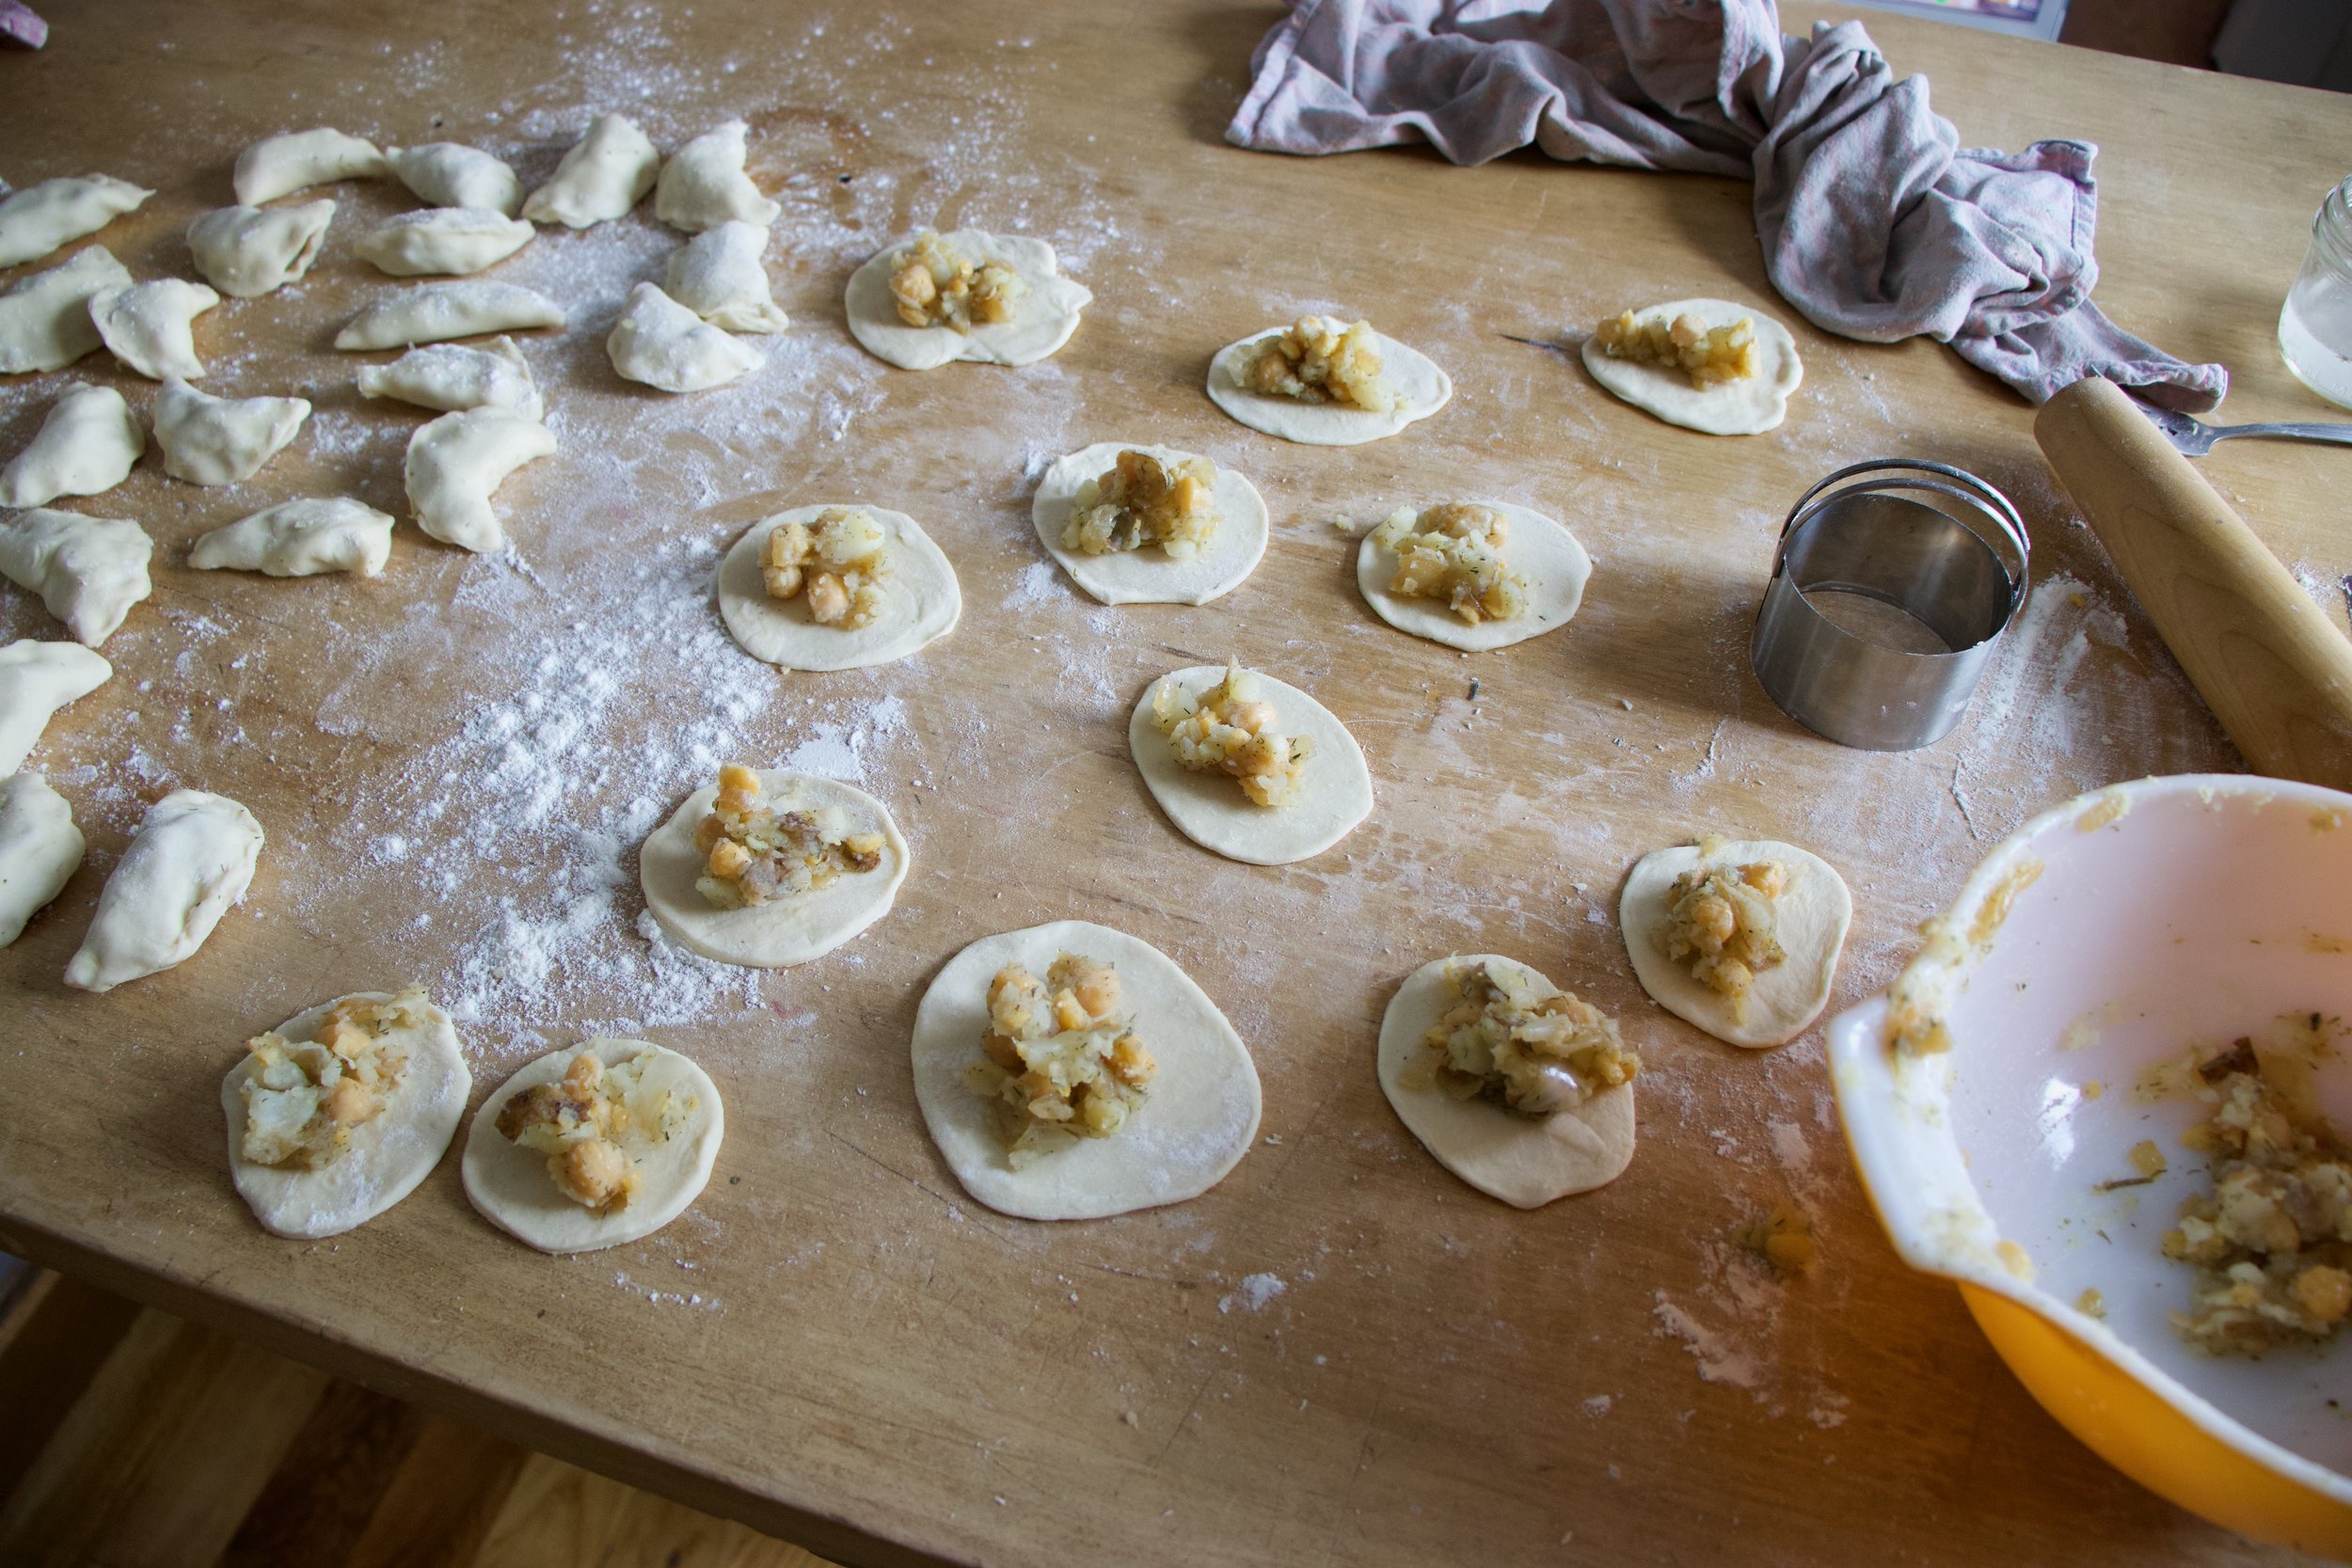
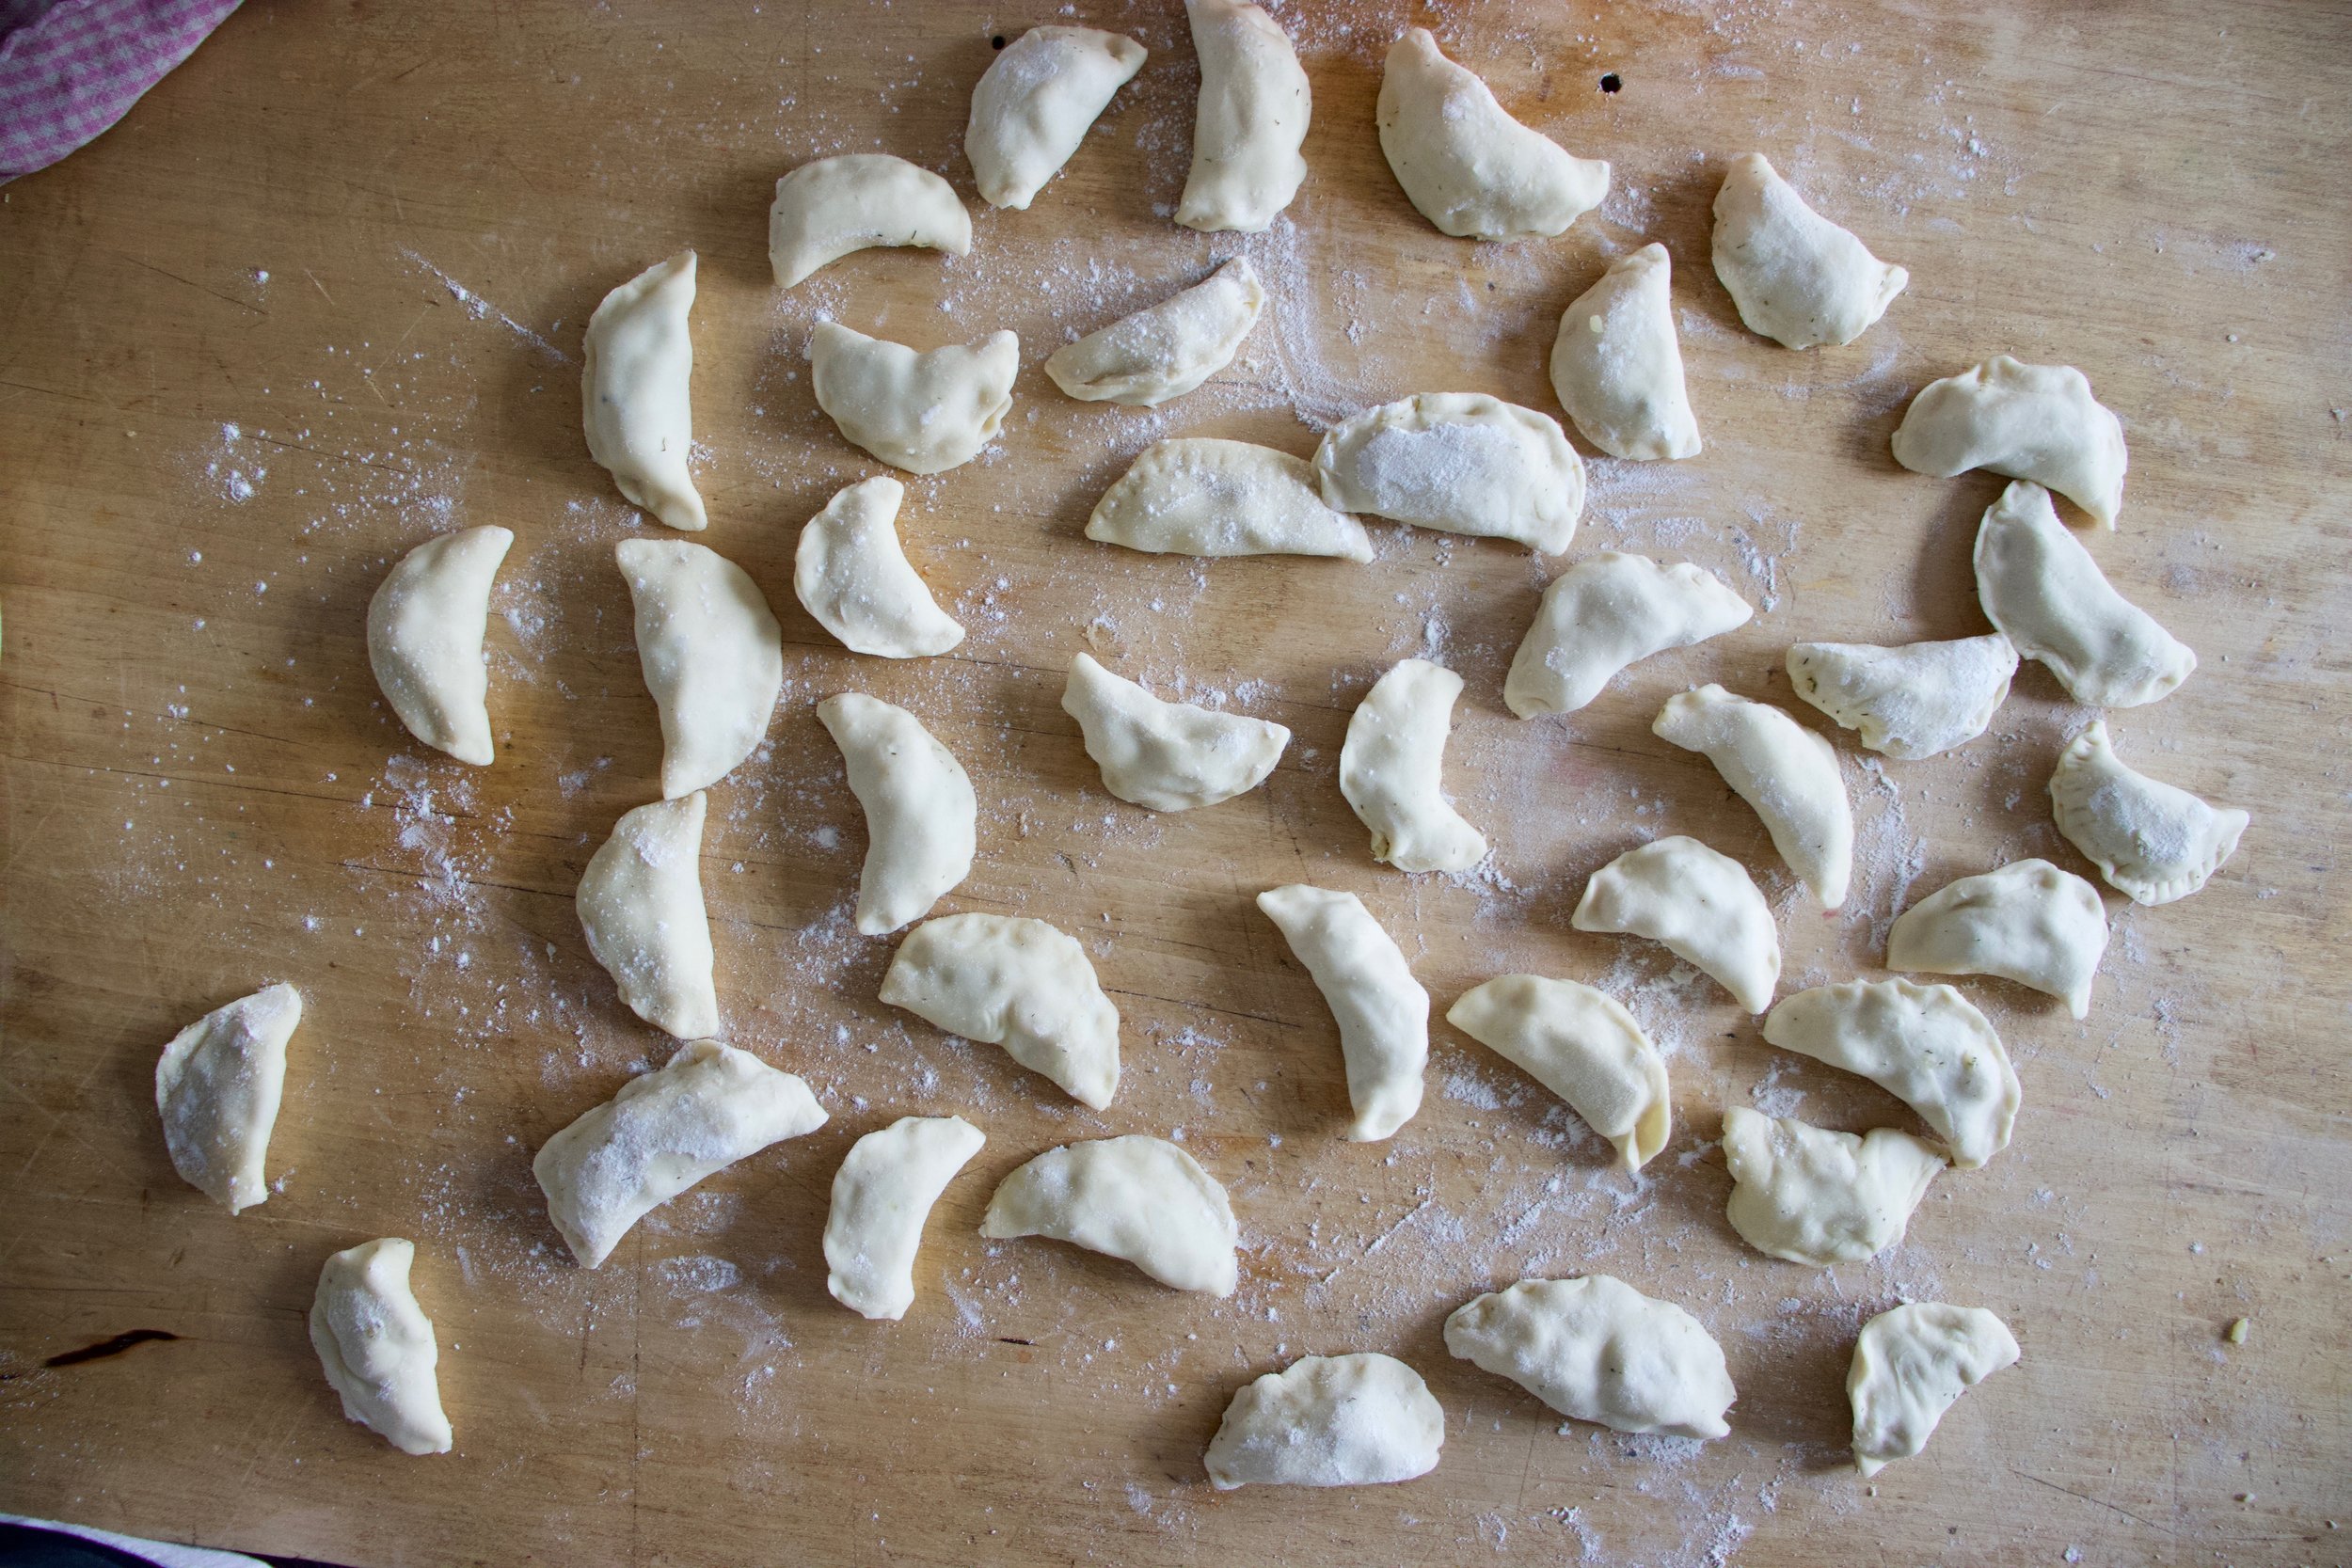
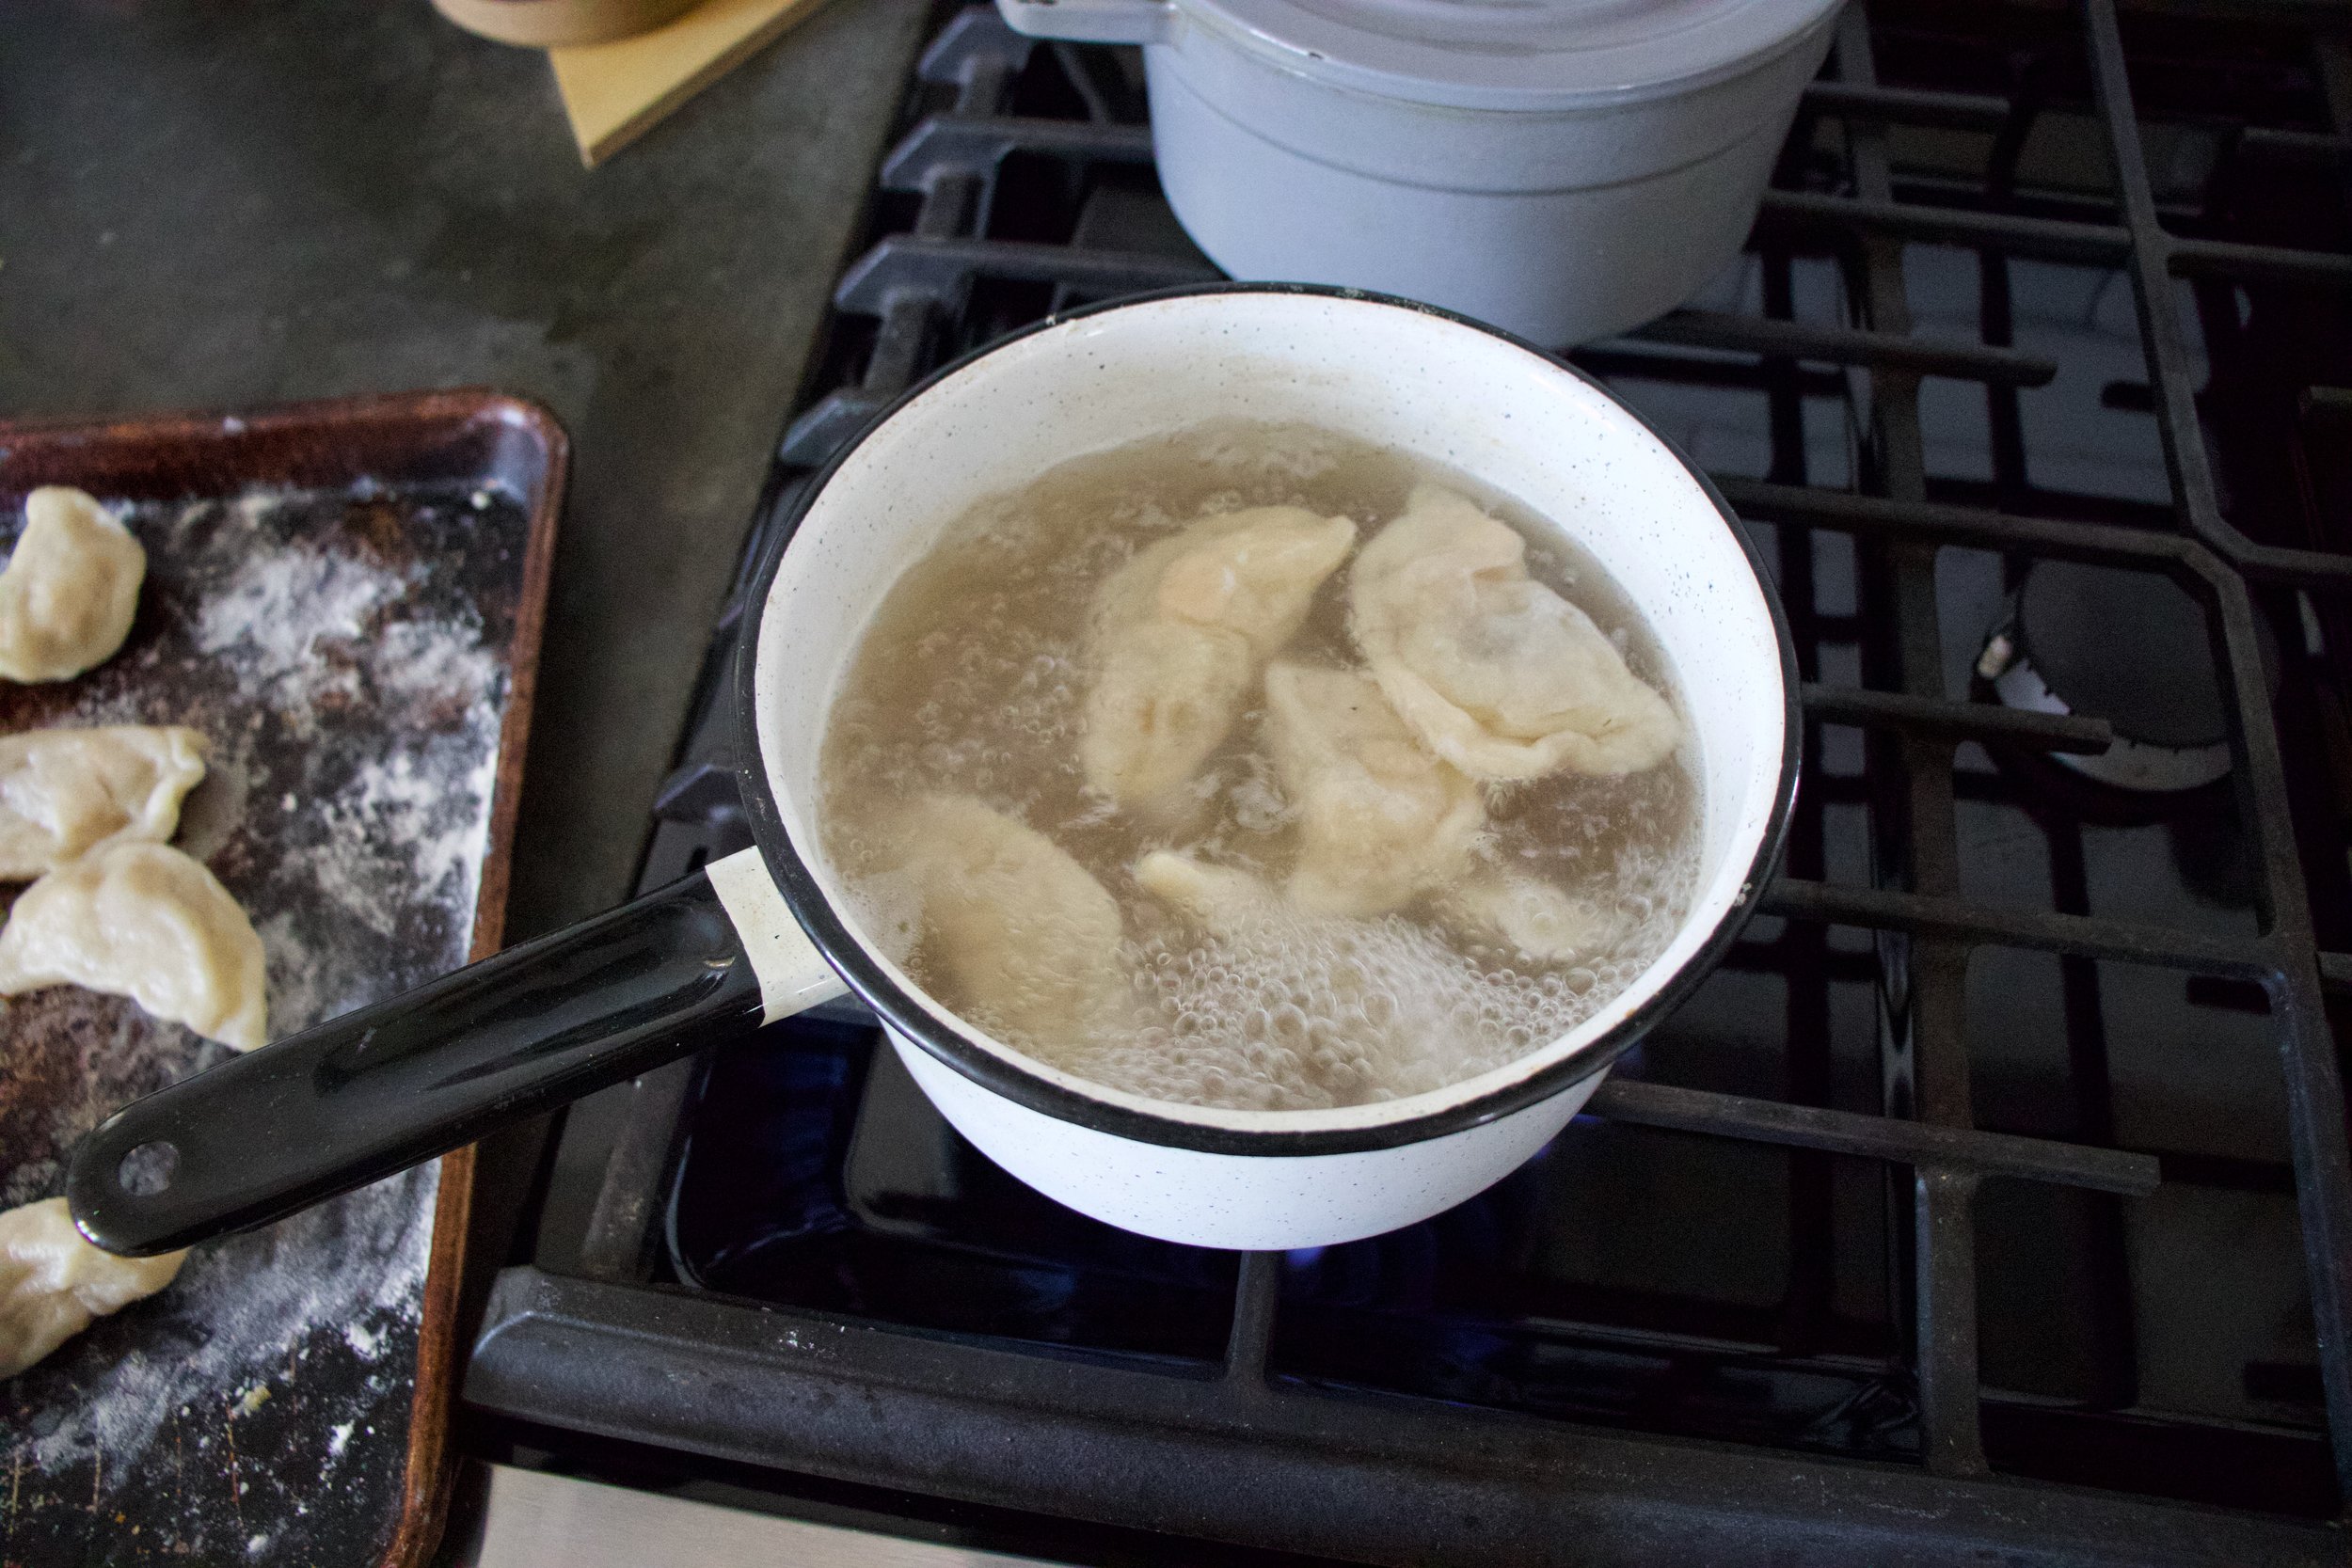
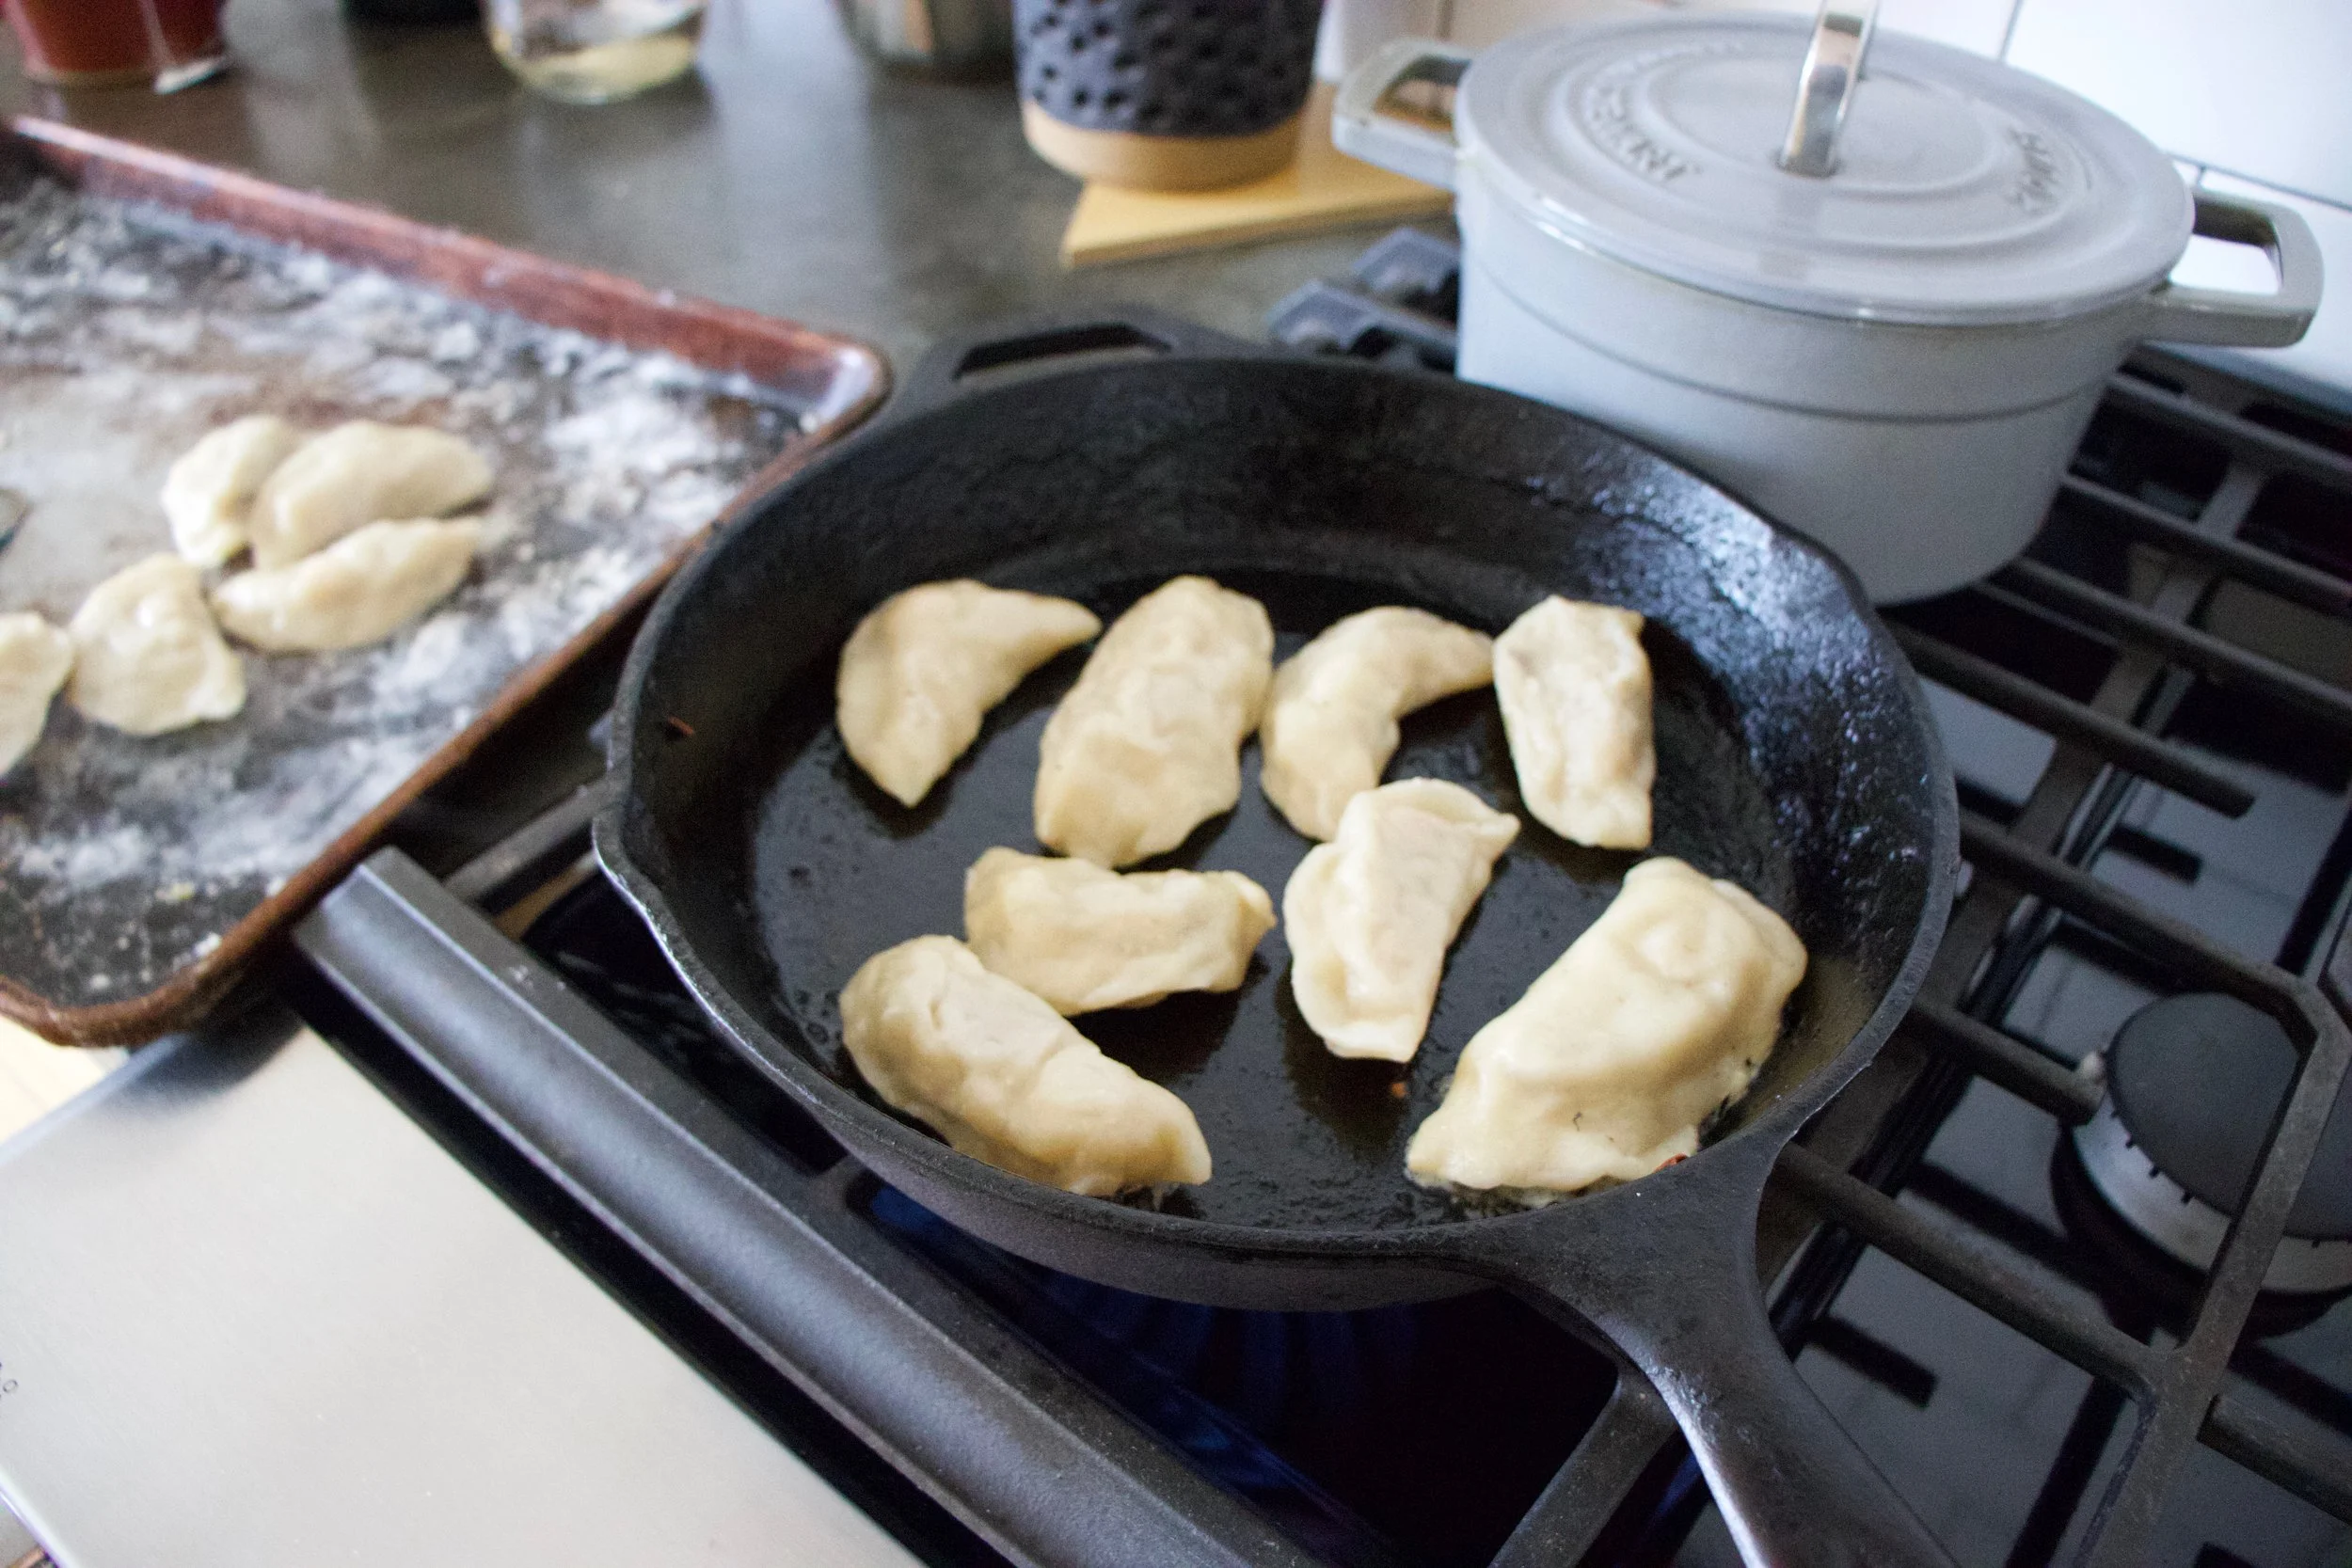
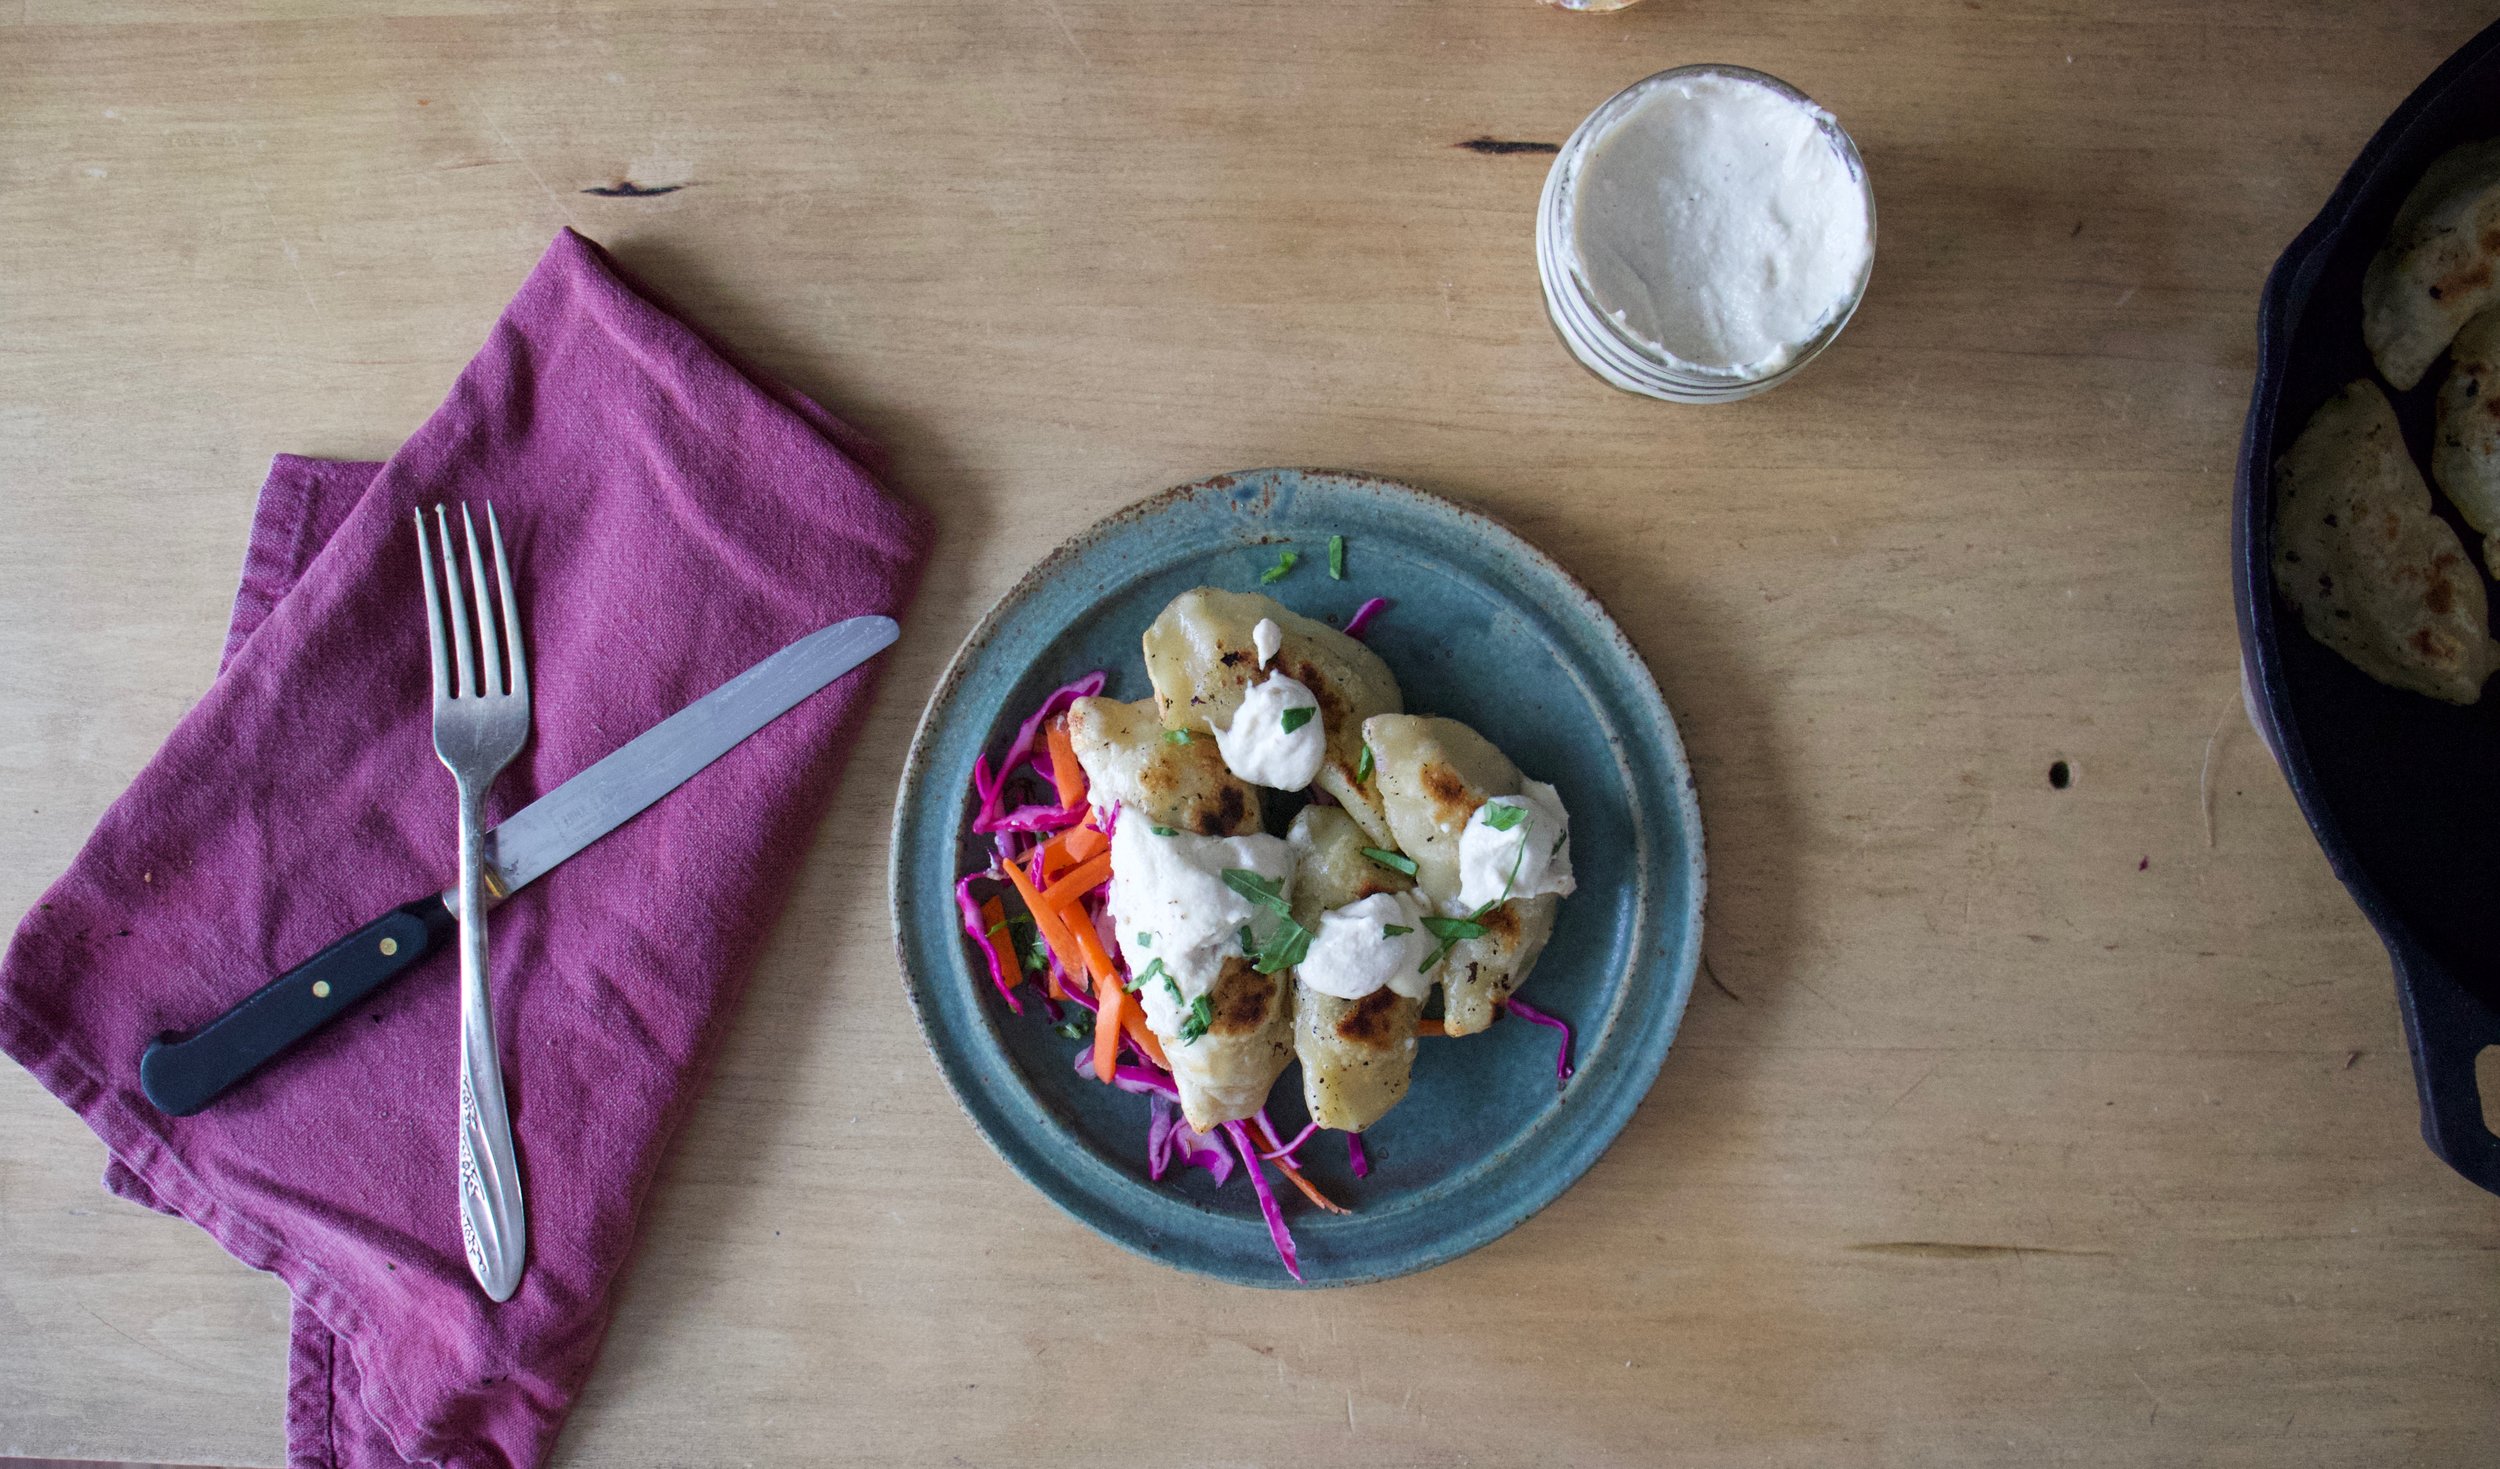

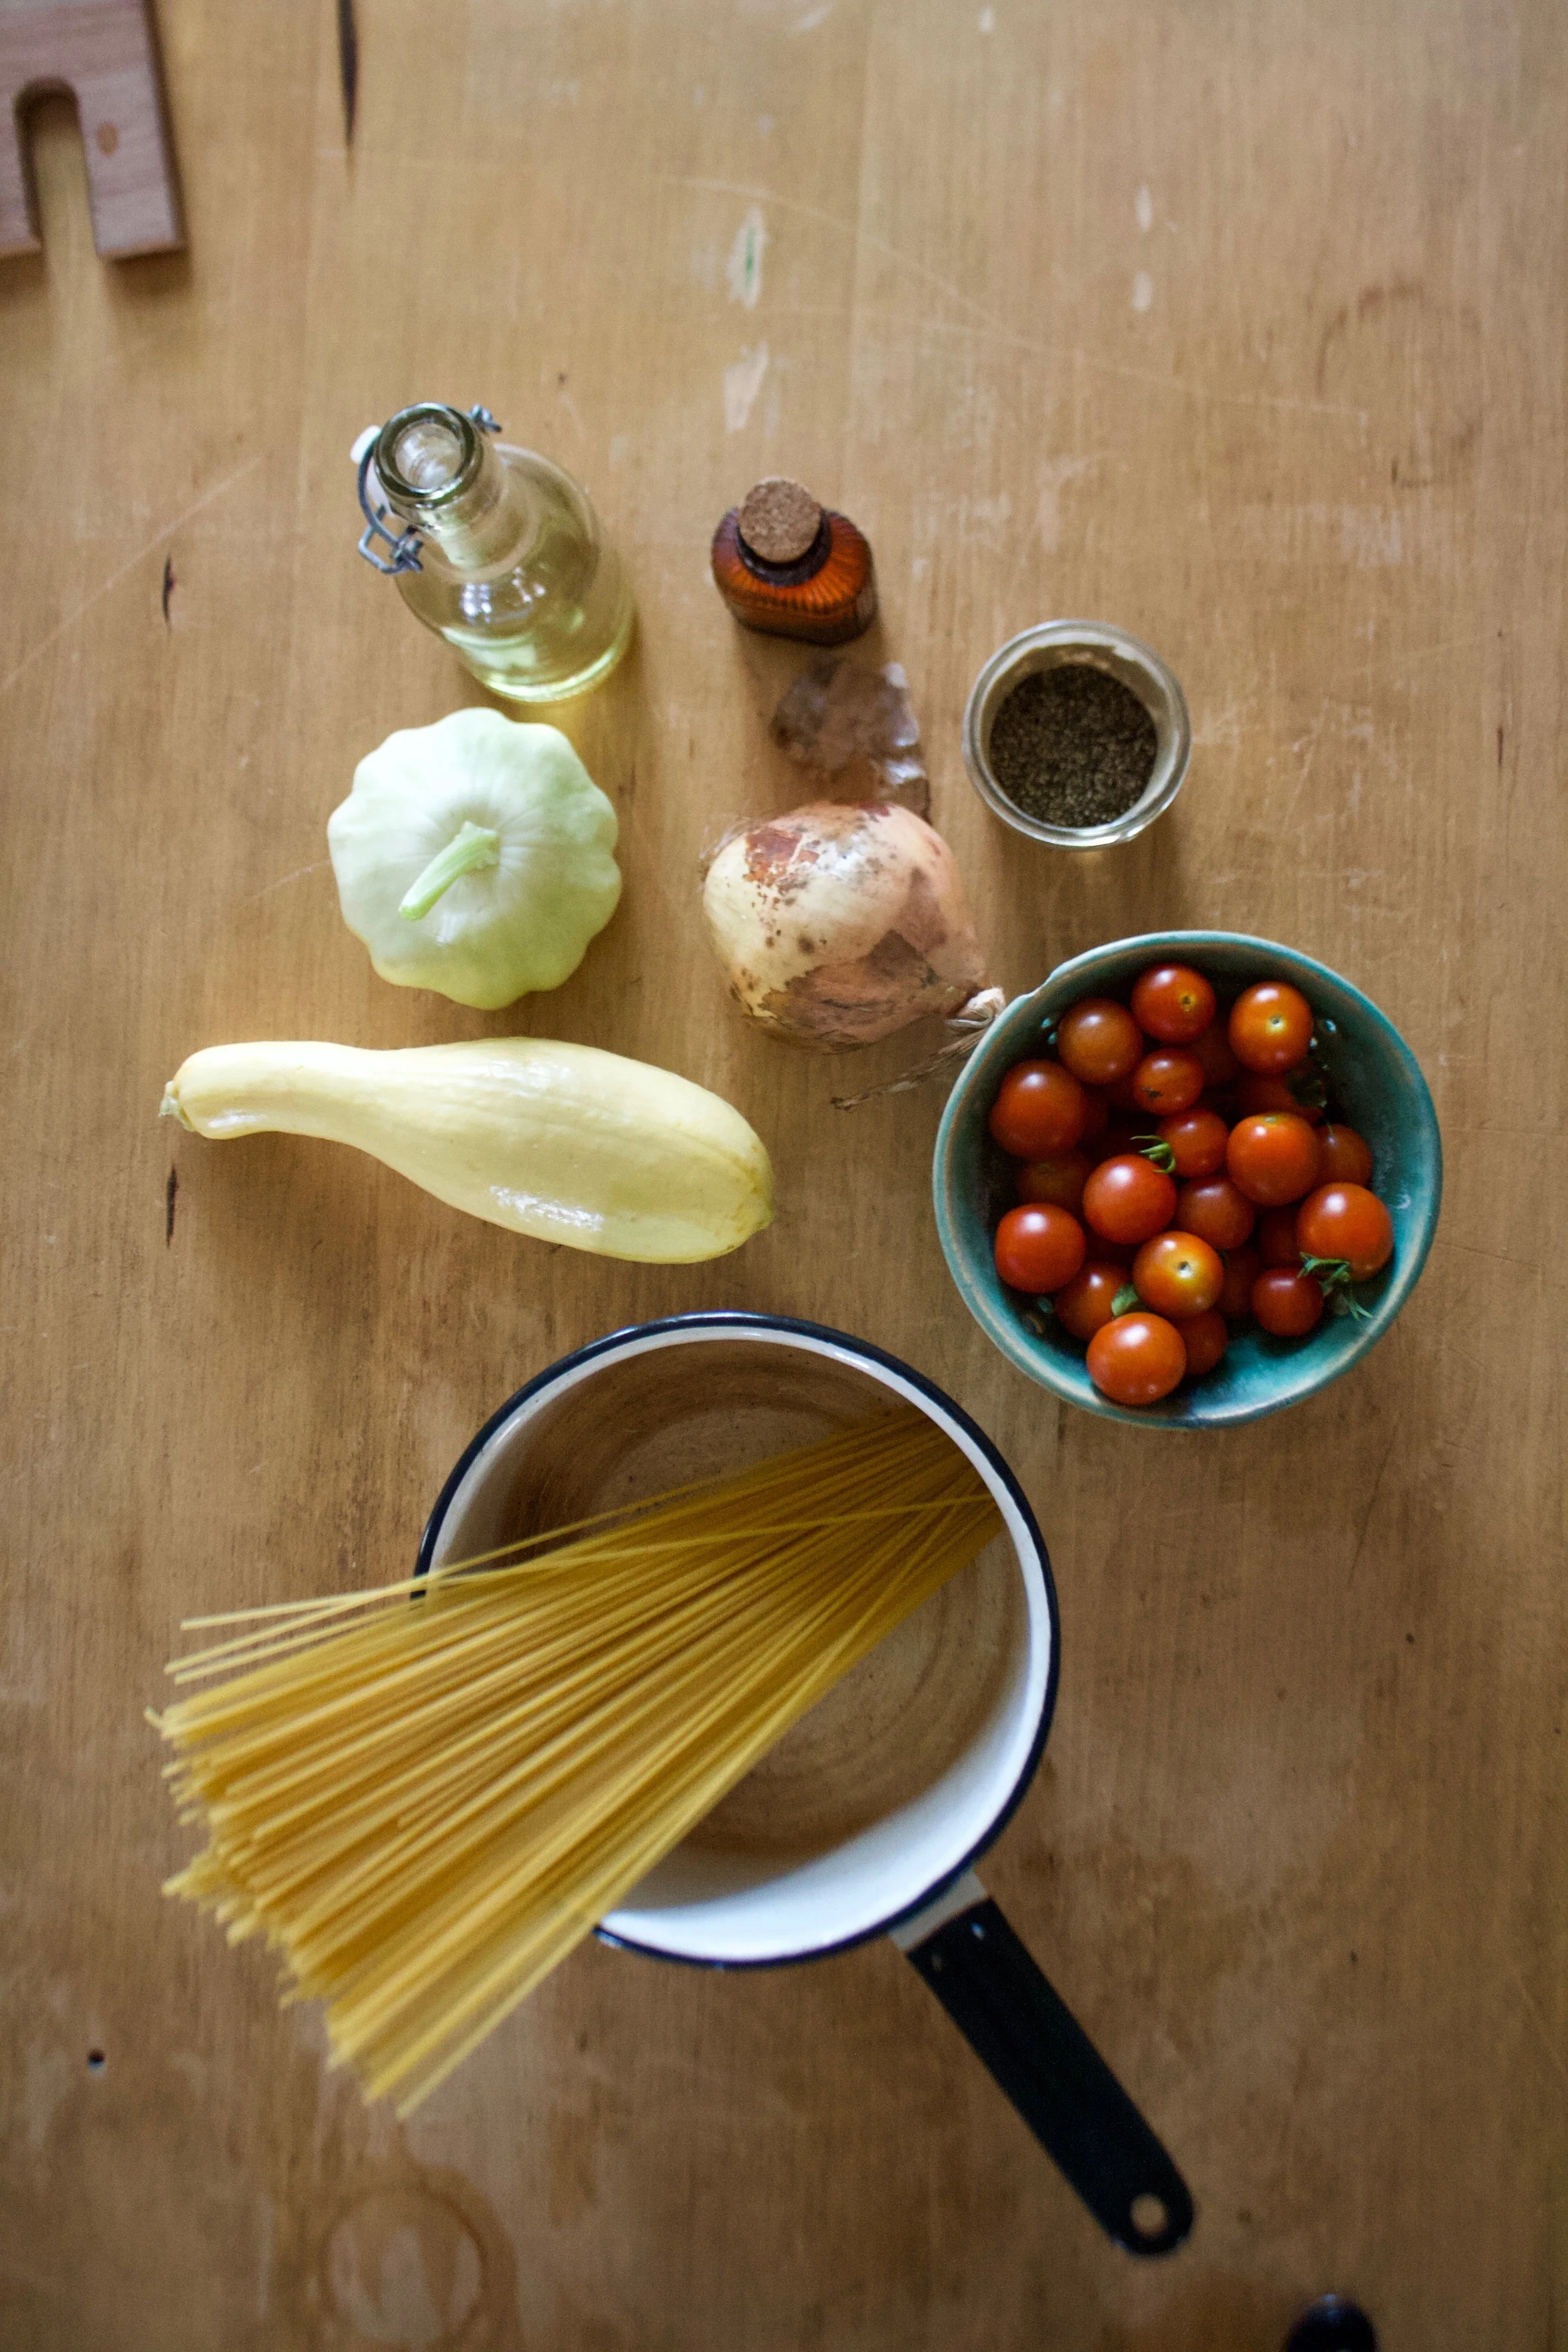
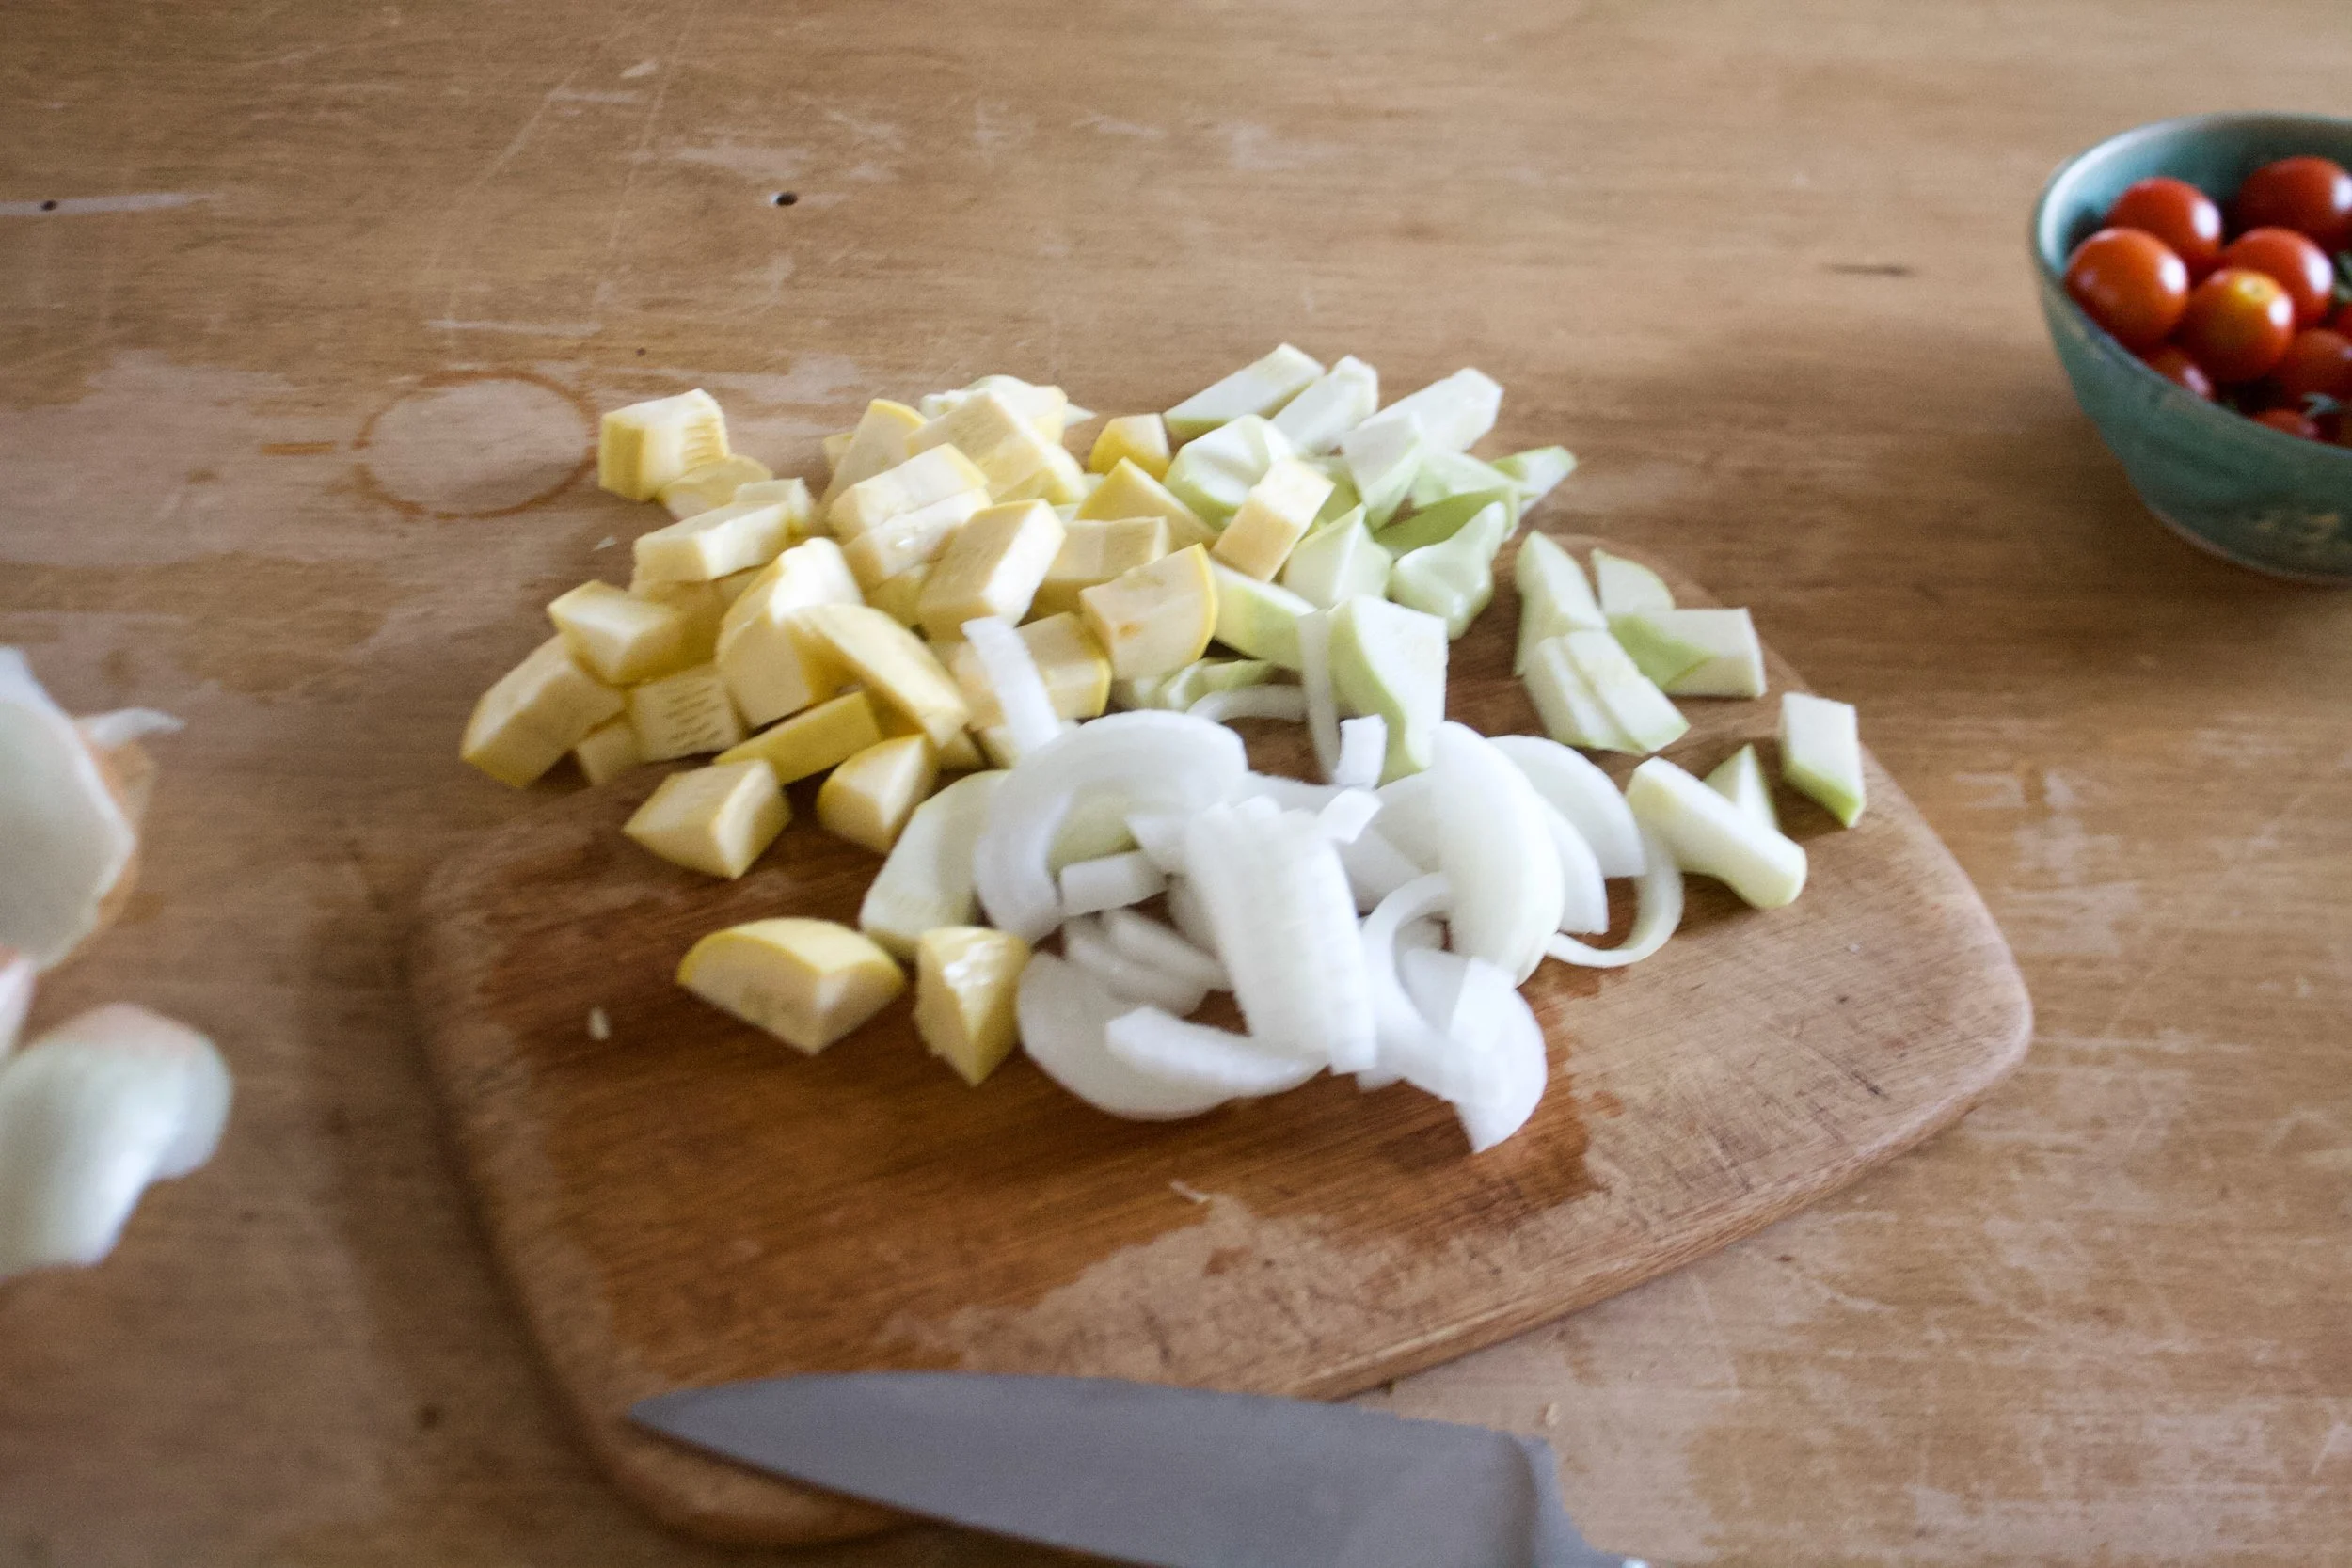

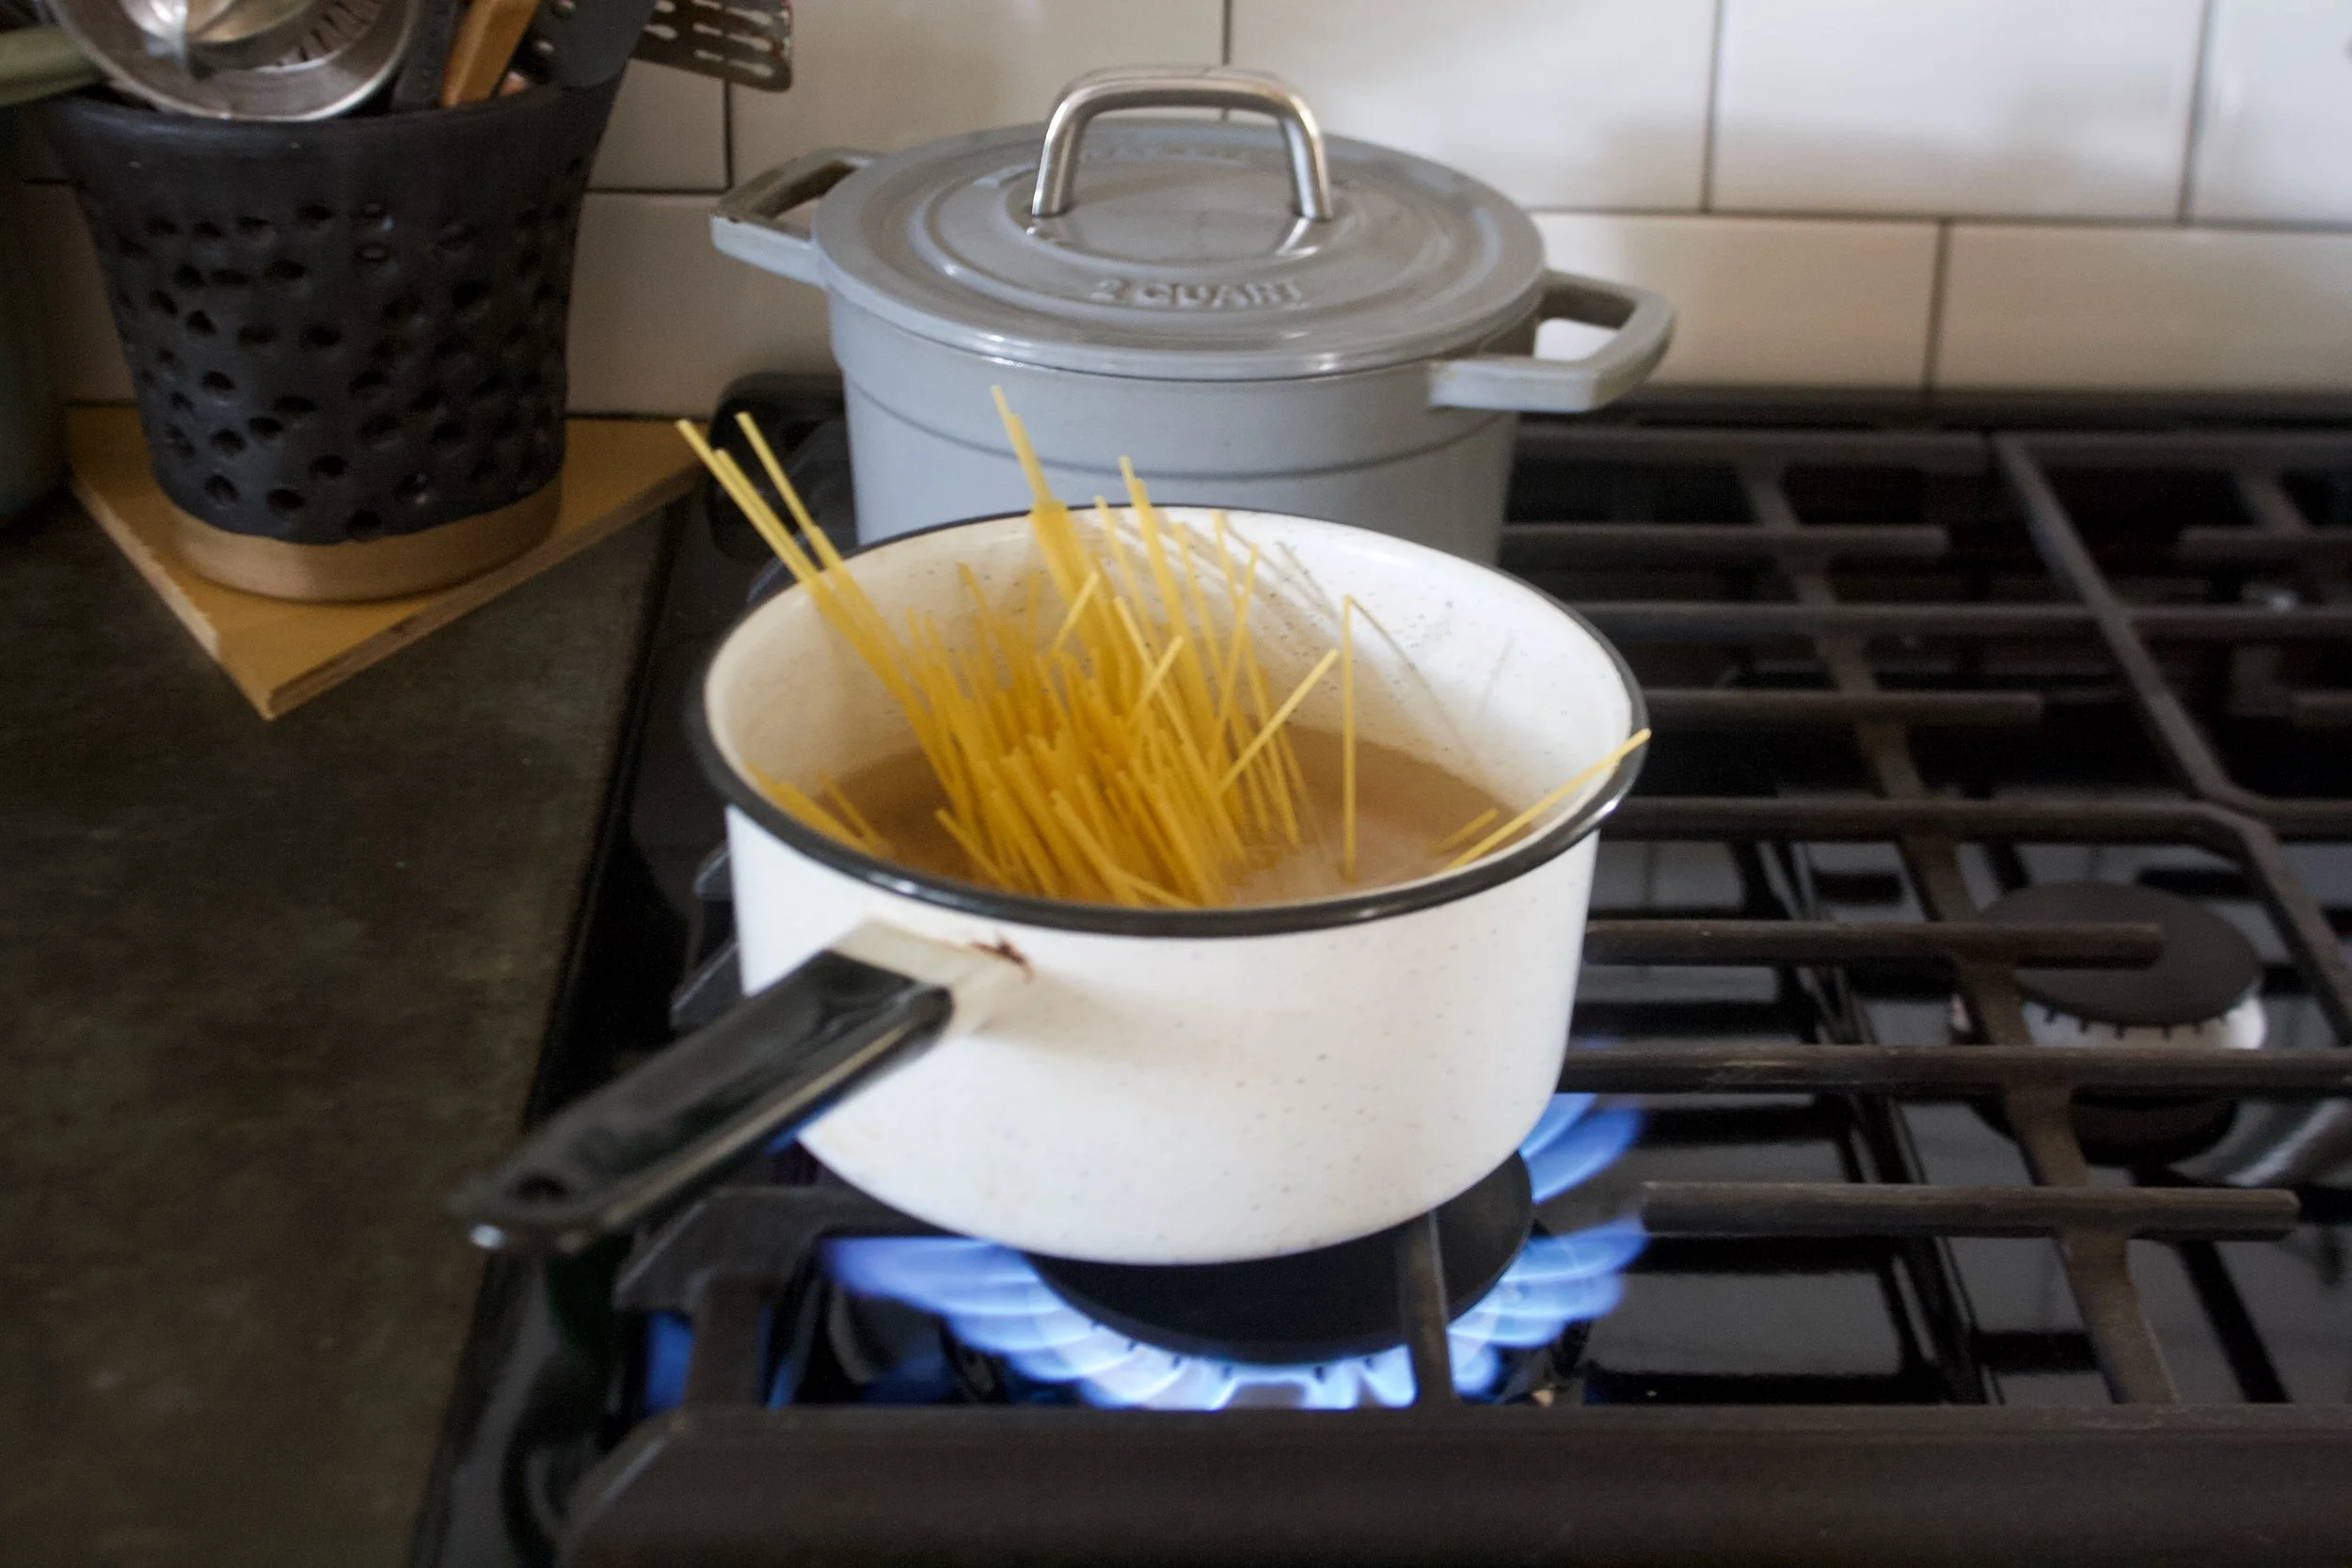


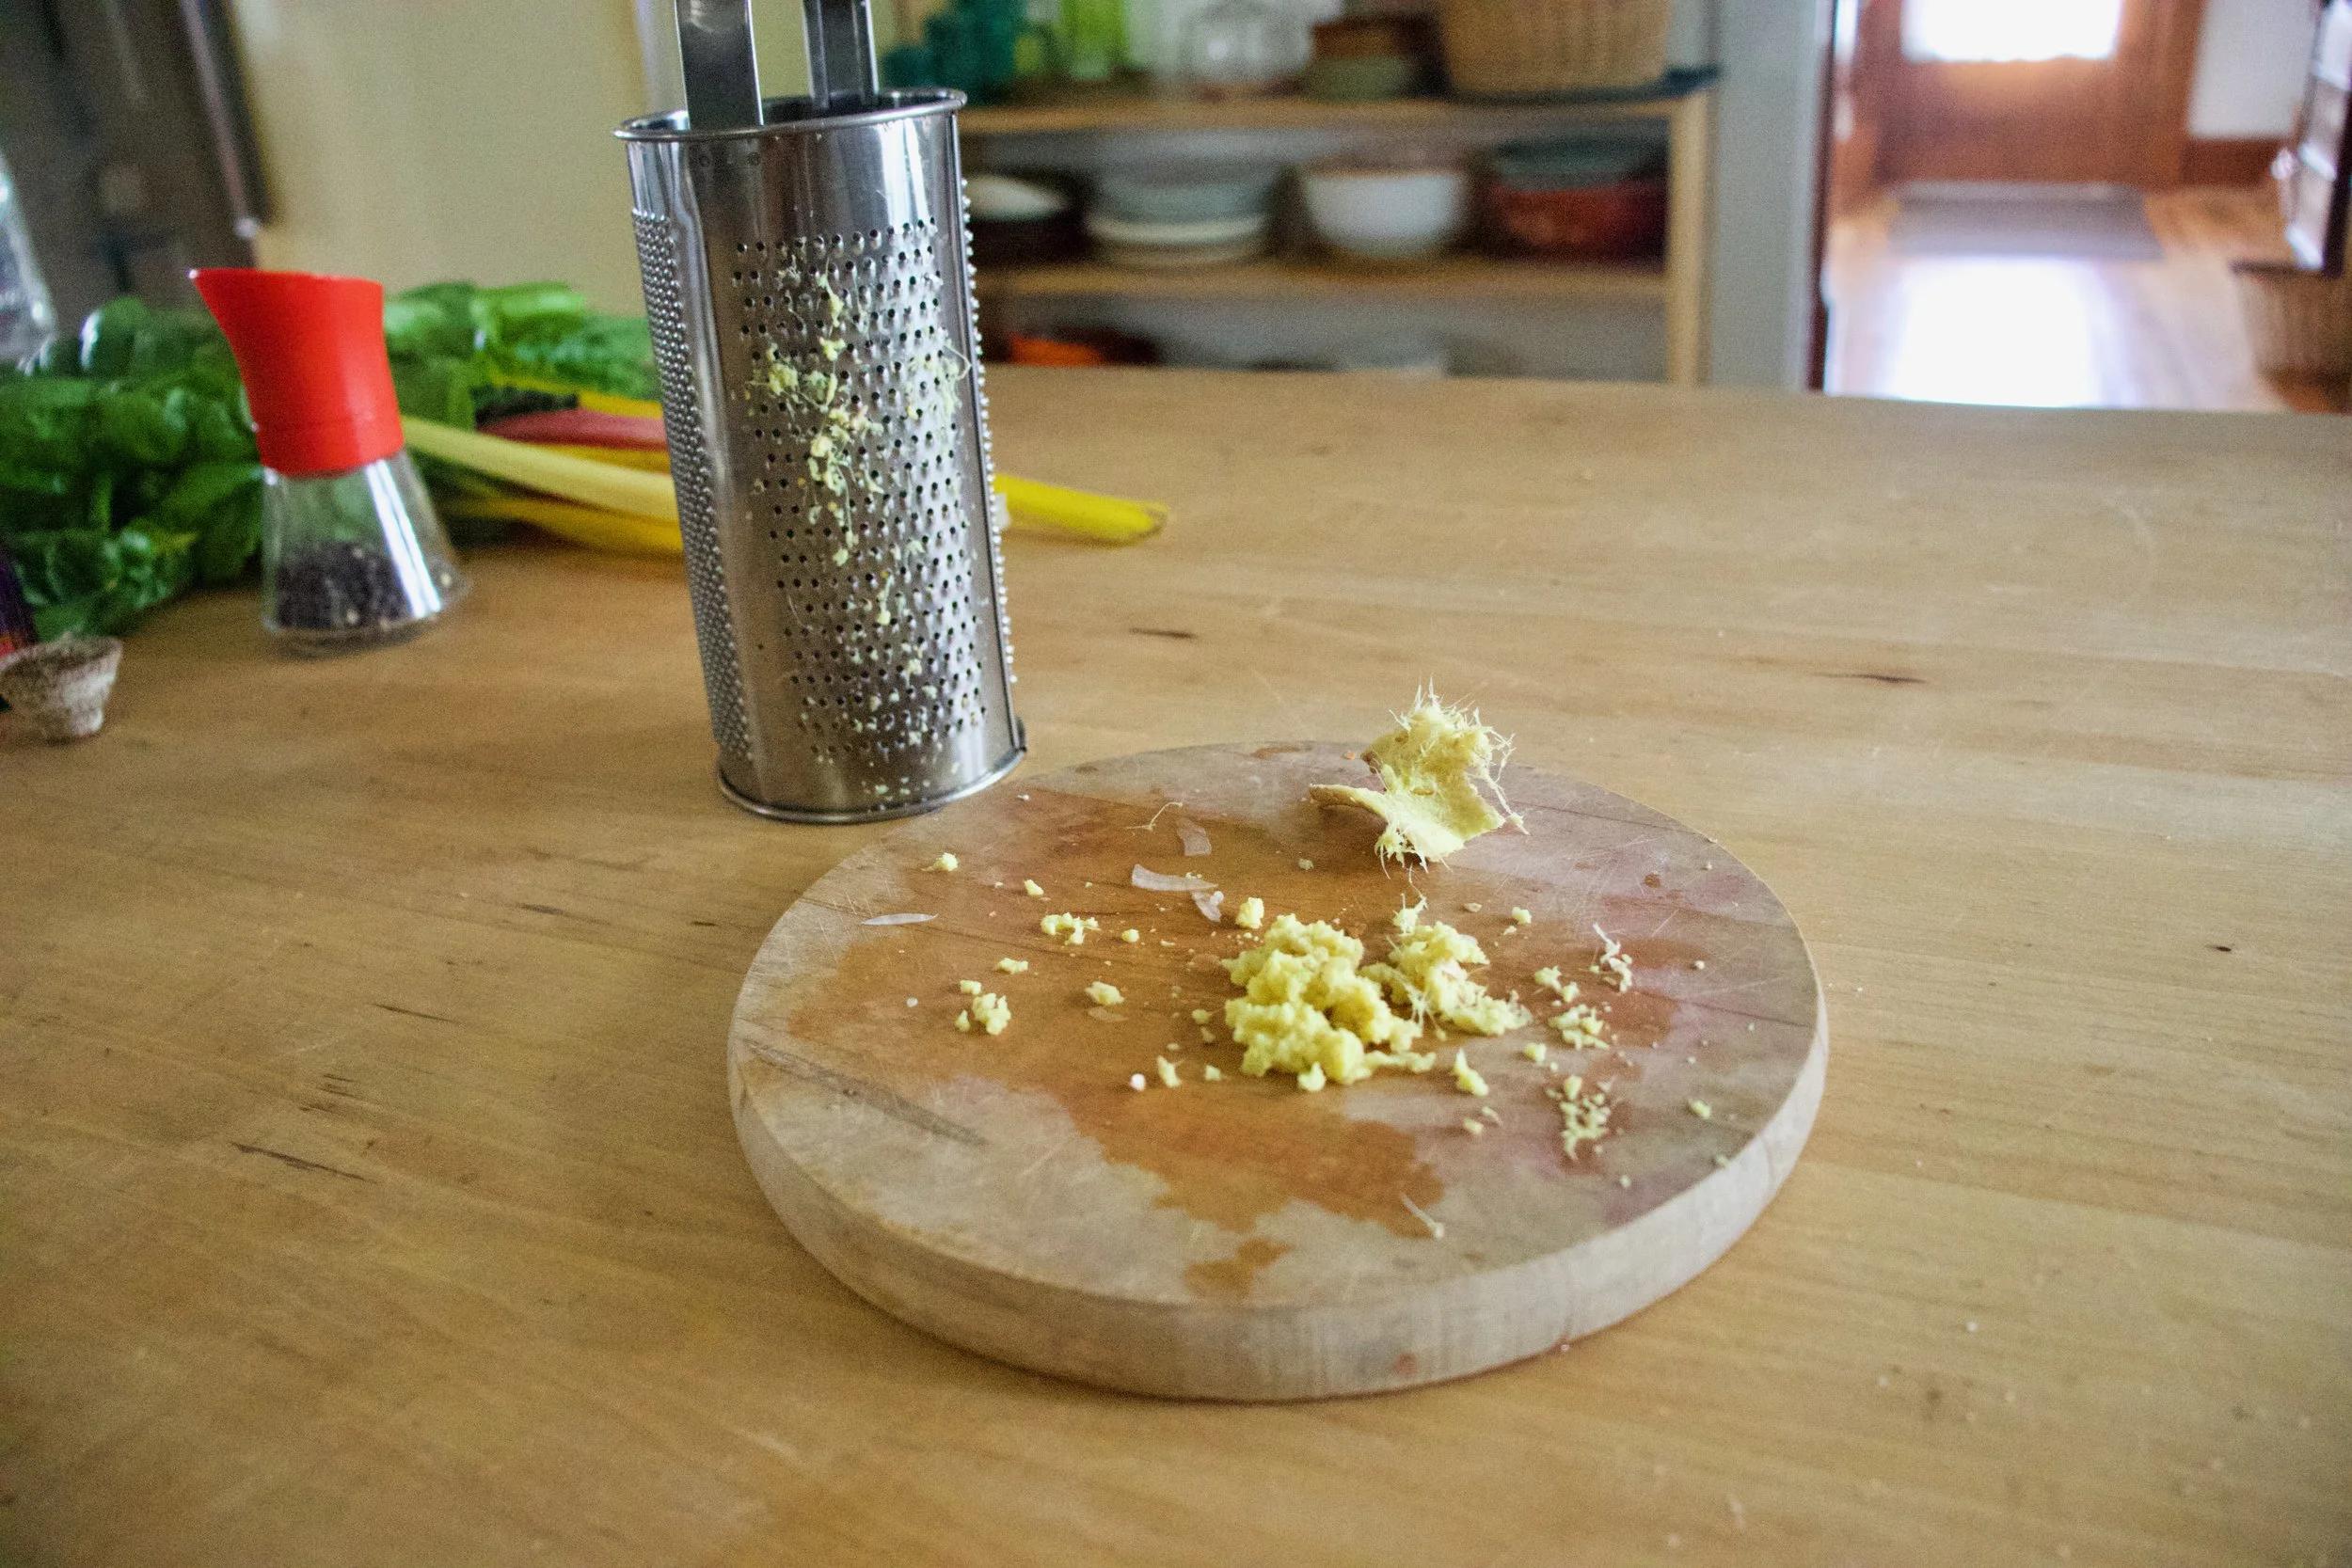


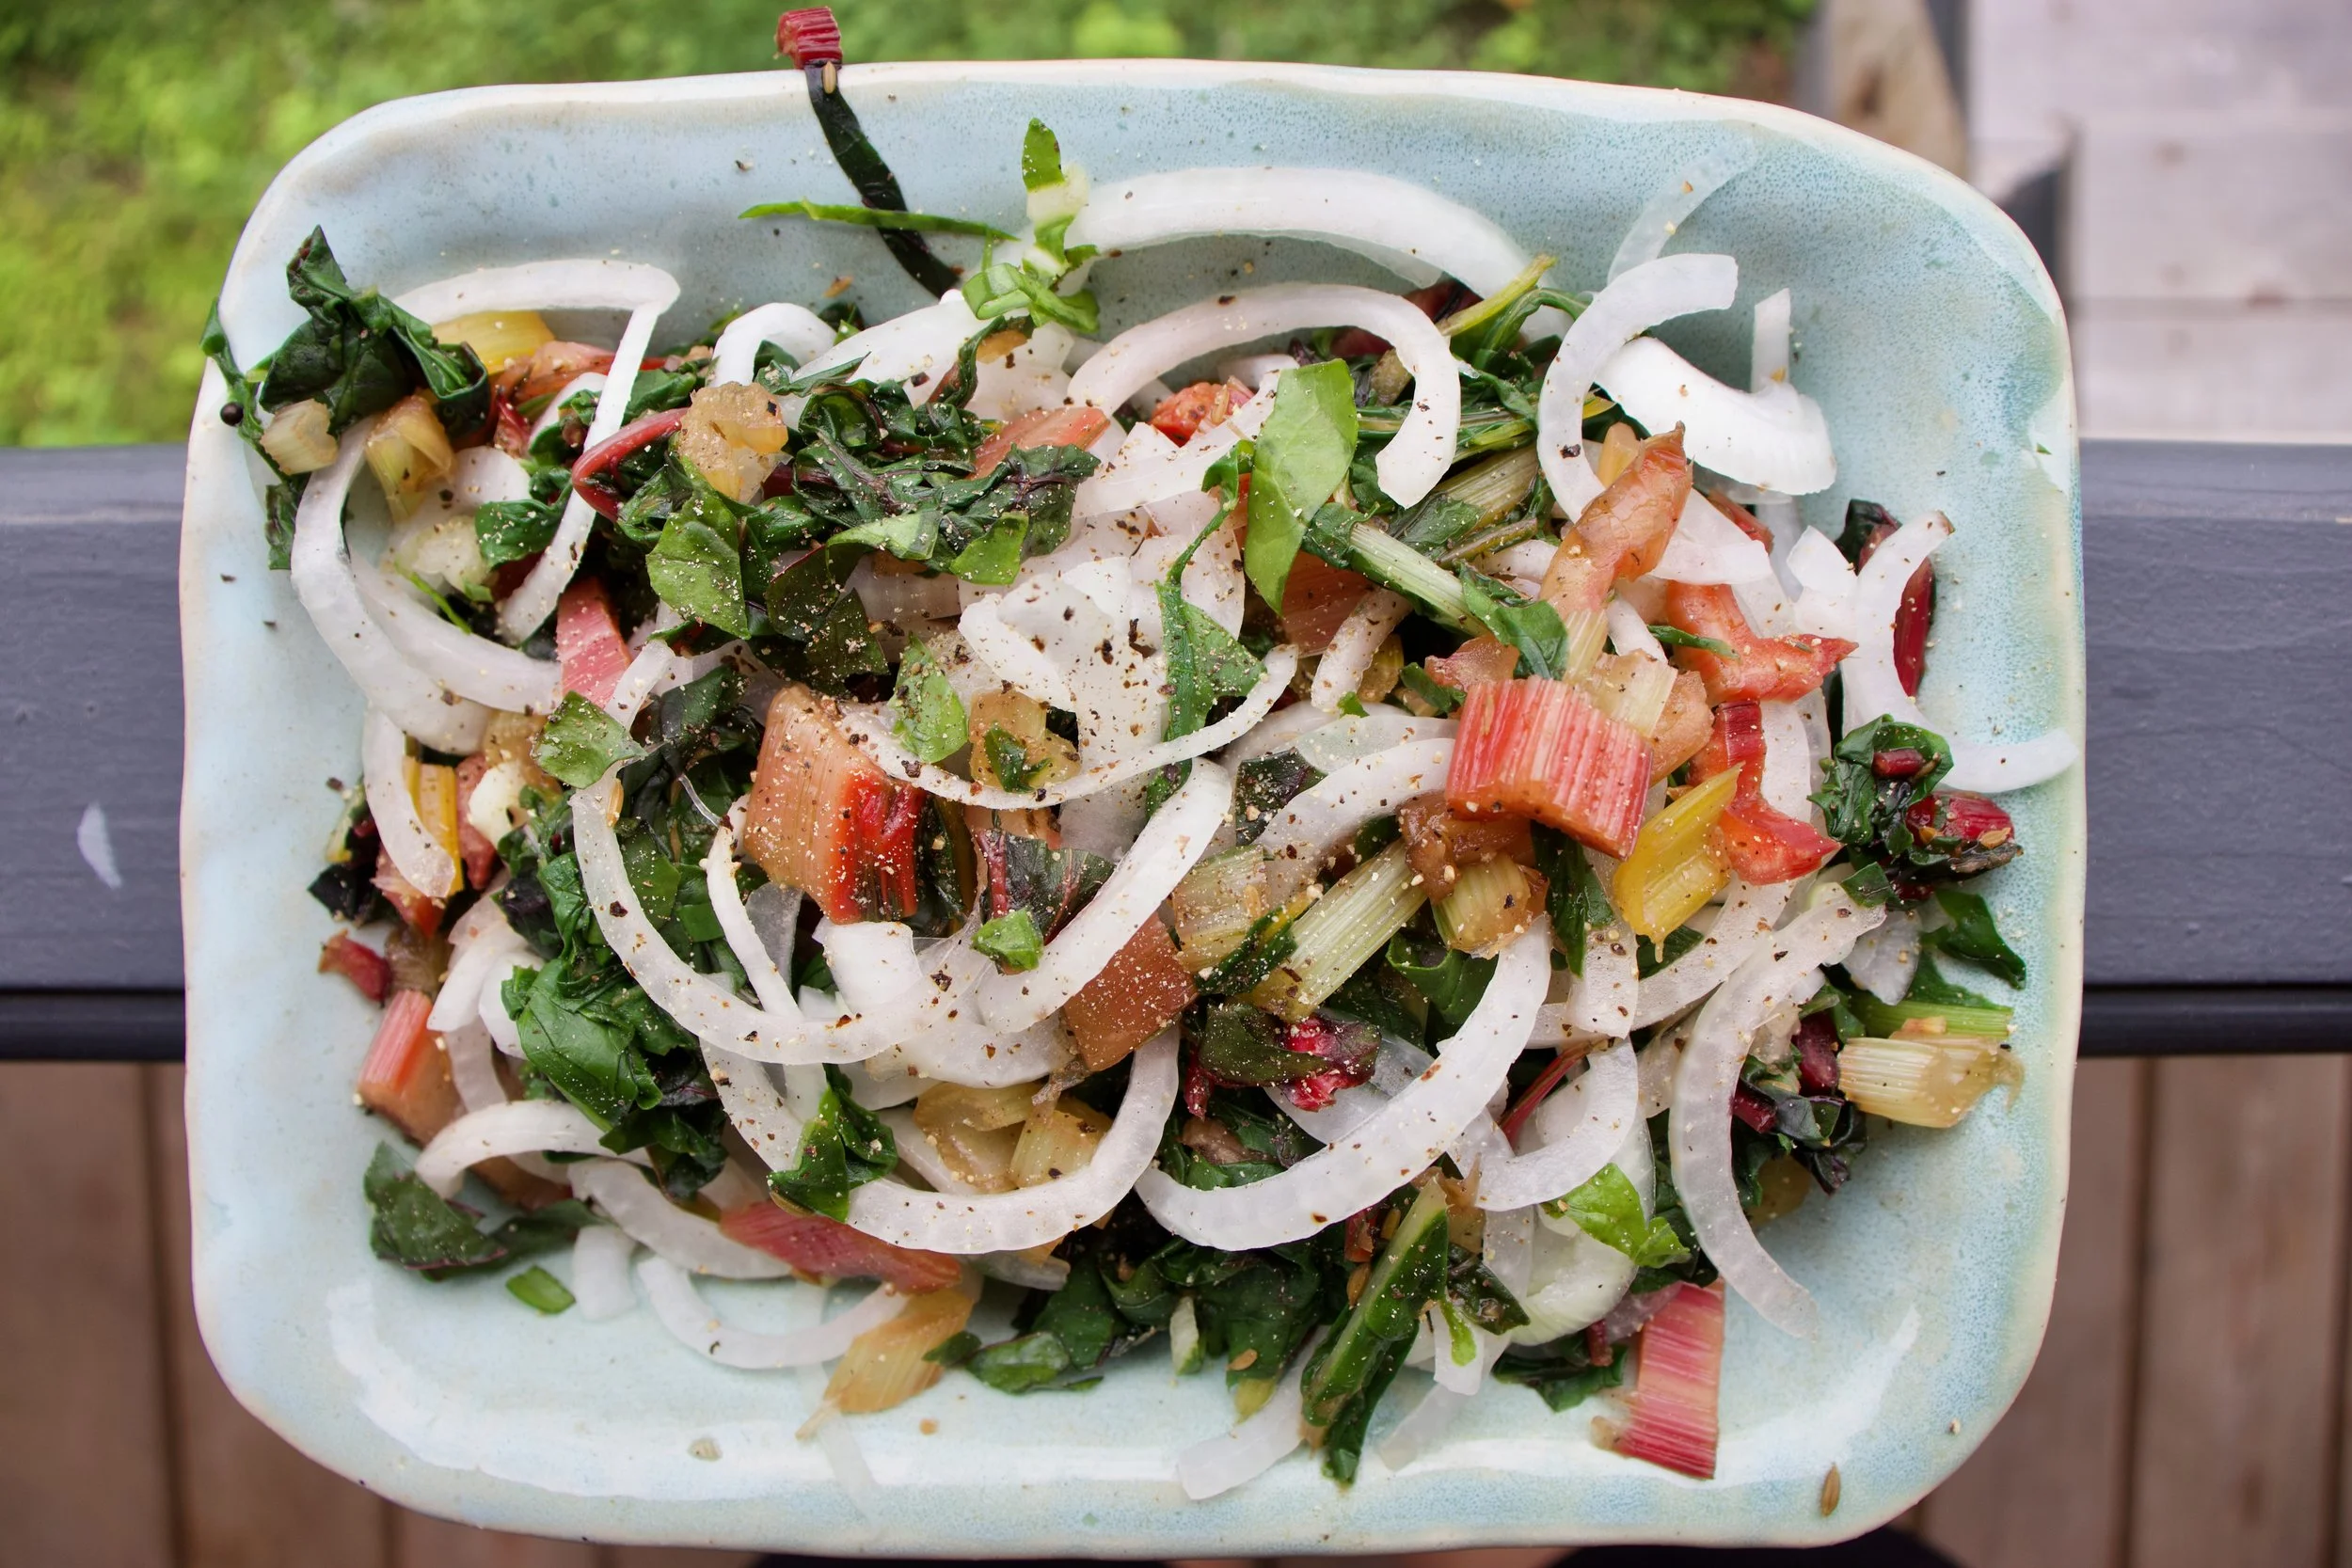


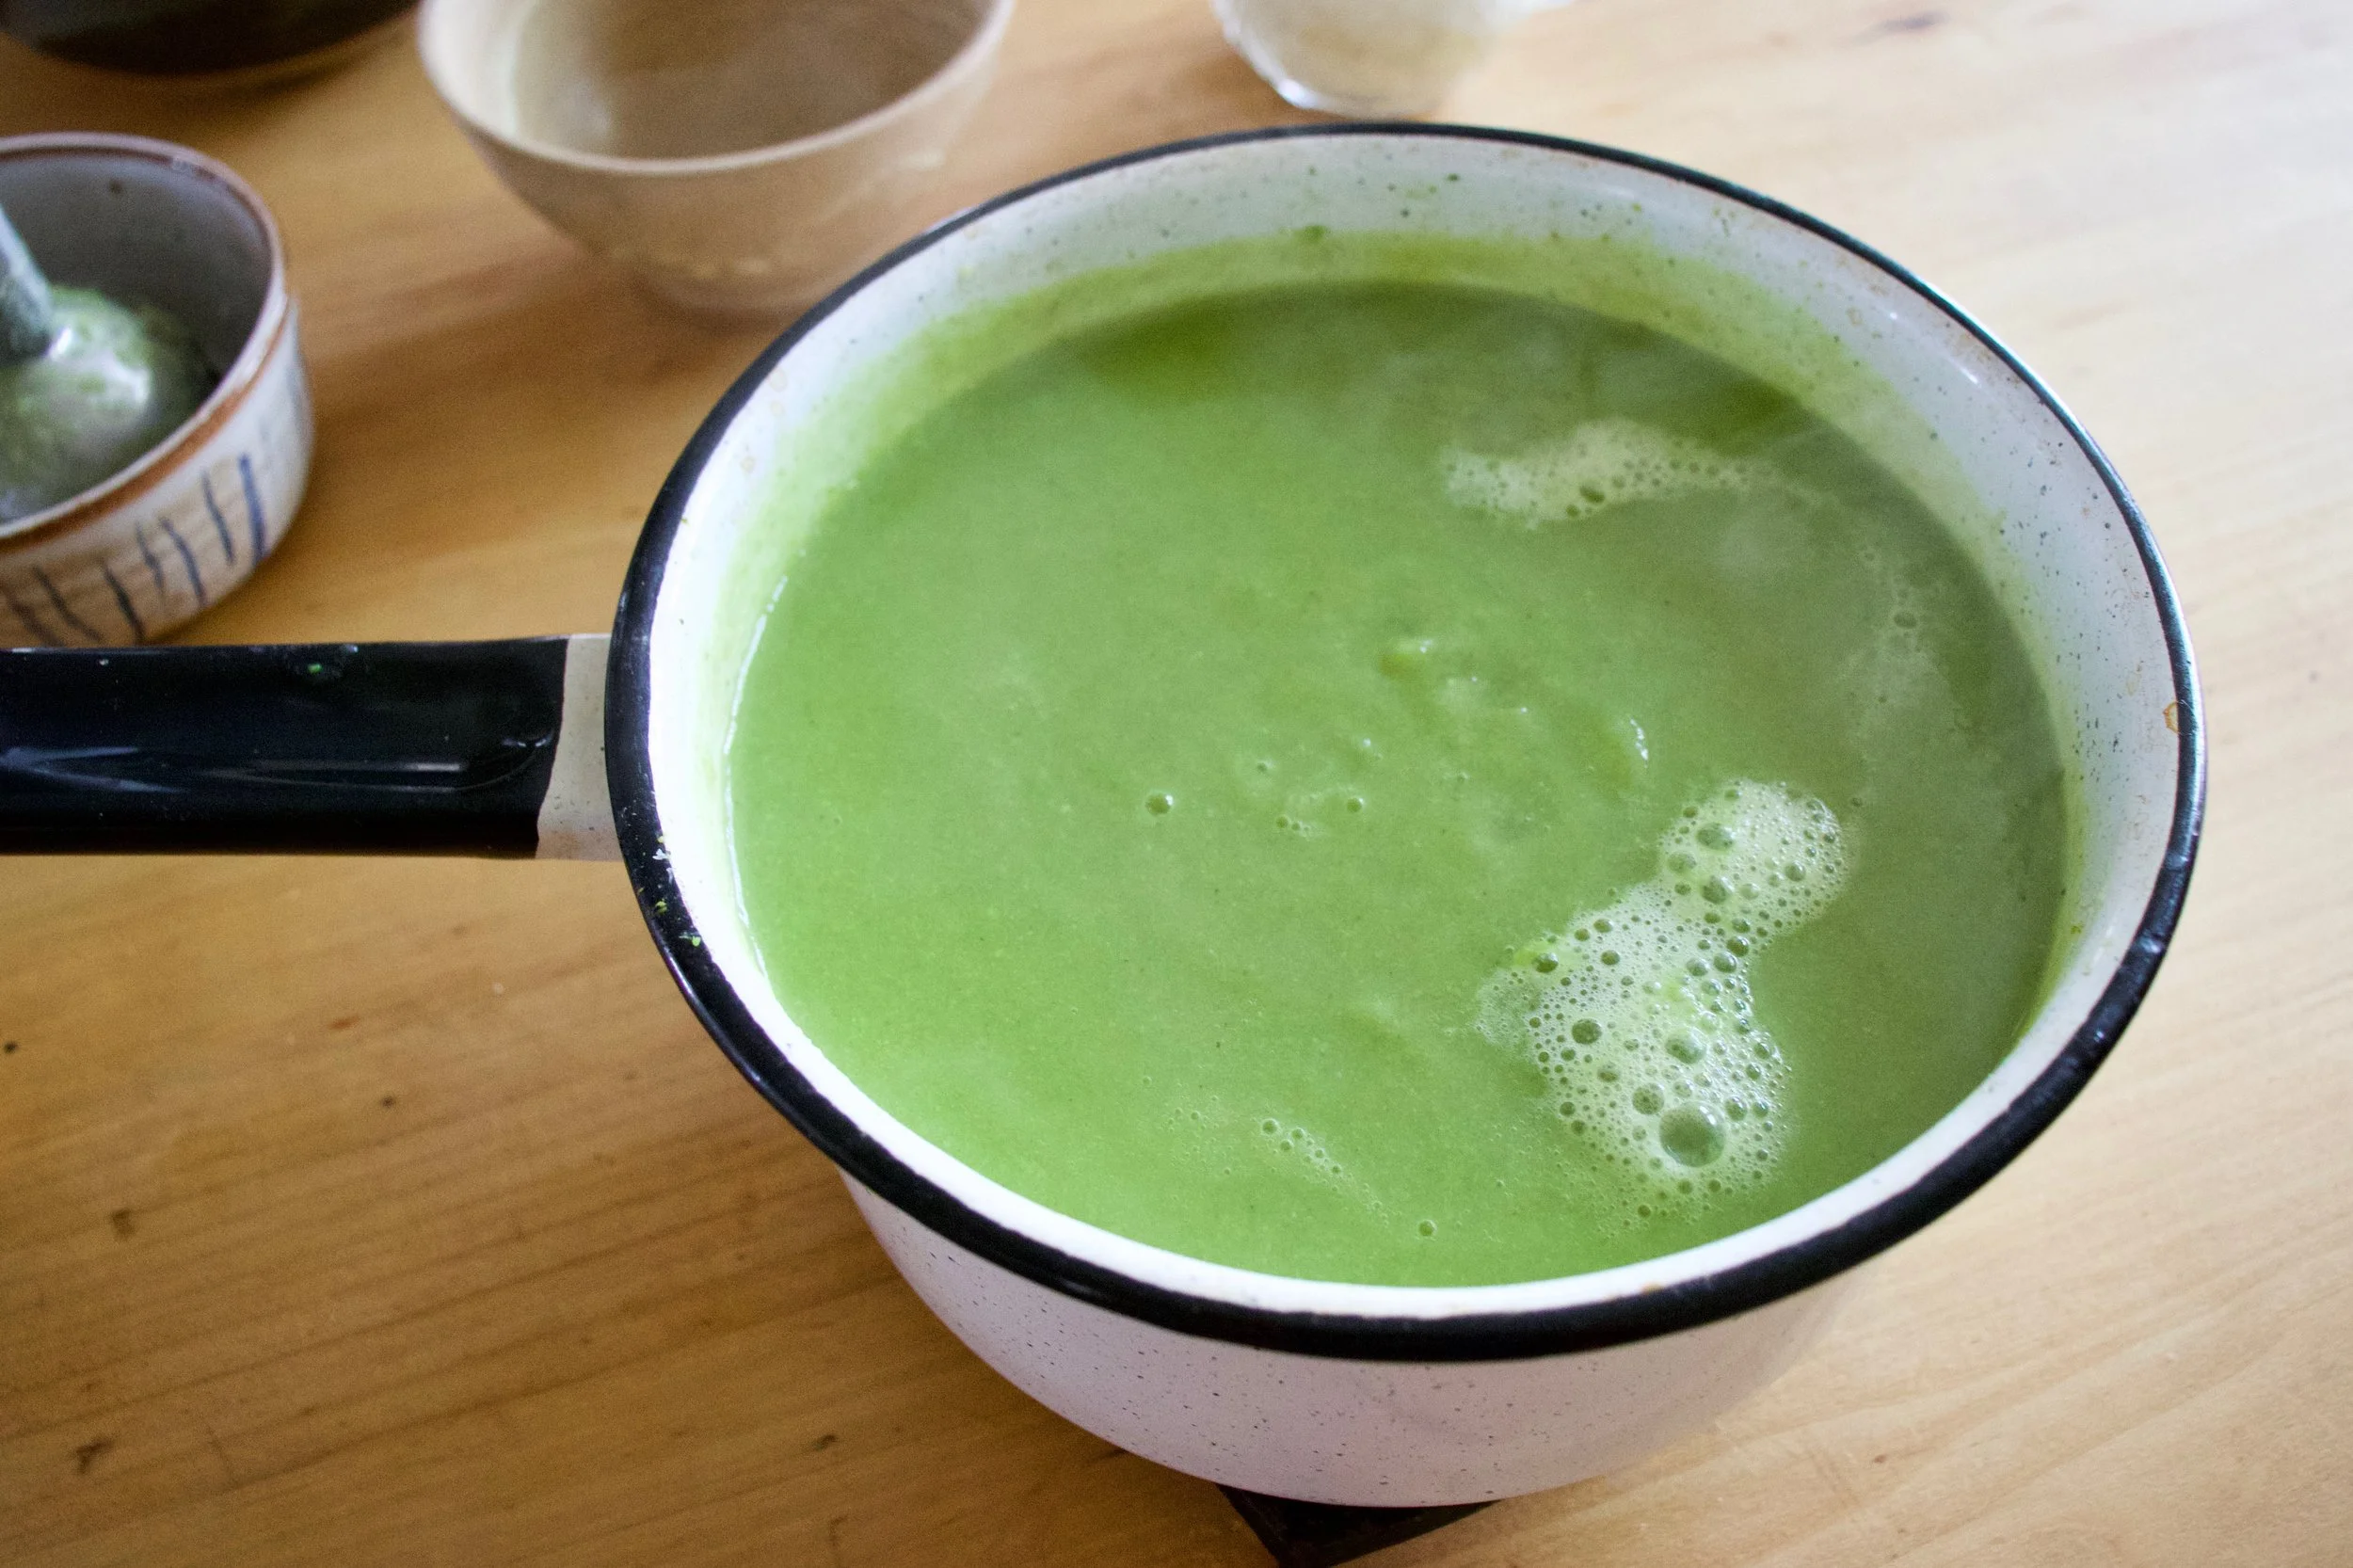
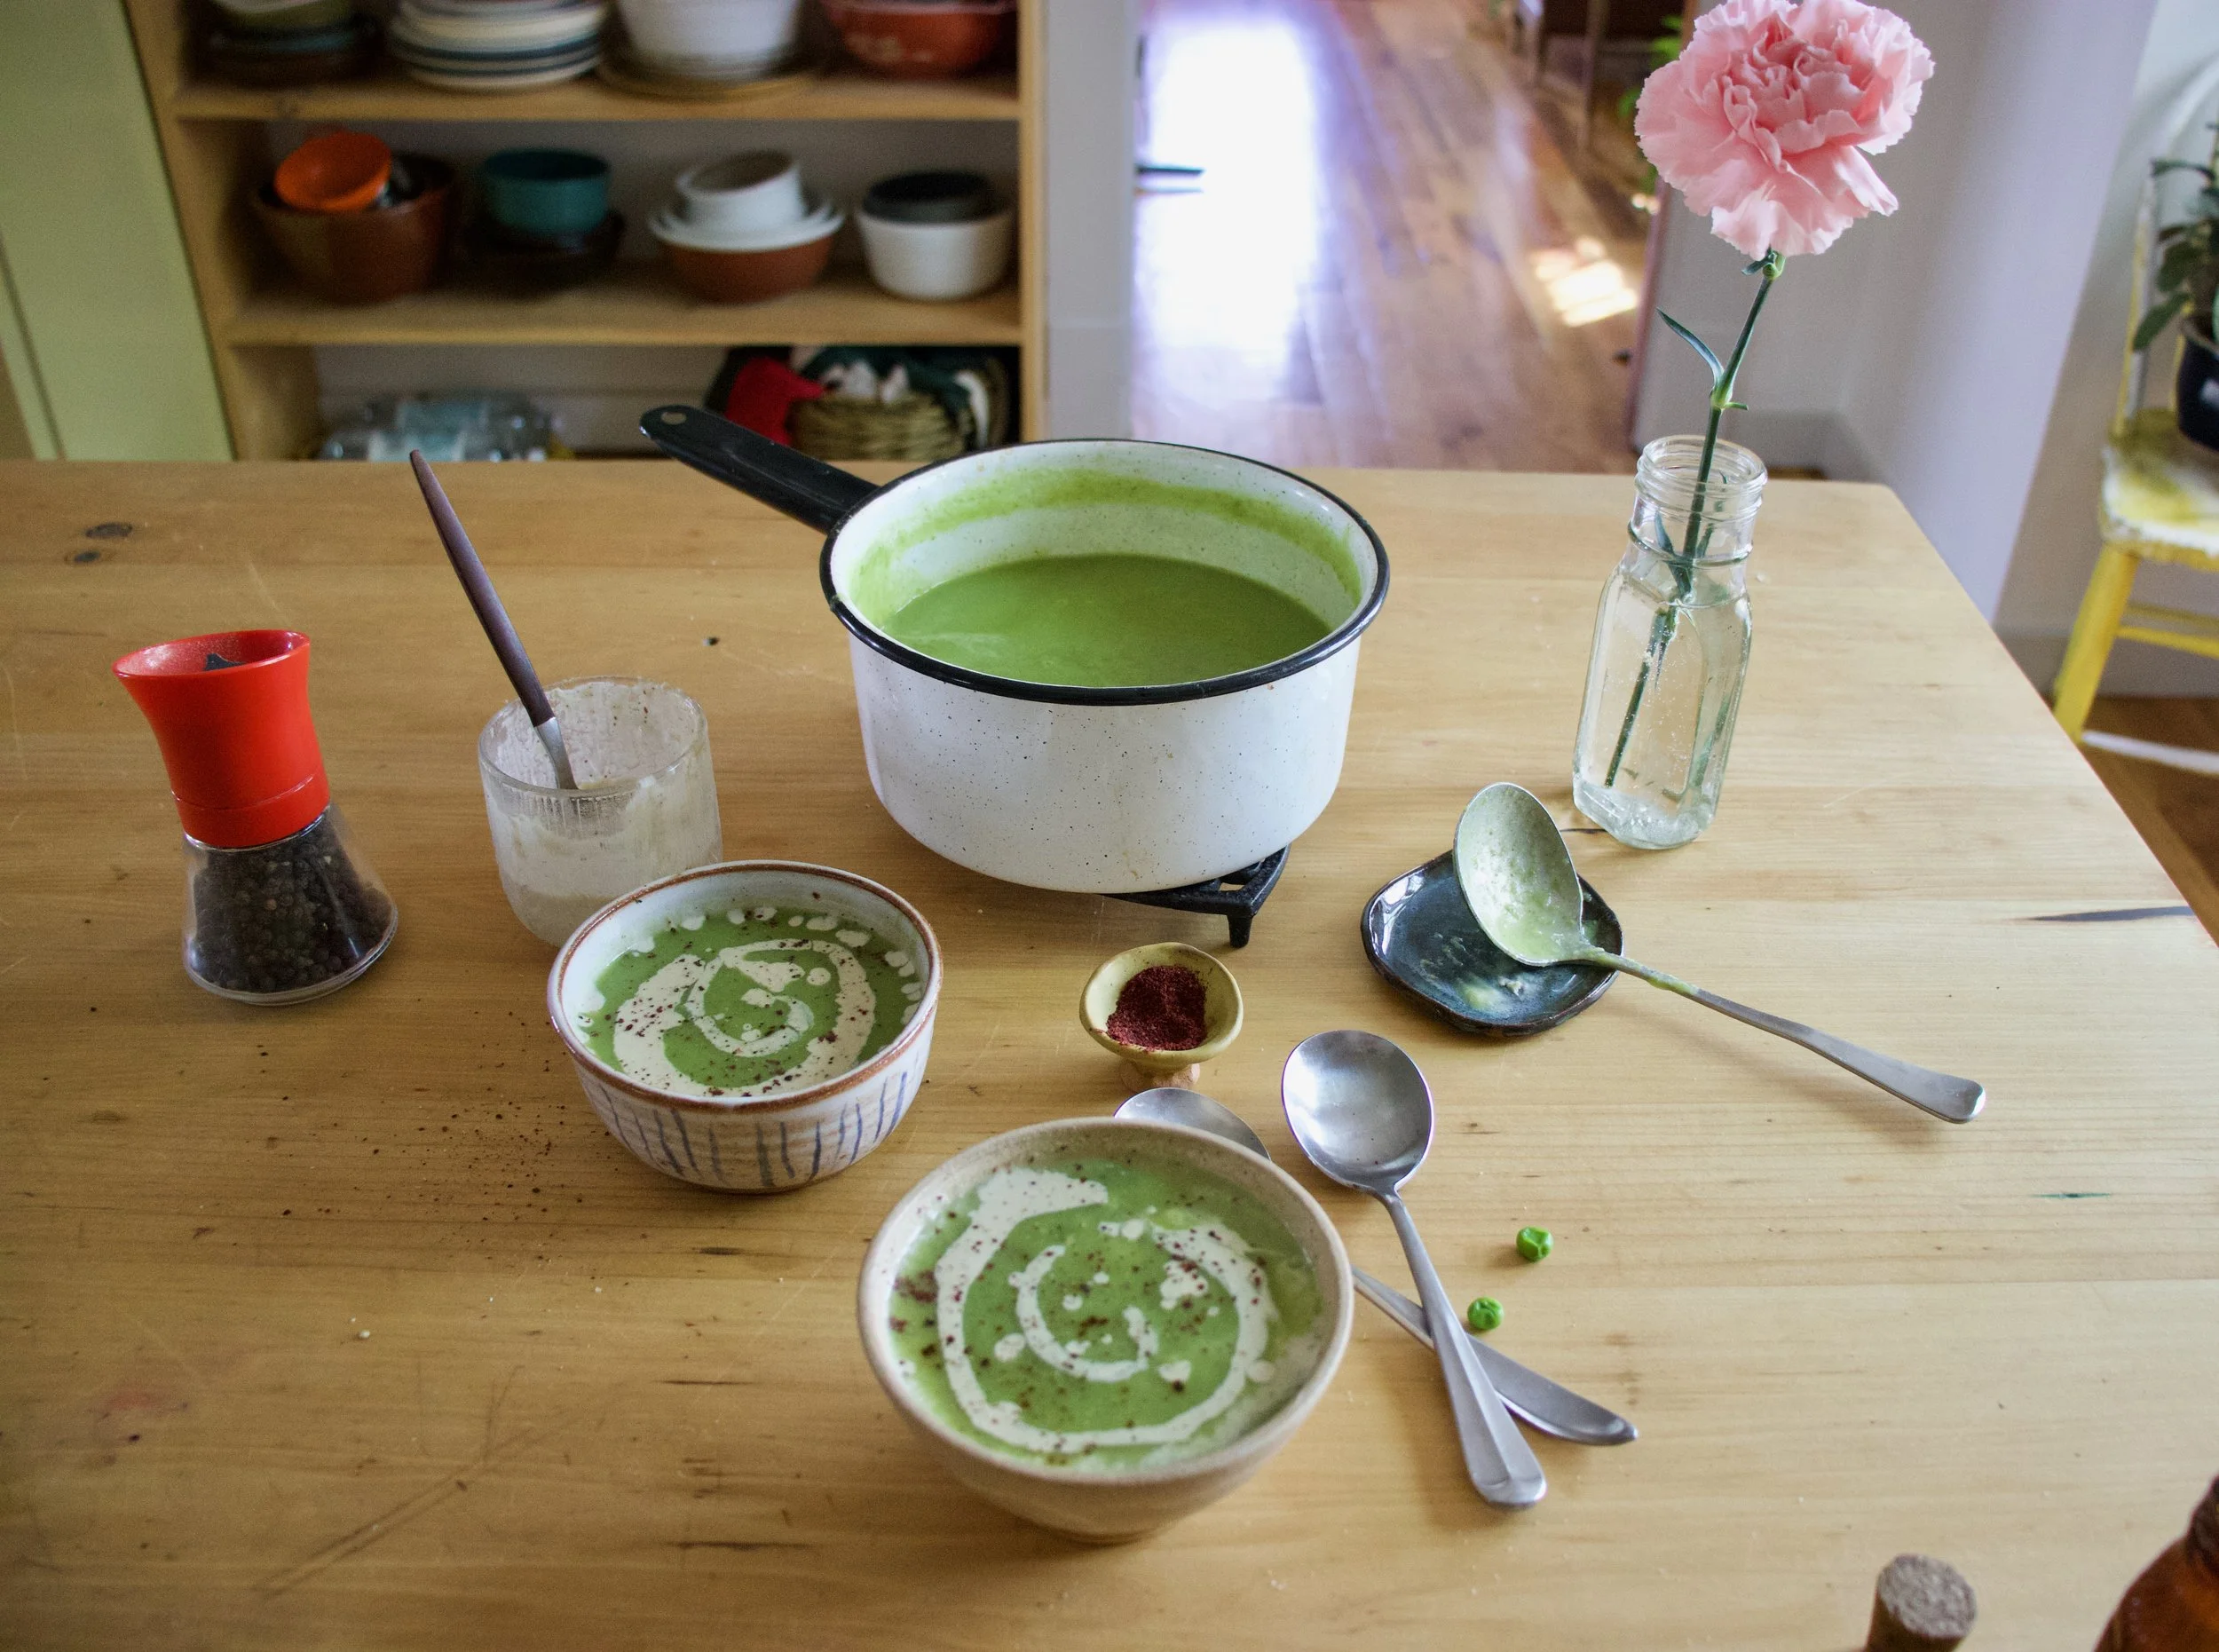
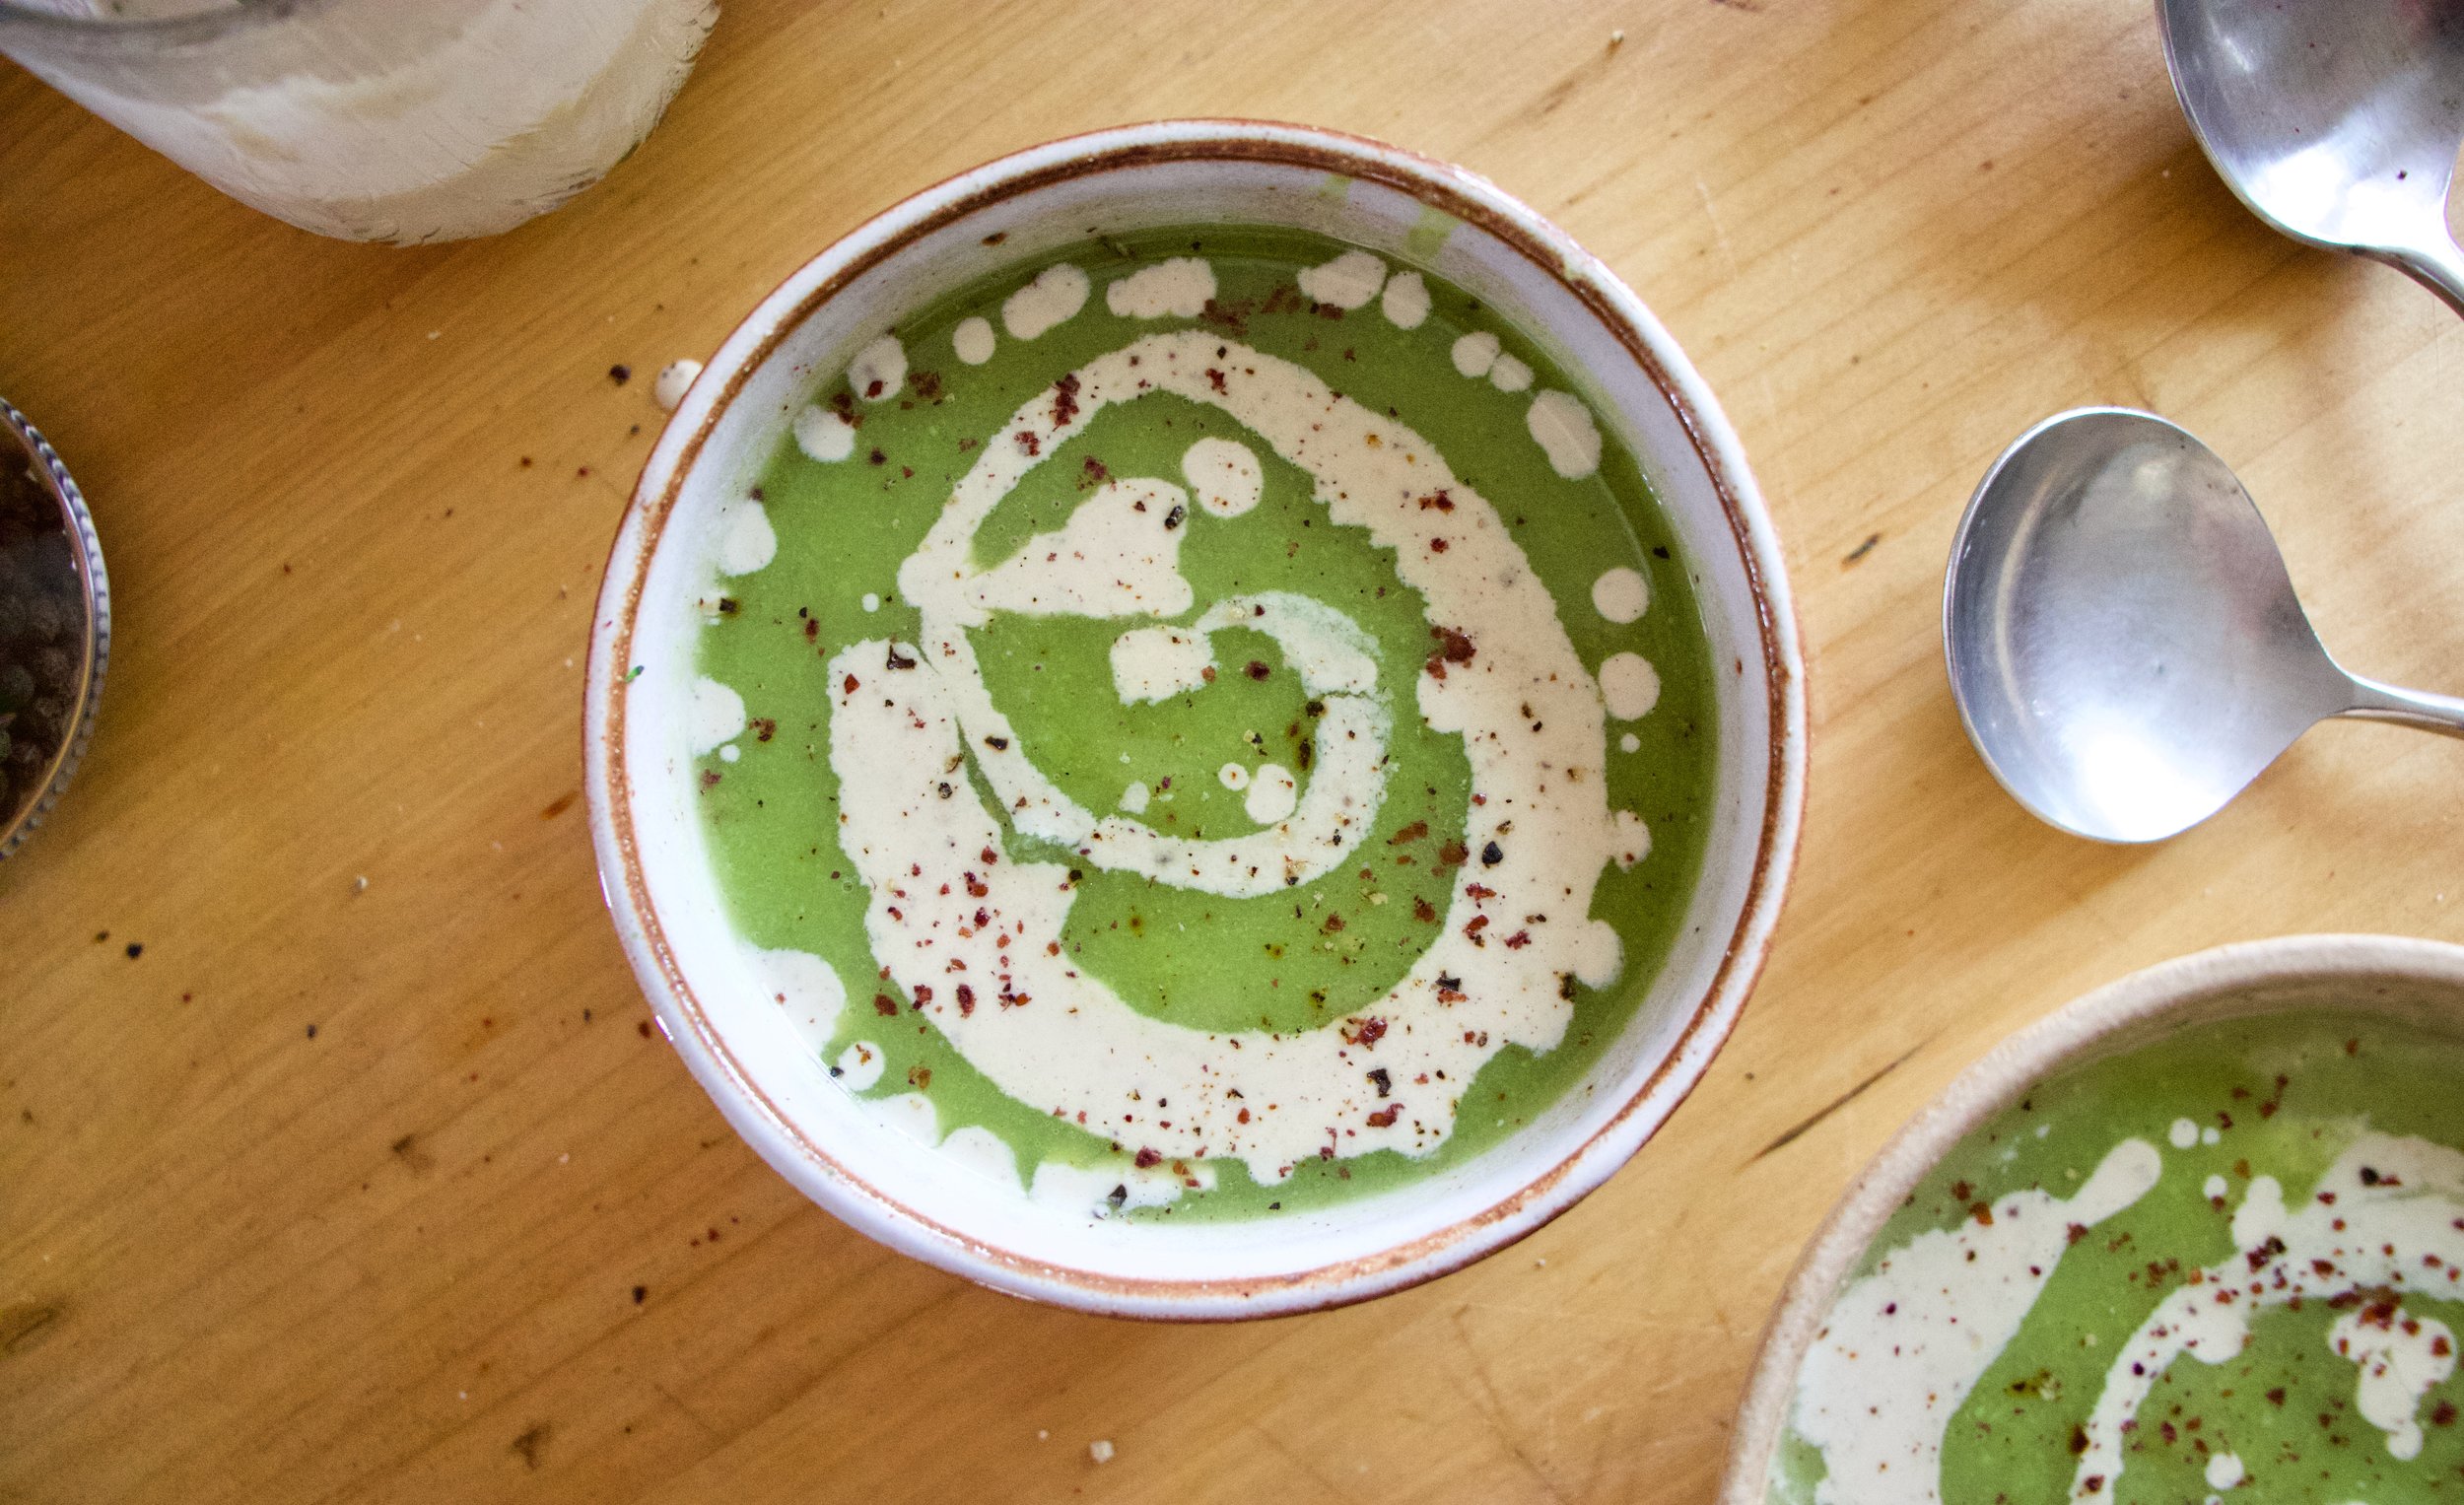
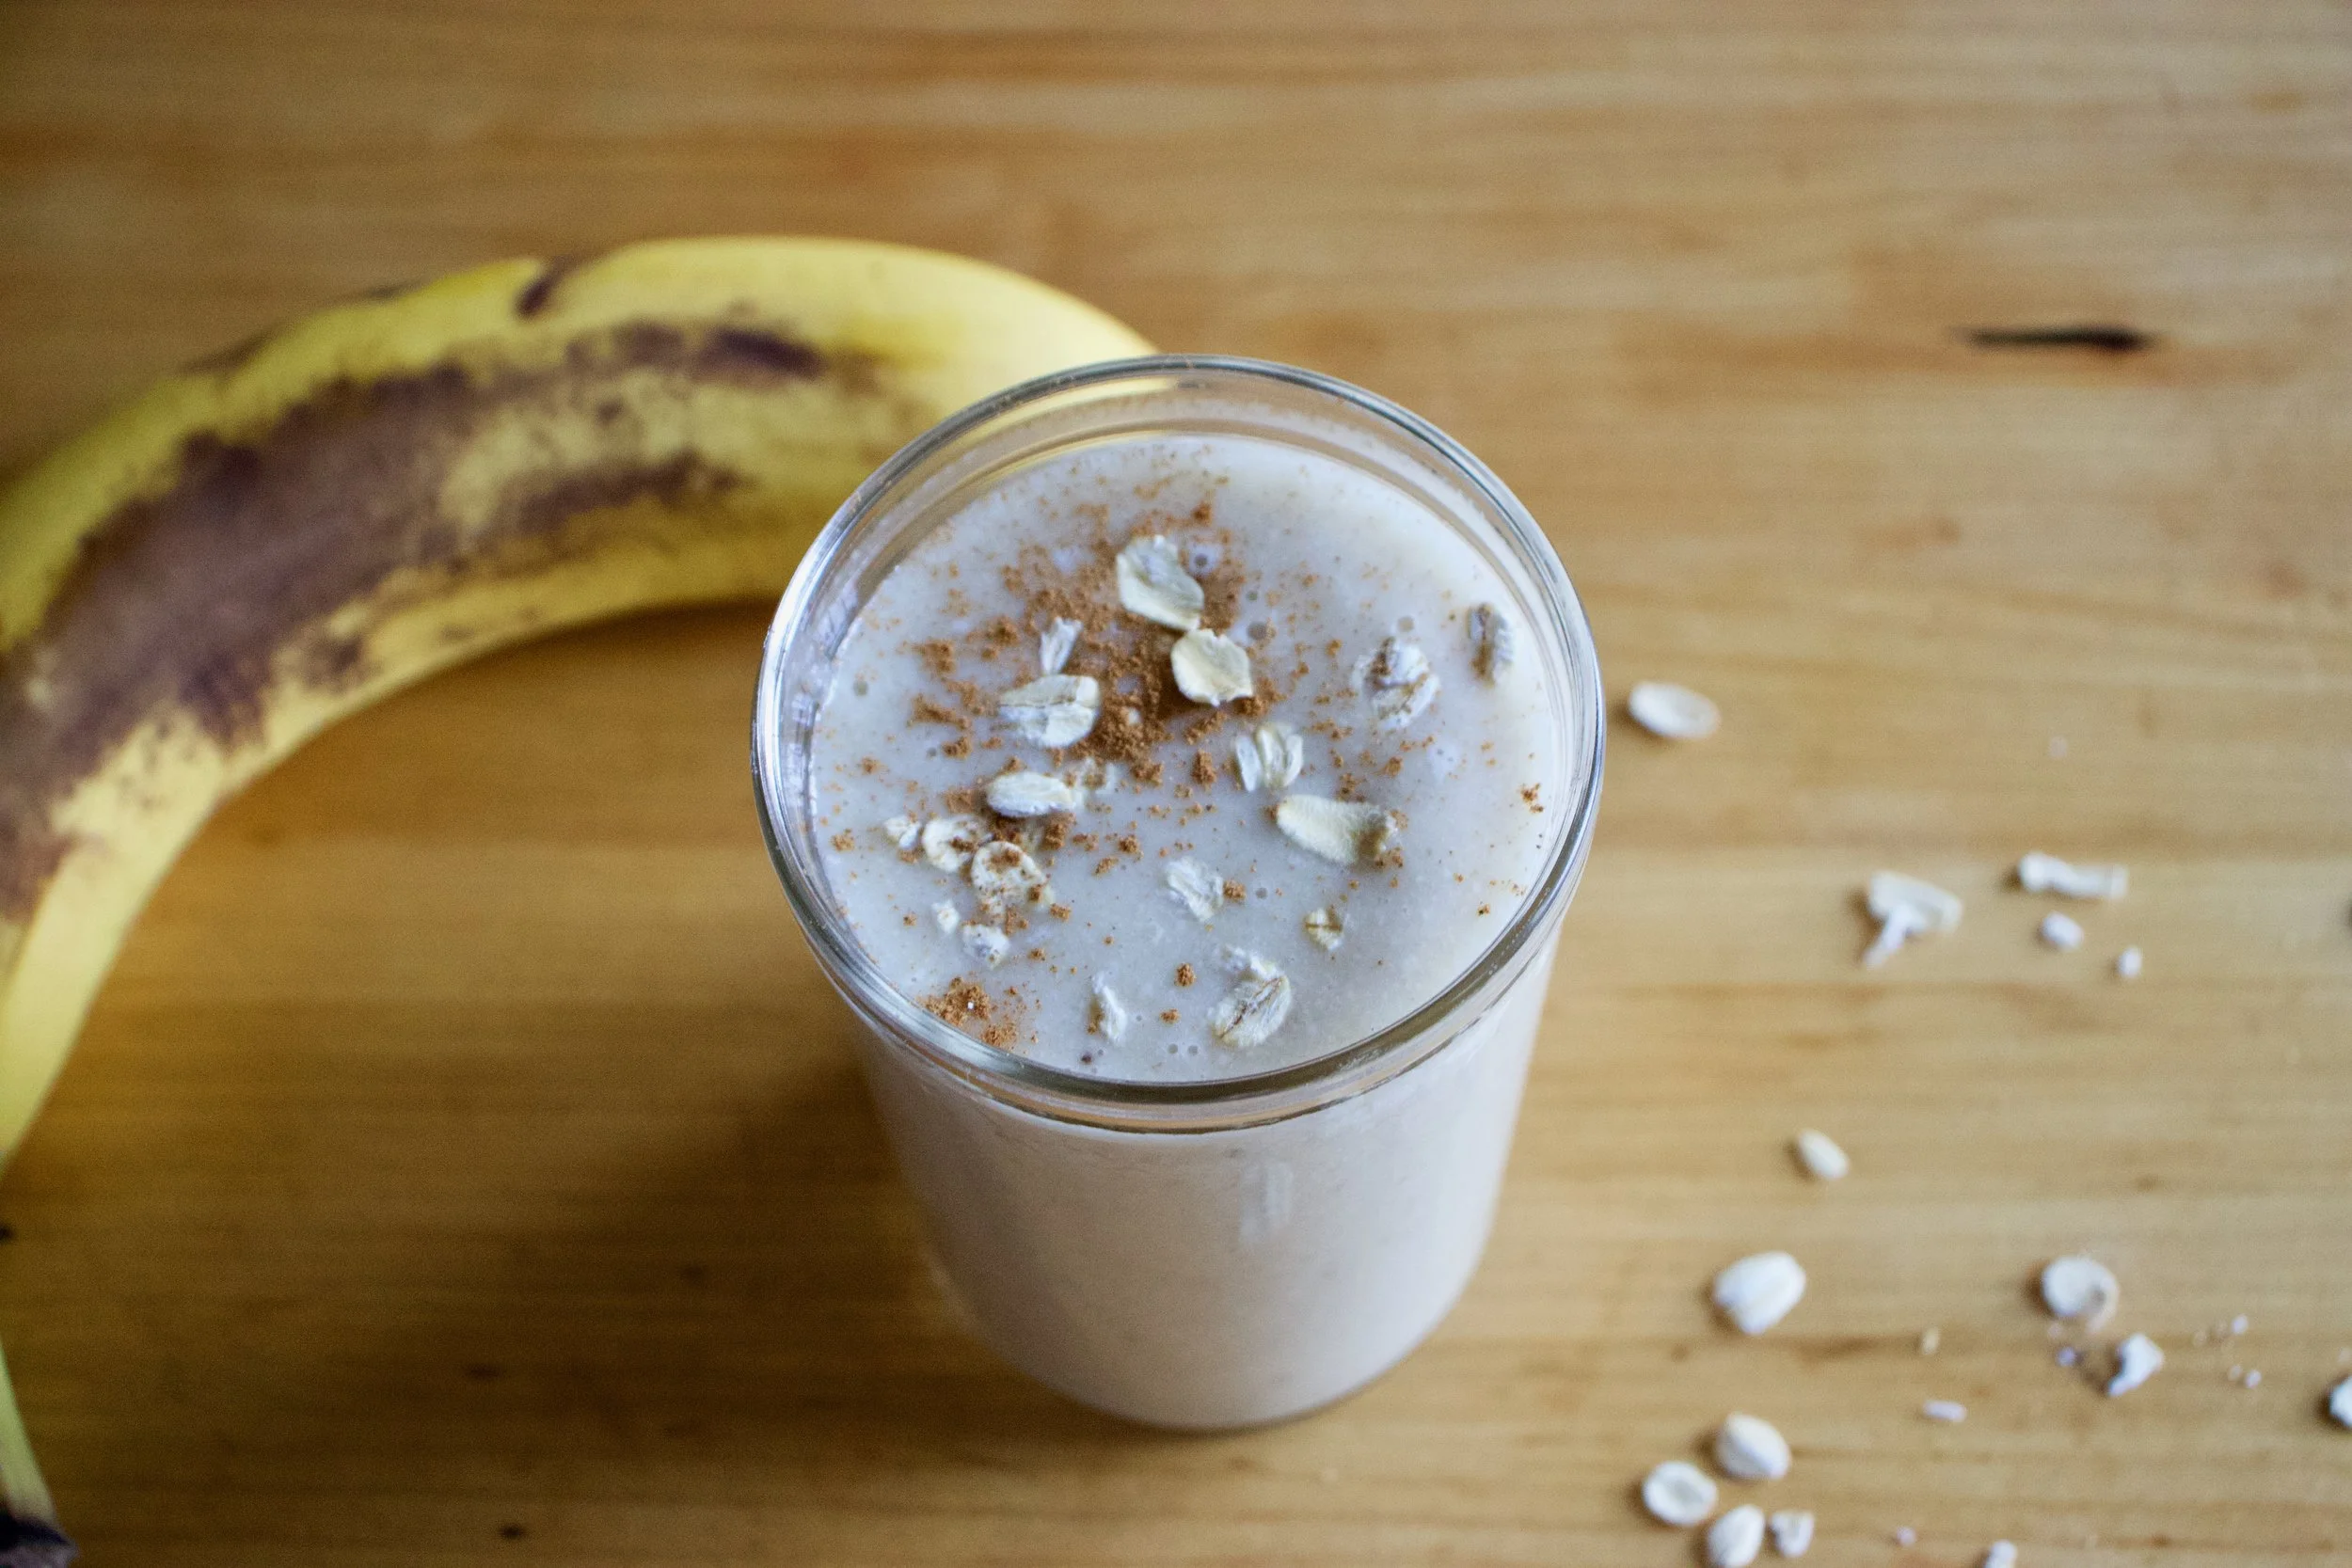

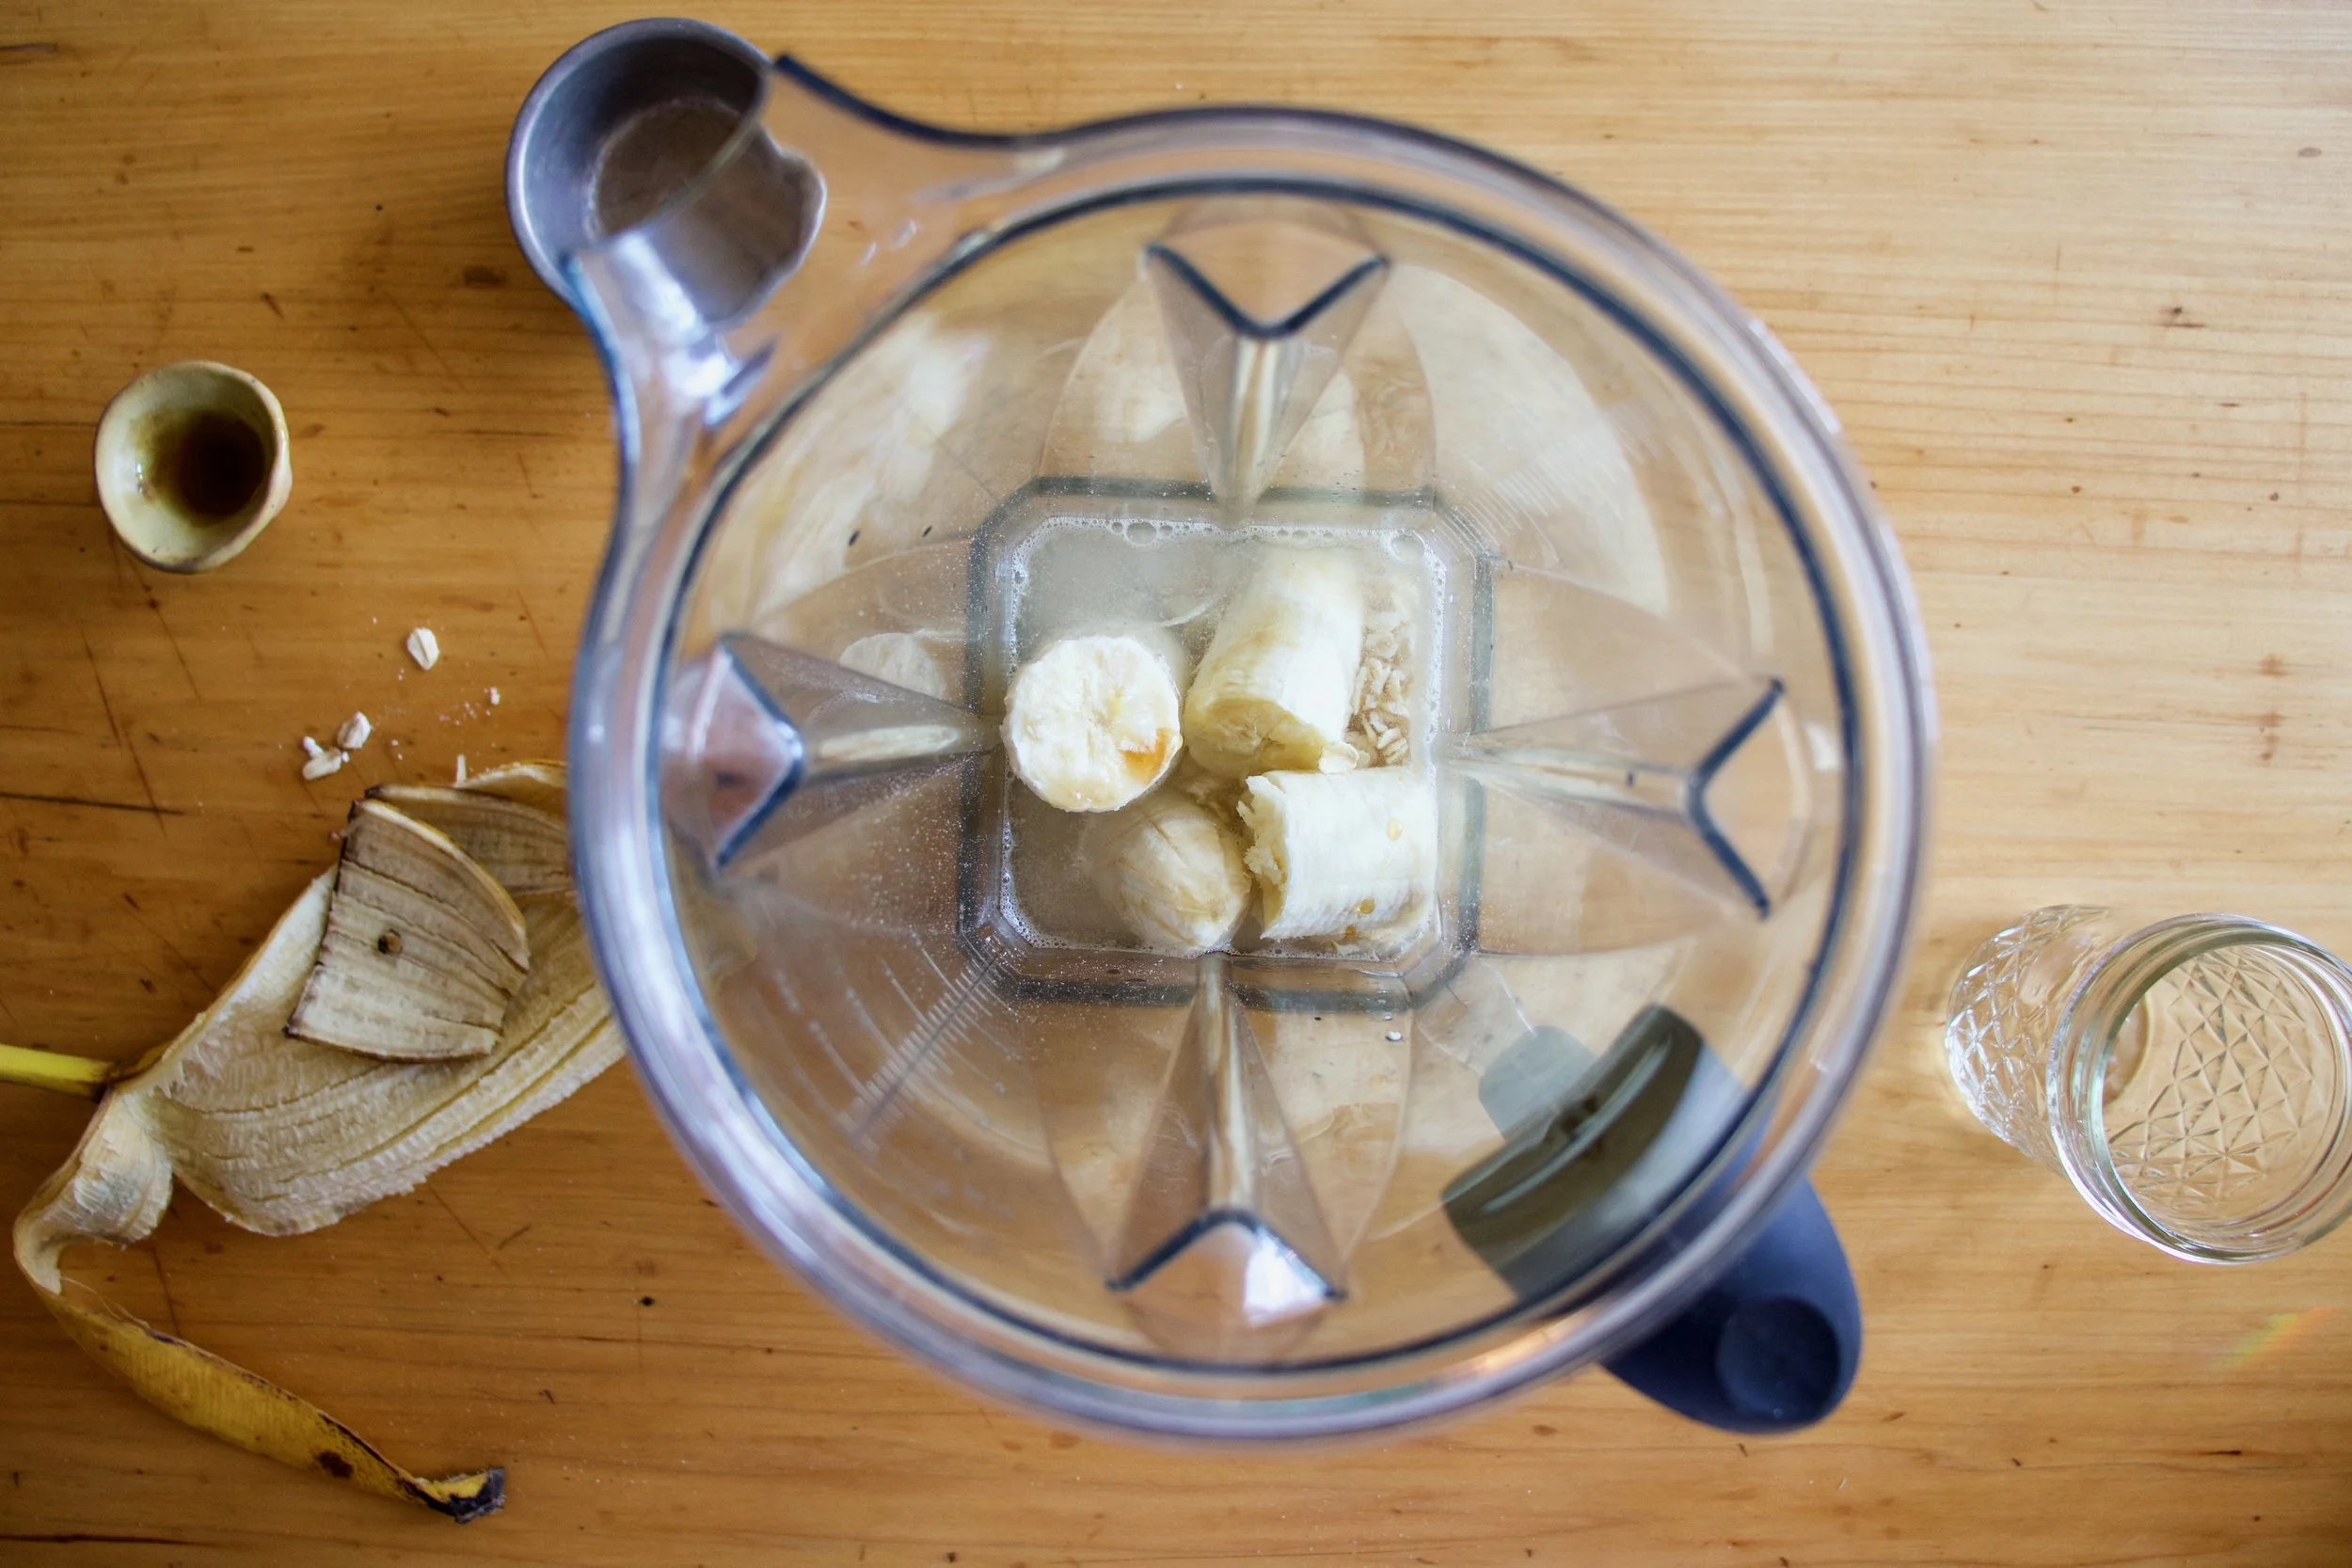

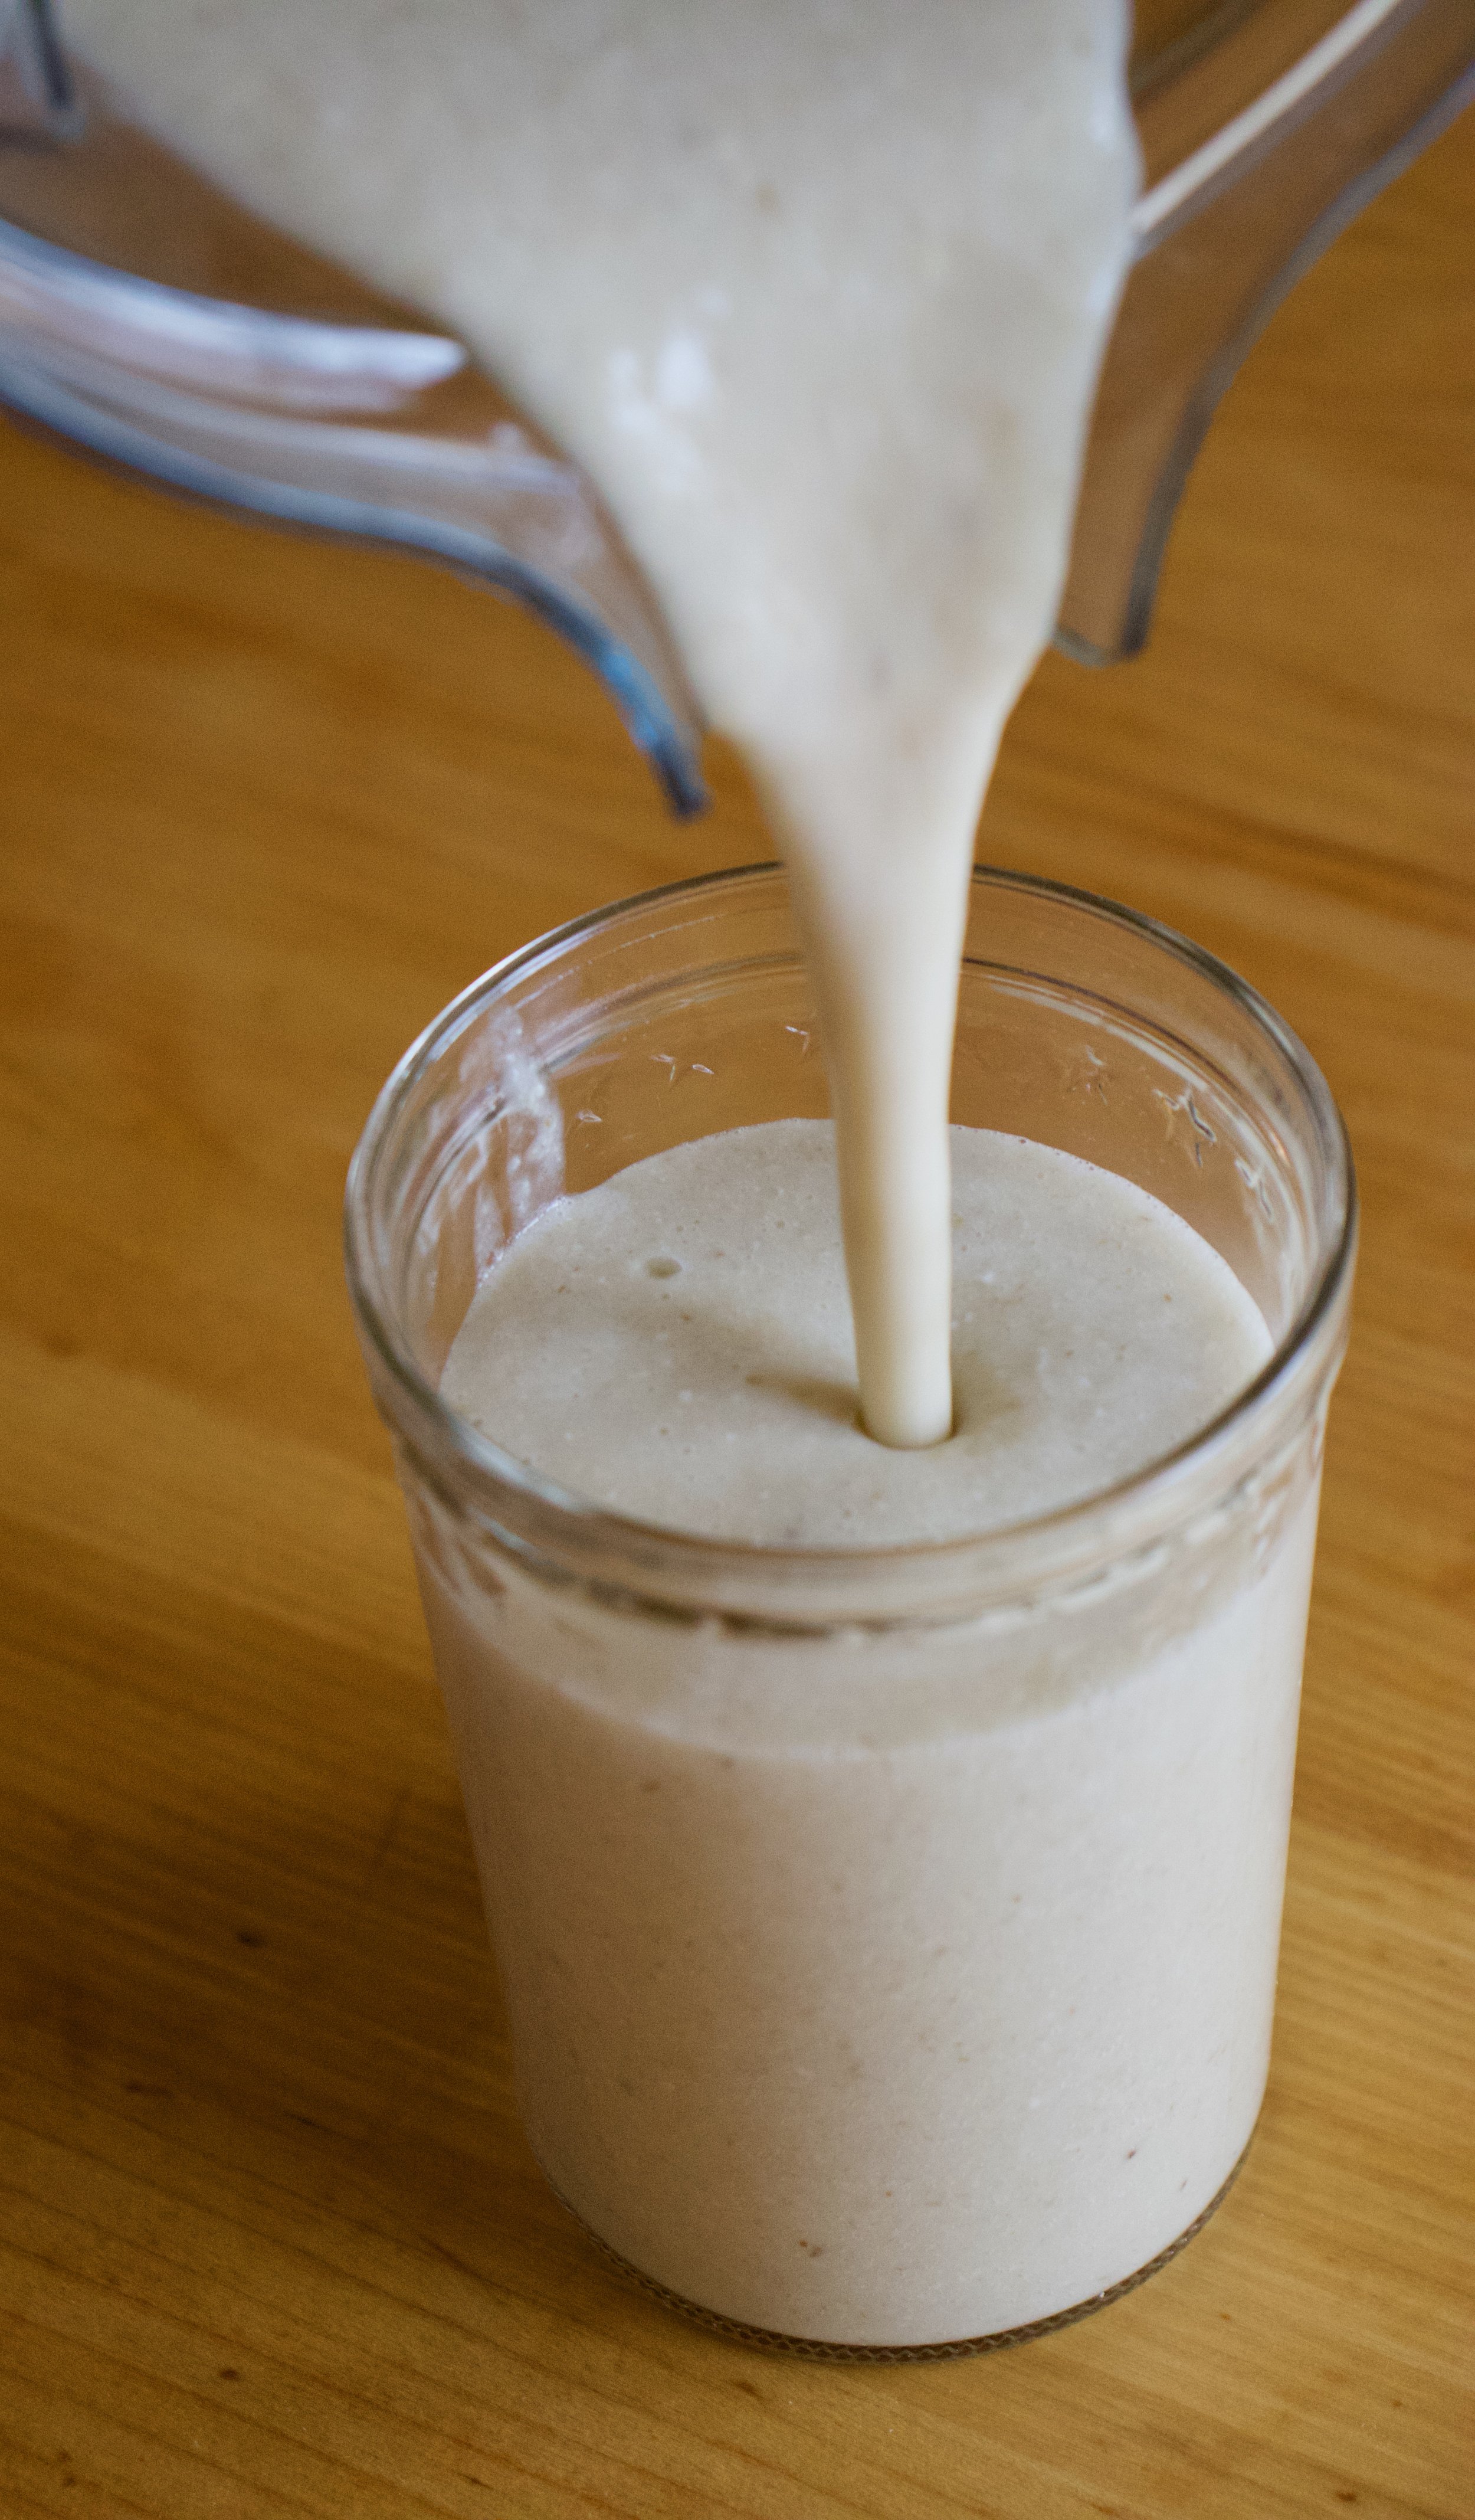


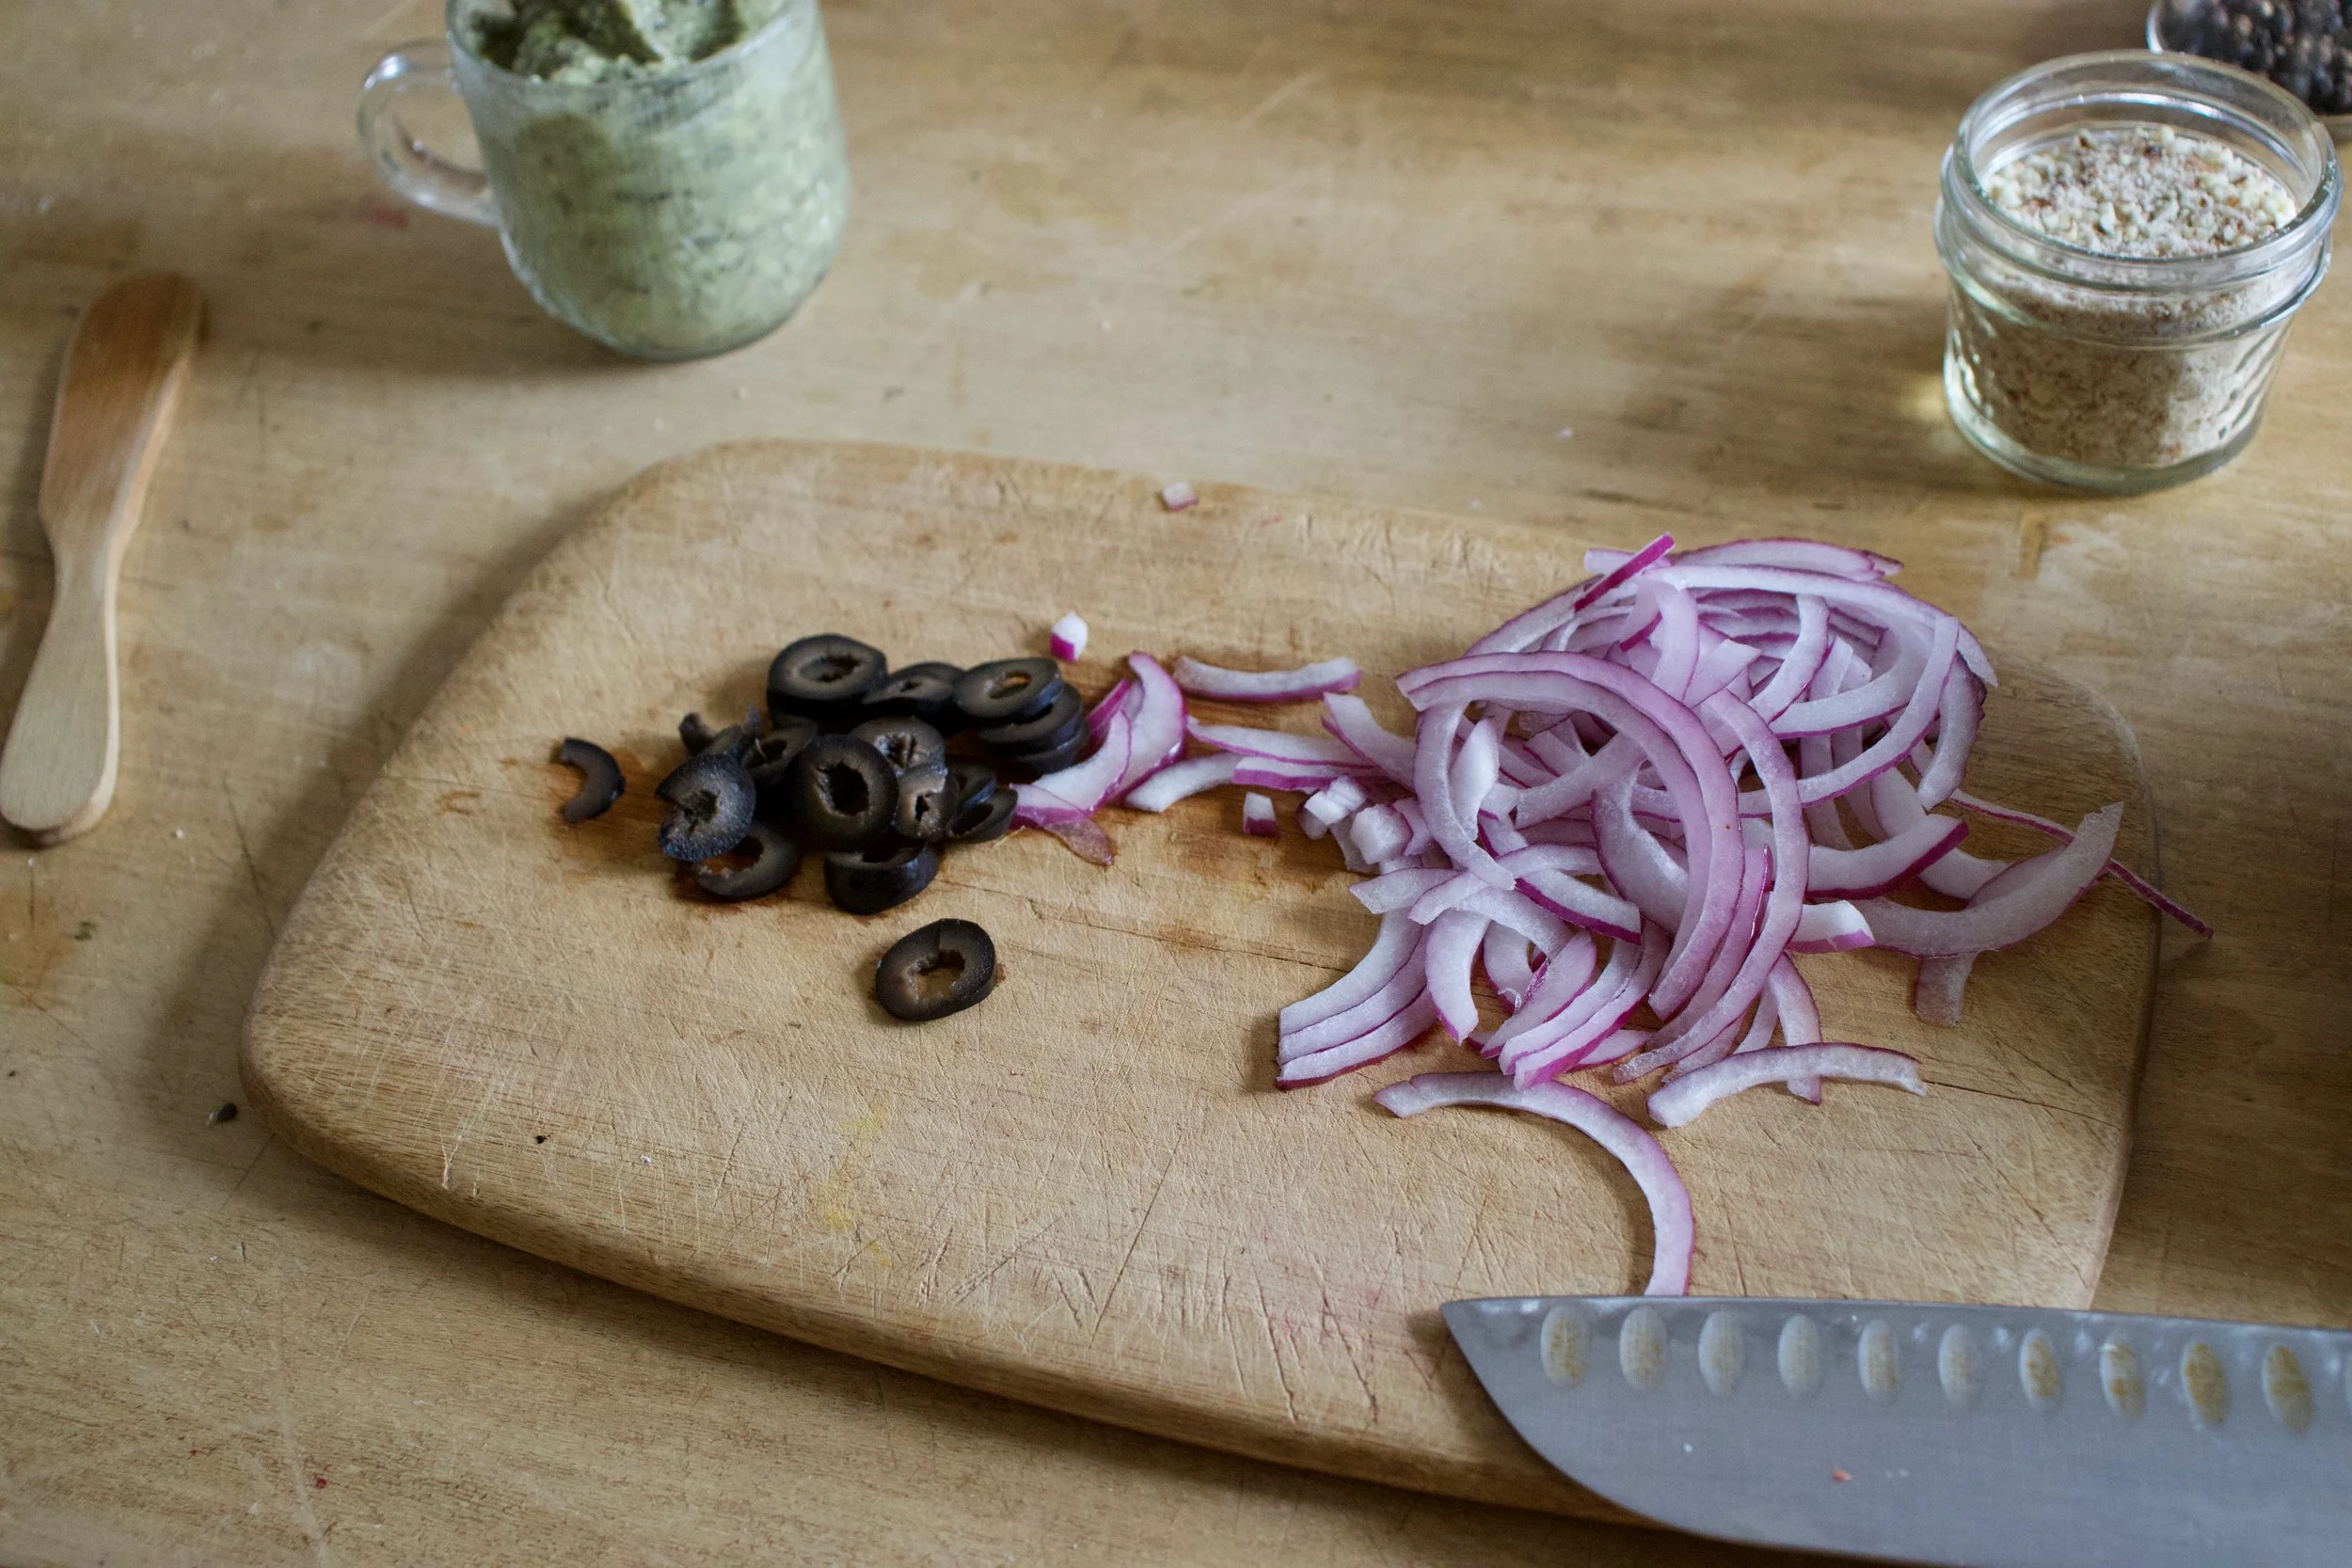


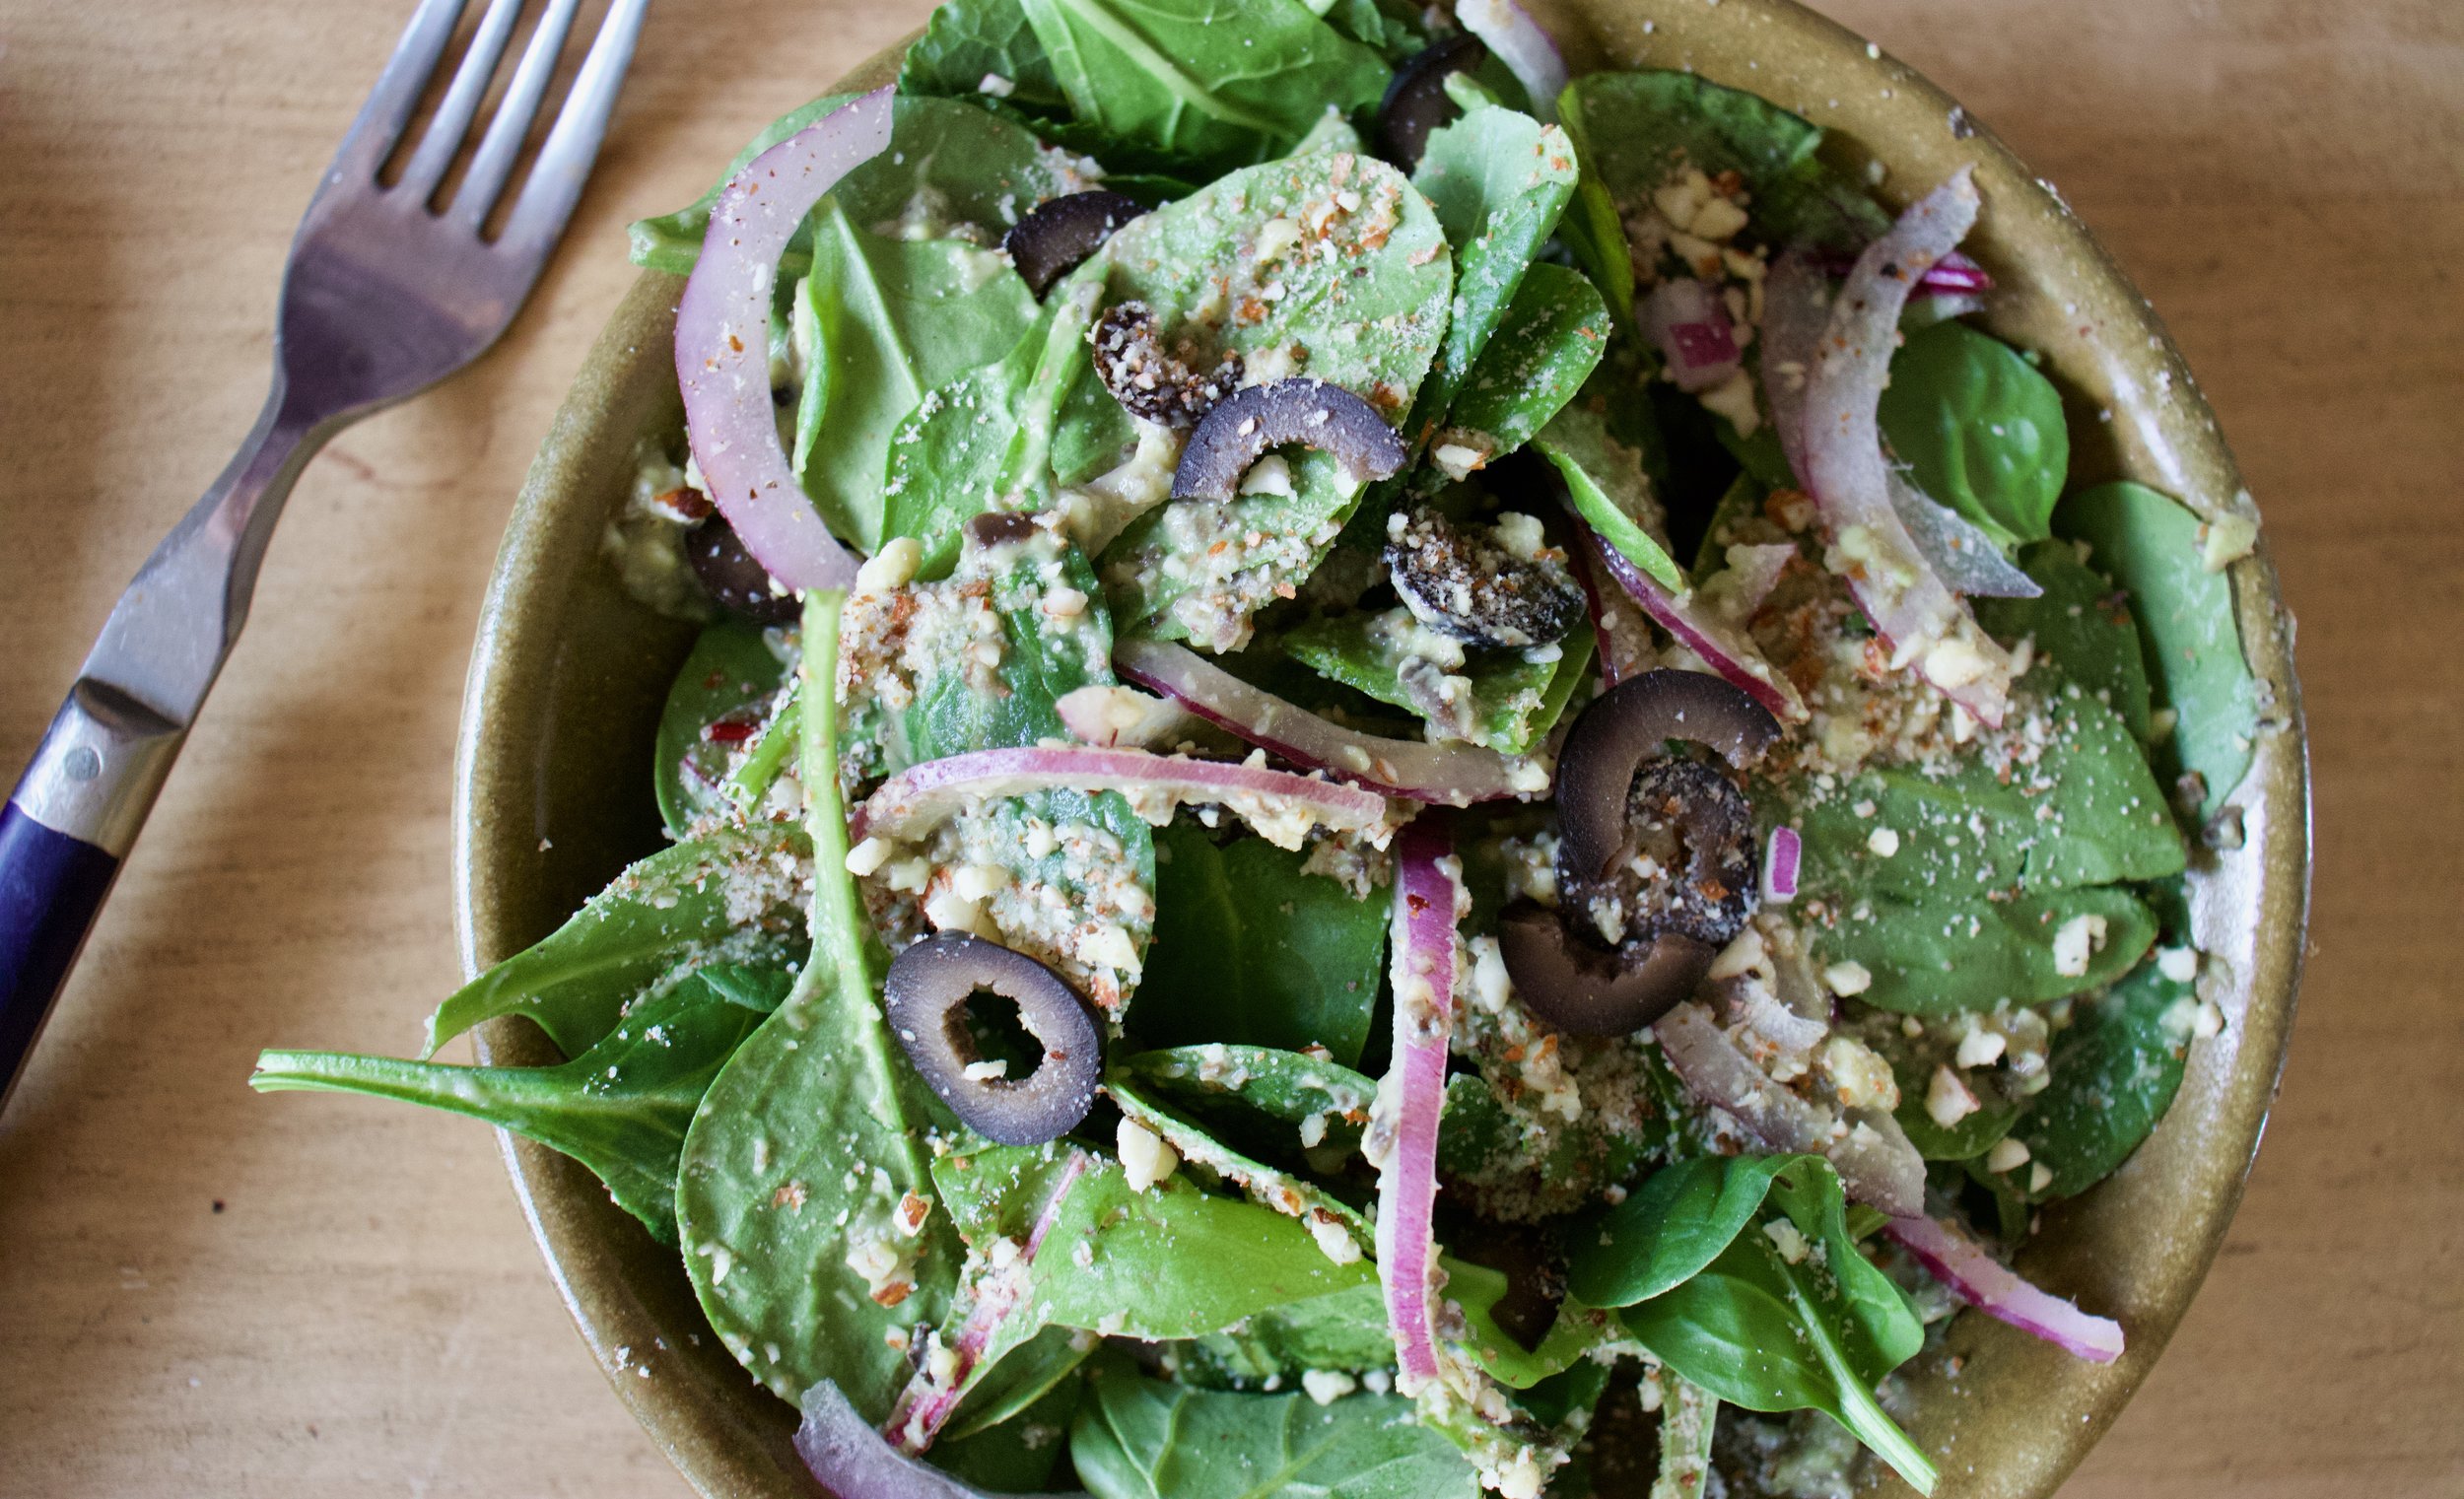
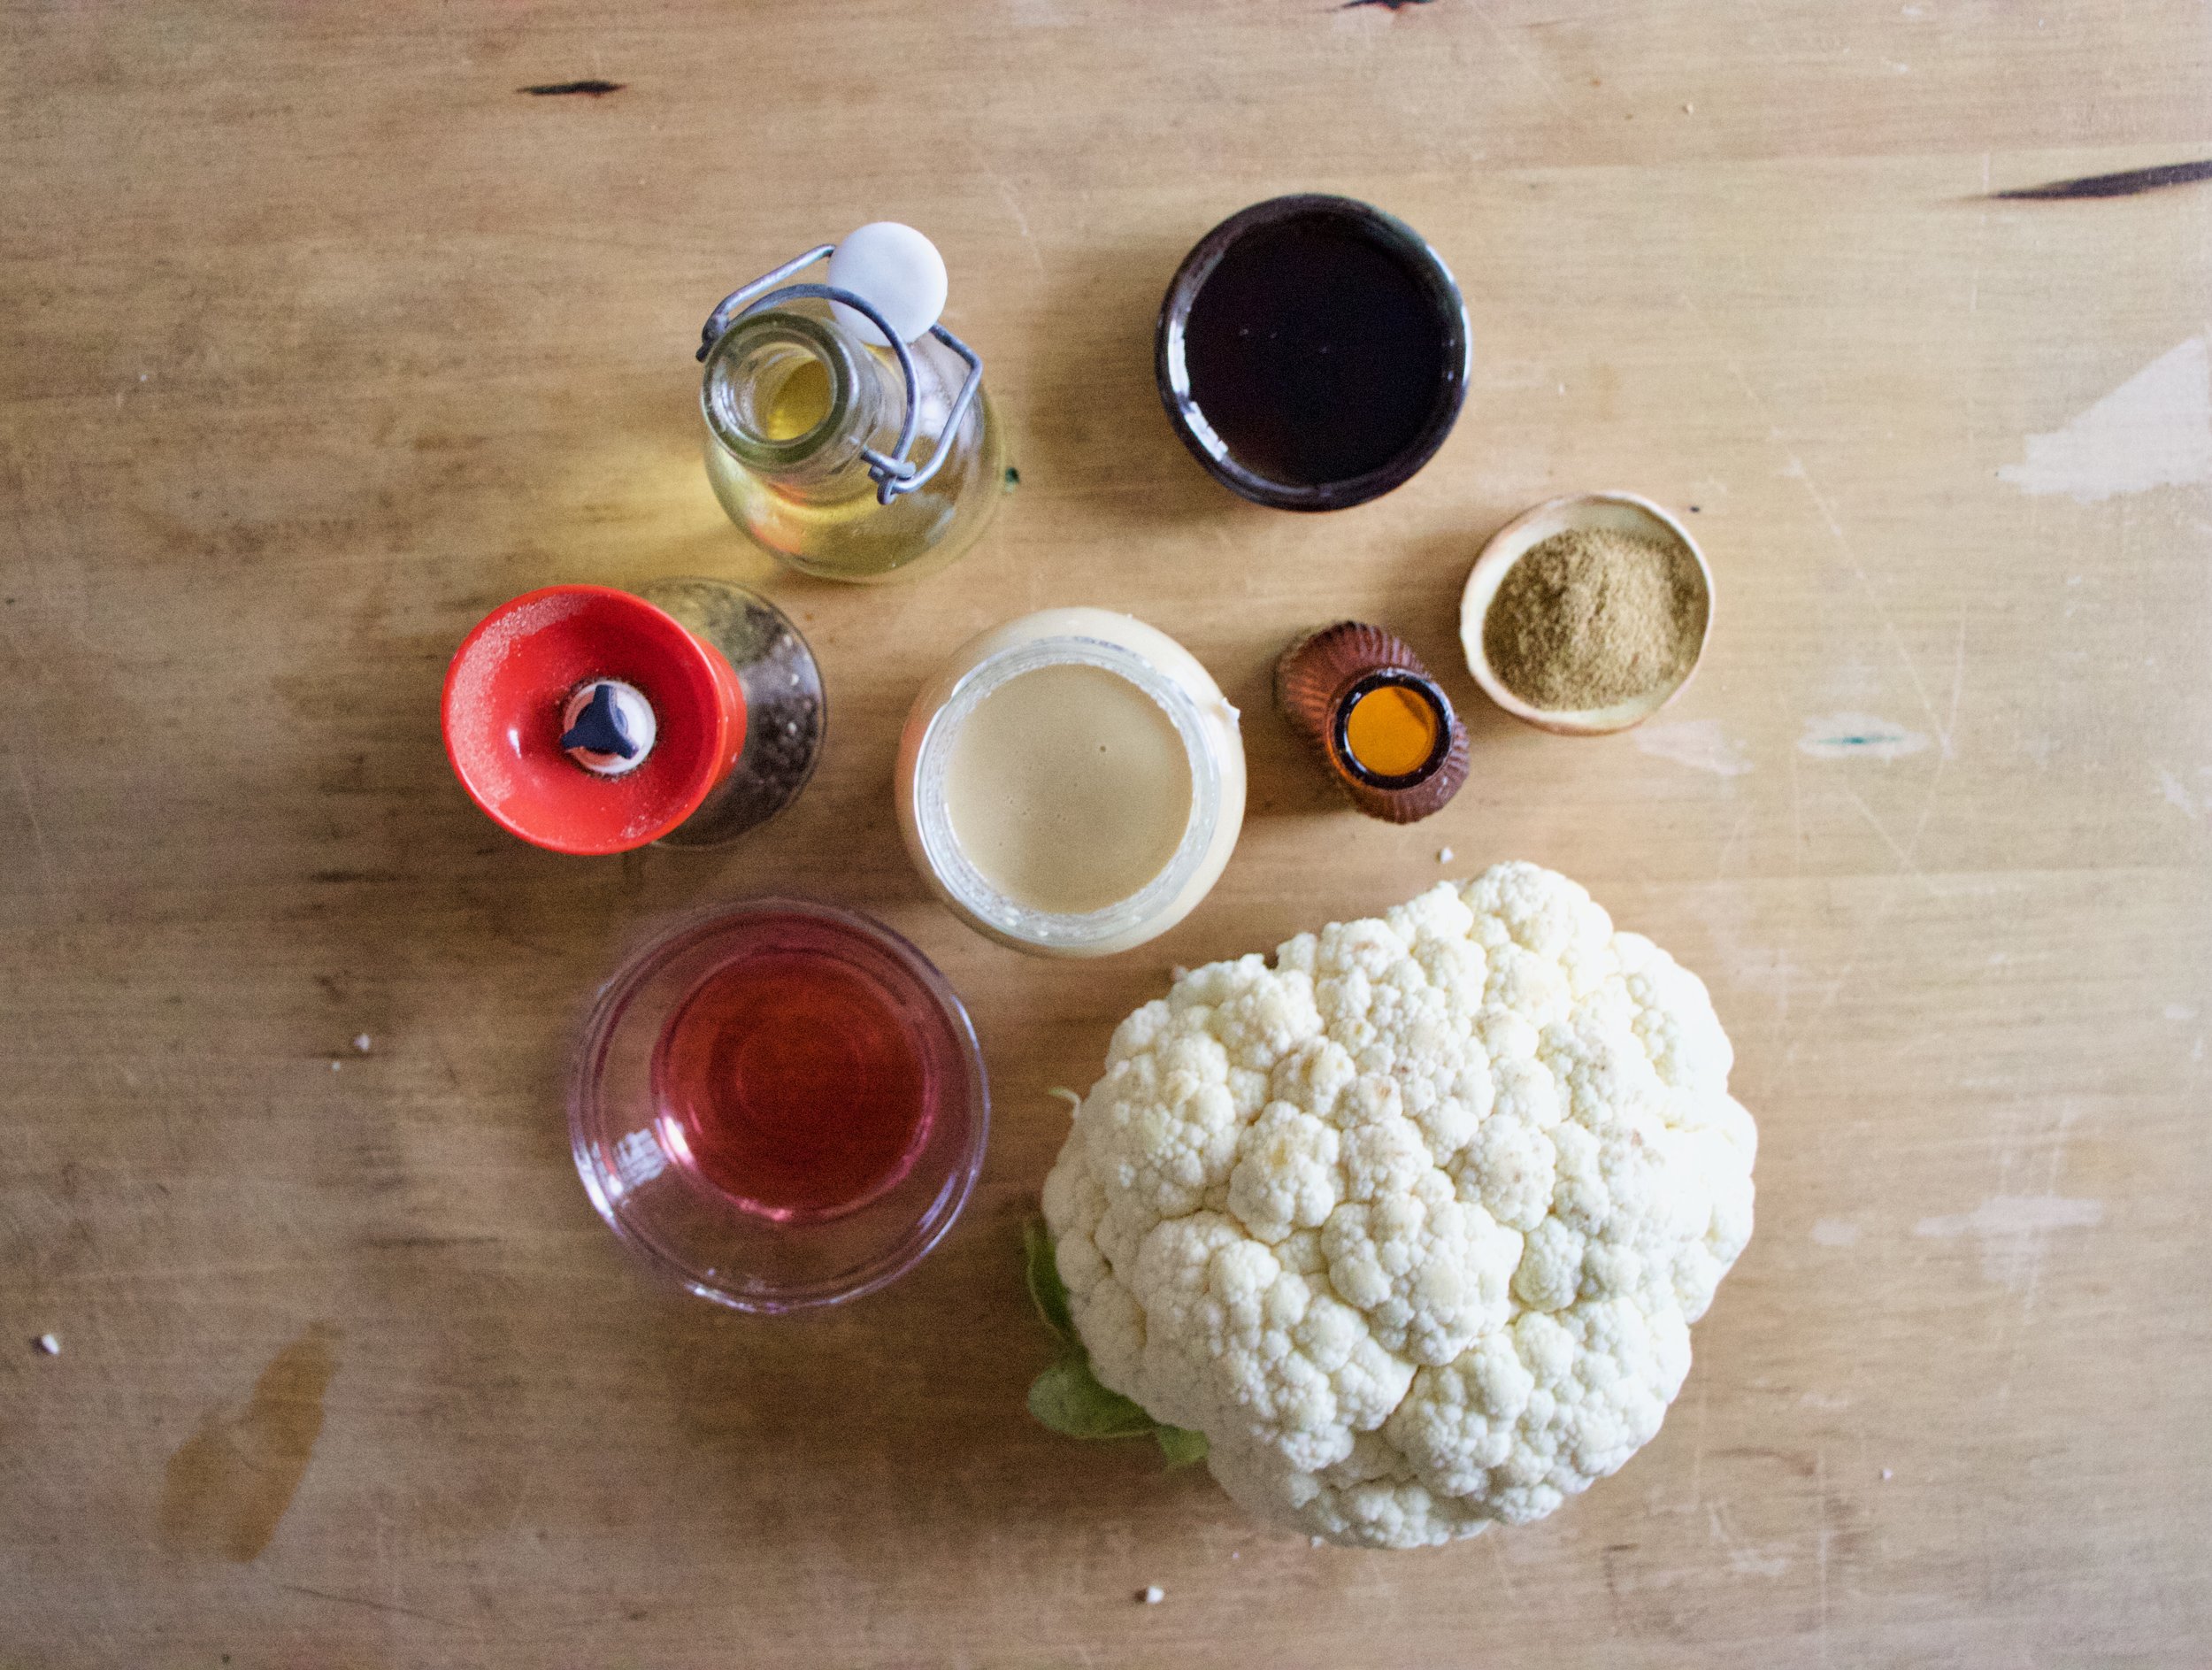


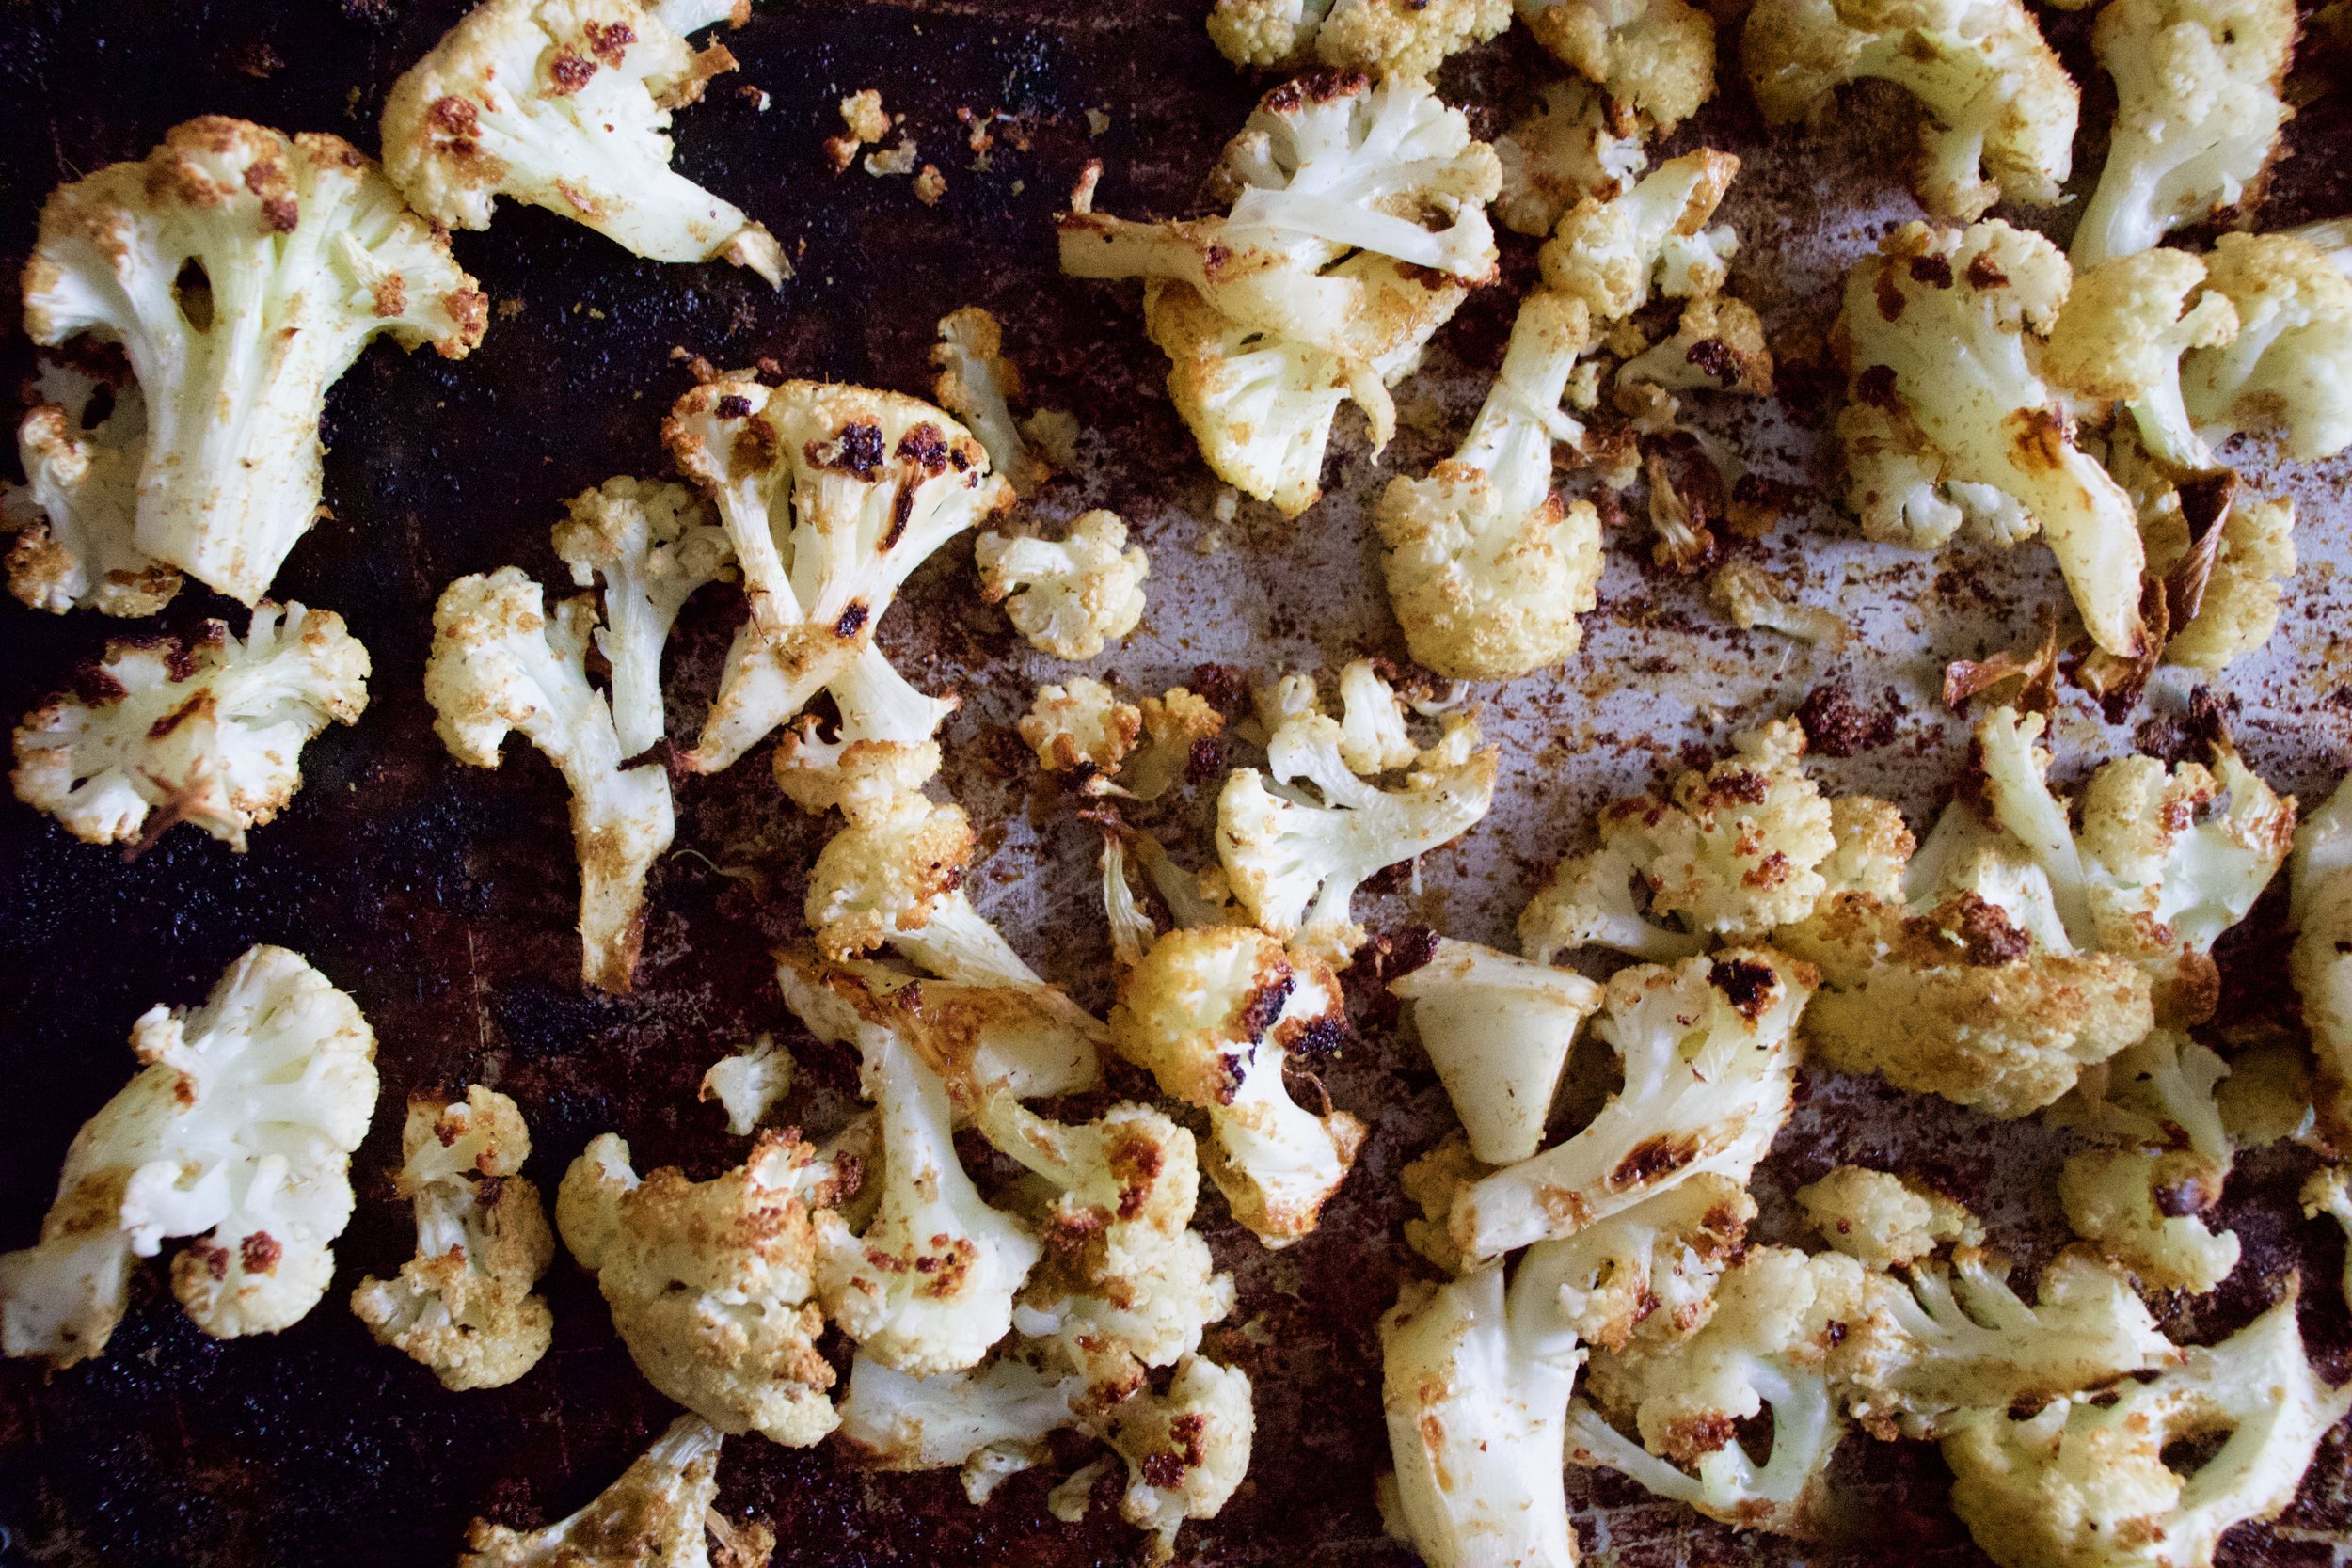
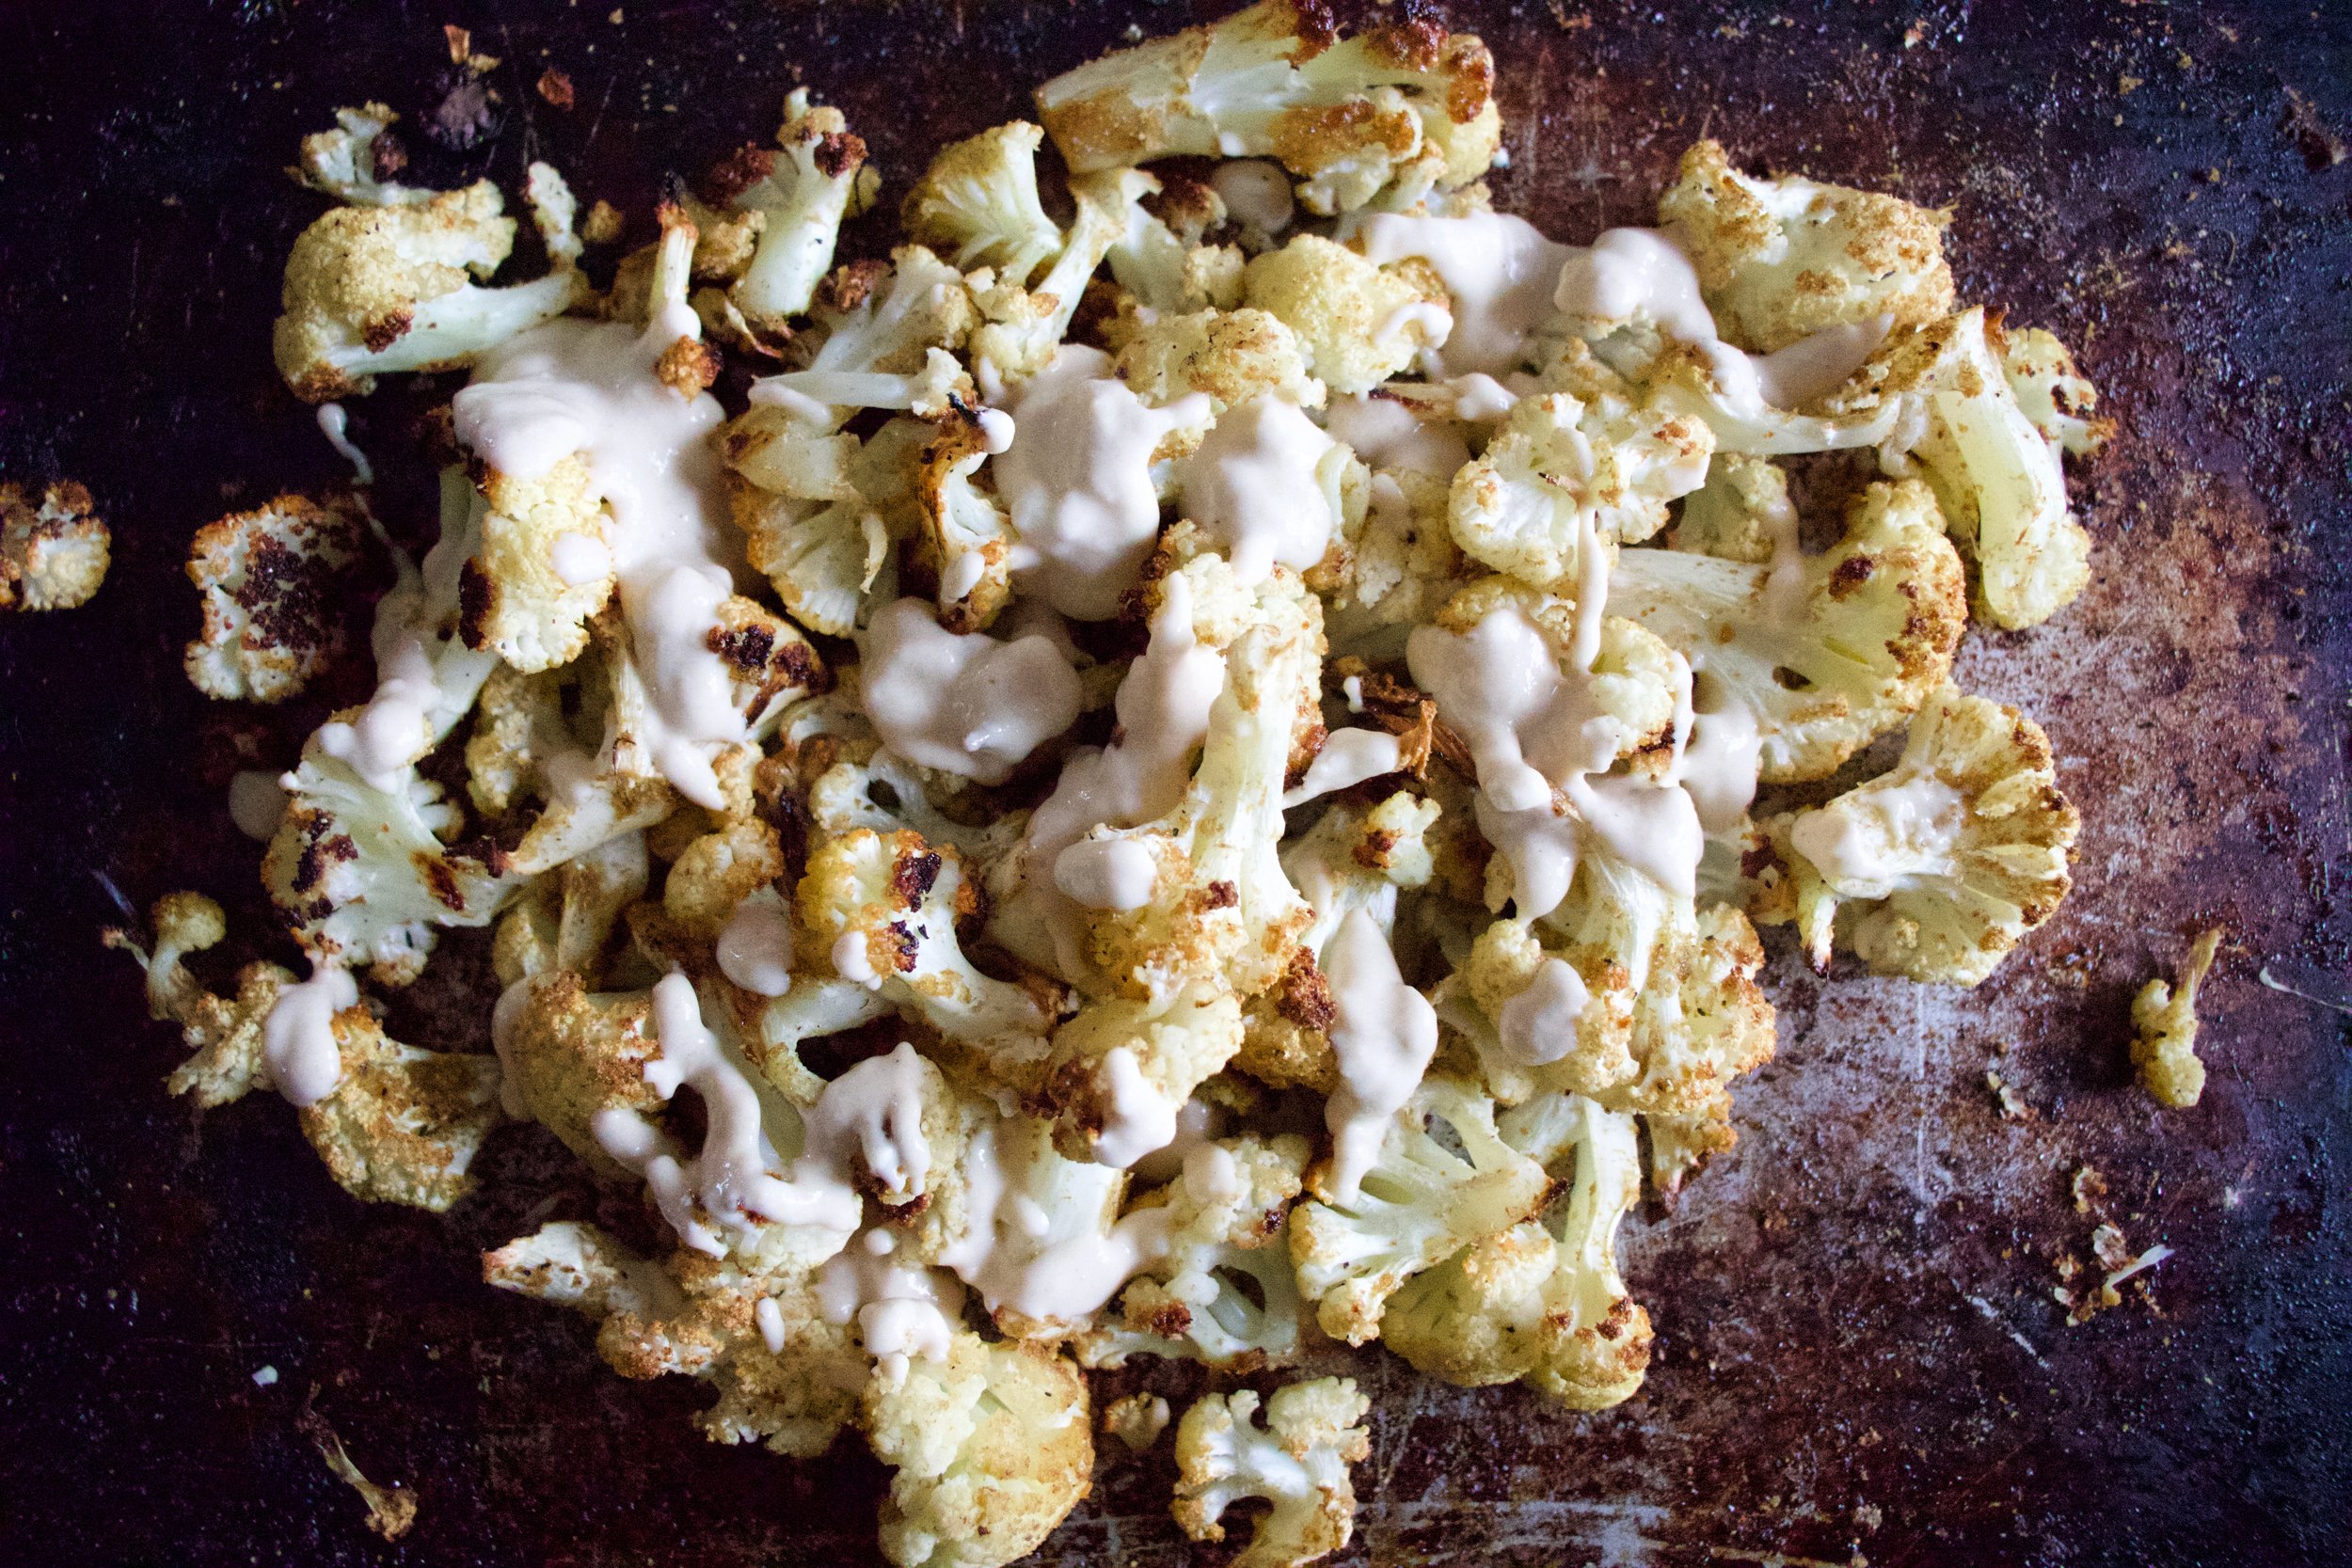


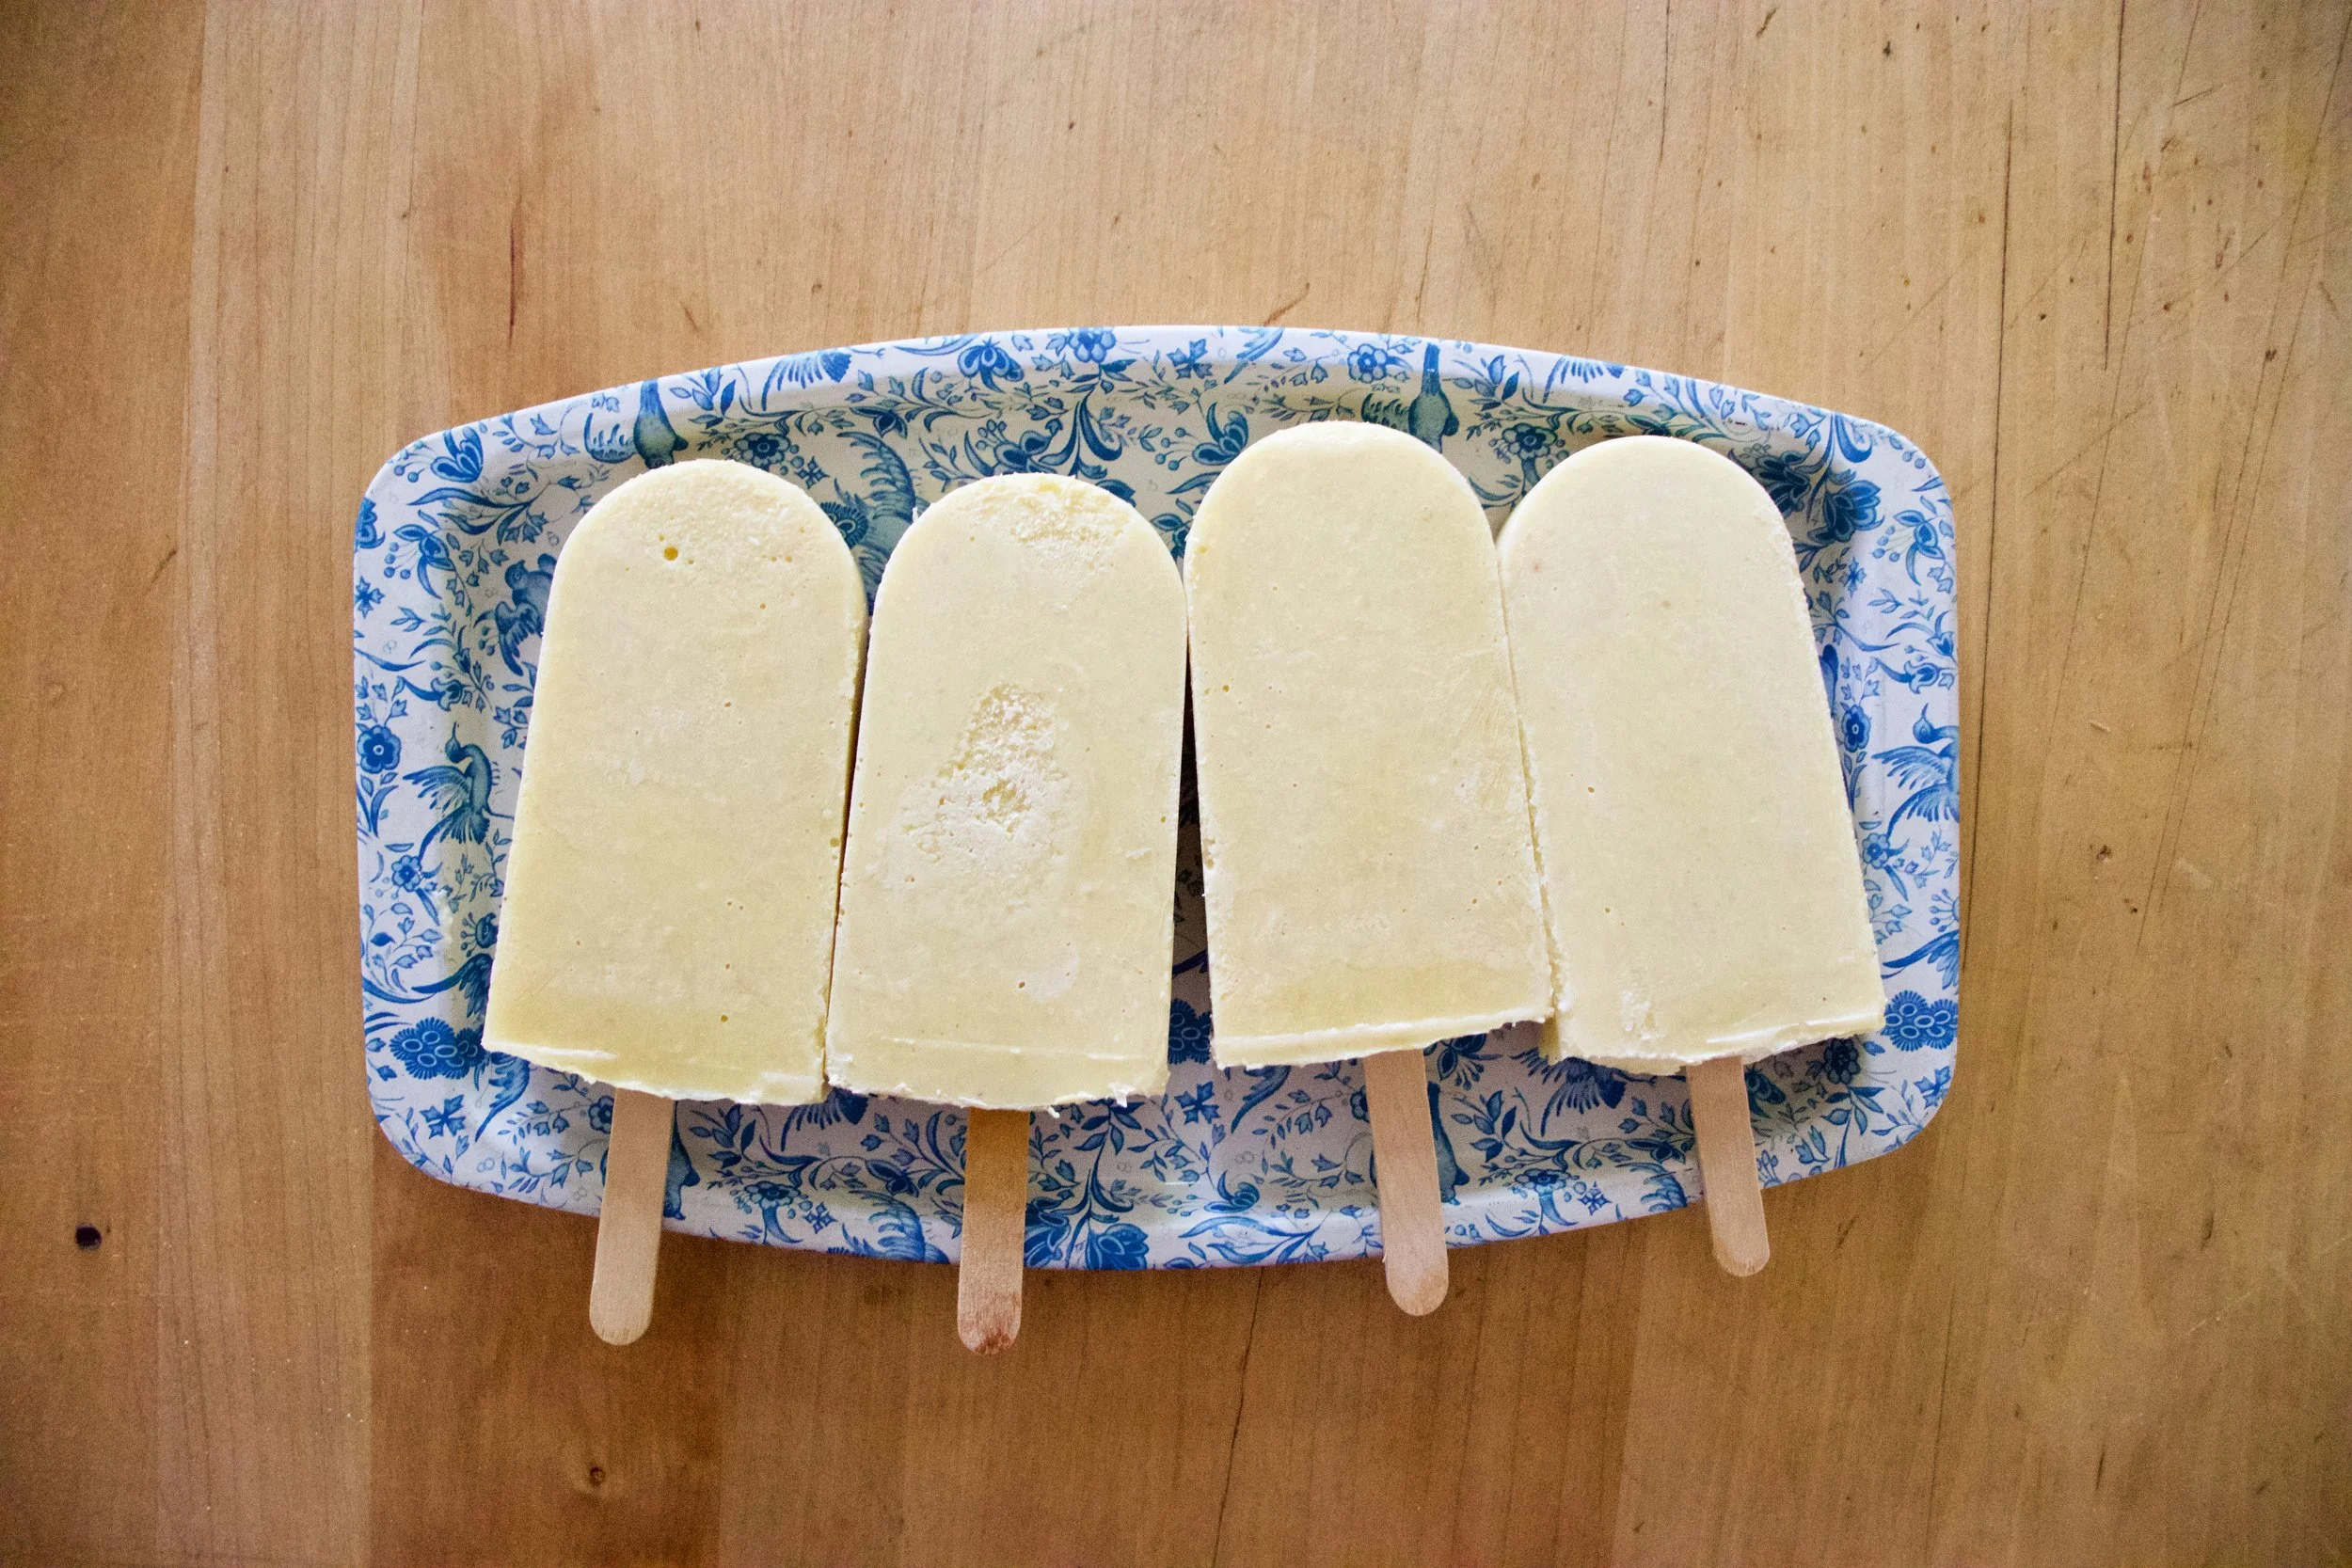

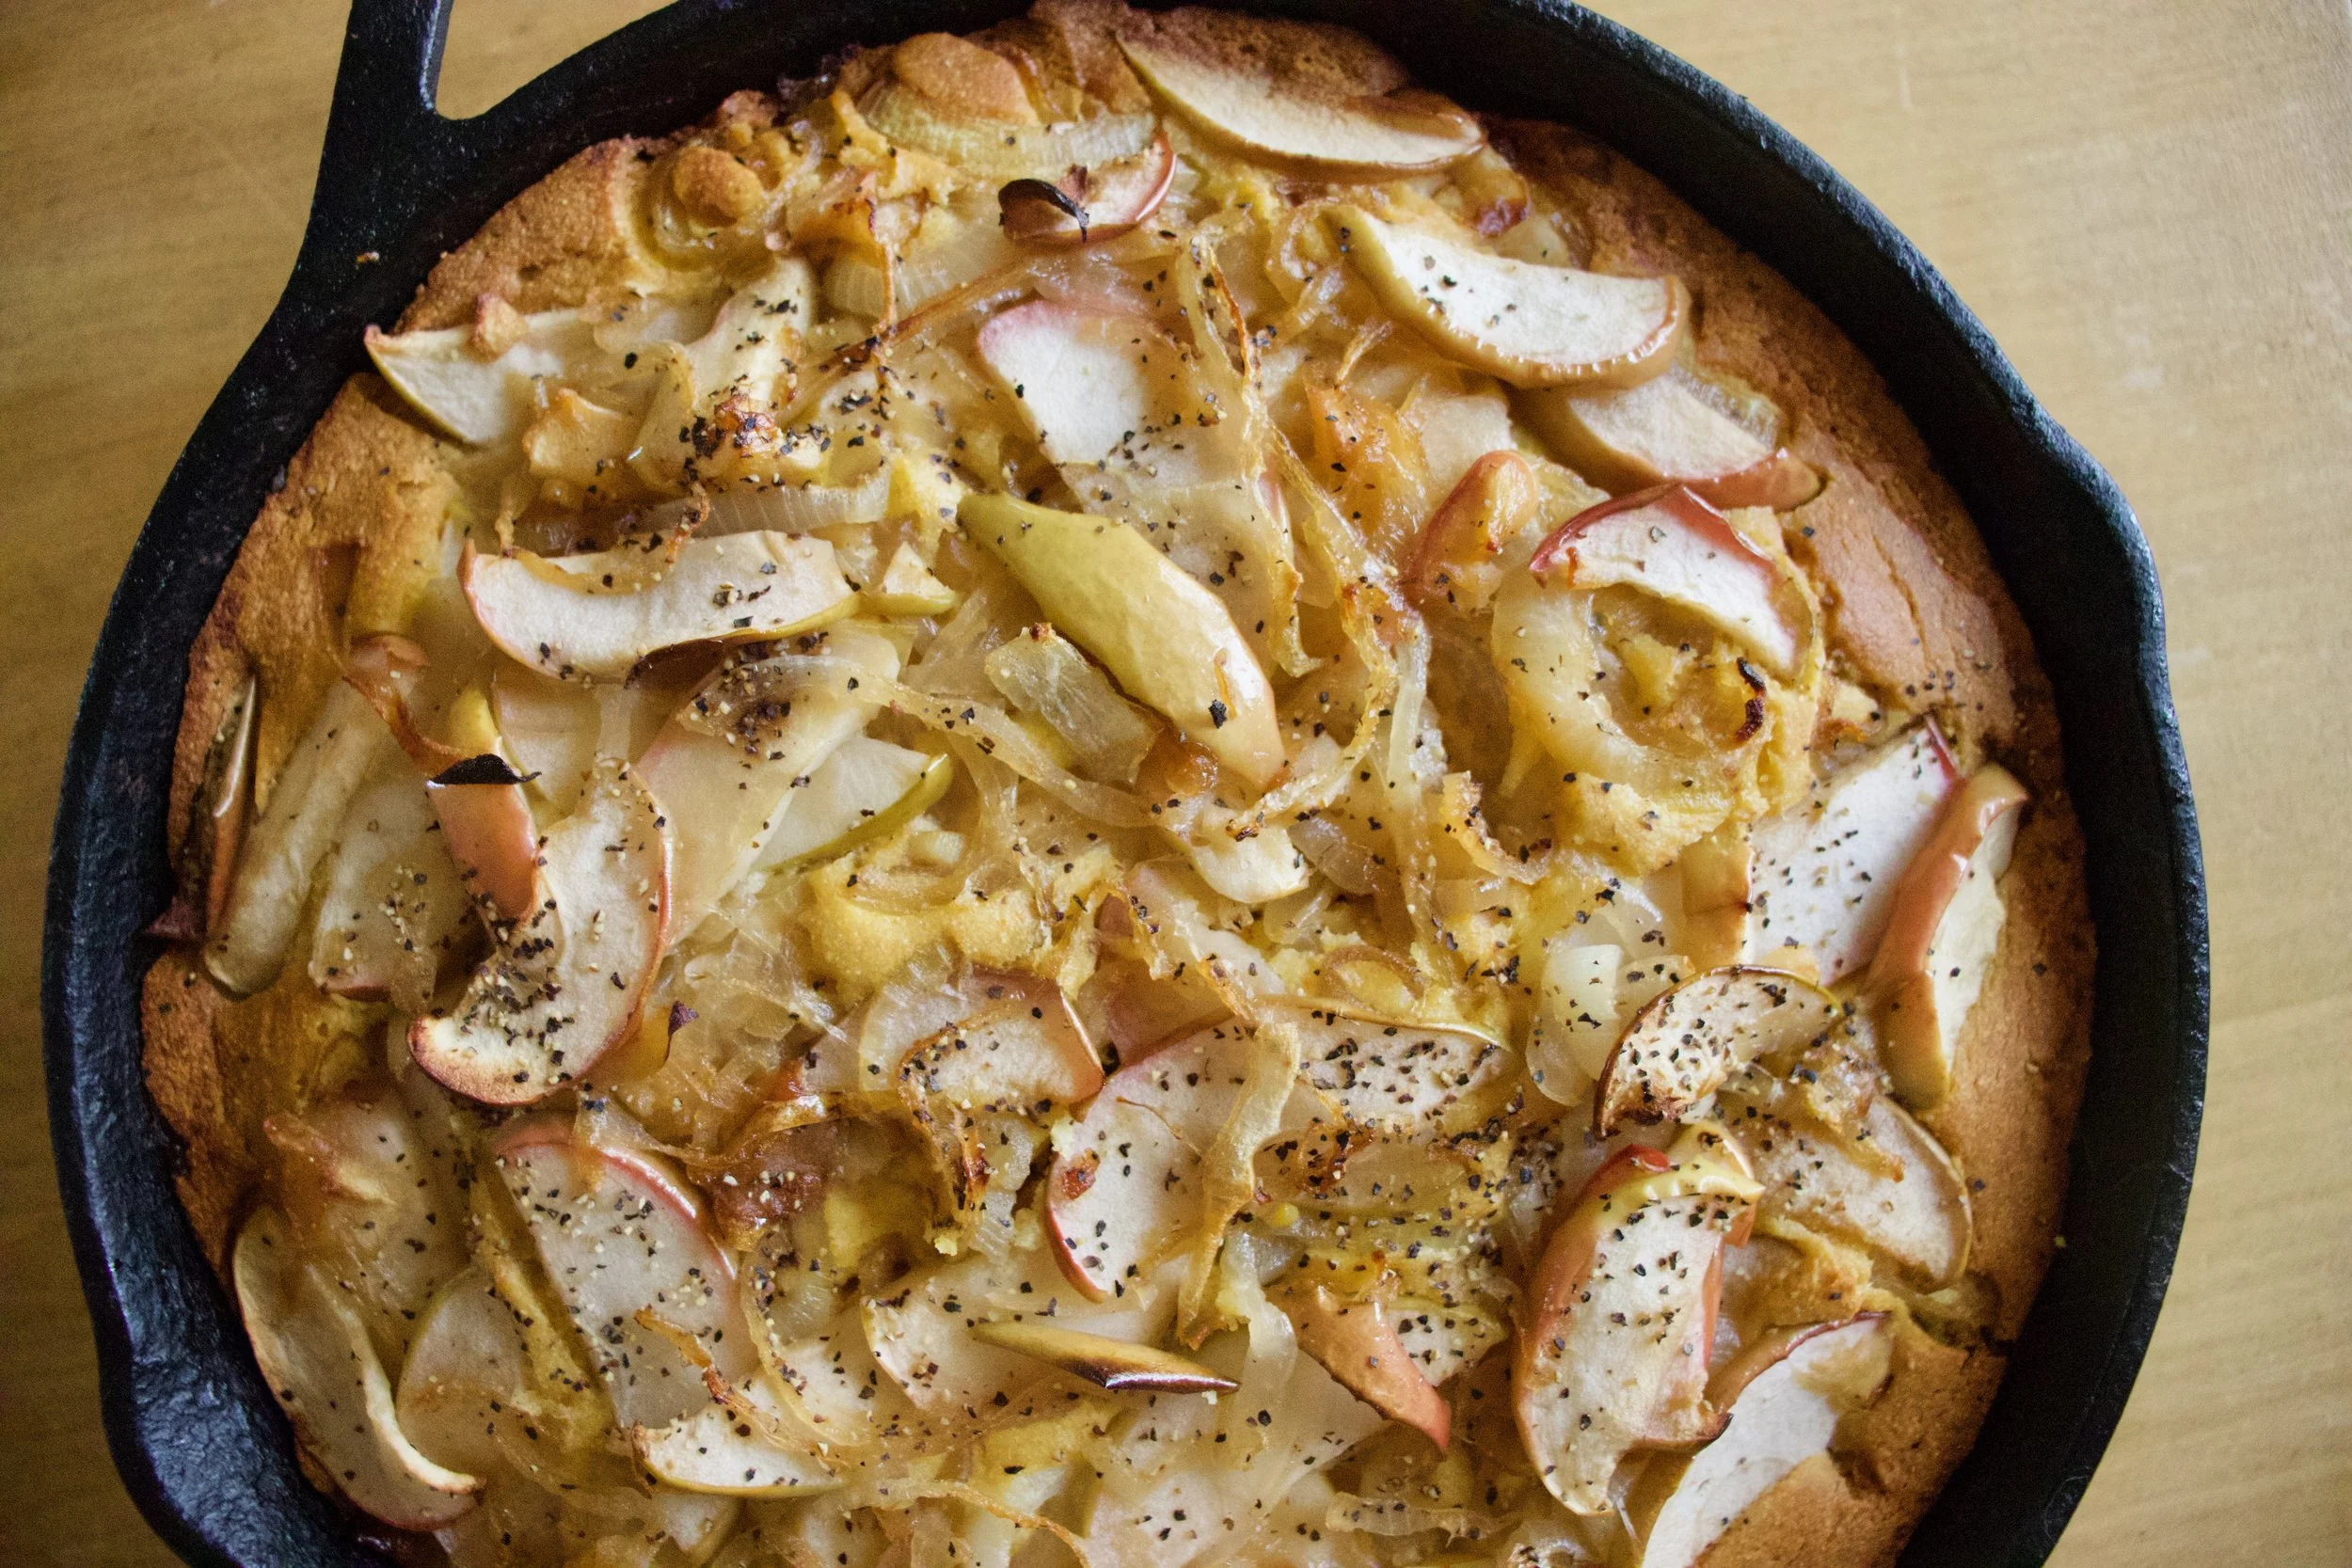
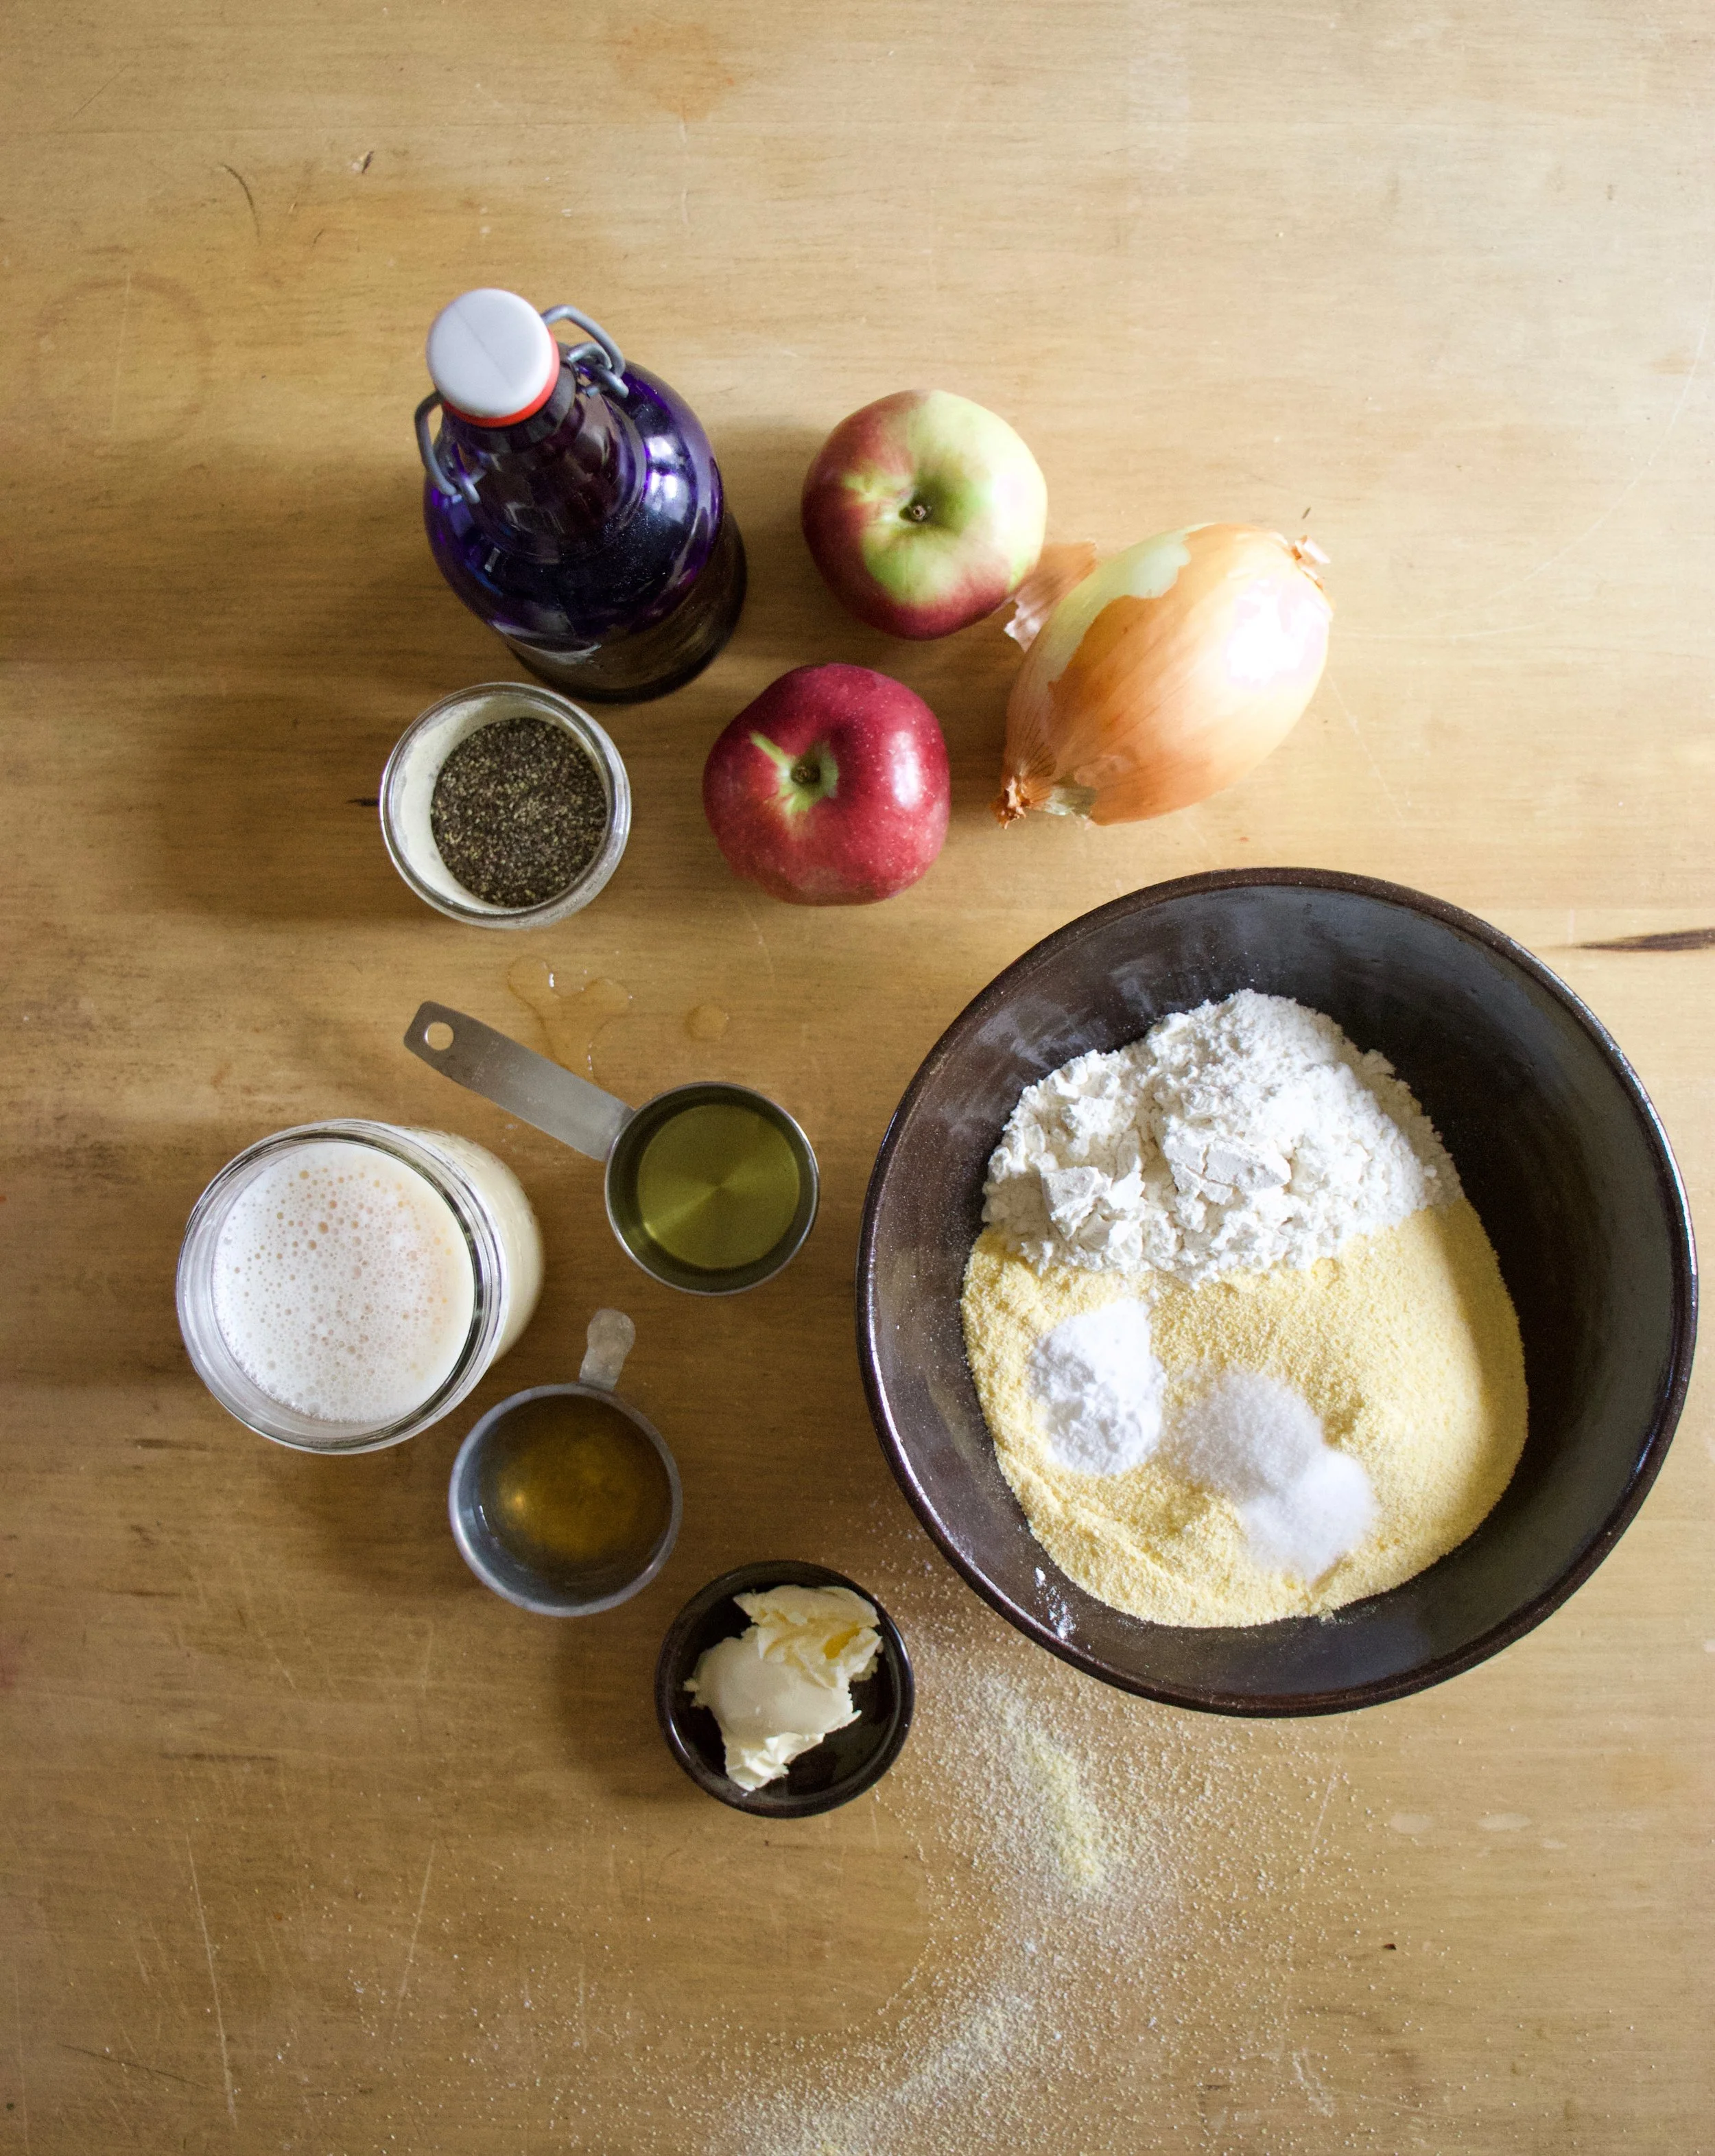


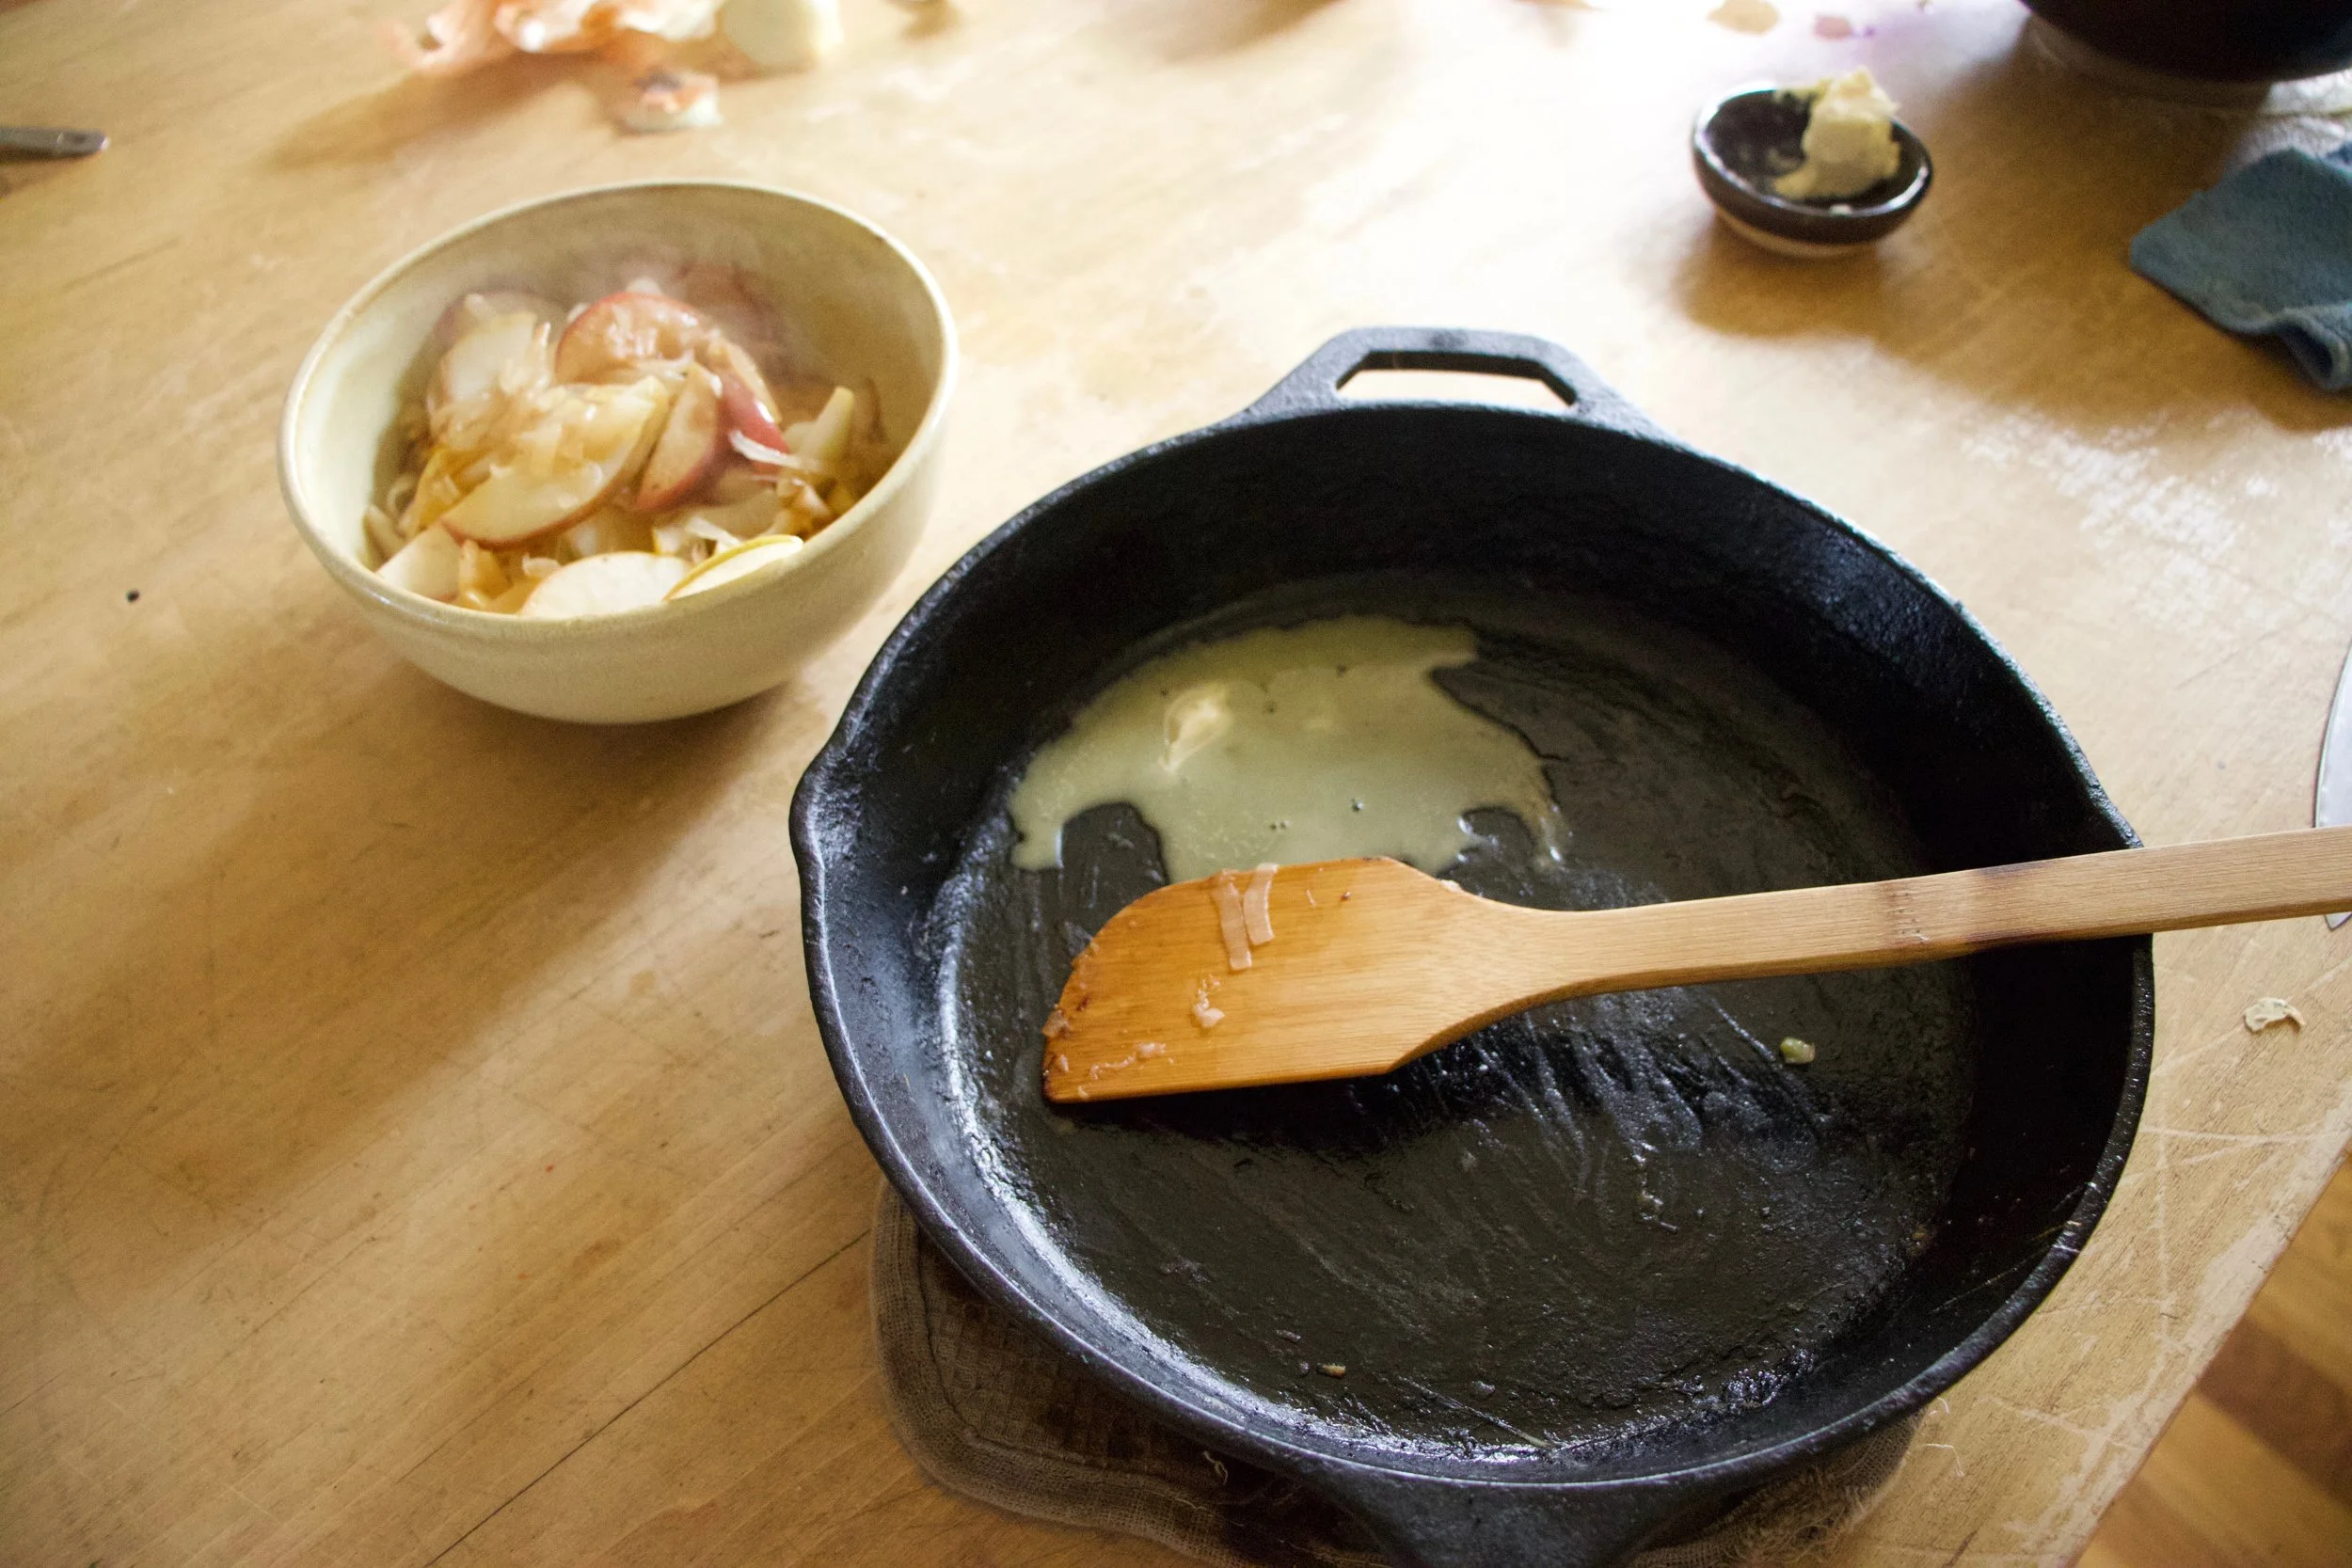

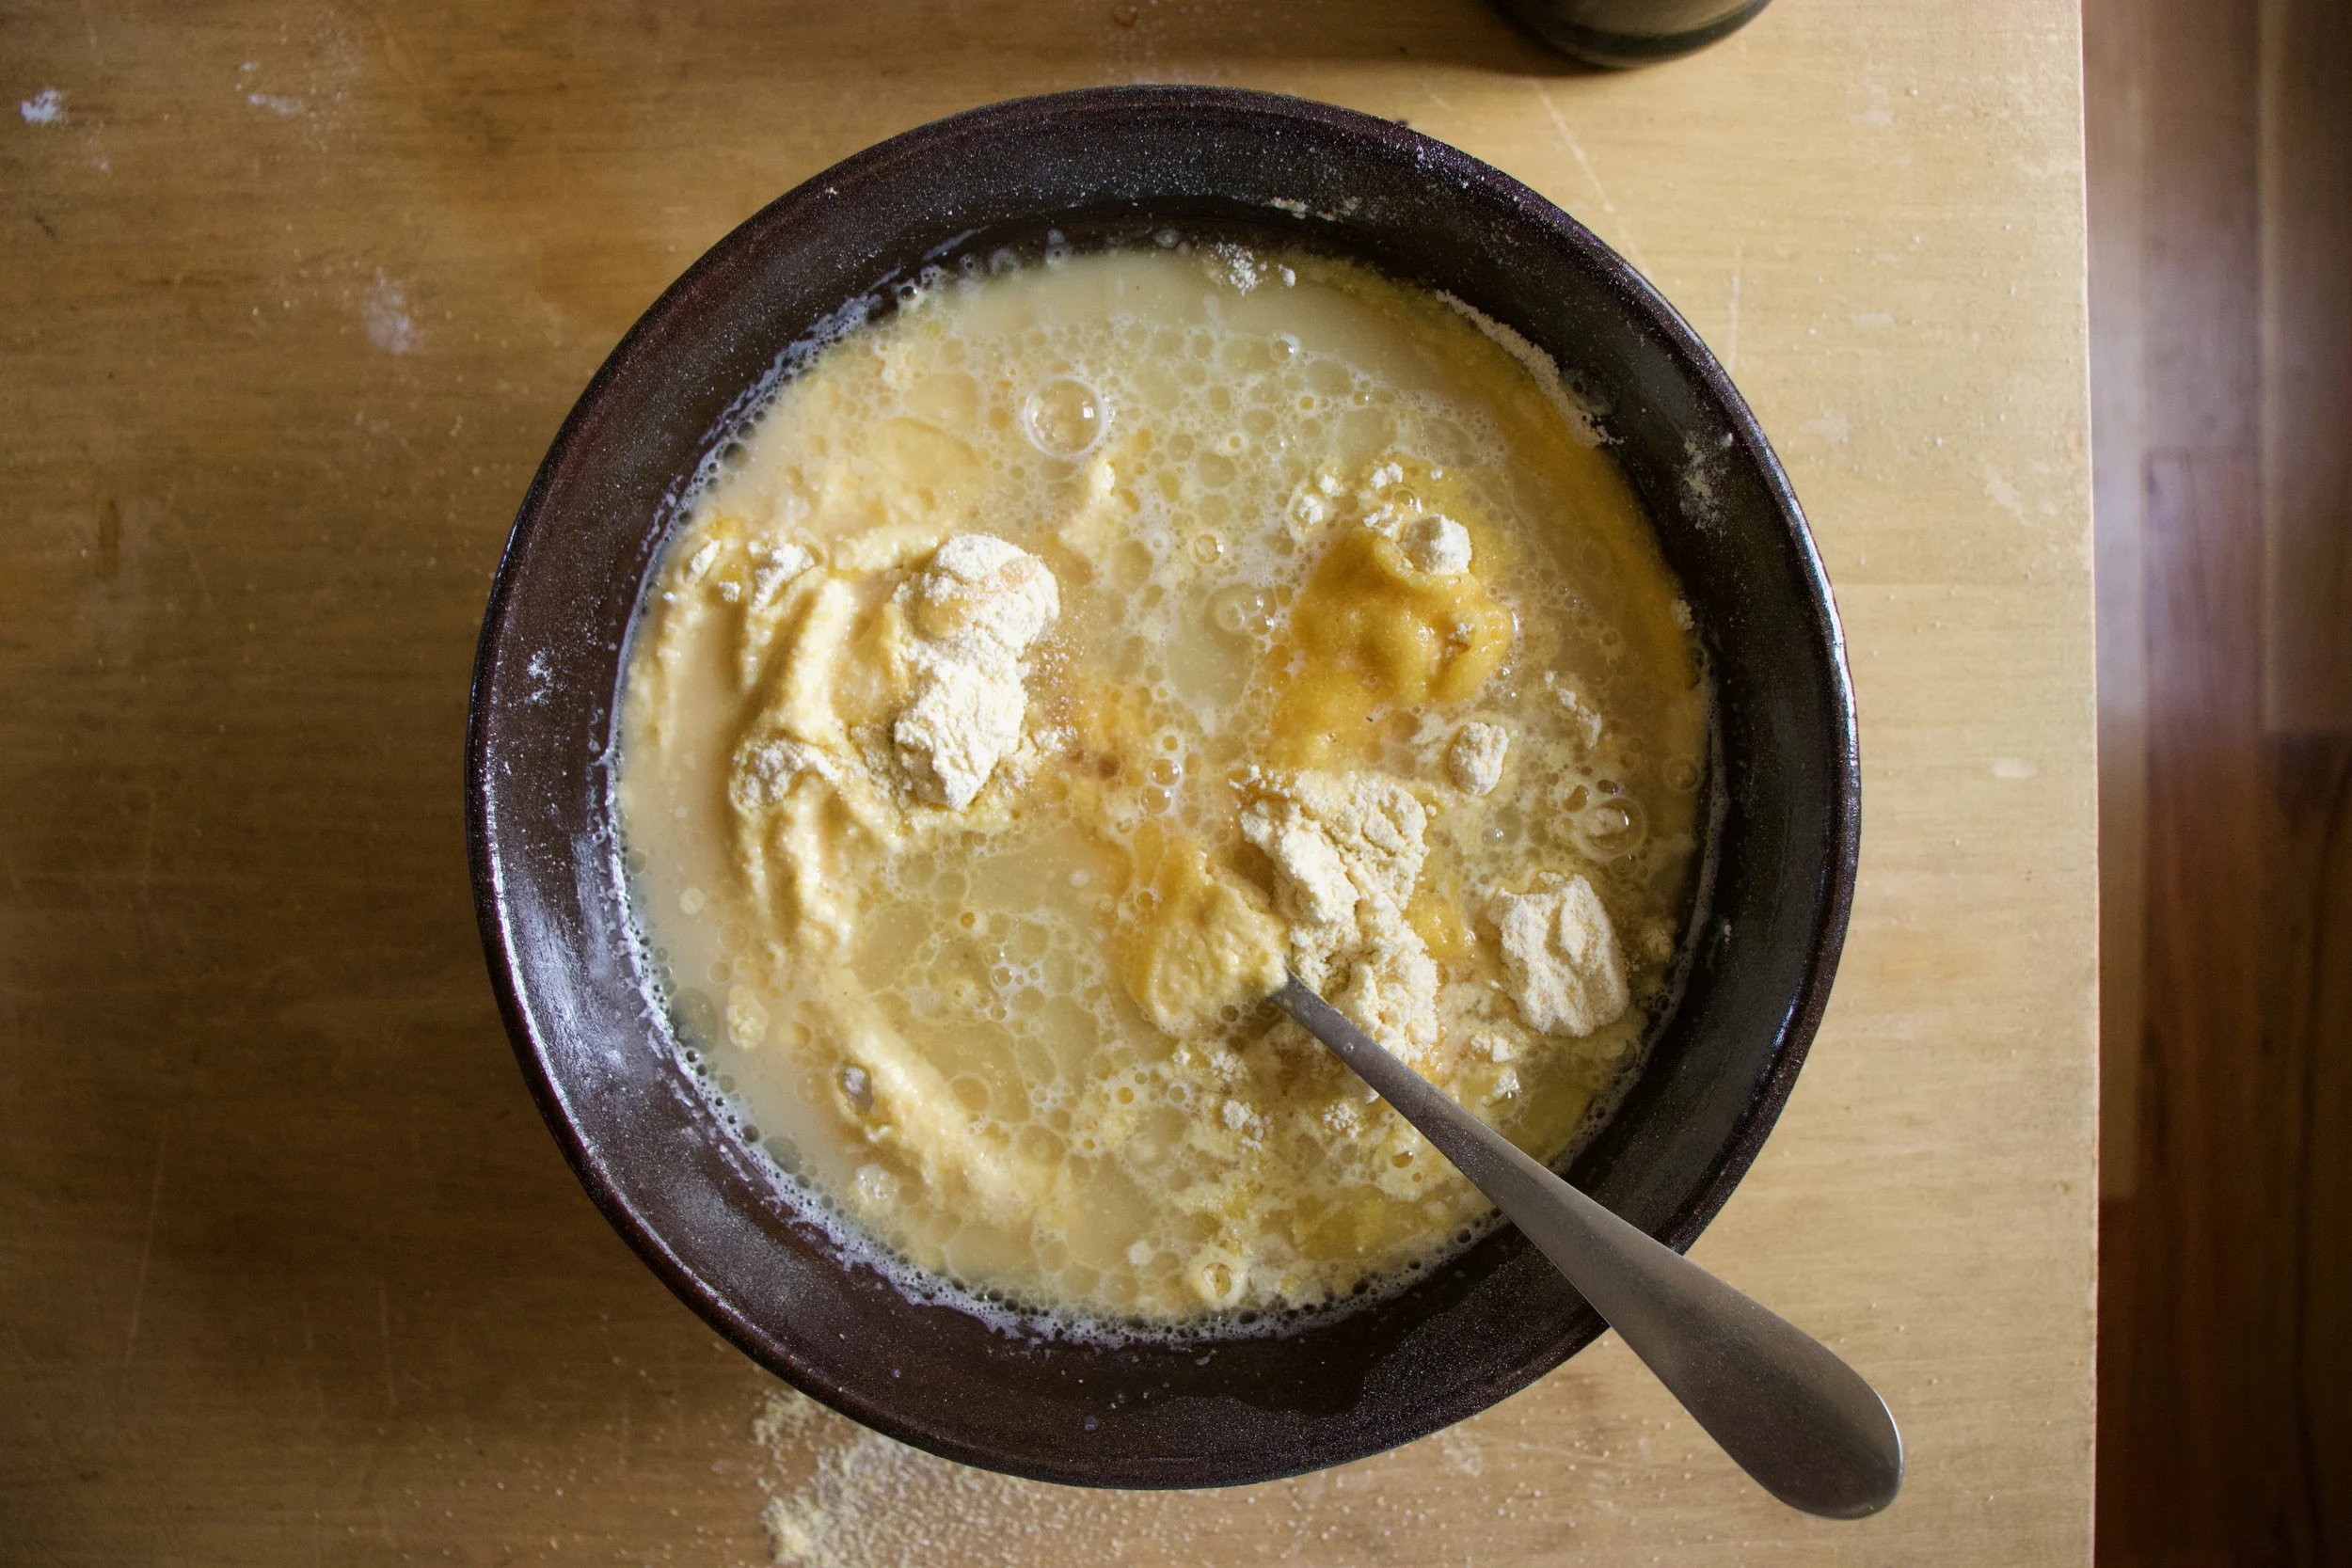


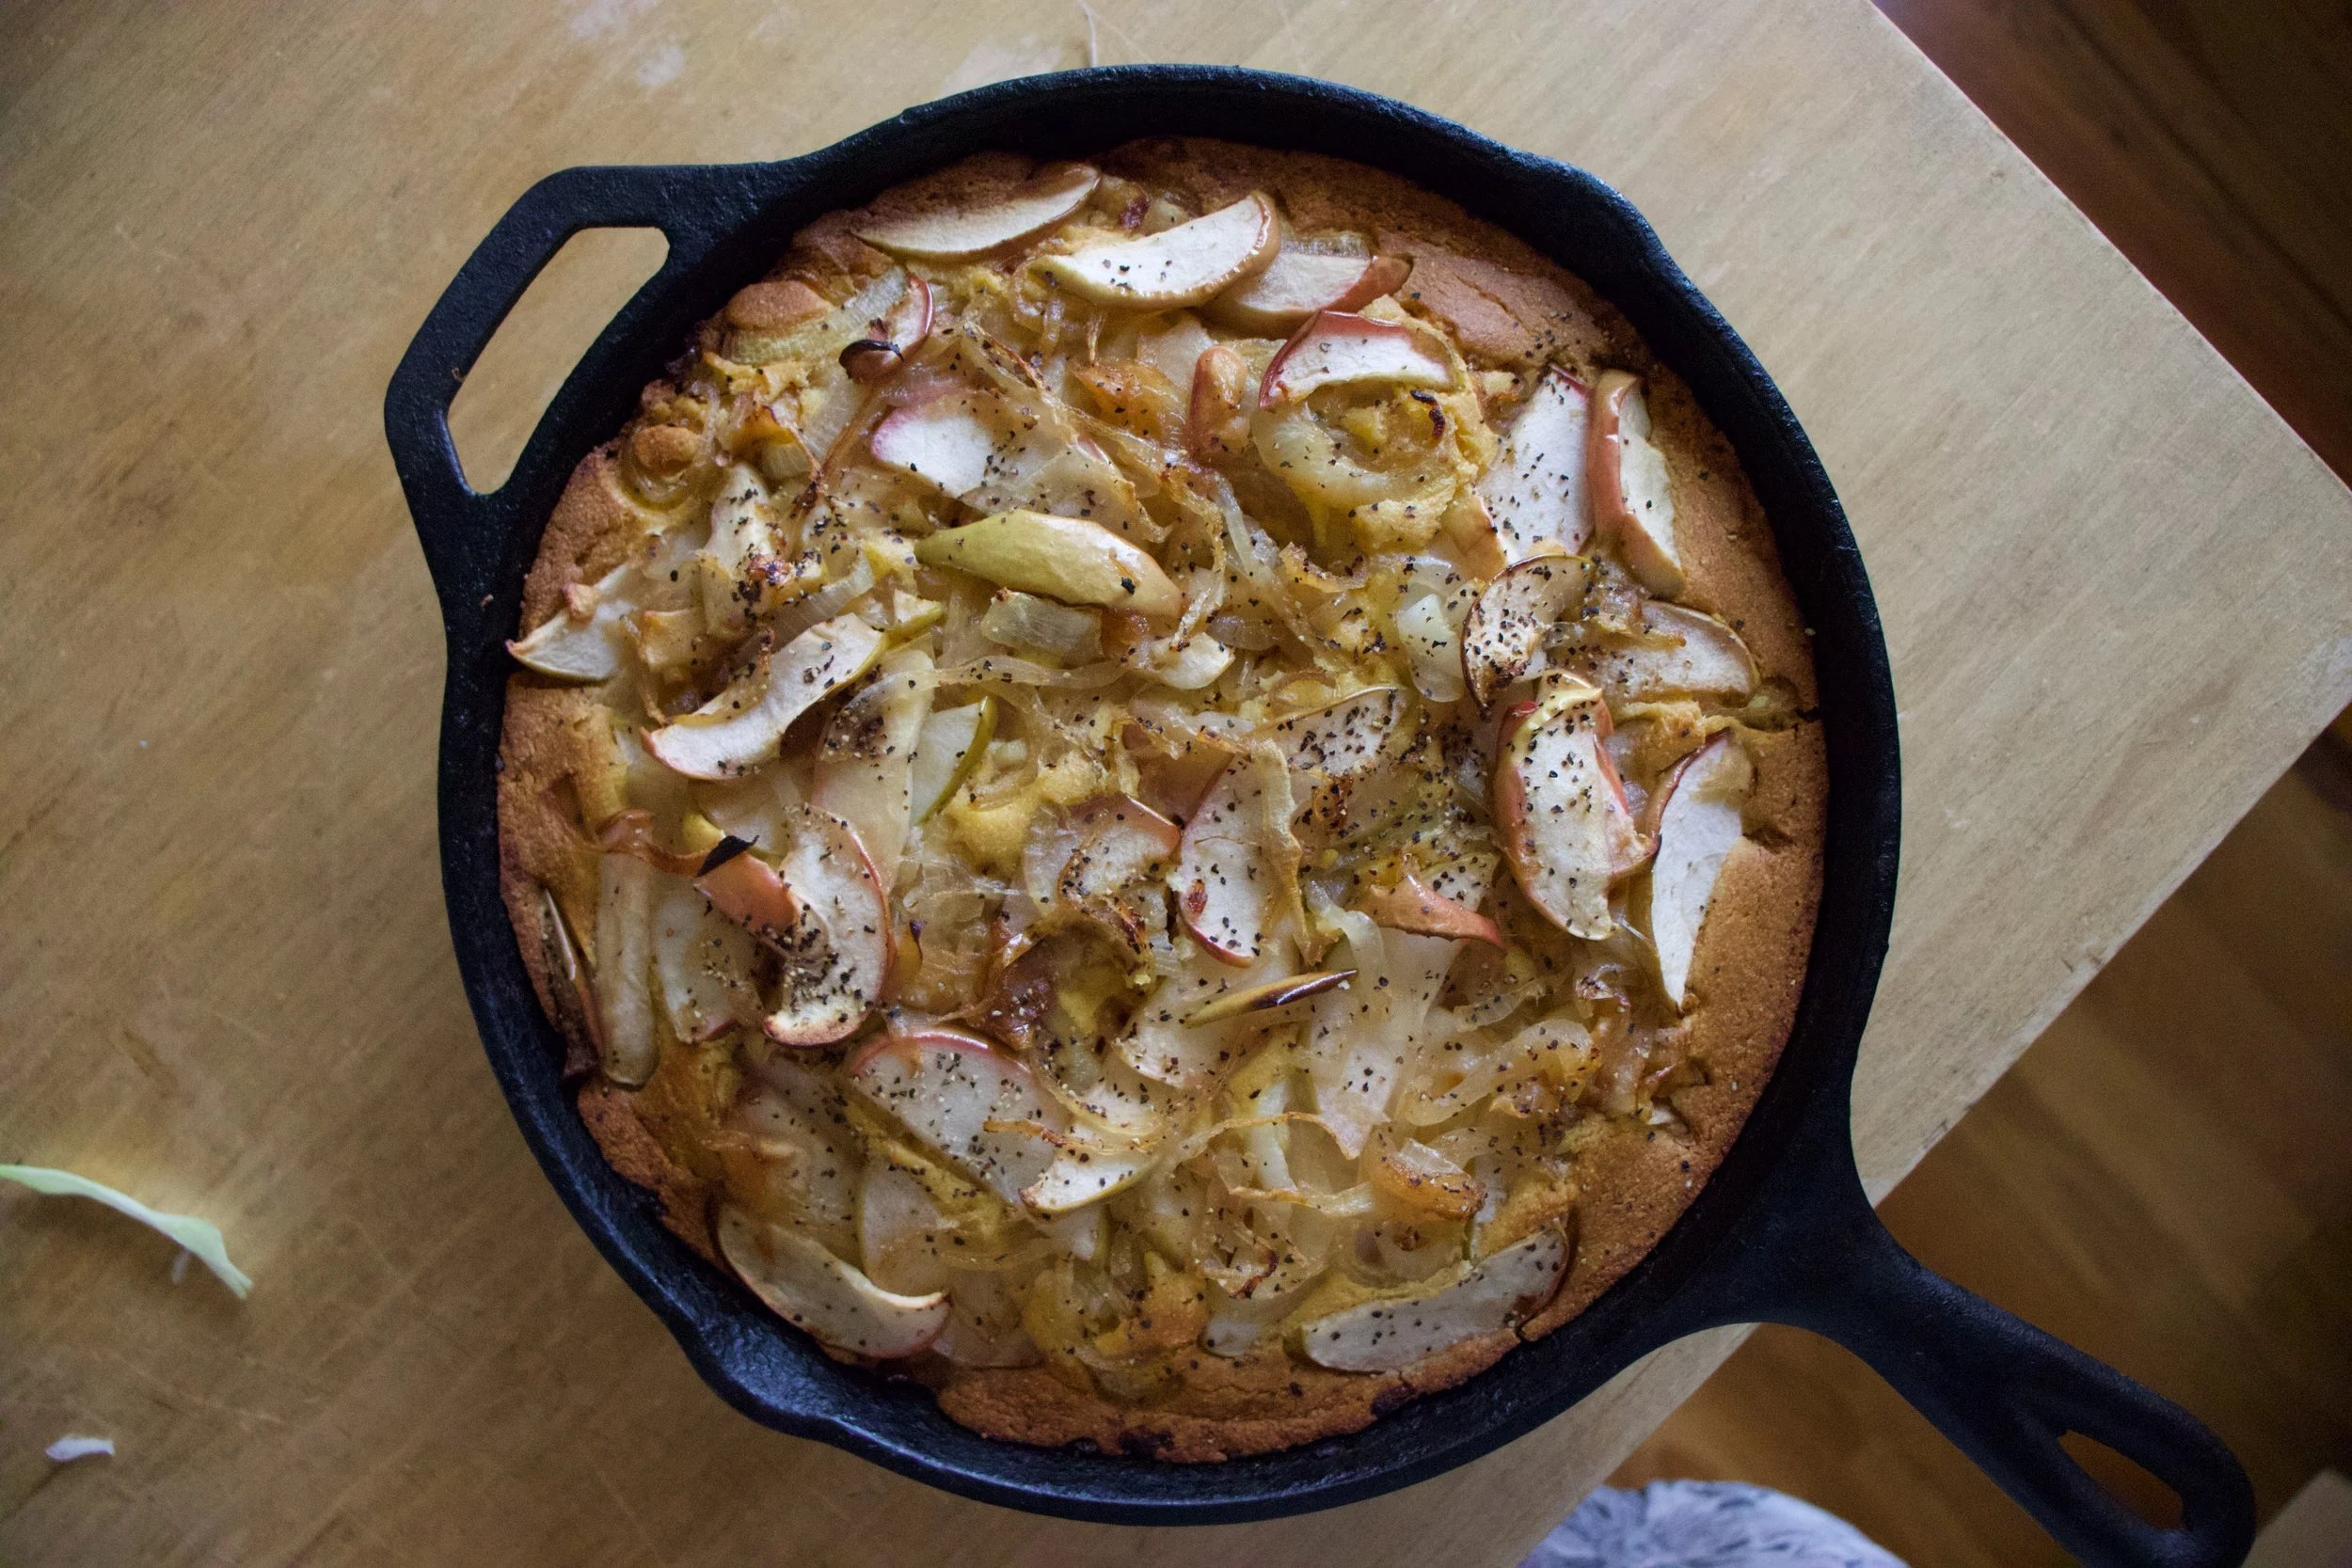

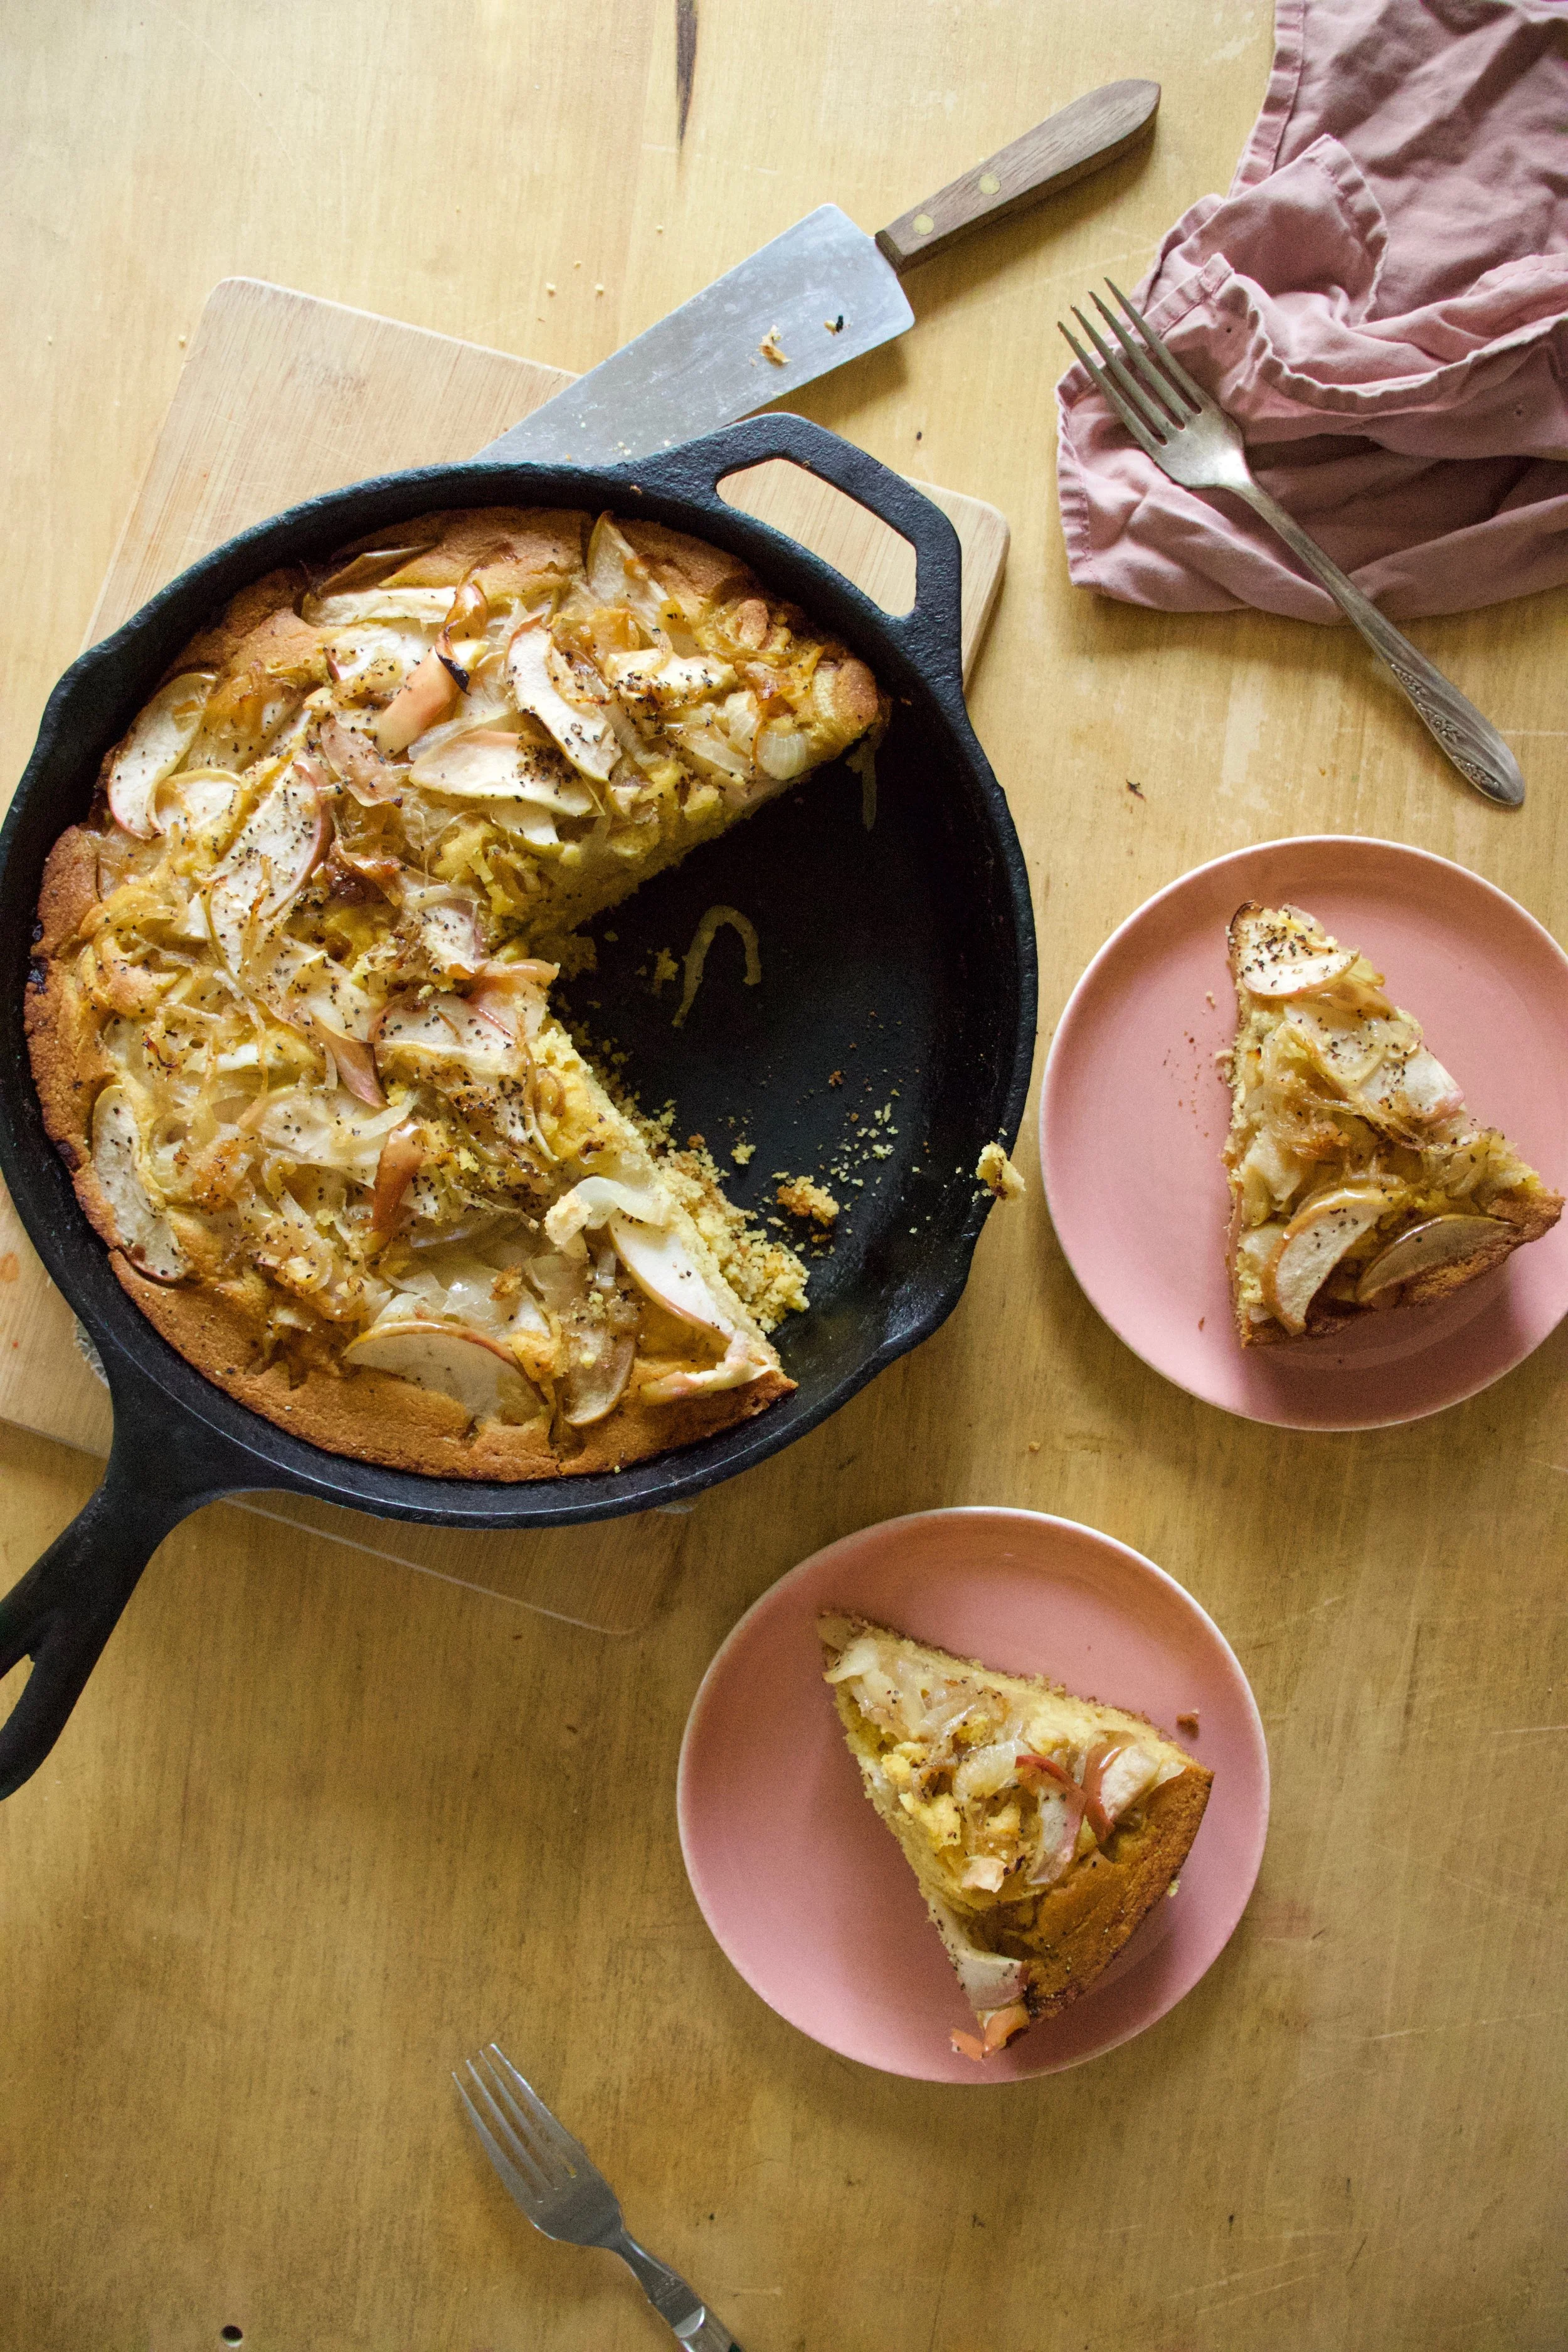






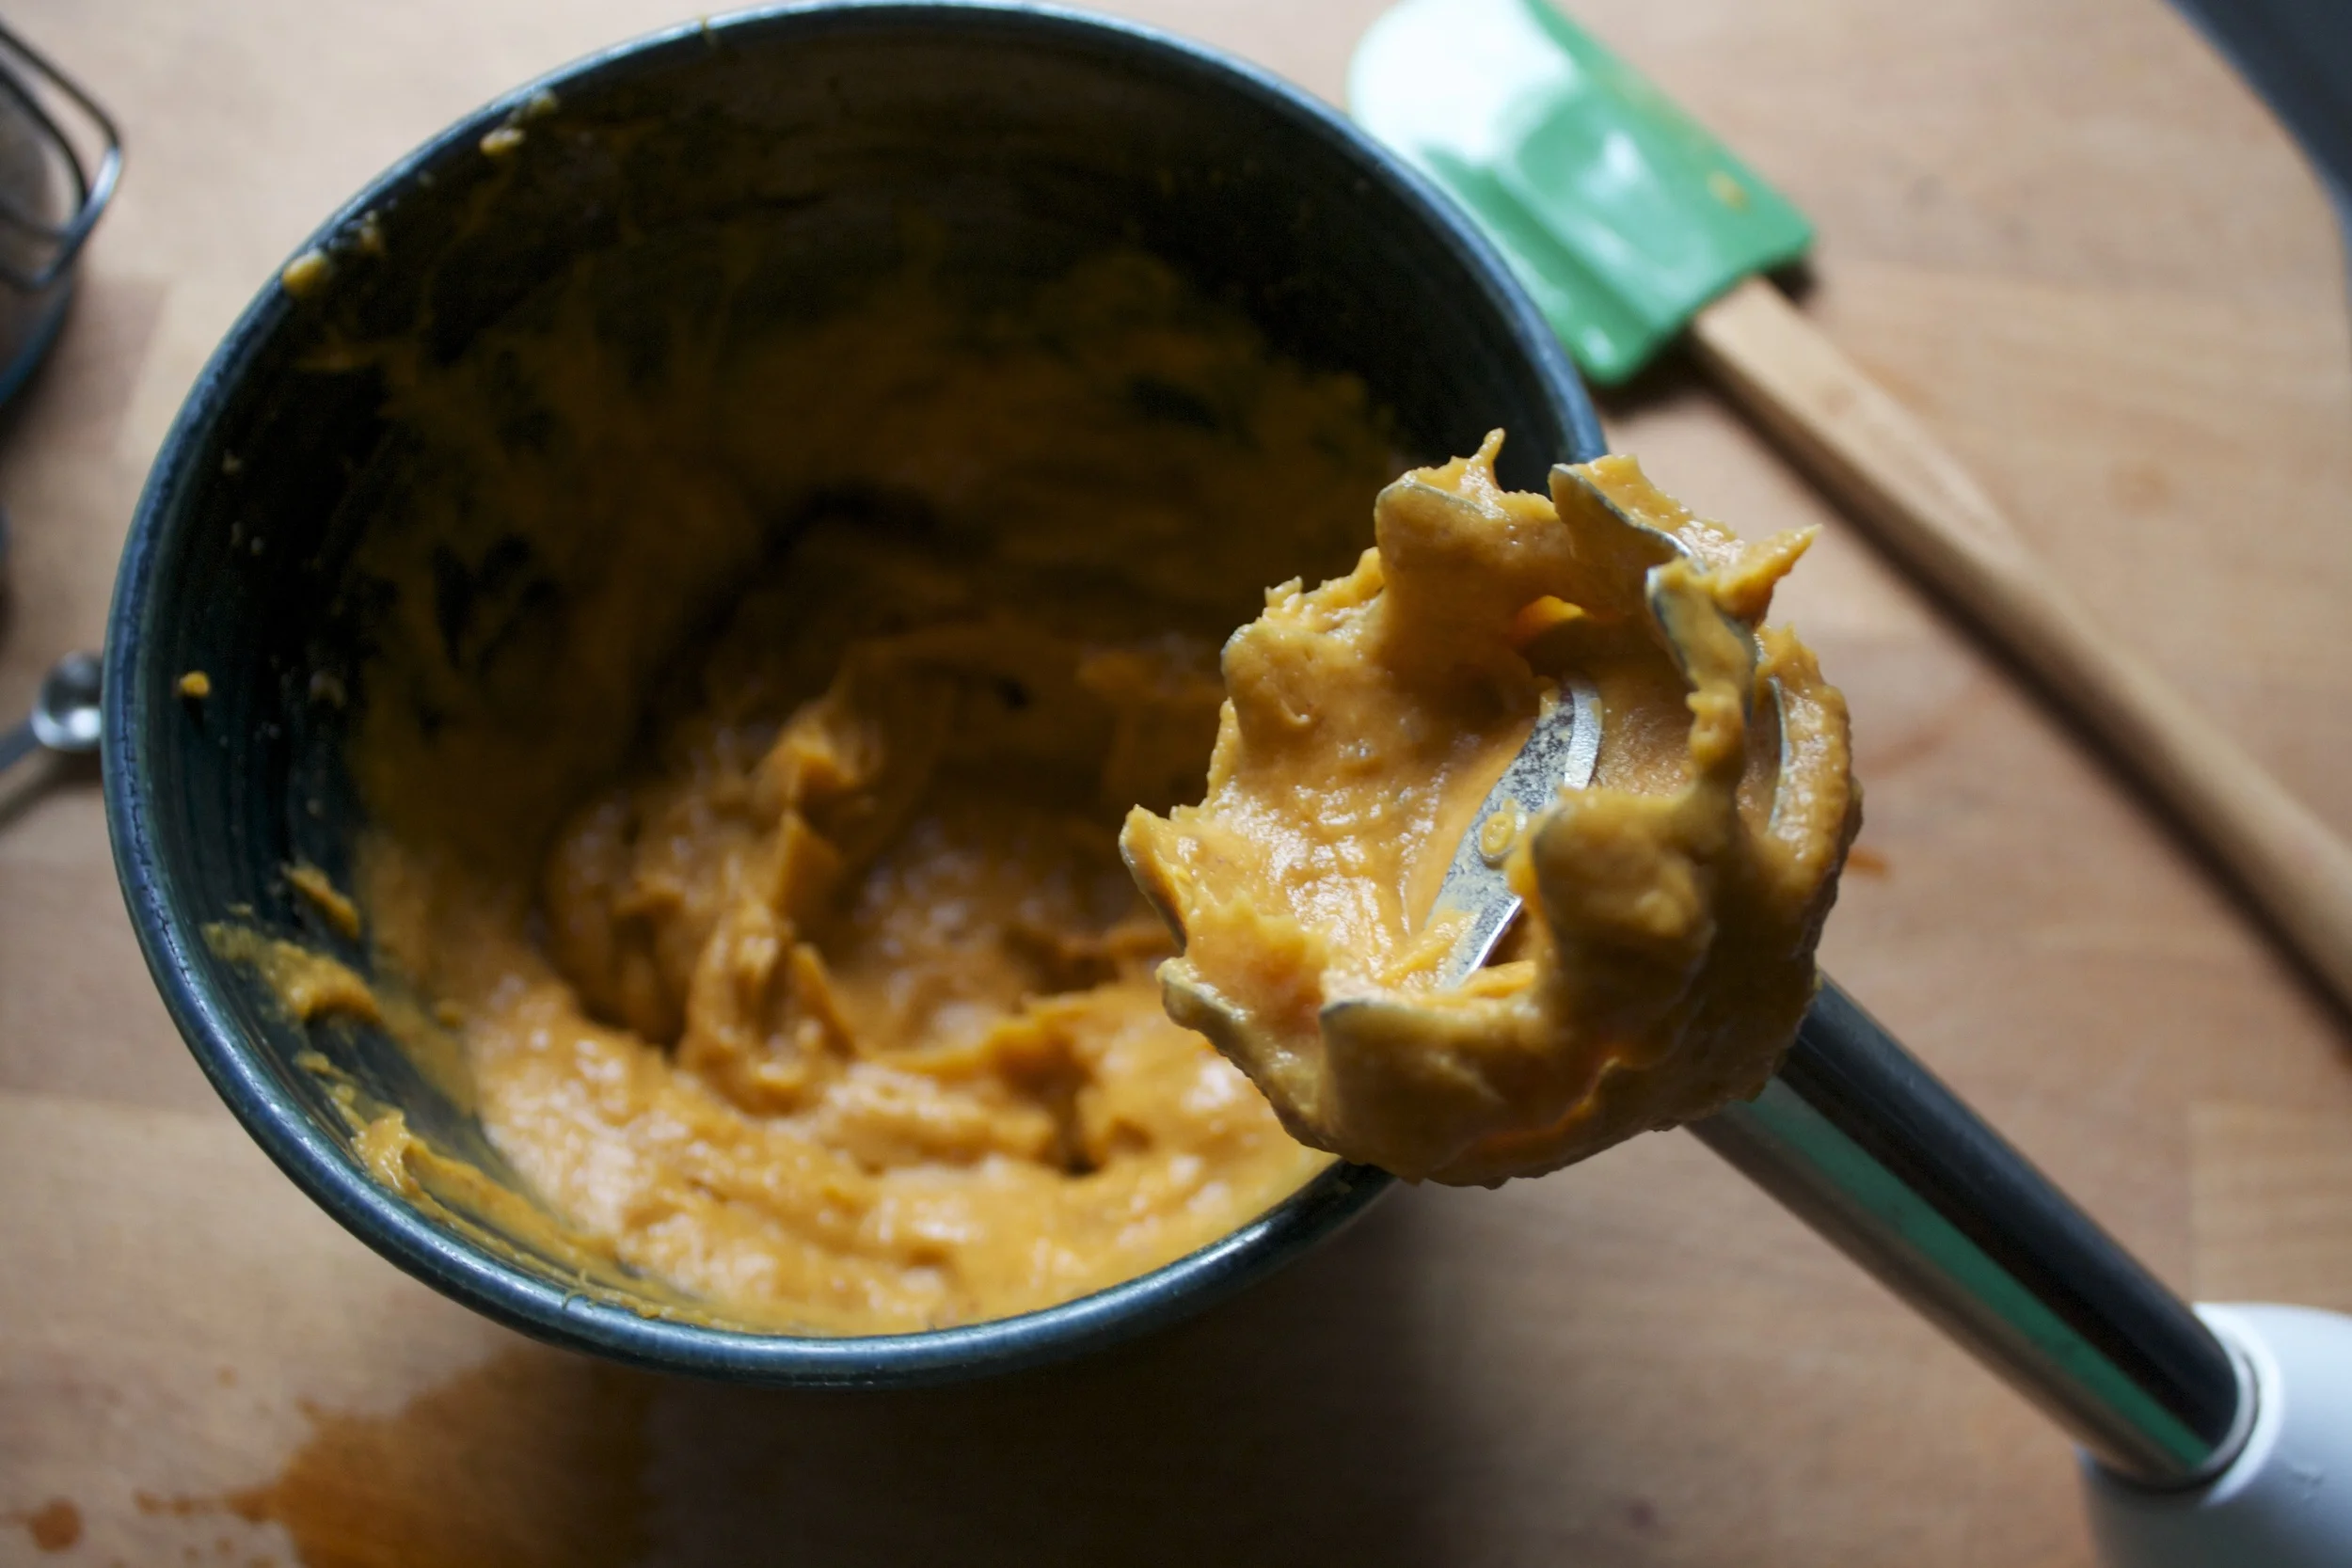







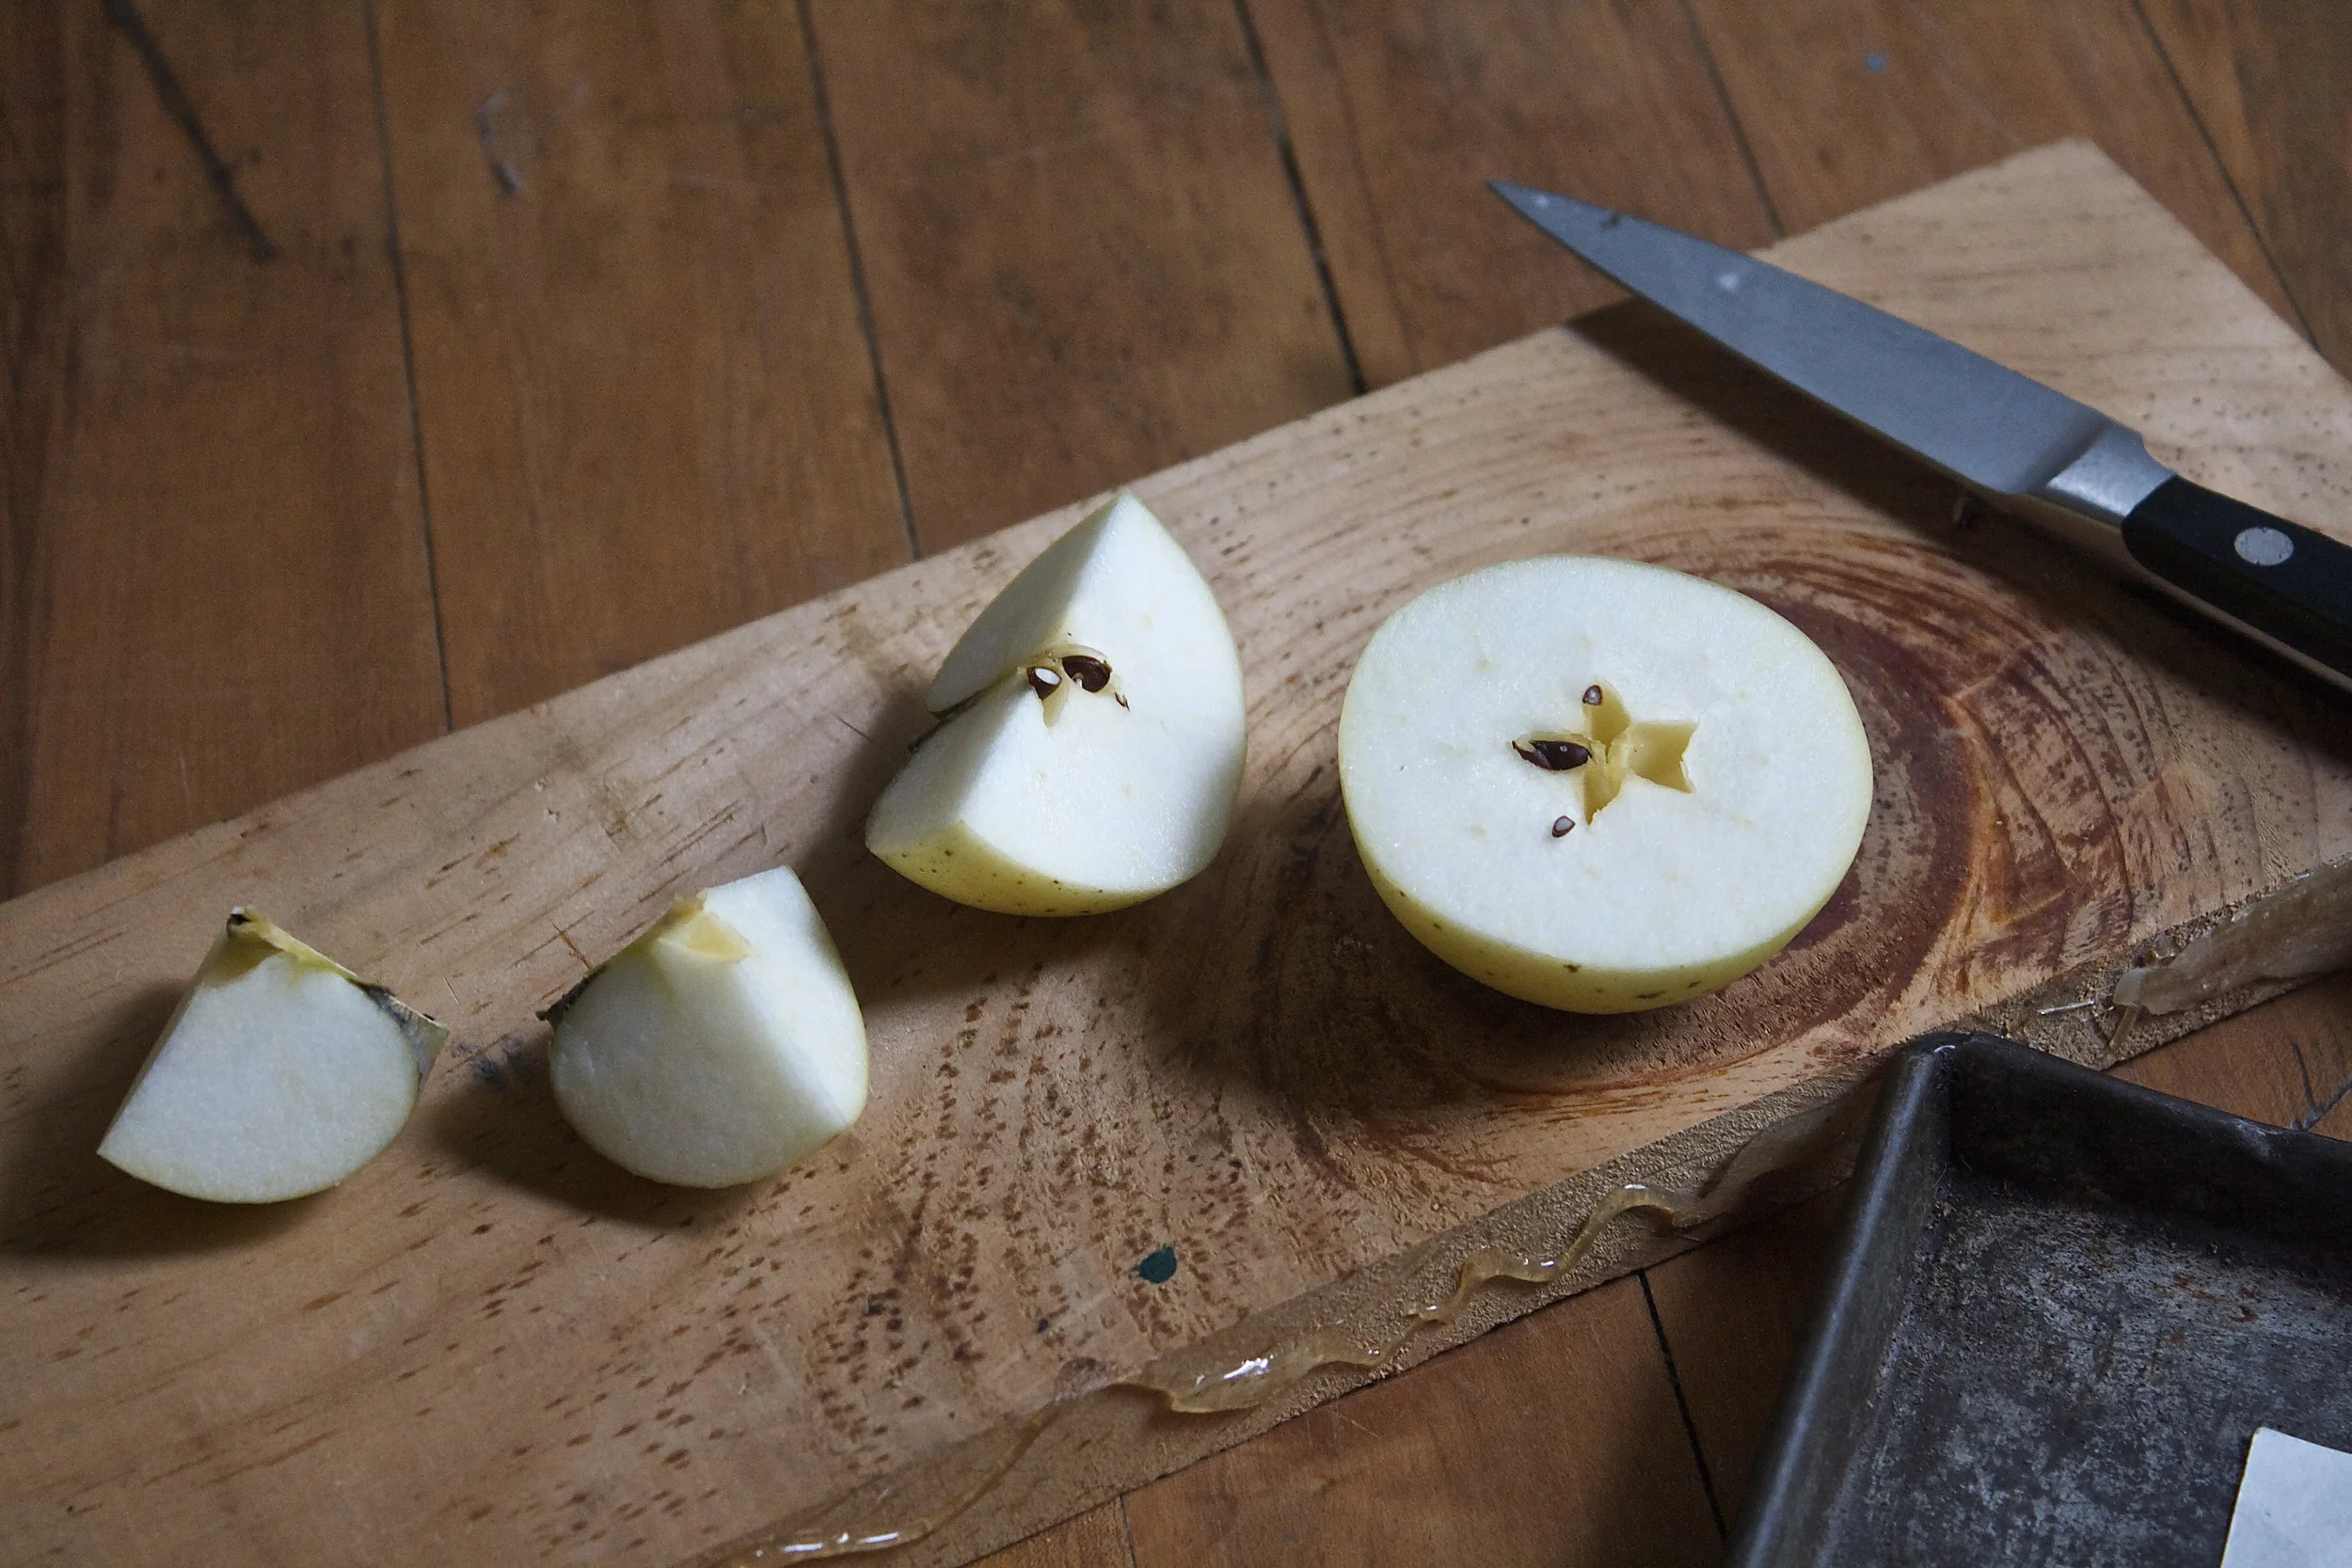
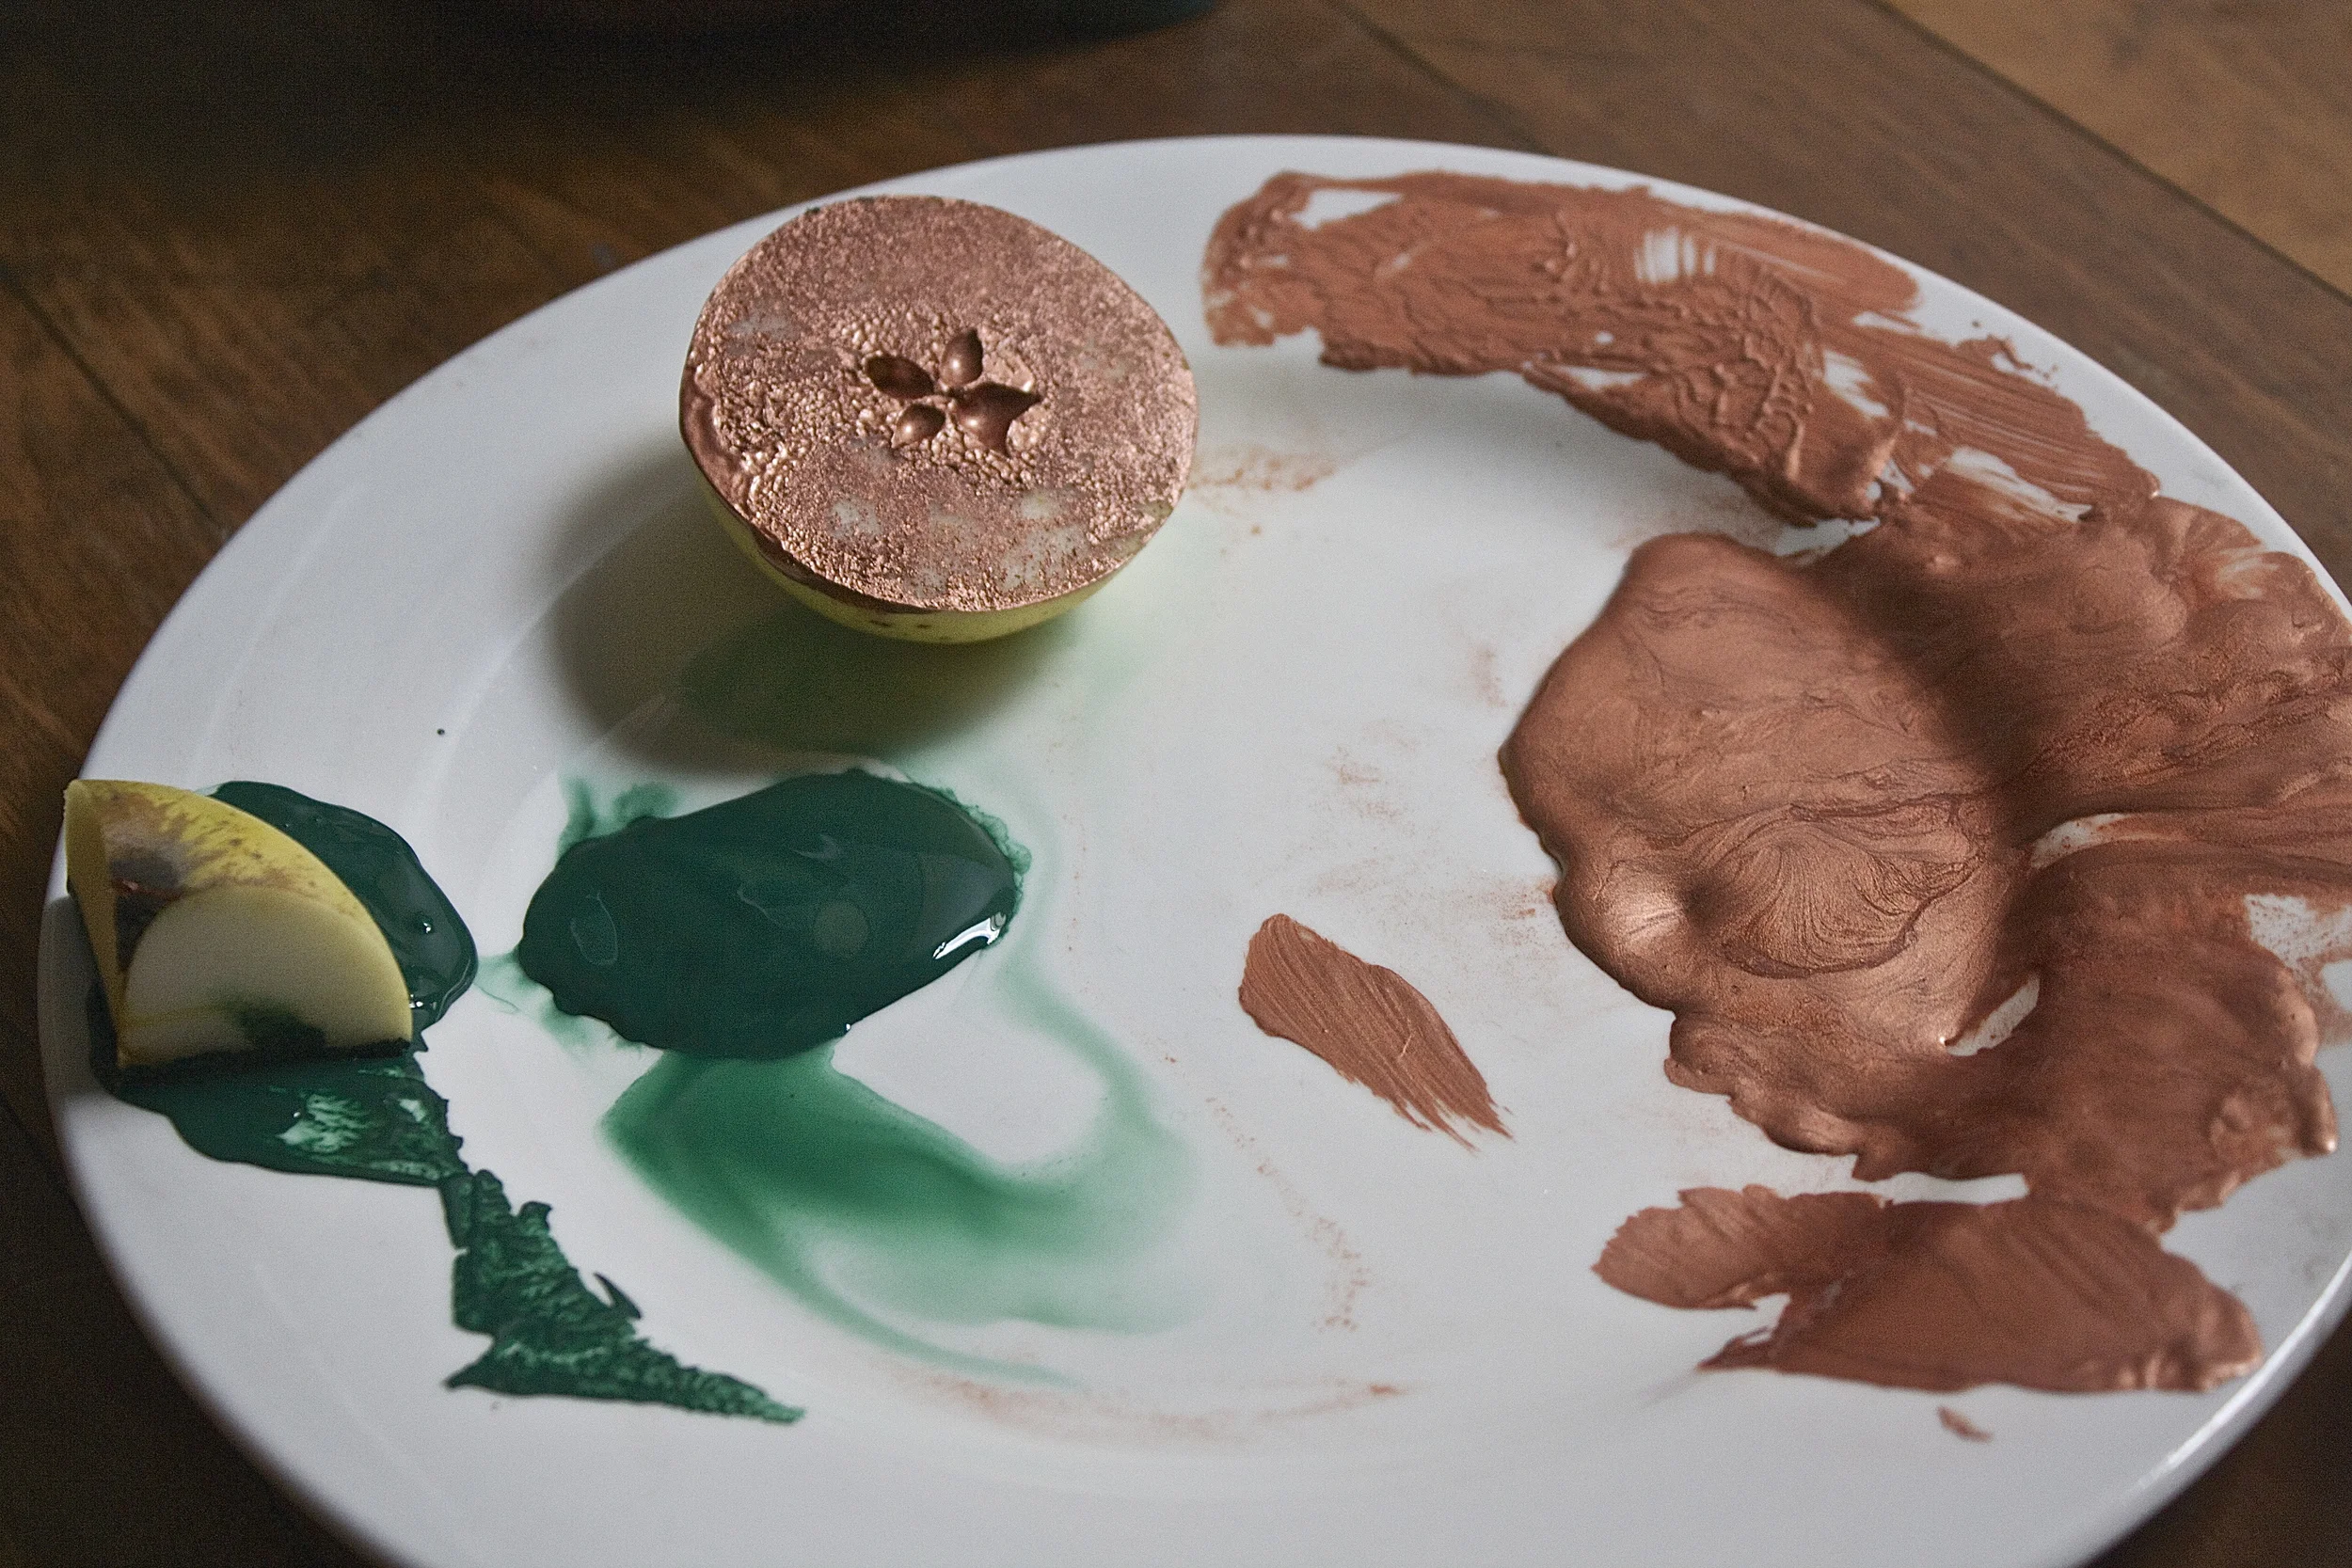







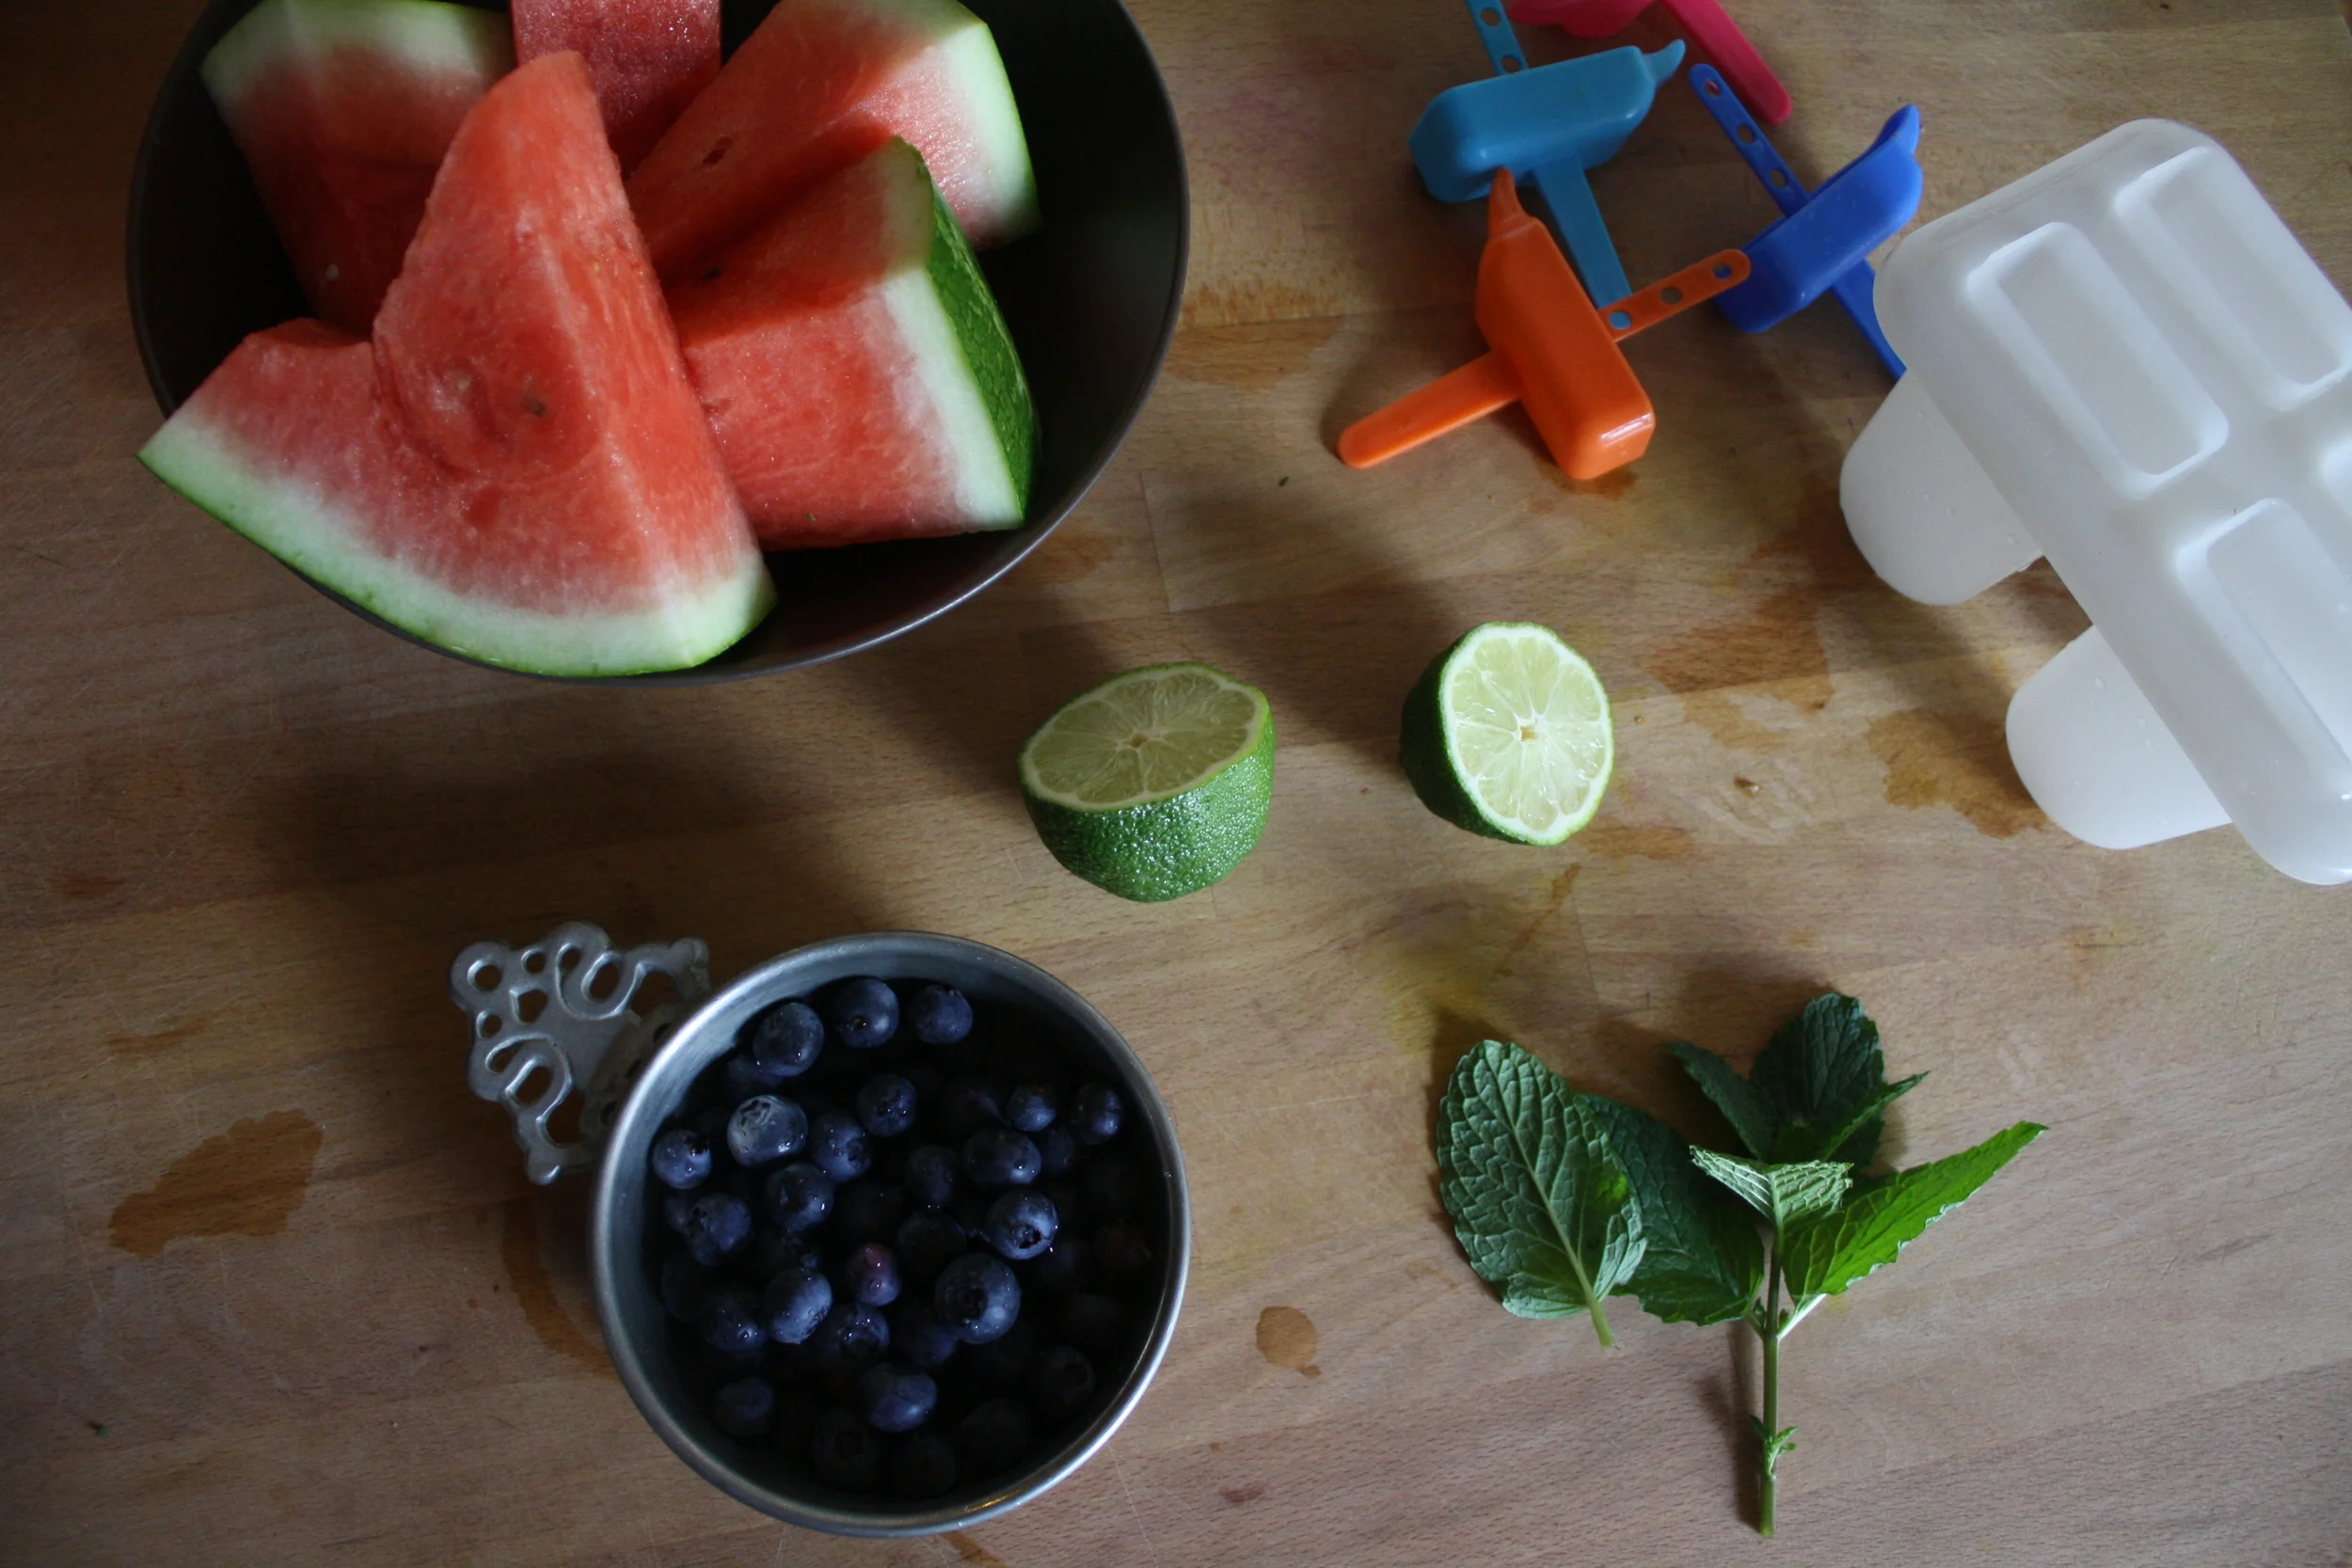

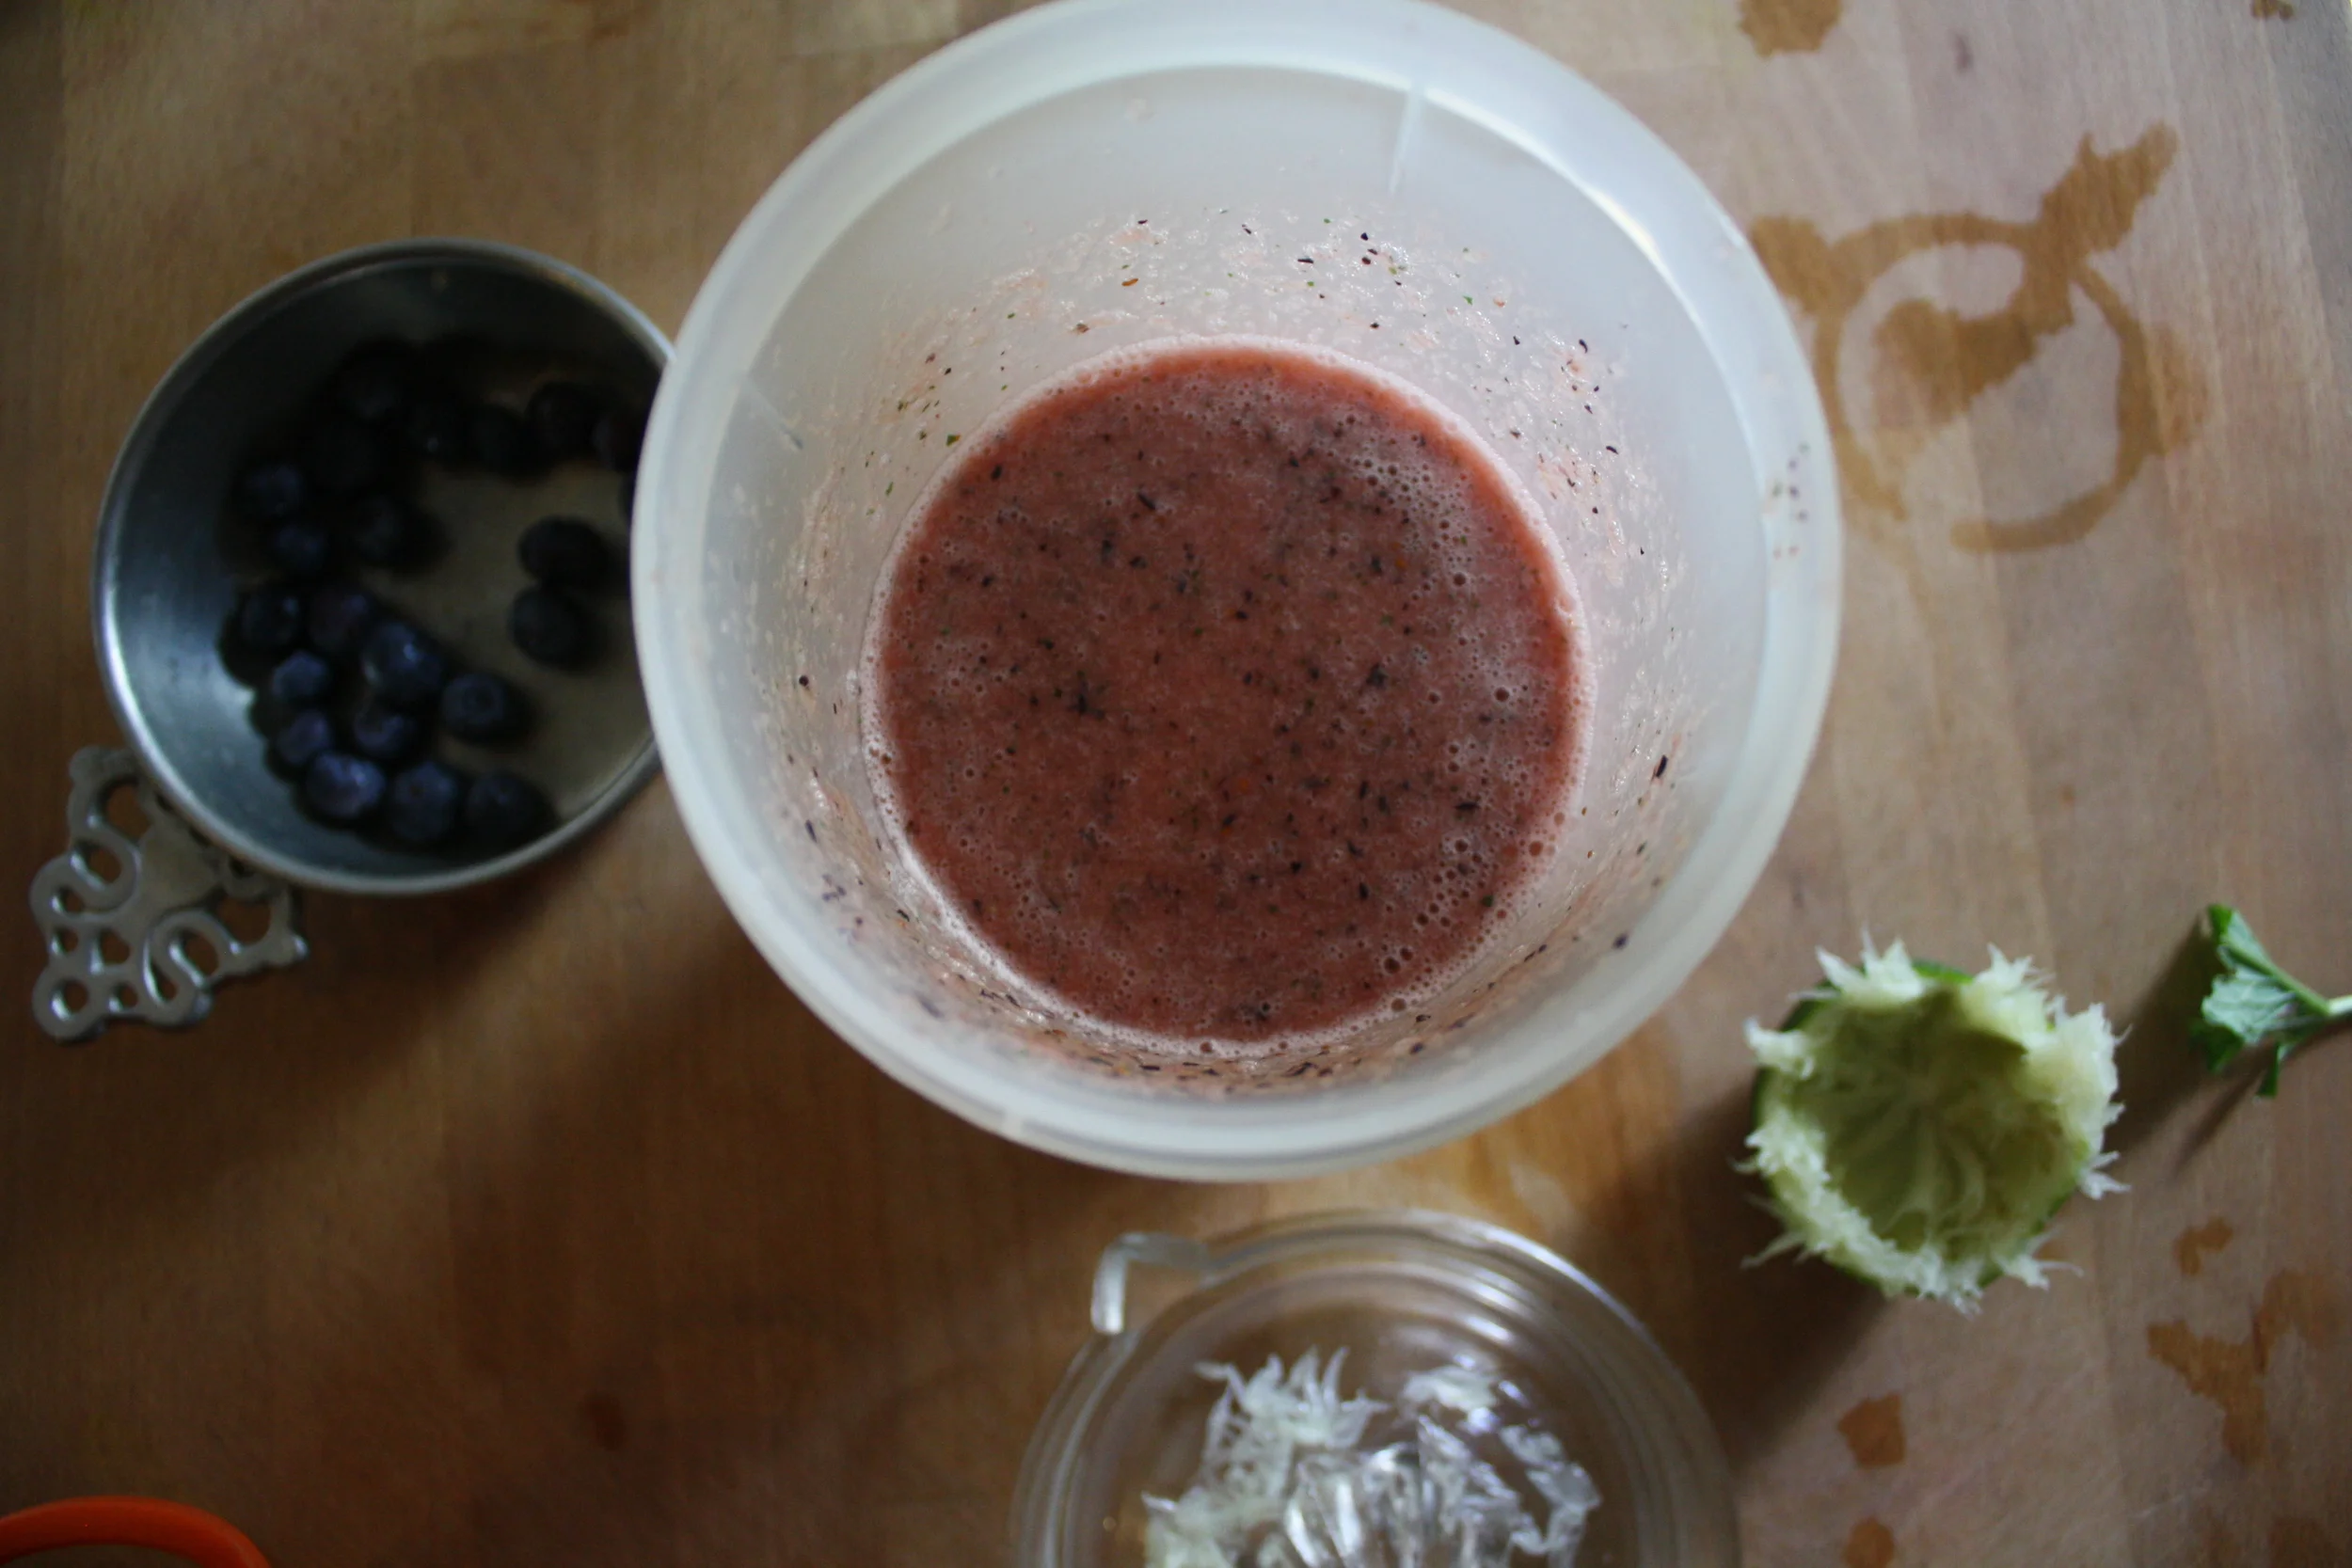

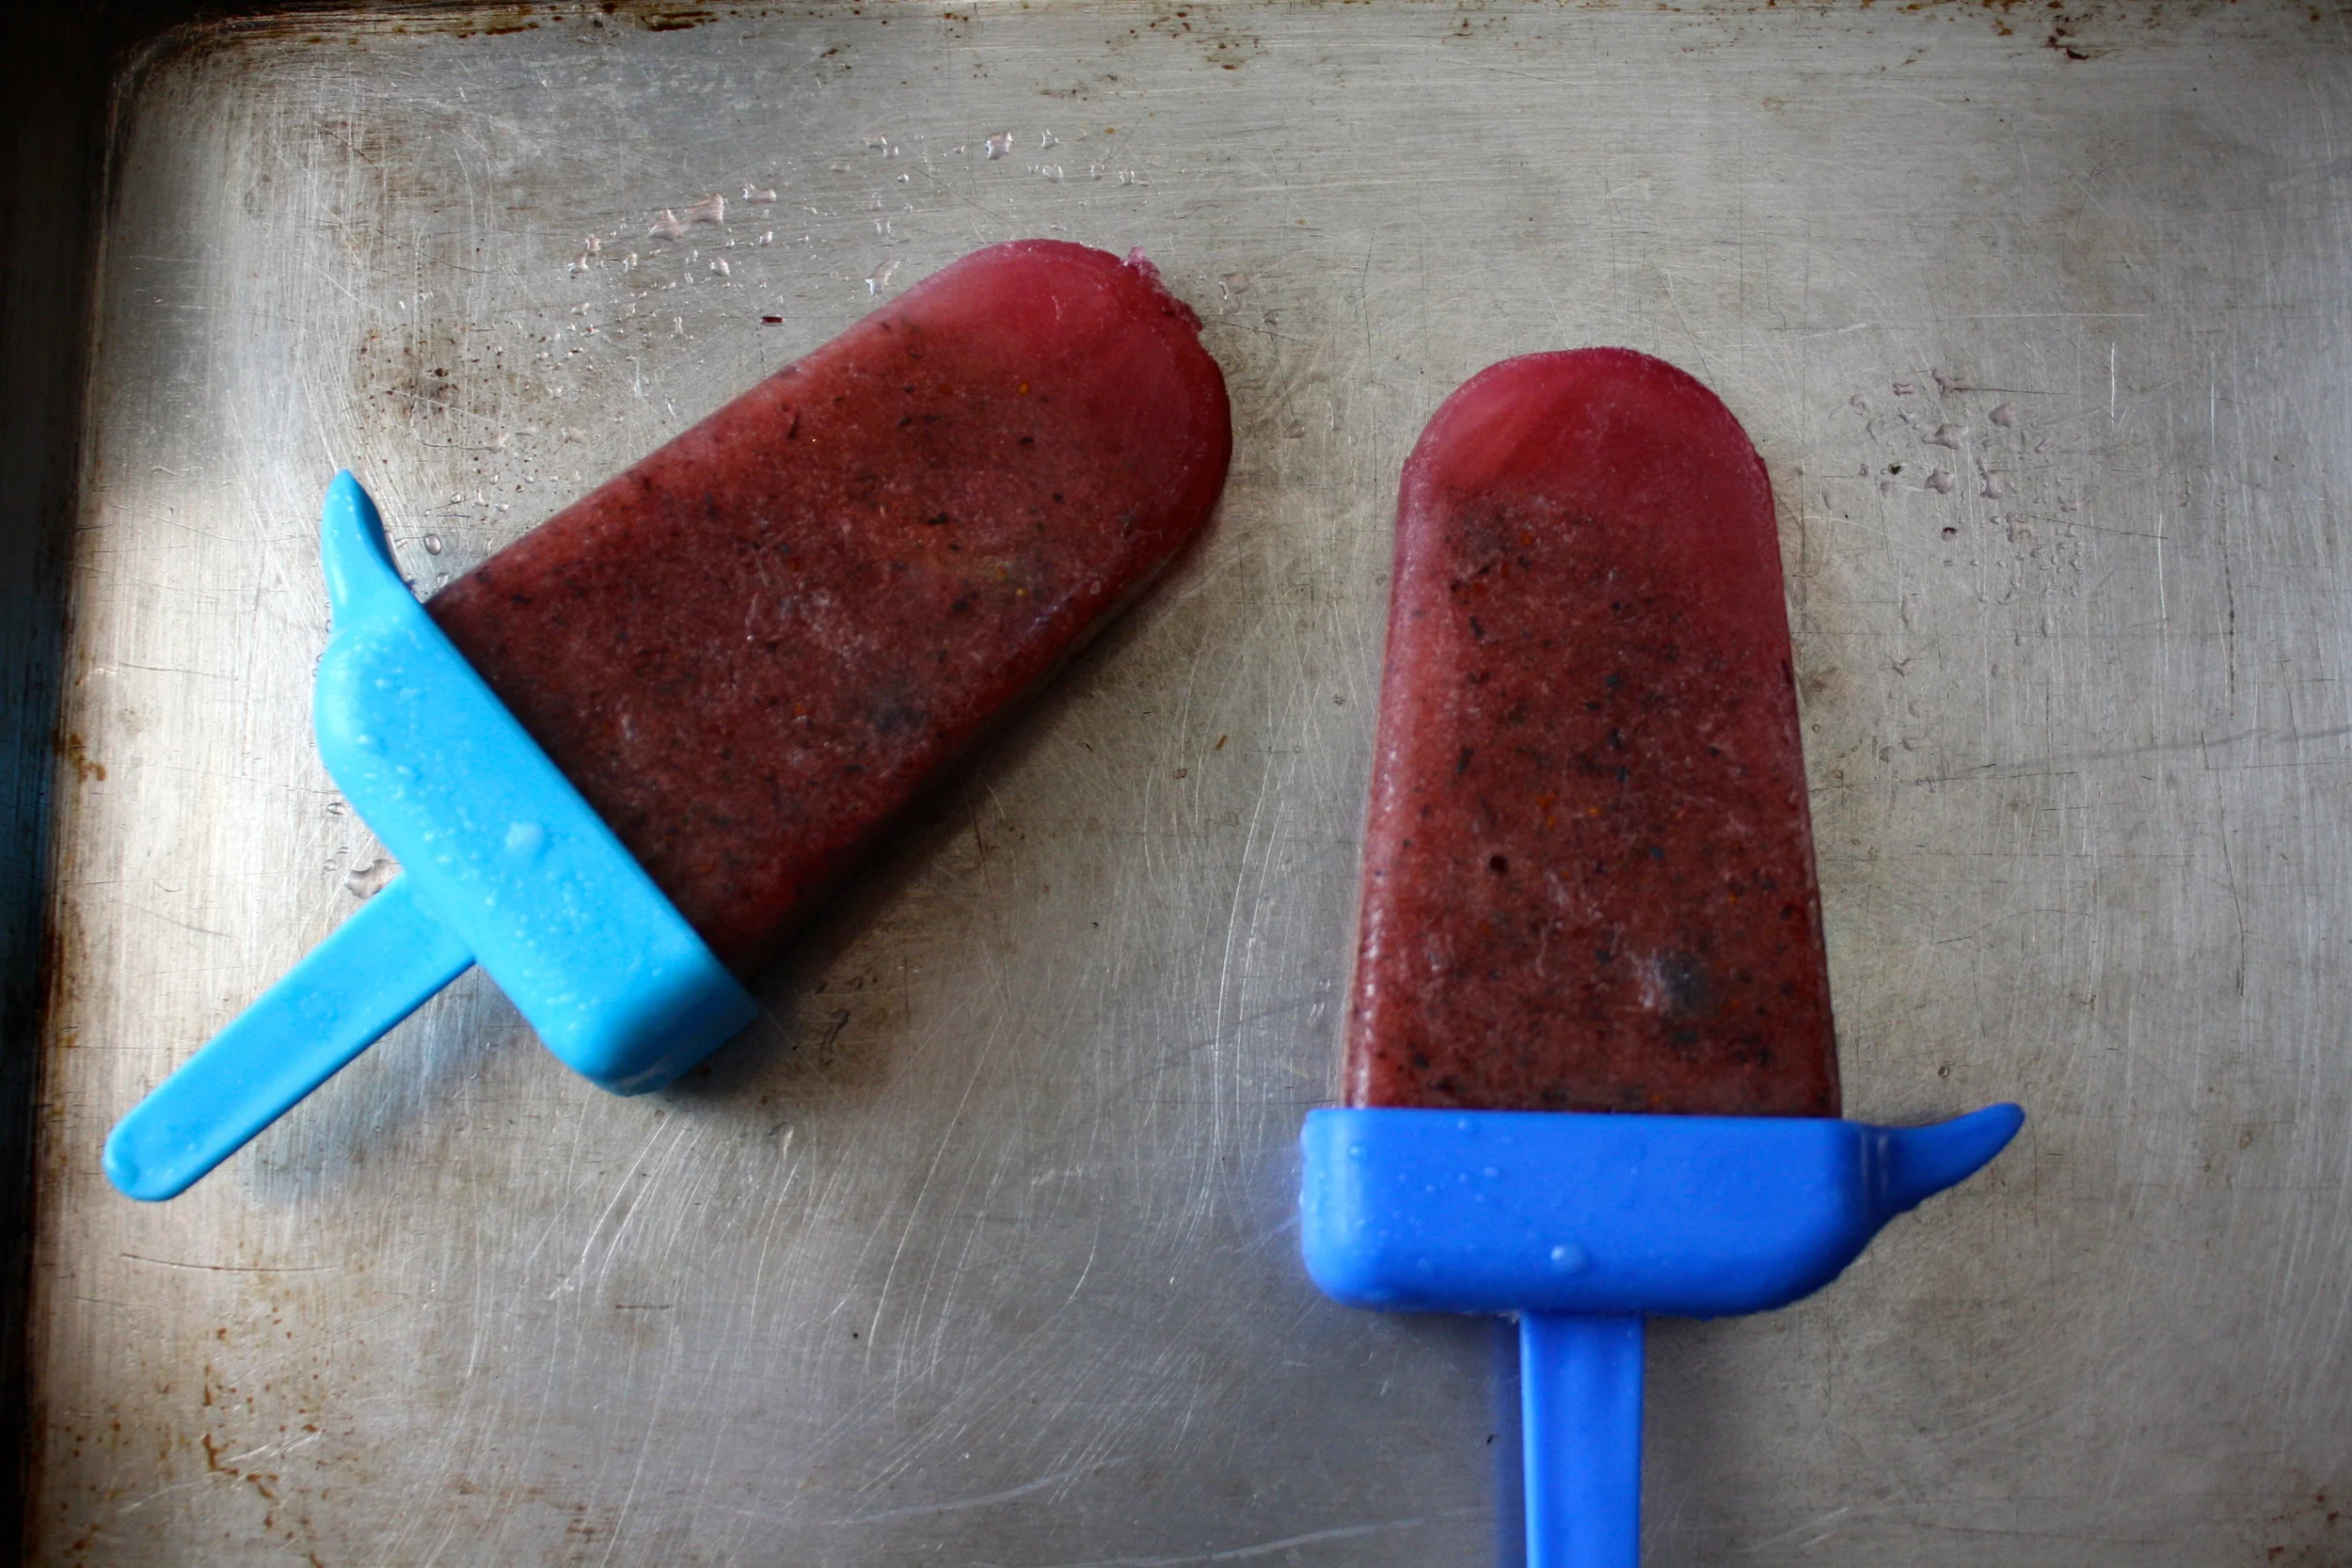

THE LOVELY CRAZY
August 19, 2019 by maximios • Blog
Yes you read that right. Corn. In a popsicle.
What?
No it is not weird or gross or anything. I wouldn’t do that to you. These popsicles are down right deeee-lightful. Rich and creamy and sweet. Both the creamy coconut and the toasted coconut pair perfectly with the sweet corn flavor. They truly are delicious and I think that if you give them a try, you will think so too. And really, now that it is like almost summer, who doesn’t have a little extra corn laying around. So you might as well just make a batch.
And then you will thank me for introducing you to the goodness that is a toasted coconut and corn popsicle. Heck, the mr even ate one and he (still, after I have proven him wrong on a many occasions) says he hates corn. So if a corn hater likes these, imagine what a corn lover will think. HAHA. Corn lover.
To the popsicles!
The stuff. Corn, full fat coconut milk, shredded coconut, and maple syrup.
First, remove corn from cob and place on a baking sheet. Bake in oven for 10-ish minutes until corn is cooked and all nice and sweet.
And don%u2019t forget to toast the coconut. A few minutes in the oven is all it needs.
Now to blend. Corn and coconut milk go in first to blend until nice and smooth. Then add in the maple and coconut and blend until just combined. That will leave a little coconut texture. If you want it smooth, well just blend until completely smooth. Do what feels right to you.
Thick, rich and creamy popsicle mixture.
Now pour it into the molds and stick into the freezer. You could probably stick the sticks in now or wait a little while for the mixture to set a bit, but just don%u2019t forget to get sticks in those popsicles before they completely freeze. That would suck.
Pop those lovelies out of the molds and there you go.
The anticipation is over. Eat a popsicle
-C
makes 4 average sized popsicles
2 ears corn (about a cup of corn kernels)
1 cup full fat coconut milk (the canned stuff)
1/4 cup shredded unsweetened coconut
2- 4 tablespoons maple syrup
Note. If you have left over cooked corn, just use that. You don%u2019t need to recook it so skip the cooking corn step.
Preheat oven to 400
Remove corn kernels from cob and place on a baking sheet pretty evenly. Pop into the oven for 10 minutes of so or until the corn is cooked through and nice and sweet.
Remove corn and dump it into blender and set aside to cool for a few minutes. Place the coconut onto the baking sheet and pop into the oven for 3-4 minutes to just lightly toast. When the coconut is toasted, remove from oven.
Grab the blender with the corn and pot in the coconut milk. Blend until smooth. Add in the maple (start with 2 tablespoons and work your way up to the sweetness you like) and the toasted coconut. Blend quickly just to combine for a slightly more textures popsicle or blend completely smooth if you would rather a smoother popsicle.
Pour mixture into popsicles molds and place into freezer. After the mixture sets up (about an hour) pop sticks into molds. Continue to freeze until completely frozen. Usually 4-6 hours.
And then when it is popsicle time, remove popsicles from molds and eat them.
First official week of summer plus #popsicleweek means we all have to make popsicles. It is not a option, it’s a must. The question is what kind of popsicles to make.
Well here you go, I got one for you right here. Pineapple, cucumber, spinach popsicles.%u00a0I highly, highly recommend them because they are amazing and you and everyone will love them.%u00a0No joke. I had two littles tell me that they are the best popsicles they have ever eaten. Then Koko damn near ate my hand off when I was trying to slow the baby down while he was eating his so he didn’t get brain freeze. After he finished off his popsicle, he turned around and went after his brothers popsicle. It was crazy. Screaming, green faced, baby charging after a popsicle. It was like an animal planet episode.%u00a0
%u00a0And so there you have it, all the littles we into them, the mr was into his, and me, I might eaten one or two and maybe I was licking all of them in between taking pictures. Ha. And big plus, unlike a lot of popsicles,%u00a0there is no extra shit in these, like no added sugar. And there is veggies in them.%u00a0They are basically an all around, eat for breakfast, lunch, dinner, snack, or dessert popsicle.%u00a0%u00a0How can you even go wrong with that.%u00a0
You can’t.
Now it’s popsicle time!
The stuff. Fresh pineapple, fresh spinach, a cucumber, and a lime. That’s it, nothing else.%u00a0
Pineapple and juice from lime into the blender. Blend until smooth.
Add in the cucumber, blend until smooth%u00a0
Last but not least, add in spinach, blend until smooth.
Bright green goodness. And that’s pretty much it. And really, you could just stick it all into blender at once, I just blended the ingredients one by one for the sake of the pictures.
Pour that goodness into popsicles mold and either stick th sticks in now if they don’t sink or wait about an half hour after they have been in the freezer, just don’t forget the sticks (I almost did).
Mid freeze stick sticking.
Once they are frozen and when it’s feeding time,%u00a0%u00a0you pop them out of the mold and feed the people. Watch your fingers.%u00a0
Happy summer, Happy #popsicleweek
-C
Make 8 3.5 onze popsicles%u00a0
*Note. You can use frozen pineapple, just thaw it out so it starts to release some of it’s juices. That way you don’t need to add water to the blender to blend everything up.%u00a0
Place all ingredients into a blender and blend until smooth. Pour puree into popsicle molds and stick into freezer. After about 1/2 hour, remove from freezer and stick the popsicle sticks into the molds. Place popsicles back into freezer until completely frozen (about 4-6 hours)%u00a0
Enjoy anytime.
Holy shit is it hot out. My brain is all fizzy, my hair is all frizzy, and my over all being is just blah. I am not a fan of super hot weather (as some of you may know) and am getting more pissy as the days go %u00a0by and I continue to be a sweaty mess. I don’t want to feel like a big wet slob, I want to feel fresh and clean and wear clothes that are not drenched in sweat. I know, bitch, bitch, bitch, but seriously. Even the world around me is wilting, and in the nice, colorful fall foliage kind of way. It’s all crispy and brown.%u00a0%u00a0The garden is barely holding on, the flowers are shriveling in the ground, and a few plants are just plan dead.%u00a0It’s just too hot.
I think that only plus side of this past week of hot crap weather are these popsicles that I made. They were actually suppose to be a treat for the littles, but guess what, me and the mr ate them and didn’t share, and no, I feel zero bad about it. They were so good, so refreshing,%u00a0so cold(if only for a minute) and just so needed. %u00a0A few minute reprieve from being miserably hot. And bonus, a great use of all the watermelon and tomatoes that I have taking over the countertops (I have so much watermelon and tomatoes)%u00a0
And really, these probably (better freaking be) the last batch of popsicles for the summer so I think I am going to make another batch today, eat them, savor the flavors of summer, and move on from there.
.%u00a0Maybe I’ll even share them this time.%u00a0
The stuff. Some watermelon*, a tomato, a handful of basil, and a lime.%u00a0
*My watermelon had seeds,%u00a0but you can use seedless. I also removed the green skin, but kept on as much rind as I could, although this particulate melon had very little white rind.
Dump the melon, tomato (cut in a few pieces, the juice of the lime and the basil into a blender. If your melon has seed, don’t worry about removing them.
The stuff all blended up.
. This step is more necessary %u00a0if you melon is seeded, straining the mixture pretty much caught most of the seed chunks. You can skip this if your melon is seedless.
Now pour the juice into your molds and stick into freezer to freeze.%u00a0
After about 2 ish hours, remove and stick the sticks into the semi harder pops.
And a few more hours later%u2026…Frozen goodness.
And pop one of those suckers out of the mold and savor every frozen delicious bite.%u00a0
Happy Tuesday…%u00a0DON’T MELT!
-C
Make six 3.5 oz popsicles
Place all ingredients into blender and blend until smooth. Strain mixture through a fine strainer into a bowl or jar and pour into popsicle molds.%u00a0
Place in freezer for a few hours. About 2-3 hours in the freezer, take them out and stick in sticks (or fallow you popsicle molds instructions) Place back into freezer
Once completely frozen, remove from molds and eat with your mouth.
It’s official, all of the littles started school yesterday%u2026%u2026HOORAY! (I say hooray cause school is cool and the start of school means it’s going to be fall so soon!. Also I like hanging out with the littles more when they are in school. There is more to talk about and any time away from school is cool time so they like to do more stuff and not just be summer bums)
One of the littles had his very first ever day of school.%u00a0So me, being the bestest most awesomest aunt ever, made that little a celebration, hooray for school, banana ice cream cake.
This little %u00a0has been bugging me for a while now to make him an ice cream cake. It all started a few months ago when I gave him a bowl of banana ice cream and told him that when he sleeps over he can have ice cream for breakfast %u00a0That blew his little mind.%u00a0We then proceeded to have a converastawtion about healthy food and what was ok to eat for breakfast. (He is very interested in being healthy)%u00a0I then told him that whenever he sleeps over I would make a banana ice cream cake for breakfast cause bananas are healthy. But every time he is over,%u00a0I never seems to have enough bananas.
Well I had the bananas and there is no better excuse then the first day of kindergarten to make a cake.. A very delicious peanut butter banana ice cream cake! %u00a0And no, it wasn’t for breakfast, but the left overs can be! (there were no left overs here)
The stuff%u2026 Crispy rice cereal, peanut butter (I have some chiunky stuff %u00a0at the moment, but any nut butter is good) and 4 frozen %u00a0chopped up bananas.
Rice ceareal goes into a food processor with the peanut butter. Pulse until everything is all combined and starts to come togerter.
And ump the mixture into a spring for pan. If you do not have a spring form pan, a pie plate will work just as well.
Such a nice looking crust if I do say so myself. Now stick it in the freezer while you make your ice cream.
Frozen bananas go into the processor, get blended for a few mounters, and come out as ice cream%u2026. freaking magic!
Now dump the magic ice cream into the crust.
And smooth it all nice like..and into the freezer it goes until its frozen.
After a few hours, you take it out of the freezer, remove from the pan (or leave it in the pan)
And gather your toppings. A handful of the rice cereal, some melted peanut butter, and a little melted nutella. (use whatever you want.. fruit would be great, some nuts, graham crackers, sprinkles. You get the idea)
%u00a0Now,%u00a0Wait for it%u2026.
Go crazy! Toppings all over!
And serve up, and watch out.. I almost got my hand eaten for kids going for seconds..
Have a fantastic day and happy back to school. to littles and parents alike!
-C
Makes a 6 inch cake%u00a0
For the cake
To garnish (use any, all or none of what you would like%u2026 and maybe not the super sugary ones if a breakfast cake)
Place cereal and peanut butter into a food processor and pulse until crumbly and combined and starts to come away from bowl.
Dump mixture into a 6 in spring form pan (or if you not have one, a pie plate works too) and press it down evenly on the bottom. Stick into freezer
Take bananas out of freezer and place into food processor.%u00a0Blend until smooth. If needed, you can drizzle a tiny amount of water into it if you think it needs a little help to blend.%u00a0
Once smooth, take crust from freezer and dump the nanaer ice cream on top and carefully smooth it out. Stick back into freezer (a pier of plastic over to prevent ice crystals )for at least 2 hours, or until the ice cream has completely frozen.
When it’s time to serve, remove cake from spring form (or leave it in the pie plate).and drizzle the top with melted peanut butter, melted,%u00a0chocolate and another handful of crispy cereal. Or leave it bare. Or add sprinkles%u2026 the toppings are all unto you!
Eat like a camp, for breakfast or dessert.. Or eat some for dessert and then some for breakfast.
This time of year, there are so many reasons for popsicles, but I think that main reason is that%u00a0I don’t want to willingly turn on the oven for any amount of time. It’s just to f-ing hot.
Lately, it’s been hot. And humid. And gross. Just way%u00a0too hot to make anything in the oven.%u00a0So when I grabbed the rhubarb out of the fridge, knowing that if I didn’t use it soon it would go bad, I immediately thought to make pie. Then I was like,” hell no, not going to happen. I need to freeze this shit”. And freeze it I did..into the greatest, slightly sweet, slightly tart, bright pink popsicles of happiness. They are really the perfect little frozen treat. Not overly sweet and sticky, have a lot a fresh clean flavor, and takes the edge off of the super summer heat and humidity, even if only for a few minutes.%u00a0
I love popsicles.%u00a0
But sadly this is probably the last rhubarb for the season (Or maybe the second to last..I think I saw some for sale at the coop a few days ago)
So get it while you can and make these%u00a0popsicles!%u00a0
The stuff. Rhubarb, a lime and a little bit of honey (or any sweetener you like). Plus you are going to need some water, but I bet you have some of that on hand.
Chop the rhubarb into inch chunks and toss into a big pot with the water. Stick on the stove and bring to a boil then turn heat to low and let simmer.%u00a0
Once the rhubarb is so soft that it falls apart, remove from heat and let cool for a few minutes.
With a fine mesh stainer, strain juice into a large jar or bowl.%u00a0
Now you have the juice for the popsicles and the left over rhubarb stuff%u00a0is the%u00a0rhubarb butter.
Place the%u00a0rhubarb butter into a jar, adding a little honey(or whatever)%u00a0if you want and eat with anything and everything%u00a0%u00a0(%u00a0I’ve been adding%u00a0%u00a0it to the mr’s%u00a0yogurt and just%u00a0eating it with a spoon)
And now add the juice of the%u00a0lime%u00a0to the rhubarb juice and add a little honey or whatever%u00a0sweetness to taste.
And add the rhubarb juice to your popsicle molds and stick in the freezer with sticks tops or wait two hours and add wooden sticks.
When frozen, run the mold under a little hot water and pop those suckers out.
A two for one deal here. And timed perfectly. You%u00a0%u00a0have the rhubarb butter%u00a0to eat while%u00a0you wait%u00a0for the popsicles to freeze.%u00a0So smart
Happy Tuesday.. Keep it cool!
-C
makes 6%u00a04oz popsicles and about a cup of jam
Chop the rhubarb into inch ish chunks and stick into a big pot with water. Turn on high heat and bring to a boil. Once boiling, turn heat to low and simmer until the rhubarb is so soft its falling apart. Remove from heat and let cool for a few minutes. Take a big jug or bowl with a fine mesh strainer,strain the liquid from the solids. You can use a wooden spoon to stir around to help get the juice flowing. Place remaining solids into a jar and add as little or as much or as little honey (any sweetener you like) and give it a stir. Thats your jam
Now for the popsicles. Add the juice of the lime and a tablespoon or two of honey (or whatever sweeteners you like) and mix around. Pour into popsicle molds and stick into freezer.Know your mold.. if you need to insert a stick, do so after about 2 hours.%u00a0
When pops are frozen, remove from mold and eat your heart out.
Because%u00a0sometimes you just need to think of yourself and what will make you happy.%u00a0%u00a0Eating this makes me happy.%u00a0
This flavor%u00a0%u00a0situation just made so much sense. All three flavors on their own are fantastic, but combined into one super%u00a0amazing frozen sorbet treat.. I mean, like WHOA! I%u00a0was inspired by the 4%u00a0really ripe and juicy mangos I had waiting on the%u00a0%u00a0counter. I had also just made a batch of jalape%u00f1o jam and was thinking about how nicely jalape%u00f1os and mangos go together. And I happened %u00a0to have a can of coconut cream on hand. My first idea%u00a0%u00a0was to do a%u00a0savory dinner type thing, but after a day of heat and humity, all I wanted was something cold and easy. Ding ding%u2026 Lets freeze this shit and turn it into a sorbet.
Such a good idea.
The Stuff. Simple as can be. 2 mangos, peeled, diced and frozen. A can of coconut cream, and some jalepno jam.%u00a0
Frozen mango is really easy to blend. Just stick into a blending device and add a little bit of water. Mix until a nice creamy puree is formed. And try not to eat it all right now.
Whip up the coconut cream. You don’t need to go to crazy and make it all fluffy, just whisk it for a minute or two just to loosen it up.
Time to scoop. First a few big dollops of the frozen mango puree. Try to work fast to prevent the mango from completely thawing out.
Next, scoop some of the coconut cream and drop a few scoops of jalape%u00f1o jam right on in there to. Add more mango, more coconut%u00a0, and more jam until you container is full.
Note.. My sister had the idea of mixing he jalape%u00f1o jam into the mango puree. I think I might try%u00a0that next time.
Take a knife and cut through the sorbet, first width wise, then%u00a0length, then width. or whatever. You’re%u00a0%u00a0just trying to kind of marble and swirl the flavors together.
Once your done playing and swirling,%u00a0into the freezer it goes%u2026.
Remove from freezer when completely frozen%u00a0and do what you need to do. I flipped the pan and sliced into slabs on a cooking sheet, and me, the sister and the mr.%u00a0took turns with the fork and ate it off the pan. We be so classy.%u00a0%u00a0But go ahead and use o plate or%u00a0scoop it or maybe even eat directly from the container with a fork. No judgement here.
Eat so good!
-C
Place frozen mango into a blending device, add about 1/3- 1/2 cup water and blend until a smooth puree. %u00a0Open coconut cream, drain the liquid, and place half the cream into a bowl. Whisk until loose and slightly fluffy%u00a0.%u00a0
In a freezer safe container. scoop a few dollops of the mango puree,%u00a0%u00a0add in a few dollops if coconut cream and then a few dollops of the jalape%u00f1o jam. Keep adding dollops of the stuff%u00a0until you use up all of the ingredients.%u00a0Take a knife and run through thet sorbet length and width wise a few times to swirl %u00a0the flavors. Place in freezer for at least 3 hours or until fully frozen
Remove and either scoop,%u00a0slice,%u00a0or eat directly from container.
And for the last few months my mom has been up my butt, trying to get me to make her some. Not going to lie, I have been saying I’ll get her a batch, but for some reason, I haven’t gotten around to making them. So two birds here.. Make the scones and she gets off my back for a least a little while (a month.. maybe 2) and I give her a fantastic Mothers day gift that I know she will love.
So here they are , oh mother of mine. Blueberry scones!
Now for my special trick for a perfectly distributed cold butter in a pastry. Freeze your butter and grate it!
With a large wholed grater, grate the frozen butter directly into the bowl with the dry, stoping a few times to toss the butter chunks around so you don’t end up with a huge pile of grated butter. When it’s all grated, gently toss around so the butter is evenly distributed.%u00a0 Now dump the blueberries into the flour mixture. Toss them around to give them a coat of flour. Add in the buttermilk and vanilla and give a little mix until liquid is absorbed. We are trying to handle the dough as little as possible.
 Turn mixture onto counter. It’s very loose, but thats what it should look like.
  Very gently and with as little handling as possible, gather dough up, knead a few times till everything %u00a0just comes together. Press dough into a disk that is roughly an inch thick%u2026. and it doesn’t need to be perfect.%u00a0
 Cut the disk into even sized pieces. Do 6 big, 8 normal, maybe even 10 smaller. Whatever size you like. (I did 8) Place the scones onto a baking sheet, using a spatula to transfer, and sprinkle the tops with a little bit of sugar. Into a preheated oven for about 20 minutes.
 And when the scones look all nice and browned and a tester comes out clean. remove and either serve right away warm, preferably with huge cup of coffee or tea, or stick on a rack to cool before storing in %u00a0air tight container.
Perfect to serve as a breakfast pastry, at brunch, or even as a dessert. A nice little treat for a special lady. (dudes can eat them too)%u00a0
Happy Mothers Day Mom! Thanks for having me!
And Happy Weekend!!!
-C
Blueberry Scones%u00a0
Preheat oven t0 400 degrees
In a large bowl, whisk together flour, baking soda, baking powder, sugar, and salt. Take the frozen butter and grate directly into flour mixture, tossing around to evenly disrupted. Add in blueberries and toss around till coated with flour, then lastly, add vanilla to buttermilk and mix into mixture until just barely coming together. Turn mixture out onto counter and with your hands, knead mixture a few times until it forms a solid dough. Shape into a disk and smoosh down until about an inch thick. Cut into 6-10 triangles %u00a0and place on a non greases baking sheet and sprinkle tops with remaining sugar. Stick into oven and bake for 20 minutes or until tops start turning a golden brown and a tester in the middle of a scone comes out clean.%u00a0
Remove from baking sheet and serve warm or let cool on a rack.
Mom gets first dibs, and if she is willing to share, eat one yourself with%u00a0your face.%u00a0
%u00a0 %u00a0 %u00a0%u00a0
 %u00a0I figured now is a good time to get this recipe out there before we get to far into spring and summer recipes because there is going to be a lot of banana ice cream filled recipe coming and I figured its a good idea to have the basic banana ice cream recipe ready for people to refer too.%u00a0 And because I made so much fantastic naner ice cream, I also made a cookies and cream naner ice cream for my sisters and the mister.
Comments that I got from my sisters and the mister when I made them this ice cream
-Sister one.”I give this my sister seal of approval.. It’s so good. %u00a0The first dessert you have made that I liked! (not including all the other desserts that you have made that I liked)”
-Sister two- “Wow.. it looks like ice cream and feels like ice cream and tastes like ice cream.. You should make me this ice cream!” (I was confused too because I was pretty sure I just made her some)
-The mister- “I am so excited for my new fly fishing pole!”
Ok, so the naner ice cream isn’t new to the mister and he IS very much excited for his new fly fish pole. So excited that he forgot to tell me how amazing that I am and to thank me for making him a big bowl of yumminess. (It’s ok, I forgive him)
And yes, this is probably one of the easiest, most delicious, healthy and amazing frozen dessert that you will ever eat. You will probably find yourself buying mass amounts of bananas and stocking the freezer until things just start falling out. (which is also ok because it’s only bananas and you can’t have too many frozen bananas)
To make it, place frozen bananas into food processor and hit the on button. Process the crap out of the namers until nice and silky smooth.%u00a0
*Note, the smaller the frozen chunks are , the faster and maybe a little easier for the blender to blend the naners into ice cream. So if you think of it, chop bananas into pieces before freezing or even after.
Now for the cookies and cream banana ice cream.. One%u00a0batch of banana ice cream, either freshly made, still in food processor or made ahead and placed in a food processor and given a good pulse to smooth it up.
Add cookies in, crushing a bit beforehand and pulse till combined.%u00a0 Now you have cookies and cream naner ice cream%u2026. and everybody is happy.
Scoop into a cup, a bowl, a freezer safe container, or directly into your mouth.%u00a0Be careful%u2026. You can still get brain freeze from eating naner ice cream too fast!
Keep it real hump day drum bum!
-C
Basic Banana Ice Cream
Makes one batch. Good for 3-4 servings
Peel %u00a0bananas and stick in a freezer bag or container and freeze. When bananas are completely frozen, break into pieces and stick into a food processor or blender and puree until silky smooth.%u00a0
Eat right away or scoop into a freezer safe container for later.
Cookies and Cream Banana Ice Cream
In a food processor, blend banana ice cream with cookies.
Eat right away, with a utensil of choice in a container of choice.
Bowl licking is acceptable.%u00a0