

Pineapple Jalapeño Hot Sauce — STEM+NODE CERAMICS
It%u2019s that time of year again. Time to make the hot sauce!
This year I wanted to do a little twist on my usual plain old jalape%u00f1o hot sauce. And to be honest, I wanted to use up the pineapple juice that I had stashed away in the pantry that I was using to make popsicles for the littles all summer. But mostly it%u2019s because pineapple and jalape%u00f1o are a fantastic flavoring pairing and I knew that adding the pineapple to the hot sauce would only be a great idea.
A great idea it was.
This hot sauce is basic. Hot peppers, vinegar, and a little onion, garlic, and salt. The pineapple juice adds more body, some sweetness, and just a nice undertone of pineappleiness that you didn%u2019t know you really wanted. It is really really good. And about the jalape%u00f1os. They are one of those peppers that can be pretty mild but also can get pretty dang hot. I am not sure of the variety that I have been picking at that farm for the past few years (that is where I get my peppers), but they are always on the pretty dang hot side so my hot sauces always have a good amount of kick to them. If you find your peppers to be a little too mild for you, well go ahead and add a few habaneros to the mix.
Now to the hot sauce!

The stuff. Jalape%u00f1os of course (green, red, or both. I picked both), an onion, a couple cloves garlic, pineapple juice, white vinegar, and salt.
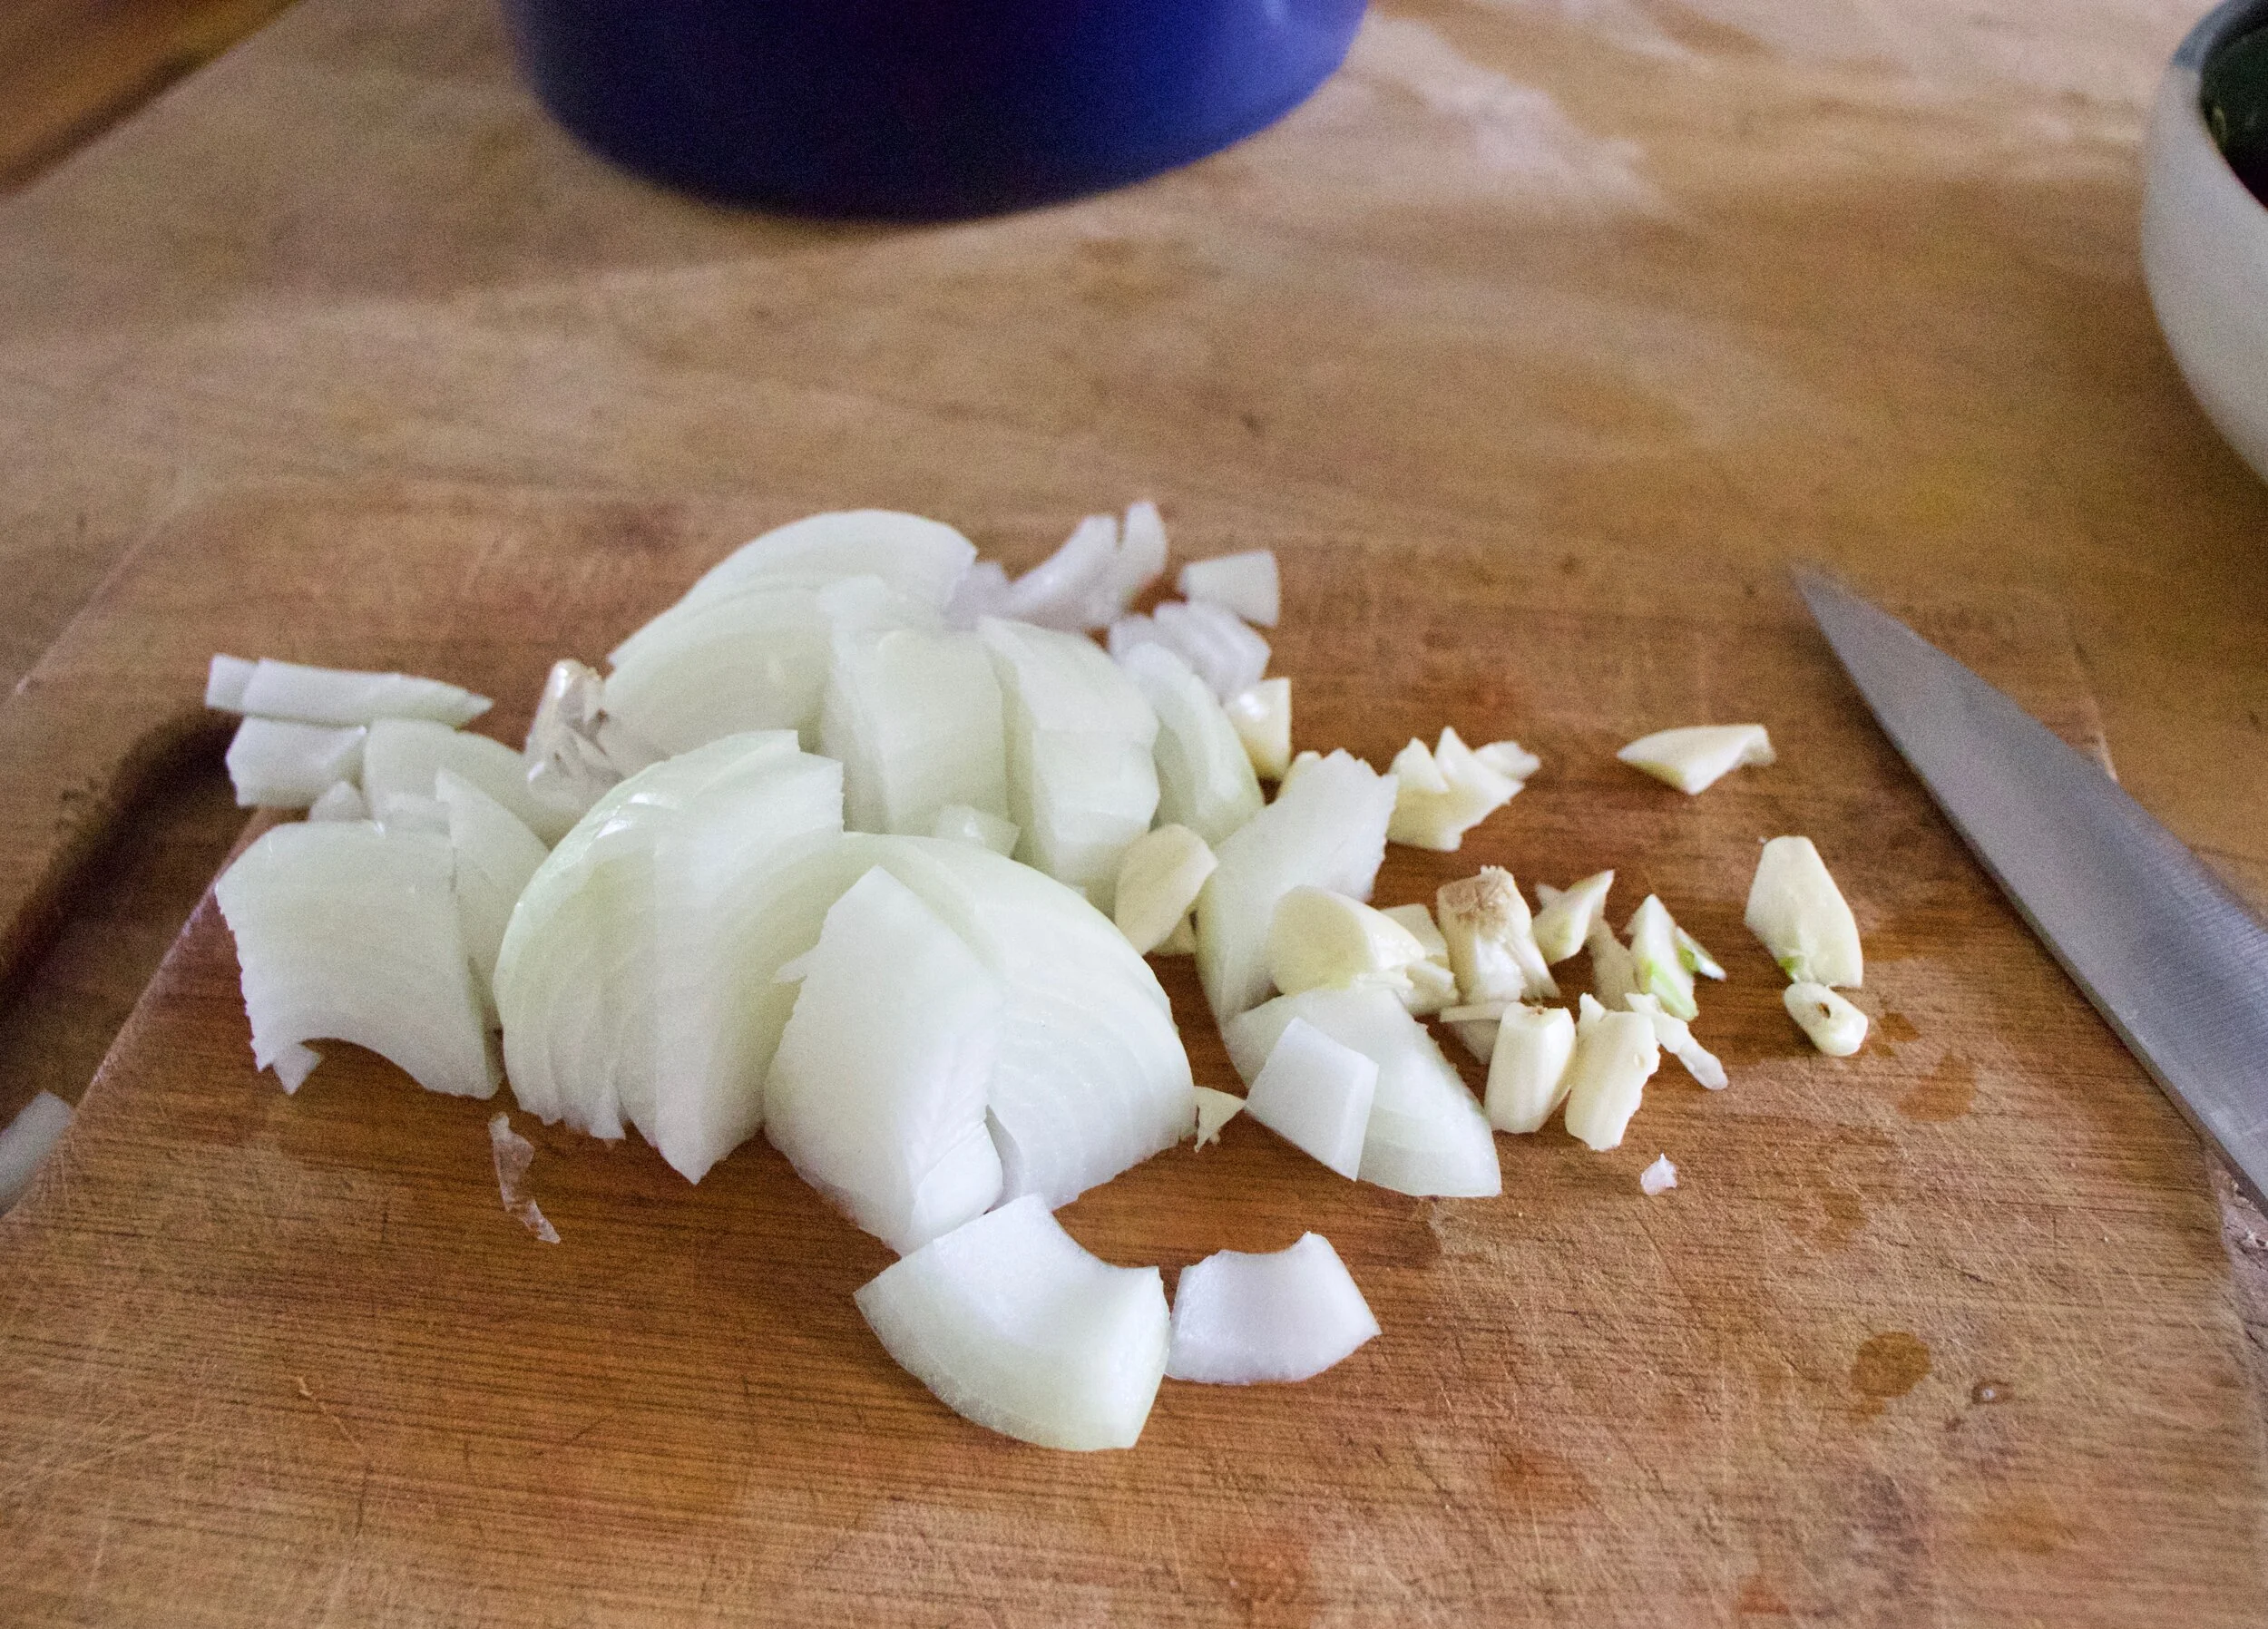
Chop onion and garlic up into chunks on the small side.
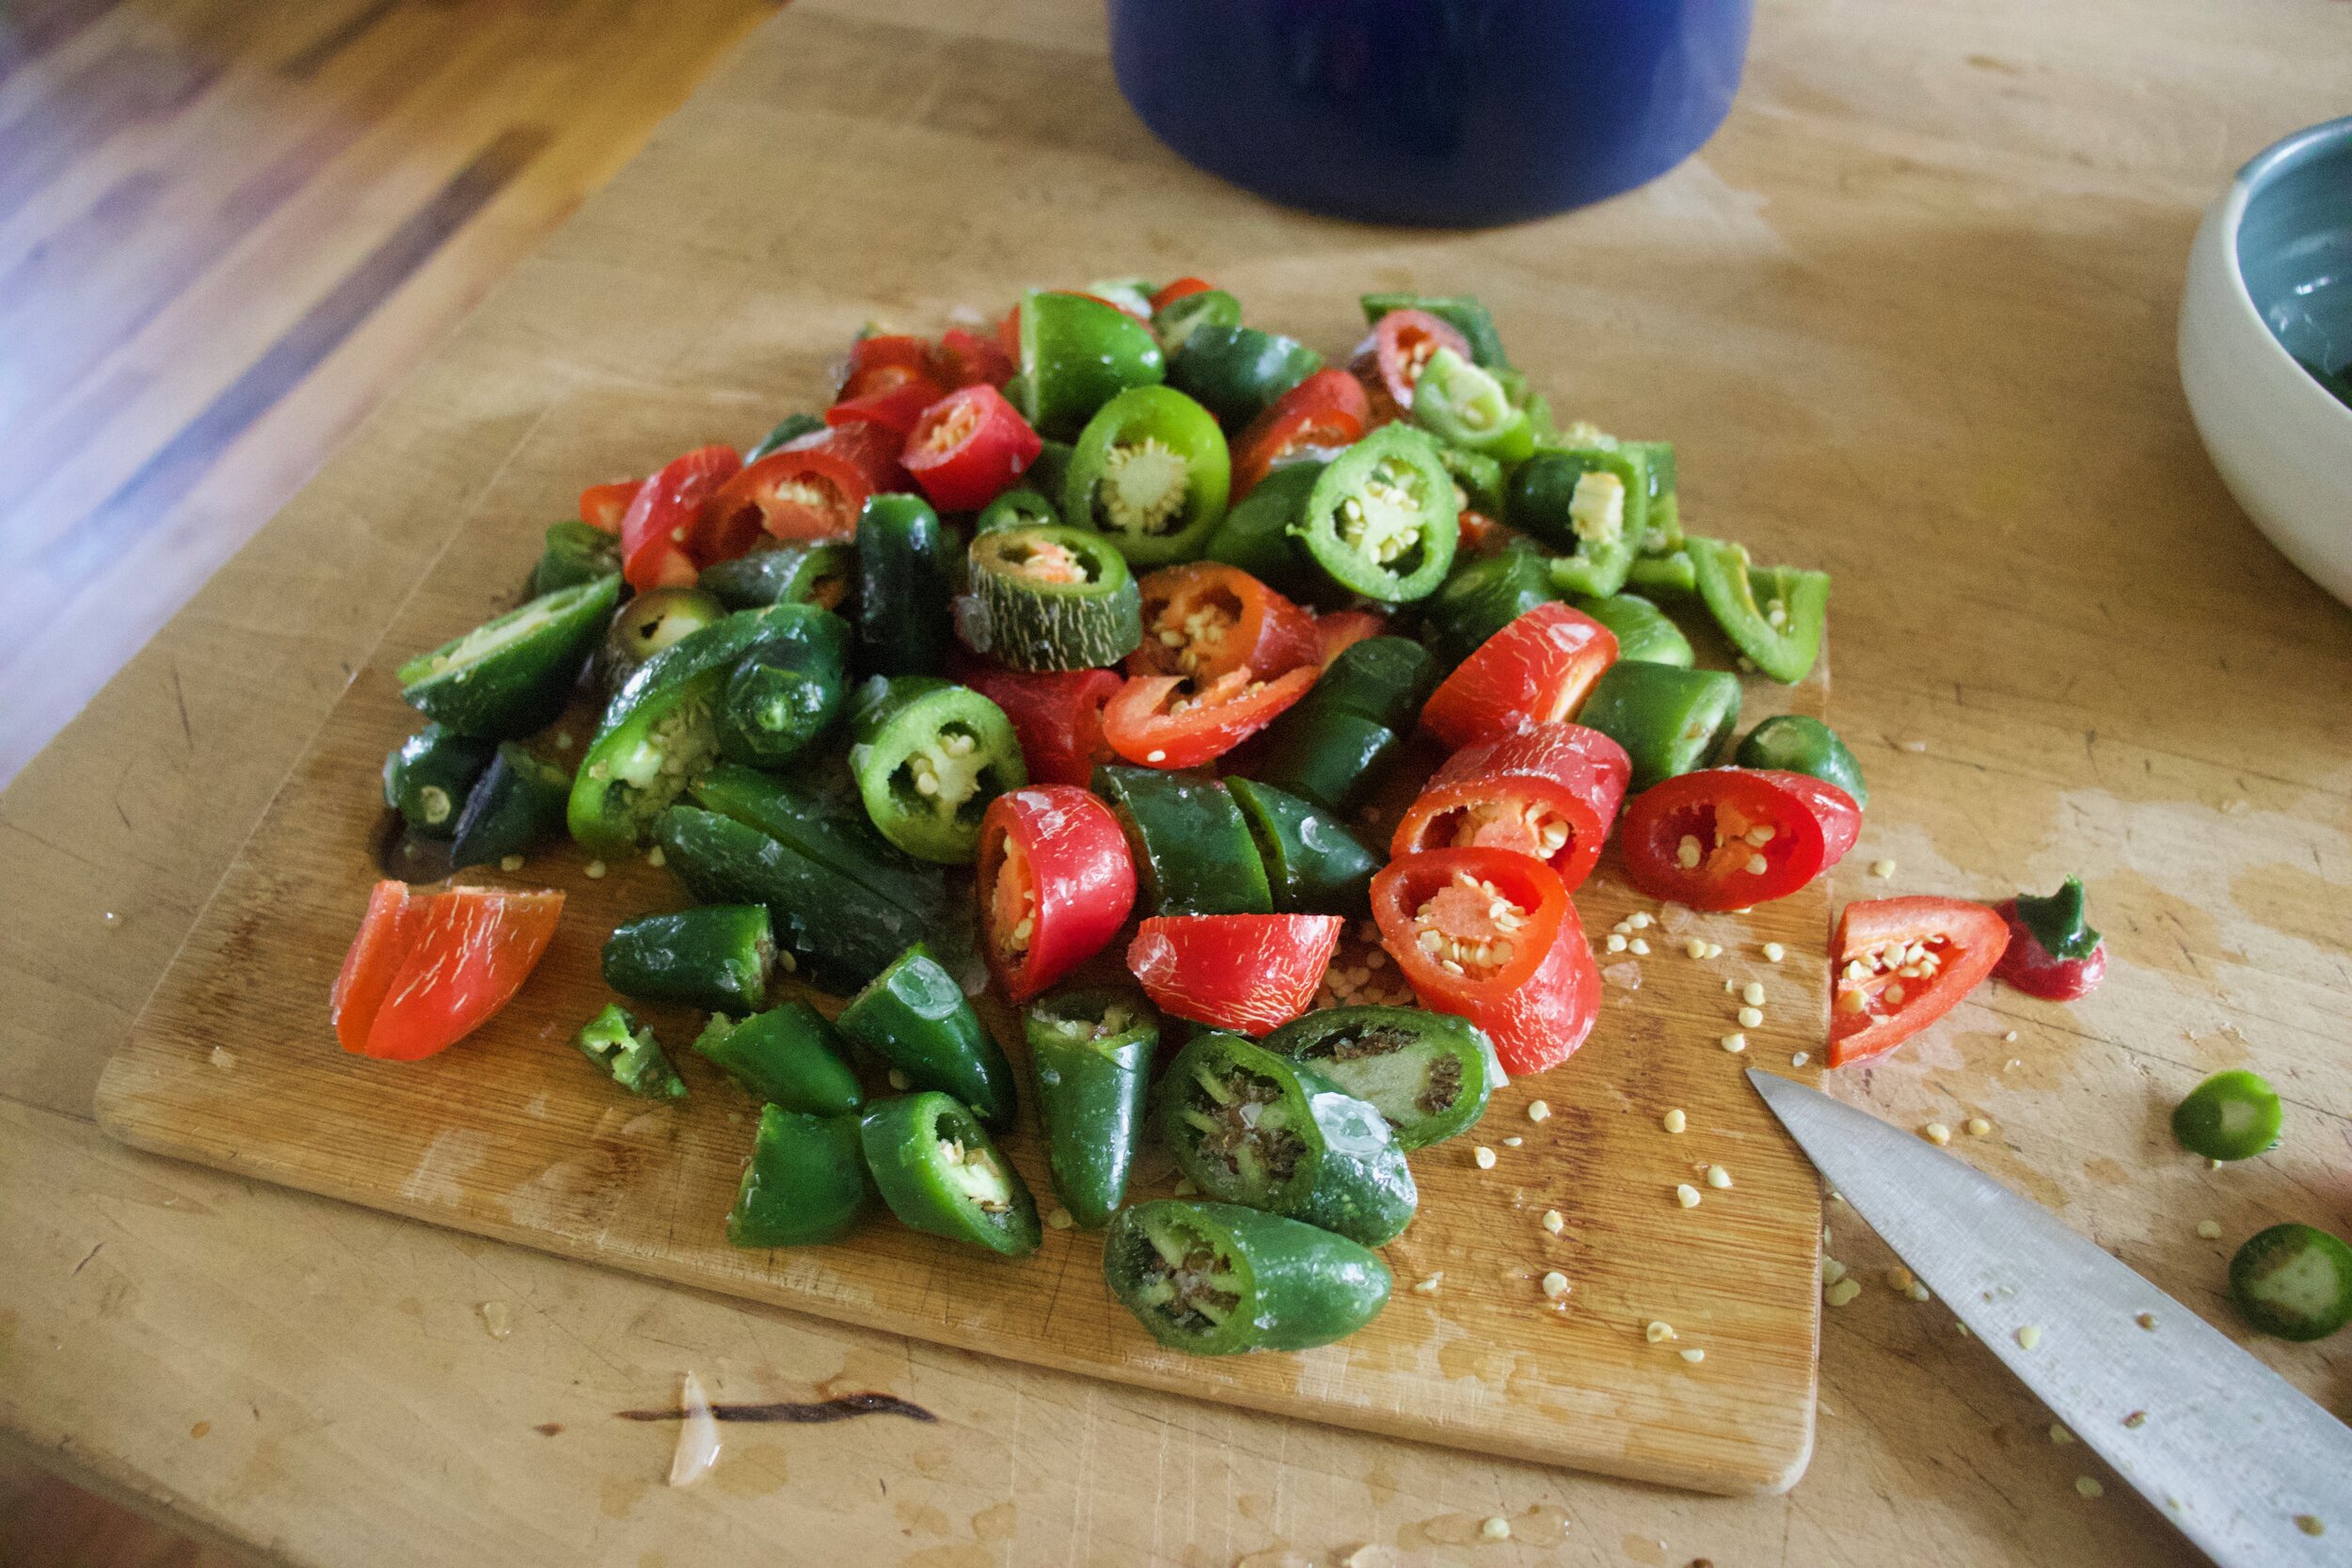
Jalape%u00f1os. Chop them up. You want to get rid of the stems and depending on how hot you want your sauce, you might want to remove the seeds and ribs. I don%u2019t bother because we like it hot, but also it%u2019s annoying. HA.
Note. When dealing with any hot peppers, make sure to not touch your face during or after. You will feel it. They are hot.

Toss it all into a pot. Sprinkle with salt and add a splash of water. Place on stove on medium heat to give the peppers and onion a little head start on cooking.
After softening the peppers and onions for about 10 minutes, add the liquid.

Partially cover with a lid and simmer the peppers until they are fall apart tender. Probably about 35-40 minute.

Peppers so soft, ready to go.
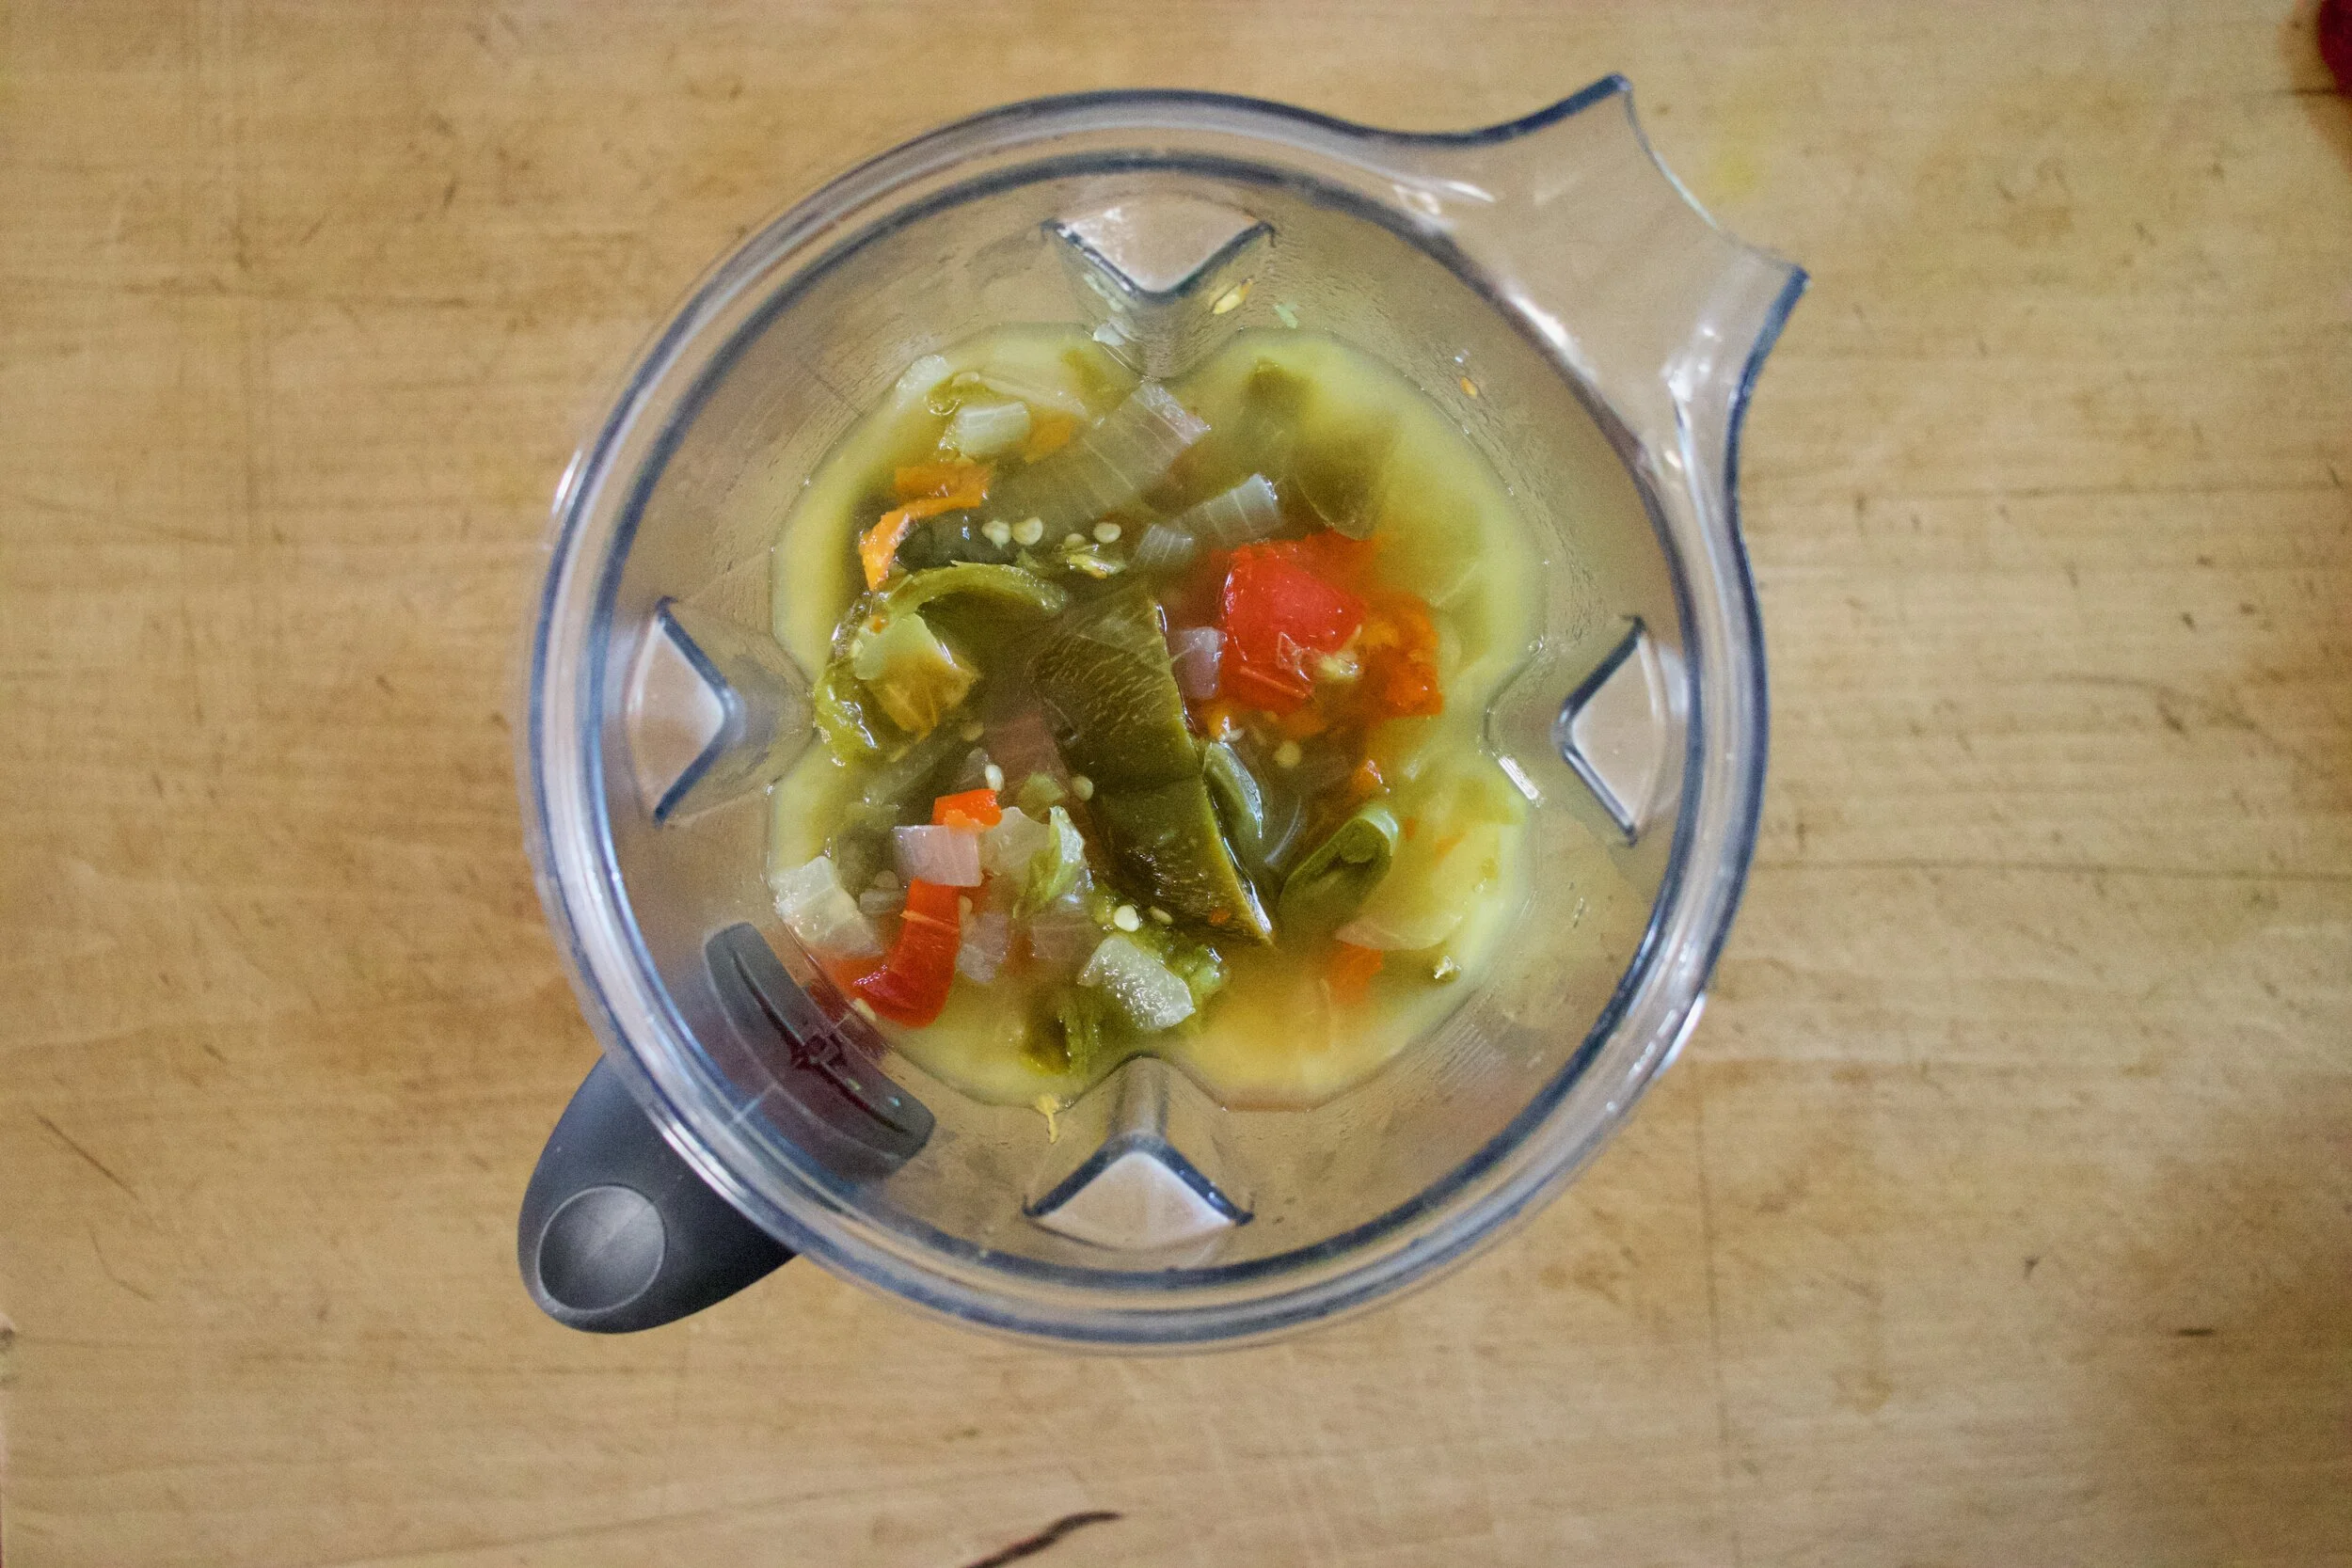
Let it cool a few minutes then dump it all Into a blender. Blend until completely blended.

Smooth as smooth can be.
Taste it (like dip a carrot of a piece of bread into it) and add more salt if nessacery. Also, if it is too thick for your liking, add a little water to thin it out.

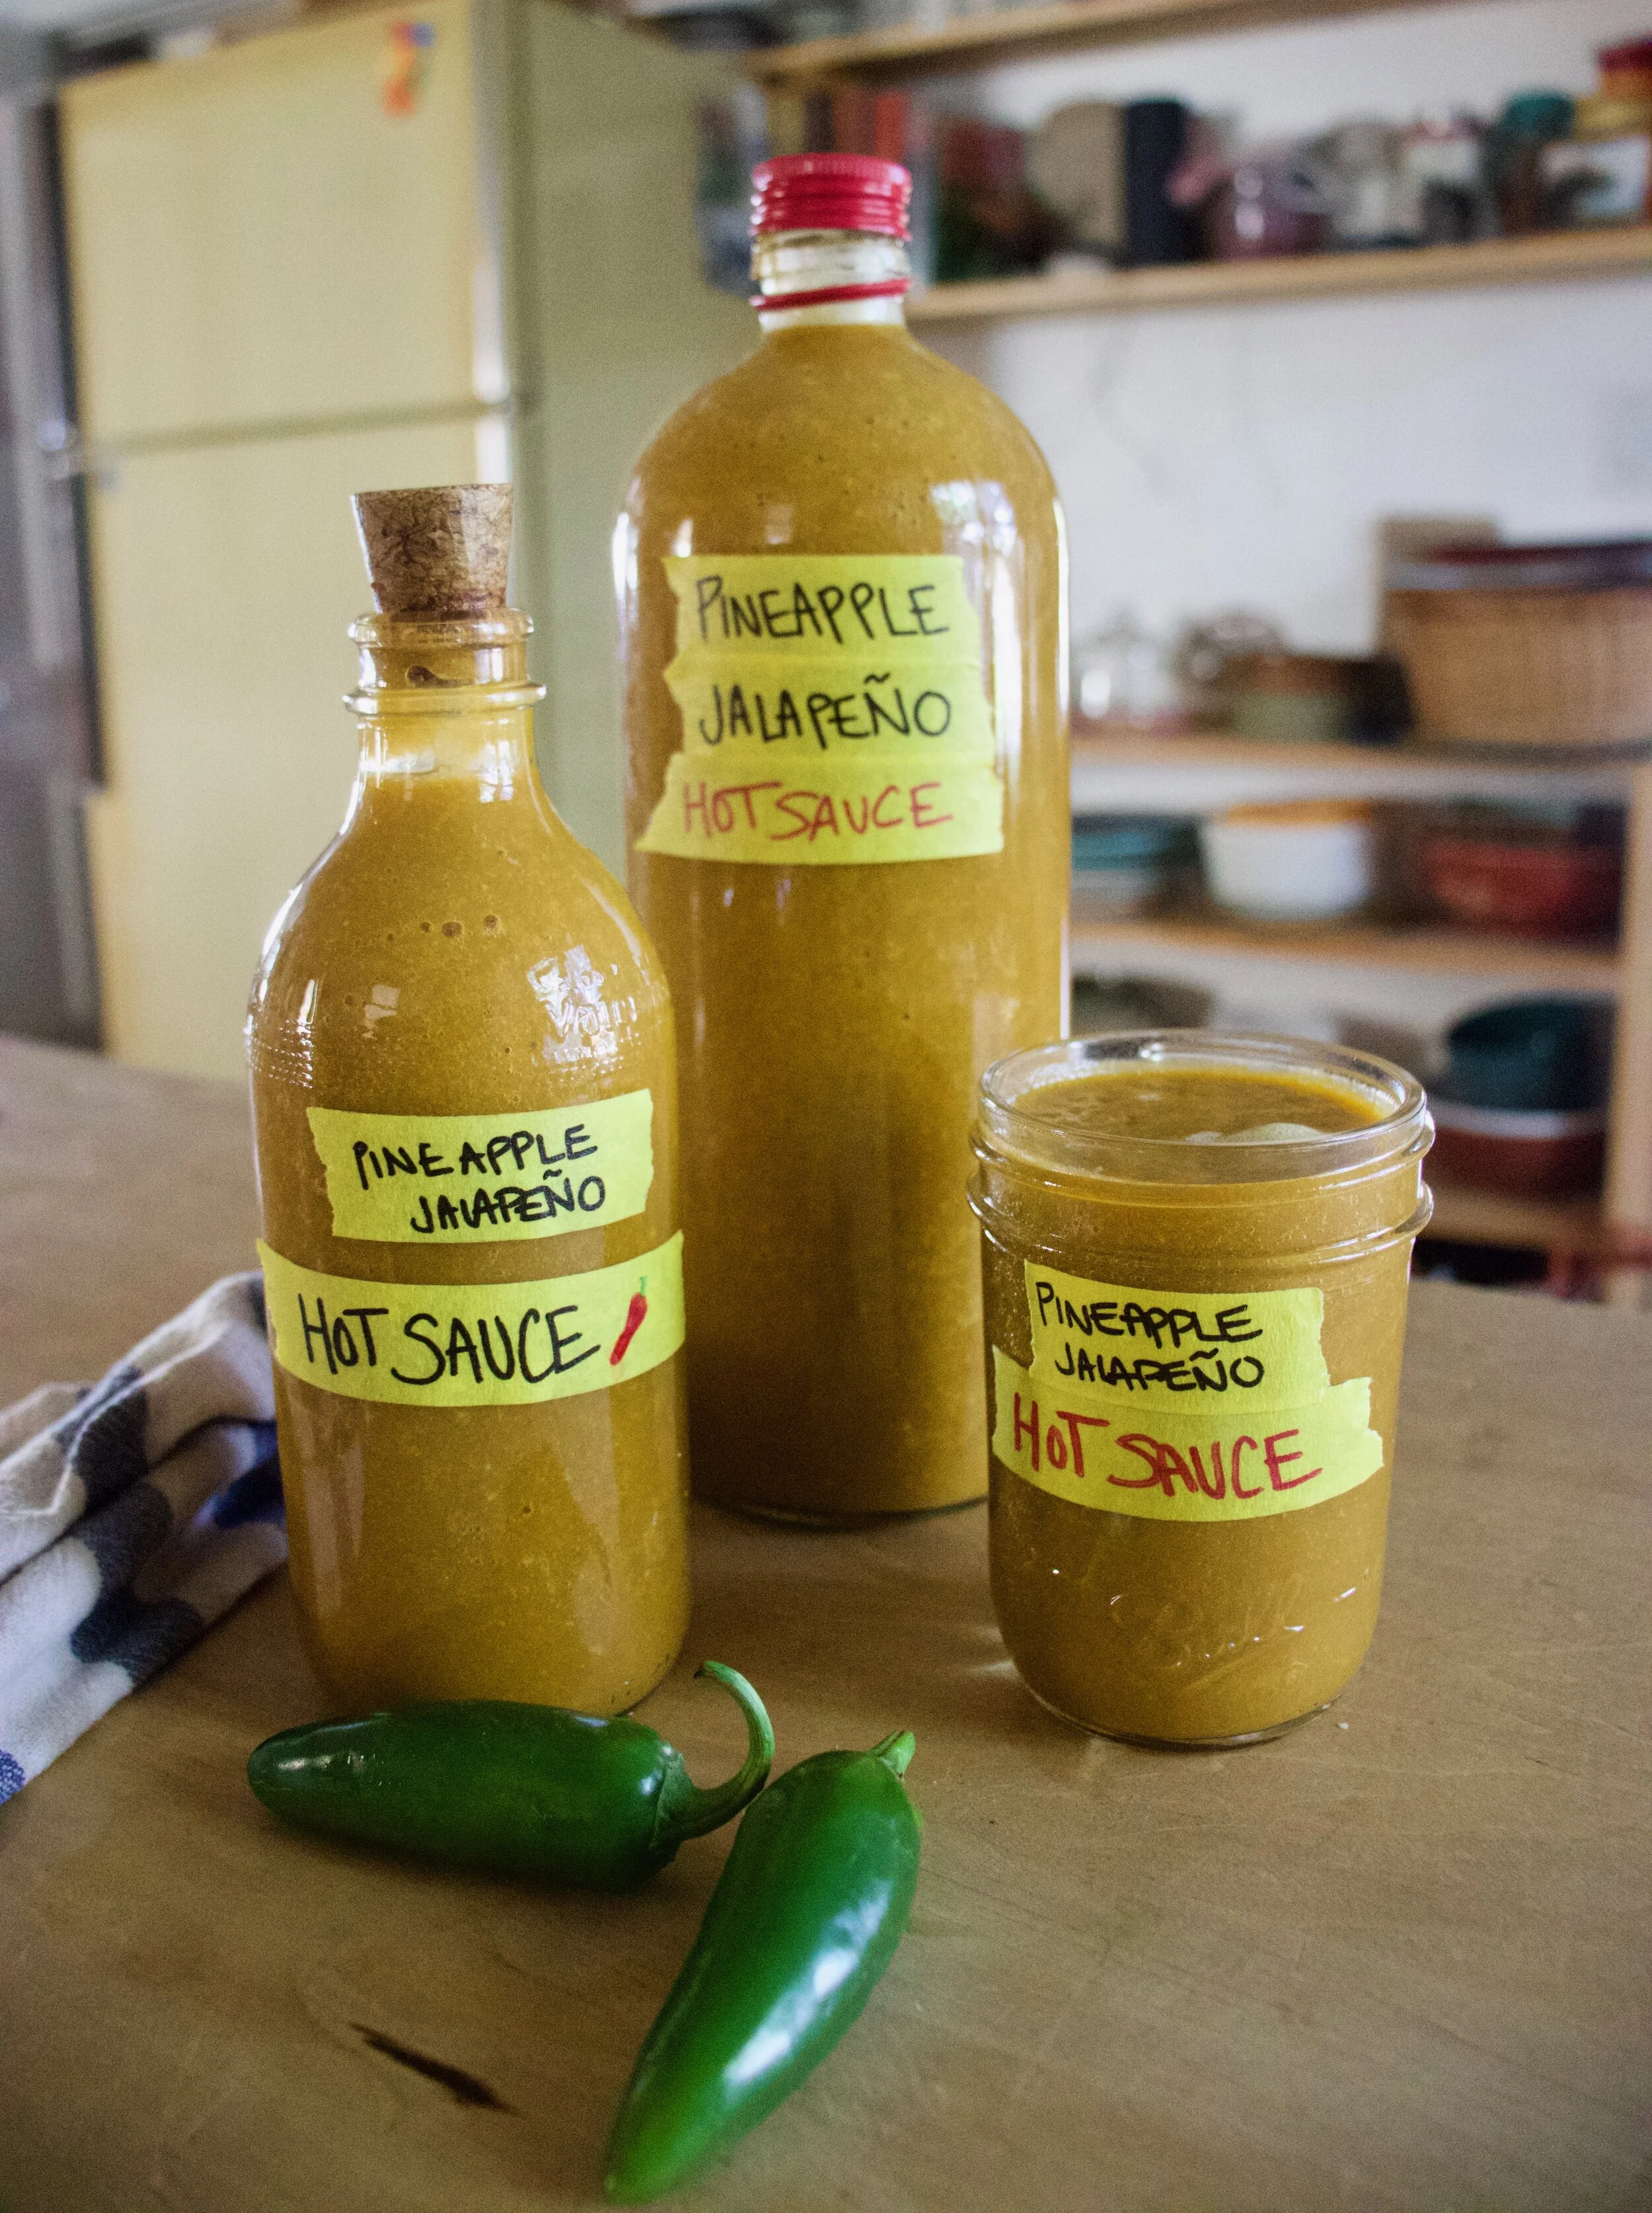
Hot hot hot sauce for the taking.
And look here, enough for you and maybe even a friend or two%u2026 Holidays are coming!
Enjoy the sauce!
-C
makes between 5-6 cups
-
25-30 good sized jalape%u00f1os (green or red or both)
-
2-3 cloves garlic
-
1 medium yellow or white onion
-
2 cups pineapple juice or puree
-
2 cups white vinegar
-
2 teaspoons salt
-
water
Cut the onion into small chunks and roughly mince the garlic. Grab jalape%u00f1os and remove stems. Remove seeds and ribs if you want less heat in the sauce, then chop into small pieces. Place the onion, garlic, and peppers into a big pot with a splash of water. Sprinkle with salt and stick on stove on medium heat and cook for 5-10 minutes or until you can smell the onion and peppers starting to cook.
Dump in the pineapple juice and 1/2 the vinegar. Stir and bring to a boil. Once boiling, partially cover then reduce heat to low. Simmer for about 30-40 minutes or until peppers are very tender.
NOTE.. Have a window open or exhaust fan going.. the fumes are spicy!
Once peppers have soften, remove form heat and let cool a few minutes. Dump or scoop the contents of pot into a blender. Add in the remaining vinegar and blend until very smooth. Once blended, taste and season with more salt if needed. Also if the consistency is to thick for your liking, add in a little water to thin out.
And then bottle it. Whatever sized jars you like, just make sure the lids are not metal if you can avoid it. The acidity of the vinegar will corrode the metal.
Add a label, stick in fridge, and eat on whoever the heck you want! (Also makes a great gift and there is defiantly enough here to give some away!)
Note. It only gets better with age!


Super Cute DIY Heart Pins — STEM+NODE CERAMICS
November 17, 2025 by maximios • Blog
This past Christmas, my (kinda)mother- in-law gave me and the mr these really cool honey bee pins in our stockings. Nothing fancy, just a little pin, but I think it was one of the best gifts that I had gotten all year. The pin lives on my winter jacket.
And now I am into pins.
So a couple of the little’s came over yesterday after school for crafts and dinner and I figured a bit of pin making would be a perfect little project for us to do. And being that it’s the big V day coming up,%u00a0 making these pins heart shaped was more then overly appropriate. (What’s Valentines day without cute little hearts?) Well pin making we did, or I did, not so much for them. They made a few, but in the end, they were more excited to beat the crap out of the mr and to eat carrot shavings with peanut butter and nutella.. Totally ok with me because really, I was the one that wanted a little craft time and the mr did need to get his butt kicked.
Sure I made these pins pretty much for myself, but imagine the possibilities. Make a bunch to give out to your friends, family, neighbors, or even the mail man!? Or if you have yourself a little, how great would these pins be make and to give to all their little classmates. I know that if received one of these pins in my homemade shoe box mail box meant to collect all of my candy studded, drugstore bought valentines. I would have been elated and rocked that pin all year long on my super cool backpack.(grade schooler, they have all the fun) Right after I finished painting and gluing all my pins, Miley then decided that they were freaking awesome and wanted to make a bunch more…. Well little little, to late, time to go home. But I did give her a bunch to bring back with her. She will just have to bug her mom to make some more.
And sure, I mention valentines day when talking about these pins, but really, hearts are for everyday, and are still really great long after V day is over.
Handmade heart pins = love!
Stuff you need for some awesome pins.
A couple notes. You could use red clay but I have found that when I buy the red dyed clay, its always harder to work with and plus, it stainsyour hands. Also, I like to seal the clay and enamel paint does the trick. If you don’t want to paint it, just pain on a coat of clear sealer.
Start buy kneading a chunk of clay a little bit to get it to a workable state, then roll into a ball and roll out flat. I rolled mine out about 1/3 of an inch, but I also knew I wanted to squish it out a little flatter once I cut the shapes out.
Cut out your hearts, or if you want, free form them.%u00a0 What I did was used my tiny heart cookie cutter to cut the initial shape, but then used my thumb and squished them all out a bit bigger.
Note here.. Hears are awesome and amazing, but other shapes….Go for it. You probably have a shit tone of those pin backs.
And just before you bake them, make sure that the pins you are using will fit behind the hearts. (if you notice any visible pin, just smoosh the heart out a little more).
Into the oven,, out of the oven. Read the package to make sure, but the stuff I used only needed to be baked for 15 minutes at 275
Once out of the oven, let completely cool and harden.
Once the hearts are cooled, go ahead and paint them. Use straight up one color, or mix and make a few different shades. (red, white and pink are nice together)
You can add some glitter to the wet paint to add a little bling….
Or add designs or what have you. Do whatever feels right.
Now stick a pin thingy on the back of each heart with a blob of glue. (If you use the E600, make sure to use it near a window or somewhere ventilated.. it really stinks for a few minutes)
Let the glue dry (this glue was completely dry within an hour, but follow glue package instructions)
And if you want, grab the sharpie, make sure the paint is really dry (at least an hour) and write a little something on the hearts.
And now the hard part.. which one goes to who and which one (or 4) do you keep for yourself. (you can always make more!)
Have fun!
-C