Holy shit is it hot out. My brain is all fizzy, my hair is all frizzy, and my over all being is just blah. I am not a fan of super hot weather (as some of you may know) and am getting more pissy as the days go %u00a0by and I continue to be a sweaty mess. I don’t want to feel like a big wet slob, I want to feel fresh and clean and wear clothes that are not drenched in sweat. I know, bitch, bitch, bitch, but seriously. Even the world around me is wilting, and in the nice, colorful fall foliage kind of way. It’s all crispy and brown.%u00a0%u00a0The garden is barely holding on, the flowers are shriveling in the ground, and a few plants are just plan dead.%u00a0It’s just too hot.
I think that only plus side of this past week of hot crap weather are these popsicles that I made. They were actually suppose to be a treat for the littles, but guess what, me and the mr ate them and didn’t share, and no, I feel zero bad about it. They were so good, so refreshing,%u00a0so cold(if only for a minute) and just so needed. %u00a0A few minute reprieve from being miserably hot. And bonus, a great use of all the watermelon and tomatoes that I have taking over the countertops (I have so much watermelon and tomatoes)%u00a0
And really, these probably (better freaking be) the last batch of popsicles for the summer so I think I am going to make another batch today, eat them, savor the flavors of summer, and move on from there.
.%u00a0Maybe I’ll even share them this time.%u00a0
The stuff. Some watermelon*, a tomato, a handful of basil, and a lime.%u00a0
*My watermelon had seeds,%u00a0but you can use seedless. I also removed the green skin, but kept on as much rind as I could, although this particulate melon had very little white rind.
Dump the melon, tomato (cut in a few pieces, the juice of the lime and the basil into a blender. If your melon has seed, don’t worry about removing them.
The stuff all blended up.
. This step is more necessary %u00a0if you melon is seeded, straining the mixture pretty much caught most of the seed chunks. You can skip this if your melon is seedless.
Now pour the juice into your molds and stick into freezer to freeze.%u00a0
After about 2 ish hours, remove and stick the sticks into the semi harder pops.
And a few more hours later%u2026…Frozen goodness.
And pop one of those suckers out of the mold and savor every frozen delicious bite.%u00a0
Happy Tuesday…%u00a0DON’T MELT!
-C
Make six 3.5 oz popsicles
1 ish cup watermelon (green skin removed.. rind is good)
1 large ripe tomato (about a cups worth)
a few sprigs of basil
Juice of 1 lime
Place all ingredients into blender and blend until smooth. Strain mixture through a fine strainer into a bowl or jar and pour into popsicle molds.%u00a0
Place in freezer for a few hours. About 2-3 hours in the freezer, take them out and stick in sticks (or fallow you popsicle molds instructions) Place back into freezer
Once completely frozen, remove from molds and eat with your mouth.
I am running extremely low on food in my house, like there isn’t a can of beans or a box of pasta left. Yeah, I have a few zucchini left, but I think that mr might be getting a bit sick of it. (He has had zucchini noodles for lunch and dinner for the past few day). And I was going to go to the grocery store before dinner, but then I didn’t. Why? well because I didn’t really feel like it.
Turns out that I didn’t need to go to the store for dinner.I had a few mushrooms, an onion, and a few stalks of chard left in the fridge. (but pretty much nothing else) I just bought a 25 lb bag of flour so I am all stocked up on that and last minute I found a avocado that I thought was a beet in the fridge. All I needed to make a dinner, and a quick and easy, and really tasty one to boot. Plus being so mother F*ing hot, it was perfect because there was no need to turn on the oven.
Now the question is,now that dinner was made and being that the fridge is so empty, should I clean and defrost it? Answer is yes, yes I should, but am I going to? Probably not. I just don’t have it in me to stand in font of the fridge, hacking ice away with a large spoon and boiling water for an hour. It’s to hot. I’ll do it later.
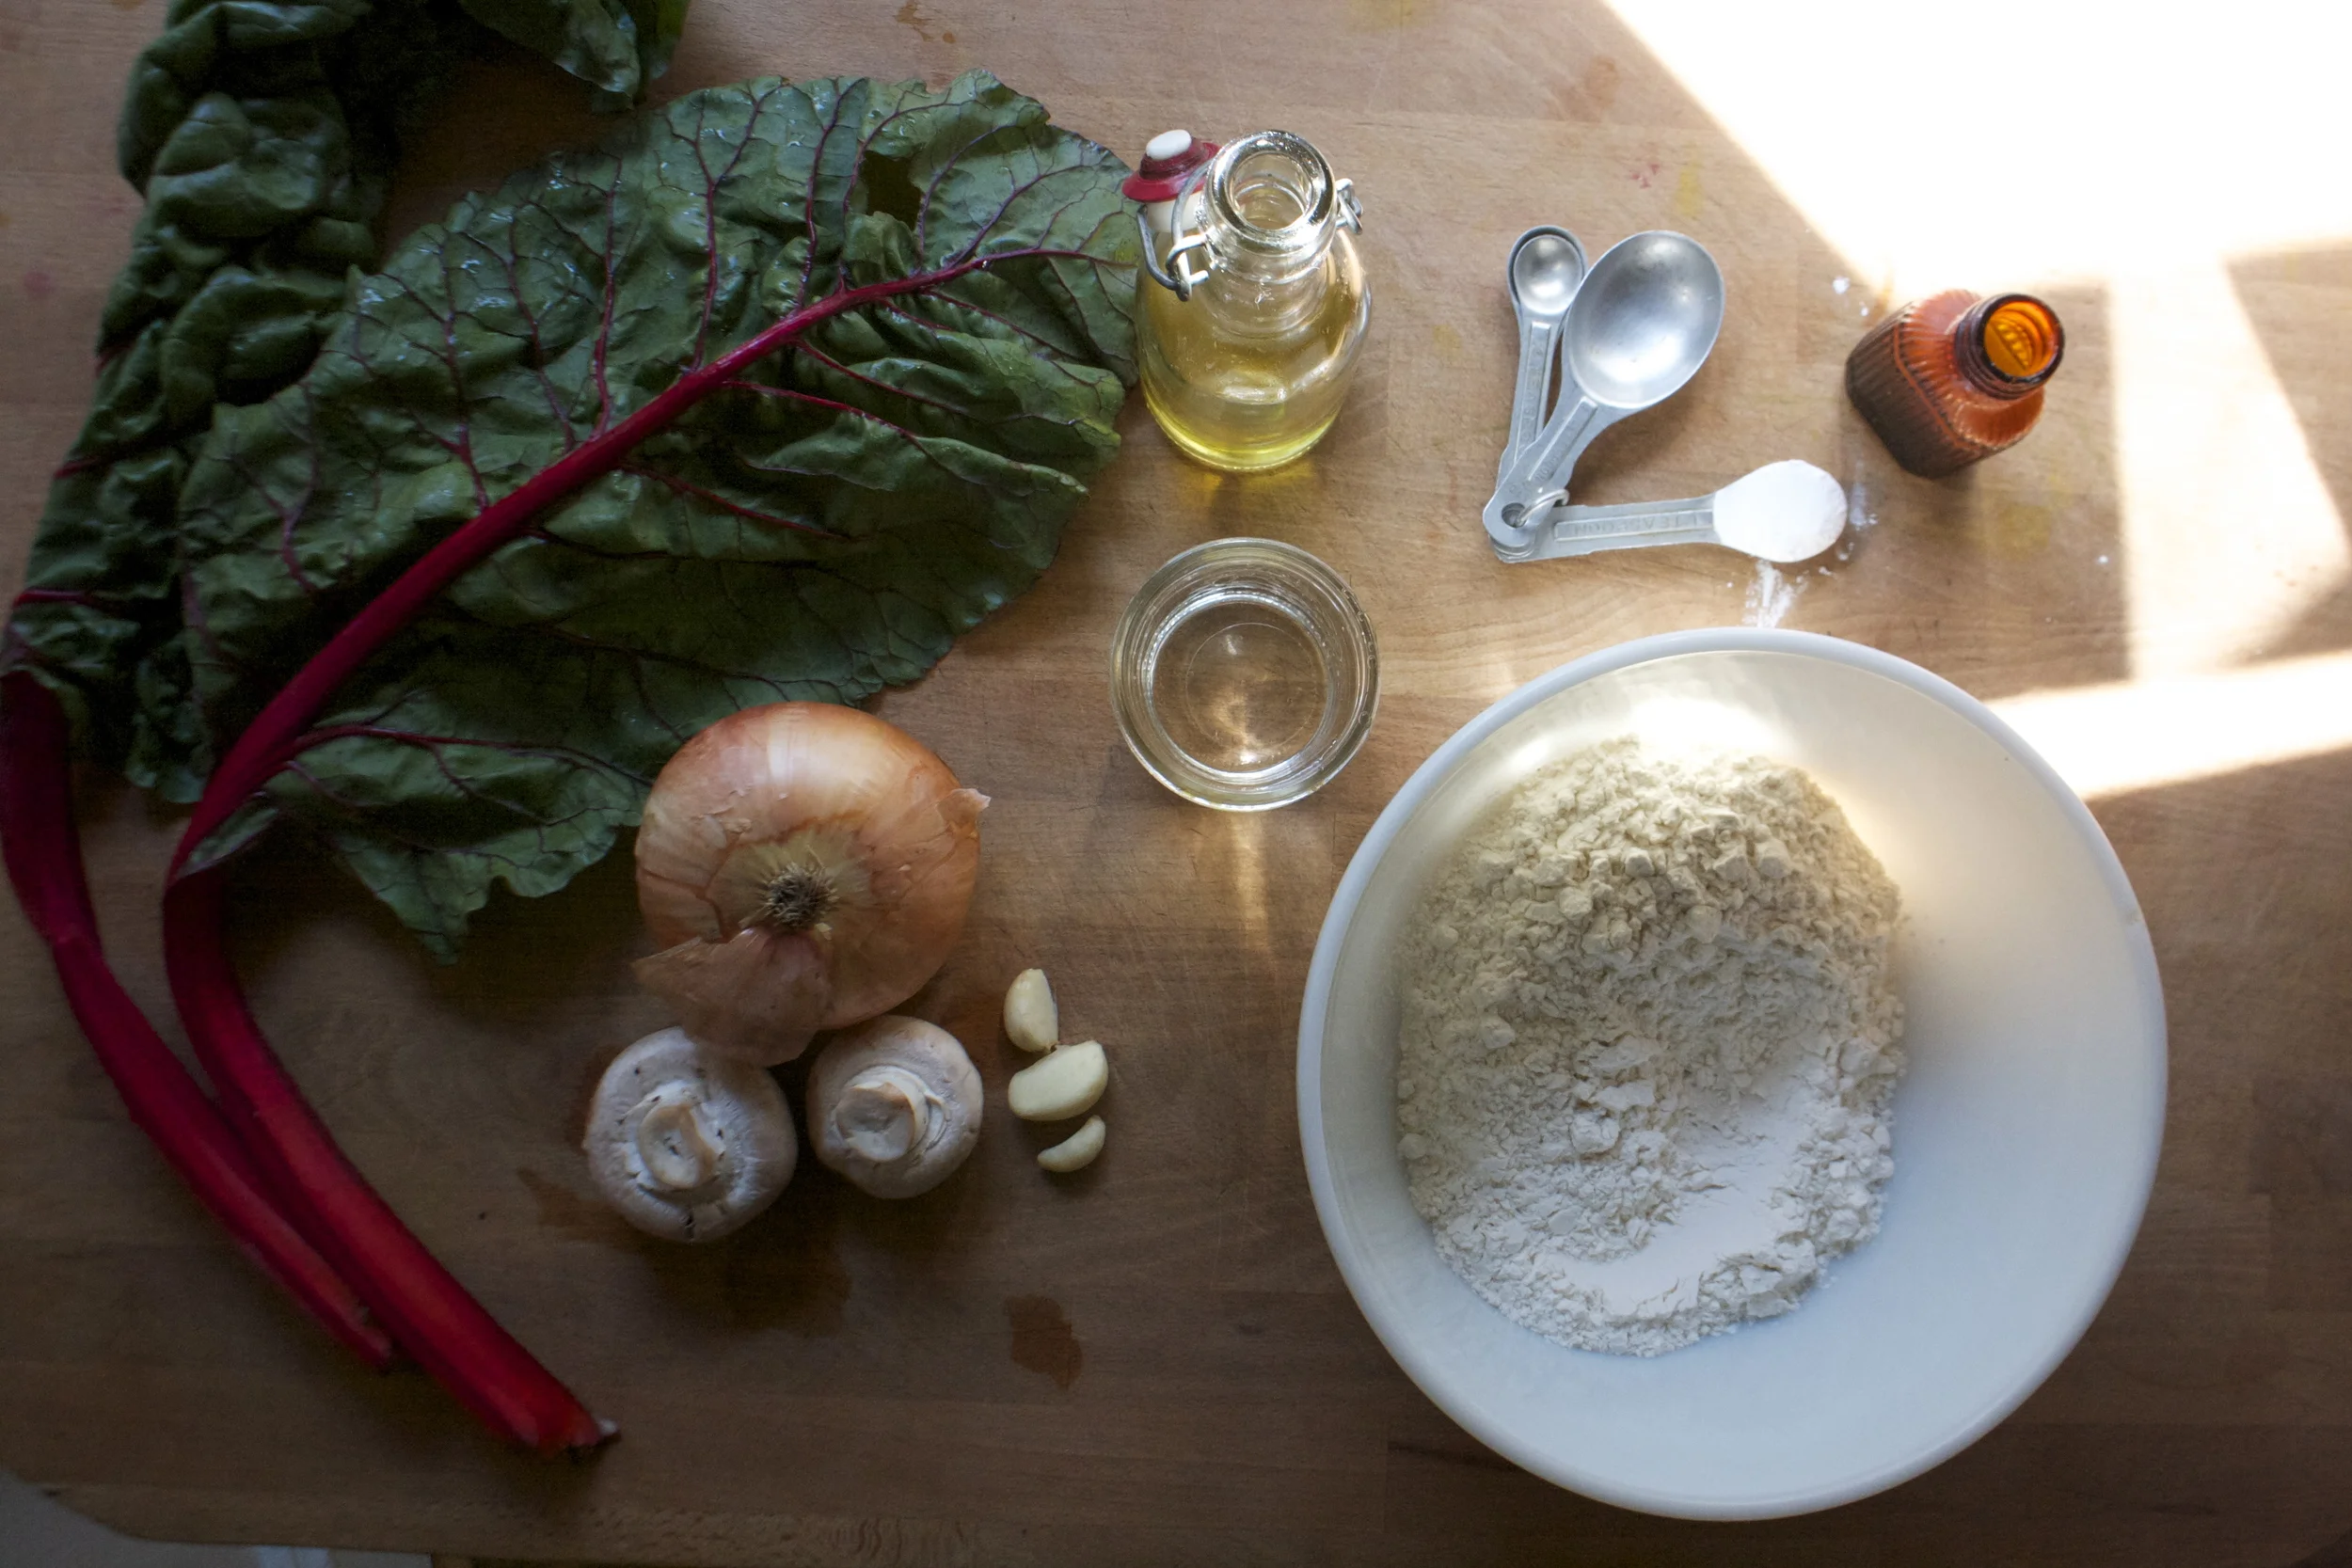
The stuff. Flour, baking powder, olive oil, salt ans water for the skillet bread. A few humngo stalks of red chard, a couple mushrooms (I would have used a few more if I had them). an onion, and a few cloves of garlic.%u00a0 Missing is the pepper and the avocado and lemon that I found while rummaging the fridge.
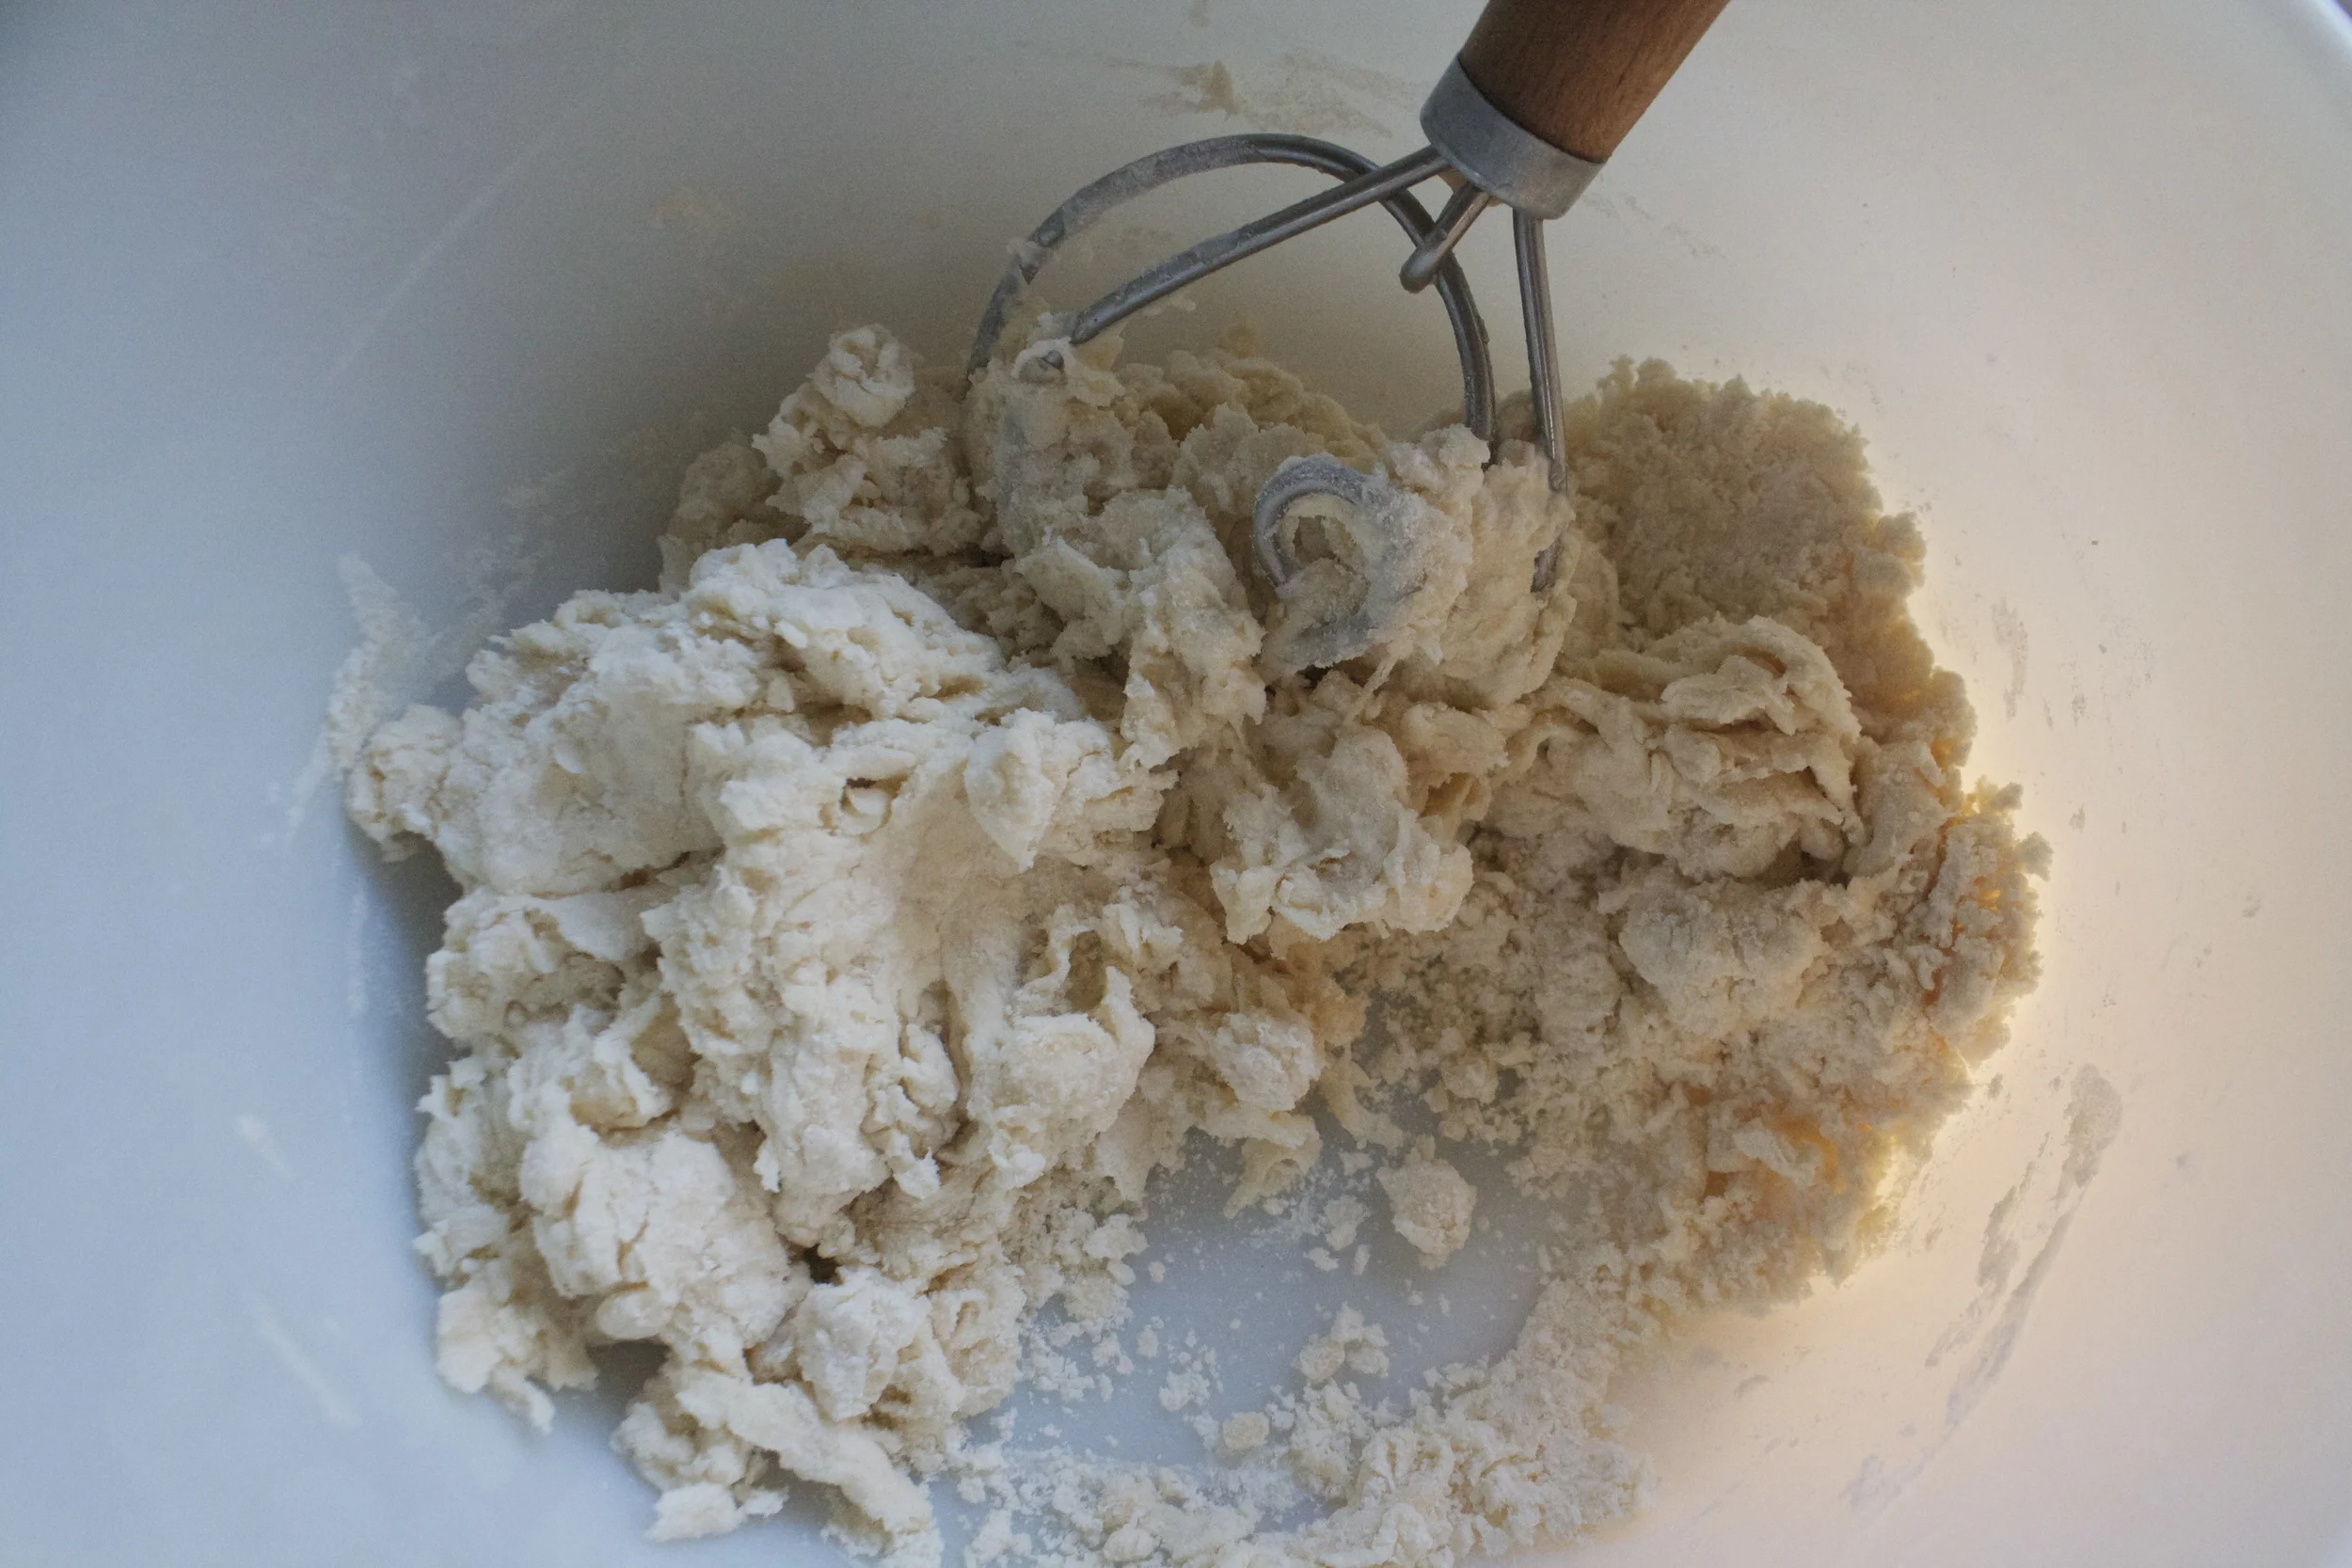
The bread is super easy. Just whisk together the flour salt, and baking soda then add in the oil. Mix until it’s crumbly then mix in the water until it turns into a soft dough. Gather into a ball and stick in bowl then into fridge for a few minutes to let the dough rest.
After the dough has rested, take it and cut into 4 equal pieces. Roll each piece into ball and then roll out as flat as you can. Heat up a skillet to high heat and once hot, place rolled out flat onto (dry) skillet. Cook first side for about 3-4 minutes or until browned and cook, then turn heat down a bit, flip and cook other side until browned. Remove bread, turn heat back up, and repeat with remaining flats.
For the rest. Remove the leafy part of the chard and set aside .Thinly hop up the mushrooms, onion, and the chard stalk. Mince up the garlic. Toss it all (not the garlic yet)into a lightly oiled skillet , season with salt and pepper, and cook on medium heat until starting to brown. Now toss in a few splashes of water and the minced garlic, mix around, and cover wit a lid. Cook for another 8-10 minutes until the veggies are nice and soft.
Cooked and ready, but wait, chop up the chard leaves and toss them into skillet. Another splash of water and a few more minutes under a lid will wilt them up real quick.
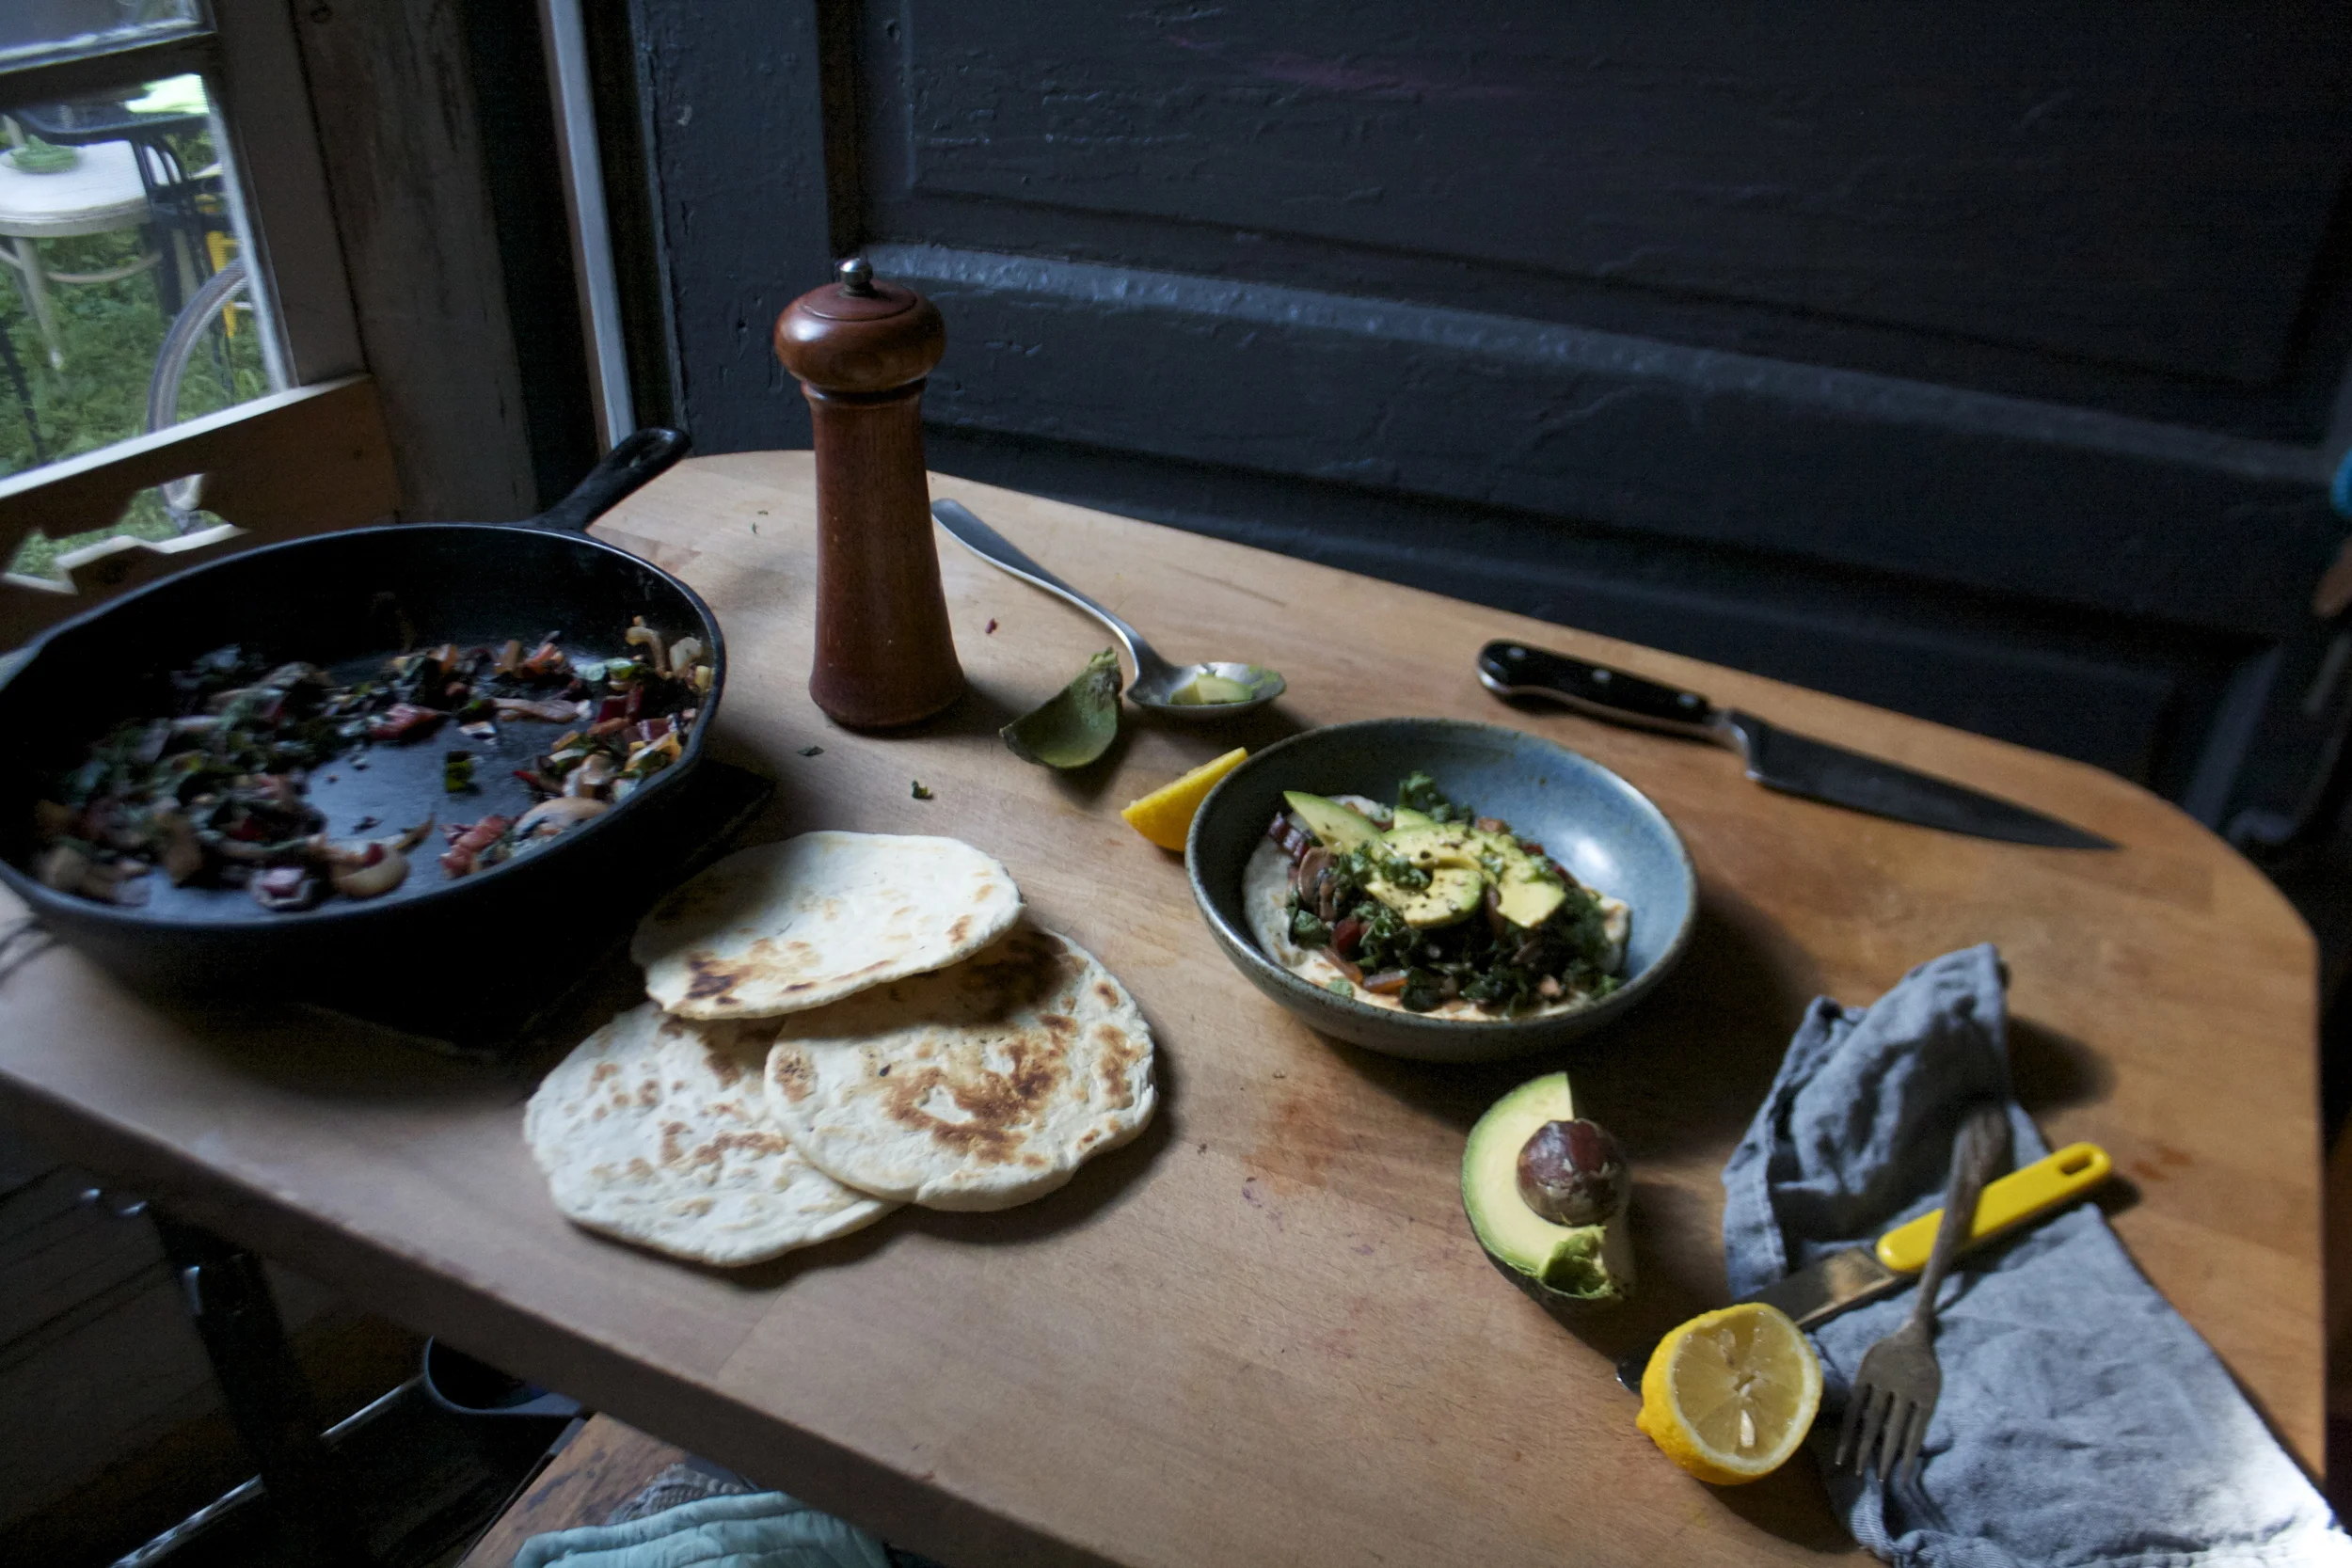
Skillet beads are made, veggies are all nice and cooked up. The avocado and lemon where found, sliced.
Not bad for a last minute-lean out the fridge of all food-dinner. Not bad at all.
Don’t melt
-C
Make 4 flatbread
For the skillet bread
1 cup all purpose flour
1 teaspoon baking powder
1 teaspoon salt
2 tablespoons olive oil
4-5 tablespoons cold water
For the rest
2-4 white mushrooms
2-3 large stalks of chard (any color)
1 sweet onion
2-3 cloves garlic
salt and pepper
olive oil
water
An avocado and a lemon (optional)
To make the skillet bread. Mix together the flour, salt, and baking soda in a large bowl. Pour in olive oil and mix until crumbly then add in 4 tablespoons of water (5 if it seems to dry) until a dough forms. Gather dough into a ball, stick in bowl and cover, and place in the fridge to rest for about 10 minutes. Once dough has chilled, remove and cut into 4 equal sized pieces. Roll each piece into a ball then, on a clean surface, roll out as flat as you can. Grab a skillet and place on high heat. Once skillet has heated up, place a rolled out dough on hot, un-oiled surface and let cook for about 3-4 minutes or until the bottom cooked with golden brown spots. Turn heat to medium and flip bread. Cook the other side for another 4-5 minutes or until browned. Remove flat and turn heat back up. Cook the rest of the bread like the first one.
For the rest. Remove leafy parts of the chard from the stalk and set aside. Take stalk and chop into pieces about 1/ 2 inch think. Slice onion and mushrooms up as thinly as you can. Mince garlic. Garb a skillet, stick on medium heat and drizzle with a little olive oil. Toss in chard stalk, onions, and mushrooms, sprinkle with salt and pepper and mix around until the stuff starts to brown a bit. Add in a few good splashed of water and the garlic and then place a lid on the skillet. Cook for about 10 minutes, giving the mixture a good stir every few minutes. Once the veggies are all soft and yummy, chop up the remaining chard leafs and place them into the skillet. Add another splash of water and place the lid back on. Cook until the leaves have wilted.
To assemble. Flat bread on plate. Scoop some of the sauteed veggie mixture on top. A few slices of avocado on top with a squeeze of lemon juice and a bit of cracked pepper…You are good to go.
Any time is a good time for pickles, but now is a great time. There has been so much baking, heavy, rich, and time consuming foods in the past month that I think everyone could use themselves a good helping of veggies and maybe a little brightness, like a good pickled green bean. Freshy, crisp, and clean. A jar of happy green goodness. (Don%u2019t you describe jars of pickles just like that, a happy green jar of goodness?)
Around there parts, it%u2019s kind of a holiday tradition with the mr to get a jar or two of pickled beans. I don%u2019t know exactly how it started, but they are something that he has been getting every year. So this year instead of buying him a jar, I just made them. And let me tell you, it is a heck of a lot cheaper to make your own then it is to buy them, plus I think mine taste better if I do say so myself. These pickles are of the refrigerator kind so there is no processing or stress of bad seals. Nope, these pickles take all of 15 minutes to make, a day to pickle up nice and good in the fridge, and that is that. Ready to go, ready to eat. A small task, nothing fancy, nothing a small child could not handle (um.. well I would not let a small child near boiling water so nix that but a medium to large child, yeah sure.)
Pickled green beans. You know you want them so go and make them.
To the pickled beans!
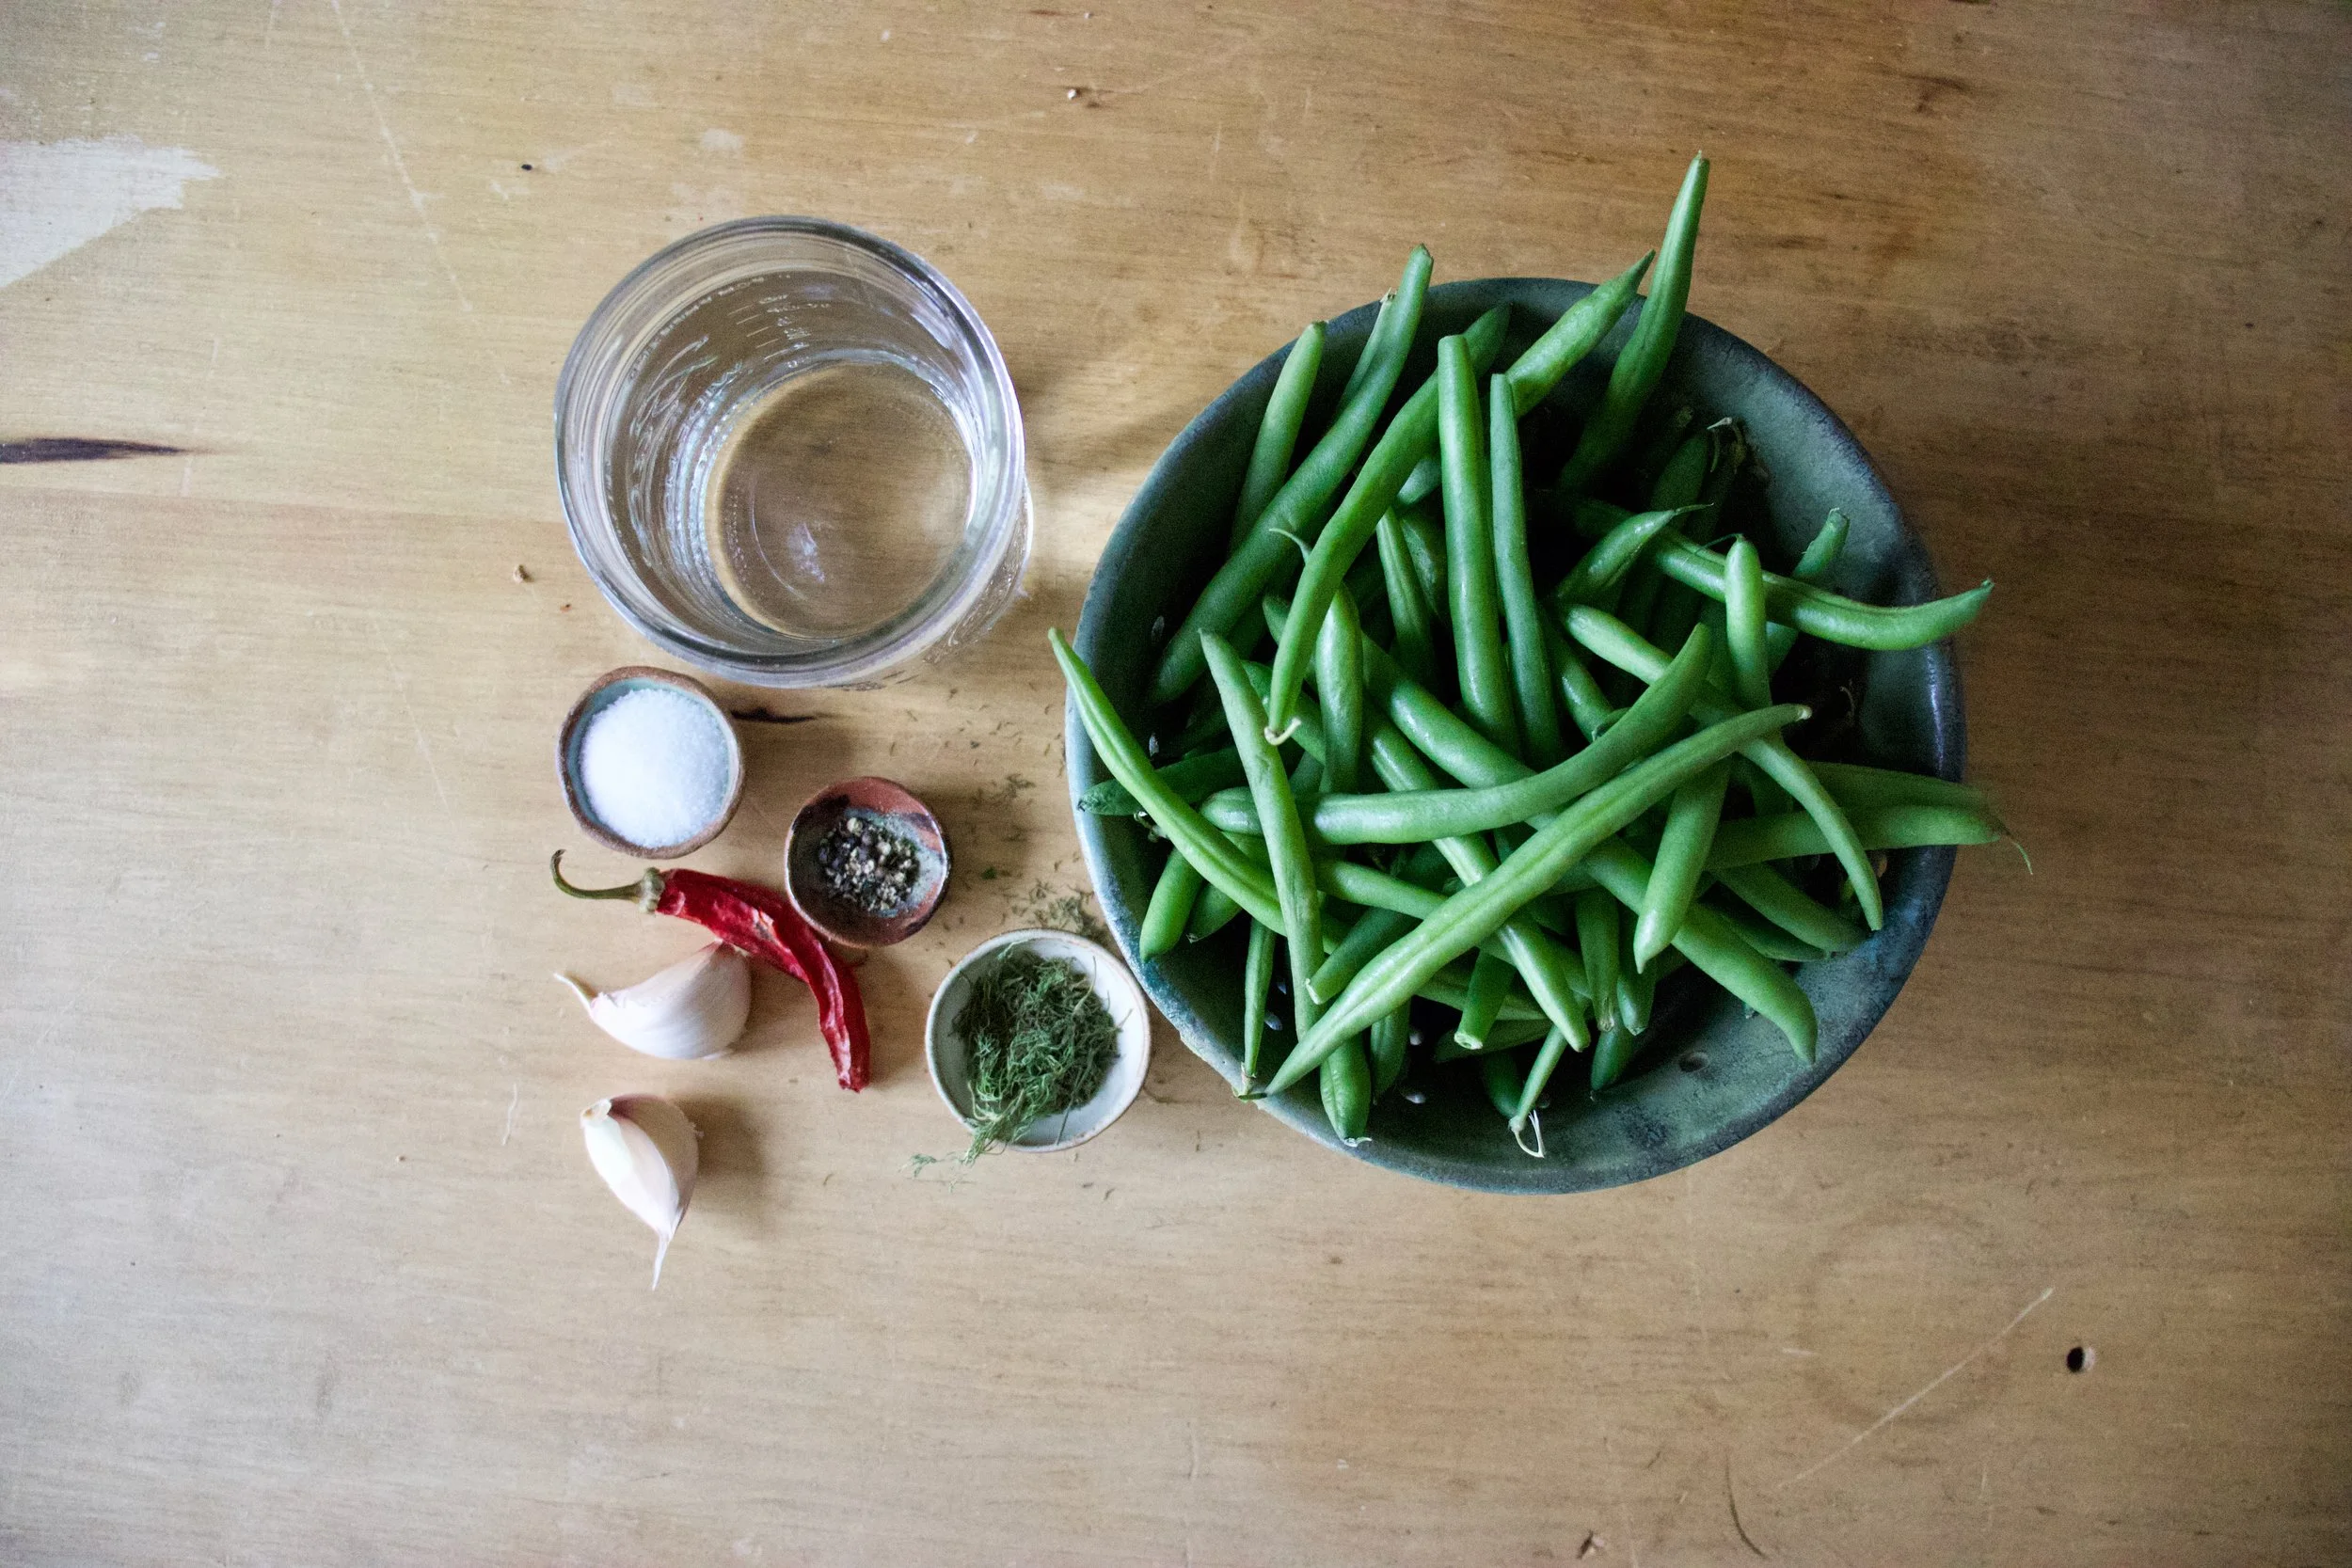
The stuff. Fresh green beans, white vinegar, salt, peppercorns, garlic, dill and a dried cayenne pepper. The dill and cayenne pepper are optional and you can use any spices you want, but these are good ones to try.%u2026 Next batch I am going to do fresh turmeric and ginger, see how that comes out.
The hardest and not hard at all part. Blanch the beans. Basically just toss the beans into a boiling pot of water for 2ish minutes then scoop them out into a bowl of ice water. Easy peasy.
Jar preparation. I figured I would do two flavors, a spicy cayenne and a dill. (Cayenne for me, dill for the mr) Both jars get a chunked up glove of garlic and some slightly smashed up peppercorns. The hot pepper goes into one and the dill into the other.
Then make the brine. Just boil the vinegar with salt. Nothing fancy.
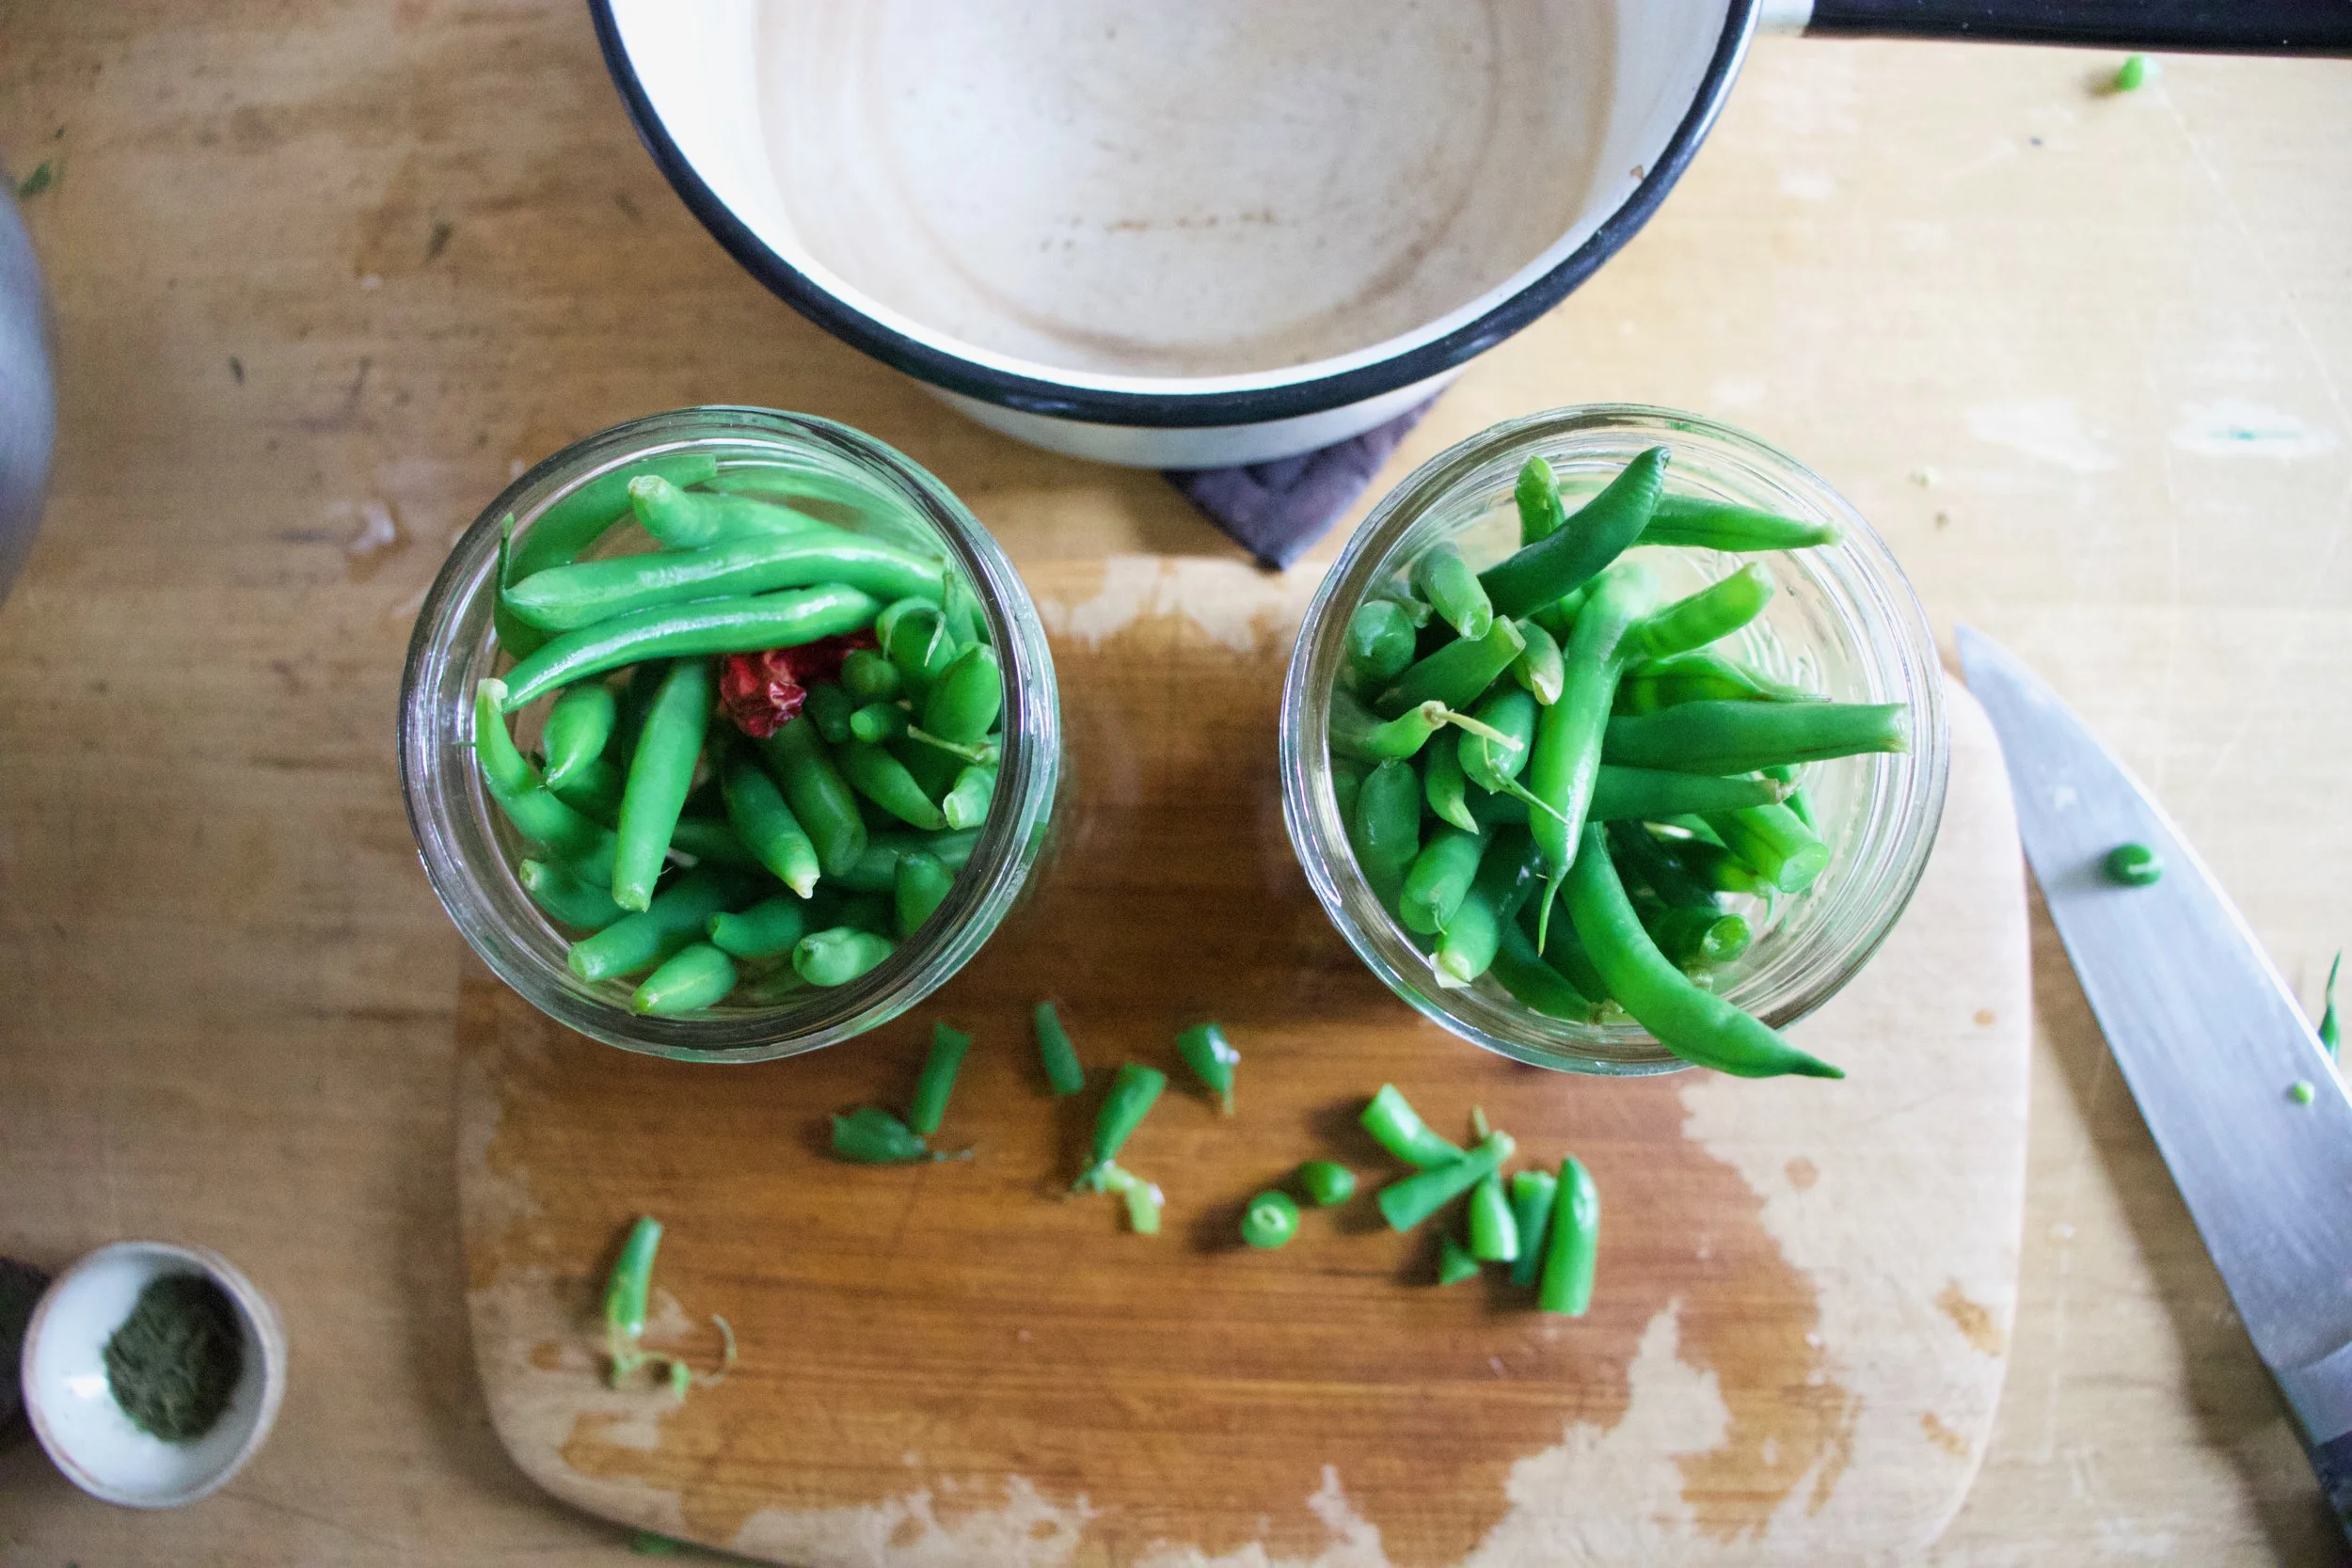
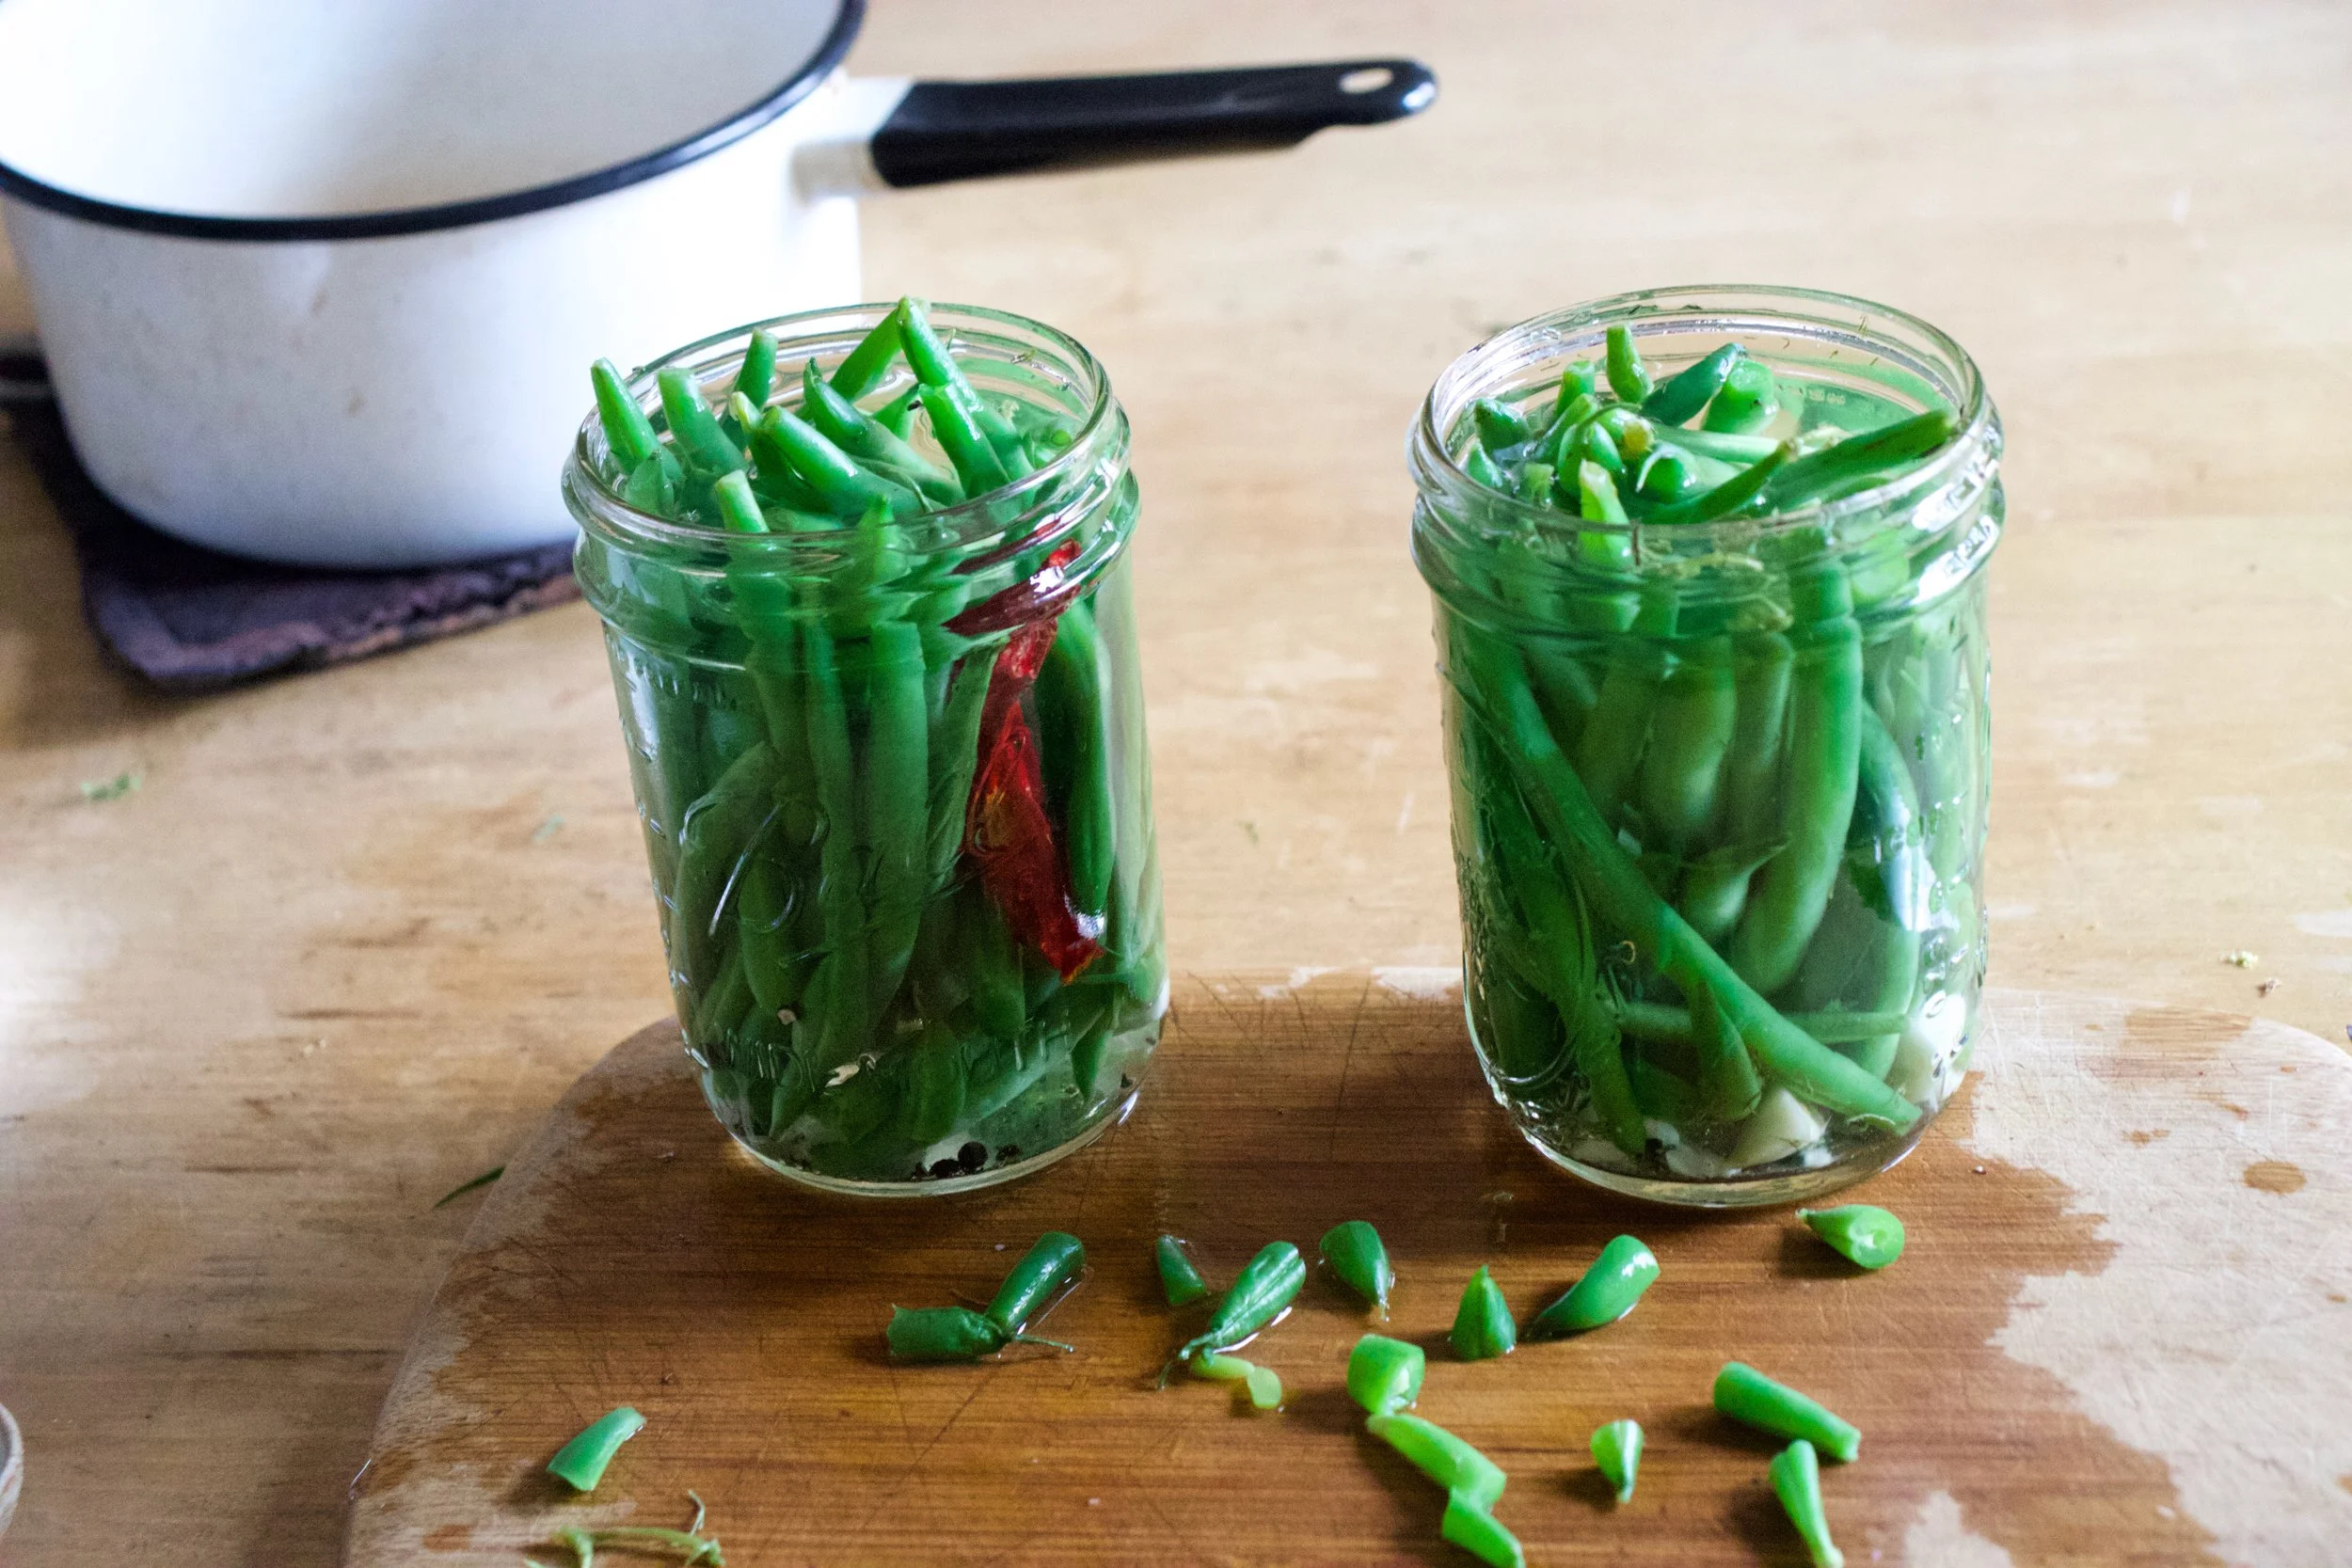
You got the jars ready and the brine made so now you just pack the two jars with the blanched beans. You might need to snip a few in order to fit, but I just eat those ends anyway so I am doing myself favor here.
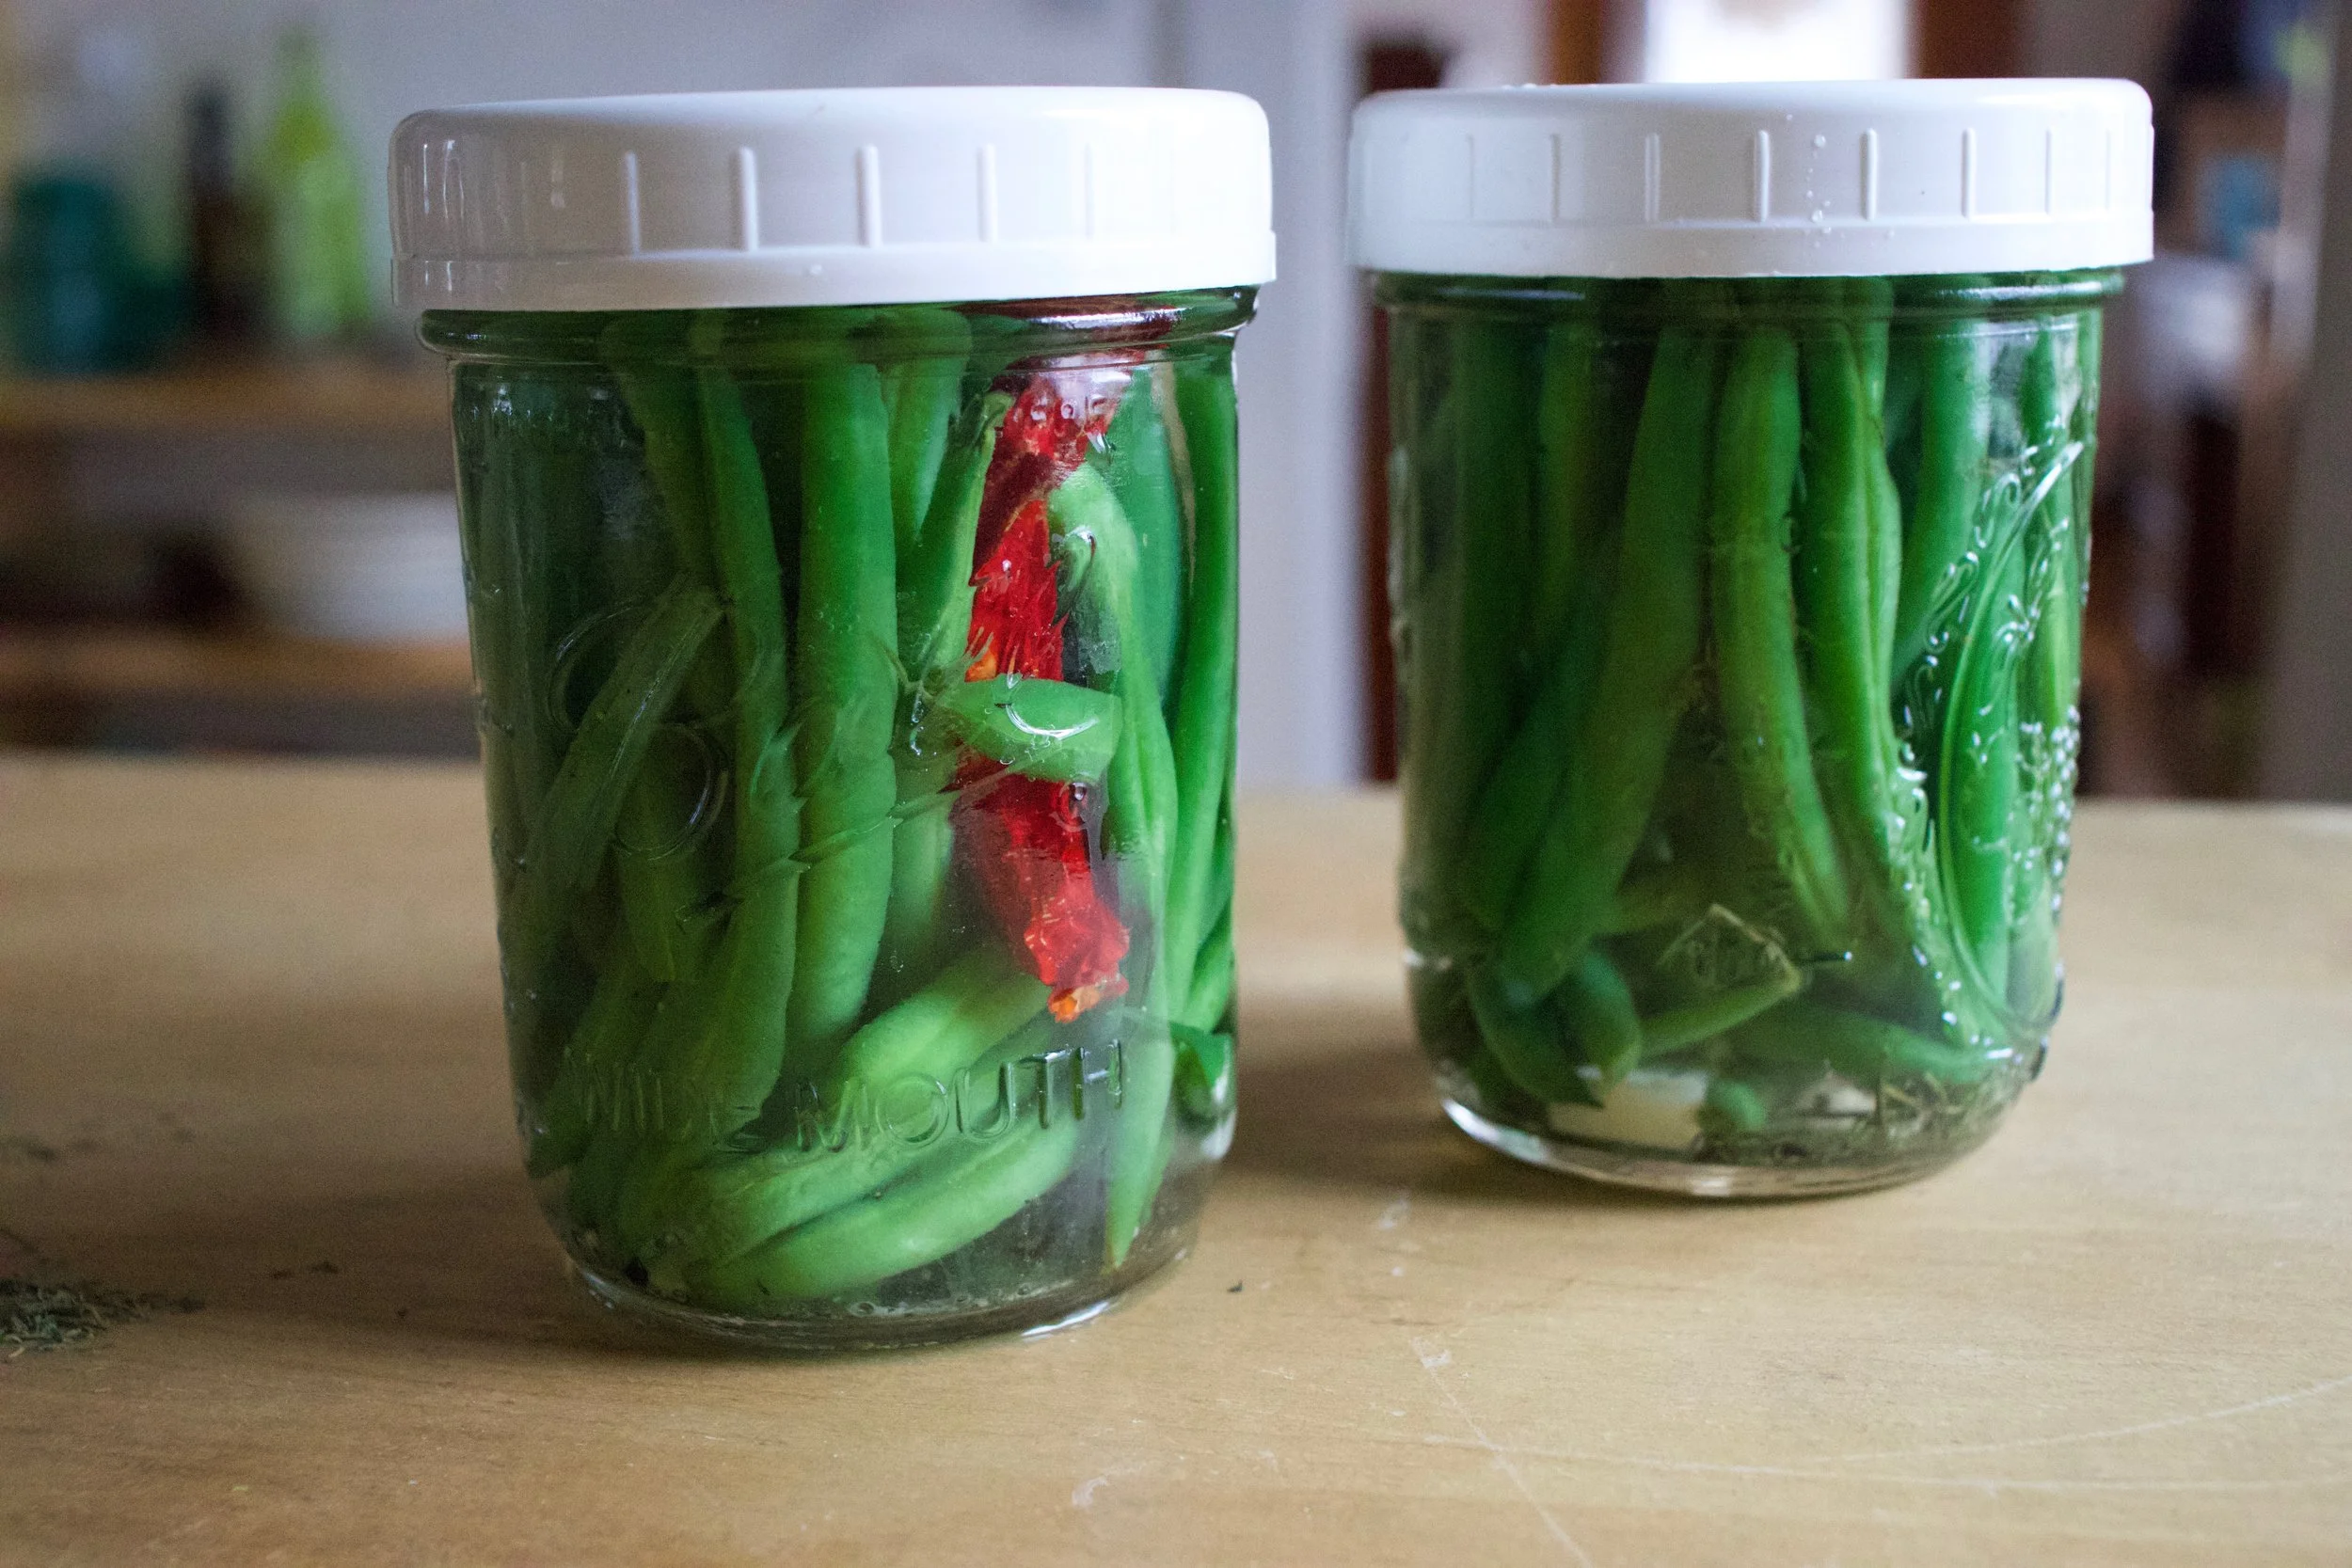
Then you pour equal amounts of the brine into the jars then top off the the jars with ice water. Place a lid on those suckers and give them a good shake and into the fridge they go. 24 hours give or take and that is that.
And now you got pickled green beans. The question is weather you eat a few at a time or if one jar constitutes a vegetable serving and you eat the whole jar at once.
I say eat the whole jar. Not like it took very long to make right? So maybe you just a few extra jars.
Have a lovely weekend.
-C
maks 2 pint jars
1 pound green beans
2 cups water vinegar
1 1/2 – 2 cups cold water
2 teaspoons salt
1 teaspoon whole or slightly crushed peppercorn
2 big cloves garlic
A tablespoon dried dill and a dried cayenne pepper (optional)
Rinse green beans. Bring a large pot of water to a boil and grab a large bowl and fill with cold water and a few ice cubs. Place half the green beans in the boil water and let cook for about 2 minutes. Scoop them out and place into the bowl of ice water. Repeat for the second half of beans.
Place the vinegar and salt in a small pot (or use the pot you used to boil water) and bring to a boil. Set aside
Grab 2 pint jars making sure the are nice and clean. Peel and cut the garlic into a few pieces and place into the bottoms of the jars. Add the dill to one and cayenne to the other (or whatever spices you do or don%u2019t want to use) Give each jar some of the peppercorns then start packing the balanced beans into the jars. Try to make them all straight so you can fit in as may as you can, and if the bean is to long, just cut to fit (eat the ends) Once both jars are packed pour equal amounts of the vinegar brine to the jars. Top off each jar with cold ice water. Place a lid on the jars, give it a good shake and place jars into the fridge for 24 hours. After the wait, pop the lid and eat.
Pickled beans will last about a month in the fridge but really, if you have them for more then a week, that is just a shock.
Note about lids. I use plastic lids when dealing with anything acidic. The metal lids will work but will rust after a while and sometimes leaves metallic taste. If you only have metal lids, use a piece of wax paper in between the kid and jar.
I am sadly at my last few bags of frozen garden foods from last season. As of now I have a bag of tomatoes, a couple bags of shredded zucchini, and a bag of rhubarb. Well, had a bag of rhubarb. I think I have eaten almost all of it already. My rhubarb patch better get up and producing stalks soon. And as for the rest of the veggies that I will require. Guess I am going to be surviving mostly on roots from farm share (we are getting a lot more greens though!!!!) and probably doing a bit more grocery shopping then I care too. A few more months. I can do it.
Anyway, enough about my freezer and lack of fresh produce problems.
Here in Vermont maple season is well on it%u2019s way making it a perfect time for anything maple. And rhubarb. Yeah I am using my frozen rhubarb from last year, but any time now (after the snow melts) there will be plenty of stalks for the taking. There will be so much maple and so much fresh rhubarb which are the perfect taste combination. Exciting times! And when added to oatmeal, things just get more gooder. (I know gooder is not a word but I think it should be) Oatmeal, especially baked, is the stuff where all gooder things start.
Have you had baked oatmeal yet? It truly is fantastic. Not at all gummy and gloopy like stove topped cooked oatmeal (but I like it like that too). It still has a good bite to it while still being soft and creamy and boy oh boy is it just the bees knees. With the addition of some crunchy almond friends, well even better. Trust me. If you are a oatmeal eater, you must try it baked. Best part is that it can be eaten as breakfast but also I have been serving it to the mr for dessert with a healthy drizzle of more maple. It%u2019s that good friends. From breakfast to dessert. Everyone is happy.
To the baked oatmeal.
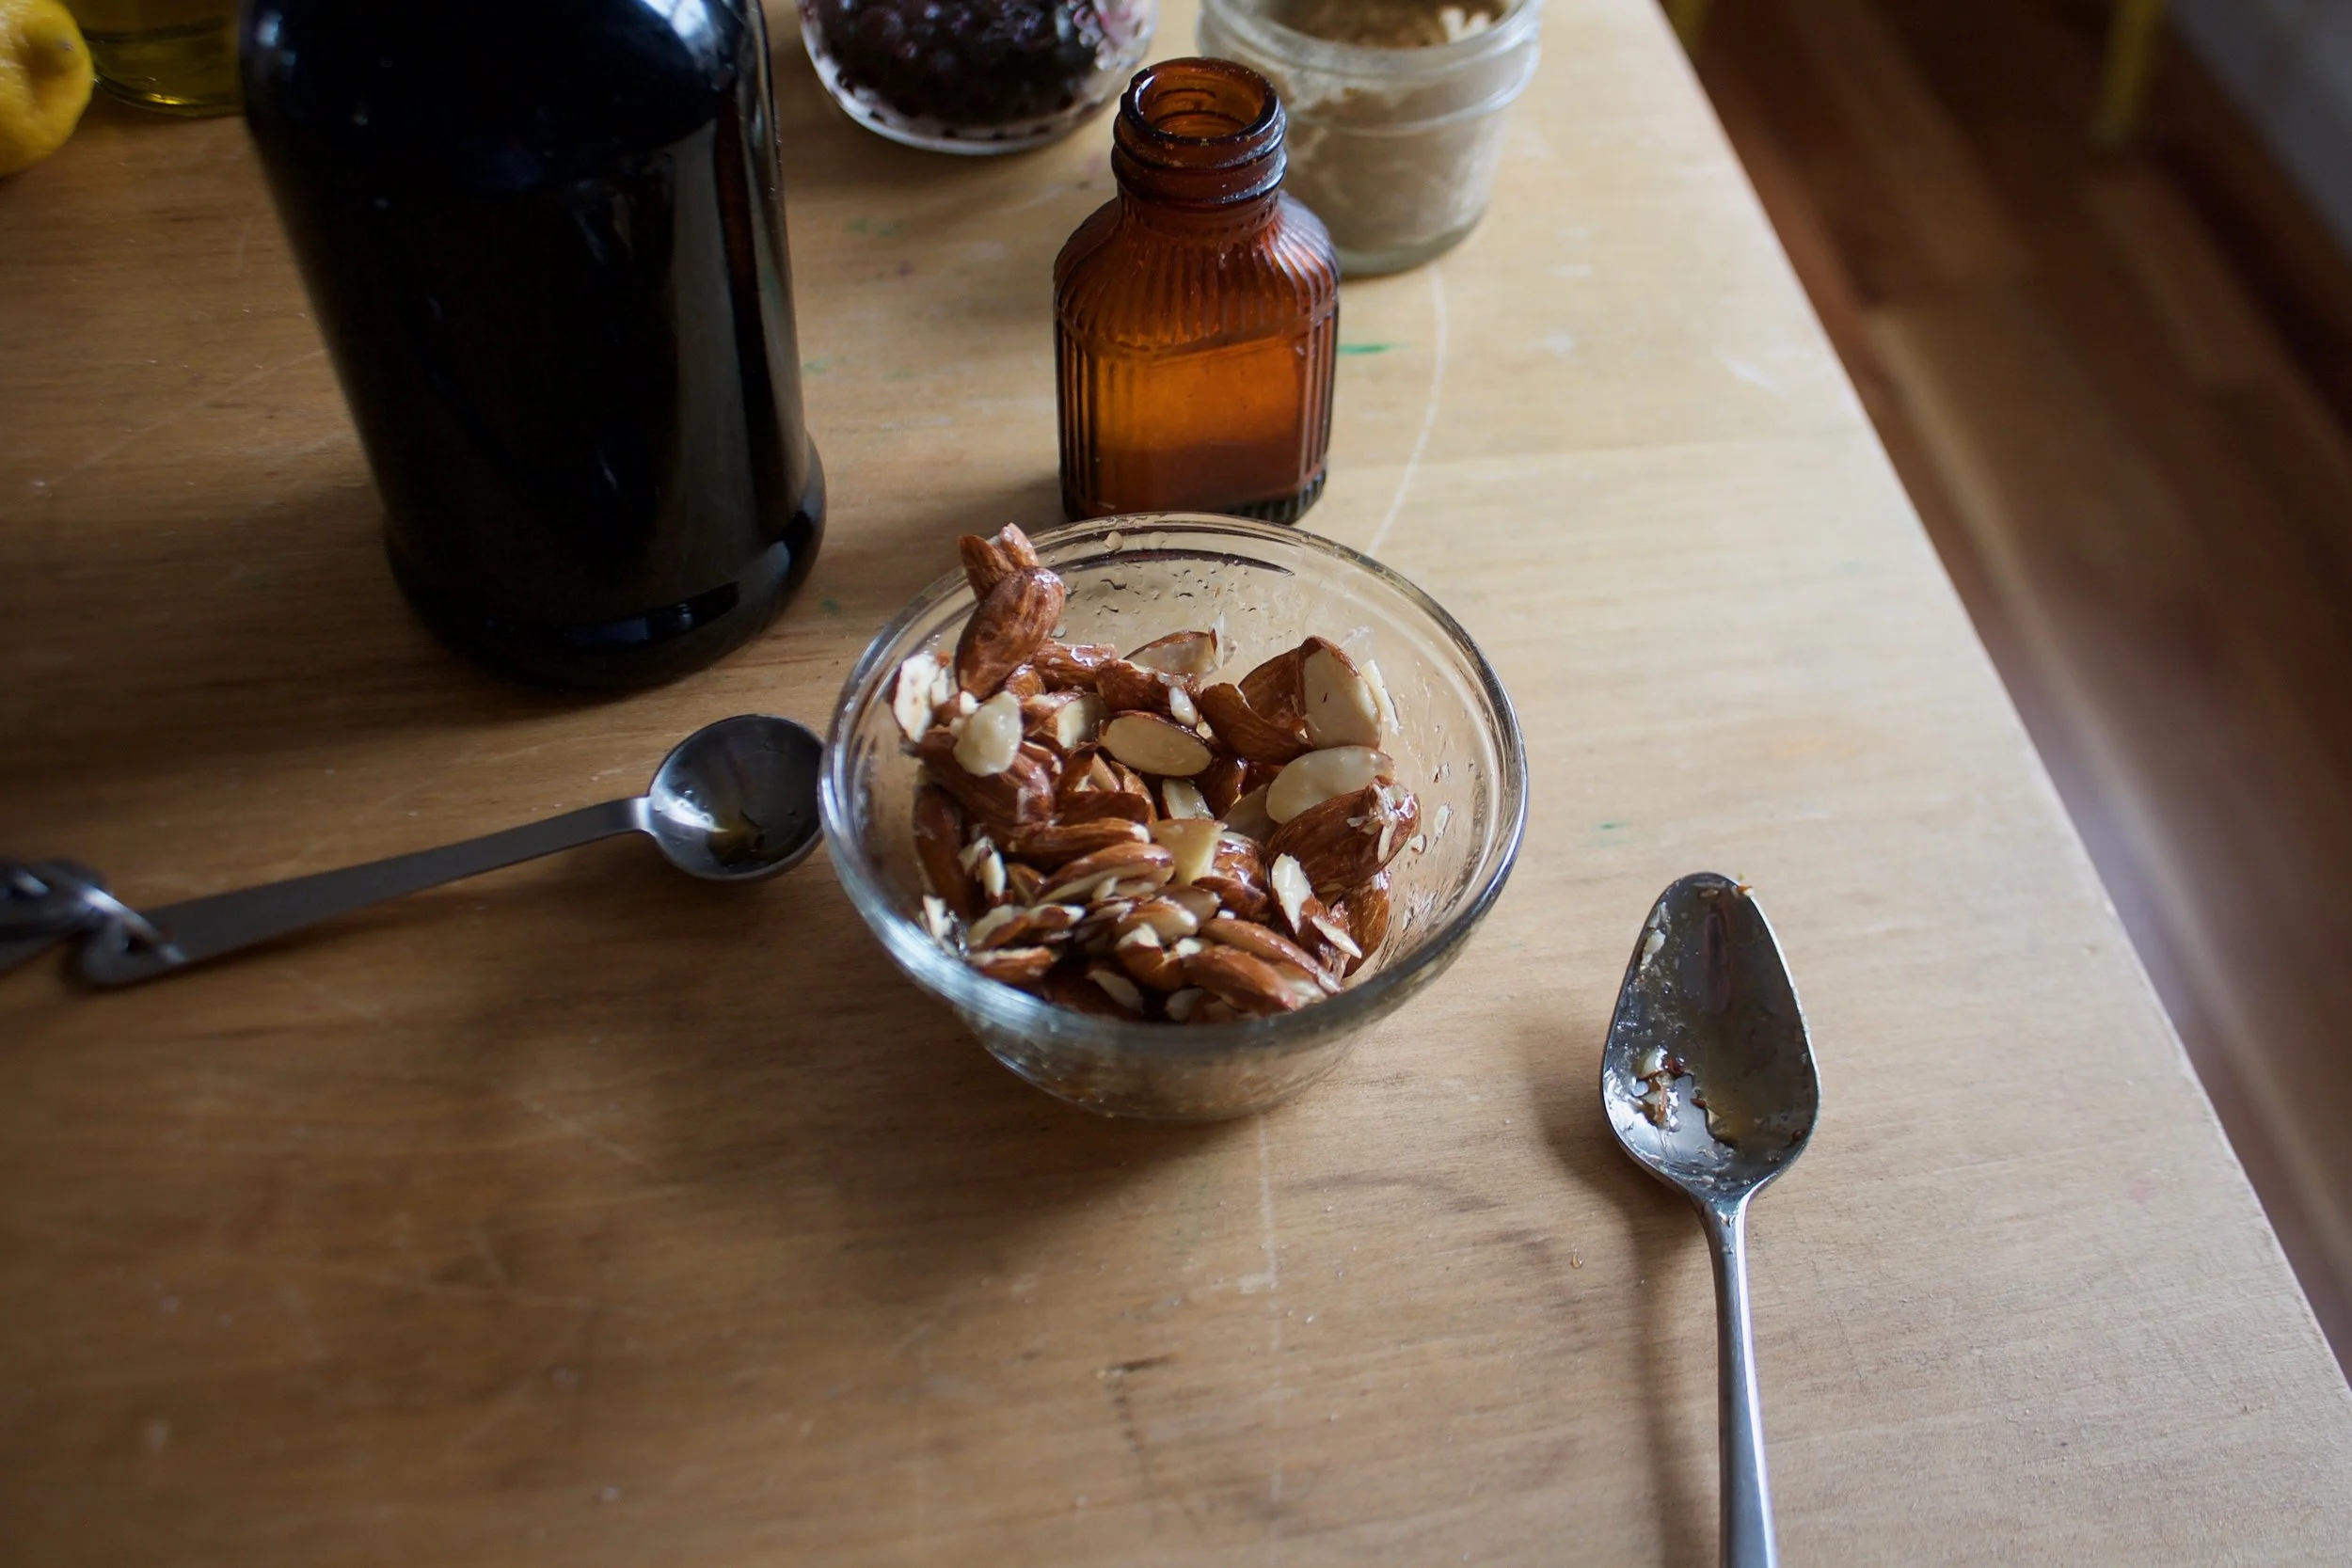
The stuff. Old fashion oats, cinnamon, salt, baking powder, rhubarb (fresh or frozen), REAL maple syrup, some plant milk, a few flax eggs, a bit of tahini, and some almonds.
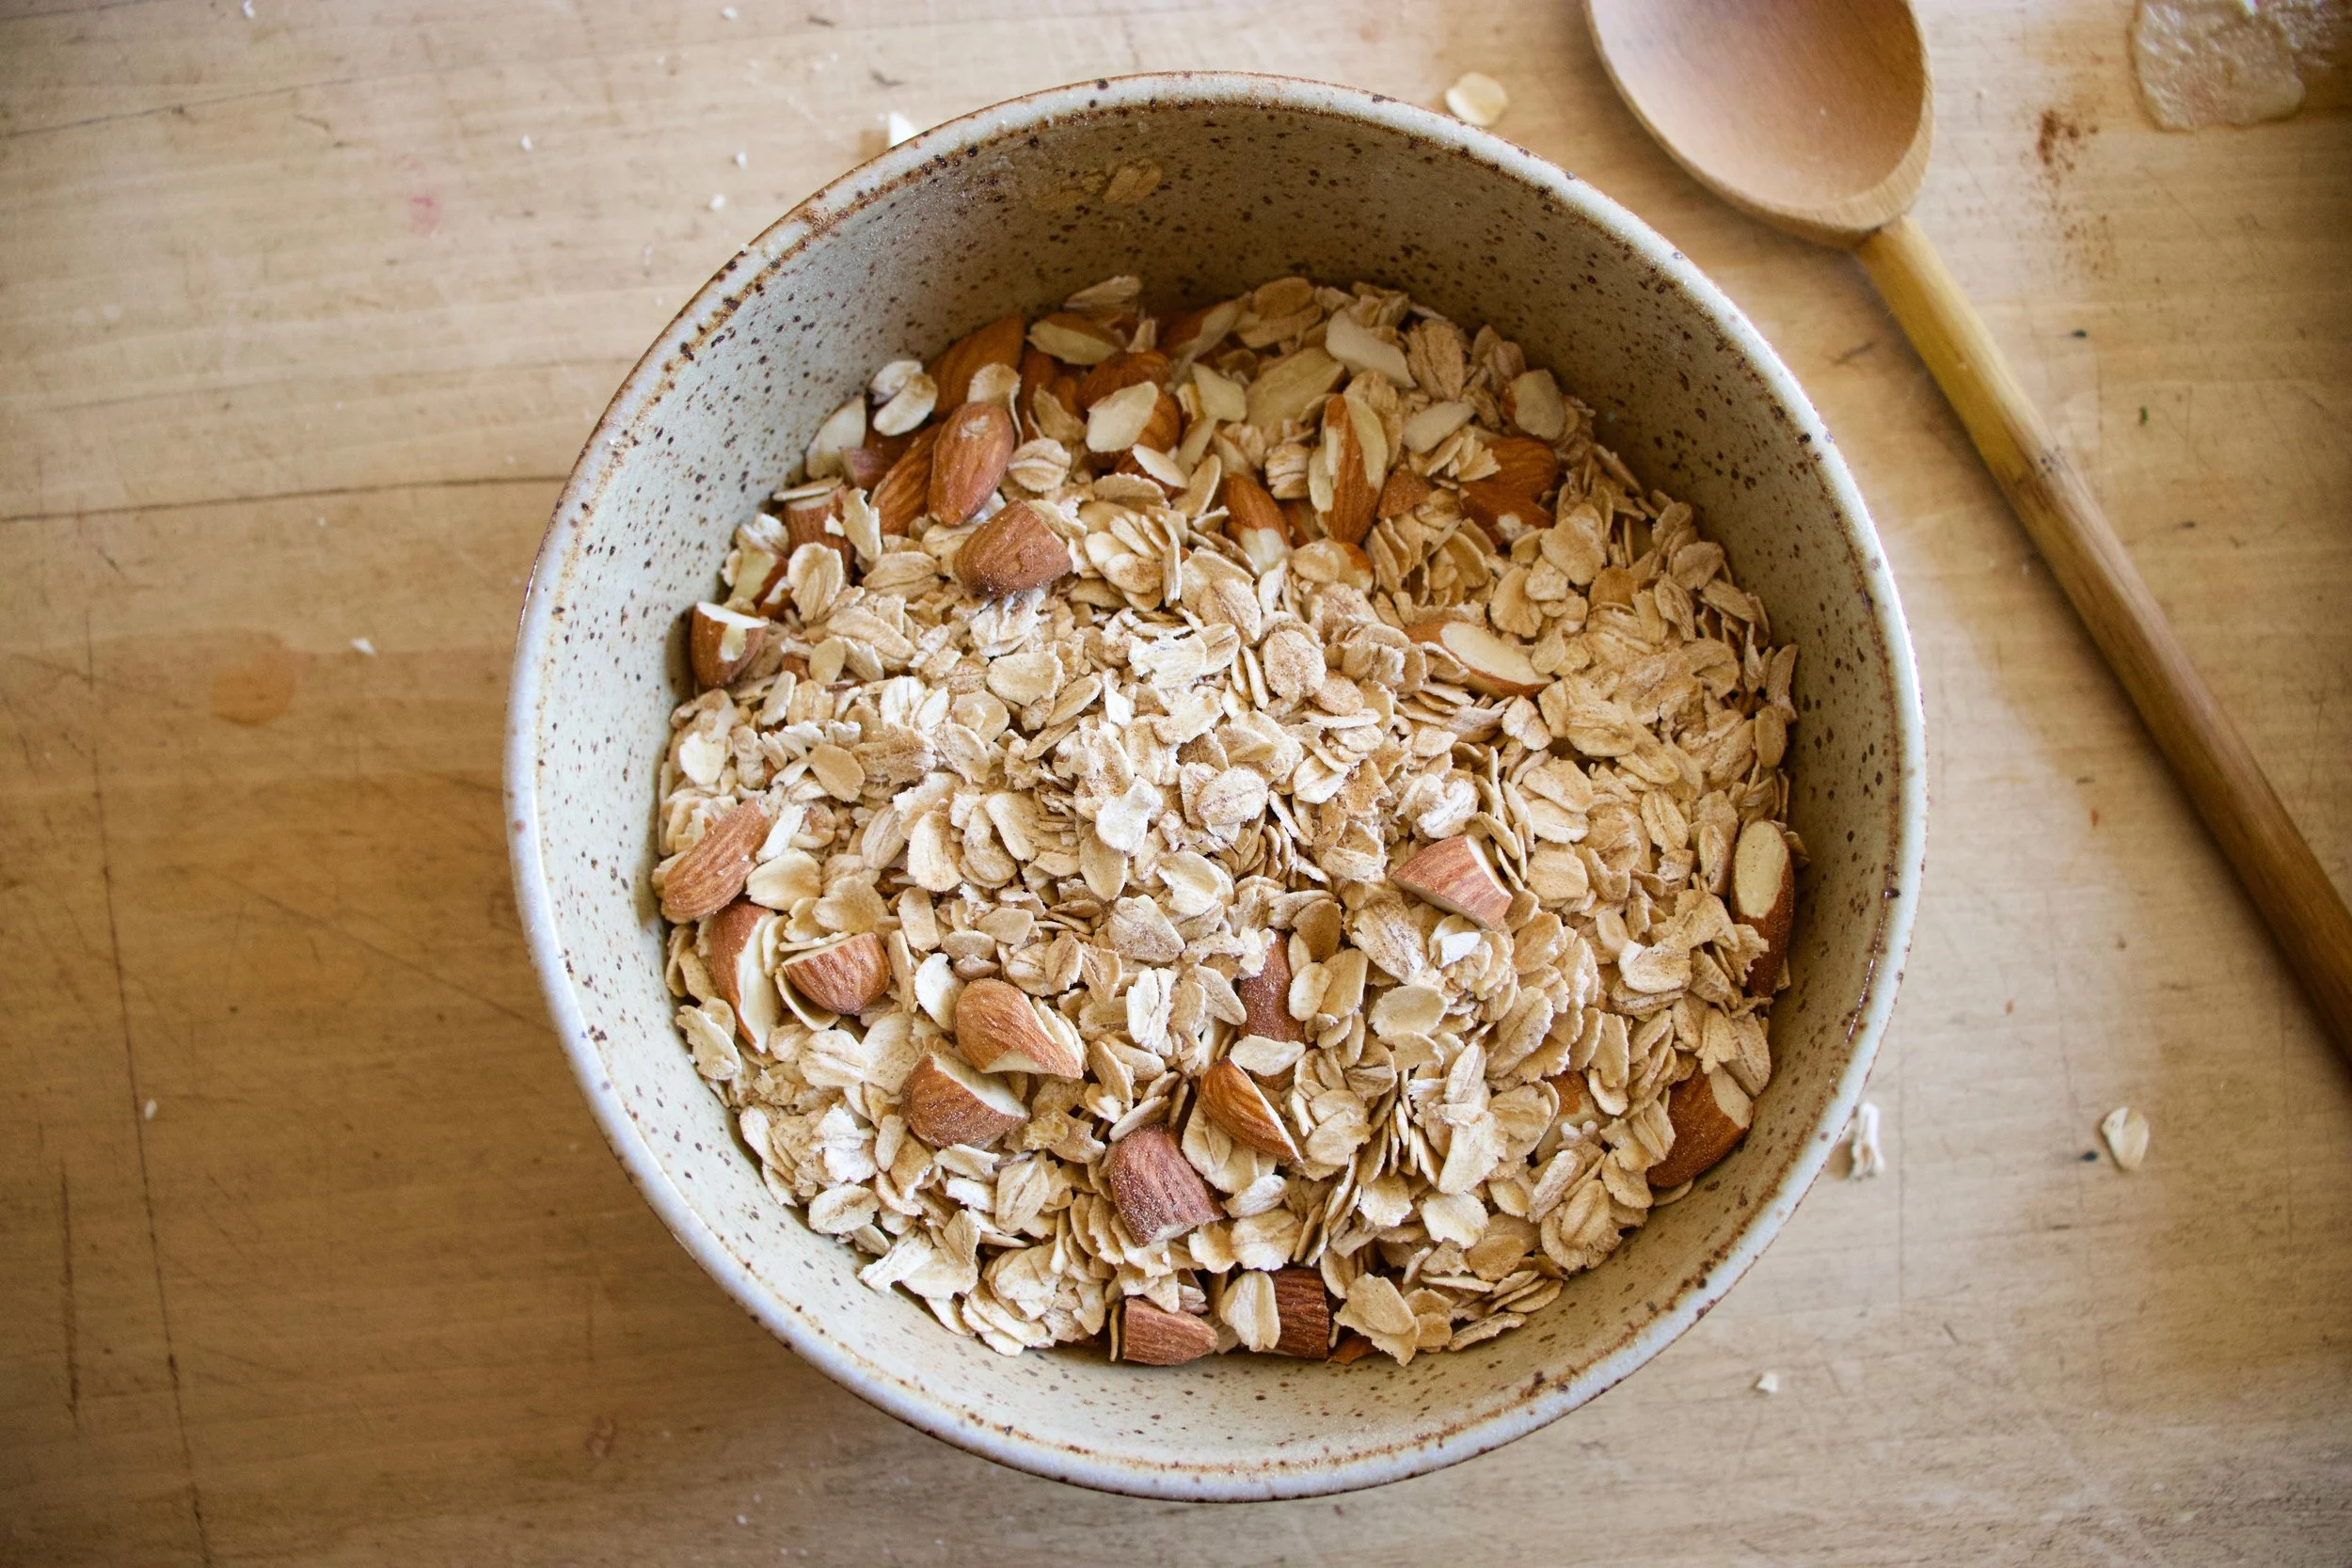
To start. Oats, cinnamon. salt, baking powder and almonds get a quick toss together in a big bowl.
If you rhubarb is not already chopped up into inch long pieces, do that. I already did before freezing it so yea me. Once its chopped, layer almost all of it (reserve a few small needful to toss on top) into a lightly greased 9×9 inch baking dish then cover evenly with the oat mixture.
In now empty bowl mix together the milk, the flax eggs, the tahini, and the maple until evenly incorporated.
Pour the wet mixture all over the oats and let it absorb.
Once the liquid is all absorbed , top with any left over almonds and the left over rhubarb. For good looks.
Pop into a hot oven to bake.
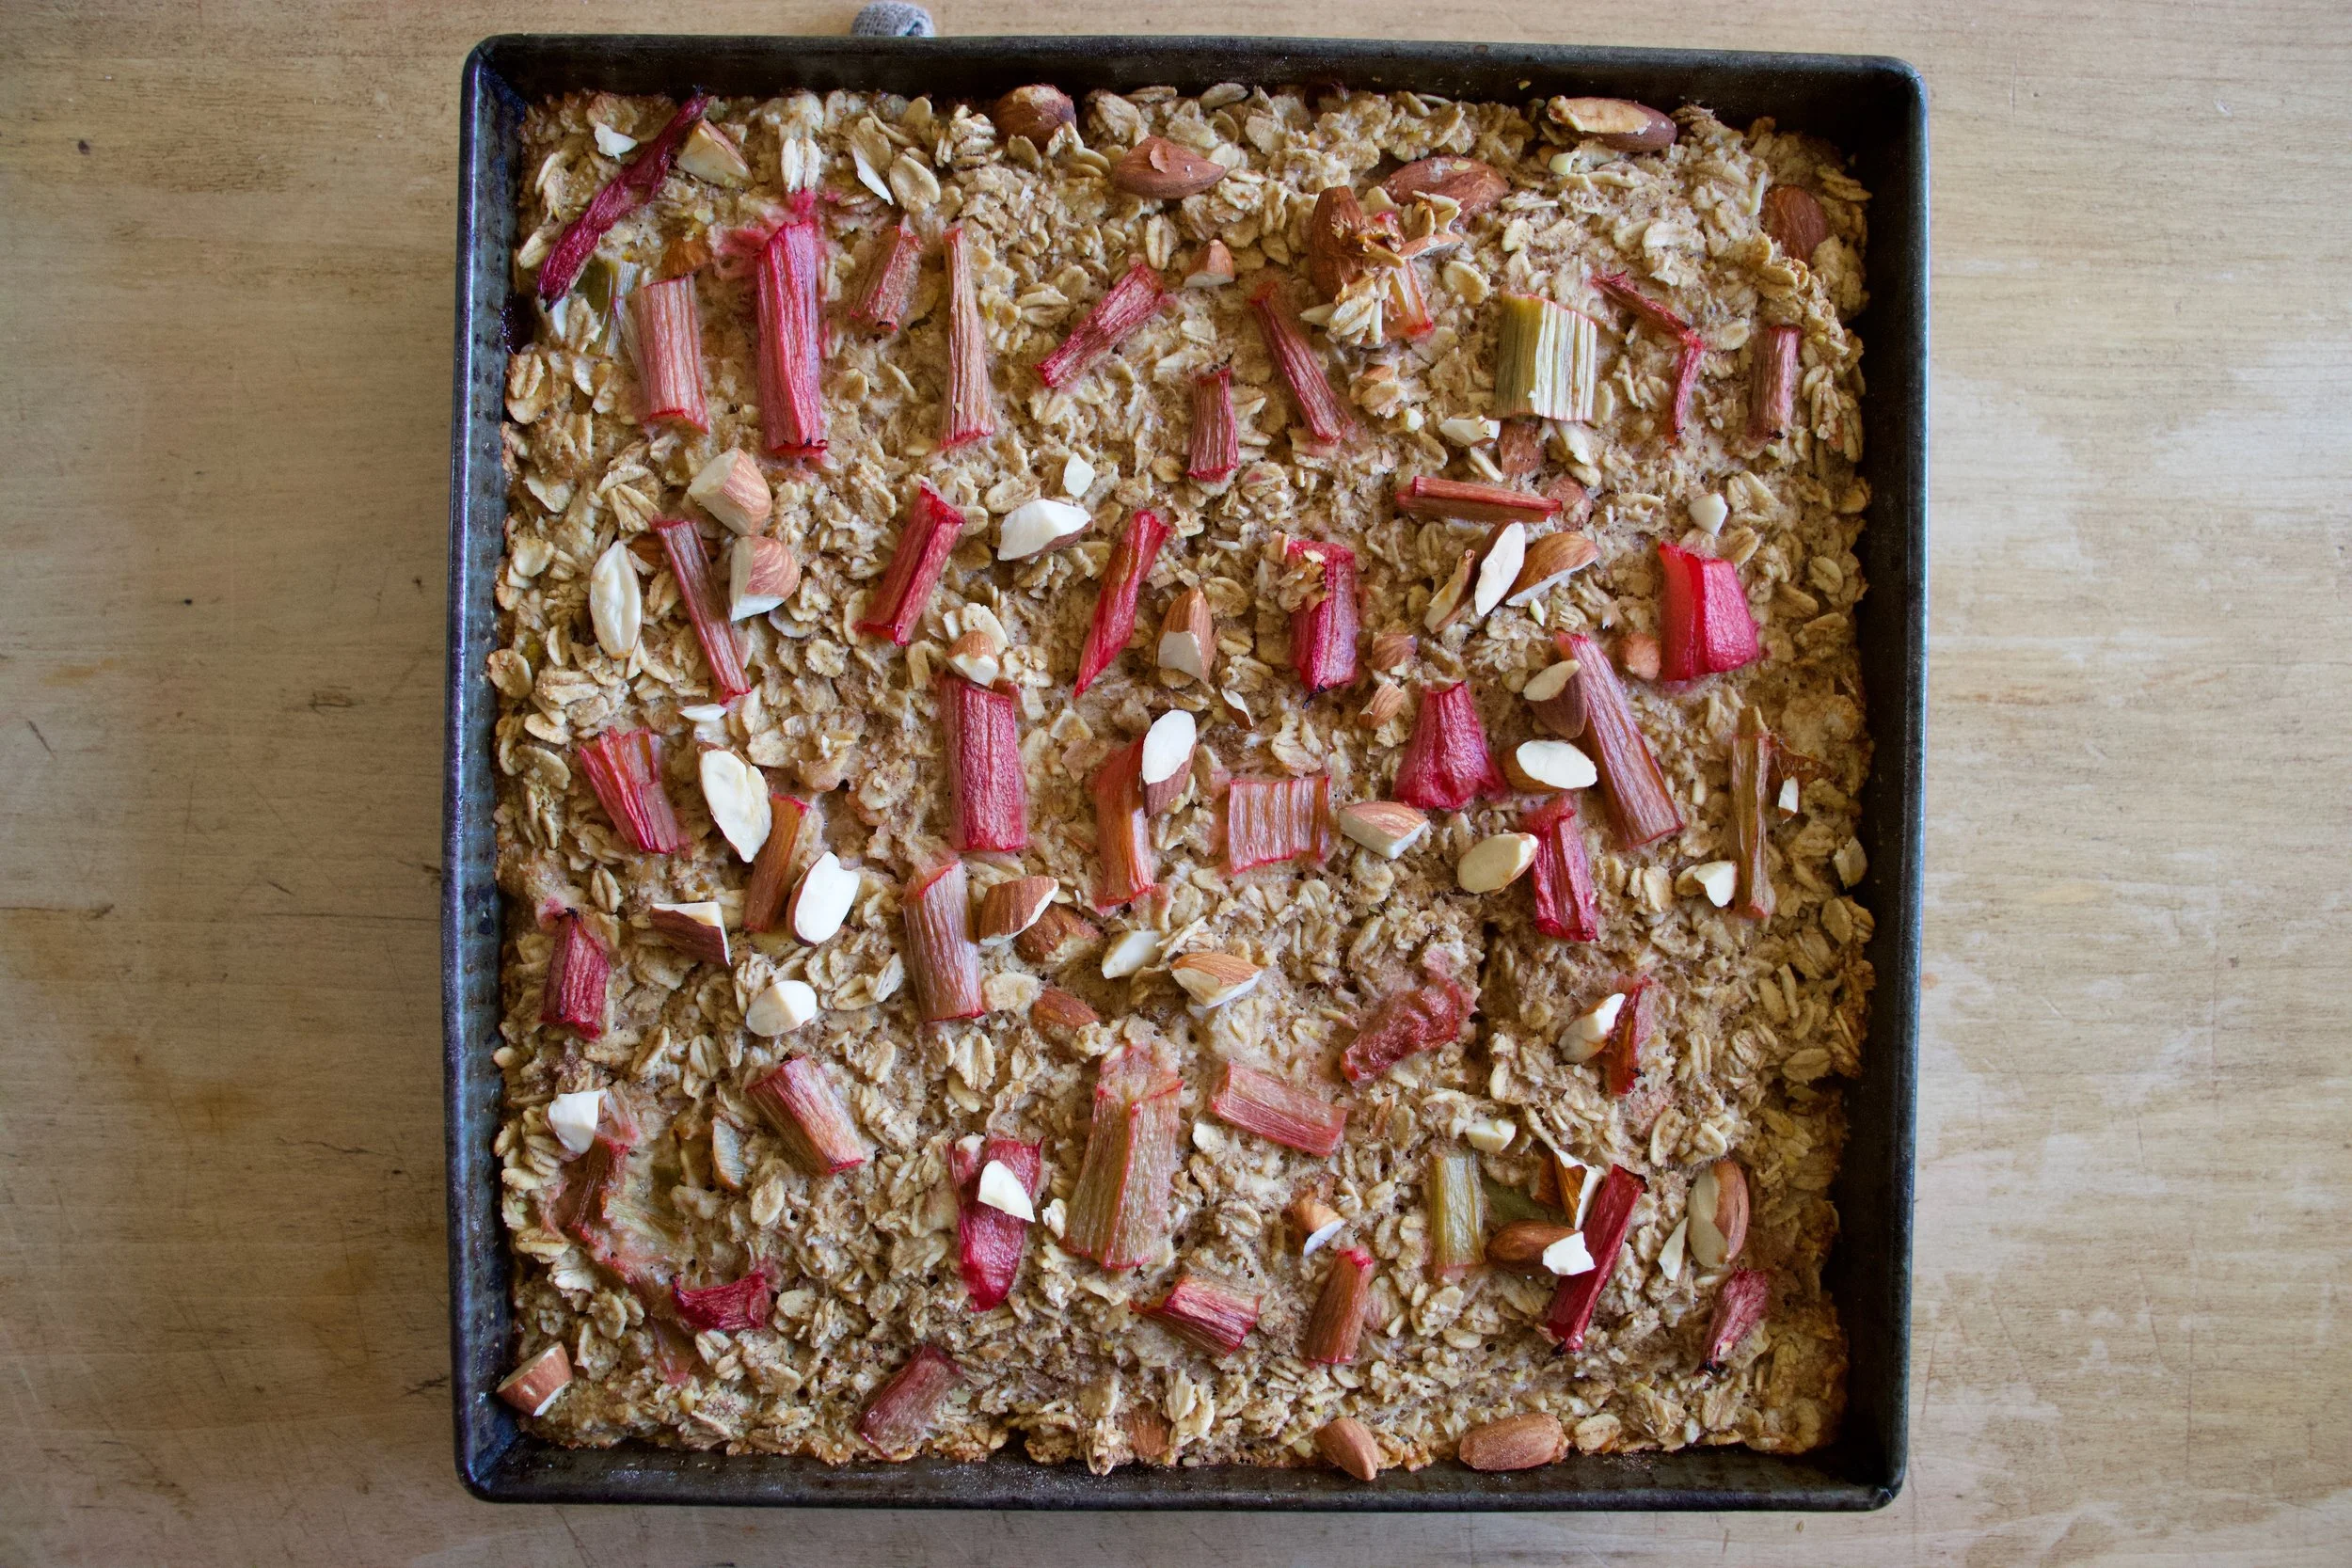
Golden brown with crispy edges. Rhubarb and maple baked oatmeal for all your maple, oaty and rhubarbie needs.
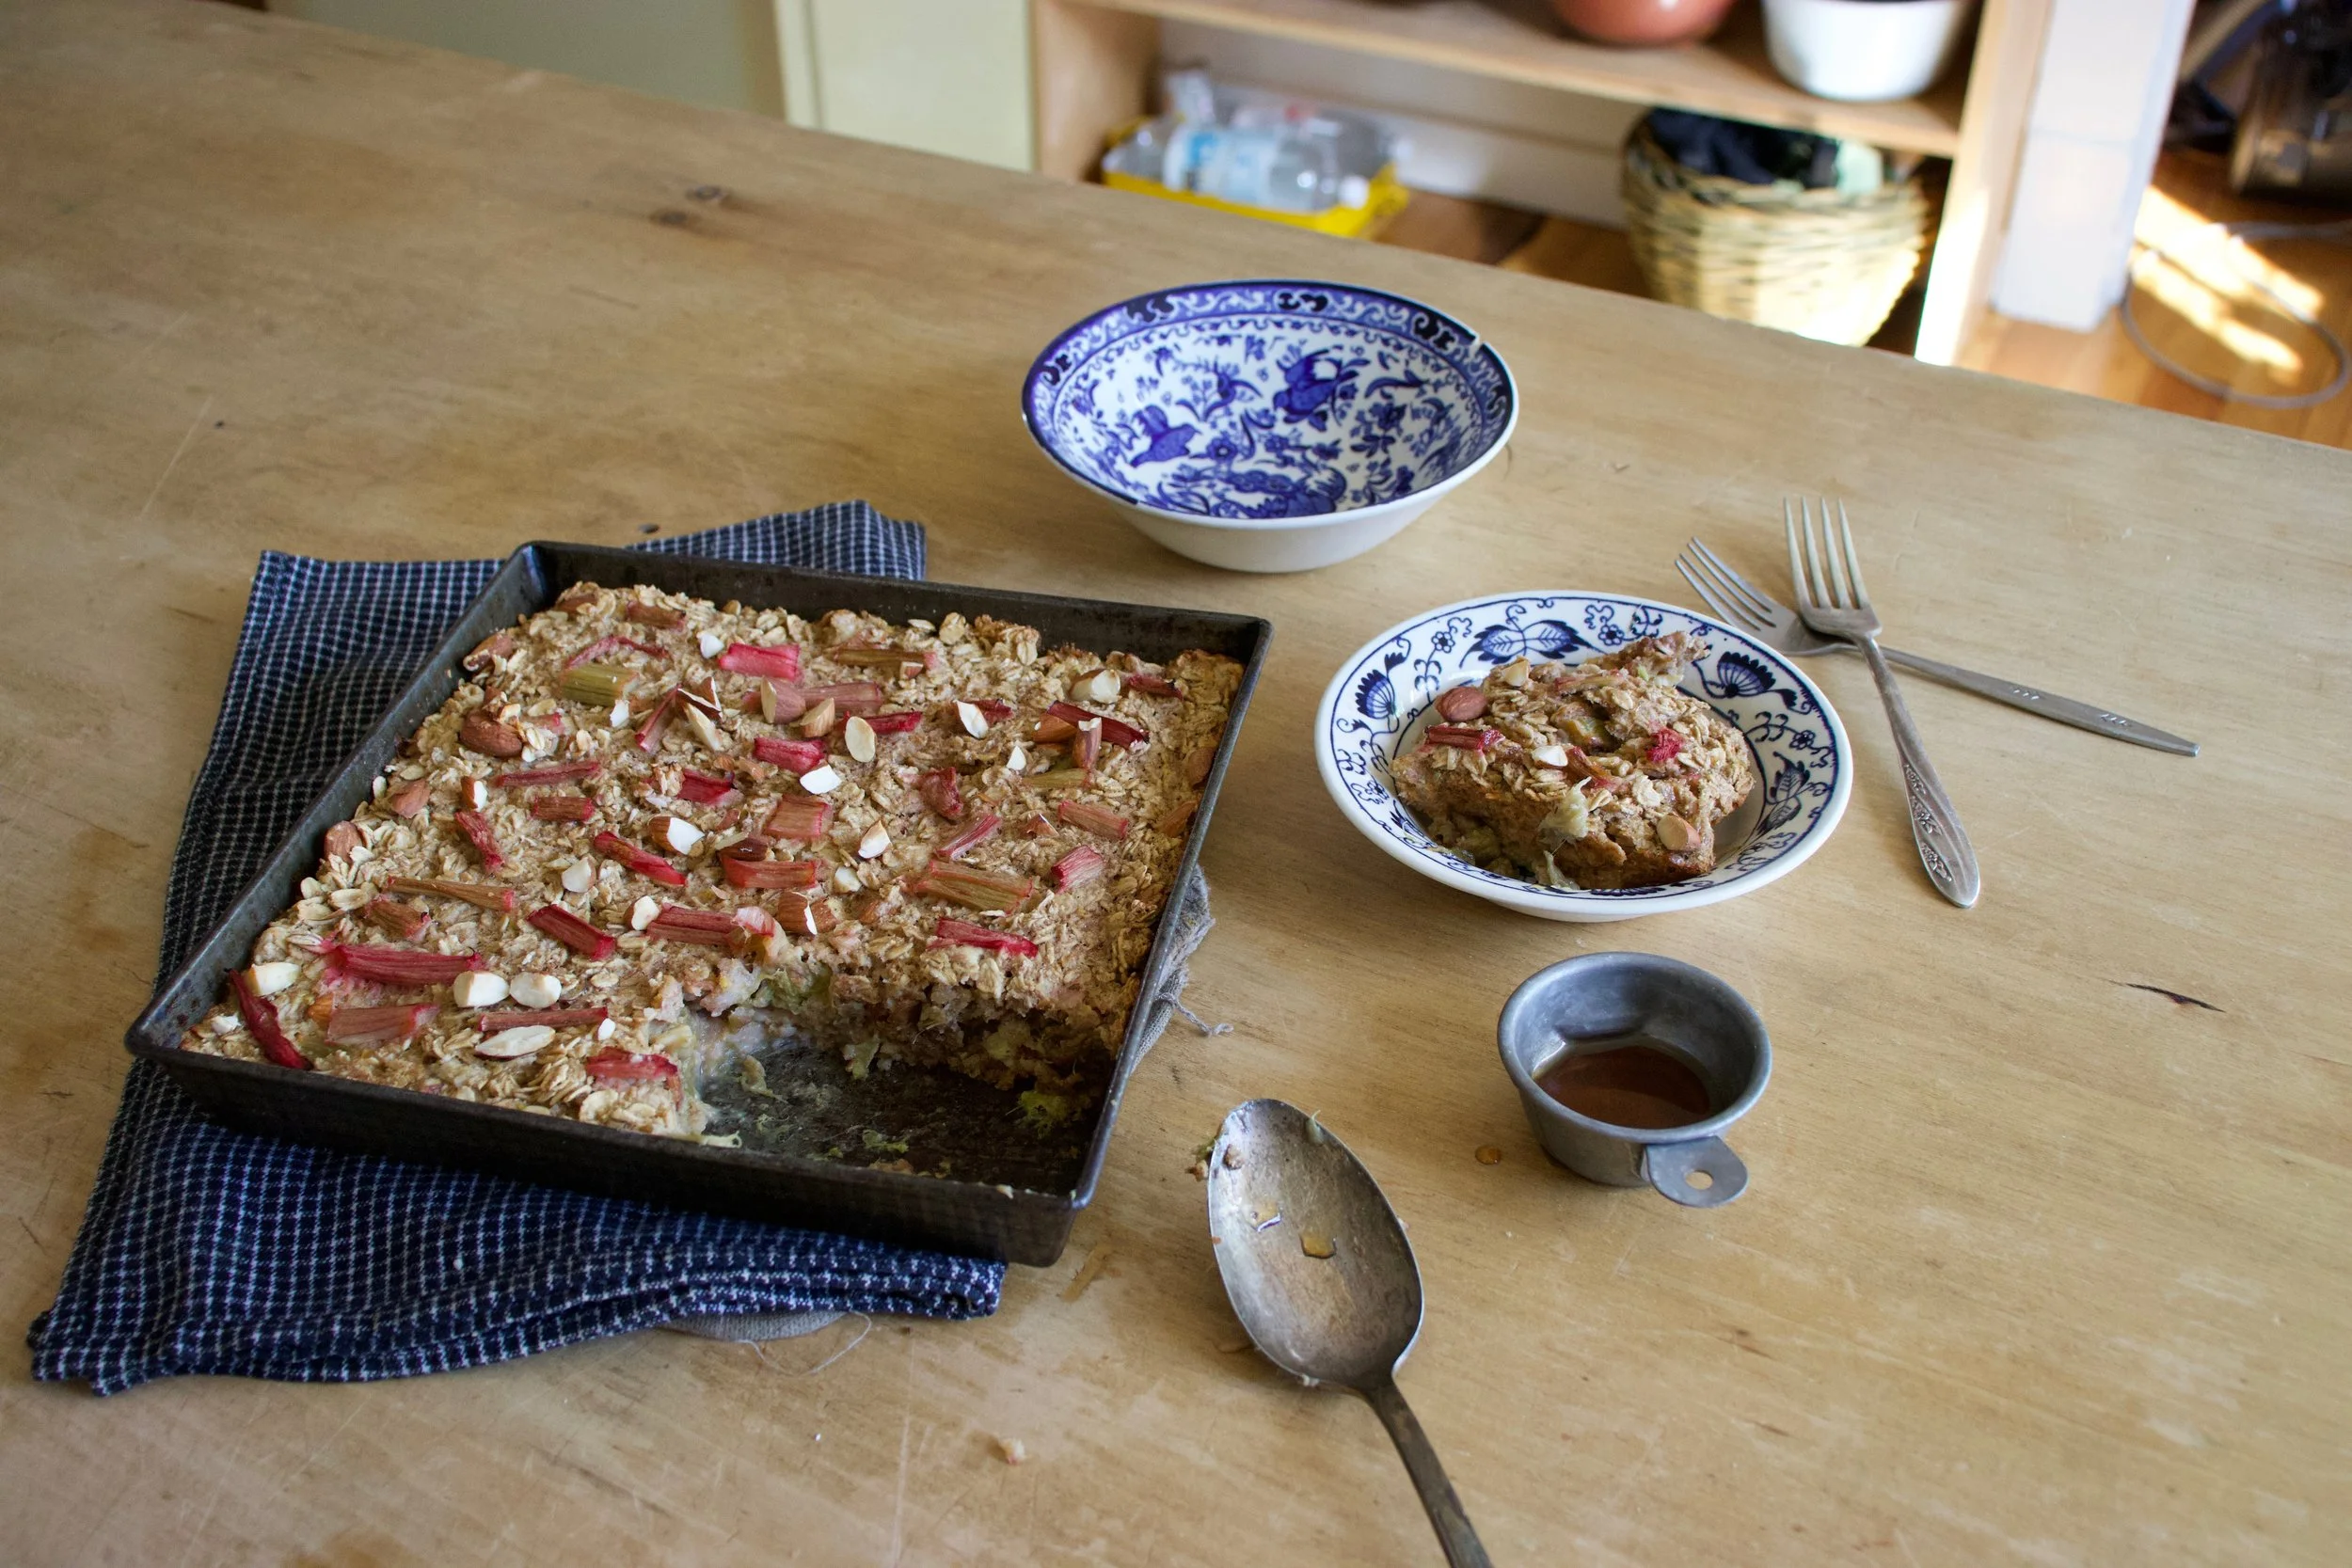
Fresh from the oven scooped warm into bowls. Top with extra maple if thats what you should want do.
Enjoy and happy maple season!
-C
Make a 9×9 pan of oatmeal
2 1/2 cups old fashion oats (make sure gluten free if need be)
2 1/2 cups fresh or frozen rhubarb chopped into inch long pieces
1 1/2 cup plant milk (water works but it won%u2019t be as creamy)
1/2 cup chopped almonds (optional)
Preheat oven to 375
Lightly grease a 9×9 inch baking pan (I used metal because it makes for crisper edges but glass works too) and dump 2 cups of the rhubarb in and evenly distribute on the bottom. In a large bowl mis the oats, the baking powder, salt, and cinnamon together. Mix in chopped nuts if you are using. Evenly cover rhubarb with oat mixture. In now empty bowl mix together the milk, flax eggs, maple syrup, and tahini until evenly incorporated. Pour mixture over oats. Let the mixture sit for a few minutes until the oats have abosbed all the liquid. Toss the rest of the diced rhubarb and a few more chop nuts to the top and pop into the oven to bake.
Bake for 30-40 minutes (shorter time for a wetter oatmeal, longer for a denser crispier oatmeal)
Once baked to your likeness, remove from oven and let cool for a few minutes just so it is not super hot. Scoop into bowls and serve warm with extra maple and milk or whatever you might want to serve with it.
Left overs last great in fridge for 3-4 days or individual portions can be frozen for a month or two. Just pop into microwave for a couple minutes to warm up.
We need fresh, we need green, we need color.
We need salad. %u00a0
The other night I made Megan’s birthday dinner which consisted of pizza and salad. The pizza was pizza and everyone loved it and ate it, but what surprised me was how everyone was really into the salad. A big ass bowl or fresh greens with onions and I think carrots and cabbage and some cranberries I pulled form the freezer and candies almonds. Simple and not fussy, and everyone was just so happy to eat it. I felt like a salad genus and now I am full on into making fun awesome spring salads. (I have to keep reminding myself that yes, it is indeed spring.%u00a0So what we got snow yesterday, it will melt, right????%u00a0)%u00a0
So I bring to you a a bowl of fresh crispy spring greens with crunch and bite and creaminess and flavor. A salad that will bring you joy and satisfaction and maybe even anticipation for your next salad adventure.%u00a0Not to mention a salad that looks so dang pretty.%u00a0
Get into the green. You will be as happy as a rabbit in a garden.%u00a0
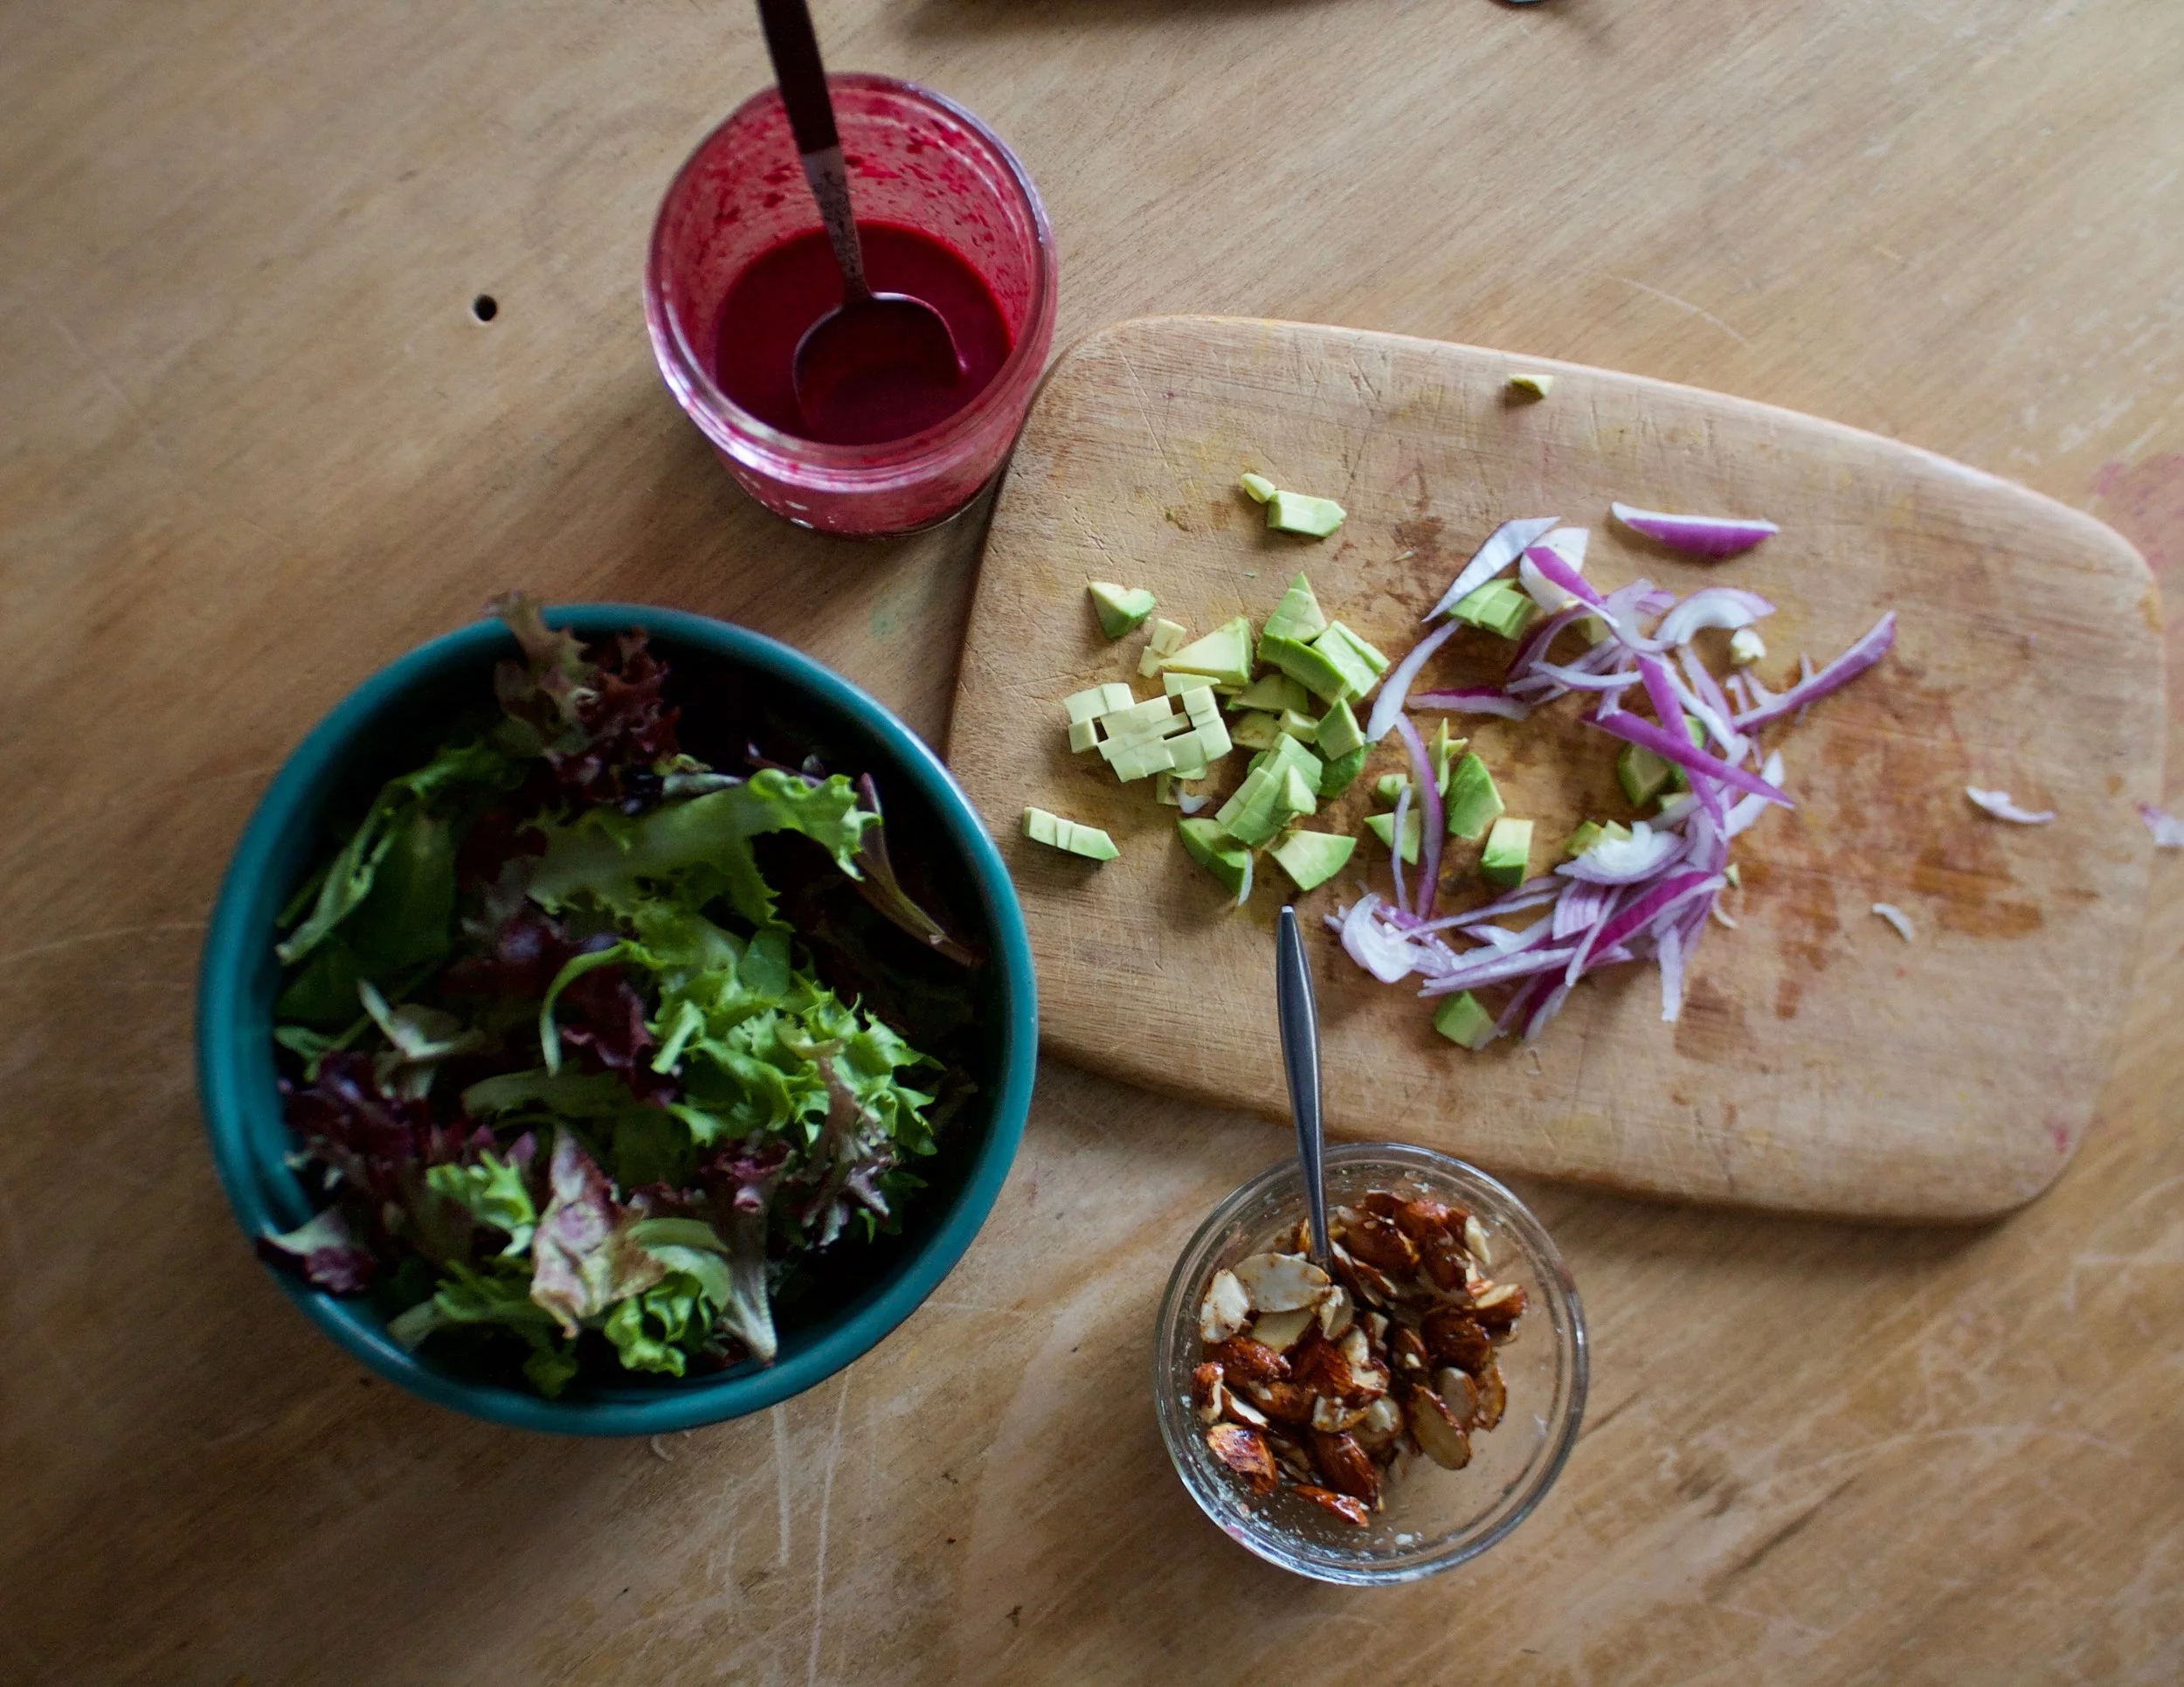
The stuff. Greens, red onion, an avocado, almonds, blueberries, and a lemon. Also need some maple syrup, olive oil, red wine vinegar, and salt and pepper.%u00a0
A couple teaspoons of maple %u00a0go in with the almonds. Really toss make sure they are all coated.
Place the almonds into a hot skillet cook for about 5-7 minutes or until the maple has become sticky and the almonds no longer raw.%u00a0
When they are done,%u00a0dump them onto a piece of parchment to cool. Don worry if they clung a little, you can break them apart once they are hard.%u00a0
Easy ass dressing. Blueberries. juice from the lemon, olive oil, vinegar, a tiny splash of maple, and a good pinch or pepper.%u00a0
Blended then done. Taste and season with salt if needed.%u00a0
Avocado gets cut into small chunks and the onion get s thinly sliced.
It’s all ready, so now make a salad
Makes 2-3 %u00a0salads%u00a0
1/4 pound greens ( I used spring mix but mesclun mix or spinach is good too)%u00a0
1/2 %u00a0red onion
1 avocado
For the Almonds%u00a0
1/3 cup raw halved or slivered almonds
2 teaspoons maple syrup%u00a0
For the Blueberry lemon Vinaigrette%u00a0
1/3 cup blueberries (I used %u00a0frozen)
1 lemon
1 Tablespoon olive oil
2 Tablespoon red wine vinegar
1/2 teaspoon maple syrup
pinch or salt
pinch or pepper
To make the %u00a0candied almonds, preheat a skillet to on medium heat on top of the stove.%u00a0Place almonds into a small bowl and drizzle with maple syrup. Stir to coat. When the pan is hot, dump the maple covered almond into it and spread them out. Cook for a 3 minutes, then give a stir and cook for a 3 or so more minutes or until the maple has evaporated and the almonds are starting to brown. Dump the almonds directly onto a piece of parchment paper to cool and hardened. Do worry if they stick together a bit, you can break them apart after.%u00a0
To make the vinaigrette,%u00a0place the berries into a jar (if using stick blender) or blender with the juice of the lemon, olive oil, vinegar, maple, and a pinch of pepper Blend until smooth. Taste then add a very small pinch of salt or more to taste.%u00a0
For salad. Thinly slice the onion and dice the avocado. Place greens into bowl(s) and toss with onions and avocado. Top with %u00a0candied almonds and drizzle all over with the vinaigrette. Grab a fork and eat.
Any left over dressing will last in fridge for about a week and left over almonds will be good for.a few weeks in a airtight container.%u00a0%u00a0%u00a0
IF you are a Vermonter you probably have maple on the mind. You drive anywhere outside of the city and you start see all tubes and lines running through the woods attached to all the trees. And spring. The weather plays a huge part in sugaring so when the weather is right, people be talking.%u00a0It’s maple sugaring time around here so of course I am thinking maple thoughts. It is kind of hard not to.
The first thing that goes through my mind when I think about maple is that I think I want a small sugarbush on our land (the land we have yet to find and buy) We already know that we are going to have an apiary (bees and honey) so why not do maple too? The would keep us busy all summer through spring with sweet things. Summers with the bees then trudging through the cold waist high snow tapping trees and hanging out in a sugar house in the woods.. I think that it should be part of my life. Plus think about the possibilities of a name for a honey/maple farm. Let your mind take you there.%u00a0
Second thing I think about when I think about maple is how to eat it. Most people jump right to pancakes, maple on snow, or lattes. But then what? Not going lie, I do not have a sweet tooth, like at all. I do’t eat pancakes covered in maple. I don’t drink lattes, and the maple on snow thing got old in 5th grade.
But I do like popcorn.%u00a0
Maple popcorn. Sounds good right? But maybe a little too sweet so add in a savory component to balance the sweetness out, and that is where the cumin comes in.%u00a0%u00a0%u00a0%u00a0%u00a0%u00a0%u00a0Maple is earthy and sweet, and a tad bit smokey. Cumin is earthy and savory, and smokey as well.. The two together create a fantastical flavor combonation that is smokey sweet and savory and all so freaking good. %u00a0Added to popcorn, well it’s right in all the ways that we need it to be. %u00a0
Now if the mr and I could just decide on a movie that we can both watch together… Probably just end up watching the Office instead. And we will each have our own bowls of popcorn.%u00a0
The stuff. Air popped popcorn, maple syrup, ground cumin,%u00a0vegan butter, and salt.
Butter and cumin go into a pot to melt and activate the flavor of the cumin.%u00a0
Once the butter is melted and the cumin is fragrant, the maple joins the pot party. Keep the pot on low and stir continuously for about 5 minutes until the syrup get a tiny bit thicker.%u00a0
Maple cumin syrup ready to go.
Dump the popcorn on a large rimmed baking sheet. Grab the syrup and drizzle it all all over the popcorn. Toss it around, sprinkle with a a little salt and then pop it into the warm oven for 5-7 minutes to keep the popcorn from being soggy.%u00a0
And then it’s done. Dump it into a big bow and get ready to eat.%u00a0
Sweet and smokey all in your mouth. This popcorn is sure to please.
-C
makes about 8 cups popcorn
8-9 cups air popped popcorn
1 tablespoon vegan butter
1/3 cup real maple syrup (preferably from VT)
1 tablespoon ground cumin
salt to taste
Preheat oven to 250.
Grab a large rimmed baking sheet and dump popcorn onto it.
Place cumin and butter in a small pot and place on low heat. Stir until butter is melted and you can start to smell the cumin. Add in the maple and continuously stir for about 5 minutes until it start to slightly thicken. Immediately drizzle the syrup all over the popcorn, toss it around, sprinkle with a little salt and then pop it into the oven for about 5-7 minutes to prevent the popcorn from becoming soggy.
Remove and let cool a minutes then dump popcorn into a big bowl. Grab a movie (because you know that is what you are doing) and get to the popcorn.%u00a0
Extra popcorn (but there will not be any) will last for a few days in a airtight container)%u00a0
The week started off great. We spent Sunday in Belvedere with family. The weather was perfect. There were barely any life sucking mosquitoes. Not to sunny, no rain. We just hung out, ate food, walked to the water falls, and basked in the glories of the world. Not to mention Judah invented a watch cookie, Shannon read my telepathically read my mind and picked me up the heart shaped baking tins that I was thinking about at a garage sale, and Sophia. She ate all my broccoli. All the littles played without fighting. All the adults talked without fighting. It was really nice.
And then we came home and by Monday afternoon, the shit starting to hit the fan. First off, it was the week before the June first rental turnovers. Always a hectic week. Always a lot of running around. It has been especially crazy for the mr this year because he was dealing with not only our tenant turn over, but a bunch of other apartments for other landlords. Painting, getting rid of garbage, fixing broken things. That in itself was not the issue. The issue was Monday afternoon, after the mr had been working all day, pulled into one of our driveways with the car to grab some paint, got back into the car, and the key wouldn’t turn. And the wheel wouldn’t turn. The car was stuck. Our newish (3 1/2 year old) car. The mr spent more then an hour trying to turn the key. I sent more then an hour on the internet trying to figure out what the heck was wrong. In the end, the car was just left for the night, the mr hitched a ride, and we ended up getting the car towed to the garage. (Note that this is the second tow in within a week.) After getting off the phone with the mechanic the next day, we were told it was going to be a few days before they can even look at it because they were so busy. We were feeling pretty screwed. Luckily for us, my mom is awesome and lent us her truck which if she didn’t , well we would be stuck with the rental car that I rented one afternoon, drove home, had a massive anxiety attack about crashing (we are having bad car juju right now), turned around and returned. I just had a bad feeling about it. So yeah, I rented a car, for about an hour. They laughed at me. I laughed at me too. Then cried a little. HAHA.
By Thursday the shop was able to look at the car. After the mechanic took a look at the car, he told us the master cylinder was stripped and needed to be replace. Or better yet needs to be. Almost a week later. The car is still there. They had to order the part and it won’t be in until Tuesday. Yup. Just a week ago we were sitting pretty with a car and a sweet ass van and now, no cars. Oh, and the lawn mowers stopped working mid mowing. We think its the gas line or something.
Anyway. The week, hectic but not all bad. I found a bike on craigslist that I am going to fix up and call my new bike for a while (I am done bike shopping for the time being). Barb came over for a lunch and a walk one day. I made rainbows and popsicles another afternoon. Working at the studio was calm. That was nice. And the weather. I can’t complain about that at the least bit.
Then yesterday. June first. Tenant moving day. It was cray cray. New tenants moving in and out usually isn’t a big deal because most of the time our tenants are great and leave without issue. But yesterday the mr stopped over to check on all the apartments and found one in pretty awful condition. Long story short, we spent the day scrubbing filth and paint and hair (so fucking gross) off every surface then repainting the apartment while the new tenants were moving in. We did manage to have a little lunch picnic in th park with Miley and I took her on her first ever bike ride across town. That was good, but then it was back to the crazy apartment. Then we came home, ate dinner, cleaned our house, then passed the f out.
Today is going to be good. Why? I don’t know yet, but we need it to be. I am not looking for anything spectacular, maybe just to find a few new good books at the library. Maybe go the day without getting 100 mosquito bites. Or maybe even just be able to take a nap. Just a mellow day. Wish us luck.
Stuff I looked at and read about on the internet this week.
–There Is Too Much Stuff. I couldn’t agree more and I hate it. Too much stuff makes me so anxious. And maybe a little angry. The piles of shit just keep getting bigger. AAGGHHH!!!!
-As a person who makes a lot of mugs with handles, this is very important. I have kept myself up all night on many occasions just thinking about mug handles. Shape, feel, visual ascetics. So much goes into a well made mug handle. But it is worth it and when you have a good one, you know.. Let’s Talk About Mug Handles
–Why You Should Use a Wooden Spoon to Taste Your Food. What about a wooden fork, would that work too?
-Bad making bad worse. How pesticides can actually increase mosquito numbers
-Simple and clean… My kinda place. A HOLIDAY HOME IN PORTUGAL.
–Would you leave your life behind for a house you saw on Instagram? These people did. I love the instagram account CHEAP OLD HOUSE. And yes, I have definitely imagined buying half of them because some of them really are amazing. Maybe one of these day. Drafty windows and crumbling foundations don’t scare me.
–Your Walls Need This Whimsical Magnetic Wallpaper. I don’t need it, but oh boy would it be cool.
-If Ikea is doing it, then it’s for real. Everyone is going vegan. HAHAHAHA. Ikea’s Meatballs Will Officially Go Vegan This Fall
-As avid outdoors people, we really make evey effort to leave the outdoors exactly (if not better) as we found it. How to leave the great outdoors exactly how you found it. How pissed would you be if someone cam into your place and trashed it and moved things and picked at you?
-I eat beets eveyr single day and my pee has never turned pink but I know everyone I feed beets to pees pink. Hum? Why Do Beets Make Your Pee Turn Pink?
The radishes in my garden have gone from these tiny little wisps of green to a freaking jungle of greens with bright red bulbs bursting through the dirt. Ah, radishes., those little red balls of zesty crisp goodness that grow like crazy in the garden. They are no fuss, no joke, toss them seeds into the grown and bam, you get you some radishes. No matter how crappy of a gardener you might think you are, I bet you could grow you some radishes no problem.%u00a0
And with those radishes comes a butt load of greens, the greens that everyone seems to just toss away which is crazy because the greens are so good. They are tender and zippy and make for great eating. I usually just toss them into salads or whatever but I guess I went a little overboard with the planting of the radishes and I have so so so many radishes all ready to be pulled now with so so so many greens that need to be eaten. So pesto. Fresh early summer, tangy and bright green goodness. It is super tasty and great. Definitely anew favorite and a great way to use up your radish greens.%u00a0
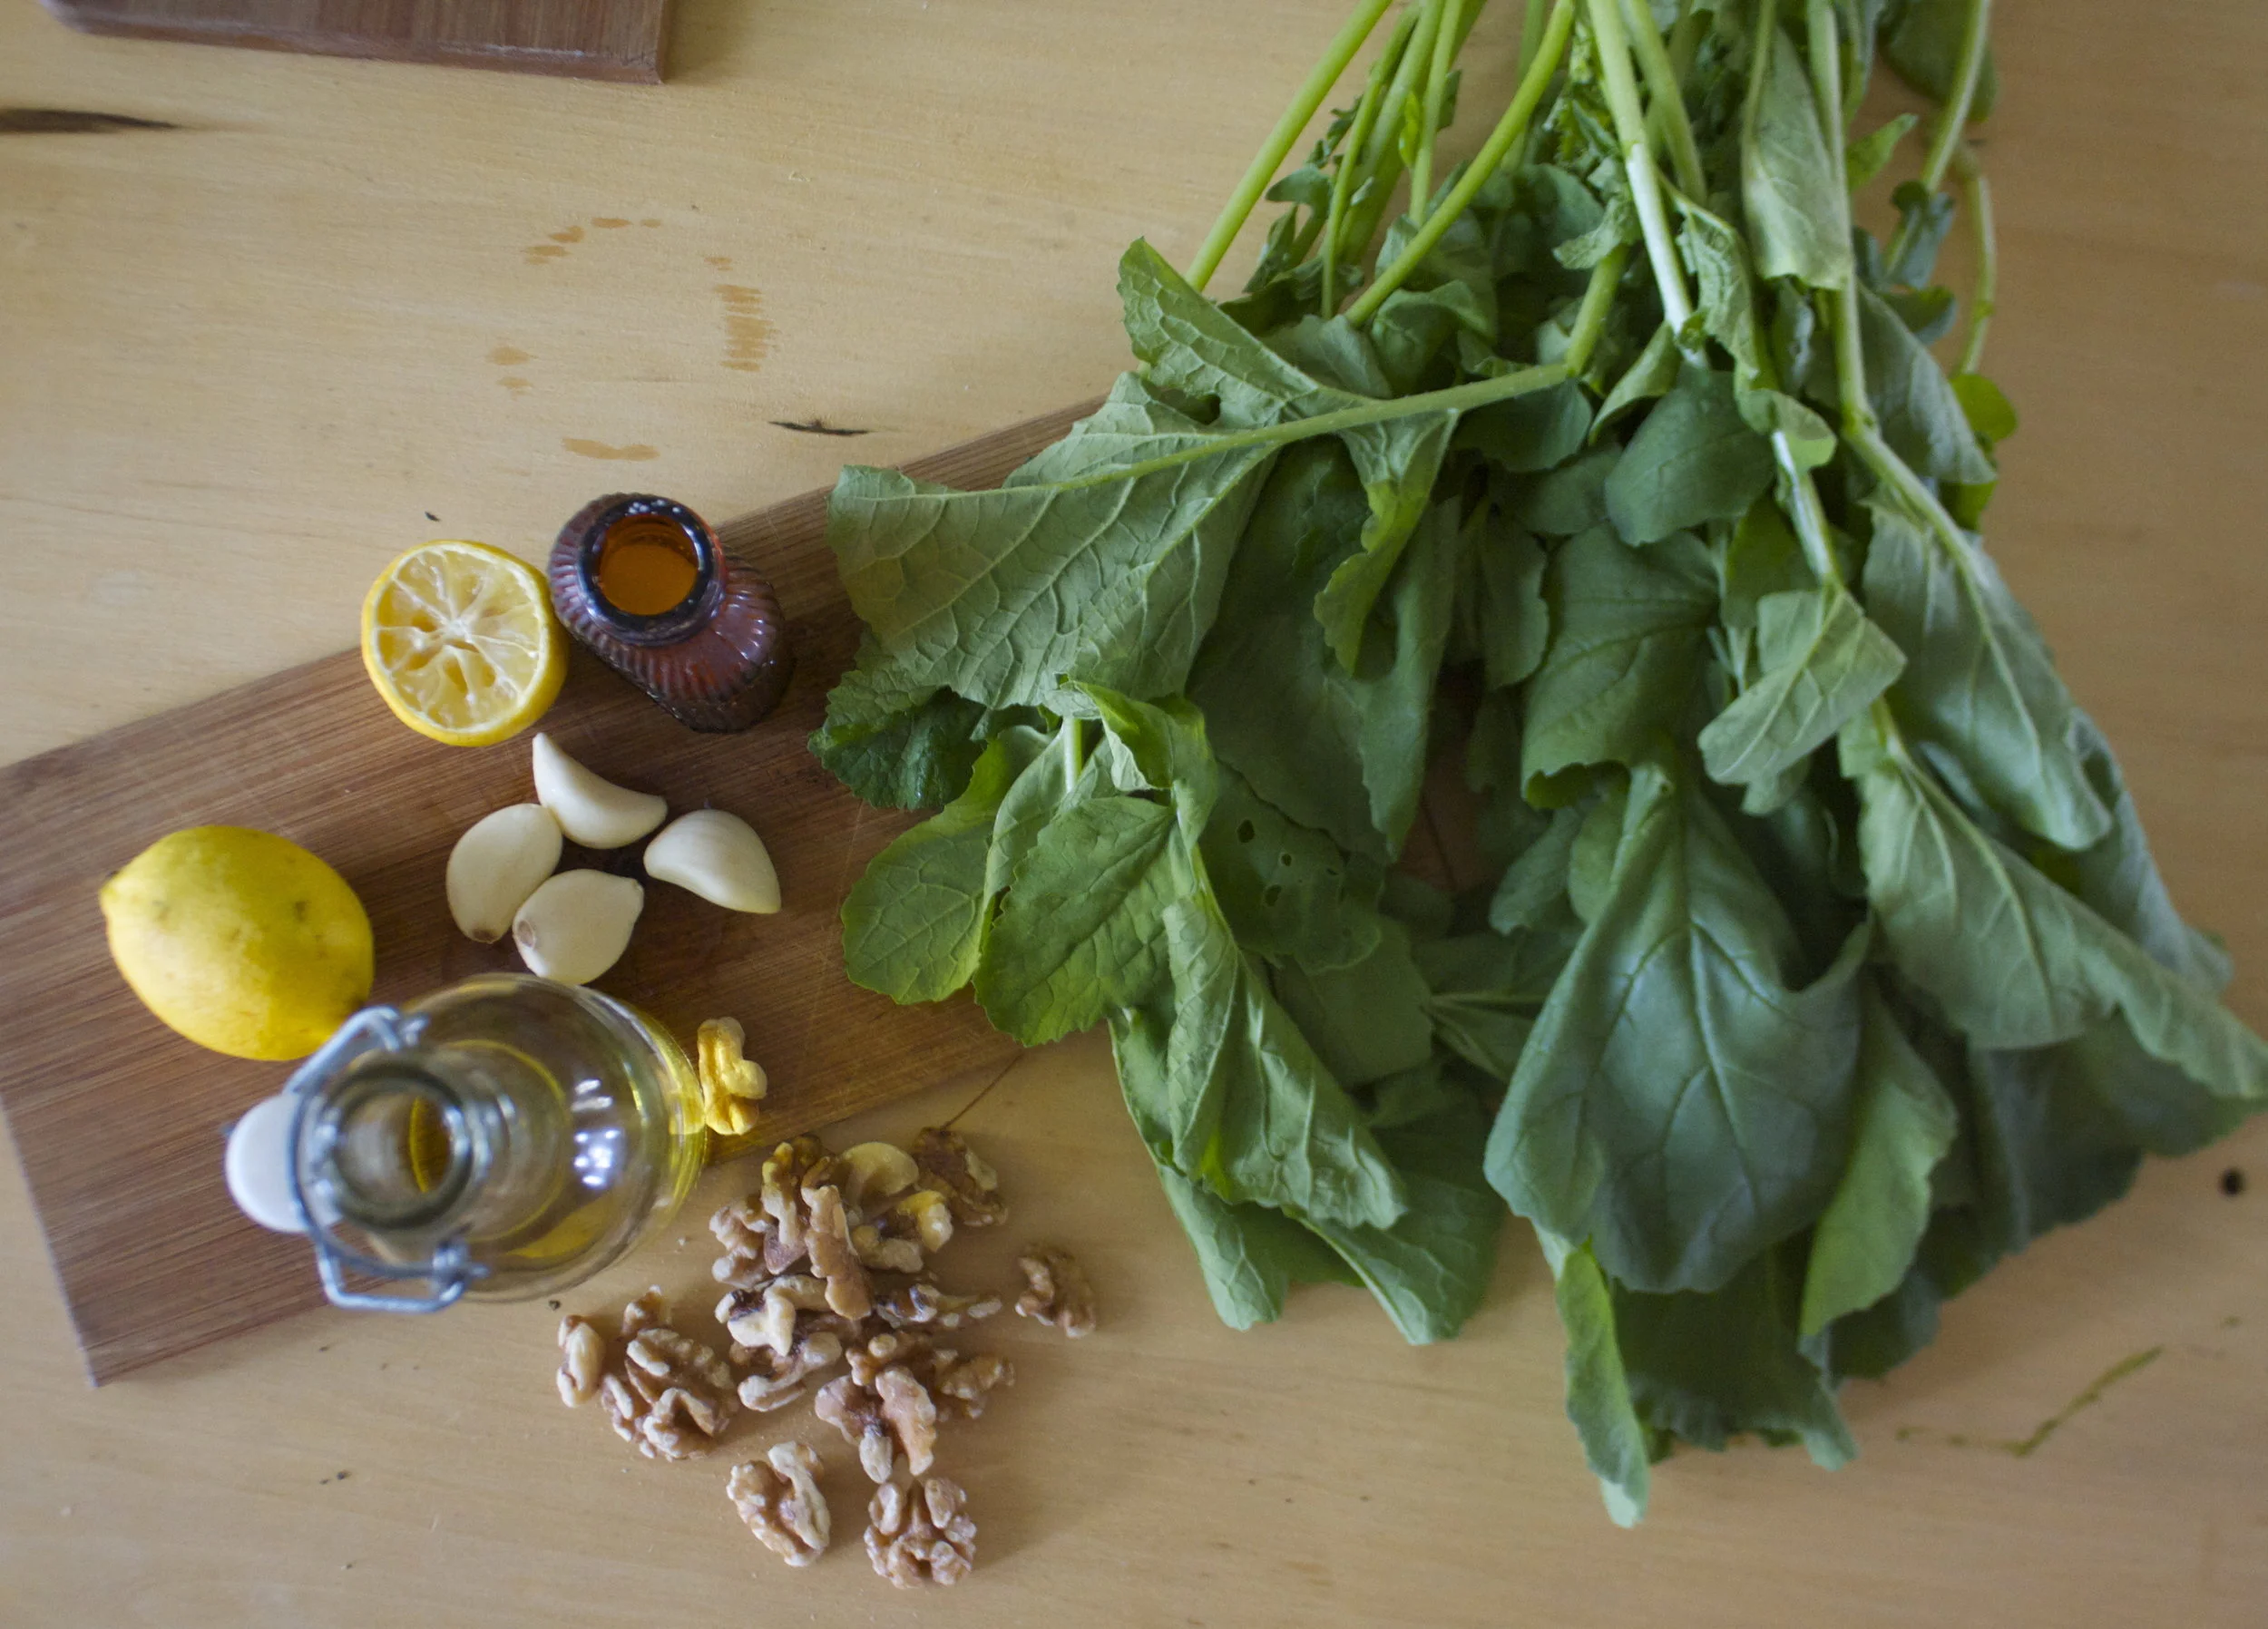
The stuff. Lemon, olive oil, garlic, walnuts, salt and pepper and a bunch of radish greens.
Pretty freaking simple here. Stick garlic, and walnuts into the bottom of the blender and give that a pulse or two.%u00a0 (I would have used my food processor but the new blade has yet to arrive). Add in all the greens, the juice of lemons, sprinkle with salt and pepper. Turn on low and stream in a oil. You might need to push down greens to get them into the blenders vortex.
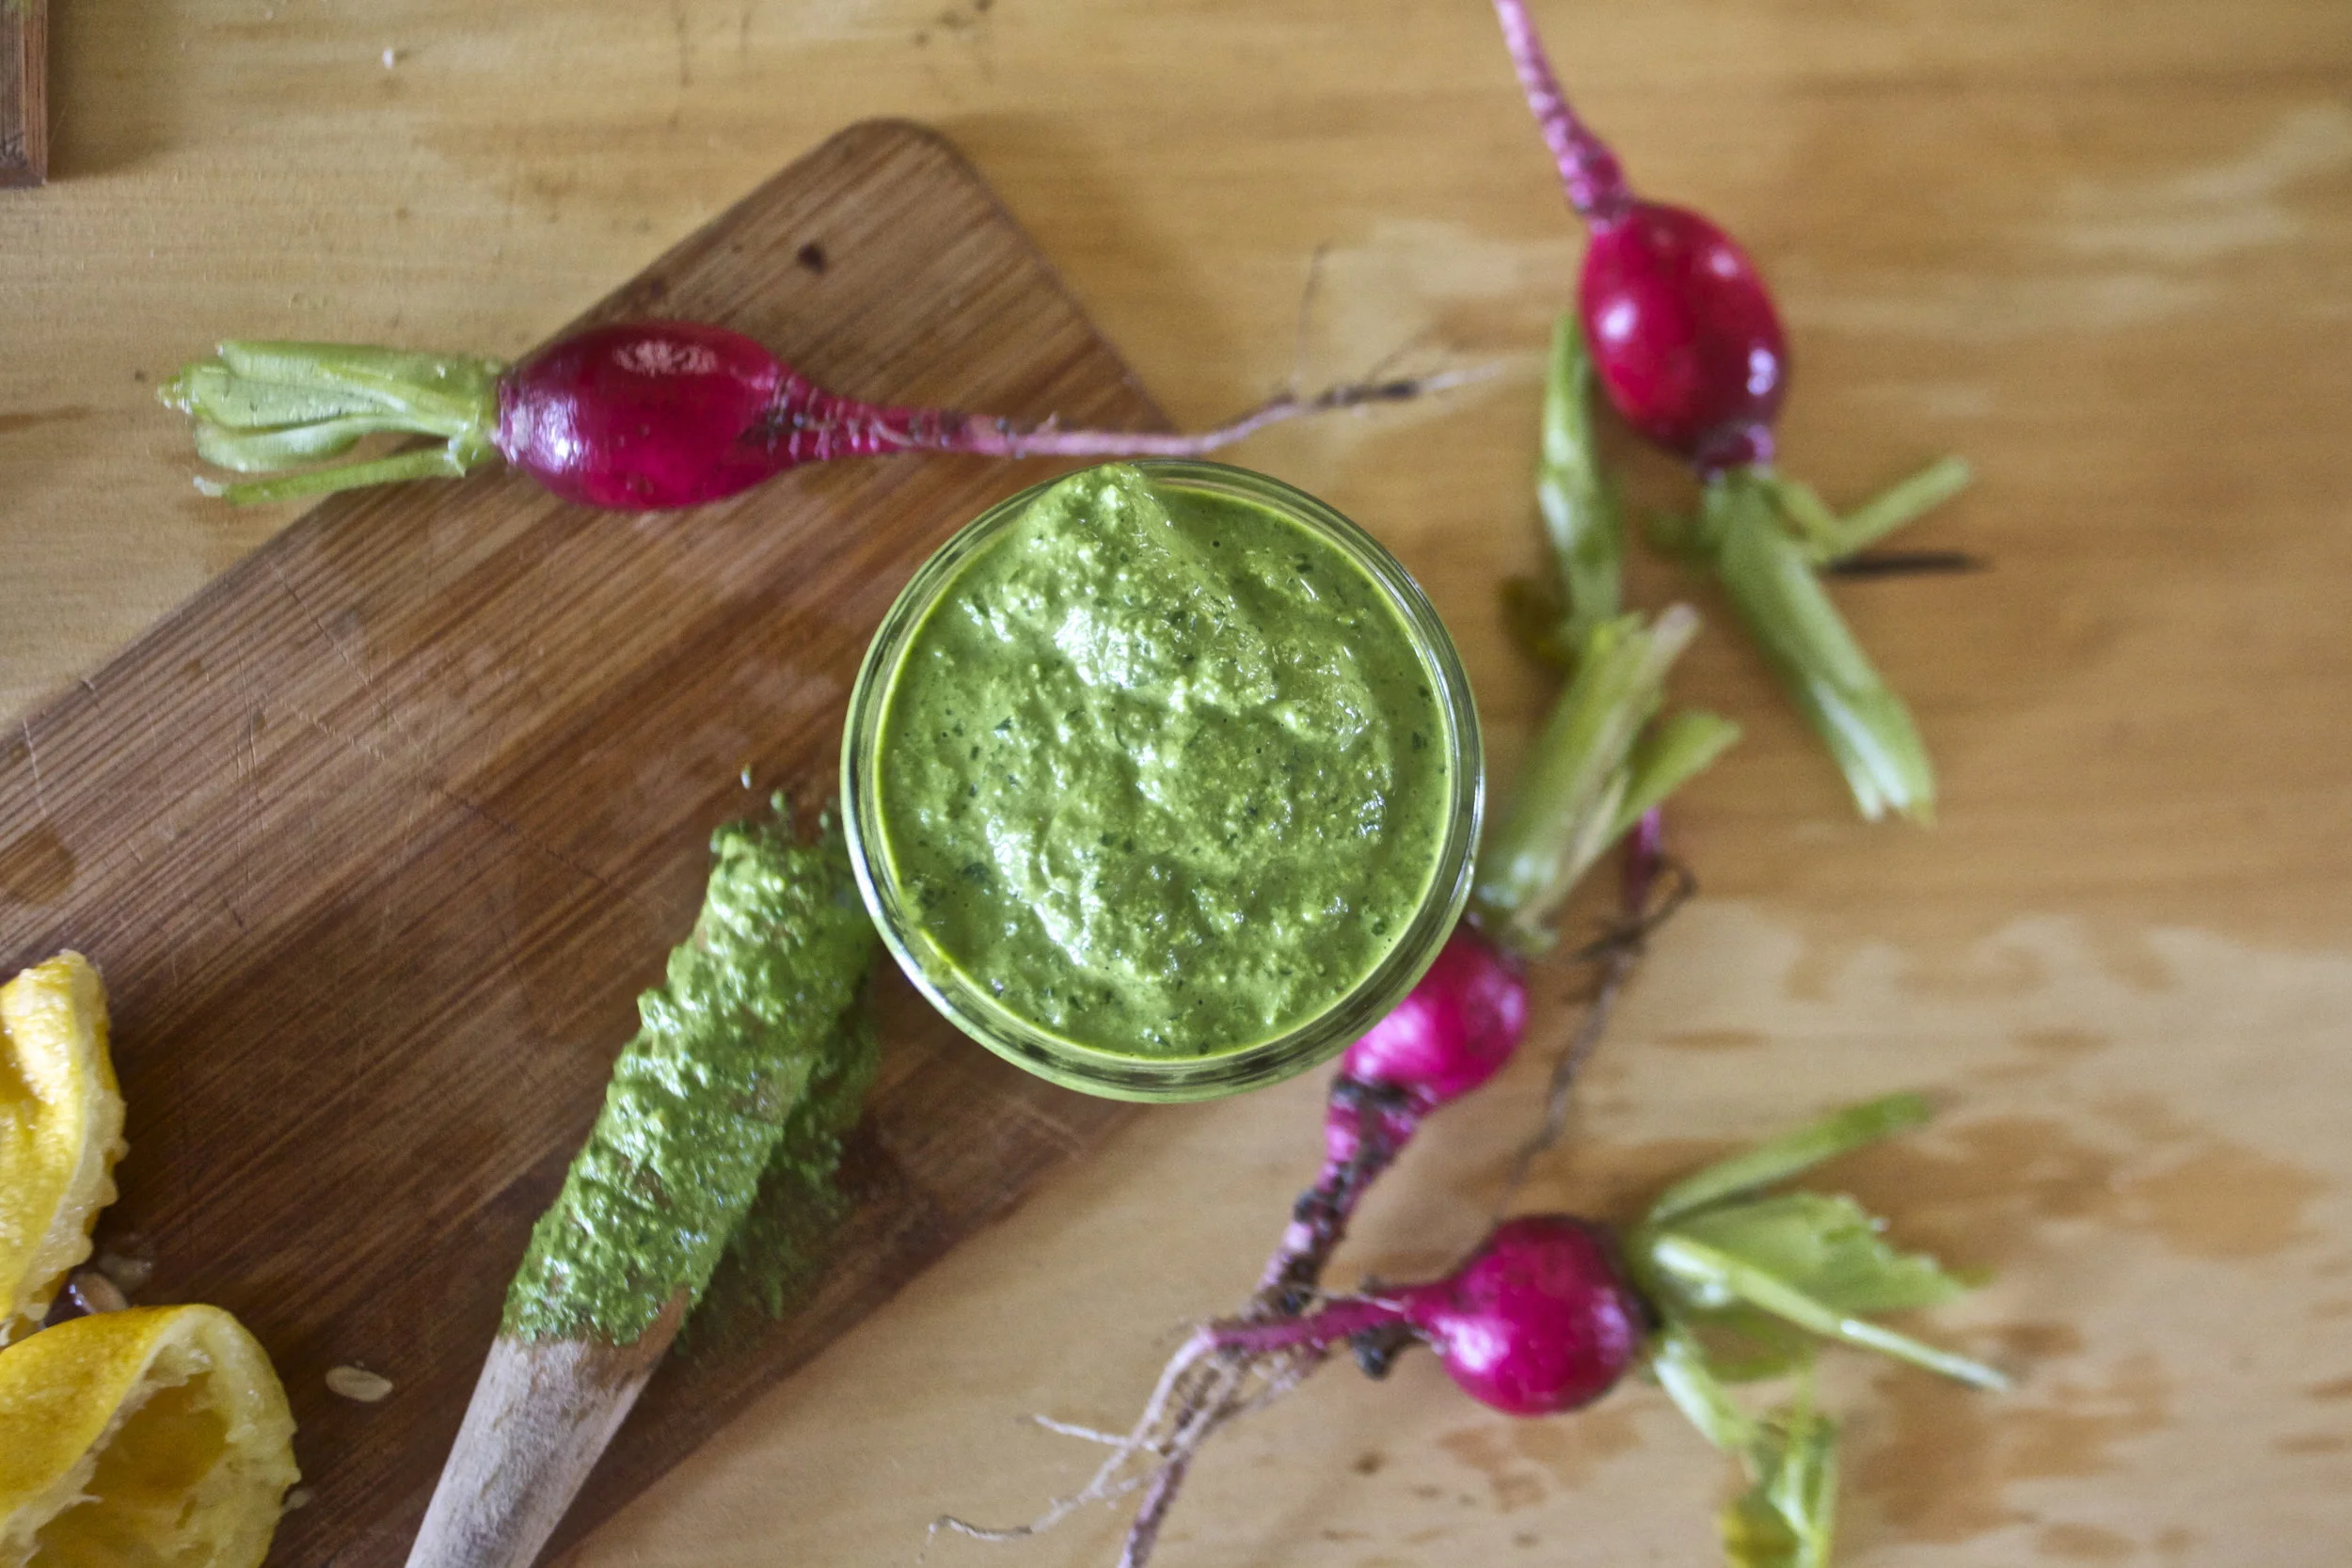
And once it’s all blended you have pesto.
Pour it into a jar and it’s ready to go.
Eat it any way you eat your pesto.
Enjoy
-C
Makes about 2 cups
4ish cups radish greens (I used the greens from about 10 radishes)
1-2 lemons
3/4 cup toasted walnuts
4 cloves garlic
about 1/2 cup olive oil
salt and pepper
Stick walnuts, garlic and the juice of the lemons into a food processor or blender. Give it a pulse or two. Add in a pinch of salt ans pepper then the greens. Turn on blender and stream in olive oil. You might need to stop a few times to push the greens down. Blend until combines. Taste and season with more salt and pepper to taste.
Pour finishes pesto into a jar. Eat with pasta, use as dip, smear on toast, dollop in soup. Eat it however you like.
Lasts for a week or two in fridge and freezes really well .
Are you sizzling? Is that pool of water next to you , in fact, your own sweat?
Yeah, I feel you…..stupid heat wave.%u00a0
During these long extended periods of heat and humidity, my body starts%u00a0to revolt. I get bitchy, by skin get itchy, my head goes foggy, my stomach starts to refuse food. and I generally just feel like crap. I love the summer, but I am not,%u00a0%u00a0by any means, %u00a0a hot,%u00a0high humidity person.
So during%u00a0this nasty bout%u00a0of heat, I do what I can to find comfort. And one of my comforts is%u00a0watermelon. I am pretty sure that watermelon is a magical fruit. A giant green oblong ball that when cracked open is the brightest, sweetest bright pink fruit.. I mean, thats pretty f ing magical.%u00a0It can make anything better, and is%u00a0one of the few things that I want to eat when its a million degrees outside without barfing.
Watermelon is my official heatwave food. Watermelon all day long%u00a0(Is it bad that I could literally eat an entire watermelon all to my face, in one sitting? )%u00a0And because I am me, I like to spice it up a bit and slather a big glob of basil pesto to the melon%u2026. and that makes me happy. Plus it%u00a0makes the fact that I am eating nothing but melon seem a little more substantial.
%u00a0%u00a0%u00a0Do you have a heatwave food? If not, try this%u2026.It will be your food.
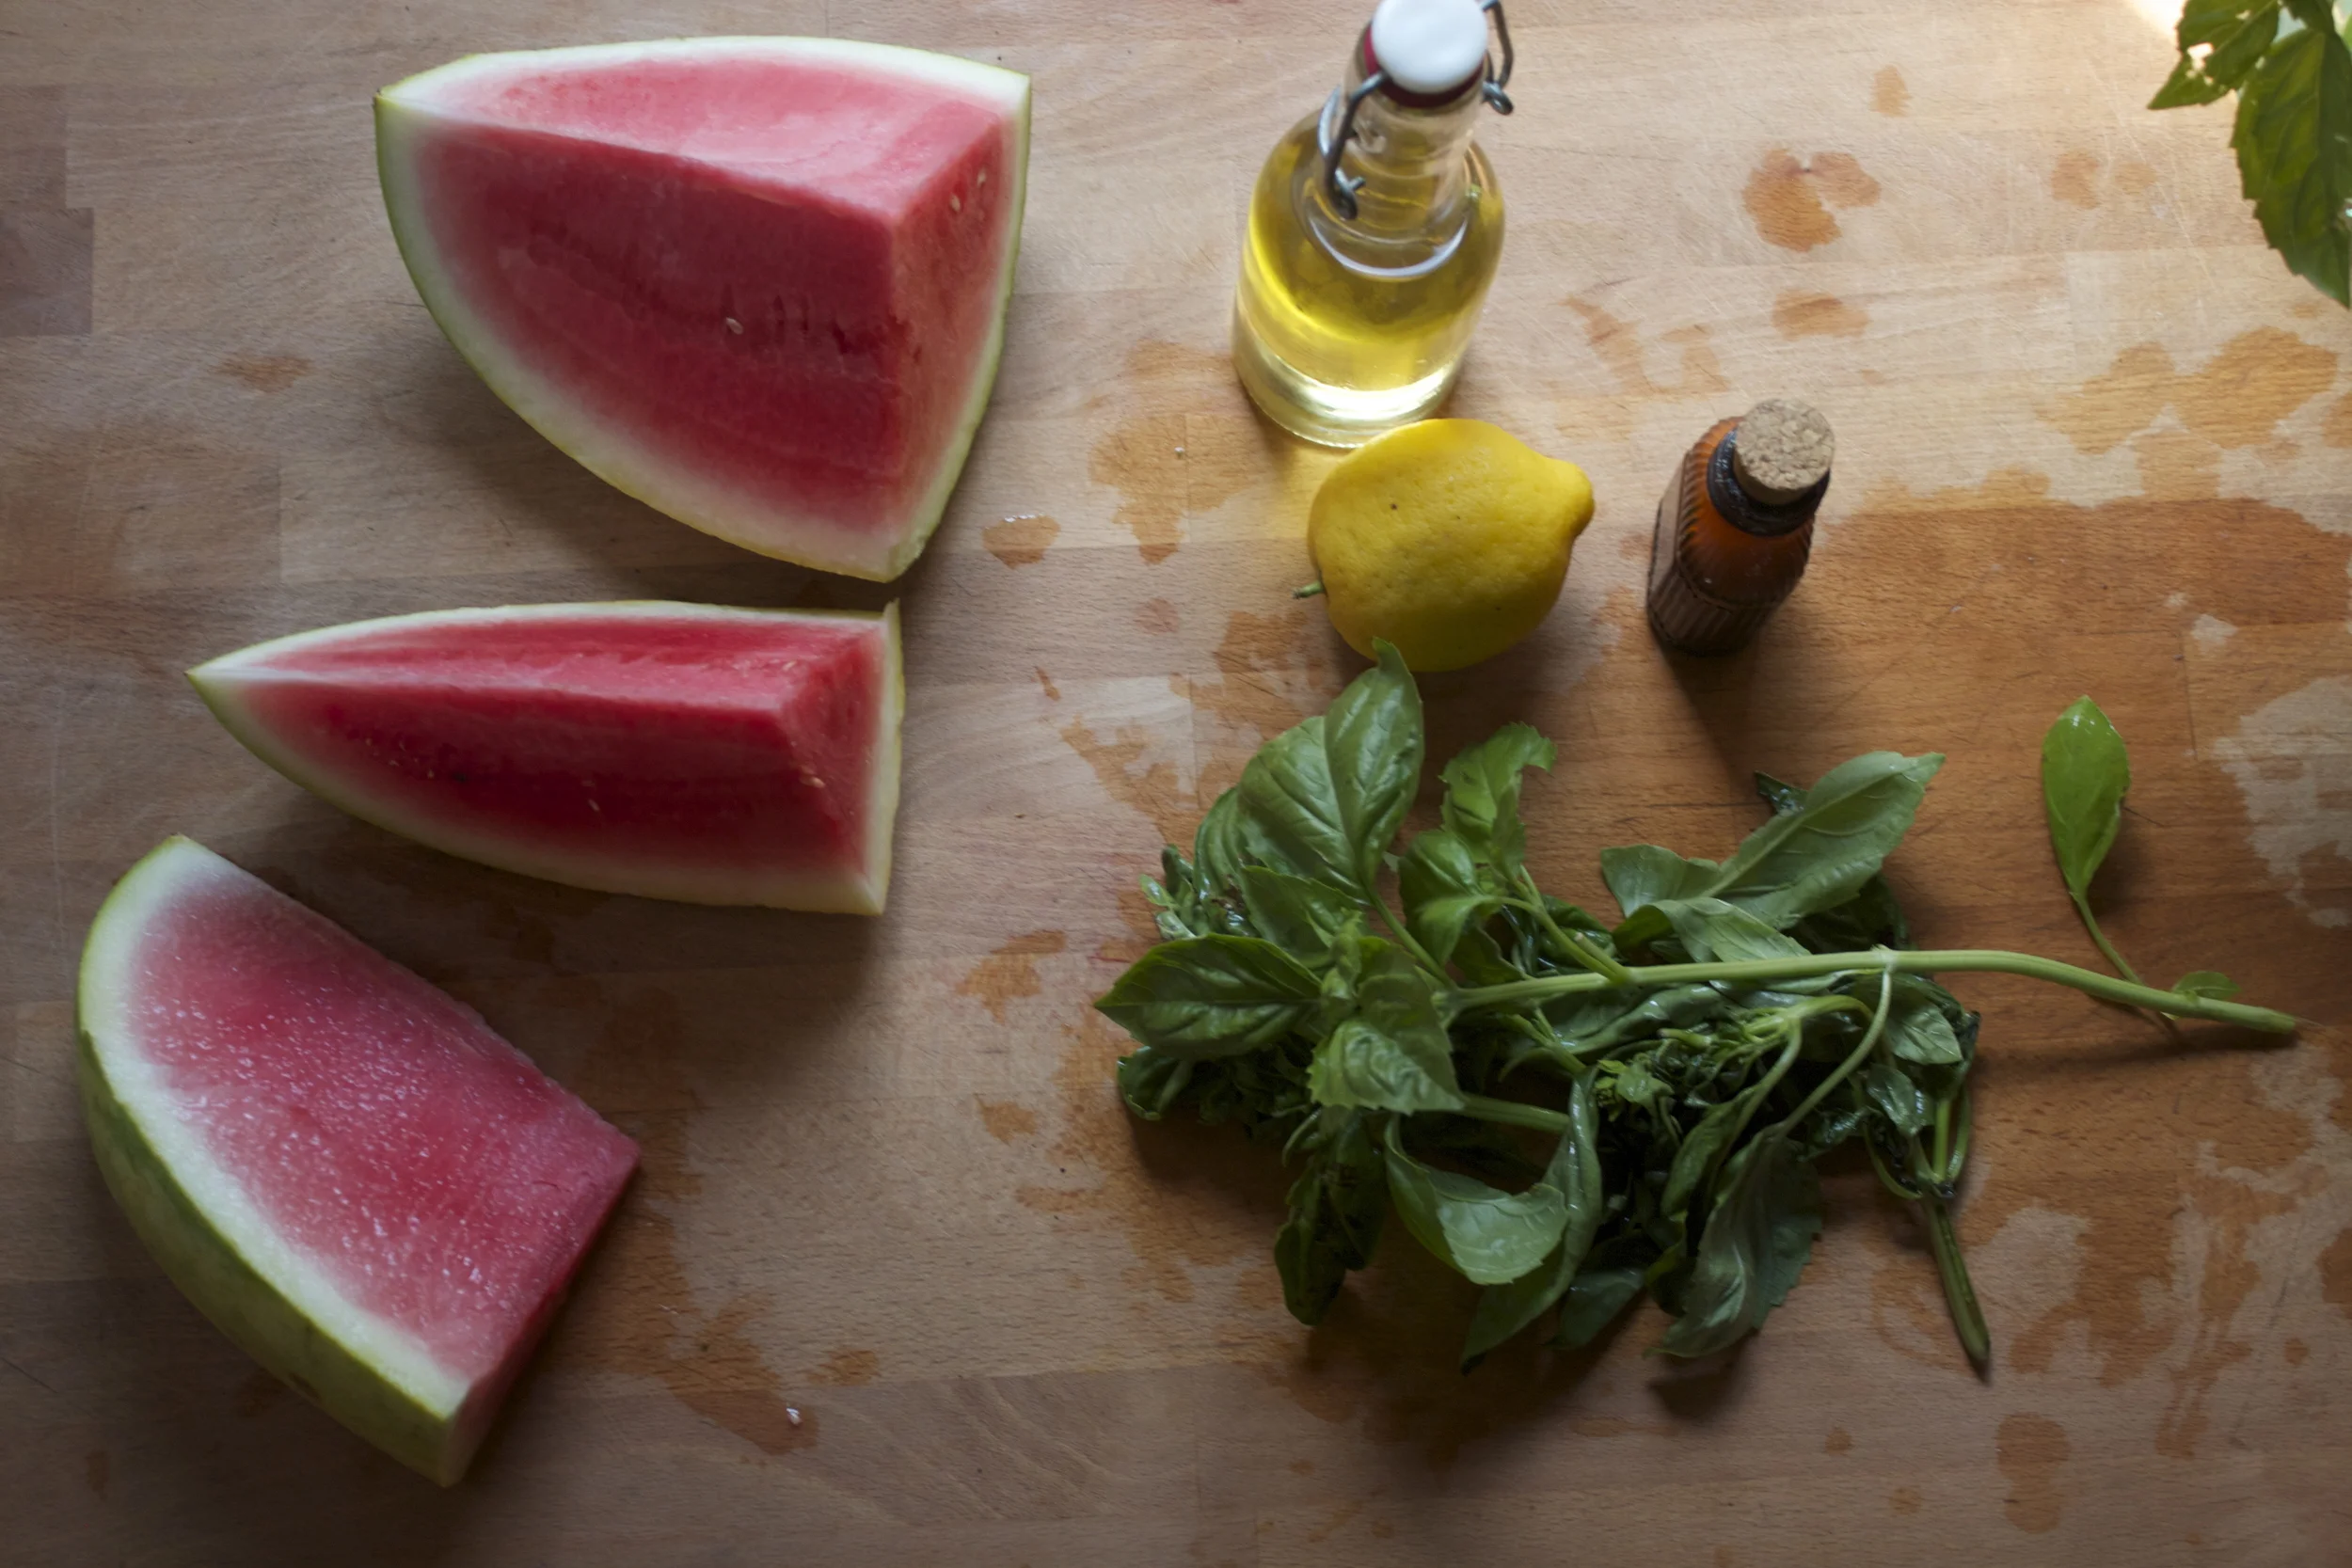
The stuff. A big hunk of watermelon, basil, a lemon, olive oil and salt.
Stick the basil, the juice of the lemon, and a pinch of salt into a blender. Turn on and blend, adding just a tad bit of olive oil until a nice green pesto is made.%u00a0
Prepare your melon. Remove rinds if you want and%u00a0save for later.. (seriously, we can make gazpacho with it) and cut into inch thick chunks.
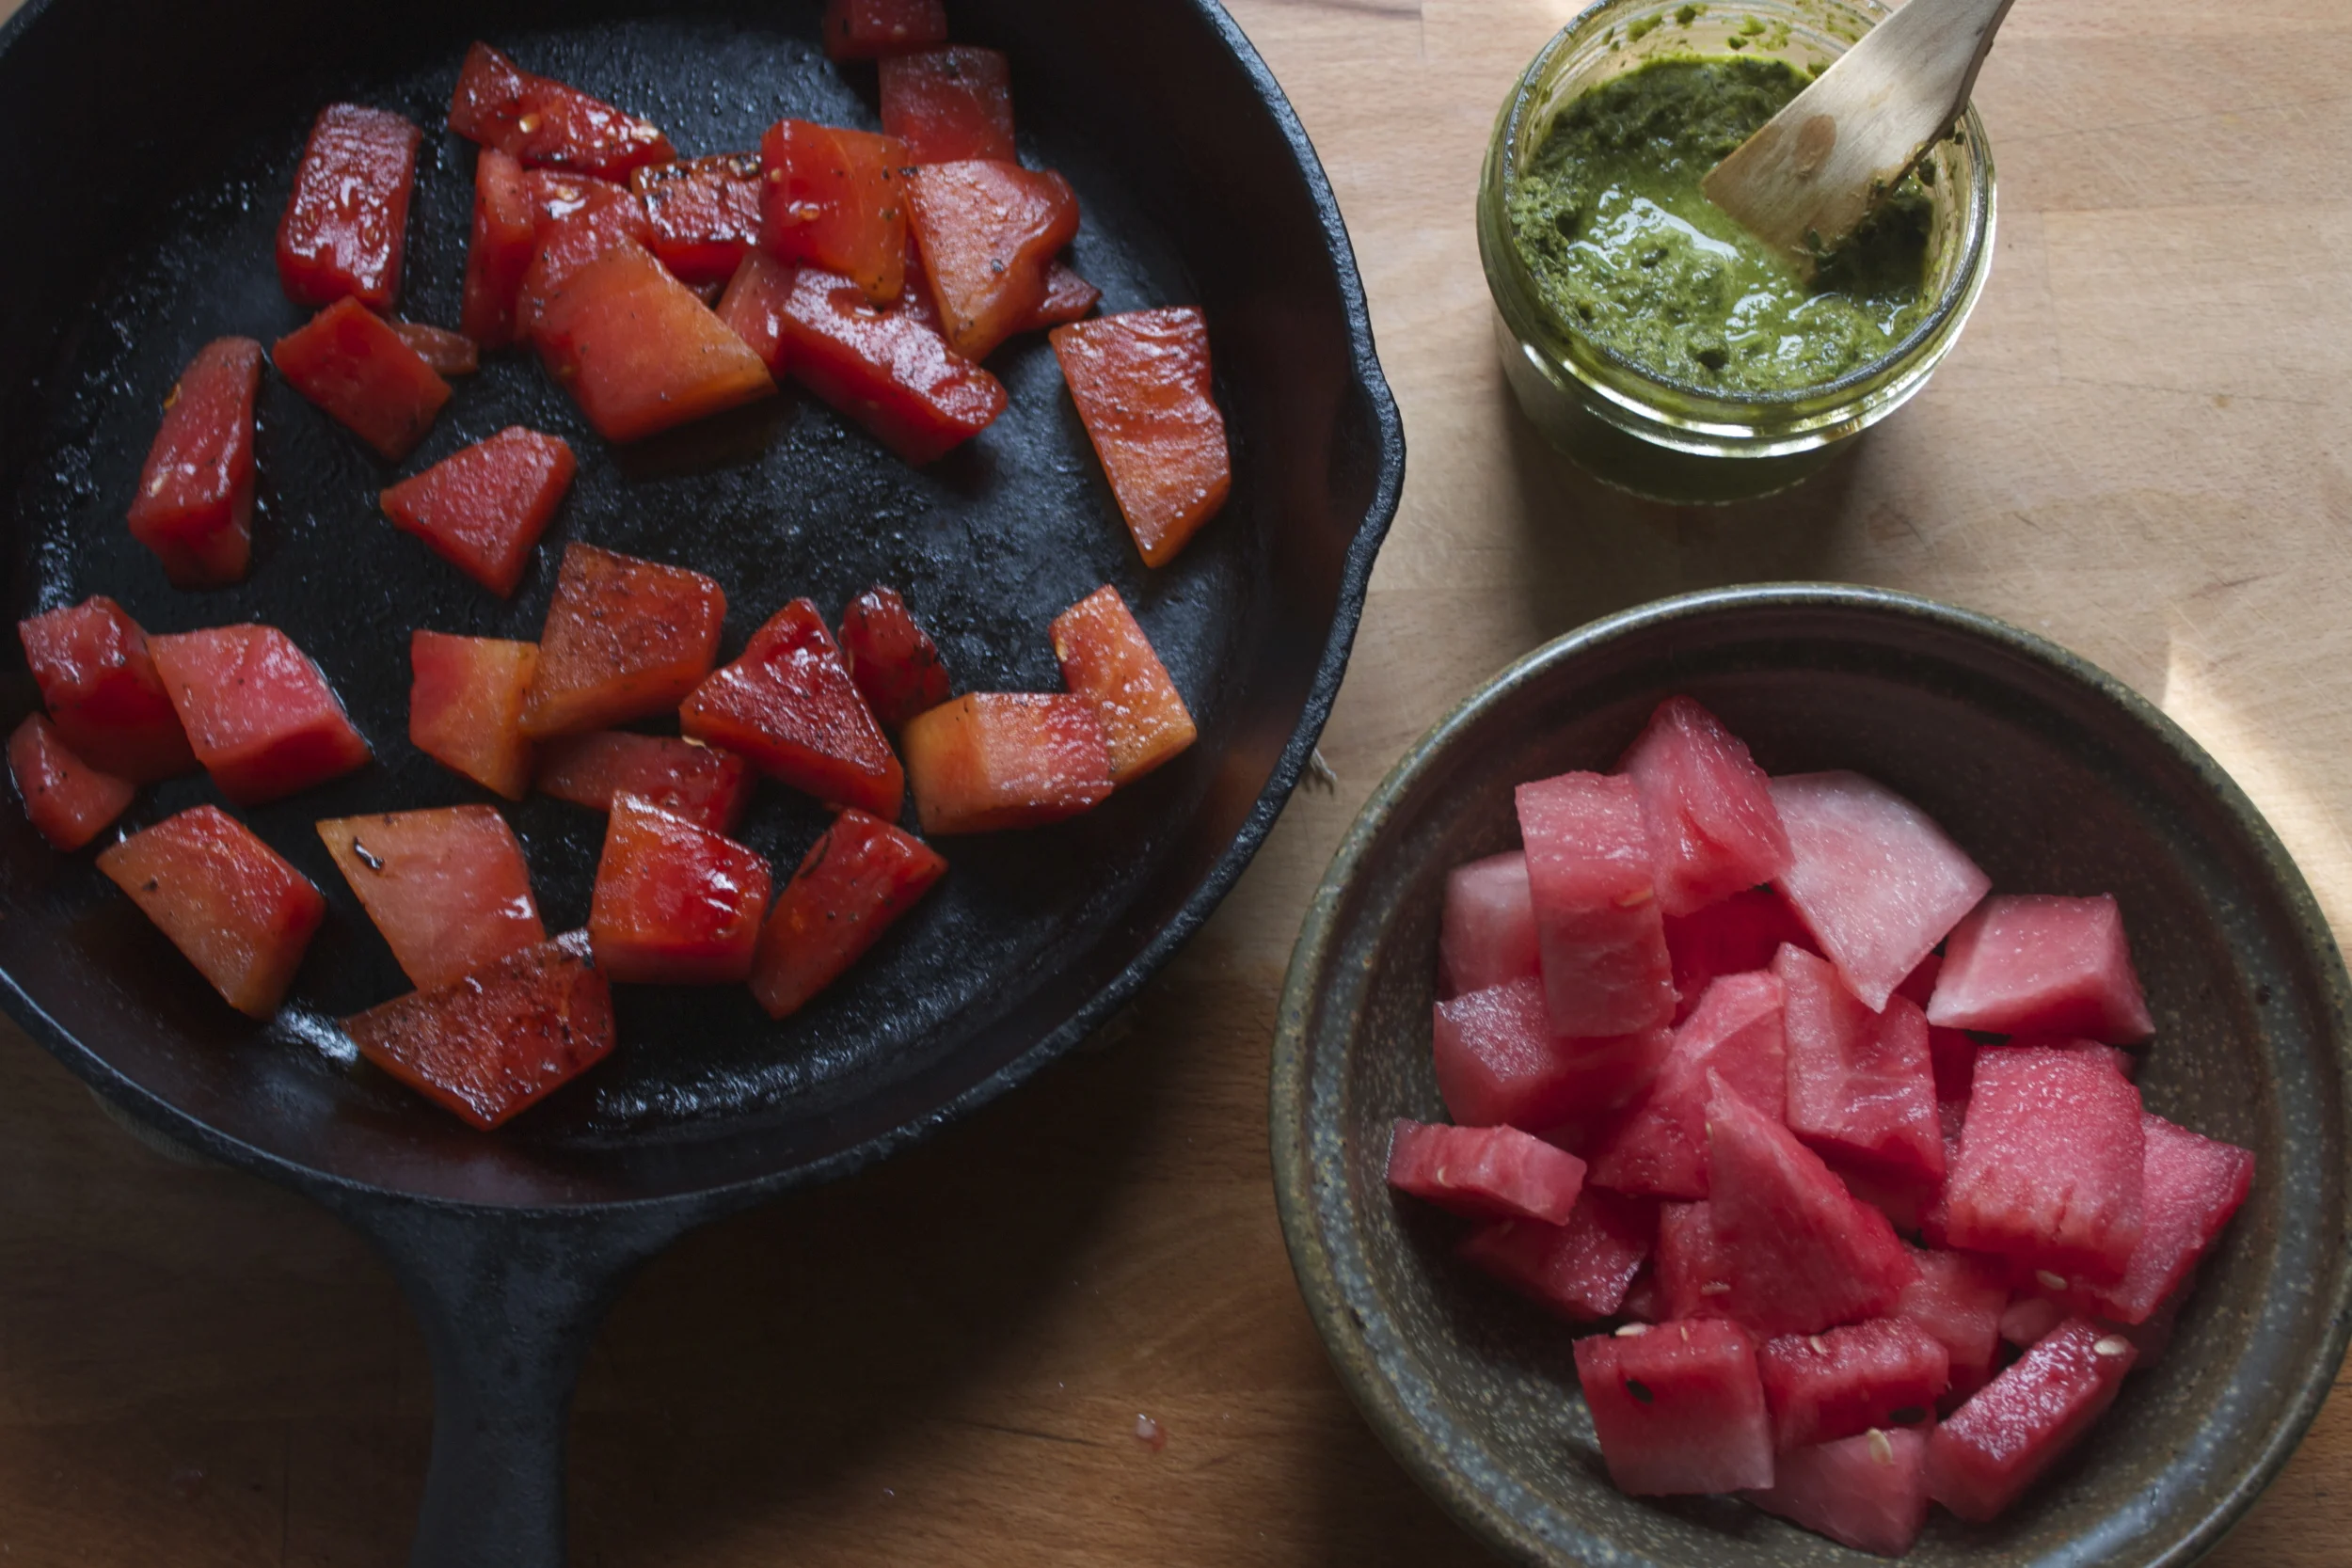
And now if your feeling it, stick a skillet on the stove and preheat on medium high. Once heated, place watermelon chunks%u00a0on hot skillet and sear%u00a0each side for about 3-5%u00a0minutes per side.
If you want to go fresh, just skip searing it. Me, I do a bowl of both.%u00a0
And now slather the melon with the pesto%u00a0
And go to town
Stay cool my friends!
-C
Watermelon
a bunch of basil
a lemon
salt
olive oil
Place basil, a pinch of salt and the juice of the lemon into a blender. Turn on and blend, adding in a drizzle of olive oil until pesto forms.%u00a0
Preheat a lightly oiled skillet (or a grill) on medium high heat. Take your watermelon and remove rinds (save for later) and cut into inch chunks.* When heated, add the watermelon. LEt each side sear for 3-5 minutes, or until caramelized. Tarnsfrer to a bowl.
*Note. The seared melon is fantastic cooked then cooled. Also, I know some people blot out the juice before grilling, but I think that is a waste and I find unnecessary, but if you don’t want a juicy piece of cooke melon, by all means, blot out the juice..%u00a0
Or if you don’t want to cook it, don’t
And lastly,%u00a0%u00a0toss in a big giant scoop of pesto%u00a0
Now eat%u2026 eat eat eat.%u00a0
Peas scream spring to me. The bright green color with that nice bright fresh taste%u2026.. kind of like a fresh spring day. Ah spring, so lovely, so nice, so hasn’t made its way here yet. So I guess I am left to eat my spring.%u00a0And what better way to highlight those lovely spring tastes? A fantastic pesto my friends, and it can be made lickidy split.
Pesto is one of those things that I am constantly making, and not just the kind most people think of with basil and nuts, I pesto everything..peppers, greens, carrots, squash. %u00a0And yea, I used this post to make a pesto pasta dish, but pesto has so many other fantastic uses. Like as a sandwich or wrap spread or a dip for veggies and crackers. I have used it as a soup base, a pizza sauce, on roasted potatoes and marinated tofu with pestos. It can also be thinned down and used as a salad dressing. See, so many uses.%u00a0
And this pea pesto is no exception. It has such a great light, almost fruity, super bright taste. I mean, it’s peas so it taste just like peas but somehow even better. It really works in my mouth. I could eat a bowl of this stuff and be happy.%u00a0
Whatever you plan on using it for, make the pesto. You will be thanking me later.%u00a0
Pesto Stuff. We got the peas, garlic, lemon, oil, cheese if you please, and salt. %u00a0Take a handful of peas and set aside for later. Juice the lemon and take that and the rest of the stuff and stick in%u00a0a food processor and puree until smooth.%u00a0
Oh my, so green, so good. %u00a0I first made it without cheese and %u00a0scooped a little out for me. It was perfect. Like the most brilliant bright pea flavor ever. It made me happy. After I added in the cheese, the mister said it tasted even better%u2026. so cheese or not, it’s going to be good!The%u00a0pesto is made, and it only took about 2 seconds, now boil up the pasta. %u00a0If you were a thinker, you could start the pasta and make the pesto while its boiling. (I wasn’t being a thinker) I used bow ties cause they are super cute, but use whatever pasta you’re feeling. Shells or the ones that look like little brains would be good options.
Once the pasta is cooked, strain, reserving about 1/4 cup of the water. Add that bit of water back to the pot, add in the pesto, give a stir and dump pasta back into the pot. Toss in a handful of peas, maybe sprinkle some cheese and give it a good crack of some pepper.
Into a bowl and served with a fork to eat it with. %u00a0A super green fresh springy meal of happiness. And all under 15 minutes in the kitchen.
Oh you want to thank me for this…
Hey, not a problem%u2026.not a problem at all.
-C
Spring Pea Pesto and Bow Ties
Makes enough pesto to coat a pound of cooked pasta and have some left over for sandwiches or to spread on crackers.
1 lb. fresh or frozen peas (thawed if frozen)
1 lemon
4-5 cloves garlic
2 ish tablespoons of olive oil
1/4 cup parmesan, really or vegan (optional)
salt
1 lb (an average box) of bow tie pasta (use any whole wheat, vegan, gluten free variety)
Place peas, (remove a handful and set aside to toss into the pasta) garlic, the juice of the lemon, olive oil and the parmesan (if you are using) into a food processor. Blend until smooth. Taste and salt as needed.
Pasta%u2026 Boil per instructions on box. Strain pastas but save about a 1/4 cup of starchy water. Toss pasta, starchy water and pesto together, adding in the handful or more of the whole peas. Sprinkle with more parmesan and or cracked pepper ,if wanted, and serve in big bowls.%u00a0
Use a fork. Eat, smile and be happy.%u00a0
HOORAY FOR SPRING!!!!!!!
Yesterday The mister and I went for a walk, a long walk. I was wearing a sweater, a light jacket and I %u00a0left the mittens and hat at home. There was sunshine, huge puddles and mud. Birds were chirping. It was amazing.
After our nice long walk, we got home and I needed to start dinner. It was a little later than I usually so I wanted fast and easy %u00a0I usually always have pesto in my fridge (I had to make some, but it only takes 5 minutes)%u00a0because when it’s in there, I can whip up a big awesome meal in the time it takes to boil some pasta or quinoa or smear on toast or toss with potatoes. It really can be used on everything and can be made out of just about anything. Kale and walnuts are just one of so many fantastic combos. And frozen ravioli is always in the freezer too. I %u00a0used just plain cheese, but use whatever kind you like.
Together, pesto and ravioli, well that’s a quick, easy, and tasty meal, perfect for a spring evening, %u00a0And yea, there will be left over pesto from this recipe%u2026 just stick it in the fridge or freezer%u2026.you will be glad you have it.
%u00a0 %u00a0%u00a0%u00a0 %u00a0Pesto stuff. Kale, walnuts, parmesan cheese(nutritional yeast to keep it vegan), garlic, lemon, olive oil, and salt and pepper.
A few little pre steps before the blending.. Toast the walnuts. Just toss onto a dry skillet and stick on medium heat for about 5 minutes or until they start to become n%u00e9e and fragrant. Remove from skillet and add in a bit of water. Add in chopped or ripped kale and cover to let the kale tenderize, but only for about 2 minutes. (you want the kale to still be crispy and fresh tasting) %u00a0Drain water and add kale, garlic, toasted walnuts, cheese %u00a0and the juice of the lemon into a food processor. Turn on and slowly add in olive oil until you get to a nice paste, adding more oil to get to your desired consistency. Oh and don’t forget to salt and pepper to taste!
%u00a0Straight up frozen ravioli goes onto an oiled baking sheet.(make sure that non are overlapping) Place into an oven at 400 degrees for about 15-18 minutes, flipping after 10. If you want to add mushroom and a few more walnuts, just toss them onto the ravioli when you are flipping over the ravioli.%u00a0
When the ravioli is nice and brown and crispy, remove from oven and dump the ravioli and the mushrooms into a bowl. Add a big old scoop of the freshly made pesto and toss around.%u00a0
Look at this%u2026 fresh, crunchy, light and happy. Kinda like a spring day.
I am the best lady, making the mister a pretty yummy dinner.%u00a0
Have a great Tuesday!
-C
Kale Pesto and Baked Ravioli
4-5 cups chopped Kale
1/2 cup Parmesan Cheese ( Nutritional Yeast %u00a0to make it vegan)
1/2 cup Walnuts
1/4-1/2 cup Olive Oil
4-5 Cloves Garlic
1 Lemon
Salt and Pepper
1 bag of frozen ravioli(use vegan or gluten-free if you want)
3-4 mushrooms
Note..There will be plenty of left over pesto%u2026 Just fridge or freeze it
Place walnuts in a skillet and toast on medium heat for about 3-5 minutes or until the nuts become fragrant. In the same skillet, add enough water %u00a0to cover bottom and add in all the kale. Place a lid on it and let kale wilt on medium heat for about a minutes or 2, Take off heat. Add walnuts. garlic, cheese, salt and pepper, and juice of lemon to a food processor. Blend. Now add in the kale and blend, slowly adding olive oil until a thick paste forms. You can add as much oil as you want to make it as thick or thin as you like.
Preheat oven to 400
Place frozen ravioli on an oiled baking sheet, making sure none are overlapping. Place into oven for about 15-18 minutes, removing after 8 minutes to flip. When you take the ravioli out to flip, slice up the mushrooms and grab a few more walnuts and toss onto baking sheet with the ravioli. %u00a0When the ravioli’s%u00a0are nicely browned and toasty, remove (mushrooms and walnuts too) and place into bowl. Add a big scoop of pesto and toss to mix.
Serve and eat.. fork is optional.
Note..Add a thin layer to the top of any left over pesto to keep it fresh and from turning black%u00a0
%u00a0It’s Friday!!! And what does that mean? Pizza Pizza!!!!But not just Fridays%u2026pizza happens more times then not in our house%u2026It’s the misters favorite food and for real, he could eat it everyday, all day.%u2026He is kind of made of the stuff. As for me, well I don’t mind making it for him because it’s easy. And because I am making it, it doesn’t have 8 million calories, 9 million grams of fat and have 10 million milligrams of sodium like takeout of frozen. %u00a0My pizzas are for the most part pretty freaking heathy. It really depends on how its topped. Like take this one.. Homemade pesto, good quaility cheese, (you can use vegan or low fat)%u00a0chickpeas and tomatoes. Not to shabby. And really, it isn’t any more complicated then calling the take-out place or unwrapping the frozen plastic disk from the box. All you need is some good dough (I guess you could use store bought) and some good quality toppings%u2026 and you’re there%u2026Pizza in your face.
For this pizza I used the skillet cooking method. This crust is one of %u00a0the misters favorites. It is a basic pizza dough but cooked on the stove in a skillet. It’s almost like a pita bread, but not. And I like to make it this way because its really fast (once the dough is made) and I can even make up a few crusts to have on hand for later.
Fast, healthy, and tasty%u2026..Why not eat pizza every day?%u00a0
Not too many ingredients here. 3 cups of all purpose flour or 2 cups all purpose and 1 cup white whole wheat. A teaspoon salt, a teaspoon honey (use sugar if vegan), yeast and warm water%u2026%u00a0
Start with the dough. %u00a0Add honey or sugar to yeast and warm water and let sit to active, which should take about 5 minutes.
%u00a0Mix together the salt and flour(s) and add the foamy yeast mixture. Mix until it all comes together and dump out onto a floured surface. (if the dough seems to dry add a splash of water..if way to wet, add a little flour) Give the dough a good 2-3 minute knead session, adding flour as needed to keep the dough from sticking. Form a nice ball, place back into bowl and drizzle with oil. Cover bowl with a towel and stick in warm place to rise for about an hour or until it has doubled in size.
When dough has doubled, dump back onto a floured surface and divide into 4 equal sized balls (or as many balls at whatever size you want)
Now you have a few choices here. You can either cook up all the dough now if you need it, or freeze dough balls for future use. If you think you are going to make pizza again within the next few days, it can be refrigerated, or you could also blind bake the dough and freeze or fridragerate that and have pre baked crusts all ready to go. So many options%u2026 just do whatever works for you.%u00a0
To make the dough in a skillet, oil the bottom of a 15 inch skillet, turn burner on to high and let preheat until the oil is sizzling. Roll dough out to roughly the size of the skillet and when it has preheated, place dough on in there and let cook for about 3-5 minutes, or until the dough starts to bubble and the bottom has started to brown. Turn burner down to medium and flip. Cook this side for another 3-5 minutes.
If you want oven crust, just roll out and place on a baking sheet and bake with topping on at 475 degrees for about 20 minutes
Now the crust is ready for the toppings!!
Preheat the oven to 450 degrees.%u00a0
Smear the pesto (for this pie, I used the last of my homemade pesto from last summer%u2026sad face) Mince garlic and distribute evenly on top of that. Then do the cheese, followed by the tomato slices and chick peas. Sprinkle with a bit of salt, cracked pepper and some parmesan cheese.%u00a0
Stick into oven for 10 or so minutes or until the chesse is nice and bubbly and the crust os crispy and brown.
And that is pizza. A super duper, yummy, healthy, not too fatty or overly salty%u2026 %u00a0can be eaten breakfast lunch or dinner time, pretty, satisfying, pizza. %u00a0
Make it for yourself, for you lover, for a friend. Make it in the shape of a heart or an elephant. Give you kid(s) a ball of dough and have them make their own%u2026 I know%u2026 such a good idea.%u00a0
Everyday, all day.. Happy Friday and Happy Pizza
Stay warm!
-C
For the dough ..Makes about four 10 inch pizza doughs or three 12 -14 inch doughs. This is also the same recipe I use for all of my pizzas (skillet and oven)
3 cups of all purpose flour or %u00a02 cups all purpose and 1 cup white whole wheat
2 1/4 teaspoons of yeast or 1 packet
1 teaspoon of honey or sugar
1 teaspoon salt
1 1/2 cups warm water
The Pizza Toppings (for a 15 inch crust..adjust amounts to your need or liking)
1/4 cup of pesto
1 large %u00a0roma tomato thinly sliced
a few cloves of garlic minced
1/1 cup of prepare chick peas.. rinsed and drained
1/2- 3/4 cup of cheddar cheese (or any kind you like..use vegan cheese if you want too)
salt, pepper, and parmeasan (optional) to sprinkle on top
To start, place honey, yeast and water into a jar or bowl and let sit to active until mixture starts to foam. Mix together flour and salt into a large bowl and add in yeast mixture. Stir until combined and dump onto a well floured surface. Knead dough for a a few minutes and form into a ball. Place back into bowl, drizzle with oil and top with a towel. Place somewhere warm to rise for an hour, or until dough has doubled in size.
When dough is done rising, dump back onto floured surface and divide into 4-8 equal sized balls.( 4 balls make %u00a015 inch pizza%u2026 8 balls are good for individual size pizzas) Place whatever dough you are not going to use into a closable plastic bag and either stick in fridge(if using within a few days) or freeze for future use.
Place skillet on high heat on stove and drizzle with oil. Also, preheat oven to 450 degrees. Roll out you dough and when the skillet is has gotten really hot, place dough right on in. Let cook for about 3-5 minutes or unit the cough has started to form bubbles and the bottom has started to brown. Turn heat down to low and cook other side for another 3-5 minutes or until browned.%u00a0
Now pizzafy it.. Add on the toppings. Smear with pesto, add minced garlic, then evenly sprinkle cheese. Top with the chick peas and the sliced tomatoes. A sprinkle of salt and pepper and a dusting of grated parmesan%u2026%u2026Right into the oven for about 10 minutes to melt it all together%u2026..
Nothing. Well, not completely nothing. I did wake up and go to the gym, but then came home and fell %u00a0asleep on the floor for more then an hour and woke up in a puddle of drool.%u00a0I also continued my binge watching %u00a0of the Mindy Project so I can be up to speed when season 4 started tonight on hulu!!!!!. And I %u00a0cut up a cantaoplue. That’s a good amount of stuff for one day, right?
Anyway. even when I am gone from home for just a few day, I never really quite feel right when I get back until I cook something inn my kitchen.. So after my floor nap, I got up with a hankering for some of the juicy cantaloupe that I got from last weeks farm share (and forgot to stick in the fridge before we left so I came home to very ripe cantaloupe)%u00a0Cut it into chunked, tossed with slightly toasted caraway seeds and then caramelized a bit more. Super fresh and clean and a very almost fall like way to eat the melon. And even though it took me about 4 minutes to do, it’s all I needed to make me feel normal again.
Ah, home and food and Mindy.. Nothing better, Now to back doing stuff all day.
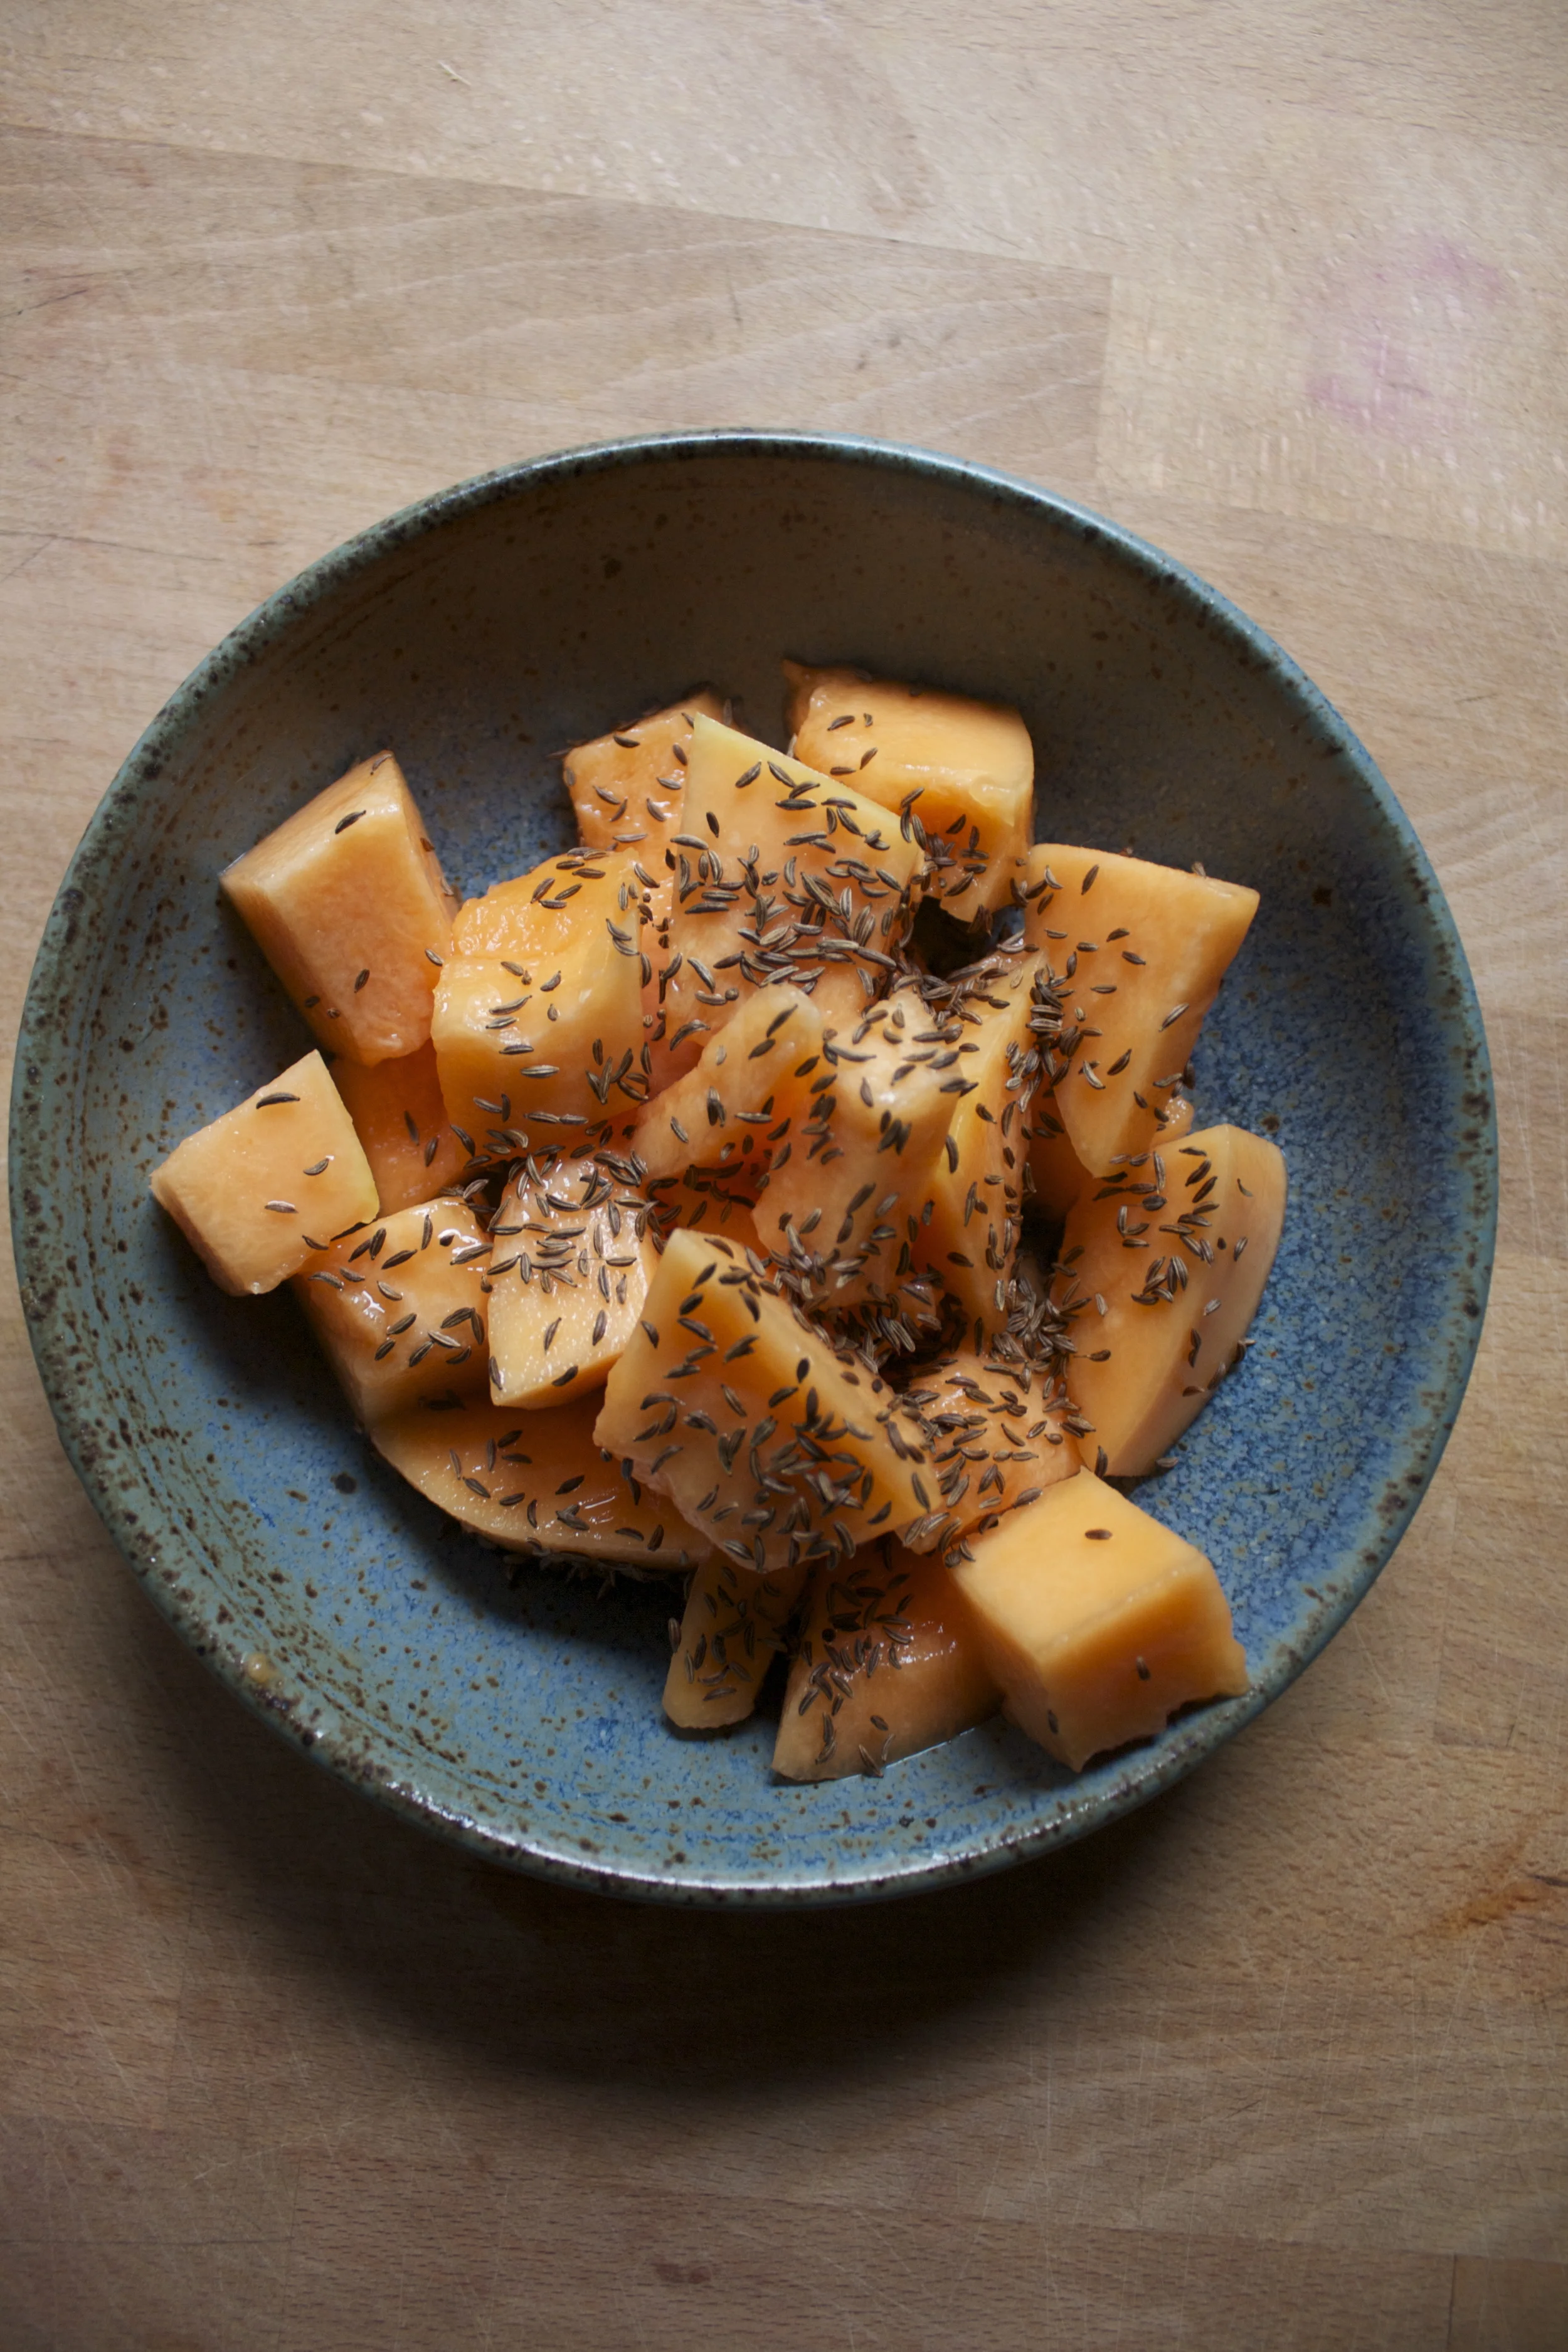
The stuff. Some cantaloupe and some caraway seeds.%u00a0
Place caraway seeds into a dry skillet and place on the stove on high heat. While the seeds are toasting, remove seeds and rind of the cantaloupe and cut into mouth sized chunks and place into a bowl.%u00a0
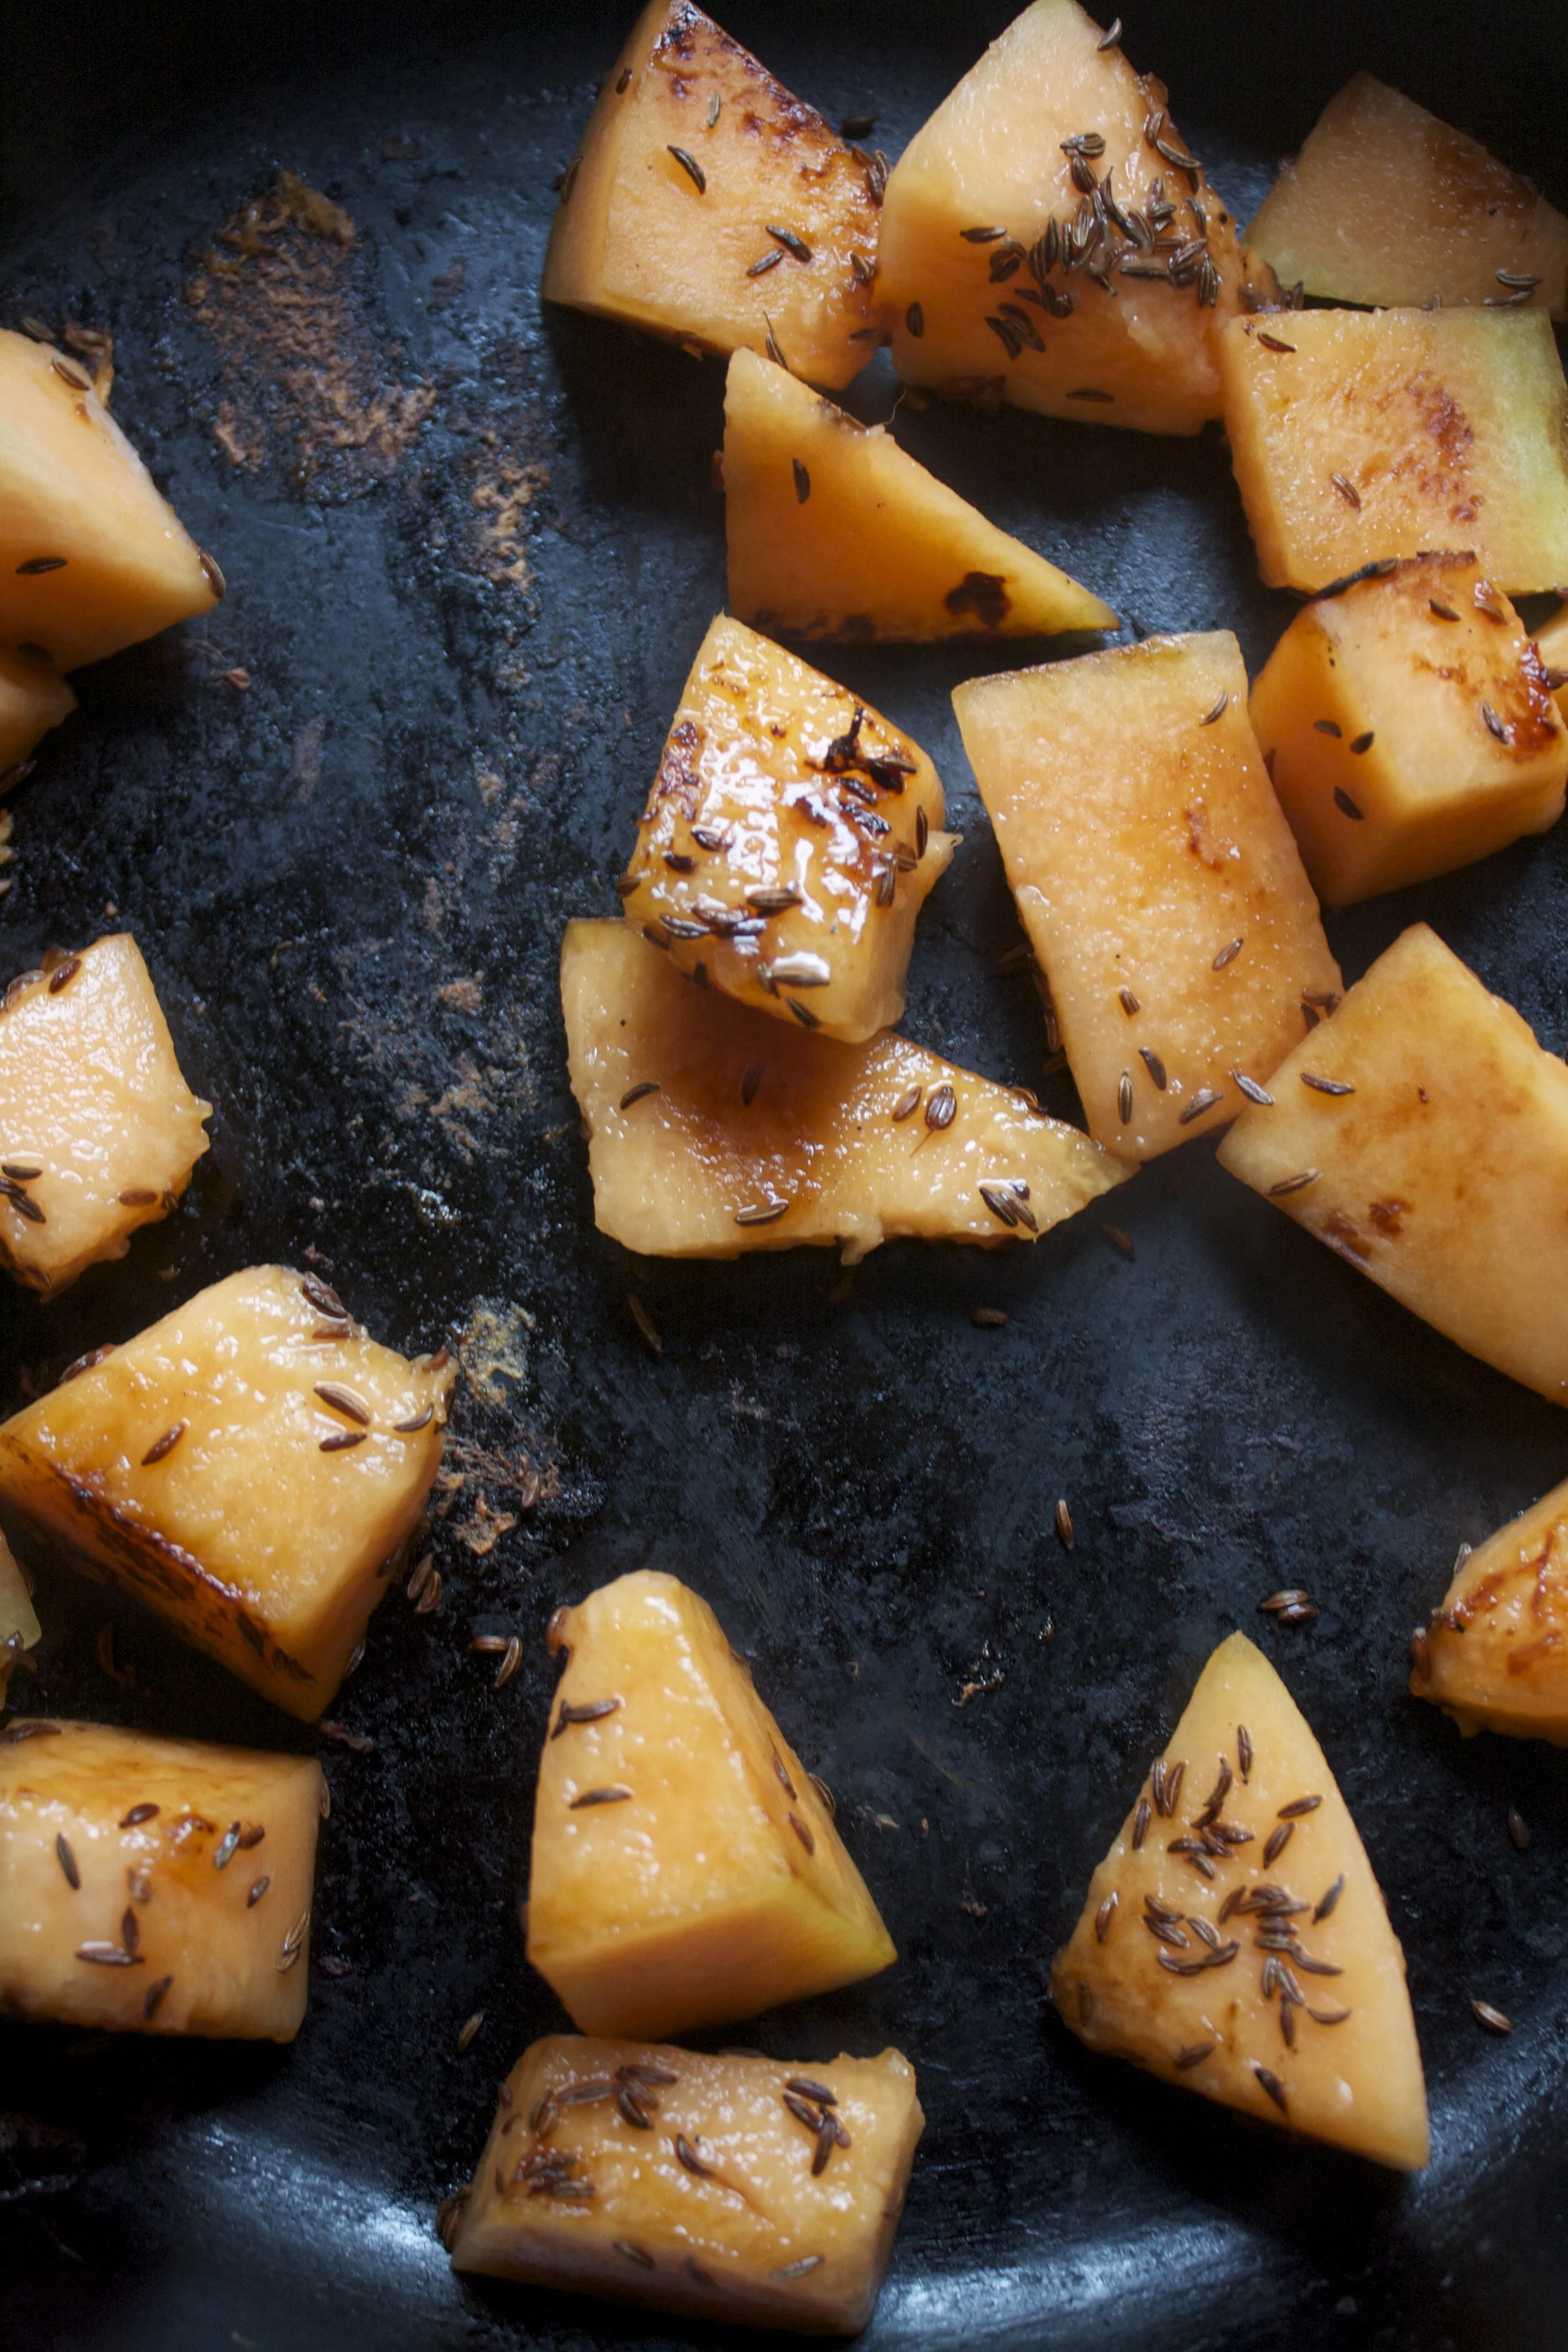
Once you hear the fist pop from the seeds, dump them in the bowl with the cantaloupe and toss around. Then dump the seed covered chunks back into the hot skillet.%u00a0
%u00a0Sear each side until browned.
And scoop it back into the bowl.%u00a0
Eat right away. IF you want to get down with a scoop of yogurt on top or maybe a bed of some green, I think you should.%u00a0
Enjoy you Tuesday my friends.%u00a0
-C
1/4 of a cantaploupe
2-3 teaspoons caraway seeds
Toss caraway seeds into a dry skillet and turn heat onto high. Toast seeds for about a minutes or so or until you hear the first seed pop. Dump seeds onto cantaloup chunks and toss around then dump the cantaloupe into hot skillet. Let chunks sear for 2-3 minutes on each side, or until they are starting to caramelize.%u00a0Remove from pan when you are happy with doneness.%u00a0
I am on full fledged baking mode. I bought the Costco sized bag of flour, stocked up on spices and chocolate chips, and am counting down the days to when all the littles come over for the cookie decorating party. But I am also trying to pace myself because I don’t need to have cookies, cake, and candies all over the house quite yet. The season is young and the time for stuffing your face with all the candies and cookies awaits. Until then, (next week sounds about right) sensible baking like bread and scones (yes, scones are sensible)
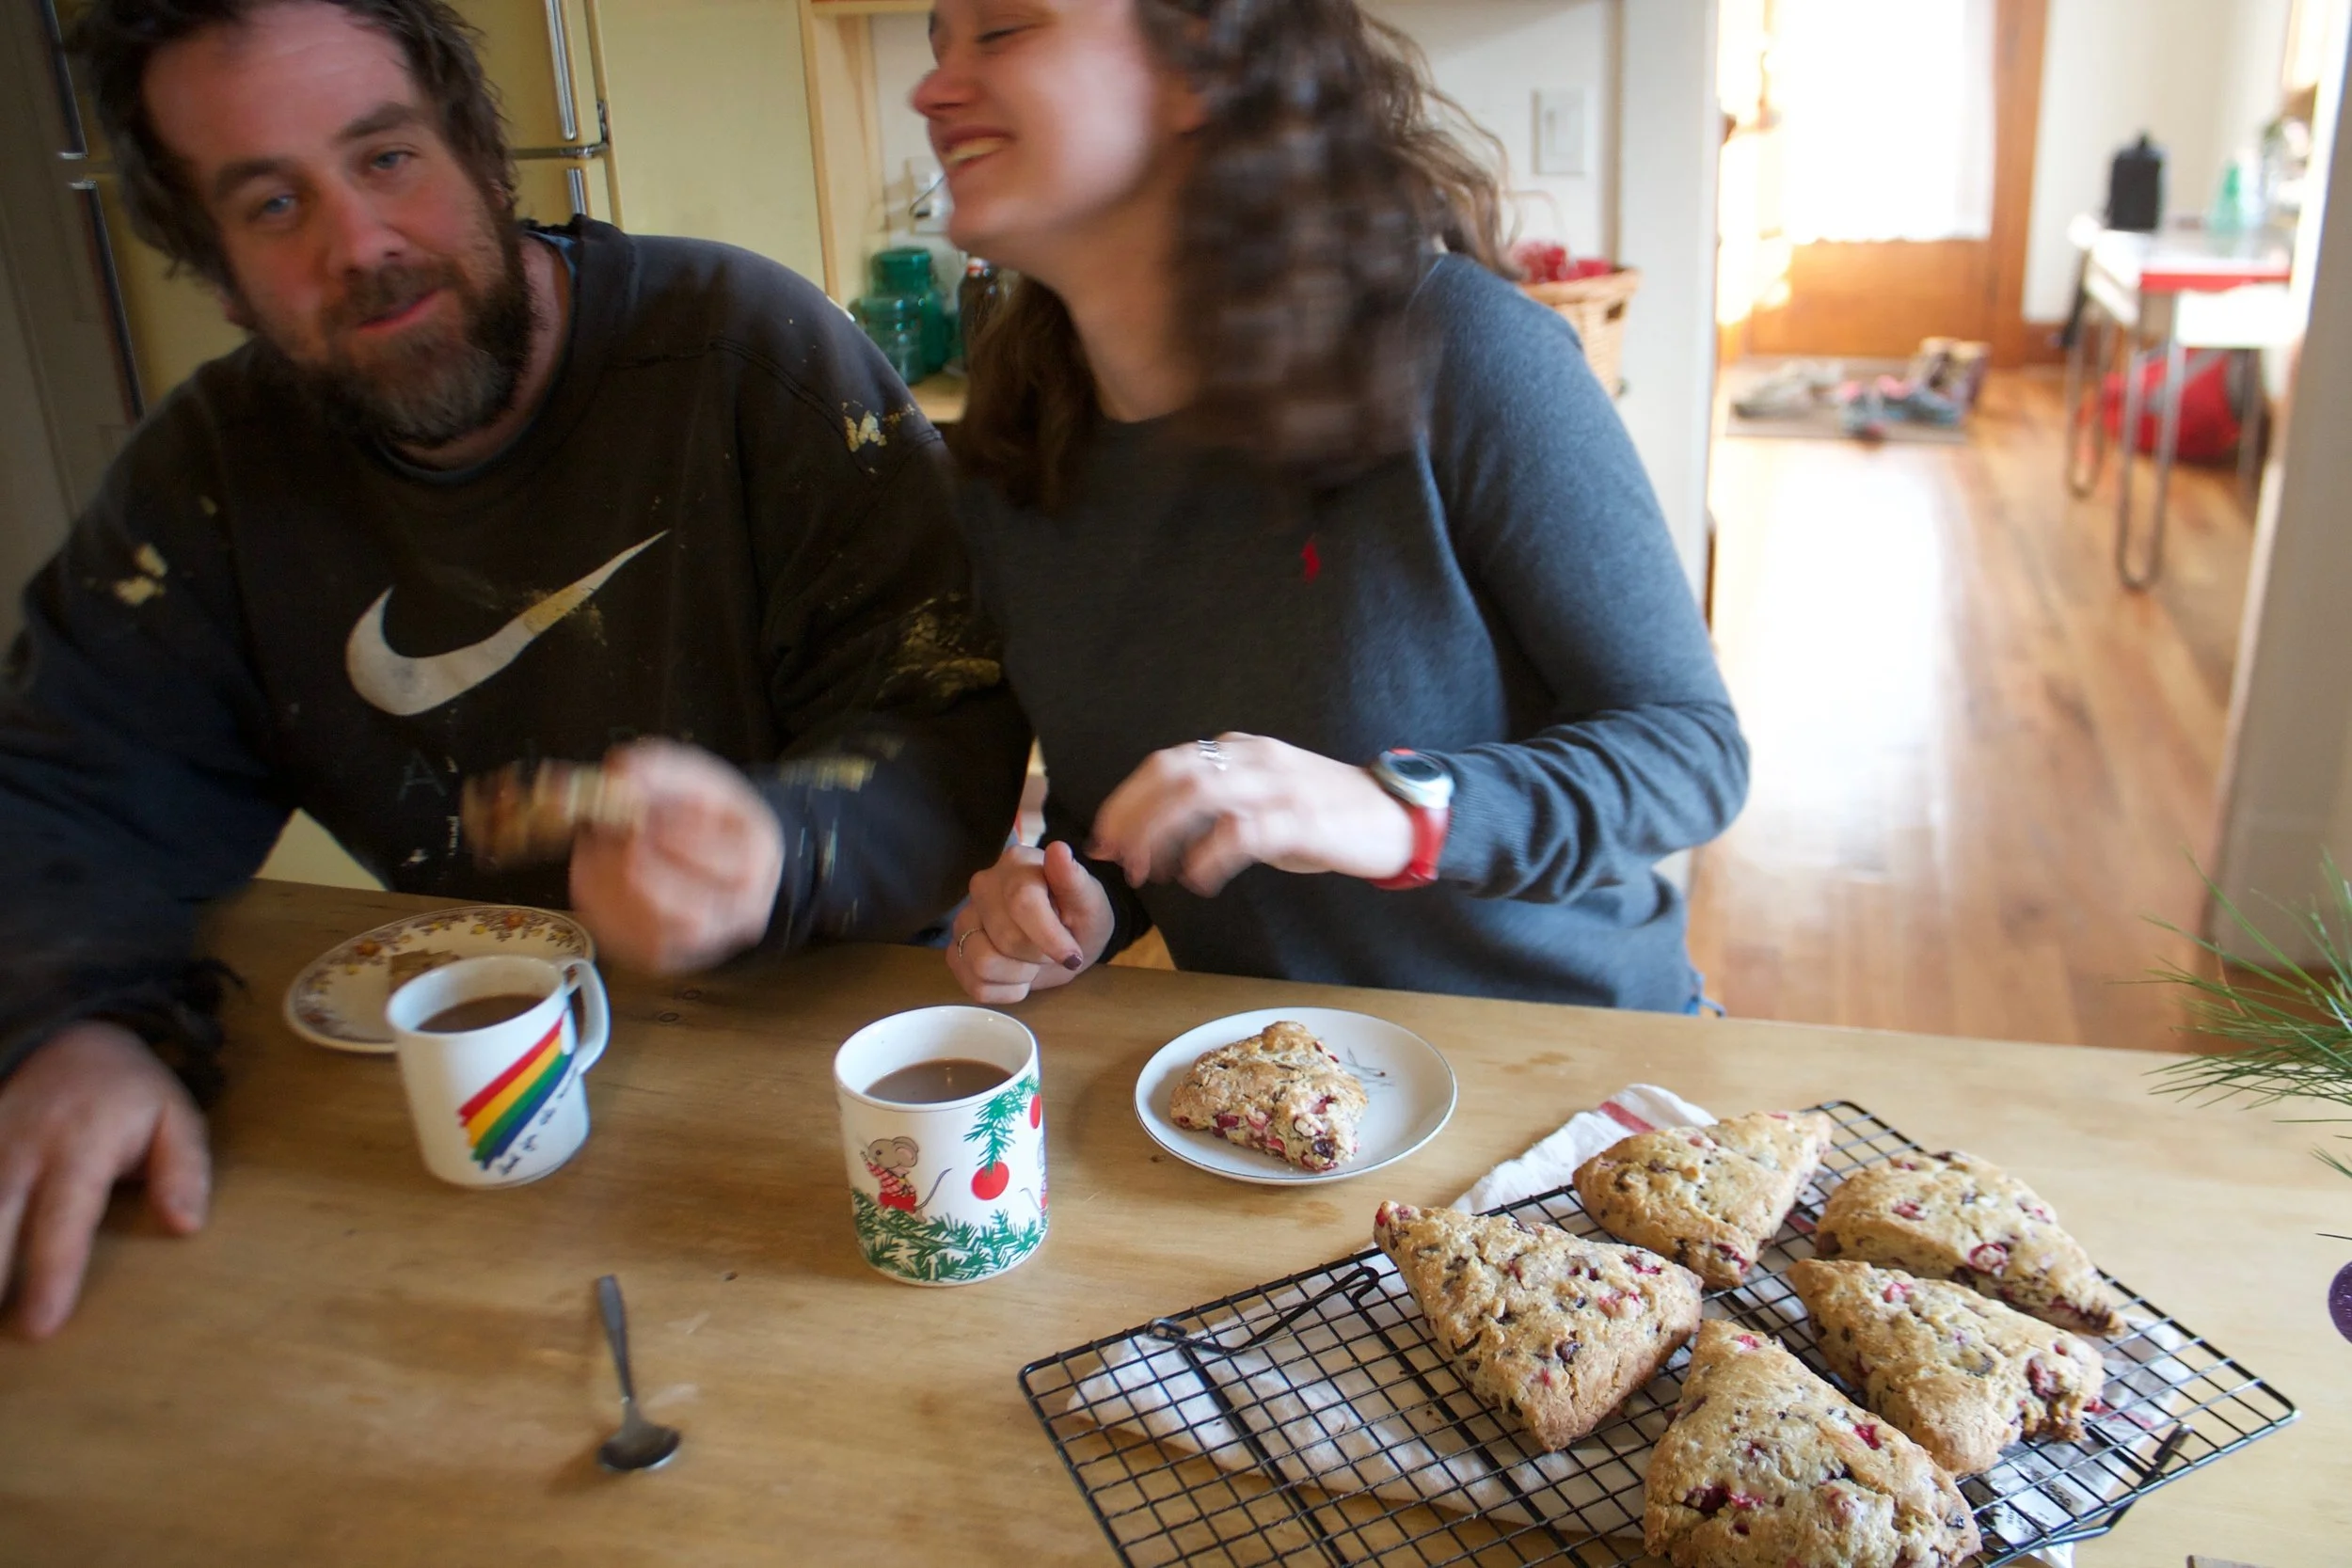
The other morning I woke up and was very determined that I must make scones. I don’t really know why scones, maybe it was the news of Prince Harrys engagement %u00a0(the dream of being princess is now dead)%u00a0%u00a0but it was a fierce determination..%u00a0 And they had to be cranberry because well, I have a tone of cranberries in the fridge. And I know I could have made them just cranberriy, but why not add a little chocolate. Still sensible in my book.%u00a0 So scones I did make. And after he shared one with Barb,%u00a0the mr has been eating them for breakfast which is just another reason why they are sensible…they are breakfast food.%u00a0
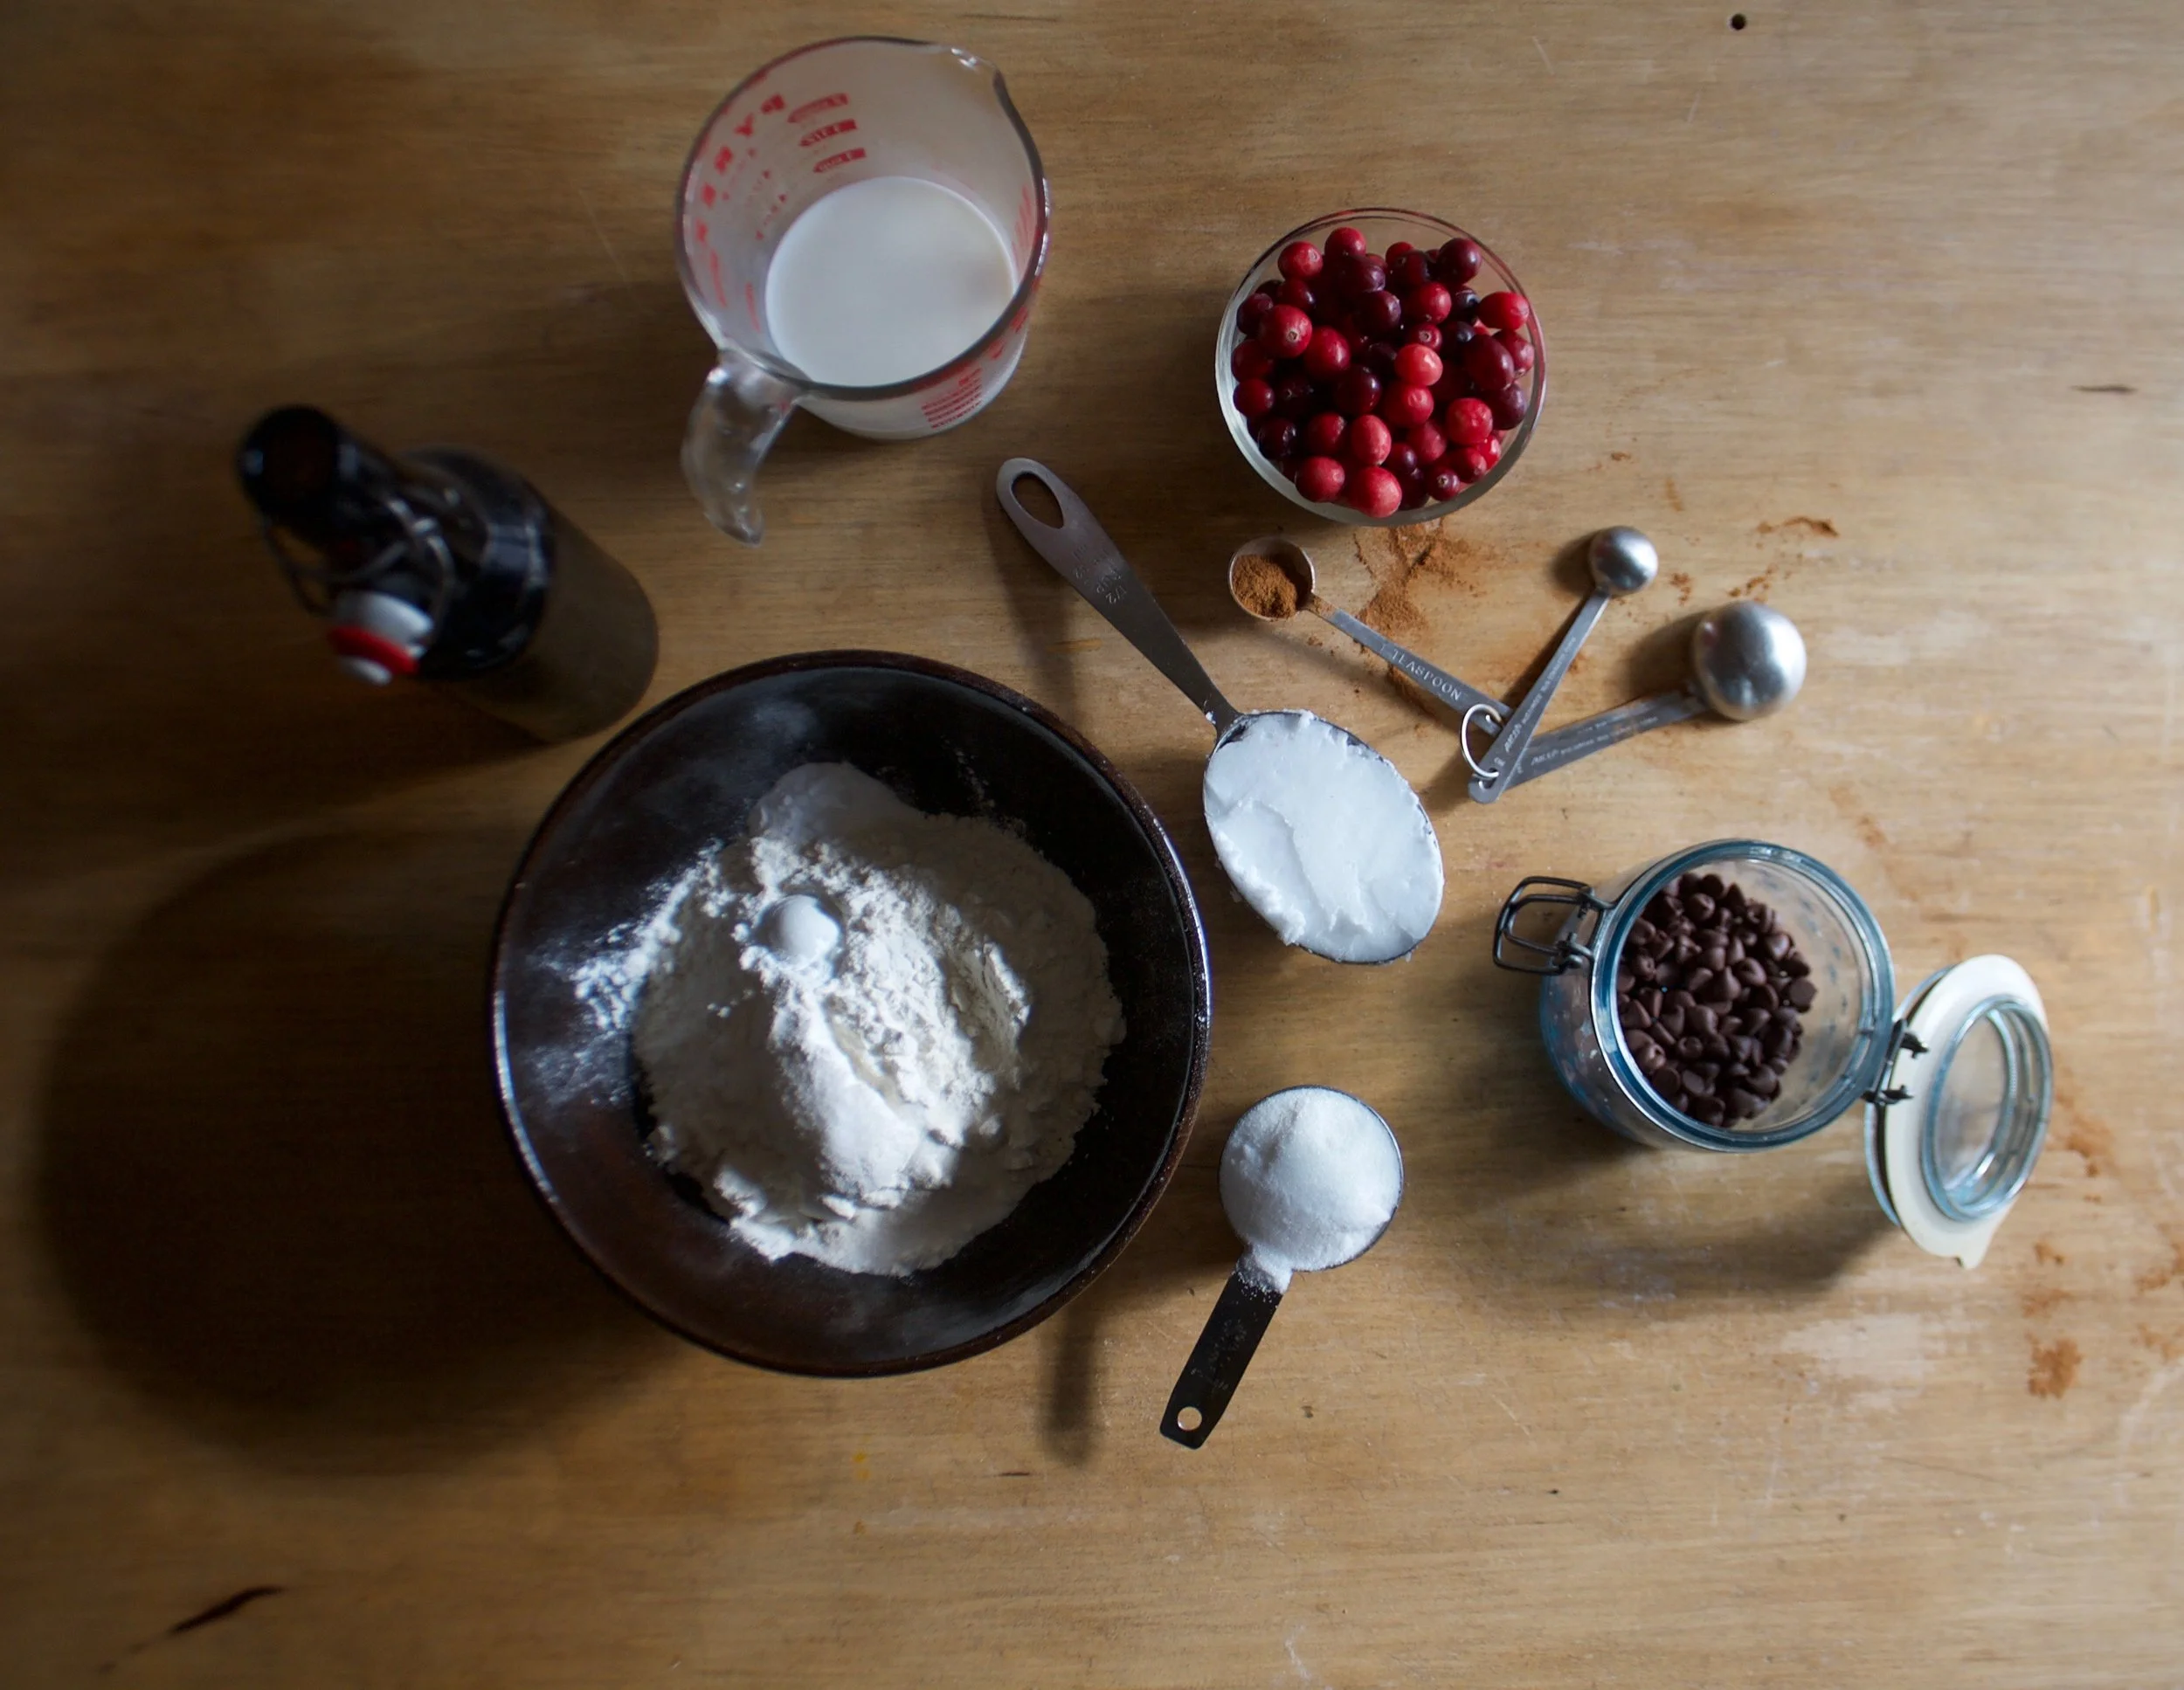
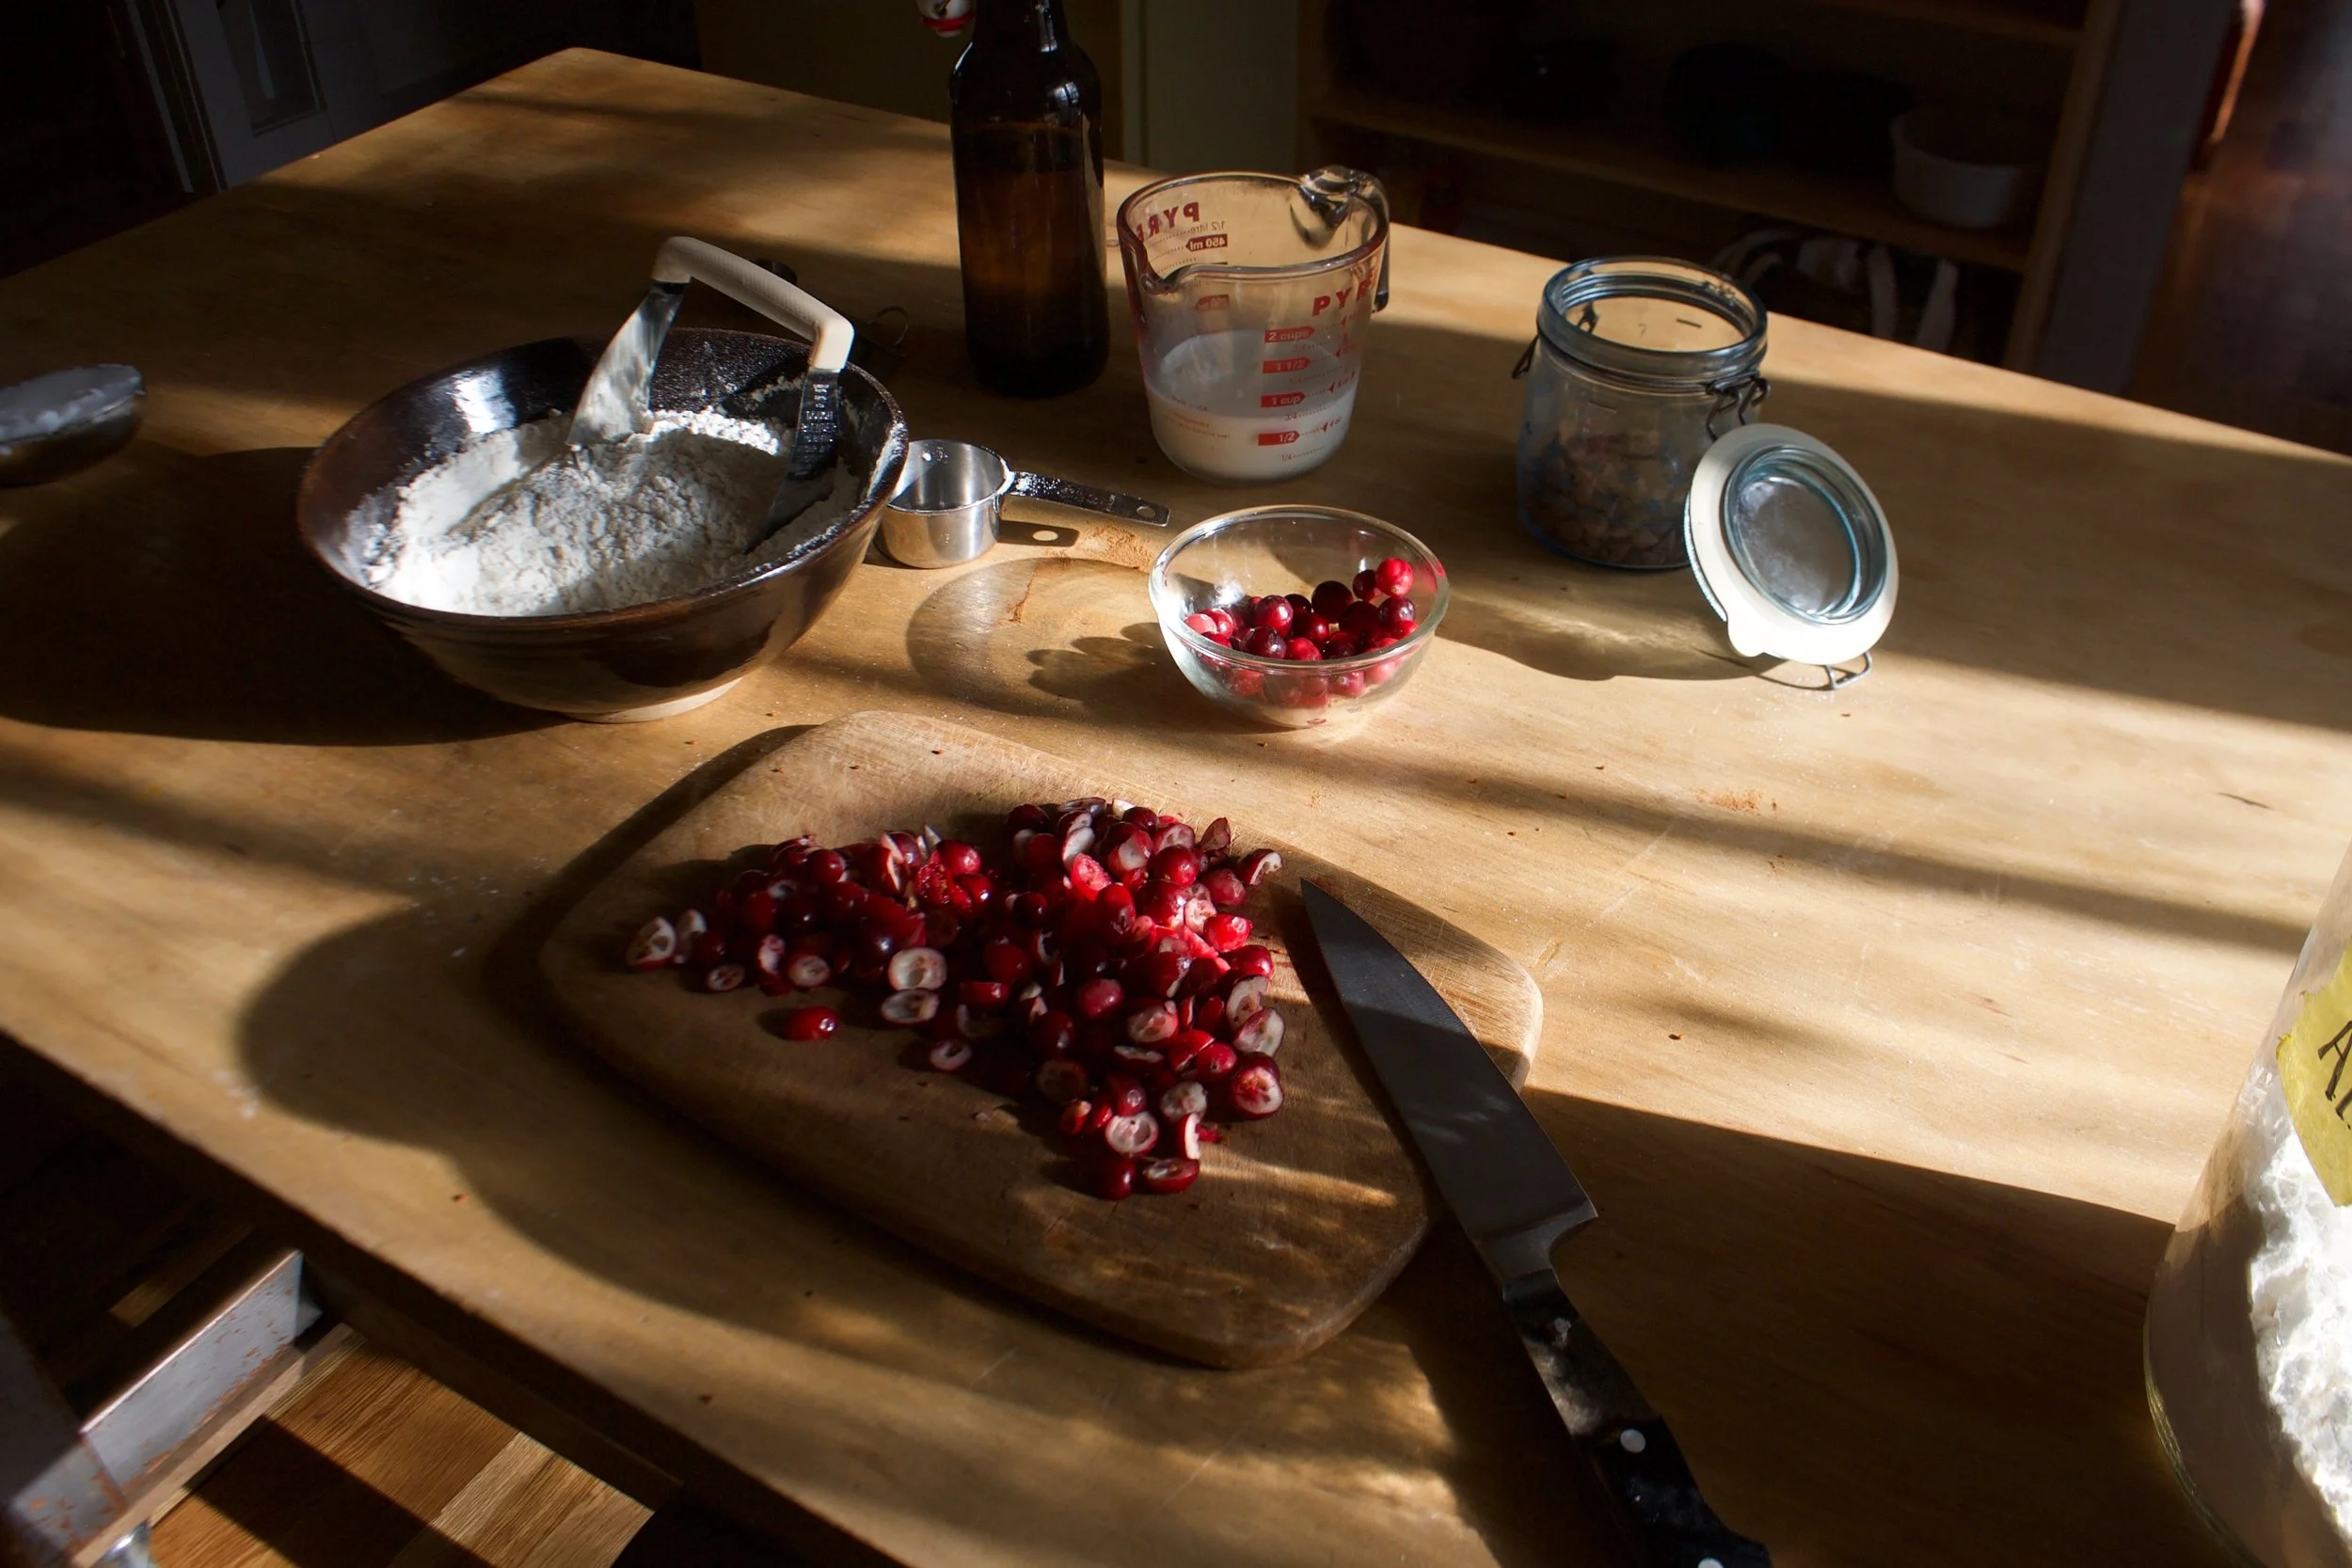
The stuff. Flour, baking soda, baking powder, and salt (all in the bowl). Sugar, coconut oil, cinnamon, soy milk and vinegar. And of course fresh cranberries and chocolate chips.
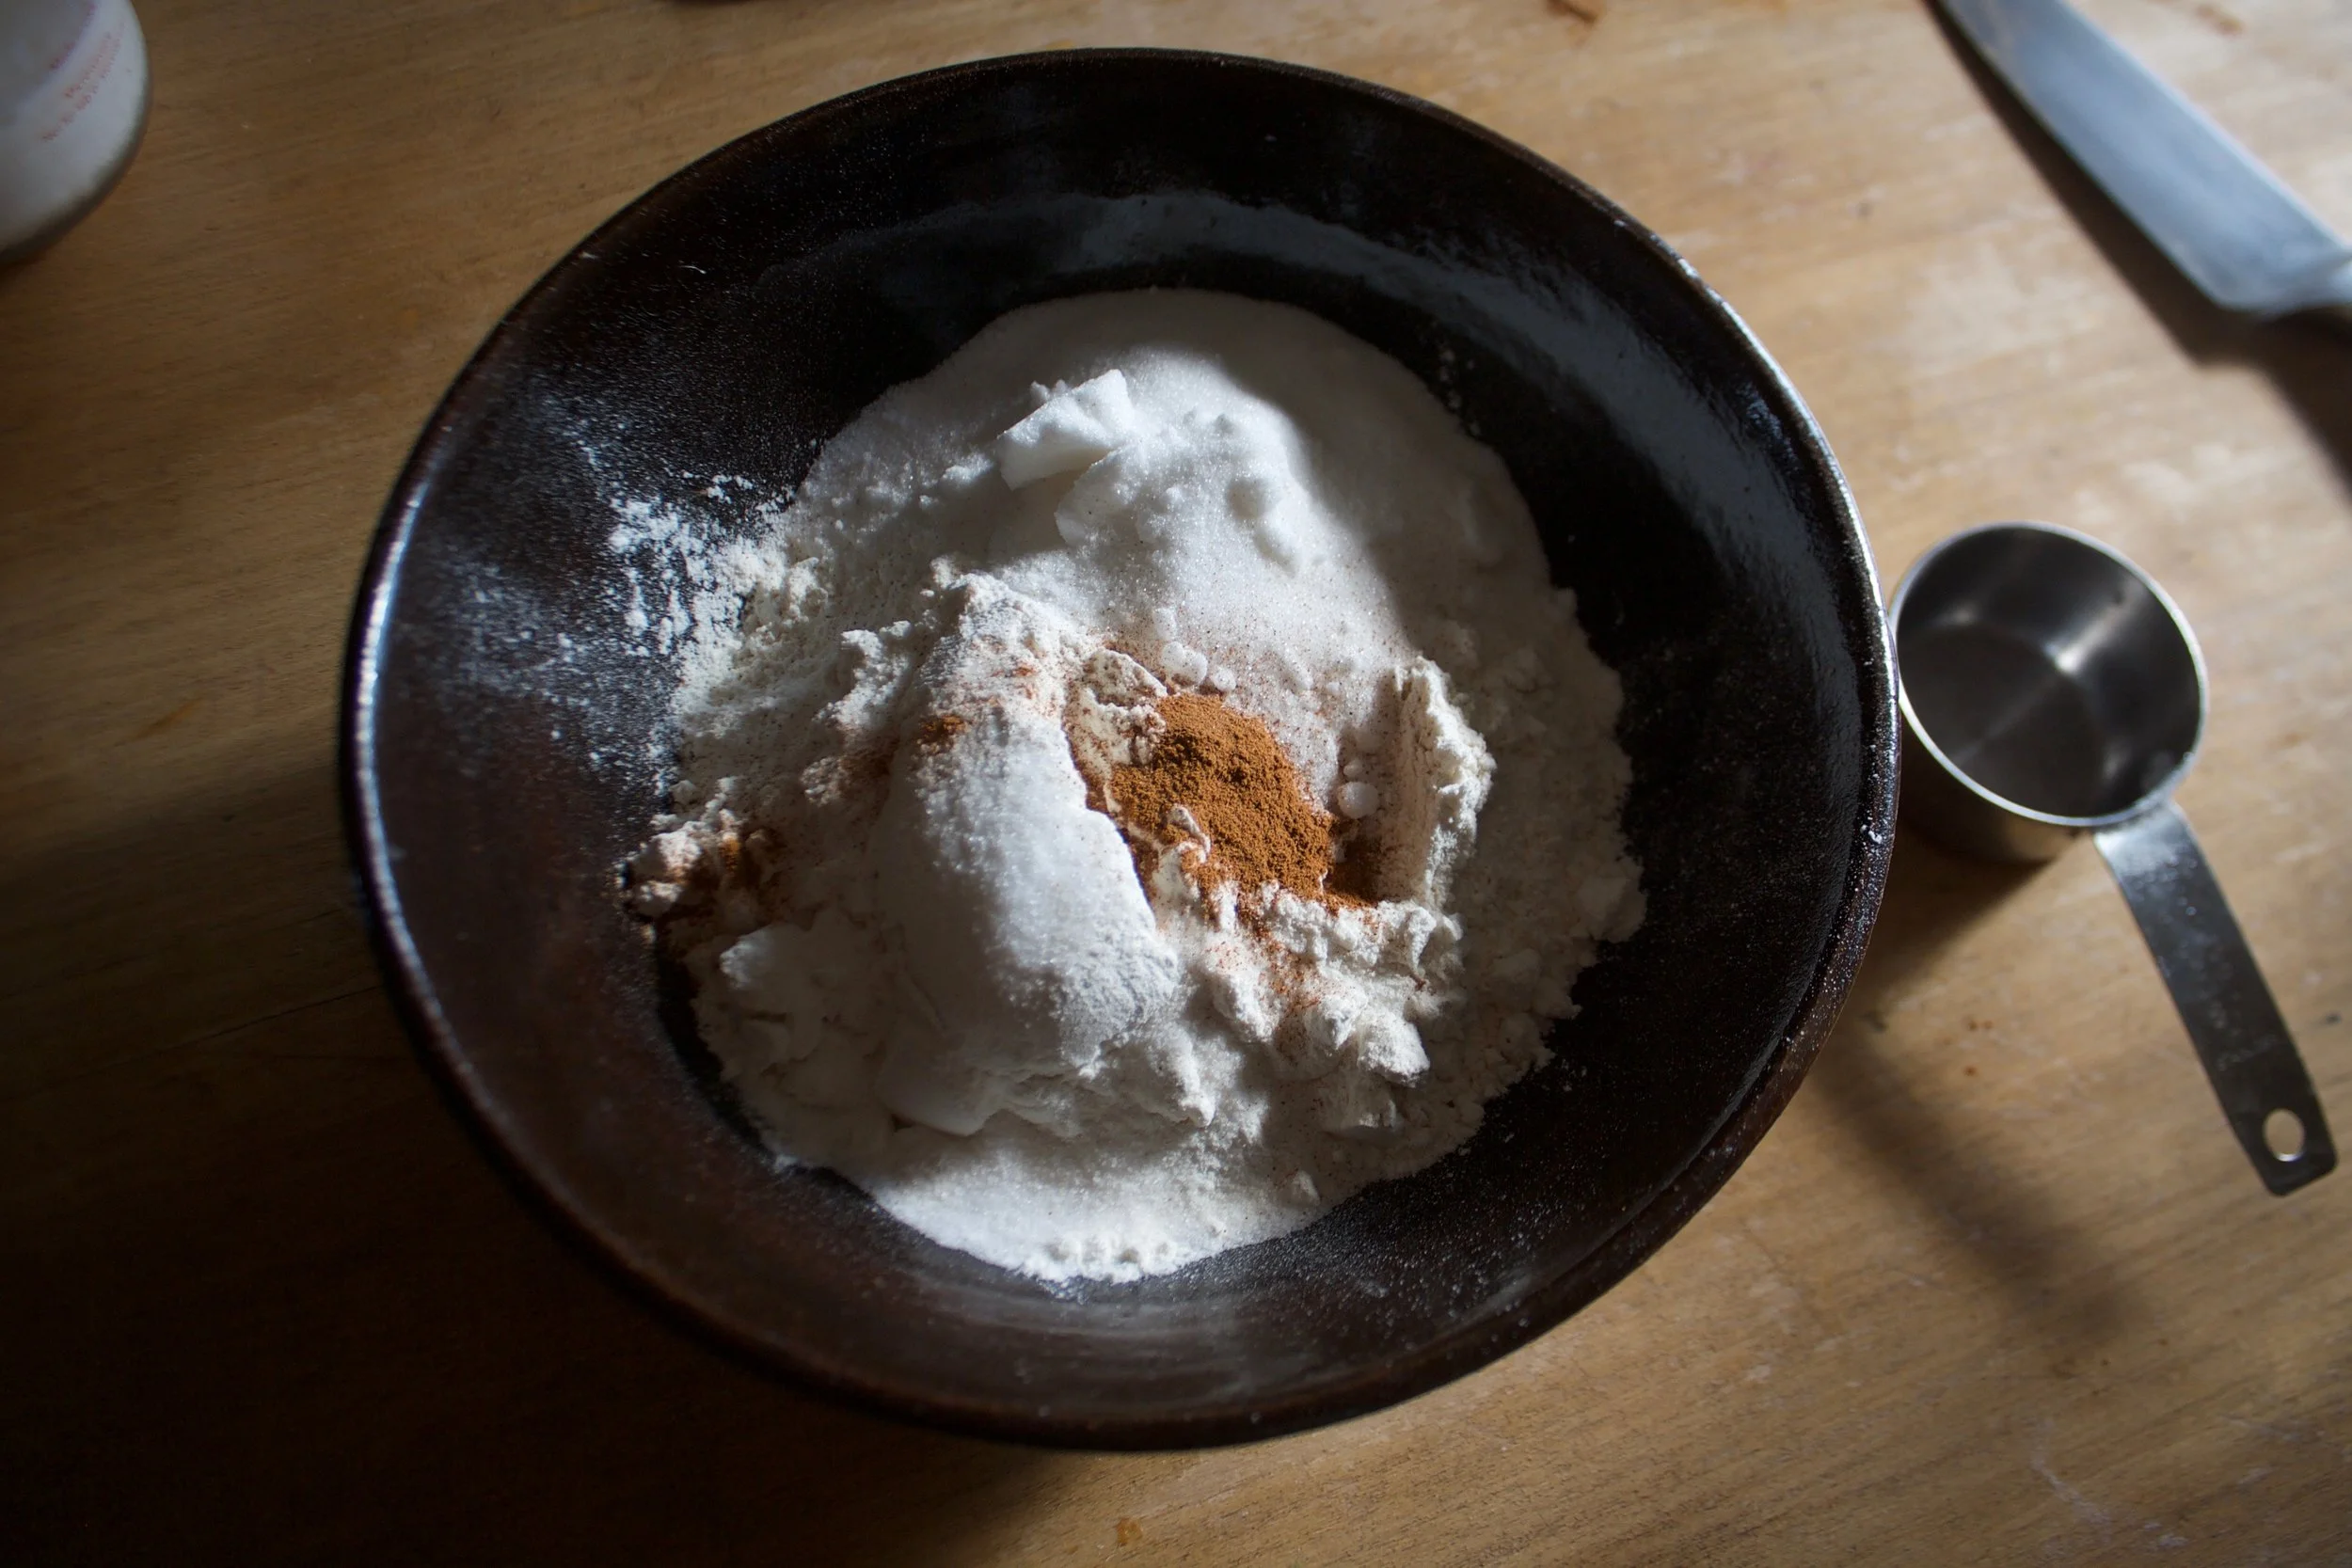
The sugar and cinnamon go into the bowl with the rest of the dry…whisk it all together. Oh, and preheat the oven.
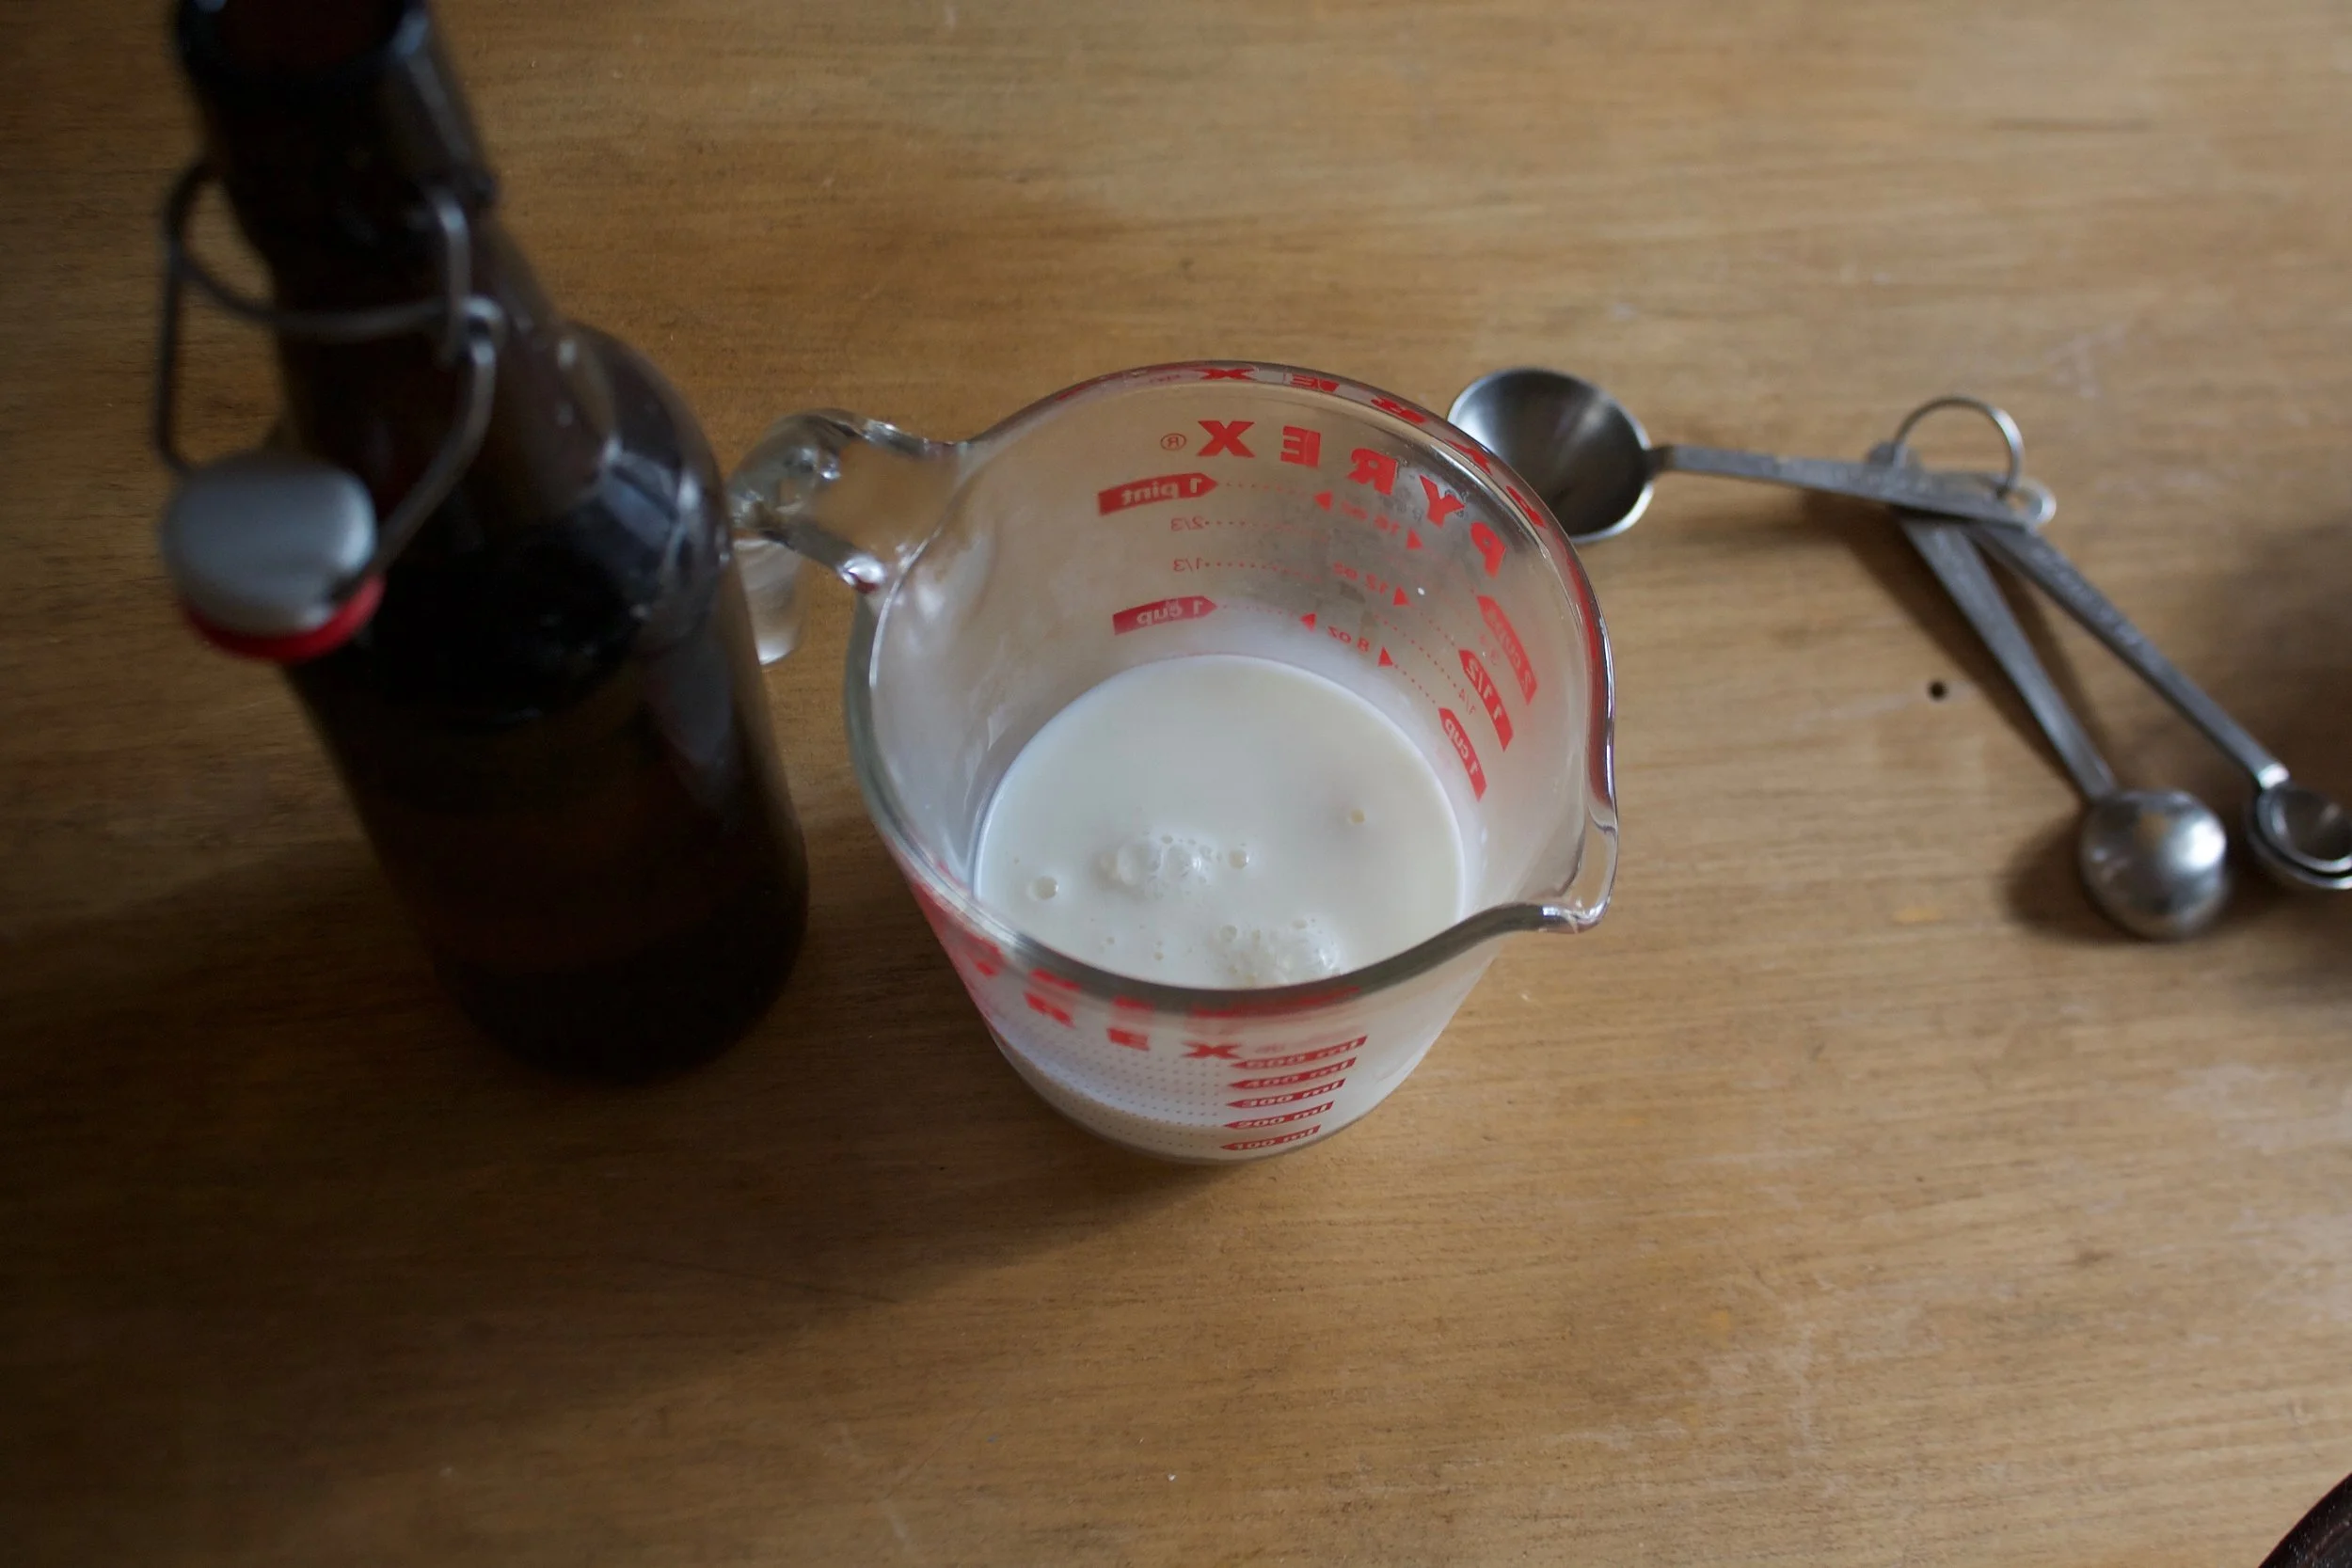
Mix a tablespoon of vinegar into the milk so it starts to sour.
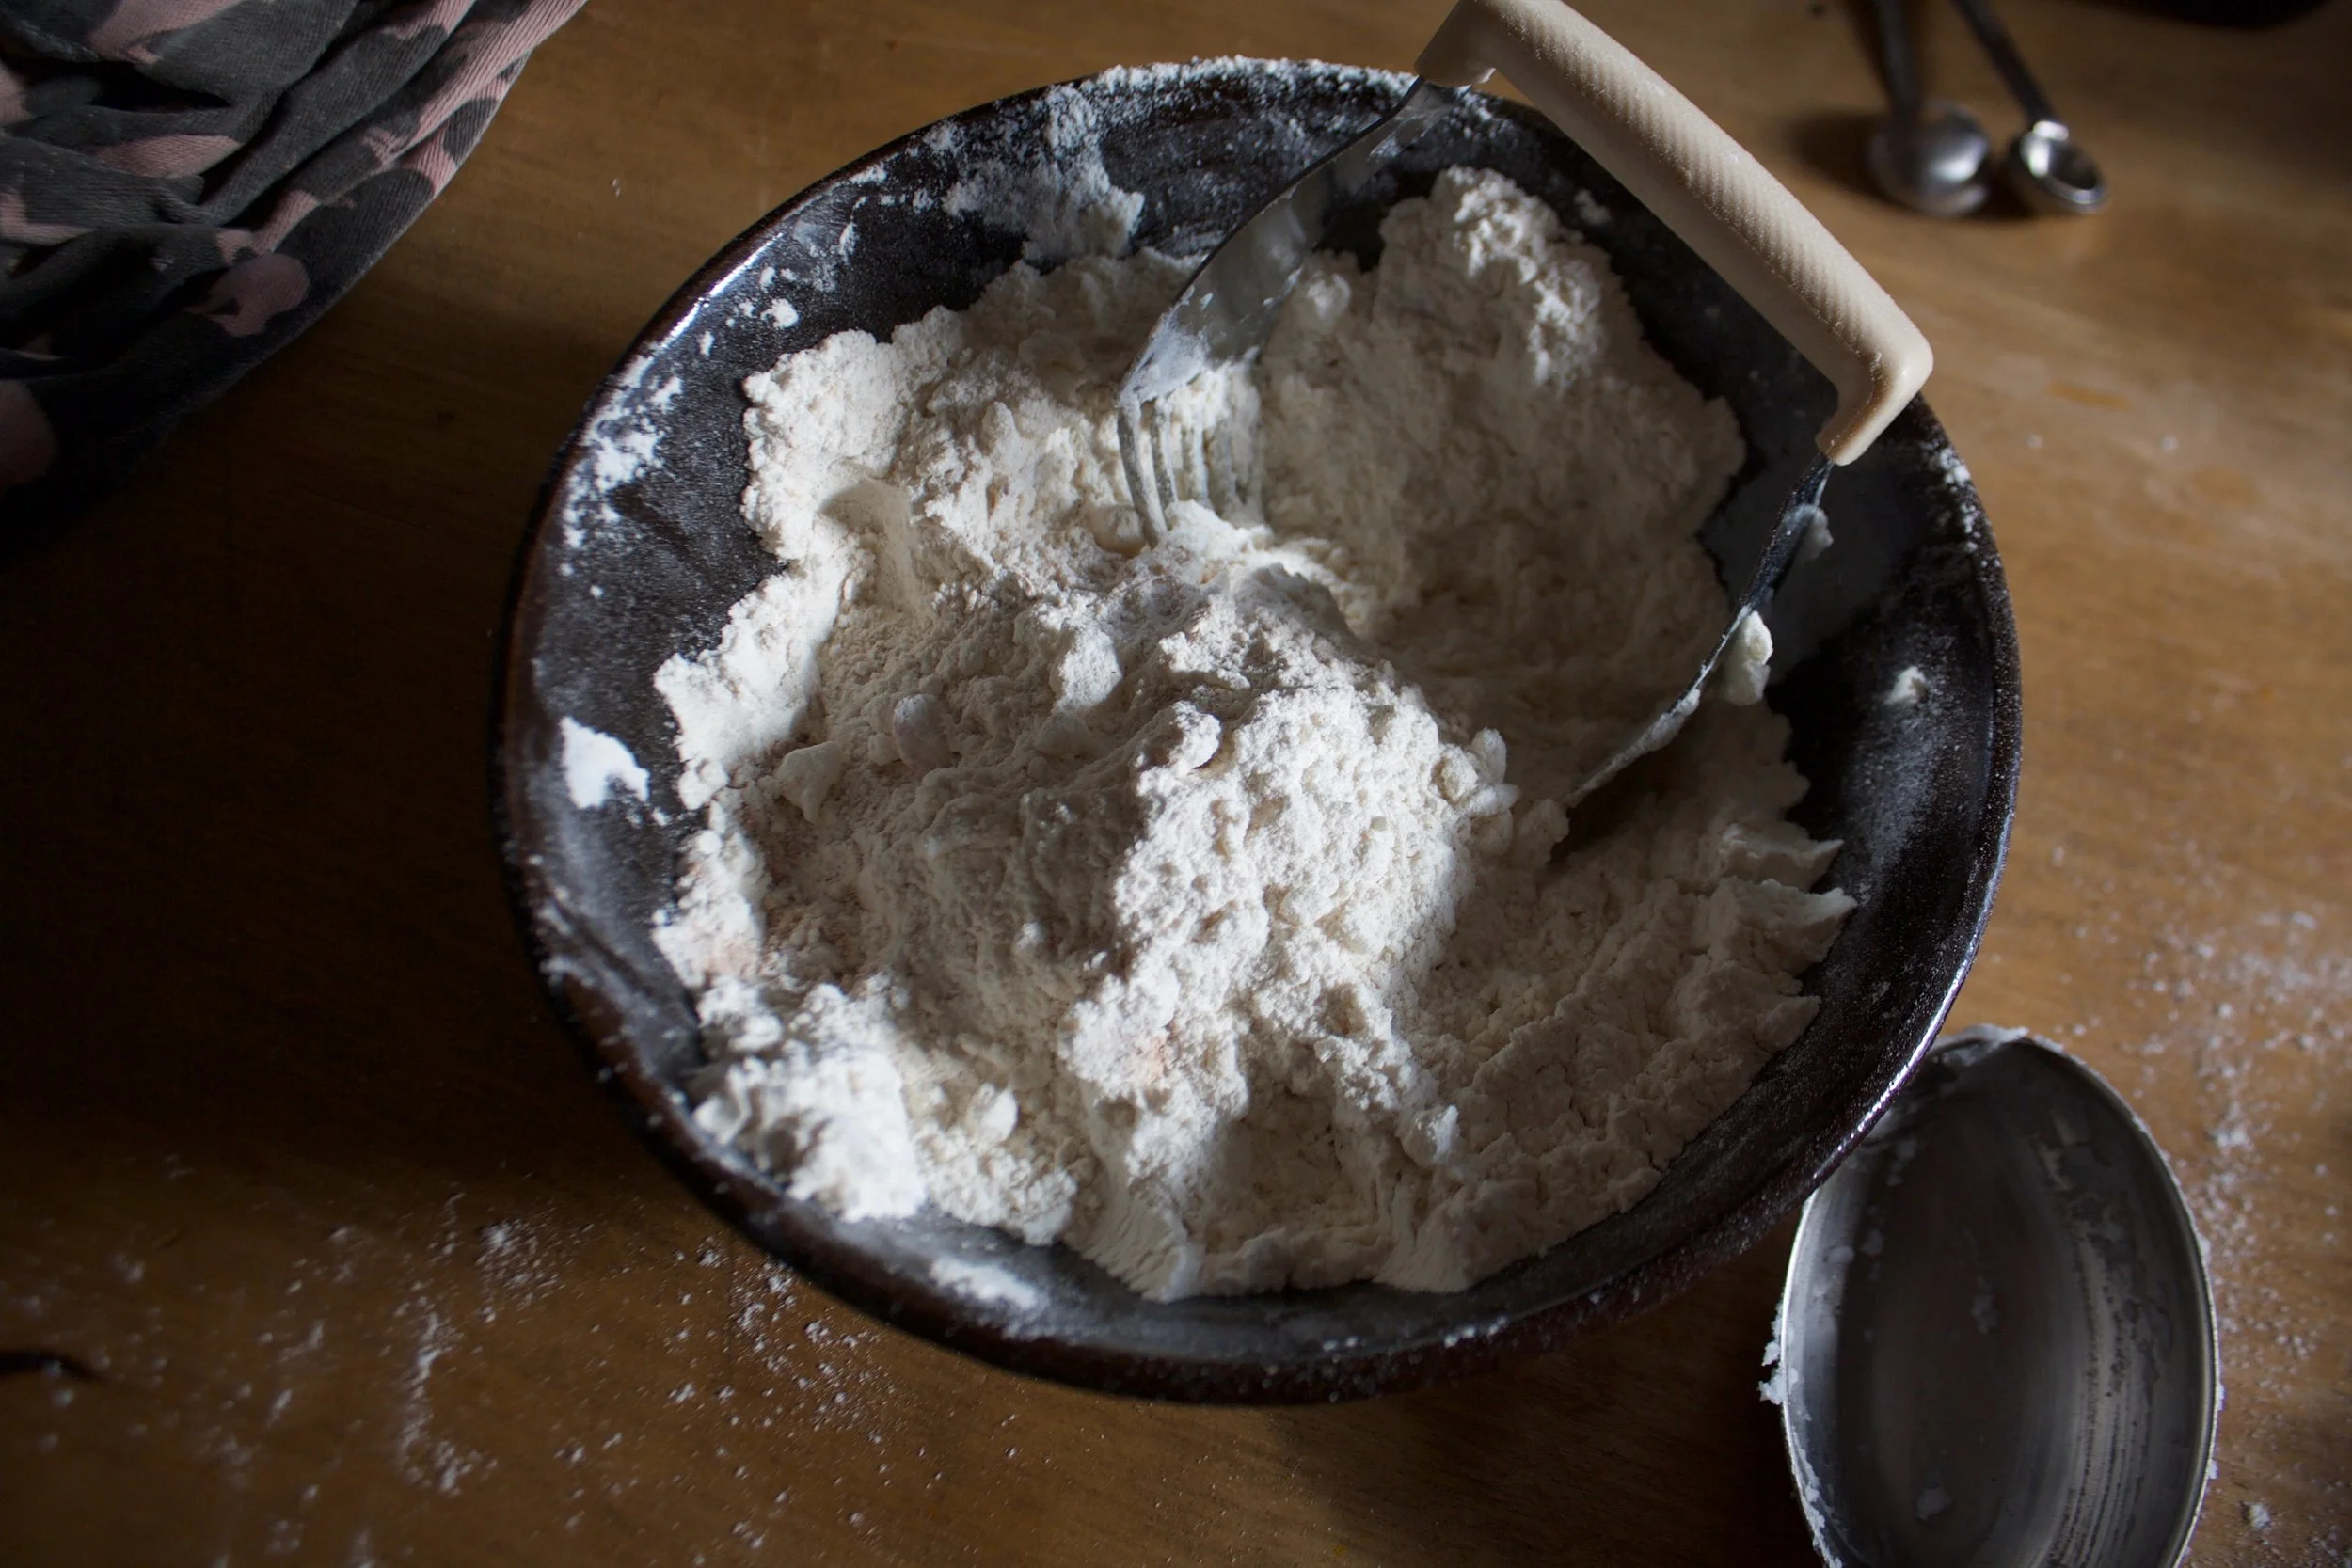
Coconut oil gets cut in to the mixture.. You want a course crumb, kind of like pea sized chunks of oil mix around in there.
And now rough chop the cranberries which is a little difficutl because they all want to roll away, but you can do it.%u00a0
I rough chopped the chocolate chips as well because why not.
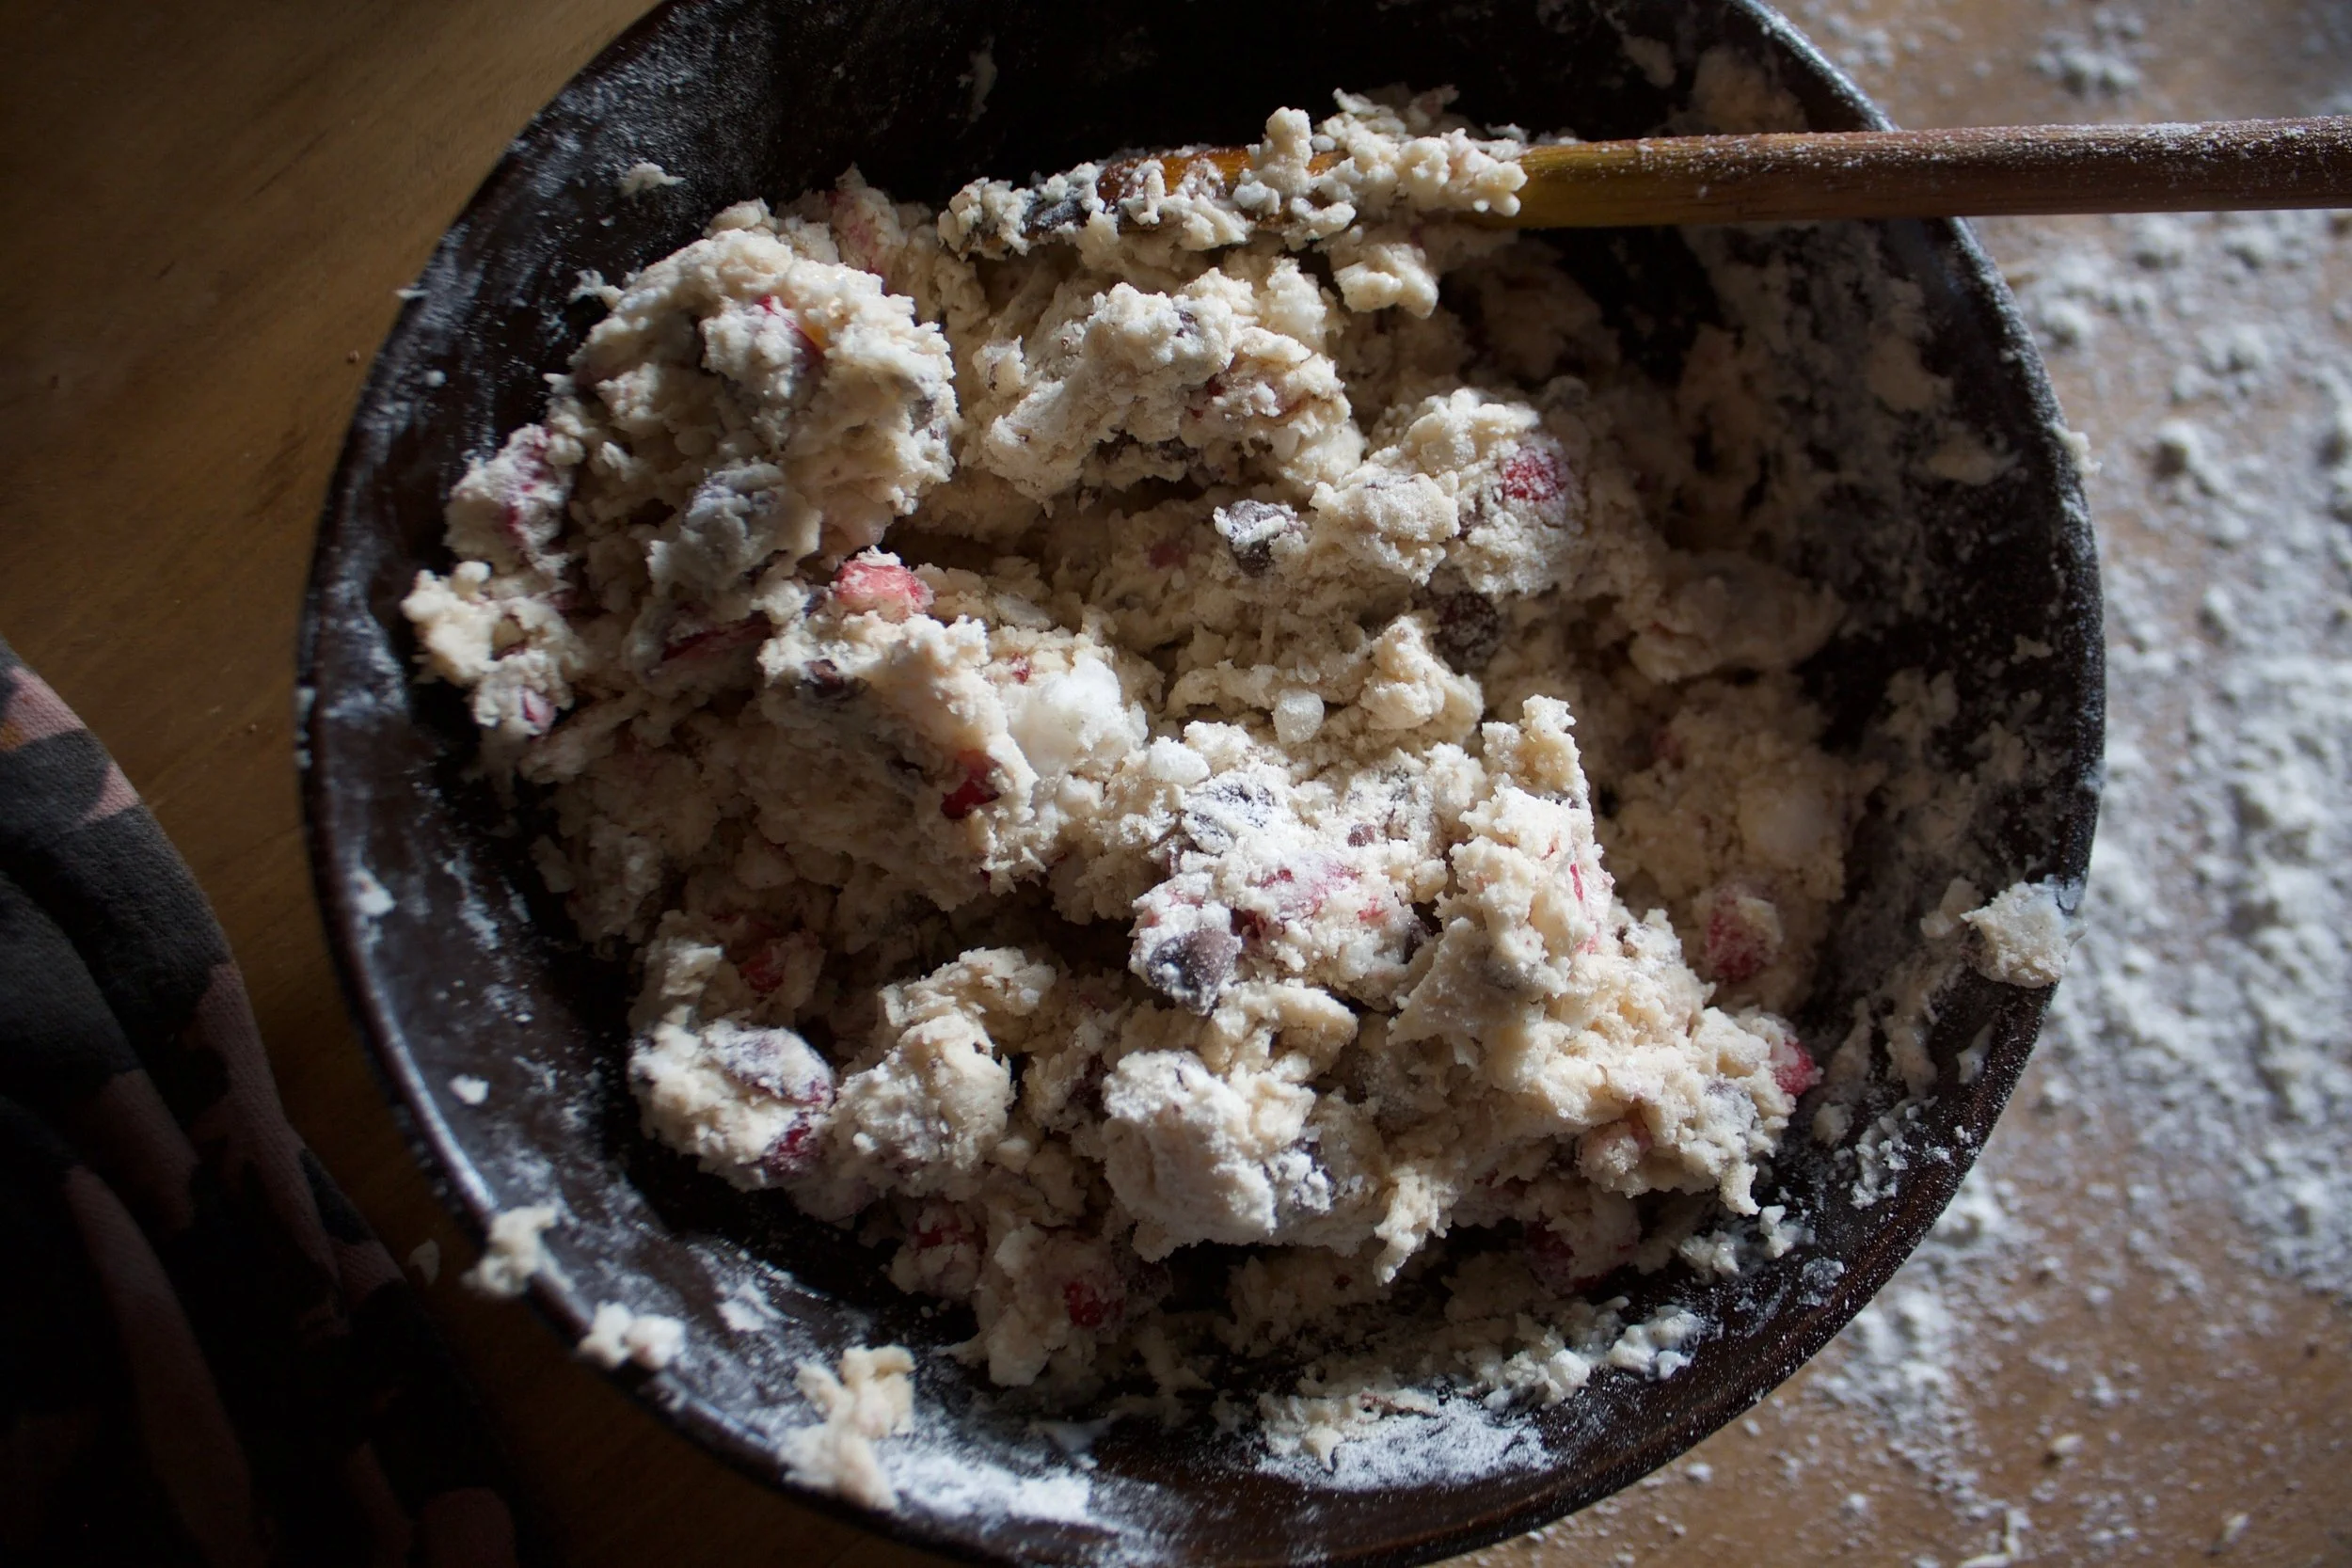
Mix the cranberries and chocolate into the mixture until evenly incorporated.
Gently mix until the dough just comes together. Dump our onto a well floured surface.%u00a0
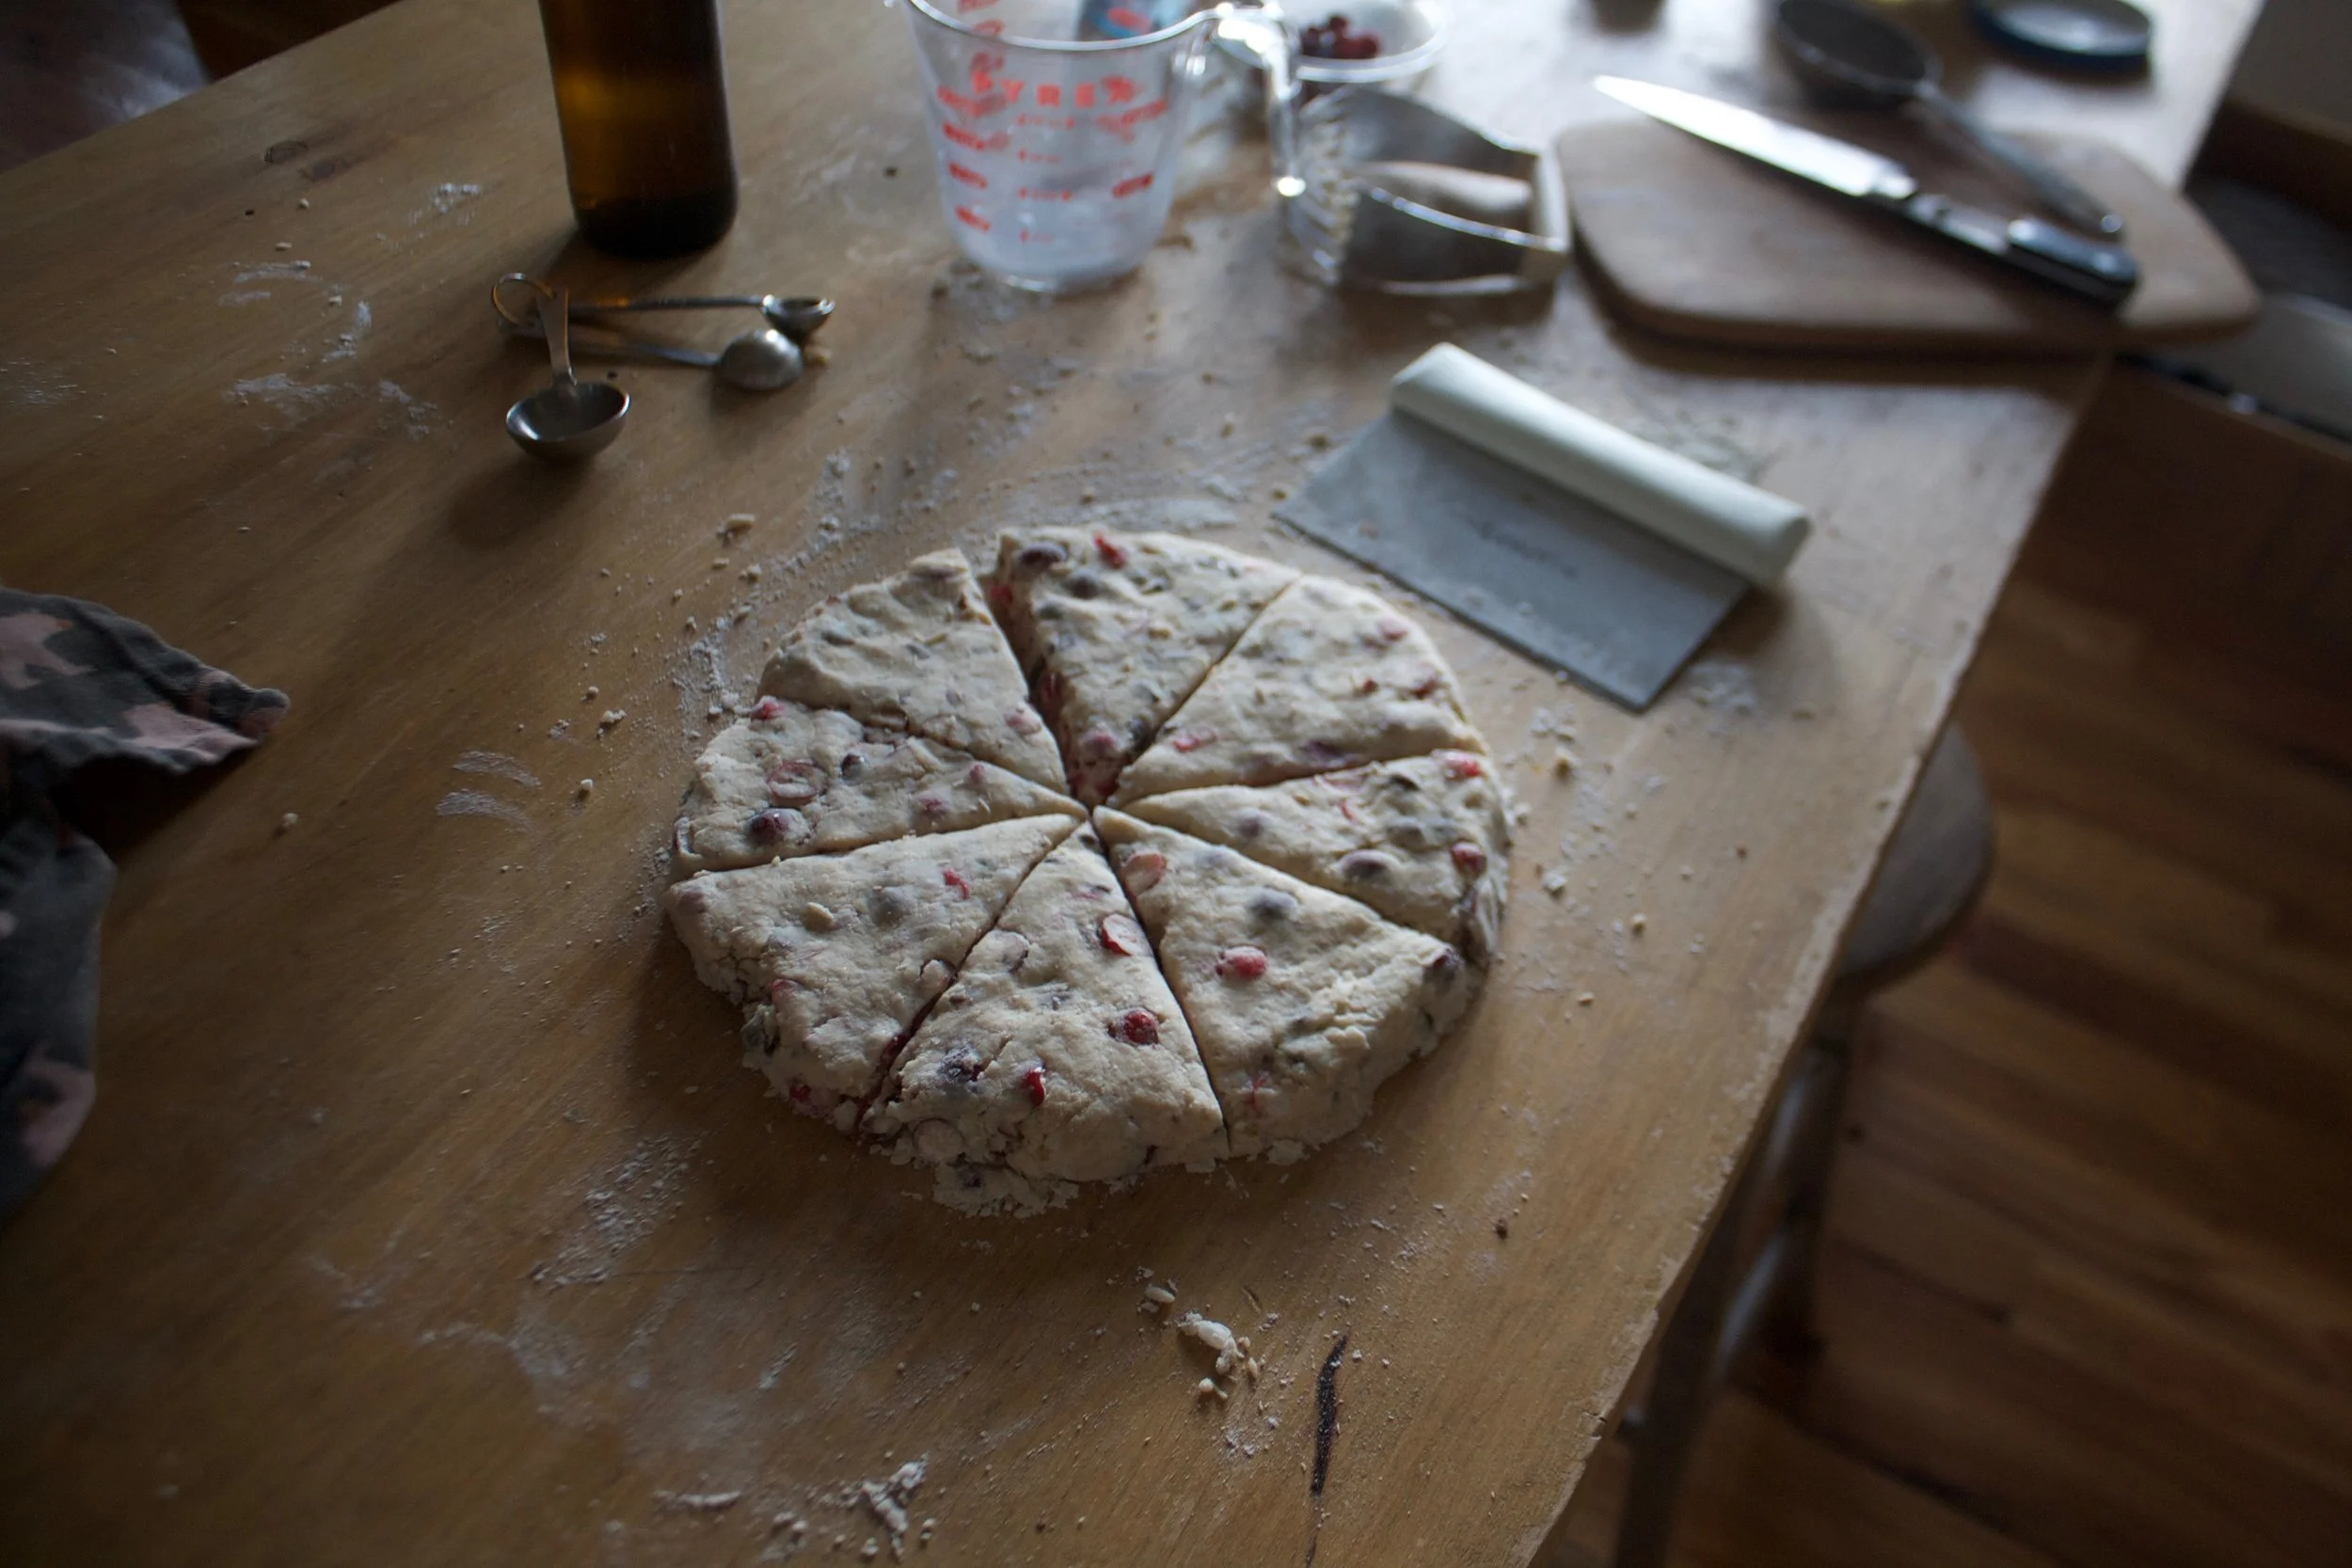
Pat the dough into a circle and flatten out until it’s about an inch and a half thick. Cut the circle into 8-10 equal pieces.%u00a0
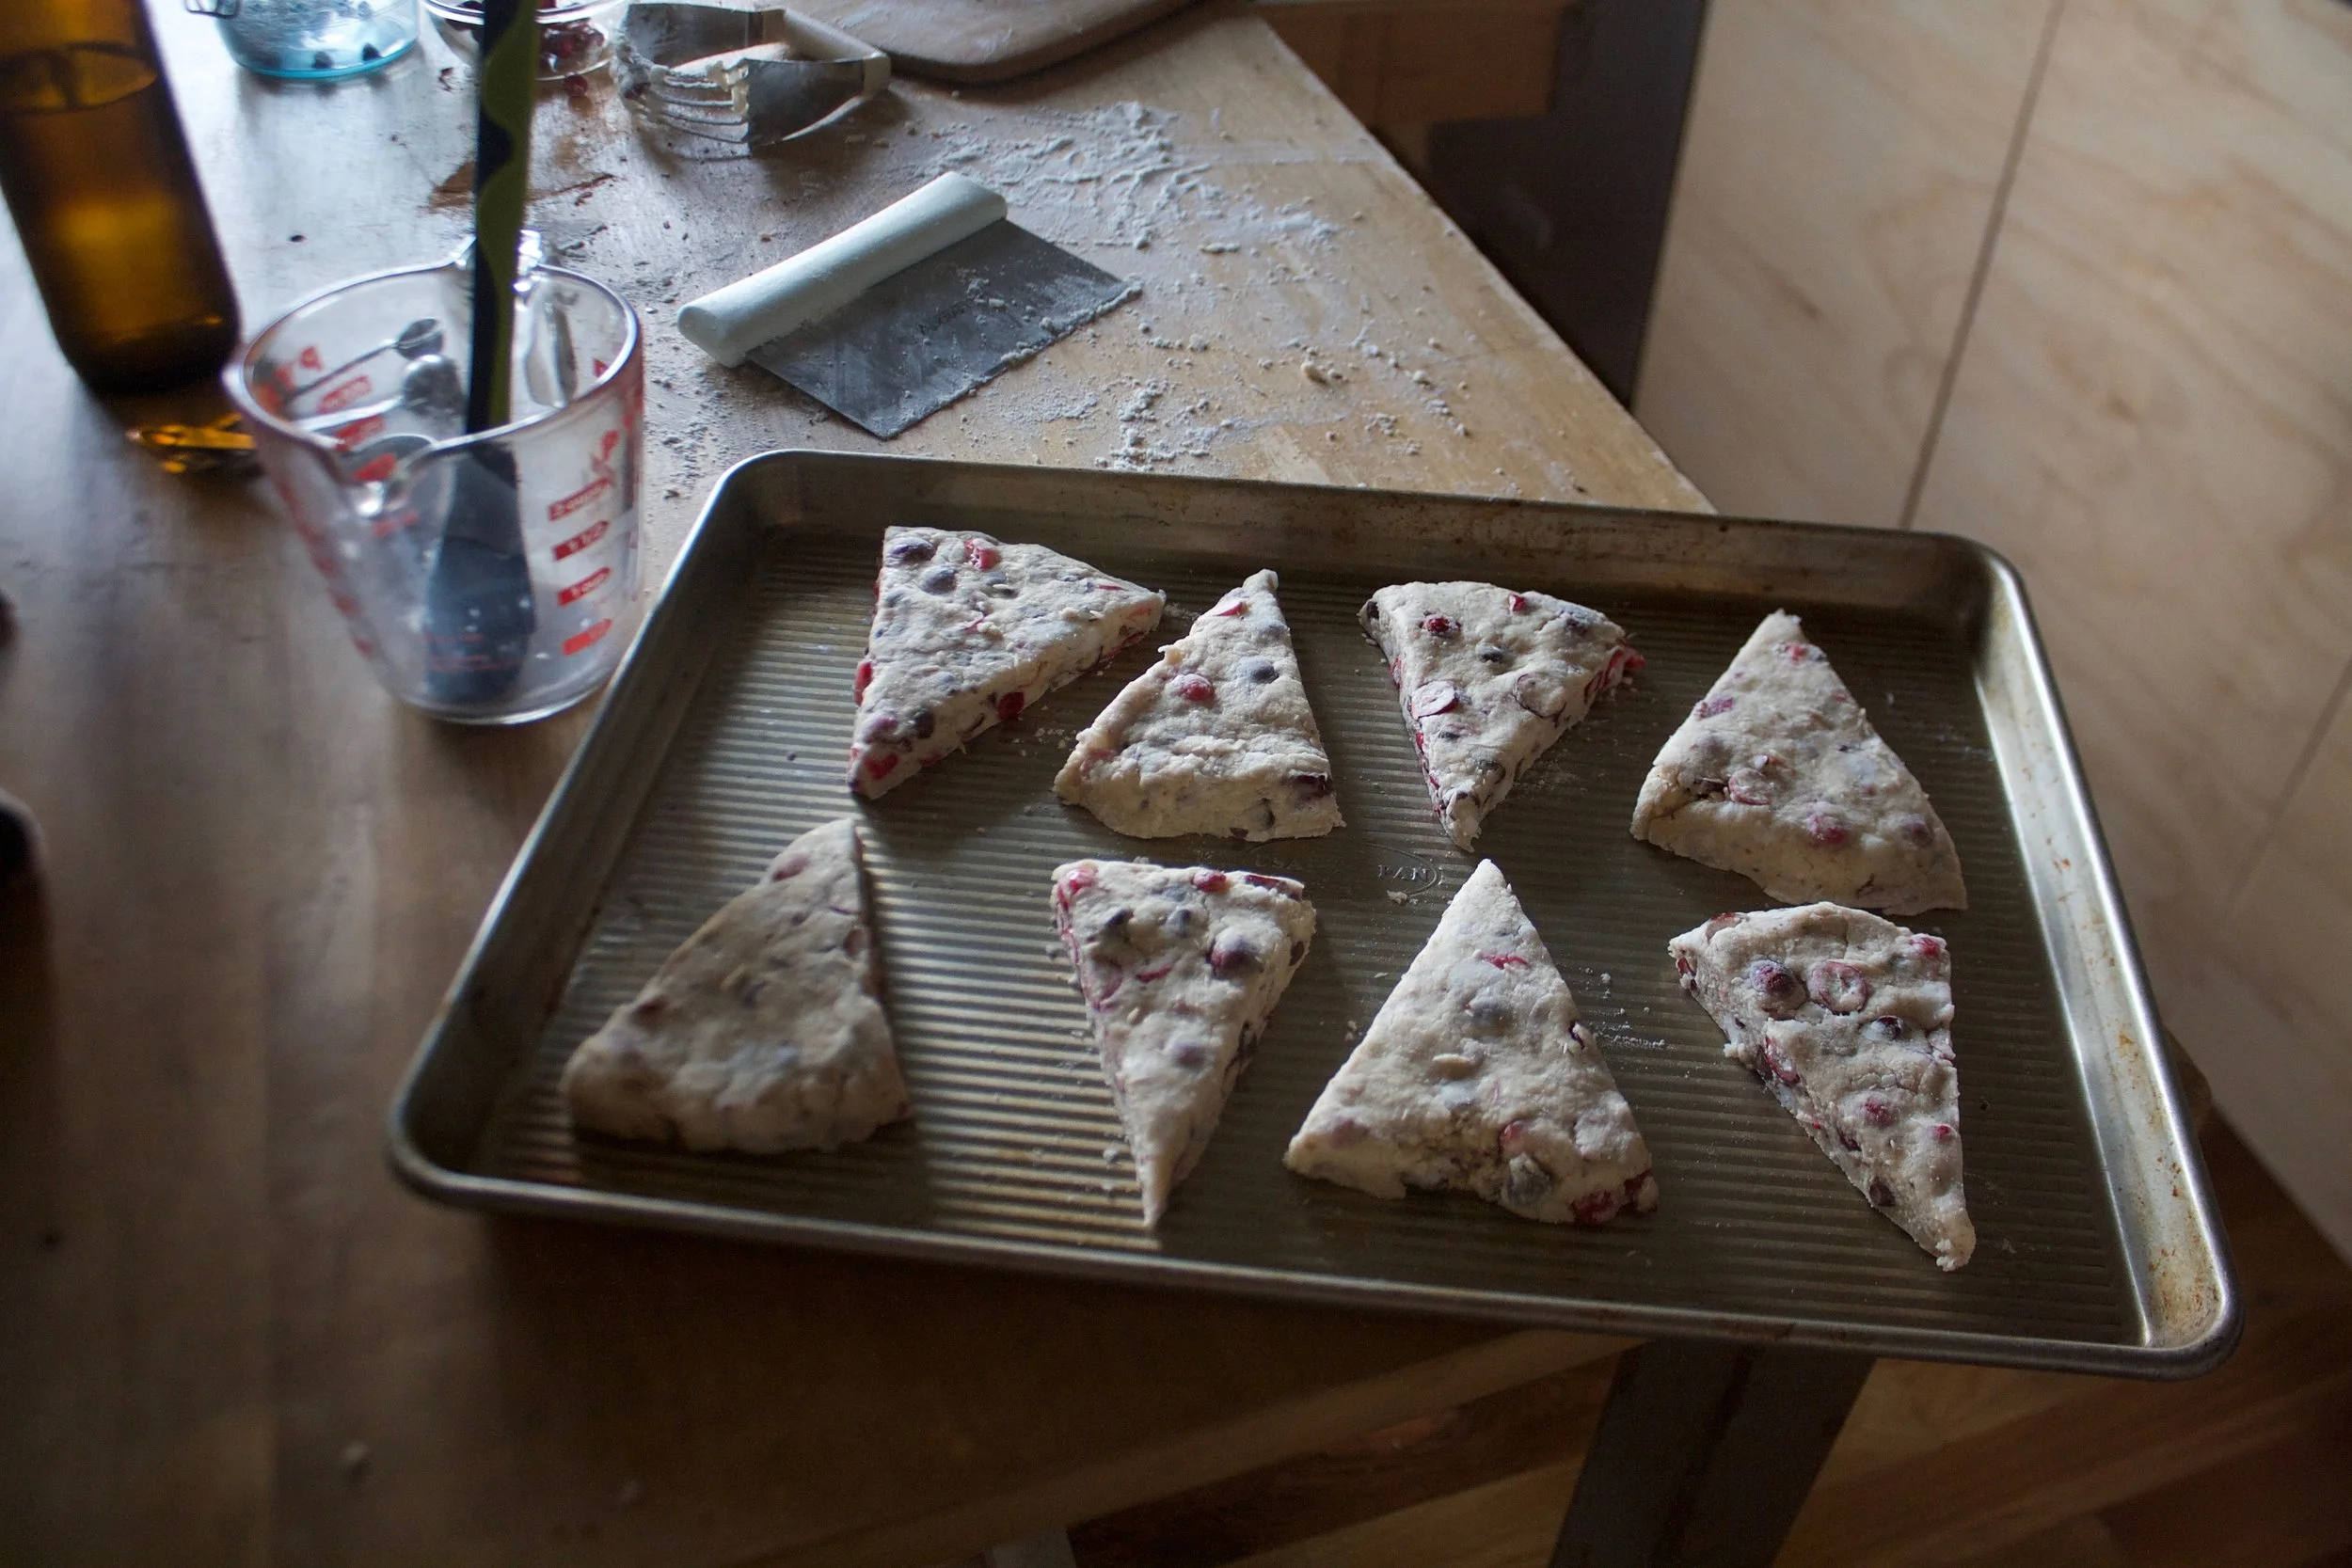
Place the scones on a baking sheet and brush with a little milk. Pop them into the preheated oven%u00a0
Pop them out when they are all nice and golden brown.%u00a0
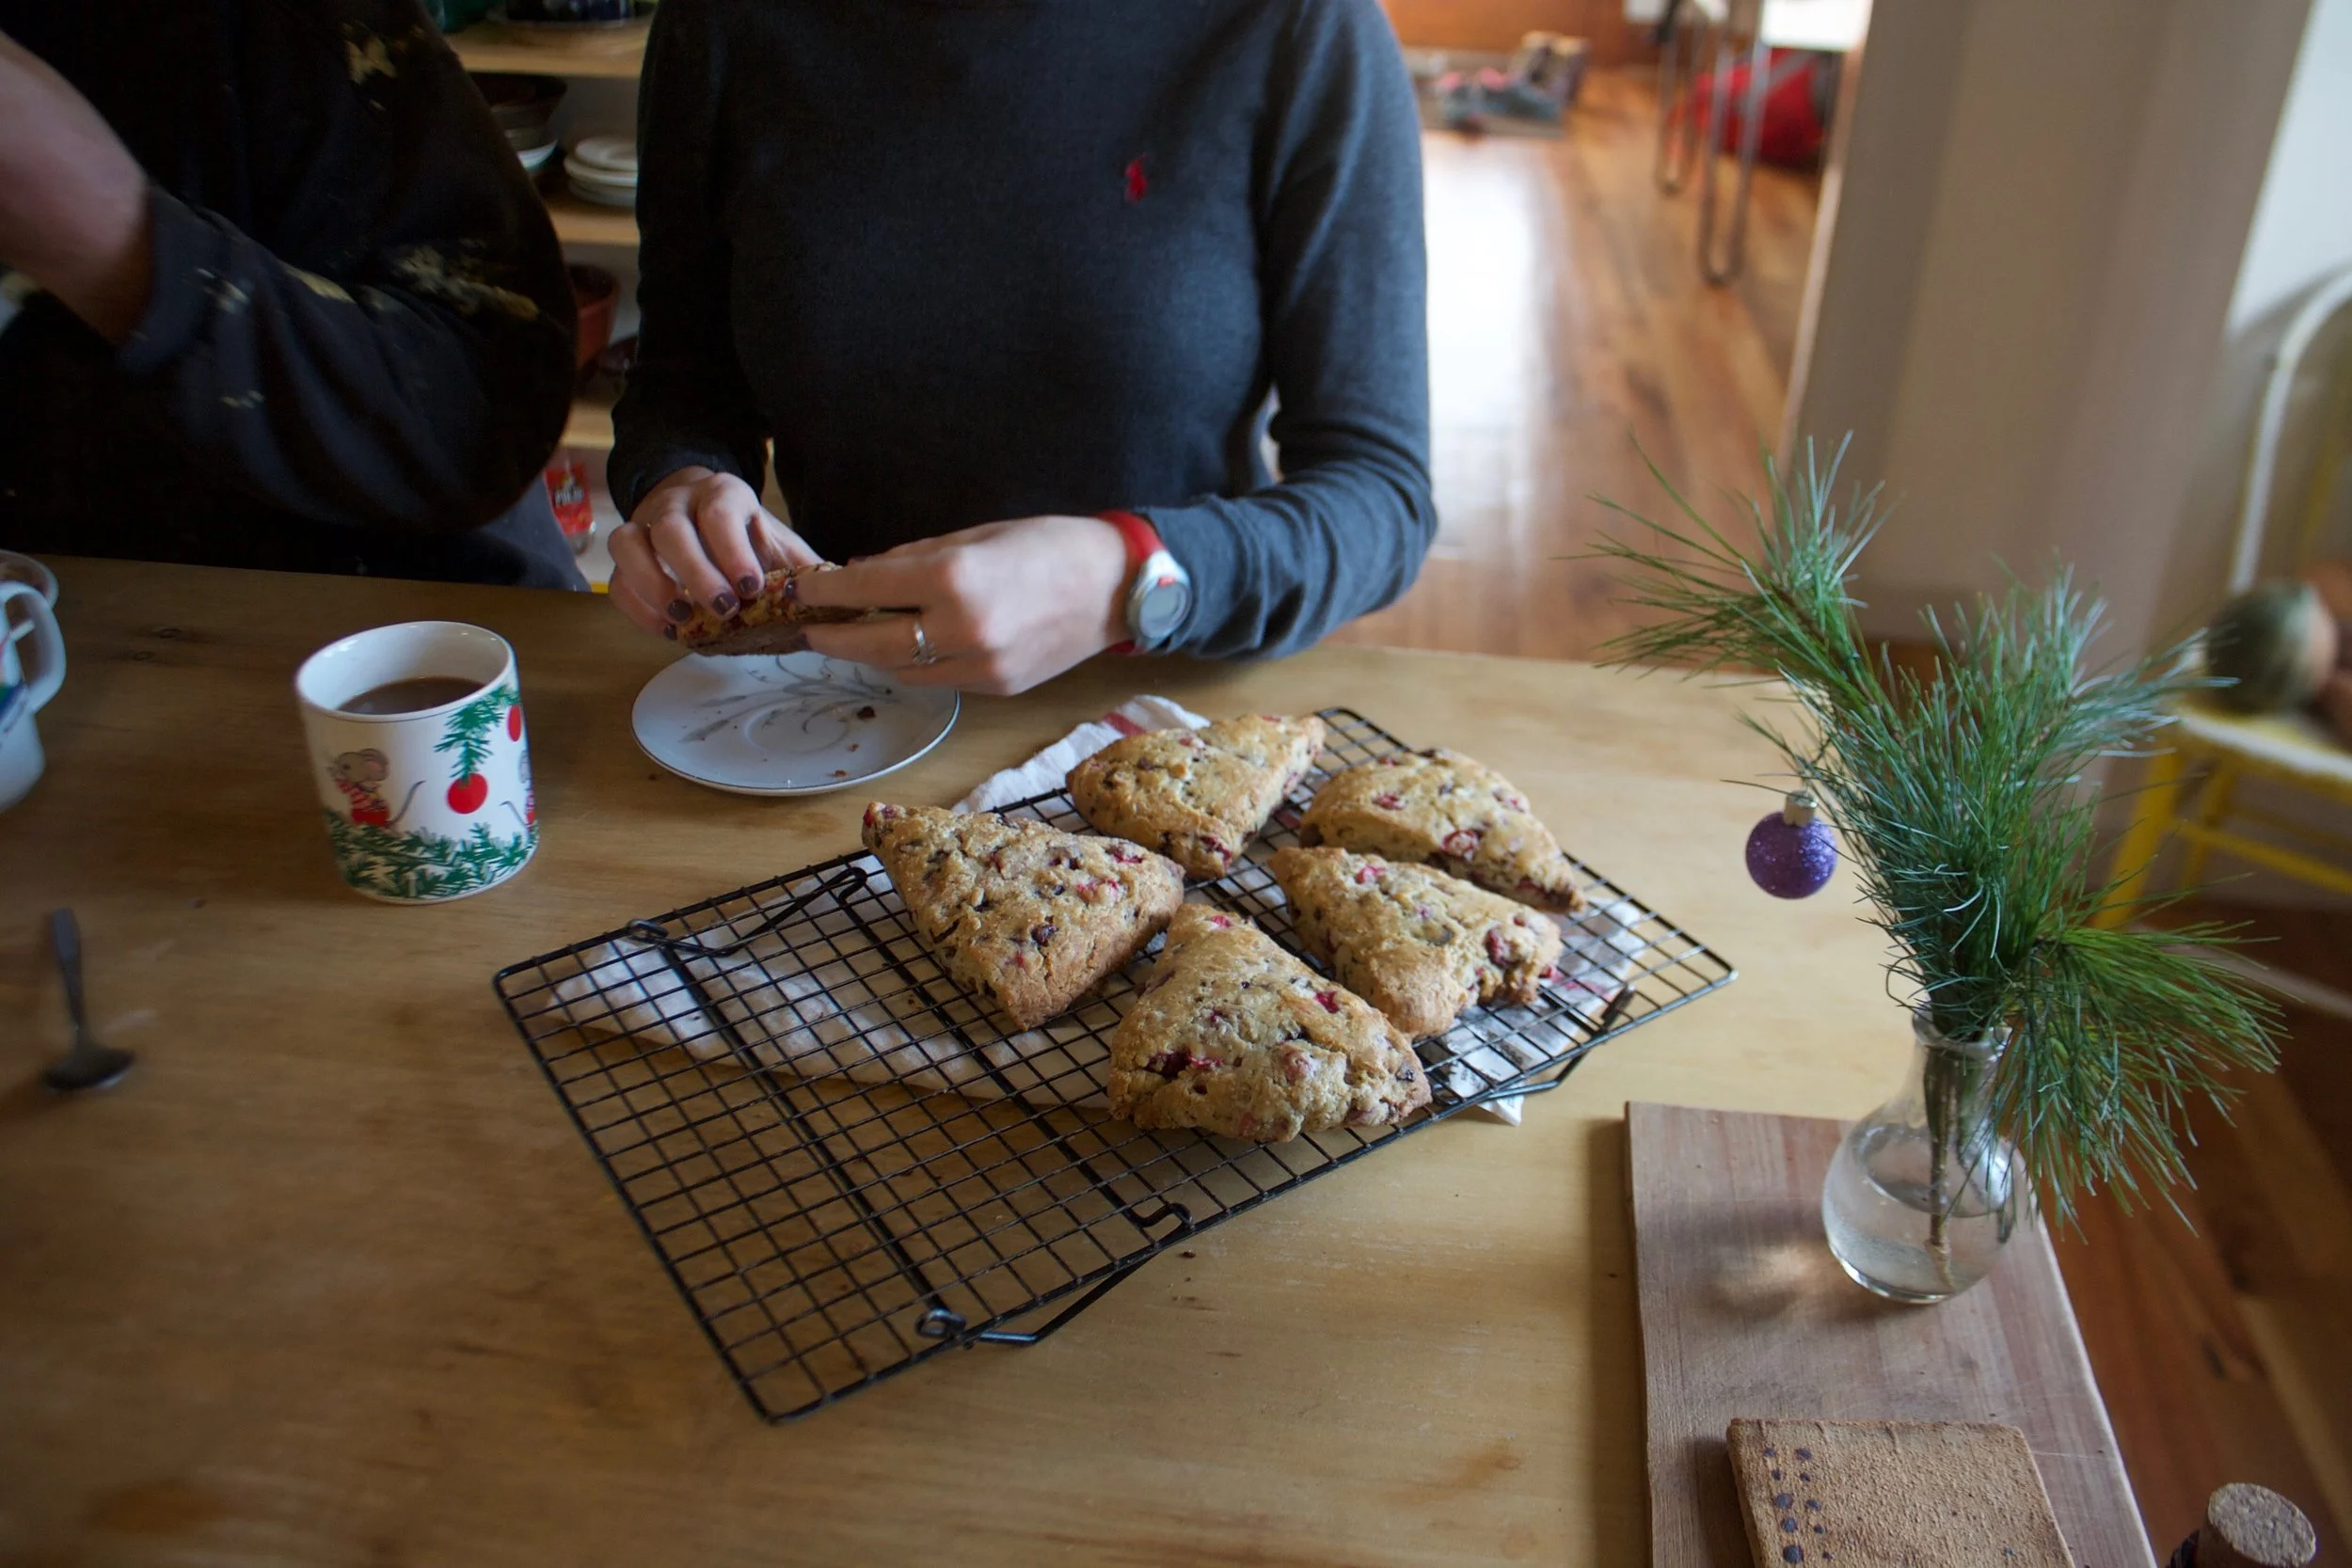
Place them on a cooling rack.
And watch them disappear or like a sensible person, eat one everyday for breakfast.%u00a0
Have a great weekend.
-C
makes 8-10 scones
2 %u00a01/4 cups flour%u00a0
1/3 cup %u00a0sugar
1 teaspoon cinnamon%u00a0
1 %u00a0teaspoon baking powder%u00a0
1 teaspoon baking soda
1 teaspoon salt
1/2 cup coconut oil
1 hefty cup fresh cranberries
1/2 cup chocolate chips
3/4 cup plant milk plus about a tablespoon more for brushing on top
1 tablespoons apple cider vinegar%u00a0
Preheat oven to 375.%u00a0
In a large bowl whisk together the flour, salt, baking soda, baking powder, cinnamon, and sugar. Add the vinegar to the milk and set aside. With a pastry cutter or 2 knives, cut the coconut oil into the dry mixture until it becomes a course crumb.%u00a0
Rough chop the cranberries and the chocolate chips (optional on the chocolate chips) and toss both into the bowl. Give it a quick mix to coat it all then dump in the milk. Mix until the dough comes together (DON”T OVER MIX) then dump the dough onto a lightly floured surface. Gather the dough into a ball and flatten out into a disk that is about and inch and a half thick. Cut into 8-10 equal sized wedged and place not a baking sheet. Brush the tops with a little milk and pop into the preheated oven.
Bake for 25 minutes or until the tops are all nice and golden brown. Remove from oven and place on a wire rack to cool.
Well happy first day of fall to you! Are you as excited as I am? I am very very excited because well, cooler weather, shorter days, pretty trees, pumpkins, sweaters, and of course apples. All the apples!!
I am not going to lie, I was going to wait to do a big apple pick to start with my apple baking but this week the grocery store was selling apples form the orchard I am going to go picking from for a 77cents a pound!! I mean, I couldn%u2019t not buy 20 lbs right? Sure I felt a little guilty that they were not hand picked by me, but in a way they were because I did hand pick them form the store so that kind of counts? Plus I am still going apple picking, today in fact so not harm in having a shit ton of apples.
Anyway, so apple brownies. Why, because why not. Slightly chewy but soft, dense, full of all the cinnamon and apple walnut flavor one could want or need to feel all the feels of the apple season. Made them and fed them to the people and they were gone within a minute. Huge success in flavor and texture. and best part, it was slightly chilly out when I made them so the oven on was extra nice, and my house smelled amazing. Oh gosh, I am just so excited that it%u2019s fall, it%u2019s the best time of year!
And now I am for real going apple picking! I%u2019ll probably make these brownies again, just because you know, apples and I’ll probably come home with another 100 lbs or more so you know, I%u2019ll have the apples to do it.
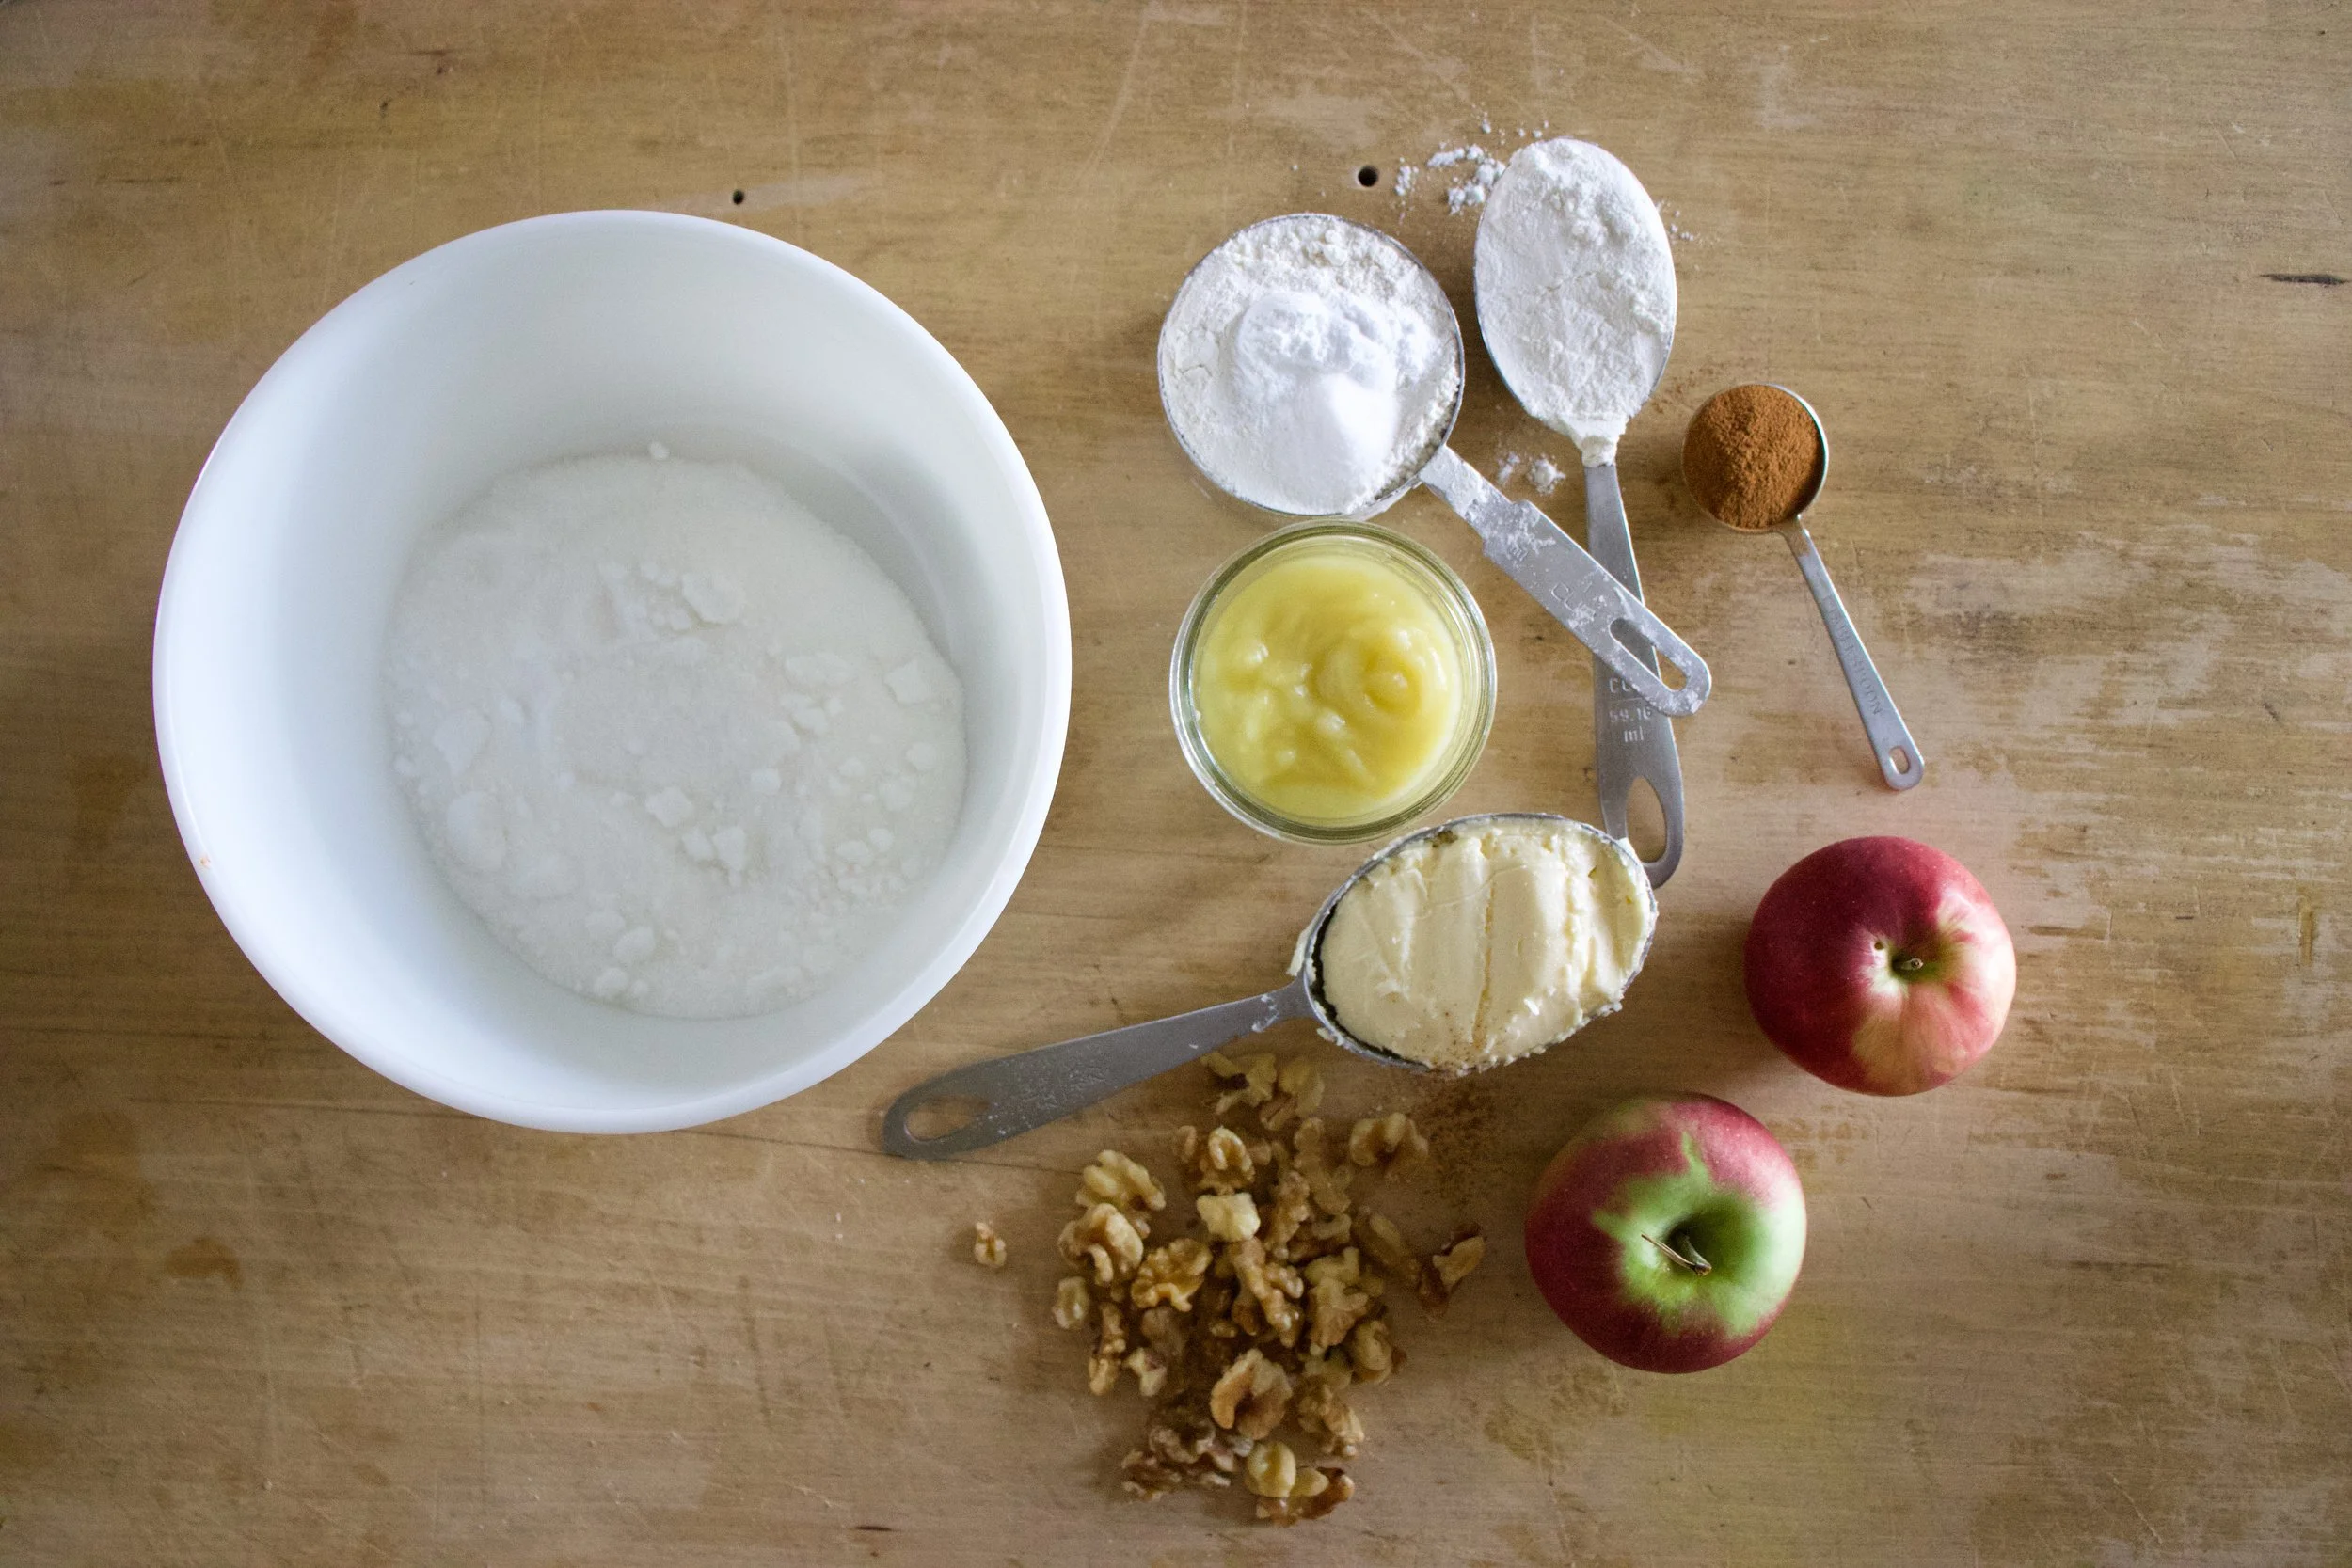
The stuff. Apples. sugar, applesauce, cinnamon, and walnuts. Also some vegan butter, flour, baking powder, and baking soda.
FIrst, chop up the apples. And no, don%u2019t peel them, just chop, into little 1/2 inch cubes.
Butter and sugar get a good beat until light and fluffy (I read somewhere that when you beat the sugar with butter in brownies, it helps make that crisp, crackly top)
Fold in the apple sauce and cinnamon .
Like a galaxy of cinnamon goodness.
Then all the rest of the stuff: flour, baking soda and powder, salt, apples, walnuts, get folded in too until just incorporated.
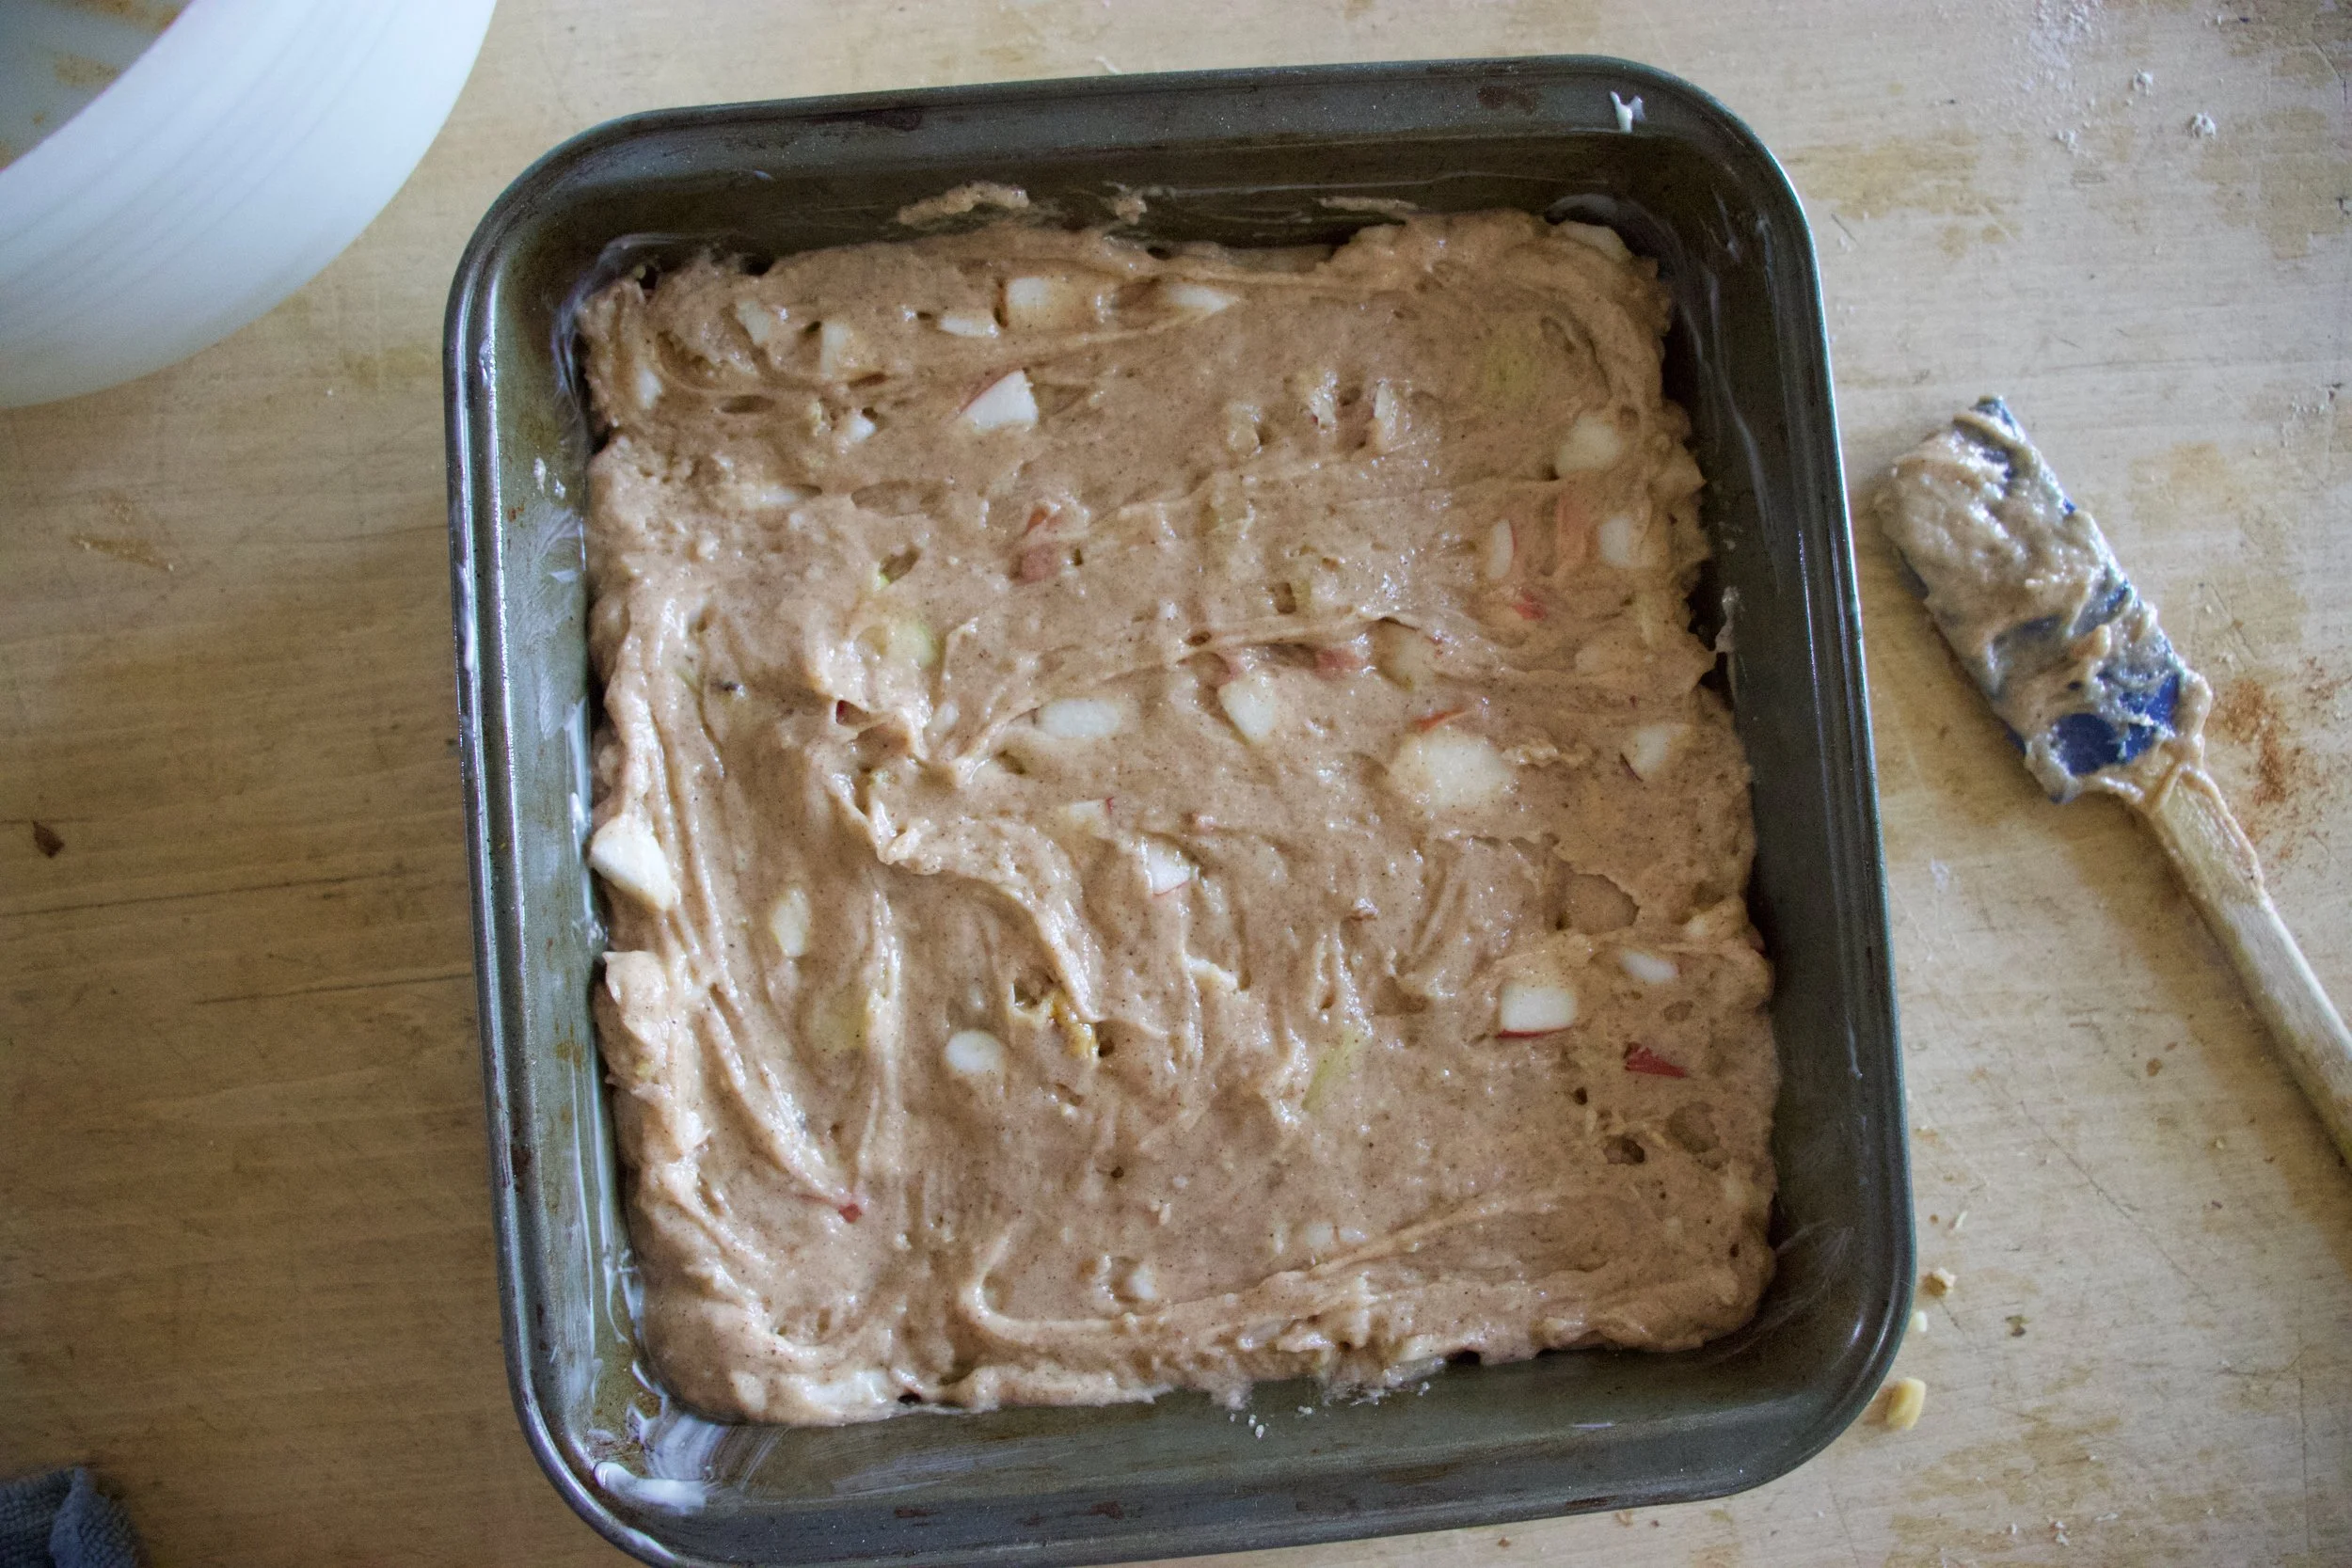
Batter gets spread evenly in a greased and parchment lined pan. (There is parchment there, I was running low so it only covers the bottom of the pan. Better if it goes up the sides though.)
Then into the hot oven they go.
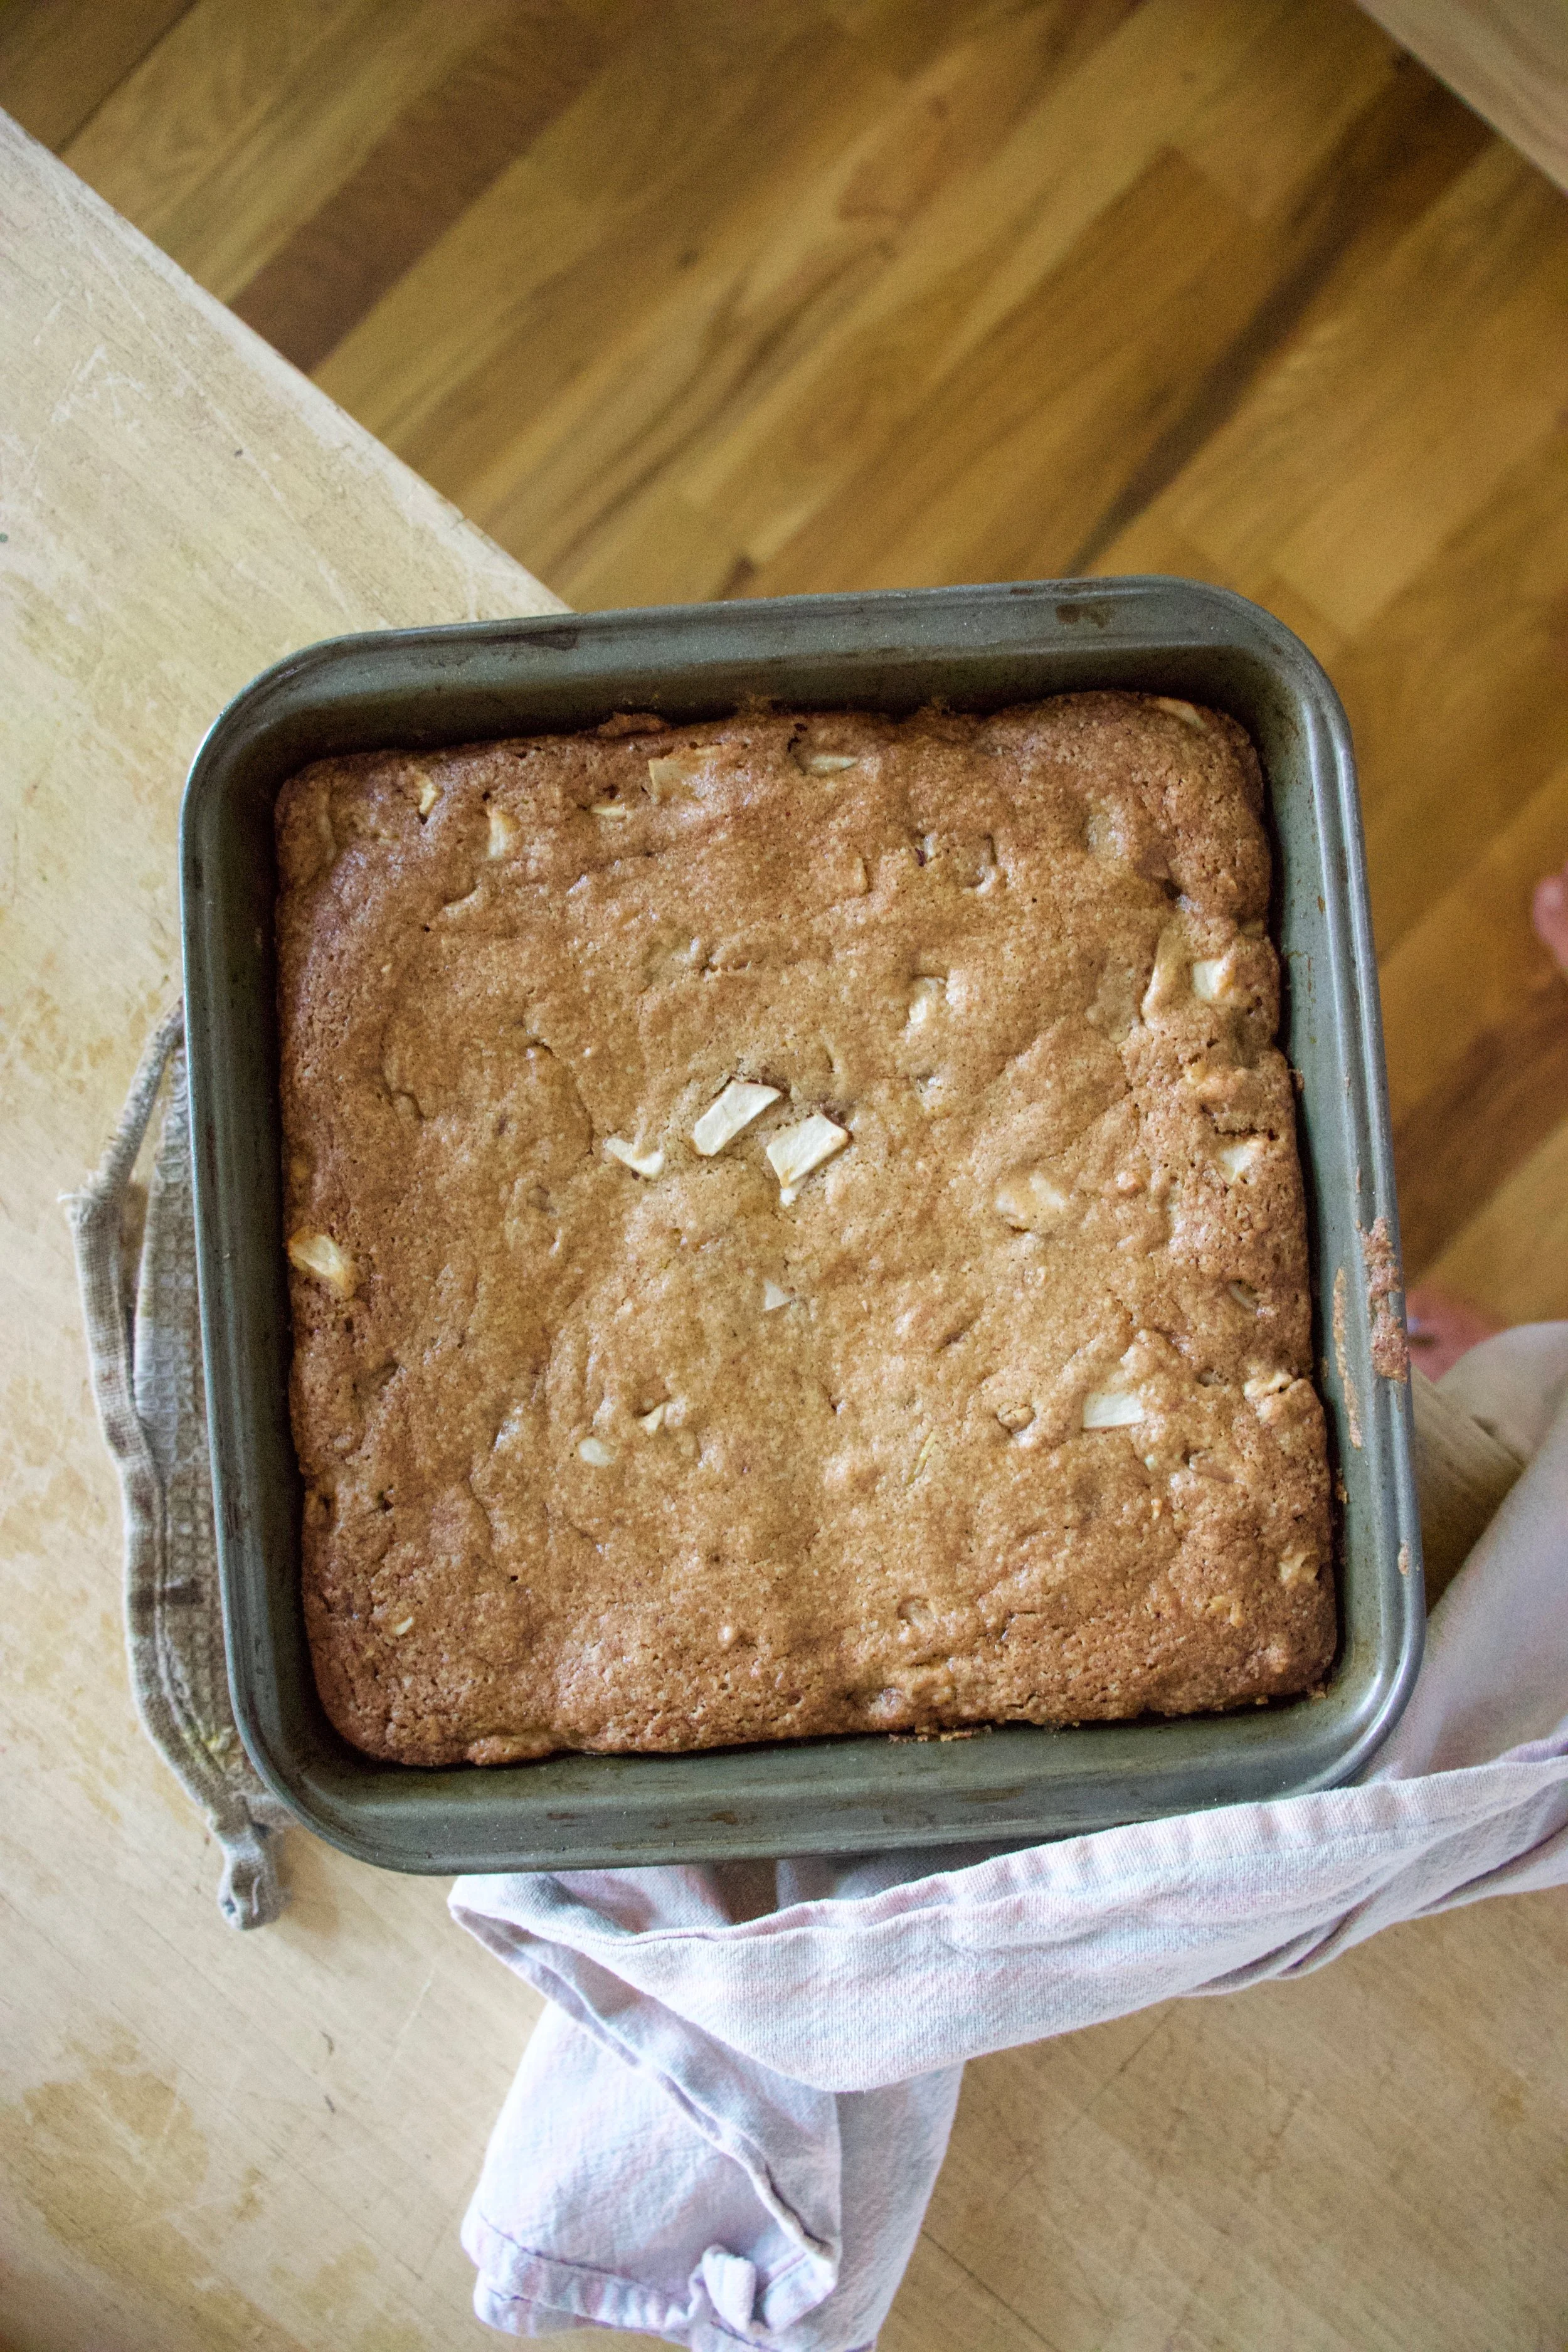
Popped out at just the right moment. See the top? A bit crisped crinkly, kind of like a brownie! Now pop them out of the pan and let cool completely. Or cool enough to cut. Or, cool enough to handle and eat%u2026..
There you go, apple walnut brownies.
And now you can officially enjoy the first day of fall because there is a lot of apple goodness in these brownies and what is fall without apples?!!
Have the best day.
-C
makes a 9×9 pan of apple goodness
1 1/4 cup all purpose flour
1 cup white sugar
1/2 cup vegan butter
1/2 cup applesauce
1/2 teaspoon baking soda
1/2 teaspoon baking powder
1/2 teaspoon salt
1 tablespoon cinnamon
1/2 cup chopped walnuts
2 large Macintosh apples (about 2 cups chopped)
Preheat oven to 350
Core and dice apples into about 1/2 inch cubes . Measure out 2 cups ans eat any left over apple chunks. In a large bowl, beat together vegan butter and sugar until light and fluffy. Fold in the applesauce and cinnamon. In a smaller bowl whisk together the flour, salt, baking soda, and baking powder. Dump into wet mixture, along with the apples and walnuts and fold together until just evenly incorporated. Grease and parchment line a 9×9 baking sheet. Dump the batter into the pan and spread evenly then pop into oven and bake for 40- 45 minutes or until browned and a tester stuck in the middle comes out clean. Check after 35 minutes%u2026 you don%u2019t want to over bake! Once cooked all the way through, remove from oven and let cool for a few minutes. Once cool enough to handle, remove the brownies from the pan (you really need to line the pan with parchment to do this) and let cool completely on a wire rack. When they are cool (if you can wait that long because really, these are great eaten warm too.), cut and eat.
Store left overs in a airtight container for a day or two or freeze any extra. Great warmed and serves with a scoop of some ice cream or a yogurt situation.
Sometime you look back at a week and think, blah, or whatever, or that sucked. This week I look back and smile. It was a good week. Nothing to special, just springy and warm. I got to hang out with my peoples, see the world turn green and lush, and I didn’t stress too much about anything because what is the point? Plus I bought a single pink carnation at the grocery store at the beginning of the week for the mr. and every time I see it, I smile a little. Sometimes just a little something something is all we need.
So yeah, the week was good. There was the normal stuff of work and what not but also a fair amount of not work stuff. I saw my moms for Mothers day and brought her food. The mr and I went for some long walks that did not involve any outdoor clothing (just normal indoor clothing) We hung out with the littles for a good afternoon of tree house chilling, baby running, three wheeling, and all sorts of other fun. Miley was super pumped to show off her new shoes that are partially gold. She was obsessed and needed to wash them off at the end of the day. Those were the days,when you cared about your shoes? (I am assuming you don’t now , like me, but maybe you do.) Also Barb finally come back to me (school is over so she has time again) me and I feed her soup. Megan also came over for a soup lunch and a walk because that is what we do. (We are a family of eaters and walkers.) I worked on some clay rainbows, planted some more plants, and cleaned under my fingernails. The one big thing that I tried to accomplish and haven’t yet managed is the bike thing. I have been shopping for a new bike and it is so so so HARD! I am not good at buying anything in general, especially when it is for me, and not food, and costs more than 5 bucks. But not just that, it’s that there are so so so many bikes to choose form. I am all like , YIKES! And so I did myself a favor and just gave myself another week to ponder and look and decide. The right bike will present itself when it is suppose to, or when I finally break down and just buy this one.
Yesterday was a good solid day of getting shit done. I got the winter tires changed to summer (thanks Justin!) and hung with Alex while it was happening. We talked music and cassette tapes and how music is everything. Then I went home to the yard and all the massive piles of leaves, dead tree(so sad) and over all lawn degree and the mr and I got it all into the truck to send off to compost land. After hitting the transfer station to offload we made a really quickly stop over to see Anthony getting ready for his prom….Oh my shit. The kid is like not a kid anymore and was wearing a tux and looking all old and what not. The shinny ass shoes alone were too much for me. (more shoes that need cleaning). How is it possible that I have a sister that is old enough to have a kid that is old enough to be going prom? OH, because I am getting old. That is how. Ha.
And after that, it was back home to finish cleaning and eat dinner and water the garden and feel exhausted but accomplished. I don’t mind being super tired, just as long as I have something to show for it (The yard looks A+ so I am happy)
I think today mainly going to be a work day. The mr has a project that he is in the middle of so he is going to be doing that all day and I have a few things I need to get done and then a ton of other things that need doing as well. Don’t worry, I will be spending some of that time outside with the green things in the dirt, making sure I have sun screen on, listening to some good tunes and drinking coffee like it is going out of style.
The ways of the internet this week.
– The news of abortions and women reproductives rights has been front and center this week. The lengths women have to go to to do what is right for themselves is shameful at best, but basically pretty fucking grotesque. These are the people that are trying to help. The Secret Baby Catchers of Alabama.
–Report: U.S. Navy Cracks Case Of Majestic Sky Dick. Phew. Now we know who to hire for our own sky dick.
-Can’t wait for that new pool to be build around the corner…NOT. And really, didn’t we all know this already? Your Neighborhood Pool Is Full of Unshowered Pee-ers
-A lot of breakfast food in America is basically junk food if you really think about it. Muffins (really cupcakes), pancakes (really cake covered in maple sugar), Pop tarts (pie) yogurt (almost ice cream)… Its all just desert with a different name. I Broke Breakfast. Americans eat a narrower variety of foods for breakfast than anyone else.
-Imagine the magic.. I get feels just thinking about this place. A Fleeting Dandelion Wish Processing Facility Appears For Two Days Outside of Los Angeles
–ECLECTIC DINING STYLE.. I want all the tables and chairs. Just where to put them……????
-After reading the list, I feel pretty dang awesome cause I clean all that shit! Cleaning Supplies Might be Spreading Dirt Around Here’s How to Clean Them This Weekend
–How Did Chickpea Flour, A Staple Of Indian Cuisine, Become A Health Food Sensation? Because it is amazing. See recipe for Socca.
–Have you tried plogging, the Instagram trend that might be the sustainable sport of the future?. Even if it’s trendy and a way to be cool, well it is pretty cool and great and I am all for it.
–Can “Indie” Social Media Save Us? Something needs too.


















 Peas scream spring to me. The bright green color with that nice bright fresh taste%u2026.. kind of like a fresh spring day. Ah spring, so lovely, so nice, so hasn’t made its way here yet. So I guess I am left to eat my spring.%u00a0And what better way to highlight those lovely spring tastes? A fantastic pesto my friends, and it can be made lickidy split.
 Pesto Stuff. We got the peas, garlic, lemon, oil, cheese if you please, and salt. %u00a0
 Take a handful of peas and set aside for later. Juice the lemon and take that and the rest of the stuff and stick in%u00a0a food processor and puree until smooth.%u00a0
 The%u00a0pesto is made, and it only took about 2 seconds, now boil up the pasta. %u00a0If you were a thinker, you could start the pasta and make the pesto while its boiling. (I wasn’t being a thinker) I used bow ties cause they are super cute, but use whatever pasta you’re feeling. Shells or the ones that look like little brains would be good options.
 Into a bowl and served with a fork to eat it with. %u00a0A super green fresh springy meal of happiness. And all under 15 minutes in the kitchen.
 HOORAY FOR SPRING!!!!!!!
 %u00a0 %u00a0%u00a0
 %u00a0 %u00a0Pesto stuff. Kale, walnuts, parmesan cheese(nutritional yeast to keep it vegan), garlic, lemon, olive oil, and salt and pepper.
 %u00a0
 Straight up frozen ravioli goes onto an oiled baking sheet.(make sure that non are overlapping) Place into an oven at 400 degrees for about 15-18 minutes, flipping after 10. If you want to add mushroom and a few more walnuts, just toss them onto the ravioli when you are flipping over the ravioli.%u00a0
 Look at this%u2026 fresh, crunchy, light and happy. Kinda like a spring day.











Tomato Basil Watermelon Popsicles — The Lovely Crazy
August 19, 2019 by maximios • Blog
Holy shit is it hot out. My brain is all fizzy, my hair is all frizzy, and my over all being is just blah. I am not a fan of super hot weather (as some of you may know) and am getting more pissy as the days go %u00a0by and I continue to be a sweaty mess. I don’t want to feel like a big wet slob, I want to feel fresh and clean and wear clothes that are not drenched in sweat. I know, bitch, bitch, bitch, but seriously. Even the world around me is wilting, and in the nice, colorful fall foliage kind of way. It’s all crispy and brown.%u00a0%u00a0The garden is barely holding on, the flowers are shriveling in the ground, and a few plants are just plan dead.%u00a0It’s just too hot.
I think that only plus side of this past week of hot crap weather are these popsicles that I made. They were actually suppose to be a treat for the littles, but guess what, me and the mr ate them and didn’t share, and no, I feel zero bad about it. They were so good, so refreshing,%u00a0so cold(if only for a minute) and just so needed. %u00a0A few minute reprieve from being miserably hot. And bonus, a great use of all the watermelon and tomatoes that I have taking over the countertops (I have so much watermelon and tomatoes)%u00a0
And really, these probably (better freaking be) the last batch of popsicles for the summer so I think I am going to make another batch today, eat them, savor the flavors of summer, and move on from there.
.%u00a0Maybe I’ll even share them this time.%u00a0
The stuff. Some watermelon*, a tomato, a handful of basil, and a lime.%u00a0
*My watermelon had seeds,%u00a0but you can use seedless. I also removed the green skin, but kept on as much rind as I could, although this particulate melon had very little white rind.
Dump the melon, tomato (cut in a few pieces, the juice of the lime and the basil into a blender. If your melon has seed, don’t worry about removing them.
The stuff all blended up.
. This step is more necessary %u00a0if you melon is seeded, straining the mixture pretty much caught most of the seed chunks. You can skip this if your melon is seedless.
Now pour the juice into your molds and stick into freezer to freeze.%u00a0
After about 2 ish hours, remove and stick the sticks into the semi harder pops.
And a few more hours later%u2026…Frozen goodness.
And pop one of those suckers out of the mold and savor every frozen delicious bite.%u00a0
Happy Tuesday…%u00a0DON’T MELT!
-C
Make six 3.5 oz popsicles
Place all ingredients into blender and blend until smooth. Strain mixture through a fine strainer into a bowl or jar and pour into popsicle molds.%u00a0
Place in freezer for a few hours. About 2-3 hours in the freezer, take them out and stick in sticks (or fallow you popsicle molds instructions) Place back into freezer
Once completely frozen, remove from molds and eat with your mouth.