
THE LOVELY CRAZY
I am sadly at my last few bags of frozen garden foods from last season. As of now I have a bag of tomatoes, a couple bags of shredded zucchini, and a bag of rhubarb. Well, had a bag of rhubarb. I think I have eaten almost all of it already. My rhubarb patch better get up and producing stalks soon. And as for the rest of the veggies that I will require. Guess I am going to be surviving mostly on roots from farm share (we are getting a lot more greens though!!!!) and probably doing a bit more grocery shopping then I care too. A few more months. I can do it.
Anyway, enough about my freezer and lack of fresh produce problems.
Here in Vermont maple season is well on it%u2019s way making it a perfect time for anything maple. And rhubarb. Yeah I am using my frozen rhubarb from last year, but any time now (after the snow melts) there will be plenty of stalks for the taking. There will be so much maple and so much fresh rhubarb which are the perfect taste combination. Exciting times! And when added to oatmeal, things just get more gooder. (I know gooder is not a word but I think it should be) Oatmeal, especially baked, is the stuff where all gooder things start.
Have you had baked oatmeal yet? It truly is fantastic. Not at all gummy and gloopy like stove topped cooked oatmeal (but I like it like that too). It still has a good bite to it while still being soft and creamy and boy oh boy is it just the bees knees. With the addition of some crunchy almond friends, well even better. Trust me. If you are a oatmeal eater, you must try it baked. Best part is that it can be eaten as breakfast but also I have been serving it to the mr for dessert with a healthy drizzle of more maple. It%u2019s that good friends. From breakfast to dessert. Everyone is happy.
To the baked oatmeal.

The stuff. Old fashion oats, cinnamon, salt, baking powder, rhubarb (fresh or frozen), REAL maple syrup, some plant milk, a few flax eggs, a bit of tahini, and some almonds.
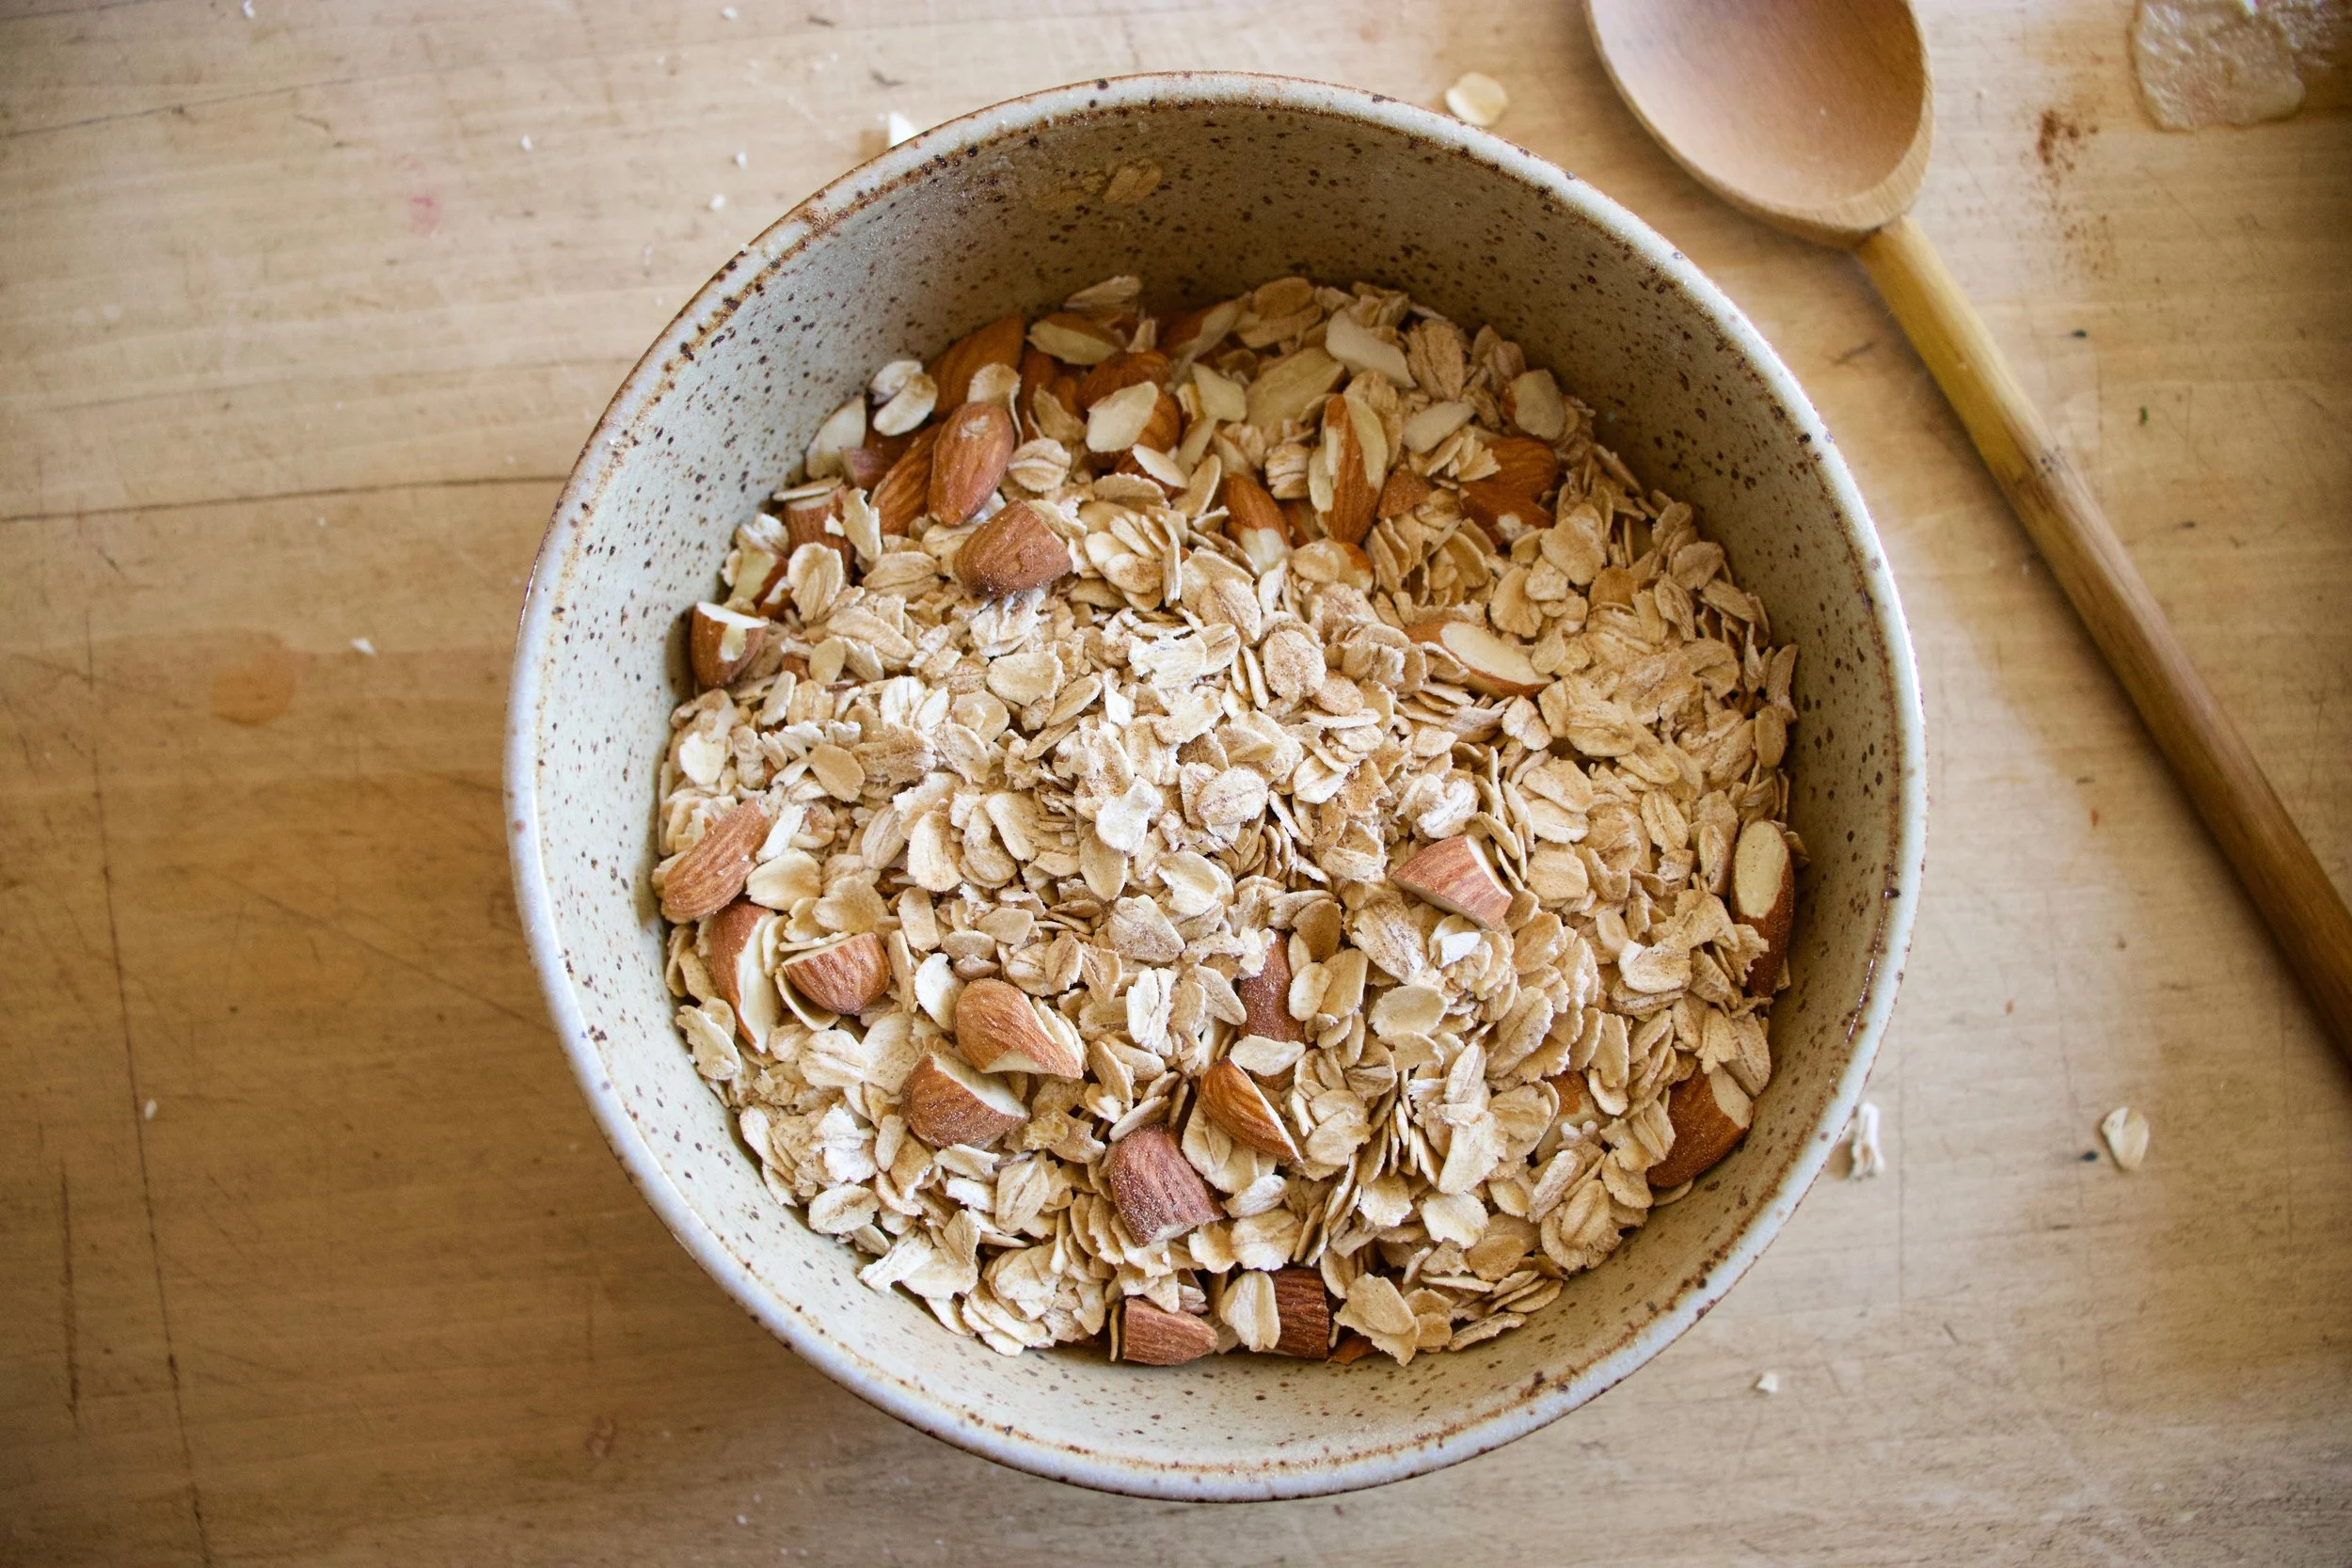
To start. Oats, cinnamon. salt, baking powder and almonds get a quick toss together in a big bowl.
If you rhubarb is not already chopped up into inch long pieces, do that. I already did before freezing it so yea me. Once its chopped, layer almost all of it (reserve a few small needful to toss on top) into a lightly greased 9×9 inch baking dish then cover evenly with the oat mixture.

In now empty bowl mix together the milk, the flax eggs, the tahini, and the maple until evenly incorporated.

Pour the wet mixture all over the oats and let it absorb.

Once the liquid is all absorbed , top with any left over almonds and the left over rhubarb. For good looks.
Pop into a hot oven to bake.
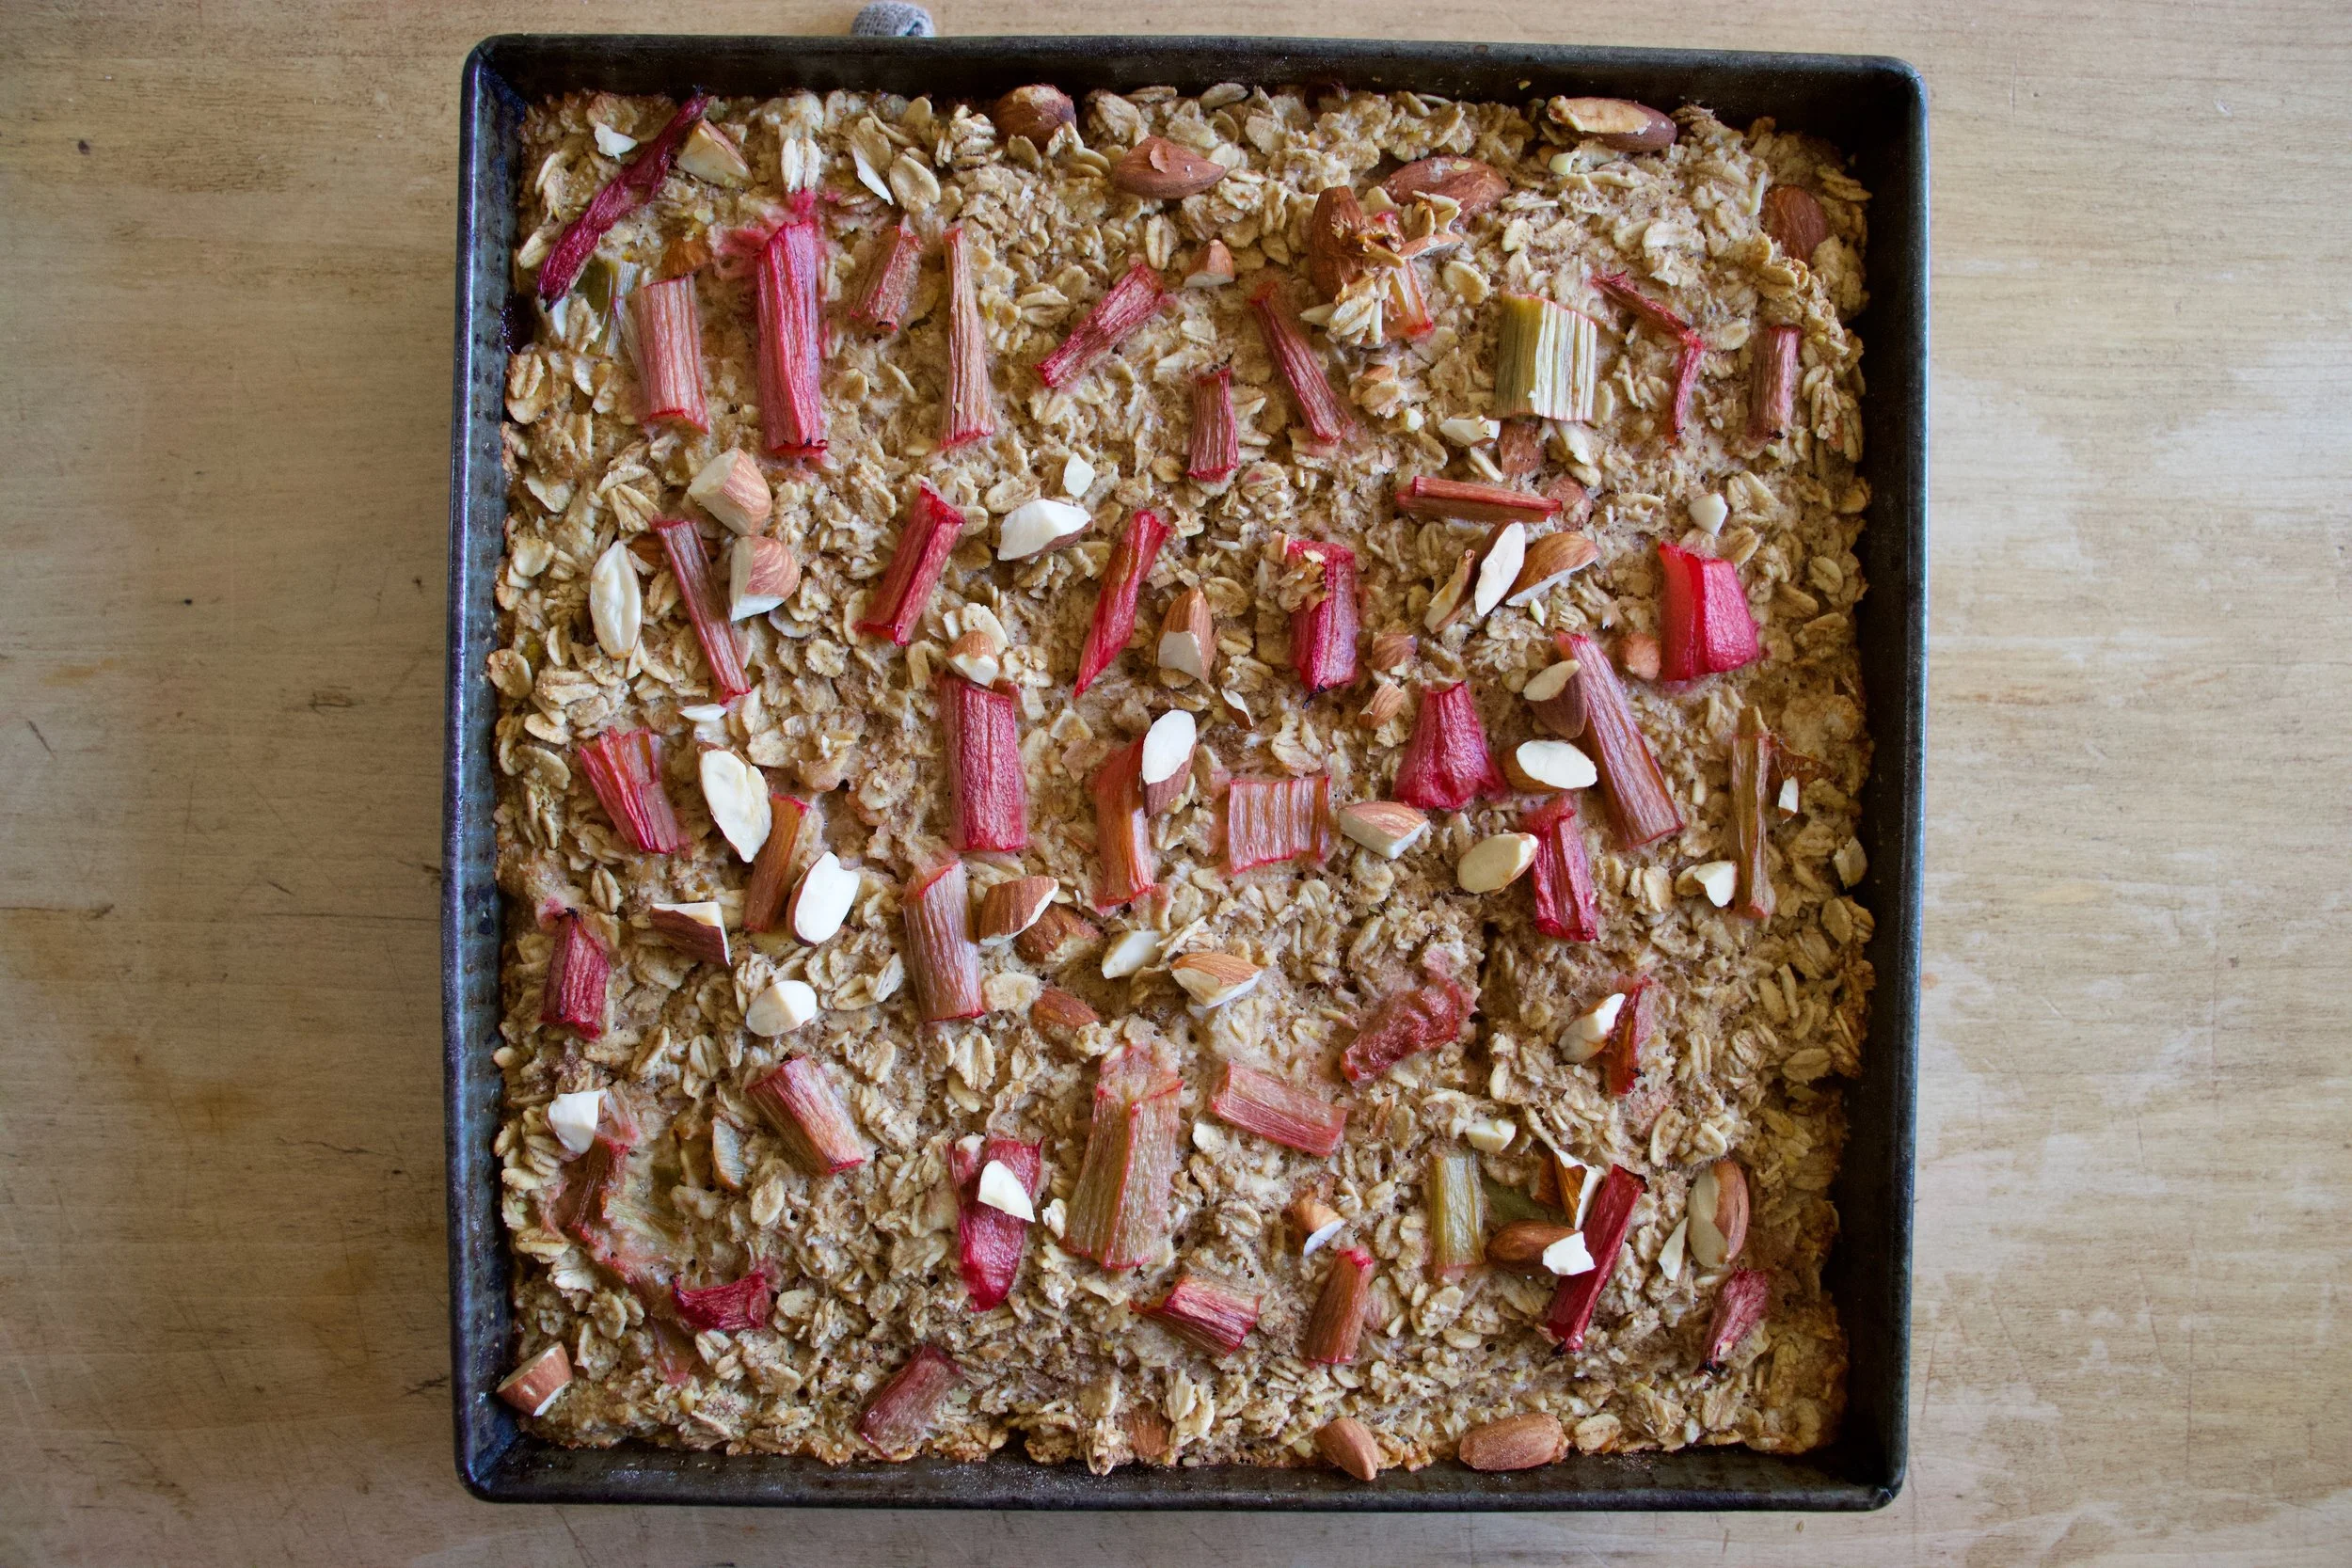
Golden brown with crispy edges. Rhubarb and maple baked oatmeal for all your maple, oaty and rhubarbie needs.
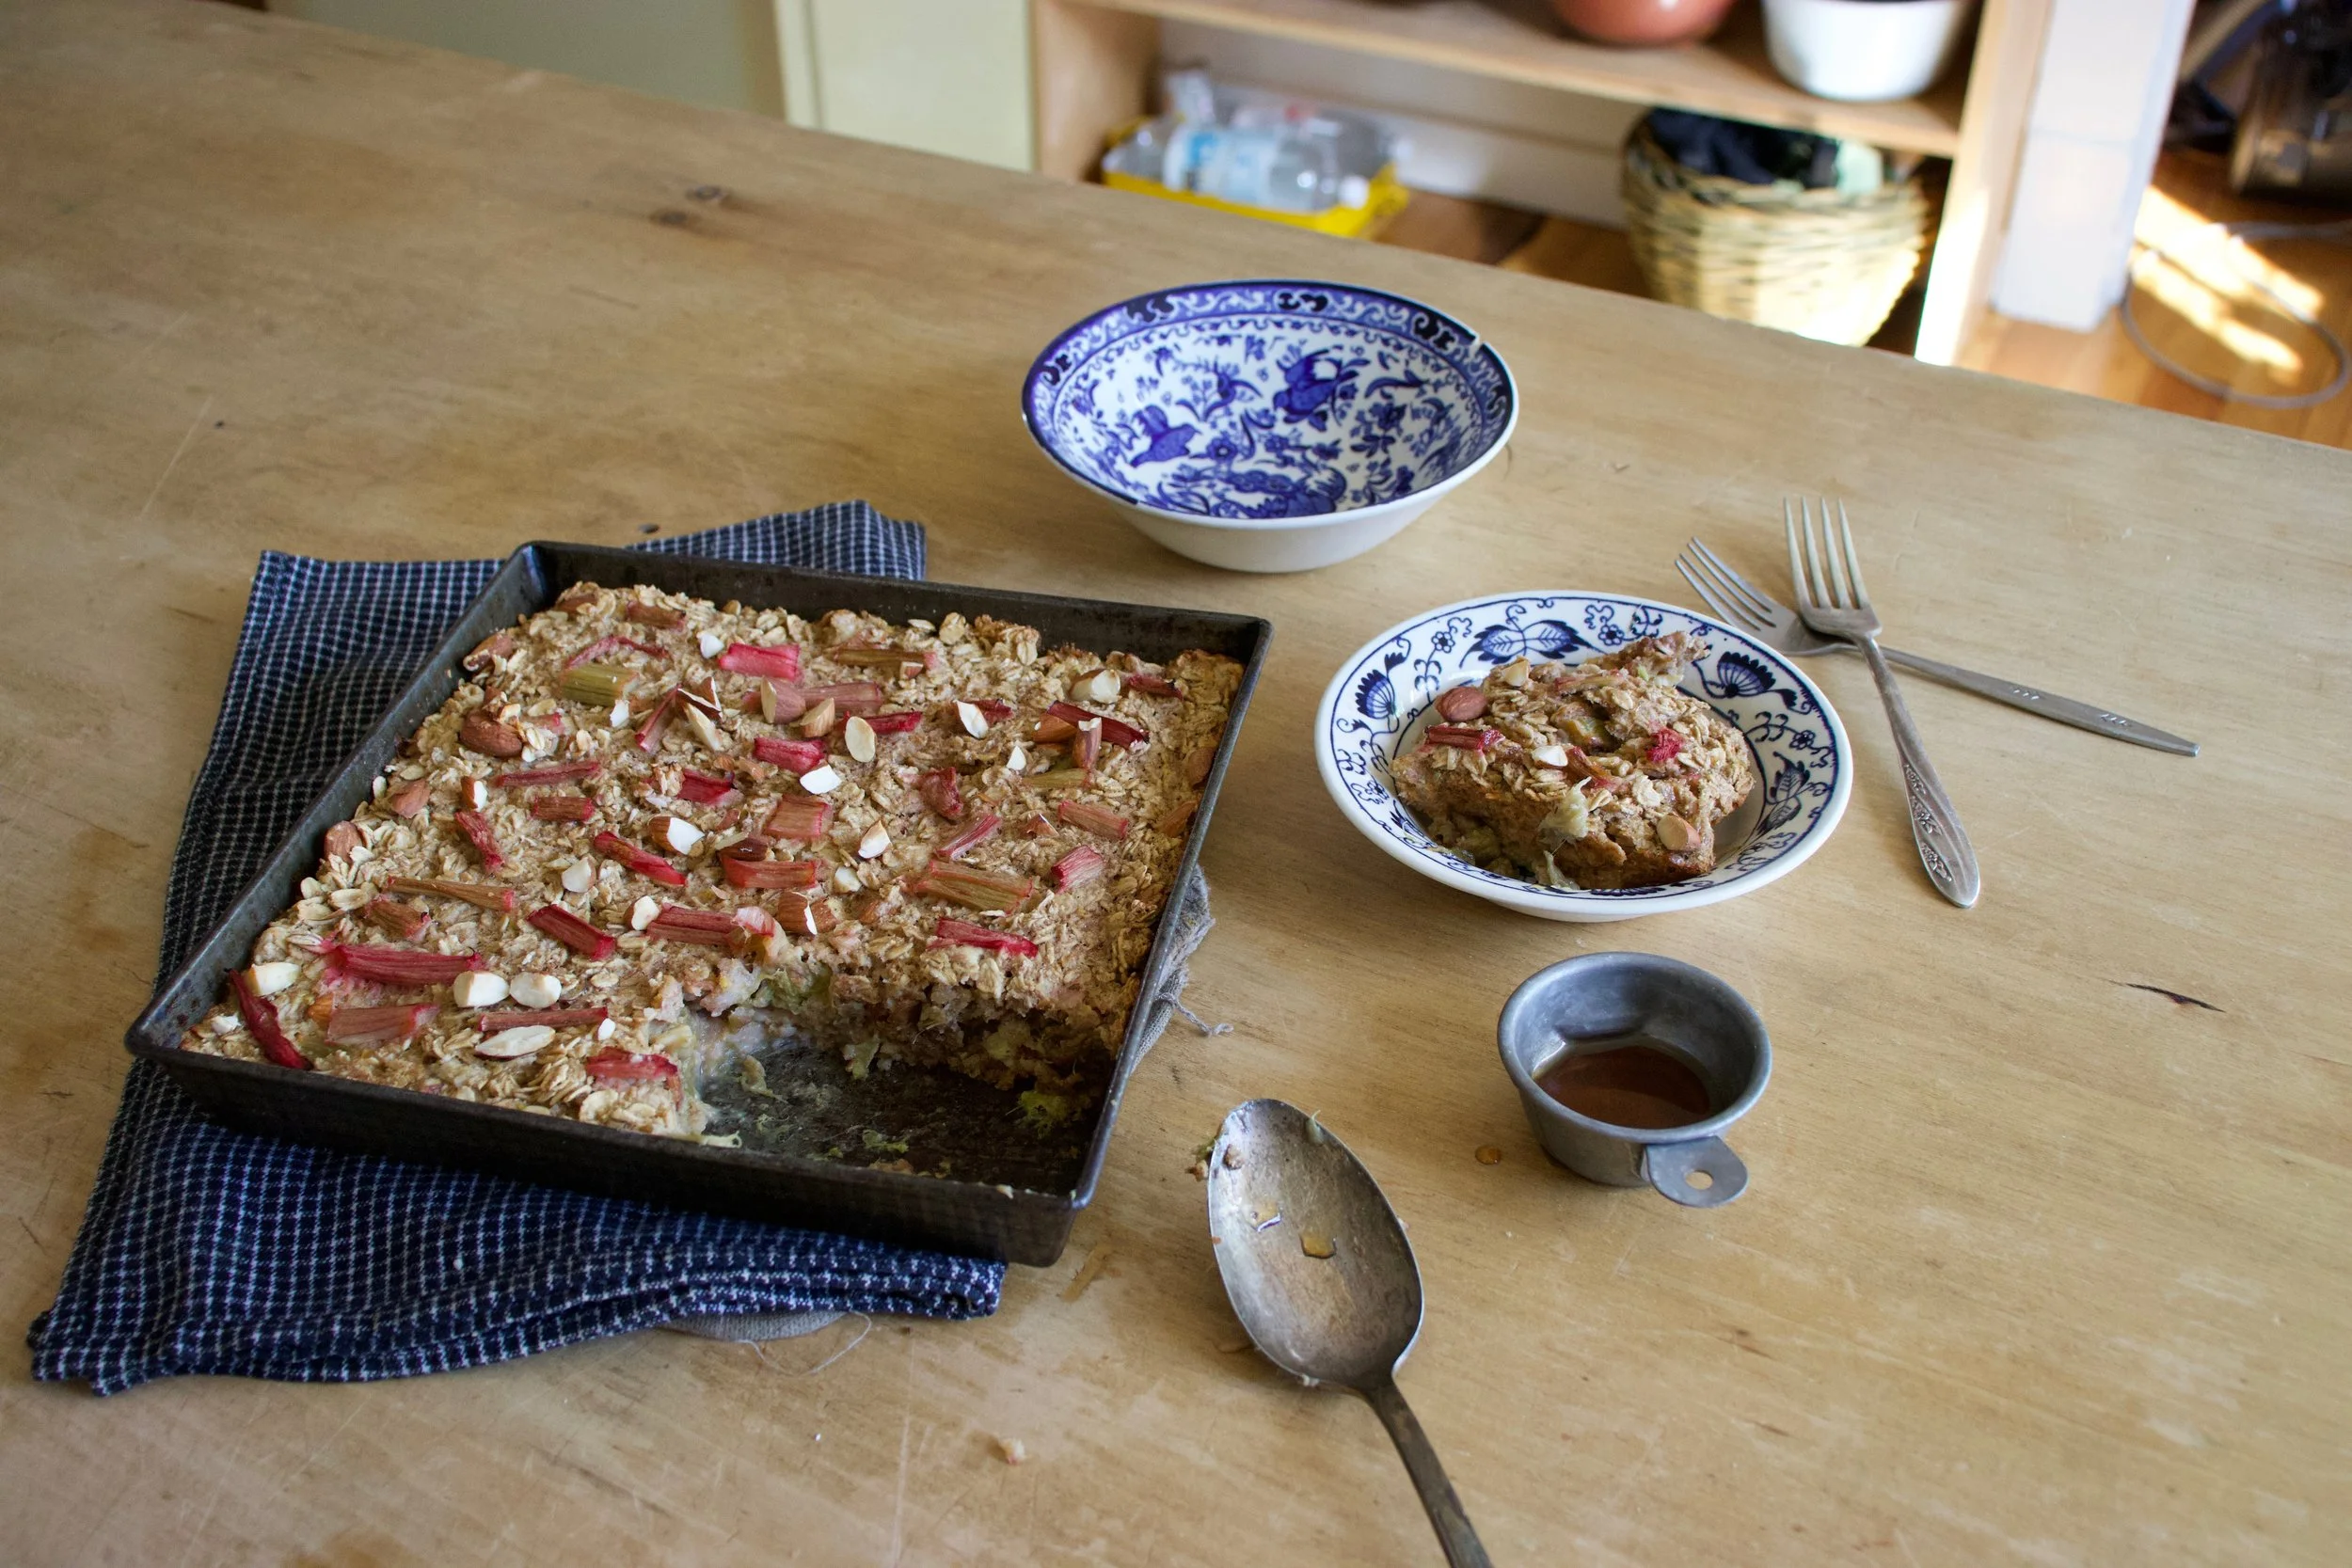
Fresh from the oven scooped warm into bowls. Top with extra maple if thats what you should want do.
Enjoy and happy maple season!
-C
Make a 9×9 pan of oatmeal
-
2 1/2 cups old fashion oats (make sure gluten free if need be)
-
1 teaspoon baking powder
-
1/2 teaspoon salt
-
2 teaspoon cinnamon
-
1/3 cup maple syrup plus more for serving
-
1 tablespoon tahini or any other nut butter
-
2 flax eggs (2 tablespoons ground flax seed with 6 tablespoons warm water)
-
2 1/2 cups fresh or frozen rhubarb chopped into inch long pieces
-
1 1/2 cup plant milk (water works but it won%u2019t be as creamy)
-
1/2 cup chopped almonds (optional)
Preheat oven to 375
Lightly grease a 9×9 inch baking pan (I used metal because it makes for crisper edges but glass works too) and dump 2 cups of the rhubarb in and evenly distribute on the bottom. In a large bowl mis the oats, the baking powder, salt, and cinnamon together. Mix in chopped nuts if you are using. Evenly cover rhubarb with oat mixture. In now empty bowl mix together the milk, flax eggs, maple syrup, and tahini until evenly incorporated. Pour mixture over oats. Let the mixture sit for a few minutes until the oats have abosbed all the liquid. Toss the rest of the diced rhubarb and a few more chop nuts to the top and pop into the oven to bake.
Bake for 30-40 minutes (shorter time for a wetter oatmeal, longer for a denser crispier oatmeal)
Once baked to your likeness, remove from oven and let cool for a few minutes just so it is not super hot. Scoop into bowls and serve warm with extra maple and milk or whatever you might want to serve with it.
Left overs last great in fridge for 3-4 days or individual portions can be frozen for a month or two. Just pop into microwave for a couple minutes to warm up.
We need fresh, we need green, we need color.
We need salad. %u00a0
The other night I made Megan’s birthday dinner which consisted of pizza and salad. The pizza was pizza and everyone loved it and ate it, but what surprised me was how everyone was really into the salad. A big ass bowl or fresh greens with onions and I think carrots and cabbage and some cranberries I pulled form the freezer and candies almonds. Simple and not fussy, and everyone was just so happy to eat it. I felt like a salad genus and now I am full on into making fun awesome spring salads. (I have to keep reminding myself that yes, it is indeed spring.%u00a0So what we got snow yesterday, it will melt, right????%u00a0)%u00a0
So I bring to you a a bowl of fresh crispy spring greens with crunch and bite and creaminess and flavor. A salad that will bring you joy and satisfaction and maybe even anticipation for your next salad adventure.%u00a0Not to mention a salad that looks so dang pretty.%u00a0
Get into the green. You will be as happy as a rabbit in a garden.%u00a0

The stuff. Greens, red onion, an avocado, almonds, blueberries, and a lemon. Also need some maple syrup, olive oil, red wine vinegar, and salt and pepper.%u00a0
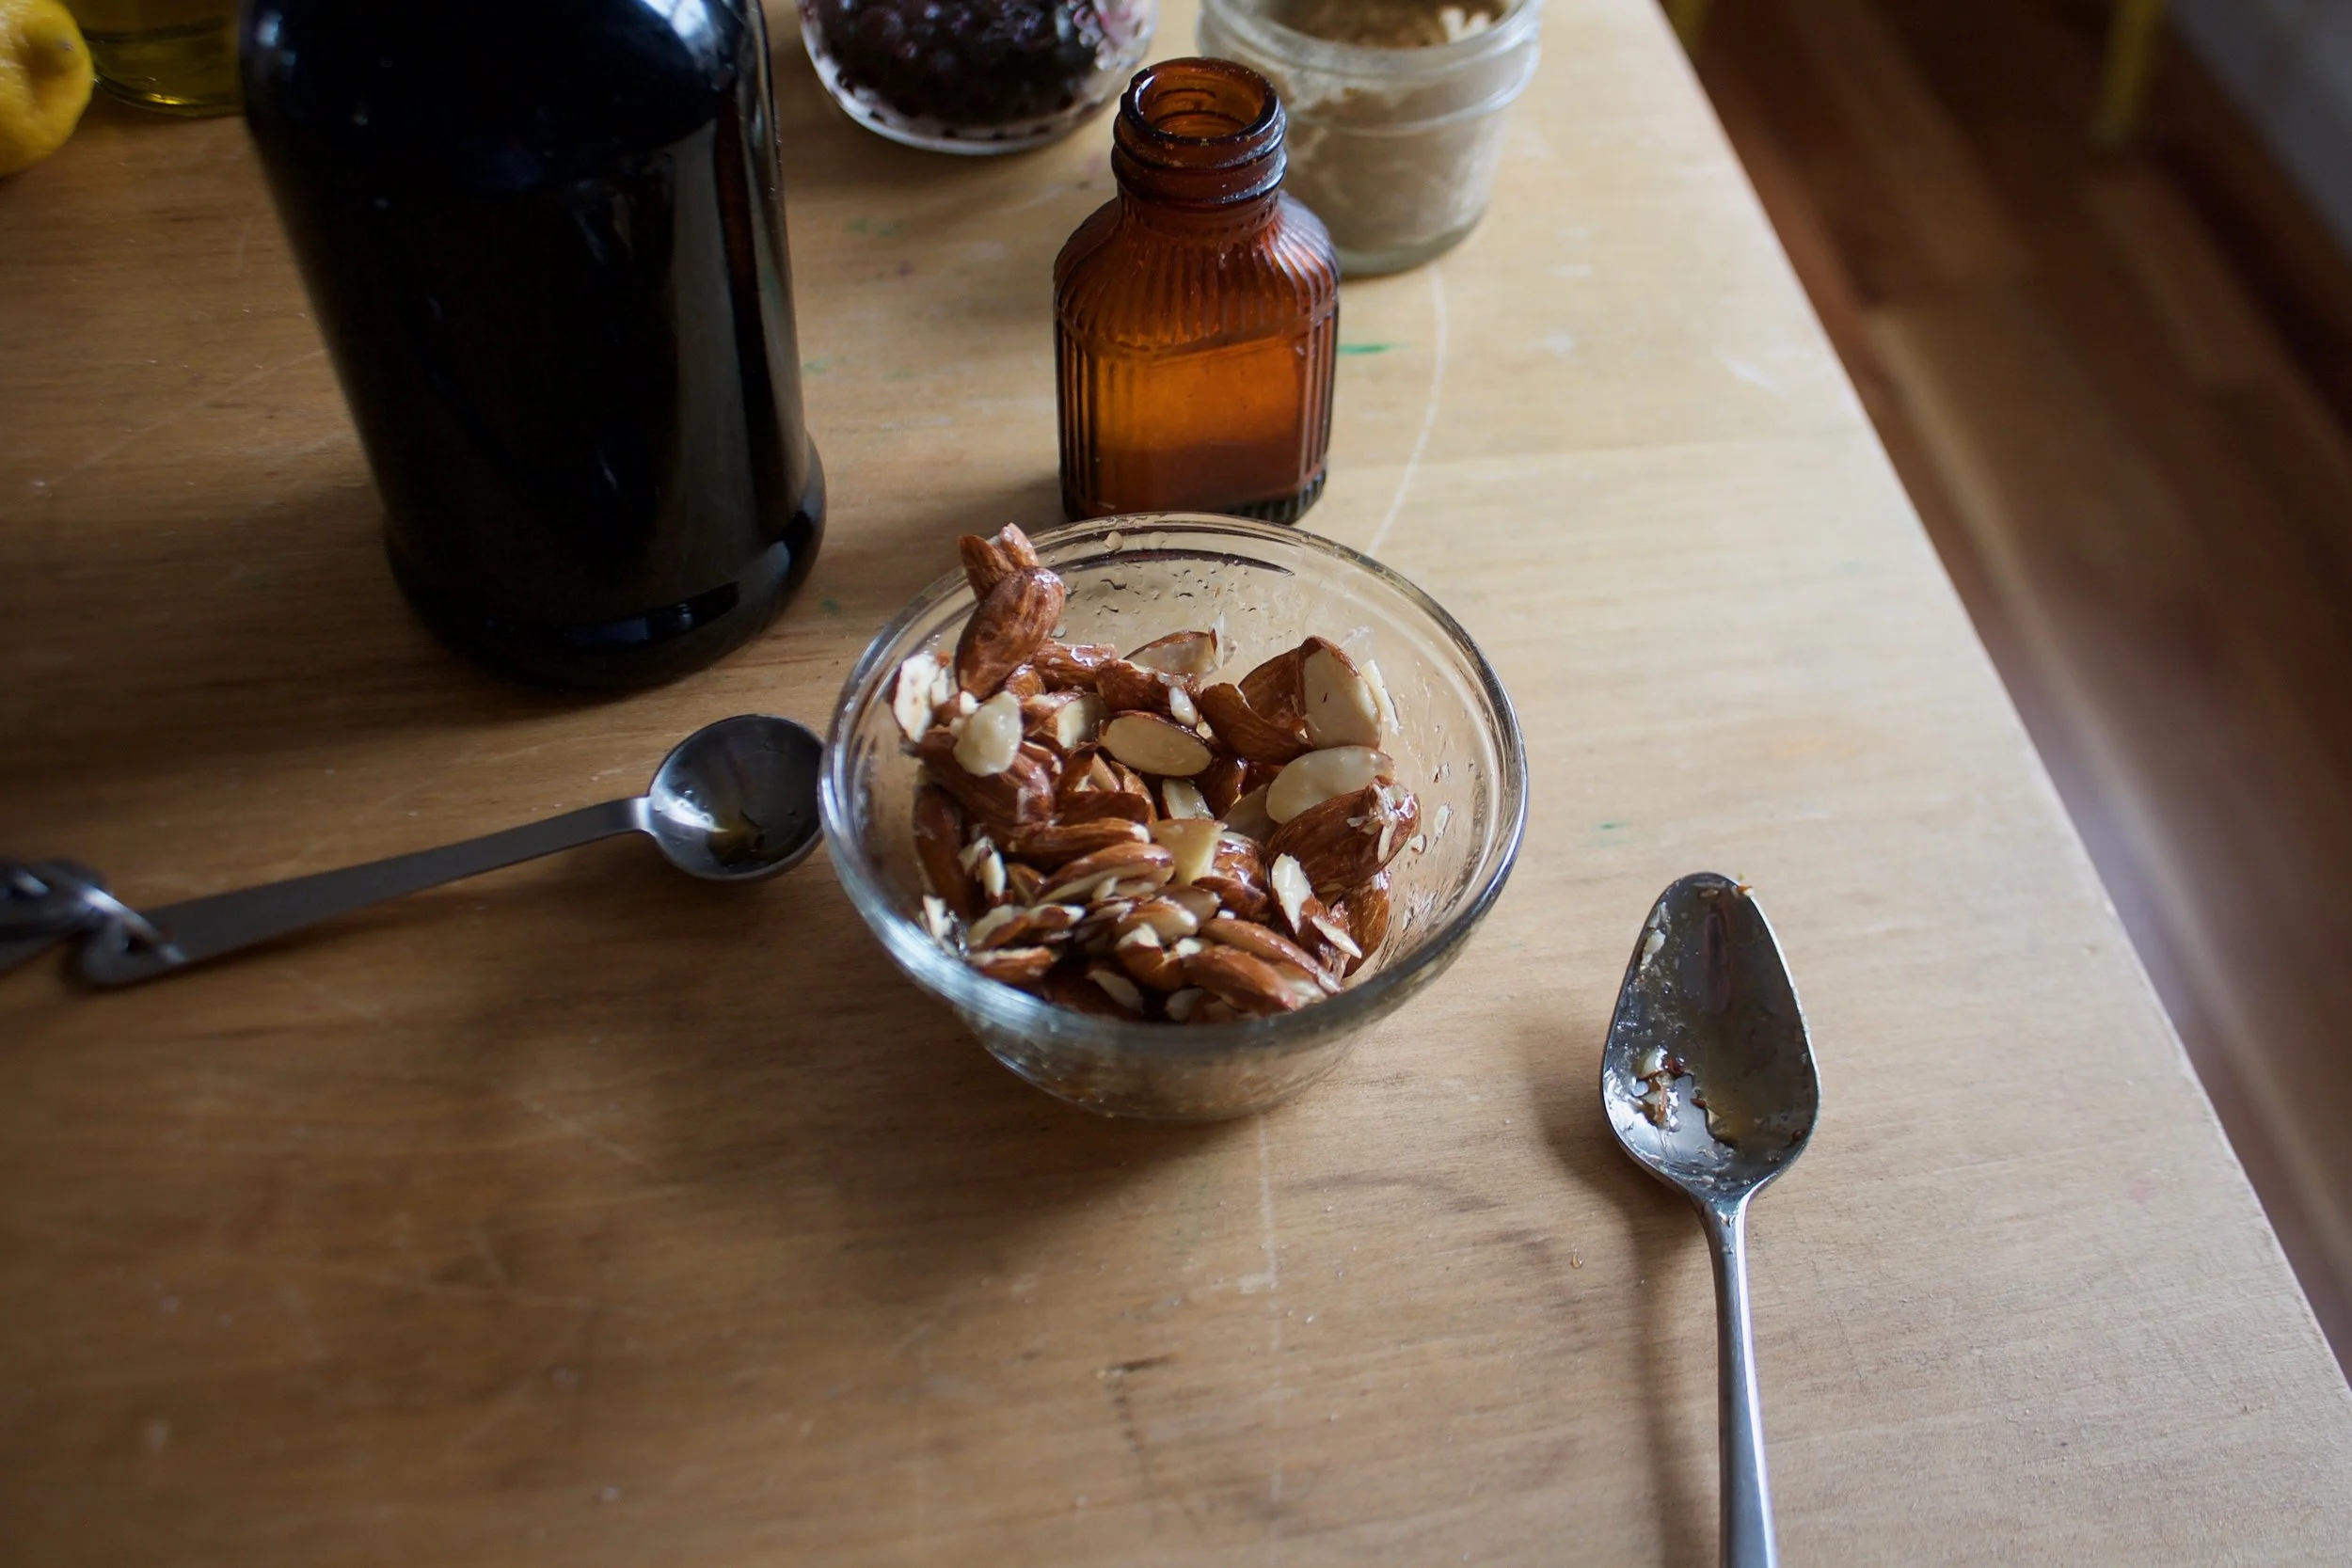
A couple teaspoons of maple %u00a0go in with the almonds. Really toss make sure they are all coated.

Place the almonds into a hot skillet cook for about 5-7 minutes or until the maple has become sticky and the almonds no longer raw.%u00a0

When they are done,%u00a0dump them onto a piece of parchment to cool. Don worry if they clung a little, you can break them apart once they are hard.%u00a0

Easy ass dressing. Blueberries. juice from the lemon, olive oil, vinegar, a tiny splash of maple, and a good pinch or pepper.%u00a0
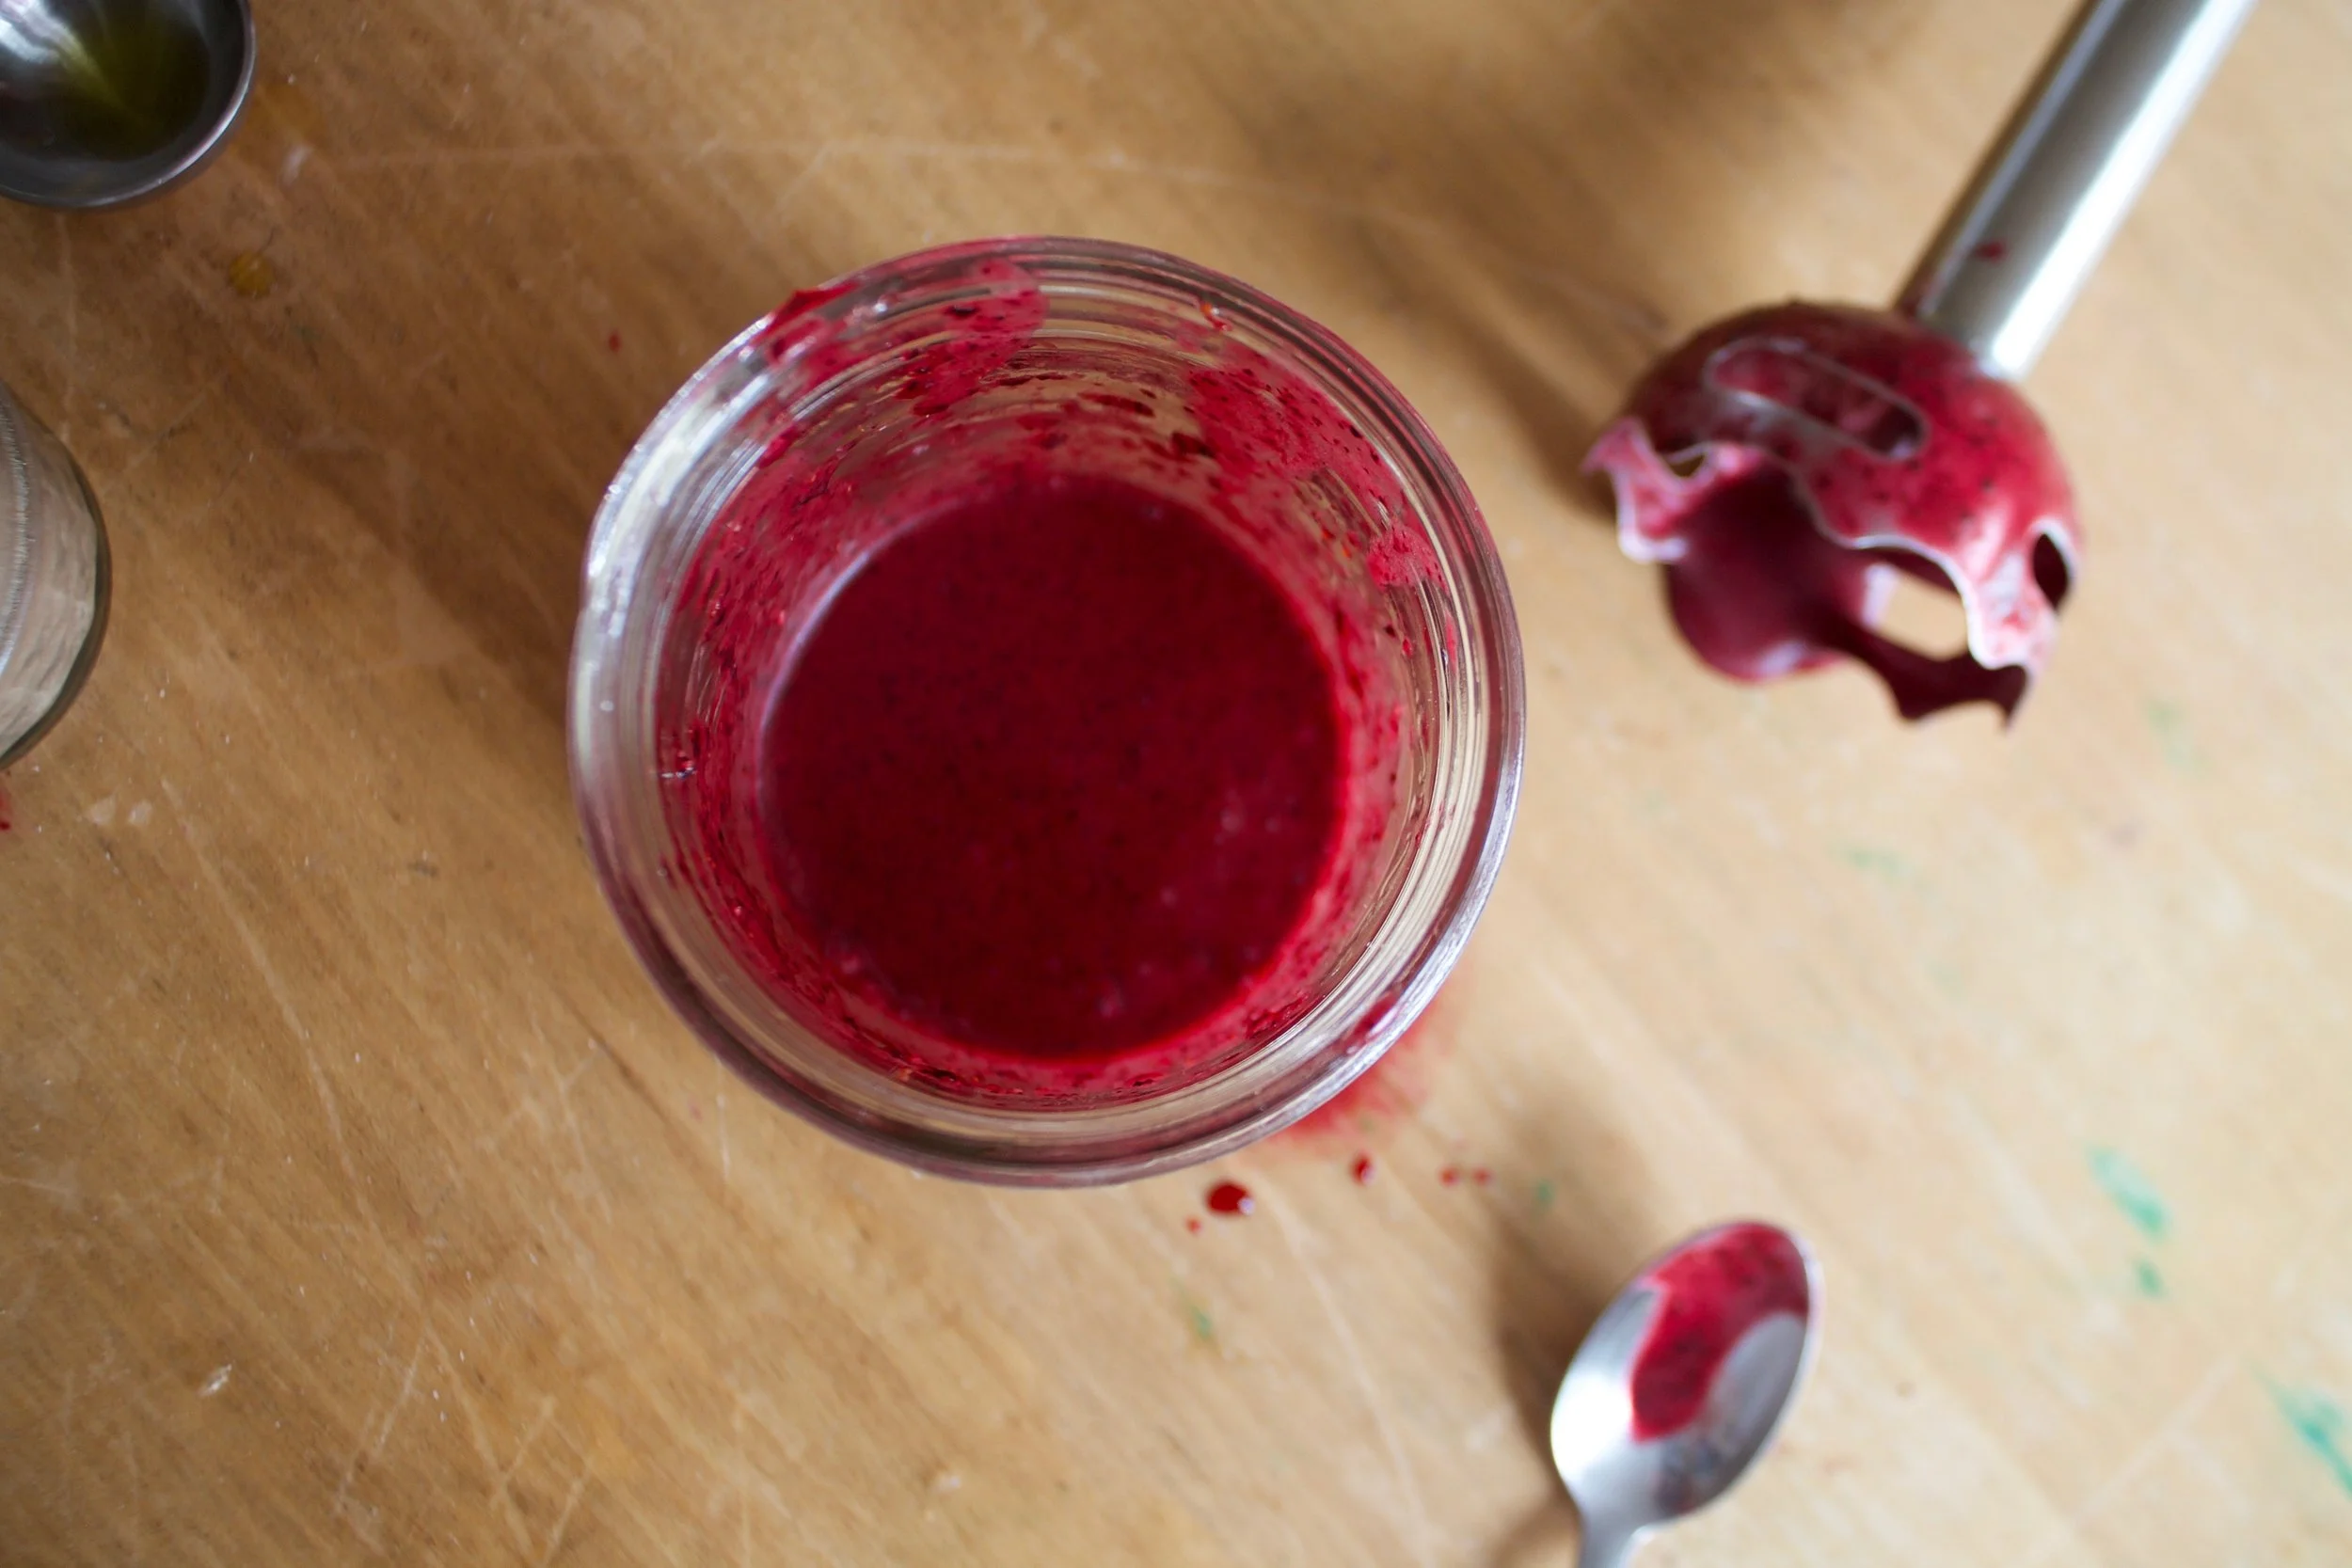
Blended then done. Taste and season with salt if needed.%u00a0

Avocado gets cut into small chunks and the onion get s thinly sliced.
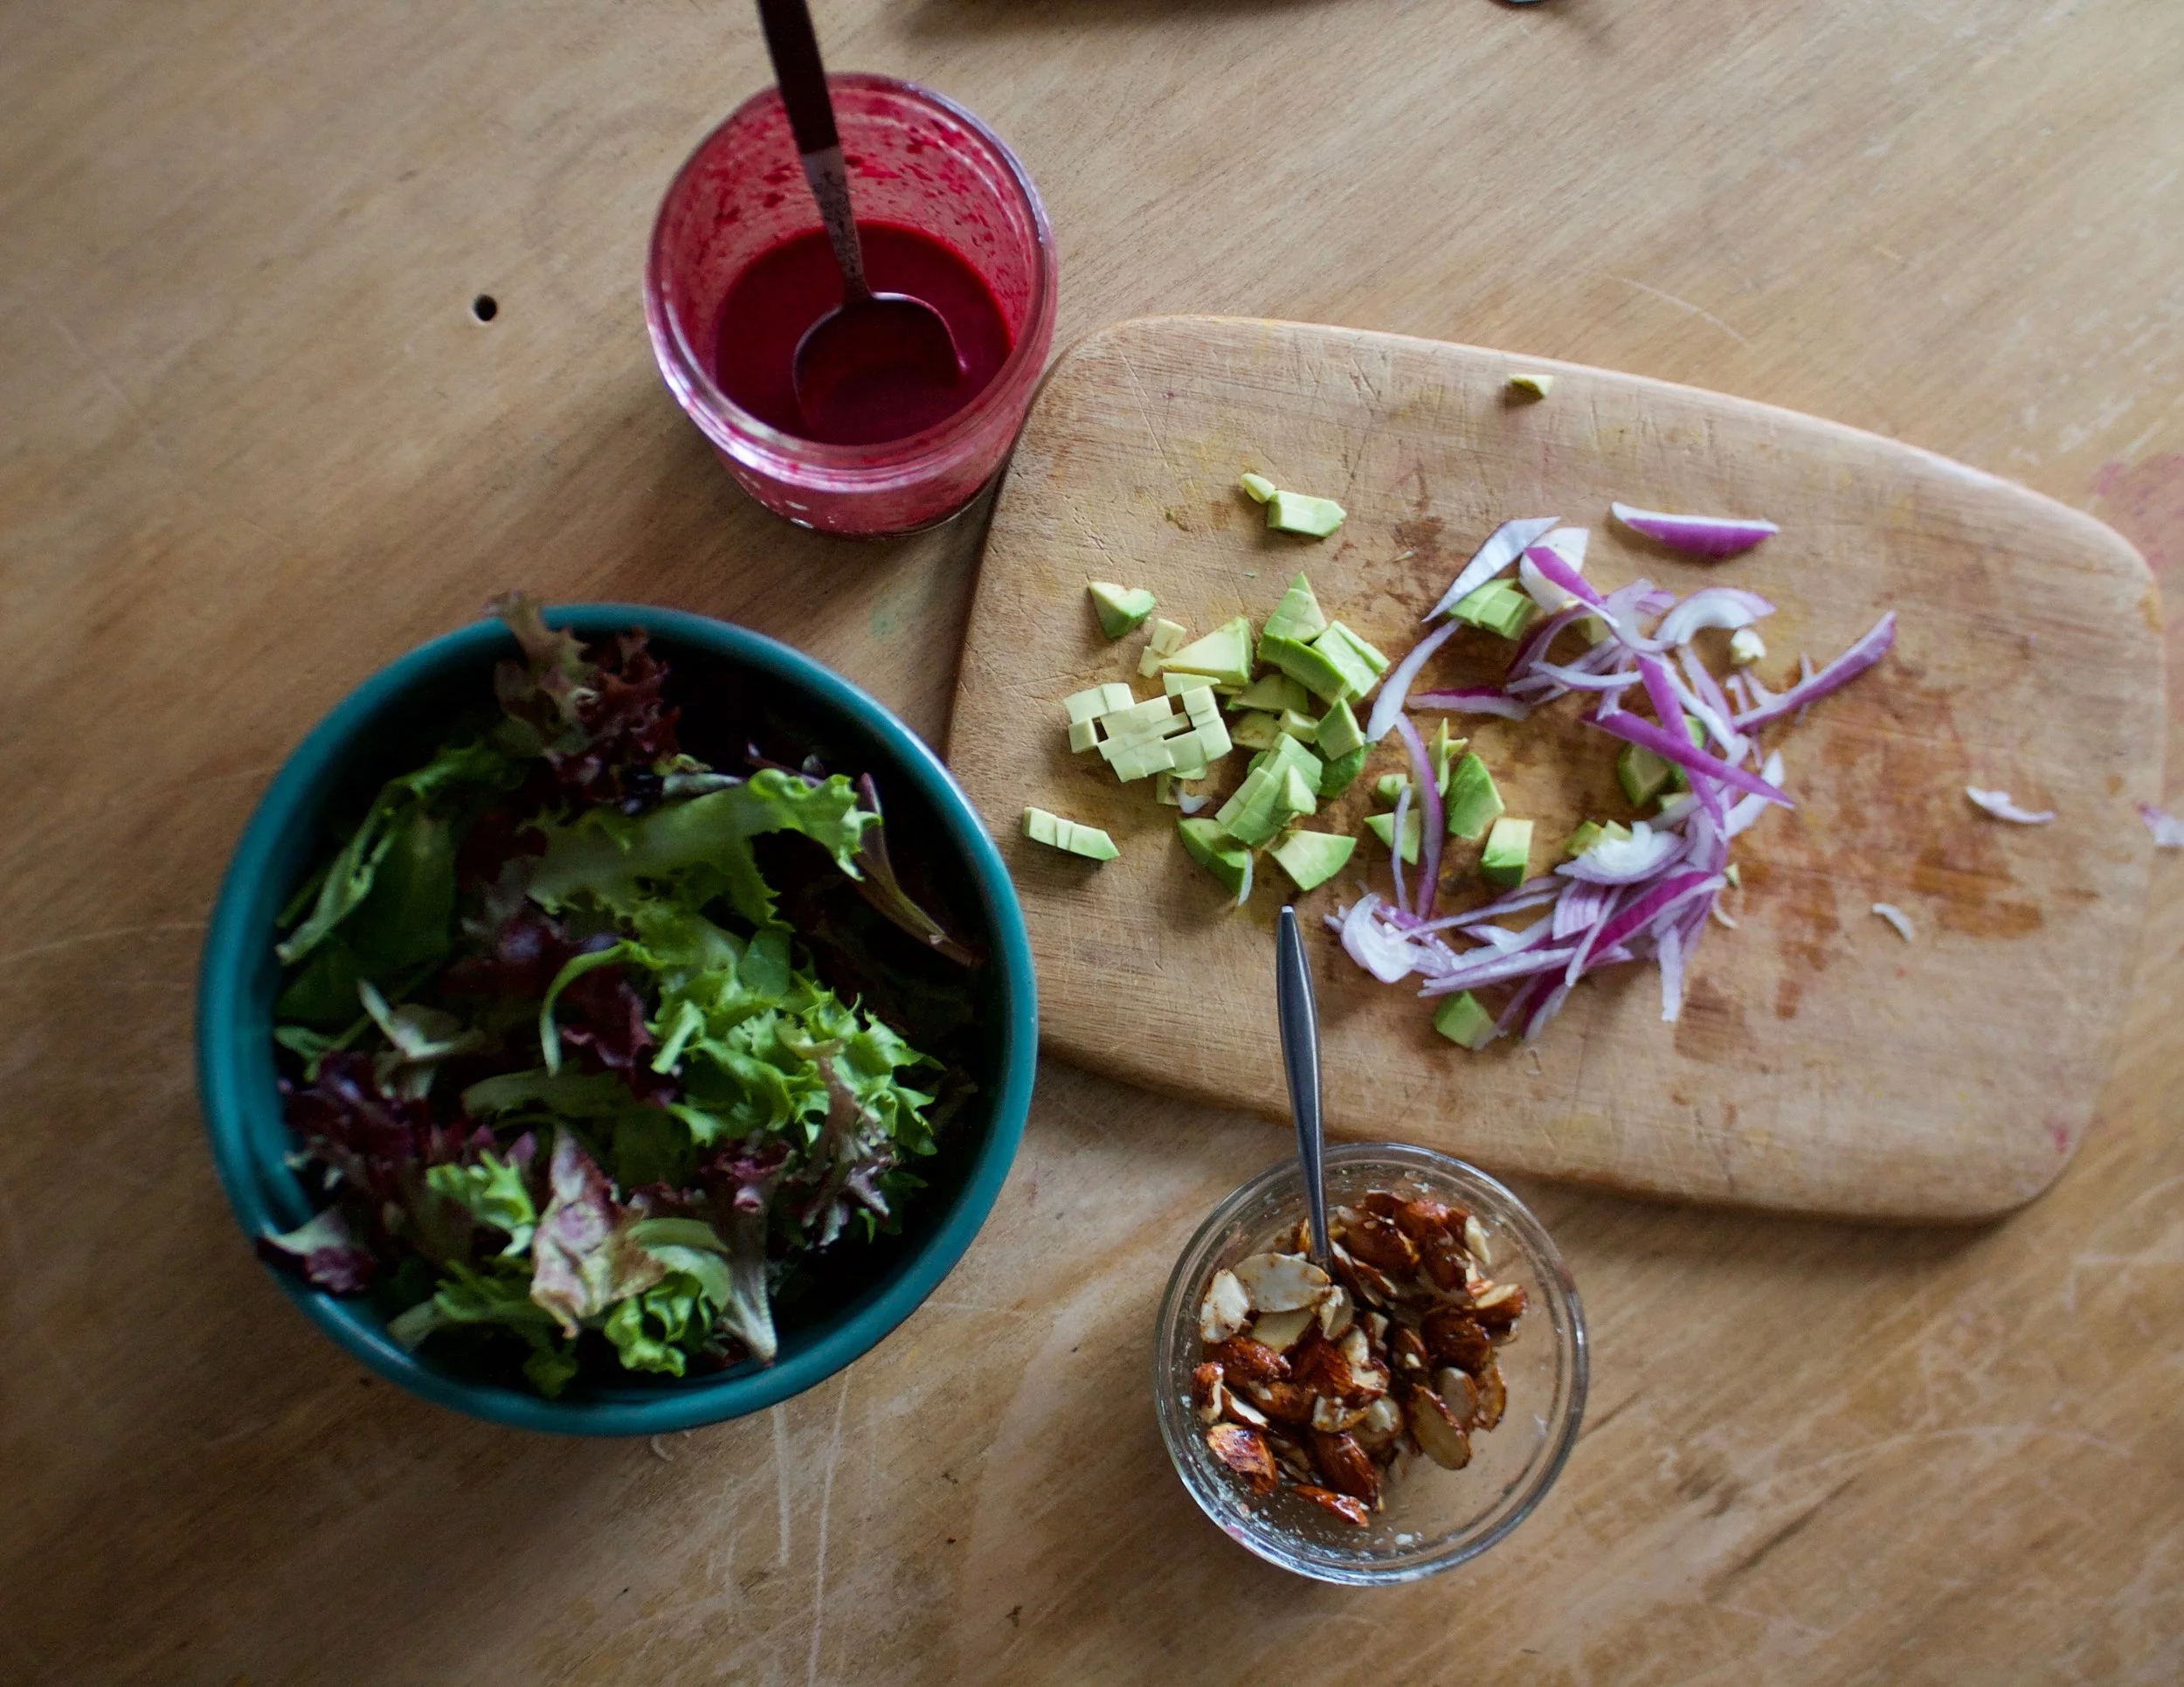
It’s all ready, so now make a salad

Makes 2-3 %u00a0salads%u00a0
- 1/4 pound greens ( I used spring mix but mesclun mix or spinach is good too)%u00a0
- 1/2 %u00a0red onion
- 1 avocado
For the Almonds%u00a0
- 1/3 cup raw halved or slivered almonds
- 2 teaspoons maple syrup%u00a0
For the Blueberry lemon Vinaigrette%u00a0
- 1/3 cup blueberries (I used %u00a0frozen)
- 1 lemon
- 1 Tablespoon olive oil
- 2 Tablespoon red wine vinegar
- 1/2 teaspoon maple syrup
- pinch or salt
- pinch or pepper
To make the %u00a0candied almonds, preheat a skillet to on medium heat on top of the stove.%u00a0Place almonds into a small bowl and drizzle with maple syrup. Stir to coat. When the pan is hot, dump the maple covered almond into it and spread them out. Cook for a 3 minutes, then give a stir and cook for a 3 or so more minutes or until the maple has evaporated and the almonds are starting to brown. Dump the almonds directly onto a piece of parchment paper to cool and hardened. Do worry if they stick together a bit, you can break them apart after.%u00a0
To make the vinaigrette,%u00a0place the berries into a jar (if using stick blender) or blender with the juice of the lemon, olive oil, vinegar, maple, and a pinch of pepper Blend until smooth. Taste then add a very small pinch of salt or more to taste.%u00a0
For salad. Thinly slice the onion and dice the avocado. Place greens into bowl(s) and toss with onions and avocado. Top with %u00a0candied almonds and drizzle all over with the vinaigrette. Grab a fork and eat.
Any left over dressing will last in fridge for about a week and left over almonds will be good for.a few weeks in a airtight container.%u00a0%u00a0%u00a0
IF you are a Vermonter you probably have maple on the mind. You drive anywhere outside of the city and you start see all tubes and lines running through the woods attached to all the trees. And spring. The weather plays a huge part in sugaring so when the weather is right, people be talking.%u00a0It’s maple sugaring time around here so of course I am thinking maple thoughts. It is kind of hard not to.
The first thing that goes through my mind when I think about maple is that I think I want a small sugarbush on our land (the land we have yet to find and buy) We already know that we are going to have an apiary (bees and honey) so why not do maple too? The would keep us busy all summer through spring with sweet things. Summers with the bees then trudging through the cold waist high snow tapping trees and hanging out in a sugar house in the woods.. I think that it should be part of my life. Plus think about the possibilities of a name for a honey/maple farm. Let your mind take you there.%u00a0
Second thing I think about when I think about maple is how to eat it. Most people jump right to pancakes, maple on snow, or lattes. But then what? Not going lie, I do not have a sweet tooth, like at all. I do’t eat pancakes covered in maple. I don’t drink lattes, and the maple on snow thing got old in 5th grade.
But I do like popcorn.%u00a0
Maple popcorn. Sounds good right? But maybe a little too sweet so add in a savory component to balance the sweetness out, and that is where the cumin comes in.%u00a0%u00a0%u00a0%u00a0%u00a0%u00a0%u00a0Maple is earthy and sweet, and a tad bit smokey. Cumin is earthy and savory, and smokey as well.. The two together create a fantastical flavor combonation that is smokey sweet and savory and all so freaking good. %u00a0Added to popcorn, well it’s right in all the ways that we need it to be. %u00a0
Now if the mr and I could just decide on a movie that we can both watch together… Probably just end up watching the Office instead. And we will each have our own bowls of popcorn.%u00a0

The stuff. Air popped popcorn, maple syrup, ground cumin,%u00a0vegan butter, and salt.

Butter and cumin go into a pot to melt and activate the flavor of the cumin.%u00a0

Once the butter is melted and the cumin is fragrant, the maple joins the pot party. Keep the pot on low and stir continuously for about 5 minutes until the syrup get a tiny bit thicker.%u00a0

Maple cumin syrup ready to go.

Dump the popcorn on a large rimmed baking sheet. Grab the syrup and drizzle it all all over the popcorn. Toss it around, sprinkle with a a little salt and then pop it into the warm oven for 5-7 minutes to keep the popcorn from being soggy.%u00a0

And then it’s done. Dump it into a big bow and get ready to eat.%u00a0

Sweet and smokey all in your mouth. This popcorn is sure to please.
-C
makes about 8 cups popcorn
- 8-9 cups air popped popcorn
- 1 tablespoon vegan butter
- 1/3 cup real maple syrup (preferably from VT)
- 1 tablespoon ground cumin
- salt to taste
Preheat oven to 250.
Grab a large rimmed baking sheet and dump popcorn onto it.
Place cumin and butter in a small pot and place on low heat. Stir until butter is melted and you can start to smell the cumin. Add in the maple and continuously stir for about 5 minutes until it start to slightly thicken. Immediately drizzle the syrup all over the popcorn, toss it around, sprinkle with a little salt and then pop it into the oven for about 5-7 minutes to prevent the popcorn from becoming soggy.
Remove and let cool a minutes then dump popcorn into a big bowl. Grab a movie (because you know that is what you are doing) and get to the popcorn.%u00a0
Extra popcorn (but there will not be any) will last for a few days in a airtight container)%u00a0


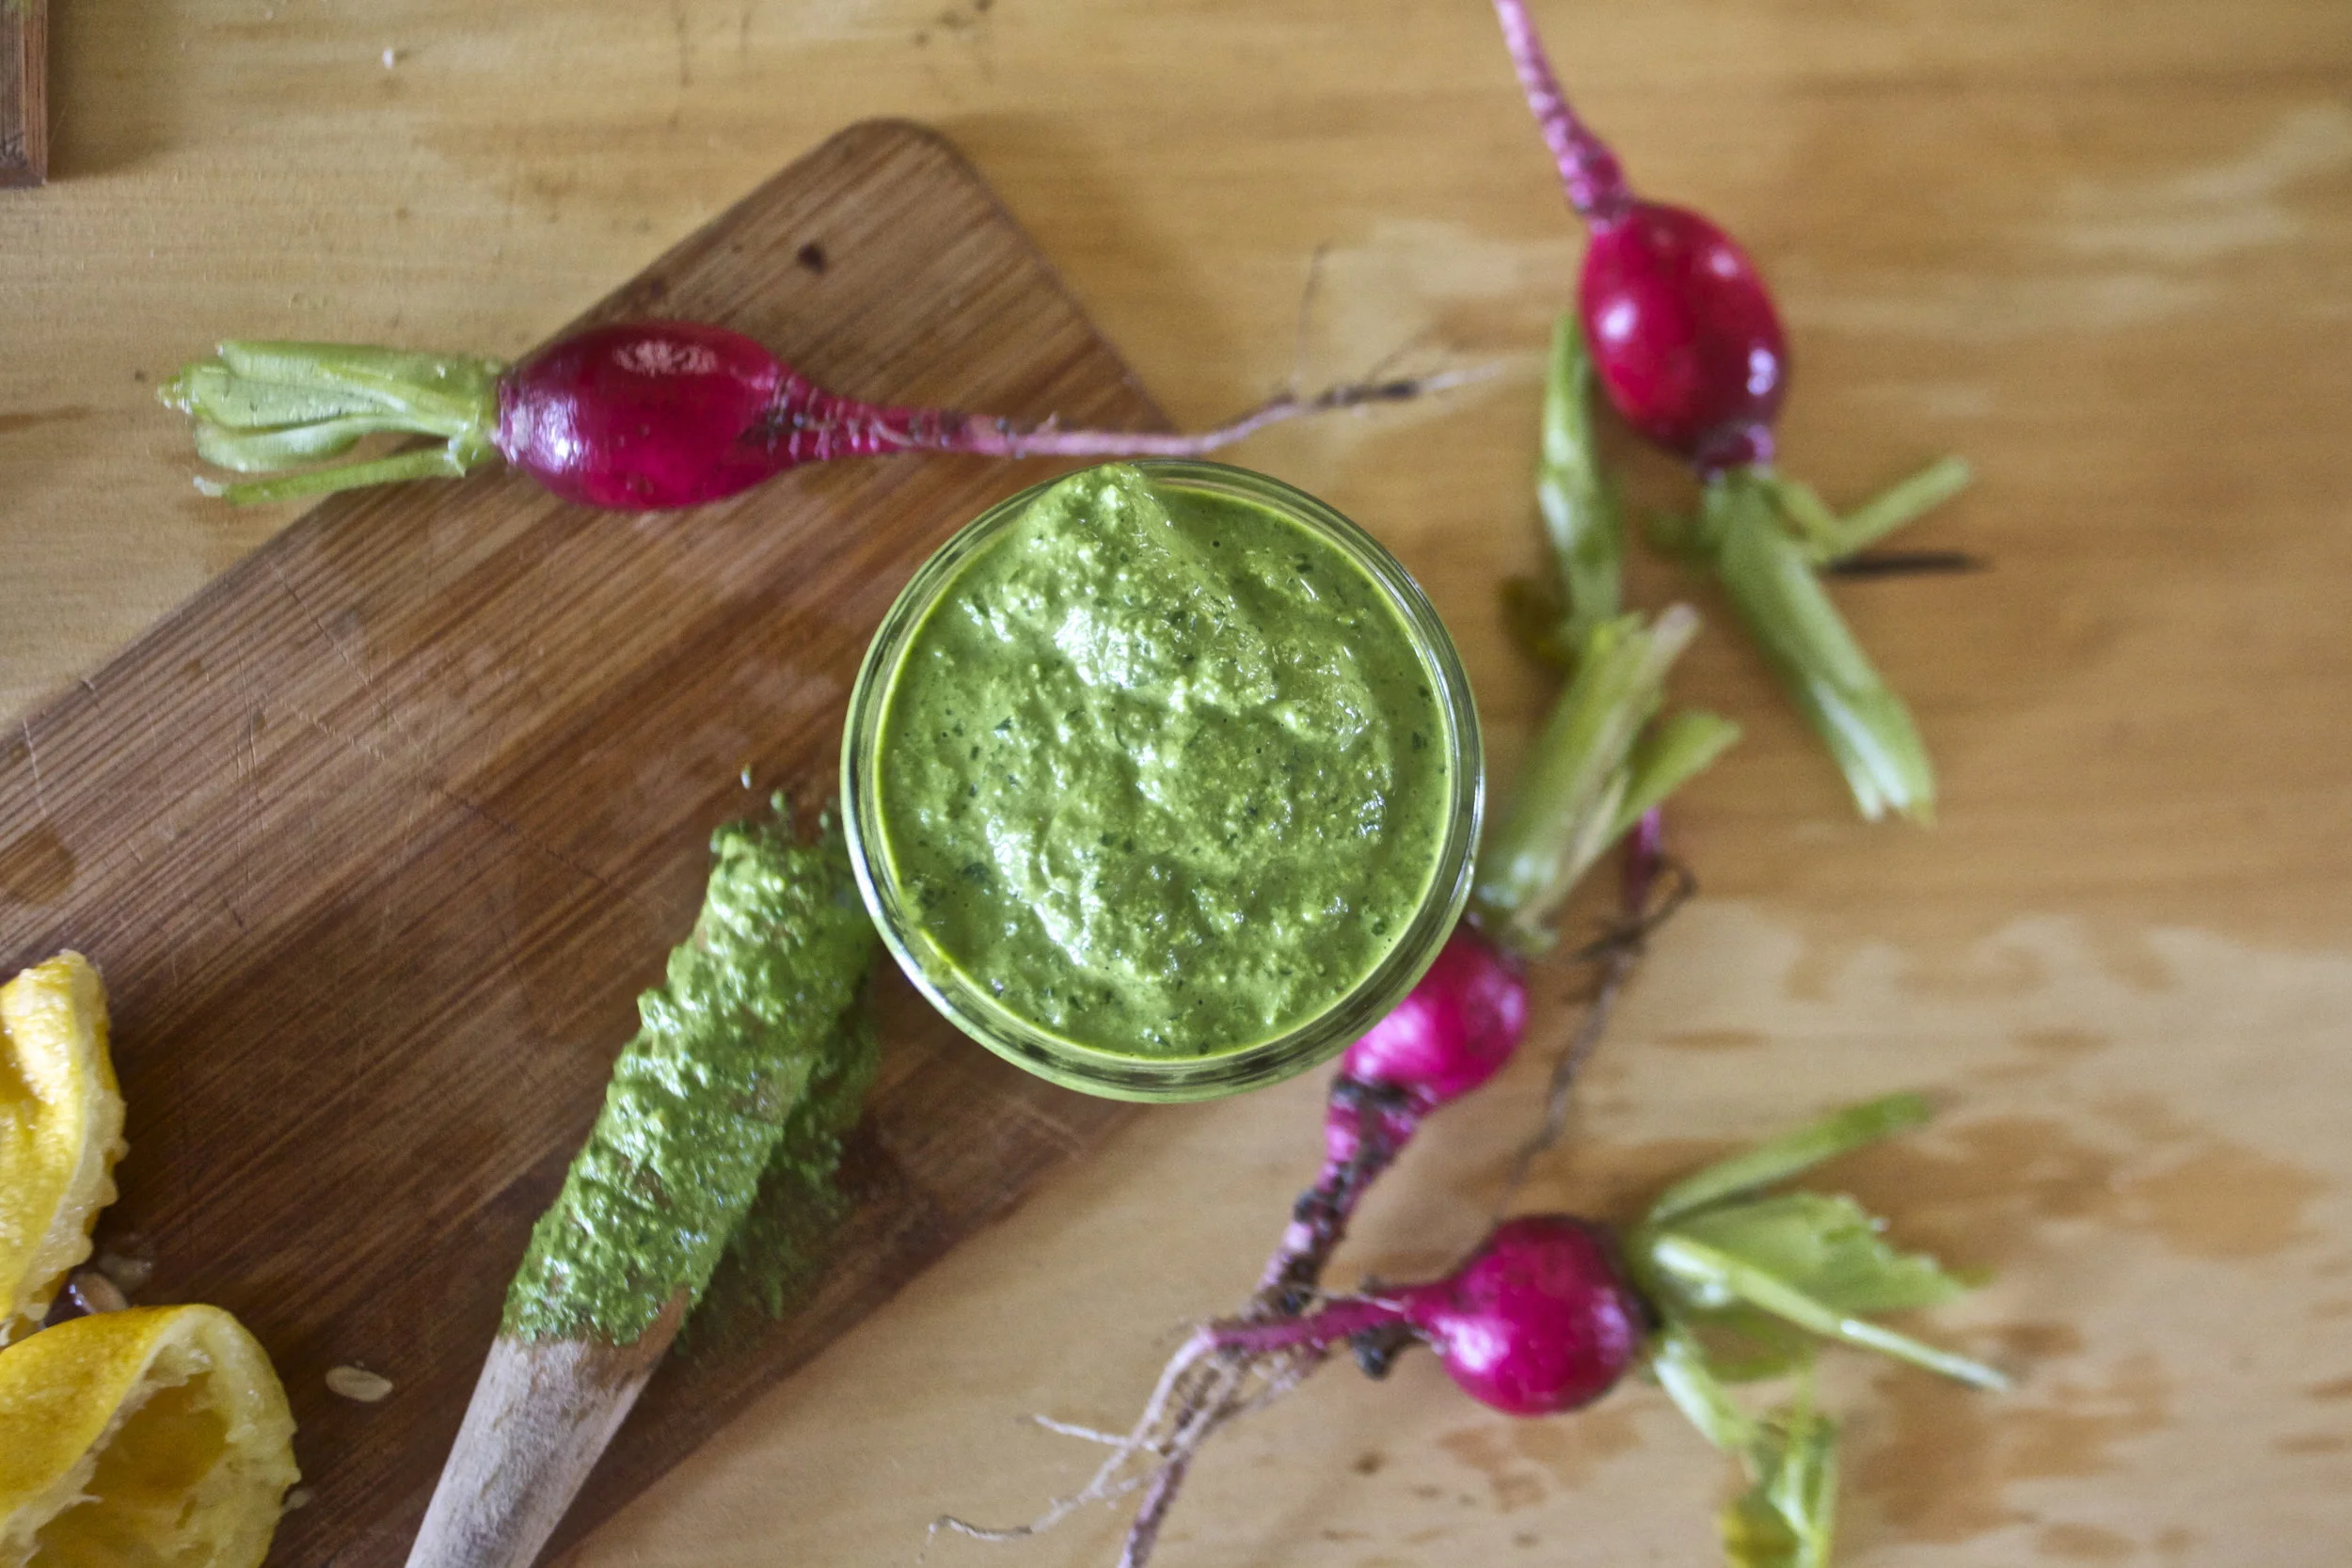


 Peas scream spring to me. The bright green color with that nice bright fresh taste%u2026.. kind of like a fresh spring day. Ah spring, so lovely, so nice, so hasn’t made its way here yet. So I guess I am left to eat my spring.%u00a0And what better way to highlight those lovely spring tastes? A fantastic pesto my friends, and it can be made lickidy split.
 Pesto Stuff. We got the peas, garlic, lemon, oil, cheese if you please, and salt. %u00a0
 Take a handful of peas and set aside for later. Juice the lemon and take that and the rest of the stuff and stick in%u00a0a food processor and puree until smooth.%u00a0
 The%u00a0pesto is made, and it only took about 2 seconds, now boil up the pasta. %u00a0If you were a thinker, you could start the pasta and make the pesto while its boiling. (I wasn’t being a thinker) I used bow ties cause they are super cute, but use whatever pasta you’re feeling. Shells or the ones that look like little brains would be good options.
 Into a bowl and served with a fork to eat it with. %u00a0A super green fresh springy meal of happiness. And all under 15 minutes in the kitchen.
 HOORAY FOR SPRING!!!!!!!
 %u00a0 %u00a0%u00a0
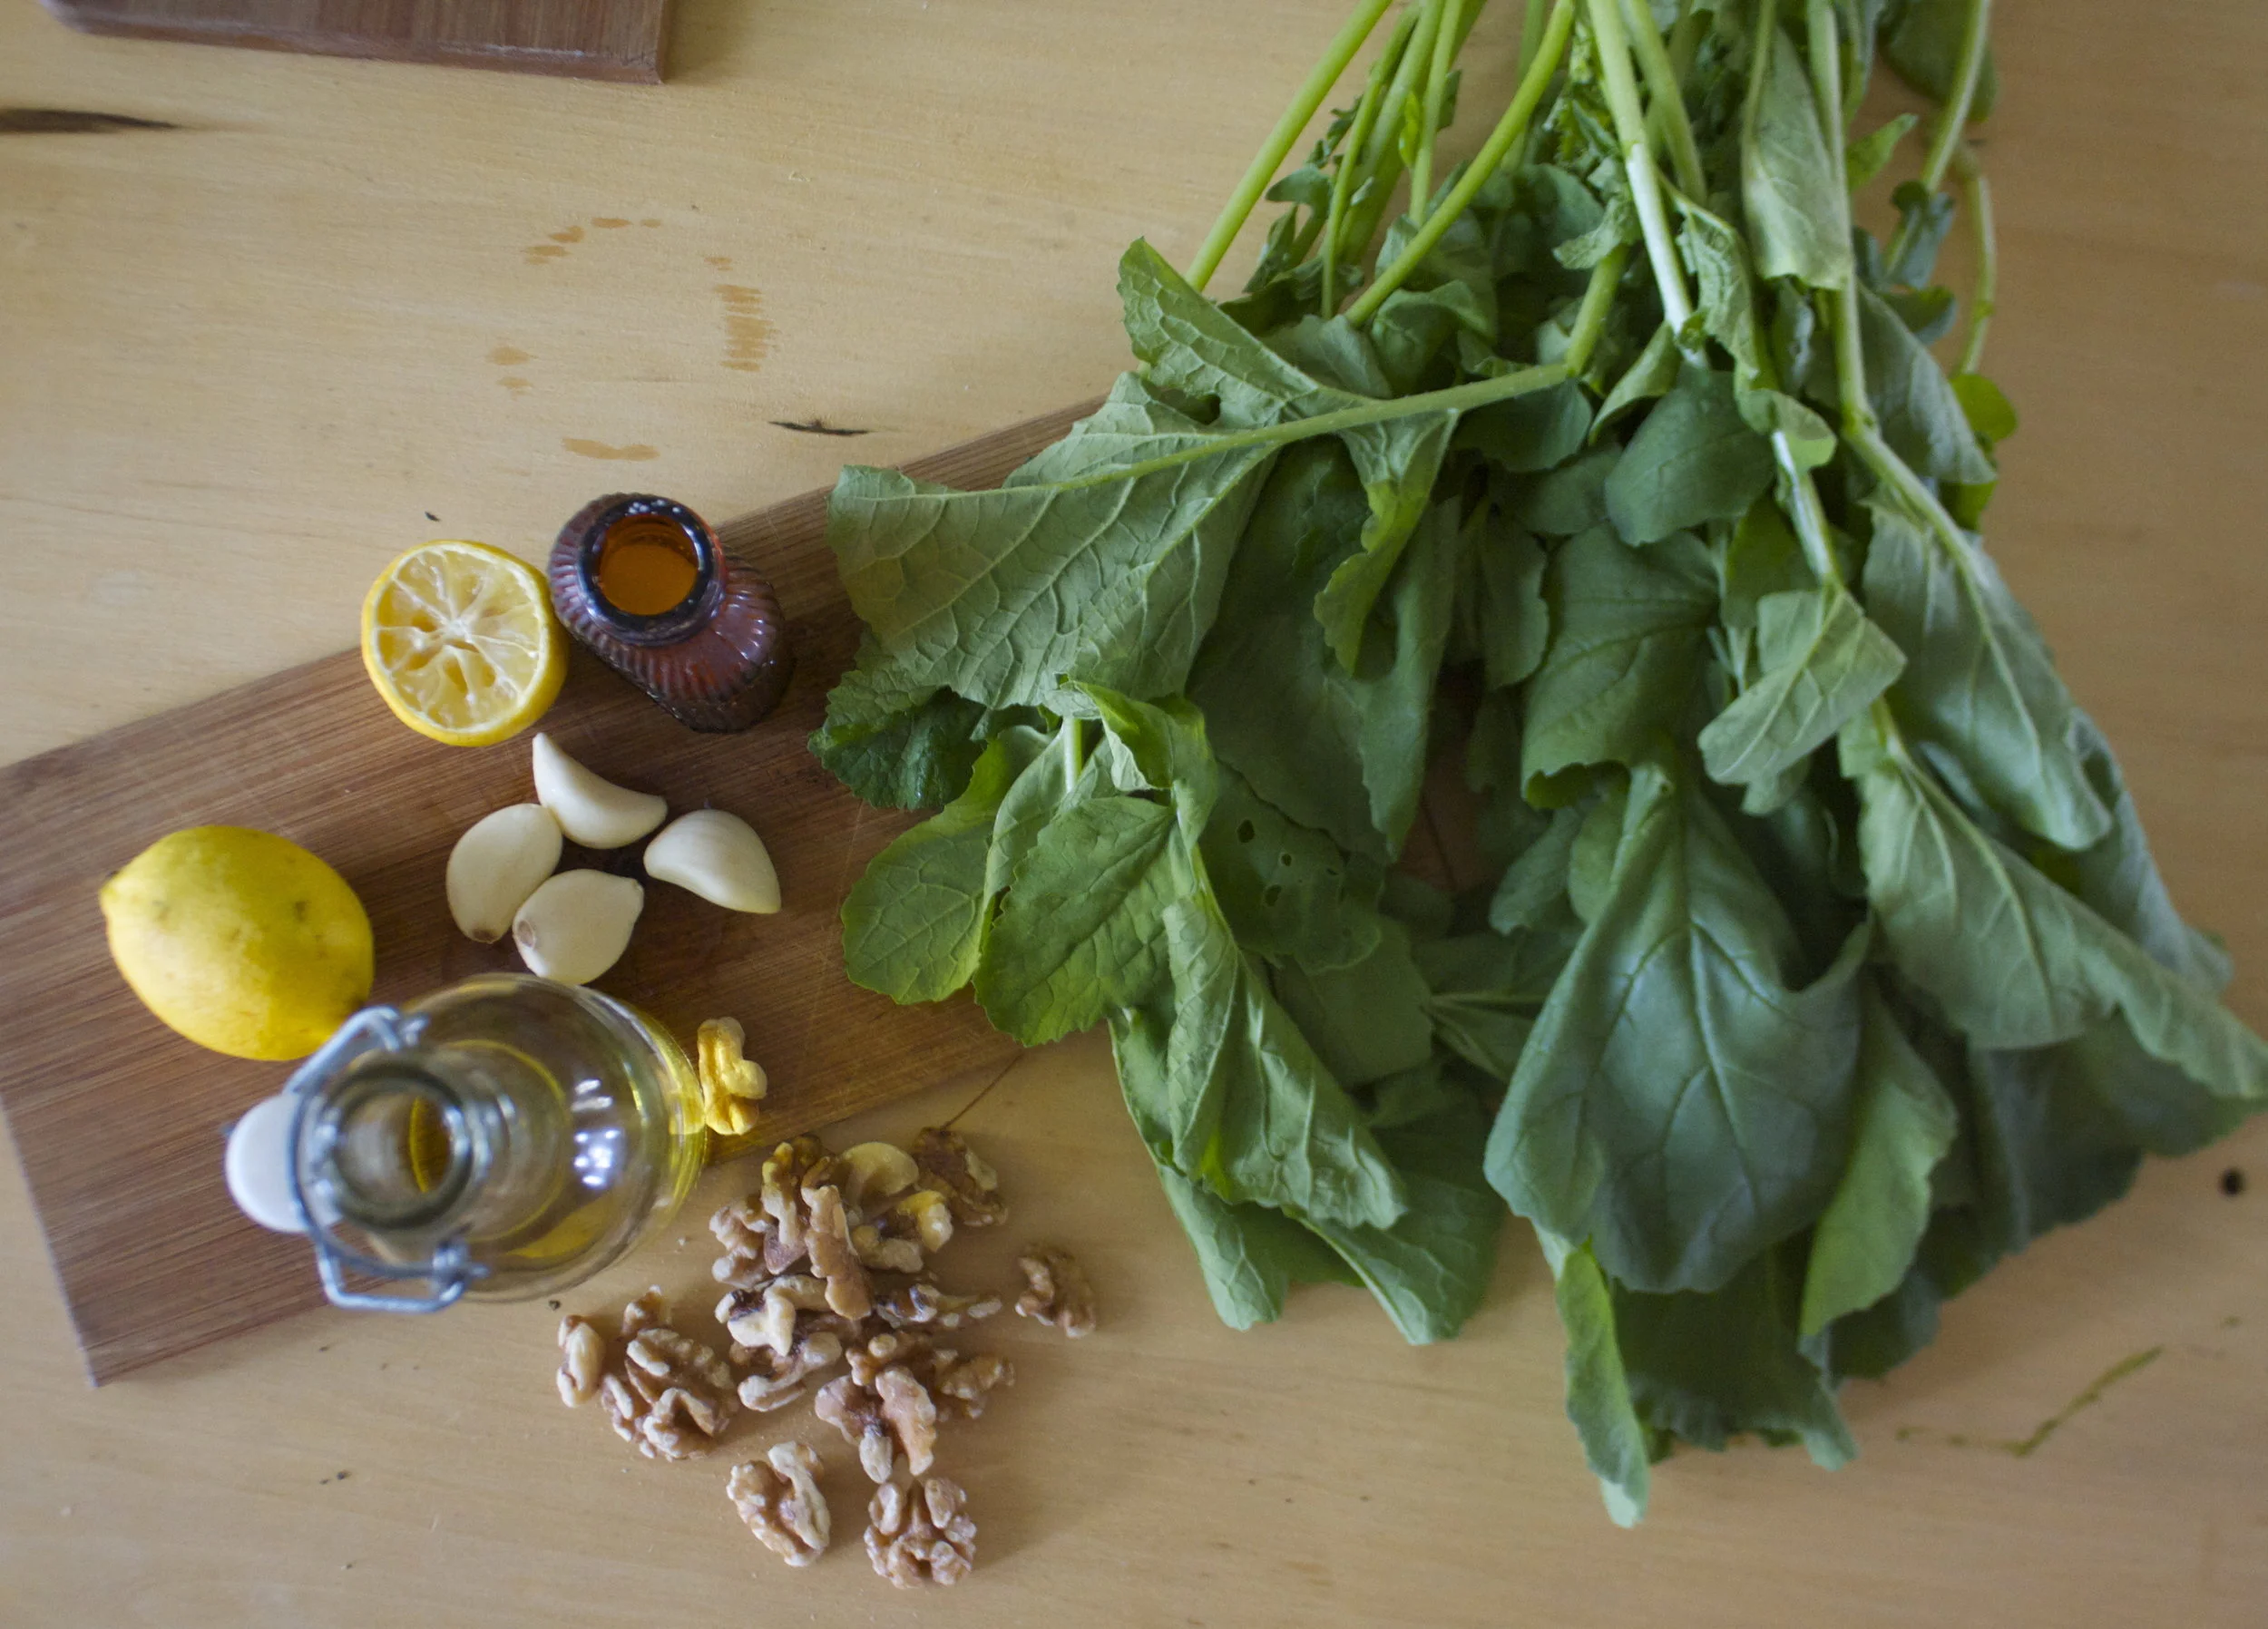
 %u00a0 %u00a0Pesto stuff. Kale, walnuts, parmesan cheese(nutritional yeast to keep it vegan), garlic, lemon, olive oil, and salt and pepper.
 %u00a0
 Straight up frozen ravioli goes onto an oiled baking sheet.(make sure that non are overlapping) Place into an oven at 400 degrees for about 15-18 minutes, flipping after 10. If you want to add mushroom and a few more walnuts, just toss them onto the ravioli when you are flipping over the ravioli.%u00a0
 Look at this%u2026 fresh, crunchy, light and happy. Kinda like a spring day.















Quick Pickled Green Beans — The Lovely Crazy
August 19, 2019 by maximios • Blog
Any time is a good time for pickles, but now is a great time. There has been so much baking, heavy, rich, and time consuming foods in the past month that I think everyone could use themselves a good helping of veggies and maybe a little brightness, like a good pickled green bean. Freshy, crisp, and clean. A jar of happy green goodness. (Don%u2019t you describe jars of pickles just like that, a happy green jar of goodness?)
Around there parts, it%u2019s kind of a holiday tradition with the mr to get a jar or two of pickled beans. I don%u2019t know exactly how it started, but they are something that he has been getting every year. So this year instead of buying him a jar, I just made them. And let me tell you, it is a heck of a lot cheaper to make your own then it is to buy them, plus I think mine taste better if I do say so myself. These pickles are of the refrigerator kind so there is no processing or stress of bad seals. Nope, these pickles take all of 15 minutes to make, a day to pickle up nice and good in the fridge, and that is that. Ready to go, ready to eat. A small task, nothing fancy, nothing a small child could not handle (um.. well I would not let a small child near boiling water so nix that but a medium to large child, yeah sure.)
Pickled green beans. You know you want them so go and make them.
To the pickled beans!
The stuff. Fresh green beans, white vinegar, salt, peppercorns, garlic, dill and a dried cayenne pepper. The dill and cayenne pepper are optional and you can use any spices you want, but these are good ones to try.%u2026 Next batch I am going to do fresh turmeric and ginger, see how that comes out.
The hardest and not hard at all part. Blanch the beans. Basically just toss the beans into a boiling pot of water for 2ish minutes then scoop them out into a bowl of ice water. Easy peasy.
Jar preparation. I figured I would do two flavors, a spicy cayenne and a dill. (Cayenne for me, dill for the mr) Both jars get a chunked up glove of garlic and some slightly smashed up peppercorns. The hot pepper goes into one and the dill into the other.
Then make the brine. Just boil the vinegar with salt. Nothing fancy.
You got the jars ready and the brine made so now you just pack the two jars with the blanched beans. You might need to snip a few in order to fit, but I just eat those ends anyway so I am doing myself favor here.
Then you pour equal amounts of the brine into the jars then top off the the jars with ice water. Place a lid on those suckers and give them a good shake and into the fridge they go. 24 hours give or take and that is that.
And now you got pickled green beans. The question is weather you eat a few at a time or if one jar constitutes a vegetable serving and you eat the whole jar at once.
I say eat the whole jar. Not like it took very long to make right? So maybe you just a few extra jars.
Have a lovely weekend.
-C
maks 2 pint jars
1 pound green beans
2 cups water vinegar
1 1/2 – 2 cups cold water
2 teaspoons salt
1 teaspoon whole or slightly crushed peppercorn
2 big cloves garlic
A tablespoon dried dill and a dried cayenne pepper (optional)
Rinse green beans. Bring a large pot of water to a boil and grab a large bowl and fill with cold water and a few ice cubs. Place half the green beans in the boil water and let cook for about 2 minutes. Scoop them out and place into the bowl of ice water. Repeat for the second half of beans.
Place the vinegar and salt in a small pot (or use the pot you used to boil water) and bring to a boil. Set aside
Grab 2 pint jars making sure the are nice and clean. Peel and cut the garlic into a few pieces and place into the bottoms of the jars. Add the dill to one and cayenne to the other (or whatever spices you do or don%u2019t want to use) Give each jar some of the peppercorns then start packing the balanced beans into the jars. Try to make them all straight so you can fit in as may as you can, and if the bean is to long, just cut to fit (eat the ends) Once both jars are packed pour equal amounts of the vinegar brine to the jars. Top off each jar with cold ice water. Place a lid on the jars, give it a good shake and place jars into the fridge for 24 hours. After the wait, pop the lid and eat.
Pickled beans will last about a month in the fridge but really, if you have them for more then a week, that is just a shock.
Note about lids. I use plastic lids when dealing with anything acidic. The metal lids will work but will rust after a while and sometimes leaves metallic taste. If you only have metal lids, use a piece of wax paper in between the kid and jar.