alz-il.net
  • Home
  • Blog
  • YouTube
  • TikTok
  • Instagram
RSS

THE LOVELY CRAZY

August 19, 2019 by maximios • Blog

I have very strong feelings for heart shaped baked goods. I think that everything, all year round, should be heart shaped. How lovely would that be? It would be ever so lovely, or I would think so anyway. And yes, ok, I was thinking about Valentines Day when I made these cupcakes but don%u2019t let that be the only reason you make a cupcake, cake, or any other baked good into the shape of a heart or pink for that matter.. Hearts are just so sweet and cute and dare I say cuddly? (Can you cuddle baked goods? Let me know if you have and do. We should talk about that). And pink is just a fantastic color, especially when it is the color of the flavor. Purple-y pink equals a taste like berry so all just makes sense.

Anyways. Cupcakes. Made with nutty almond meal to taste all nutty, frosted with blackberry and clementine frosting which is a pairing that all party and non party people will love. A down right deeelightful combination that will, no matter your circumstance in life, make you smile. Because lets get this clear, these cupcakes might look all lovey dovey and Valentines Day-e and are very much a perfect Valentines Day treat, but also can be an everyday, run of the milll, straight up any day, all day cupcakes. Valentines Day does not own the heart or pink.

These cupcakes are for you to love and you don%u2019t need to worry if they love you back. That would be weird.

Slightly off topic thought. How awesome would it be if someone made a cute little teddy bear that when you squeezed it it would scream %u201cWHAT THE HELL! GET OFF ME!%u201d Hahahaha. That would be amazing.

To the cupcakes!

The stuff. Flour, almond meal, baking soda, baking powder, salt, sugar, soy milk, oil, vanilla extract, and apple cider vinegar. Also some blackberry jam, powdered sugar, some vegan butter, and a clementine.

In a big bowl, whisk together the granulated sugar, flour, almond meal, salt, baking powder, and baking soda.

Add in the oil, vanilla, milk, and apple cider vinegar. Mix until fully incorporated.

And that is some mixed batter.

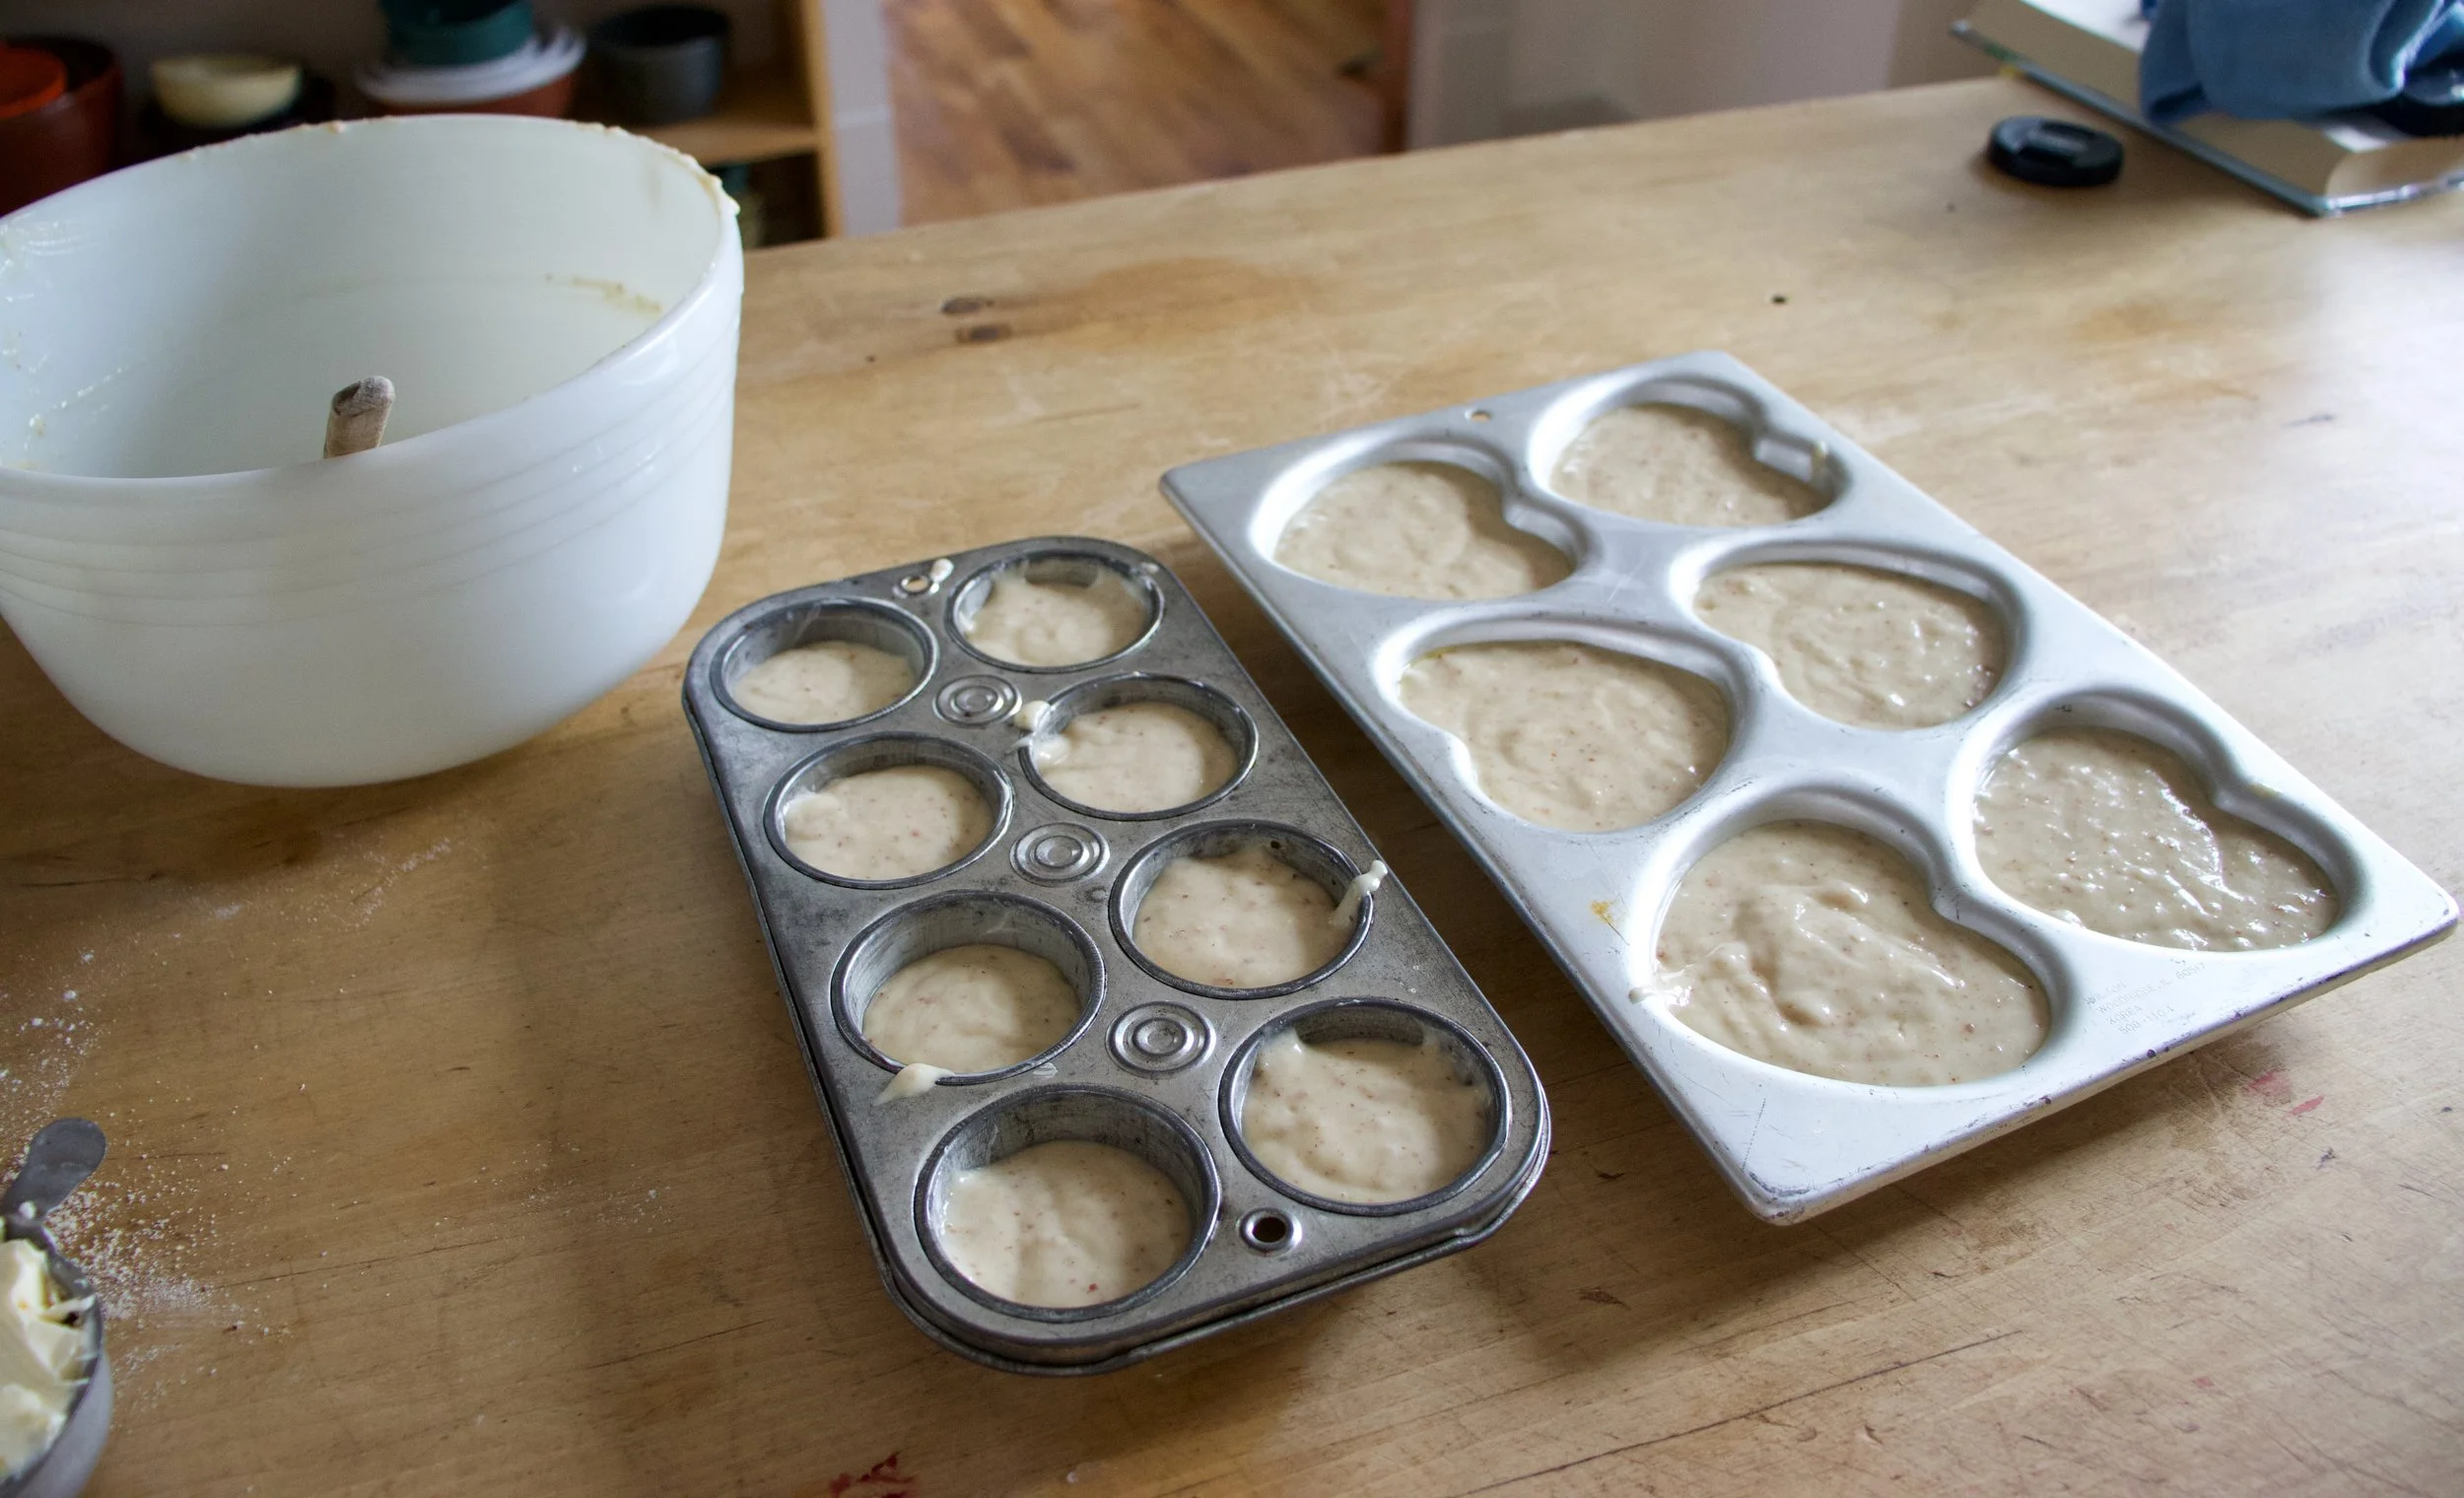
Scoop the batter into well greased muffin tins. I used to different shapes and sizes because I wanted too. You can do the same, just be aware different sizes will cook at different times.

And into the hot oven they go.

Baked, popped out of the tins, and cooling to cool.

Frosting time. Butter, clementine zest, and jam mixed together makes for the prettiest color.

Add in the powdered sugar and juice of the clementine and beat with a beater.

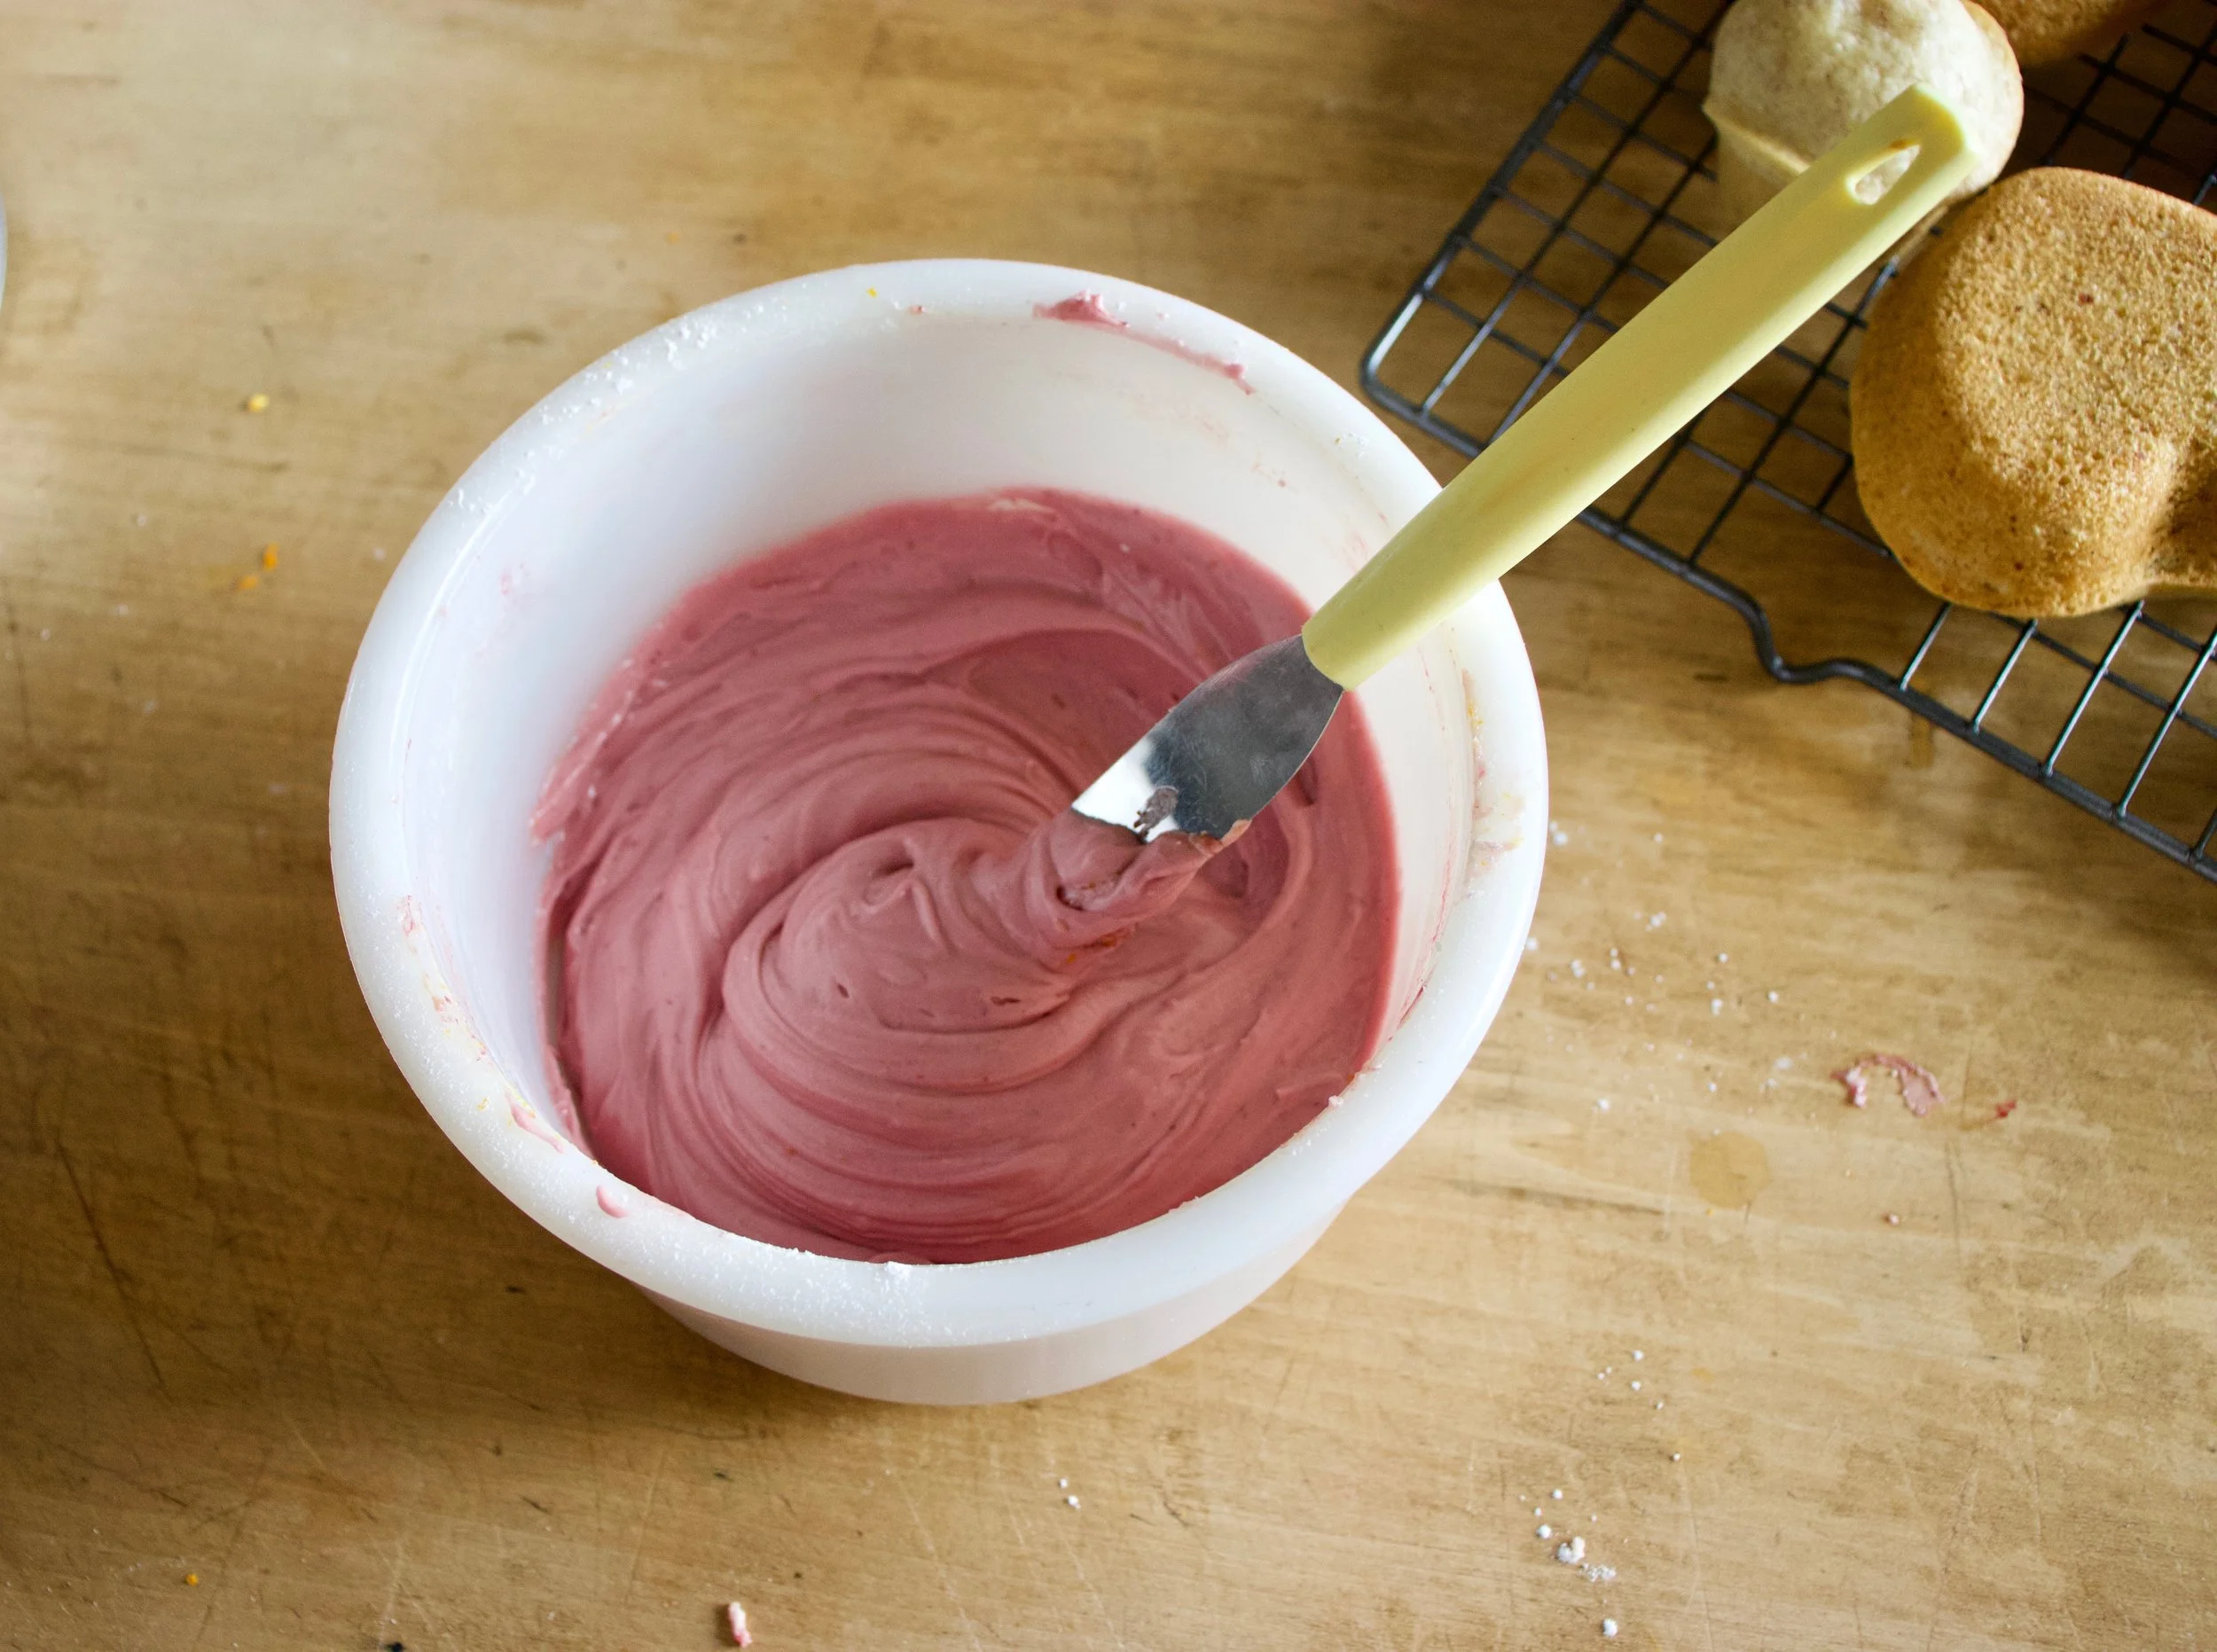
Pretty pink frosting. All natural.

And now that the cupcakes are cooled (you must wait until they are completely cooled) get them frosted.

And of course, adding sprinkles will only make them that much better.

And now you got the cupcakes which makes it cupcake time.

Look at that smile. Thats a smile just for cupcakes, not at all because I told him too.

Happy happy.

-C

Makes 12-16 cupcakes (depending on size)

  • 1 1/2 cups all purpose flour

  • 1/2 cup almond meal

  • 1/3 cup neutral oil

  • 1 1/4 cup almond milk

  • 3/4 cup white sugar

  • 1 teaspoon baking soda

  • 1 teaspoon baking powder

  • 1 tablespoon apple cider vinegar

  • 1/2 teaspoon salt

  • 1 teaspoon vanilla or almond extract

  • For the frosting

  • 3 tablespoons blackberry jam or preserves with or without seeds

  • 2- 2 1/2 cups powdered sugar

  • 4 tablespoon vegan butter

  • 1 clementine (zest and some juice)

Preheat oven to 350.

In a large bowl whisk together the flours, salt, baking soda and powder and sugar until fully combines. In a separate bowl mix together the oil, milk, vinegar, and vanilla. Pour into the dry and mix, by hand, until full incorporated. Scoop batter into well greased muffin tins (heart or other shape up to you) and place into oven for 13-18 minutes (shorter time for smaller cupcakes, longer for larger sized) or until lightly browned and a tester stuck into a cake comes out clean. Pull from oven when done and pop from tin. Place on a wire rack to cool.

While cakes are cooling, make frosting. Beat together the butter, zest of the clementine, and jam. Add in the sugar and the juice and beat until fully incorporated. If the consistency is to thin, add a little more sugar, to thick, more clementine juice or if out of juice, a splash of milk.

Once cupcakes are full cooled, frost, add sprinkle if you would like, and then the only thing left to do is eat them.

Eat cupcakes, store left overs in an air tight container in the fridge for up to a week.

THE LOVELY CRAZY

August 19, 2019 by maximios • Blog

The day started off with rhubarb soup and ended in cinnamon walnut rhubarb bread. The bread was a star,%u00a0the soup, not so much, which sucked because I was so excited and so sure it was going be fantastic. Tomatoes, rhubarb, and fresh ginger.%u00a0Doesn’t that sound good? I still have hopes for the combination, but the batch I made was way way to acidic and thick and spicy because I added so much fresh ginger to it that it made the mr’s eye water and my nose run a little. So yeah, the soup needed work, but I was not going to end my day of rhubarb cooking with a fail. Also I felt like I owed it to the mr to make him something that he found edible. He really did not like the soup.

I knew the mr wanted (or at least he hinted at) pie but I had no time for pie. I already spent the morning making not so good soup and I had shit I needed to do. Pie would just take a little to long.%u00a0Quick bread was more in my time frame. A few minutes to chop and mix,%u00a0toss it into the oven for a while. and done.%u00a0%u00a0I had time to cleaned up, run to the post office and bank (I should probably tell you not to leave your oven on when you are not in the house, but I do, but only for short periods of time. And don’t tell the mr. He will kill me) and come back to the house not on fire and fresh cinnamon walnut rhubarb bread. I felt redemption,%u00a0even this it was not pie. The mr didn’t complain, not one bit.%u00a0

And by the way, the soup made it’s way into a different batch of soup that had other stuff in it and it WAS fantastic.%u00a0

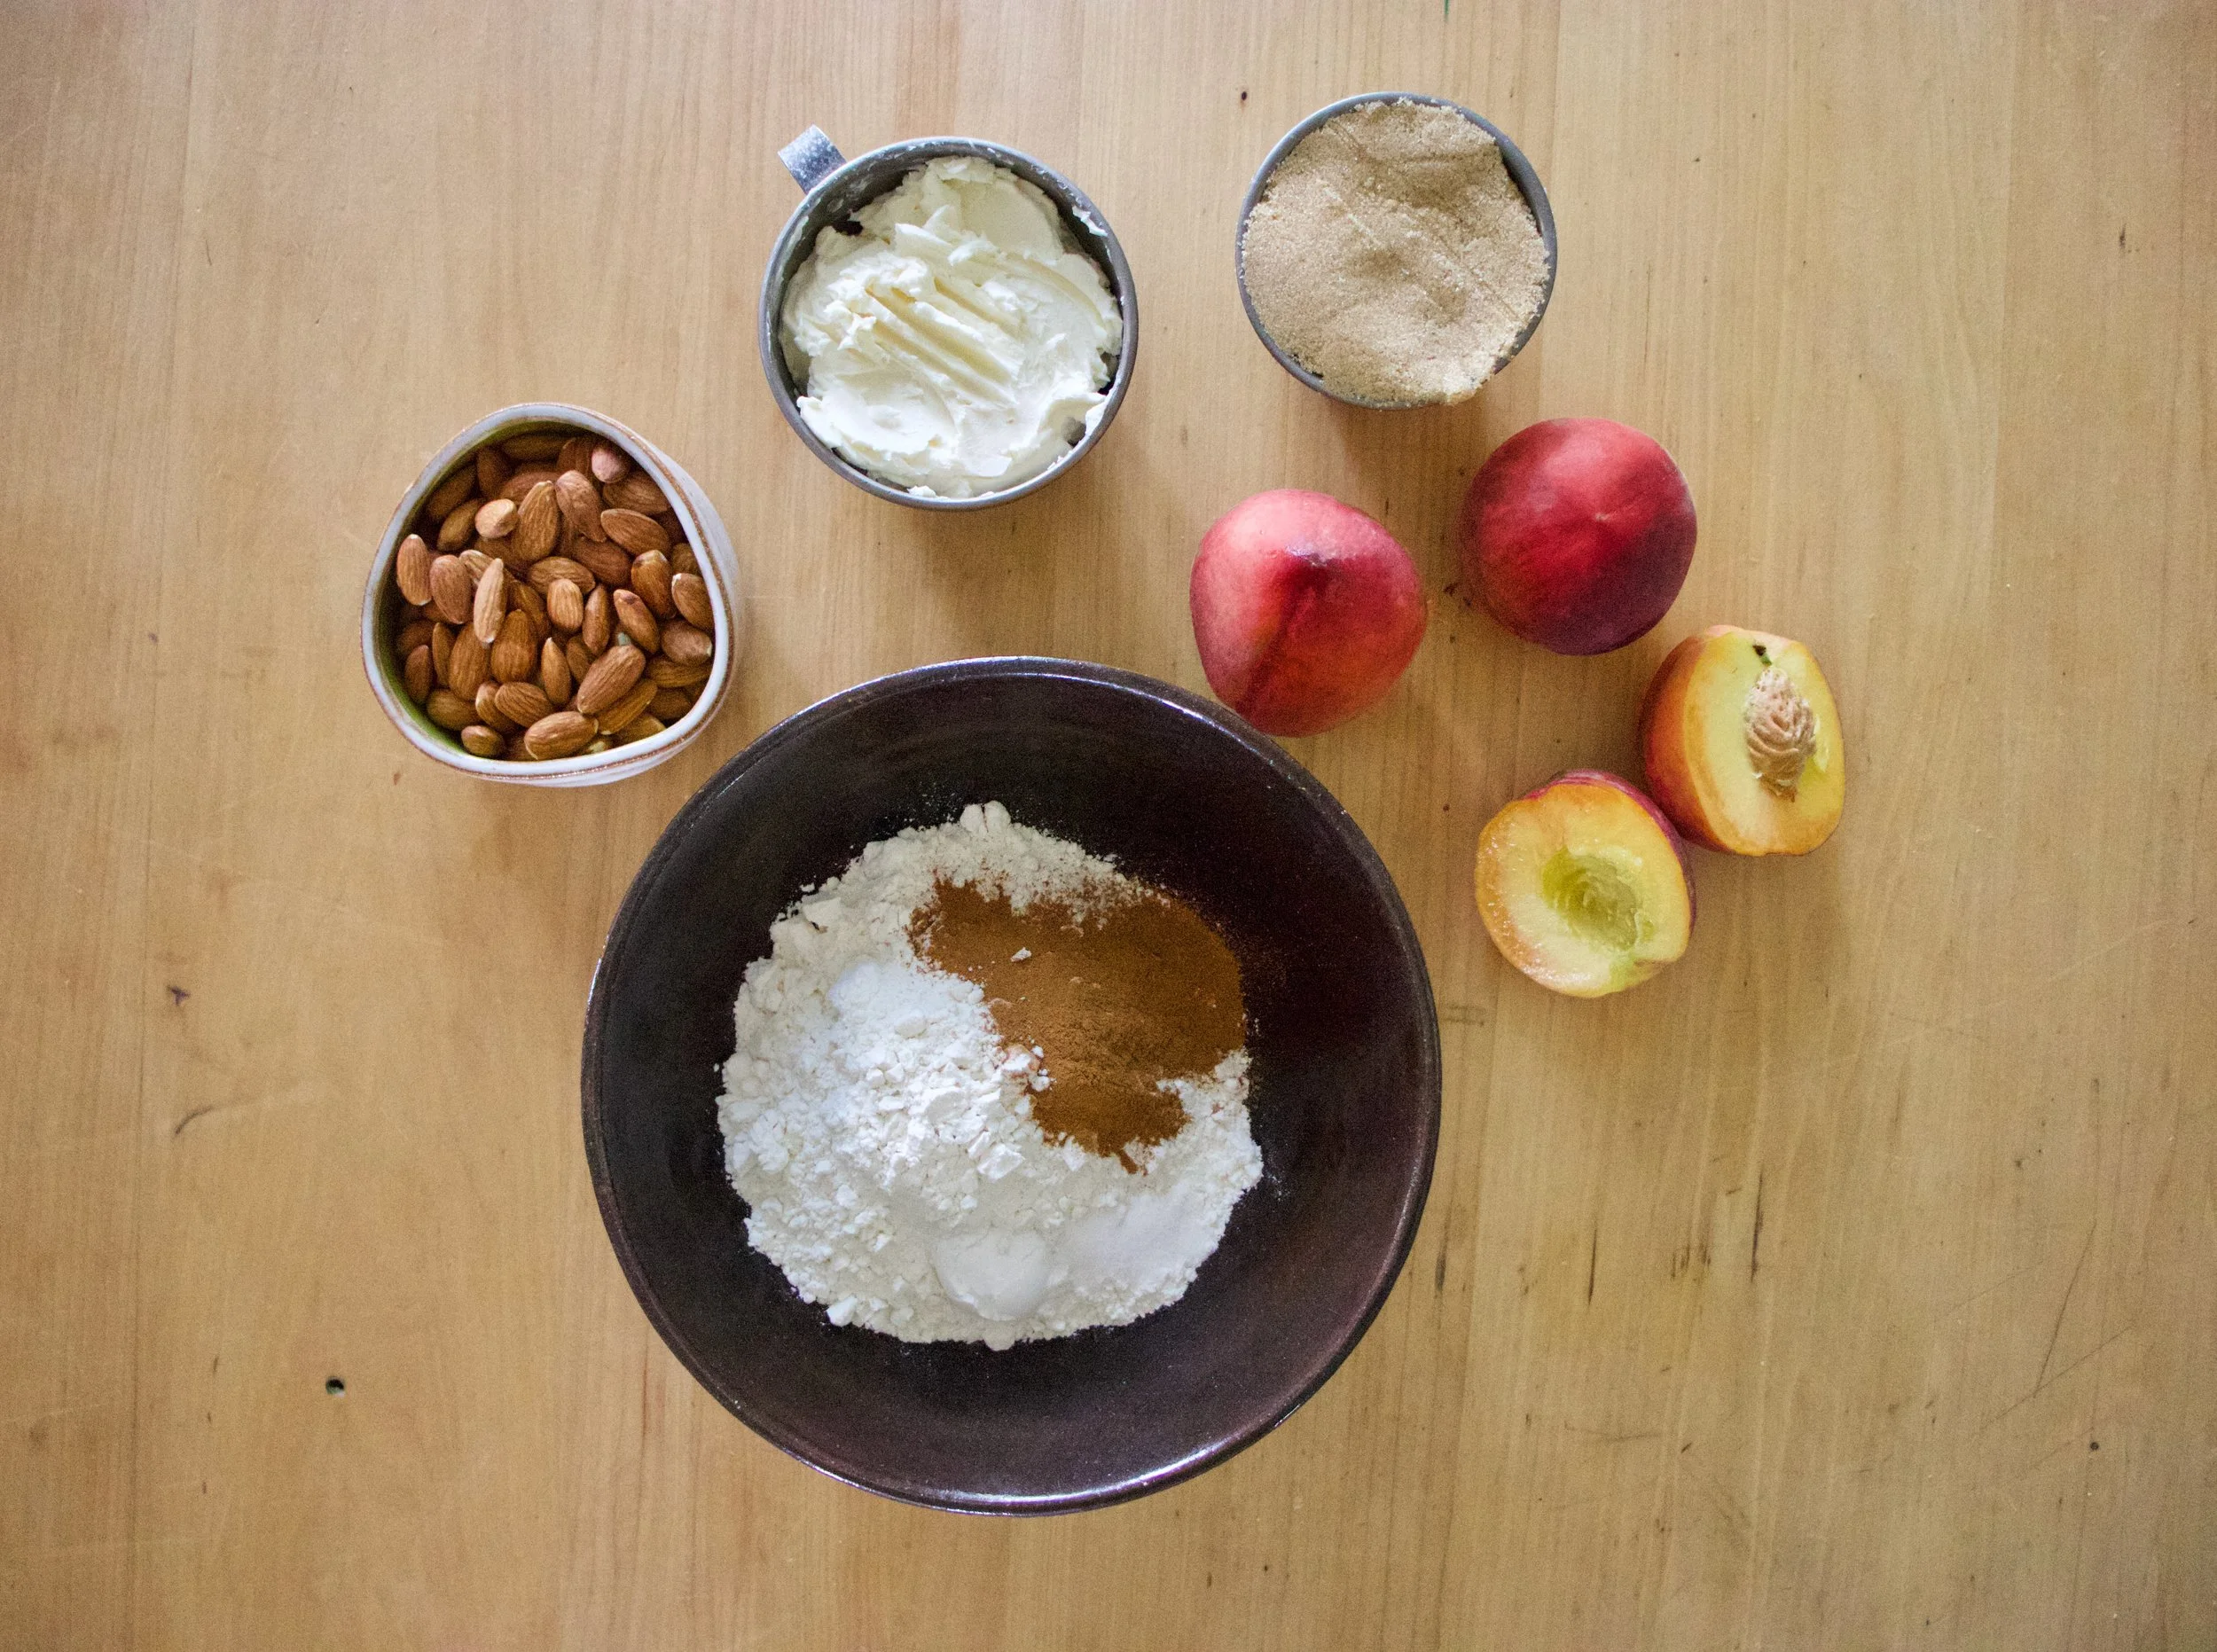
The stuff. Rhubarb and walnuts and a bowl with flour, baking soda, baking powder, cinnamon, and salt. Also have coconut oil, brown sugar, soy milk, and a little dish or more brown sugar, cinnamon, and coconut oil for the topping.%u00a0
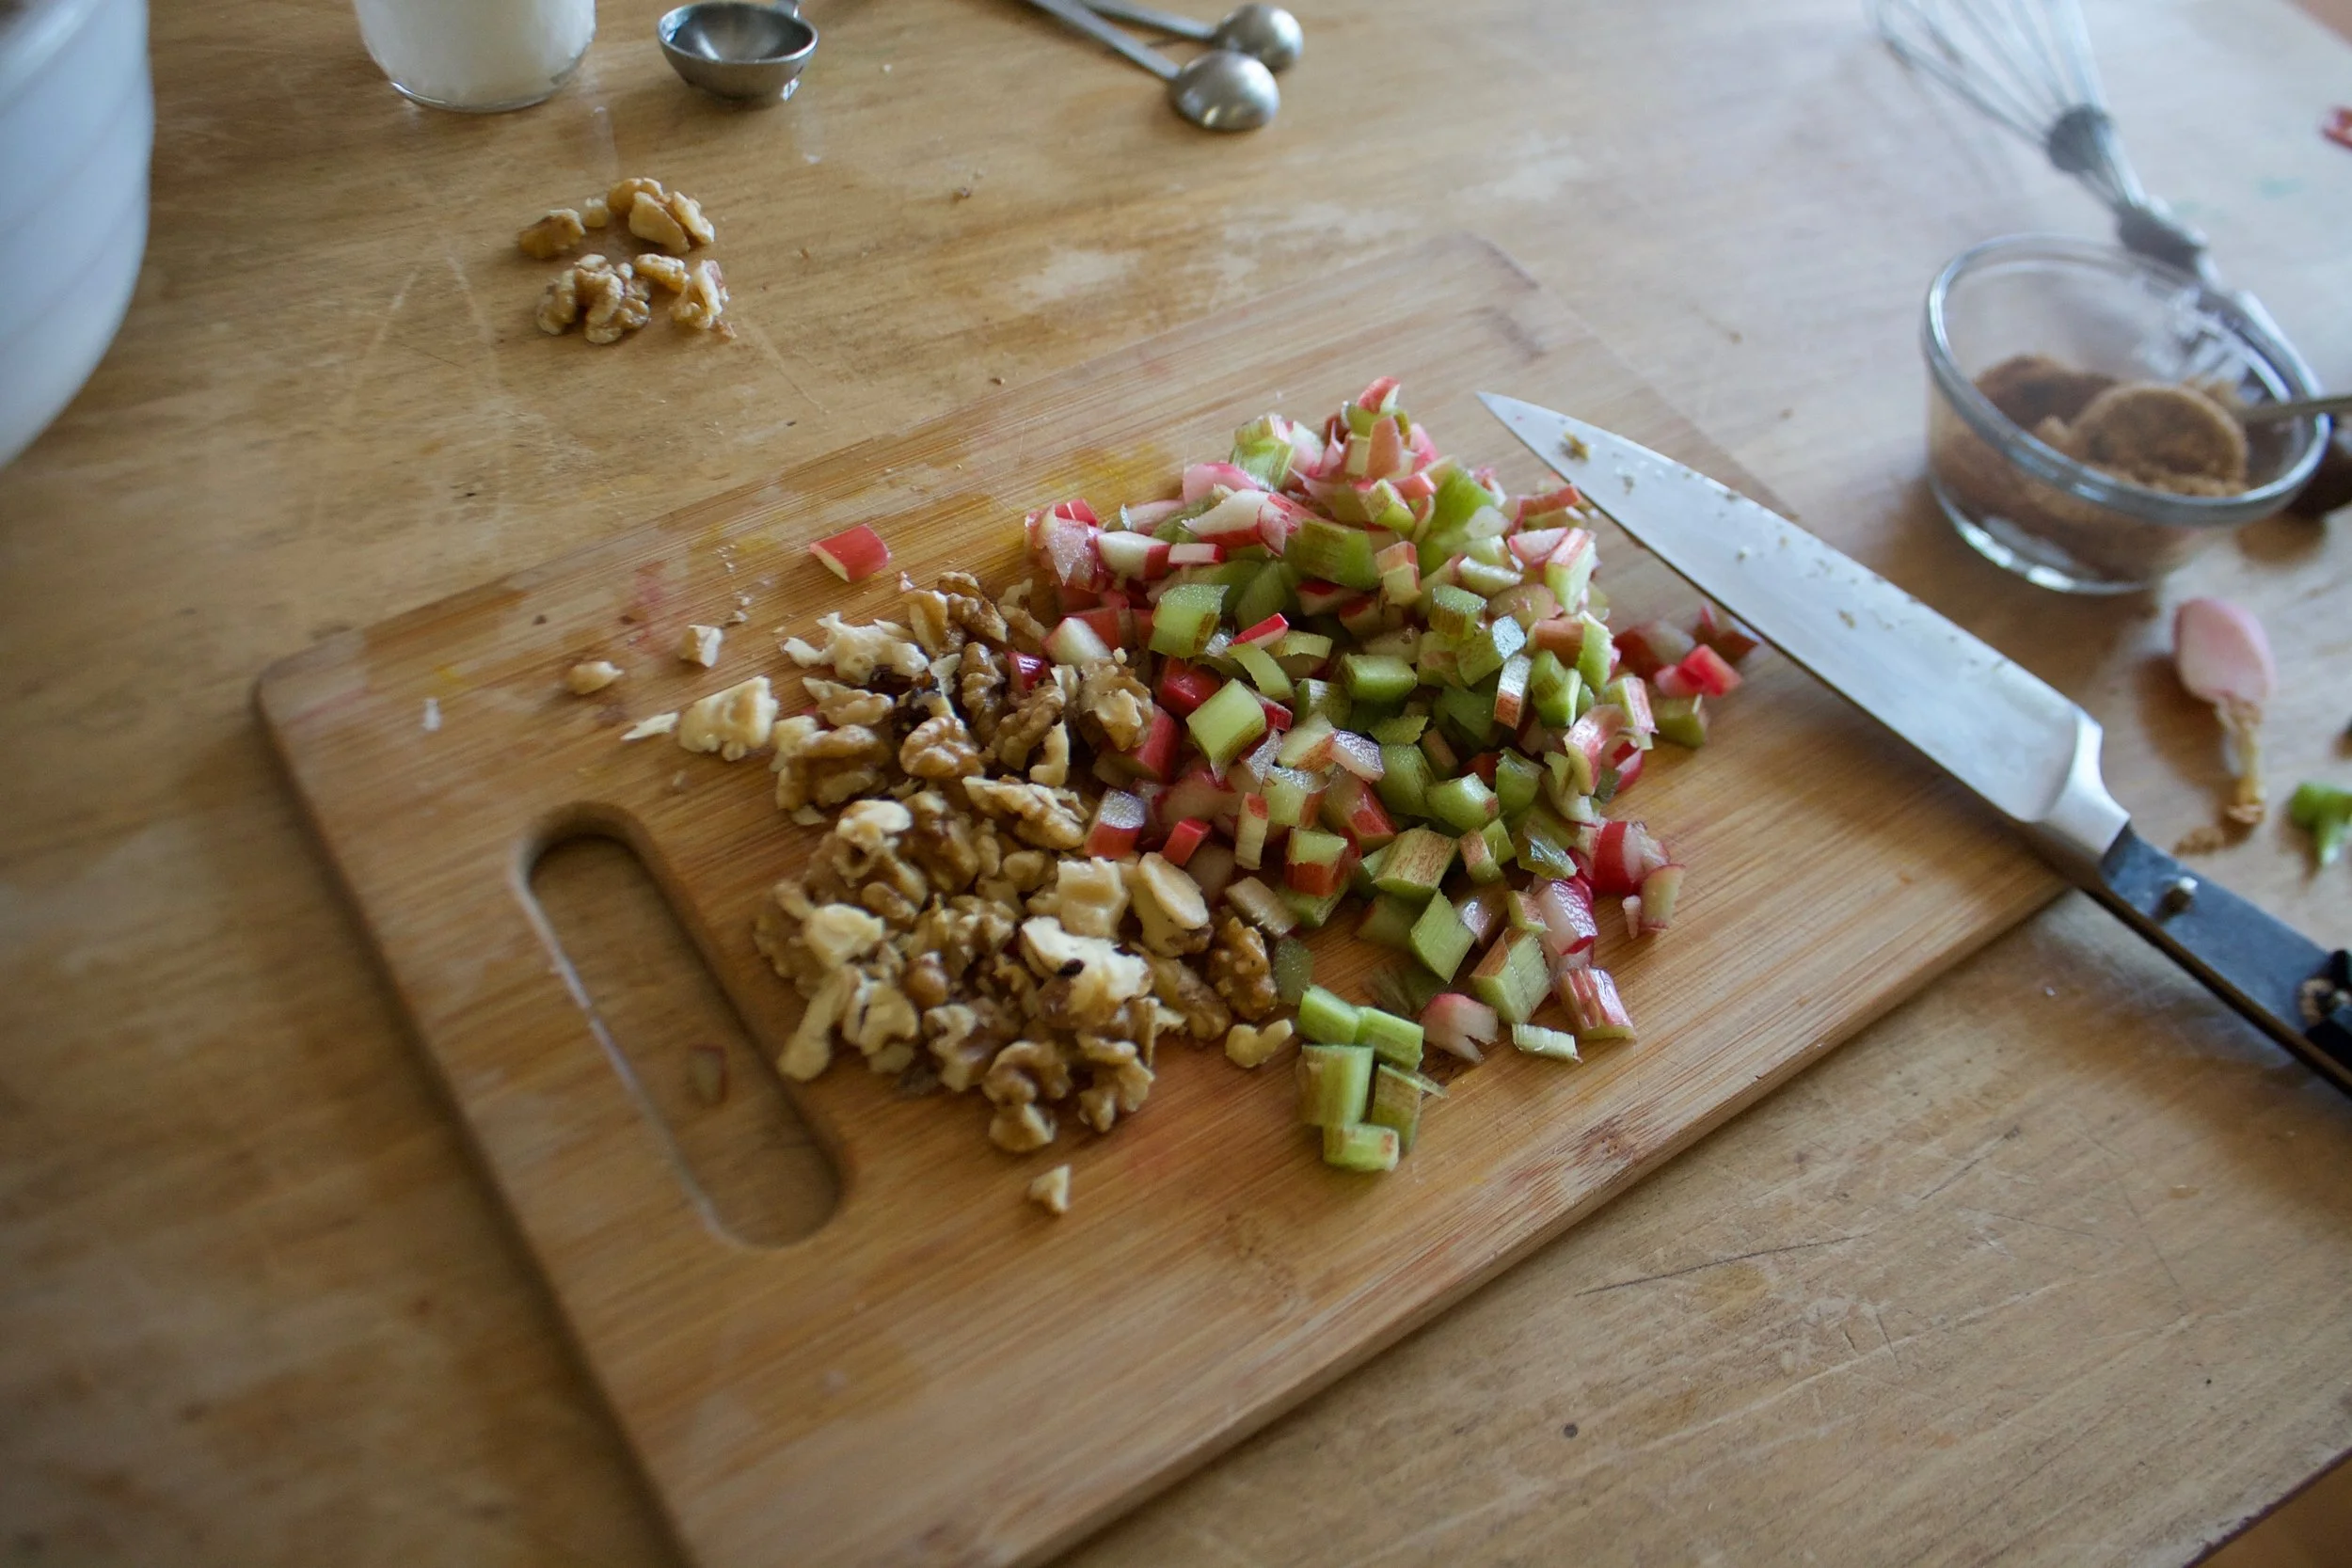
Chop rhubarb and walnuts into small pieces, not tiny pieces, but not big ones either.%u00a0

Mix the brown sugar and coconut oil into dry mixture, then add in the milk and vinegar and mix until just incorporated (don’t over mix).

Don’t forget to mix in the rhubarb and walnut pieces.%u00a0

Pour batter into a greased pan and then its %u00a0time for the cinnamon sugar topping. (cinnamon+sugar+coconut oil=rainbows?)

Cinnamon sugar topping %u00a0gets crumbled on and I found a few stray walnuts so I tossed those on top too. %u00a0

Now it’s time for the oven.
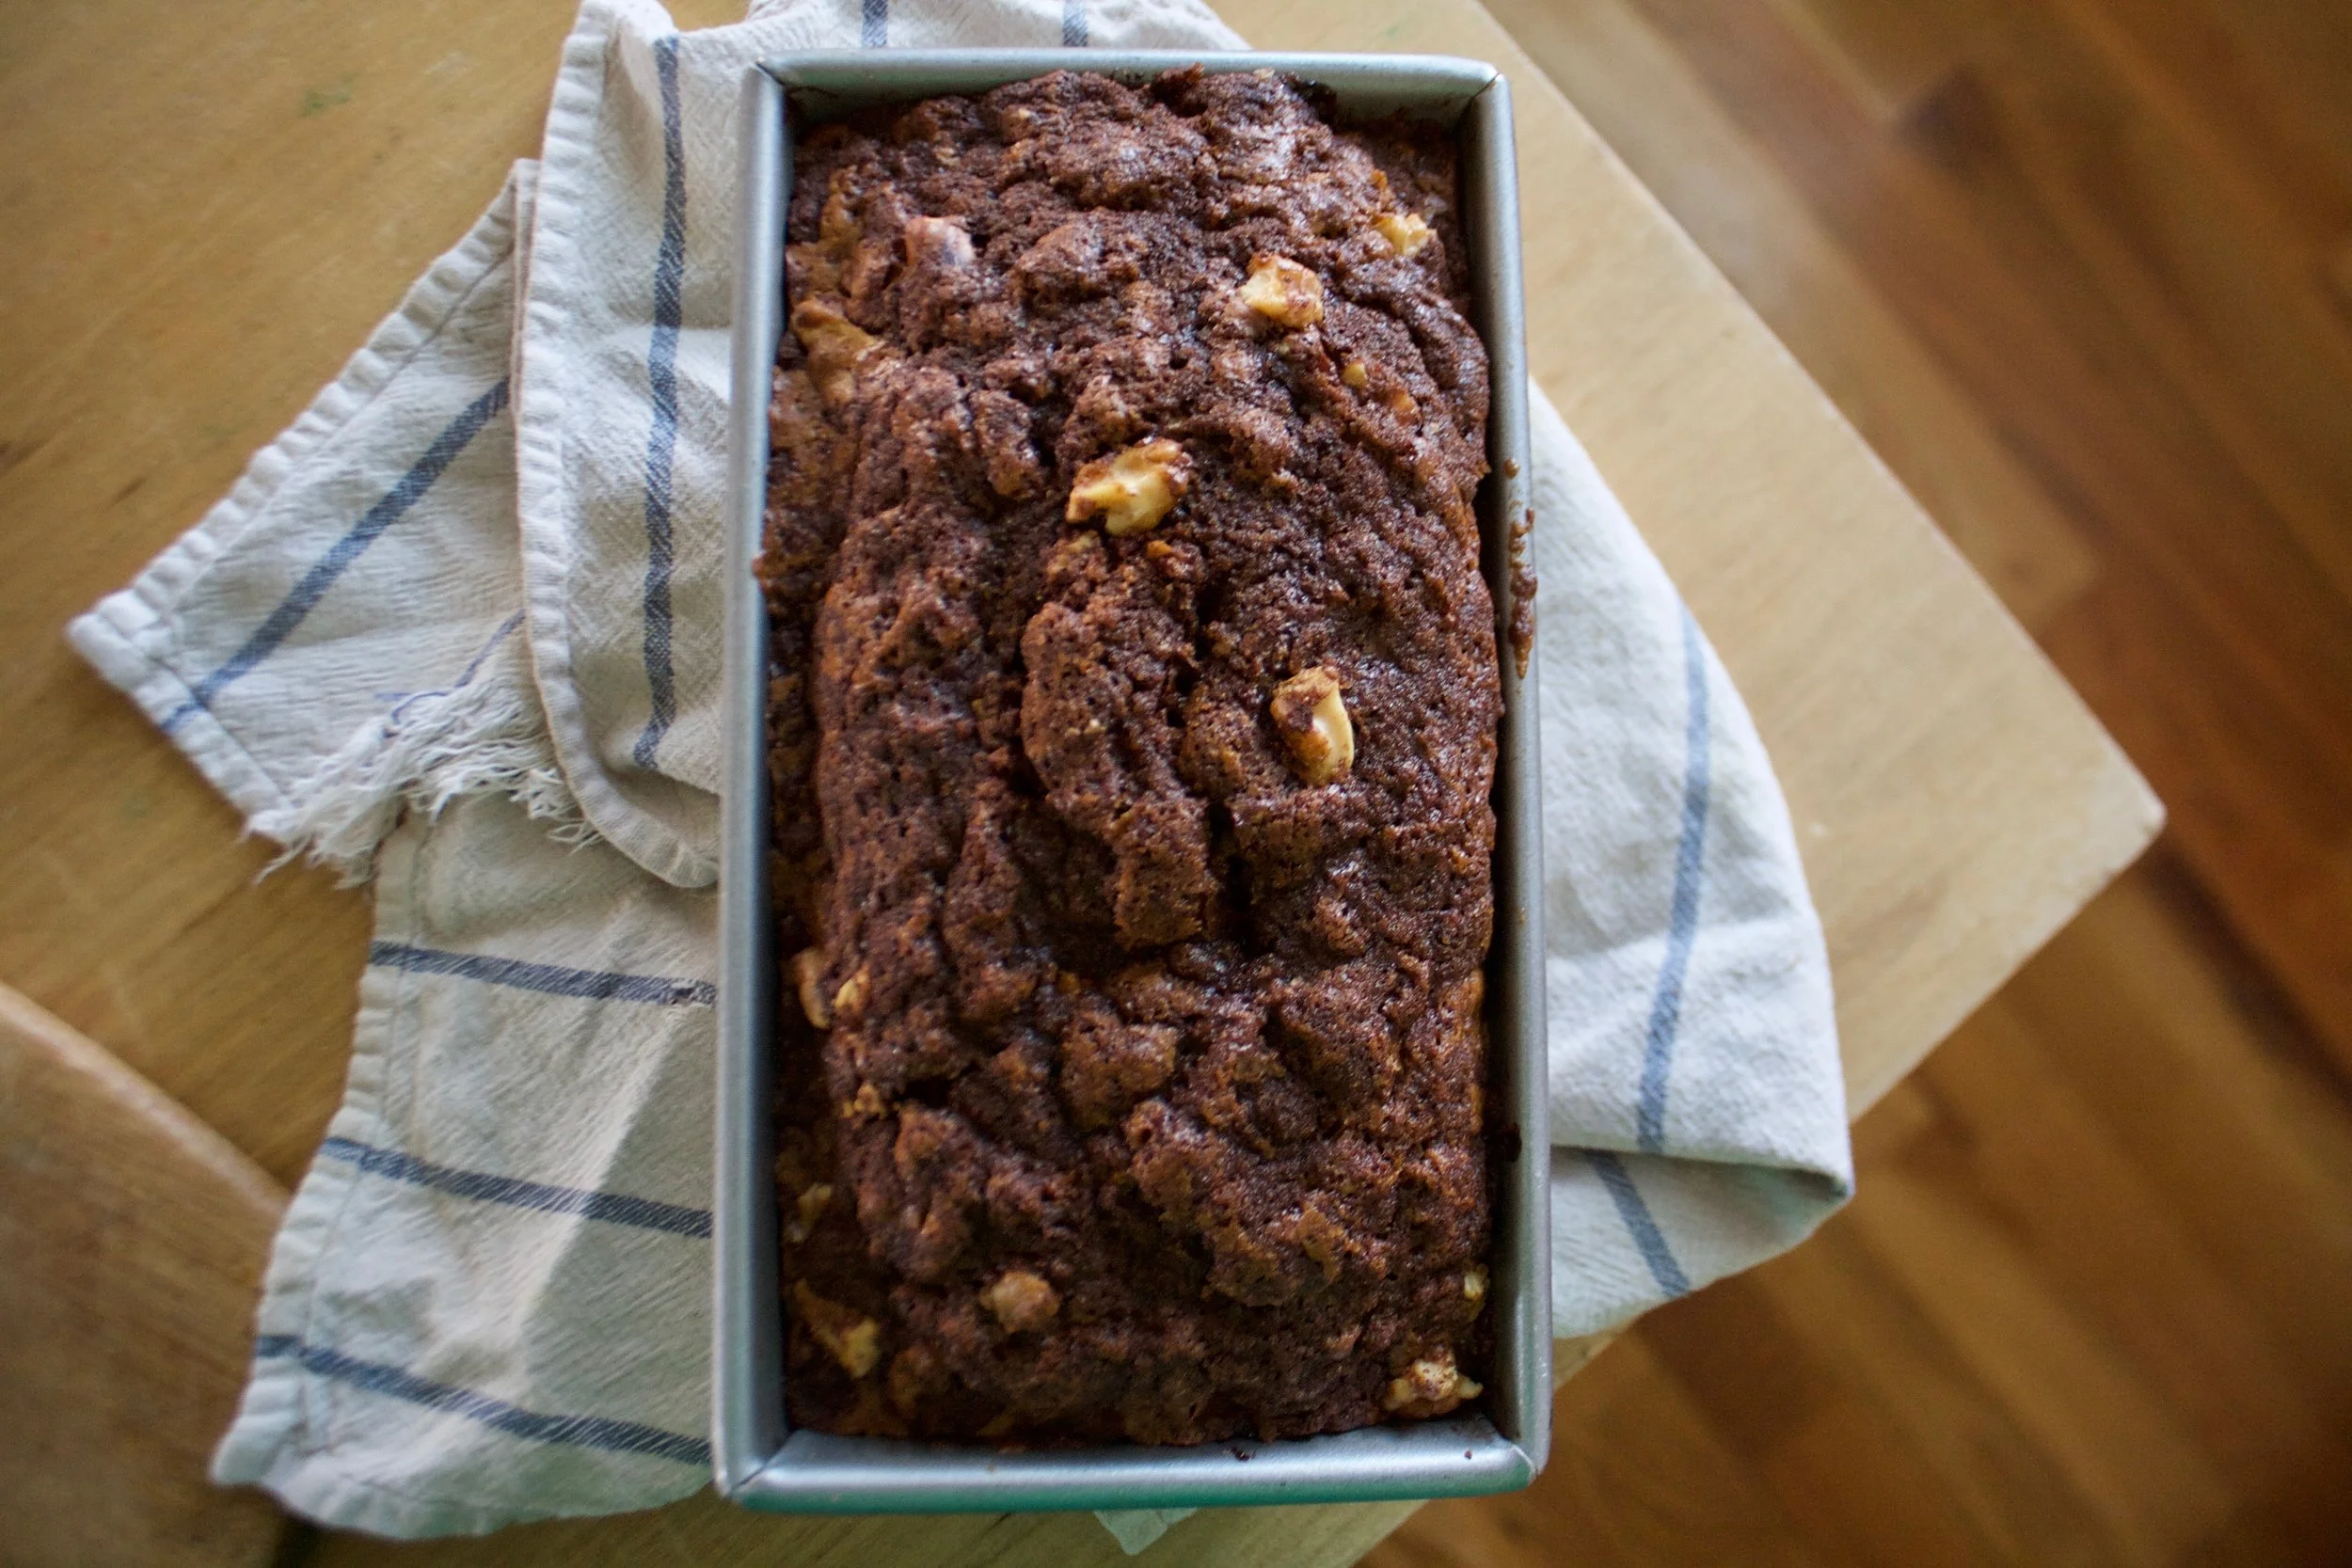
Look at that, fresh from the oven. So handsome.%u00a0%u00a0Pop it out of the tin and get it onto a wire rack to cool.%u00a0
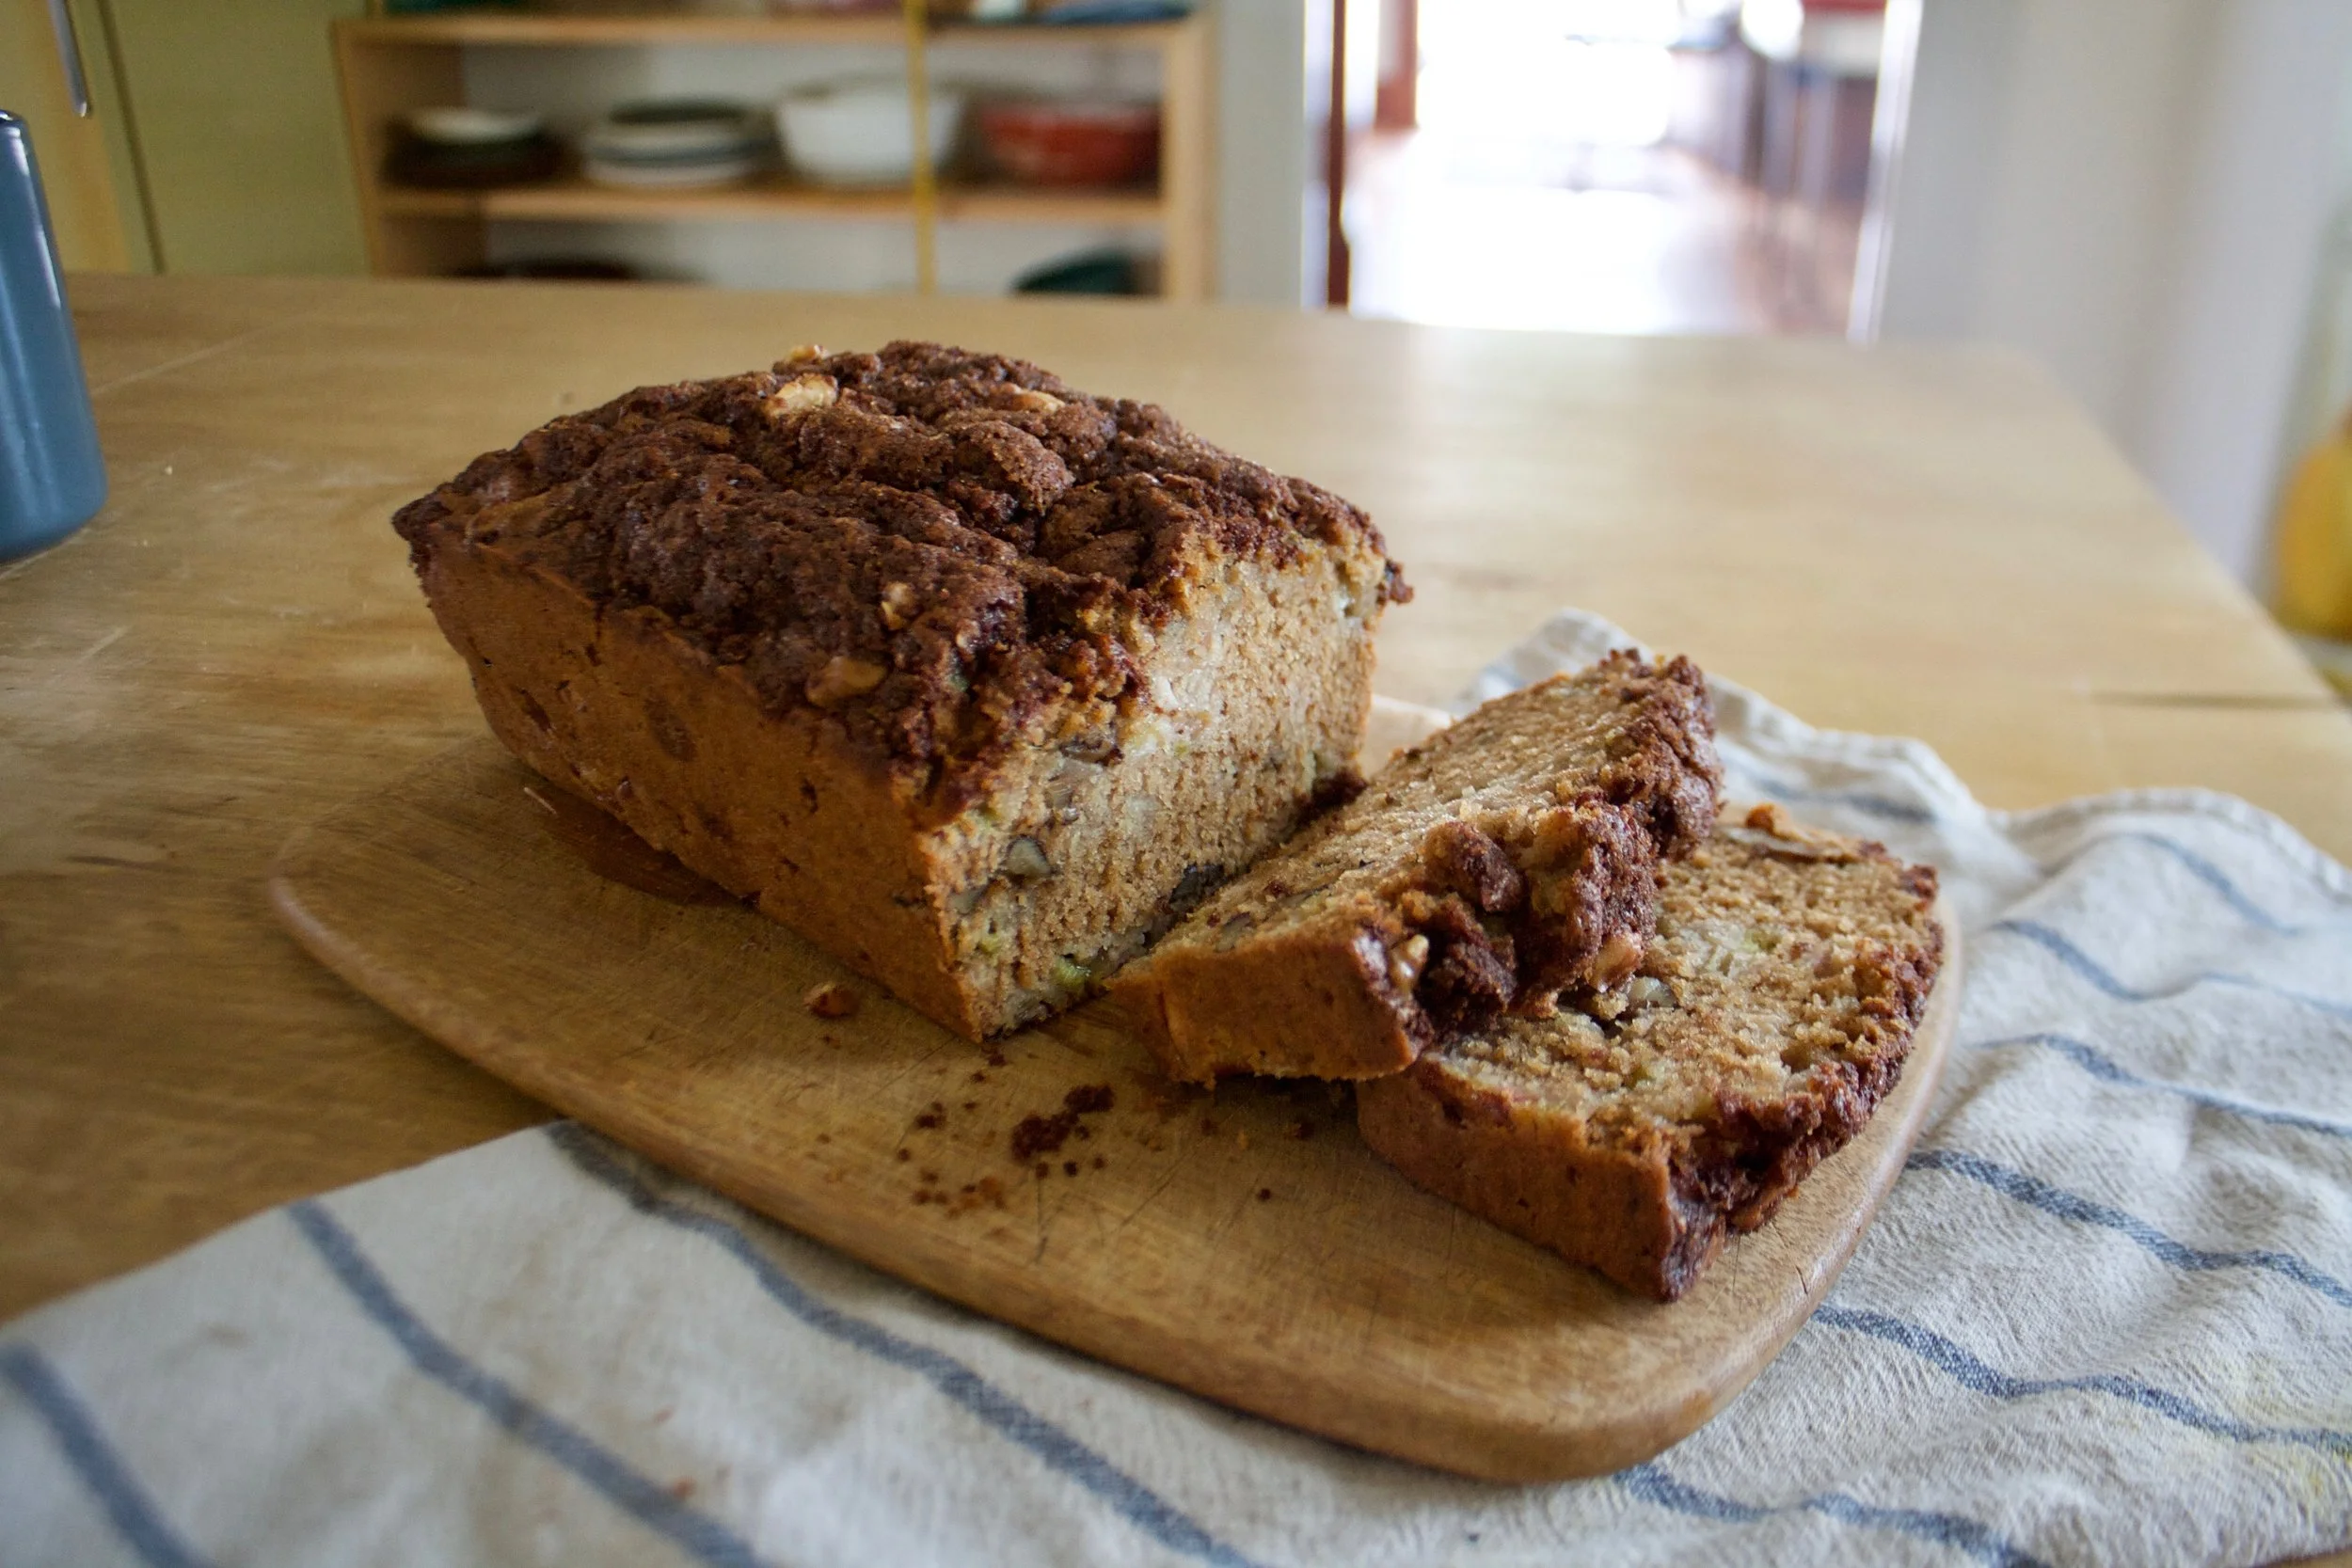
And when it’s cooled a little and you are ready to take a seat, you slice and eat.

-C

makes one loaf

  • 2 1/4 cup all purpose flour
  • 3/4 cups brown sugar%u00a0
  • 1 teaspoon baking soda
  • 1 teaspoon baking powder
  • 1 teaspoon salt
  • 1 tablespoon cinnamon
  • 1 cup soy or another plant milk
  • 1/2 cup coconut oil (melted and cooled)
  • 1 tablespoon apple cider vinegar
  • 3 stalks rhubarb (2 cups chopped)
  • 1/2 cup walnuts

Cinnamon Sugar Topping

  • 1 tablespoon melted coconut oil
  • 2 tablespoons brown sugar
  • 1 hefty tablespoon cinnamon%u00a0

Preheat oven to 350

Chop rhubarb into small 1/2 inch pieces. If your walnuts are whole, chop those up into small pieces as well.

In a large bowl, combine the flour, salt, baking soda, baking powder, and cinnamon. Mix together then add in the brown sugar and %u00a0the melted coconut oil and mix. Then add in the say milk %u00a0and apple cider vinegar and mix until all is incorporated. %u00a0Stir in the chopped rhubarbd and walnuts.

Pour batter into a well greases bread pan. For the cinnamon topping, just add the cinnamon and brown sugar to the melted coconut oil and mix. %u00a0Crumble the mixture on top of the bread. if you have a few more walnuts, you can toss those on top too.%u00a0Pop bread into preheated oven.

Bake for 60 -70 minutes %u00a0or until a tester stuck into the middle comes out clean.

Remove from pan and let cool on wire rack. When ready, cut and eat.

Bread lasts 3 day in airtight container on counter, a few days longer in the fridge. %u00a0Freezes well.%u00a0
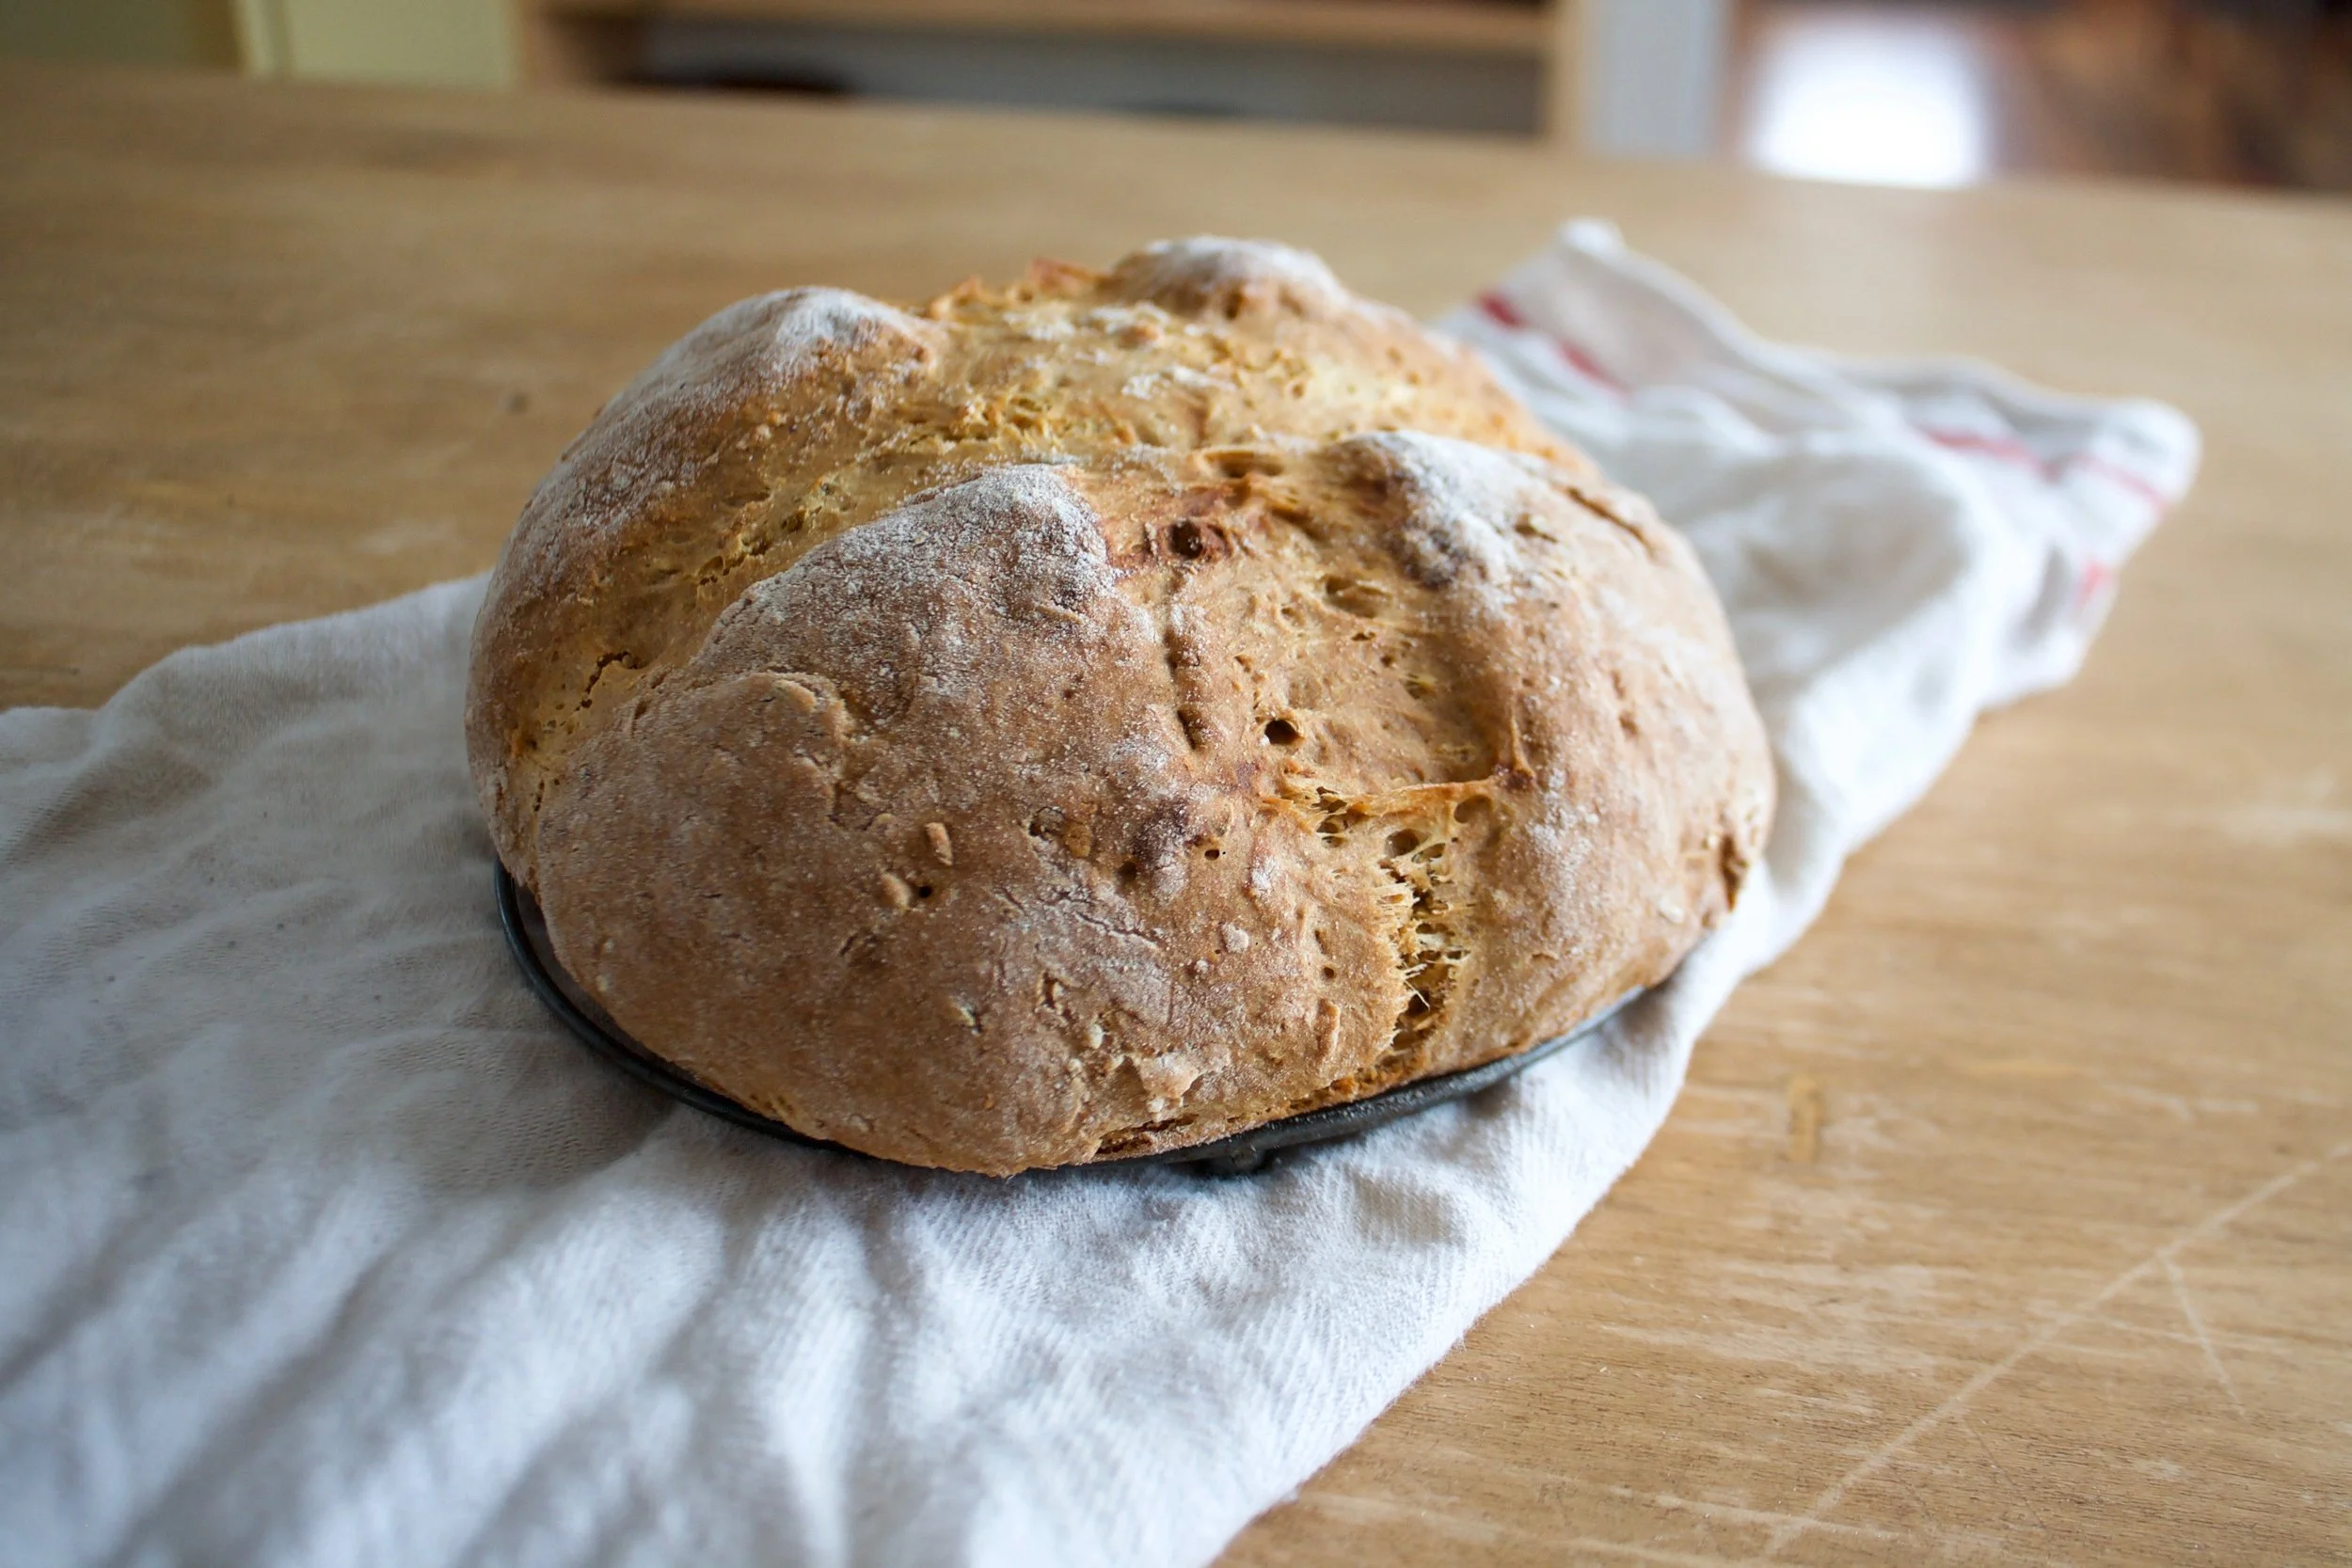
Would you believe me that I totally forgot that it is St Patricks day and that this bread was in no way inspired by that? Well it’s true. What inspired this soda bread was the Great British Bake Off which I am currently watching over again. (yes, over again but it is just such a good show and makes me feel like I can bake anything.)

%u00a0I make fresh bread just about every day, but I %u00a0mostly use my sourdough culture or if I am running low on time, yeast, but I never think about making a loaf of a savory quick bread. When I think quick bread or soda bread, my mind goes to bananas or berries, or anything sweet. After seeing all the contestants making all sorts of crazy stuffed and flavored savory breads I was all like, “why don’t I ever do that?” So I did, all high on inspiration (every time I watch the show I feel the need to bake). I basically opened the spice drawer and grabbed a jar which was fennel, then figured lemon is a fine right pair so lemon fennel it was to be and yeah. I wanted to go a little more crazy (like they did on the show)%u00a0and add a ribbon or pesto or chunks of some veggies or beans or whatever but this was good for the moment and good it was indeed.

And the smell of this bread…. The hole house filled up with the scent that I could only describe as amazingly lovely. It made me think of %u00a0gardens full of spring flower blooms, a clothes line full of sun bleach white linen, or the feeling of soft warn dirt %u00a0under your feet for the first time after a long winter.%u00a0I swear I am not high. It just smelled so very good.%u00a0

After it was baked and cooled, but still slightly warm I cut into it and gave the mr a piece. The first piece the mr liked, the second he ate with mozzarella cheese which did not go well with him,%u00a0but after that found that he really likes it with peanut butter, or plan, with a bit of butter. What that means is that you should just make it and eat it however you suits you because a quick savory bread is always a good choice when a choice is needed. And your house will smell amazing too.%u00a0
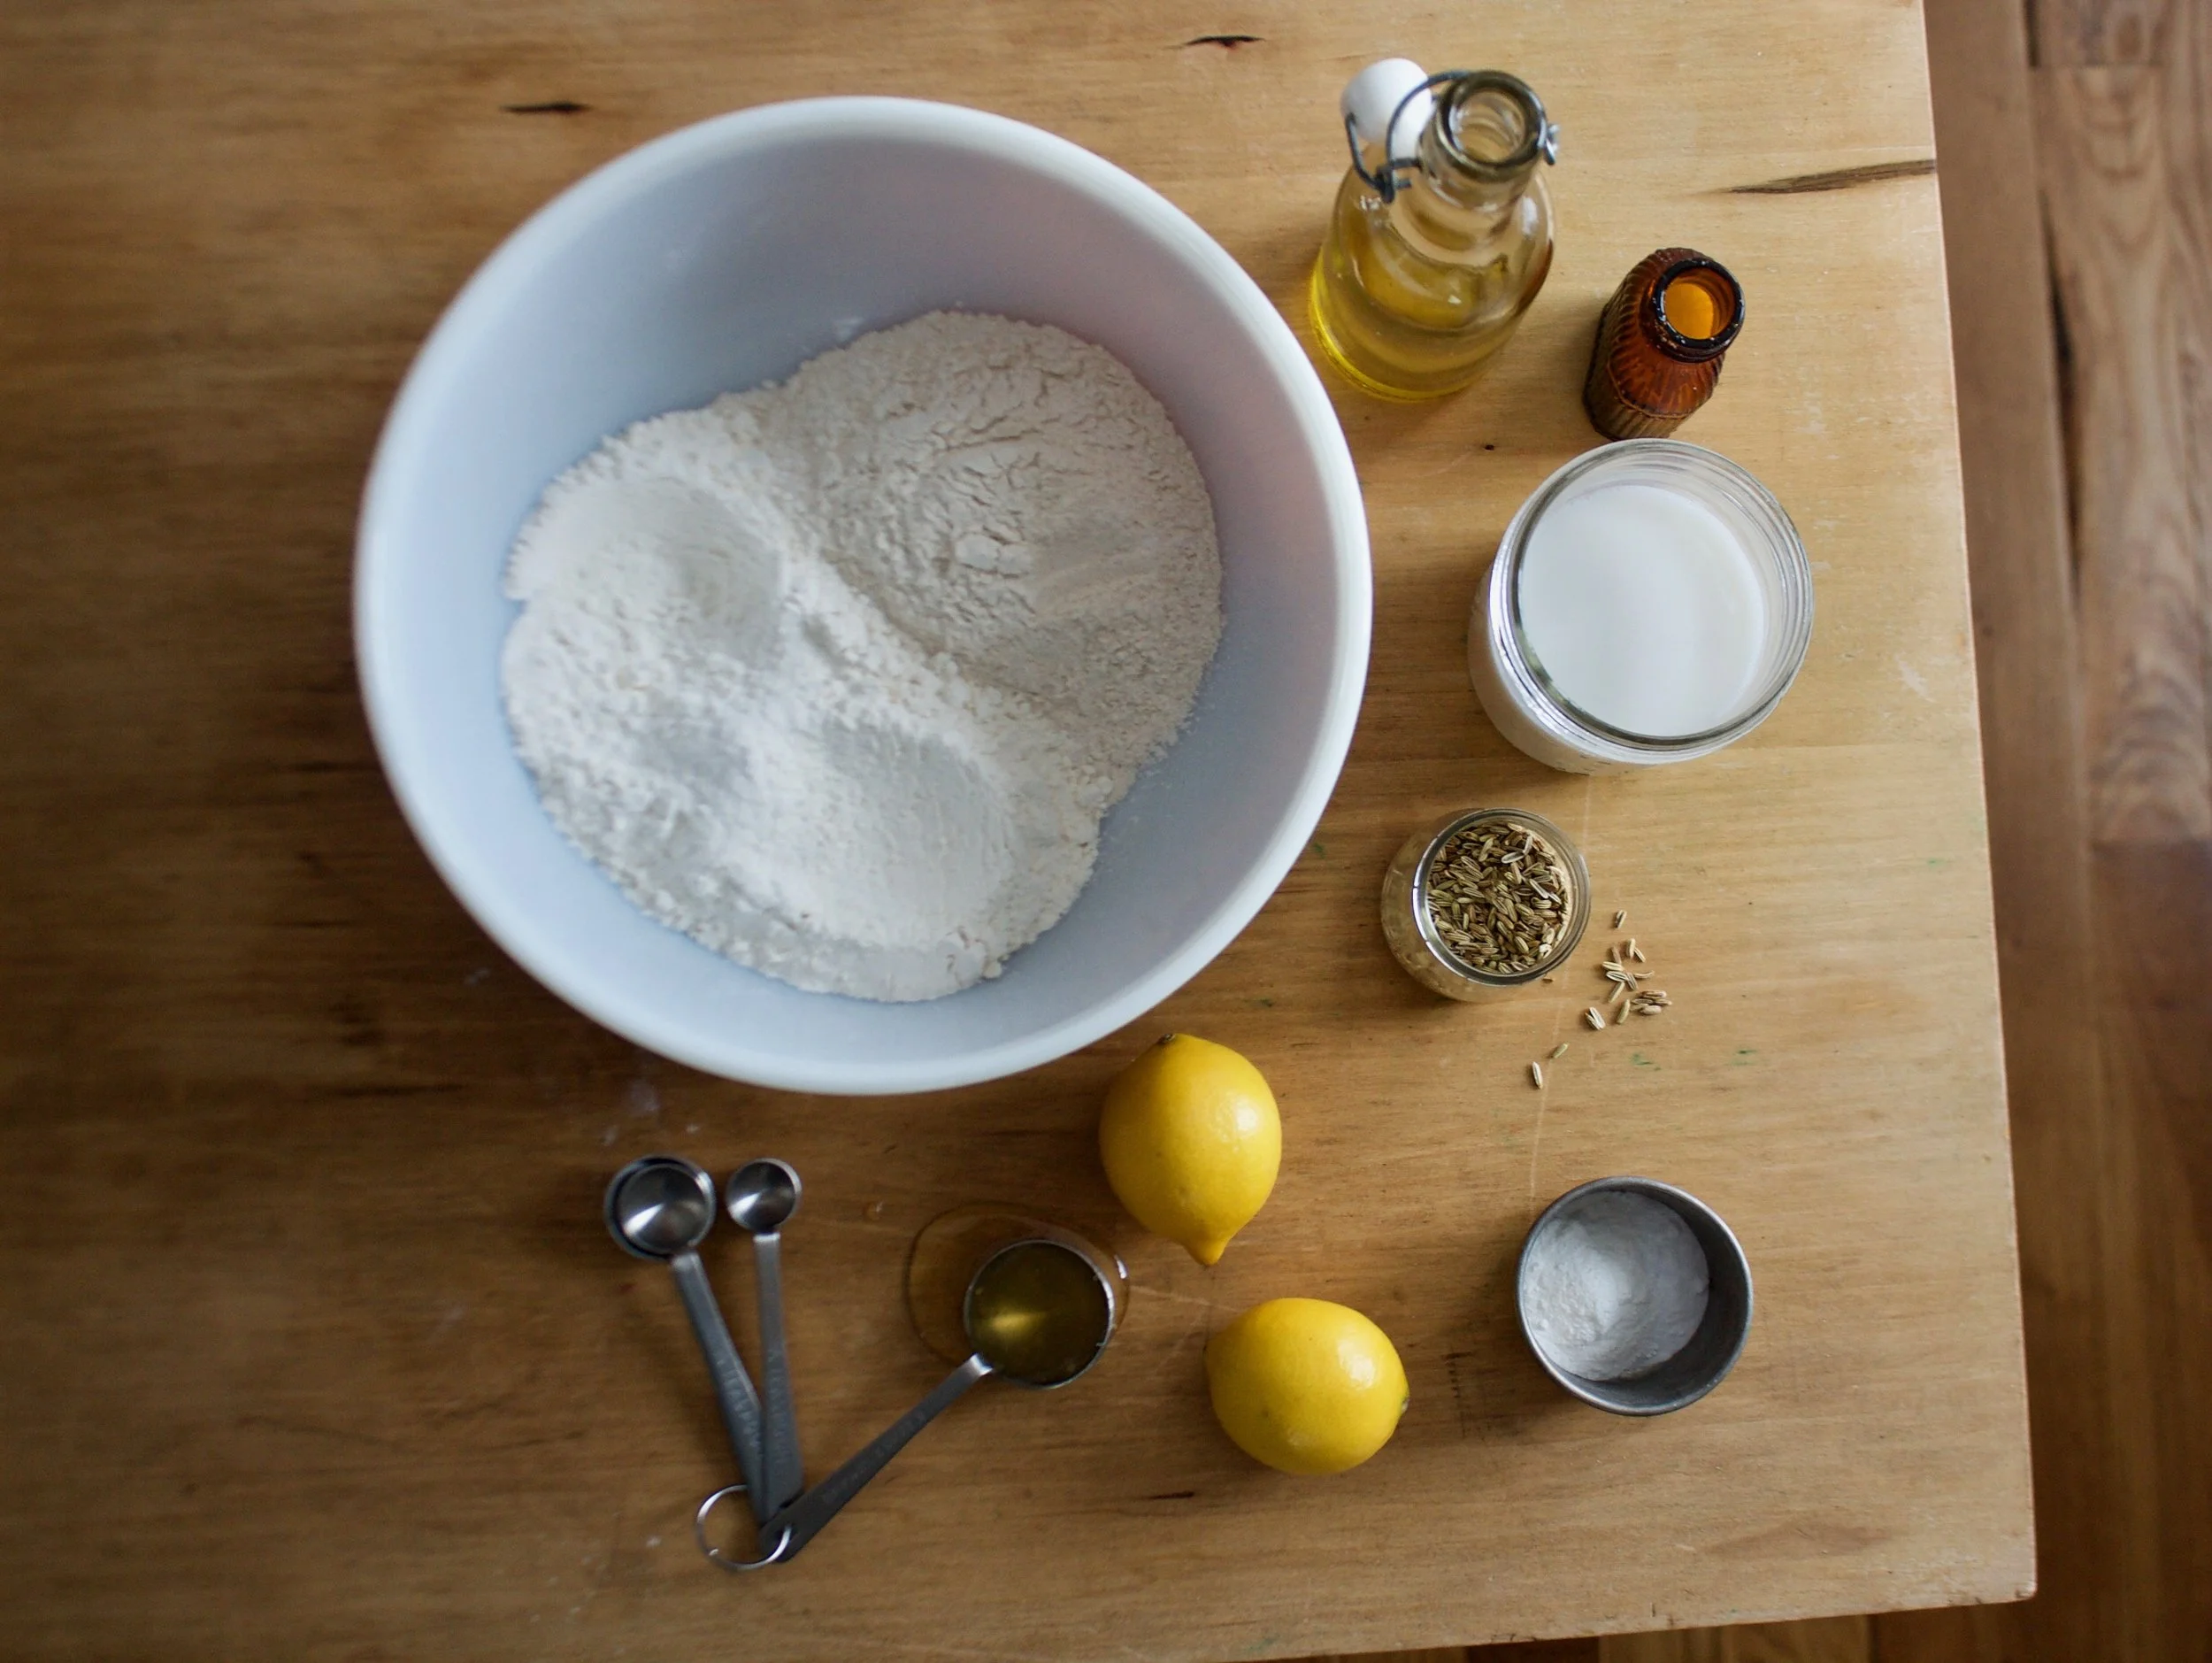
The stuff. White and wheat flours, baking soda and baking powder, salt, fennel, soy milk, lemons, honey, and oil.%u00a0
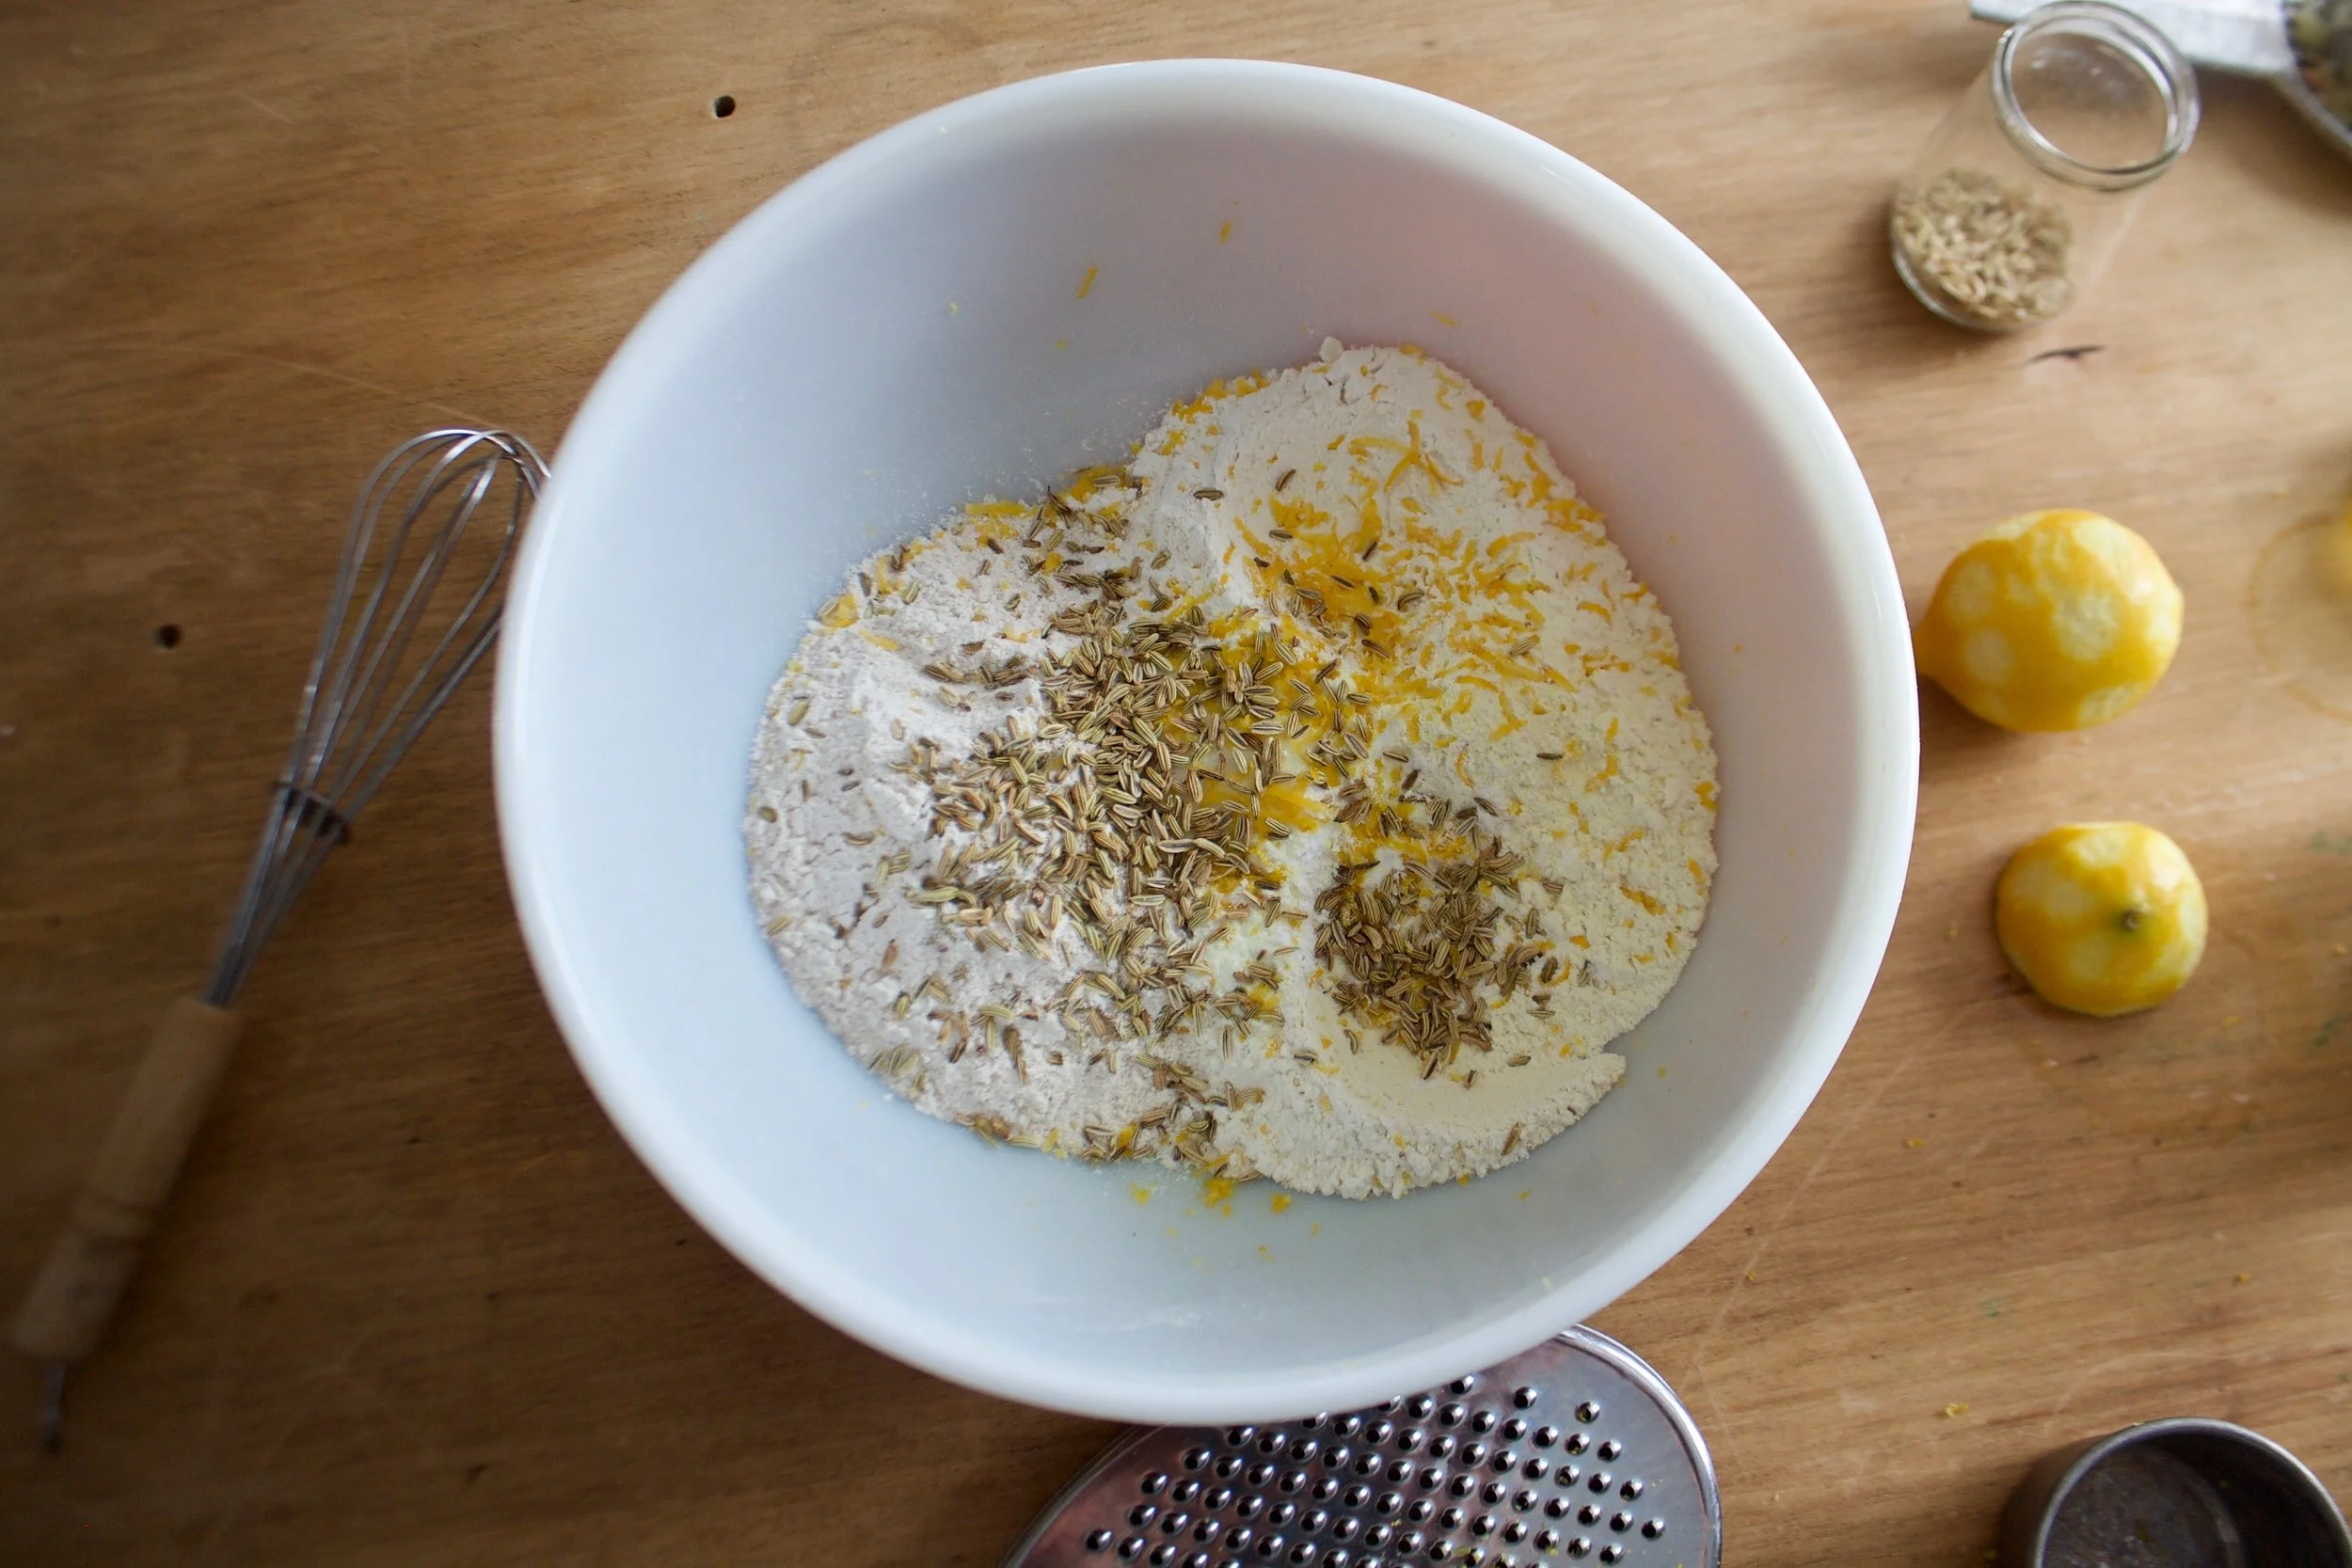
All the dry, the fennel and the lemon zest into big bowl.%u00a0
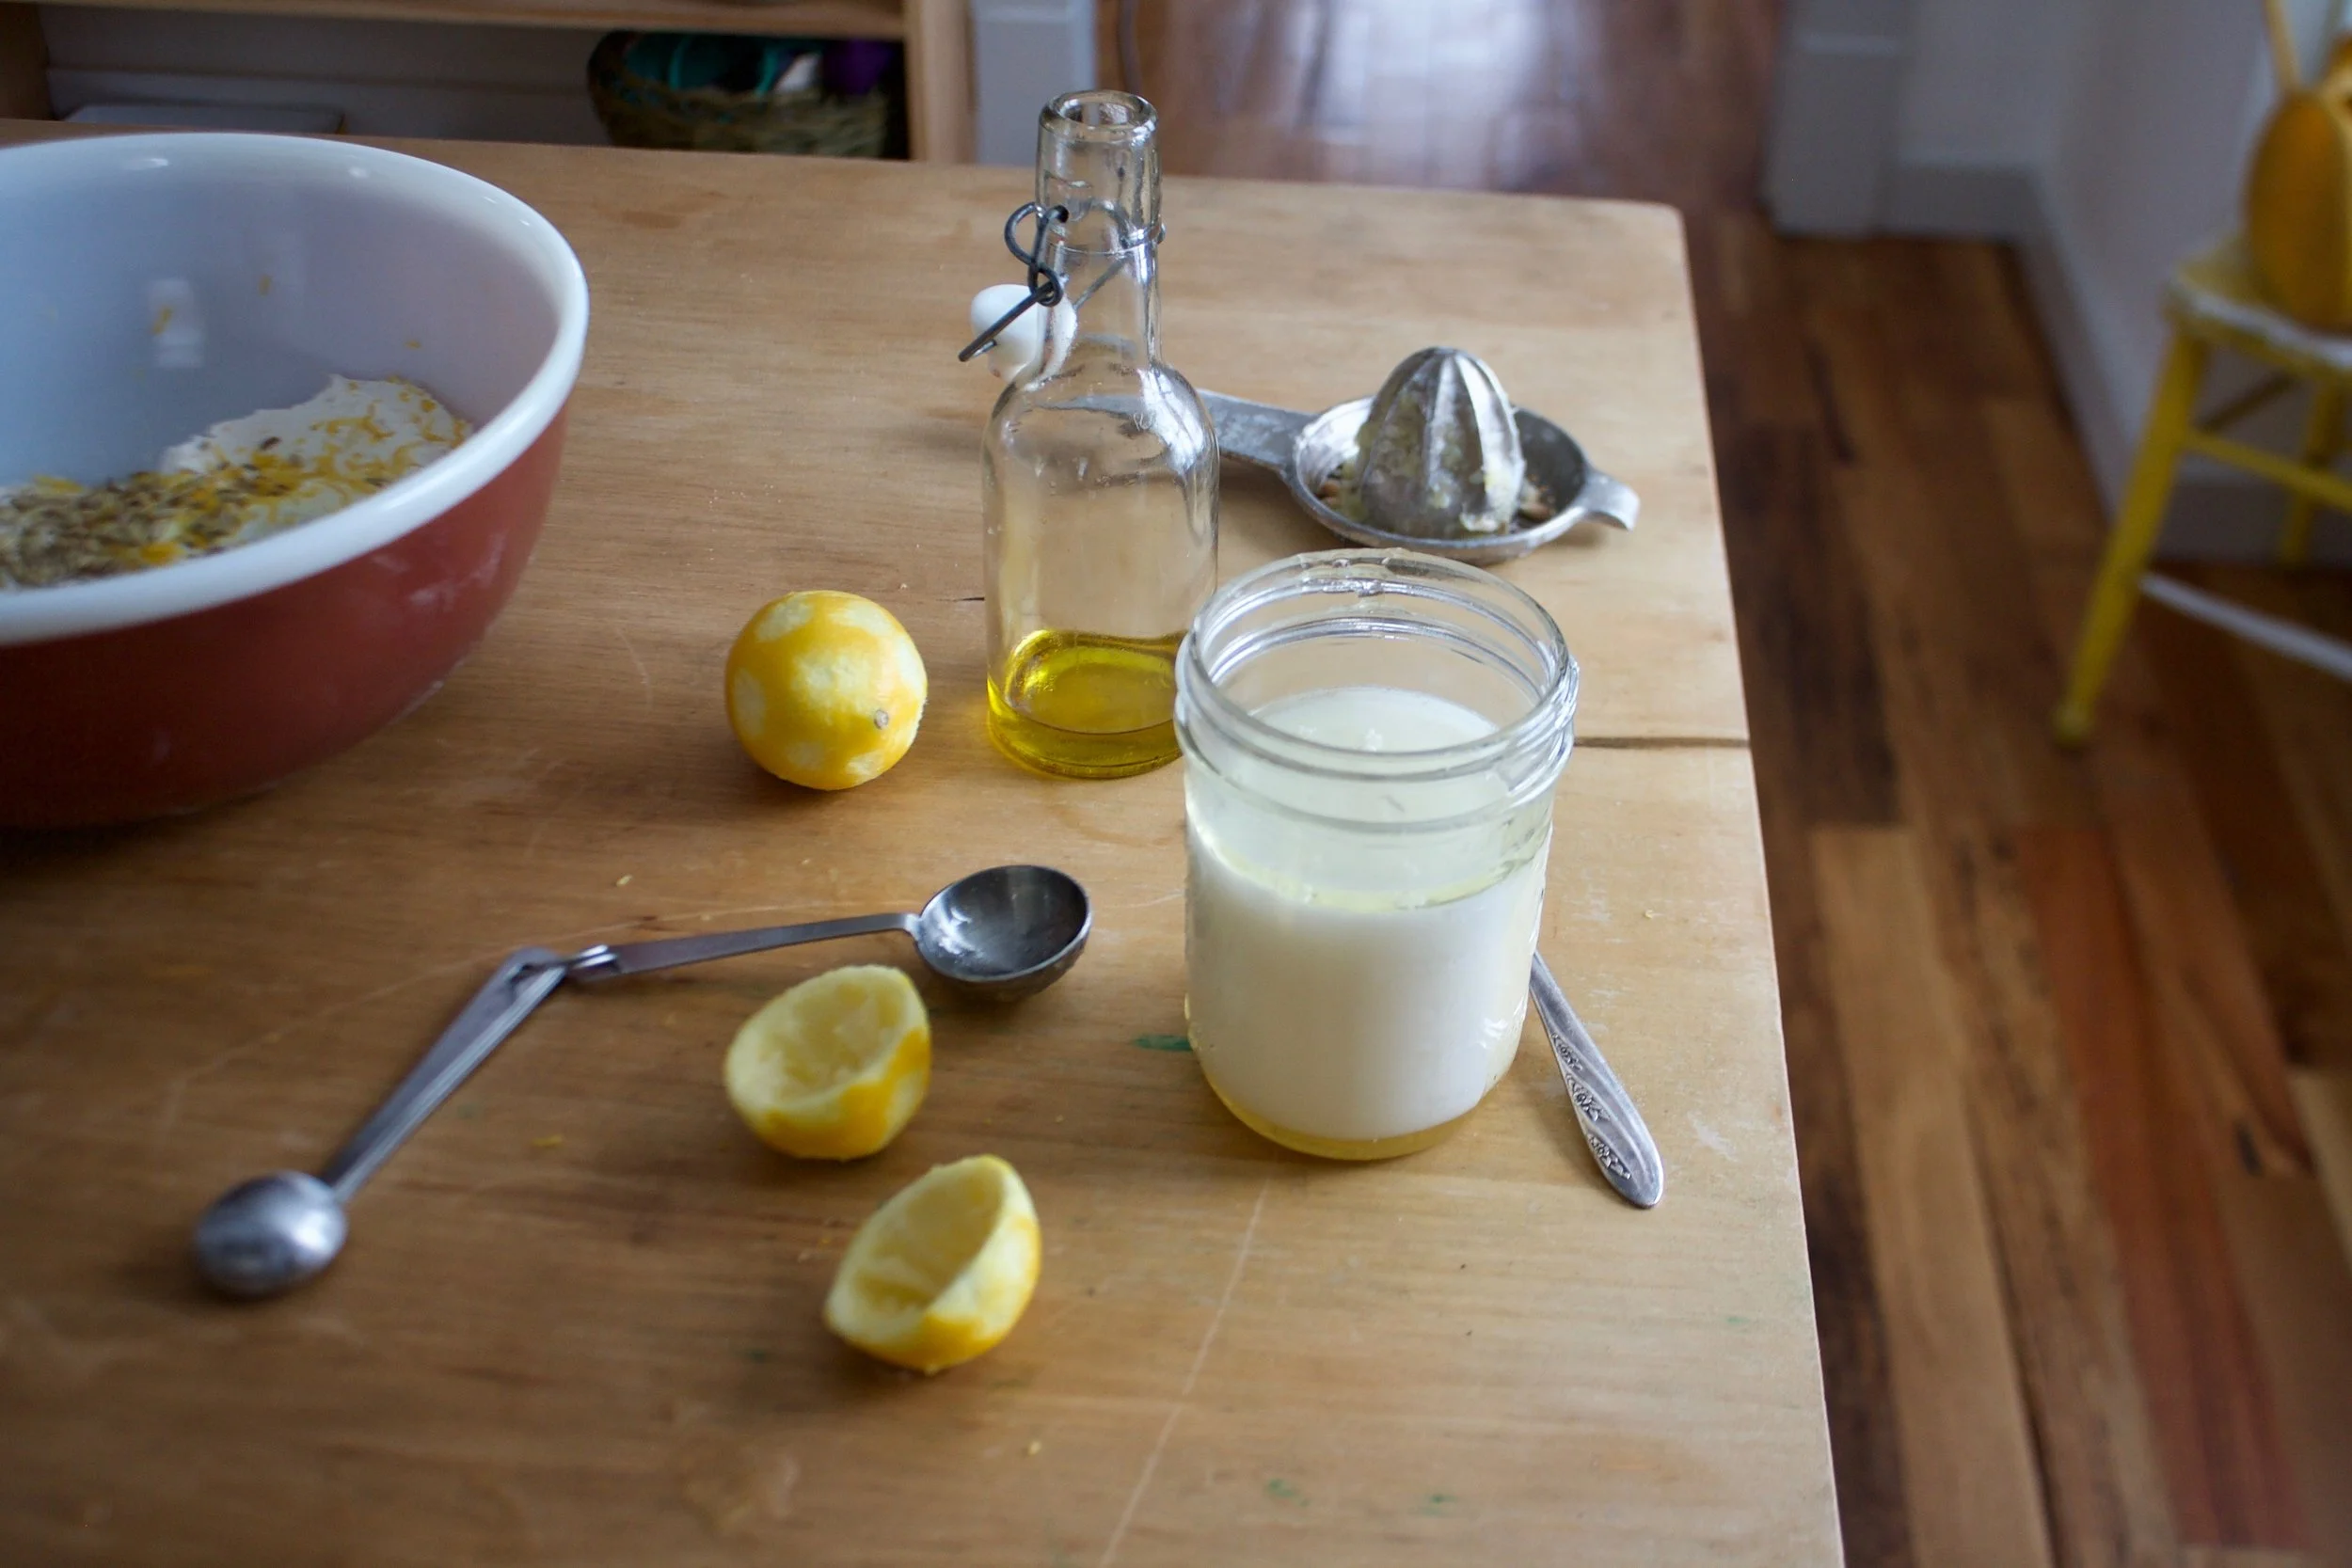
Lemon juice, oil, and Haney got mixed together with the milk. Let this mixture sit for about 5 minutes so the lemon sours the milk a bit.%u00a0

Wet into dry and mix around with a fork until combined. Dump onto a floured surface and form a ball.%u00a0
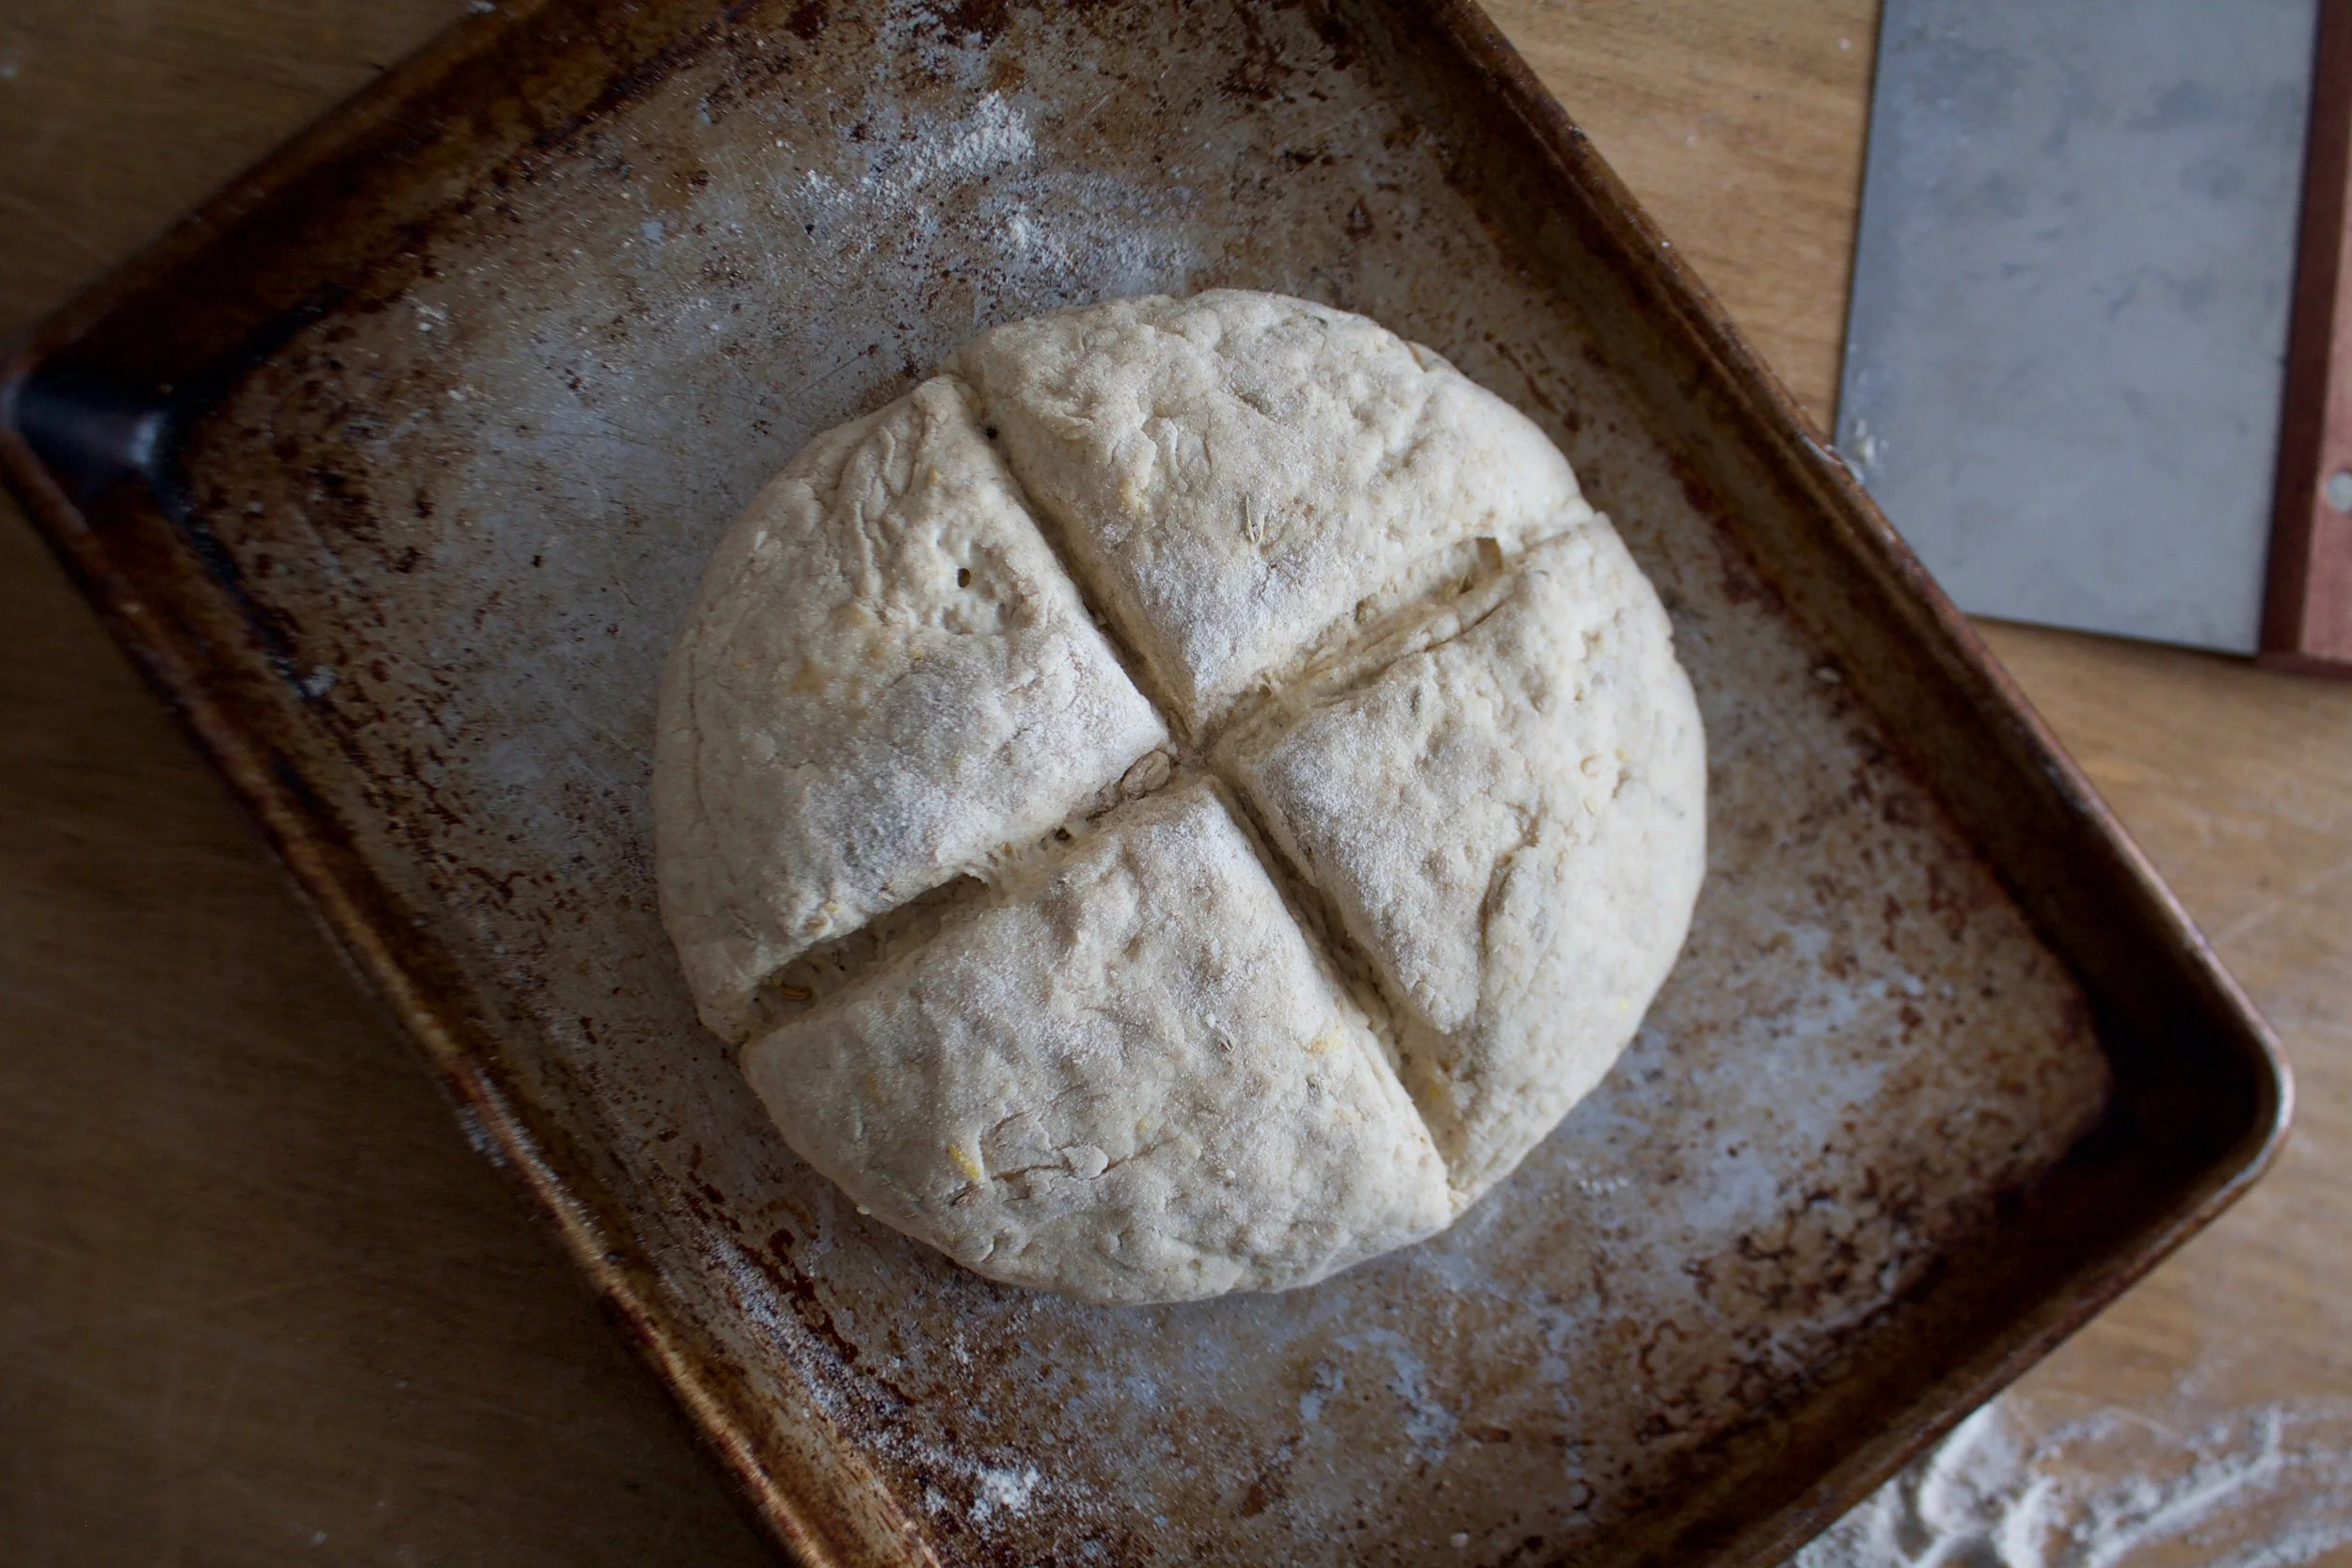
Take the dough and place it on a lightly floured baking sheet then take a knife or dough scraper and give the dough a big deep X. Get about half an to an inch deep.%u00a0

And Ito the oven it goes.%u00a0
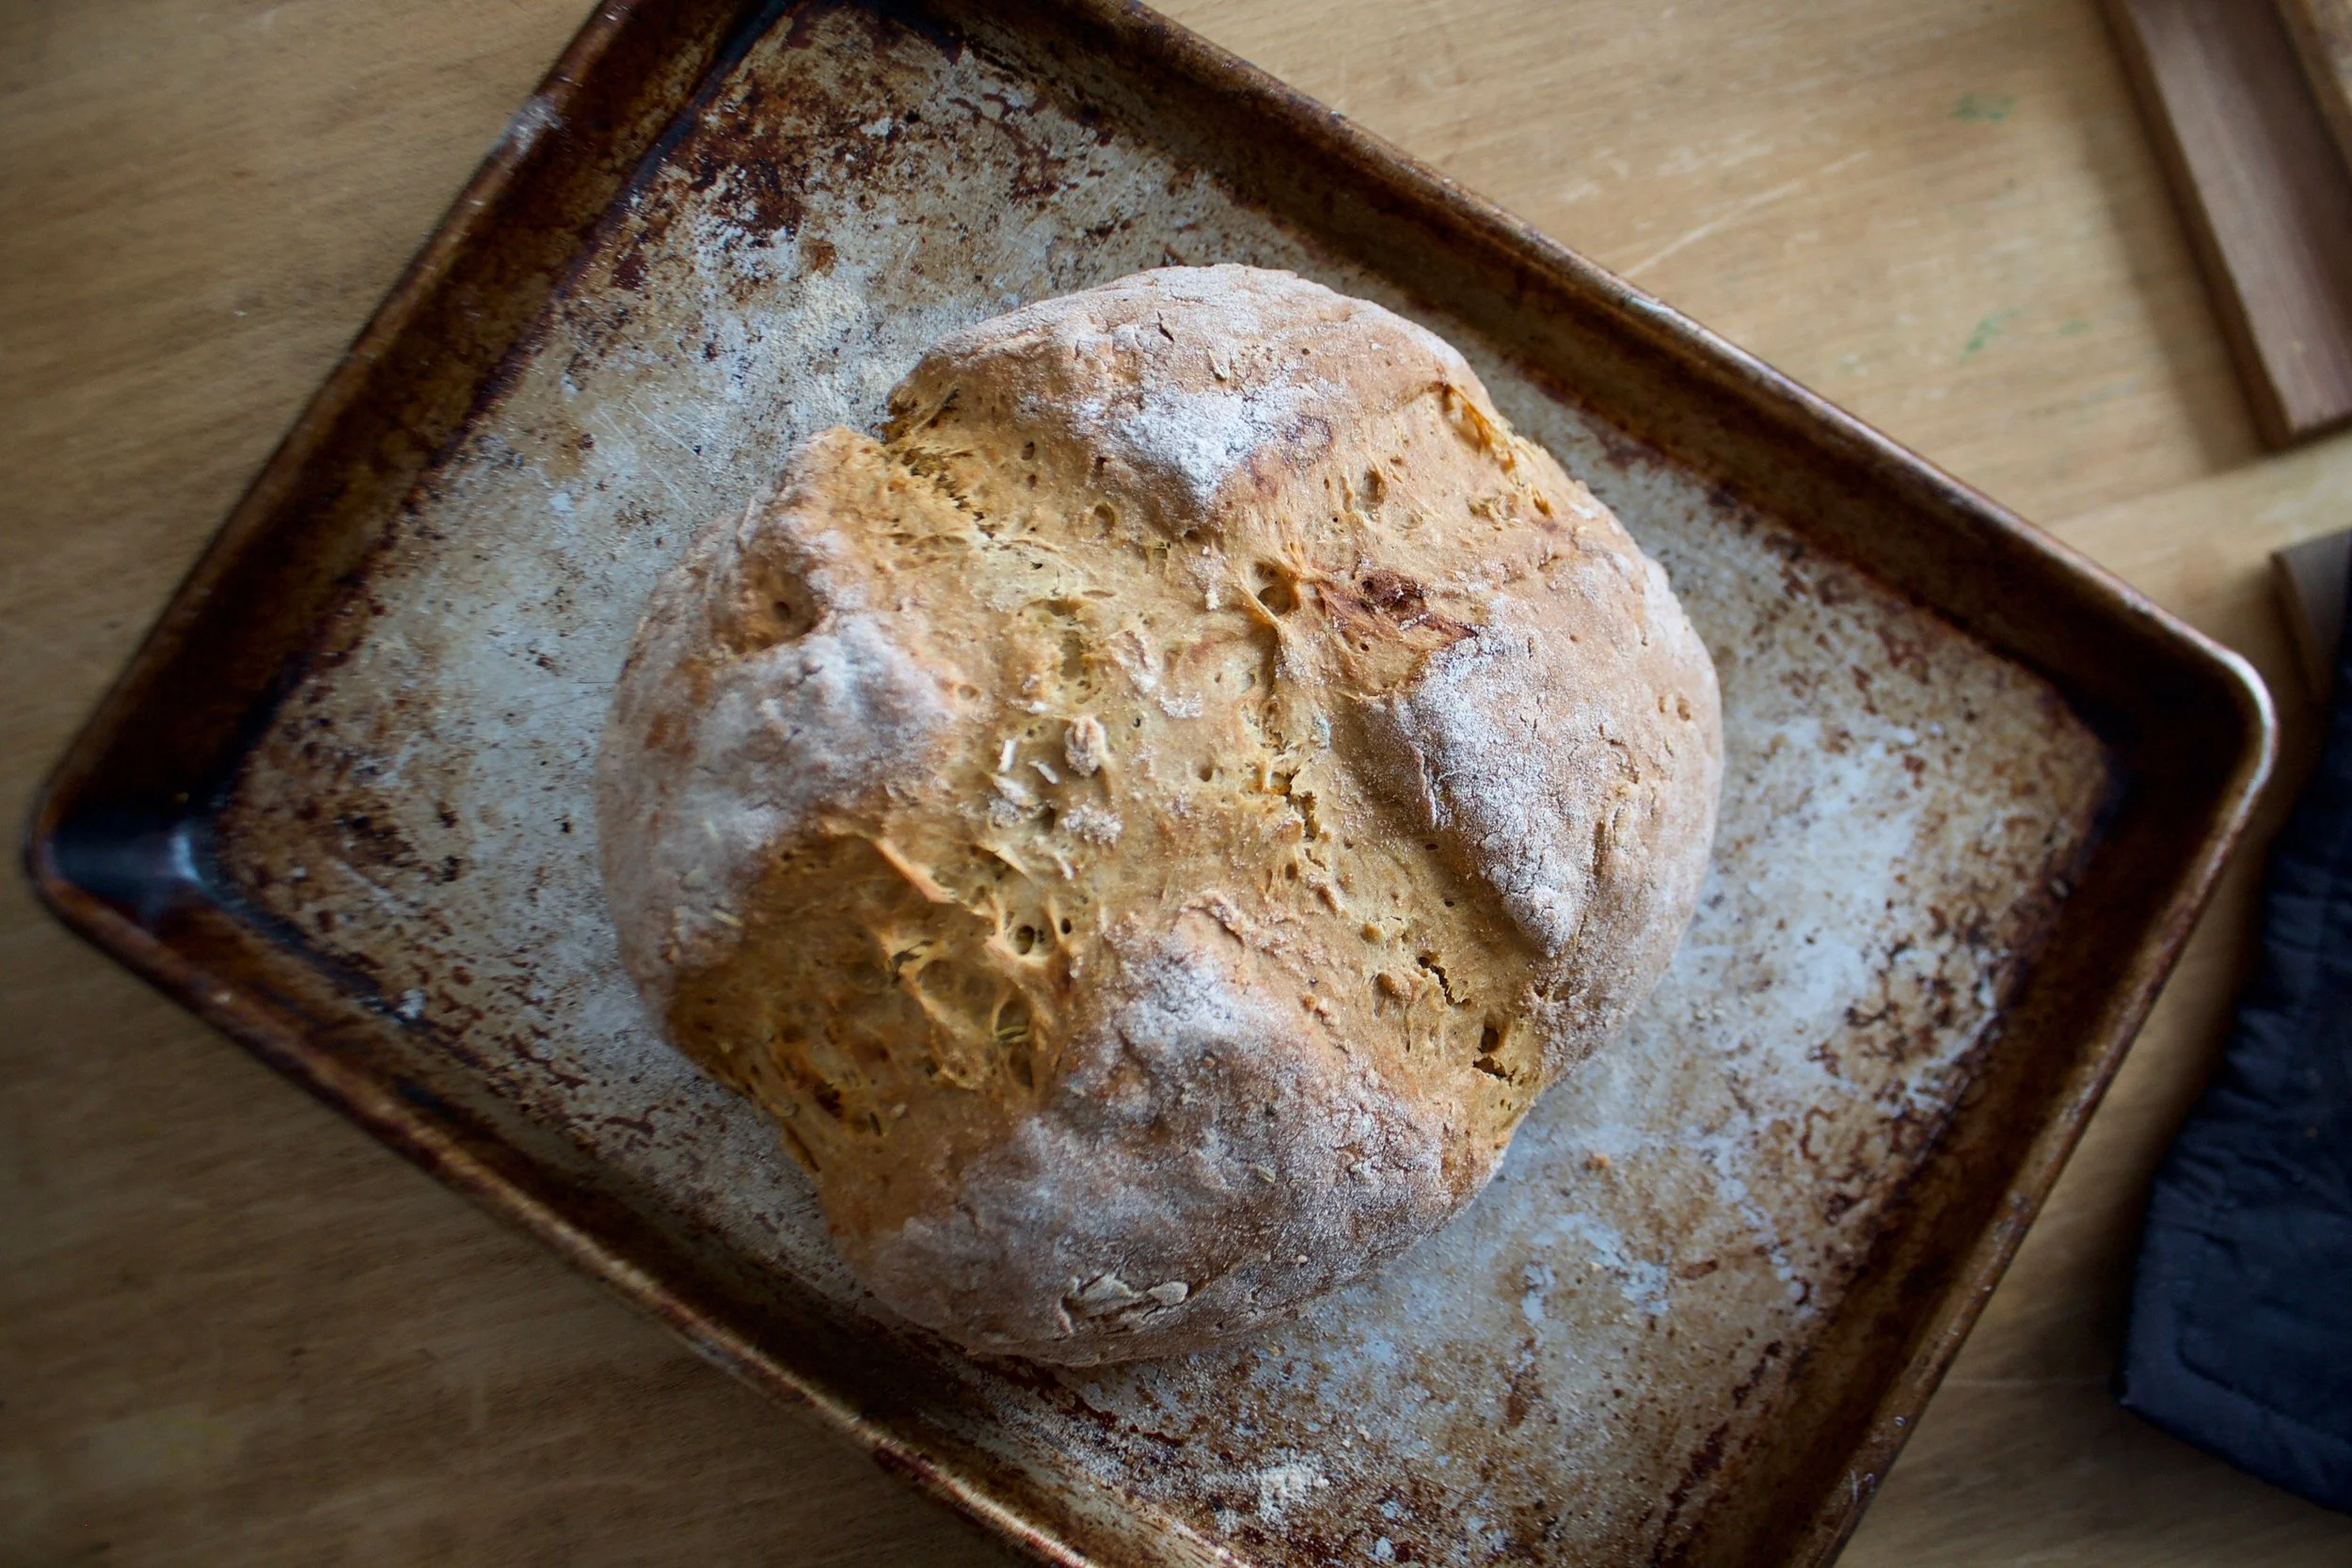
Just a mere 4o minutes later you have a crisp and golden loaf that smells like springtime and loveliness.

Give it a little time to cool down but grab a slice when it’s still a bit warm and eat it up. If you have butter to jam or honey on hand, it’s not necessary but welcomed.%u00a0

-C

Makes 1 loaf

  • 1 1/2 cups all purpose flour
  • 1 1/2 cups whole wheat flour
  • 2 tablespoons fennel seeds
  • 1 teaspoon salt
  • 1 teaspoon baking soda
  • 1 teaspoons baking powder
  • 1 cup soy milk
  • 2 tablespoon lemon juice
  • 1 tablespoon lemon zest%u00a0
  • 2 tablespoons vegetable oil
  • 2 tablespoon honey or maple syrup

Preheat oven to 375

In a large bowl mix together the flours, baking soda and powder, salt, fennel, and the lemon zest. In a separate bowl or jar, mix together the milk, lemon juice, honey or maple, and oil. Let sit for 3-5 minutes so the milk gets a chance to lightly sour.%u00a0

Dump wet mixture into dry and mix around until %u00a0incorporated. Dump dough onto a floured surface and form a ball then place dough onto a lightly flour baking sheet and either with a knife or dough scrapper, score the top with a x about an inch deep. Place into oven and bake for %u00a040-45 minutes or until a nice deep golden brown and a tater stuck into the loaf comes out clean.%u00a0

Remove from oven and let cool on a rack.

Cut into it while it’s a tad but warm and serve naked or with butter and honey or whatever you want.%u00a0

Bread keeps for 2-3 days or is good to be frozen sliced up.%u00a0

It was the perfect Sunday. Cold, snow covered, cozy and quite. Everything a Sunday should be. (now its warm ,rainy and chaotic. Poop) The perfect day spent reading, drawing, drinking way to much coffee and putzing around. And baking a loaf of bread.. chocolate bread. If everyday was like this………

Chocolate bread? Well yeah, it is the holiday season after all and I figured that it would make something that would last all week and can is multi -purpose.(breakfast or dinner) I could have made more cookies, but I am airing on the side of not feeding the mr sugar bombs for breakfast these days. But this chocolate bread. He can eat it whenever he wants. It’s basically just a loaf of bread (I made it with whole wheat for extra goodness) with a tuch of sweetness ans a lot of chocolate flavor. It makes agreat breakfast toast, a hearty snack, or would be great for some type of french toast situation. Or maybeyou want to make some chocolate bread pudding, or woy are going to be making chili and want something to serve it with. (I was thinking a black bean chili would pair really nicely). There are no rules here. The mr, he has been eating it with peanut butter banana or mashed avocado. Its nothing to complicated, just chocolaty bread.

So of you are around this week, maybe spending some time at home, I think you should make bread.%u00a0 It’s really easy, not much in terms of mess and who doesn’t love the smell of baking bread? And bonus.. IF you have any friends or family visiting, or if you are visiting them, why not impress them with a freshly baked loaf of bread, You will be the coolest.
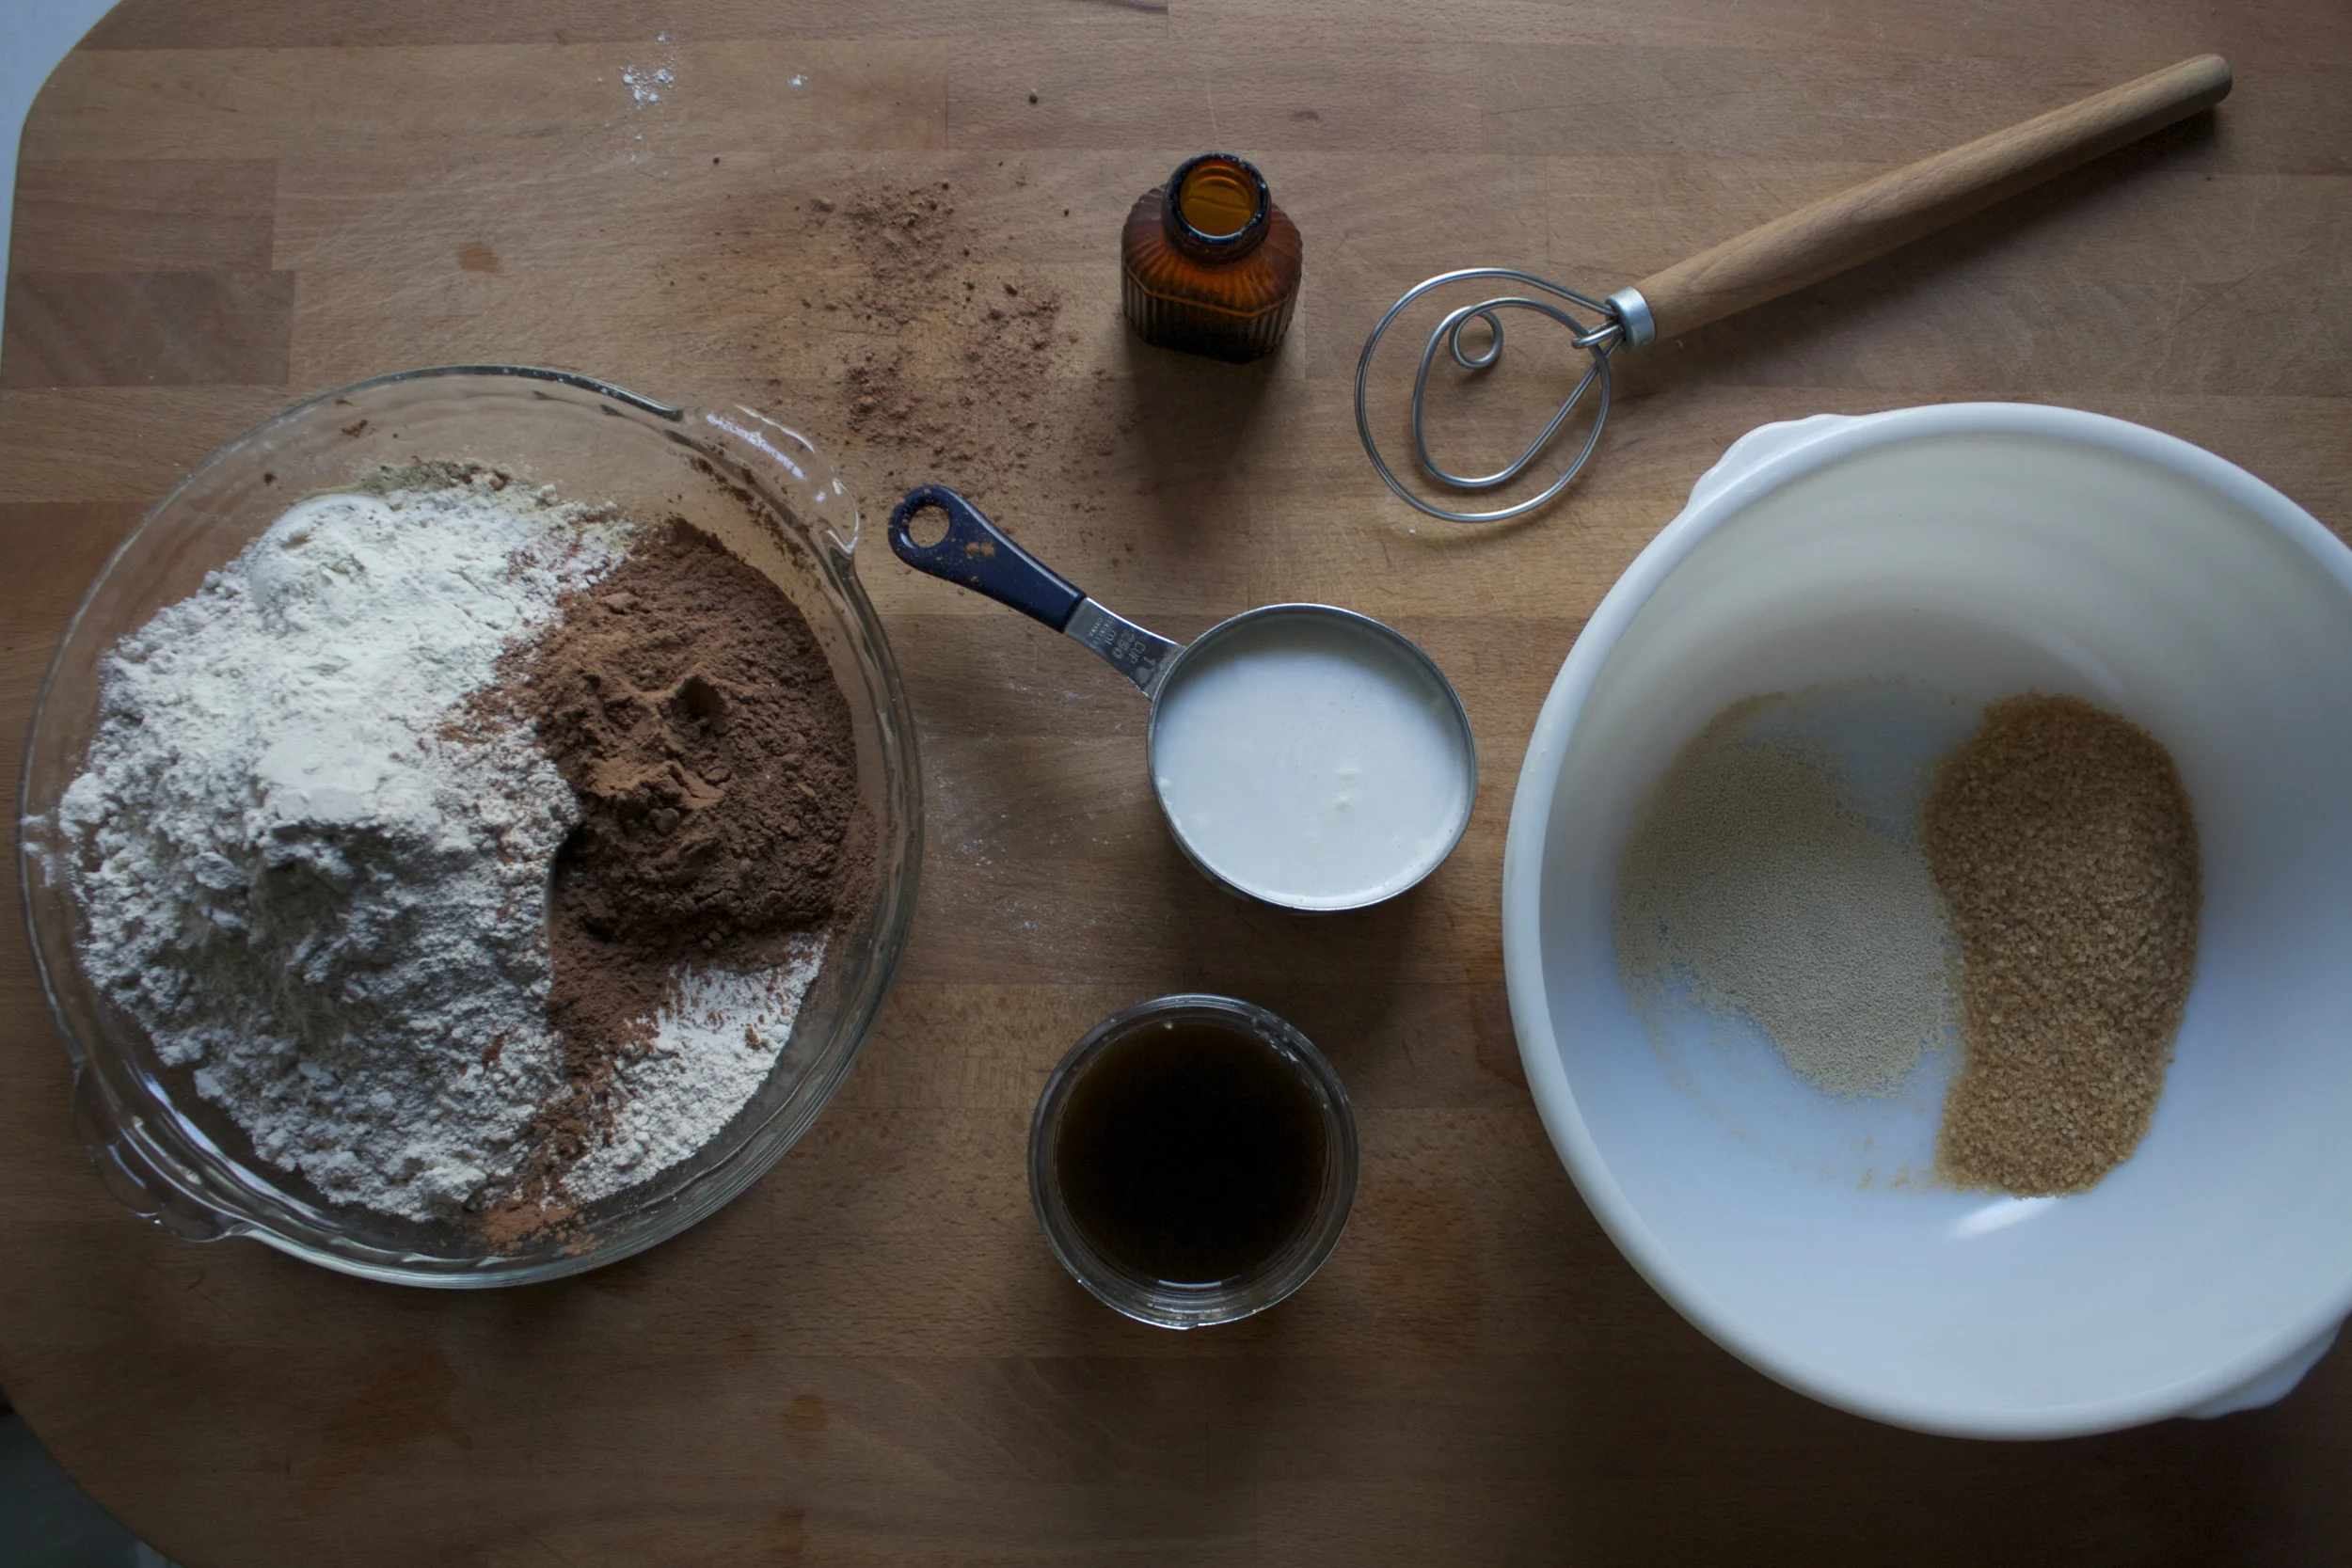
The stuff. White whole wheat flour, cocoa powder, salt, soy milk, coffee, yeast and turbinado sugar.
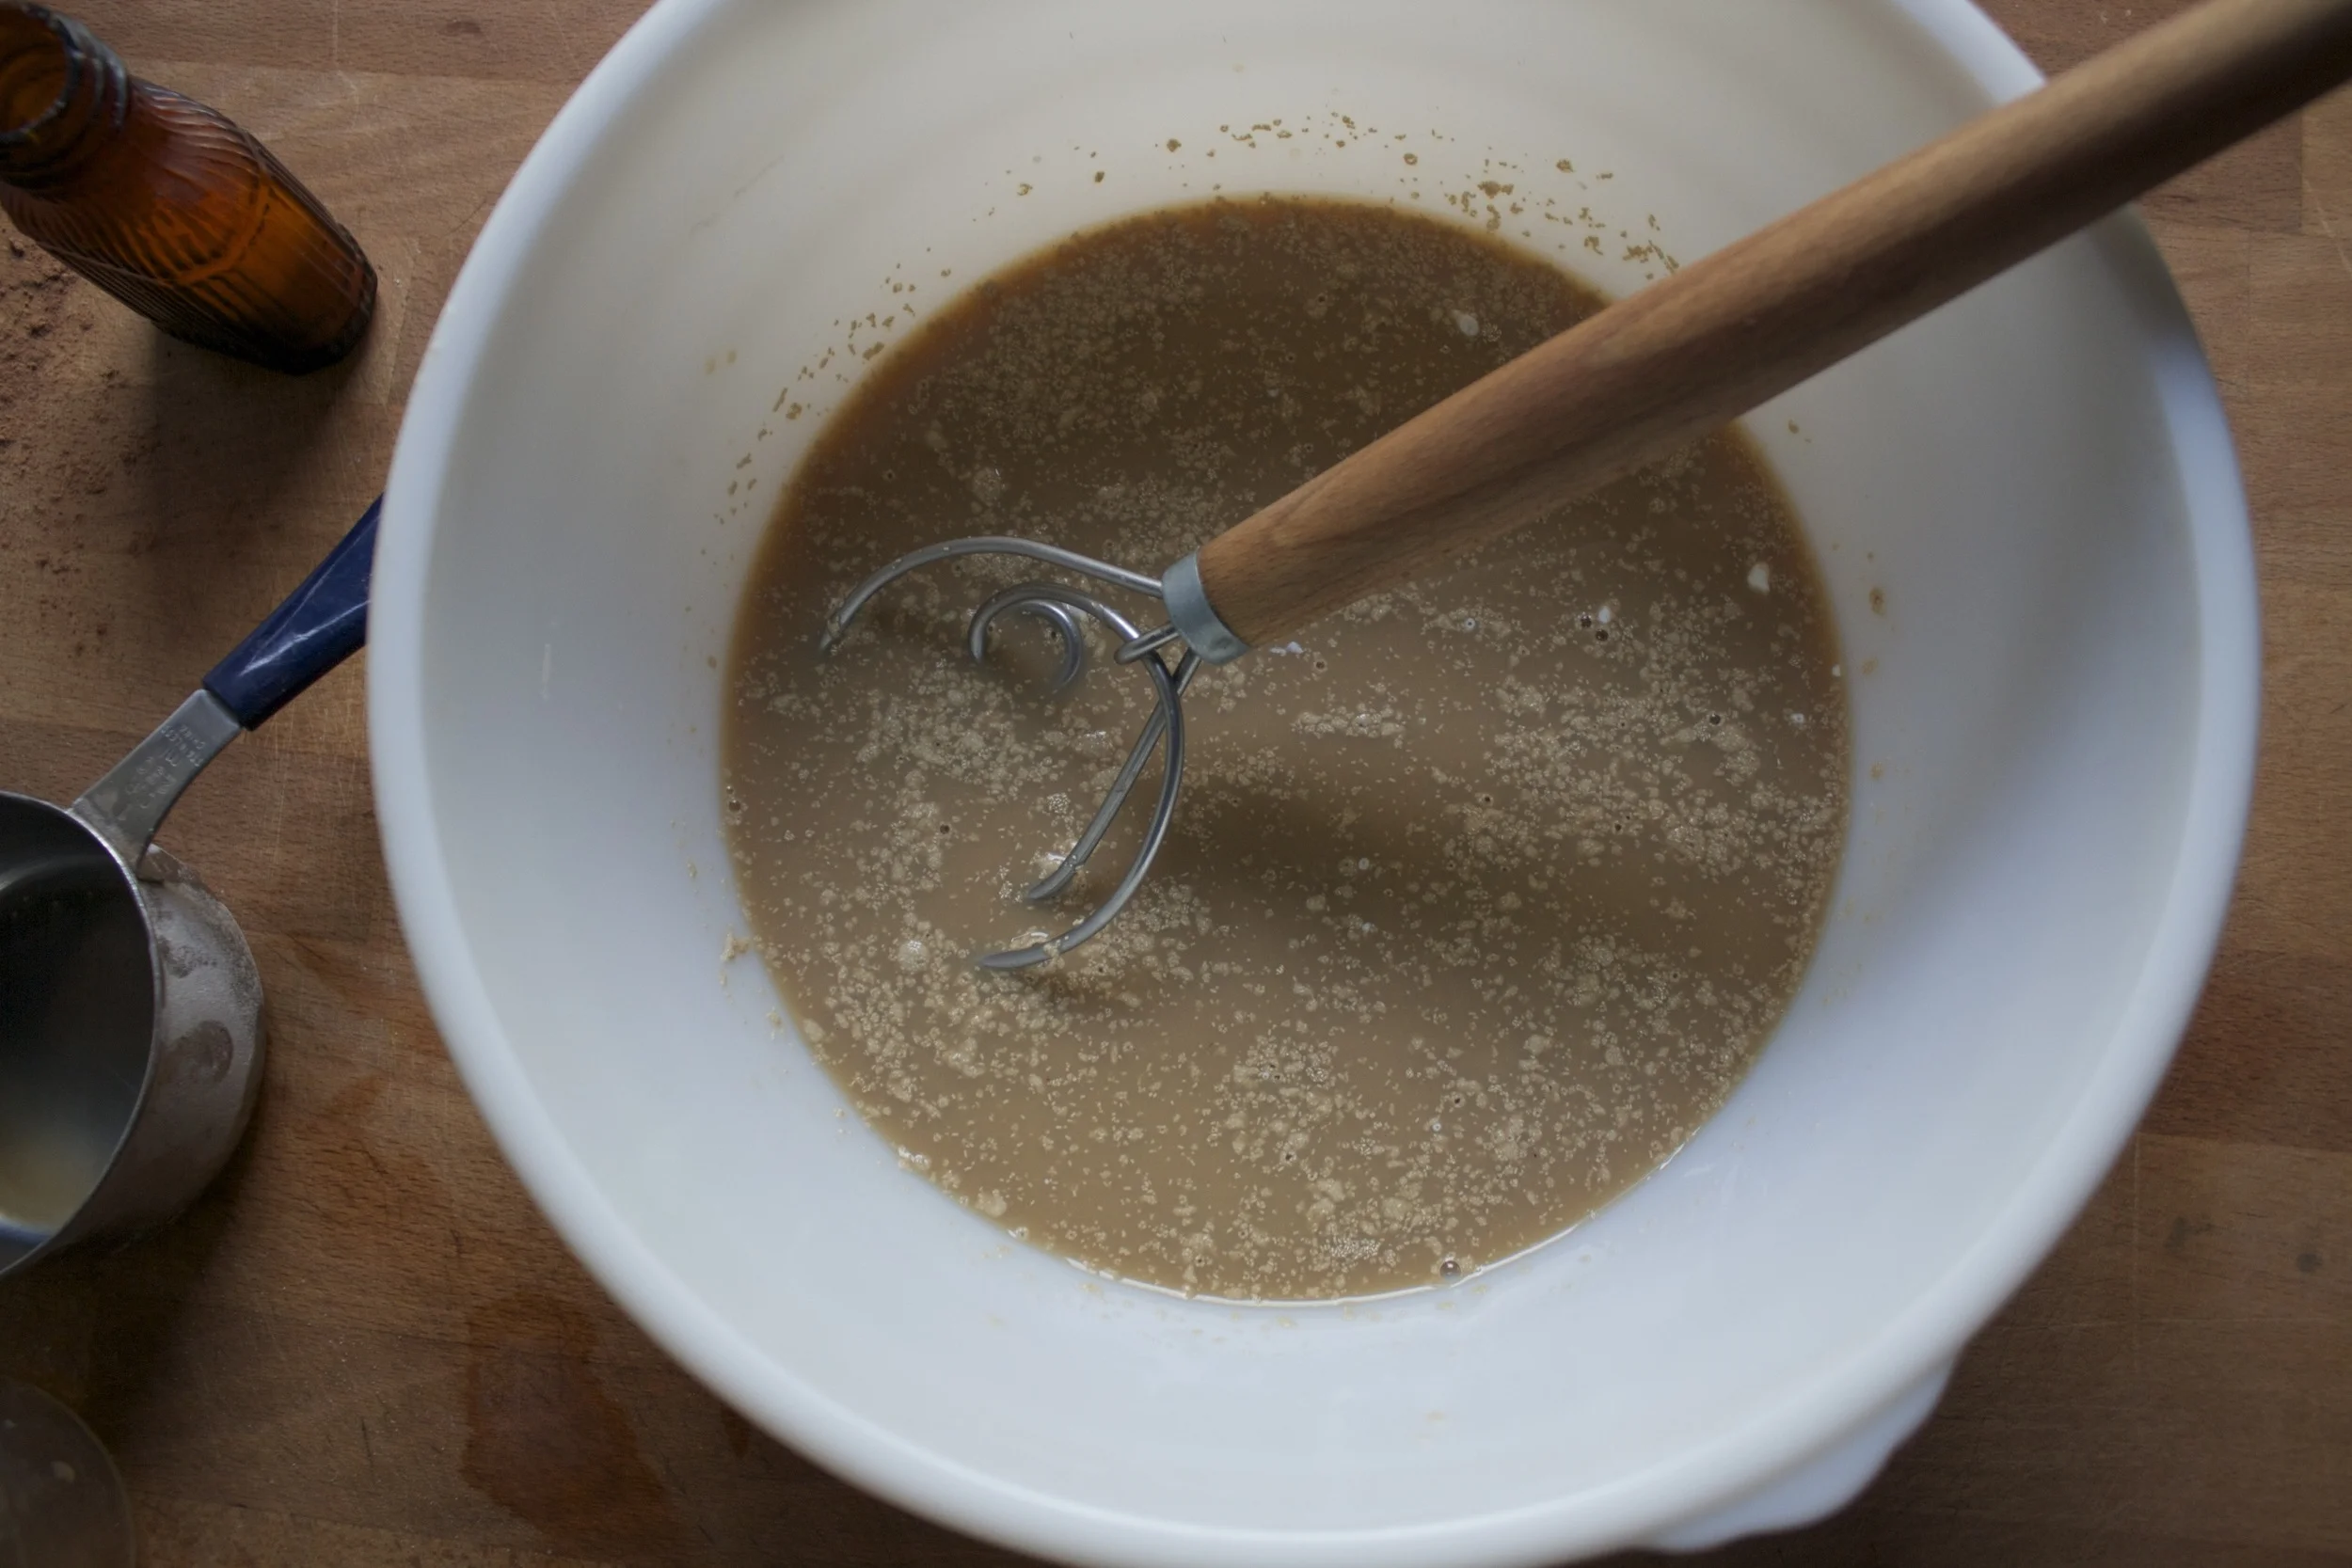
The sugar and yeast get whisked together with the soy milk and coffee and left for a few minutes to make sure its active (or if you know your yeast is good, then just get on with it.)

Flour, cocoa powder, and the salt get a good whisk together as well.%u00a0

Then dumped into the yeast mixture.

Mix until the dough starts to come together, then dump it onto a lightly floured surface and start. Gather together with your hands ans start to knead.

Keep kneading (about 5 minutes or so) until the dough is a cohesive texture, slightly glossy, %u00a0ball of goodness.

Place the dough back into the bowl and drizzle and rub down with a oil (use a neutral flavor) Place a damp towel over the top and stick in a warm place to rise and double in size, which should take between an hour,, hour and a half, (depending on how warm you place is)

Once it has doubled, push down dough, shape into a loaf shape, and place in a greased load pan. Rub a little more oil on the top, cover with plastic this time (a towel will absorb the moisture from the dough), and place back into the place to rise again.

And once the dough starts to crest the pan and has double again,(another 30 minutes) it’s tie to bake. Stick the dough into a preheated oven and bake away.%u00a0 Optional step but yoi should do it. Stick a pan with about an inch of water on the bottom of the oven when you stick the dough in. It makes the crust a little crustier and pretty. and keep the bread a but more moist.

And once the bread is done (45-50 minutes, with a internal temp of 190) remove from the oven and let cool(for at least 15 minutes.. (you can do it!)

Sliced to your preferred thickness, eaten as is or slathered with some peanut butter. Save some for the morning for french toast or strawberry jam toast.
The possibilities are endless.

Enjoy you day.

-C

Makes one loaf

  • 3 cups white whole wheat bread flour (plus a little more if needed)
  • 1/2 cup natural cocoa powder
  • 1 cup soy milk
  • 2/3 cup warm coffee
  • 1/3 cup turbinado sugar (can use cane sugar)
  • 2 1/4 teaspoon yeast
  • 1 teaspoon salt

Note. If you want to make 2 loaves (why not right) just double everything except the yeast. Still only use the 2 1/4 teaspoons.

In a large bowl, whisk together the soy, sugar, and the yeast, then add in the coffee last. (just to make sure the coffee isn’t to hot that it kills the yeast) In a separate bowl, whisk together the flour, cocoa powder and salt. Once you are sure the yeast is active, dump the dry into the wet and mix with together until the dough starts to form. If the dough seems to wet, add in another tablespoon or two of flour. Dump onto a slightly floured counter and knead until a cohesive texture that is somewhat smooth a glossy. Place dough back into bowl, drizzle and rub with oil, then place a damp towel over the bowl ans stick it in a warm place. Let the dough rise until it has doubled in size, which should take about 1- 1 1/2 (depending ho warm the spot) Once doubles, dump onto counter and push down. Shape into a loaf and place into a greased loaf pan. Rub a little more oil on top and cover with plastic. Let the dough rise for about another 30 minutes or until the dough is cresting the brim of the pan.%u00a0

Preheat the oven to 400

When dough is done it’s second rise, place a pan with about an inch of water into the oven on he lowest rack. Place dough in oven on the middle rack. Turn heat down to 375 and bake between 45-50 minutes or until the dough is golden brown and sounds hollow when tapped on. (also can check for temperature of 190 with a instant read thermometer)

When done, remove from pan ans let cool completely (or at least 20 minutes) before cutting.

When cooled, cut into slices and do what you will (straight up or covered in peanut butter…..)

Store uneaten bread in a air tight bag for about 3 days or just cut it all up and stick slices in the freezer and grab pieces as you need them. Either toast or lest thaw to room temp.

One of the best things about winter is that I can have something in the oven at any time and not worry about how hot the house is going to get. %u00a0I get to spend my free time (or my in between free minutes) baking up all the thing that I would not dare bake in the summer. (lots of bread and cakes) Yeah,%u00a0I might complain a little about how cold it is outside (to my defense, -20 is kind of a bitch) but then I think of the super hot humid days that come during the summer and cringe. %u00a0At least when its cold out I am able to get warm, (que oven) %u00a0but when its super hot and humid, I just turn into something that border lines a wet towel and the rabbit animal%u2026 Not so pleasant. %u00a0 I much prefer cooler weather. So no big surprise%u2026.I made bread.. or focaccia to be exact. And now you should too because first off, you want to eat it, and secondly, you can probably whip this up faster then it would take to get all of you winter warmies on and leave the house. Don’t leave, just turn the oven on.%u00a0 The stuff, which isn’t a whole lot%u2026 Flour and salt. %u00a0A mixture of honey, water, and yeast. And olive oil. Its pretty much my pizza dough recipe, tweaked with the addition of oil, less flour and no kneading.%u00a0 Mix together the wet and dry%u2026I used my nifty dough whisk, but a wooden spoon or even your hand works. Mix mix mix. The dough should %u00a0be really slack and sticky. %u00a0And guess what.. no need to knead! Just make sure the dough is uniformly incorporated%u2026hehe.. uniformly incorporated%u2026 sounds weird.%u00a0 %u00a0 %u00a0 %u00a0 %u00a0Drizzle the dough (don’t worry about making it into a ball, a blob is good) with a little oil and place in a nice warm place topped with a towel to rise for about an hour or until dough has doubled in size. Once is has fully risen, drizzle 2 tablespoons oil in two 9 inch cake pans. %u00a0Divide dough in half, and kind of smoosh dough into pans. Cover and let rise for another 20 minutes or so. When dough has finished its second rise, drizzle each %u00a0with another tablespoon of oil and with your fingers, fill out the pan and indent the dough, kind of like%u00a0playing a piano or tickling a puppy(?)%u2026.Then layer your toppings (if you want any) %u00a0Start with any herbs, then the veggies. Then last, any cheese you got. I used thyme, cracked black pepper, tomato, onion, topped with parmesan cheese. And the other one is just plain old salt.%u00a0 Pulled from the oven when nice and golden brown..set on a wire rack to cool for a few minute and removed from the pans. The mister was practically salivating waiting for a slice%u2026 and he was so not disappointed. Crispy outside with soft airy insides%u2026 Everything a perfect focaccia should be. The one with the toppings was the favorite for the first night, but for a peanut butter and cheese panini for lunch the next day%u2026plain is the way to go.. My suggestion, do what I did, jazz one up and leave one plain. And then make more if you need too because the forecast call for another week of below zero!!! Oh the things that I’ll get to make! (me being positive) Stay warm! -C

Focaccia with out without stuff

  • 3 cups all-purpose flour%u00a0
  • 1 tablespoon salt plus 2 teaspoons for topping (can use more or less if you want)
  • 2 teaspoons active yeast (or one package)
  • 1 1/2 cups warm water
  • 1 tablespoon honey (or sugar if vegan)
  • 6 tablespoons olive oil

Optional toppings

  • Fresh cracked pepper
  • Thyme or any other spices
  • Thinly sliced tomato
  • Thinly sliced onion%u00a0
  • Parmesan Cheese%u00a0
  • Anything you want!

In a bowl or jar, mix honey (or sugar), yeast and warm water together and let sit for about 5 minutes or until yeast is activated and starts to foam In a large bowl, whisk together flour and 1 tablespoon of salt. With either a wooden spoon, dough whisk, or if you have one, a stand mixer with a dough hook, mix the yeast mixture with the flour. The dough is going to be really sticky so mixing might get a little gloppy, but keep at it until everything is full incorporated.. for about 3-5 minutes and don’t be afraid to use your hand%u2026 you can wash it off. %u00a0Once mixed drizzle with oil and cover with a towel. Let rise for about an hour or until dough has dubbed in size. When dough has double, coat%u00a0two 8 or 9 inch cake pans each with 2 tablespoons olive oil. Dump dough onto floured surface and cut in half. Take each half a place in pan. cover and let rise again for another 20ish minutes. preheat over to 400 degrees After second rise, lightly take your fingers and push down dough, making little indents all over the surface. Drizzle each with another tablespoon of olive oil and sprinkle each with a teaspoon of salt. If using spices or any other toppings, nows the time to layer them on. And do any cheese last! Place in oven and bake for about 30 minutes or until the tops are golden brown. When done, place on a wire rack and let cool a bit before removing %u00a0from pans. Done!!%u00a0 To store, place in a paper bag.. best eaten within a few days!

THE LOVELY CRAZY

August 19, 2019 by maximios • Blog

Who doesn’t like a good bun, right? %u00a0And just because this is where my mind wonders, peachy sweet buns. Doesn’t that sound like a pick up line or something you say to your significant other. Like, “Oh hey peachy sweet buns, you are looking good. Woo hoo”…….. Anyway, this is not about anyones peachy sweet buns, it it about actually sweet buns so u-hum, yeah.%u00a0

I am not trying to float my own boat here, but I am really really good at making buns, and you know what, I bet that you are too. They may seem a little intimidating, but really, it’s quite easy. I think what throws some people off is the yeasted dough and having to knead and waiting for the dough to rise,%u00a0but don’t let that stop you from sweet sweet buns. They are no harder to make then a boxed cake (maybe a little harder) and the results are by far more amazing and delightful (we don’t use the word delightful enough around here) then any old box or pre-made thing will ever be. Ever. Freshly made buns are what is right in this world.

If you are awesome and decide to make buns like any good person with a baking itch or a need for some sweet bun goodness does, make them peachy because its peach season and how can a peach bun not be that much more amazing? %u00a0Just think. Soft sweet dough, jammy cinnamon peaches, covered in a sweet lemony glaze……

Go on now, go and get yourself some peachy sweet buns.

The stuff. Flour and salt in the bowl, melted earth balance, brown sugar, yeast, warm soy milk, cane sugar, cinnamon, powdered sugar, a couple of lemons, and af course, peaches.

Warm (not hot) soy milk, yeast, cane sugar, an melted (but again, not hot) earth balance go into a big bowl and get whisked around. Then add in the flour and salt ans mix around until you just can’t.

Time to knead. Dump the dough ad all the little bits onto a flour surface. Gather it all together and knead away, for about 5-8 minutes, or until the dough looks like….

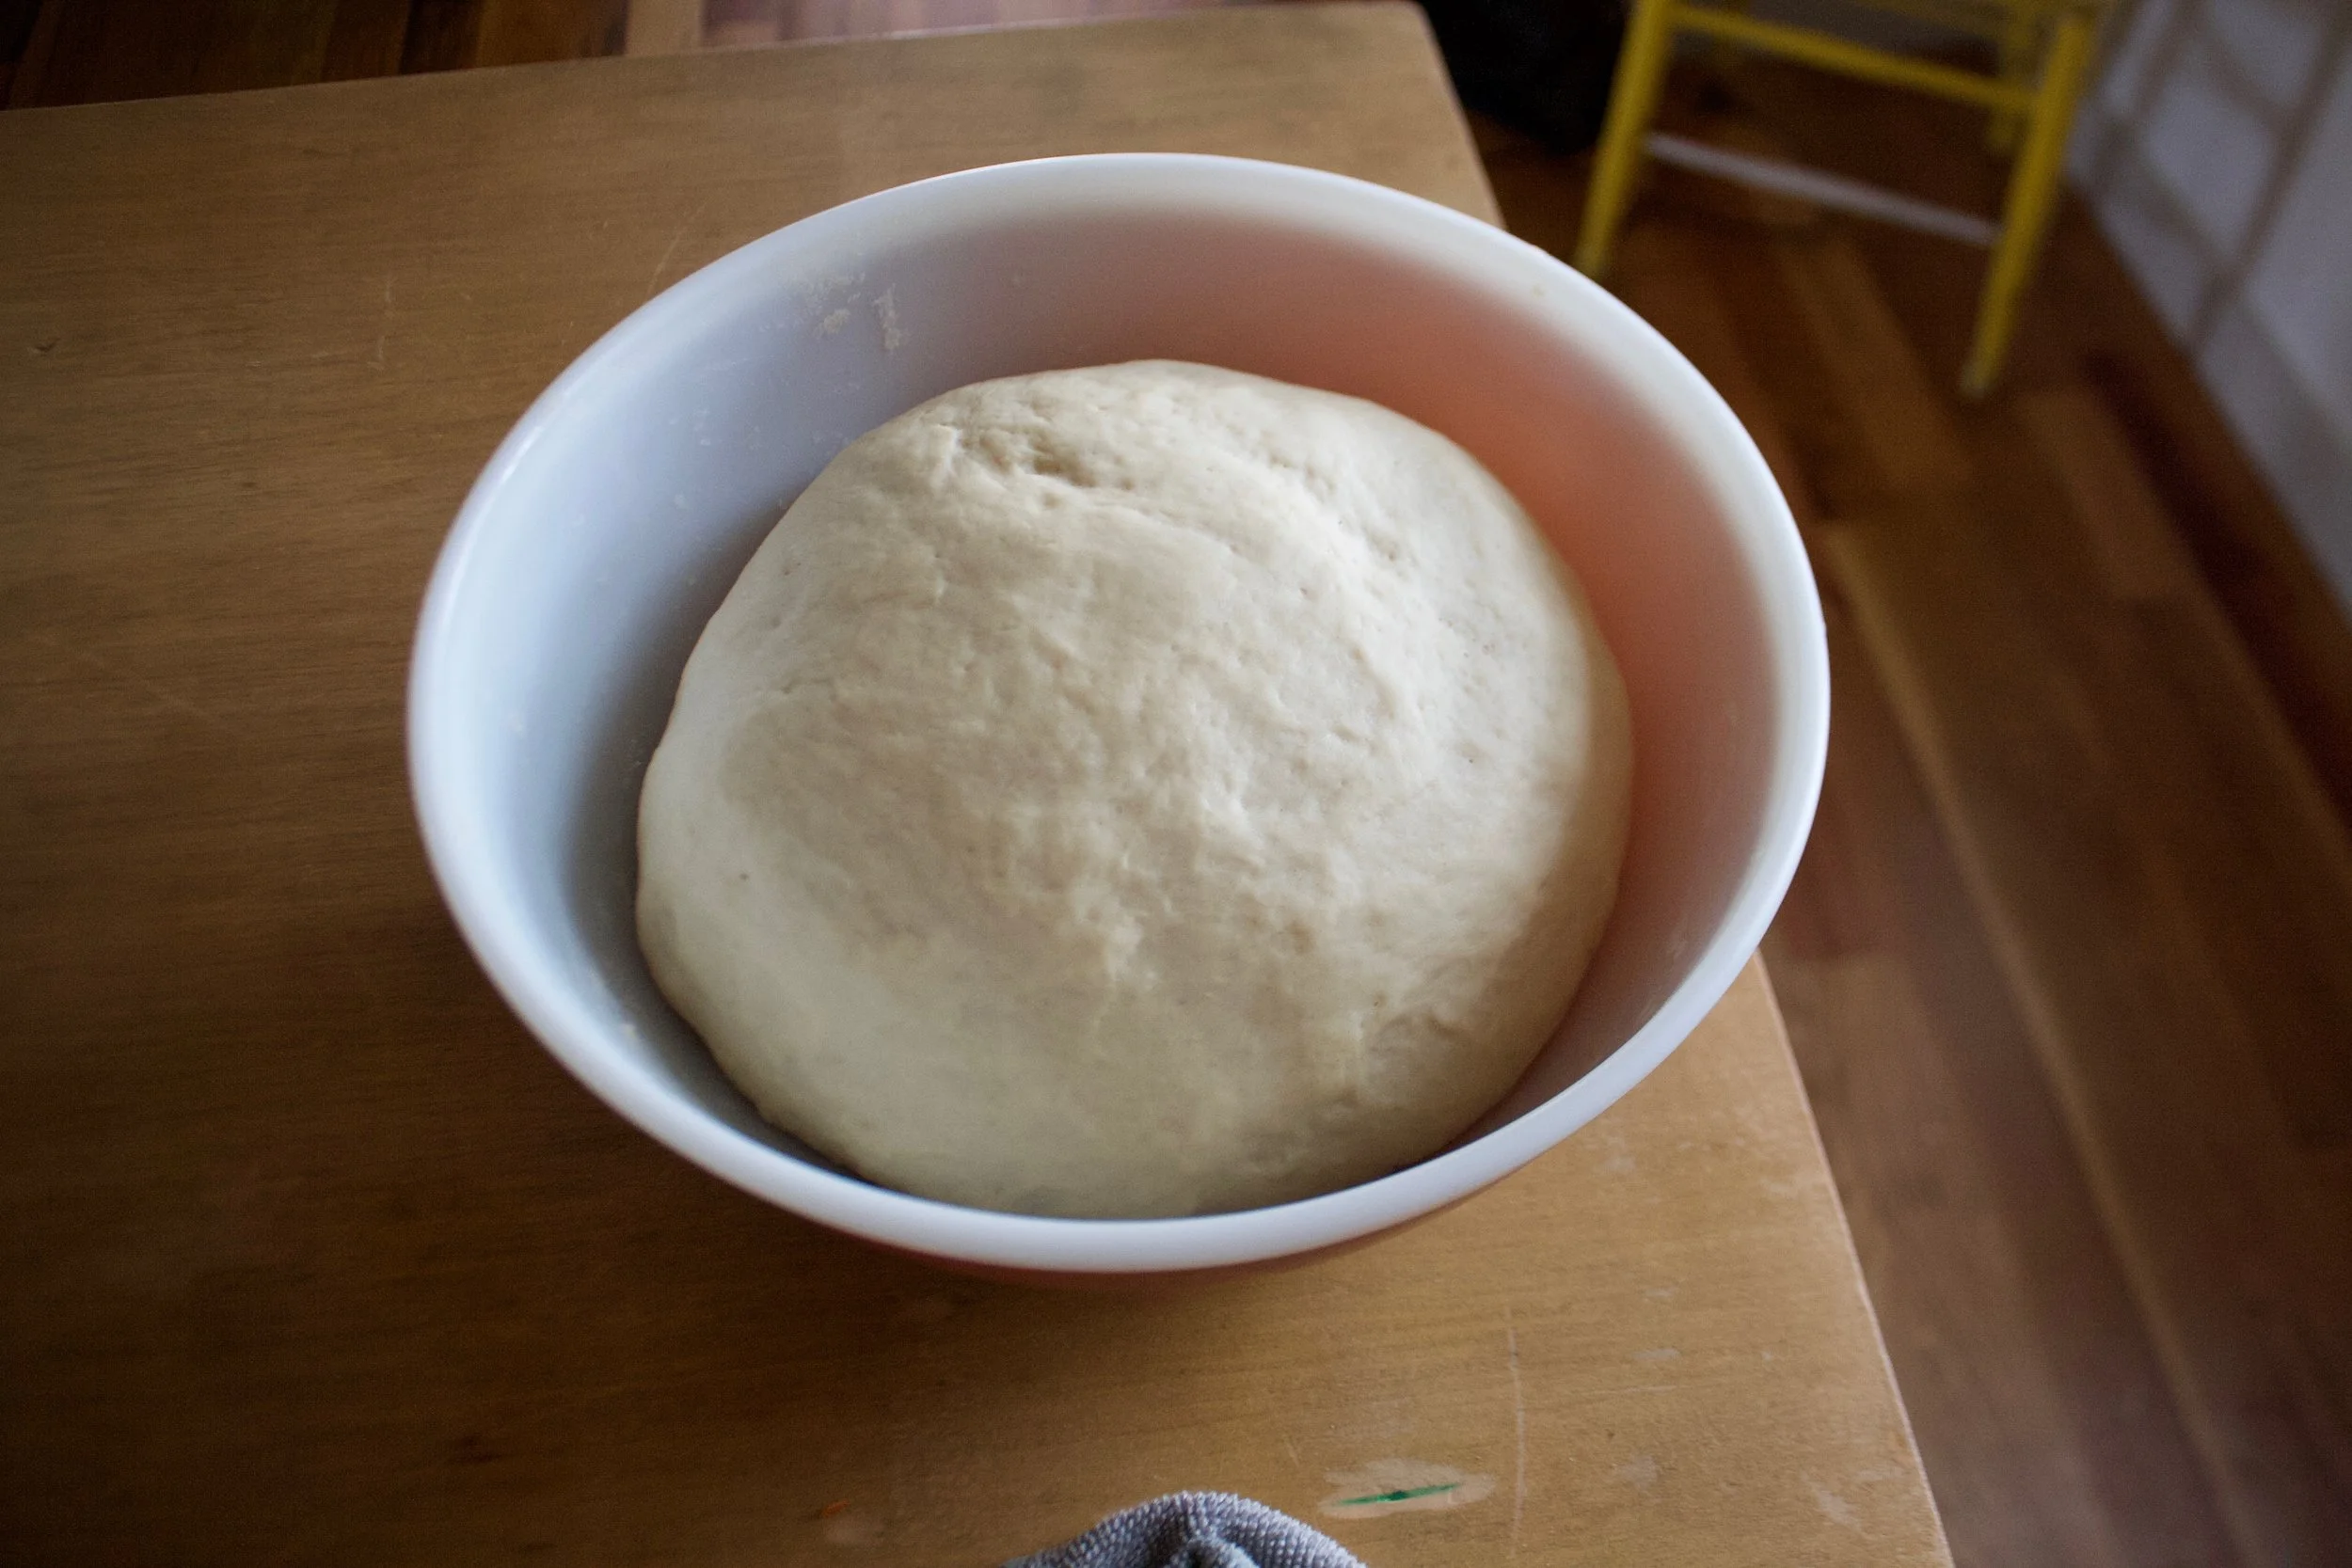
This. Nice and soft and glossy. %u00a0Lightly grease the bowl ans stick the dough back into it, covered with a towel, and set for about 1 hour to rise and double in size.%u00a0

As soon as the dough is set ti rise, start on your peach filling. Chop up enough peaches that you have about 2 1/2 cups of chunks.

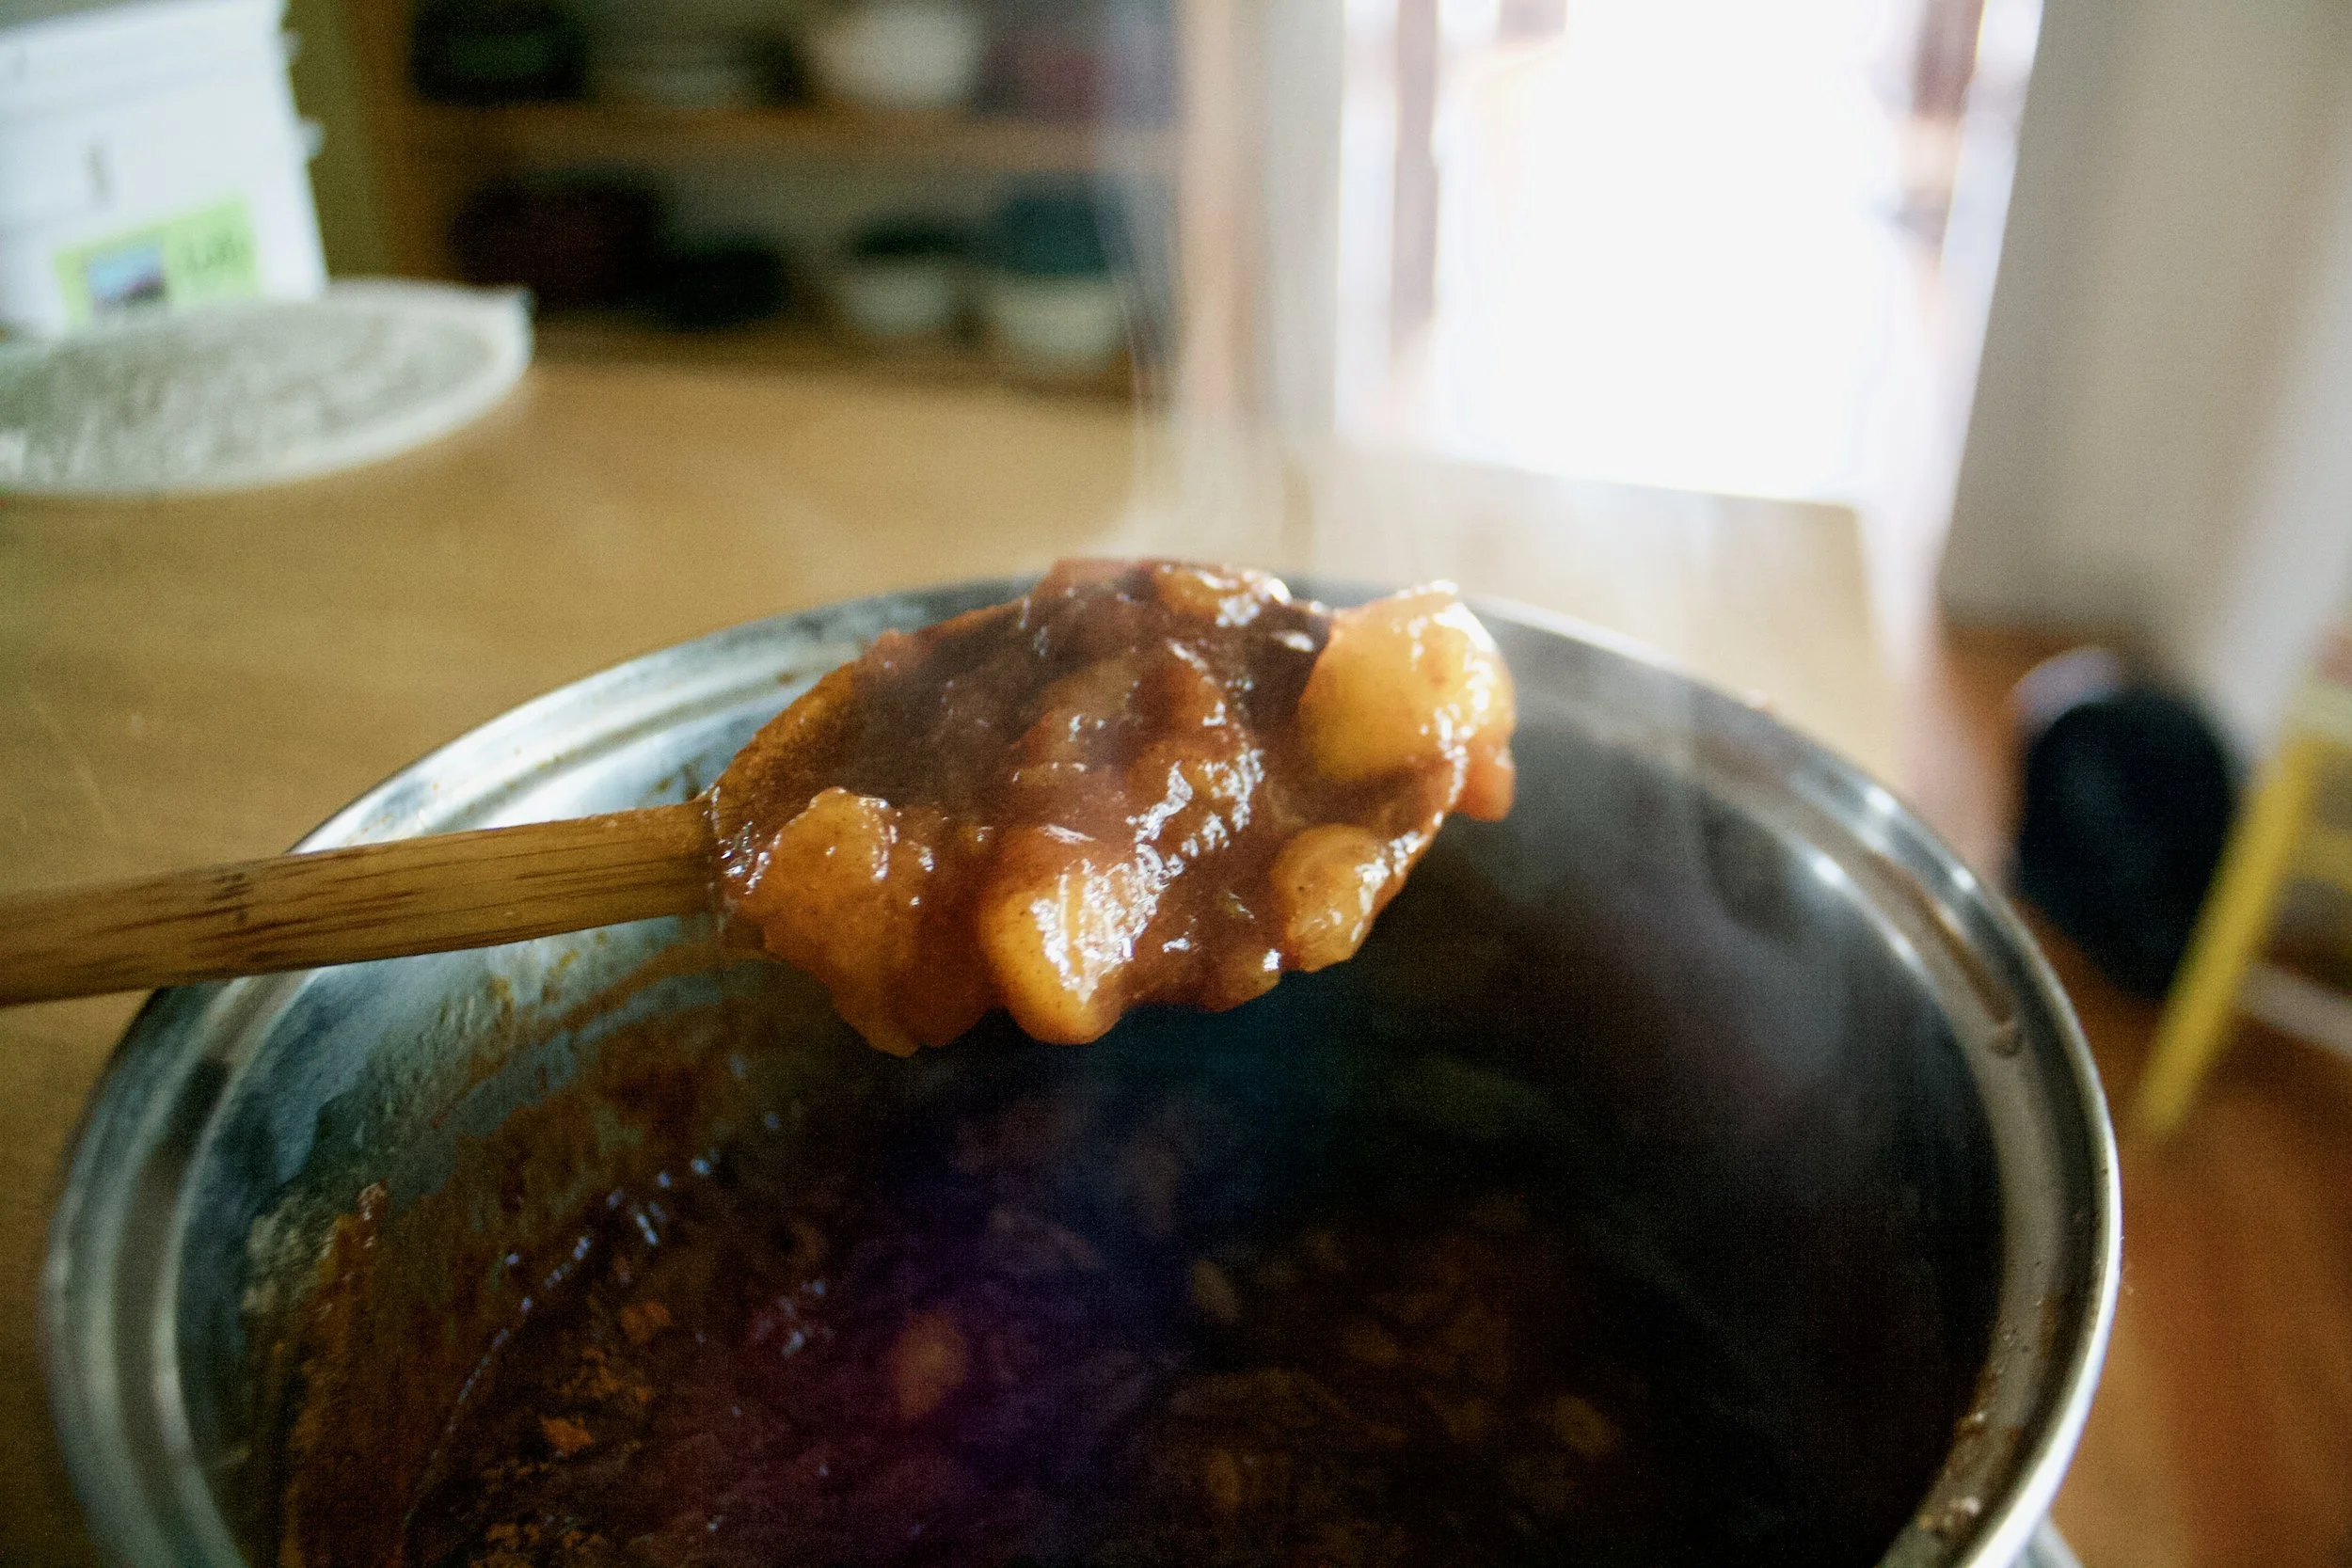
Brown sugar and peach chunks go into a pot and stuck on a medium heat until they start to bubble then set to a low simmer for about 20 minutes or until the peaches all break apart and reduce by half.

Add in the cinnamon and stir.. Peachy goodness. Now quick and stick that shit in the fridge or freezer to cool down.

BOOM. Dough did what it’s job and doubled. Time o make the buns.%u00a0

Place the dough on a lightly floured surface and roll our into a rectangle of sorts that is about 1/2 an inch thick%u00a0

Cover the surface with all the peachy jammy goodness, and sprinkle on the remaining finely chopped peaches.

And roll, as tightly as you can, without squeezing all the filling out. I roll towards me, but roll away from you if it is easier. %u00a0It might get a little sloppy… it’s ok, just lick your fingers and keep going.%u00a0

Rolled and cut into 12 pieces.

Place the rolls carefully onto a grease and parchment lined baking 9×13 baking dish. In my picture I used a baking pan, which was not what I wanted to do, but I wasn’t thinking properly and so that’s what I did. Something with sides is preferable, but the baking pan did the job so really, your call.%u00a0

When you place the buns in the dish, place them toughen a bit, it helps then bake up high instead of out. %u00a0And any remaining go on jam that spilled out can get scraped right on top of the buns,%u00a0if you didn’t already eat it.

Now into the preheated oven these %u00a0babies go.

Look at those beauts. And they smell. A-MAZ-ING!!%u00a0

Right away get that glaze made. Powdered sugar, lemon zest, ans lemon juice. Super easy, just add the zest and juice to sugar and mix until smooth and glaze.%u00a0

Pour glaze over warm buns. Make sure to hit them all or someone is going to be pissed they didn’t get enough glaze…..%u00a0

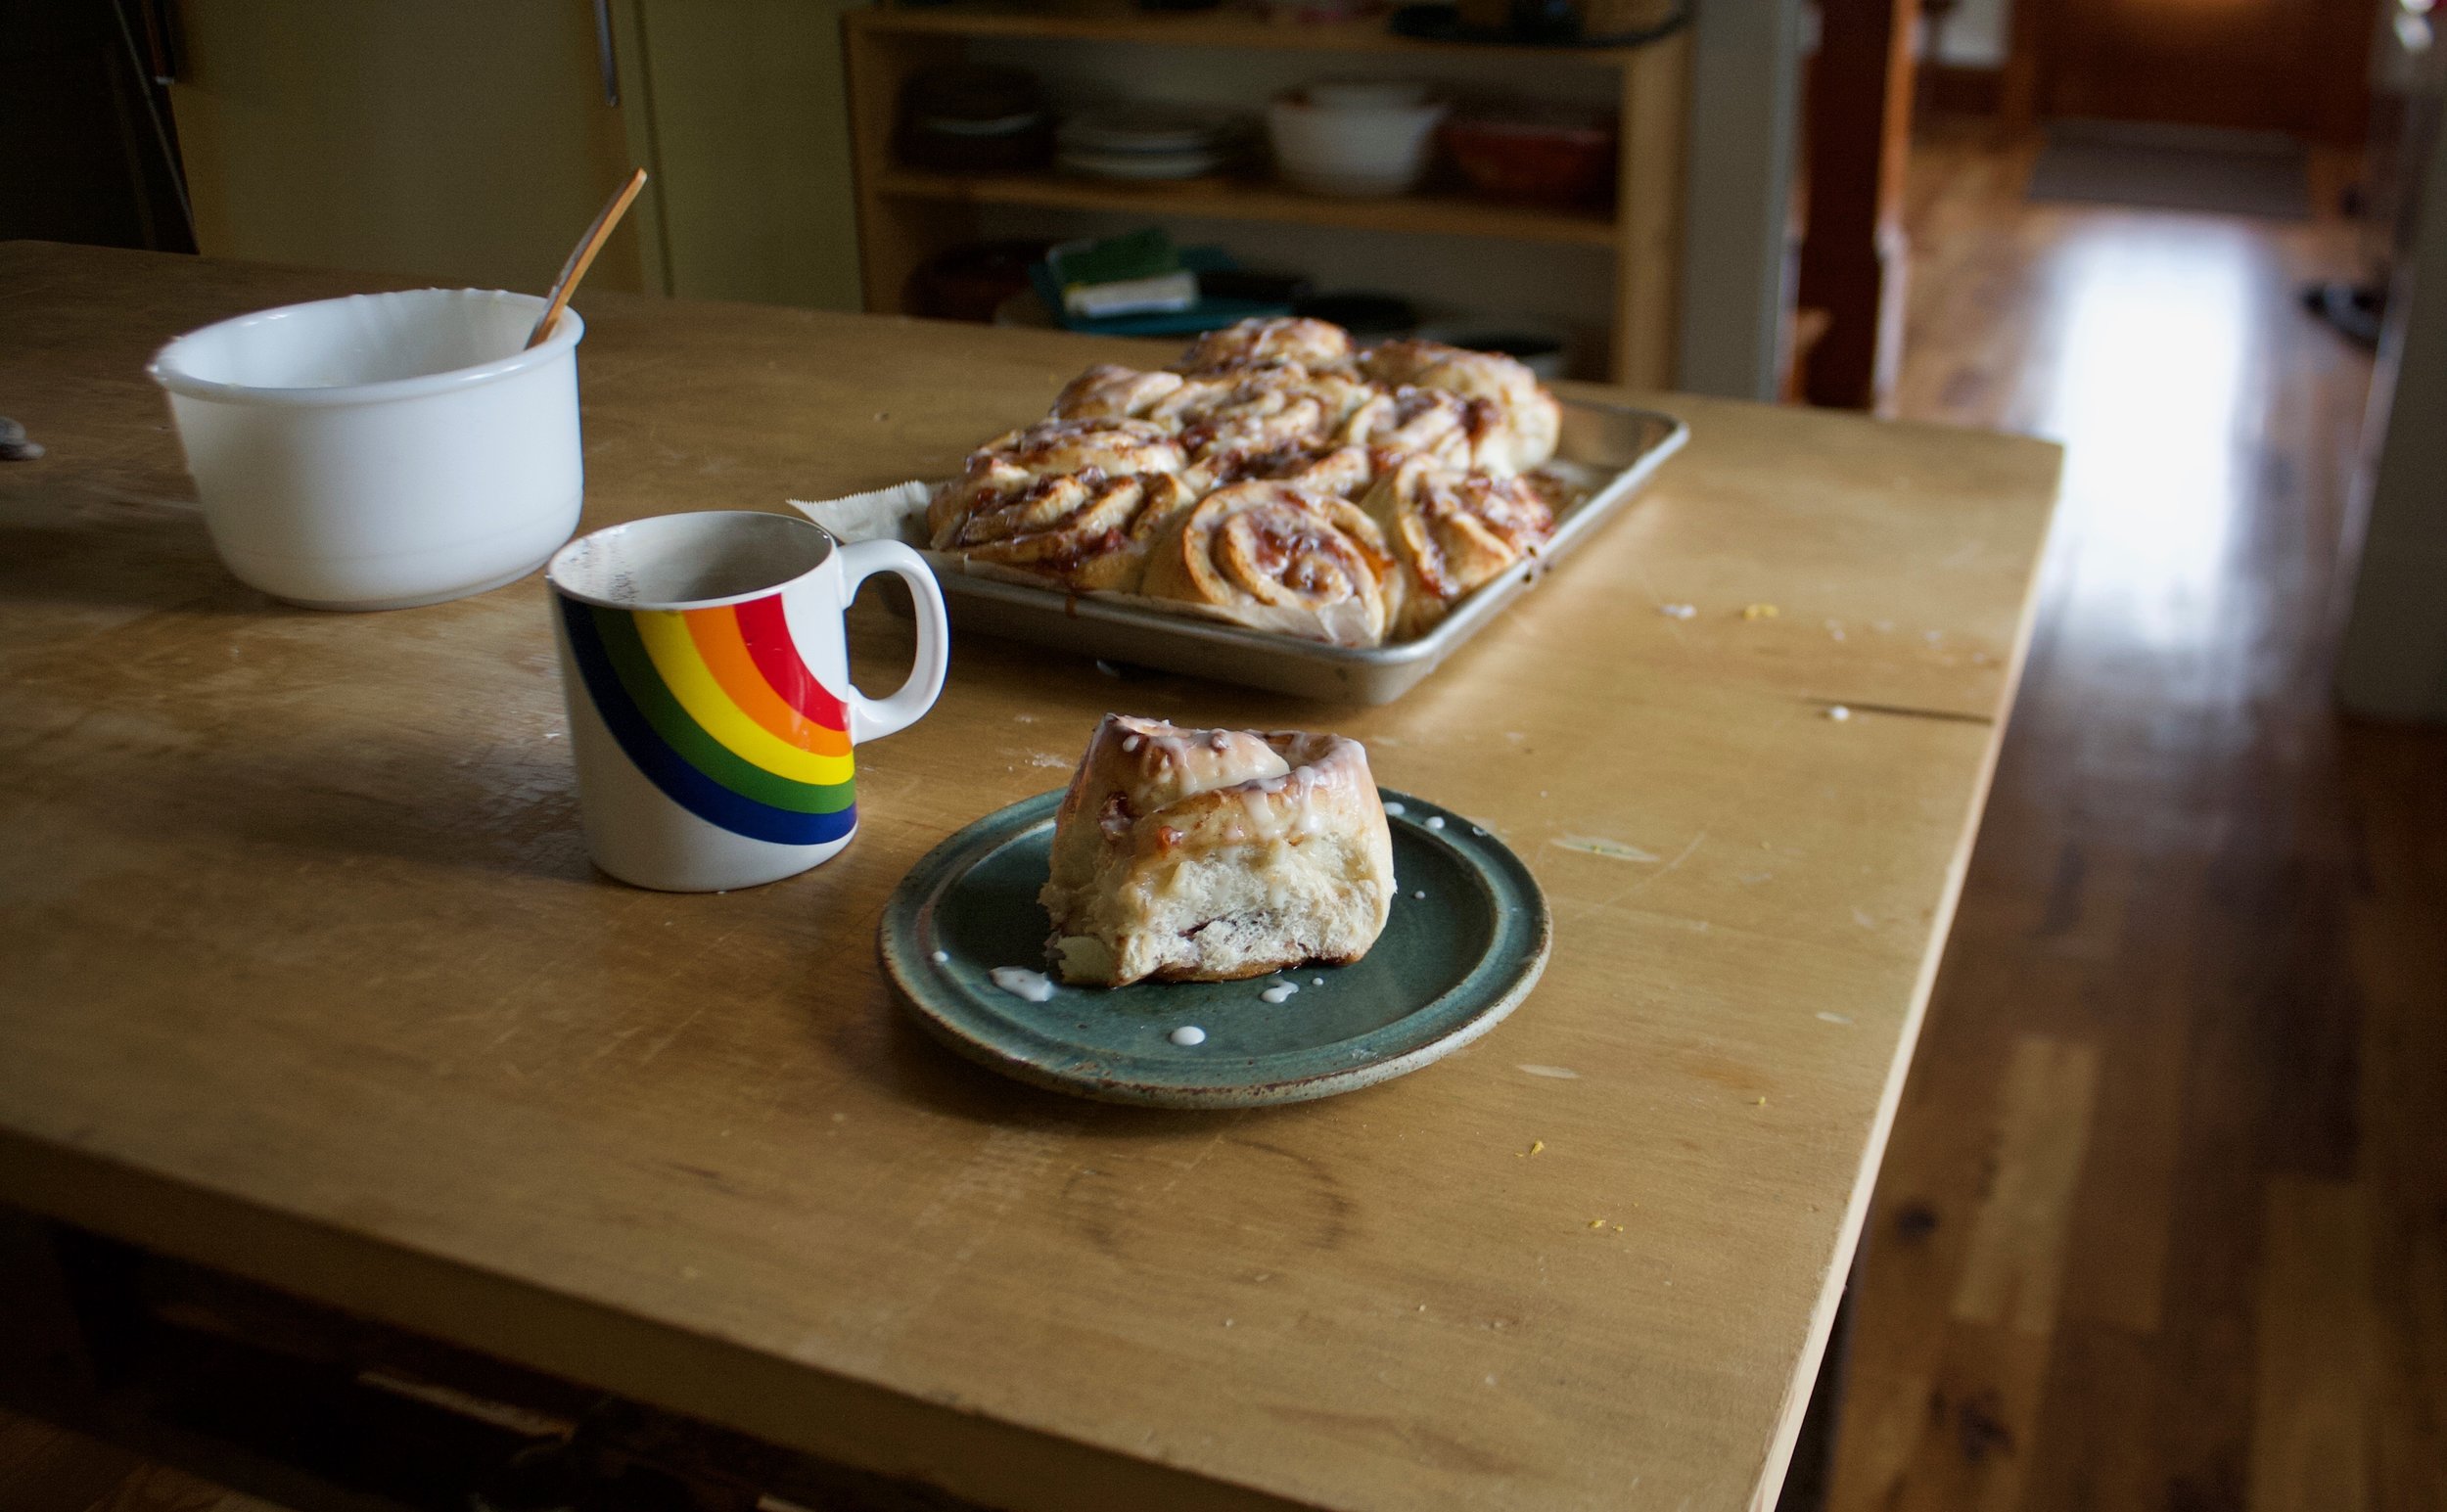
Then it’s really just up to you whether you wait for coffee or tea or not, but really, just eat right away. There should be very little time between newly glazed buns and a bun in your face.

Enjoy the peaches!

-C

Makes 12 Buns

  • For the Dough%u00a0
    • 3 1/2 cups all purposes flour
    • 1/4 %u00a0cup cane sugar
    • 1 cup warm soy milk
    • 2 teaspoon or 1 packet yeast
    • 4 tablespoons melted vegan butter%u00a0
    • 1 teaspoon salt
  • For the Filling%u00a0
    • 3-4 good sized ripe peaches (about 3 cups chopped peaches)
    • 3/4 cup brown sugar
    • 1 tablespoon cinnamon
    • Juice of half a lemon
  • For the Glaze
    • 1 lemons
    • 1 1/2 cup powered sugar

In a large bowl mix together the yeast,%u00a0warm (not hot) soy milk,%u00a0sugar, and melted but cooled butter. Now add in %u00a0the salt and the flour. Mix until it’s too hard to mix then dump it all onto a lightly floured surface and knead for 7-10 minutes until the dough is %u00a0soft, elastic-y,%u00a0and smooth. Place dough back into a clean lightly greased bowl and drape with a damp towel. Let dough rise for about 1 to 1.5 hours or until it has doubled in size.

While the dough is rising, chop the peaches up until you have about 3 cups.%u00a0Place 2 1/2 cups of the %u00a0peaches into a medium sized pot with the brown sugar and lemon juice and stick on medium heat. Set the rest aside. Cook for about 20 minutes, stirring and mashing with a wooden spoon every few minutes,%u00a0until mixture has become thick and reduced by about 1/2. Remove from heat, stir in cinnamon,%u00a0%u00a0and place in fridge to cool.%u00a0

Once thee dough has doubled, dump onto a flour surface and roll our into a retacnge that is about 1/2 inch thick %u00a0Grab your peach mixture and spread the mixture evenly over the dough. Evenly distribute %u00a0the remaining chopped peaches over jam. %u00a0And then it’s the to roll.

Start from the long side and start to roll toward the other end, keeping it as tight as possible without squeezing out all the filling. %u00a0Once rolled, slice into 12 even sized buns.

Place on a lightly greased and parchment lined 9×13 inch baking sheet or pan and let rest and rest for another20 minutes or so. OR if you want to wait to bake them off,%u00a0cover them with plastic and set into the fridge for up to 24 hours. When you are ready to bake, remove from fridge and let the buns set on counter to come to room temperature before baking.%u00a0

Preheat oven to 350.

Place rolls into oven. Bake for 30-35 minutes or until all the buns have gotten a nice golden brown on top, and if you want to take the internal temp, that the temp has reached 190.%u00a0

Once the buns are done %u00a0baking, mix together the zest and juice of the lemon and powdered sugar. If the glaze seems to thick, add more juice or water, to think, add more sugar. Pour glaze all over warm (but not hot) buns.

And now all you need to do is serve up those buns right away, nice and warned.

Any left overs should be stored in the fridge for 3-4 days but should definitely be warmed up in the microwave for a minute or two before serving. They also freeze well too.%u00a0

THE LOVELY CRAZY

August 19, 2019 by maximios • Blog

I sometime struggle with certain veggies, not like in a eating way (I have no snuggle eating any veggie)%u00a0but in a making something with that certain veggie kind of way,%u00a0like I don’t make anything out of them, I just eat them raw as they are. (That was terribly long winded and does it even make sense?)%u00a0I don’t find this to be a problem most of the time, but sometime I think I need to be less lazy about eating and maybe prepare a dish for a meal rather then just eating raw beans out of the garden for lunch…..I mean, I am not going to stop doing that but I am going to start being a little more creative and planning meals with a little more substance. Adding nuts is more substance right?

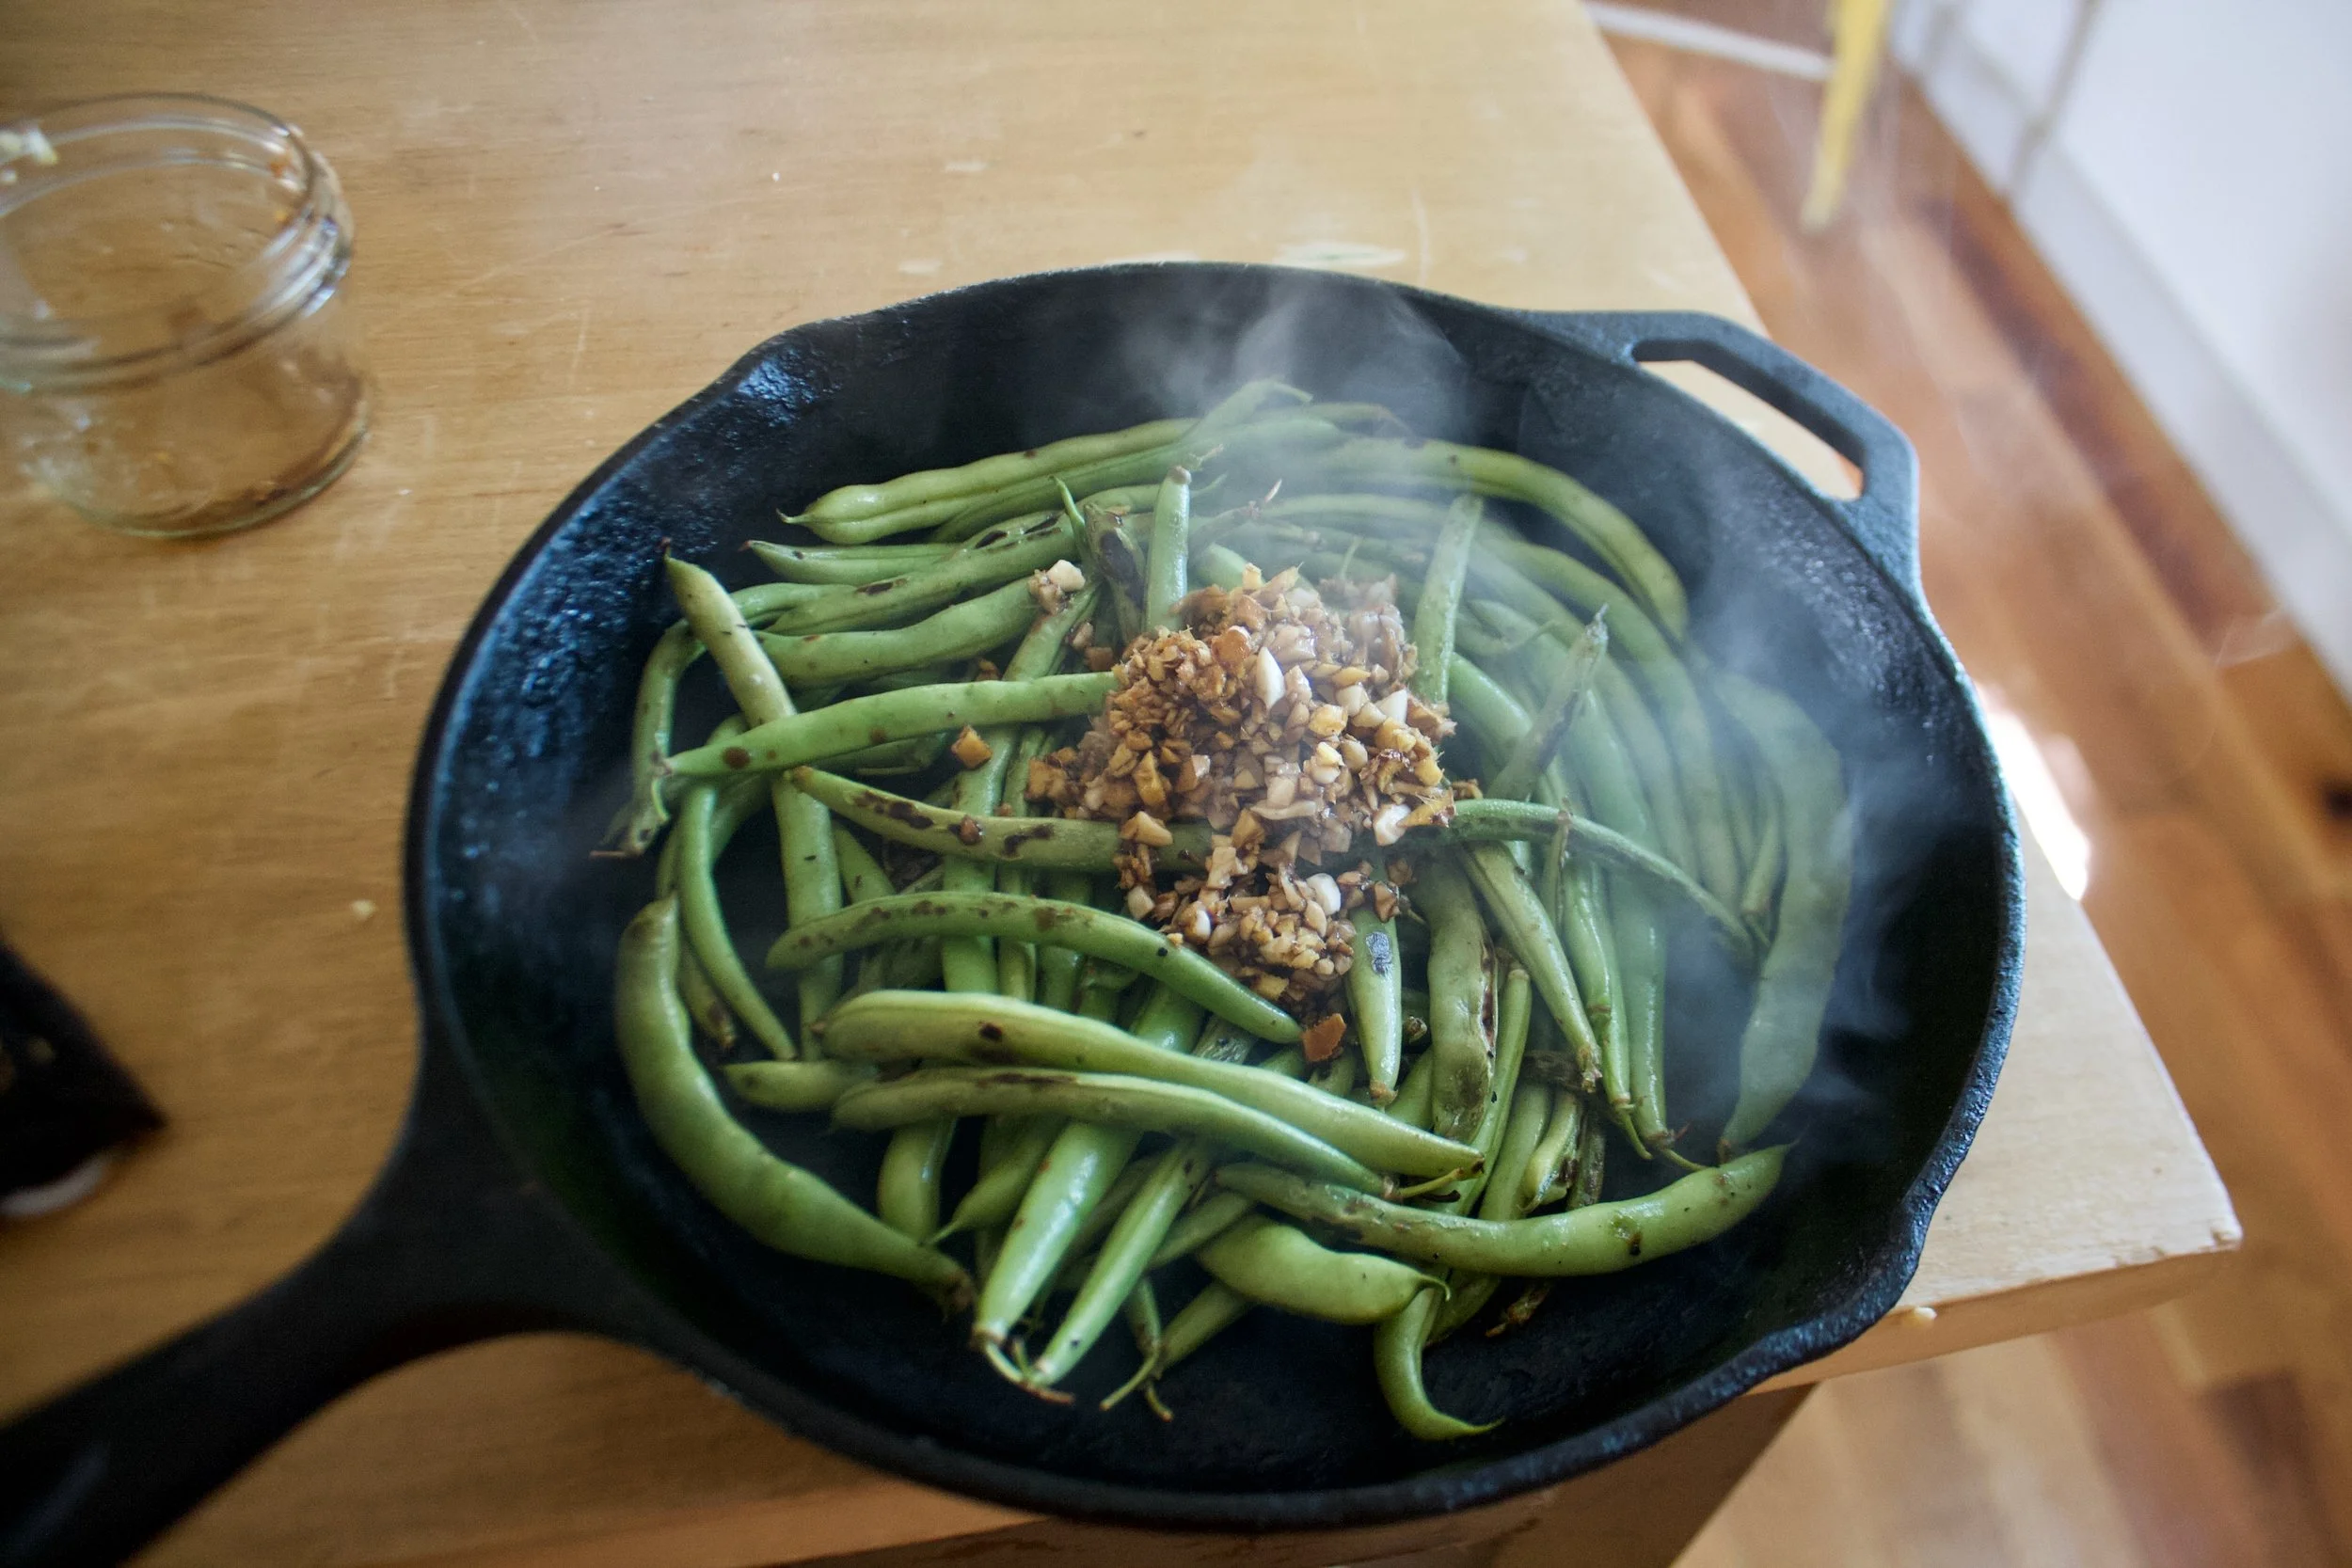
These beans were freaking fantastic. %u00a0Blistered and charred, and not soggy and soft. They were perfect.%u00a0(I like my veggies either raw or burnt)%u00a0I made them late morning and was going to save them for dinner but the mr, Barb, and I ate them all just on snacking on them. %u00a0Just a really good, A+%u00a0veggies situation here. Highly recommended, hot or cold. Almost beats a bean lunch in the garden. Almost.%u00a0

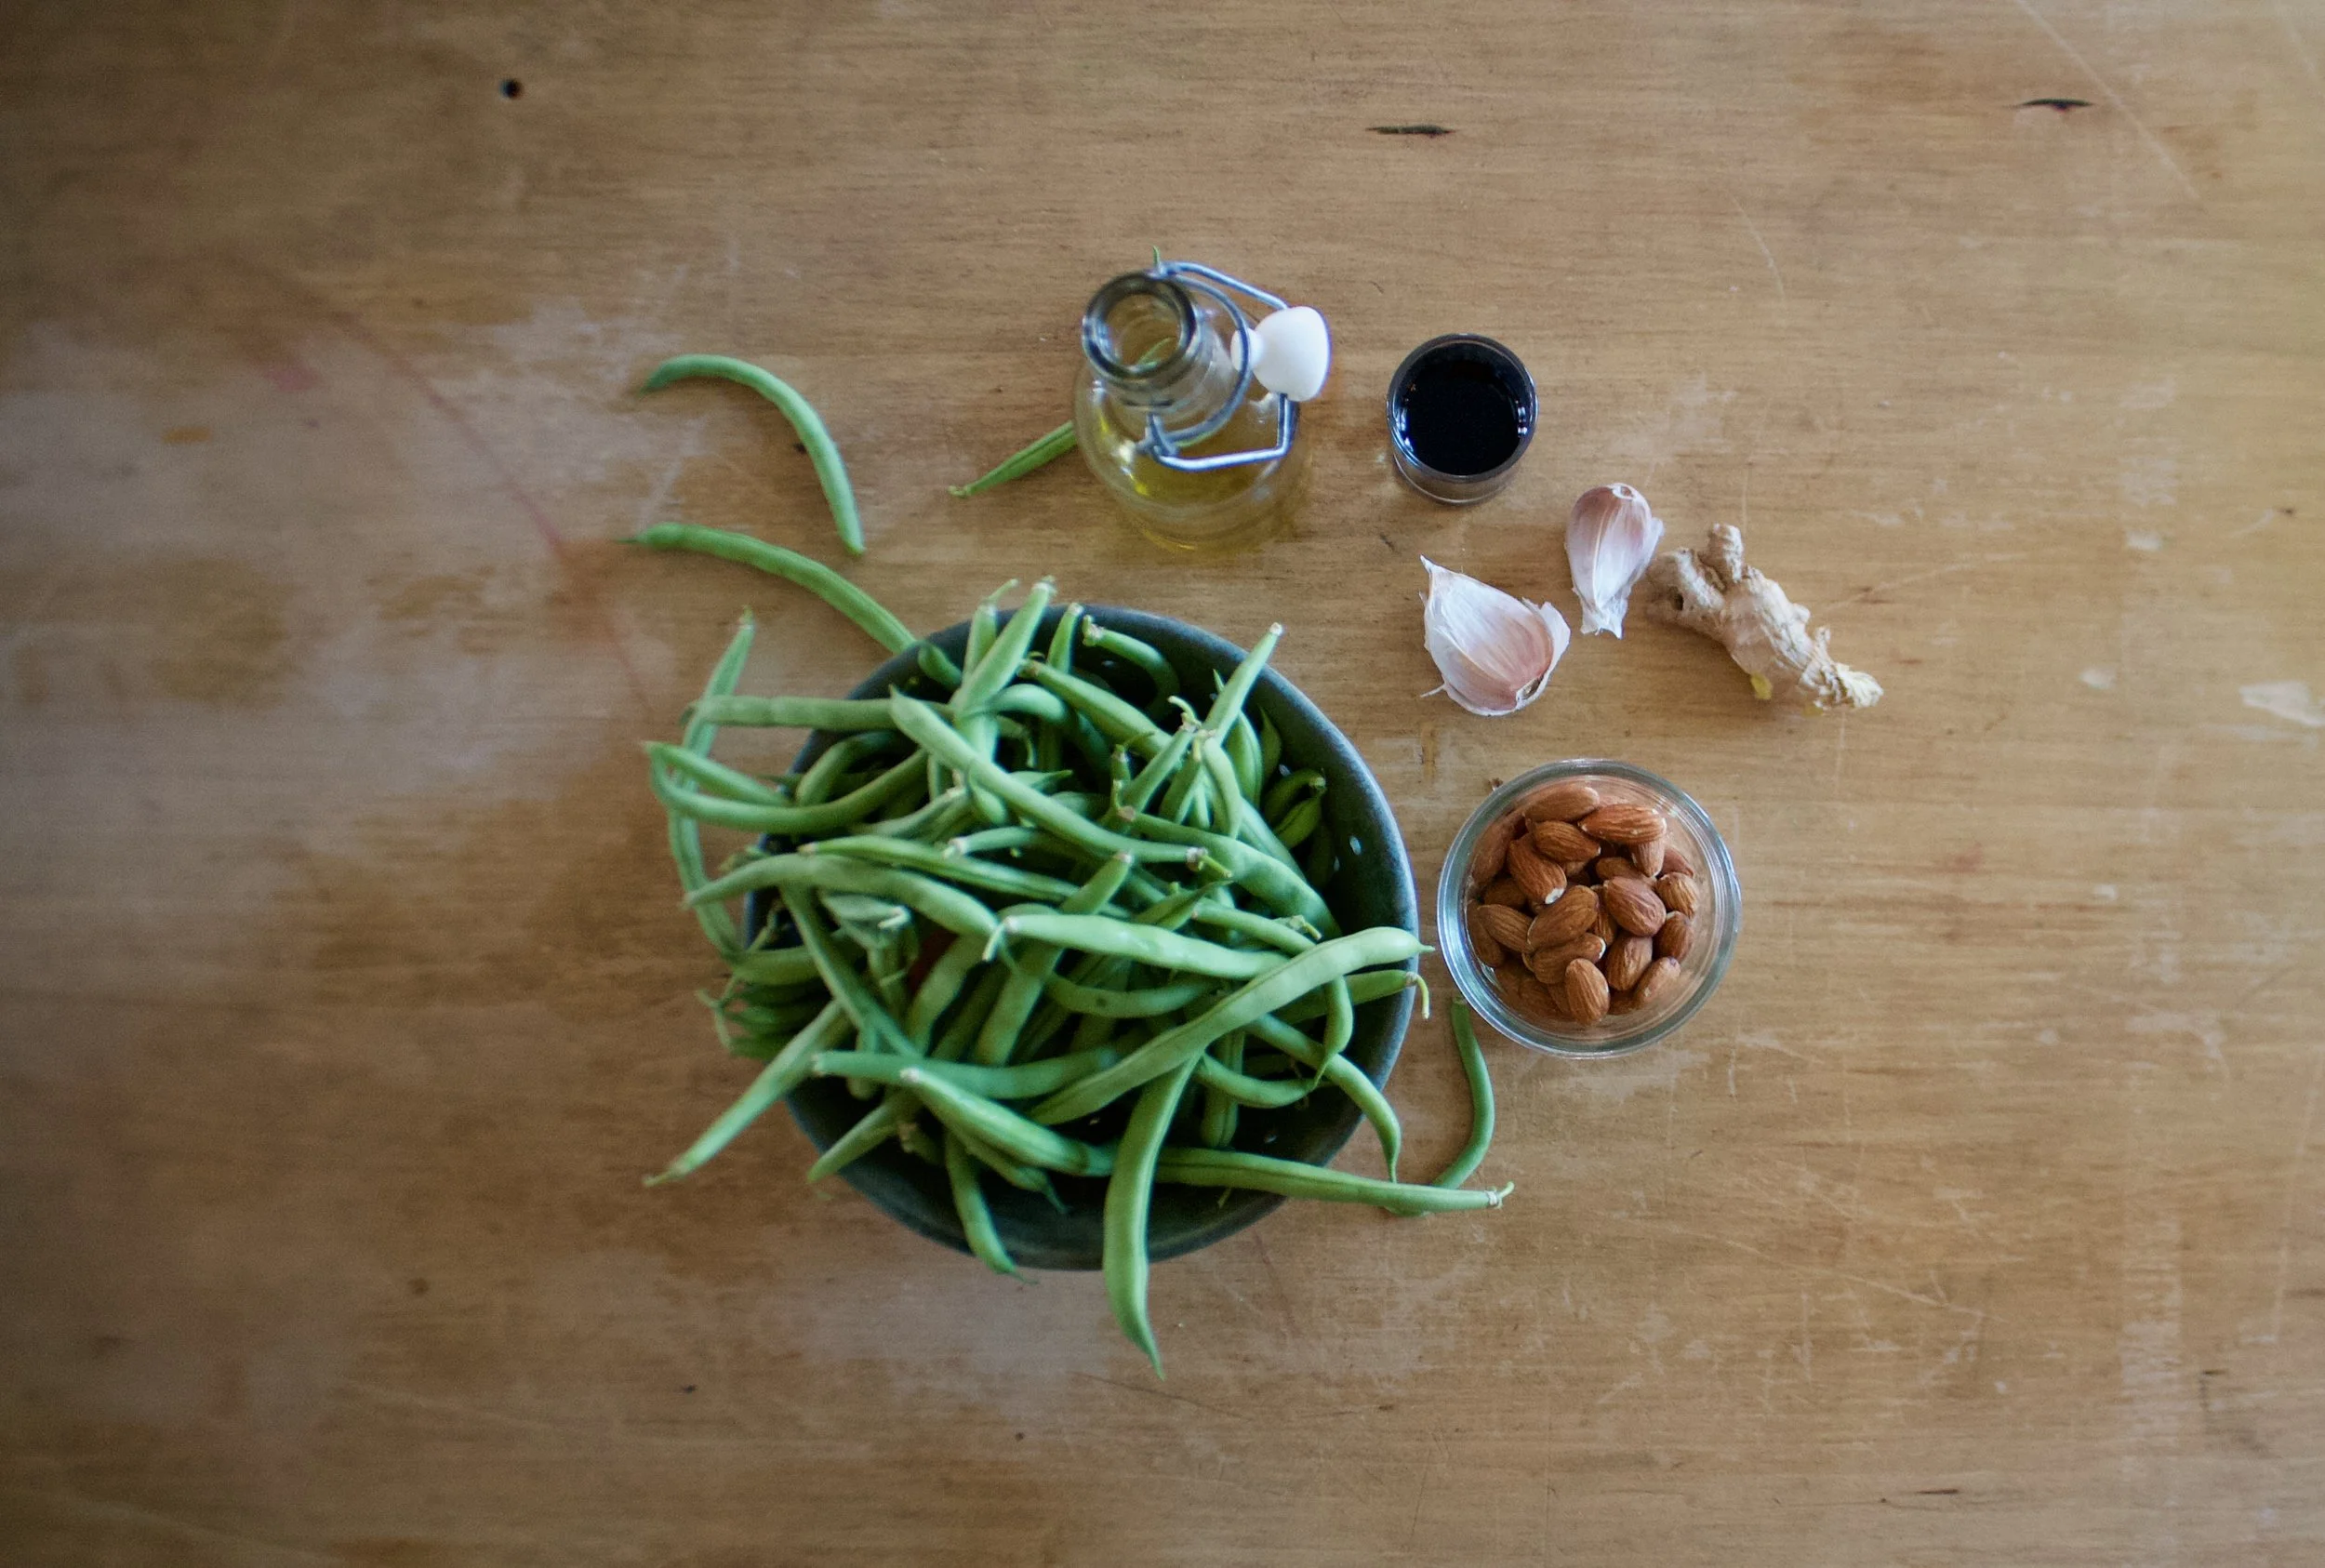
The stuff. Green beans, almonds, garlic, ginger, soy, and a little oil.%u00a0

Quick fast, rough chop the almonds and give them a toast in a dry skillet (you can skip this part if you have already toasted almonds)%u00a0

And here would be the time to trim the beans if you are a person that does that. I am however, not a bean trimmer. But you must wash them, so give them a good rinse , and keep them a little wet. The moisture will help them cook.%u00a0

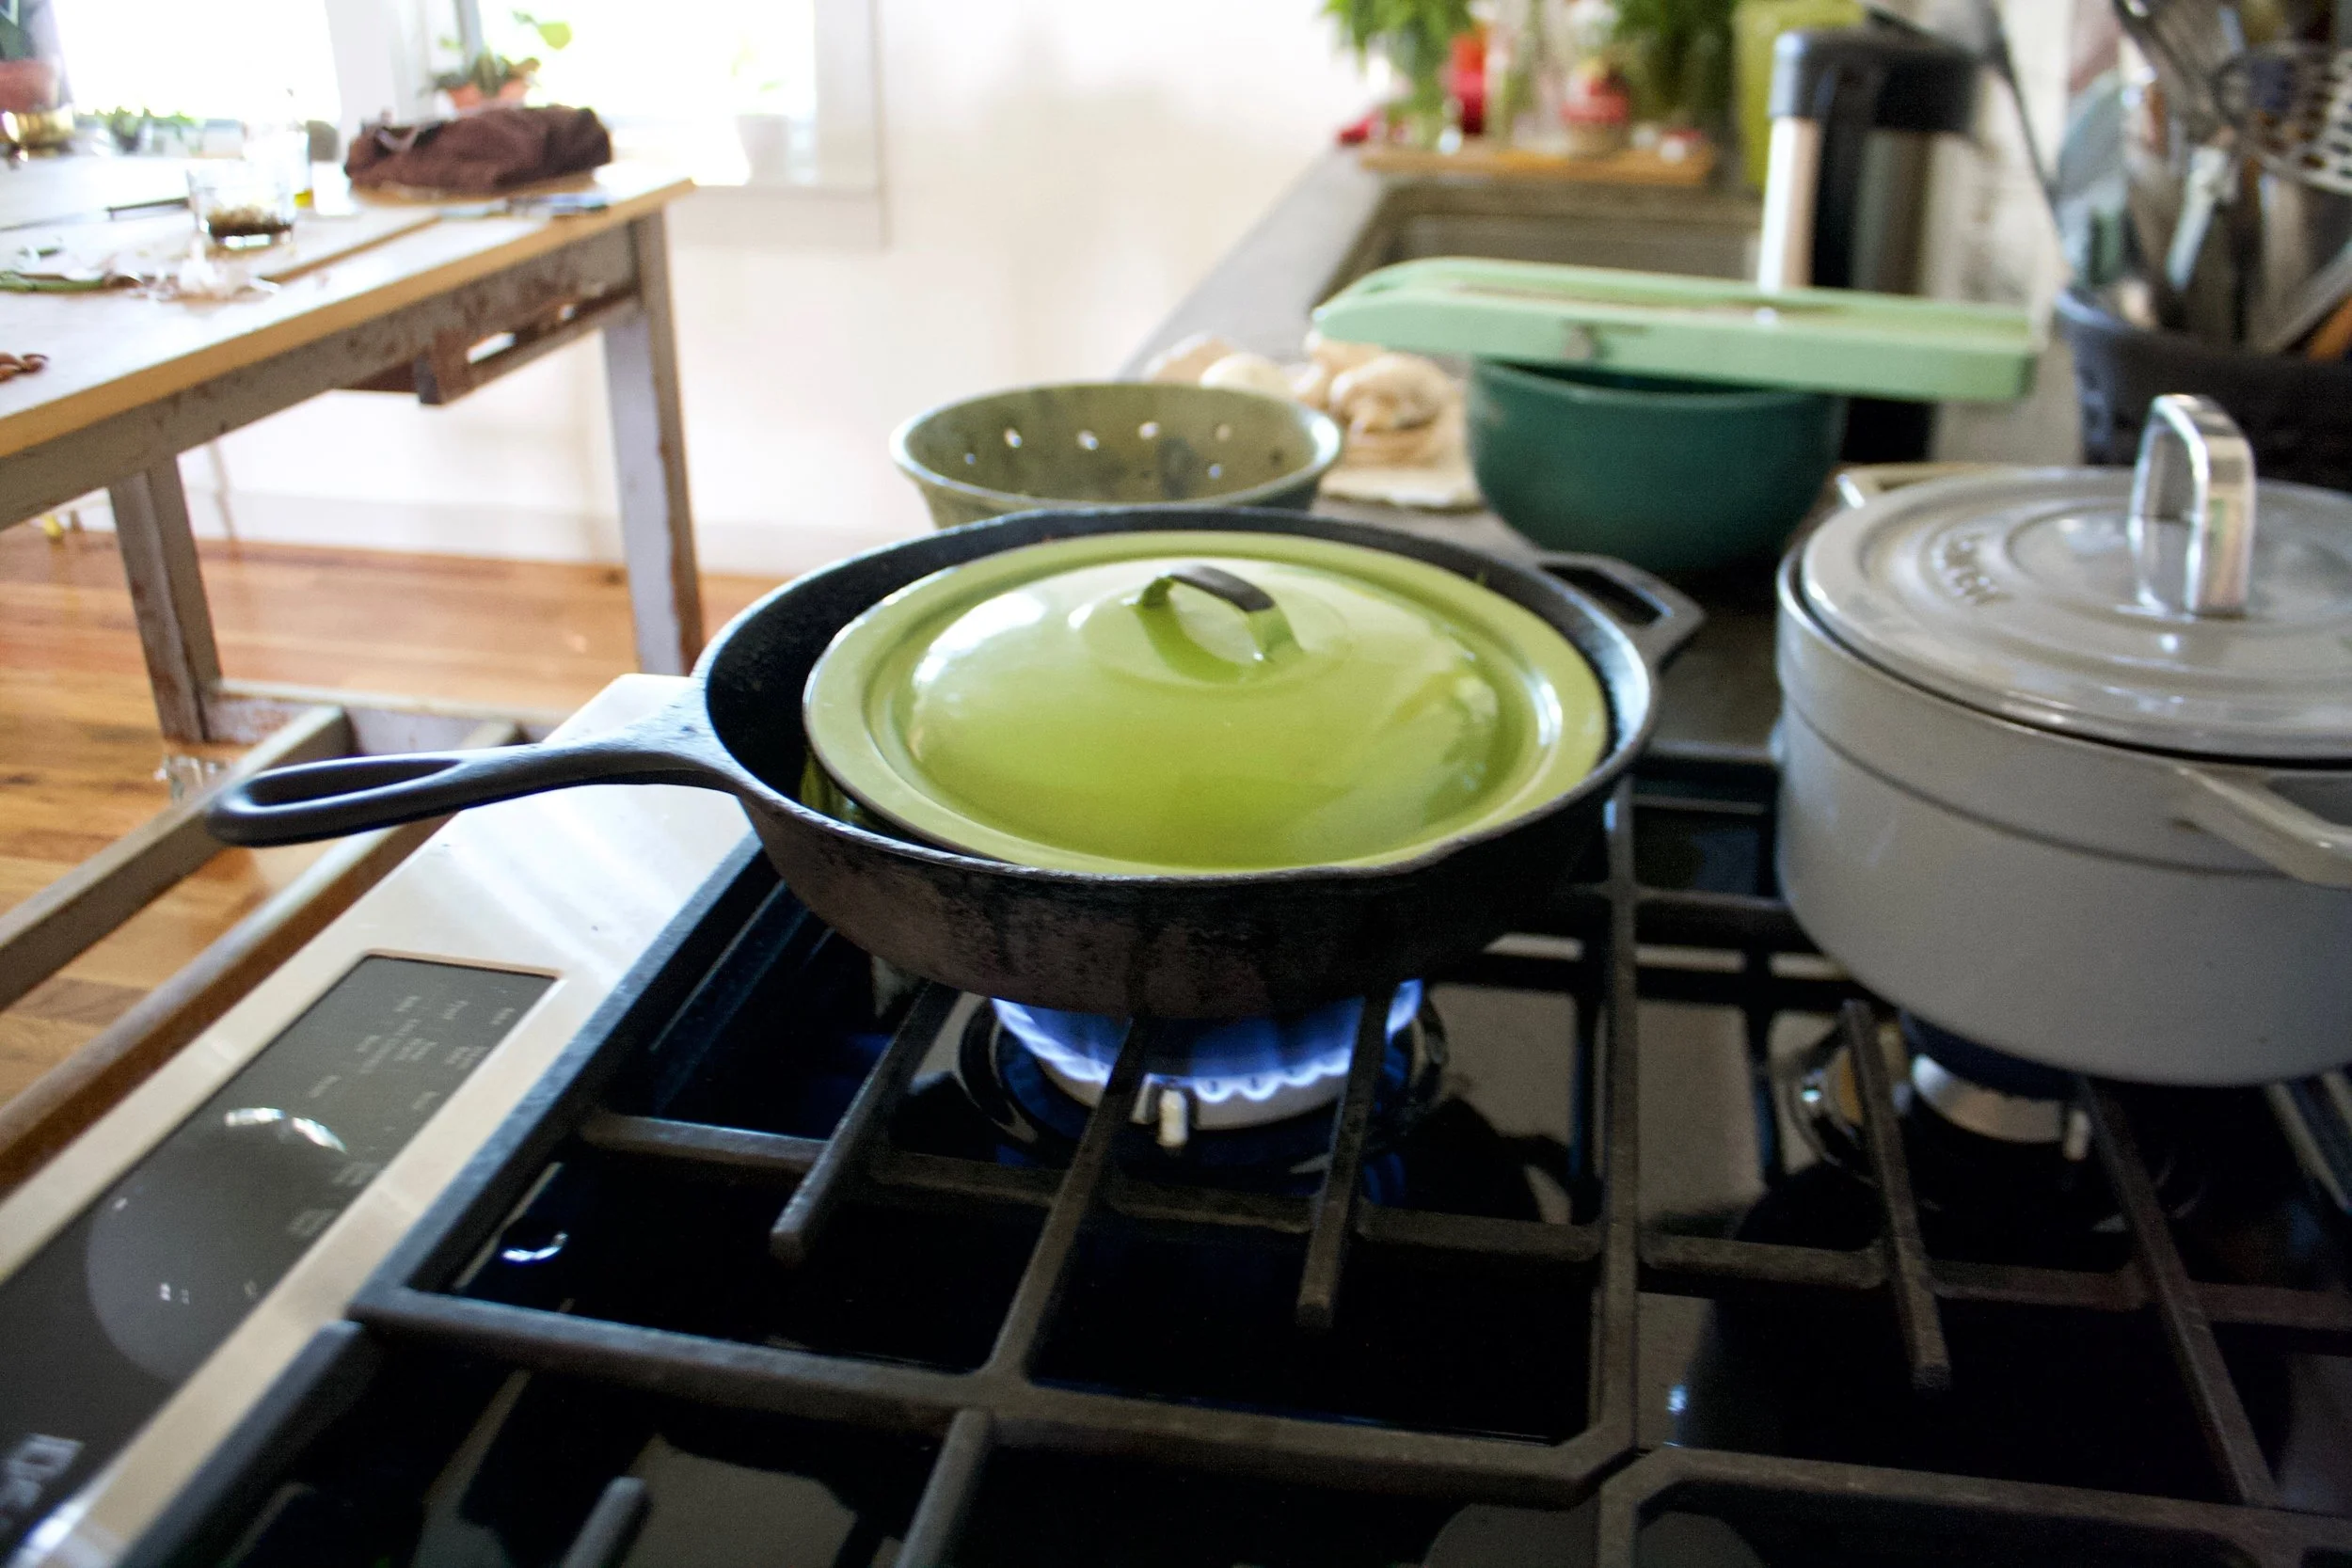
Just washed beans go into a medium high hot skillet (add in a tablespoon of oil) and get a nice little cover to start the cooking process. %u00a0Leave them alone for a few minutes, then remove lid and toss them around. Do that ever few minutes.%u00a0

While the beans start cooking, mince the garlic and the ginger and add to the soy sauce.

Smells so good!
Beans have cooked for about 10 minutes here and are all nice and blistered and just about done so now add in the ginger garlic soy mixture and toss around. Keep cooking for a minute or two.

And now don’t forget those almonds, mix those in too. Then it’s into a bowl they go.%u00a0

Green beans so good. Can’t go wrong with these.

Have a marvelous weekend, maybe go pick some green beans!
-C

  • About a pound of green beans (trimmed if you want to trim them)
  • 2-3 cloves garlic
  • 2 tablespoons freshly grated ginger%u00a0
  • 1/4 cup almonds
  • 3 teaspoons soy sauce
  • tablespoon oil

Rough chop almonds into small pieces and place in a dry skillet (meaning no oil). Turn heat on to medium high heat to toast for about 5 minutes or until you can start to smell the almonds and they are slightly browning. (you can skip the tasting %u00a0part if your almonds are already toasted, jus chop them into small pieces)

Dump the almonds into bowl and set aside. Keep skillet on heat and add in the oil. Rinse beans off, keeping them damp,%u00a0and very carefully, dump the damp beans into the hot skillet. Place a lid on beans and let cook about 4-5 minutes. In the meantime, mince garlic and ginger and combine with the soy sauce. After a few minutes, remove the lid from beans and toss the bean around. Keep doing this for another 8-10 minutes or until the beans are cooked though and blistered in places. Once the beans are cooked,%u00a0%u00a0dump the garlic ginger soy mixture into pan. Toss around and leave in pan for another minutes then stir the toasted almonds in. Transfer the whole bit of it into a big bowl or plate.%u00a0

Eat right away or.. They taste freaking fanatic cold too.%u00a0

THE LOVELY CRAZY

August 19, 2019 by maximios • Blog

I have very strong feelings for heart shaped baked goods. I think that everything, all year round, should be heart shaped. How lovely would that be? It would be ever so lovely, or I would think so anyway. And yes, ok, I was thinking about Valentines Day when I made these cupcakes but don%u2019t let that be the only reason you make a cupcake, cake, or any other baked good into the shape of a heart or pink for that matter.. Hearts are just so sweet and cute and dare I say cuddly? (Can you cuddle baked goods? Let me know if you have and do. We should talk about that). And pink is just a fantastic color, especially when it is the color of the flavor. Purple-y pink equals a taste like berry so all just makes sense.

Anyways. Cupcakes. Made with nutty almond meal to taste all nutty, frosted with blackberry and clementine frosting which is a pairing that all party and non party people will love. A down right deeelightful combination that will, no matter your circumstance in life, make you smile. Because lets get this clear, these cupcakes might look all lovey dovey and Valentines Day-e and are very much a perfect Valentines Day treat, but also can be an everyday, run of the milll, straight up any day, all day cupcakes. Valentines Day does not own the heart or pink.

These cupcakes are for you to love and you don%u2019t need to worry if they love you back. That would be weird.

Slightly off topic thought. How awesome would it be if someone made a cute little teddy bear that when you squeezed it it would scream %u201cWHAT THE HELL! GET OFF ME!%u201d Hahahaha. That would be amazing.

To the cupcakes!

The stuff. Flour, almond meal, baking soda, baking powder, salt, sugar, soy milk, oil, vanilla extract, and apple cider vinegar. Also some blackberry jam, powdered sugar, some vegan butter, and a clementine.

In a big bowl, whisk together the granulated sugar, flour, almond meal, salt, baking powder, and baking soda.

Add in the oil, vanilla, milk, and apple cider vinegar. Mix until fully incorporated.

And that is some mixed batter.

Scoop the batter into well greased muffin tins. I used to different shapes and sizes because I wanted too. You can do the same, just be aware different sizes will cook at different times.

And into the hot oven they go.

Baked, popped out of the tins, and cooling to cool.

Frosting time. Butter, clementine zest, and jam mixed together makes for the prettiest color.

Add in the powdered sugar and juice of the clementine and beat with a beater.

Pretty pink frosting. All natural.

And now that the cupcakes are cooled (you must wait until they are completely cooled) get them frosted.

And of course, adding sprinkles will only make them that much better.

And now you got the cupcakes which makes it cupcake time.

Look at that smile. Thats a smile just for cupcakes, not at all because I told him too.

Happy happy.

-C

Makes 12-16 cupcakes (depending on size)

  • 1 1/2 cups all purpose flour

  • 1/2 cup almond meal

  • 1/3 cup neutral oil

  • 1 1/4 cup almond milk

  • 3/4 cup white sugar

  • 1 teaspoon baking soda

  • 1 teaspoon baking powder

  • 1 tablespoon apple cider vinegar

  • 1/2 teaspoon salt

  • 1 teaspoon vanilla or almond extract

  • For the frosting

  • 3 tablespoons blackberry jam or preserves with or without seeds

  • 2- 2 1/2 cups powdered sugar

  • 4 tablespoon vegan butter

  • 1 clementine (zest and some juice)

Preheat oven to 350.

In a large bowl whisk together the flours, salt, baking soda and powder and sugar until fully combines. In a separate bowl mix together the oil, milk, vinegar, and vanilla. Pour into the dry and mix, by hand, until full incorporated. Scoop batter into well greased muffin tins (heart or other shape up to you) and place into oven for 13-18 minutes (shorter time for smaller cupcakes, longer for larger sized) or until lightly browned and a tester stuck into a cake comes out clean. Pull from oven when done and pop from tin. Place on a wire rack to cool.

While cakes are cooling, make frosting. Beat together the butter, zest of the clementine, and jam. Add in the sugar and the juice and beat until fully incorporated. If the consistency is to thin, add a little more sugar, to thick, more clementine juice or if out of juice, a splash of milk.

Once cupcakes are full cooled, frost, add sprinkle if you would like, and then the only thing left to do is eat them.

Eat cupcakes, store left overs in an air tight container in the fridge for up to a week.

Sunday Happy — The Lovely Crazy

August 19, 2019 by maximios • Blog

I think we did it, we made it through the winter. That little bit of snow the other night, well that was it. Until next winter!!!!! Now lets all just do all the spring things and enjoy the niceness of moderate temperatures and the sight of green things growing. We are in it and it is wonderous.

The past week flew by so fast. A lot of being everywhere at once and alll over. Now that spring has sprung there has been much to do. Besides working and the usual (the little apartment projects are just piling up) we have looked at not 1, but 3 different cars. The one van on Sunday was a bust (the guy was crazy and the car was dead. Craigslist. A definite miss there), and two others. Those were not good either (but not nearly as bad) so the hunt continues, as does the back and forth car sharing situation. We are definitely getting to our limit with sharing one small car but I have faith we will find something soon. Our poor car. It’s getting trashed.

In between the work and life stuff we got to spend the most magical raining morning harvested wood from an apple orchard for future spoon projects. That might have been the highlight of the week, especially because I have now realized that I am suppose to live and work on apple orchard. I think it is my calling so I got to get on that. Other fun things included an evening of egg dying with Qui, Adrianna, and the littles which was fun and gross and I actually hate the whole real eggs and dying them thing, but the mr was all about it so….We also got to spend (babysit) an afternoon with So where she basically spent the entire time to beating on the mr and feeding us unicorn jellybean soup. Good times with that one.

And then there were taxes. I spent ever single free minute attempting to finish the stupid taxes and learn all about tax laws and try to be component. It got to the point where I was almost in tears… then I gave up. As of Friday morning, I now have until October to get those stupid things done. And I think we are just going to find a new accountant because really, I don’t want to spend all my time learning tax law. Not my thing. I mean, when it takes me twenty minutes to figure out that the form won’t summit because I am entering the wrong date (2018, not 2019), well, I should just leave it to a professional.

Saturday was the gem. Woke up to temperatures in the mid 50’s, went for a nice walk, spent the morning throwing pots, and did some light cleaning. For the afternoon we met up with all the sisters, the littles, Mom and had lunch. The boys went away (they hung out at the park being dangerous) while us ladies went to the theater…..Mamma Mia. Us girls bought the tickets for Mom’s birthday present a few weeks ago. Not exactly my thing, but I was game.. And it was better then I was expecting, although I was’t sure what I was expecting. I don’t think I would have gone if not for many other circumstances, but it was fun and my mom had a great time. My biggest complaint was it was really loud and there were a ton of people. Oh, and that I have a Dancing Queen ear worm. But other then that, not bad.. After the show, the mr picked me up, we rushed to get some more things done before going home to finish cleaning. That might not sound fantastic but it was still light out, the world was still warm, the doors and windows were open and it just felt so good. Oh yes. Spring is finally here!

Today is going to be good. I plan on spending most of it out in the yard doing yard work. I am going to lather on the sunscreen, grab the tunes, the rake, hoe, and the shovel and get to it. Then hopefully I’l be able to throw some seeds into the ground which I am already getting concerned about. The squirrels have come out full force and are looking hungry!.

Let the garden battles begin!

Some stuff I read on the internet from the week.

Again, I filed an extension. Why do they have to be so freaking hard? Another thing they have right in the Netherlands. Filing Your Taxes Is an Expensive Time Sink. That’s Not an Accident.

-So my kind of home. This 650-Square-Foot Family Home in Ohio Is Off-Grid ‘Country Minimalism’

–Day hikers are the most vulnerable in survival situations. Here’s why. We have lost the trail before and it was actually kind of scary. Luckly we were on a small mountain and we knew there was a road at the bottom. We just kept going down until we hit the road. Ever since I stay very away of the trail.

-Genius. Pure genius And they are Vermont students too!. SheFly: Answer Nature’s Call

–How to Get Out of Your Own Head. I spend a lot of time in my head but that is where I feel the least crazy.. Or is that crazy. People make me crazy. They can’t get me in my head.

-I exclusively clean with vinegar. Even my hardwood floors. Vinegar Is the Only Floor Cleaner You Need (Even for Carpet!)

–Oprah Bought an Avocado Orchard Because Grocery Store Avocados Were Too Expensive. The lady has got her priorities straight. For real, I would buy an avocado orchard too if I was Oprah rich too.

–Are Plastic Bag Bans Garbage? We (humans) just need to stop making more and reuse all the junk we already have. Reusable bags made out of all the old clothing and shit has no purpose anymore.

–“Do Skunks Like Their Own Smell?” And Other Stumpers! I always thought that skunks deals with their stink kind of like a person deals with their own farts… They just deal. HA

And pictures from the week.

Spicy Tahini Carrot Salad — The Lovely Crazy

August 18, 2019 by maximios • Blog

I walk into the house,%u00a0 have about 45 minutes to wash up my paint covered body, make dinner, eat dinner, clean up, and get back out the door. That has been the way of things around here lately. Lots to do, very little time. I miss hanging out in my kitchen all day, making bread and cakes and dishes that take some time. But soon, so soon I will have a nice new big kitchen to hang in and make all the crap I want!. Until then, what I have been cooking (o not cooking) has been things that I can whip up fast and with what I always have in my house. (there is always carrots and always tahini, and always hot sauce)

This is my new go to for the really busy night. Crispy, crunchy carrots covered inspicy nuttiness of sriracha and tahini. For sure some pretty freaky tasty stuff.%u00a0 Easy as hell to make,%u00a0 keeps nicely (if you make a big batch and save some for later) and takes all of 2-4 minutes toss together Can be eaten as a side dish (goes really well with lentils and rice) or as a big salad all to your face.

What more can you ask for?

The stuff. A few (like 4 or five) big carrots, a hunk of cabbage, anda few scallions. Also need tahini, Braggs amnios or soy sauce red wine vinegar, sriracha, a couple cloves or garlic, and pepper. Not shown but I used sesame seeds (if you don’t have them, no biggy)

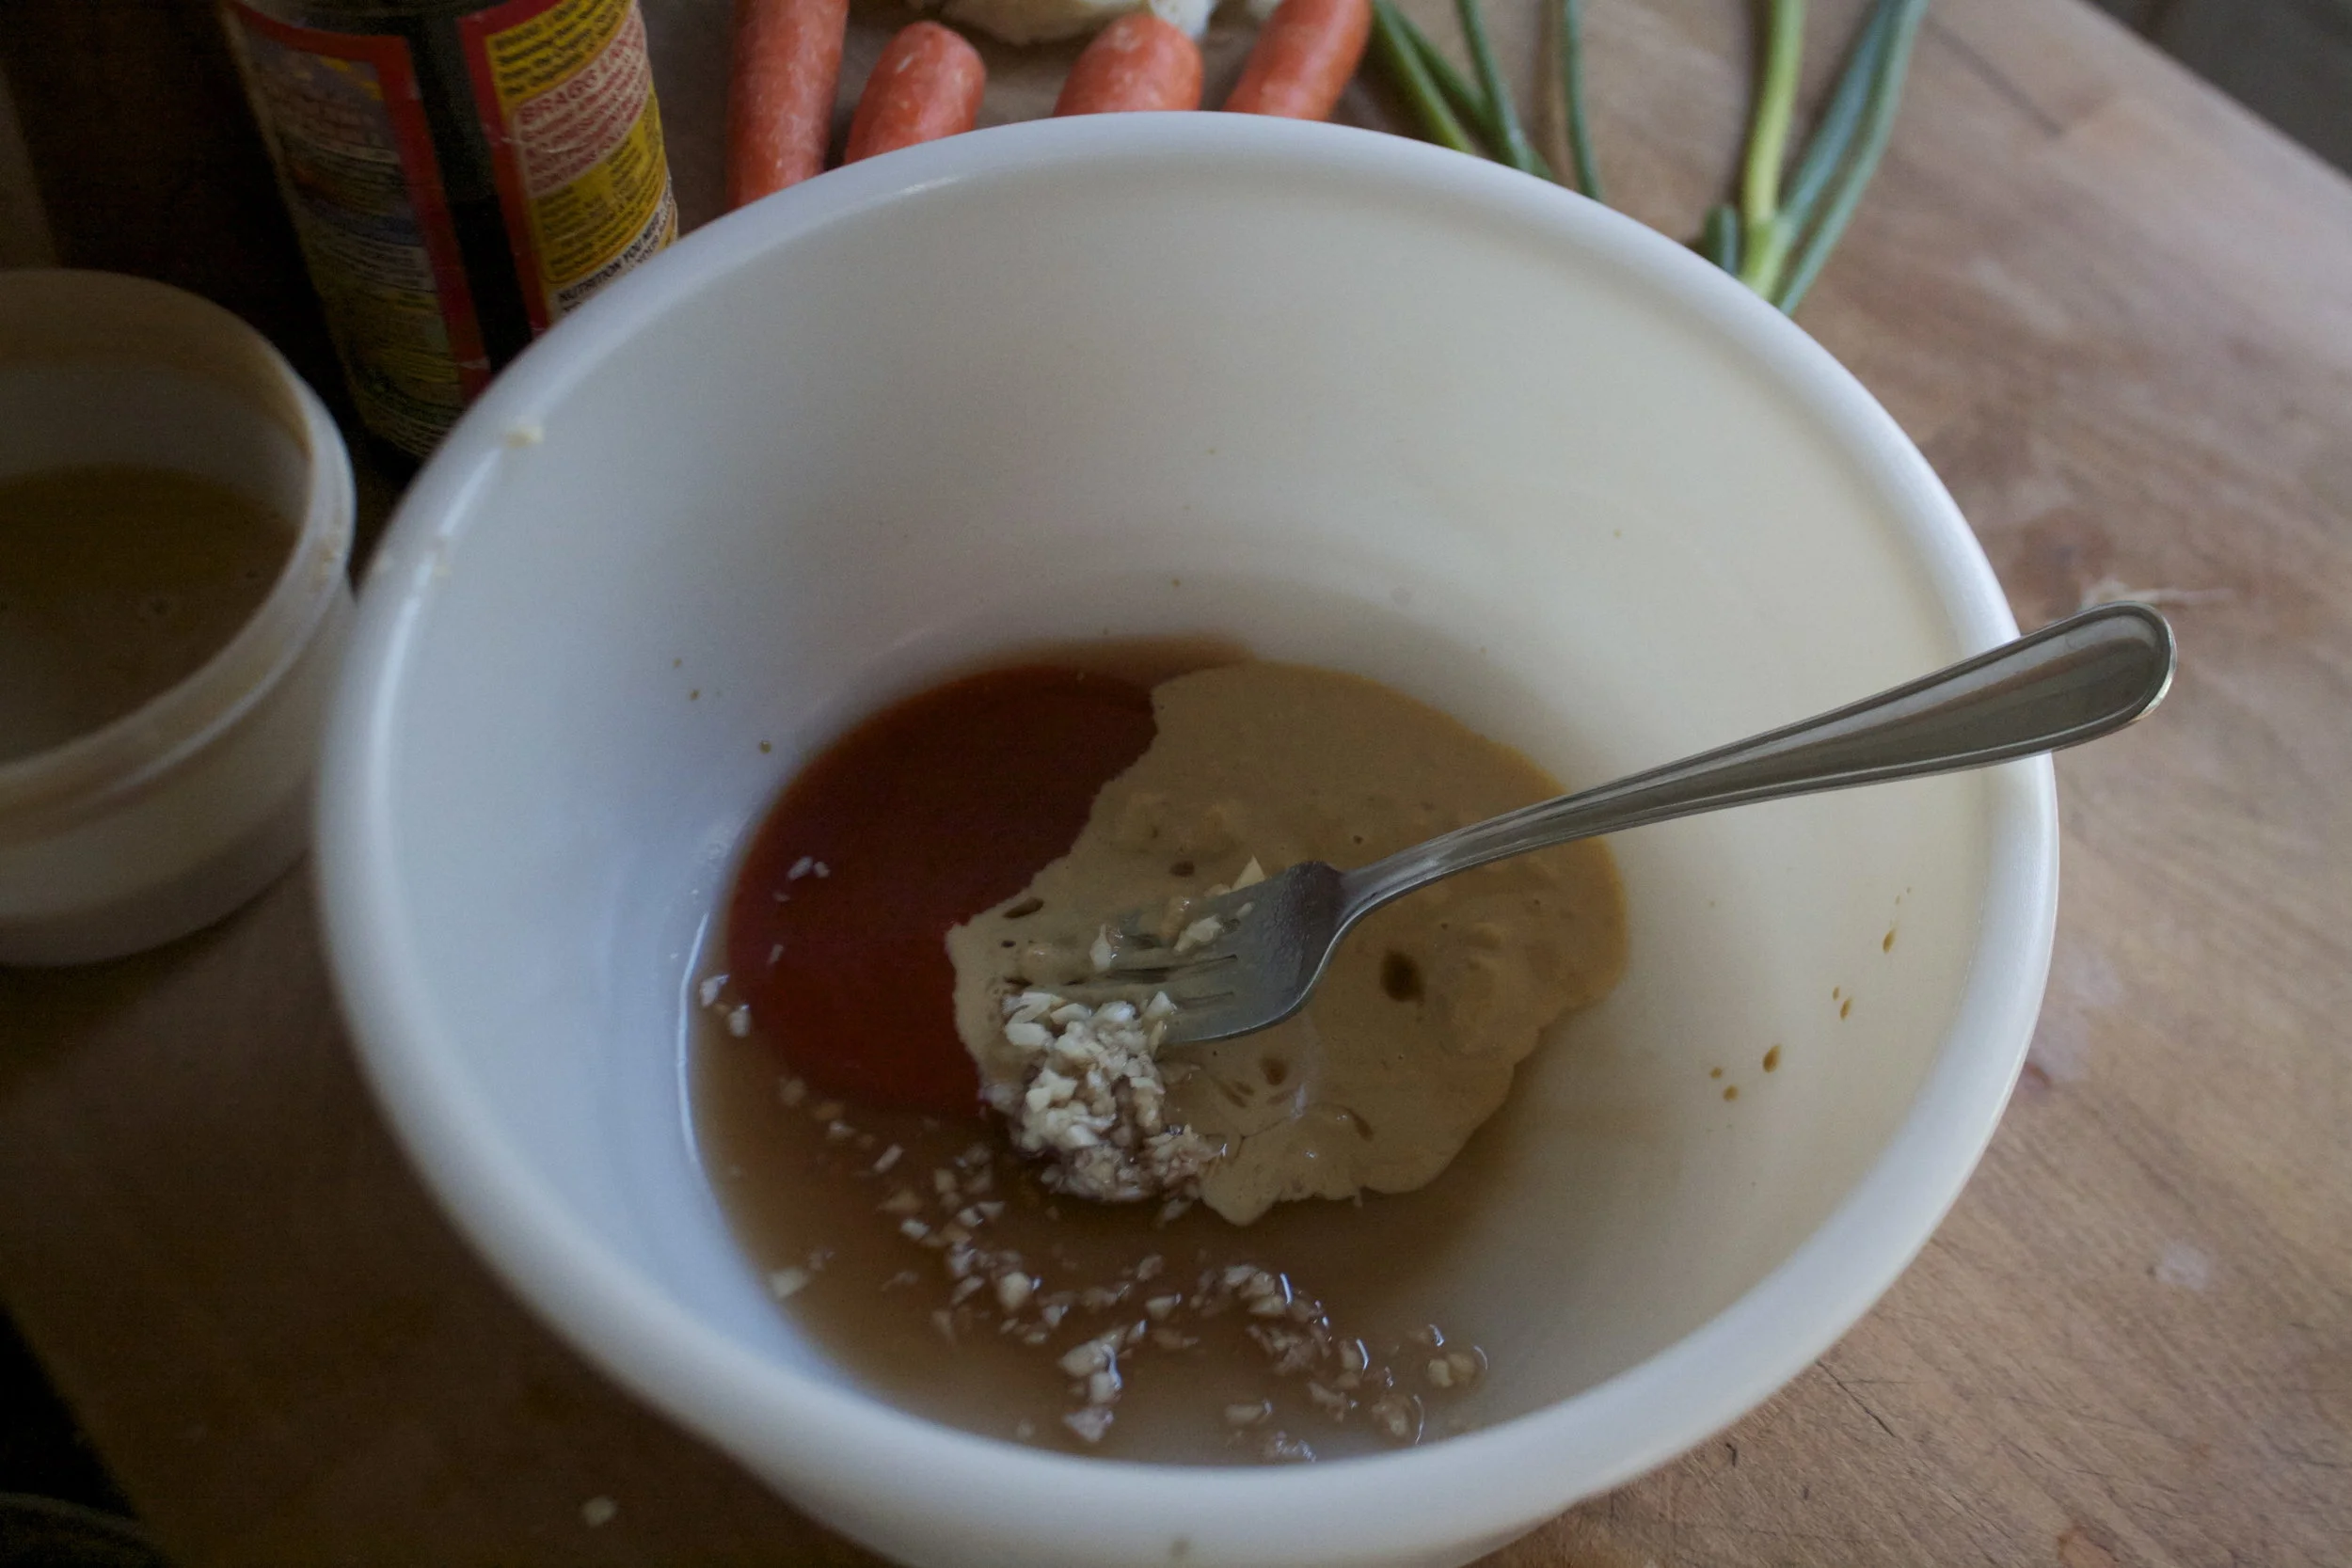
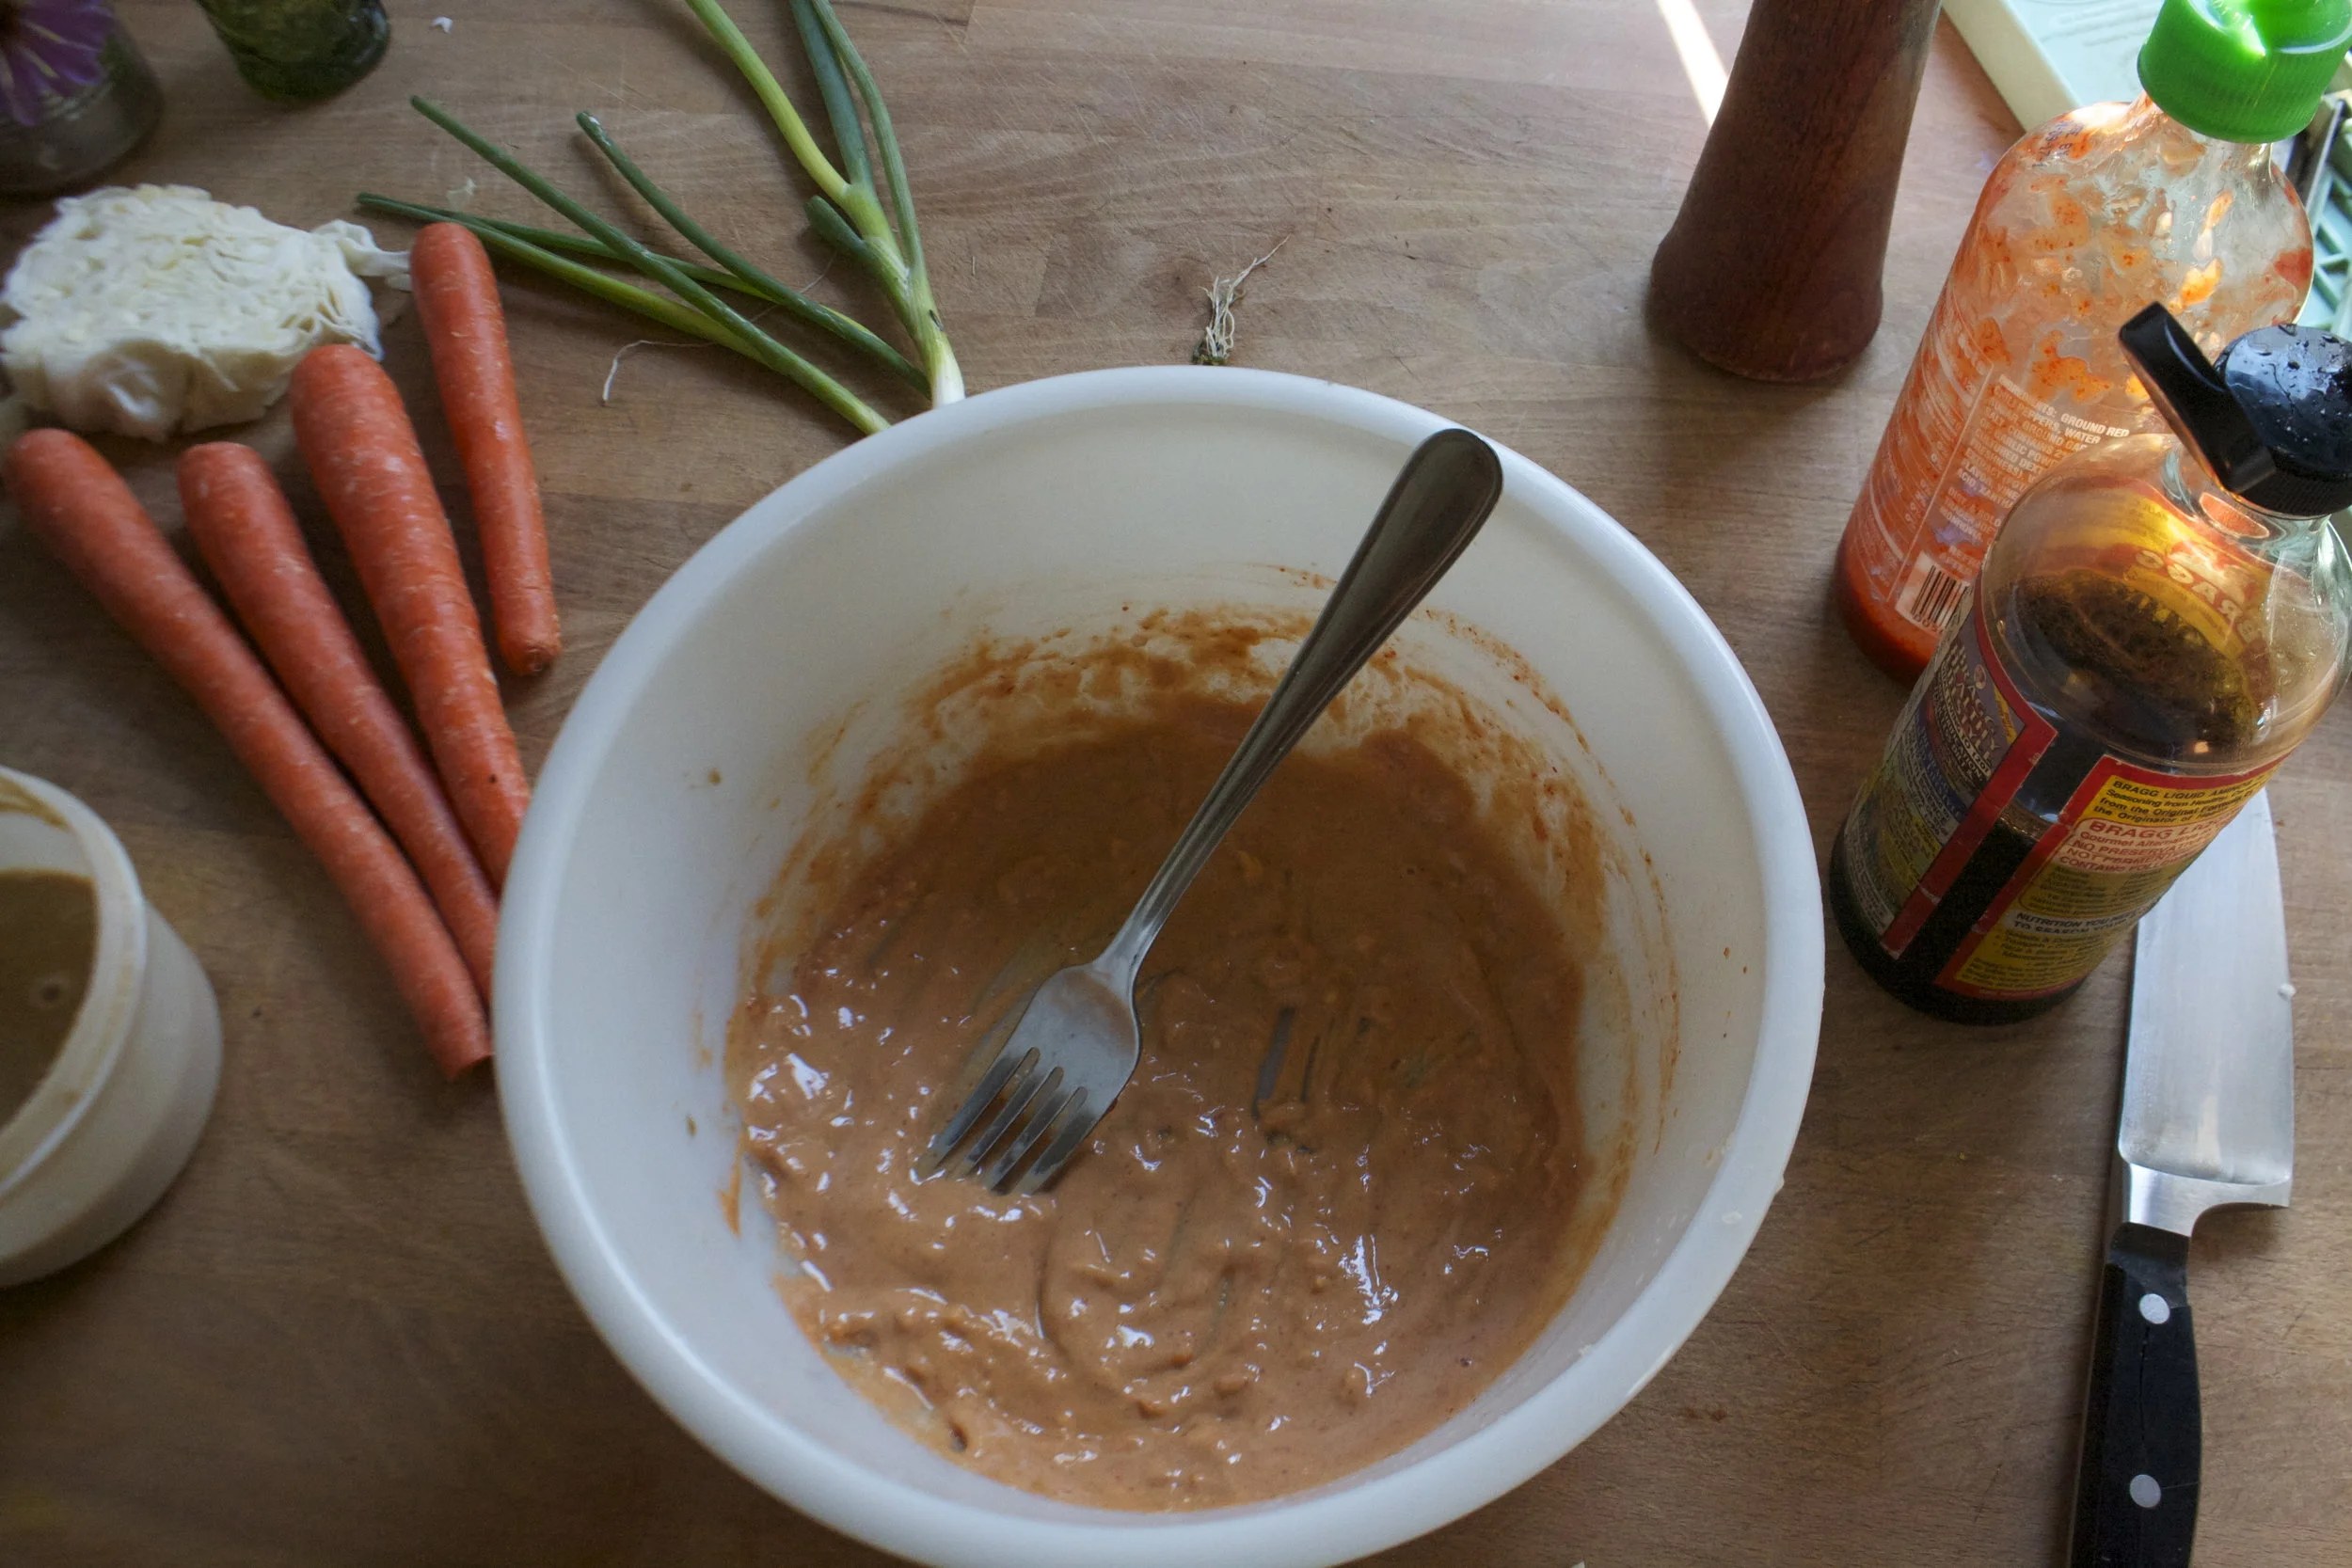
Mince garlic super fine and toss into a big bowl with tahini, sriracha, vinegar, and liquid aminos or soy. Mix it all up.

Half where there. Now is a good time to taste the sauce. You might find that you want a little more vinegar or more sriracha. Add more of whatever to please your mouth.

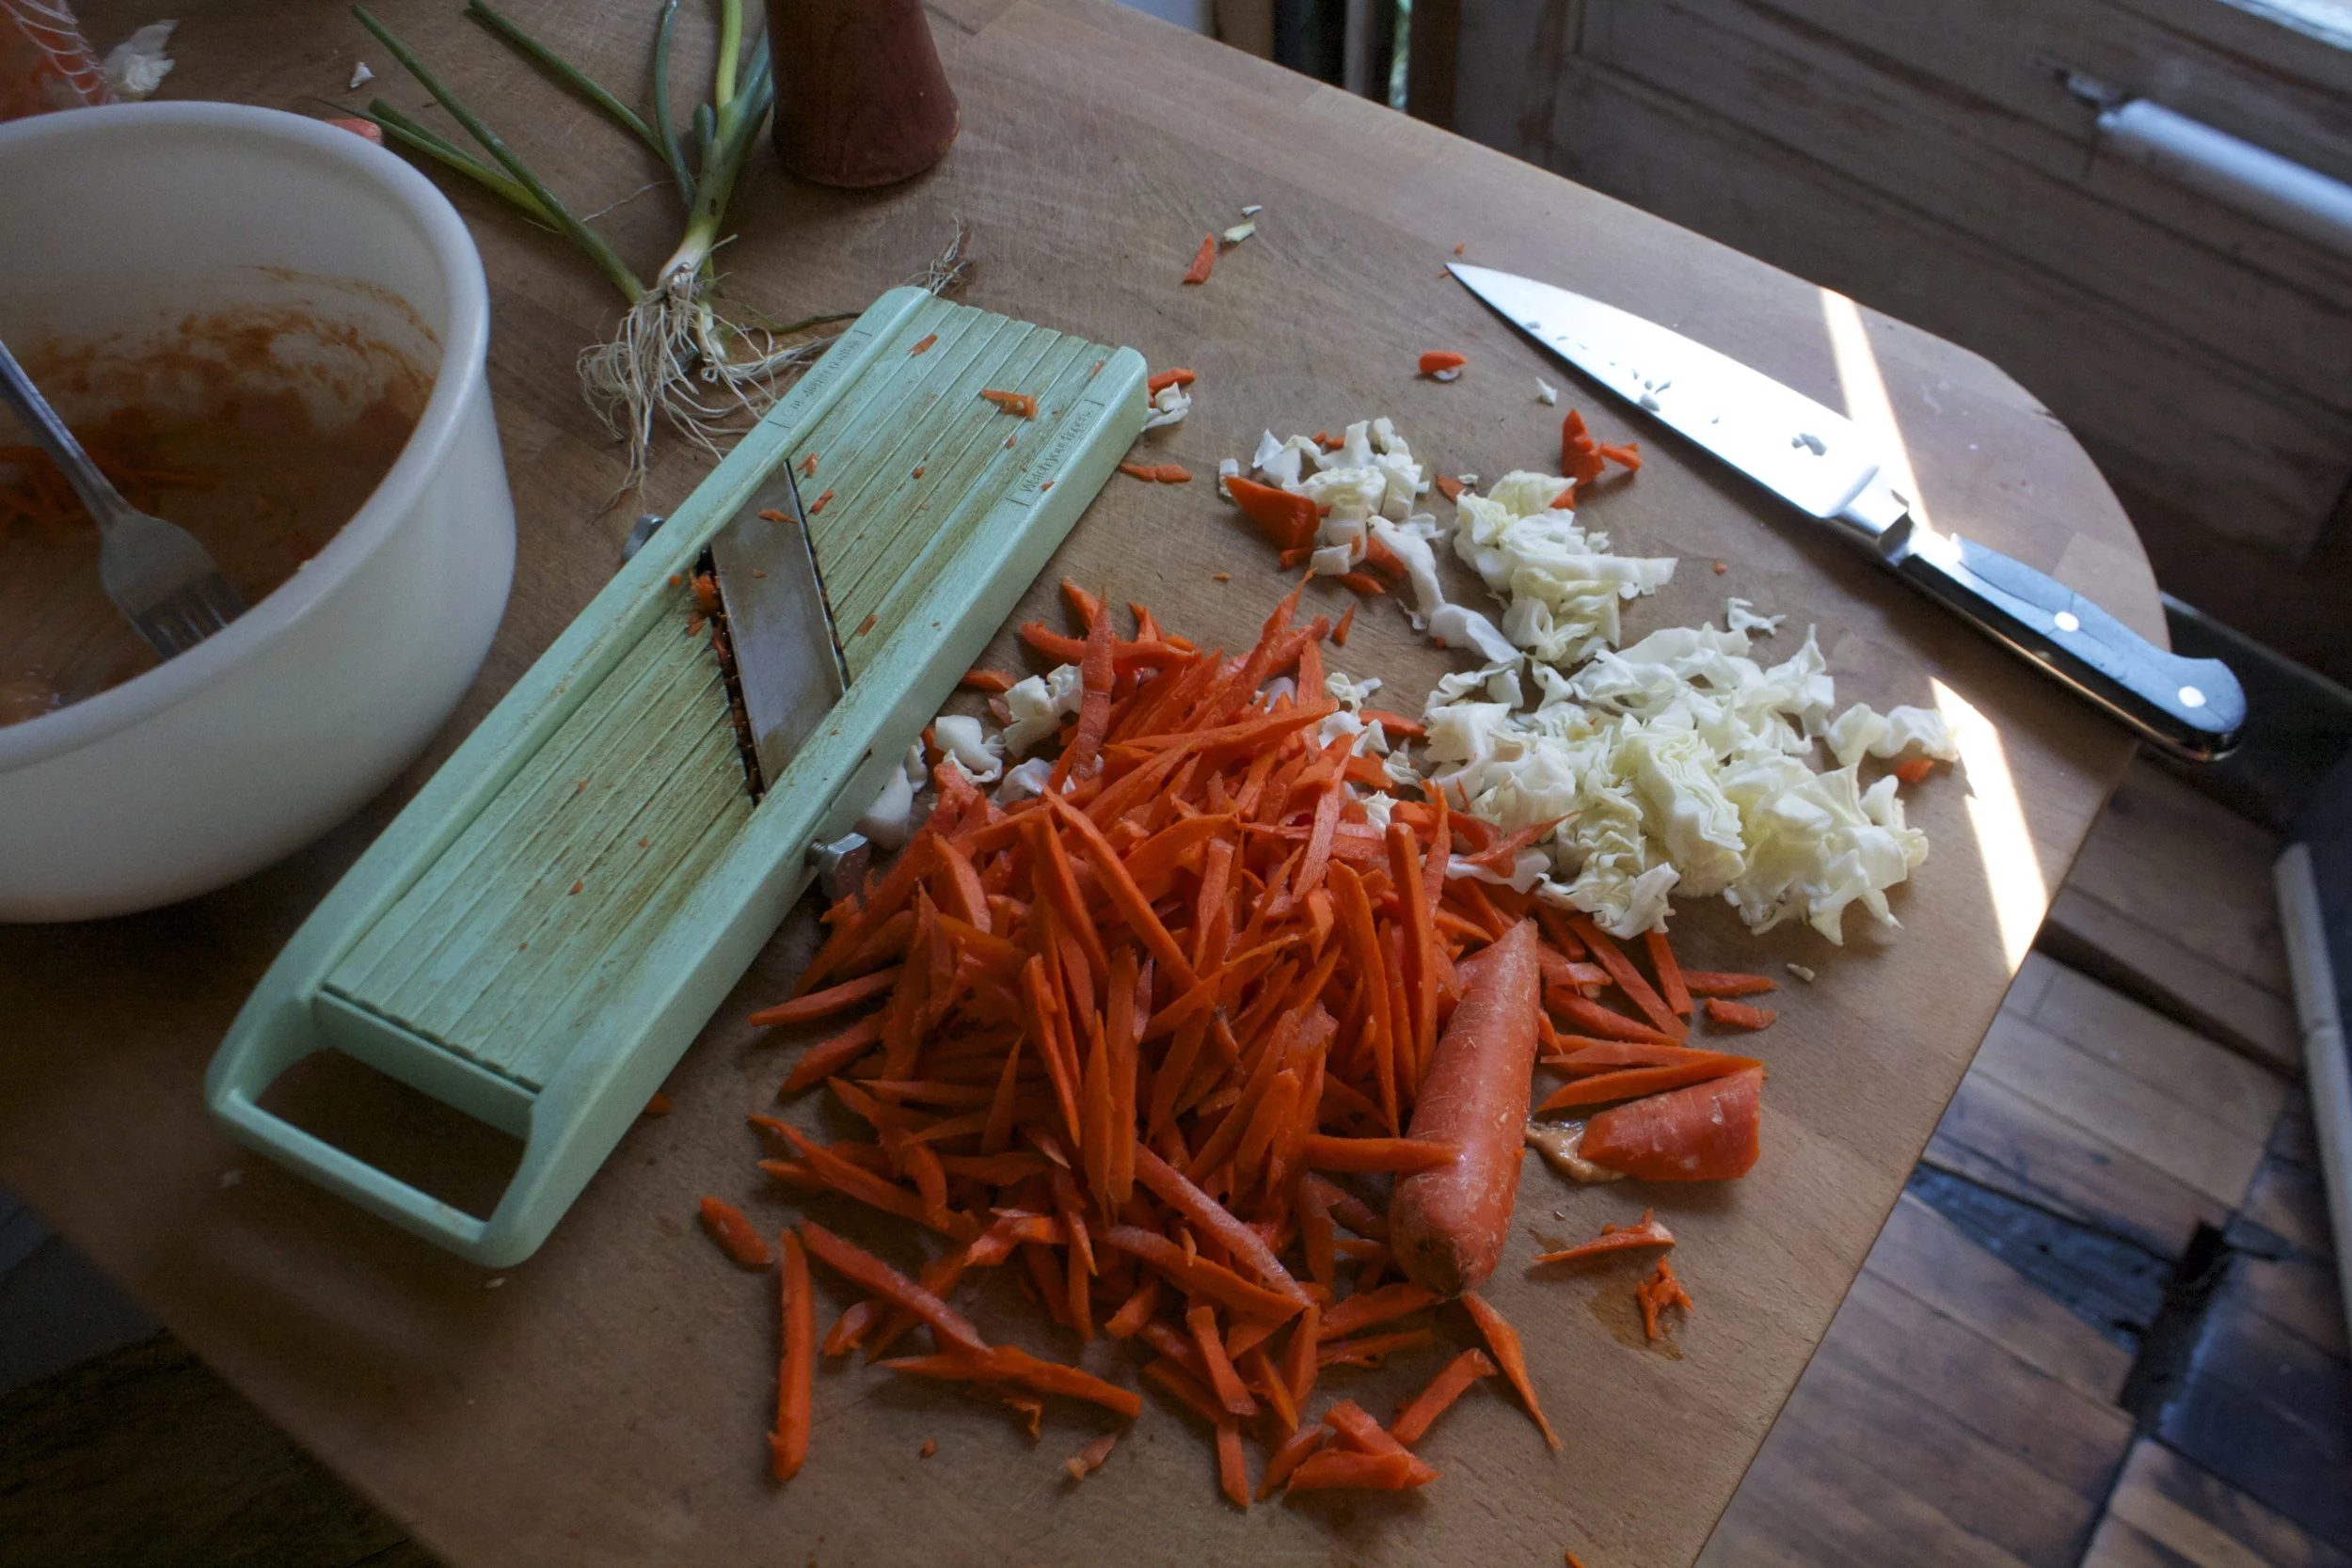
Julianne the carrots and finely slice the cabbage.

Into the bowl it all goes. And cut up those scallions and get those into the bowl two.

Toss it all around Then sprinkle with sesame seeds if you have them and lots of cracked pepper.

See, super easy.

Now eat it.

-C

makes enough for one to eat alone or 2 as a side

  • 4-5 large carrots
  • chunk of cabbage
  • a few scallions (green and white part)
  • 2 tablespoons tahini
  • 1 tablespoon red wine vinegar
  • 1 tablespoon soy or Braggs liquid aminos
  • 2 tablespoons sriracha
  • 1-2 cloves garlic
  • pepper
  • sesame seeds (optional)

Finely mince garlic and toss into a large bowl with the tahini, sriracha, vinegar, and braggs or say, Mix it all together. Taste and adjust any of the ingredients to you liking (add more sriracha or tahini if you want). Grab carrots ans julianne (you could also just shred) and finely slice up cabbage. Toss into bowl with sauce. Chop up scallions, the white and green part) and those go into bowl too. Toss it all around in sauce until everything is all coated then sprinkle with sesame seeds and top with lots or pepper.

Eat and enjoy.

Sweet Potato Chickpea Hash with Lemon Tahini Sauce — The Lovely Crazy

August 18, 2019 by maximios • Blog

Easy quick dinners are no joke because sometimes life happens and then you are hungry, then hangry, %u00a0then maybe yelling and or tears start and nothing is ever going to be good again. And then you eat and everything is A OK, but that time between tears and food can be long, especially when you just can’t think so one should have a least a good 2 or 3 good dinners up there sleeve (besides pasta) that can be made quick and easily to avoid the fallout of food deprivation.%u00a0This bowl of goodness here is one of those. And sure some people might not always have a sweet potato,%u00a0tahini, or chickpeas is the house %u00a0(I ALWAYS have a sweet potato or some type of winter squash and tahini and chickpeas…%u00a0they are staples here)%u00a0but with a tiny it of foresight, you can make these things happen too. And then you will make it and realize that you must have these ingredients on hand at all times because yeah, a good go to meal that will prevent the tears.

Admittedly I have made this for the mr but he is not that into it. Says he is not a huge fan of sweet potatoes. (what the fuck is wrong with him?) But me, I eat is and I eat it all.. The sweet potato/chickpea/tahini combination is classic fantastic. This hash is sweet potato sweet, a little chickpea crunchy, salty, savory,%u00a0and creamy citrusy. %u00a0It’s all sorts of goodness. I tossed this hash on a big bed of kale (any sturdy green would be good) and only good things happen in my mouth. So the mr.%u00a0might not like it but I am starting to realize (after 15 years) that my taste is far superior to his. Haha. (but really) %u00a0Quick and easy (and healthy) and good. %u00a0Make it once and it will turn into on of your go to dinners, unless you don’t like sweet potatoes. In that case there is pasta.%u00a0

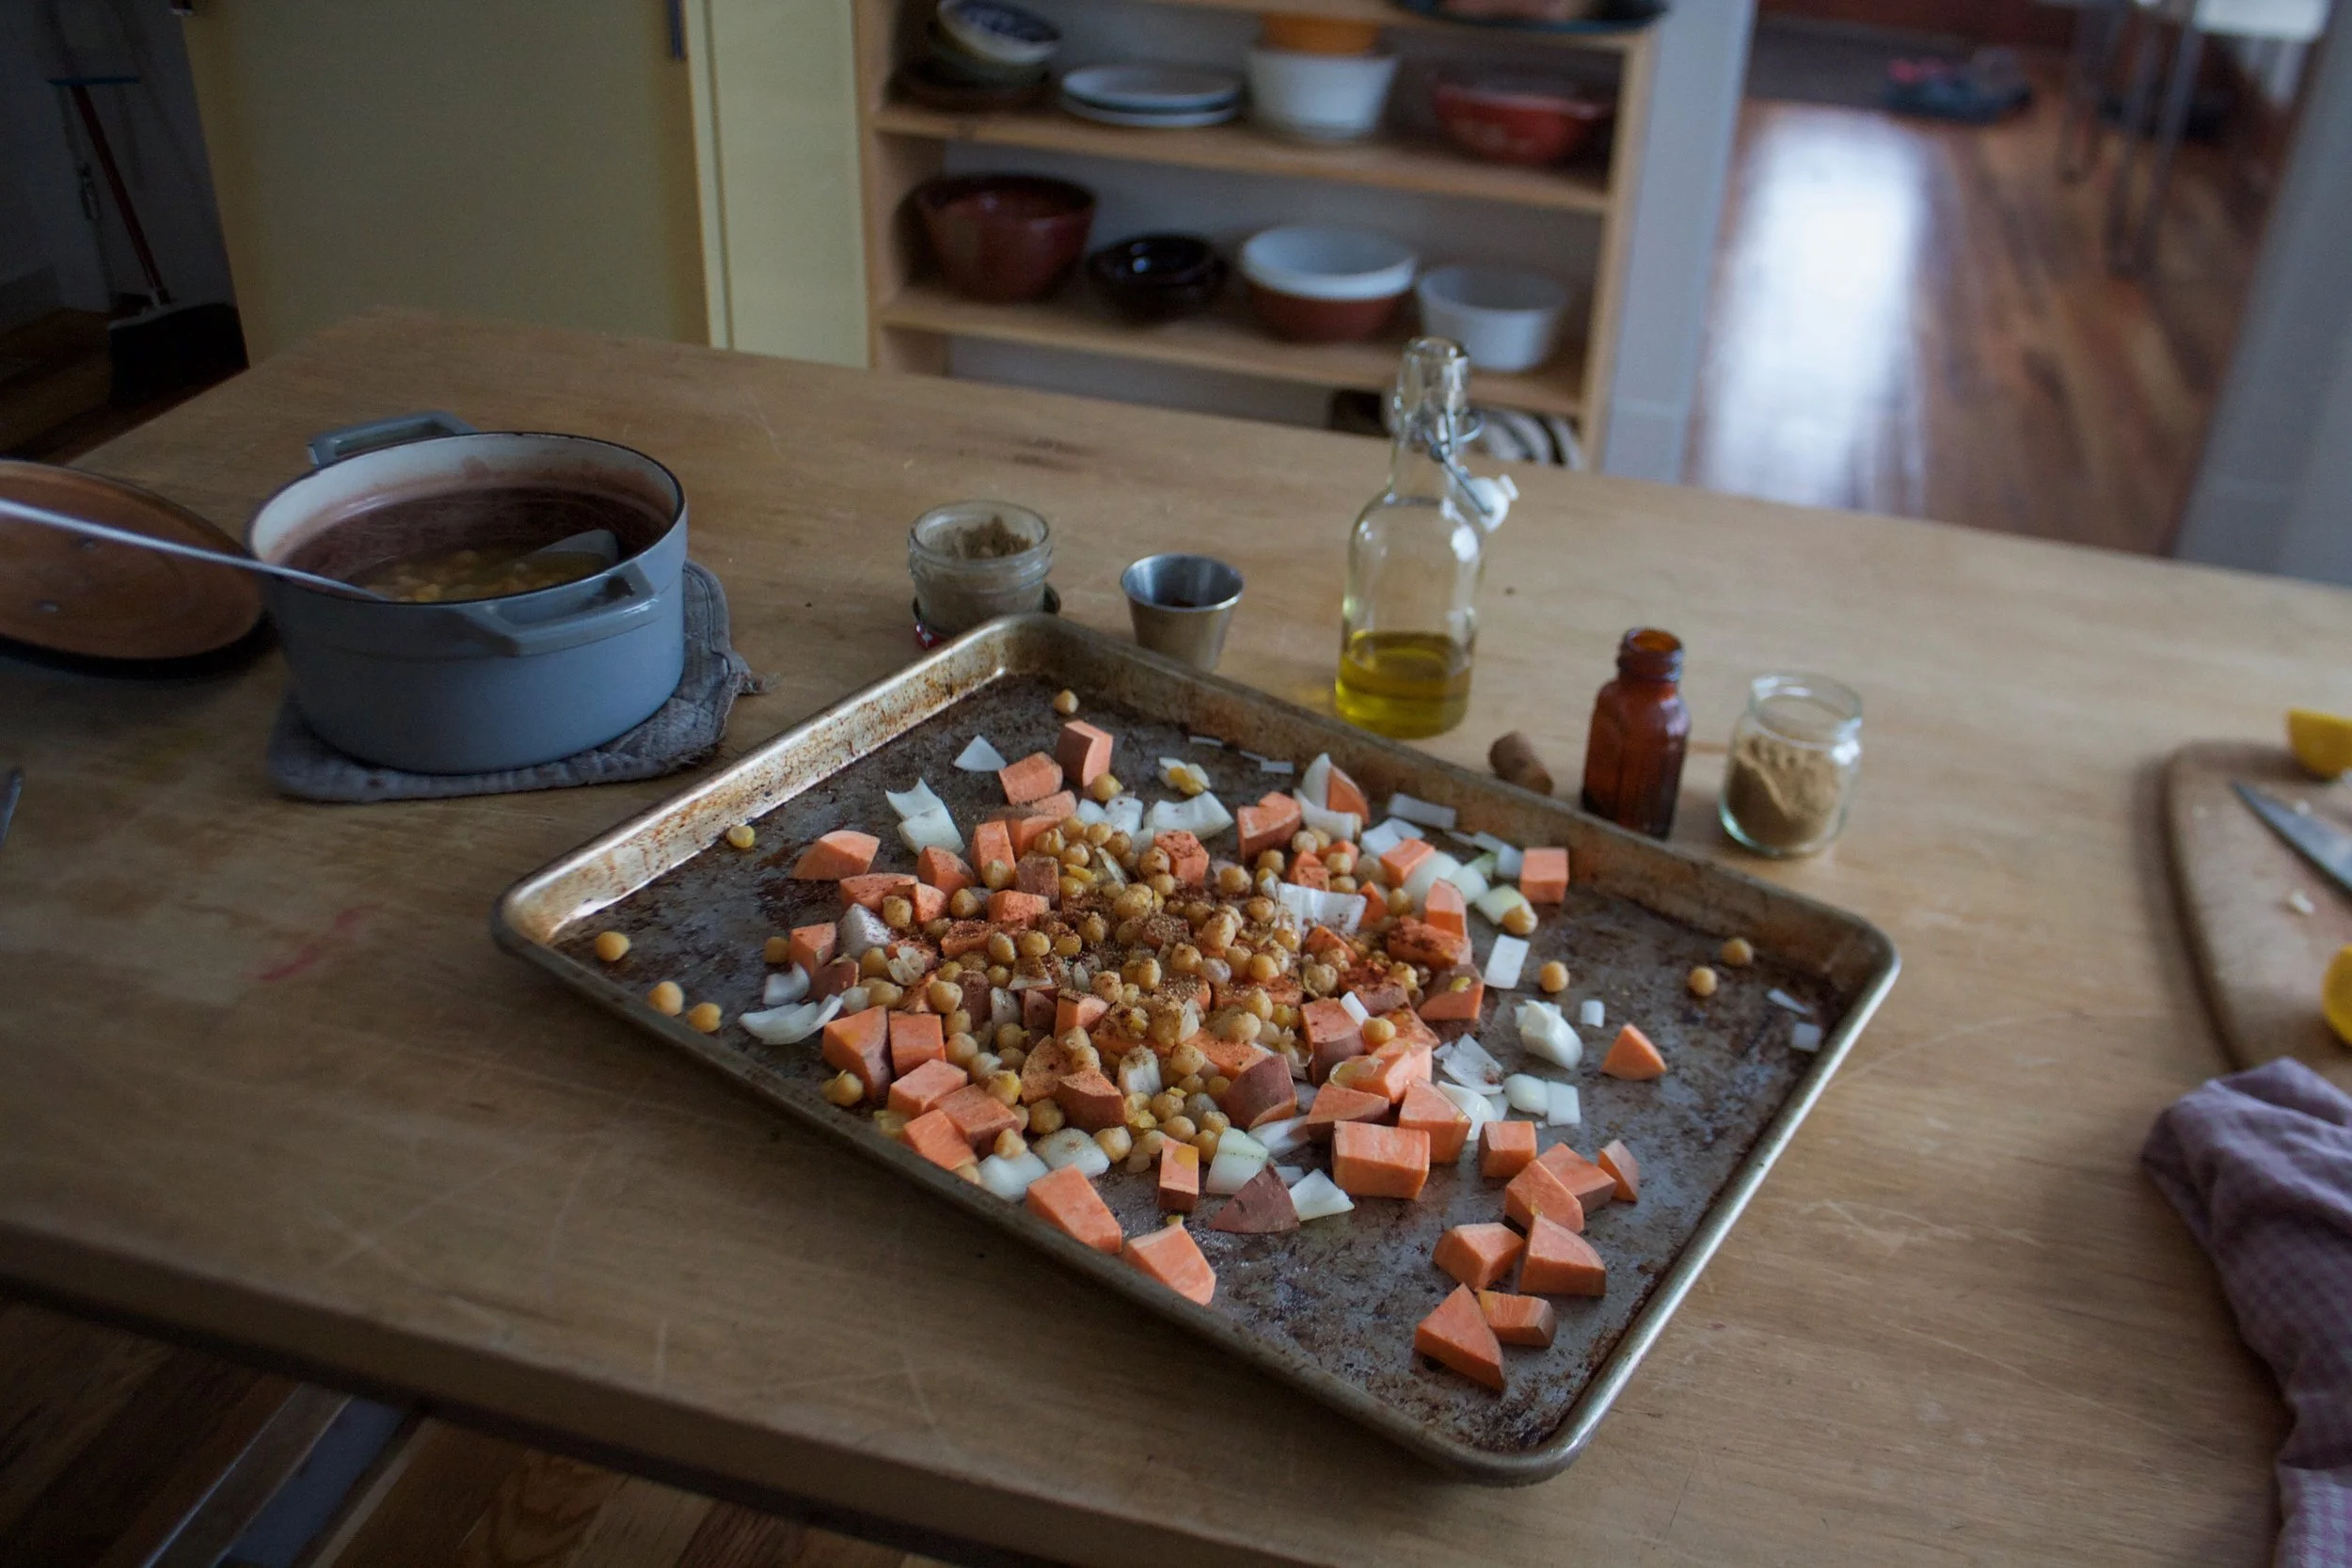
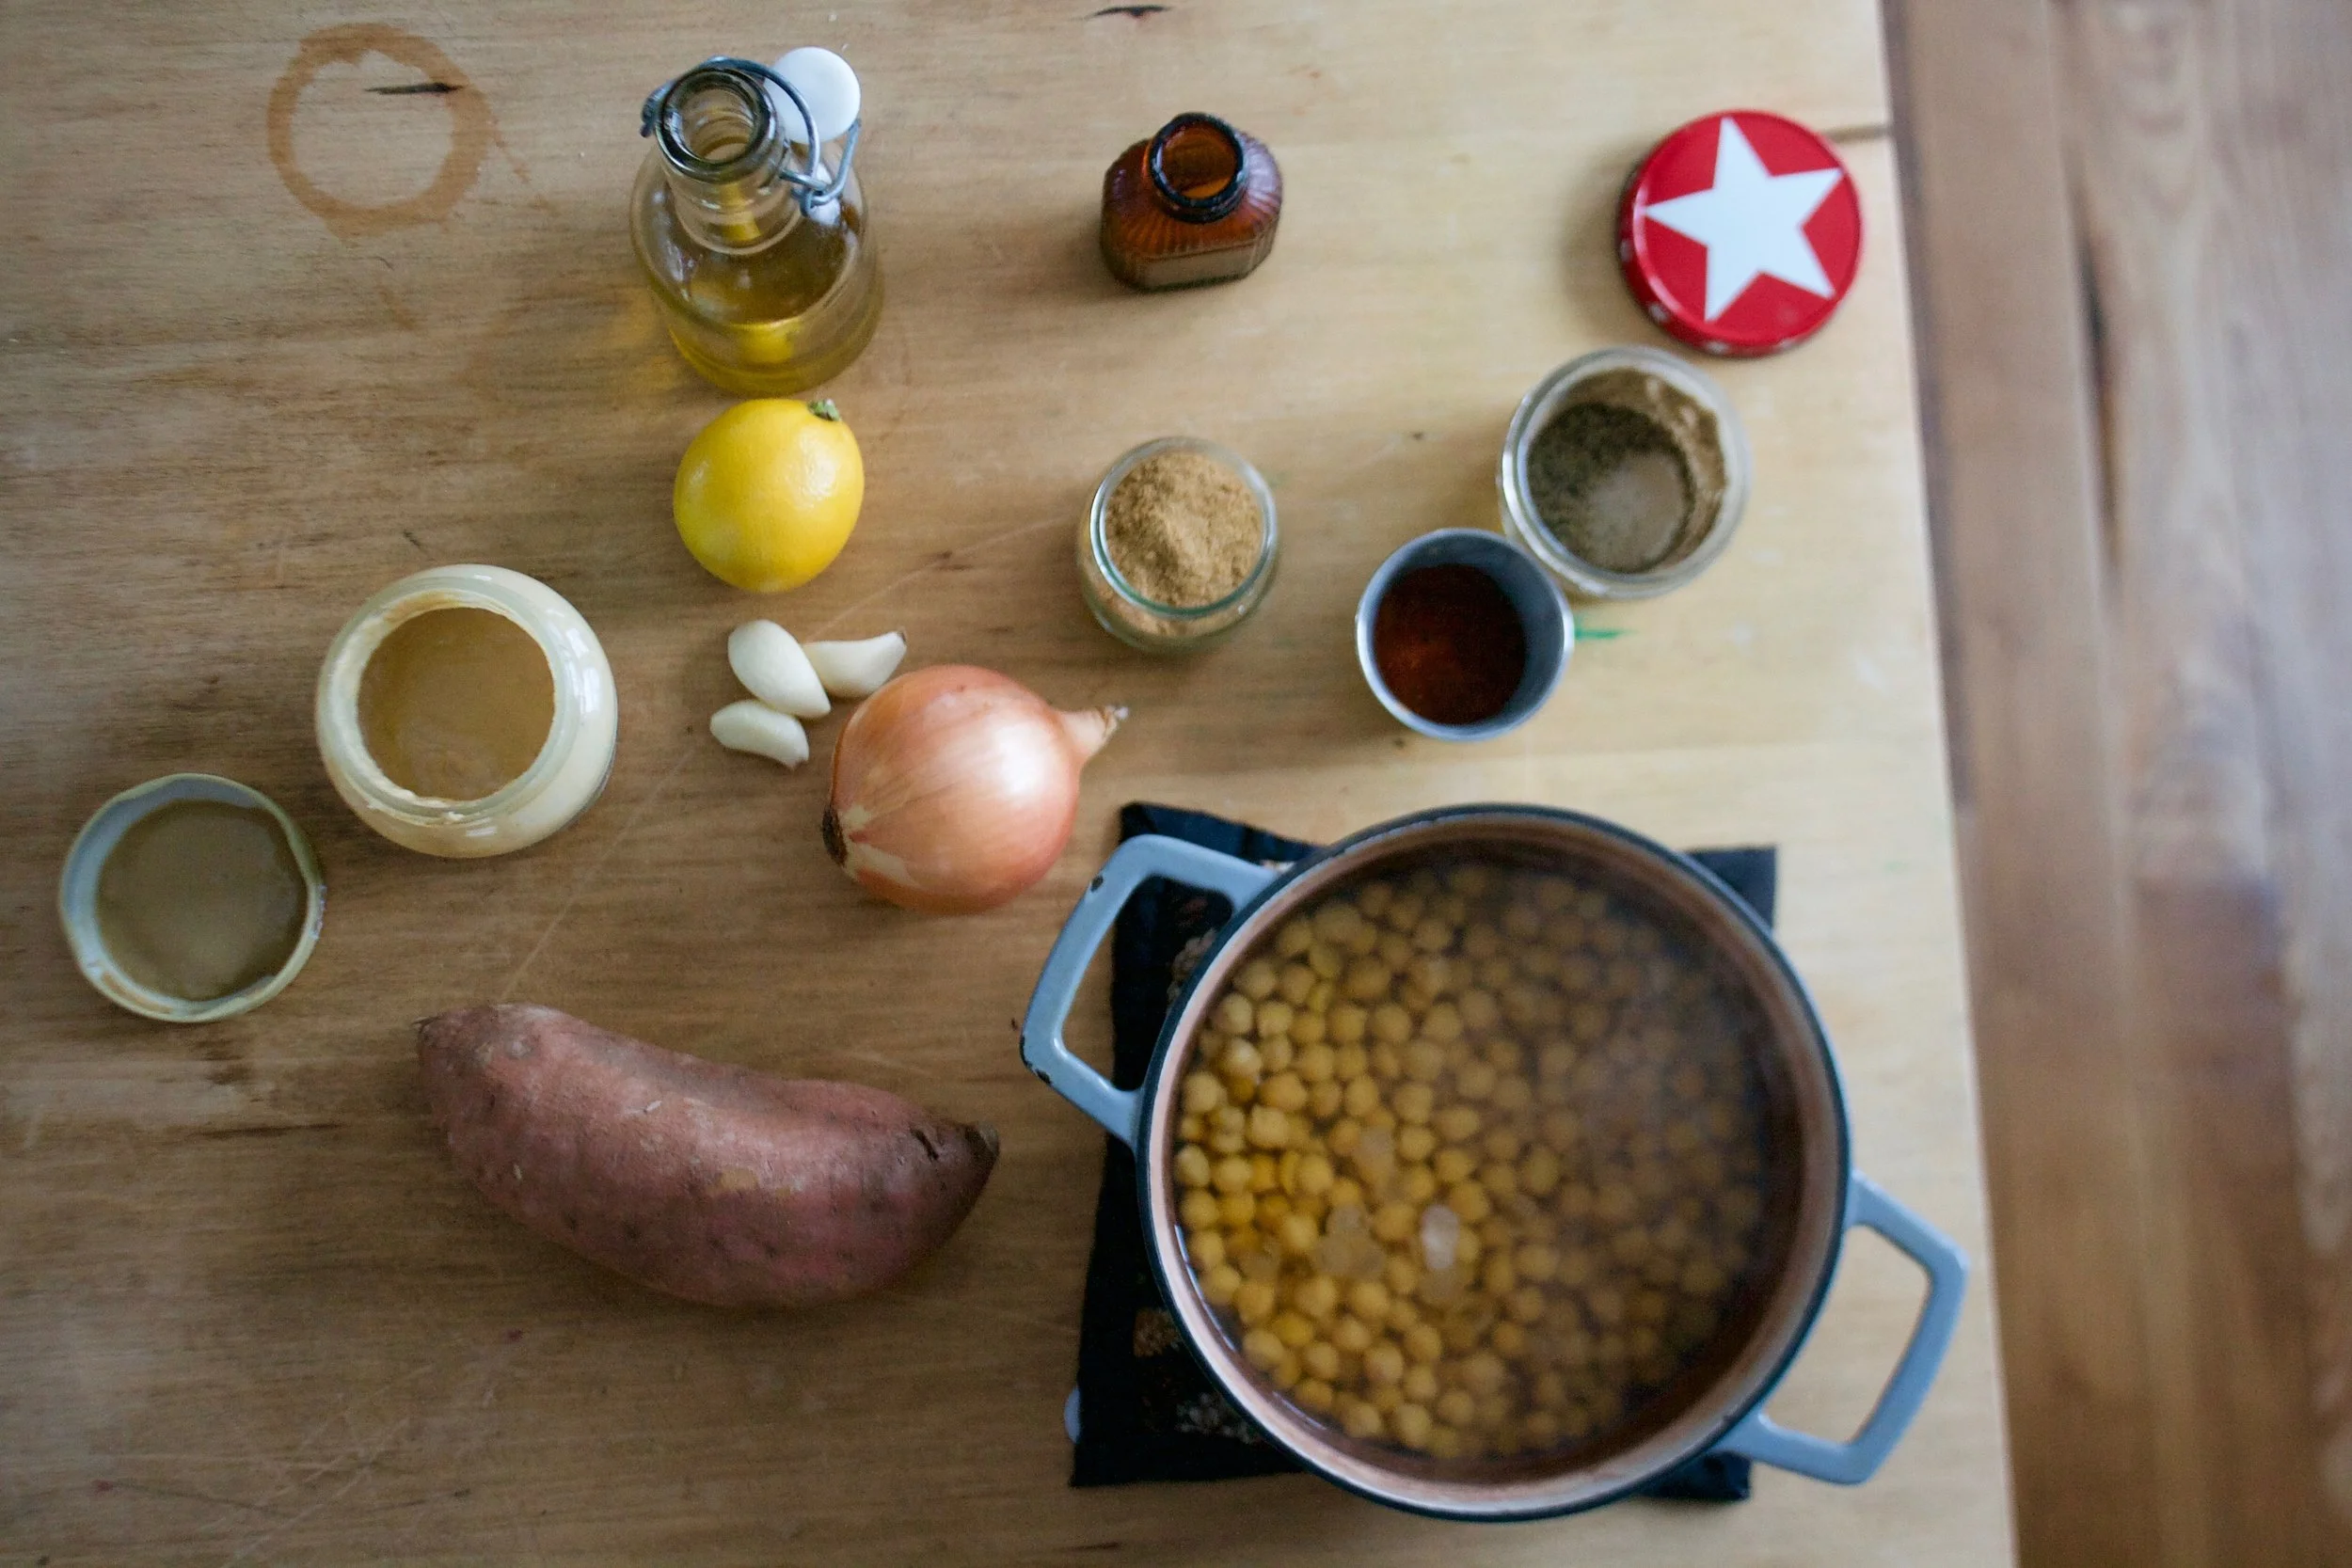
The stuff. Chick peas (I had just made a batch but if you don’t have any made already, grab a can) a sweet potato, an onion, a lemon, some tahini, and garlic Also some cumin and chili powder, olive oil, and salt and pepper.%u00a0

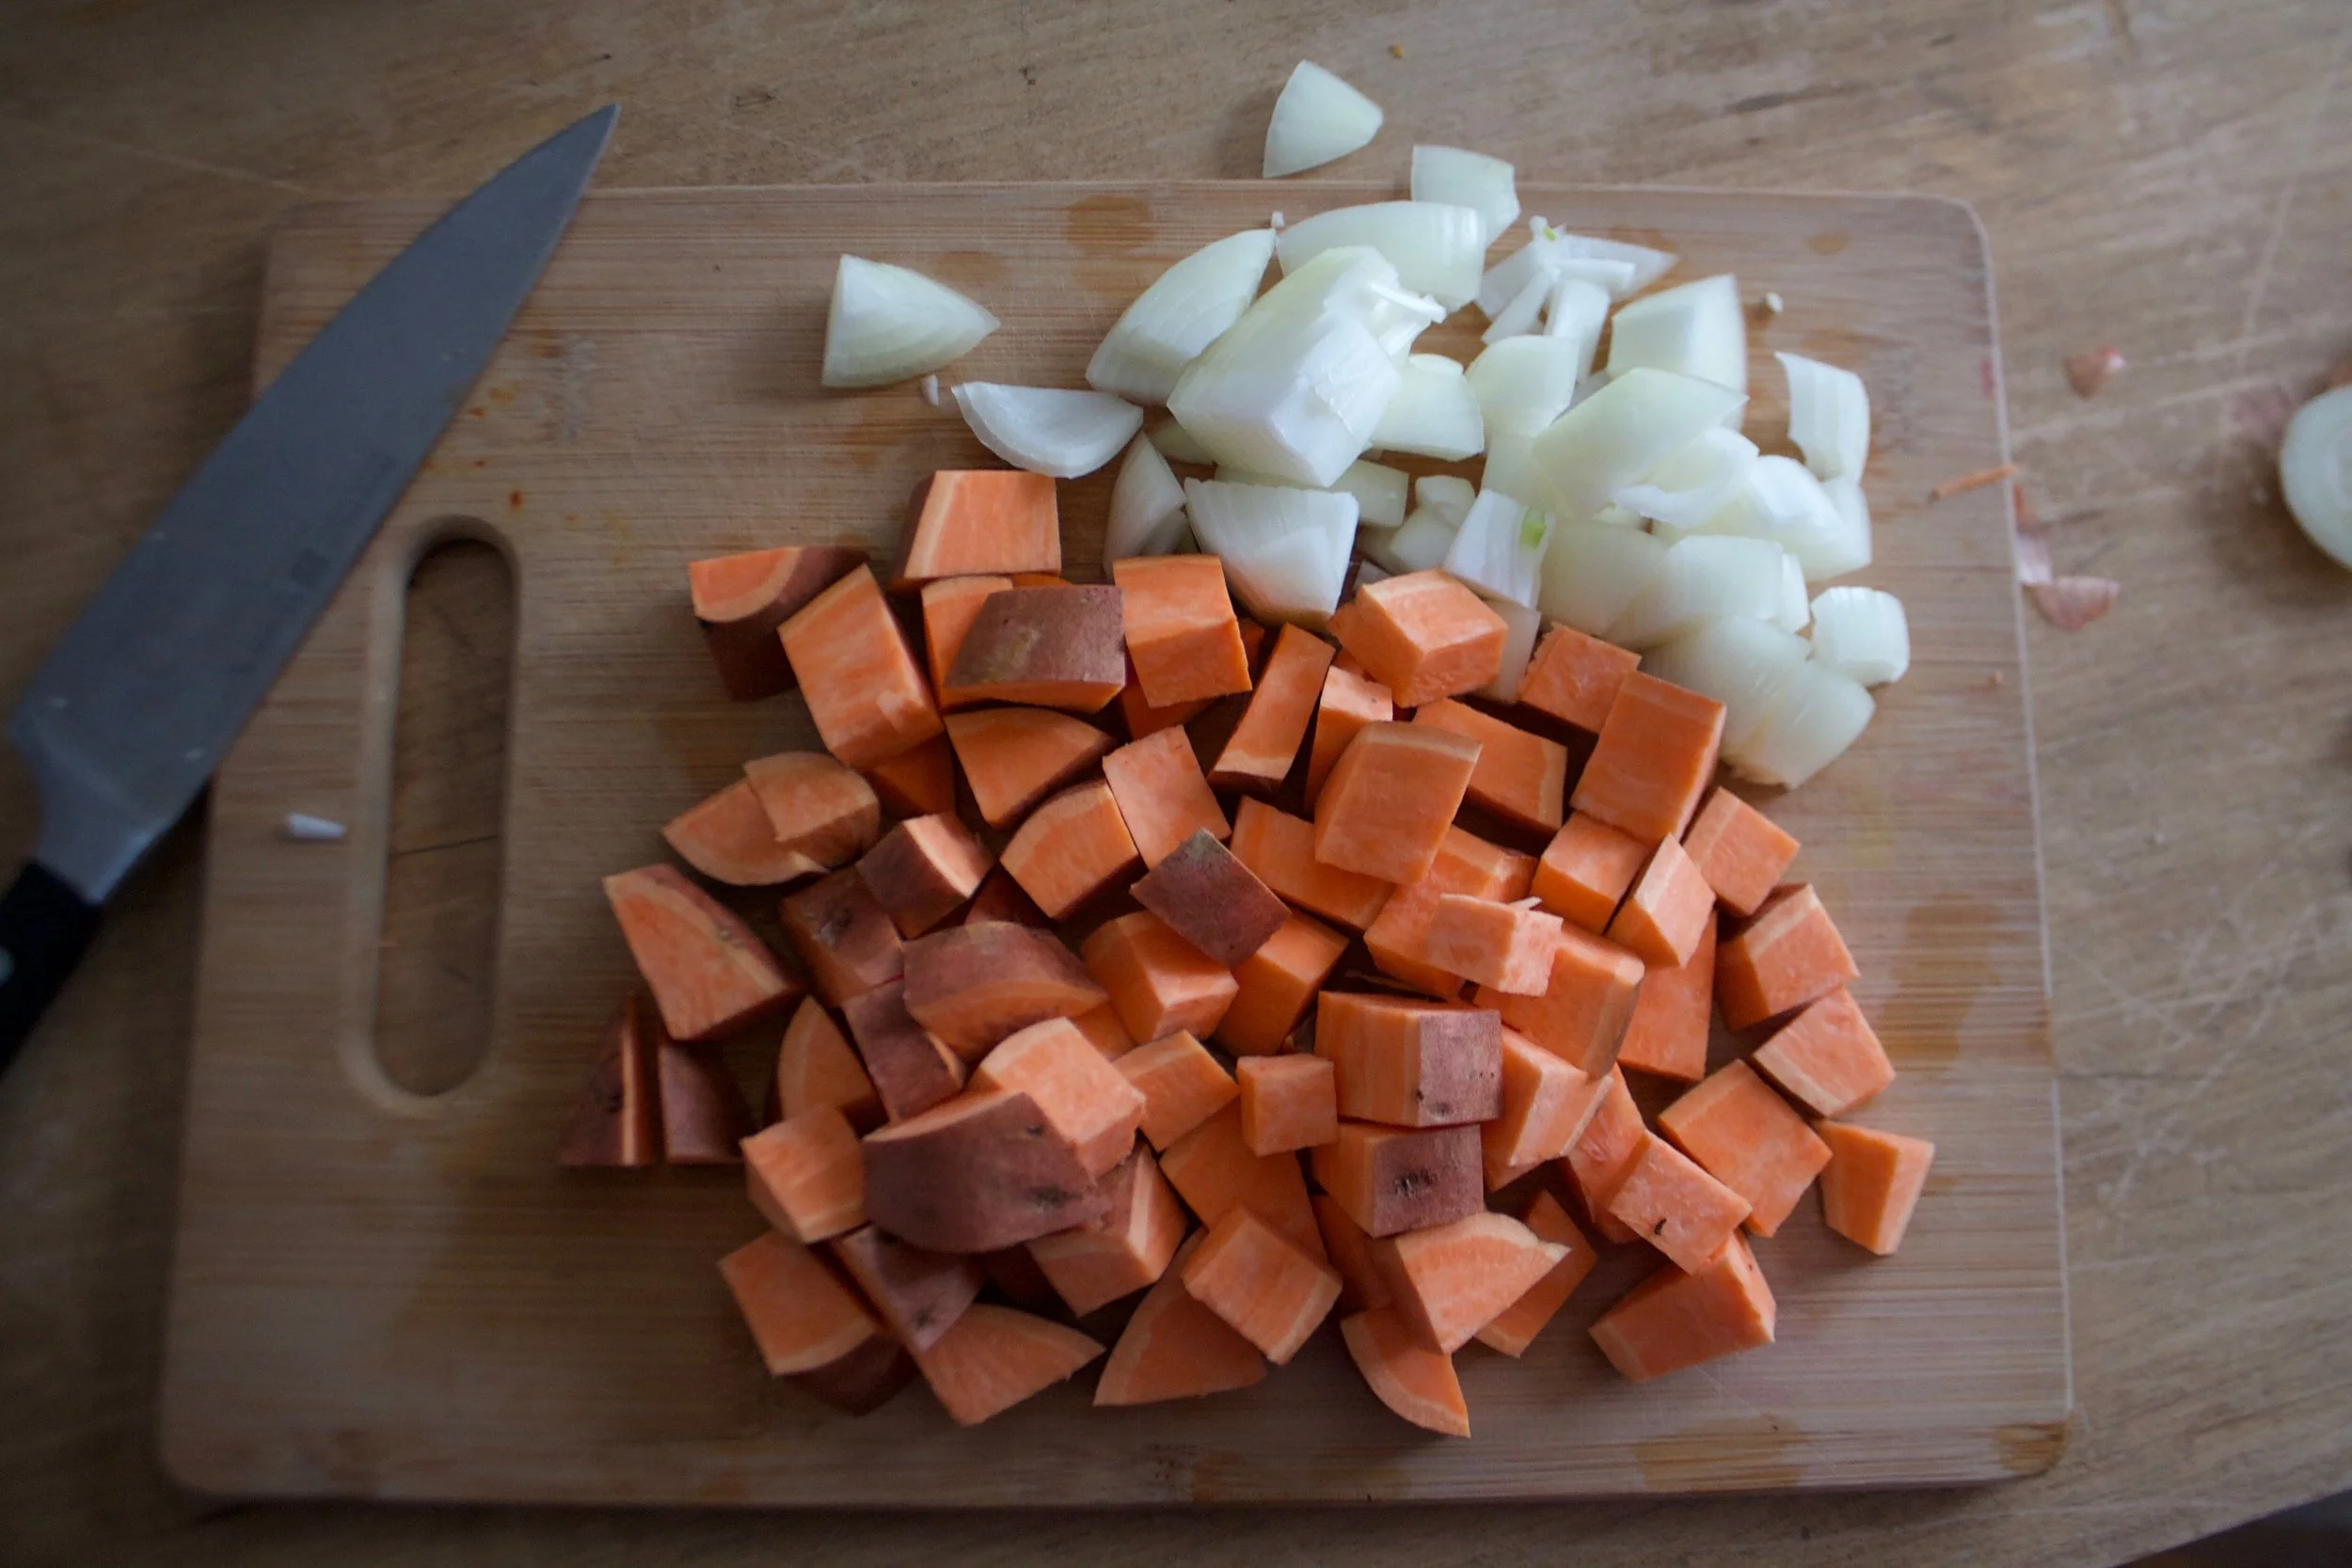
Preheat your oven and chop up the onion and sweet potato into mouth sized pieces.%u00a0

Toss the chopped stuff onto a baking sheet with the chickpeas.

Drizzle the whole shebang with olive oil and toss with cumin, chili powder, and salt and pepper. %u00a0

Into the oven it goes.

Half hour later it is all roasted and ready.

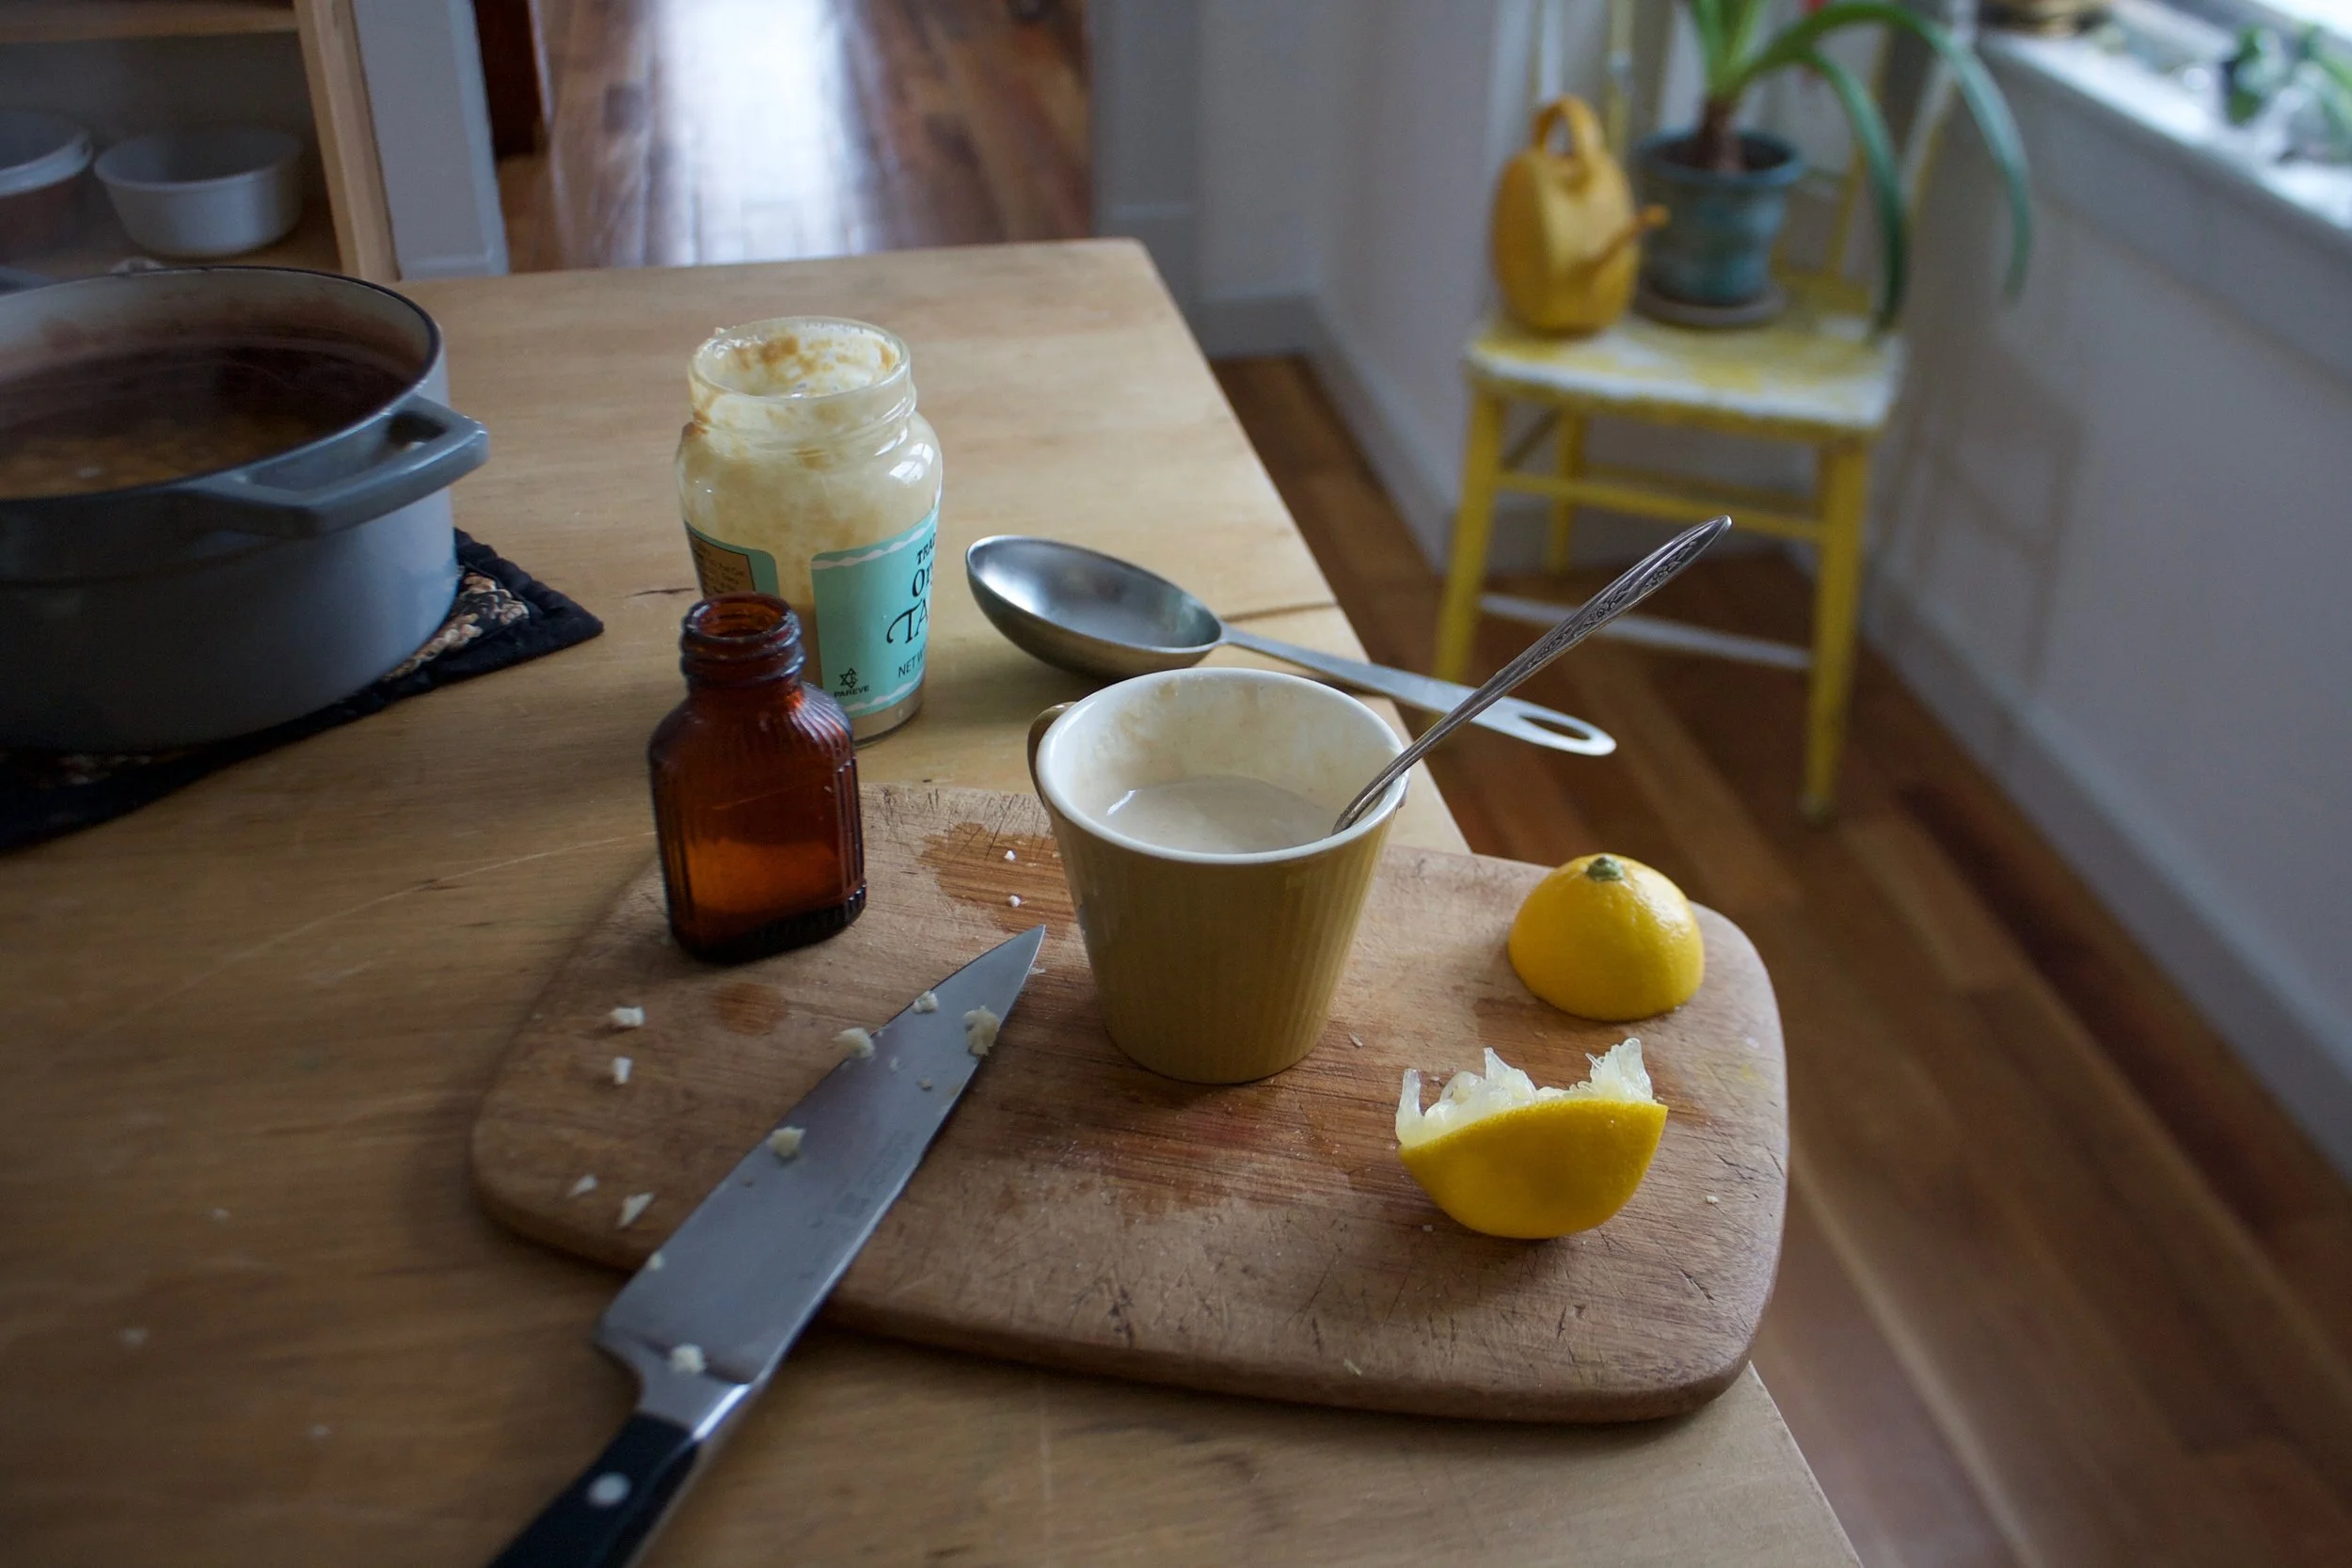
Oh quick, make this before the stuff is out of the oven. Tahini, minced garlic, a dash of salt, a bit of the liquid from the chickpeas and the juice of a lemon. Just stick it all in a cup or bowl and mix it around. Then it’s done.

Scoop the hash into a bowl (I like a large pile of greens underneath) and cover with the tahini sauce.%u00a0

Eat is all to your face.

-C

dinner for one, a side for two.%u00a0Very easily doubled or tripled.%u00a0

  • 1 sweet potato
  • 2 cups or 1 can cooked chickpeas drained but liquid reserved%u00a0
  • 1 medium yellow onion
  • 1 tablespoon cumin
  • 1 teaspoon chili powder
  • salt and pepper
  • 2-3 tablespoons olive oil
  • 3 tablespoon tahini
  • 1 lemon
  • 1/4- 1/2 cup of aquafaba (chickpea liquid)
  • 2-3 cloves garlic

Preheat oven to 425

Chop sweet potato and onion into mouth sized cubes and place on a baking sheet. Add the drained chickpeas and drizzle with olive oil and toss around. Sprinkle on the cumin, chili powder,%u00a0salt and pepper, and toss that around again. When the oven is preheated, slide the baking sheet on in.%u00a0

While the stuff is baking, mince the garlic and place it in a bowl with the tahini, the juice of a lemon, and a pinch or two of salt to taste. Add in 1/4 cup of aquafaba and mix it all around.%u00a0If to thick for your liking, add a little more of the aqaufaba until its a good consistency.%u00a0

Check the stuff in the oven after 20 minutes and give it a toss.%u00a0%u00a0Keep baking for another 5-10 minutes or until the sweet potato is cooked and starting to brown. Remove from oven and dump into a bowl (maybe on a bed of greens or rice) and drizzle all over with the tahini sauce.

Eat

THE LOVELY CRAZY

August 18, 2019 by maximios • Blog

Yes you read that right. Corn. In a popsicle.

What?

No it is not weird or gross or anything. I wouldn’t do that to you. These popsicles are down right deeee-lightful. Rich and creamy and sweet. Both the creamy coconut and the toasted coconut pair perfectly with the sweet corn flavor. They truly are delicious and I think that if you give them a try, you will think so too. And really, now that it is like almost summer, who doesn’t have a little extra corn laying around. So you might as well just make a batch.

And then you will thank me for introducing you to the goodness that is a toasted coconut and corn popsicle. Heck, the mr even ate one and he (still, after I have proven him wrong on a many occasions) says he hates corn. So if a corn hater likes these, imagine what a corn lover will think. HAHA. Corn lover.

To the popsicles!

The stuff. Corn, full fat coconut milk, shredded coconut, and maple syrup.

First, remove corn from cob and place on a baking sheet. Bake in oven for 10-ish minutes until corn is cooked and all nice and sweet.

And don%u2019t forget to toast the coconut. A few minutes in the oven is all it needs.

Now to blend. Corn and coconut milk go in first to blend until nice and smooth. Then add in the maple and coconut and blend until just combined. That will leave a little coconut texture. If you want it smooth, well just blend until completely smooth. Do what feels right to you.

Thick, rich and creamy popsicle mixture.

Now pour it into the molds and stick into the freezer. You could probably stick the sticks in now or wait a little while for the mixture to set a bit, but just don%u2019t forget to get sticks in those popsicles before they completely freeze. That would suck.

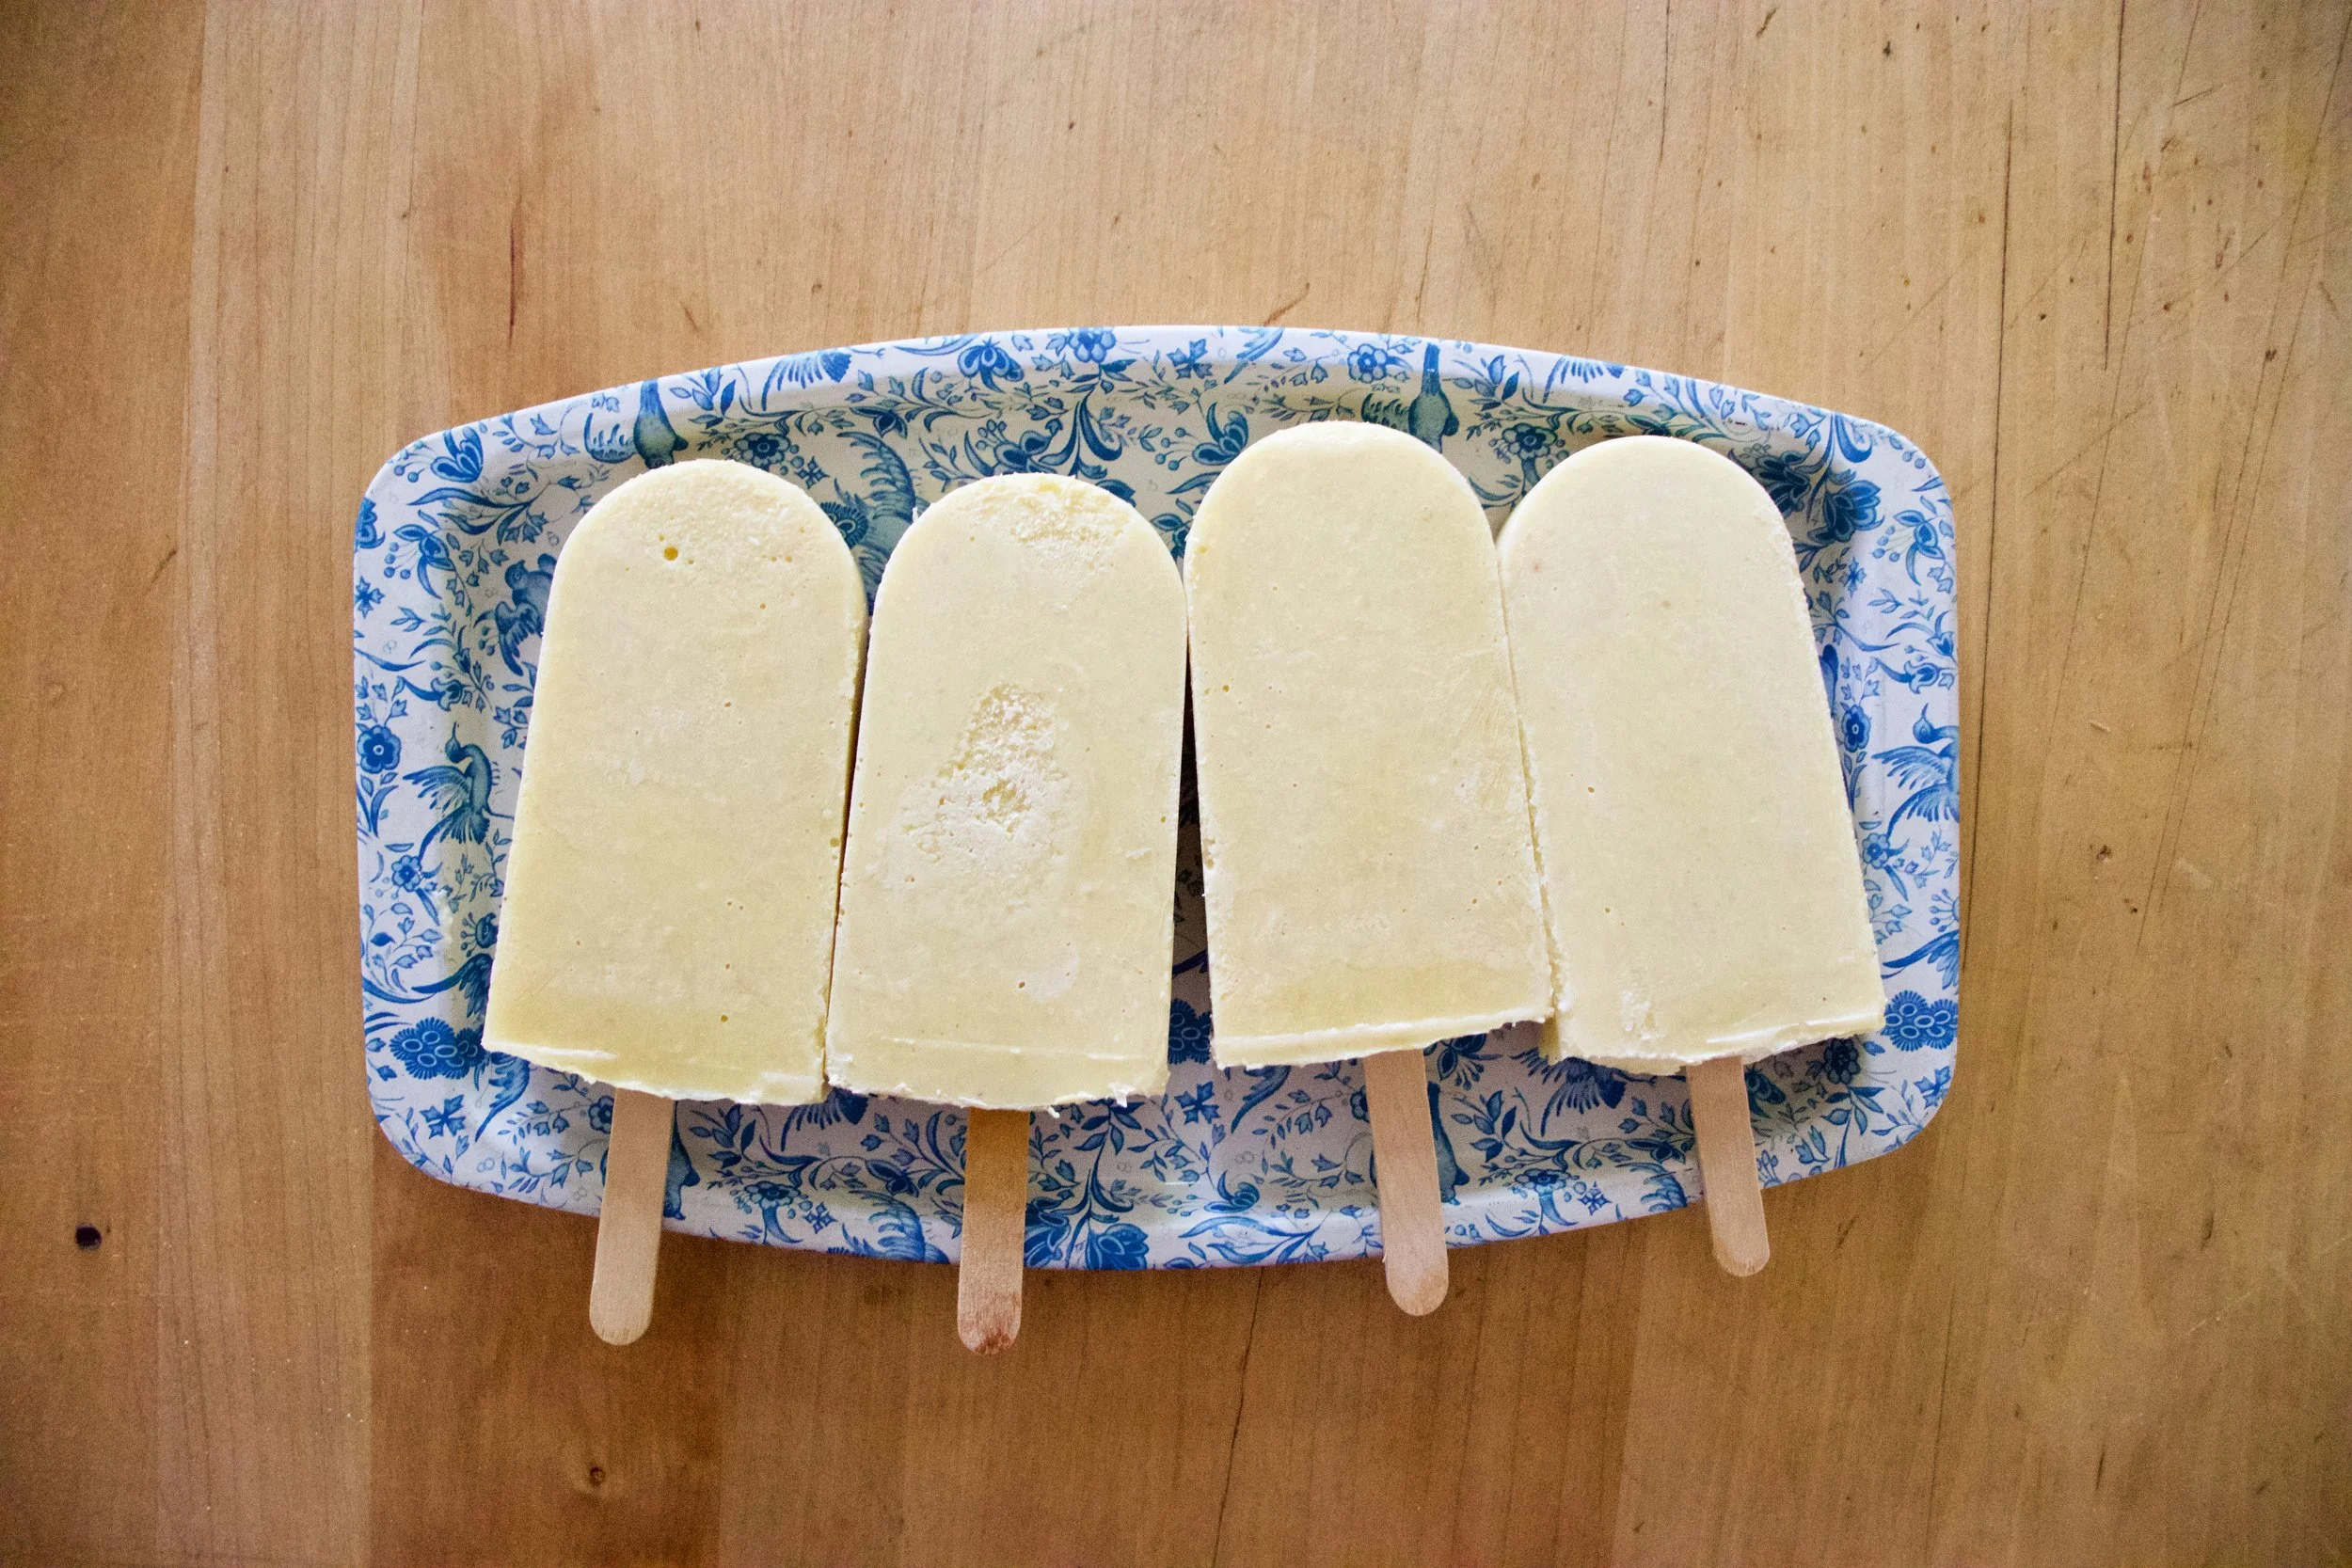
Pop those lovelies out of the molds and there you go.

The anticipation is over. Eat a popsicle

-C

makes 4 average sized popsicles

  • 2 ears corn (about a cup of corn kernels)

  • 1 cup full fat coconut milk (the canned stuff)

  • 1/4 cup shredded unsweetened coconut

  • 2- 4 tablespoons maple syrup

Note. If you have left over cooked corn, just use that. You don%u2019t need to recook it so skip the cooking corn step.

Preheat oven to 400

Remove corn kernels from cob and place on a baking sheet pretty evenly. Pop into the oven for 10 minutes of so or until the corn is cooked through and nice and sweet.

Remove corn and dump it into blender and set aside to cool for a few minutes. Place the coconut onto the baking sheet and pop into the oven for 3-4 minutes to just lightly toast. When the coconut is toasted, remove from oven.

Grab the blender with the corn and pot in the coconut milk. Blend until smooth. Add in the maple (start with 2 tablespoons and work your way up to the sweetness you like) and the toasted coconut. Blend quickly just to combine for a slightly more textures popsicle or blend completely smooth if you would rather a smoother popsicle.

Pour mixture into popsicles molds and place into freezer. After the mixture sets up (about an hour) pop sticks into molds. Continue to freeze until completely frozen. Usually 4-6 hours.

And then when it is popsicle time, remove popsicles from molds and eat them.

It’s melon season!%u00a0The past few farm shares have included at least 2,, if not 4, watermelons and cantaloupes… Can you imagine. eating 4 watermelons a week? That’s a tall order, even for someone like me who could probably eat a whole watermelon in one sitting, it’s just doing it 4 times a week might be a problem. %u00a0It’s a whole lot of melon and not enough stomach, you know what I mean?%u00a0

So what do I do with so much melon? Well first off, whenever anyone comes over I try to get them to %u00a0eat as much of it as they can, which helps a great deal. Secondly, I cut it up and freeze some. But here is the thing, I love eating chunks of frozen cantaloupe, but frozen watermelon,%u00a0never been my favorite so I usually just pass on sticking in the freezer, until now.

There is something magical that happens when you stick the frozen watermelon and cantaloupe together into a blender and making it into a slushy. It’s like eating a ray of sunshine or maybe even a rainbow, just really satisfying and juicy, and sweet but not overly sweet, and just really freaking good. Especially with all the stupid hot and humid weather we have had lately, these slushies have really been hitting the spot. %u00a0Even the mr who says he dislikes watermelon was all into these melon slushies. (he likes things that he says he doesn’t like all the time. I am pretty sure he is taste confused) Like %u00a0he was really into them. Usually I have to prompt him to tell me how something tastes, but not the slushy, he told me right away how good it was. I was like, I know dude, I just drank 2 of them myself. And I could have drank 2 more but I was trying to not get tot far ahead of myself. Moderation is key, plus I didn’t;t have any more of the melons frozen. Time to restock the freezer.%u00a0

Go make yourself a slushy, it’s juicy deliciousness will make you happy.%u00a0

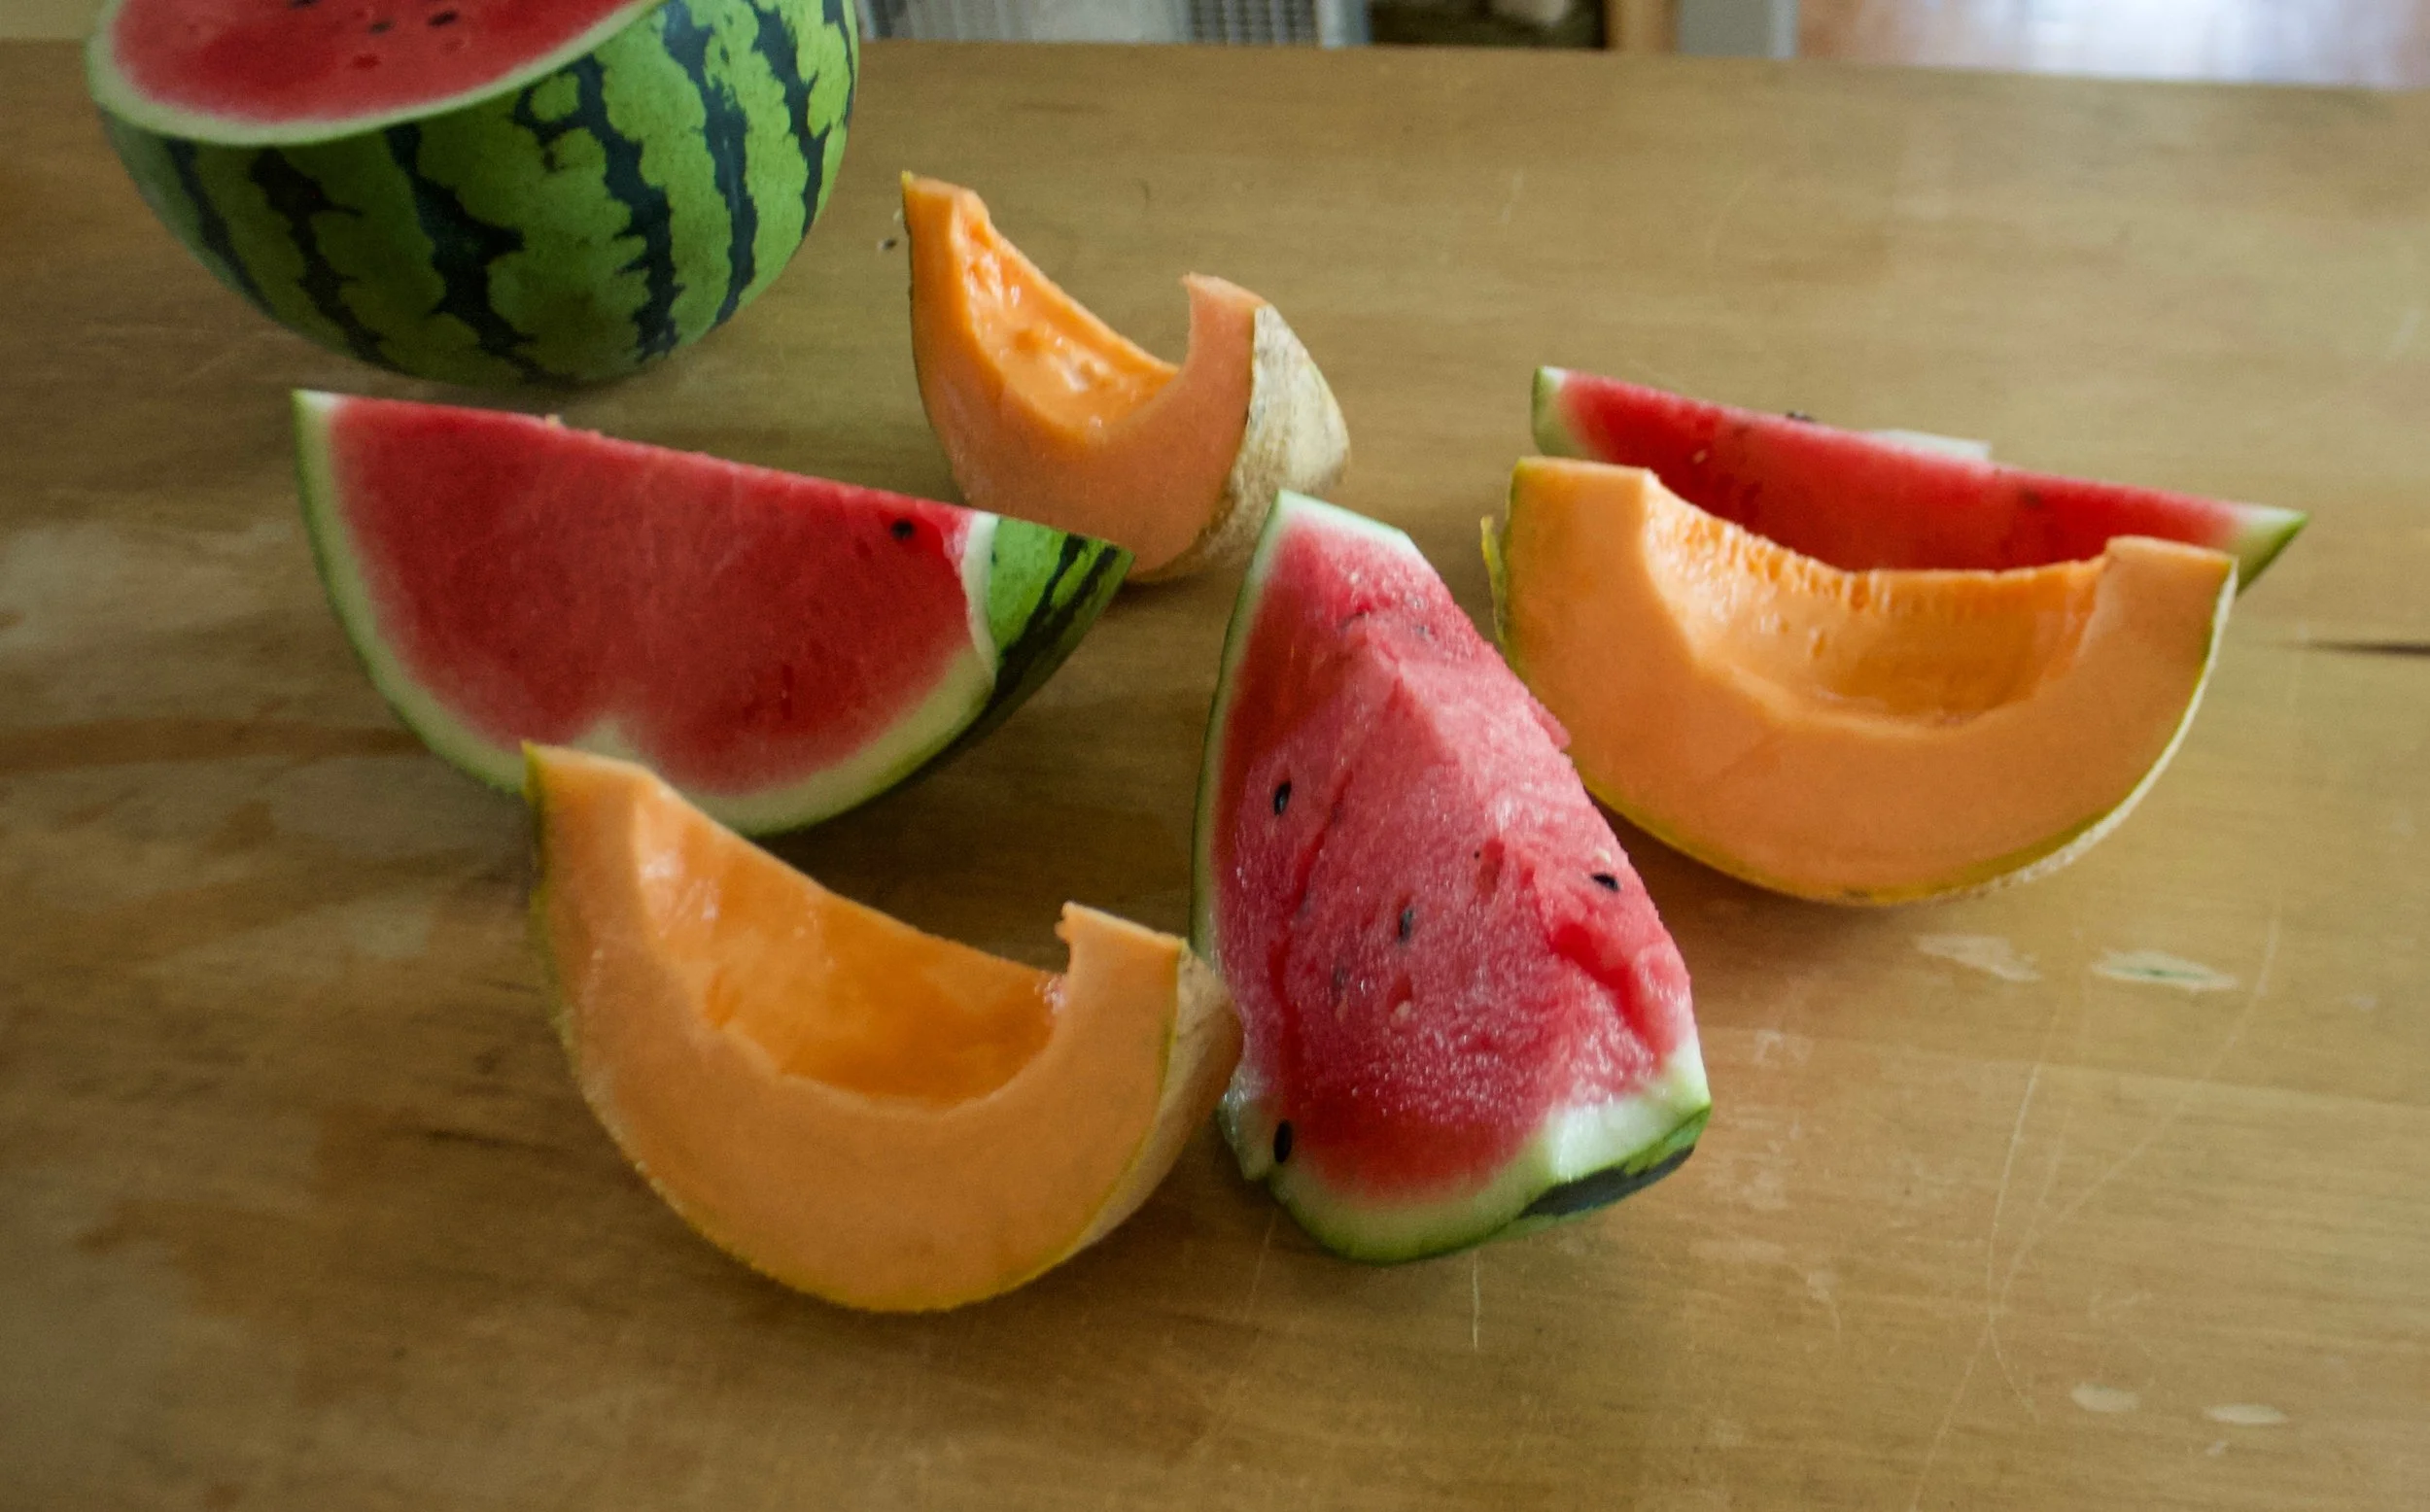
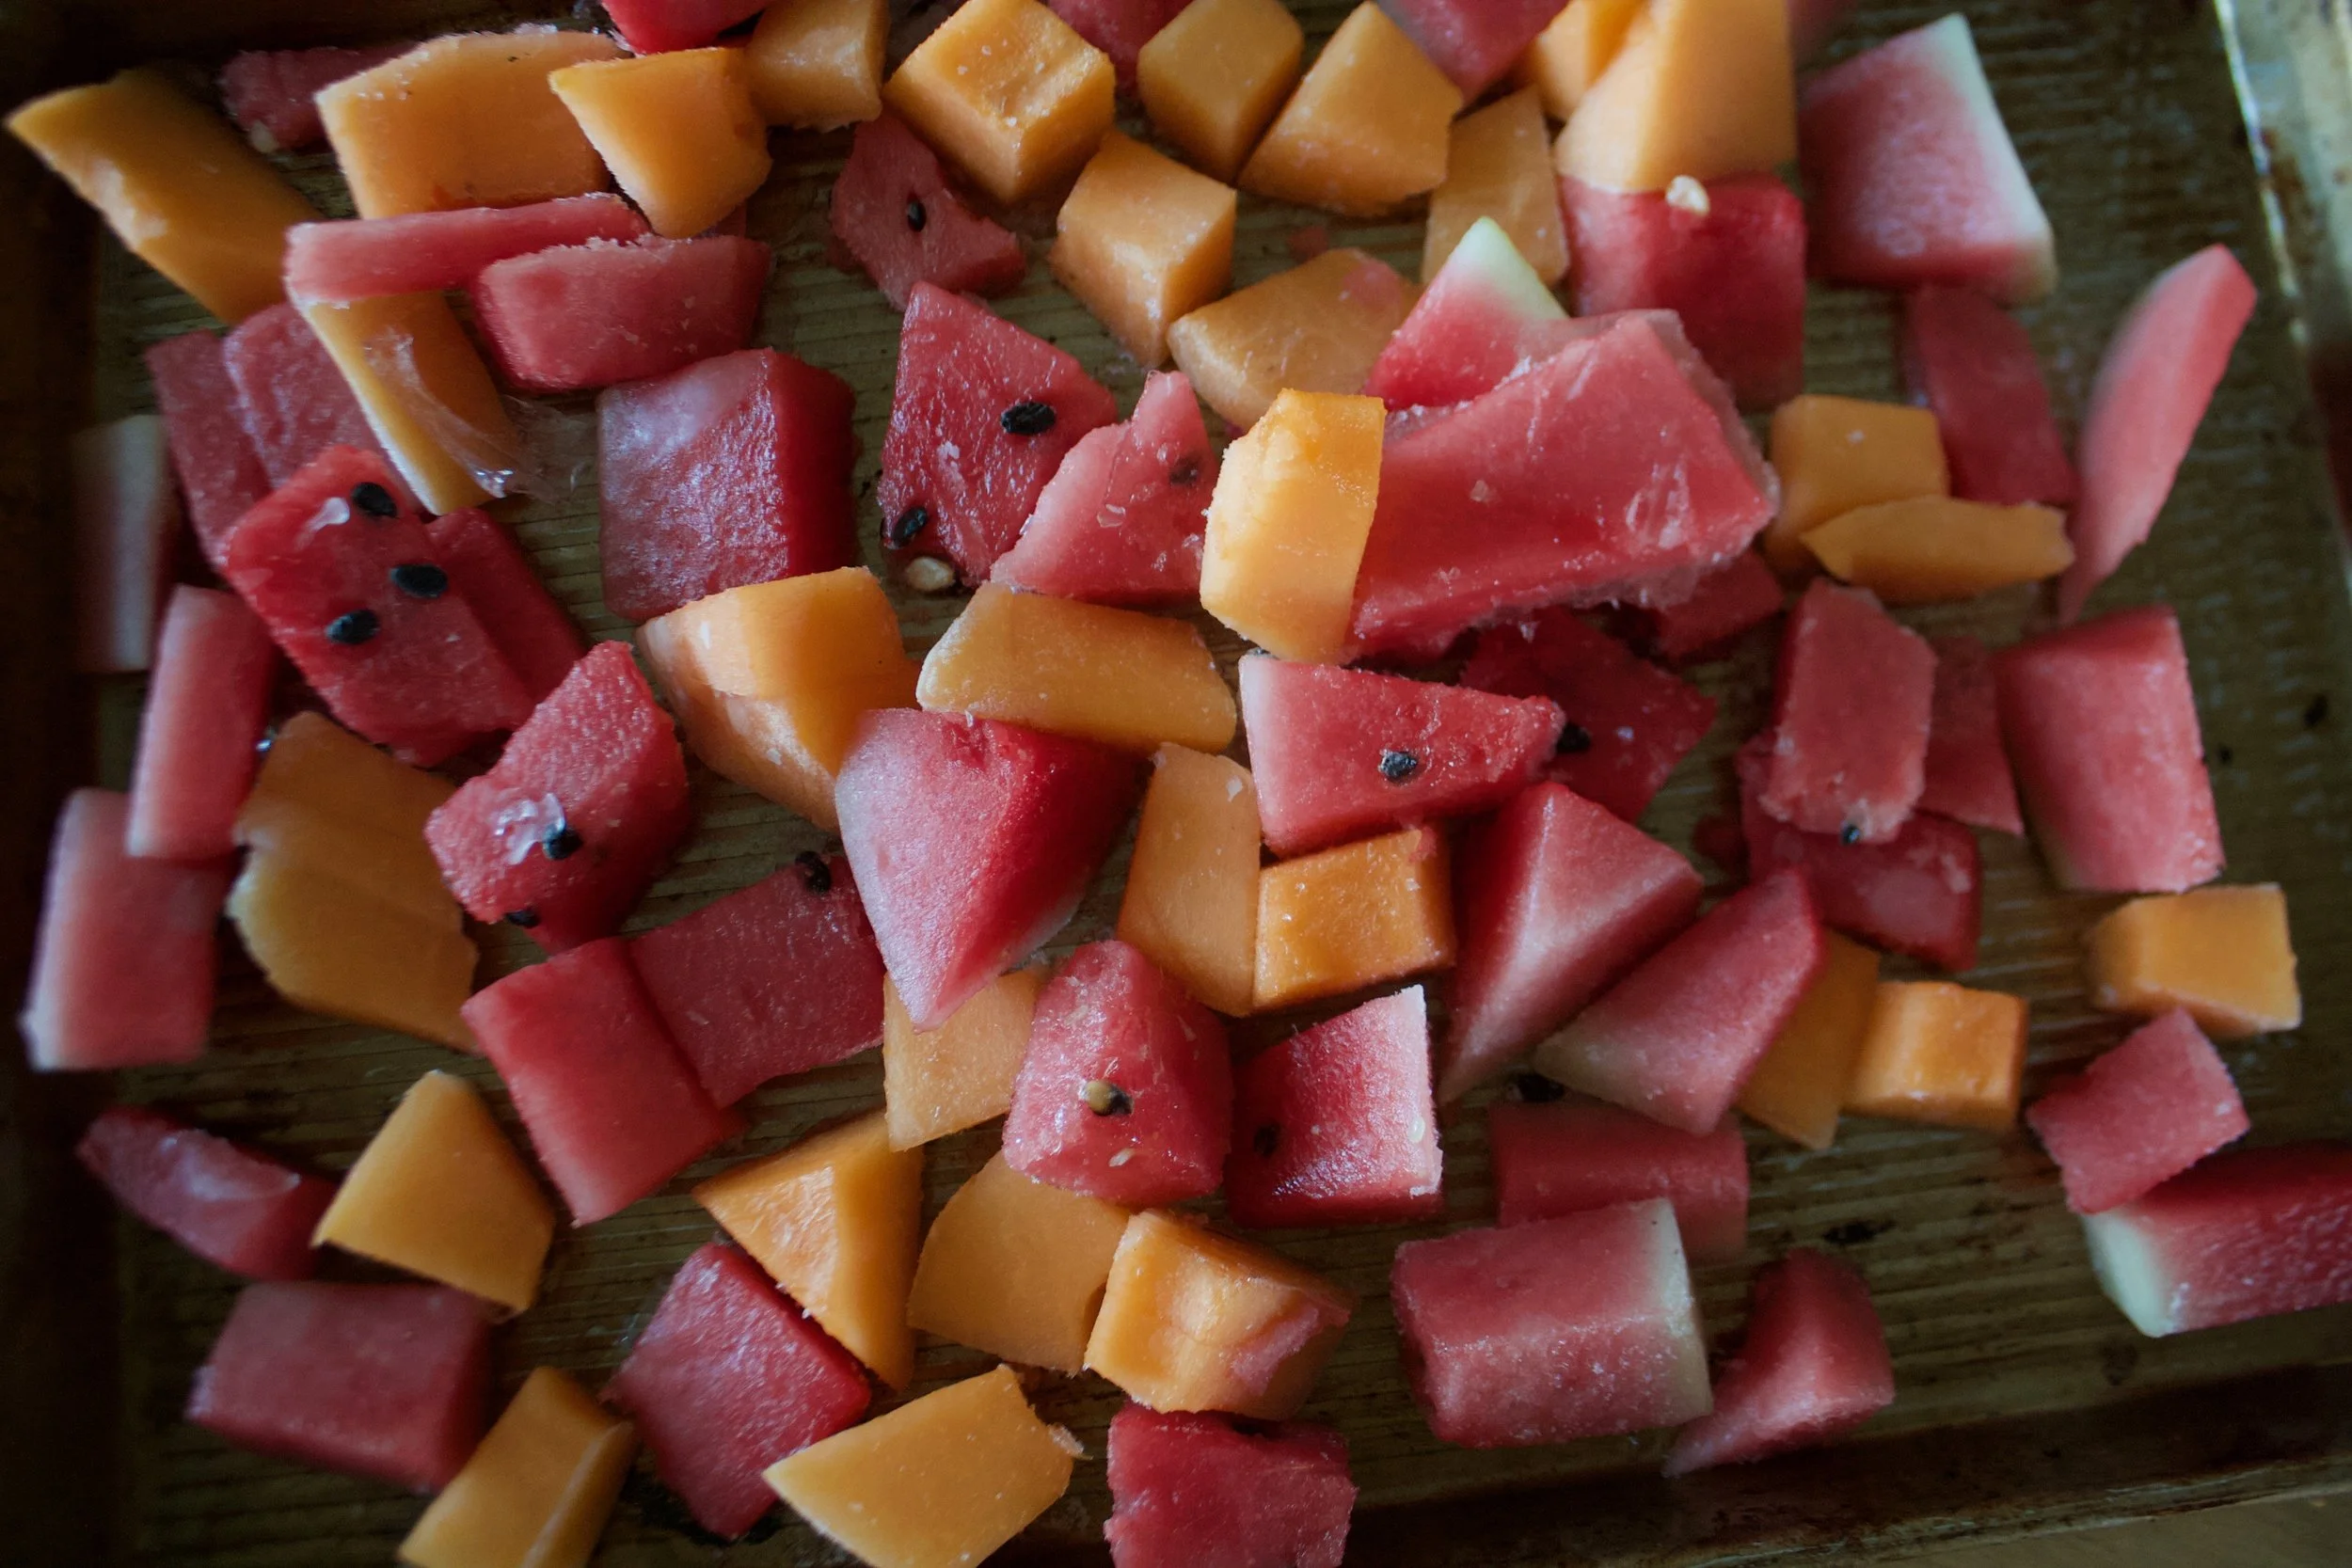
The stuff. Watermelon and cantaloupe. There should be a lime in there too but it must have rolled away….%u00a0

Chop some of each of the melon up, remove the rinds, and place on a big baking sheet and stick into the freezer until frozen. You can do as little as 2 cups %u00a0of each or as much as a whole melon, it’s up to you. (I suggest freezing extra)

Frozen melon. And now you can slushy.

Equal parts watermelon and cantaloupe go into blender, along with the juice of half (or more to taste)%u00a0a lime and you are probably going to need to add about 1/2 a cup of water, to help the blender blend it all together. %u00a0And that’s it. You blend until it’s all slushy.

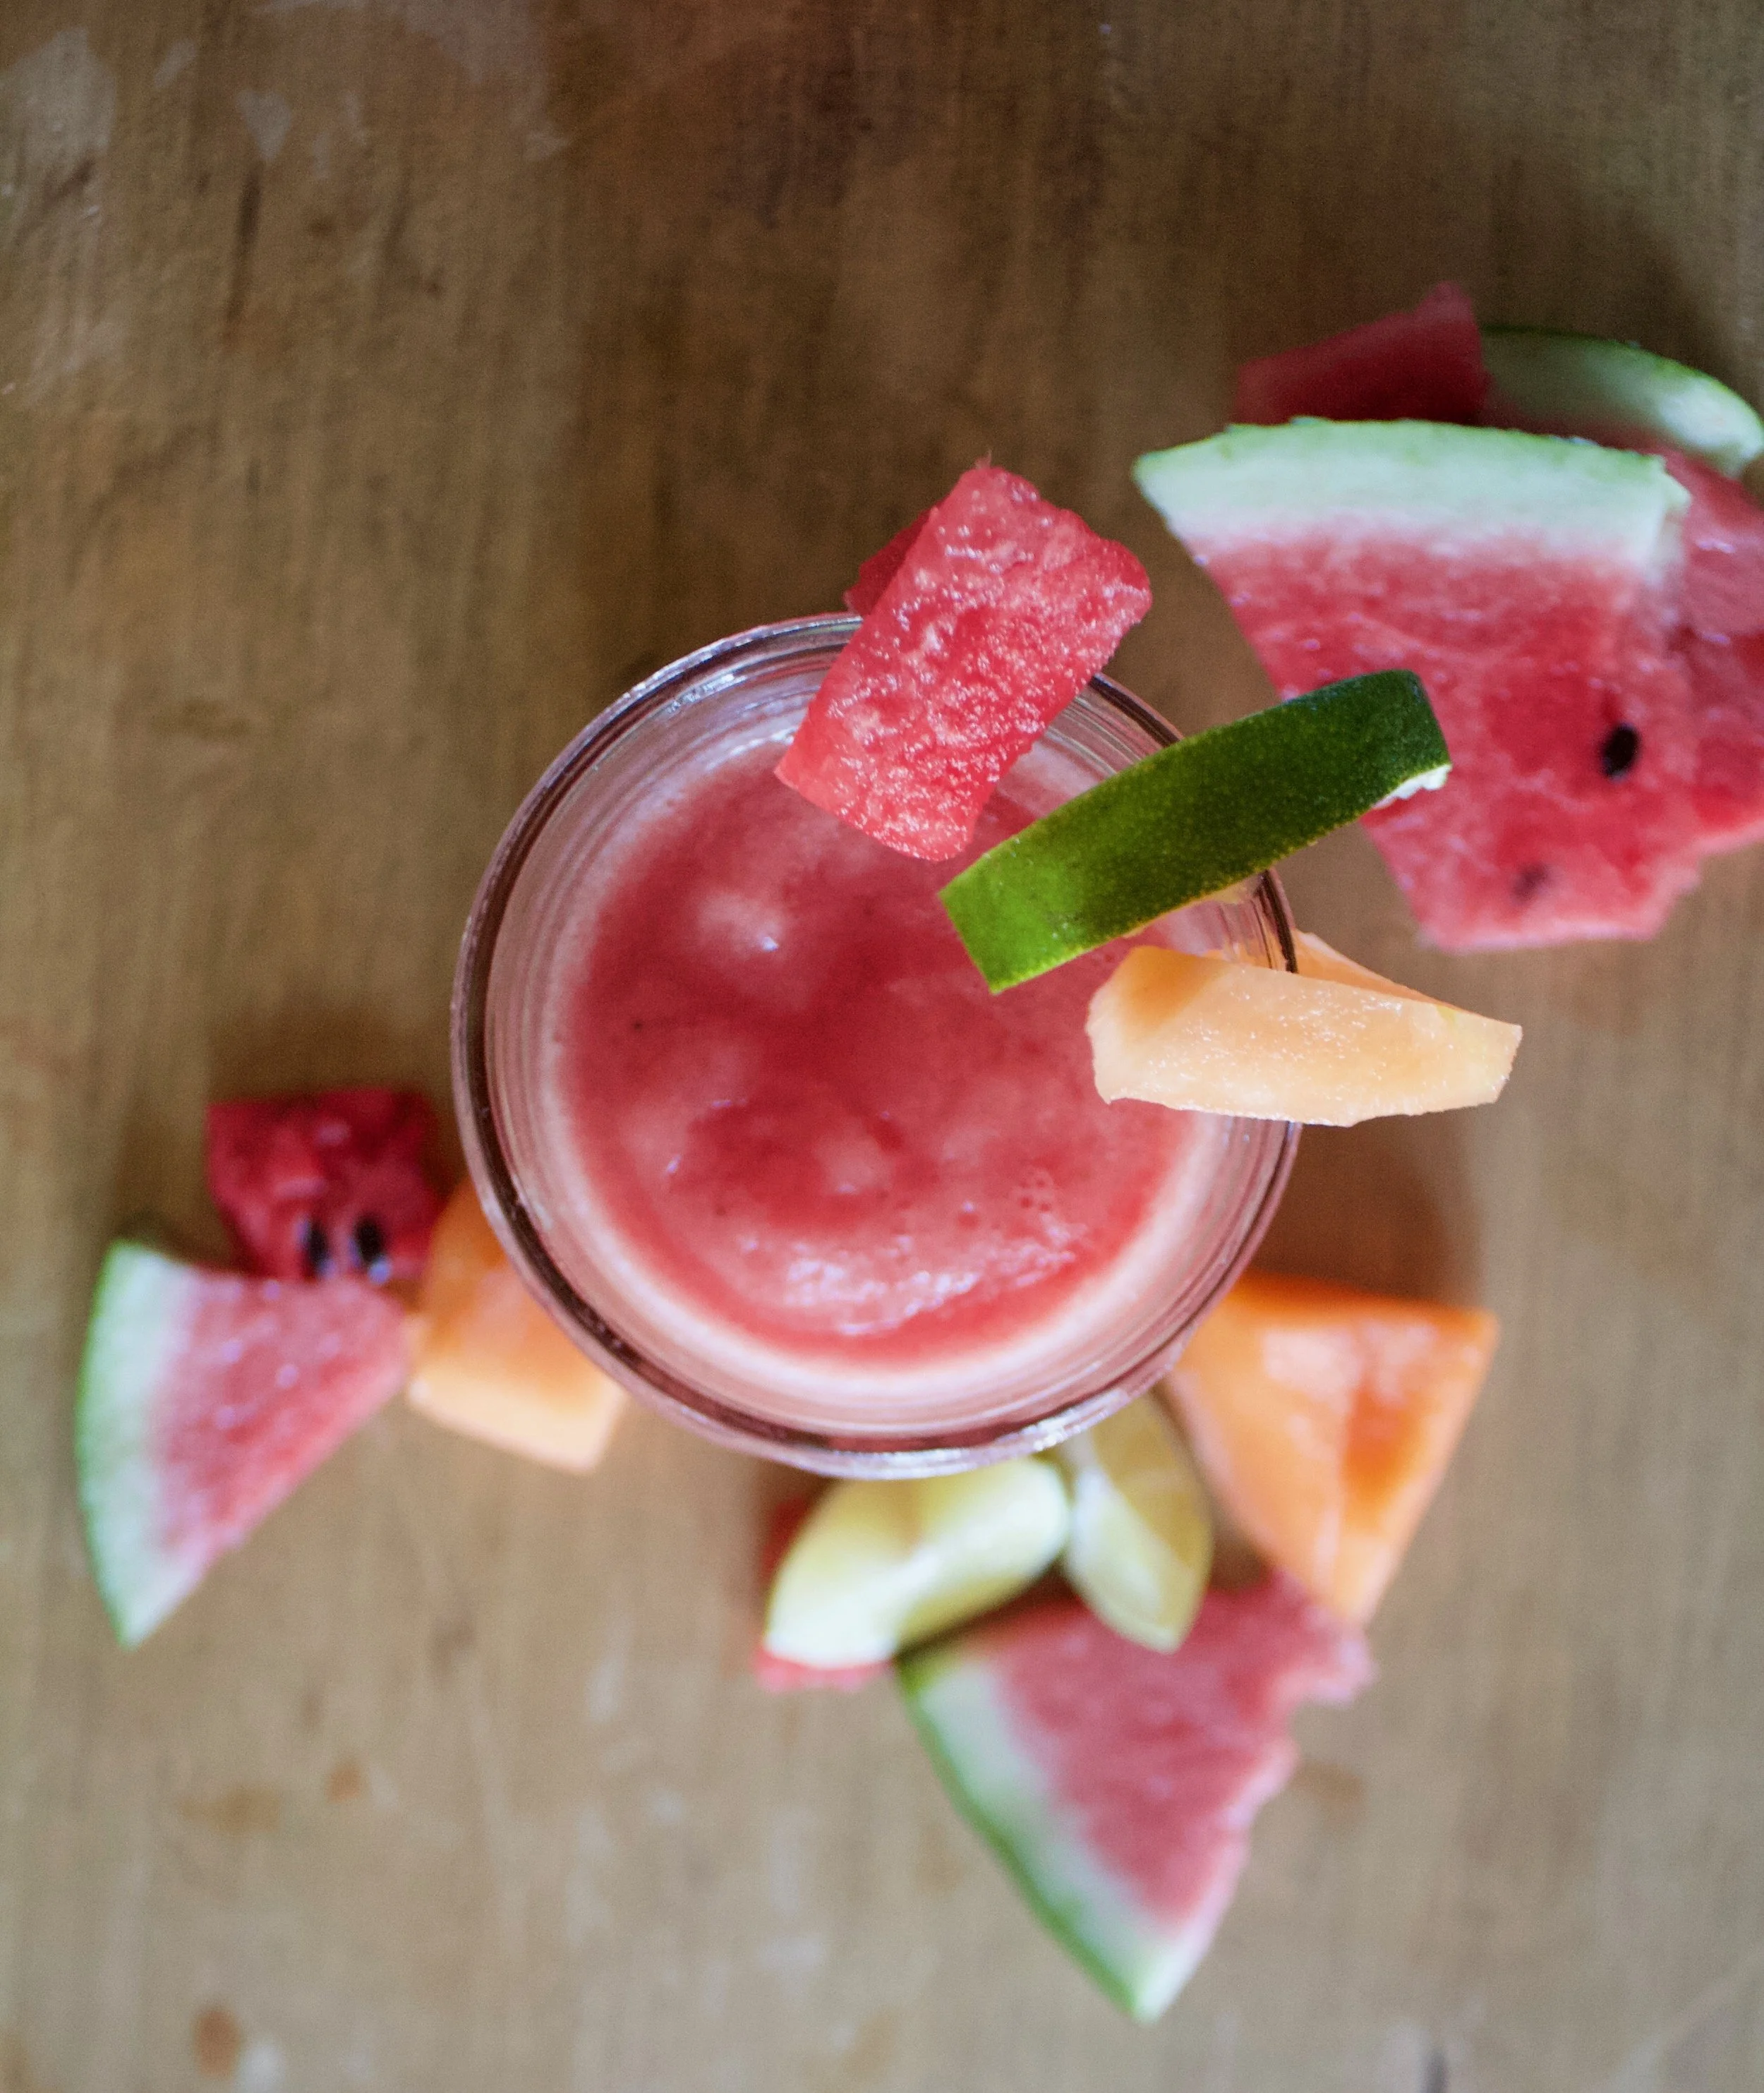
Pour into cups, garnish with a lime and/or little chunks of melon and you are good as golden.%u00a0

From now on, or until summer is over and I run out of melon, I will be keeping the freezer stocked, especially because I know that the next few weeks are suppose to be stupid hot again.%u00a0

Waterloupe slushies. Summertime goodness.%u00a0

-C

  • about 2 cups %u00a0of a watermelon
  • about 2 cups of a cantaloupe%u00a0
  • 1 lime
  • 1/2- 1 cup water%u00a0

Note. The amounts above are for two%u00a0 2 cup slushies. You can, and should,%u00a0freeze a crap load more melon for future slushies. %u00a0Also, no one would fault you for maybe adding a little nip of some clear alcohol to this slushy situation to make it more of an adult drink……

Cut up a watermelon and a cantalopjue. Eat some and reserve at least 2 cups of each. Remove the rinds from the melons and cut into cubes. Place melon on a baking sheet and stick into the freezer until frozen.%u00a0

Once frozen,%u00a0place equal parts frozen watermelon and cantaloupe into the blender with the juice of a lime. Turn blender on. Slowly add in water until the blender can handle blending the frozen fruit. Blend until smooth. Pour into cups, garnish if you want with more melon and lime, then get to drinking.%u00a0

First official week of summer plus #popsicleweek means we all have to make popsicles. It is not a option, it’s a must. The question is what kind of popsicles to make.

Well here you go, I got one for you right here. Pineapple, cucumber, spinach popsicles.%u00a0I highly, highly recommend them because they are amazing and you and everyone will love them.%u00a0No joke. I had two littles tell me that they are the best popsicles they have ever eaten. Then Koko damn near ate my hand off when I was trying to slow the baby down while he was eating his so he didn’t get brain freeze. After he finished off his popsicle, he turned around and went after his brothers popsicle. It was crazy. Screaming, green faced, baby charging after a popsicle. It was like an animal planet episode.%u00a0

%u00a0And so there you have it, all the littles we into them, the mr was into his, and me, I might eaten one or two and maybe I was licking all of them in between taking pictures. Ha. And big plus, unlike a lot of popsicles,%u00a0there is no extra shit in these, like no added sugar. And there is veggies in them.%u00a0They are basically an all around, eat for breakfast, lunch, dinner, snack, or dessert popsicle.%u00a0%u00a0How can you even go wrong with that.%u00a0

You can’t.

Now it’s popsicle time!

The stuff. Fresh pineapple, fresh spinach, a cucumber, and a lime. That’s it, nothing else.%u00a0

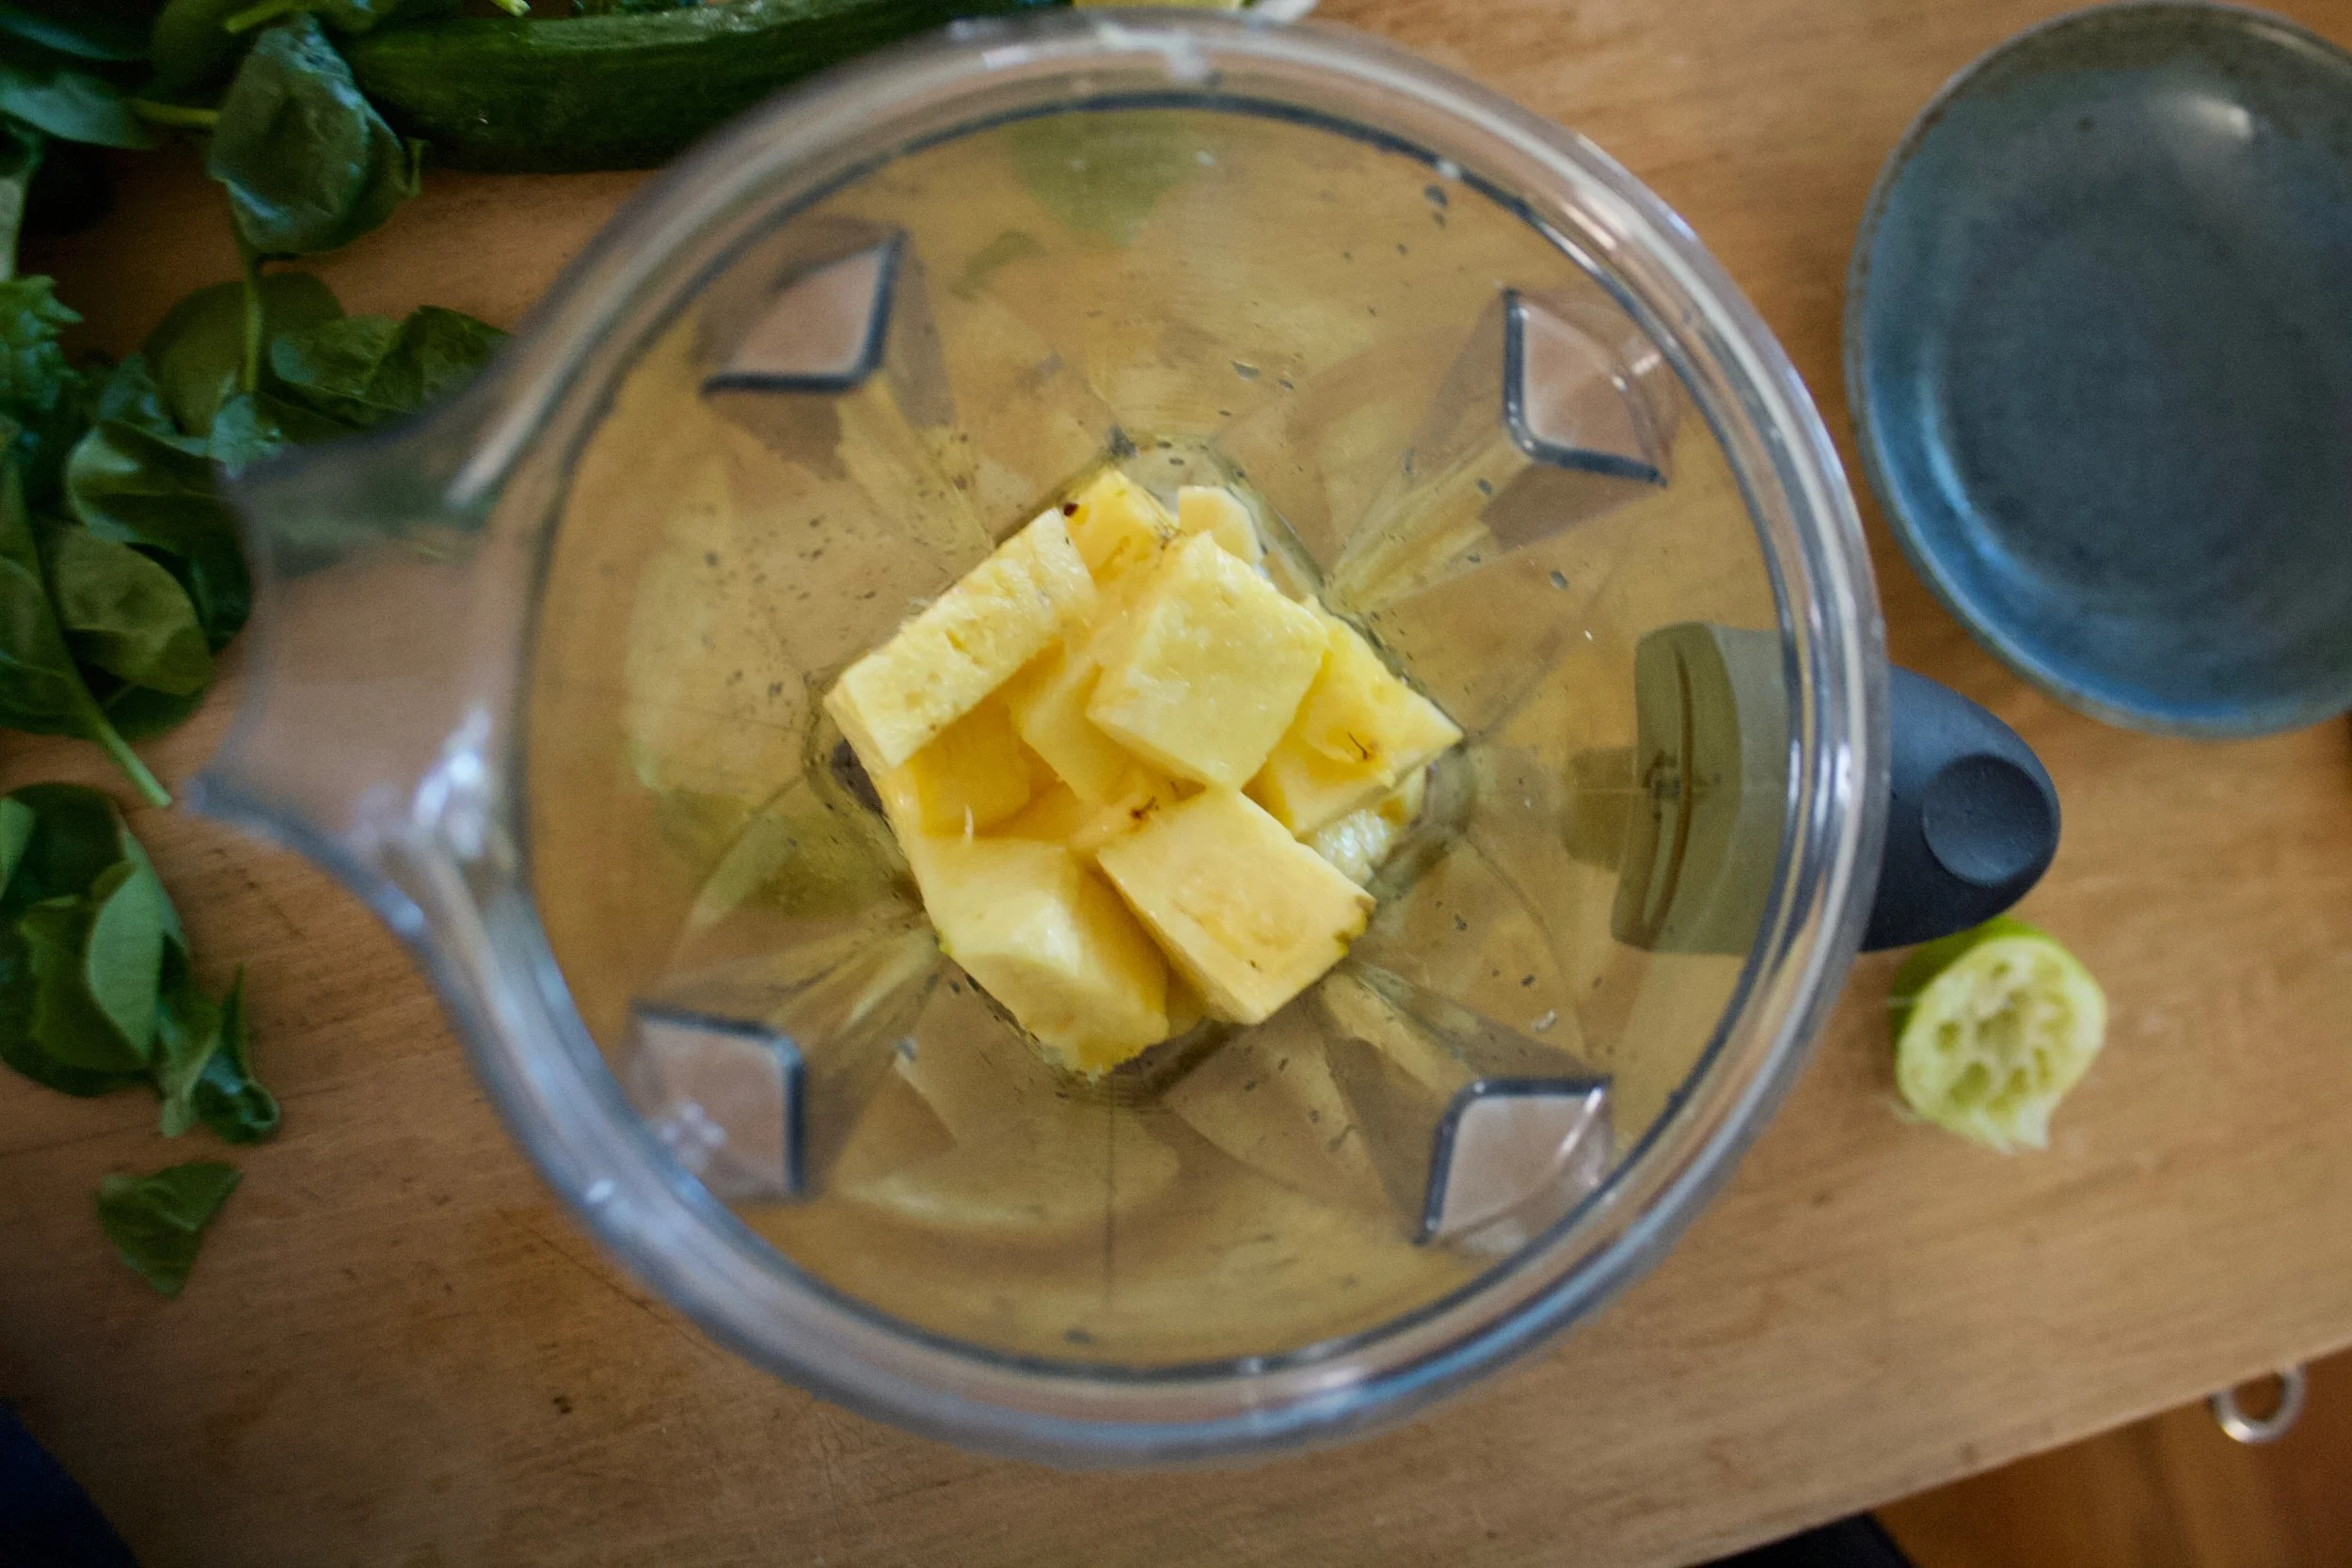
Pineapple and juice from lime into the blender. Blend until smooth.

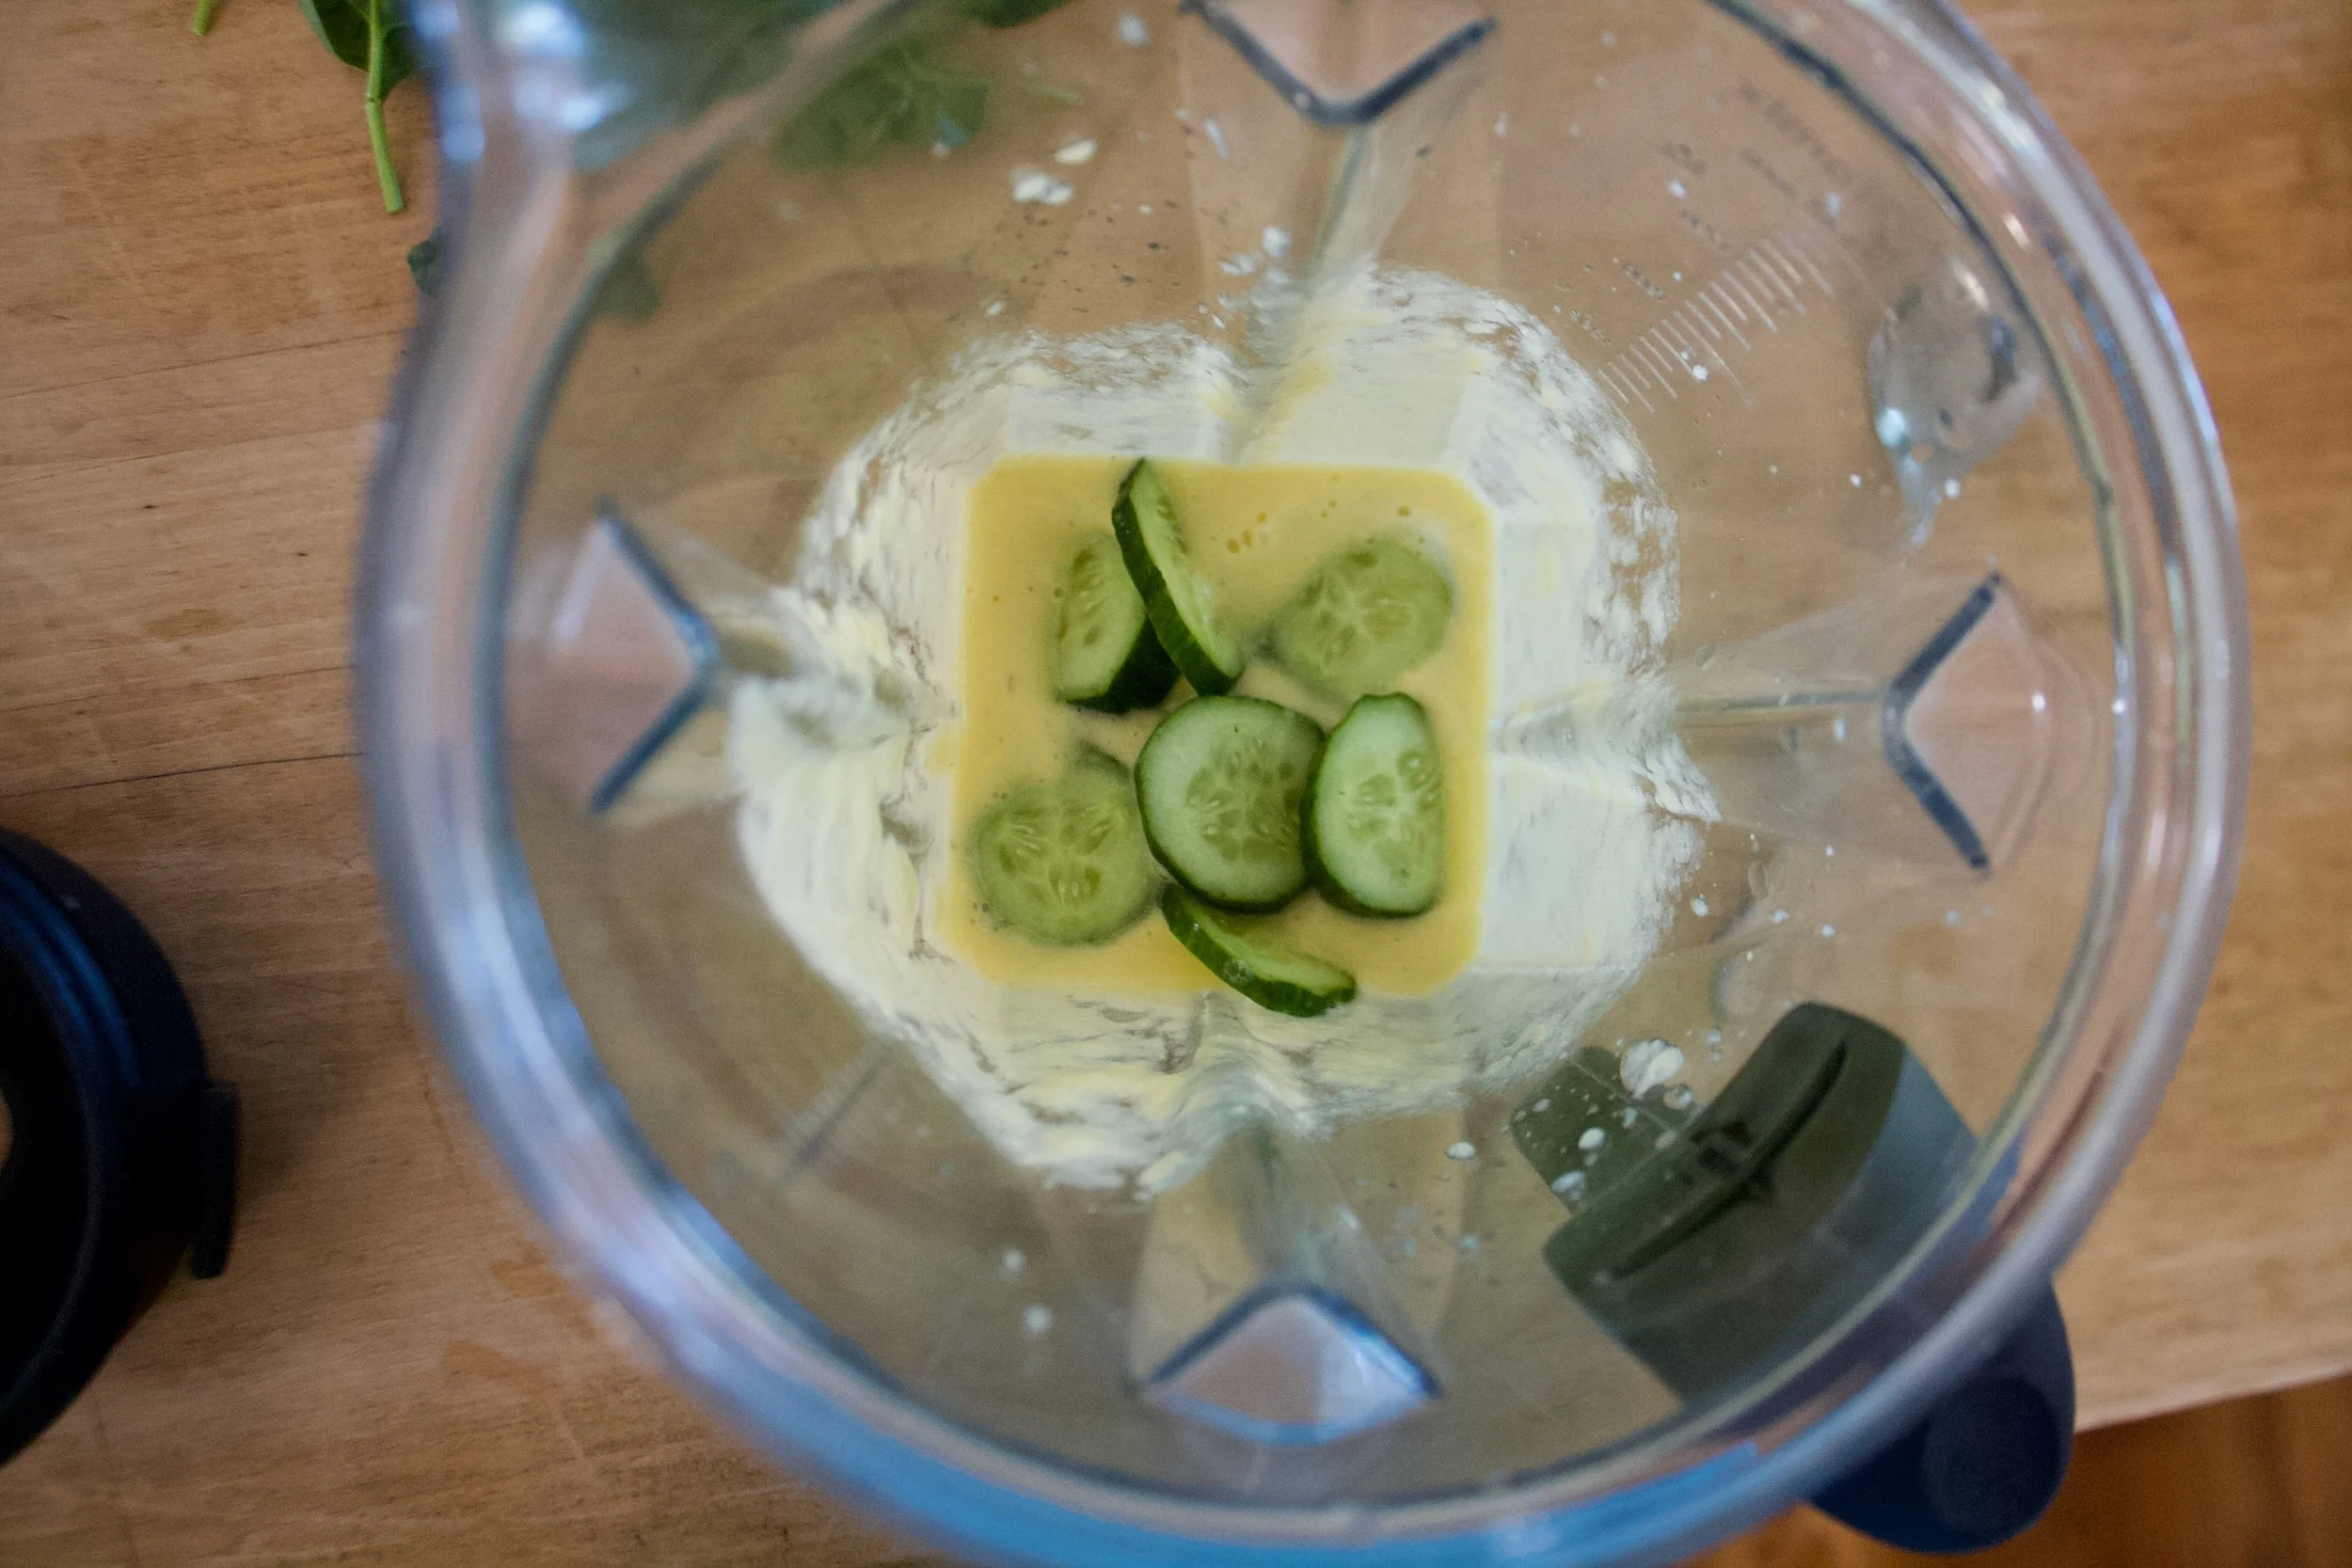
Add in the cucumber, blend until smooth%u00a0

Last but not least, add in spinach, blend until smooth.

Bright green goodness. And that’s pretty much it. And really, you could just stick it all into blender at once, I just blended the ingredients one by one for the sake of the pictures.

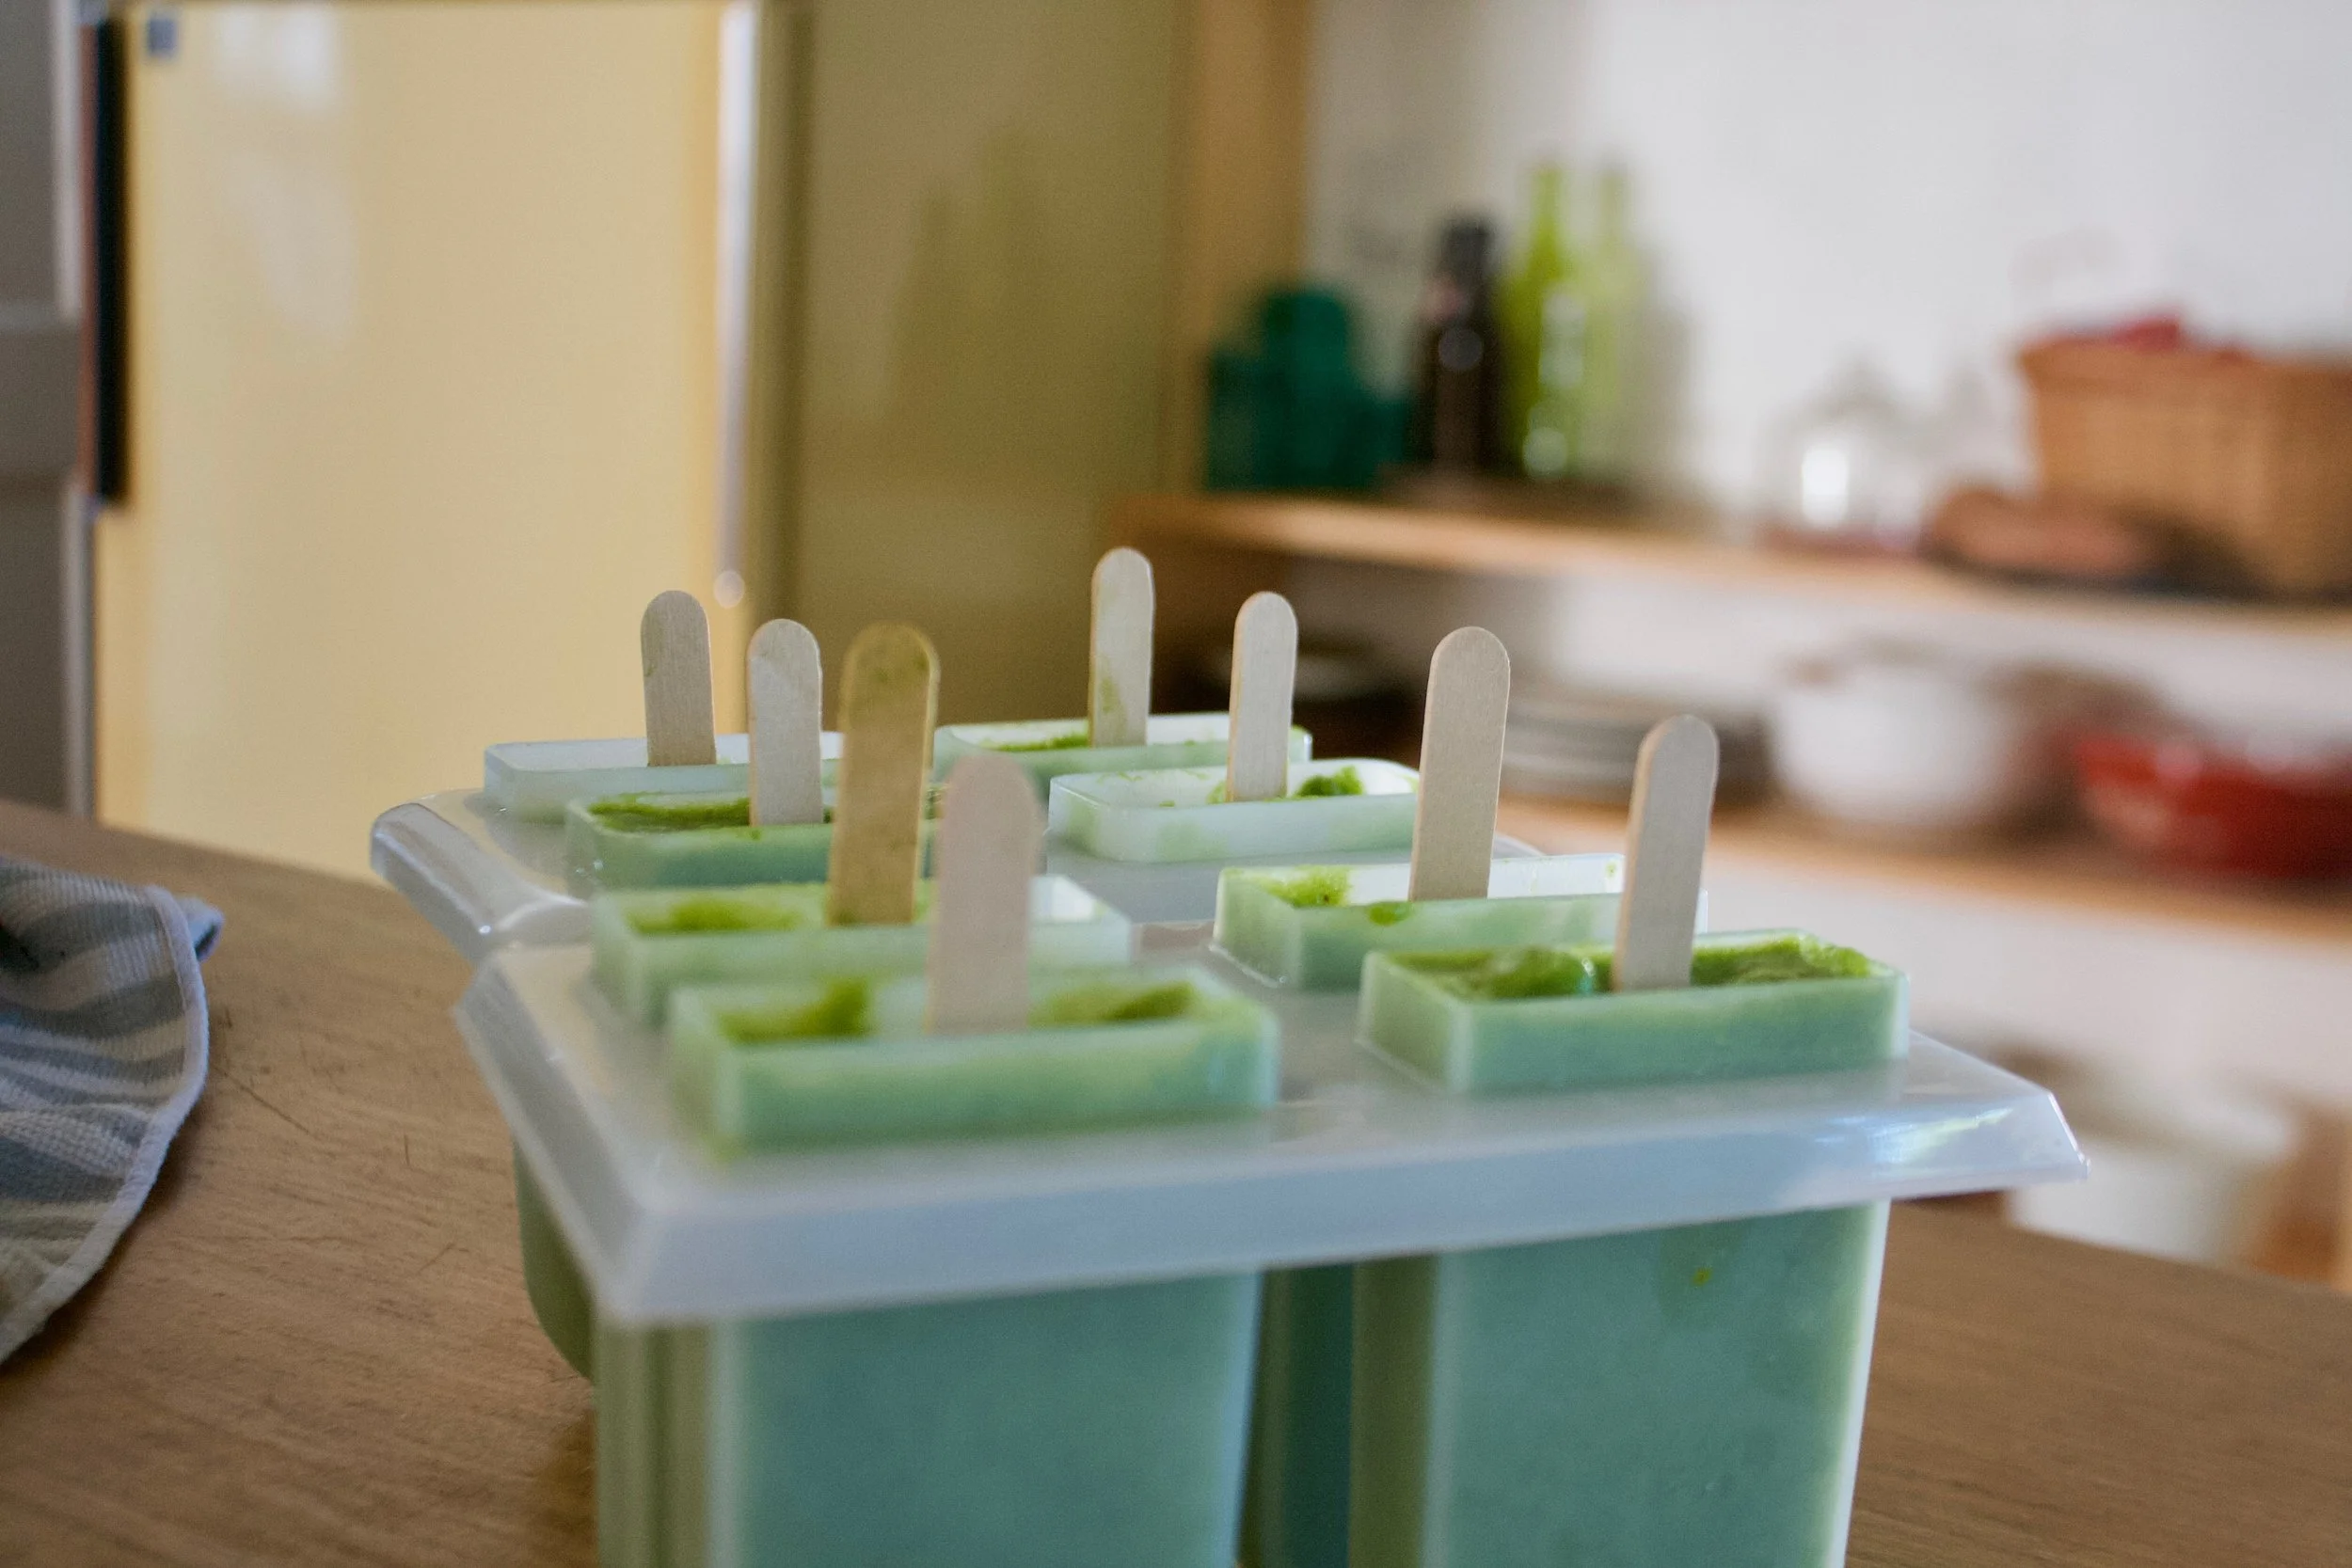
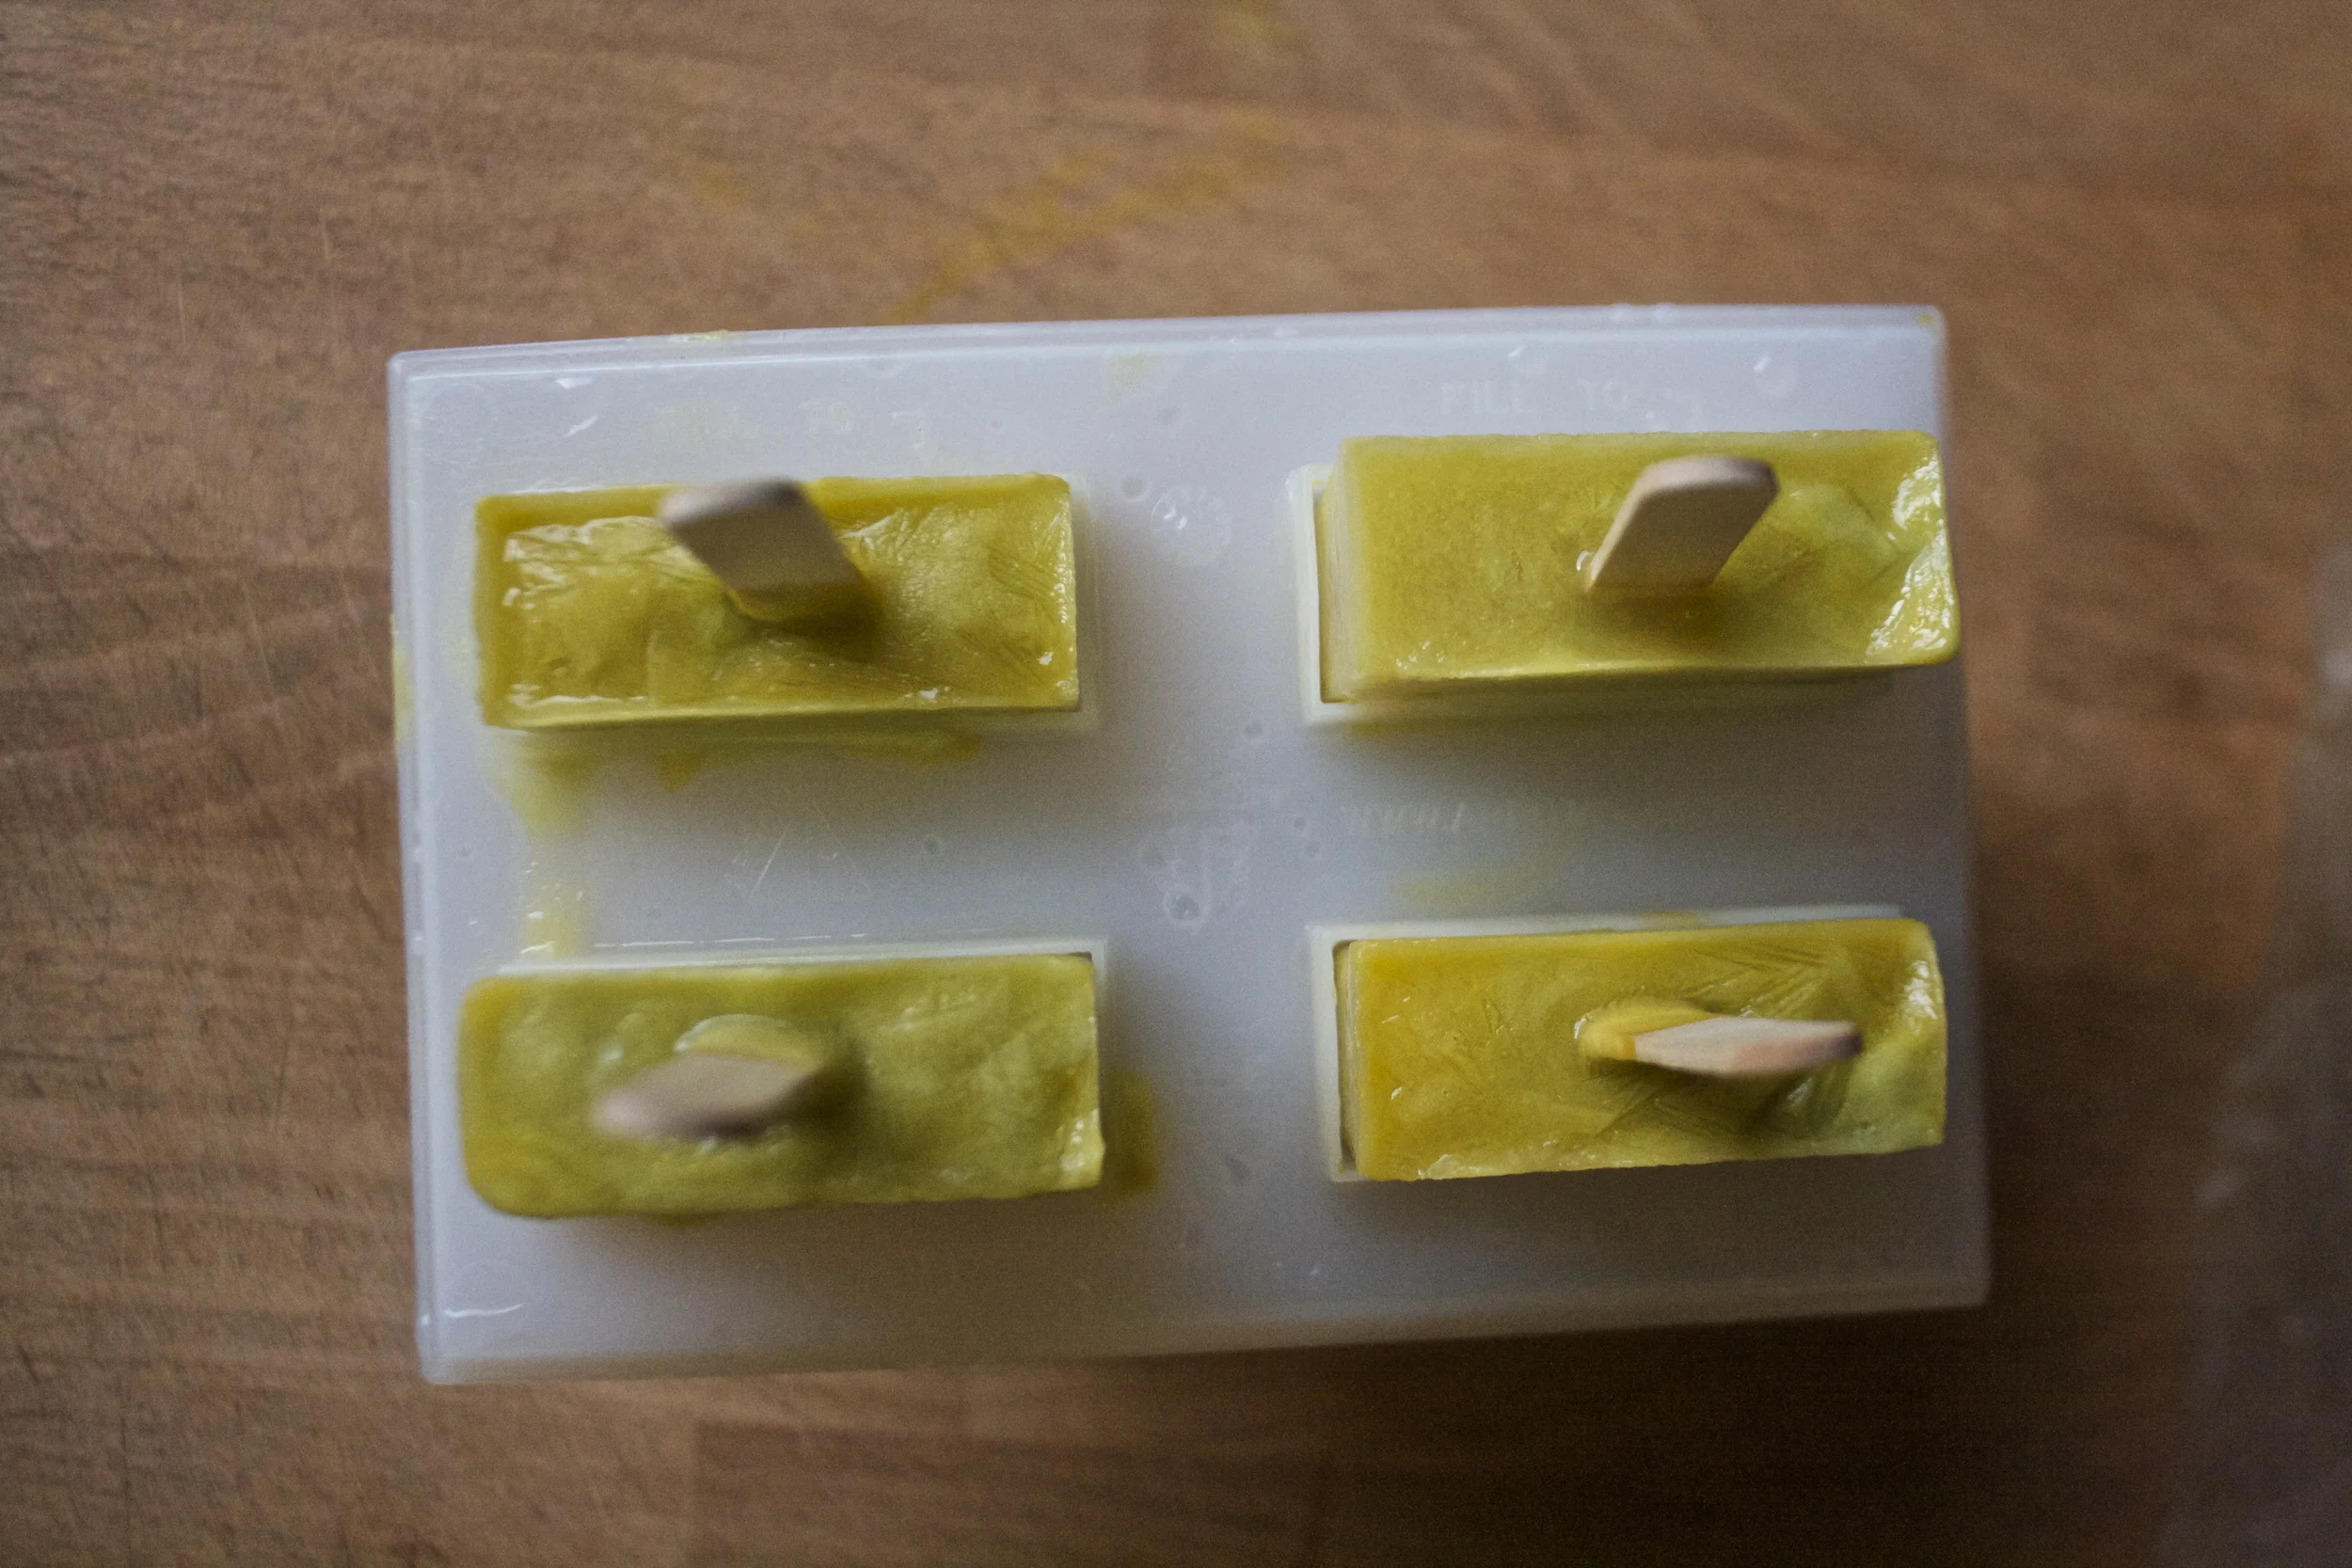
Pour that goodness into popsicles mold and either stick th sticks in now if they don’t sink or wait about an half hour after they have been in the freezer, just don’t forget the sticks (I almost did).

Mid freeze stick sticking.

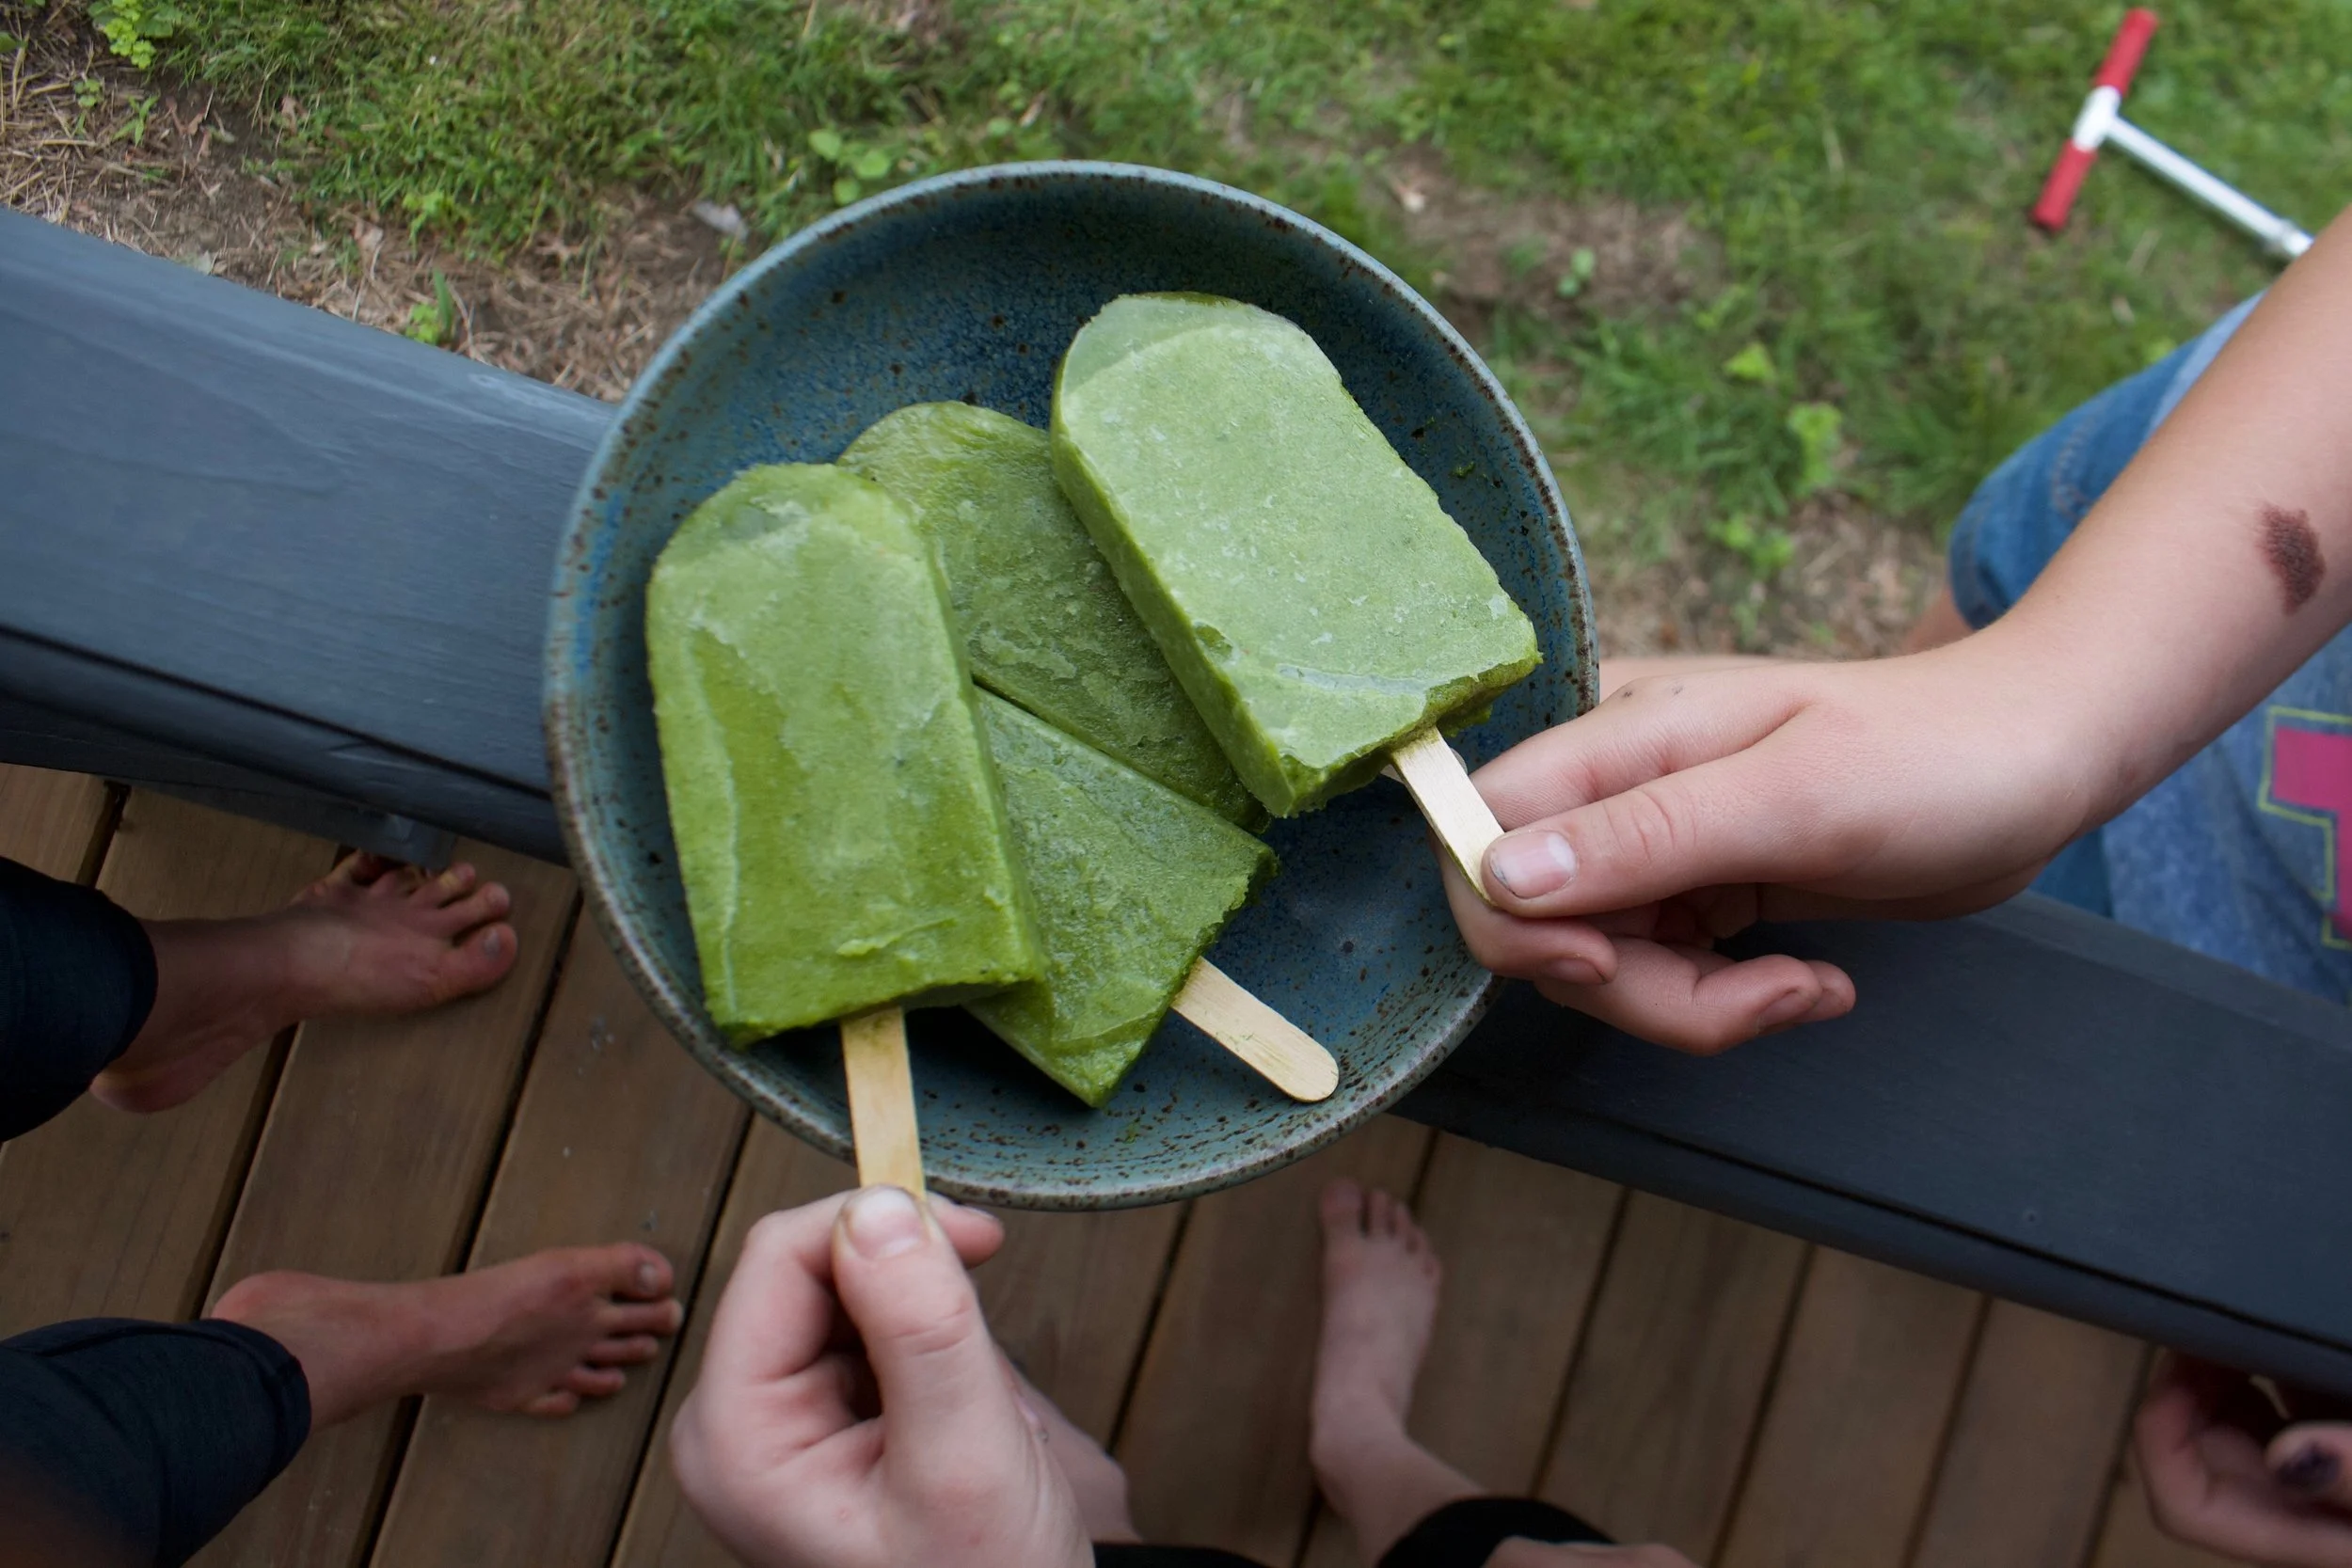
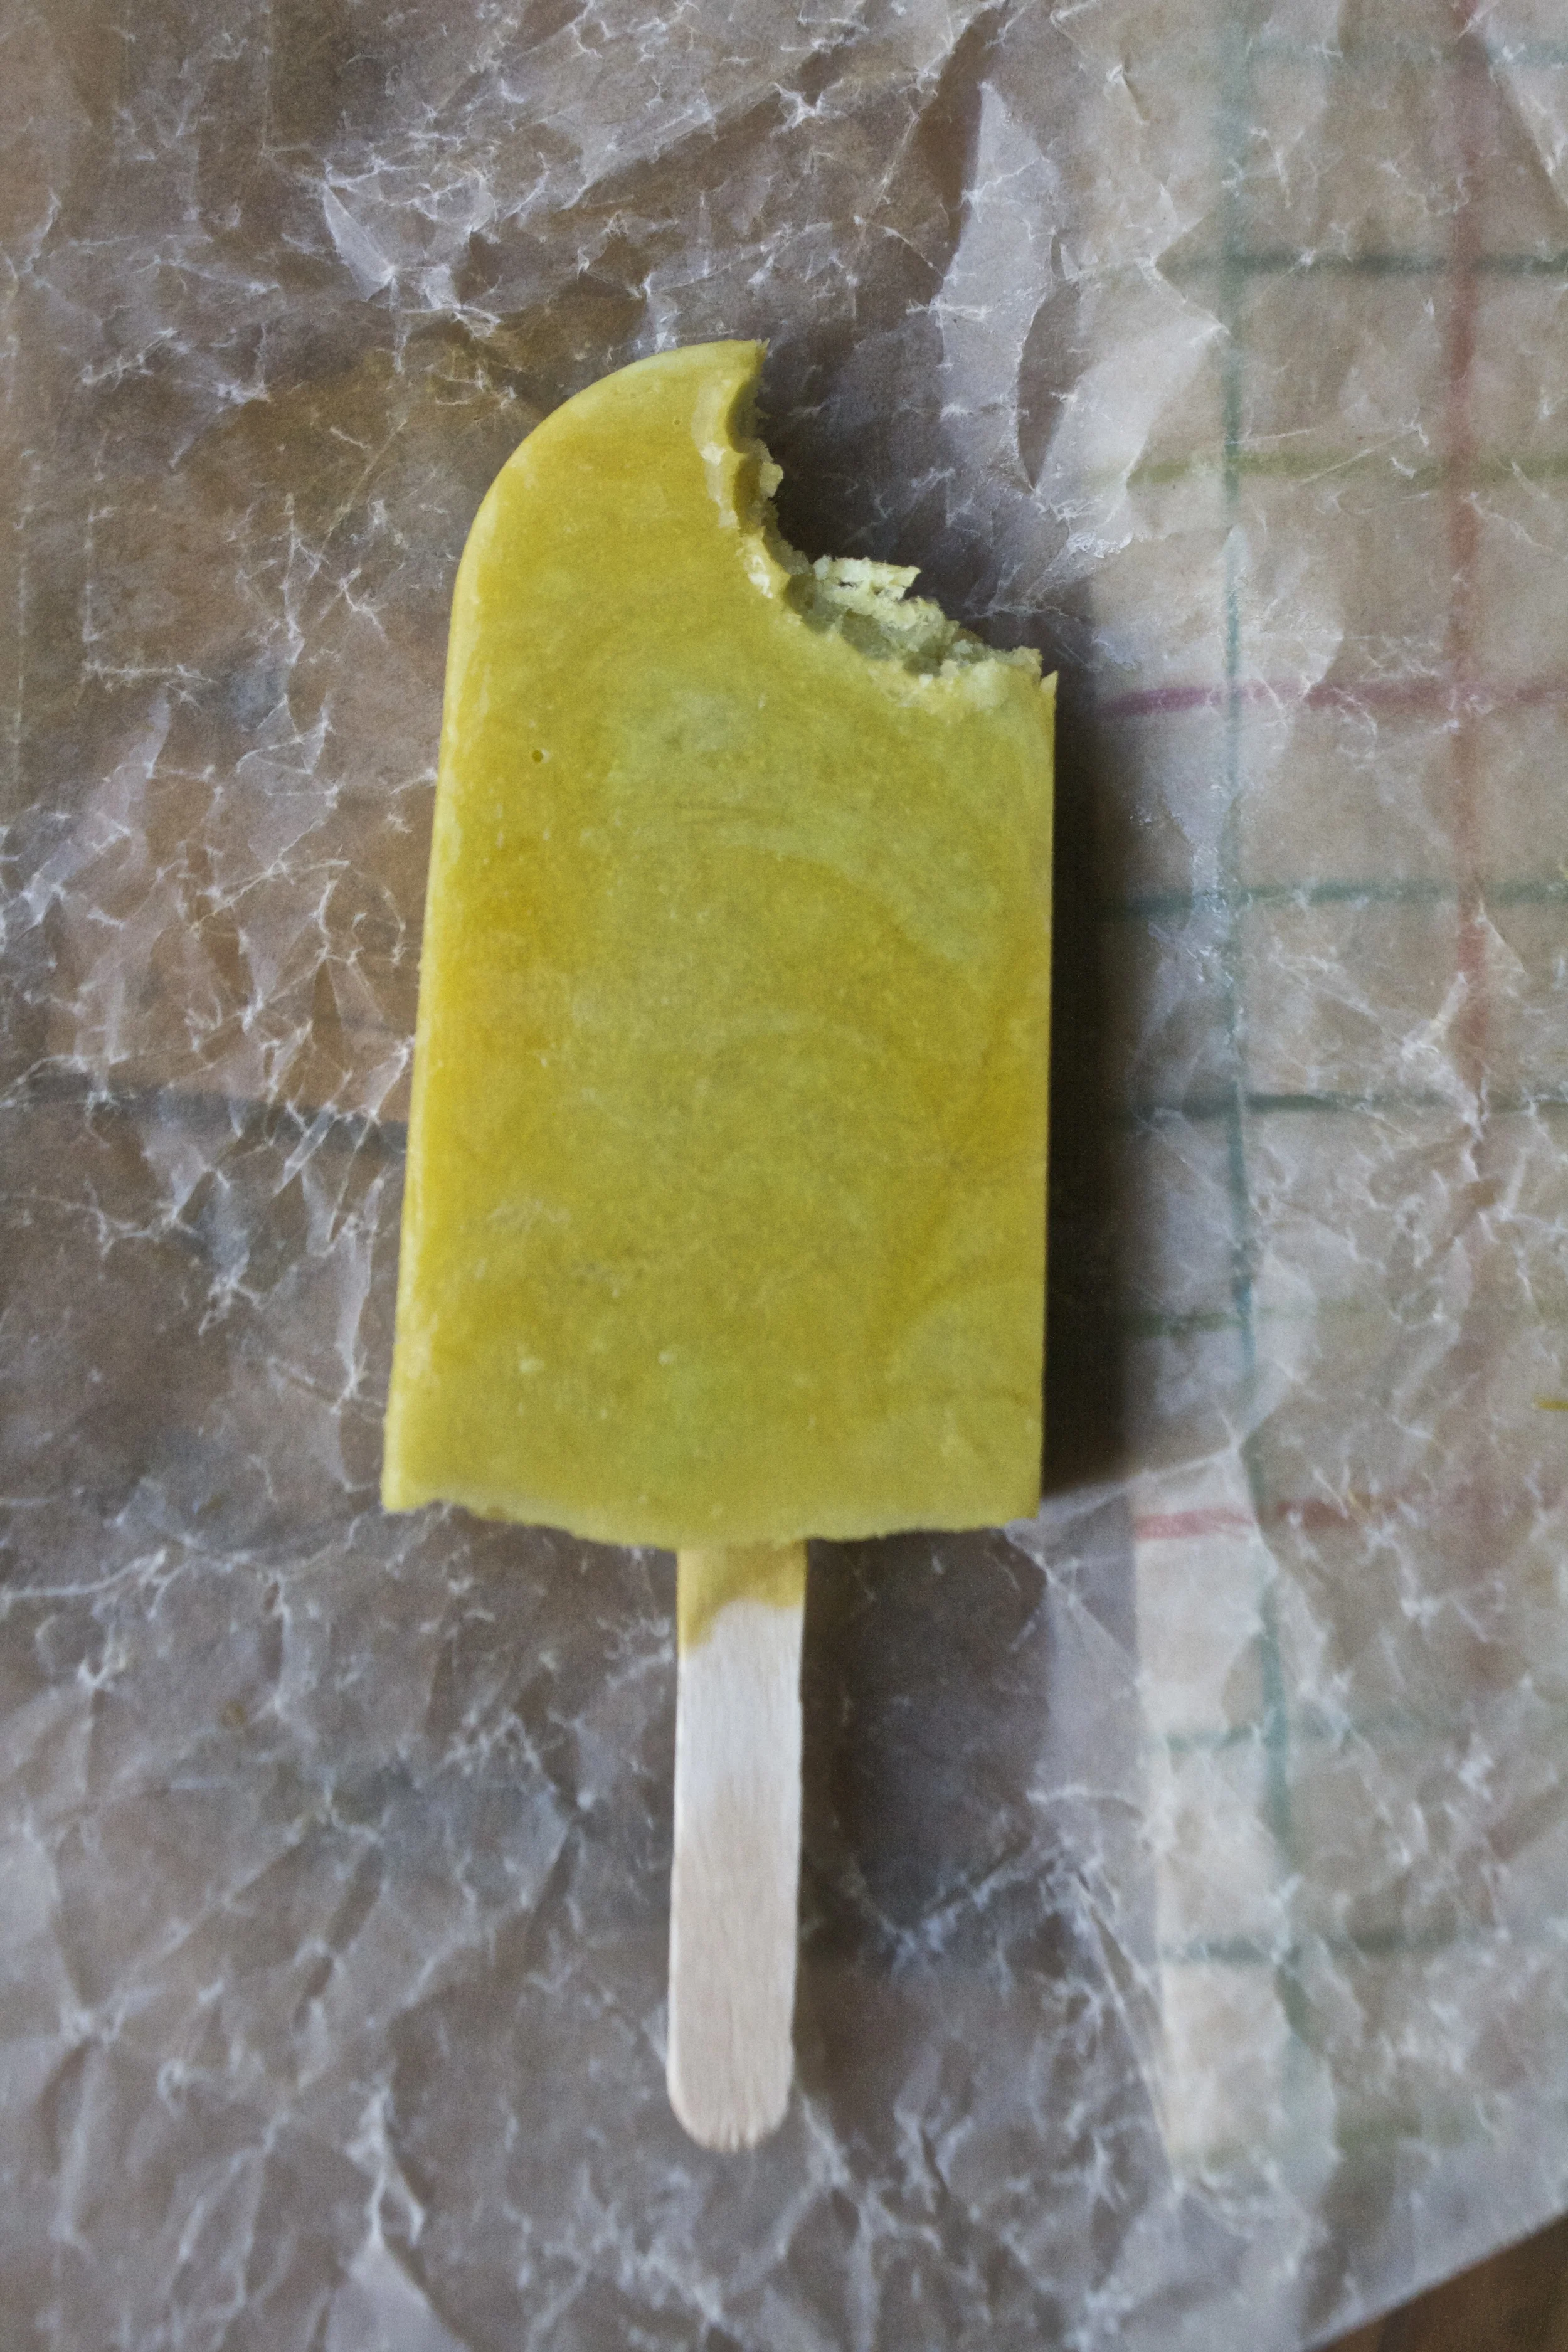
Once they are frozen and when it’s feeding time,%u00a0%u00a0you pop them out of the mold and feed the people. Watch your fingers.%u00a0

Happy summer, Happy #popsicleweek

-C

Make 8 3.5 onze popsicles%u00a0

  • 2 1/2 cups fresh pineapple*
  • 1 Lebanese %u00a0cucumber (or half of an English cucumber)
  • 3 large handfuls of spinach%u00a0
  • Juice of a lime

*Note. You can use frozen pineapple, just thaw it out so it starts to release some of it’s juices. That way you don’t need to add water to the blender to blend everything up.%u00a0

Place all ingredients into a blender and blend until smooth. Pour puree into popsicle molds and stick into freezer. After about 1/2 hour, remove from freezer and stick the popsicle sticks into the molds. Place popsicles back into freezer until completely frozen (about 4-6 hours)%u00a0

Enjoy anytime.

These popsicles are bananas!!!!! (pun intended) I forgot how much I freaking love roasted strawberries and don’t even get me started on roasted bananas.%u00a0 Then when they are all mash up and stuck into a popsicle mold… Just amazing. Rich, creamy and full of so much good flavor plus made with only good stuff. I mean you can’t get much better. This is now my new favorite go to frozen treats.

So a little confession. I made these popsicles with the intention to give them to the littles for a special popsicle breakfast but when I took the first bite of the first popsicle I changed my mind. These popsicles where too good and I wanted then all to myself. I know that makes me sound like a ass but really, they can’t miss something they didn’t know they were going to get.%u00a0 Don’t worry,%u00a0 we ended up at the store that night getting ice cream (for dessert) and a box of Captain Crunch with crunch berries for breakfast the next day instead (which they didn’t even eat because the mr made them with chocolate chip pancakes instead). They were happy, I was happy. Win win.

And lesson learned, make two batches for next time so I can share. I will share next time (maybe).

The stuff. 3 ripe bananas, ripe freshly picked strawberries (they don’t have to be freshly picked) cashew milk, and salt.

Chop bananas into chunks and strawberries in half ans place onto a greased baking sheet.

Pop into a hot oven to roast.

Roasted and all sorts of good (If you are prone to eating you roasted fruit before using it for popsicles, roast extra).

Scoop all the banana into a blending device (I used a hand blender so they went into a measuring cup) add in a pinch of salt ans the milk. Blend until creamy smooth.

For the strawberries just mash them up with a fork on the baking sheet.

Grab your popsicle mold and fill. Start bu scooping a bit of the banana in first, add in a little strawberry, then banana again. Keep layering until the mold is full. Then top off with a popsicle stick.

Into the freezer for the freeze.

And once frozen there are no rules. Eat a popsicle and be super happy.

Enjoy and stay all sorts of cool.

-C

Makes four 3.5 oz popsicles

  • 3 ripe bananas
  • 1 cup strawberries
  • 1/4 cup plant milk (I used cashew, but any is good. Cow milk would work too)
  • pinch of salt

Preheat oven to 400

Grab a baking sheet and lightly grease it up. Peel bananas and cut into i inch pieces. and place on baking sheet. Remove stems from strawberries and cut in half. Stick those onto baking sheet as well then place the baking sheet into the hot oven.

Roast for about 20 minutes.

Remove from oven and let cool enough to handle. Place the roasted bananas into a blending device, add a pinch of salt and the milk. Blend until smooth. Take a fork and mash up the strawberries, which can be done directly on the backing sheet.

Scoop a bit of banana into each mold, then add a little mashed strawberry.. Continue layering until each mold is filled to the fill line. Add in popsicle stick then pop the filled molds into freezer,

Freeze for at least 4 hours, but 6 to 8 is safer.

Once frozen, pop from molds and eat. You can share but you don’t have too.

Not only is it the first week of summer, it’s also popsicle week! Billy over at the sweet ass blog Wit and Vinegar hosts a little (actually quite large) bloggers party that share all sorts of fun and fantastic popsicle recipes and presents that list to the world. There are popsicle flavors up the wazoo…Pretty stinkin cool right.

So my contribution to the world of popsicle eaters is one of my all time favorites (maybe the absolute best one yet).. Carrot Ginger Orange.

For those who know me, this flavor combination should come as no surprise. Carrots are my thing. I eat them all day, every day. Sure I eat a shit ton of other stuff, but always carrots. Carrots are in my breakfast,lunch, and dinner. If I need a snack, I grab a carrot. There is just something so satisfying not to mention so easy about carrots. Eaten alone, with mustard or hummus, or dipped in peanut butter of cinnamon..Carrots can do just about anything. I mean I eat so many carrots that no shit, my skin is a slight tint of orange (seriously for reals. Something about an abundance of carotene) Crazy I know, but what can I say. I really like carrots. %u00a0%u00a0%u00a0%u00a0%u00a0%u00a0%u00a0 (that’s what I say when people ask me why I am glowing orange)

So naturally the carrot made it’s way into my popscile mold. And now it’s for real. Carrots really can do anything.

Another win for carrots everywhere.

And popsicles.. Just in time for that hot as shit weekend we are about to have.

GO POPSICLES CO!

The stuff. Carrots, an orange, some fresh ginger, and some water. Simple simple and no, I didn’t forget the sweetener… these pops have no need (although if you want, go ahead and add a smidge or splash of something sweet)

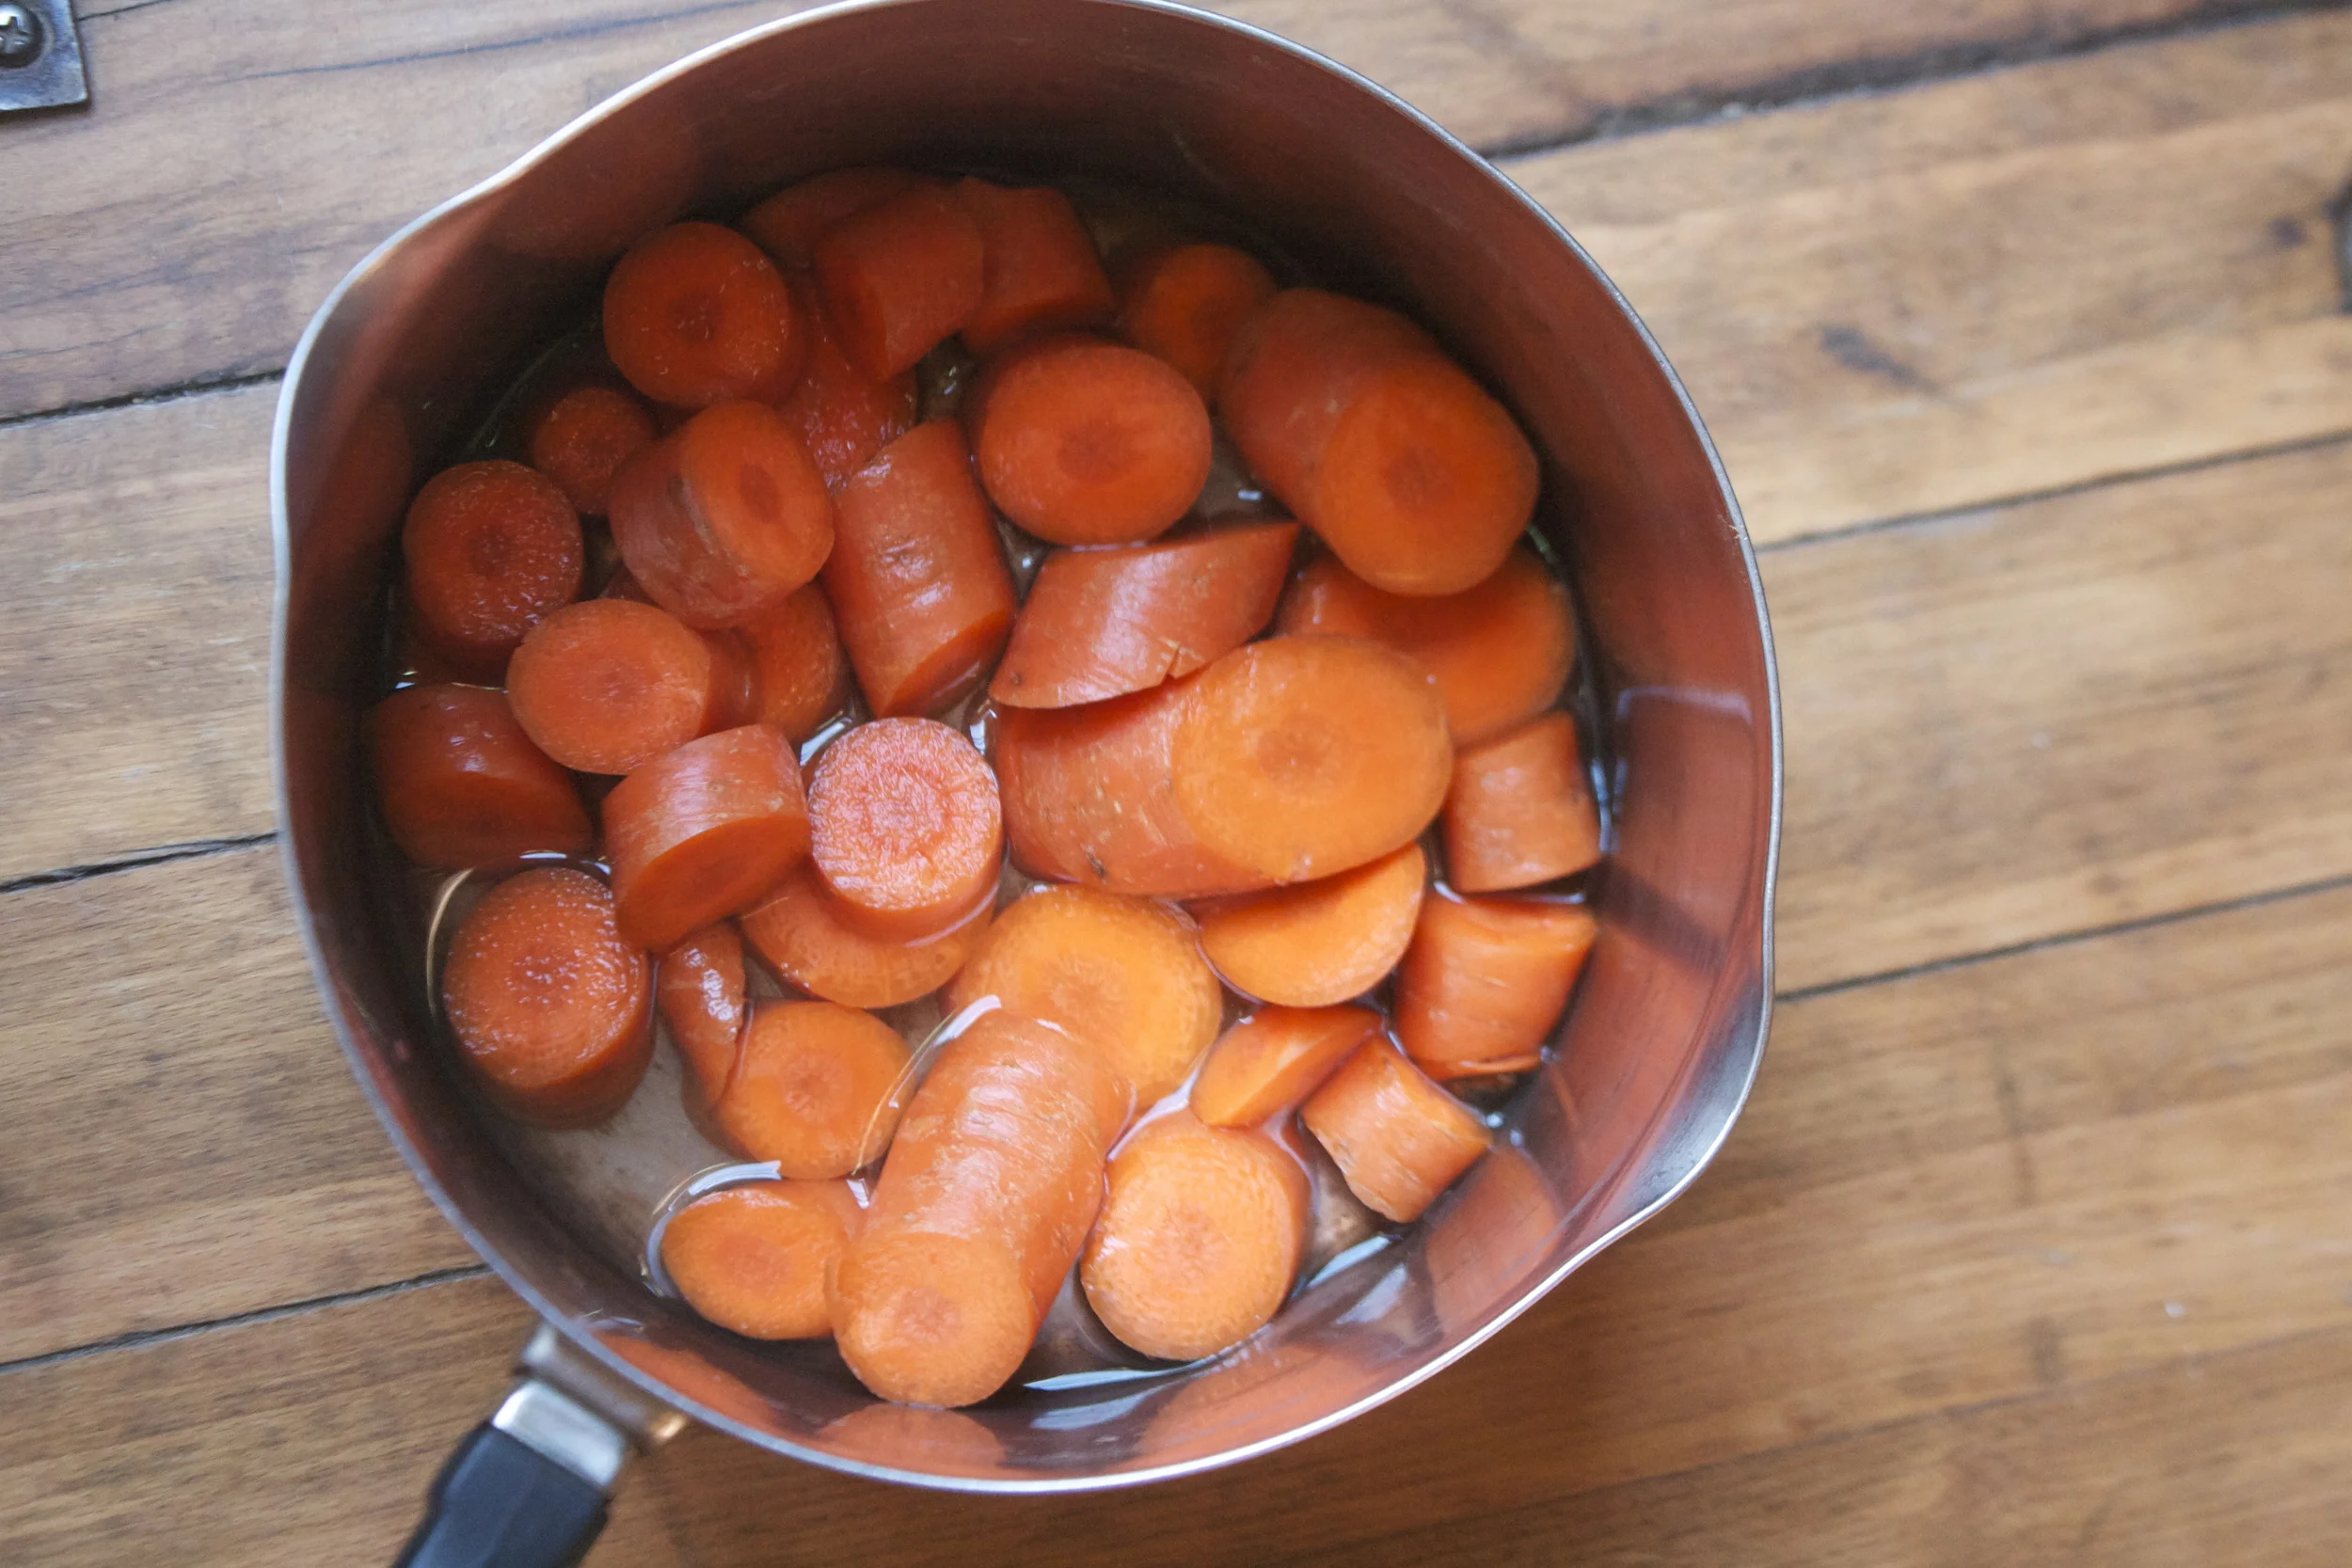
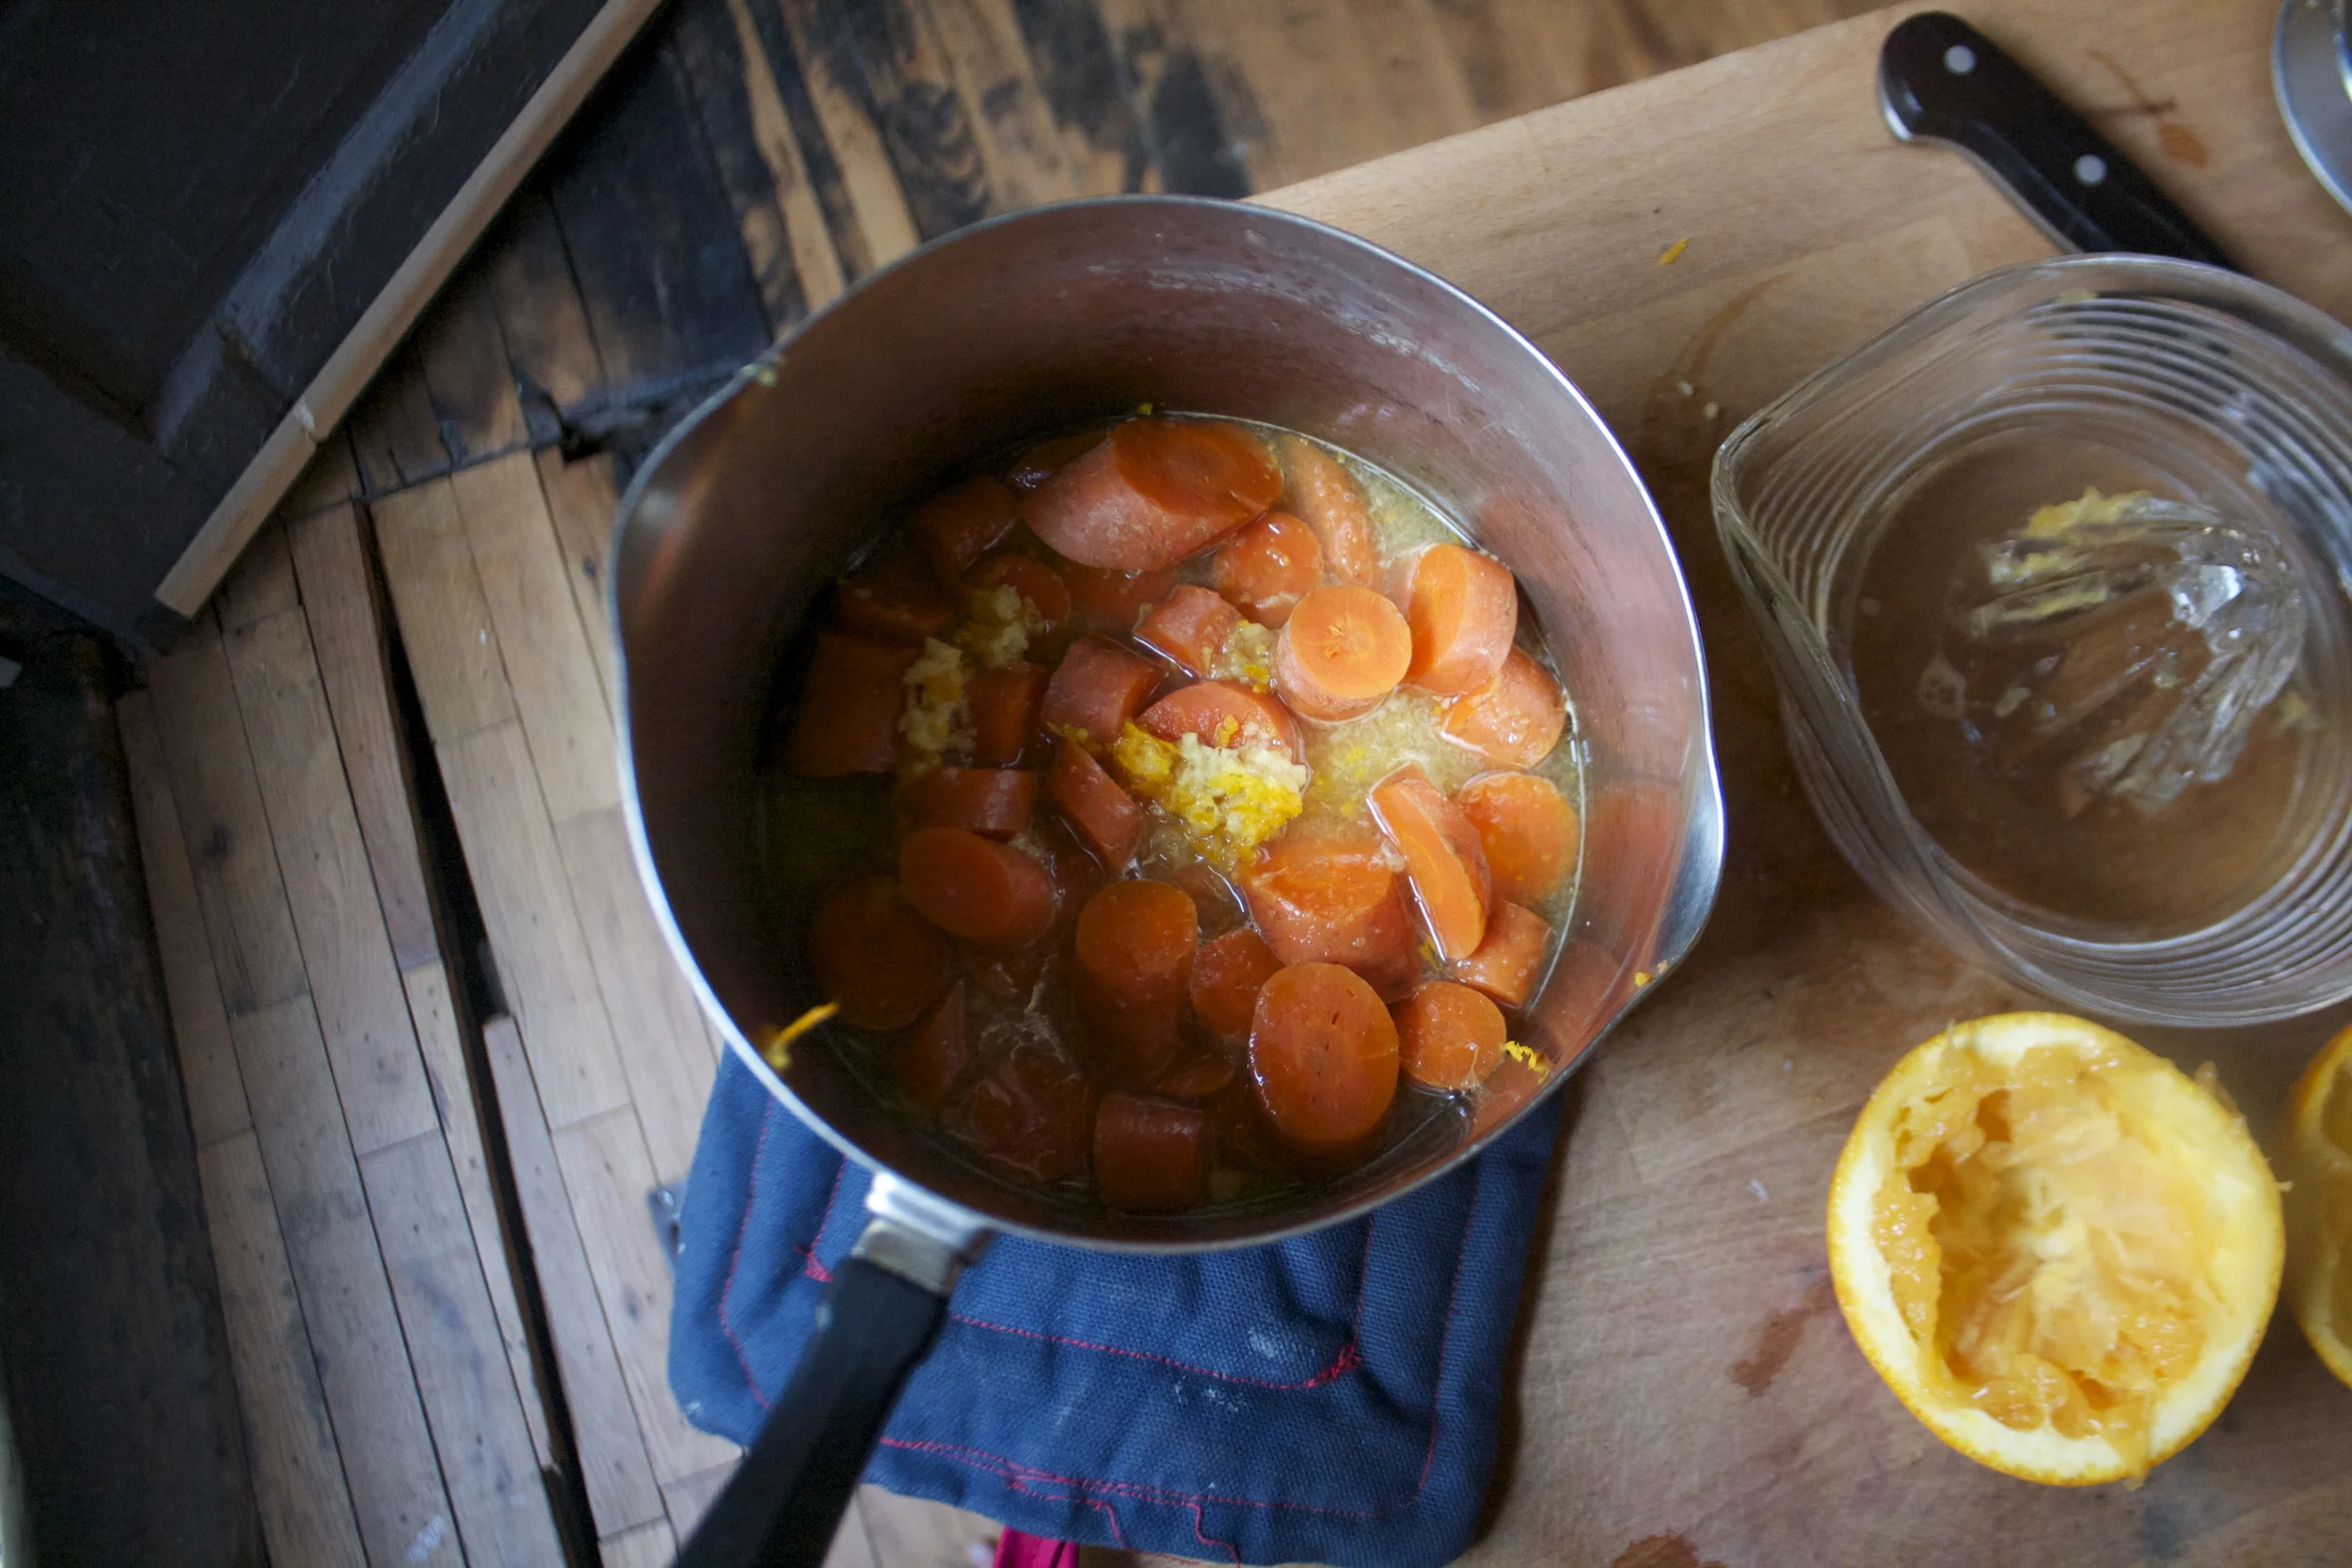
Start by chopping up the carrots and sticking them into a pot with some water. Not a lot, just enough that it almost cover the carrots, and stick that pot onto the stove, cover and cook on medium heat until tender. Make sure to check that the water doesn’t completely evaporate or you will have burnt carrots which taste just fine, but not as a sweet popsicle

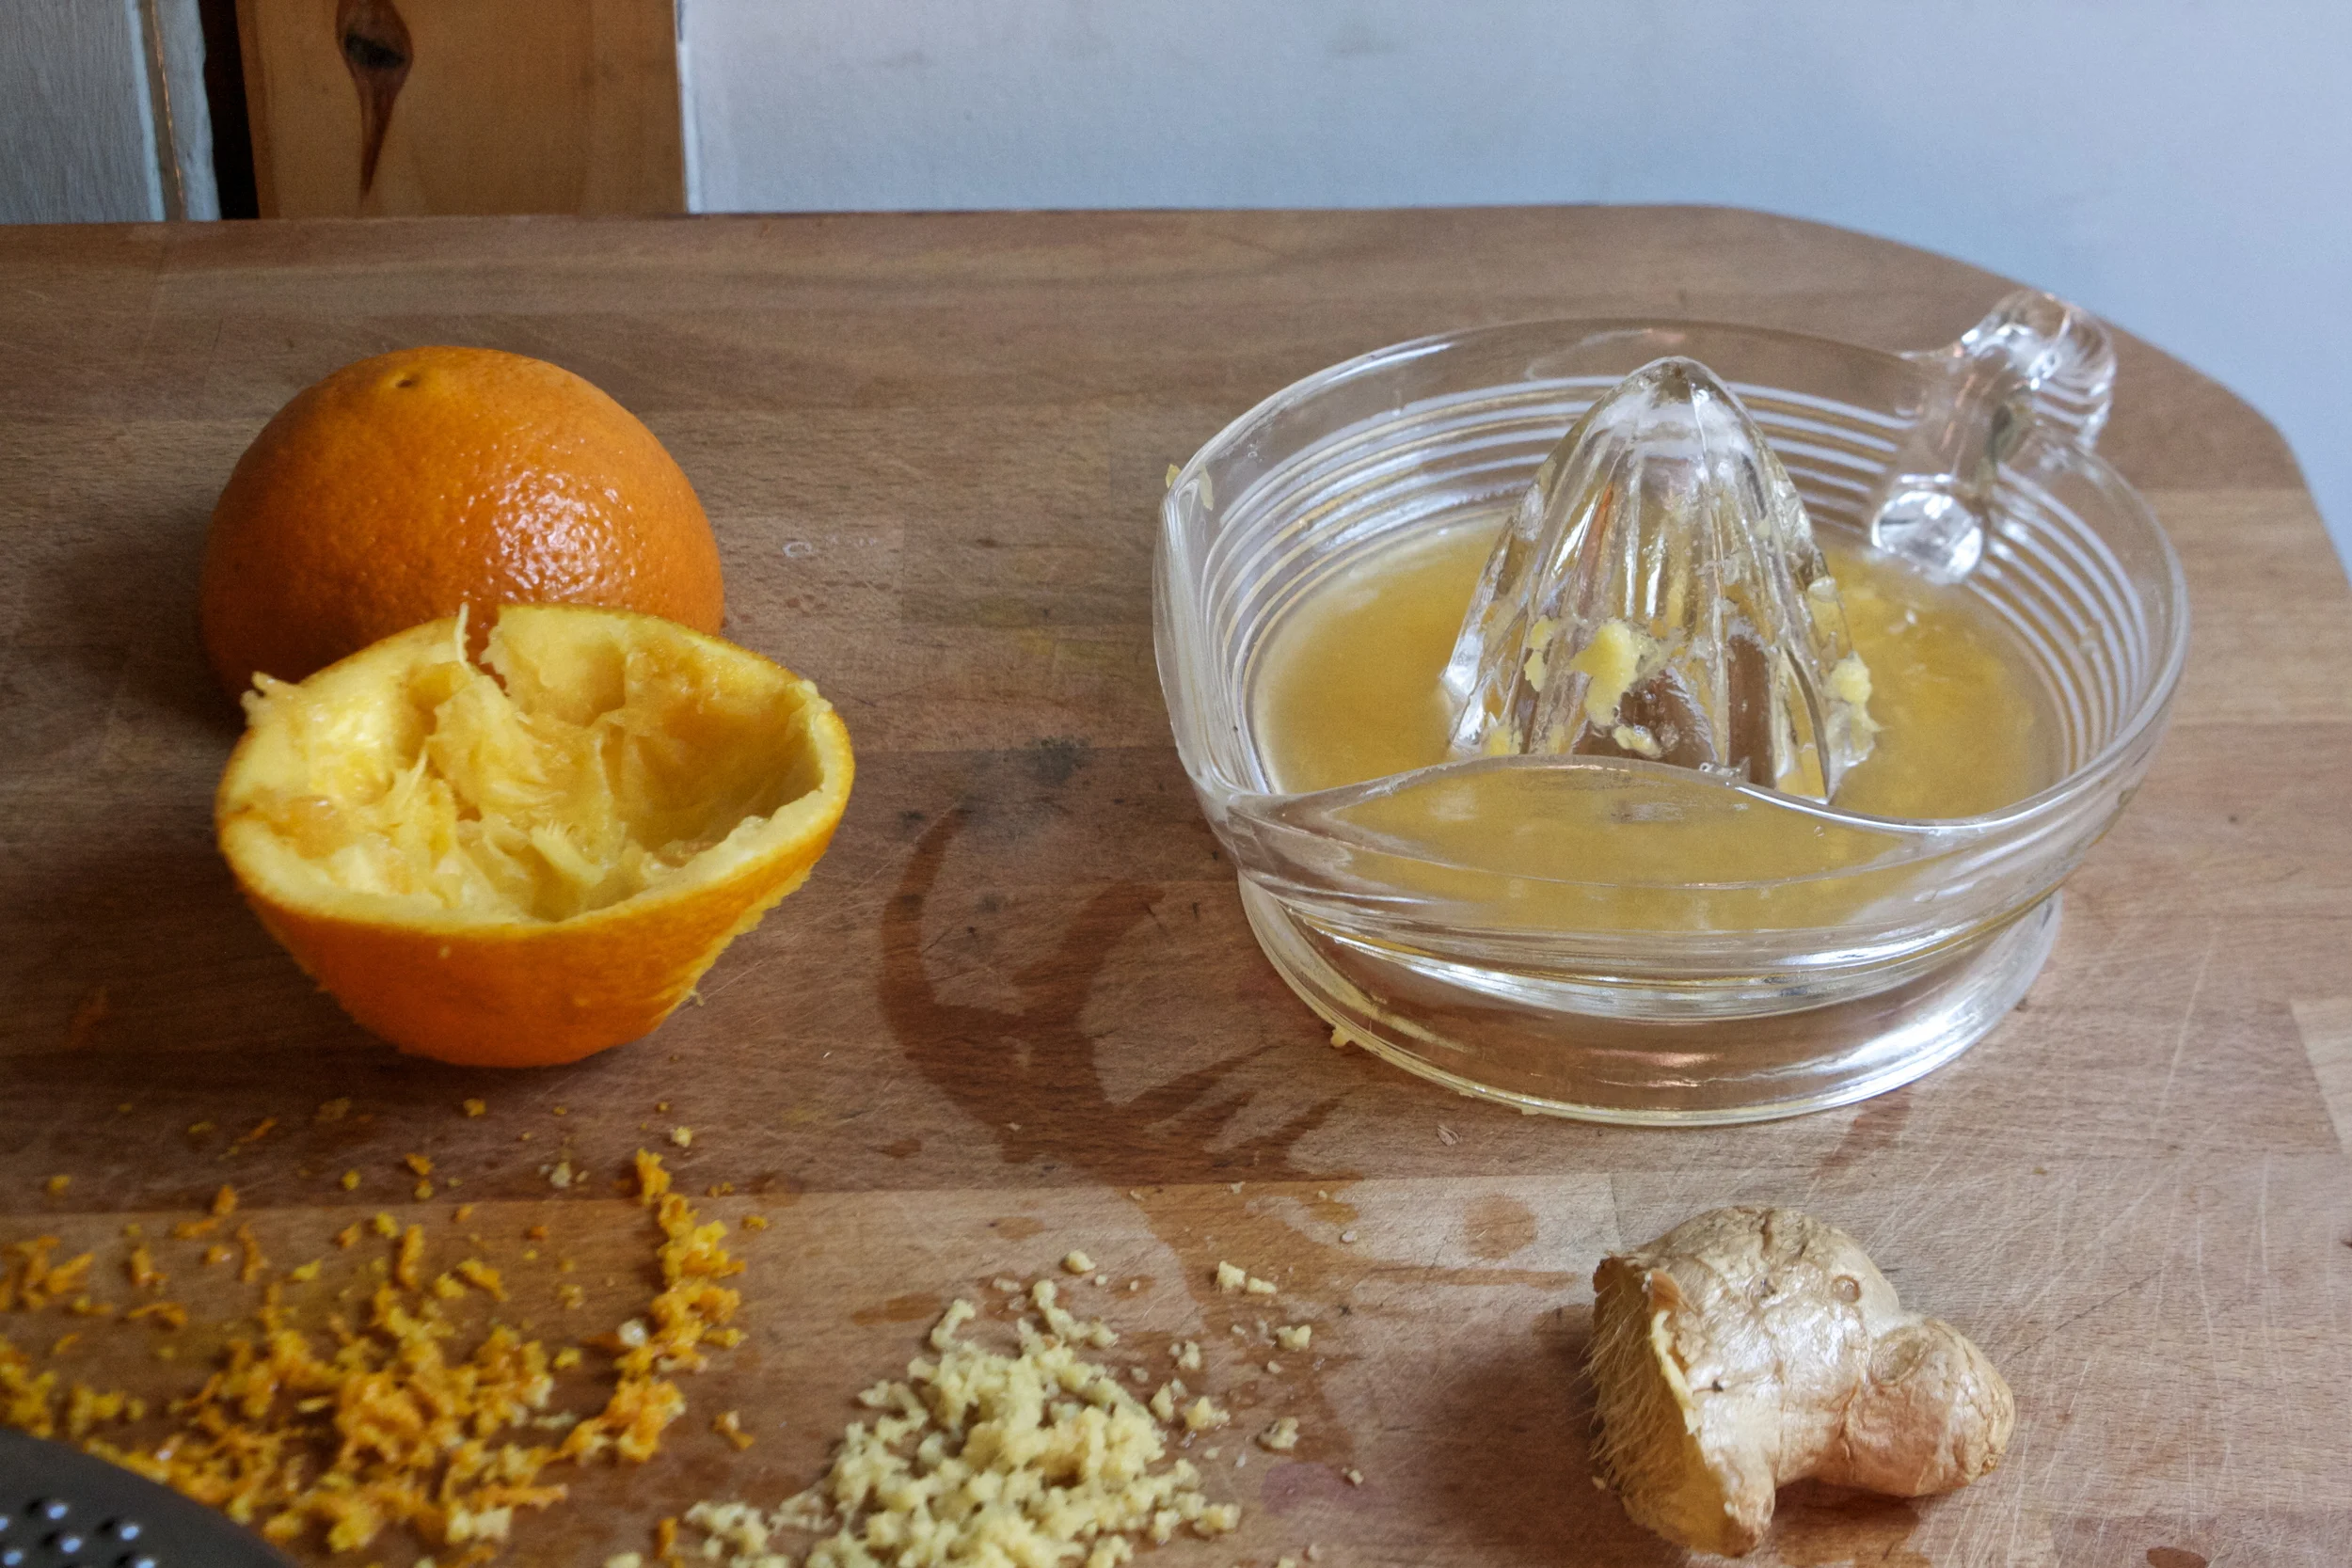
While the carrots are tenderizing, zest the orange then juice it and grate up some fresh ginger.

Once the carrots are fork tender, dump in the juice, the zest, and the ginger. Stick pot back on heat for just a few more minutes to meld the flavor together.

Dump the contents of the pot into the blender and blend blend blend until smooth.

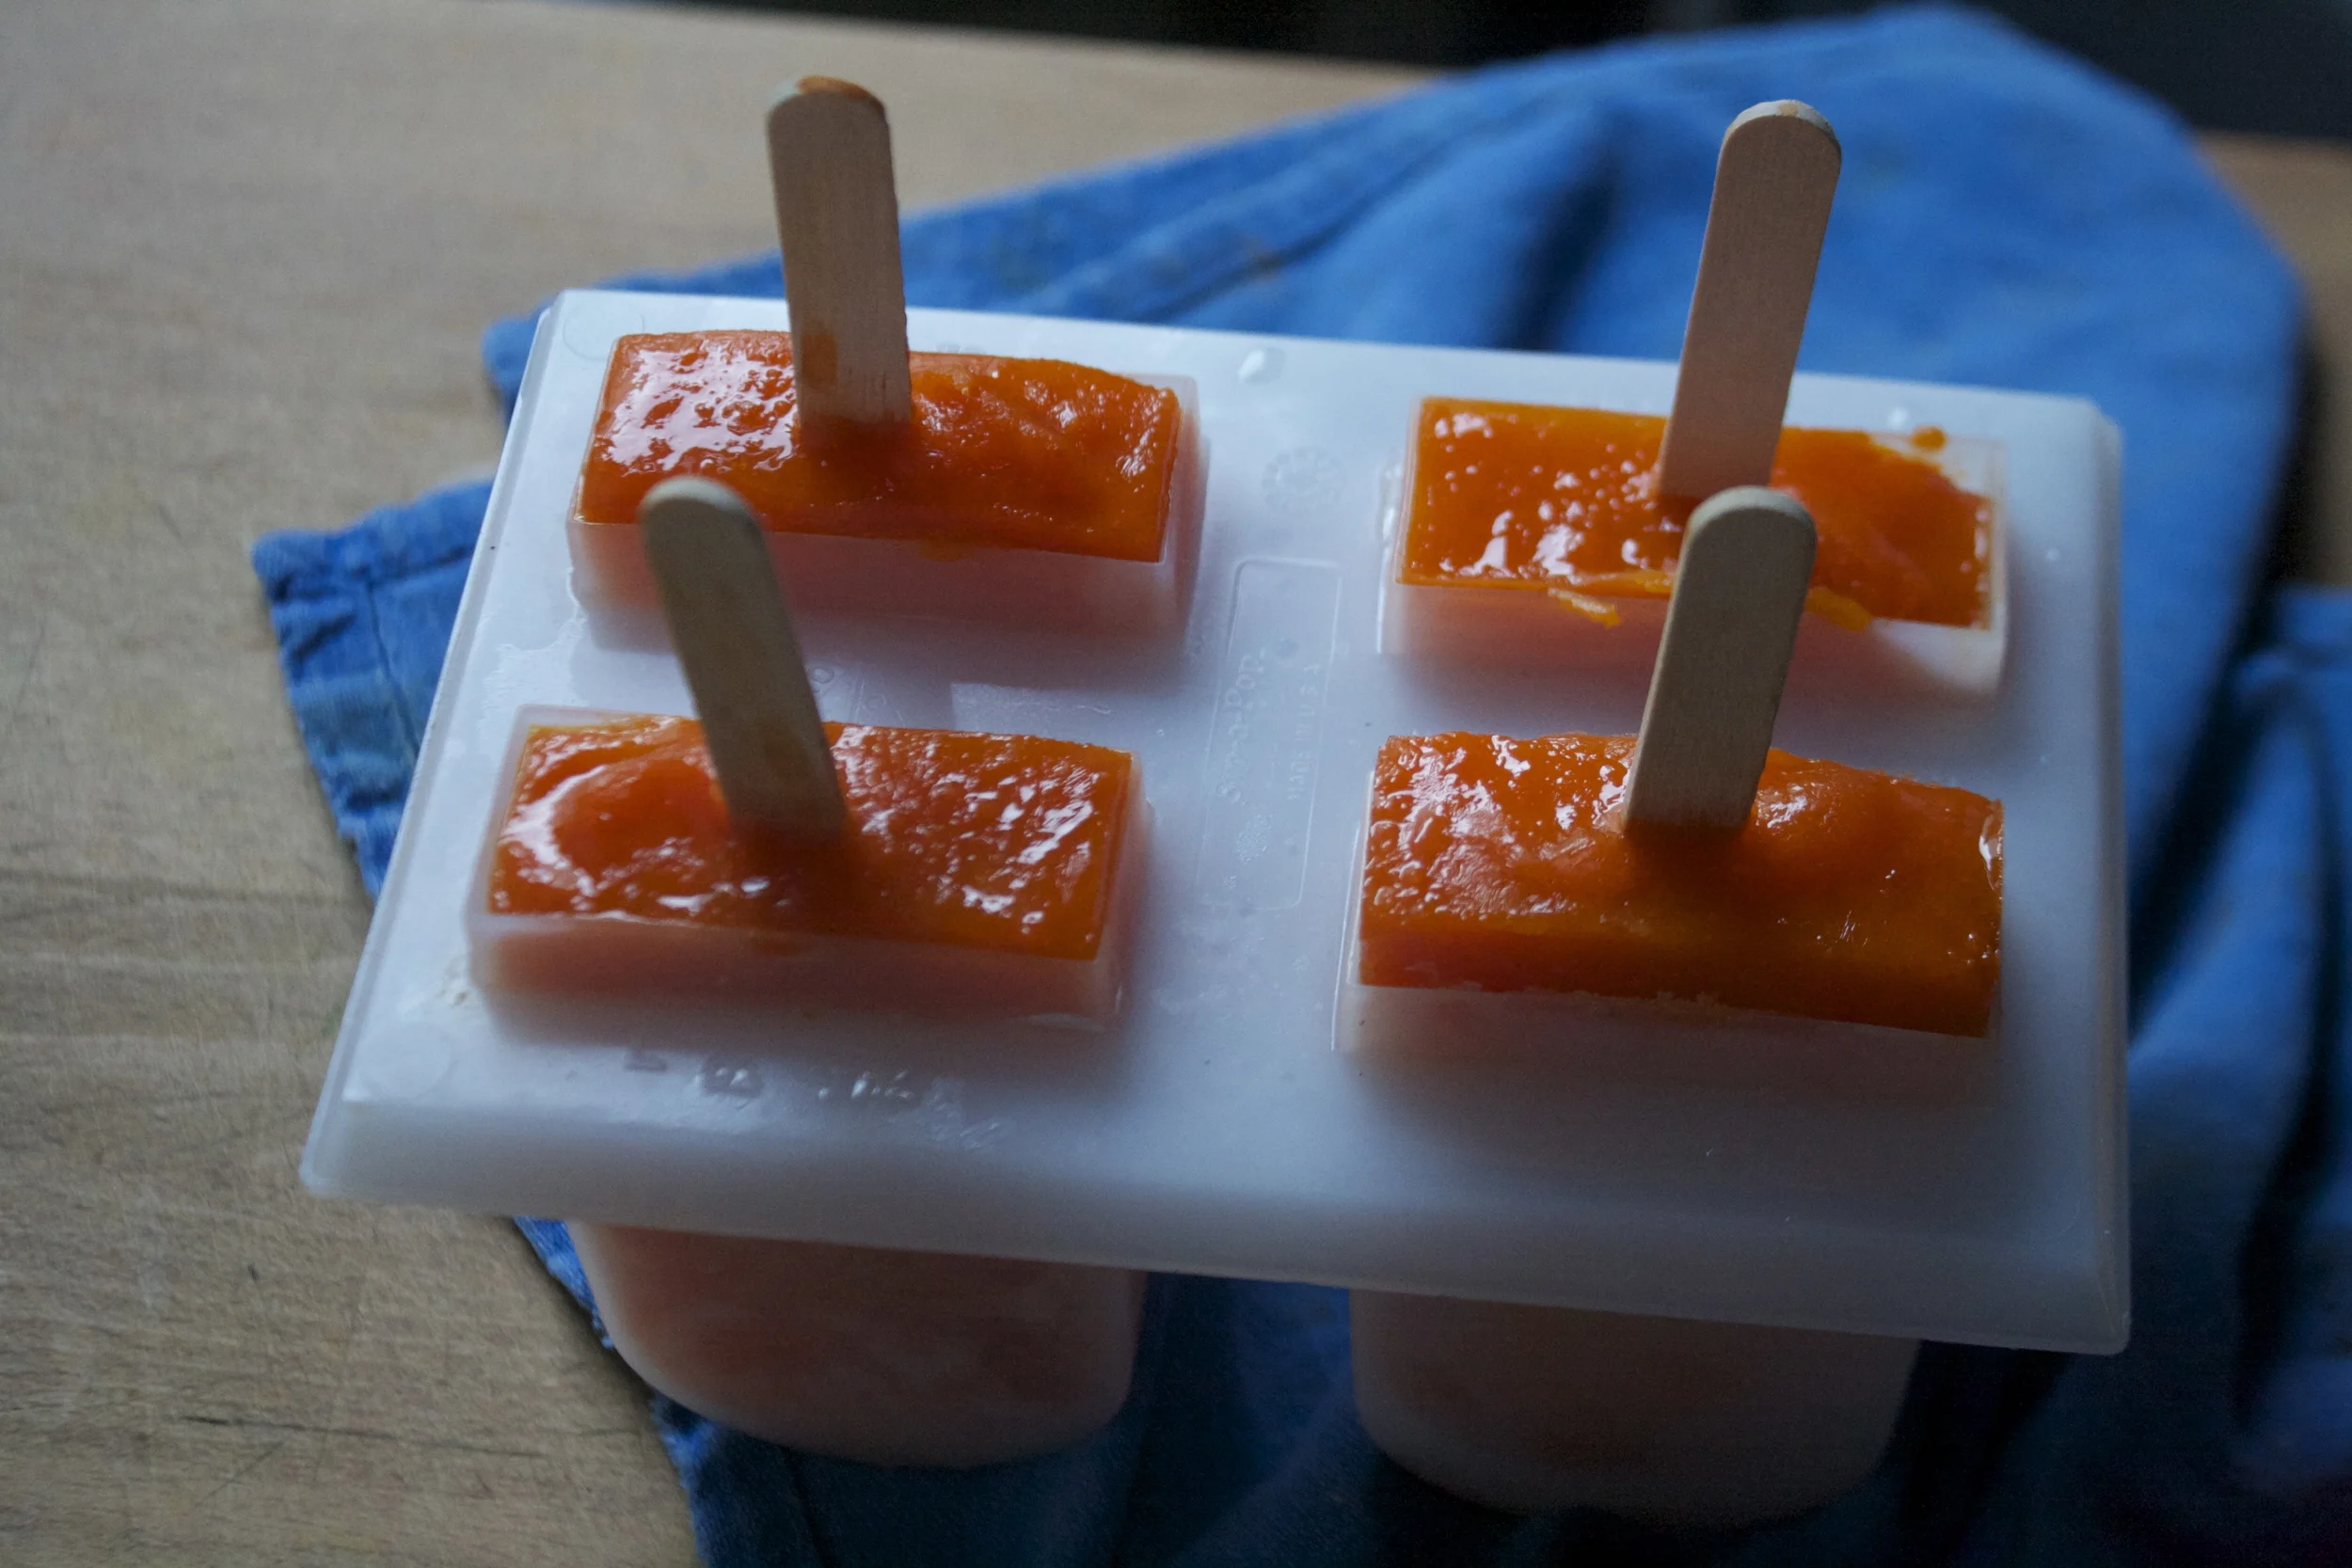
Grab your mold and pour blended mixture into it.. Because the mixture is thick, you don’t have to wait to stick the sticks in so go ahead and do that now.

And into the freezer they go!

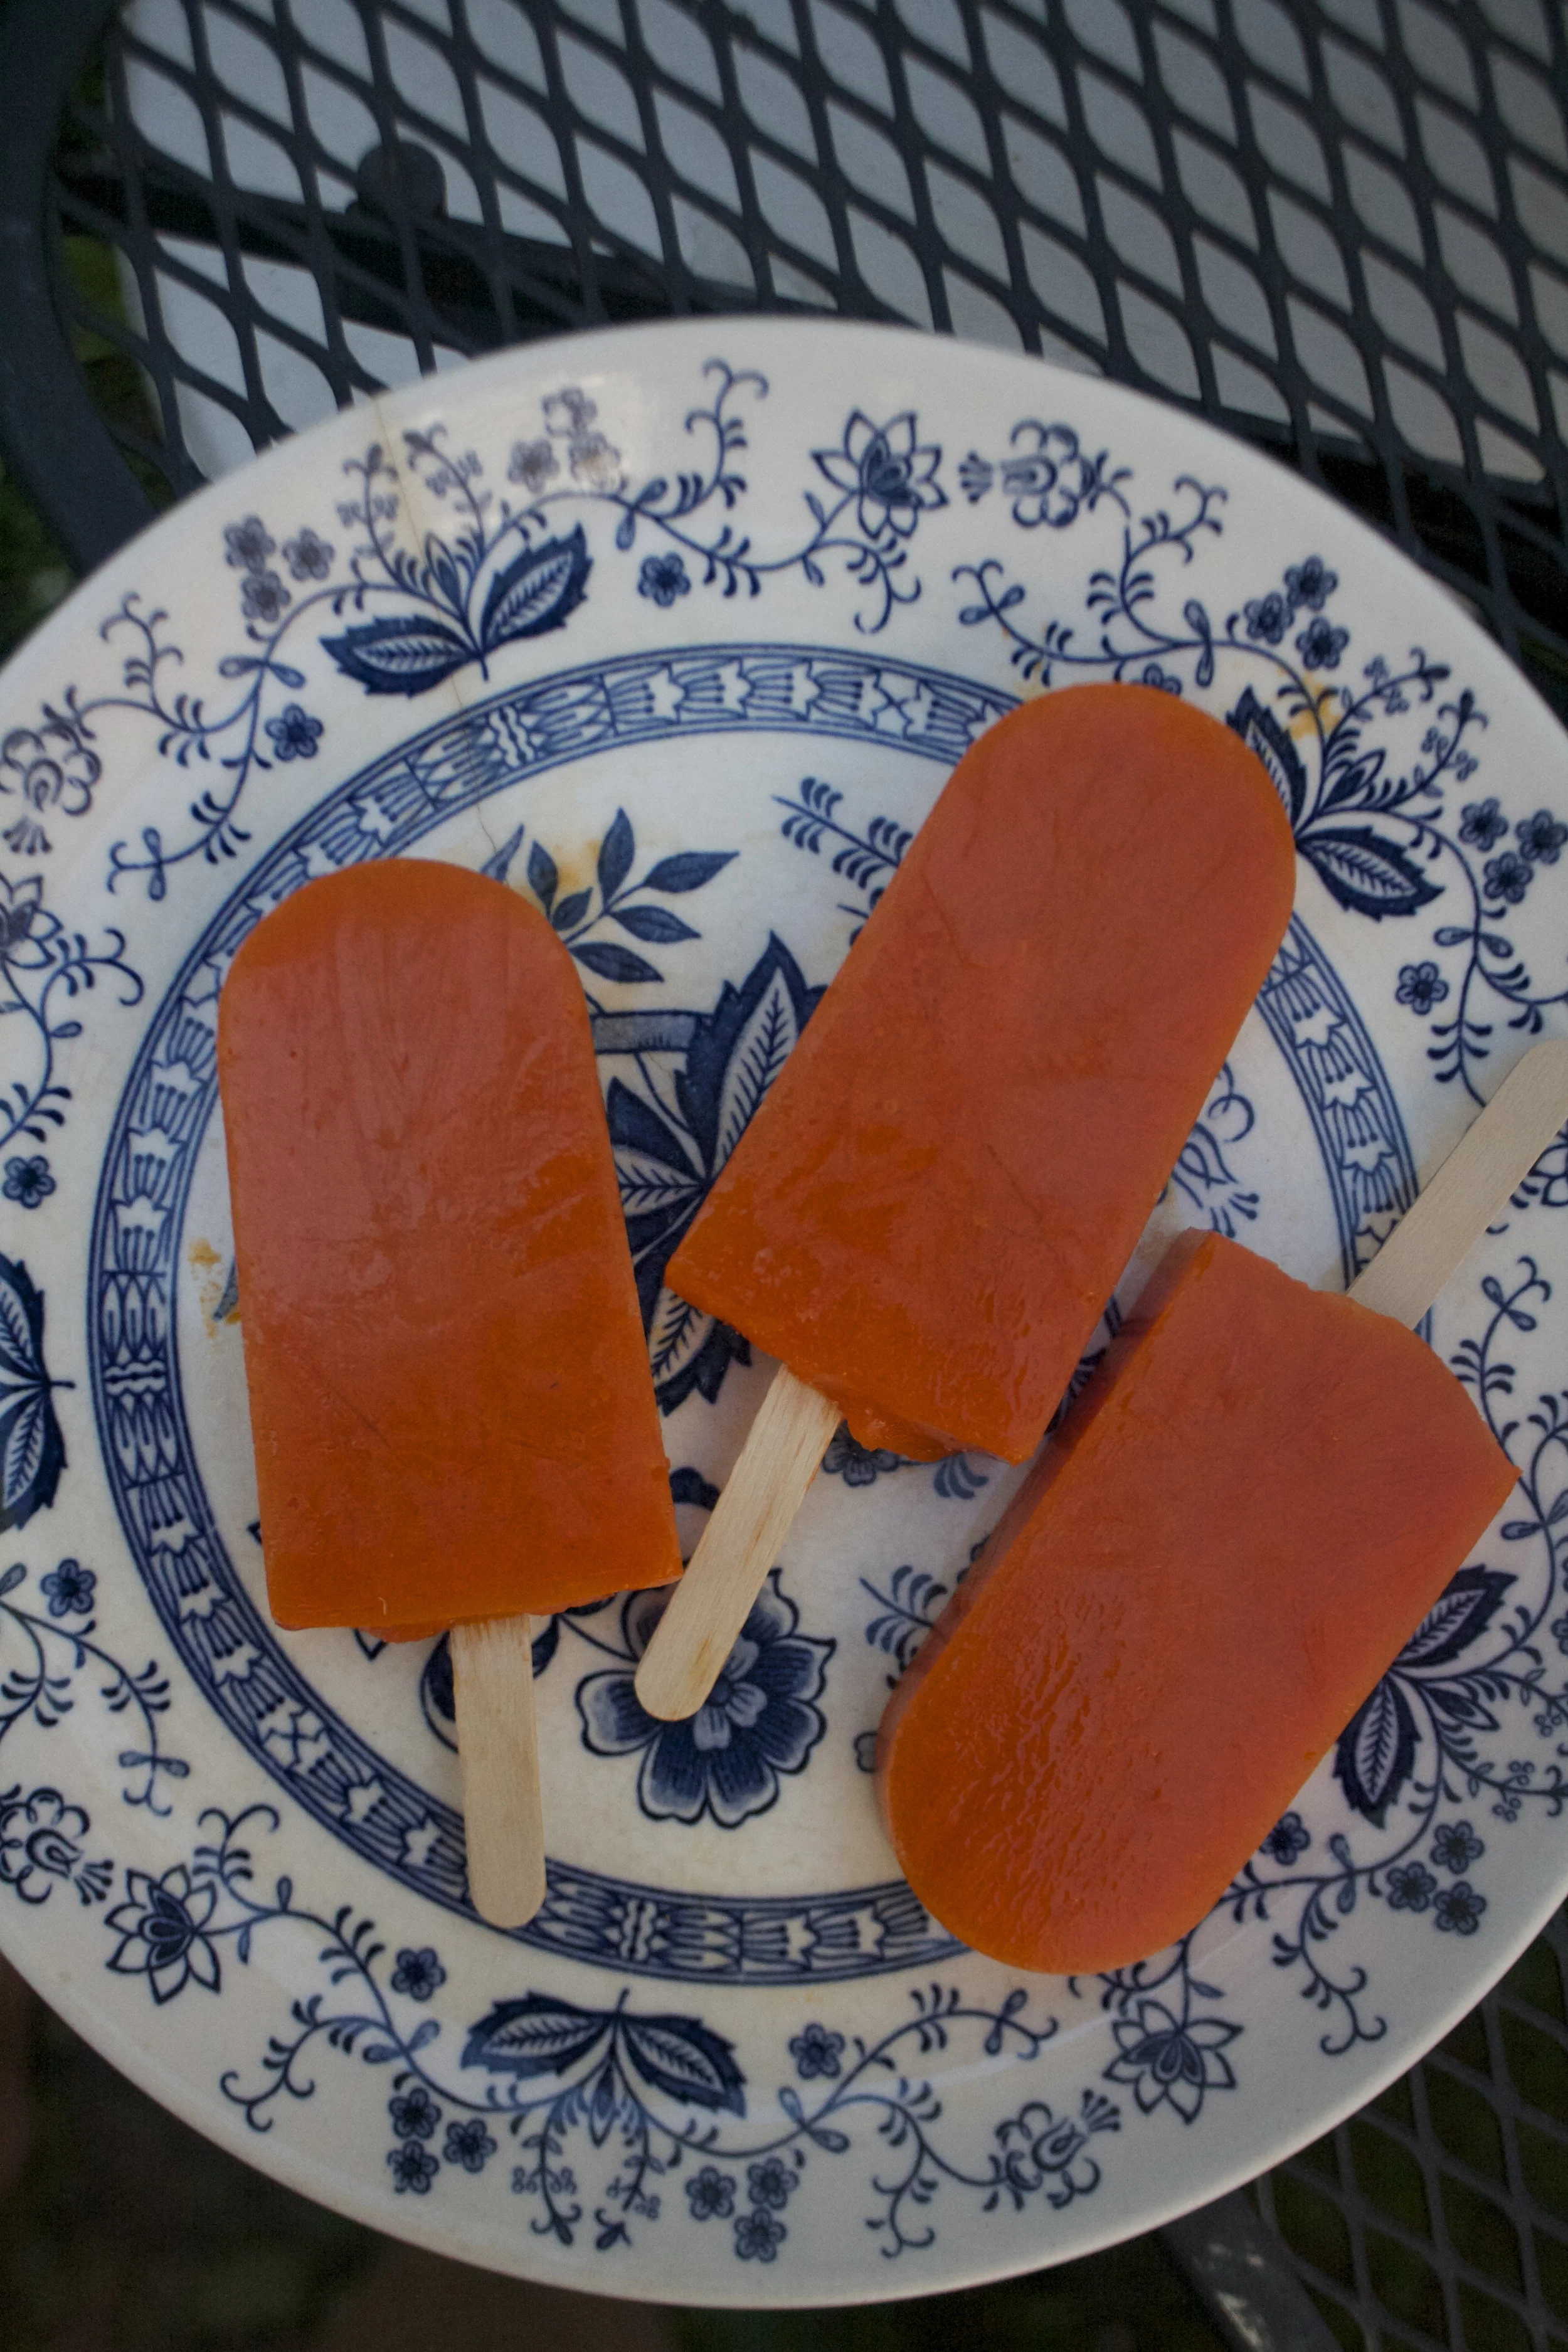
Serious popsicle goodness right there.

Happy Popsicle Week. Go ahead and make them all!

-C

Makes about four or five 3.5 oz popsicles

  • 3 medium sized carrots
  • 1 orange (zest and juice)
  • 1-2 teaspoons fresh ginger
  • water

Note. I did not use and sweetener and did not miss it but if you really think you need it, add a little bit of honey or sugar. But really, they are sweet enough so maybe give them a chance without it.

Start by chopping the carrots up into coins and stick them into a pot with enough water to just about cover the carrots. Stick on stove on medium heat and place a lid on the pot. Cook carrots until tender.

While that’s happening, zest and juice orange and grate up the fresh ginger. (I used 1 teaspoon of ginger at first, but after I blended it, I decided that I wanted a little more so I added another teaspoon)%u00a0 Once the carrots are soft, dump in all the juice, zest and ginger. keep on heat for a few more minutes to let the flavors all meld together.

%u00a0And now dump the pot of carrot goods into the blender and blend the crap out of it until smooth. (add in a splash or two of water if needed. Taste your puree and if you want more ginger, add it it.( can also decide now if you want any sweetener..

Now pour the mixture into you popsicle molds and follow the mold directions on how to use it (add popsicle sticks and stick it in the freezer)

Freeze until frozen.

Remove from freezer and let sit until pops slip from mold.

Eat until gone.

Make more popsicle.

Whats summer without some ice cream?%u00a0 That is no summer, that just sounds like Hell. And this past weekend I was pretty sure I was in hell because it was so mother f*ing hot and for a while, I had no ice cream (and no air conditioner)

We used to have an air conditioner. My mom gave us one a few years back because she was worried about washer (so nice she was worried about the dog and not me, but that’s cool) And we used it, not often, but when the temps got above 90, we would bust that mother out, hang blankets from the ceiling and create a little frozen ice box. Washers bed, the couch, and the tv were the only things in the box and it was fantastic.We would spend all day hanging out in the dark little ice box, cuddled on the couch watching tv. Washer would just lay there and I am pretty sure that he loved it just as much. But a couple years ago that air conditioner broke so now we don’t have one. So now when it’s mother f*ing hot, we are just really fucking hot. As for Washer, I send him over to my moms house. She has like 10 air conditioners. And the mr and I.. we bitch and complain and sweat and eat ice cream.

So I made this is my ice cream, a Colleen approved, oh so good I want to eat it for ever meal, type of ice cream. Nice and creamy with nice coconut oatiness. Its really pretty great.

And if there was ever a time when you woke up so hot that all you for wanted for breakfast was ice cream, well that’s completely cool, especially with this kind cause it’s kinda really healthy and made with oats and so it it definitely ok.

Here’s to ice cream all day, every day.

The stuff. We got a can of coconut milk, some old fashion oats, a few dates and salt. ( we need just a pinch) Also need a little water.

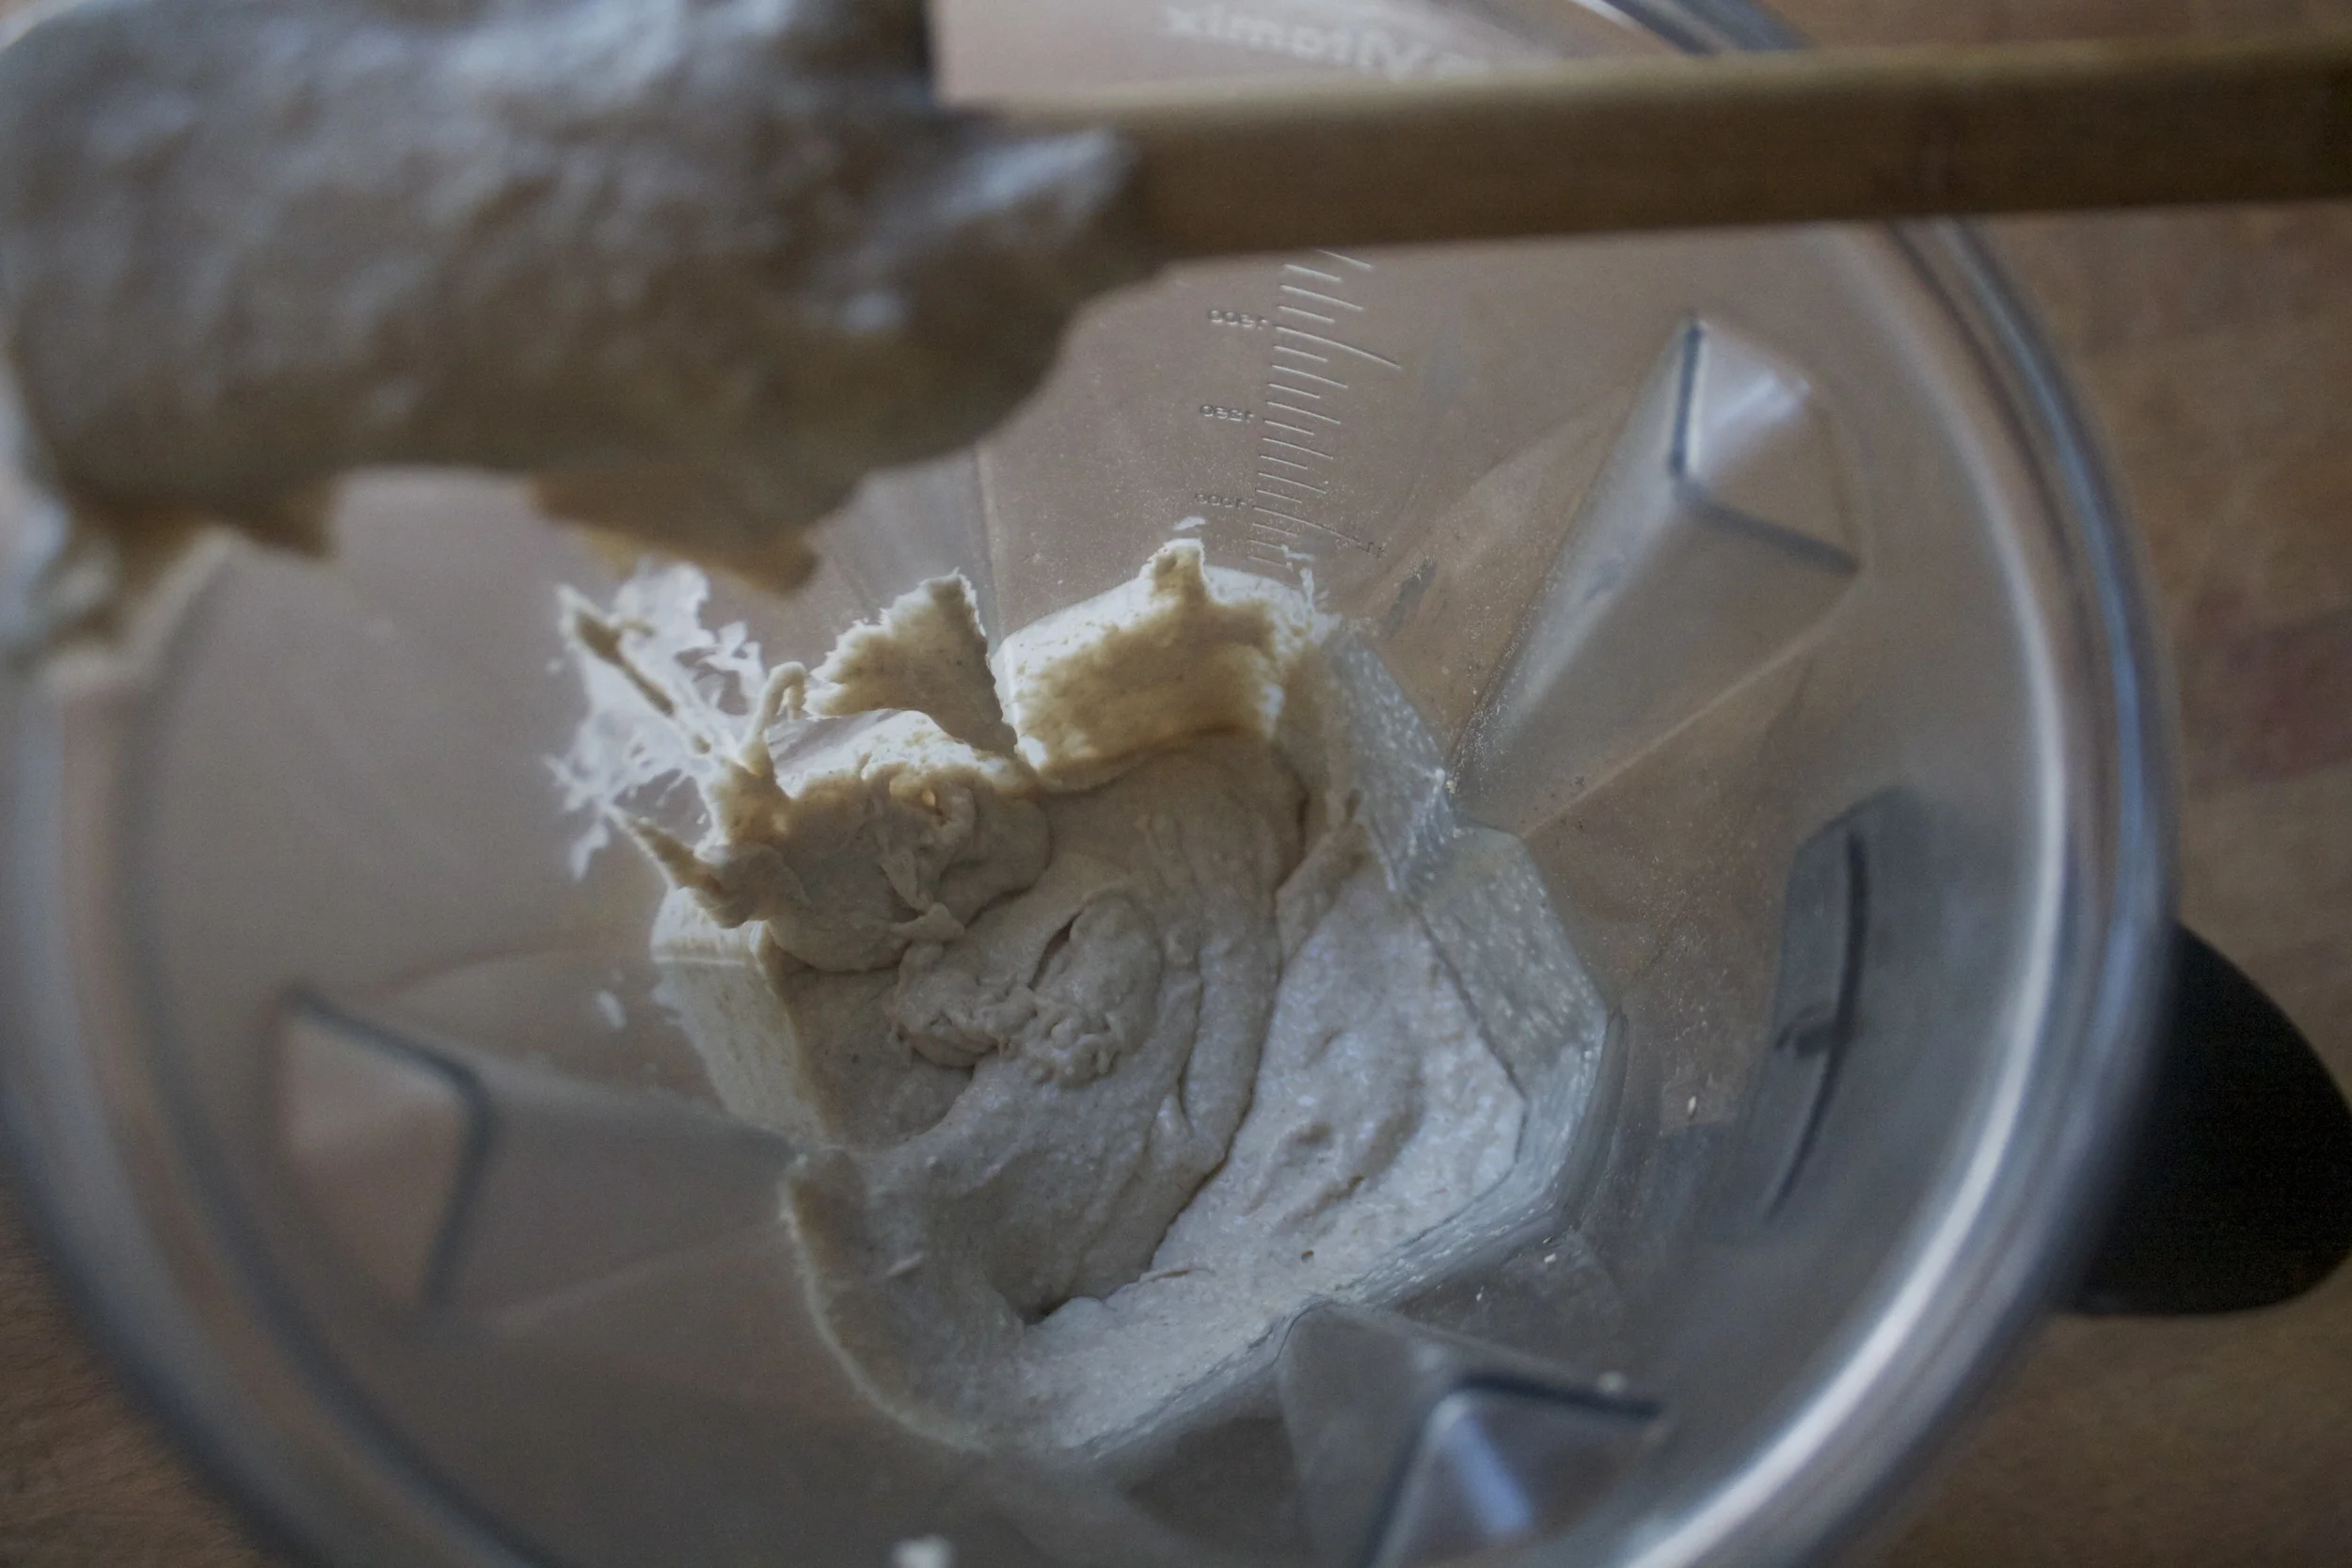
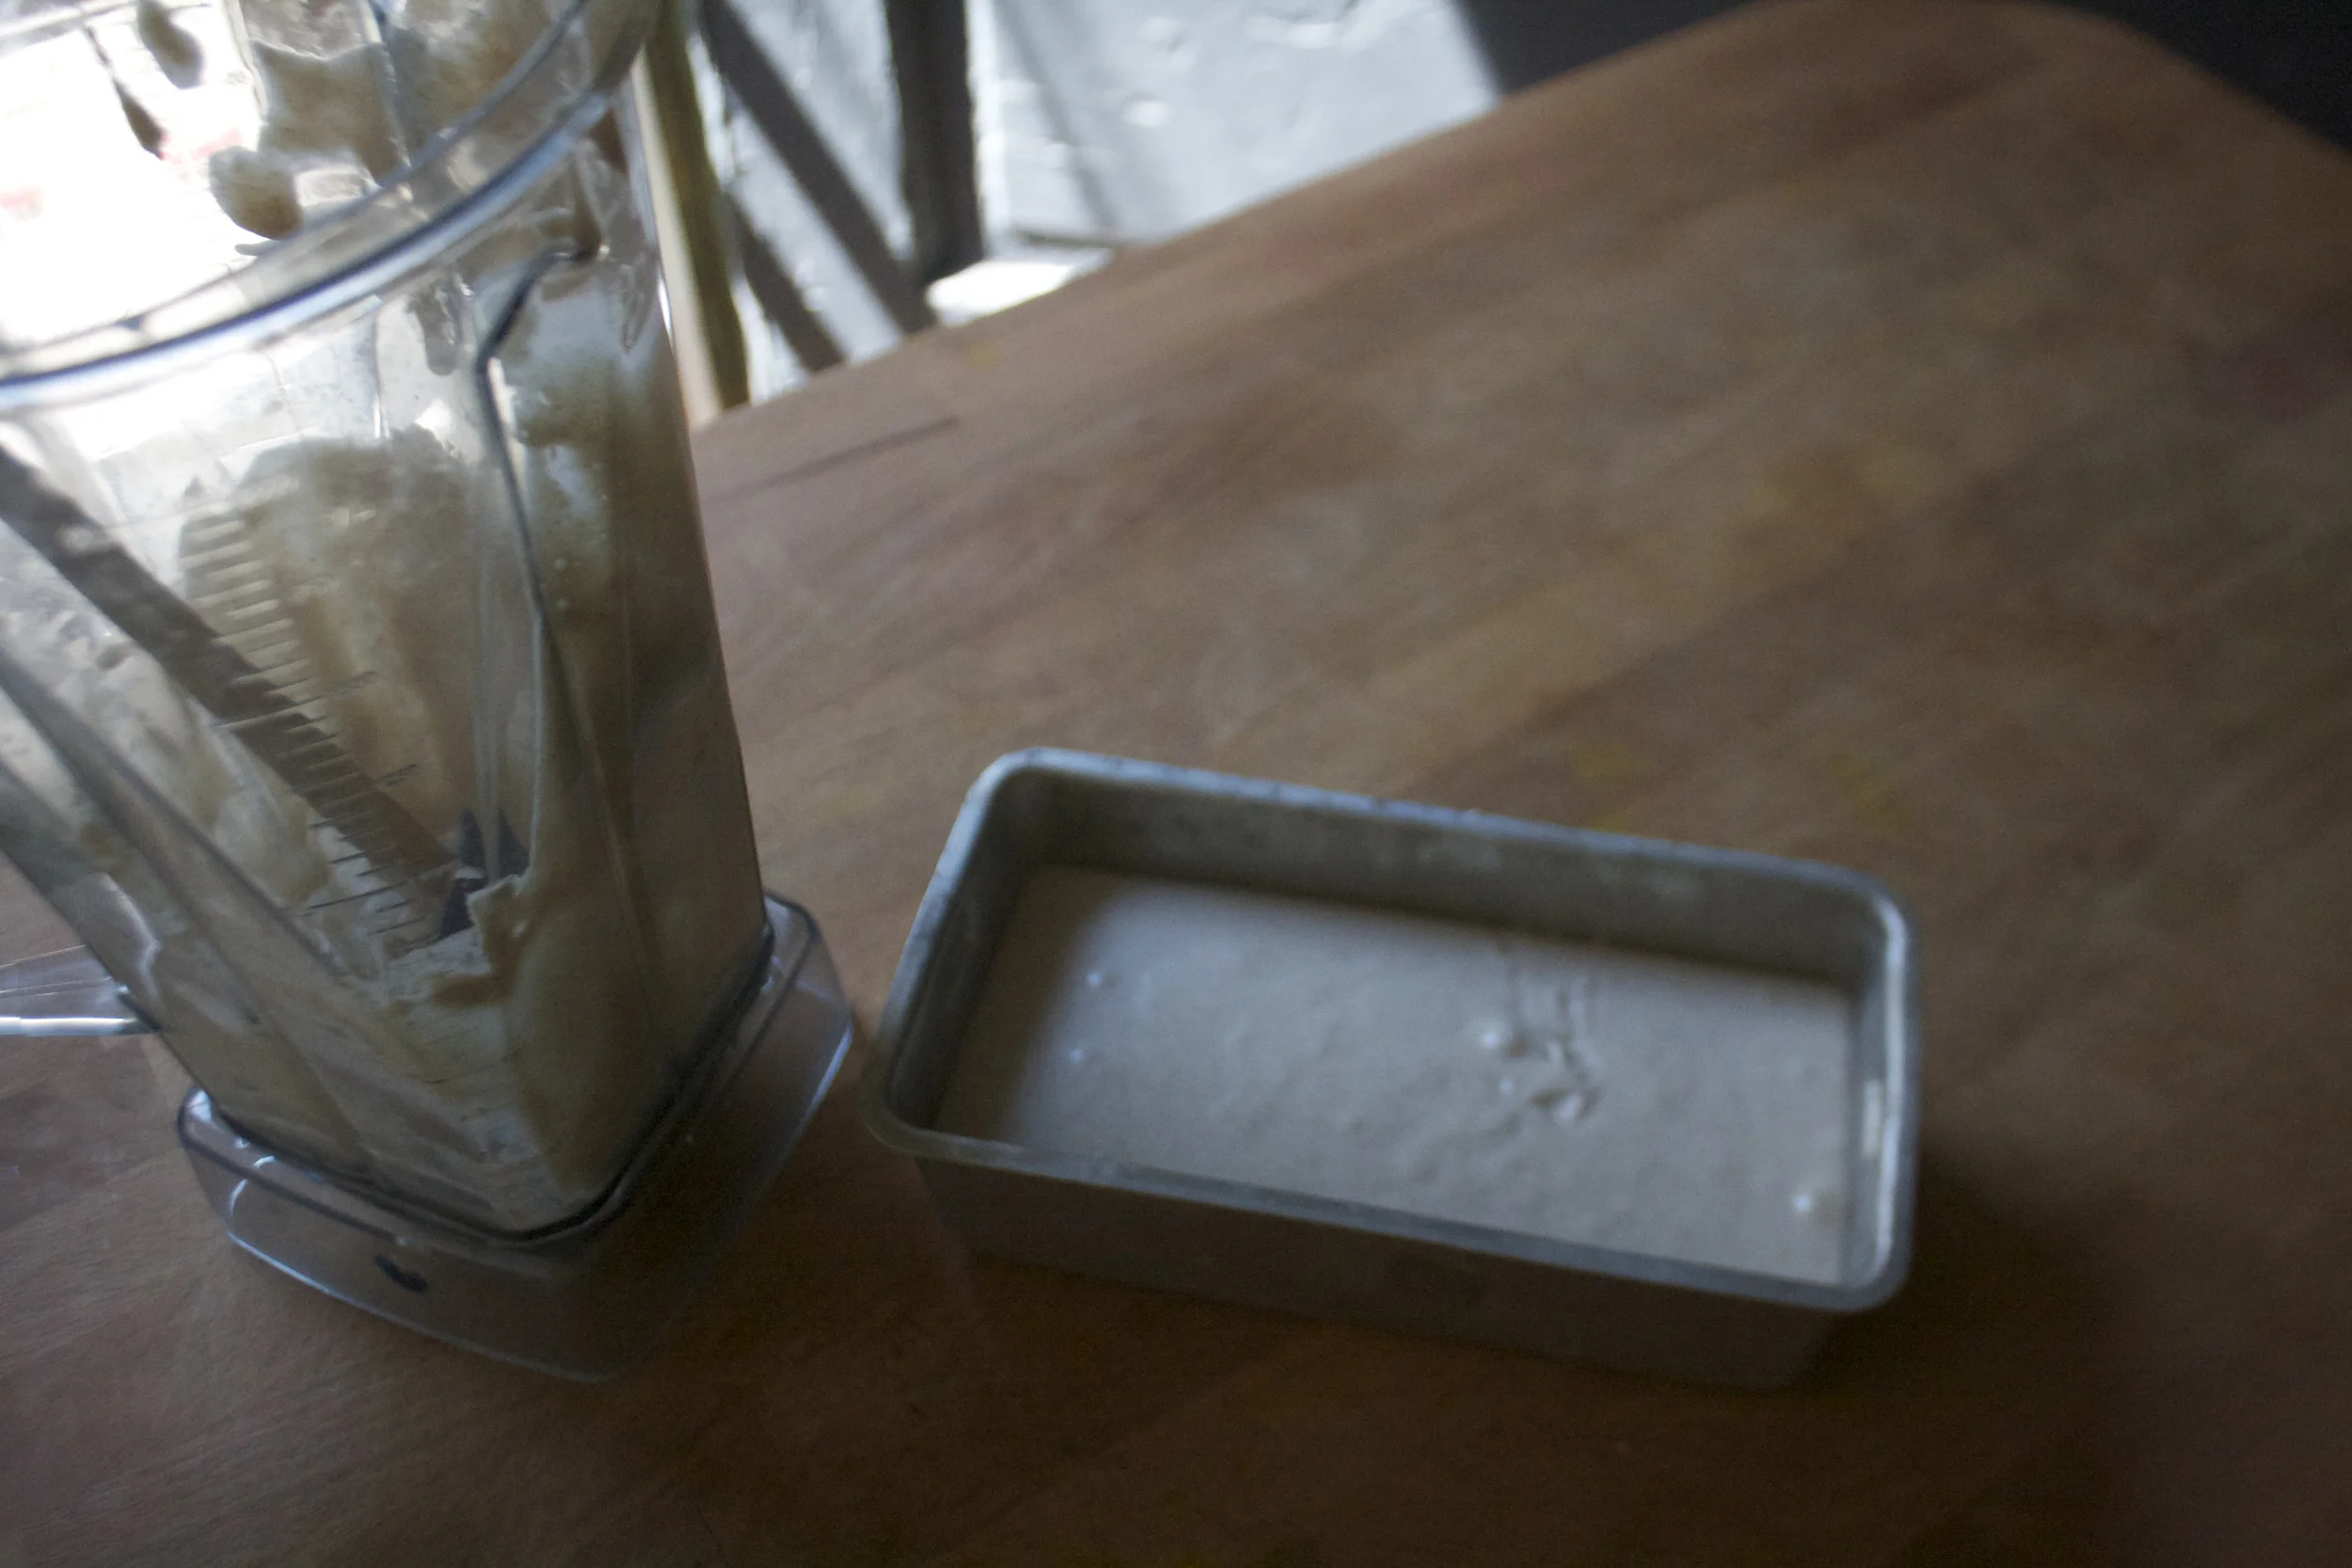
Pretty simple here, just dump the coconut milk, oats,the dates(make sure they are pitted) and a pinch of salt to a blender and blend the crap out of it. And keep blending until its all creamy smooth and oh so nice then stick the blender in the fridge.

After about an hour or so the mixture becomes super thick. Stick it back on the blender stand and give it one last swirl to make sure it’s all mixed up.

Pour/scrap mixture into a freezer safe container and stick it into the freezer… lick blender clean, watch you tongue and fingers.

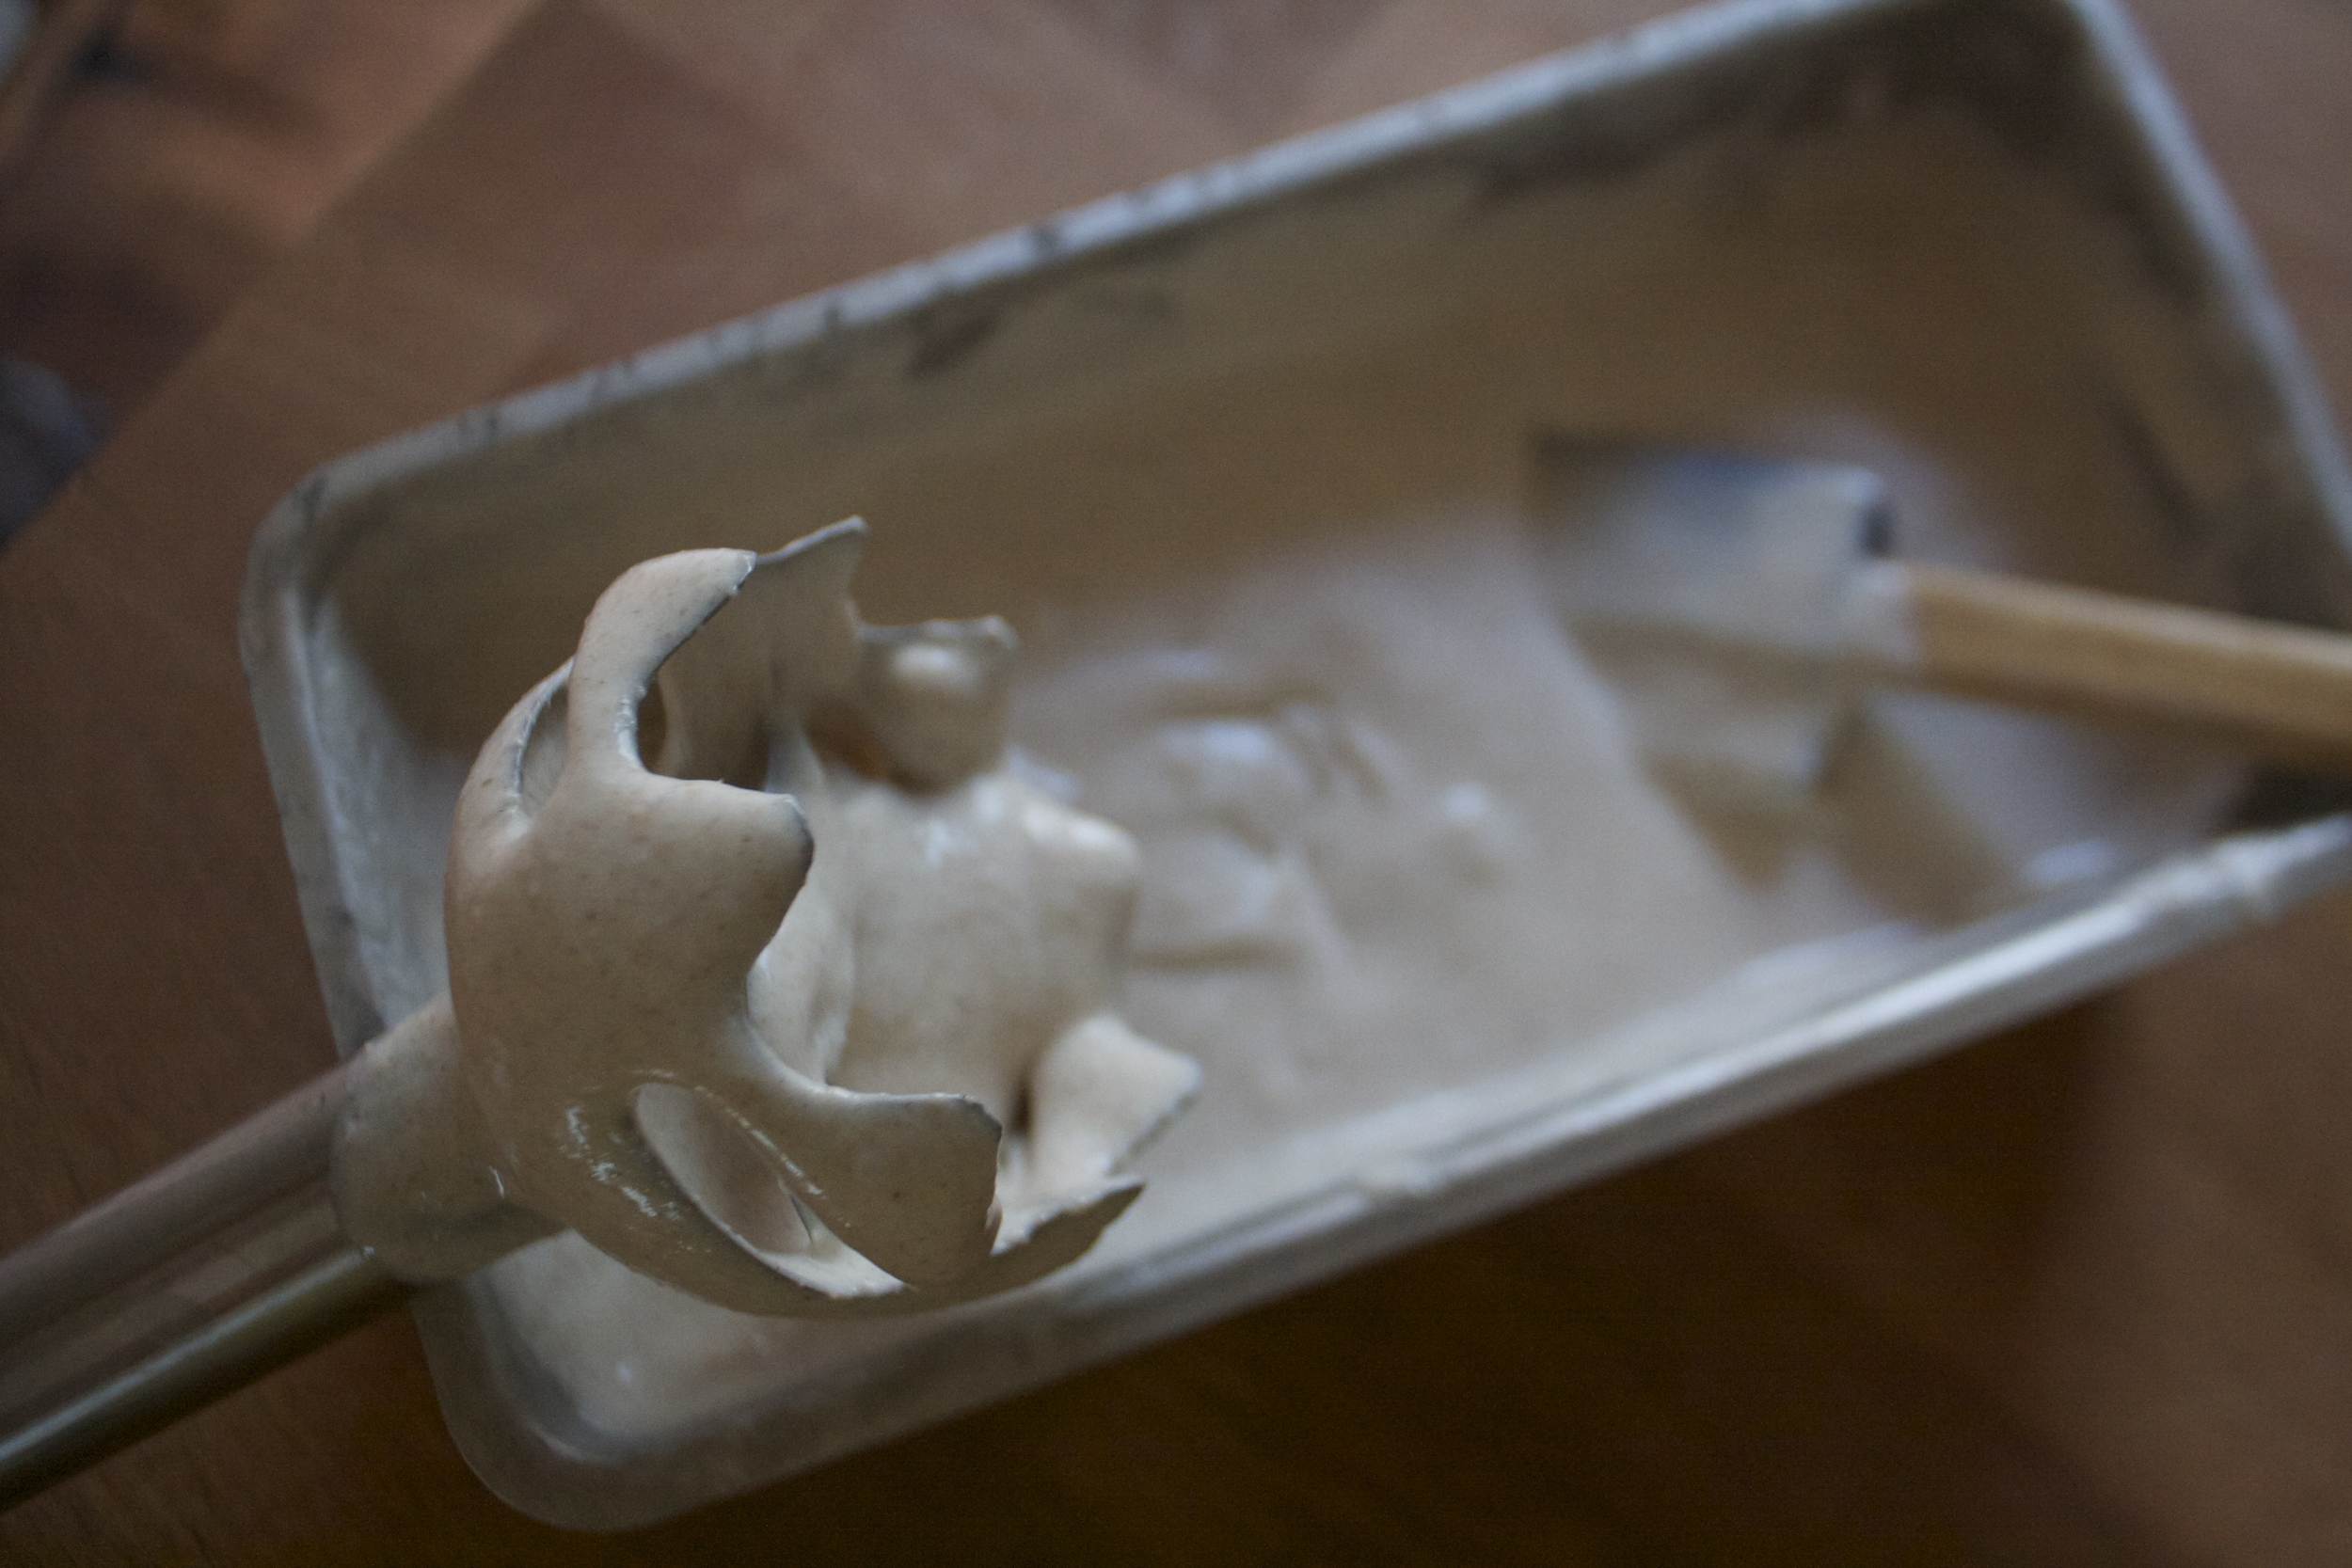
After a hour or so, remove the kinda frozen ice cream and give it a good whip with a stick blender or if you don’t have, scrap the ice cream back into the blender, and give it a swirl, stick back into freezer container hen back into the freezer until frozen.

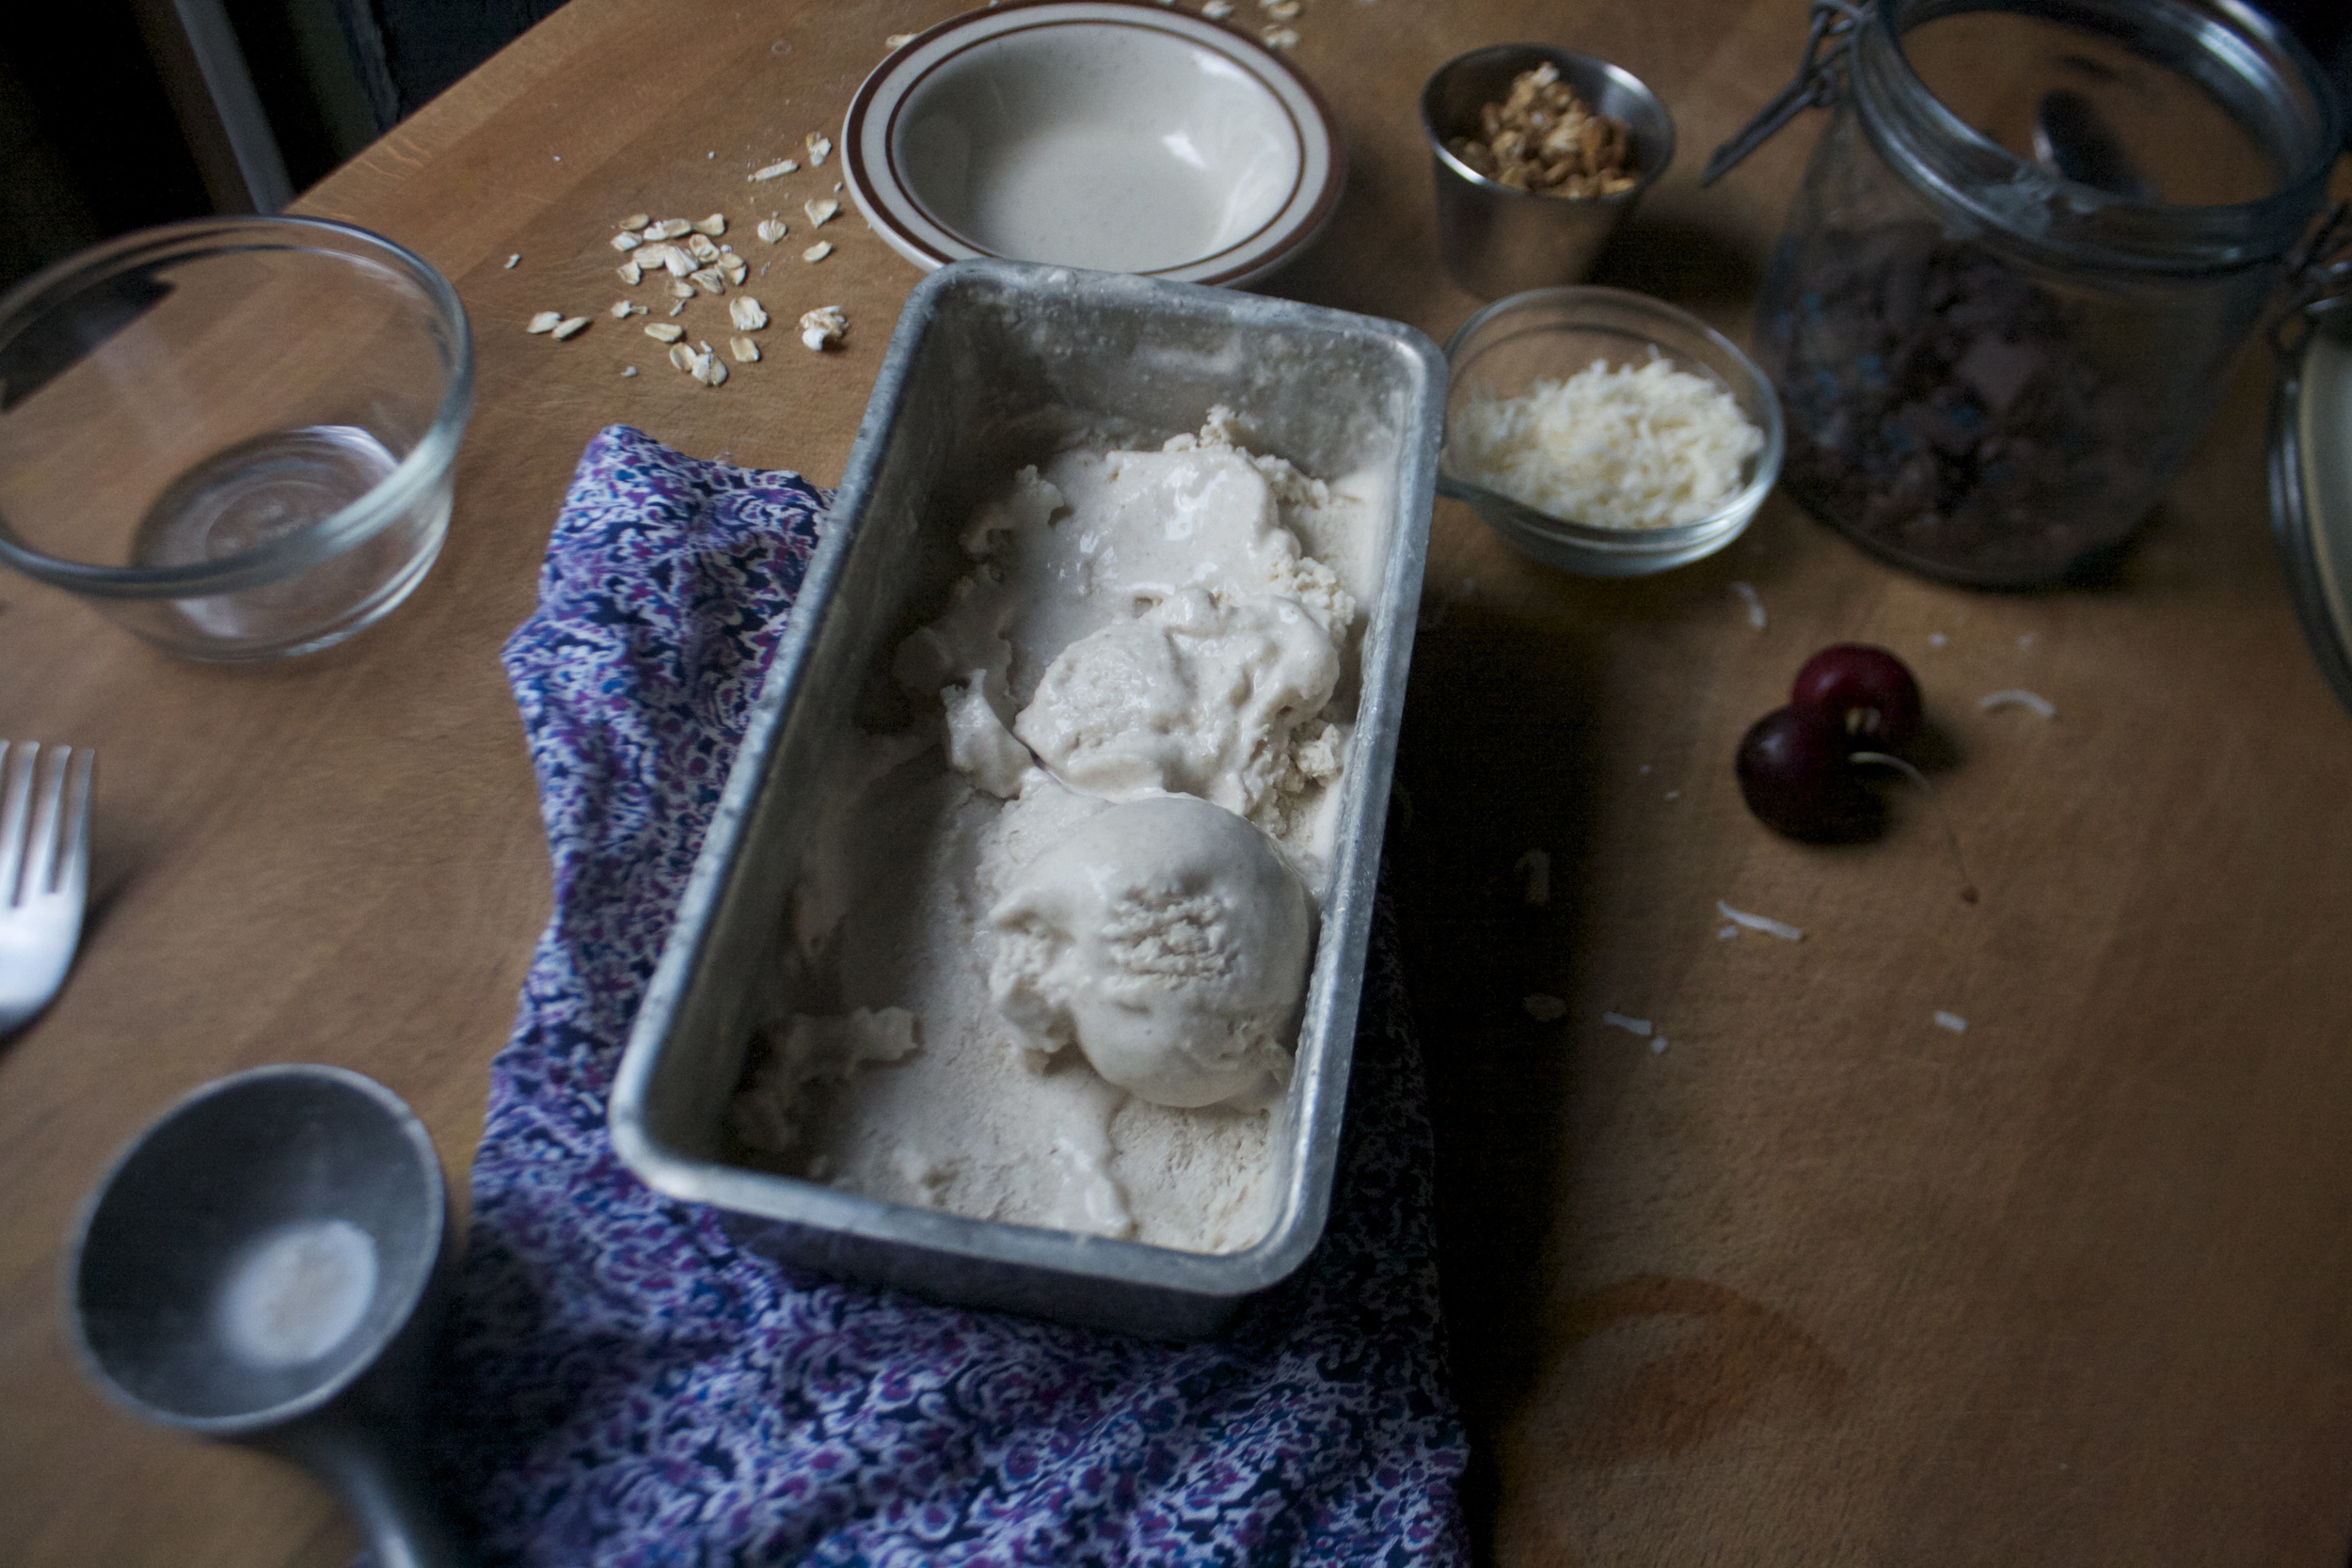
And when you are ready to eat, remove from freezer, let sit out for 5-10 minutes to soften enough to scoop and do what needs to be done.

Look at that. So good.

And not only dessert, but this could be your breakfast tomorrow….and every day from now on.

-C

  • 1 can coconut milk
  • 1/2 cup water
  • 1 1/2 cups oats (gluten free if needed)
  • 3-5 dates*
  • pinch of salt

*Note. I used 3 dates and found it sweet enough but I don’t like things too sweet. If you know you like things sweet, do 5. Also, if the dates are not super soft, soak them water for a little bit.

Grab your blender and place all the ingredients in it. Start blending and blend and blend and blend until all smooth and creamy. (It might take a few minutes.) And once it’s all blended up, stick the blender into the fridge .

After about an hour or so the mixture should have gotten nice and thick .Remove and blend the whole thing up once again and transfer the mixture to a freezer safe container. Place said container into the freezer. Let the mixture set up and get pretty close to frozen and remove from fridge and give it another good blend (I use my hand blender, but you can always scoop back into the regular blender to do it) Place back into freezer until frozen.

When you are ready for ice cream, remove for freezer and let sit out for 5-10 minutes until soft enough to scoop.%u00a0 It might be super hard at first but don’t worry, it soften up quick enough. I find scooping it easier with a ice cream scooper dipped in hot water….

Scoop it, add any toppings you want (toasted coconut and toasted oats are great) and then eat it.

Store left overs in freezer (duh) but place a piece of wax paper over the top to keep from freezer burn.

I was cleaning out the fridge and found that I had a good few really ripe avocados that were in need of eating ASAP. (I bought like 8 at once… super sale!) My first thought was I wish I could freeze these and save them for later. Then I thought well why the heck don’t I freeze them. So that’s what I did. I pureed them up, added a little lemon juice and stuck a jar of tangy green creamy goodness into the freezer and all throughout the week found myself standing in front of the fridge with a spoon scraping at the jar of avocado. It was so good. I even added a little fruit to it toward the end. Avocado and fruit = oh hell yes.

And now that is is officially spring we should be eating popsicles (right?!). I figured you guys are cool enough that I would share my new found love of frozen avocados and you would be down with it.

I know, some might think that plain old frozen avocado doesn’t sound amazing, but when you add a little sweetness and swirl it around with super sweet and creamy mango. Trust me, it’s freaking amazing. The flavors go perfectly together, and the texture, it’s almost like ice cream… SO GOOD! Anyway, I know that it might not be the perfect spring weather as of today, but the beauty of these is that you make them, freeze them and leave them until the perfect moment. Say a good long day of raking up all the cat poop that the neighbors cat has left in all your spring flower beds, or picking up all the recycling that has blow into the bushes all winter long. Maybe a day of cleaning out the closet or dusting the ceilings. Make these popsicles now and treat yourself to one after doing some kind of crappy spring chores, its what you need to do.. Or better yet, bribe a little with a popsicle to do your spring cleaning….. Yeah, I might just do that.

Or just make them and eat them… no spring chores required.

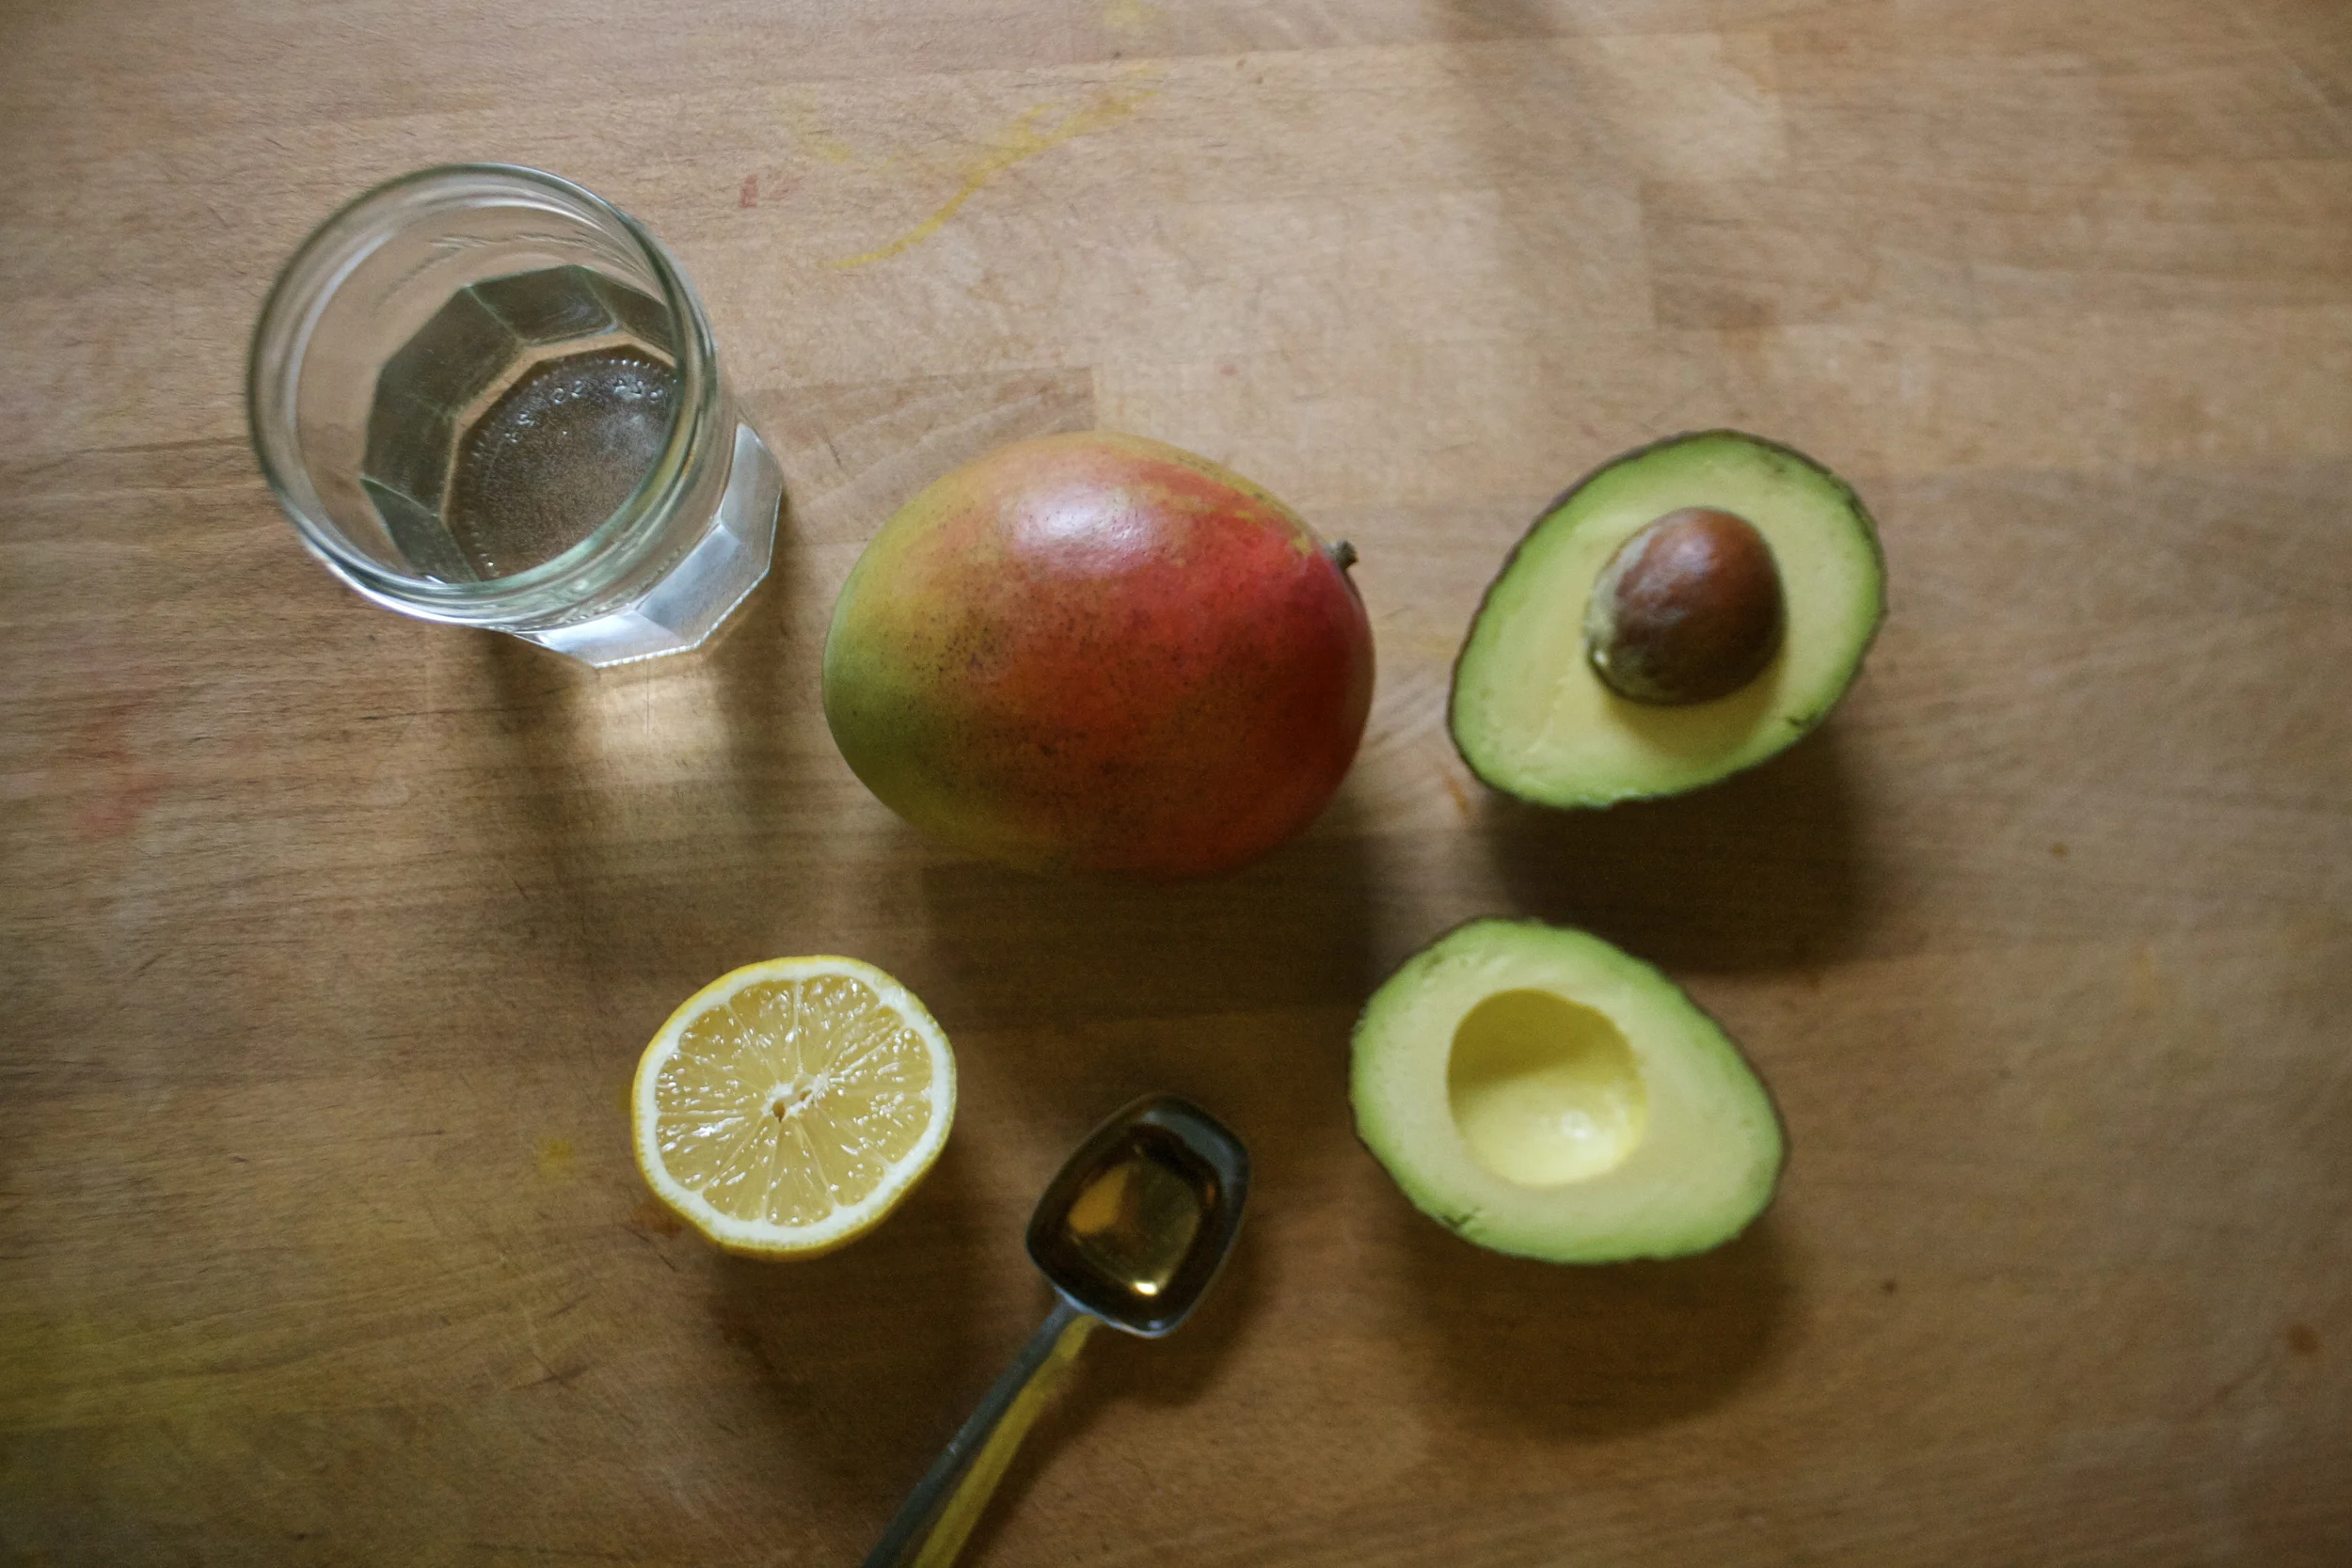
The stuff. A nice ripe mango and a nice ripe avocado. A bit of lemon juice (from half a lemon),%u00a0 a little maple syrup, and a some water.

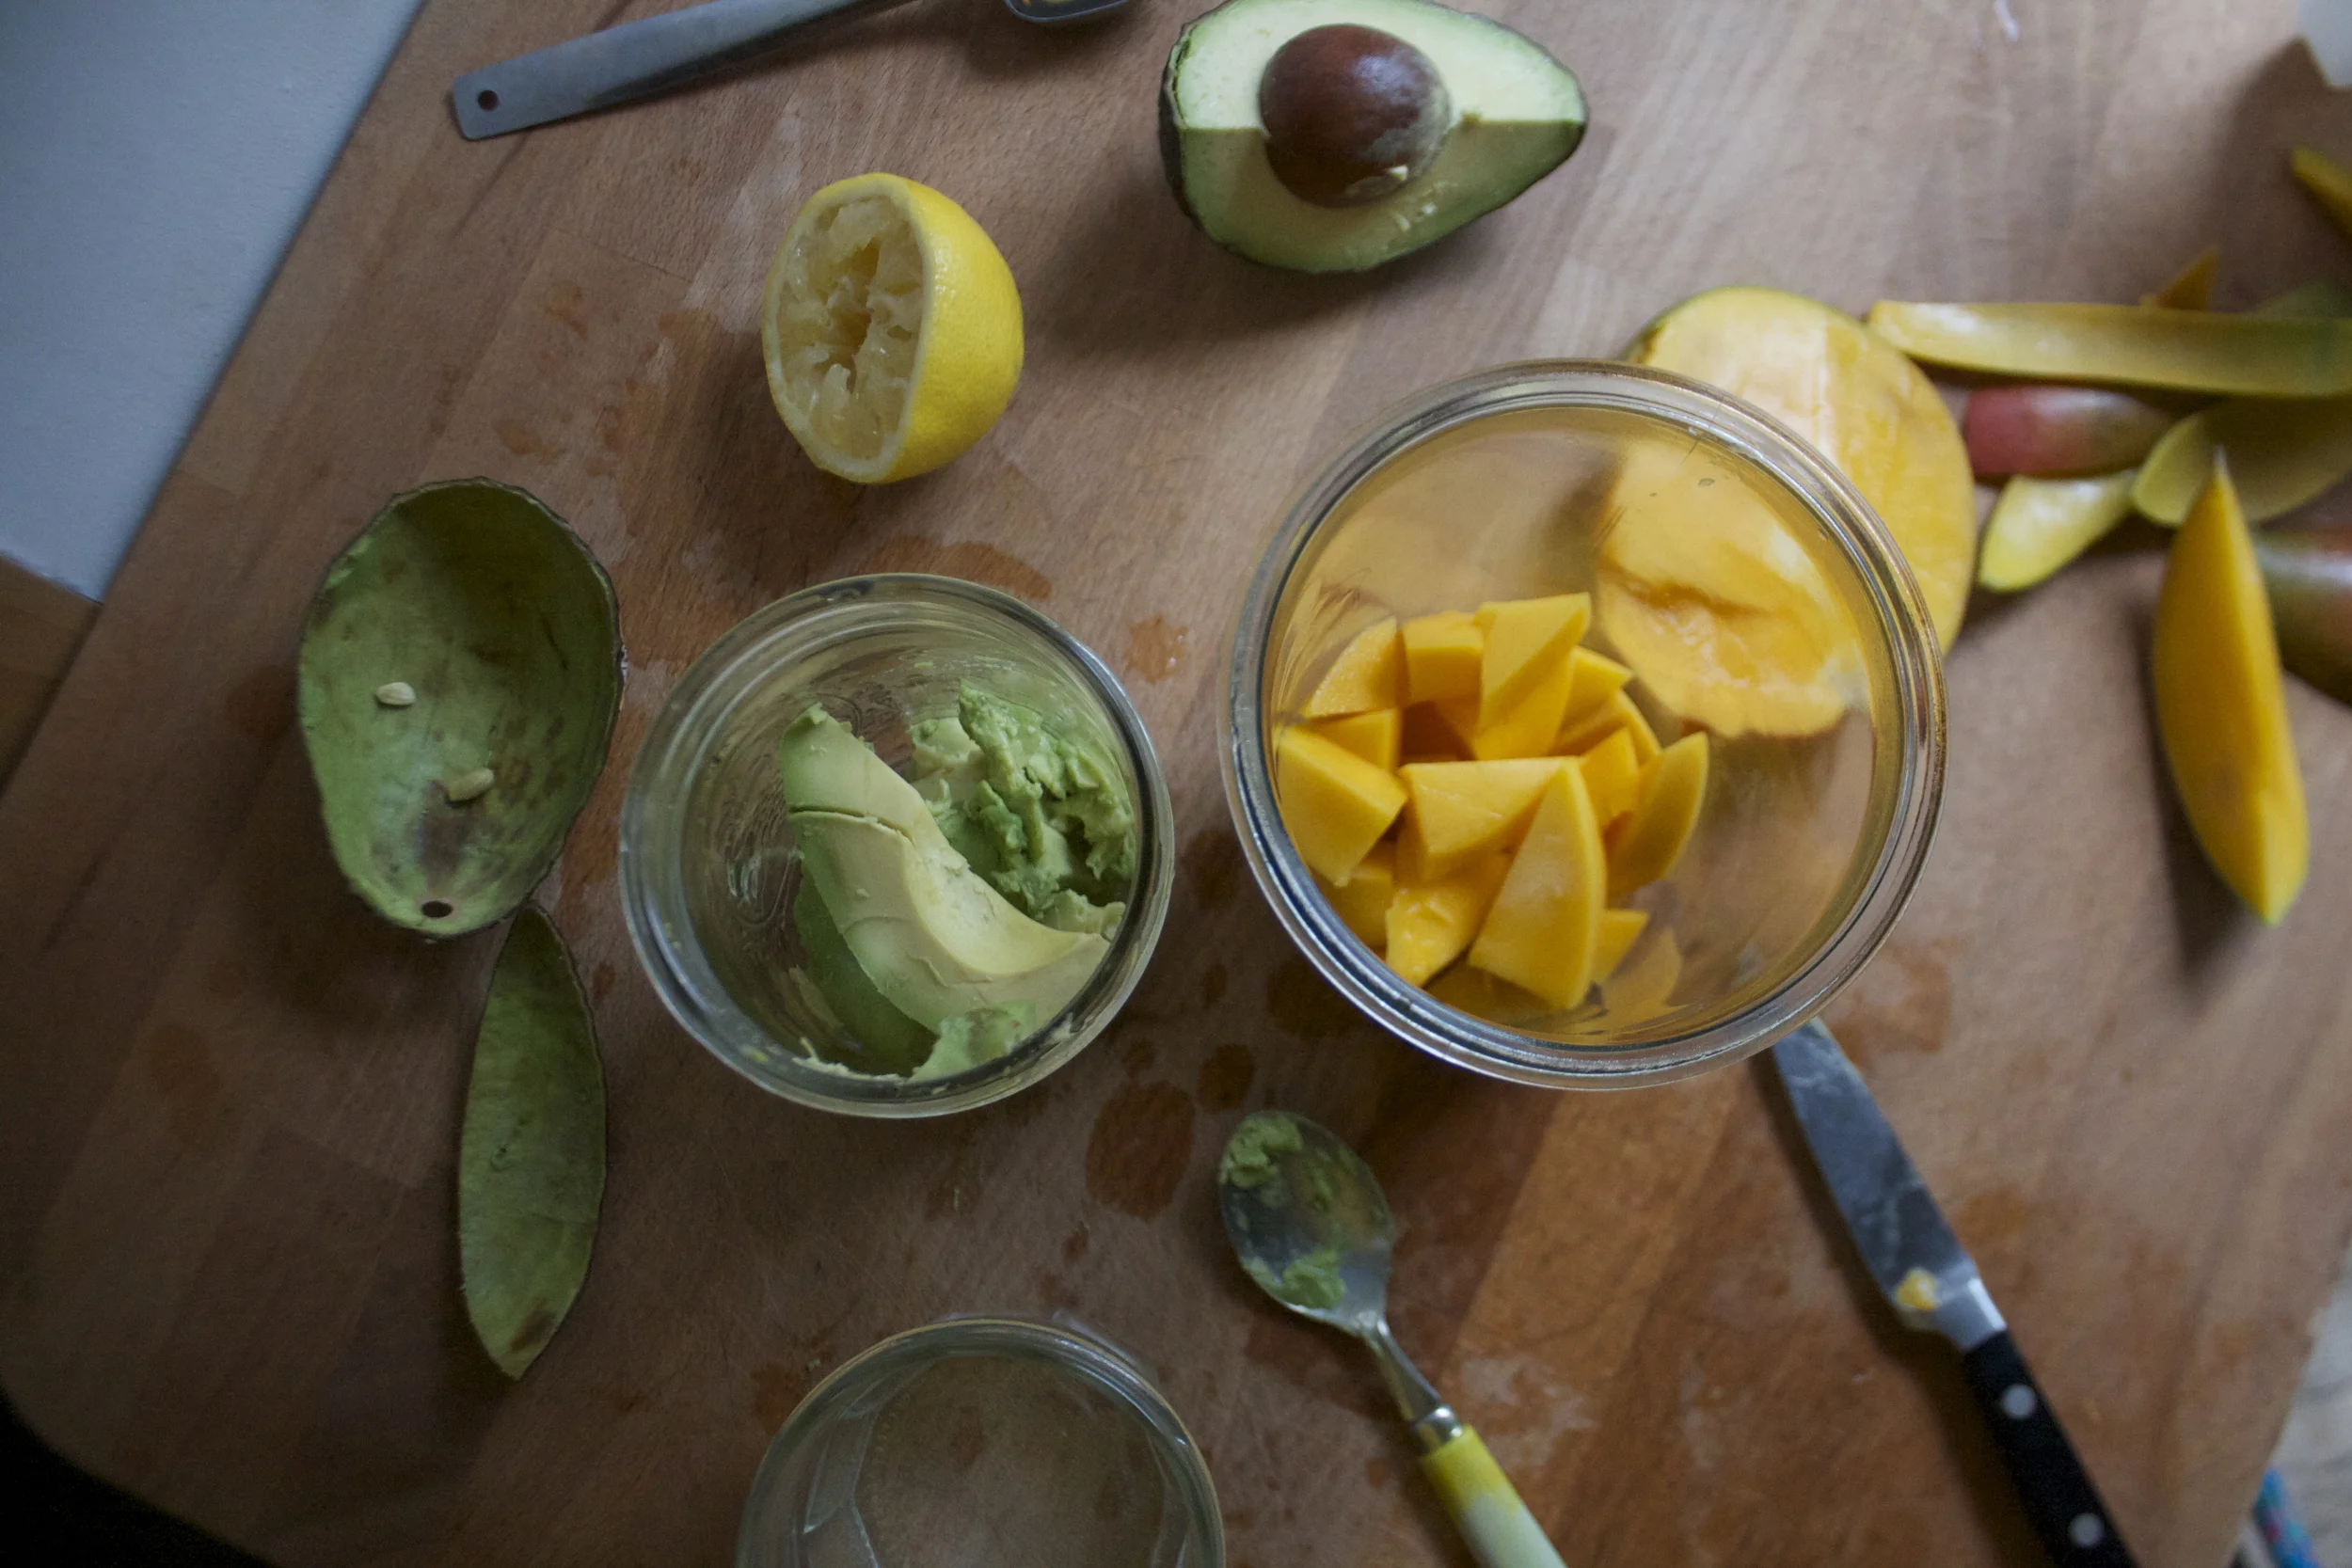
Scoop the avocado into a jar and cut up the mango ans stick into a jar…..

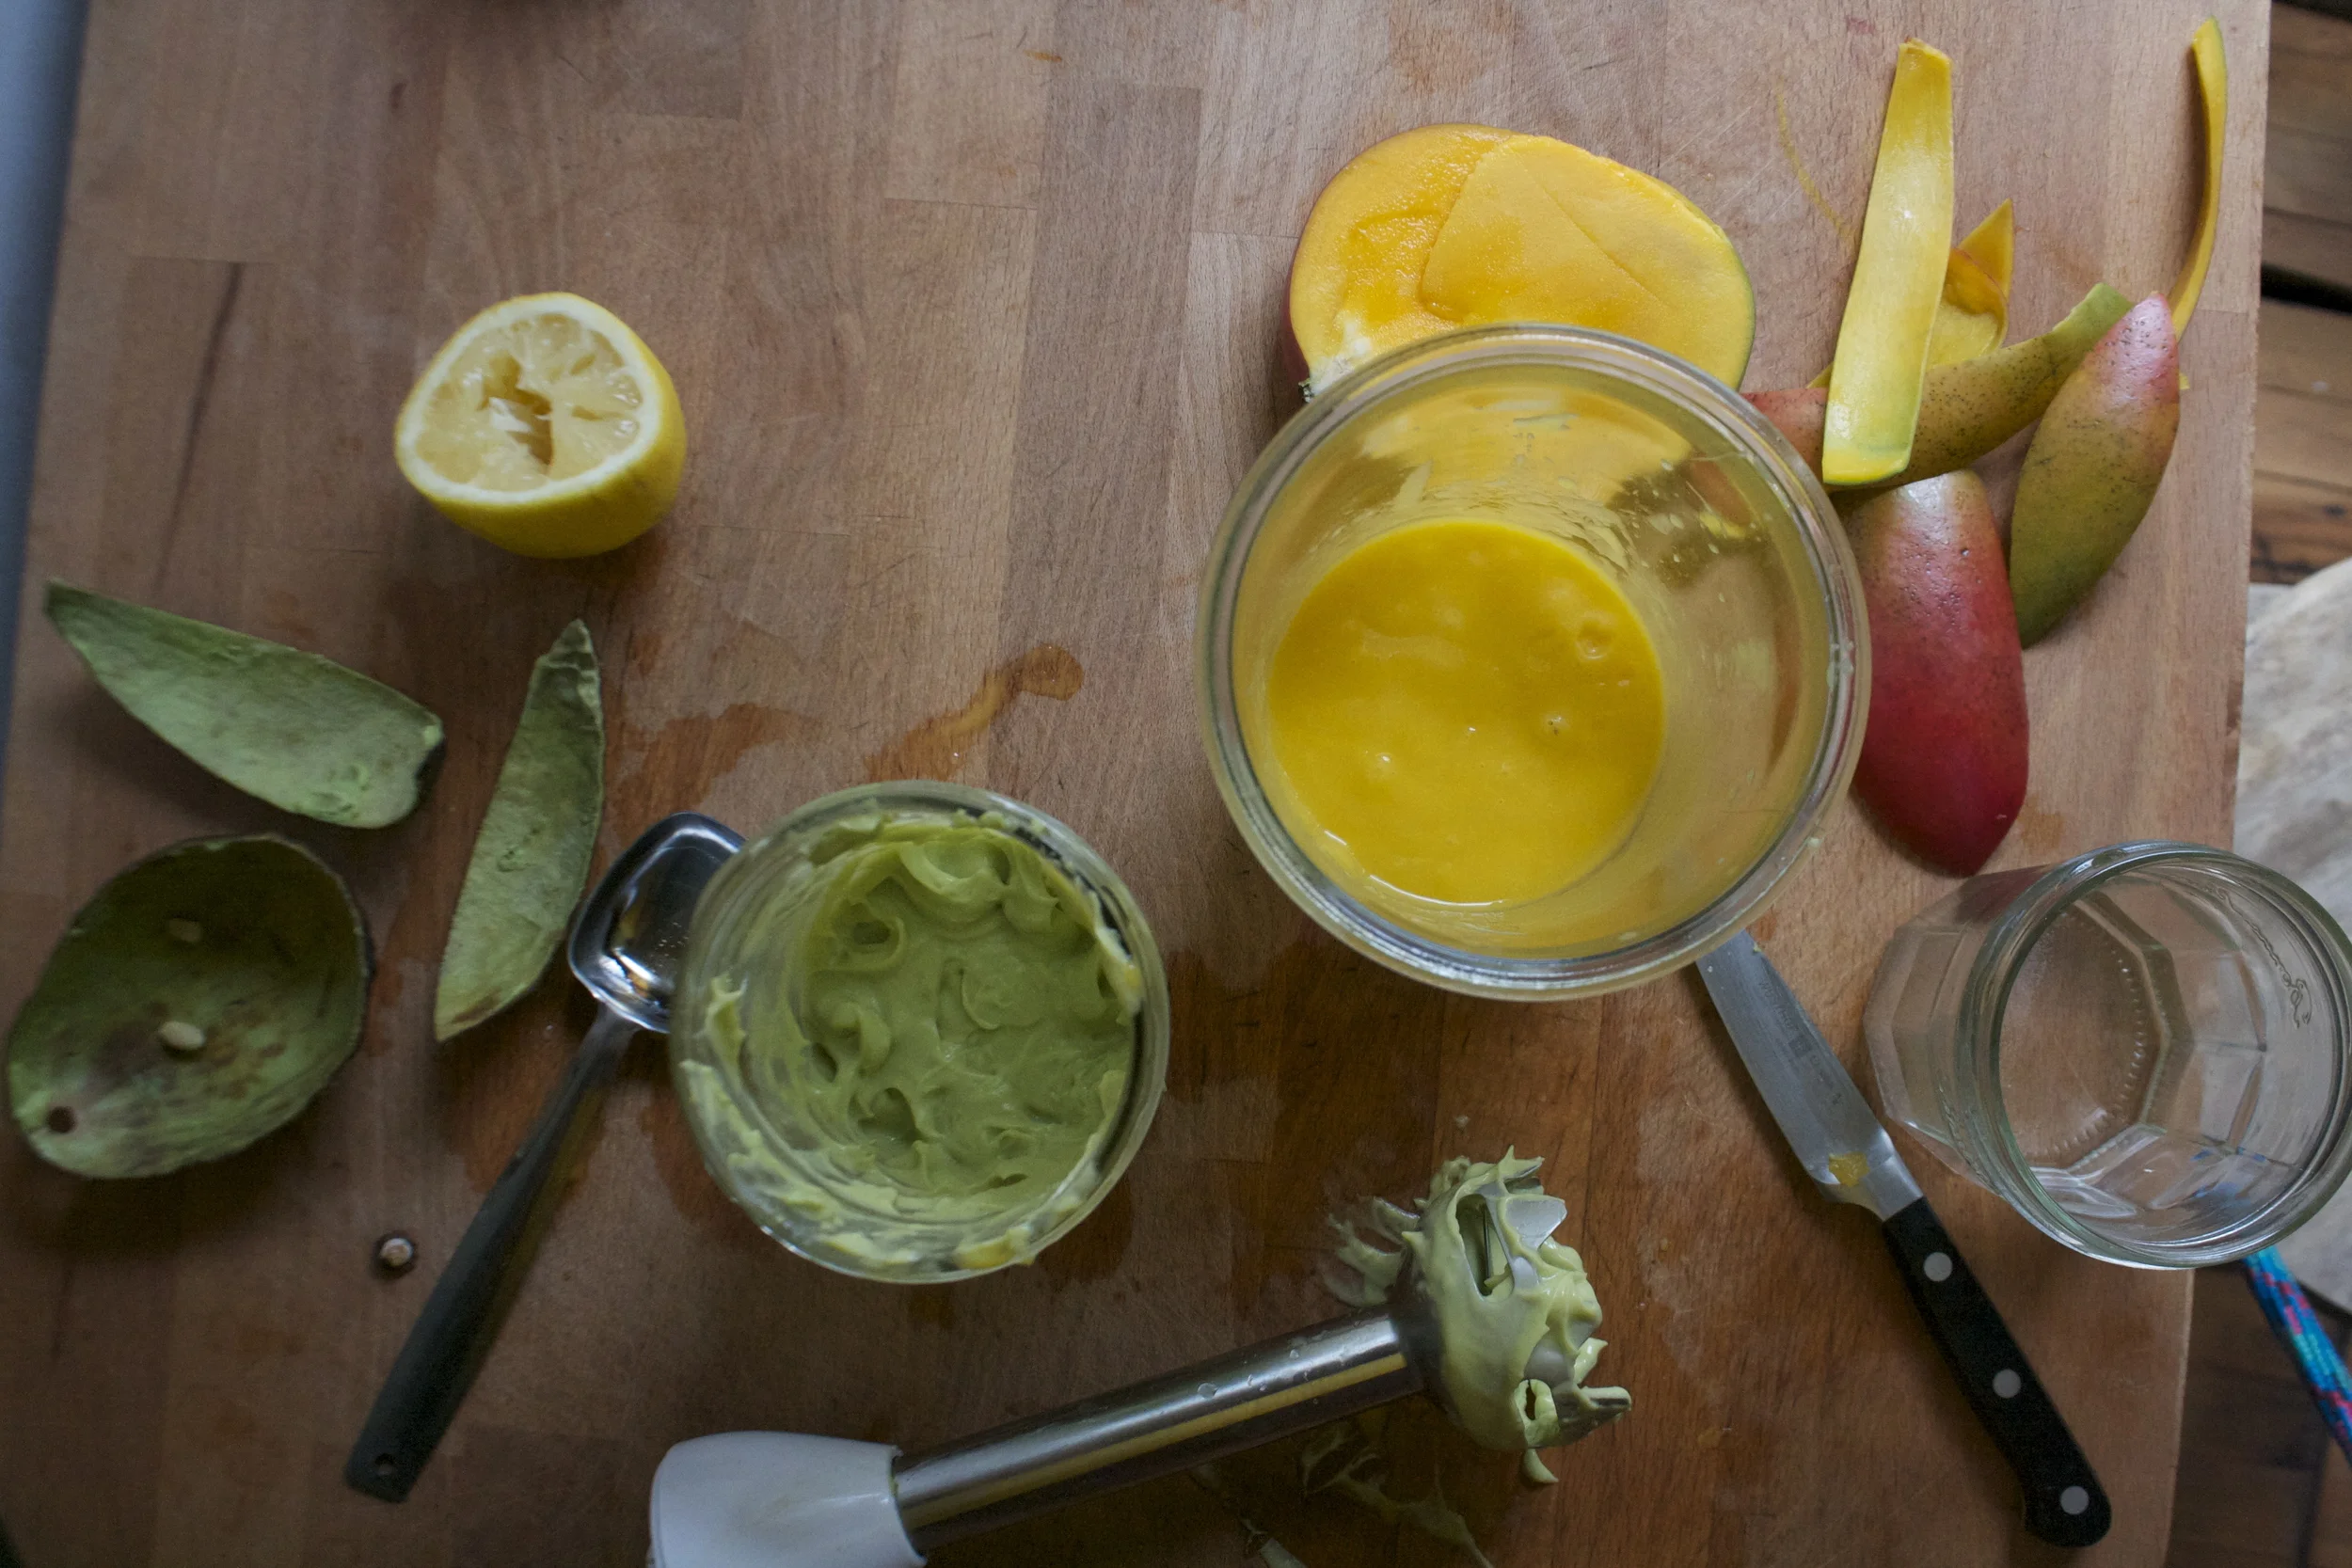
Splash a little water into each jar and blend them up. (I used my hand blender. but use the blending device of your choice) Add the maple syrup to the avocado.. as much as you need, and if your mango is not super sweet, you can add a little to that too.

Scoop the avocado puree into the mango and gently swirl it around

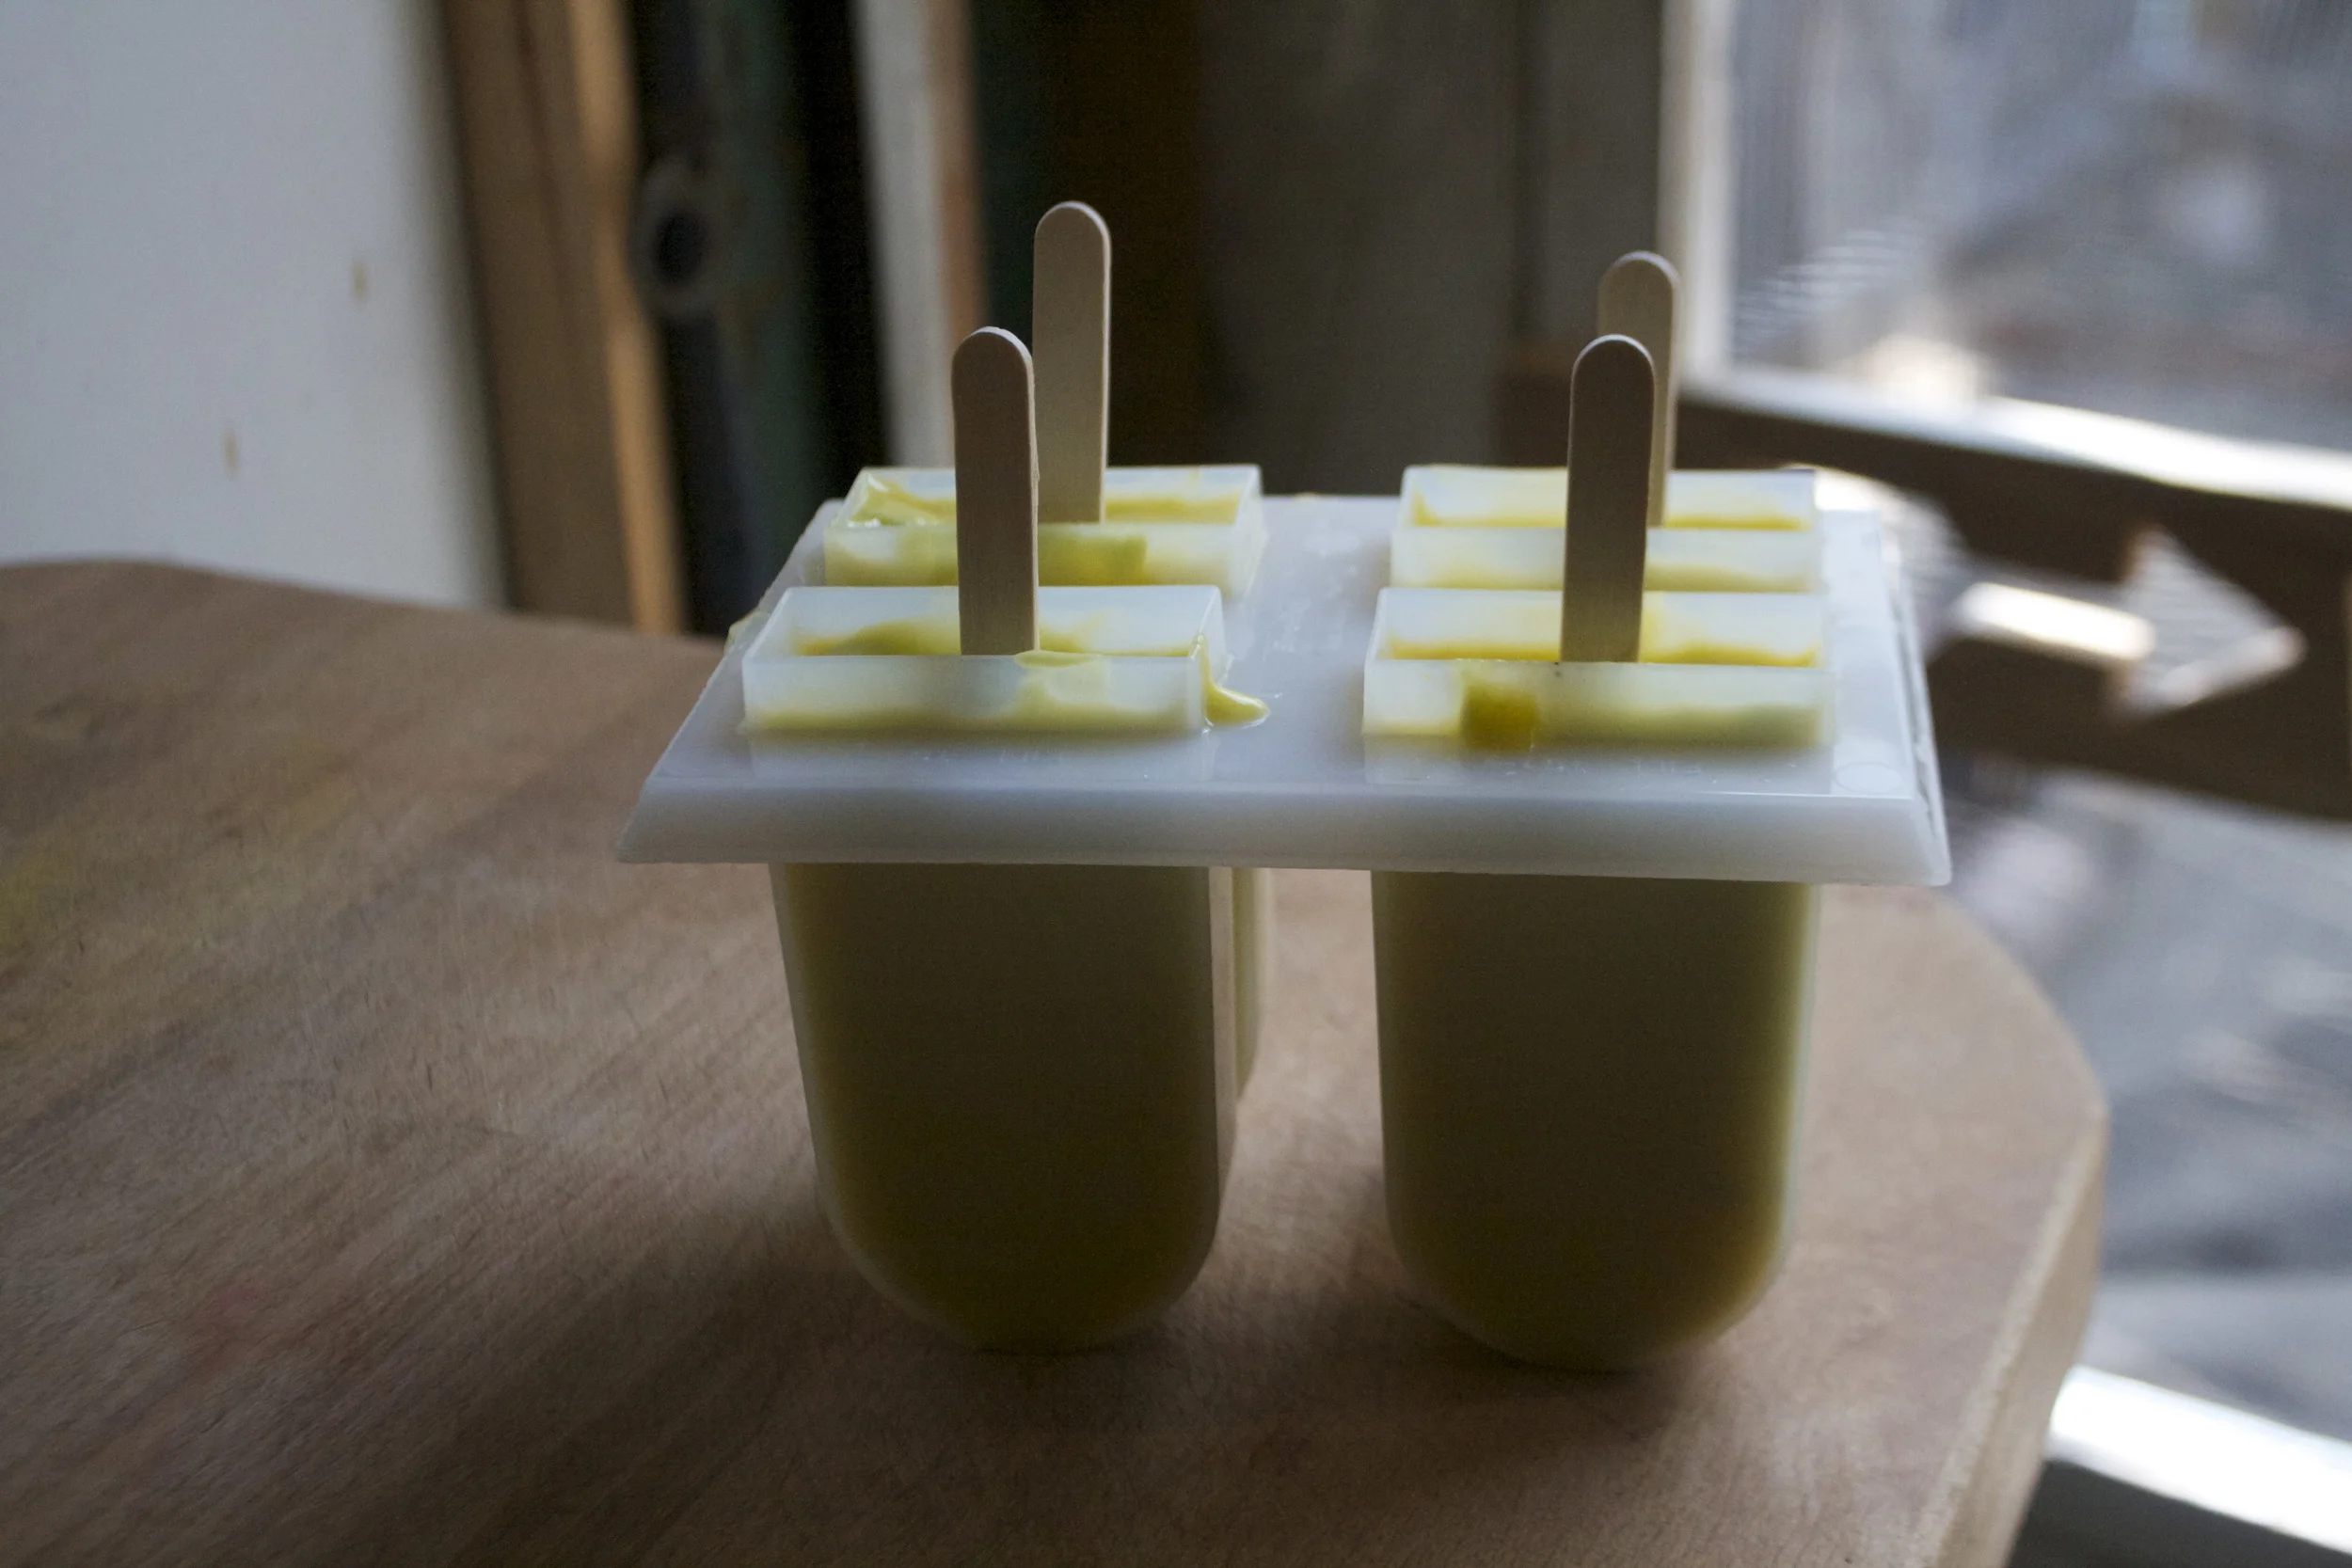
Now pour/scoop the mixture into your popsicle molds. And because mine was thick enough, I was able to stick the wood sticks without them sinking.

Noe get them quick into the freezer

A good few hours (I didn’t even check until the next day but I bet 4-5 hours in a good freezer will do) the popsicles are nowposicles!!!!!

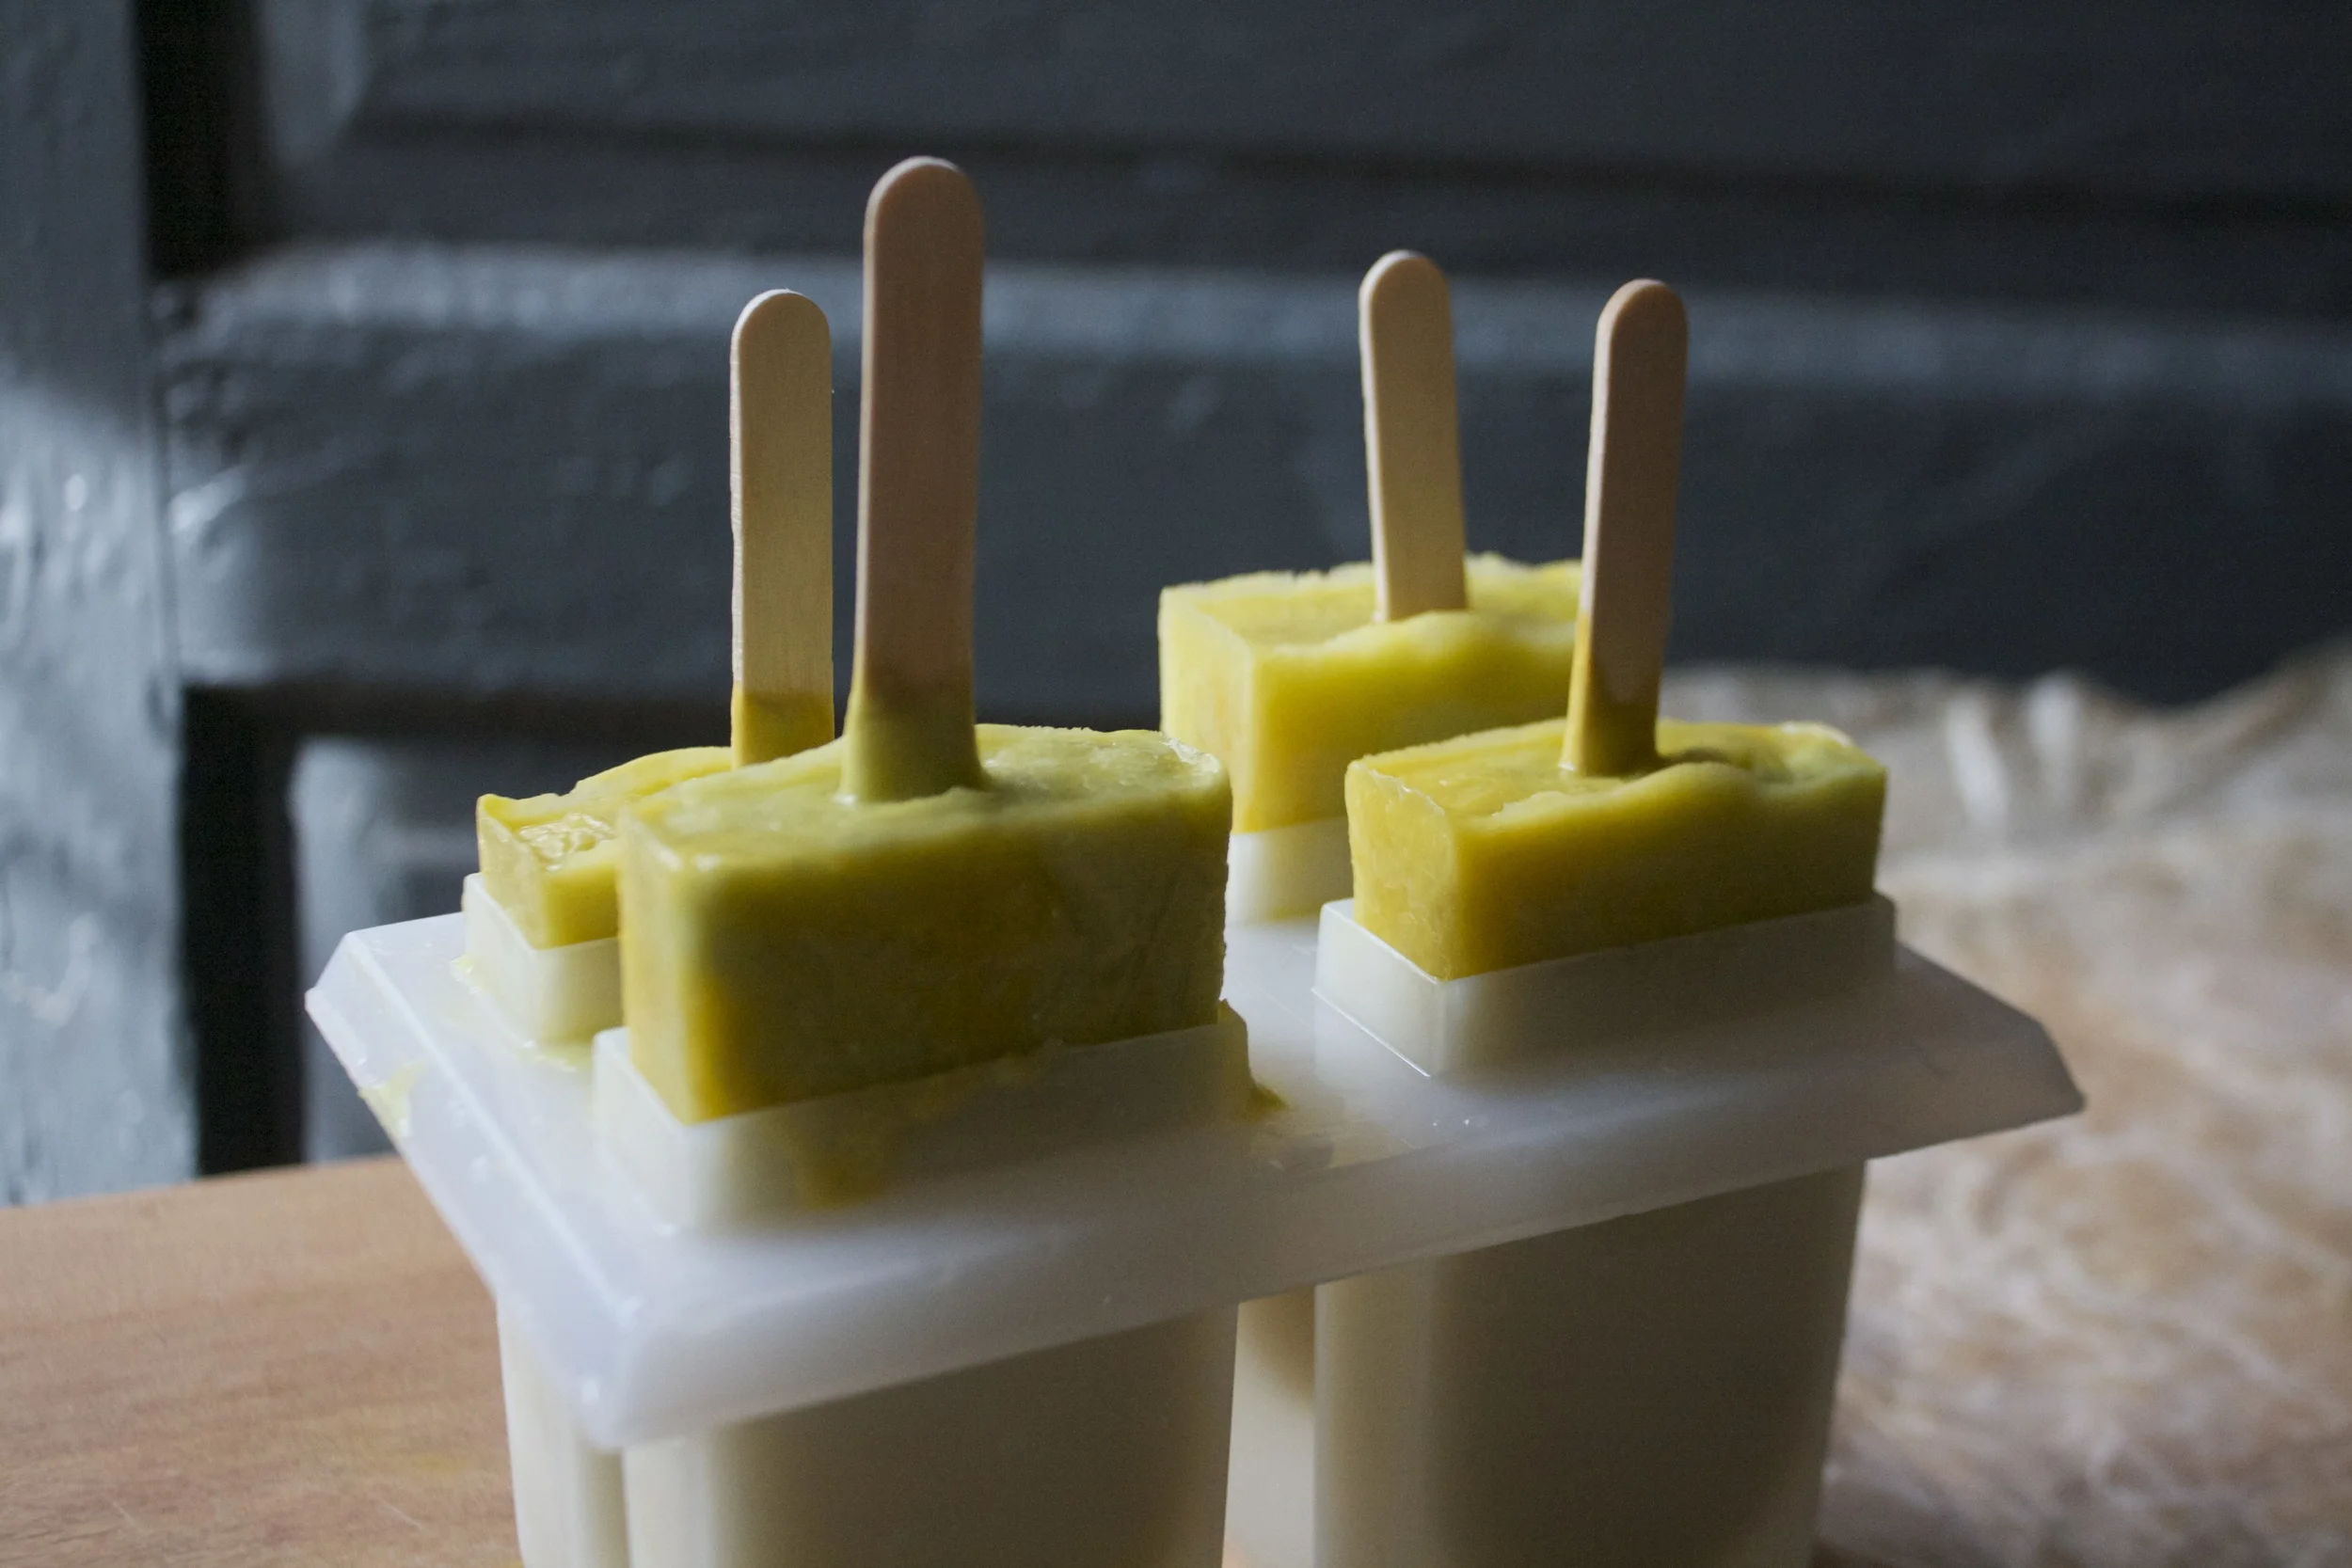
Pop them out of the mold (a few minutes on the counter and or a quick rinse under warm water) and do what needs to be done.

So creamy sweet and refreshing… This is a happy spring popsicle for sure.

Have a great day!

-C

Makes four 4oz popsicles

  • 1 ripe avocado
  • 1 ripe mango
  • 1/2 a lemon or lime
  • 1-2 tablespoons maple syrup (or any sweetener of you liking)
  • about 1/2 cup of water

Note.sIF your mango is not super sweet you might want to add a little maple syrup to thatto that as well. And depending on the actual size of your mango and avocado, you might find yourself with a little extra fruit puree…. so maybe an extra popsicle can be made or you can just eat it now.

Scoop avocado into a jar and cut and dice mango and place in a separate jar. Add maple to the avocado (and the mango if you want) and about 1/4 cup of water to each.%u00a0 With a hand blender, blend each until smooth ( or use a regular blender) Once both are blended, dump one into the other and gently swirl around. Pour mixture into popsicle molds, add the sticks and stick into the freeze. Keep freezing until frozen which should take at least 4-5 hours.

And once frozen, pop out of molds (run mold under warm water or just leave on counter for a few minutes) and eat them like it hot!

THE LOVELY CRAZY

August 18, 2019 by maximios • Blog

Peaches are here. YAY!!! Peaches are for sure one of those fleeting fruits, one that once in season, you need to eat as many fresh as you can because once they are out of season, they are not good. Not good at all. And me being me, I see peaches, I buy a shit load, and now I have a fridge drawer full. Not complaining in the slightest, but peaches cannot sit around all summer waiting to be eaten. So if you are going to buy a shit load, know what you are going to do with them all.

My peaches, well they haven%u2019t had to wait long. I have been eating at least a peach a day and%u2026 I made these bars with a few. Sharing my peaches, thats what I do. HA.

These almond peach shortbread bars. Fantastic A+ on all fronts. Easy to make, not a whole heck of a lot of ingredients, make the house smell amazing, and really kick off the peach, summer vibe thing that goes on around here.

‘%u201cMillions of peaches, peaches for me. Millions of Peaches, peaches for free%u201d %ud83c%udfb6 (Peaches by The Presidents of the United States of America. If you have%u2019t head the song, look it up. I don%u2019t think I can even look at a peach without hearing the song in my head.)

Now to the peach almond shortbread bars!

The stuff. Peaches, almonds, vegan butter, brown sugar, flour, cinnamon, salt, and baking powder.

Easy peasy. Almonds go in to food processor first. Blend and pulse for a minute or two until they turn into a medium fine almond meal. (Don%u2019t over blend or you will end up with almond butter.) When almonds are ground, add in the flour, baking powder, salt, cinnamon, and sugar. Pulse until combined. Then add in the butter in chunks and pulse until dough just starts to come together.

Half the dough goes into a 9×9 baking pan. Smooshed evenly all over the bottom poke it with a fork. Then it just needs to go into the oven to bake. 15-18 minutes or so, just until it starts to brown a bit.

Peaches need to be cut so cut them up. !/2 inch thick slices, after the pits be removed of course.

Blinded baked bottom. Looks good yeah? Let it cool for a few minutes and then it gets peaches. Three rows, all over lapping and nestled together.

The top gets the remaining half of dough and is now it%u2019s ready for the oven. Another 40-ish minutes or so to really seal the deal.

Taken from the oven when golden brown, cooled, cut up, and placed on a pretty plate because pretty is nice.

I am pretty sure you figured out what to do next%u2026. EAT IT!

-C

makes a 9×9 pan which can be cut Into the sizes of your choice

  • 1 cup vegan butter

  • 1 cup packed brown sugar

  • 2 cup cup all purpose flour

  • 1 cups raw almonds

  • 1 teaspoon baking powder

  • 1 teaspoon salt

  • 3 large firm peaches

  • 1 heaping teaspoon cinnamon

Preheat oven 350

Place almonds into a food processor and pulse and blend until a fine meal has formed. It should take only a minute or two and stop half way and scrape the edges and sides do the almonds don%u2019t start to form a paste. Add in the flour, salt, baking powder, cinnamon,and sugar and pulse until combined. Add in the vegan butter in a few chunks and pulse until the mixture turns into a crumbly dough. Stop pulsing and dump mixture into big bowl.

Take half of the mixture and place into a 9×9 baking pan. Evenly distribute and press the dough into the bottom. Take a fork and poke the dough all over then place the pan in the oven. Bake for 15-17 minutes or until the dough just starts to lighly brown. Remove from oven.

While the bottom crust is cooling off for a few minutes, slice peaches into 1/2 inch slices. Obviously make sure to remove pit.

Now take your half baked crust and layer peaches evenly on top. It is easies to start at the top, make three rows across and then layer the peaches down (like in the picture above). Once peaches are layered, grab the remaining half of dough and evenly distribute on top. Place back into oven and bake for another 40-45 minutes or until the crumble on top is a nice deep golden brown.

Remove from oven, let coo completely (or as completely as you can) cut into pieces, and then you eat it.

Left over pieces should be placed in an airtight container in the fridge for up to 5 days. They freeze well individually wrapped too.

blind back for about 15 minutes of until the crust is starting to brown around the edges

bake for another 30 minutes

«‹ 122 123 124 125›»

Recent Posts

  • 1xBet App for Matchday: A Football Fan’s Setup
  • Aviator Game Bonus and How It Applies
  • Aviator Original vs Copycats: How to Tell Them Apart
  • What $0 Subscriptions Actually Include on OnlyFans
  • First-Time Subscriber Budget Trajectory on OnlyFans

Every Singapore betting site on this list was checked for licence details, market depth and withdrawal time.

A nemzetközi sportfogadó oldalak jellemzően magasabb szorzókkal dolgoznak, mint a hazai piac szereplői.

Denne guide til casino uden rofus i 2026 – spil uden dansk licens forklarer regler, muligheder og risici ved udenlandske platforme.

Et casino med hurtige udbetalinger kan forbedre spiloplevelsen ved at sikre hurtig adgang til dine gevinster.

Vores guide til spillesider uden om rofus hjælper dig med at navigere blandt internationale casinoer.

We ranked the top online casino Malaysia platforms on withdrawal times, not on marketing claims.

Registration takes a few minutes, and this sg online casino guide walks through verification and the first deposit step by step.

A hazai fórumokon rengeteg tippet találhatsz arról, hogyan működik a casino befizetés nélküli bónusz aktiválása promóciós kódokkal.

@lonelyplanet
STUDIO ESCAPE Creative Getaways Quiet stays and bright worktables for a weekend reset. See Places
MAKER ROUTE World Nomads Travel-ready planning and practical coverage for makers. Read Tips