
THE LOVELY CRAZY
When your neighbor tells you to pick as many raspberries as you can, well you go pick as many raspberries as you can. Just a few houses down the street, she has a yard full of the heaviest fruited raspberry bushes that have seen. So I grabbed my biggest mixing bowl and went at it. So many raspberries, they were basically falling off into the bowl (and into my mouth). Fresh raspberries, there is not much better.
And she wants me to come back for anther round. We have good neighbors.
I had quite the raspberry loot. The mr and I ate some (maybe too many), froze some, and then I made danishes for no other reason then I wanted to. And that was a just decision because everyone loves a good danish.
And these were good, or sooo good, according to the mr. He ate half while the other half were demolished when I brought them to my moms for dessert which was the plan so it worked out. People and their danishes. It%u2019s a thing you know.(No, not really)
Now to the danishes!

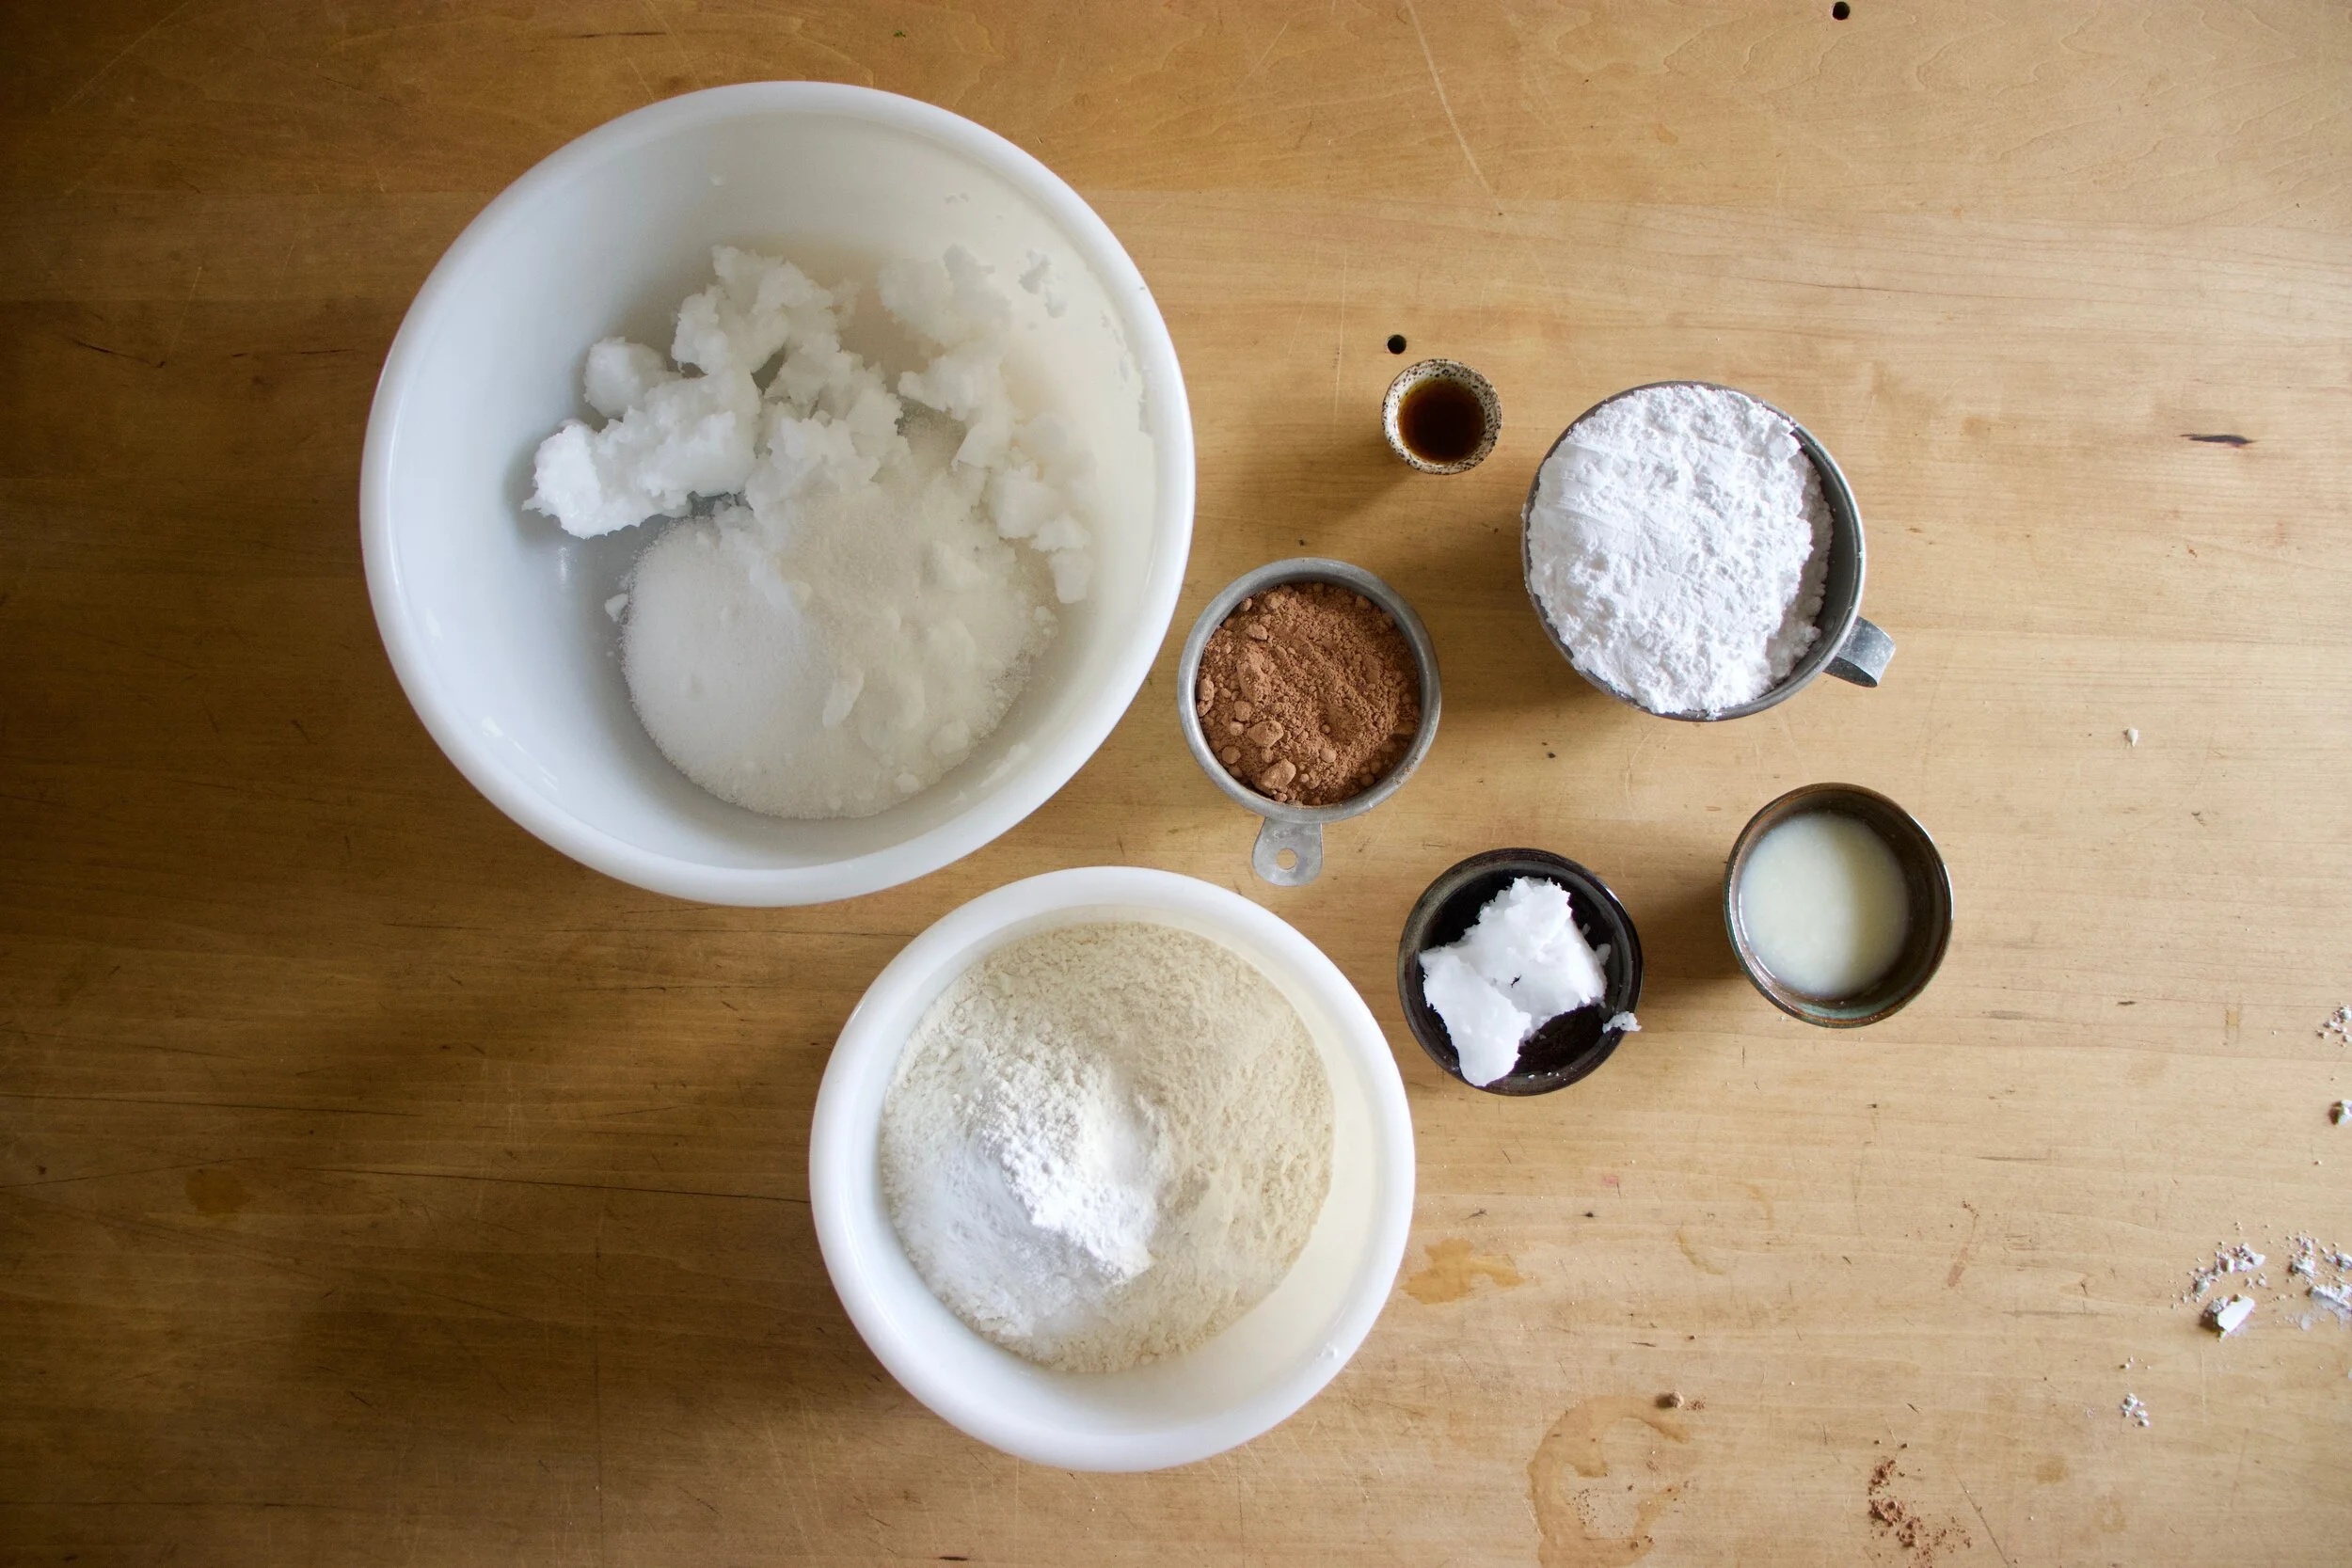
The stuff. Fresh raspberries (You can use frozen or if you really want, raspberry jam) flour, sugar, salt, plant milk, oil, yeast, a lemon, powdered sugar, vanilla. and that is it.
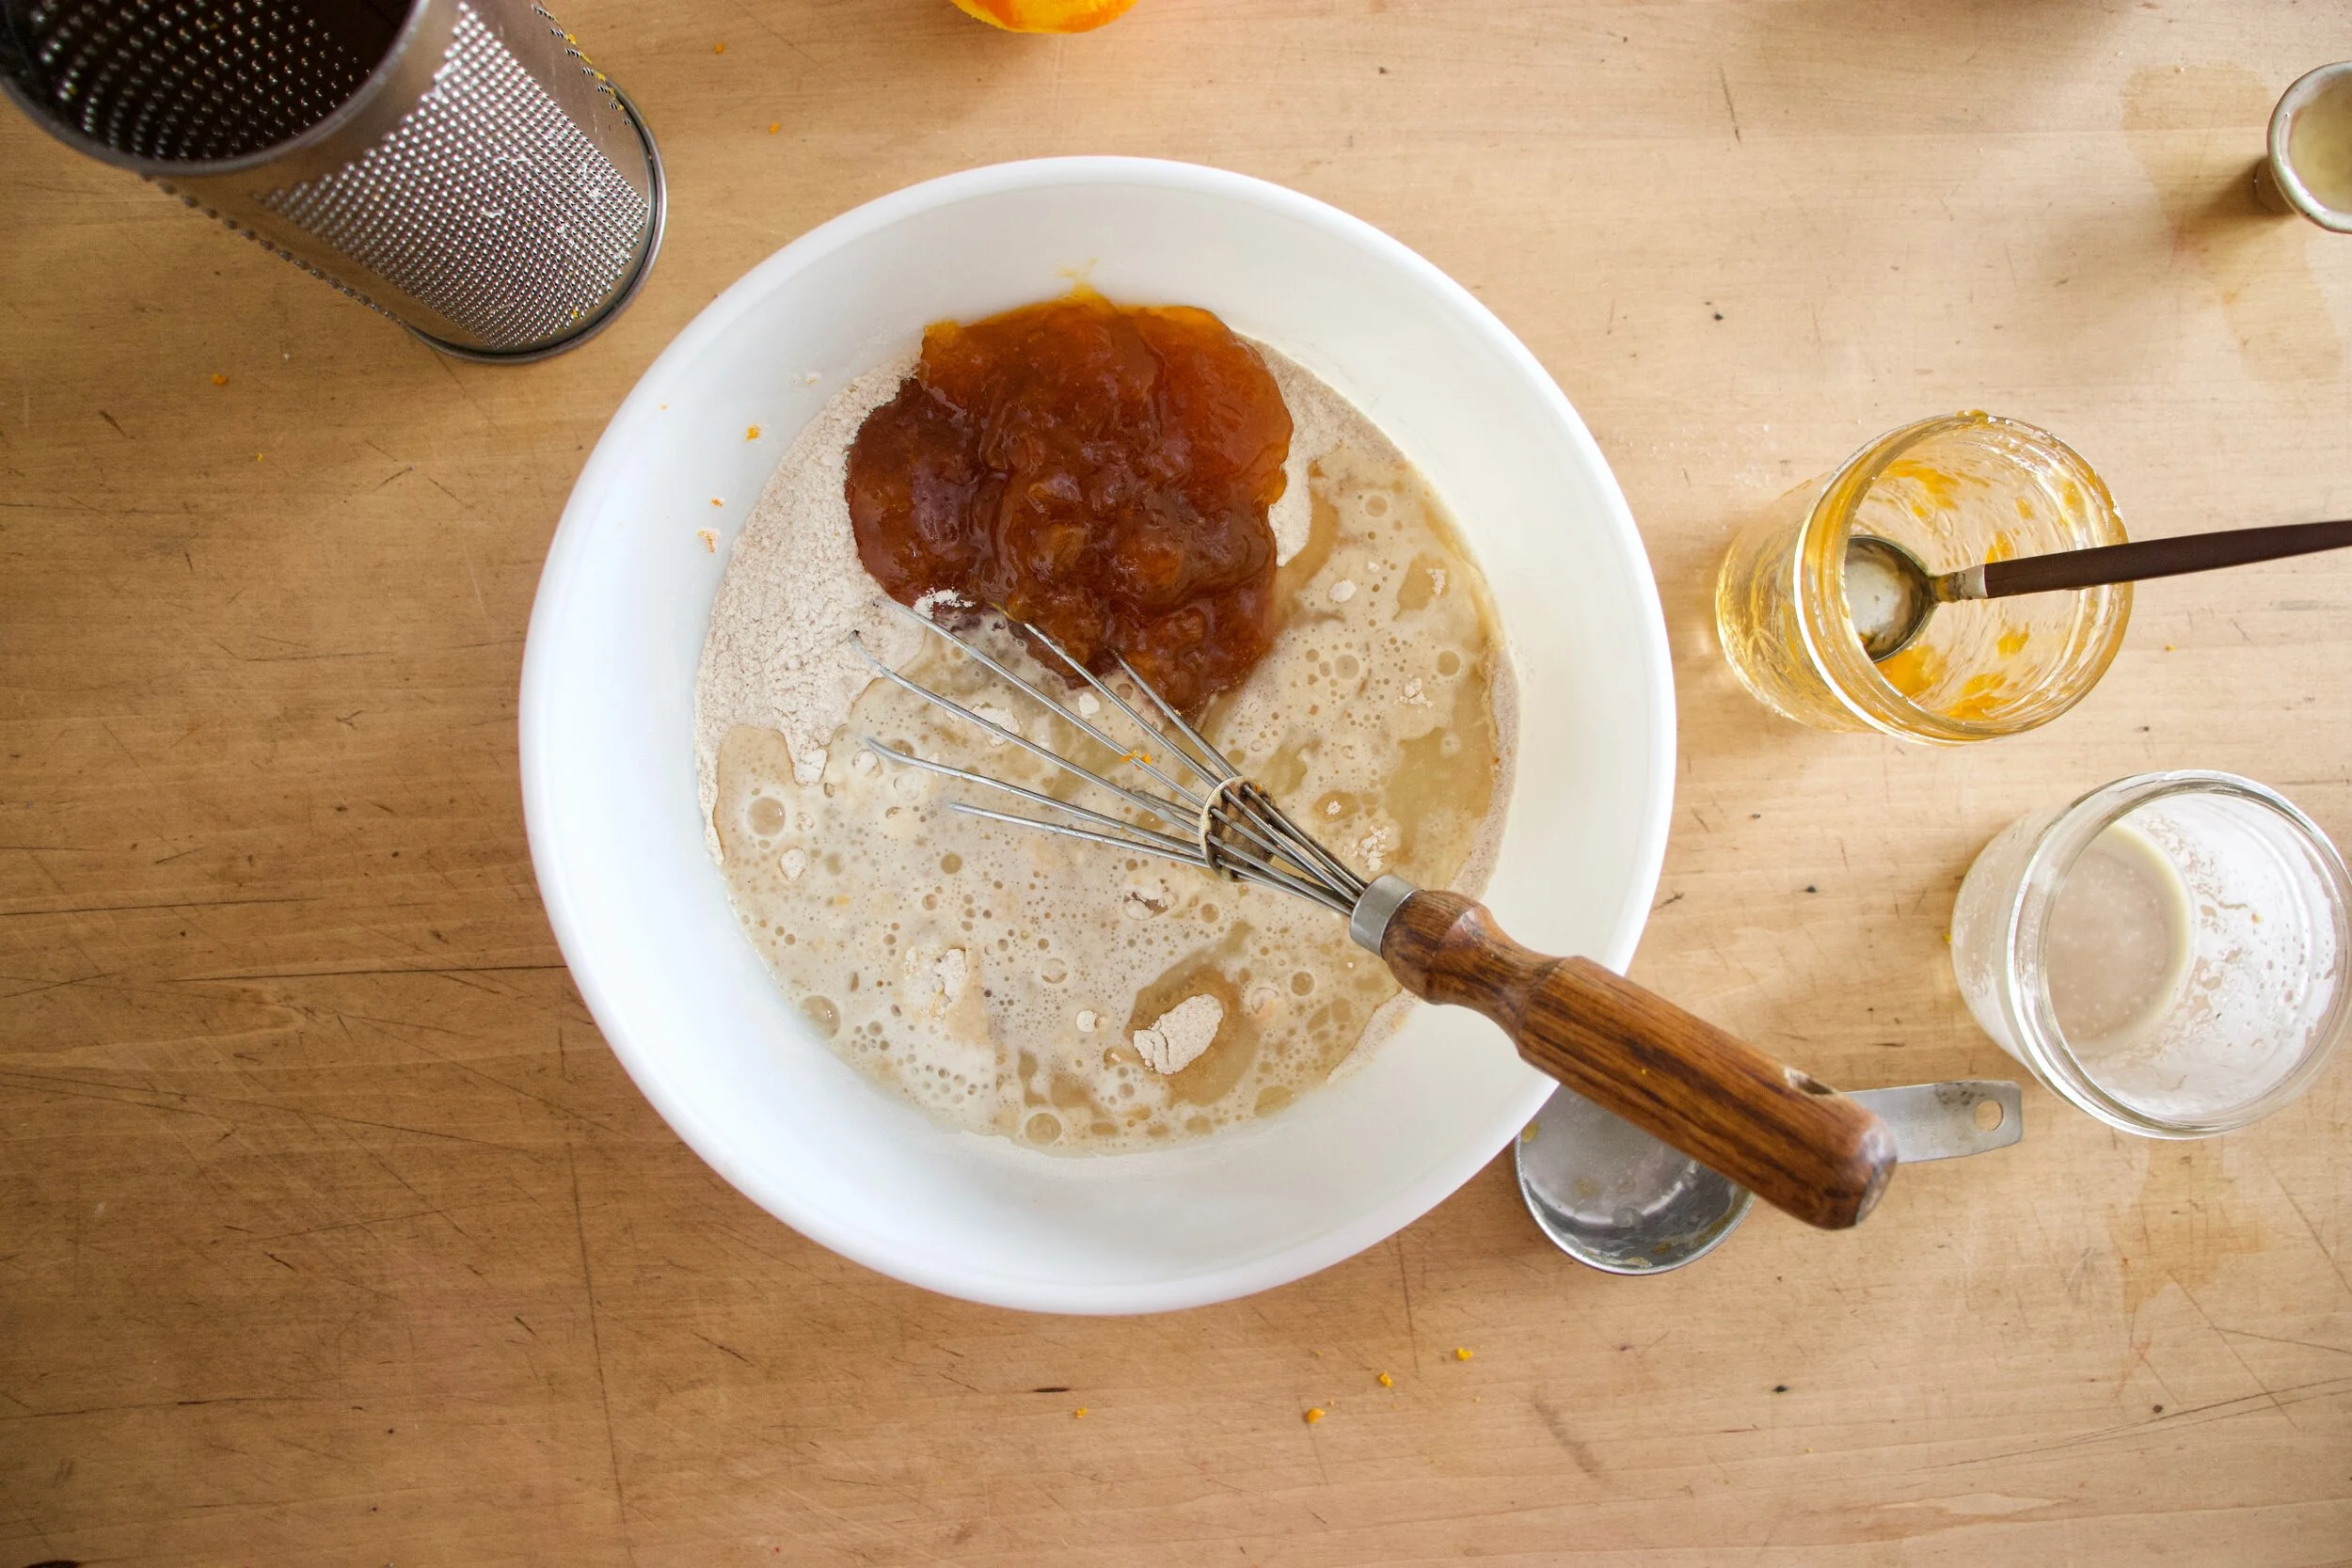
Start with mixing the yeast with the oil, milk, and sugar in a large bowl. Add in the flour and slat ads mix mix mix until you can%u2019t mix no more.
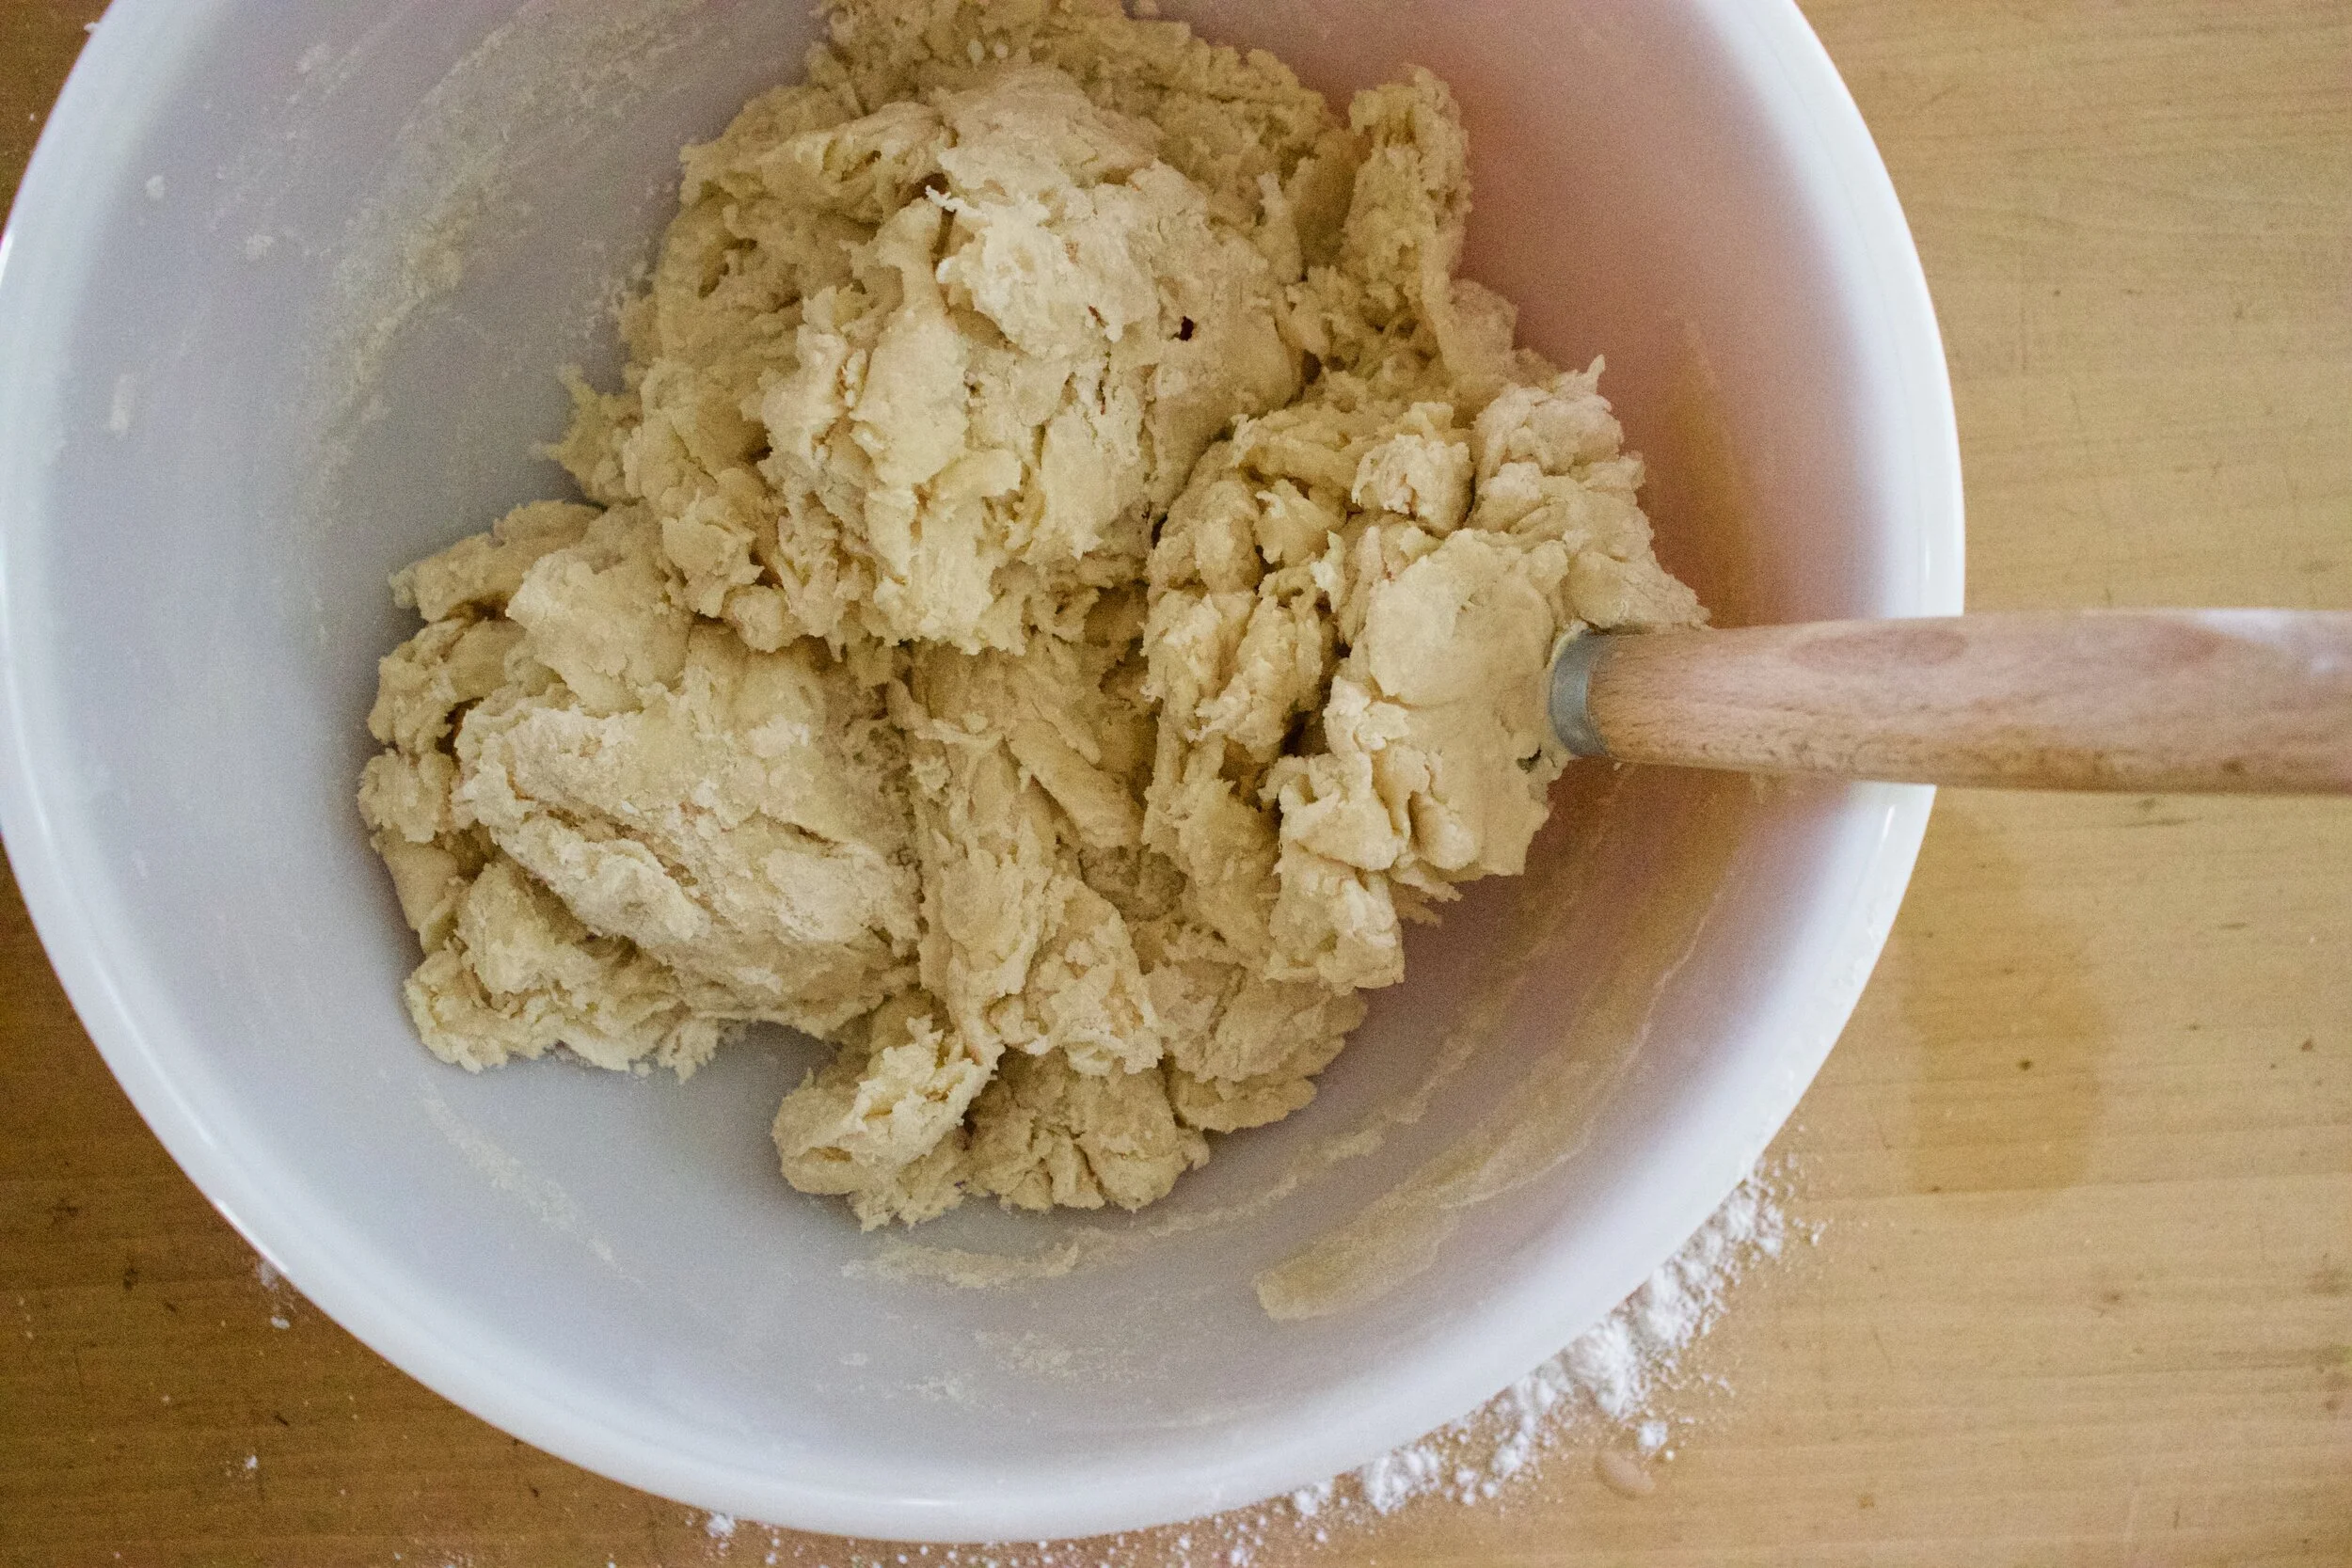
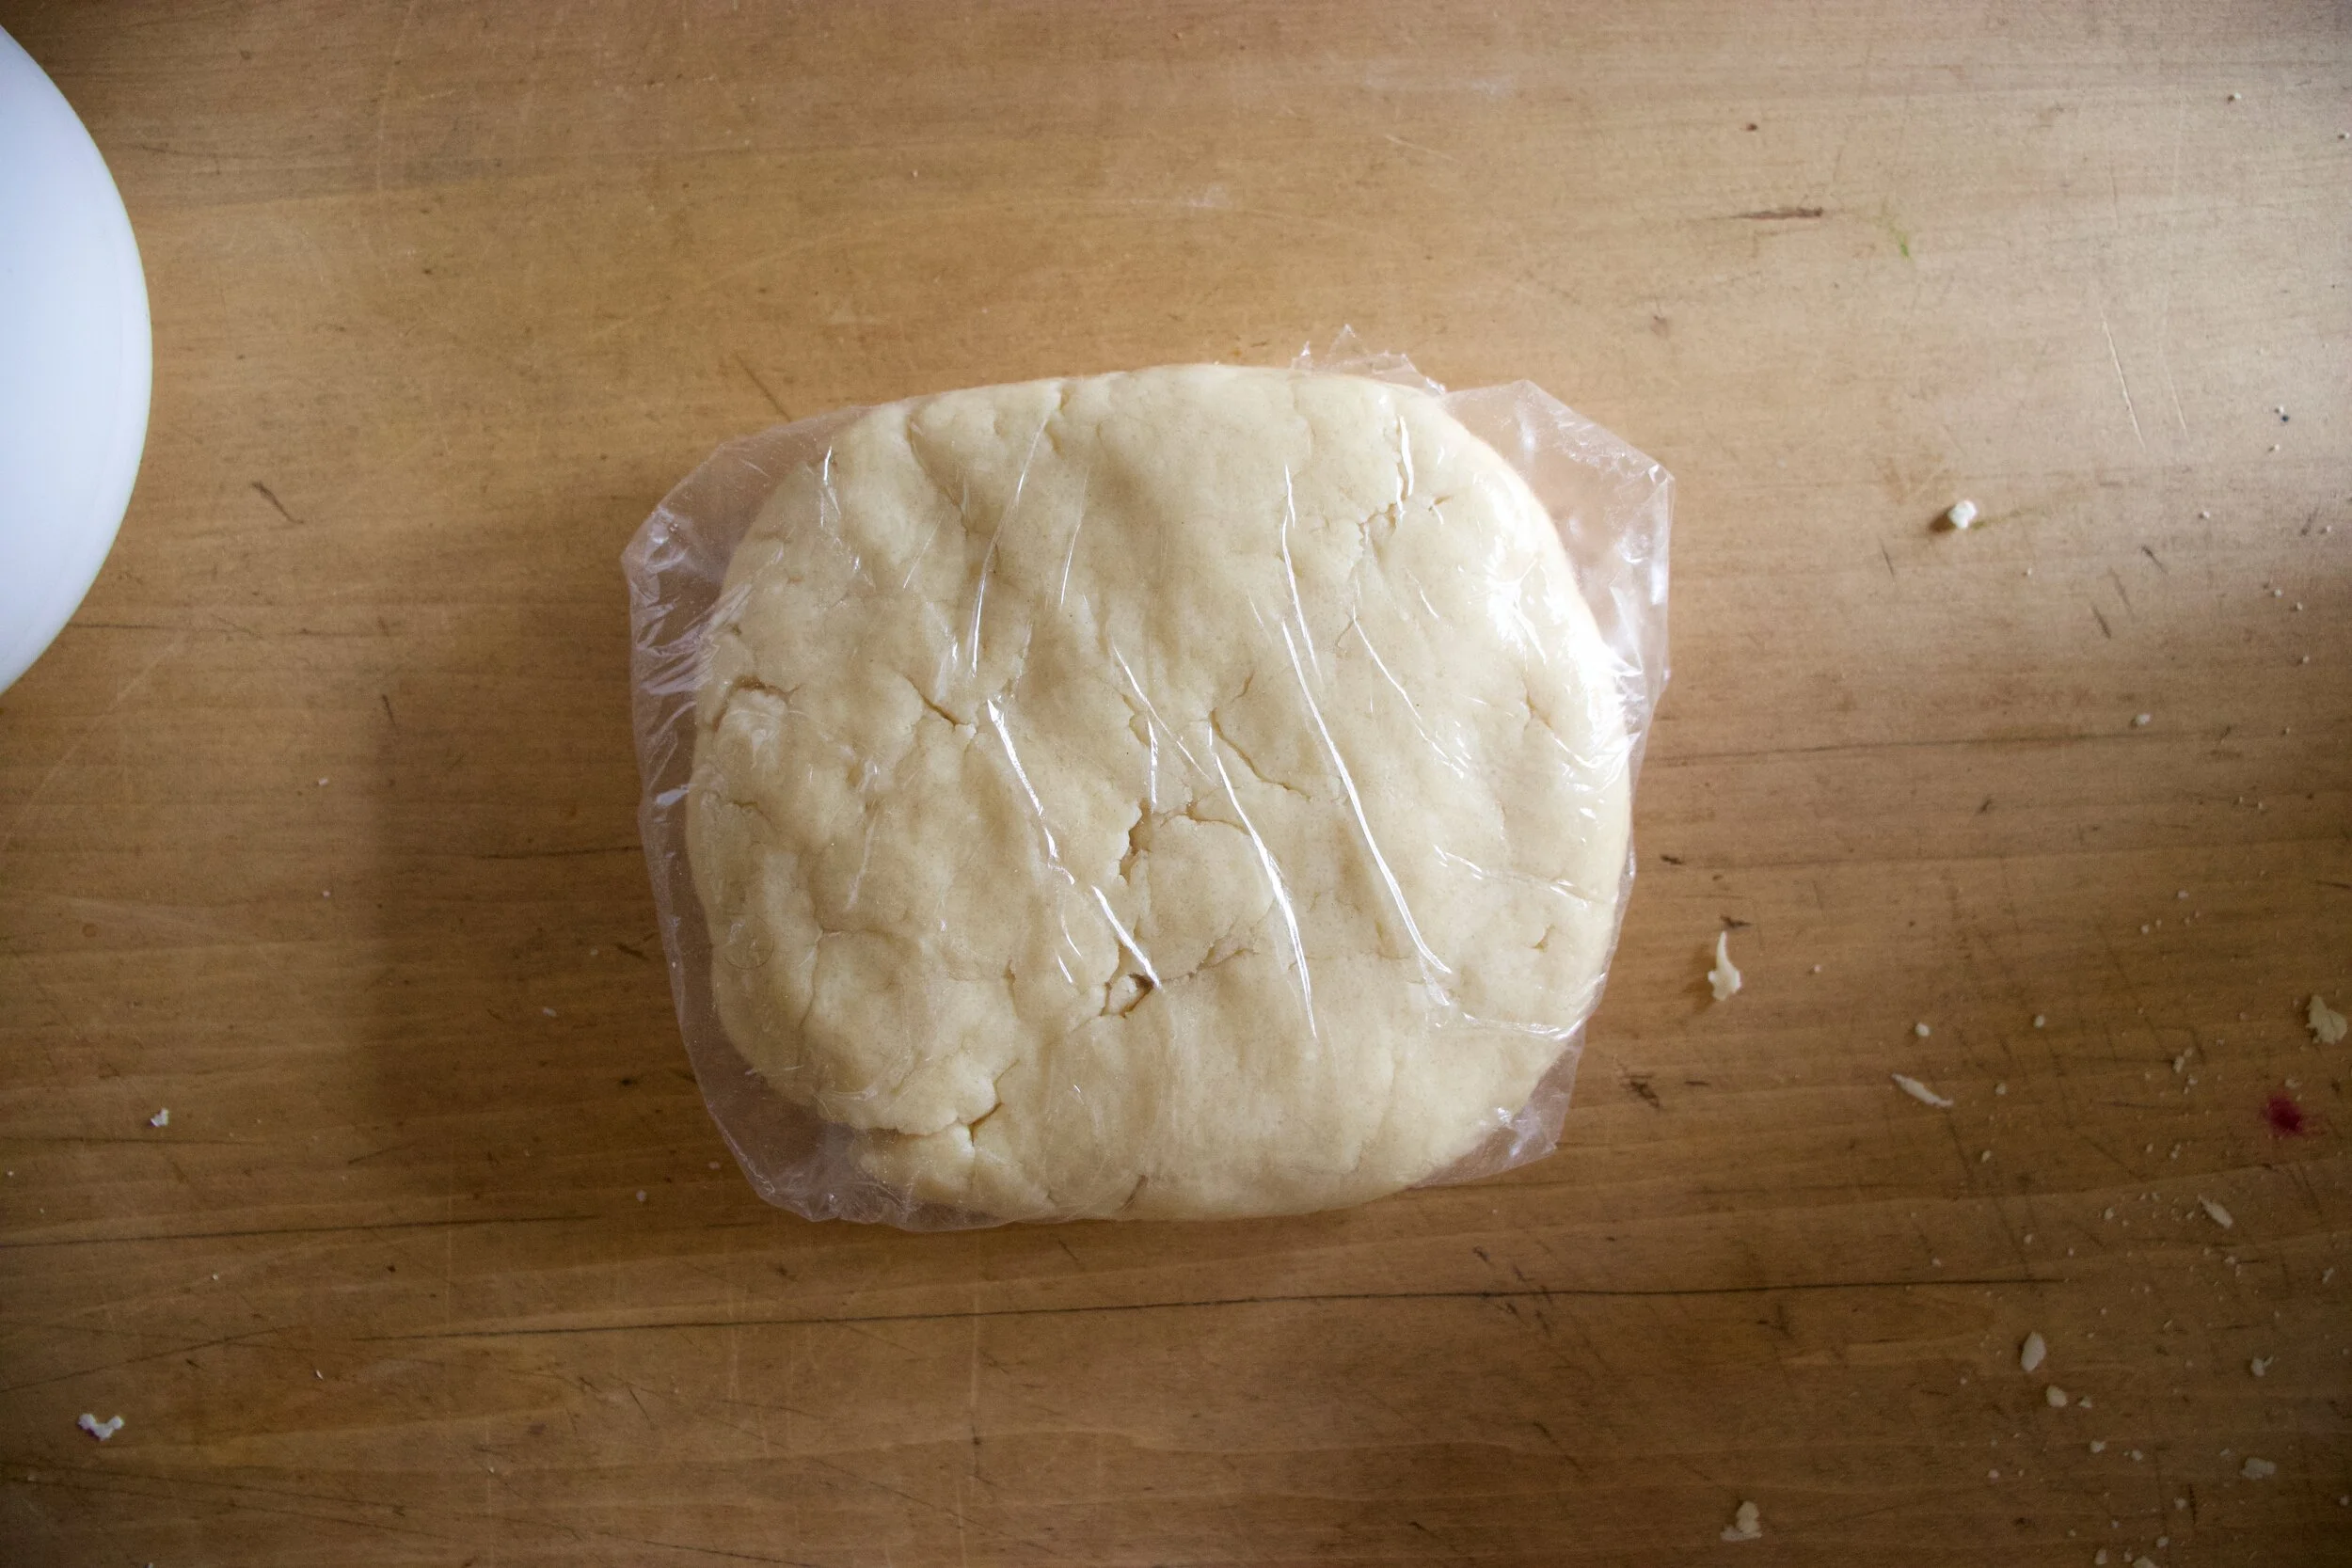
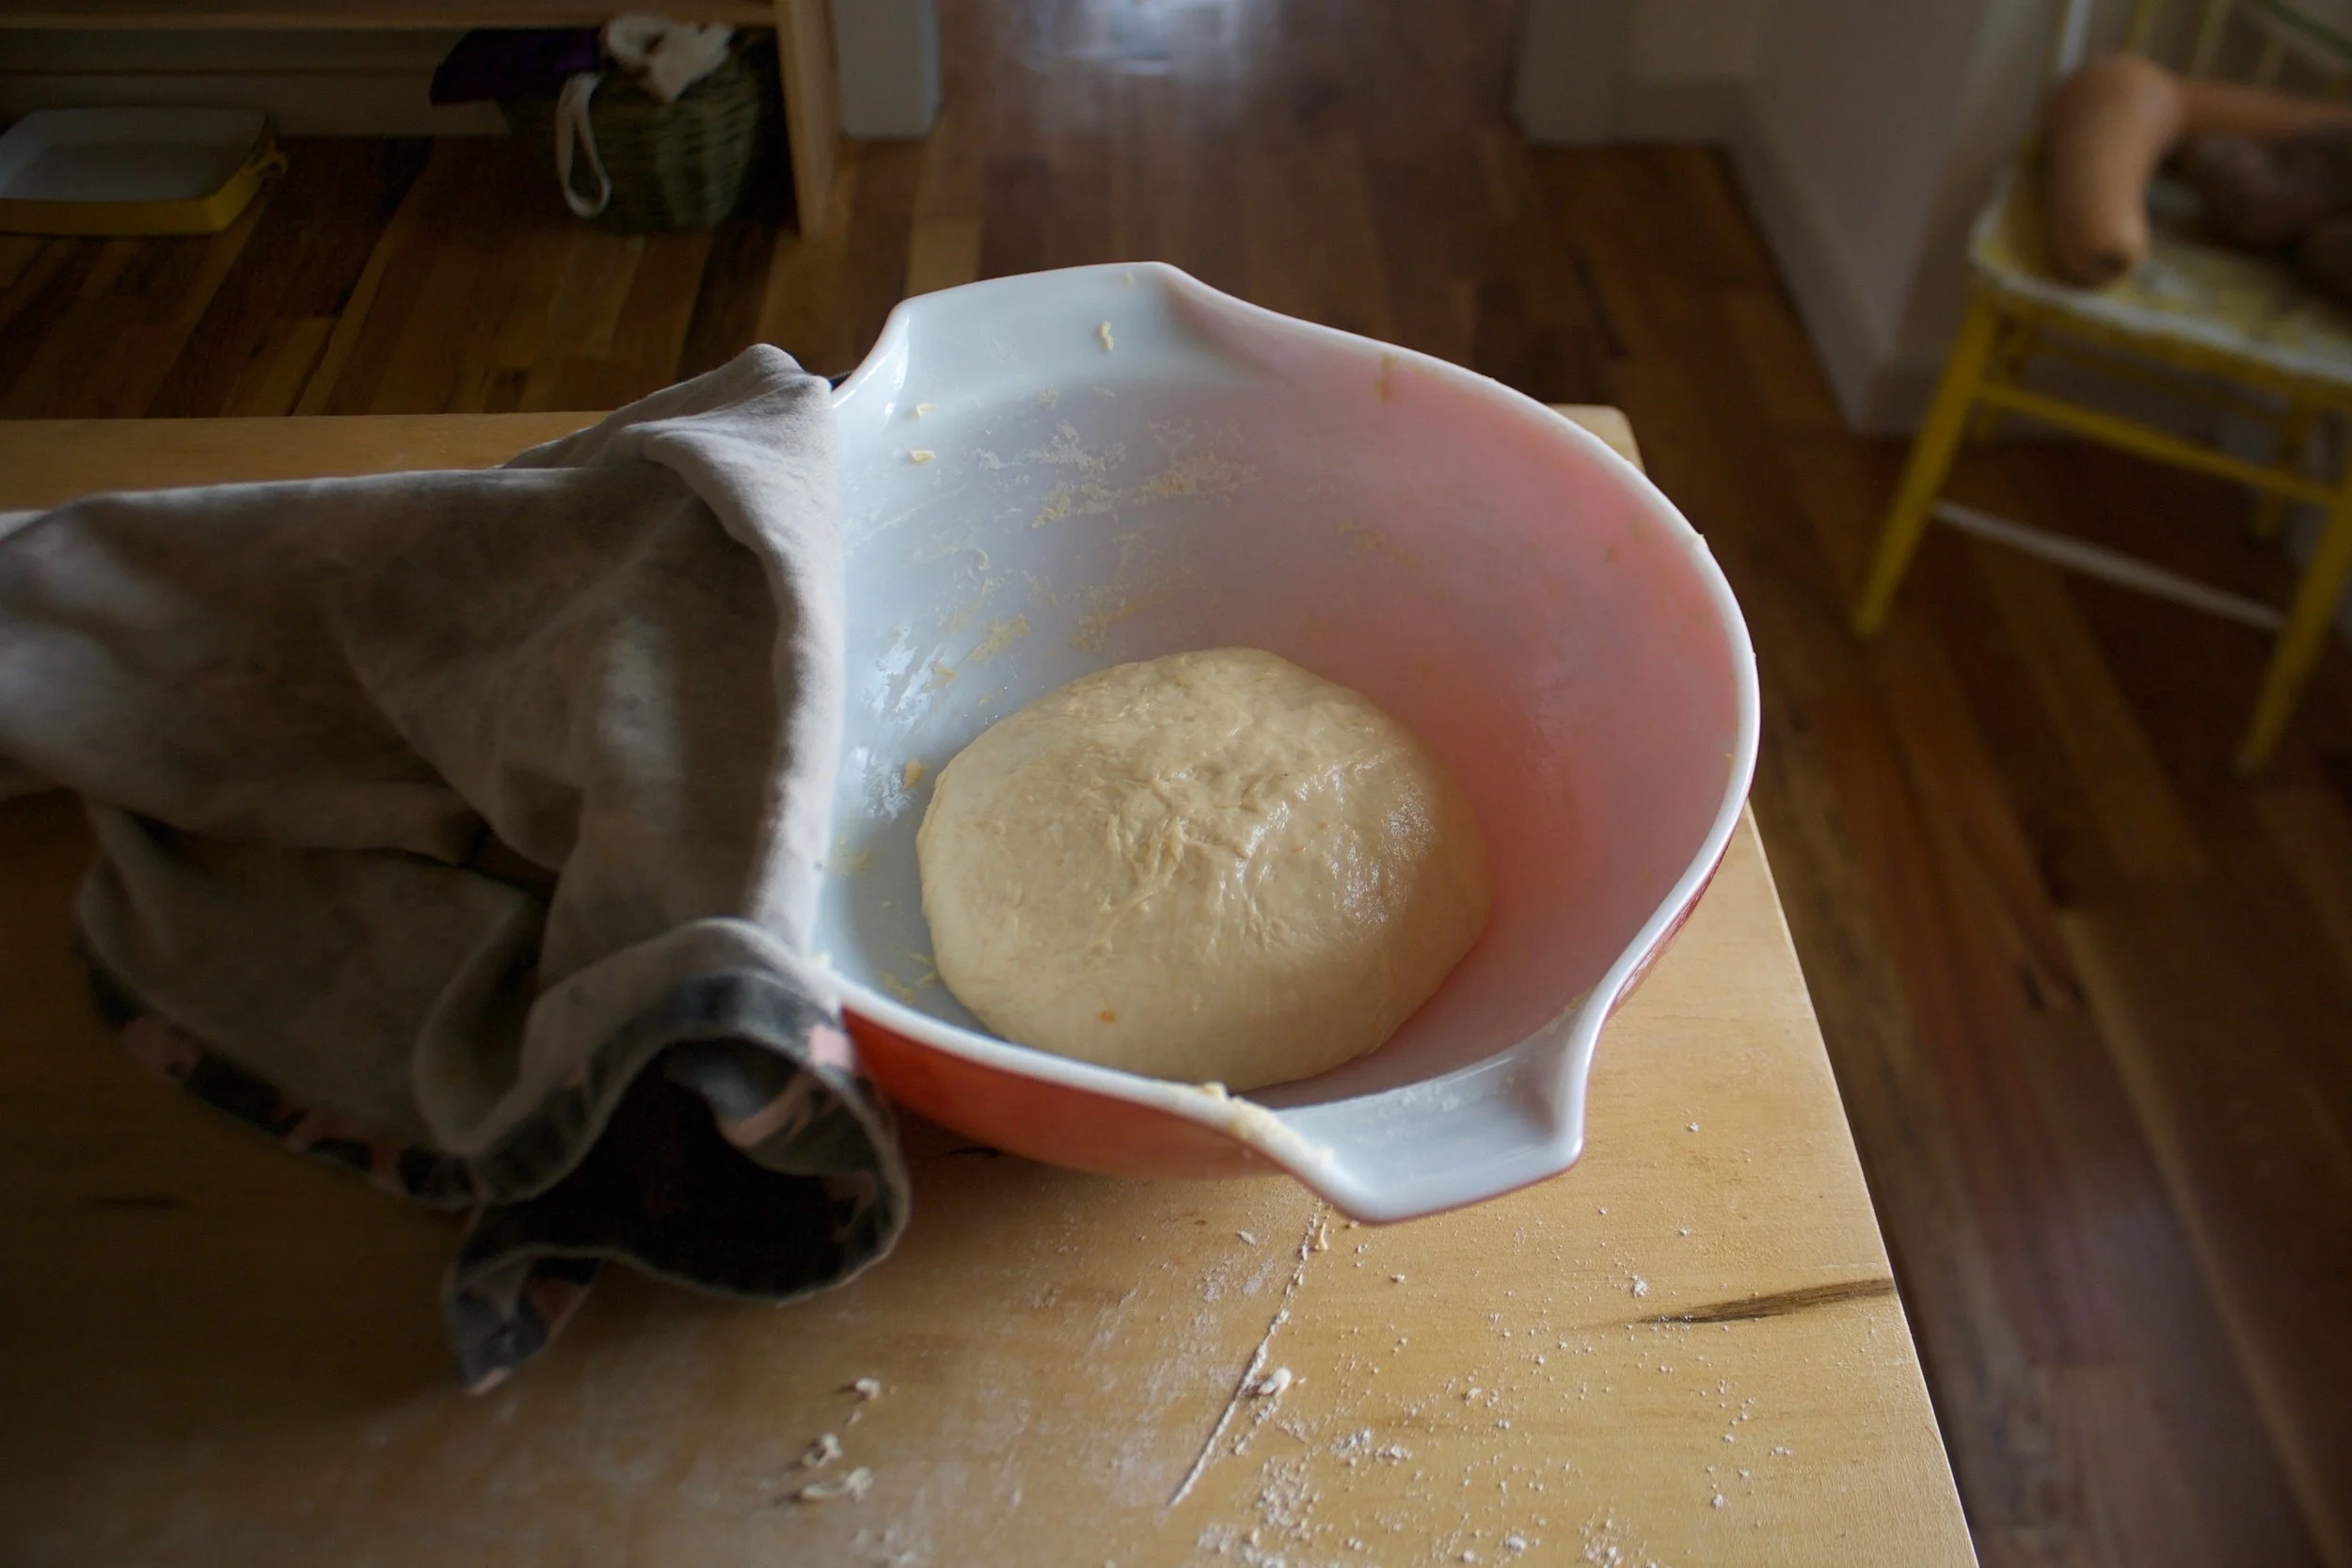
Dump onto a floured surface aaaaaanf. Knead. 5-8 minutes until the dough is all soft and smooth and uniformly dough.

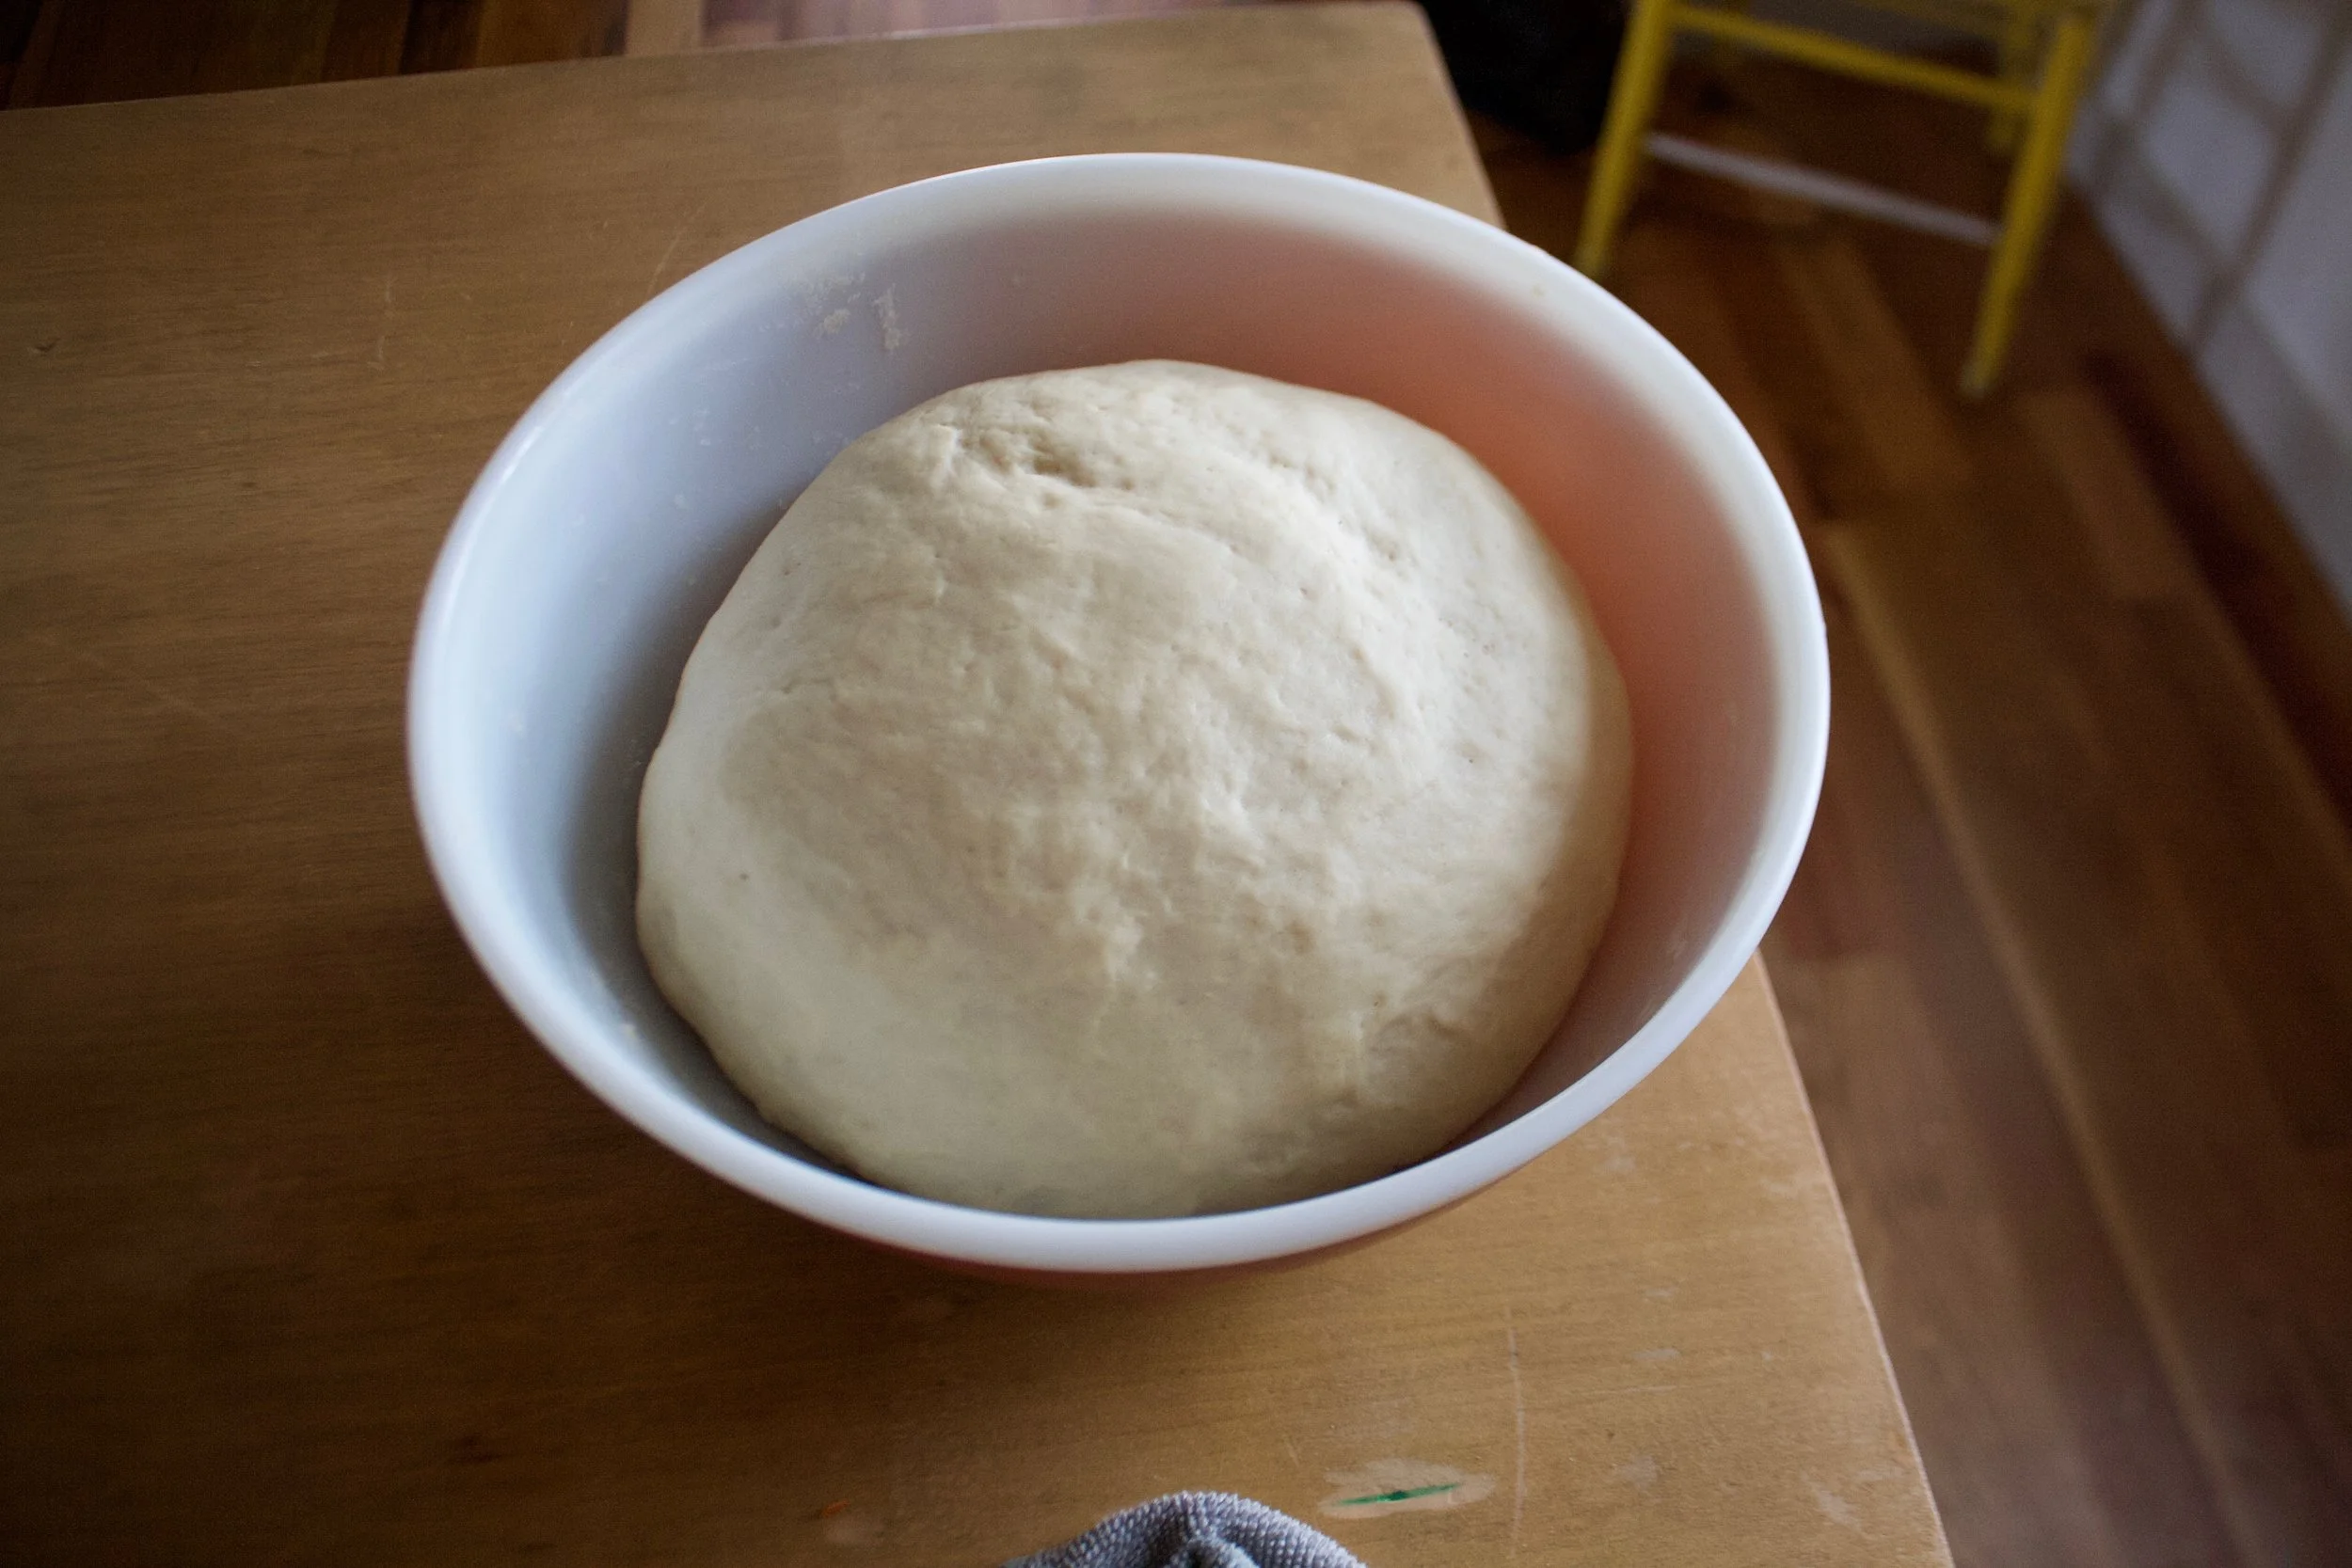
Place the dough into cleaned bowl and cover. Set somewhere warm to rise.
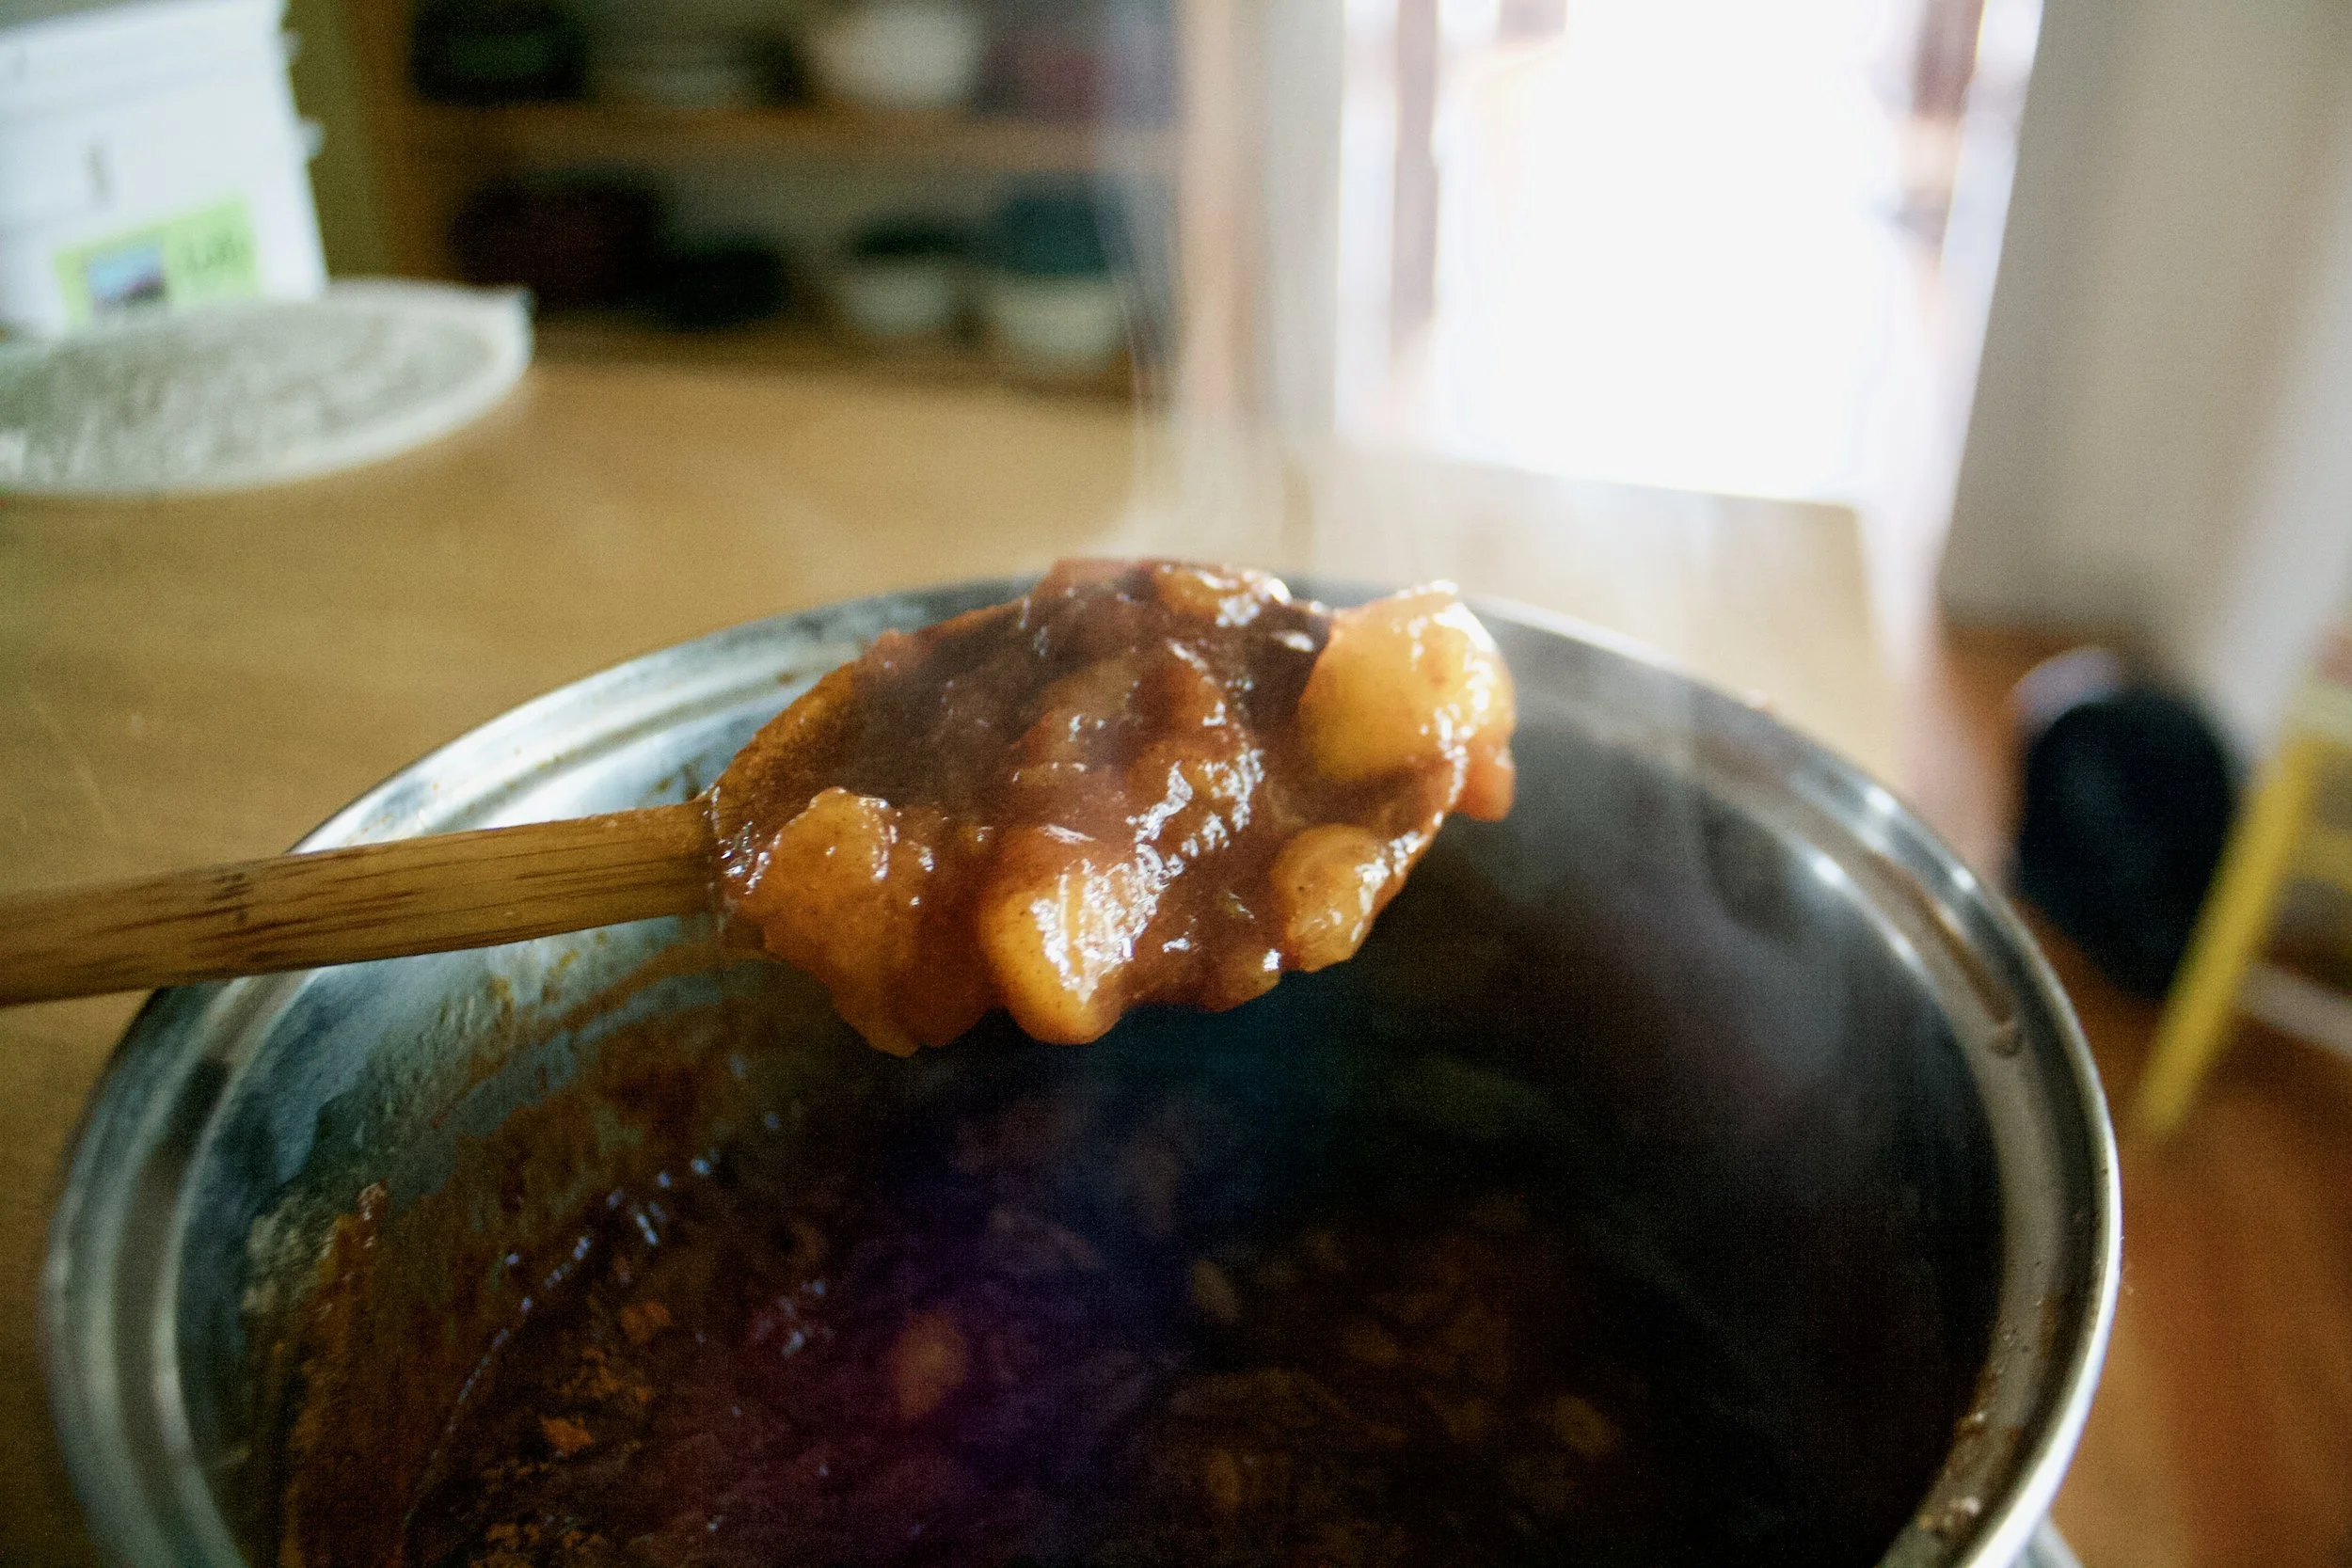
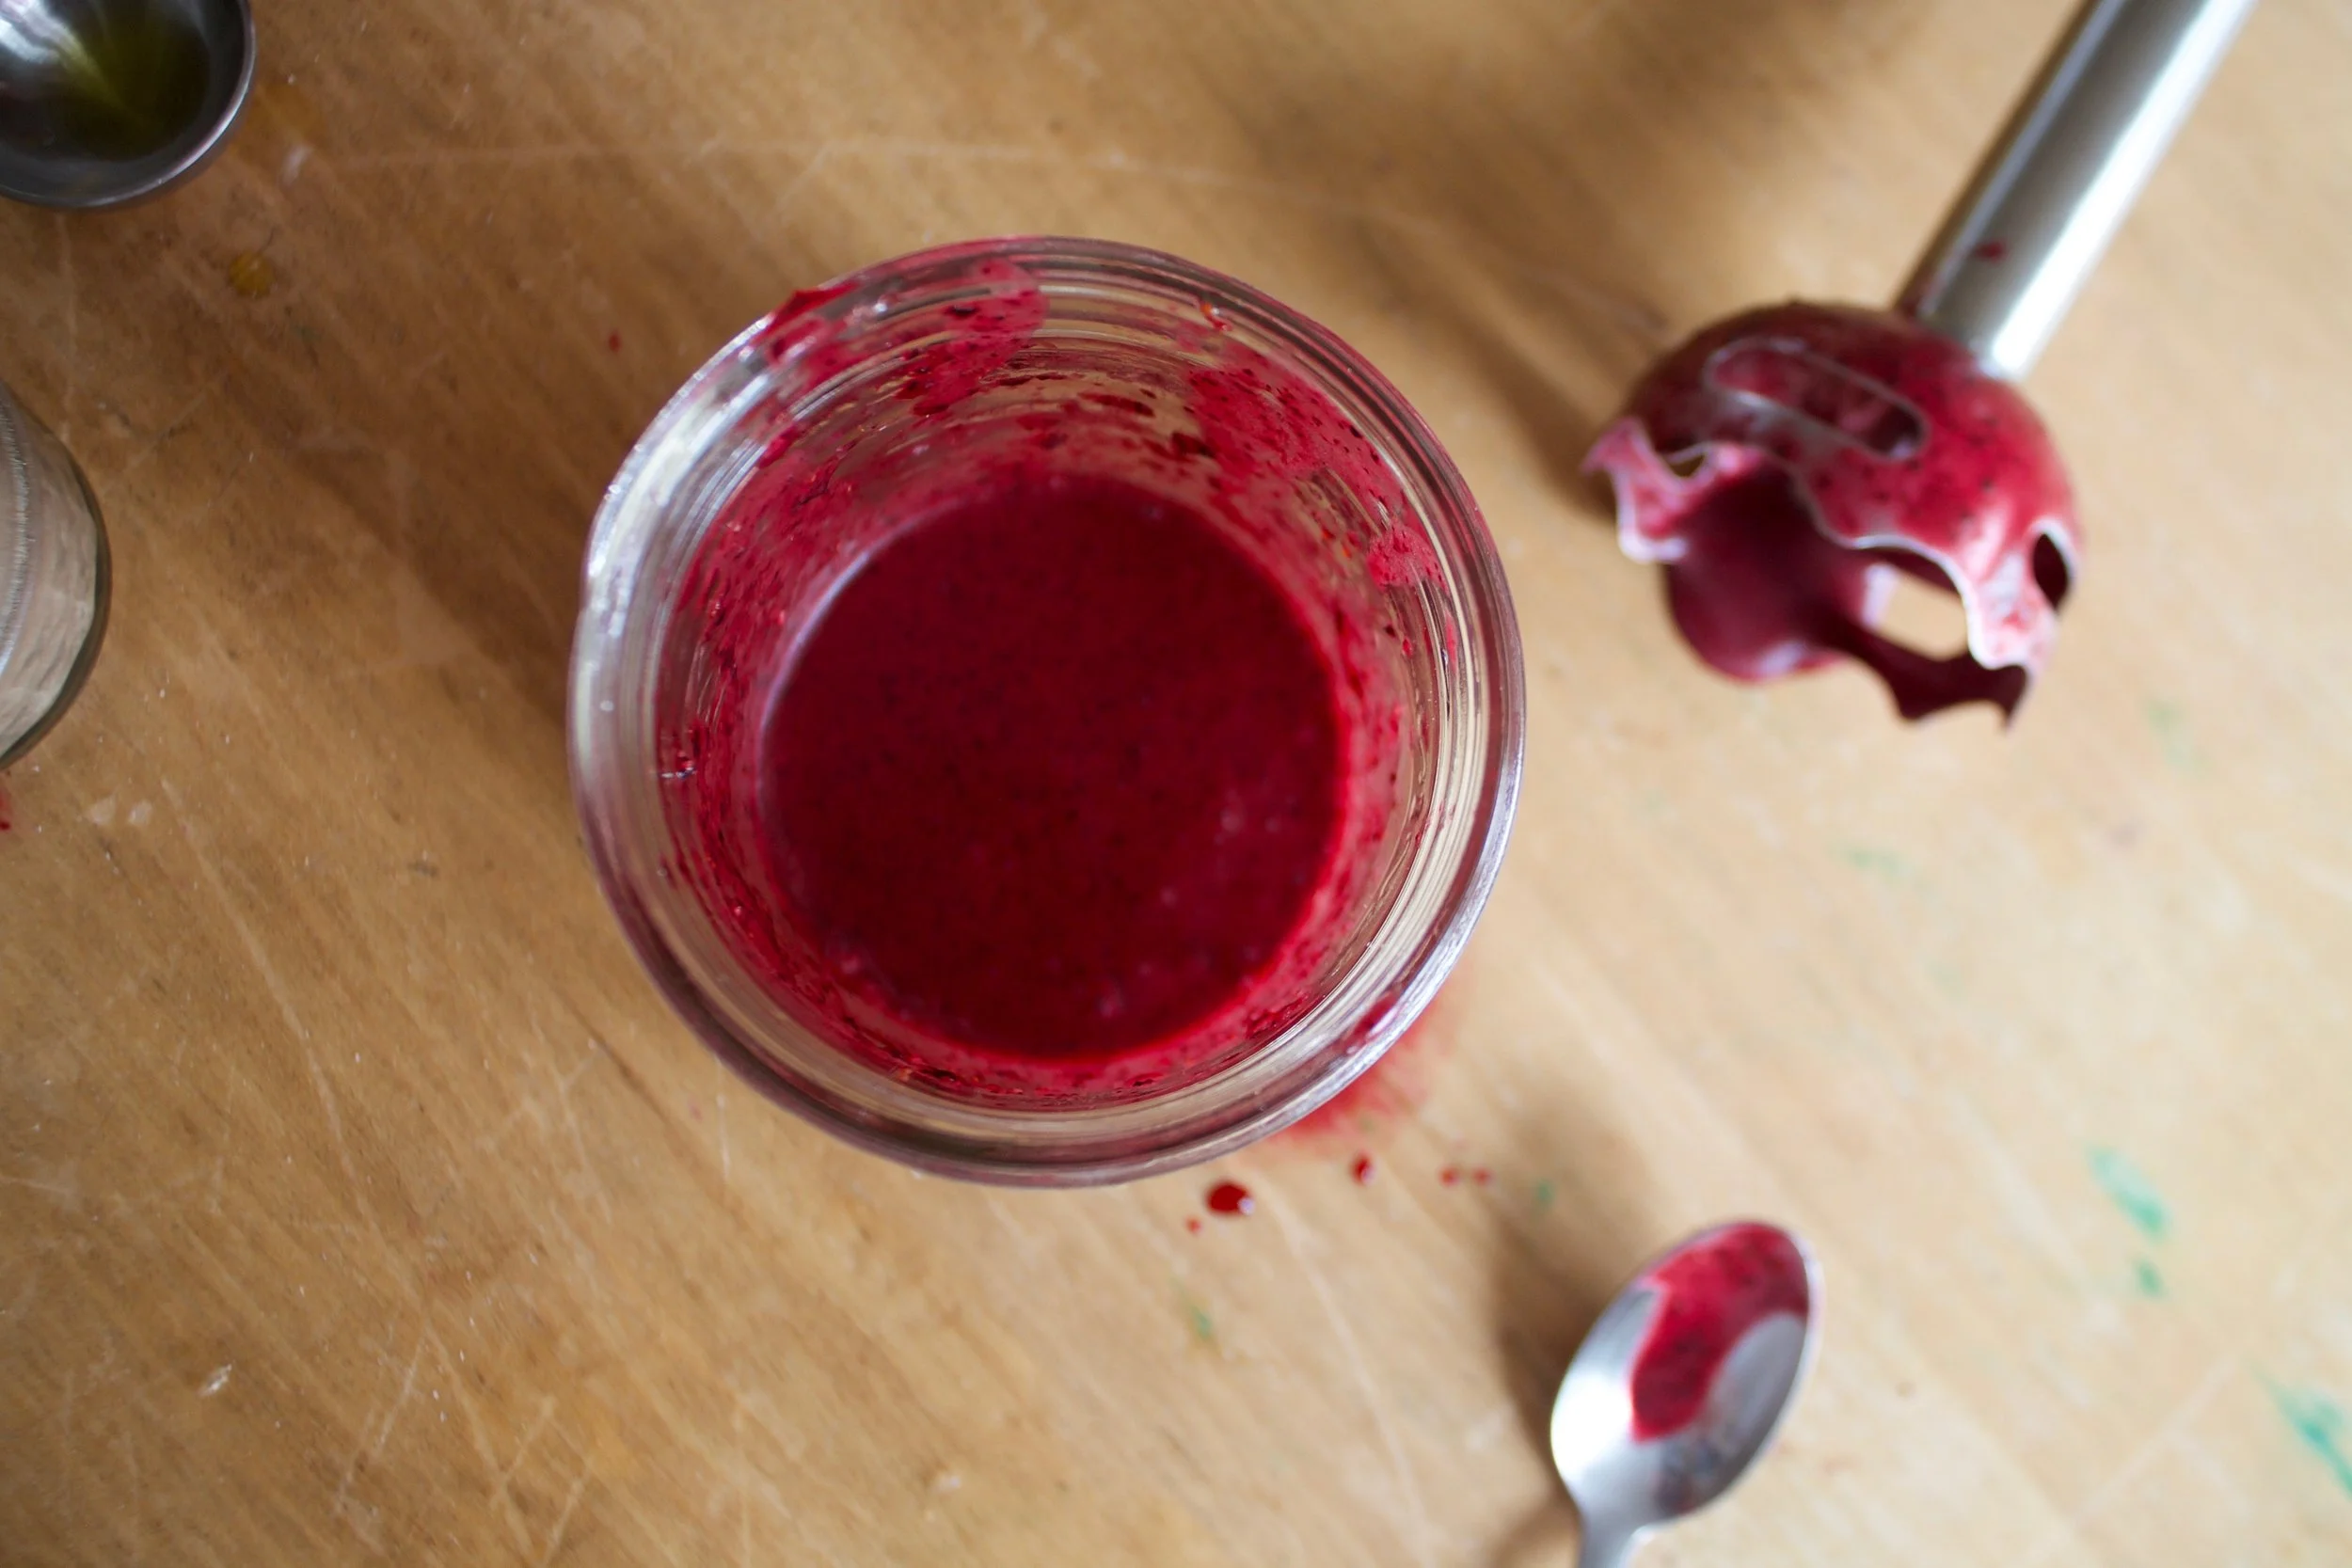
In the mean time, make raspberry jam. Place raspberries and sugar into a pot and cook down until mixture is thick and jam like. Once the mixture sticks to a spoon like warm jam, turn heat off and let cool.

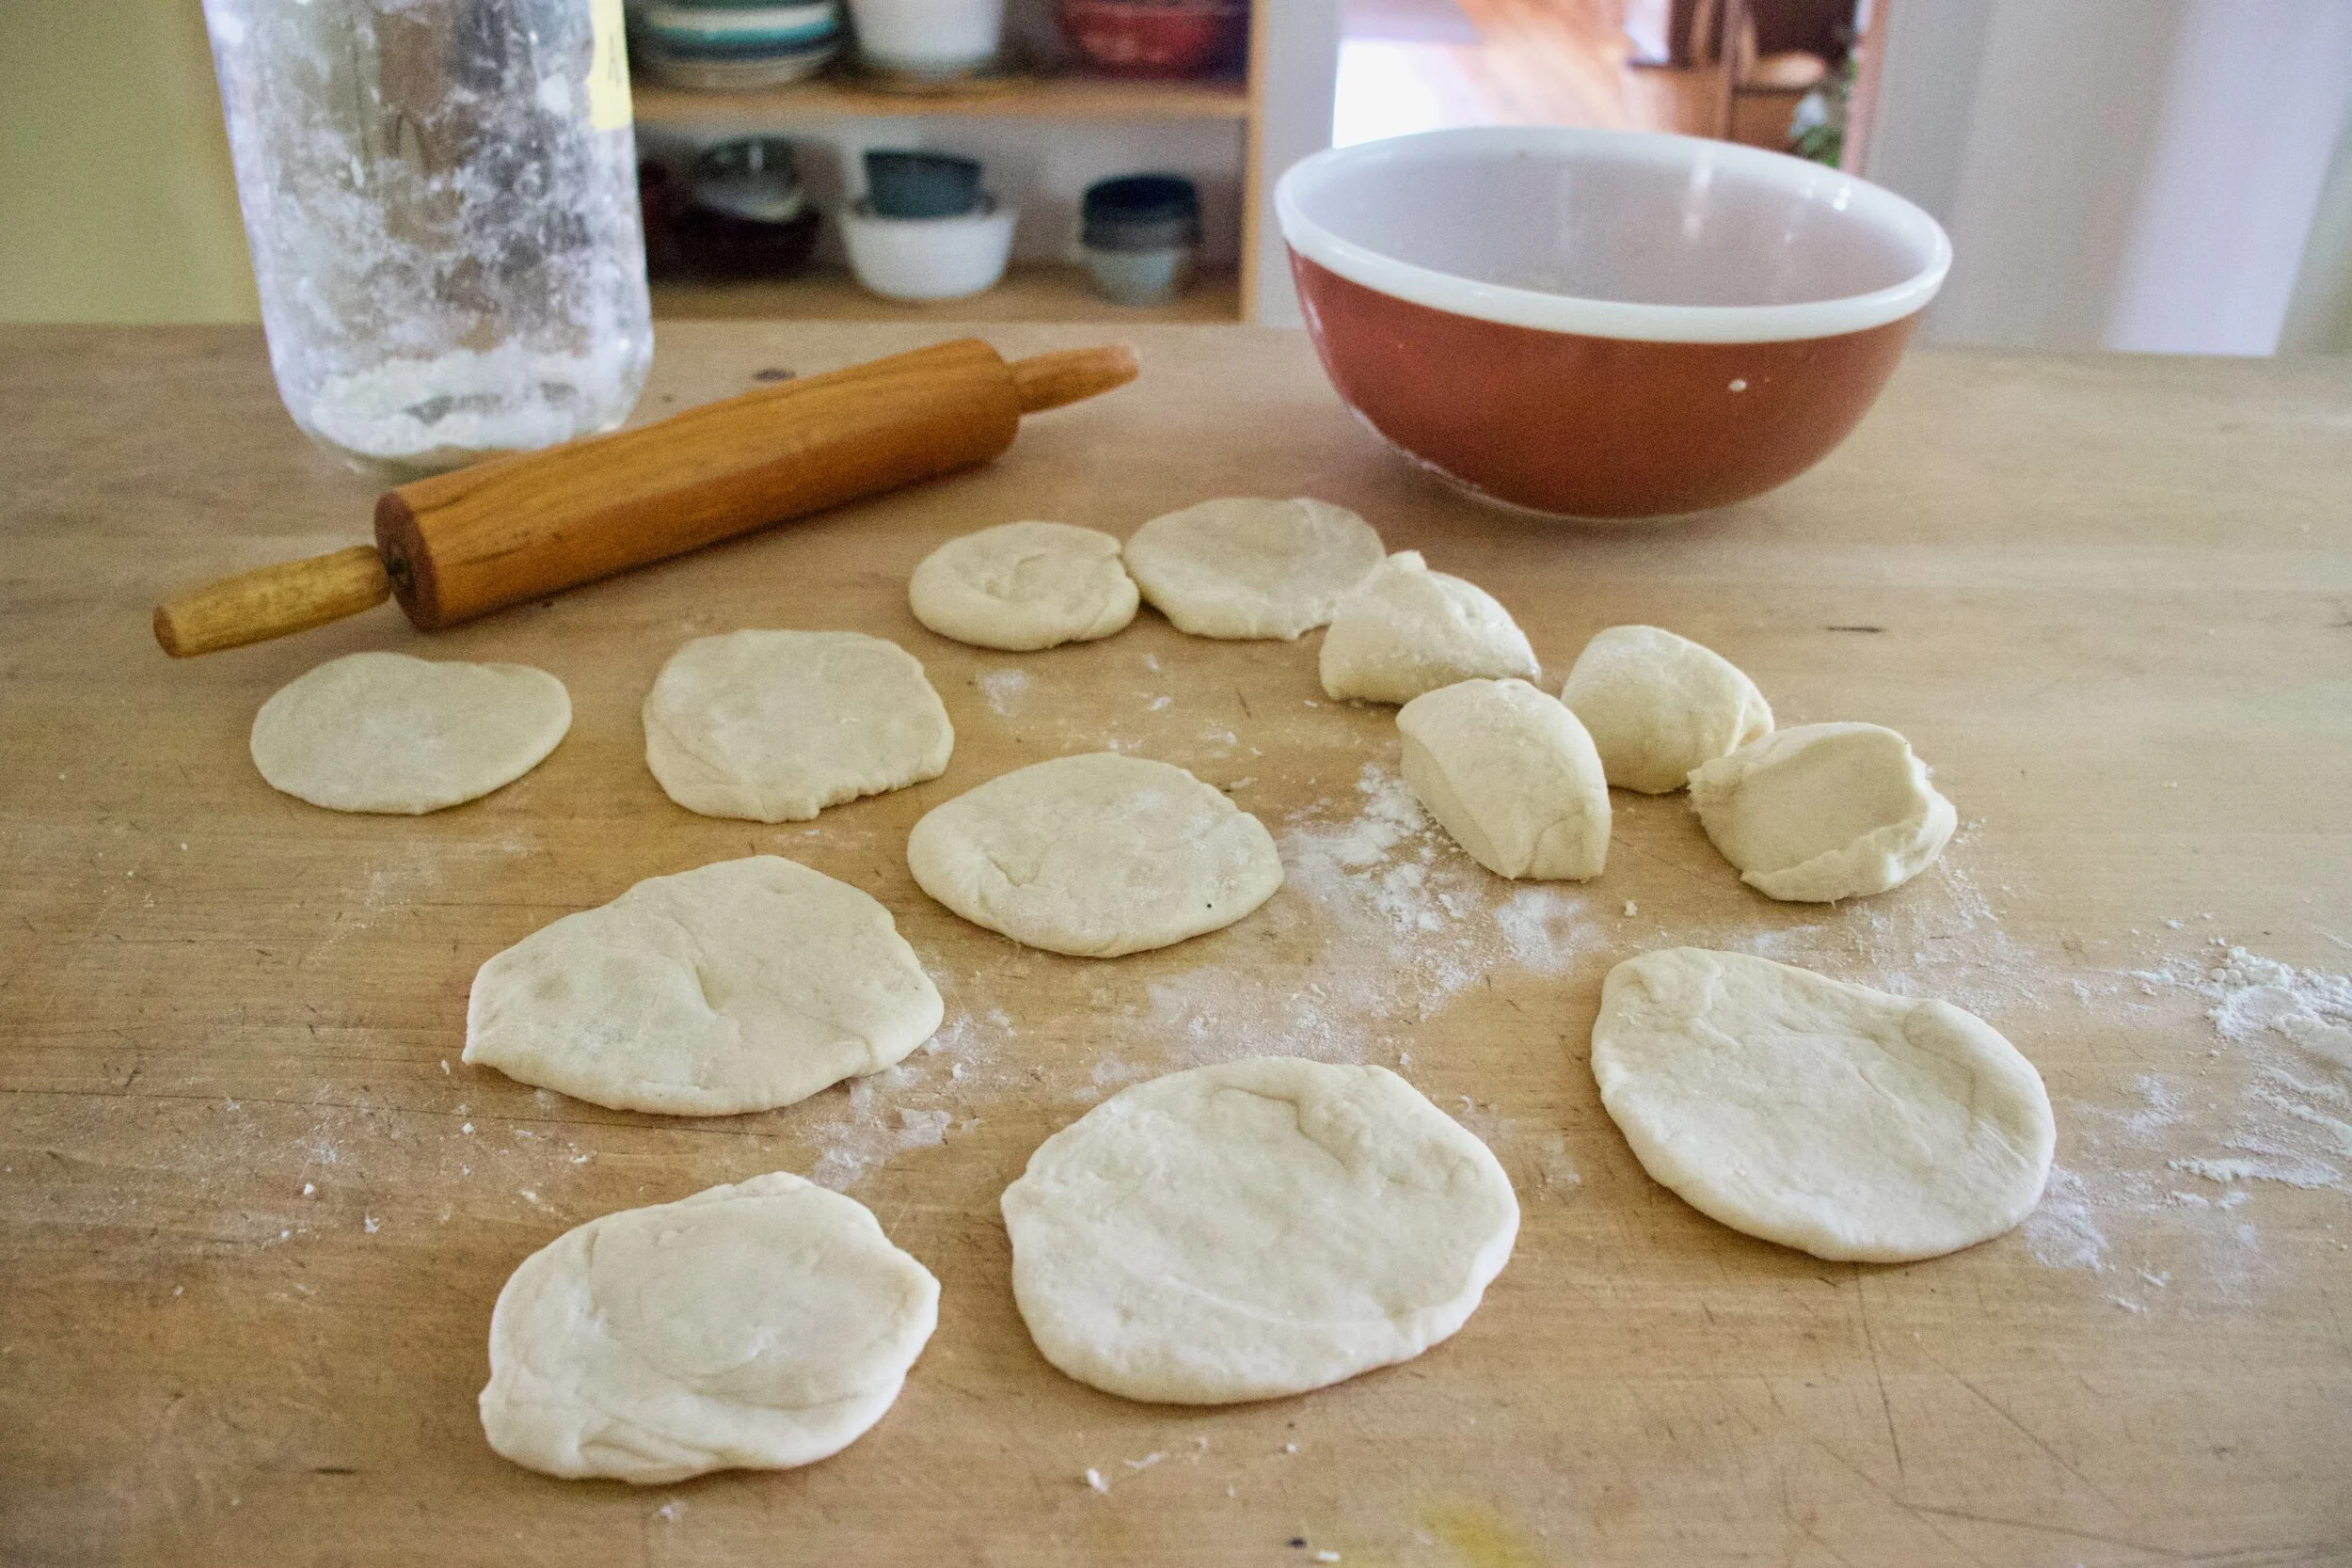
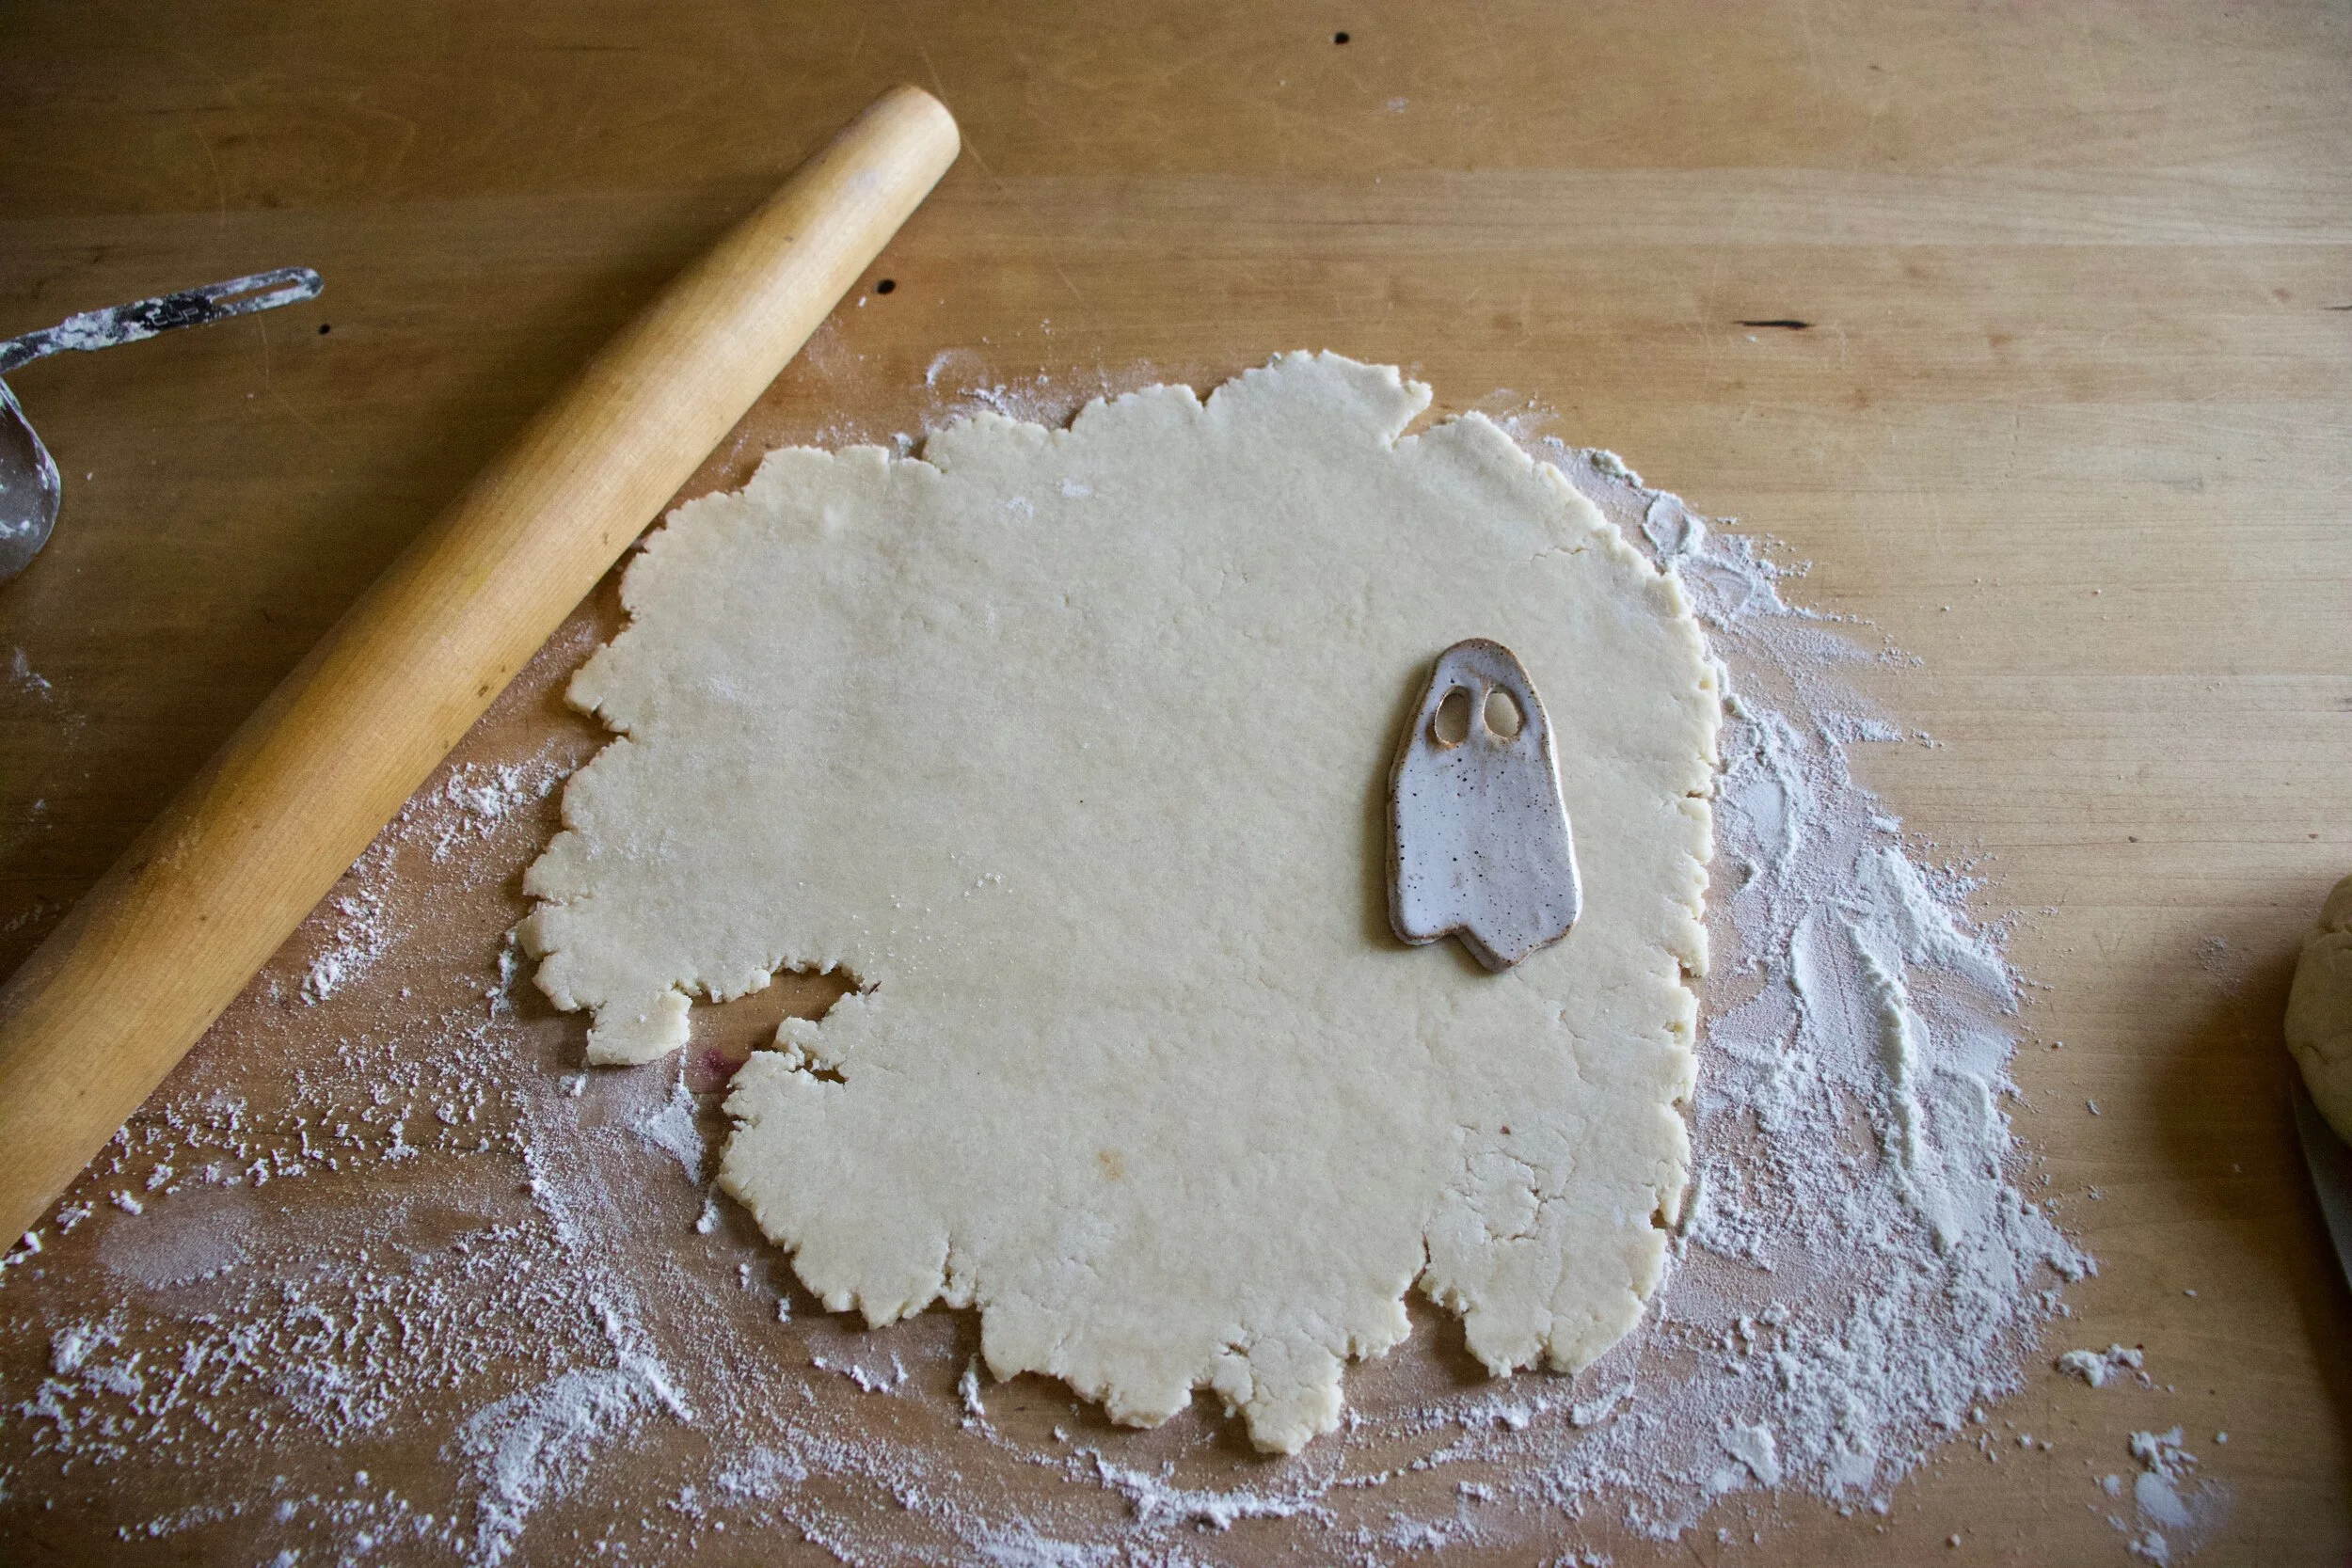
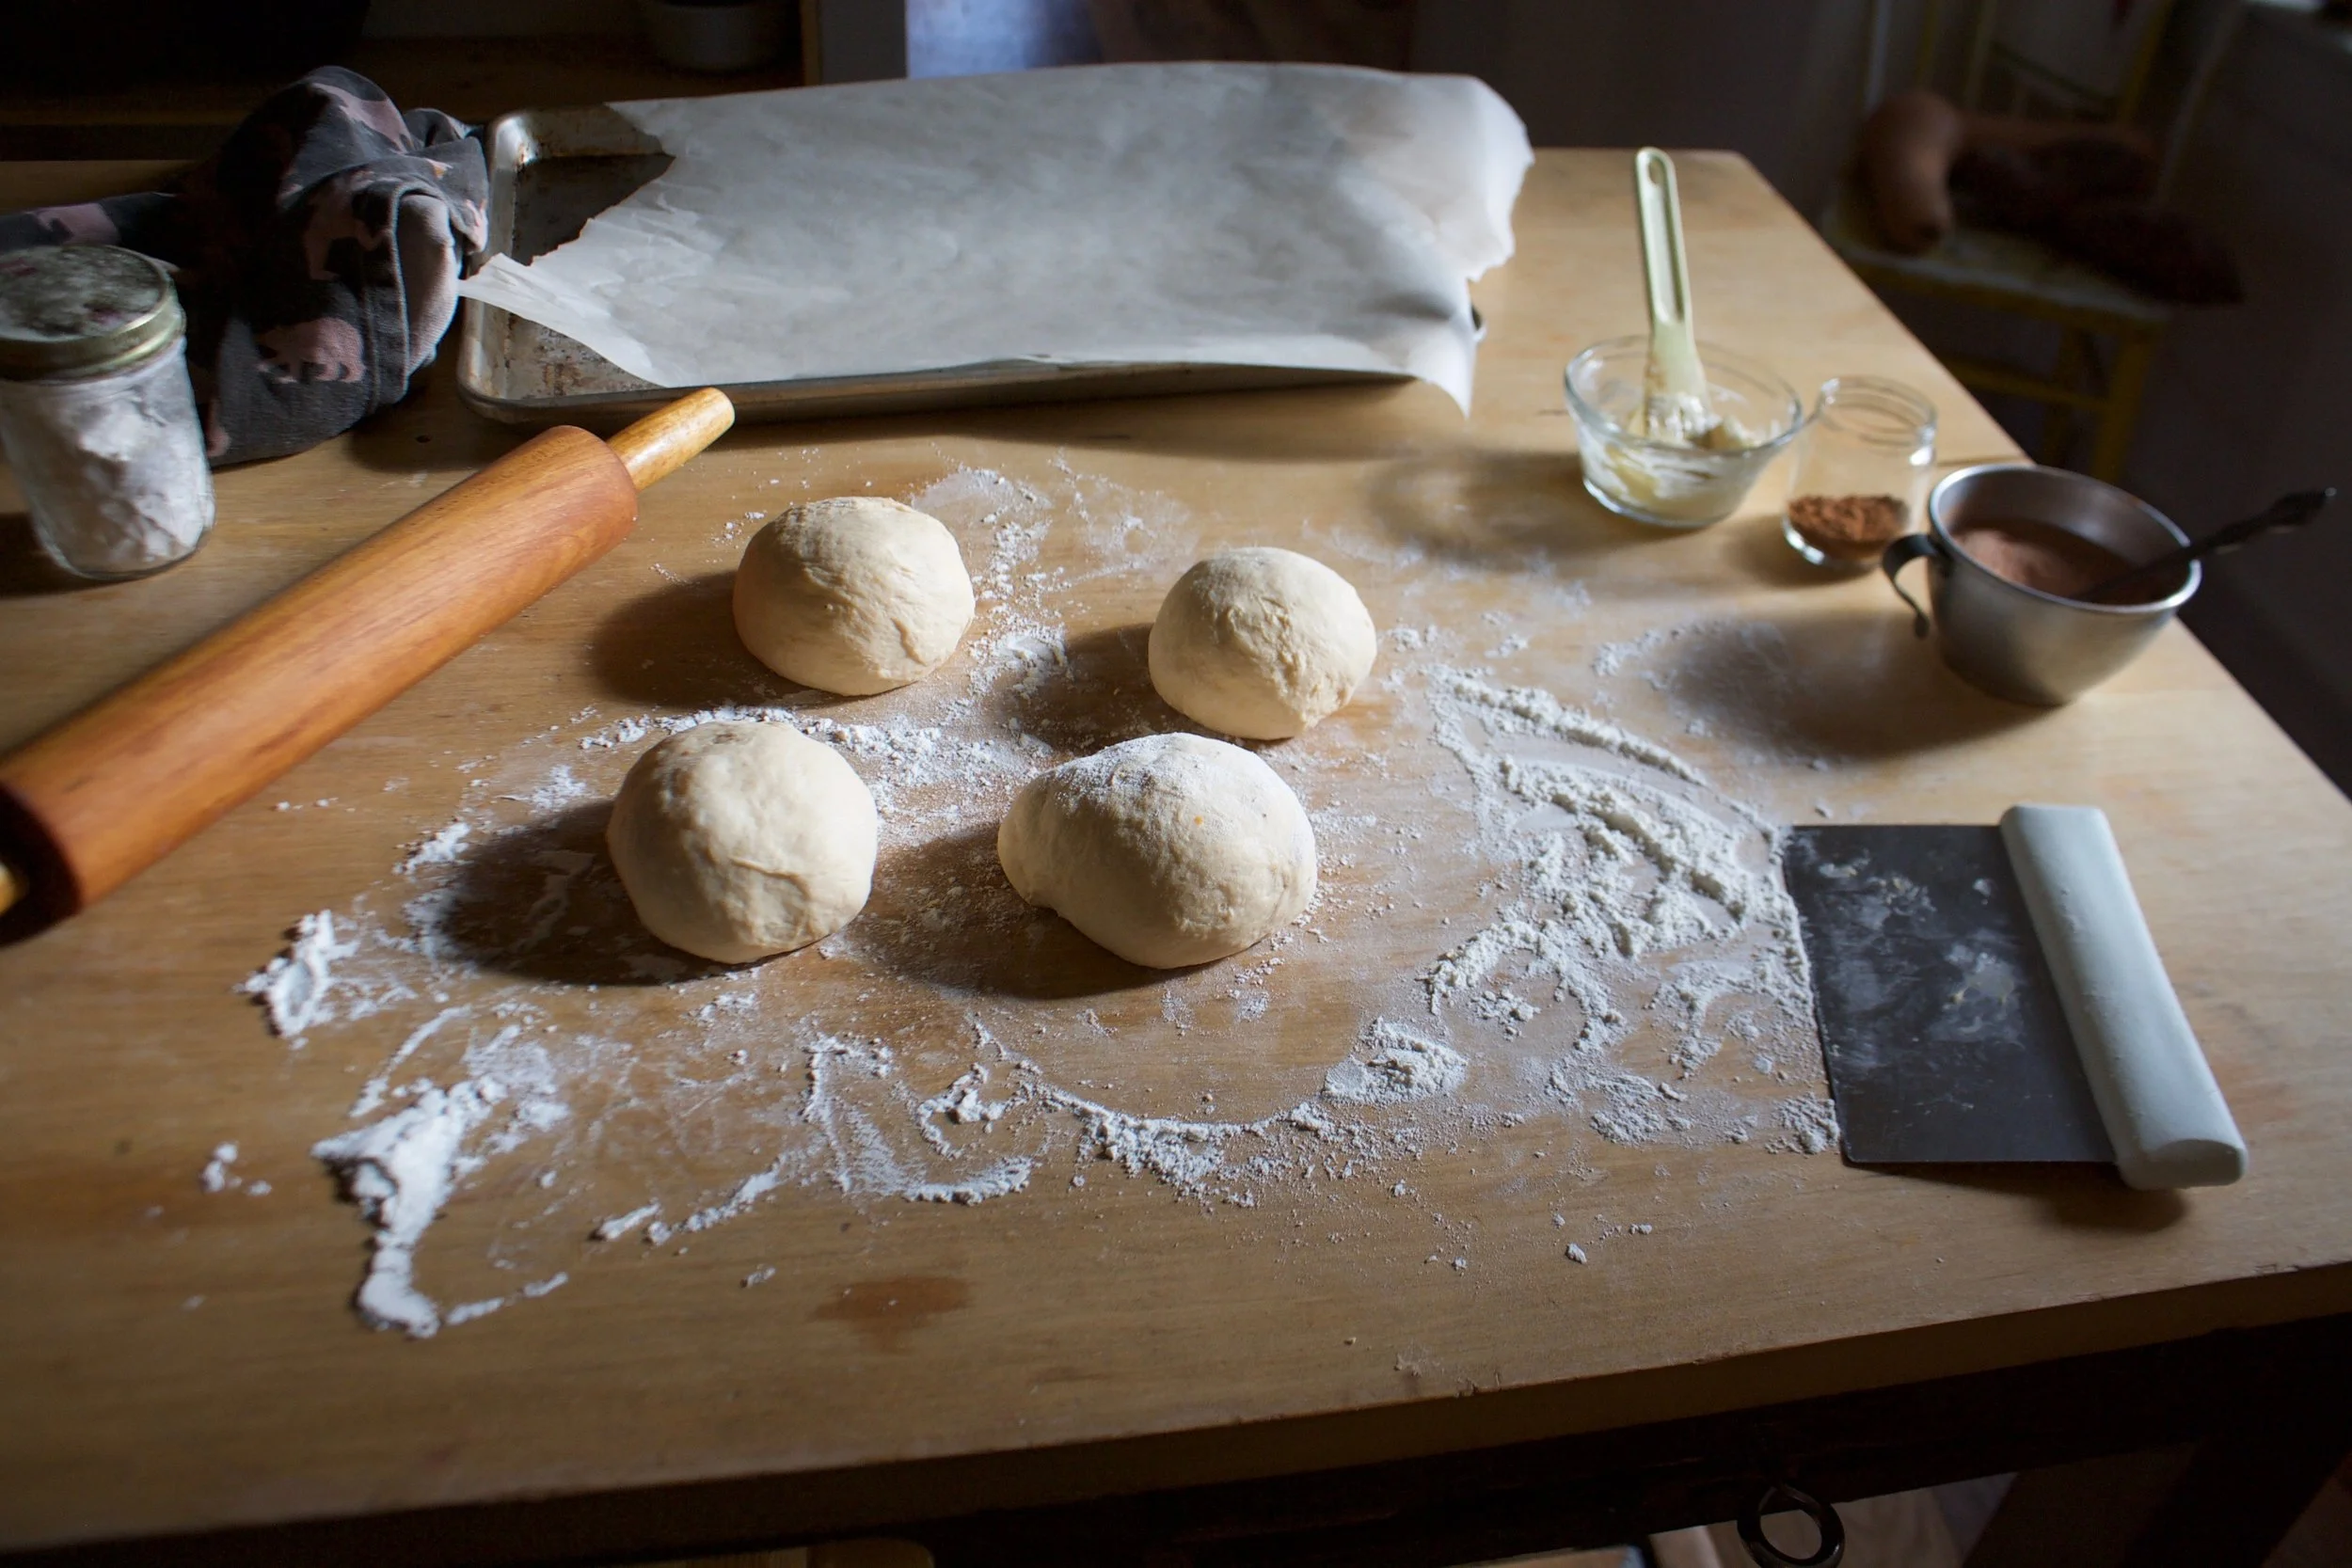
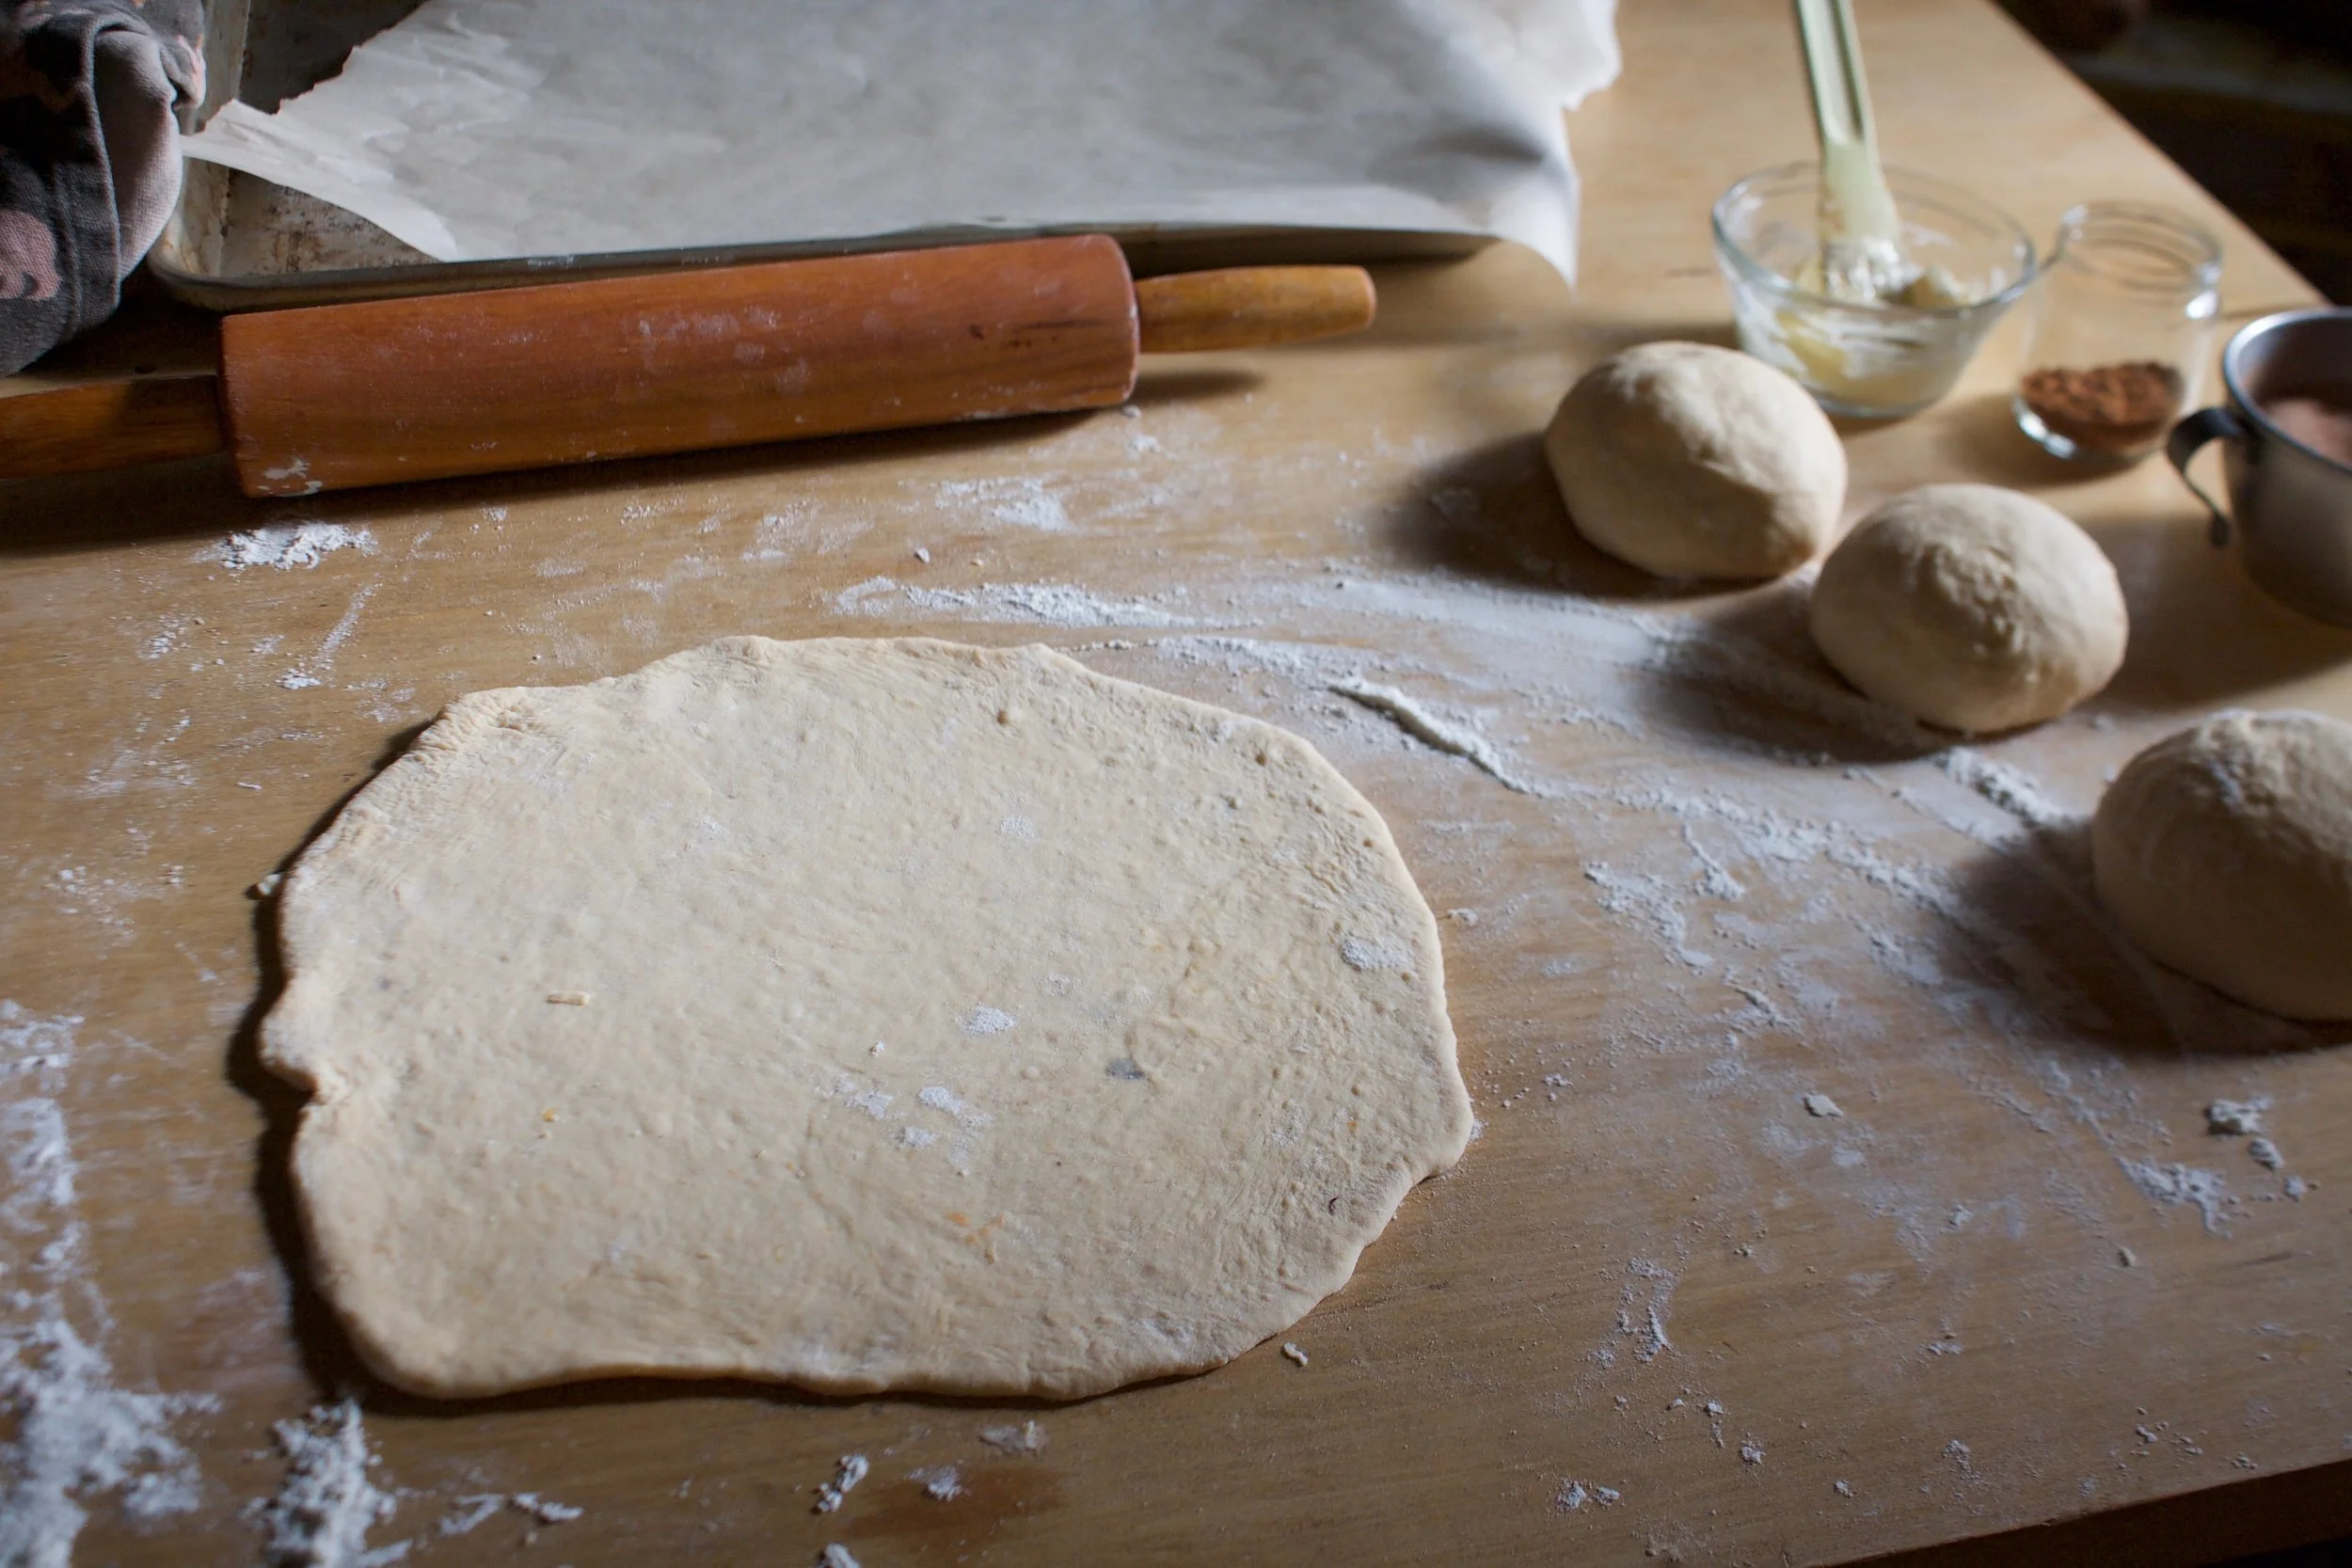
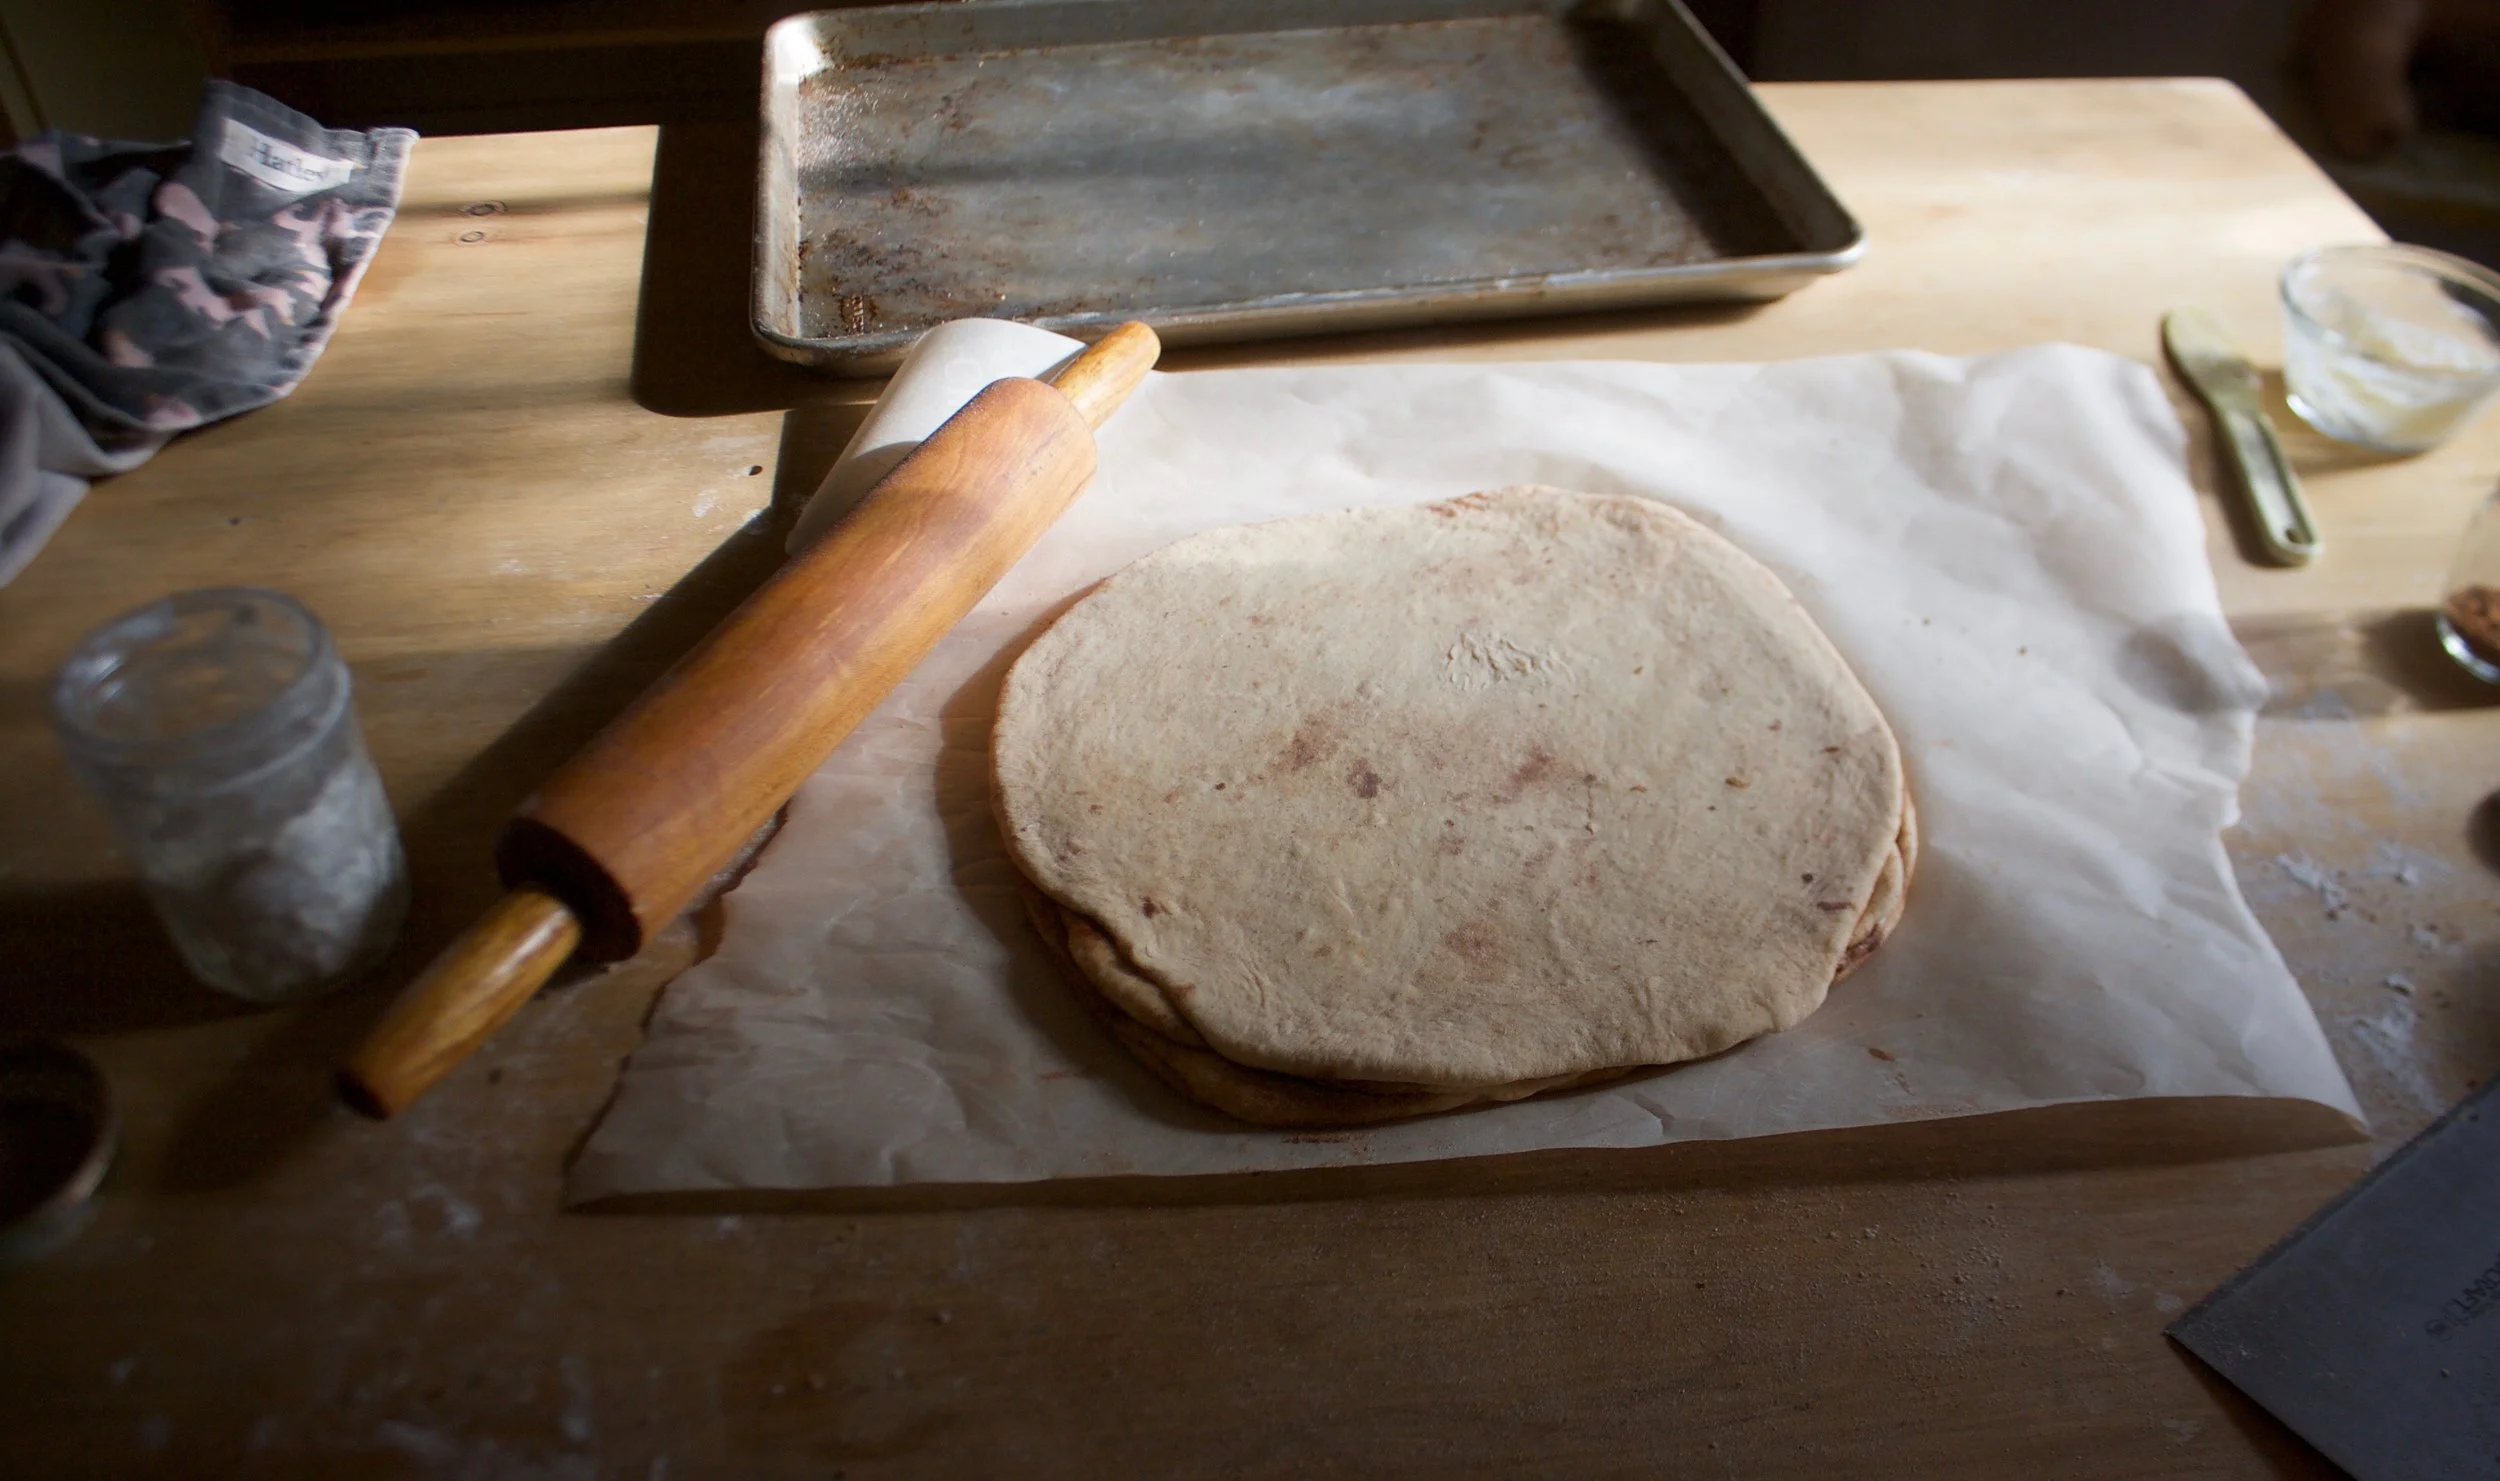
Dump dough out and cut into 12 equal pieces. Roll each piece into ball then roll out into a dish about a 1/2 inch thick.
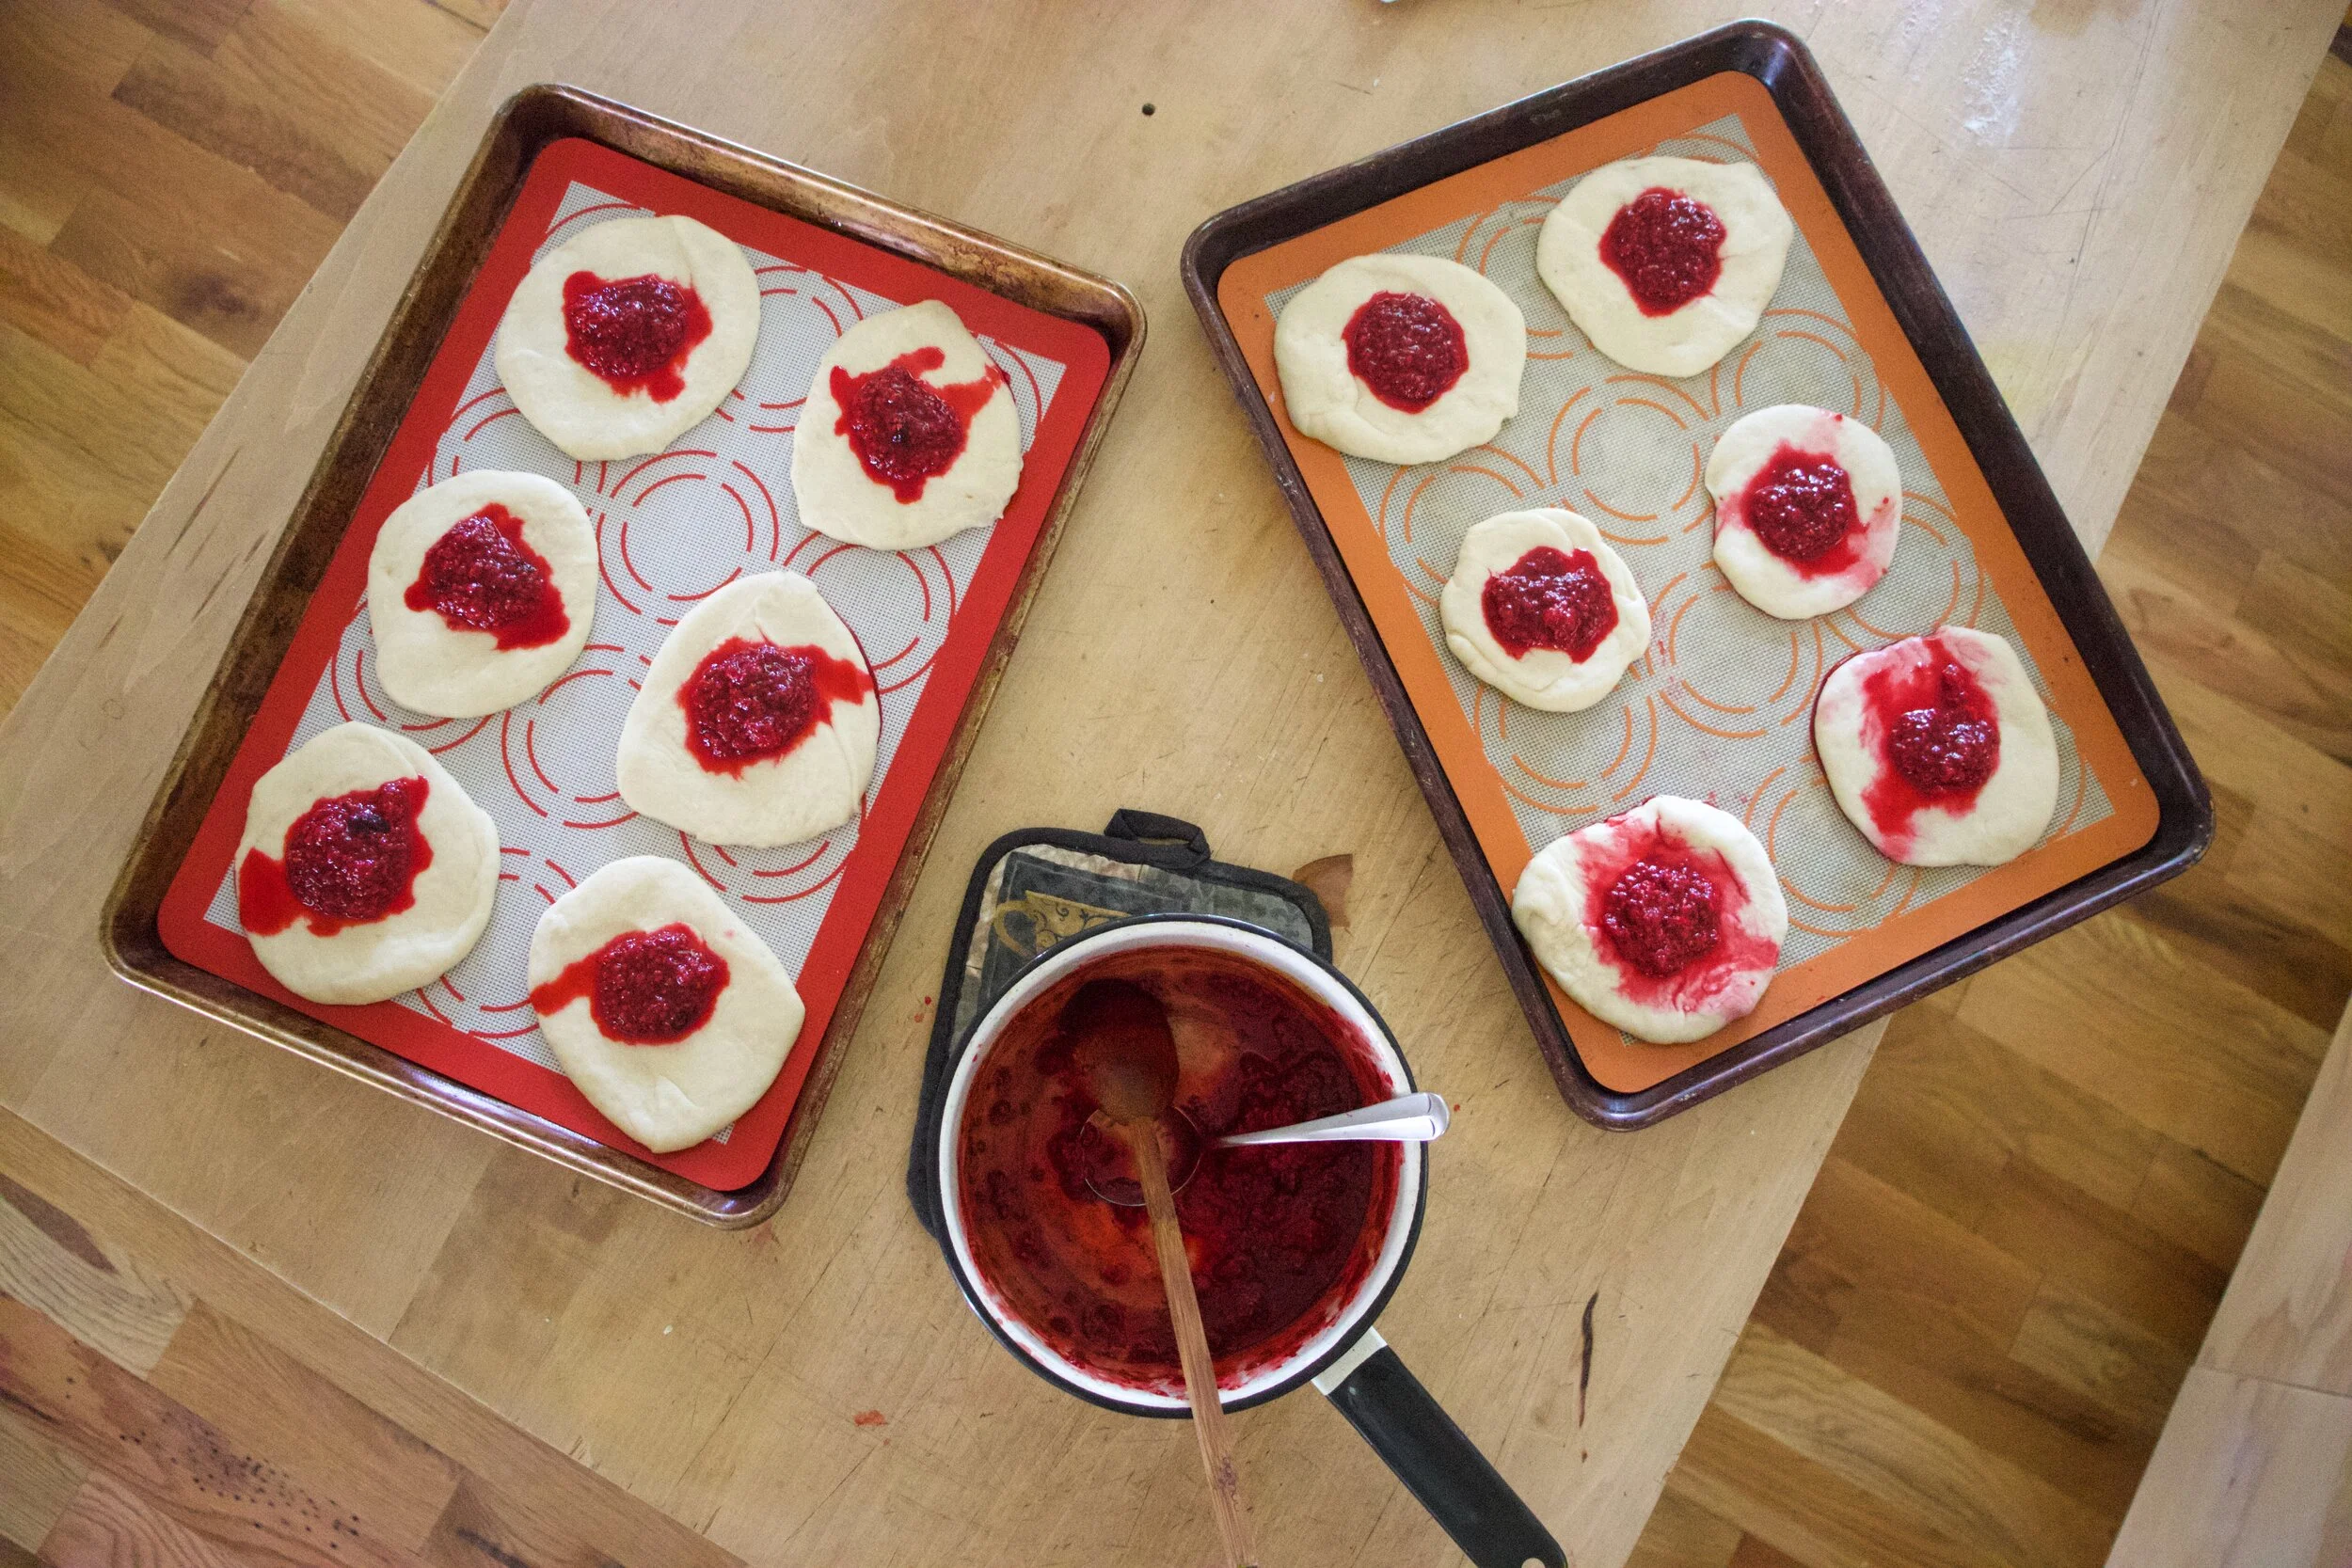
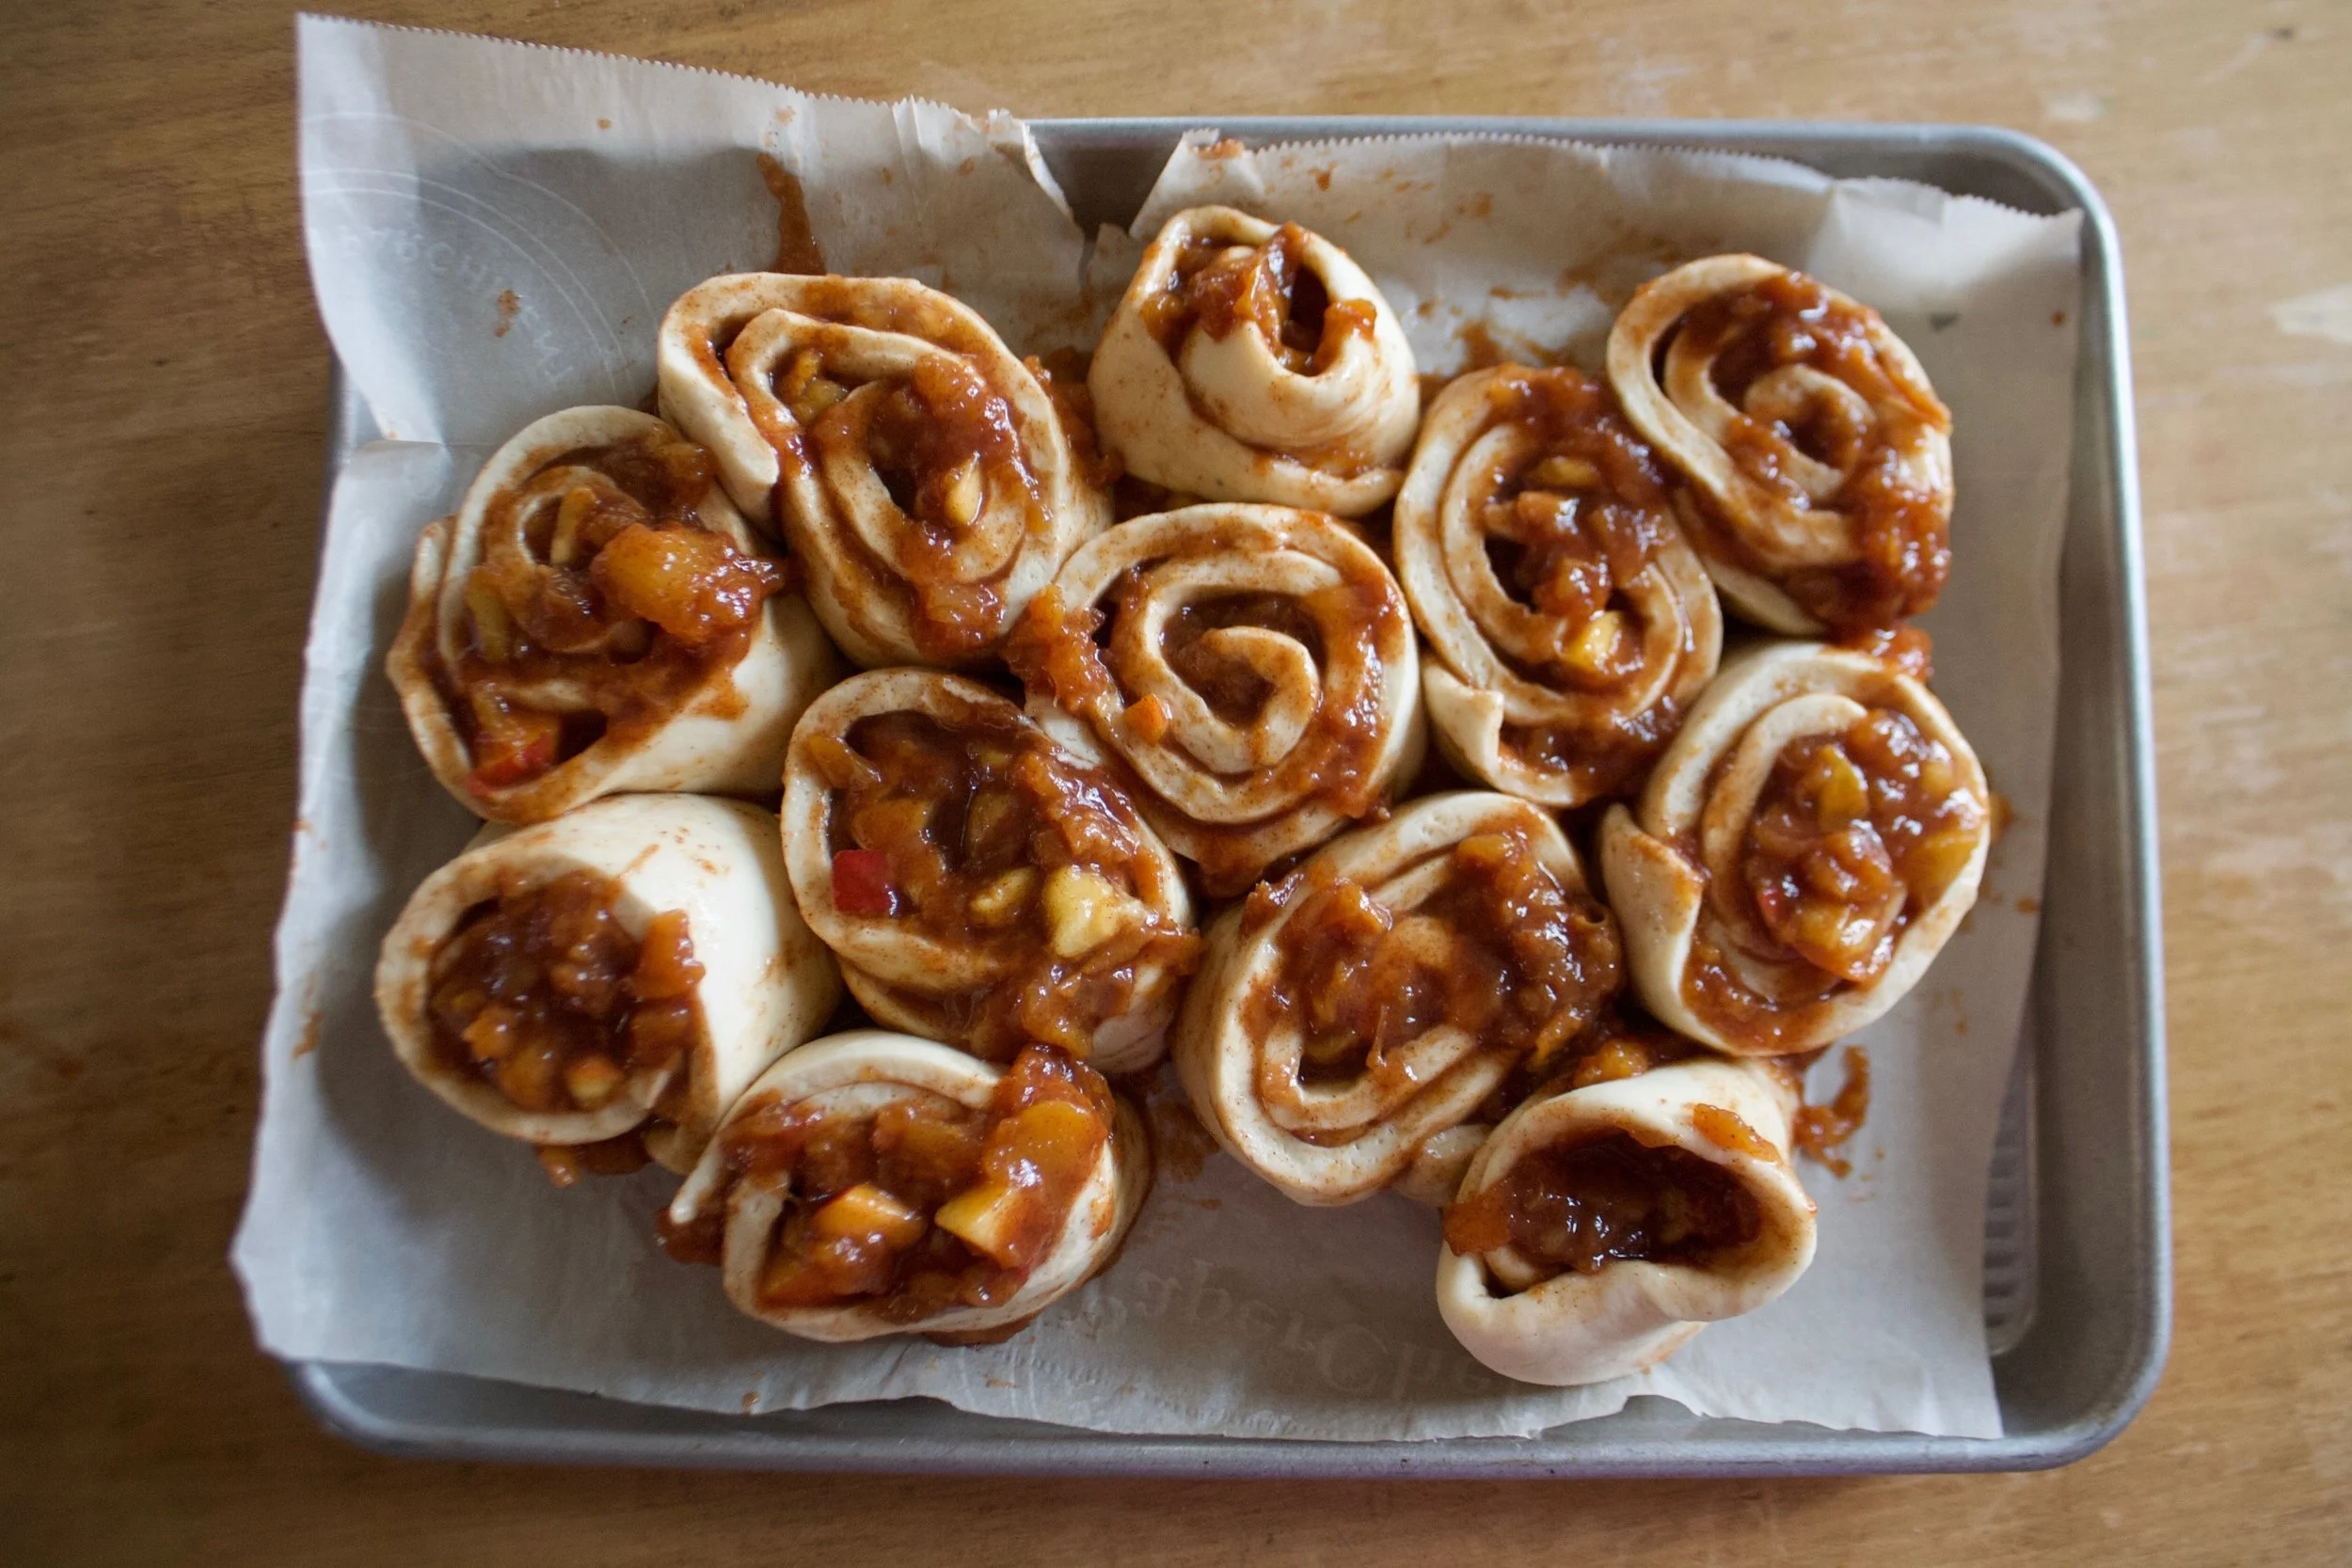
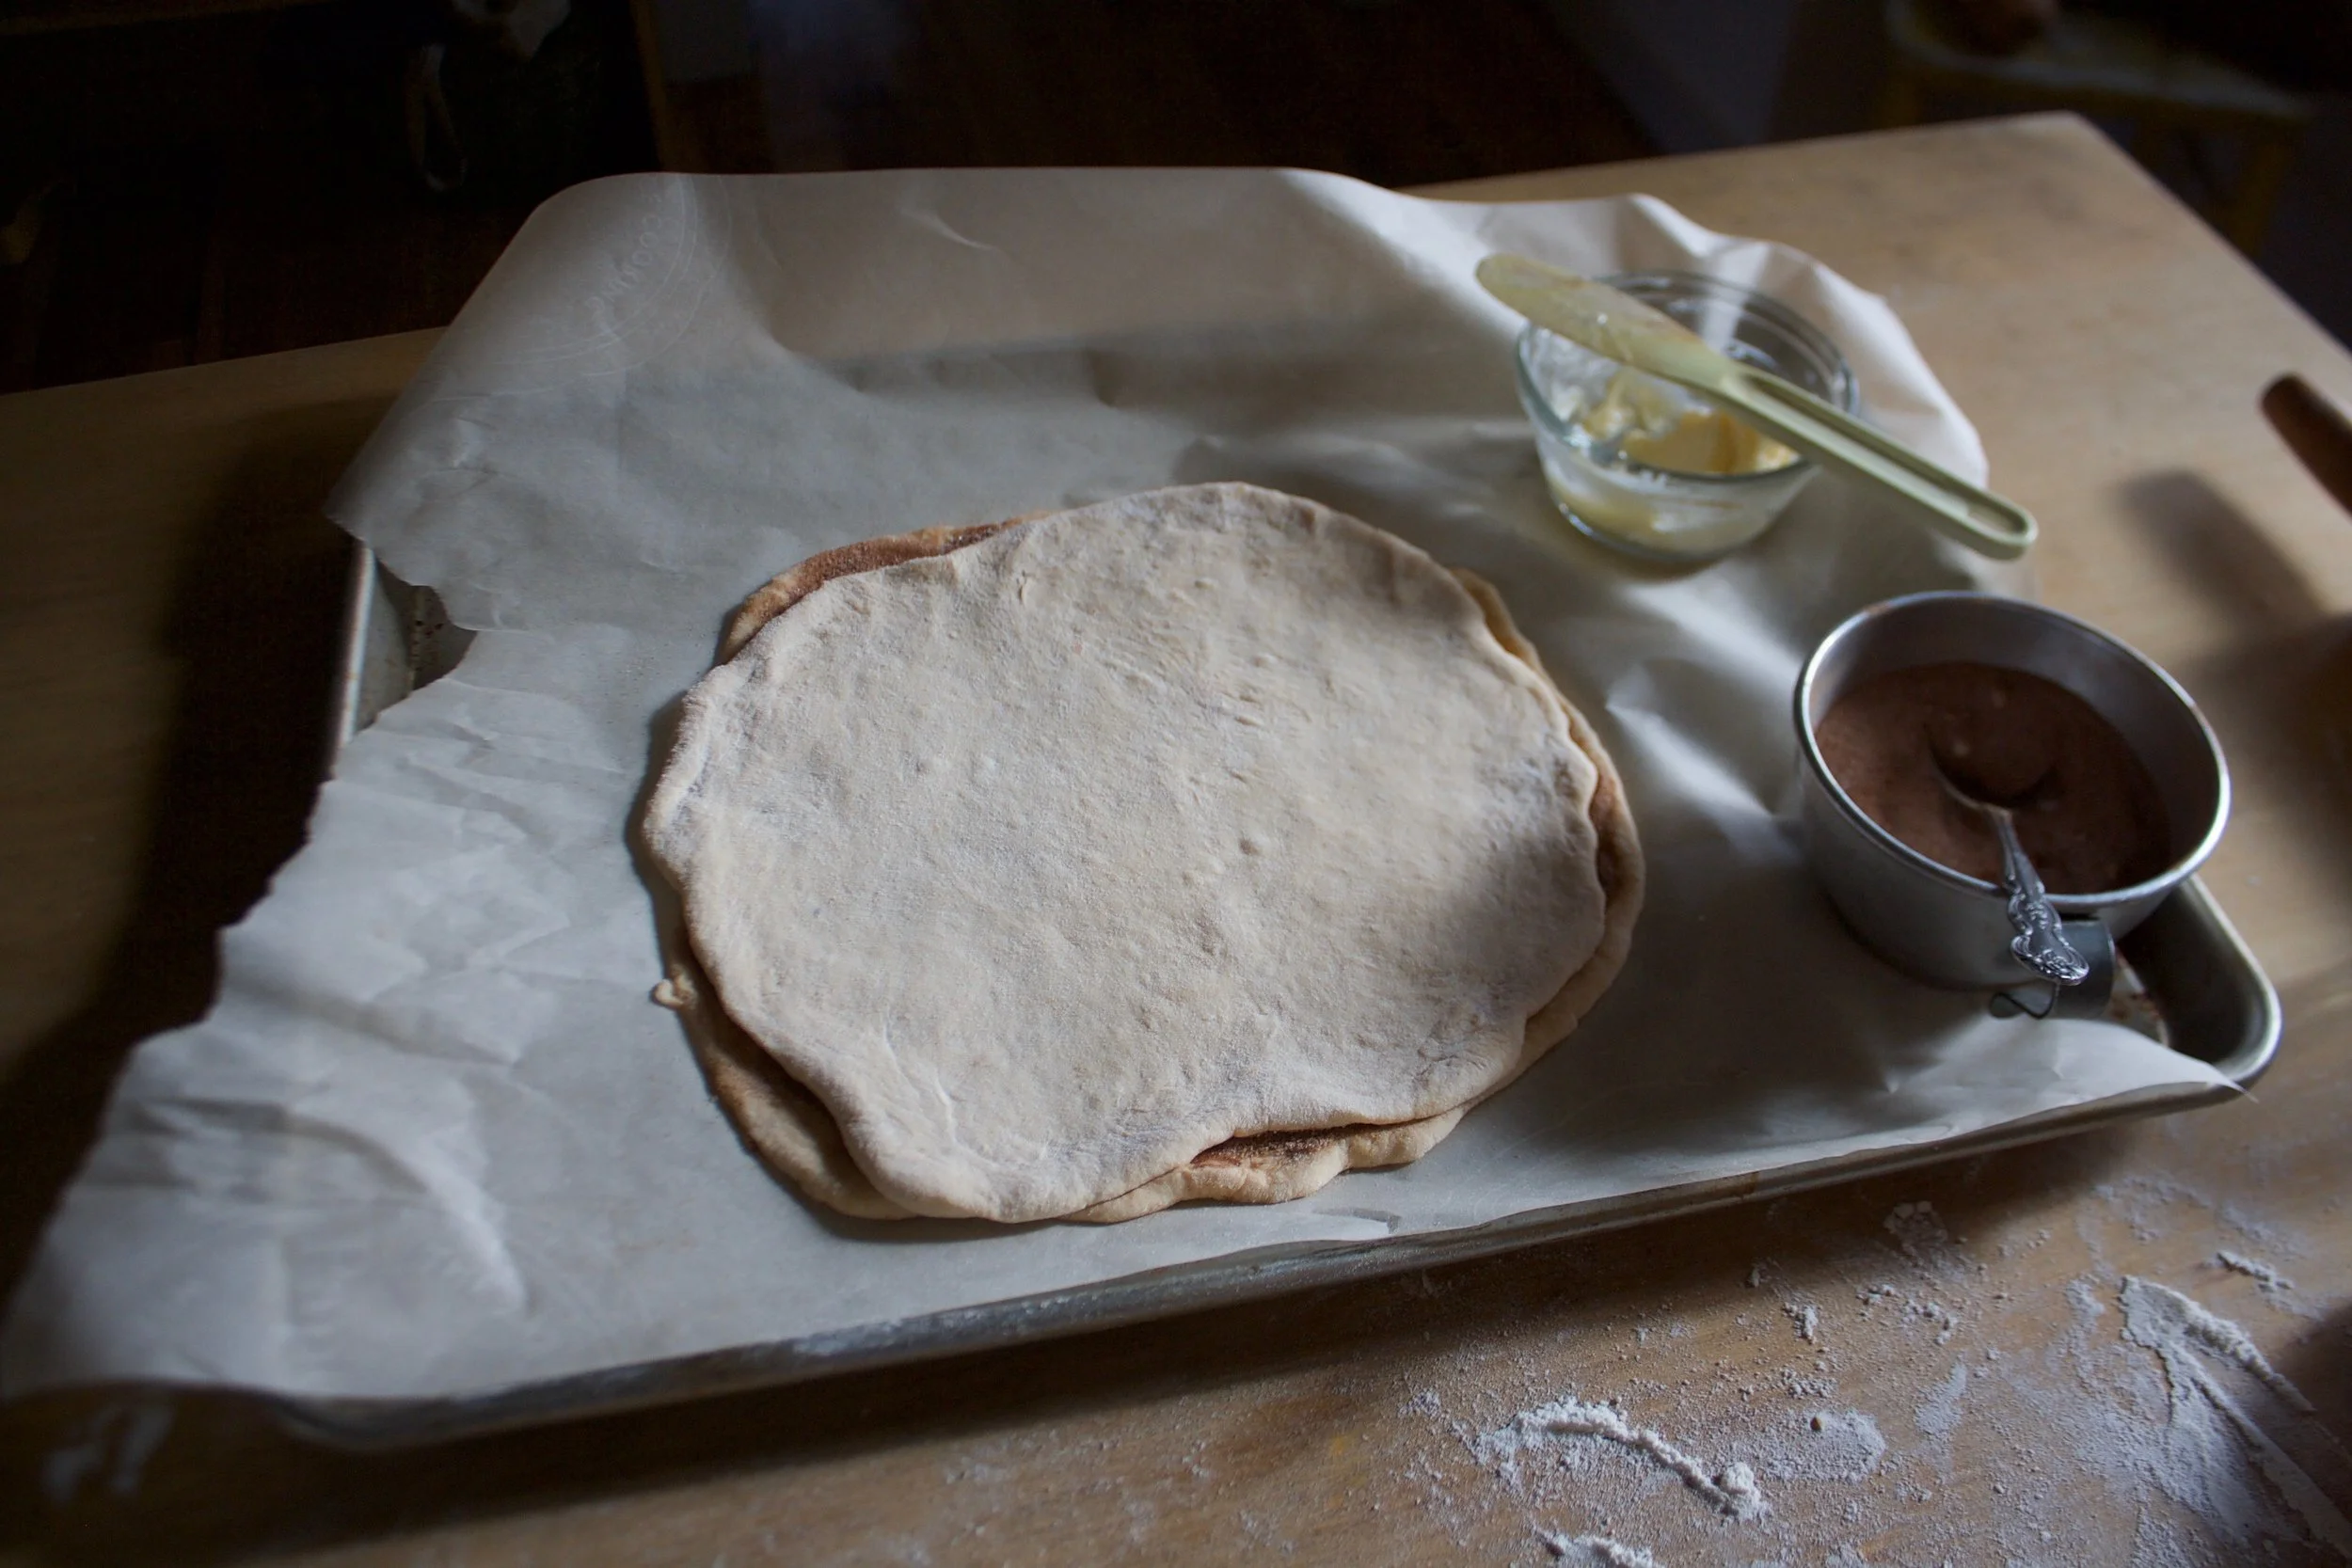
Place dough disks onto splat or parchment lined baking sheet then indent each dough disk with a spoon or your fingers. Dollop a good plop of raspberry jammy into said intents. Once they are all jammed, pop them into the oven to bake. 15-18 minute should do it.
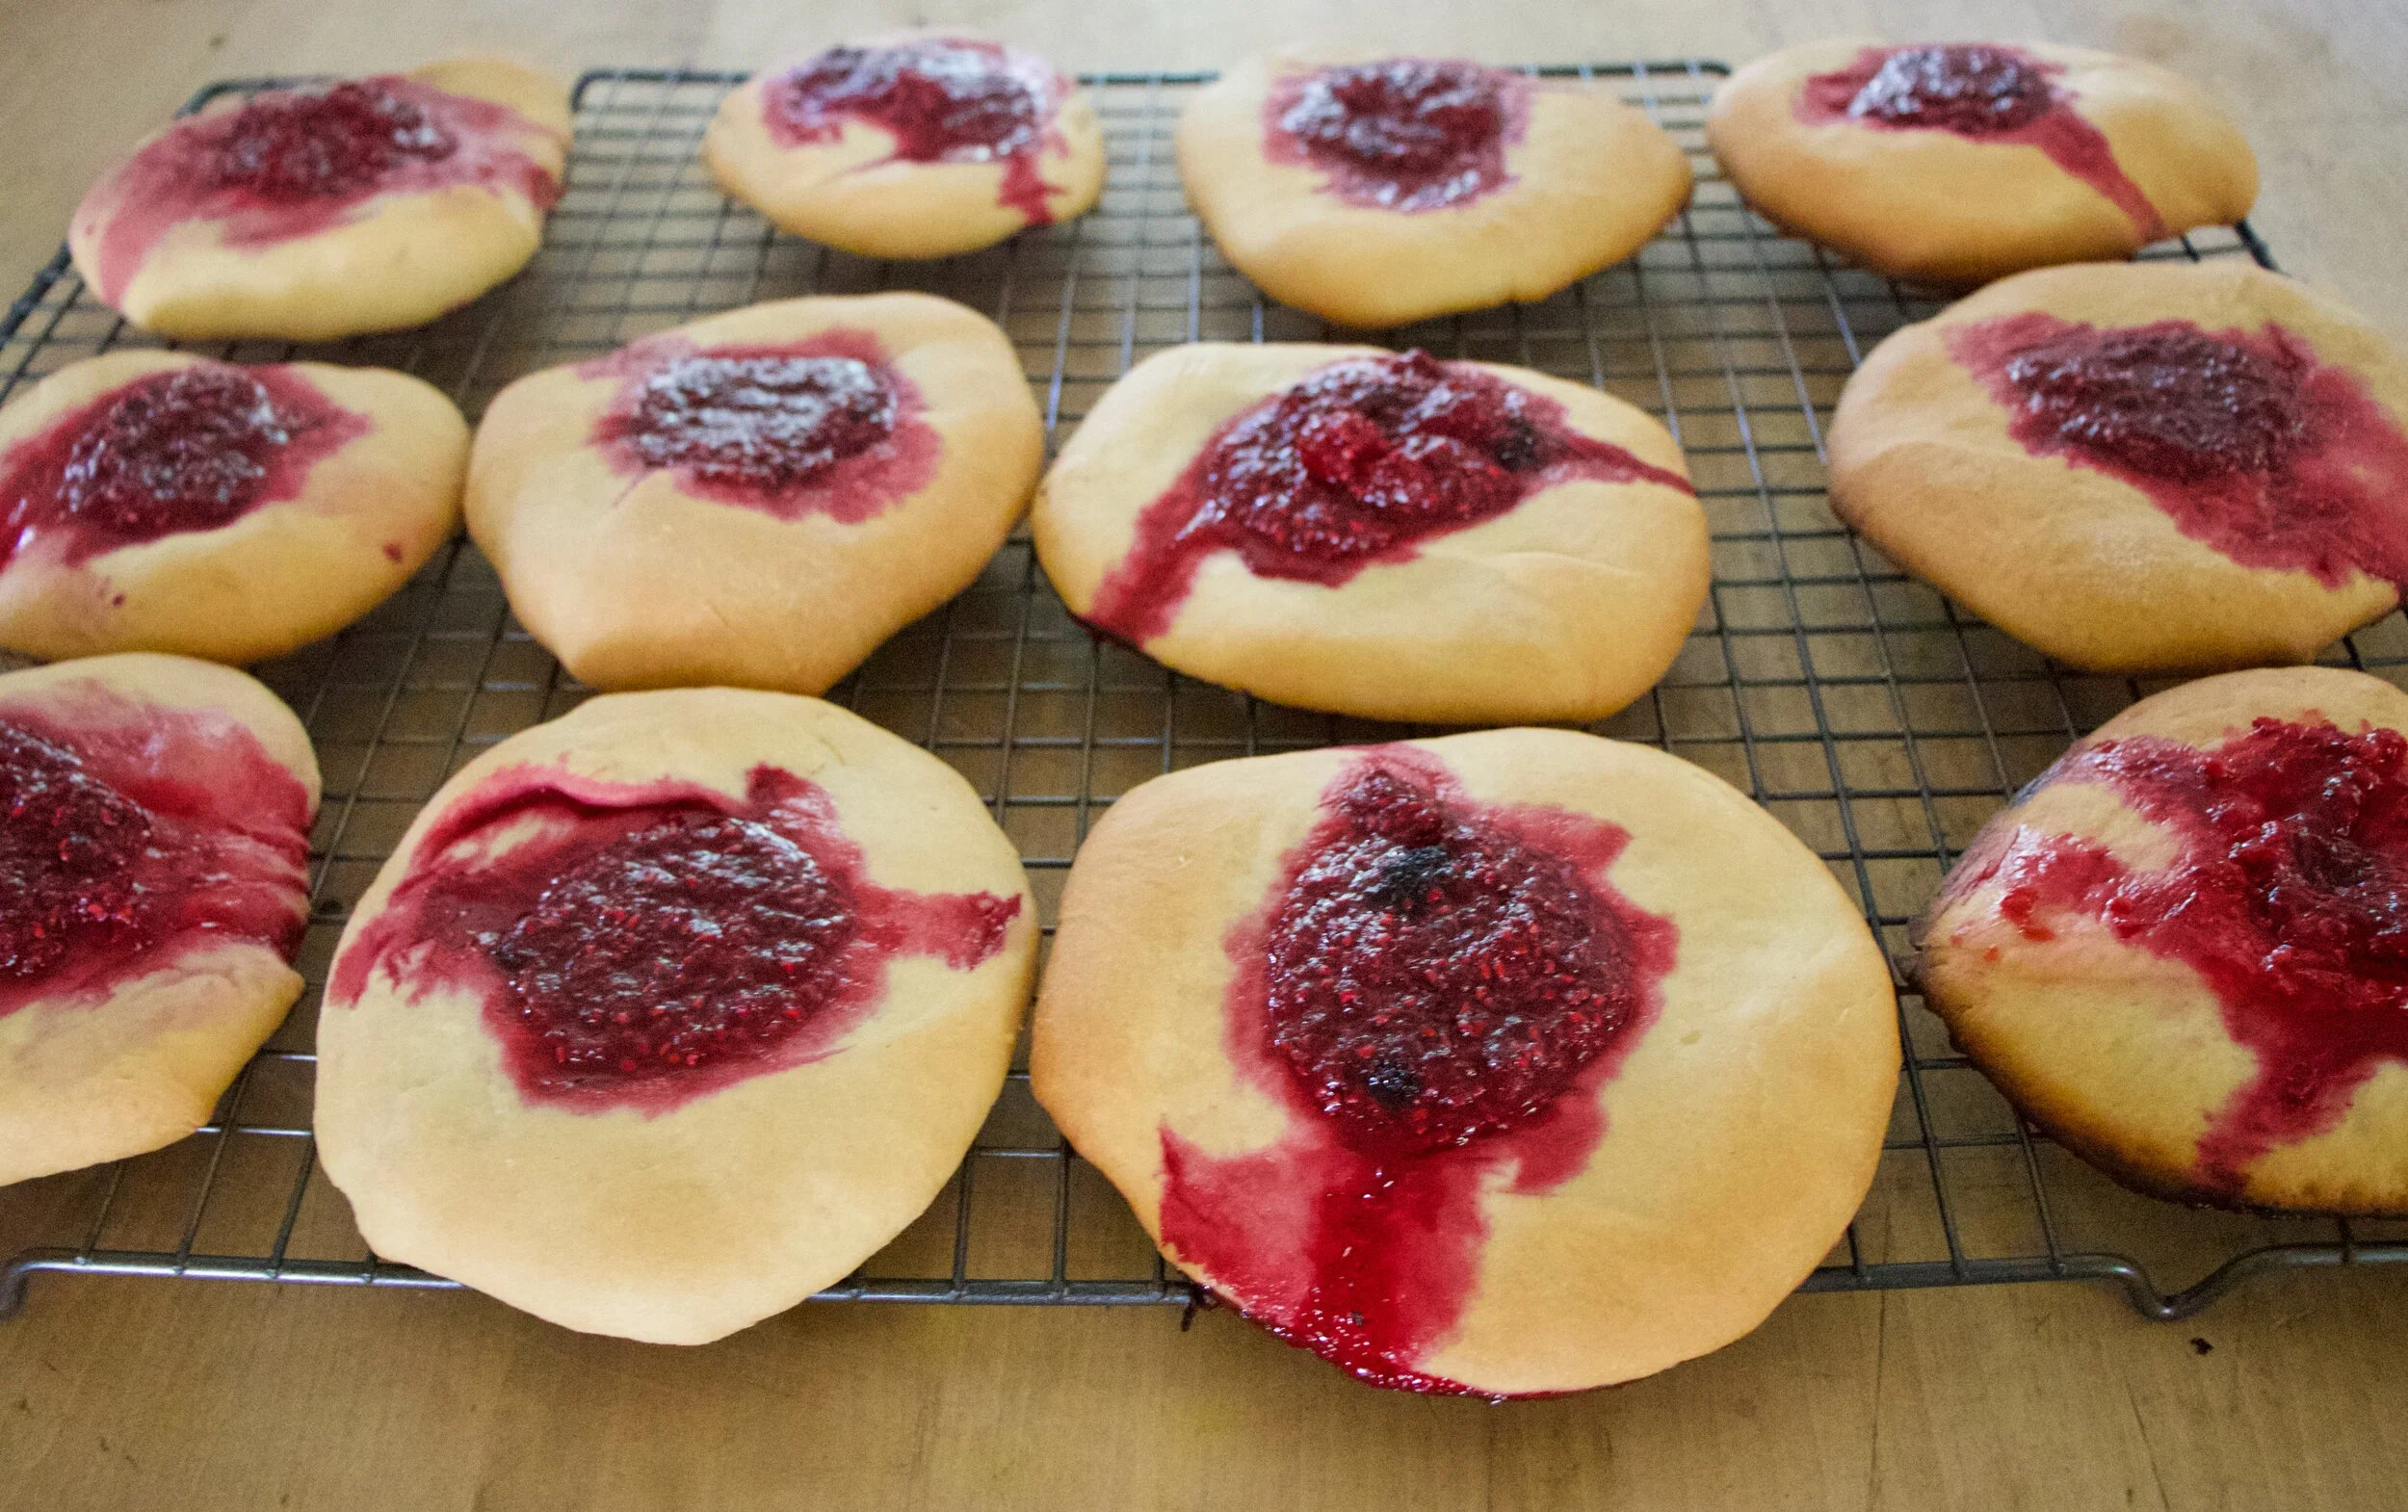
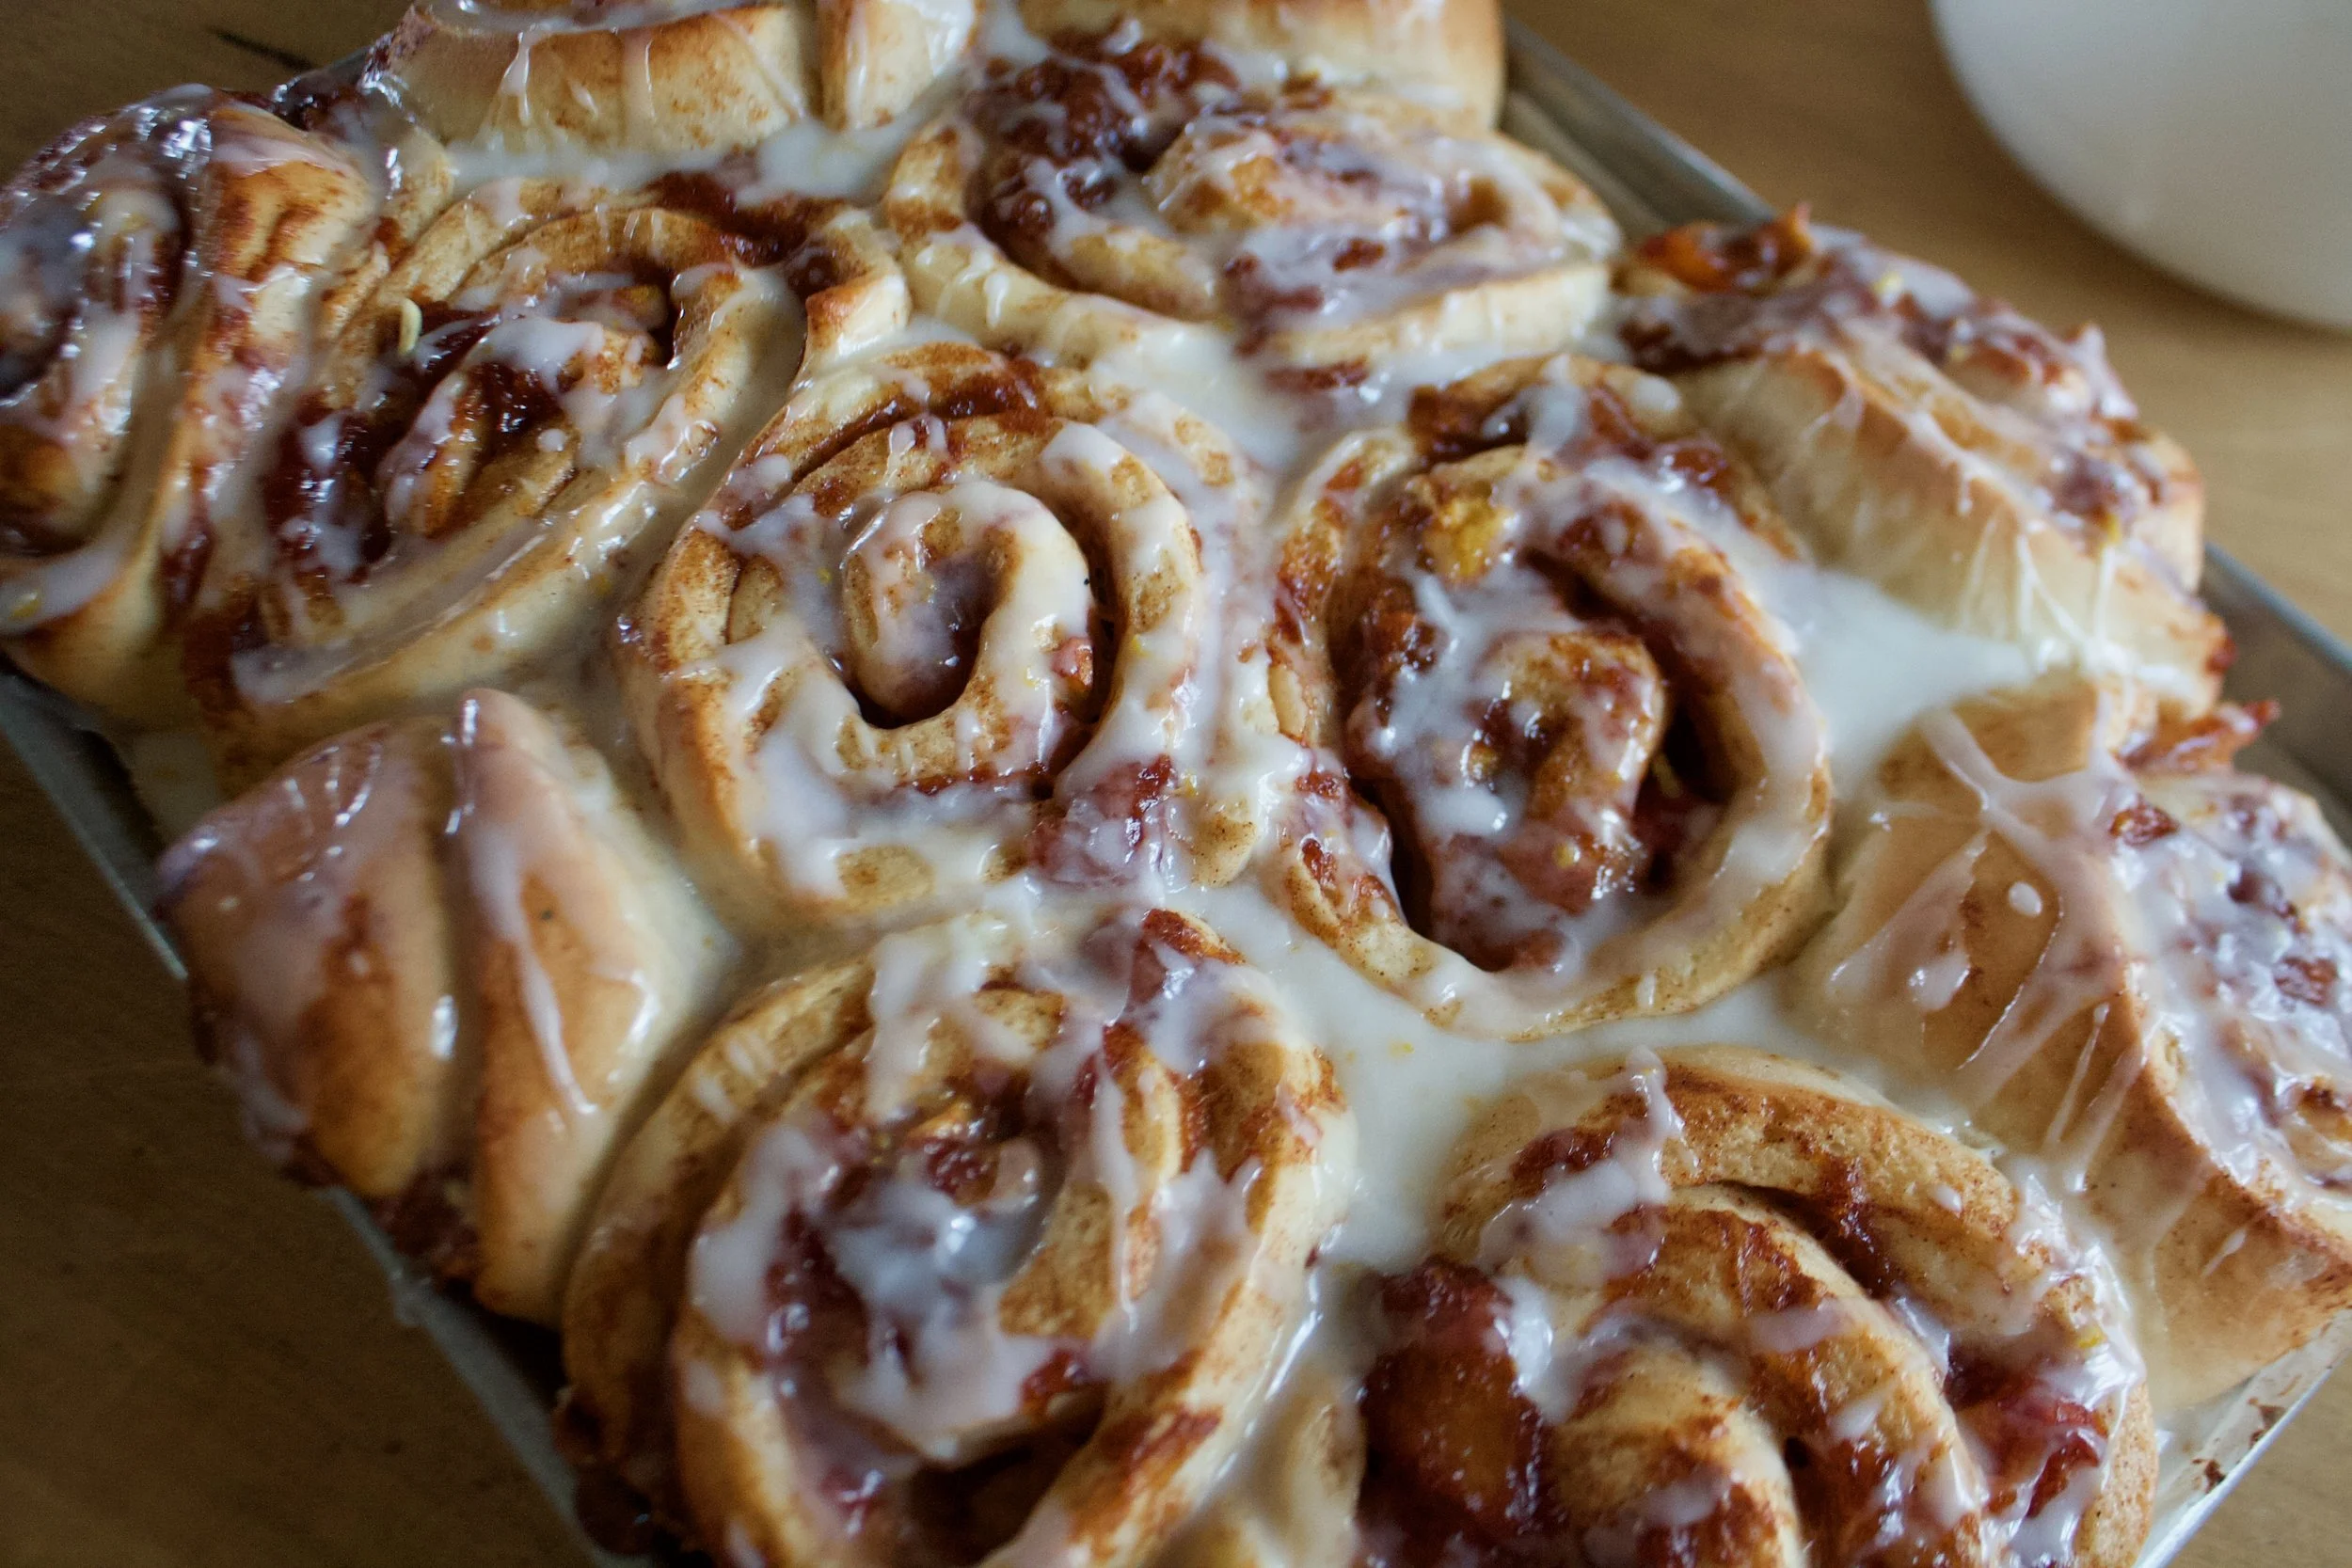
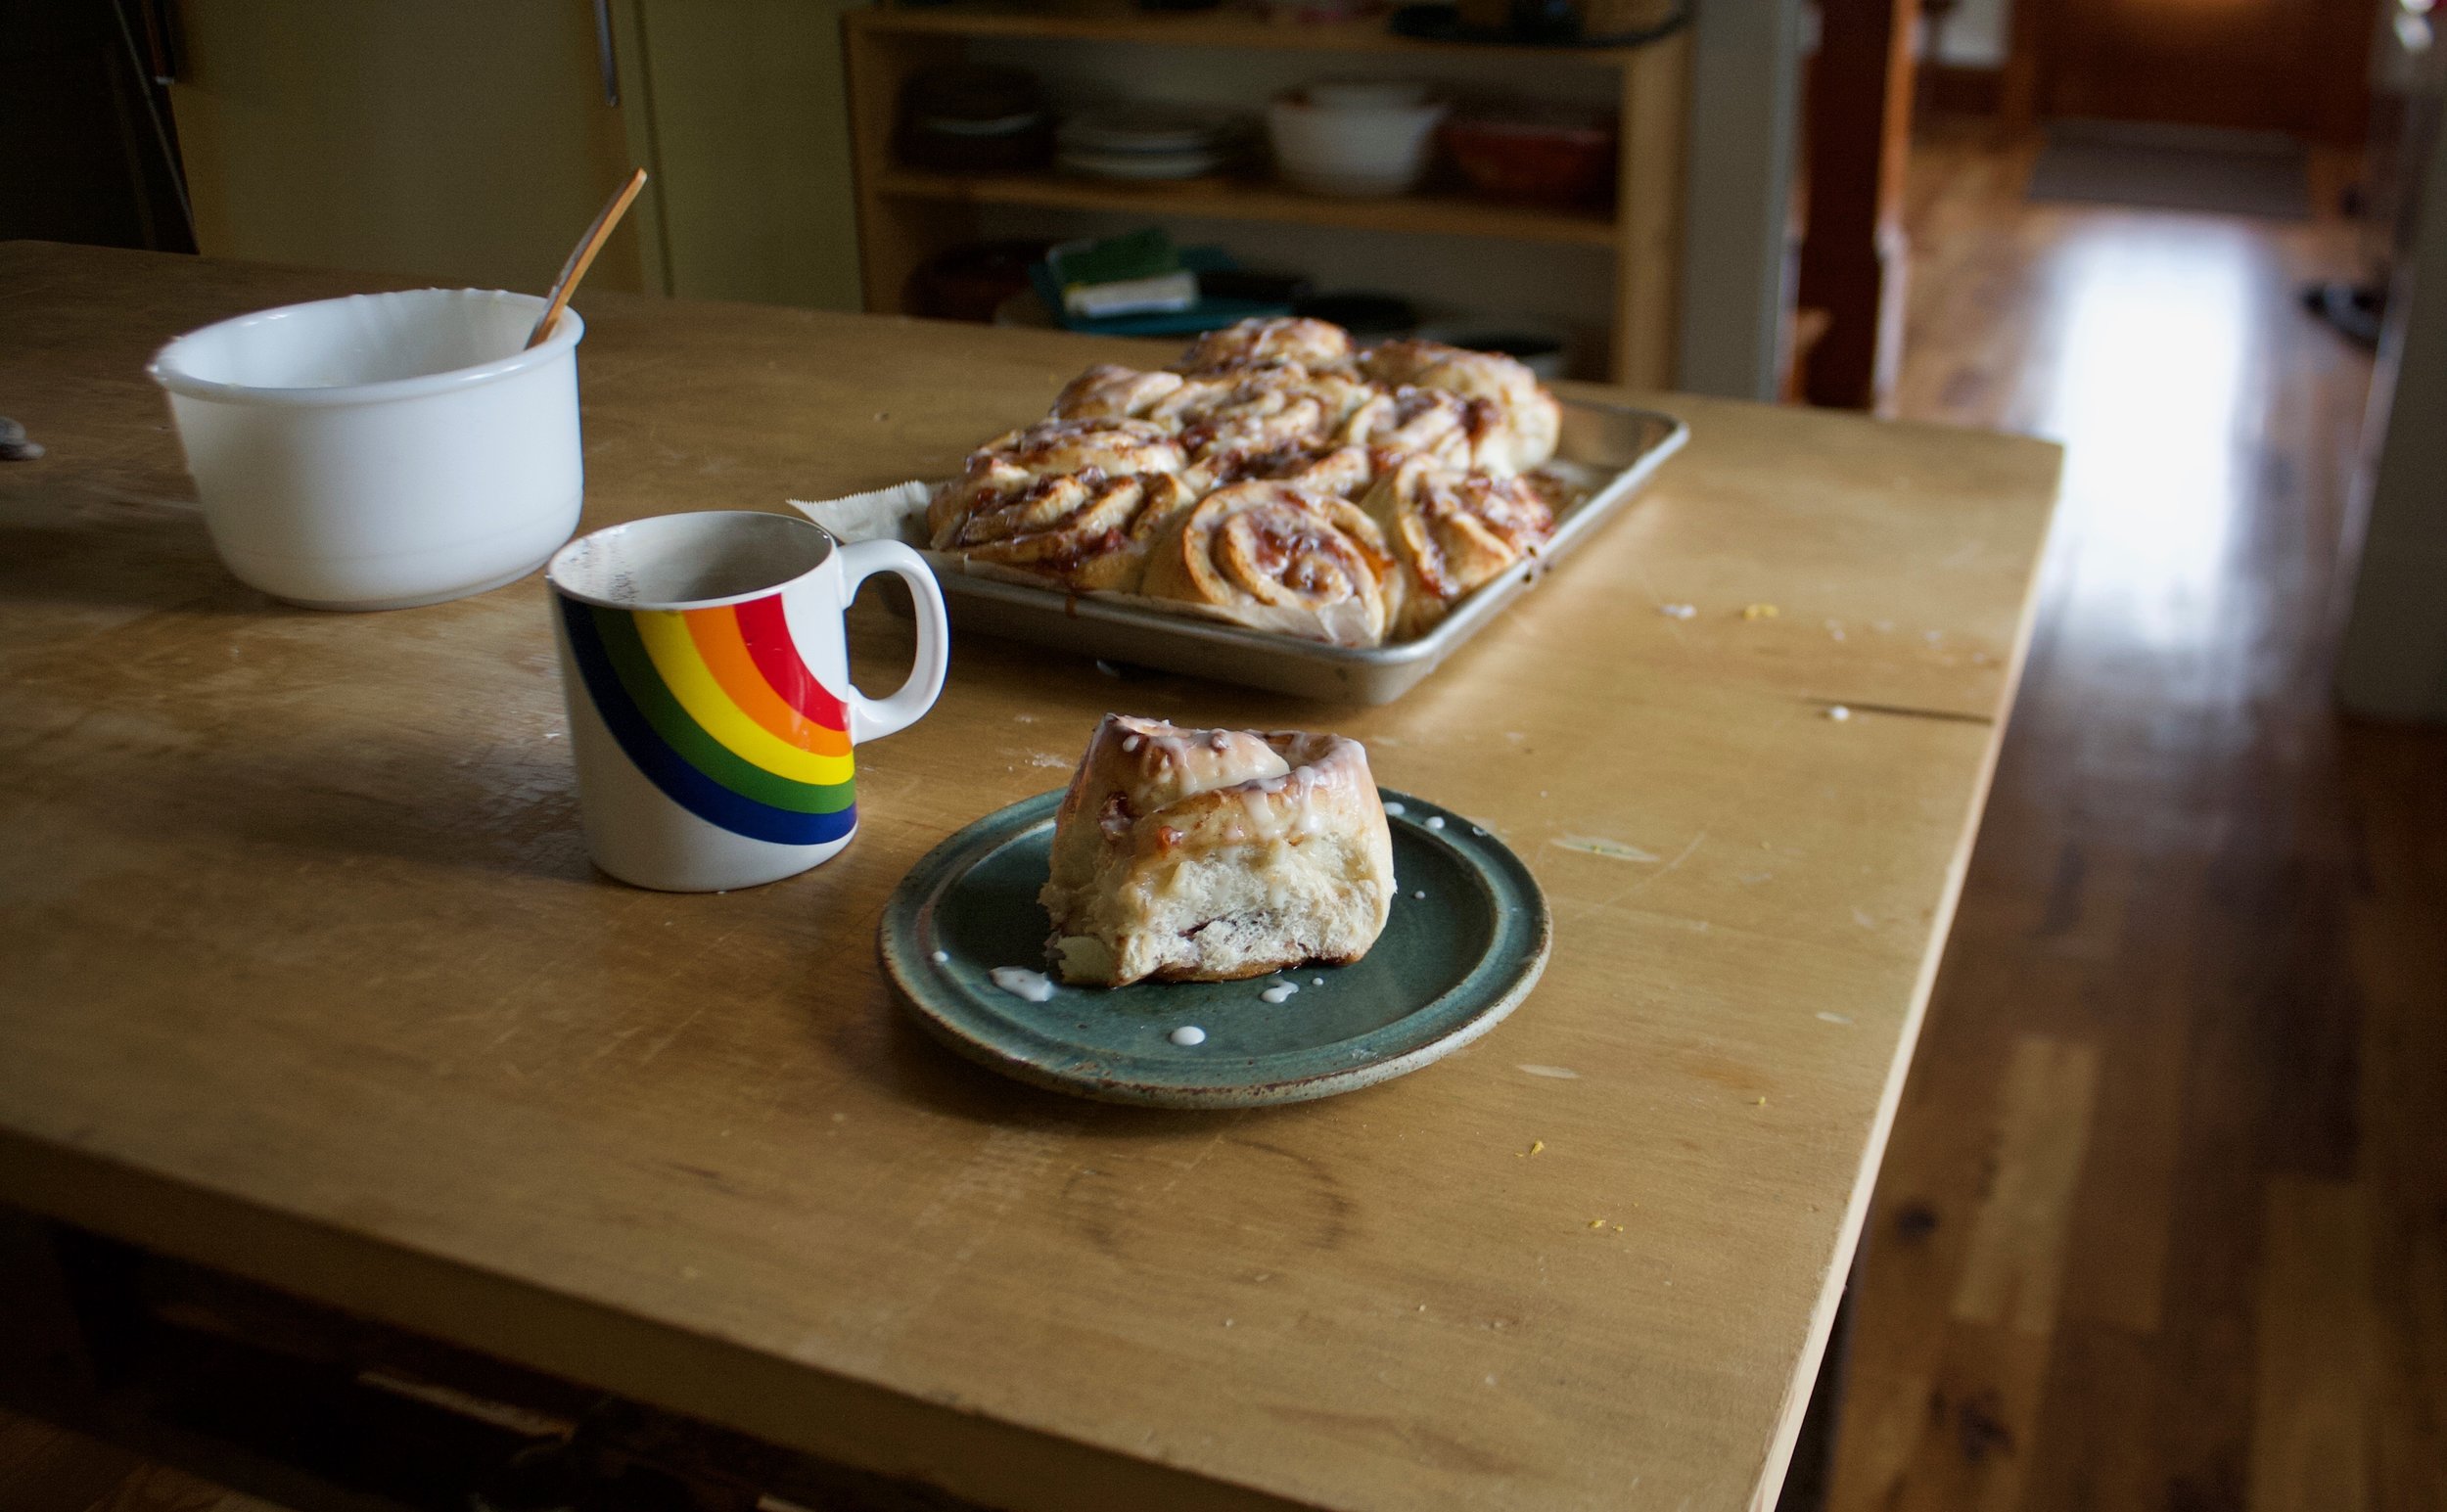
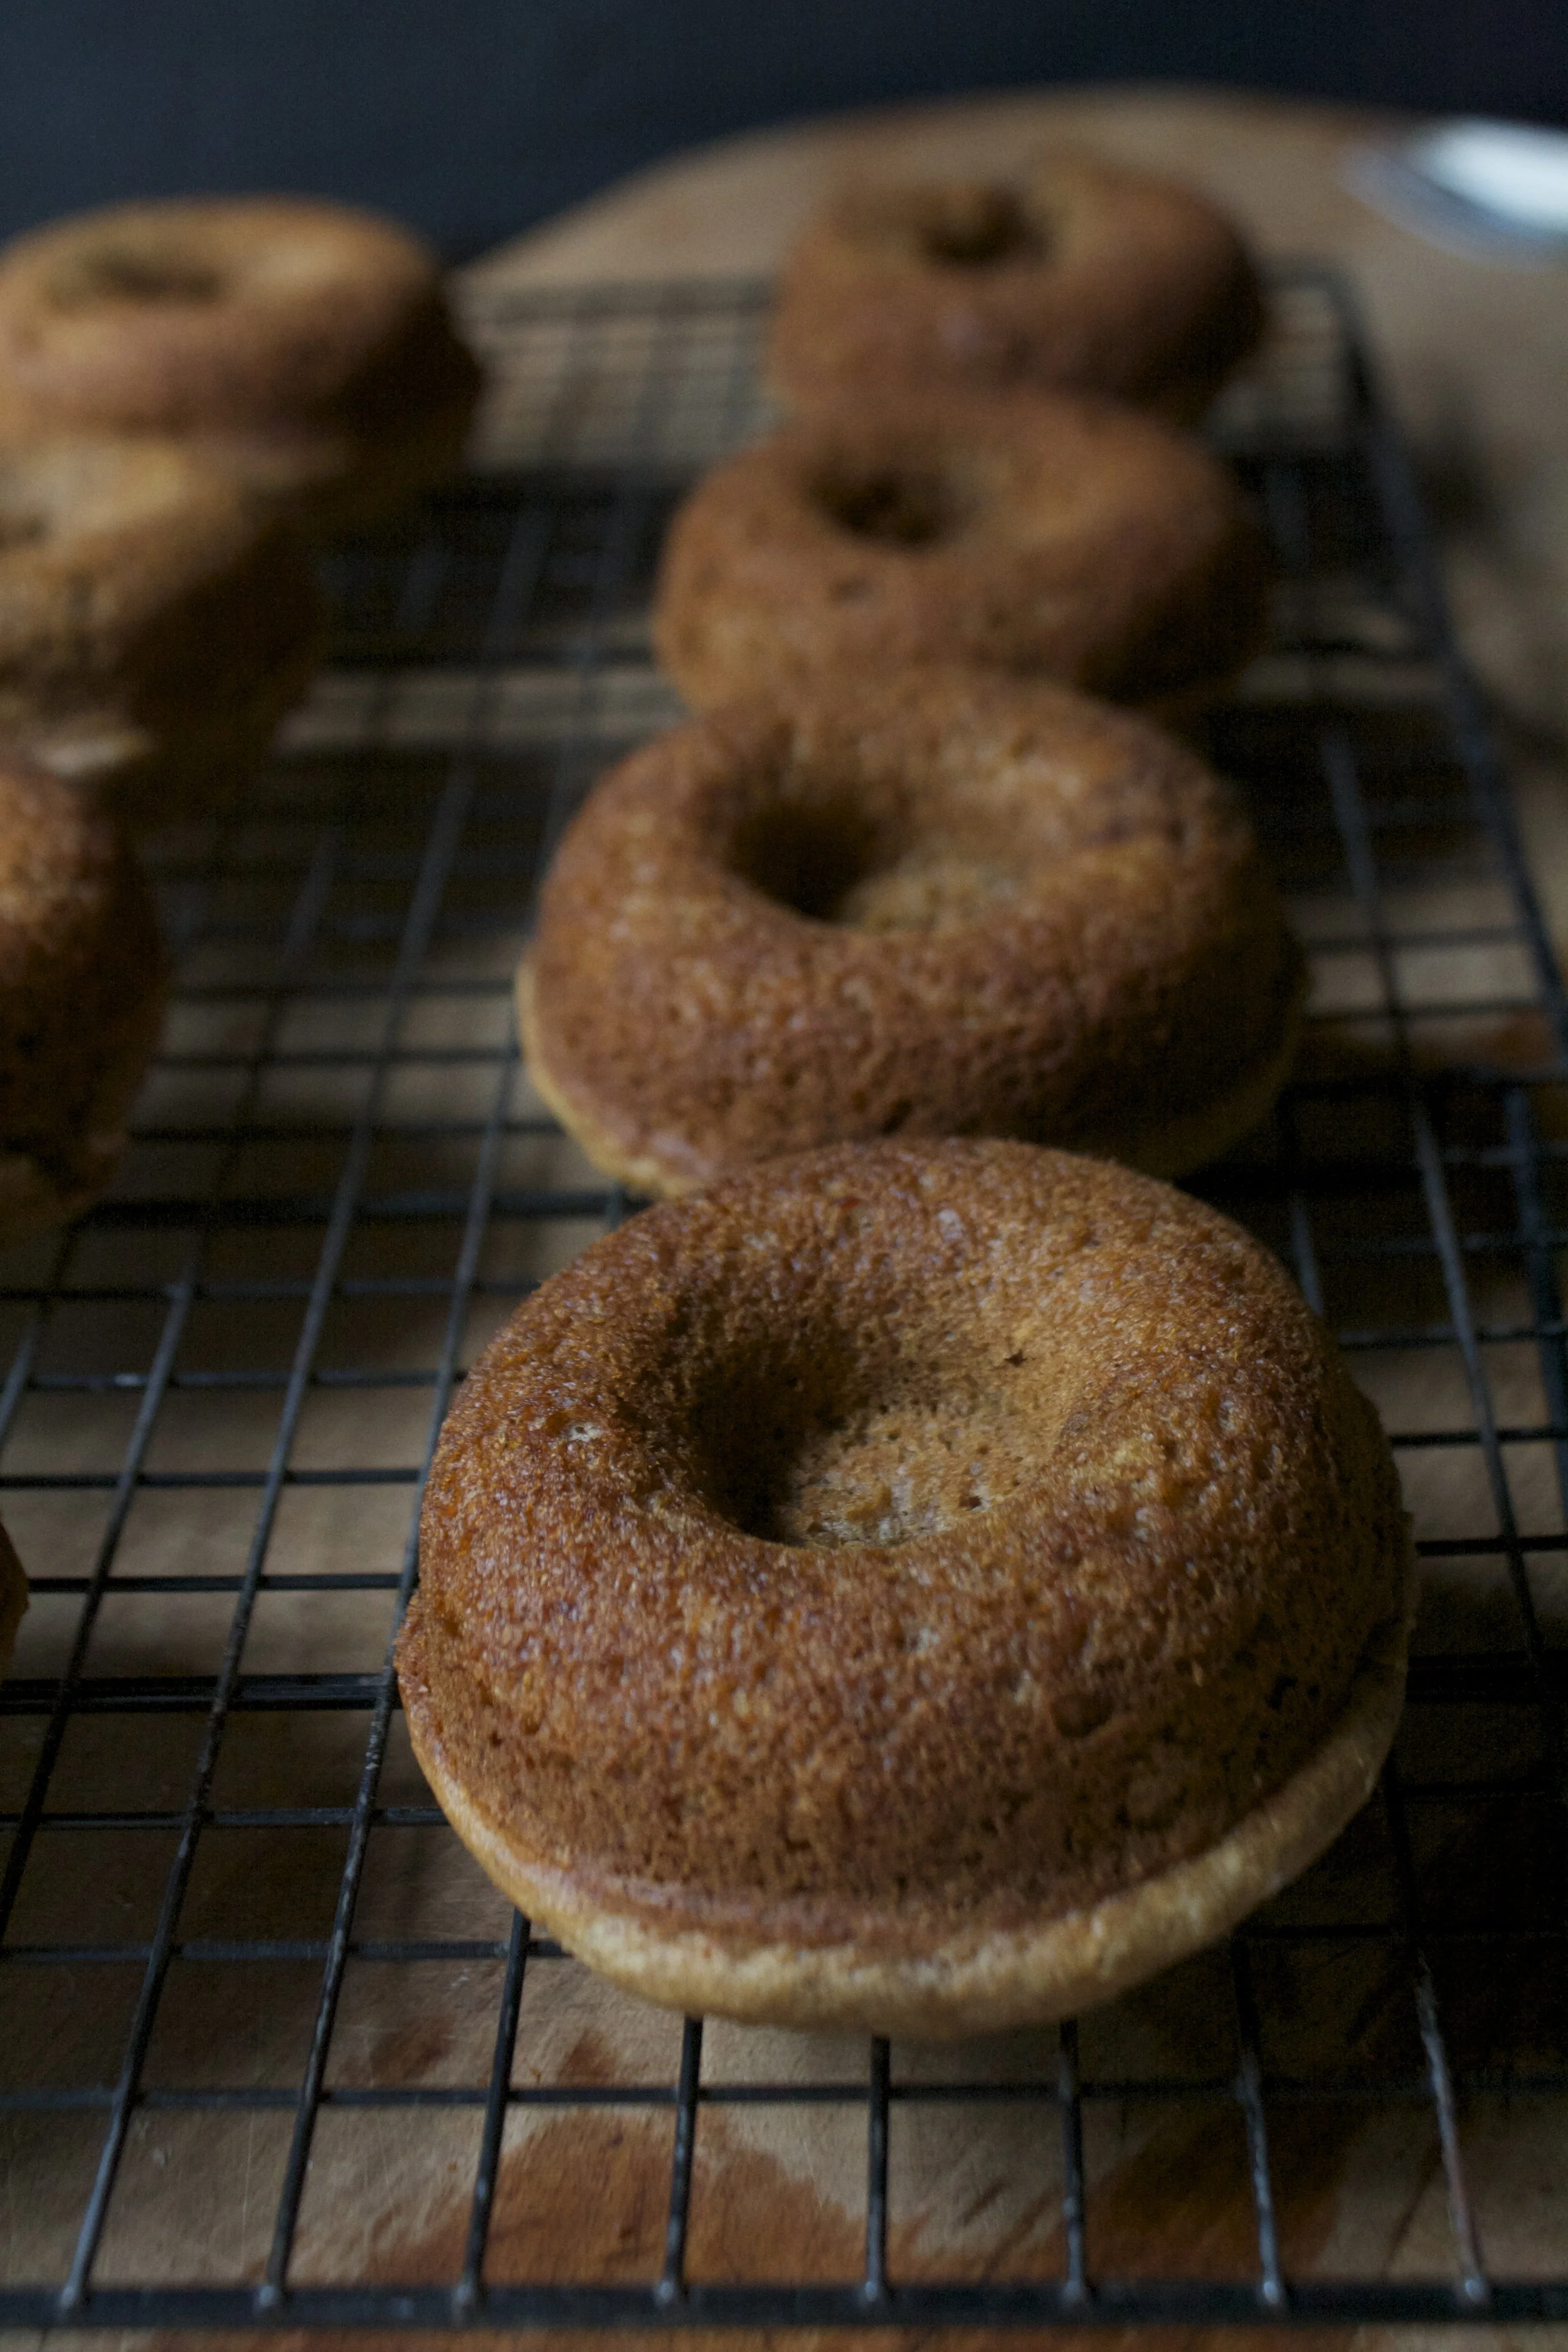
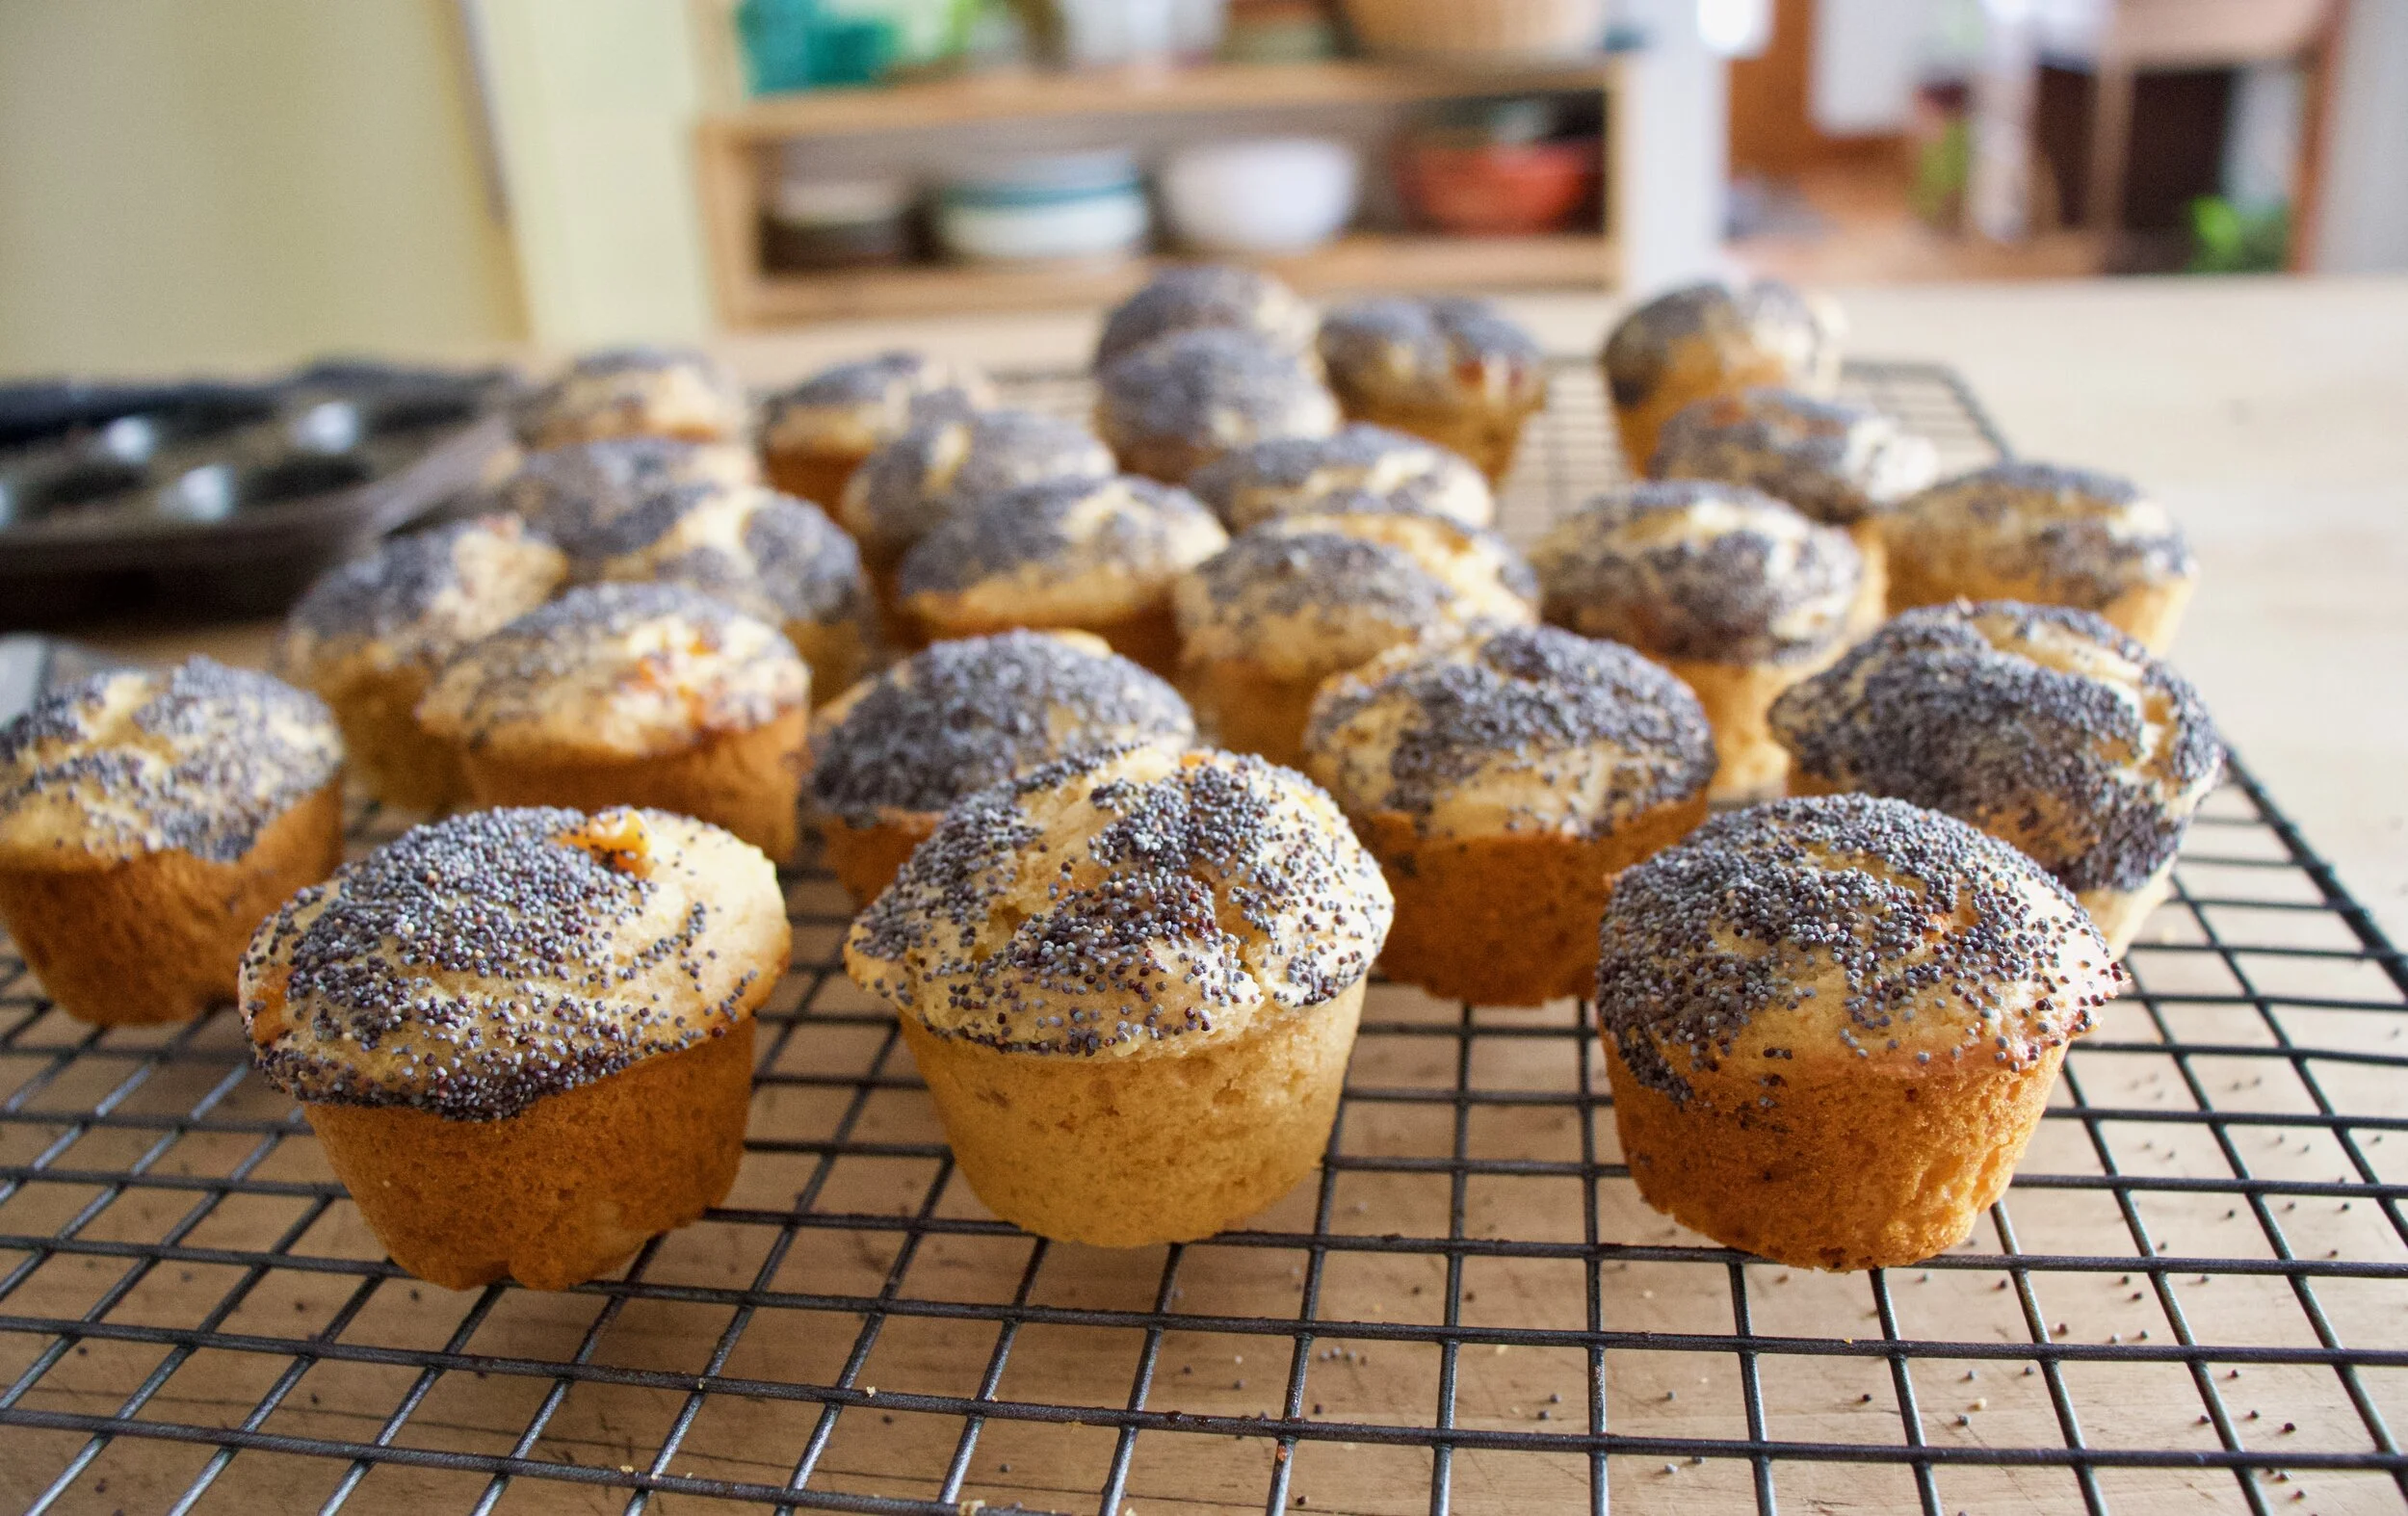
Look at those. Get them out of the oven and on to a wire rack for cooling time.
Make glaze. Sugar, lemon zest, vanilla, and lemon juice Mix until combined and yeah, that it glaze.

Drizzle the glaze all over those lovelies.

And then you eat becucae that is why you made them.
Share with your people. Or just eat them all to yourself, you made them and they are yours.
-C
makes 12
-
4 cups of all purpose flour
-
1 teaspoon salt
-
2 teaspoons yeast
-
1 cup room temperature plant based milk
-
1/2 cup neutral oil
-
1/3 cup white sugar
For raspberry jam
-
1/4 cup white sugar
-
2 cups fresh raspberry
For glaze
-
1 lemon
-
1 1/2 cups powdered sugar
-
splash of vanilla
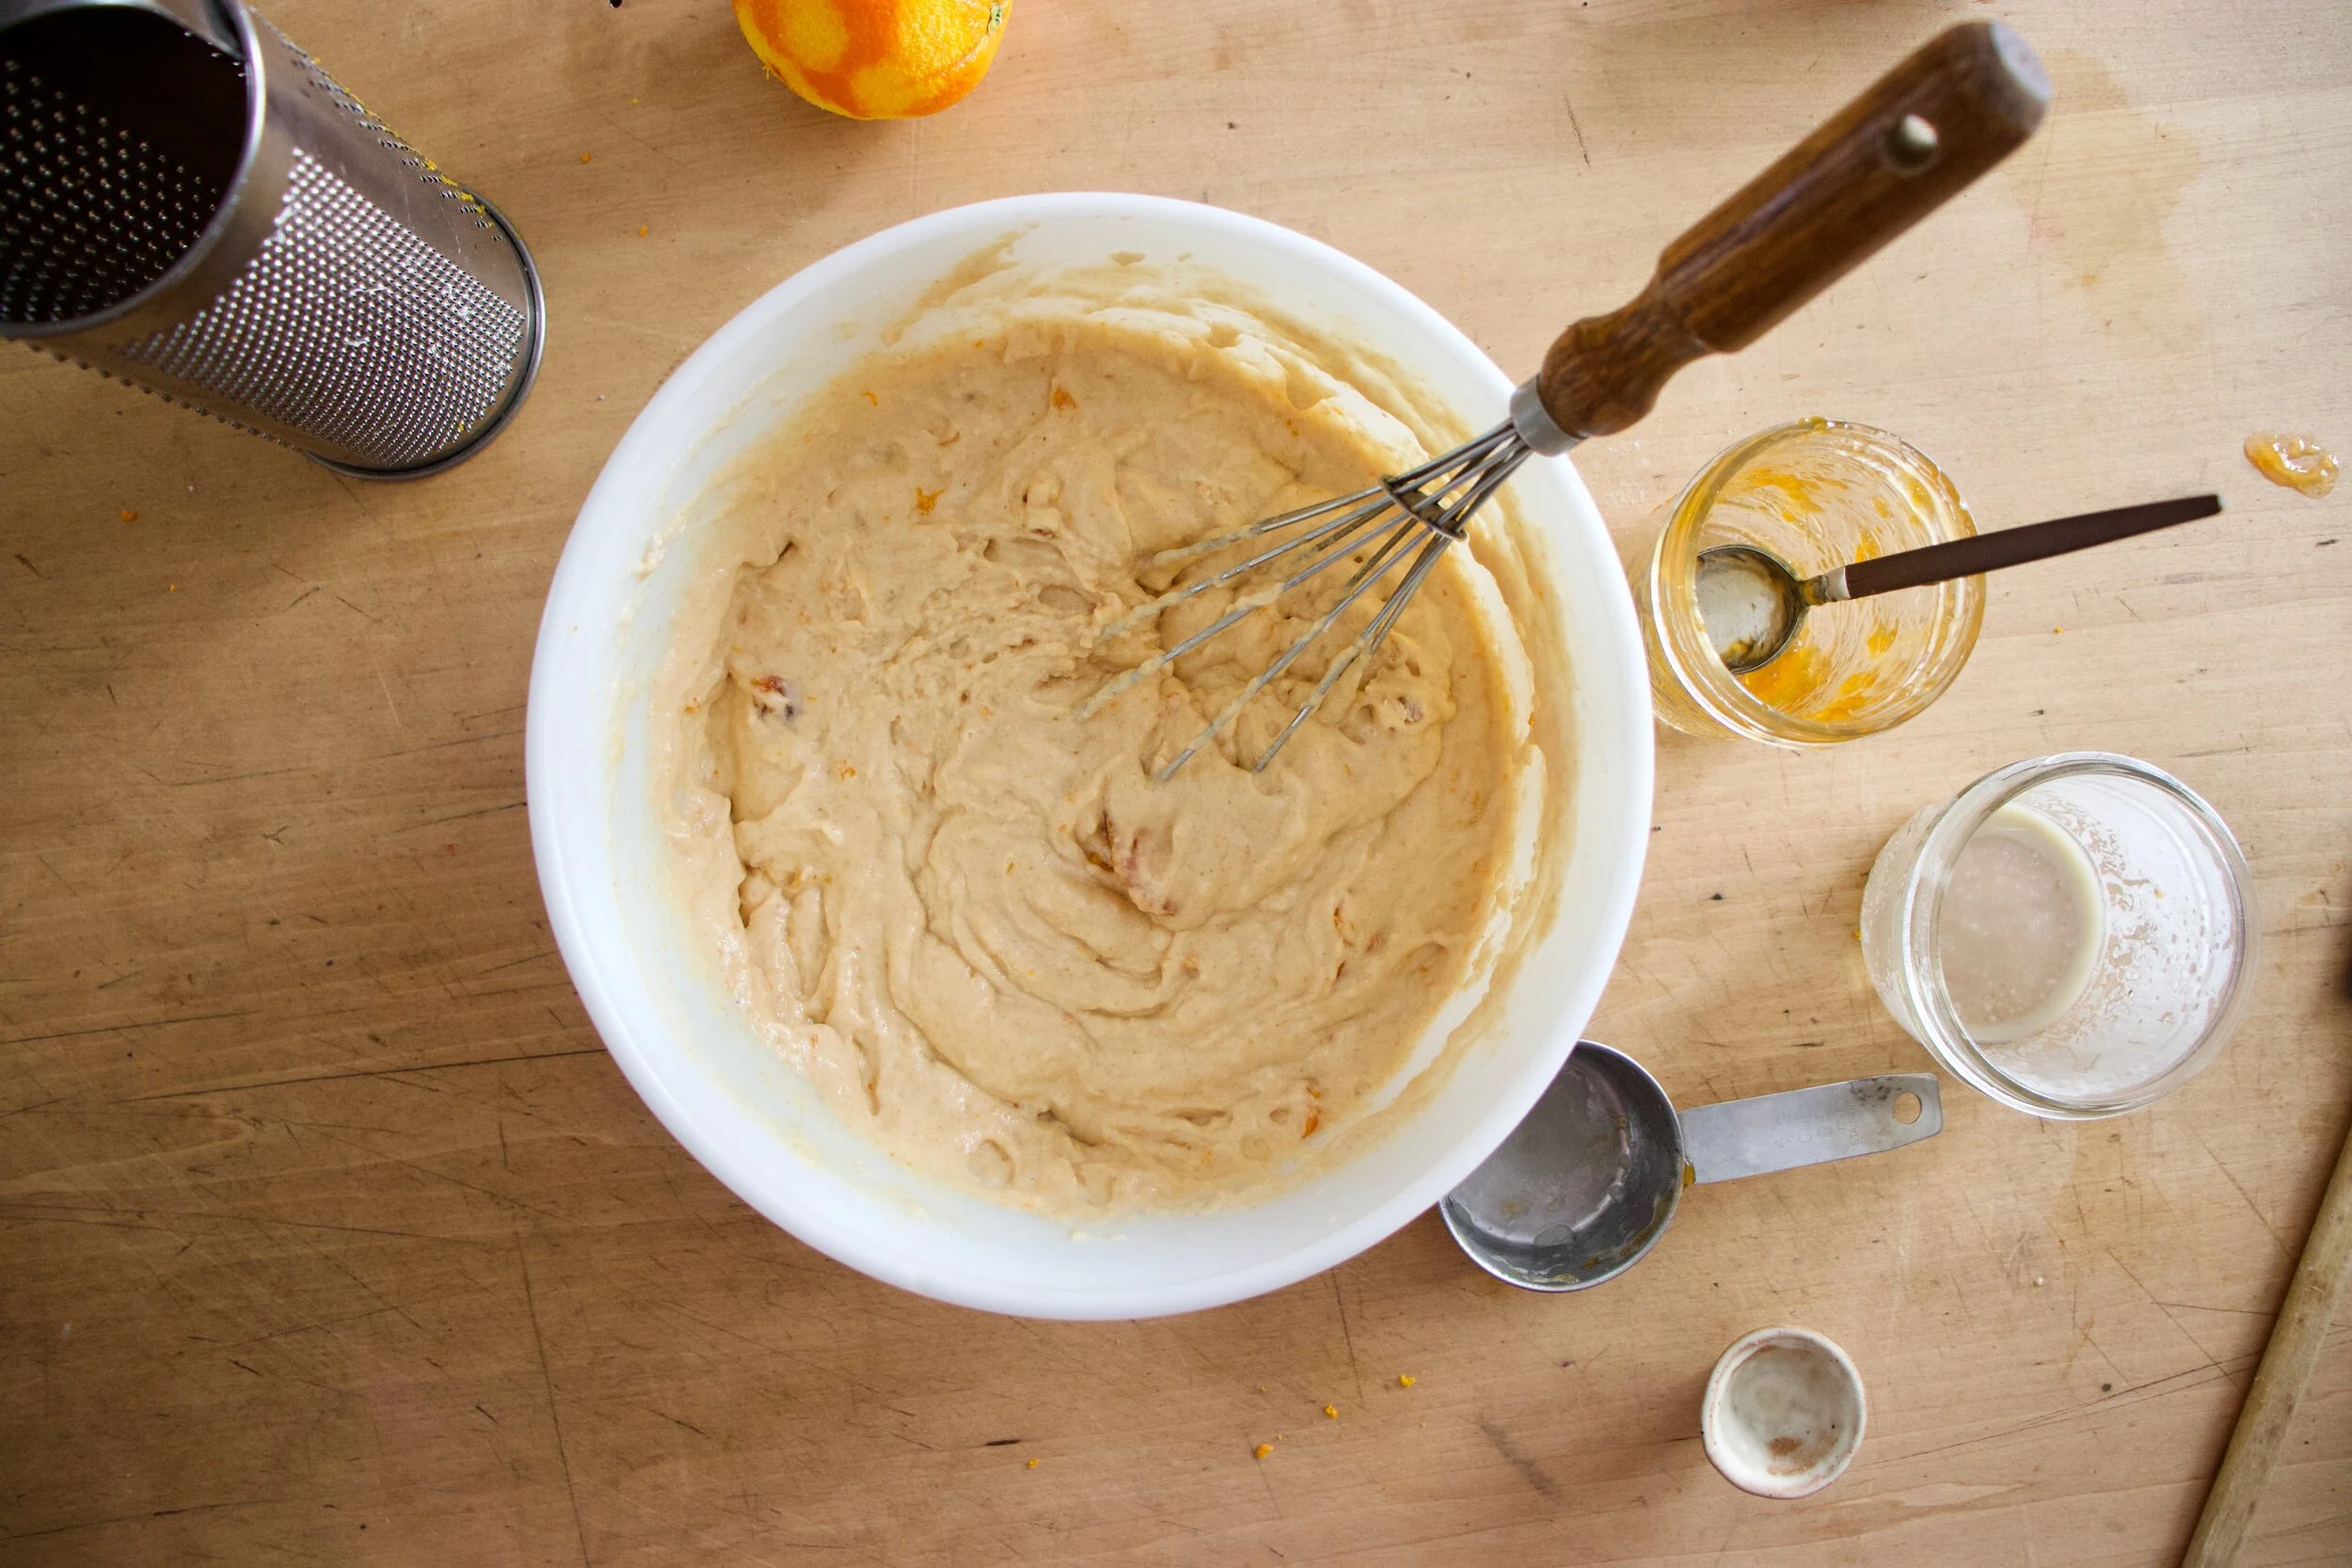
In a large bowl combine the yeast, sugar, oil and milk. Really mix well and let sit for a minute to just get yeast activated. Dump in flour and salt and mix with a wooden spoon or whisk until it becomes to hard to stir. Dump mixture onto a lightly floured surface and knead dough for about 5-8 minutes or until the dough is soft and smooth. Place dough in a clean bowl and cover and let rise for about an hour or so or until the dough doubles in size.
While dough is rising, make raspberry jam. Mix raspberries and sugar together into a pot and place on medium heat on stove. Let cook for a couple minutes and once the raspebrries start to break down, stir. Let mixture cook down for about 10 minutes, stirring often, until the mixture becomes thick and sticks to a spoon like warm jam should. Take off heat and let cool.
Preheat oven to 350
Once dough has doubled in size, dump onto it onto a floured surface and with a knife or dough scraper, cut into 12 equal sized pieces. Roll each piece into a ball then flatten out into a disk about 1/2 inch thick. Place dough disks on a parchment or splat mat lined baking sheets (you will need 2). With a spoon, lightly push a intent into the center of each disk then place a good plop or the cooled raspberry jam into the intent. Once all the dough has its berries, place the baking sheets into the oven to bake, for about 15-18 minutes, or until the danishes are a nice golden brown.
When they are done baking, remove from oven and place on wire rack to cool.
While cooling, make the glaze. Zest lemon and place in a bowl with the powdered sugar and vanilla. Add in half the juice of the lemon and stir until completely combined. If the mixture is too thick, add more juice, to thin, add a little more powdered sugar.
And once the danishes are cooled, drizzle on the glaze. And then thats it. You can eat them now.
Any left over why are there left overs?) should be stored in a airtight container for a few days at room temp or in the fridge . They also freeze well.
Ever since schools have been canceled and we have turned to homeschooling, the school systems around my parts have been dropping lunches off to all the littles. Both my sisters with littles have been getting food every day and it is great and amazing and makes me less worried about all the kids that really depend on school for food. Thank you school systems for being awesome!
The thing with the food is that you get what you get. Just about everyday, packed with the lunches,are either applesauce cups or strawberry puree cups.
The little shits, well none of them eat them. I don%u2019t know if they just don%u2019t like them or are sick of them but yeah, they are really starting to pile up. And so sisters have been sending apple and strawberry cups my way and now I have shit ton too.
I figured I would just bake with them and that is what I have been doing, but I still have so many and it is way to hot to be baking all the time. What to do with an excess of fruit puree cups? Freeze them. And make them into granitas. Whats a granita? A granita is flaked frozen fruit, kind of like a slushy you eat with a spoon. And wouldn%u2019t you know, once the applesauce and strawberry cups were frozen and called something else, the littles were all over them.%u00a0I am a genius.
It also helped that is was like a 95 degrees out and when it is that gross, no one wants to eat anything that isn%u2019t frozen. Blah. Too hot way too early!
So if you find yourself with an excess amount of fruit cups or just want to make a healthy and delicious cold treat for your littles or yourself, do this.
Now to the apple strawberry granitias!

The stuff. Applesauce cups and strawberry puree cups. If you don%u2019t have the actually cups, you can use applesauce from a jar or homemade and make your own strawberry puree by tossing fresh or frozen strawberries into a blender. Easy peasy.

The apple and strawberry purees into a bowl

Mix together. Have a taste, it is delicious.

Dump mixture into a baking sheet or pan, preferably a metal one, and place in freezer.
After about and hour, once it is slightly frozen, remove from freezer. Grab a fork and scrape the puree to kind of fluff it up. Place back into freezer for another hour and repeat one or two more time until the texture is nice and fluffy. Once you like texture, place in freezer for another 1/2 to really freeze up.

When you are ready to eat, scoop and serve.

Once scooped, eat. Right away because frozen things don%u2019t stay frozen for long!
-C
makes about 4 servings
-
2 applesauce cups (or 2 cups applesauce)
-
2 strawberry cups (or 2 cups strawberries pureed)
-
1 tablespoon sugar (optional)
Dump the applesauce and strawberry puree into a bowl. Mix together and taste. If you think it could use a little sugar, mix it in. Remember, once frozen, it won%u2019t taste quite as sweet.
Dump mixture into a baking pan or sheet, preferable a metal one, and place in freezer. After about an hour, or once it has frozen a bit, remove from freezer, grab a fork, and scrape the puree to losses it up. Place back in freezer for another hour. Repeat with the fork one or two more times until the texture is that of fluffy ice. After the last scrape, keep in freezer for another 1/2 hour or so to get it really frozen again then when you are ready, scoop out into bowl and eat.
Any that doesn%u2019t get eaten right away, keep in freezer. You can transfer to a smaller container with a lid.
It started a few nights ago when I was eating my after dinner dessert snack. A big bowl of fresh strawberries. But there was something missing. I wanted a little something else to add to my dessert so I opened the freezer to see if there was any frozen bananas. What caught my eye was the bag of peas. And it just seemed right so I poured some into a bowl, dumped hot water on them to thaw, and mixed them into the bowl with the strawberries. Now I got to tell you, it was one of the most satisfying delicious desserts I have had in a long time. Think about it. Peas are sweet and creamy and strawberries are sweet and tart. The combination might seem a little strange but haven%u2019t we learned by now that I am always right about flavors? HAHA. But really. It%u2019s one of my new favorite snacks.
Now how to share my newfound love of peas and strawberries? Well cake of course. I figured people are less hesitant to try new flavor combinations when in cake form because everyone wants cake. And I was right. Plus it is a real looker if I do say so myself. Bright green cake with bright red strawberry glaze. A spring time snack with the spring time feels. Everything about this cake is right on point with all the things. And it is super fast and easy to make to boot because it%u2019s all thrown together in a blender.
You really can%u2019t go wrong here friends. And if you happened to be needing a little something something to snack on with your mama this weekend, well I think you just found the perfect snack.
Now to the cake!
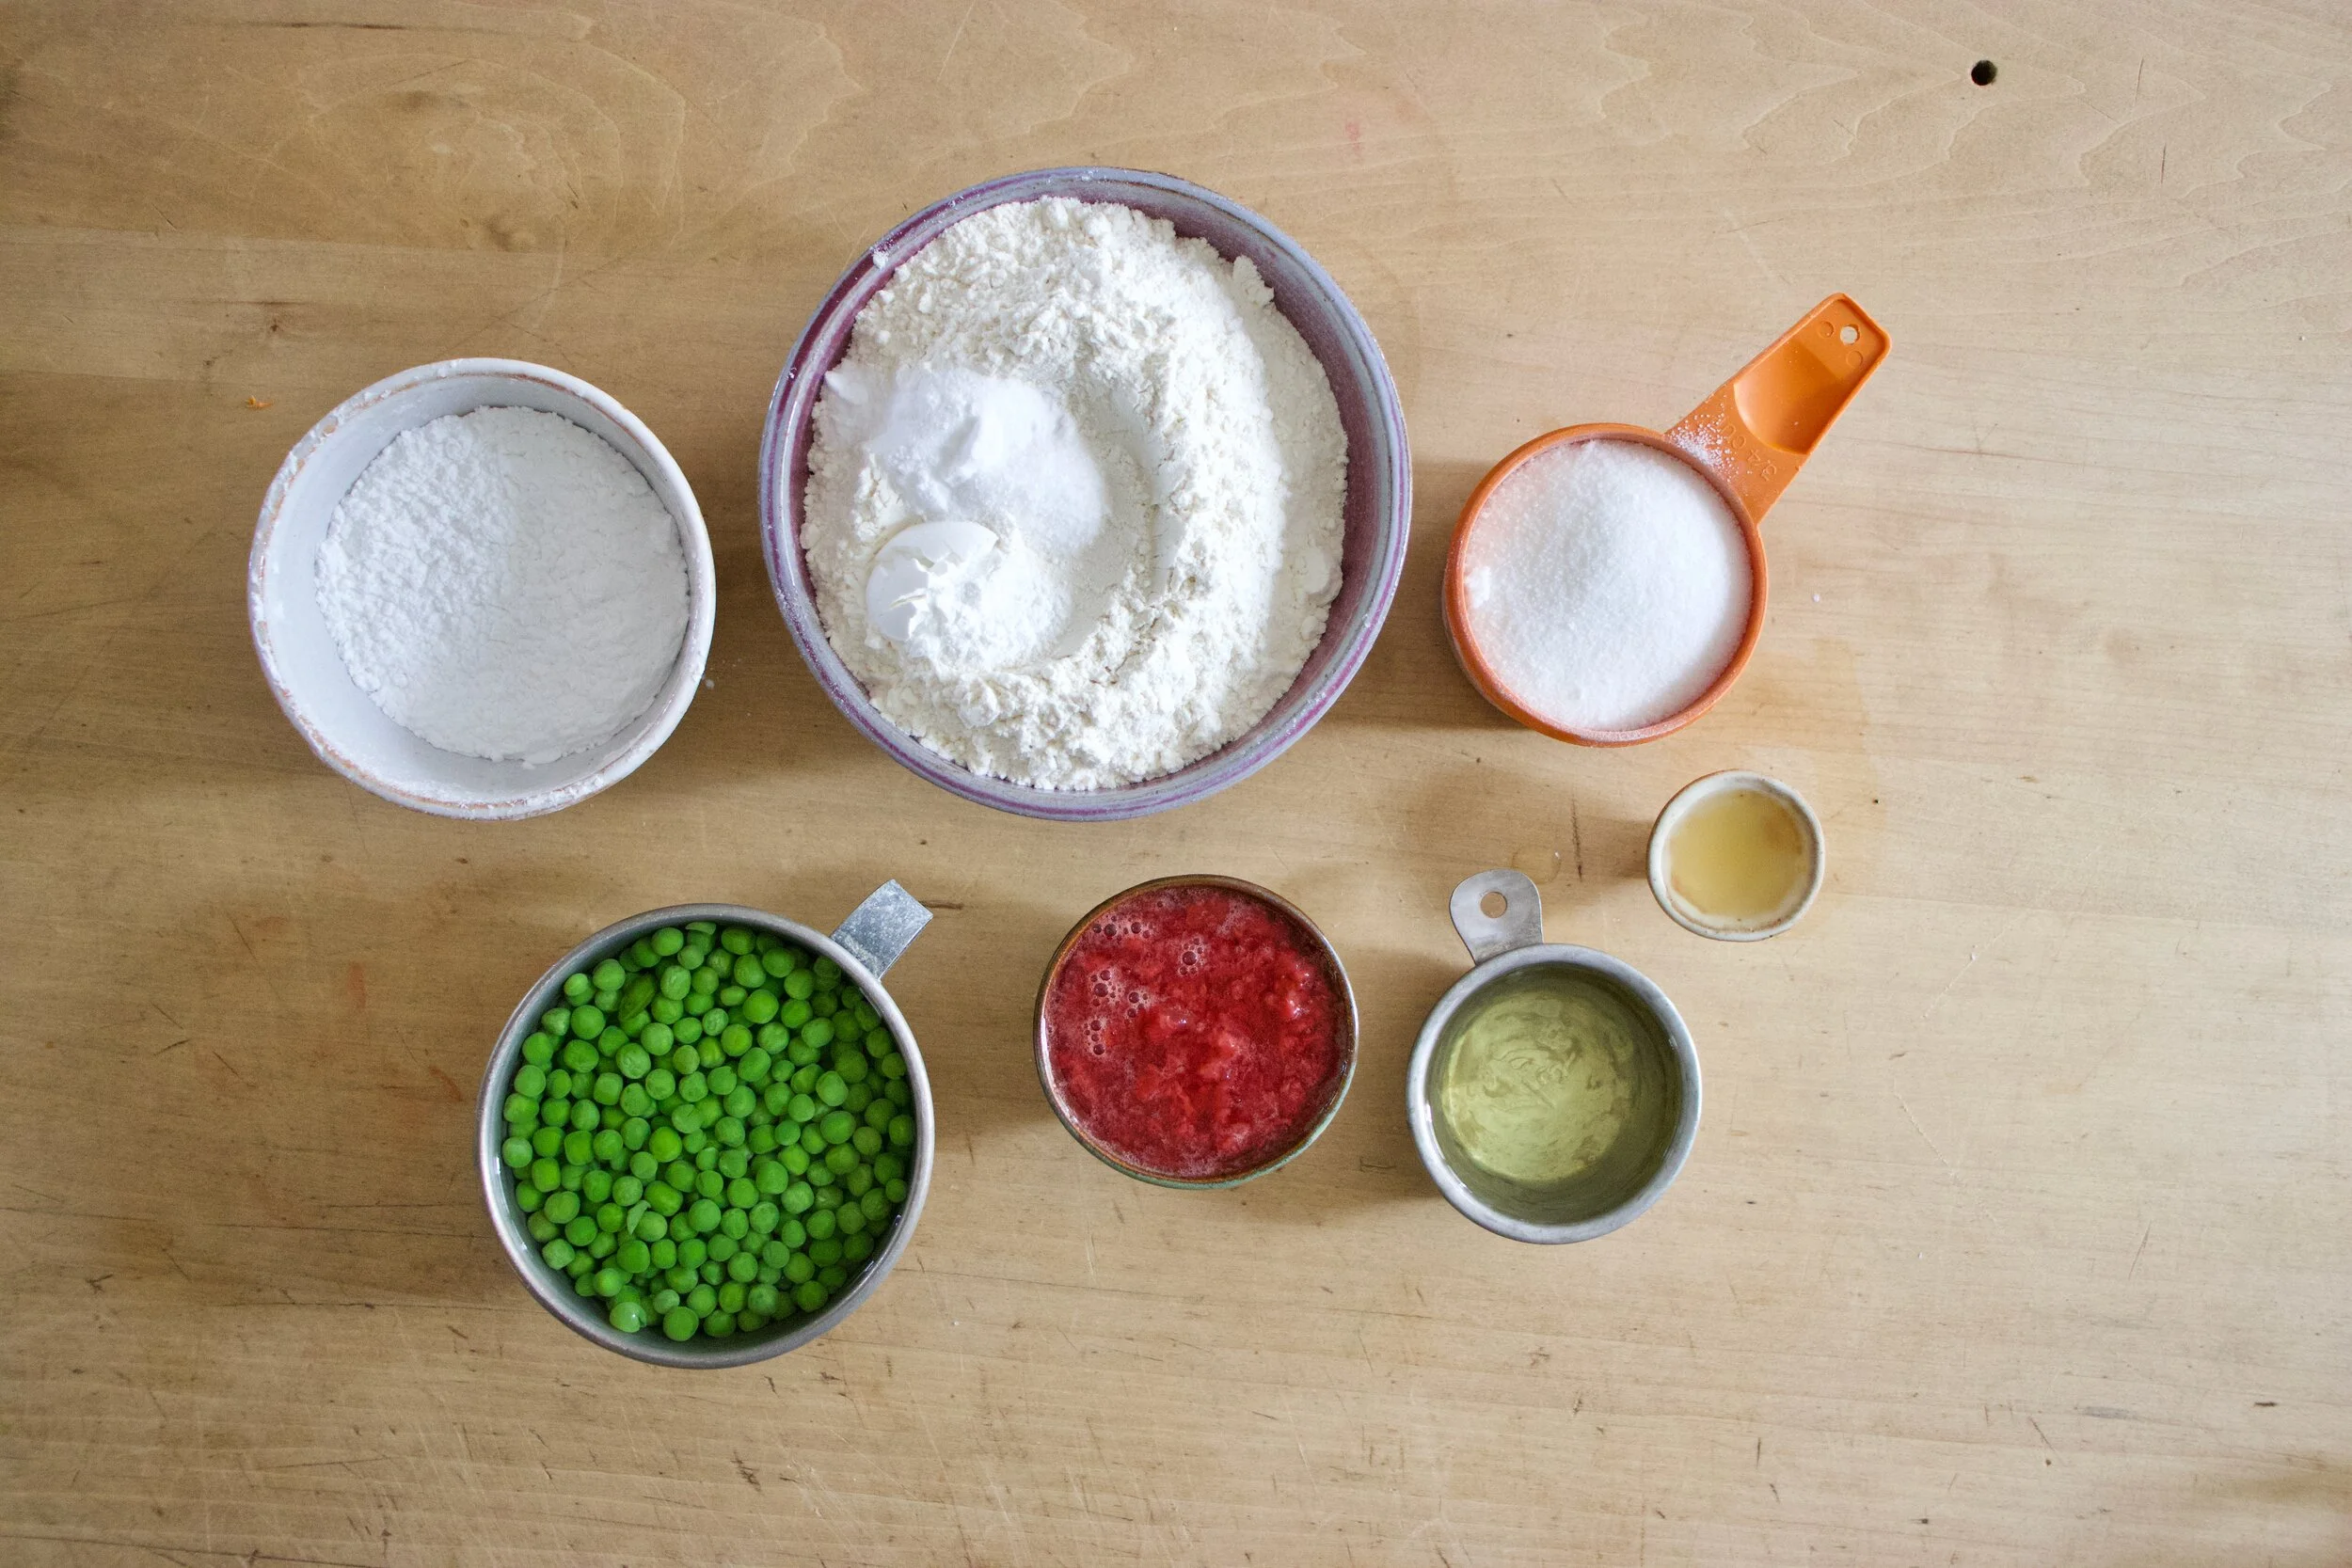
The stuff. Peas,strawberrie jam of perceives (I had just made it so it is still warm) Flour, sugar and powdered sugar, baking soda and powder, salt, oil, and vinegar.
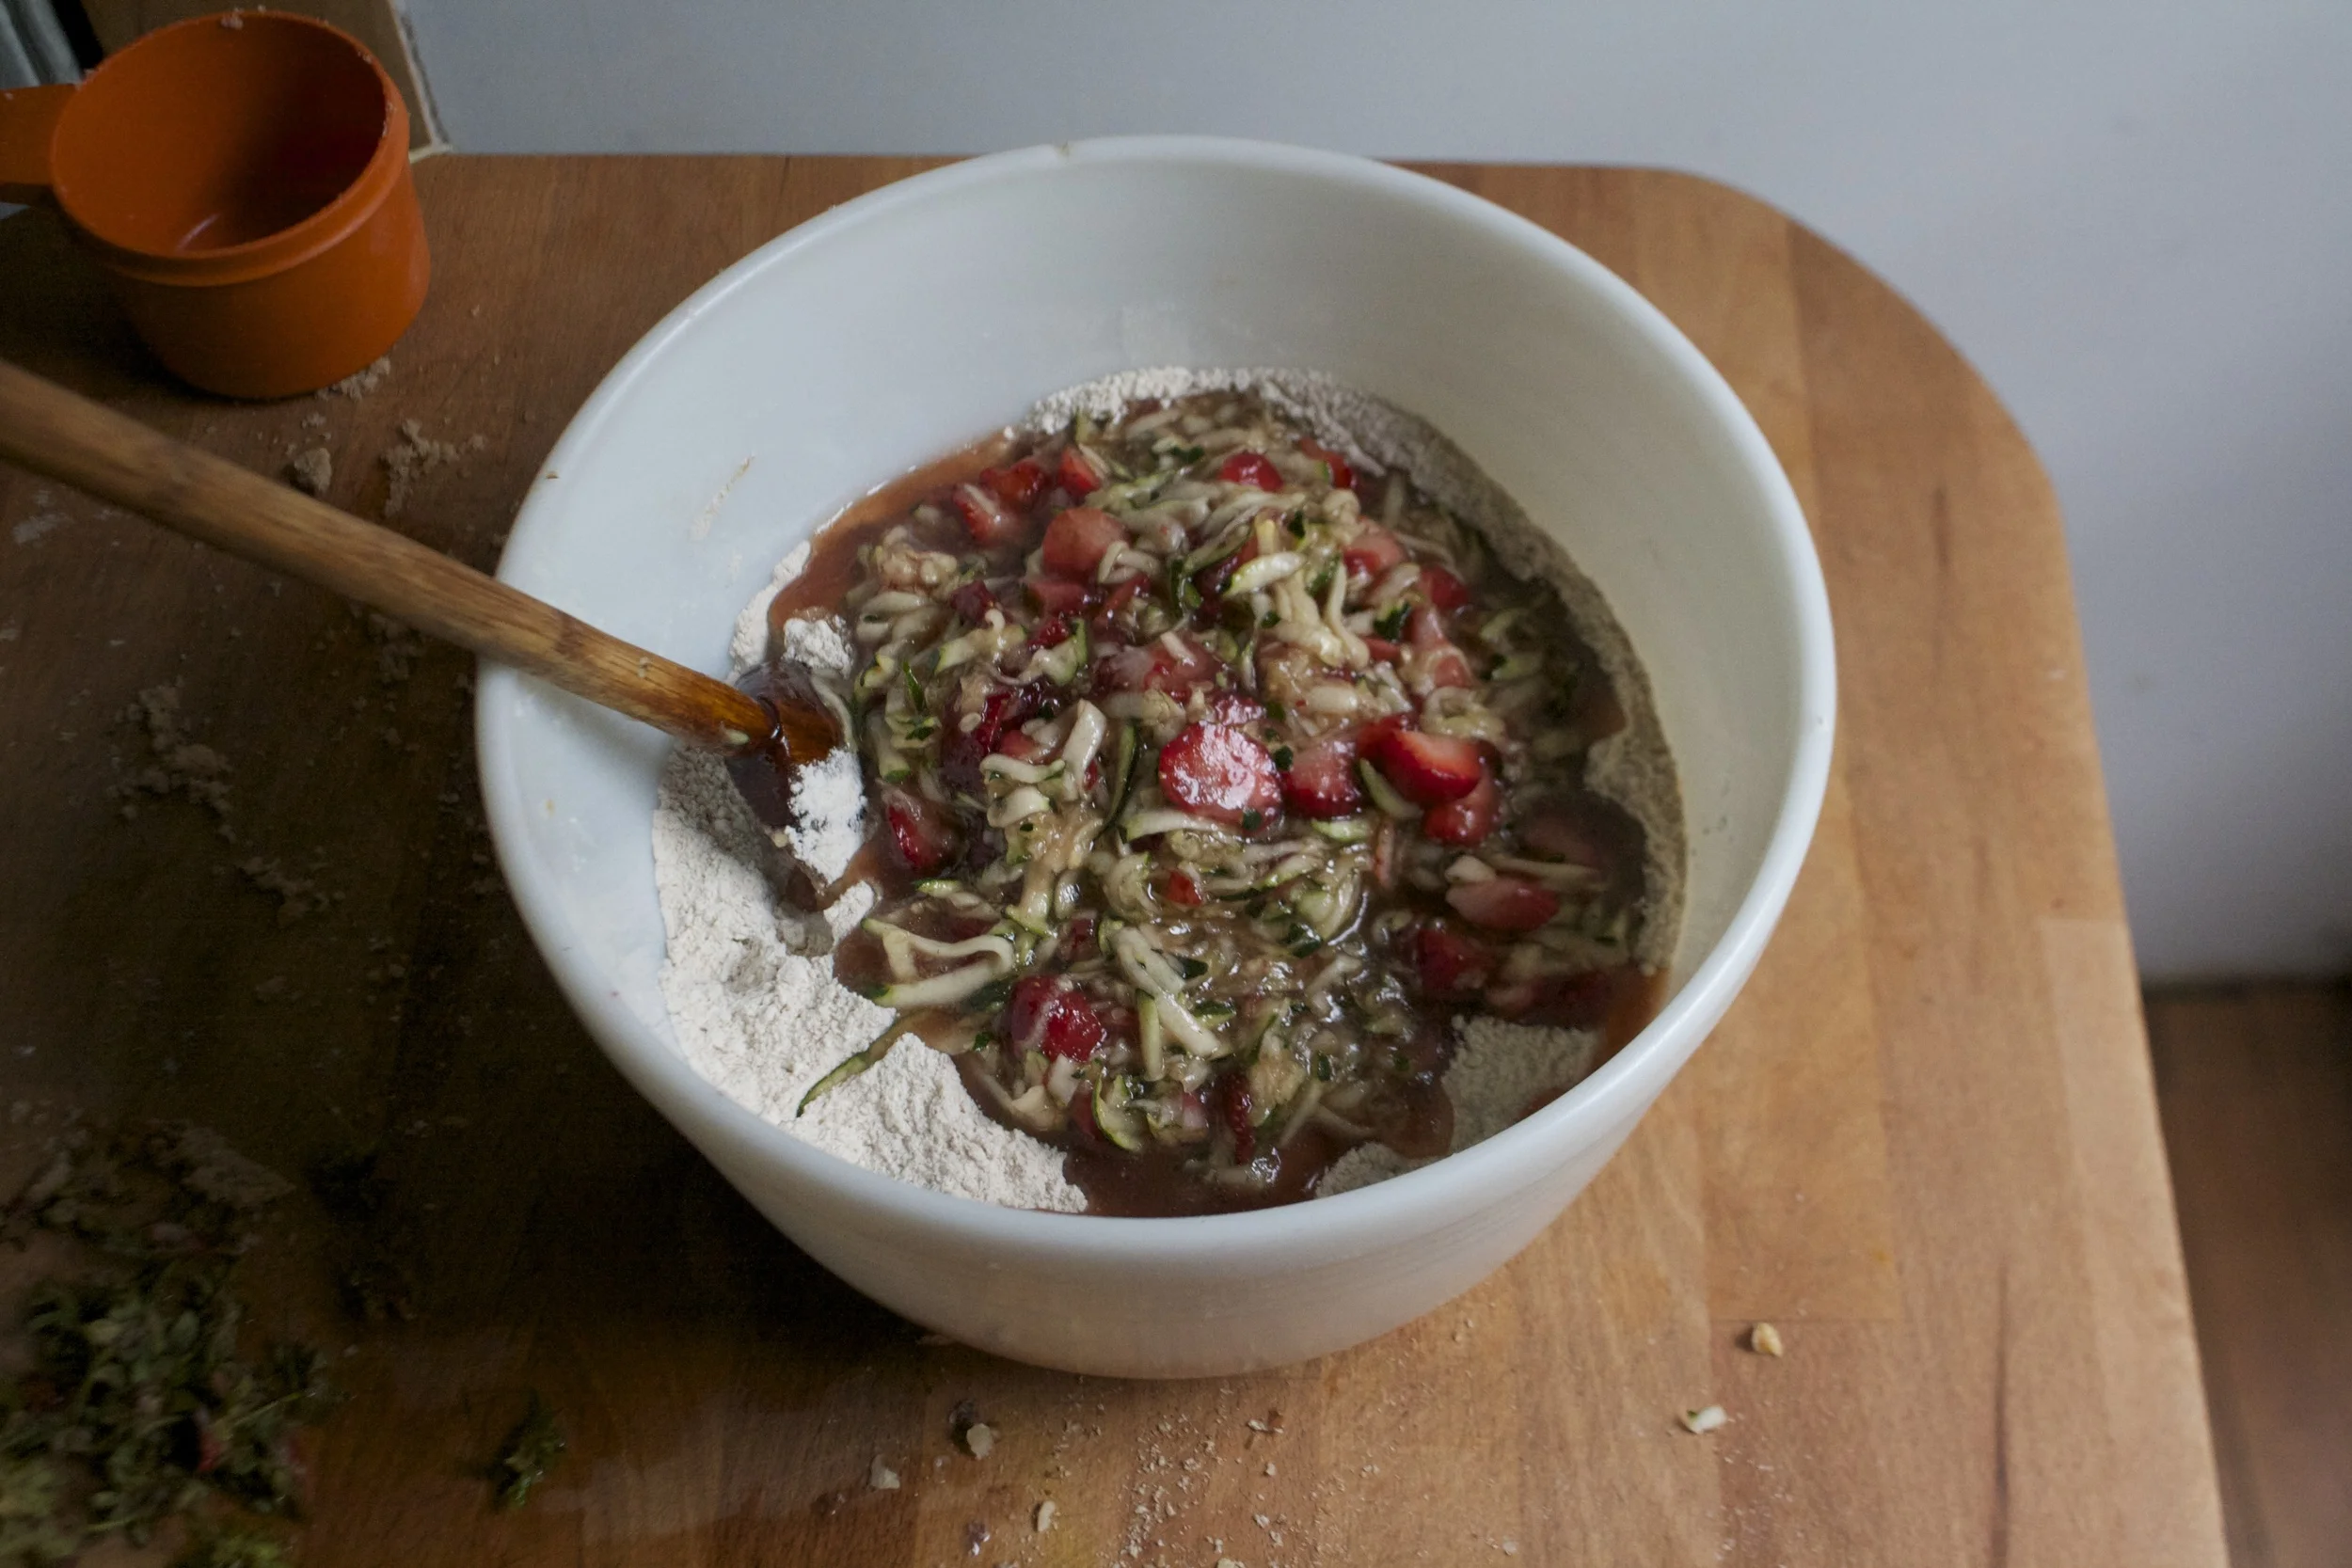
Super easy here. Place peas into blender and blend until smooth. Add oil and sugar and blend until incorporated. Then add in all the dry. Before you blend, take a spoon or spatula and hand mix it a little. Add in a cup of water and vinegar then pulse until incorporated. Don%u2019t over blend it or else it will be tough.

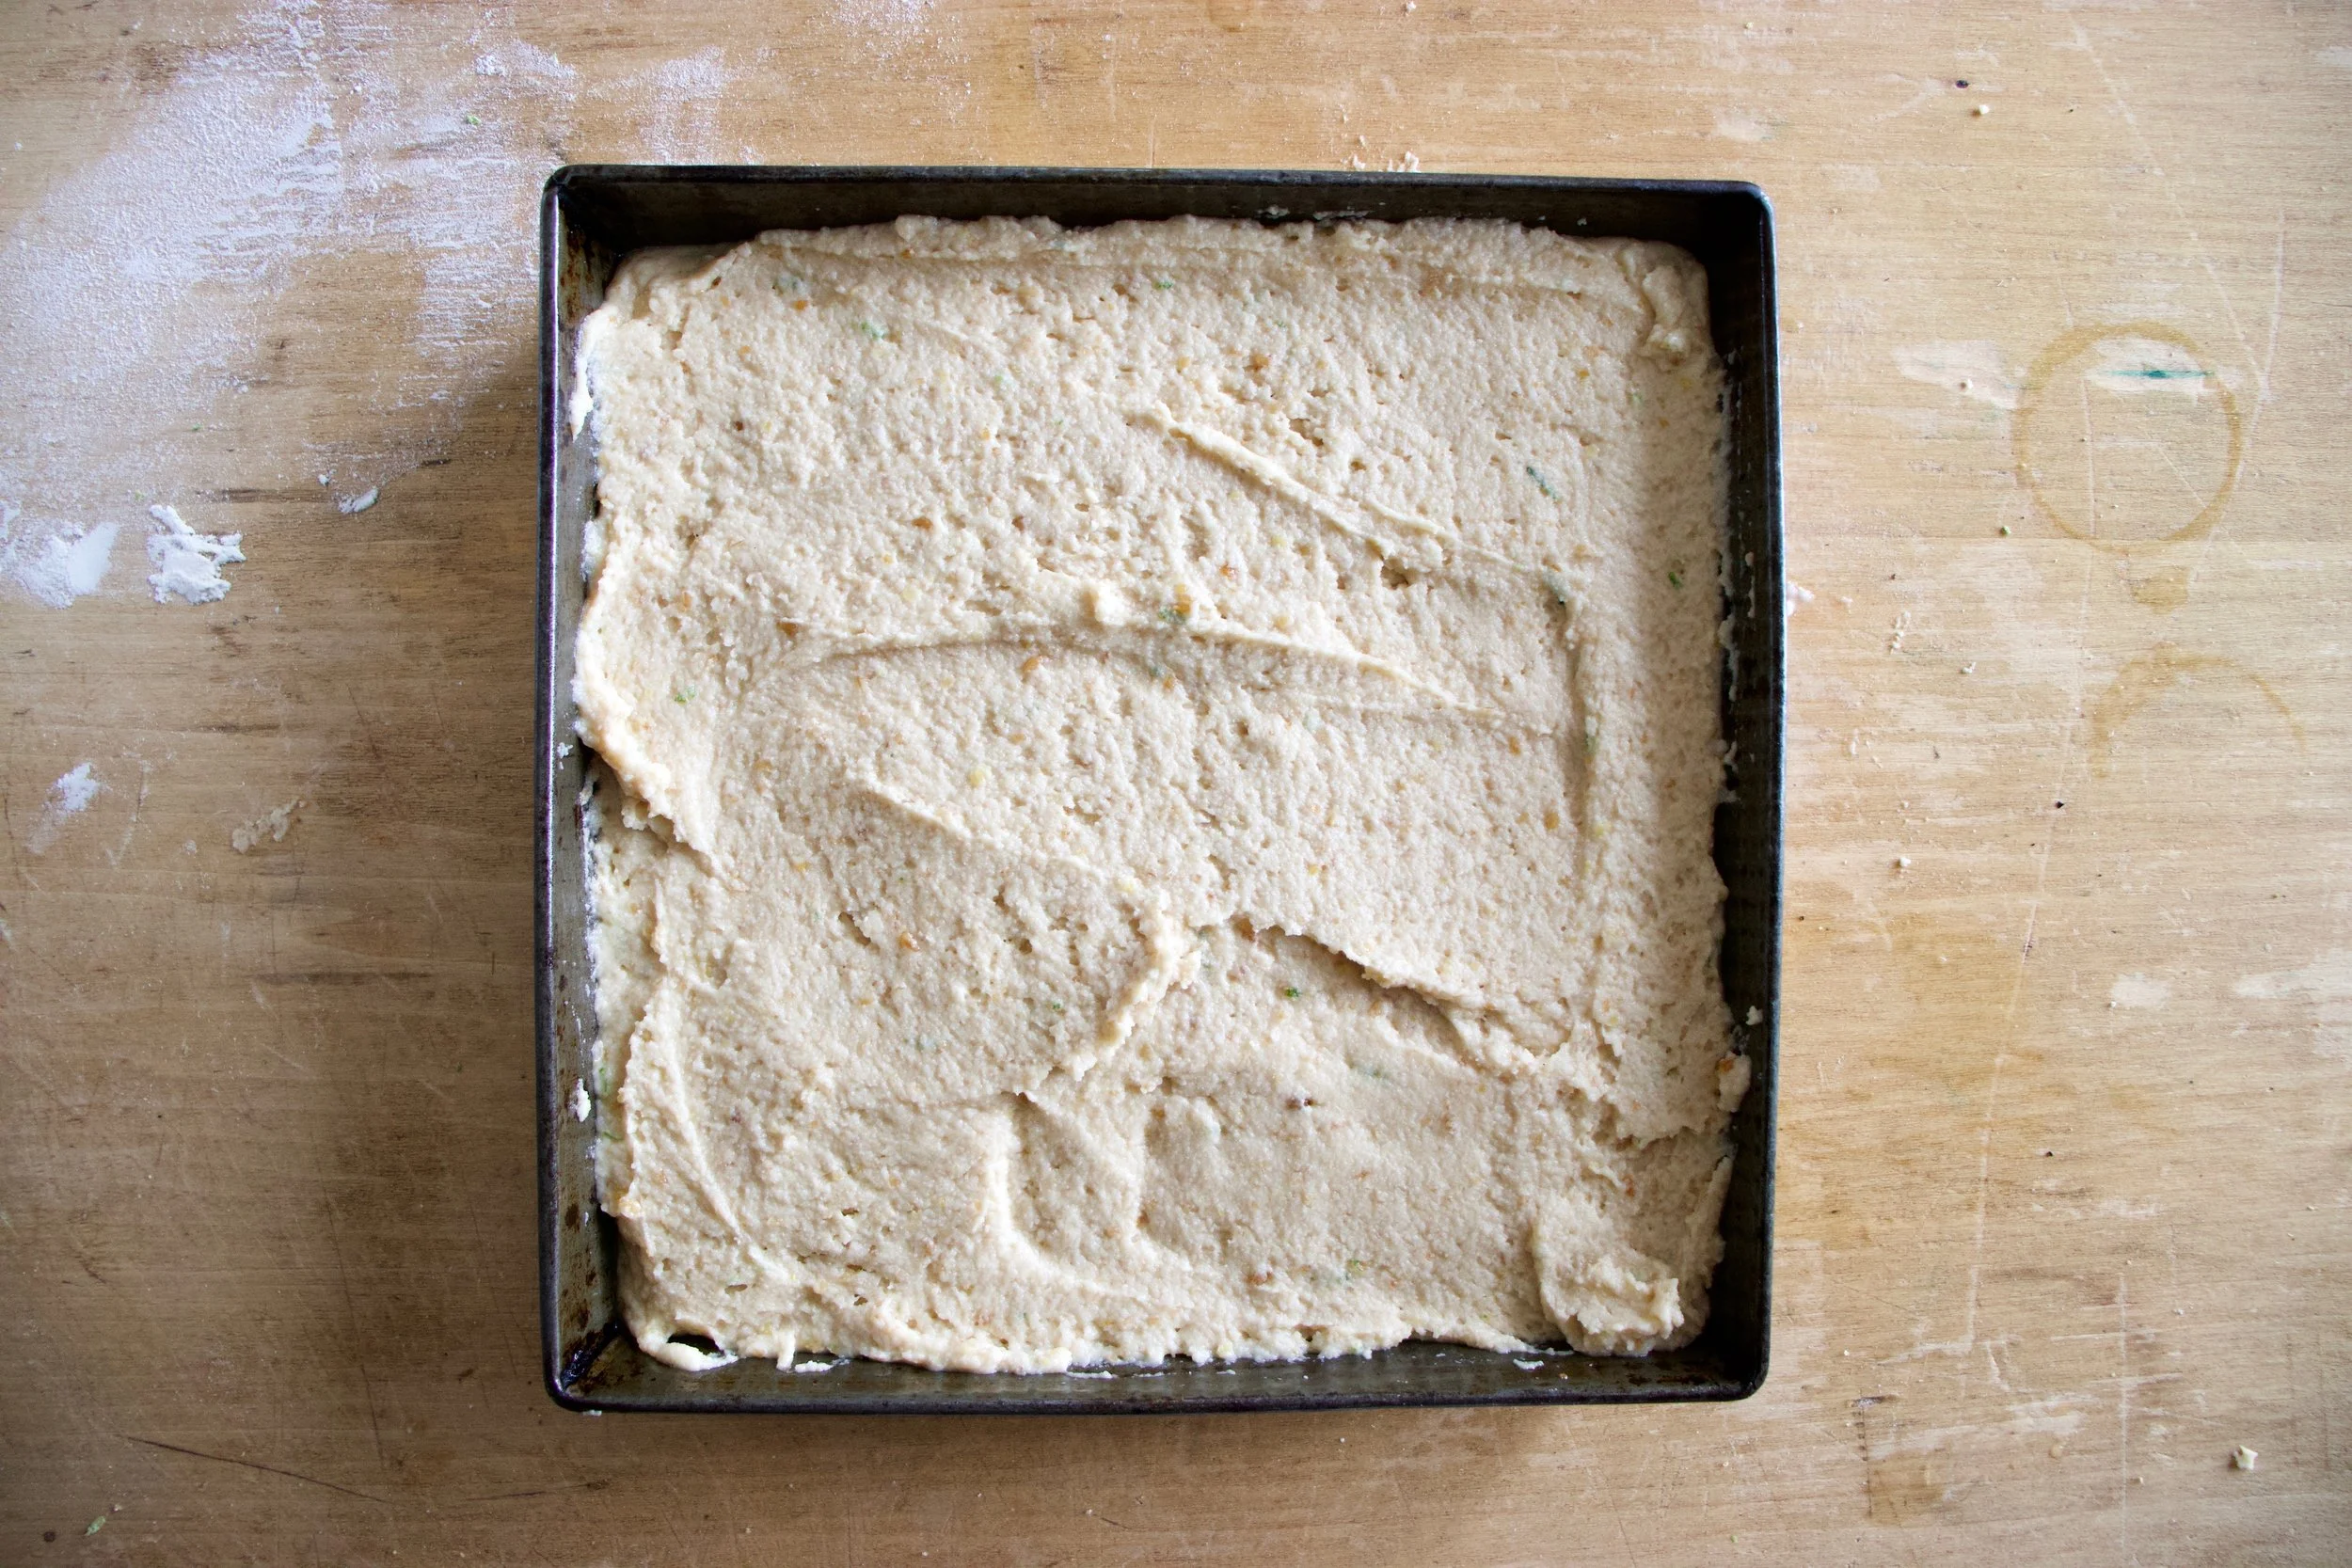
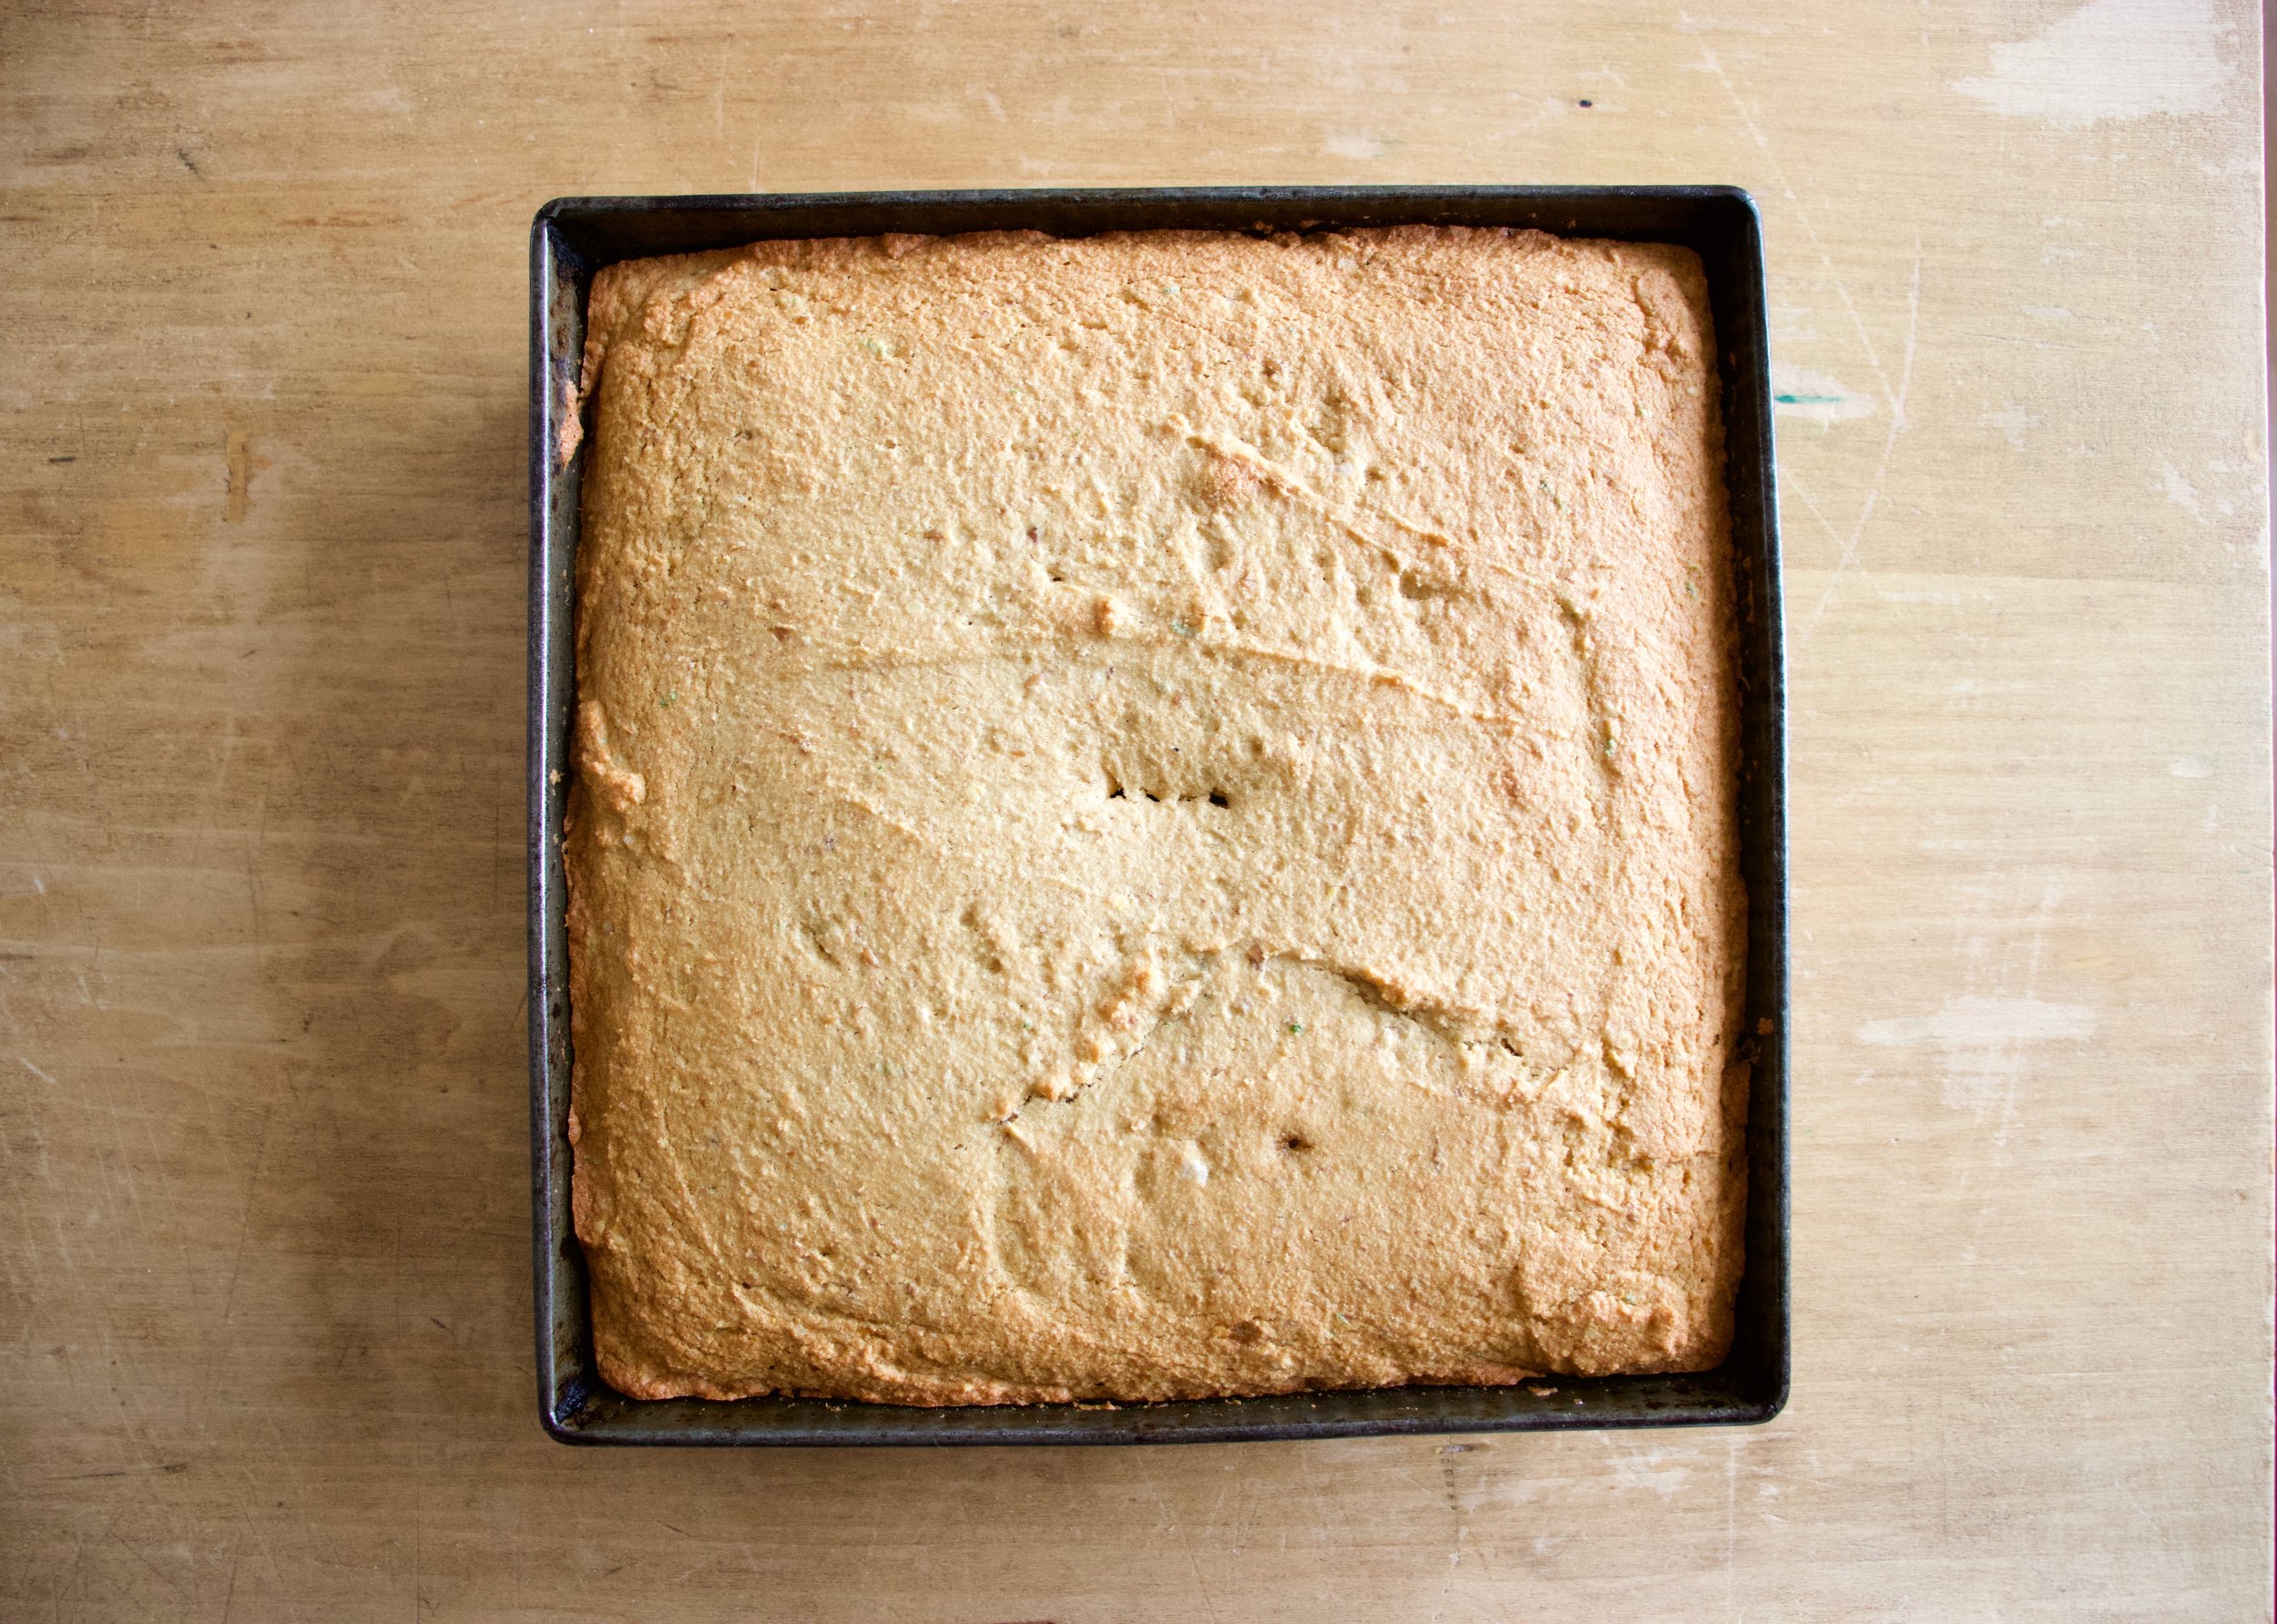
Pour batter into a well greased pan and pop into a hot oven. Bake.
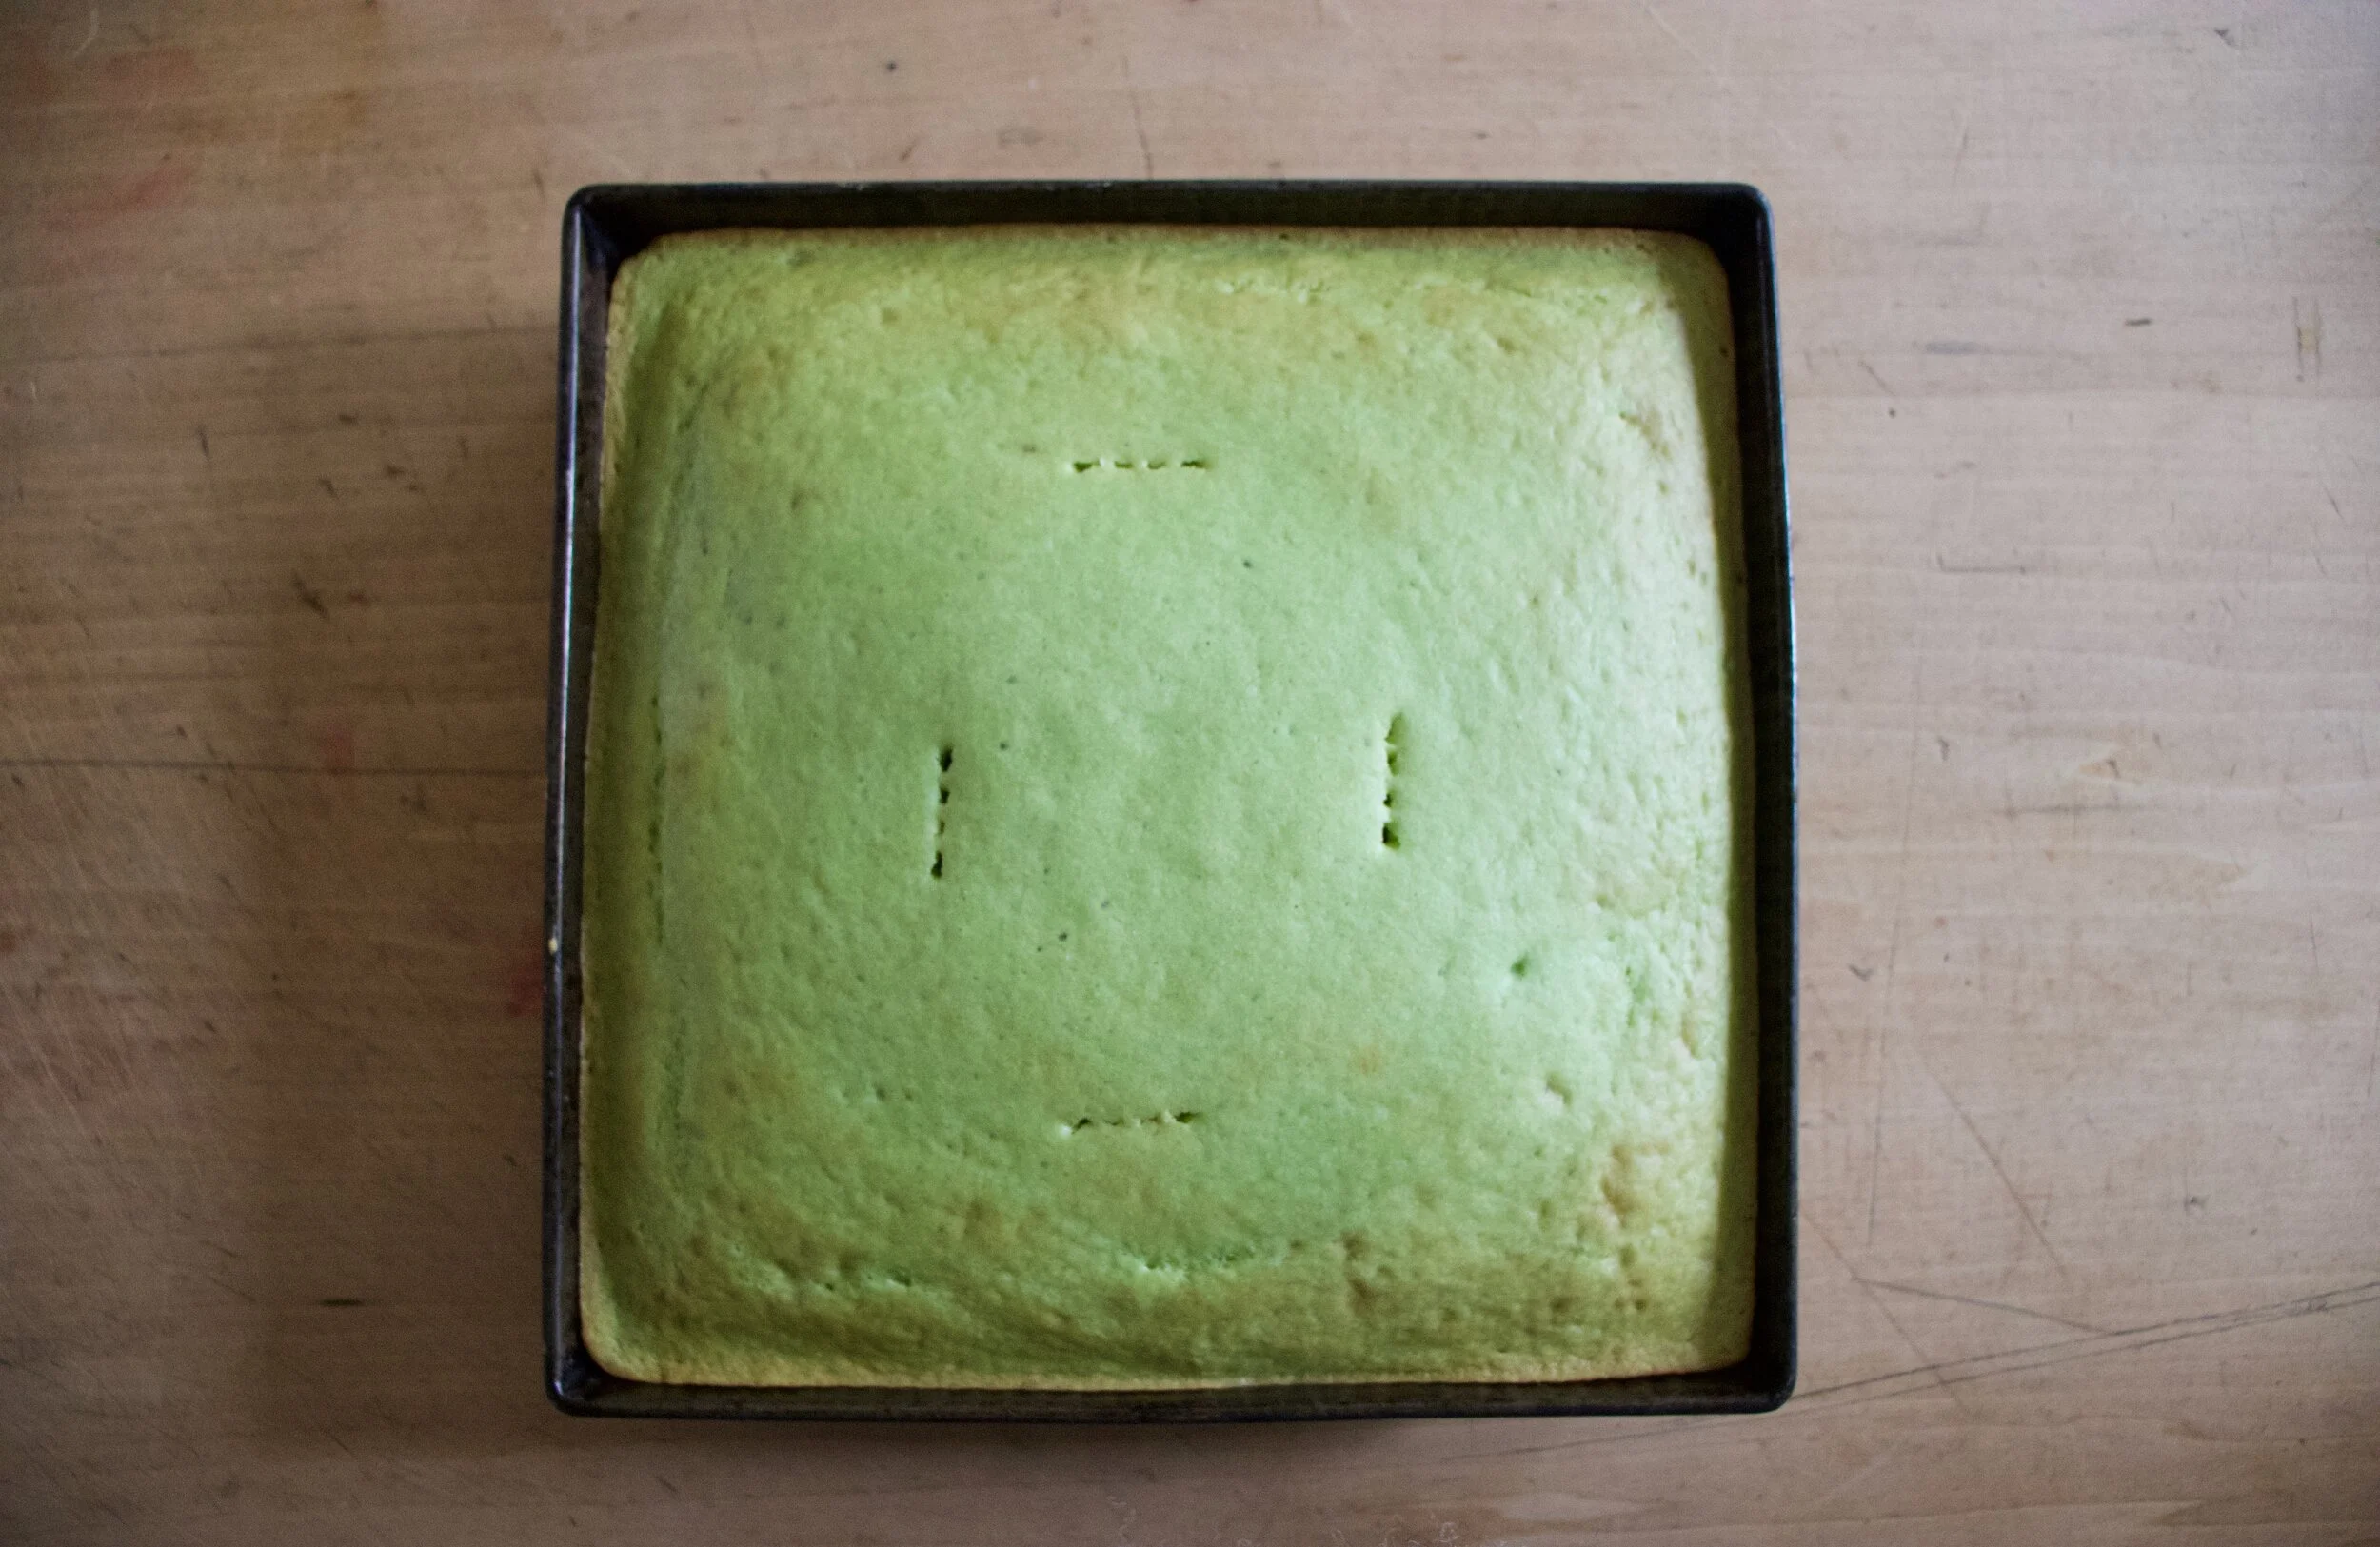
Afer about 25 minuts, check for doneness. When the fork or tester comes out clean, it is done!

Pop cake out and let cool on a wire rack.
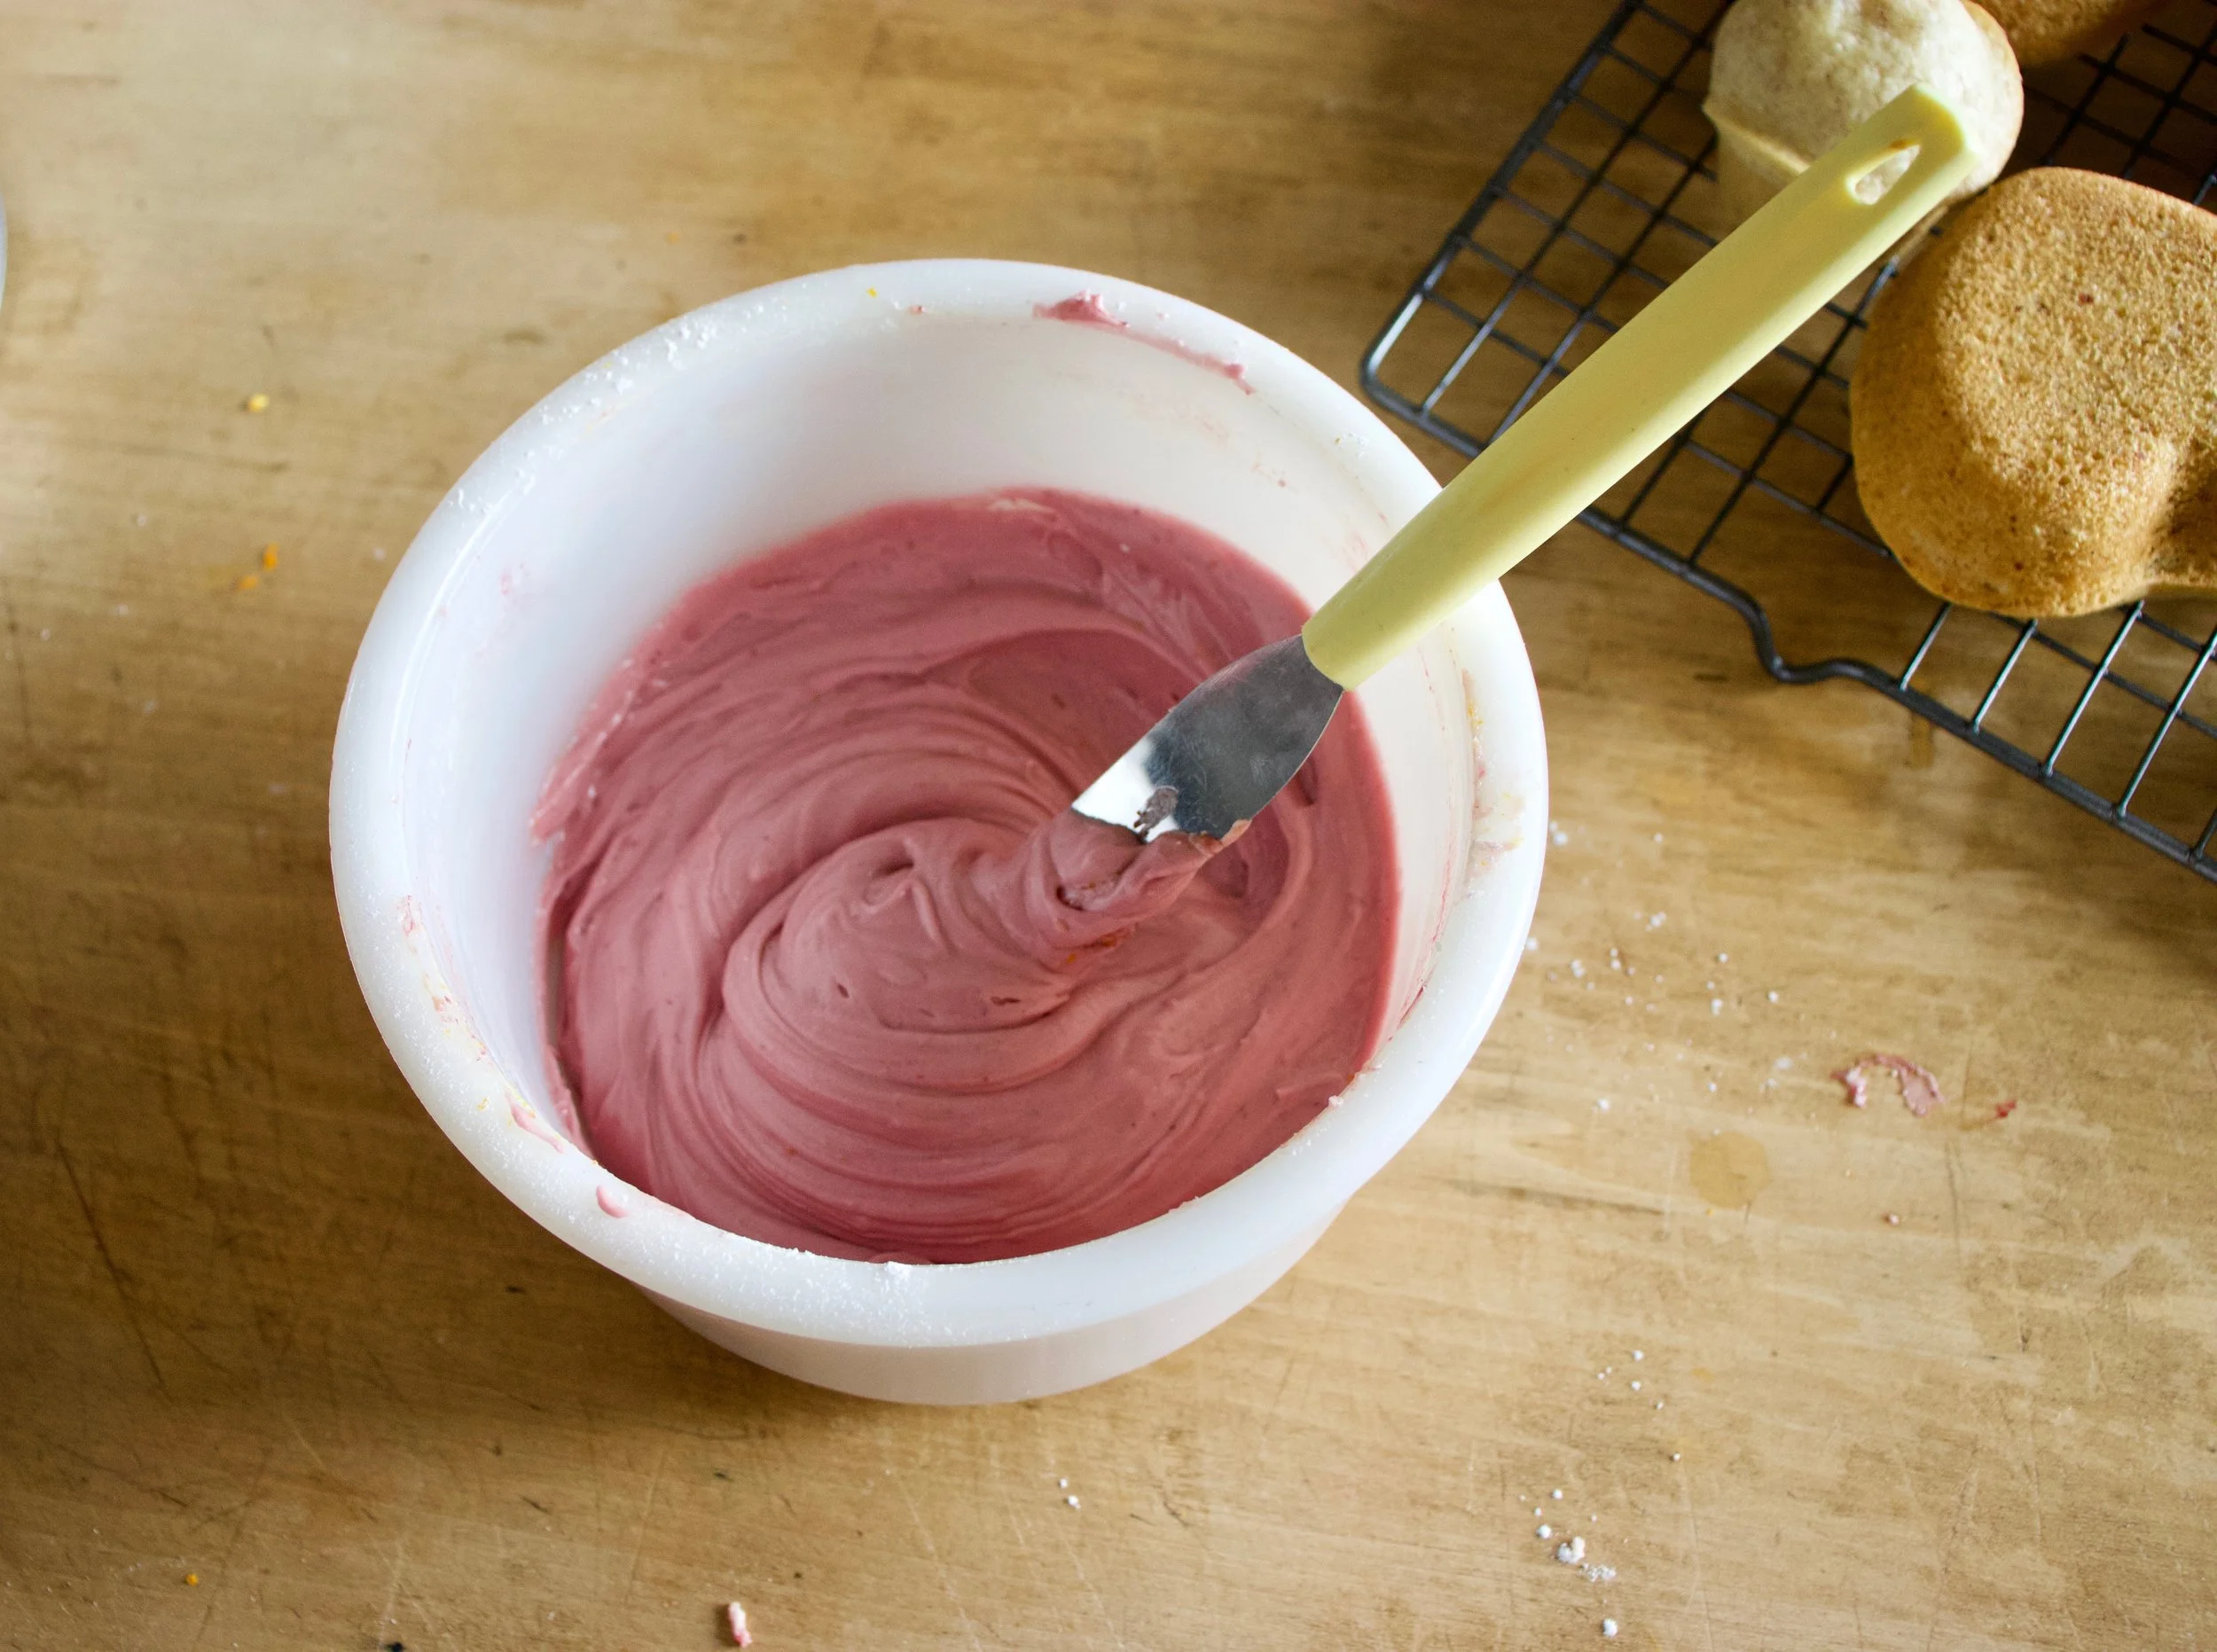
And glaze. Warm up the jam in the microwave on on stove until loose then mix jam with powdered sugar.
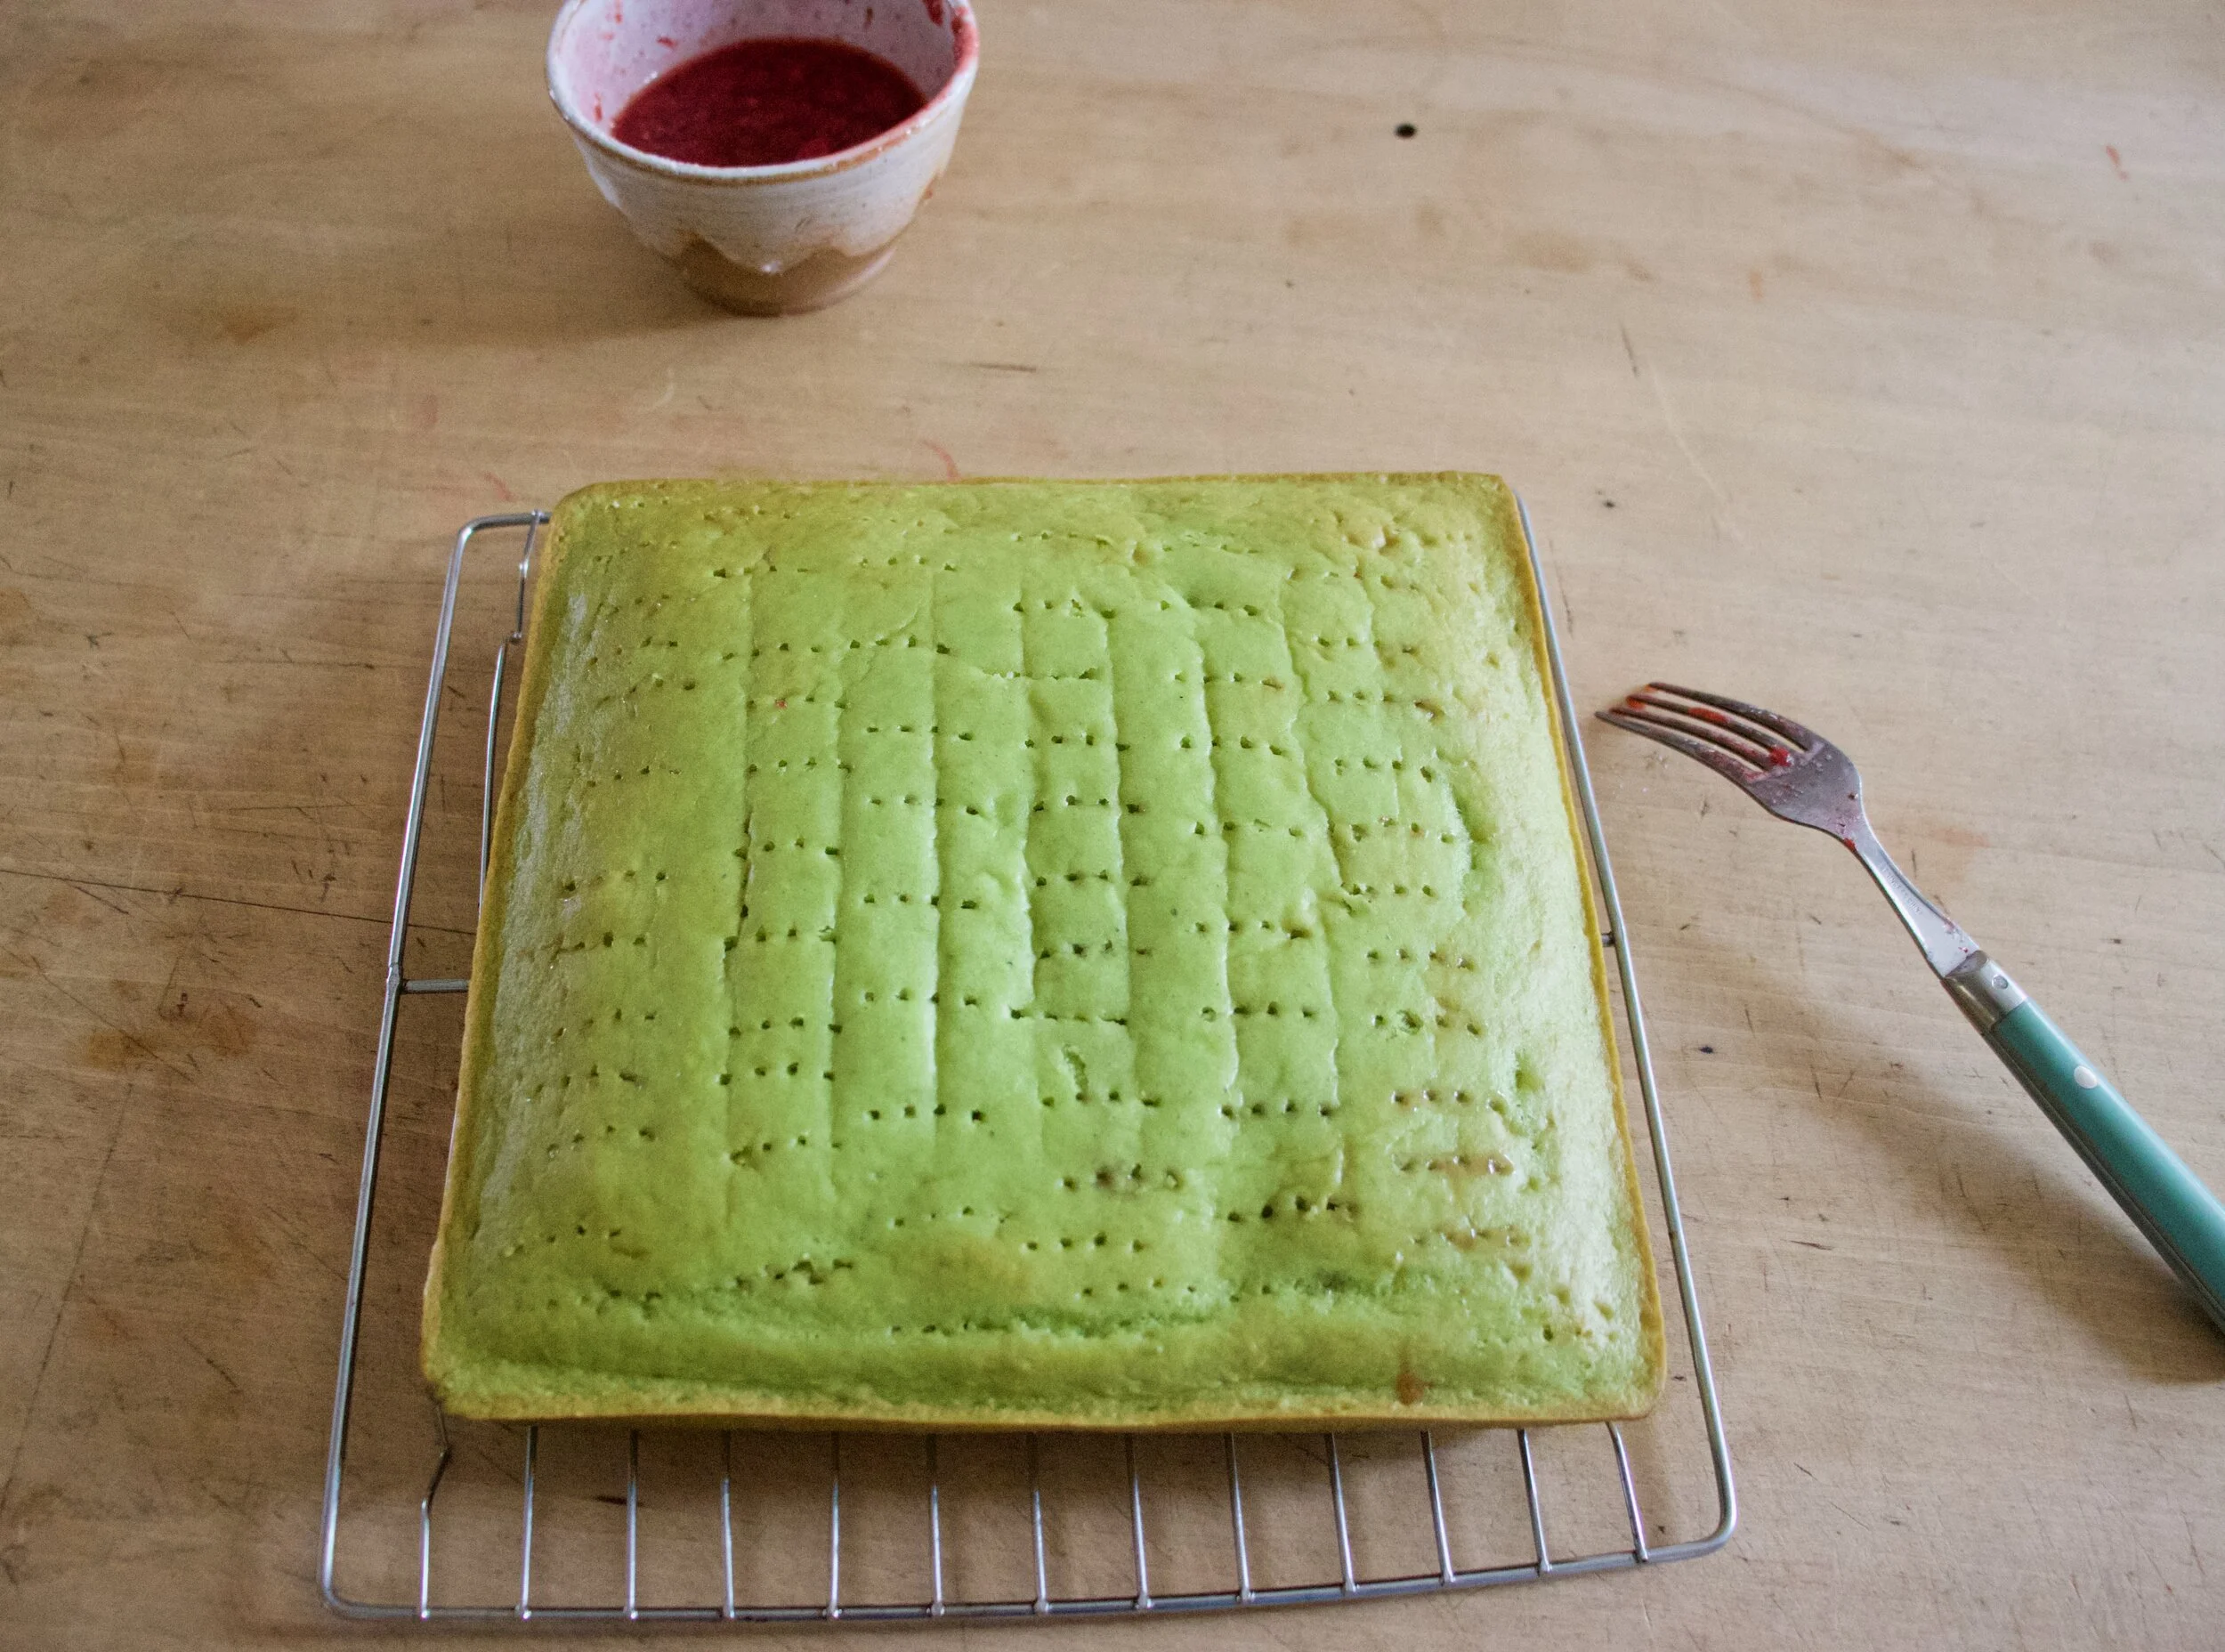
When the cake has cooled, grab a fork and stab holes all over so when you pour glaze on it will kind of seep into said holes.
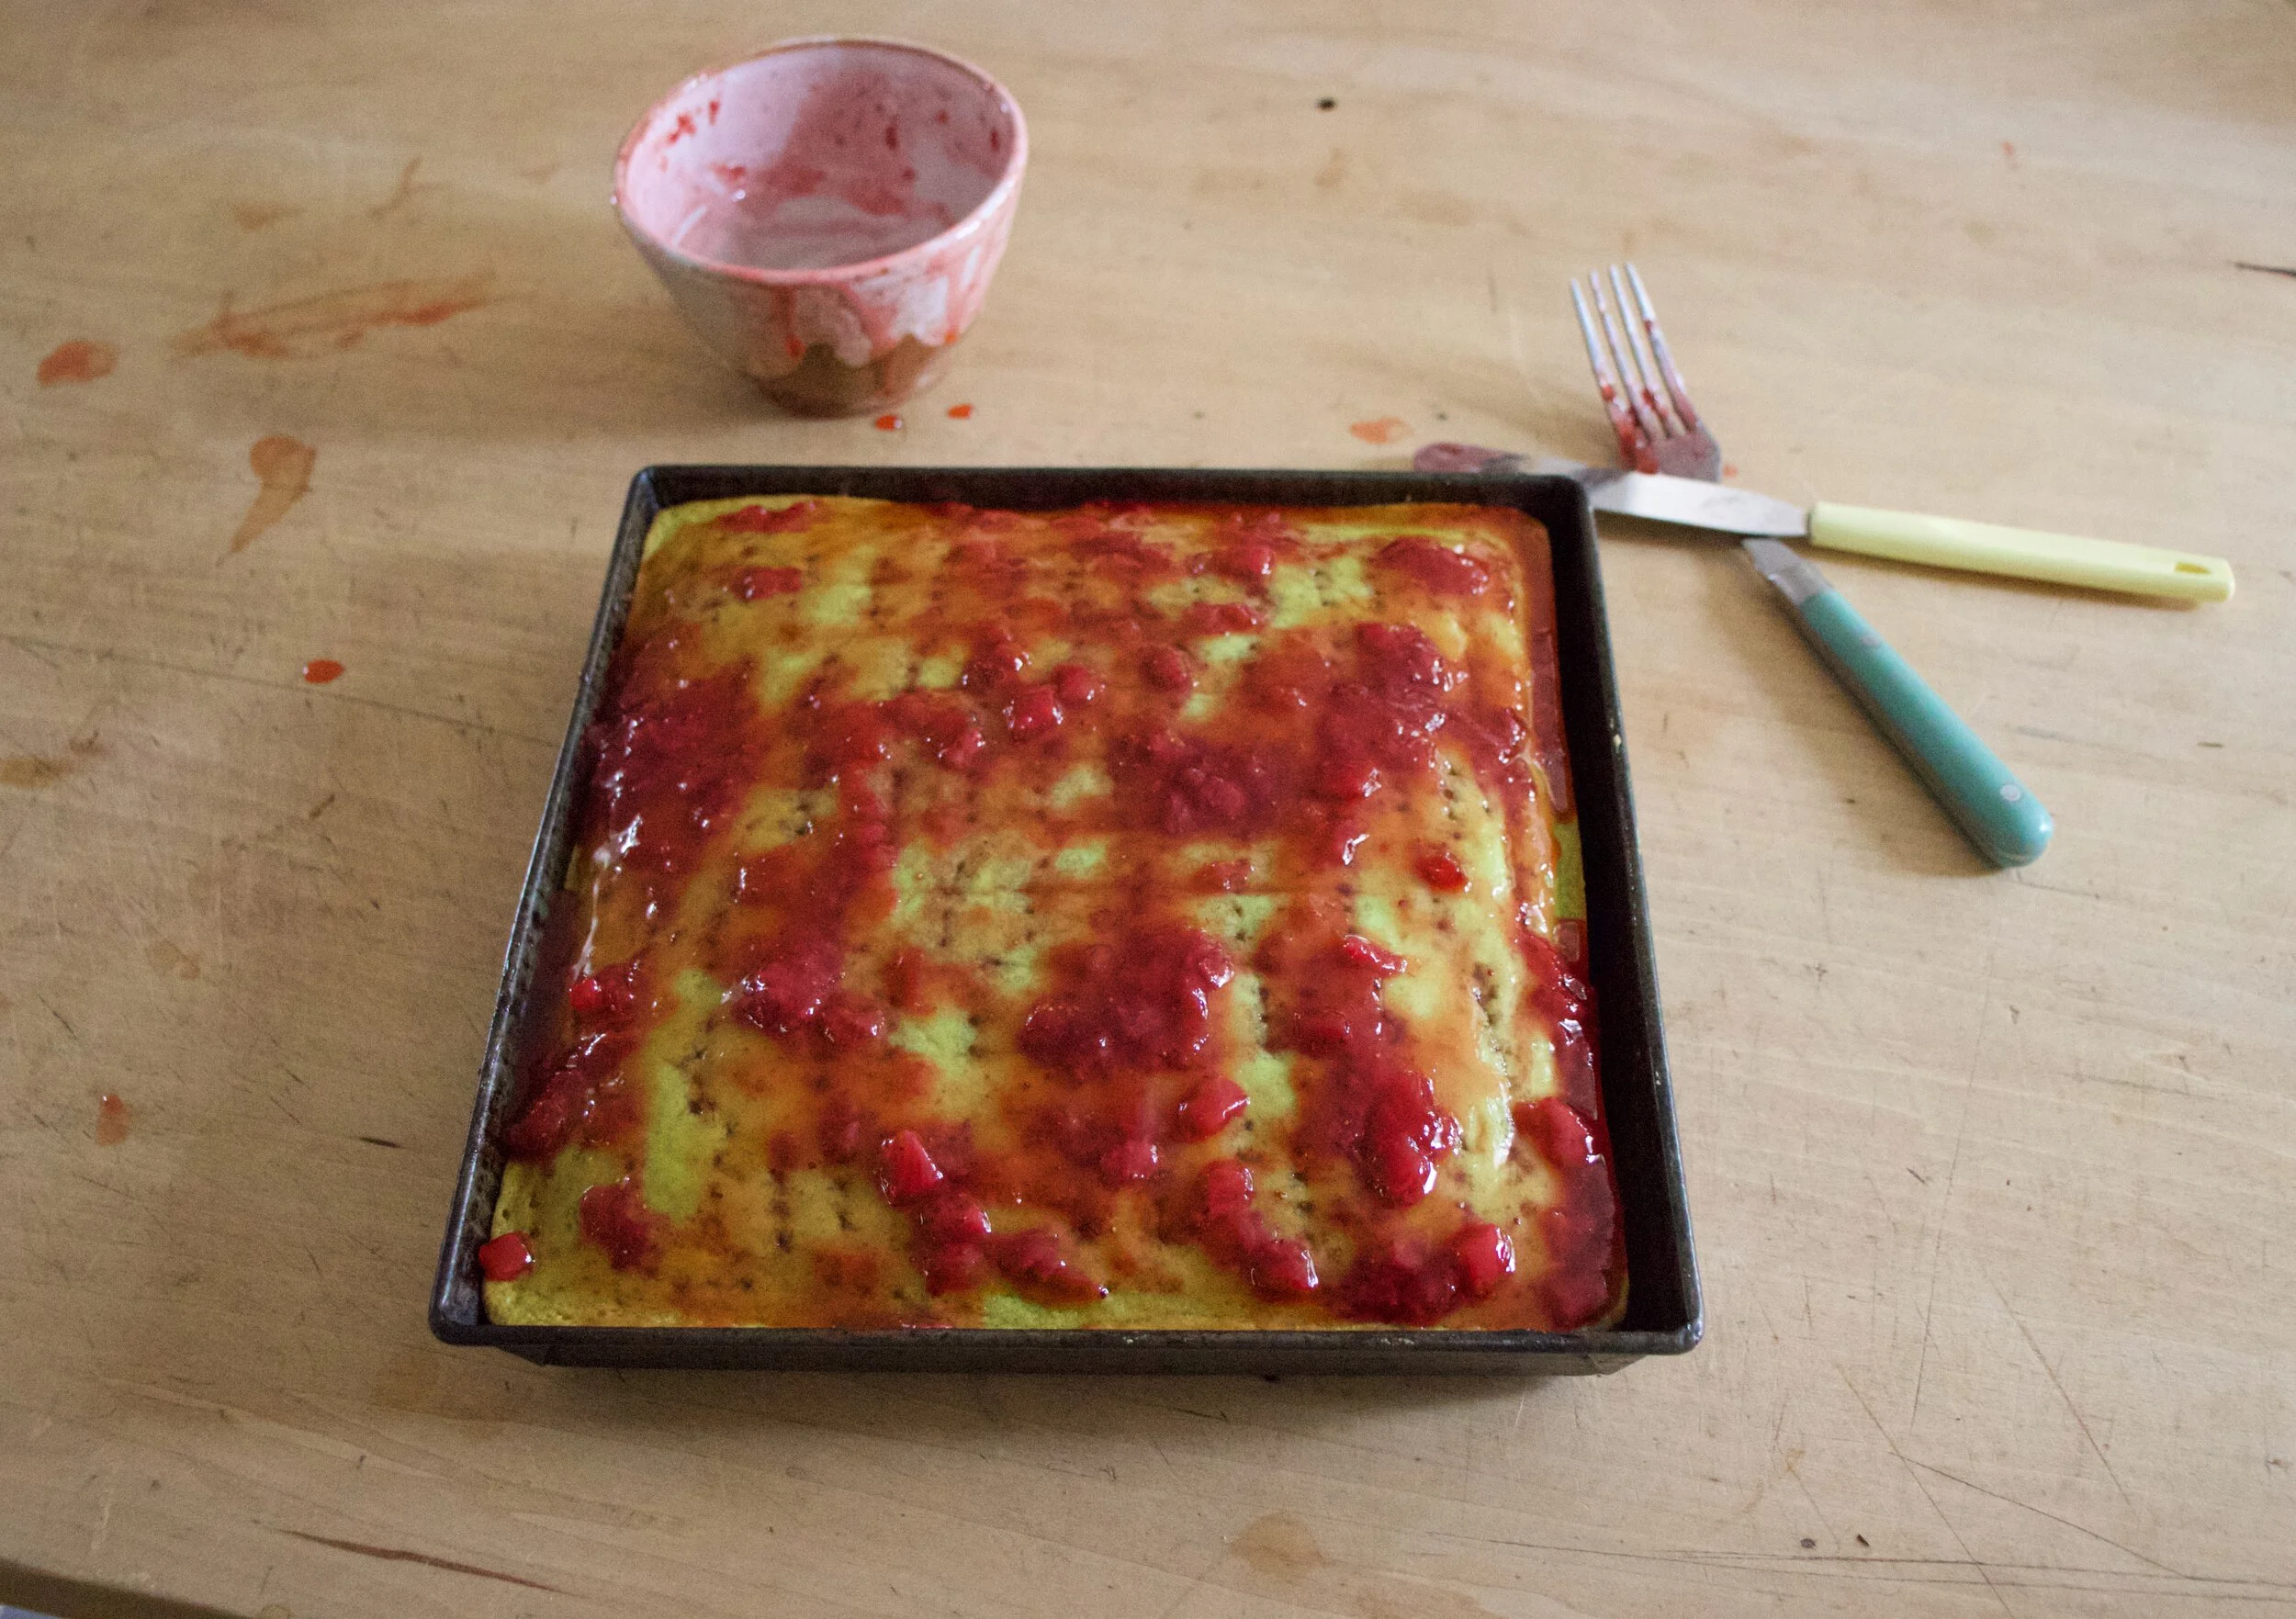
Pop cake back into pan (or don%u2019t if you dont want too) and pour glaze all over top.
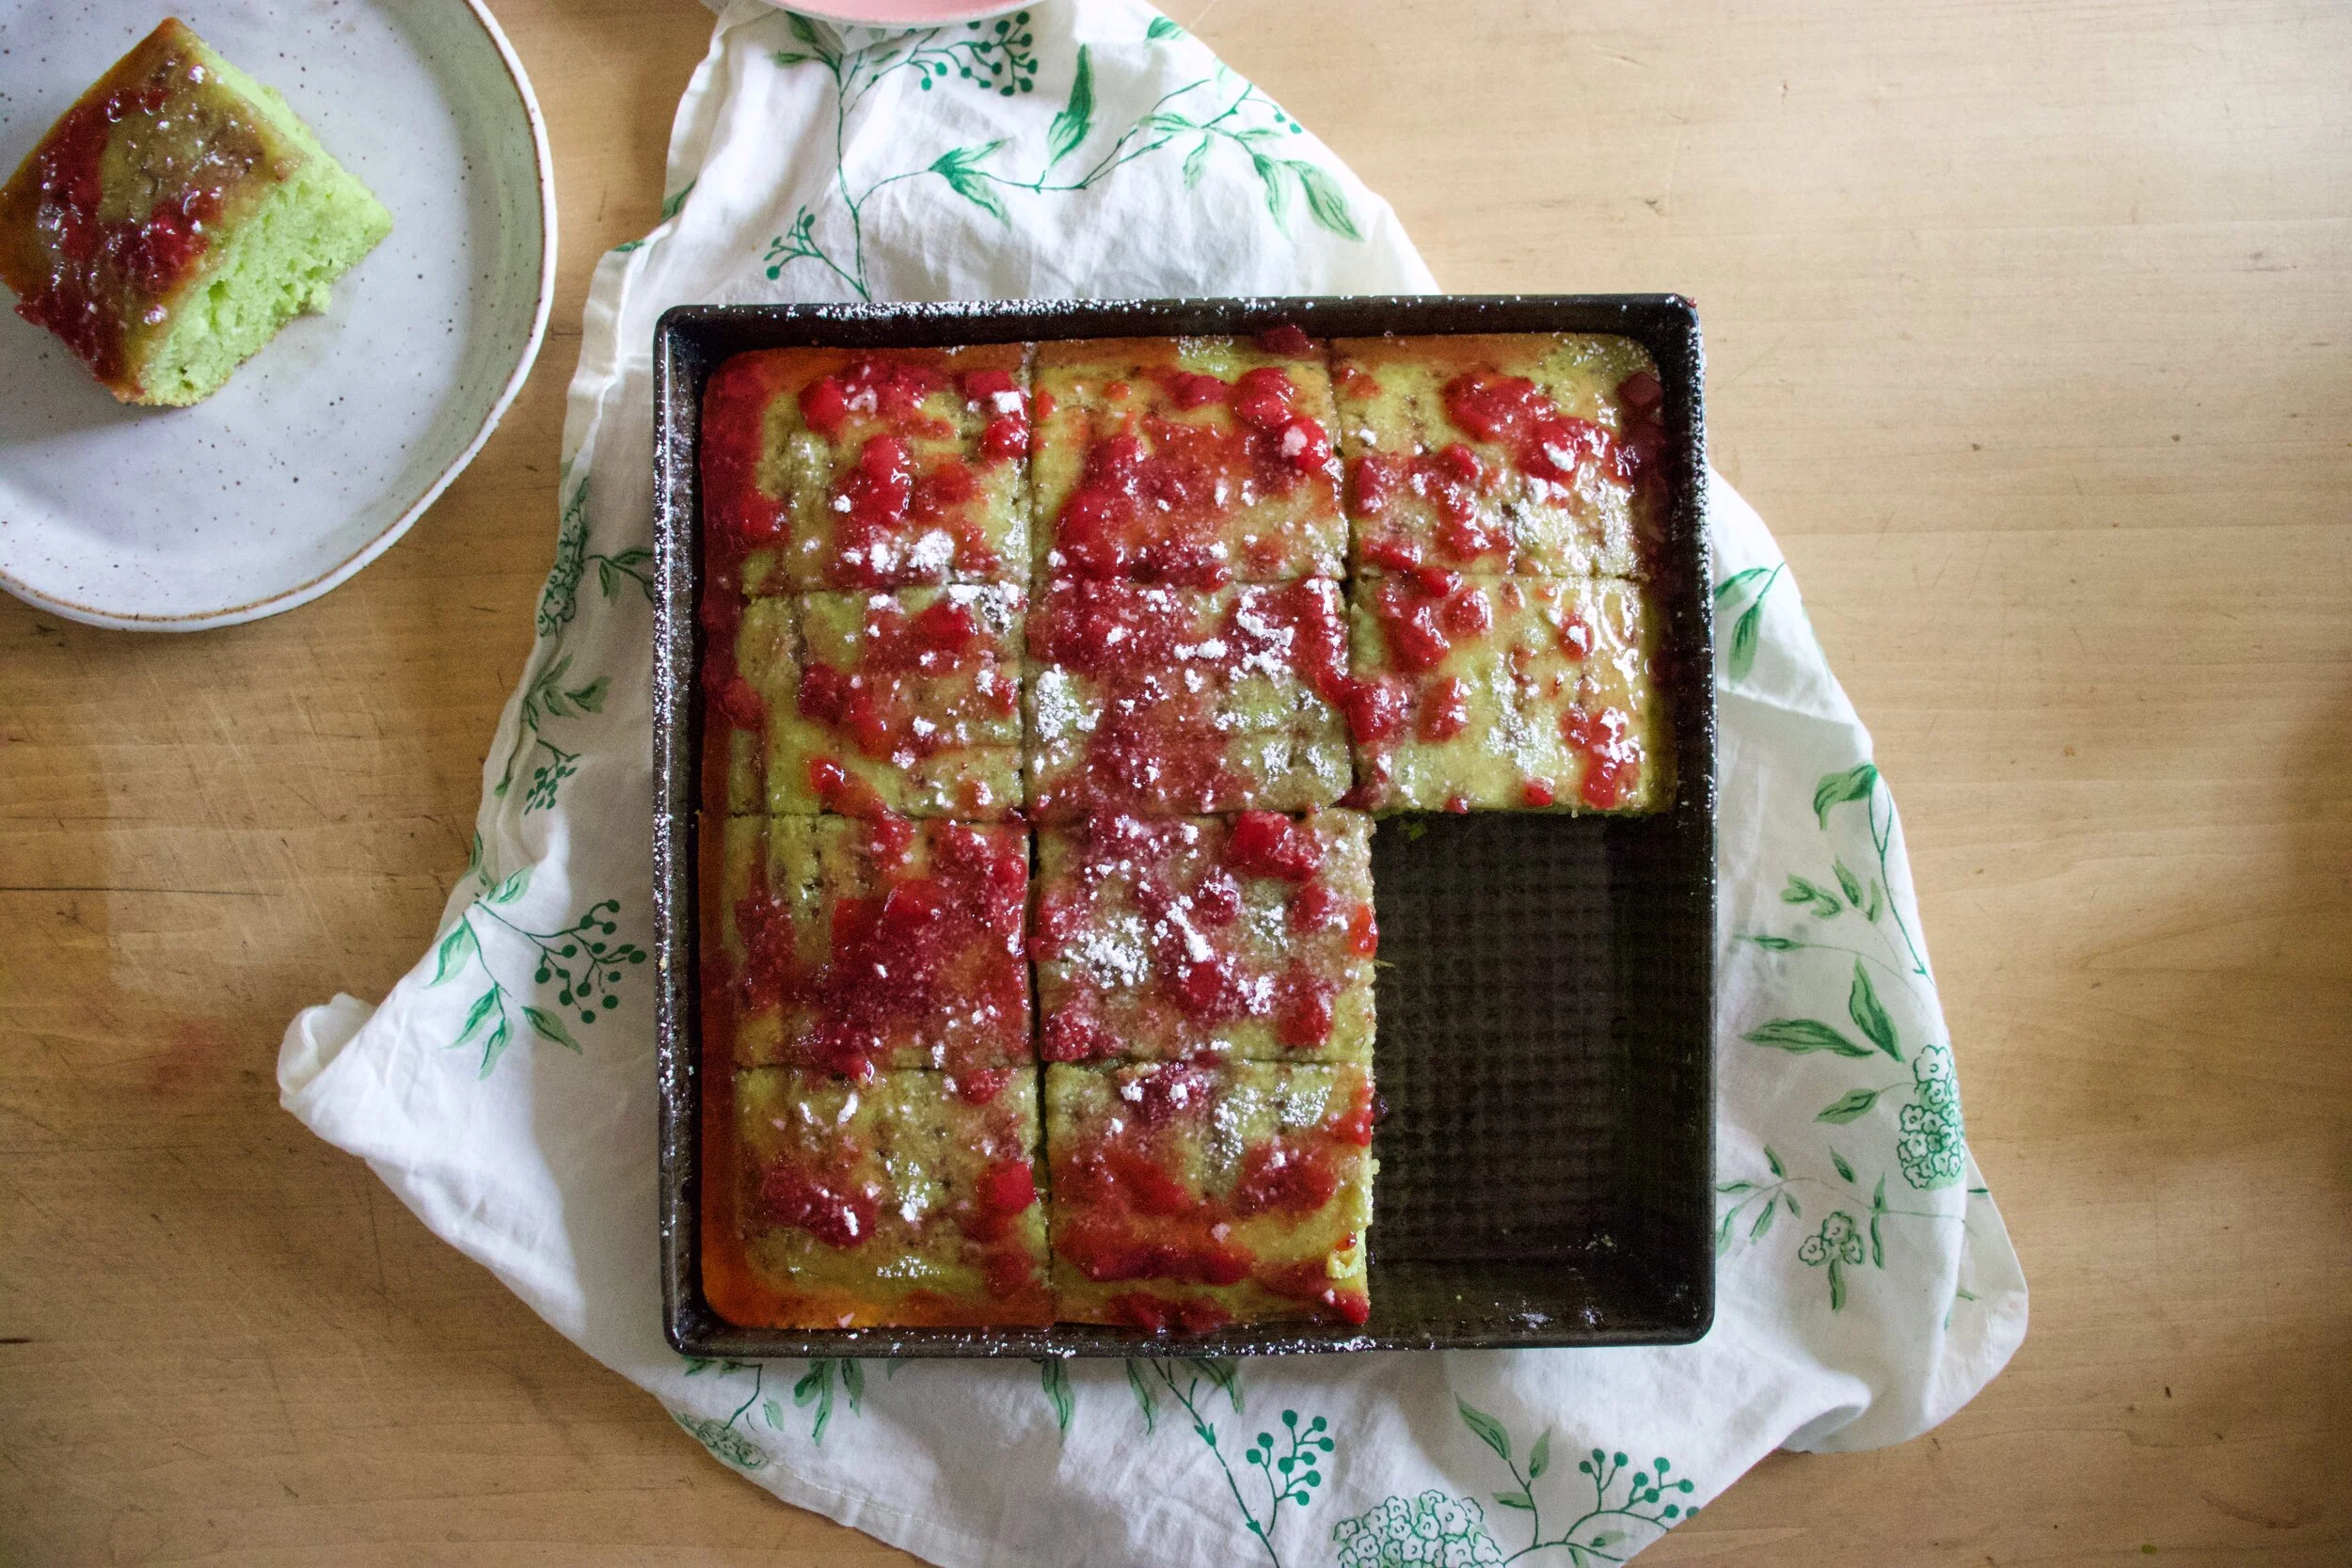
A dusting of powdered sugar for looks and done and done. Cut into squares, pop a piece on a plate, and snack away.
-C
makes a 9×9 cake
-
2 cups all purpose flour
-
3/4 cup white sugar
-
1 1/3 cups sweet peas (fresh or frozen and thawed)
-
1 cup water
-
1/3 cup oil
-
1/2 teaspoon salt
-
1 teaspoon baking powder
-
1 teaspoon baking soda
-
1 tablespoon vinegar
-
1 cup powdered sugar
-
3 tablespoon strawberries jam or preserves
Preheat oven to 350
Place peas into blender ans blend until smooth. Add in oil and sugar and blend until incorporated. Next add in baking soda and powder and then flour on top. Grab a spoon or spatula and mix a little to give the batter a head start then add int he water and vinegar. Pulse in blender for a few seconds, scrap sides, then pulse again until it just become a cohesive batter. Don%u2019t oven blend it or that cake will be tough.
Pour batter into a well greased 9×9 baking tin and place into hot oven. Bake for about 25 minutes or until golden brown and a tester comes out clean. When it is done, pop out of oven and pop cake out of tin to cool on a wire rack.
Once cake is cooled, place back into baking pan. Mix together the powdered sugar and jam then either microwave it or heat on stove for 30ish seconds until warmed and pourable. Grab a fork and stab holes all over top of cake then pour glaze all over.
Sprinkle some more powdered sugar on top for looks, but other then that, it%u2019s now time to eat.
Cake that is not eaten is best keep at room temperature for 2-3 days. Can be frozen too.

I don%u2019t really understand the pineapple Easter correlation. I think it might have something to do with ham, but you know what, I really don%u2019t care that much to figure it out. (Okay, I googled it and it is ham related.)
So no ham here but I am all about the pineapple. Last week when I did my grocery shop there were a shit ton of pineapples on sale, so I grab a few figuring that me and the mr would eat them for next week or so. Up until last week, I was positive that the mr really liked pineapple. Until I cut one up. Turns out the mr , for some reason, now doesn’t like pineapple that much. What. the, HELL!? This was new news to me. I swear he just says these things to piss me off, but whatever, I guess he is not a fan anymore and it just means more pineapple for me.
But I also made a cake with some of the pineapple because I had so much and also I just wanted to bake a cake. And guess what, turns out the mr does like pineapple, just as long it is in cake form. I should have known.
To the upside down cake!

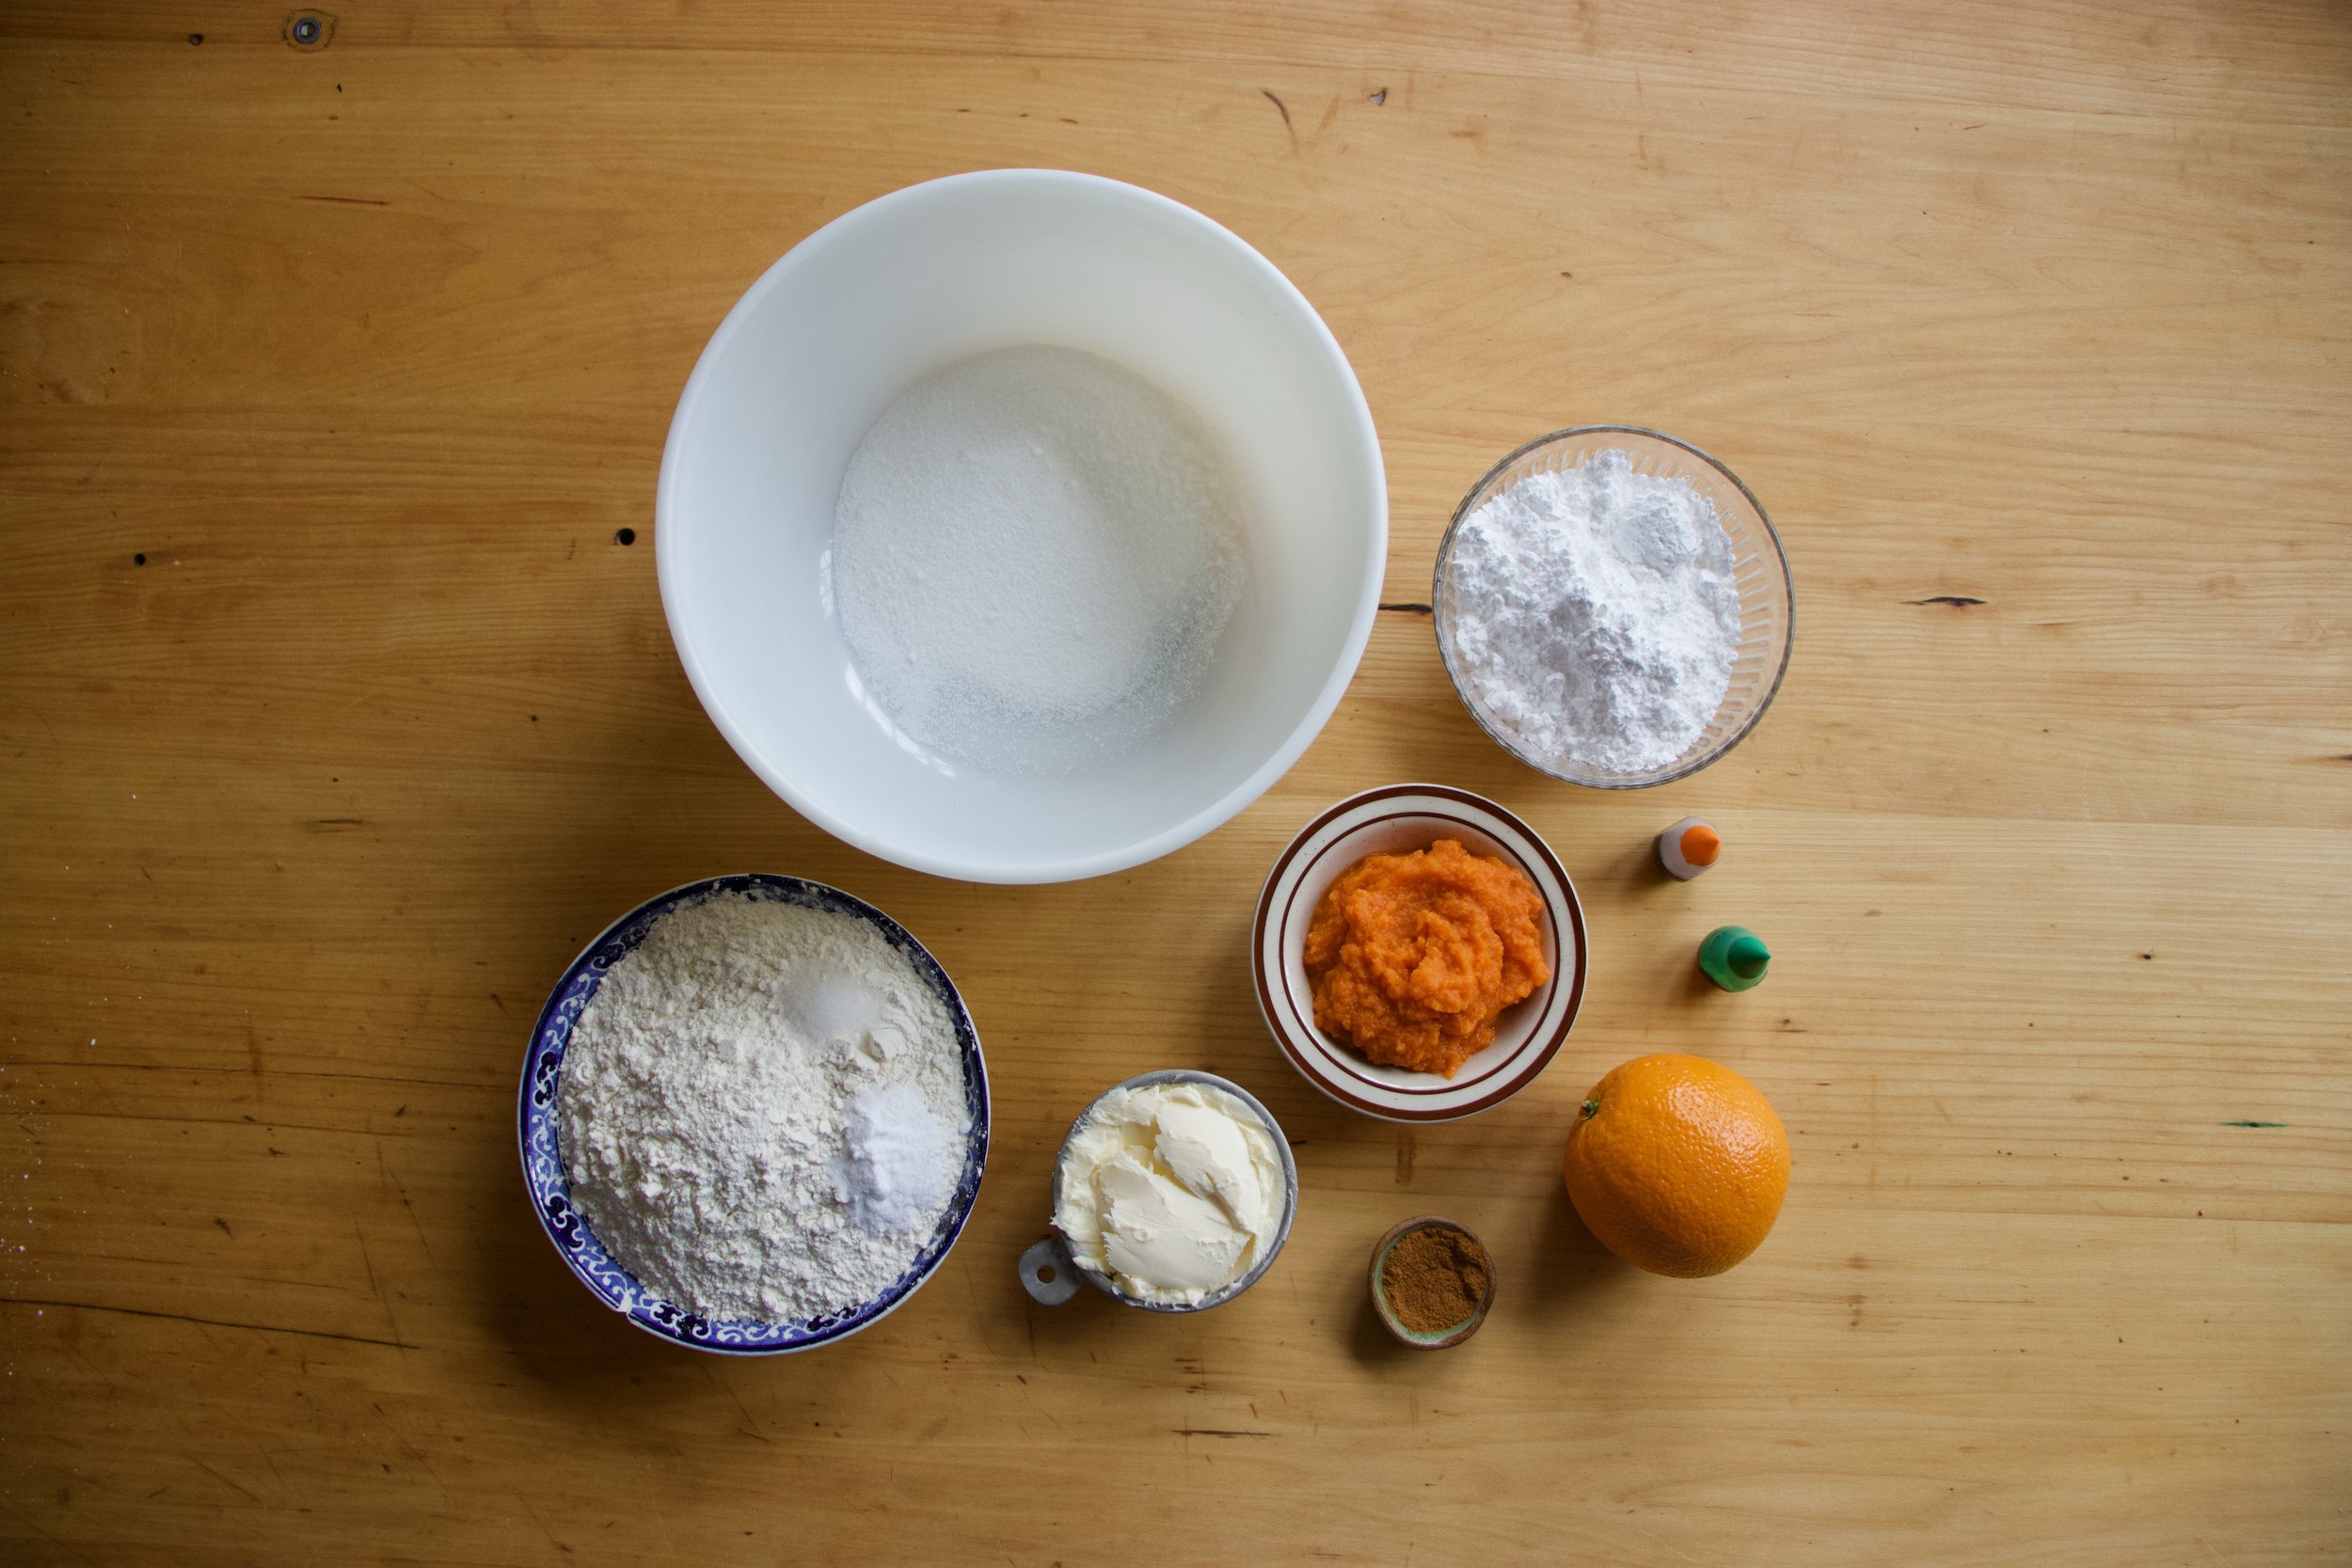
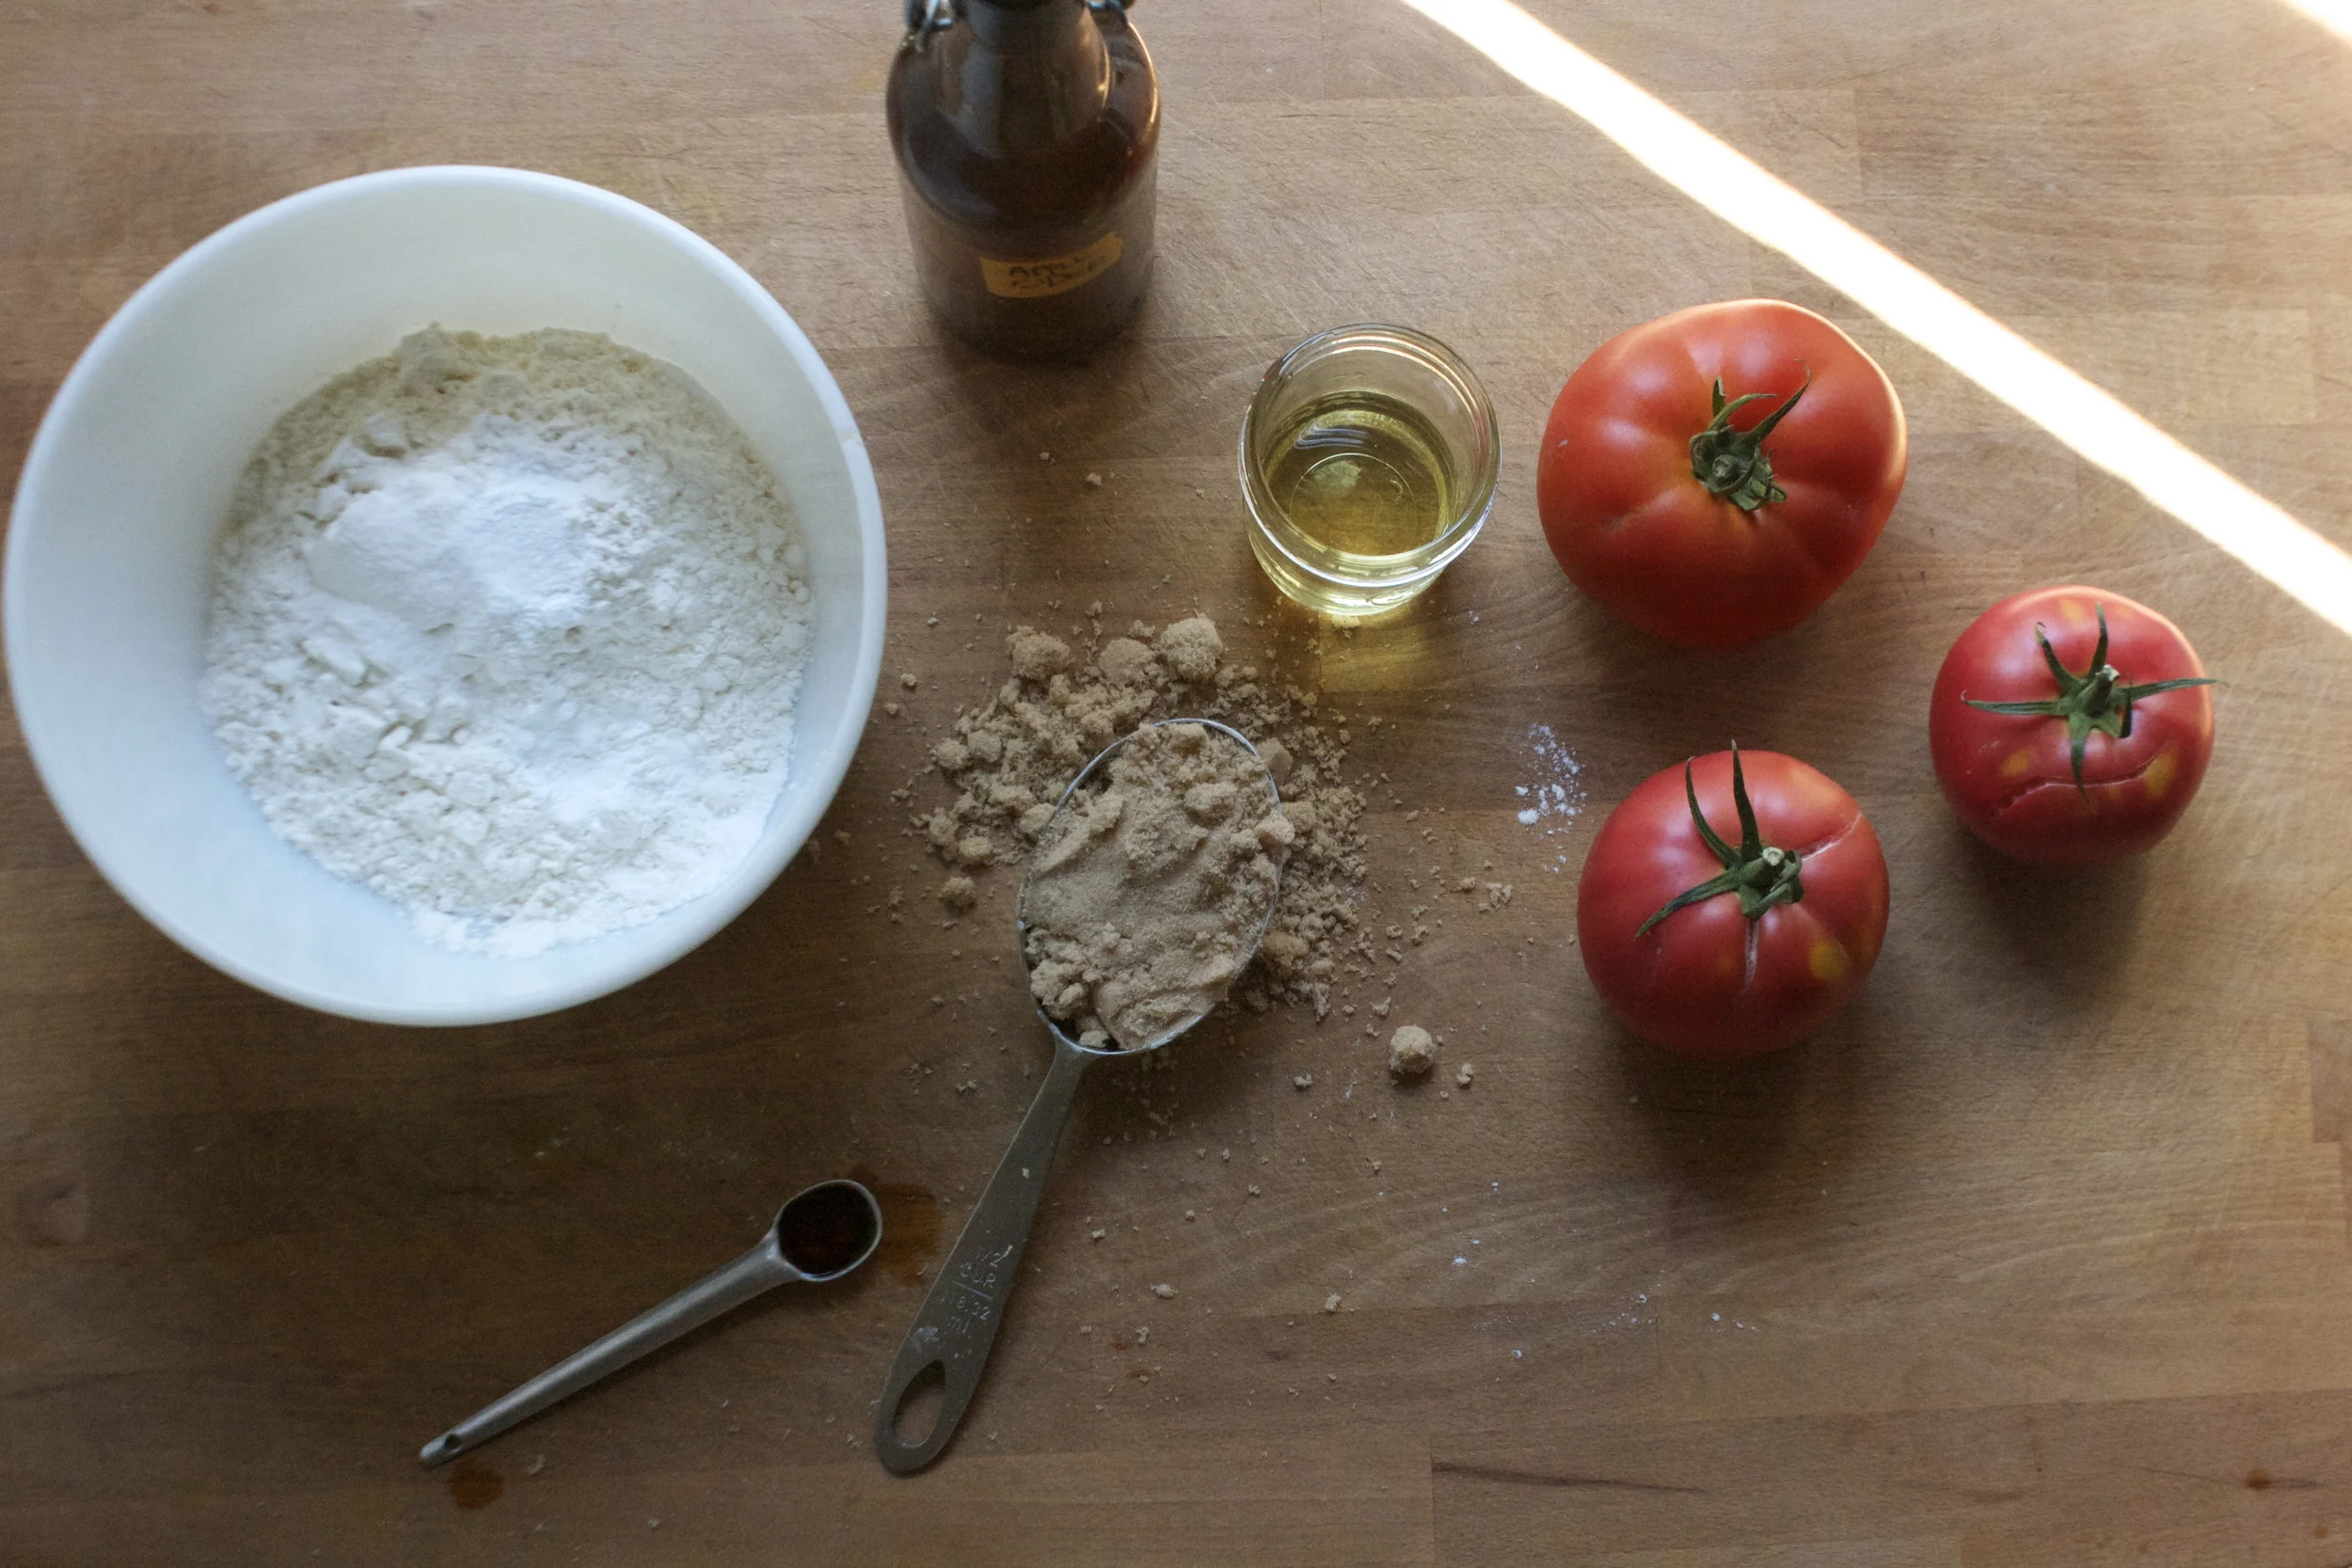
The stuff. A pineapple, flour, baking soda and power, salt, brown sugar, coconut oil, vanilla and apple cider vinegar.

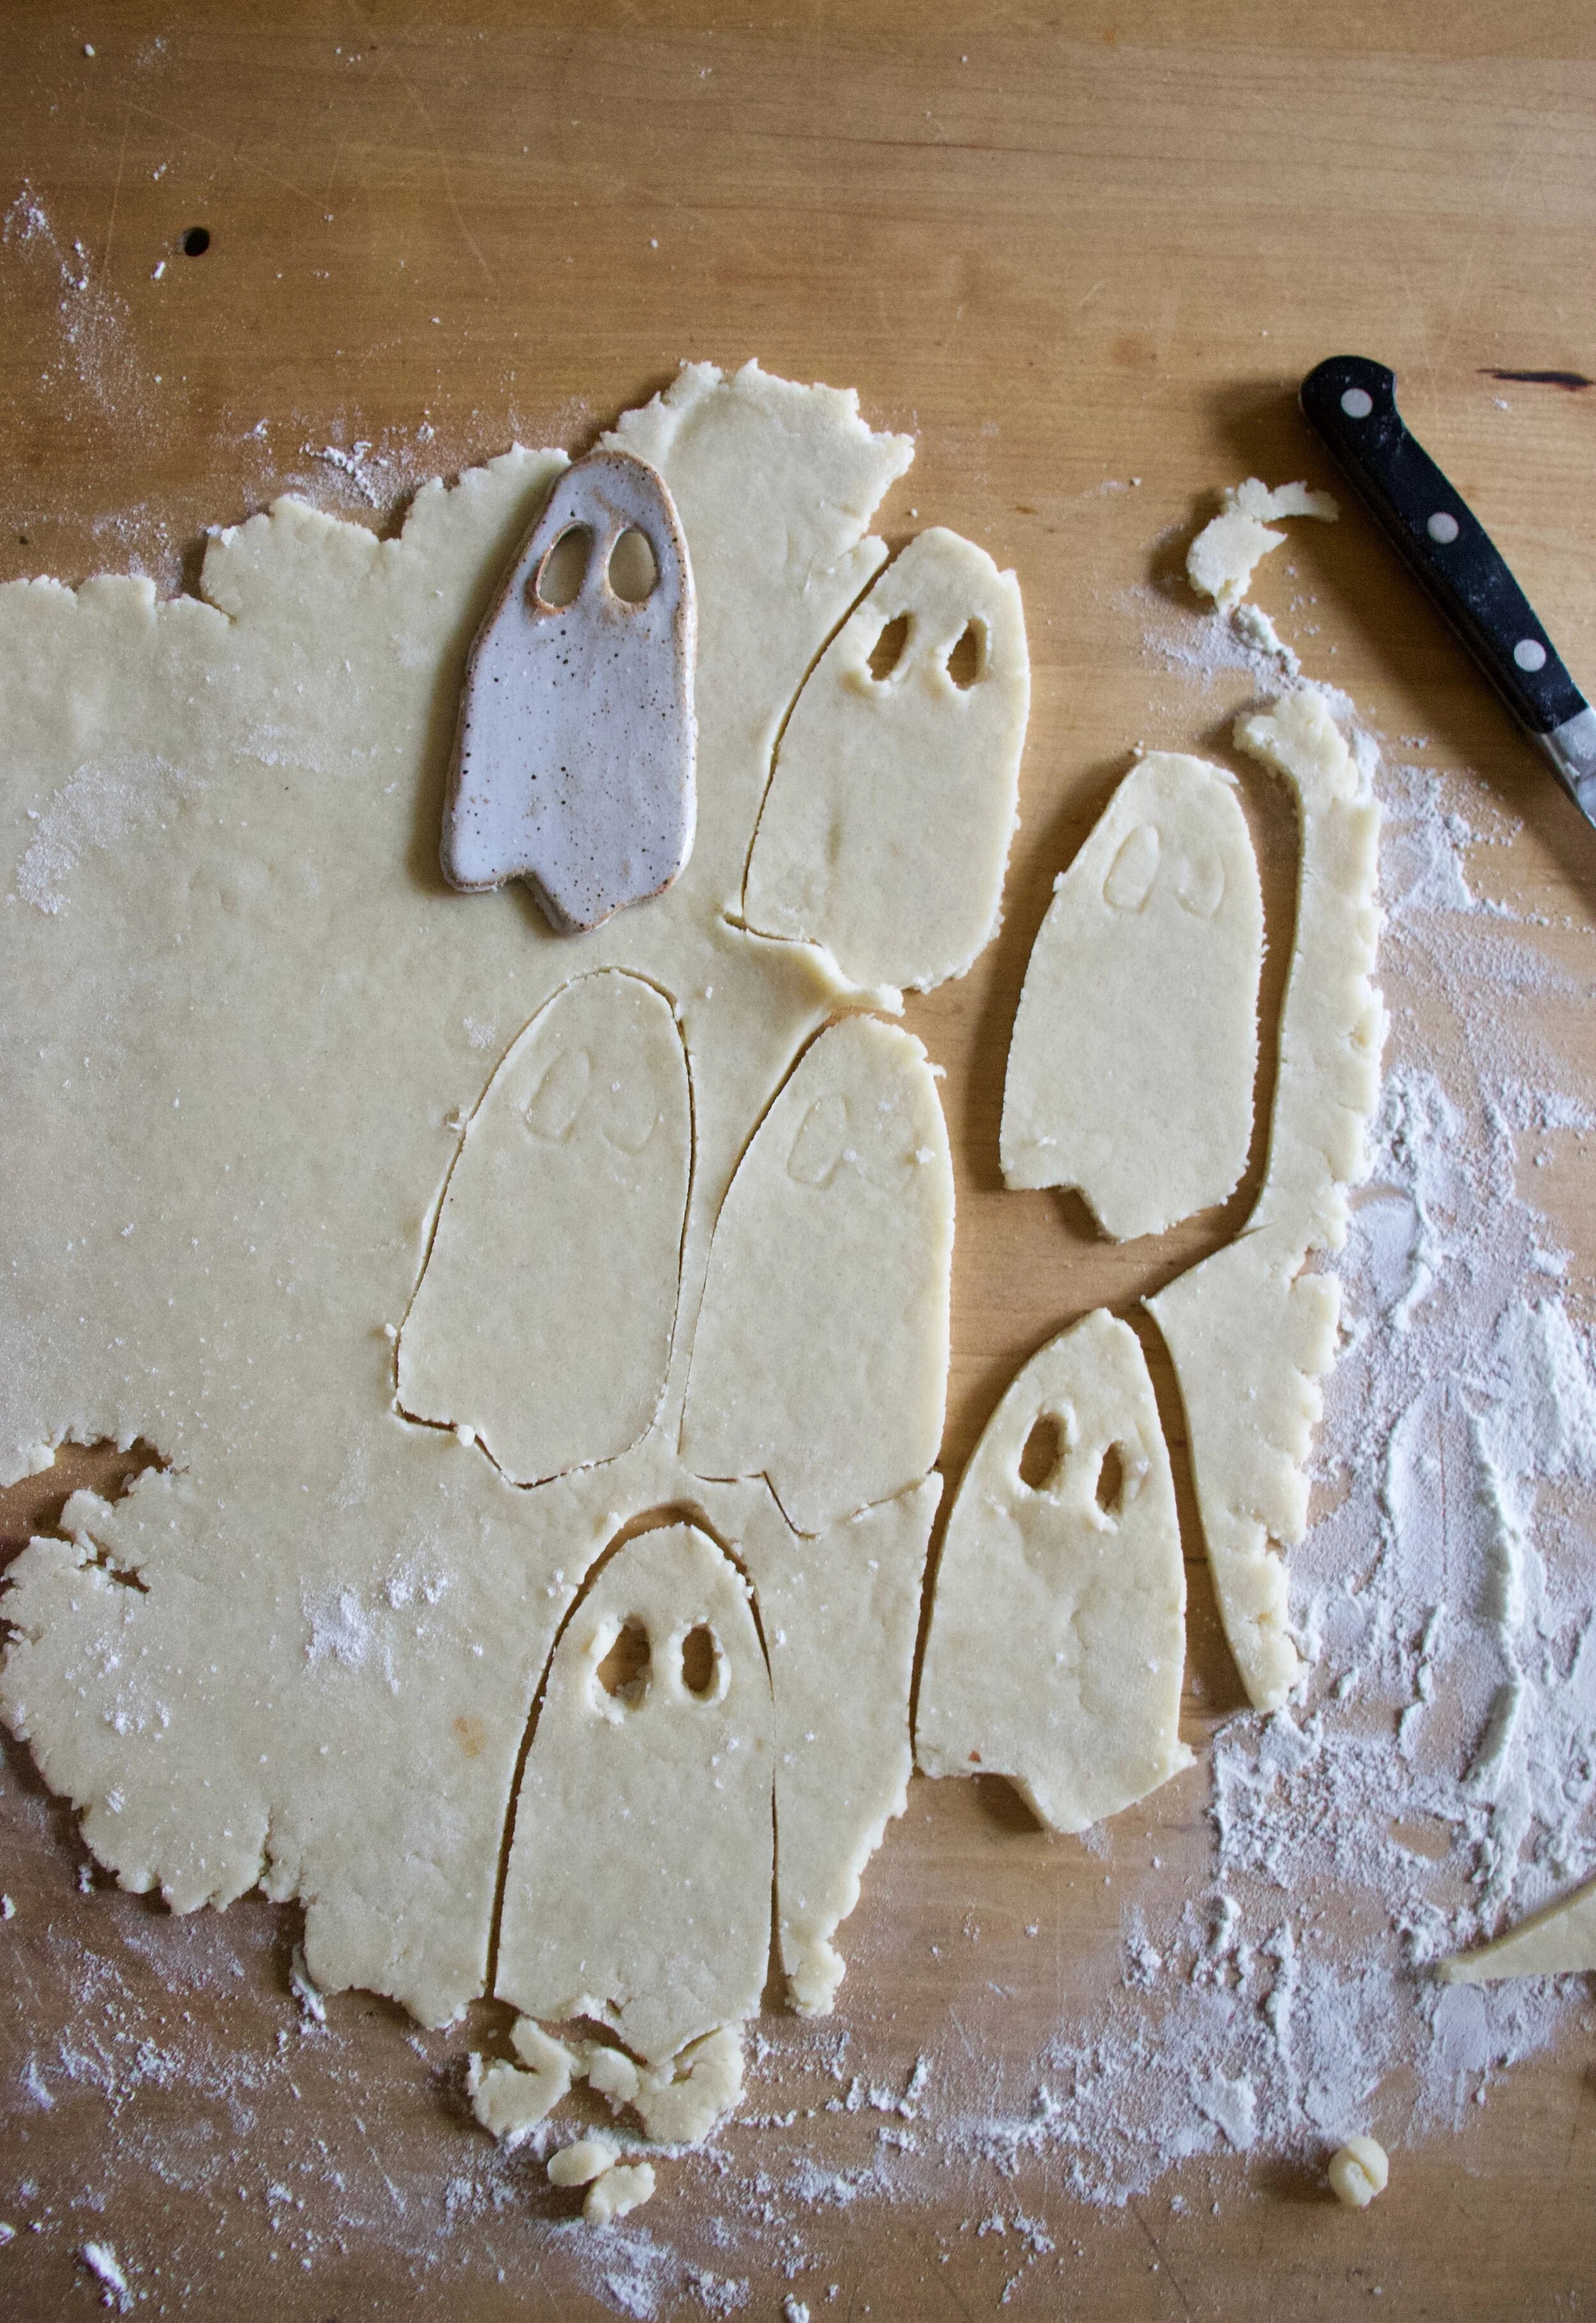
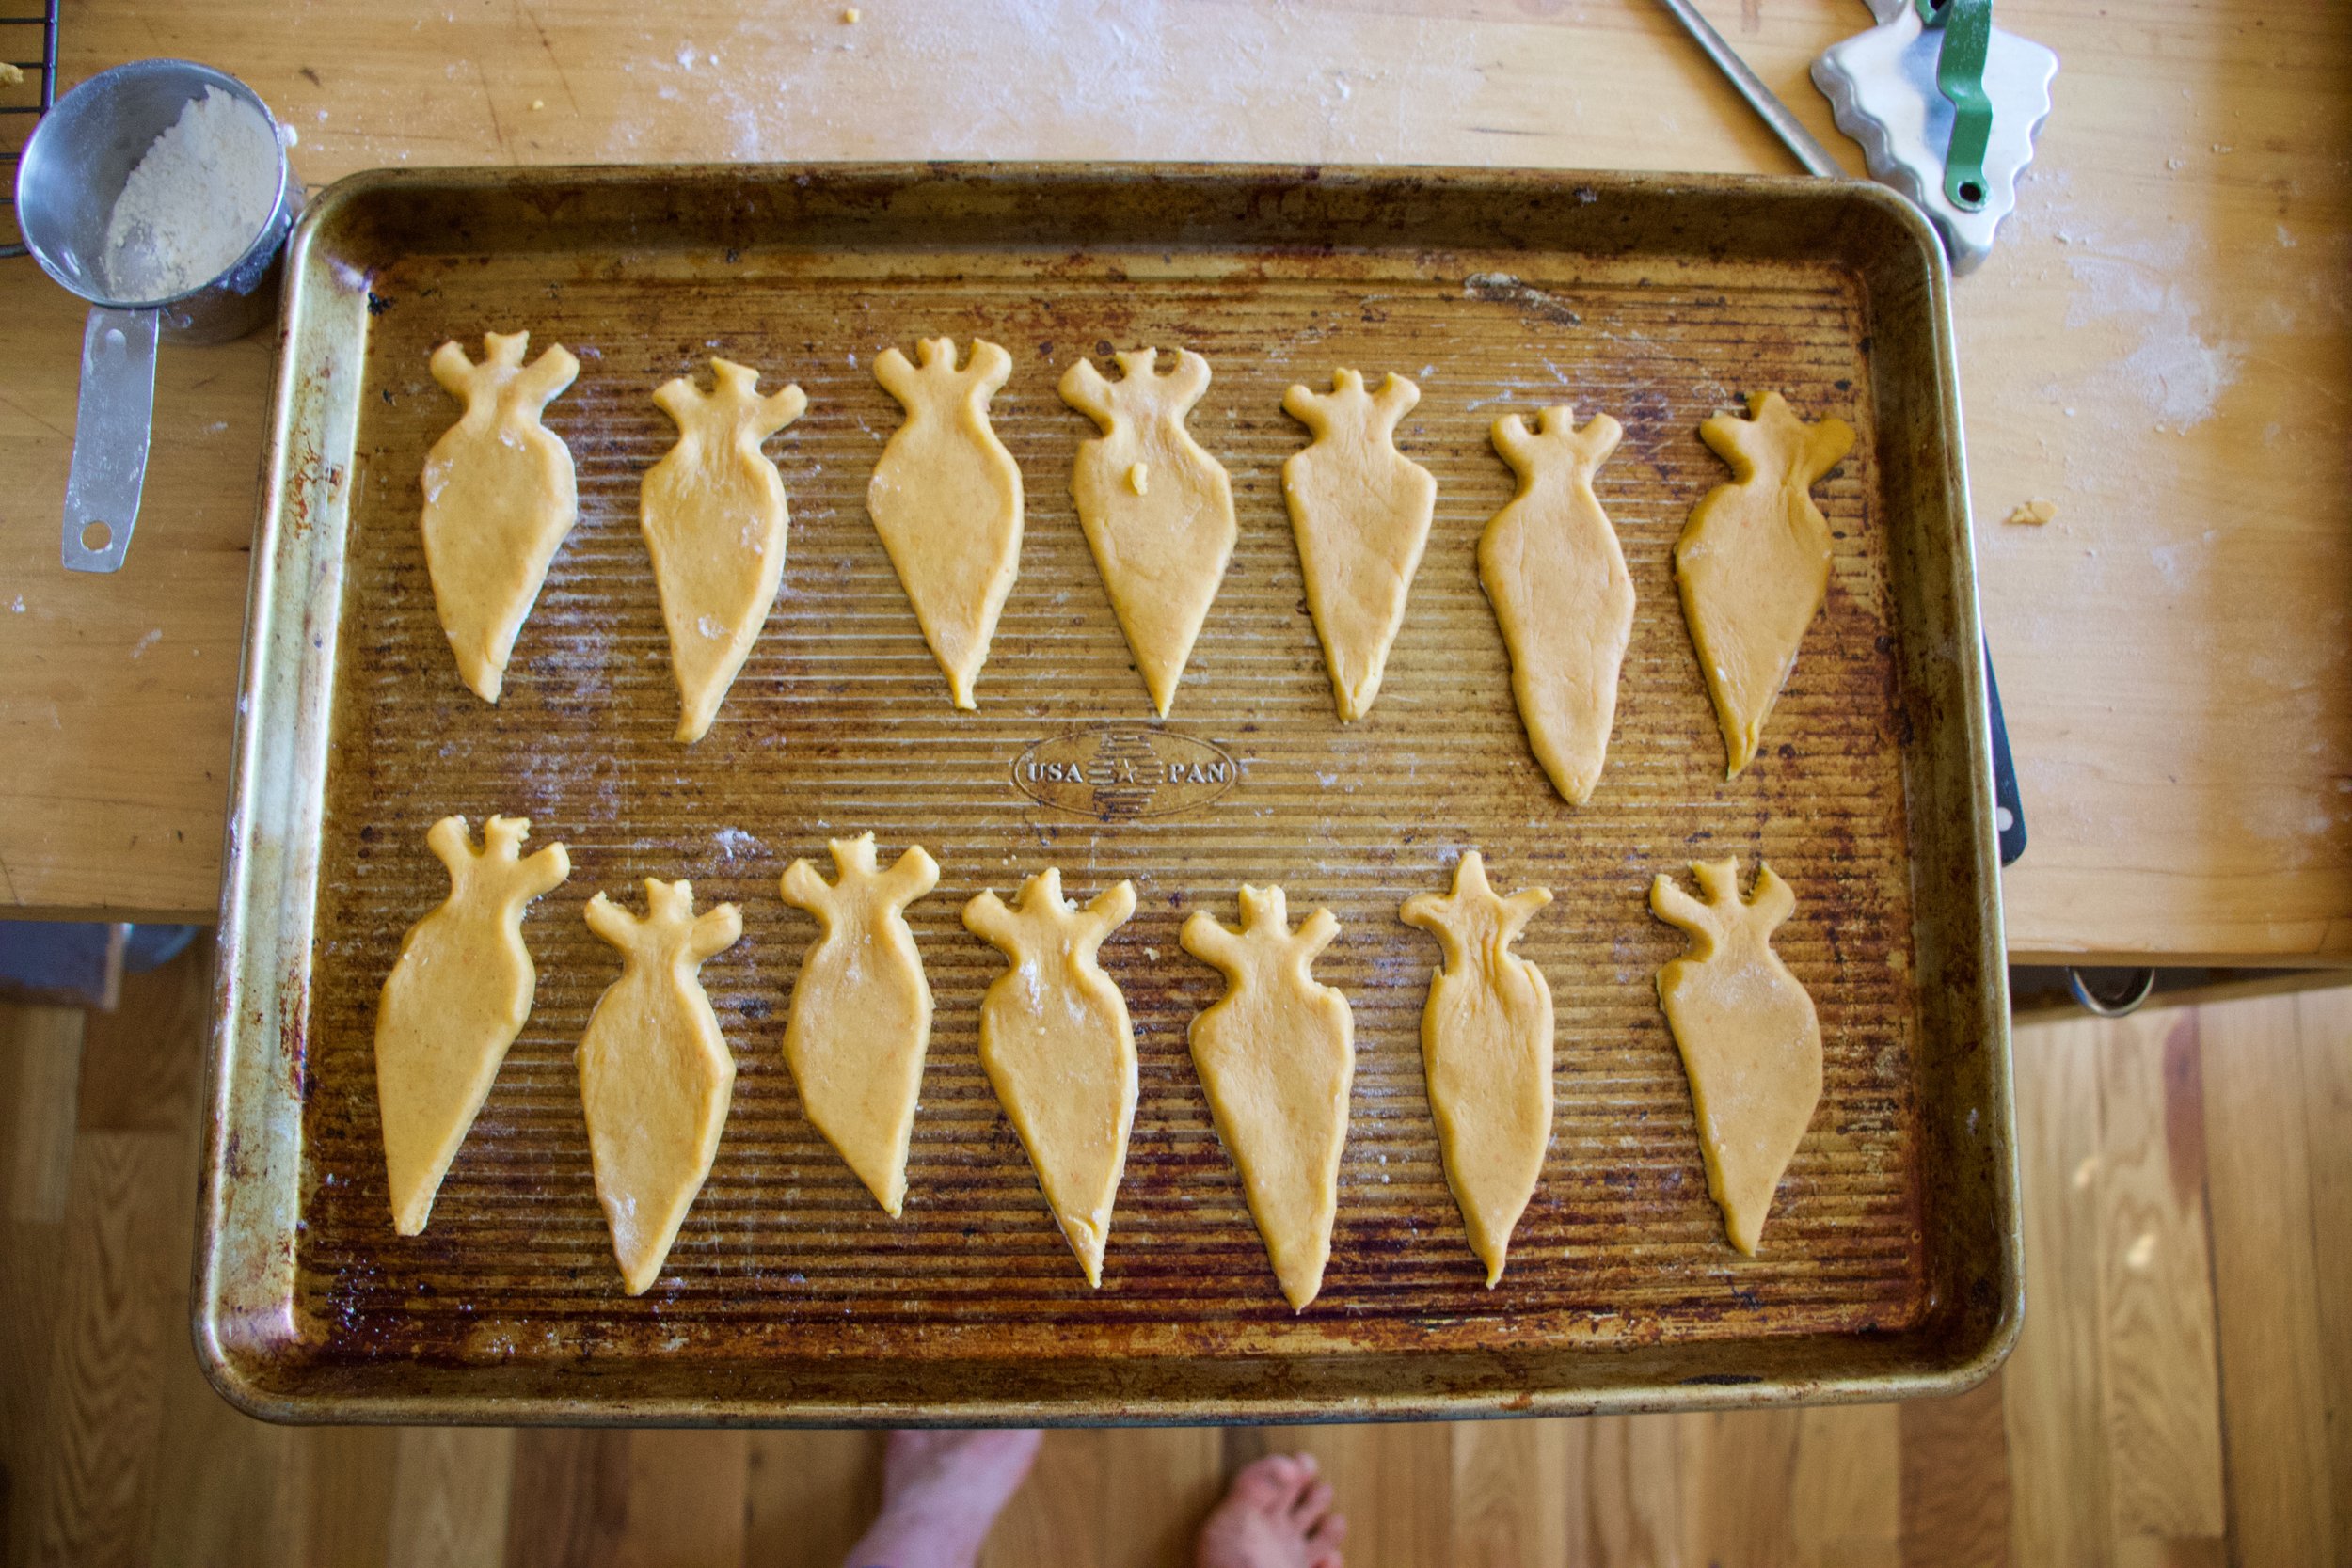
Cut up pineapple. If you want to get fancy, garb a cookie cutter and cut out pineapple shapes for the upside down part. Or just cut up 1/2 inch slices or rings. however you want.
Get the pan ready. Grease a pan, add a parchment bottom. place about a tablespoon coconut oil into pan and coat bottom of pan then evenly sprinkle in about 1/2 cup brown sugar. Layer in your pineapple.

In a large bowl, whisk together the dry ingredients%u2026 (a bowl bigger then mine)
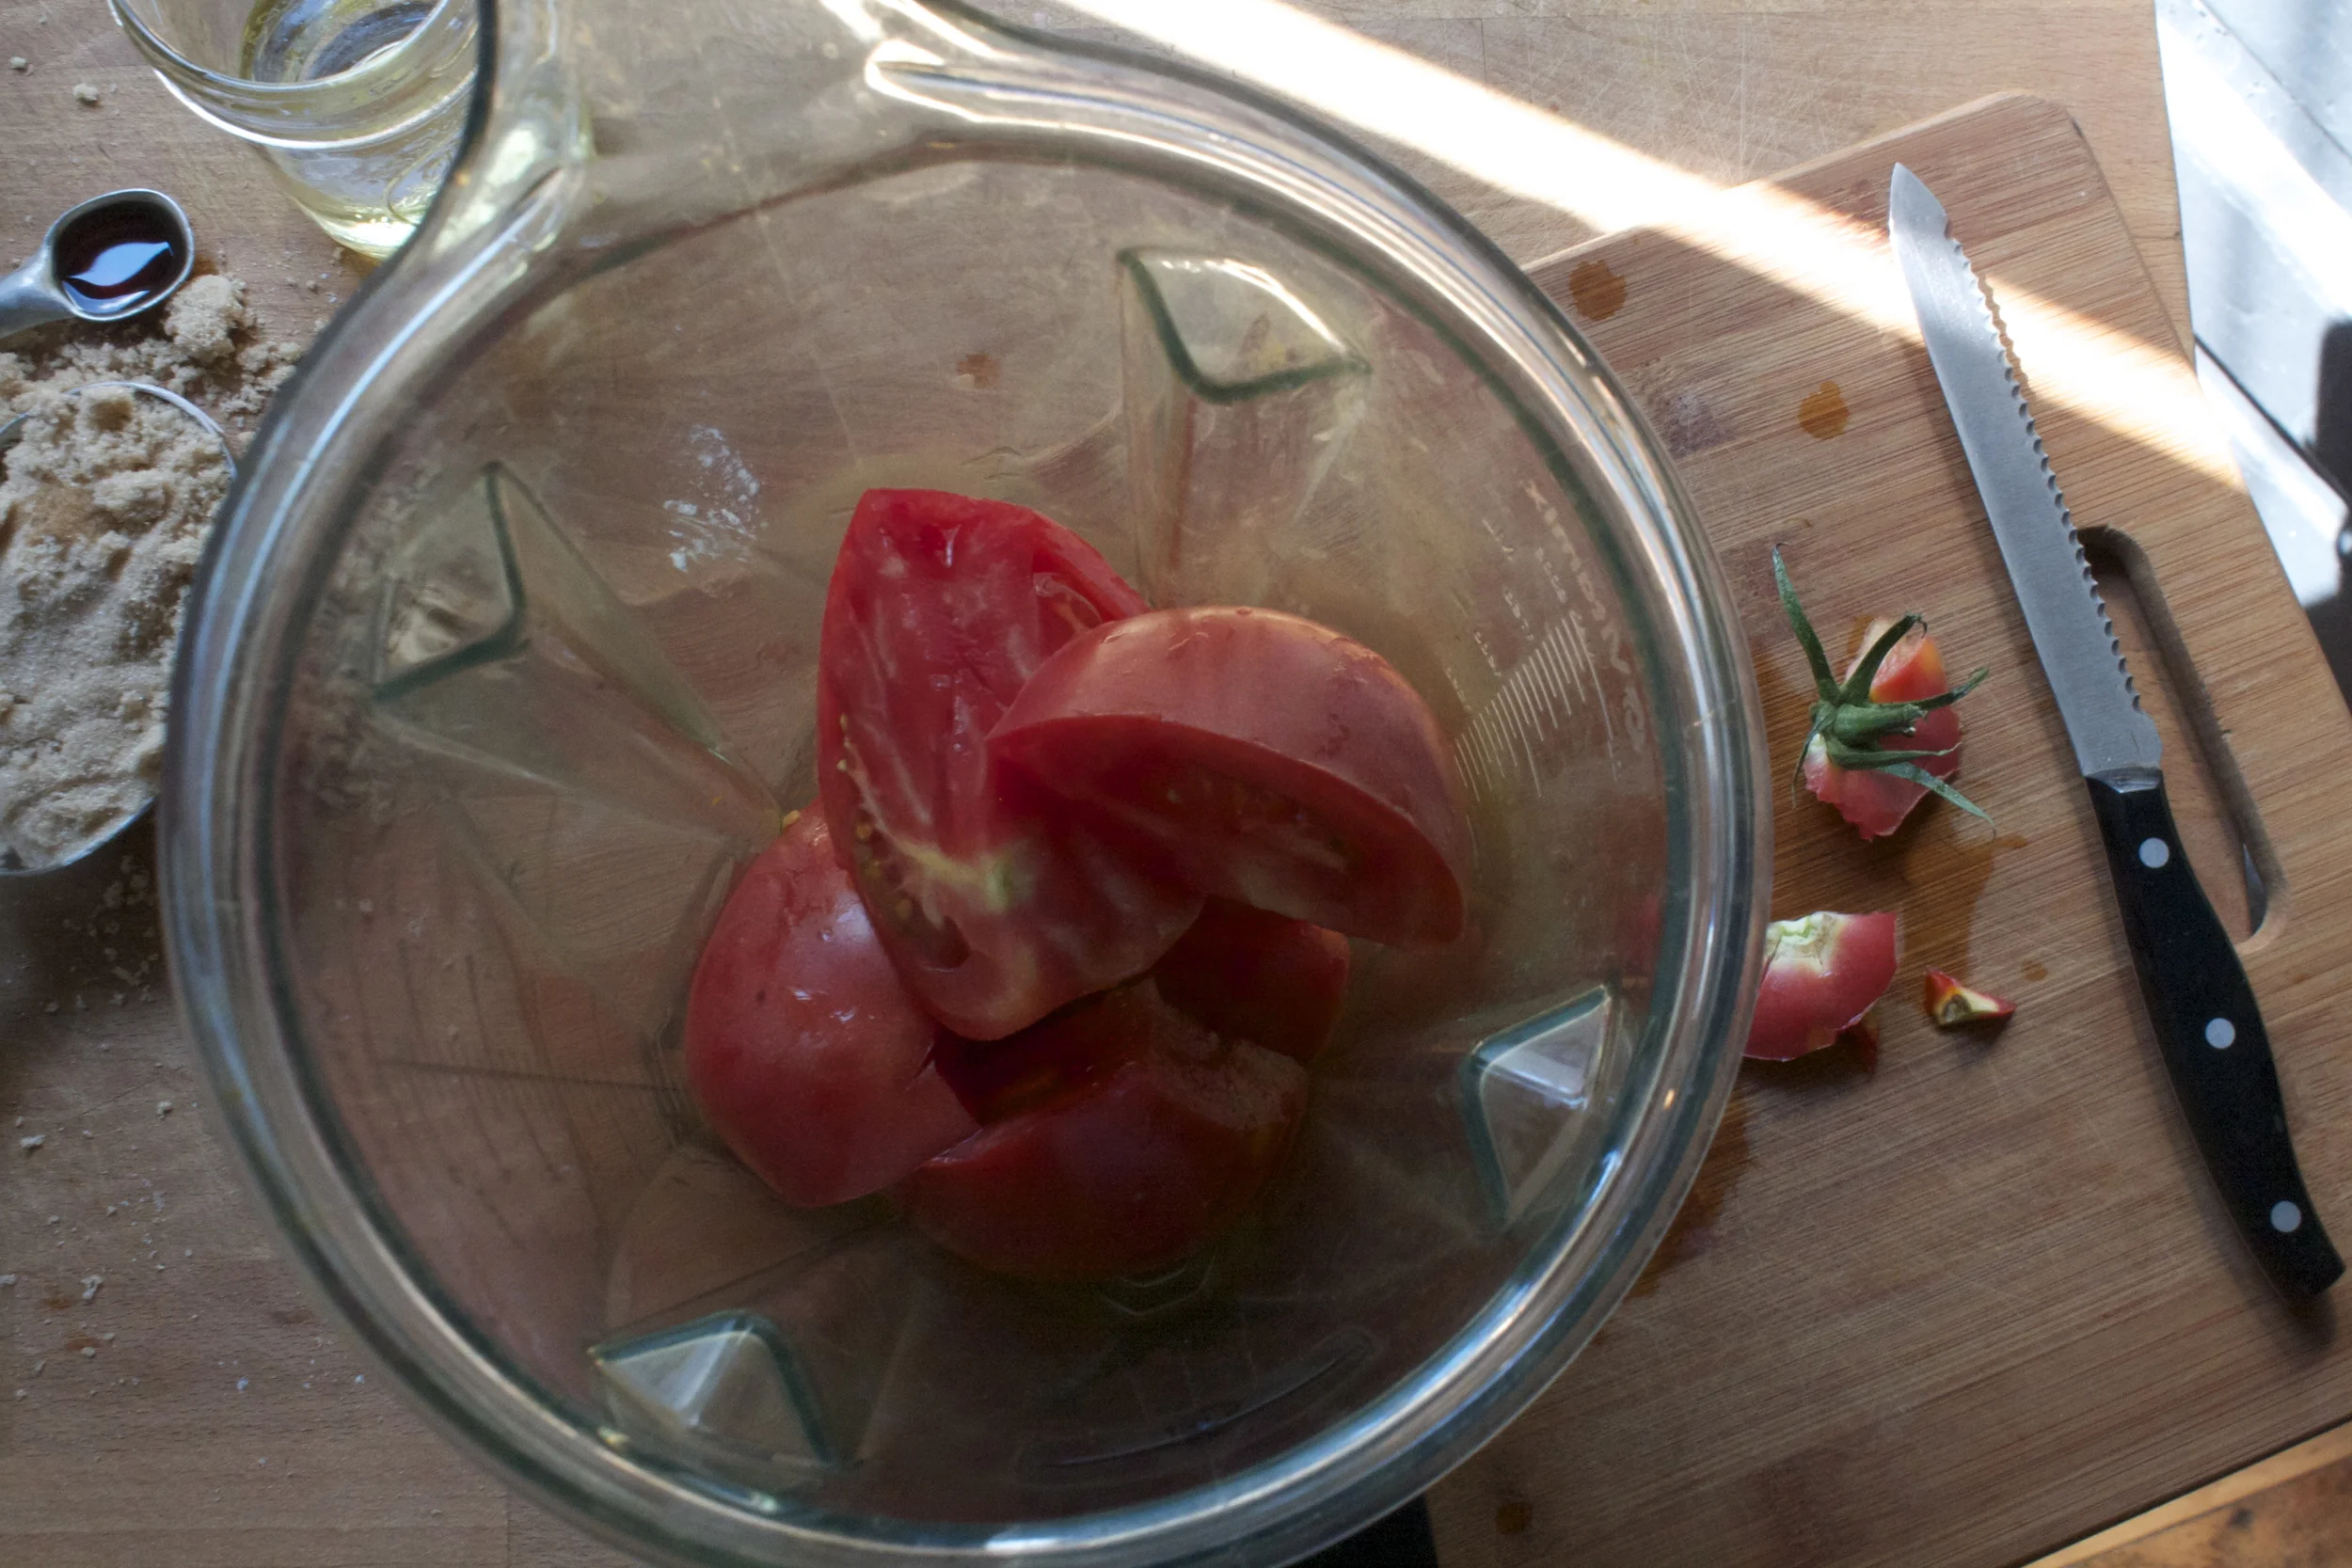
Place pineapple into blender (use scraps if you have them) and blend until smooth. Add in the brown sugar, coconut oil, vanilla, and vinegar and blend until combined.

Pour wet into dry and whisk until combined.

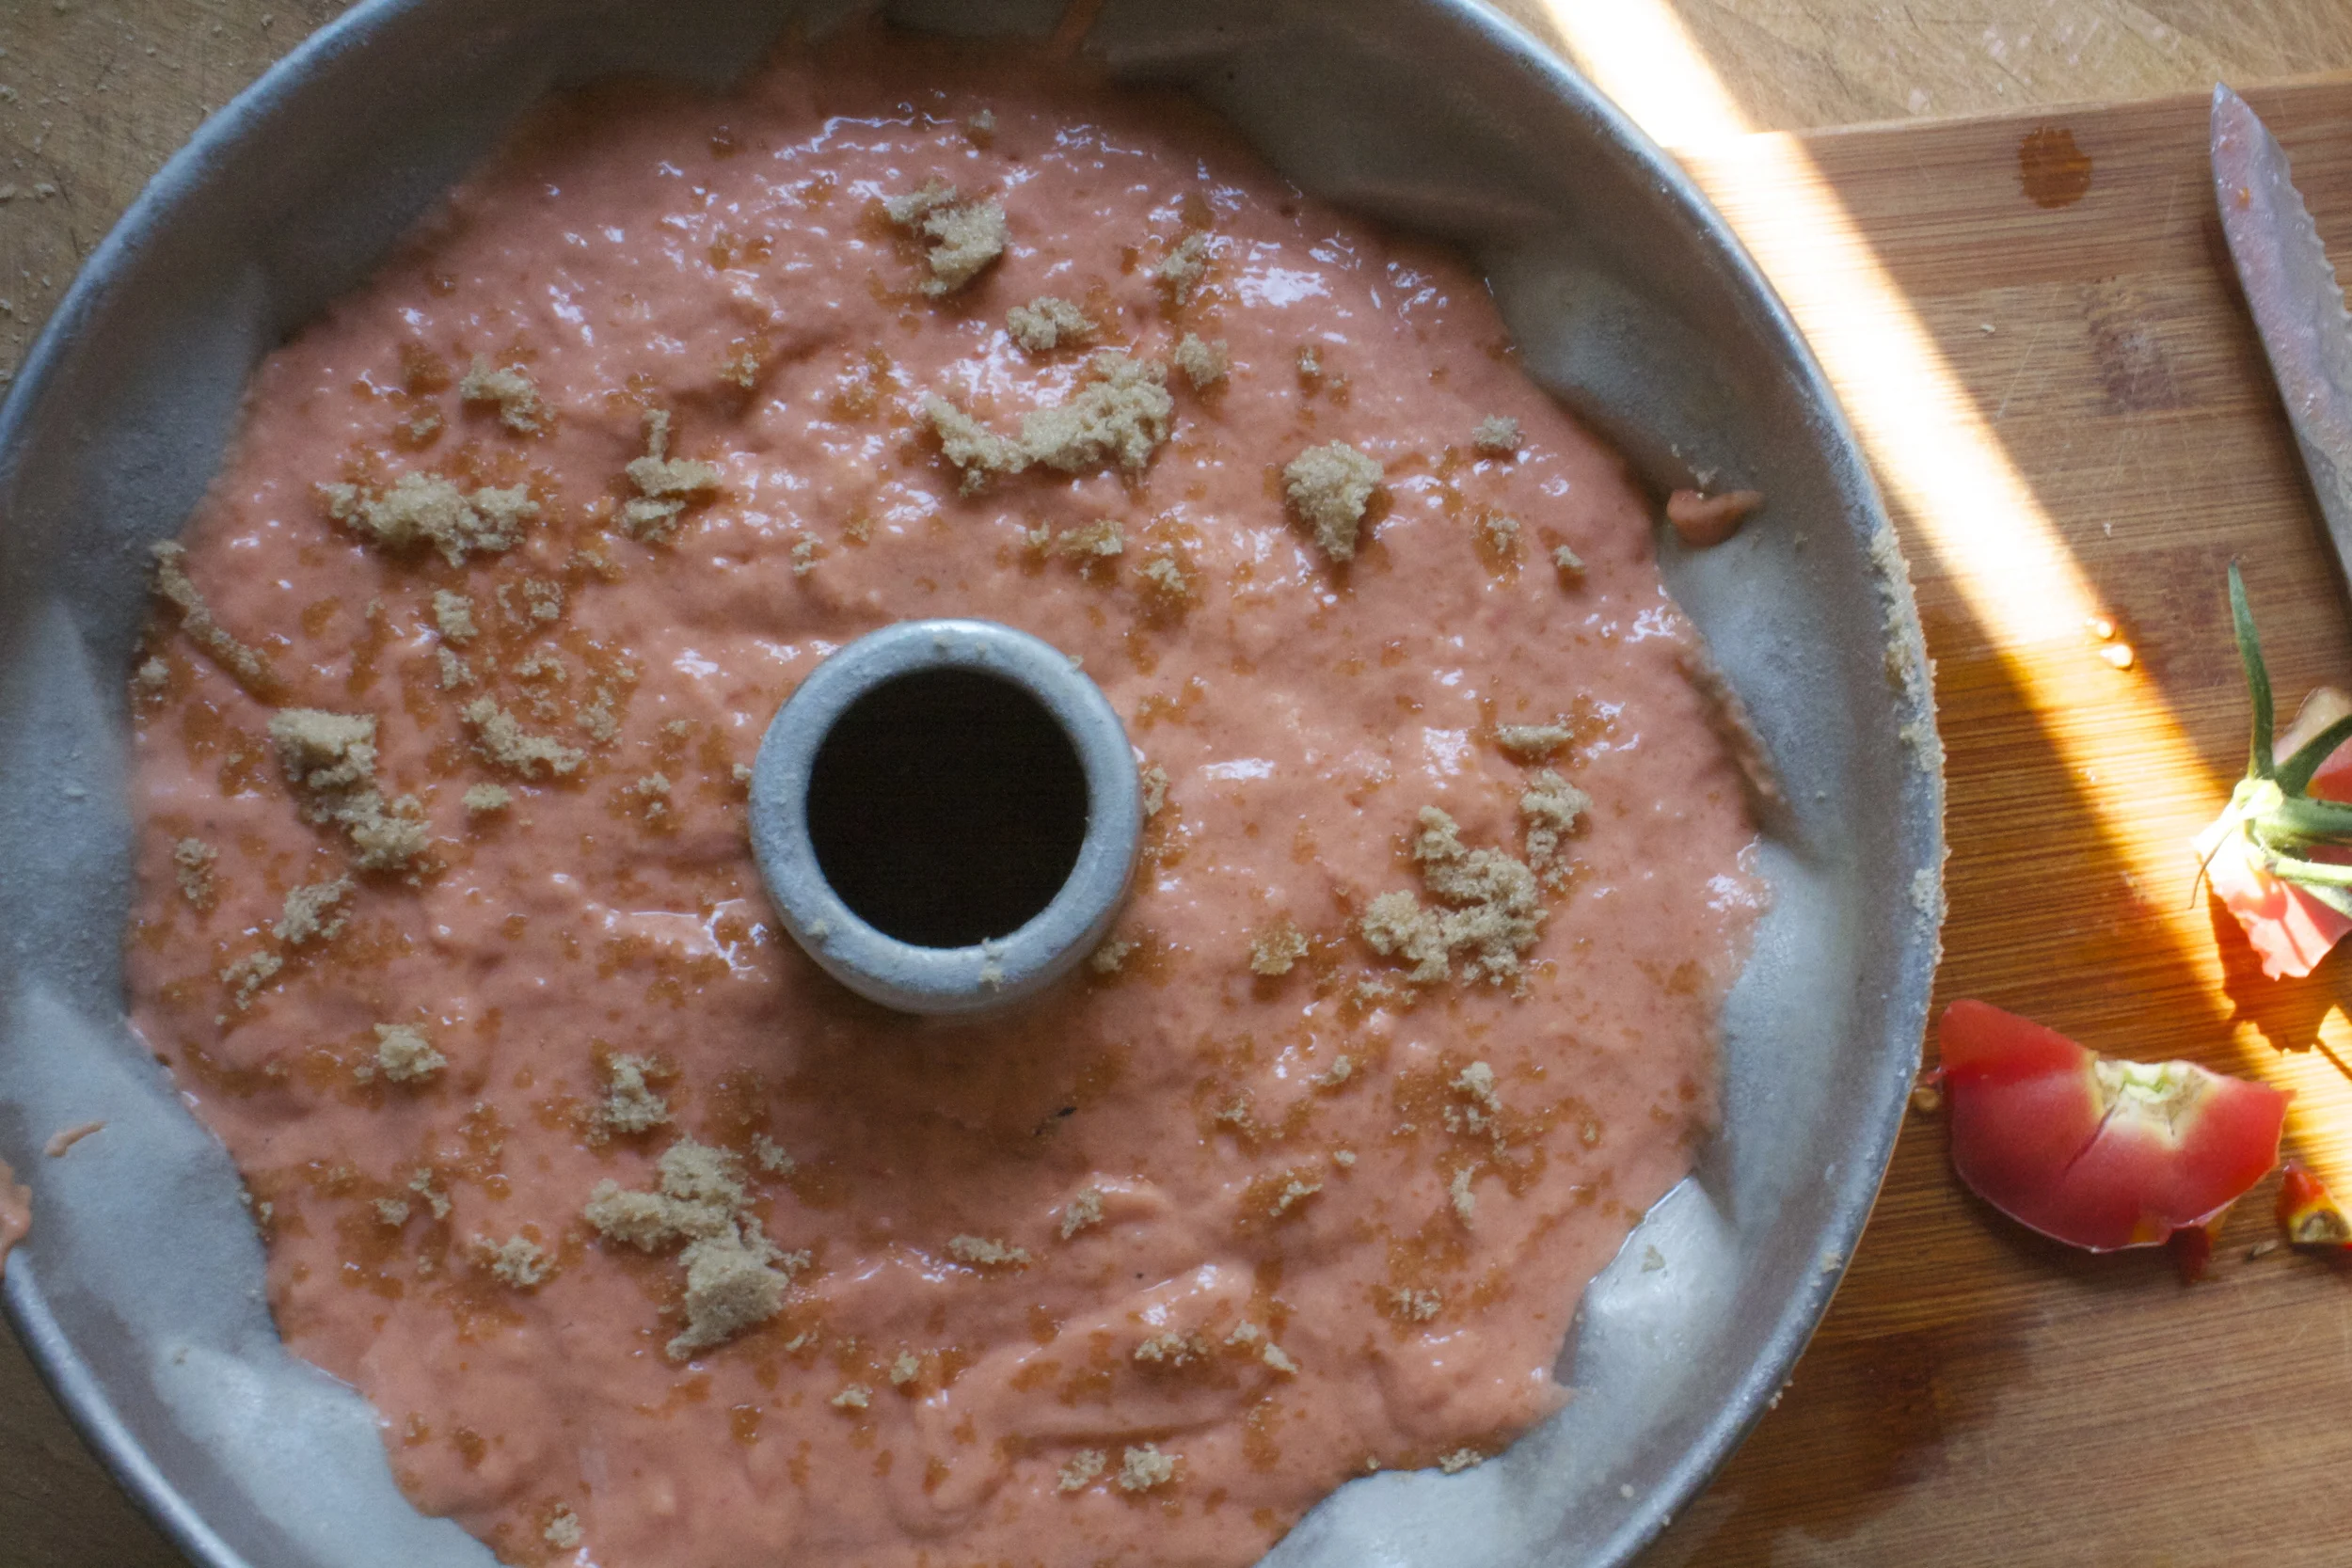
Pour batter over pineapple and into the oven it goes.

Oooooh. Cake. Are you just so excited! You should be, it is an exciting time.
Give it a few minute before flipping it.

Flipped and revealed. So pretty!

Now it%u2019s cake time so get down on it.
-C
makes a 12 round or 9×13 inch rectangle cake
-
2 1/4 cups all purpose flour
-
1 teaspoon baking soda
-
1 teaspoon baking powder
-
1/2 teaspoon salt
-
3/4 cup brown sugar plus 1/4 cup
-
1/2 cup warm coconut oil plus 1 tablespoon
-
1 1/2 cups pineapple pureed which Is about 1/2 a small pineapple
-
About 1/4 pineapple for bottom
-
1/4 cup water
-
I tablespoon apple cider vinegar
Preheat oven to 350 degrees.
First get the pineapple cut up any way you usually do it. If you want specific shapes for the pineapple bottom, keep that in mind and cut the pineapple accordingly. You are going to want the pieces (like the circles that I used) to be about 1/2 inch thick. And if you are using a cut out, my suggestion is to cut out all the pieces that you need to use and use the cut out scrapes to puree.
Grease and parchemnt line a 12 inch round or 9×13 inch rectangle cake pan. Evenly spread a tablespoon coconut oil on parchment then evenly coat with 1/4 cup of brown sugar. Place pineapple cut outs or pieces into pan. It is fine if pineapple pieced overlap a bit but make sure to not go much thicker then1/2 inch in places.
In a large bowl whisk together the flour, baking power and soda, and salt.
Place 1 1/2 cups of chopped pineapple into blender and blend until smooth. Make sure it equals 1 1/2 cup pureed. Add in 1/4 cup water, 3/4 cups brown sugar, 1/2 cup warm coconut oil, vanilla, and the vinegar and blend until completely smooth. Pour mixture into the bowl with the whisked dry ingredients and mix until combined. Pour cake batter gently over pineapple in pan.
Bake for 45-50 minutes or until the cake is a nice golden brown and a tester poke comes out clean.
Remove cake from oven and let cool for about 5 minutes, then invert pan onto a wire rack or plate and remove pan gently. The cake should pop out easily with the parchment attached. Peel parchment off and if any of the pineapple cokes loose, jus stick it back on.
And then cake. Eat it.
It%u2019s not too late to get in a little end of the year baking. It is actually the perfect time to bake. All the holiday hub bub is still going on so there is usually still people all around still willing and able to eat your offerings (if you were so inclined to share), the days just feel more slow and of need of warmth and lovely smells. Plus we need something to do while while waiting for New Years, because we are just all sitting around waiting for that ball to drop, right? HAHAHA. No.
Anyway, I have been wanting to make some version of a boiled clementine cake for a while now. I love that fact the the whole clementine goes into the cake, that there is no peeling or zesting or juicing. It is just boil the clems for a little while to get the bitterness out and you are good to go. And it doesn%u2019t hurt that right now is citrus season so I have a humngo bowl of clementines, plus a shit load of other oranges and other citrus to go through so the thought of tossing a good few clementines into a cake, well it was just what needed to be done.
And the family is coming over to eat and trash my house so I needed another dessert besides the half eaten ice cream cake left in the freezer from Camereon%u2019s birthday/Christmas. So I baked that they will eat. And there we go. Win win.
Now to the clementine cake.

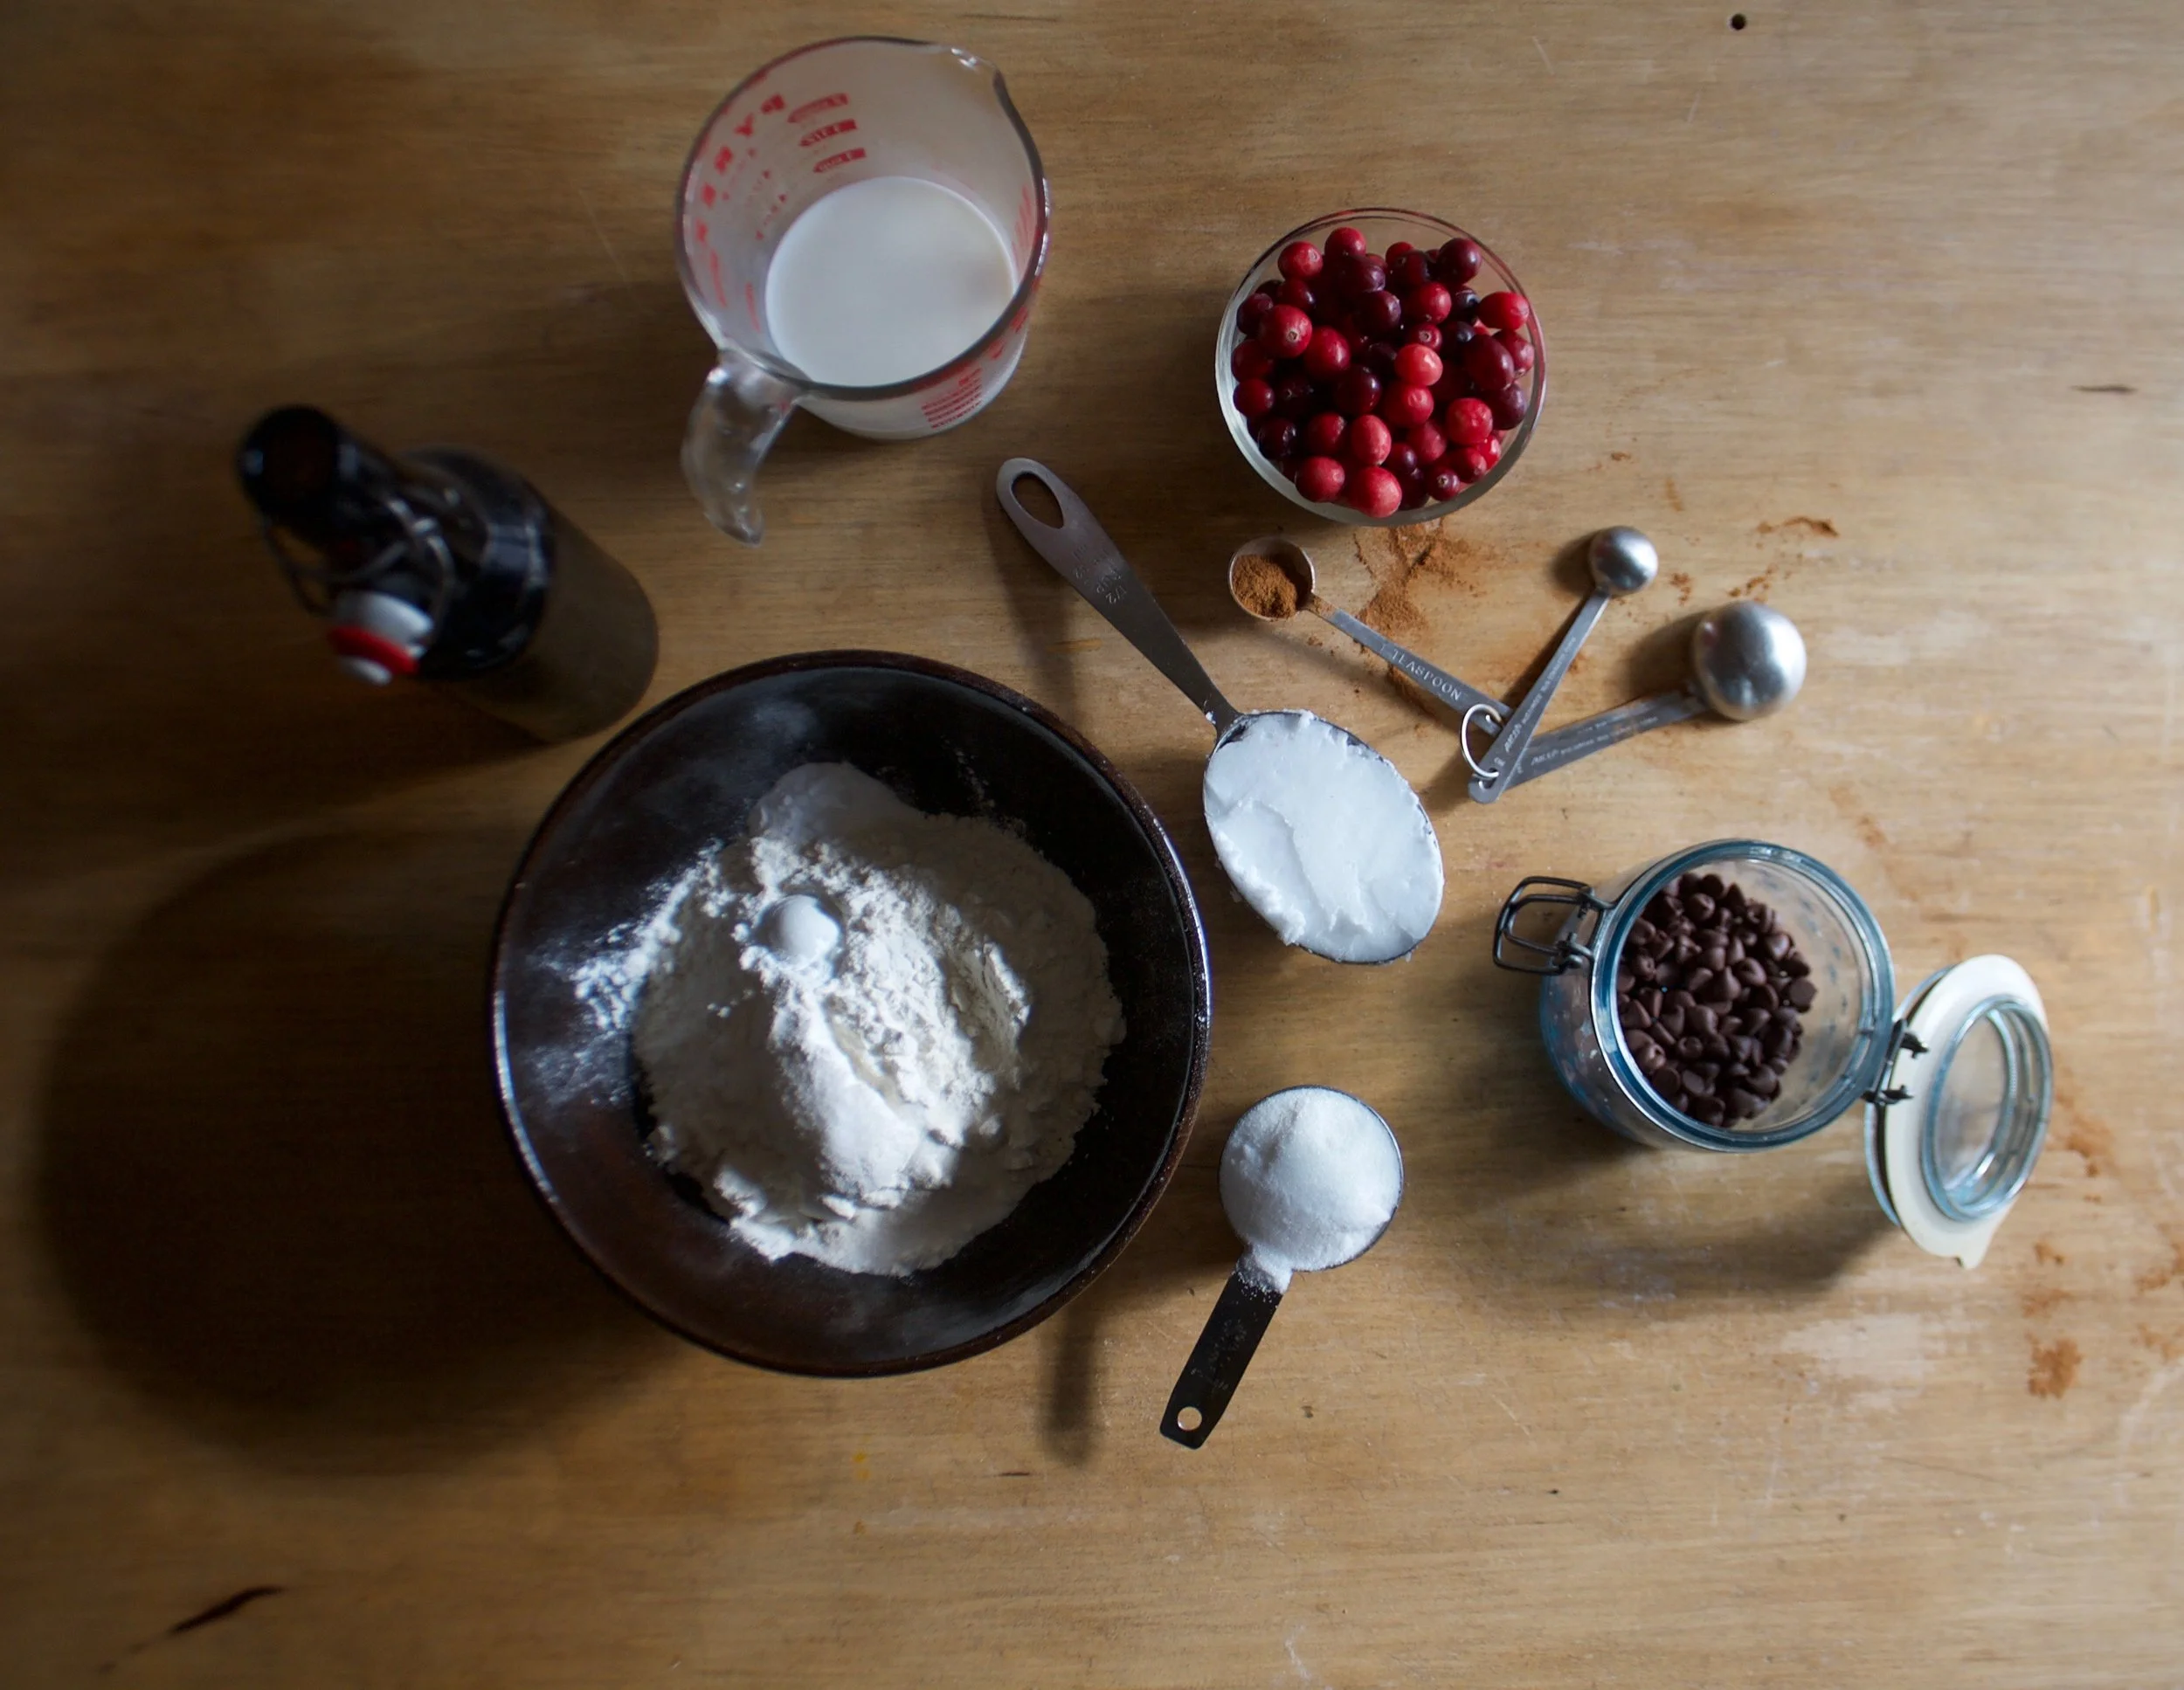
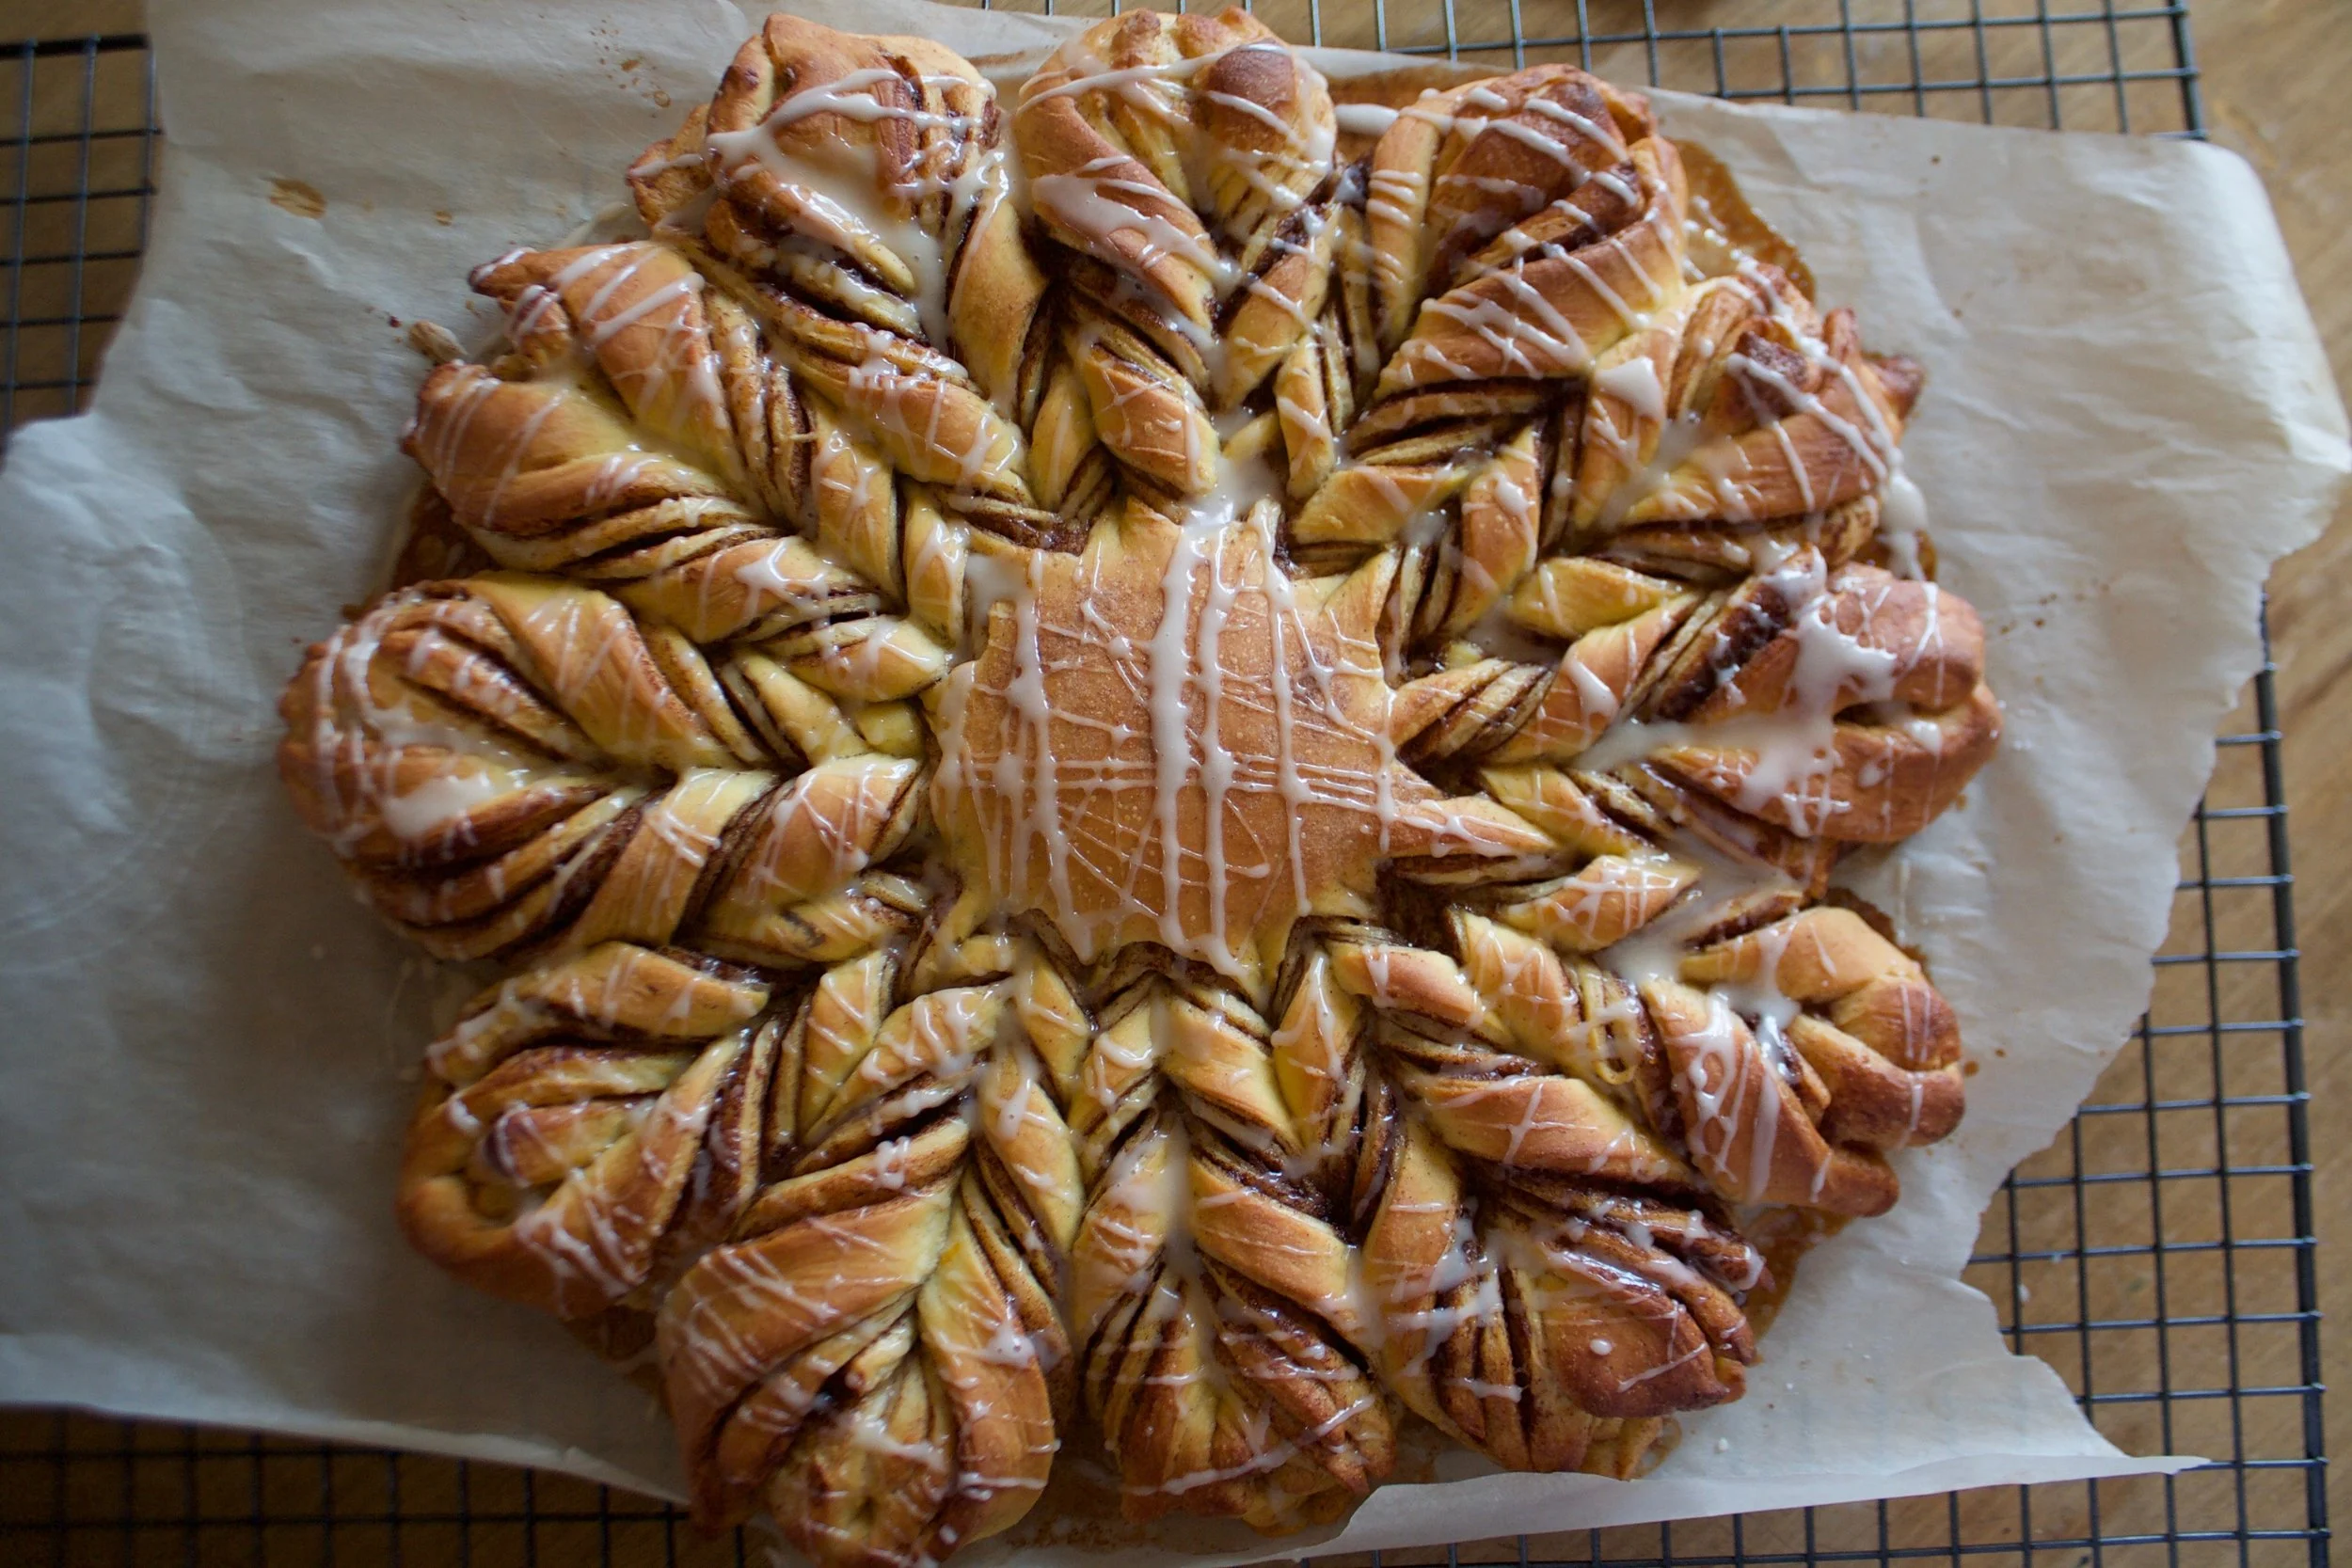
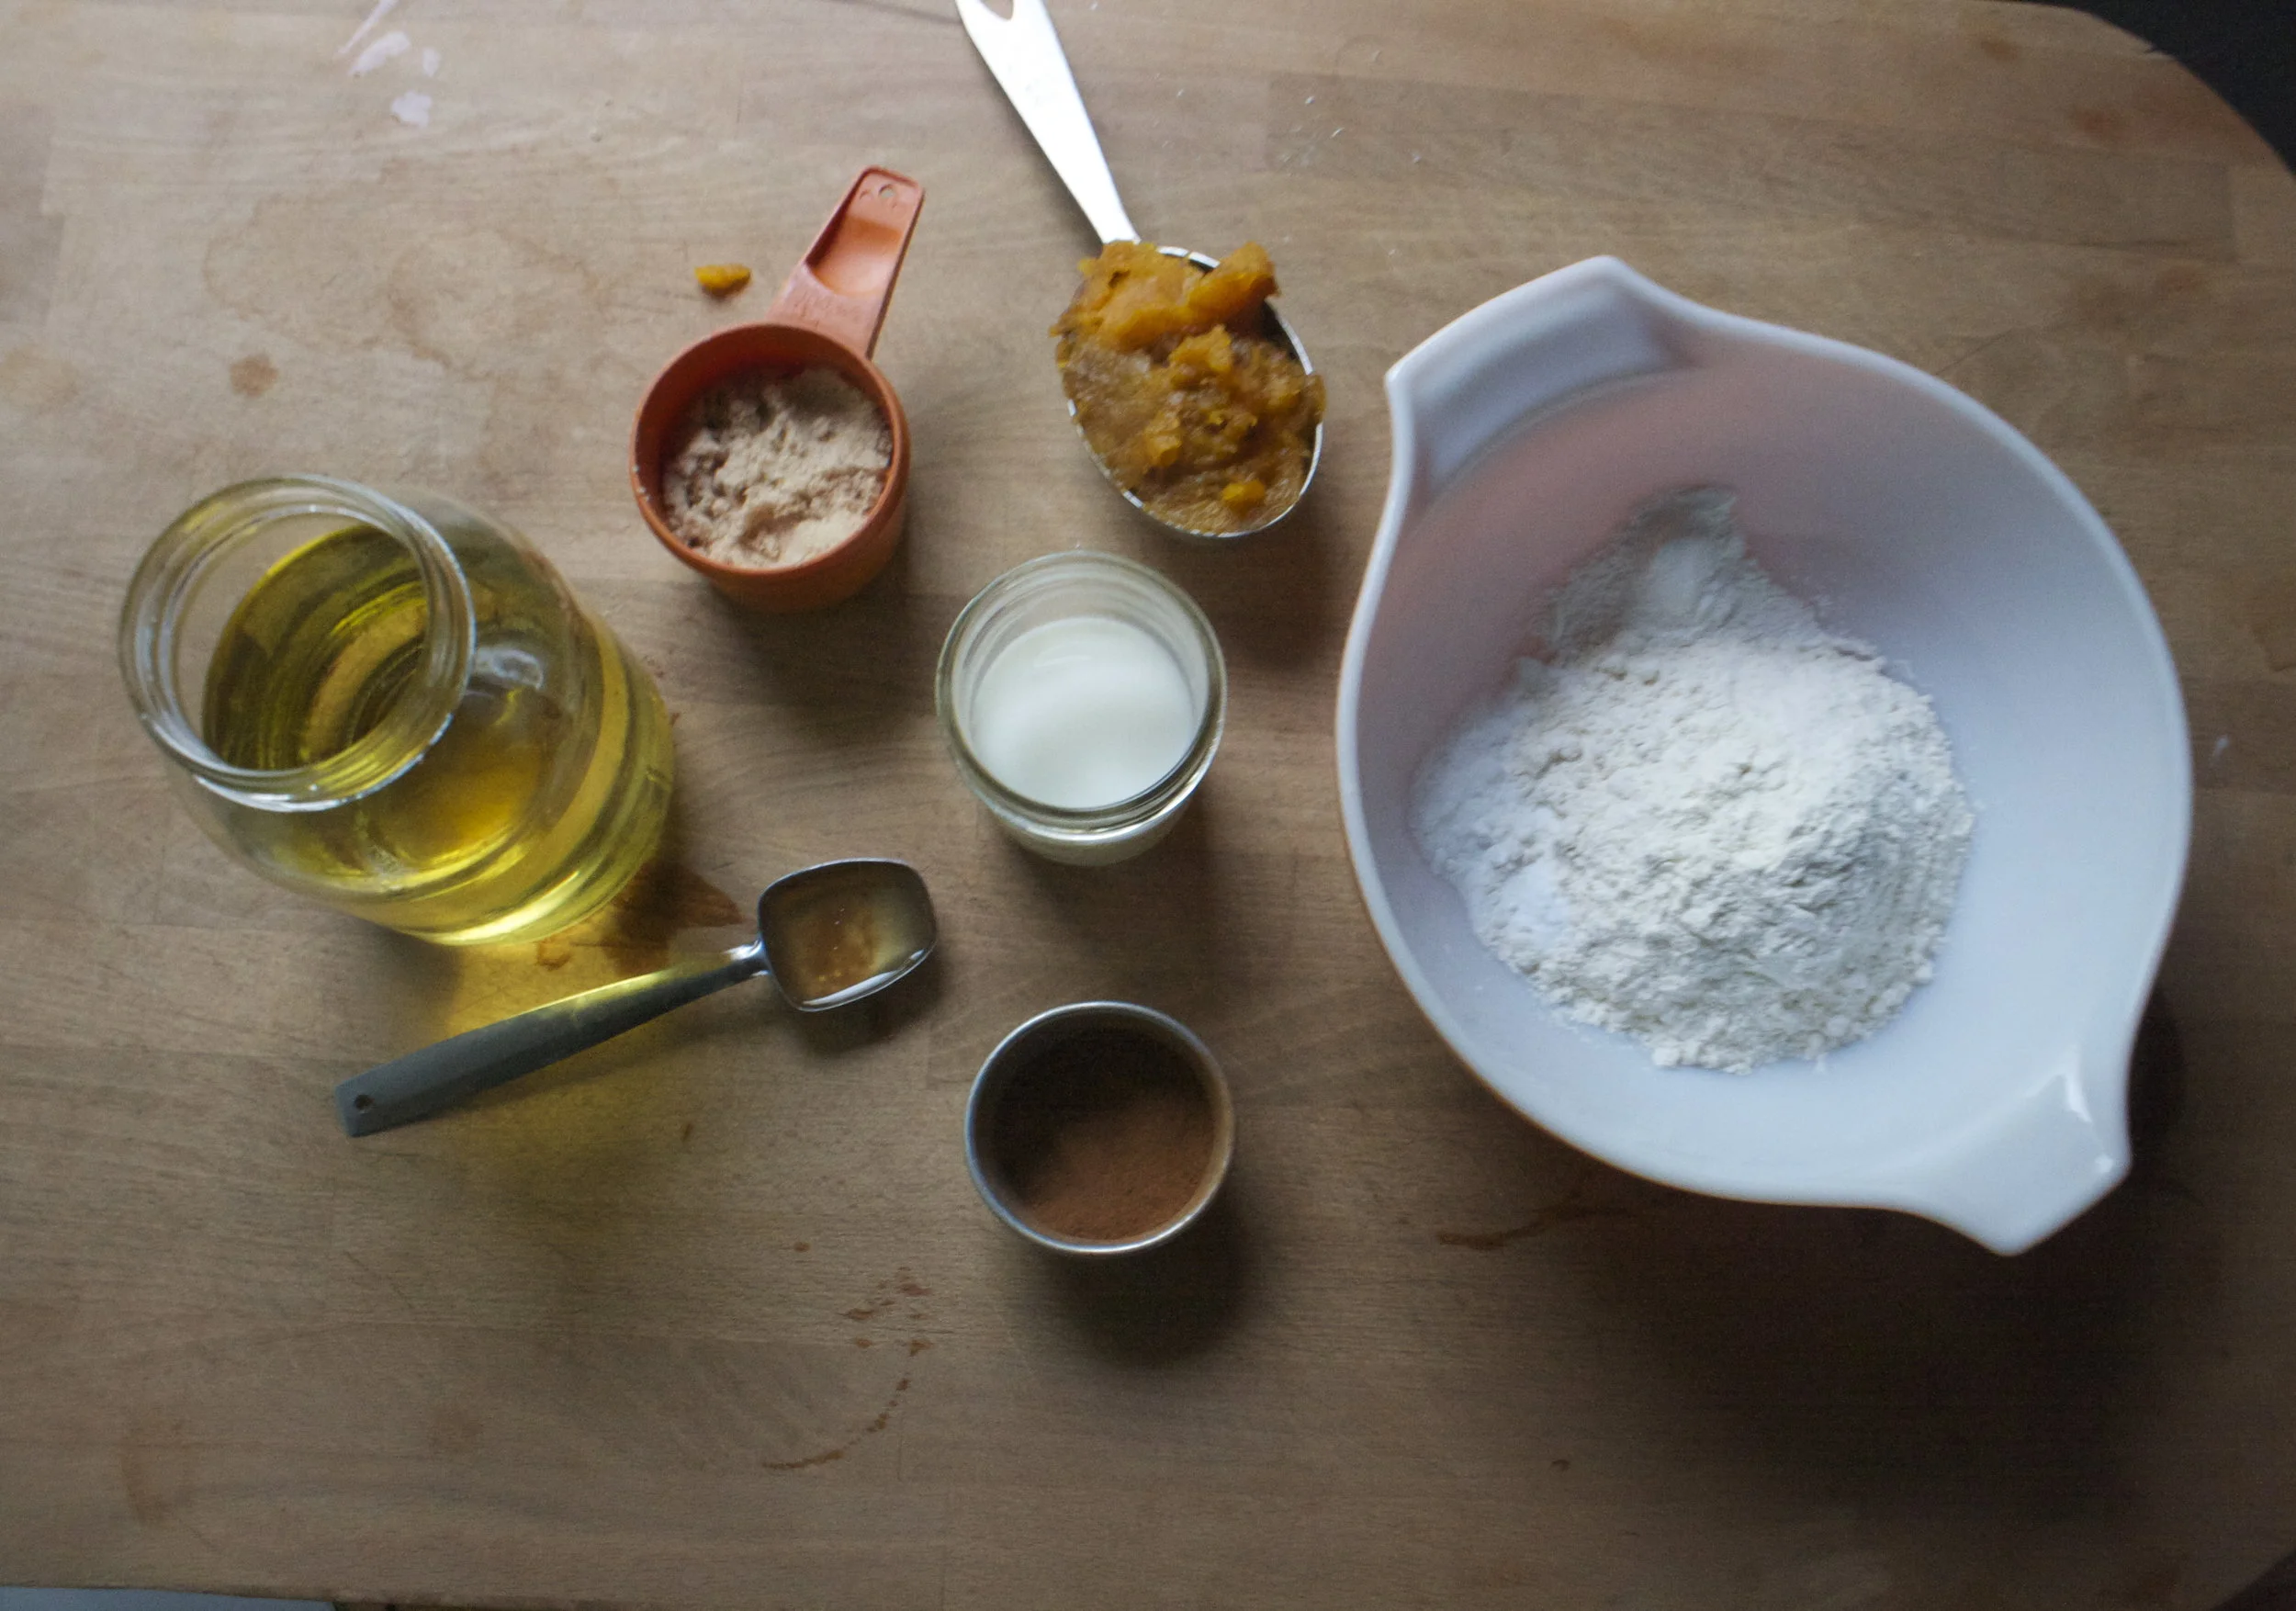
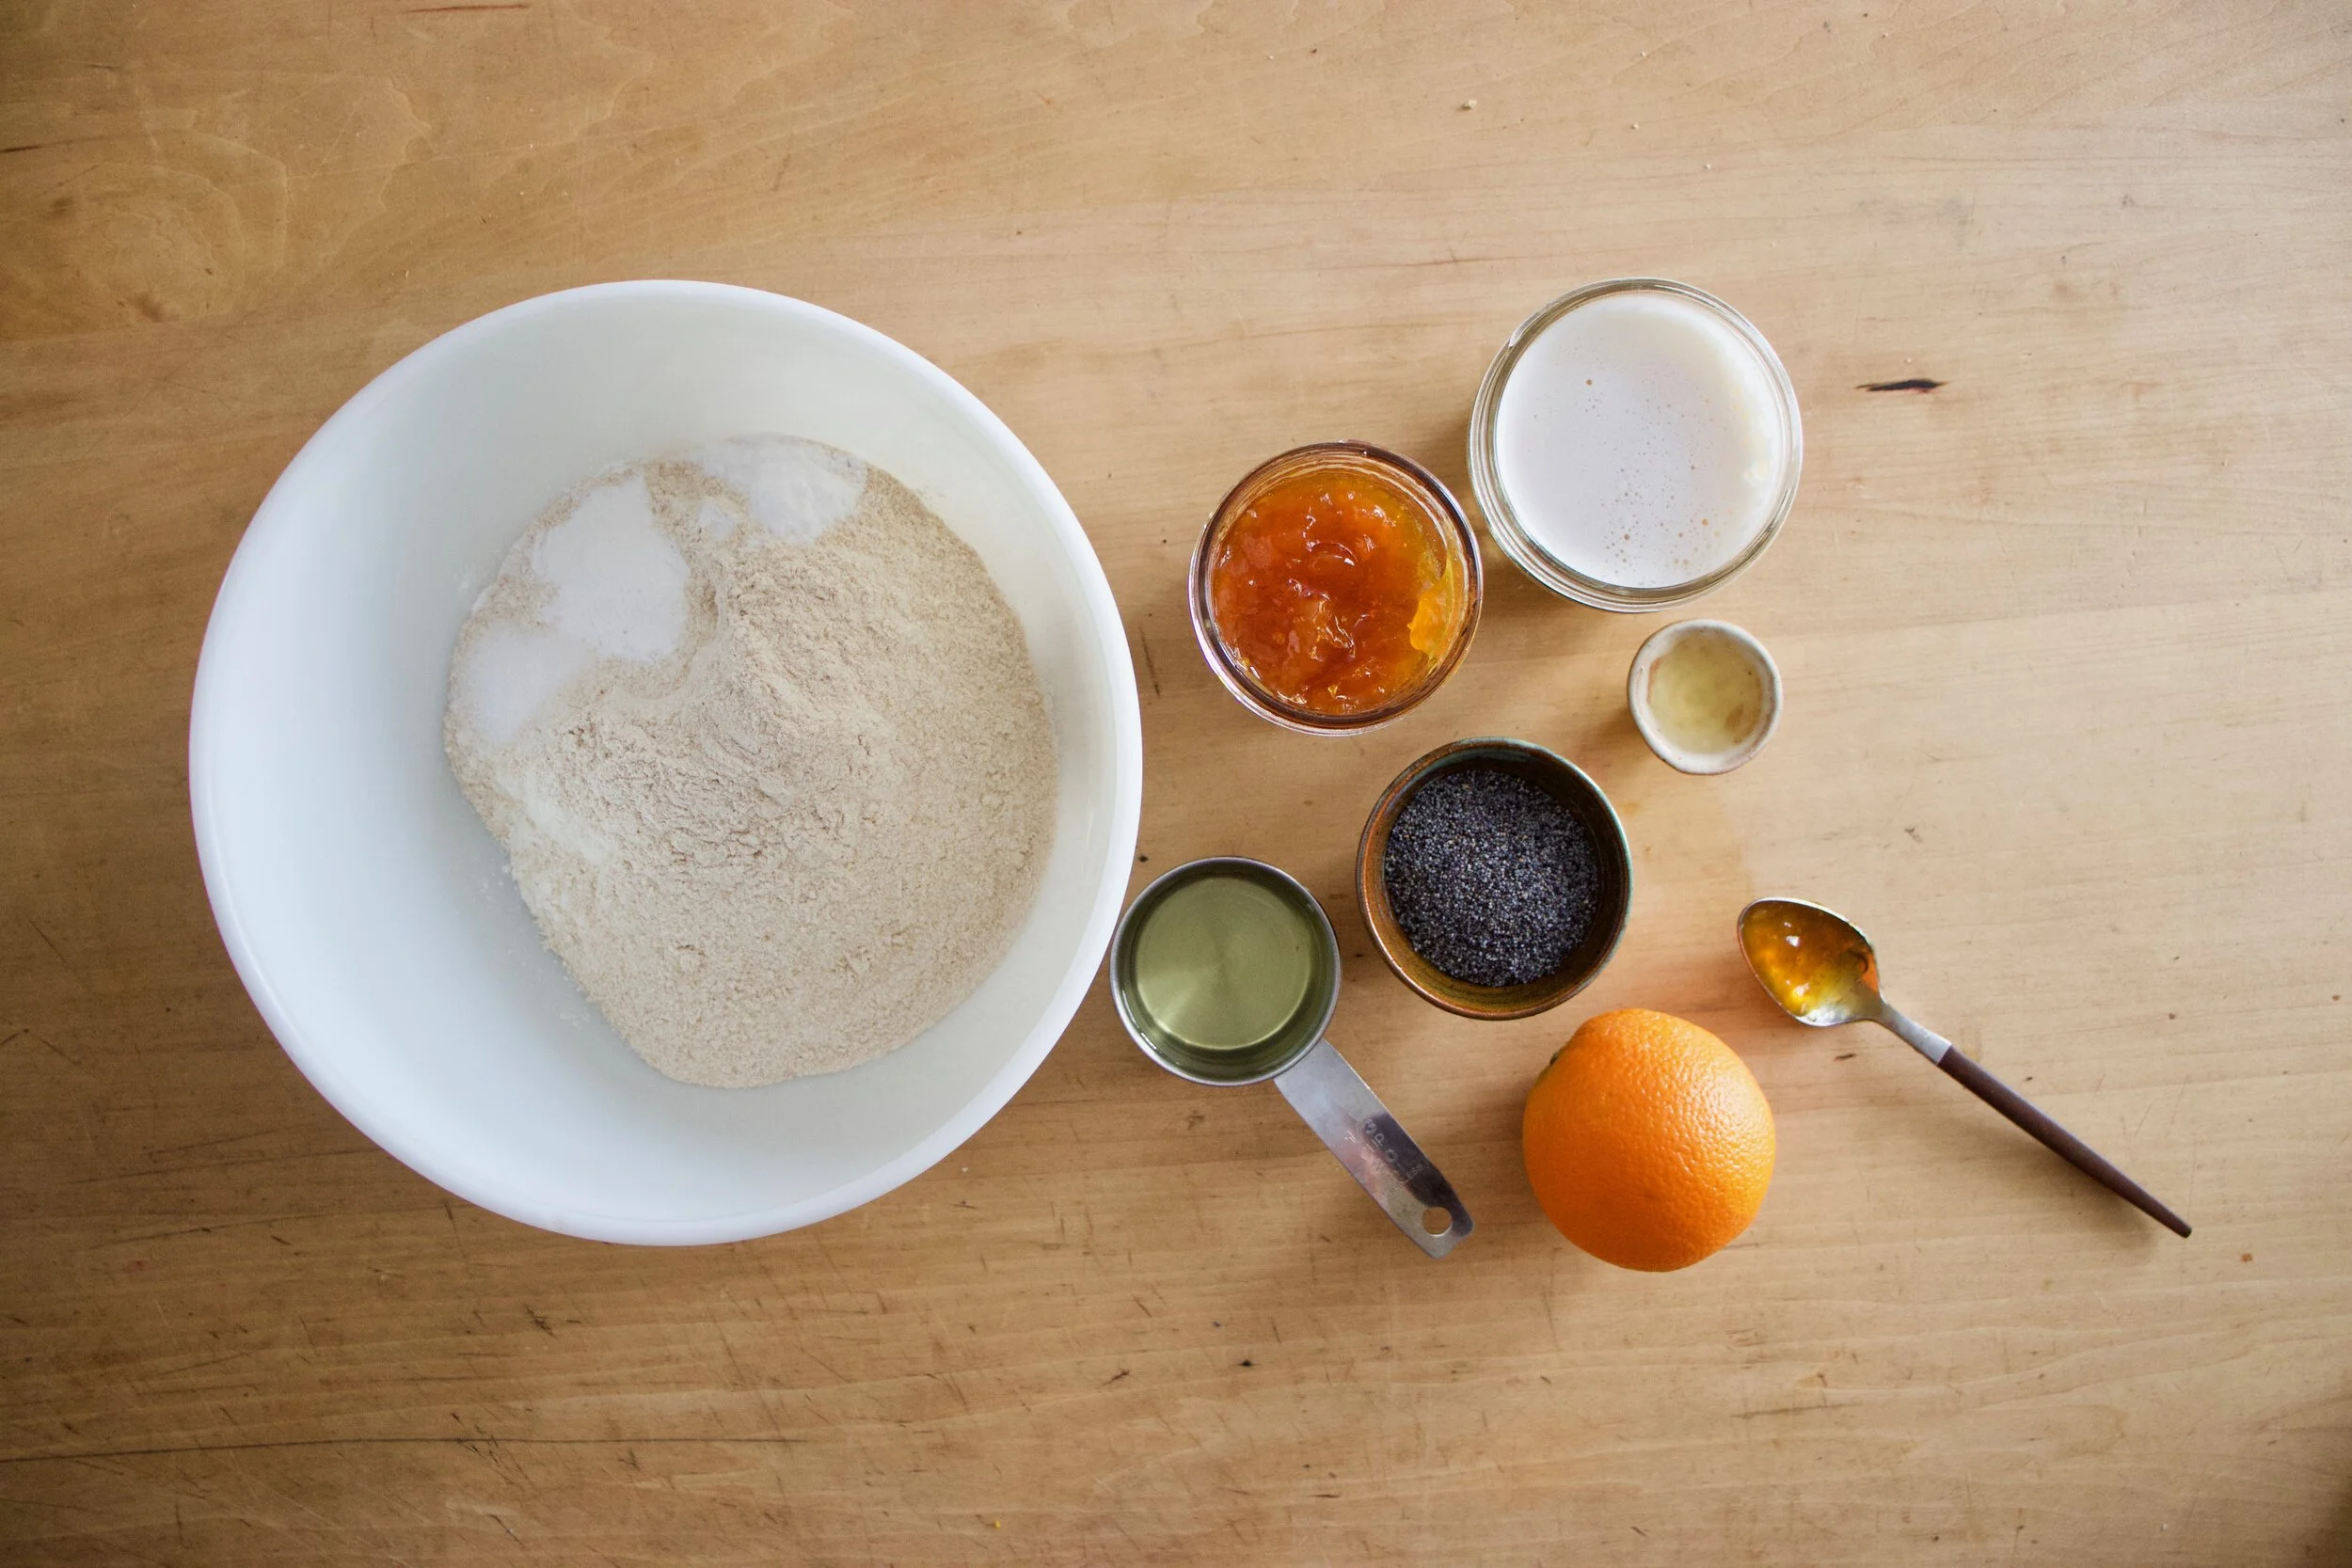
The stuff. Flour, baking powder and soda, salt, sugar, oil, cinnamon, vinegar, clementines, and powdered sugar.
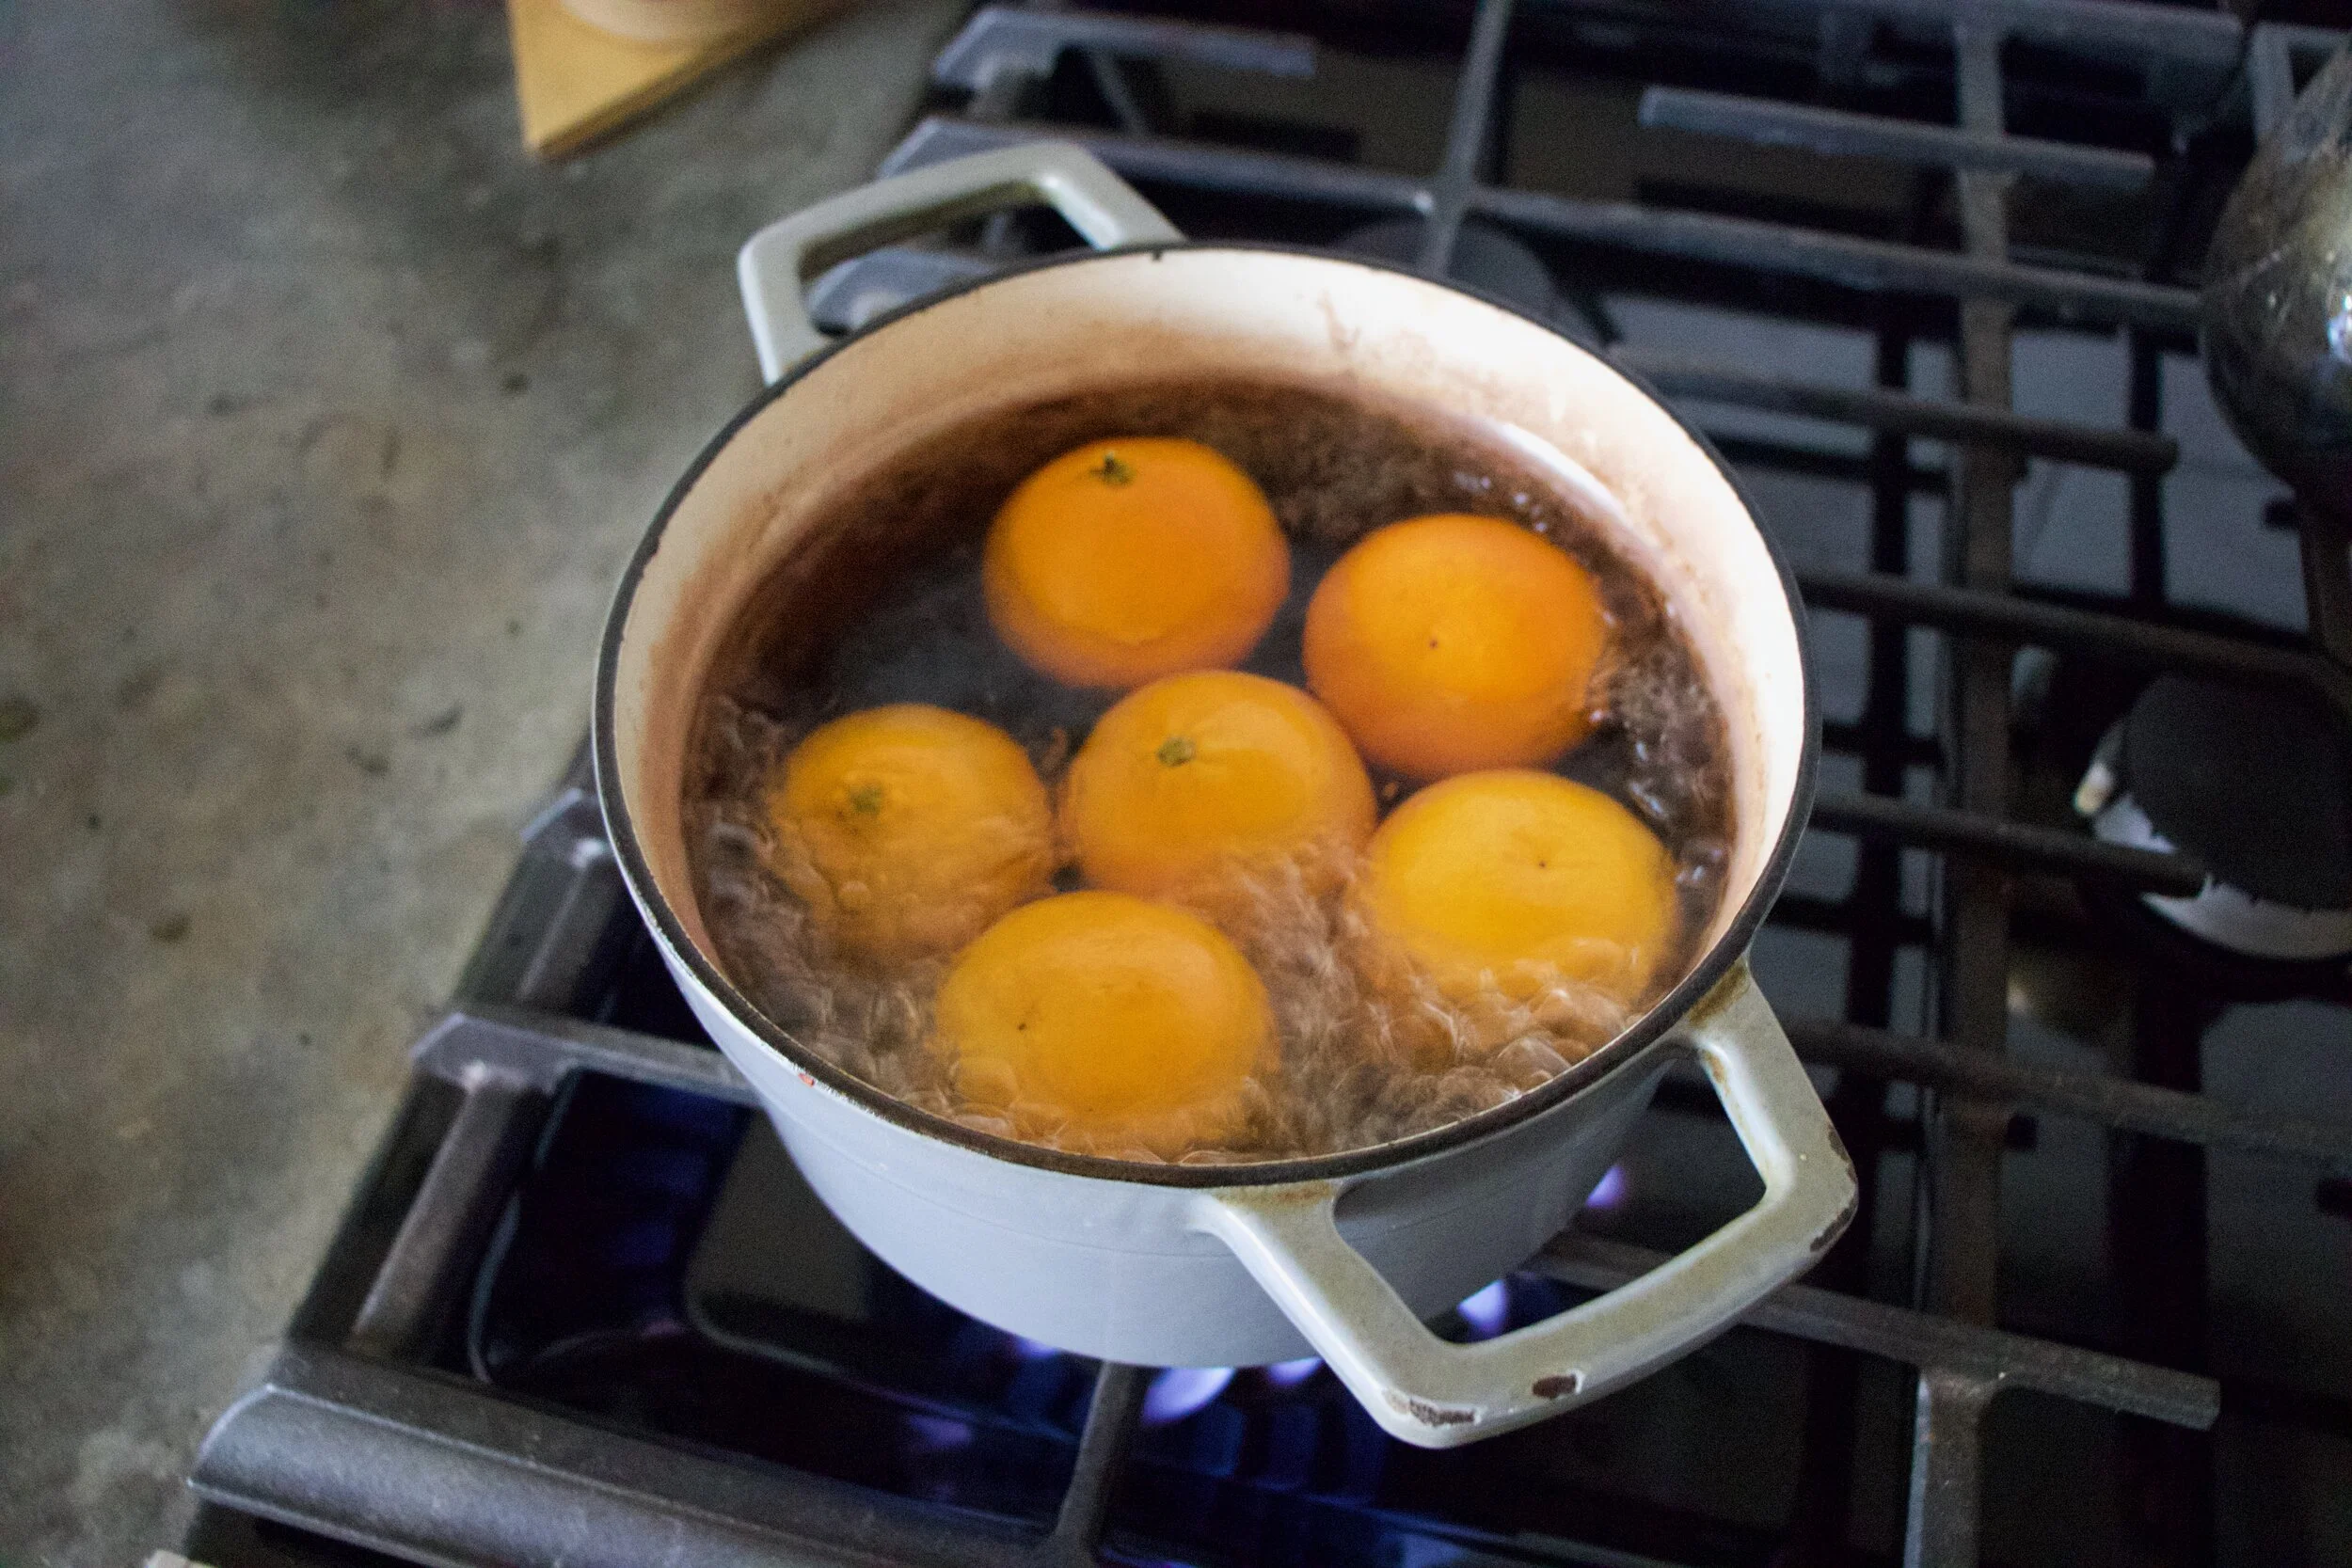
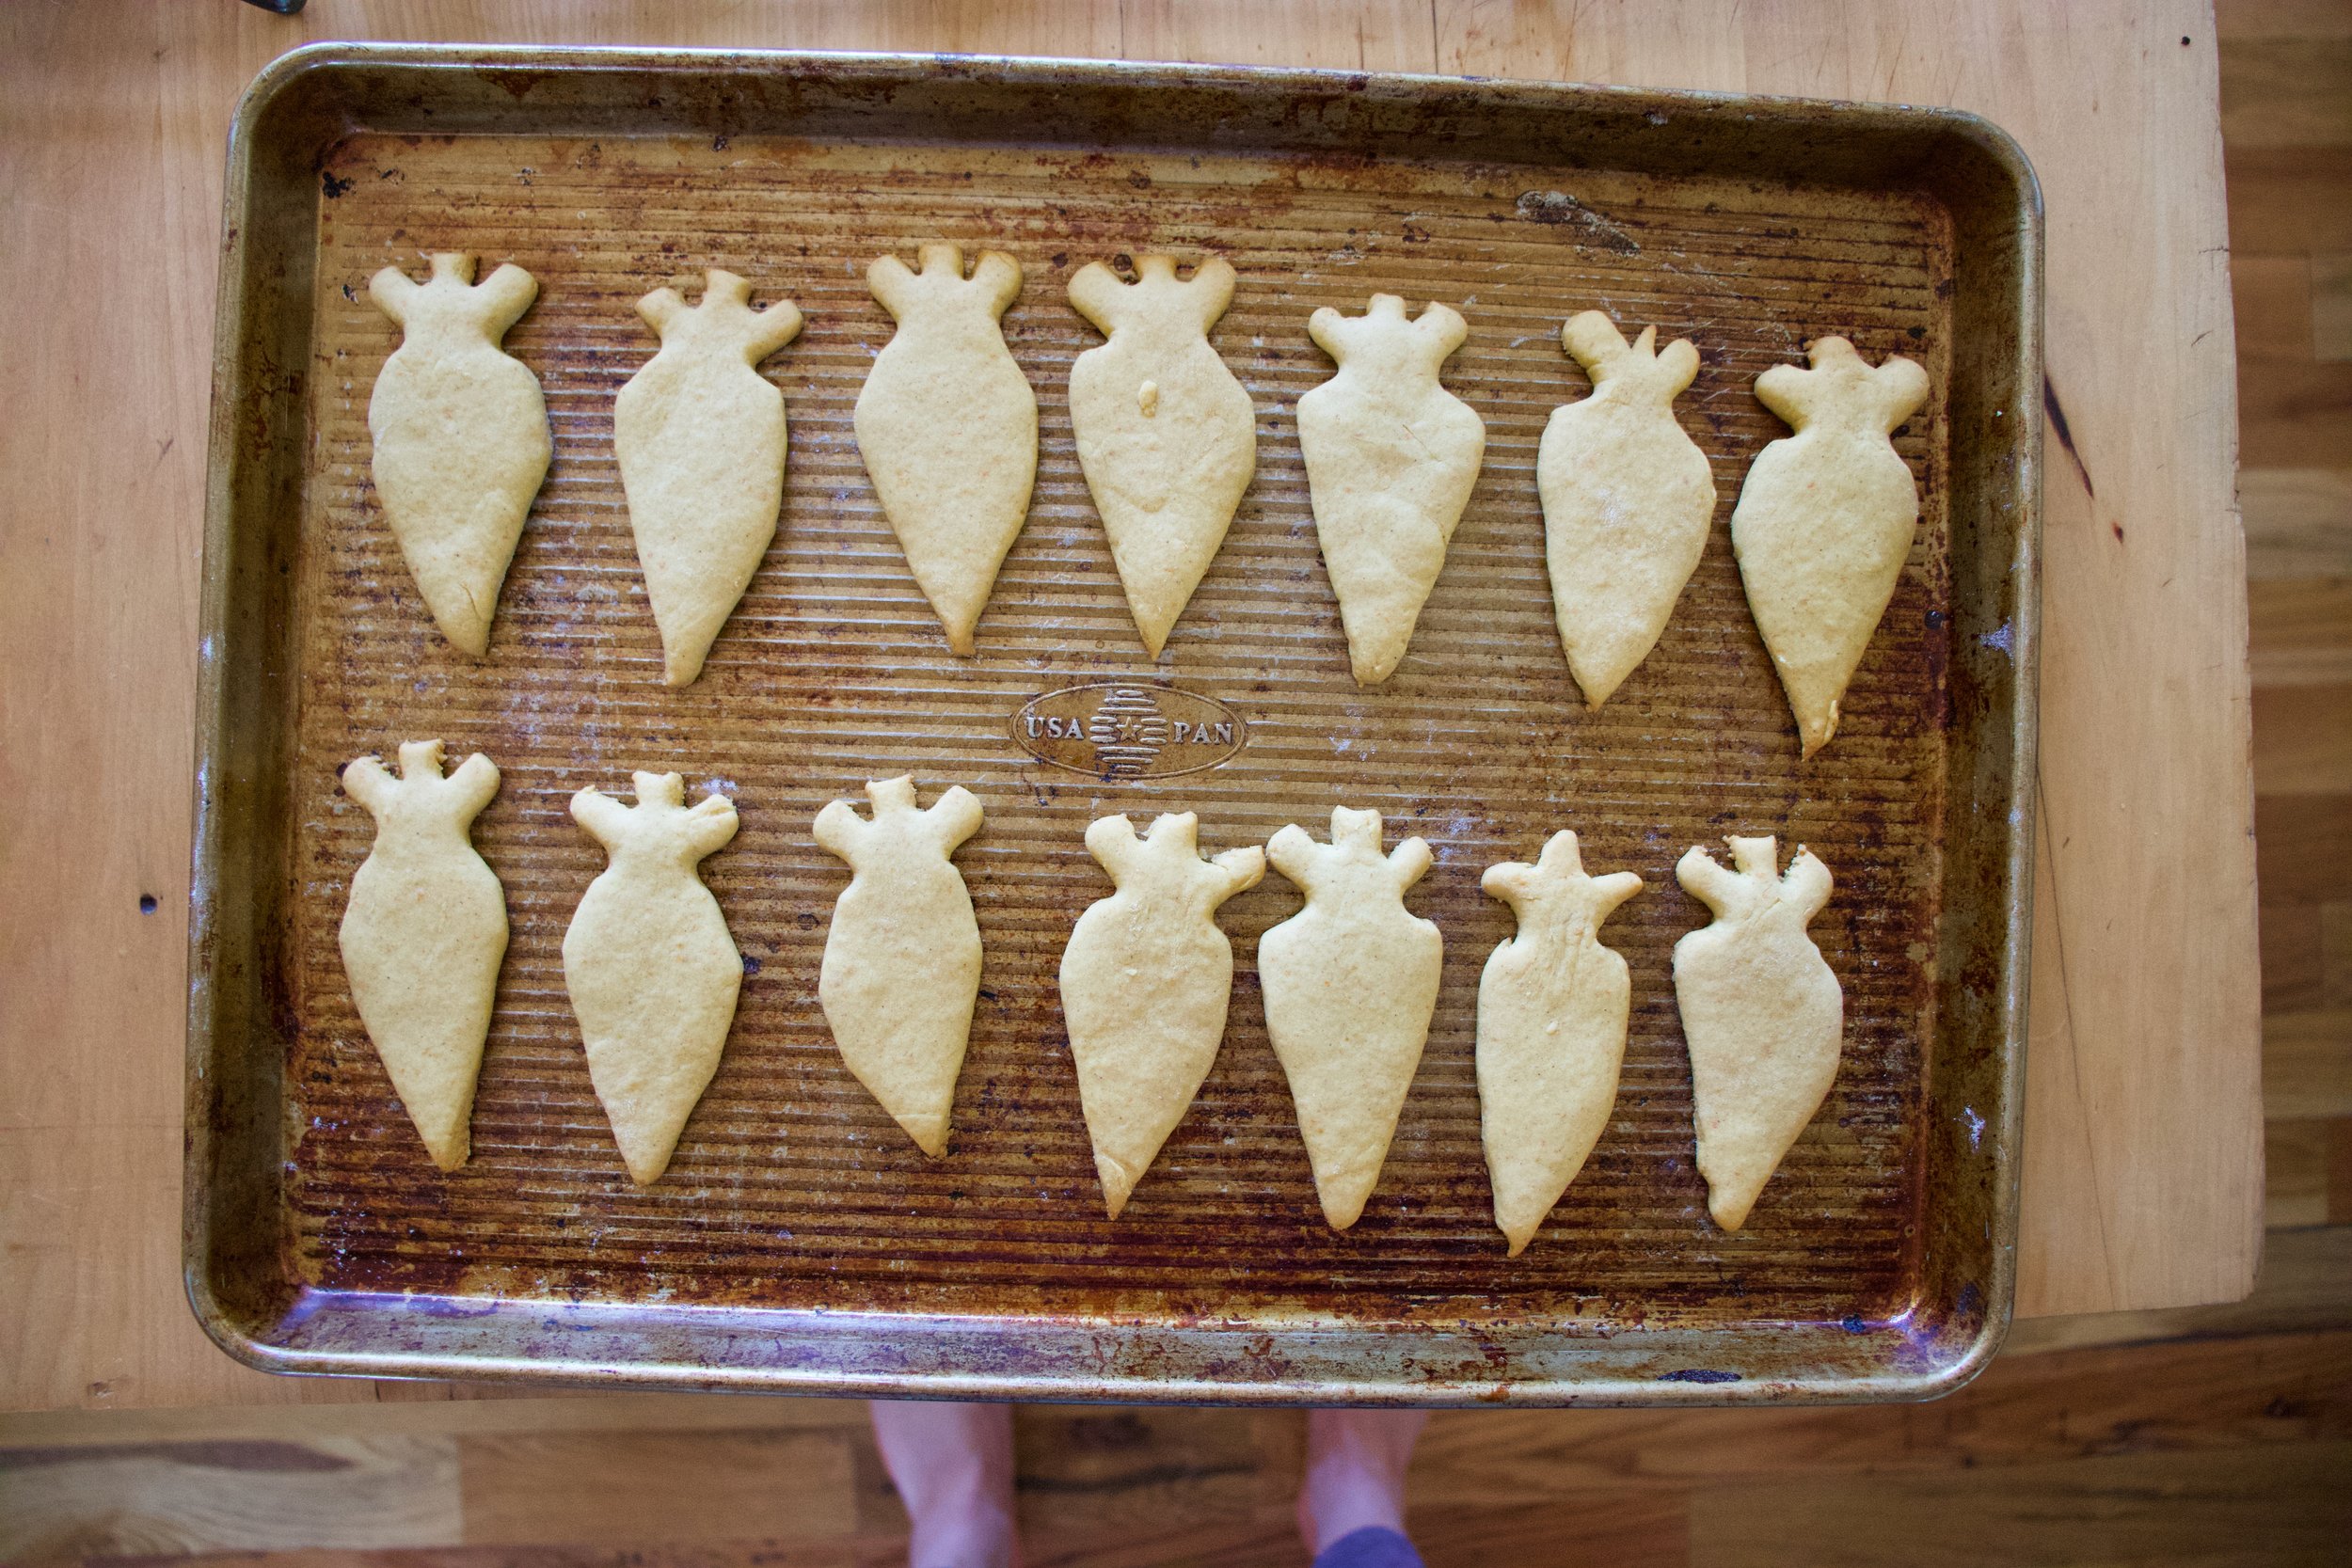
First you need to boil the clementines. Big pot, fill with water, place clems inside, bring to a boil, then simmer for 2 hours. Seems like a long time but just do it while you are making and drinking coffee or doing laundry or whatever. You don%u2019t need to keep an eye on them, other then to check that the water hasn%u2019t evaporated, and it smells so nice.

After the 2 hours are up, remove clementines from water and let cool enough to handle. Cut in half. If there are giant seeds, remove them.
Place the clementines into blender and blend until silky smooth.
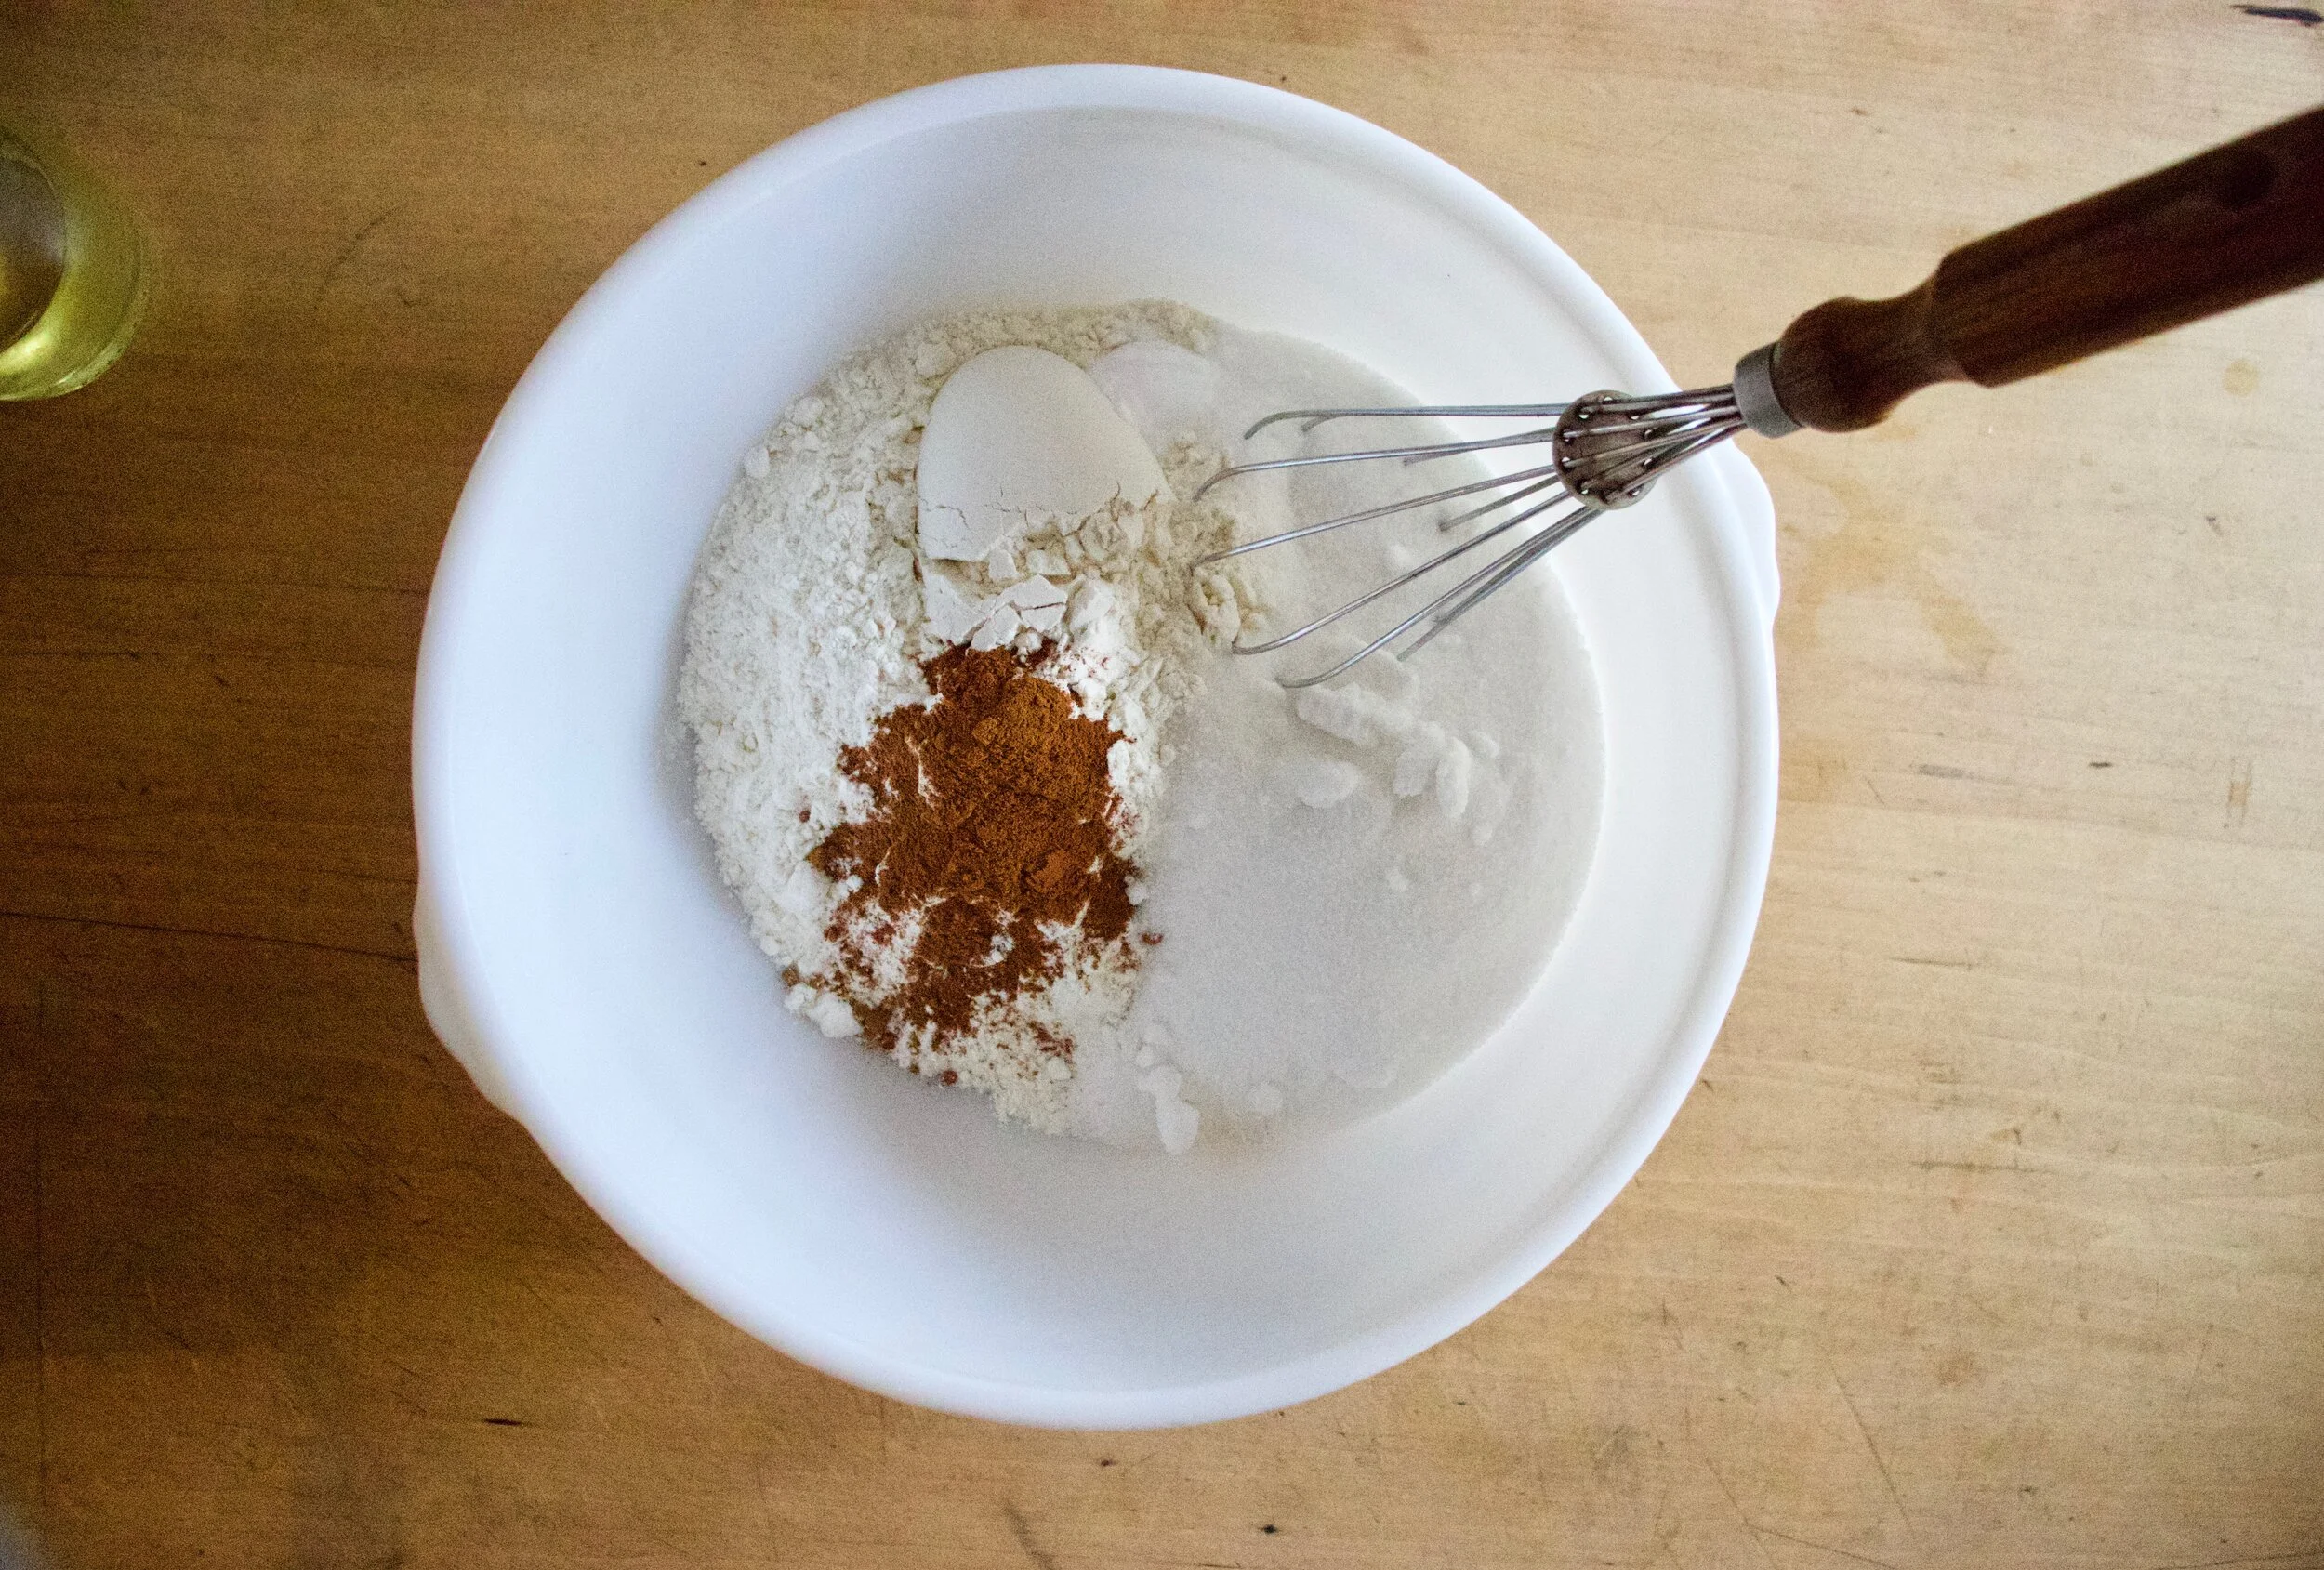
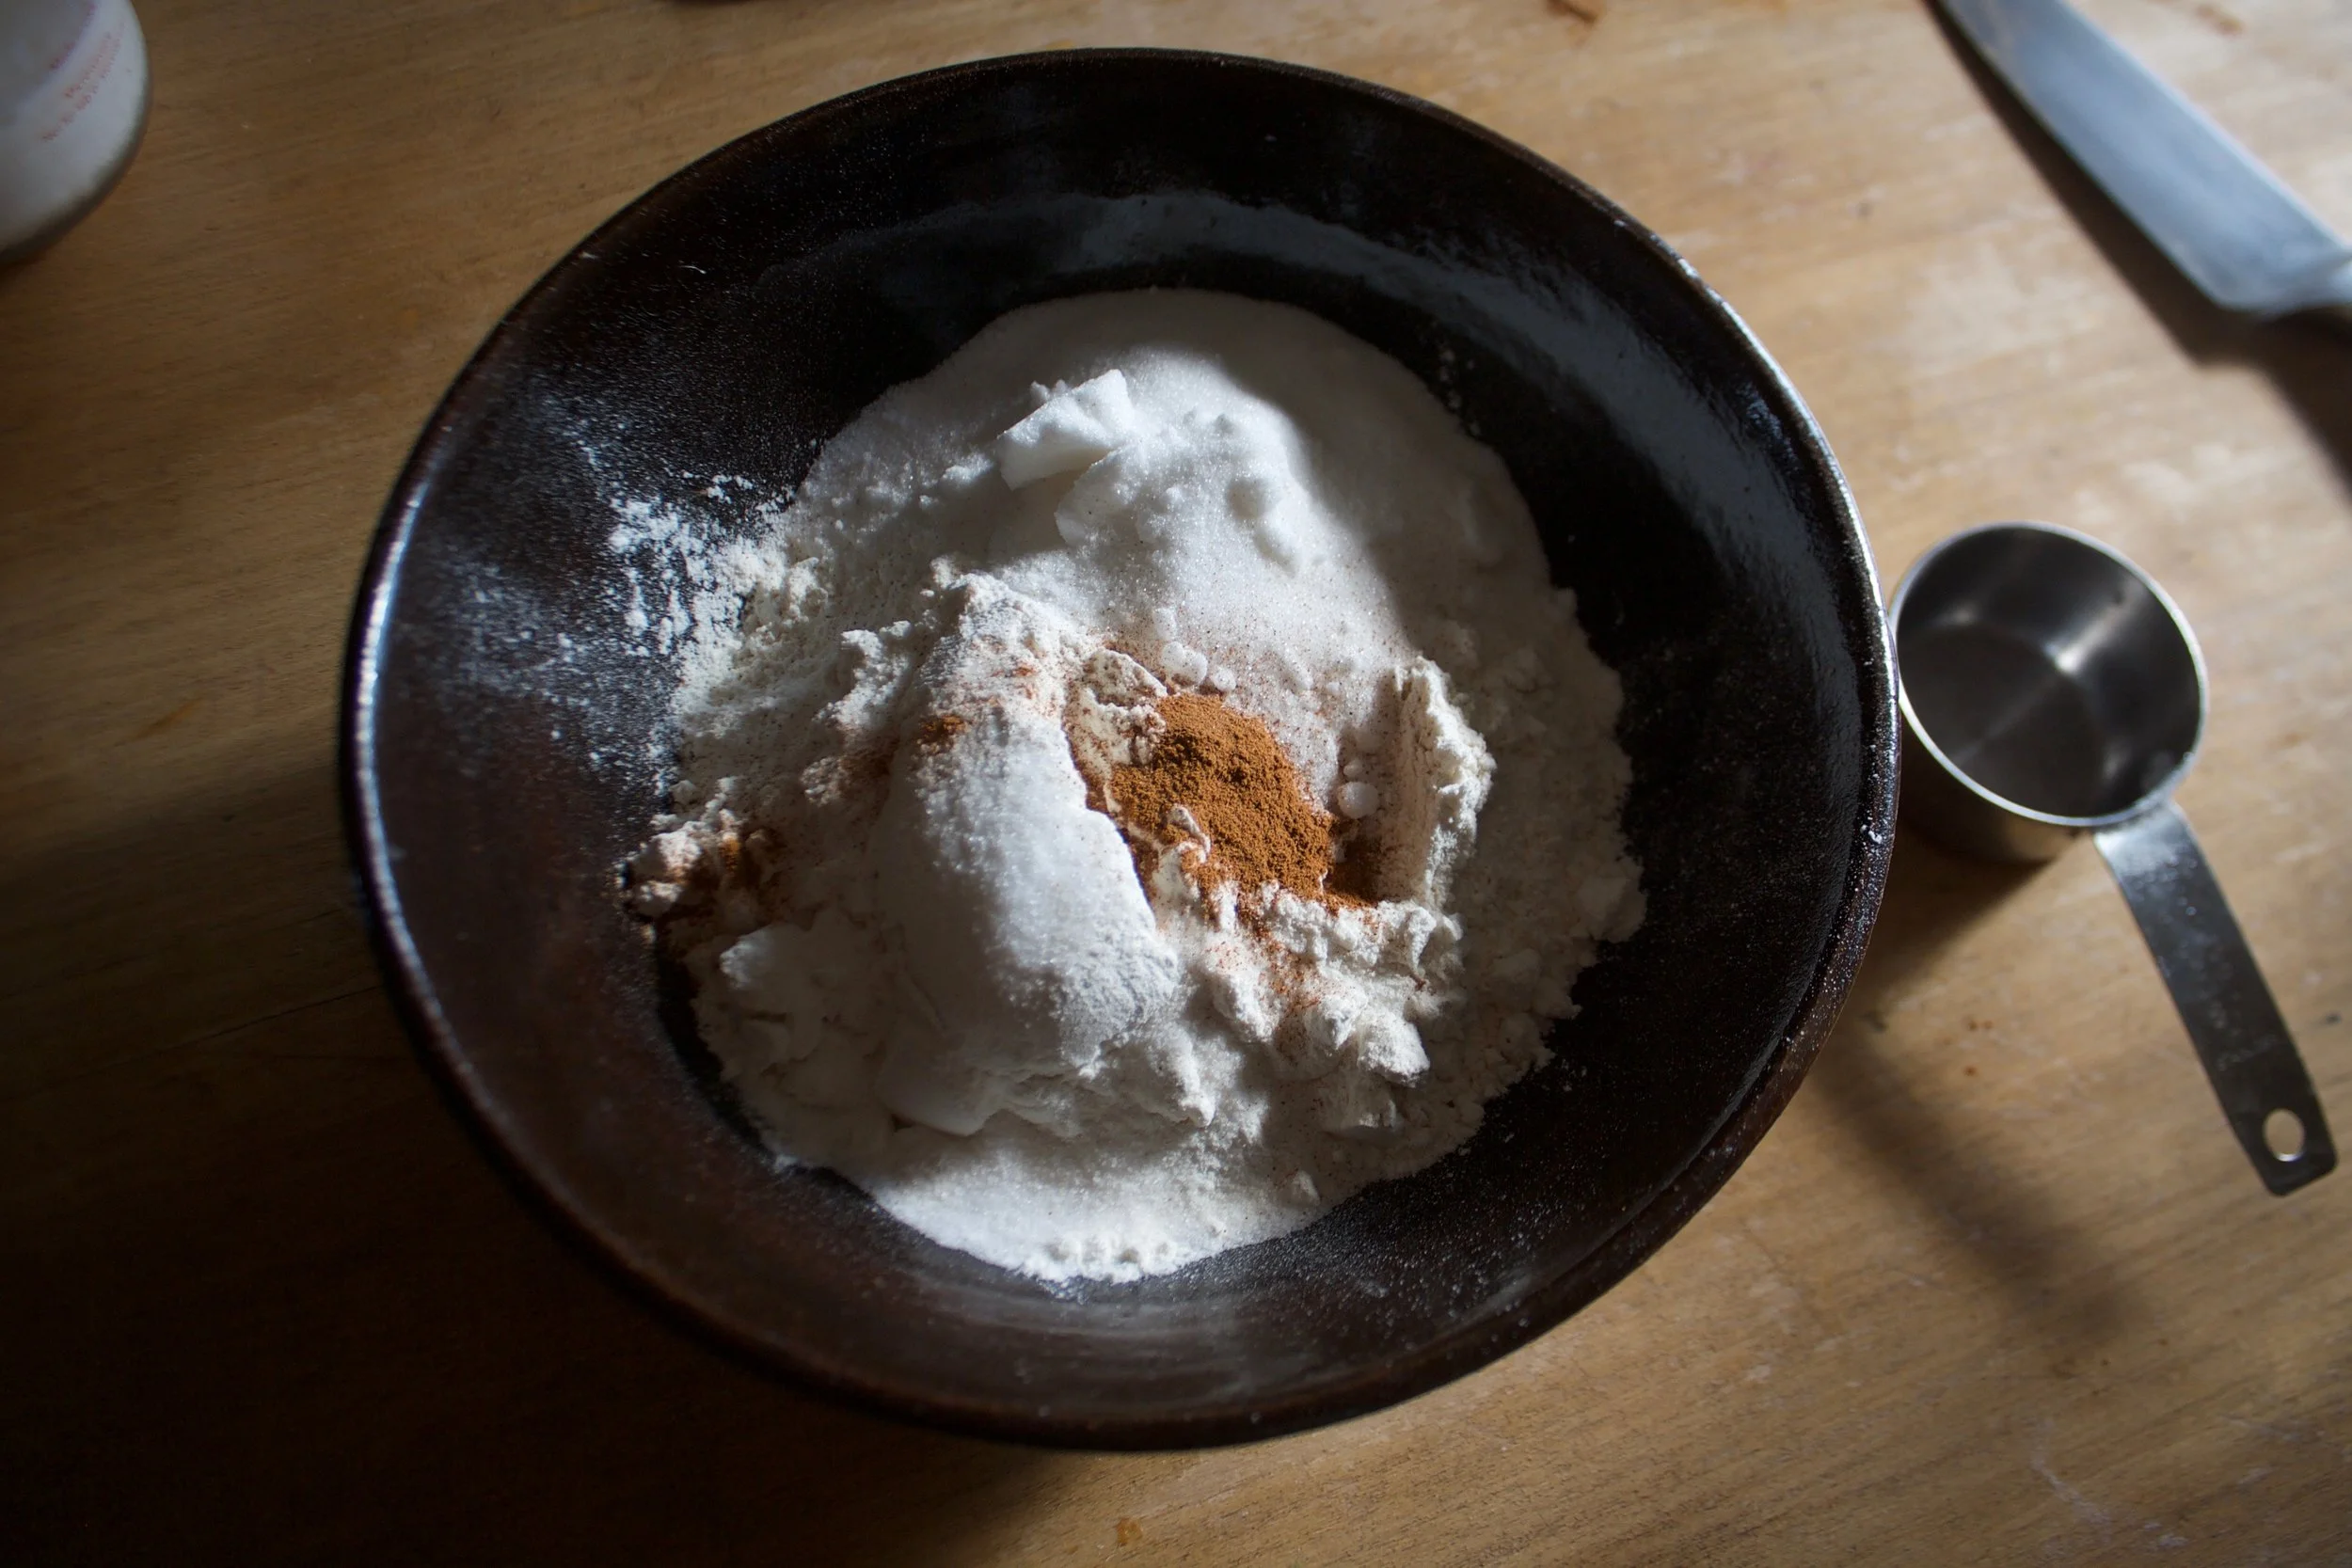
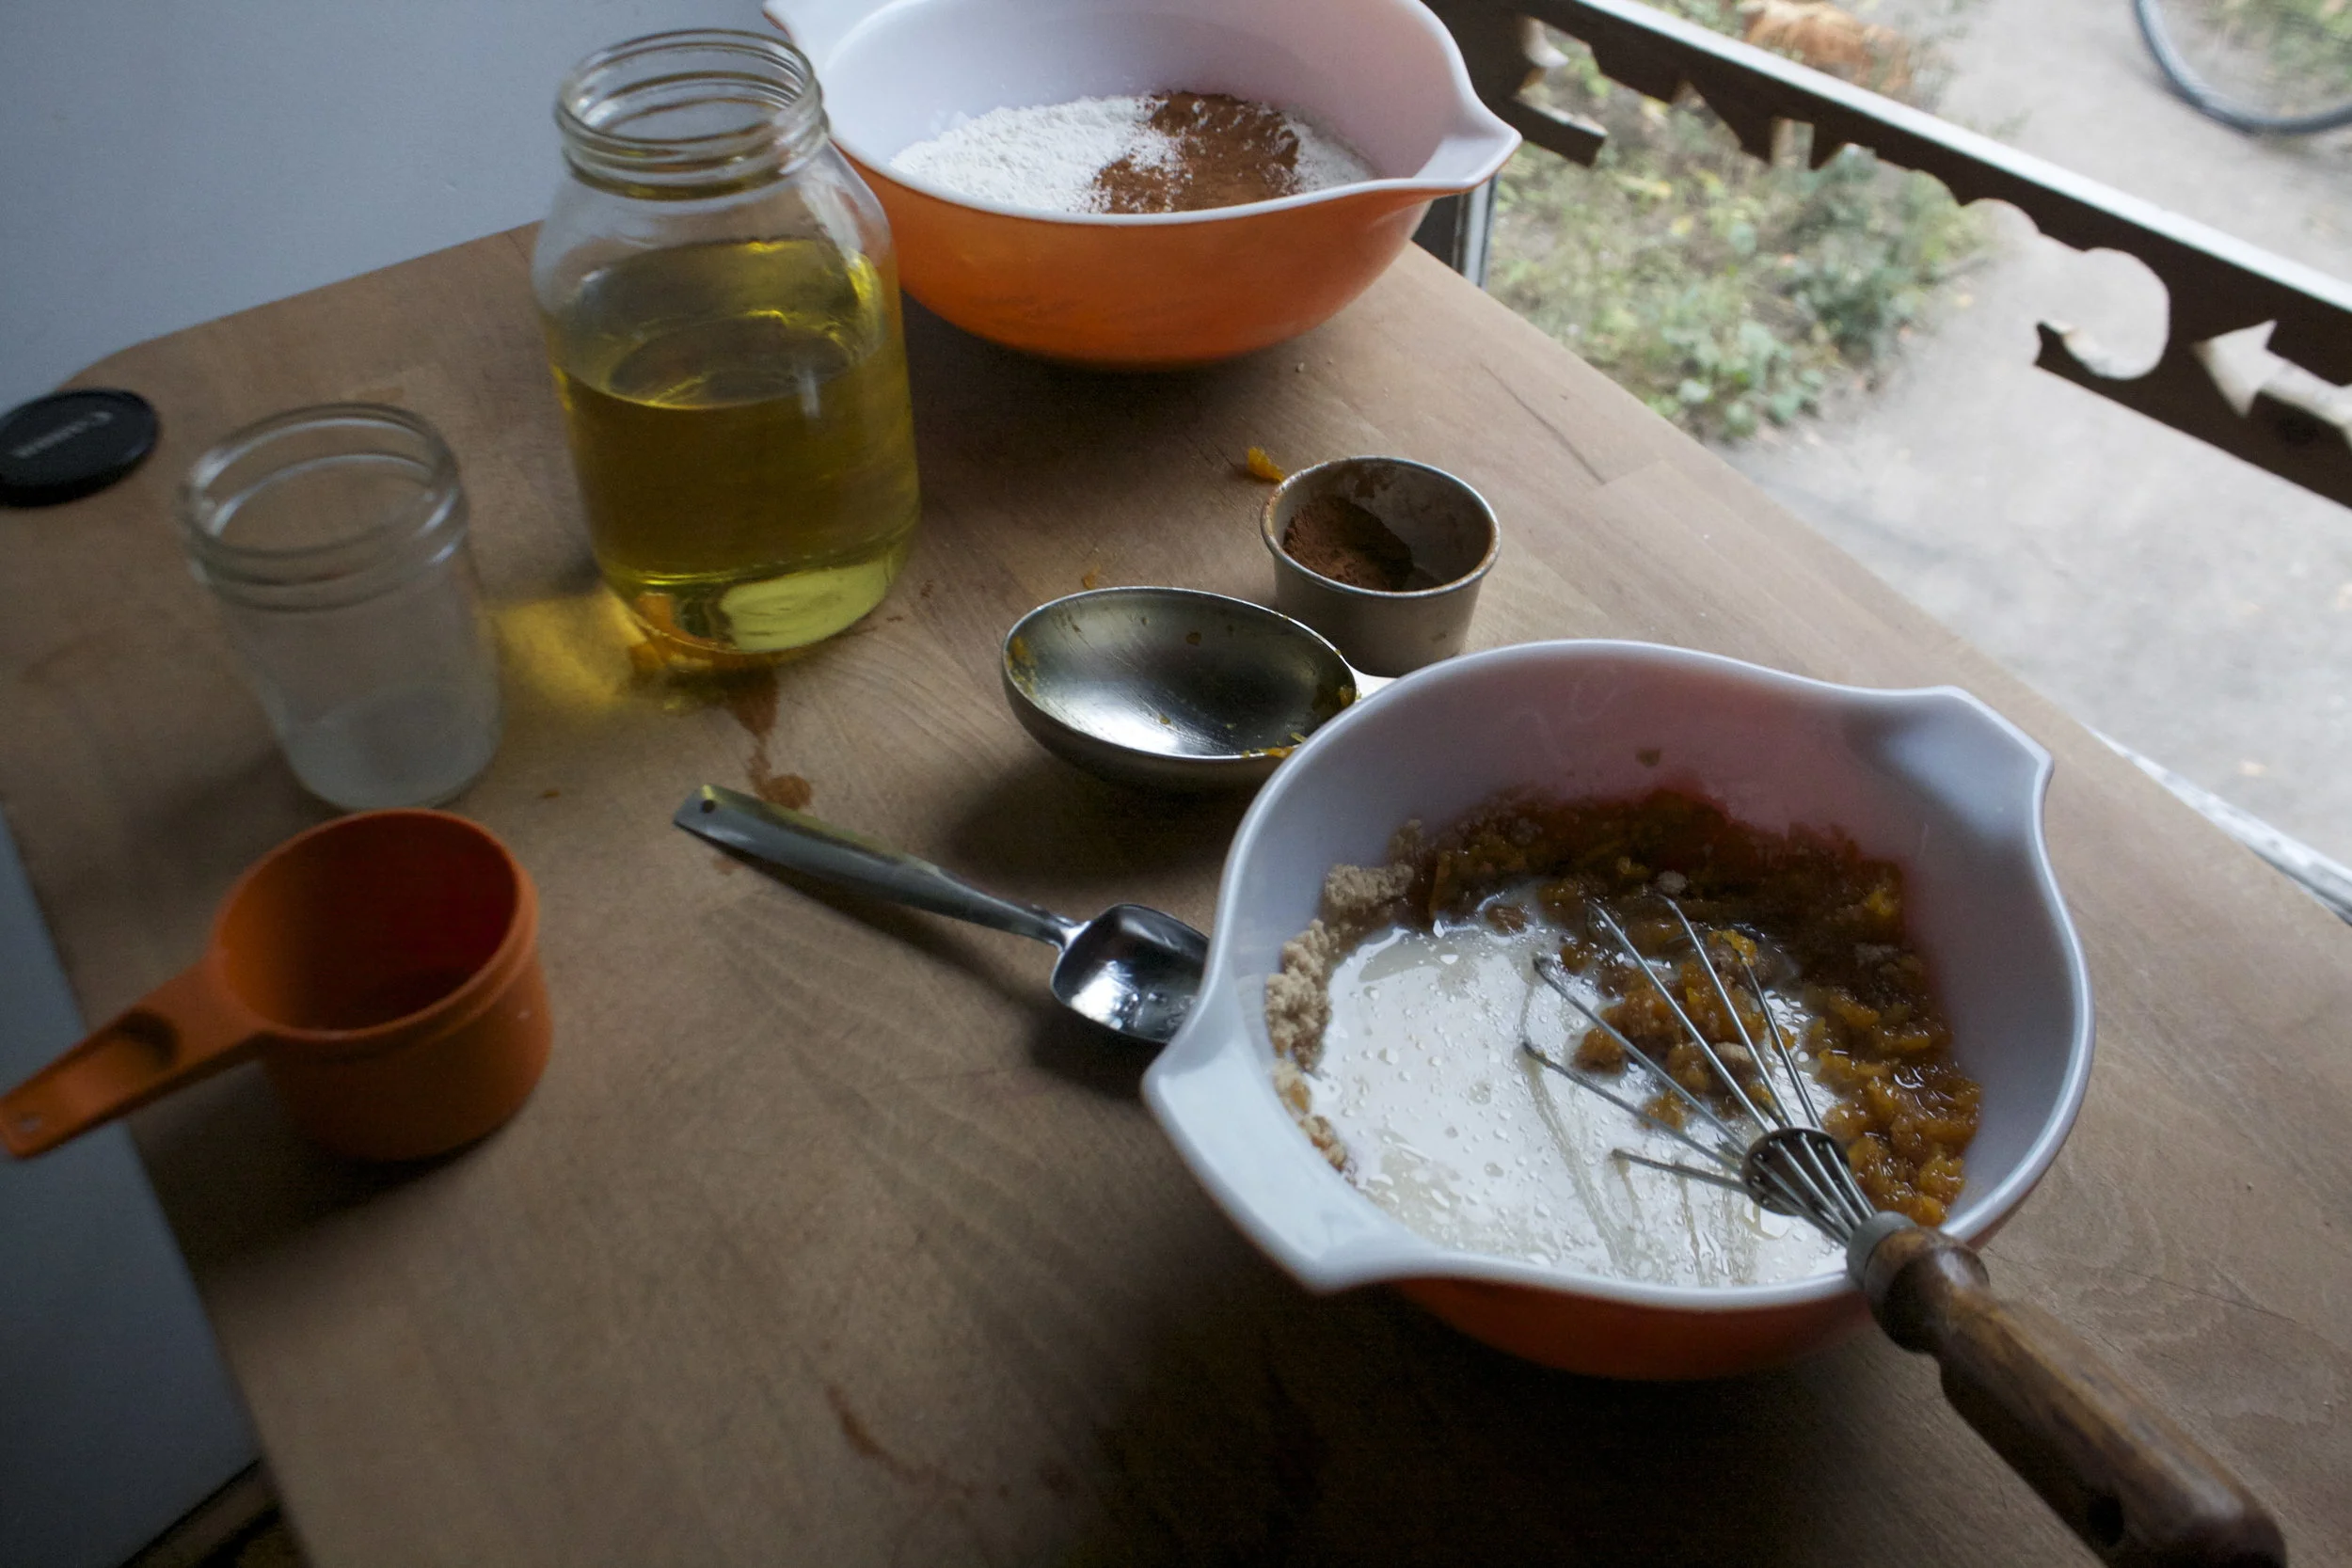
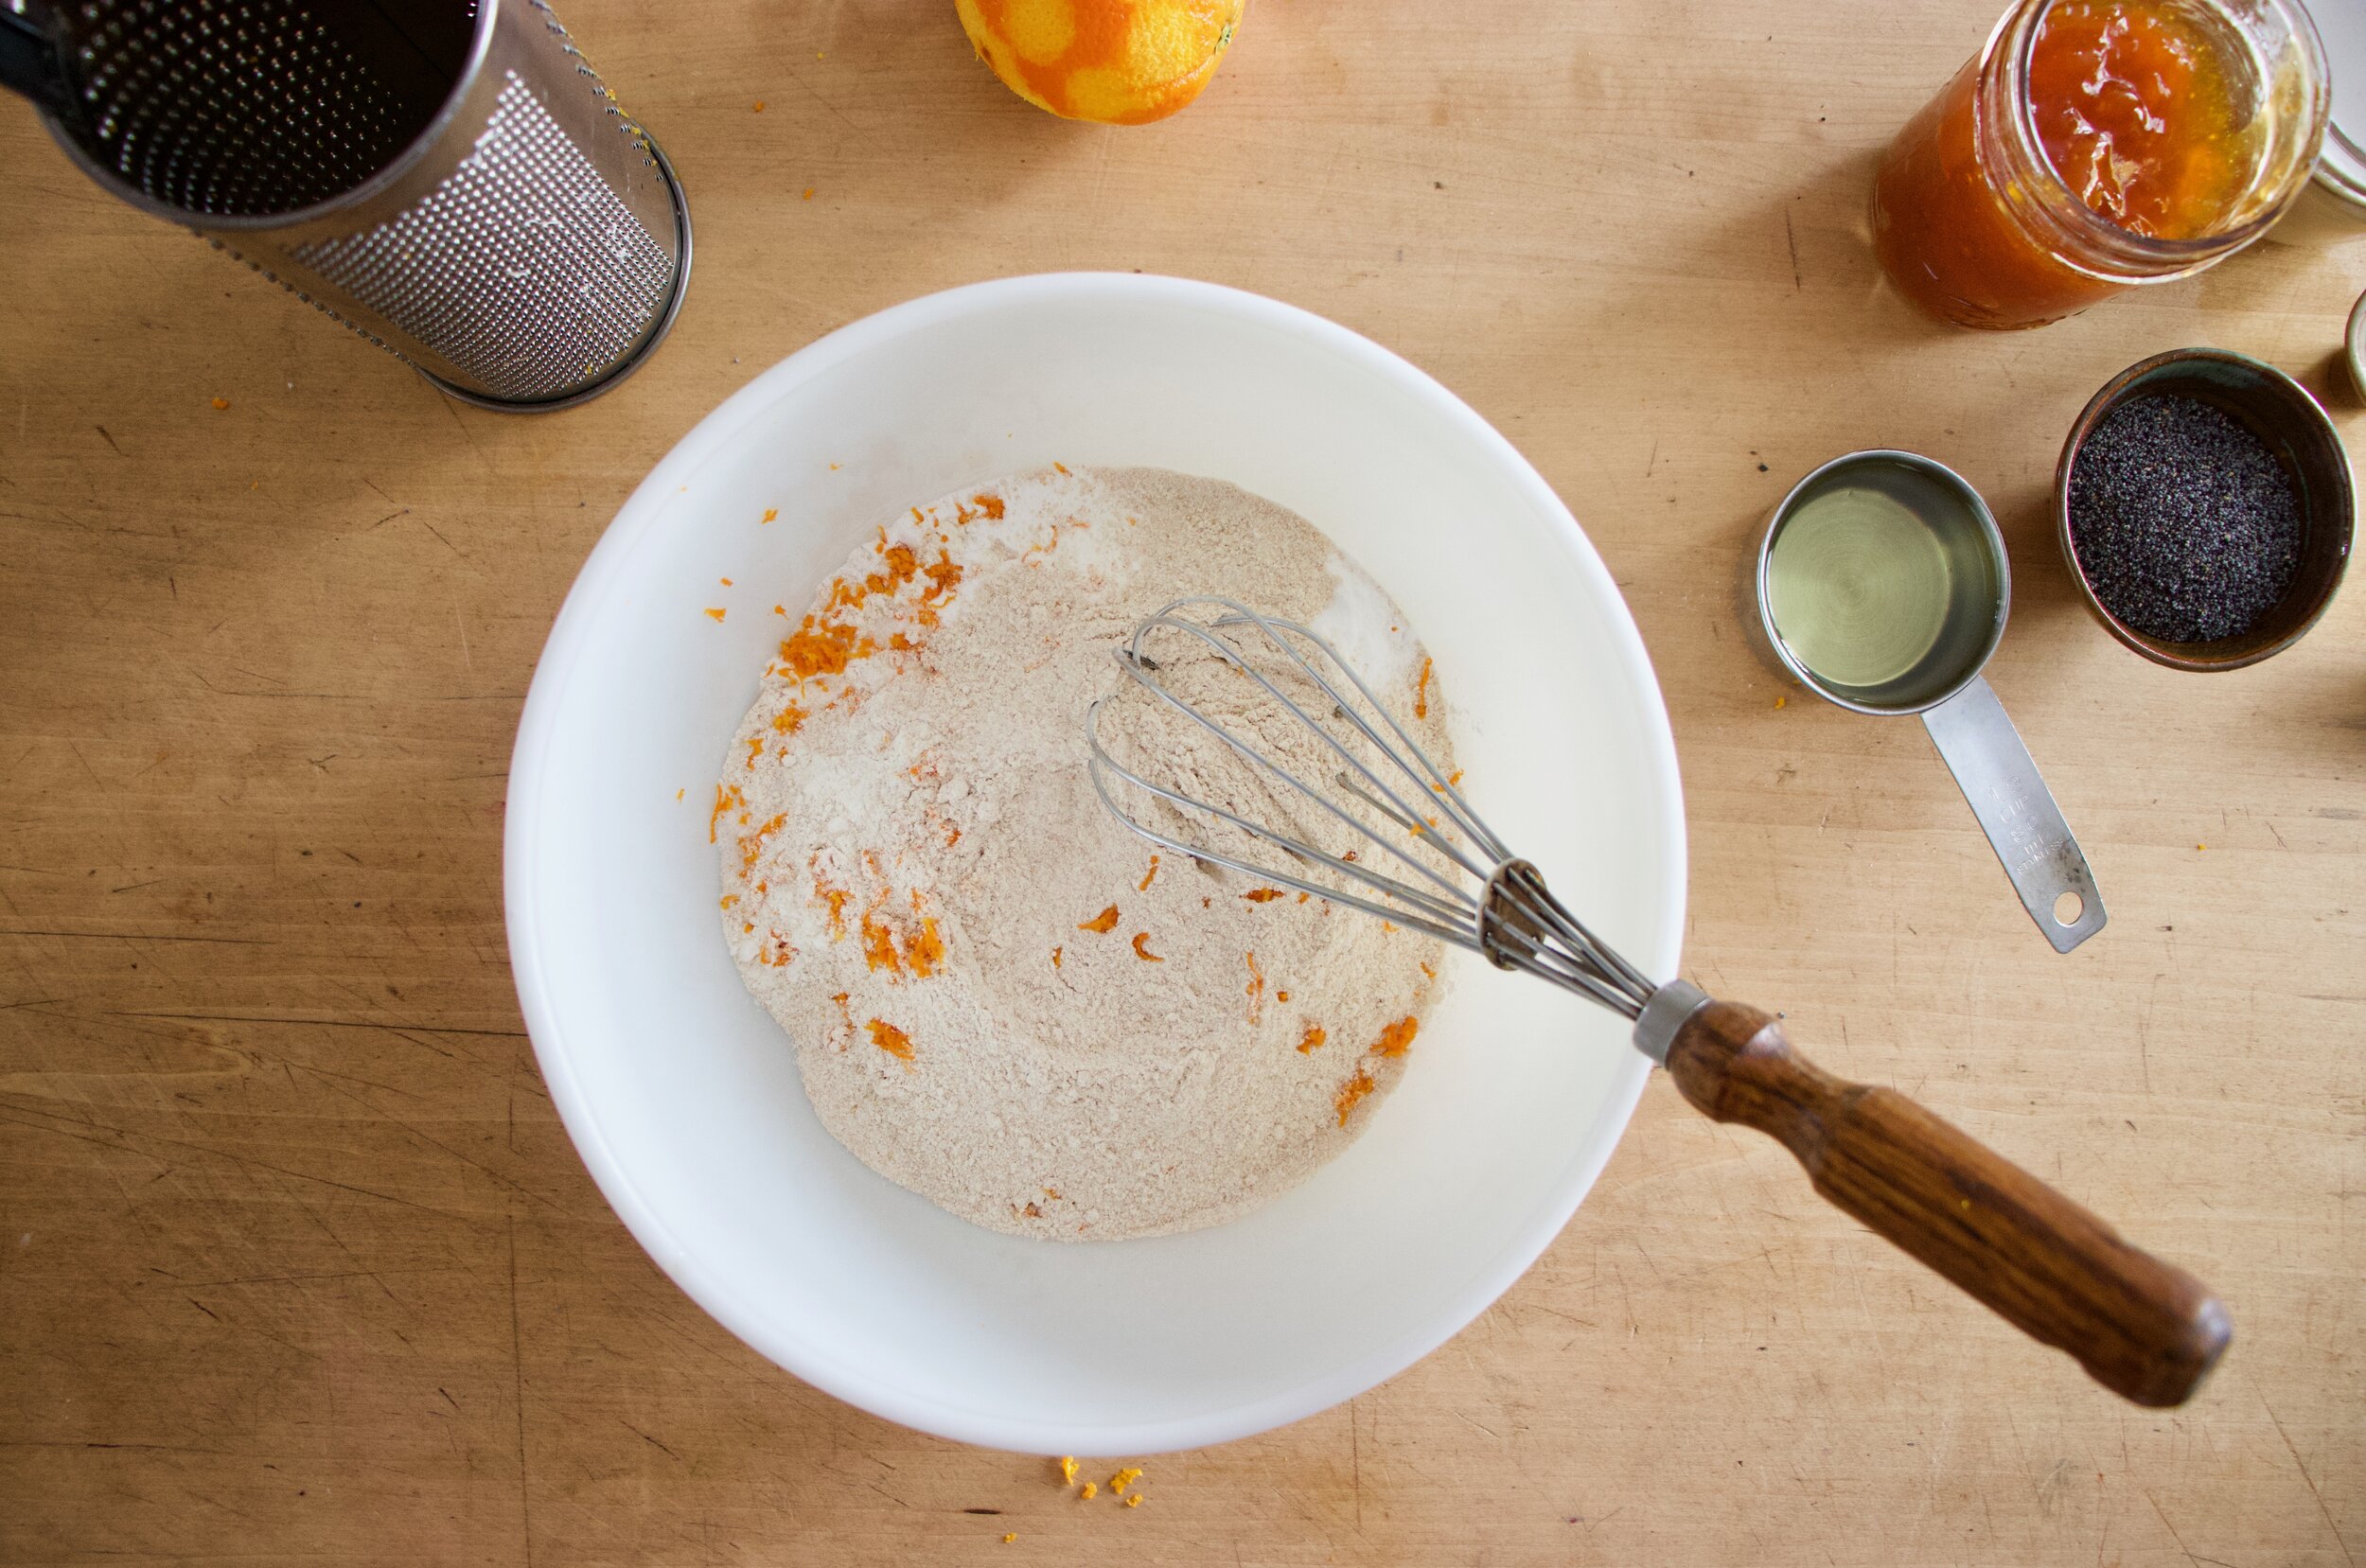
Now the other stuff. Flour, sugar, salt, baking powder and soda, and cinnamon. All into big bowl.
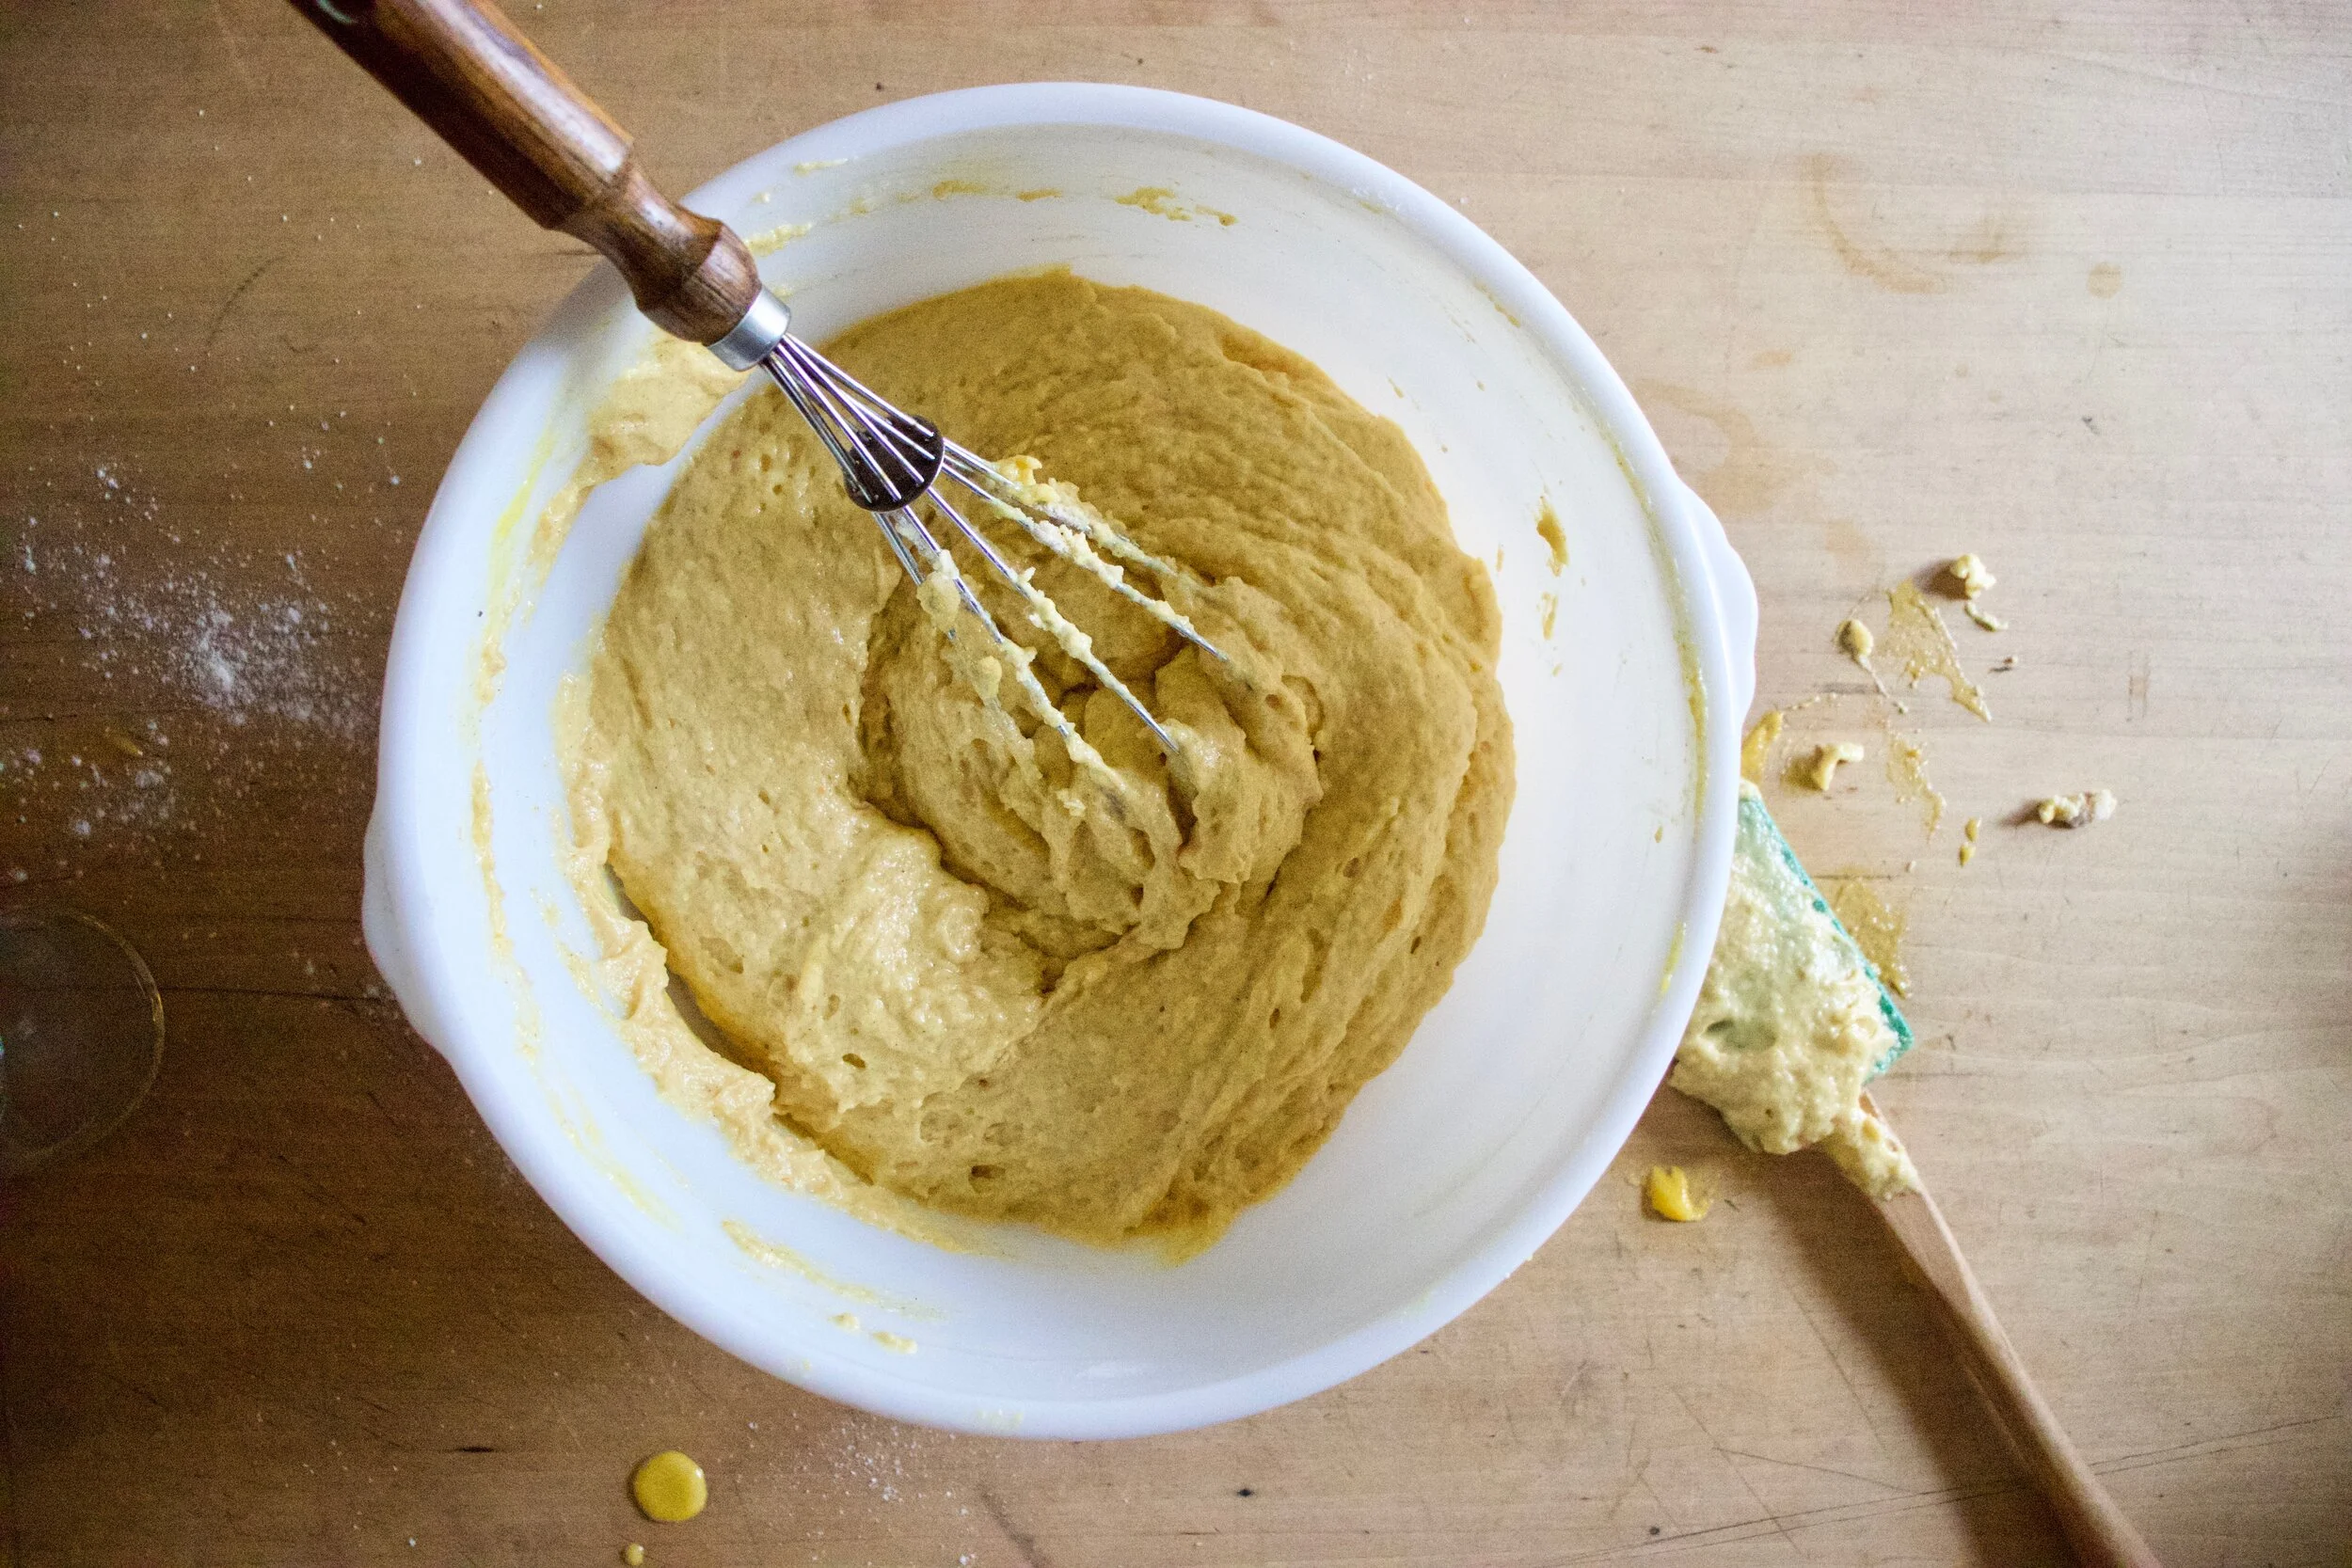
Whisk together until incorporated then add in the clementine puree, the oil, and the vinegar. Whisk together until it becomes a uniform batter.
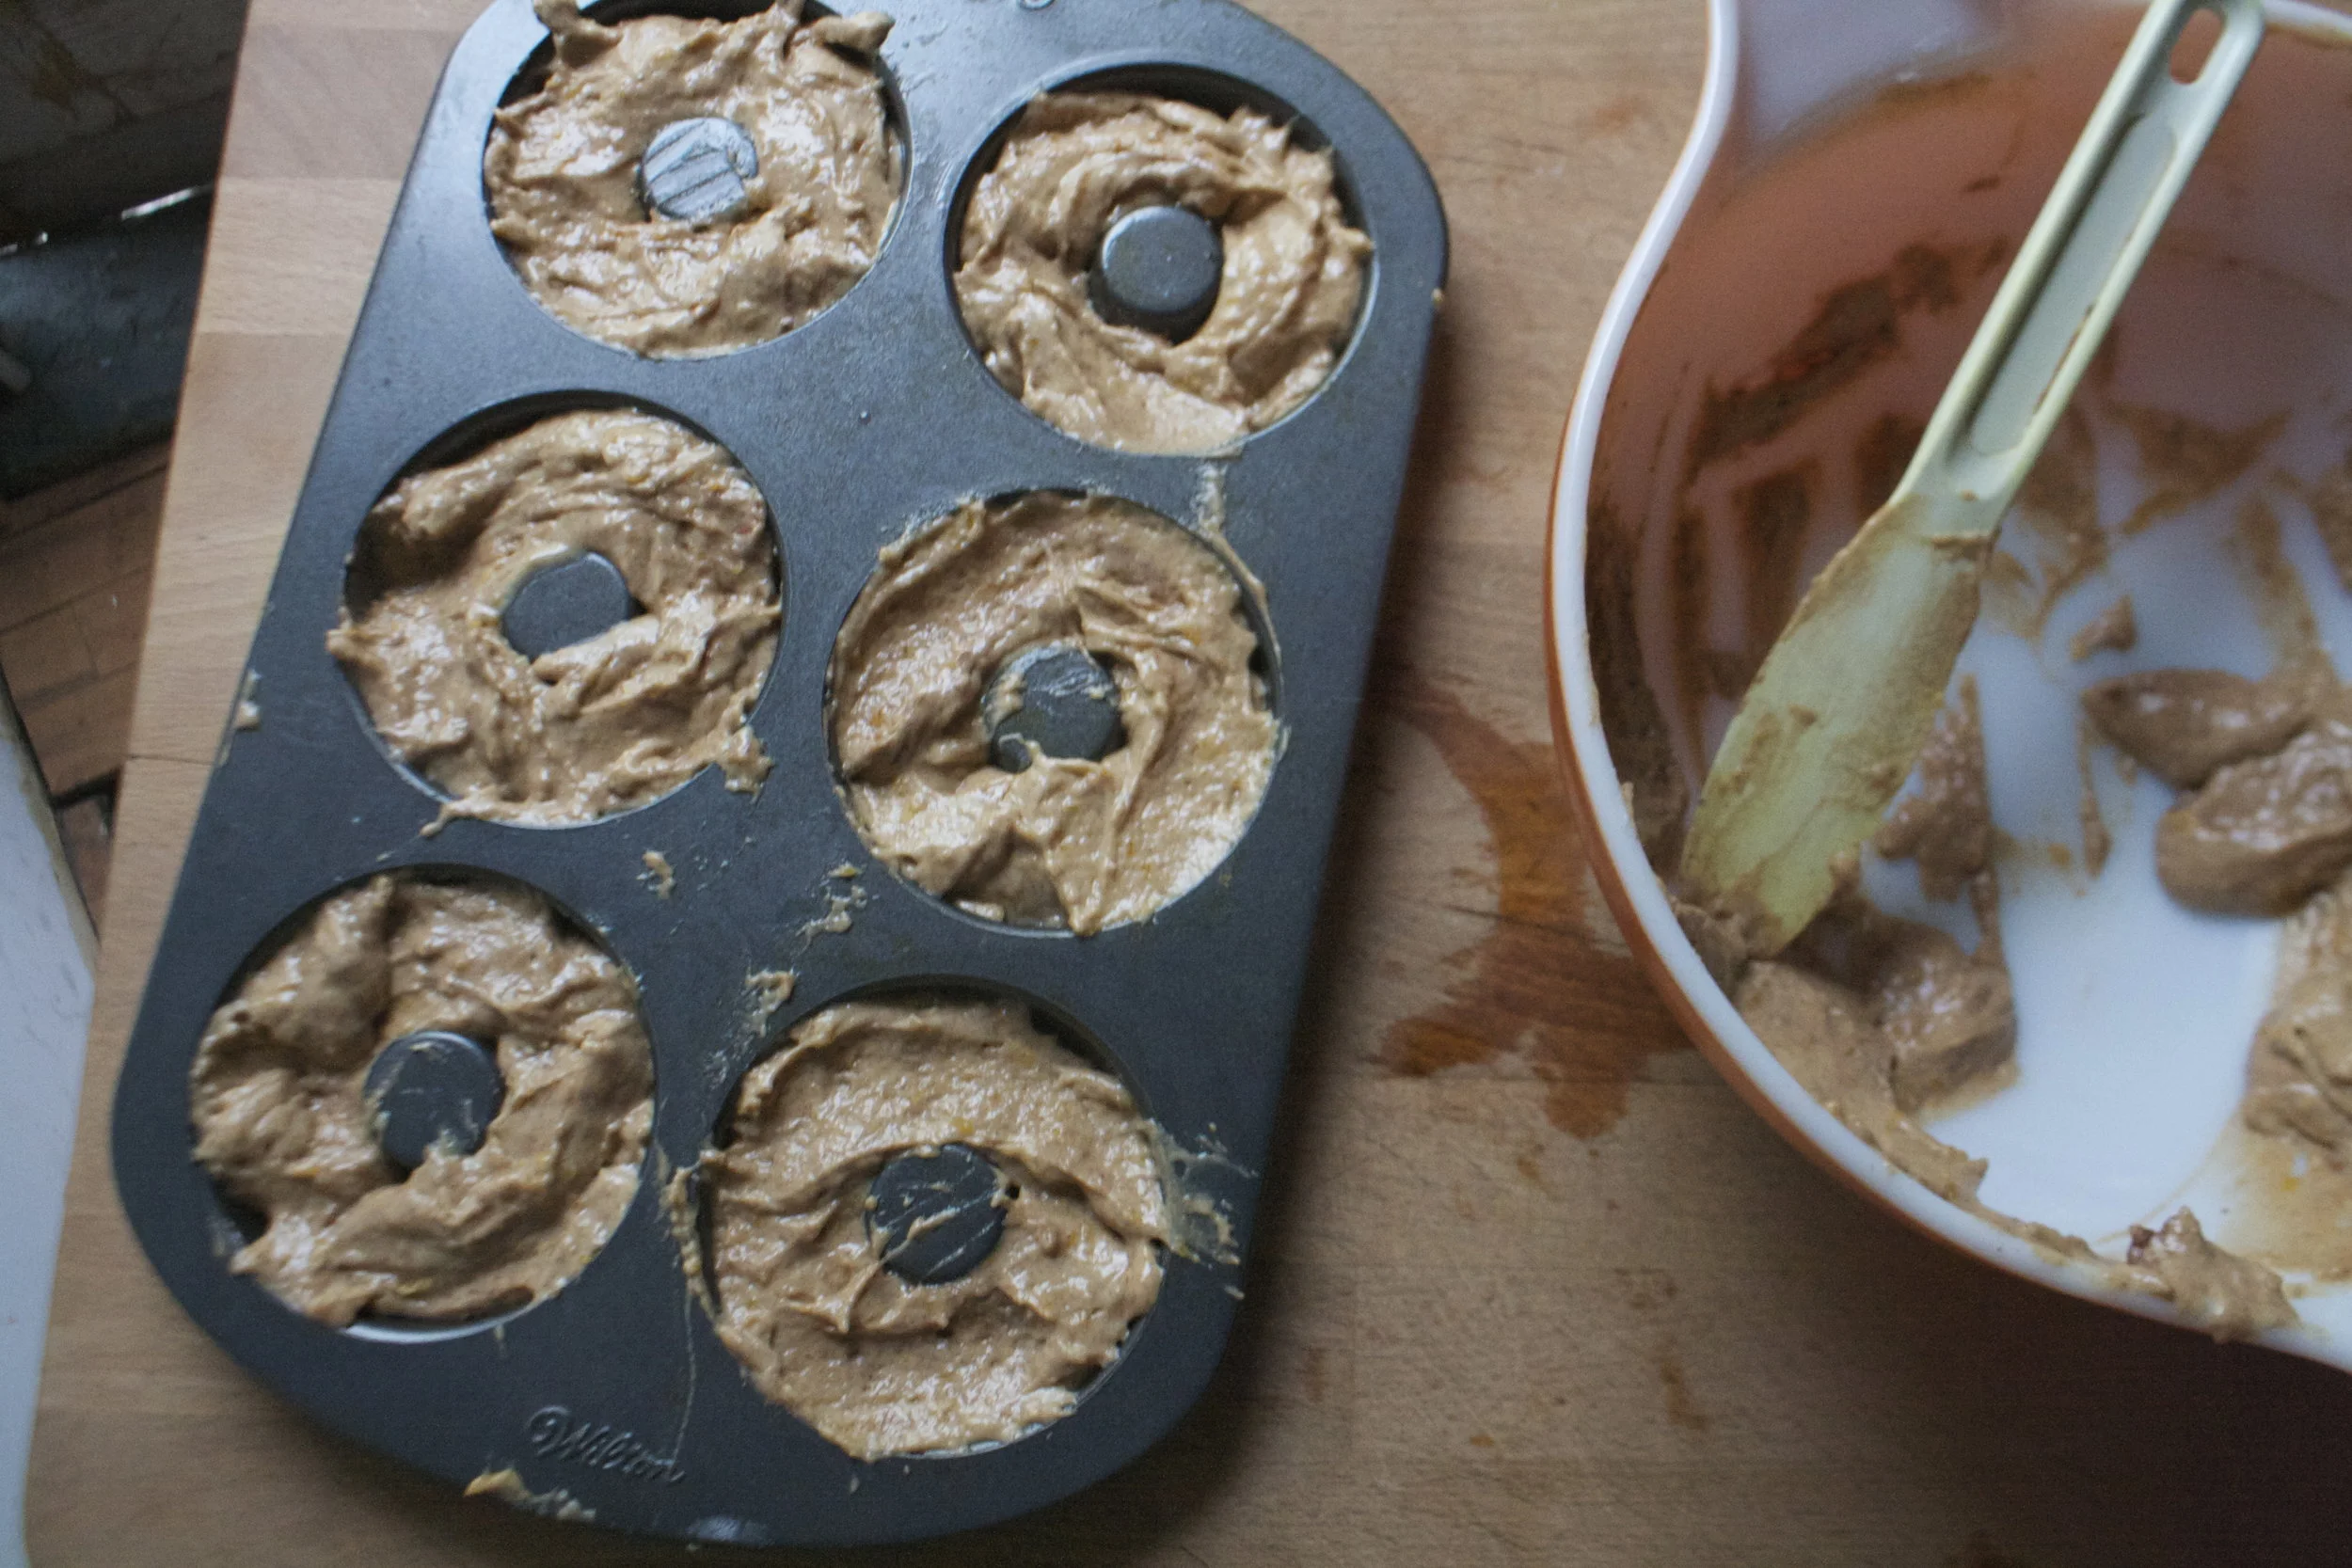
Scoop batter into a very well greased bundt cake pan and bake, 50-60 minutes, until tester comes out clean.
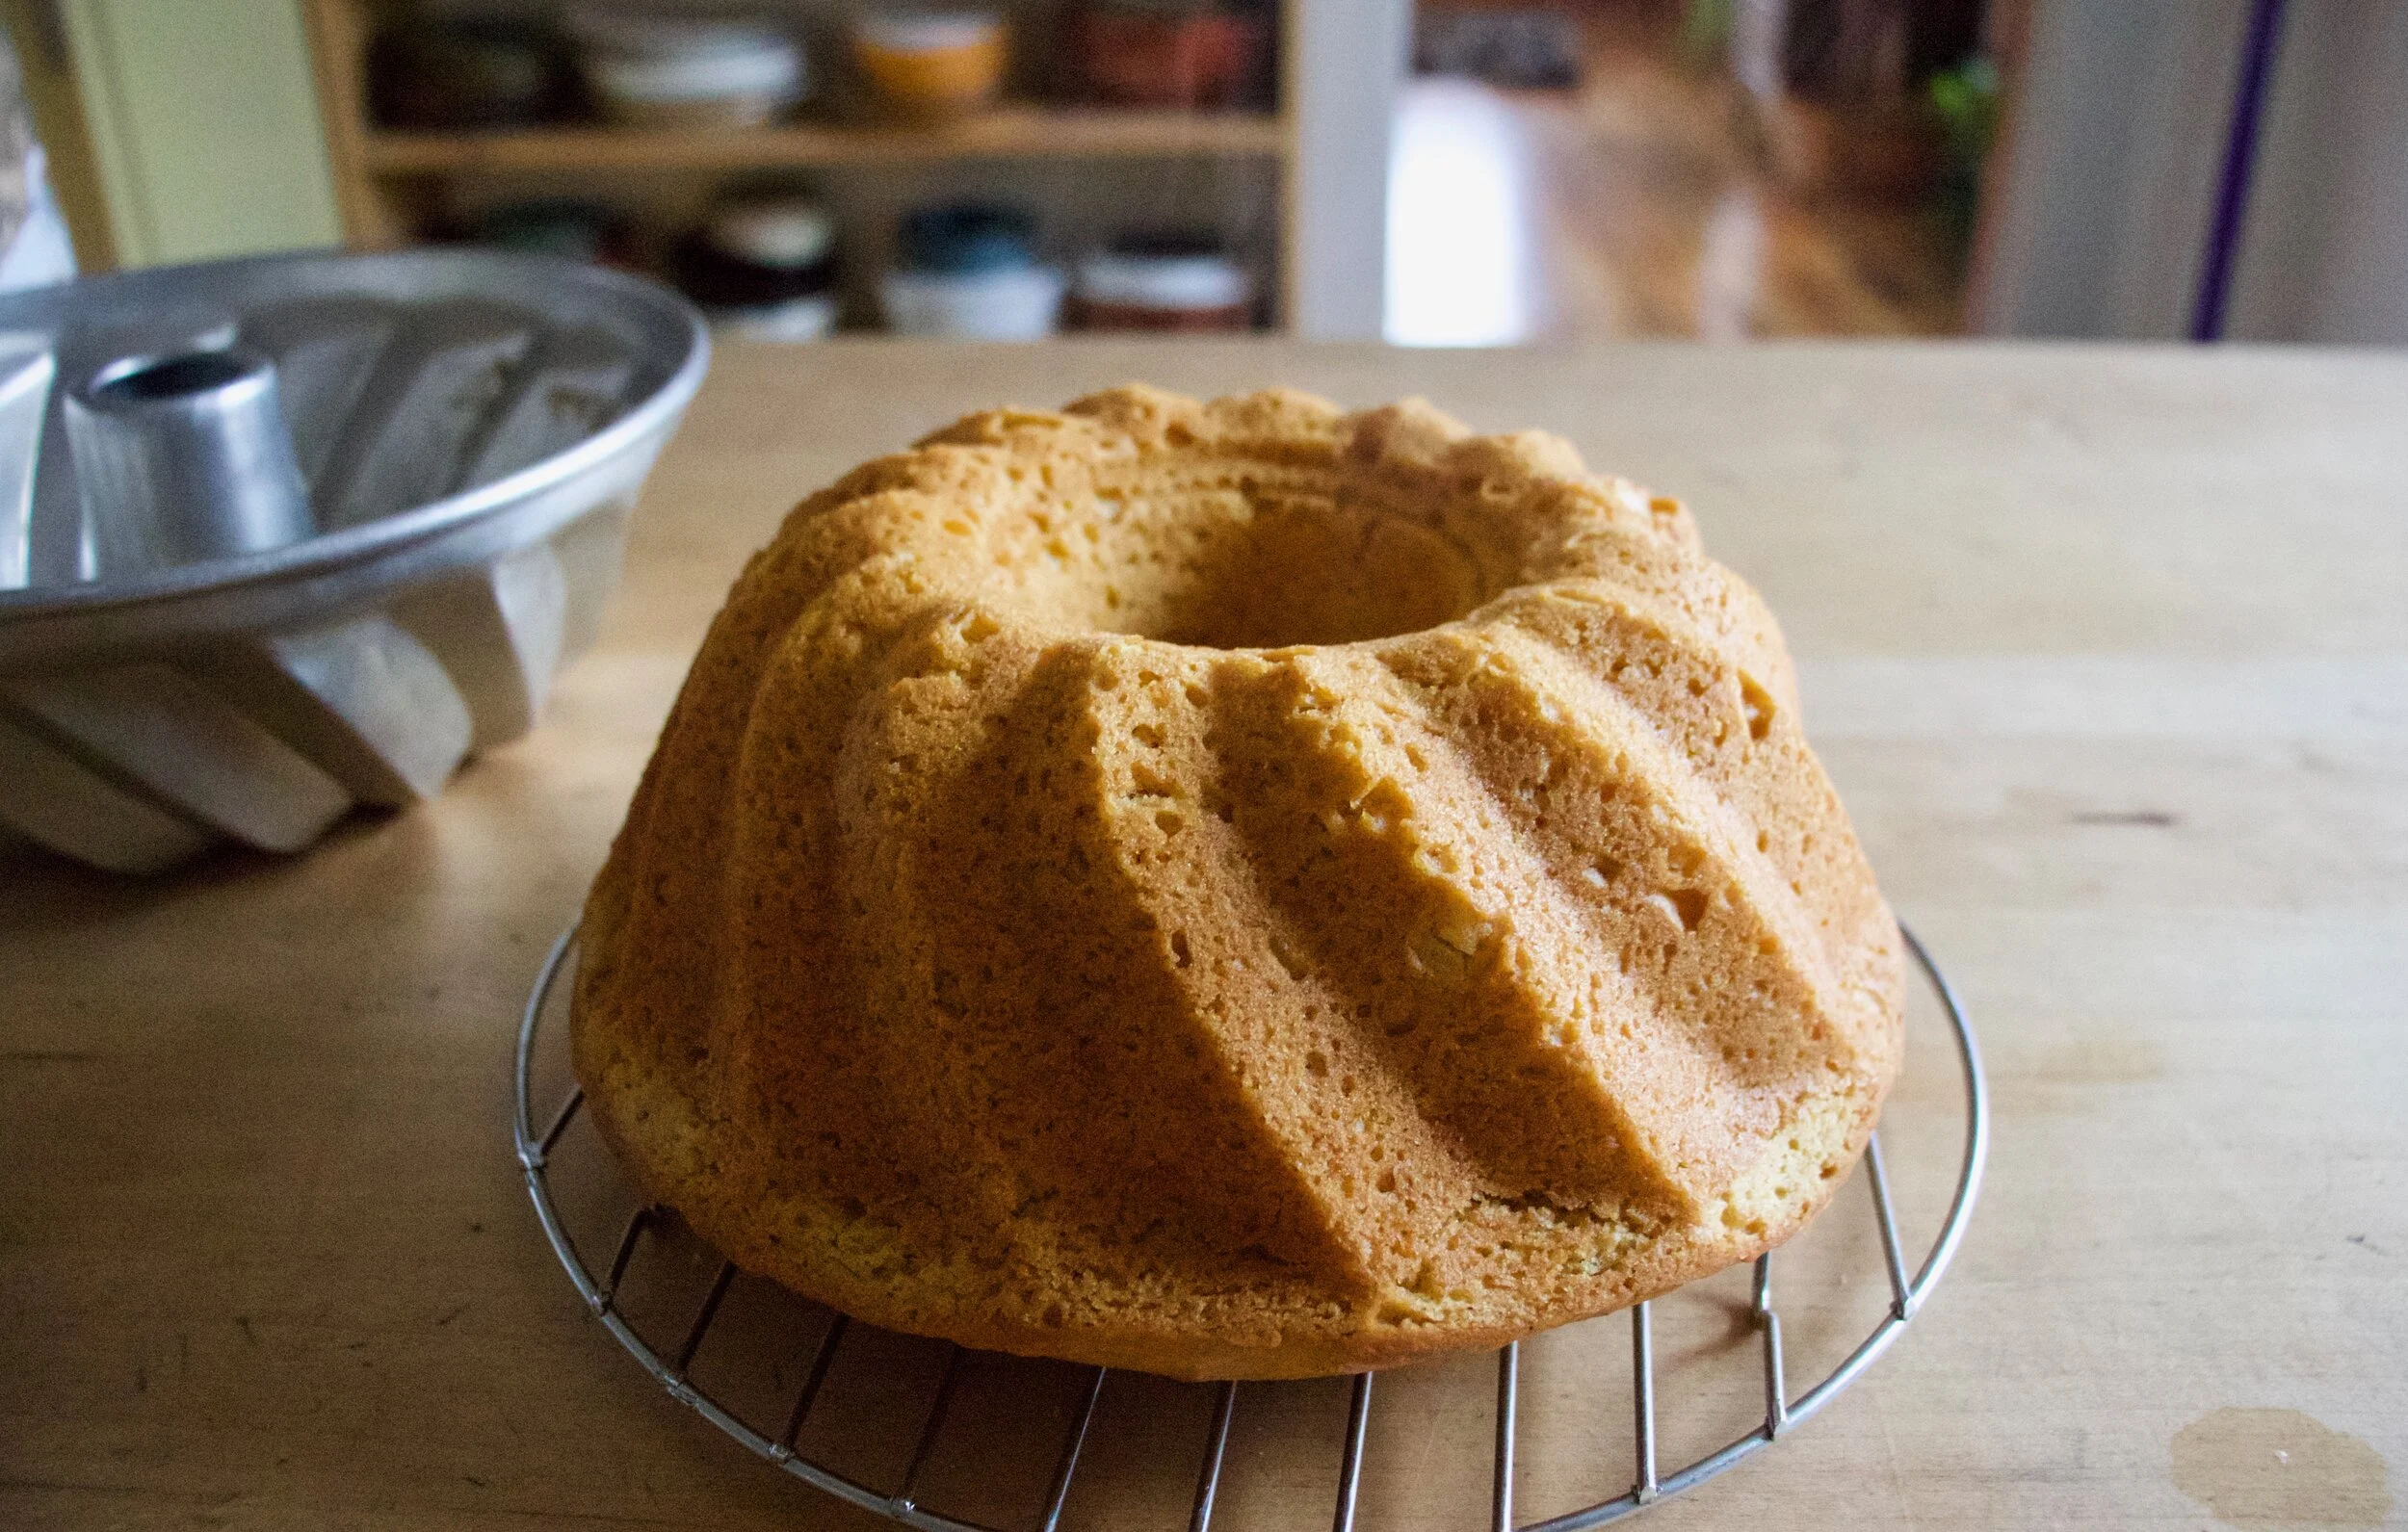
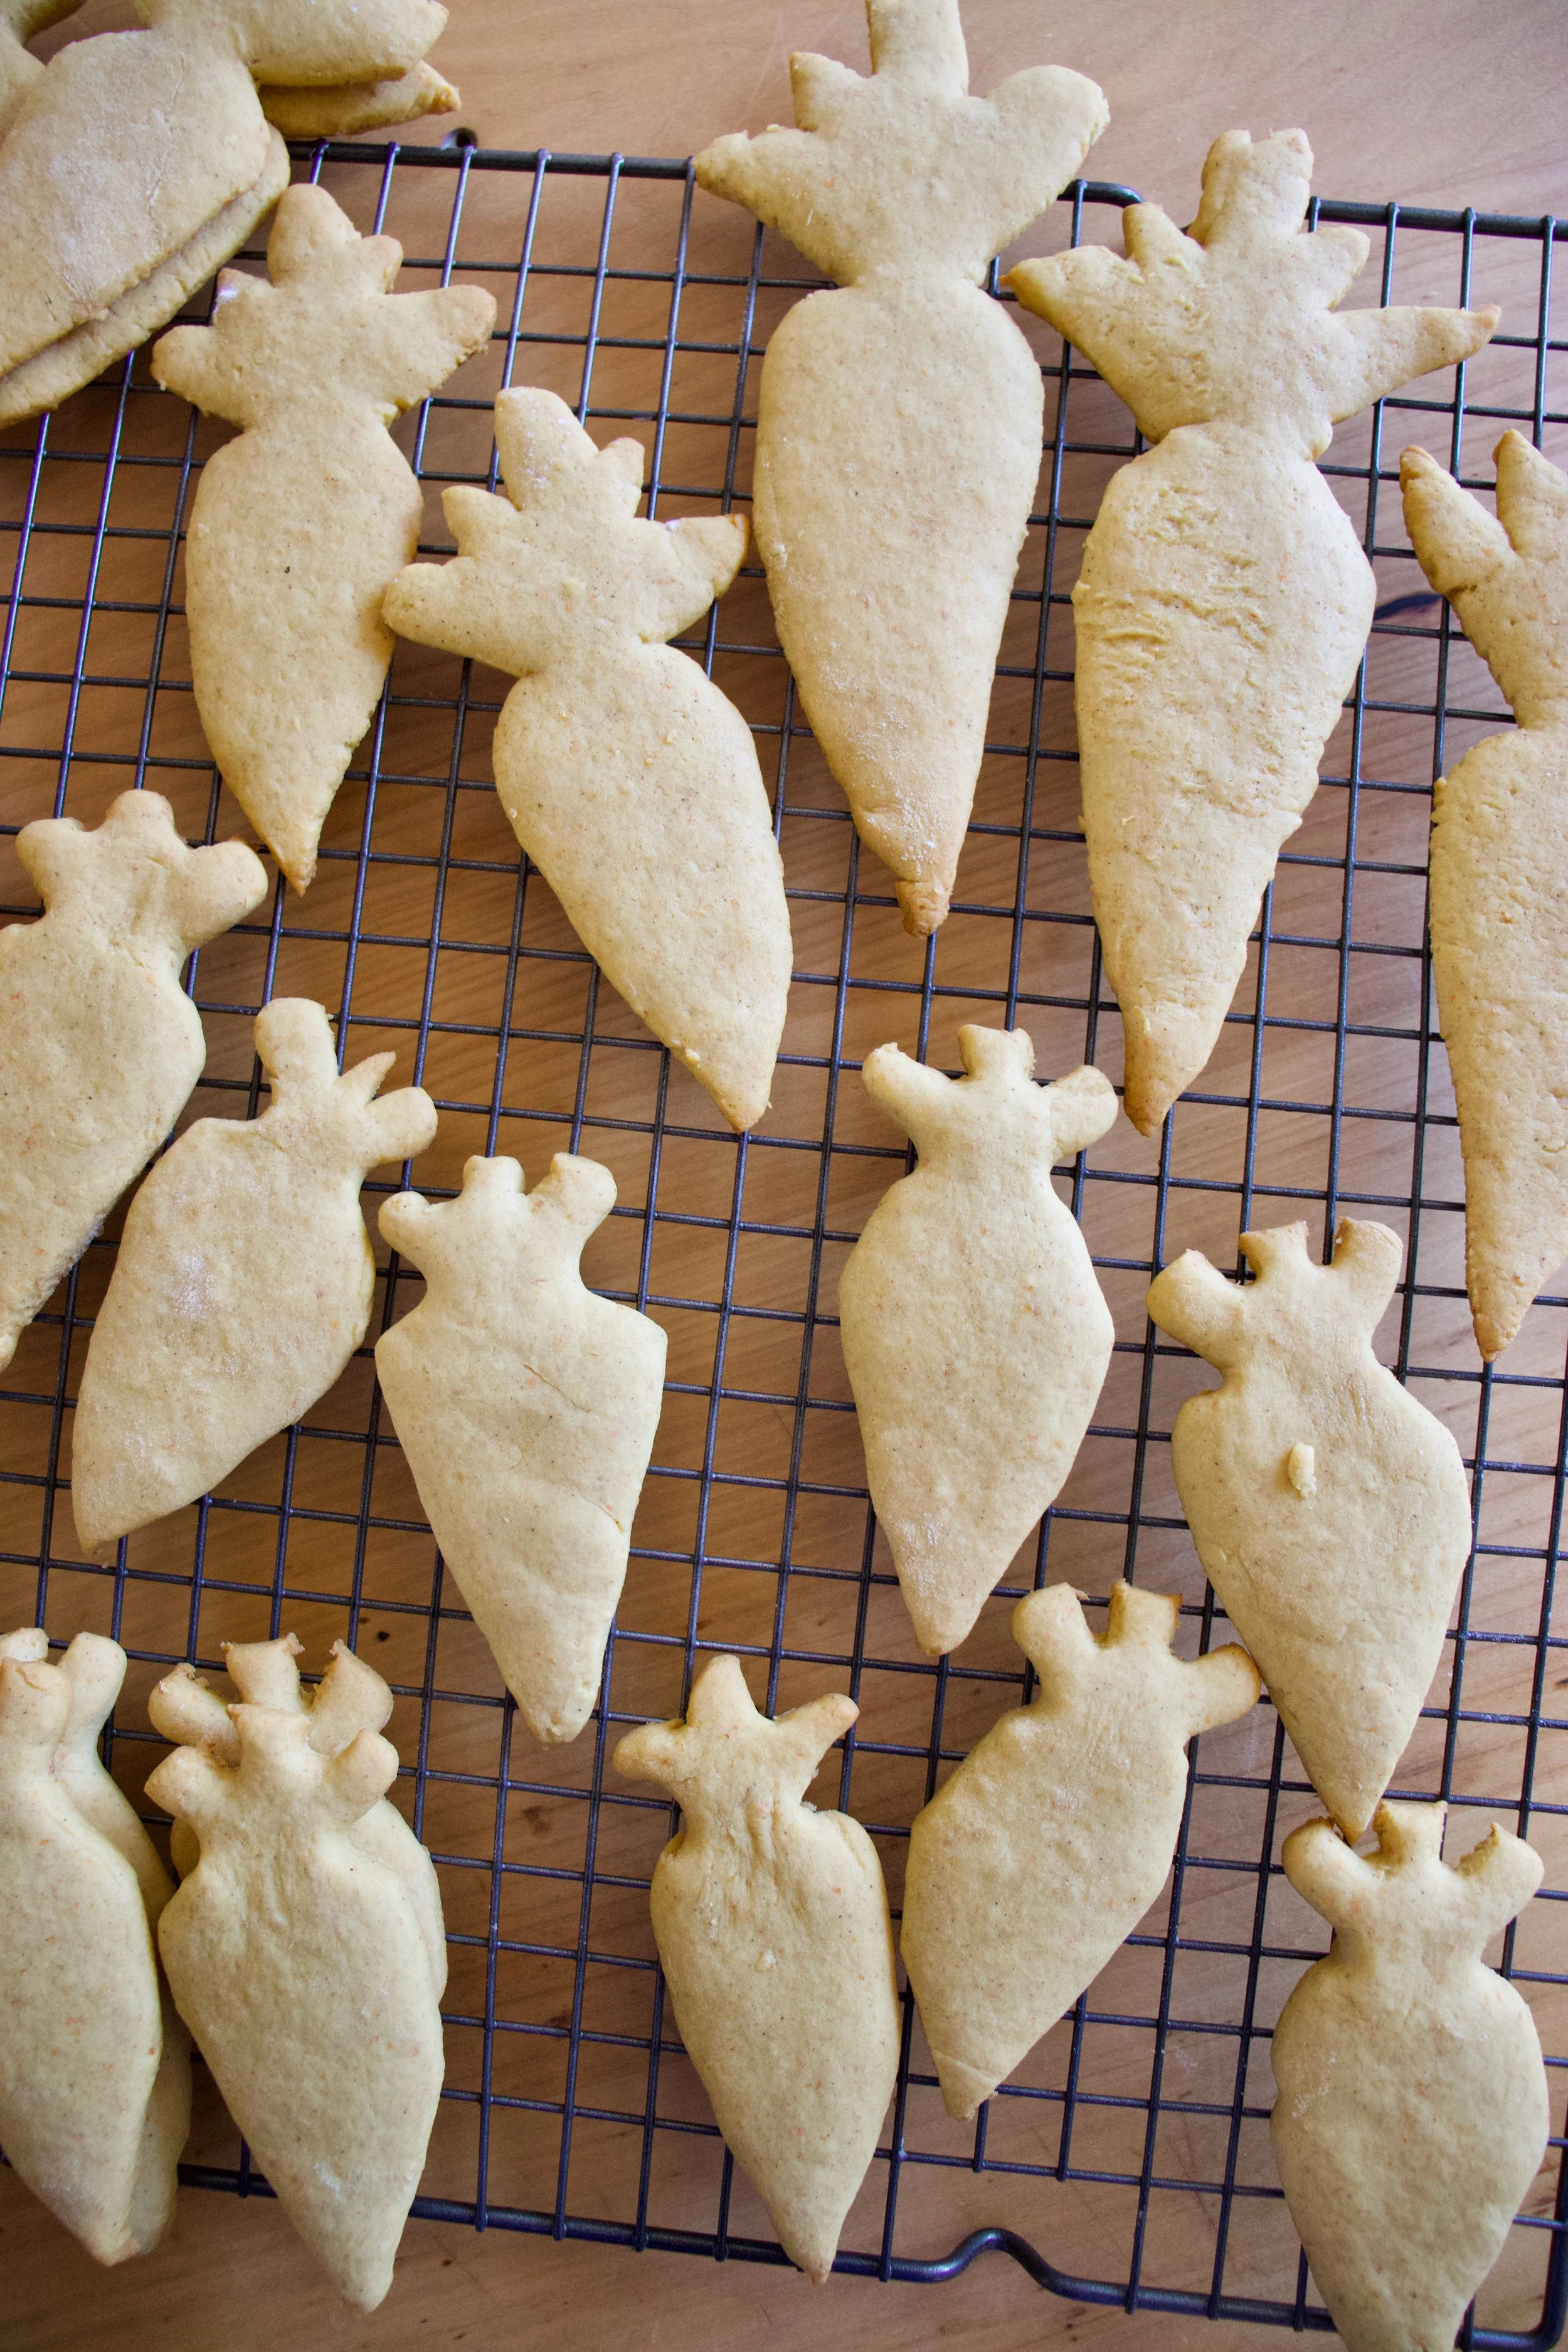
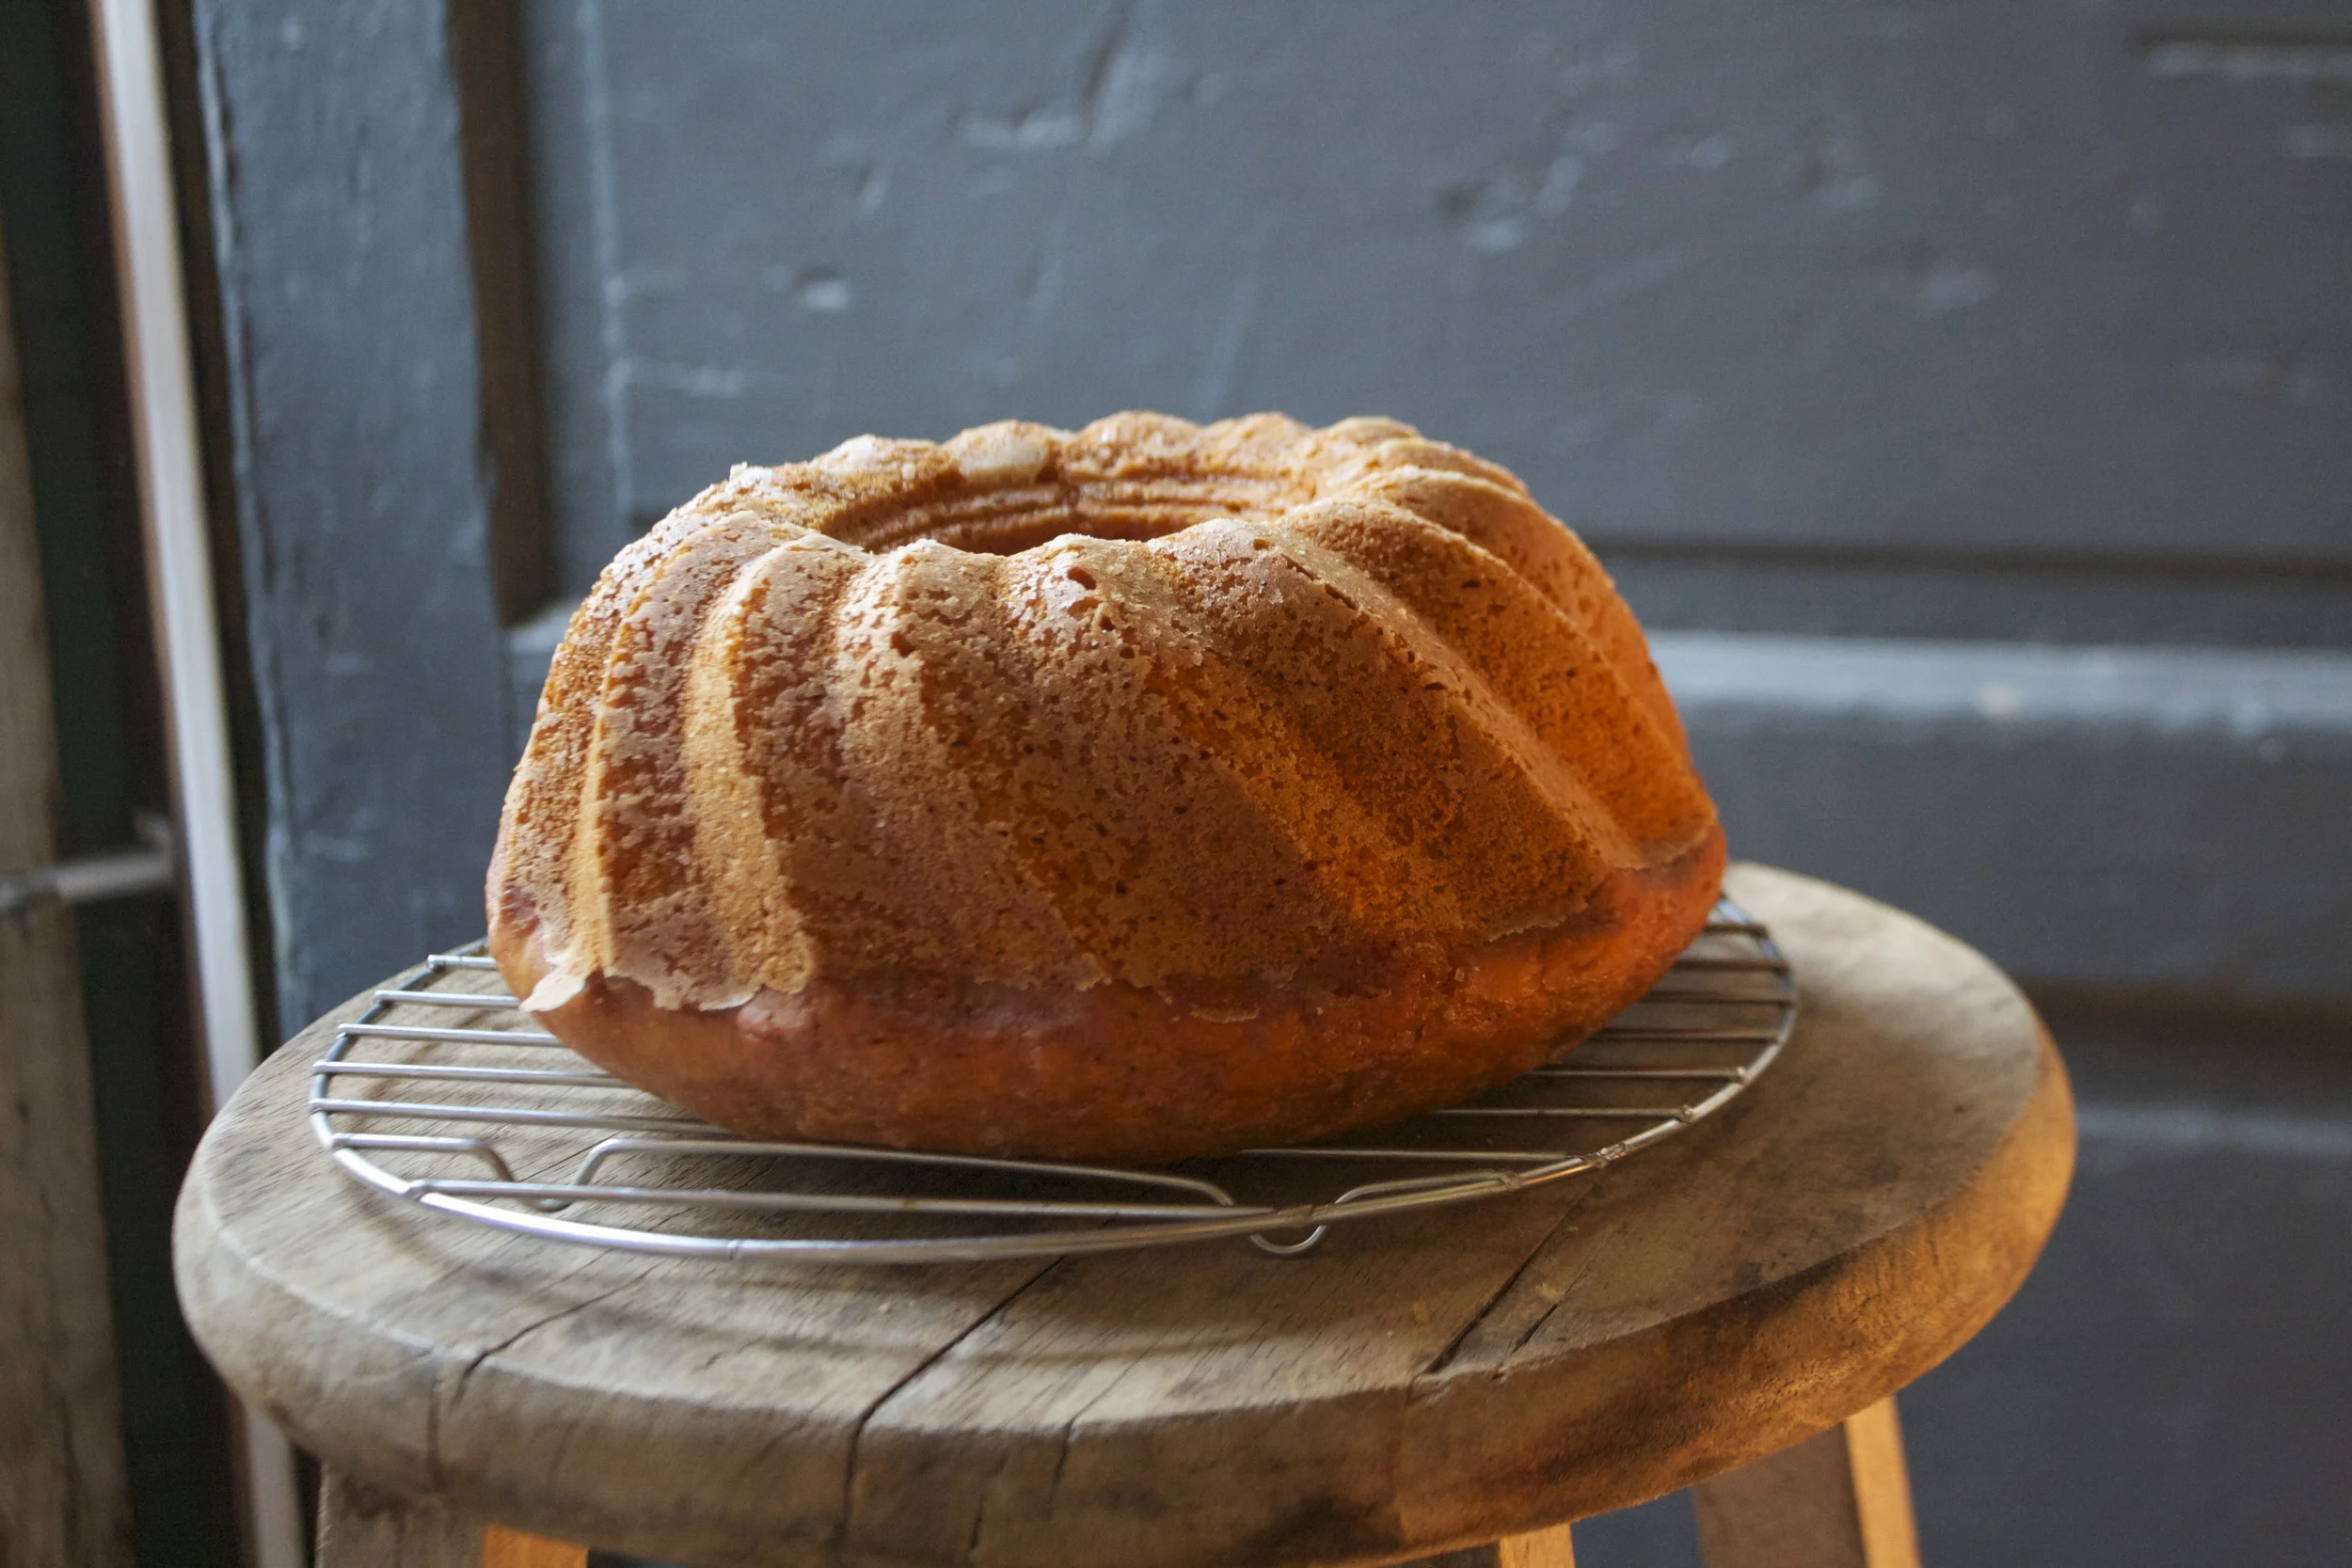
The big revel%u2026. And it went perfect! Now time to let this sucker cool a bit on a wire rack.
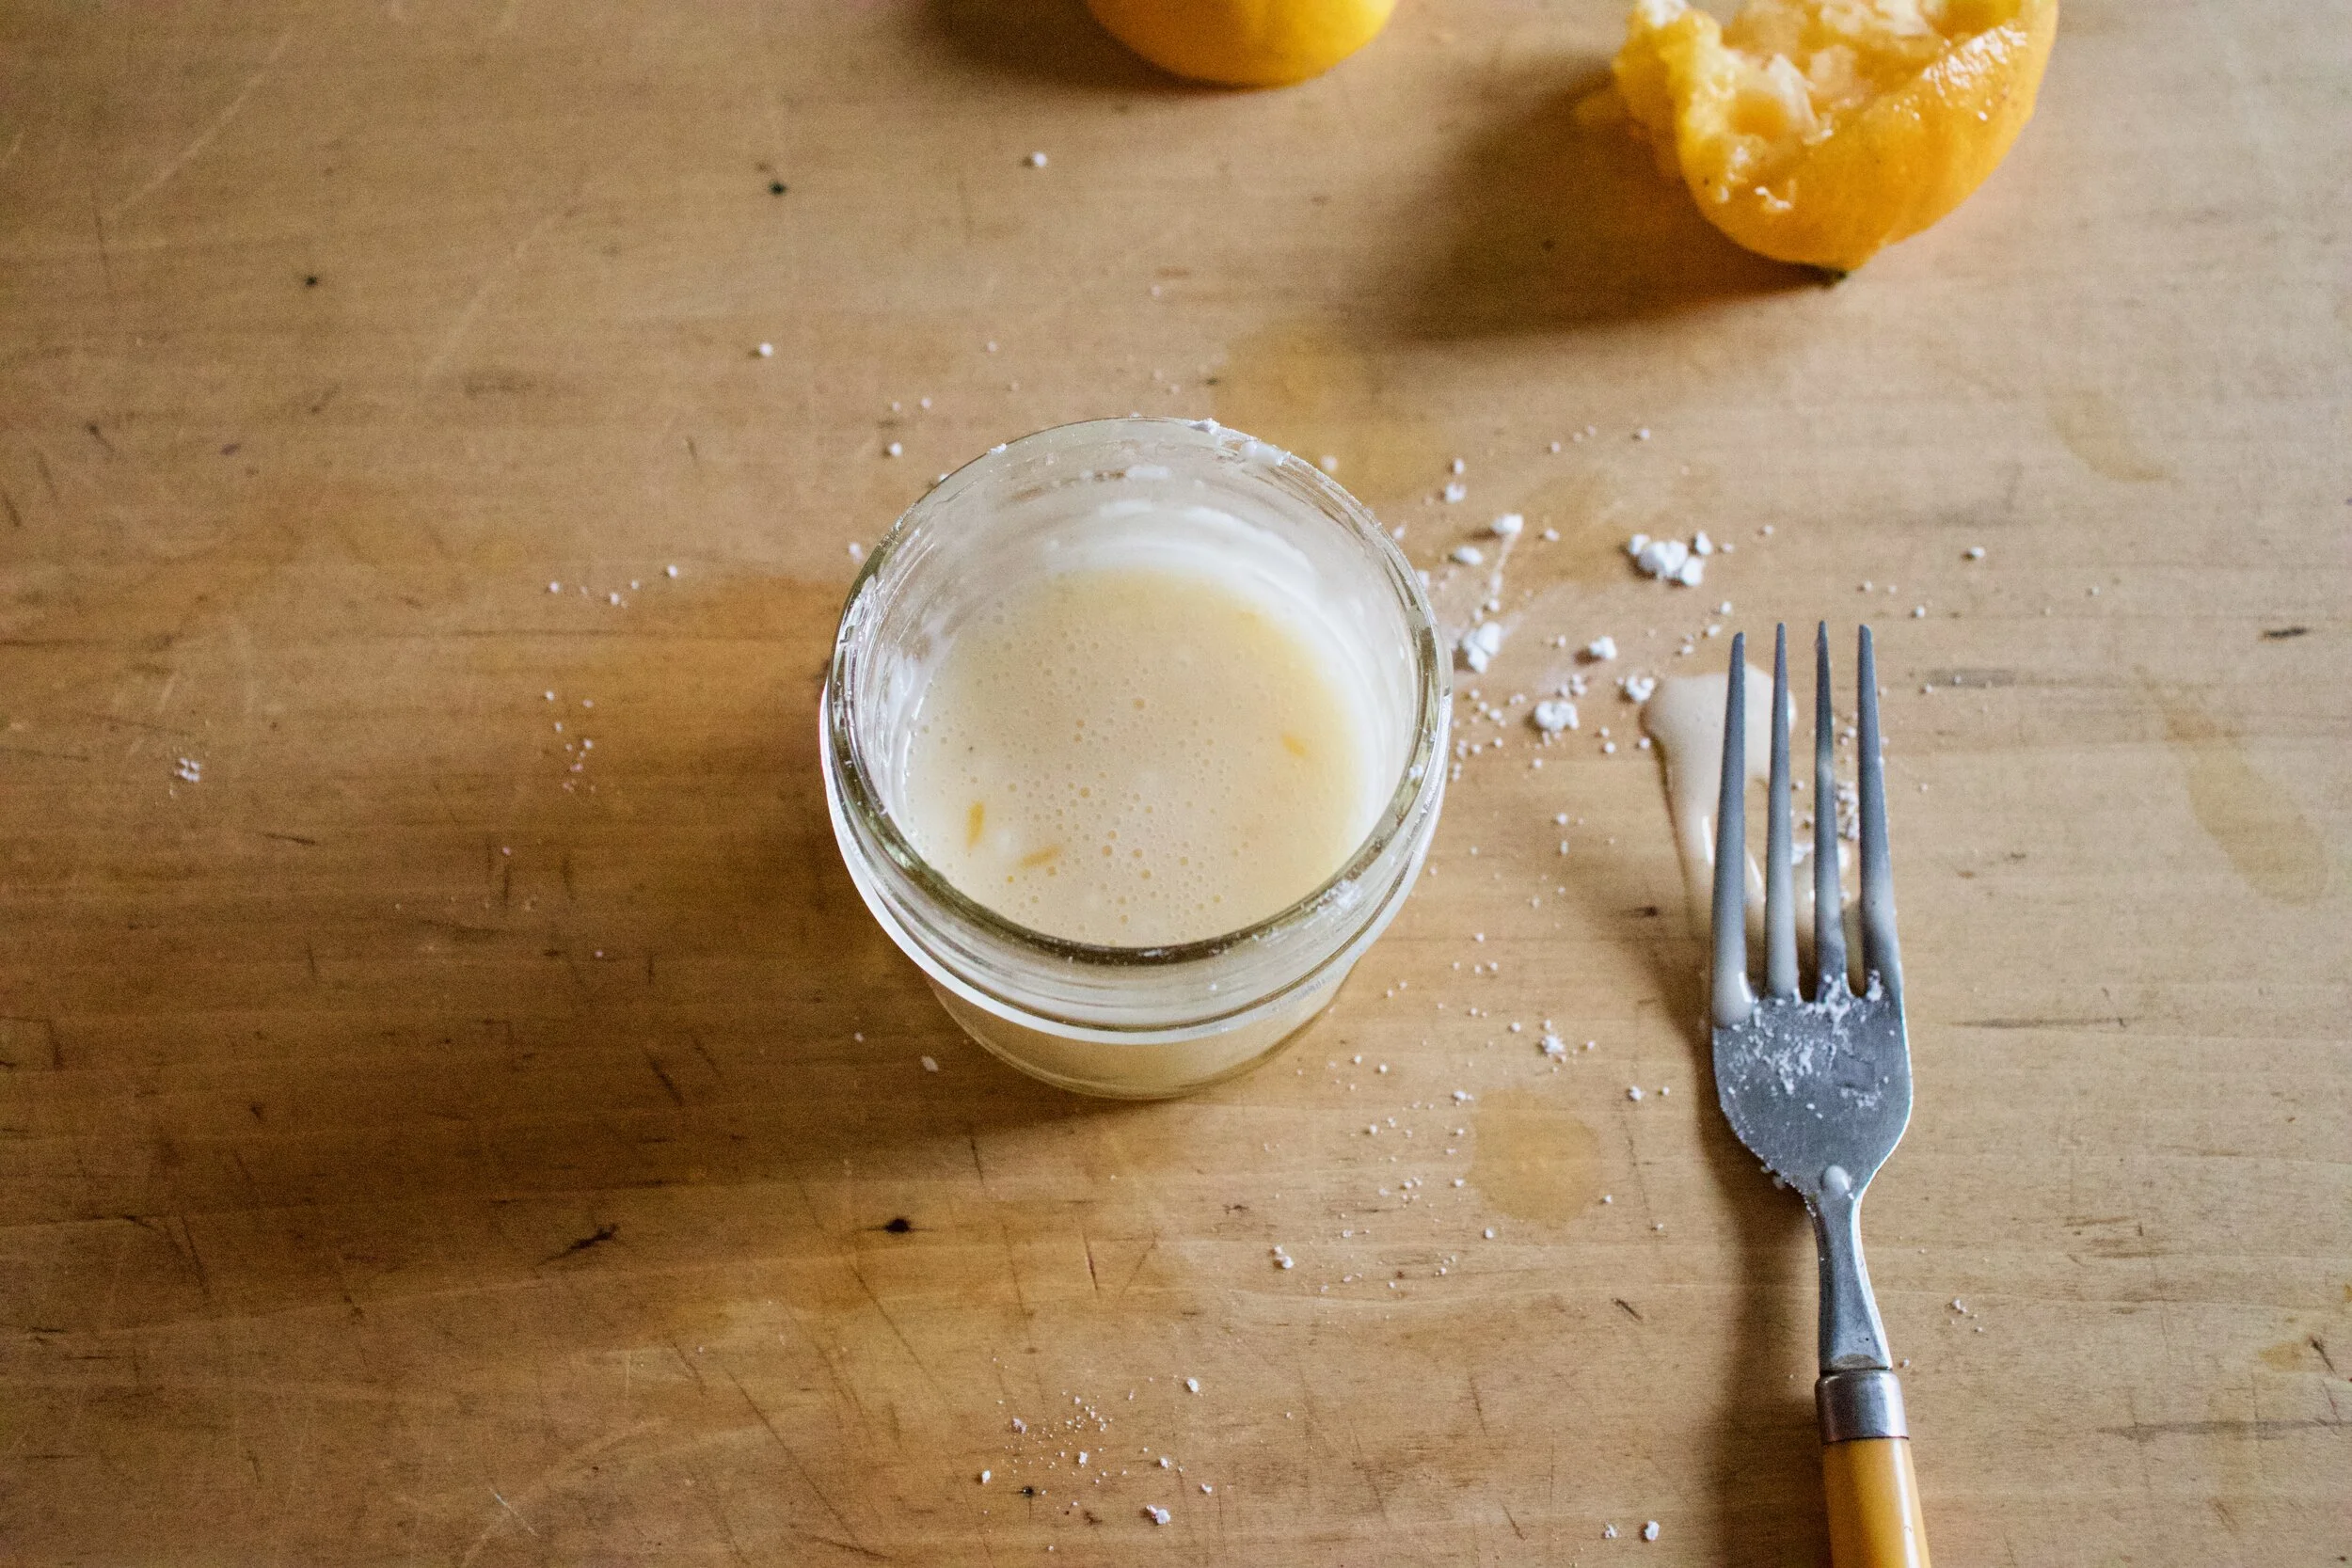
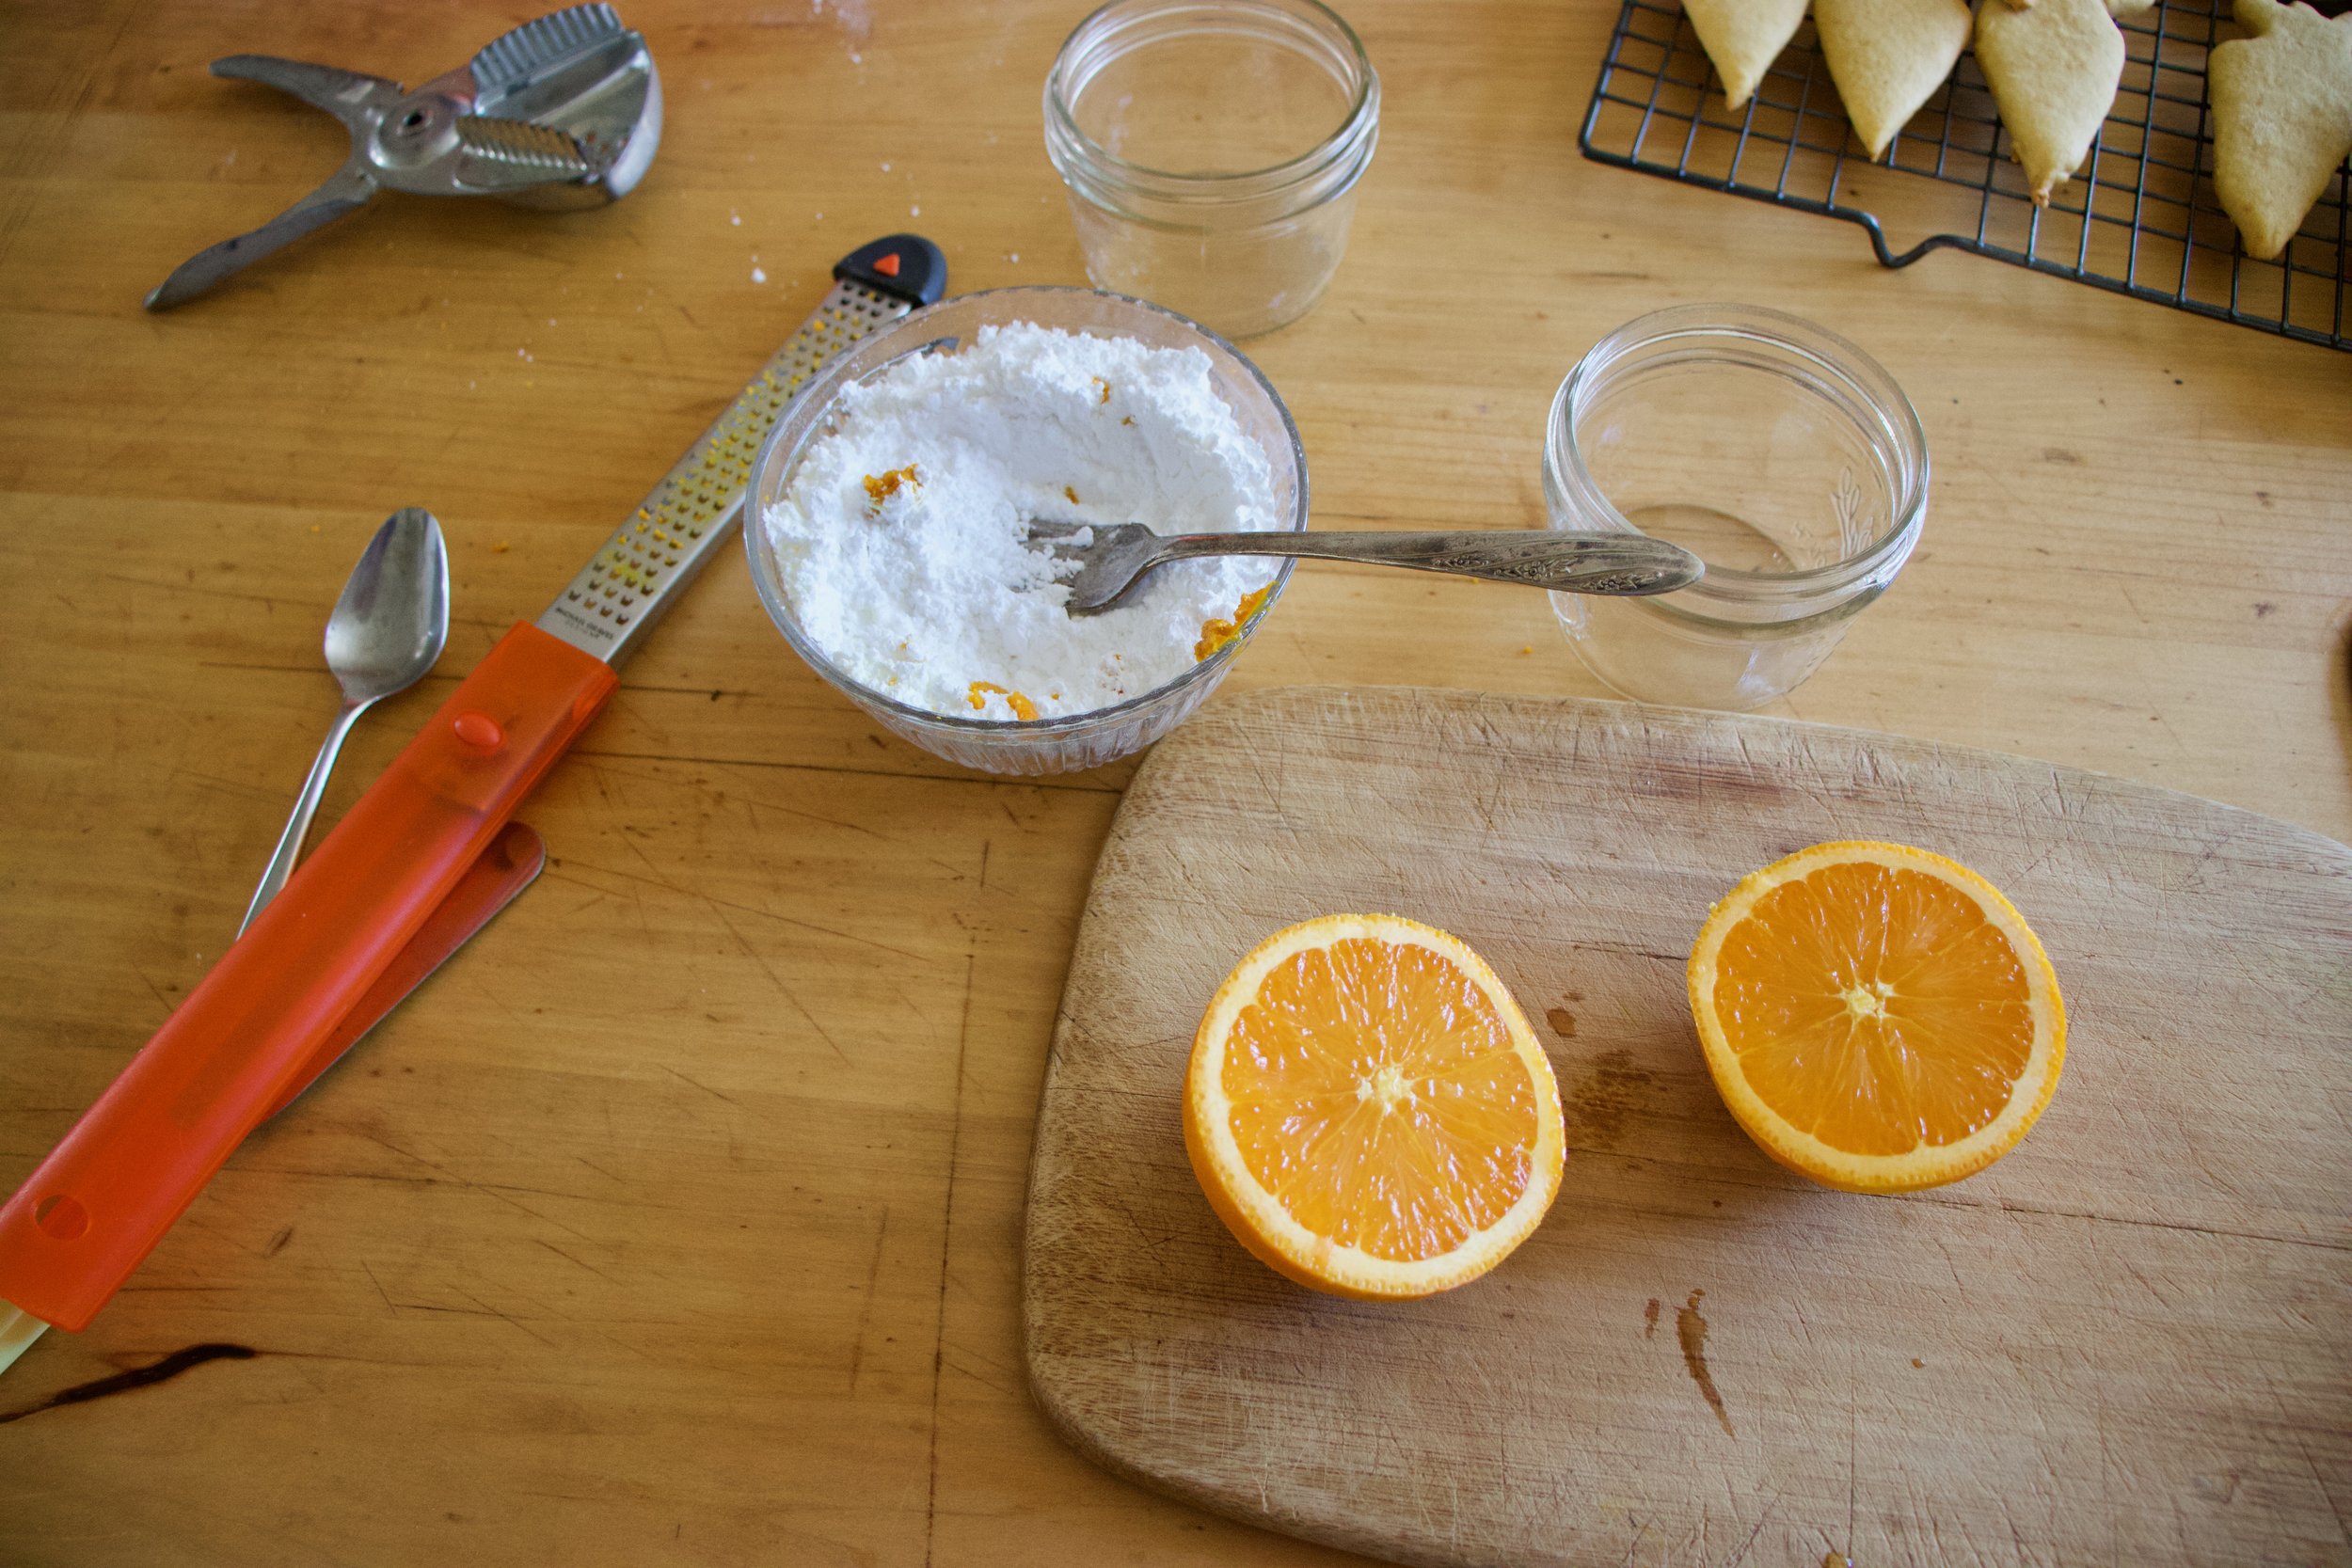
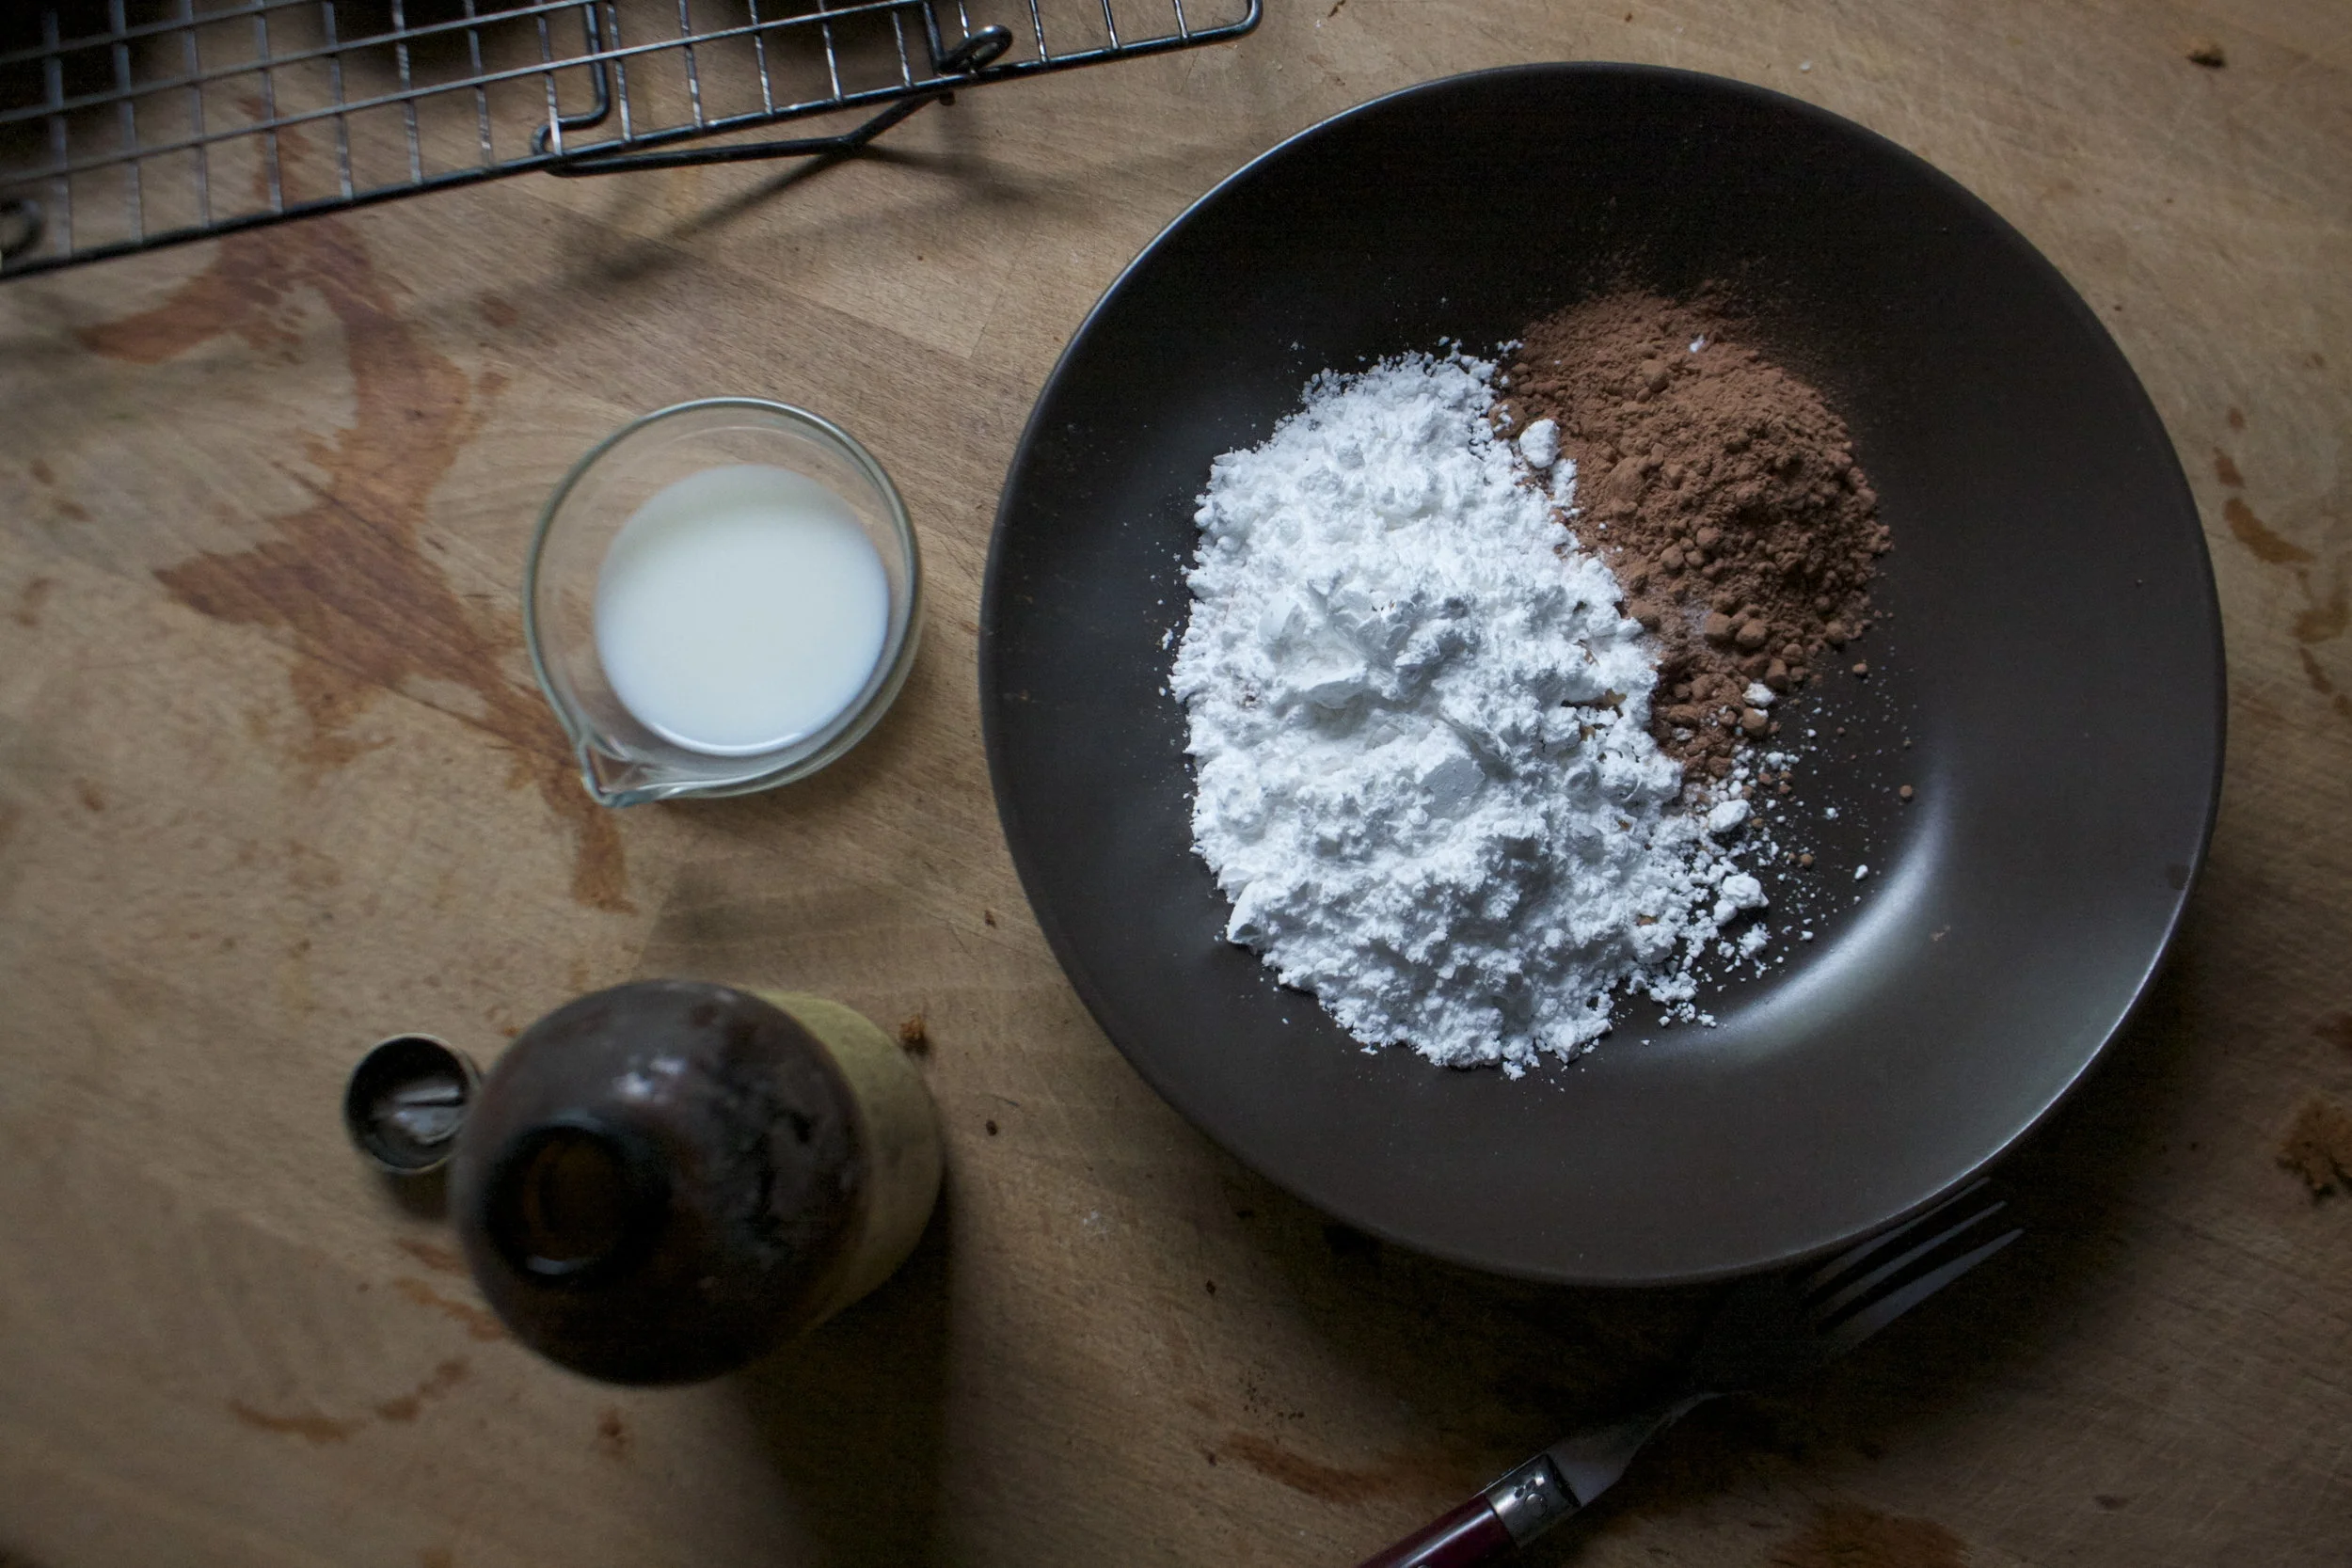
While the cake is cooling, make a simple glaze. Just powdered sugar and fresh (not boiled) clementine juice. Mixed unit glaze consistency.

Once the cake is pretty much cooled, pour on the glaze.

And now it is cake time.
-C
Makes one bundt cake
-
2 1/4 cups all pupose flour
-
1 cup white sugar
-
1/2 teaspoon salt
-
1 teaspoon baking powder
-
1 teaspoon baking soda
-
1 tablespoon vinegar
-
1/2 cup any neutral oil
-
1 teaspoon cinnamon
-
6 clementines (you need 2 cups pureed)
For the glaze
-
1 cup powdered sugar
-
1 clementine
To start, place 6 clementines into large pot and fill with water. Place on stove and bring water to a rapid boil then reduce heat and continue to simmer clementines for about 2 hours.
Once clementines are cooked, cut in half and check and discard any large seeds. Place the clementines into a blended and blend until smooth. Should have about 2 cups puree. If you are short on volume, add water to make up the difference.
Preheat oven to 350
Grab a large bowl. Dump the flour, baking powder and soda, salt, cinnamon, and sugar and whisk together until completely incorporated. Now add in the clementine puree along with the oil and the vinegar. Mix until completely incorporated. Scoop batter into a well greased burnt pan (at least 10 cup capacity) then place into oven on middle rack and bake for 50-60 minutes until a tester (or a fork) stuck in to the deepest part of the cake comes out clean.
Once baked, remove cake from oven and allow to cool for a few minutes in pan, then flip the cake out of pan, gently of course, and hope you greased it well enough for it to just pop out. Once removed from pan, allow to cool on a wire rack.
While cake is cooling, make the glaze. Powered sugar into a bowl along with the juice of a clementine. Mix together. If the glaze is to thick, add more juice (or water), to thin, a little more powdered sugar until you reach your desired consistency (pourable but not runny is good) and once cake is cooled, pour glaze all over.
And then eat cake.
It is exactly that time of year. Apples galore, cool days in need of a little extra warm, meaning a warm oven is welcome, if not needed. It%u2019s the best time of year, or at least one of them.
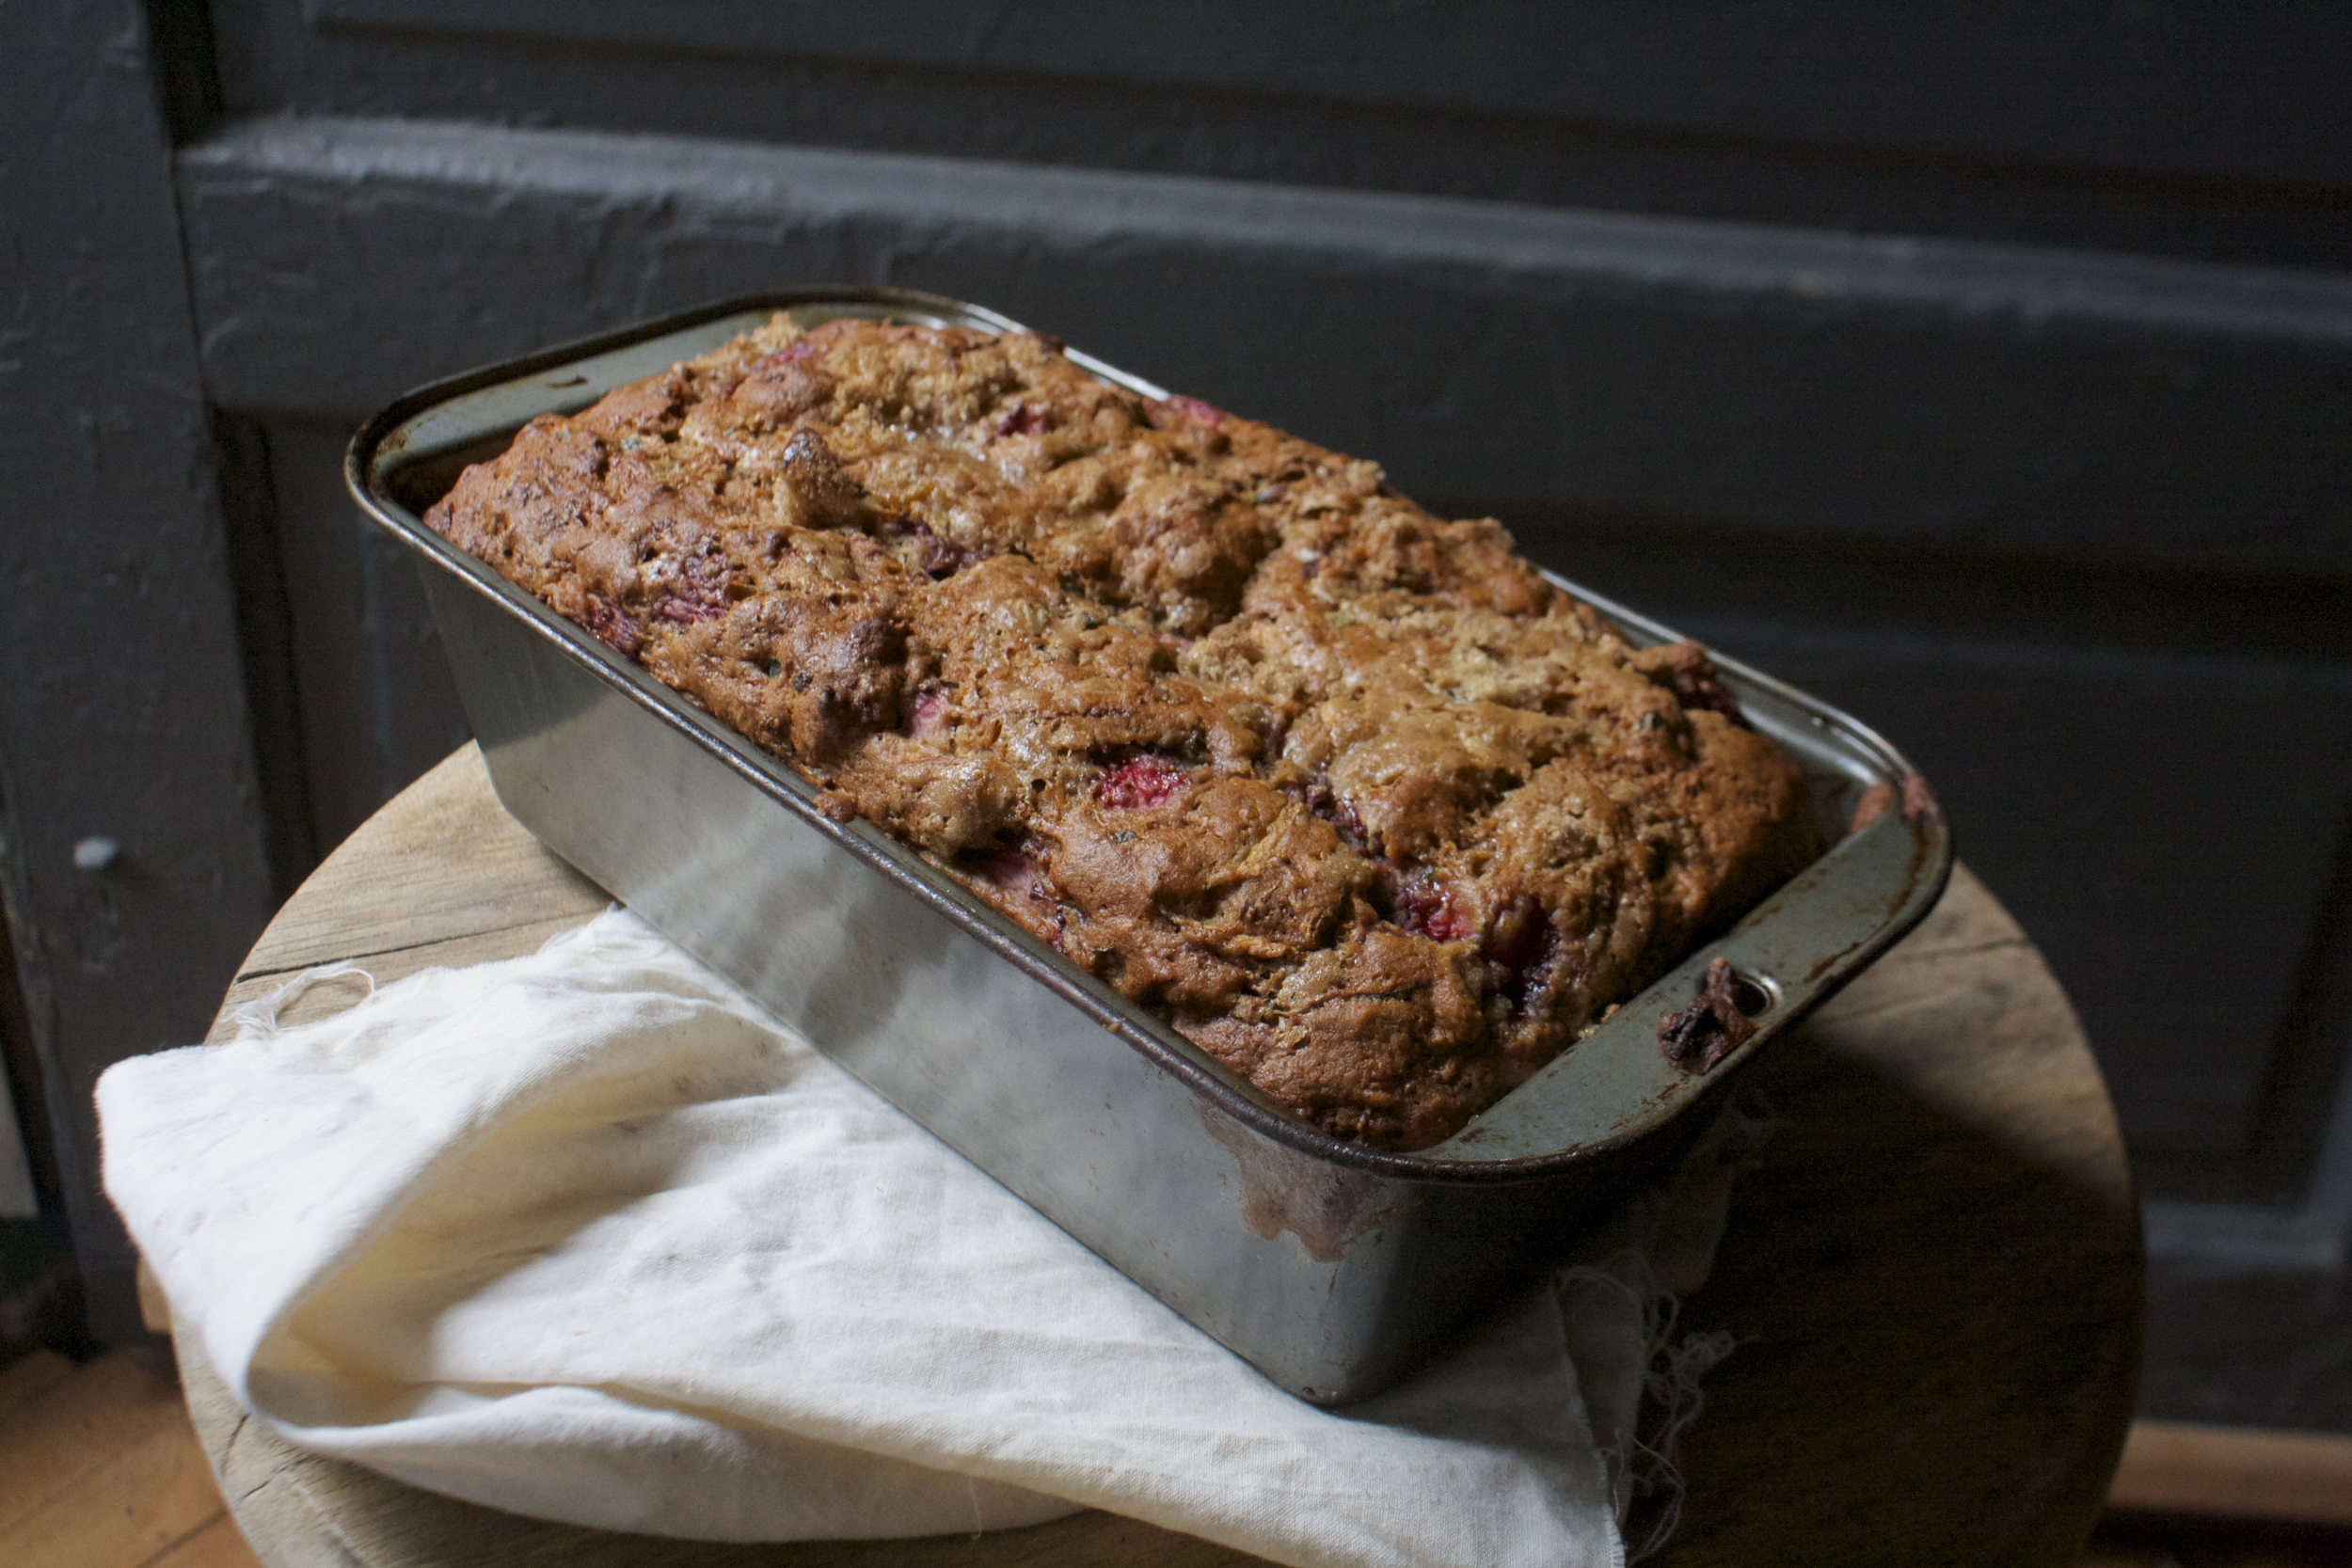
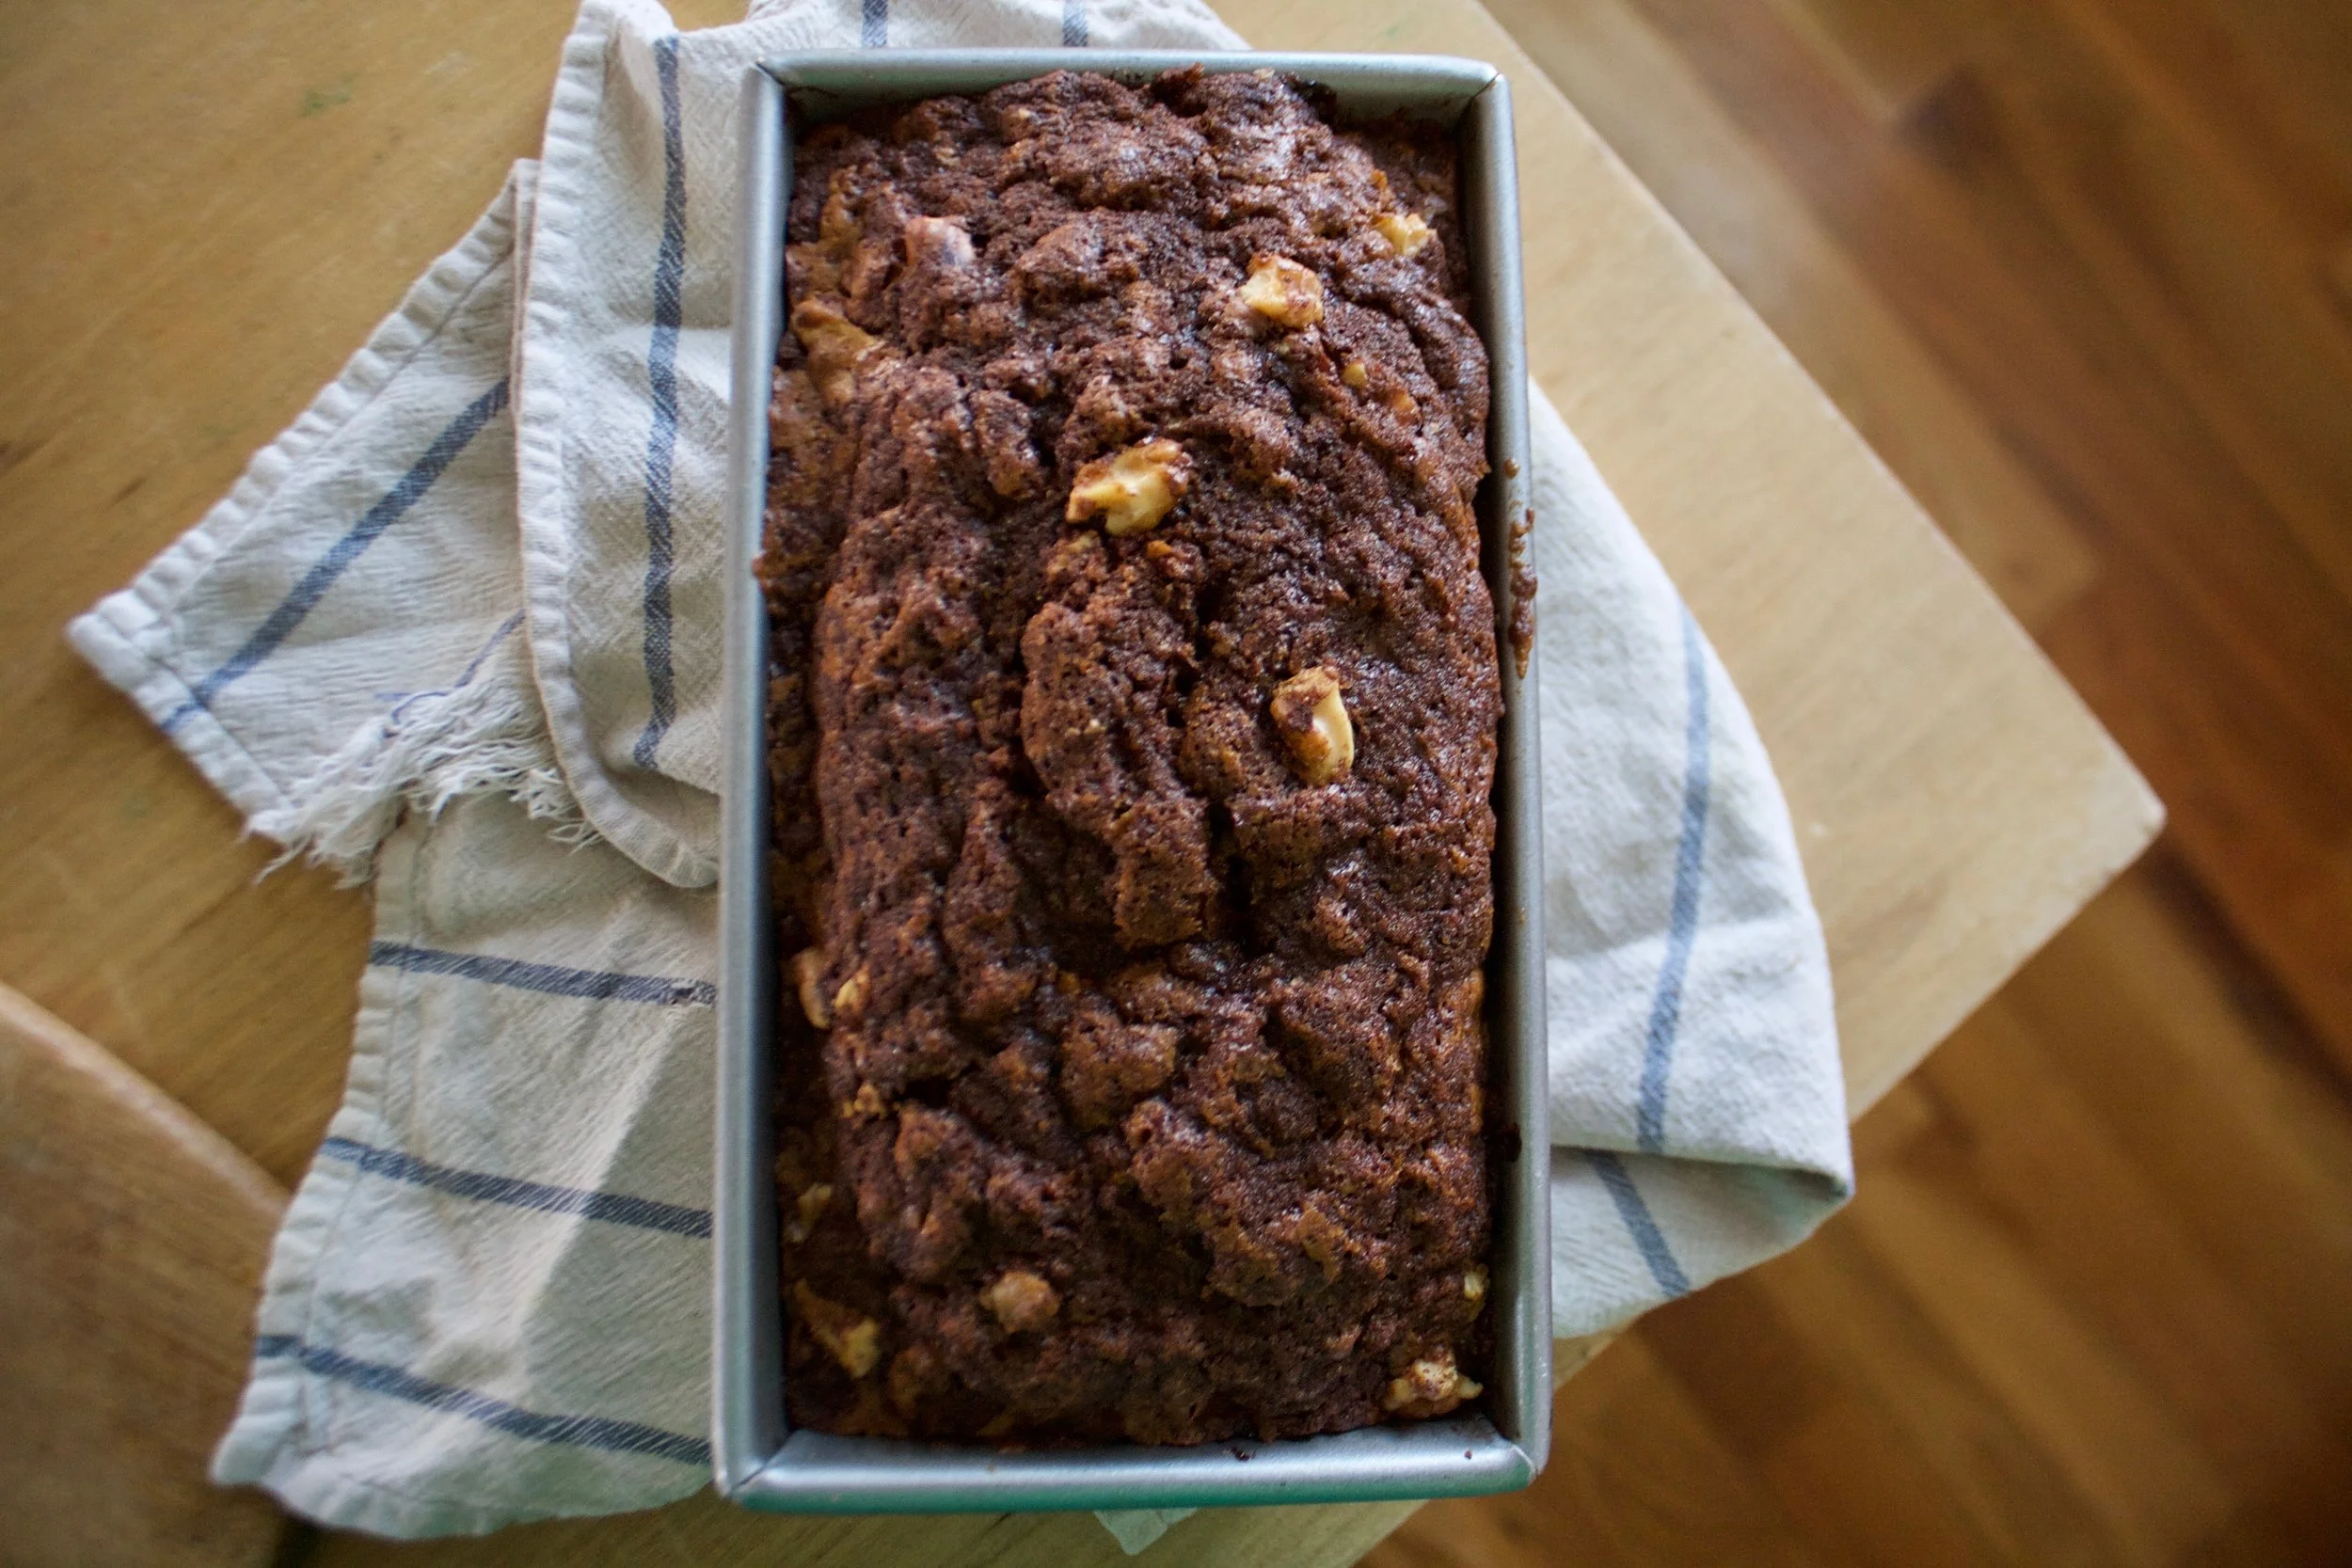
And so I bake bread. Sometimes just a roll, and sometime a loaf, almost everyday. I love bread baking because, well just because. Plus it%u2019s what people want to eat and will always eat because I guess bread=love. Makes sense to me.
This bread was made from a small dip in the 2 gallons of applesauce I made the night before. (We had sooooo many apples). The mr isn%u2019t the biggest fan of applesauce, says he would rather eat a fresh apple. I kind of get it, but dude, warm, chunky, slightly cinnamon-y applesauce%u2026 I mean, that is happiness right there. Right? Anyway, I am trying not to eat all the applesauce to my face by myself at once (it has been a challenge) and plus I needed to make the mr some bread, so I figured what the hell. I%u2019ll just use applesauce as my liquid in the bread. And so I did and that is that and now that mr really like applesacue (when it is baked into bread)
This bread is a basic sandwich type bread. The apple taste is there but not overwhelming so it can be used for sandwiches of all kinds, toast, just eating with a smear od something, or not. Just a overall good loaf of bread with a little extra from the apple. And braided because I was feeling classy. It%u2019s amazing what at little braiding of bread dough can do for your self esteem. Made me feel like I was the coolest person in the world. Haha!
Now to the bread.

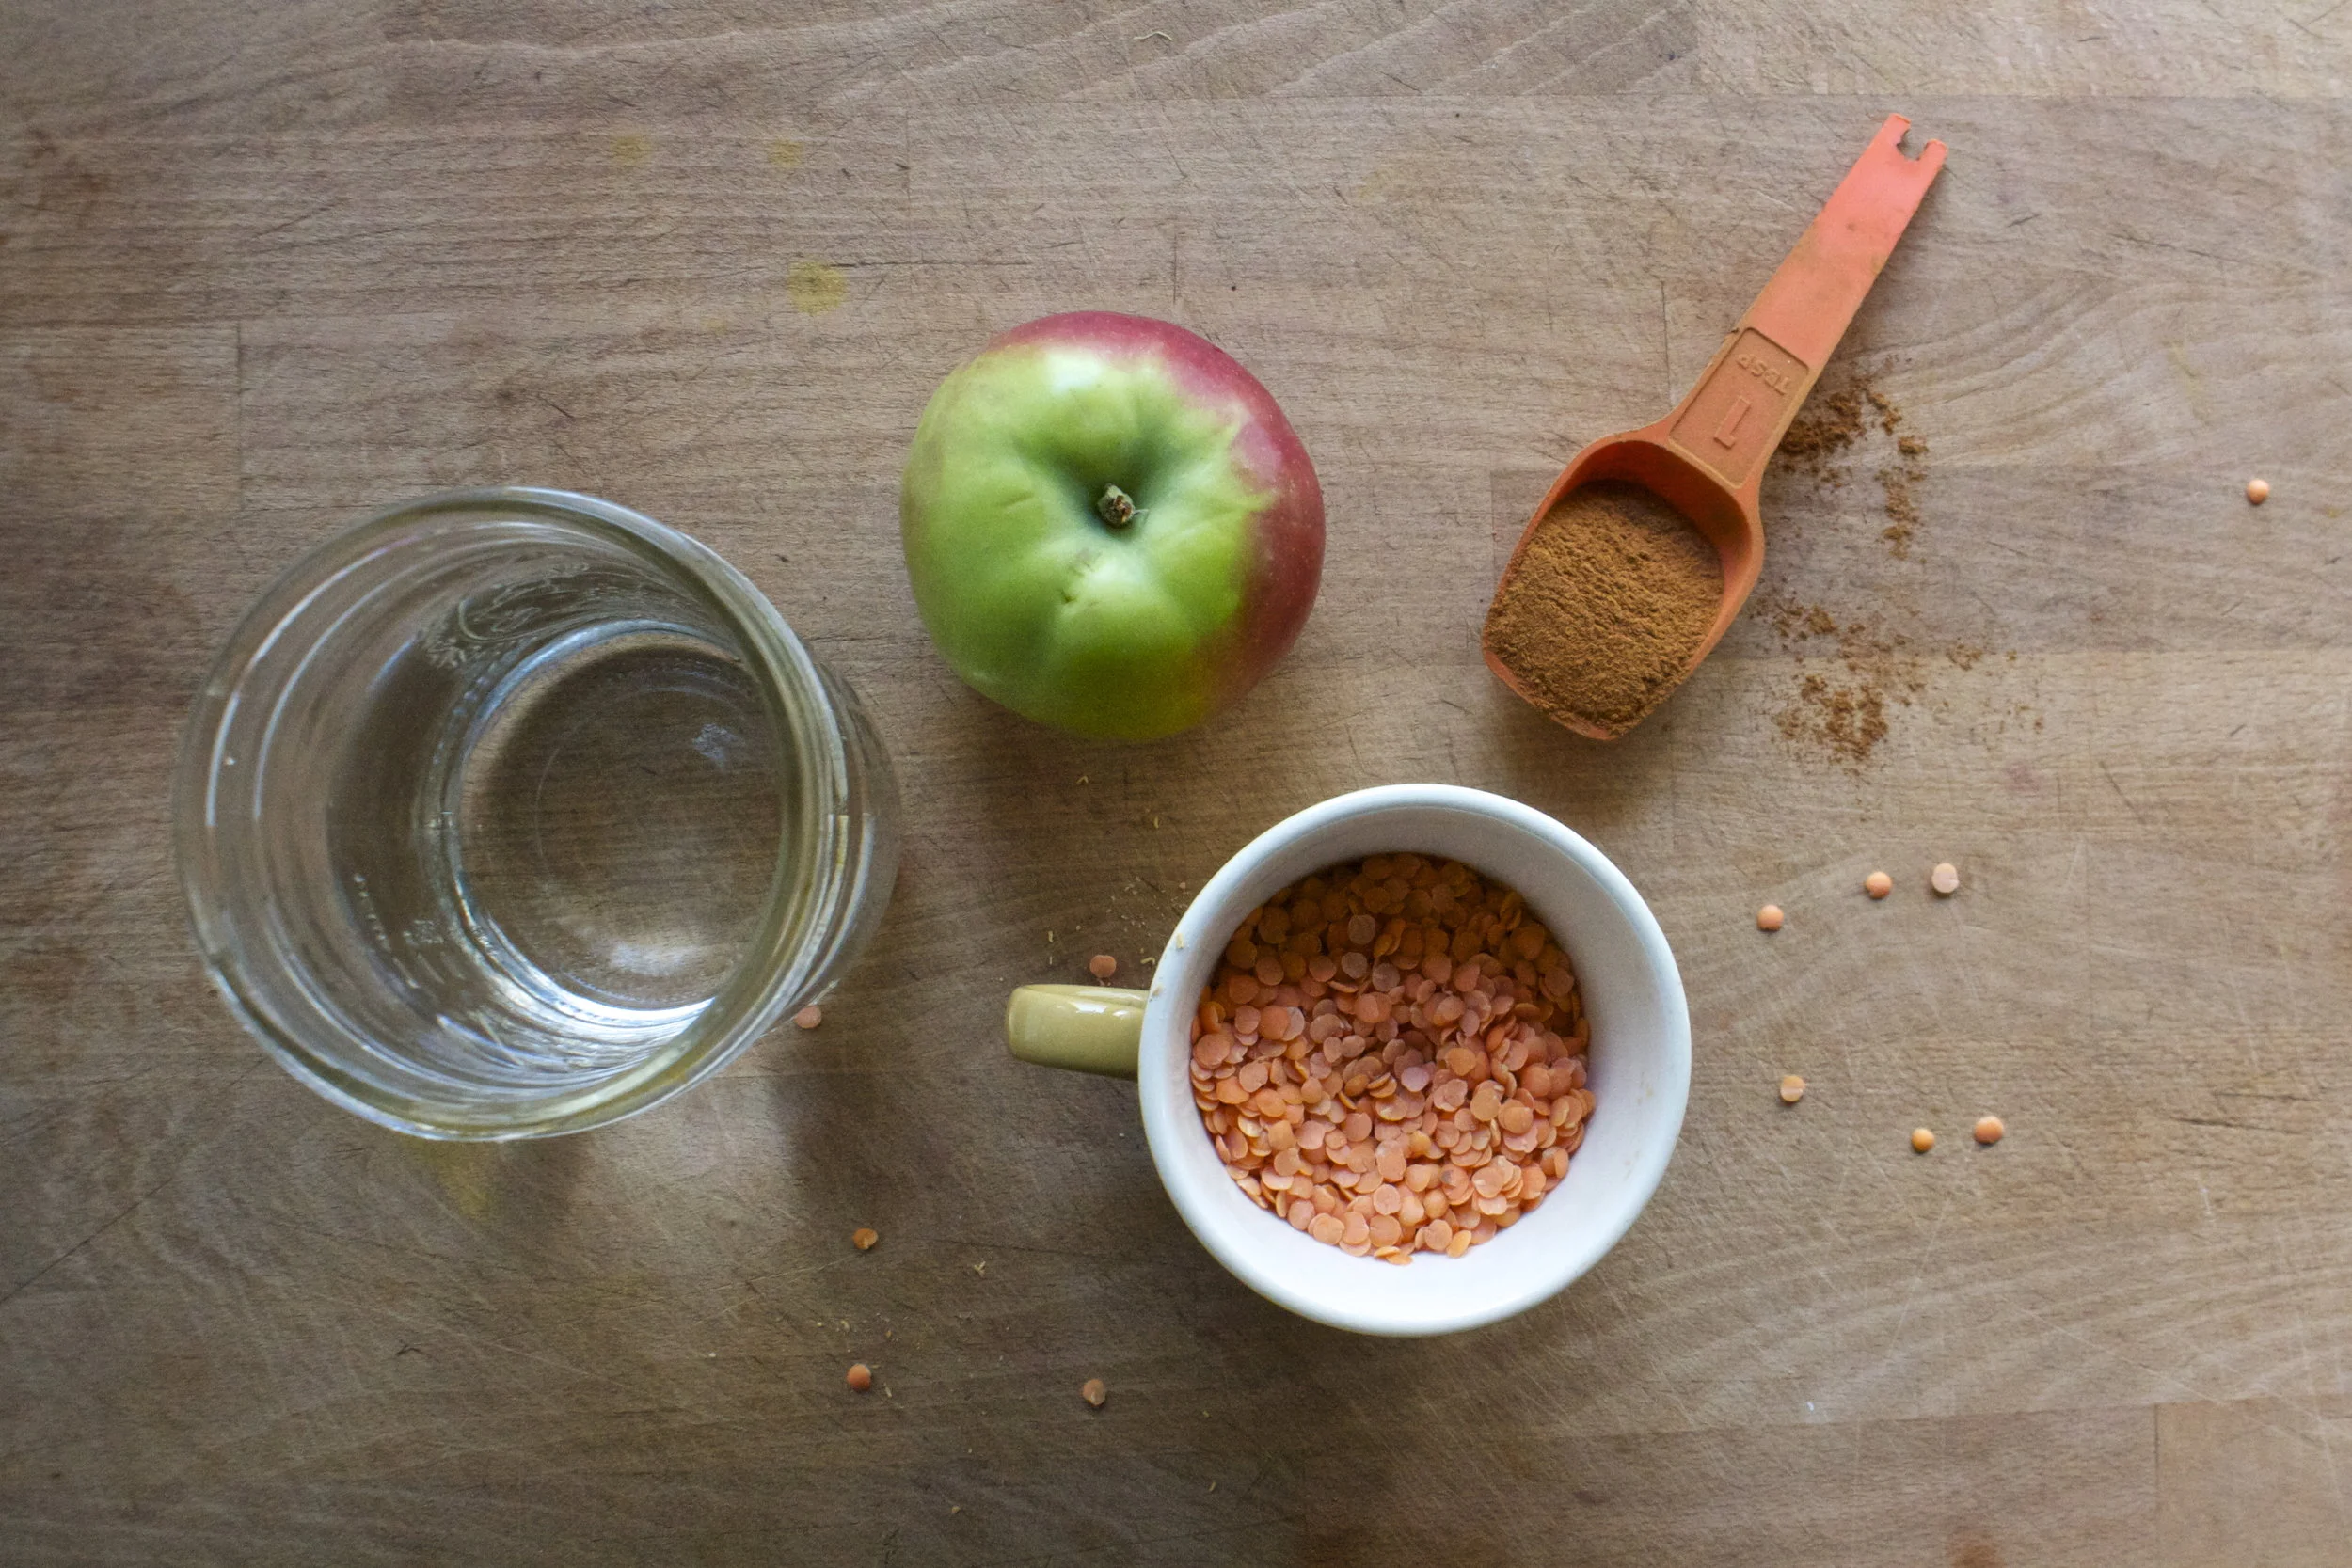
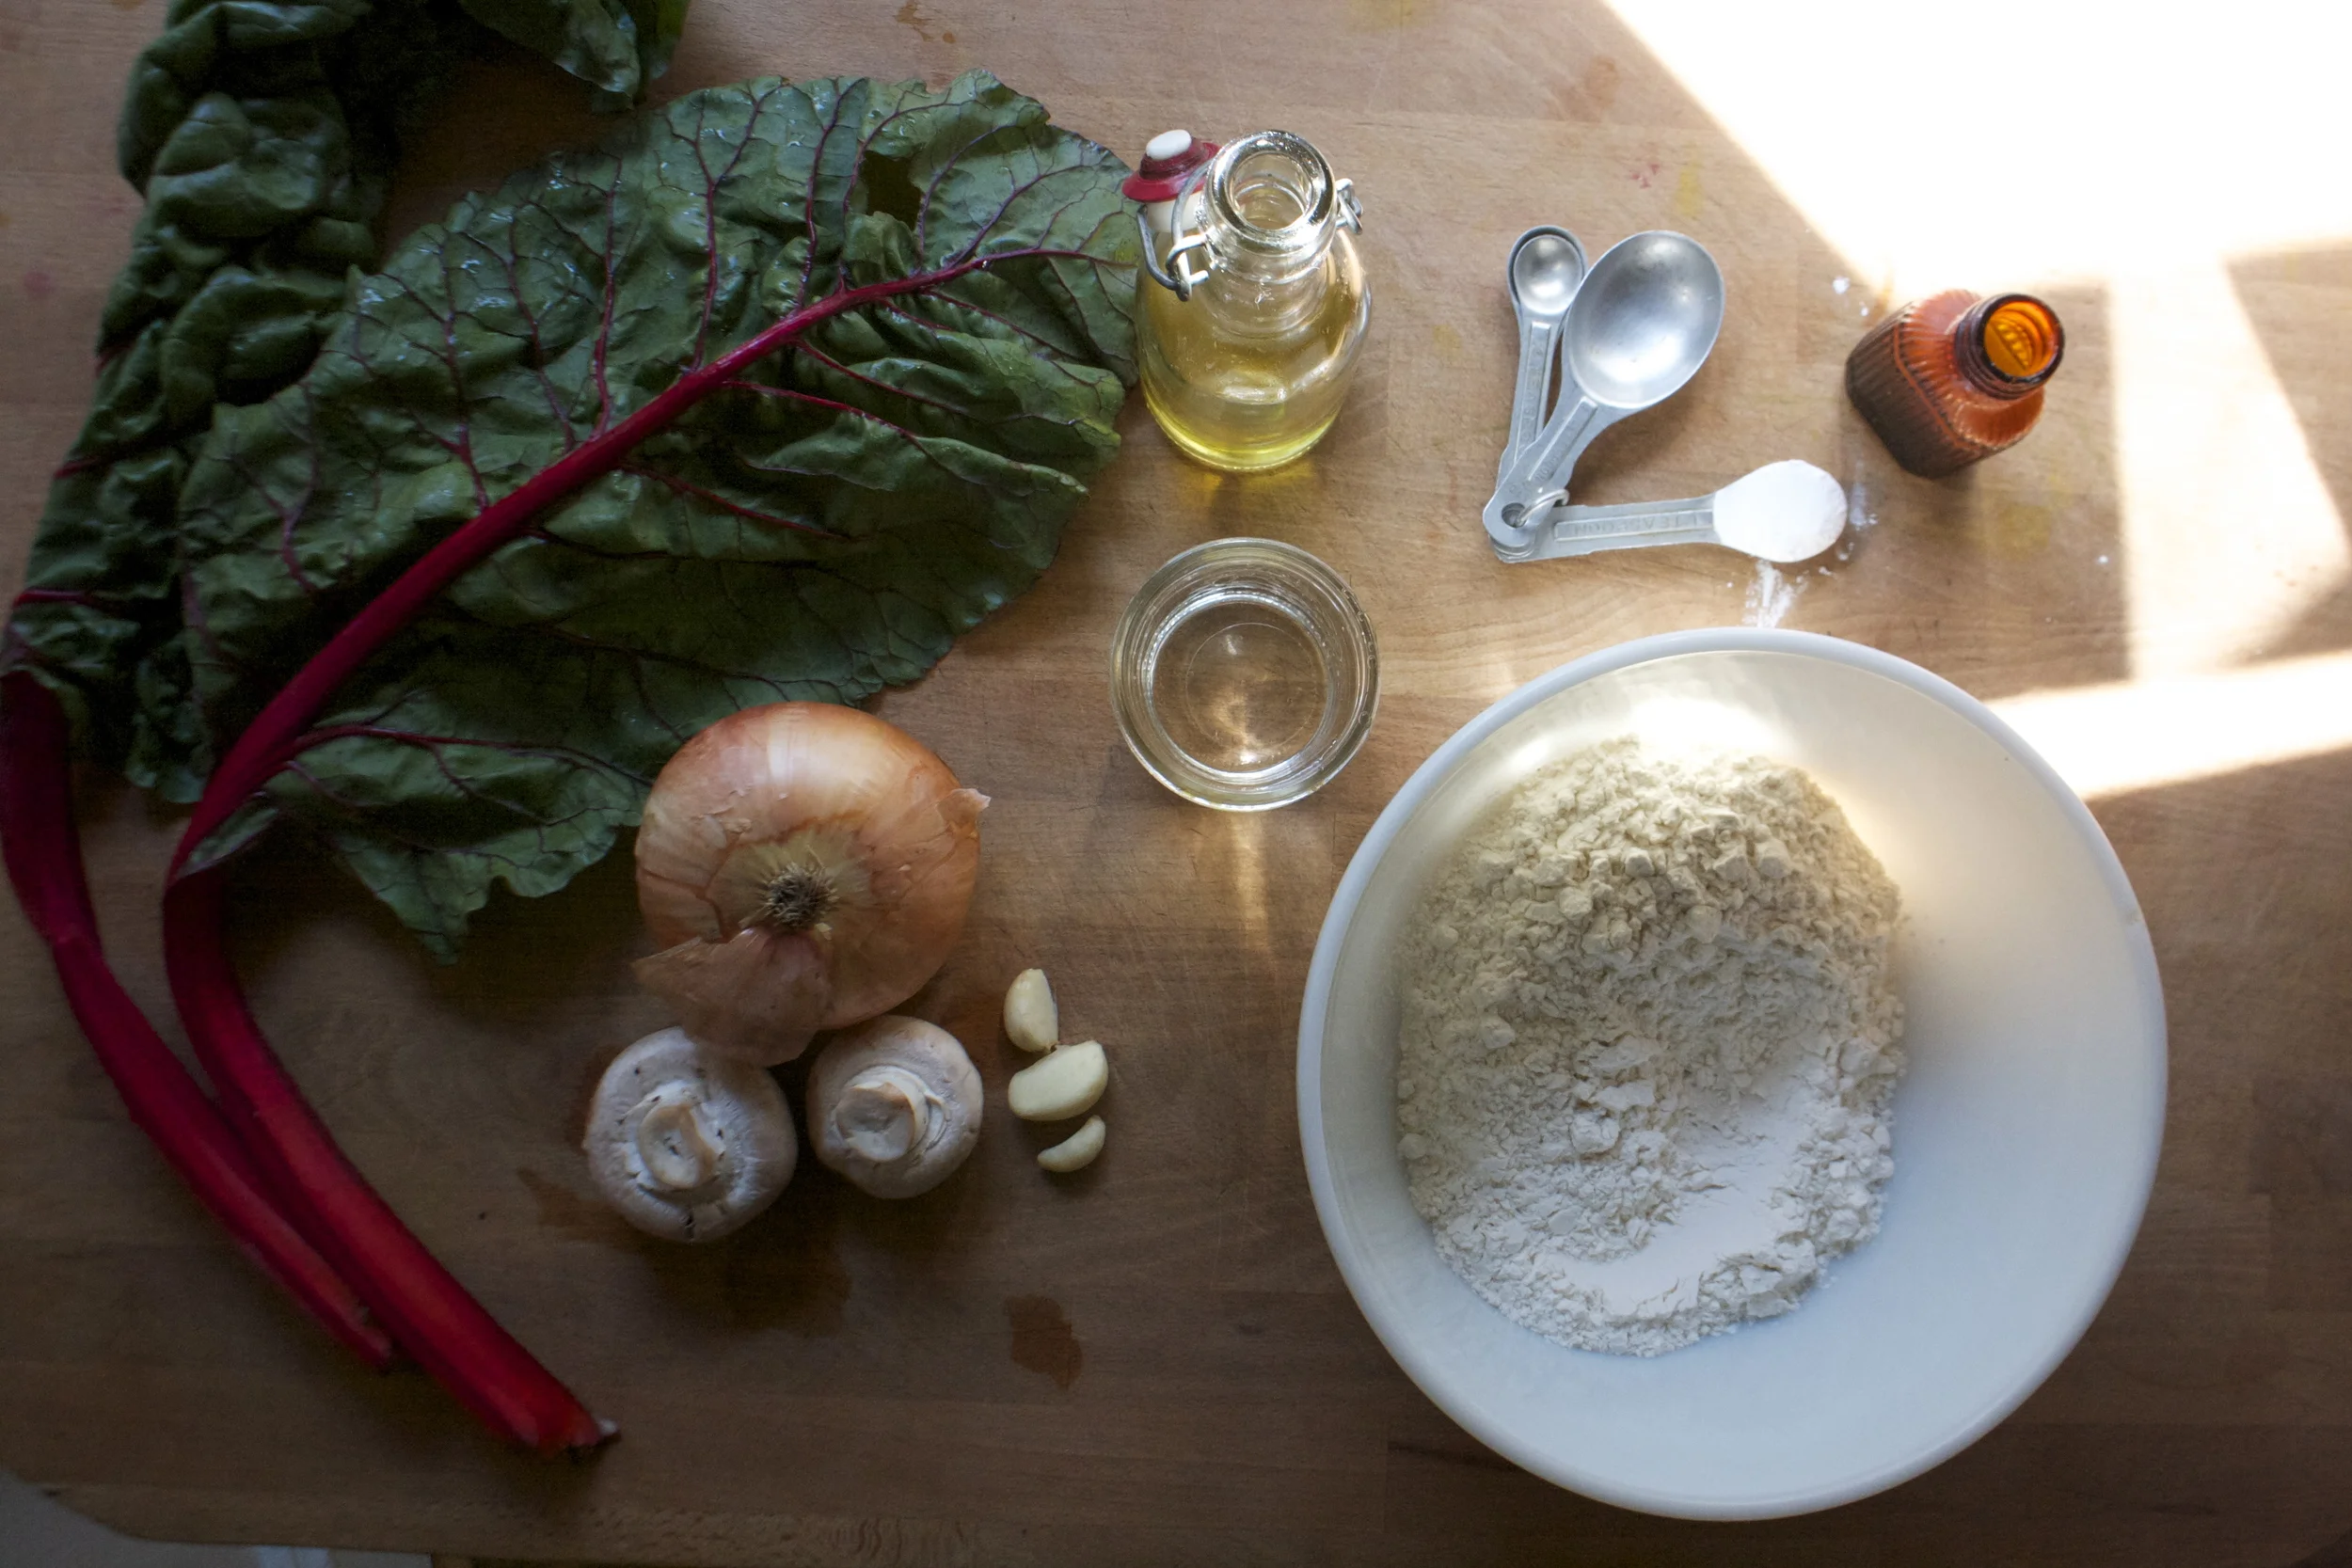
The stuff. A few apples, regular all purpose and white whole wheat flour, salt, applesauce, maple syrup, yeast, and warm water.
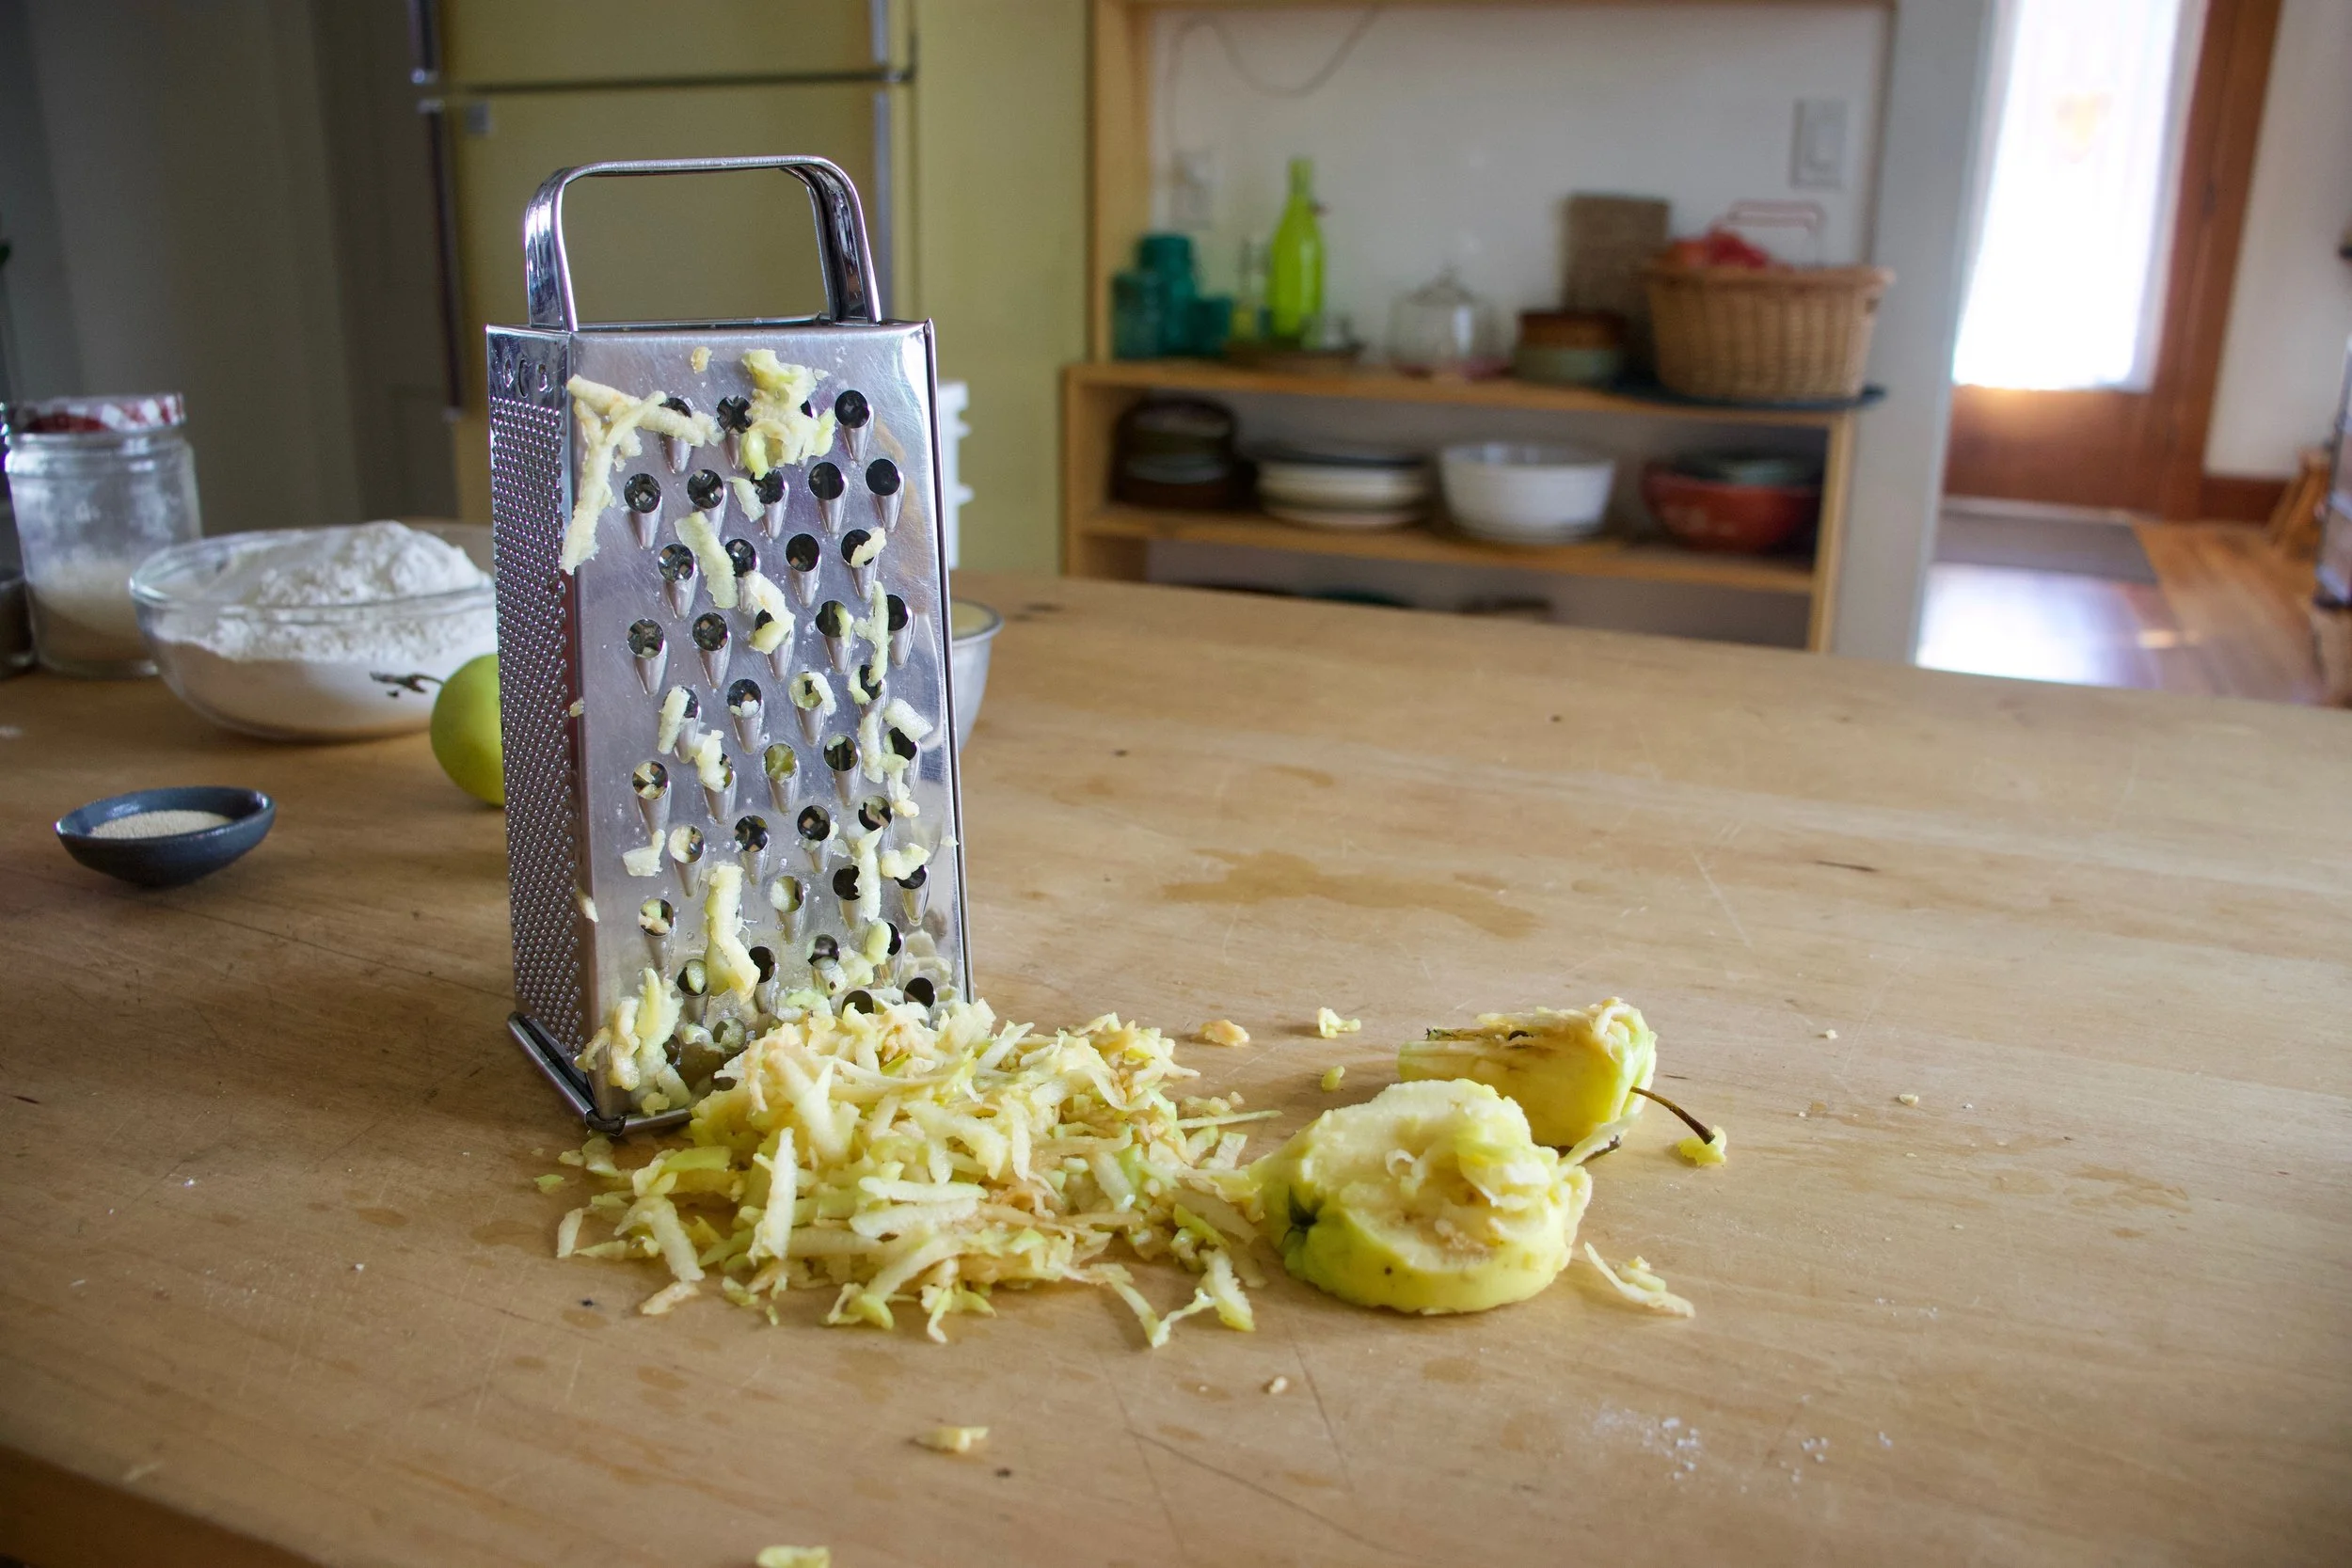
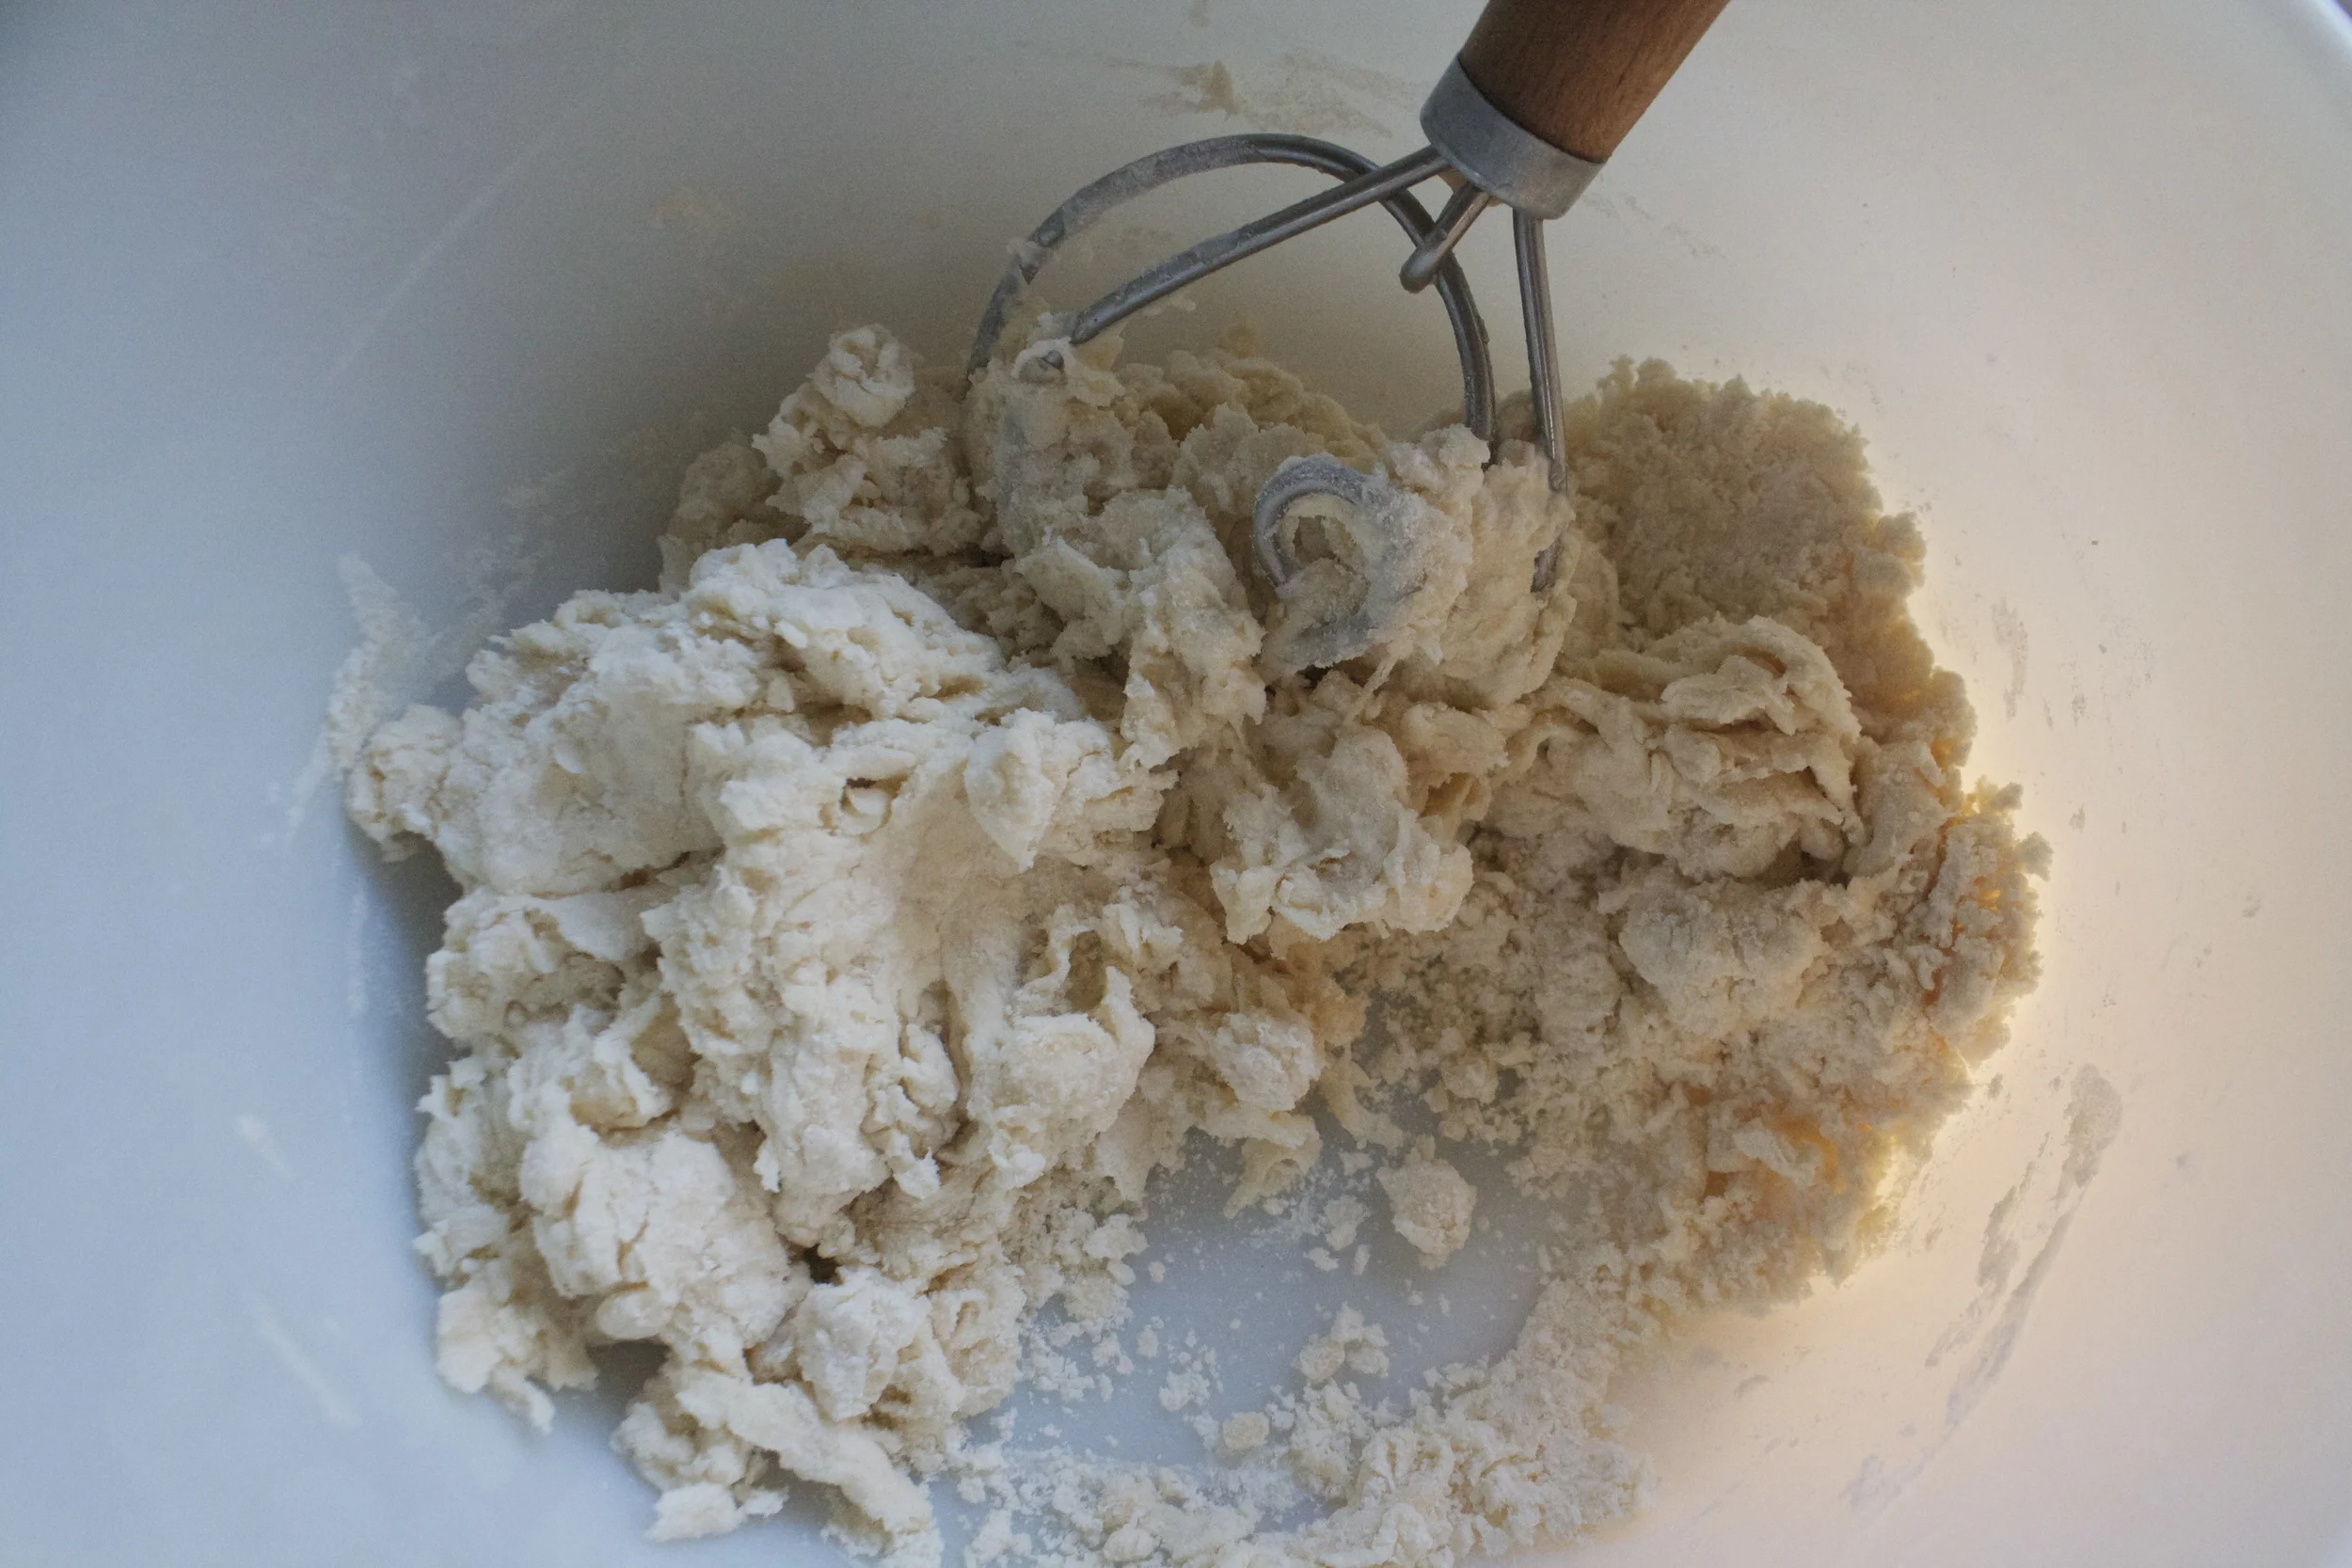
Applesauce, shredded apple, maple, yeast, and a little water get mix up and let to sit for a few minutes to activate yeast. Then the salt gets mixed in, along with all the flour. Stir until dough forms. Dough should be slightly sticky, ut not wet. IF wet, add a handful more flour. To dry, add more water.
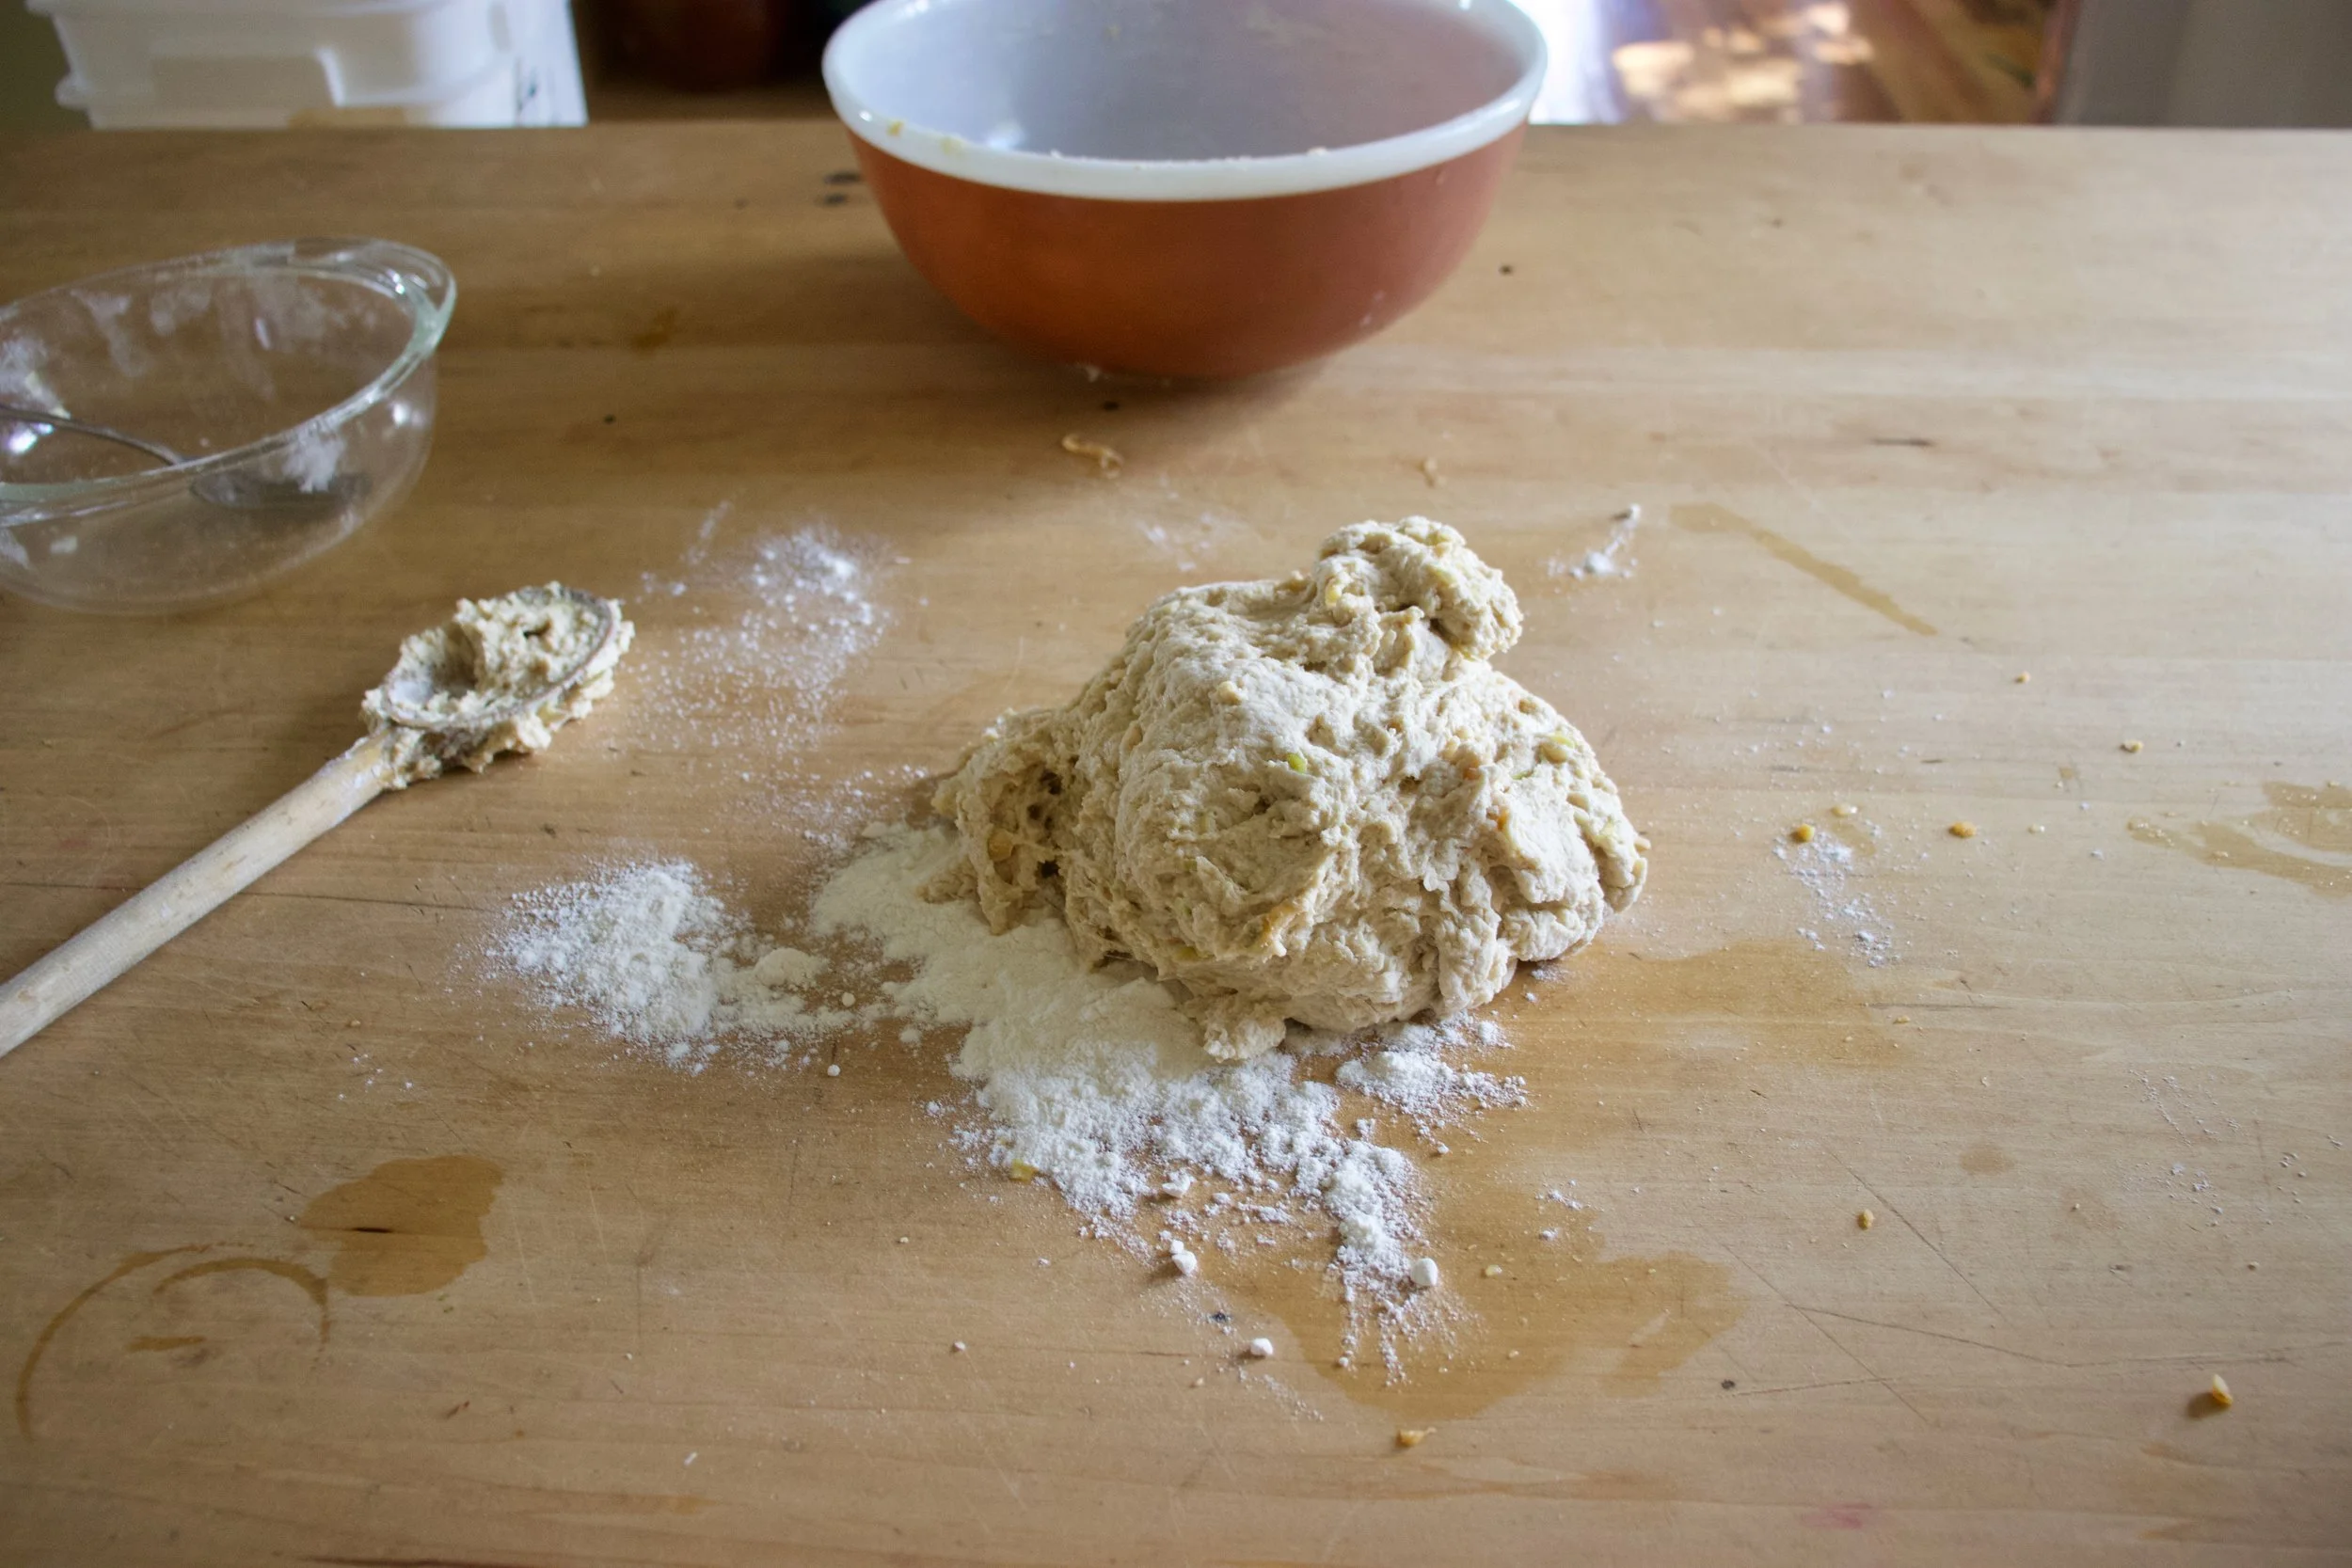
Dump the dough onto a floured surface, cover your hands in flour, and knead dough for about 5 or so minutes, adding more flour as needed to keep dough from sticking, until the dough is a nice and cohesive texture.
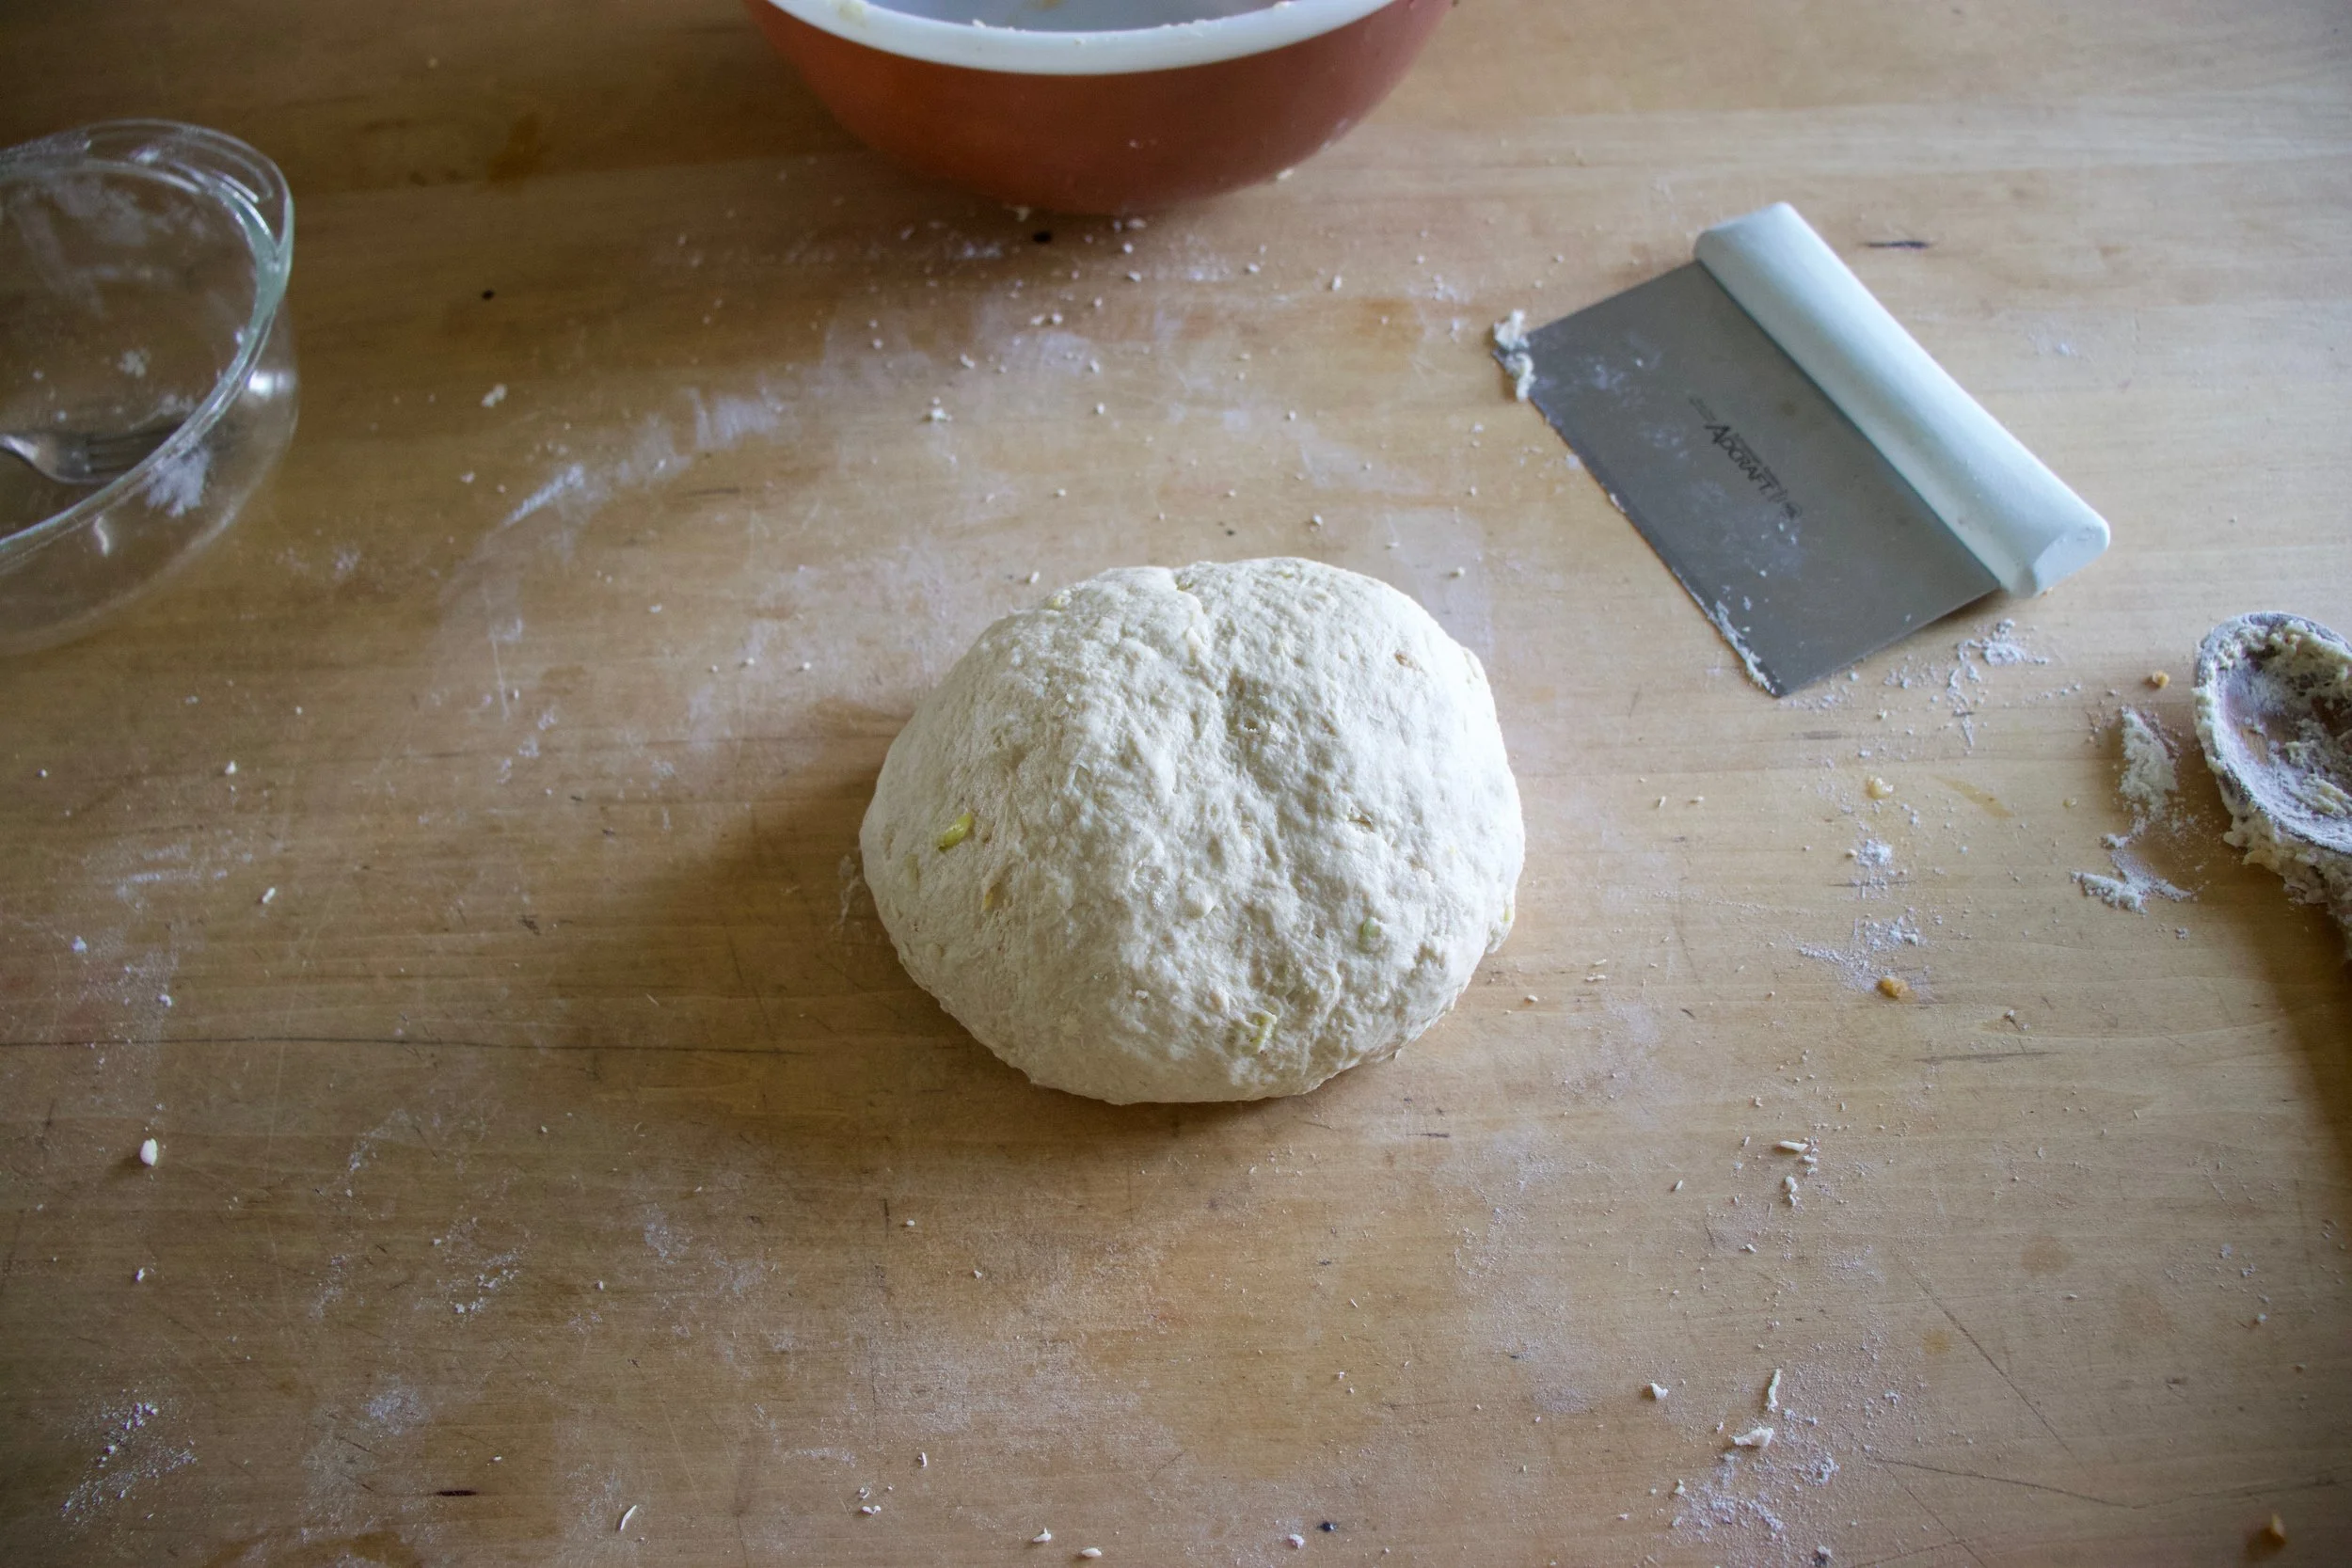
Nice looking dough. Now roll dough into a ball.
Place dough in a clean wet or oiled bowl and cover with a damp cloth for one to one and a half hours or until dough doubles in size.
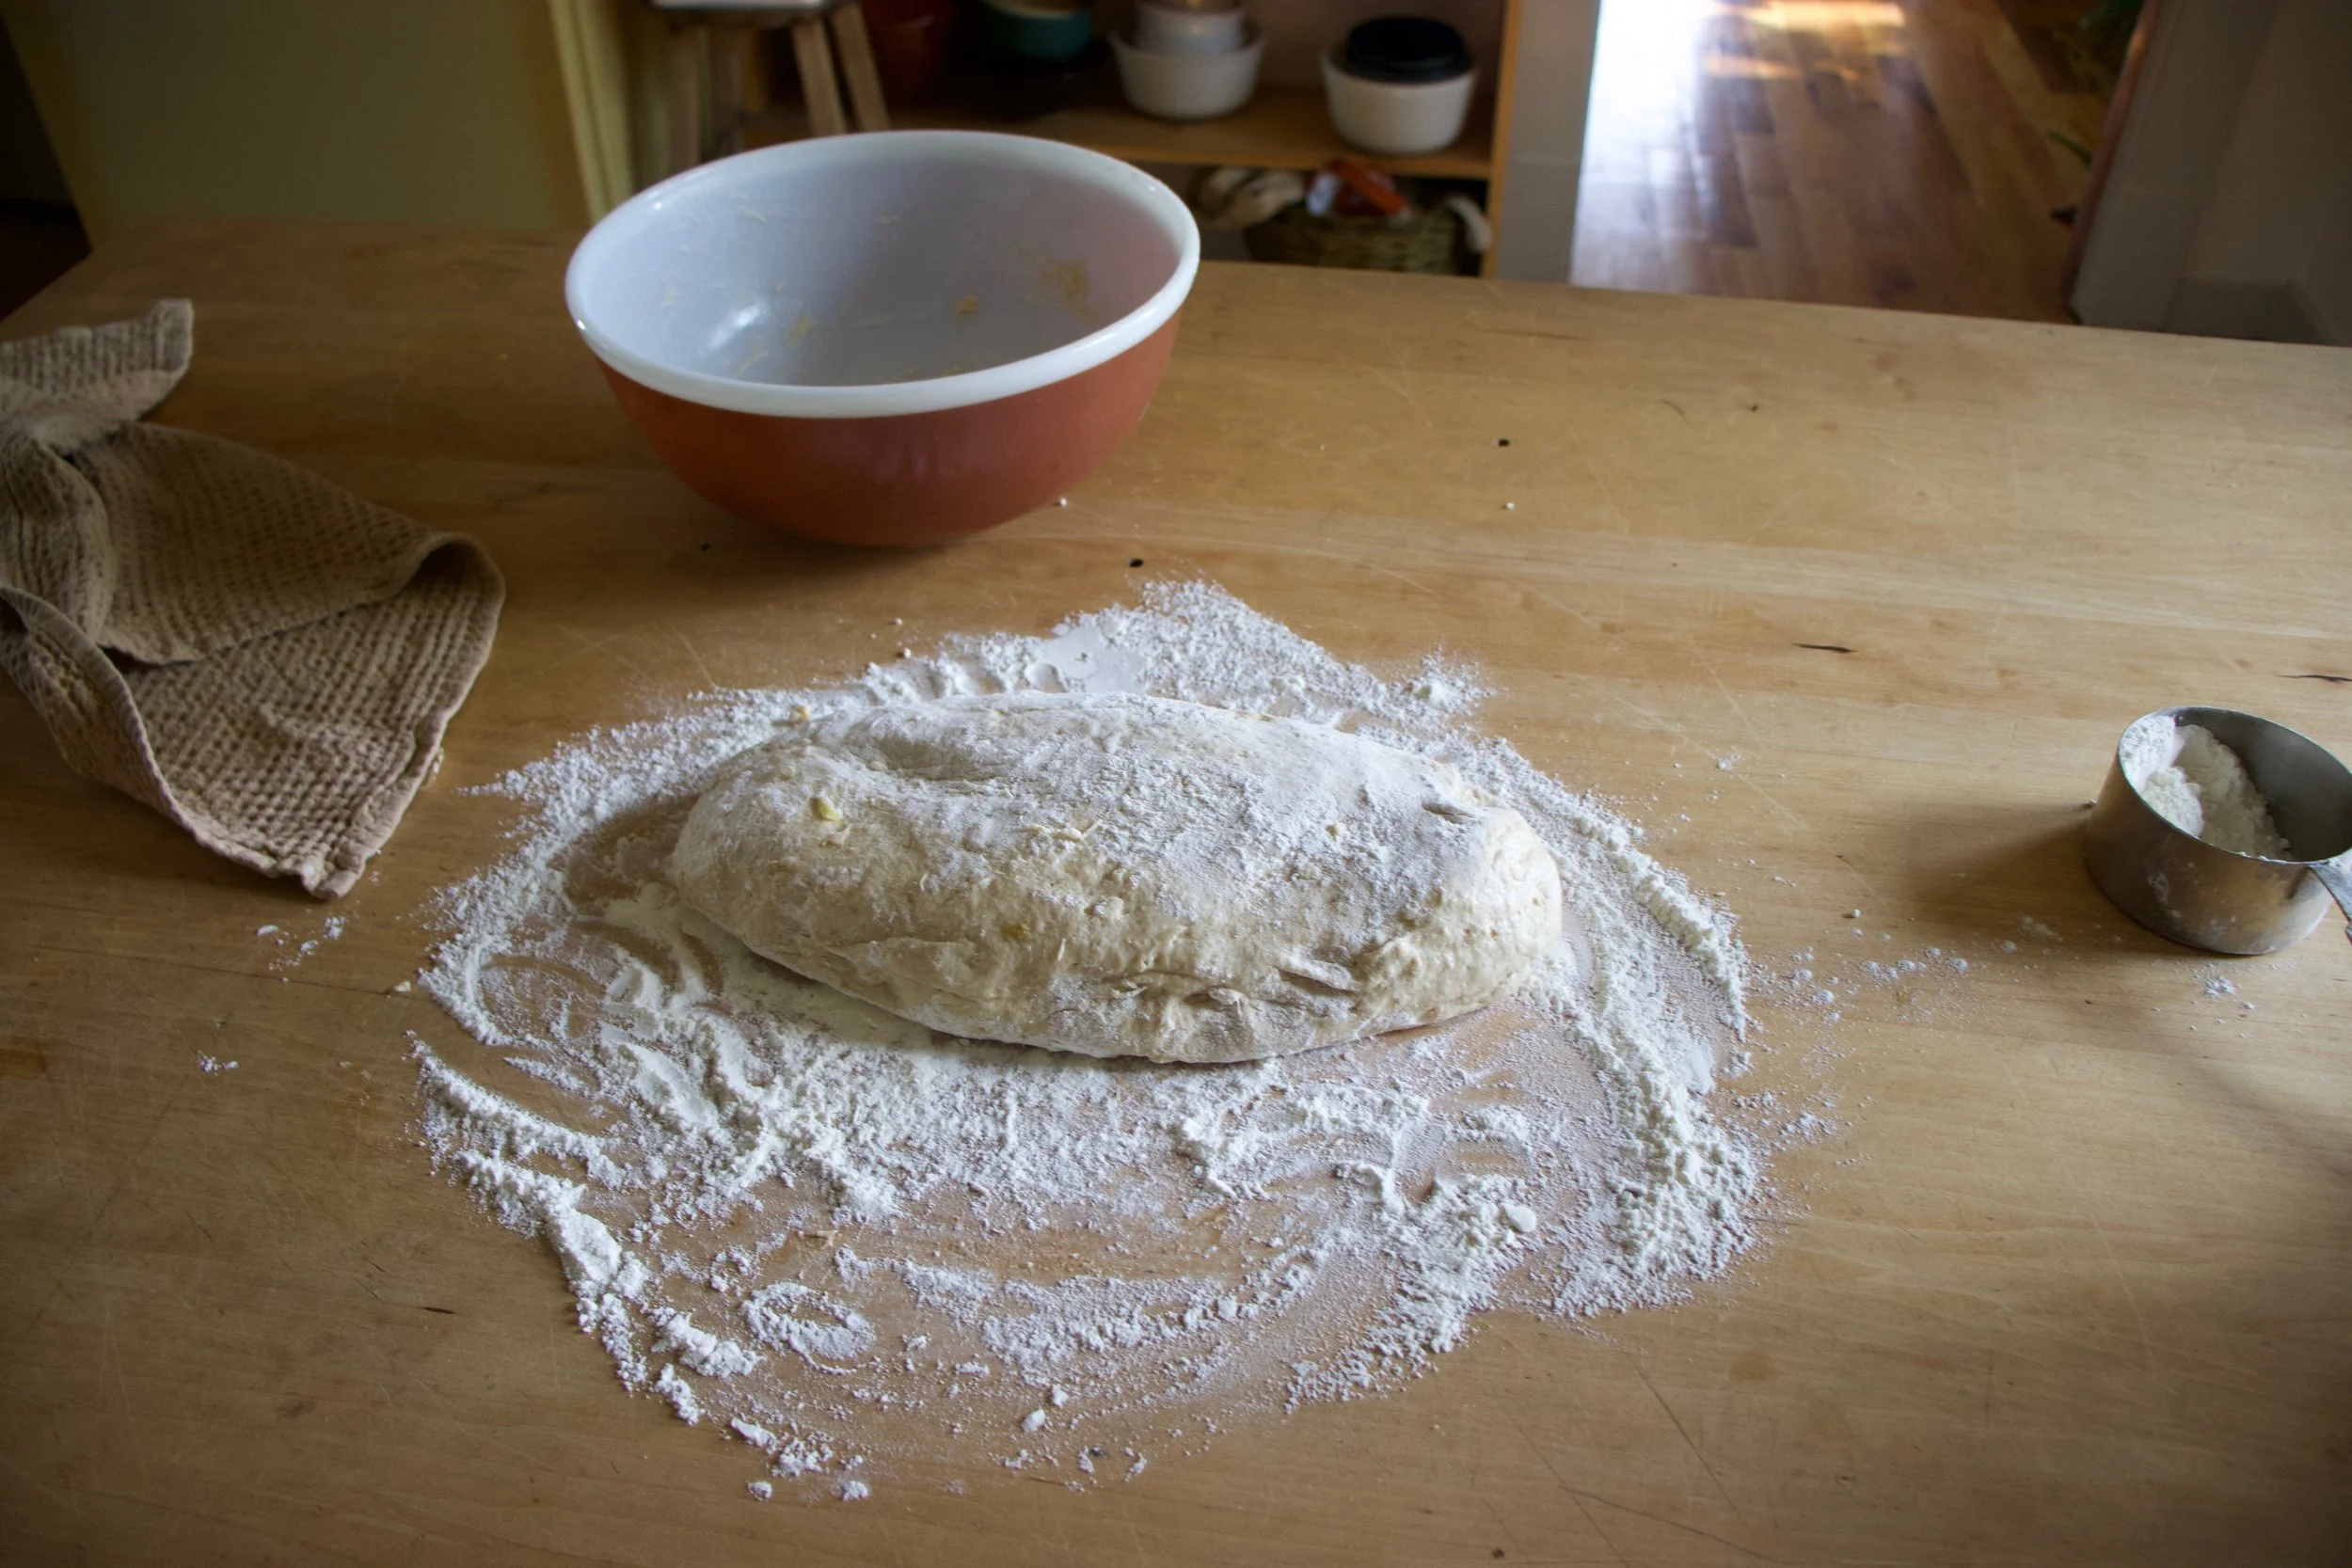
Dump dough onto floured surface.

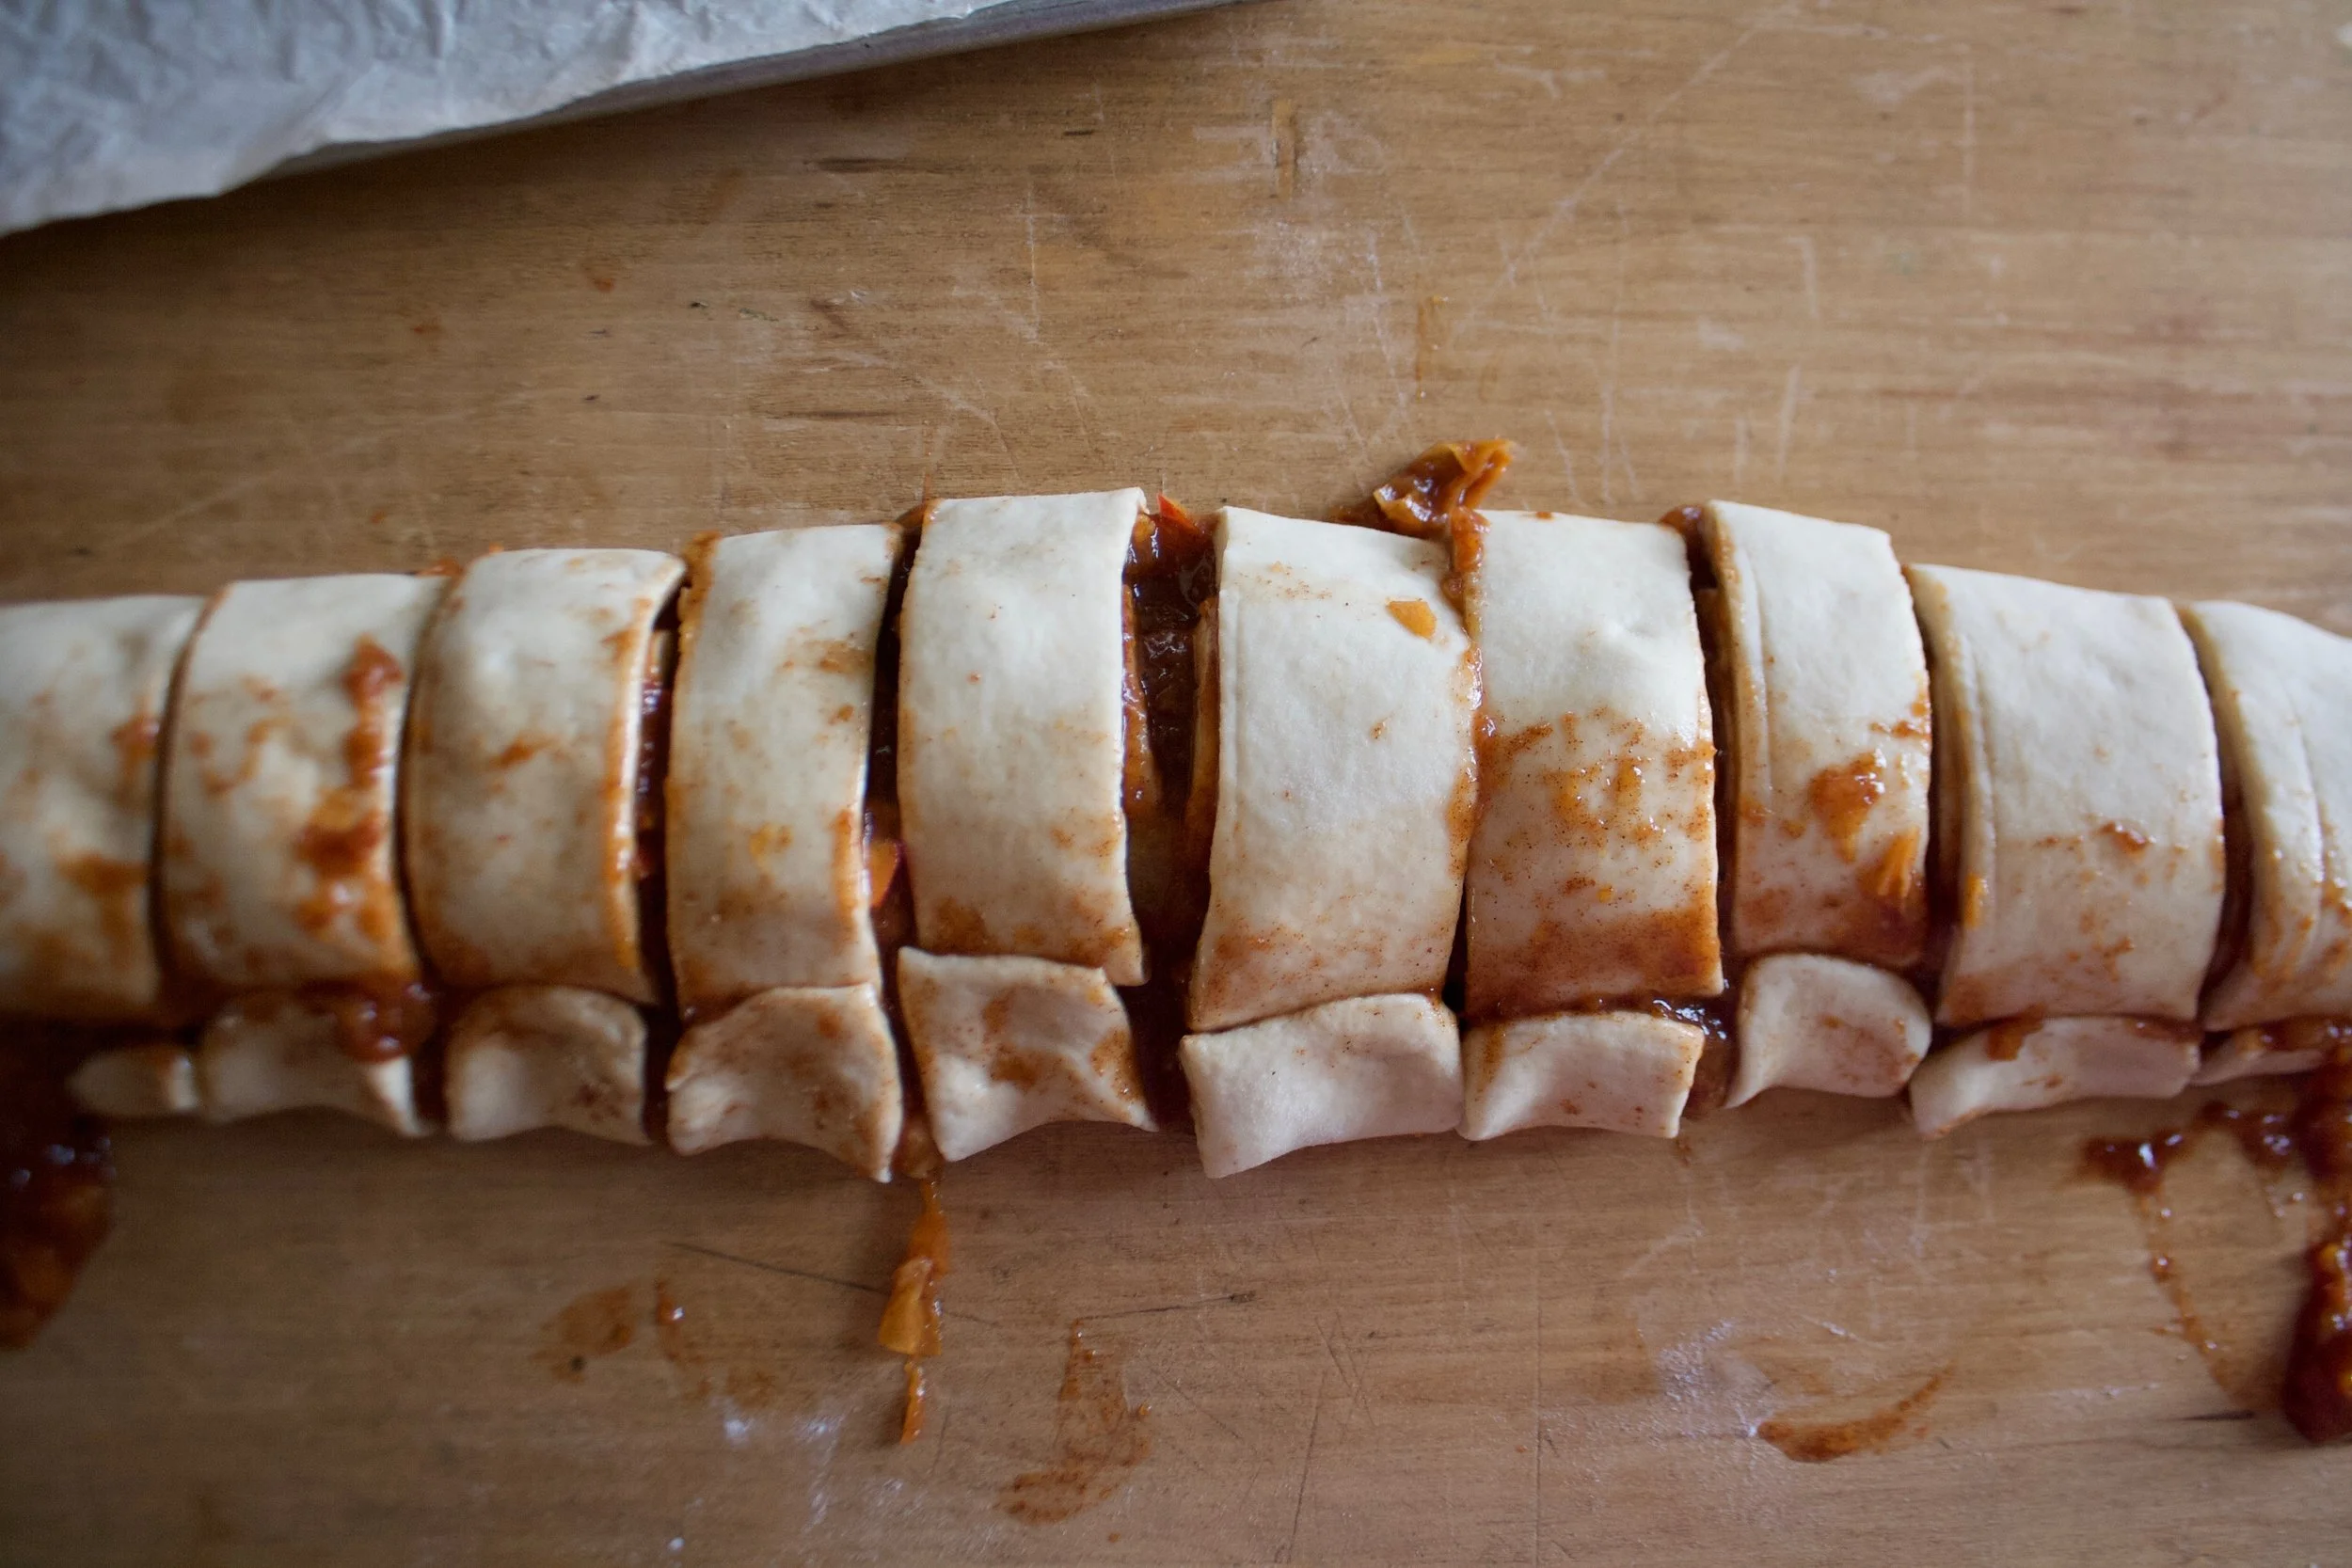
Cut dough into 3 equal pieces and roll out into long longs.
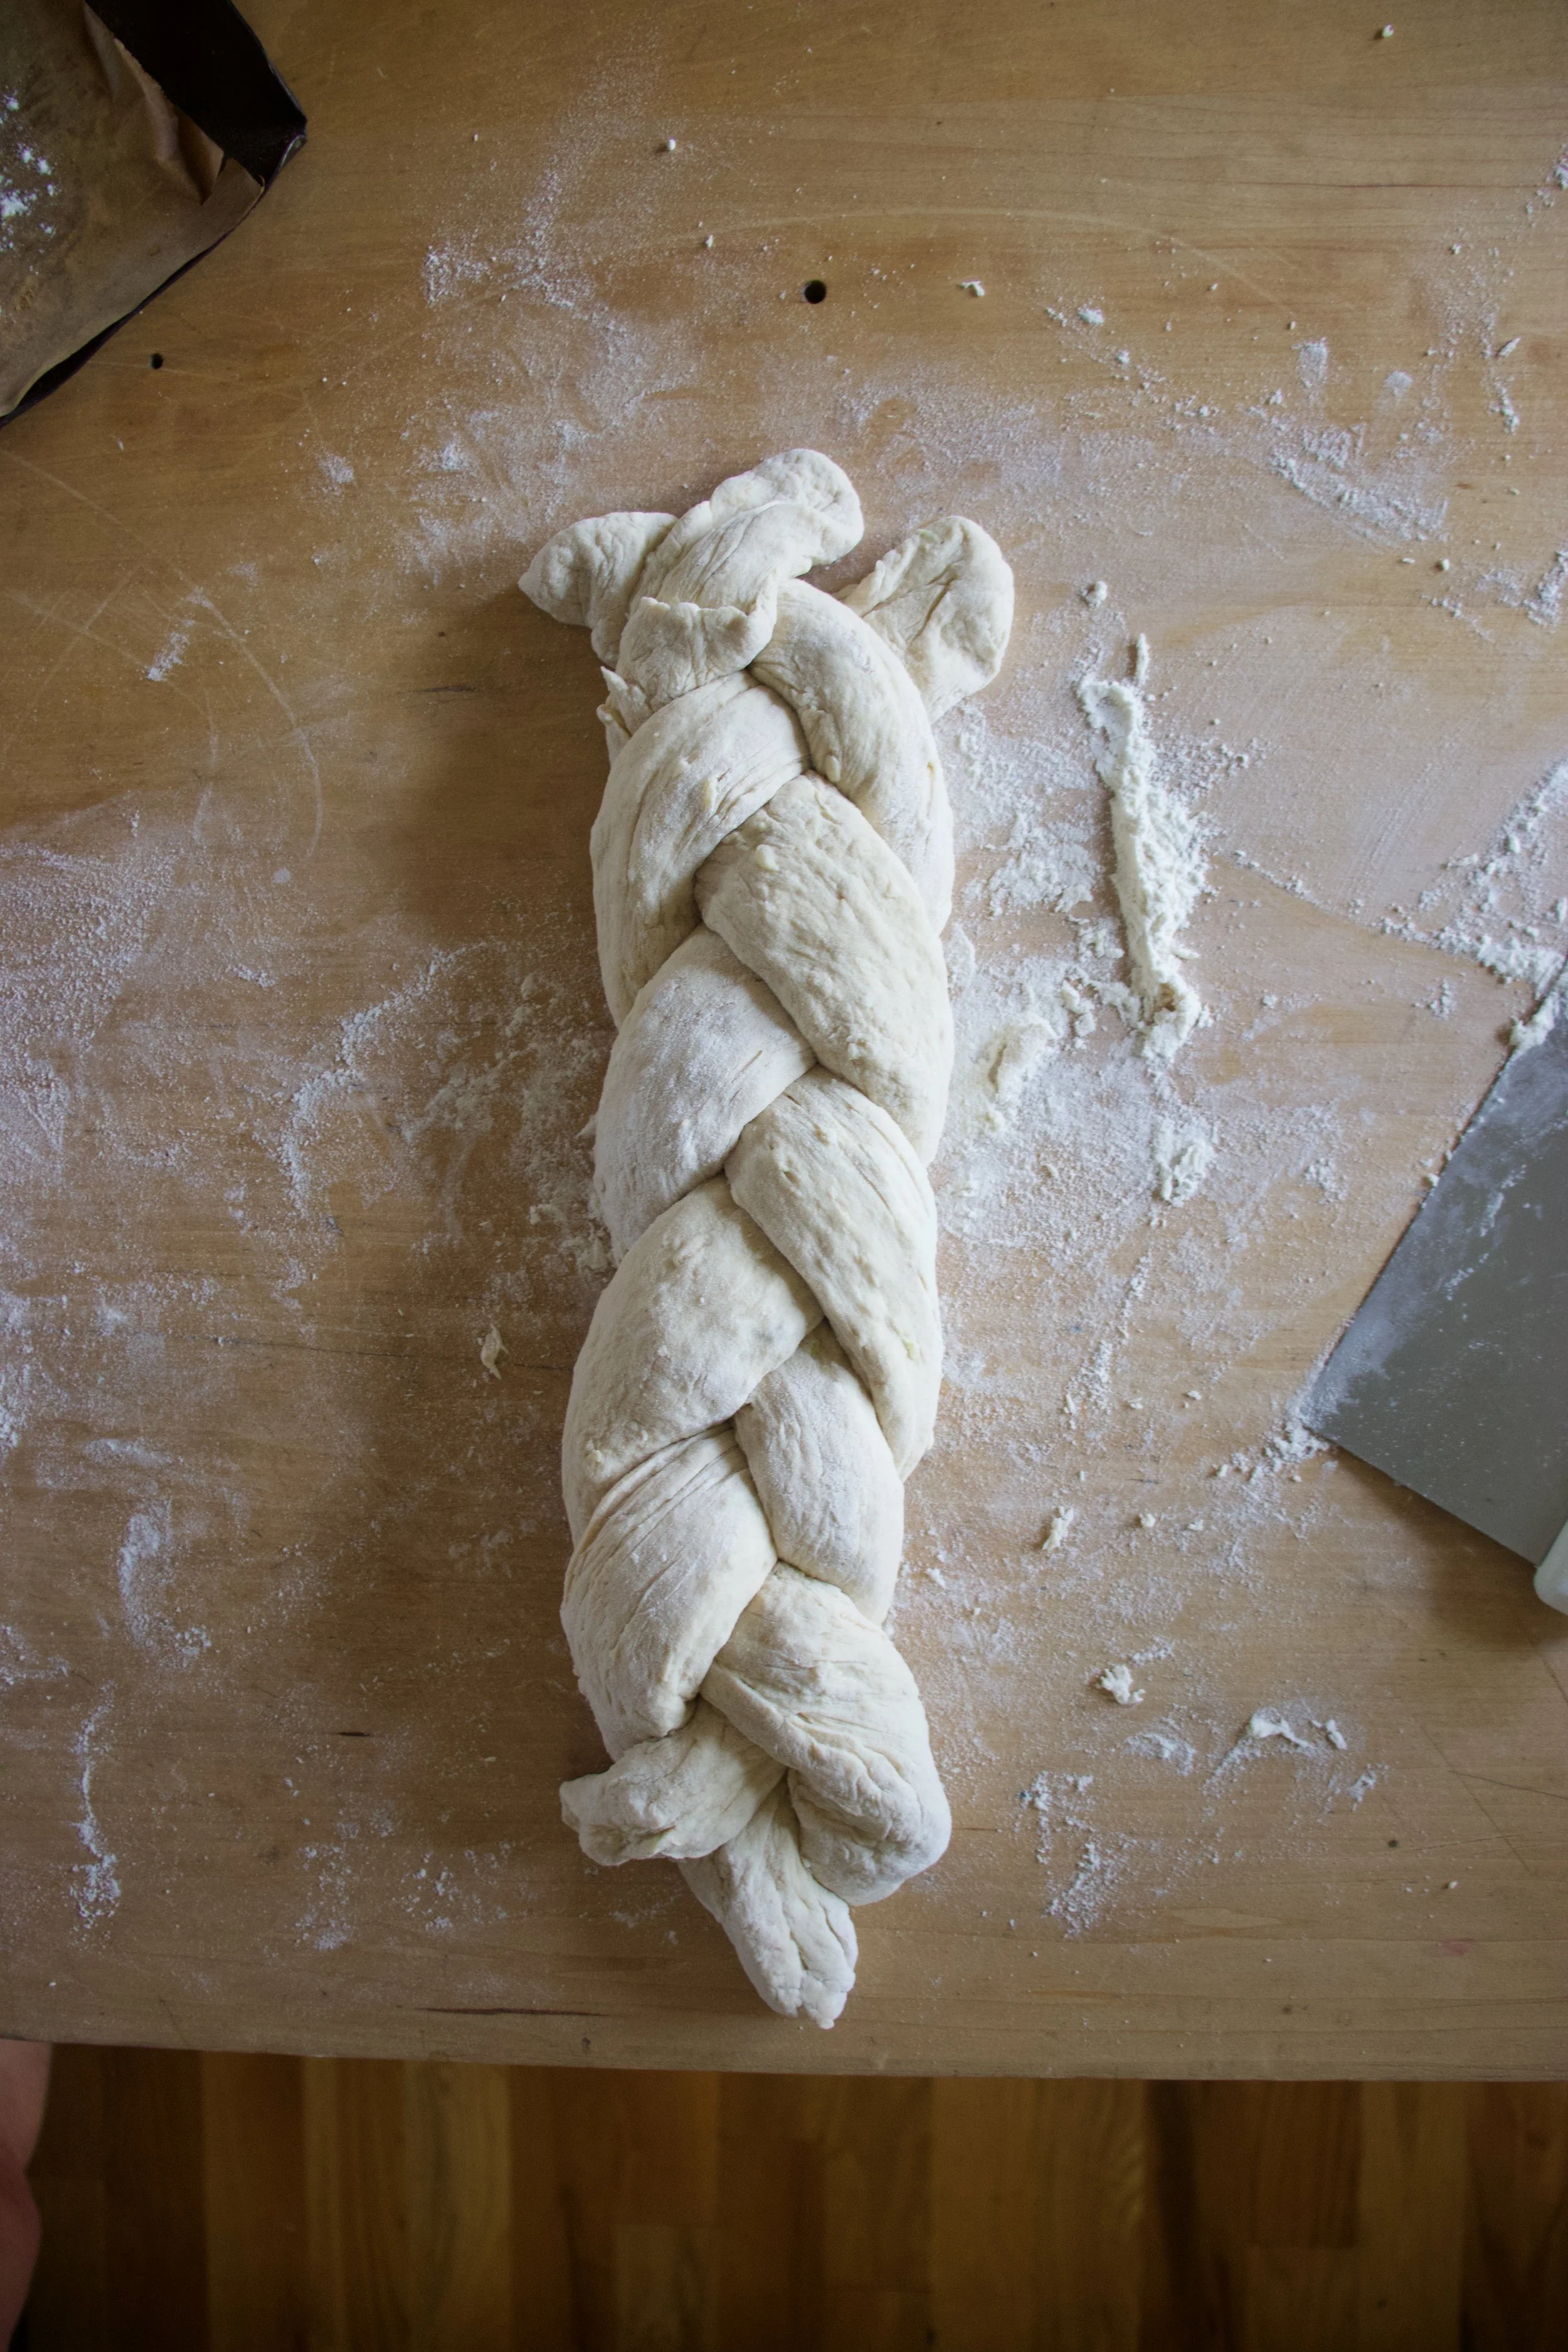
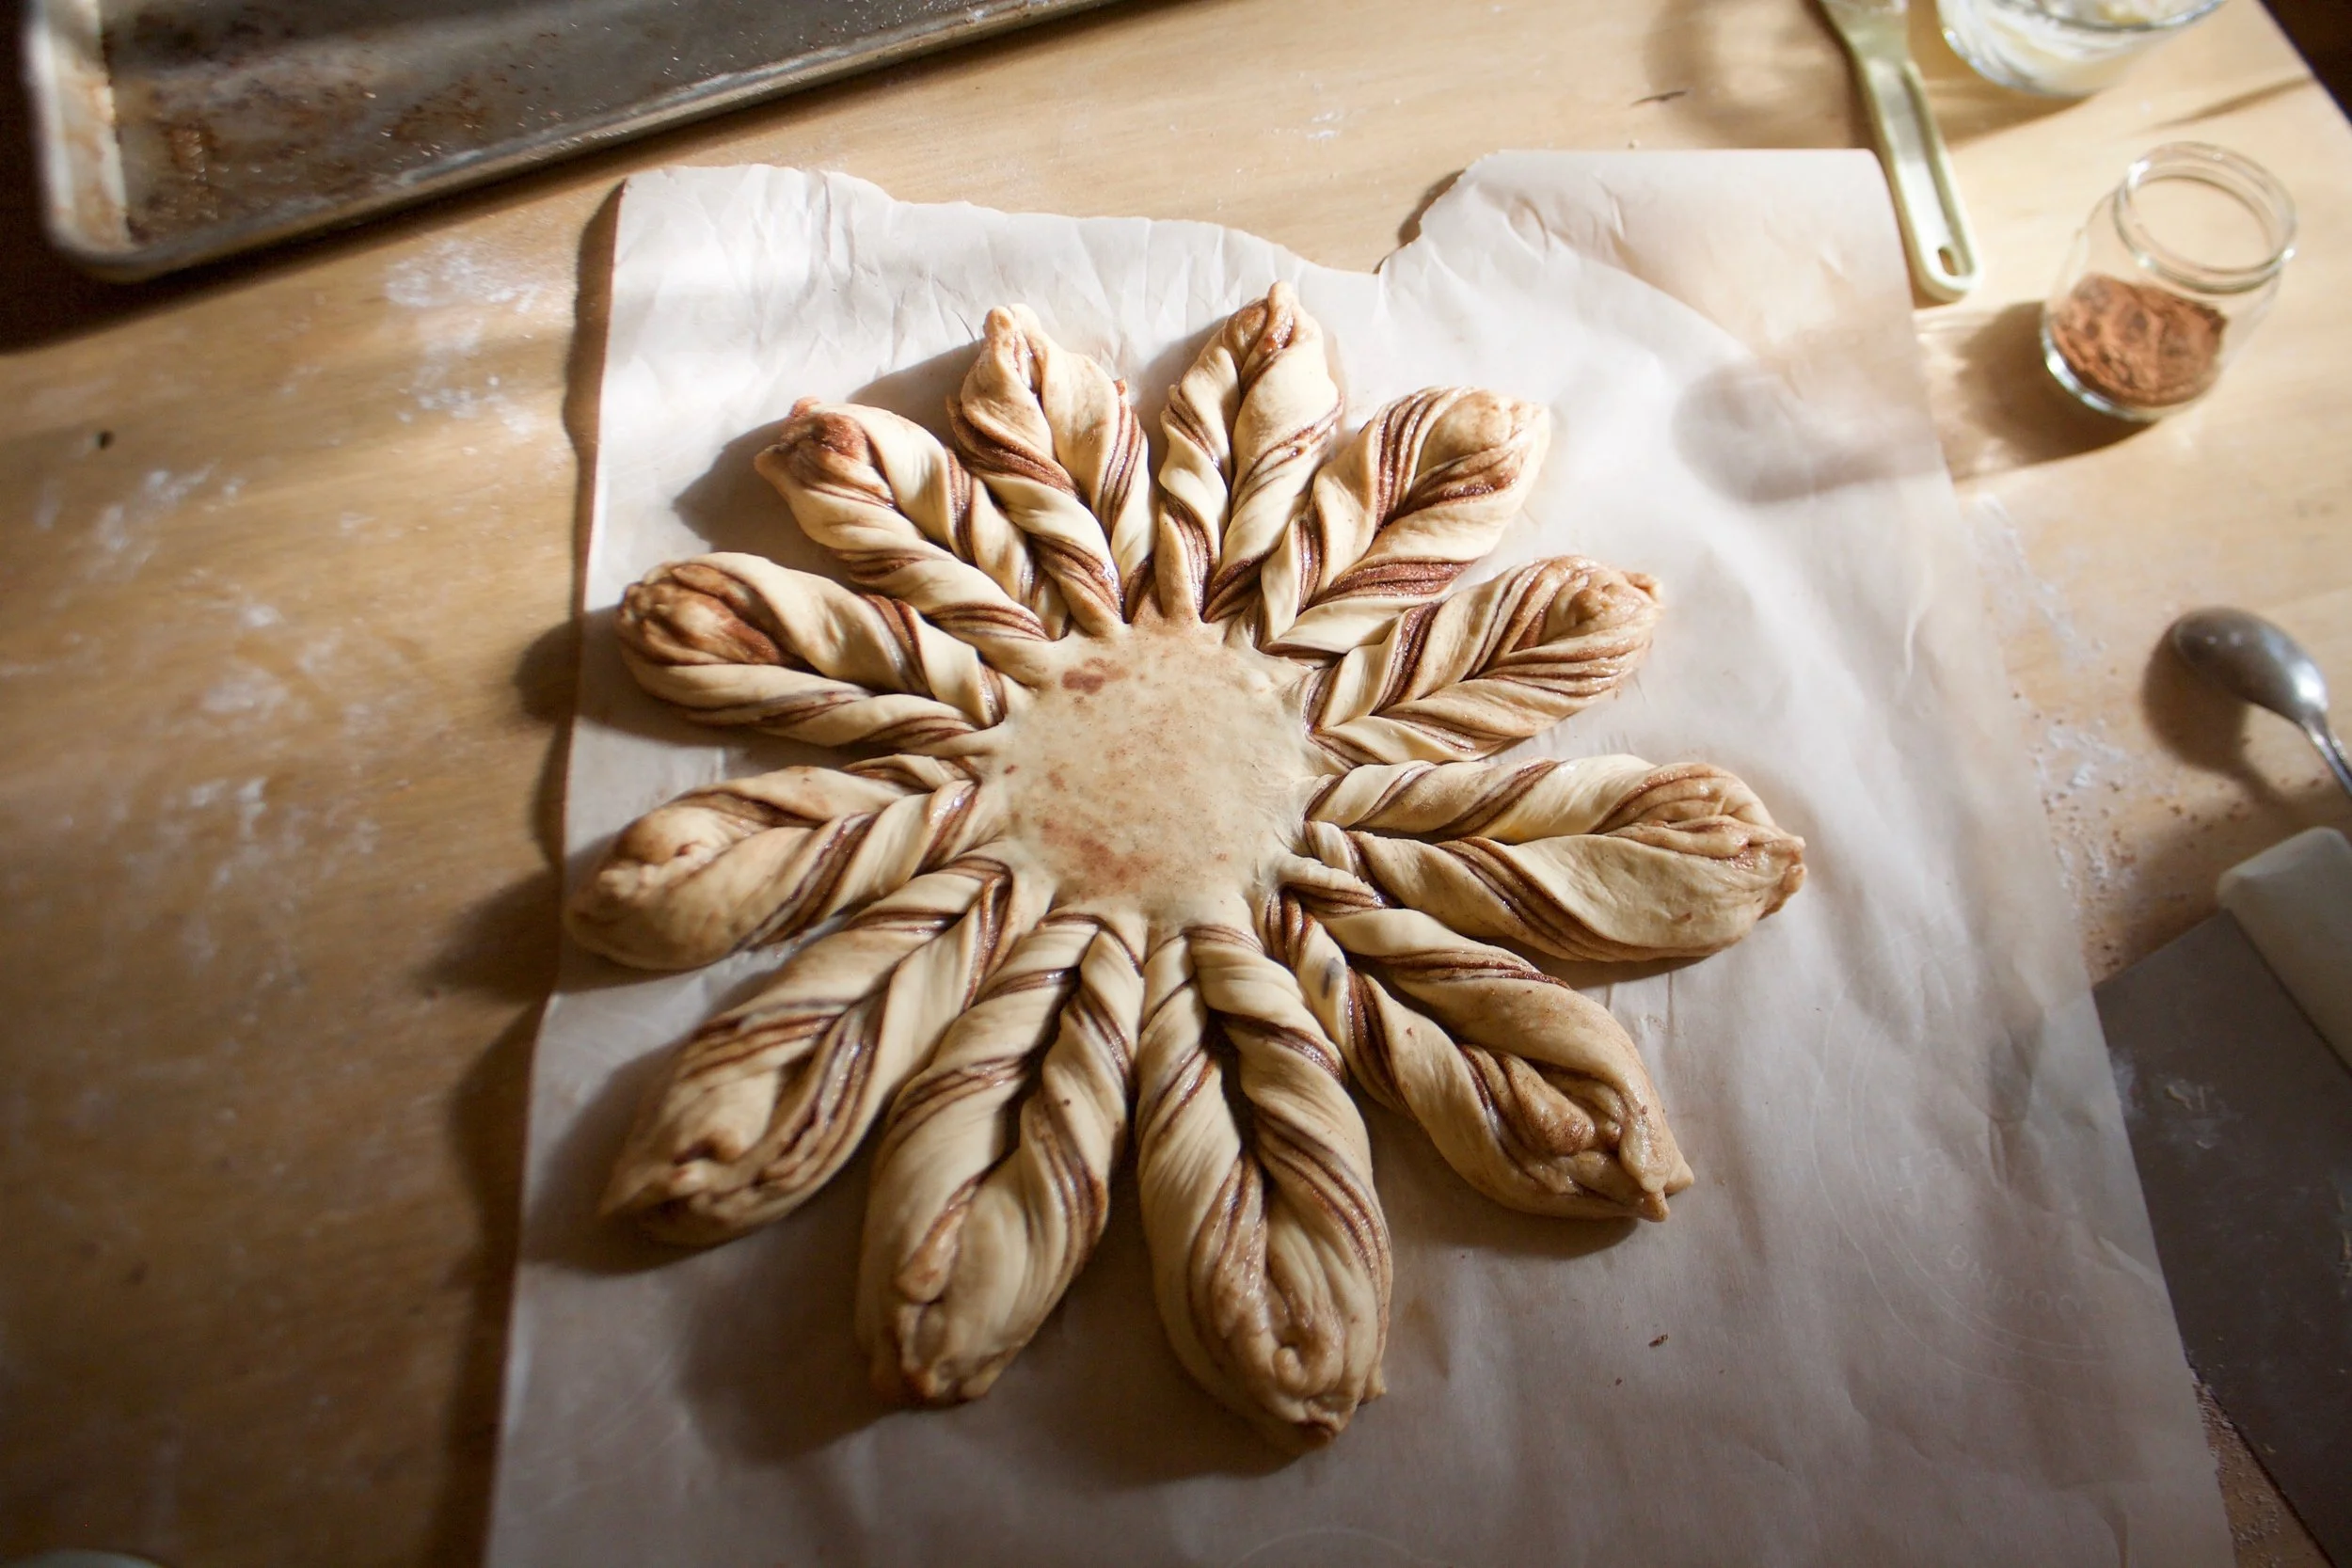
Braid logs together. You can stop here bake it this way or%u2026

After placing it on a parchment lined baking sheet, tuck the ends of the braids underneath each other and make it like this. Either way. And once you have the dough on the baking sheet, brush a little water or plant milk on top and let dough rest for 15 minutes of so while the oven preheats.
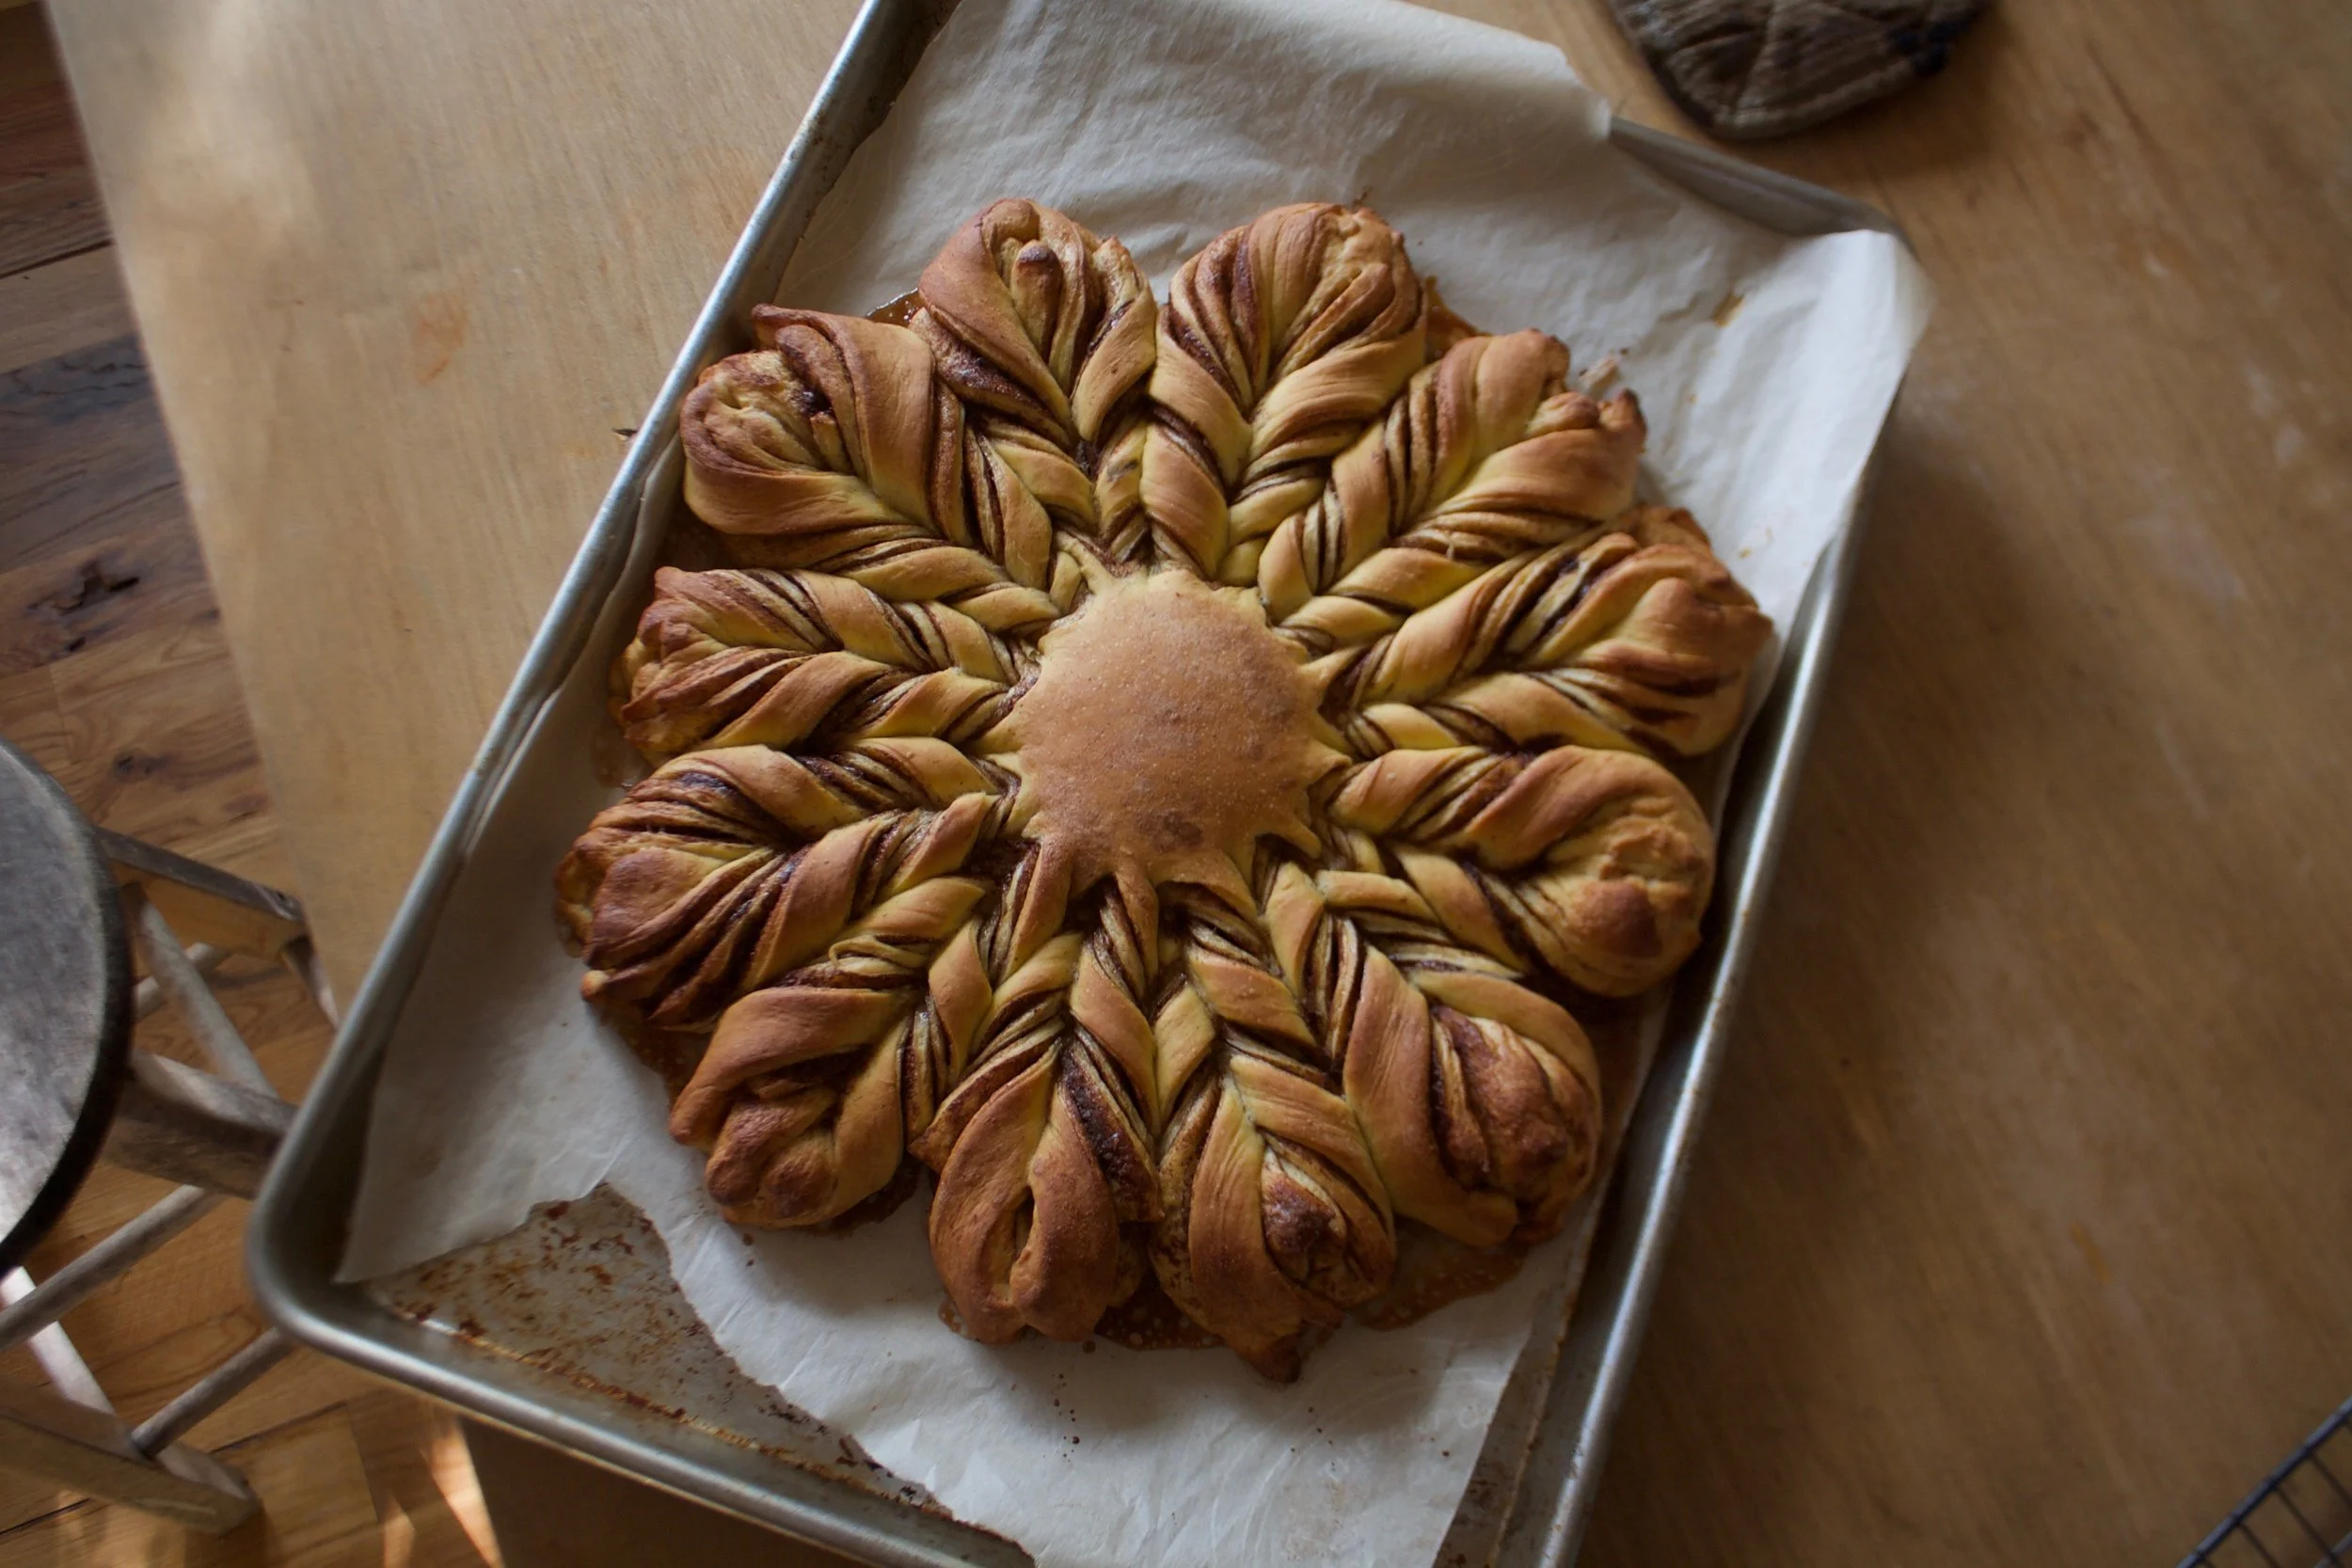
Before oven and after oven. Classy, right?
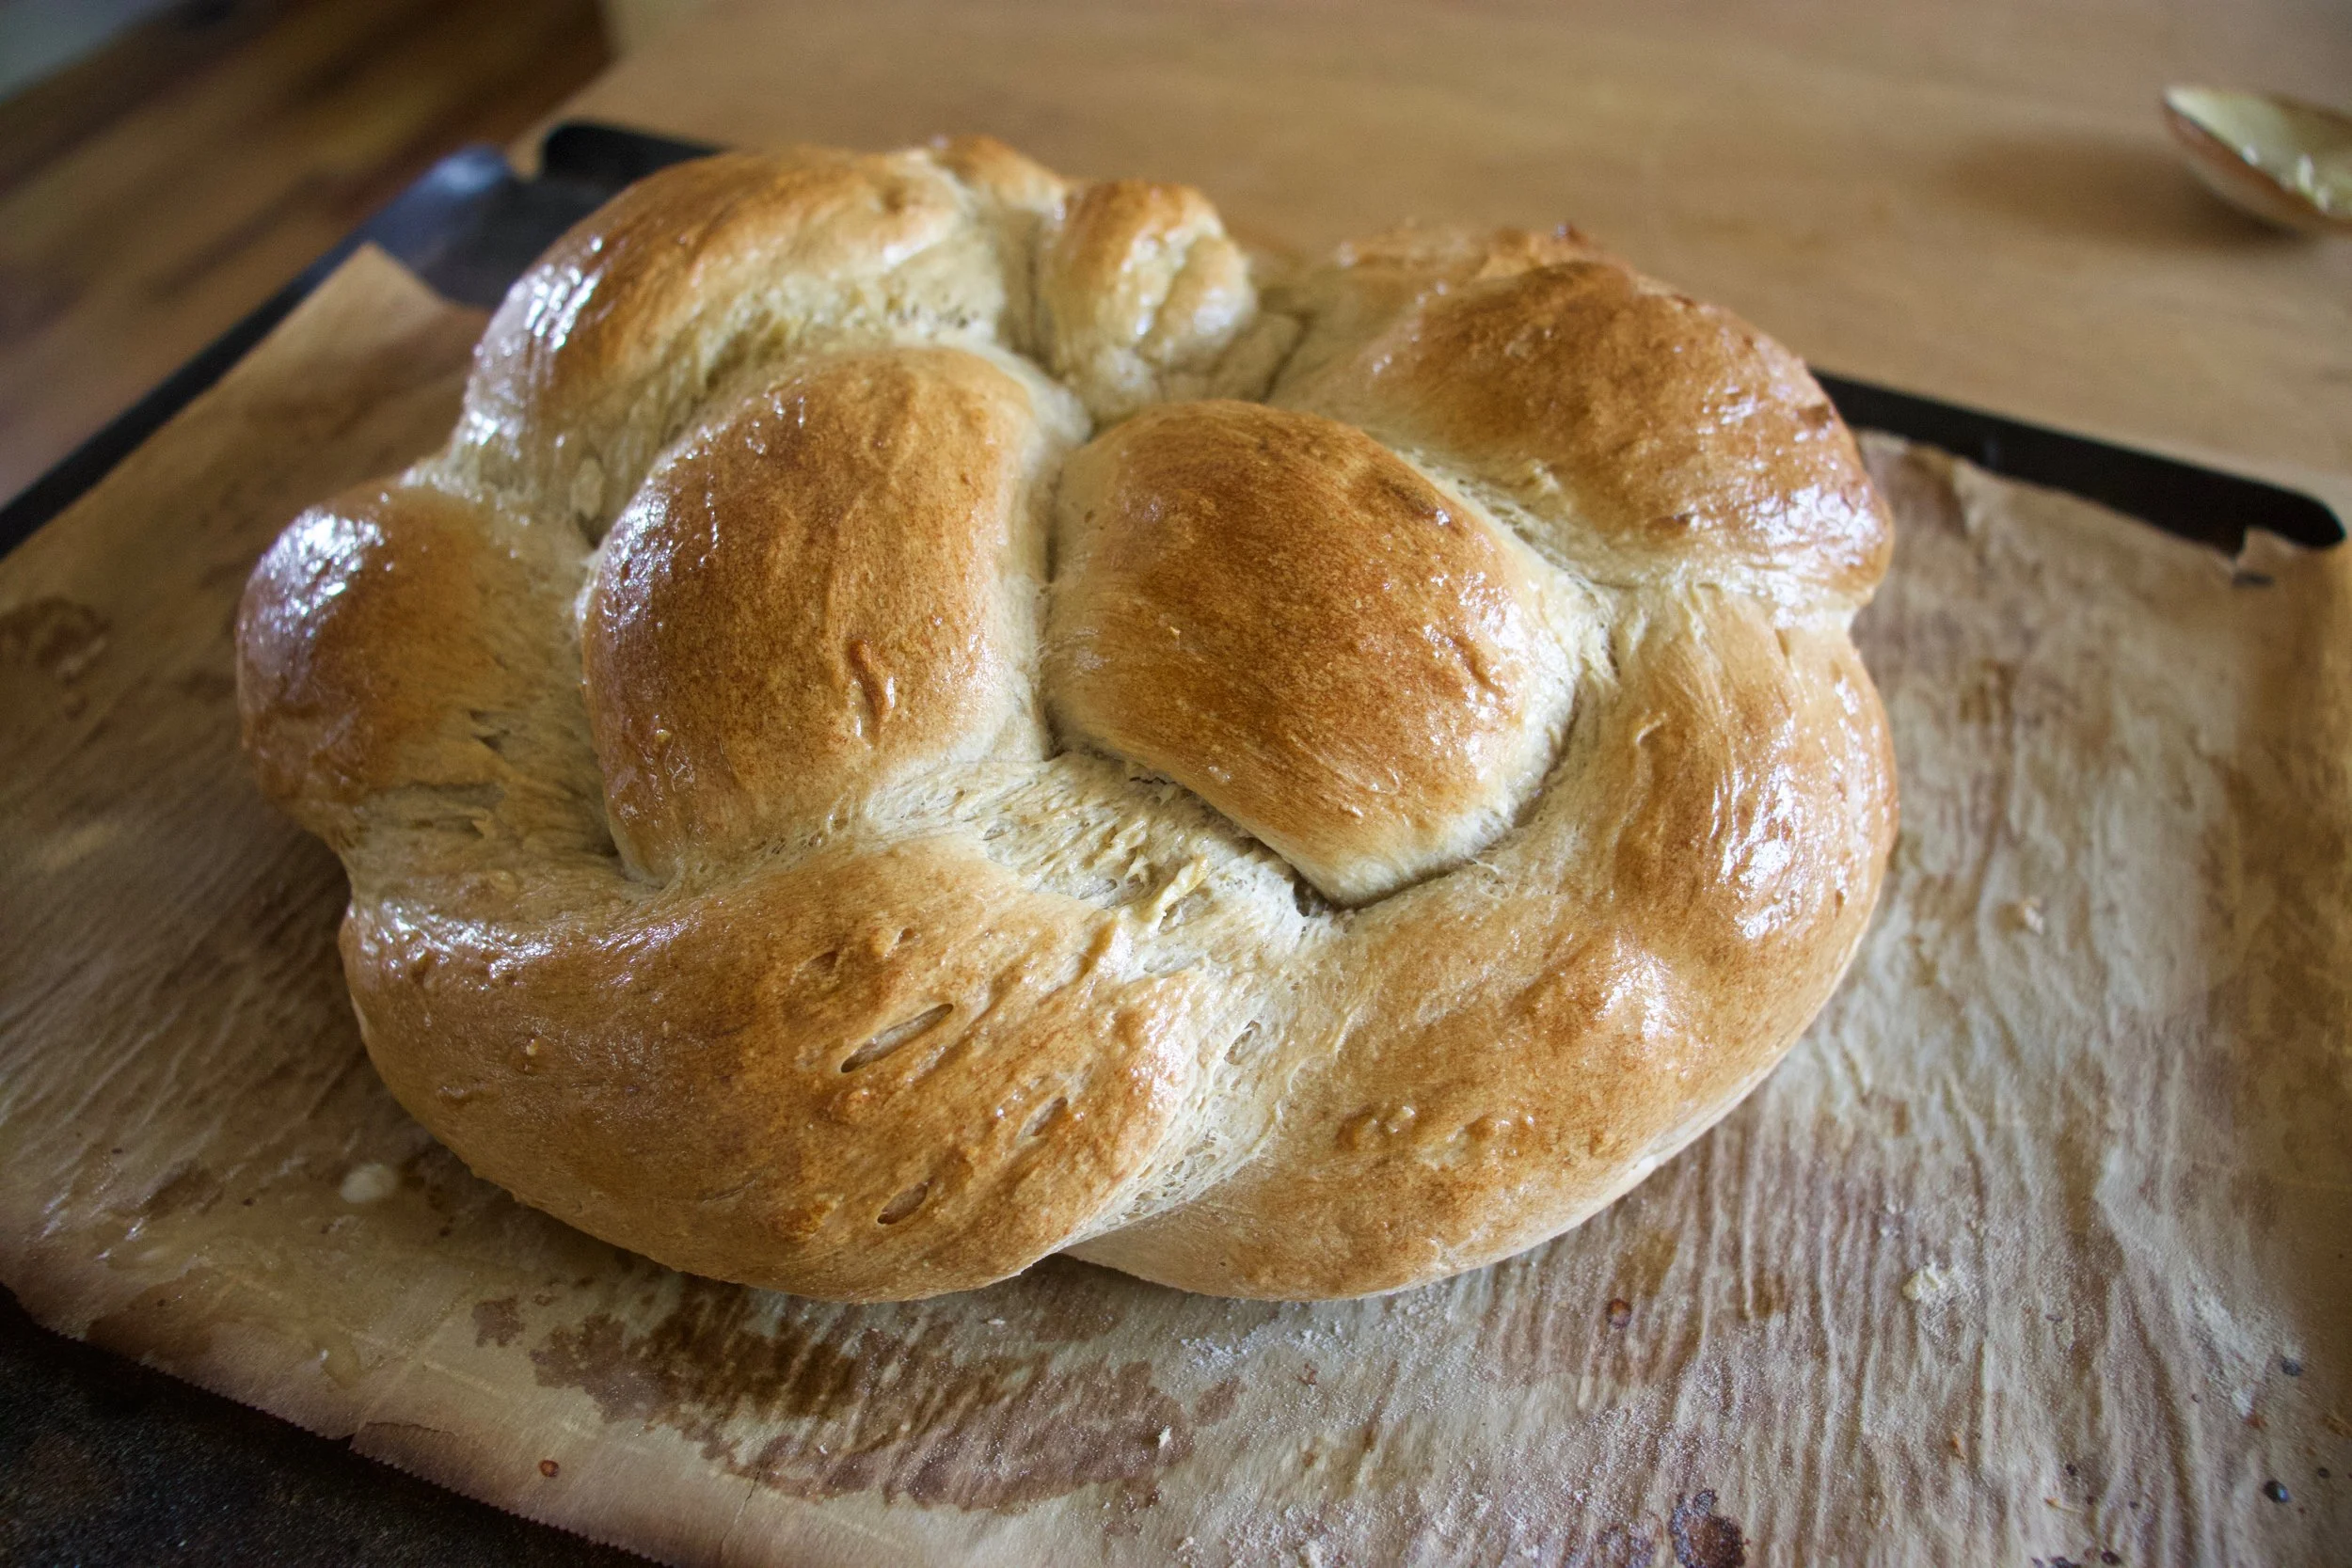
Then for shin and soft crust, rub warm loaf with some plant butter.

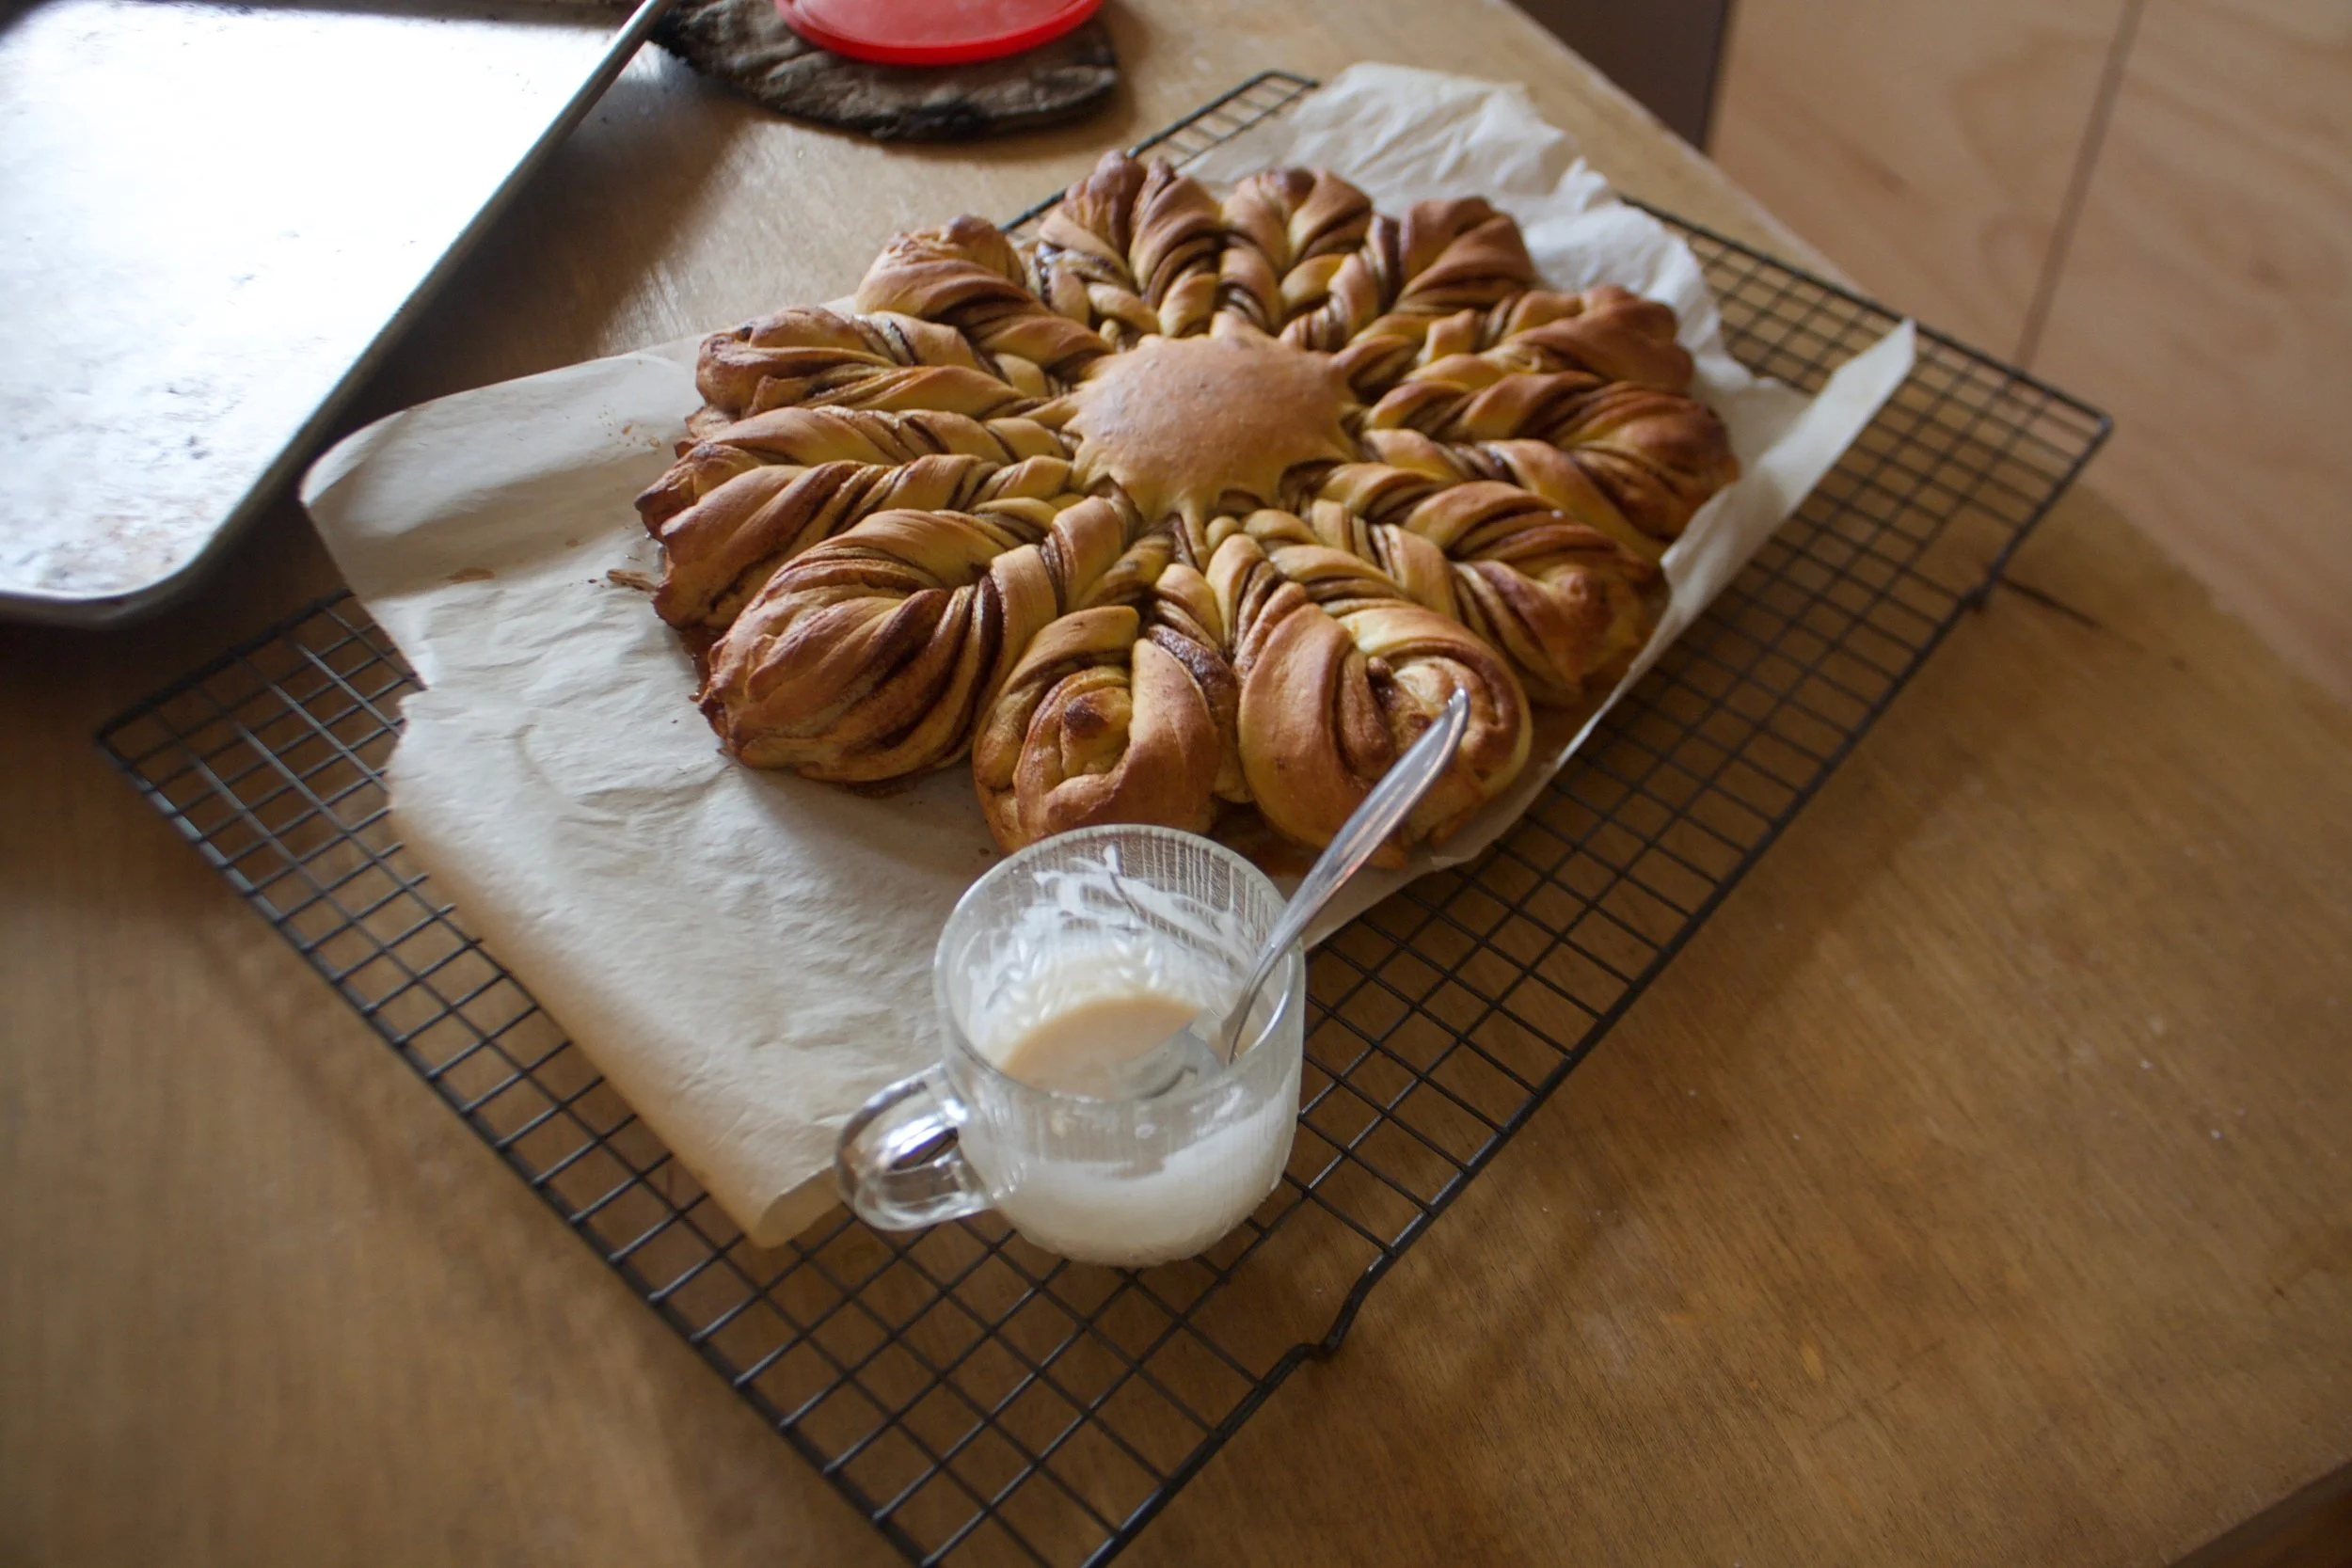
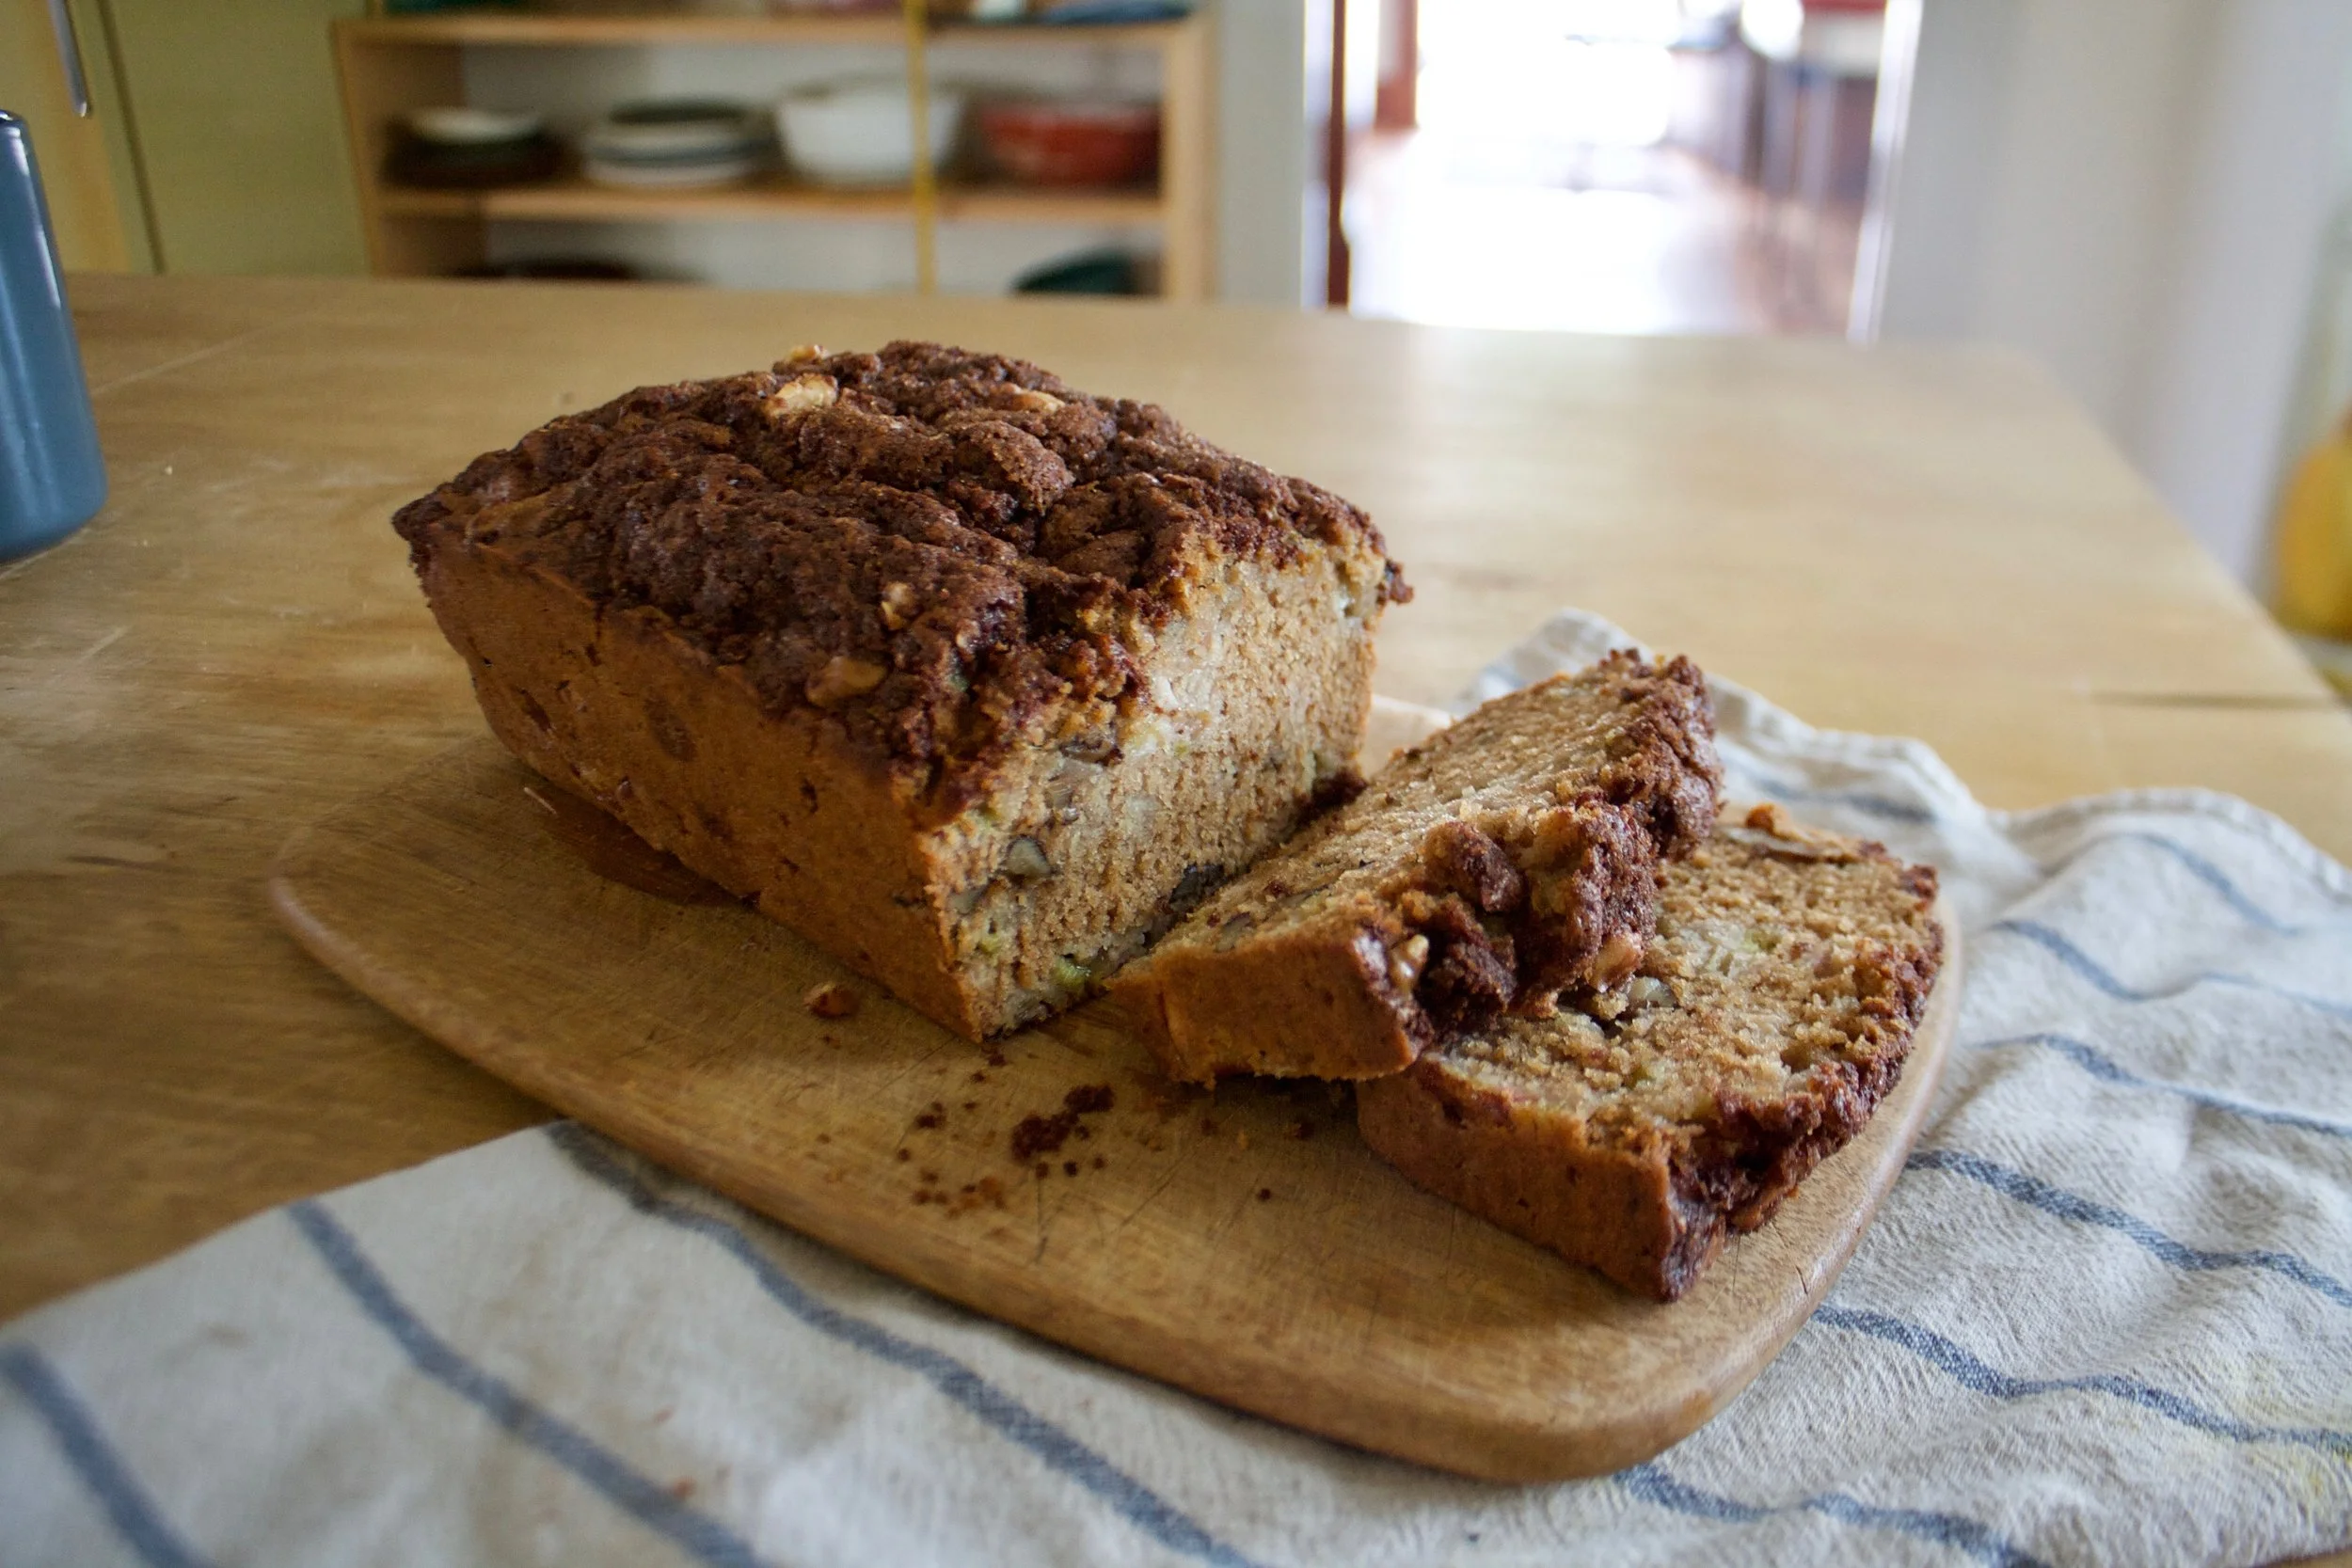
And for the hard part. Let it cool before slicing it. Ok sure, a little warm is fine, but wait at least 20 minutes (an hour would be best) and then eat you some bread.
Eat you some bread. That%u2019s a t-shirt right there.
Happy Fall friends!
-C
makes pretty one loaf
-
2 cups all purpose flour
-
1 1/2 cups white whole wheat flour plus more for kneading
-
1 cup unsweetened room temperature applesauce
-
1 large or 2 small apples ( about 2/3 cup shredded apple)
-
1/4- 1/2 cup warm water
-
1 tablespoon maple syrup or honey
-
2 teaspoons active yeast
-
1 teaspoon salt
-
1 tablespoon or so plant milk or water
-
1 tablespoon plant based butter (optional for rubbing on finished bread)
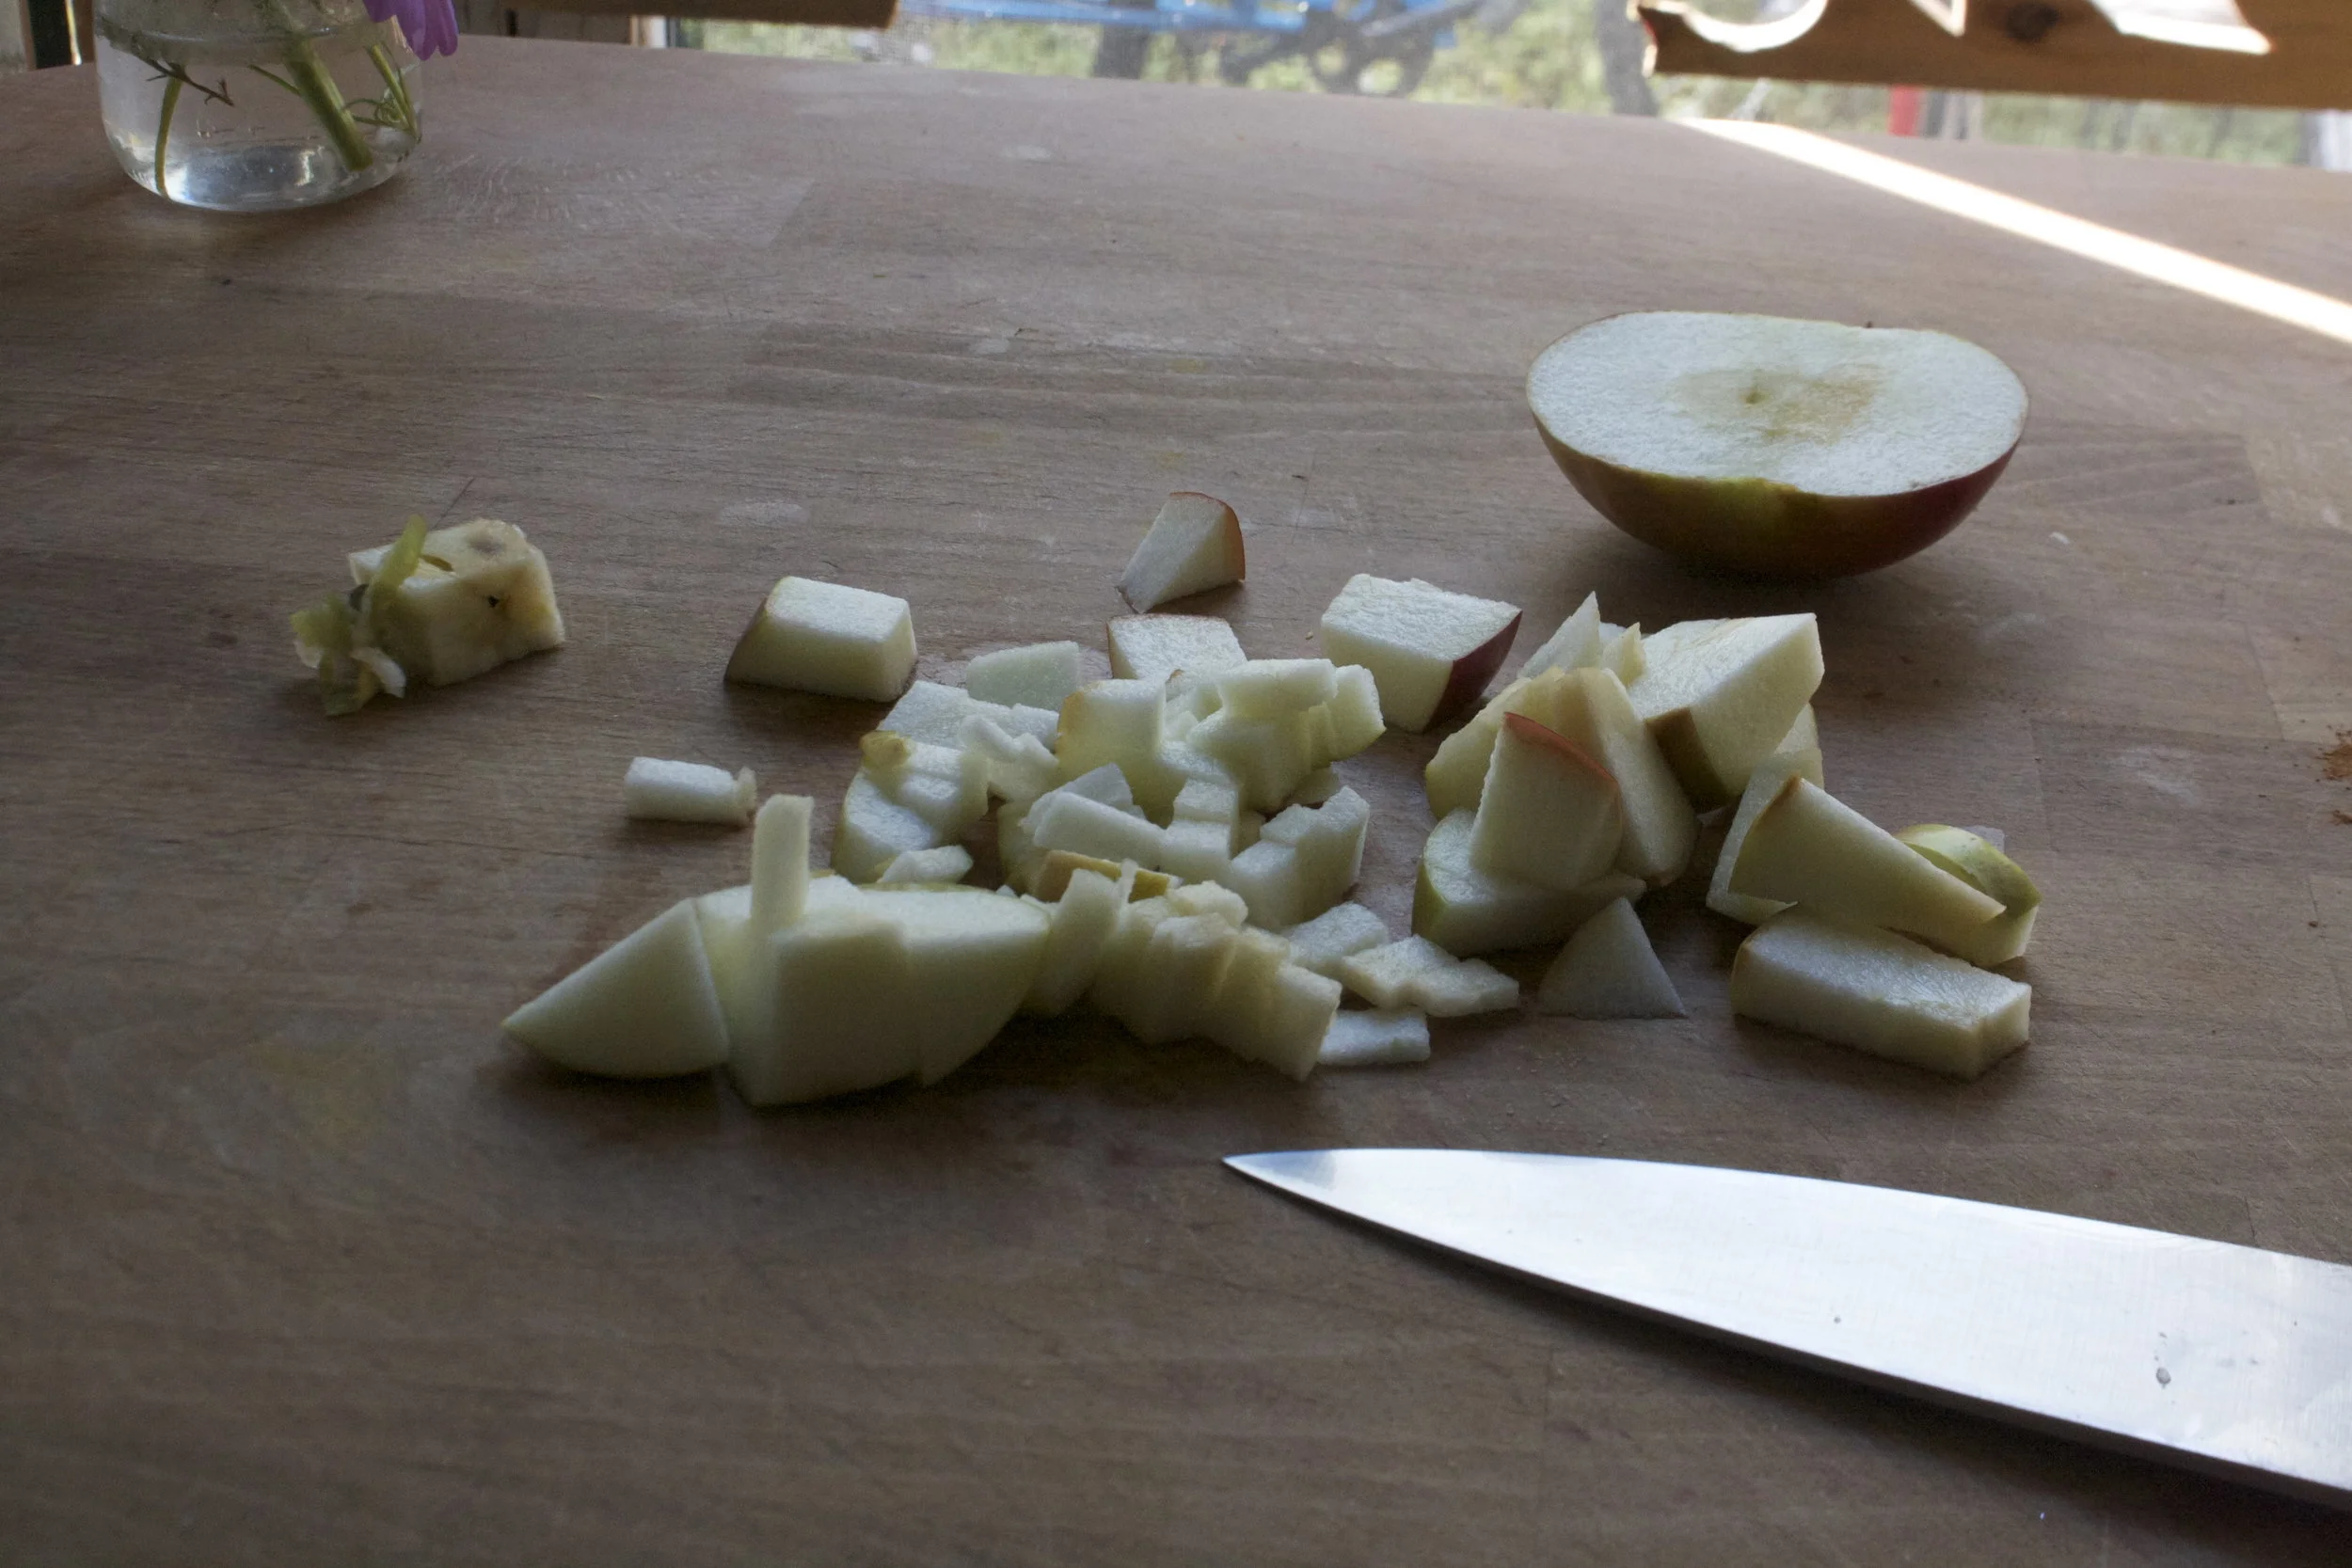
Grab the apples and shred them until you have 2/3 cup shredded apple. In a large bowl, mix together the applesauce, shredded apples, yeast, 1/4 cup warm water, and sweetener.and let yeast activate for a few minutes. Add in salt, the all purpose flour and the 1 1/2 cups white wheat flour. Stir together until dough forms. The dough should be a little bit sticky so if the dough seems to dry, add in 1/4 cup more warm water. If it seems really wet, add in a handful more flour.
Dump dough out onto a well floured surface and knead for about 5 minutes adding a little bit of flour to the counter as needed to prevent it from sticking. Once dough is cohesive in texture, roll into a ball and place into a clean wet or oiled bowl. Cover with a damp towel and allow the dough to double in size. Should take between an hour and an hour and a half.
Once dough doubles in size preheat oven to 400
Dump risen dough back onto a well flour counter. Cut the dough into 3 equal sizes and roll each piece into long logs about 20 inches or so long. Place each roll next to each other and braid. Grab a baking sheet and line with a piece of parchment paper. Sprinkle with a bit of flour and place braided dough onto sheet, either as a braid or if you want, like I did, wrap the braid around itself into a rounded braid situation. Tuck ends into each other and under the loaf. Brush the top gently with a little plant milk or water and let rest for about another 15 minutes or so.
After the rest, place dough into preheated oven. Bake for 35-45 minutes (Less if left long braid, more if wrapped braid) or until the top is a deep golden brown and when tapped on the bottom, it sounds hollow. Also can use an insta read thermometer and check temperature. You want it to reach 190 degrees.
Once bread is baked, remove from oven. If you want the top to stay a little crispy, don%u2019t do anything but let it cool. For a softer, shinny crust, rub the top while it is still warm with some plant based butter.
Let bread cool completely before cutting.
Then eat it like you would eat bread. Any and every way.
Store cooled loaf in a airtight bag on counter for 2-3 days but if not eating that fast, slice and place into freezer. That way you can pull out individual pieces and toast as you want.
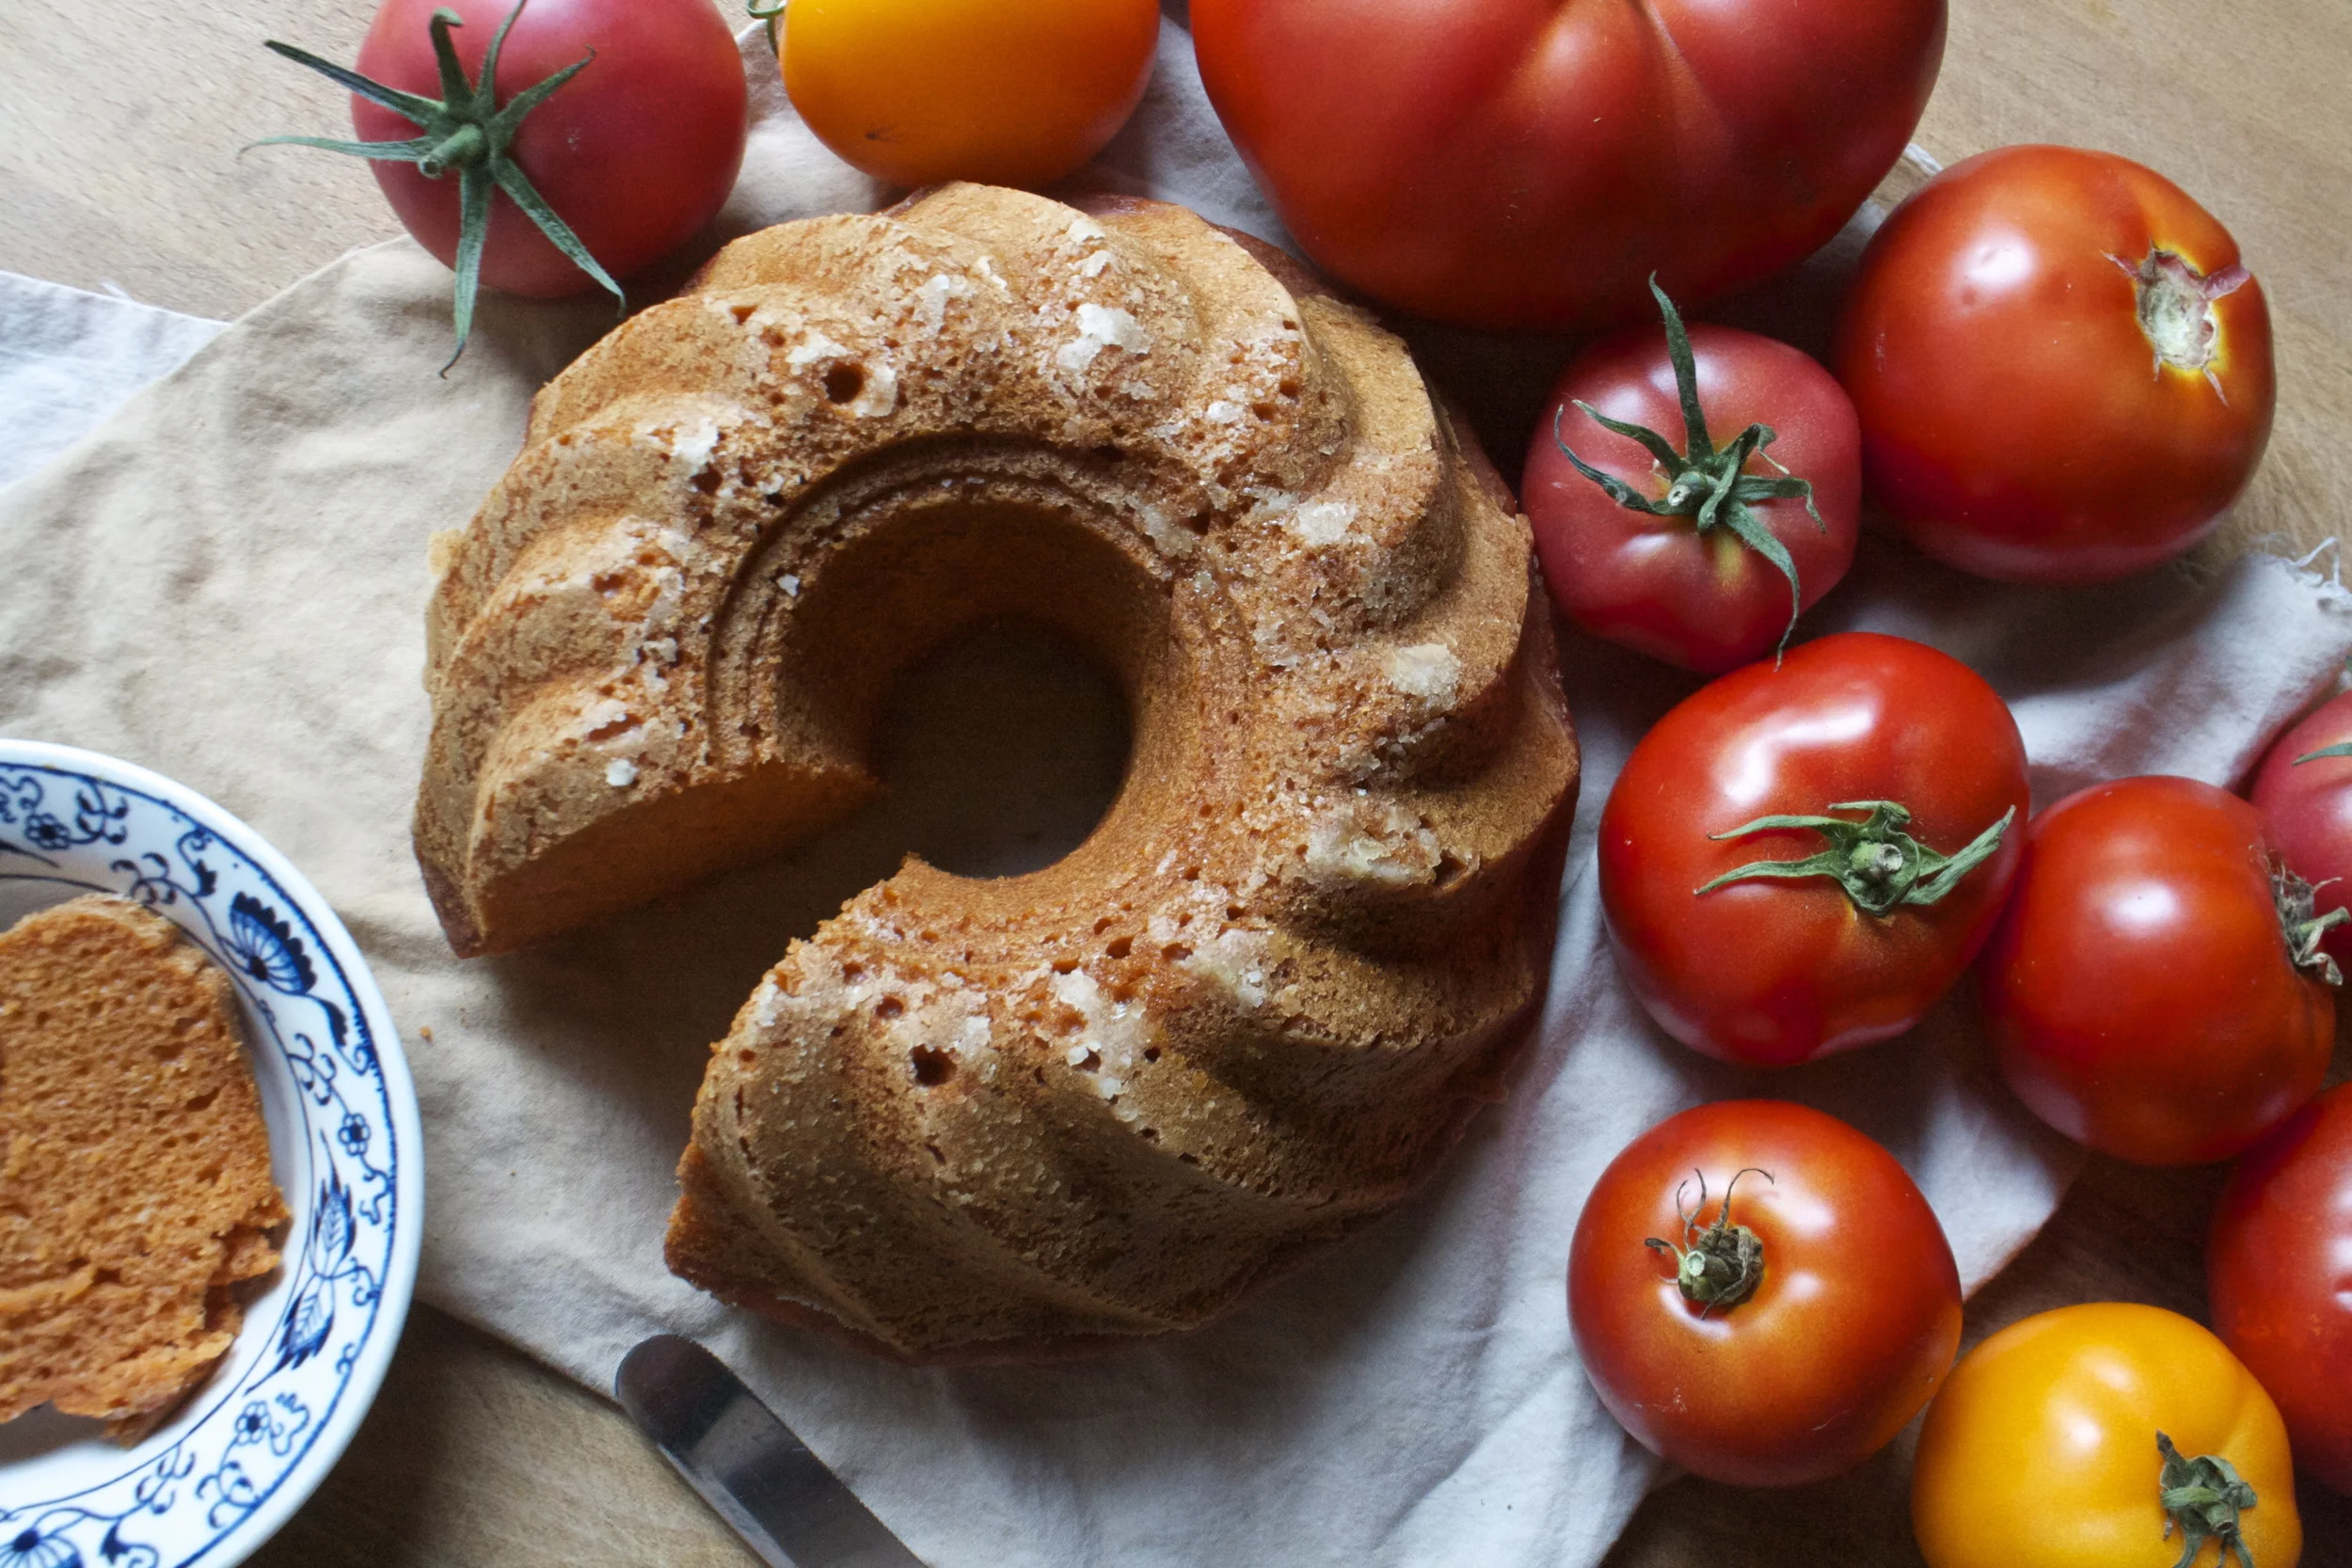
There are a million things you can, and should, do with tomatoes. Salsa is one of those things. Especially with the super fresh and ripe summertime tomatoes that may or may not be overflowing every empty surface of your kitchen (my current predicament). And peaches. Now is the time friends to eat your peaches. In season and oh so tasty. Do it now before it%u2019s too late and those oh so deliciously ripe and sweet peaches are gone and all that is left are mealy, gross, supermarket fakes. Only eat in season peaches. That is a life lesson everyone should know.
This salsa is perfect. Super fresh, sweet and slightly spicy, with a hint of tangy goodness and just, you, really freaking perfect. A salsa that hits all the right notes with out being overly anything and underly nothing if you know what I mean. All the tastes of summertime. A darn good salsa. Darn good.
This salsa also makes me a winner at the game I am playing with myself called %u201cGet the mr to eat tomatoes and like it”%u201c. The game started when he told me he was sick of tomatoes and he didn’t want to eat anymore. I made the salsa (which also made me a winner in the other game I play called %u201cGet the mr to eat fruit in his savory dishes%u201d, because he also tells me how much he hates fruit in savory), he tried the salsa, raved about the salsa, and then went and ate the rest of the salsa with his rice and beans. .
I win again! Haha
Anyway, super fast, super fresh, super super. A great way to use up a any of your shit load of tomatoes you might have laying around and to get in a few more of those summertime peaches before they are gone again for the year.
Now to the salsa.

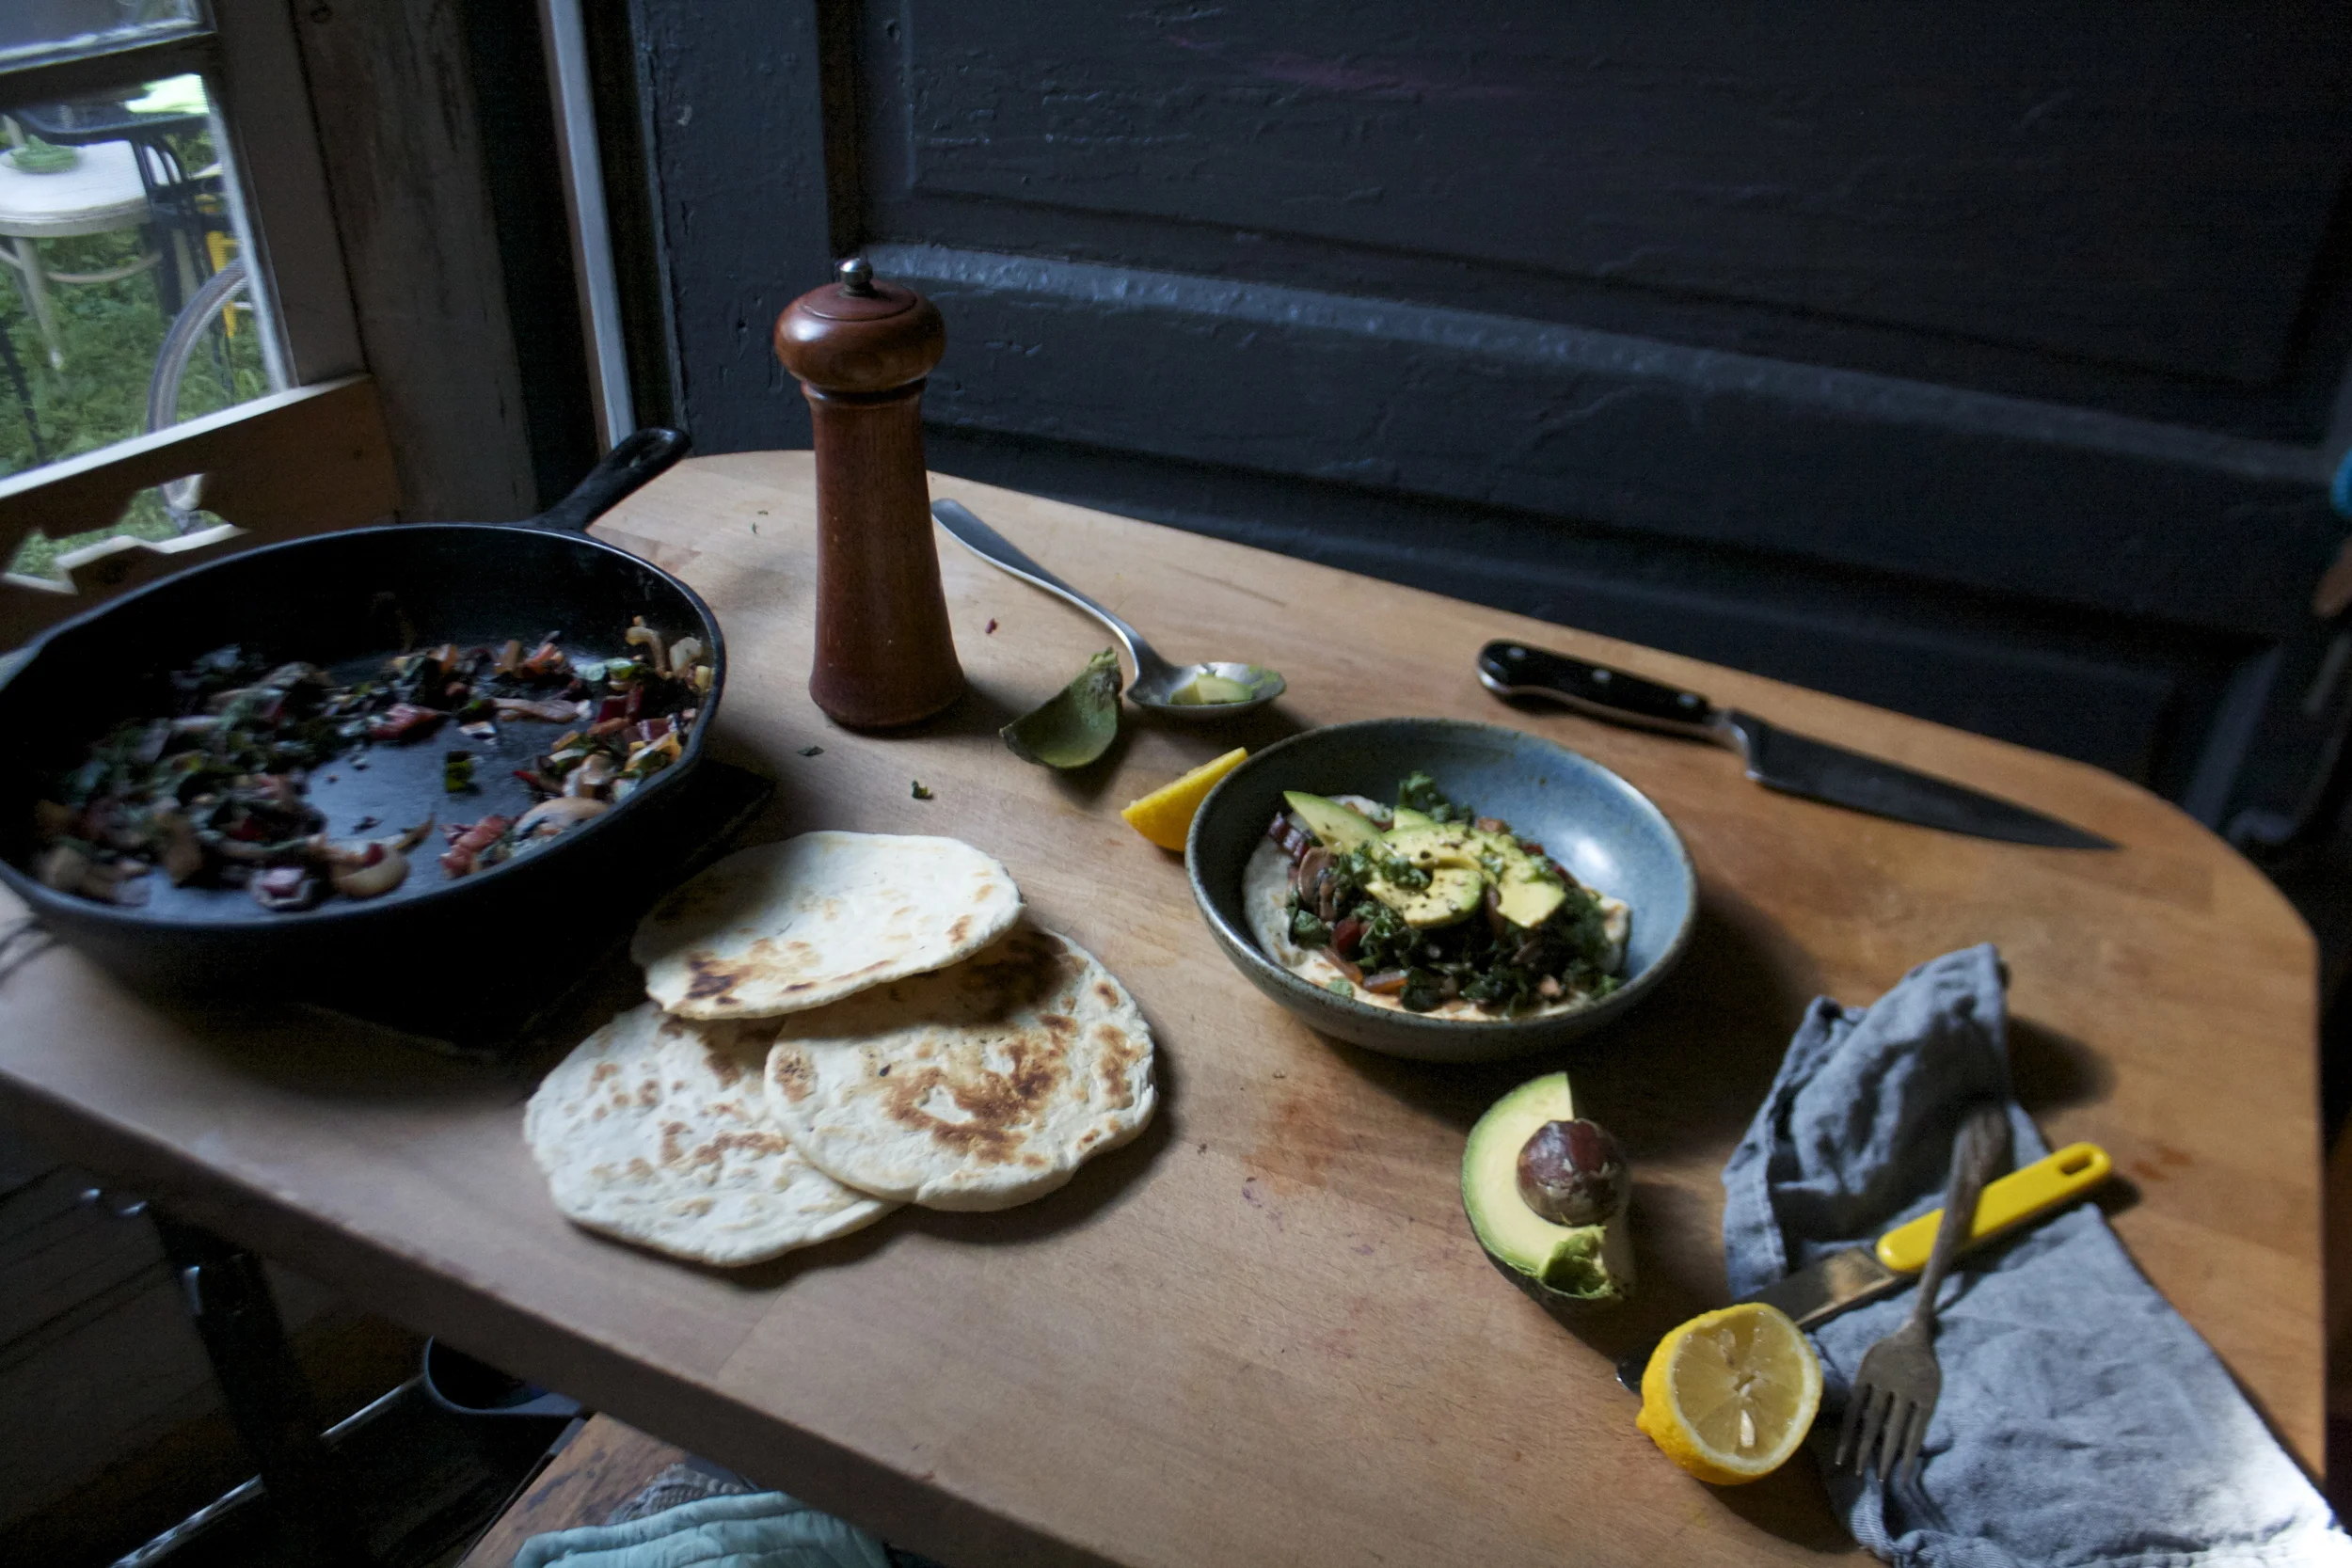
The stuff. Cherry tomatoes, peaches, an onion, a jalape%u00f1o, a lime, a bunch of cilantro, salt and pepper, and a little vinegar.
Start by cutting up the tomatoes into quarters. Do this carefully or else you will have tomatoes rolling around everywhere. Place chopped tomatoes into a bowl.
Then dice up those peaches into small little pieces and toss into bowl with tomatoes.
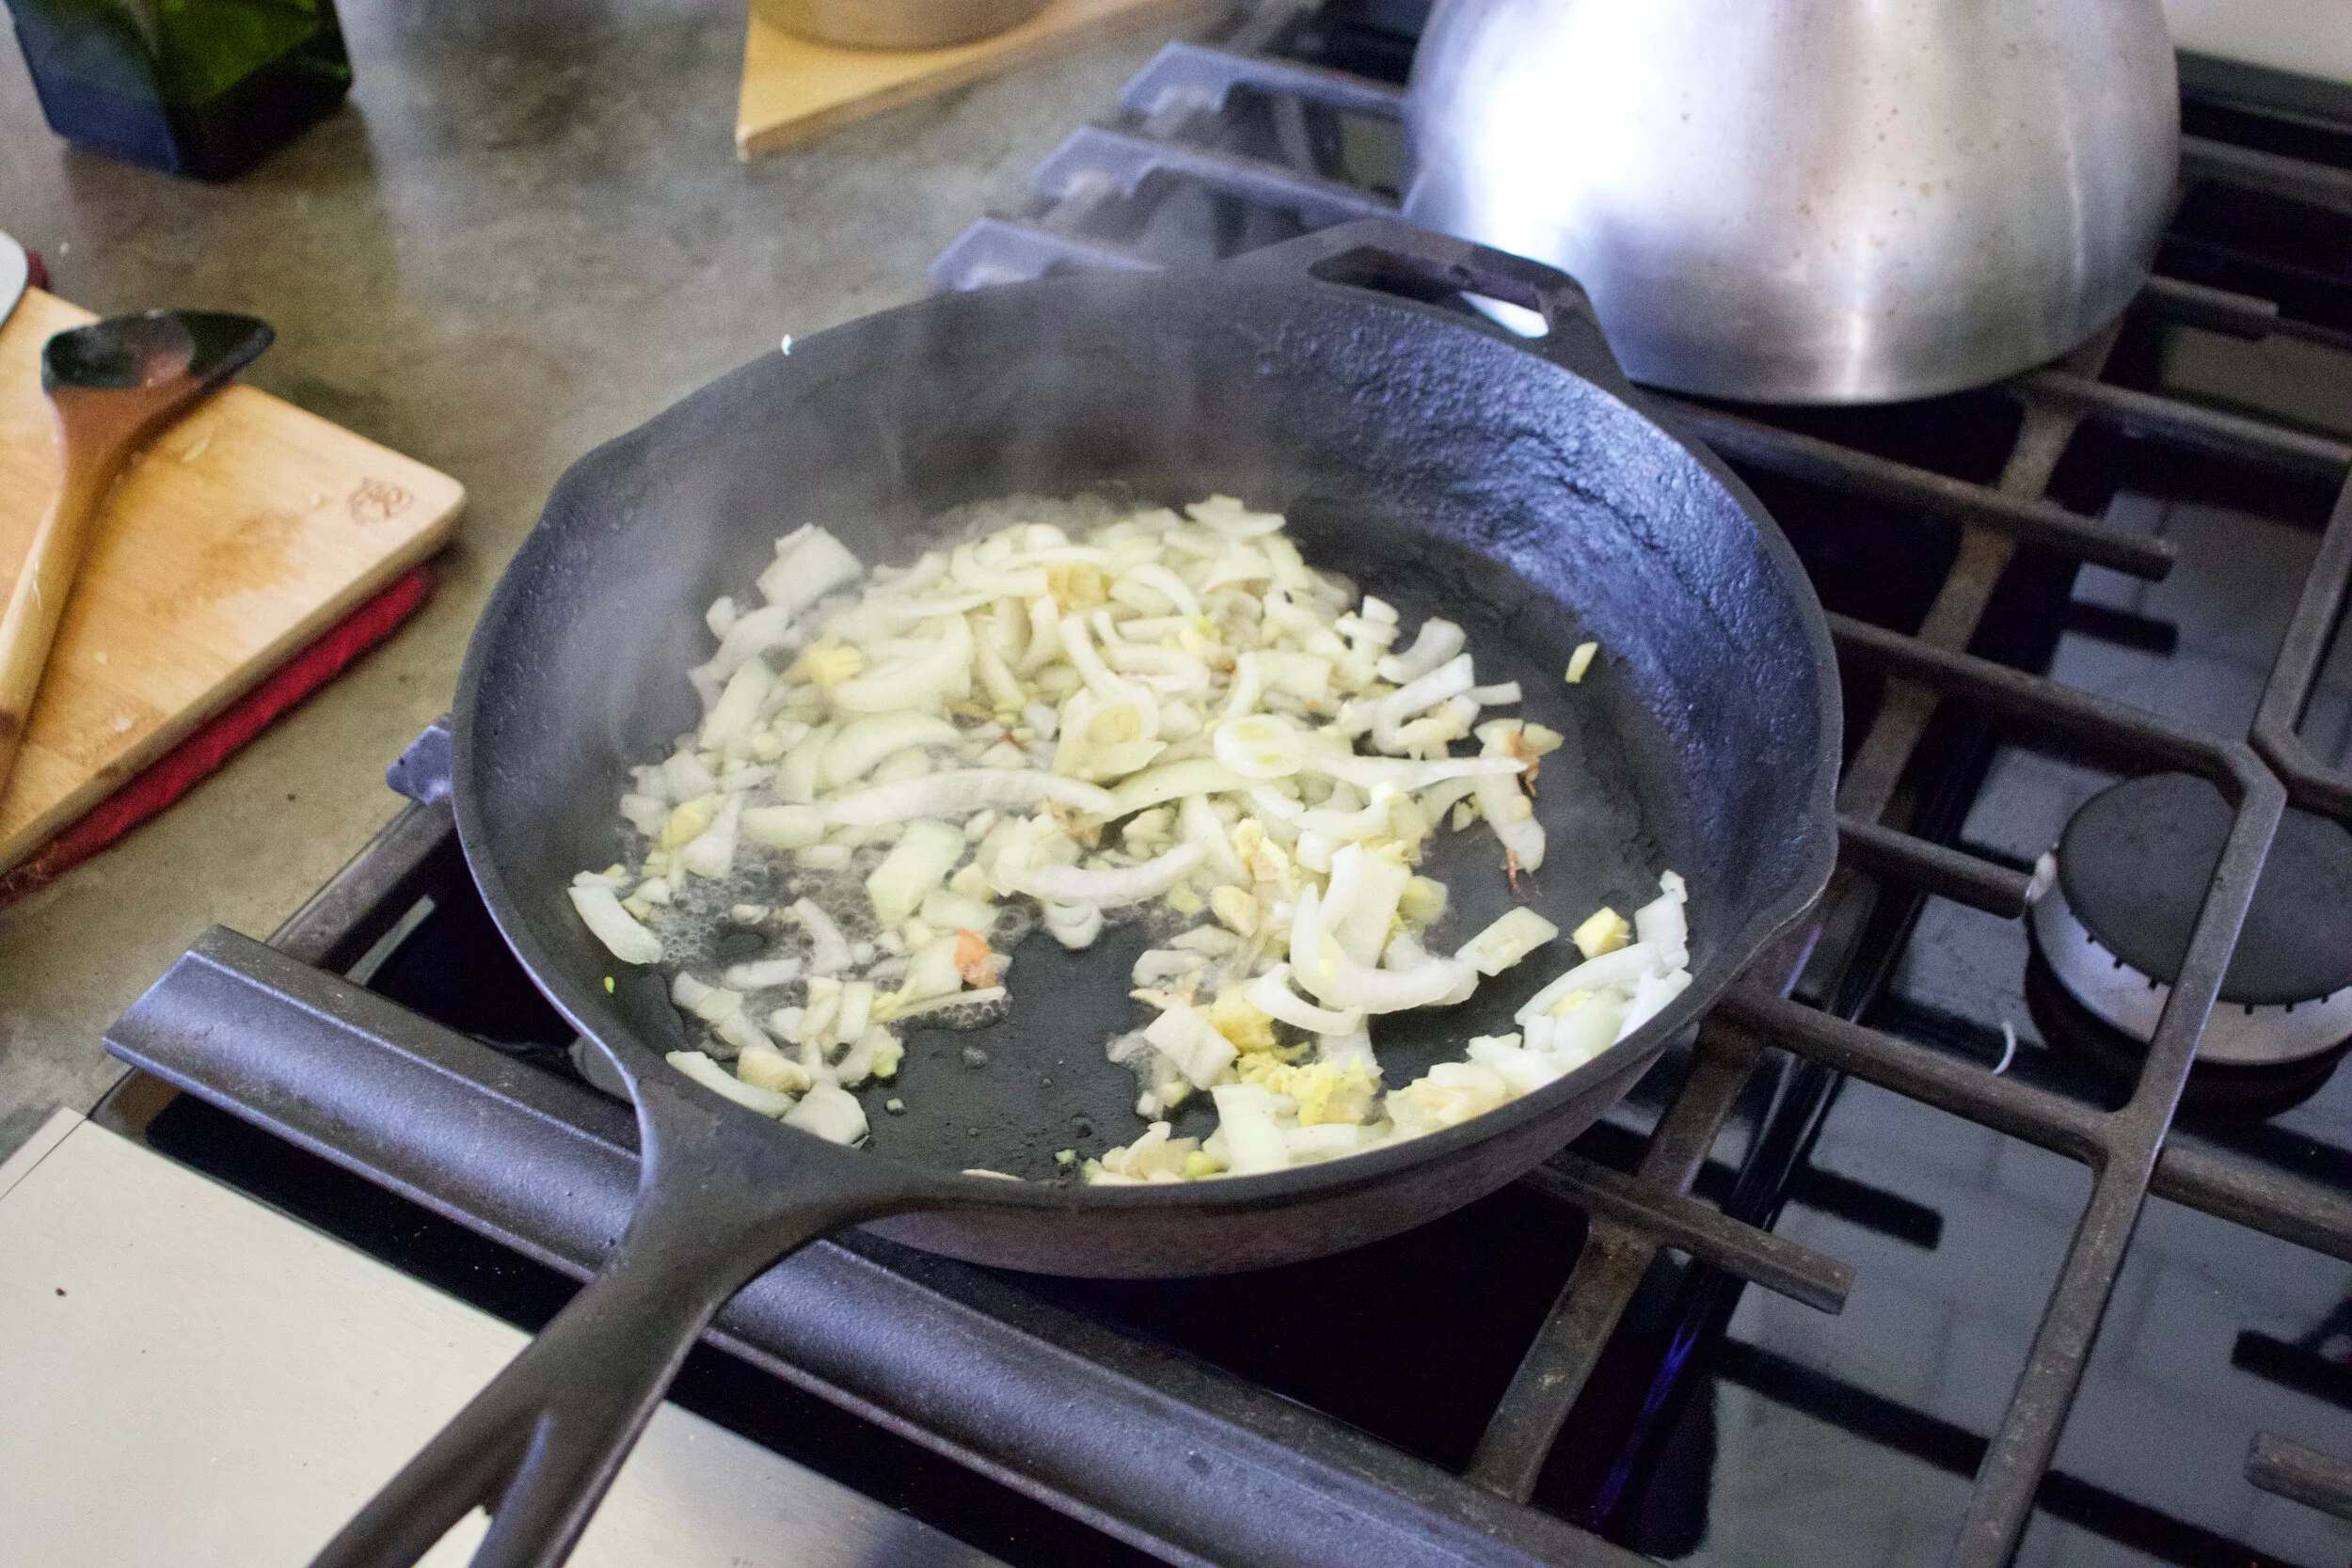
Onion gets diced up too and placed into bowl.
Jalapeno, seeds removed, diced up nice and small. Get it into the bowl.
And cilantro. Give it a rough chop and into the bowl it goes.

A sprinkle of salt, lots of pepper (to taste of course), the juice of the lime, and a splash of vinegar. Mix it all up and there you have it.

Into a jar (or you can just keep it in the bowl if you want), and it%u2019s ready for eating. Chips, tacos, to top a salad%u2026 This salsa does it all. Heck, just eat it with a spoon. There is absolutely nothing wrong with that.
-C
Makes about 32 oz of the good stuff
-
1 overflowing pint cherry tomatoes (red, yellow, sun gold or a mix of any)
-
2 ripe but firm peaches
-
1 bunch cilantro
-
1-2 jalape%u00f1os (depending on how hot you want it)
-
1 small red or white onion
-
a lime
-
salt and pepper
-
splash red or white wine vinegar
Grab the tomatoes and carefully, so they don%u2019t roll away, cut each one into quarters. Place in a big bowl. Cut peaches in half, remove pit, and dice the flesh into very small little piece and toss into bowl. Now onion, dice that into small little pieces, along with the jalape%u00f1o and toss into bowl. Cilantro gets a rough chop then into the bowl it goes. Now sprinkle in a little salt and lots of black pepper. Add the juice of the lime and a splash of the vinegar and toss it all around. Let sit for a few minutes, taste, then season with more salt and pepper if needed. Can add more vinegar for more acid if needed too.
This salsa only gets better with a little age so you can definitely make it a day or two ahead of time.
Store in a bowl to serve or a jar for longer storage. Use within a 4-5 days of making it.
10 years ago, or maybe even longer, the mr and I planted 2 little blackberry canes in the way way back yard of our first house. Nothing big and we were not expecting much, which was good because for the years we lived there after that, nothing really happened with them beside becoming bigger and more thorny.
And then we moved and I kind of forgot about them.
But the other day while the mr was over there (we still own the building and have a barn that the mr works out of) he told me to go check out the bushes. Holy shit, those suckers are humongous, viscous as all hell, and were dripping (literally) with big, fat, juicy blackberries. So many in fact that I could barely pick them off before they all started to just fall off. I filled up two big containers, after eating like 2 pounds at least, and could have gotten more but I had no where else to stick them. Plus I was covered in gashed from the thorns. So I left the rest for another day.
I asked what the mr wanted me to make with the berries (in between eating big handfuls of the berries) and he asked for scones. So scones it was. Easy enough but I felt that I needed to add a little something something to spice it up a bit and that is why I added the black pepper. And because I like pepper and berried together and figured everyone will too. And let me tell you, so far they do, like really really do.
I mean who wouldn%u2019t like a sweet and spicy scone made with hand picked berries from berry bushes long ago planted with love that grew into monsters with thorns the size of knives that nearly killed me?
No one wouldn%u2019t. Everyone wants a scone.
And don%u2019t worry if you don%u2019t have killer blackberry bushes in which to harvest berries from. You can buy them too. Just won%u2019t be as special is all. HA.
To the scones.

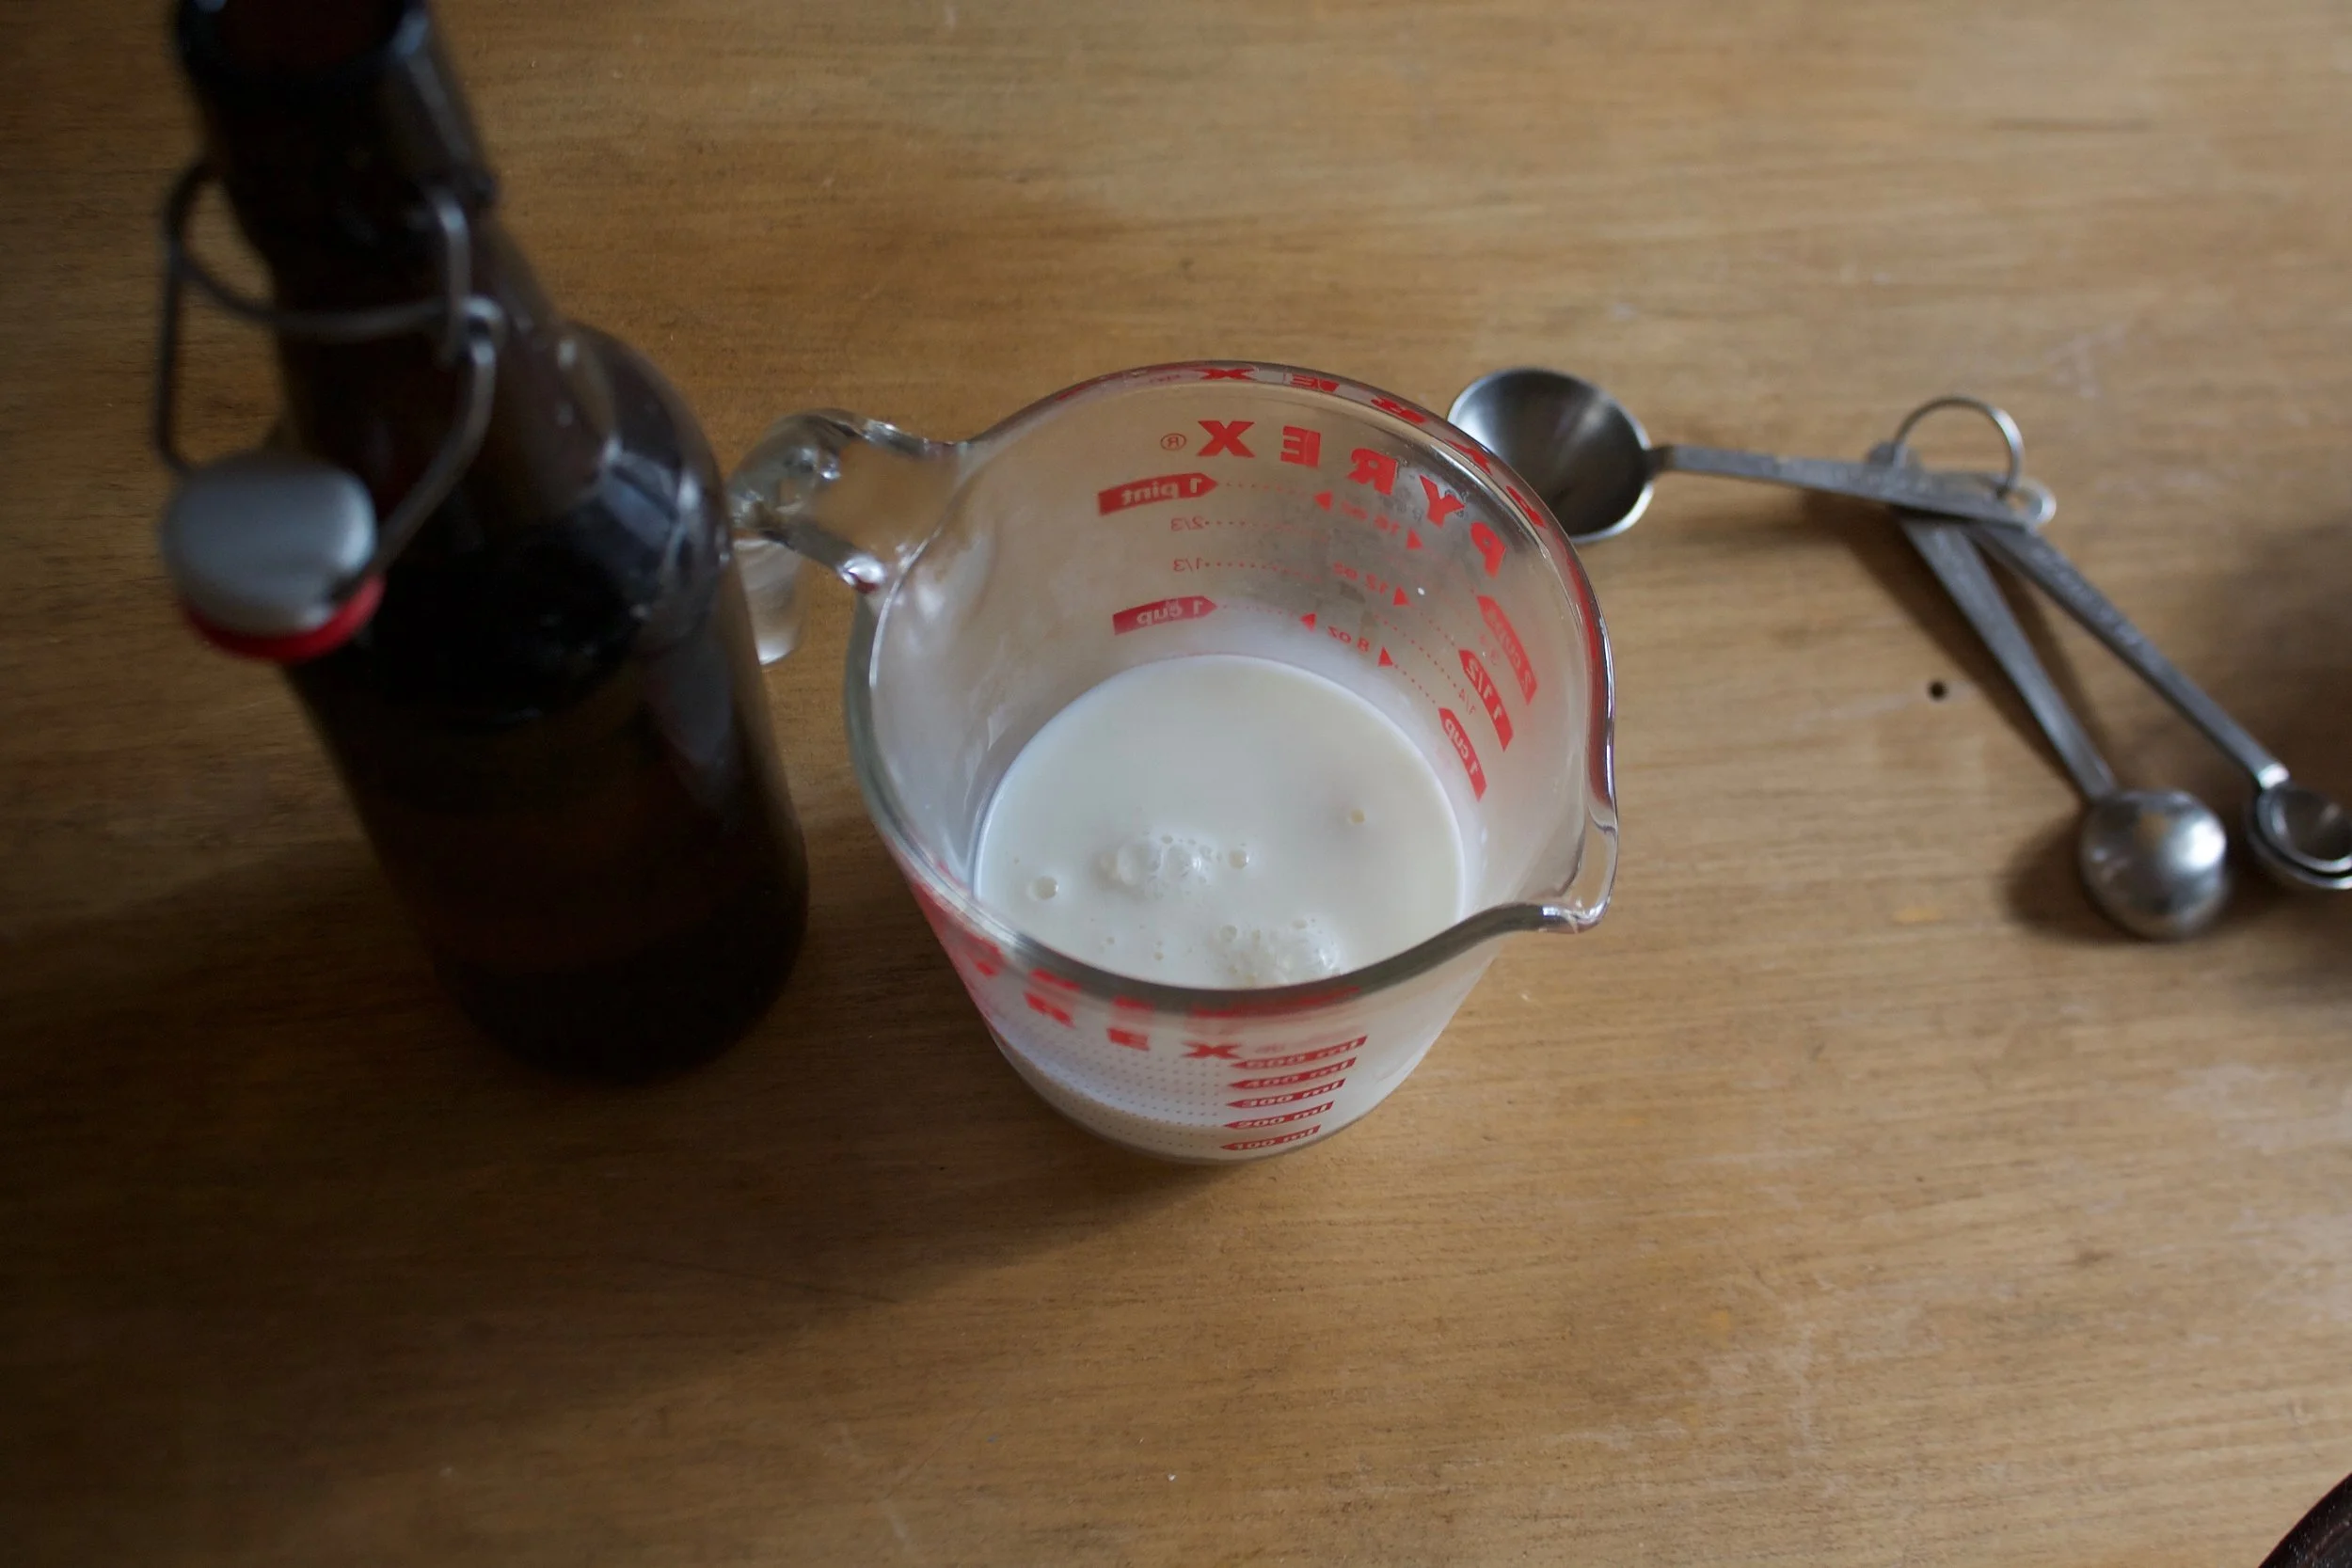
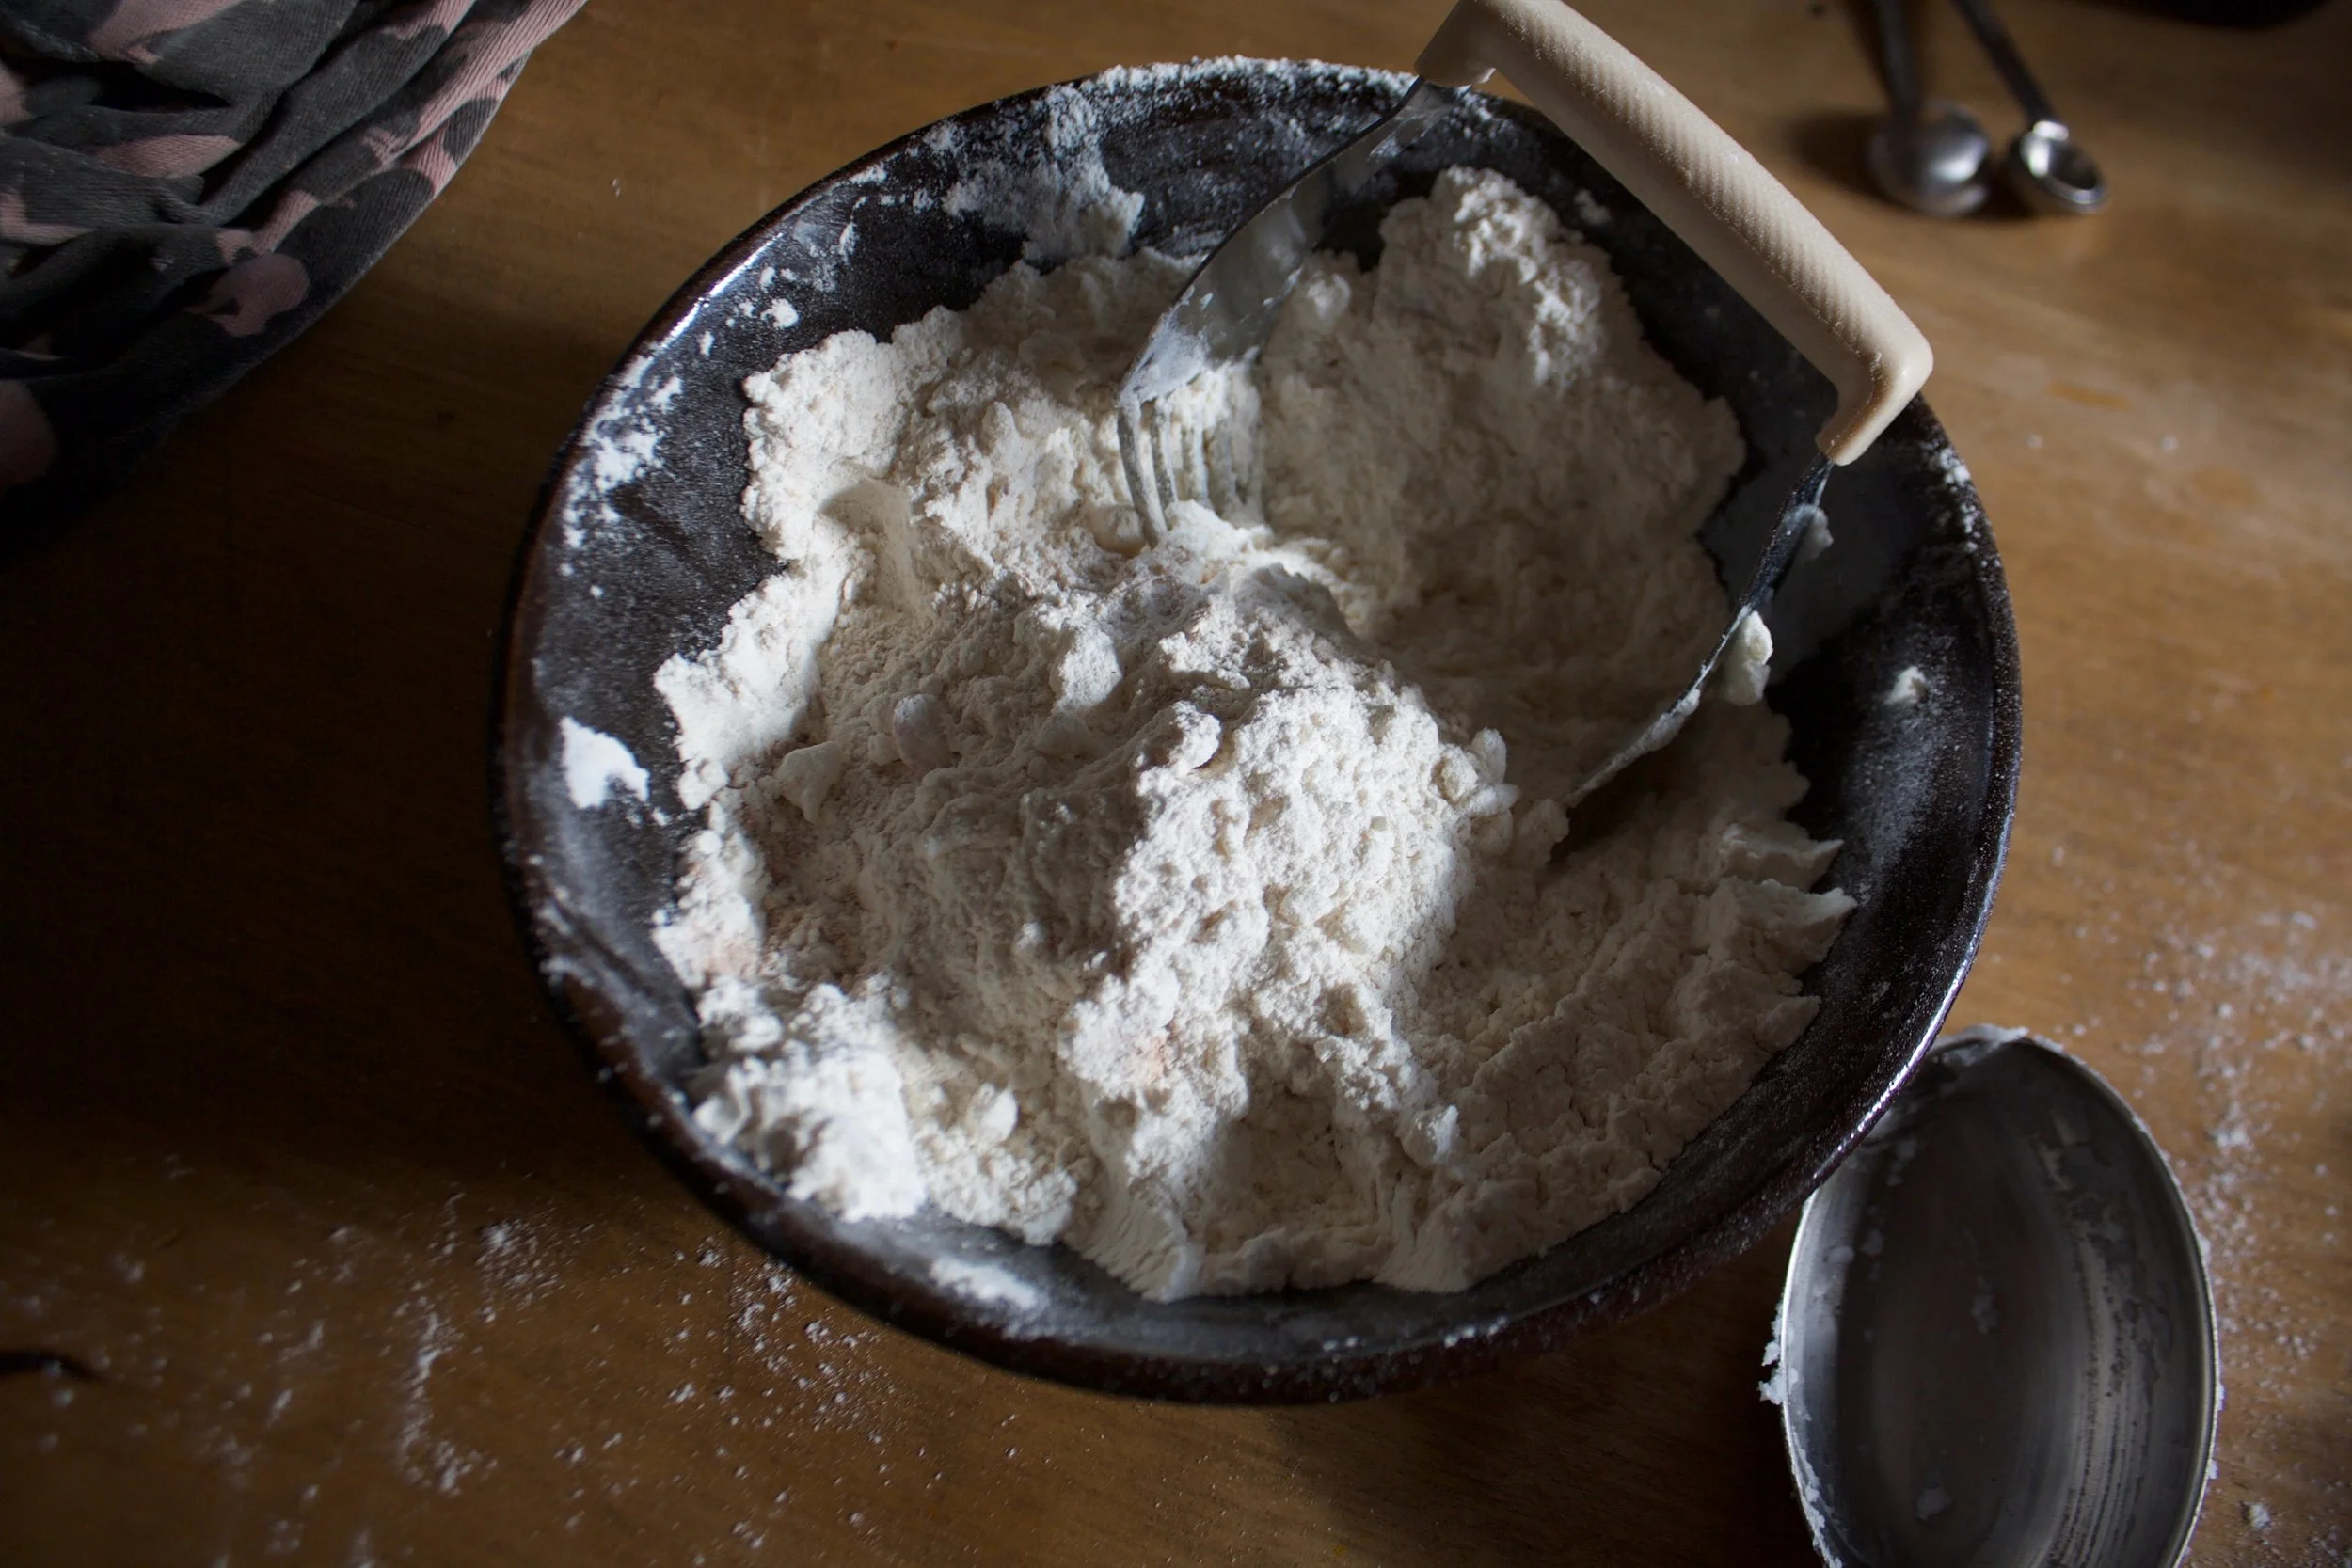
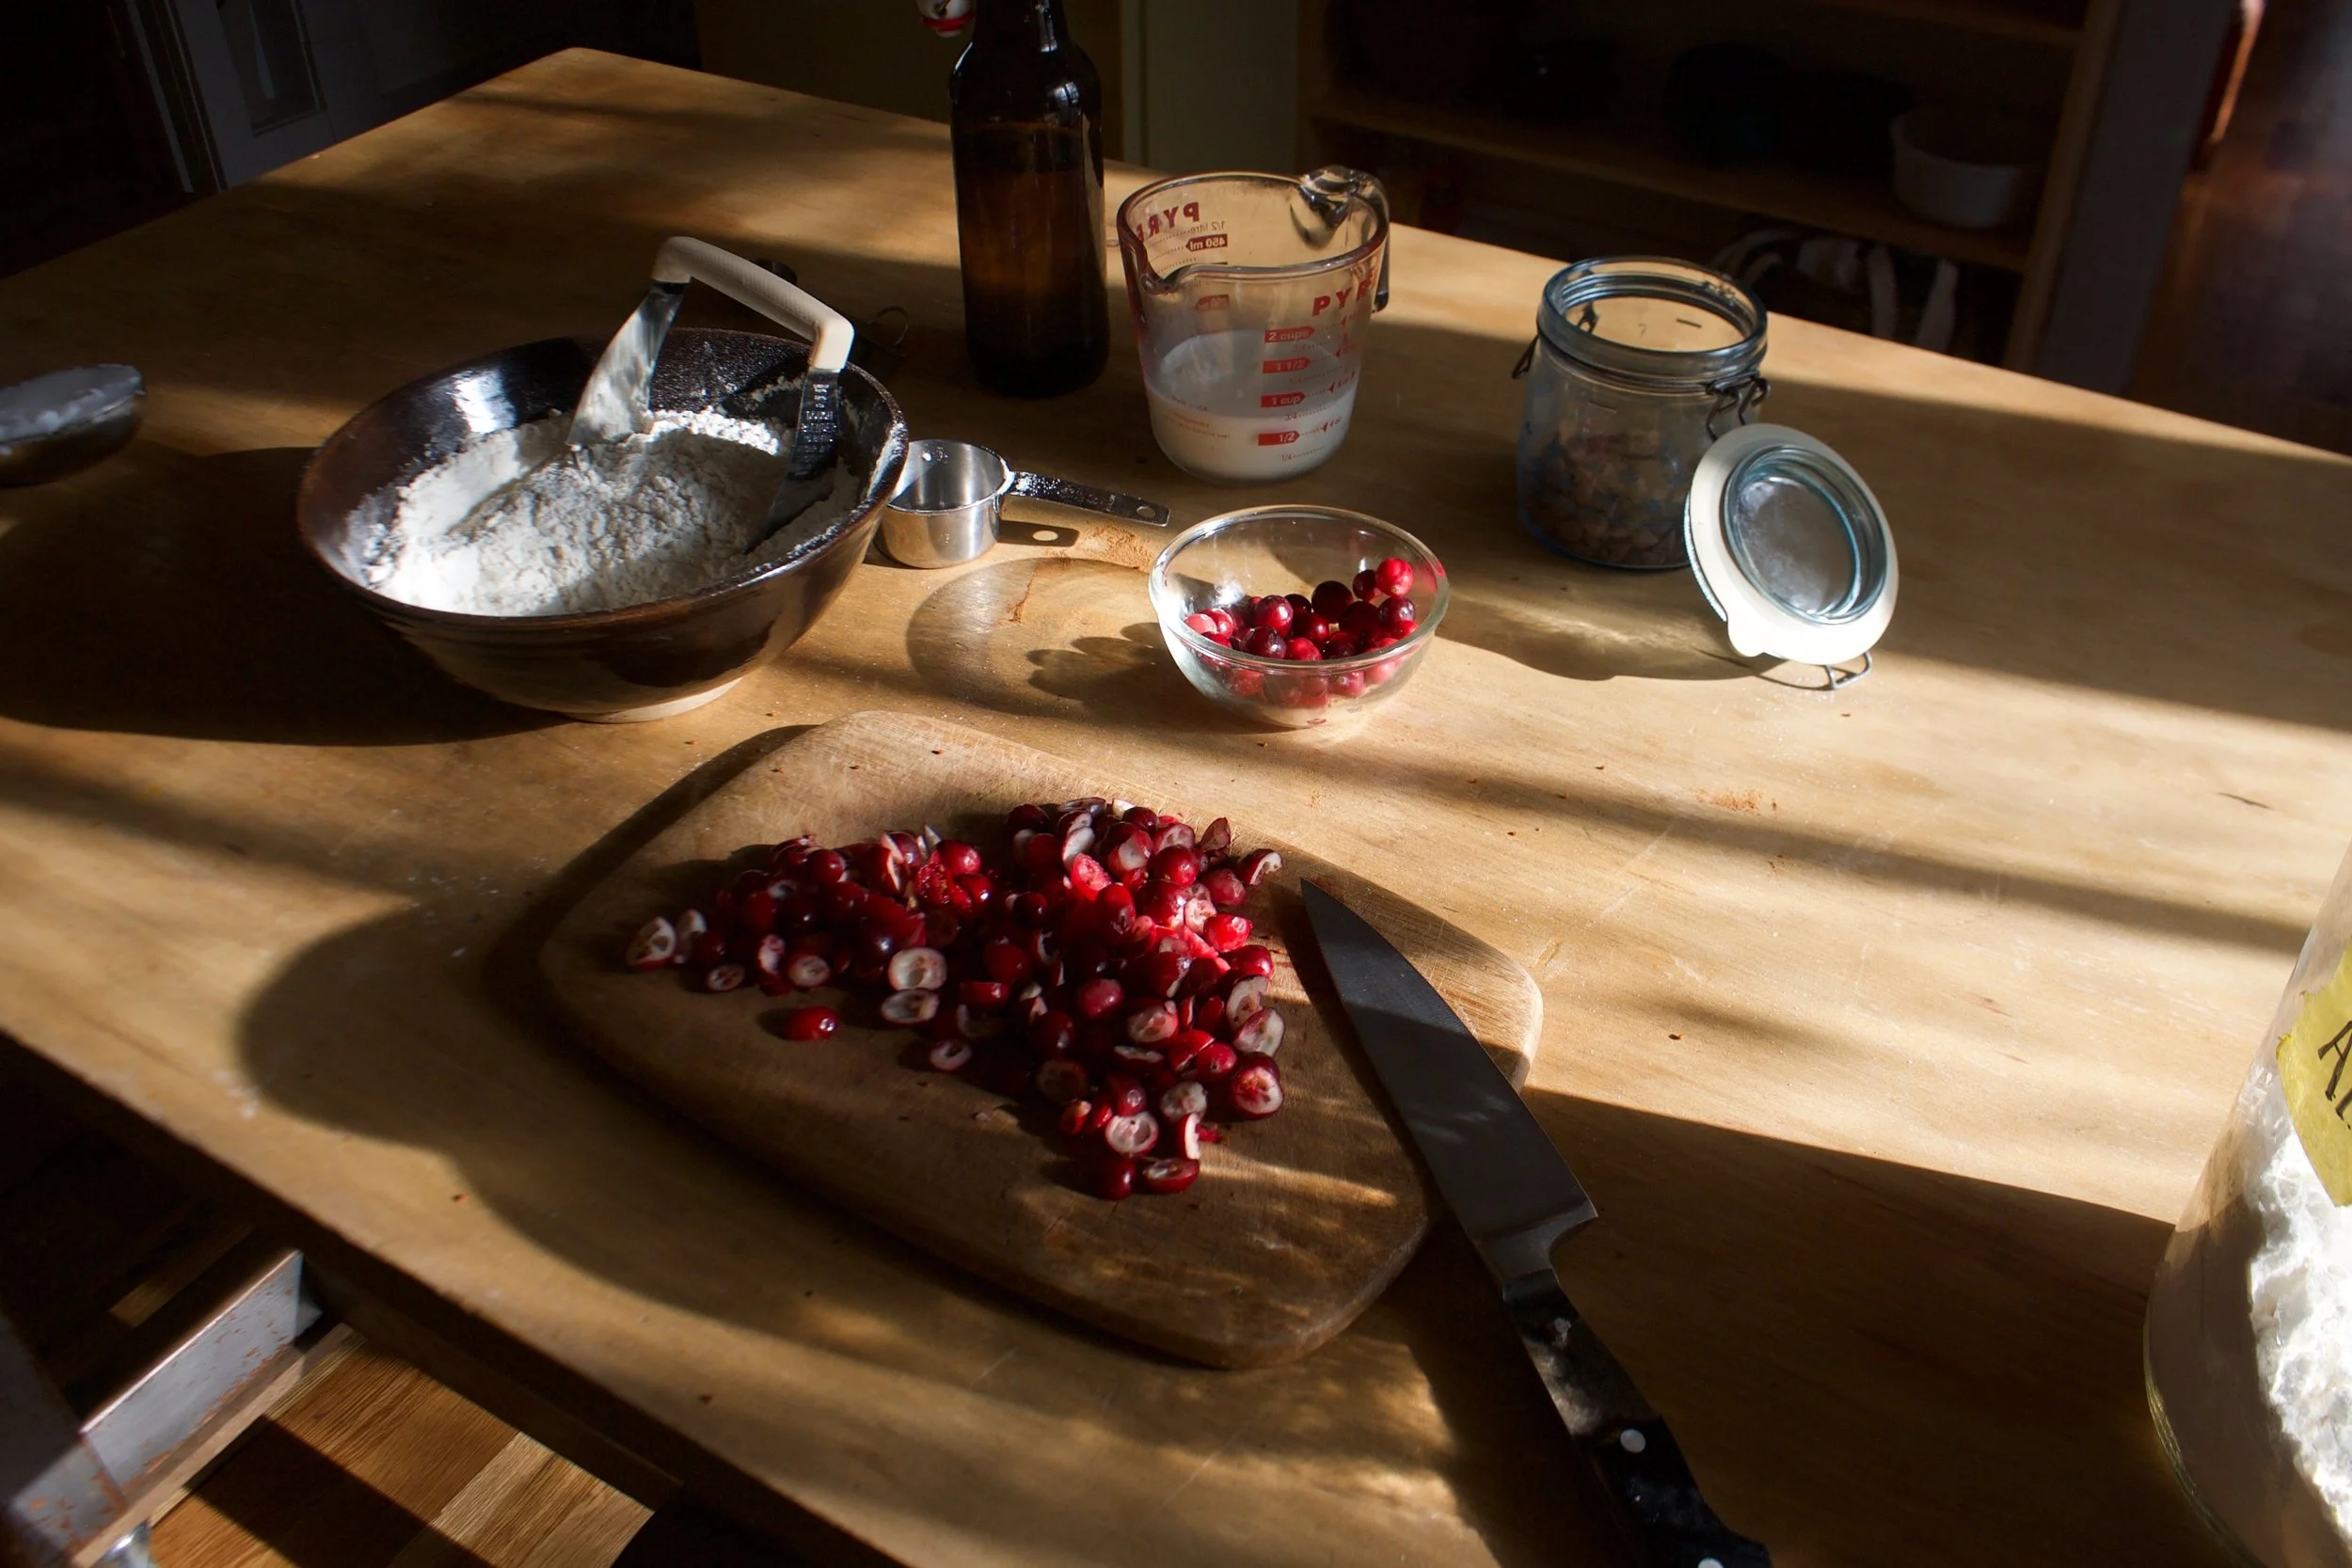
The stuff. Flour, baking powder, baking soda, and salt are in the big bowl. Then there is coconut oil, almond milk, sugar, vanilla, and apple cider vinegar. And course ground black pepper and blackberries that I froze. You need to use frozen berries or else you will have yourself a hot mess.
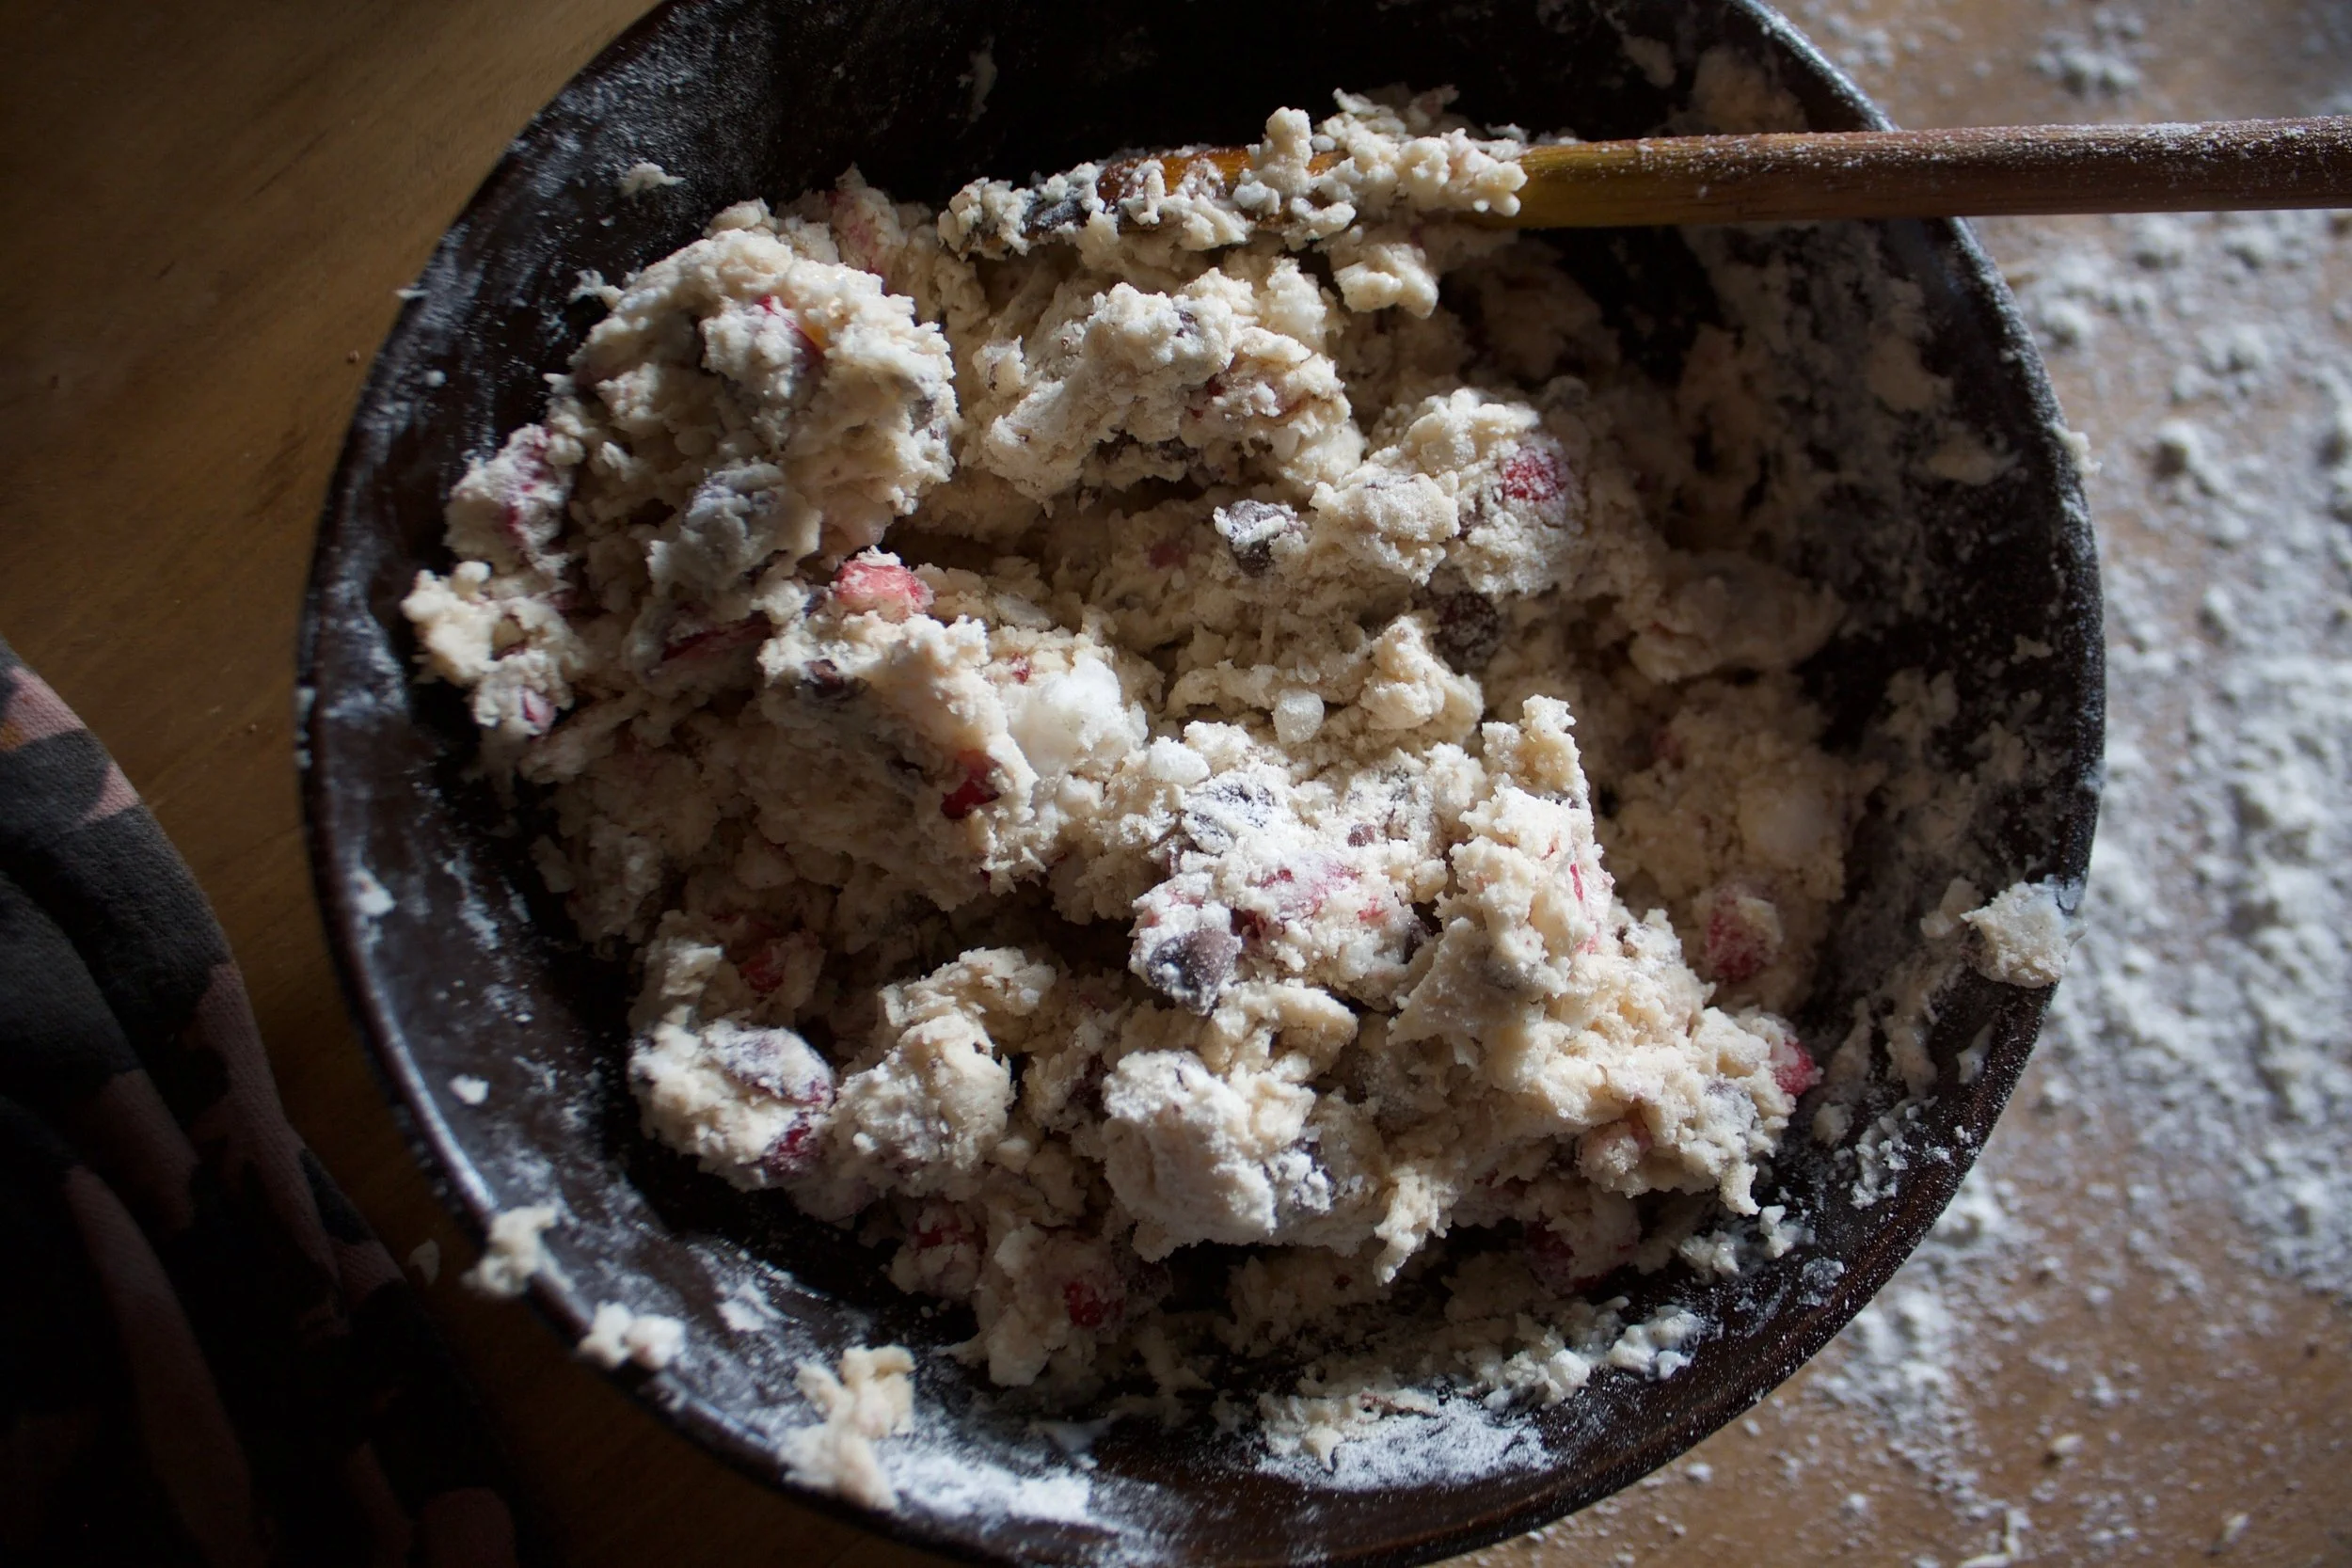
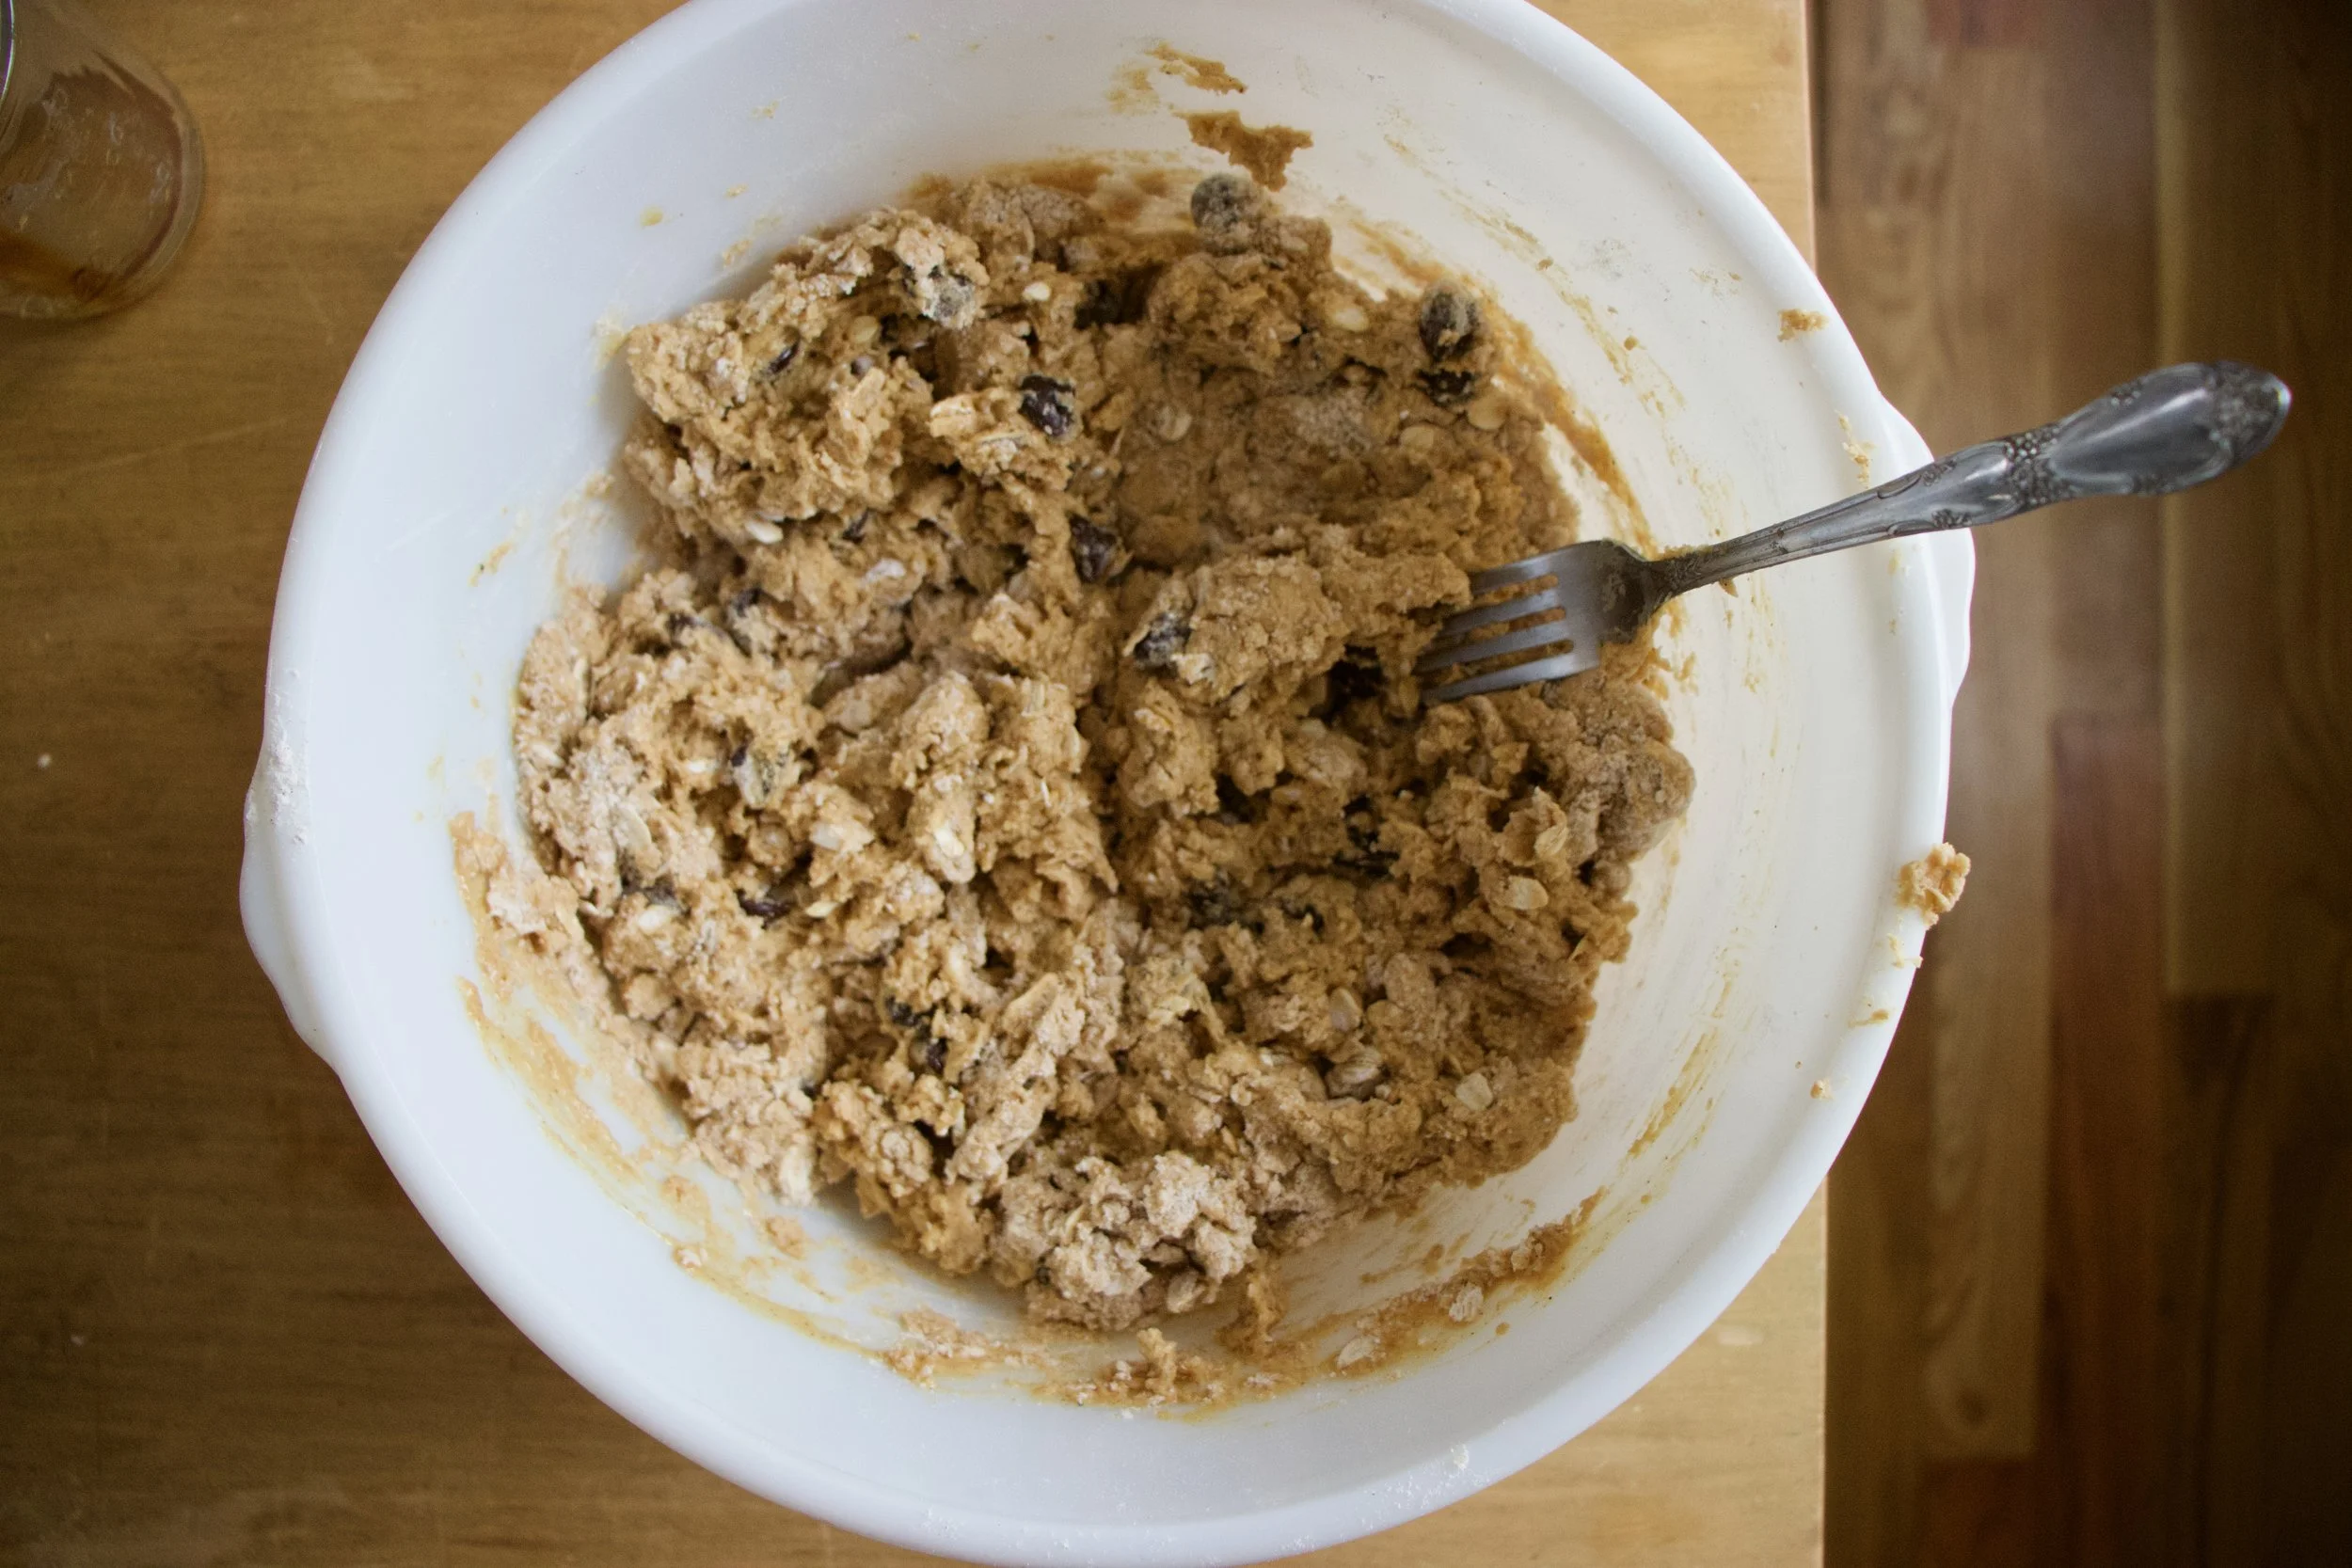
Easy peasy. Dump pepper and sugar into the bowl with the rest of the dy and mix well. Dump in the solid coconut oil and cut it in like you would butter, until it is crumbly. Add in the milk, vinegar, and vanilla and gently mix until most the dough starts to come together, then add in in frozen berries.
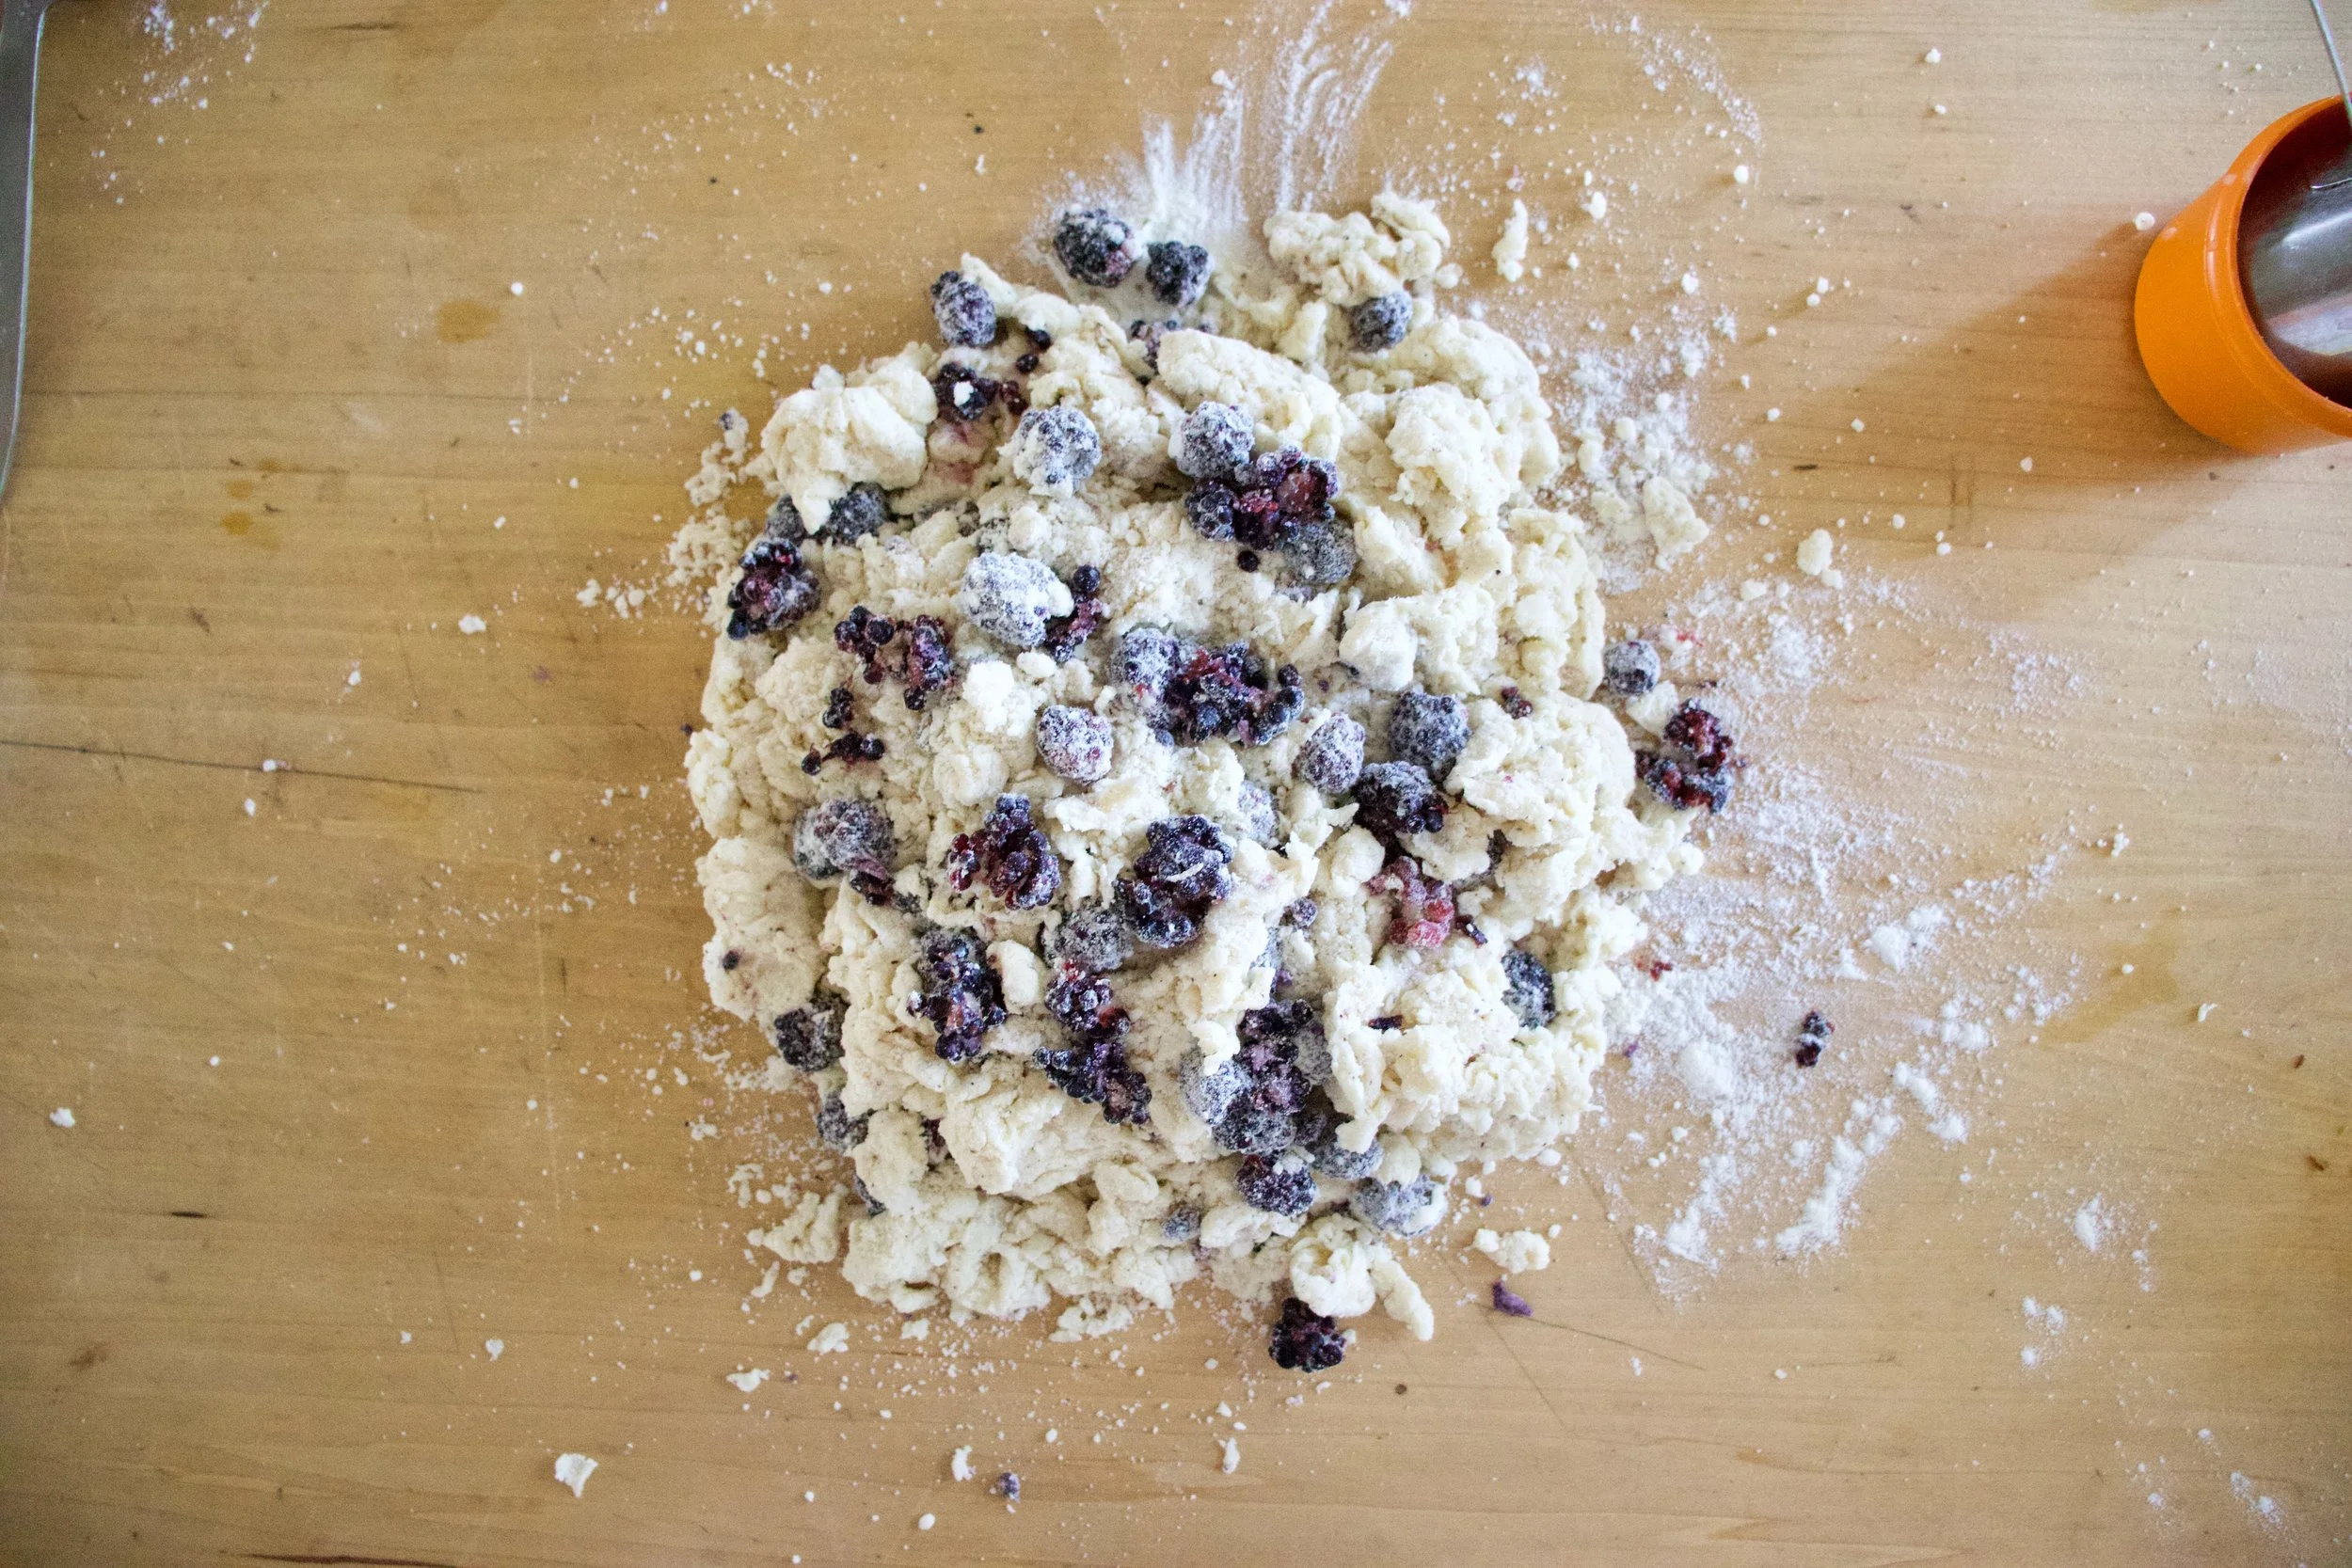
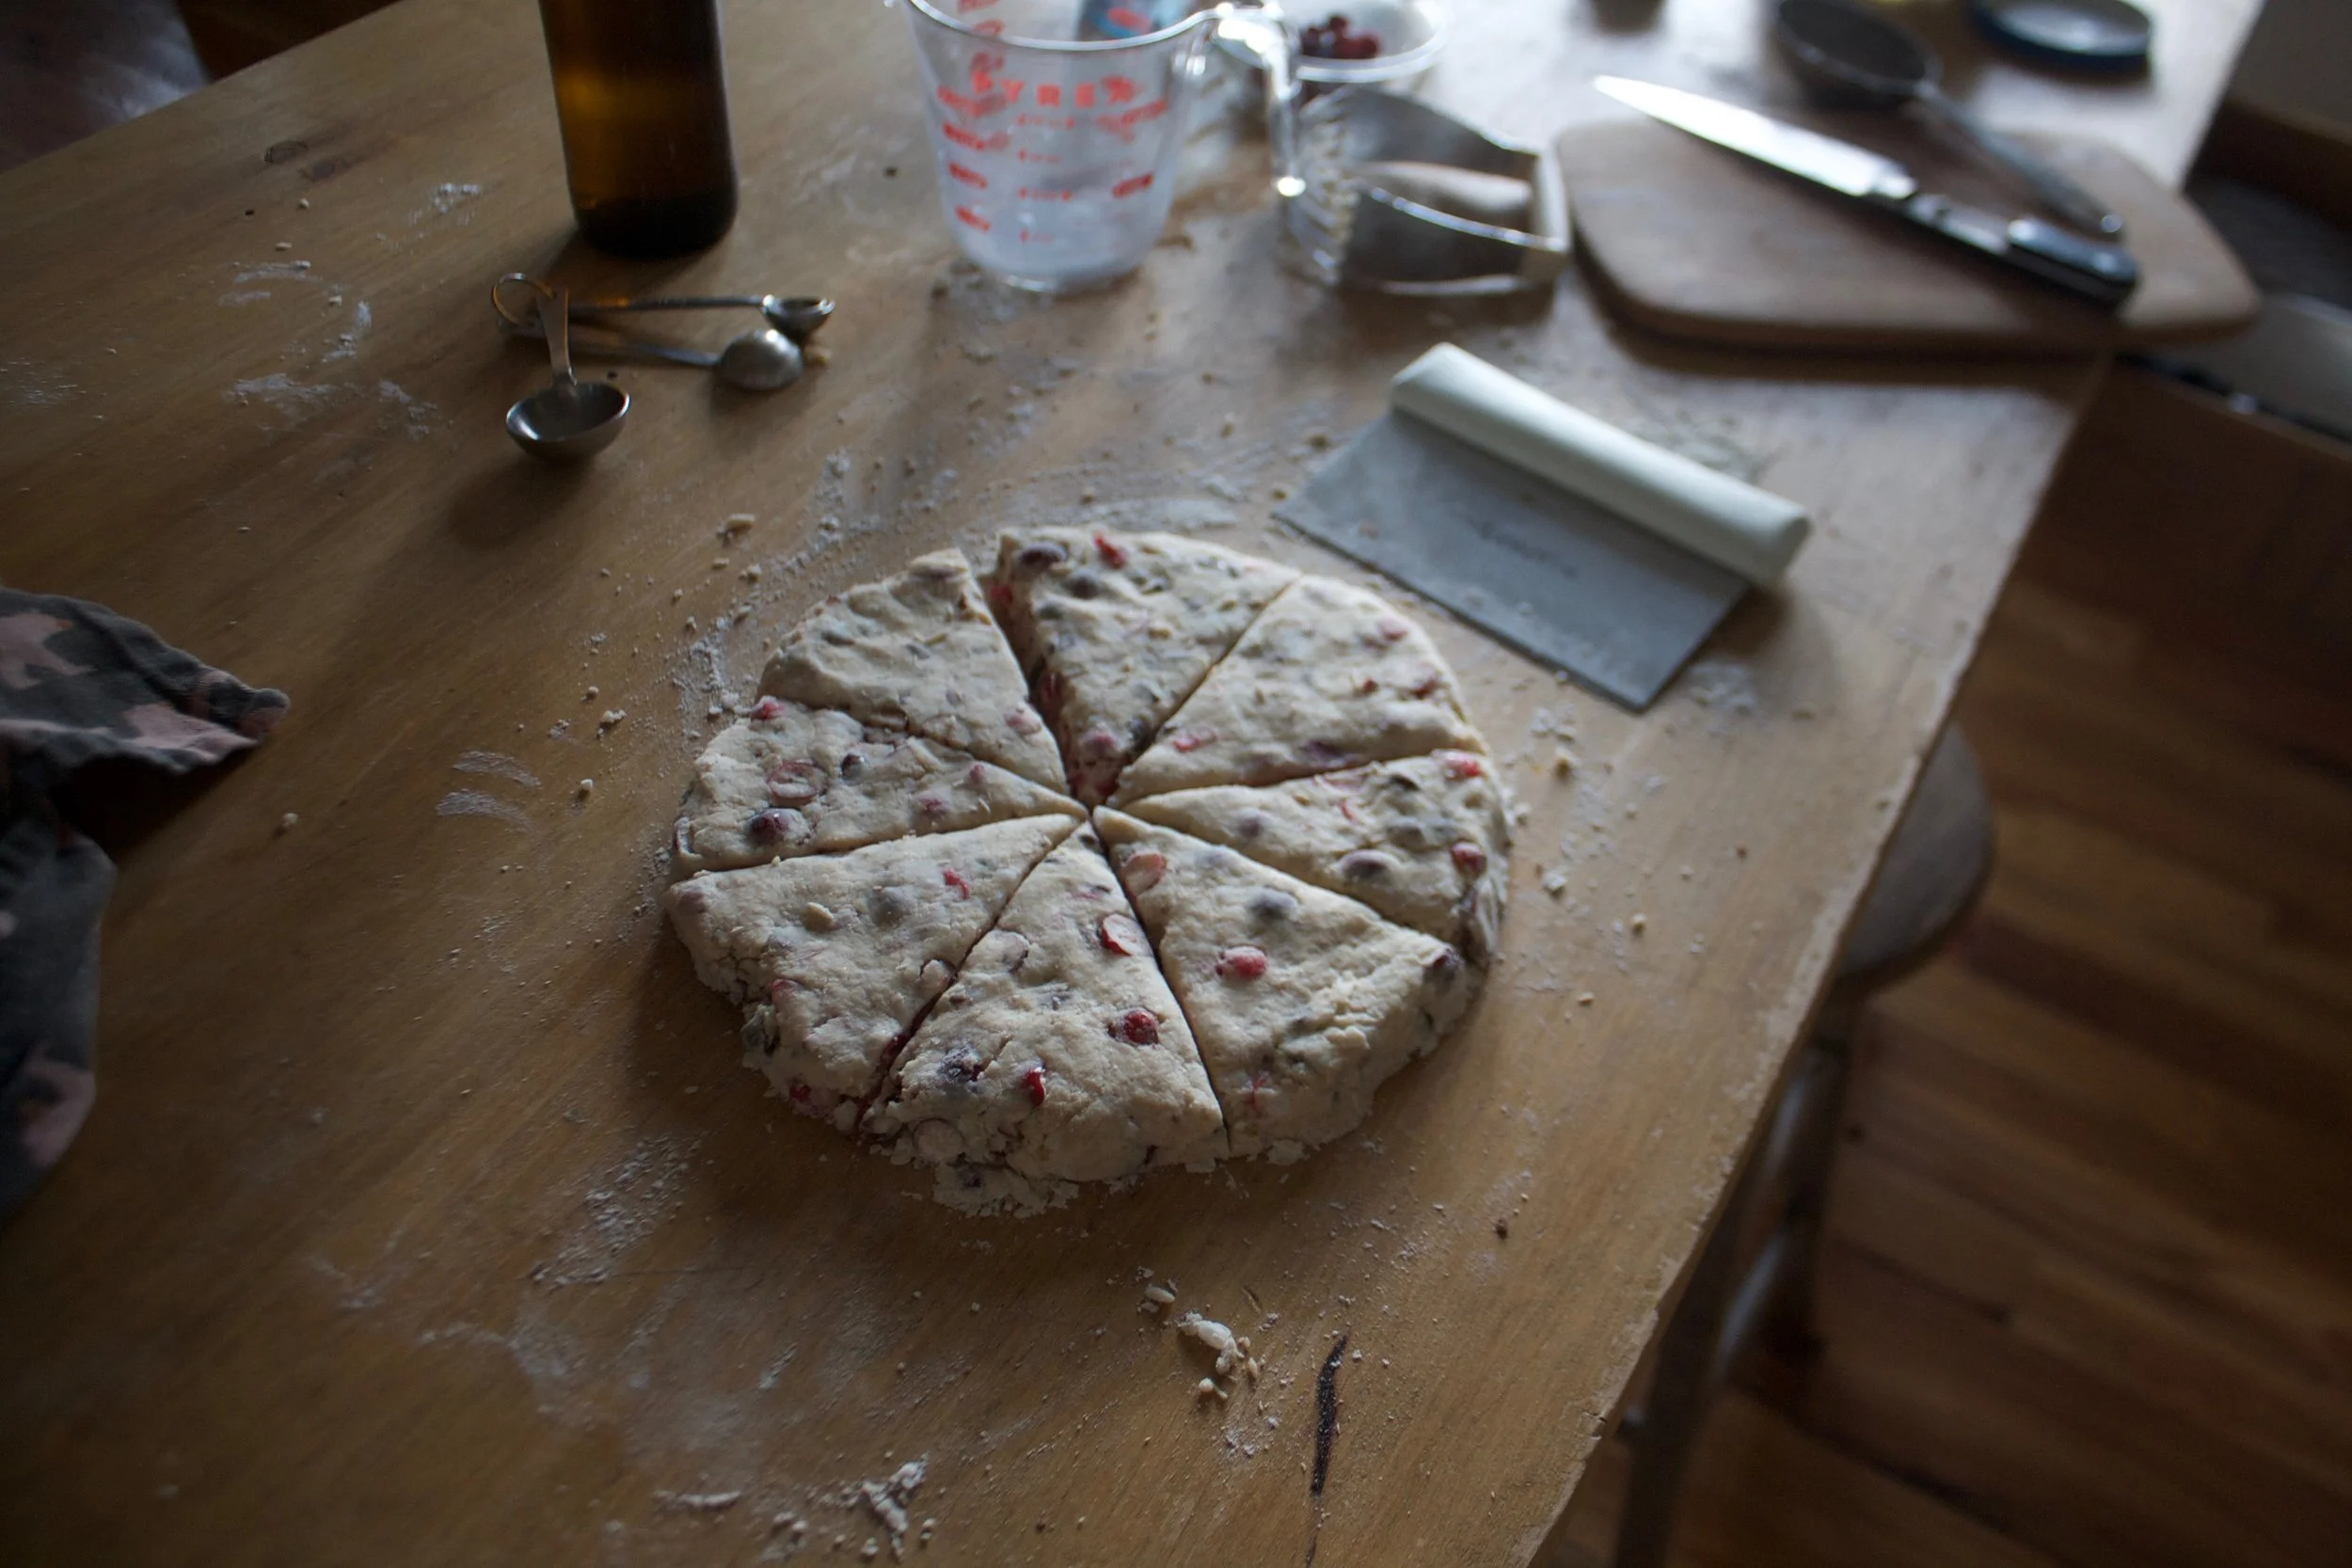
Dump the dough onto a lightly flour surface. Yes, the dough is barely sticking together but that is alright, just smash and pat it until it sticks and comes together. Once together, pat it down into a round disk about an inch thick. Just know, as you are working it, the berries are gonna start to break apart which is totally fine, but your hands will turn purple.

Flatten and cut. Just about scones now, but not quite.
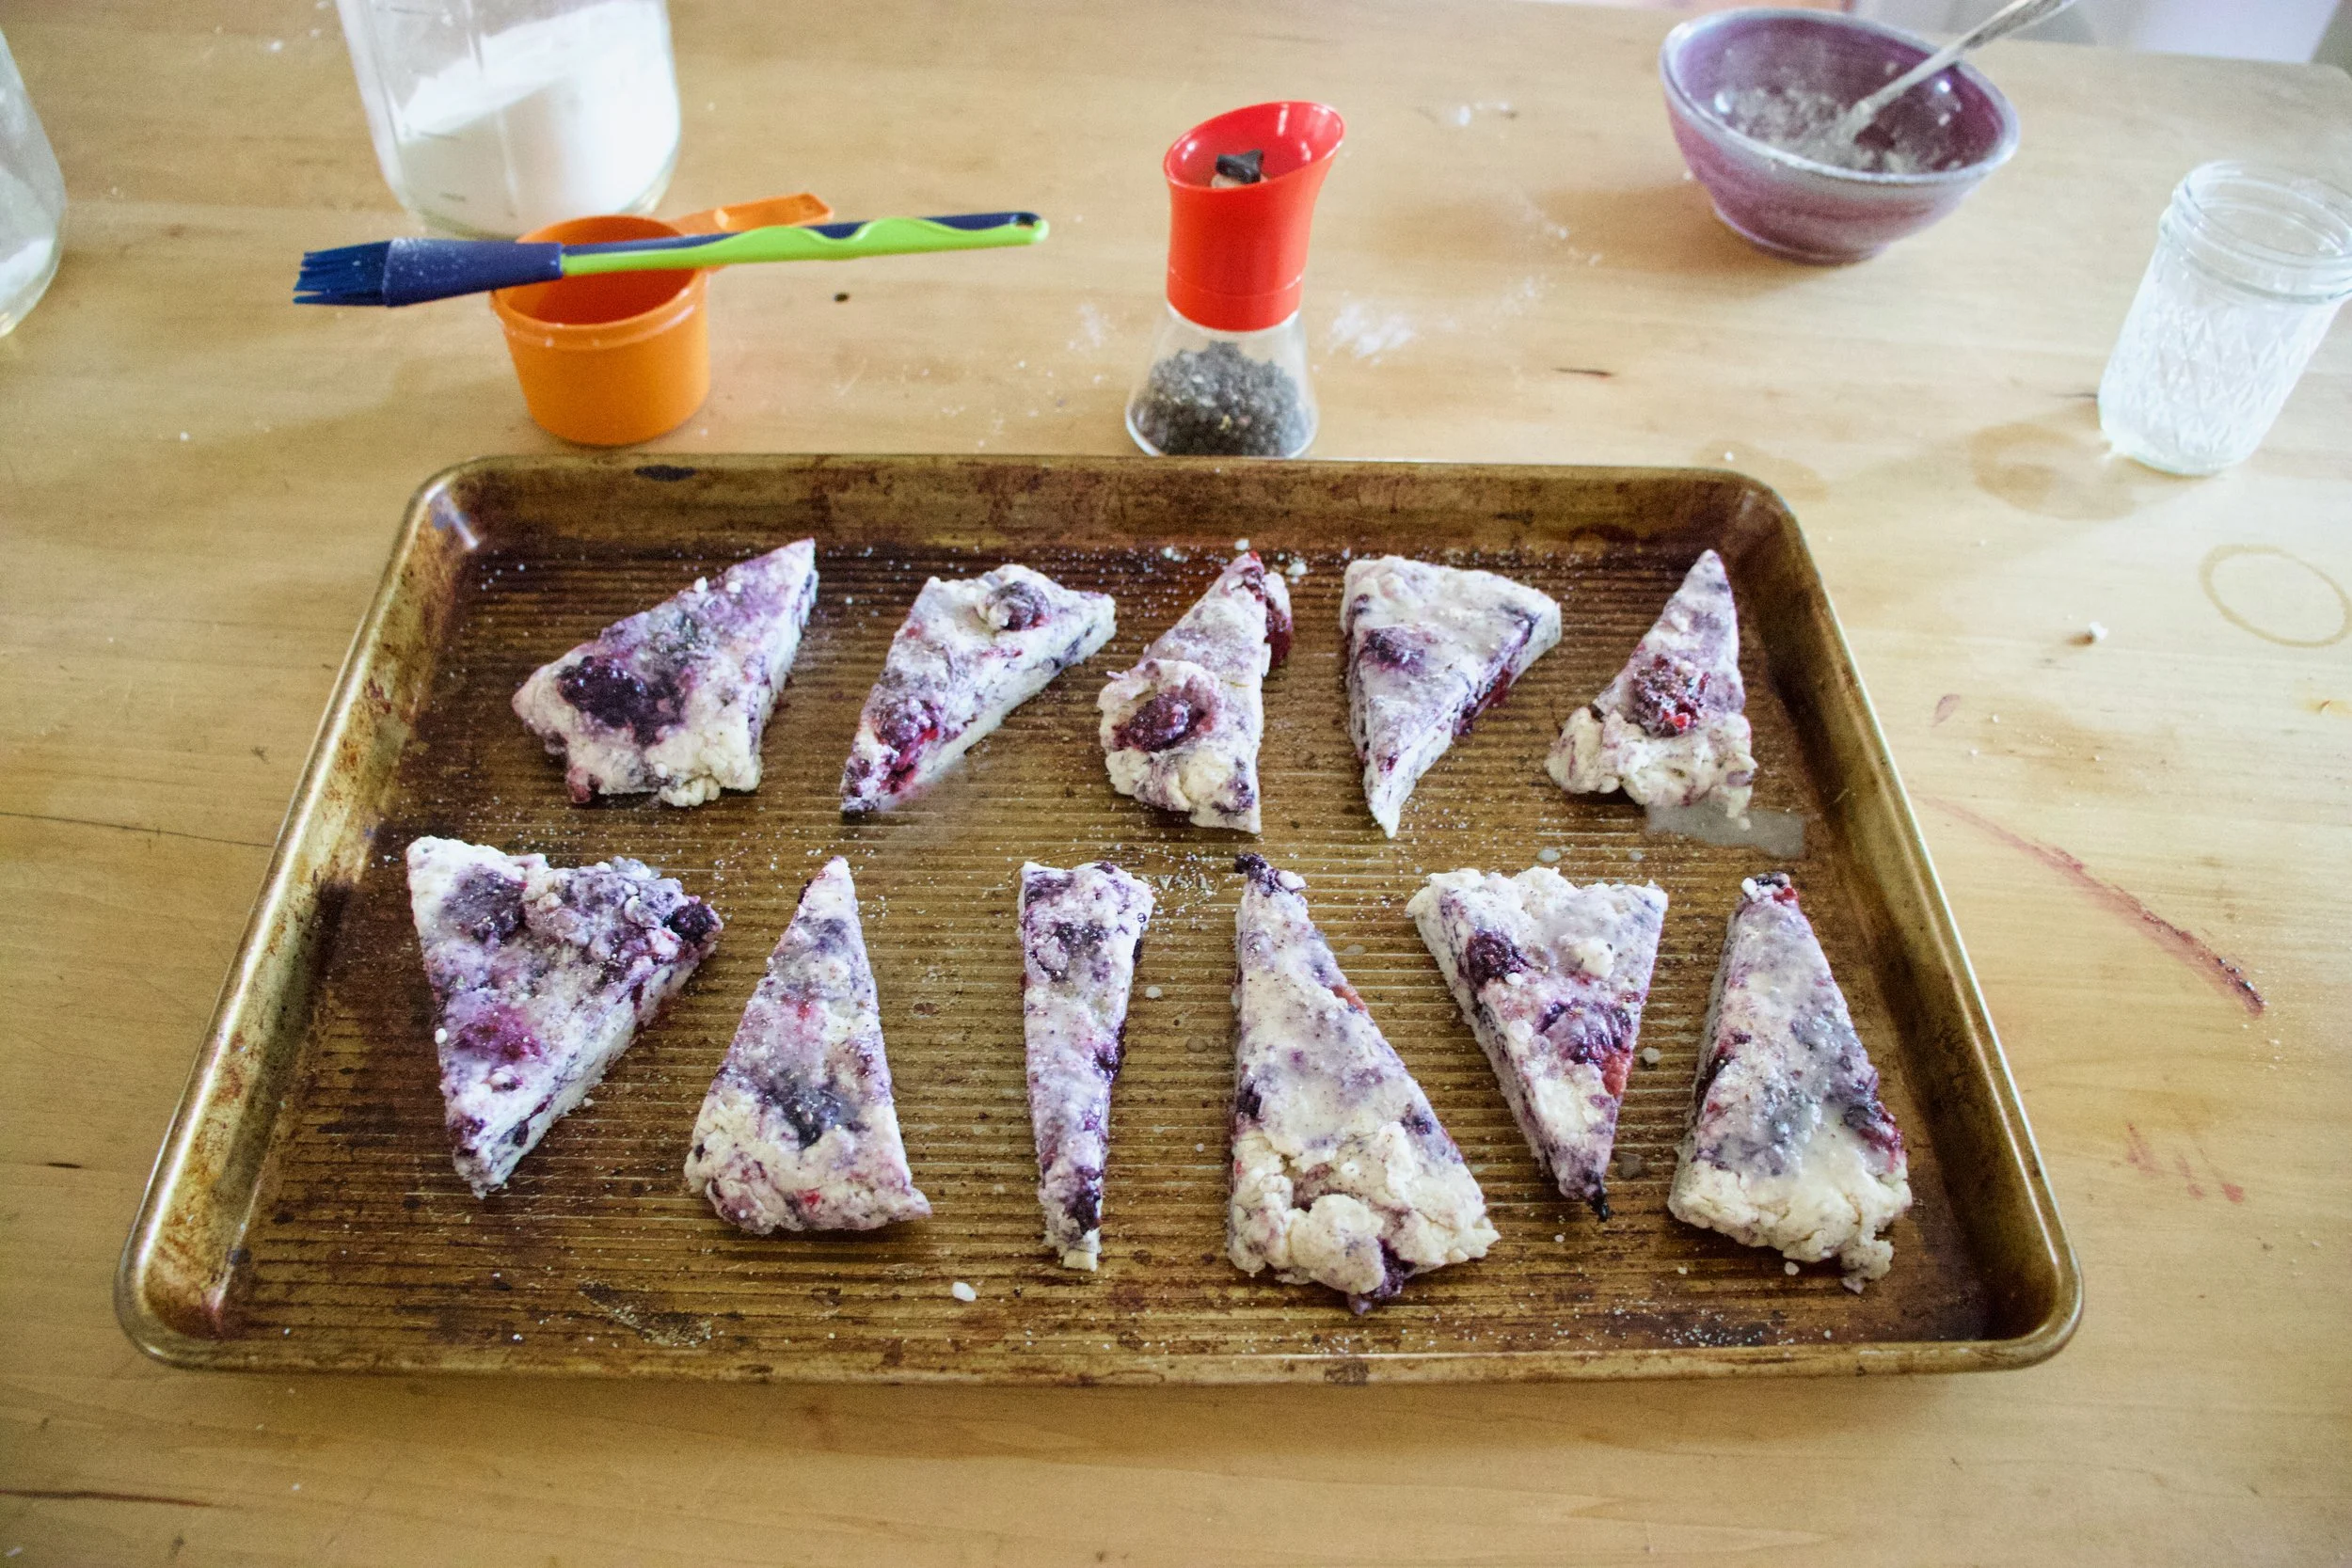
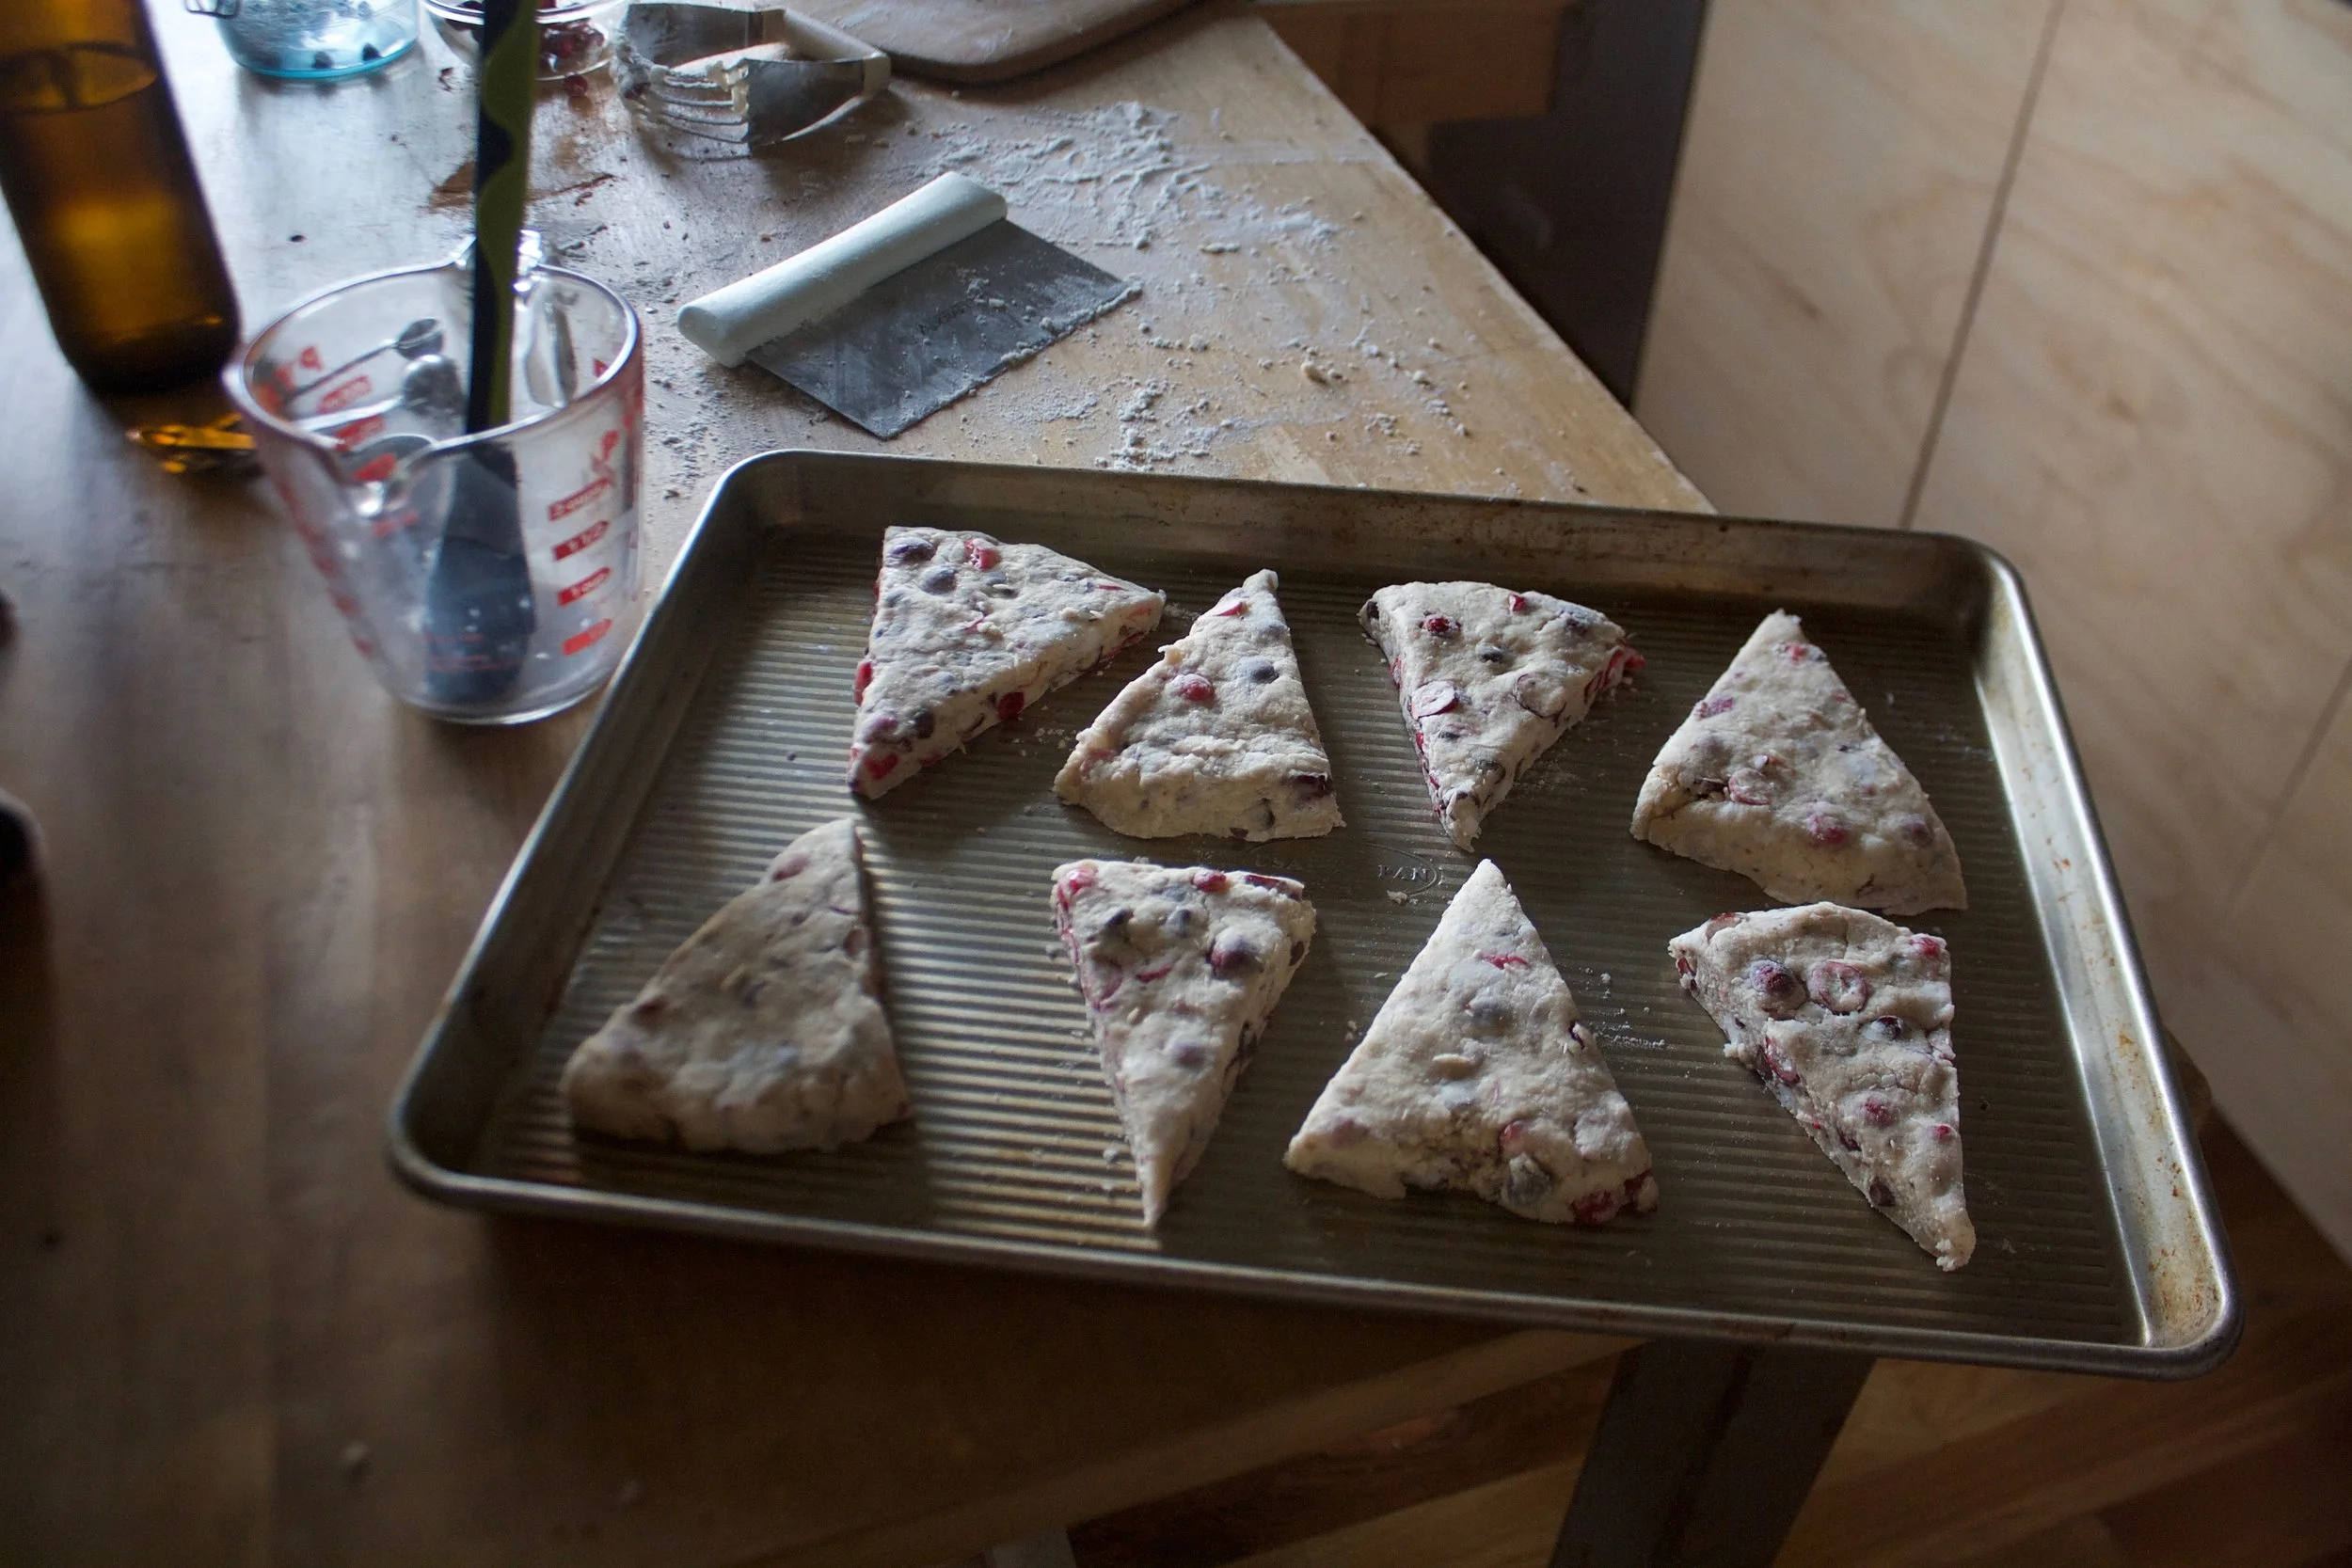
Place scones on a baking sheet and brush the tops with a little milk then lighty sprinkle more sugar and black pepper on the tops and then pop them into a hot oven.

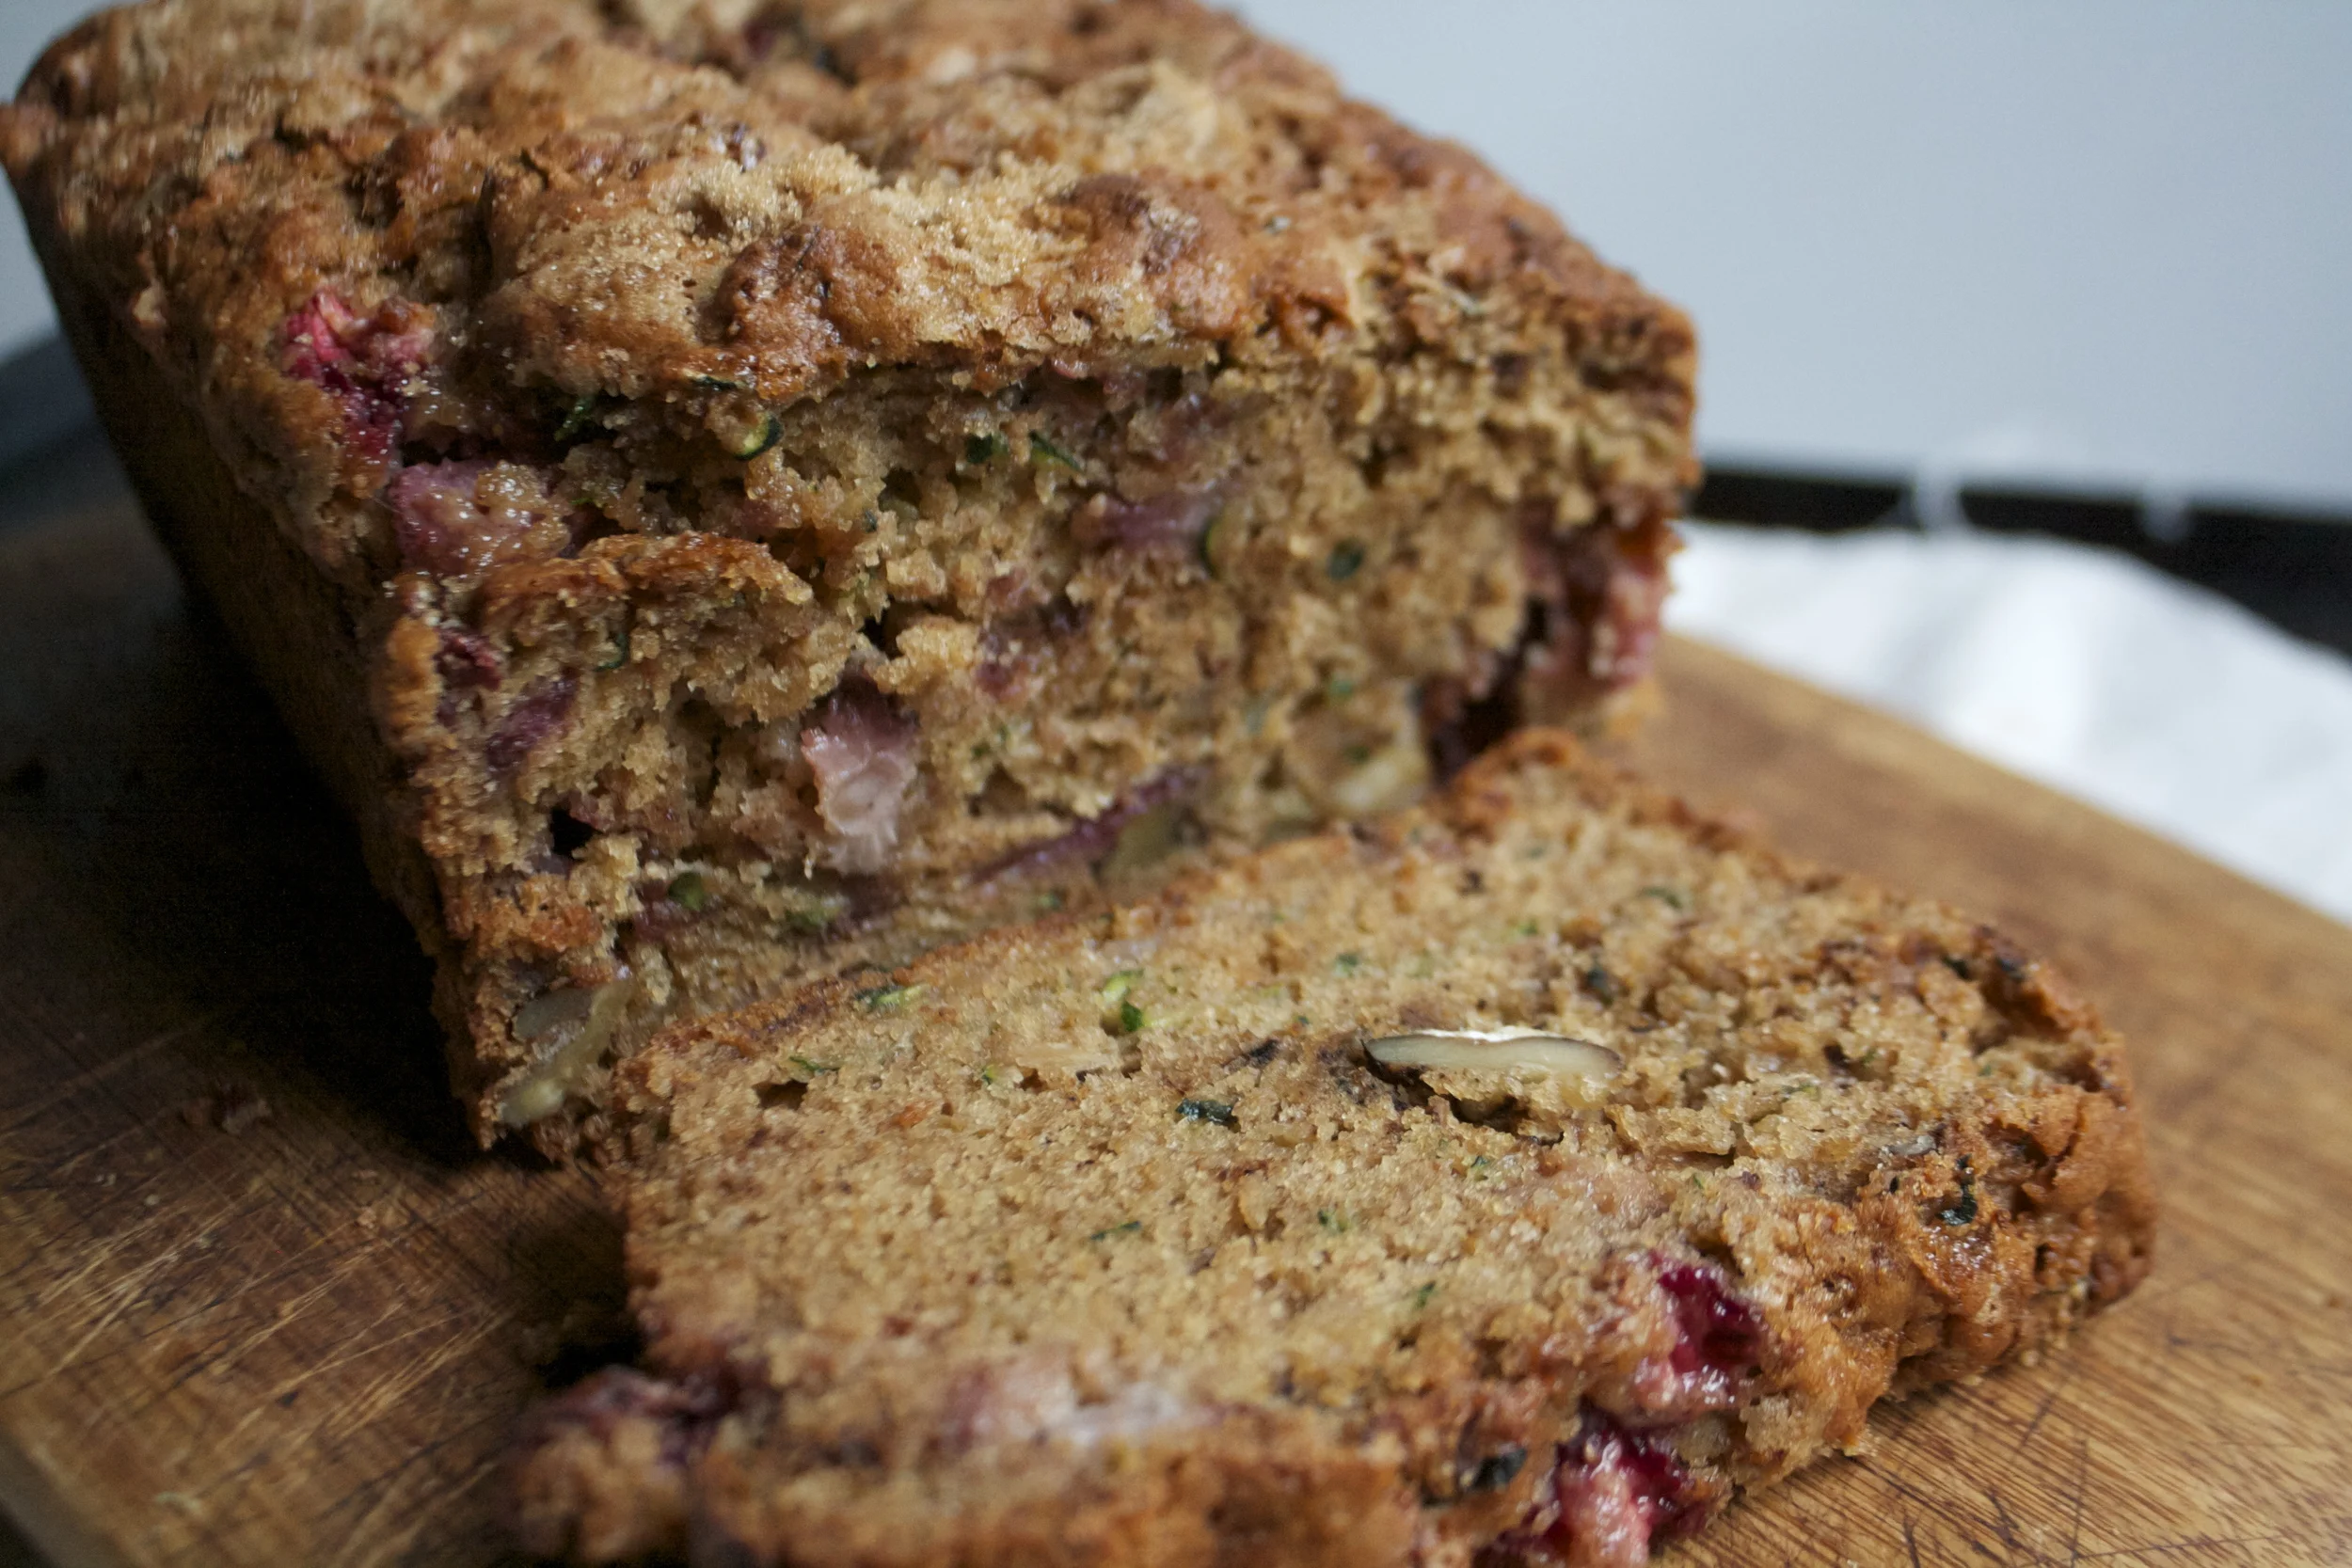
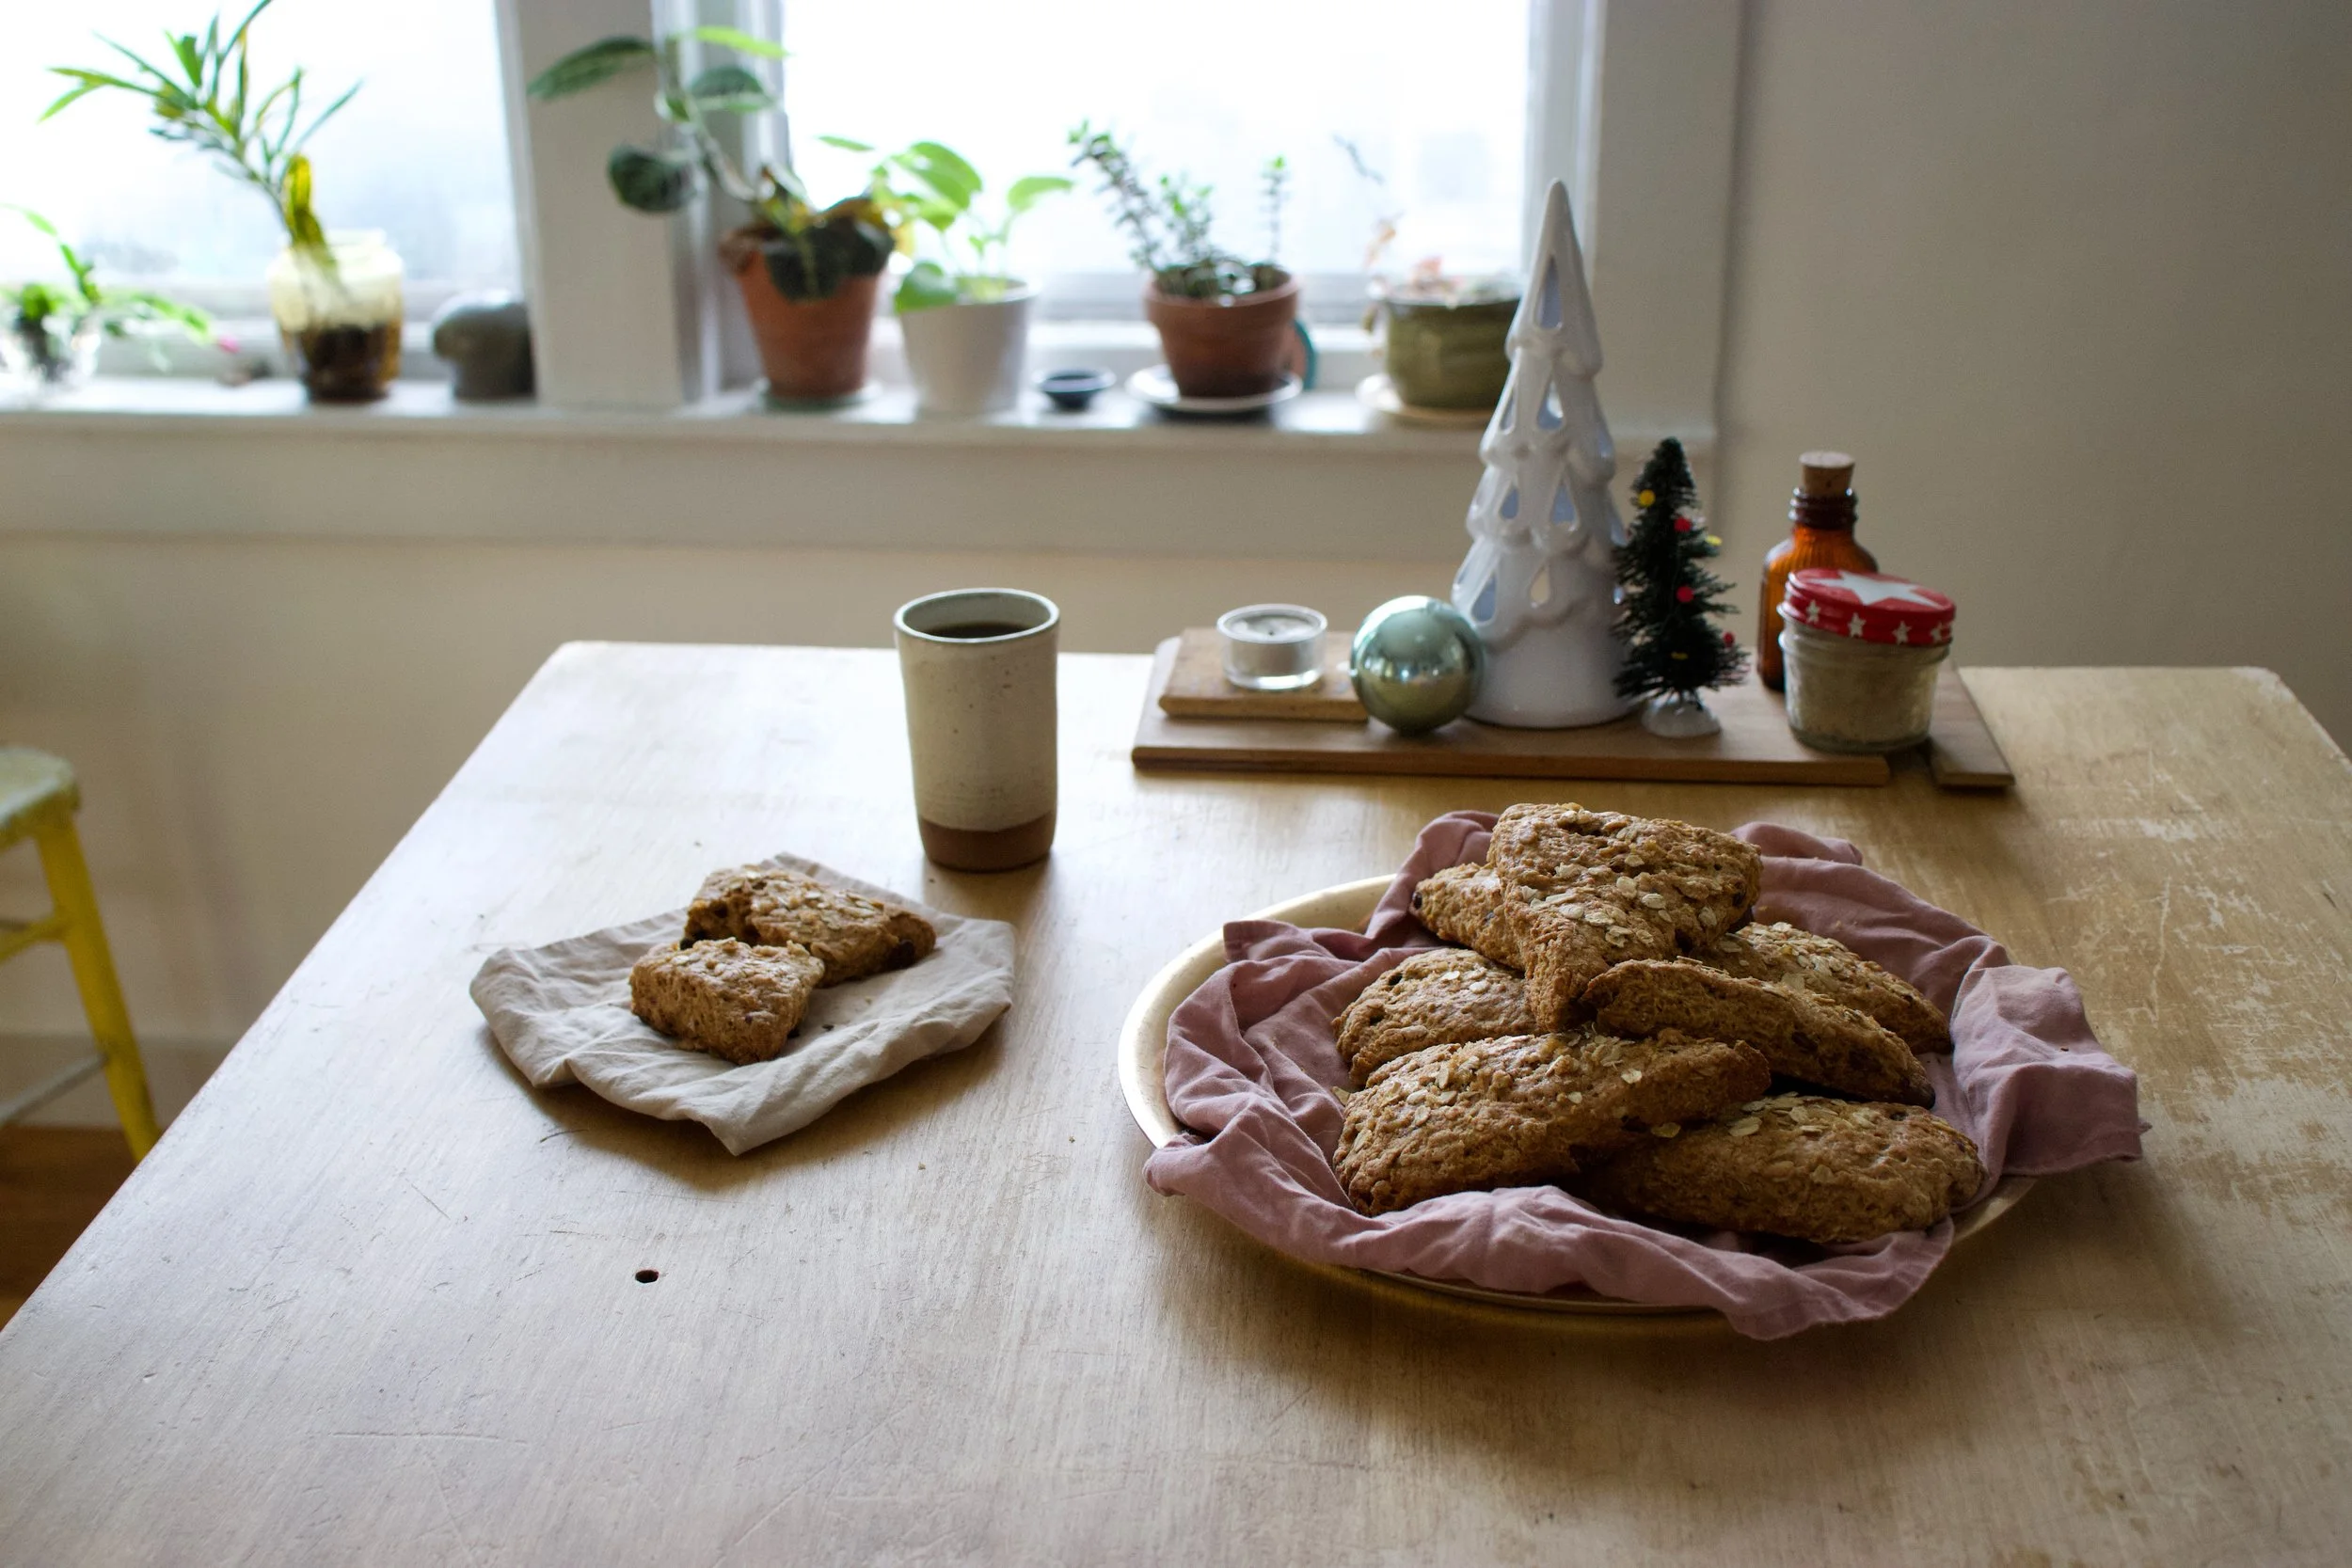
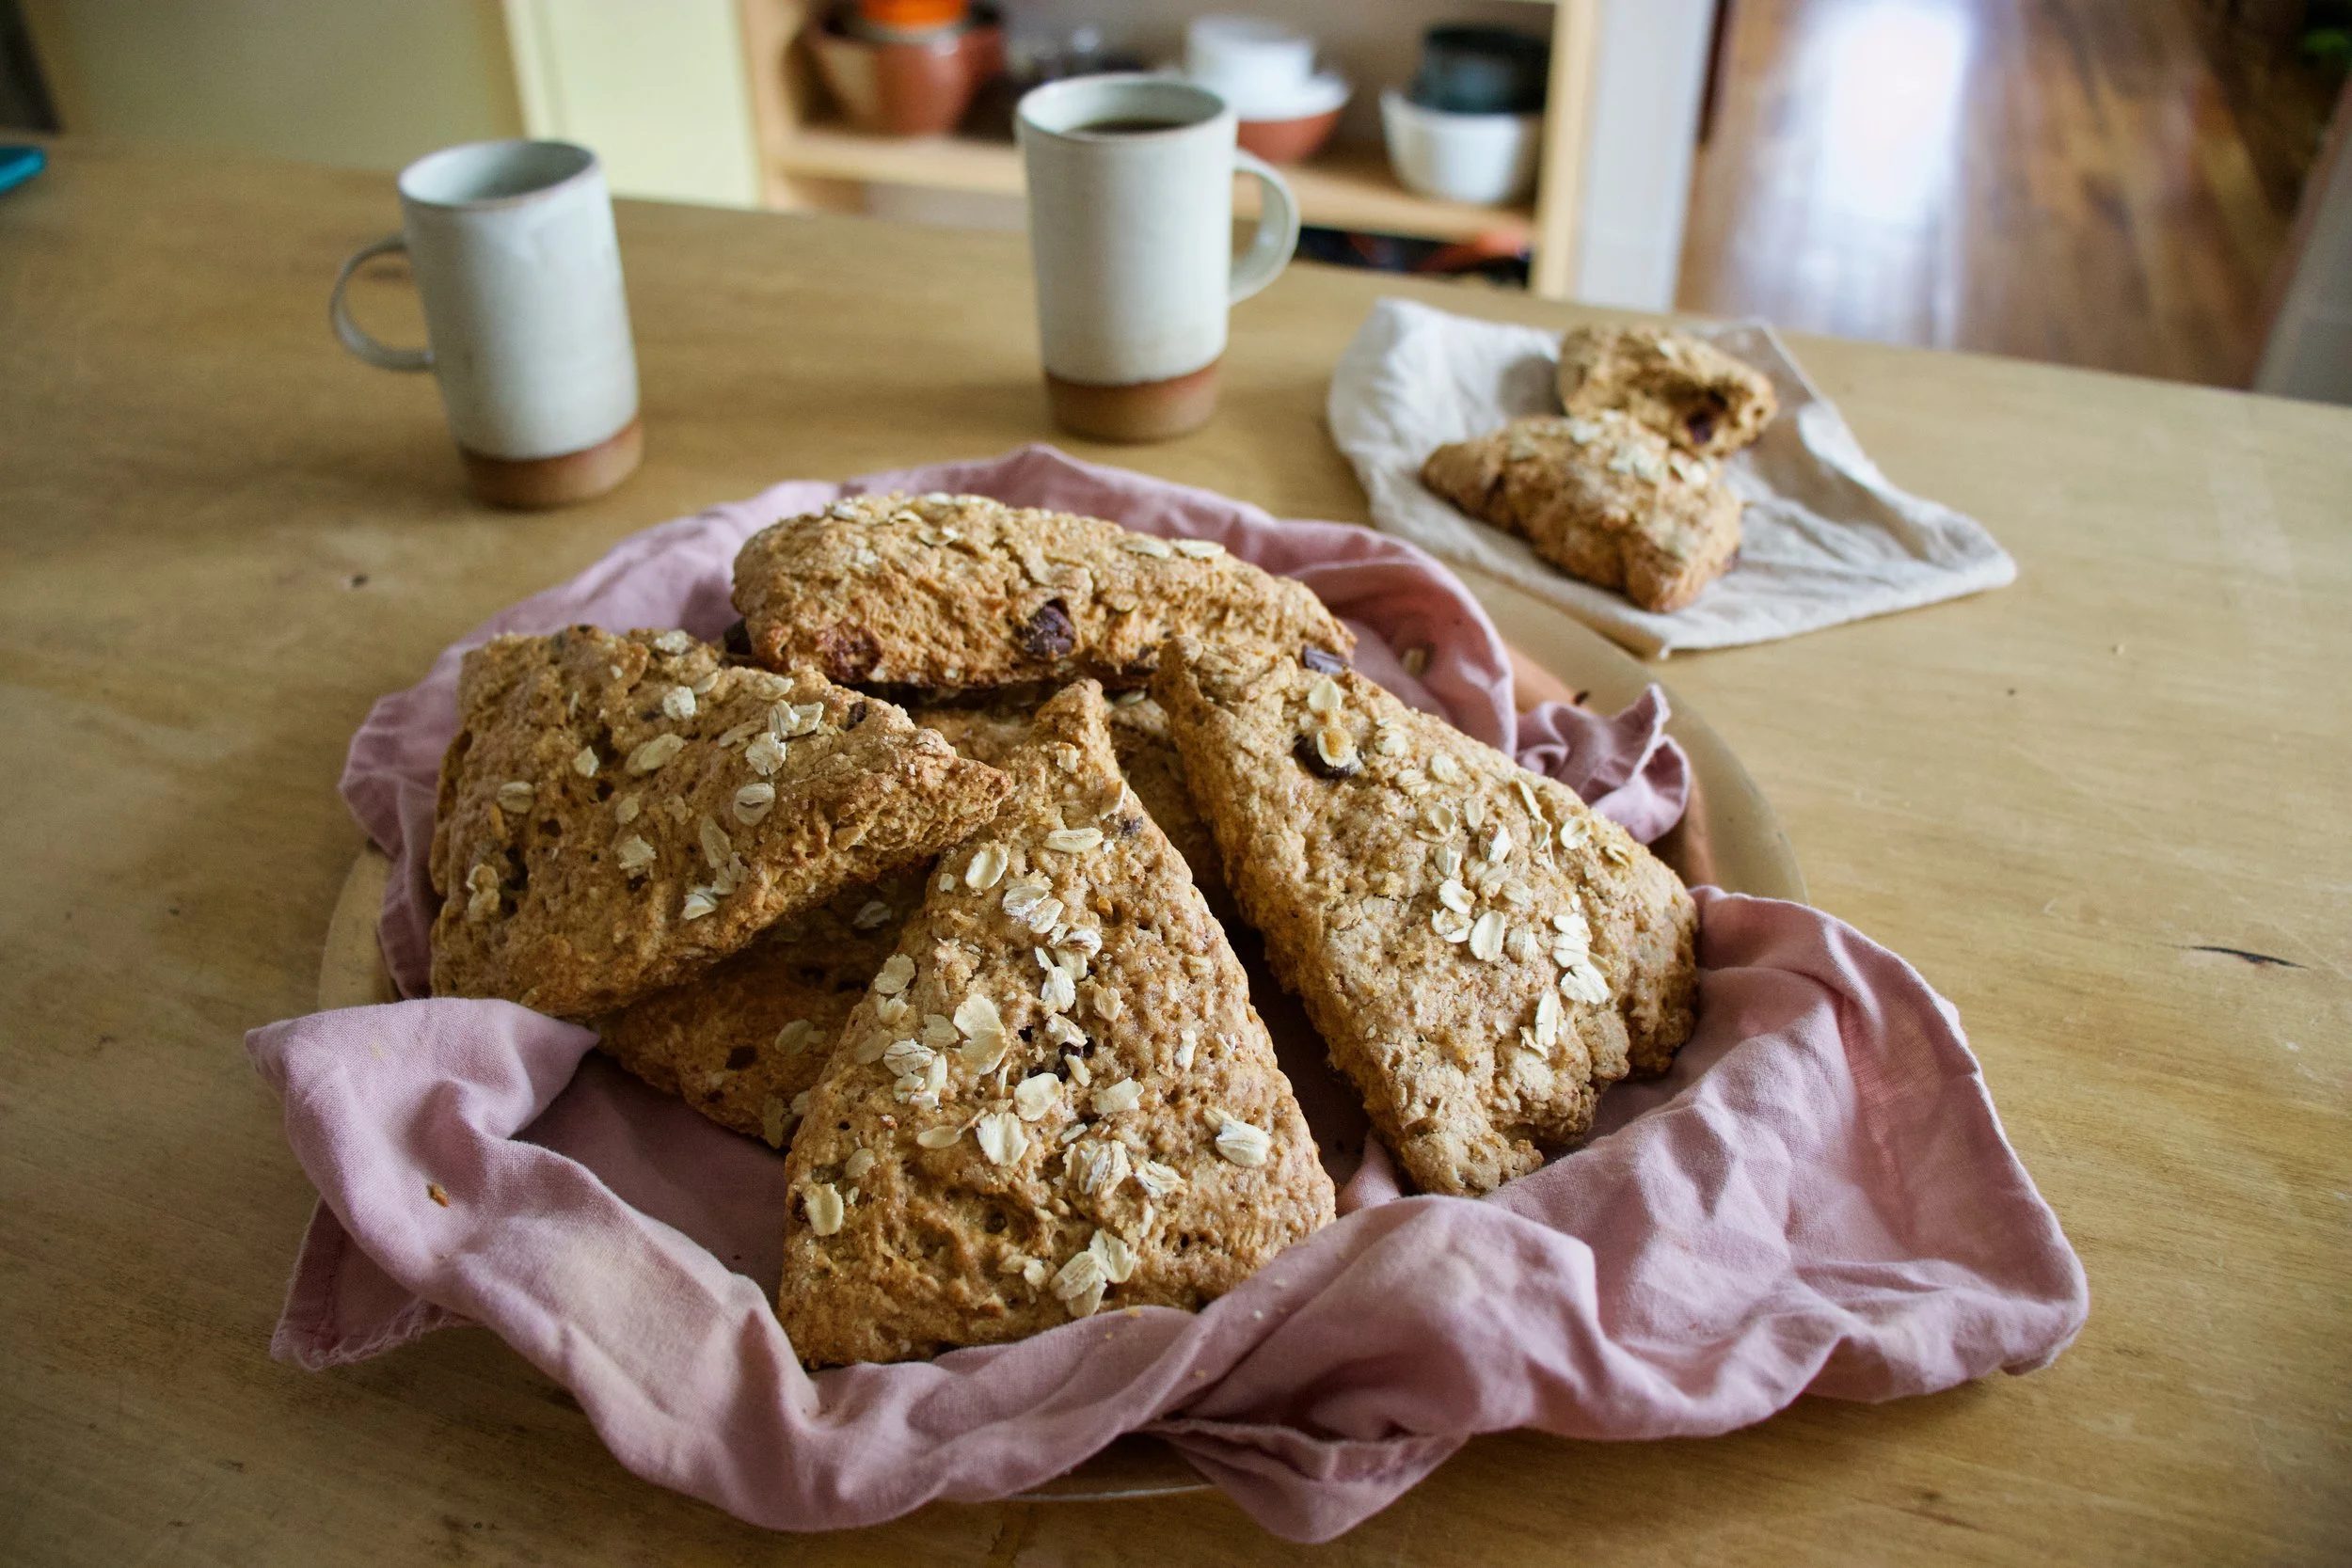
Bakes and lovely and cooling ever so slightly..
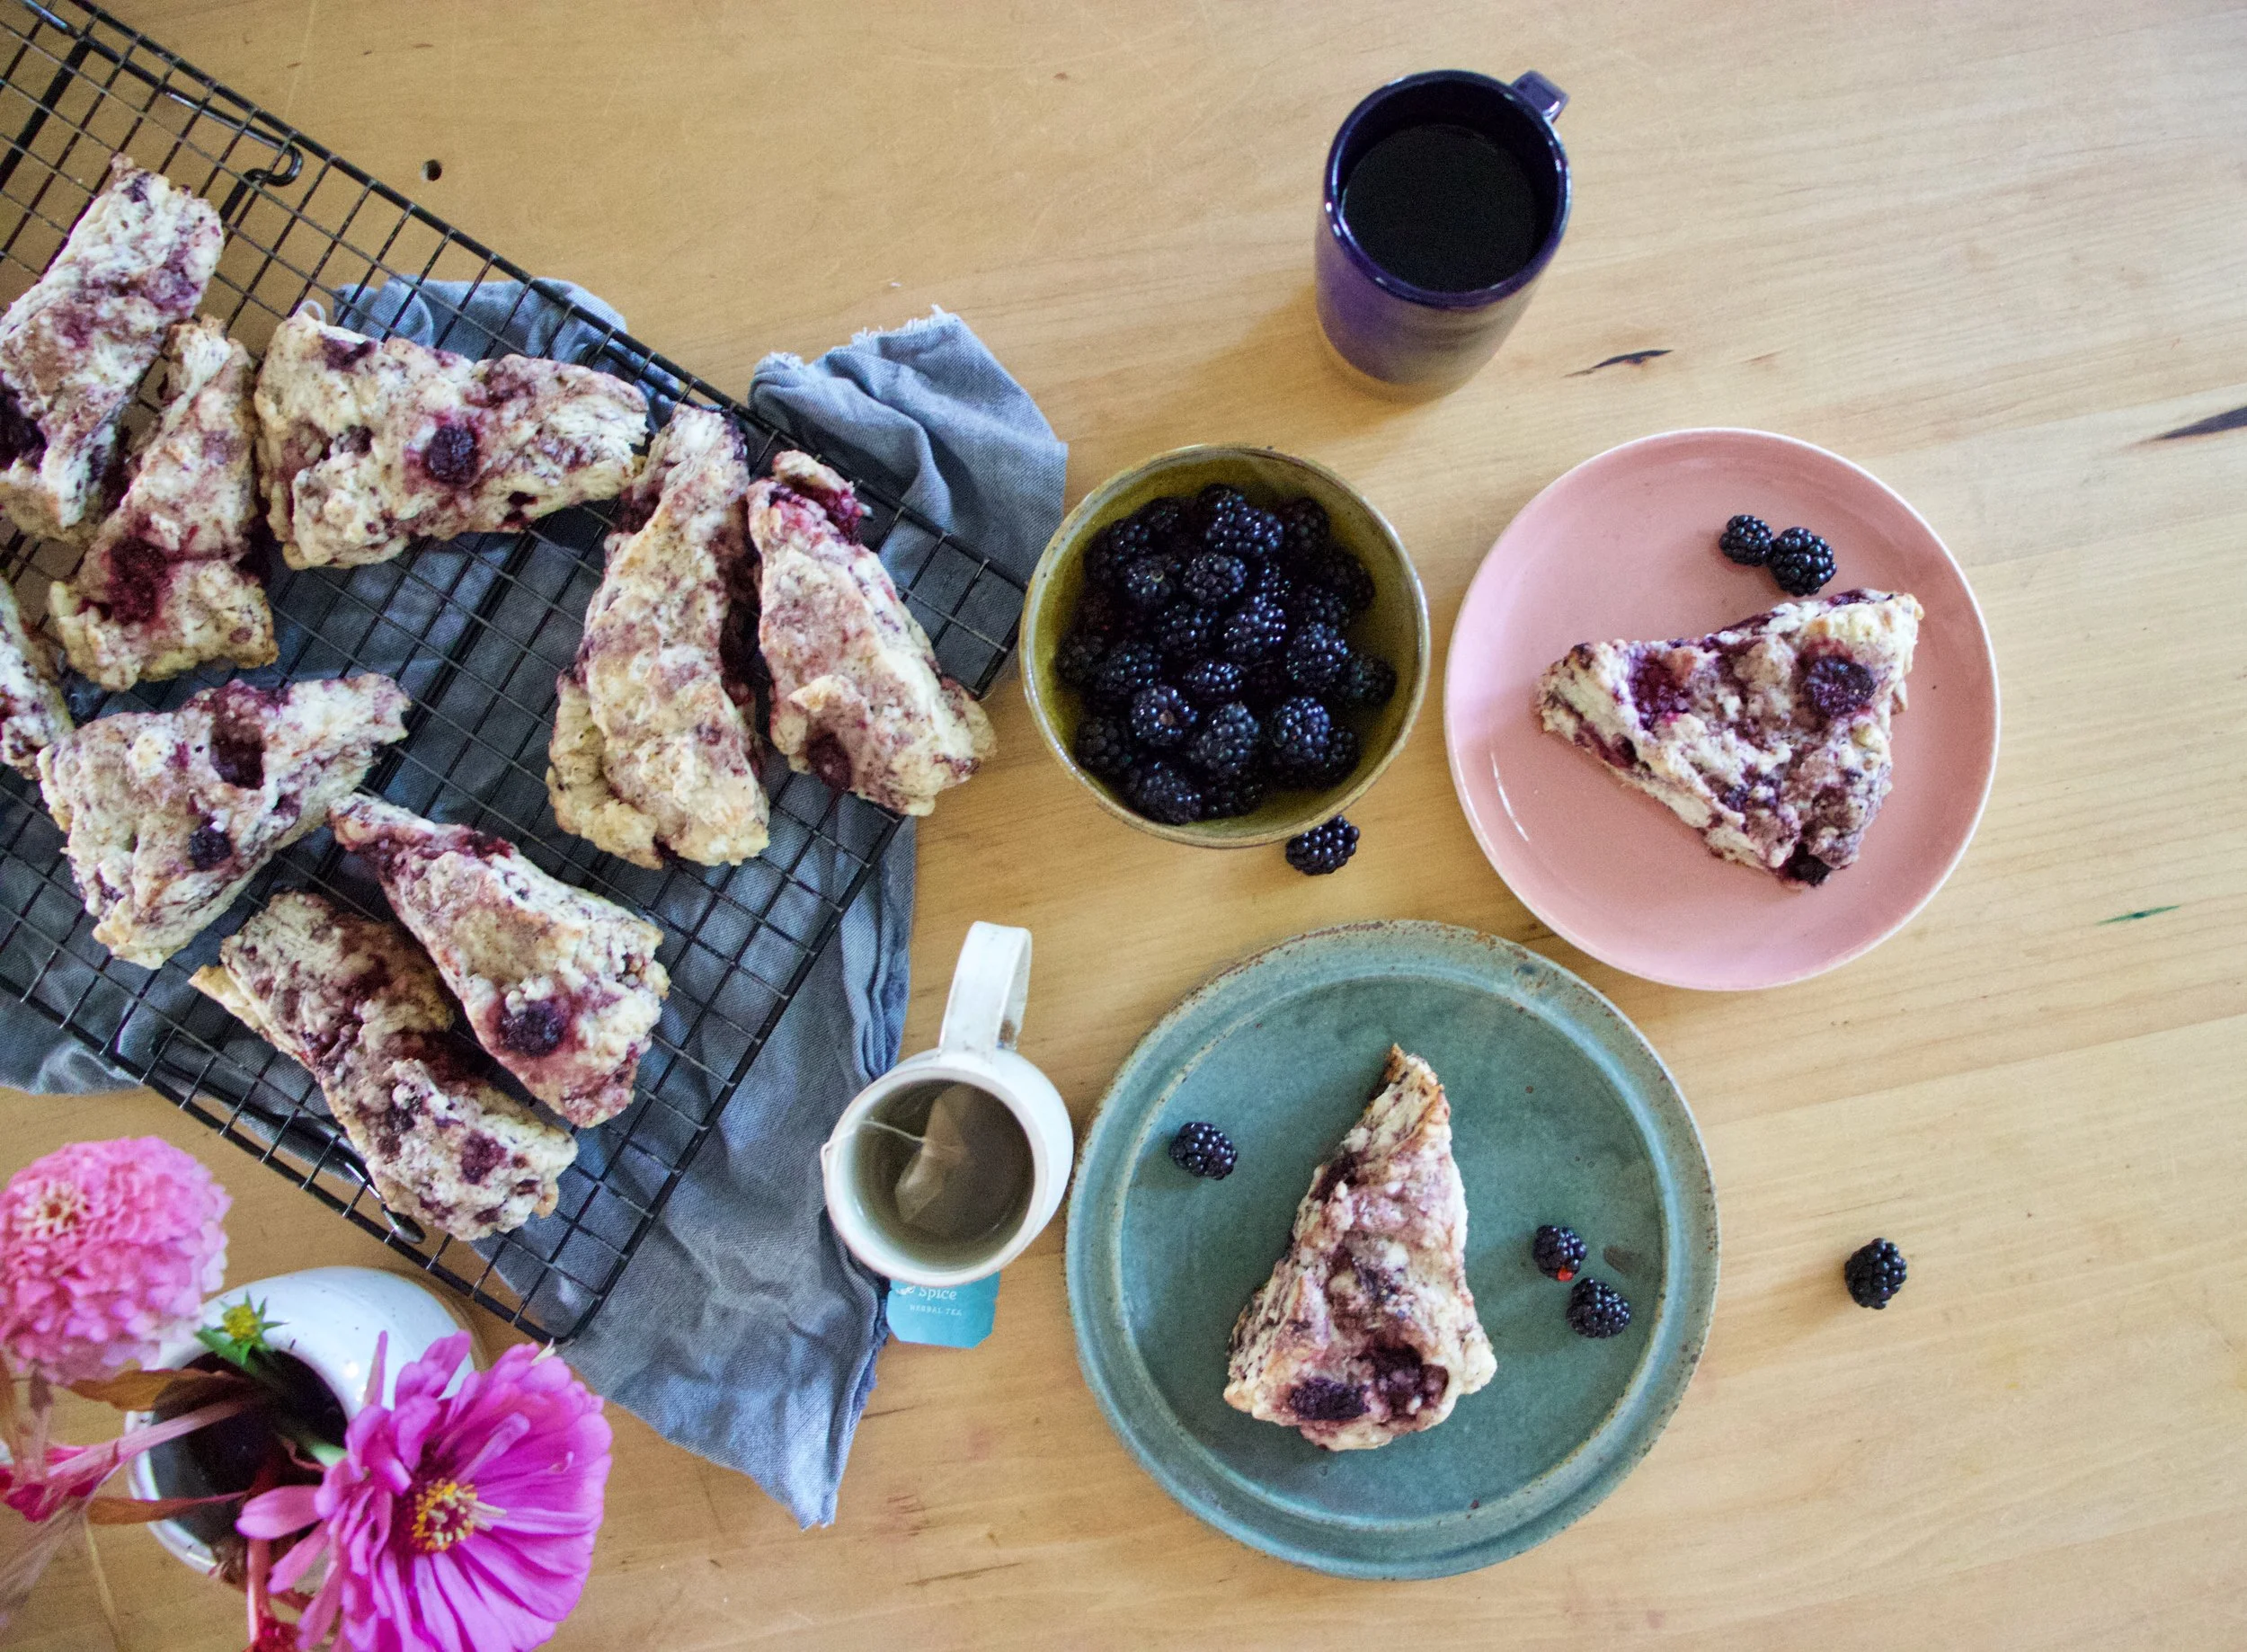
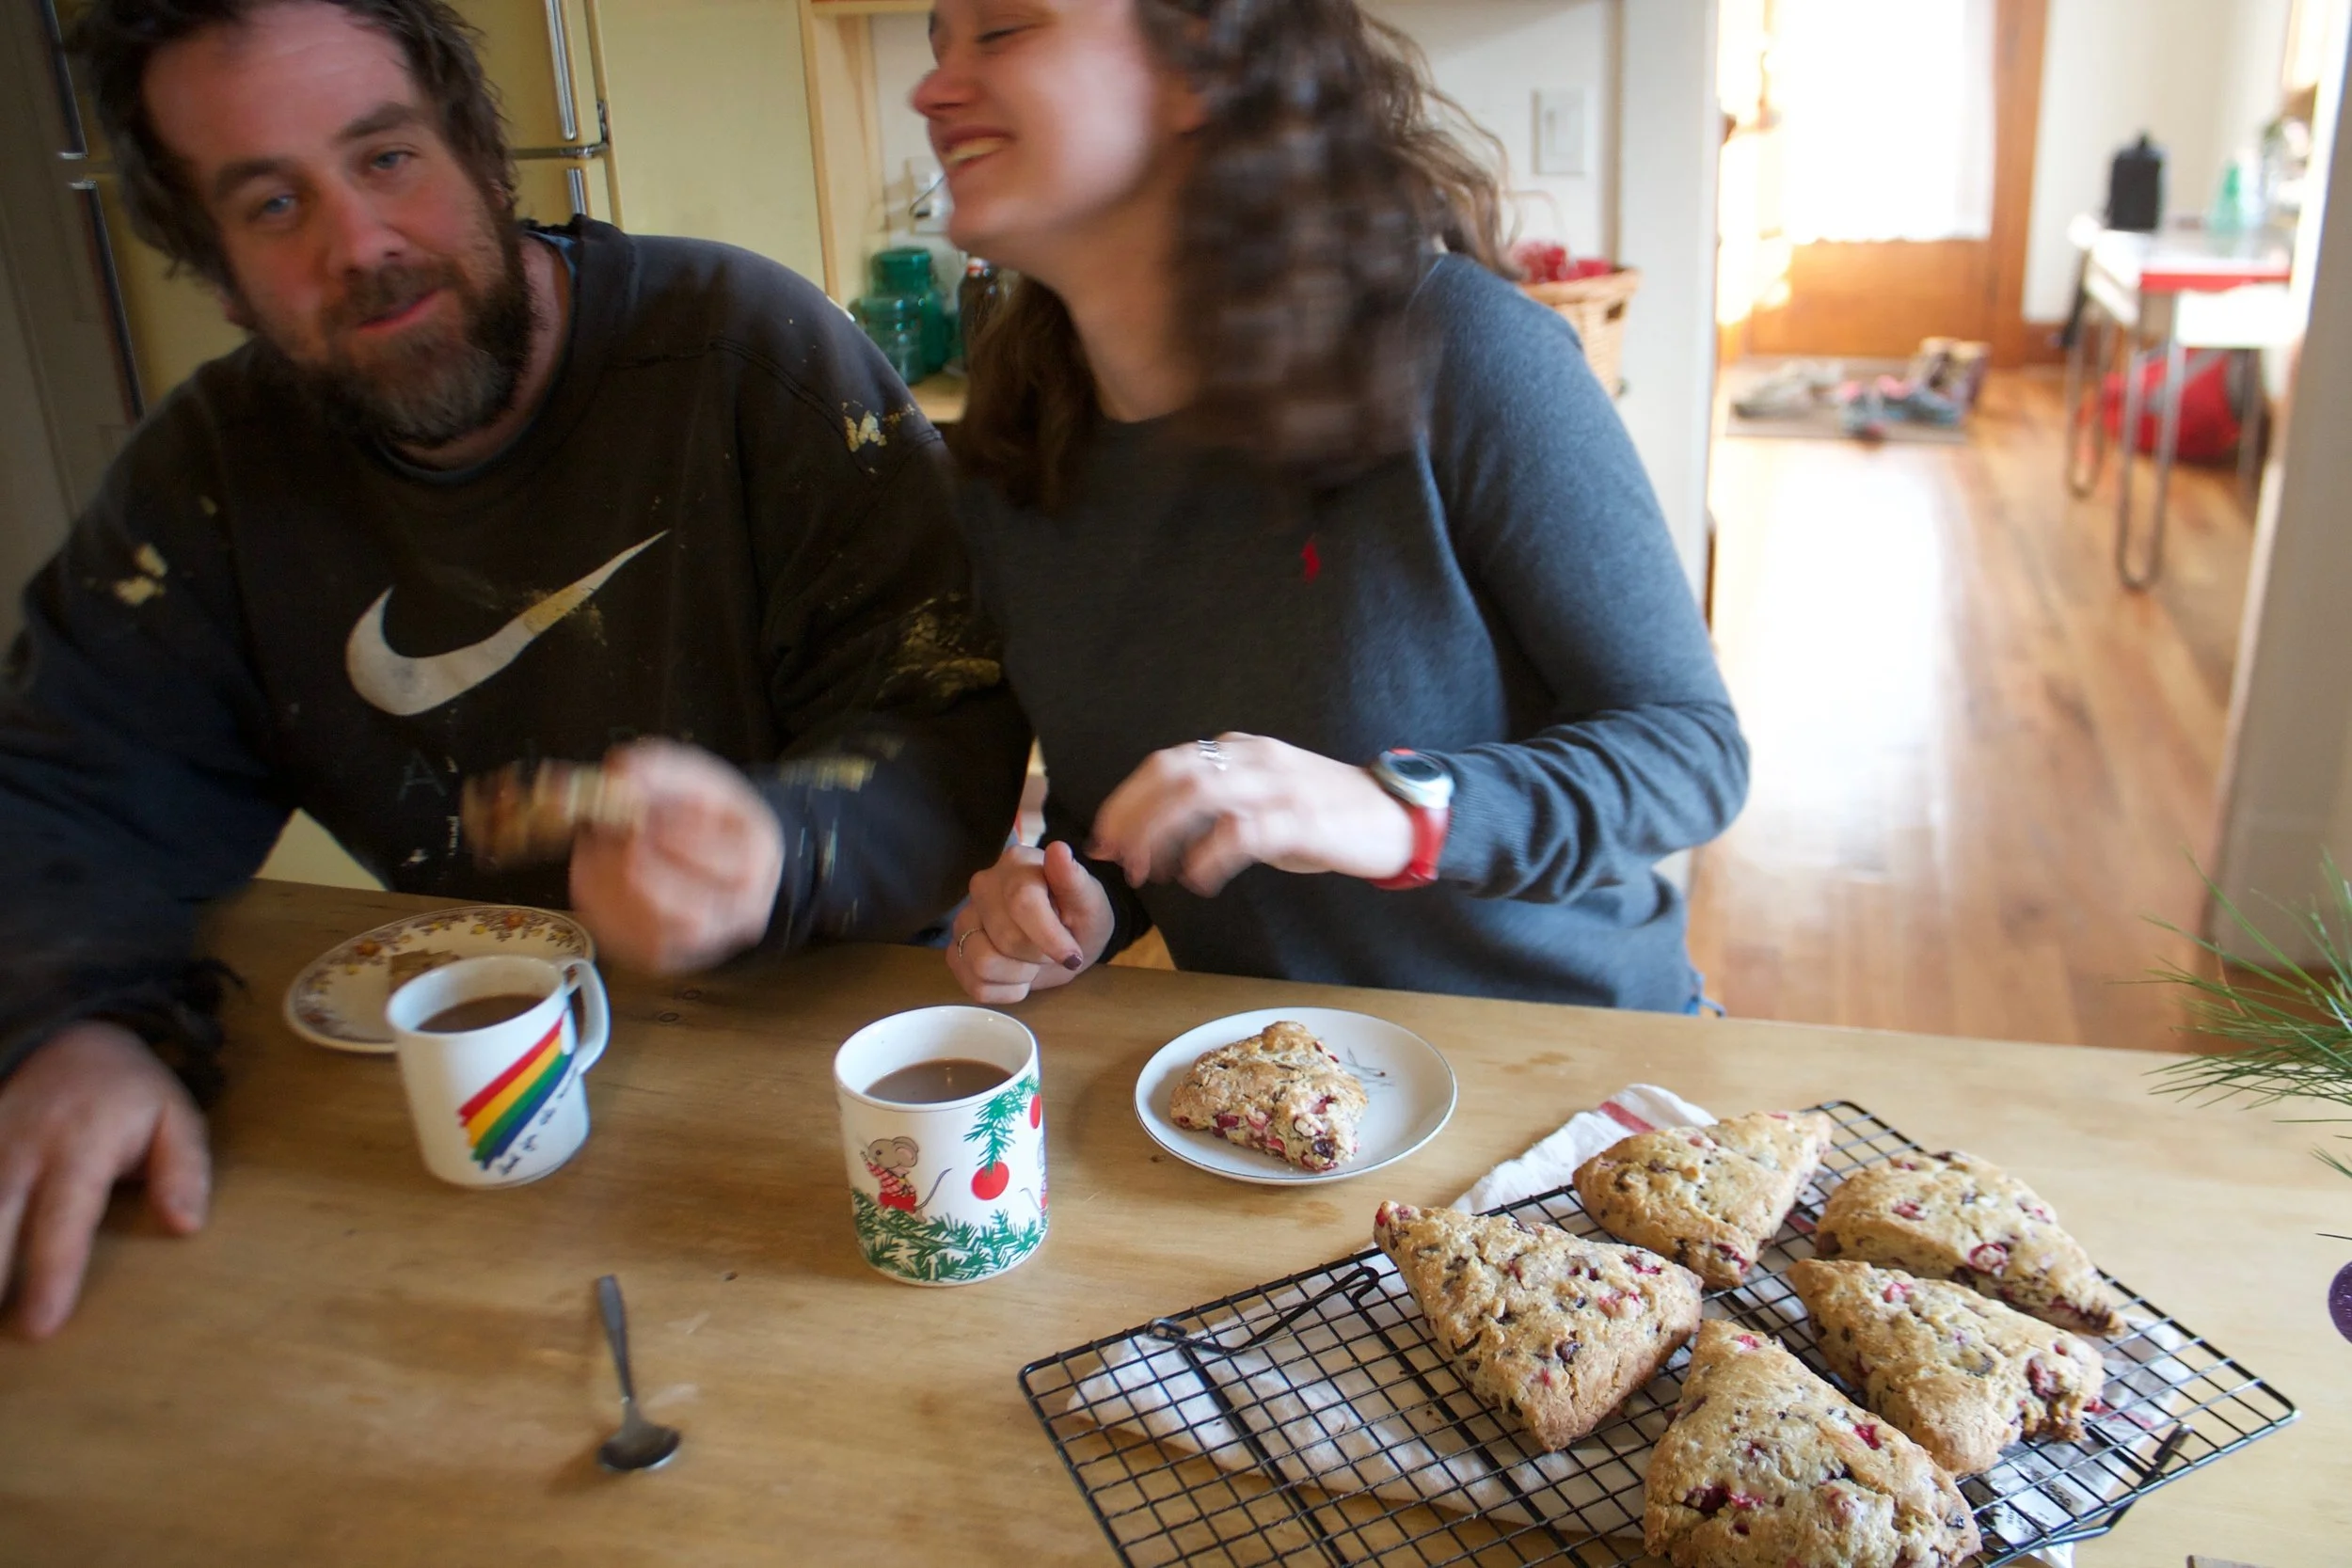
Grab a plate, something hot to drink, and more berries because you can never have to many berries.
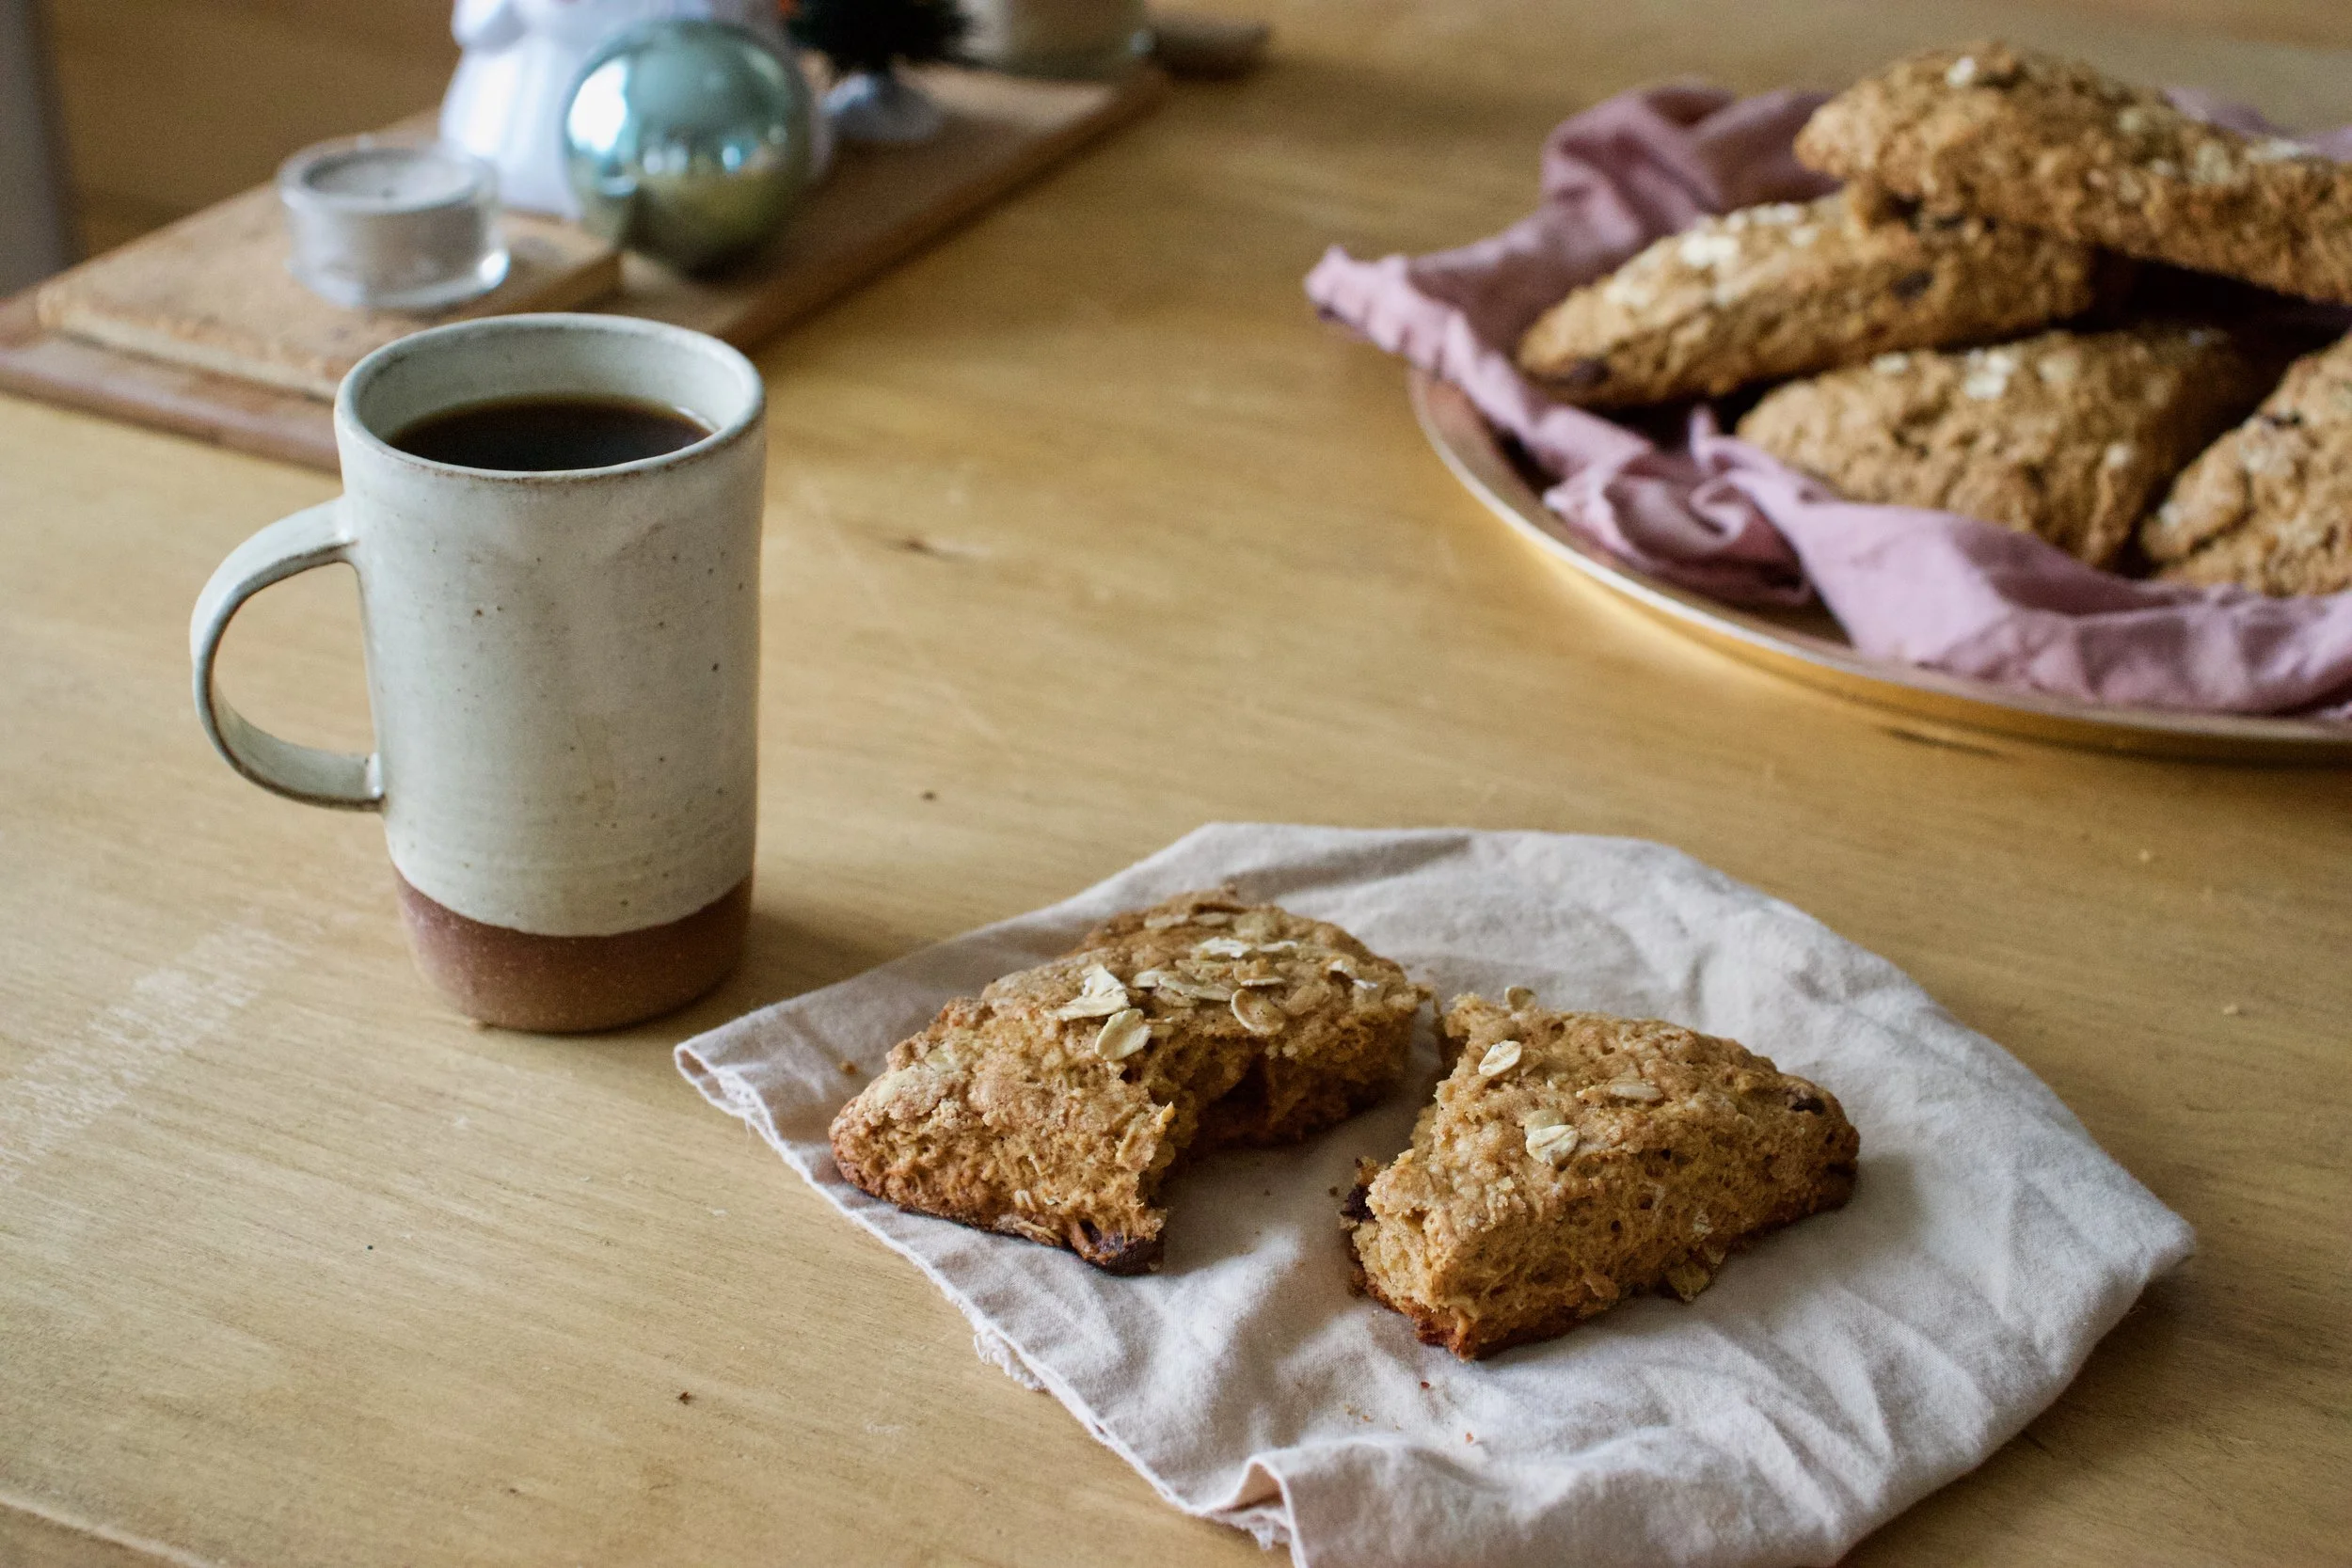
And eat. Still warm and all sorts of good.

Blackberry black pepper scone. Now you have them and everyone will want them. But know, there is no shame in hiding what you don%u2019t not want to share.
-C
makes 8-12 scones (depending how big you cut them)
-
2 1/2 cups all purpose flour
-
1/3 cup white sugar plus a tablespoon more for dusting tops
-
2 teaspoons baking powder
-
1/2 teaspoon baking soda
-
1 1/2 teaspoons course ground black pepper plus a little more for dusting tops
-
1/2 teaspoon salt
-
1/2 cup solid coconut oil
-
1 teaspoon vanilla
-
1 hefty cup frozen blackberries
-
1 tablespoon apple cider vinegar
-
3/4 cup cold plant milk plus about a tablespoon more for brushing on top
Preheat oven to 375
In a large bowl mix together the flour, baking powder and soda, salt, sugar, and pepper until well combined. Dump in the solid coconut oil and using a fork or pastry cutter, cut it into the dry until the mixture becomes crumbly. You do not want to fully incorporate the oil. Now dump in the cold milk, the vanilla, and the vinegar and gently mix until a dough starts to form. Dump in the blackberries and continue to gently mix until the dough just start to stick together.
Dump dough onto a lightly flour surface and gently squish, mush, and part the dough until it forms a ball. The berries will start to break apart and that is ok. Then flatten the dough into a disk that is about an inch thick. Take a knife of dough cutter and cut in half, then those halves into half, and then those halves in half. (8 pieces) You can even cut a few smaller if you want.
Place cut scones on a baking sheet and brush the tops with remaining milk then sprinkle tops with sugar and a little more pepper
Bake for 30 minutes or until golden brown. Once baked, remove from oven and place on a wire rack to cool.
Eat, warm of room temperature. Just don%u2019t wait too long.
Store left overs in airtight container at room temperature for 2 day, 3-5 in fridge, or freeze individual scones for months. Just pop them back into a hot oven for 10 or so minutes to reheat.
I recently found my old cast iron muffin pan hiding in the basement over at the loft. I totally forgot I had it and was very much happy to find it not covered in rust and still looking all nice and basically ready for use. Not even the seasoning and non stickness that I worked hard to produce on it was messed up, which is amazing because I also found another cast iron pan that I left down there and it did not fair as well. It had a little rust and was grimy. Fine by me, I didn%u2019t even want that pan anyway.
And that is basically why I made muffins. Because I wanted to use my muffin pan again.
These muffins. First off, muffins are muffins and are not meant to be a pain in the ass to make. This muffins are not, unless you think pitting cherries is a pain. For that I am sorry, but that is a small price to pay for a tasty ass muffin situation. Secondly, these muffins are well worth the tiny effort it takes to pit cherries because you end up with cherry muffins, and that alone should be enough of a reason. And the fact that they are damn tasty. The mr, who eats everything but never says too much about whatever is going into his mouth, texted me at 630 in the morning while I was at the gym just to tell me how amazing he thought they were%u2026.
Amazing at 630 am. That%u2019a validation.
Now go get yourself some cherries and make some muffins. And it is ok if you don%u2019t have a super sweet cast iron muffin pan. Most don%u2019t. But you are still cool, don%u2019t worry.
To the muffins!
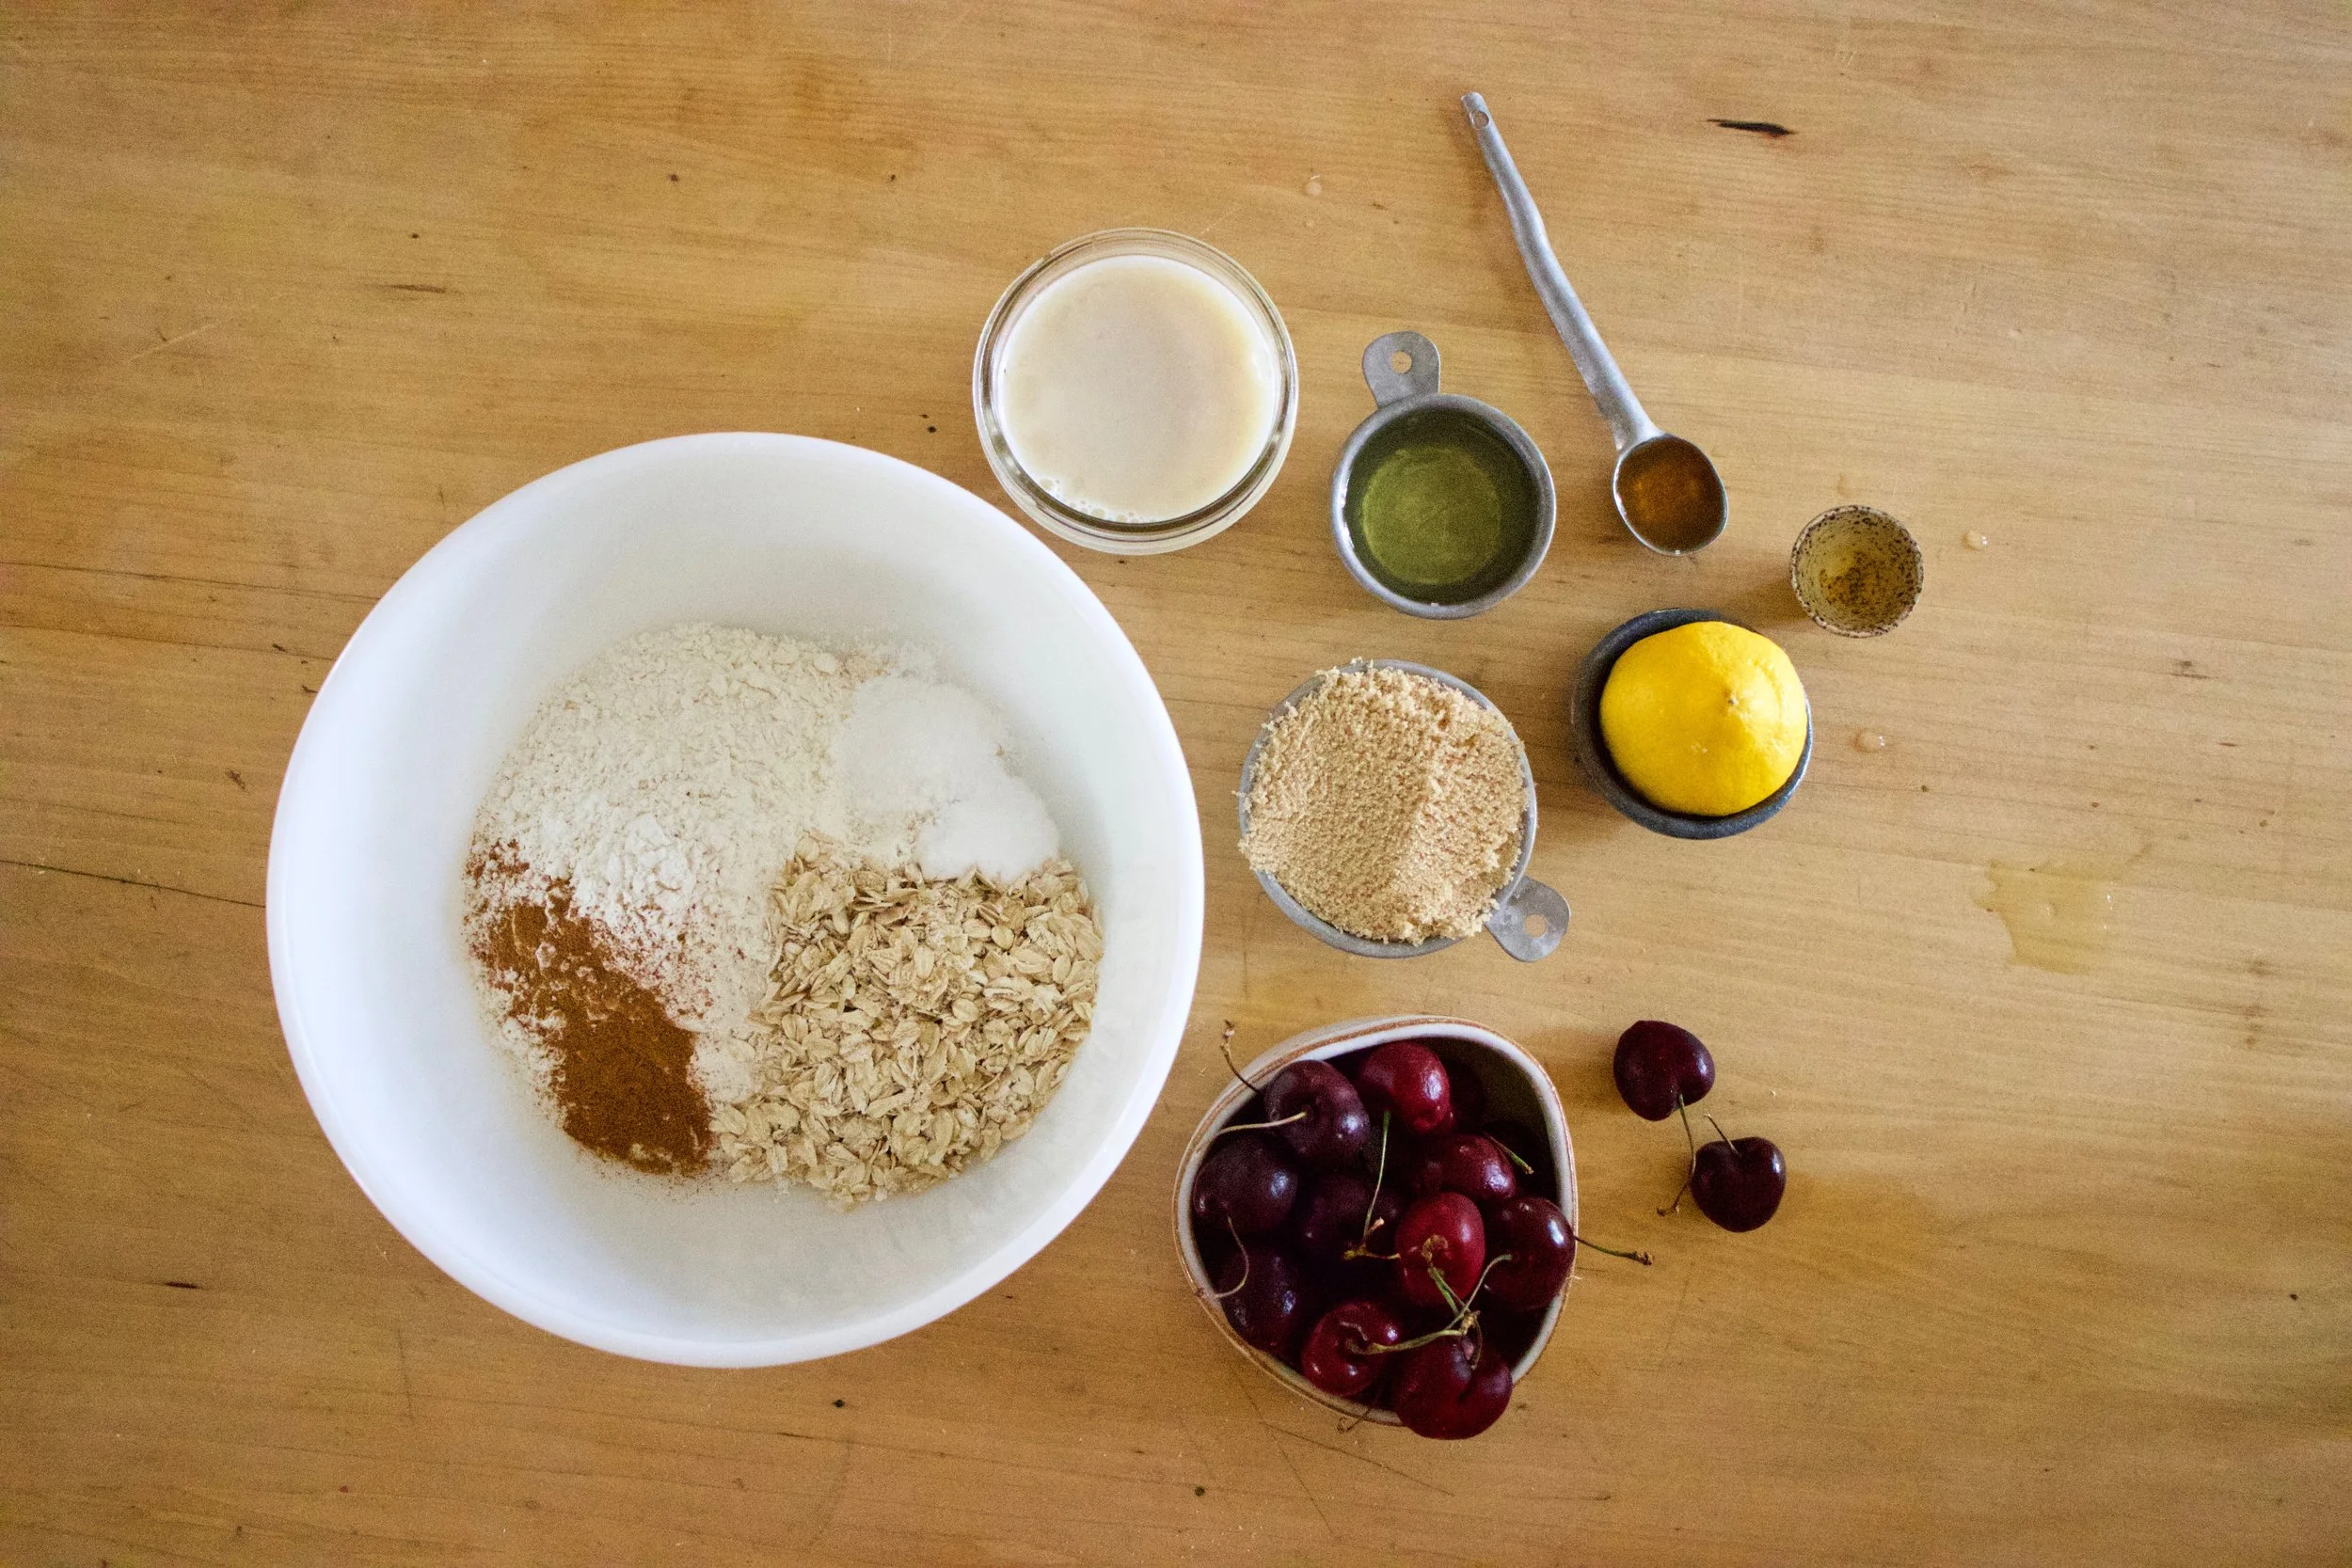
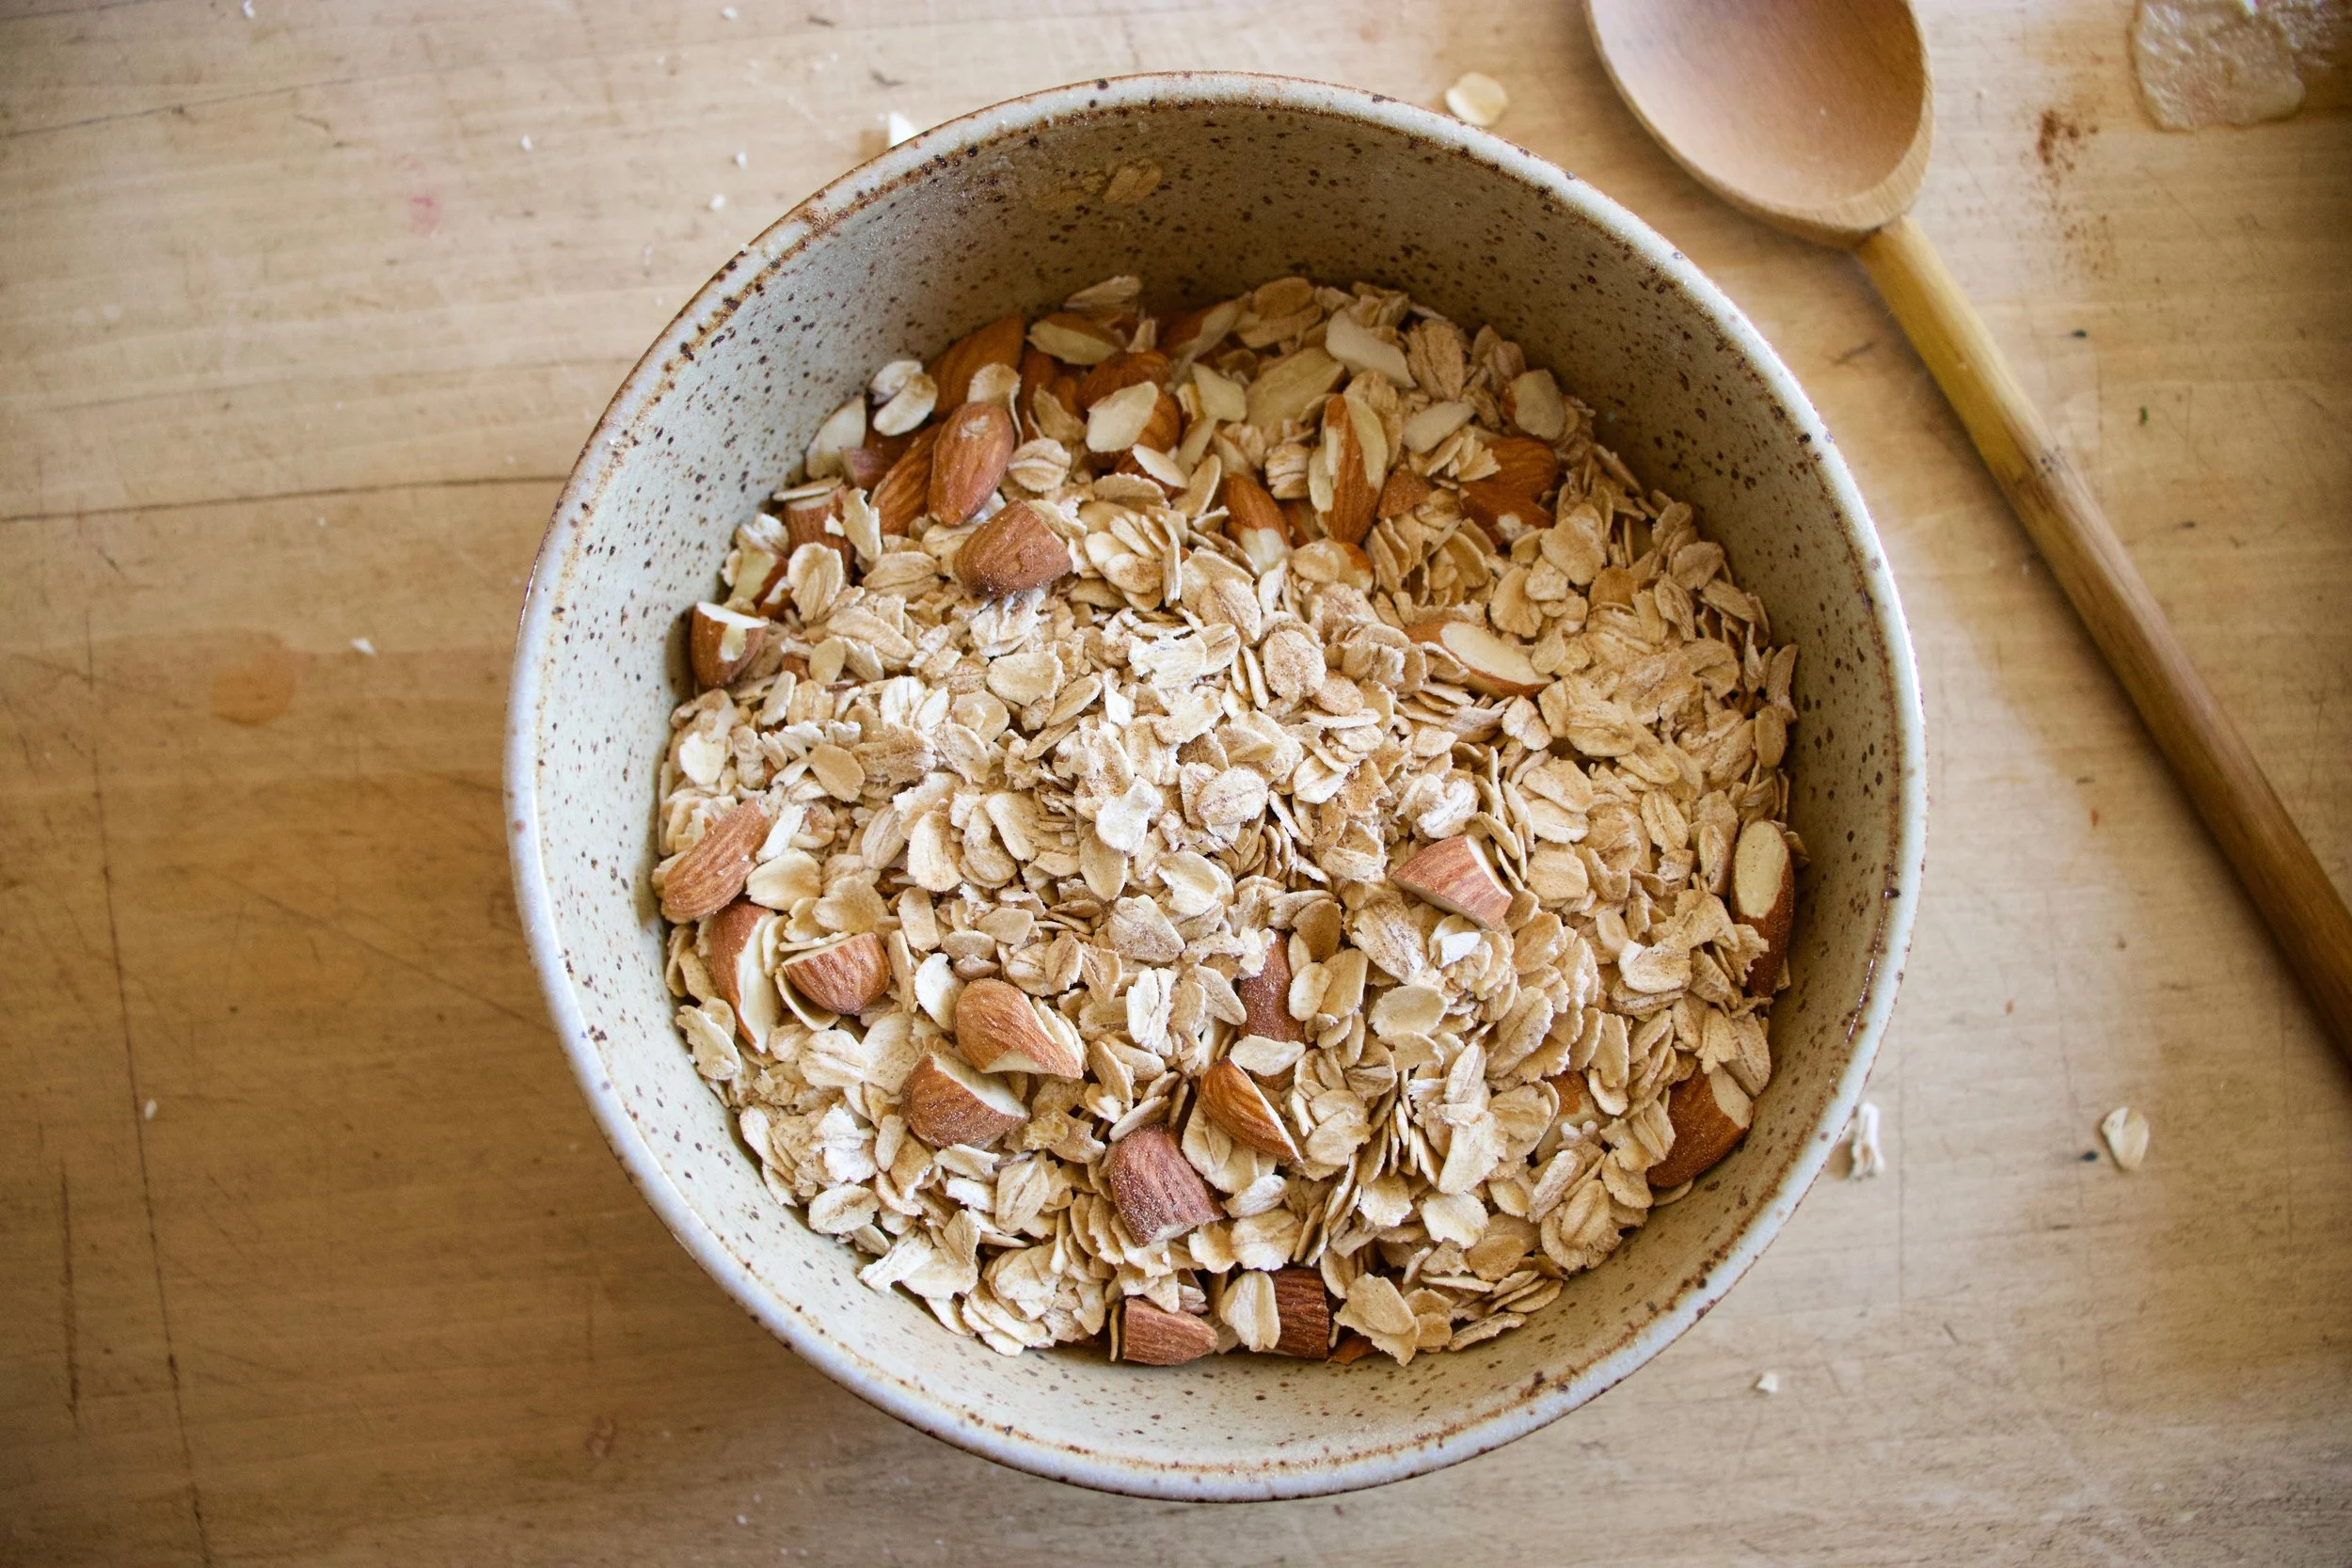
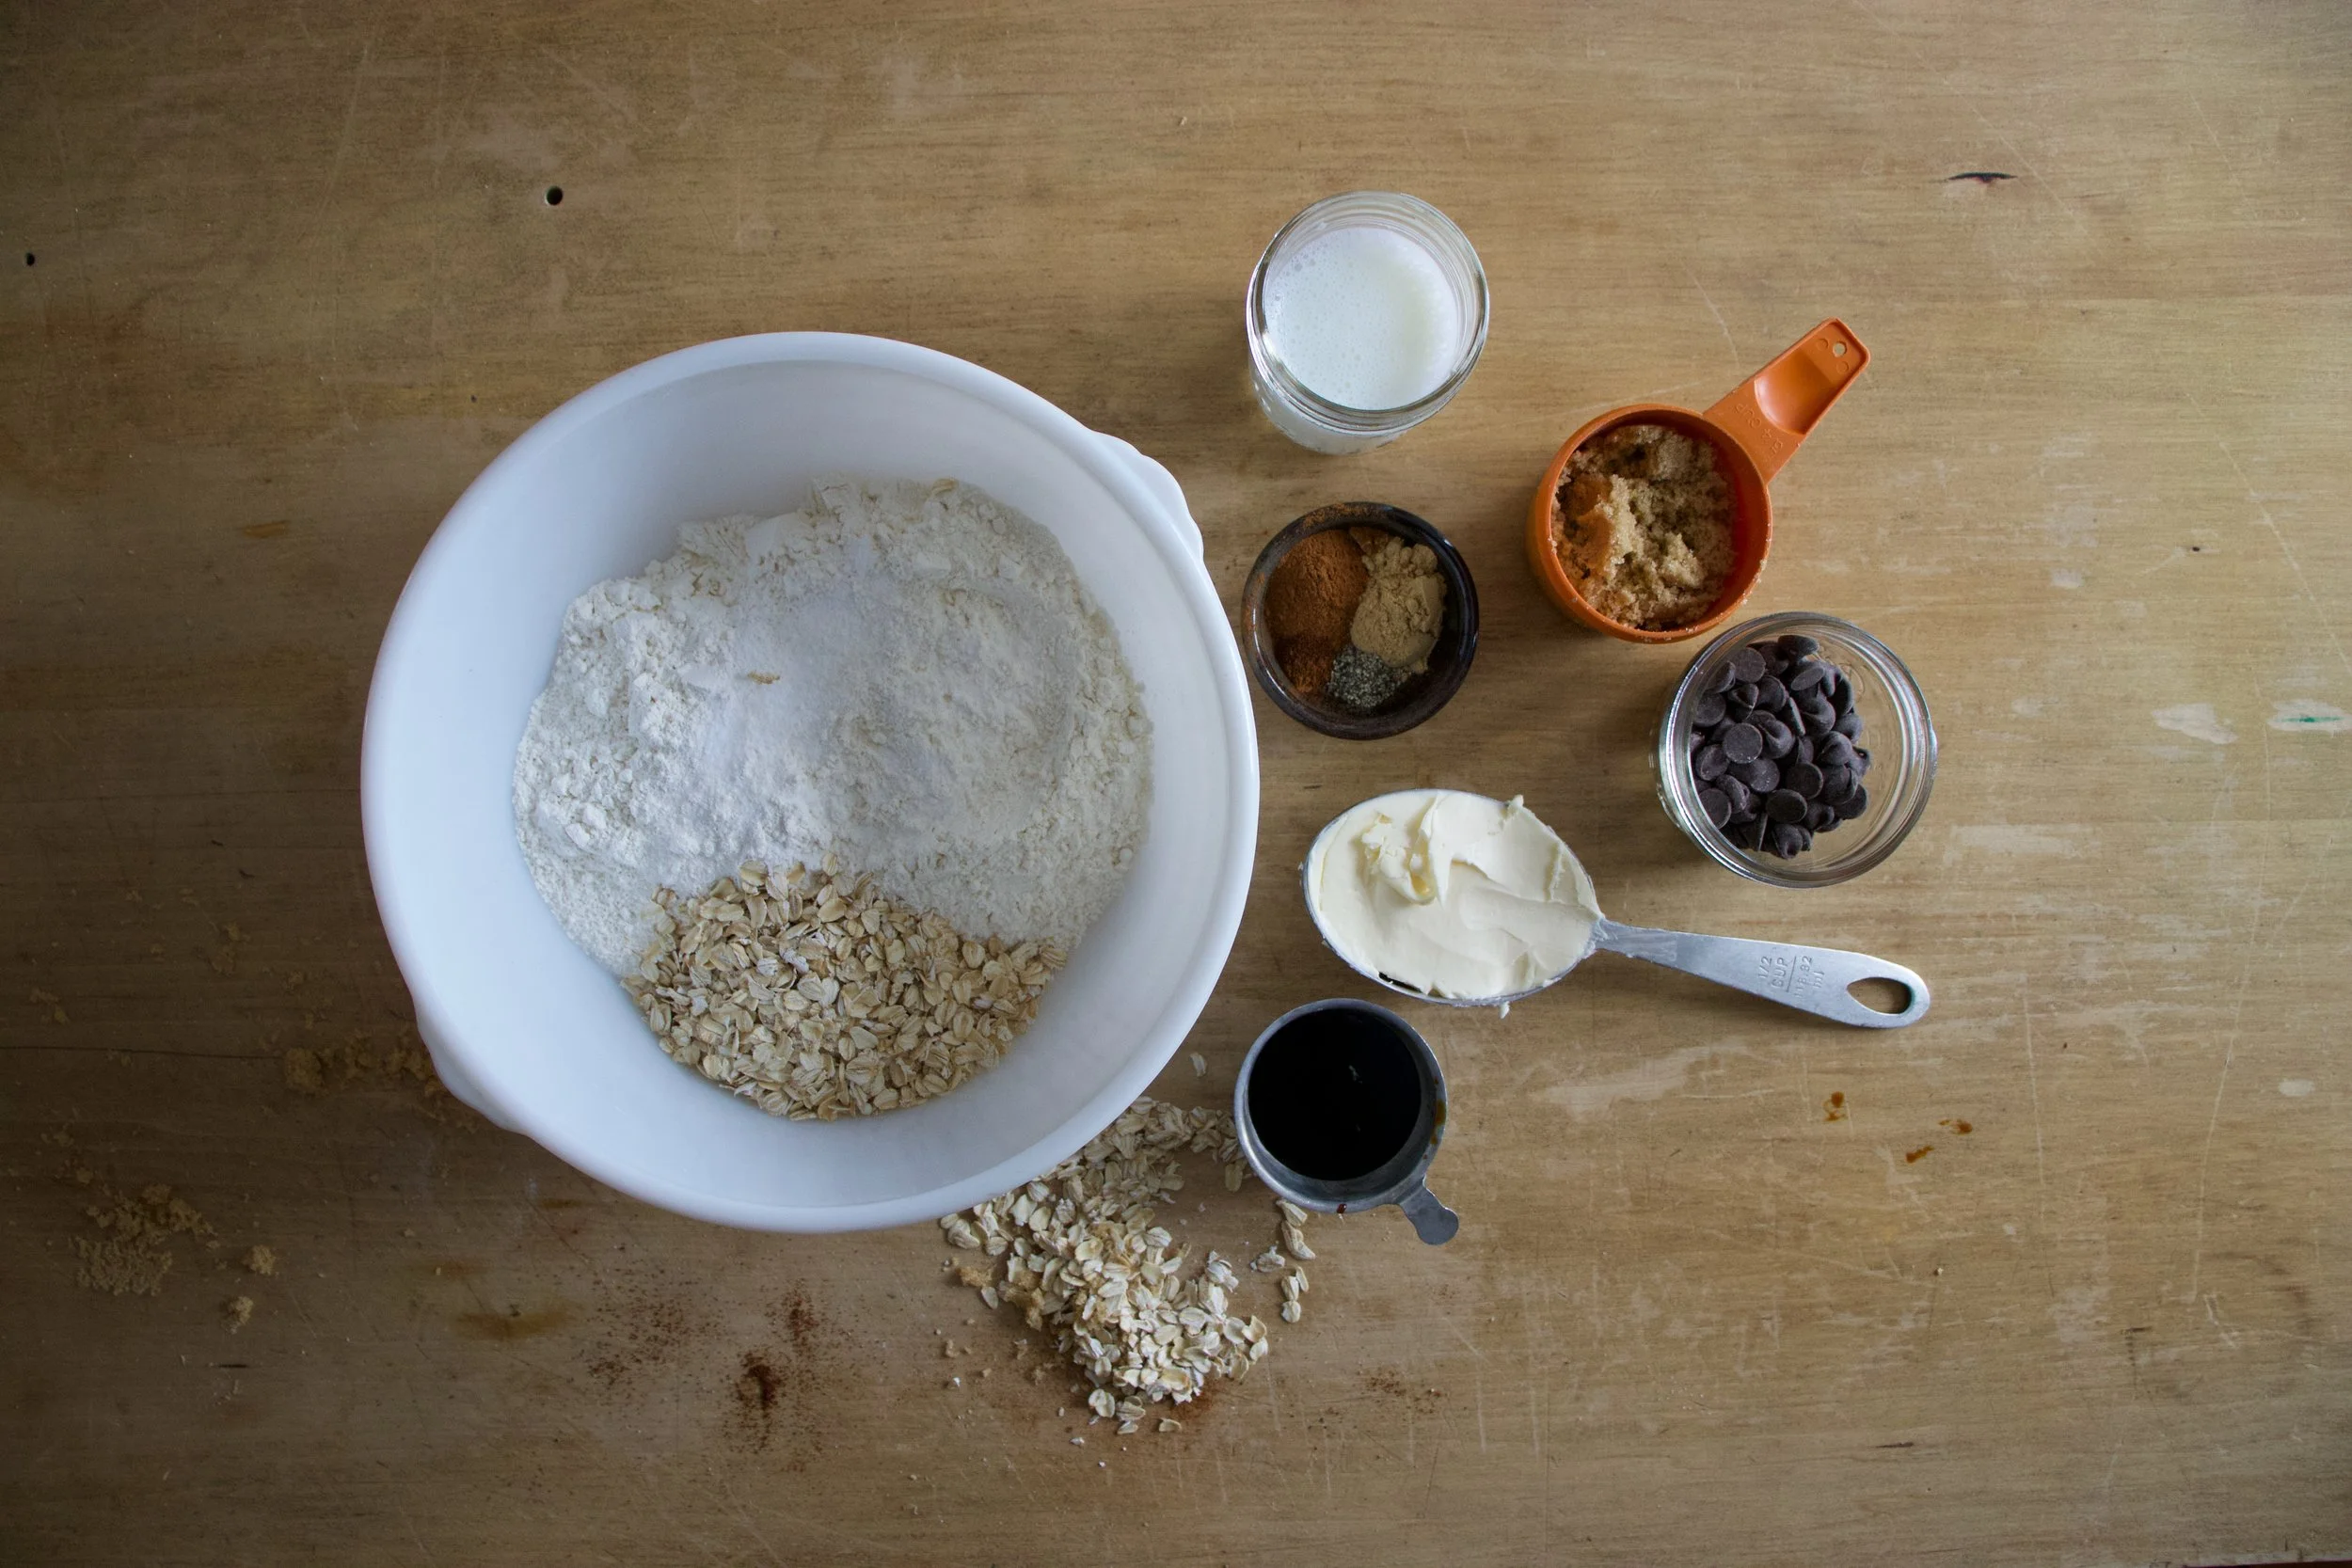
The stuff. In the bowl is flour, rolled oats, baking soda and powder, salt and cinnamon. Also have cherries, brown sugar, almond milk, canola oil, apple cider vinegar, vanilla extract, and a lemon.

Hardest part of the whole shebang%u2026 pitting the cherries. Not my favorite thing to do, but definitely not the worst.
Do it any way you see fit, but I just cut them in half and kind of wedge the pit out with my thumb.
Once all the pits are removed, chop those sherries up into small pieces.
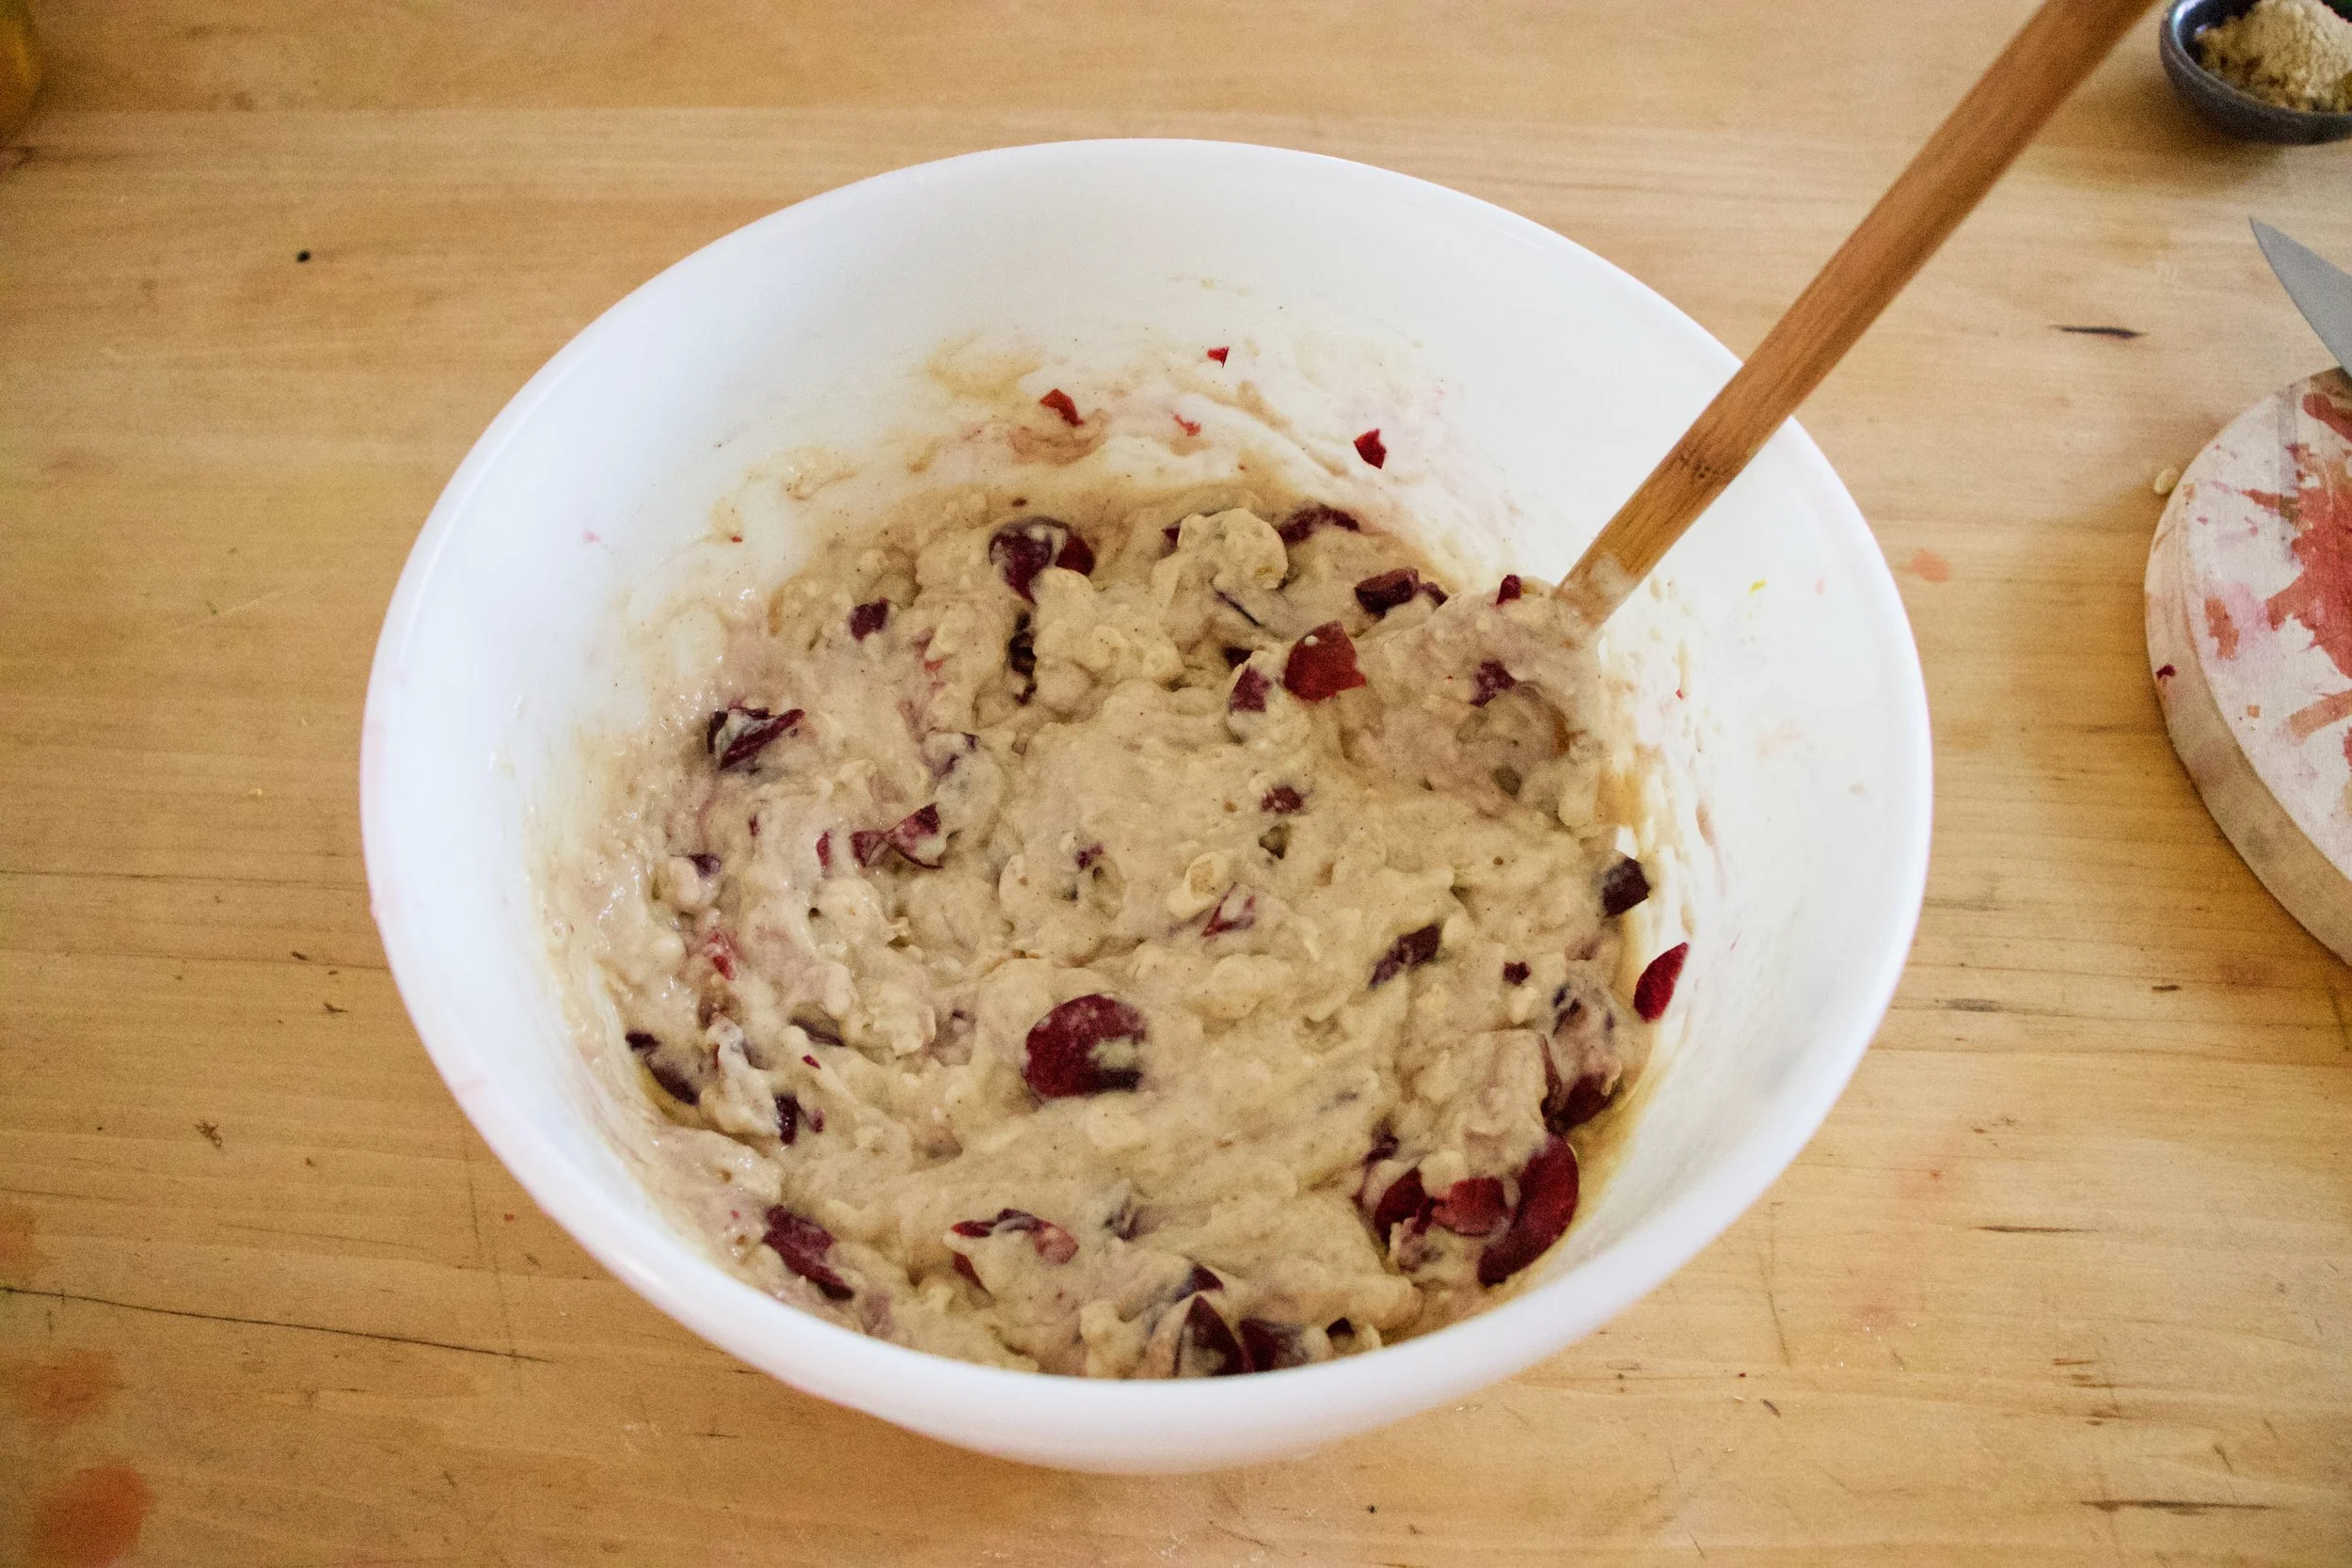
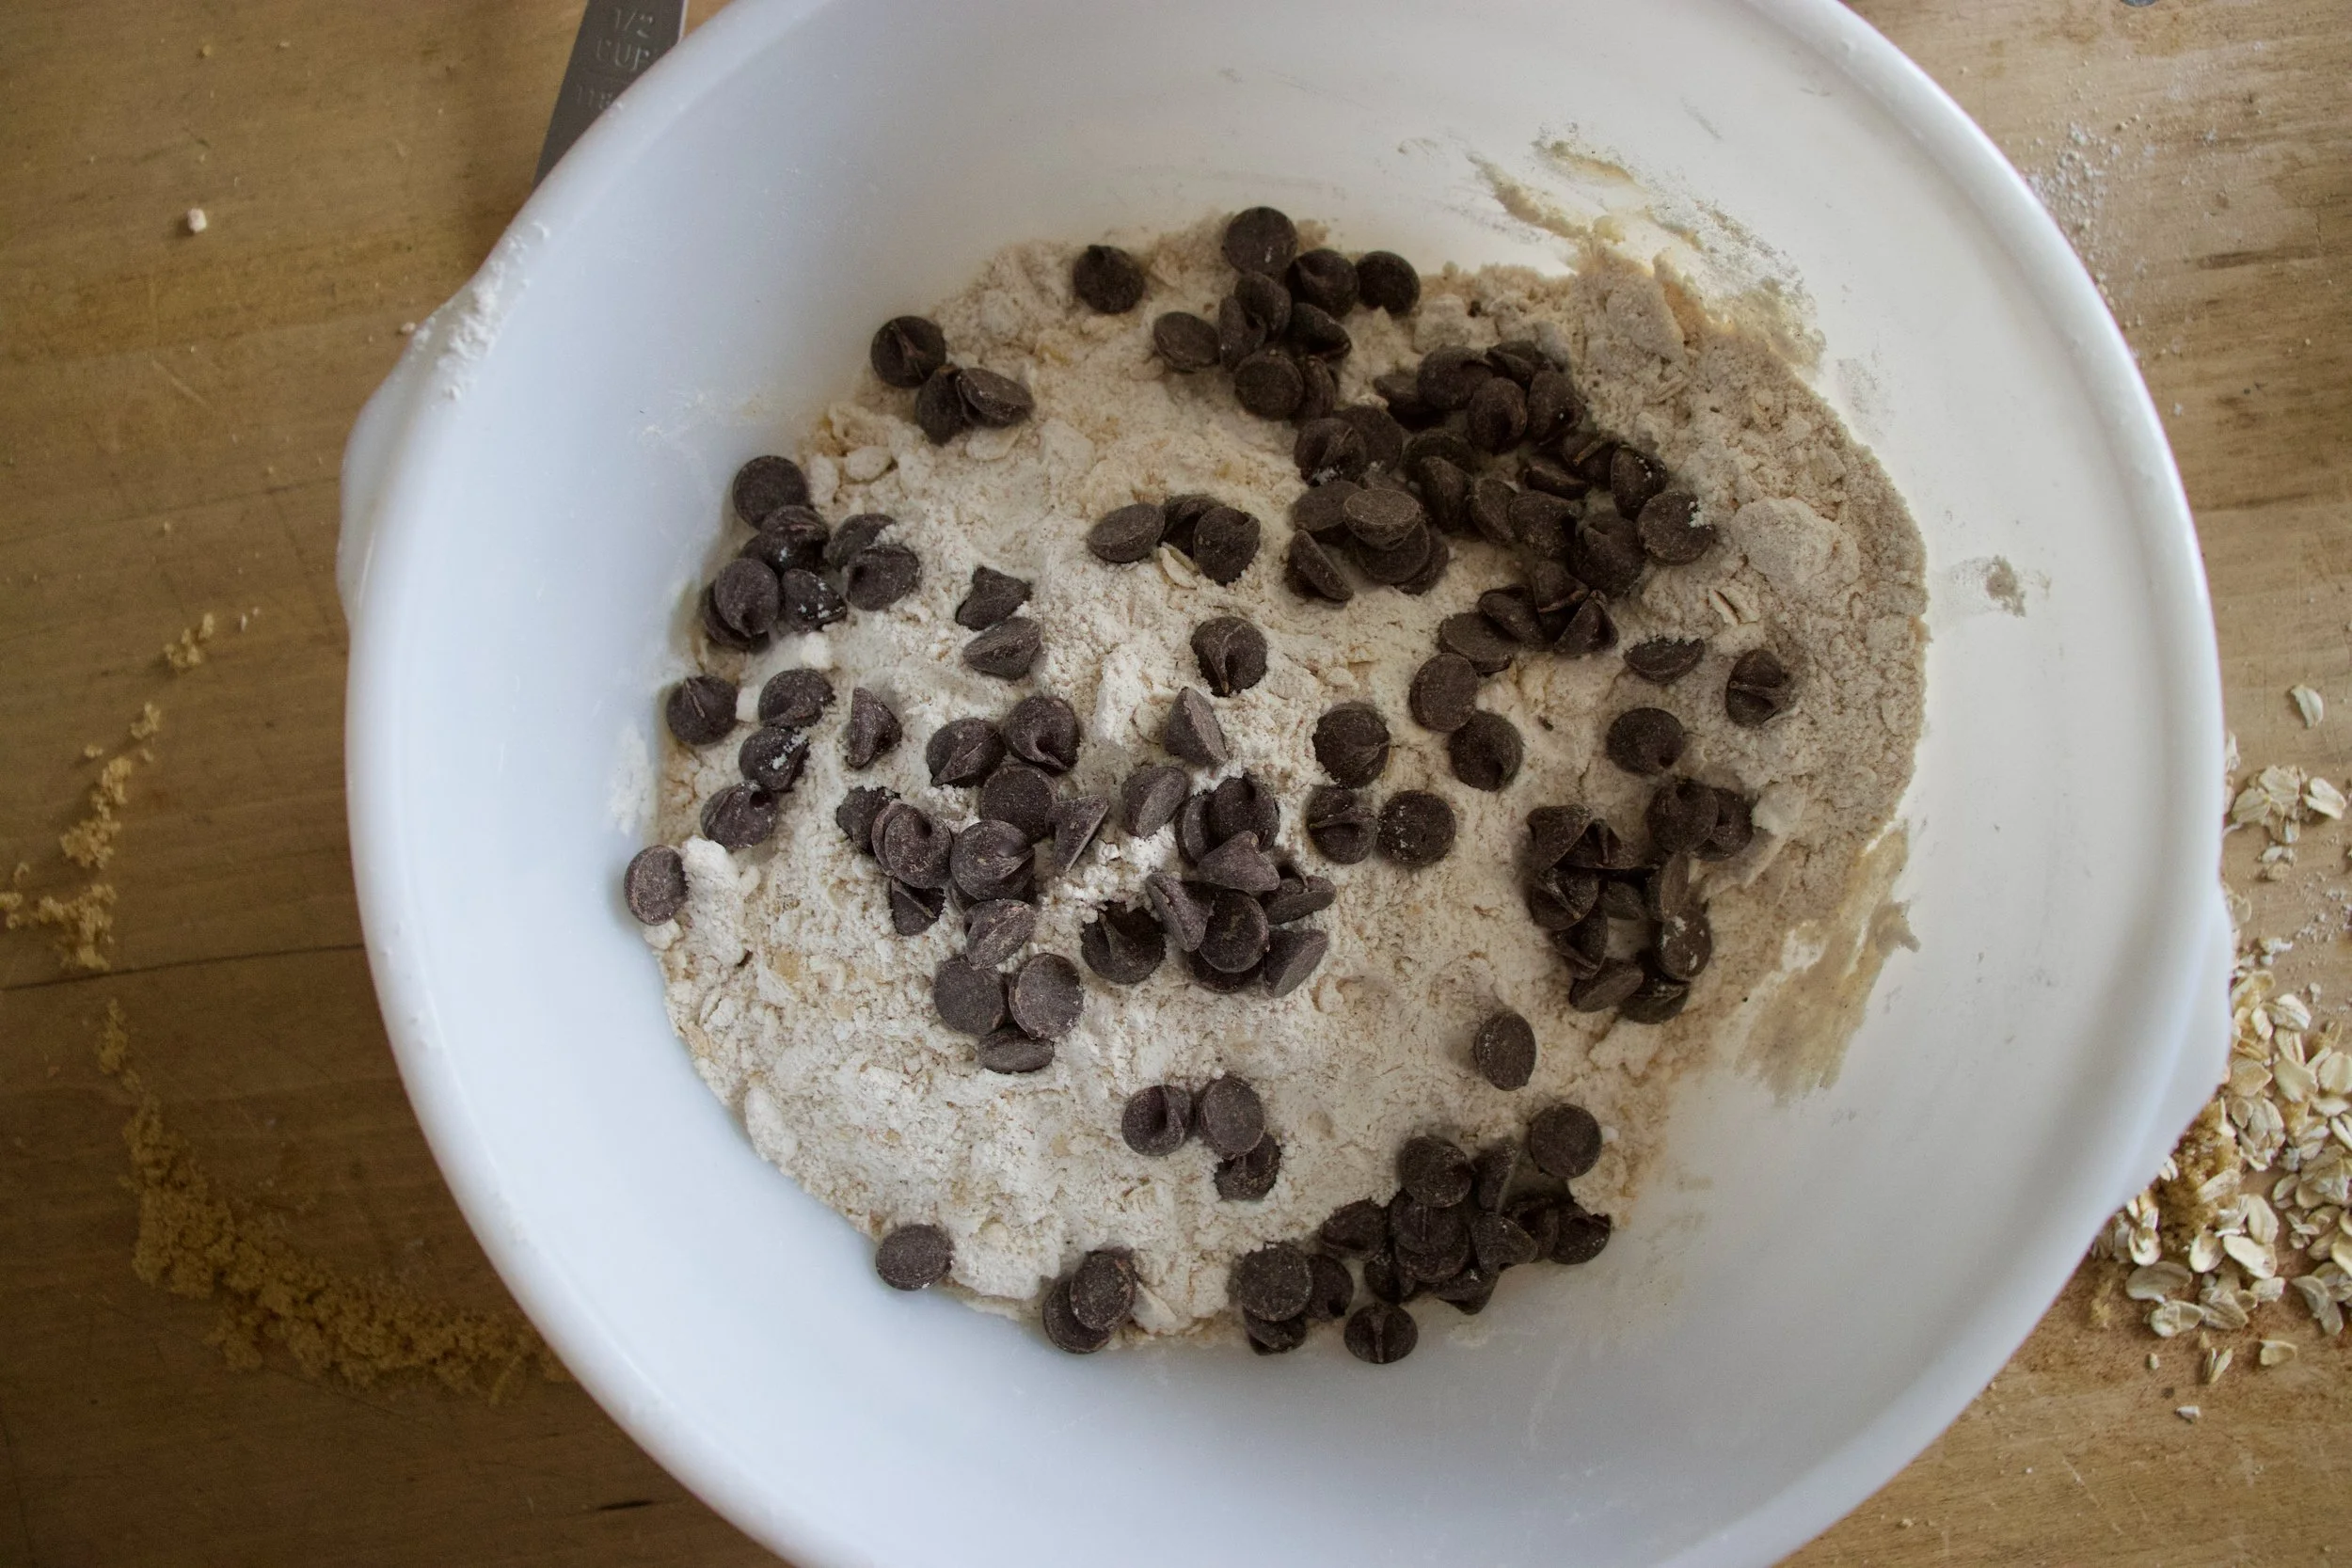
Then make the batter. Mix the dry together with the sugar and the zest of the lemon. Just make sure there are not huge clumps of the sugar in the mixture. Then add in all the wet and gently mix until combined. And then fold in the cherries.
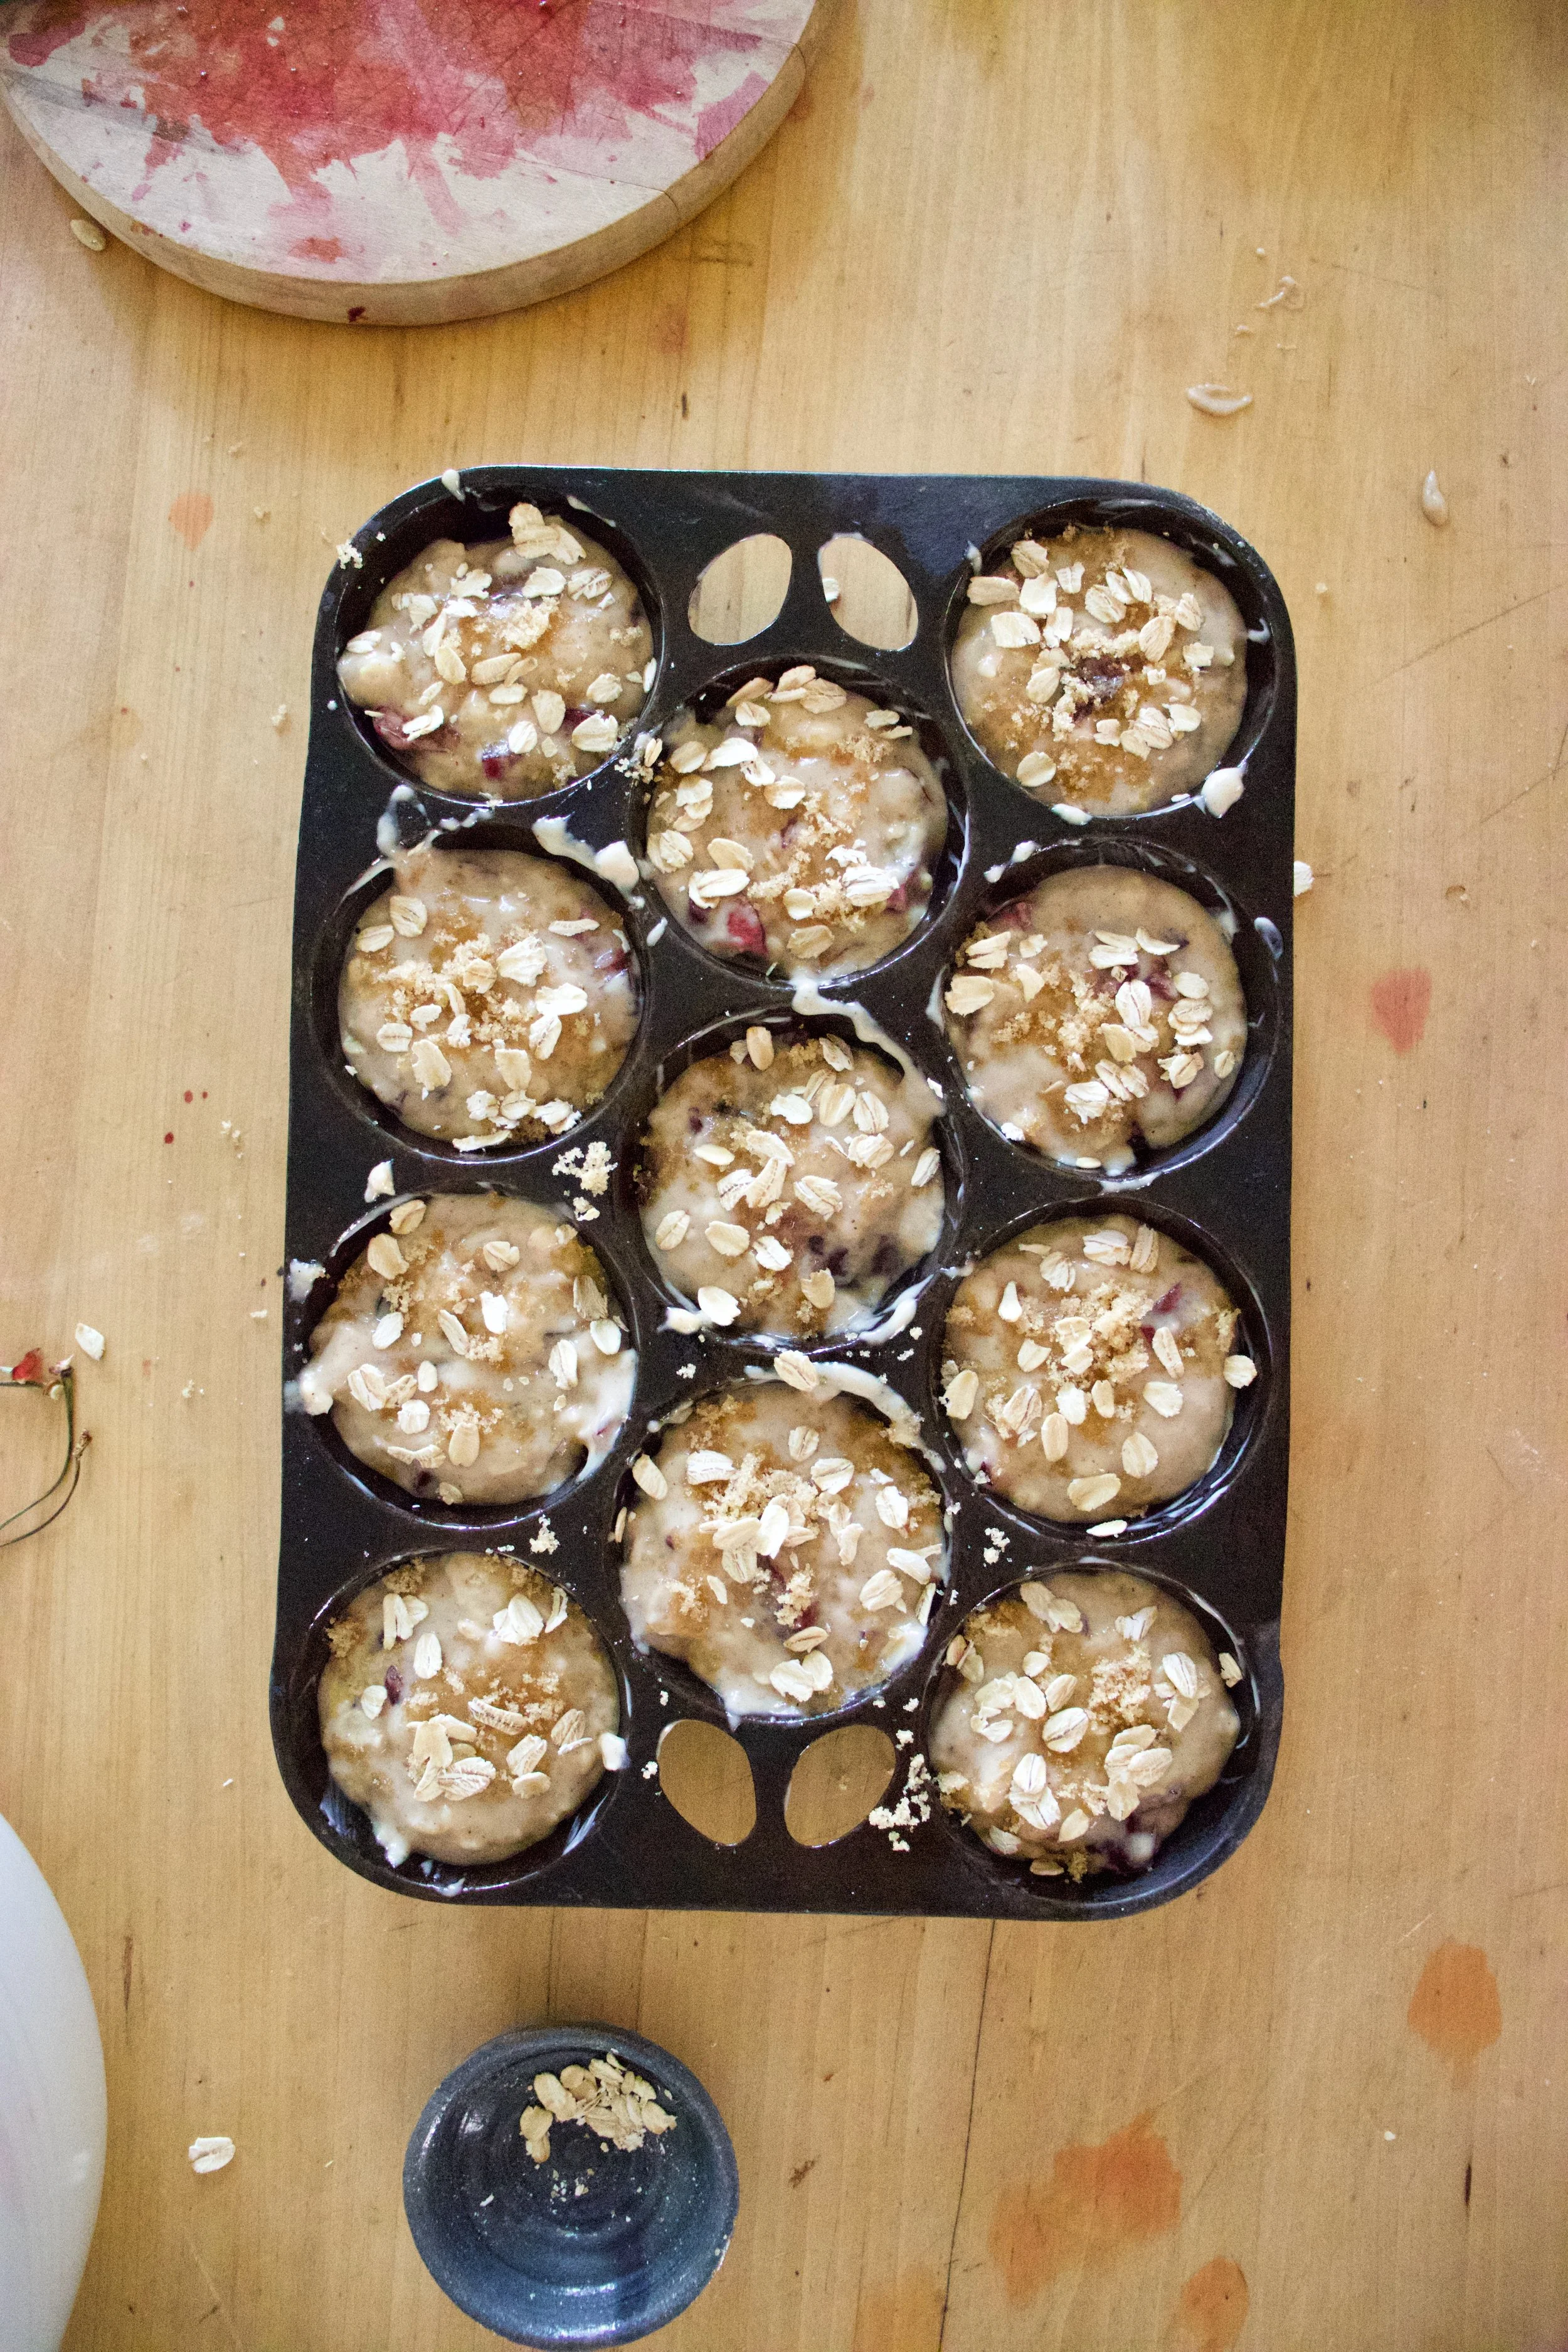
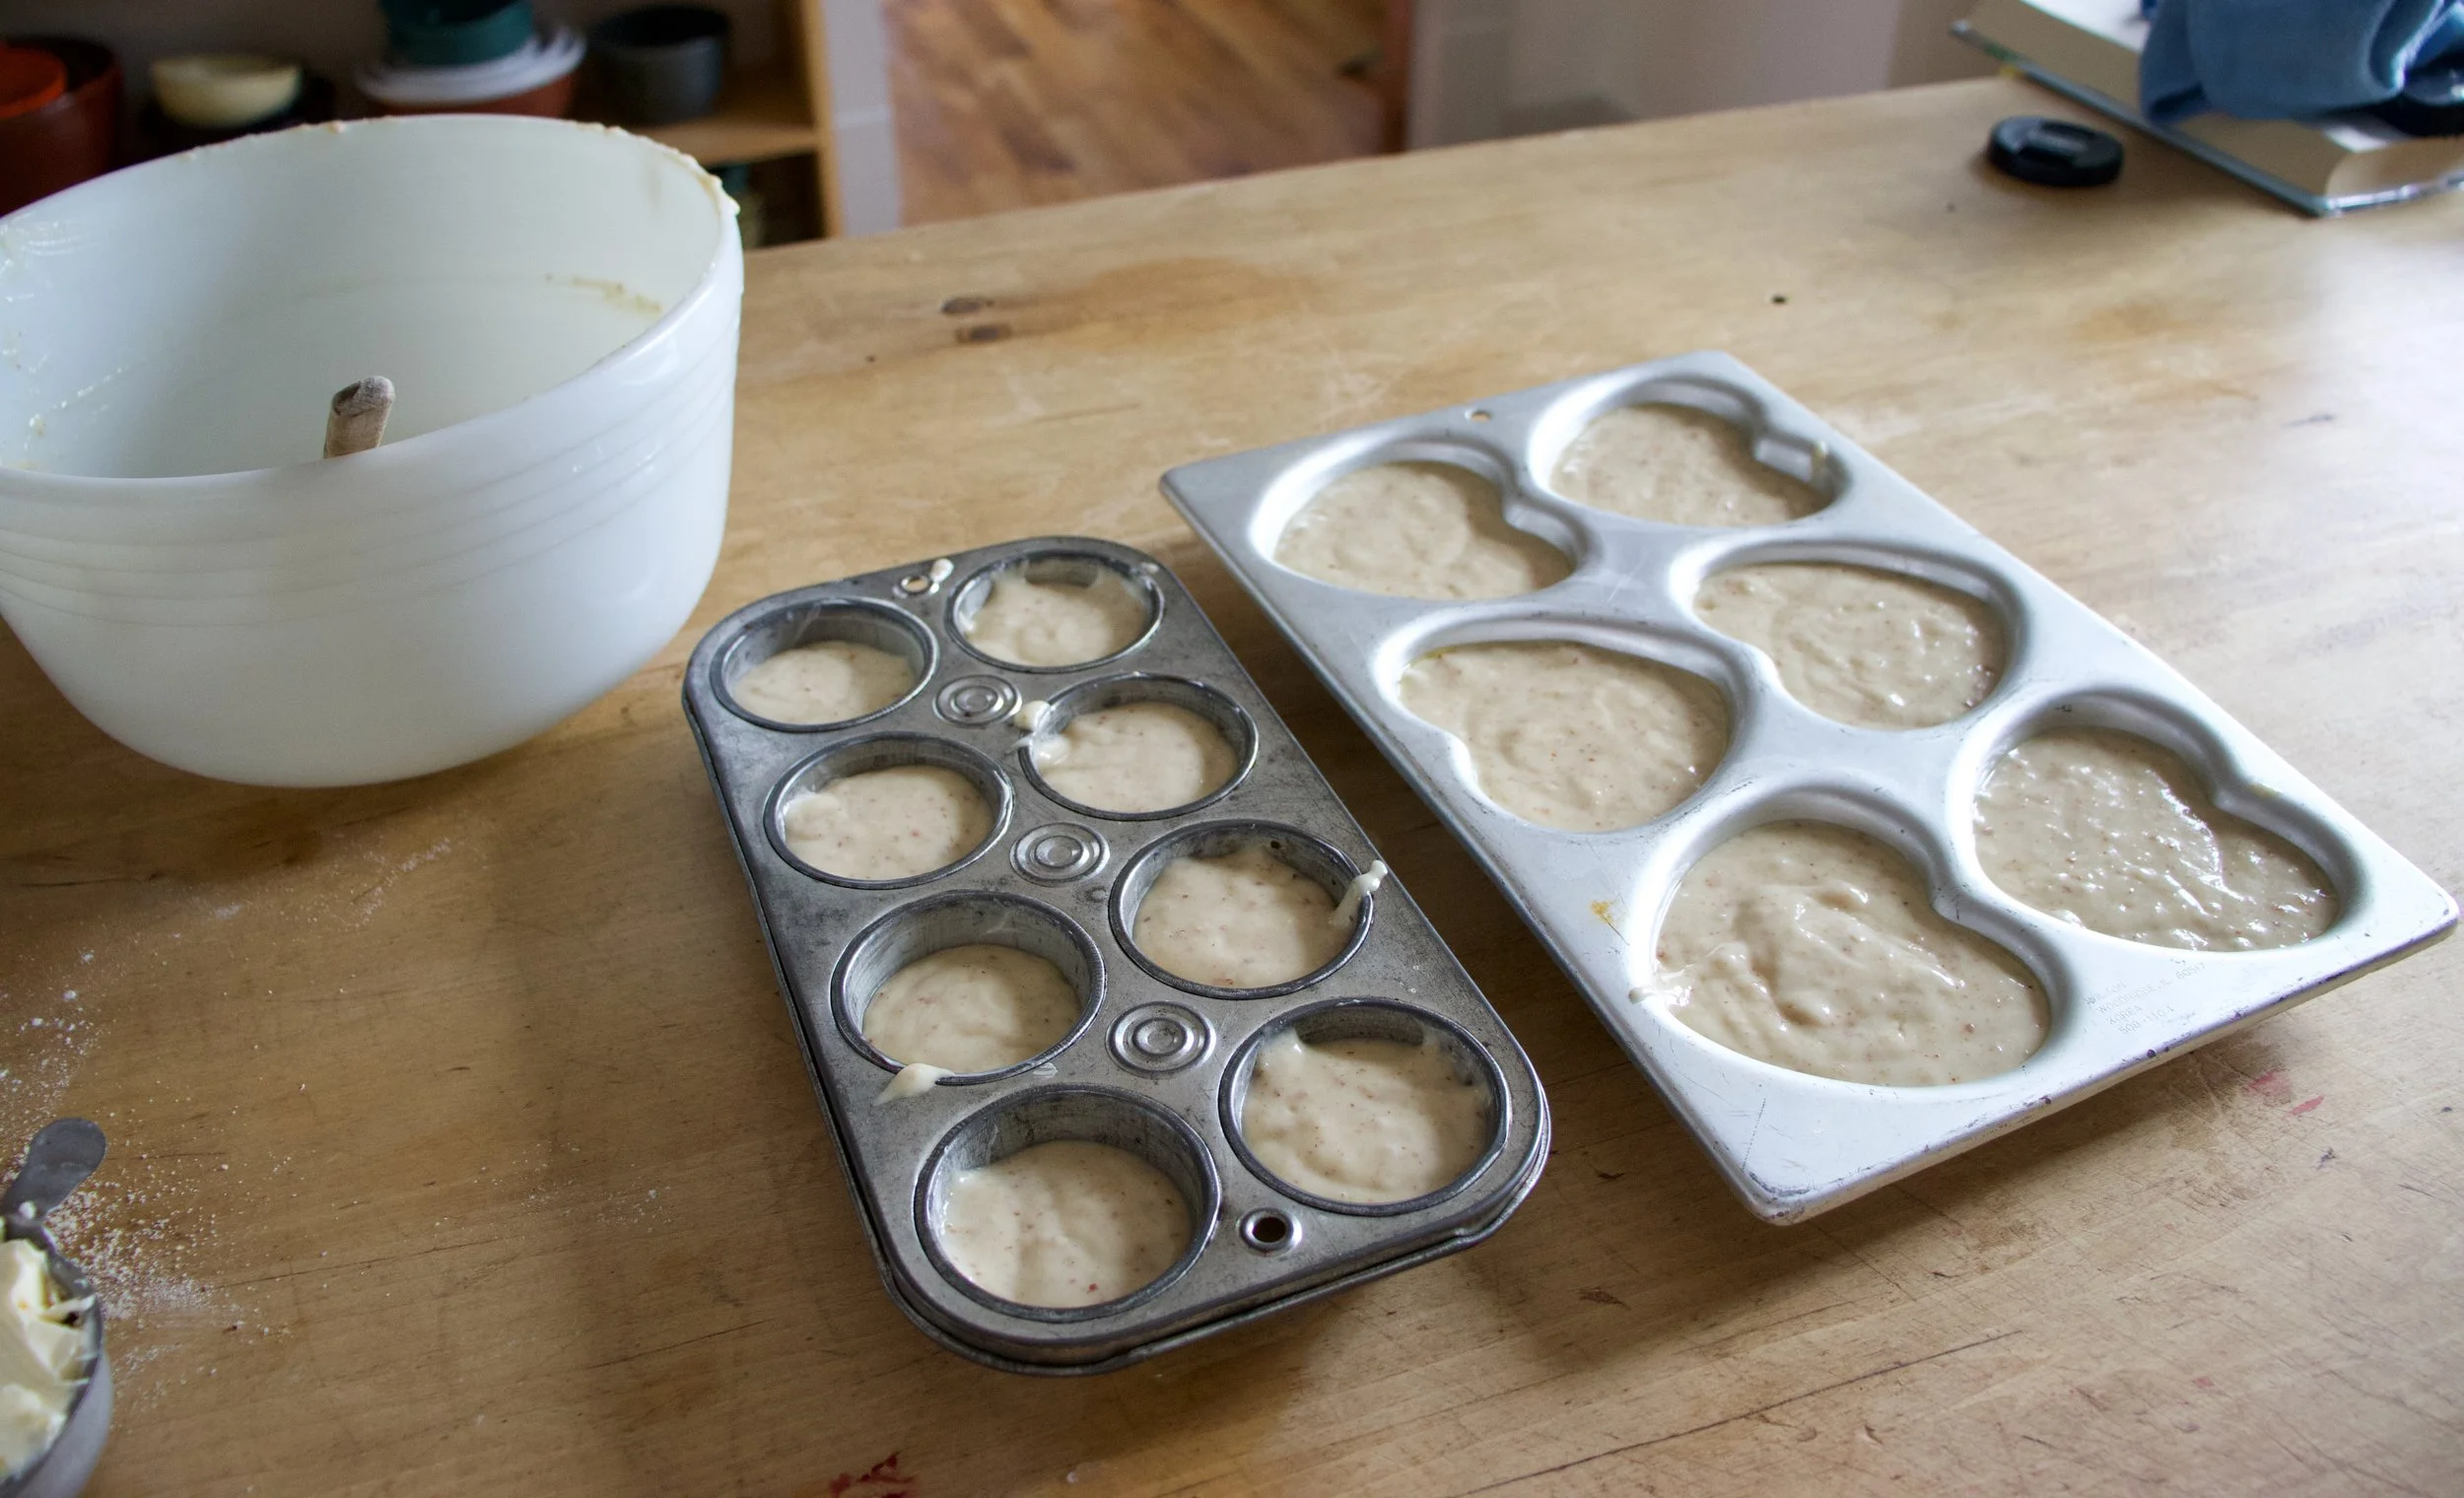
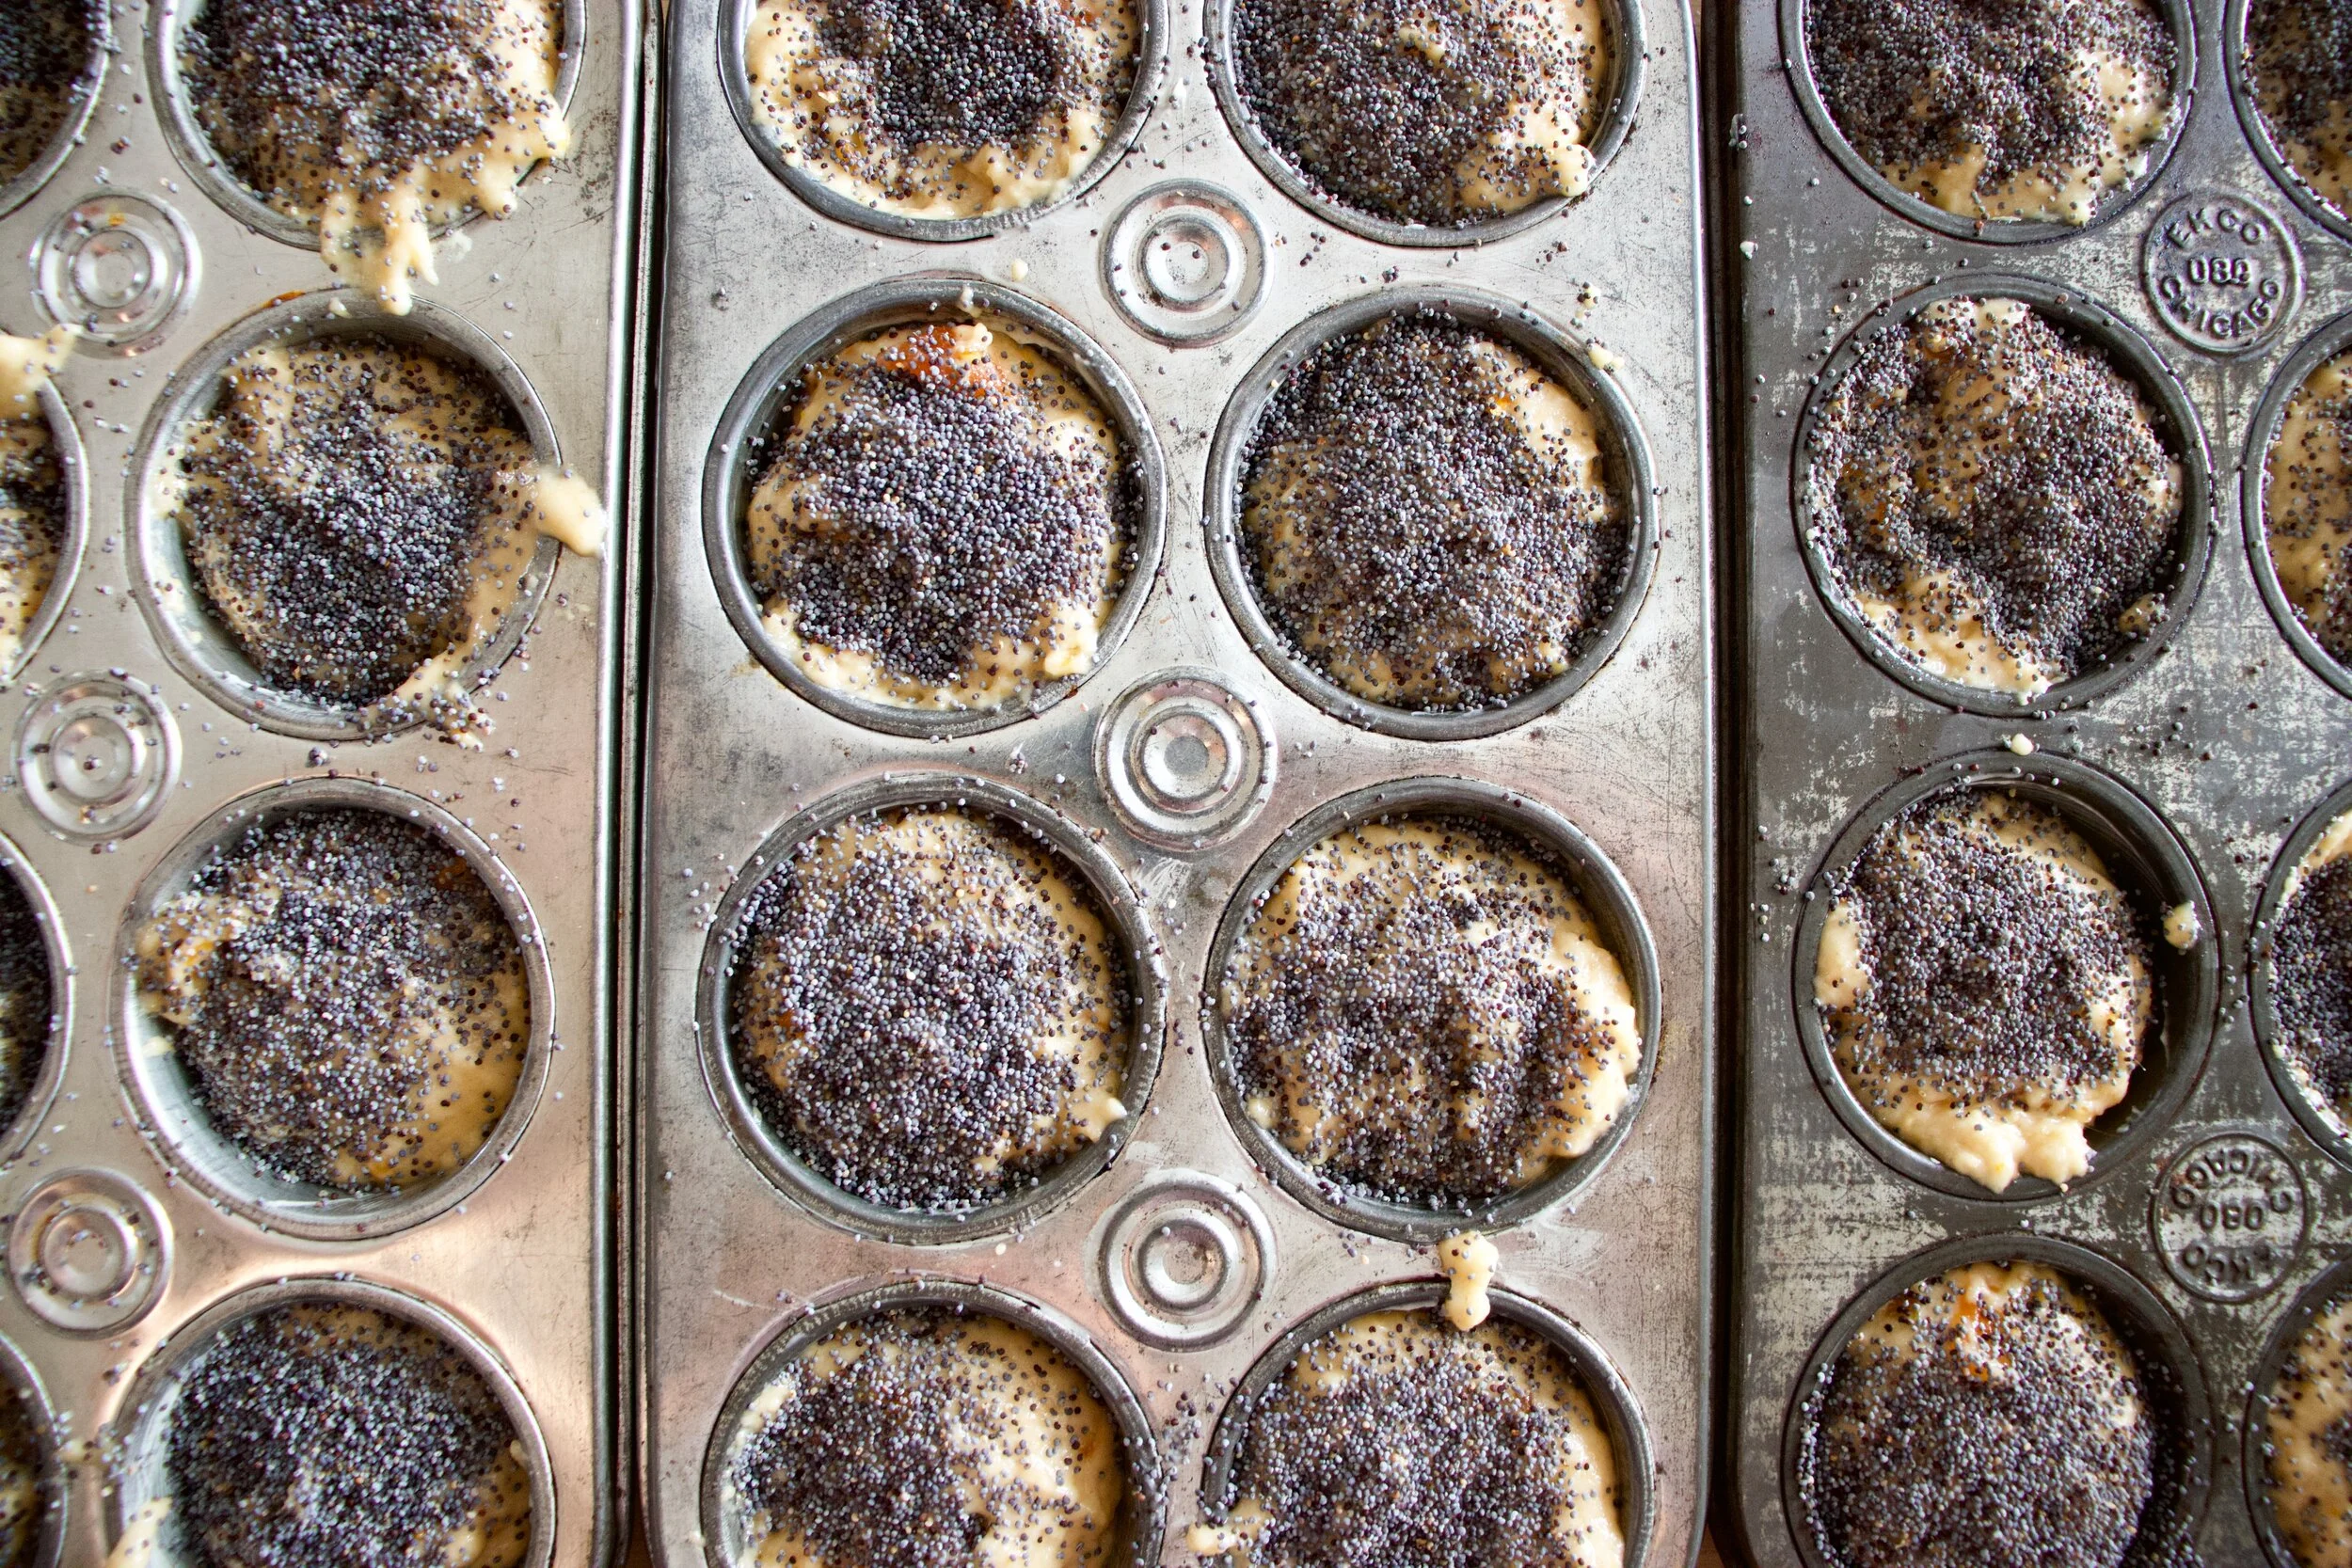
Fill up well grease muffin pans with the batter then sprinkle a little brown sugar and a few oats on top.
Pop those soon to be muffins into a hot oven.
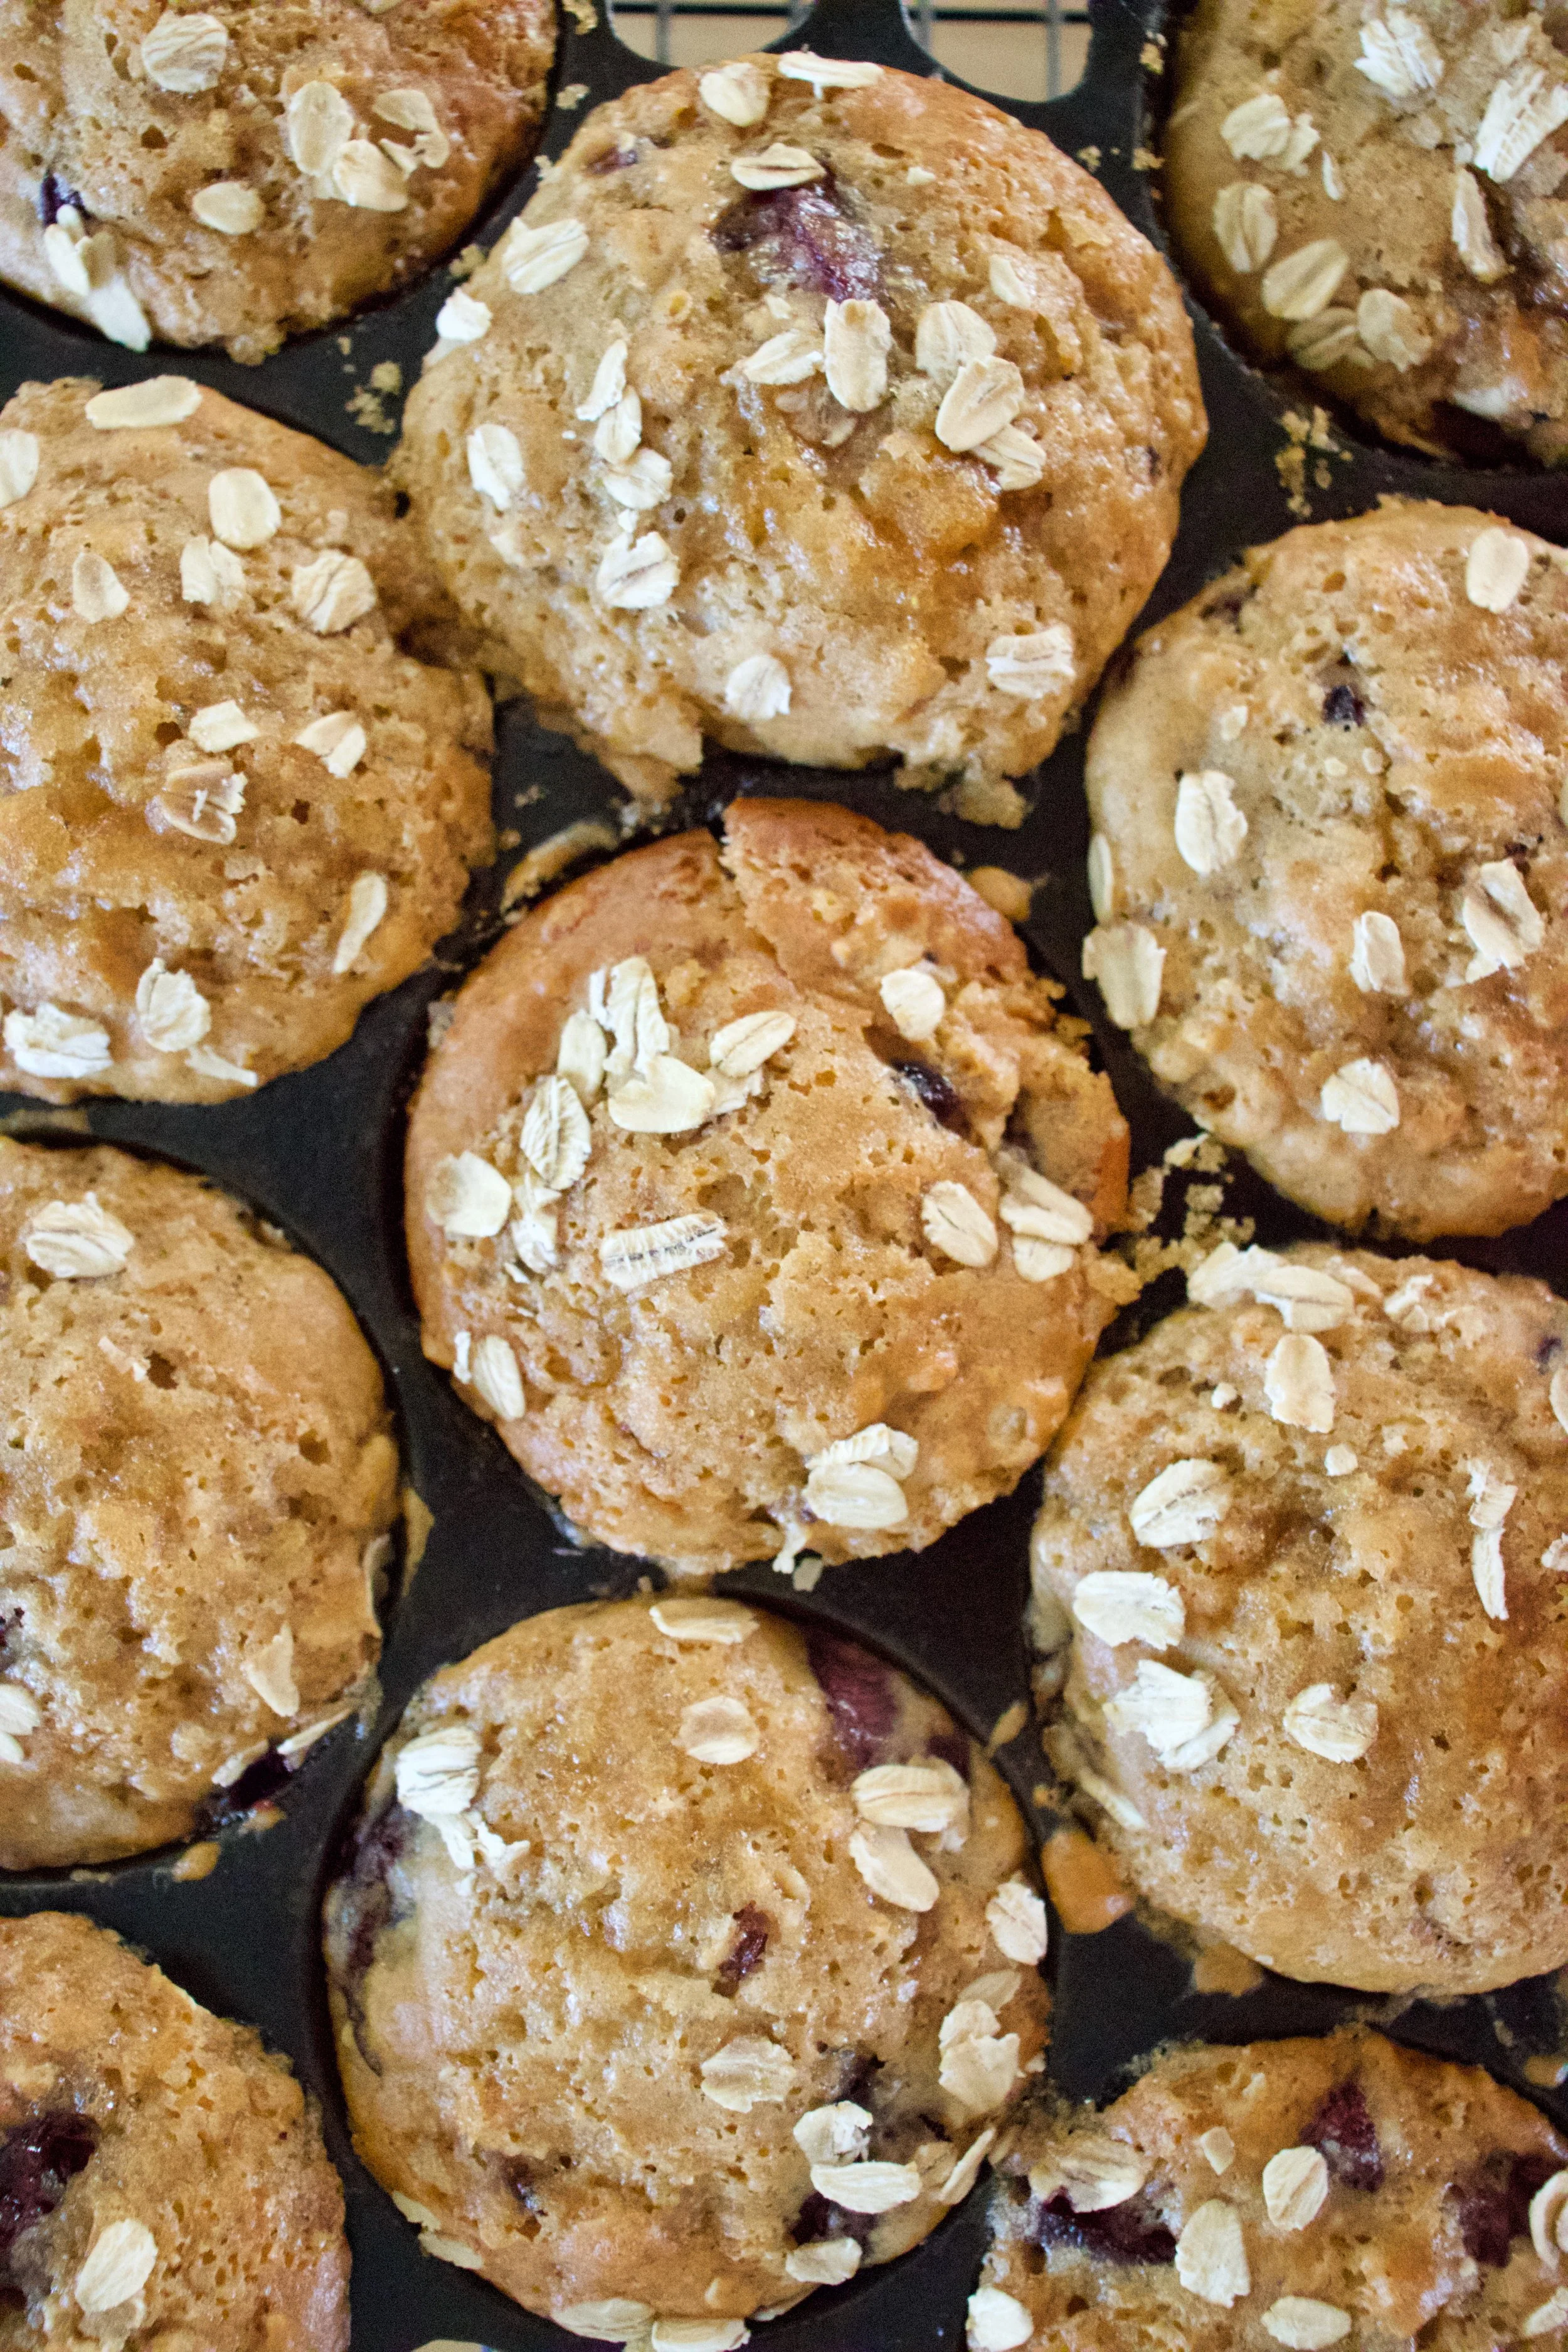

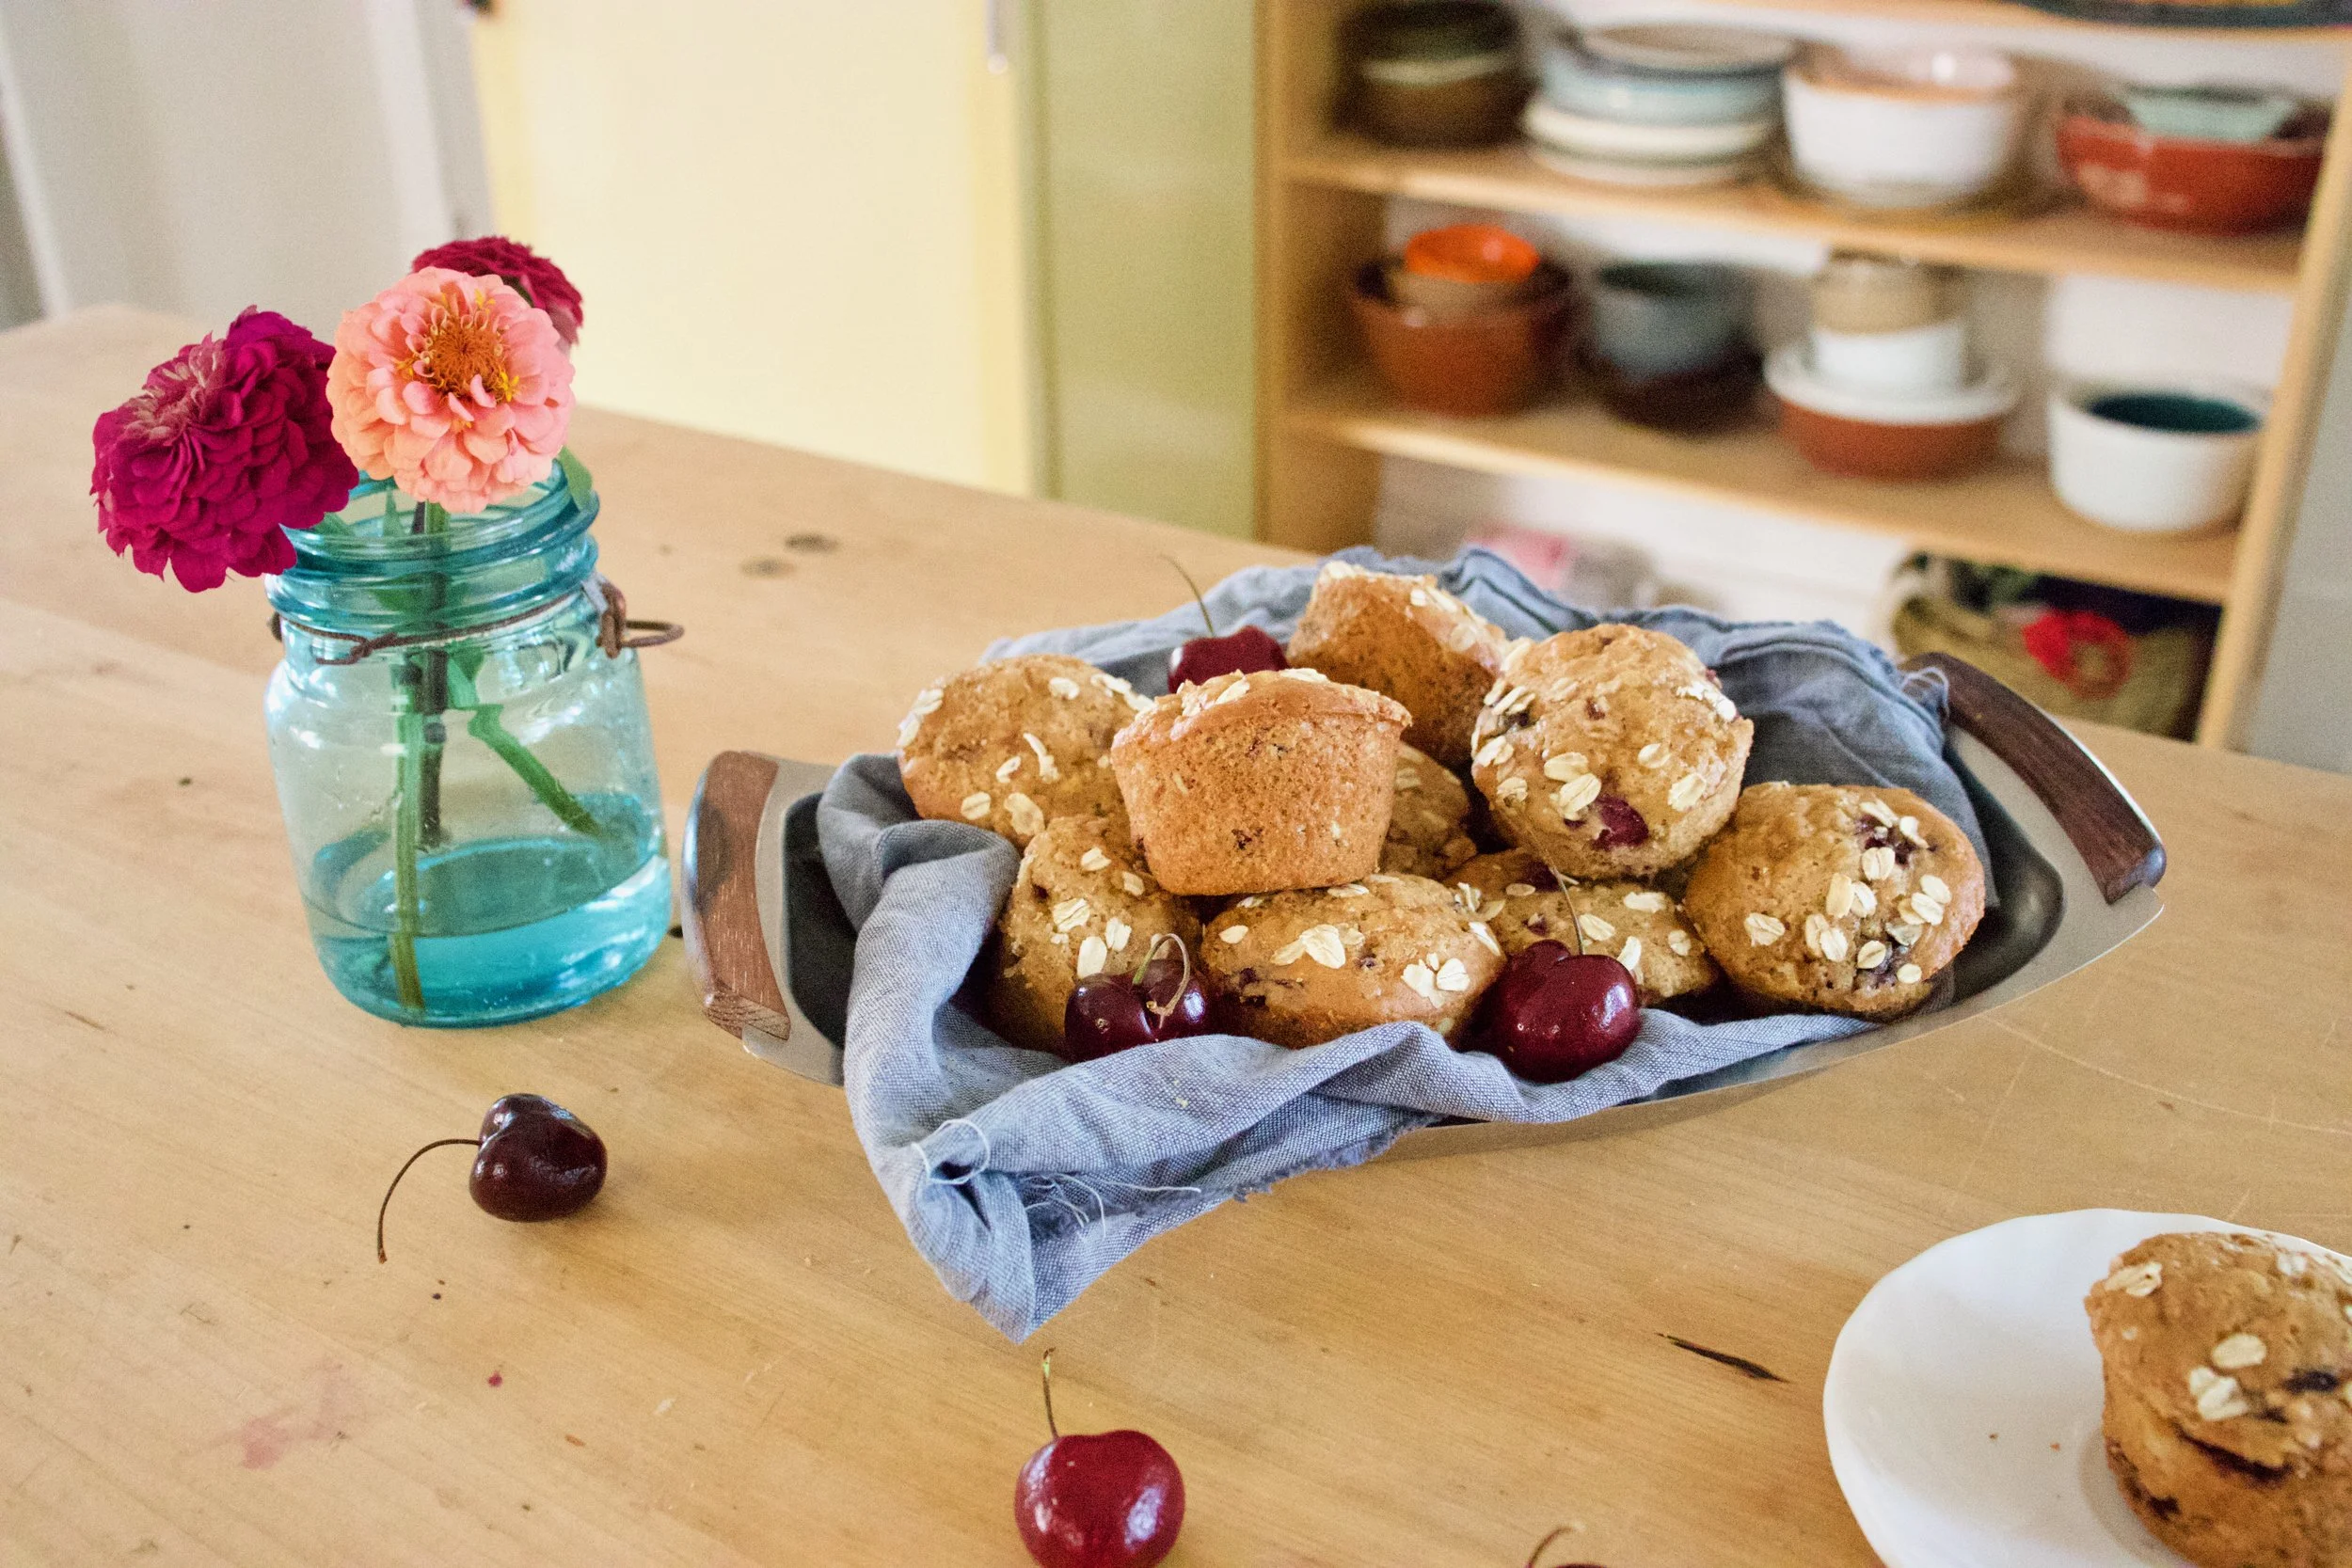
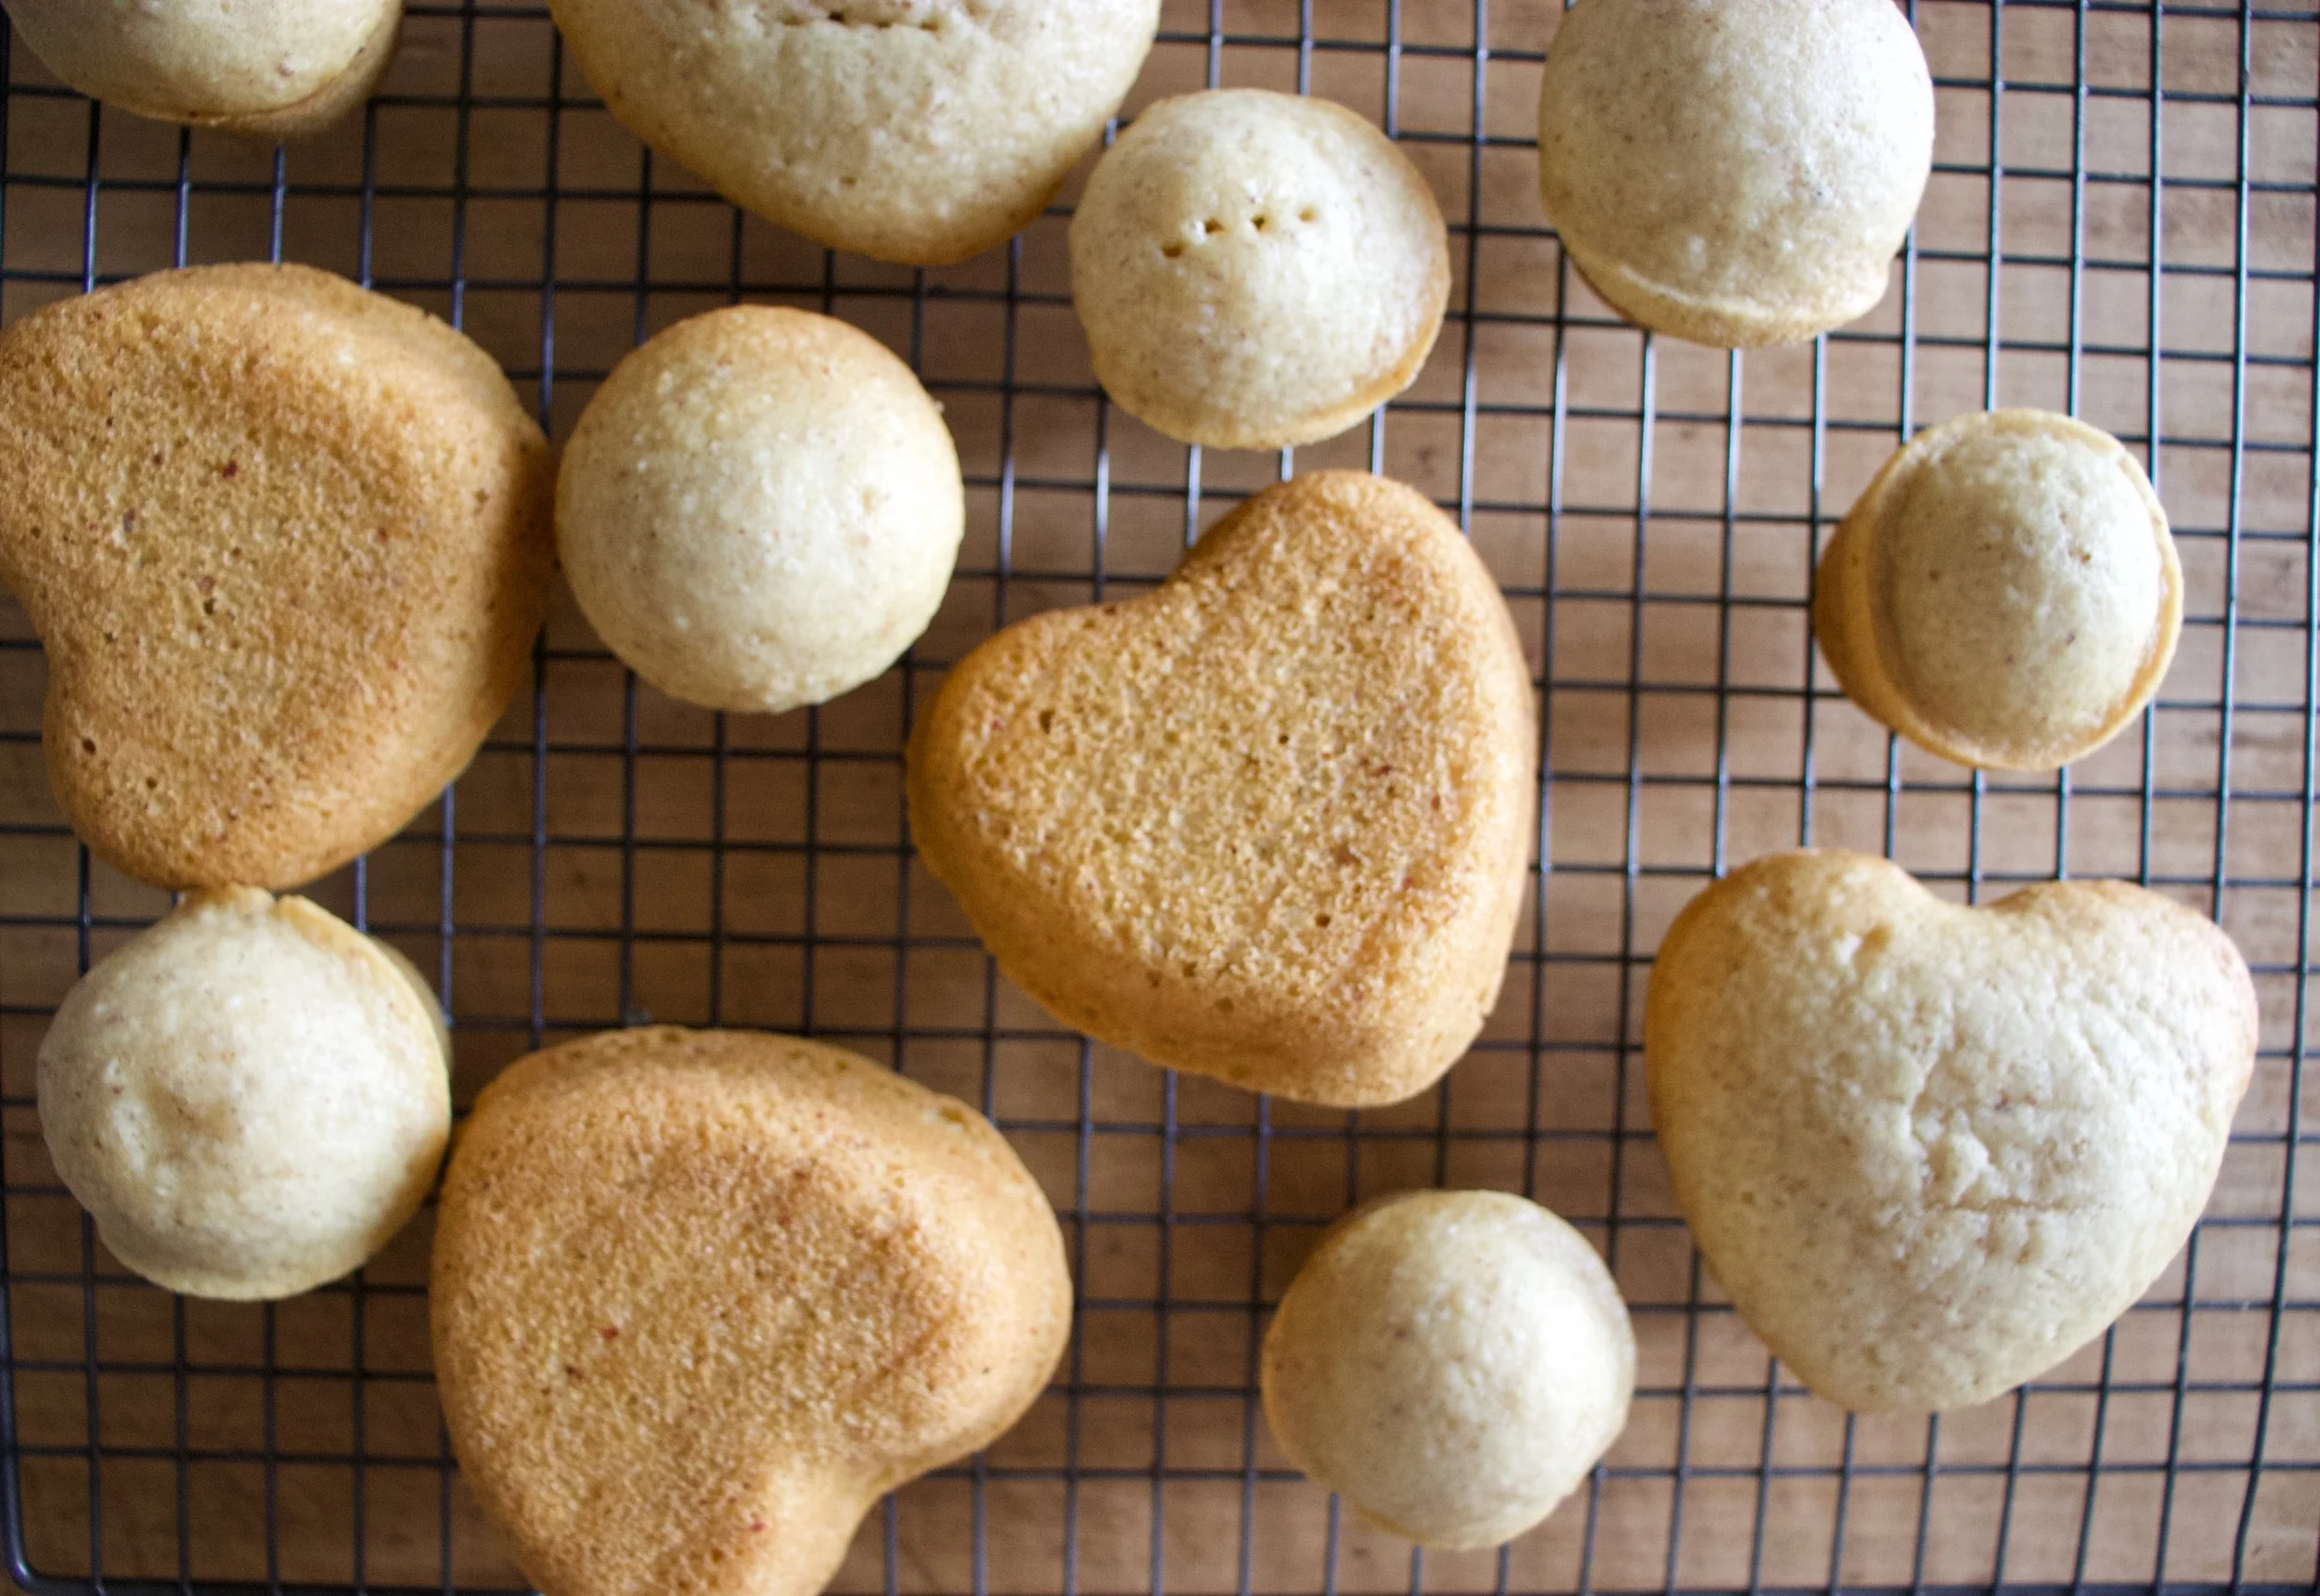
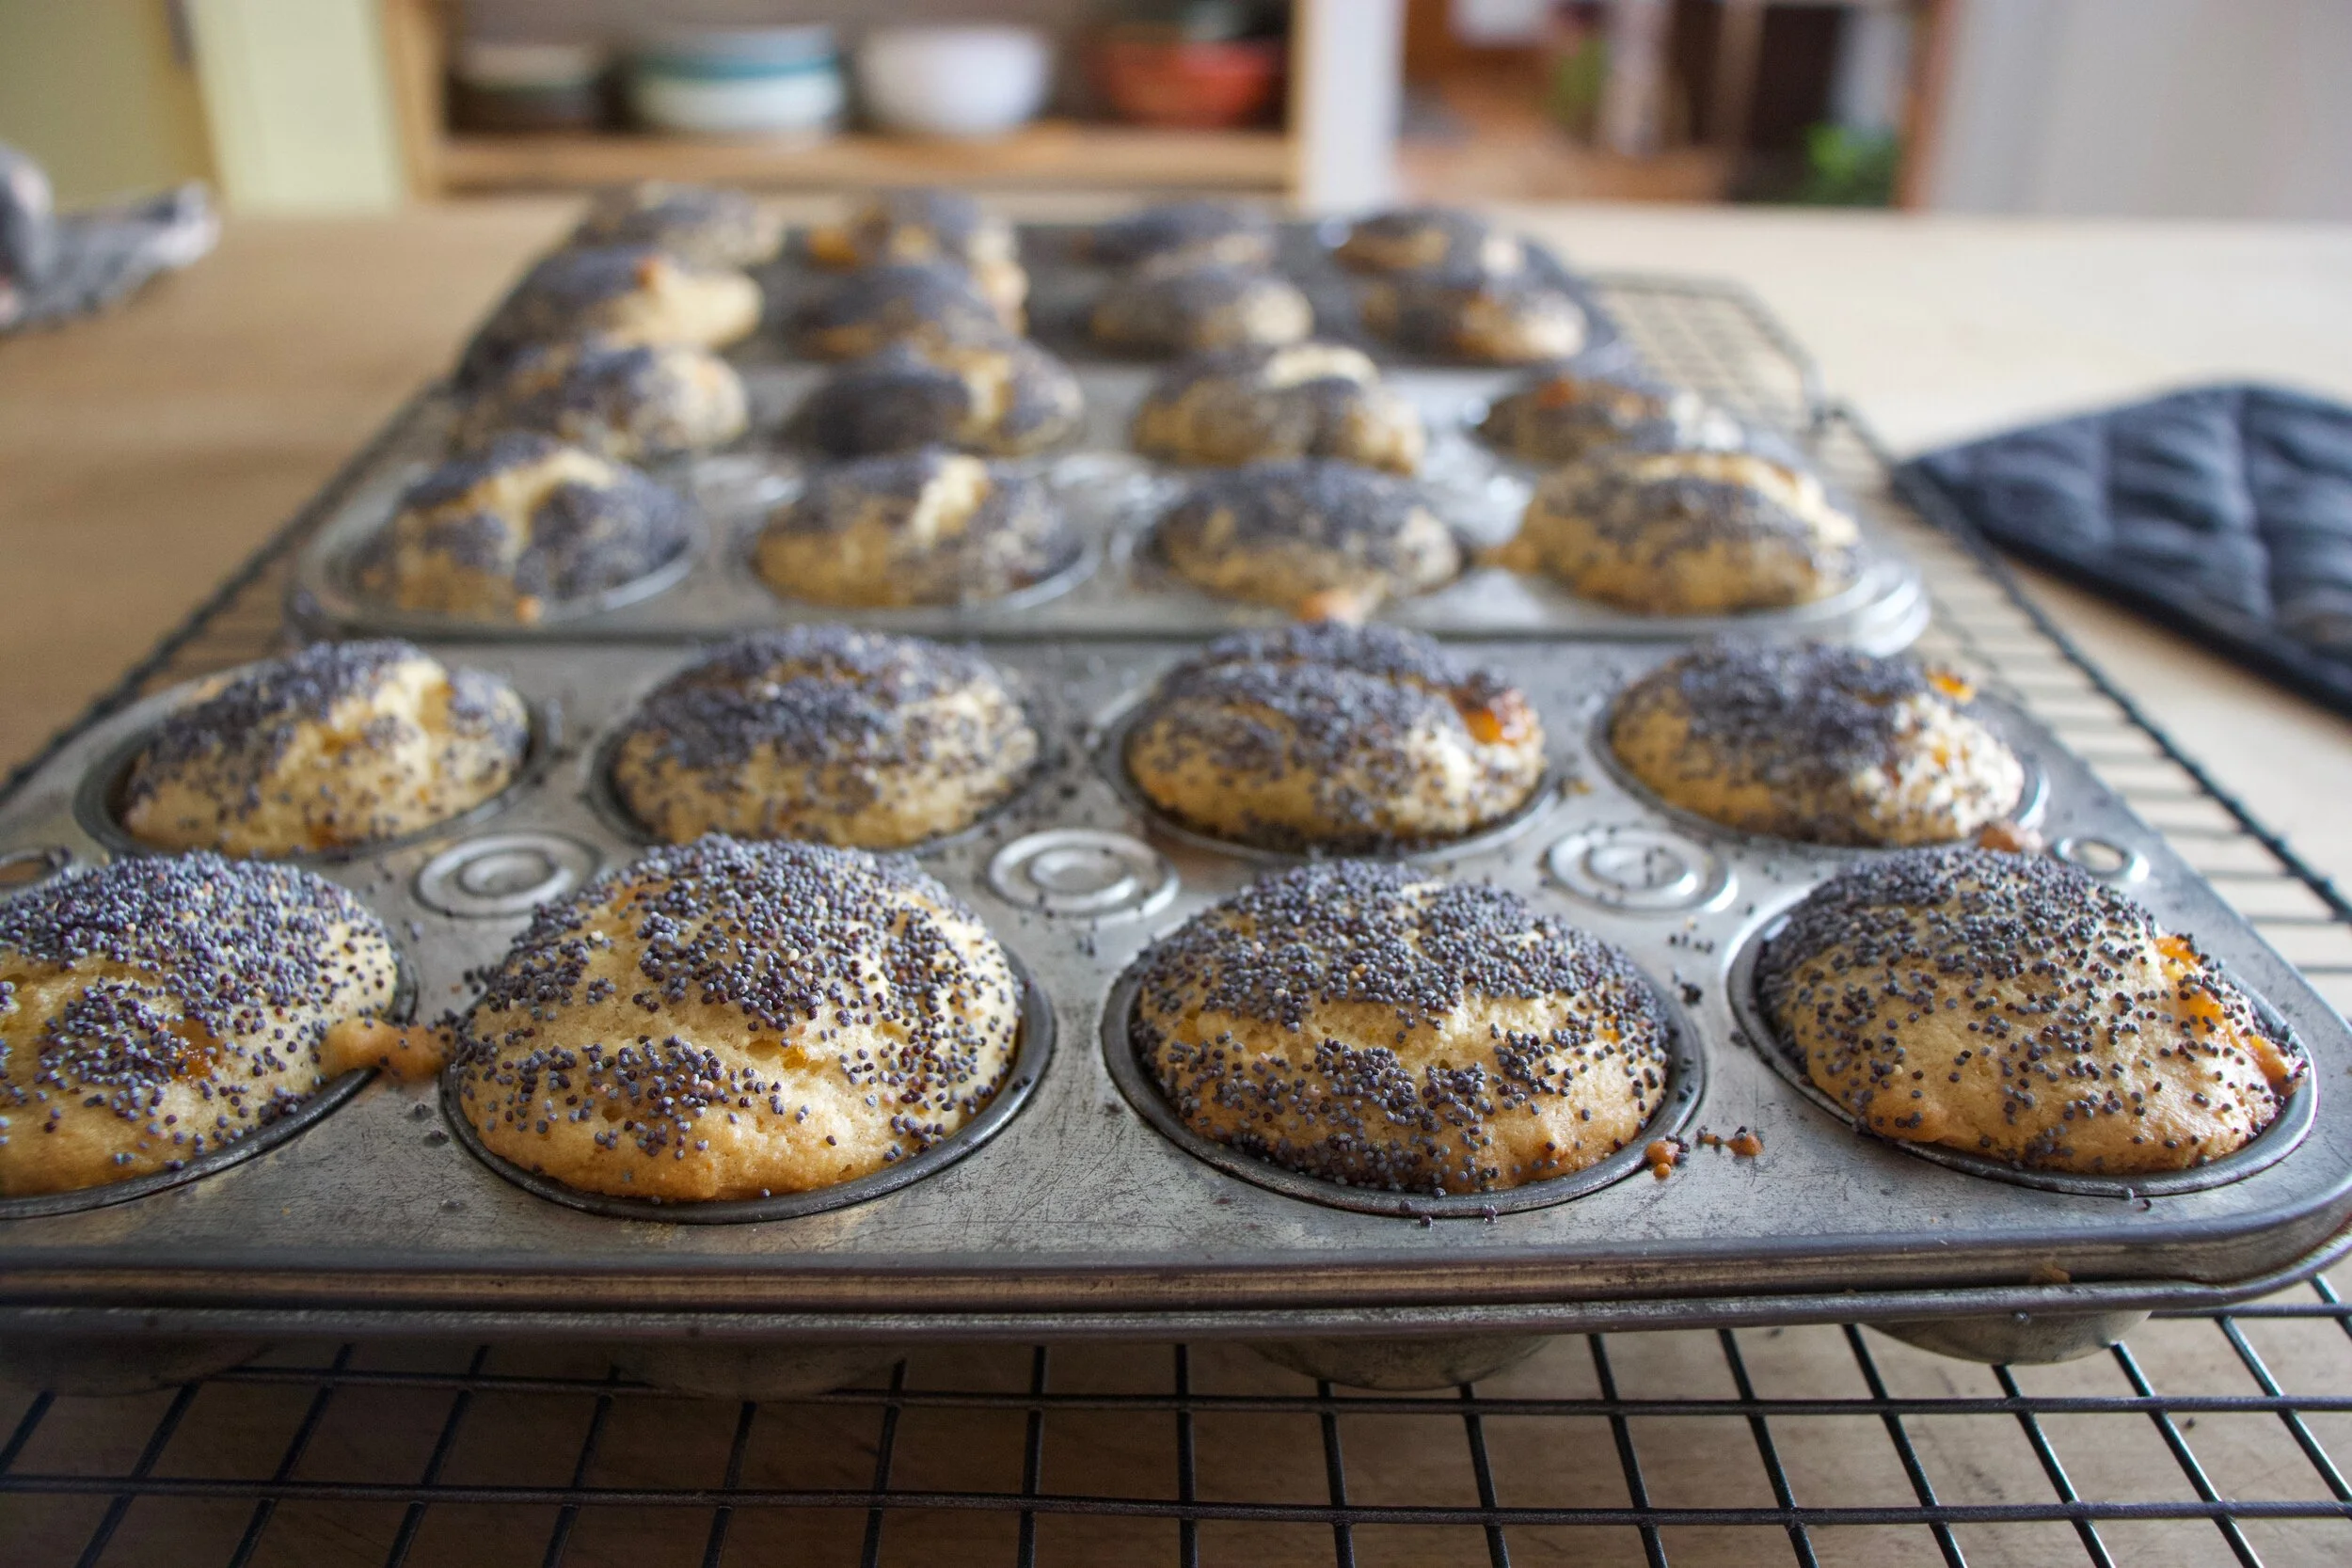
Remove the muffins from pan and let cool on a wire rack.
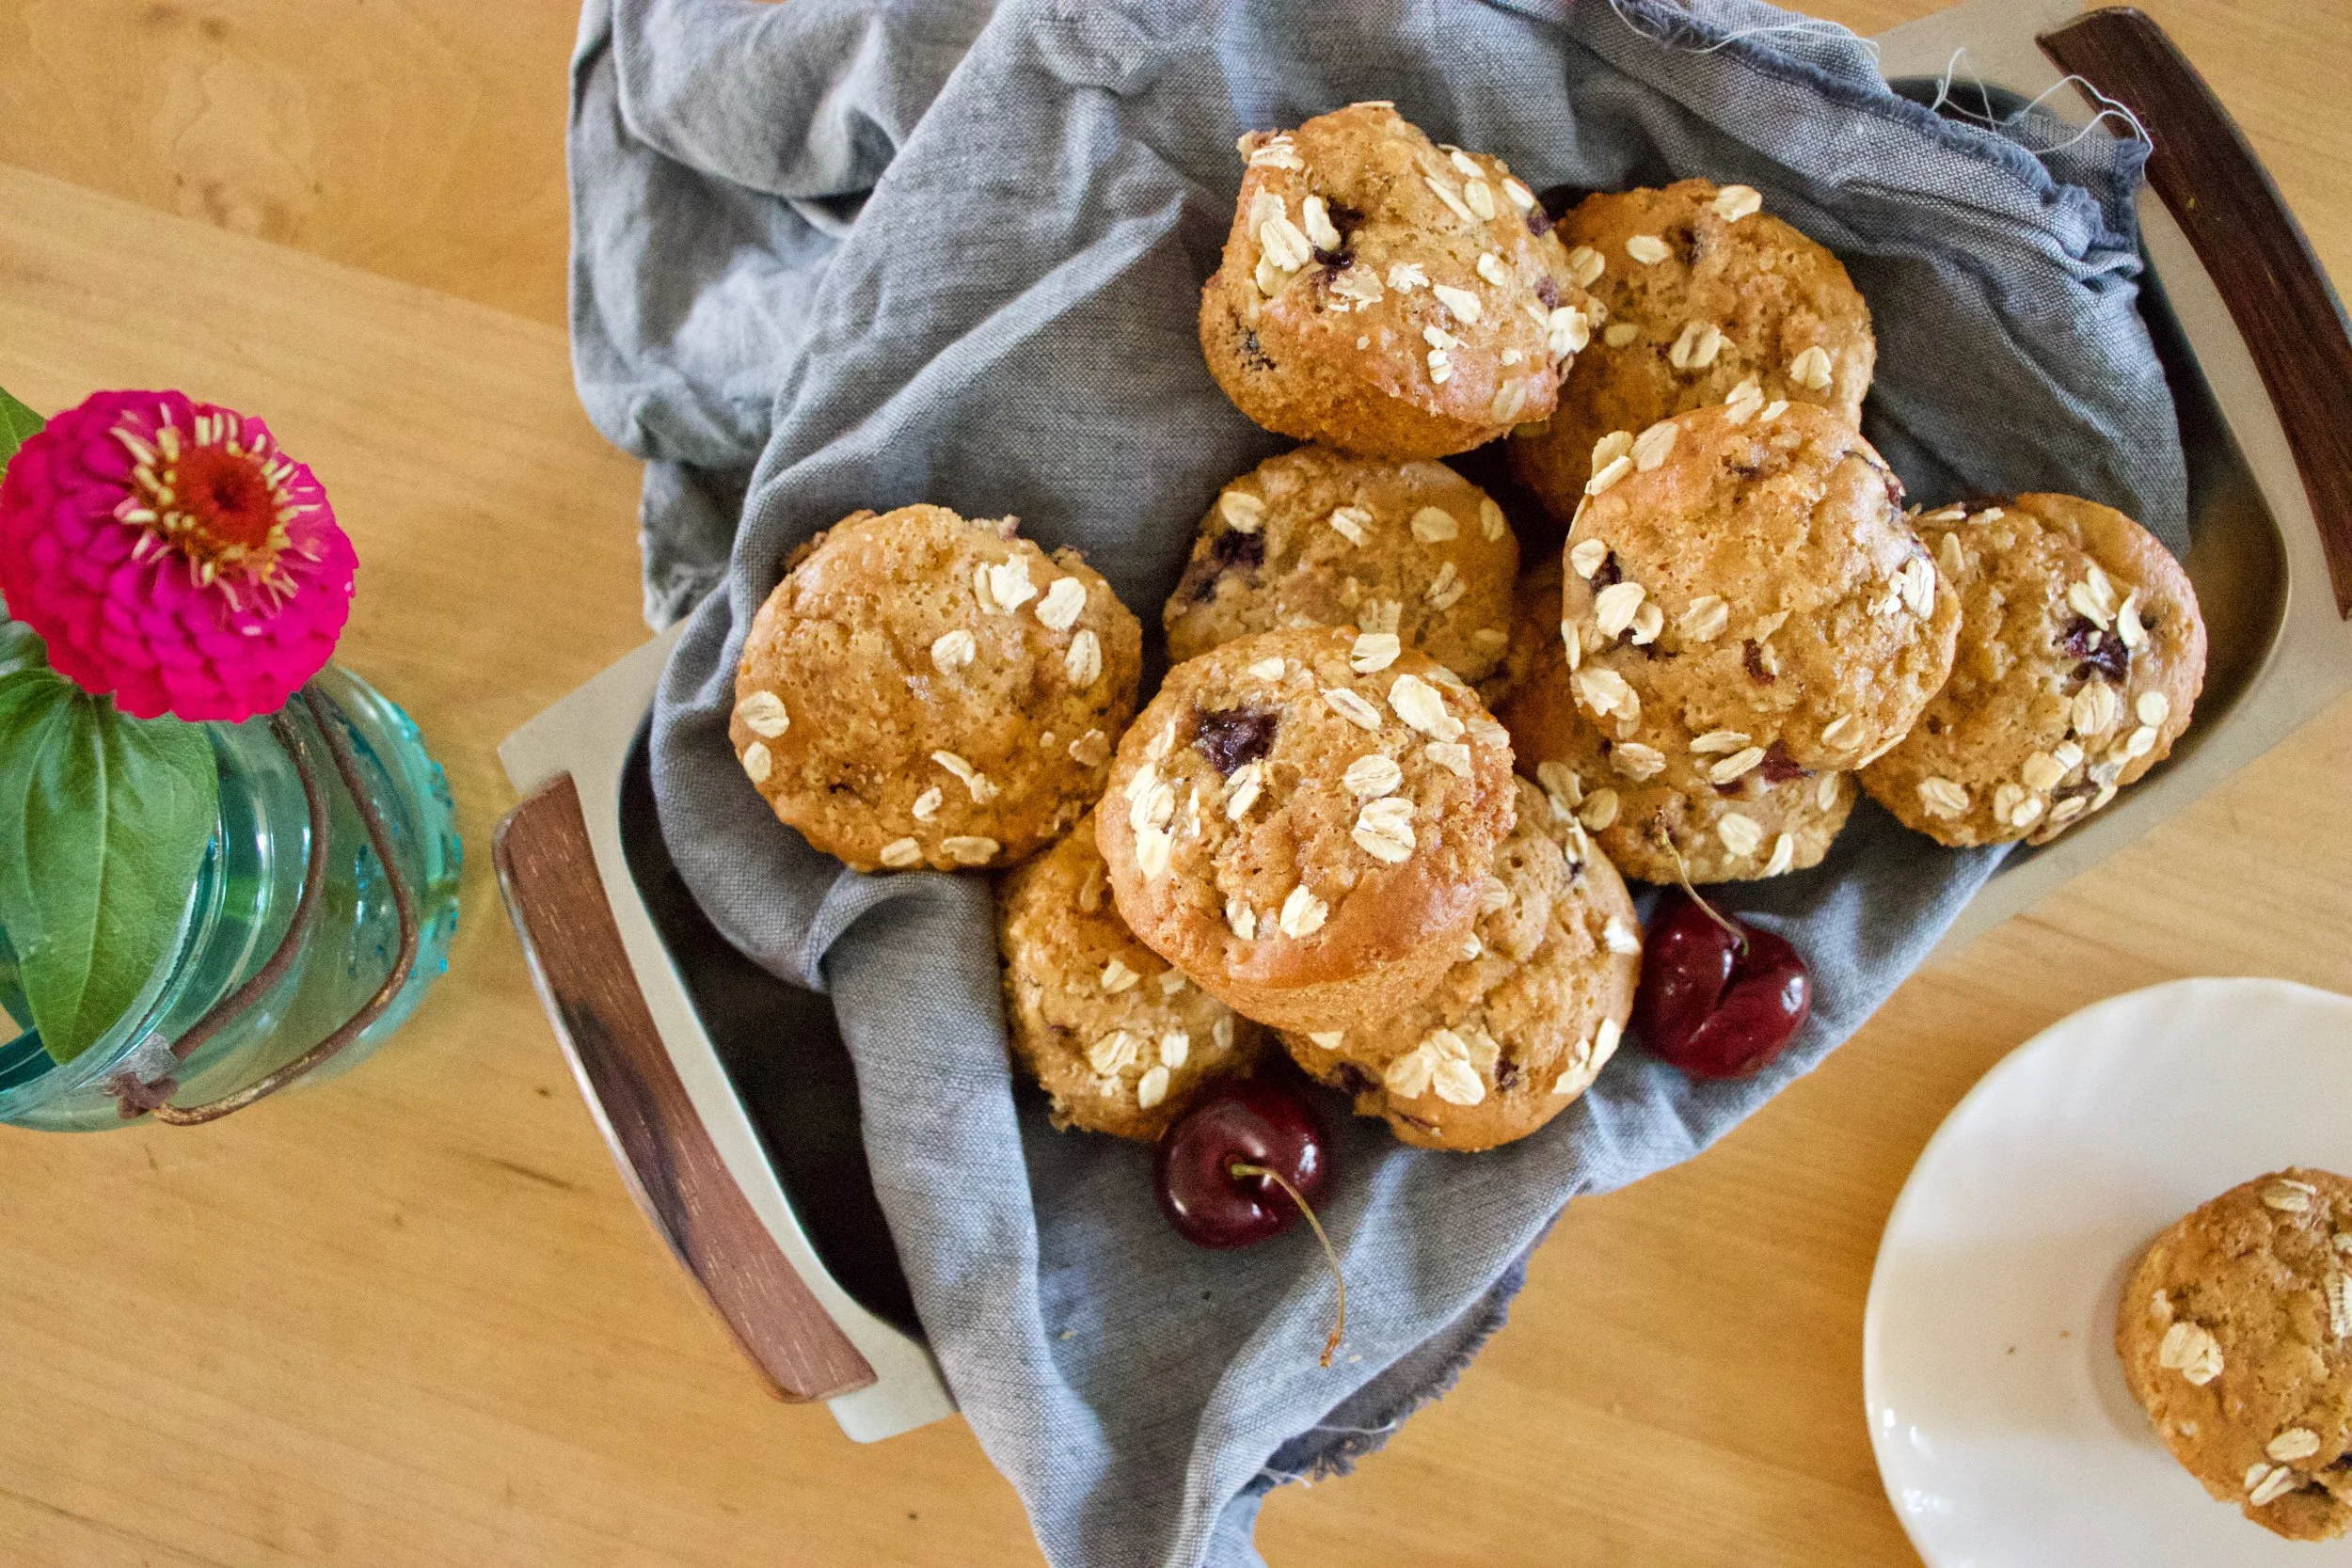
Cherry oat muffins. You are good.
-C
makes 11-12 muffins
-
1 1/2 cup all purpose flour
-
2/3 cup of old fashion rolled oats (plus 2 tablespoons to sprinkle tops with)
-
1/2 teaspoon baking soda
-
1 1/2 teaspoon baking powder
-
1/2 teaspoon salt
-
1/2 cup brown sugar (plus 2 tablespoons to sprinkle tops with)
-
1/2 teaspoon cinnamon
-
A lemon (juice and zest)
-
1 teaspoon vanilla
-
1 tablespoon apple cider vinegar
-
1 cup plant based milk
-
1/3 cup canola oil
Preheat oven to 350
First thing first, remove steams and pits from cherries. Do it any way that you want, but I find just cutting them in half and kind of popping the pit out with my thumb works best for me. Anyway, once the pits are remove, chop cherries up into small pieces.
Place flour, oats, baking powder and soda, salt, cinnamon, brown sugar, and zest of lemon into a big bowl. Mix together until completely incorporated. Make sure there are not huge clumps of brown sugar, if there are, break them up with your fingers. Add in the milk, oil, vanilla, vinegar, and juice of half a lemon. Gently mix until just incorporated. Now fold in chopped cherries.
Evenly scoop the batter into a well greased muffin tin. (There is enough batter for12 normal sized muffins.) Sprinkle the tops with the extra brown sugar and oats then pop the pan Ito the oven. Bake for 28-32 minutes or until the tops of the muffins are a nice golden brown and a taster poked into one of the muffins comes out clean.
When fully baked, remove muffins from oven and pop them out of the pan. Let cool on a wire rack but feel free to eat one or two warm.
Store any extra in an airtight container on counter for a day or two but in the fridge for about a week. Individual muffins can be wrapped and frozen for a good long will too.
Peaches are here. YAY!!! Peaches are for sure one of those fleeting fruits, one that once in season, you need to eat as many fresh as you can because once they are out of season, they are not good. Not good at all. And me being me, I see peaches, I buy a shit load, and now I have a fridge drawer full. Not complaining in the slightest, but peaches cannot sit around all summer waiting to be eaten. So if you are going to buy a shit load, know what you are going to do with them all.
My peaches, well they haven%u2019t had to wait long. I have been eating at least a peach a day and%u2026 I made these bars with a few. Sharing my peaches, thats what I do. HA.
These almond peach shortbread bars. Fantastic A+ on all fronts. Easy to make, not a whole heck of a lot of ingredients, make the house smell amazing, and really kick off the peach, summer vibe thing that goes on around here.
‘%u201cMillions of peaches, peaches for me. Millions of Peaches, peaches for free%u201d %ud83c%udfb6 (Peaches by The Presidents of the United States of America. If you have%u2019t head the song, look it up. I don%u2019t think I can even look at a peach without hearing the song in my head.)
Now to the peach almond shortbread bars!
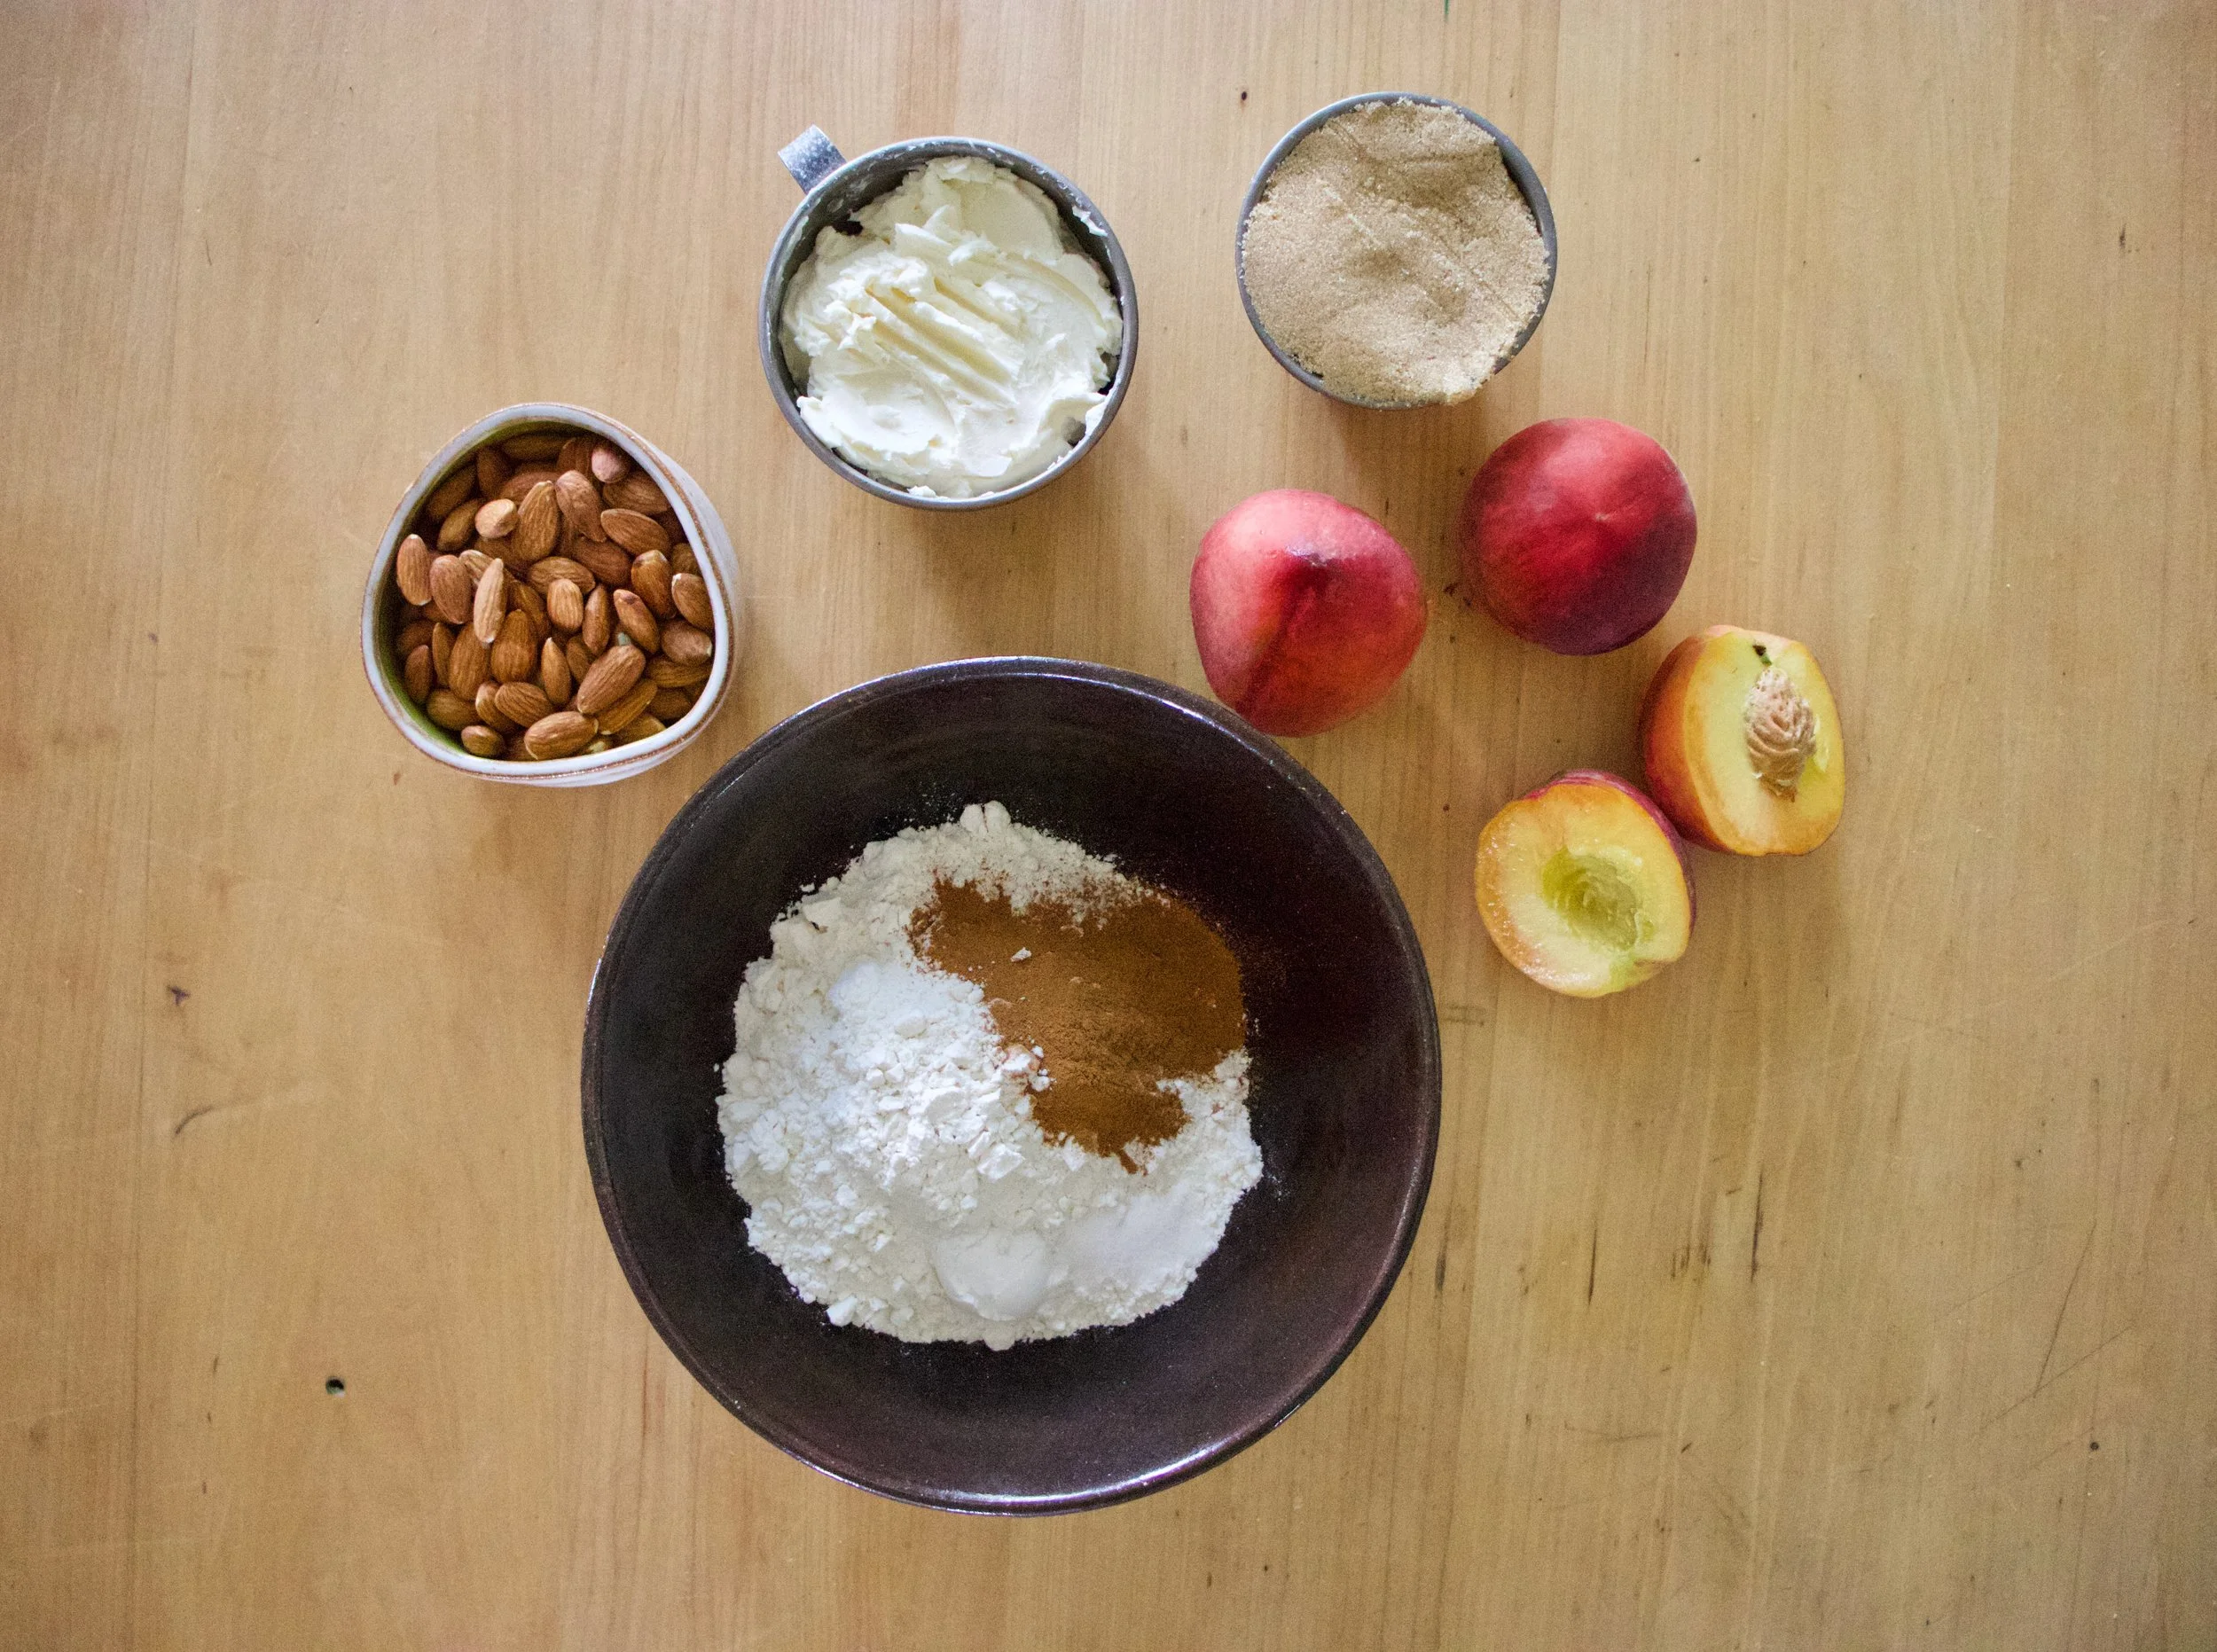
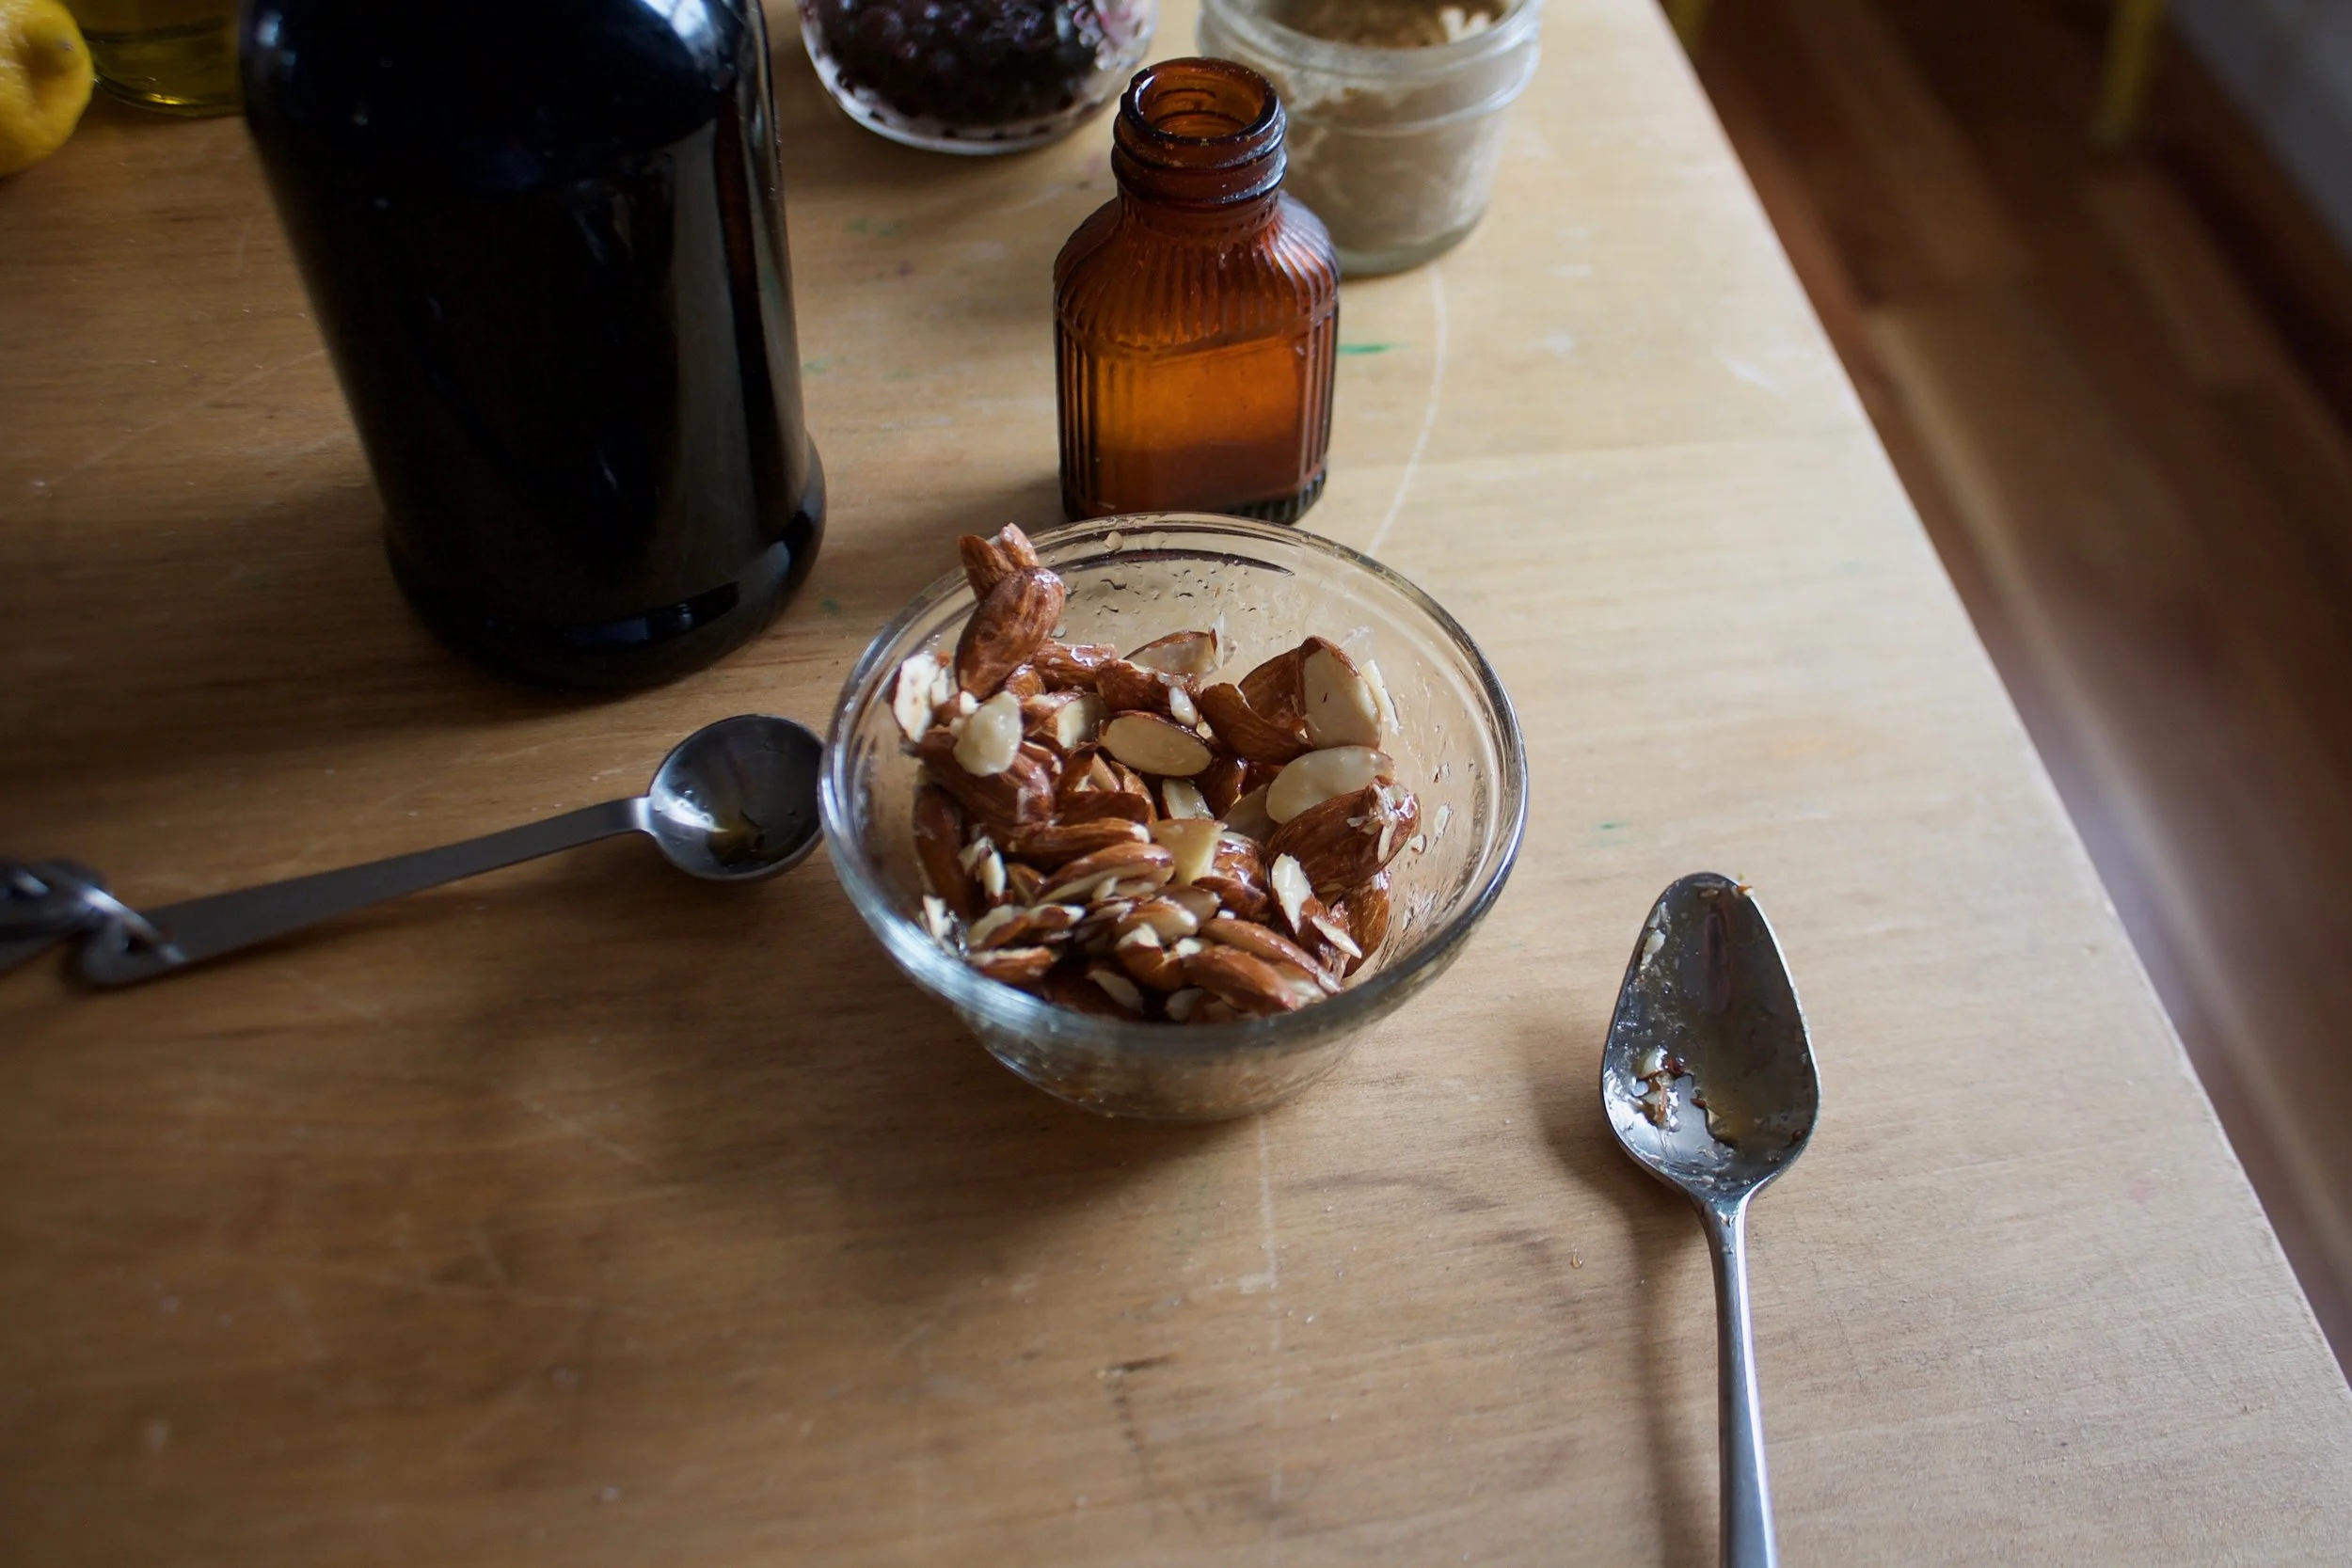
The stuff. Peaches, almonds, vegan butter, brown sugar, flour, cinnamon, salt, and baking powder.
Easy peasy. Almonds go in to food processor first. Blend and pulse for a minute or two until they turn into a medium fine almond meal. (Don%u2019t over blend or you will end up with almond butter.) When almonds are ground, add in the flour, baking powder, salt, cinnamon, and sugar. Pulse until combined. Then add in the butter in chunks and pulse until dough just starts to come together.


Half the dough goes into a 9×9 baking pan. Smooshed evenly all over the bottom poke it with a fork. Then it just needs to go into the oven to bake. 15-18 minutes or so, just until it starts to brown a bit.
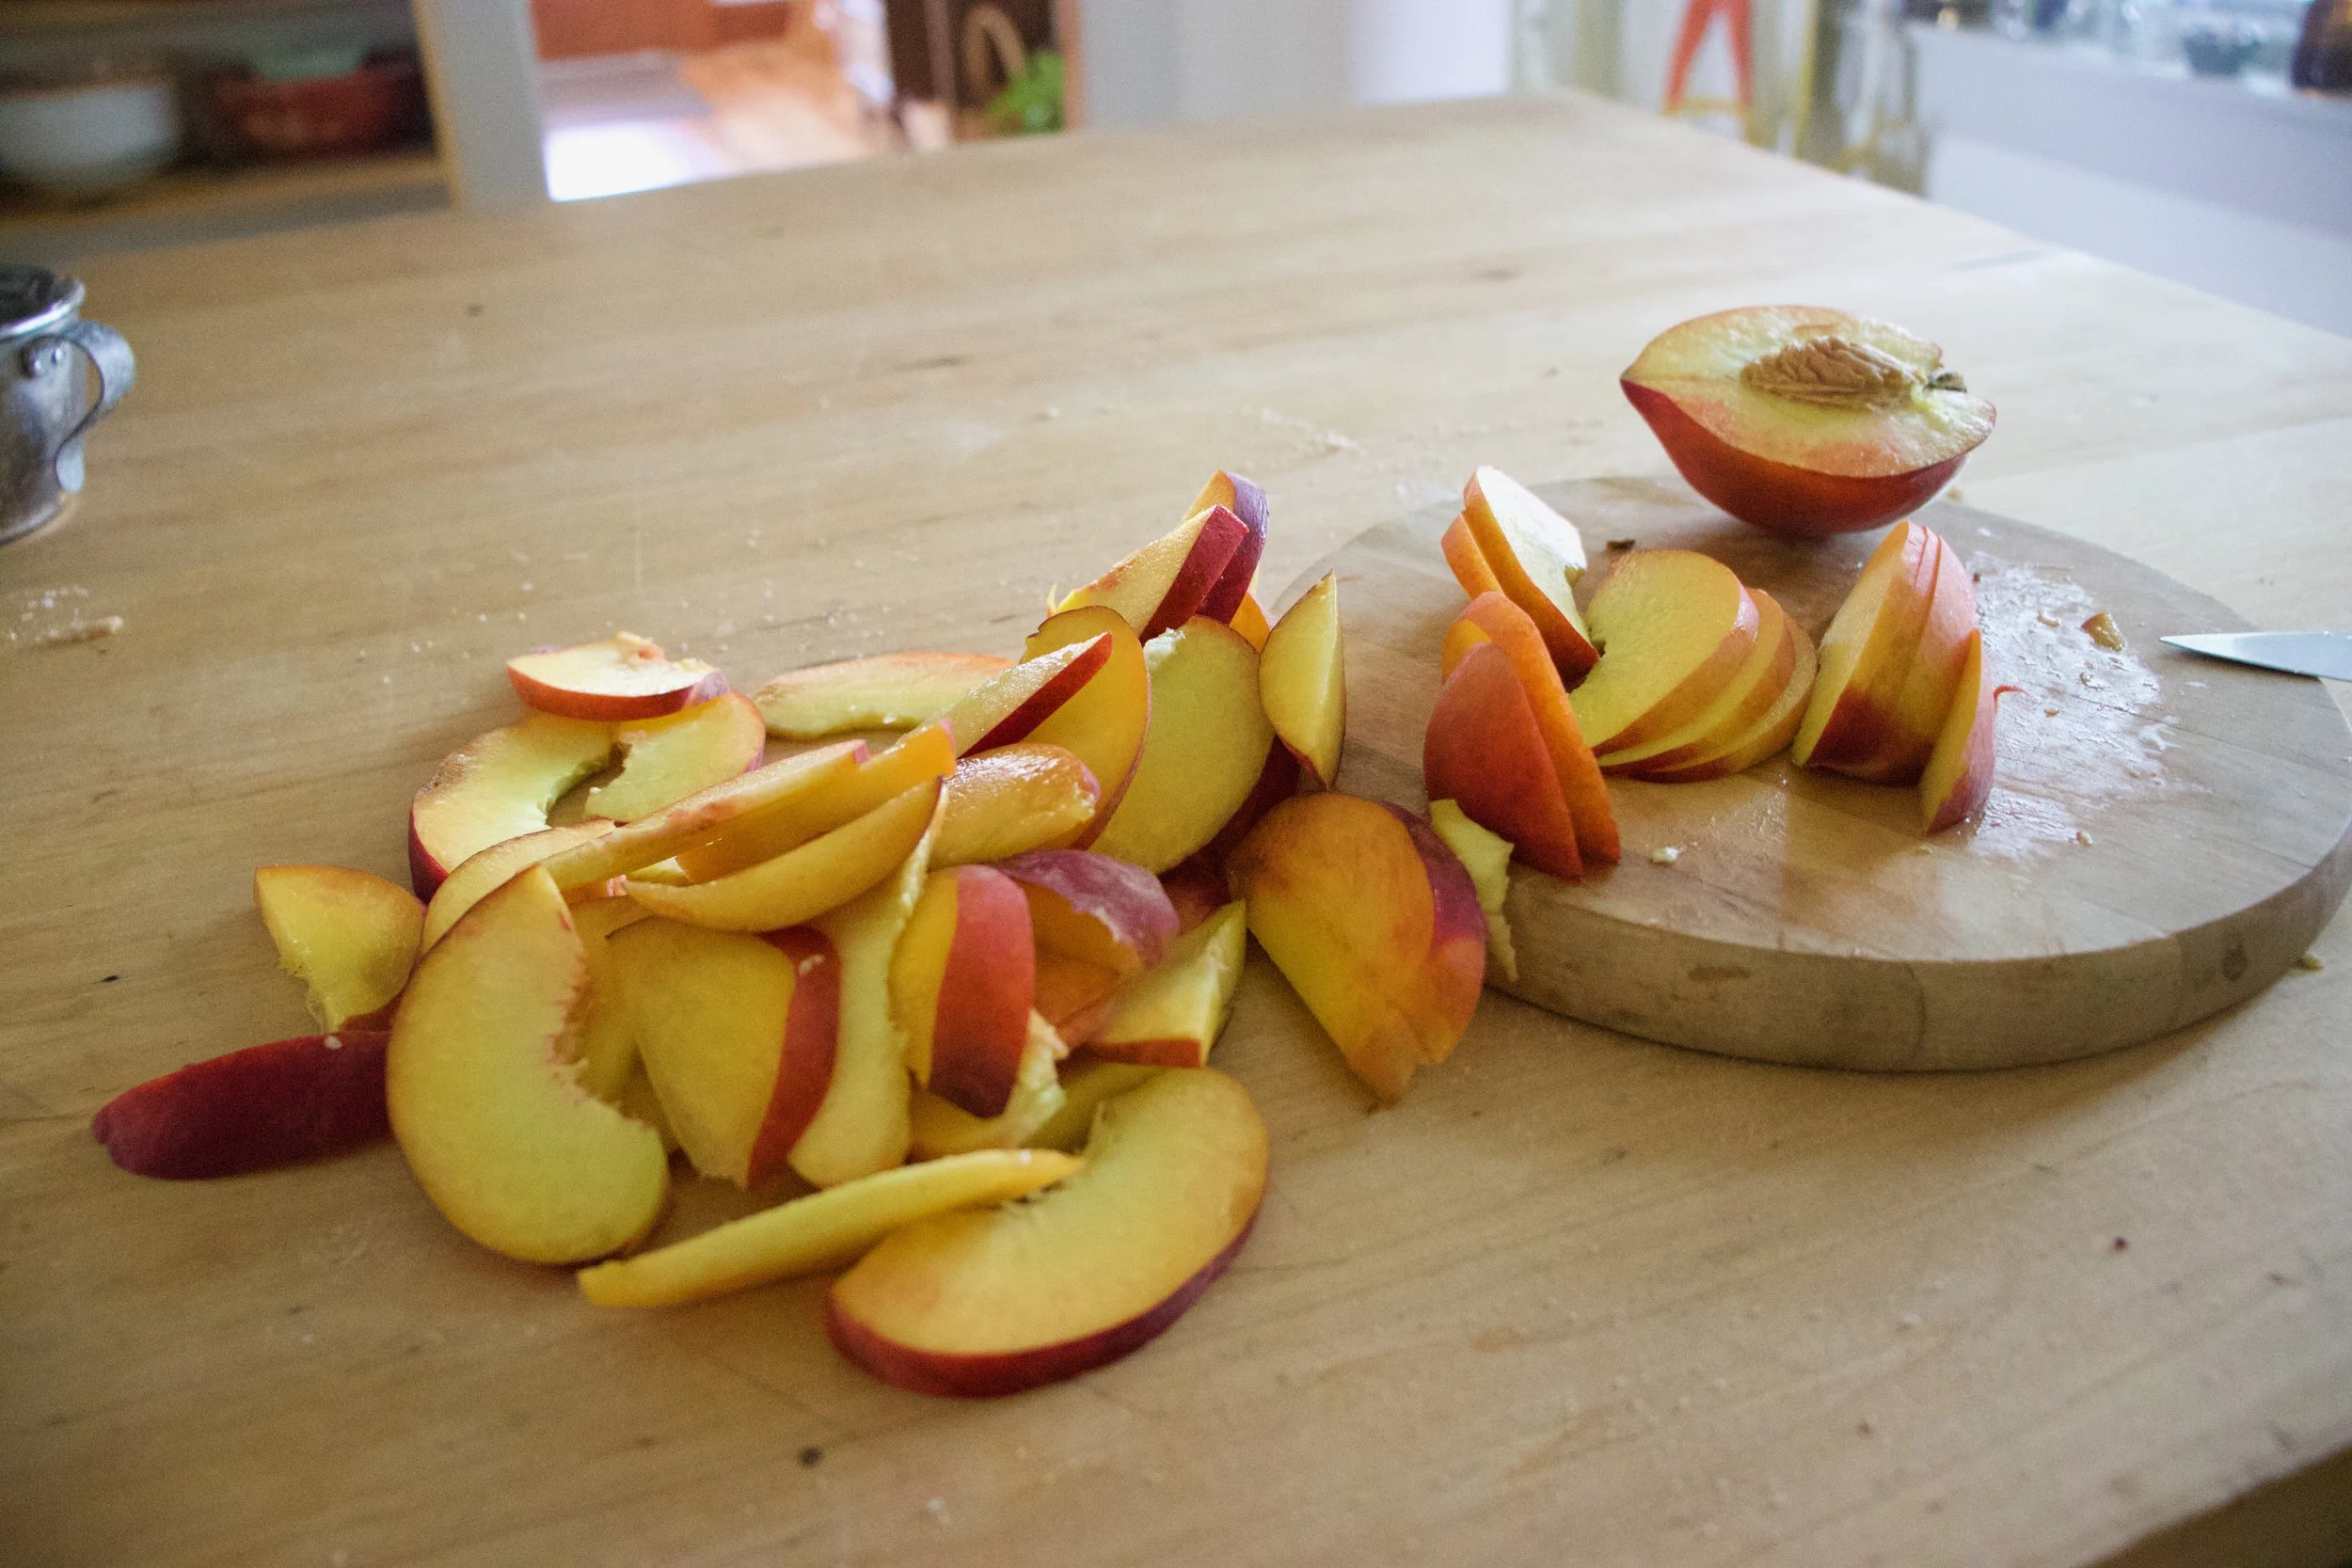
Peaches need to be cut so cut them up. !/2 inch thick slices, after the pits be removed of course.
Blinded baked bottom. Looks good yeah? Let it cool for a few minutes and then it gets peaches. Three rows, all over lapping and nestled together.

The top gets the remaining half of dough and is now it%u2019s ready for the oven. Another 40-ish minutes or so to really seal the deal.

Taken from the oven when golden brown, cooled, cut up, and placed on a pretty plate because pretty is nice.
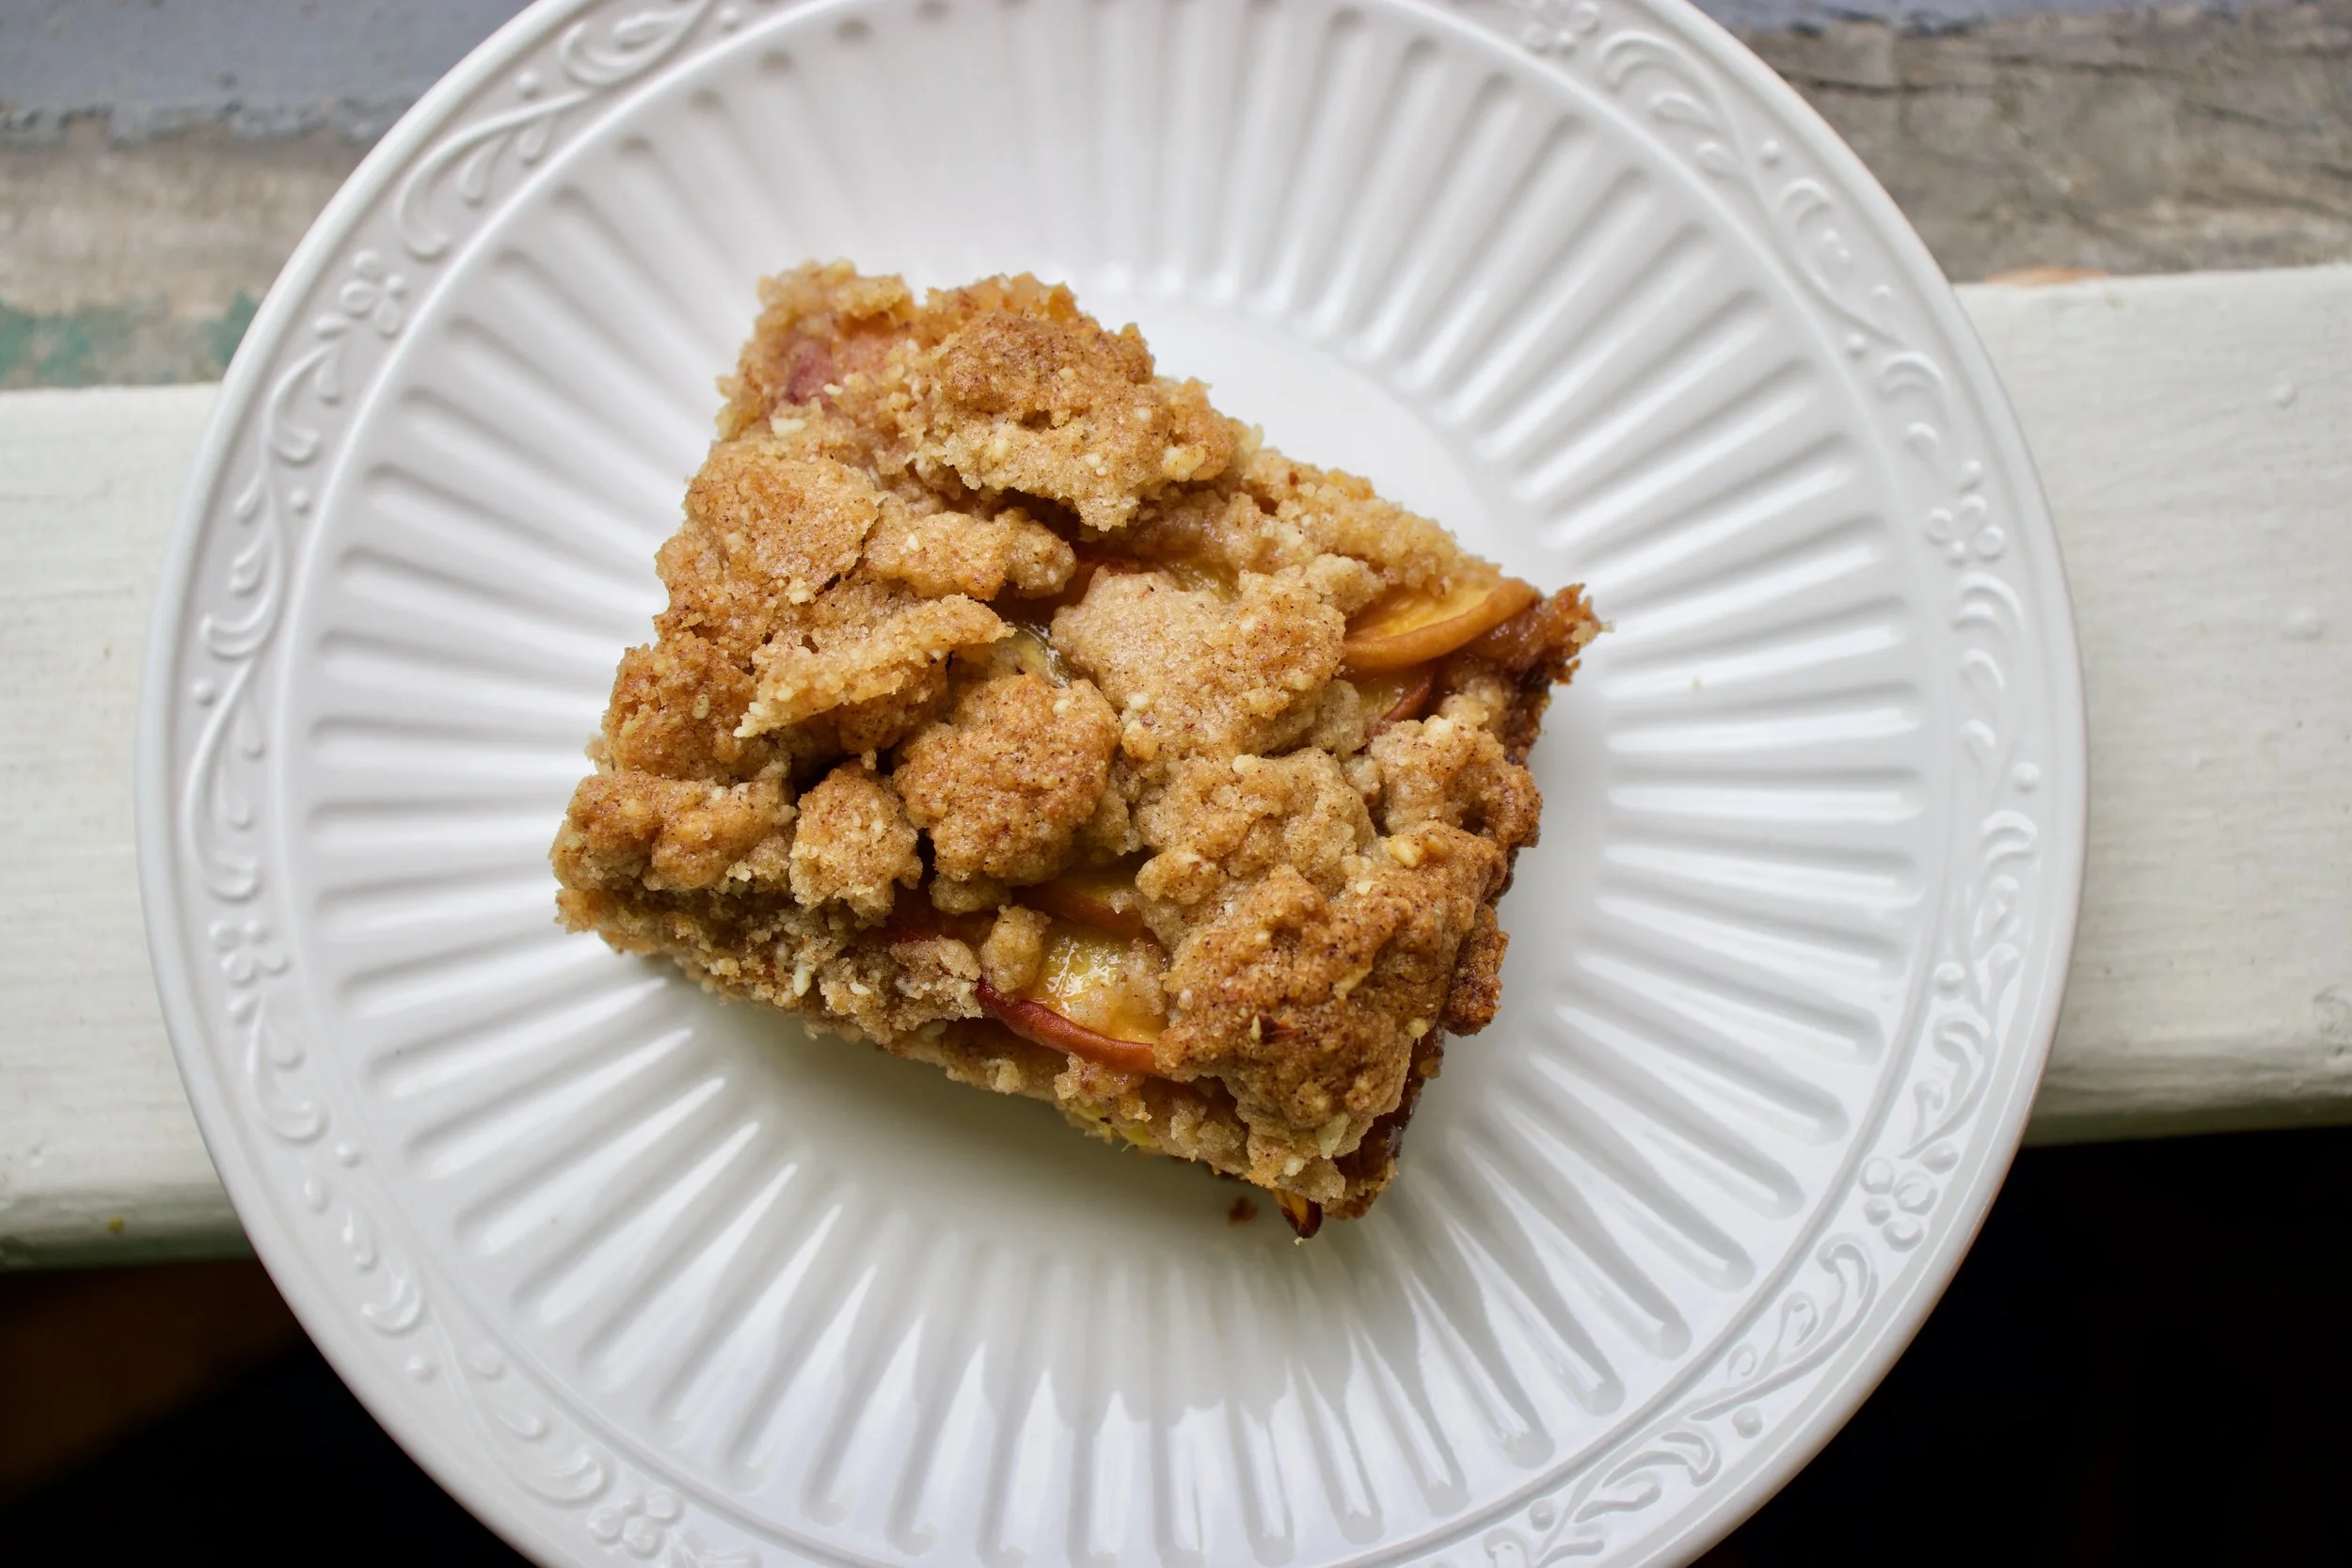
I am pretty sure you figured out what to do next%u2026. EAT IT!
-C
makes a 9×9 pan which can be cut Into the sizes of your choice
-
1 cup vegan butter
-
1 cup packed brown sugar
-
2 cup cup all purpose flour
-
1 cups raw almonds
-
1 teaspoon baking powder
-
1 teaspoon salt
-
3 large firm peaches
-
1 heaping teaspoon cinnamon
Preheat oven 350
Place almonds into a food processor and pulse and blend until a fine meal has formed. It should take only a minute or two and stop half way and scrape the edges and sides do the almonds don%u2019t start to form a paste. Add in the flour, salt, baking powder, cinnamon,and sugar and pulse until combined. Add in the vegan butter in a few chunks and pulse until the mixture turns into a crumbly dough. Stop pulsing and dump mixture into big bowl.
Take half of the mixture and place into a 9×9 baking pan. Evenly distribute and press the dough into the bottom. Take a fork and poke the dough all over then place the pan in the oven. Bake for 15-17 minutes or until the dough just starts to lighly brown. Remove from oven.
While the bottom crust is cooling off for a few minutes, slice peaches into 1/2 inch slices. Obviously make sure to remove pit.
Now take your half baked crust and layer peaches evenly on top. It is easies to start at the top, make three rows across and then layer the peaches down (like in the picture above). Once peaches are layered, grab the remaining half of dough and evenly distribute on top. Place back into oven and bake for another 40-45 minutes or until the crumble on top is a nice deep golden brown.
Remove from oven, let coo completely (or as completely as you can) cut into pieces, and then you eat it.
Left over pieces should be placed in an airtight container in the fridge for up to 5 days. They freeze well individually wrapped too.
blind back for about 15 minutes of until the crust is starting to brown around the edges
bake for another 30 minutes
I found another bag of frozen rhubarb in the chest freezer which is never a bad thing, but my rhubarb patch outside is growing strong and I will have all the fresh rhubarb I could possible eat within the next few weeks. So found rhubarb just means I need to eat it right fast before the fresh stuff comes in. (I haven%u2019t had a problem with that. it%u2019s almost gone already). Plus the other day while I was digging up and transplanting raspberry bushes to the back yard, my neighbor came over and gave me a gallon of frozen raspberries, harvested from said bushes that I was currently planting in my yard. Score for me! Free bushes and berries%u2026I have such nice neighbors.
So the logical thing to do with my new found and giving bounty was of course to hurry up and bake something. Cobbler. Why cobbler? Well, why not? I figured the mr would really like it and eat it and I also didn%u2019t want to make anything to fussy because I was just to dang busy spending all of my extra time outside doing outside things. And cobbler, it%u2019s not fussy because it is basically biscuits and jam baked up all together. Not a lot to think about and comes out looking all homey and sweet and smelling all nice and cozy. Doesn%u2019t that sound nice? And not a pain in the ass?
And best part. A made cobbler works as dessert or breakfasts or just a snack. Just asked the mr. He ate it for all the reasons. With a dollop of yogurt or cream of course because he is fancy like that.
And yeah the fruit I used was frozen, but fresh works just the same here too.
Now, lets get to that cobbler.

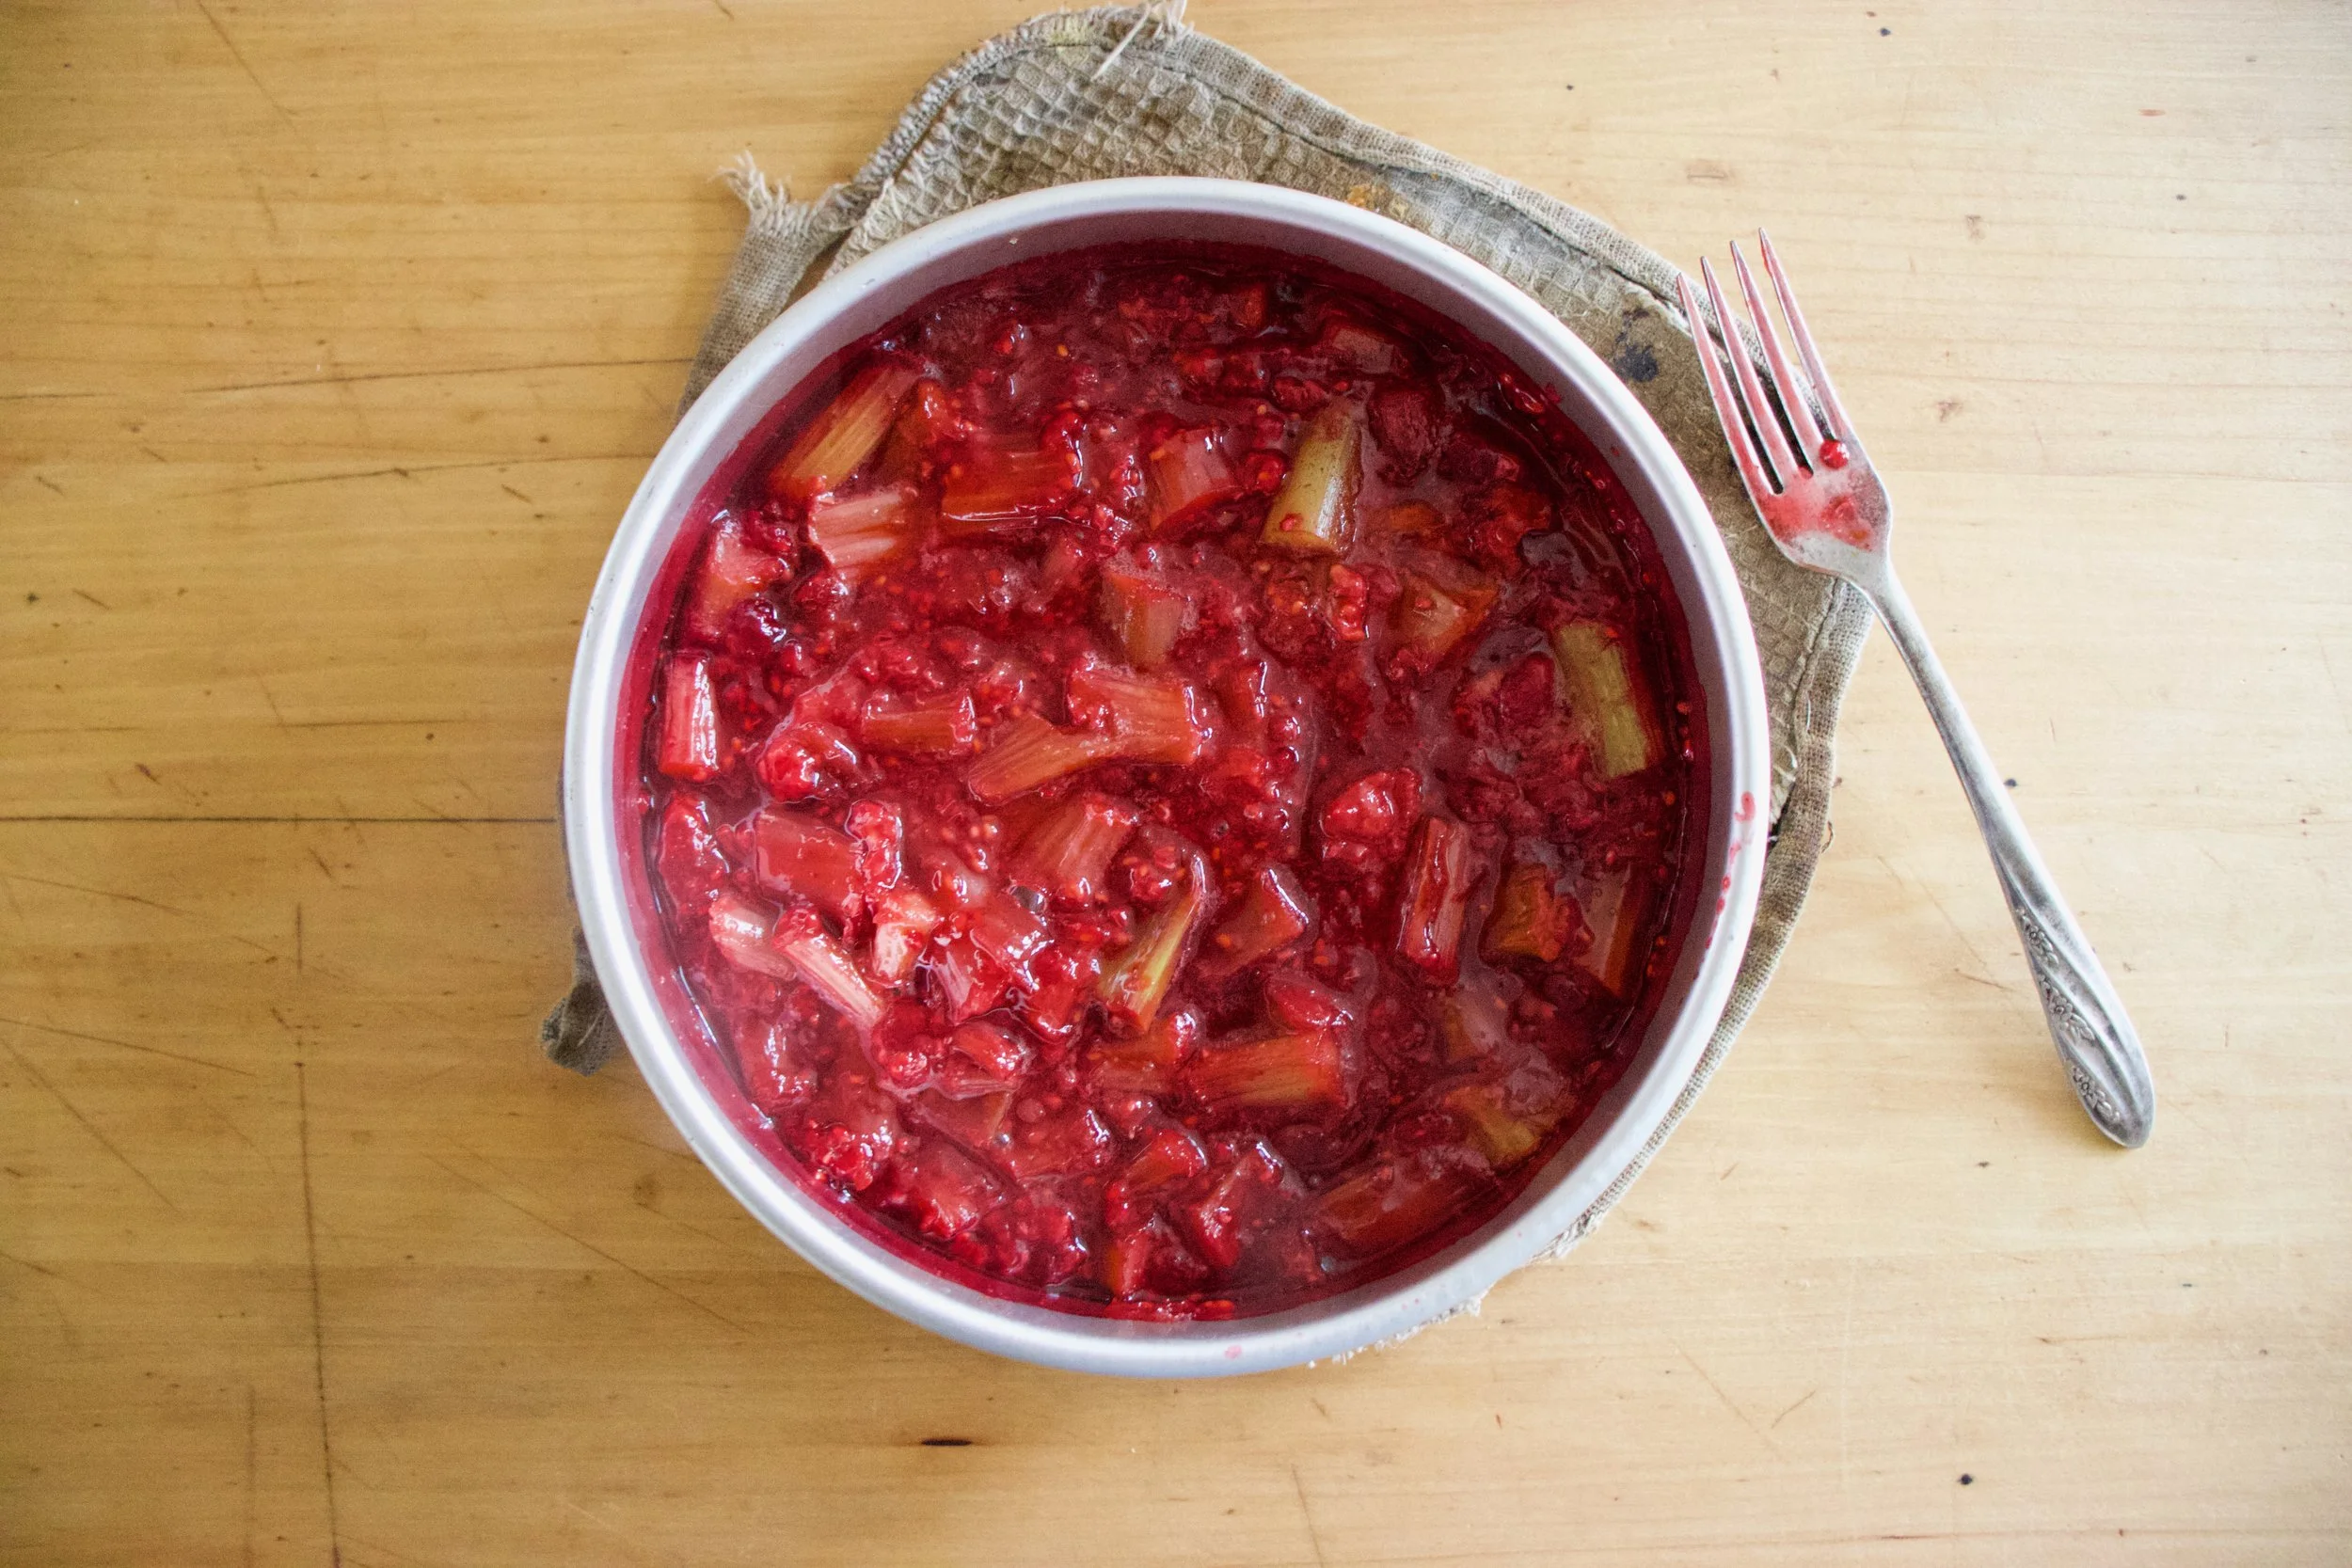
The stuff. Raspberries (frozen), rhubarb (frozen), sugar, flour, salt, baking power, cinnamon ,almond milk, apple cider vinegar, cornstarch, and oil.

Raspberries, rhubarb, sugar, cinnamon, cornstarch. Its all there in the bowl. Just needs to be mixed. So mix it.

Dump fruit mixture into well greased 8 inch pan and pop it into a hot oven to get a head start on baking.
While the fruits in the oven, make the biscuit dough. Mix the dry together then mix in the wet until just incorporated and a sticky dough forms.
Pulled from the oven, the fruit is starting to cook down and whoa, it just smells so good!

Drop on the biscuits dough on top of the fruit (careful of the hot pan). Evenly if possible, but don%u2019t work to hard to make it look perfect. Imperfection makes it look perfect, you know?
Once biscuits are on, lightly brush the tops with a little milk and sprinkle with more sugar then pop it back into the oven for another 25-30 minutes or until the biscuits are baked.

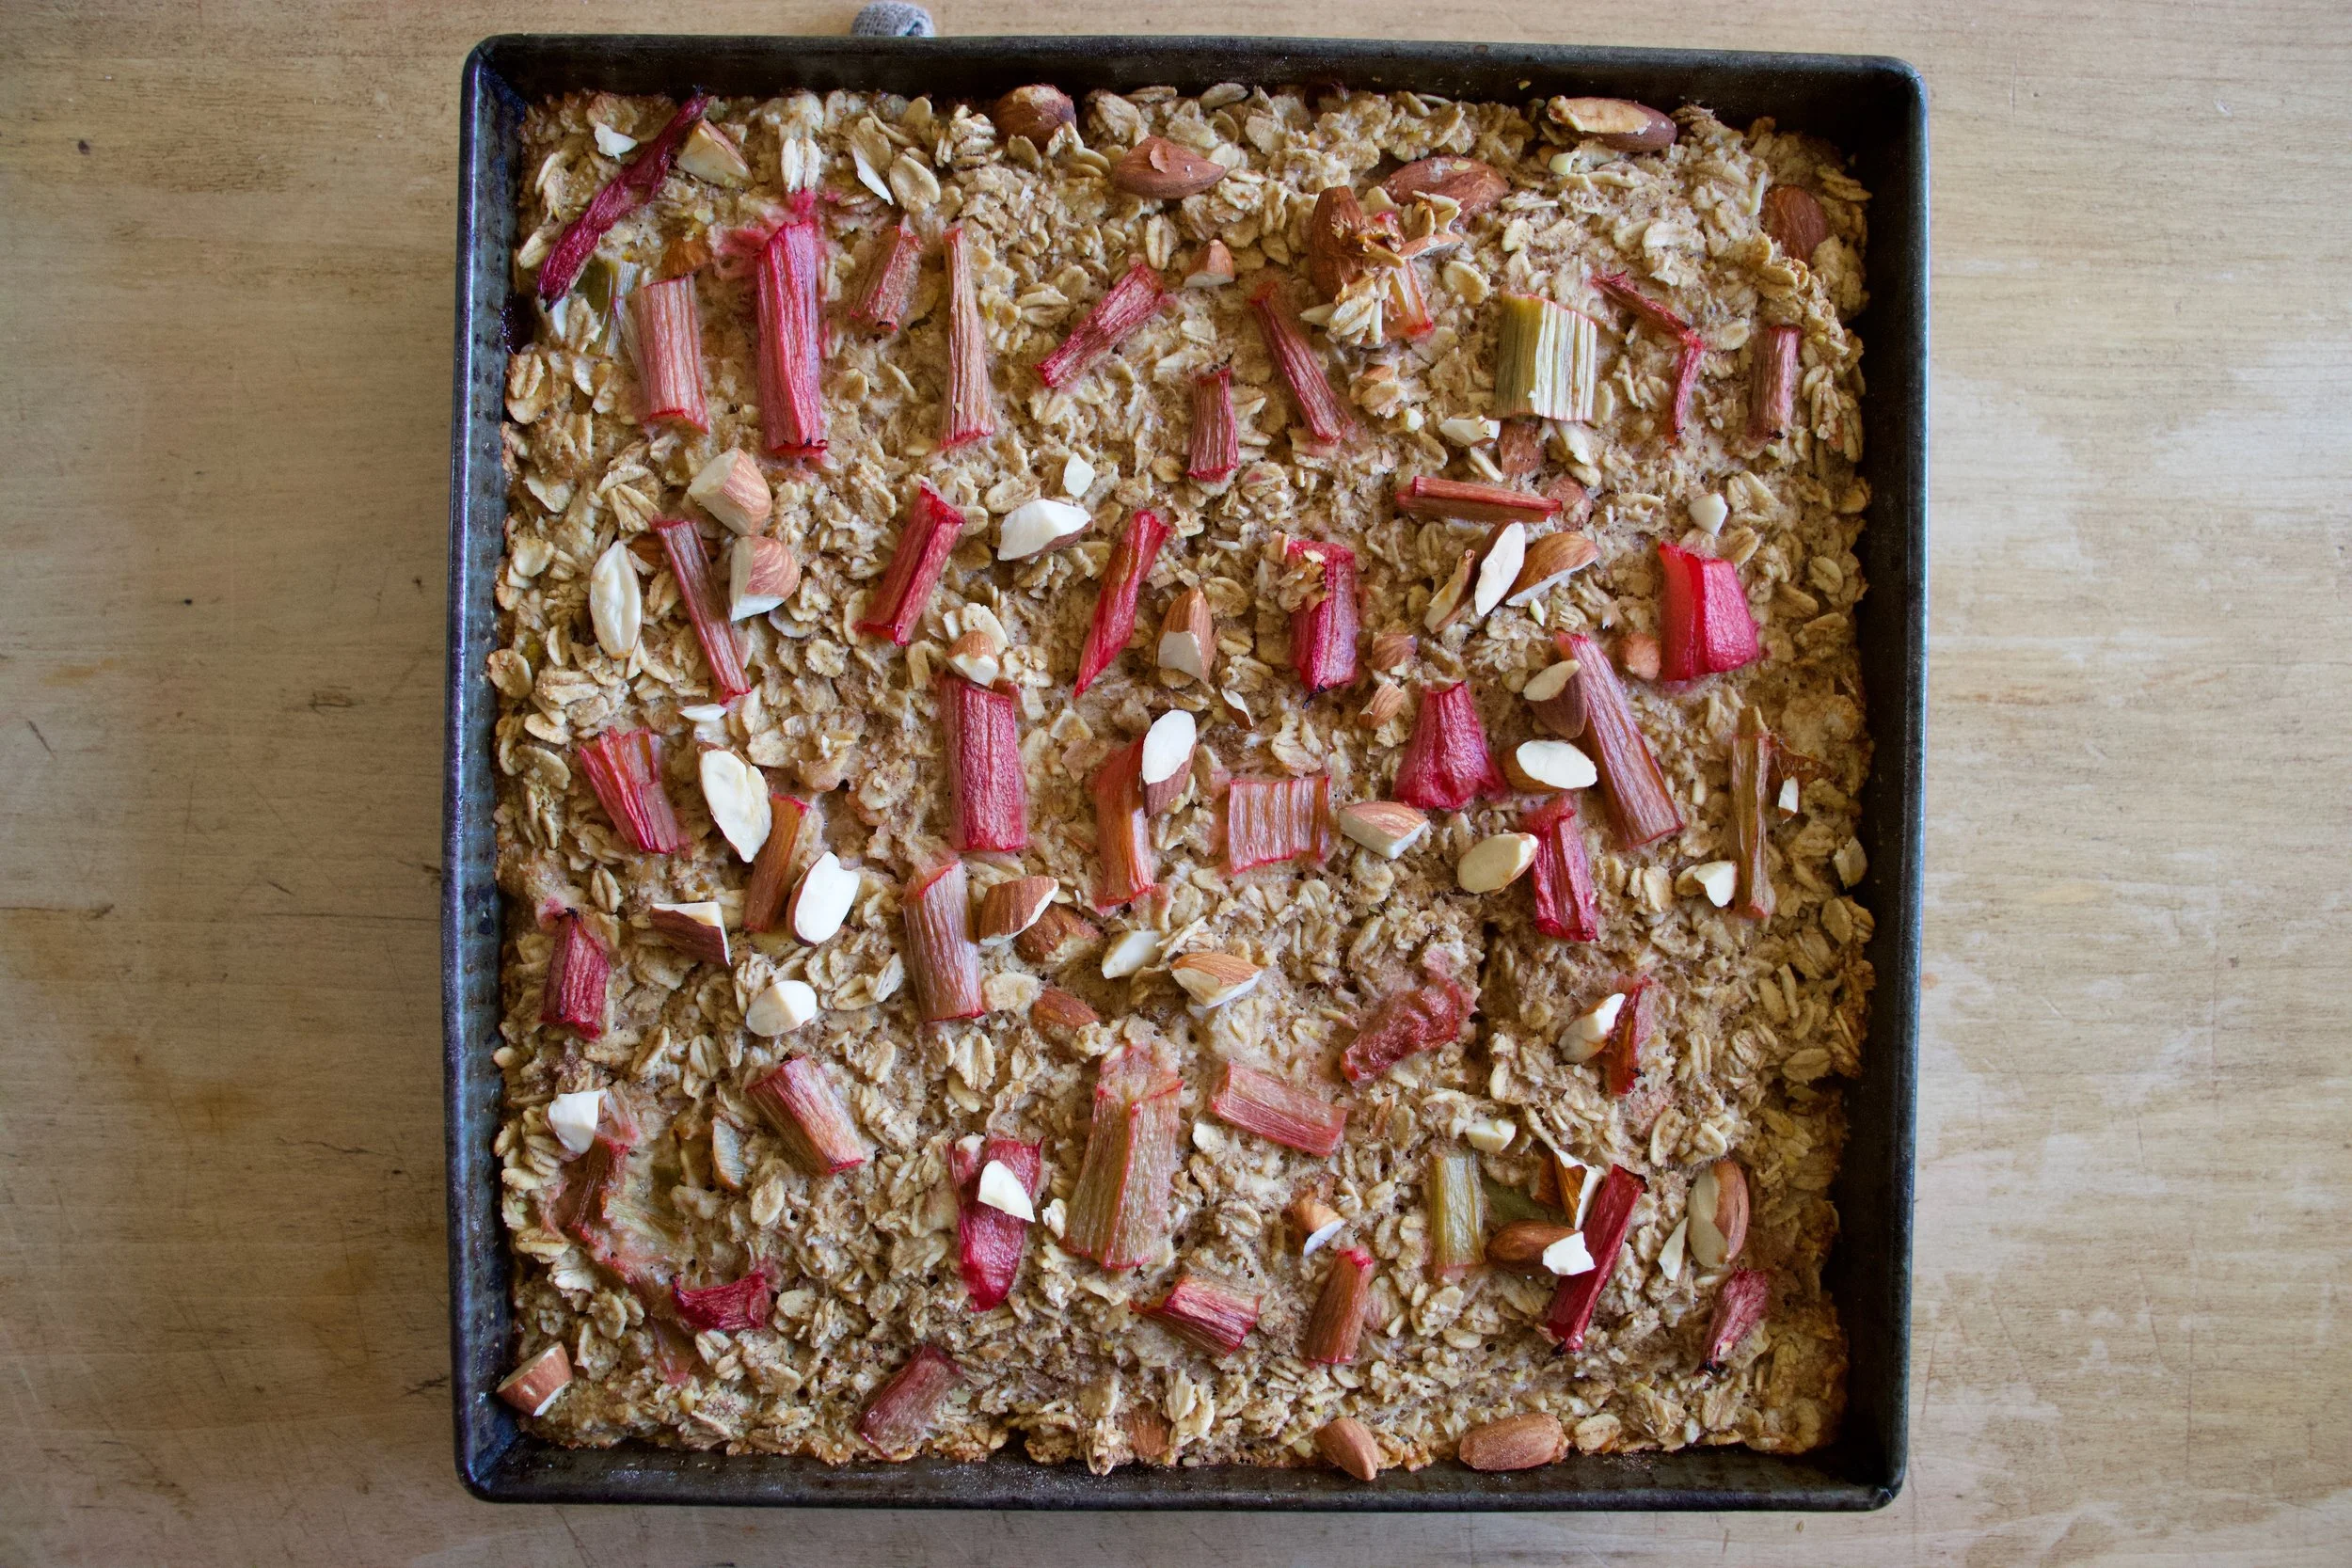
Pulled from the oven with a bubbly filling and a golden brown biscuity top. Things are looking good here.
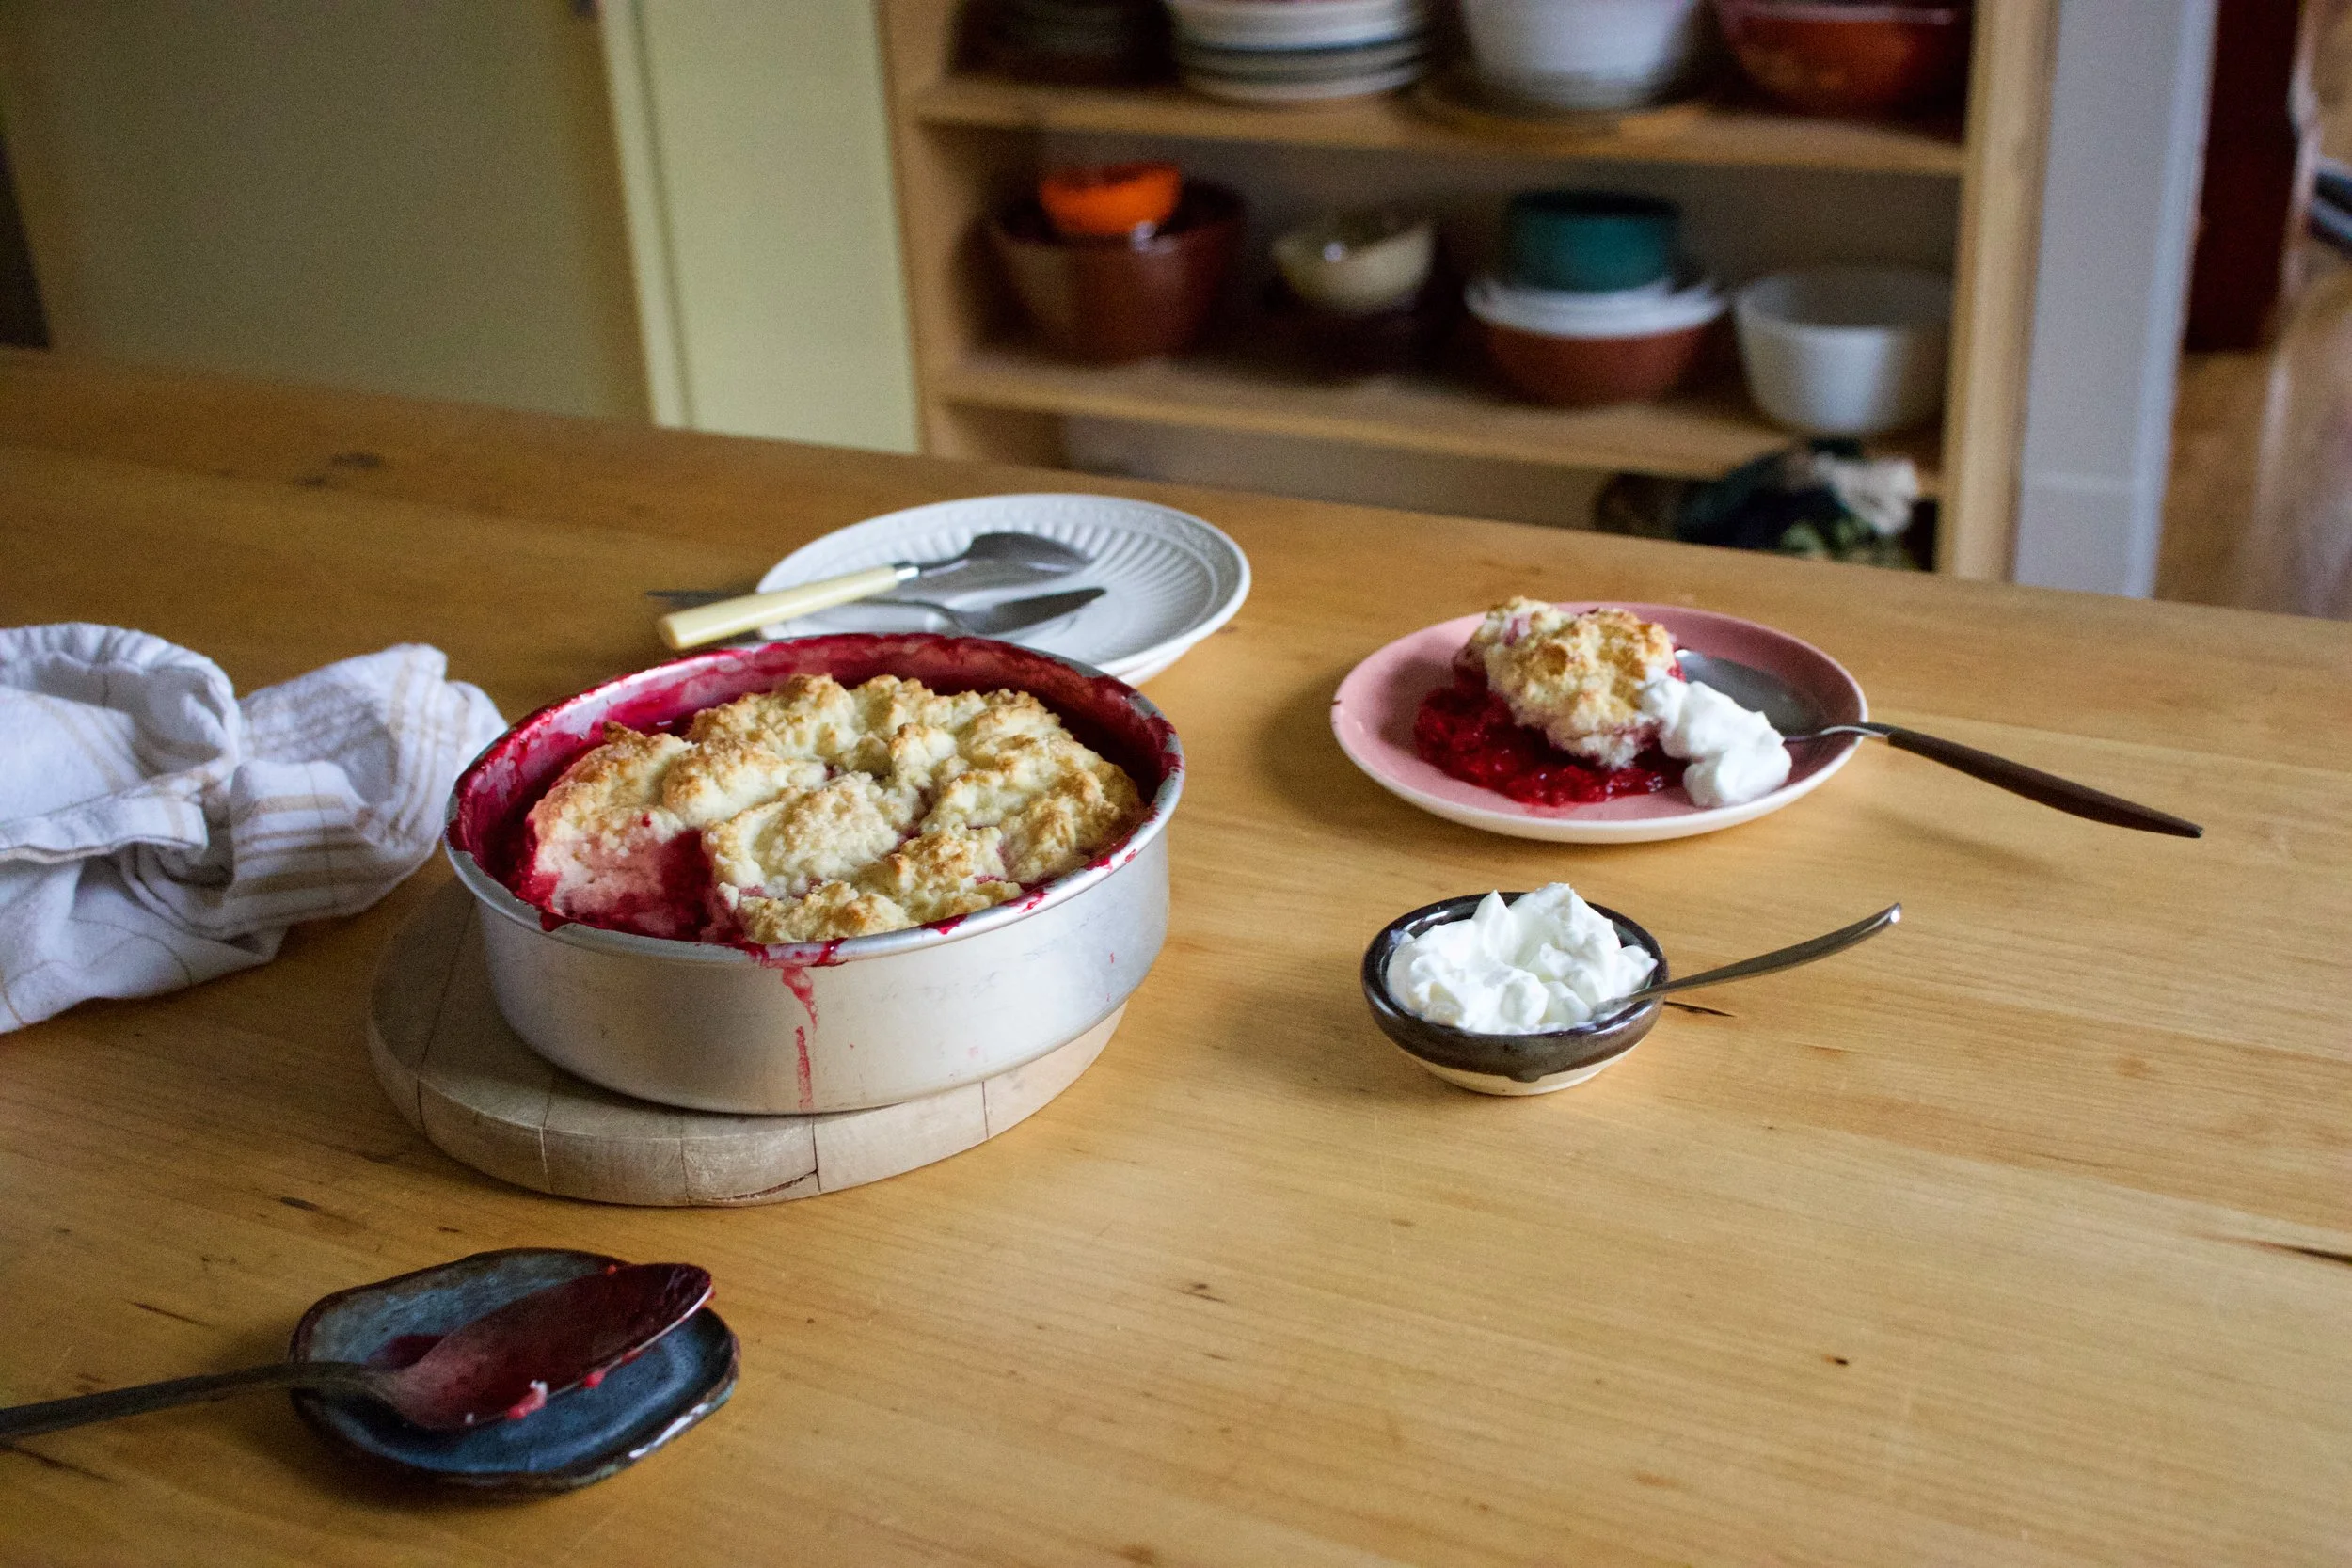
And now it%u2019s time.
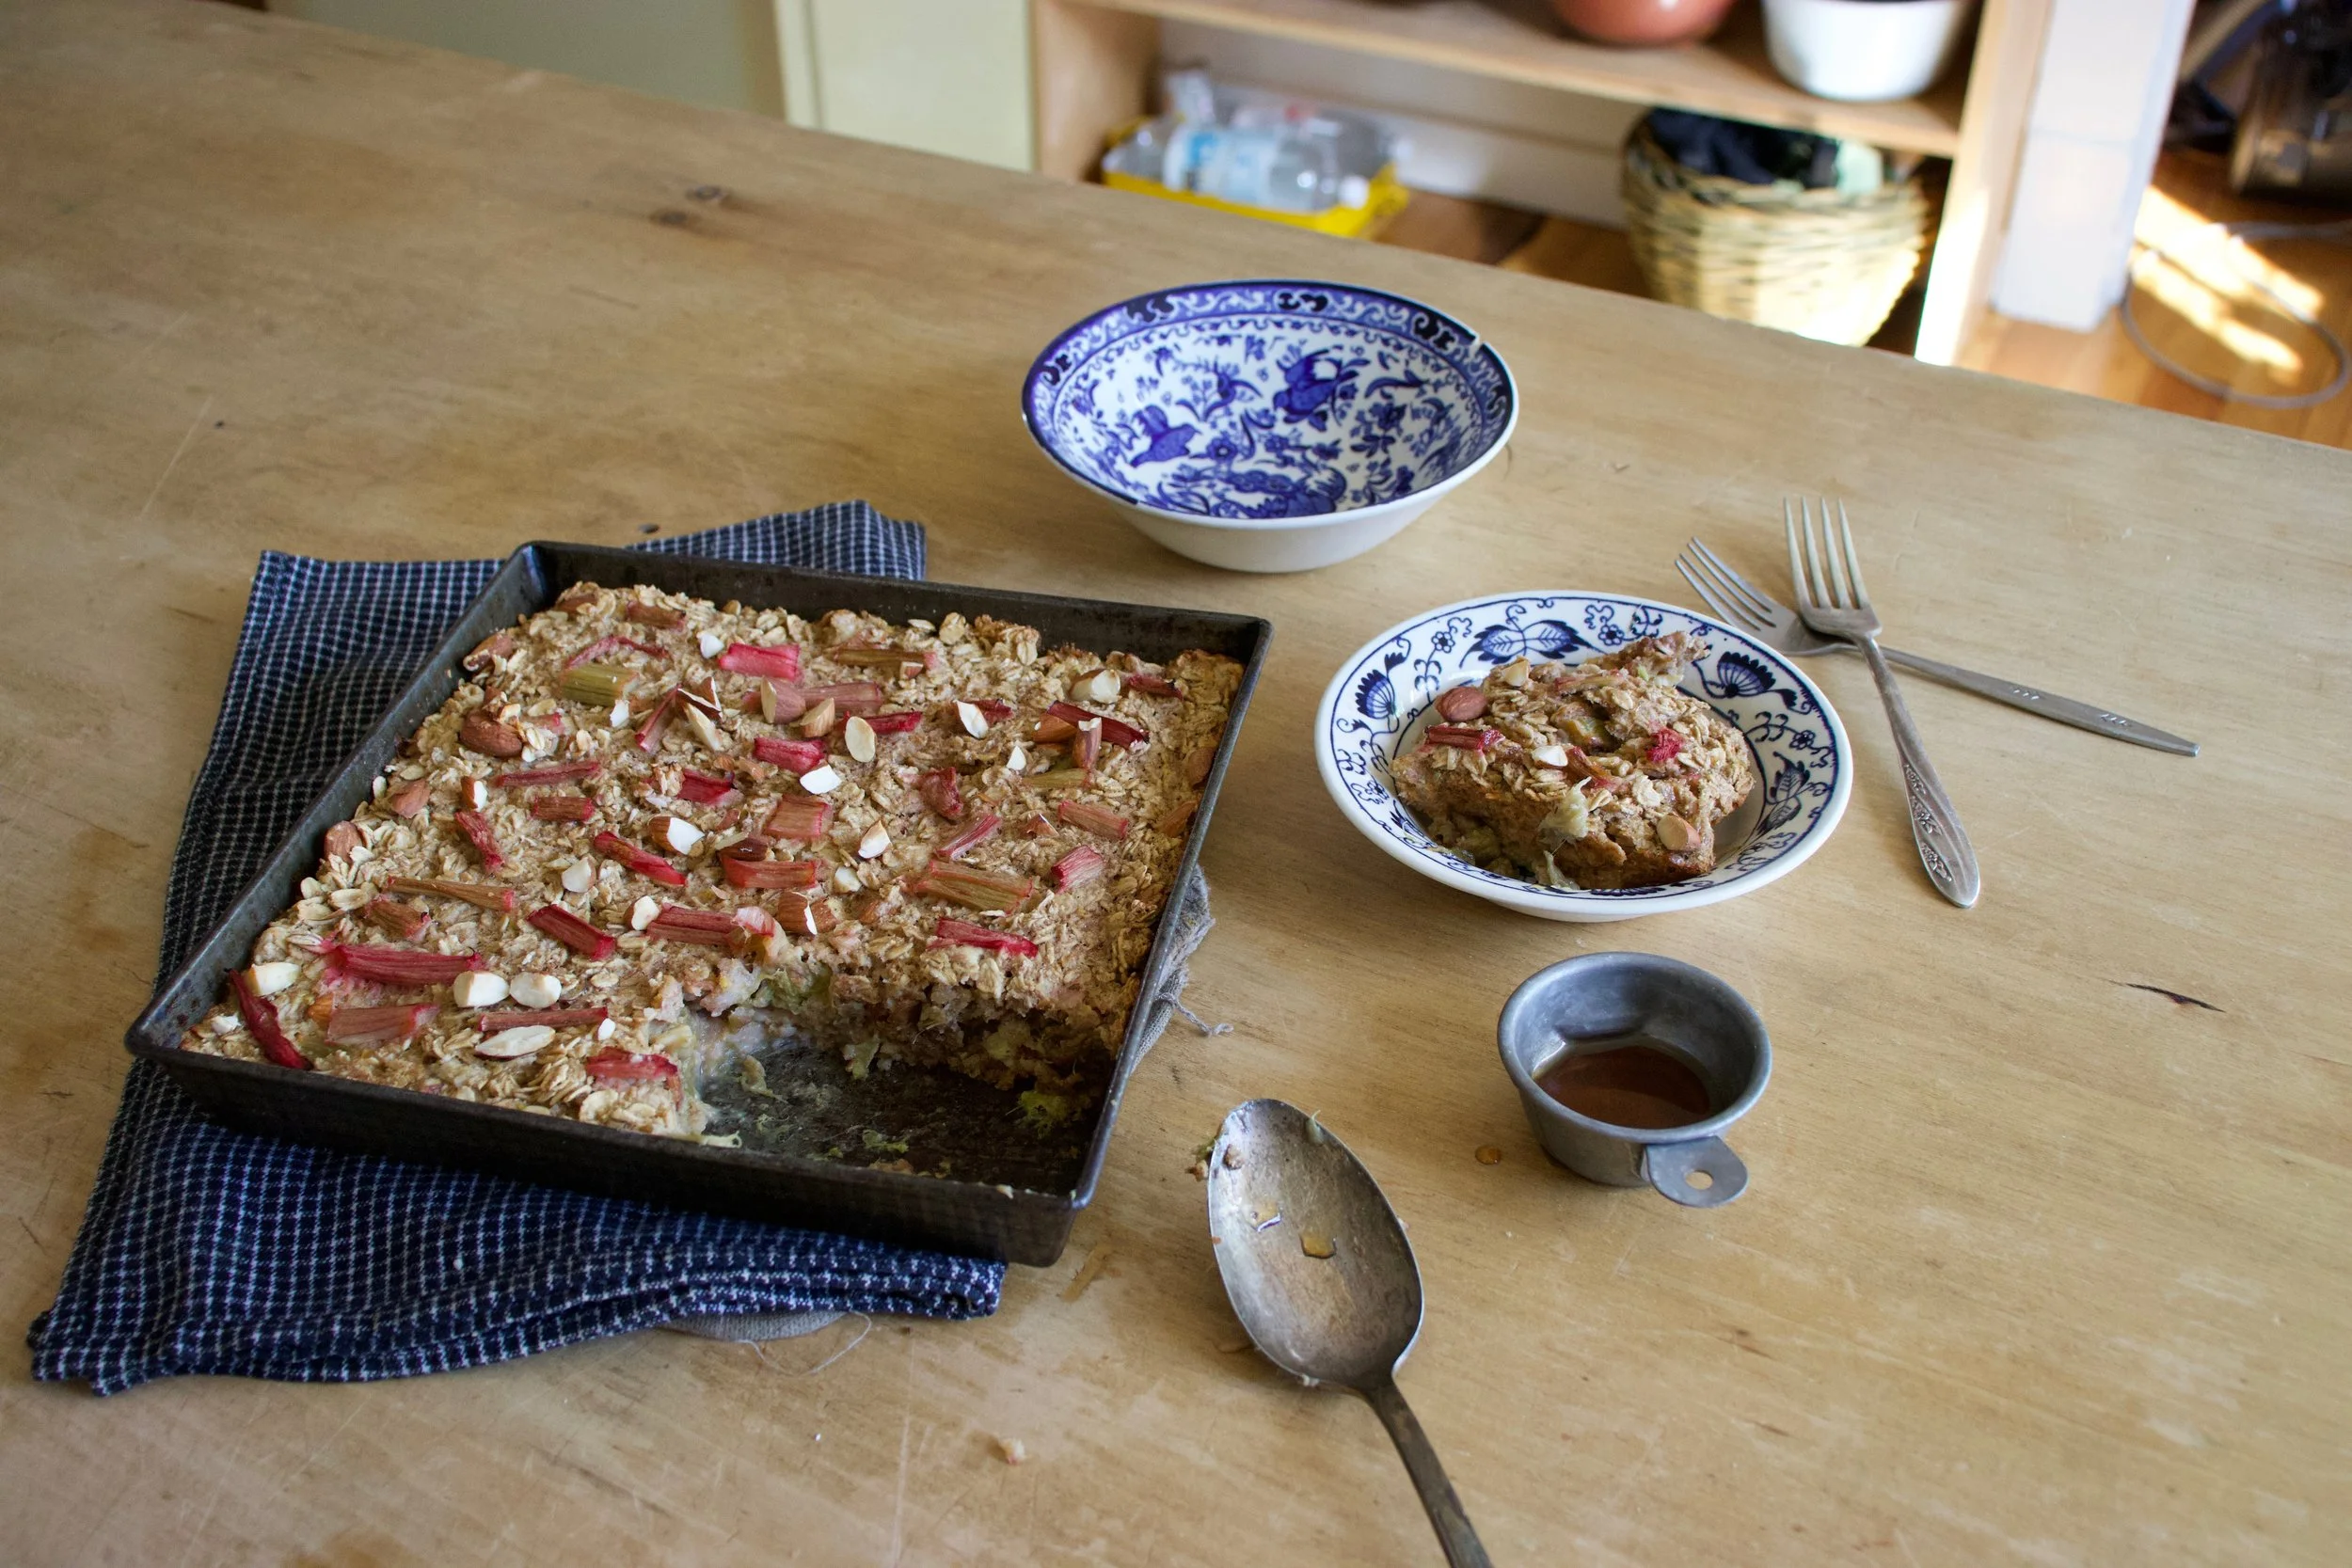
Dig on in my friend. Sever with something creamy like whipped coconut cream or some type of yogurt or ice cream situation of your choice. And again, this can be your breakfast.
Happy spring people!
-C
make a a 8 inch round which serves 5-6
For the Filling
-
2 cups raspberries (fresh or frozen)
-
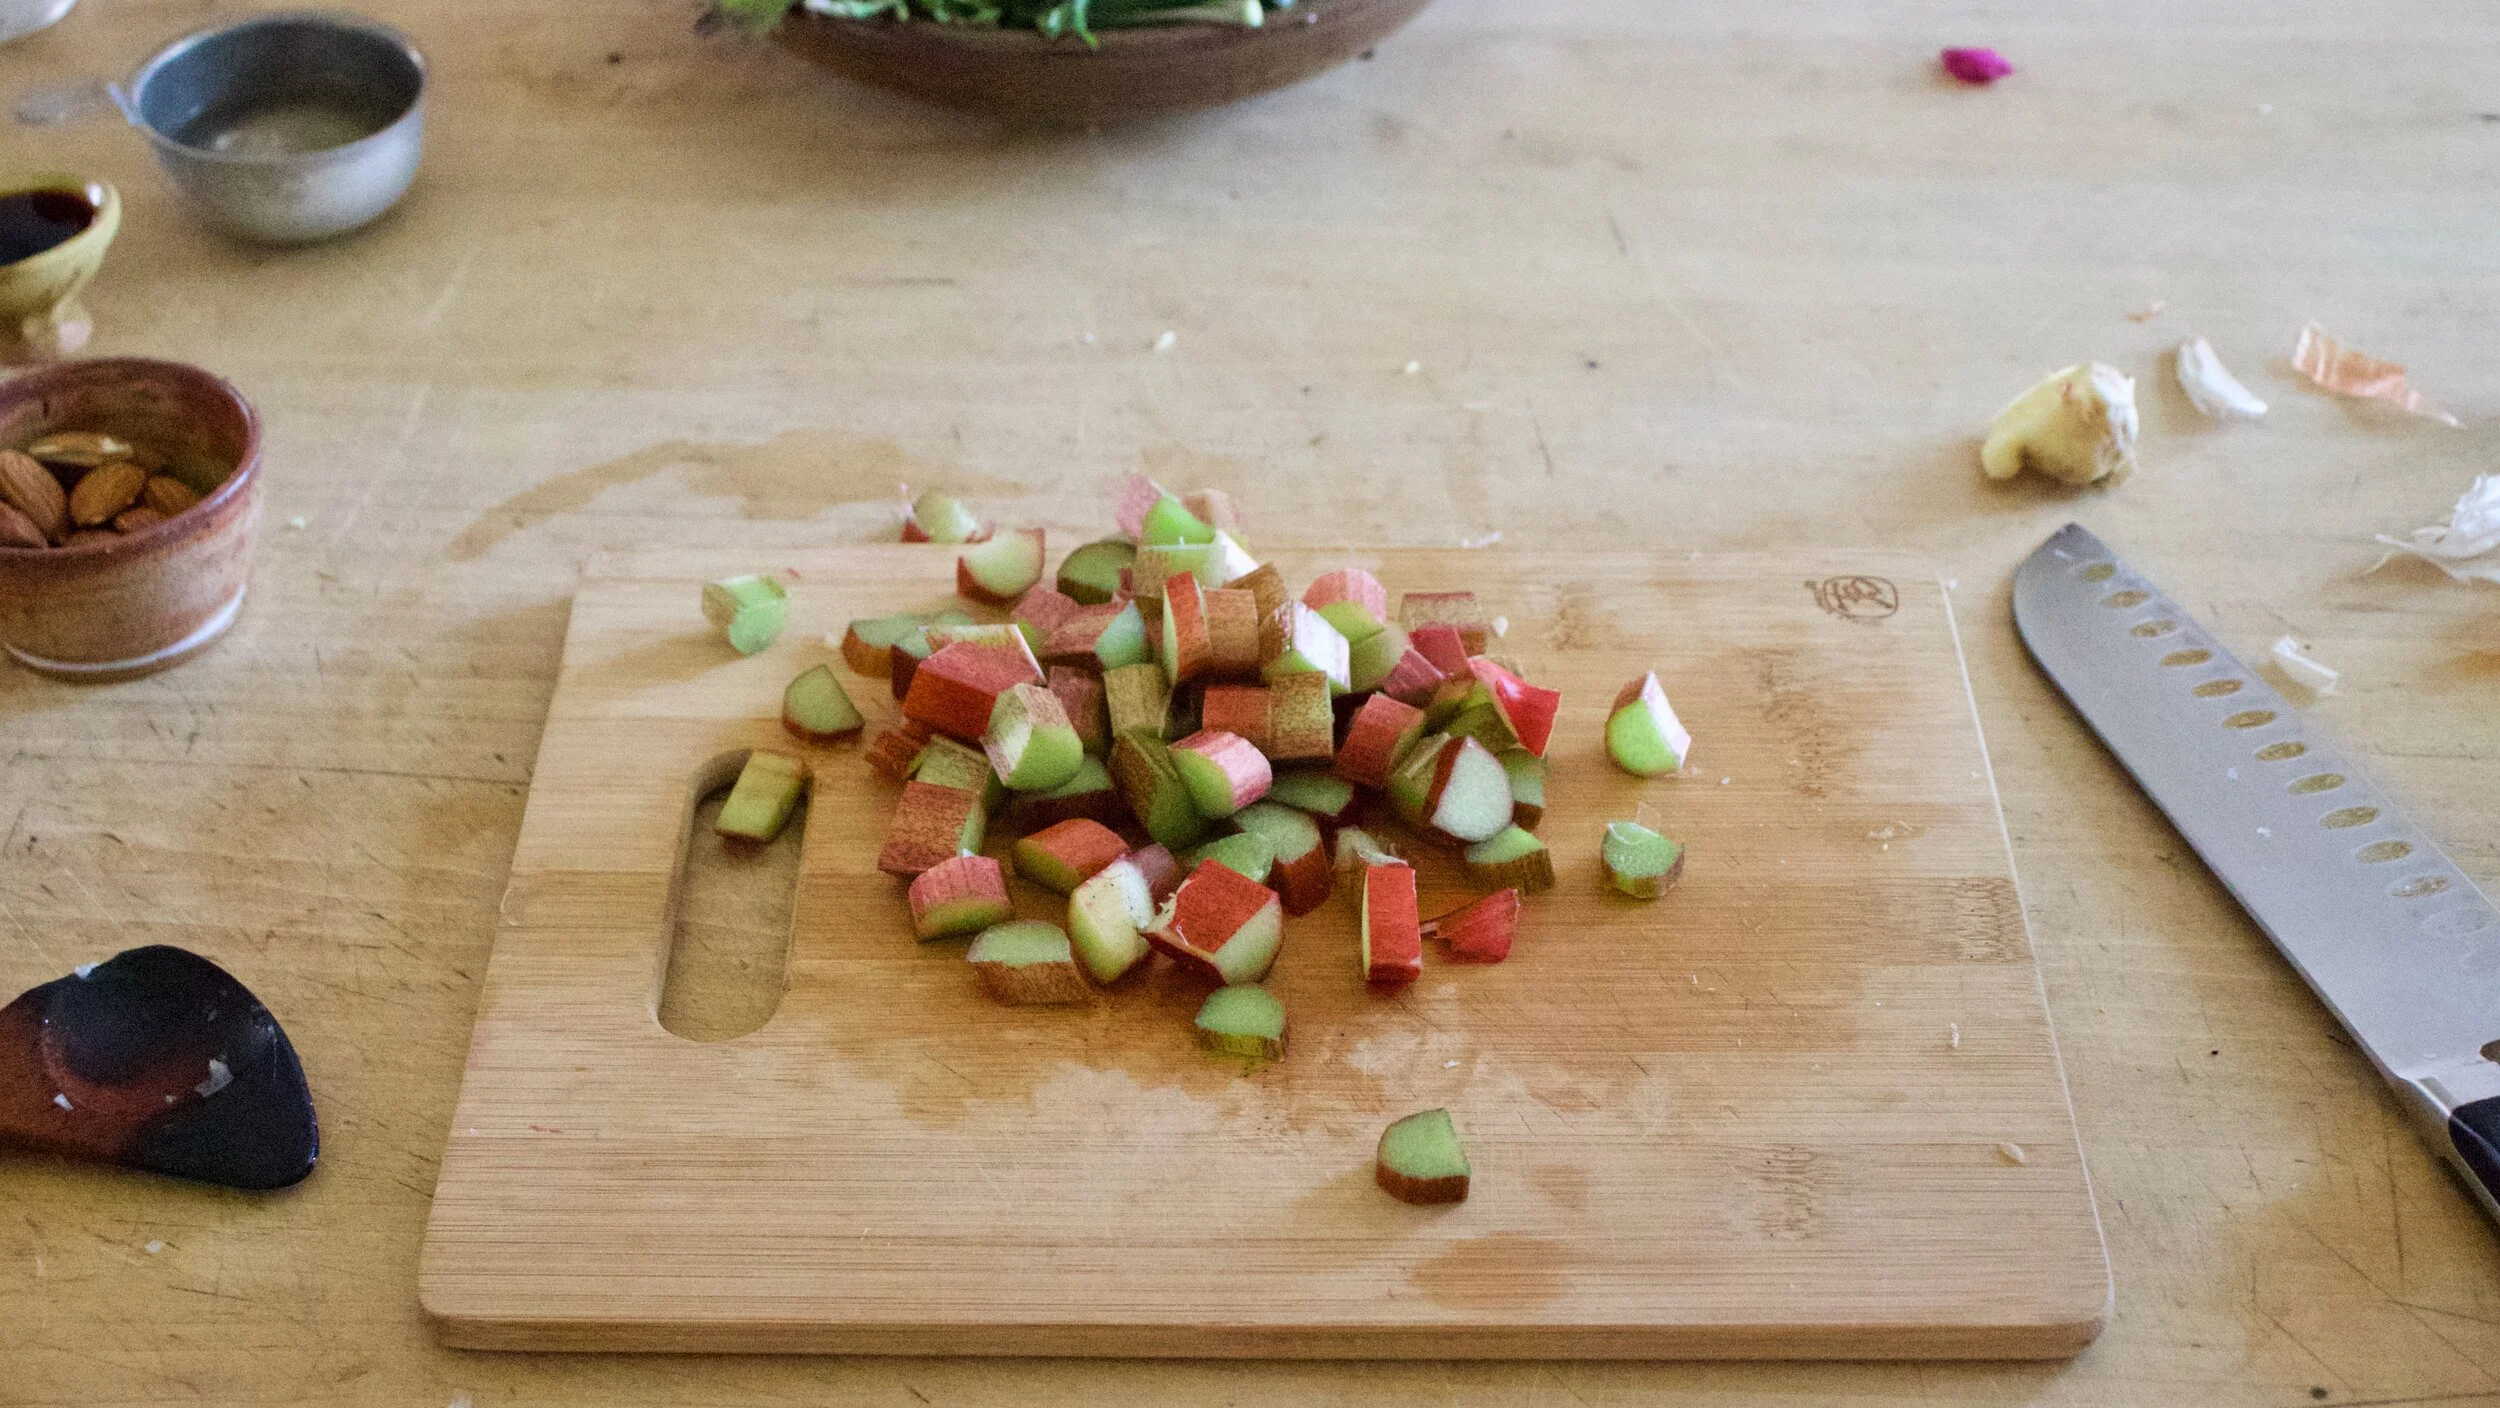
2 cups rhubarb chopped into 1/2 inch to inch long pieces (fresh or frozen)
-
1 1/2 tablespoons corn starch
-
3/4 -1 cup sugar (lesser amount if you like a little more tartness. I used lesser amount)
-
1 teaspoon cinnamon
For the dough
-
1 cups all purpose flour
-
1 1/2 teaspoon baking powder
-
1/2 teaspoon salt
-
3 tablespoons sugar
-
3 tablespoons neutral flavored oil
-
1/2 cup plant based milk
-
1 teaspoon apple cider vinegar
Preheat oven to 350.
In a large bowl mix together the rhubarb and raspberries with the corn starch, sugar, and cinnamon. Grease a 8 inch round pan the is at least 2 inches deep (can use a slightly large pan or a square) and dump in fruit mixture. Place into oven to bake for about 15 minutes or the fruit starts to break down.
While fruit is baking, mix up biscuit dough. Flour, salt, 2 tablespoons sugar, and baking powder go in a large bowl and mixed until combined. Add in the oil, the milk, and the vinegar. Mix until just incorporated and a dough has formed.
Remove the fruit cooking from the oven. Turn heat up to 375.
Carefully drop spoonfuls of biscuit batter on top of fruit. Brush the top of the biscuits with a little milk and sprinkle with remaining tablespoon sugar. Place the pan back into the oven and bake for another 25-30 minutes or until the biscuits are all nice and golden brown on top.
Remove from oven and let cool for a few minutes before serving. Serve warm with a scoop or dollop of soothing creamy (coconut cream, yogurt, ice cream%u2026..whatever floats your boat.)
Left overs can be stored in pan, just cover it with something and place in fridge. Can be eaten cold to or reheated in microwave or oven.
It%u2019s a smoothie. And no, we have never really been smoothie people in this house, but what can I say, sometimes smoothies happen, especially when you have about 20 ripe bananas in the fruit bowl with no room in the freezer and no need for 7 loafs of banana bread.
So I smoothied. And I like it (a lot).
This is a smoothie of simplicity. Nothing fancy. Simplest of simple. Straight to the point. And all sorts of good.
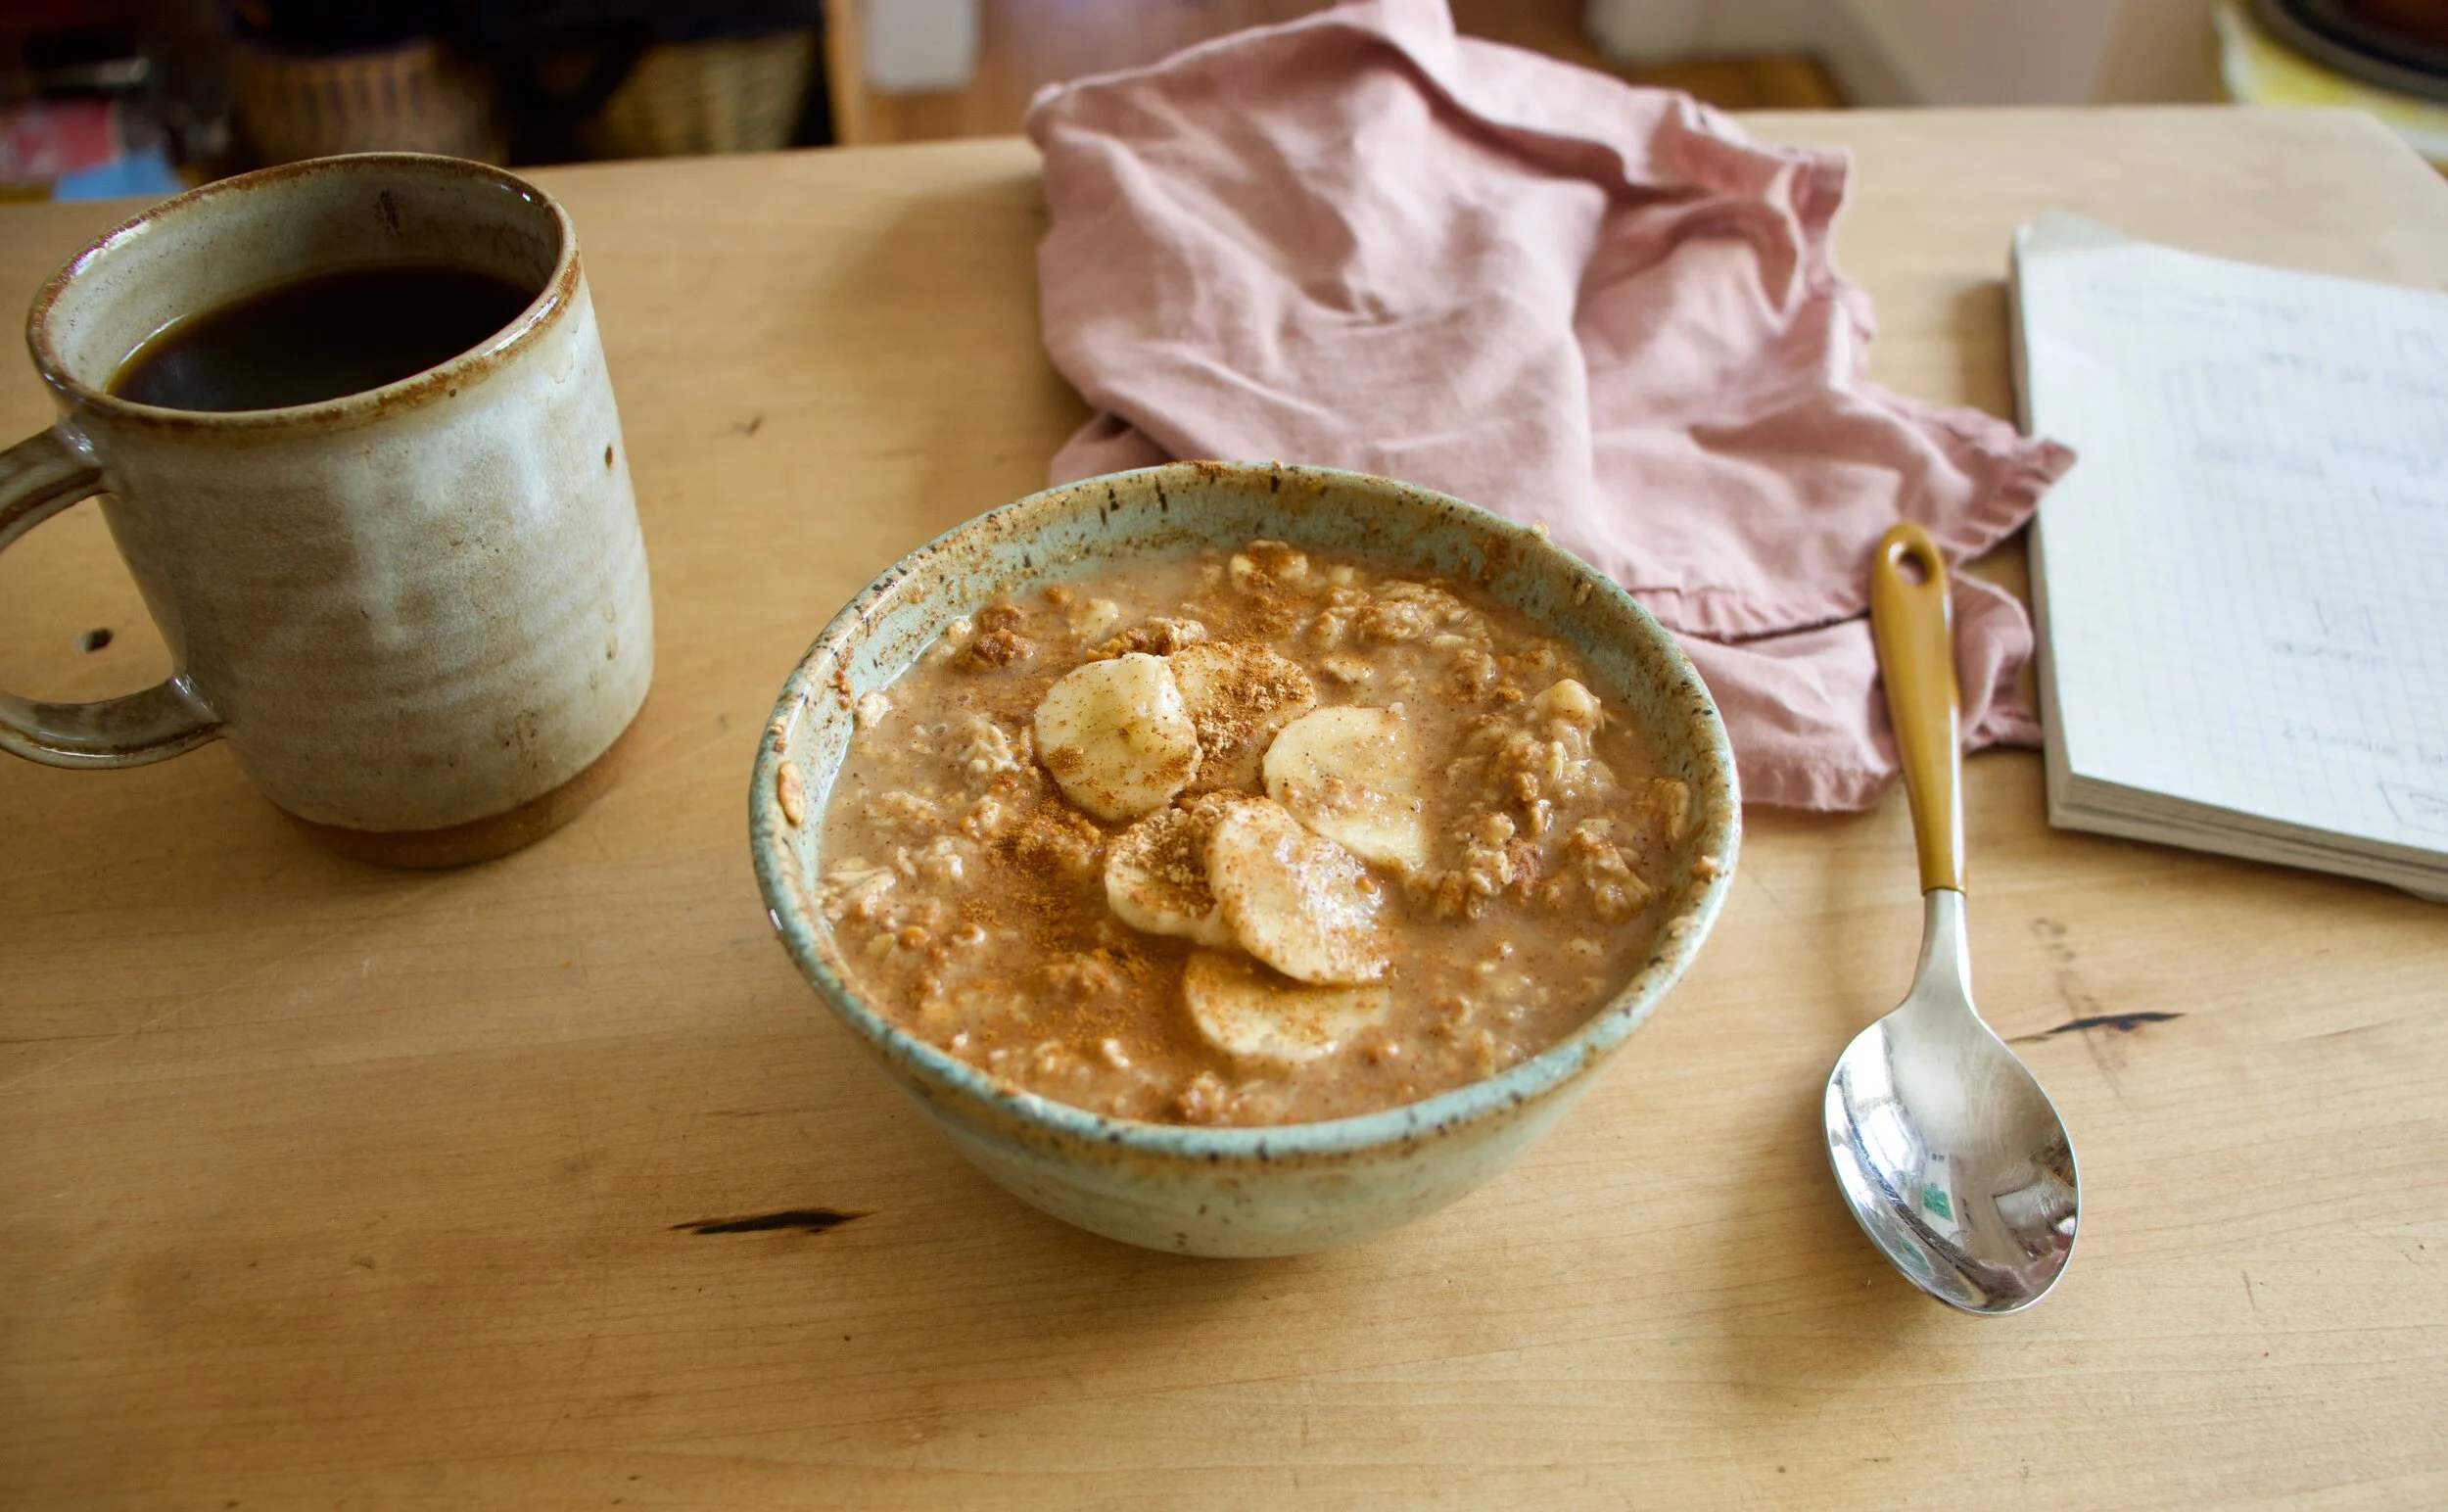
You might think, does this simple smoothie you speak of taste very good? Yes, yes indeed it does. It is all sorts of fantastic. Basically if you like creamy, nutty, oaty, bananery things, you will like this. And it%u2019s a perfect breakfast, snack, dessert, or just wanting a little treat like thing that is not garbage food. A smoothie of all smoothies with the most basic ingredients. And takes about 15 seconds to whip up. Can%u2019t complain about that.
To the smoothie goodness!

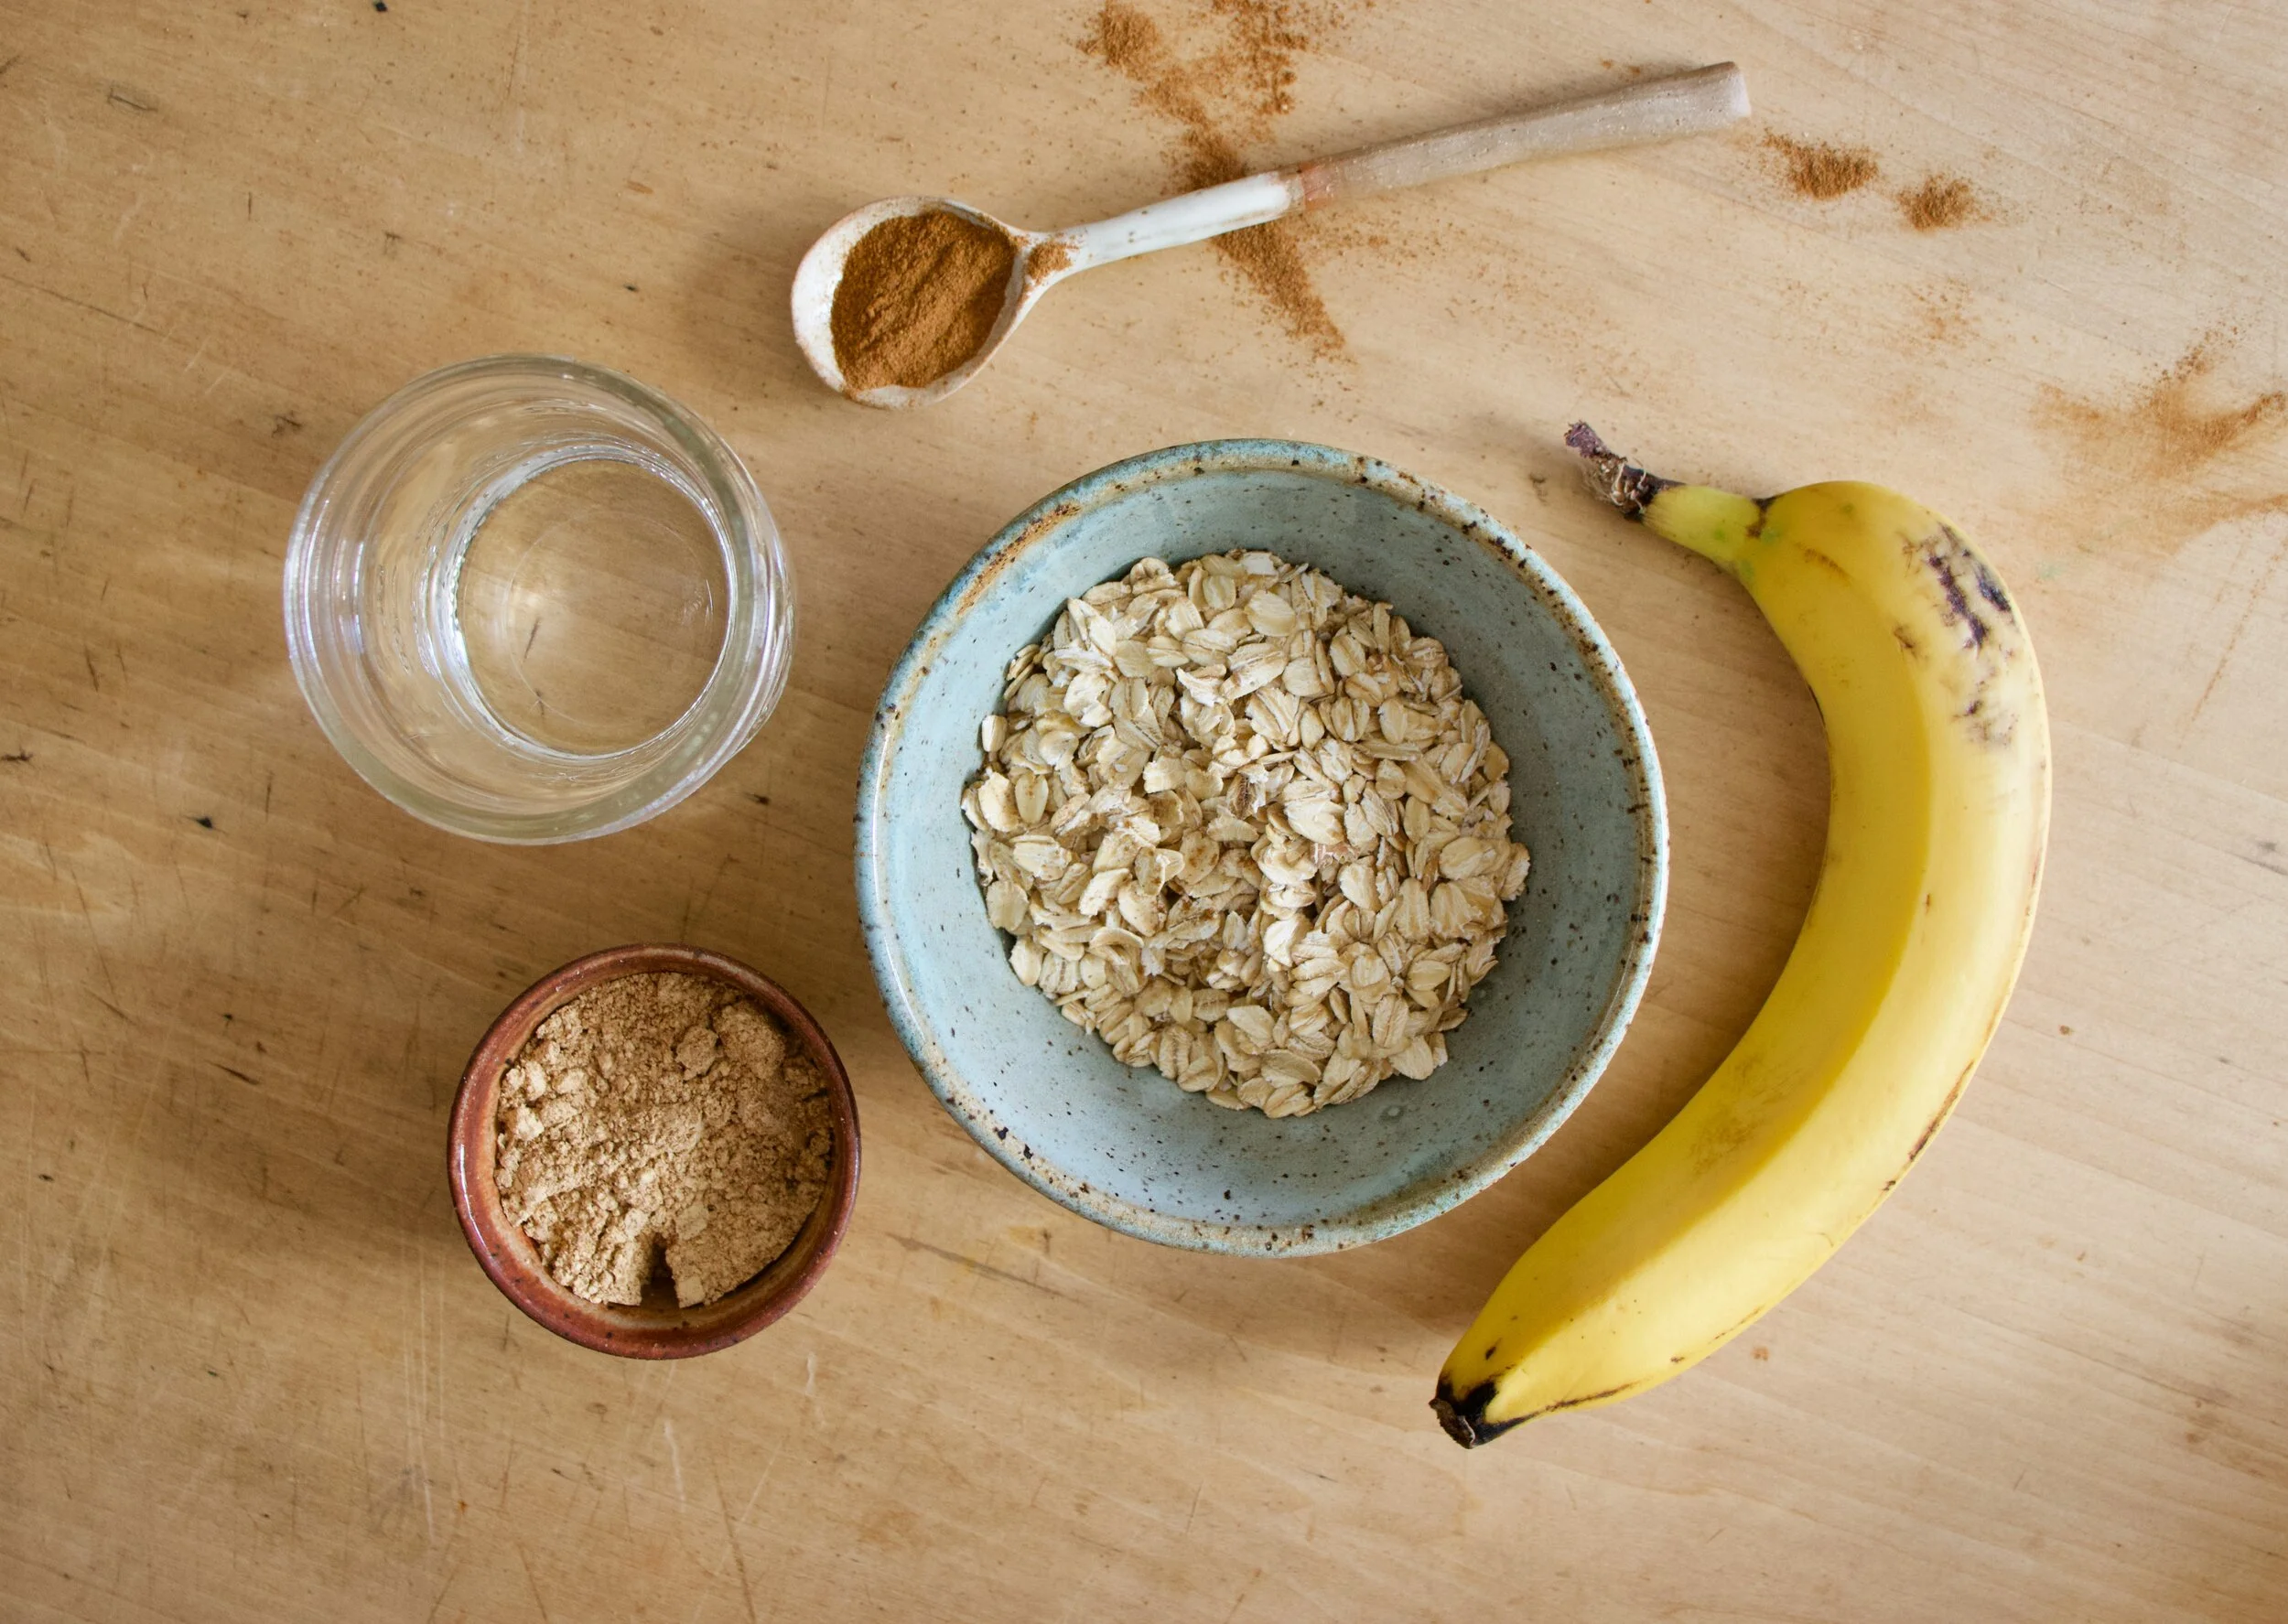
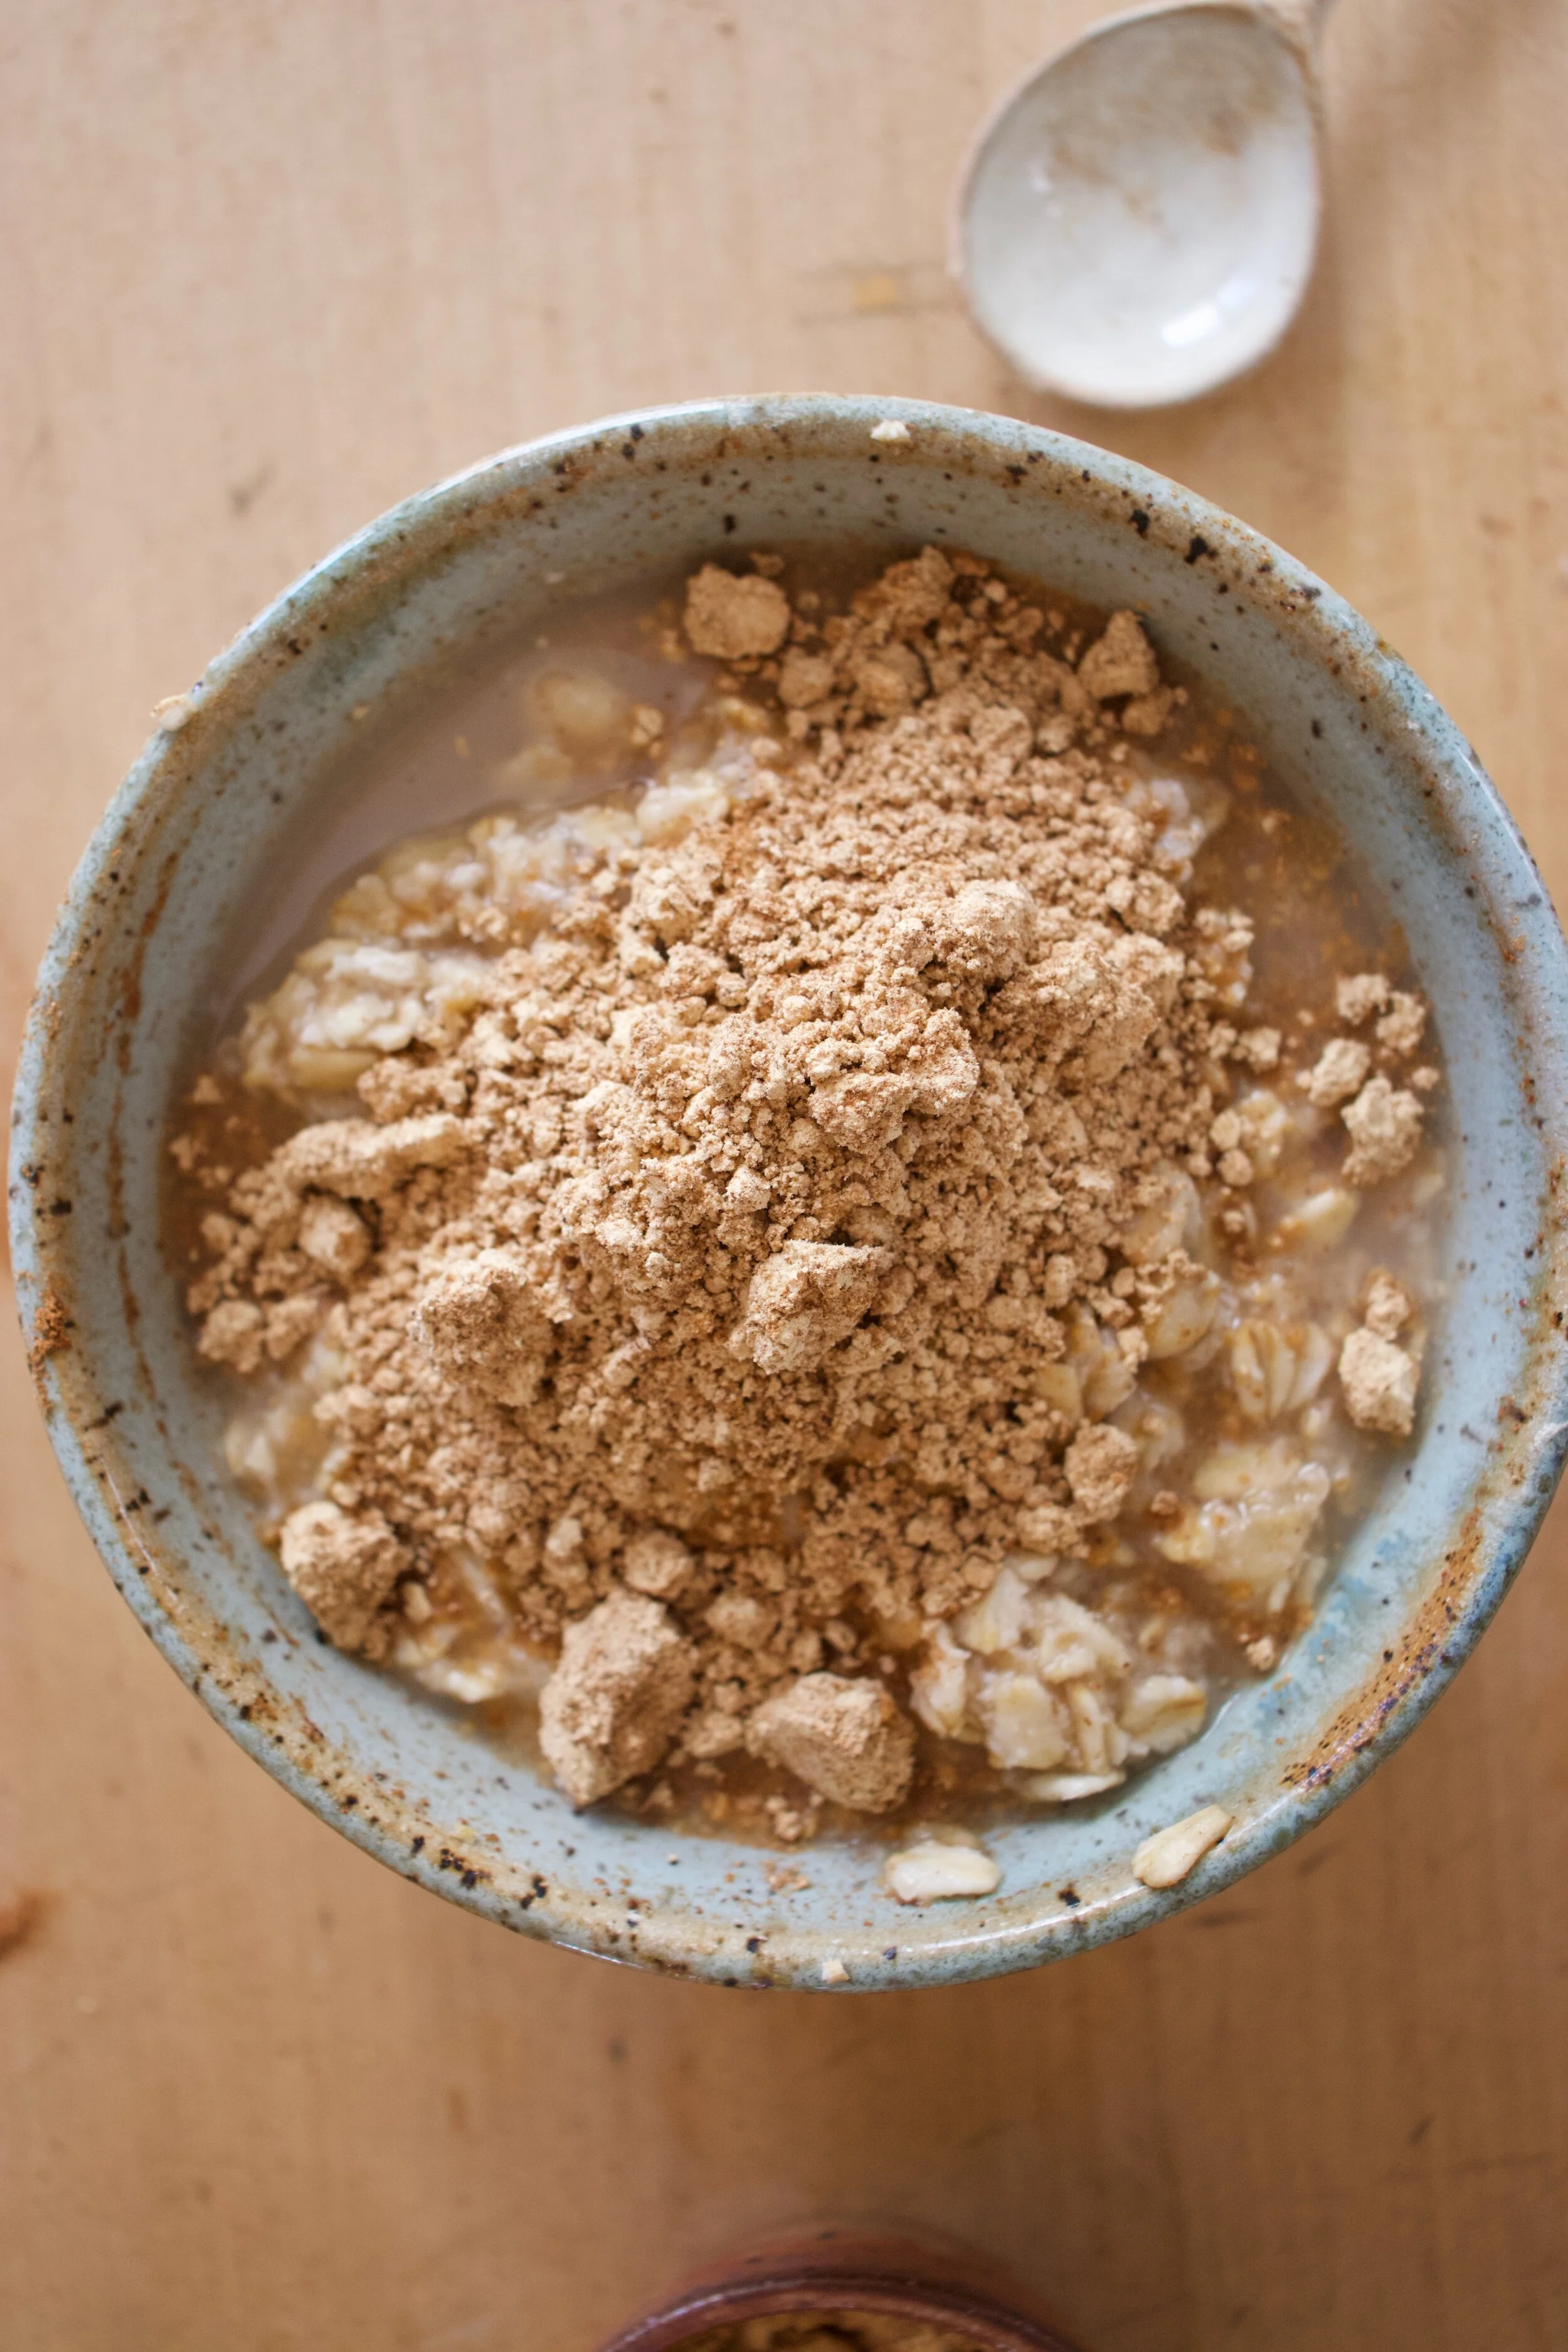
The stuff. A ripe banana, some old fashion rolled oats, a pinch of salt, water, and a smidge of maple syrup if you want it.
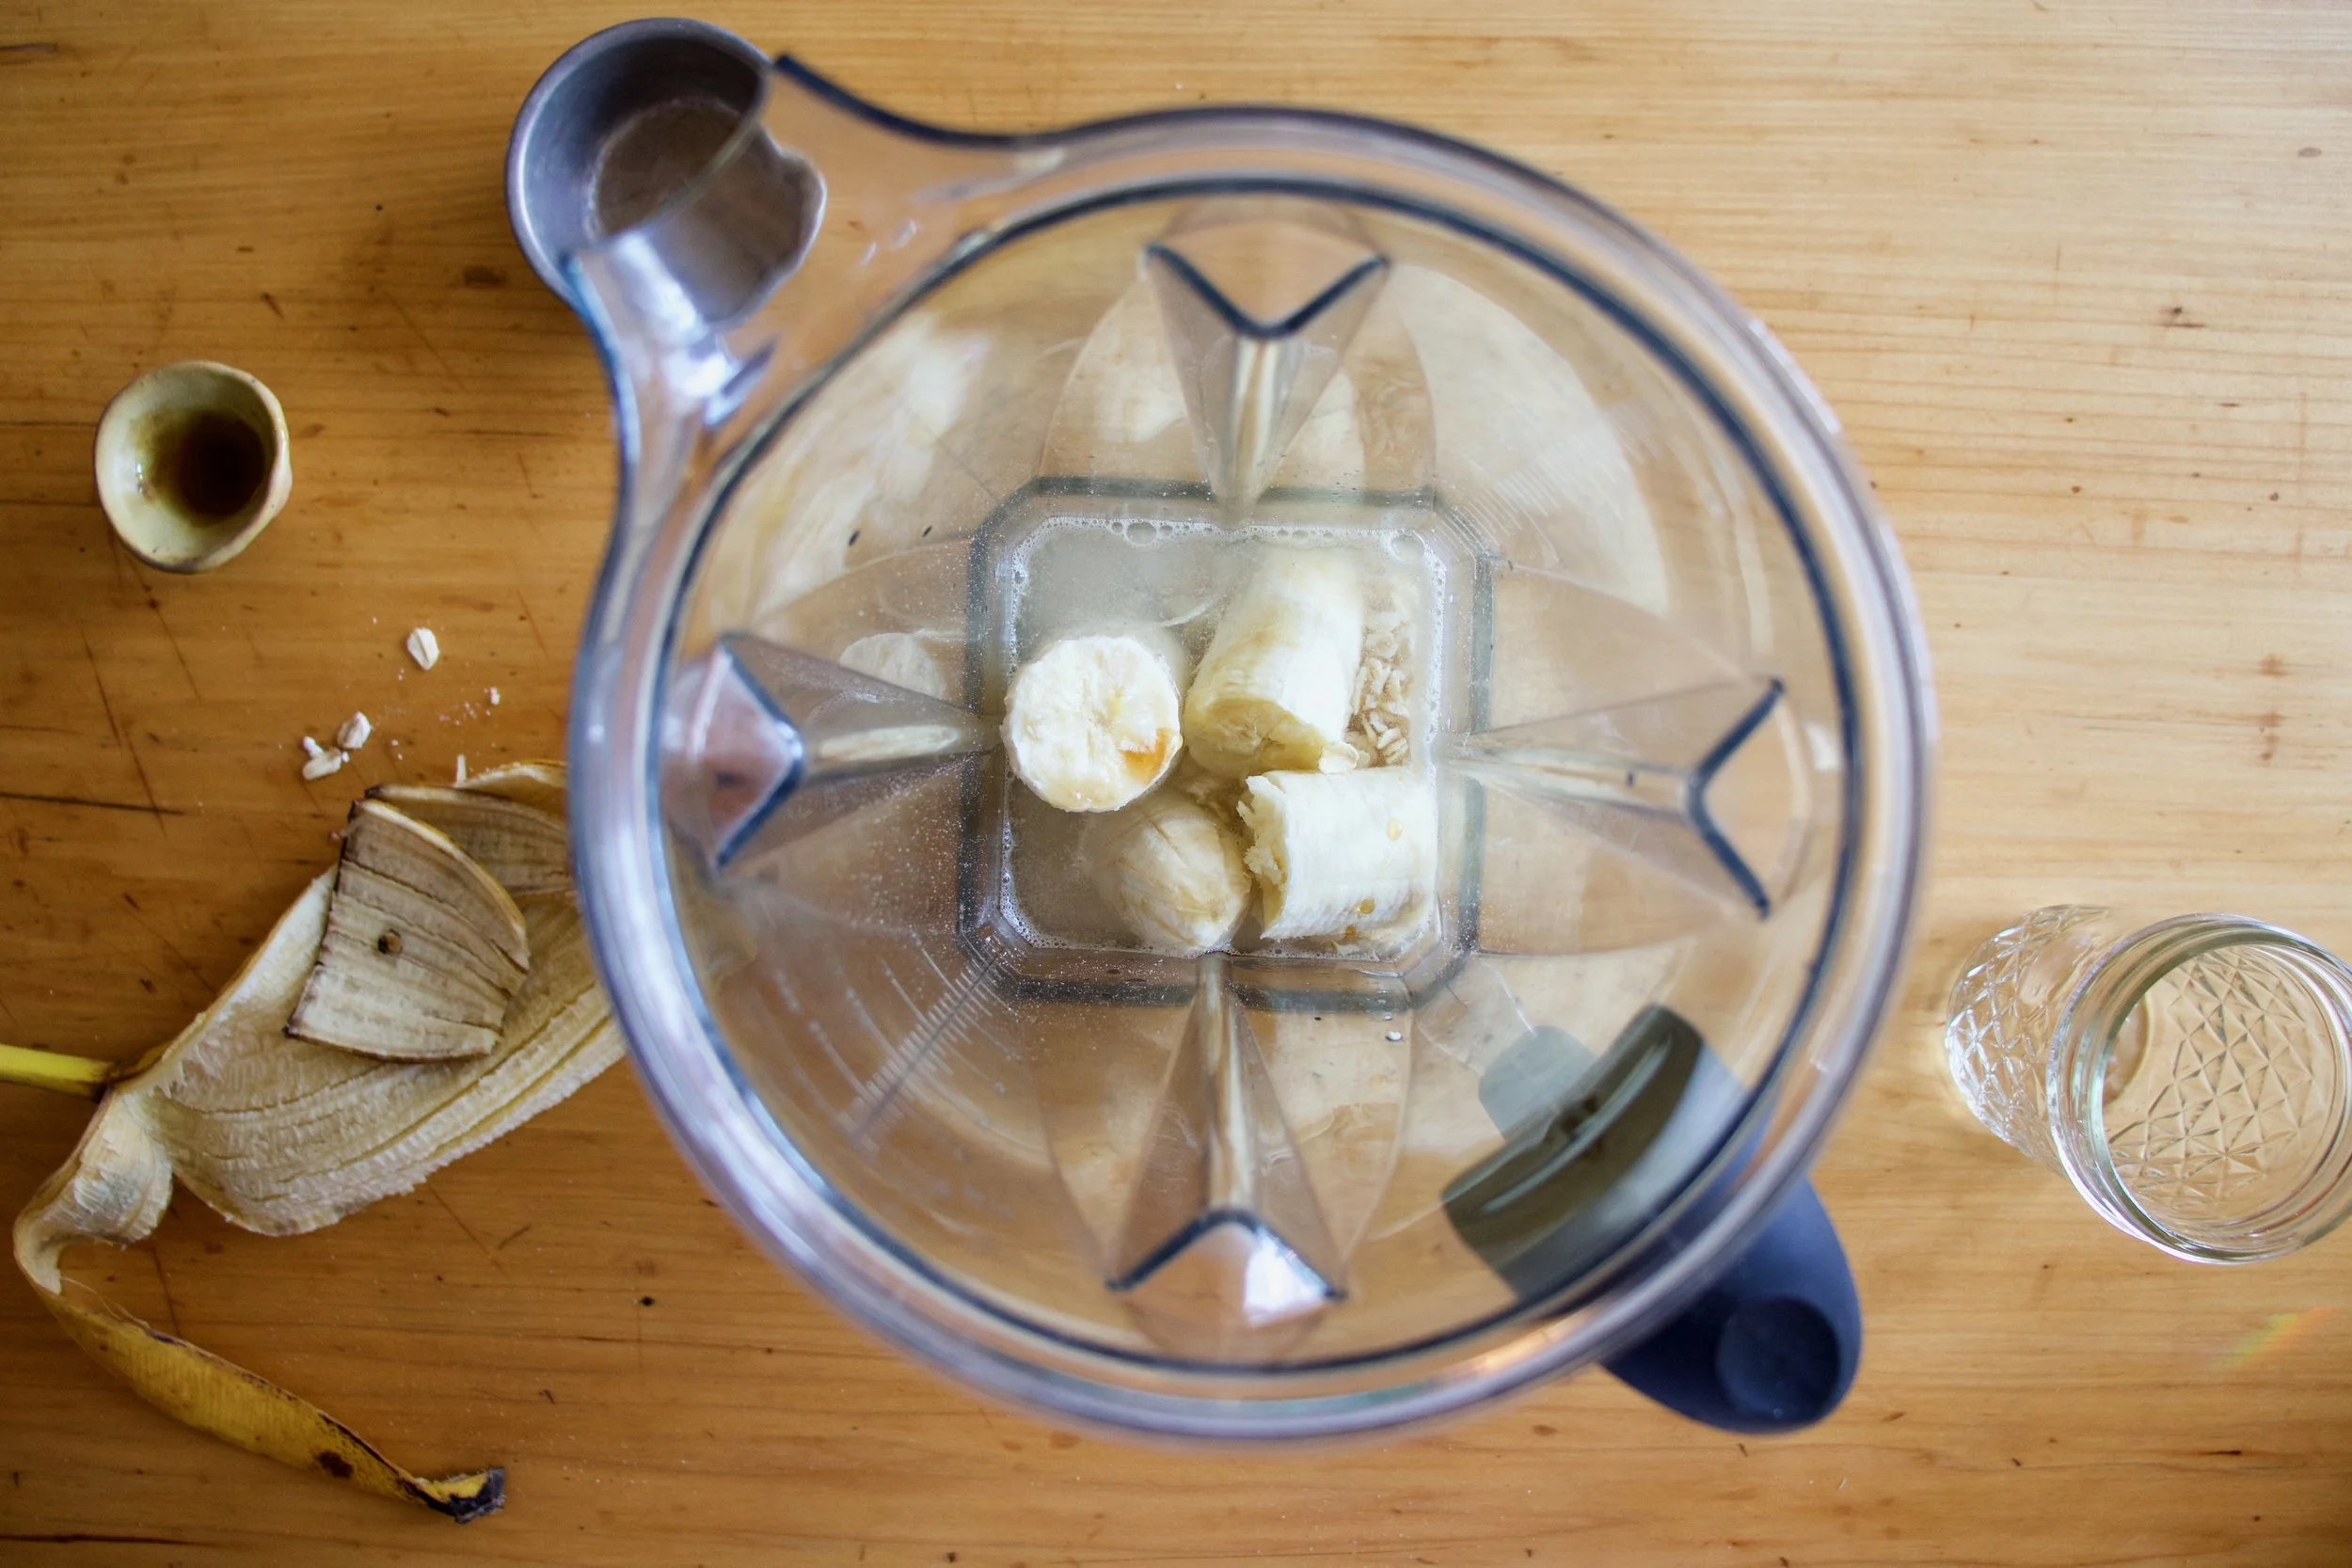
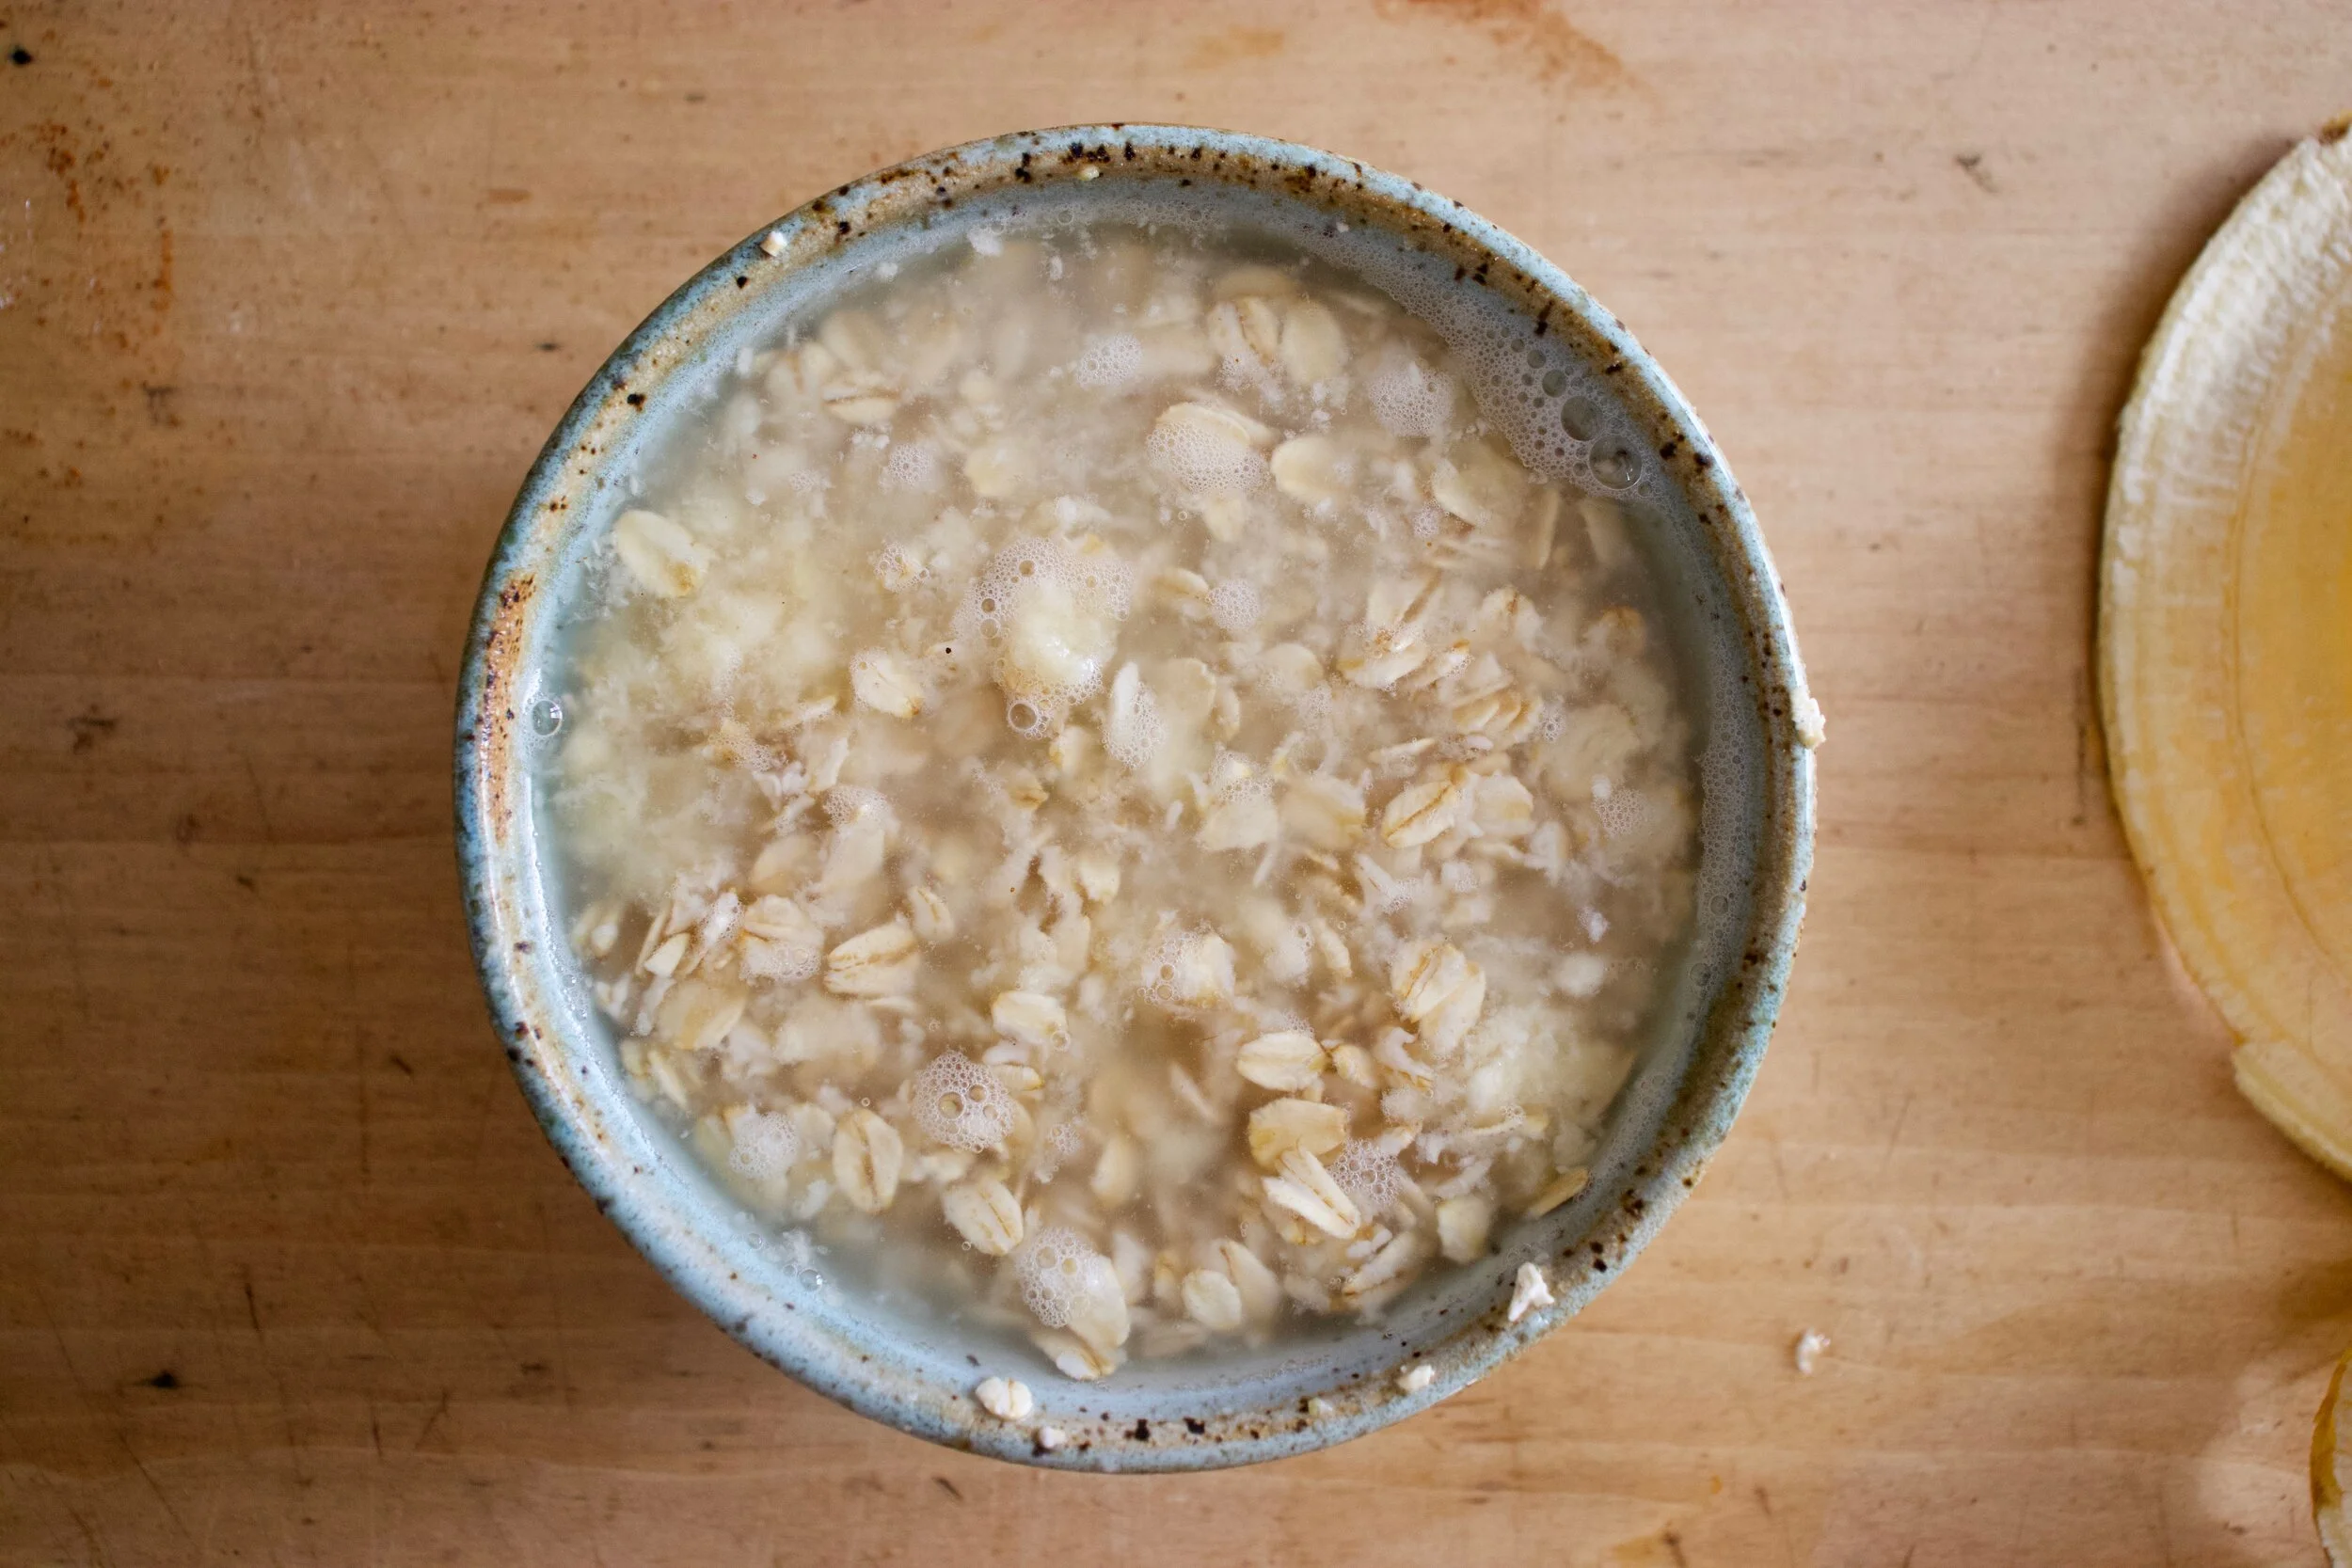
Everything goes into blender.

And blended until smooth. Hence the word smoothie.
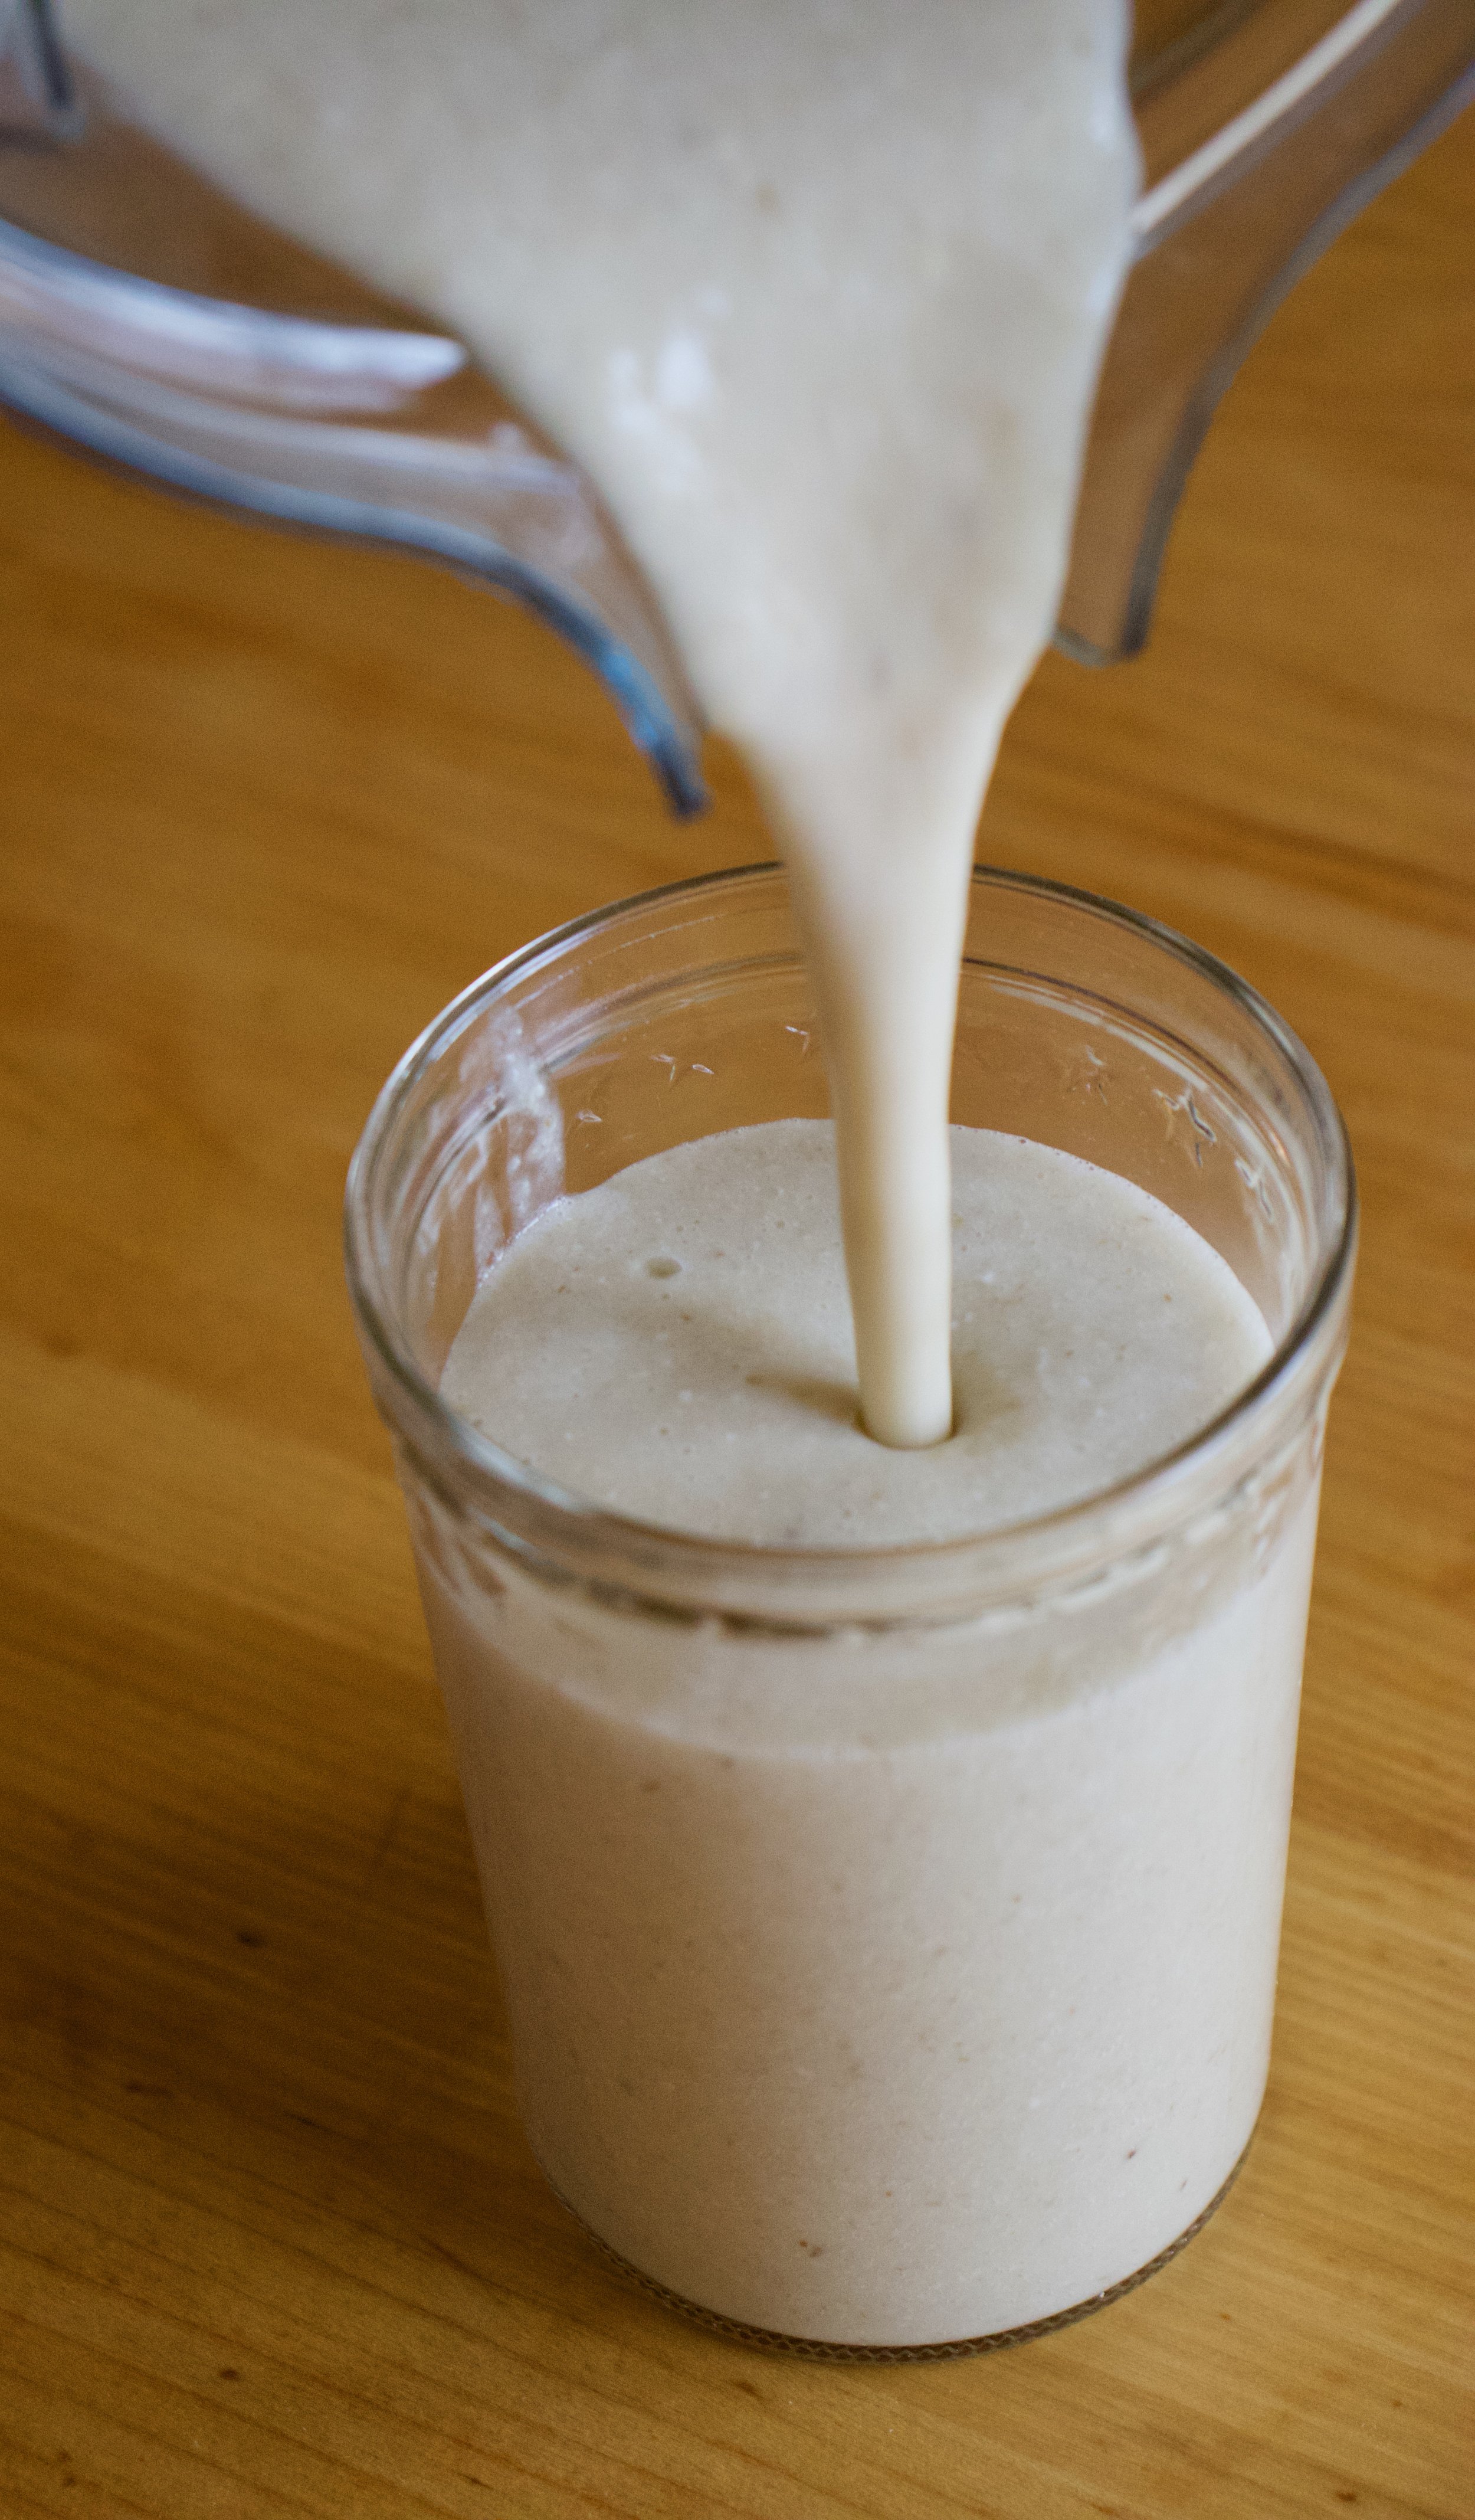
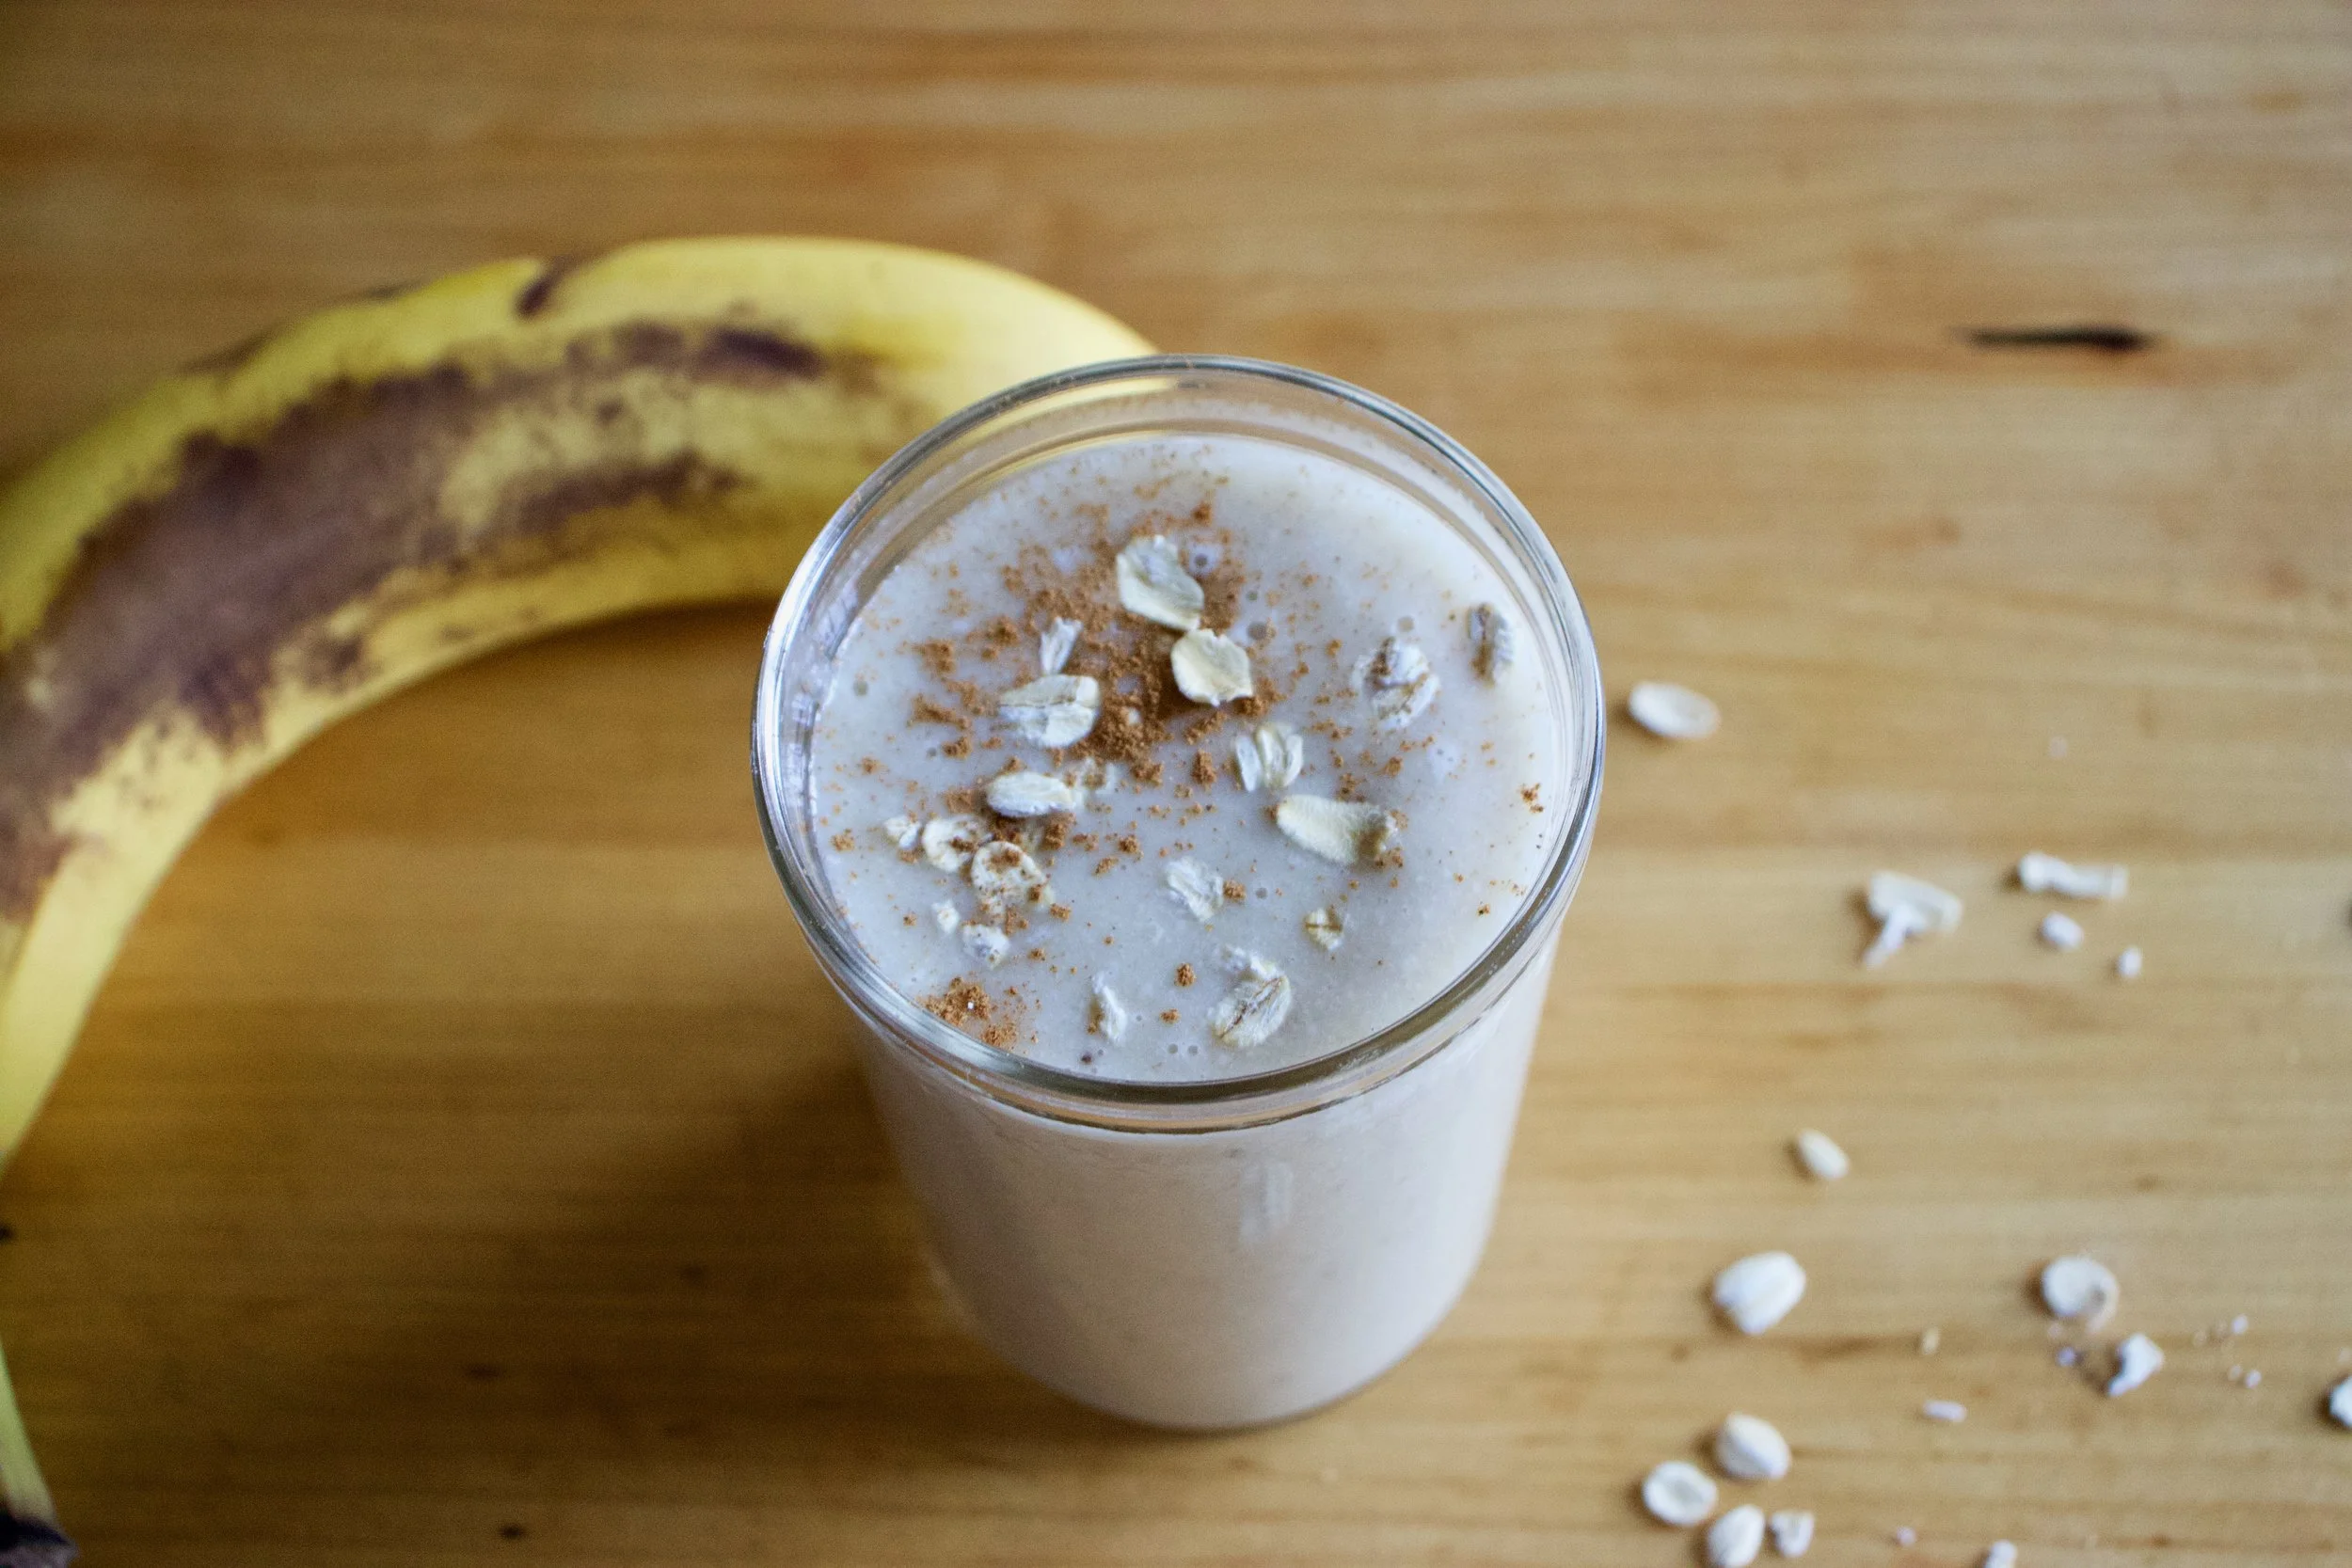
Pour it into a cup (or if you are feeling primal, drink it straight from the blender%u2026 it%u2019s totally cool)

And done.
A banana oat smoothie.
Let the good time roll!
-C
makes 1 smoothie
-
1 very ripe banana
-
1/3 cup raw old fashion oats
-
1 1/2 cups water
-
pinch of salt
-
a tablespoon or two of any sweetener you like (optional)
-
a pinch of cinnamon (optional)
Place everything into a blender and blend until smooth. Pour into a cup, sprinkle with cinnamon if you wish, and drink right away.


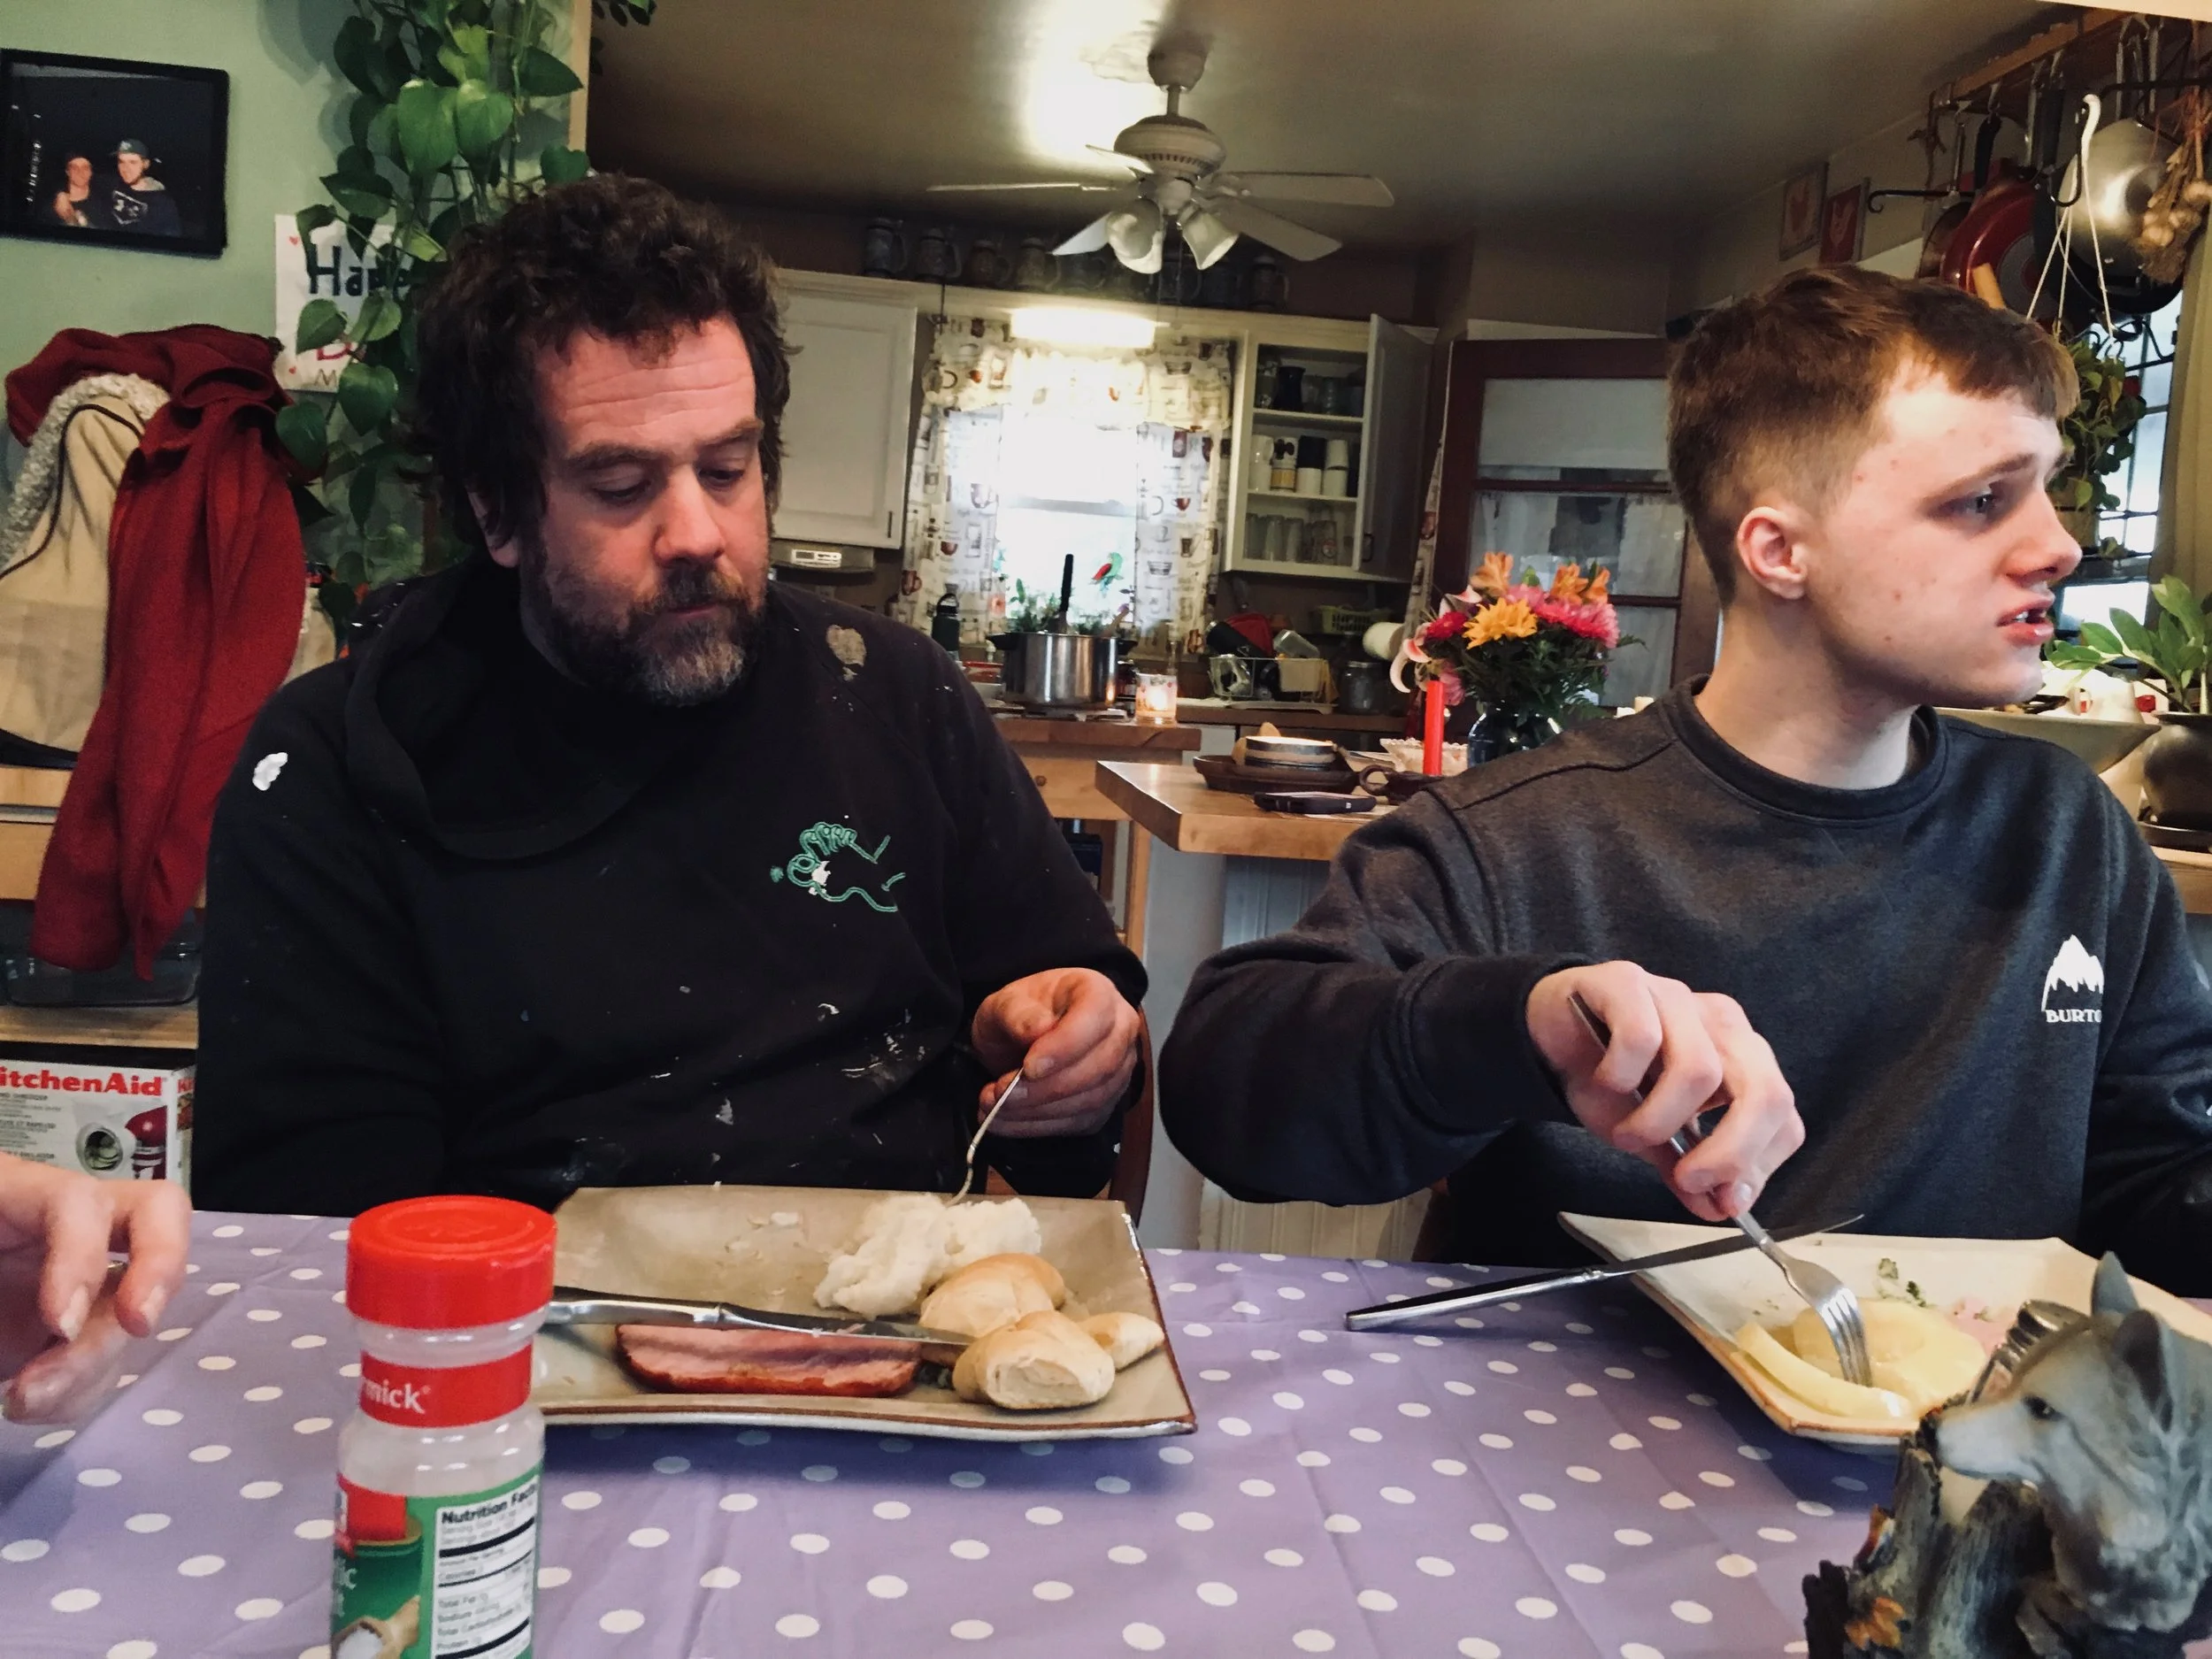
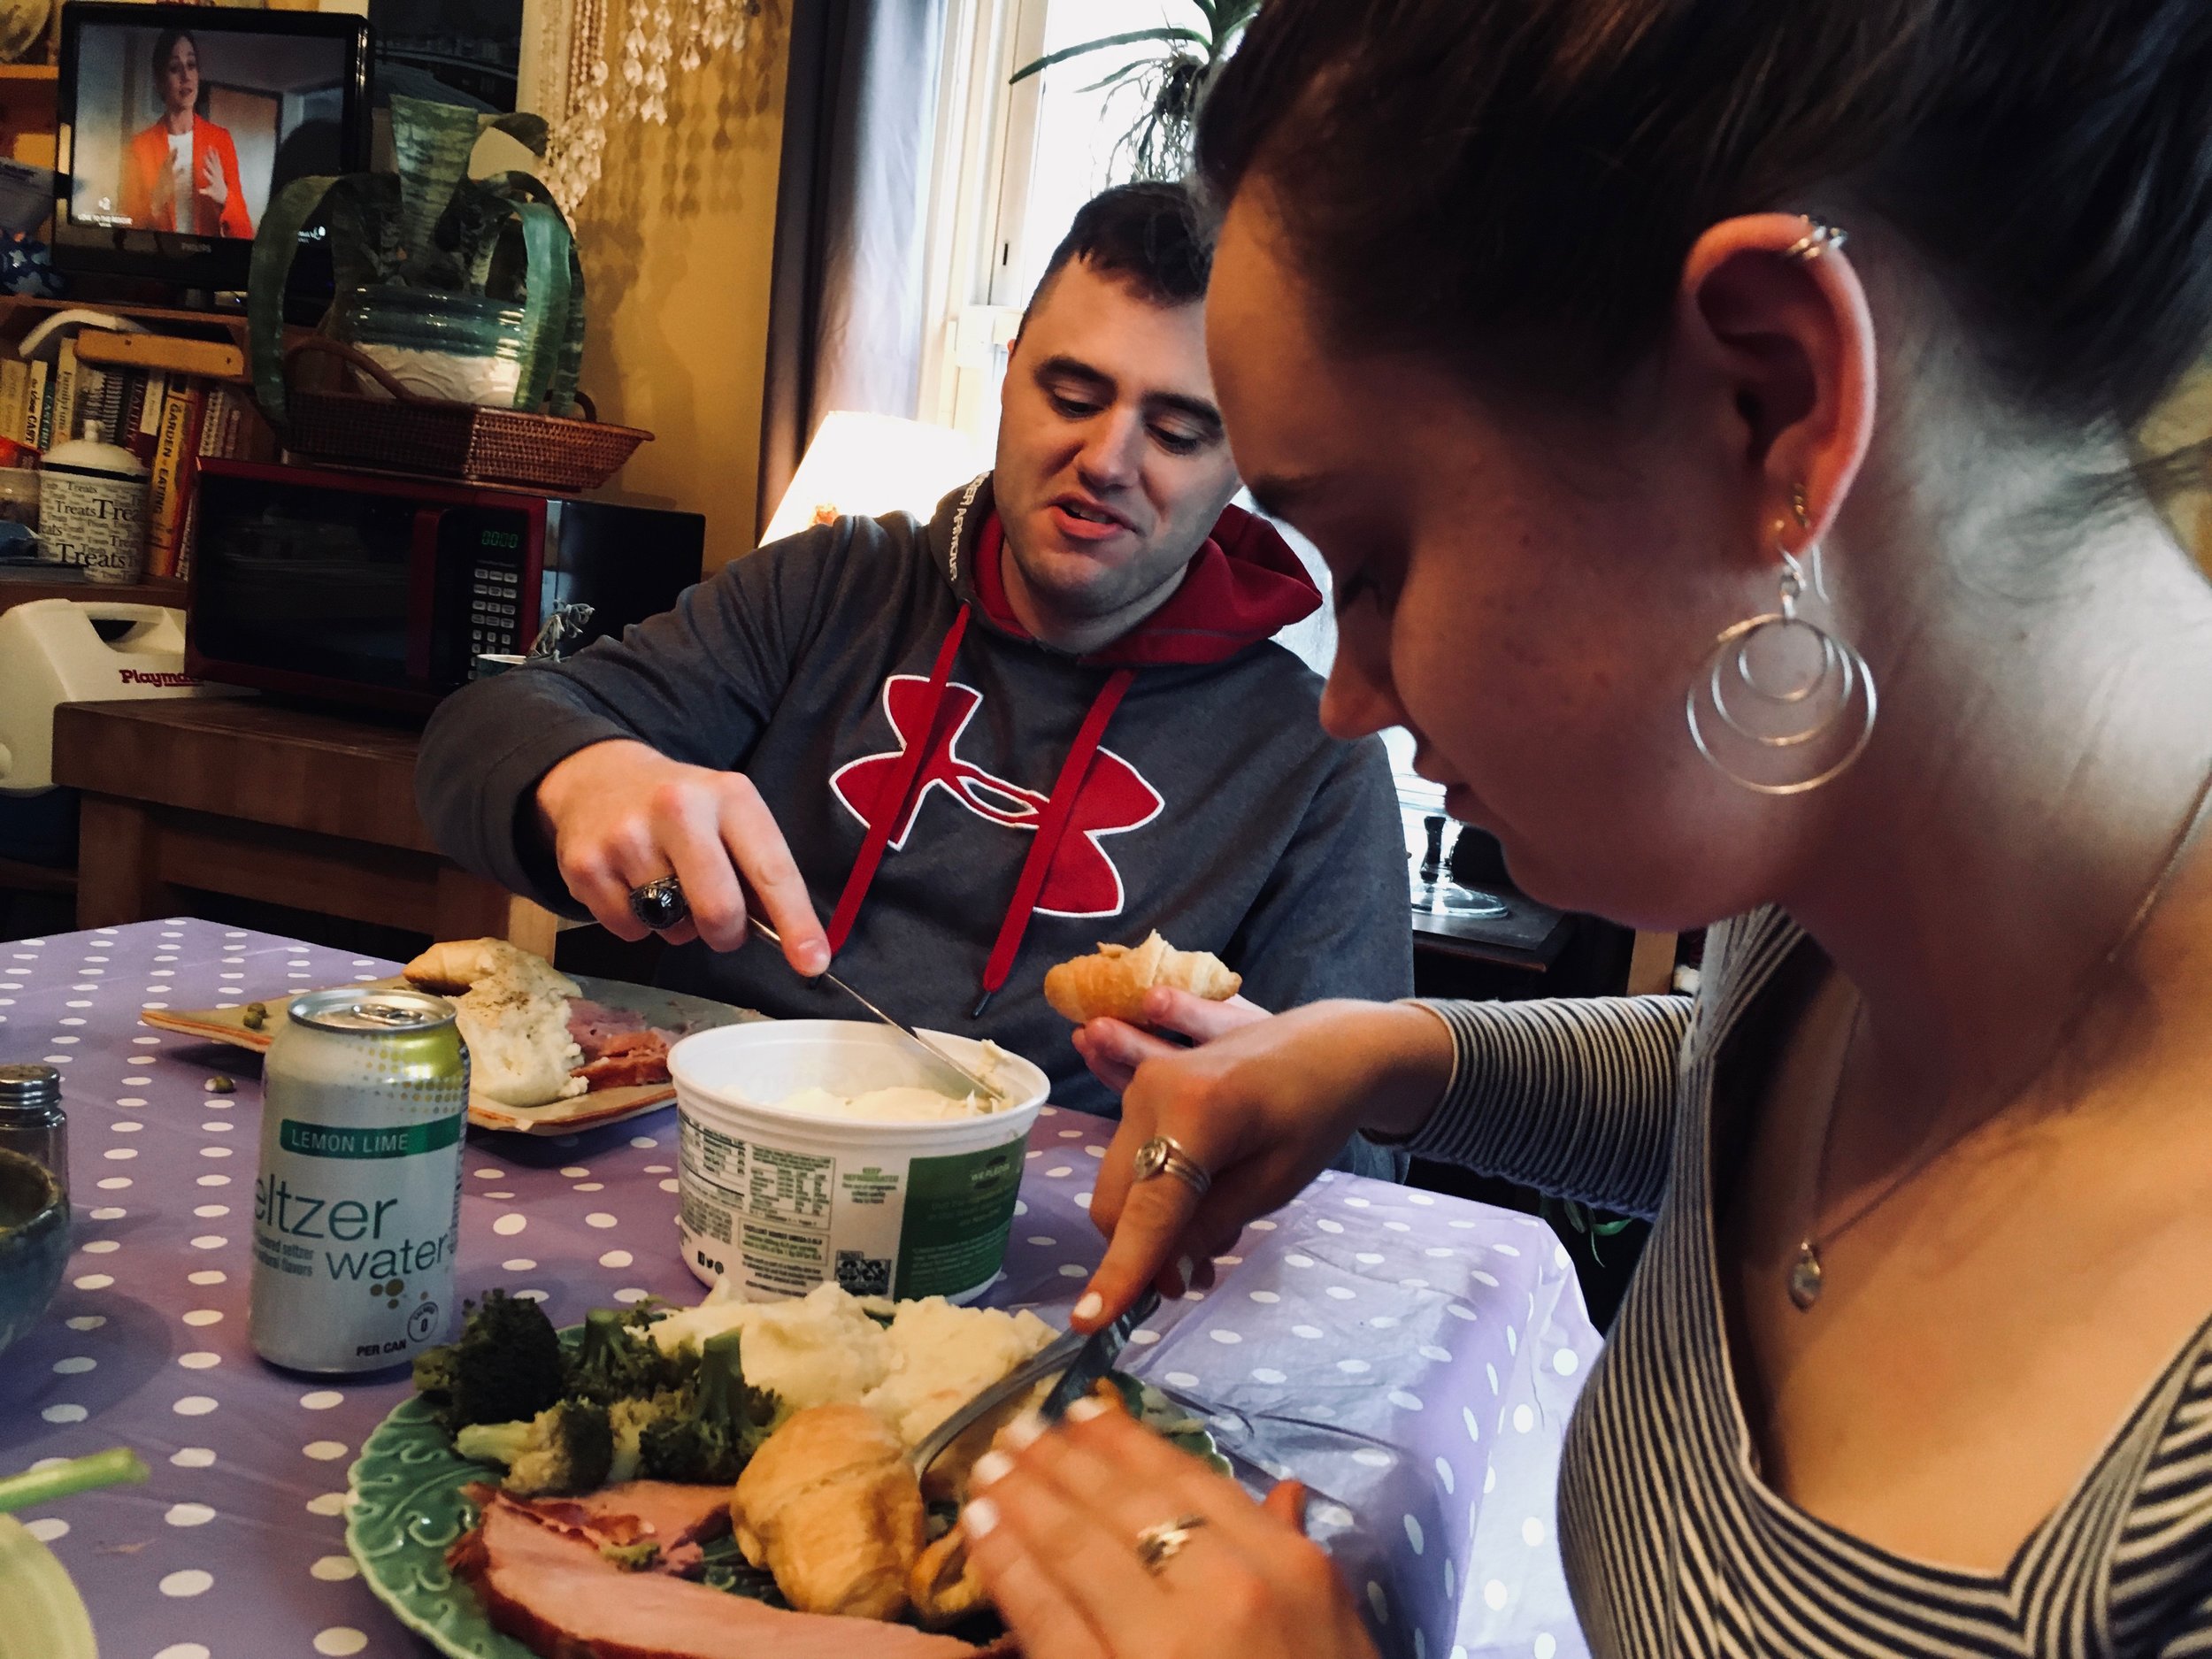


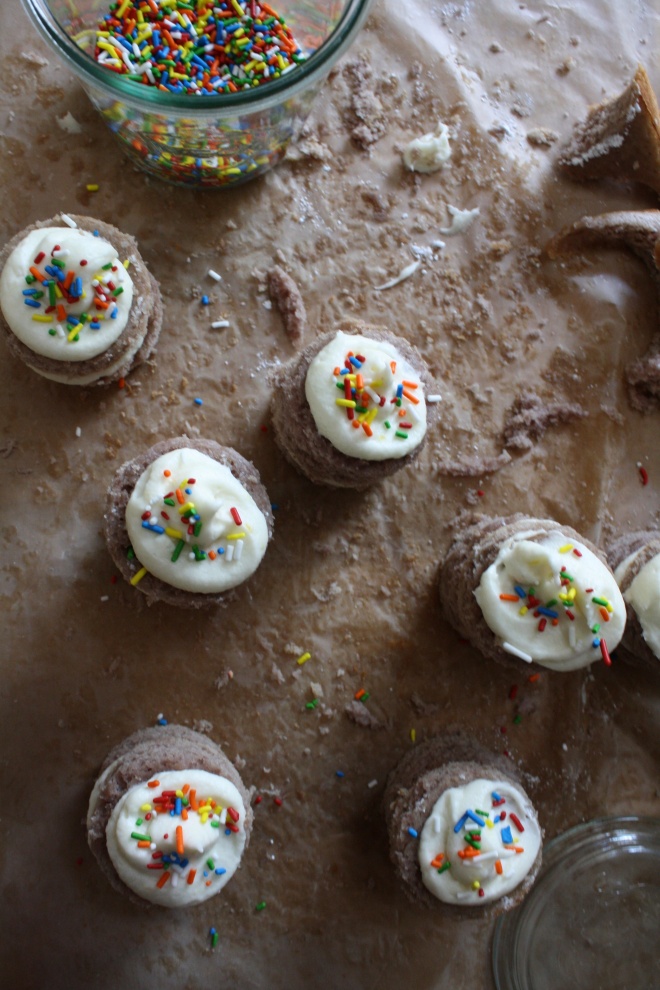
 My Moms birthday was this past week, and naturally, I made the cake for our big family birthday gathering. (and I bought and made dinner and cleaned everything up, although the mister did do all the dinner dishes) Word to my sisters… You guys suck! (but I still love you)
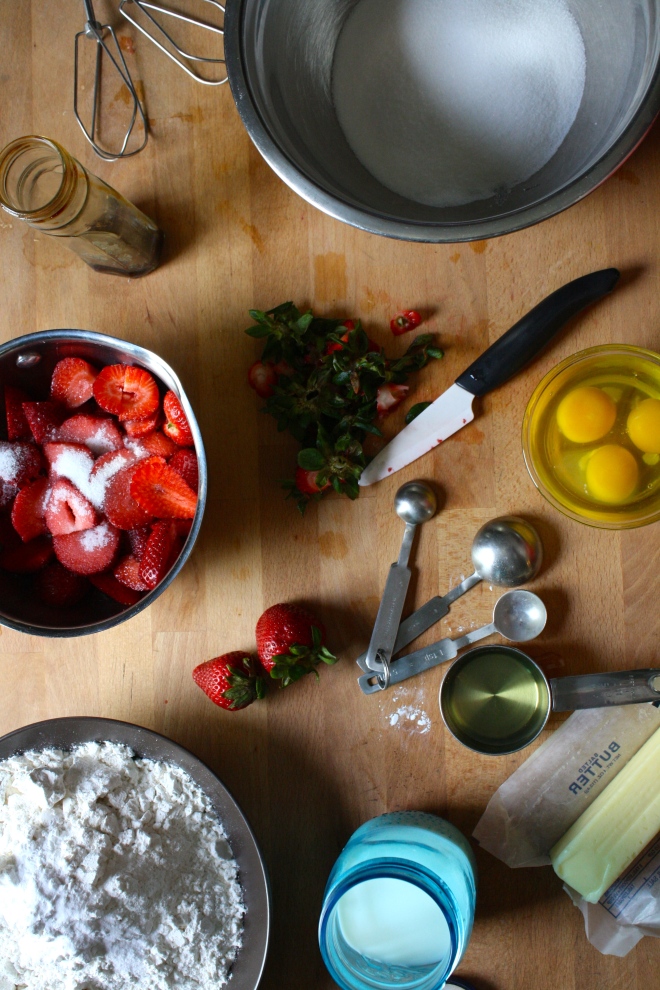 Cake Stuff. Flour, baking soda, baking powder, and salt whisked together in a bowl. Butter, a little oil, vanilla, eggs and buttermilk. Then of course we have strawberries cause it wouldn’t be a strawberry cake with out them.
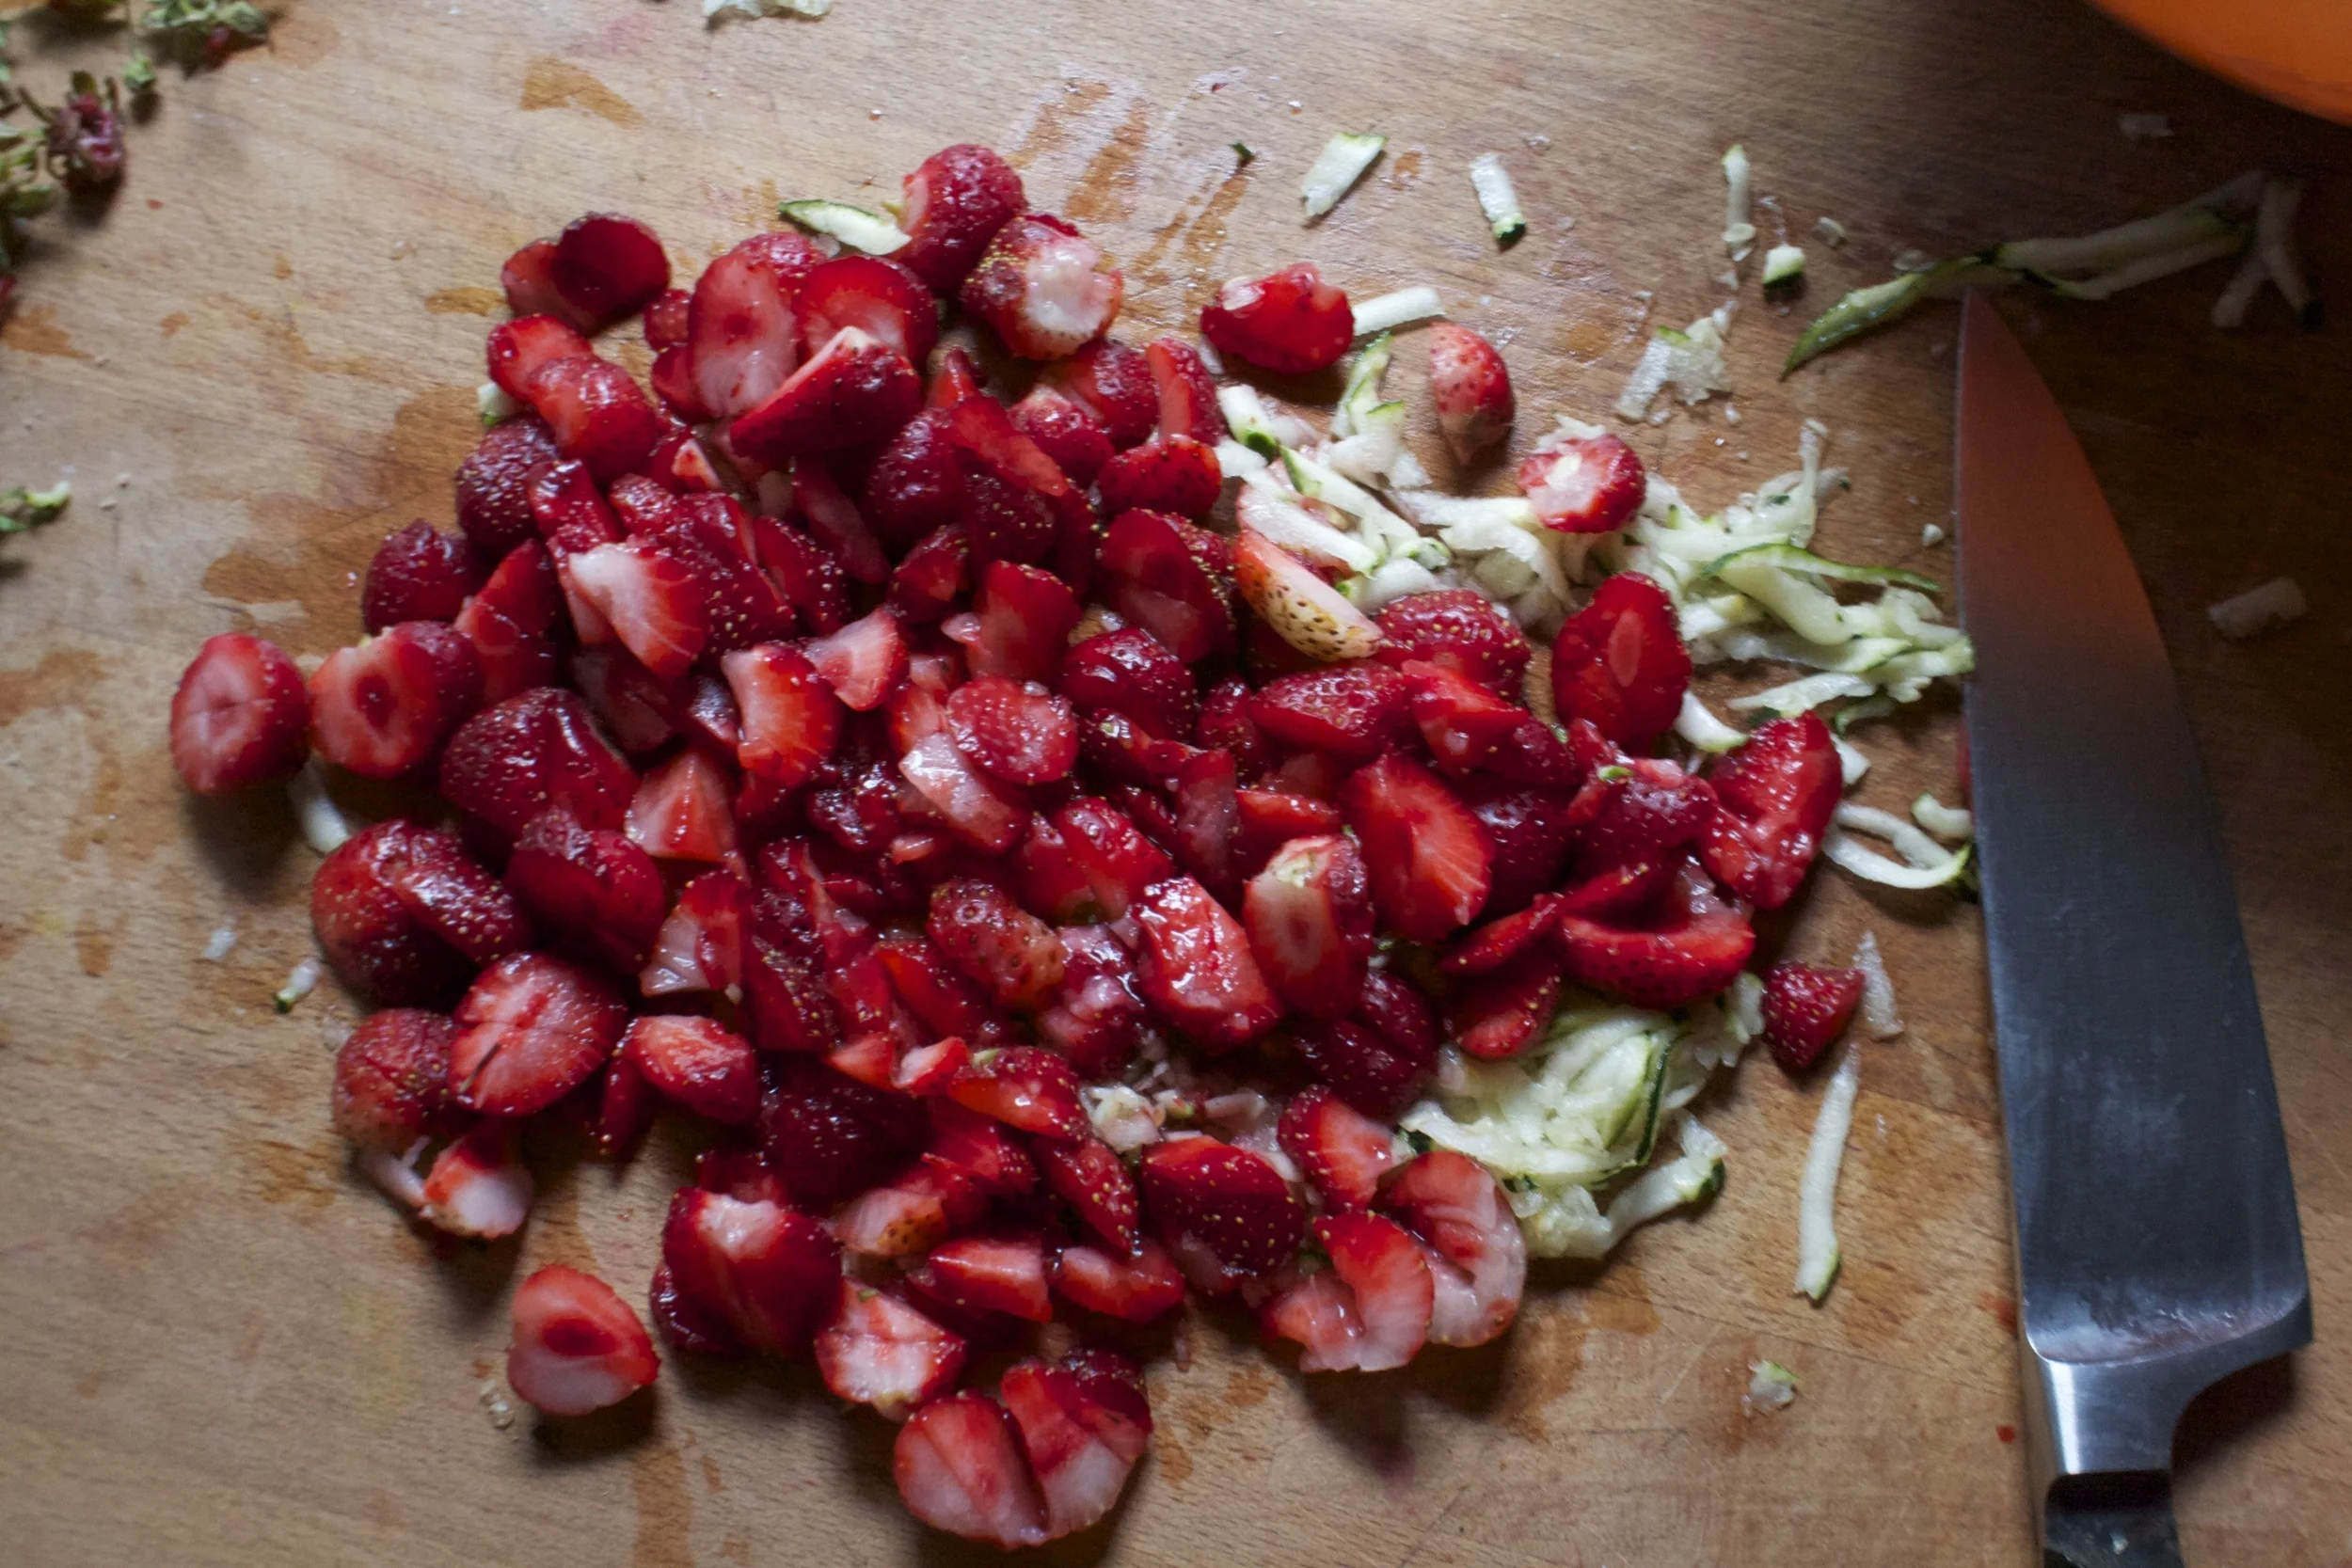
 First things first. Wash, trim and dice up the strawberries. Stick them into a pot and sprinkle with a few tablespoons of sugar. Heat on low and let the strawberries cook for about 10 minutes, stirring frequently, until they turn into a thick syrup.
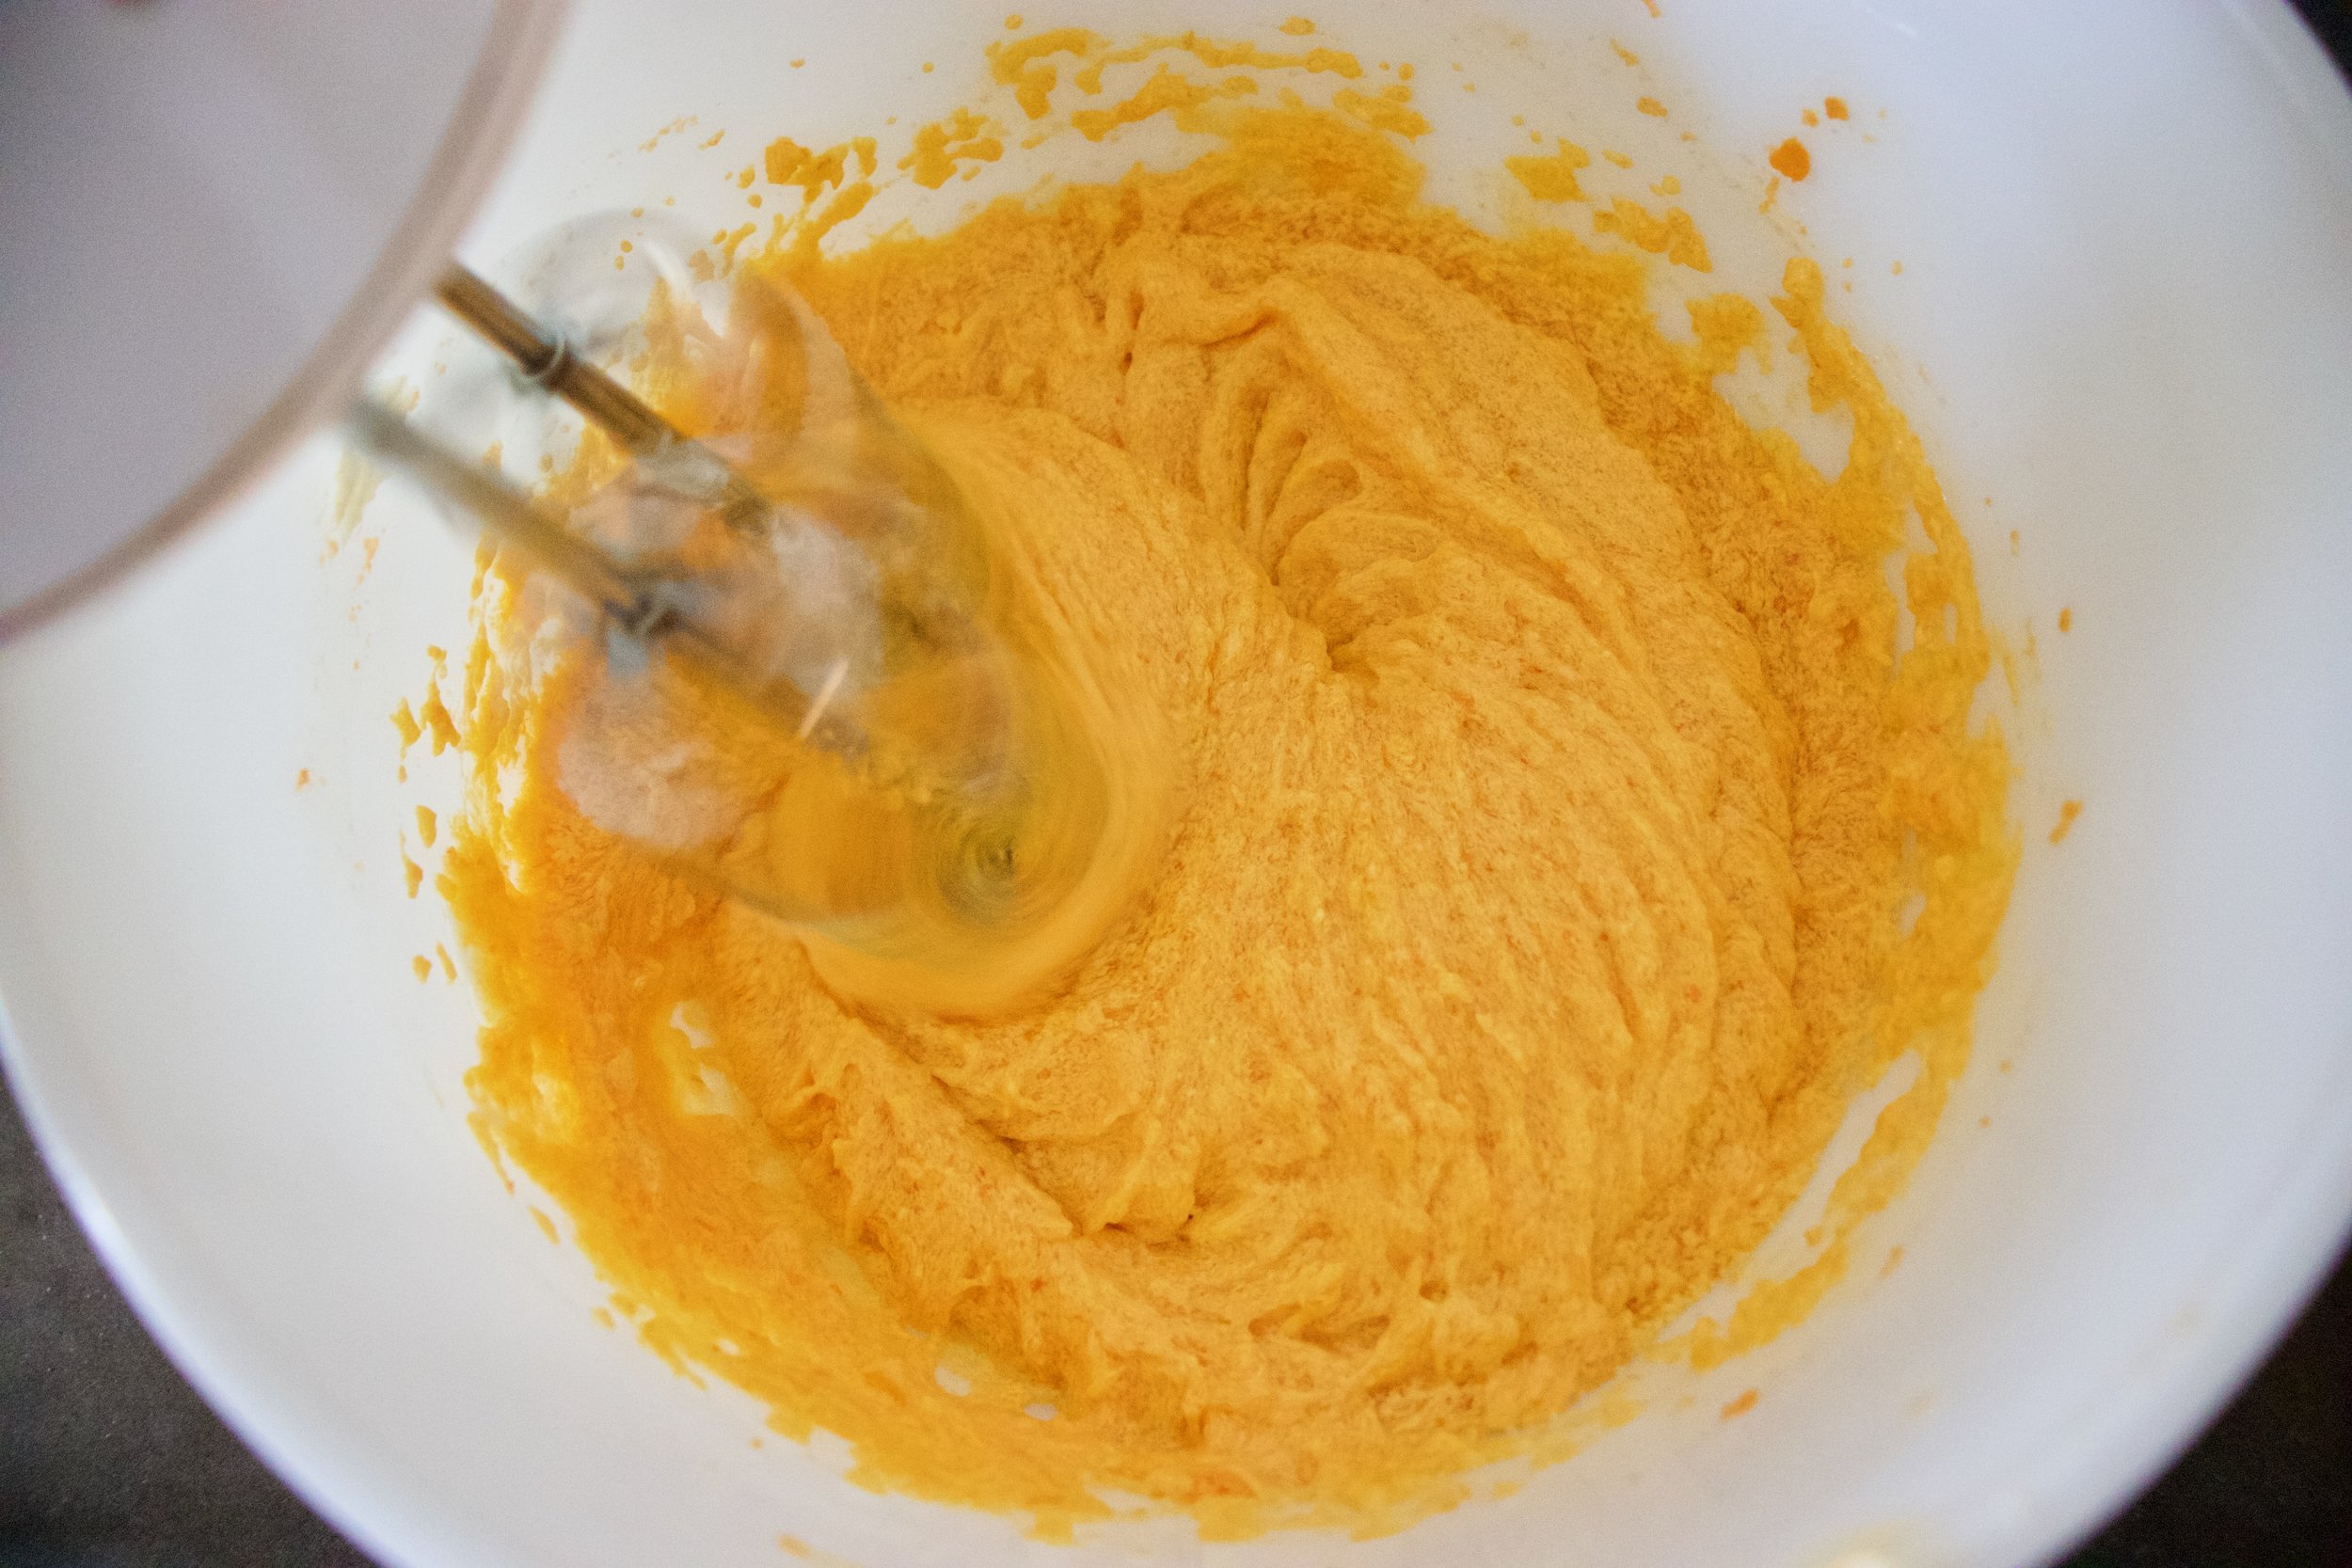
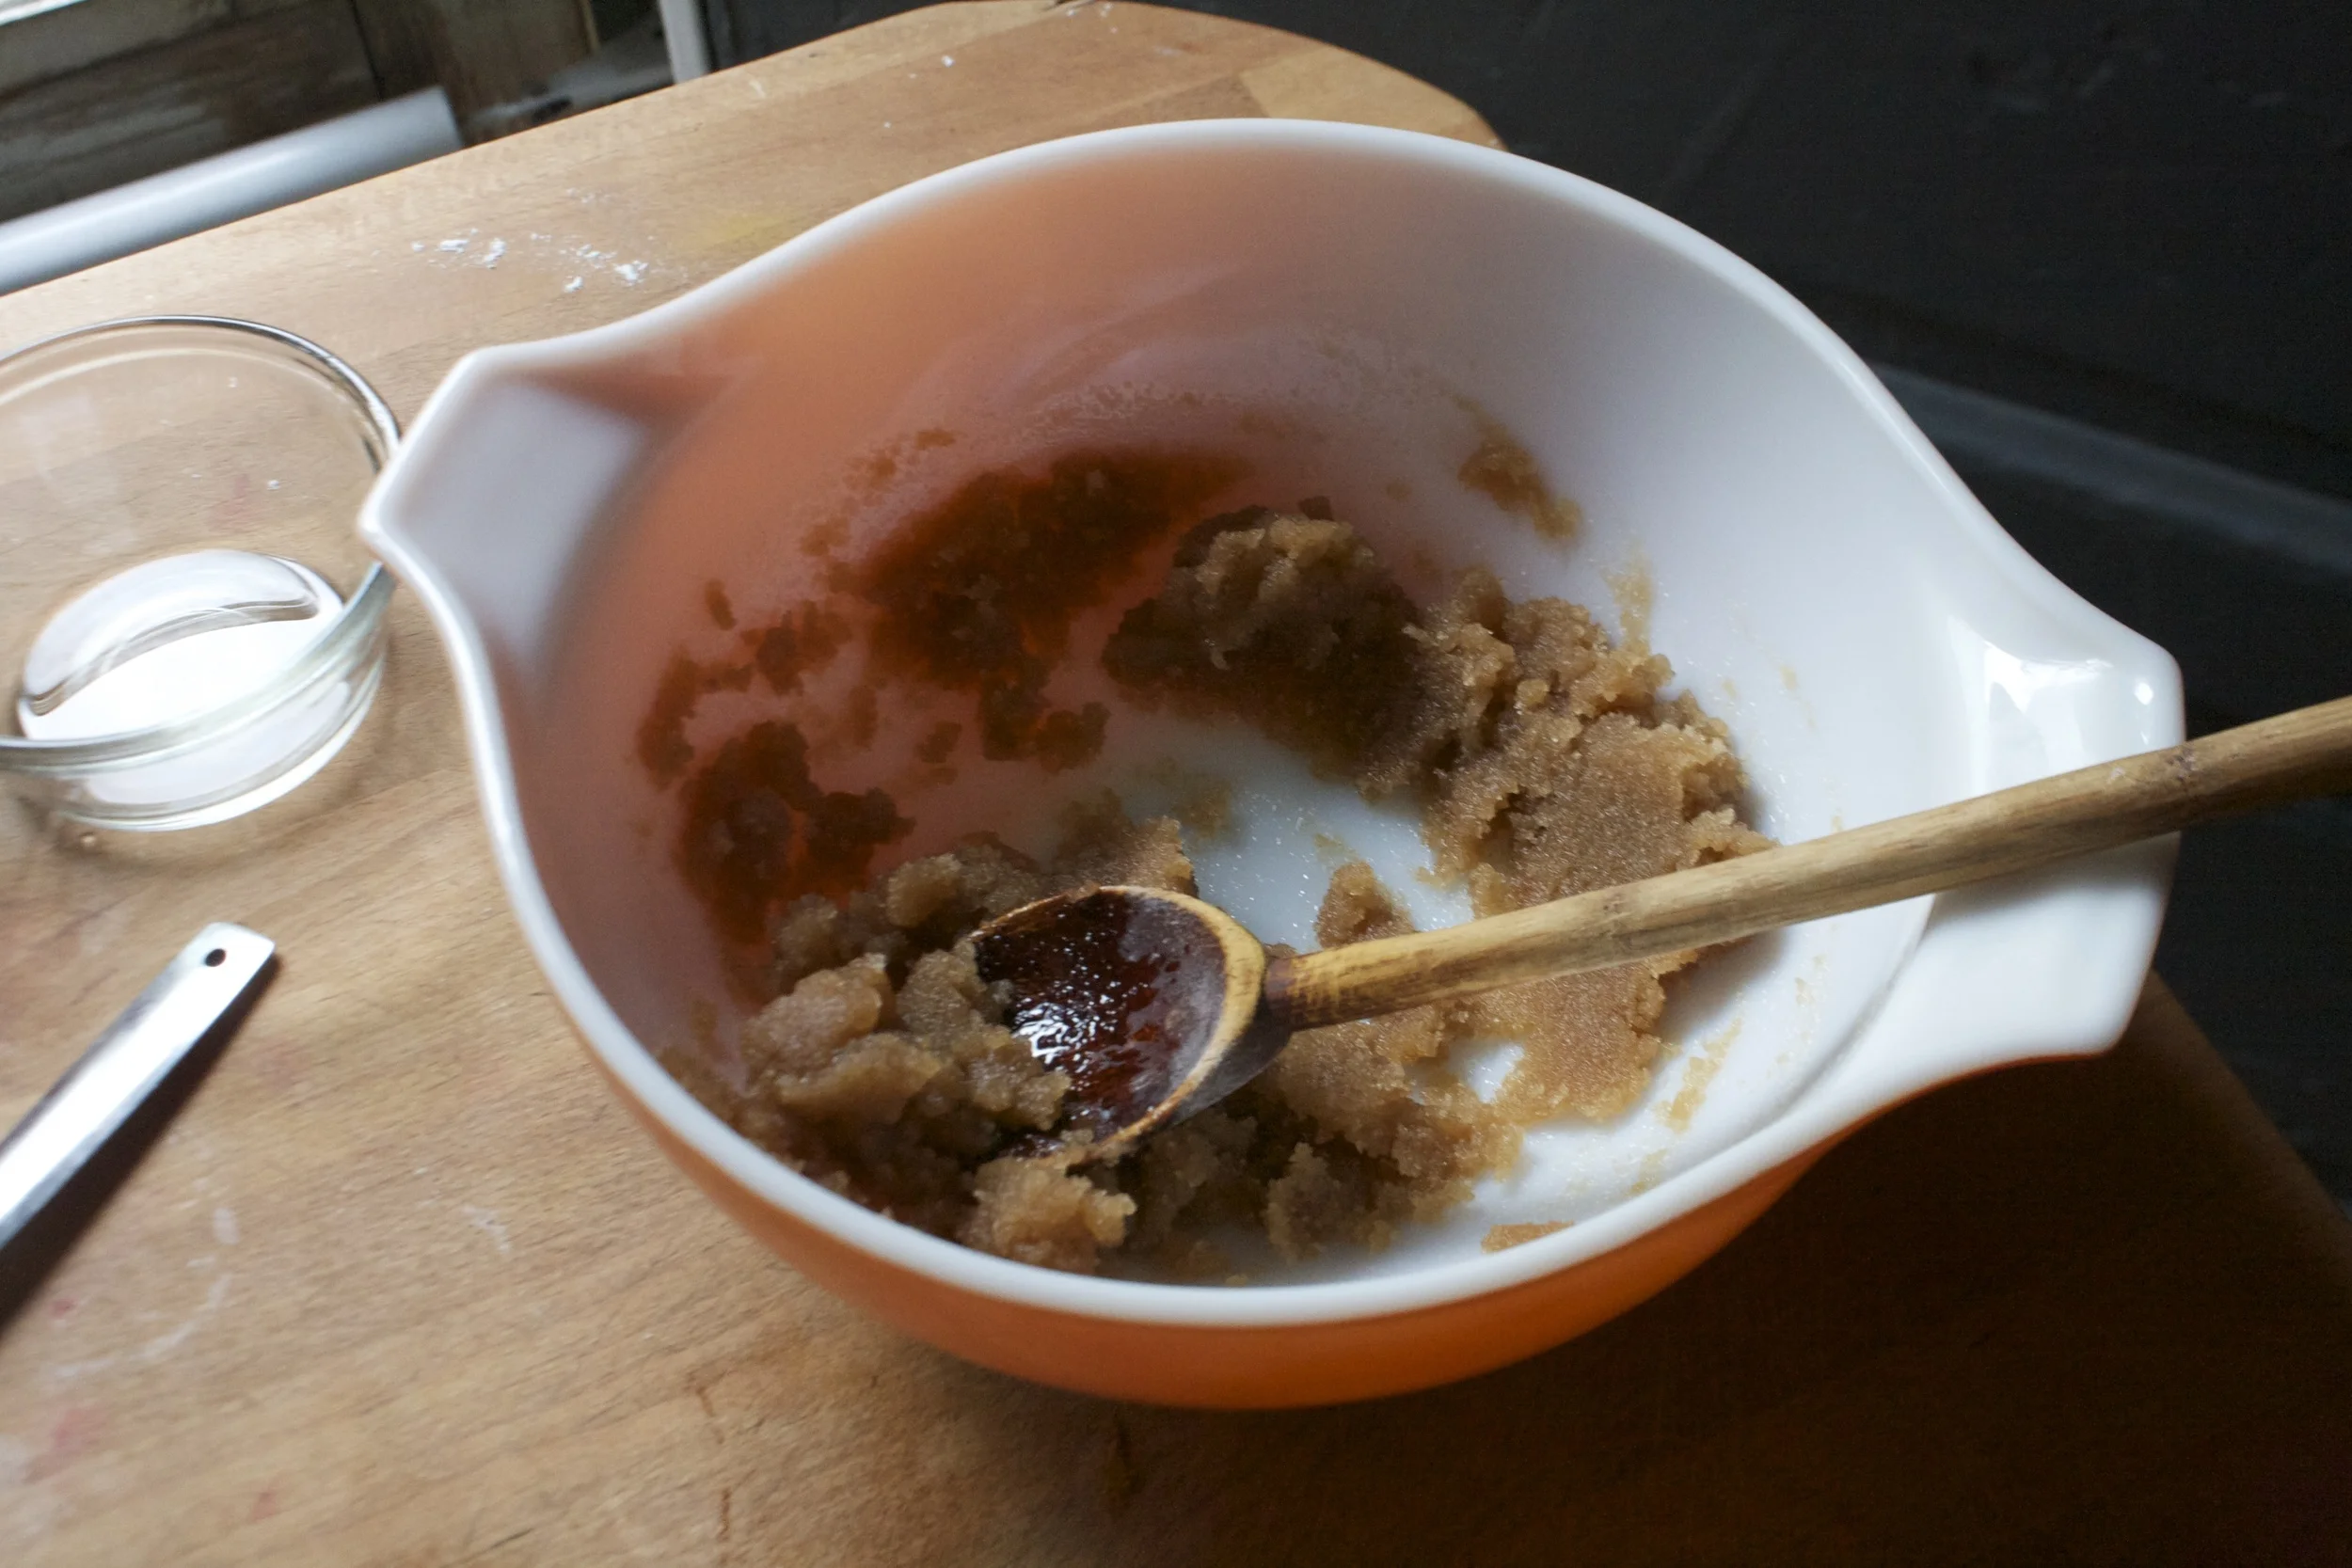
  The sugar and the butter get beaten together until light and fluffy. Then goes in the oil, eggs, and vanilla. The milk is then added to the strawberry mixture. Add half the dry mixture to the wet, mix, then mix in half the strawberry mixture to that. Mix the rest of the dry in and finish off with the strawberry mixture.
 Cake gets pulled from the oven and set on a rack to cool.
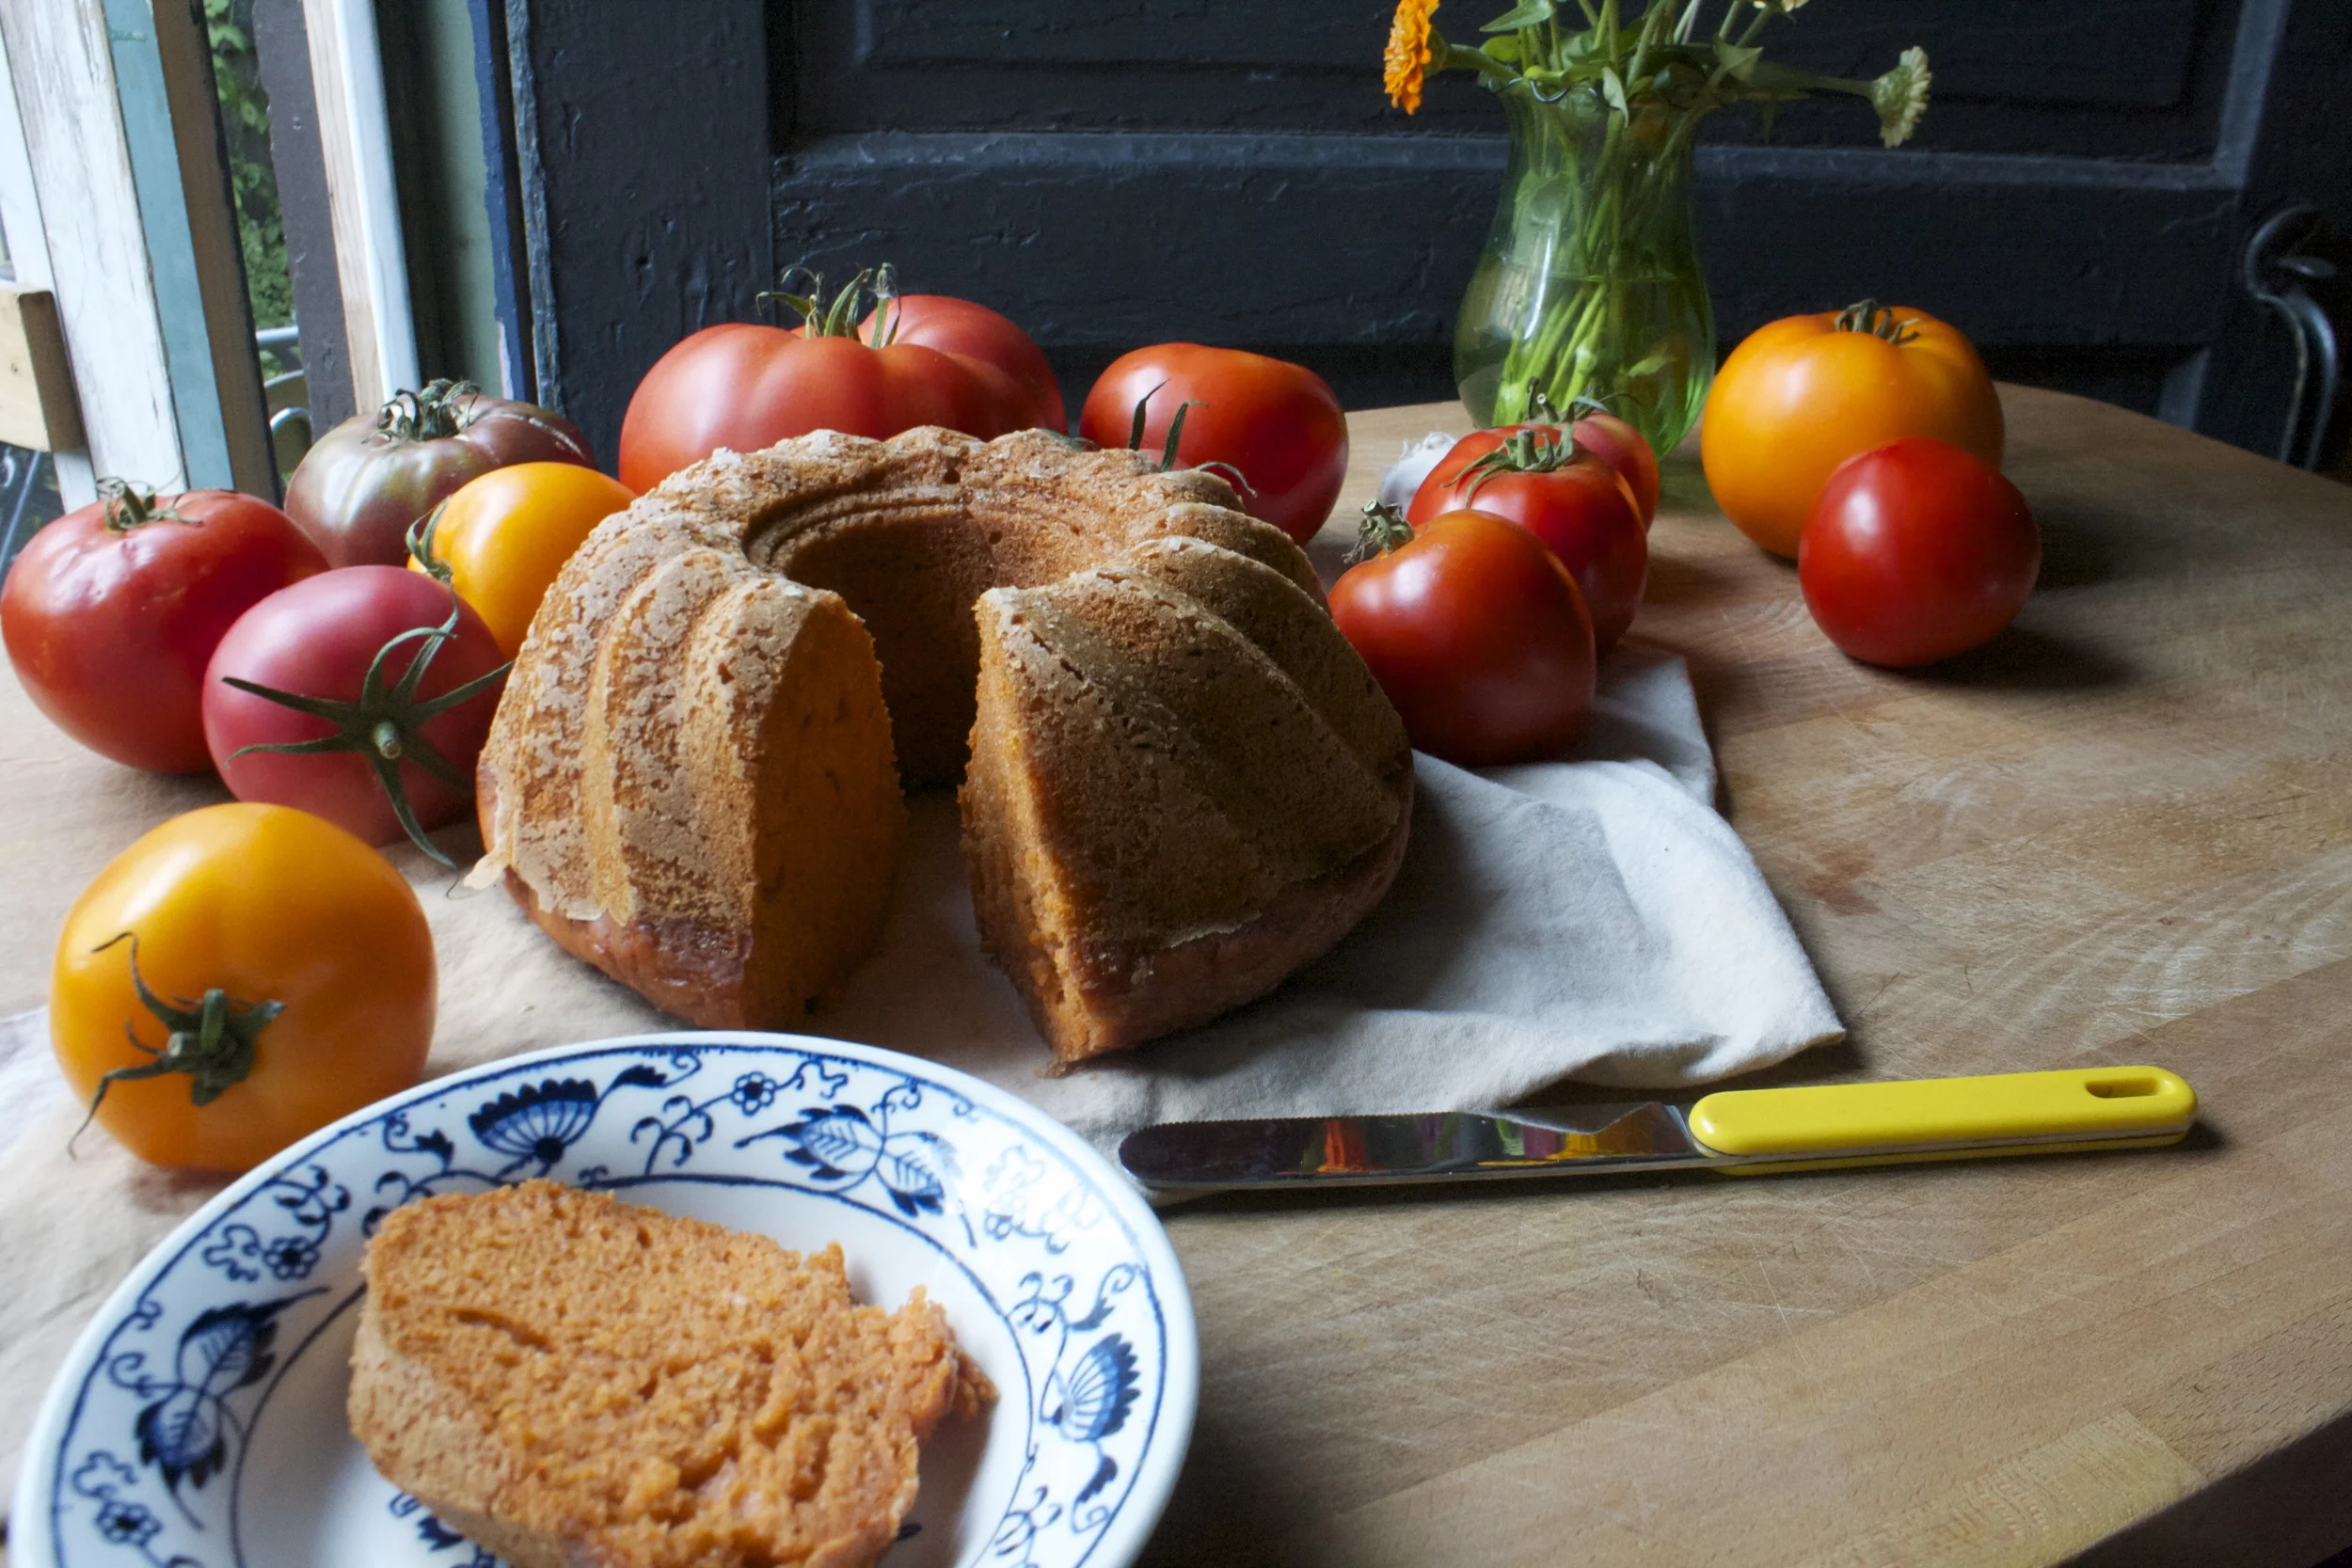
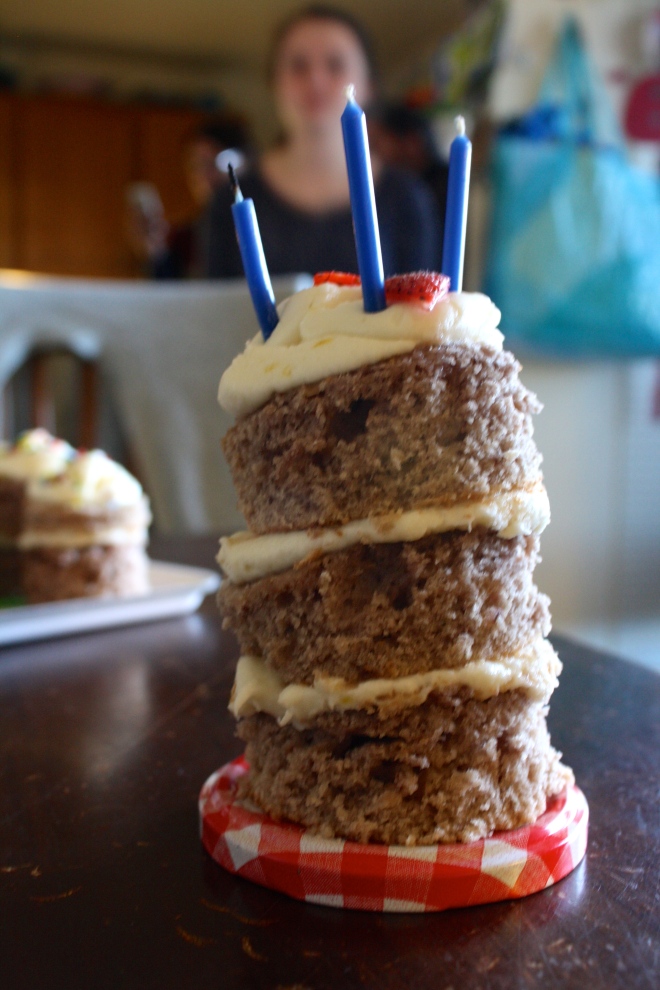
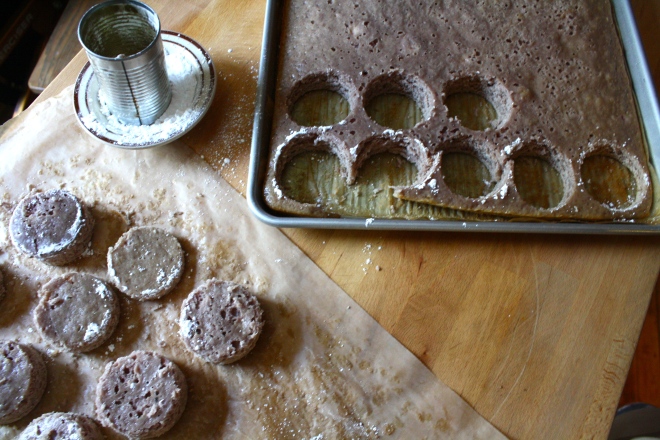 Tomato can cutout. (I couldn’t find my biscuit cutters) A biscuit or cookie cutter would probably work a little better.. The cakes kept getting stuck in the can.
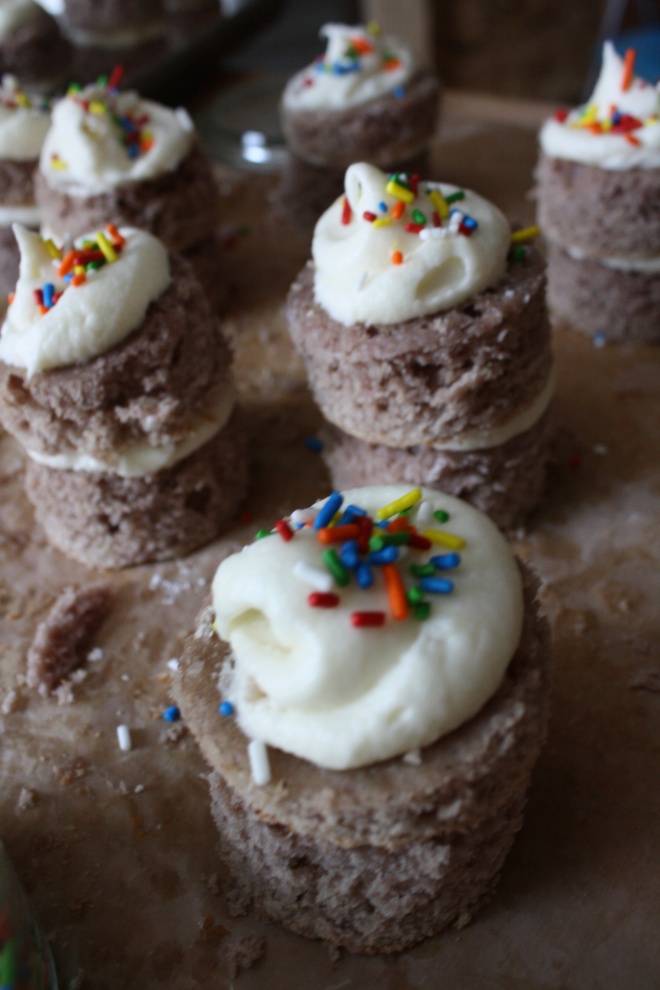
 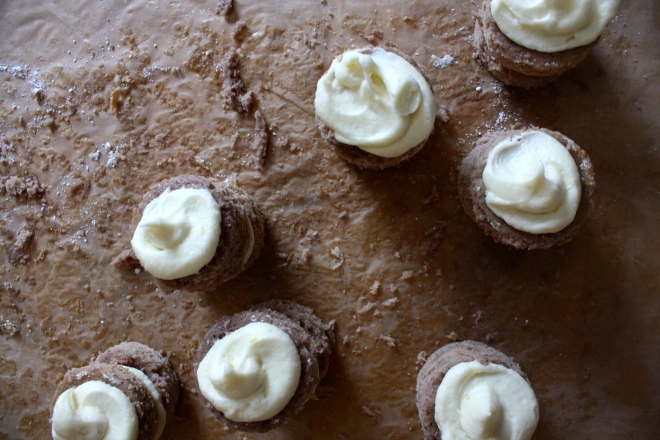 Frost the cake!! Place frosting into a piping bag or a big plastic zip lock with the tip cut off. 2 rounds to a cake. A squeeze of frosting goes on one, topped with another and given a little smoosh. A nice big dollop of frosting on top then….
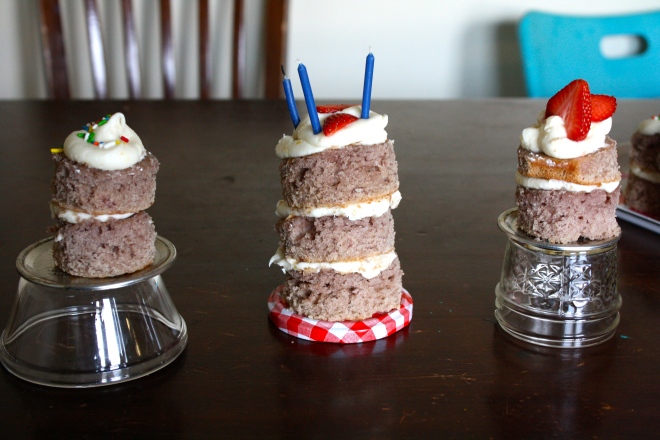
 Peas scream spring to me. The bright green color with that nice bright fresh taste….. kind of like a fresh spring day. Ah spring, so lovely, so nice, so hasn’t made its way here yet. So I guess I am left to eat my spring. And what better way to highlight those lovely spring tastes? A fantastic pesto my friends, and it can be made lickidy split.
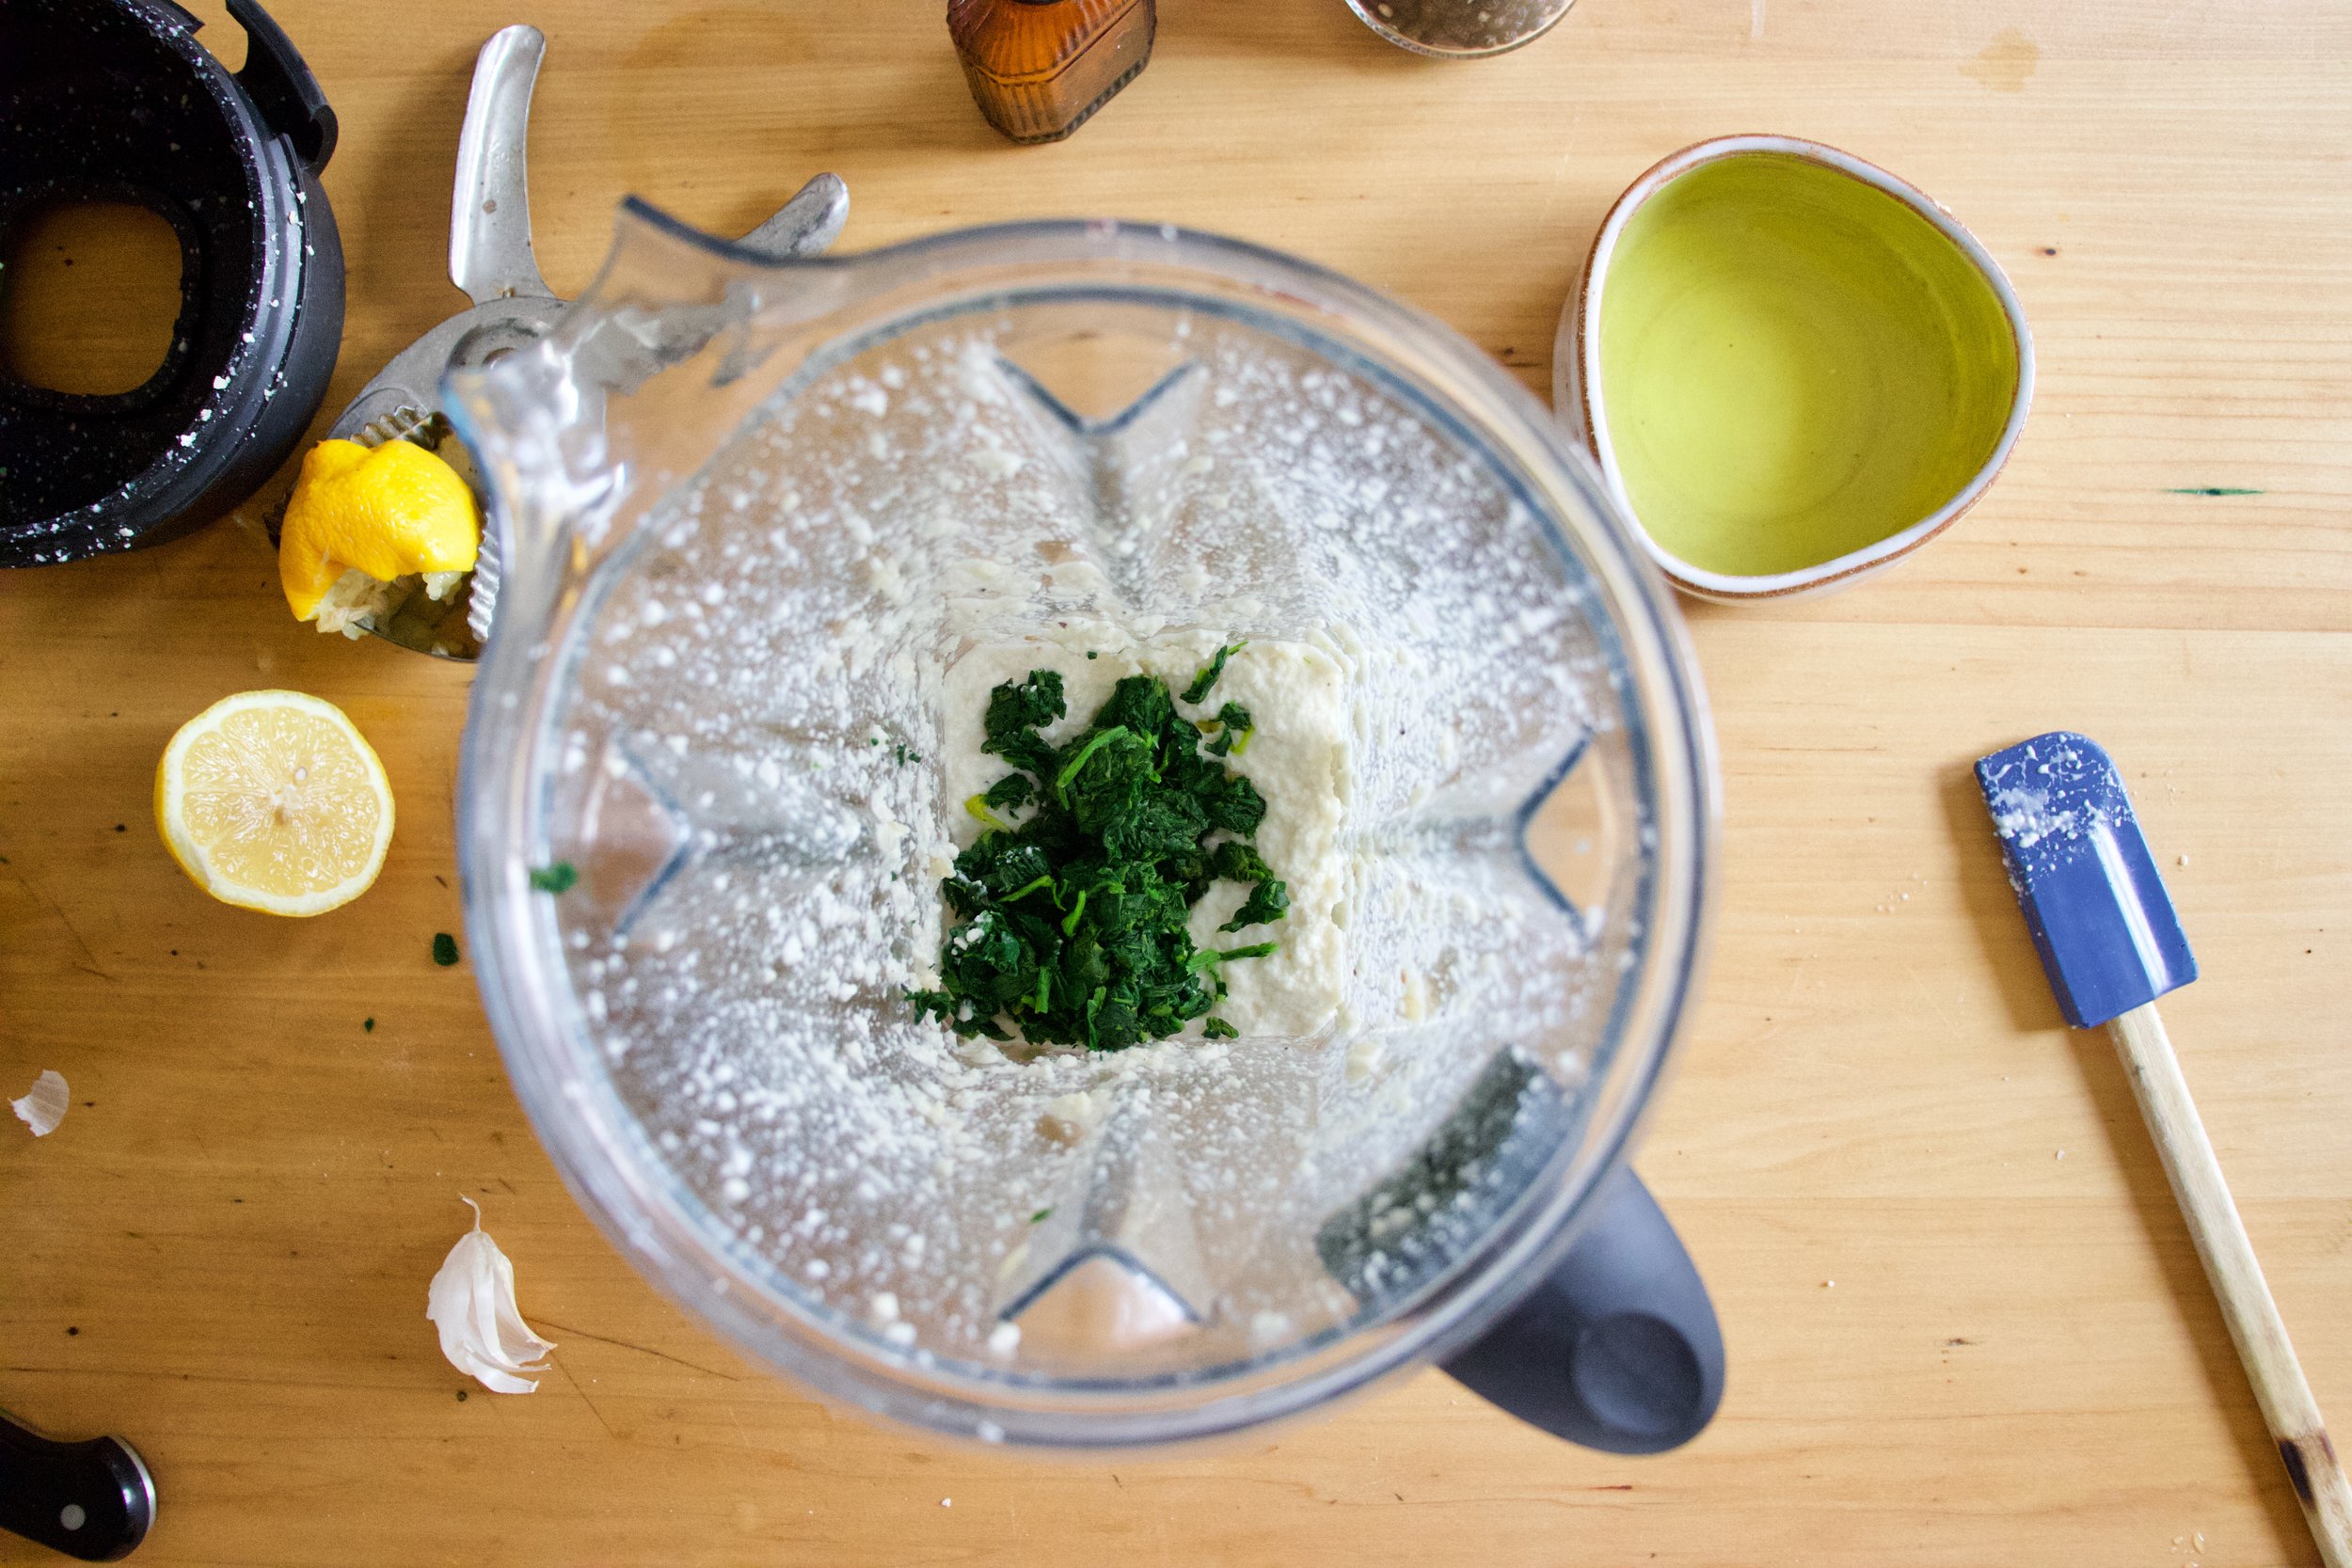
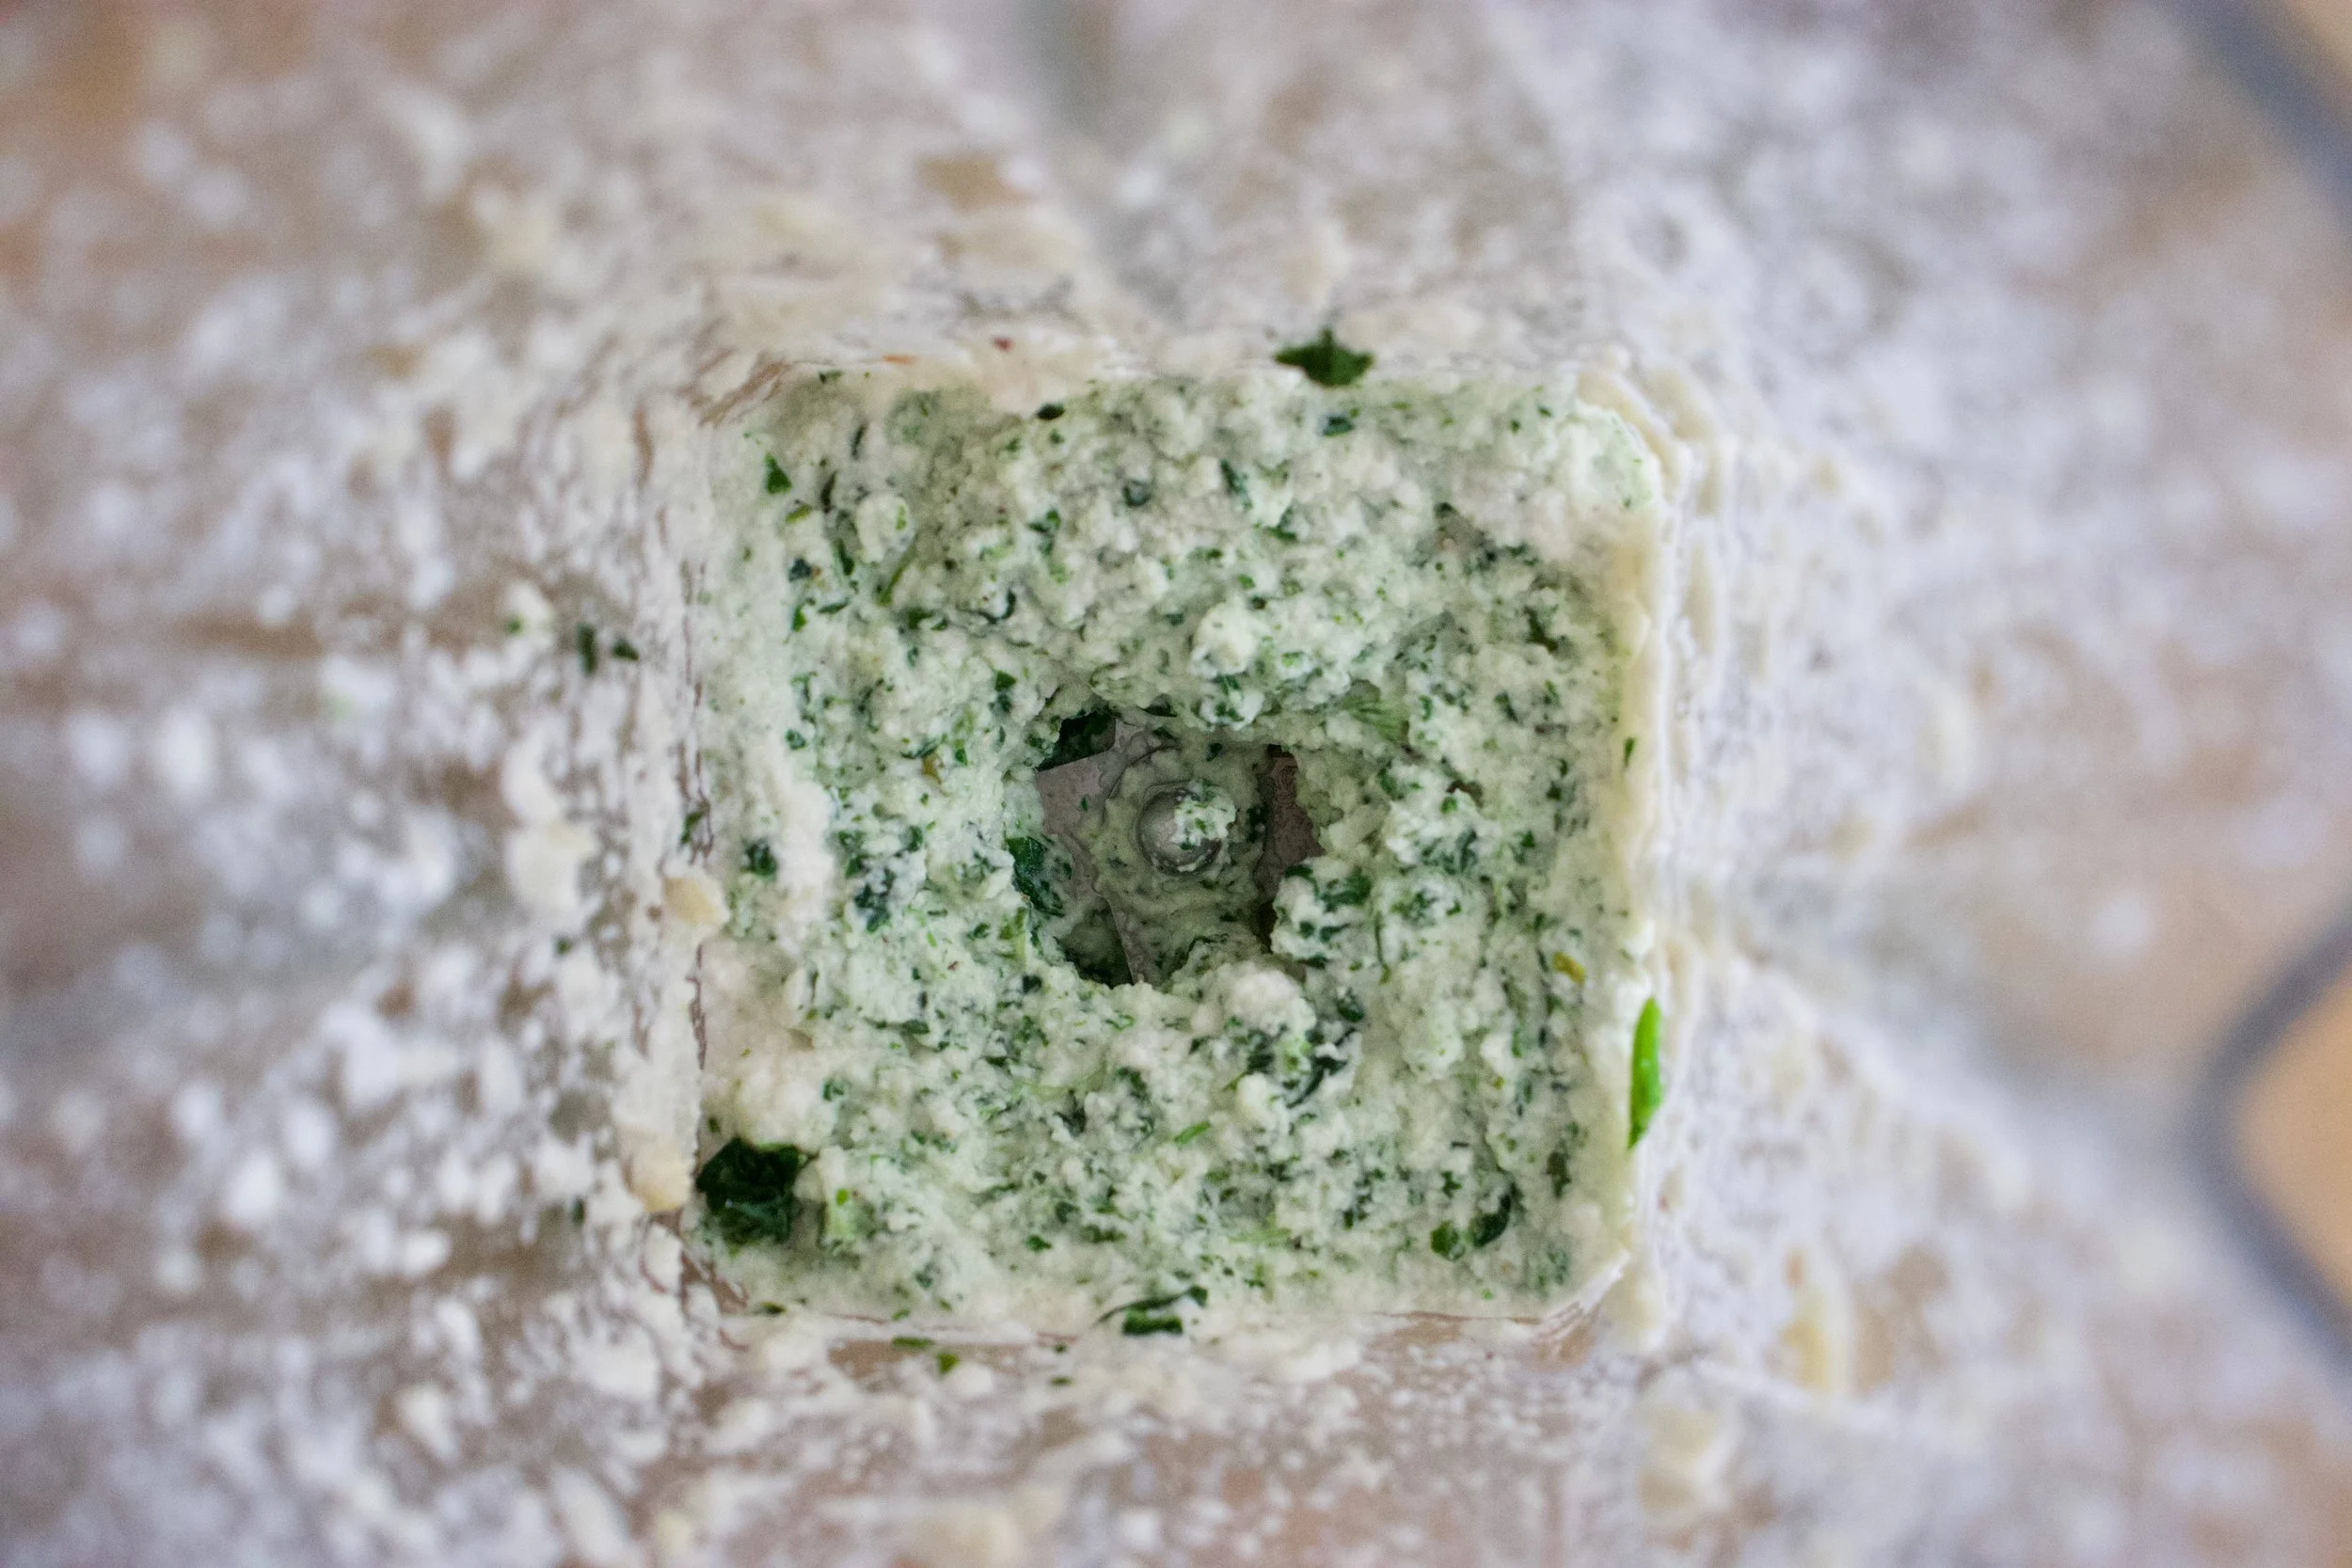
 Pesto Stuff. We got the peas, garlic, lemon, oil, cheese if you please, and salt.
  Take a handful of peas and set aside for later. Juice the lemon and take that and the rest of the stuff and stick in a food processor and puree until smooth.
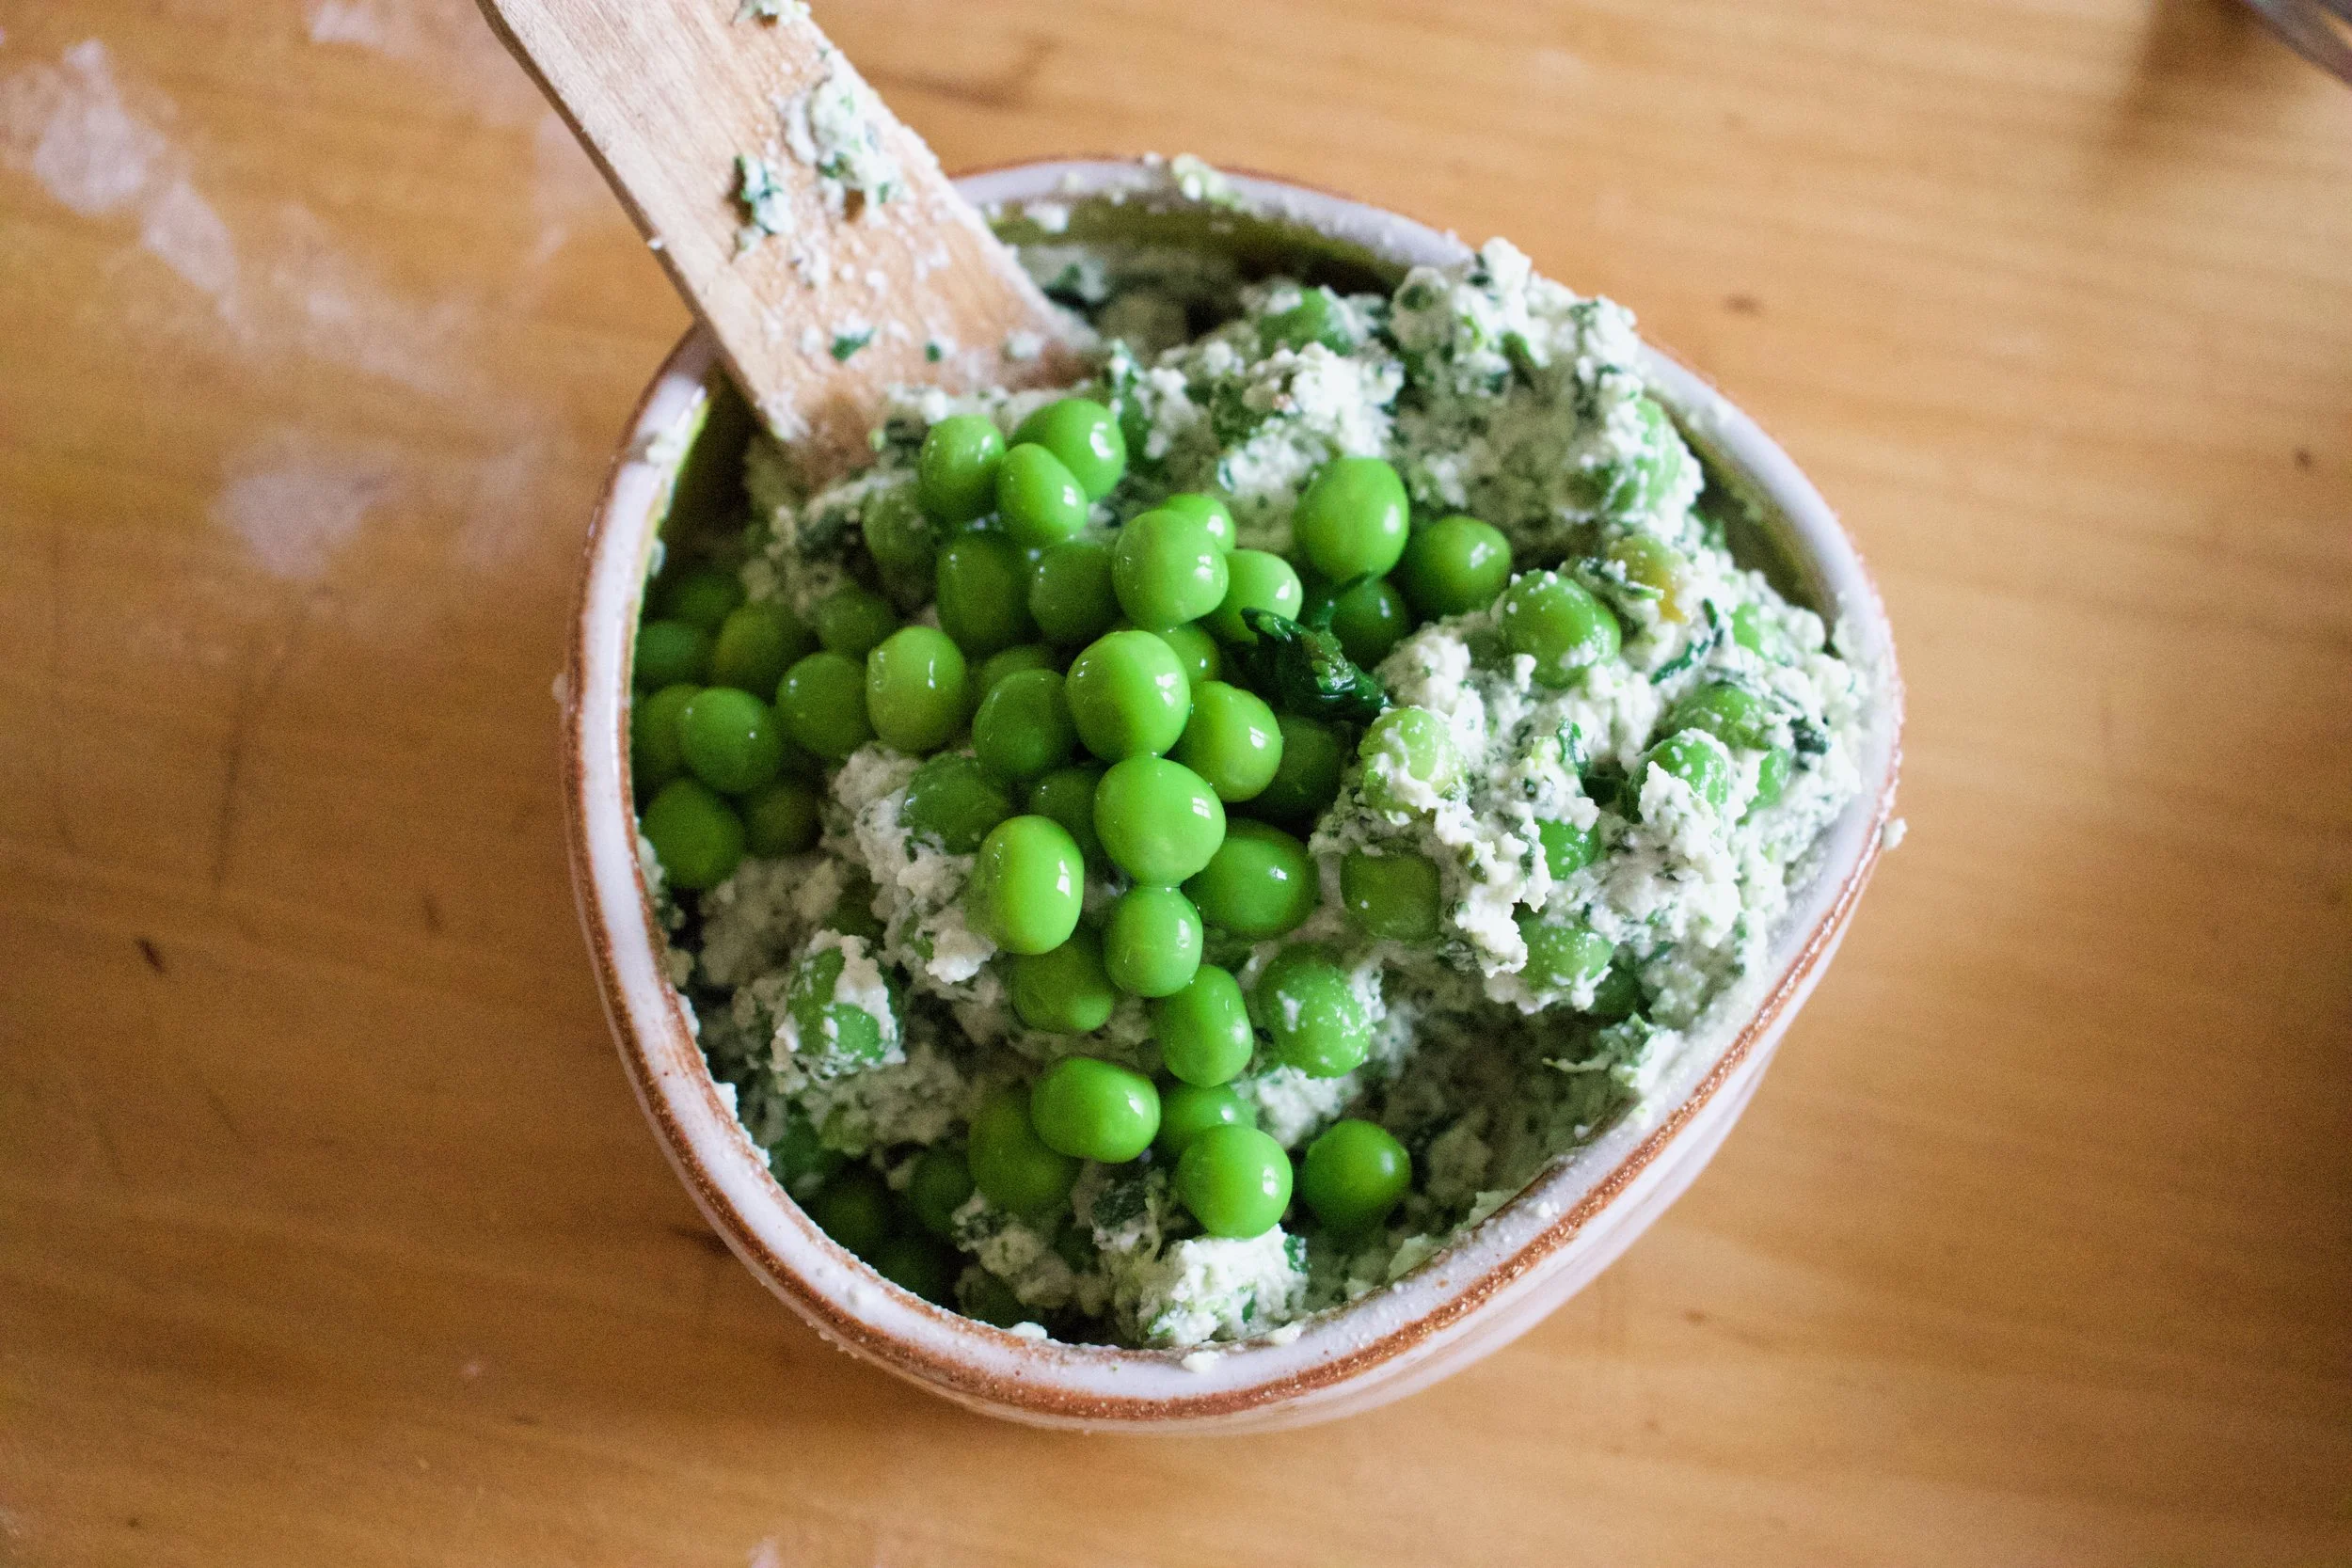
  The pesto is made, and it only took about 2 seconds, now boil up the pasta. If you were a thinker, you could start the pasta and make the pesto while its boiling. (I wasn’t being a thinker) I used bow ties cause they are super cute, but use whatever pasta you’re feeling. Shells or the ones that look like little brains would be good options.
 Into a bowl and served with a fork to eat it with. A super green fresh springy meal of happiness. And all under 15 minutes in the kitchen.
THE LOVELY CRAZY
August 11, 2020 by maximios • Blog
I found another bag of frozen rhubarb in the chest freezer which is never a bad thing, but my rhubarb patch outside is growing strong and I will have all the fresh rhubarb I could possible eat within the next few weeks. So found rhubarb just means I need to eat it right fast before the fresh stuff comes in. (I haven%u2019t had a problem with that. it%u2019s almost gone already). Plus the other day while I was digging up and transplanting raspberry bushes to the back yard, my neighbor came over and gave me a gallon of frozen raspberries, harvested from said bushes that I was currently planting in my yard. Score for me! Free bushes and berries%u2026I have such nice neighbors.
So the logical thing to do with my new found and giving bounty was of course to hurry up and bake something. Cobbler. Why cobbler? Well, why not? I figured the mr would really like it and eat it and I also didn%u2019t want to make anything to fussy because I was just to dang busy spending all of my extra time outside doing outside things. And cobbler, it%u2019s not fussy because it is basically biscuits and jam baked up all together. Not a lot to think about and comes out looking all homey and sweet and smelling all nice and cozy. Doesn%u2019t that sound nice? And not a pain in the ass?
And best part. A made cobbler works as dessert or breakfasts or just a snack. Just asked the mr. He ate it for all the reasons. With a dollop of yogurt or cream of course because he is fancy like that.
And yeah the fruit I used was frozen, but fresh works just the same here too.
Now, lets get to that cobbler.
The stuff. Raspberries (frozen), rhubarb (frozen), sugar, flour, salt, baking power, cinnamon ,almond milk, apple cider vinegar, cornstarch, and oil.
Raspberries, rhubarb, sugar, cinnamon, cornstarch. Its all there in the bowl. Just needs to be mixed. So mix it.
Dump fruit mixture into well greased 8 inch pan and pop it into a hot oven to get a head start on baking.
While the fruits in the oven, make the biscuit dough. Mix the dry together then mix in the wet until just incorporated and a sticky dough forms.
Pulled from the oven, the fruit is starting to cook down and whoa, it just smells so good!
Drop on the biscuits dough on top of the fruit (careful of the hot pan). Evenly if possible, but don%u2019t work to hard to make it look perfect. Imperfection makes it look perfect, you know?
Once biscuits are on, lightly brush the tops with a little milk and sprinkle with more sugar then pop it back into the oven for another 25-30 minutes or until the biscuits are baked.
Pulled from the oven with a bubbly filling and a golden brown biscuity top. Things are looking good here.
And now it%u2019s time.
Dig on in my friend. Sever with something creamy like whipped coconut cream or some type of yogurt or ice cream situation of your choice. And again, this can be your breakfast.
Happy spring people!
-C
make a a 8 inch round which serves 5-6
For the Filling
2 cups raspberries (fresh or frozen)
2 cups rhubarb chopped into 1/2 inch to inch long pieces (fresh or frozen)
1 1/2 tablespoons corn starch
3/4 -1 cup sugar (lesser amount if you like a little more tartness. I used lesser amount)
1 teaspoon cinnamon
For the dough
1 cups all purpose flour
1 1/2 teaspoon baking powder
1/2 teaspoon salt
3 tablespoons sugar
3 tablespoons neutral flavored oil
1/2 cup plant based milk
1 teaspoon apple cider vinegar
Preheat oven to 350.
In a large bowl mix together the rhubarb and raspberries with the corn starch, sugar, and cinnamon. Grease a 8 inch round pan the is at least 2 inches deep (can use a slightly large pan or a square) and dump in fruit mixture. Place into oven to bake for about 15 minutes or the fruit starts to break down.
While fruit is baking, mix up biscuit dough. Flour, salt, 2 tablespoons sugar, and baking powder go in a large bowl and mixed until combined. Add in the oil, the milk, and the vinegar. Mix until just incorporated and a dough has formed.
Remove the fruit cooking from the oven. Turn heat up to 375.
Carefully drop spoonfuls of biscuit batter on top of fruit. Brush the top of the biscuits with a little milk and sprinkle with remaining tablespoon sugar. Place the pan back into the oven and bake for another 25-30 minutes or until the biscuits are all nice and golden brown on top.
Remove from oven and let cool for a few minutes before serving. Serve warm with a scoop or dollop of soothing creamy (coconut cream, yogurt, ice cream%u2026..whatever floats your boat.)
Left overs can be stored in pan, just cover it with something and place in fridge. Can be eaten cold to or reheated in microwave or oven.