
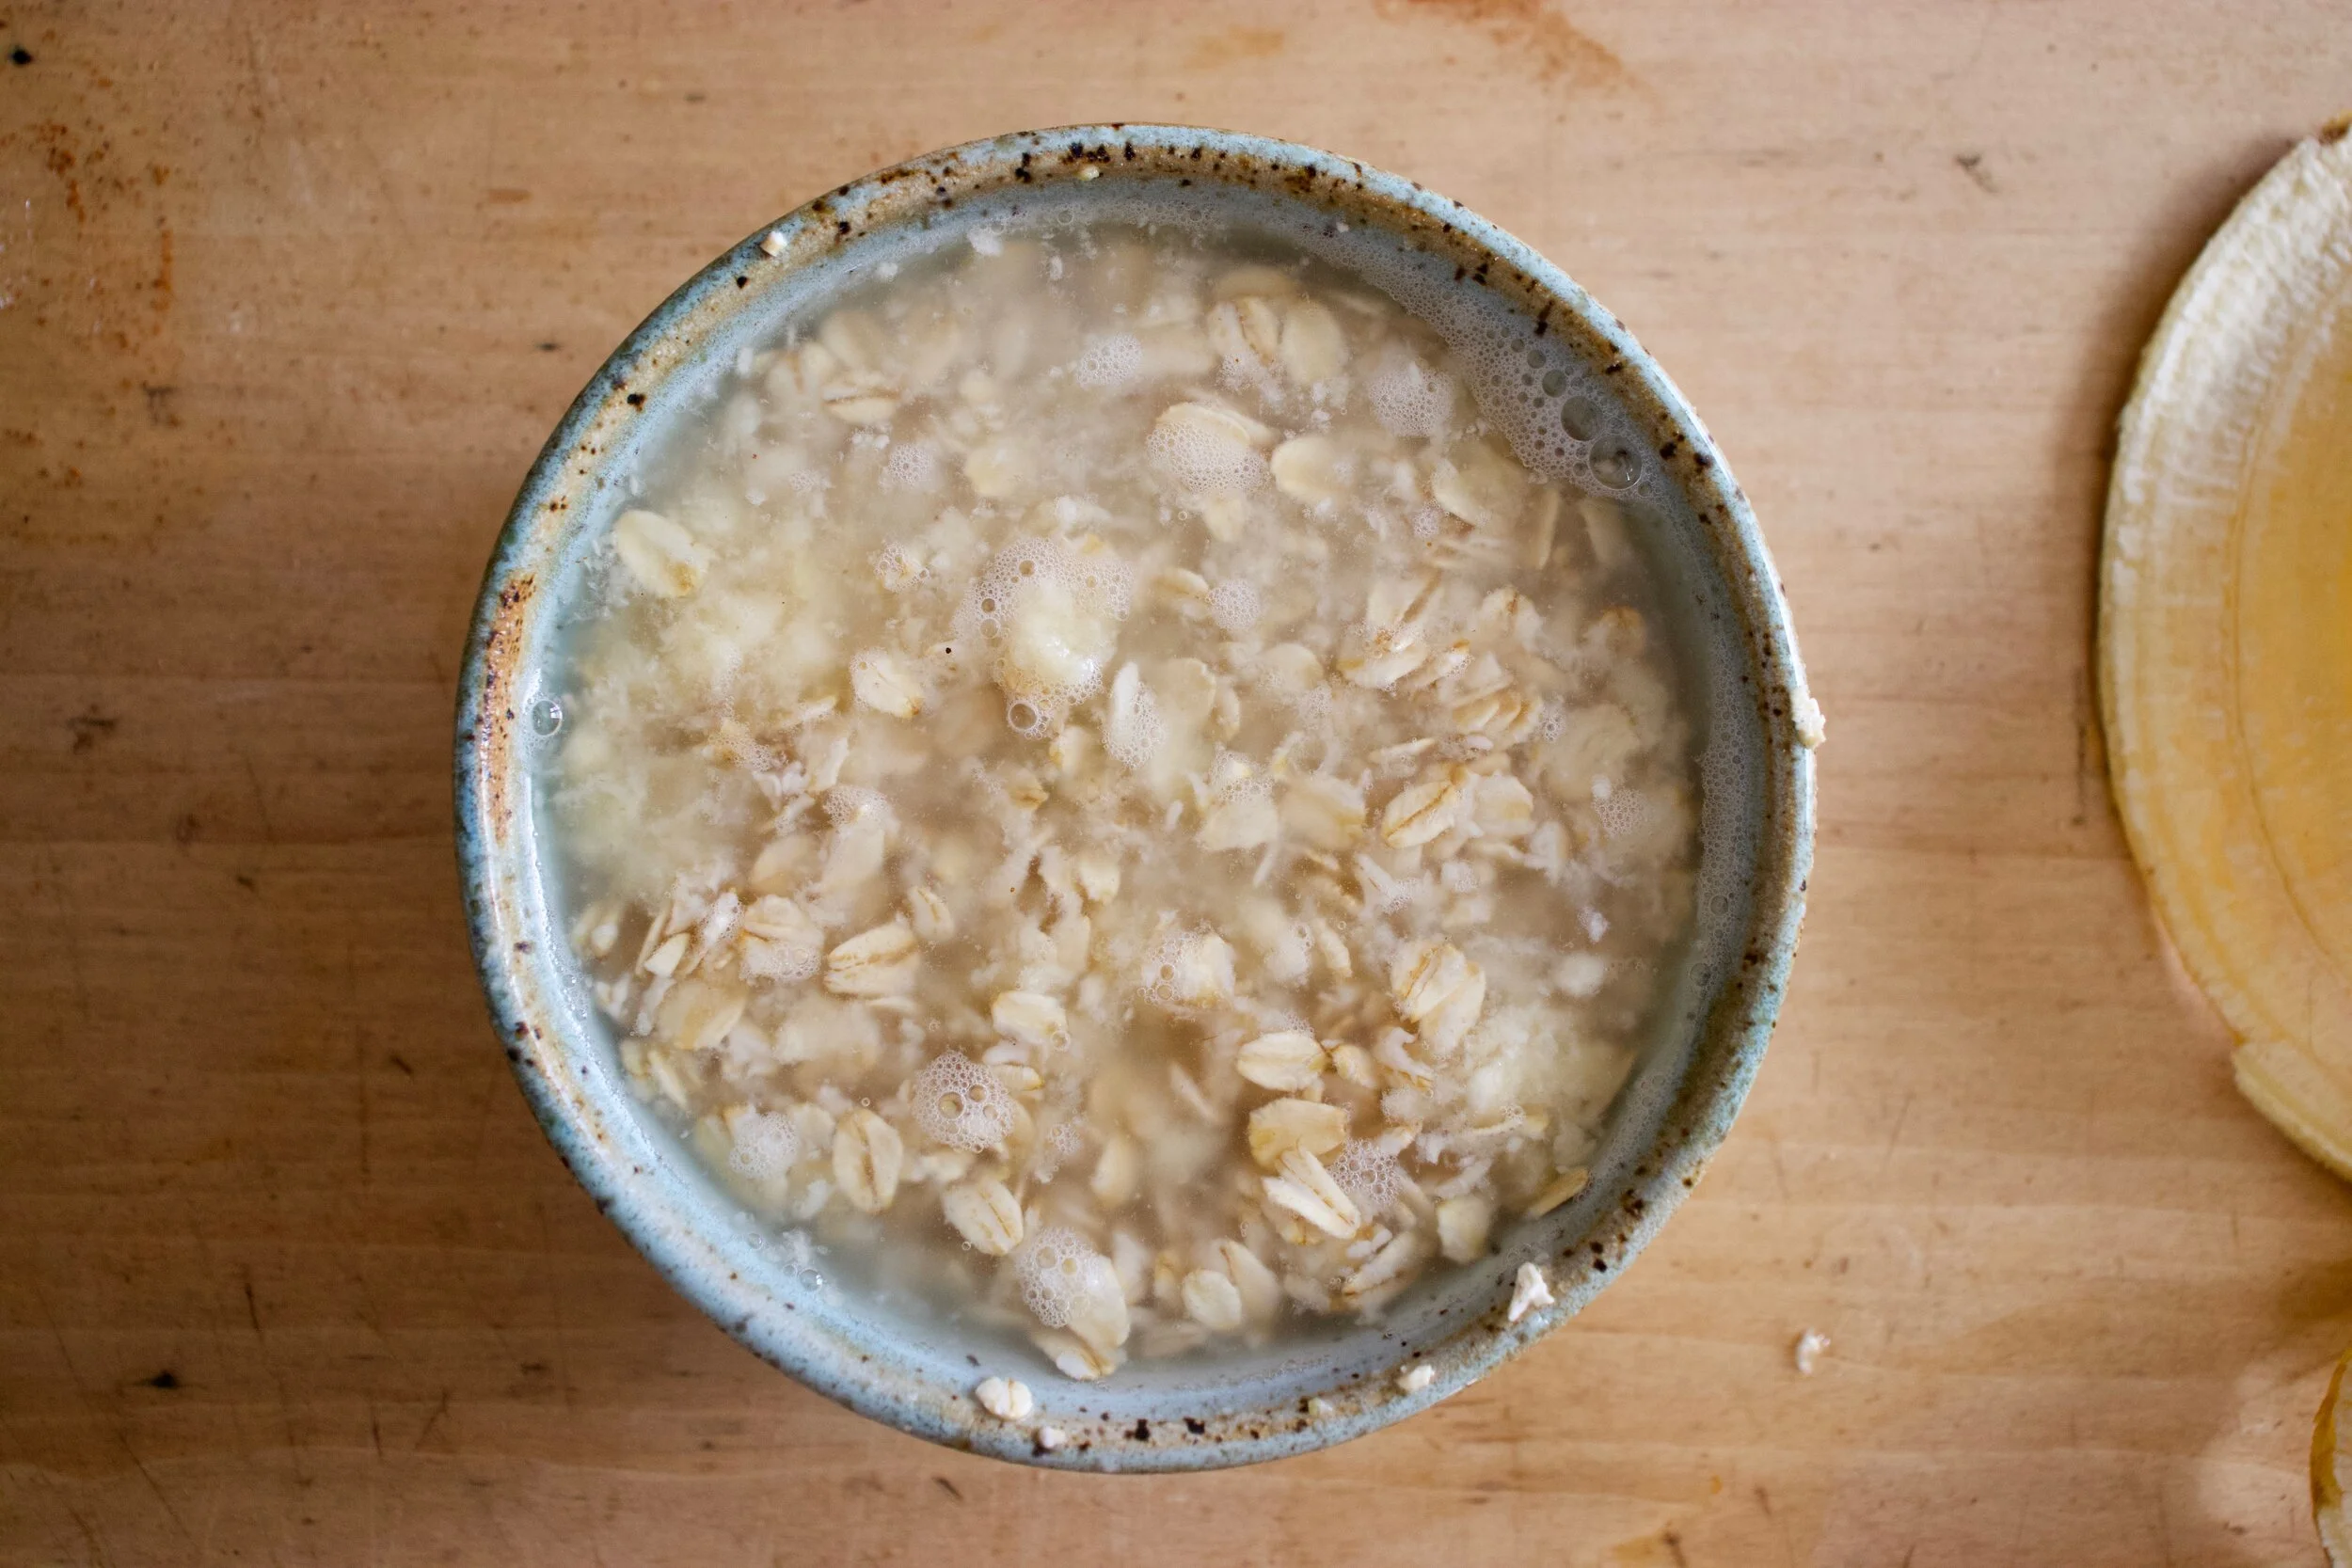
THE LOVELY CRAZY
Soup. No joke (although people make jokes about me), is eaten in my house, at lunch and sometime even at dinner. Every. Single. Day. There is just no going wrong with a big pot or veggies, spices, sometimes beans, sometime not. I make it in big batches, in small batches. Sometimes it%u2019s more a bisque, or a chili or a stew, or just a really really spicy broth. Whatever I have in the fridge or freezer, the stuff that might not be great eaten fresh, sad spinach%u2026. It all turns in soup.
Does that make me some kind of weird soup freak? Maybe, but I am ok with that. And to those who see me walking down the street and yell silly things about me having to get home to eat my soup (it happens more then you know) well, you know you are just jealous and secretly wish you were eating soup with my too. So %ud83d%ude1d.
Are you a soup person too? I mean, who isn%u2019t, especially right now that is is fall time and it%u2019s getting chilly and darker out and all we want to do is hibernate. Definitely a soup time if there was ever a specific time for soup. And this soup, made even more hardy and comforting with the addition on dumplings. I actually made it specifically for the mr because, well just because I love him and thought he would enjoy it. And well, he loved it because dumplings of course. Light and slightly chewy, soup thickening dumplings with hot and comforting soup. A perfect end to a day of him working outside in the cold.
So soup. Make it. Dumplings. Add those too. You will be a winner with food, and in life.
To the soup and dumplings!

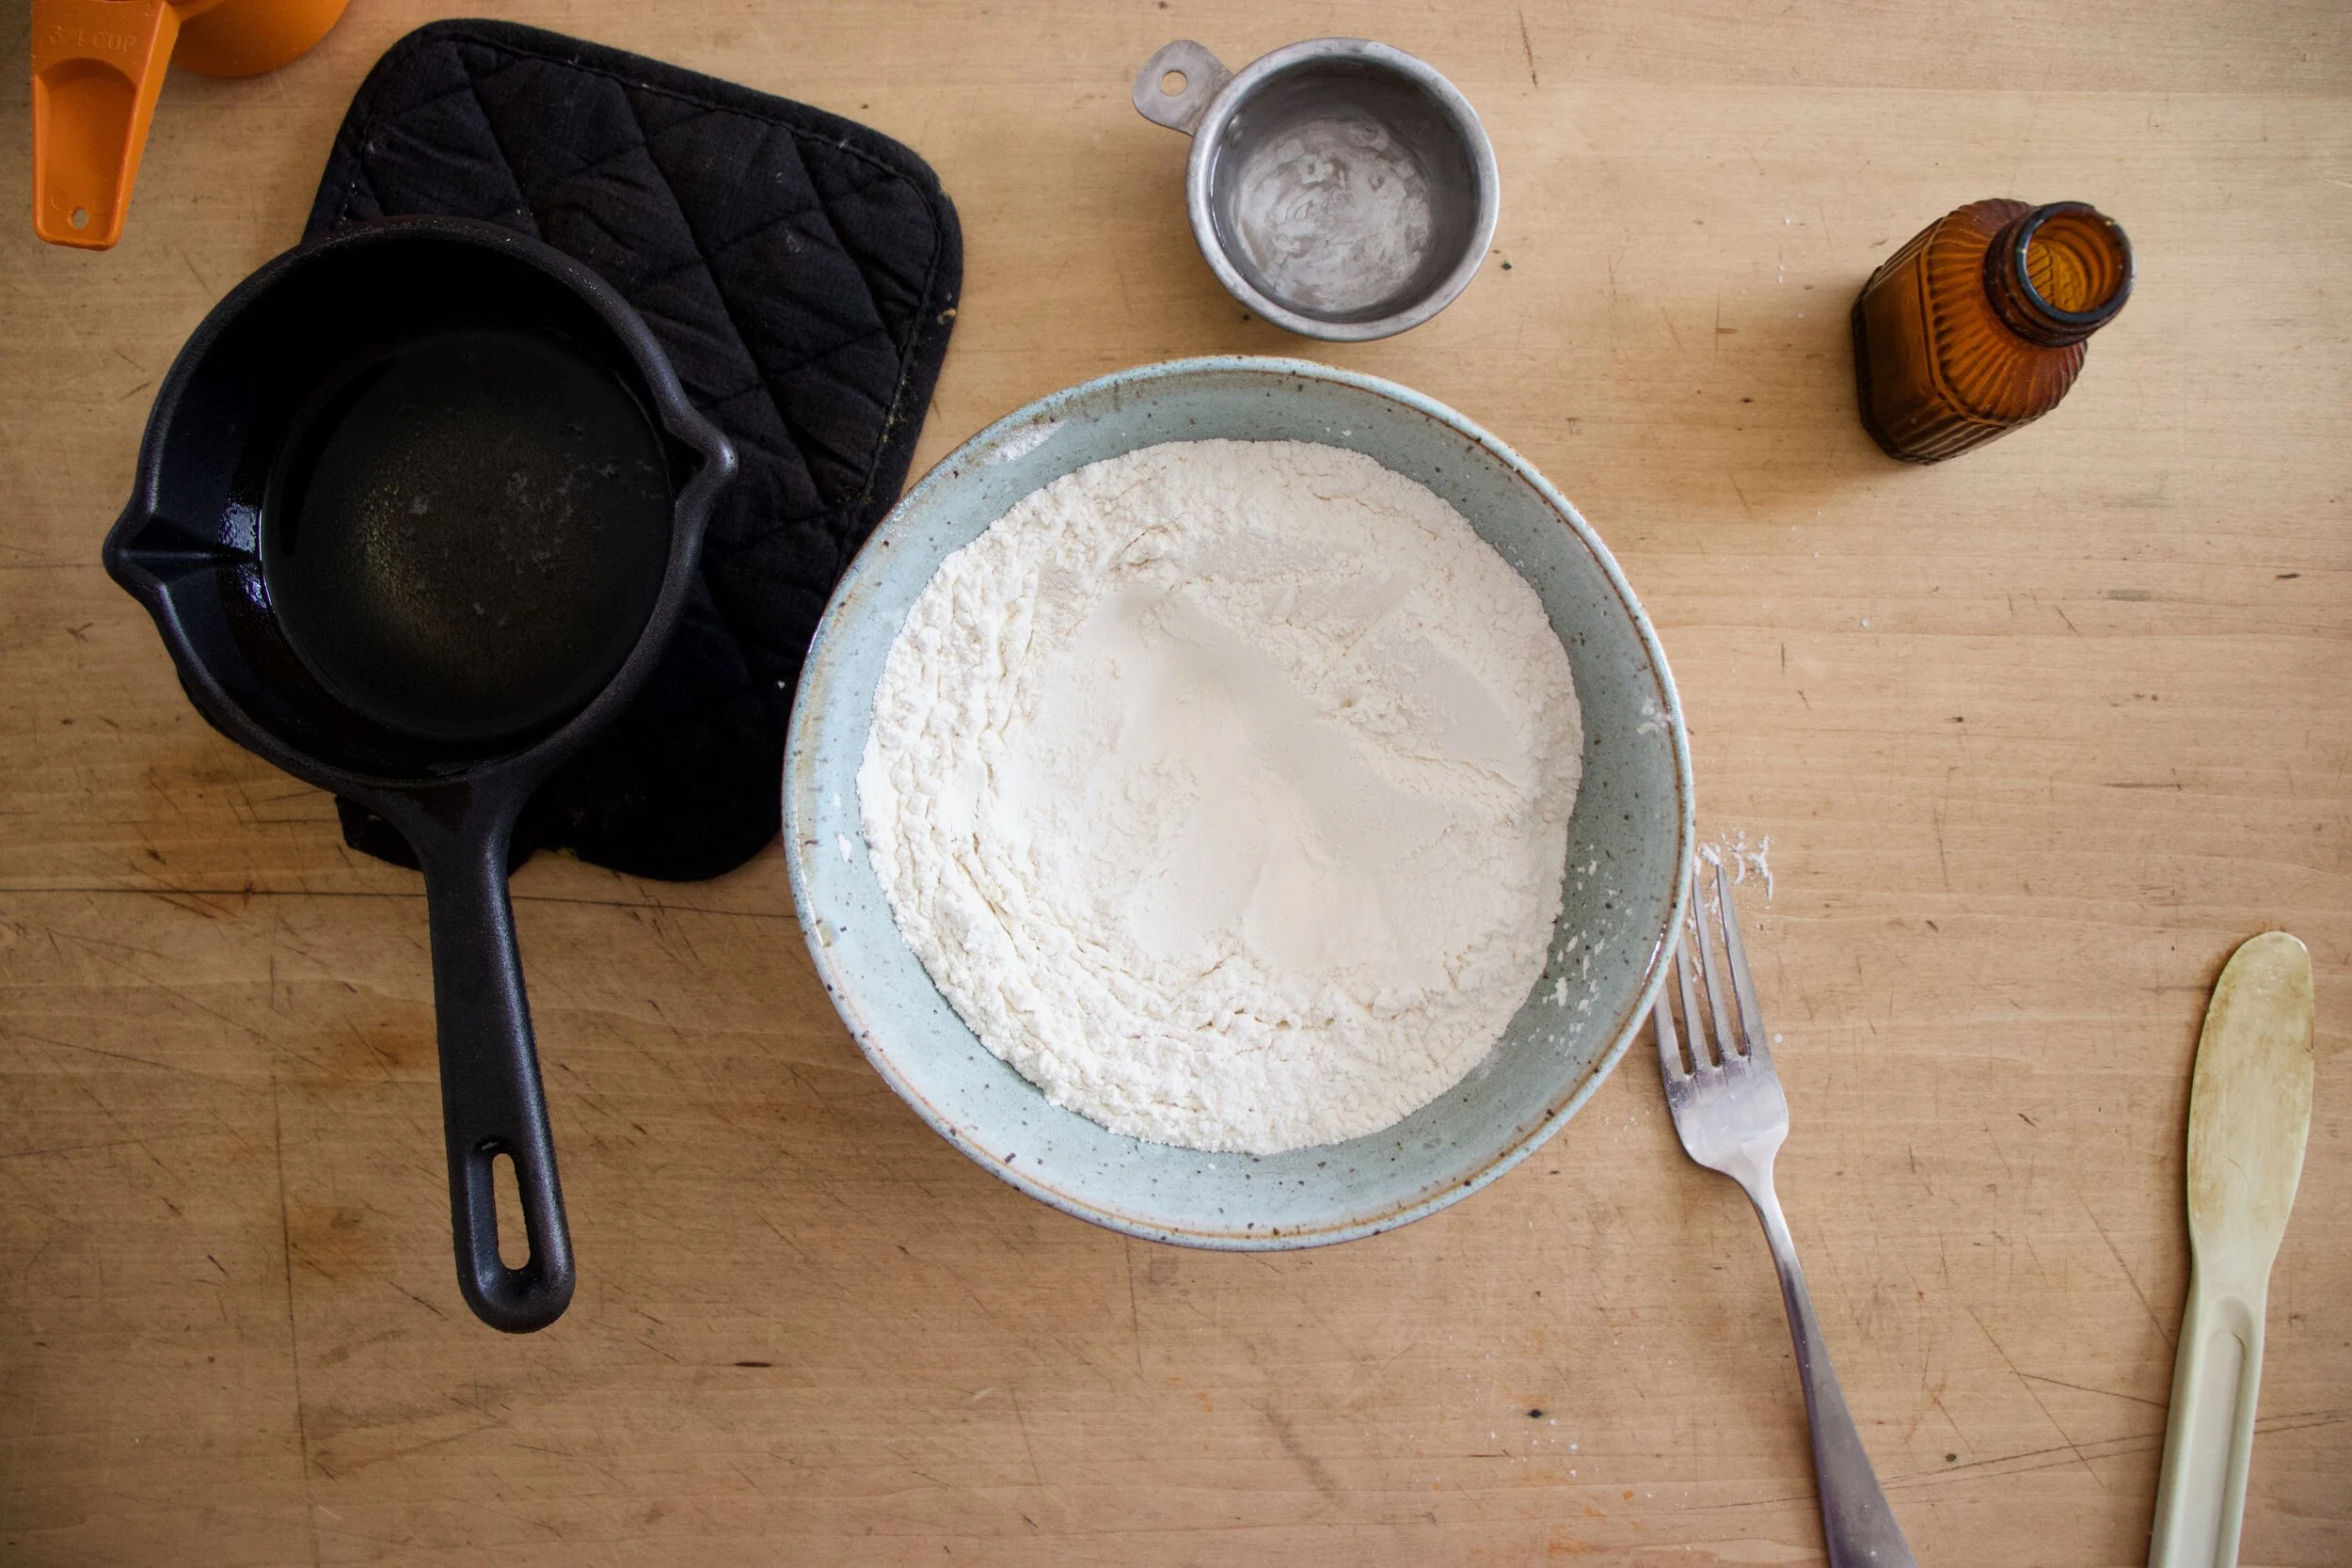
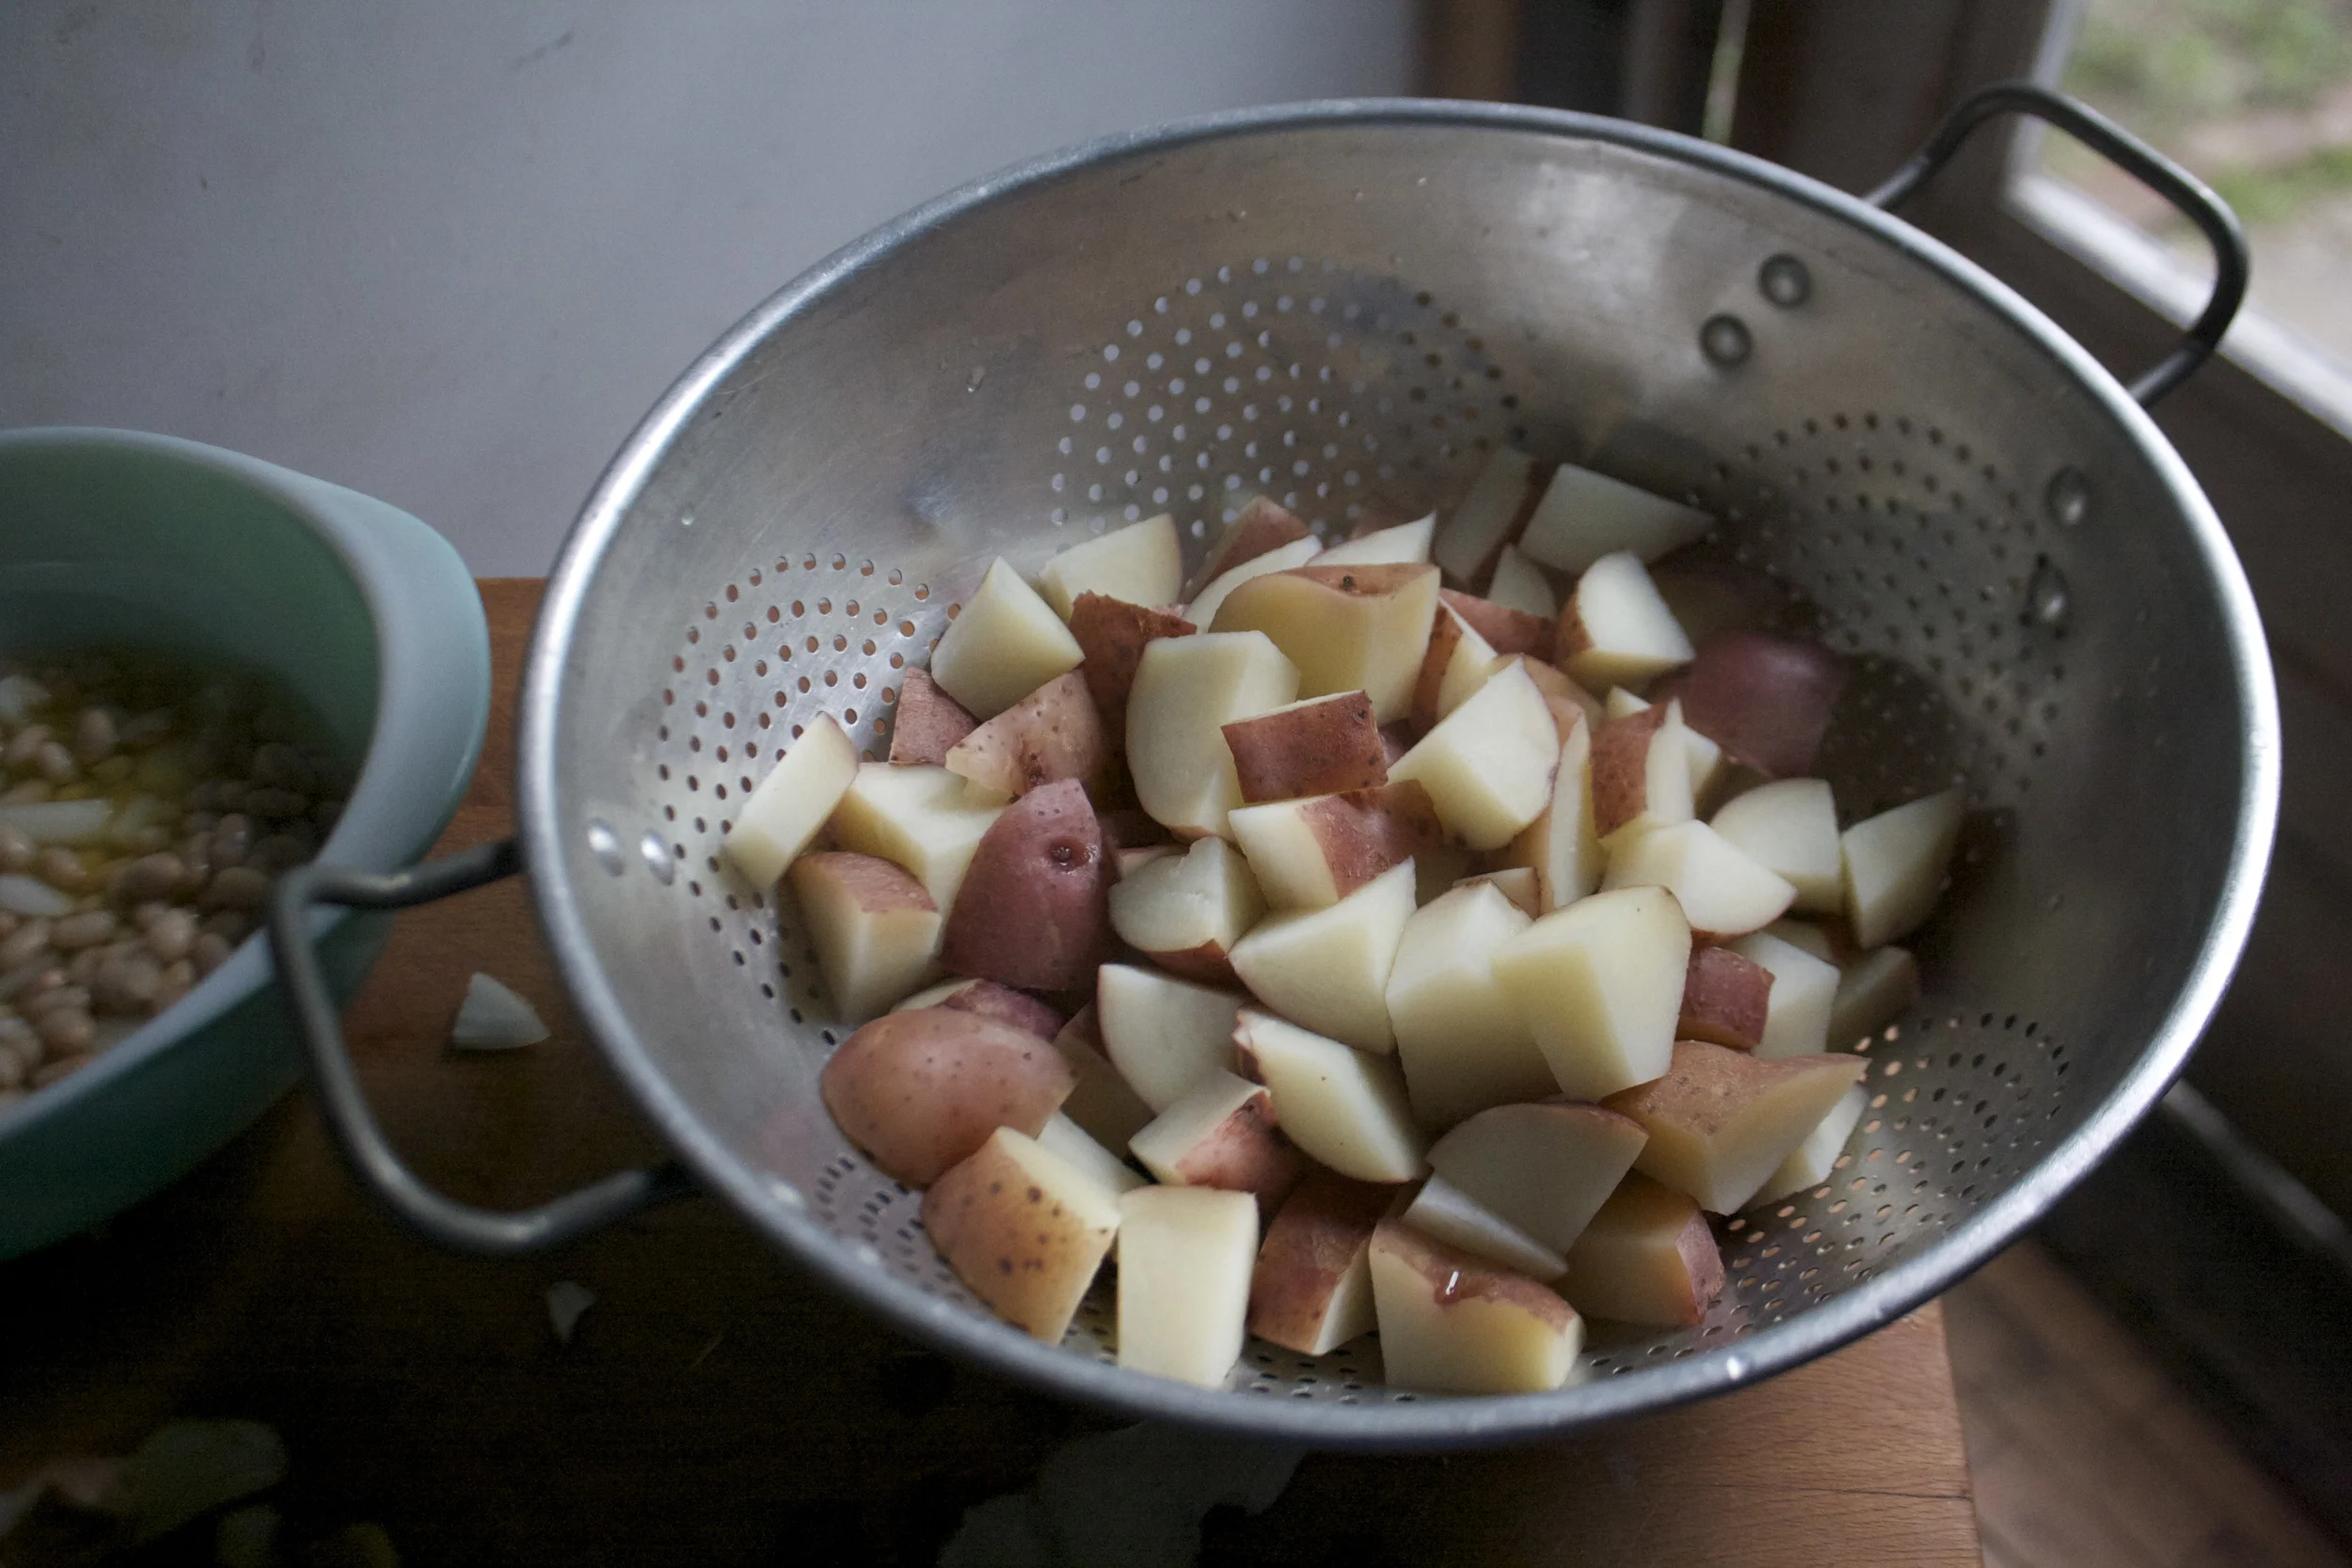
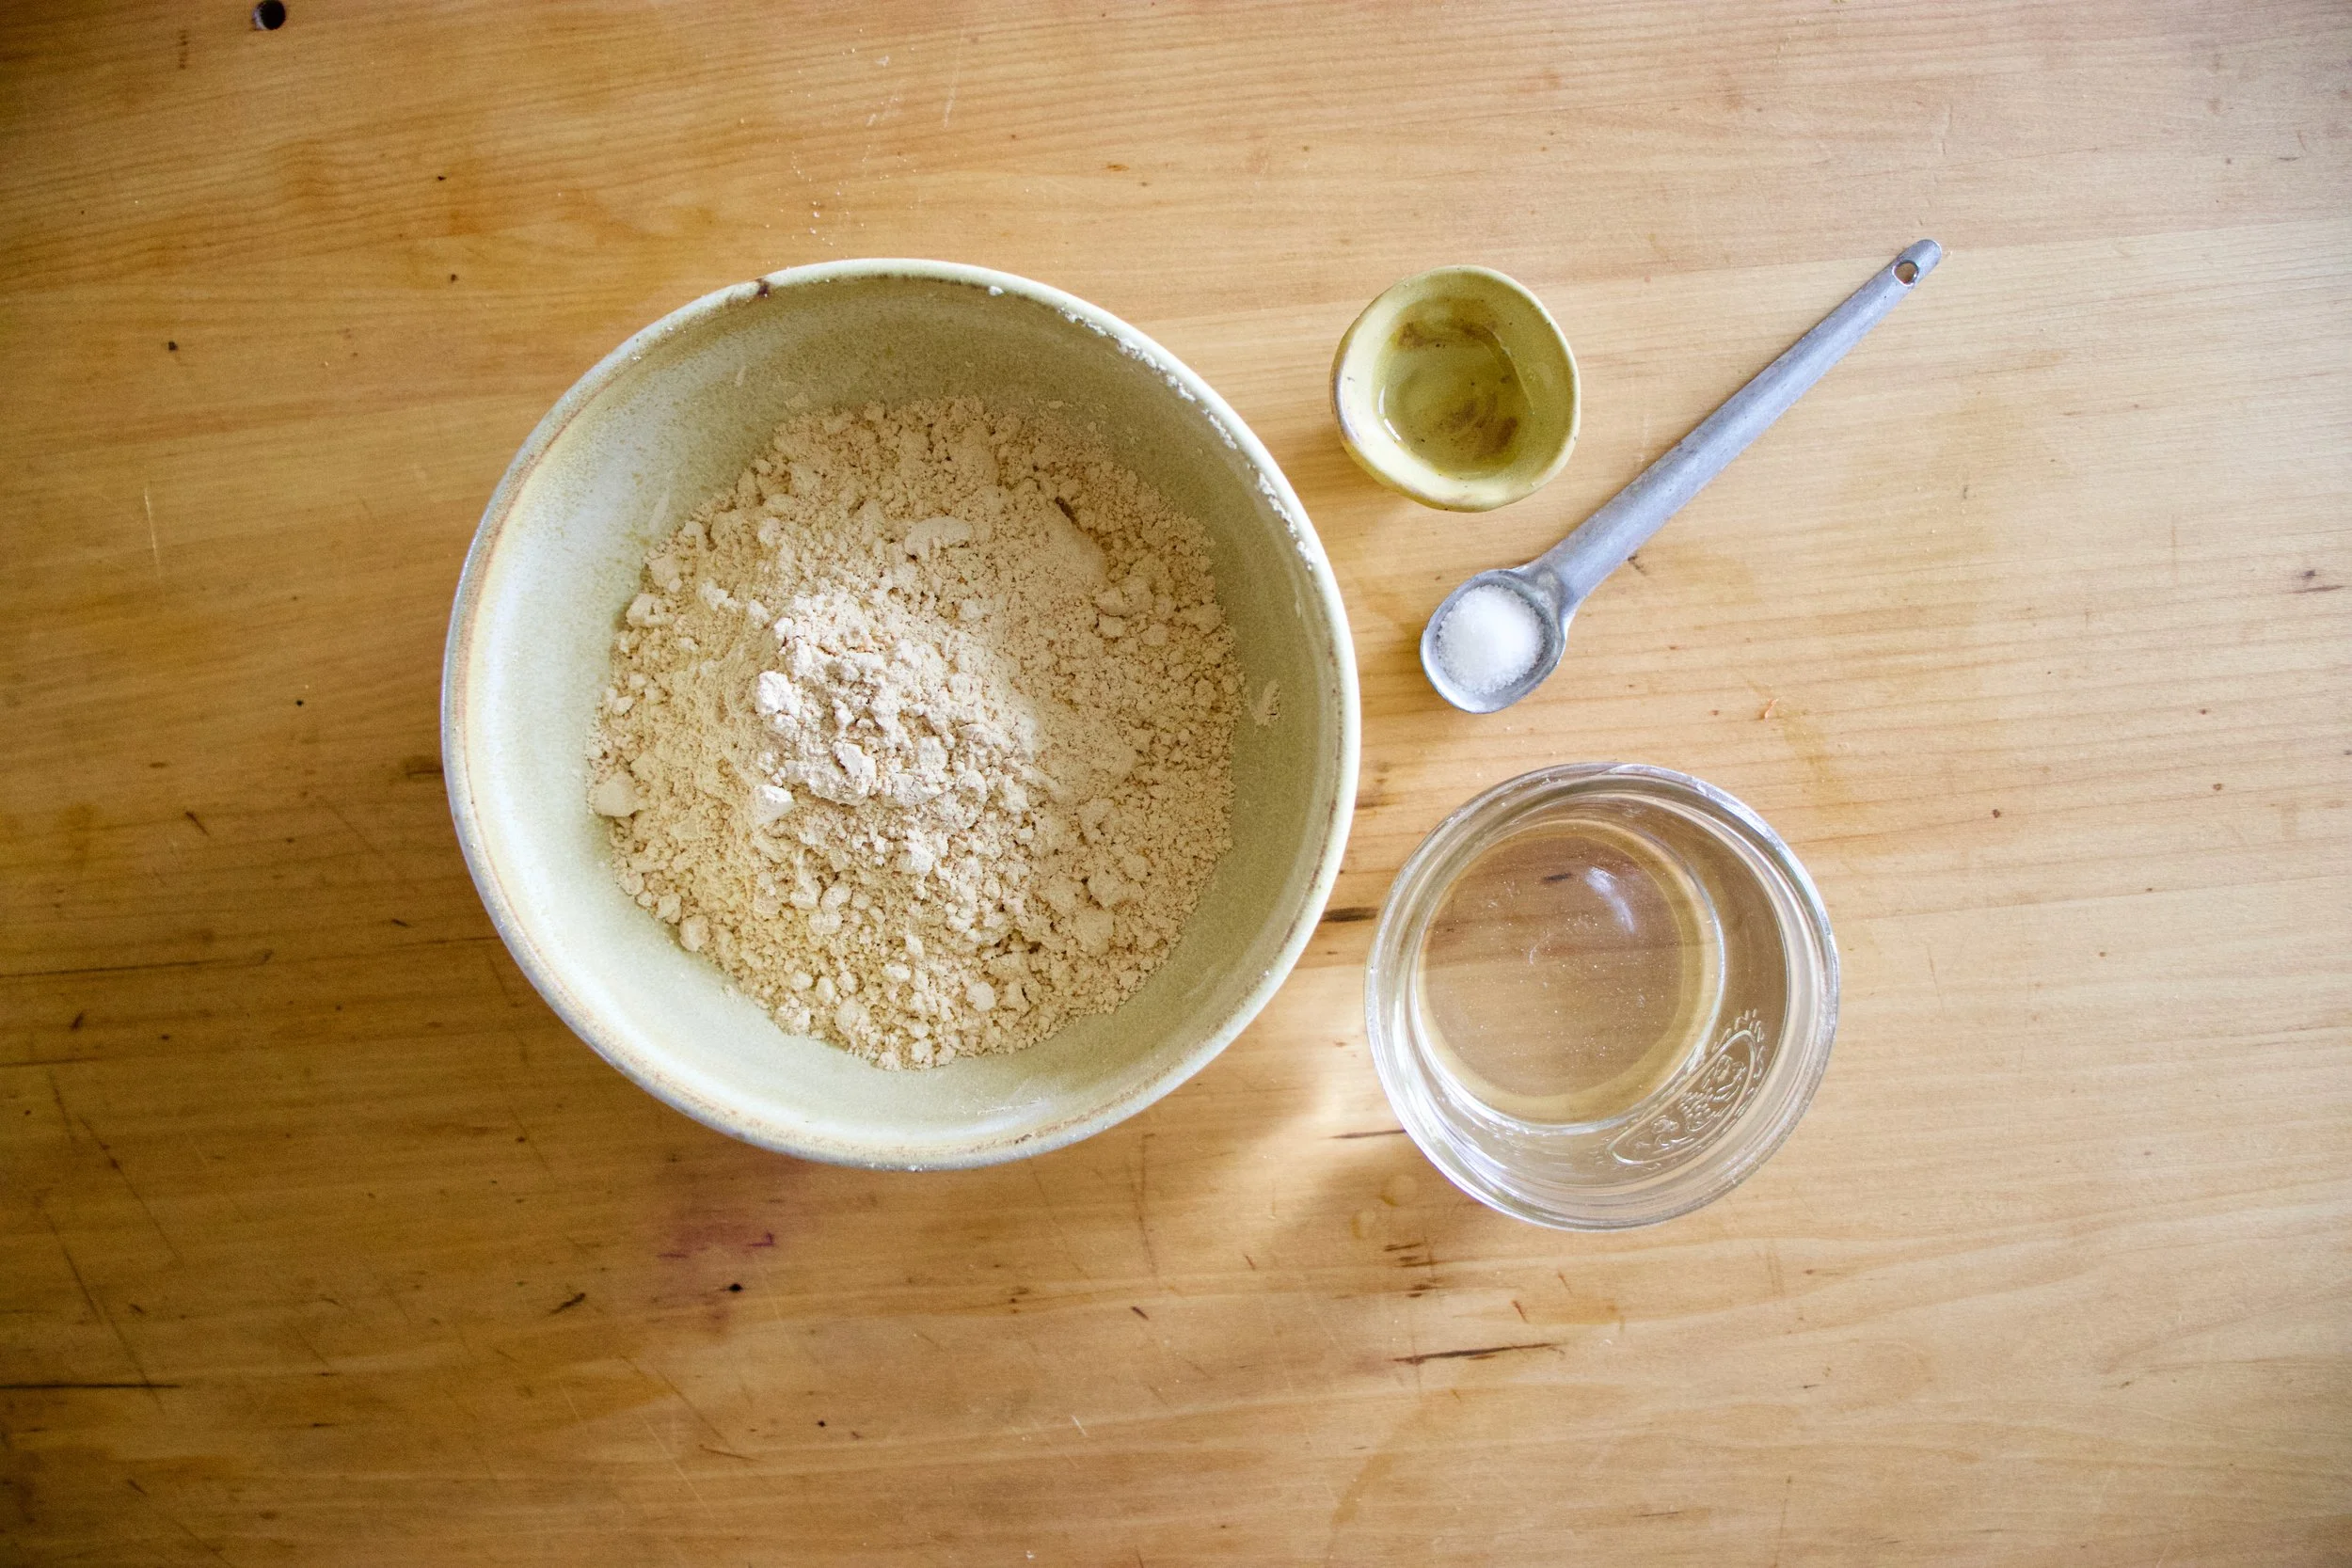
The stuff. A few stalks of Swiss chard, a couple carrots and a few potatoes. An onion, dried navy beans, some cherry tomatoes. Then there is flour, with salt and baking powder, a little oil, plant based milk, and salt and pepper.
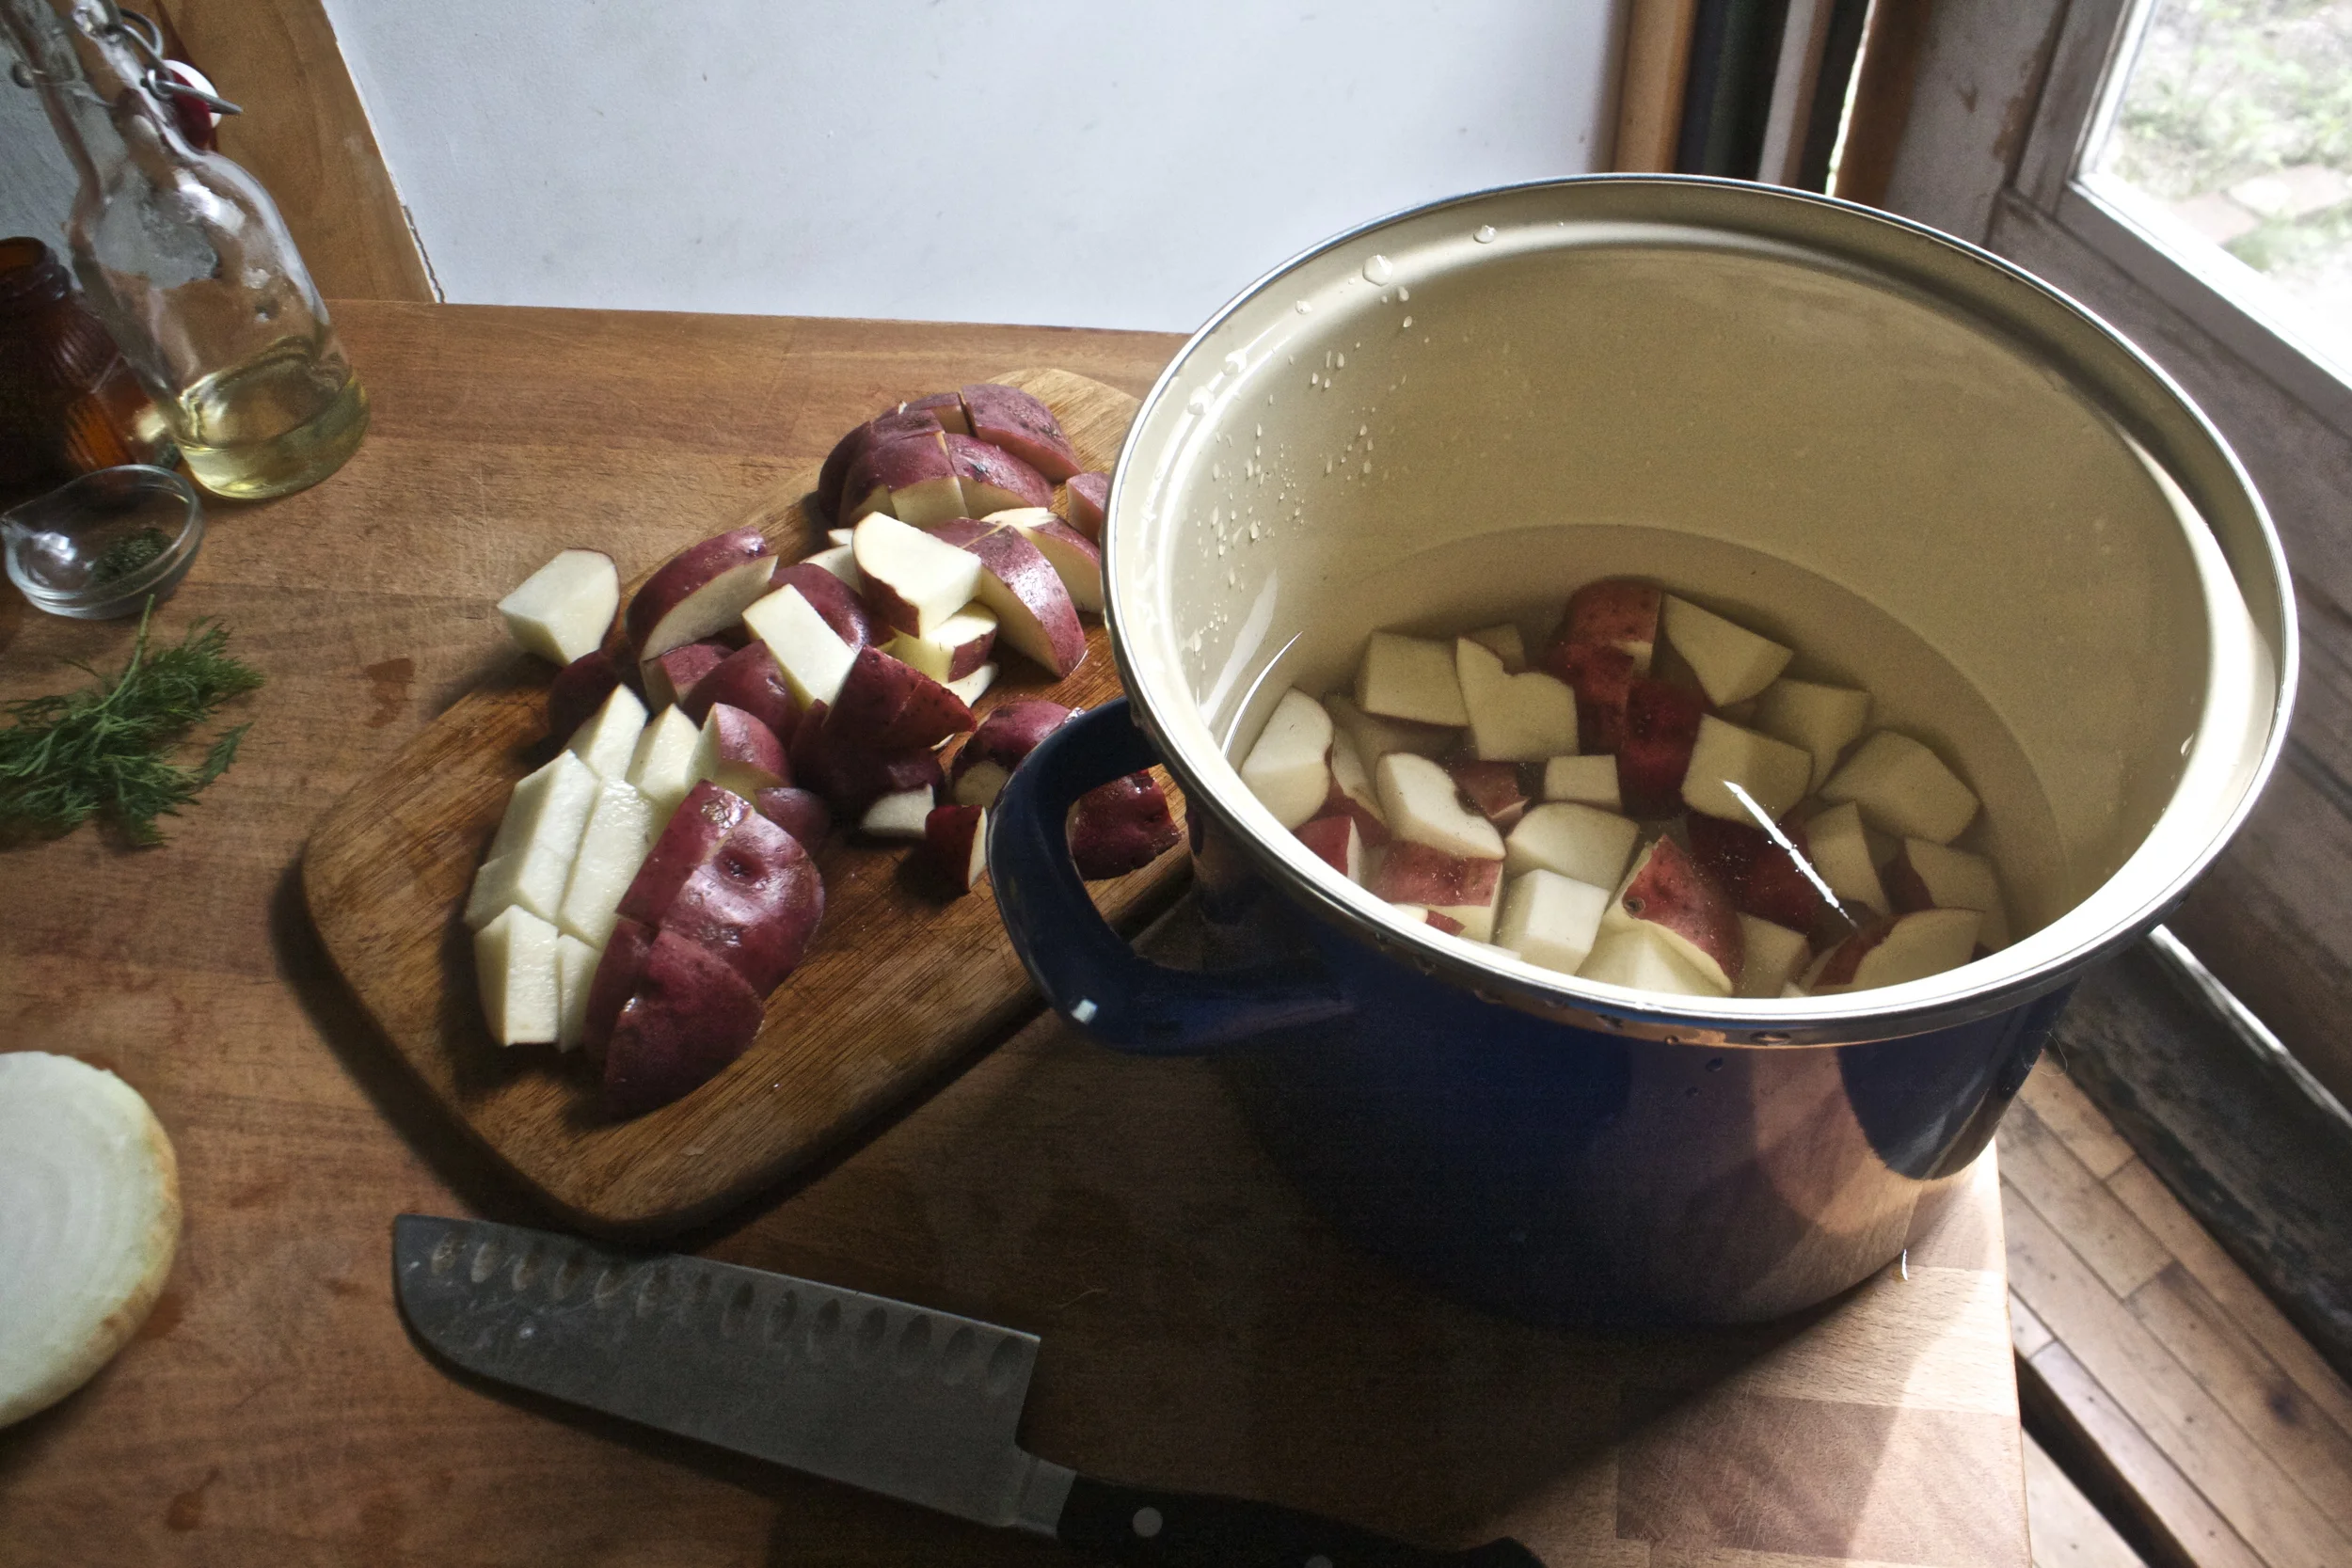
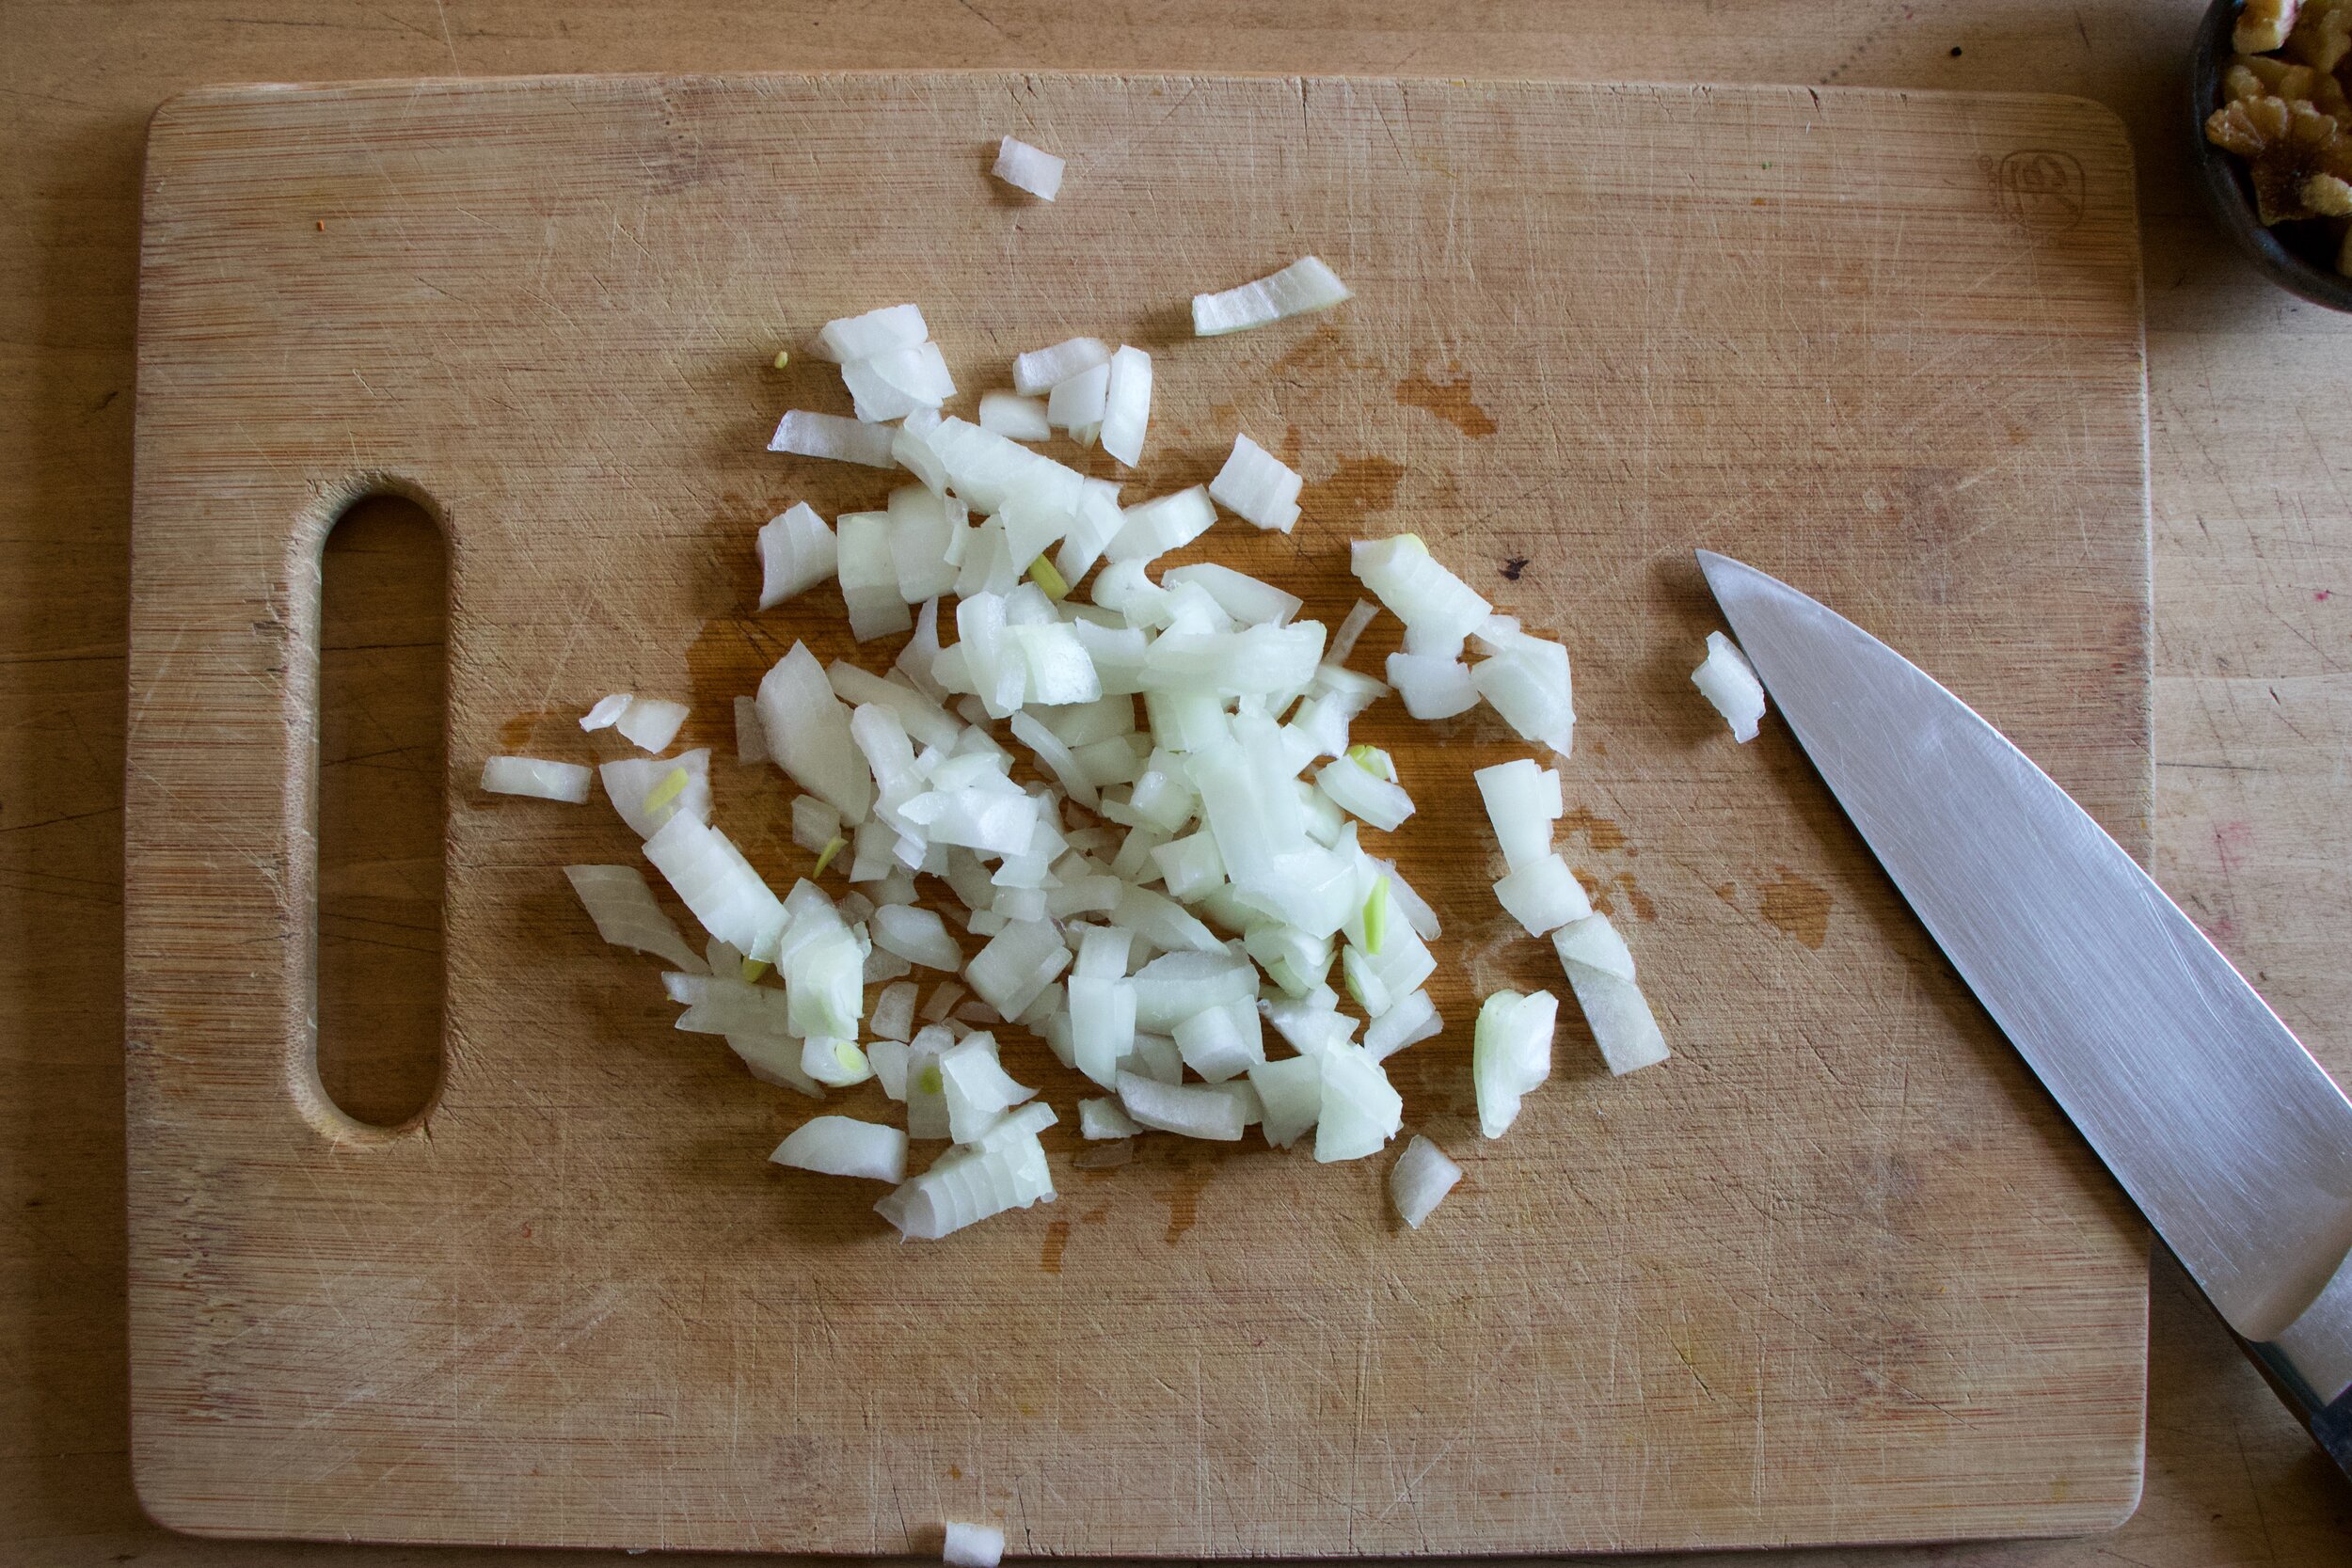
Veggie chopping time. Dice the potatoes, the onion, the carrots, and the stalks of the chard into small mouth sized pieces. Cut the cherry tomatoes in half and the chard leaves into small ribbons. Set the tomatoes and greens aside.

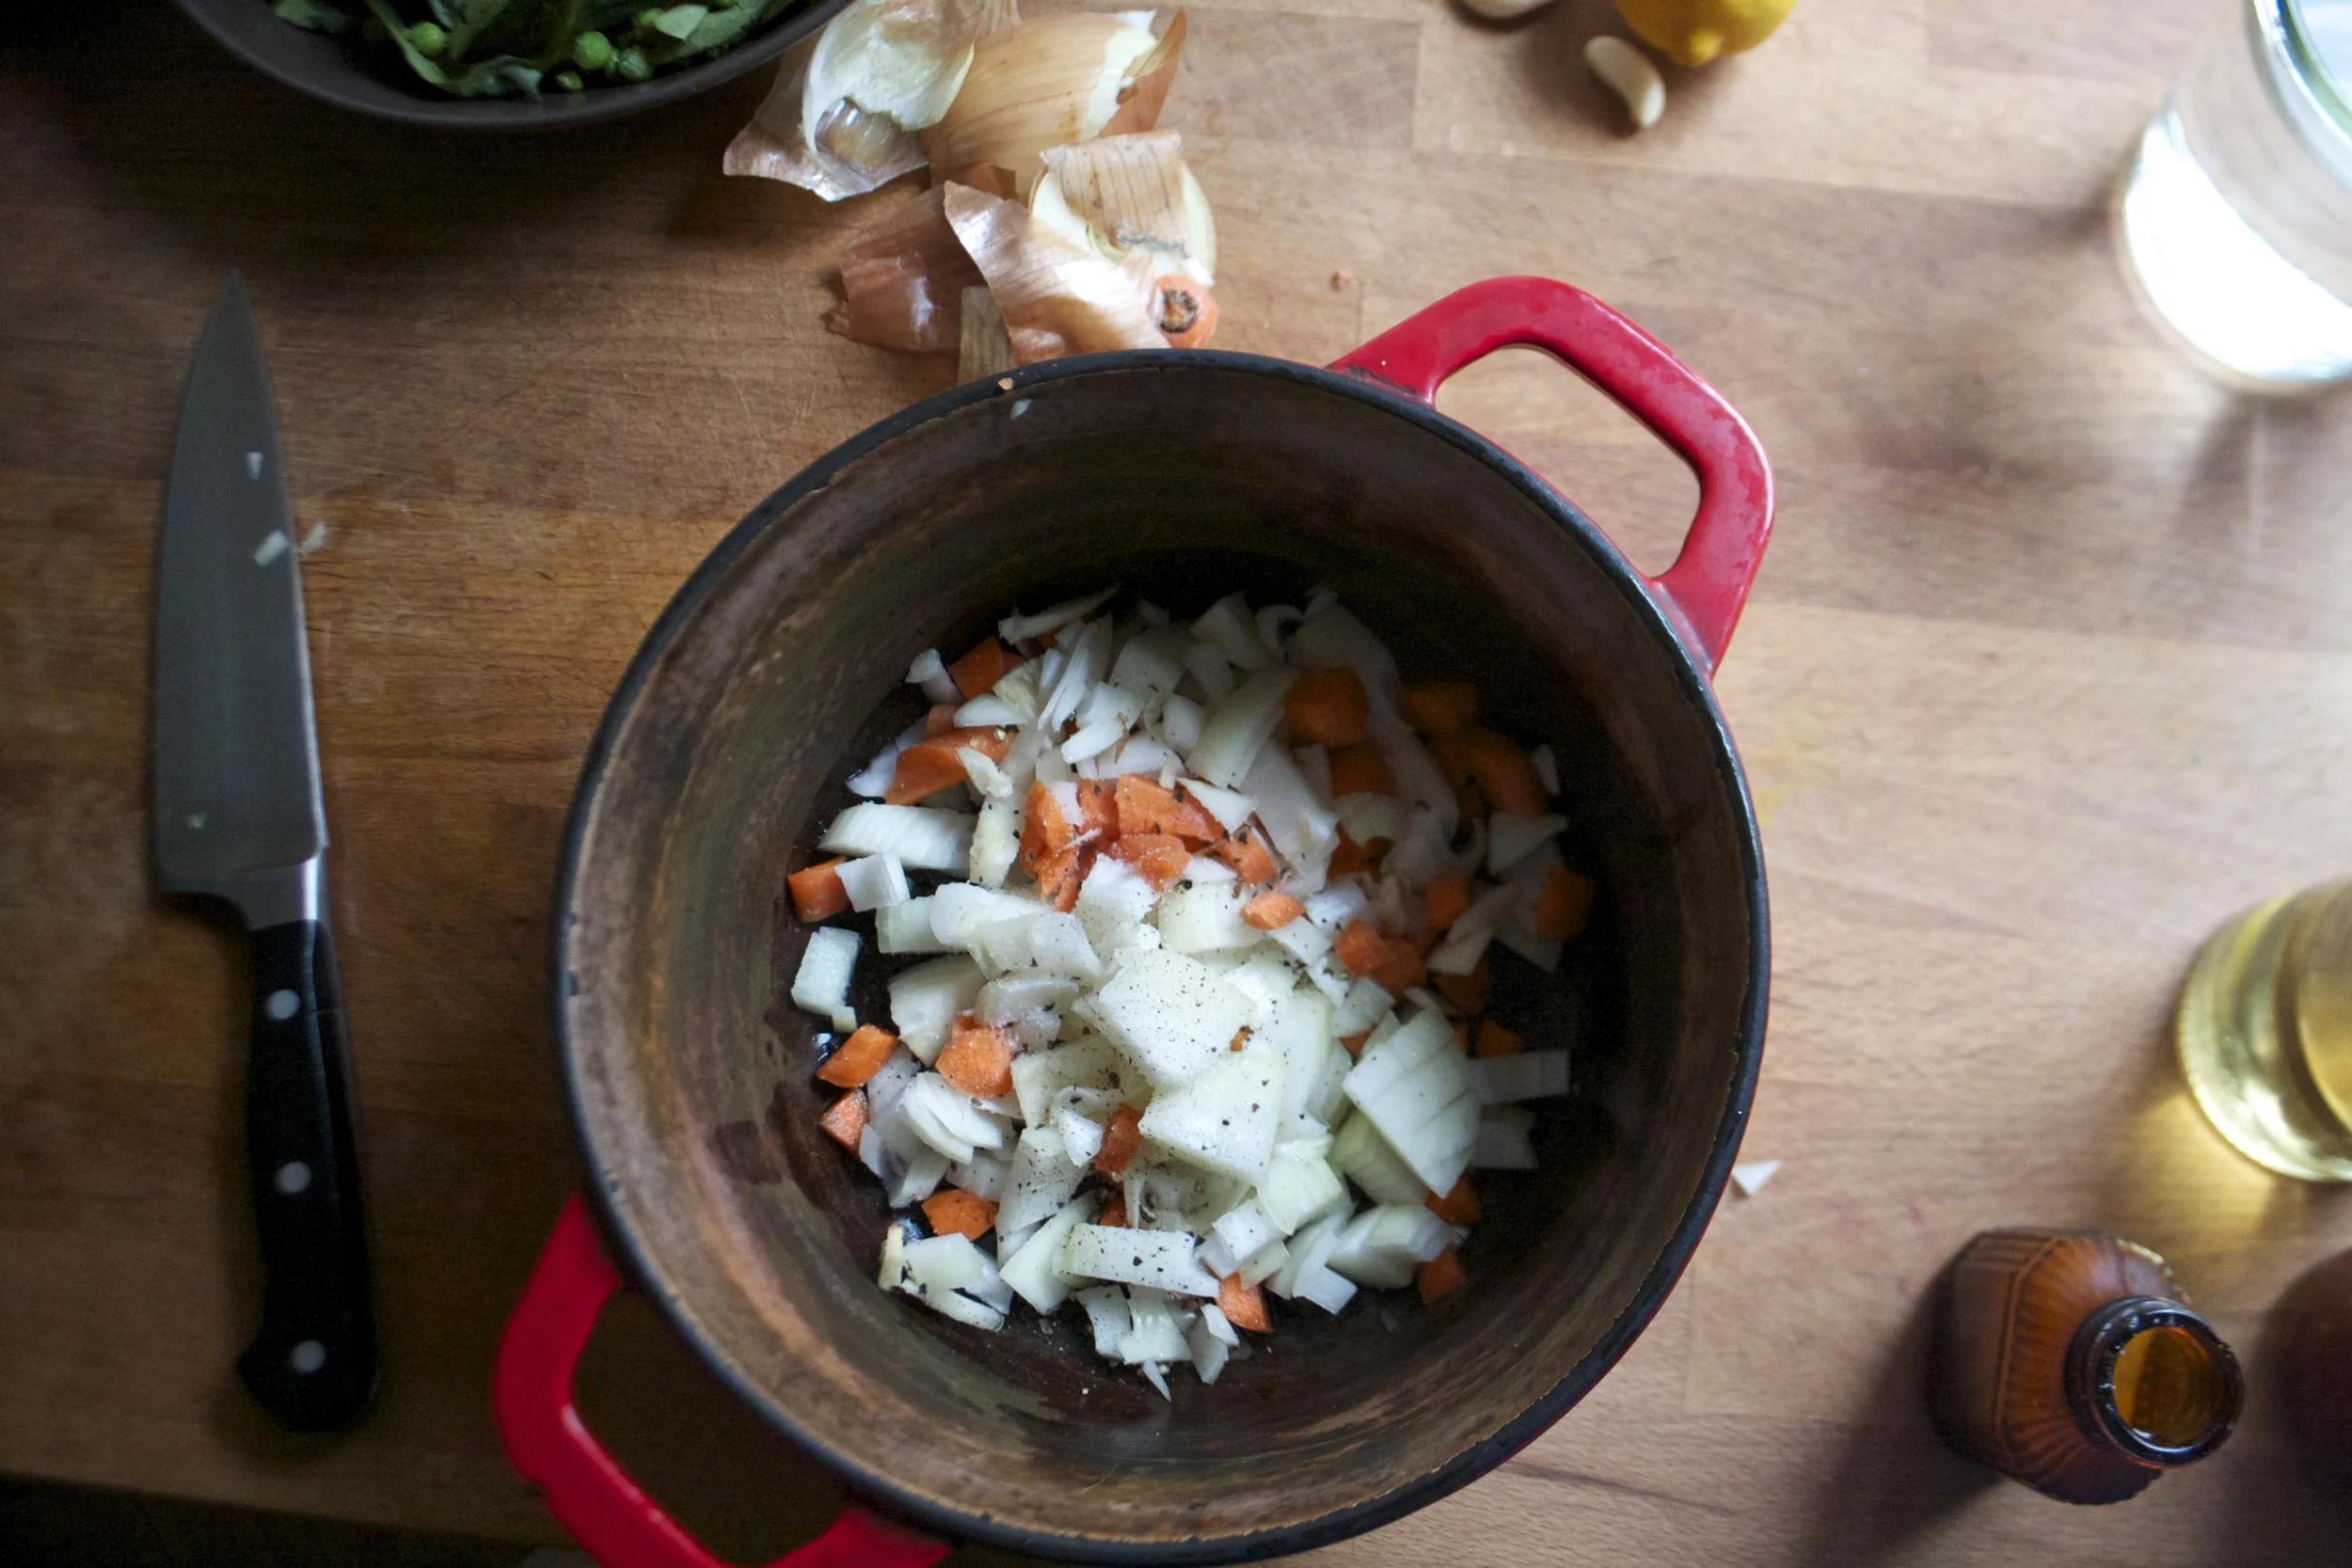
Dump the carrots, onion, chard stalks, and potatoes into a very large pot, add all the spices, a good pinch of salt, lots of black pepper, and a few splashed of water. Cook on medium high heat for 5-7 minutes to just kind of sweat the veggies a bit.
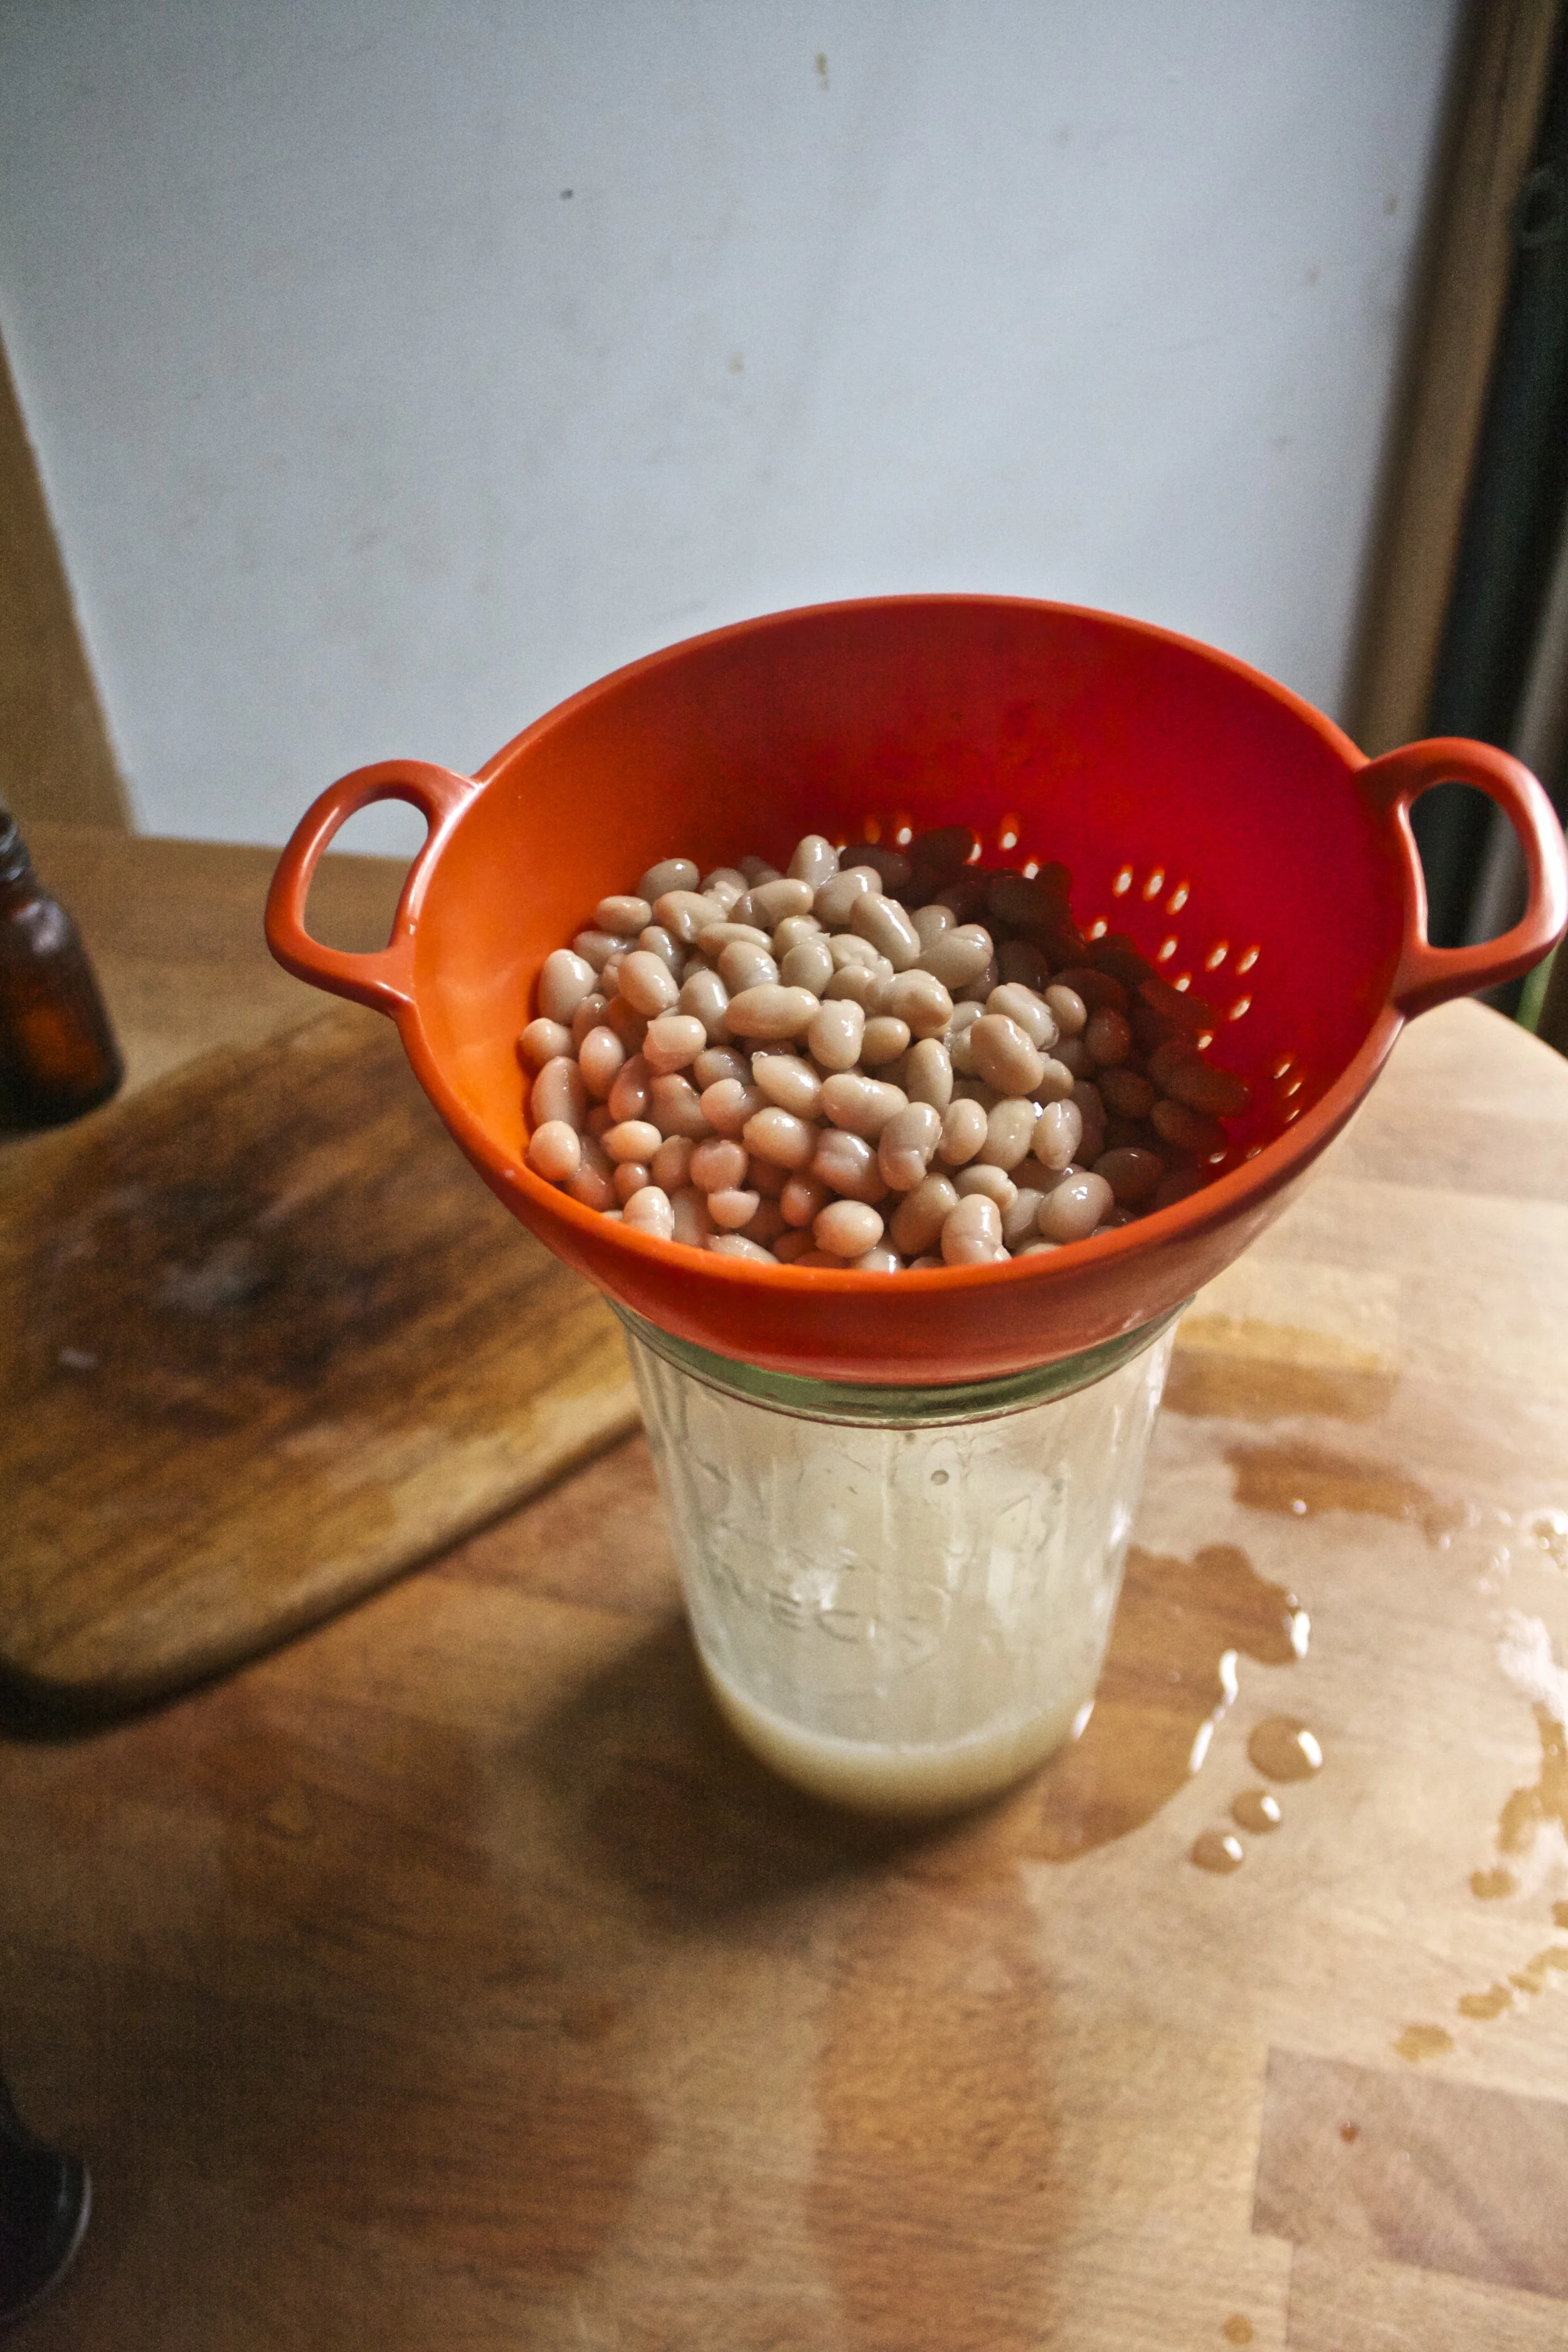
Add in beans and water. Bring pot to a boil then reduce heat to medium and let cook for about an hour. Just give it a stir once in a while.

After an hour check the beans. If they seem close to being done (almost squish in between fingers), then add in the tomatoes, the chard greens, and a few more cup of water. Keep on heat and start the dumpling batter.
Dumpling batter. Mix together the dry ingredients then add in the wet. Mix until combined.

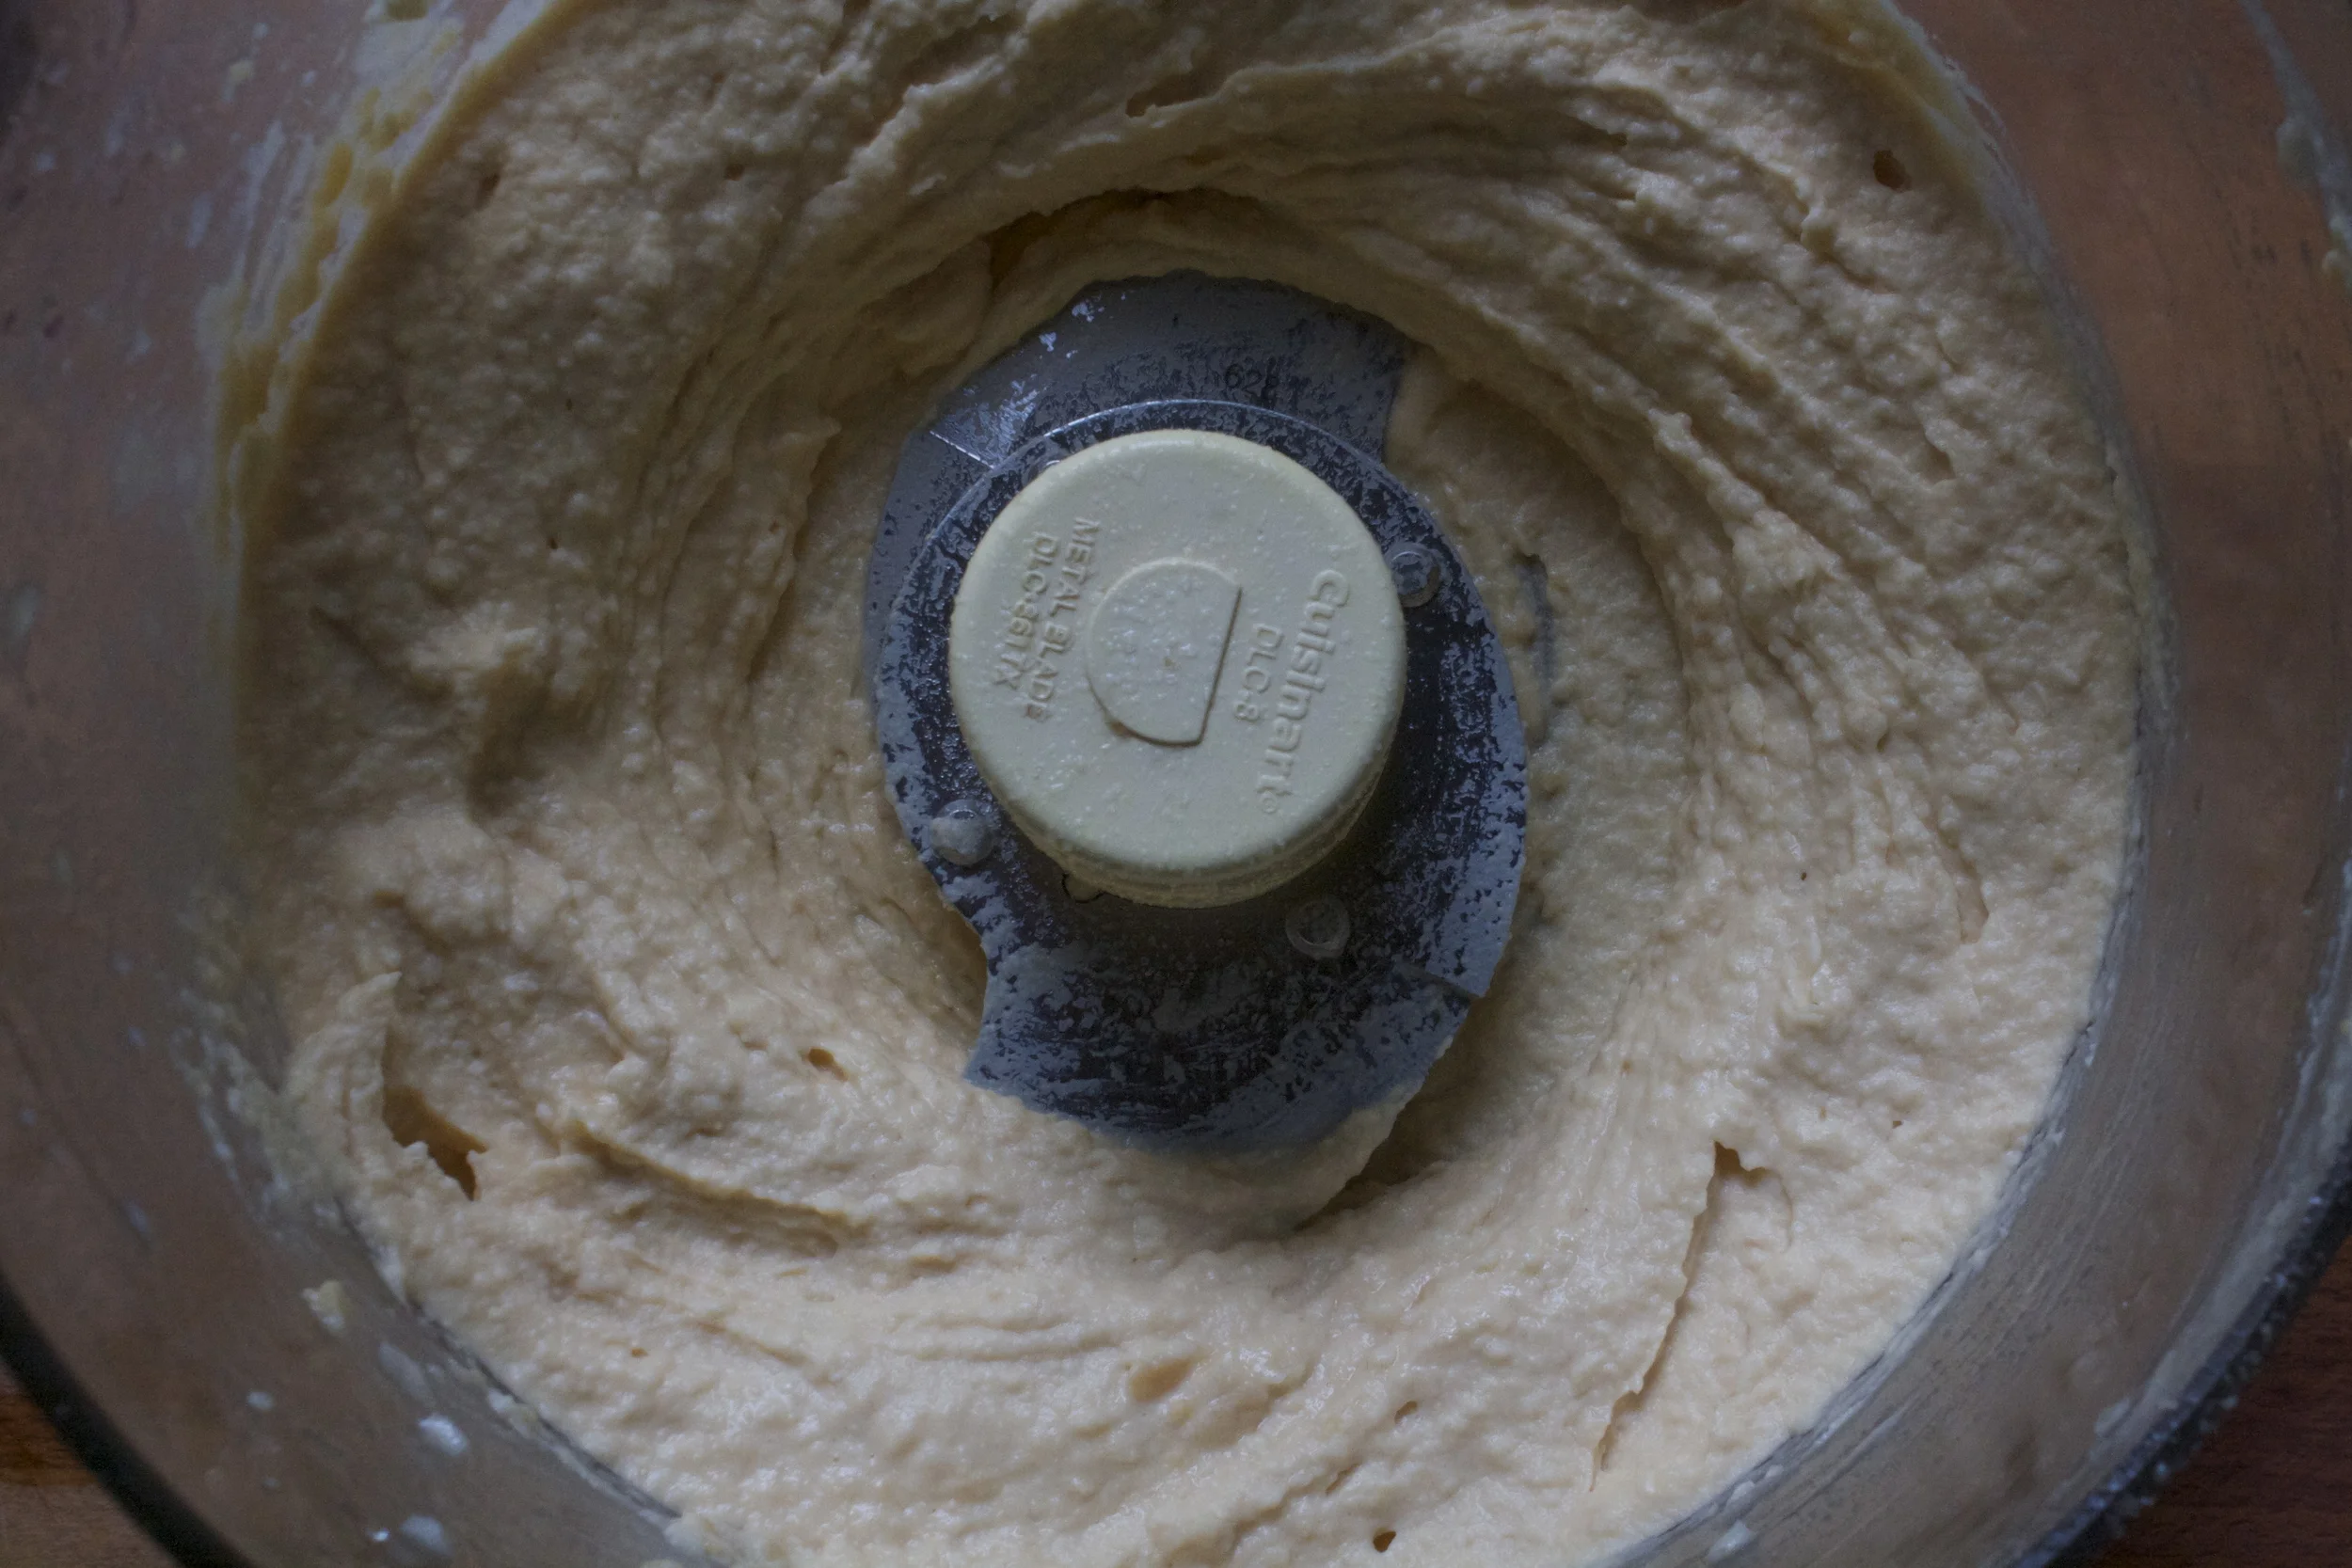
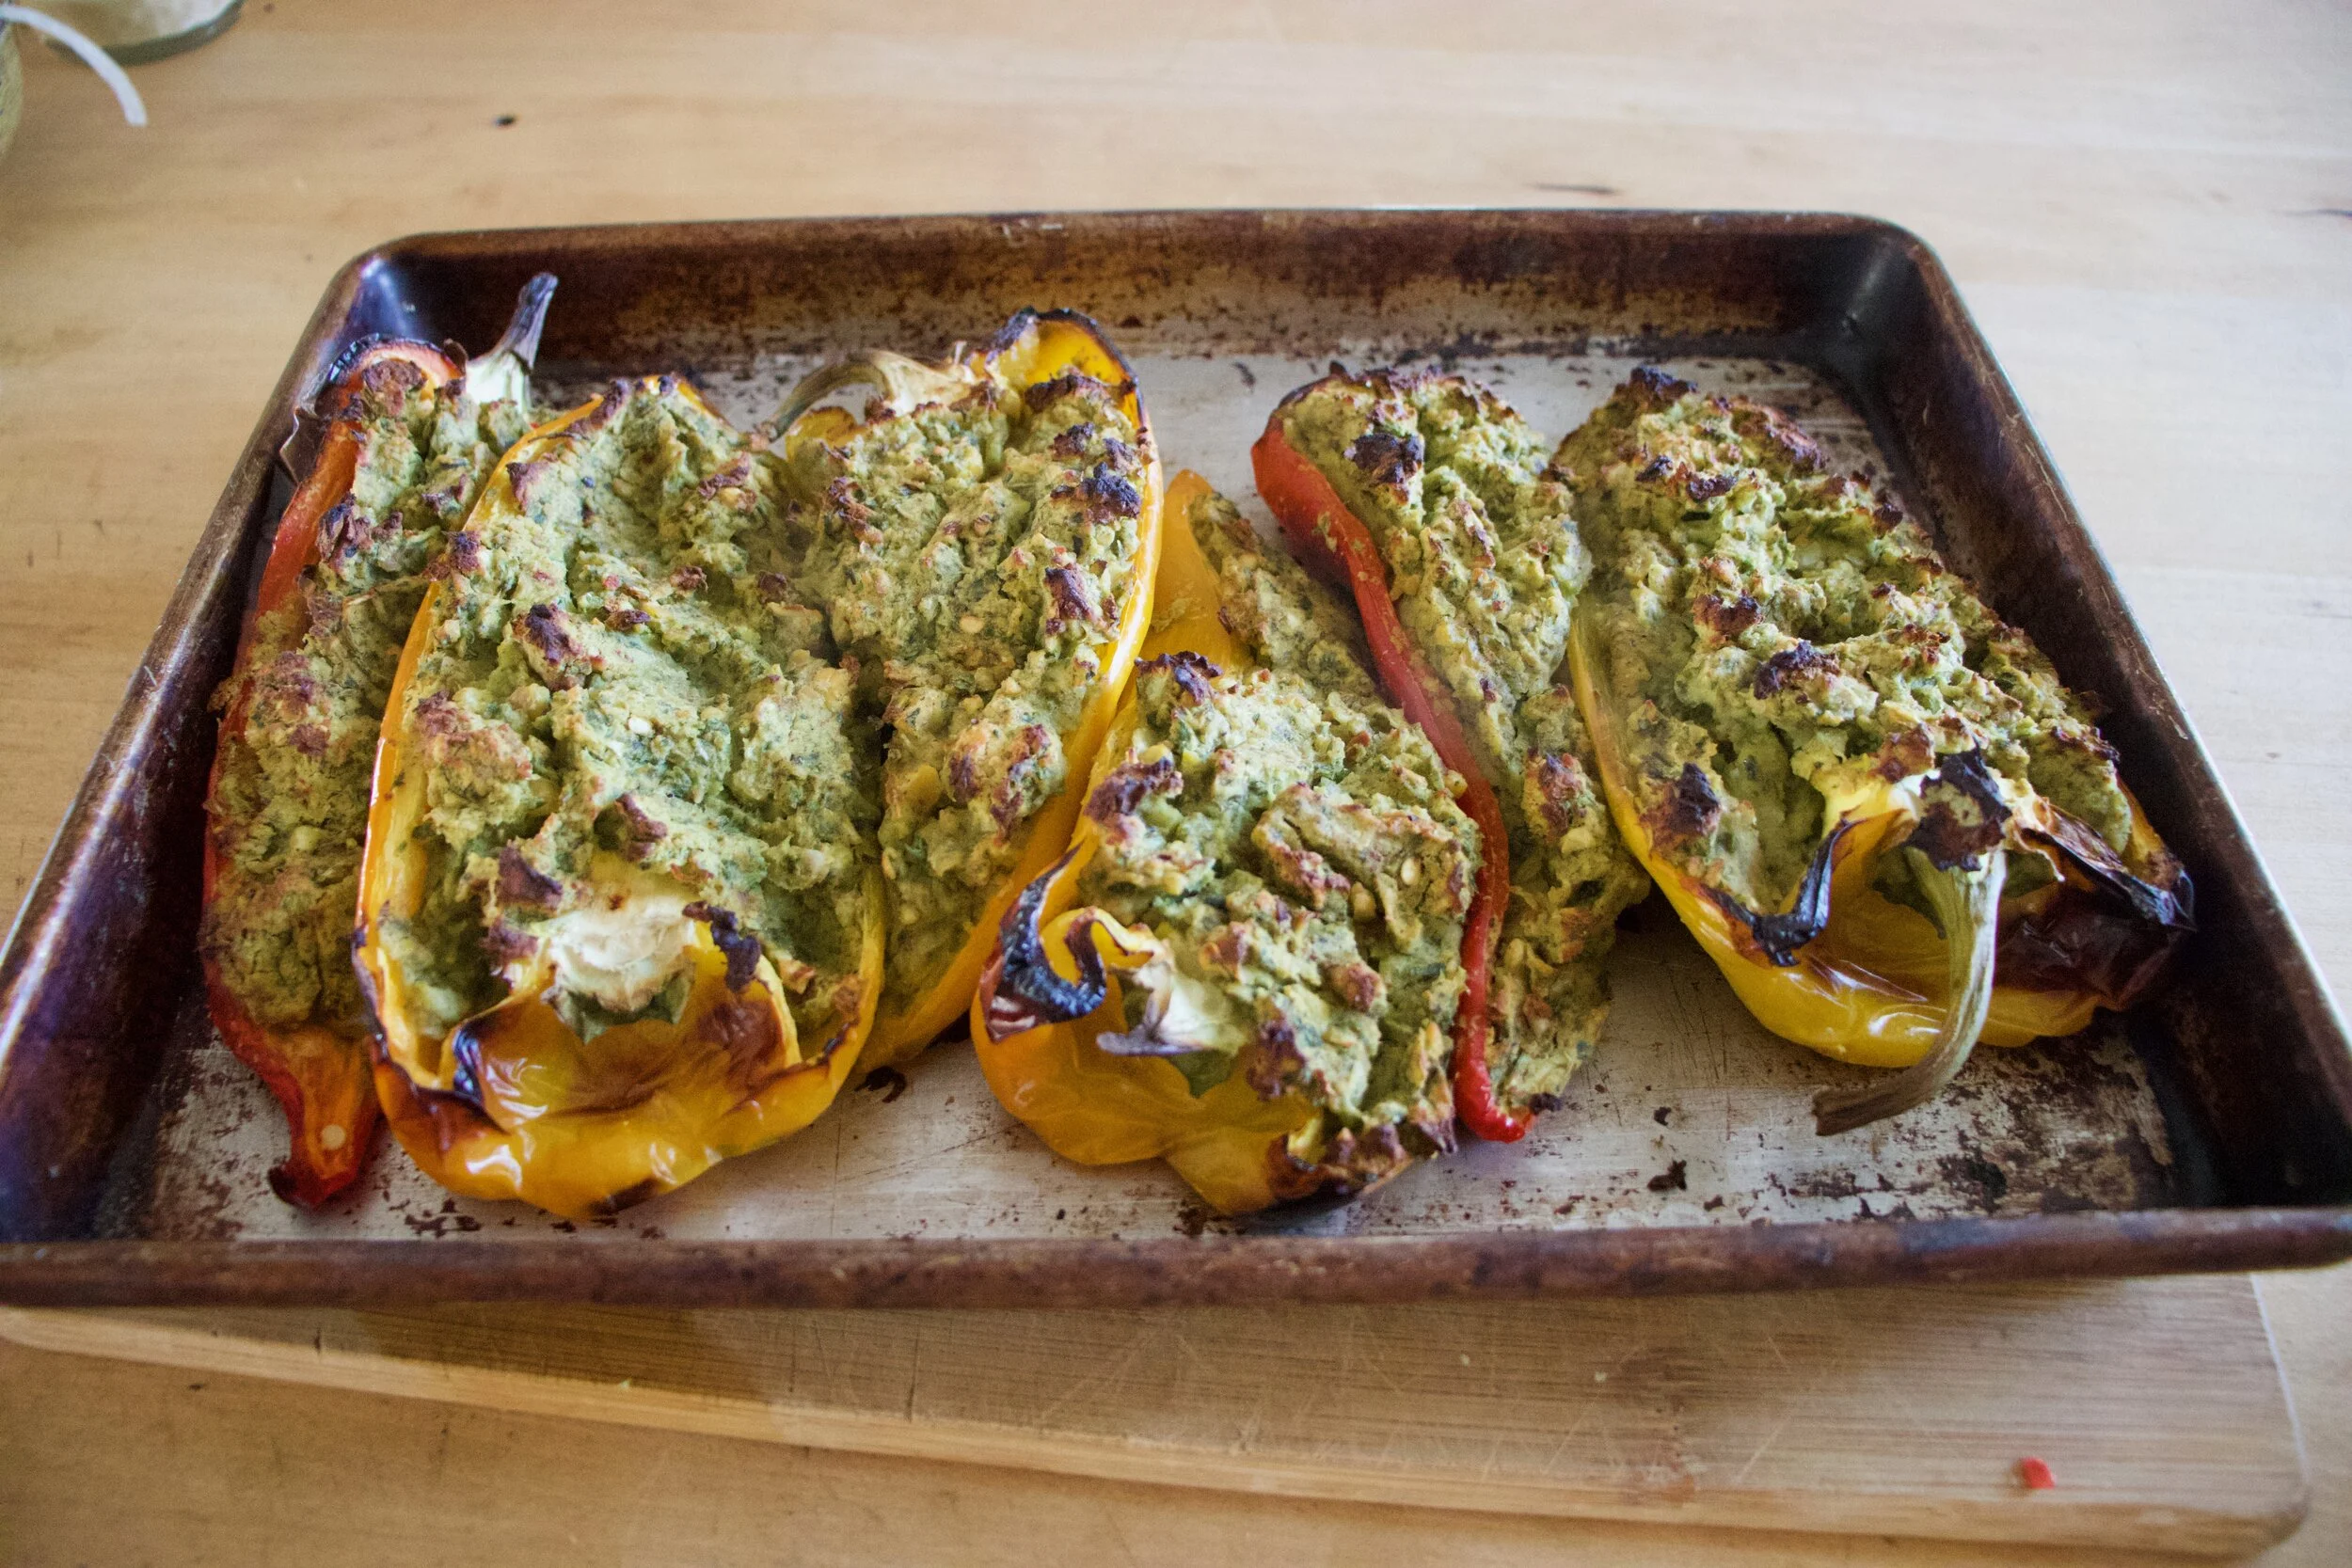
Soup. All nice and looking just about done. The vegges are soft and tender, the beans are cooked. Check and season for salt now then get ready to drop dumplings.
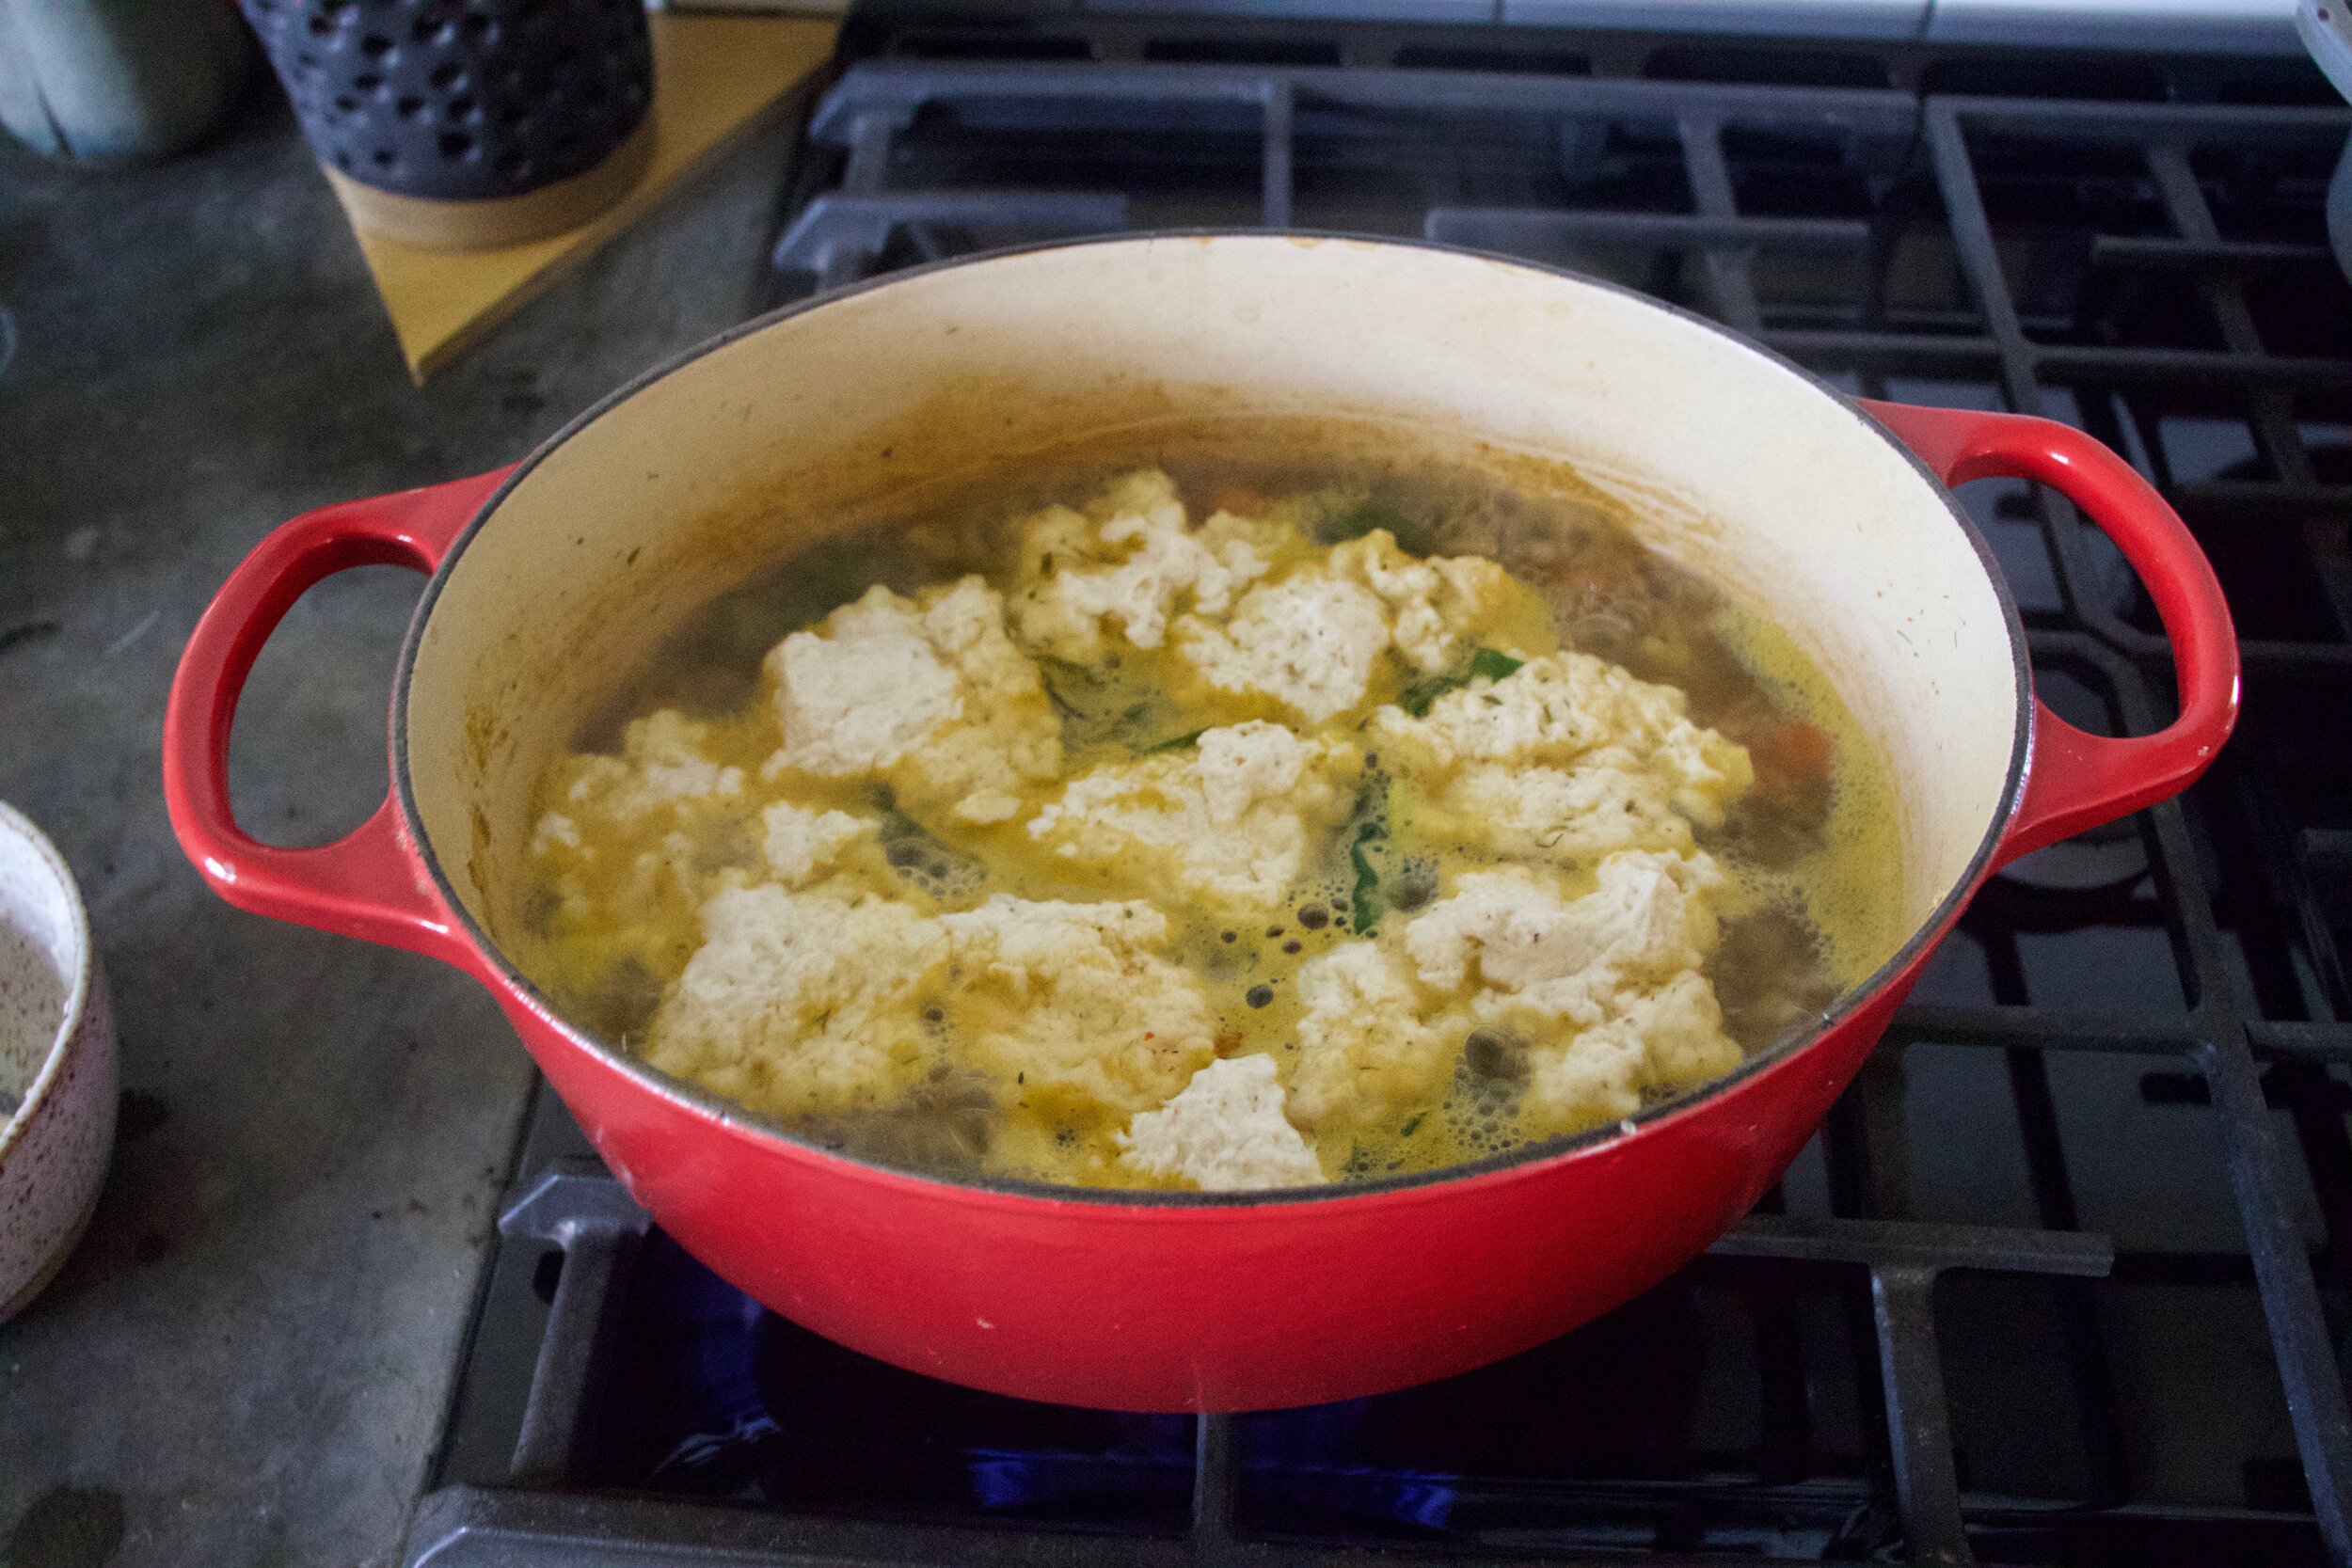
Drop the dumplings. Tablespoons of batter go right into the soup. Thencook, with a lid slightly covering pot, for about 15 minutes.

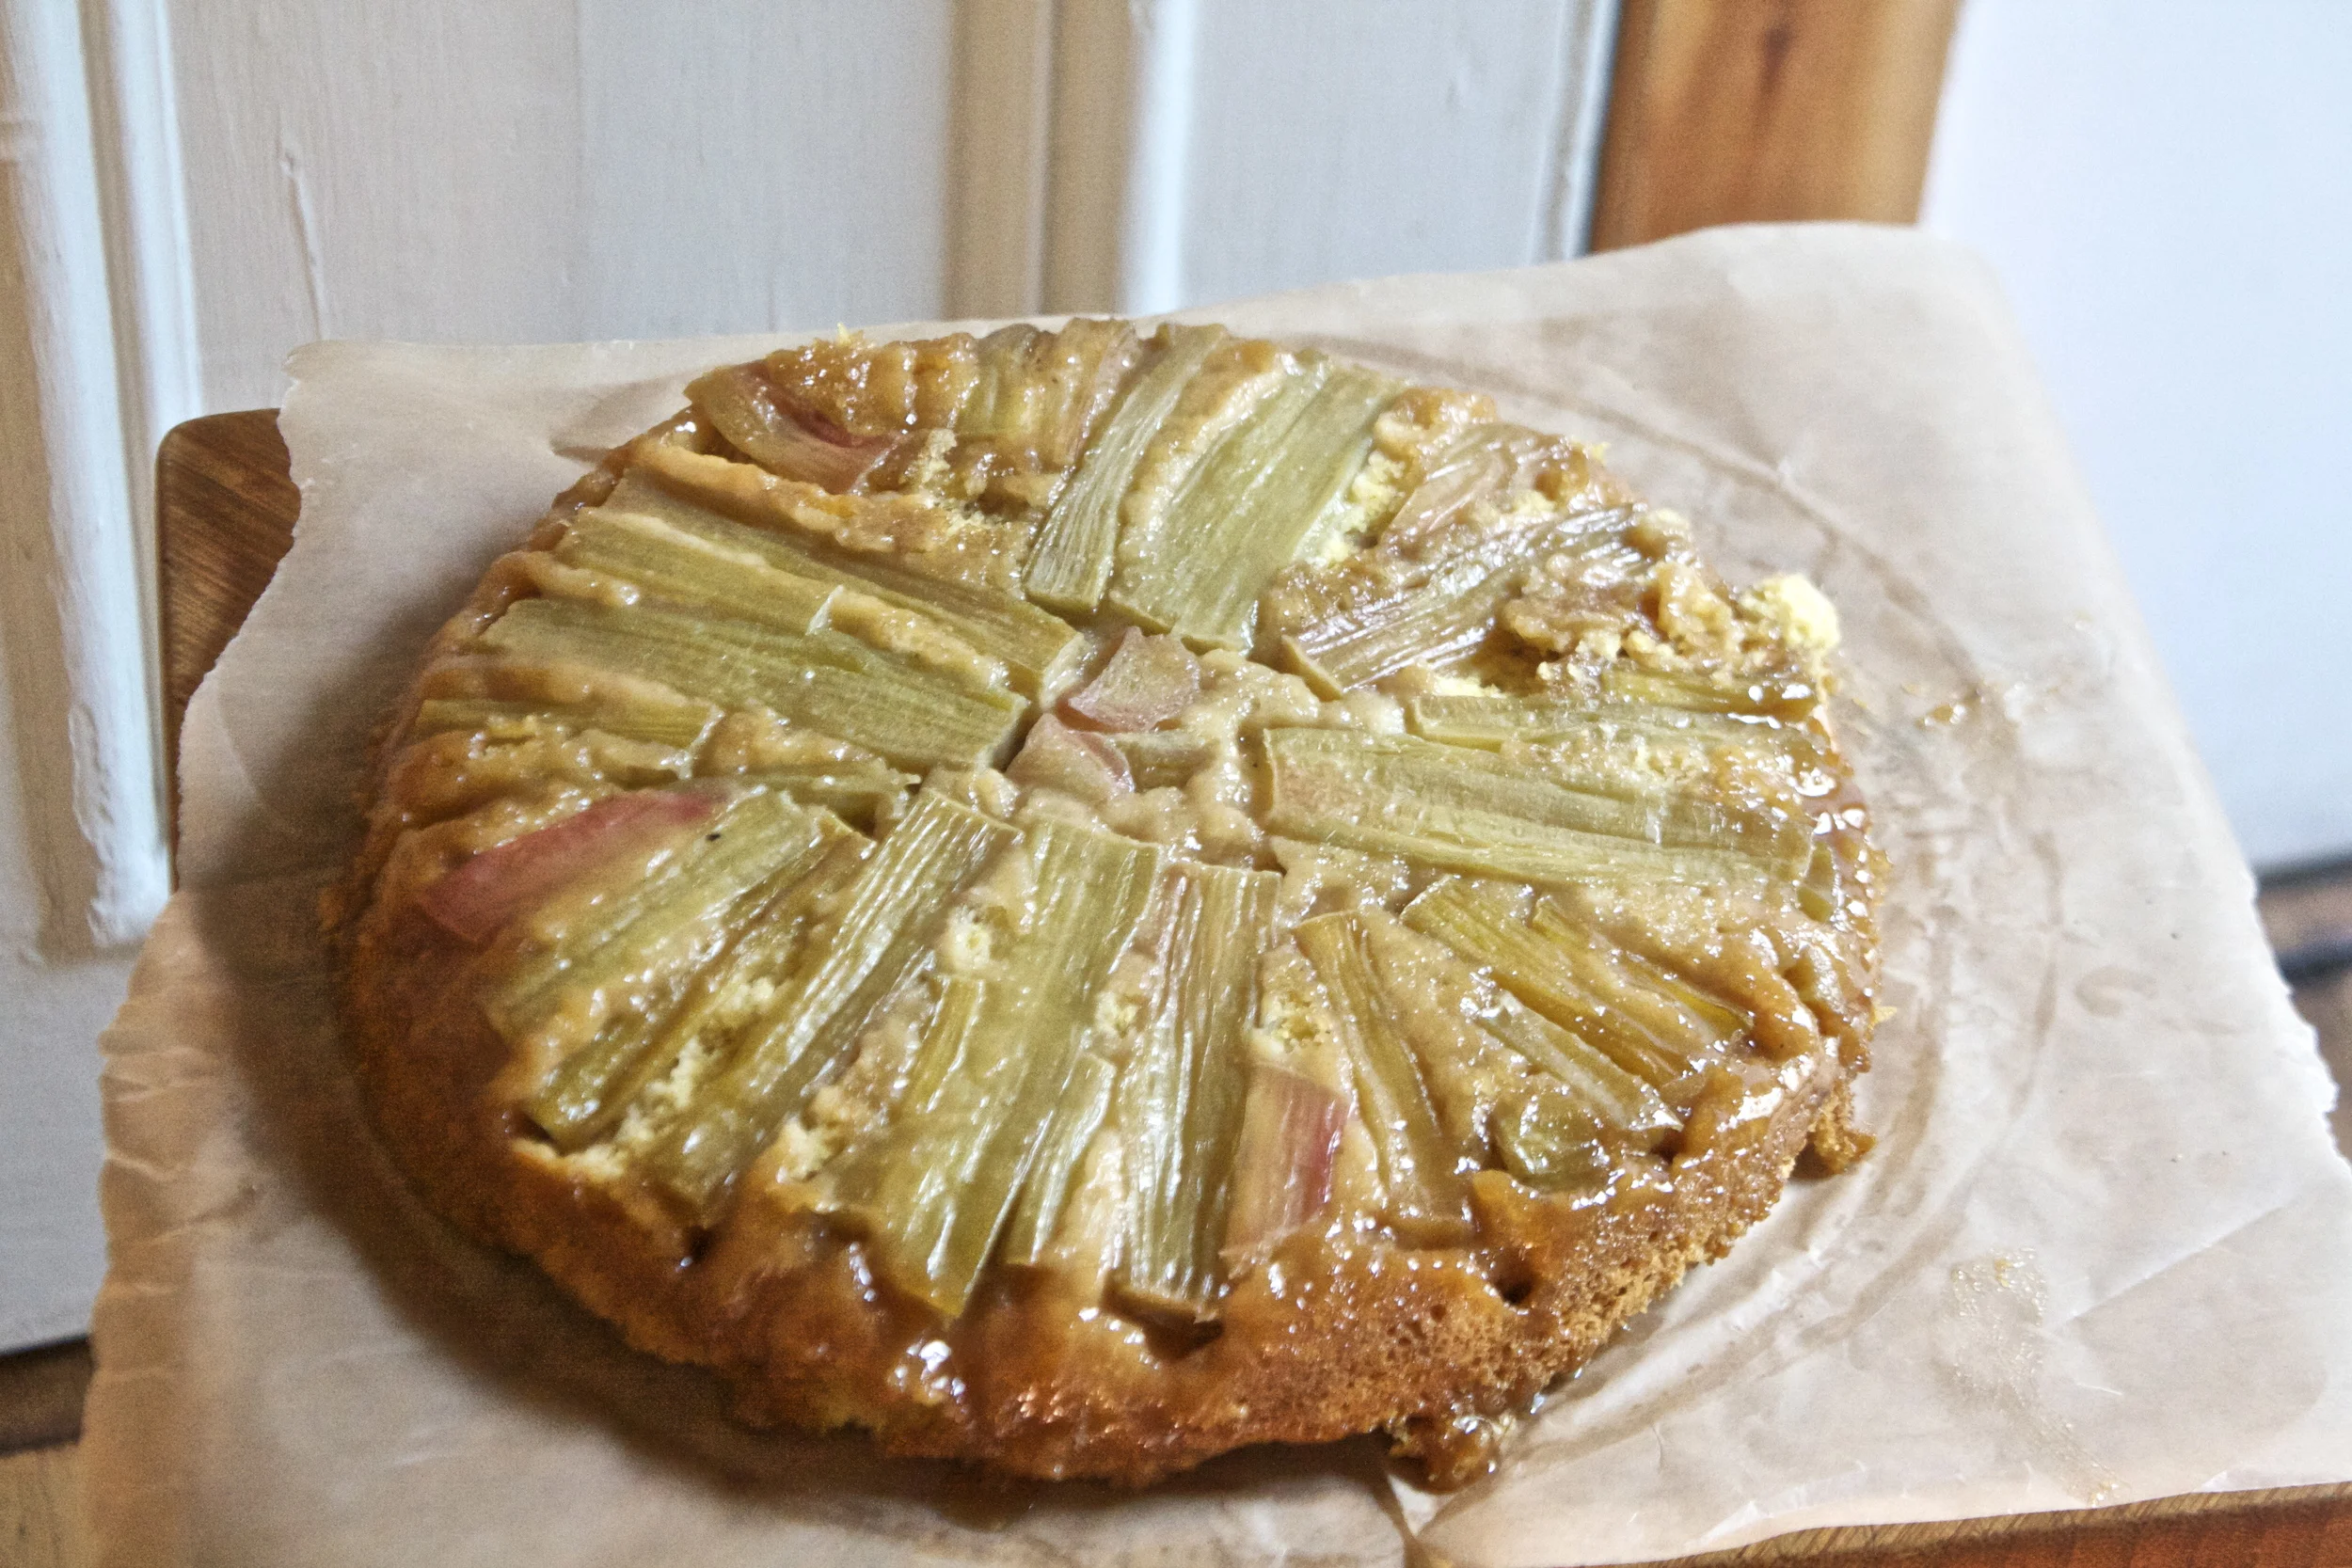
Look at that. Soup with soft, fluffy, dumpling ready for consumption.

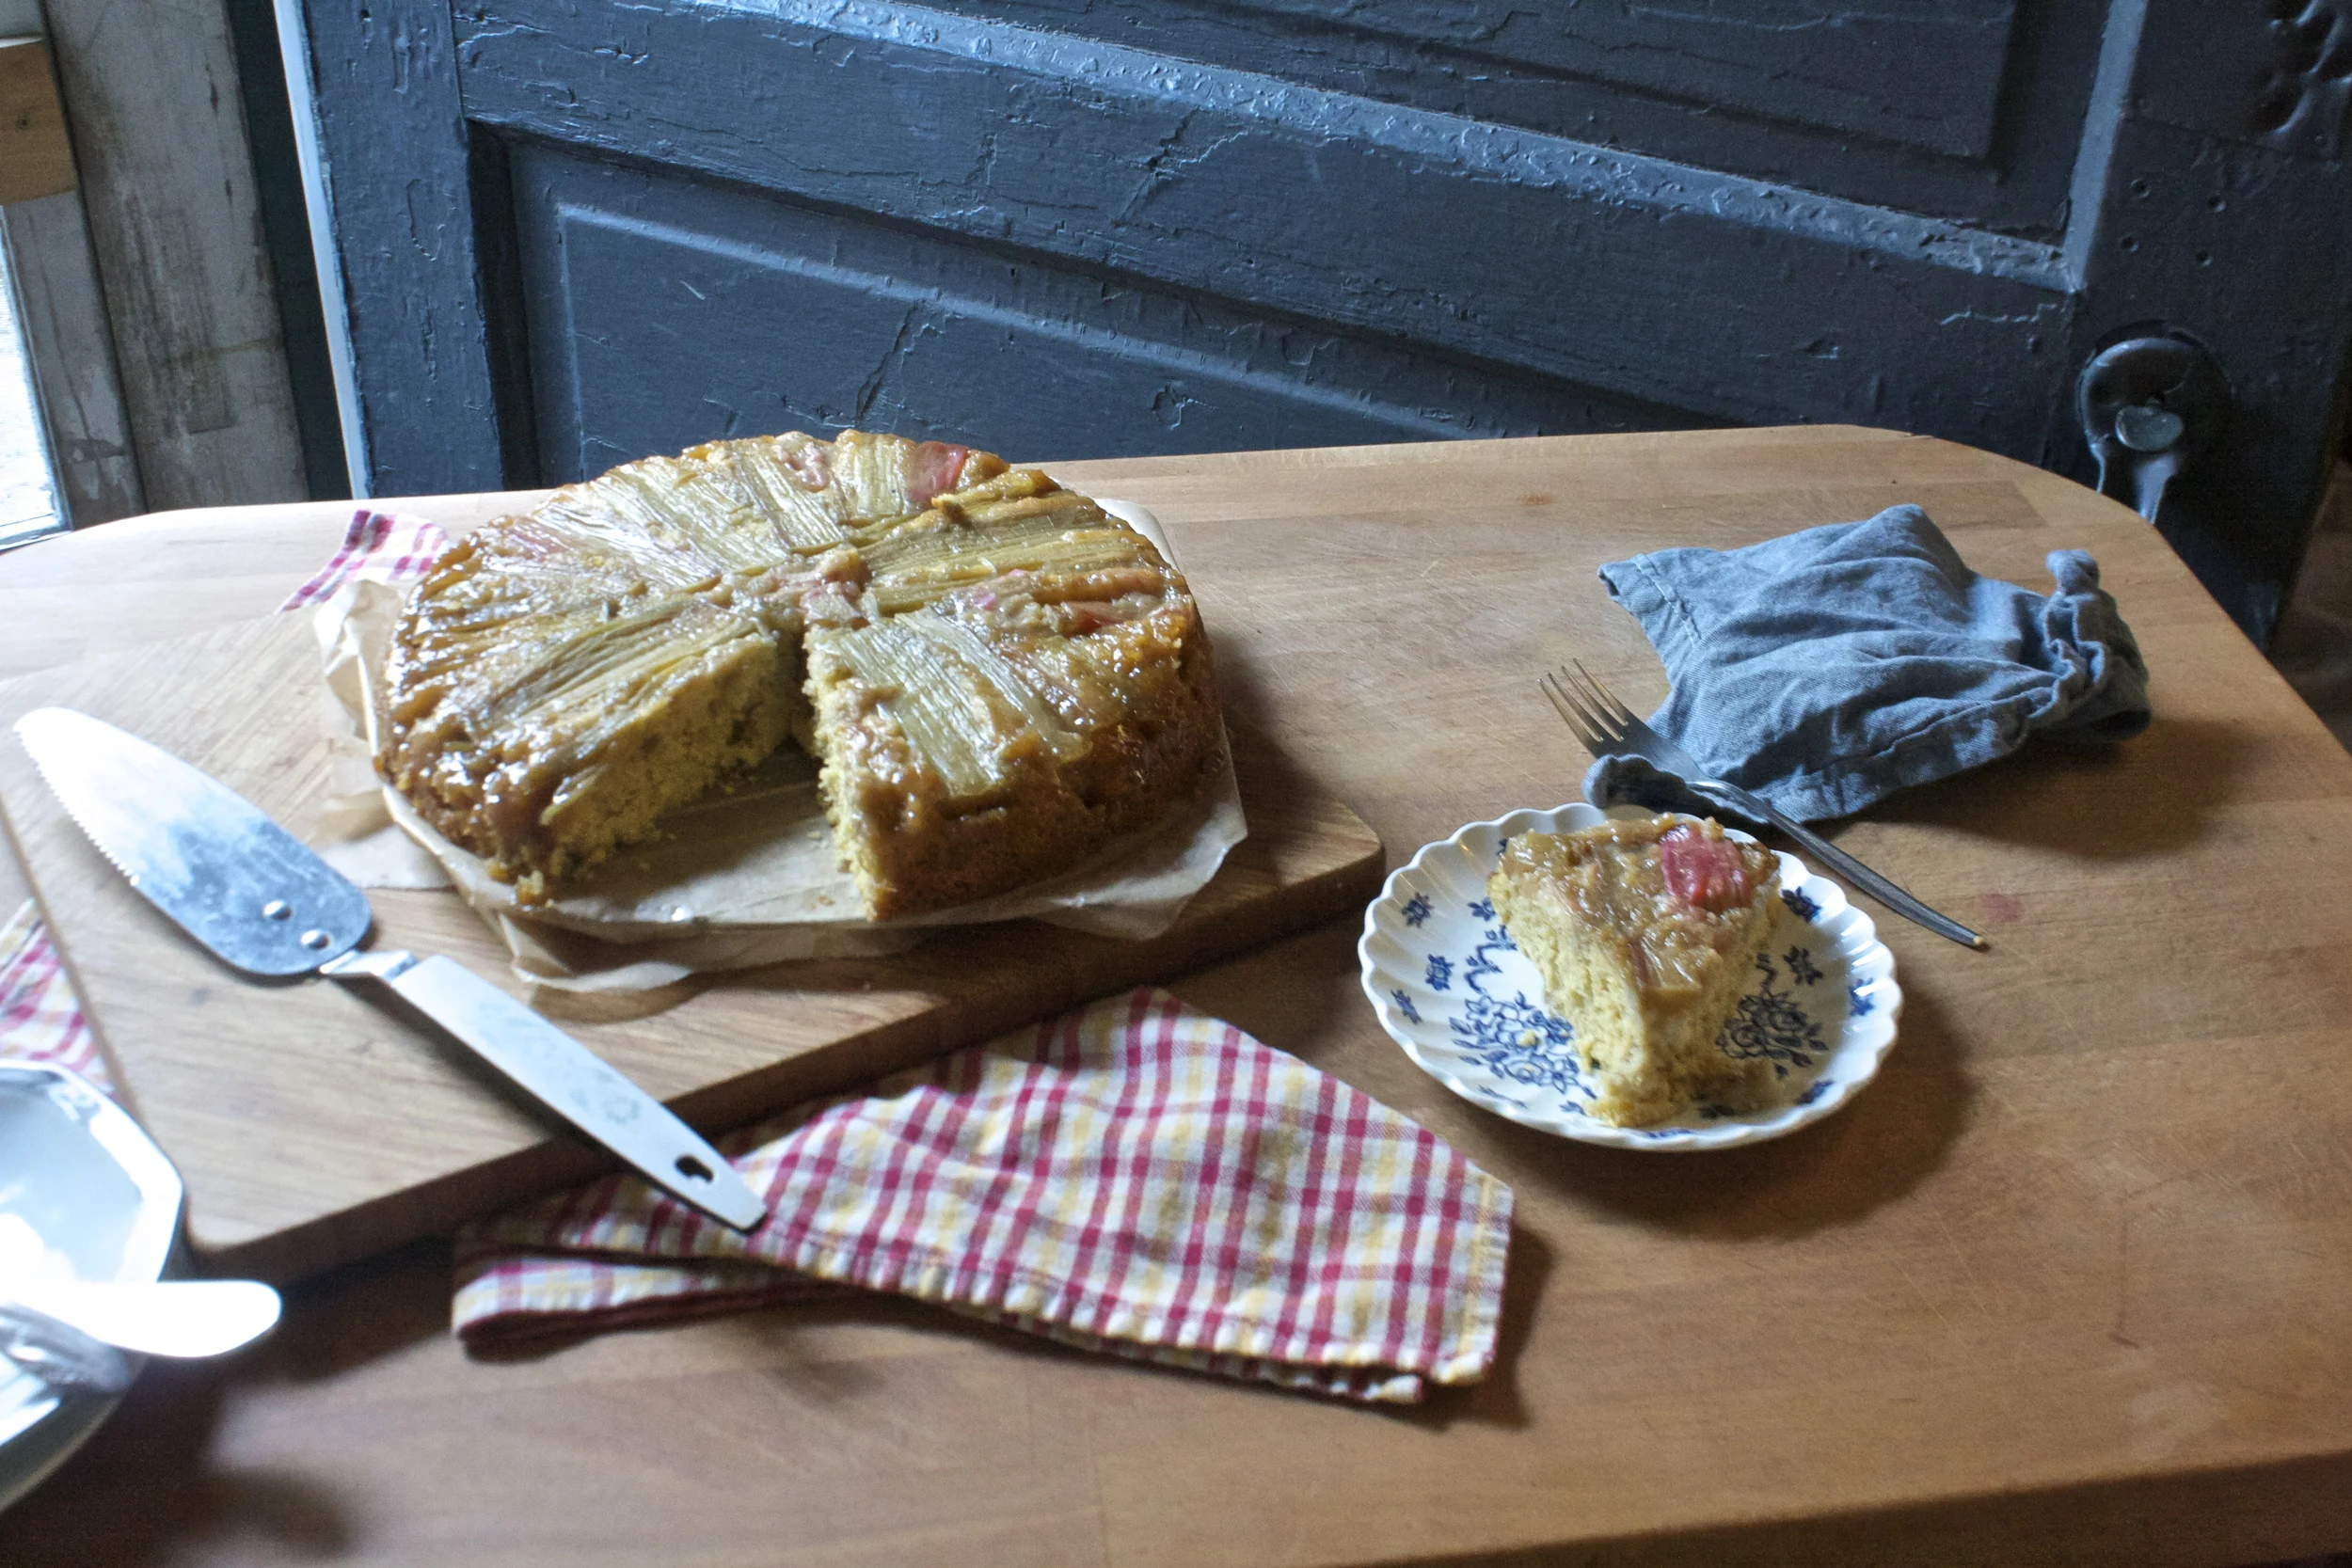
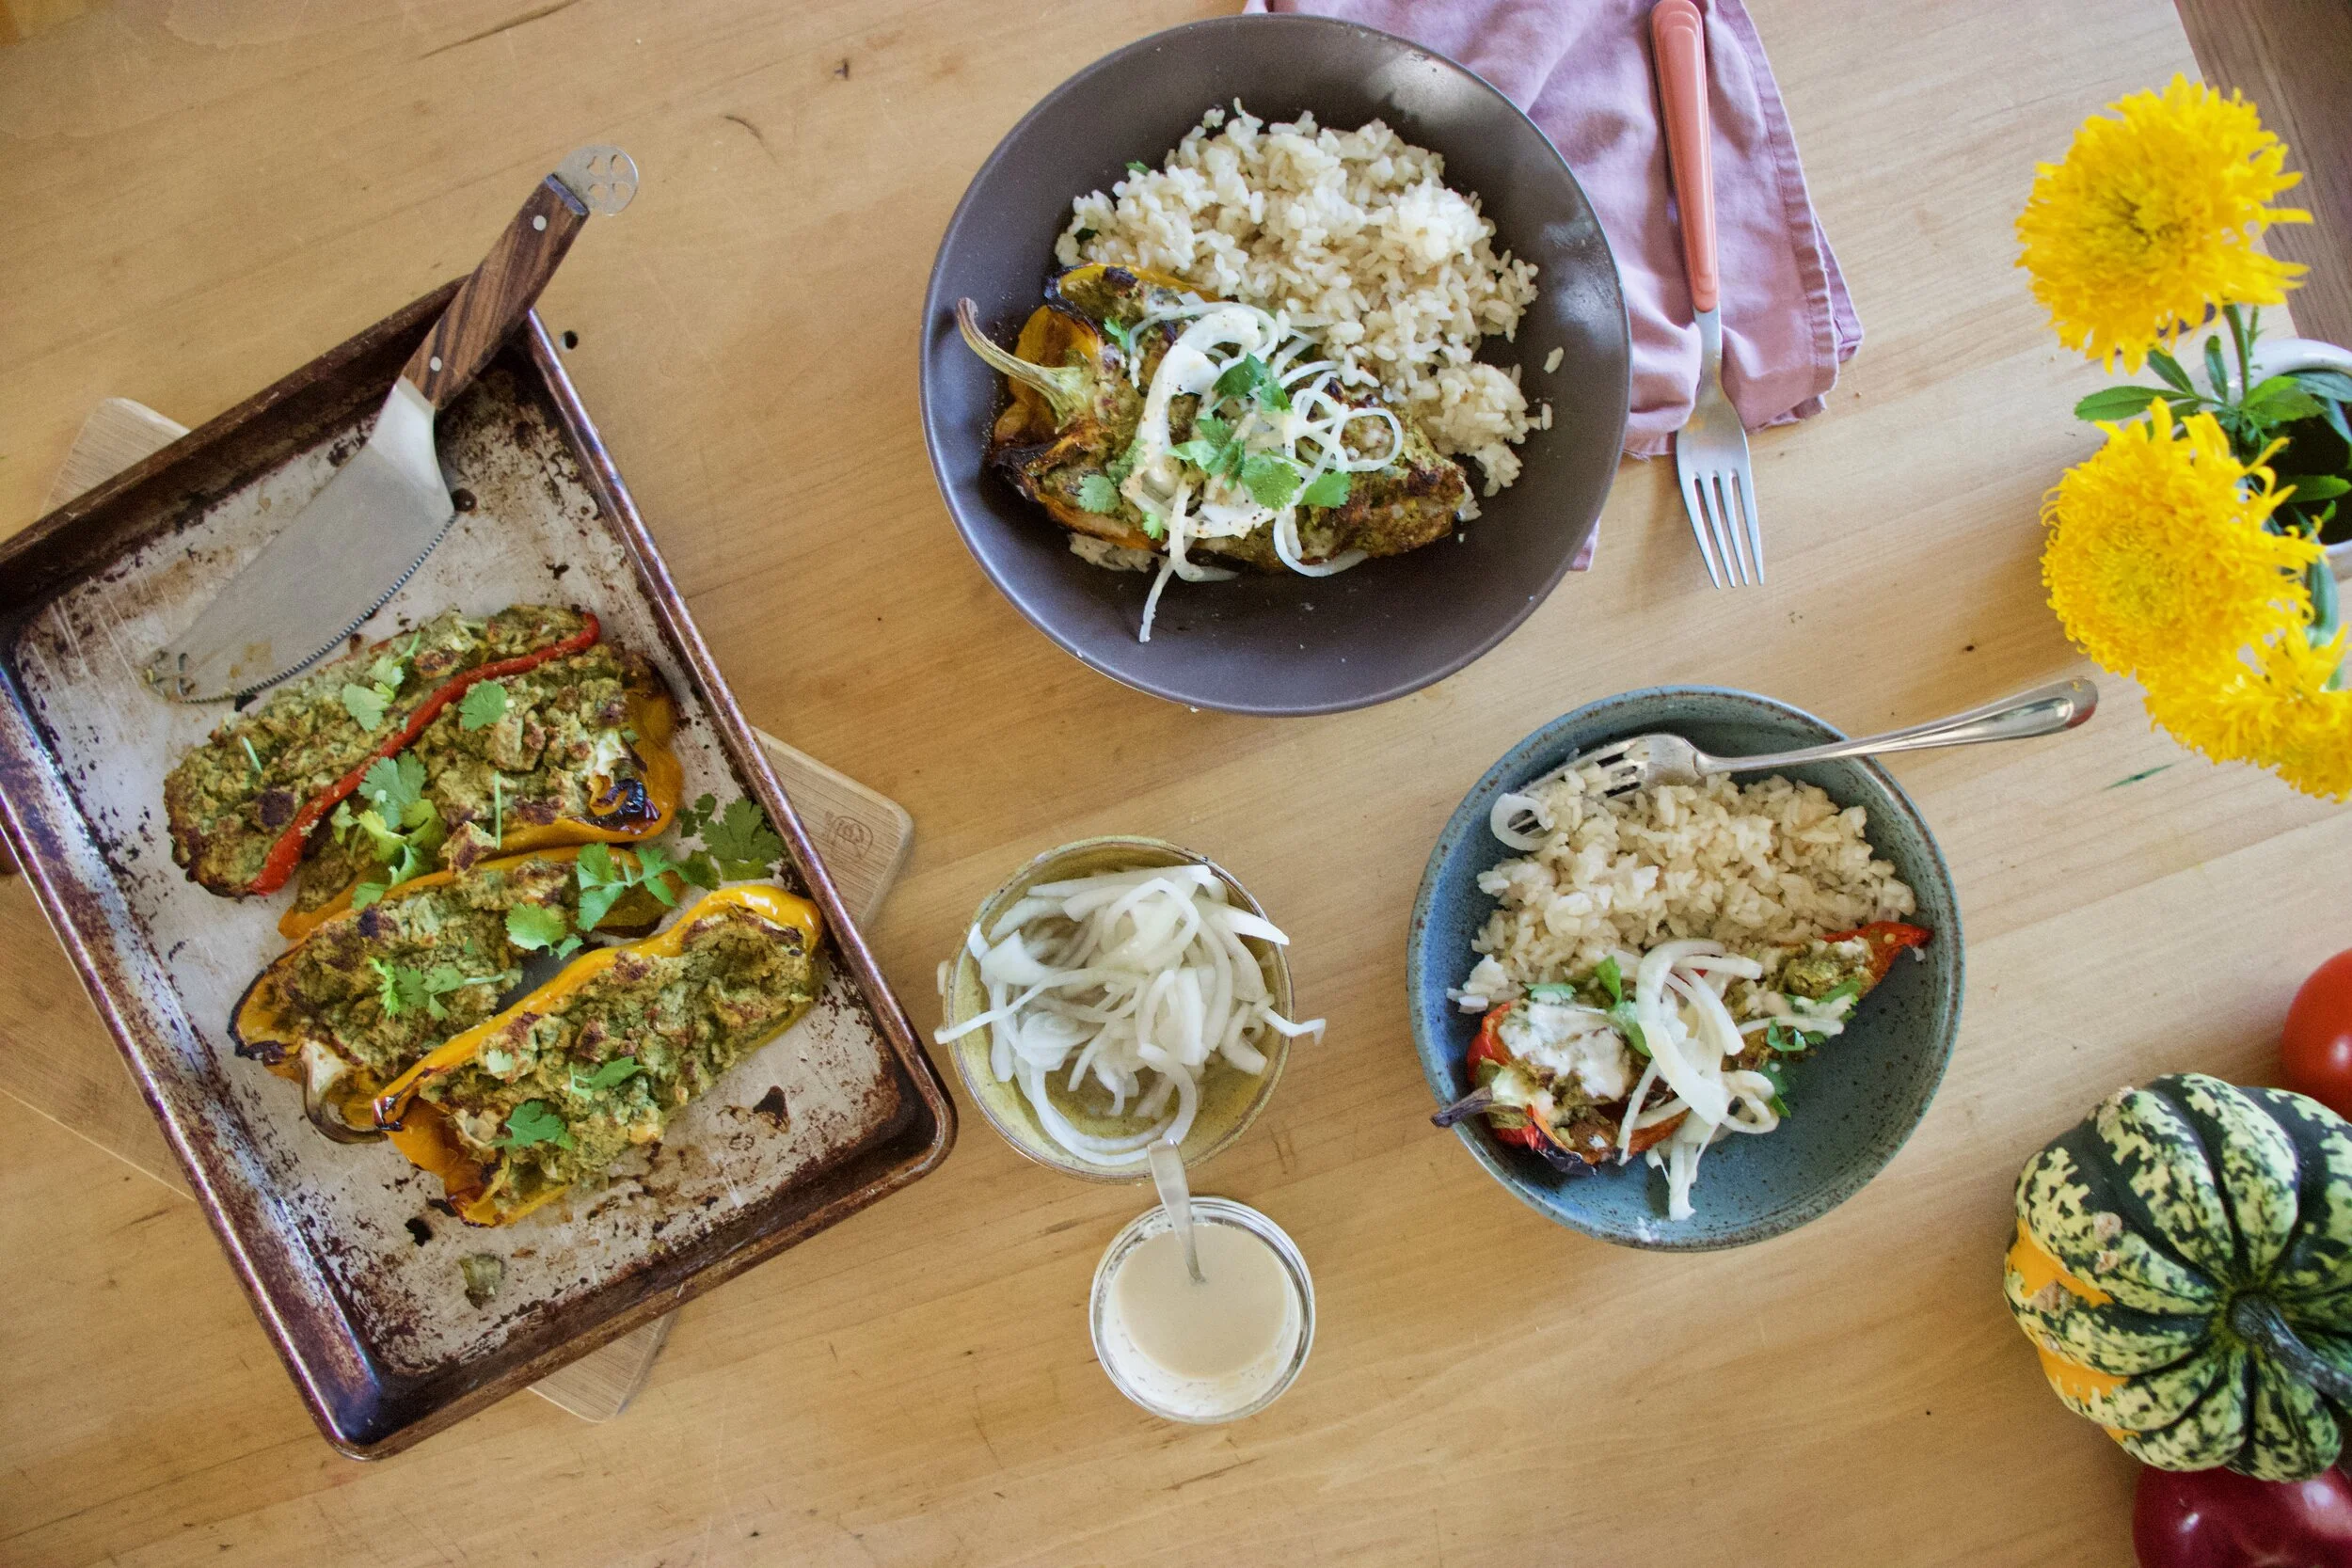
Now all you have to do it serve it up and eat it up.
Soup all day. Every day. Dumplings too!
-C
makes 4-6 servings
-
For the soup
-
1/2 cup dried small white beans
-
1 large onion
-
2 carrots
-
2 small red potatoes
-
3 Swiss chard leaves and stalks
-
handful of cherry tomatoes (about a cup or so)
-
1 teaspoon garlic powder
-
1 teaspoon dill
-
1 teaspoon thyme
-
1 teaspoon ginger
-
1 teaspoon marjoram
-
1 teaspoon ground mustard
-
1/2 teaspoon sage
-
1/2 red pepper flakes
-
12 cups water
-
salt and pepper to taste
-
For dumplings
-
1 cup all purpose flour
-
1 tablespoons oil
-
1 teaspoon baking powder
-
1/2 teaspoon salt
-
1 teaspoon black pepper
-
1/2 cup warm water or plant based milk
Couple quick notes. I use water but if you really want, use veggie stalk. I find stalk overpowers soup and makes it taste salty, even when it is low sodium. Plus water is there and free but again, use stalk if you want. Also, you can use just about any veggie that you like so if you want to replace chard with celery and spinach or throw some red peppers into the soup, go for it.
Start by small dicing the potatoes, the onion, the carrots, and the stalks of the chard. Dump it all into a large pot, along with all the spices and a good pinch of salt and pepper, and place on the stove on medium high heat with about 1/2 cup water and cook for a few minutes. Cut the cherry tomatoes in half and cut the chard leaves into small ribbons. Set aside.
Once the veggies and spices have had a few minutes on the stove, add in the dried beans and 10 cups of water. Bring the pot to a boil then reduce to a medium heat. Cook for about an hour, giving it a stir once in a while. After an hour, check beans for doneness but removing one or two and pinching between fingers. . They should be close to done by now. If they are still really heard, cook for another 20 minutes, if almost cooked through, toss in the tomatoes, the chard greens and the other 2 cups of water. Keep cooking.
In the meantime, make dumpling dough. Mix the dry together then add in the oil and milk. Mix until just combined. Set aside.
Once the soup is done (the veggies are all soft and tender, the beans are cooked through which should take a total of 1 1/2 hours), it%u2019s time to dumpling. Turn the soup up to a medium high heat and carefully drop tablespoons of the dumpling batter right into the soup. The batter will float. Once all the dumplings are in, half cover the pot and let the dumpling cook for 15 minutes or until the dumplings are big, light. and fluffy.
Remove pot from heat and serve and eat right away. Big bowls, Big spoons. Pinch more of salt if needed. Lots of pepper.
Let%u2019s talk about how soup is the perfect food. It can be light and fresh, hearty and deep, chunky or smooth. You can eat it with a spoon, or somtime a fork if warranted, or just drink it from a mug. It%u2019s usually a one pot meal, a small pot for one, a big pot for many. Make a pot of soup and eat some now and save some for later. It freezes amazingly well. Got a few extra sad carrots and wilted greens? Toss them into a pot with whatever you have on hand, maybe those veggies scraps and you got yourself a meal. Want something more filling, just add in some grains. Feeling sick, warm soup will make it all better. Feeling fresh and springy, well soup is there for you too. Seriously soup, you can do anything. If I could, I would marry you. %u2665%ufe0f
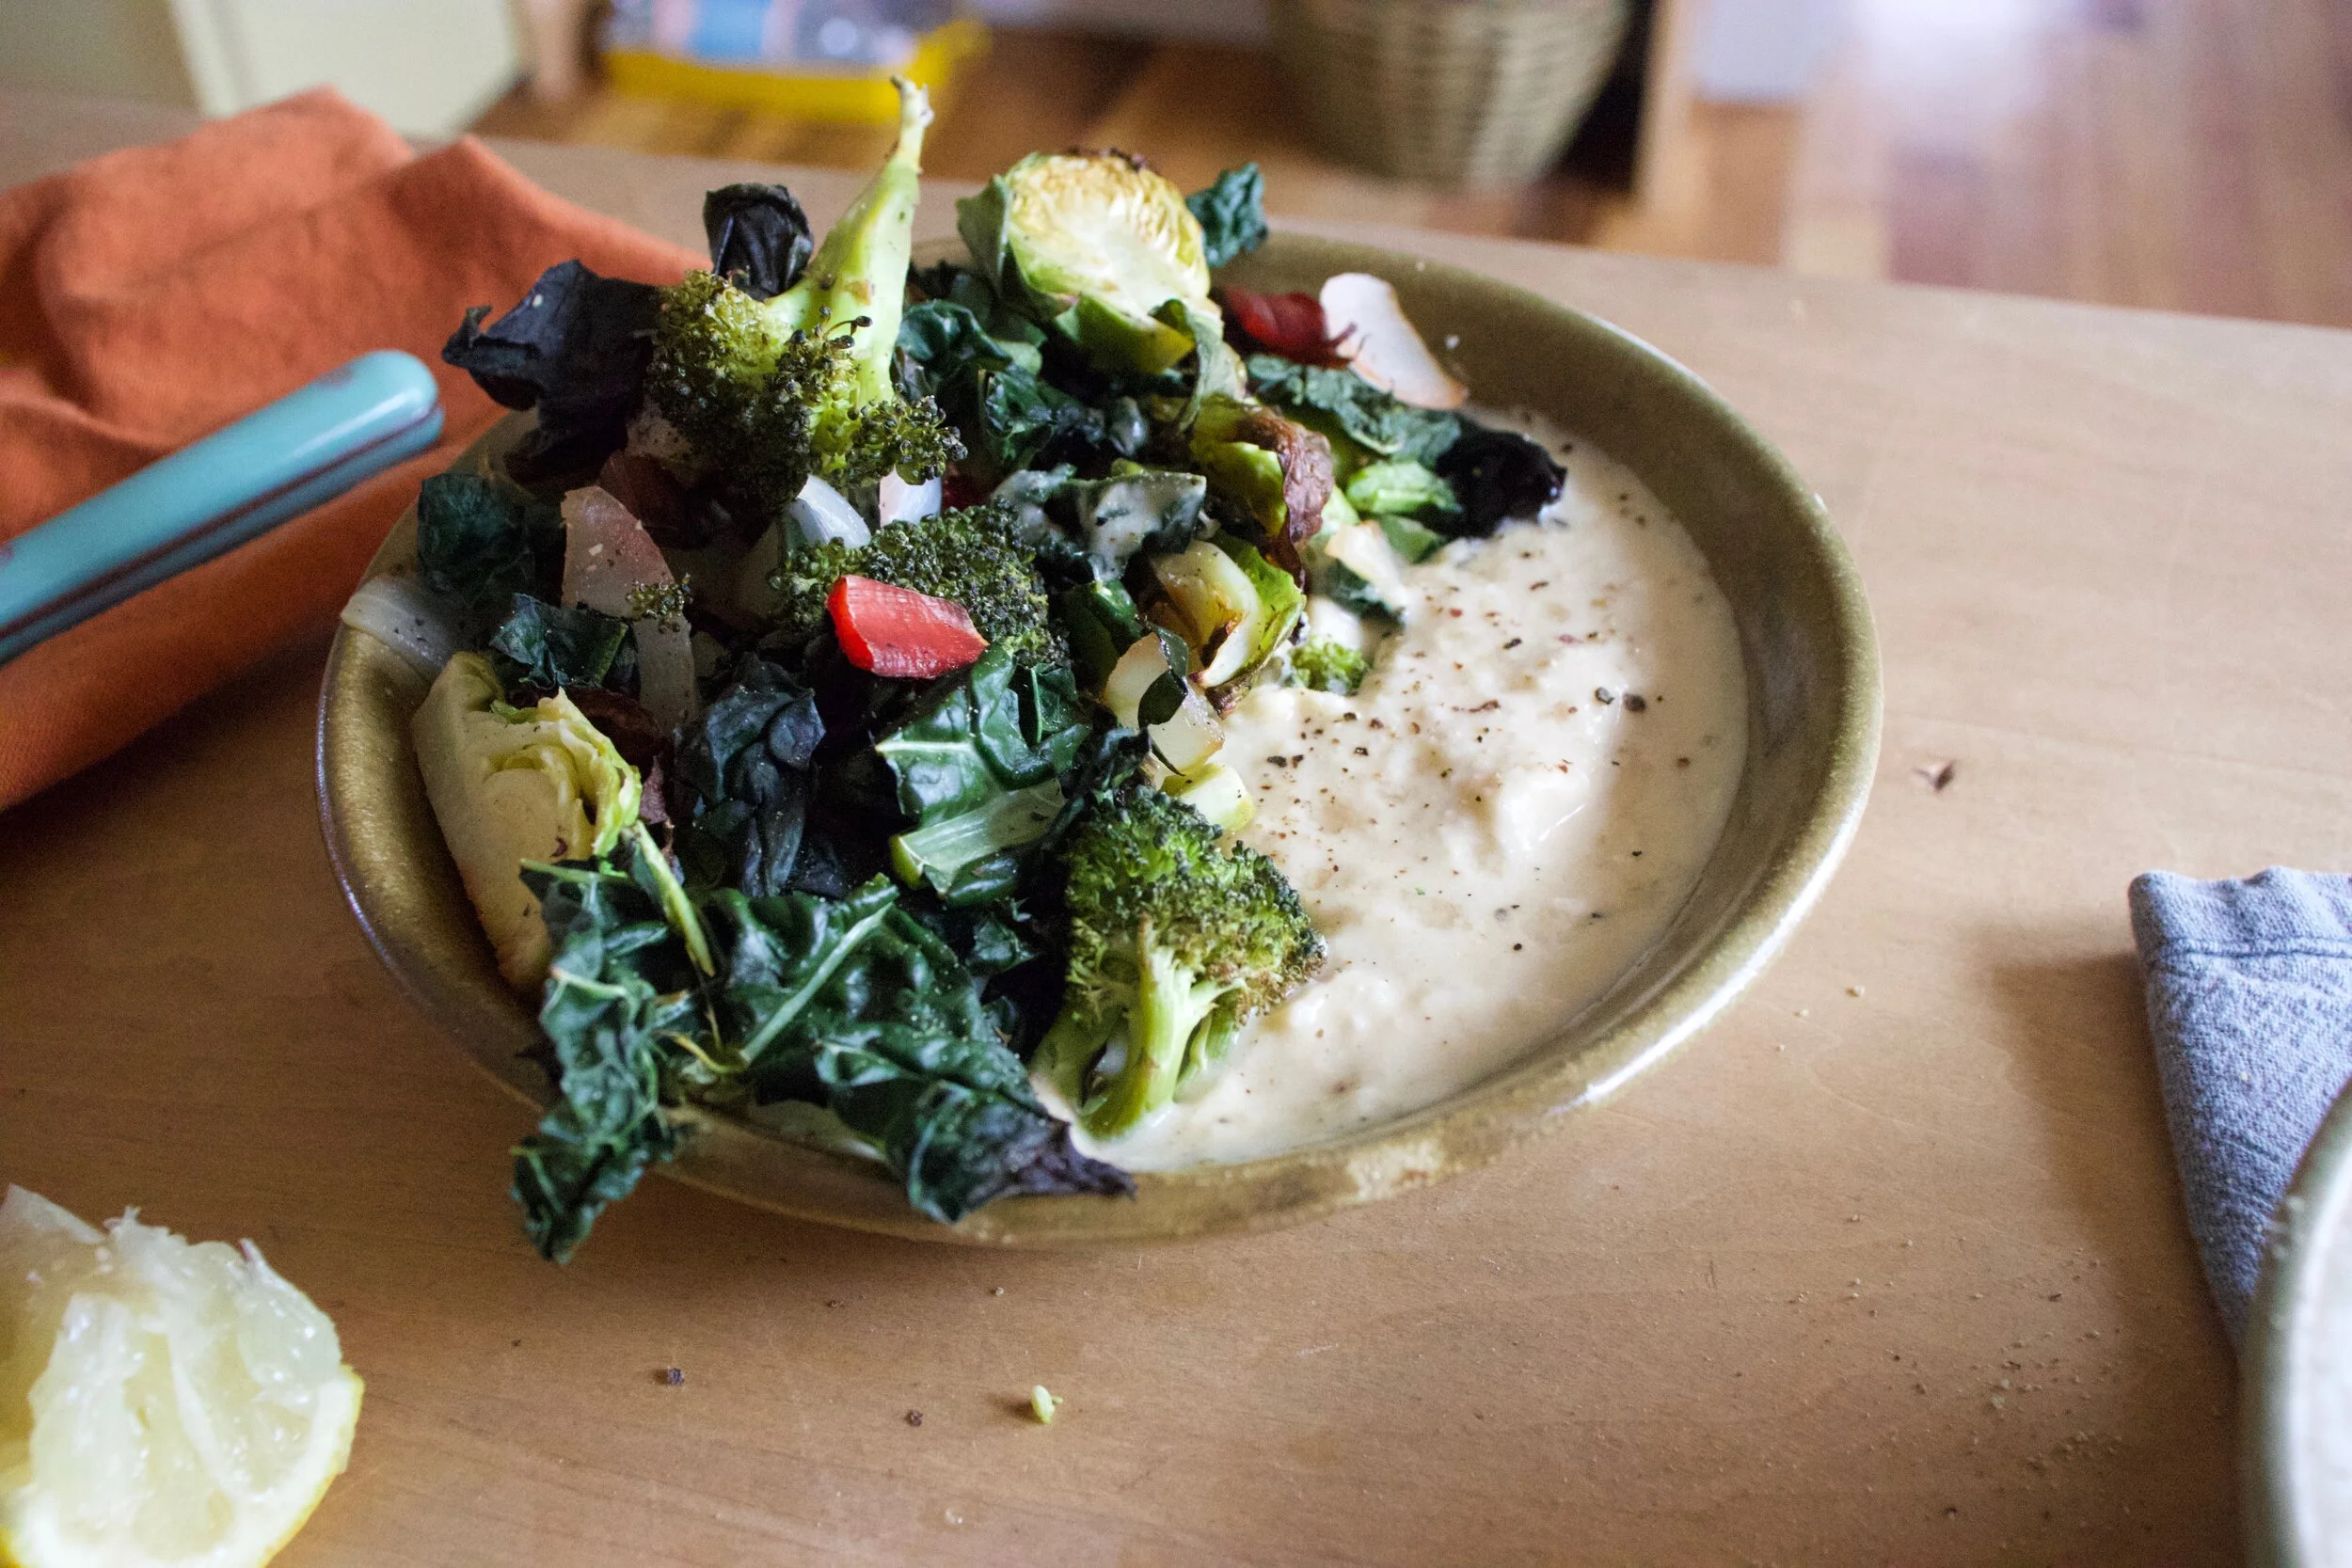
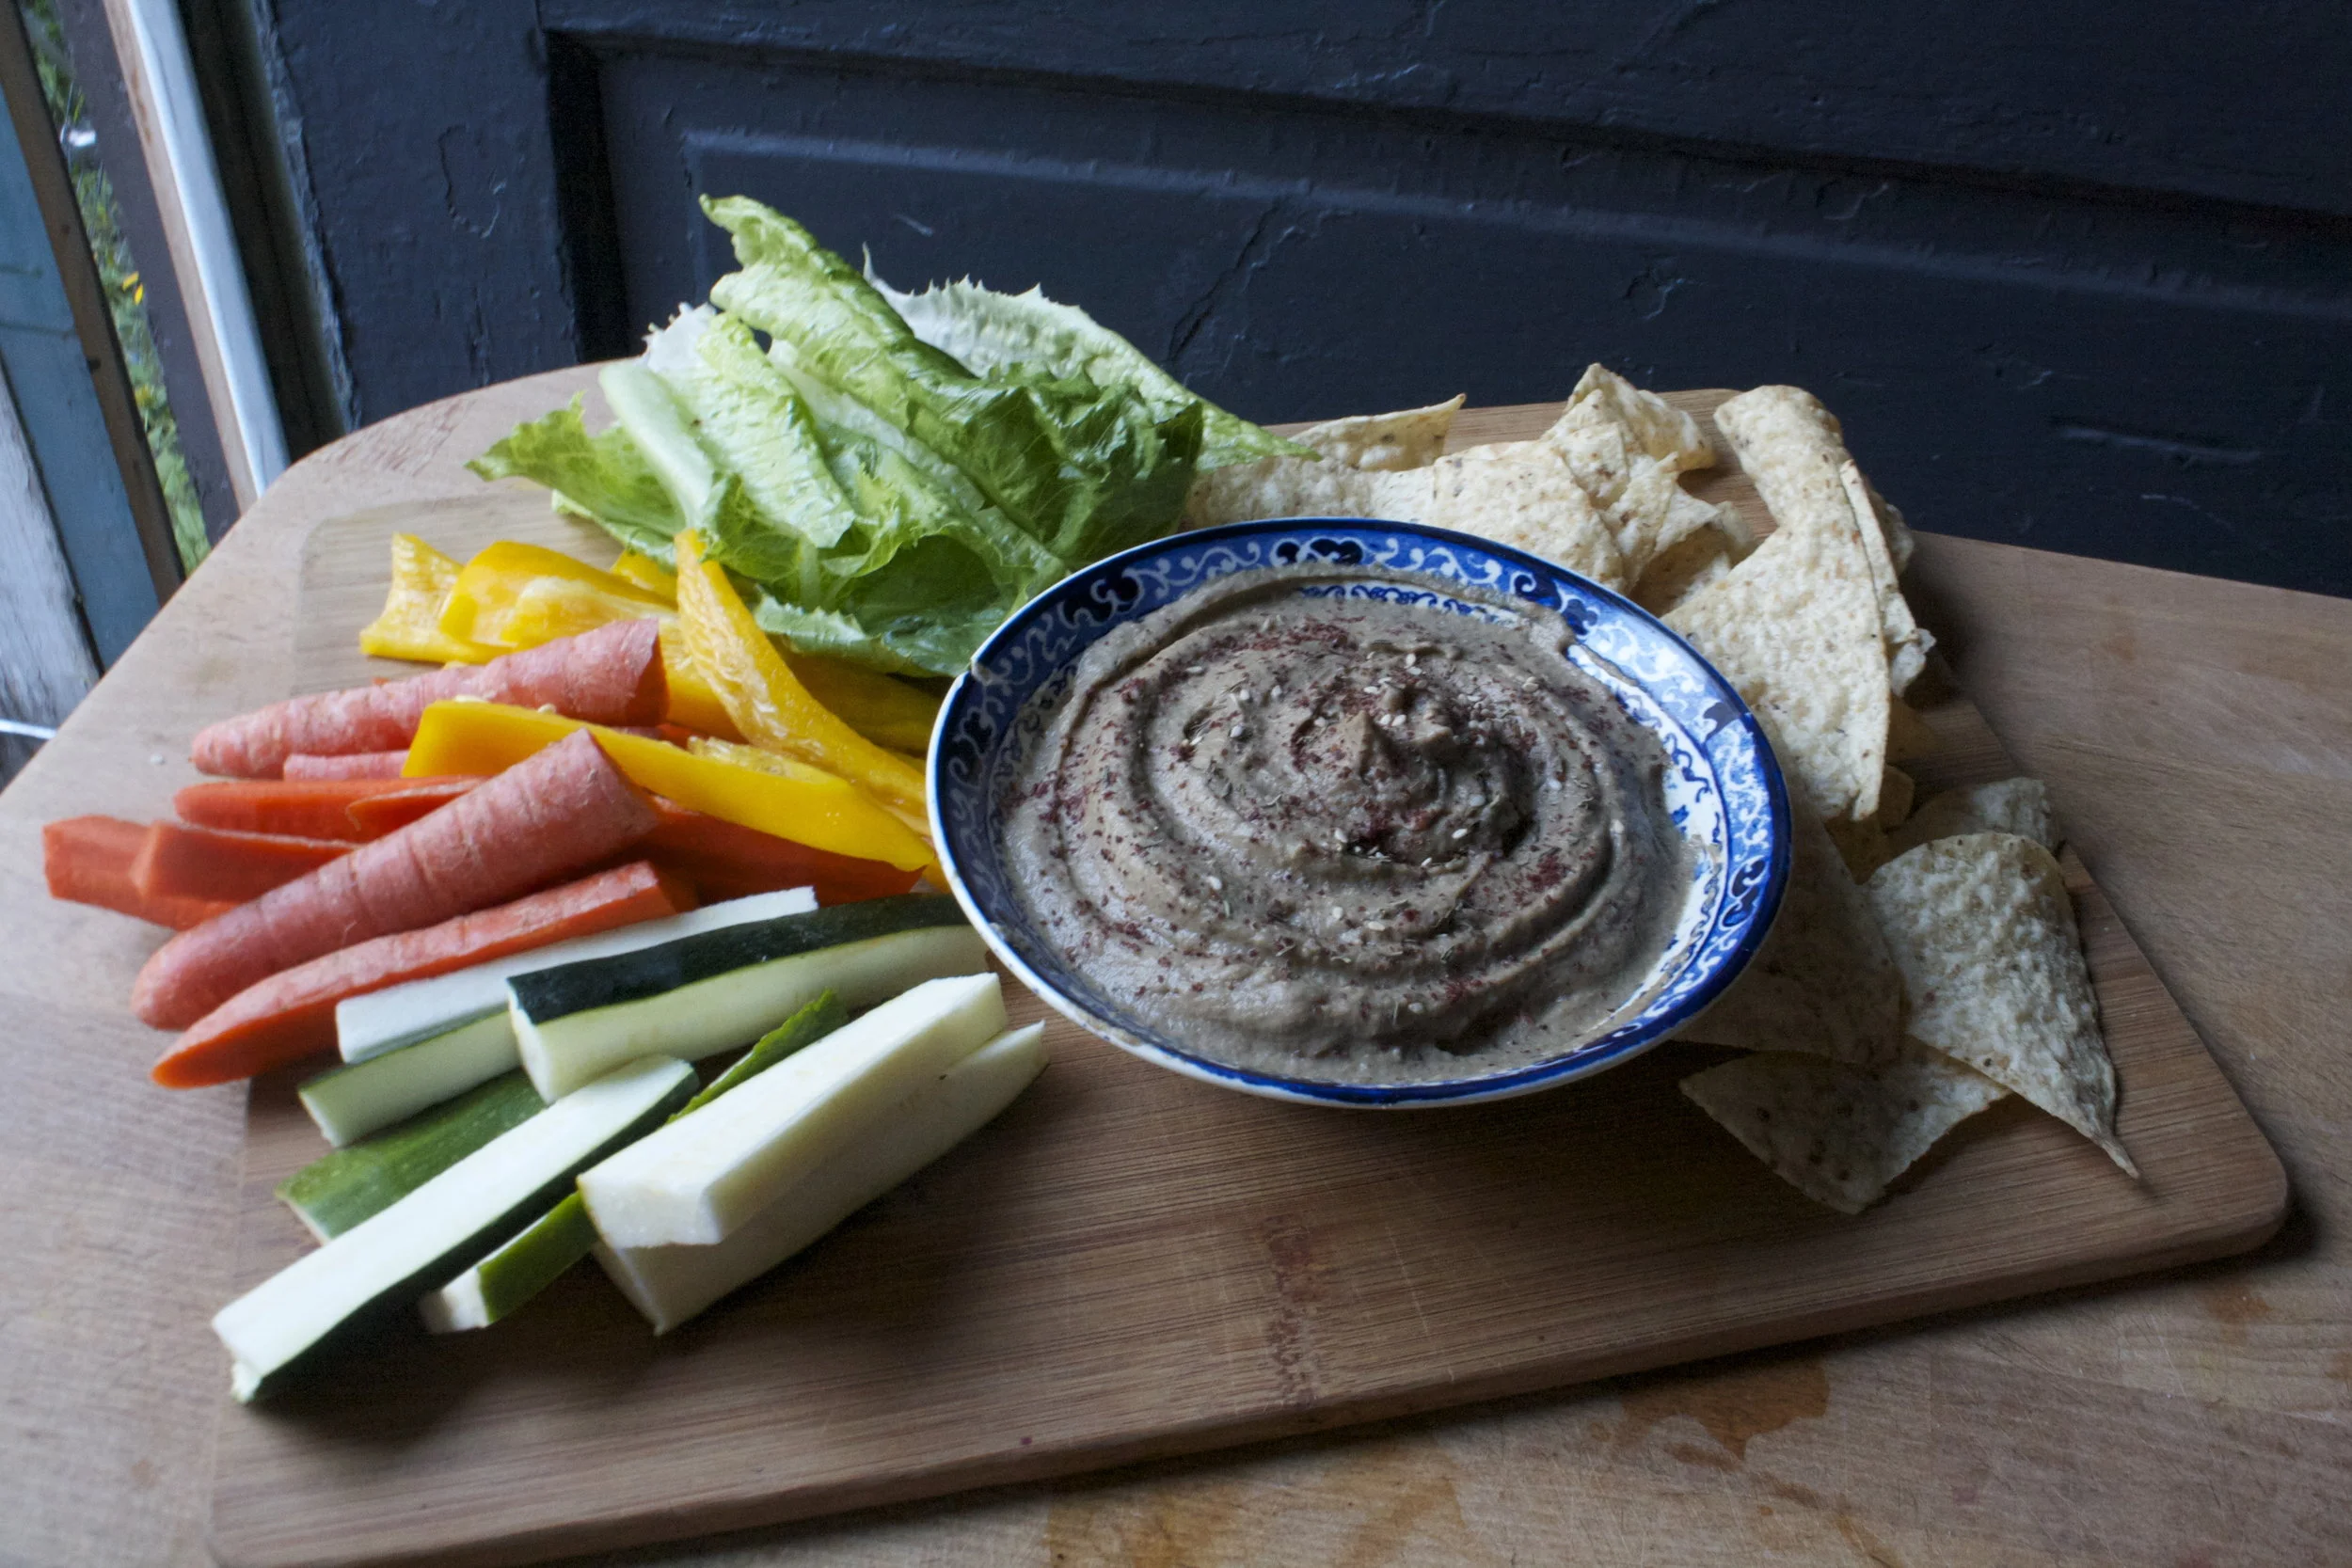
This soup is one of this velvety smooth, light but rich, delicious beyond delicious soups. A fresh spring time soup. Not to hearty or heavily spiced. Super rich and creamy and flavorful. Bright ass green which makes it amazing in itself, but then with a nice tangy sumac tahini swirl on top, well it is just about the most perfect soup. I made to share, which I did, (and everyone licked their bowls clean) but then hoarded the little bit left over and ate it cold for a late afternoon snack. That is another thing about soup, you can eat is cold and it is still amazing.
Tasty and delicious, and nutritious. This soup does it all.
To the soup!

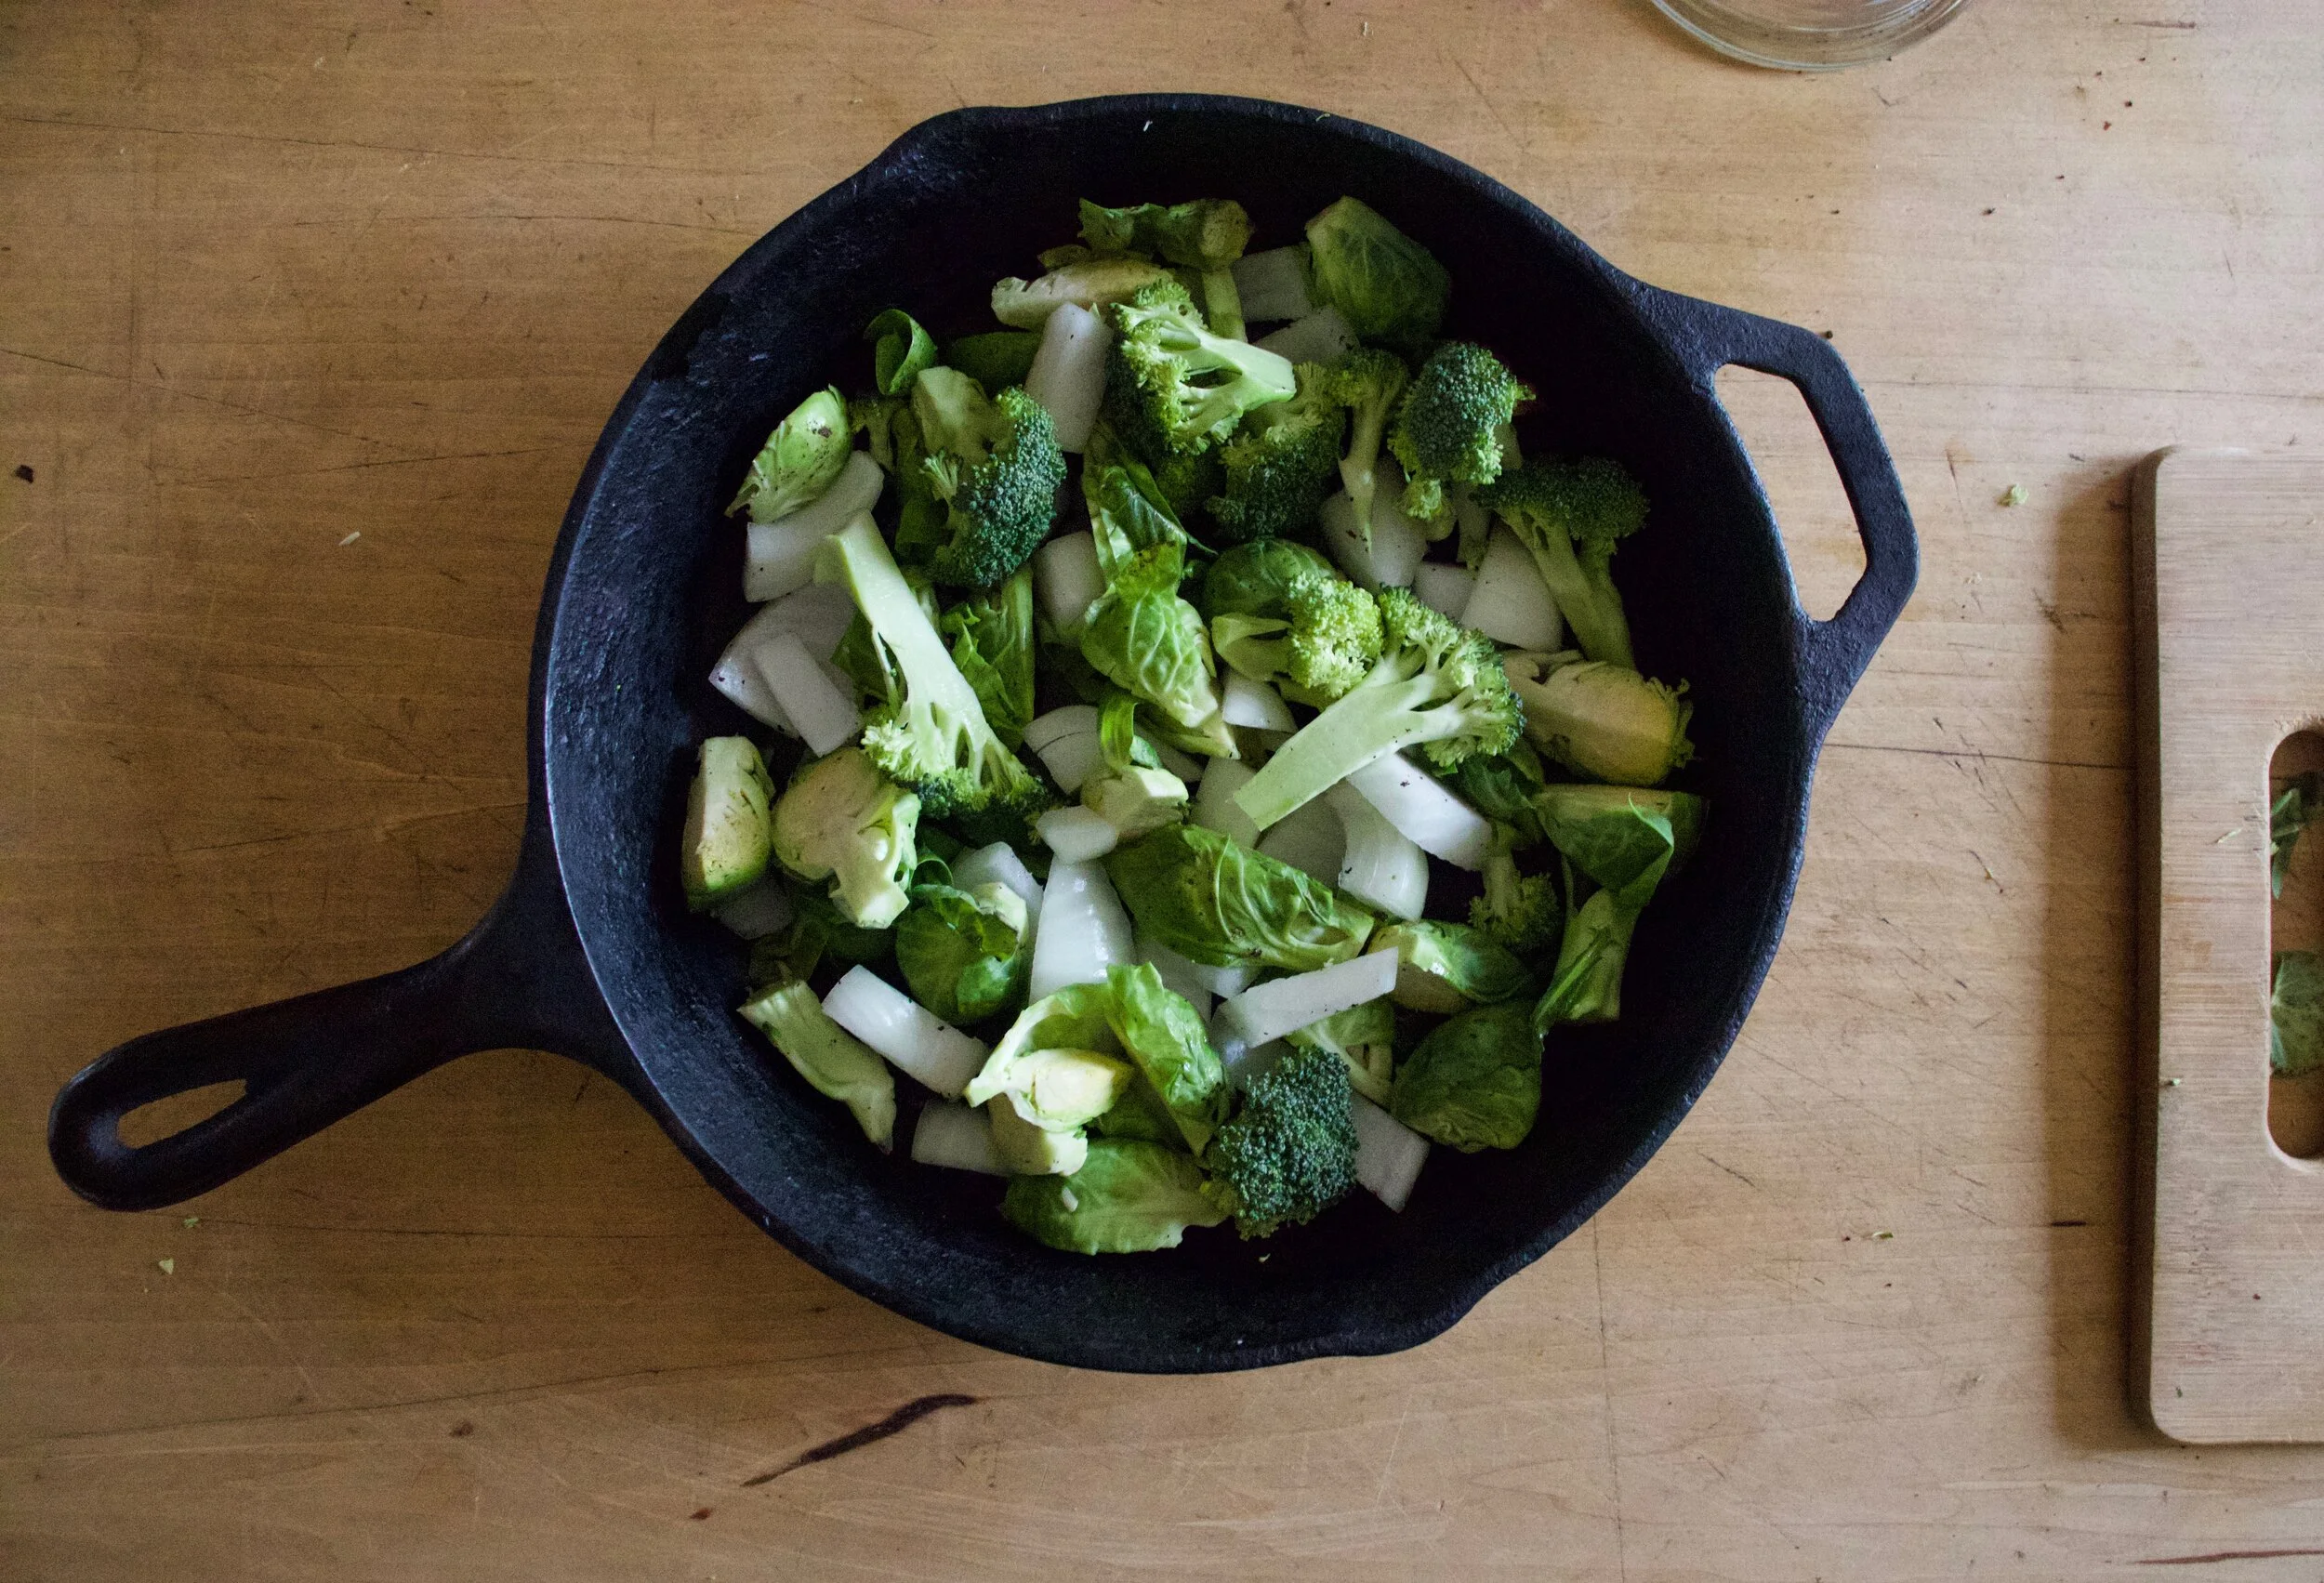
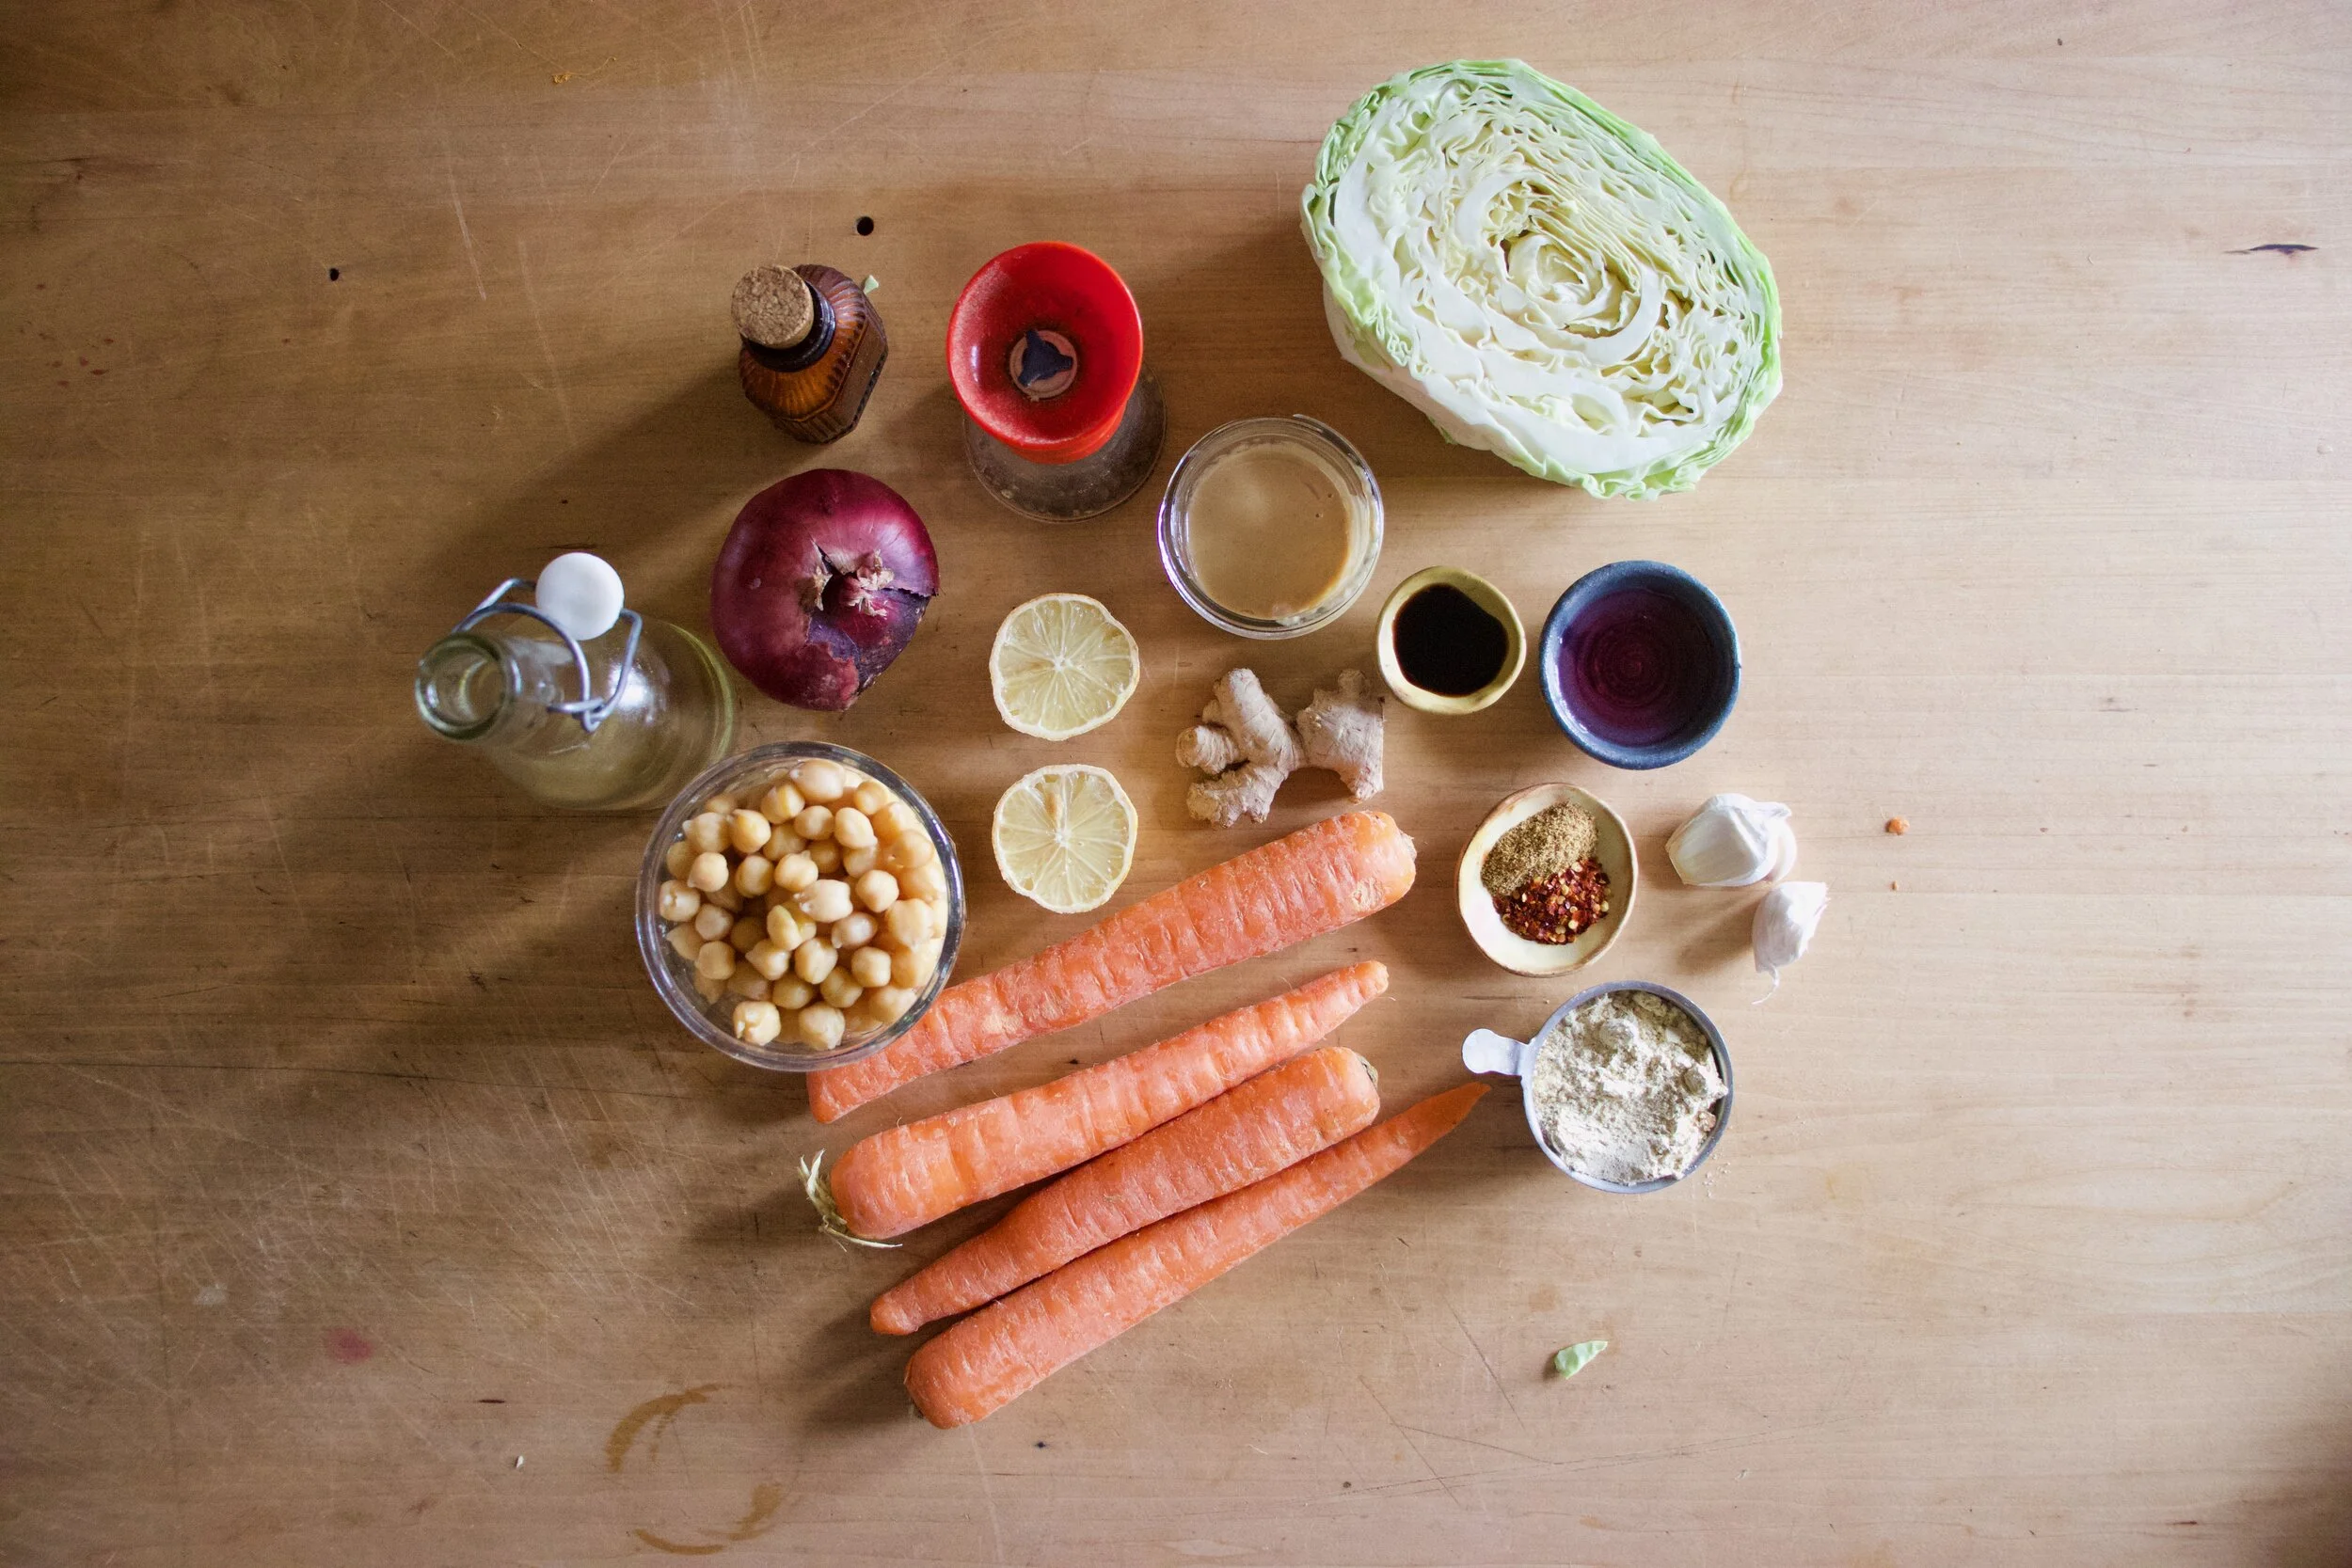
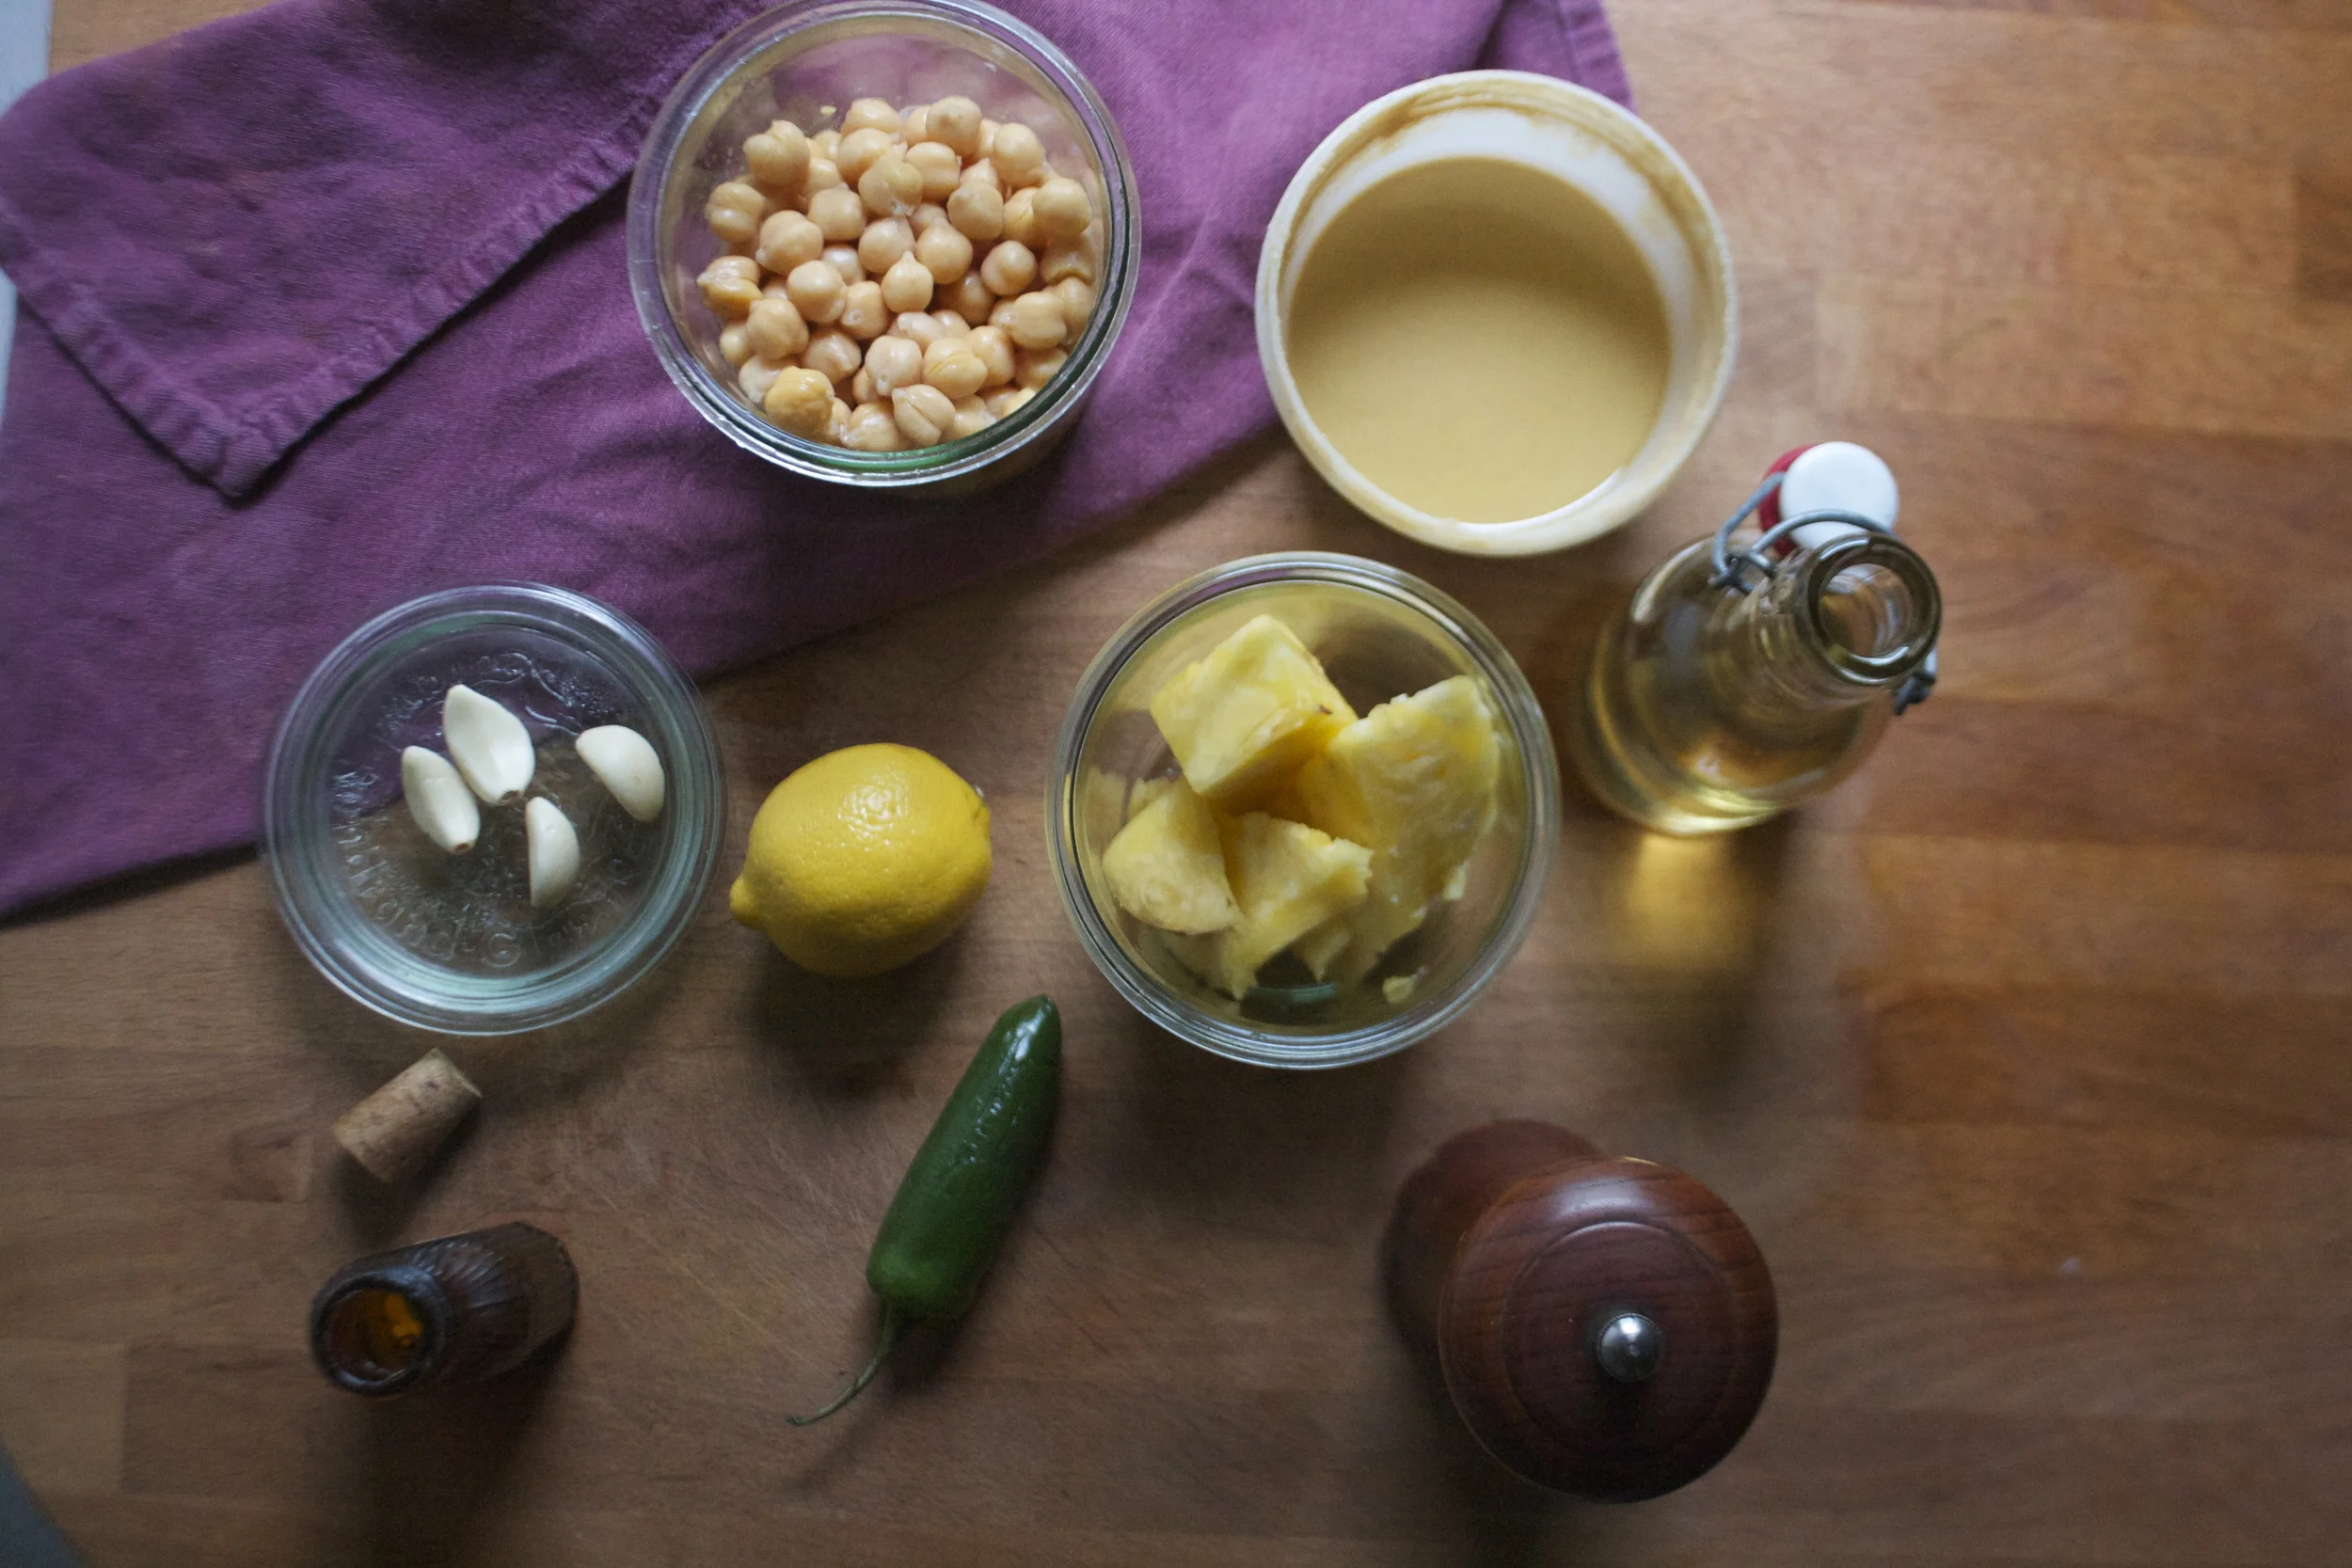
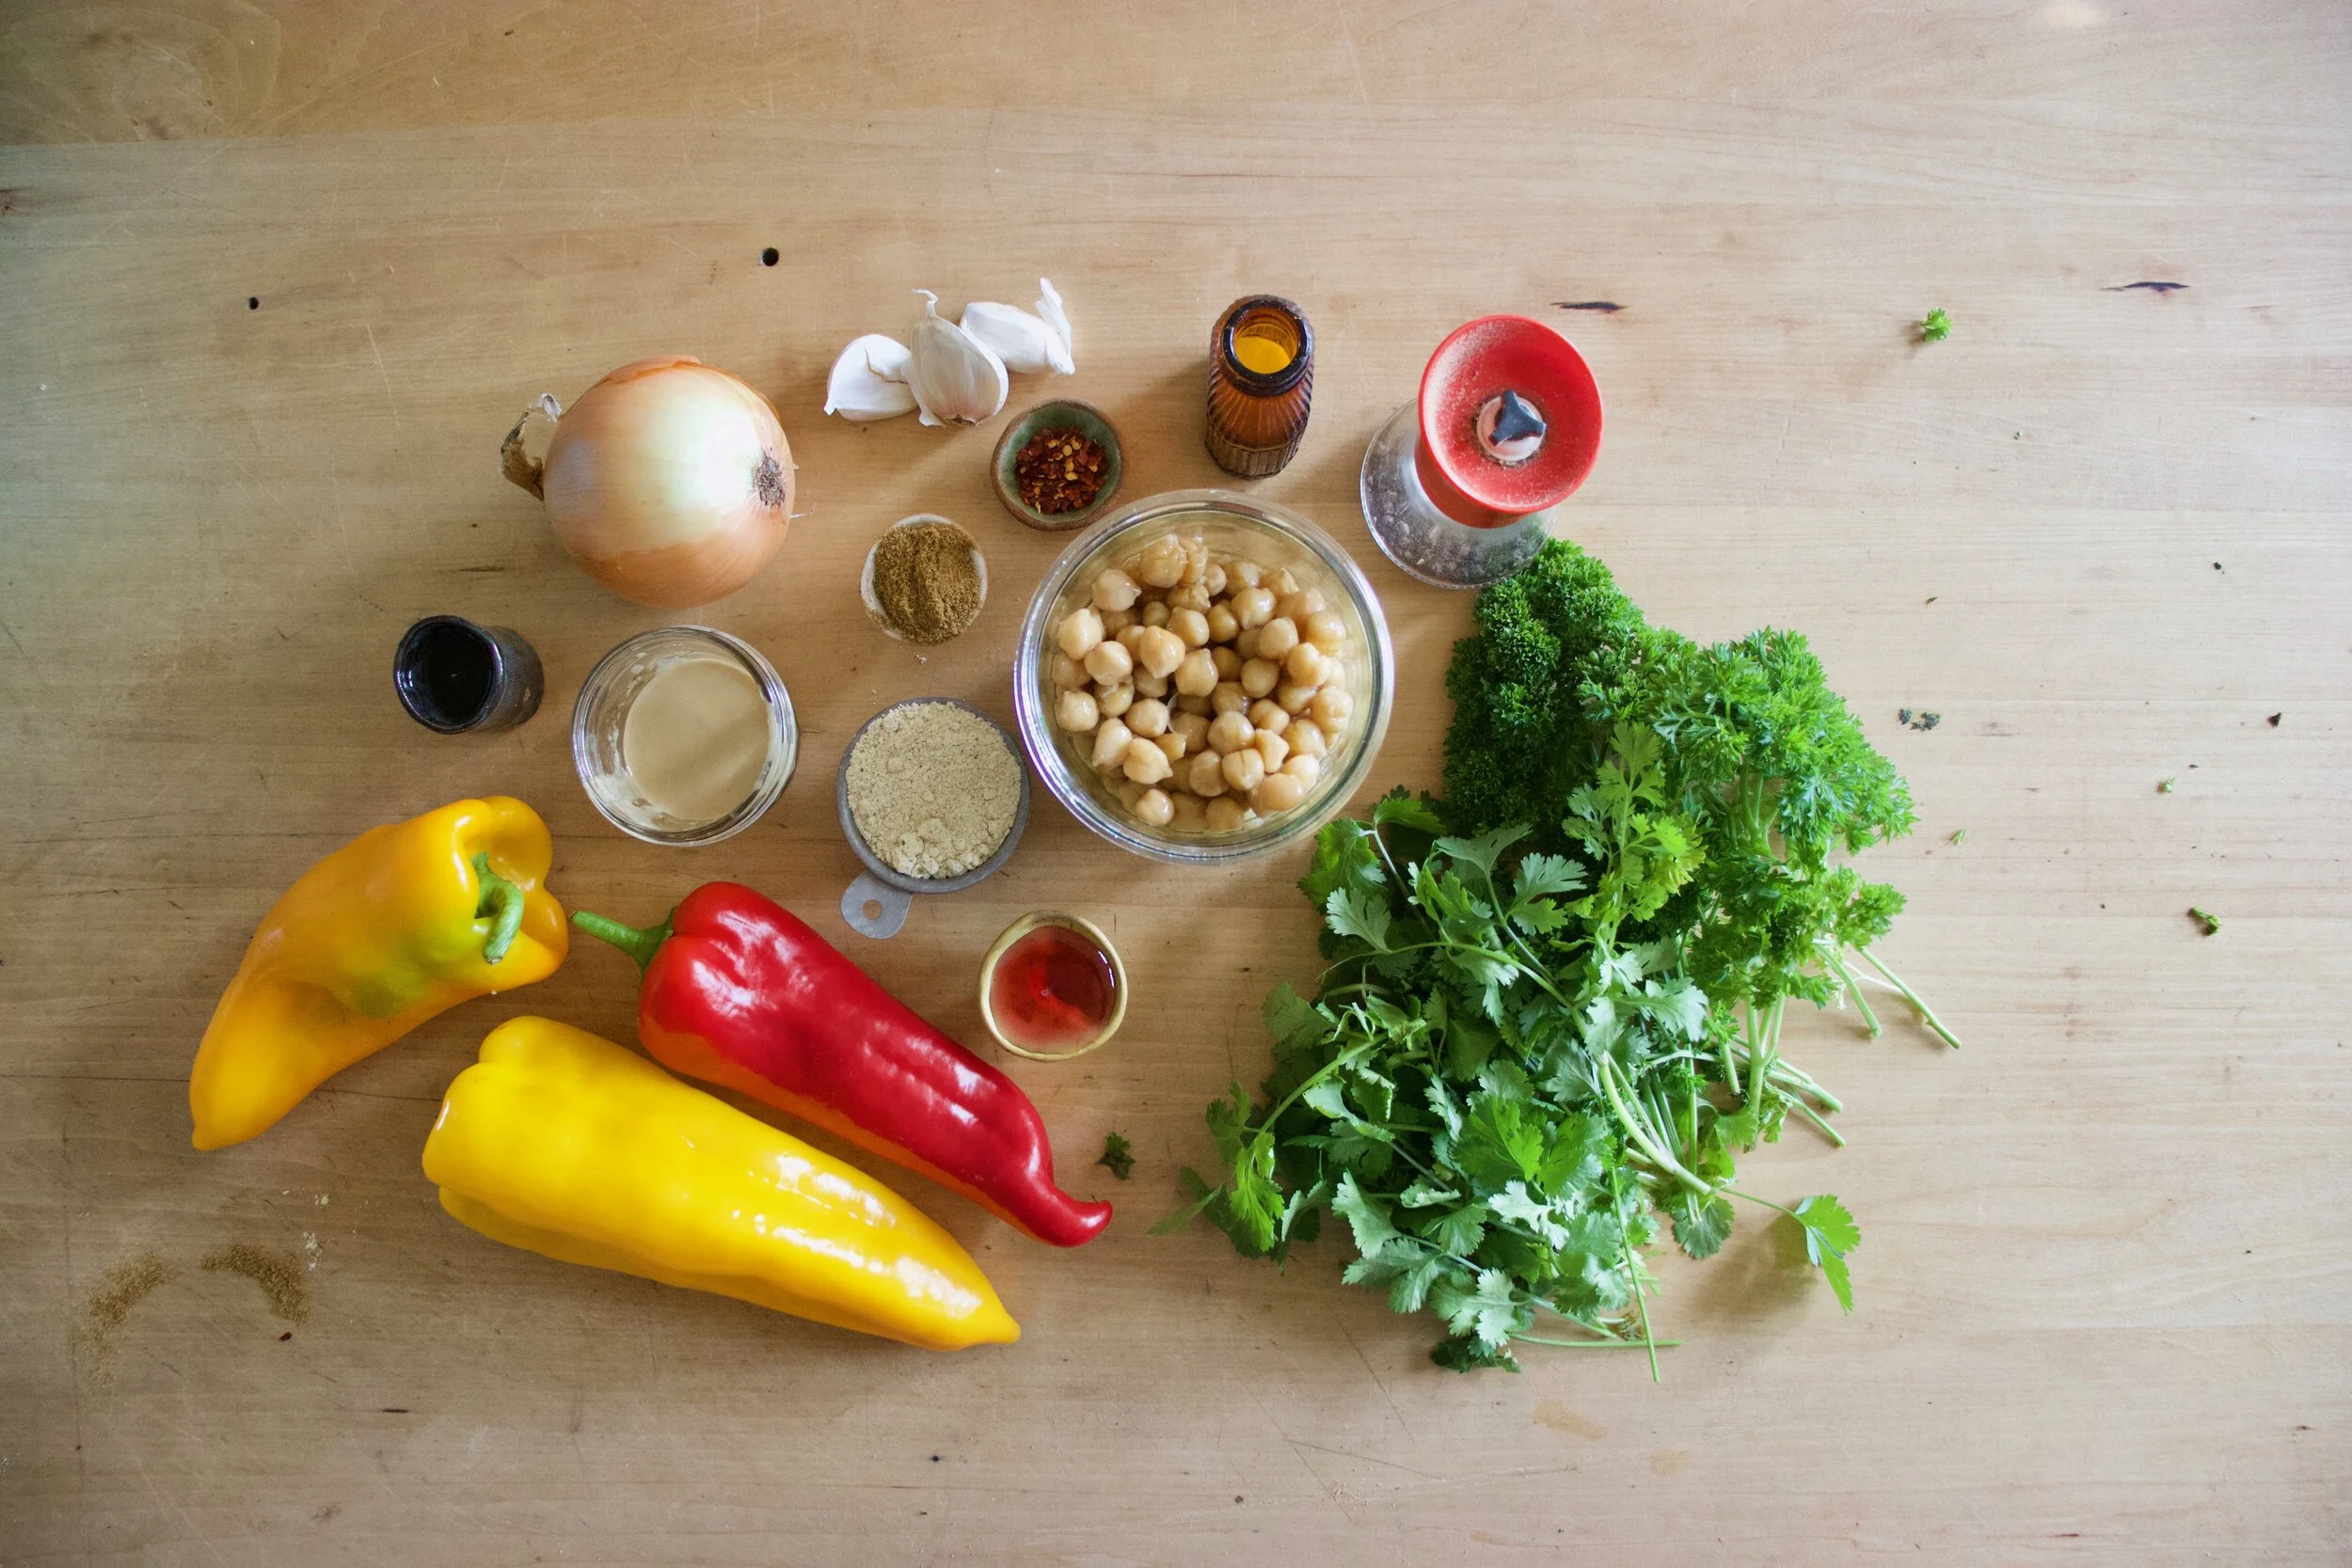
The stuff. Peas, chopped broccoli, and chopped cauliflower which are all frozen and slightly thawed. You can totally use fresh here too, but I just so happen to have it frozen so you might as well save the fresh stuff for fresh eating. Also have a big yellow onion, a few cloves garlic, some tahini, a lemon, sumac, and salt and pepper. You need water which I did not picture here.
A pot, some water and a roughly chopped onion and the garlic start off this soup. Bring the pot to a boil, then turn to medium and let the onion and garlic cook until very tender. I have been making a lot of soups starting with this step lately. Boiling the onion and garlic until tender and fragrant really make for a super flavorful and clean soup base. Or soup in itself.

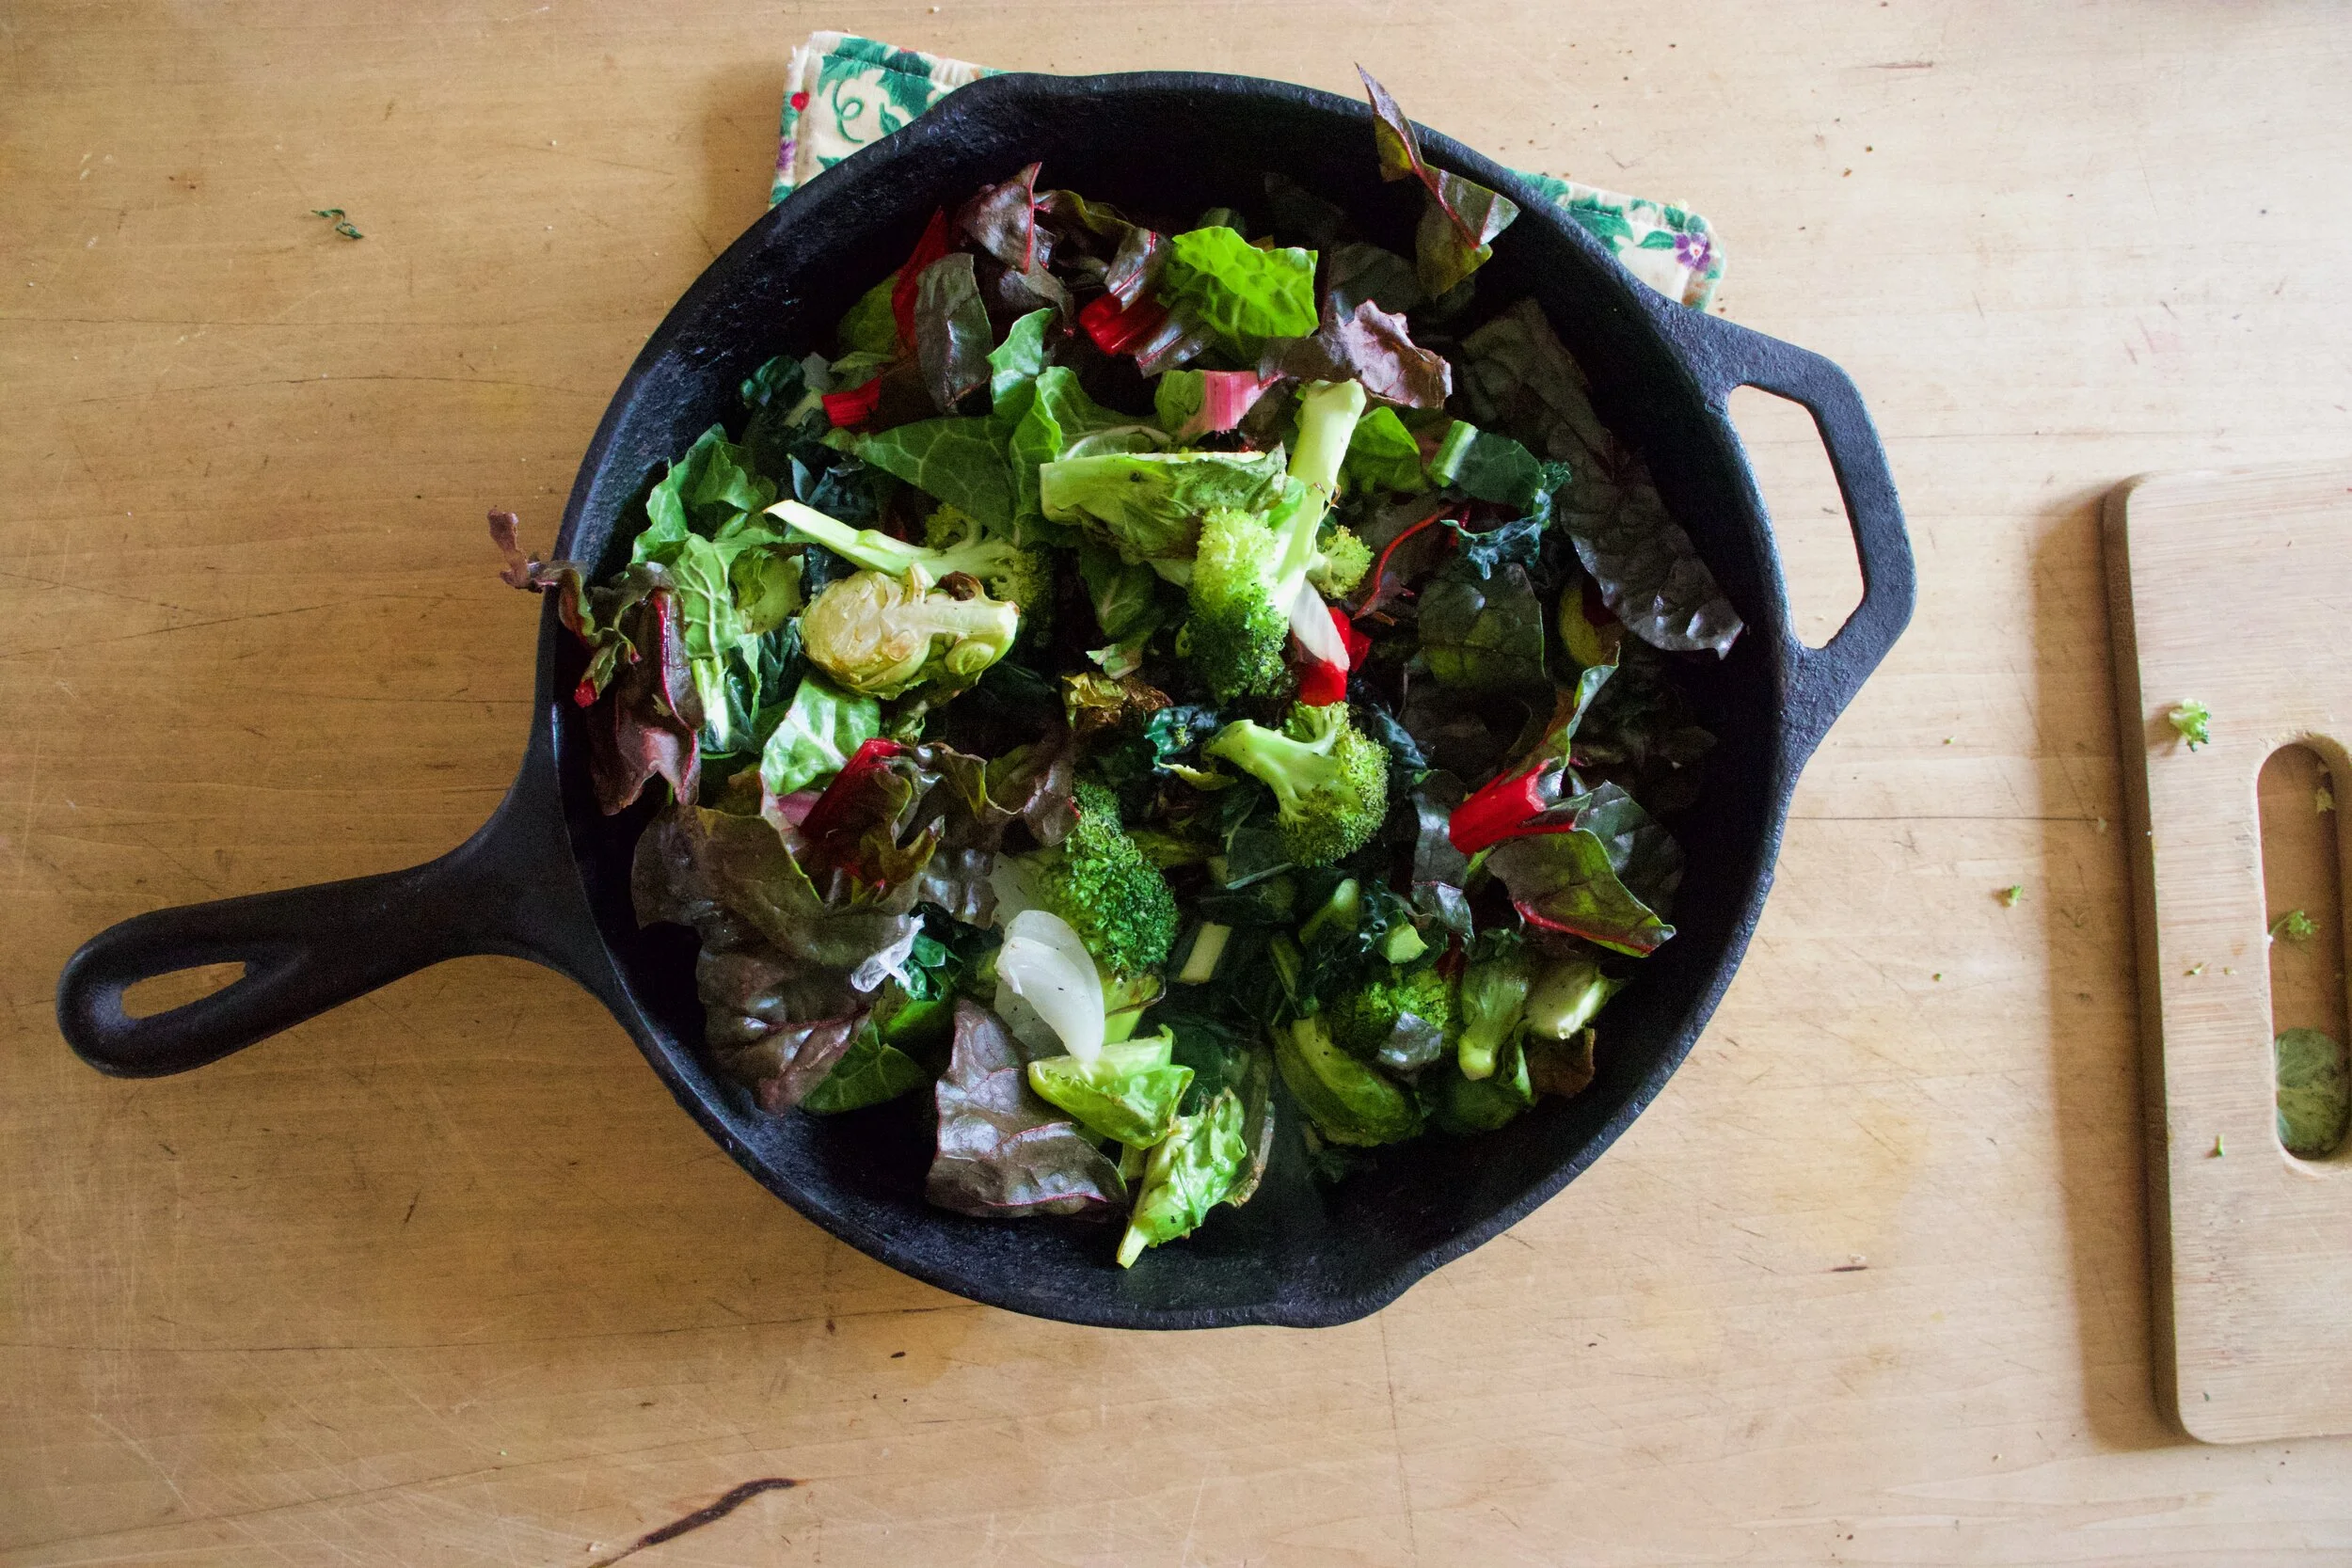
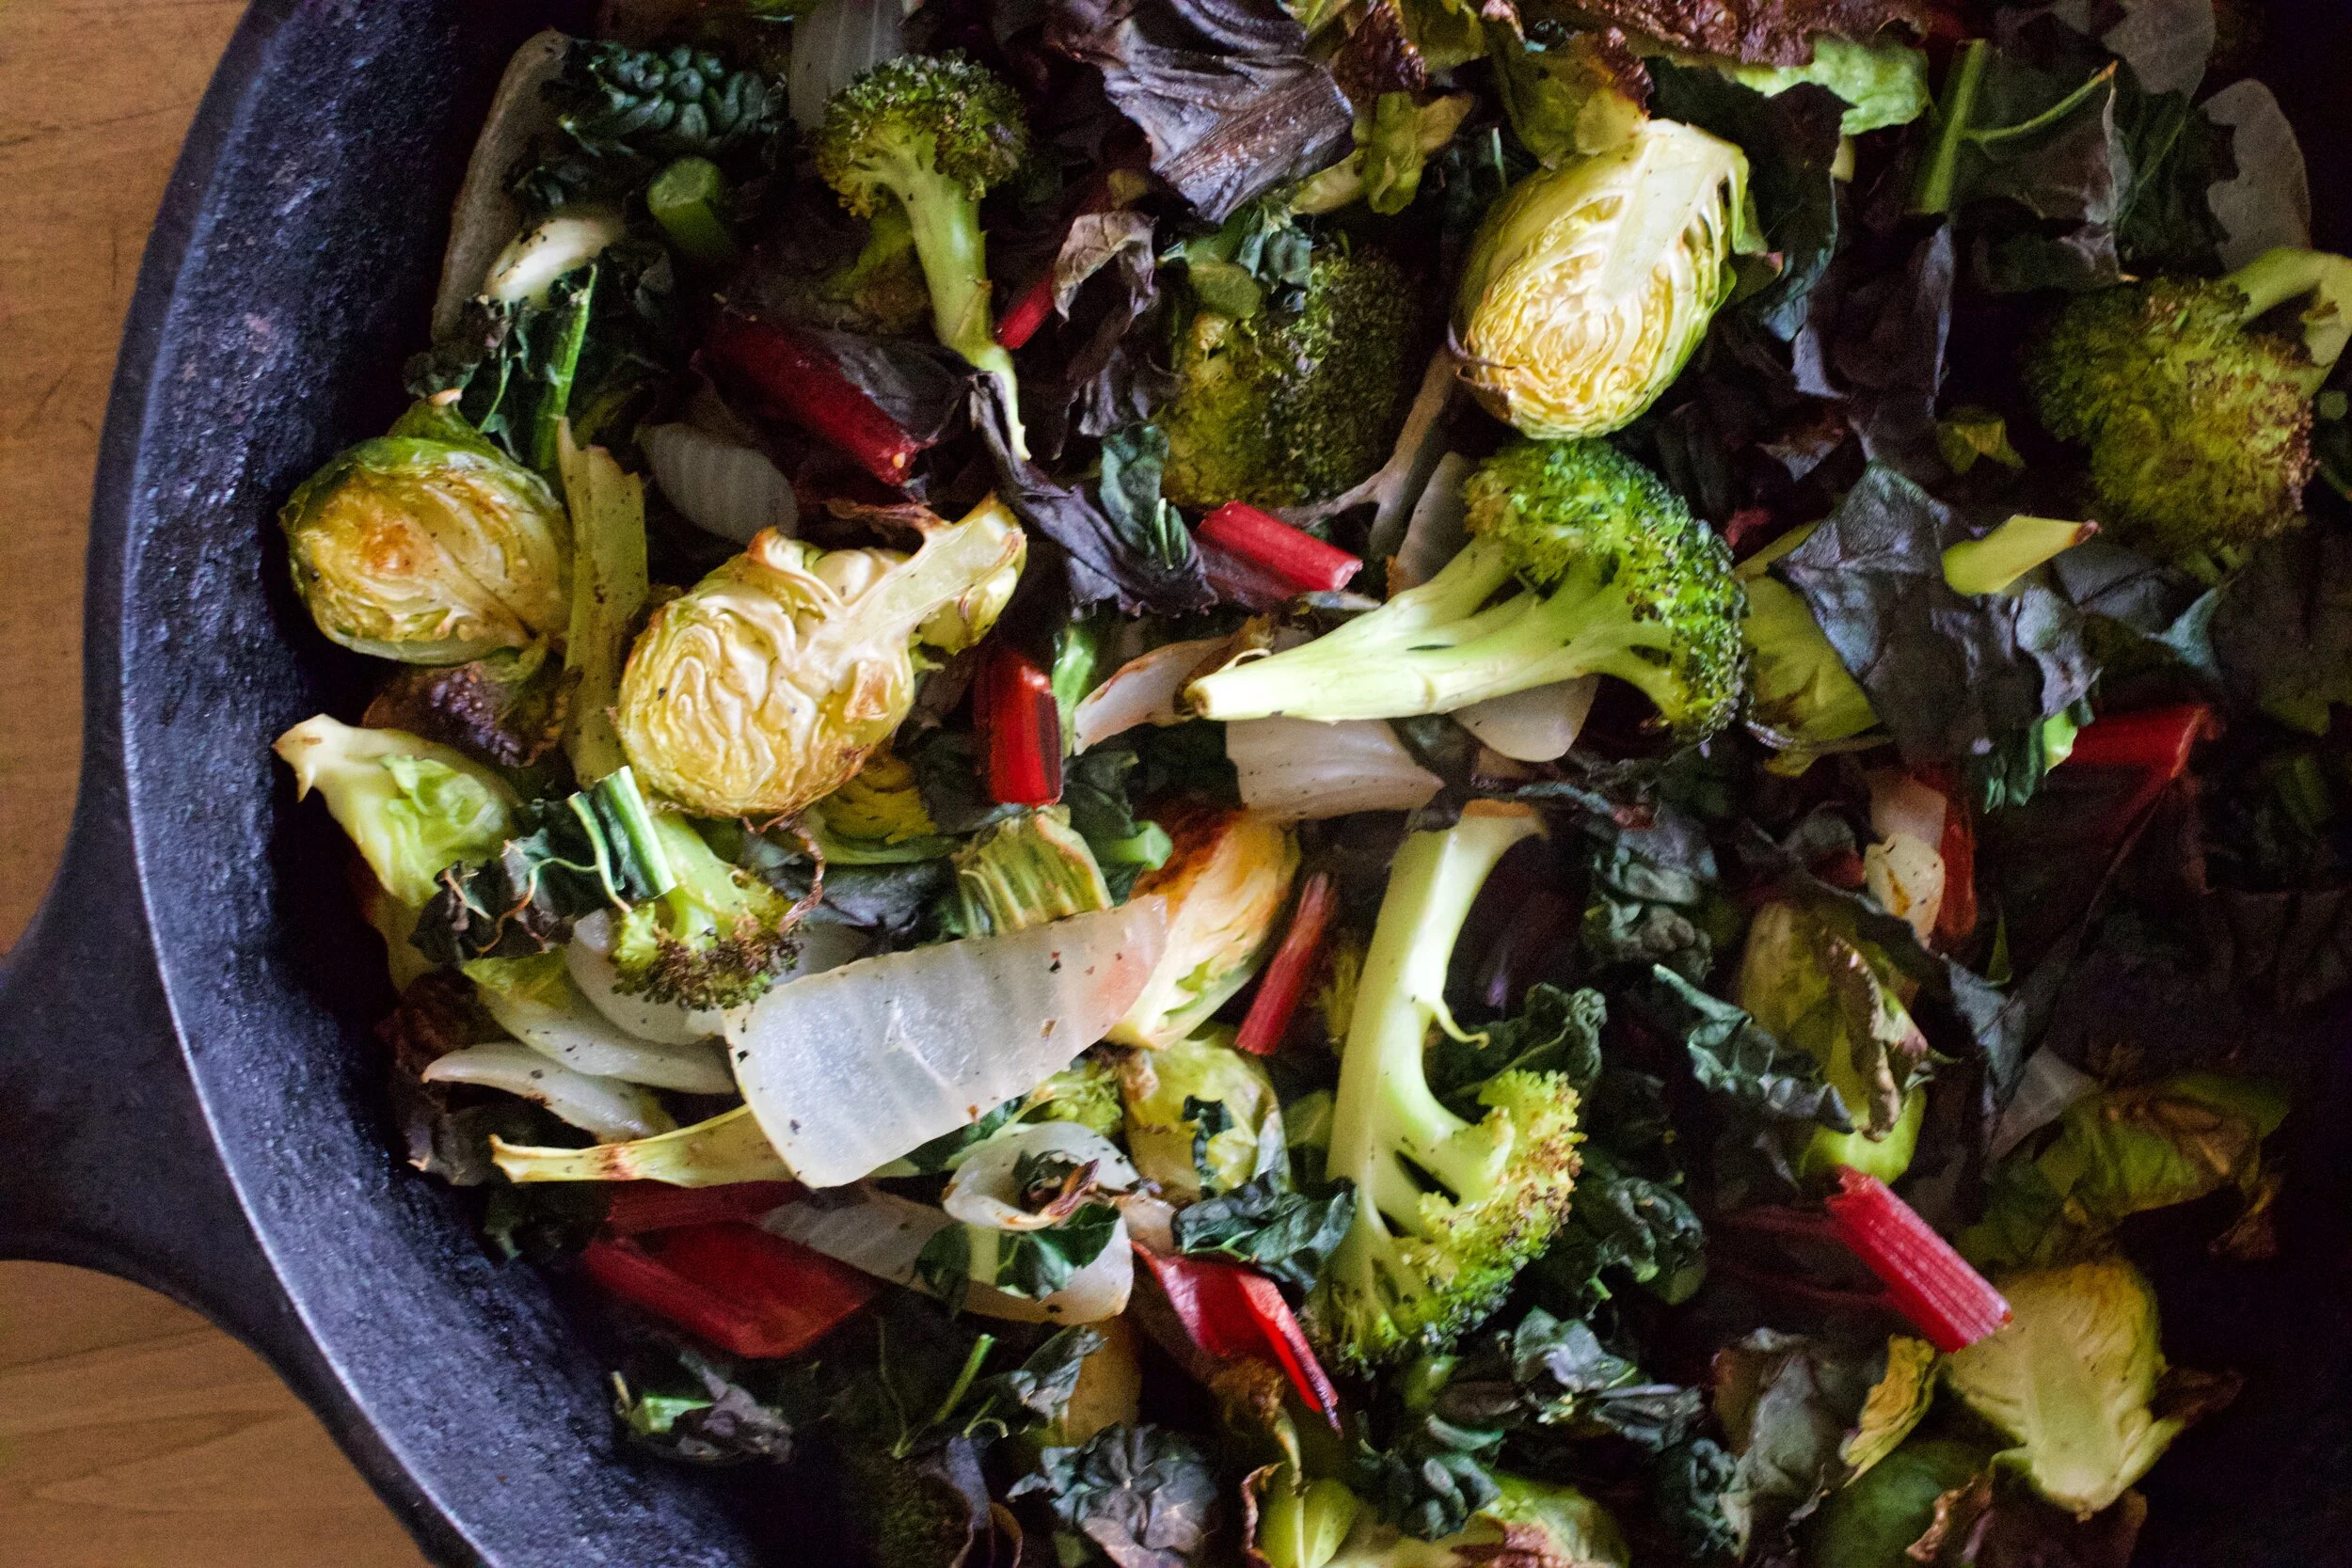
Now add in the broccoli and cauliflower to the pot and cook until tender.
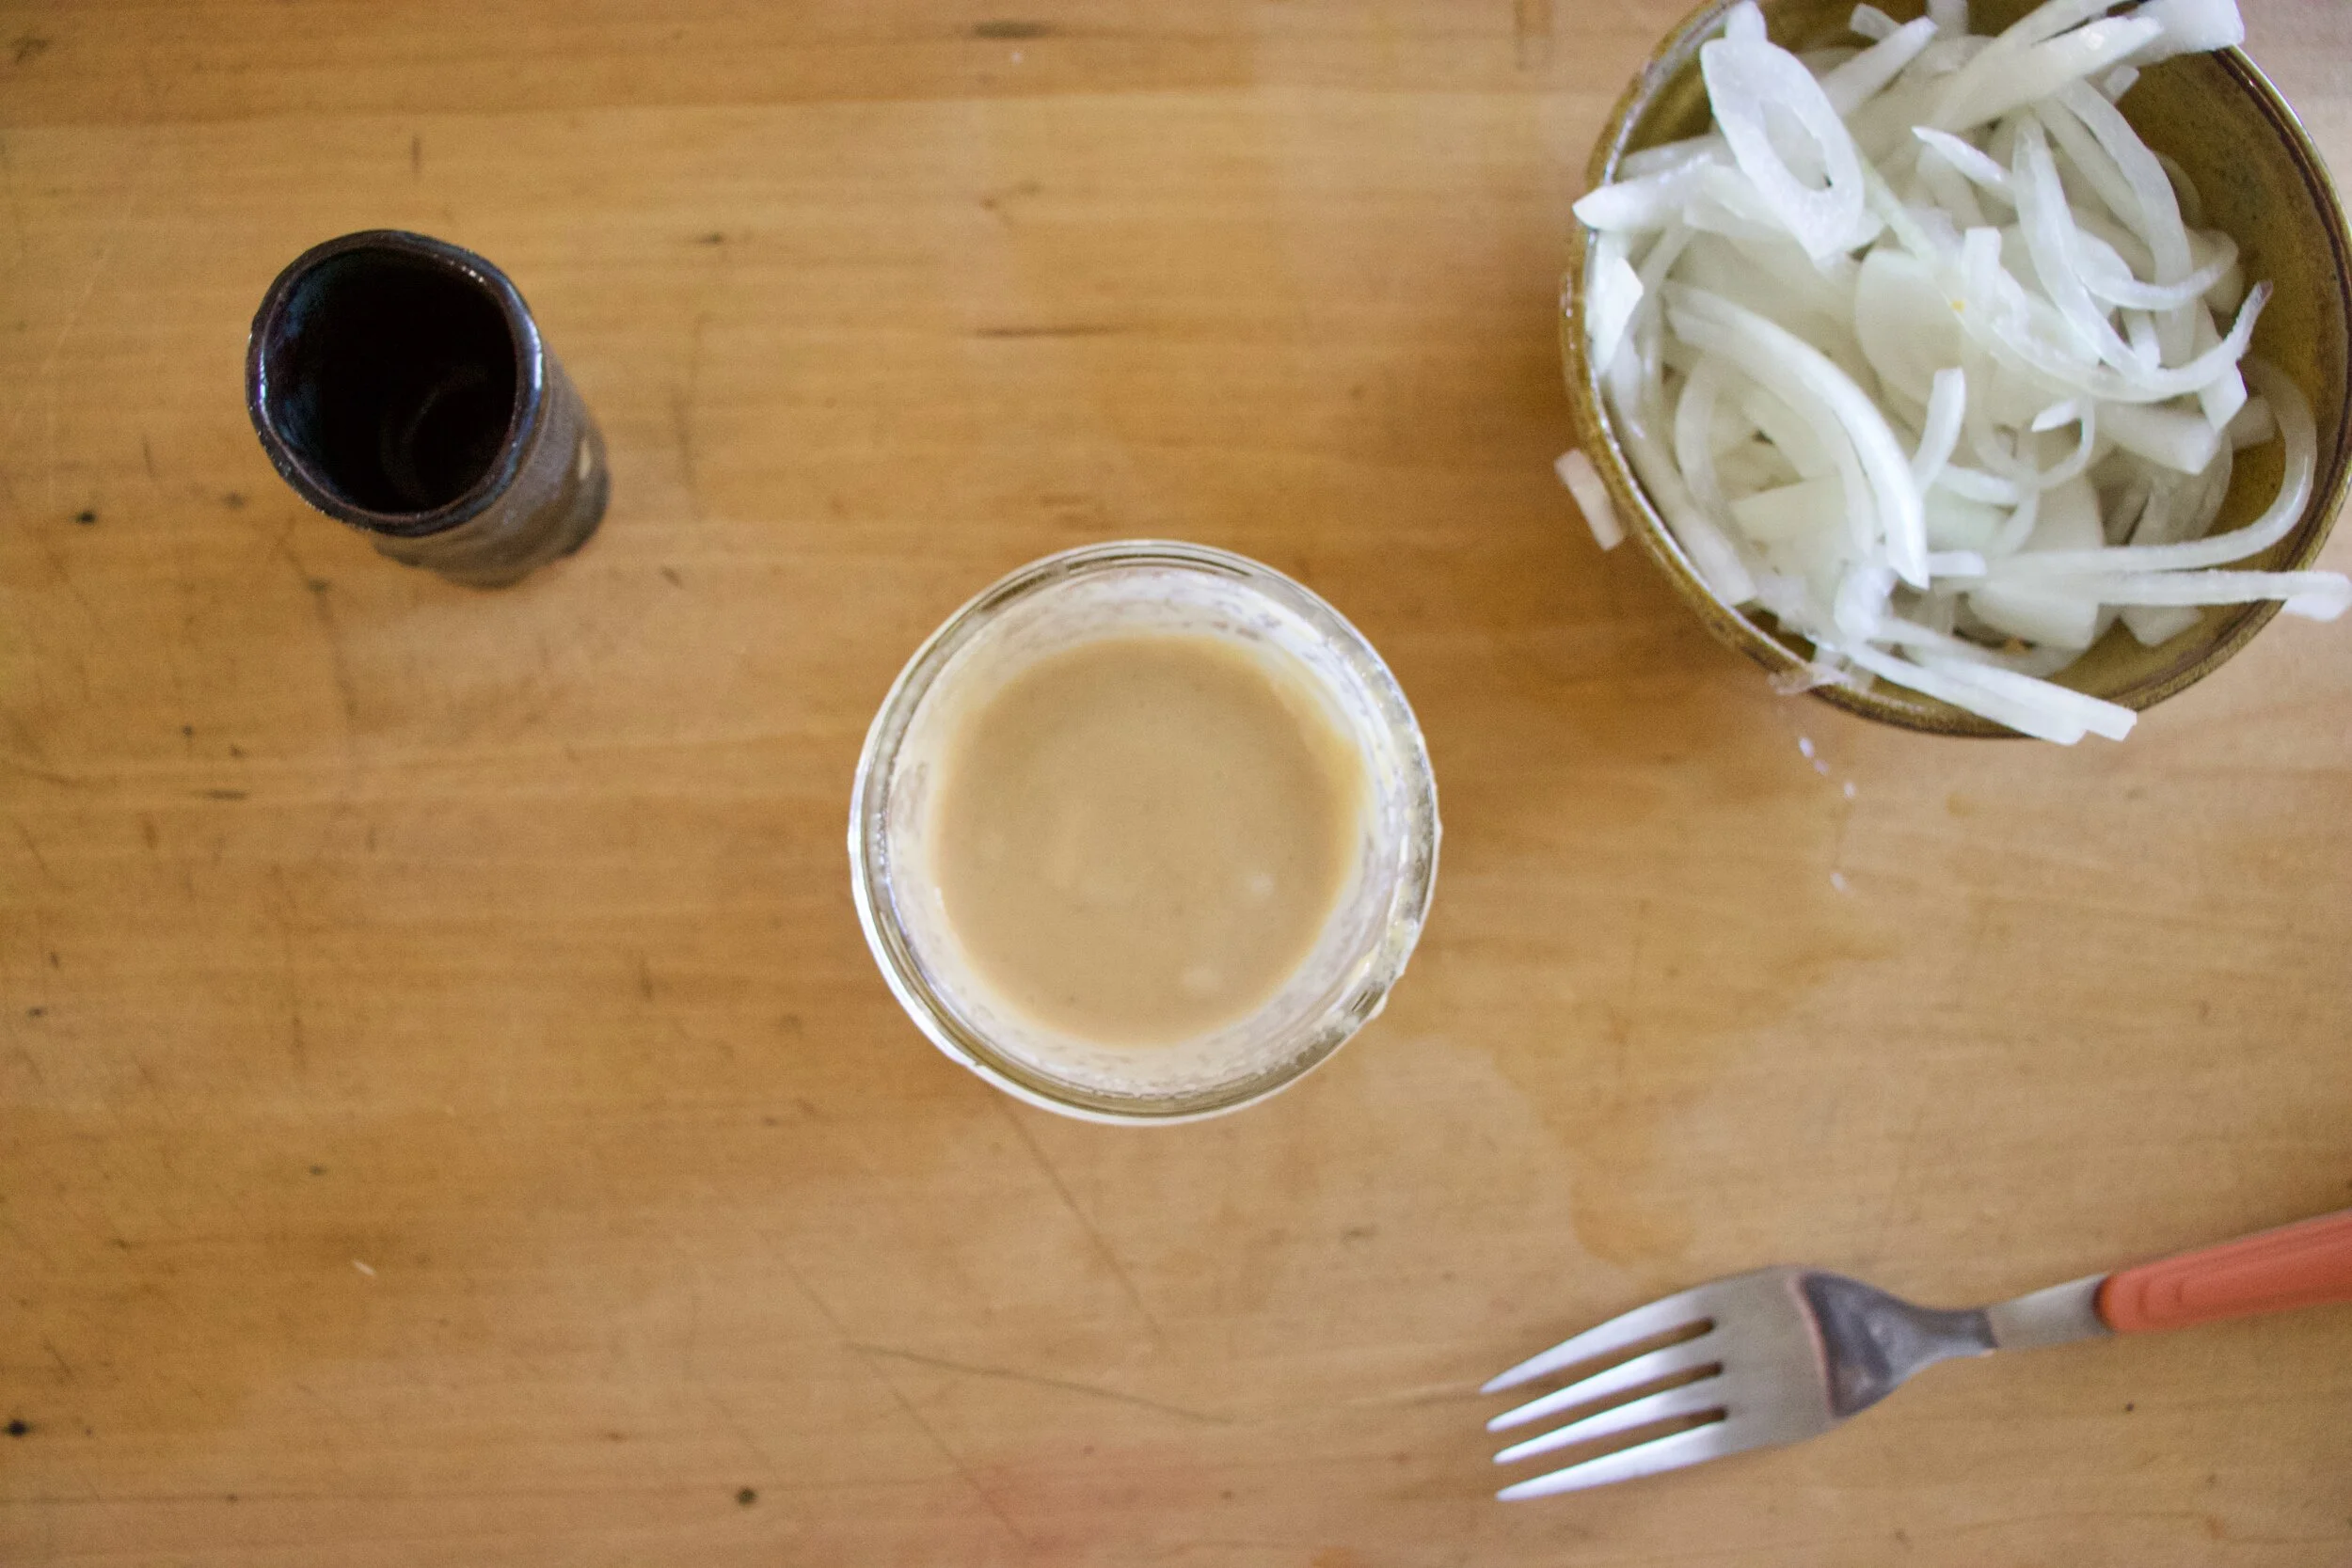
Mid soup cooking time is a good time to make the sumac tahini sauce for the swirl. Basics here, just mix the tahini, the sumac, a pinch of salt and pepper, the juice of the lemon and a tablespoon of warm water together until smooth.

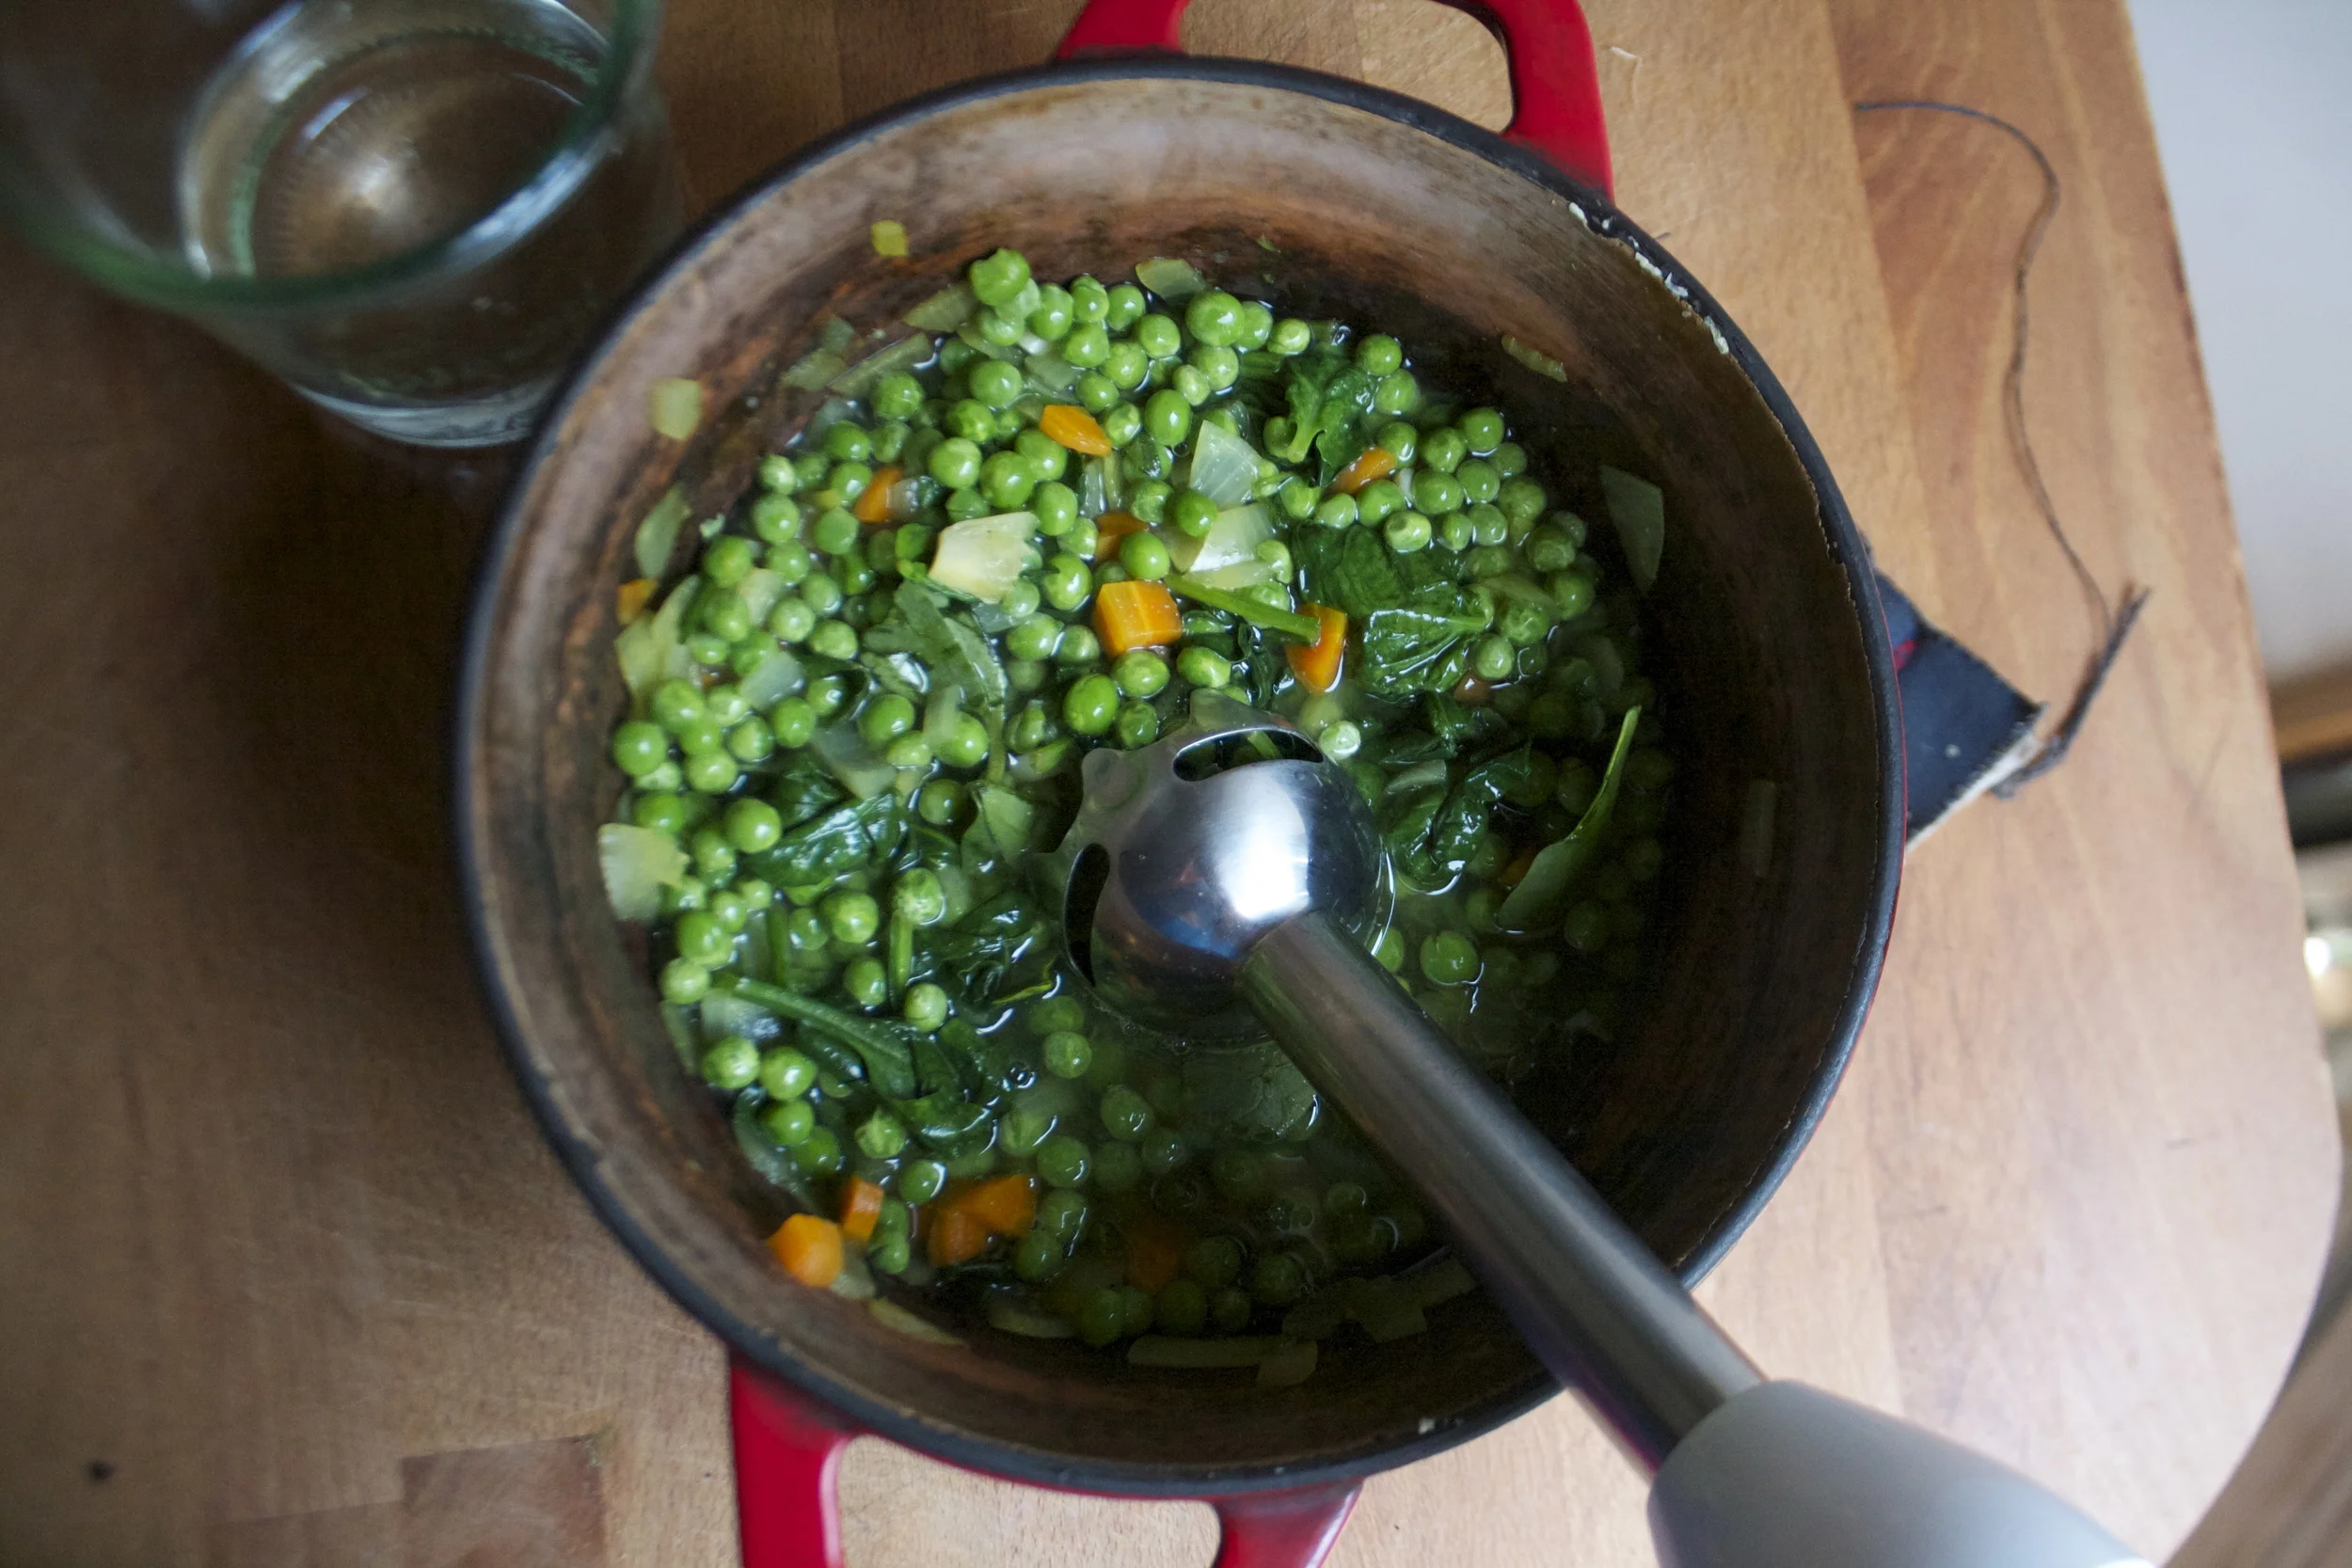
Last but not least, the peas. Add them in and they just need a few minutes to cook through.
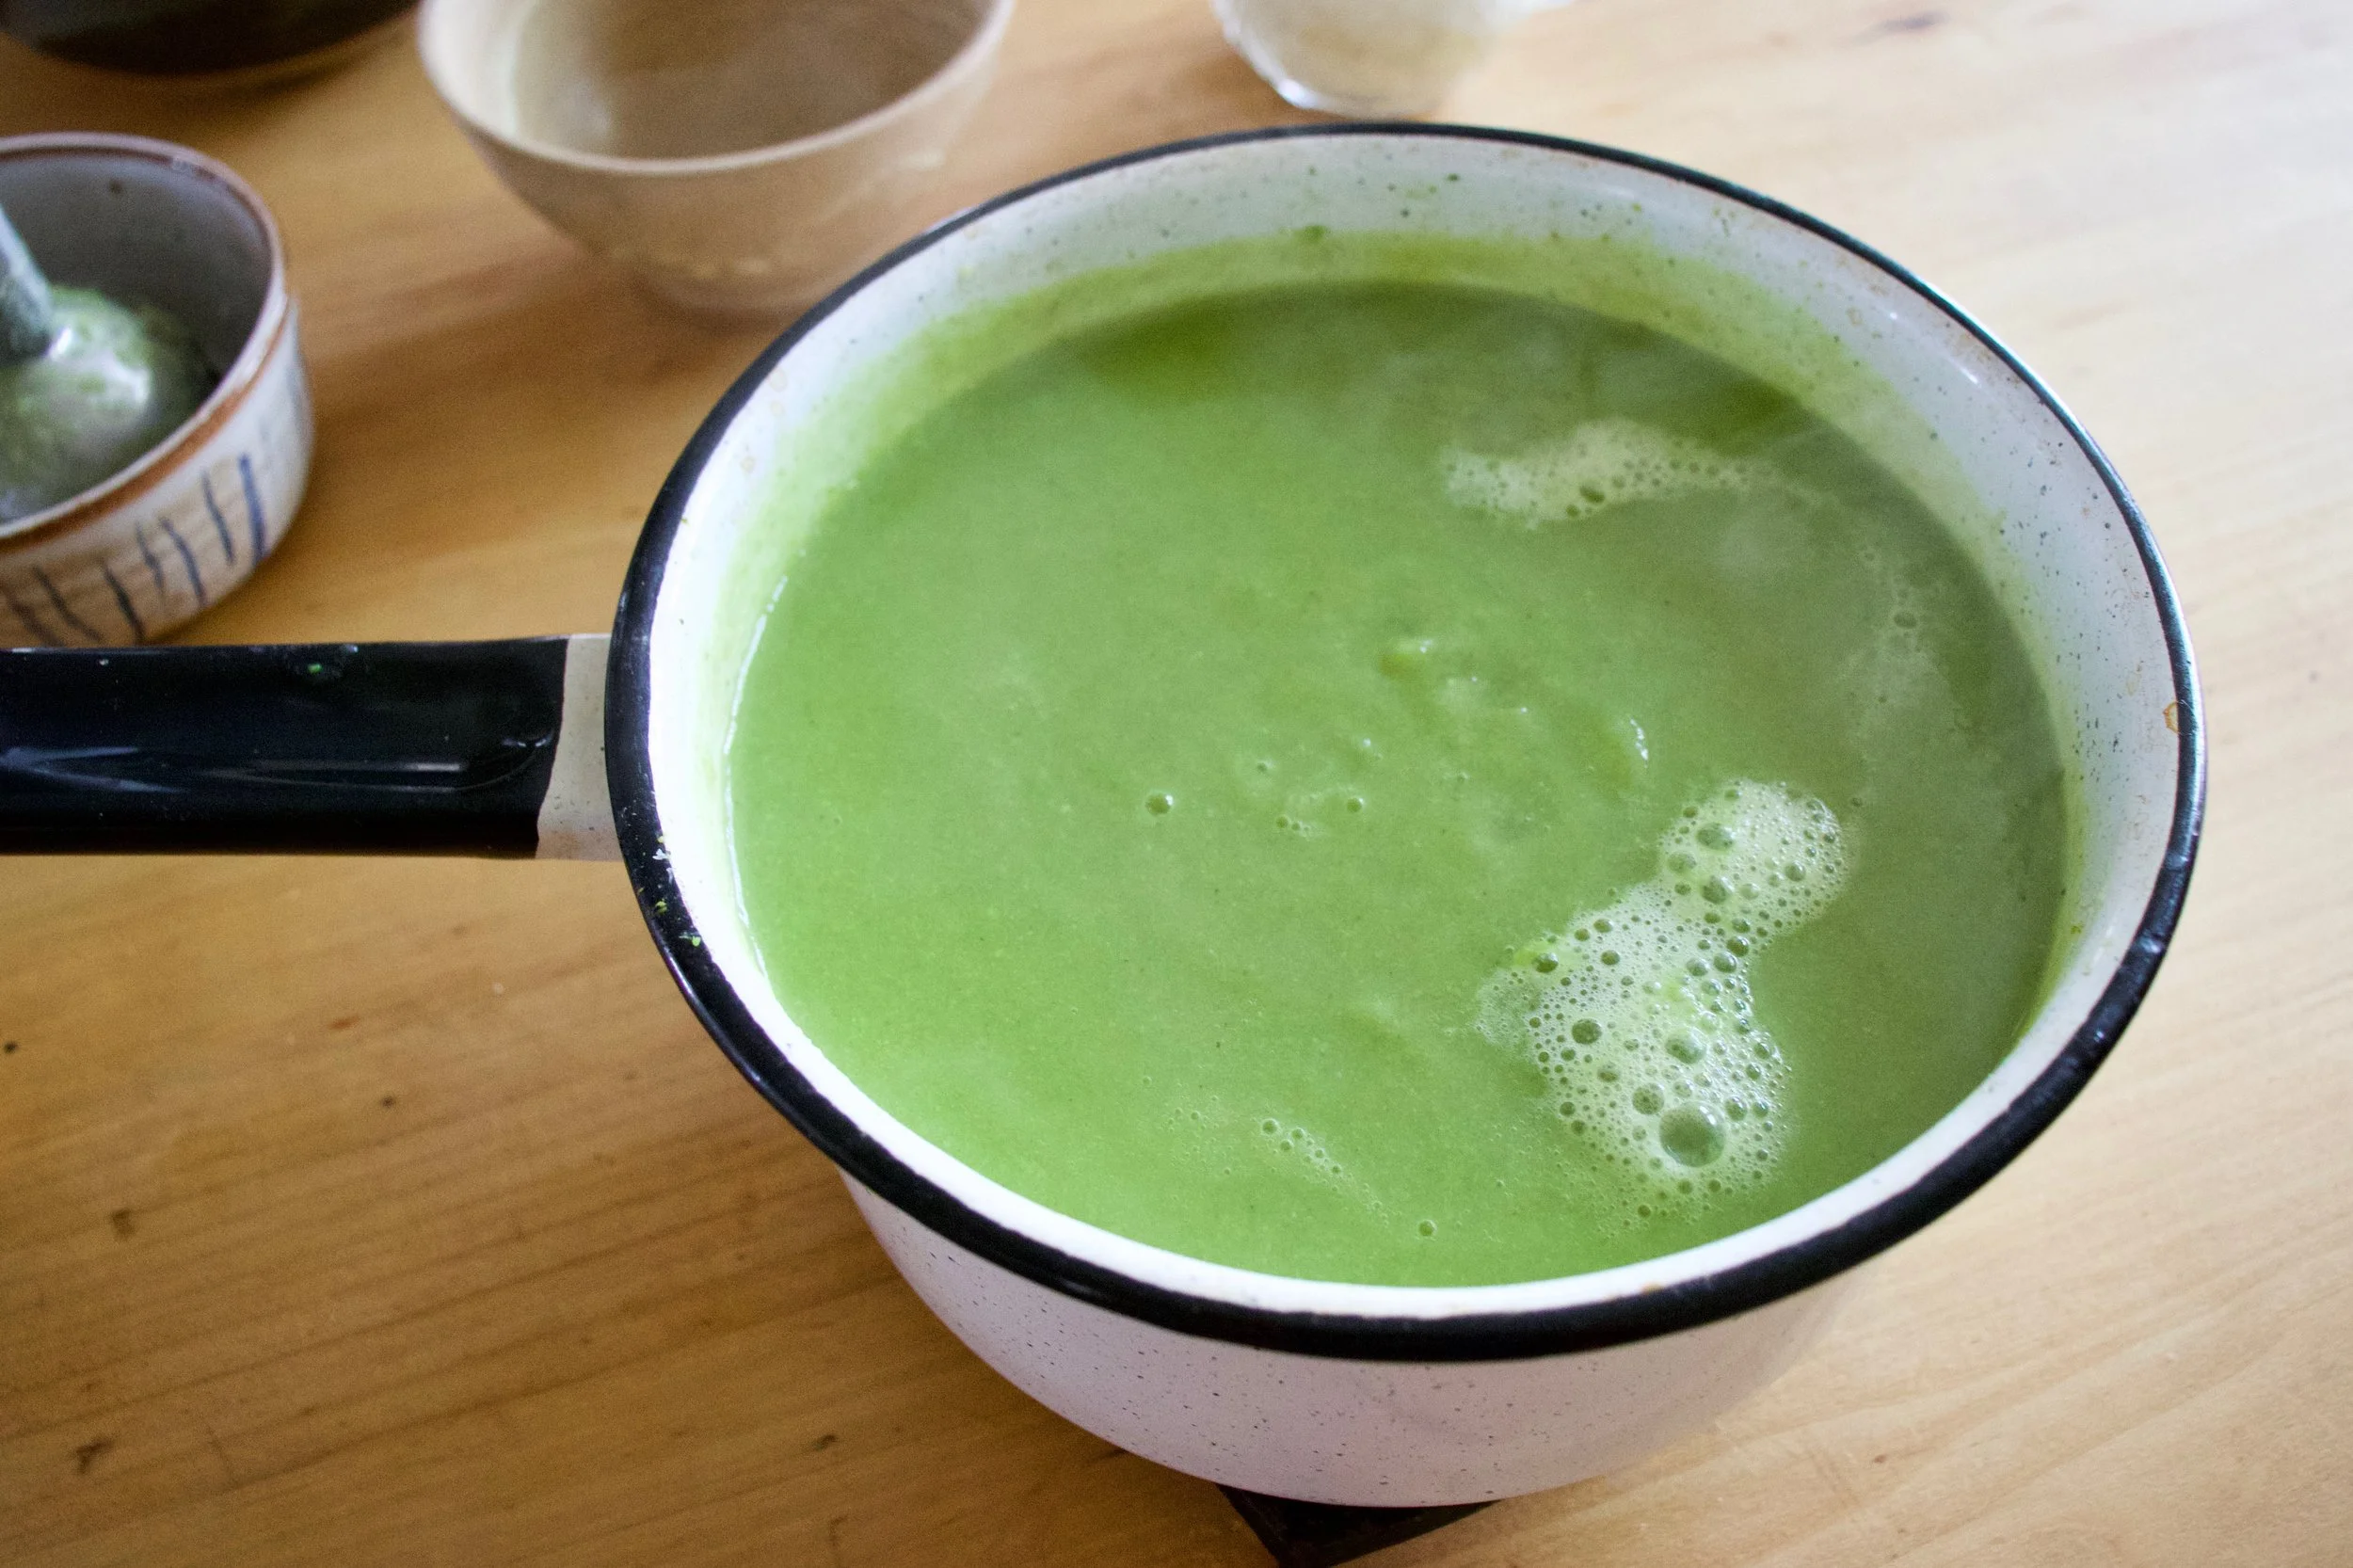
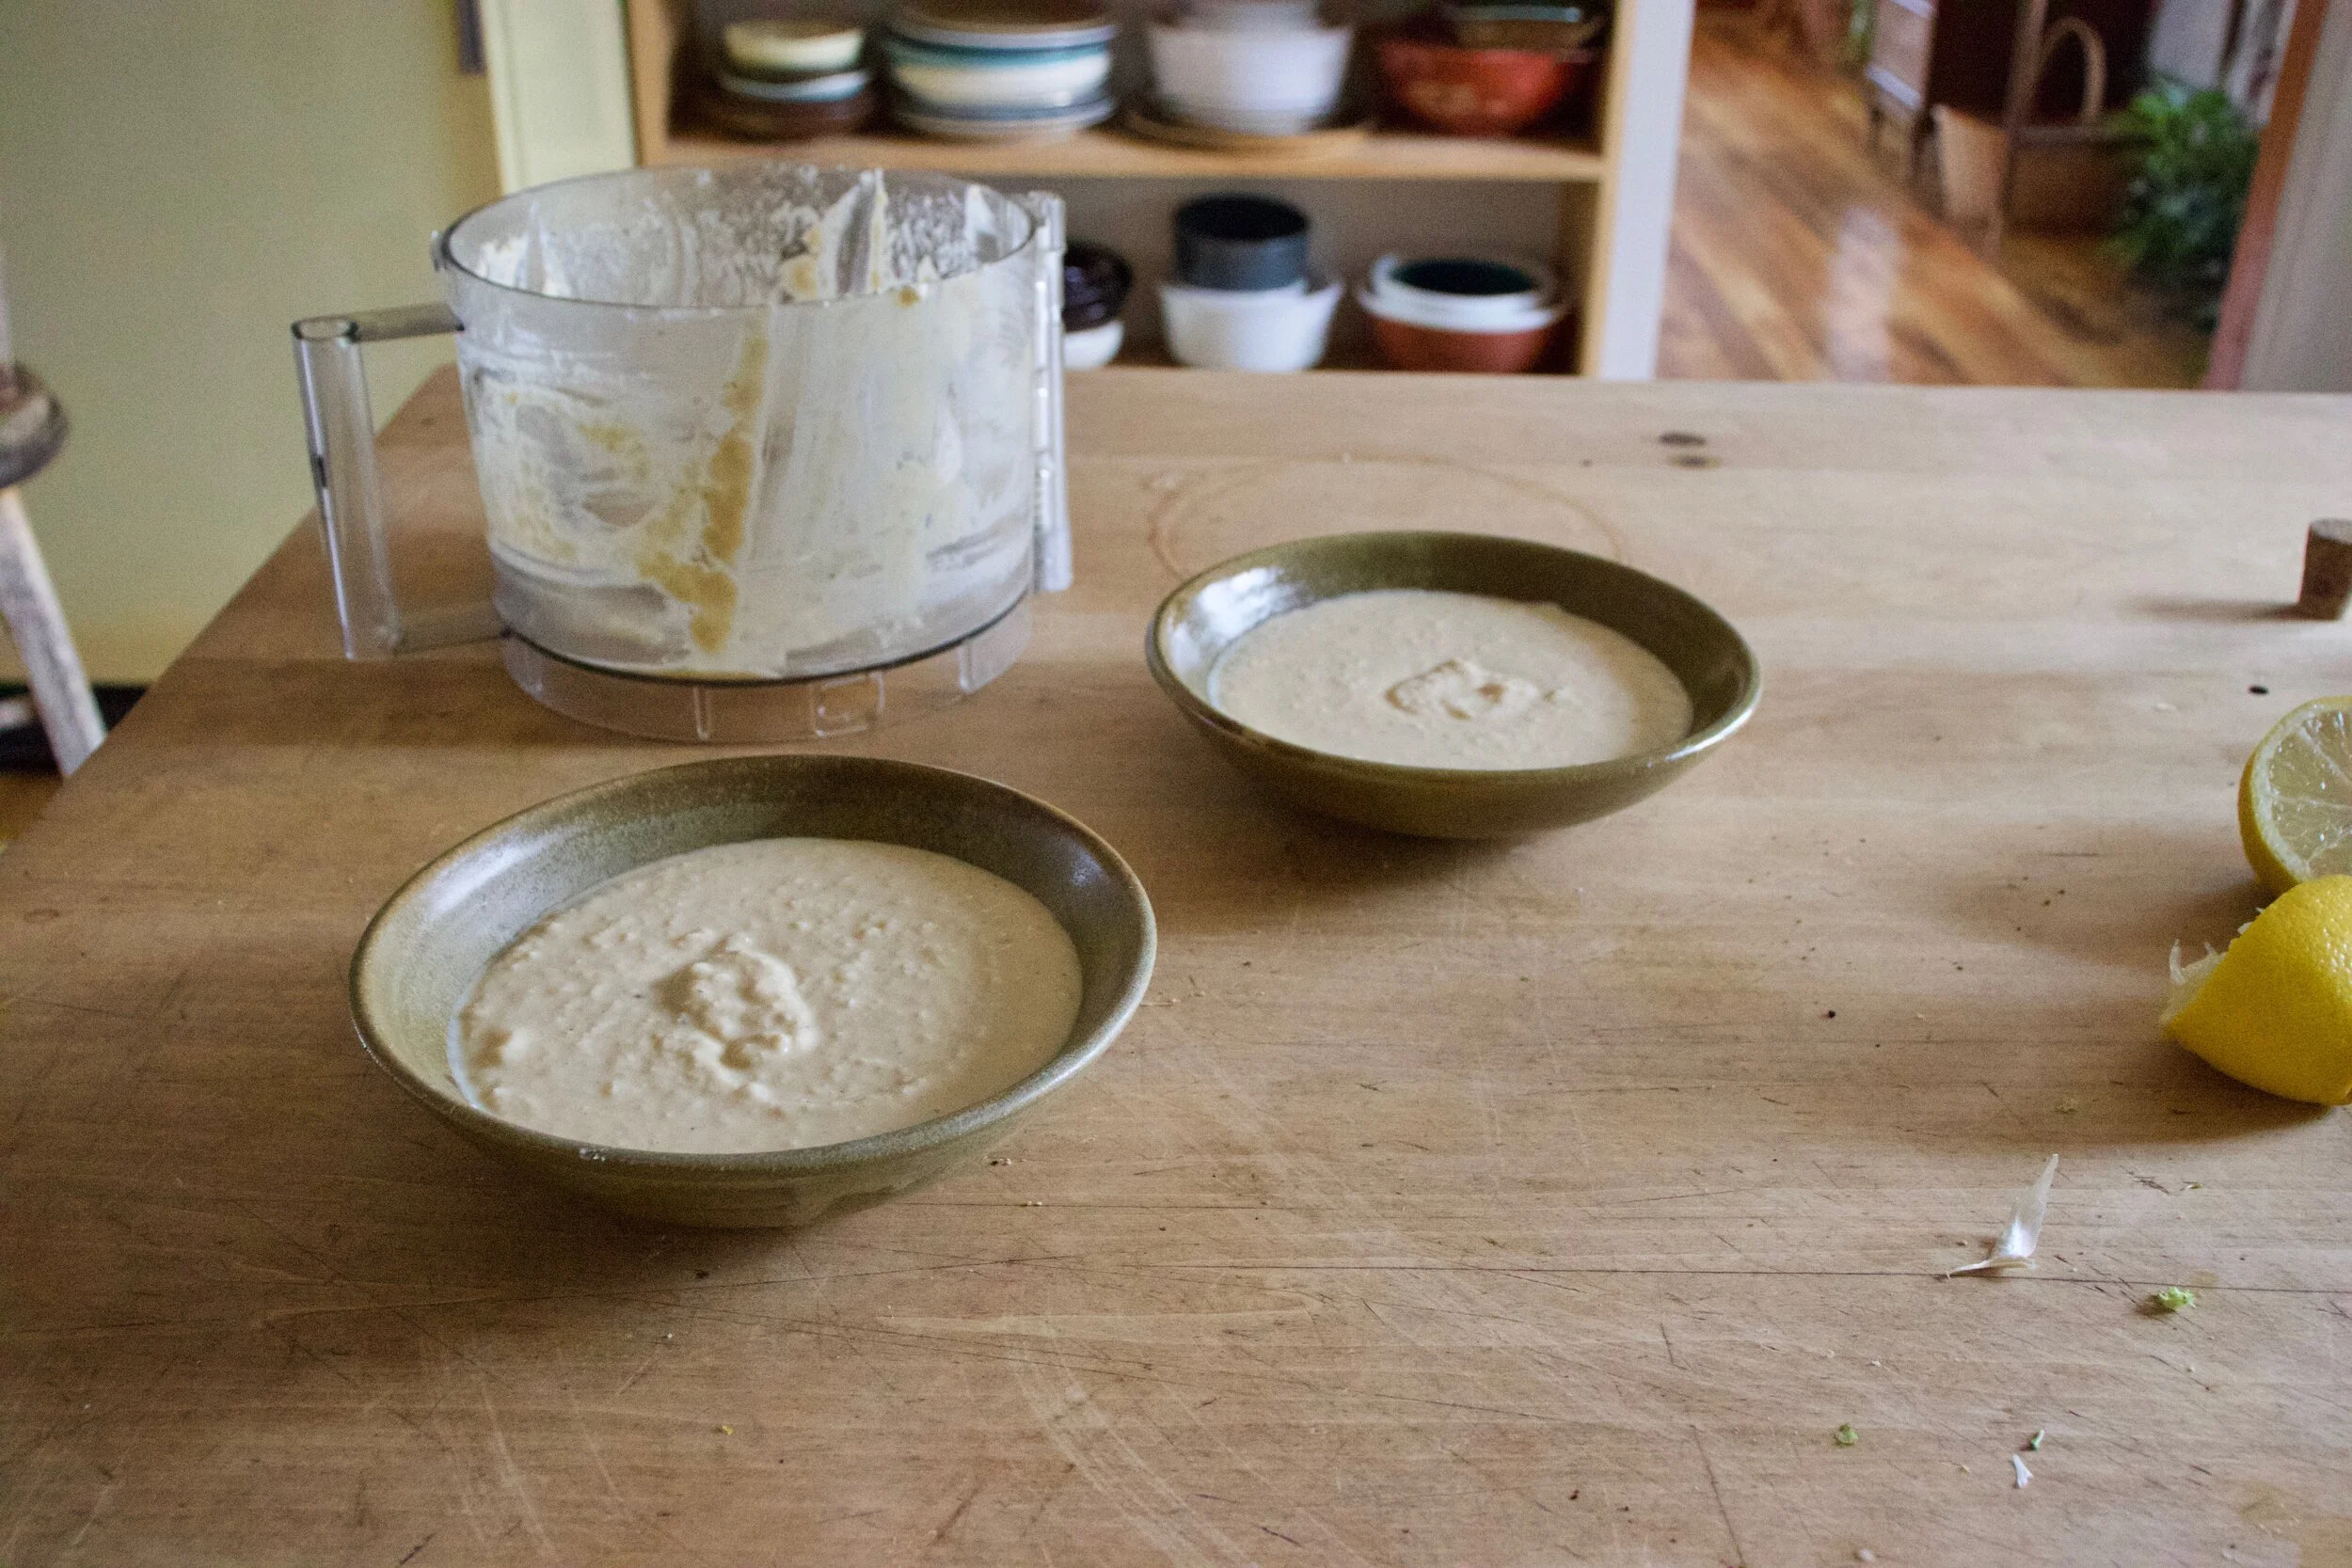
And then it all gets blended to become this green creamy goodness.
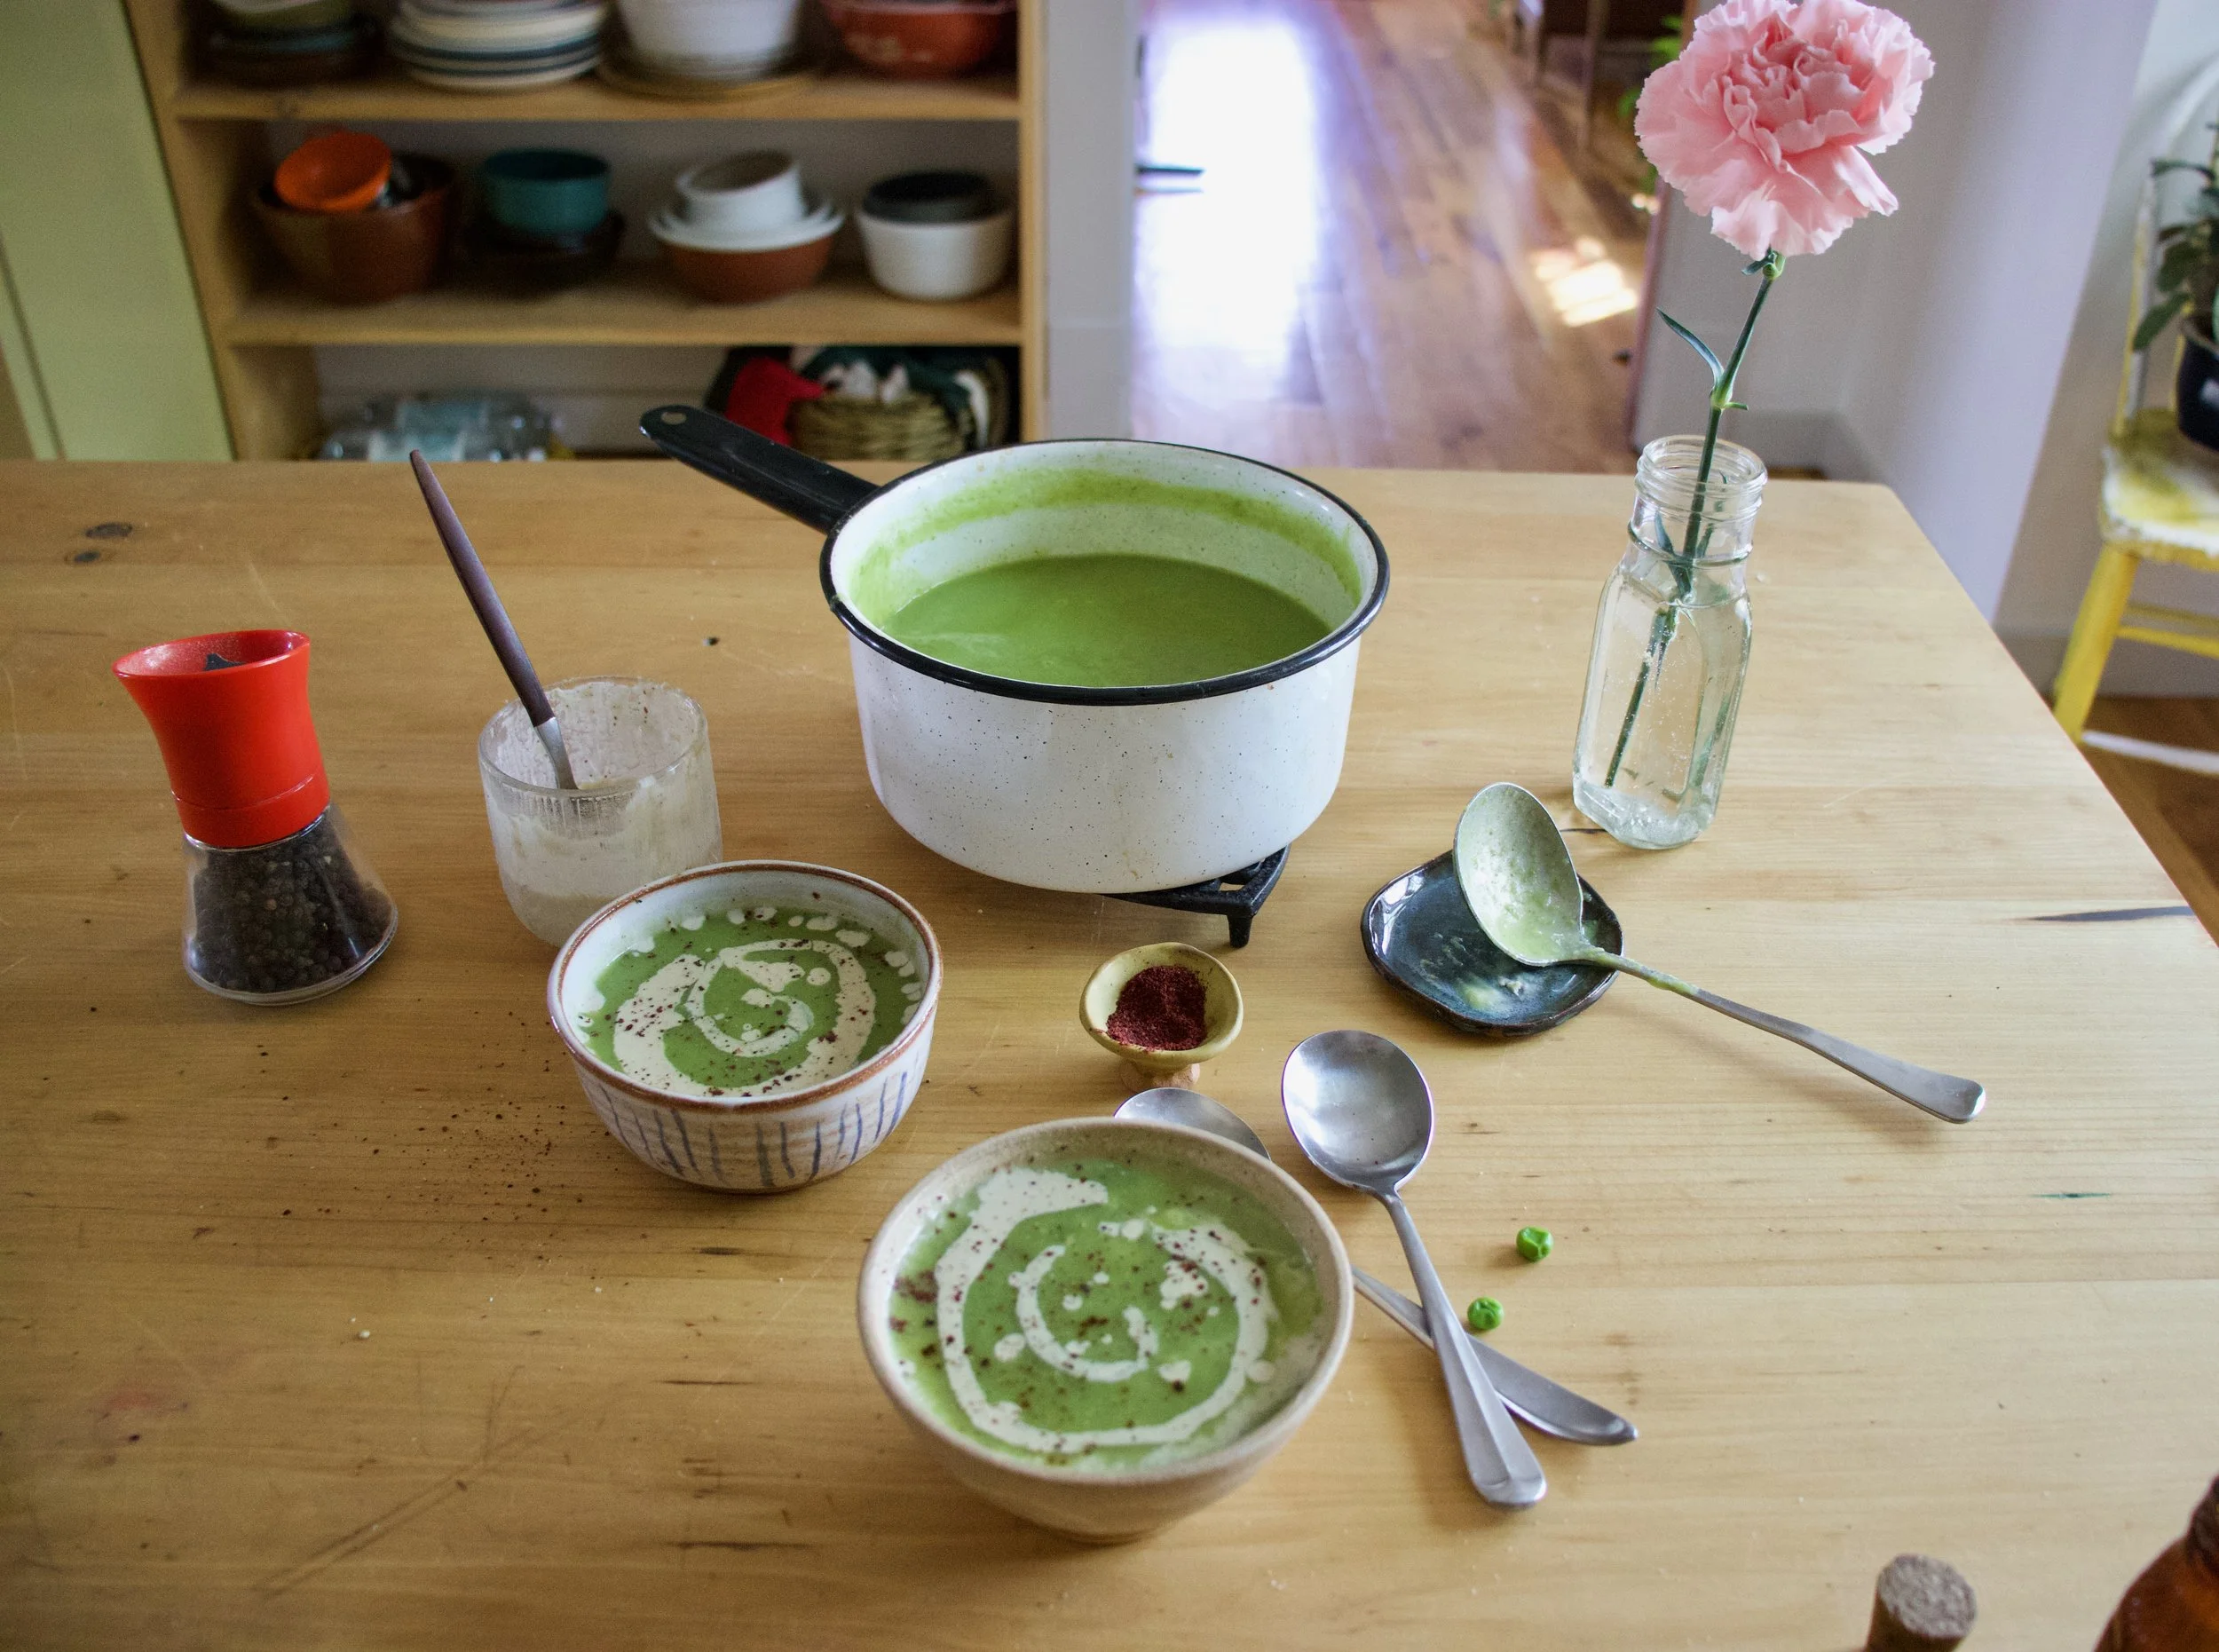
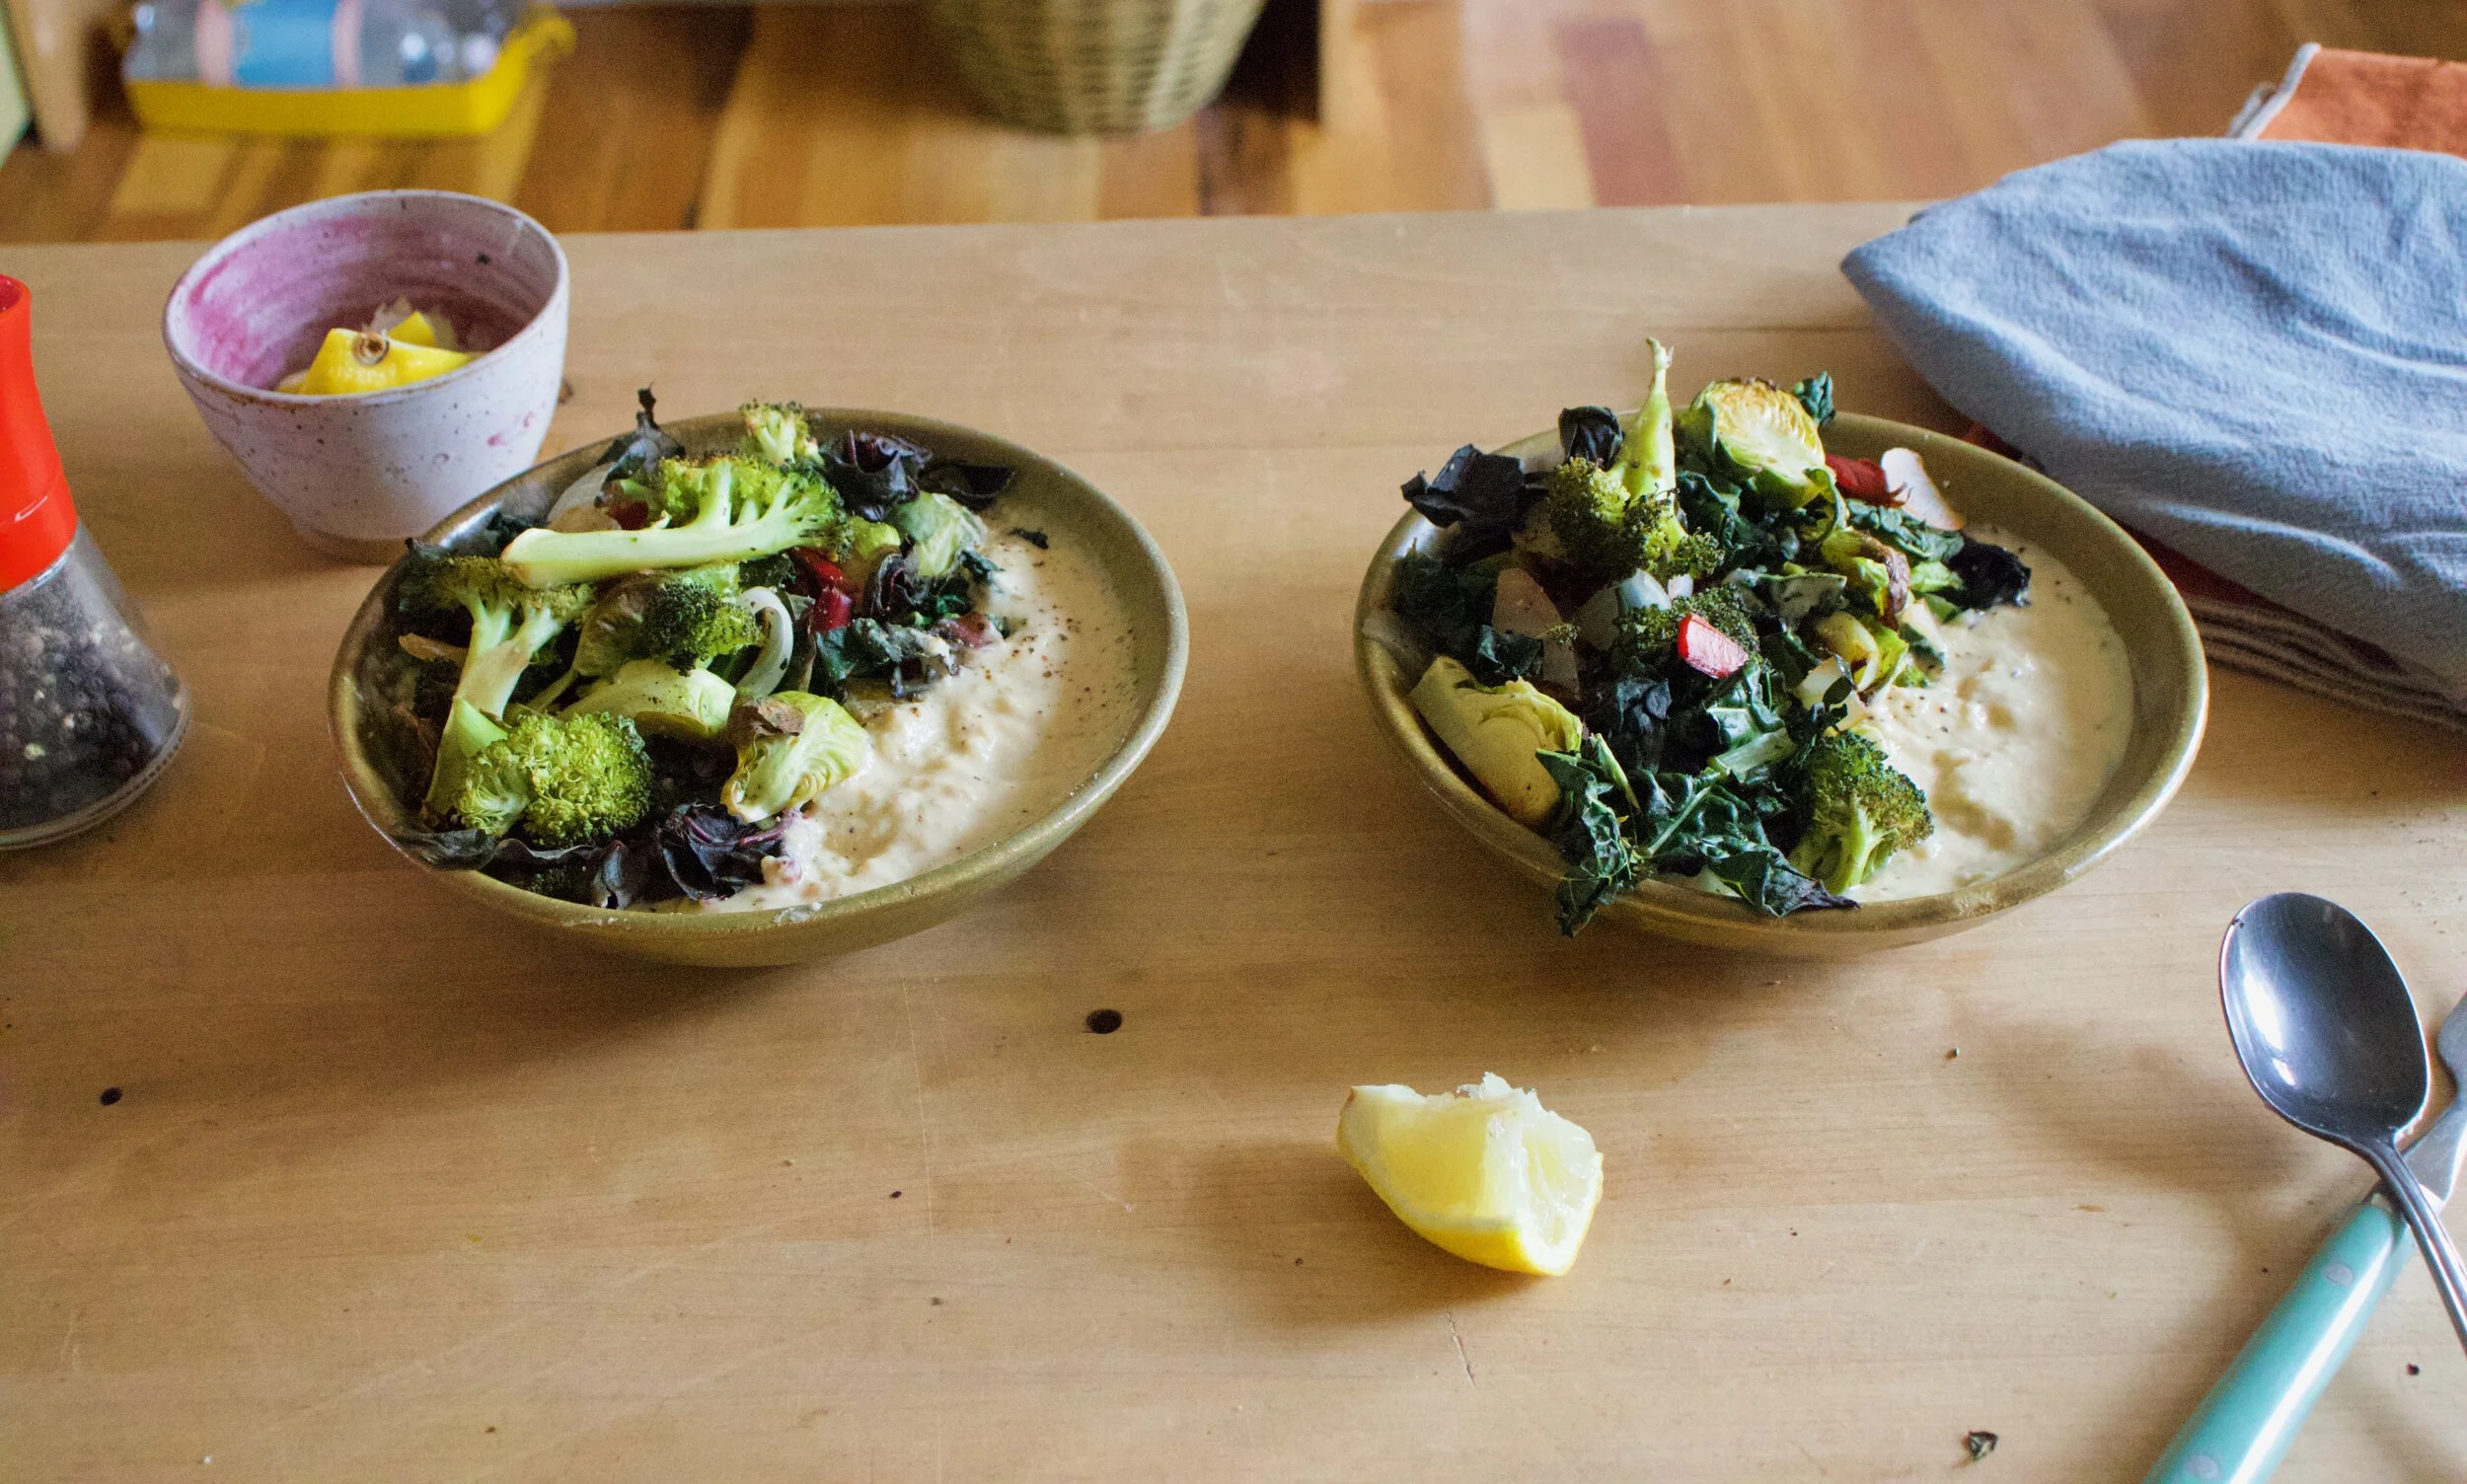
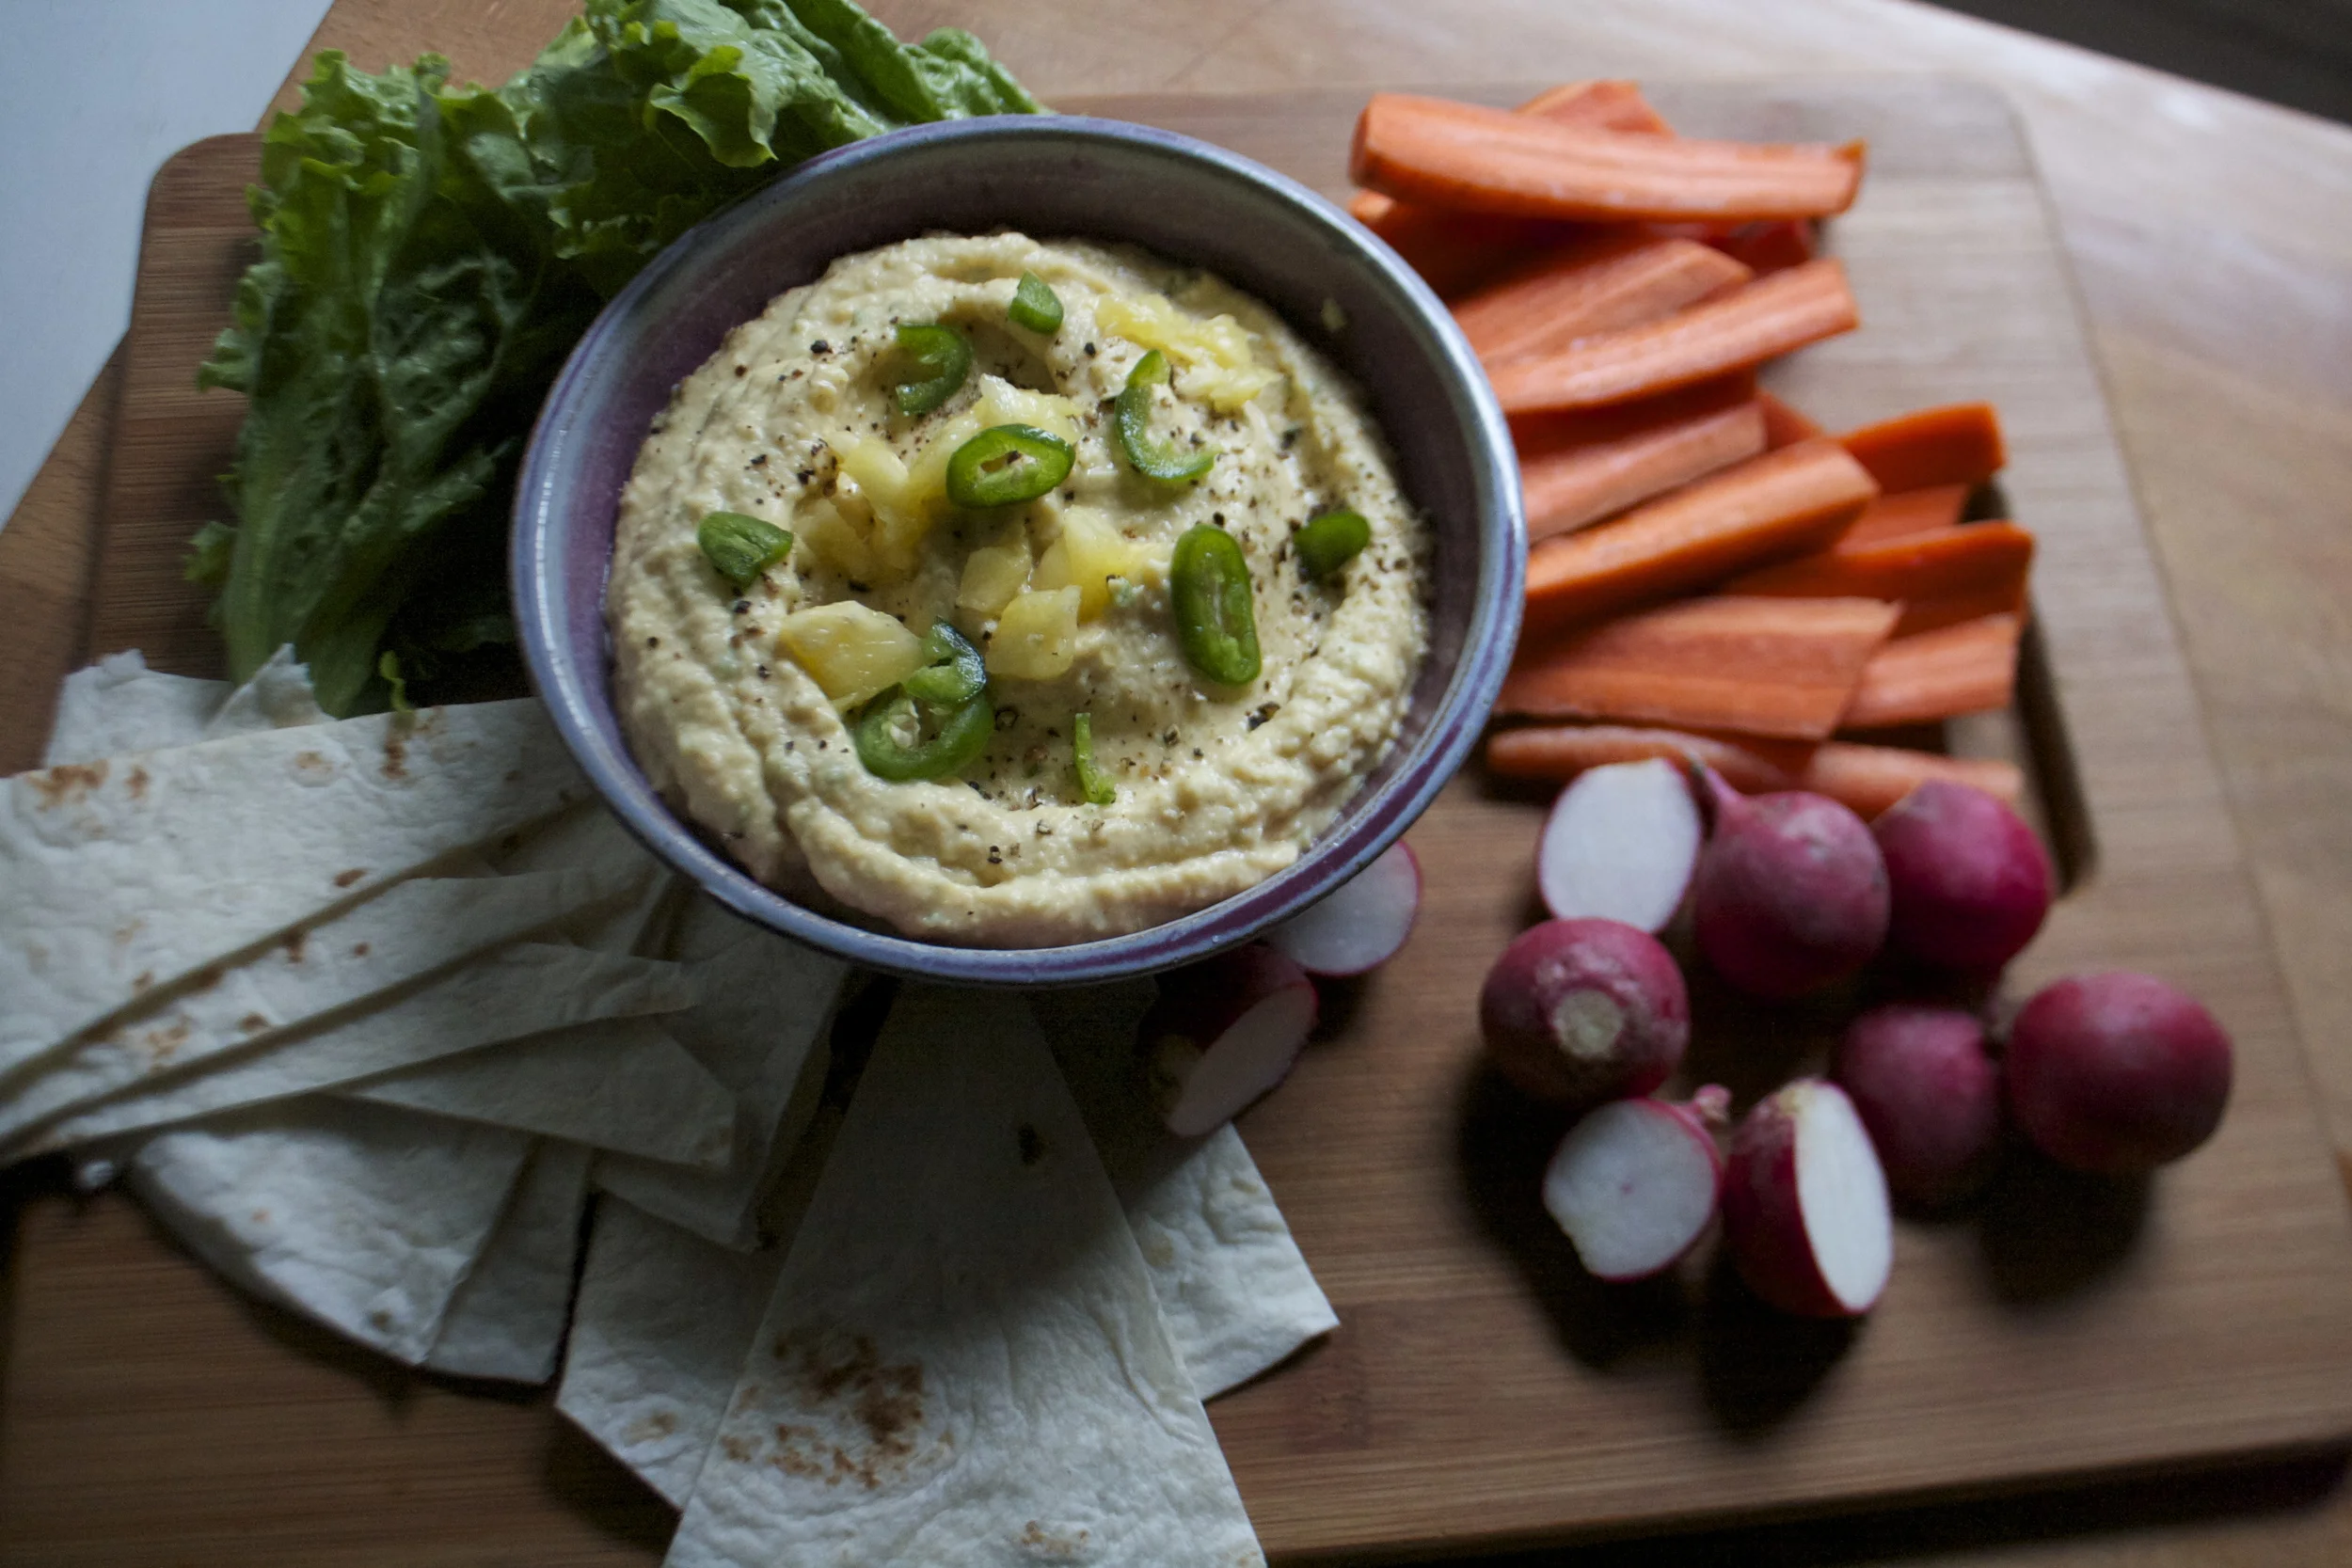
Ladle into bowls, grab the sumac tahini sauce and swirl it on in. A tablespoon or so is good. And don%u2019t forget a little more pepper and another pinch of sumac for good measure.
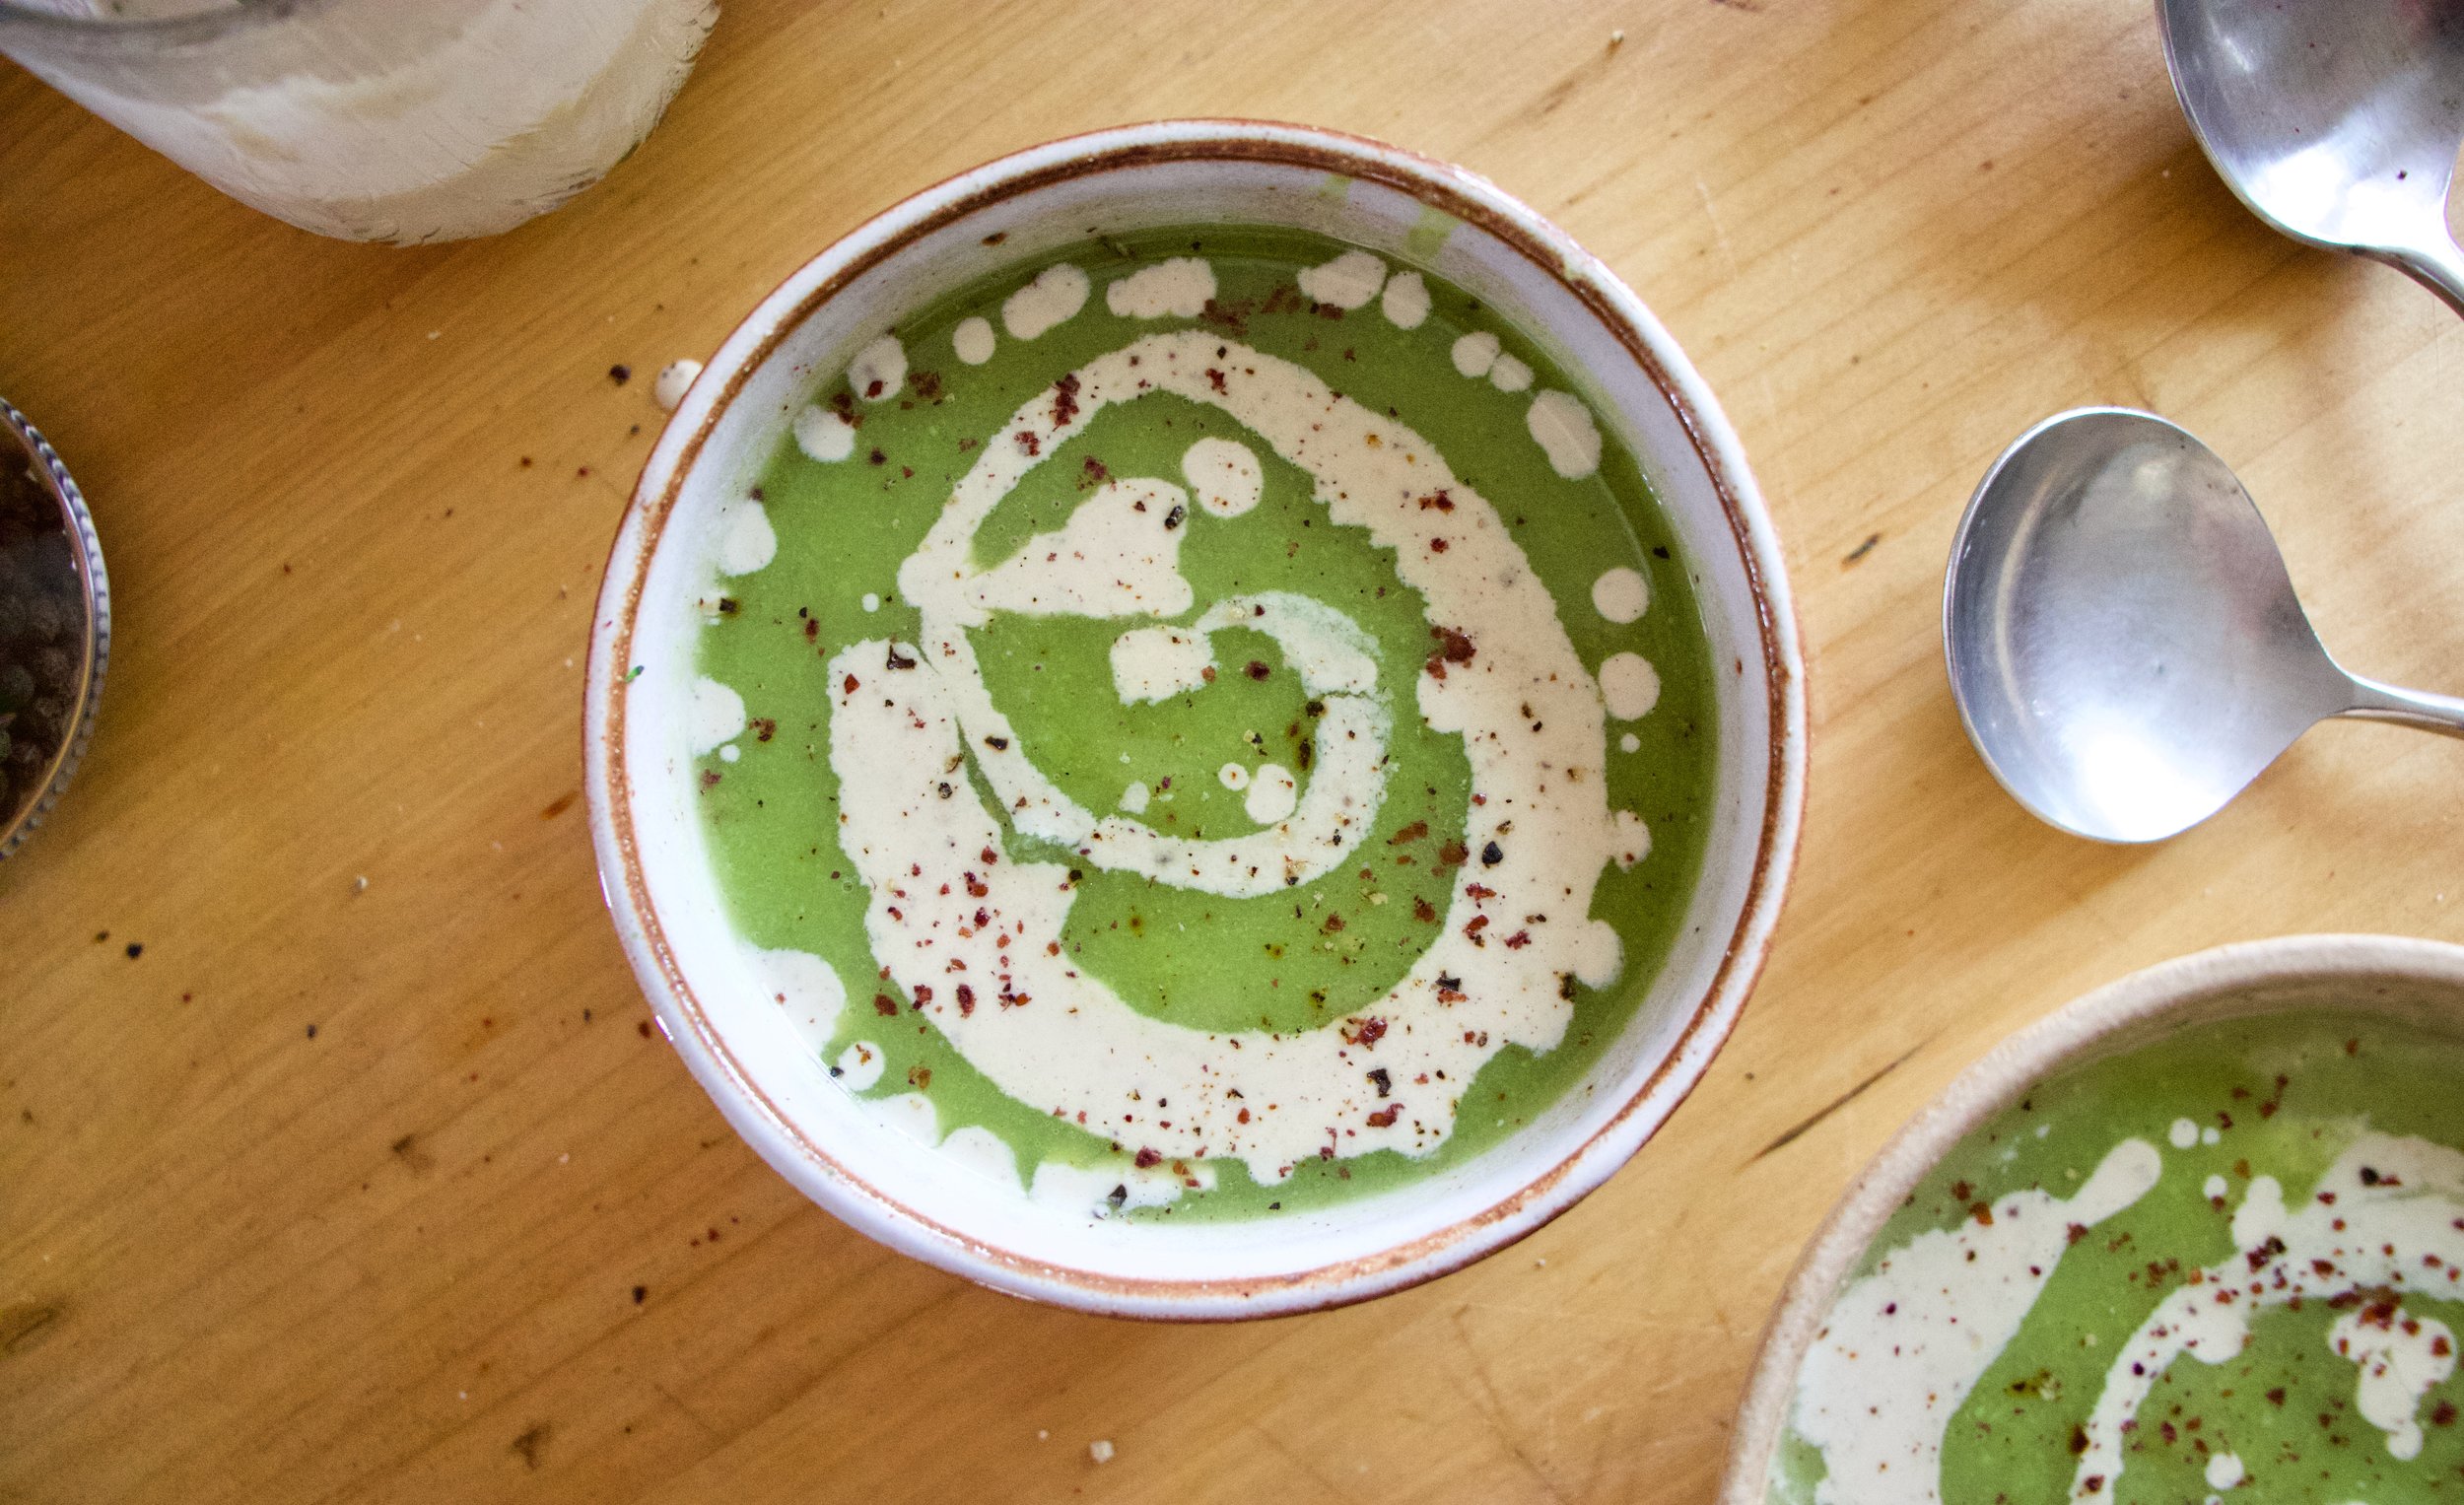
Just appreciate for a moment. That is one good looking bowl of soup. And it taste even better then it looks.
-C
Makes about 4 serving
-
1 1/2 cups fresh or frozen peas
-
1 1/2 cup chopped fresh or frozen cauliflower
-
1 1/2 cup chopped fresh or frozen broccoli
-
1 large onion
-
3-4 cloves garlic
-
4-5 cups water
-
Salt and pepper
-
1 teaspoon sumac
-
2 tablespoons tahini
-
2-4 tablespoons warm water
Start by removing the papery skin from the onion and chop into a few big chunks. Remove the skin from garlic too. Place into pot with 4 cups water. Turn heat on high and bring to a boil then turn heat to medium and let onion are garlic cook until tender which should take about 15-20 minutes
Once the onion is cooked, add in the broccoli and cauliflower. Turn heat back to high and bring to a boil again then turn back down to medium heat. Keep cooking until tender (another 15 minutes or so) then add in the peas. Keep on heat until peas are cooked through then remove the pot from heat and either transfer to a blender or use a immusrian blender to blend the soup until smooth. Add a little more water if needed to get to the right consistency to blend right. Or if you want a thinner soup.
For the tahini sumac swirl just mix the tahini and sumac together along with the juice of the lemon, two tablespoon warm water and a pinch of salt. Mix together until smooth. If the mixture is to thick, add another tablespoon of water.
To serve. Ladle or pour soup into bowls and drizzle and swirl the tahini sumac on top. Sprinkle with pepper and a pinch more sumac and you are good to go.
It is getting oh so much nicer out yeah? Springing and such, well kind of. Still a wee bit chillier then it should be around here but still, it is spring and I am taking it.
And with the spring, I feel the itch, the itch to spend all of my free time outside. Out doing things that are not inside because I spent the last 7 long months inside way too much. I needed to be outside as much as possible and as it gets even nicer and warmer and garden temperature-able, I am basically going to be living outside.
Bring in sesame noodles. Super fast, super easy, super duper in every way. Make a big old batch and eat now, eat later, eat hot or eat cold. Everyone loves them, they love you, etc. etc%u2026 A perfect meal to have in rotation when you know that you are not going to have or want to spend much time cooking in the kitchen because you will be outside playing in the dirt and soaking up the sun. And think about all the picnics and BBQ%u2019s to come. These suckers are fantastic to have at any outdoor eating event. They are even peanut free so you can safely bring them to potlucks and such and don%u2019t have to worry about accidentally kill a peanut allergy person. And you can make them gluten free as well if you sub in your favorite gluten free pasta. These noodles, I am telling you. They are a winner in every way.
So with out further ado, the noodles!

The stuff. Spaghetti noodles, tahini, a few cloves of garlic, some toasted sesame oil, soy sauce, red wine vinegar, honey (used whatever sweetener you like), red pepper flakes, tasted sesame seeds some cabbage, half a red onion and a carrot.
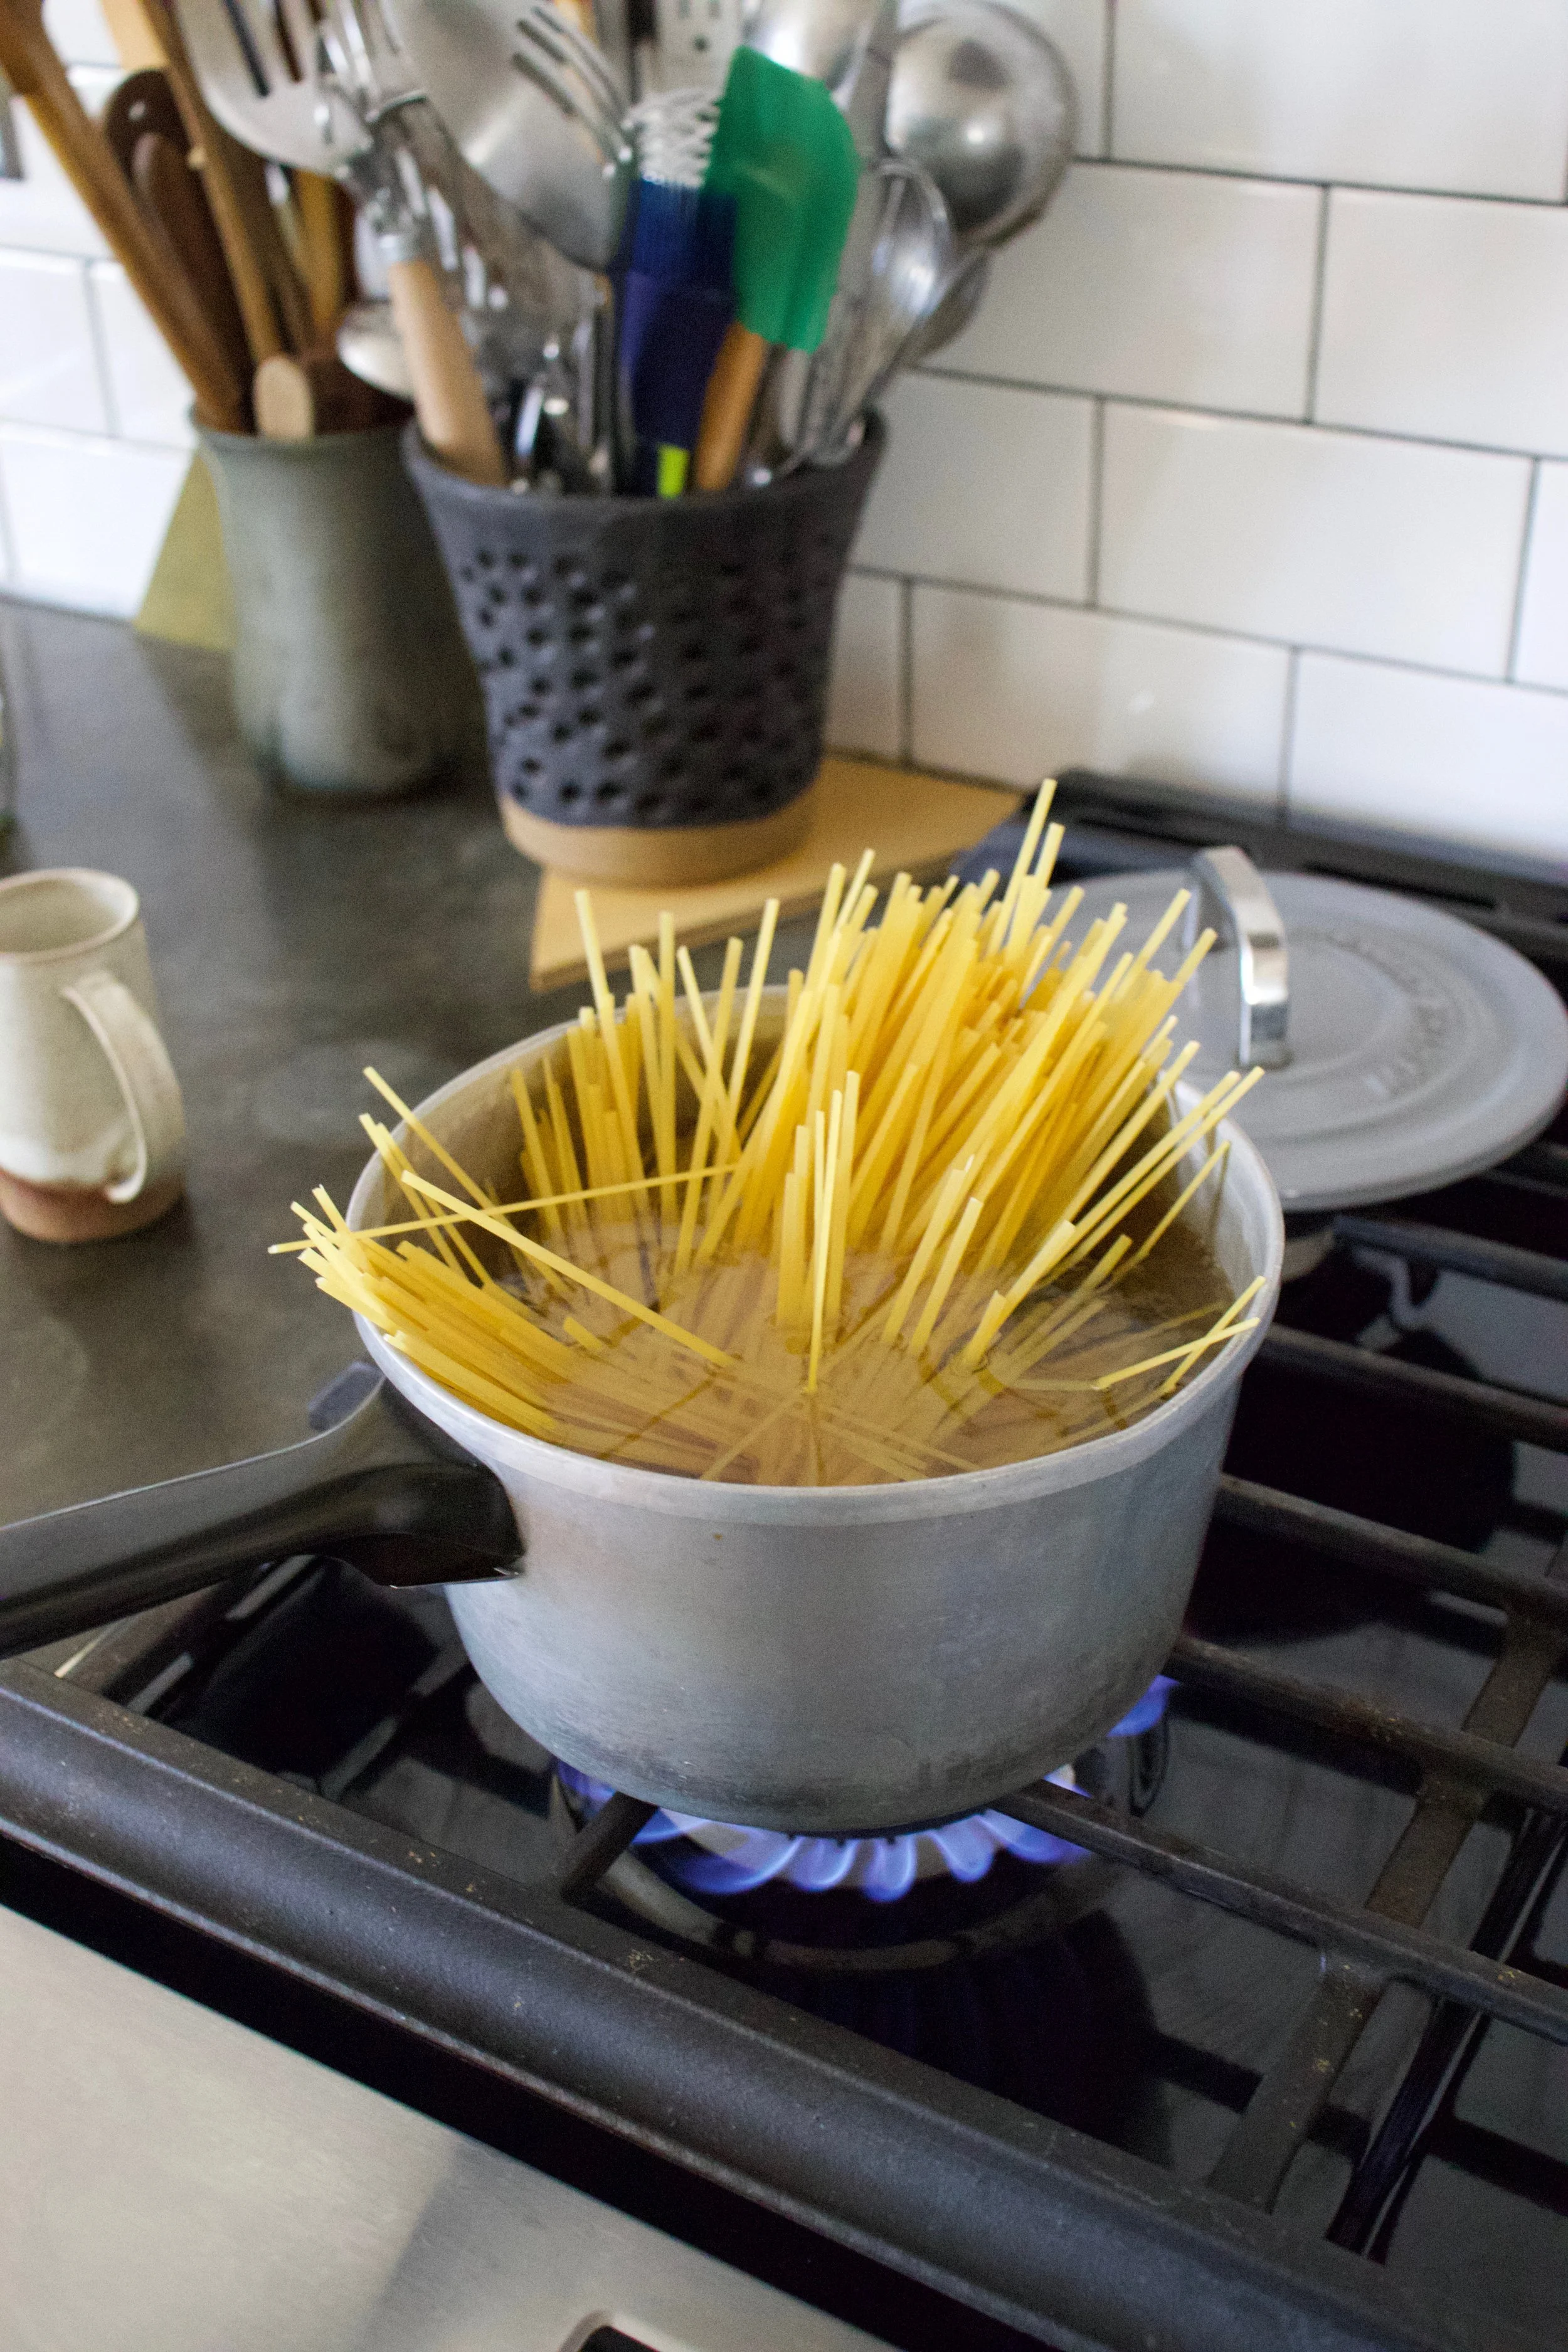
Get pasta cooking. Boil water, drop noodles in, you know the drill. Cook as long as the the noodles need cooking, just make sure to not over cook them cause soggy noodles are nasty.
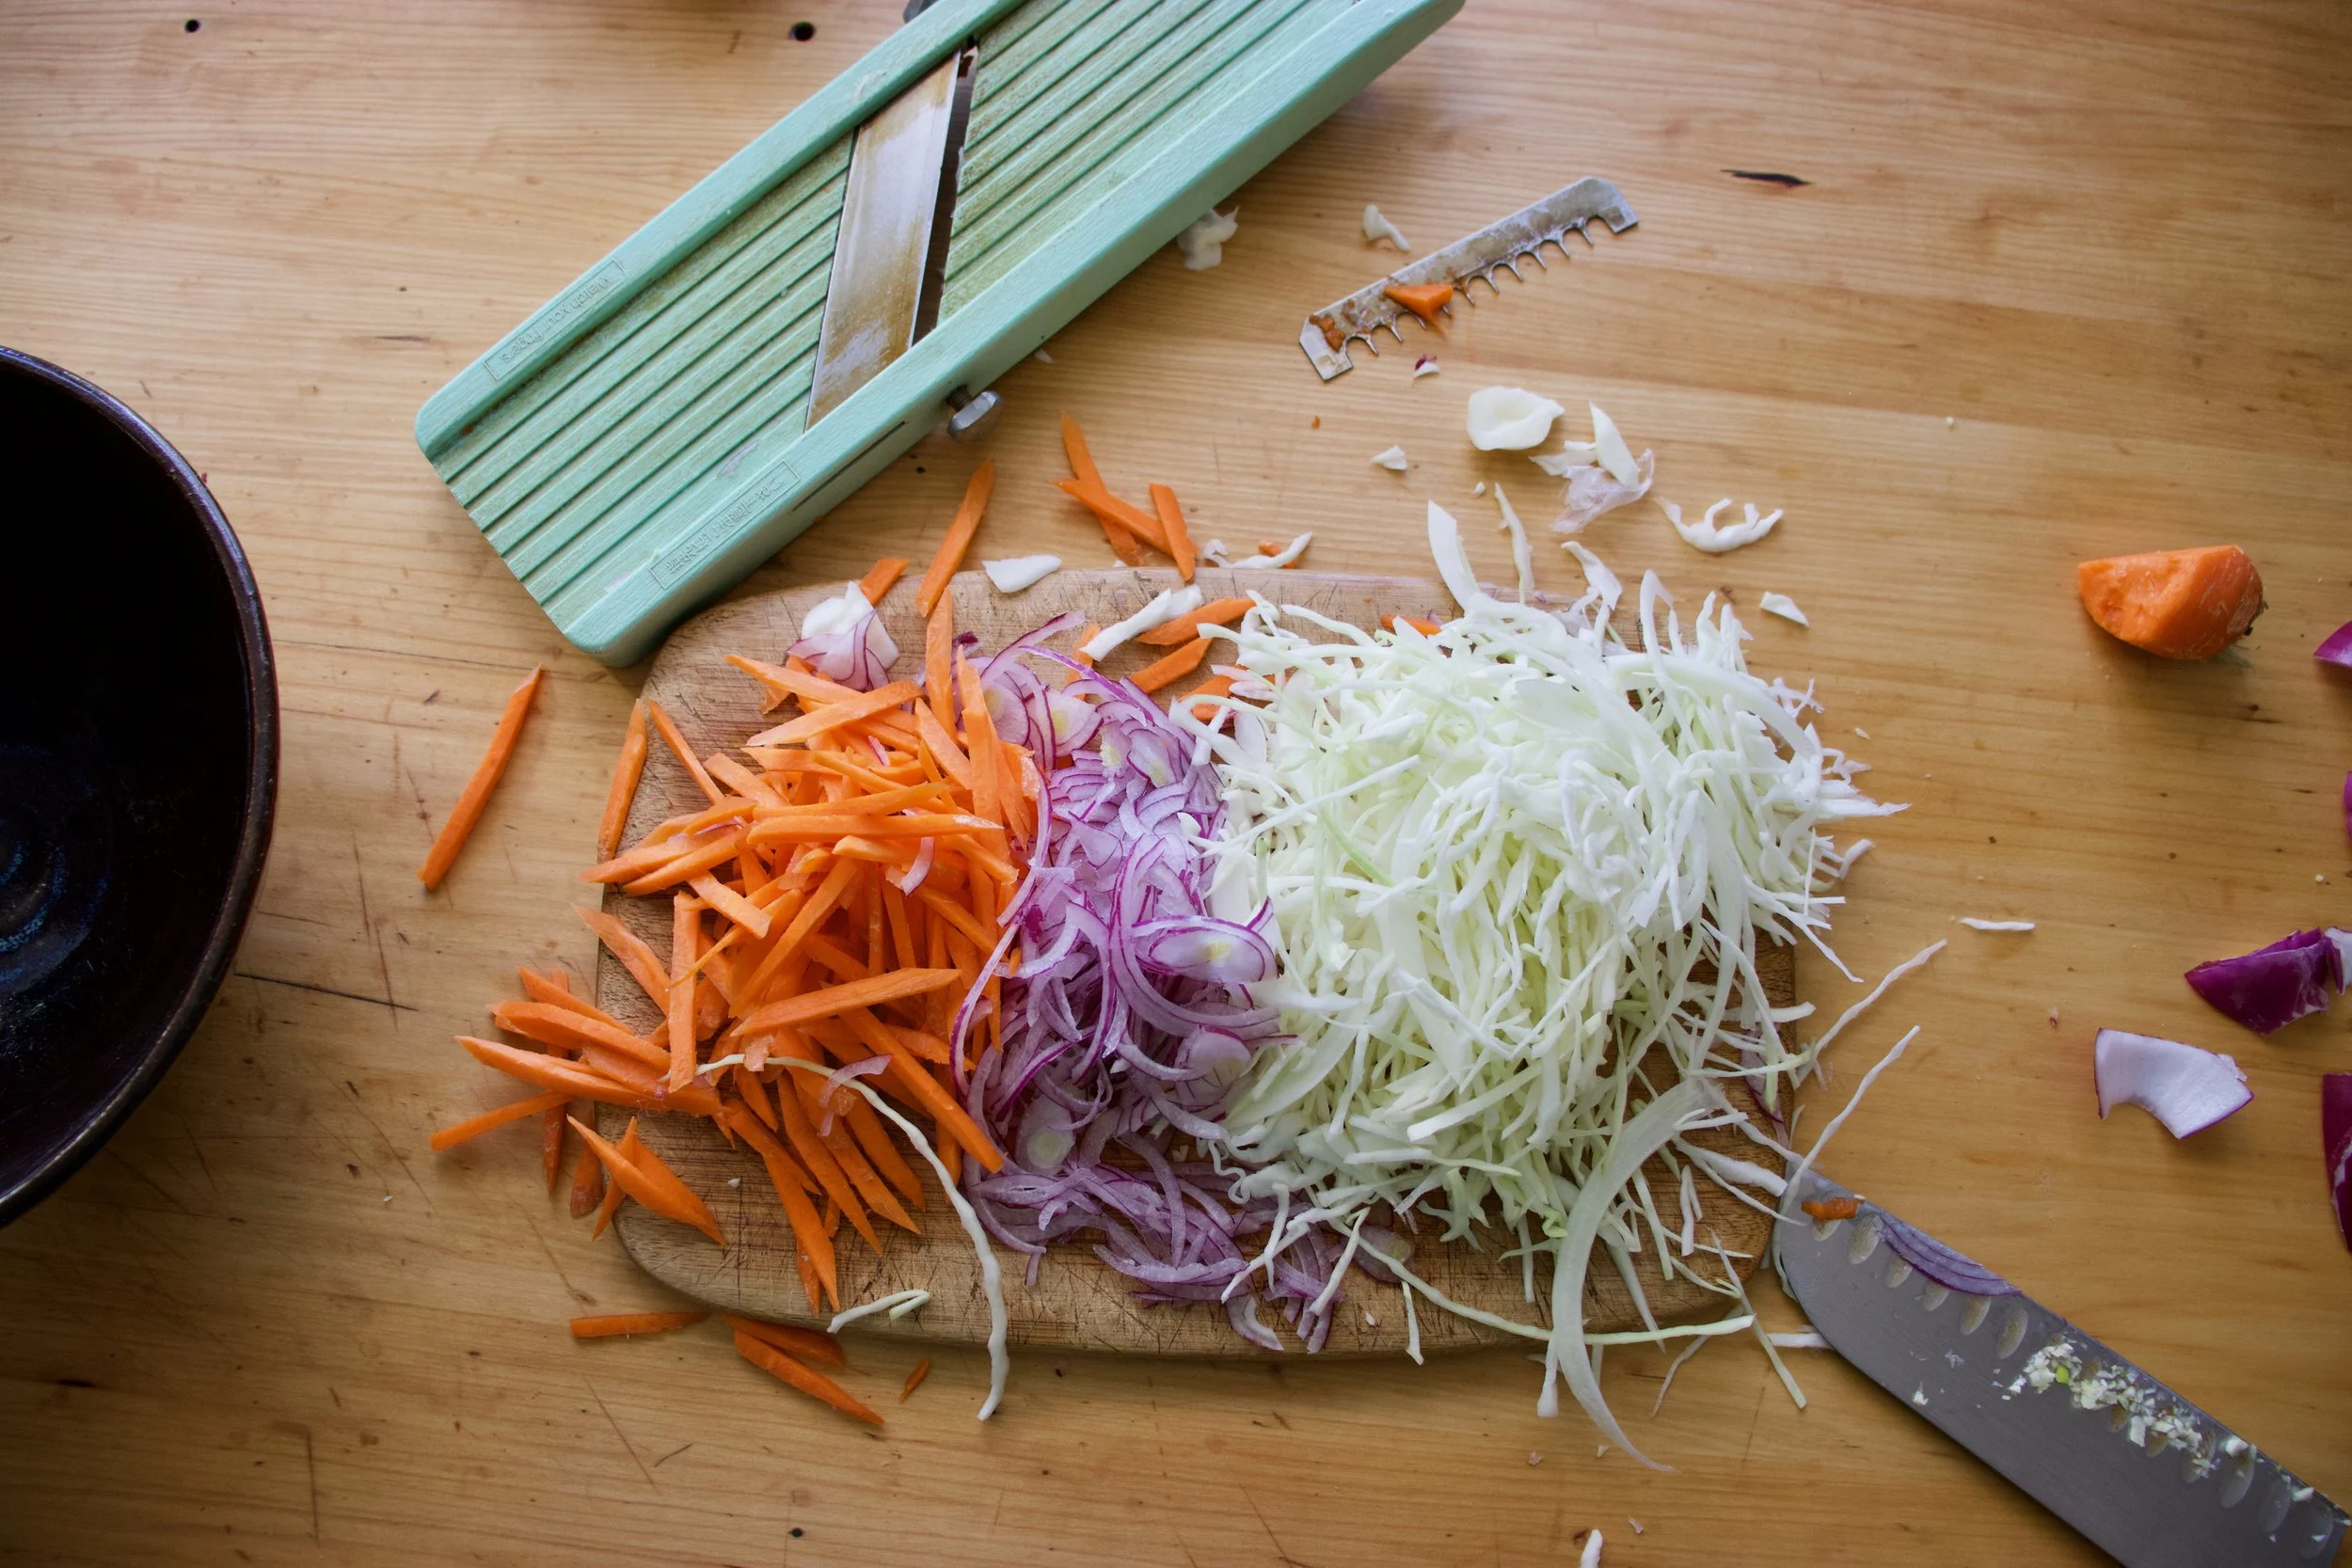
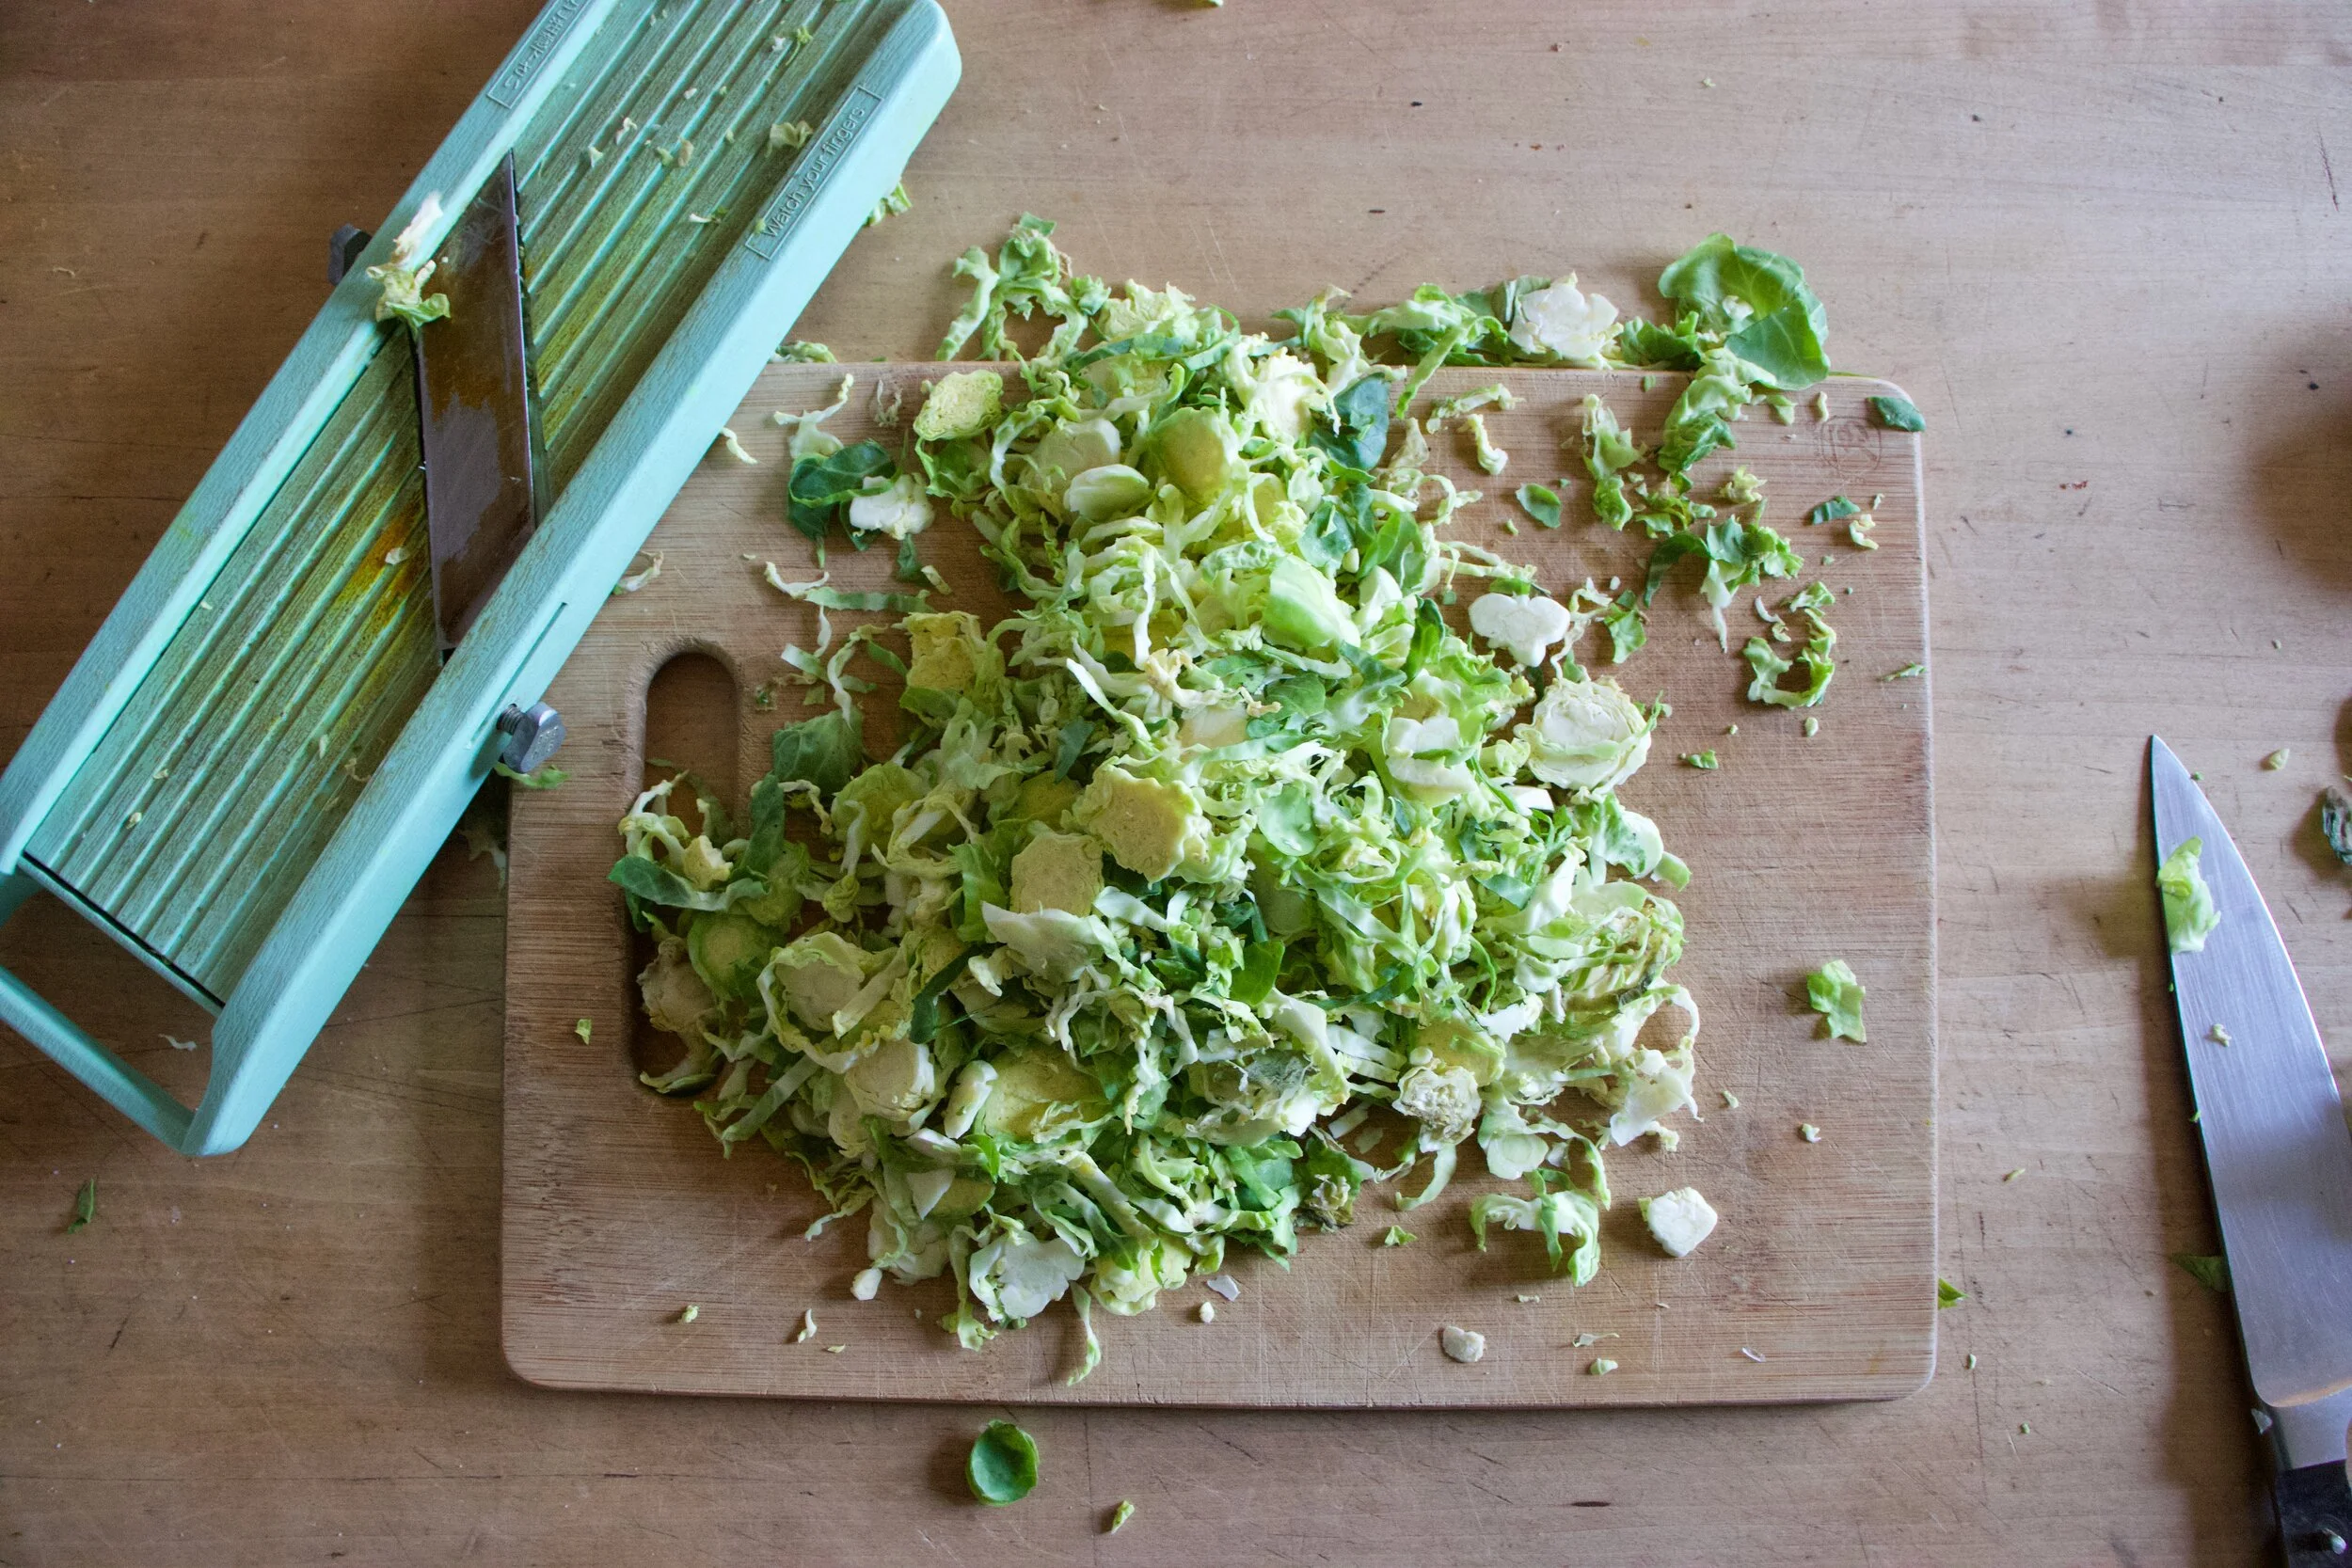
Chop, shred and julienne the cabage, onion and carrot. Nice and thin.

Mince the heck out of the garlic. Or use a garlic press if you want.
Now make the sauce. Add the minced garlic, along with the soy, sesame oil, vinegar, sweetener, and chili flakes to the bowl with the tahini. Mix, mix, mix until it is all incorporated and not lumpy. And that is that.

Noodles should be done by now so strain them out.

Add the prepared veggies to a big bowl.
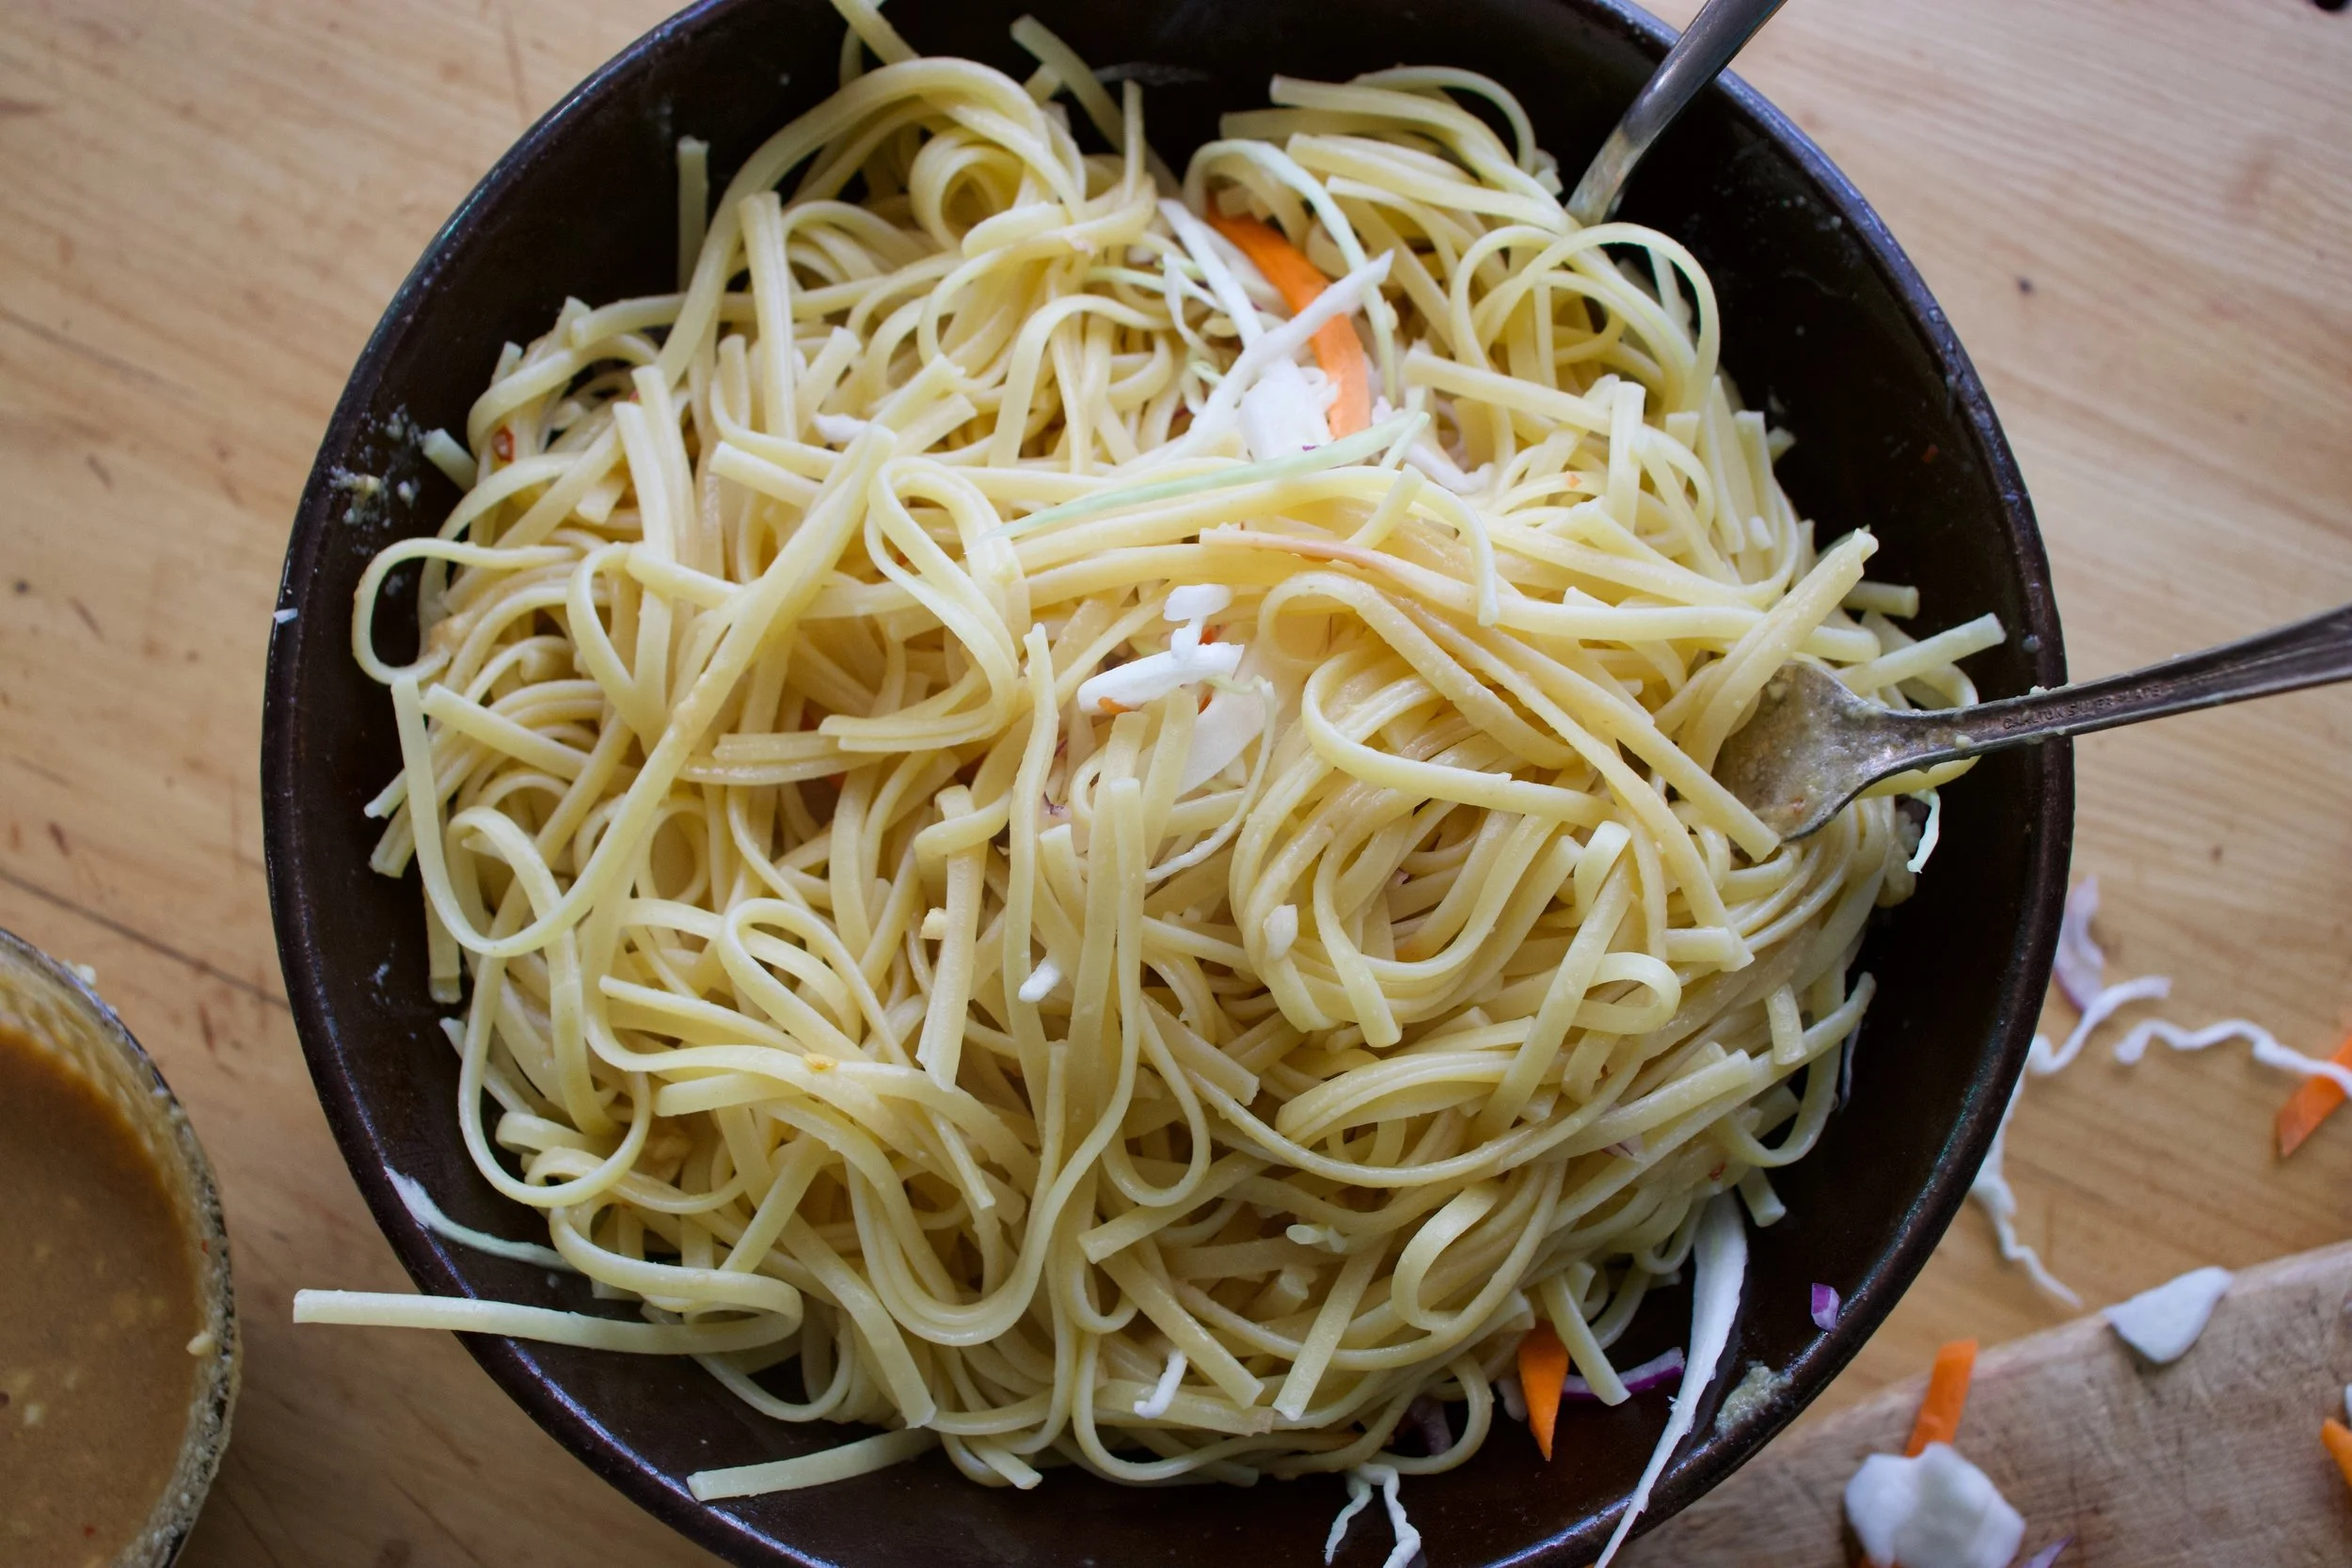
Add in the cooked noodles
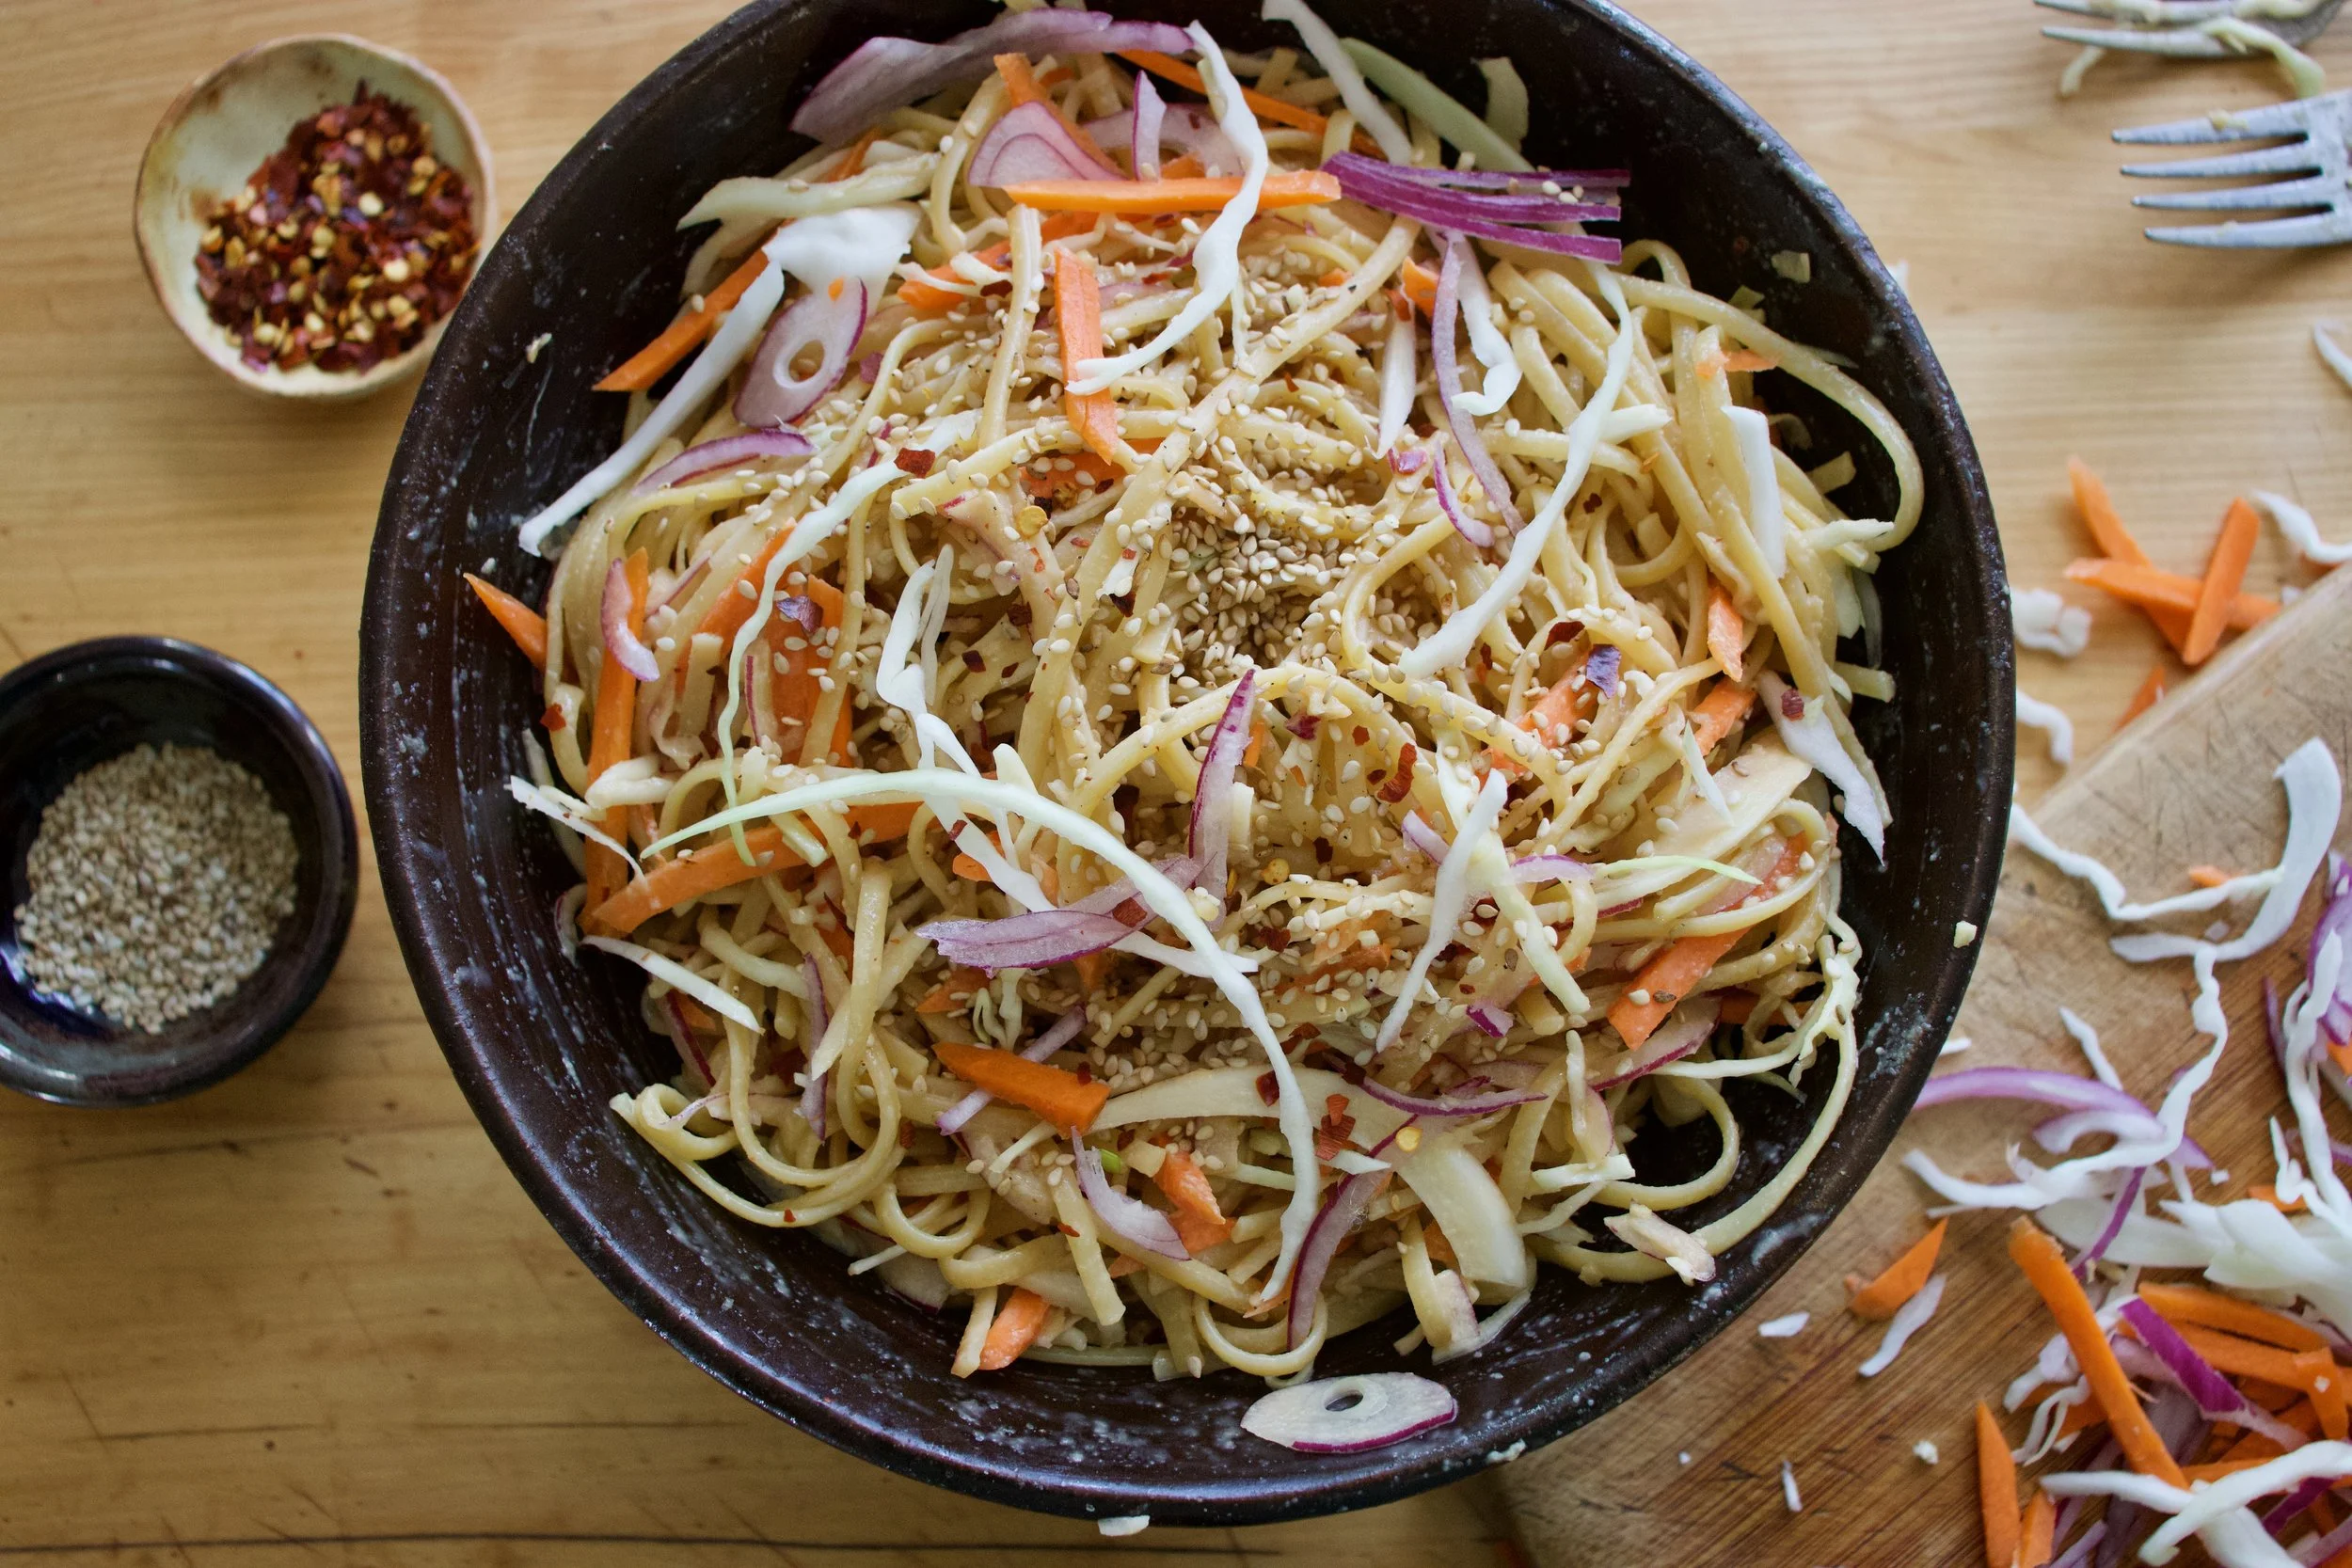
Cover with sauce and toss all around until all the noodles are coated and delicious. Sprinkle with sesame seeds and a pinch or so more of pepper flakes.

And then it is time. Eating time.
Happy spring!
-C
serves 3-6
-
3/4 lb (3/4 of a package) of your favorite spaghetti noodles (or linguine or similar noodle)
-
2 tablespoons toasted sesame oil
-
1/4 cup soy (low sodium if you have it and gluten free tamari if needed)
-
3 tablespoons red wine vinegar
-
3 tablespoons tahini
-
2-4 teaspoons red chili flakes
-
1-2 teaspoons sweetener of choice (maple, honey, or brown sugar)
-
4-5 cloves garlic
-
1-2 tablespoons toasted sesame seeds
-
about a 1/4 head of cabbage
-
a carrot
-
small red onion
Bring a pot of water to a boiling cook the noodles as directed on package. You want them al dente, cooked all the way, but barely. No soggy noodles. (unless you like them soggy)
In the mean time, shred the cabbage, julienne the carrot (or shred it) and slice the onion so very thinly. Place into a large bowl. Now mince garlic and place into a bowl along with the soy, sweetener, vinegar, tahini, sesame oil and a teaspoon or two (more for spicier) of chili flakes and whisk until completely incorporated. Taste and adjust if needed. Add more tahini for more body, more sweetener if needed or more hot pepper flakes for more spice.
Once noodles are cooked, drain and place into large bowl along with the shredded and julienned veggies. Pour in the sauce and toss it all around until all the noodles are covered. Sprinkle in the toasted sesame seeds and a small pinch more of the red pepper flakes.
Eat. Eat warm, room temp, or cold. They are delicious any way.
Any left overs just stick in fridge. Can be reheated or not. Also, you can make the sauce and the noodles a few day ahead of time of when you want to have the dish Just mix the sauce with the noodles when you are about to serve them%u2026 So simple!
I’ve gone on a complete split pea binge. I have been making it (or reheating it if I have left overs) every day for the last two weeks, no joke. (This lady needs her protein) I get home, grab what ever veggies I see first in the fridge, a few jars of some spices, the giant jar of dried peas, and make quick work of lunch. Chop chop, dump, splash, stir. I am a soup (stews and bisques too) master. Soup for lunch. Right in all ways and just needs to happen.
Sometimes I’ll make soup and it’s just good soup.%u00a0 Sometimes it will end up being really good .This soup, well this soup is really freaking awesome and is my new go to for split peas. Thick and creamy, mildly sweet from the parsnips and ginger, but mellow at the same time. Add a little or a lot of pepper (lots of pepper here) and you got yourself perfection.
Soup that warms you up from the inside out and leaves you happy and full.
Split pea for life!

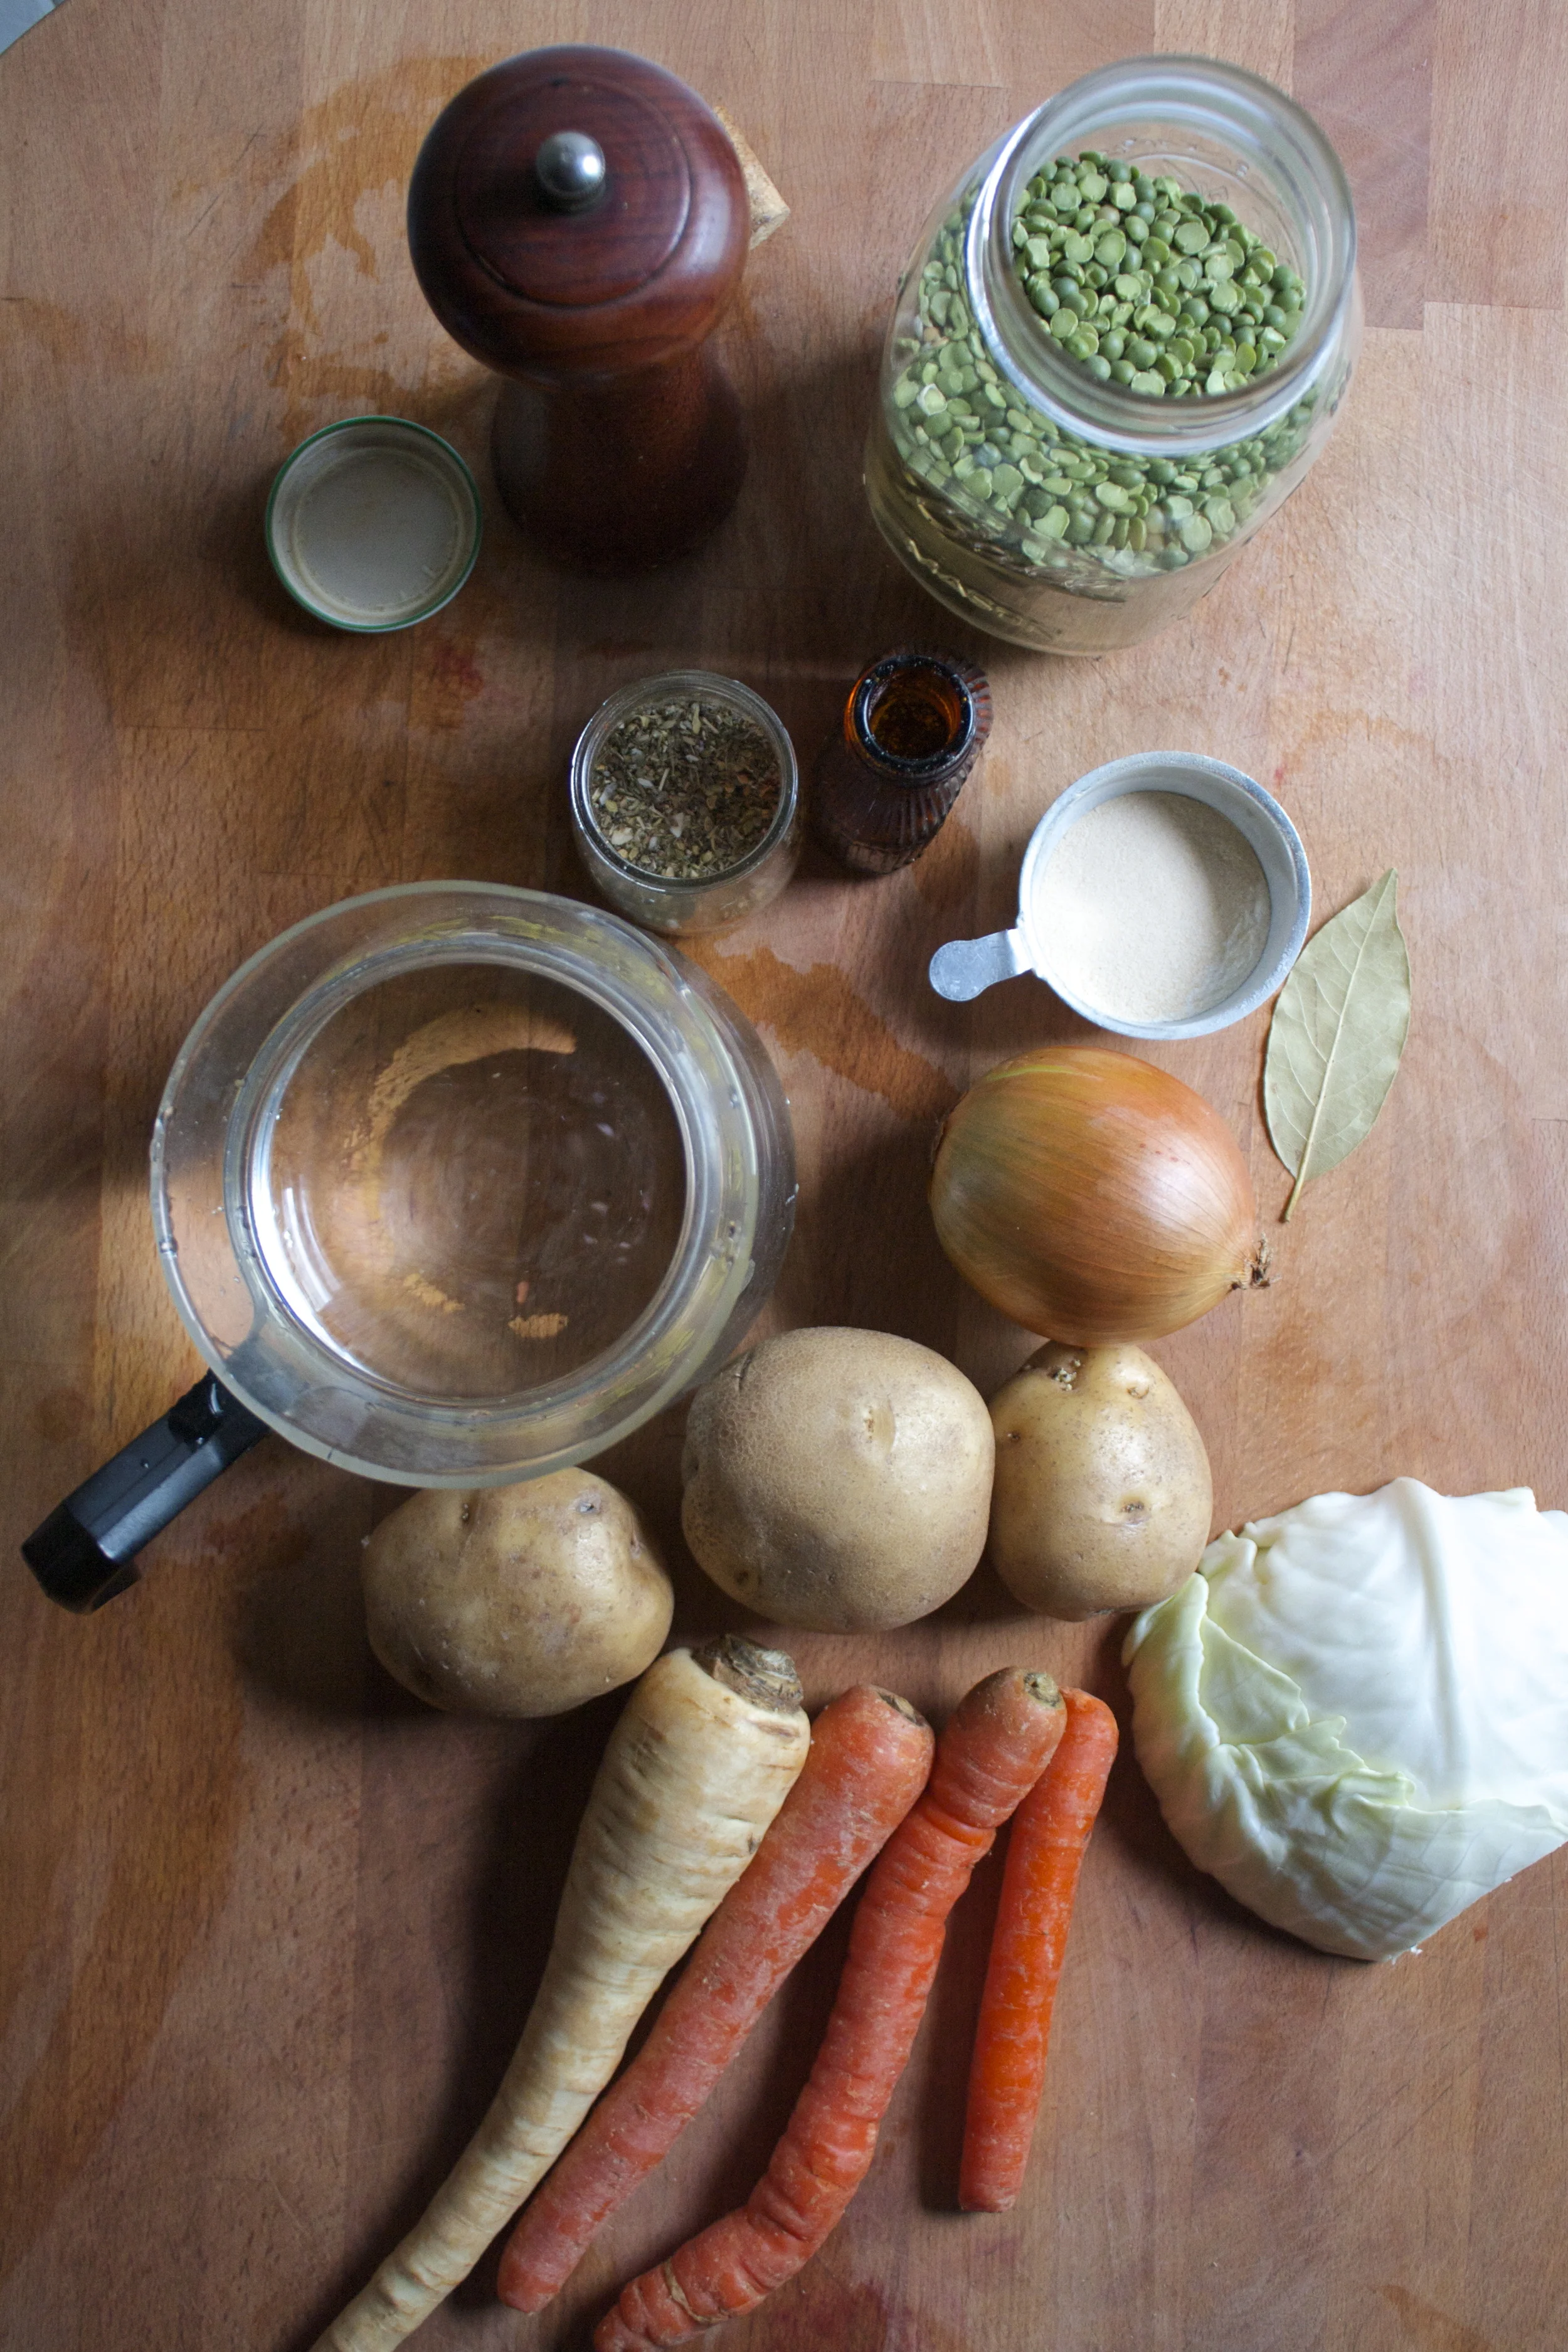
The stuff. Dried split peas, parsnips, a carrot, and onion, some Italian seasoning, ground ginger, bay leaves, and salt and pepper. Also need water.

Chop the veggies. Smaller chunks are good, but don’t worry to much, it’s all getting blended up anyway.
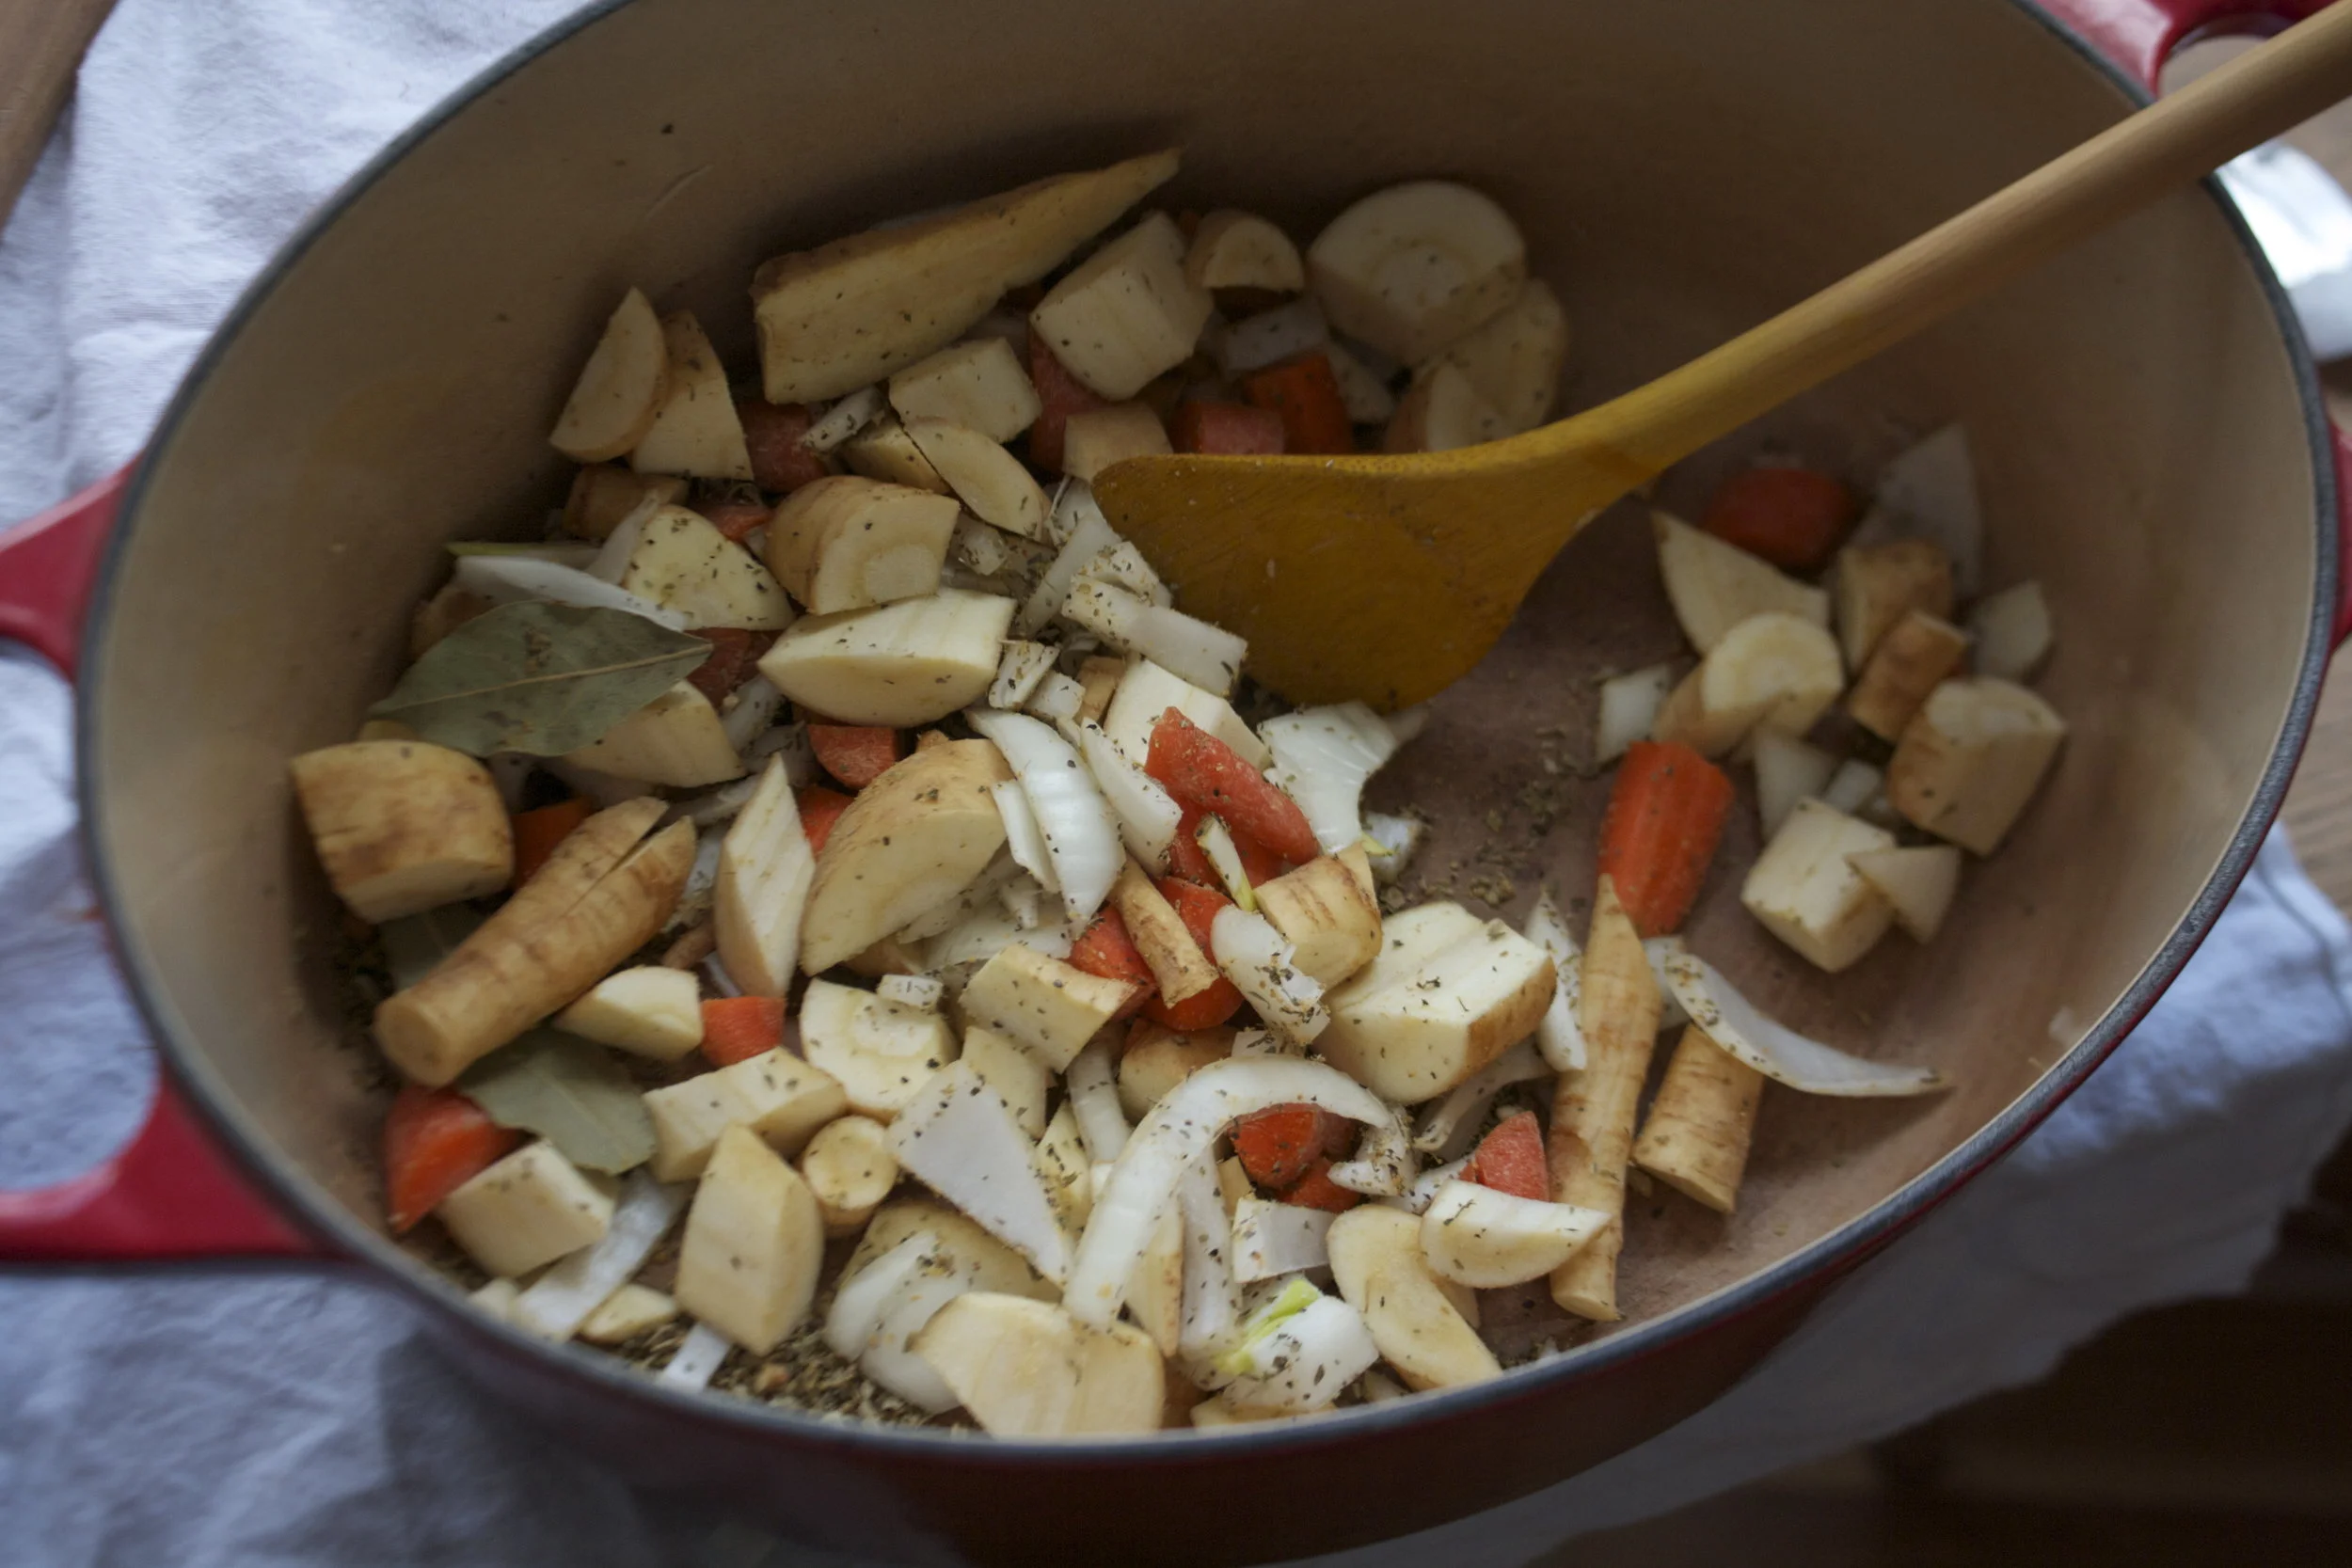
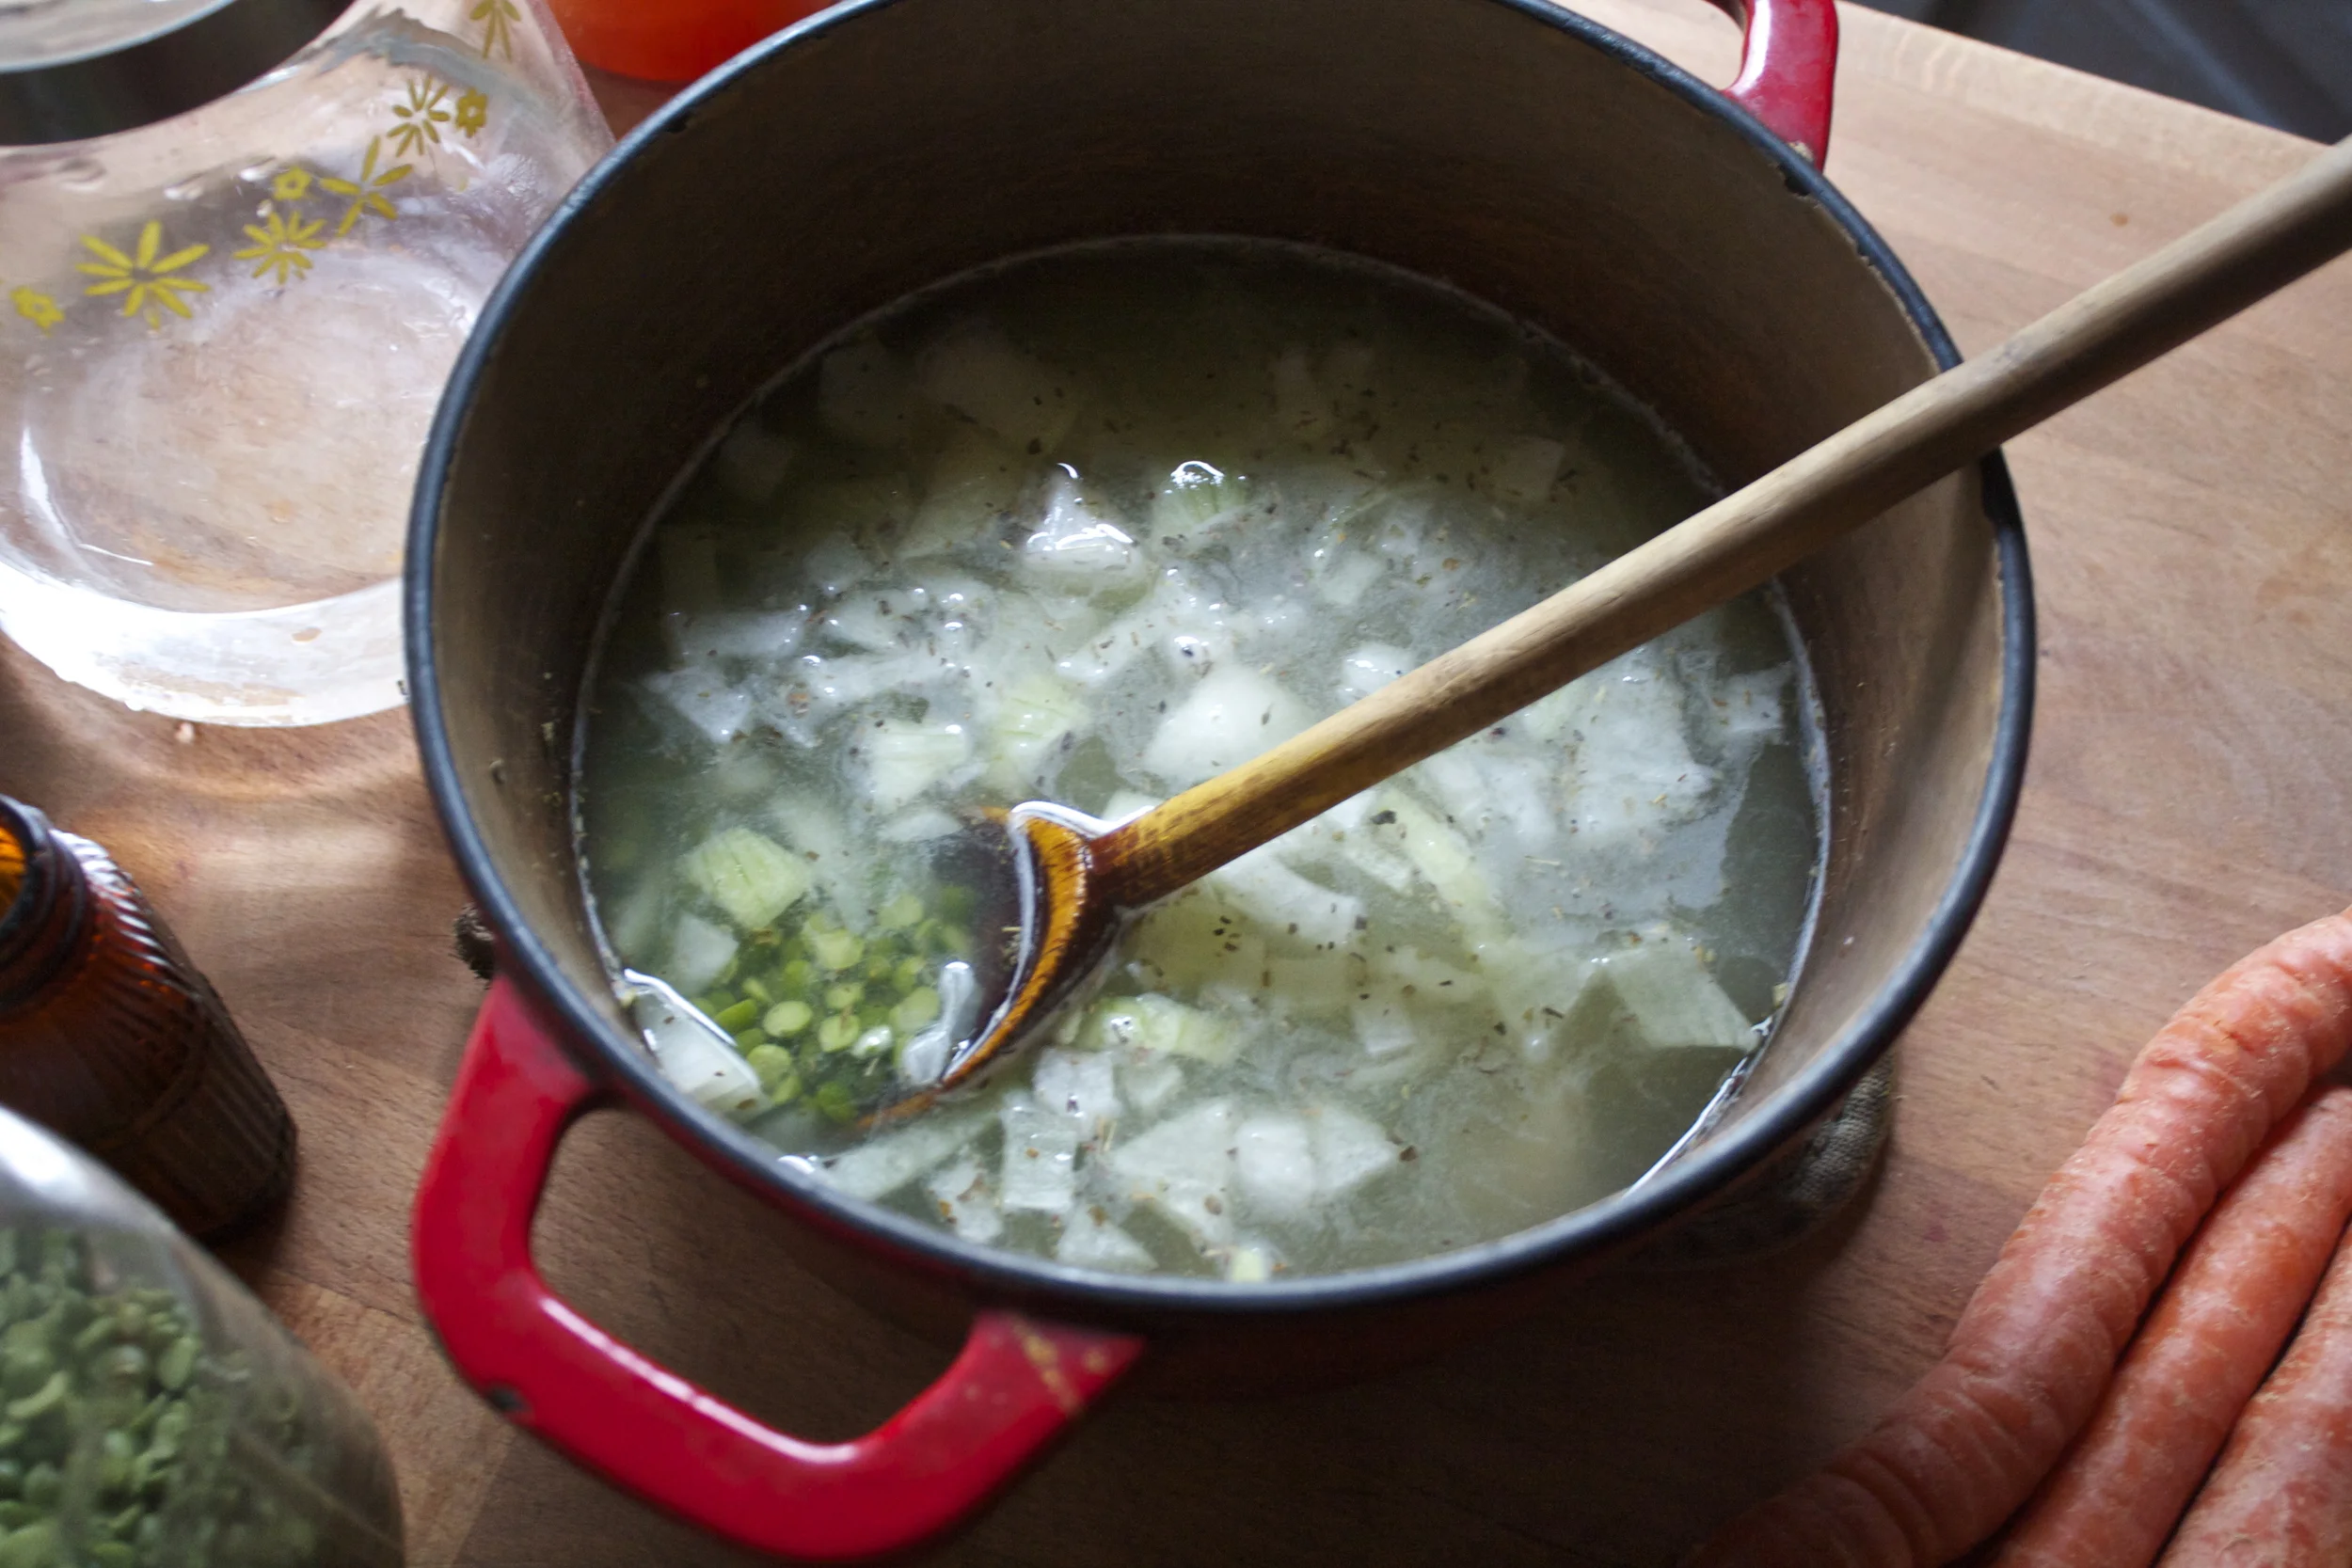
Now toss all those veggies into a big heavy bottom pot and mix in all the spices. Stick o stove with a splash of water and turn up the heat to give the veggies and spices a few minutes alone to active all the goodness.
Once the smell hits you nose and the veggies look like they need some water, dump in the split peas and add enough water to completely cover everything plus a few extra inches. Bring the pot to a boil then turn down to low, stick a lid on pot, and let cook. Check an stir every 10 minutes or so. If it starts to look dry, add in another few cups of water.

Peas are soft, veggies are cooked and now soup is almost ready to go.

Just blend it until smooth. Take liberty hear and smooth it as much or as little as you like. Also if you want to thin it out, just add more water. Want to thicken it up, just cook for a little while longer. ( spit pea is so easy).
And that is it.

You know what to do from here.

Soup time!
Stay warm and have a great weekend.
-C
makes a large pot of soup that will feed 4-6
- 1 pound dried split peas
- 1 medium yellow onion
- 1 large carrot
- 1 pound (about 4-5) parsnips
- 2 tablespoons Italian seasoning*
- 2 teaspoons ground ginger
- 2 bay leaves
- salt and pepper
- water
*Note. Italian seasoning is pretty basic and you probably have it, but if not you can make your own by mixing equal parts thyme, oregano, basil, and rosemary.
Start by rough chopping all the veggies and placing them in a large heavy bottom pot. Mix in the spices and bay leaves. Stick on the stove with a splash of water and cook for a few minutes to let the spices ans veggies heat up and smell all nice. Add in peas and enough water to completely cover everything in the pot plus a few inches. Bring to a boil, them turn heat to low, cover pot, and let cook for about 1/2 hour-45 minutes, checking and stir ever 10 minutes. If the soup seems to get too dry, just add in a few extra cups of water.
Once the veggies and peas are soft, turn heat off and using the blending device of your choice, blend until smooth. Season with salt and pepper to taste and eat hot but watch your tongue.
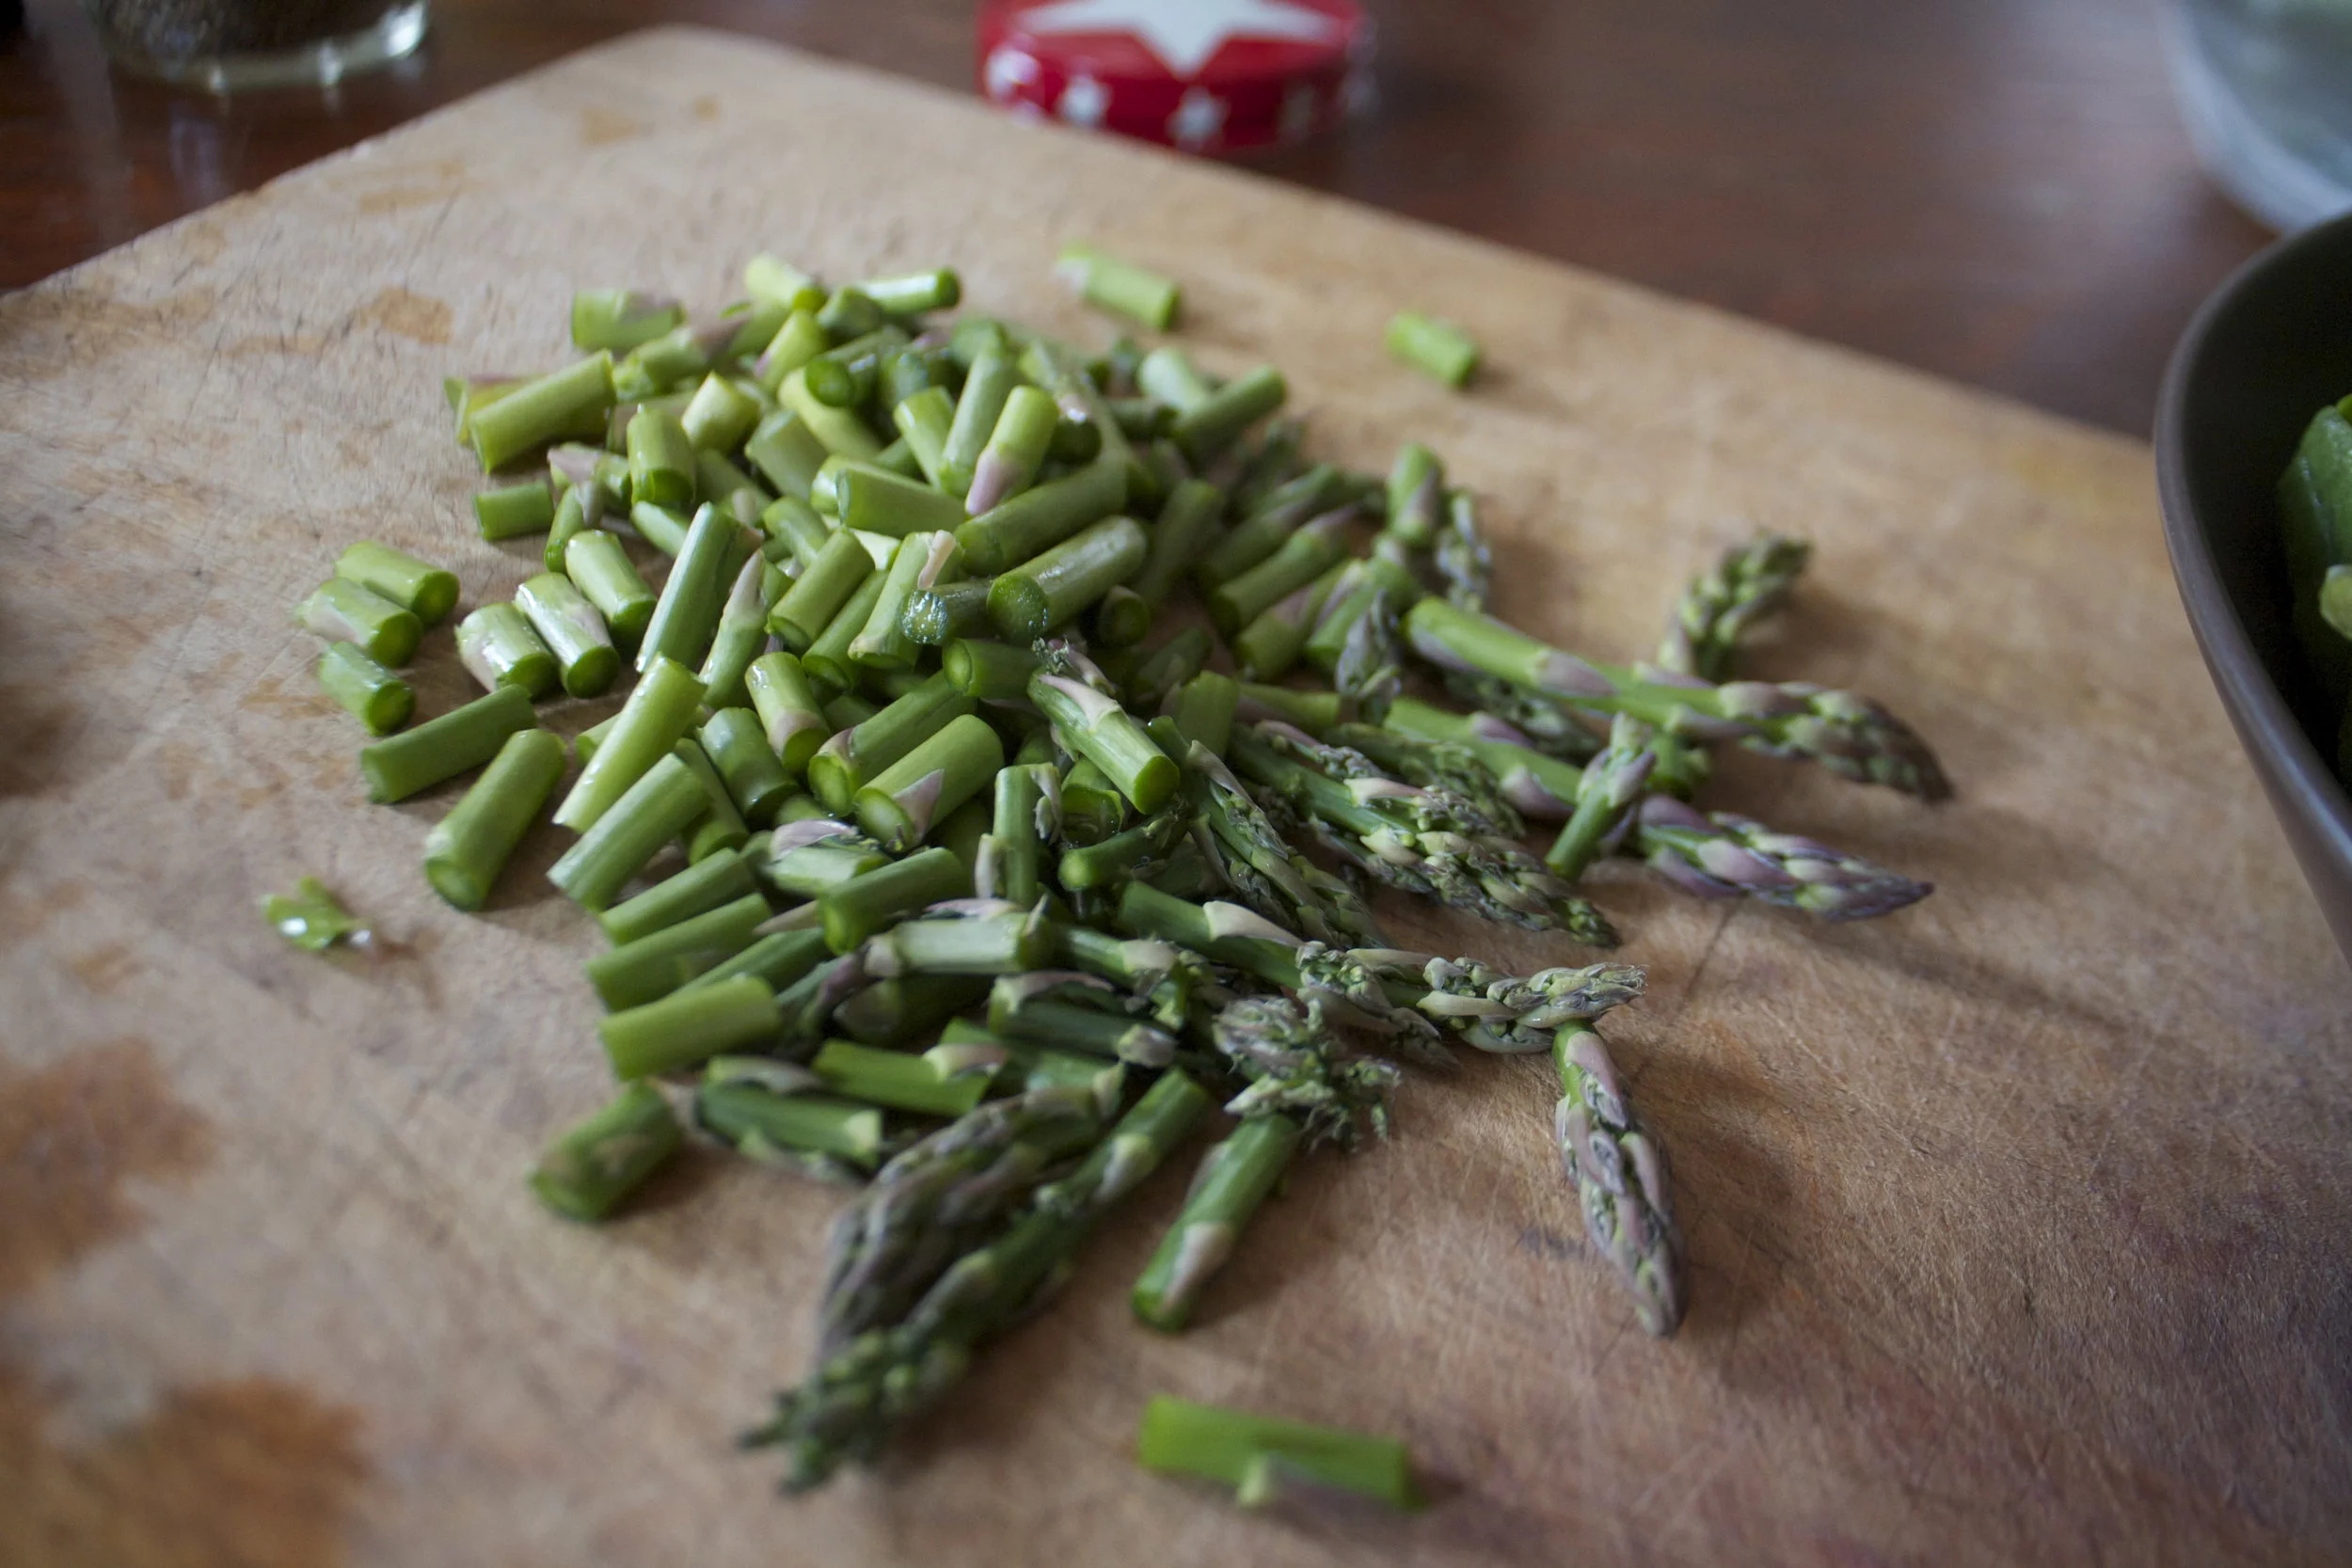
A few weeks ago the mr and I were standing at the check out line at the grocery store when up behind us comes Shannon (sister of mine) which was really weird because I was just saying how I felt like I was going to see her there. (Sister ESP) Of course we just started talking and stopped paying attention. (handed over the bags and wallets to the mr) She was telling me about the party she was going to and the salad she was really excited to go home and make for that party. (like as excited I as I get when I talk about salad, but maybe she was more excited about the party, hard to tell)%u00a0 The lady cashier rang us through while the mr was kind enough to bag and pay, then rang Shannon through, which the mr was also kind enough to bag and pay(using her card). We chatted a bit more, walked our separate ways and moseyed on home. When we got there, I started putting our groceries away and there it was, a bag of Shannon’s groceries, the stuff for the salad she was going to make for her party. Oops. So the mr called her up and told her, was willing to drive all the way back to her house right then and there in the snow to bring it to her no problem, but she just laughed and said no. She would just make something else. All she wanted was for us to eat it, or better yet, make the salad she was going to make and then eat it.%u00a0 And that is what I did, or at least I think I did. I used the cabbage, limes, and broccoli that she bought, some black beans I had,%u00a0 chopped and tossed and ate. Not sure if it is exactly what she as describing, but it’s good.
Thanks Shannon for the bag of groceries, sorry we stole it. I owe you a salad.

The stuff. Some red cabbage, a broccoli crown, black beans (rinsed ans drained) a lime, and salt.

Cabbage gets shredded and broccoli gets chopped into small little pieces.

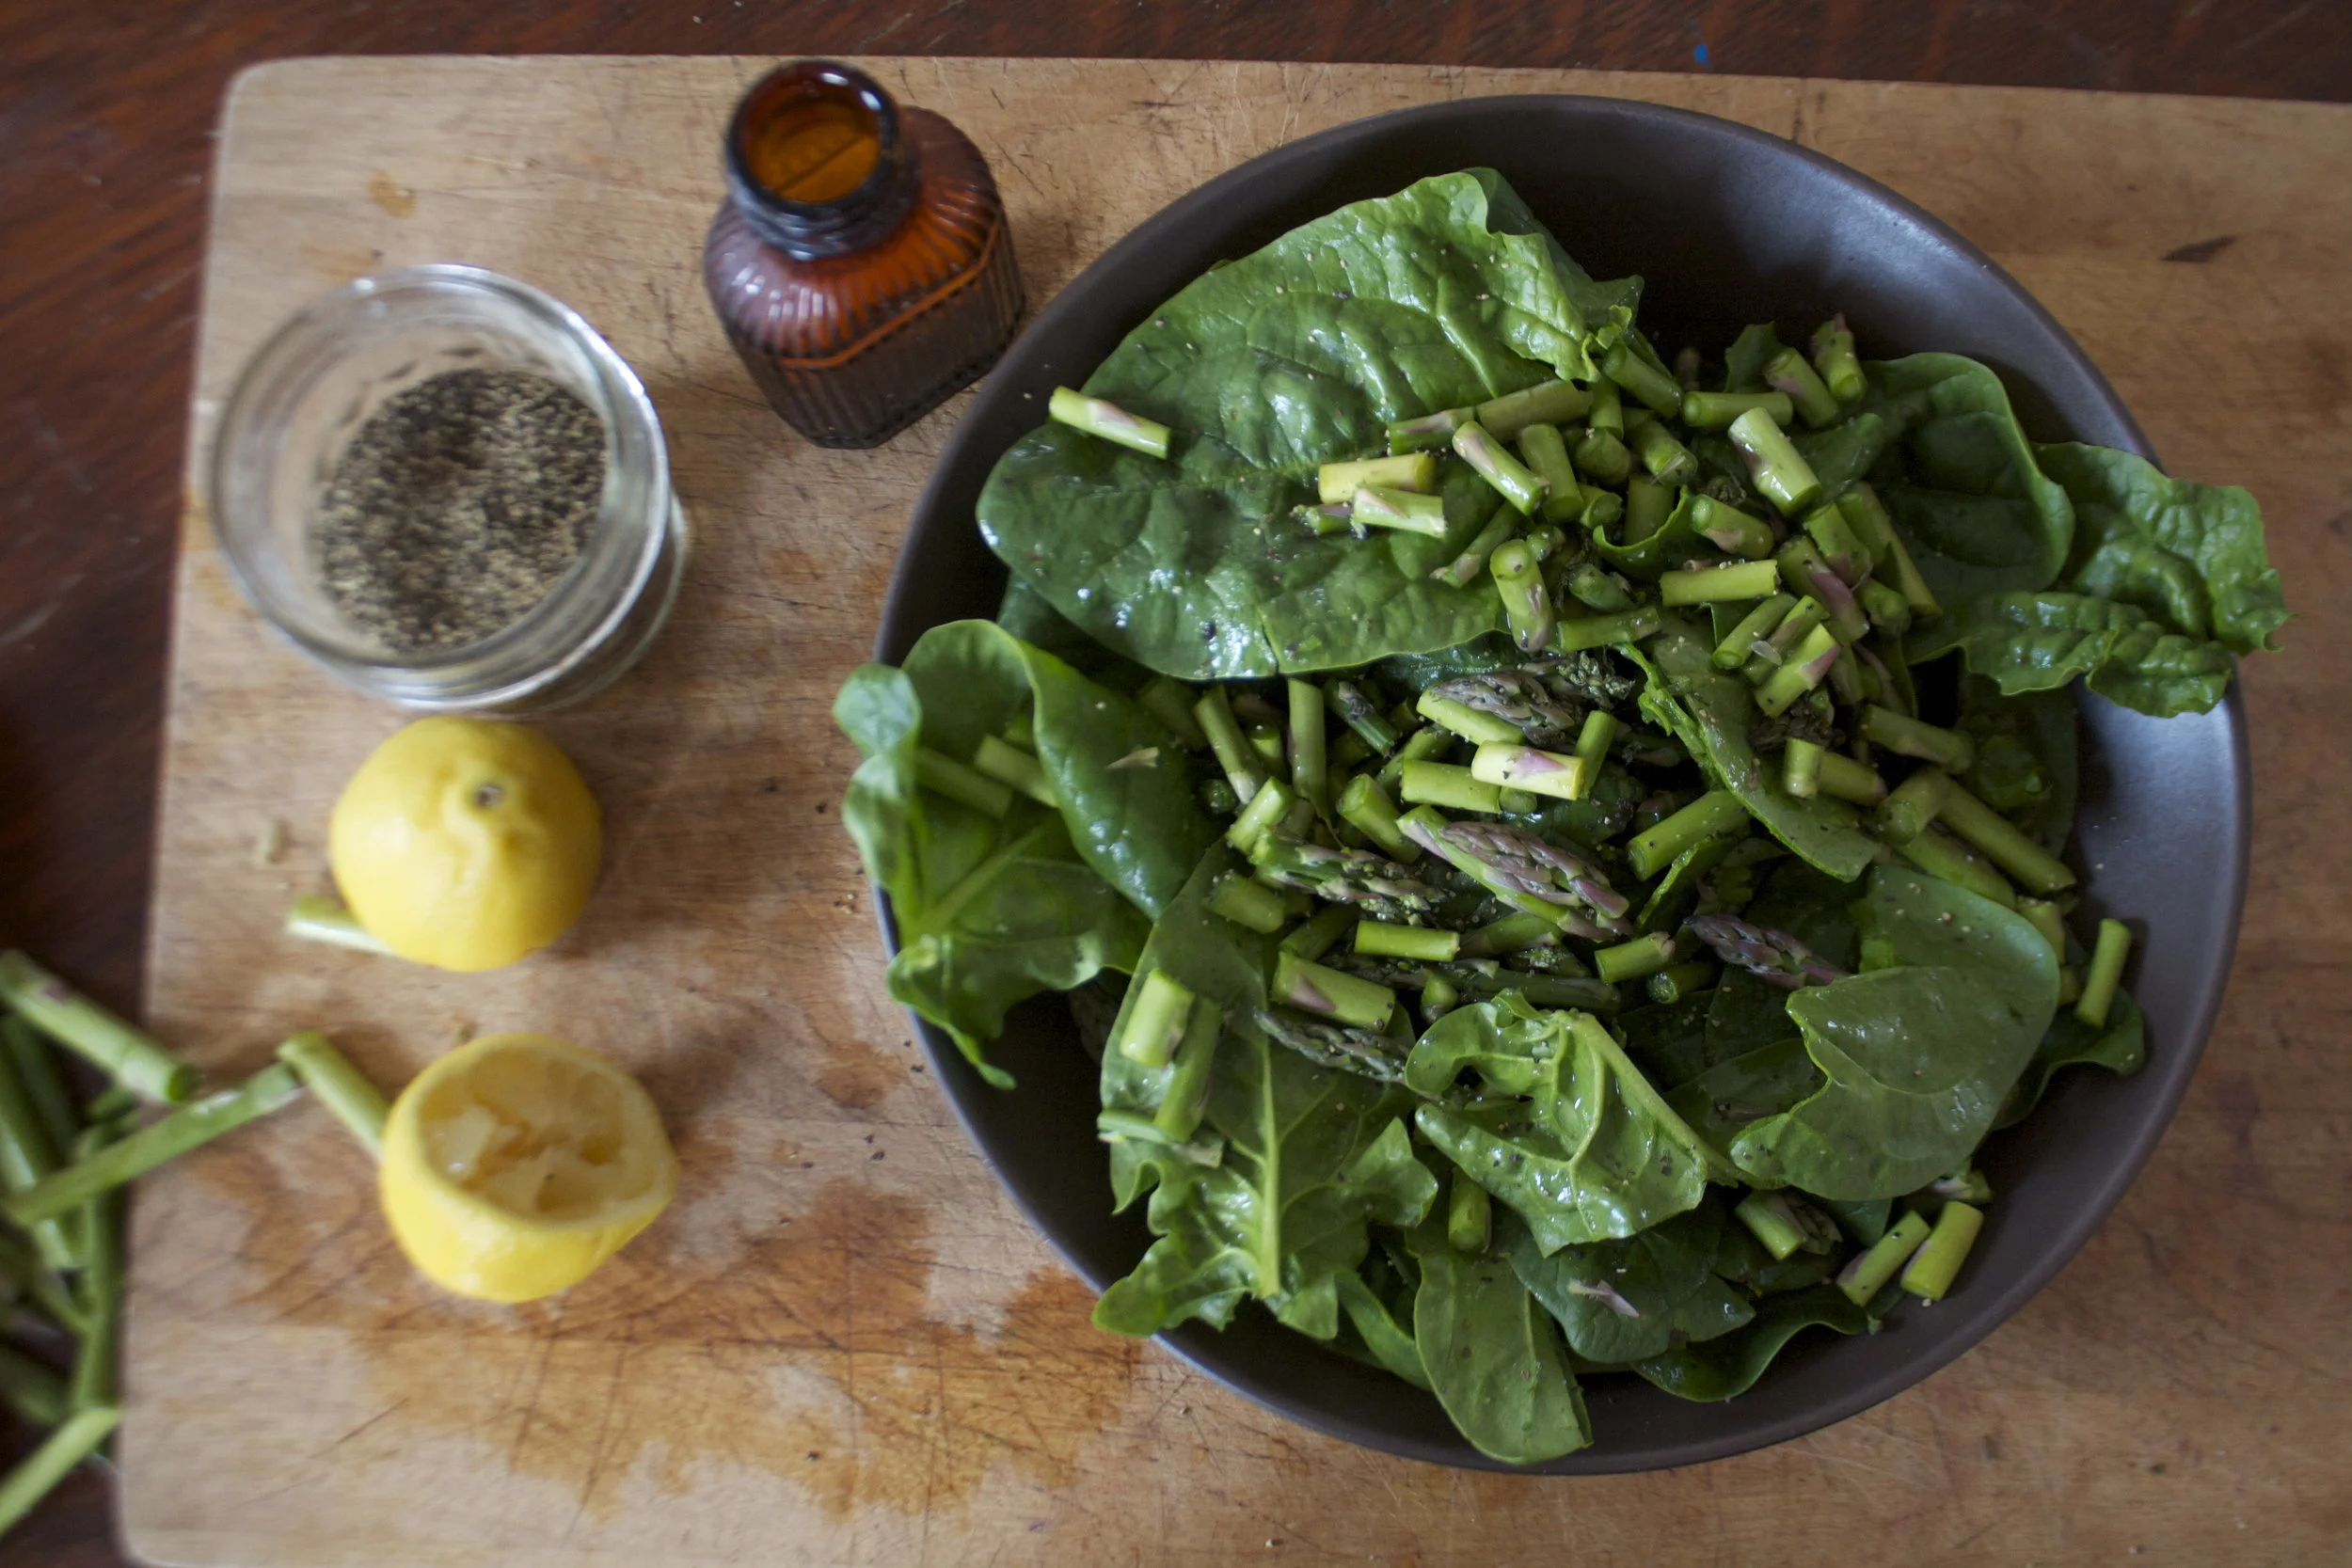
Chopped veggies, beans, lime juice and salt go into a big bowl.

Tossed. Now it may look done, but what this salad really needs is time to let the lime juice do it’s work. Let the salad sit for at least 30 minutes, but heck, if you make this a few hours, if not even a day ahead, well it’s only going to taste that much better.

And after the wait, eat it.
This salad makes for a great light Lunch or a pre-dinner (the small meal you eat before dinner, that’s a thing right?)
Enjoy your weekend.
-C
serves 4-6
- 2 cups cooked or 1 can of black beans, rinsed and drained
- Half of a small head of red cabbage
- 1 large broccoli crown
- 1 or 2 juicy limes
- a good pinch of salt
Finely shred the cabbage and small chop the broccoli. (stem and all) Dump the veggies into a bowl and sprinkle with salt. Mix in the drained black beans and toss with the juice of the lime. Let sit for at least 30 minutes. This salad taste good just made but only gets better with time, like if you can make it a few hours, if not a day ahead, go for it. When you are ready to eat. well eat it.%u00a0 Add more salt if needed, more lime juice if you want, maybe a pinch or two of pepper.

This is what I am talking about. Winter has finally come with it’s snowy snow and super freezing cold temperatures. It just feels right, even if I freeze a little every time I leave the house to walk the dog. But that’s ok, it is suppose to happen.
And when it’s cold and snowy we are all suppose to eat lots of warm and hearty good things to warm us up in our insides. So we soup.. Soup all day, everyday, all winter long, especially in the case of feeling slightly ill (which I have been for the past week) Eating soup makes everything better.%u00a0 Soup soup soup.
Soup, what a weird word. Anyway.
This soup is amazingly easy to make and even easier to eat. Full of veggies, spices and lots of beans. A perfect meal to satisfy your frozen self. And bonus, not full of shit. It’s super healthy, protein packed and just plan ol good. Warm. hearty, healthy.. What more can you ask for? (you could ask for some crackers and I would probably give them to you)
Soup time!

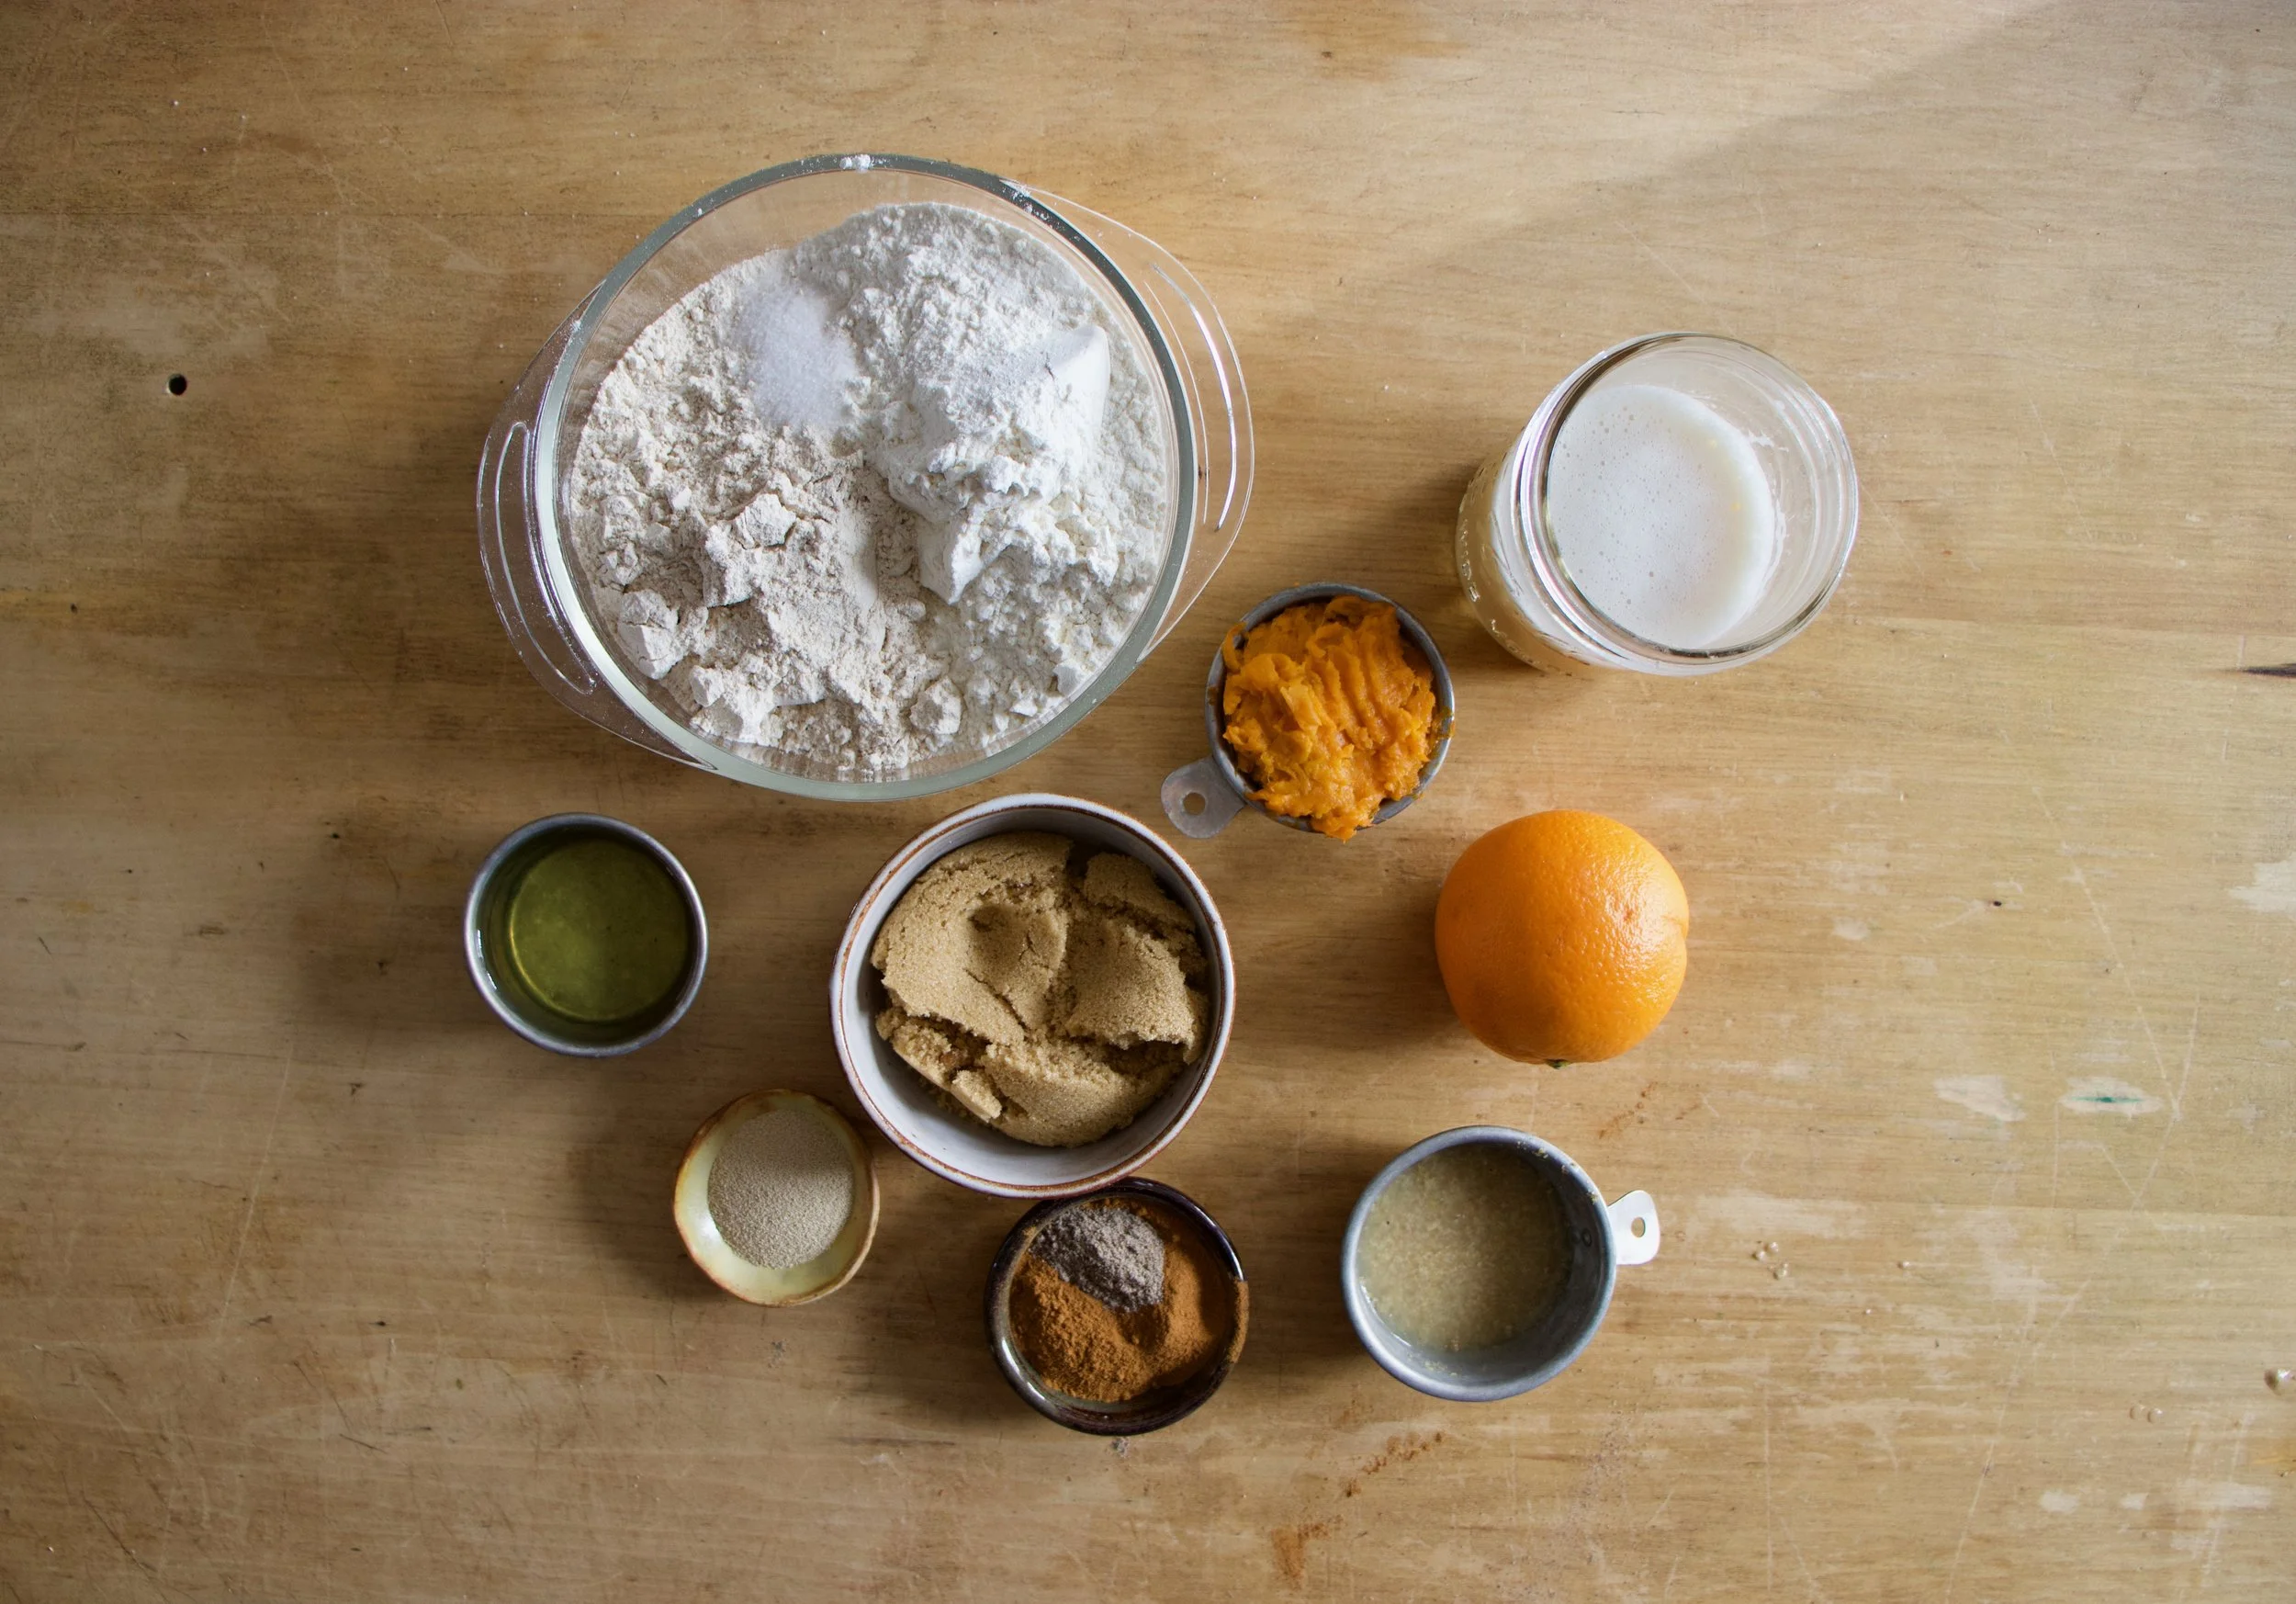
The stuff. Navy beans, a sweet potato, and some chopped up kale. A couple carrots, an onion, a few cloves of garlic, a little olive oil and water.* And lets not forget some spices…. I used a couple bay leaves, some dried rosemary and thyme. Oh and there should be a lemon here.(I think it rolled off the counter)
*Note. Some people get all up and up about not using a stock in soup. This soup creates it’s own stock with all the veggies and spices and time spent simmering but if you want, go ahead and use stock.
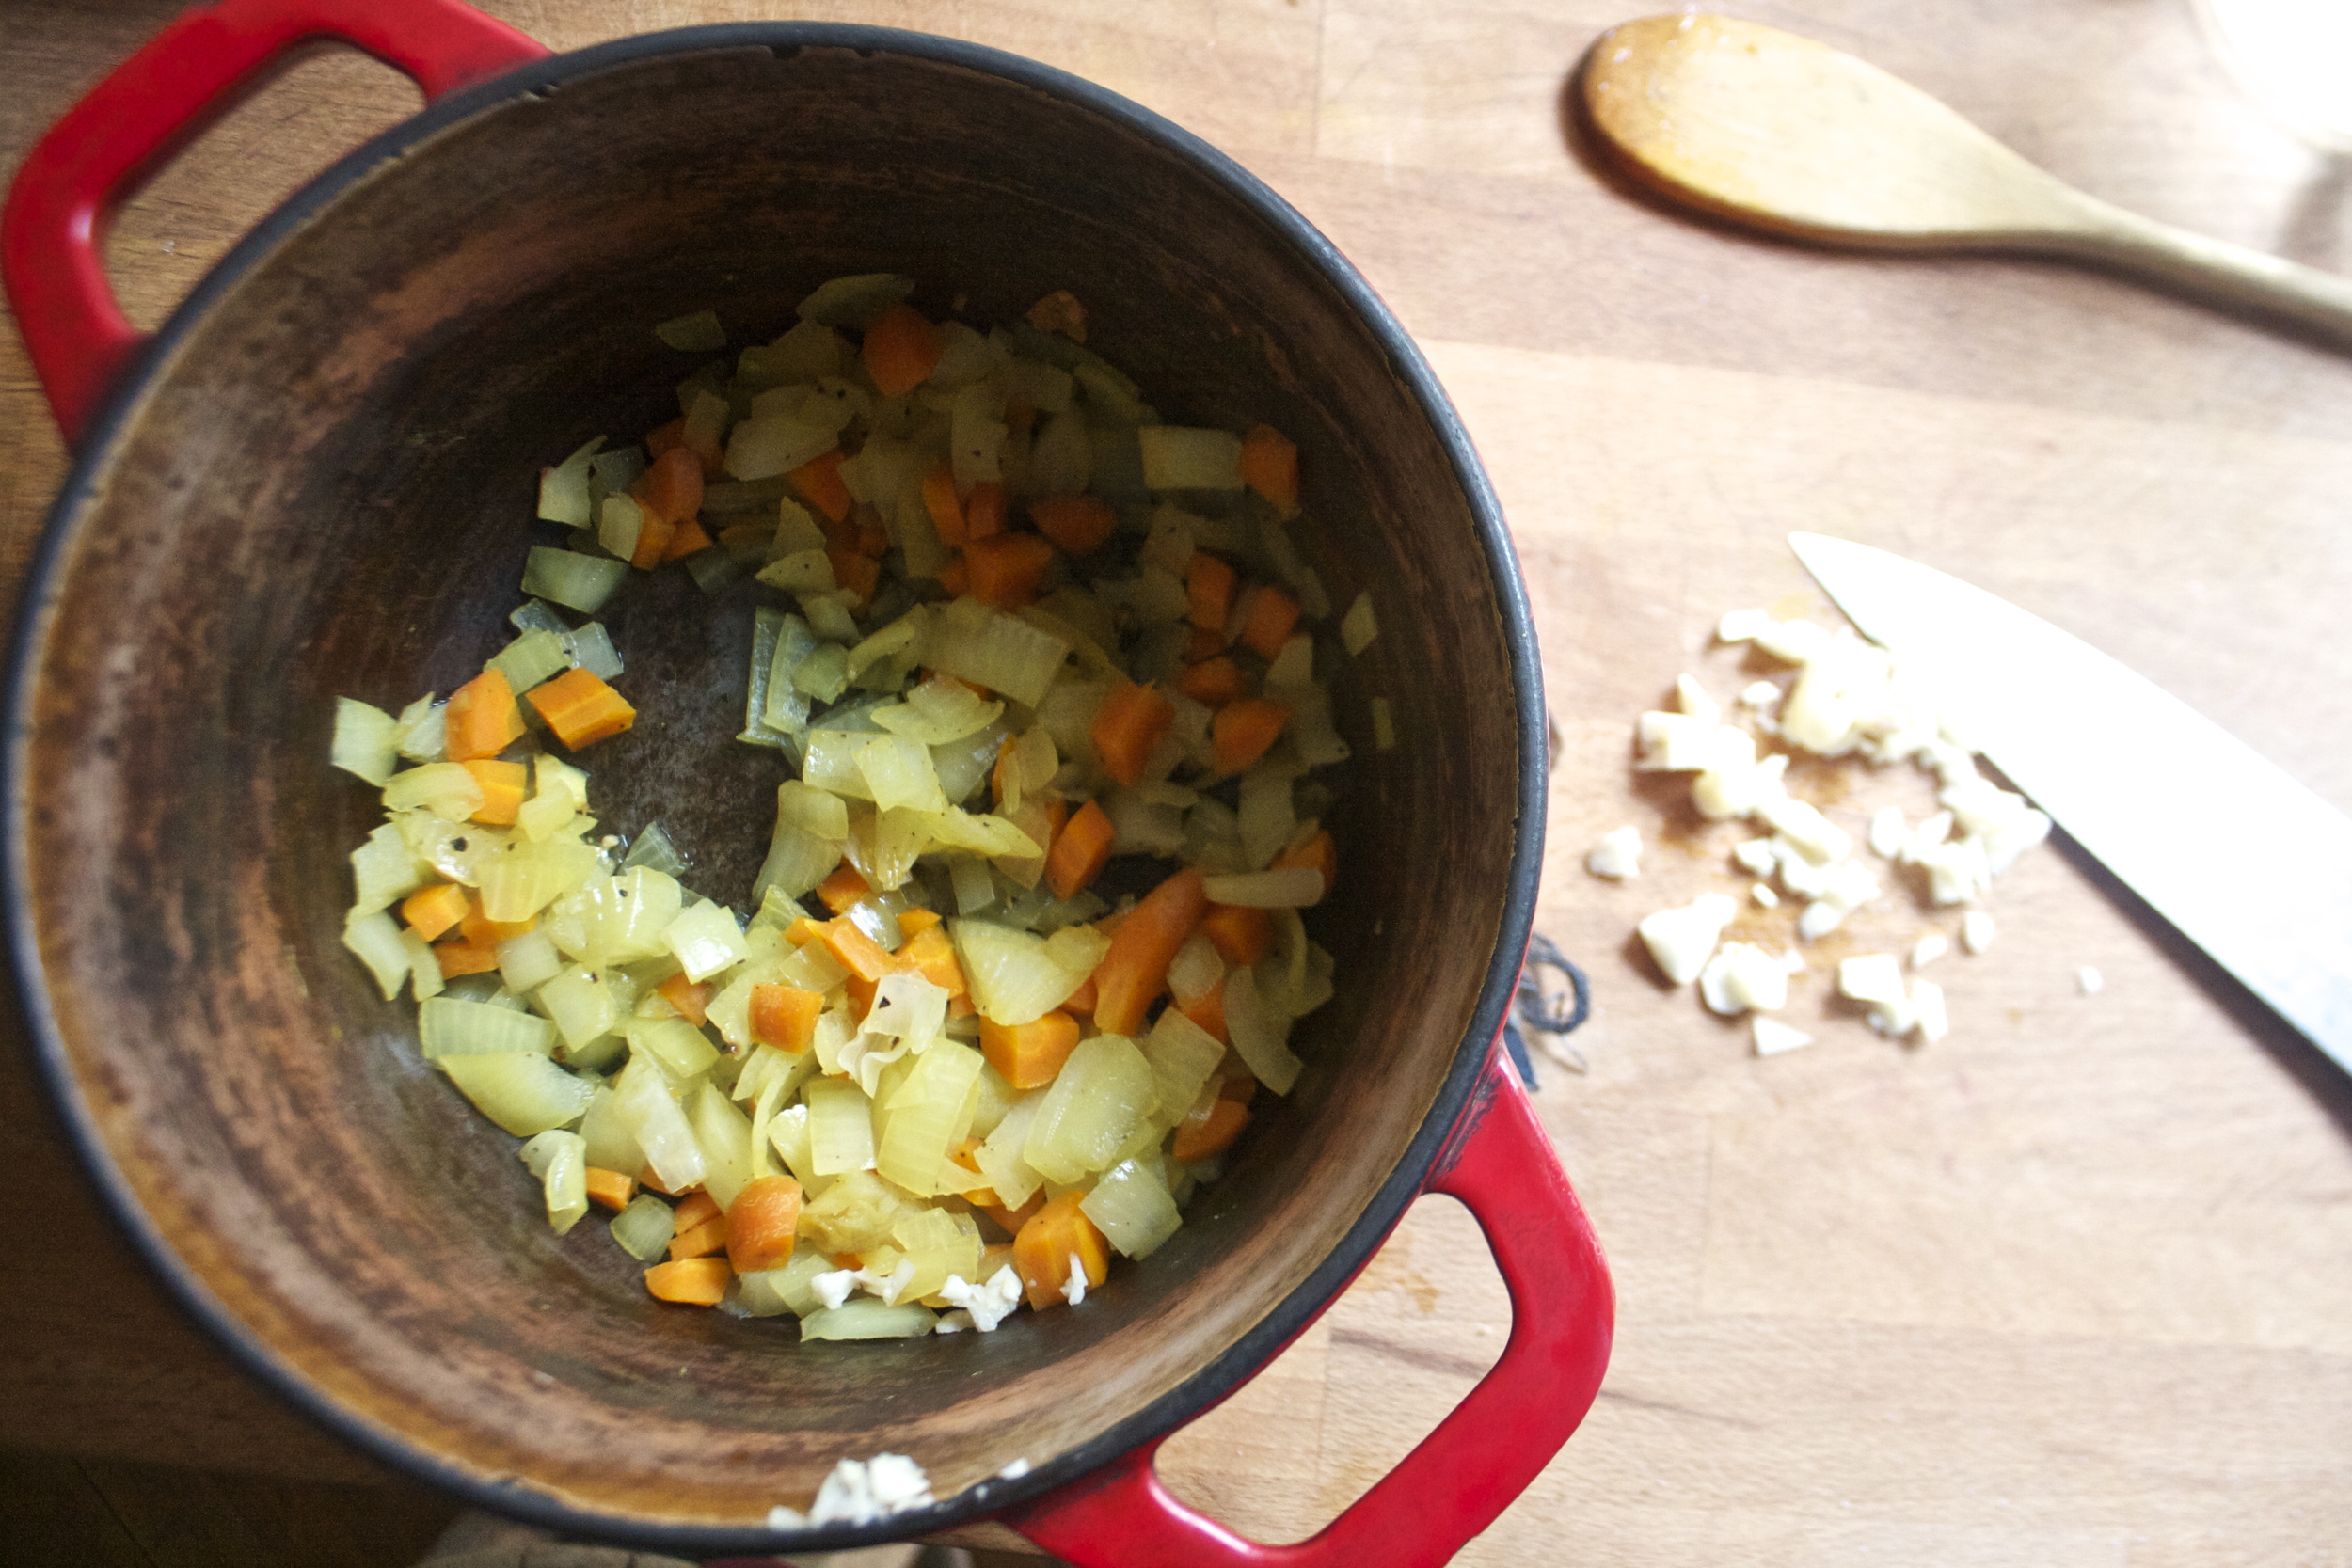
Start by chopping up the carrots, the onion, and the garlic and tossing it all into a really big pot along with a drizzle of olive oil, some salt and pepper and the spices. Stick on the stove on medium high heat for a few minutes until the veggies start to brown.. This gives the veggies and spices a chance to develop more flavor.%u00a0

Now chop up the sweet potato into 1 inch chunks and toss that into the pot too.

And the dried beans and water go into as well. Get it all in there, give it a mix and stick the pot on high heat and bring to a boil, then bring the heat to low.%u00a0 Add a lid to the pot and let cook for a while,like an hour,%u00a0 stirring every now and then.

Once the beans in the soup are cooked to your preferred done-ness (I like mine on al dente) remove pot from heat.

Dump in the chopped up kale…


And that lemon that rolled away. I found it. So slice up lemon. Ladle a large amount of the soup into a pretty bowl and finish it off with some cracked pepper and a squeeze of lemon.

Soup! Now grab a big spoon, a cozy sweater or blanket (or snuggy) , and maybe some crackers or bread if you feel so inclined and eat. You will be filled with warmth and happiness.%u00a0
Have a great day.
-C
- 1 cup dried white bean (I used navy, but you could use any white bean you like)
- 1 large sweet potato
- 1 bunch of kale (about 5 cups chopped)
- 6-7 cups water (add 6 then another cup as its cooking if you think it needs it)
- 1onion
- 2 carrots
- 4-5 cloves of garlic
- 1 heaping tablespoon thyme or Italian seasoning
- 1 heaping tablespoon dried, chopped or ground rosemary
- 2 bay leaves
- salt and pepper to taste
- a lemon (optional but you want it)
Chop carrots, onion and garlic and stick them all into a large pot with a drizzle of olive oil, all the spices, and a pinch of salt and pepper.%u00a0 Stick on the stove and cook until the veggies start to brown. While veggies are cooking, cut sweet potato into 1 inch chunks and toss the potato into the pot along with the beans and the water. Bring to a boil then reduce the heat to low. Stick a lid on the pot and simmer fir about an hour or until the beans are cooked to you liking.
Once the beans are cooked through, dump in the chopped up kale, mix it around, then call it done.
Ladle into bowls, top with cracked pepper (and more salt if you want) and serve with a wedge of lemon.
Grab a spoon, eat the soup. Be happy.
Got some left over… Well yeah, soup for later! (will last in fridge for a few days, but freezes super well too)

I probabaly have already told you, but August is for sure my favorite month of the year (well,one of my favorites)
There is bounties of bounties of fresh, sweet and colorful, oh so juicy, crispy crisp, just so f ing %u00a0amazing, produce exploding all over the place. I have probably gained like 75 thousand pounds in the past month due to all of the fruits and veggies that I have been consuming. I am starting to consider it a full time job just to keep up with the eating.
%u00a0Another reason why I love August so much is becauuse the days are still nice and warm, but the nights are starting to cool which means I get to make so much soup!!!!!.%u00a0
This soup is the freshest freshy soup yet. Everything is from the farm and or the garden (except the salt pepper, vinegar and oil), some picked within hours of me making this.
. I am a lucky/spolied veggie brat.
Anyways. This soup. The fresh tomato base gives it a sweet, slightly acidic kick.%u00a0So super creamy due to the lovely earthy stocks of the chard. Slightly spicy and earthy from the arugula* and chard green green. This soup…%u00a0it just tastes so fresh and clean, yet hearty and satisfying. A perfect soup for a mid August night, eating outside, watching the sun slide behind the mountains and the temperature dropping just enough that you might want a light sweater. Or you can just eat it from the pot in the kitchen while watching TV. It’s good eating anyway you want.%u00a0
*Here in America, it’s called arugula.%u00a0%u00a0Else where , it’s %u00a0called rocket. I wish we all called it rocket, although I do like the name arugula, but for like my first born child or maybe a pet goldfish. Anyway, rocket is arugula,%u00a0%u00a0or vice versa.
Soup time!.

The stuff. Some big %u00a0fresh tomatoes, a few stalks of chard, and a few handfuls of arugaula (aka rocket). A couple carrots, an onion, some garlic, salt and pepper and a bit of olive oil.. Oh, and I added some balsamic vinegar, which for some reason didn’t make it into the picture (sorry vinegar)
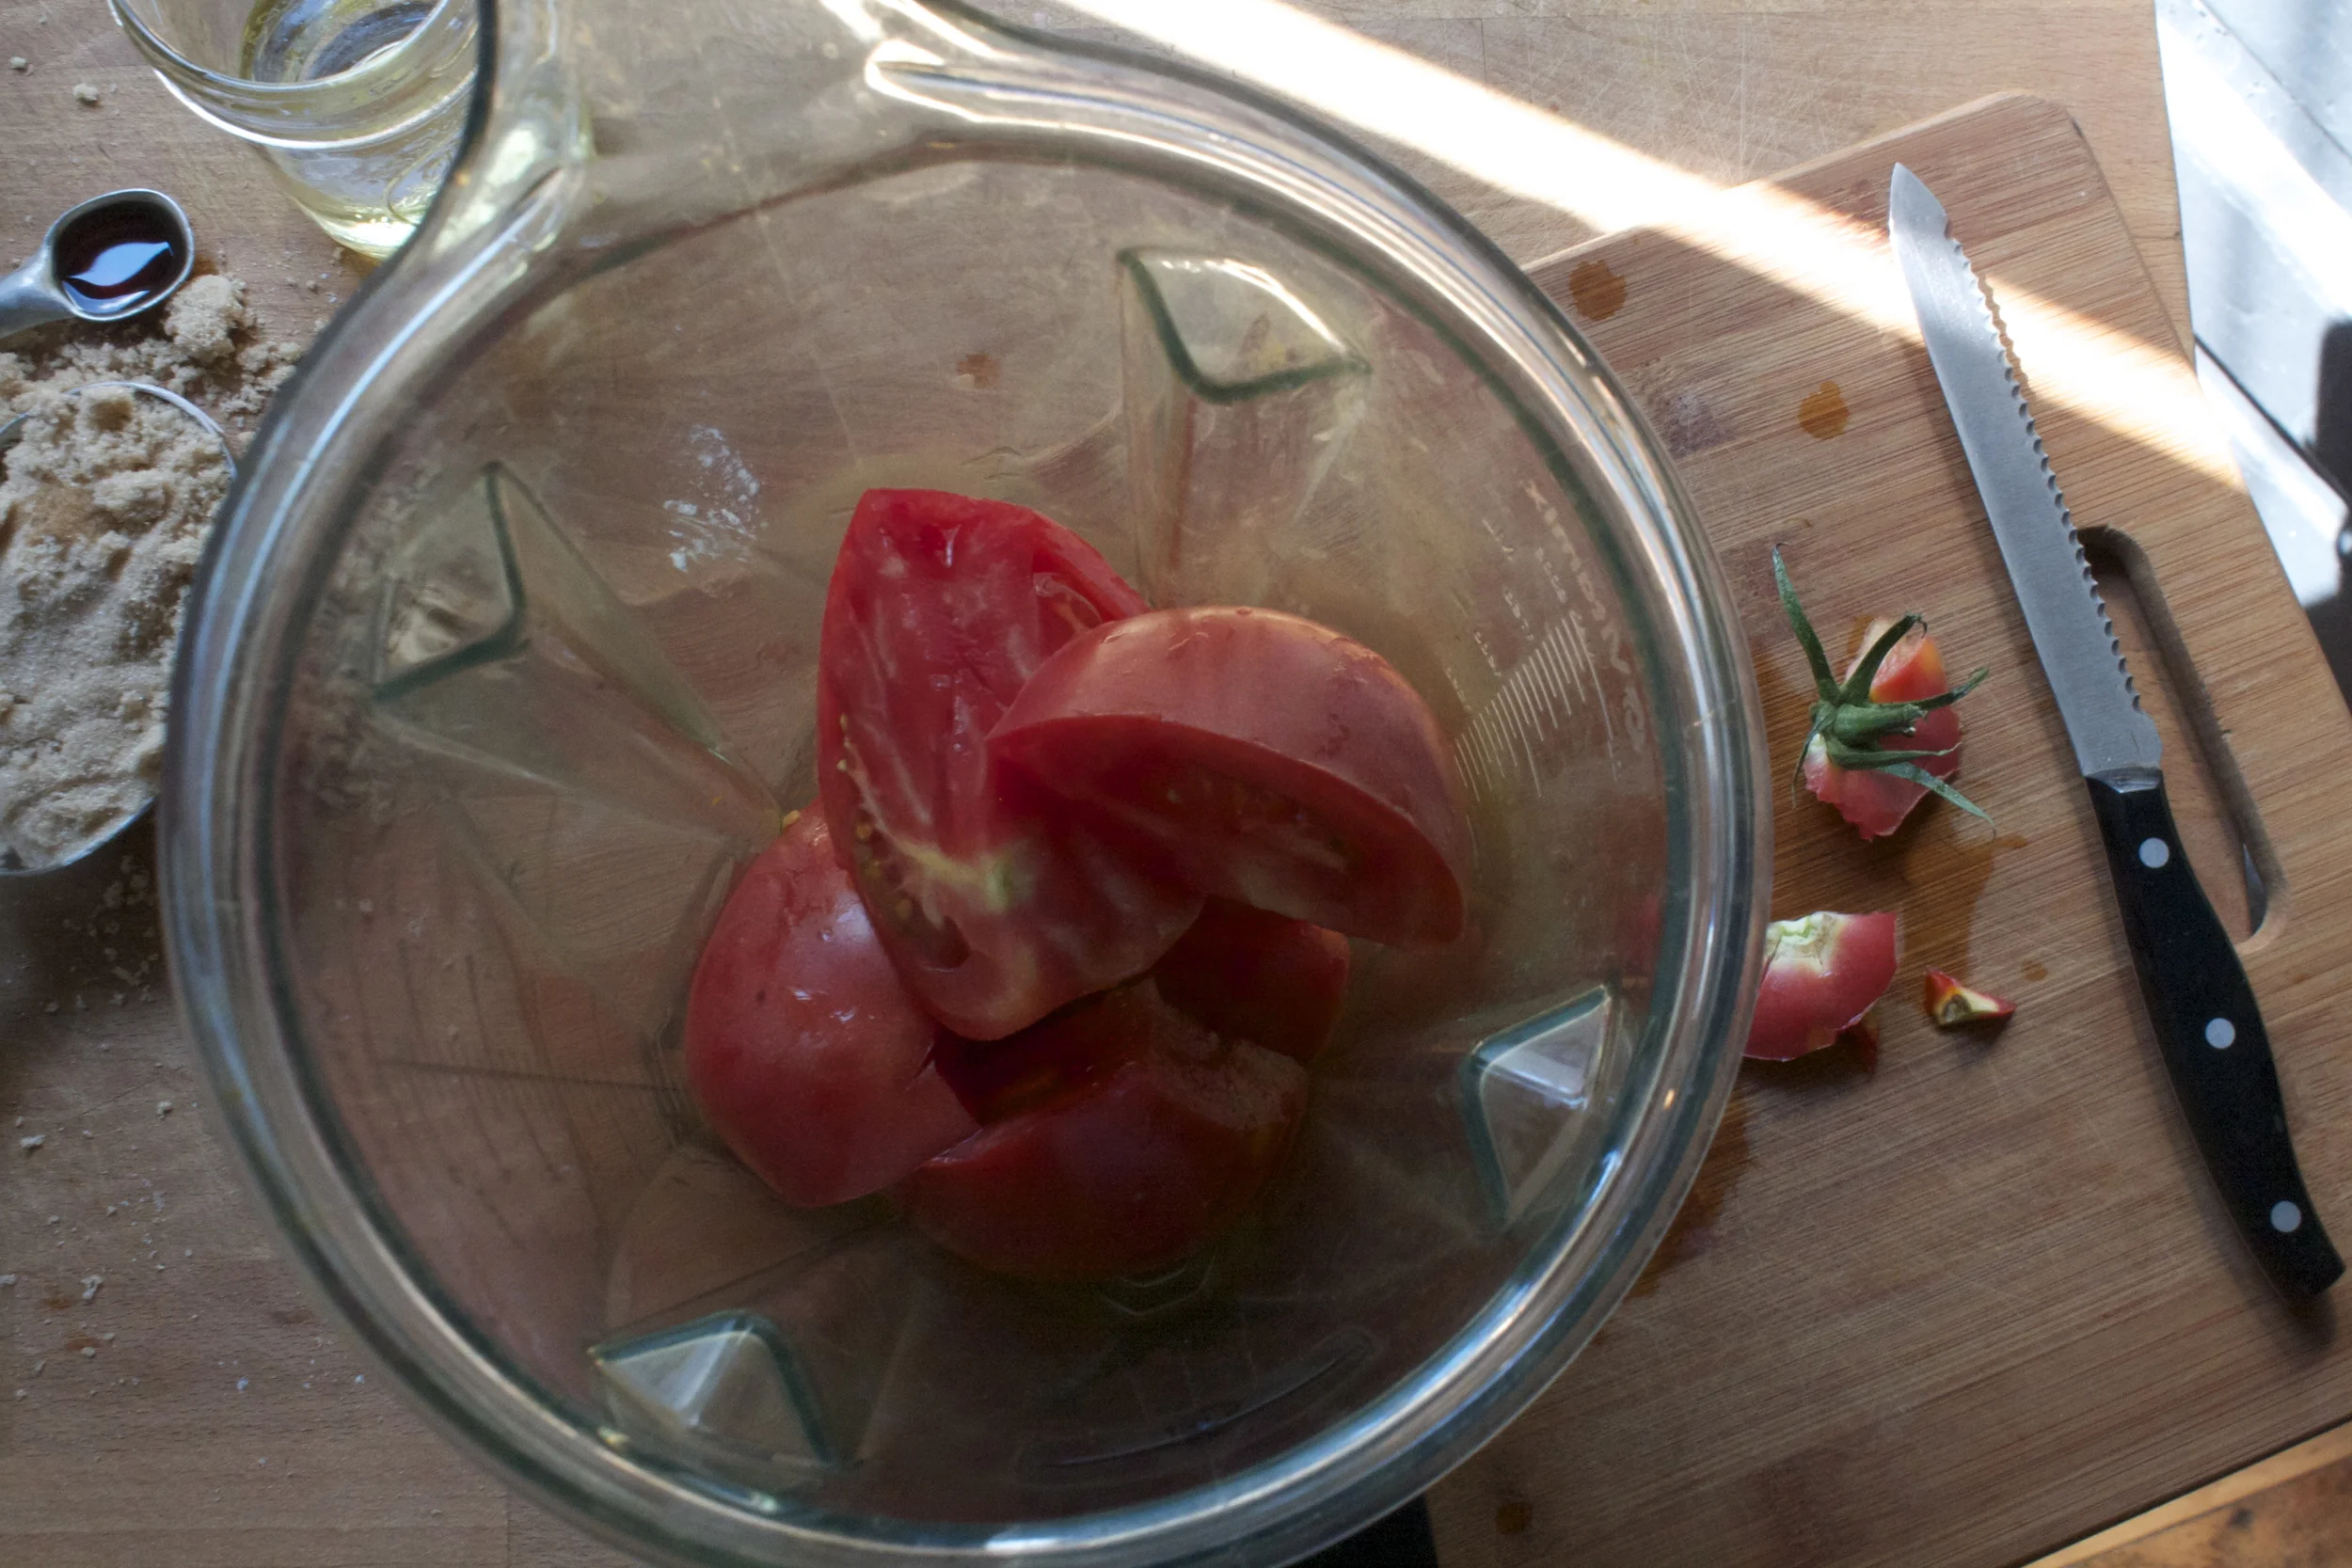
Start by removing the chard leaves from the stalks. Set aside leave with the arugula. Chop up the carrot, chard stems, onion and garlic and toss into a big pot with a drizzle of olive oil, a splash of water,%u00a0and a sprinkle of salt and pepper. Stir around and stick o nthe stove on medium heat for about 10 minutes until the veggies start to soften up.

Now chop up the tomatoes into chunks and toss those right into the pot with the other stuff. Add in a few cups water and a few glugs of balazmic vinegar. Bring everything to a boil and then turn heat to medium low and place a lid on pot and let cook at medium heat for another 20 ish minutes, or until the tomatoes are falling apart.

Now that everything is all cooked up, blend it up.


And now take the chard leaves and the aruglula and chop into little pieces%u2026.into the pot they go.

Mix it all up.. and take the blender to the soup again%u2026.if you want a smaller sized bite.

Soup Into bowls..Then into mouth.
Happy August!!
And hey hey hey.. Have the best weekend!
-C
- 4-5 large fresh tomatoes
- 4 large stalks of rainbow chard
- 2-3 big handfuls of arugula%u00a0
- 1 medium onion
- 1 large or 2 small carrots
- 4-5 garlic cloves
- 2-3glugs (about 2 tablespoons) balsamic vinegar%u00a0
- 3 cups water%u00a0
- olive oil
- salt and pepper
To start, remove stalks of chard from leaves and chop stalks, onion, carrot and garlic into chunks and place int a big pot with a drizzle of olive oil, a splash or water,%u00a0and spinkle of salt and pepper. Place on stove on medium low heat sand cooke the veggies down until starting to soften and garlic is becoming fragrant. While that cooking, remove core from tomatoes and dice them up. Toss into pot with the cooked down veggies with the vinegar and water. Place a lid on the pot and let cook for about 20-25 minutes or until the tomatoes are falling apart.%u00a0
When cooked, using with a hand blender or a normal blender, blend the soup until smooth. (if using blender, pour back into pot)
Now take the arugula and chard leaves and chop them into wee little picese and mix into soup. If you want to, blend the greens into the soup.. but not until smooth, unless thats what you want.%u00a0%u00a0Cook for another 5 minutes. Taste and season with more salt and pepper to taste.
Ladle into bowl and serve with lots of fresh cracked pepper, maybe a little balsamic drizzle or even some mustard (I at left overs with mustard and it rocked my world)
spoons work eel las eating utencils.

I am a year round maker and consumer of soup.
With that being said, the nature of my soups change seasonally. My summertime soups are usually on the lighter side, made with the%u00a0fresh bounty of the season, and spiced more on the light and floral side, opposed to the really deep and warm spices%u00a0that I use all winter long,
This corn chowder is made just right. It had the perfect balance of hearty and creamy from the potatoes and use of pureed%u00a0onion cream, but%u00a0%u00a0still light and refreshing from the sweet fresh corn and the lemony fresh thyme. It is for sure%u00a0a great summertime soup (chowder) Even the%u00a0Mr.%u00a0was even really into it, and he claims he doesn’t like corn. (I say bullshit to that.. he eats corn all the time)
Now to chowder!
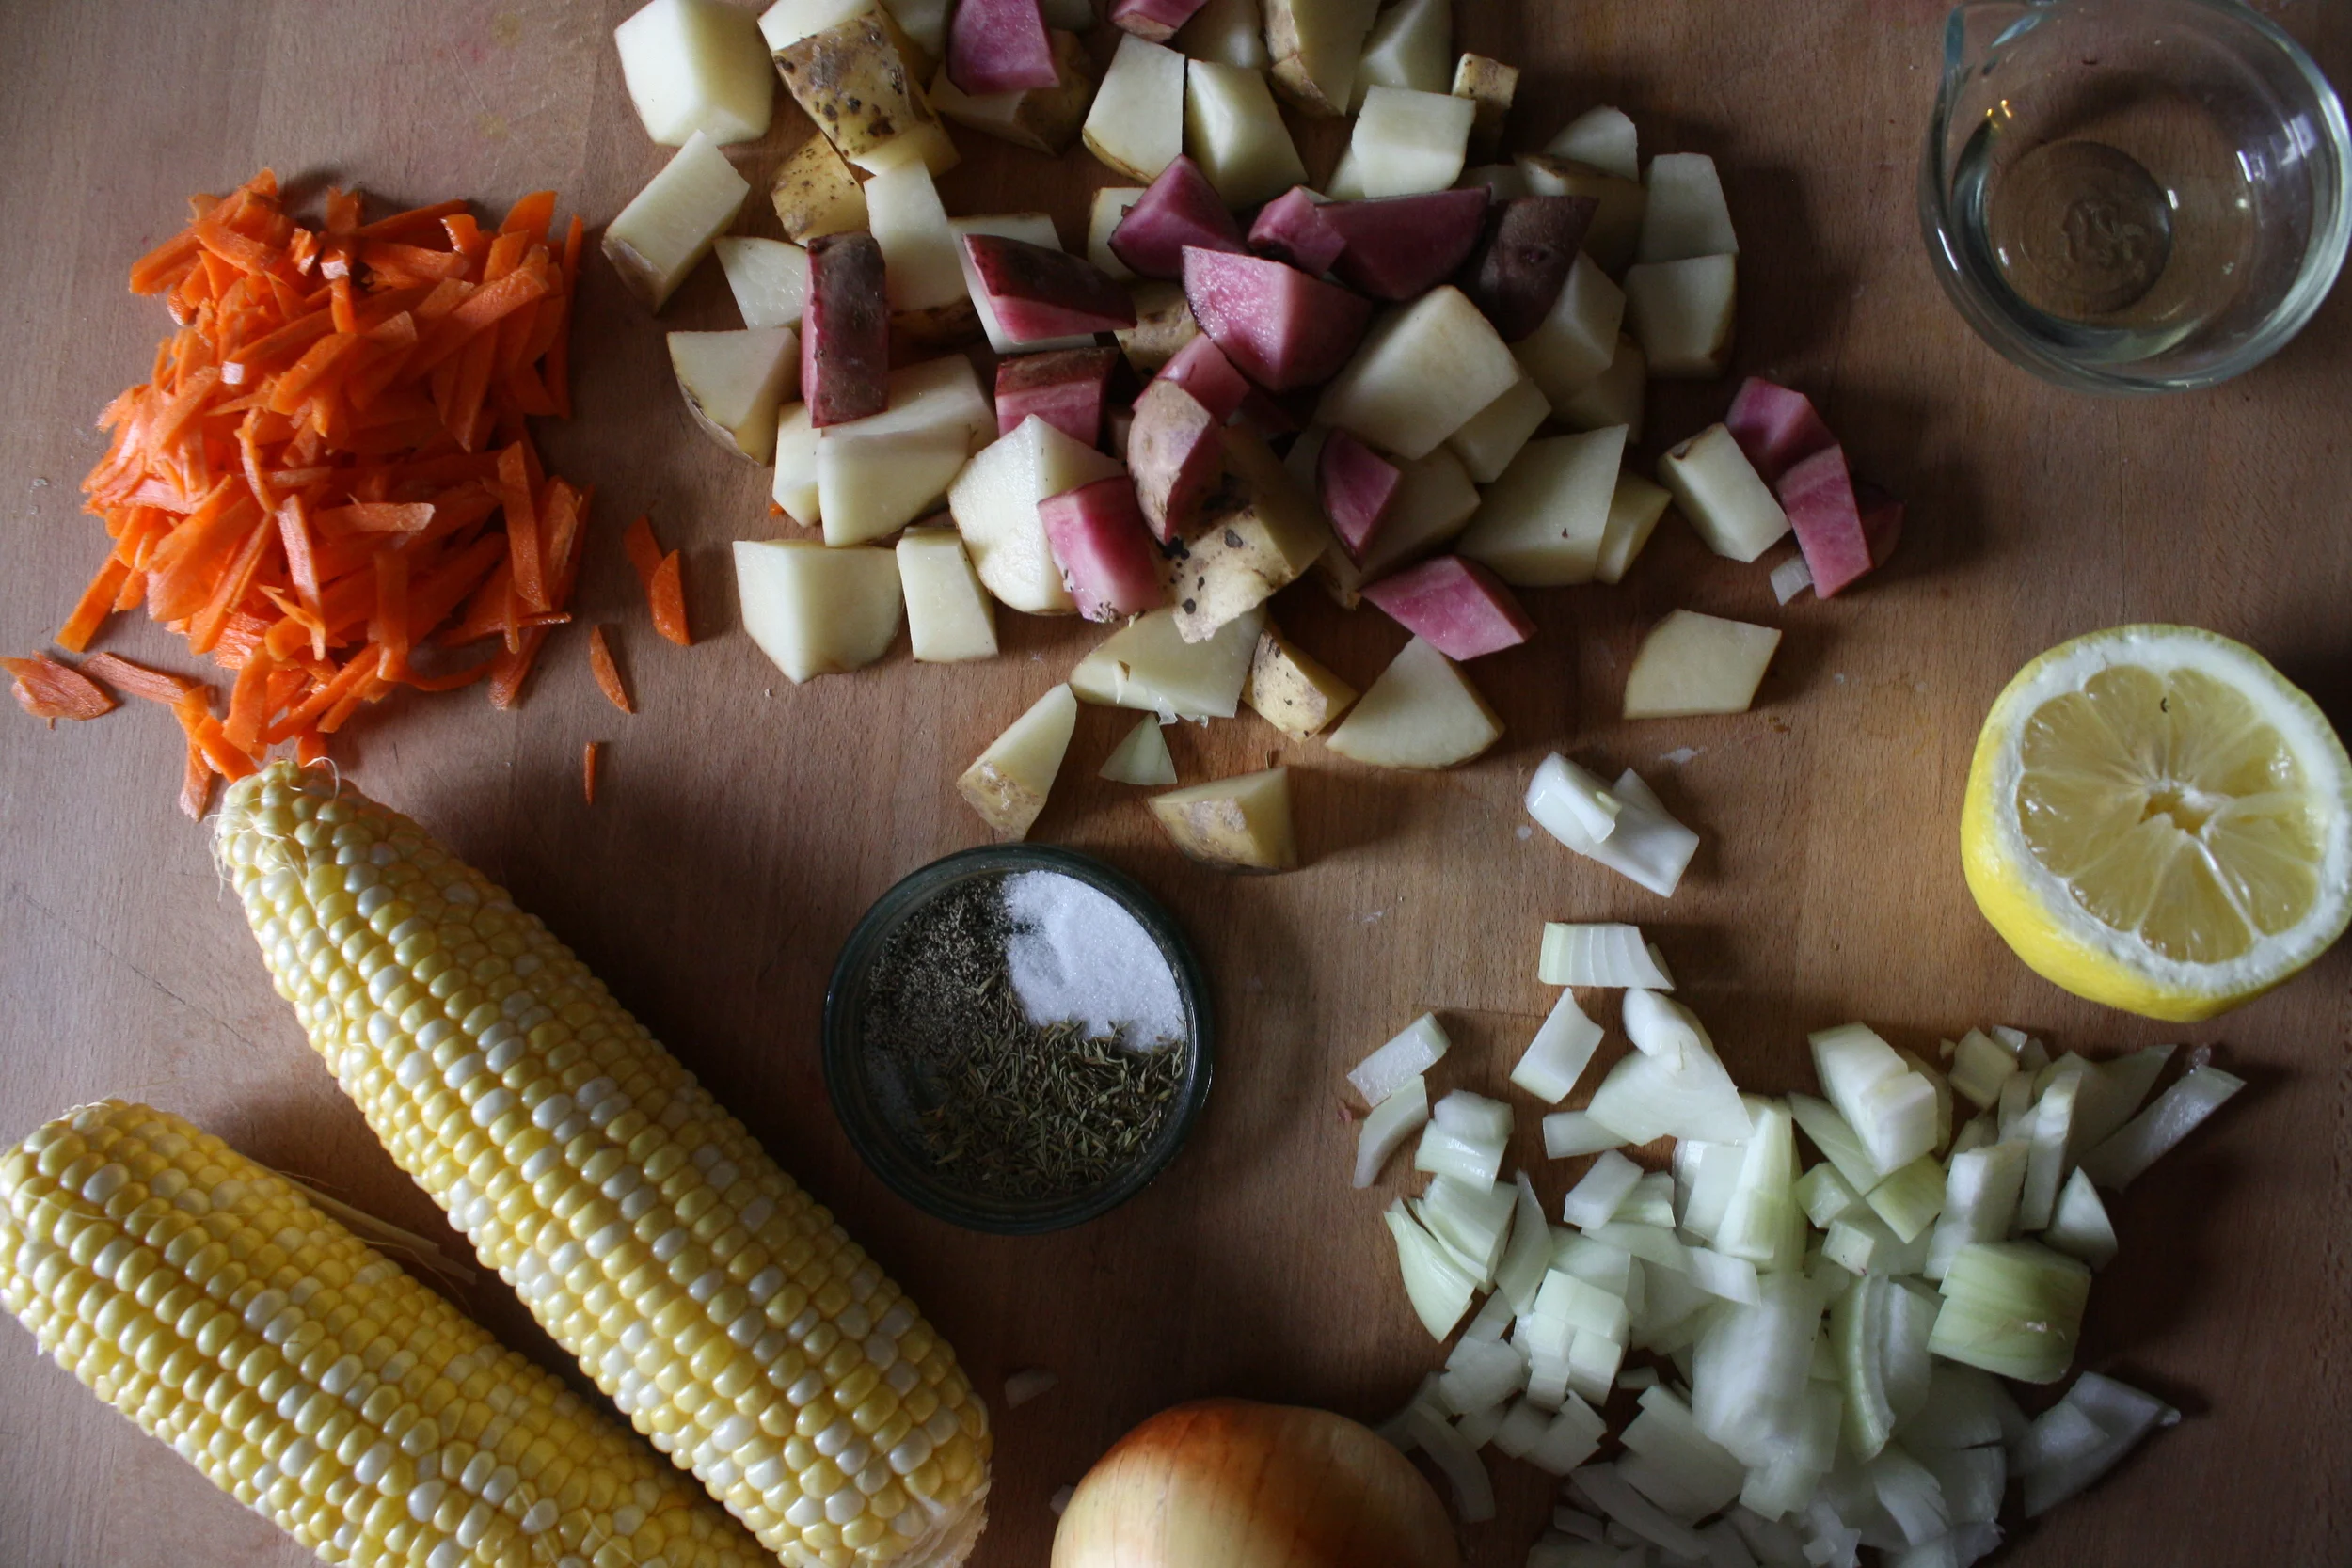
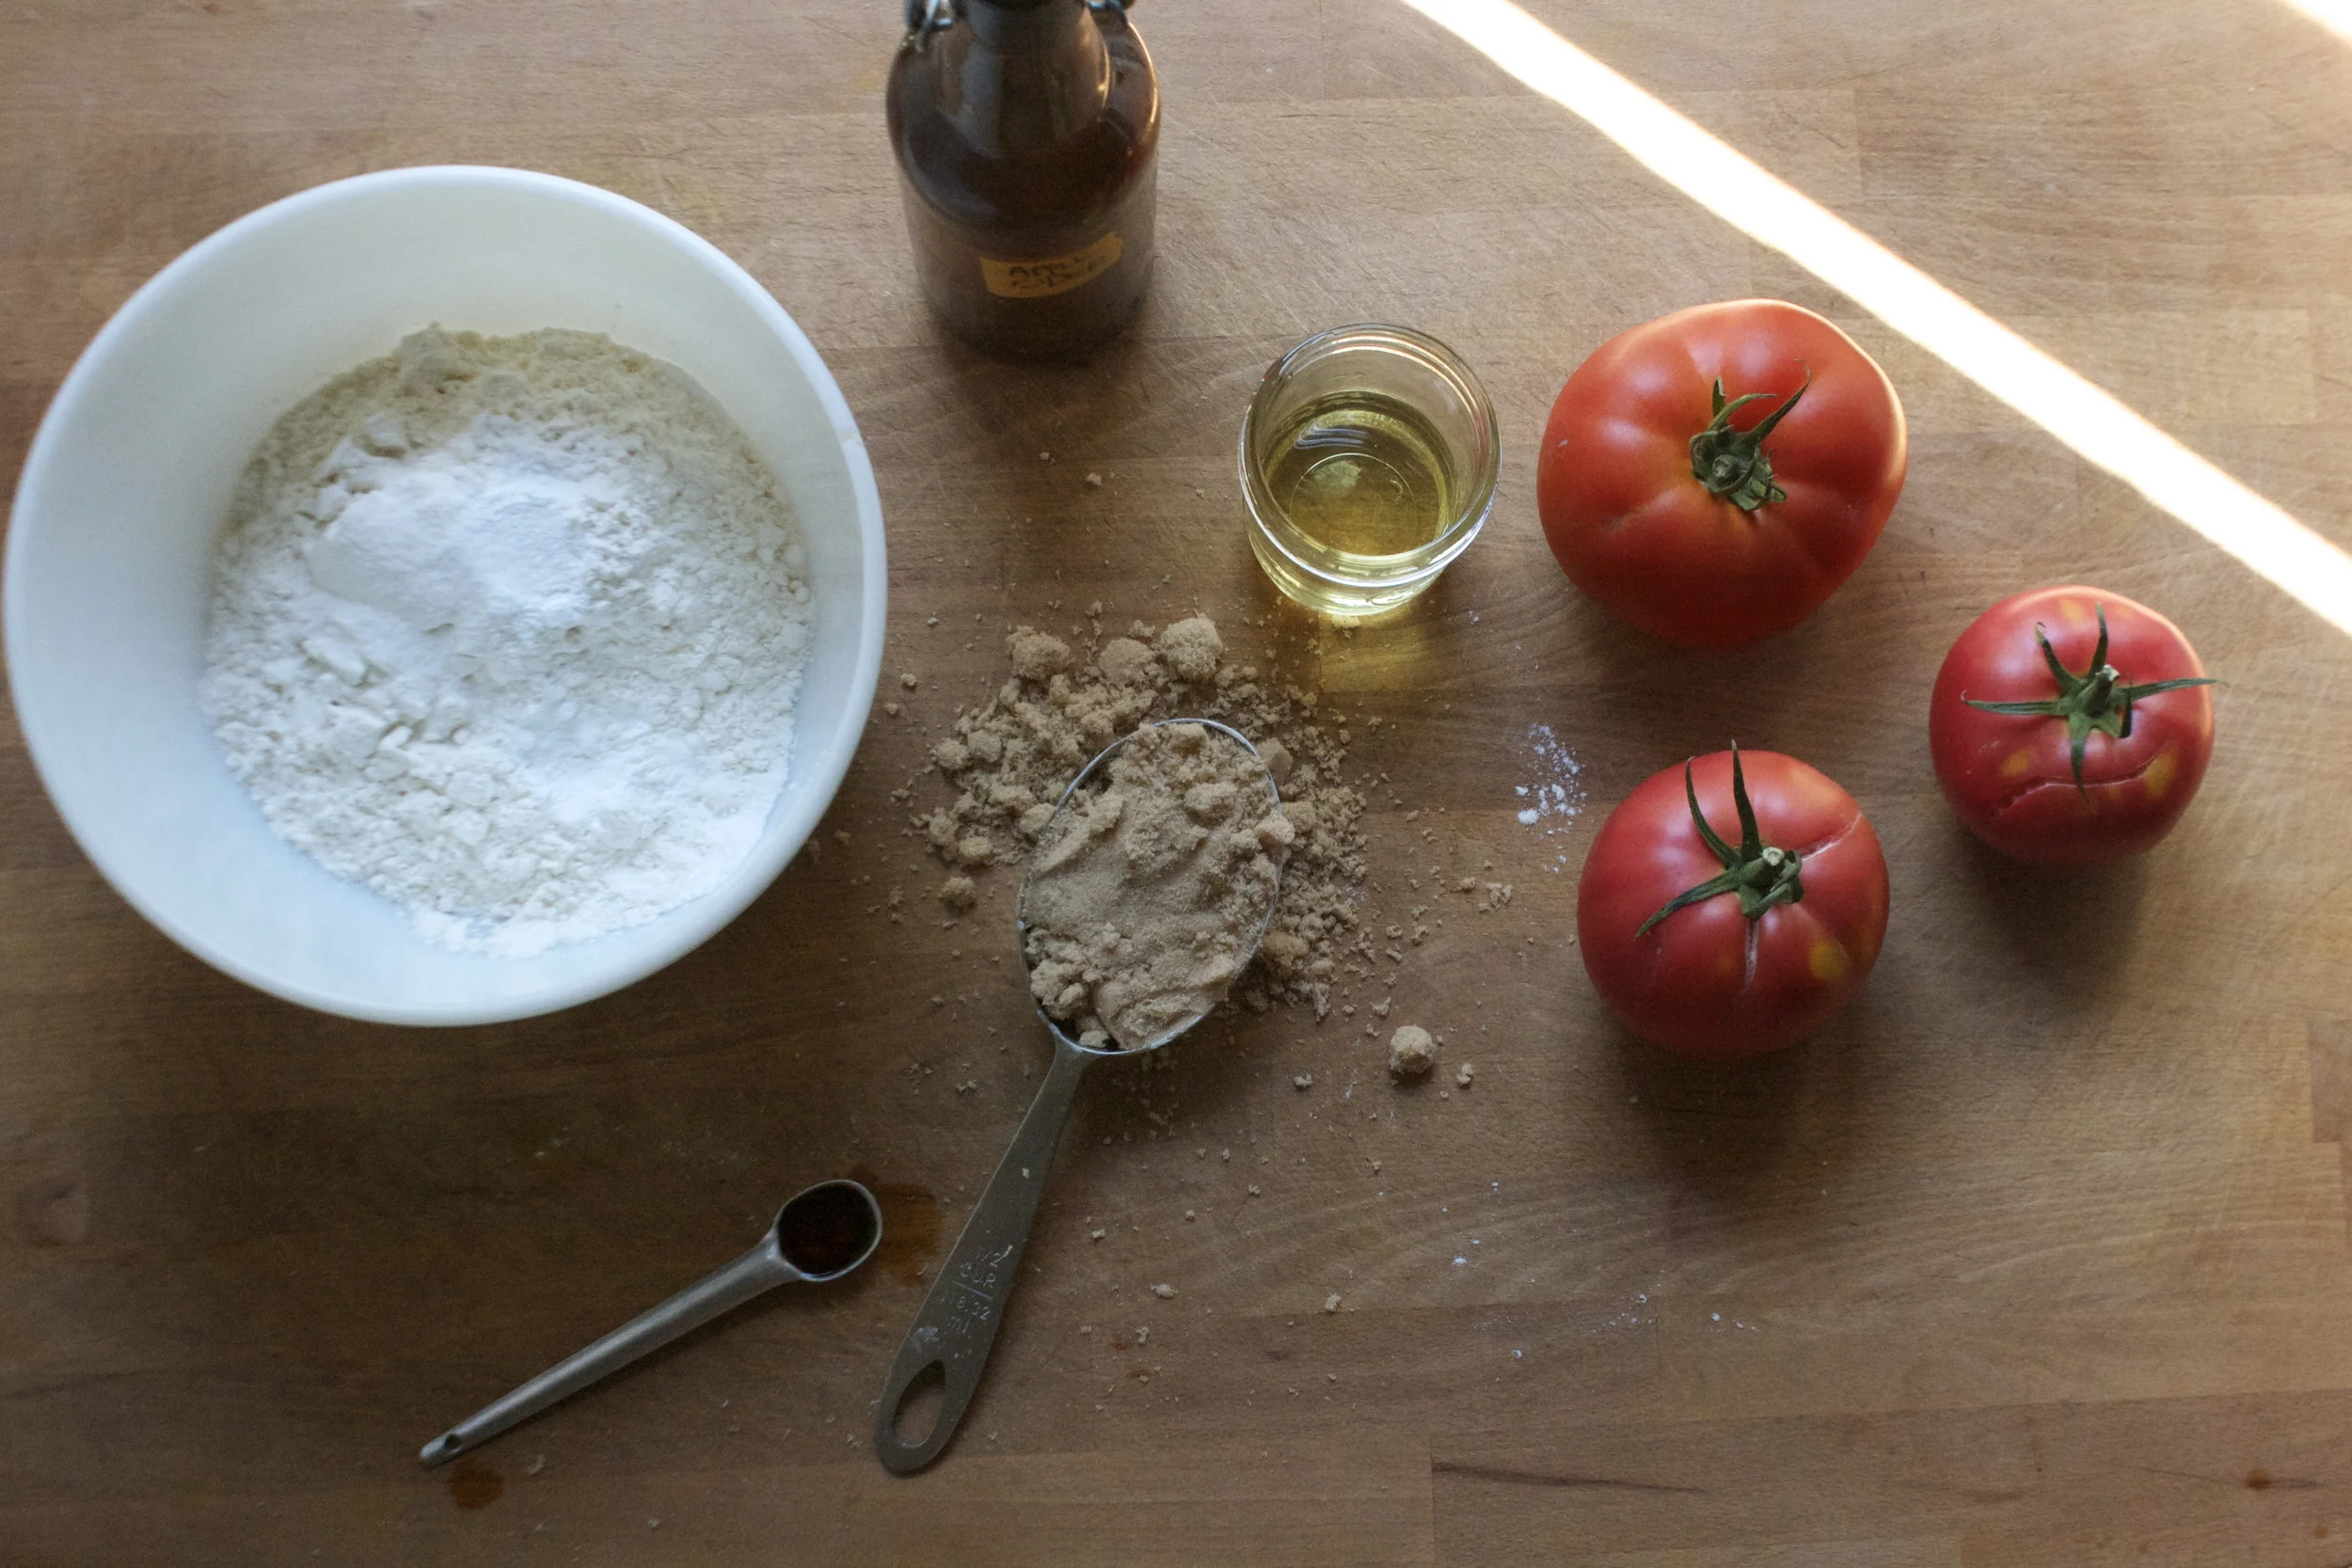
The Stuff. Some super fresh corn on the cob, a couple onions, a few chopped up potatoes and a chopped up carrot. Then we have a little oil, a lemon,%u00a0dried thyme and salt and pepper.%u00a0
To start, take an%u00a0onion, chop it up, and toss into%u00a0a large heavy pot with a little olive%u00a0oil and%u00a0a sprinkle of salt. Stick pot on stove on medium heat and cook until %u00a0onions are soft and traslutcent. When the onions are done, remove and%u00a0add to a blender or%u00a0bowl. (if using a hand blender)%u00a0Add in the juice of the lemon%u00a0and blend it all up until nice a smooth.%u00a0
You have now made a nice creamy cream that will help make the final product more, well more creamy without the use of cream (lets say cream on more time !)%u00a0.Set aside.
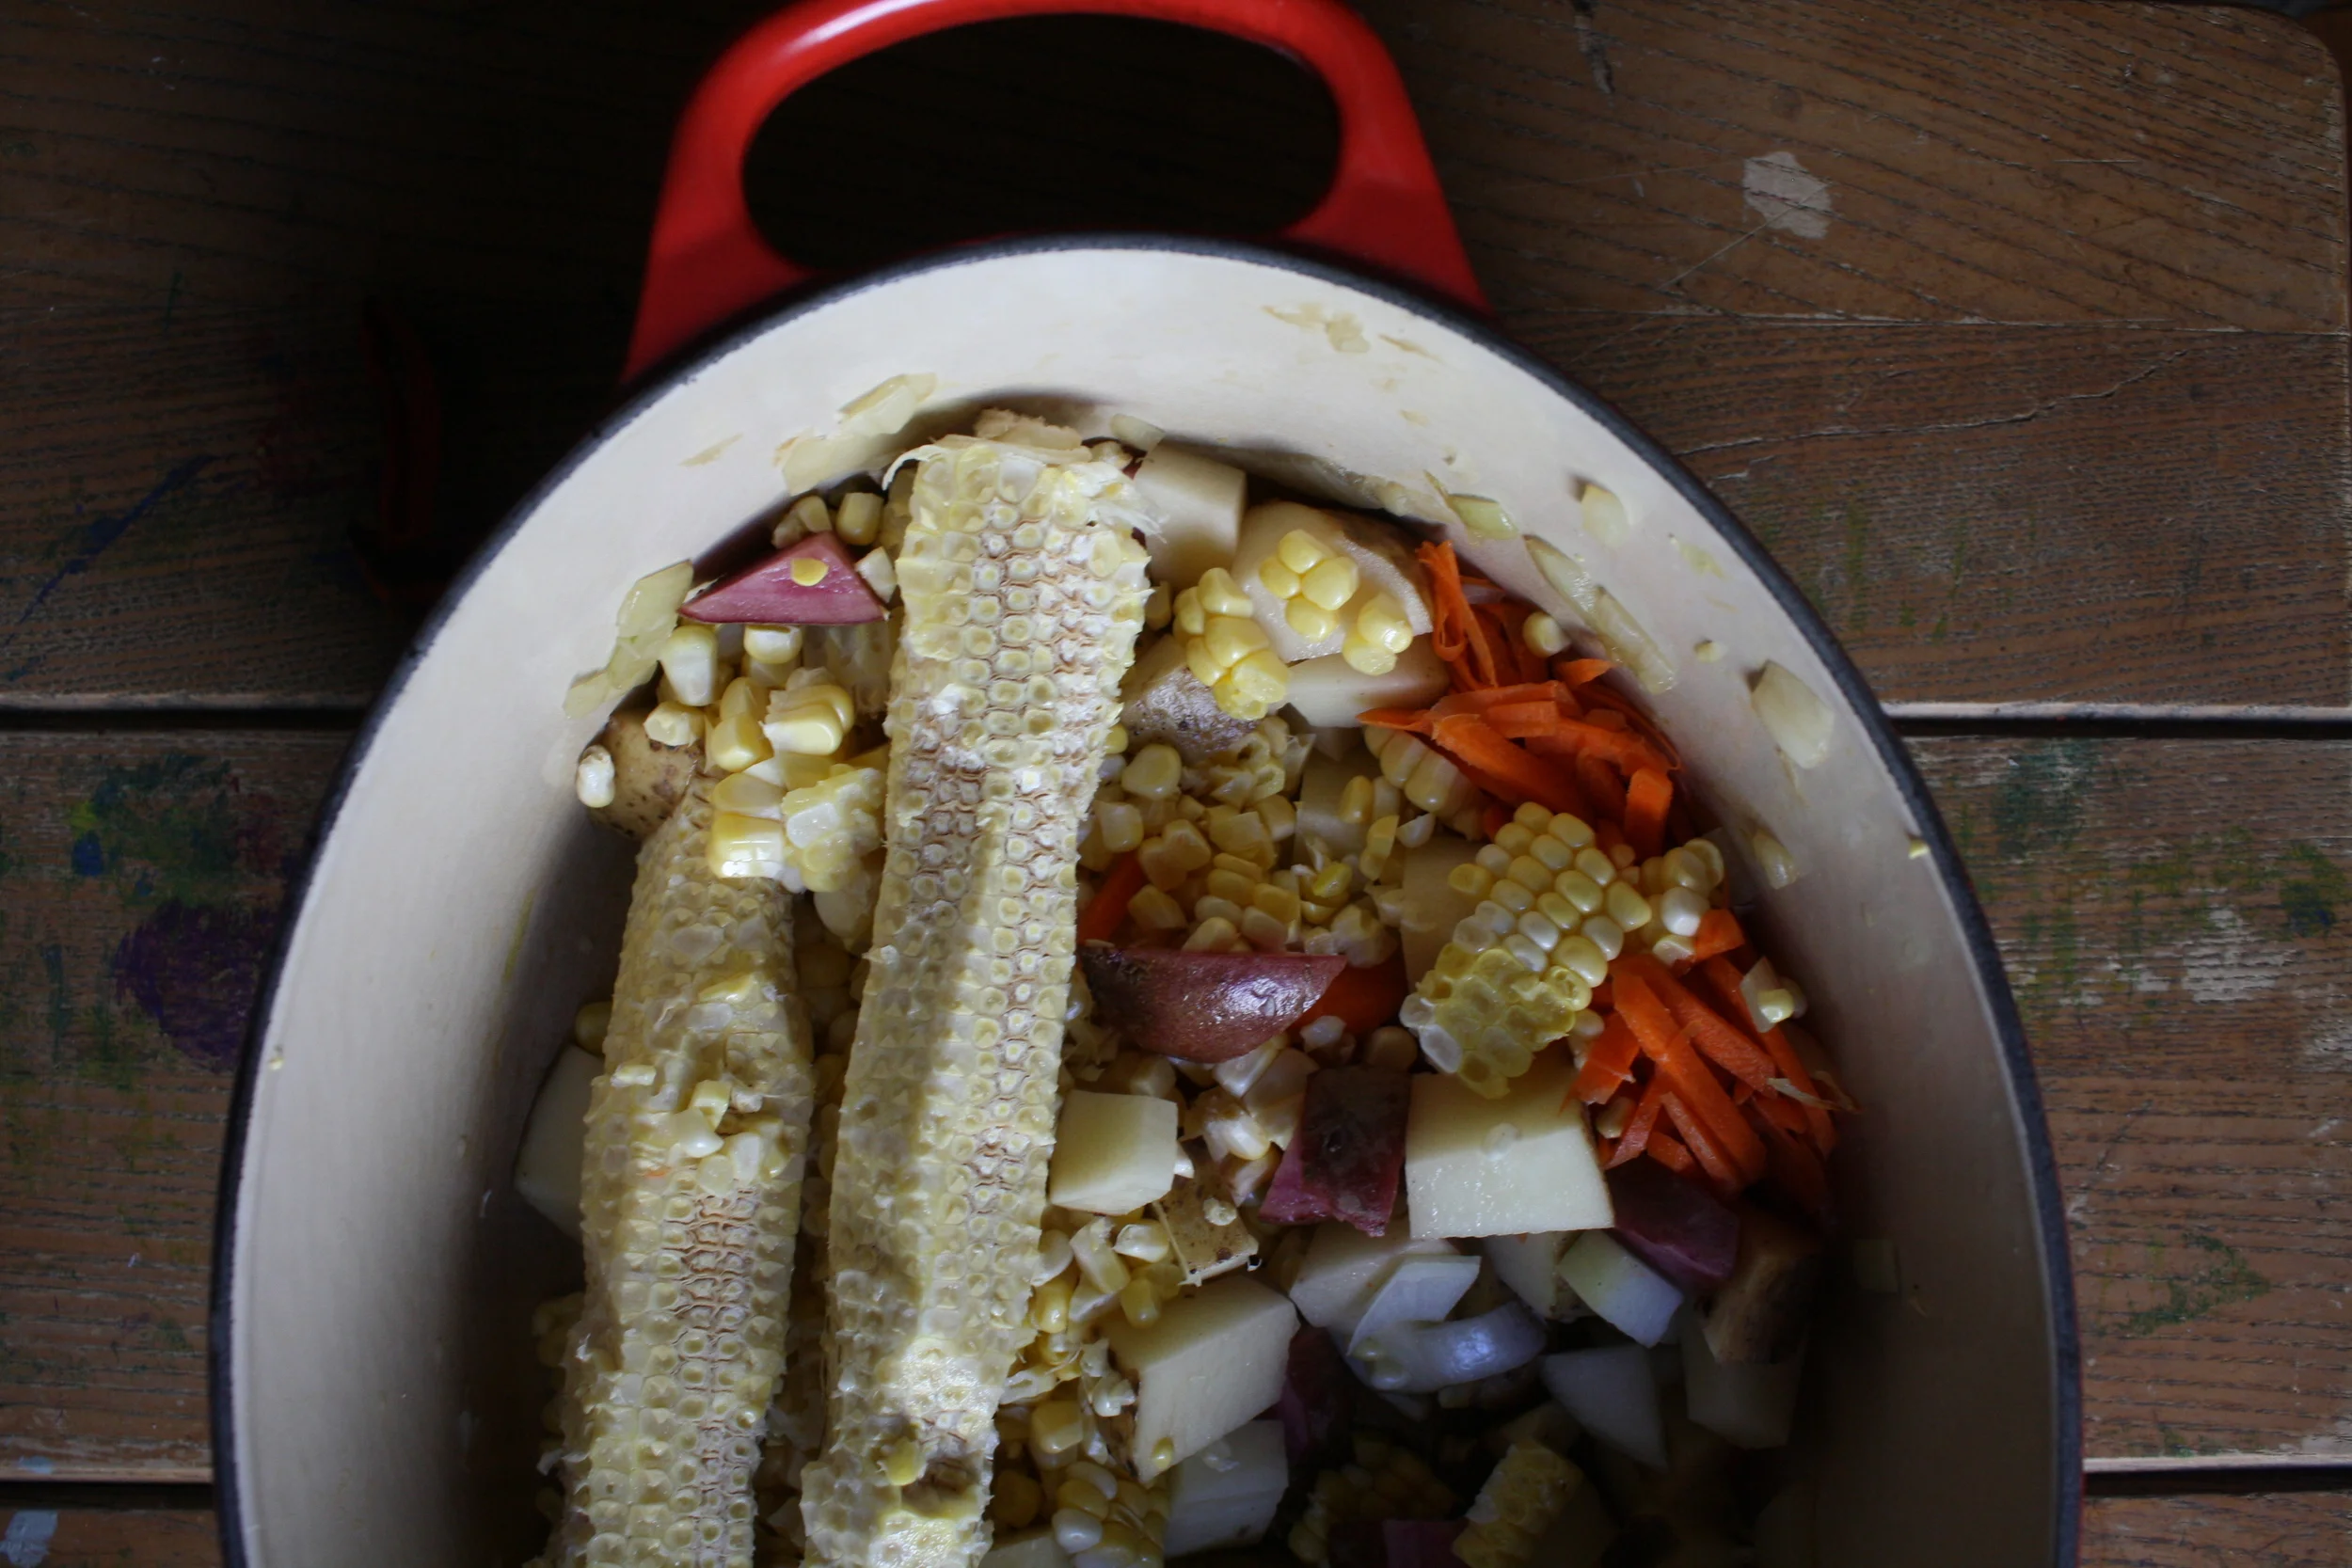
When the pot is empty again, add in the rest of the stuff, including the cobs of the corn, (they hold a butt load of flavor)%u00a0the dried thyme, and salt and pepper.%u00a0Place%u00a0on stove and add enough%u00a0water to completely%u00a0submerge the veggies. Keep pot on a medium heat, add a lid, and stir ever once in a while. Cook until the potatoes are nice and tender.%u00a0(when the potatoes%u00a0are done, so is everything else)

Now that everything is all cooked up, remove the cobs and stir in the onion puree.
Now with a hand blender, blend up until the chowder is thick and smooth, but still nice and chunky. (If you are working with a blender, just remove about half of the soup and blend up, then dump back in) The optimal chunkiness %u00a0is up to you , so %u00a0blend, check the chunk,%u00a0%u00a0then blend a little more if needed. If you feel that the soup is to thick, add in a little more water, or to thin, just cook down o little longer.
%u00a0Once you like the constituency,season to taste with salt and pepper and%u00a0place pot back on a simmer until you are ready to serve.%u00a0
And thats how we make%u00a0corn chowder
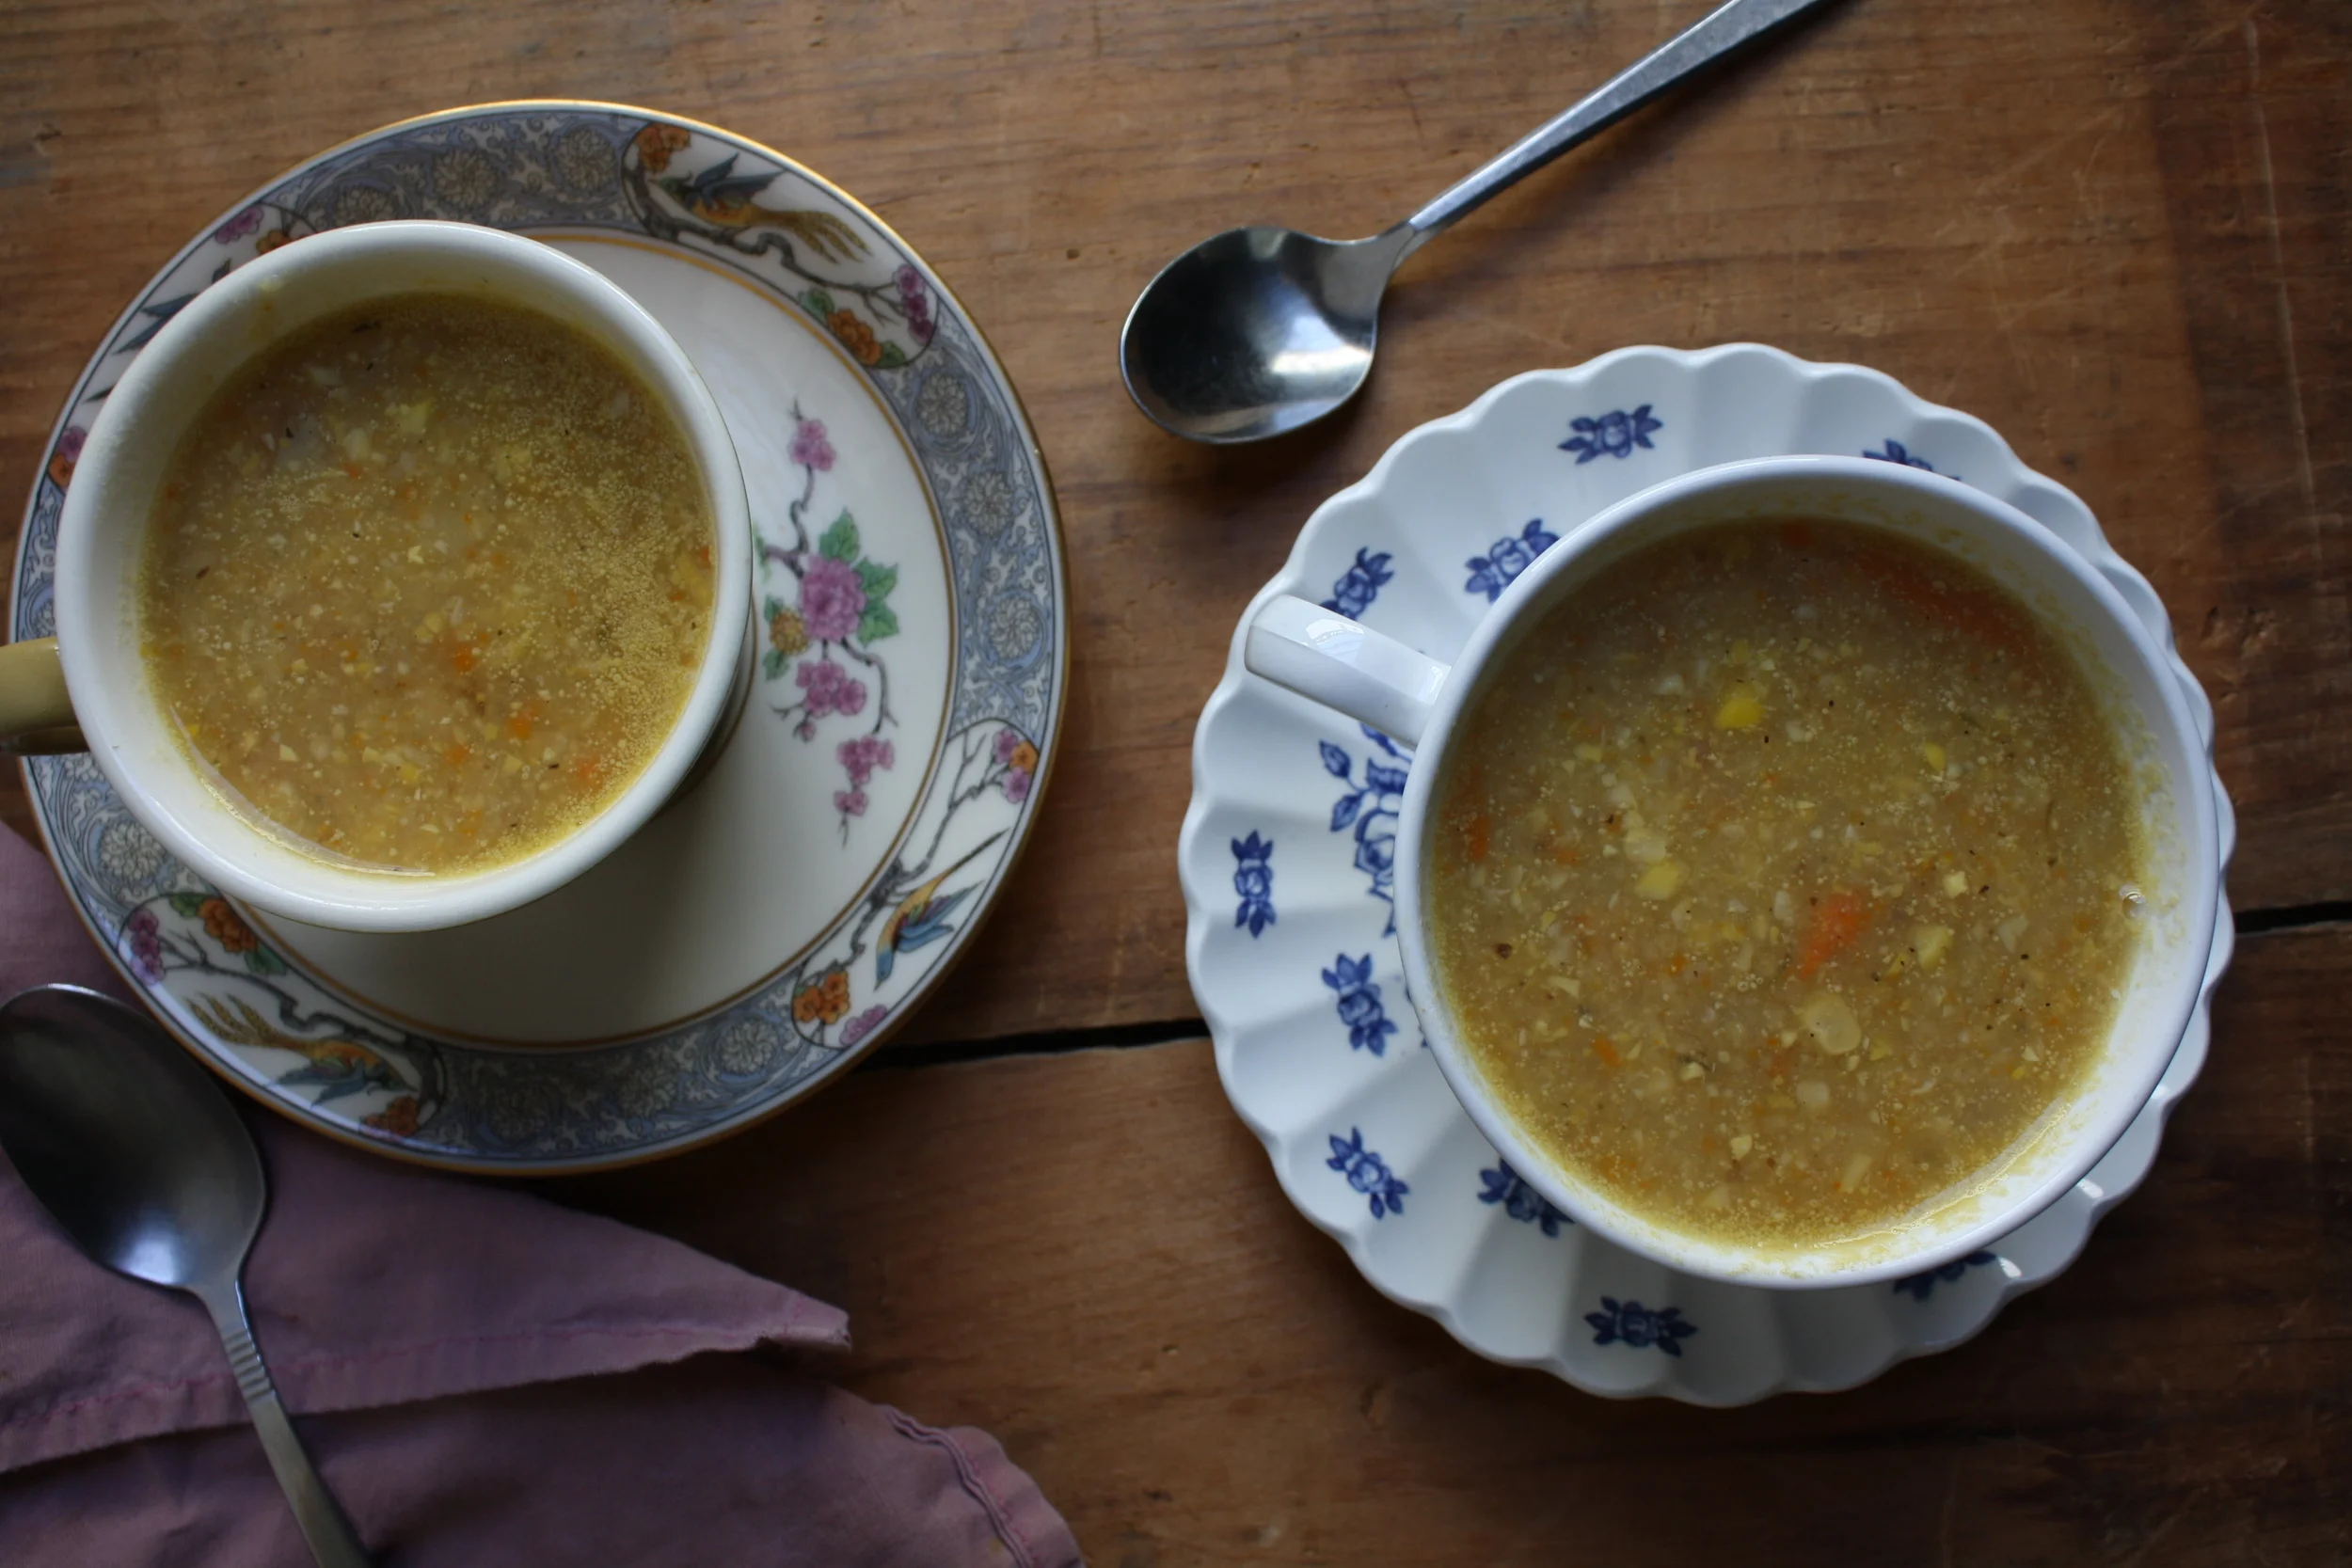
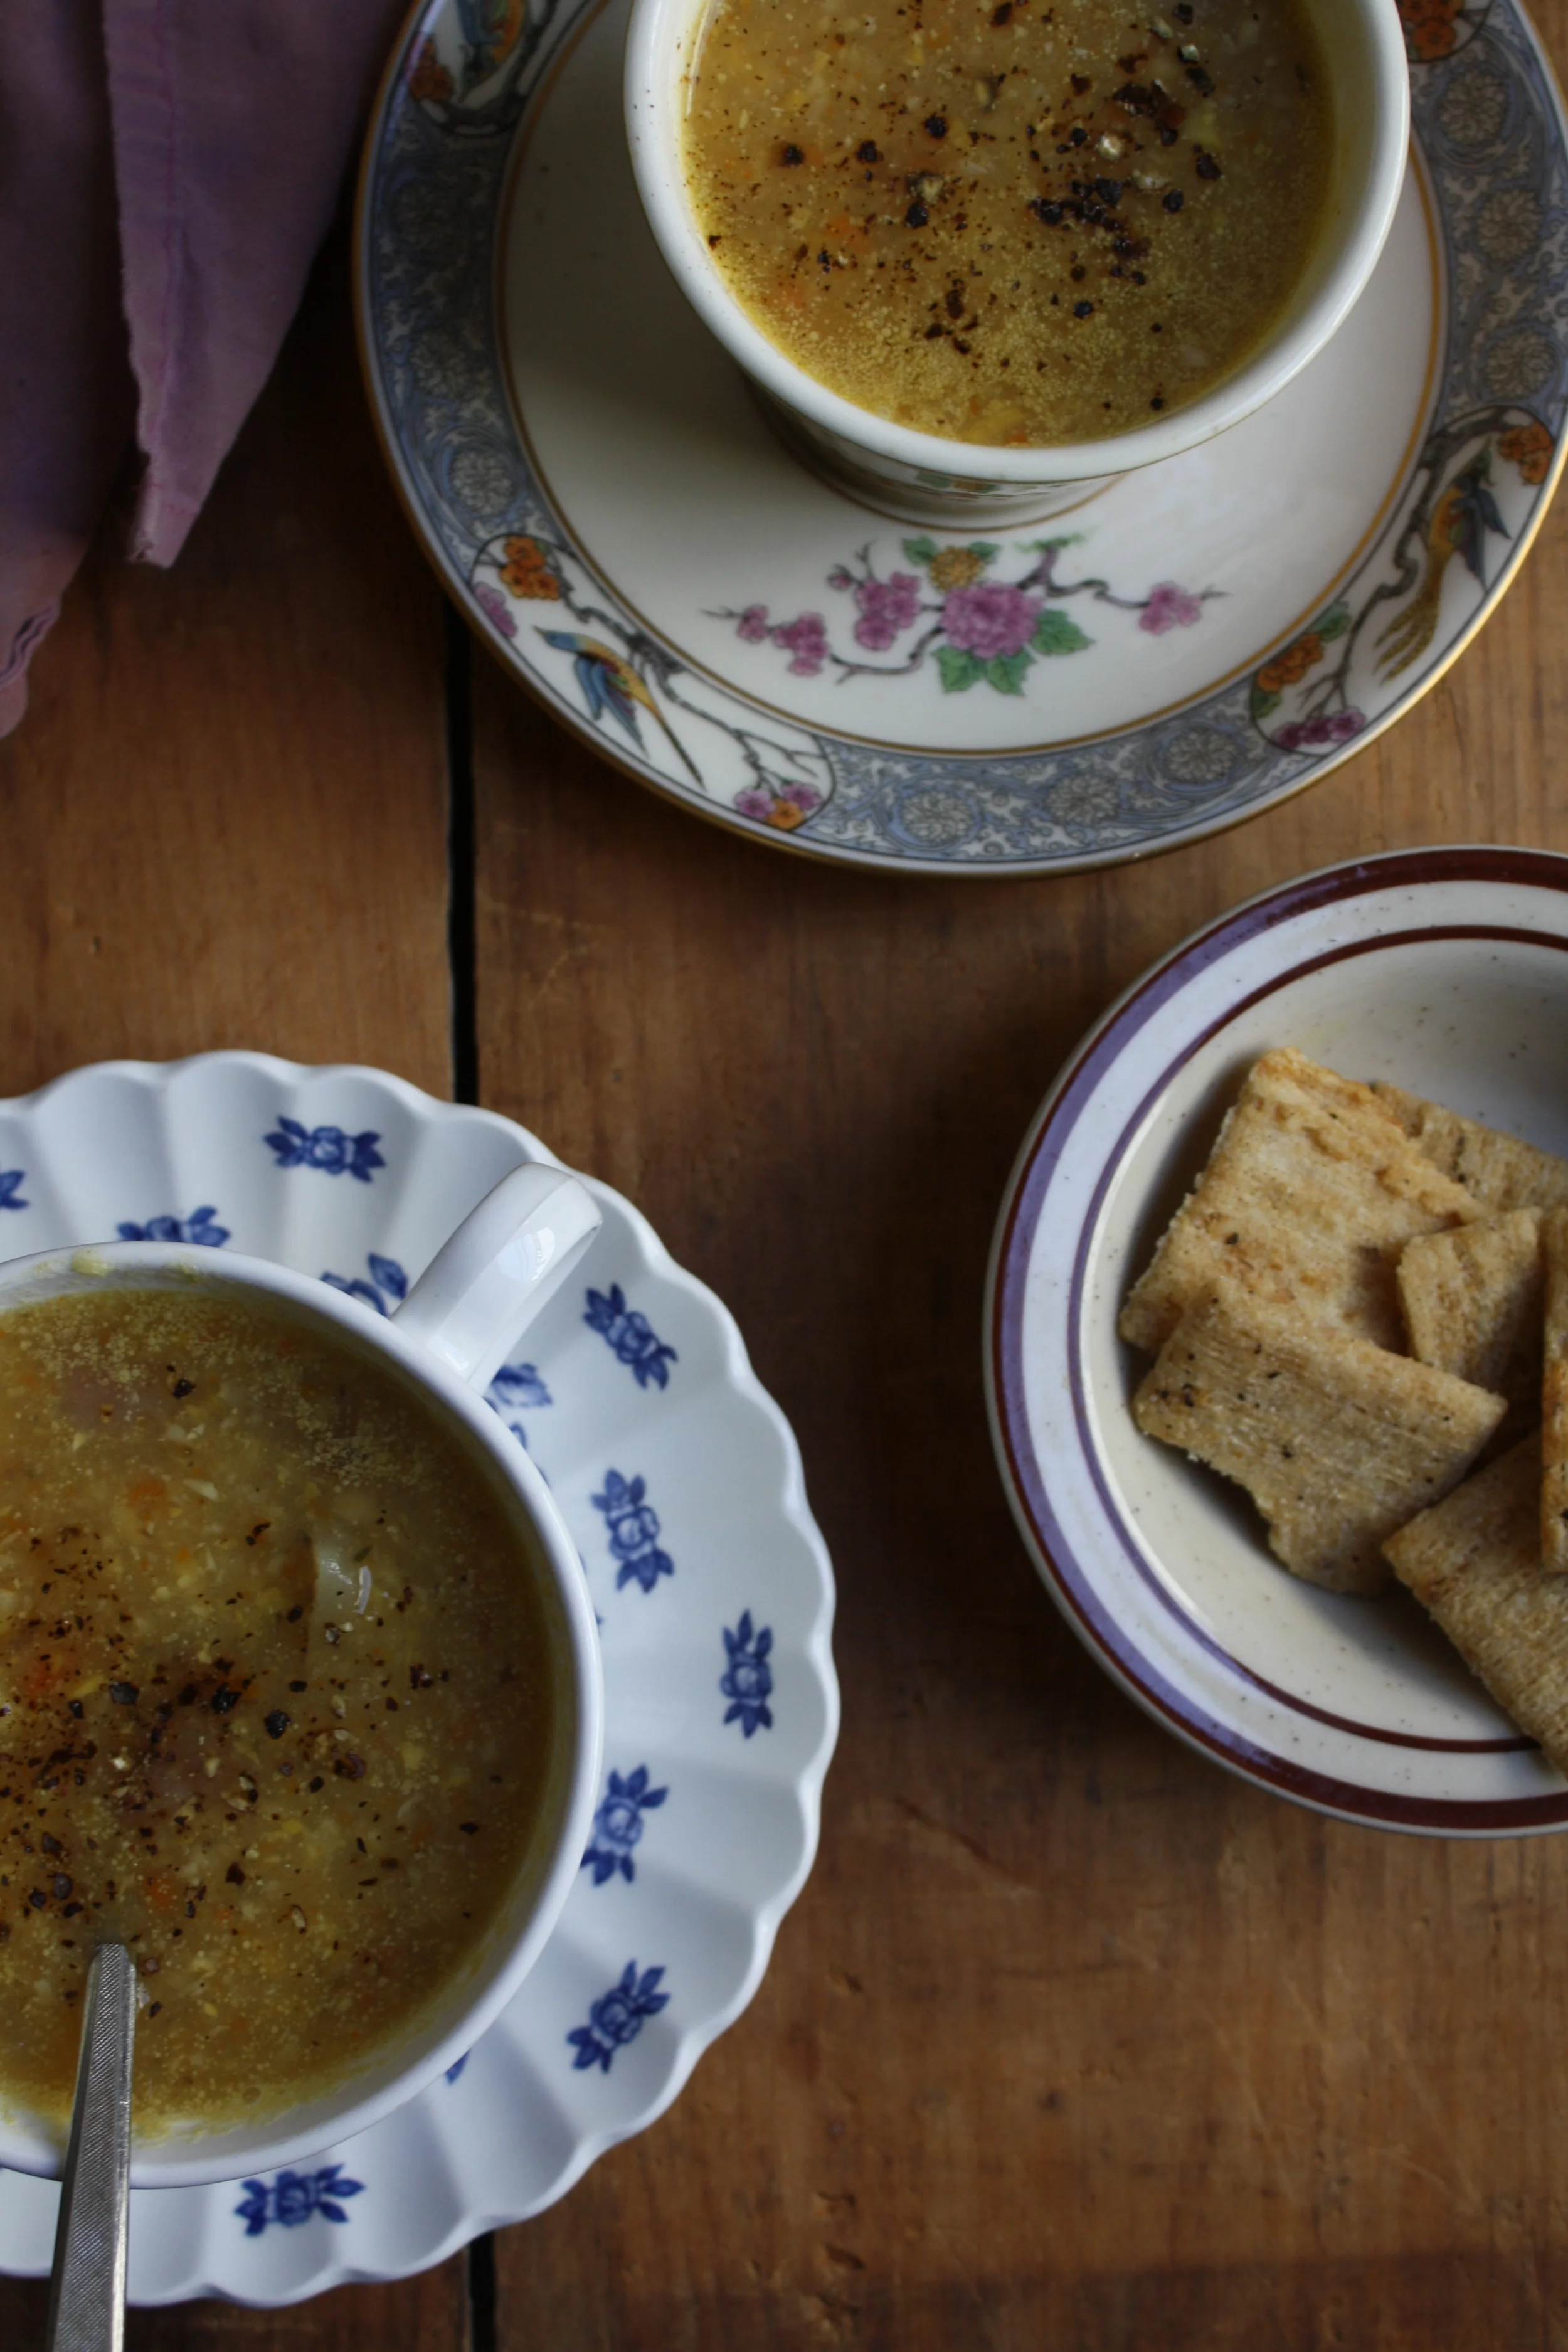
It tastes best serves in the daintiest of the cups, sprinkled heavily with cracked pepper, and with a side of some cracker situation (Saltines would be best, but sometime there are only triscits in the house)
Summertime is for chowder!
HAPPY Humpday Wednesday!!!
-C
Makes a pot big enough for 4-6 nice decent sized servings
- 2 fresh ears of corn
- 3 medium (tennis ball sized)%u00a0red or white potatoes
- 2 white or yellow onions
- 1 carrot
- Juice of a lemon
- 1 tablespoon olive oil
- 1 1/2 %u00a0tablespoons dried thyme
- salt and pepper
To start, peel%u00a0and dice one whole onion and toss into pot with olive oil and stick on medium heat. Cook onions until translucent and fragrant. Remove from pot and add cooked onions and the lemon juice to a blender and puree until smooth and set aside.
While you are cooking down the onions, dice up the carrot and onion, remove the corn kernels from the cob, and chop up the potatoes. Once you have removed the first batch of onions, toss in corn, onions, carrot, potatoes, and the dried thyme.%u00a0Stir around in the pot on medium heat for a few minutes just to warm up the spices. Add the cobs into the pot and fill with enough water to cover the stuff in the pot. Place back on medium heat with a lid and cook for another 20ish minutes, or until potatoes are super tender and almost falling apart.
Remove cobs from pot and add in the onion puree. Now either remove about half the soup and place in the bender and blend up til smooth, or use a hand blender and blend up chowder until you get your%u00a0desired chunkiness. If you think the chowder seems to thick, add in more water, or to thin, just cook down a little longer on the stove.
When ready to eat, ladle chowder into a cup or bowl and add lots of fresh cracked pepper.%u00a0
Serve with a cracker and a spoon to eat it with.


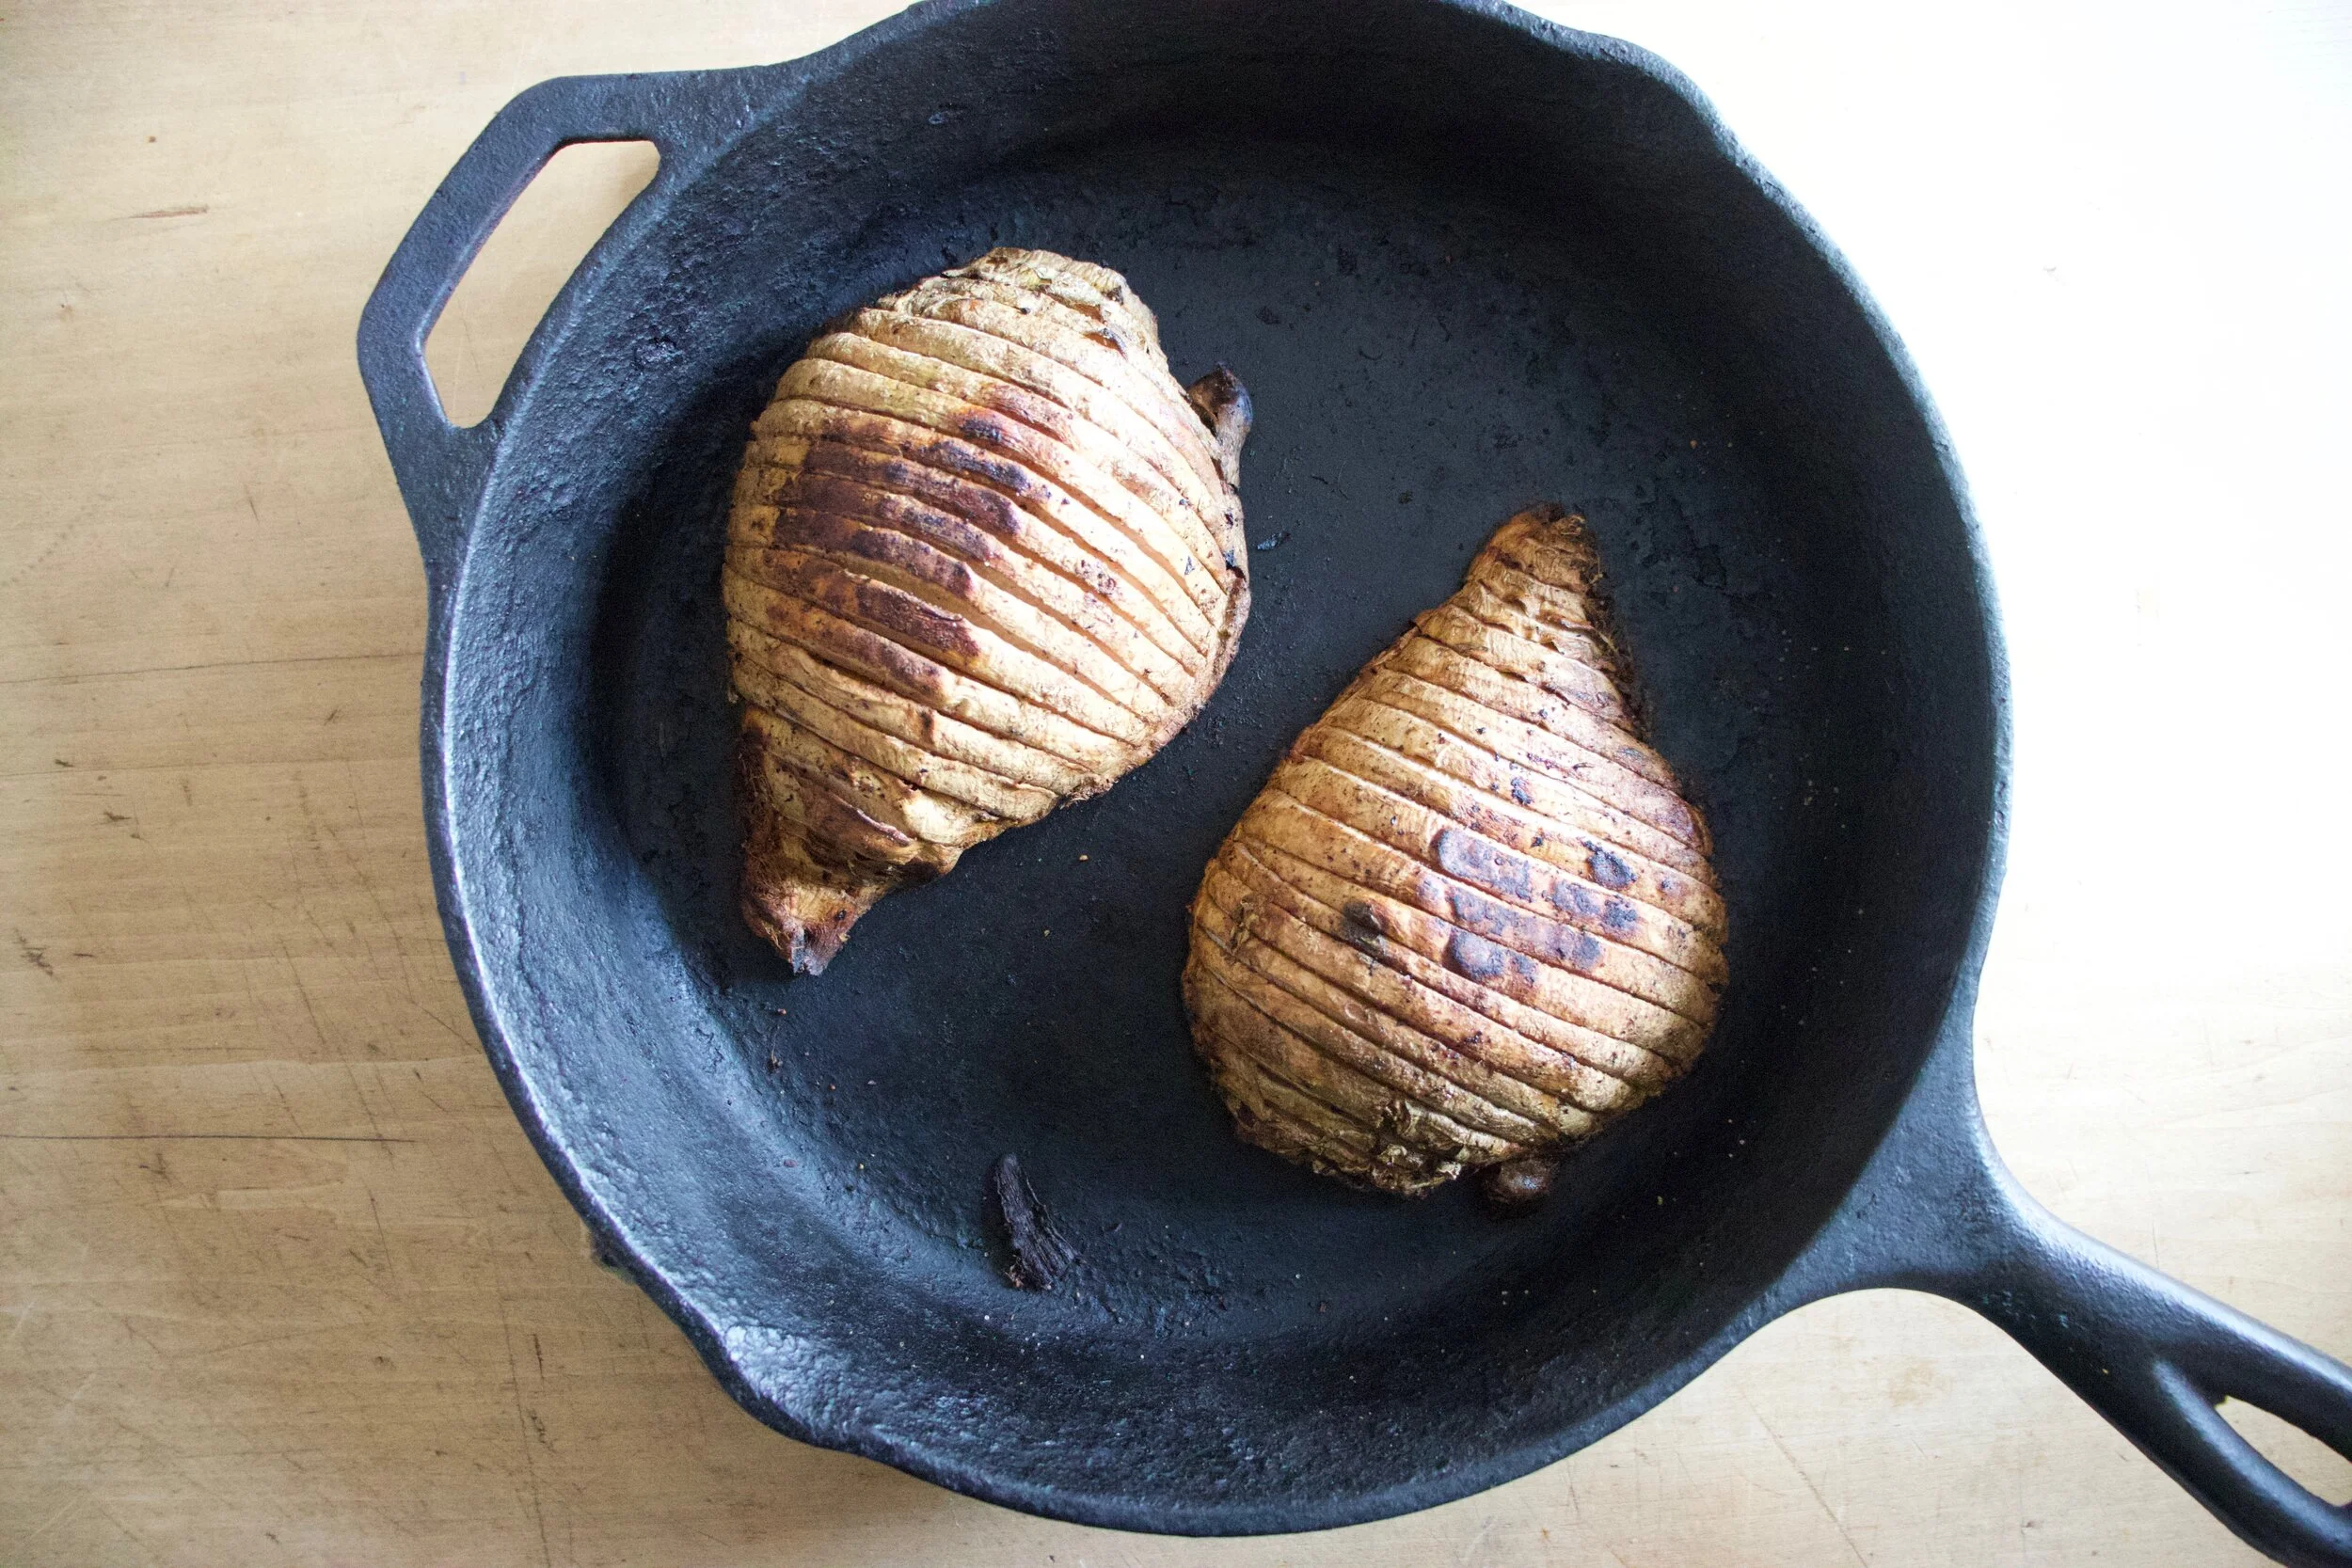
 A couple of days ago, during a grocery store porous, I stumbles upon a produce item that I have not seen sold in stores before, Broccoli leaf. And I%u00a0was kind of surprised %u00a0to see that they were selling bunches of the leaf, %u00a0organic, %u00a0at 2 bucks a bunch.%u00a0I was very excited ! But wait.. You can eat broccoli leaves? Heck yes you can! Broccoli leaves %u00a0are fantastic. They taste kind of like broccoli, have a hearty texture like a collard, and can be used raw or cooked just like any other green. Its just one more super yummy green to add to your repertoire.%u00a0 So when I bring home something that I find to be a good score, like a bunch of broccoli leaves, I feel like I have to share it with the mister. (I am so nice) And this dish was how I shared them%u2026. Tossed into a bowl of garlic raging pasta.
  The stuff%u2026. A bunch of broccoli leaves, lots of garlic, pasta, olive oil, salt and a lemon. Pretty simple right?
  Fist off, get your water boiling for the pasta. Once its ready, drop a pinch of salt into the water and stick pasta in for the amount of time recommend by pasta box people. While the pasta is boiling, mince up the garlic (I used my garlic press) into a skillet and add in the oil. %u00a0Stick on a burner on medium for a few minutes, stirring around to make sure the garlic doesn’t stick and burn.%u00a0
  %u00a0 %u00a0%u00a0
 Once you start to smell the garlic, turn heat onto low, chop up the broccoli leaves (stems and all) %u00a0and stir around until wilted and add in the juice of half a the lemon.When the pasta is cooked, remove a few tablespoons of starchy water and %u00a0strain the noodles. Add water and pasta right into the skillet with the other stuff. %u00a0Toss around, taste, season with salt and pepper.%u00a0 Go ahead and add some chopped tomato and or parmesan cheese if you want. %u00a0
 And serve your amazingly amazing pasta. %u00a0And make sure that you are ok with really smelly garlic breath%u2026Casue it’s going to happen. Keep it good! -C


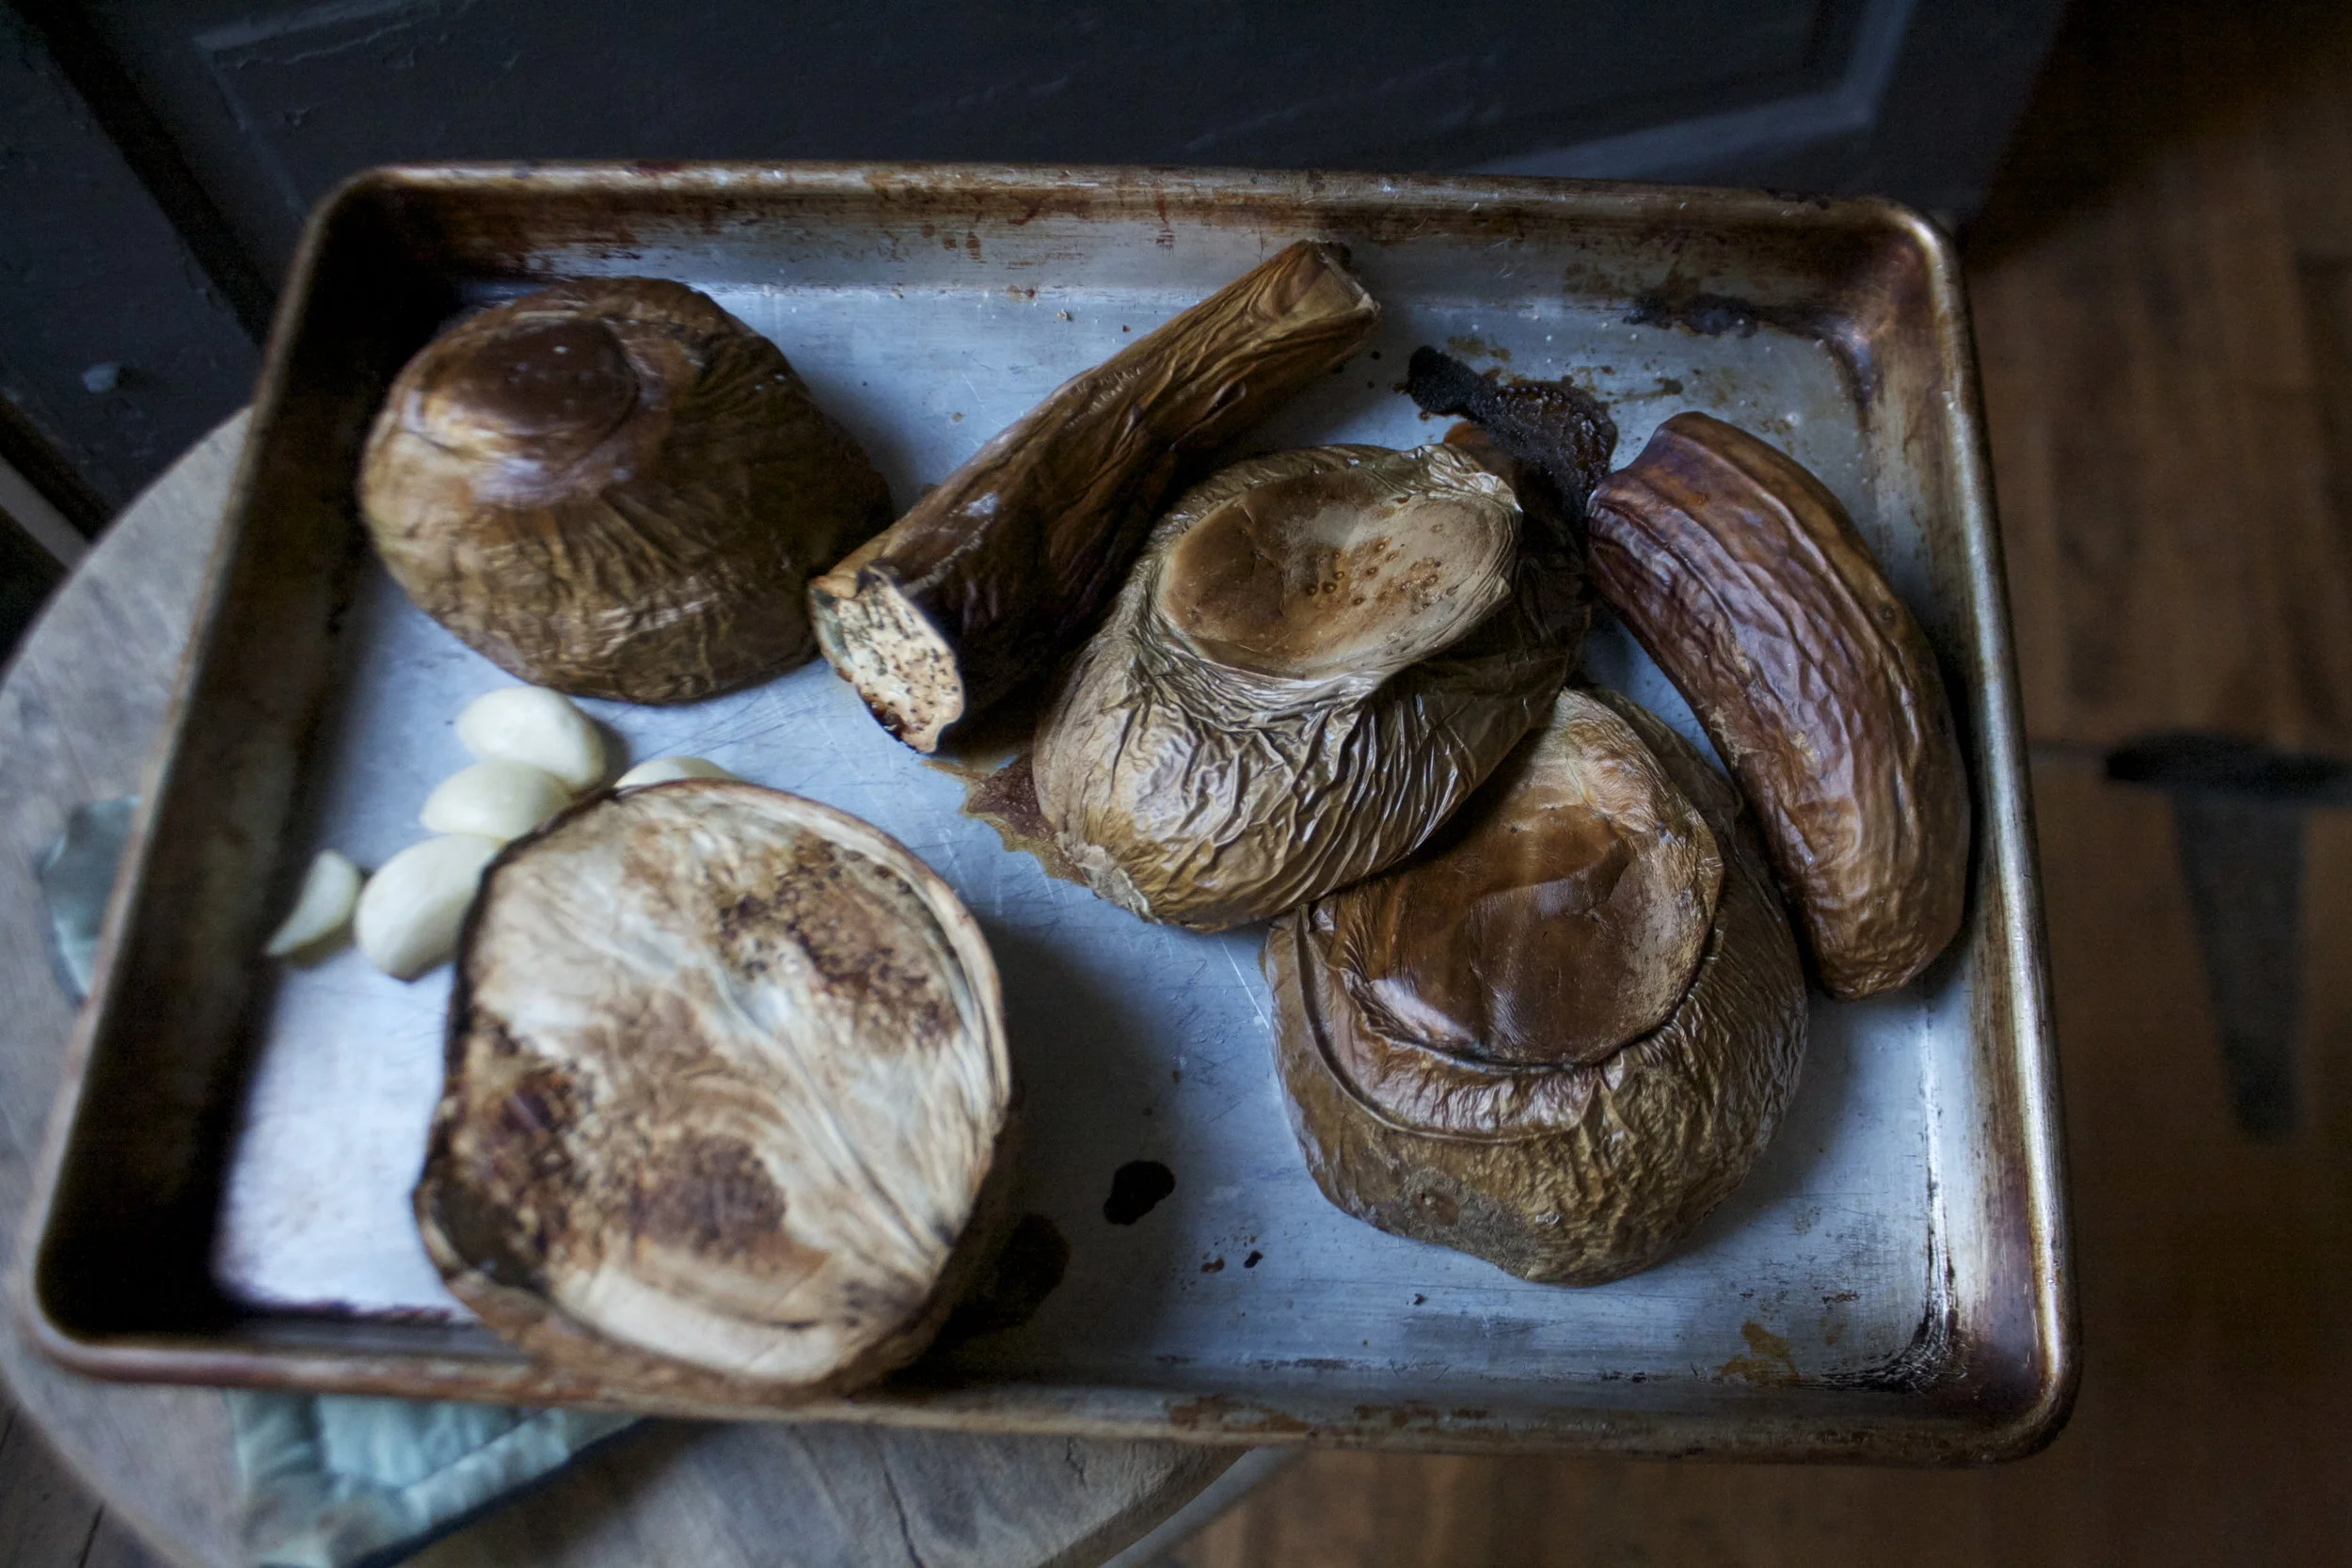
 My winter farm share is coming to an end this week. One more pick and then a three week stretch until the summer share starts%u2026 WHAT AM I GOING TO DO!!! Stock up as much as I can is what.
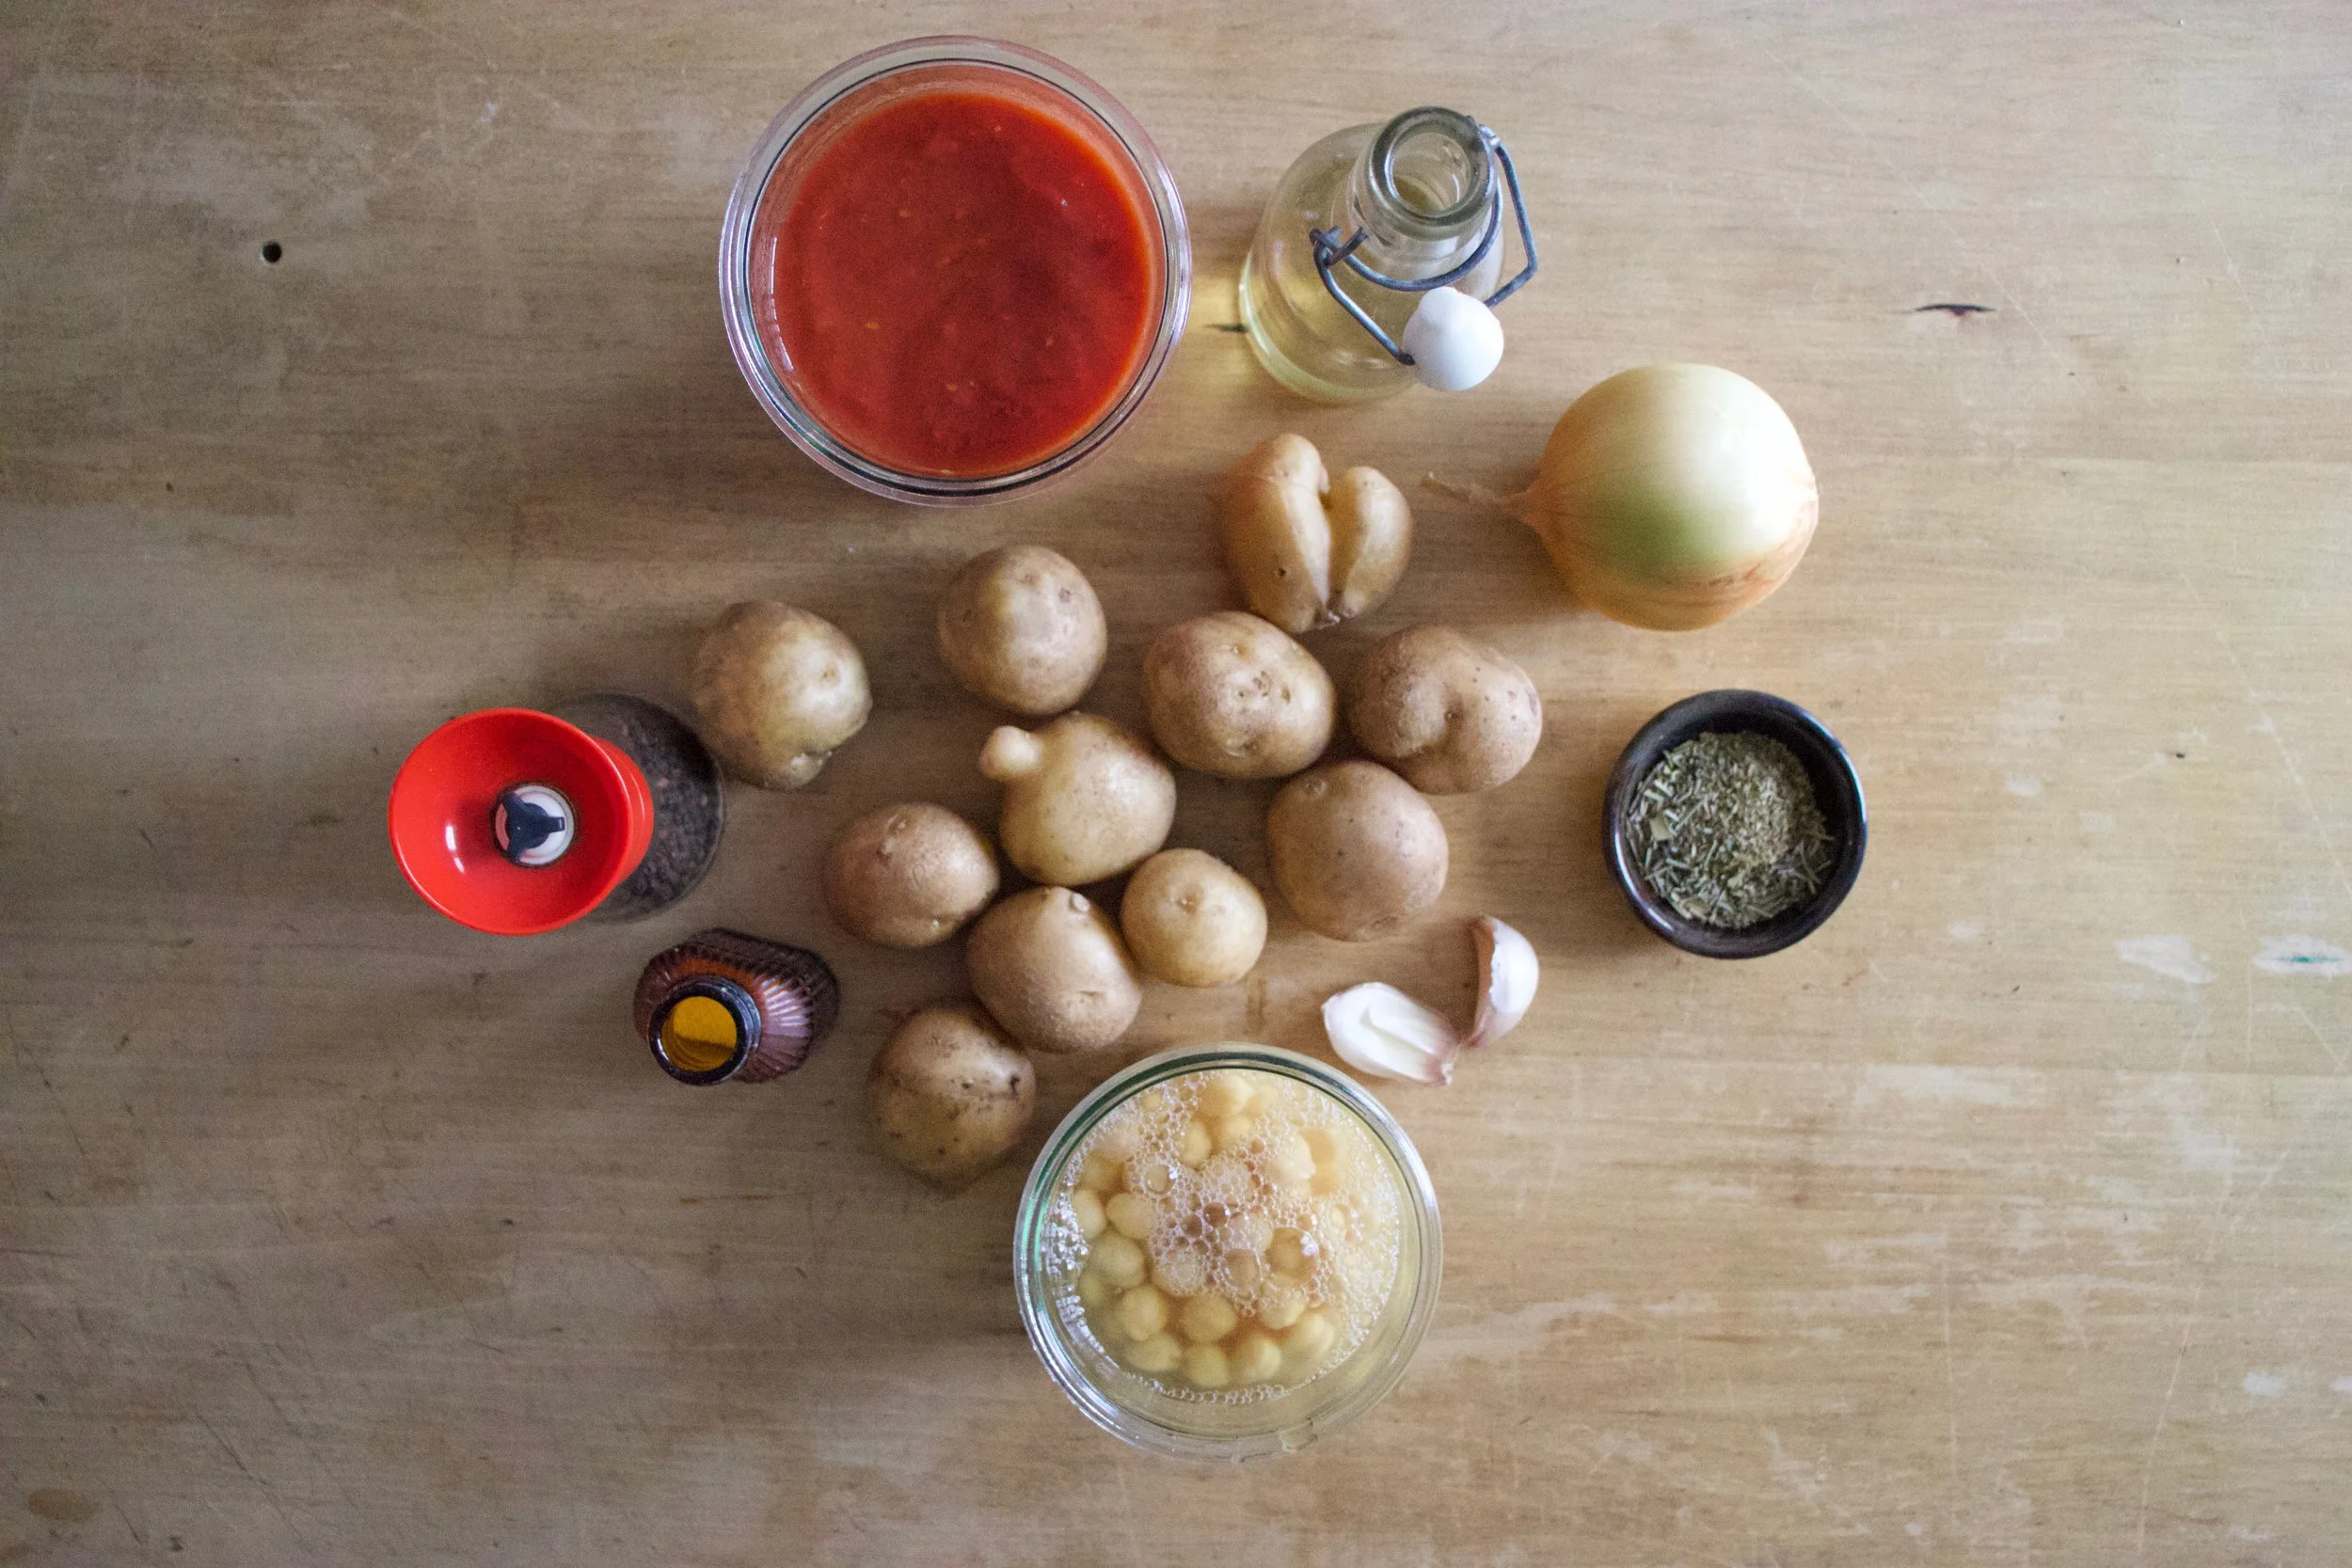
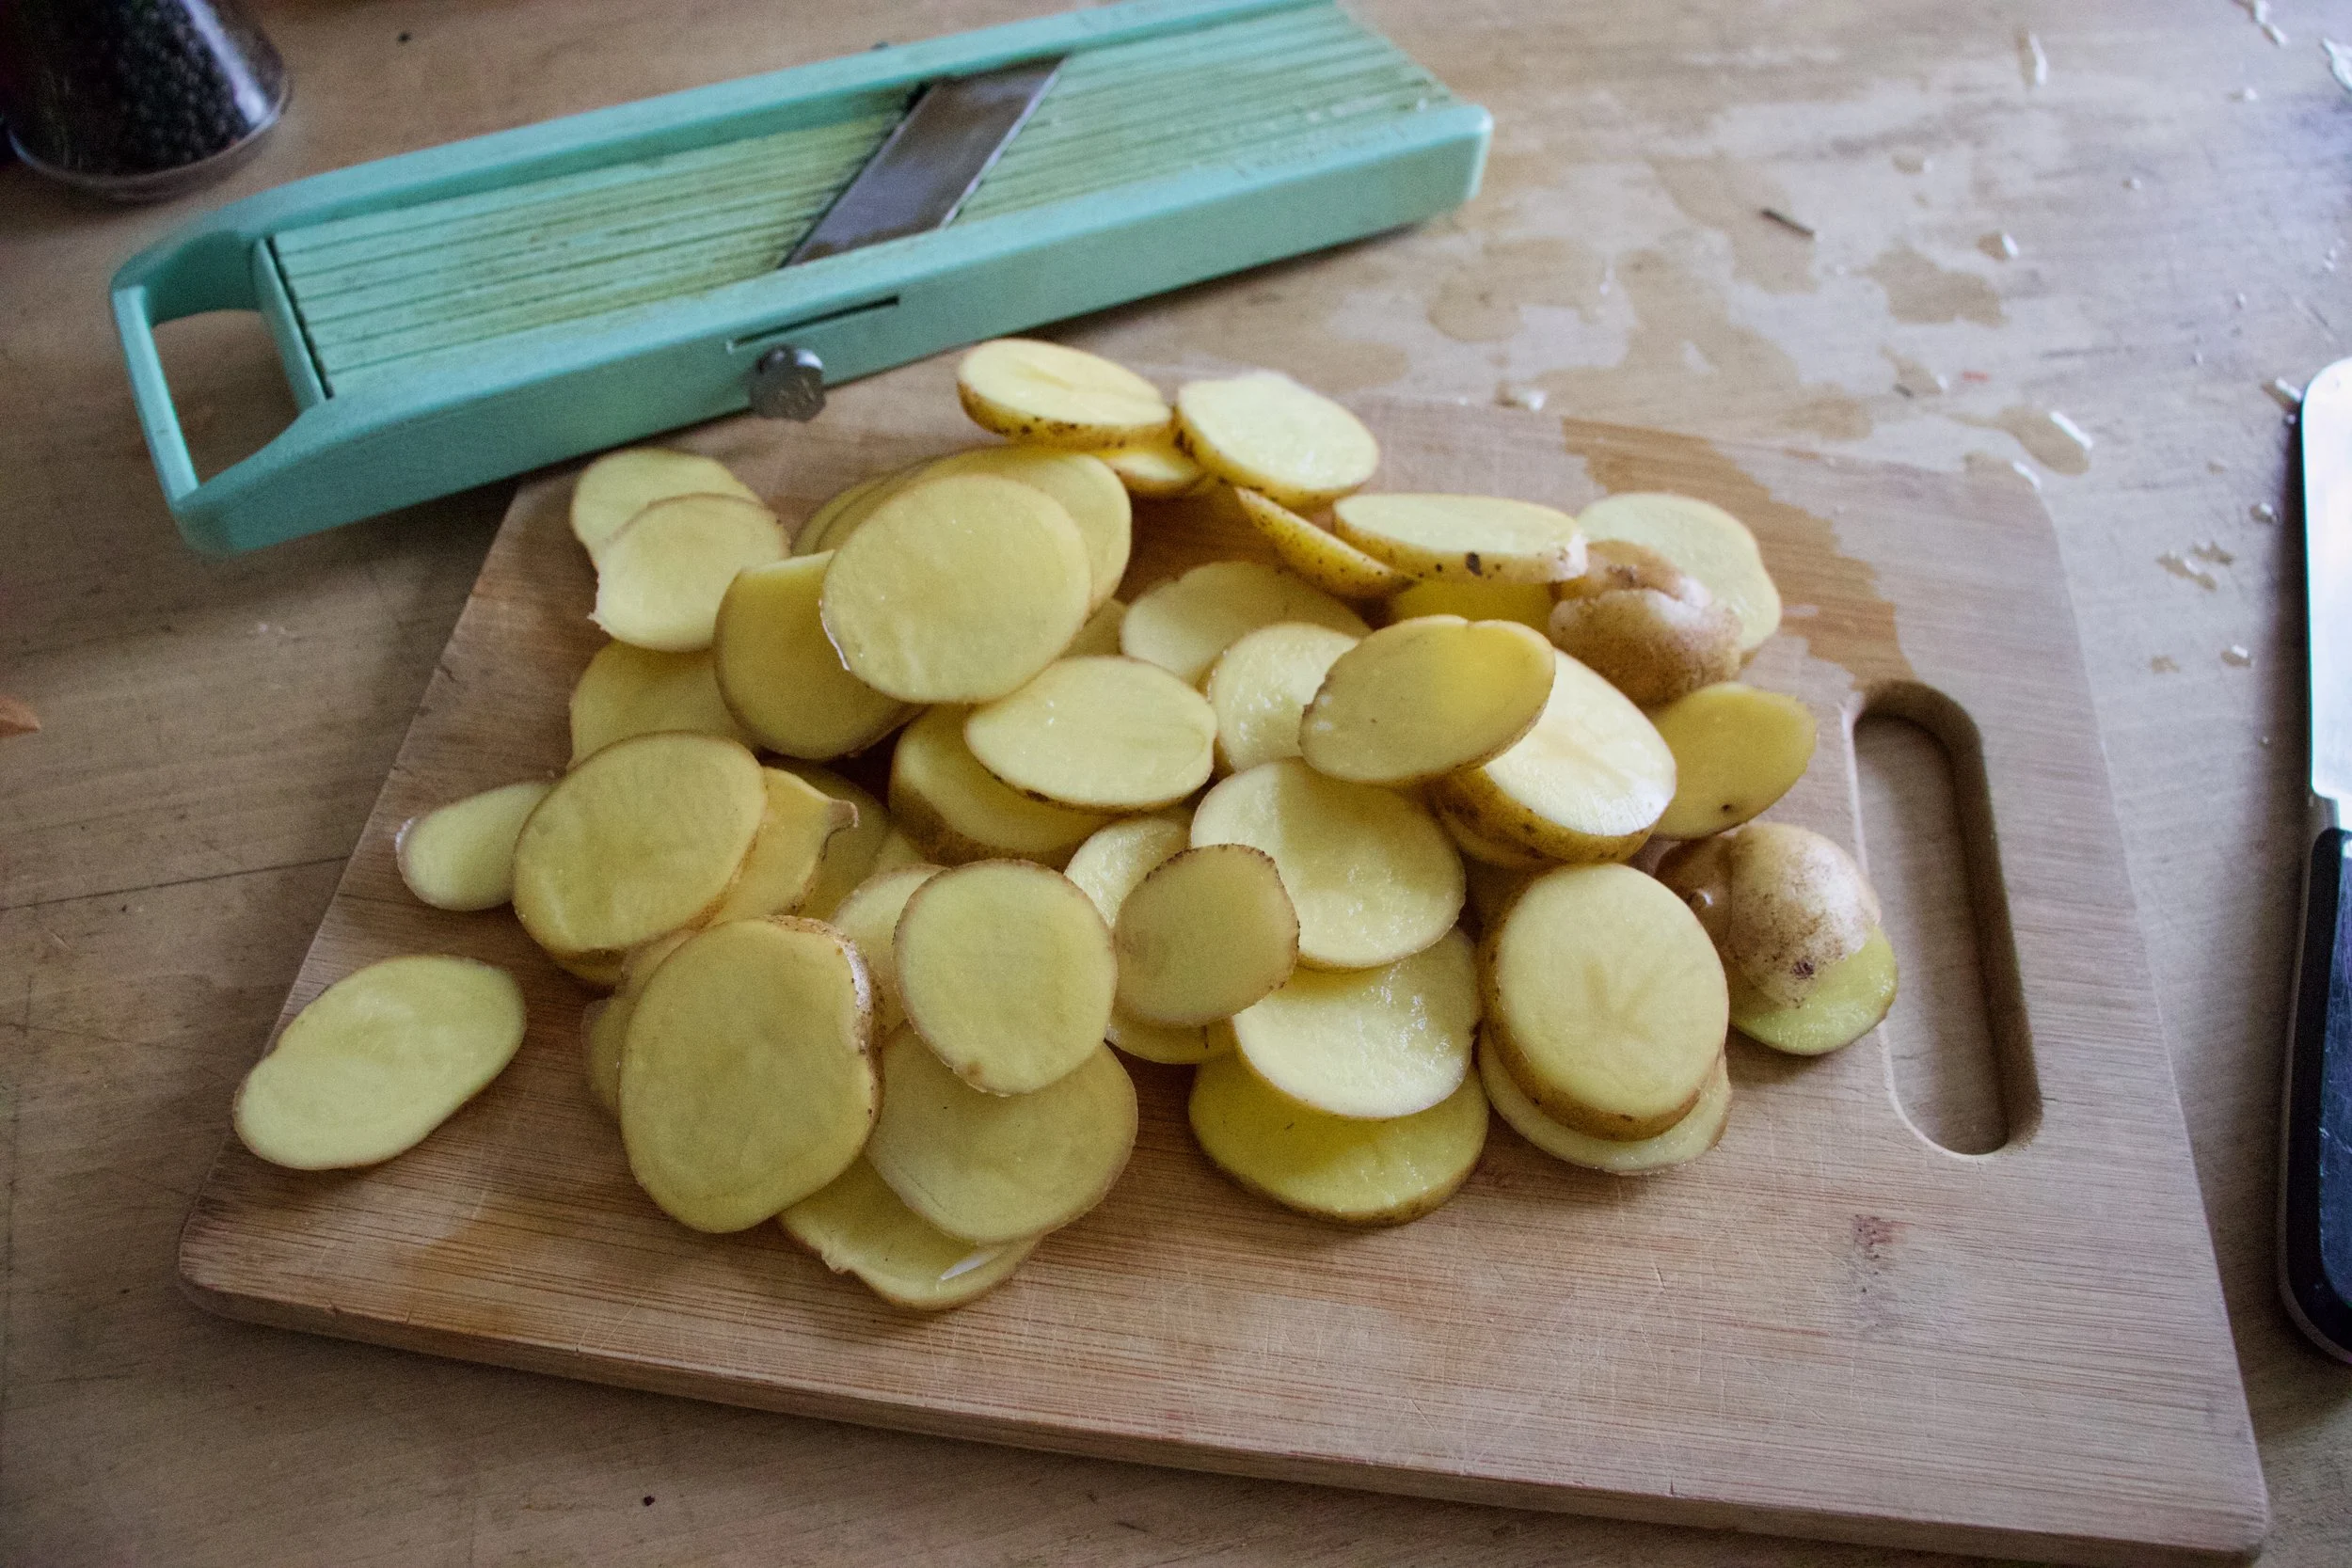
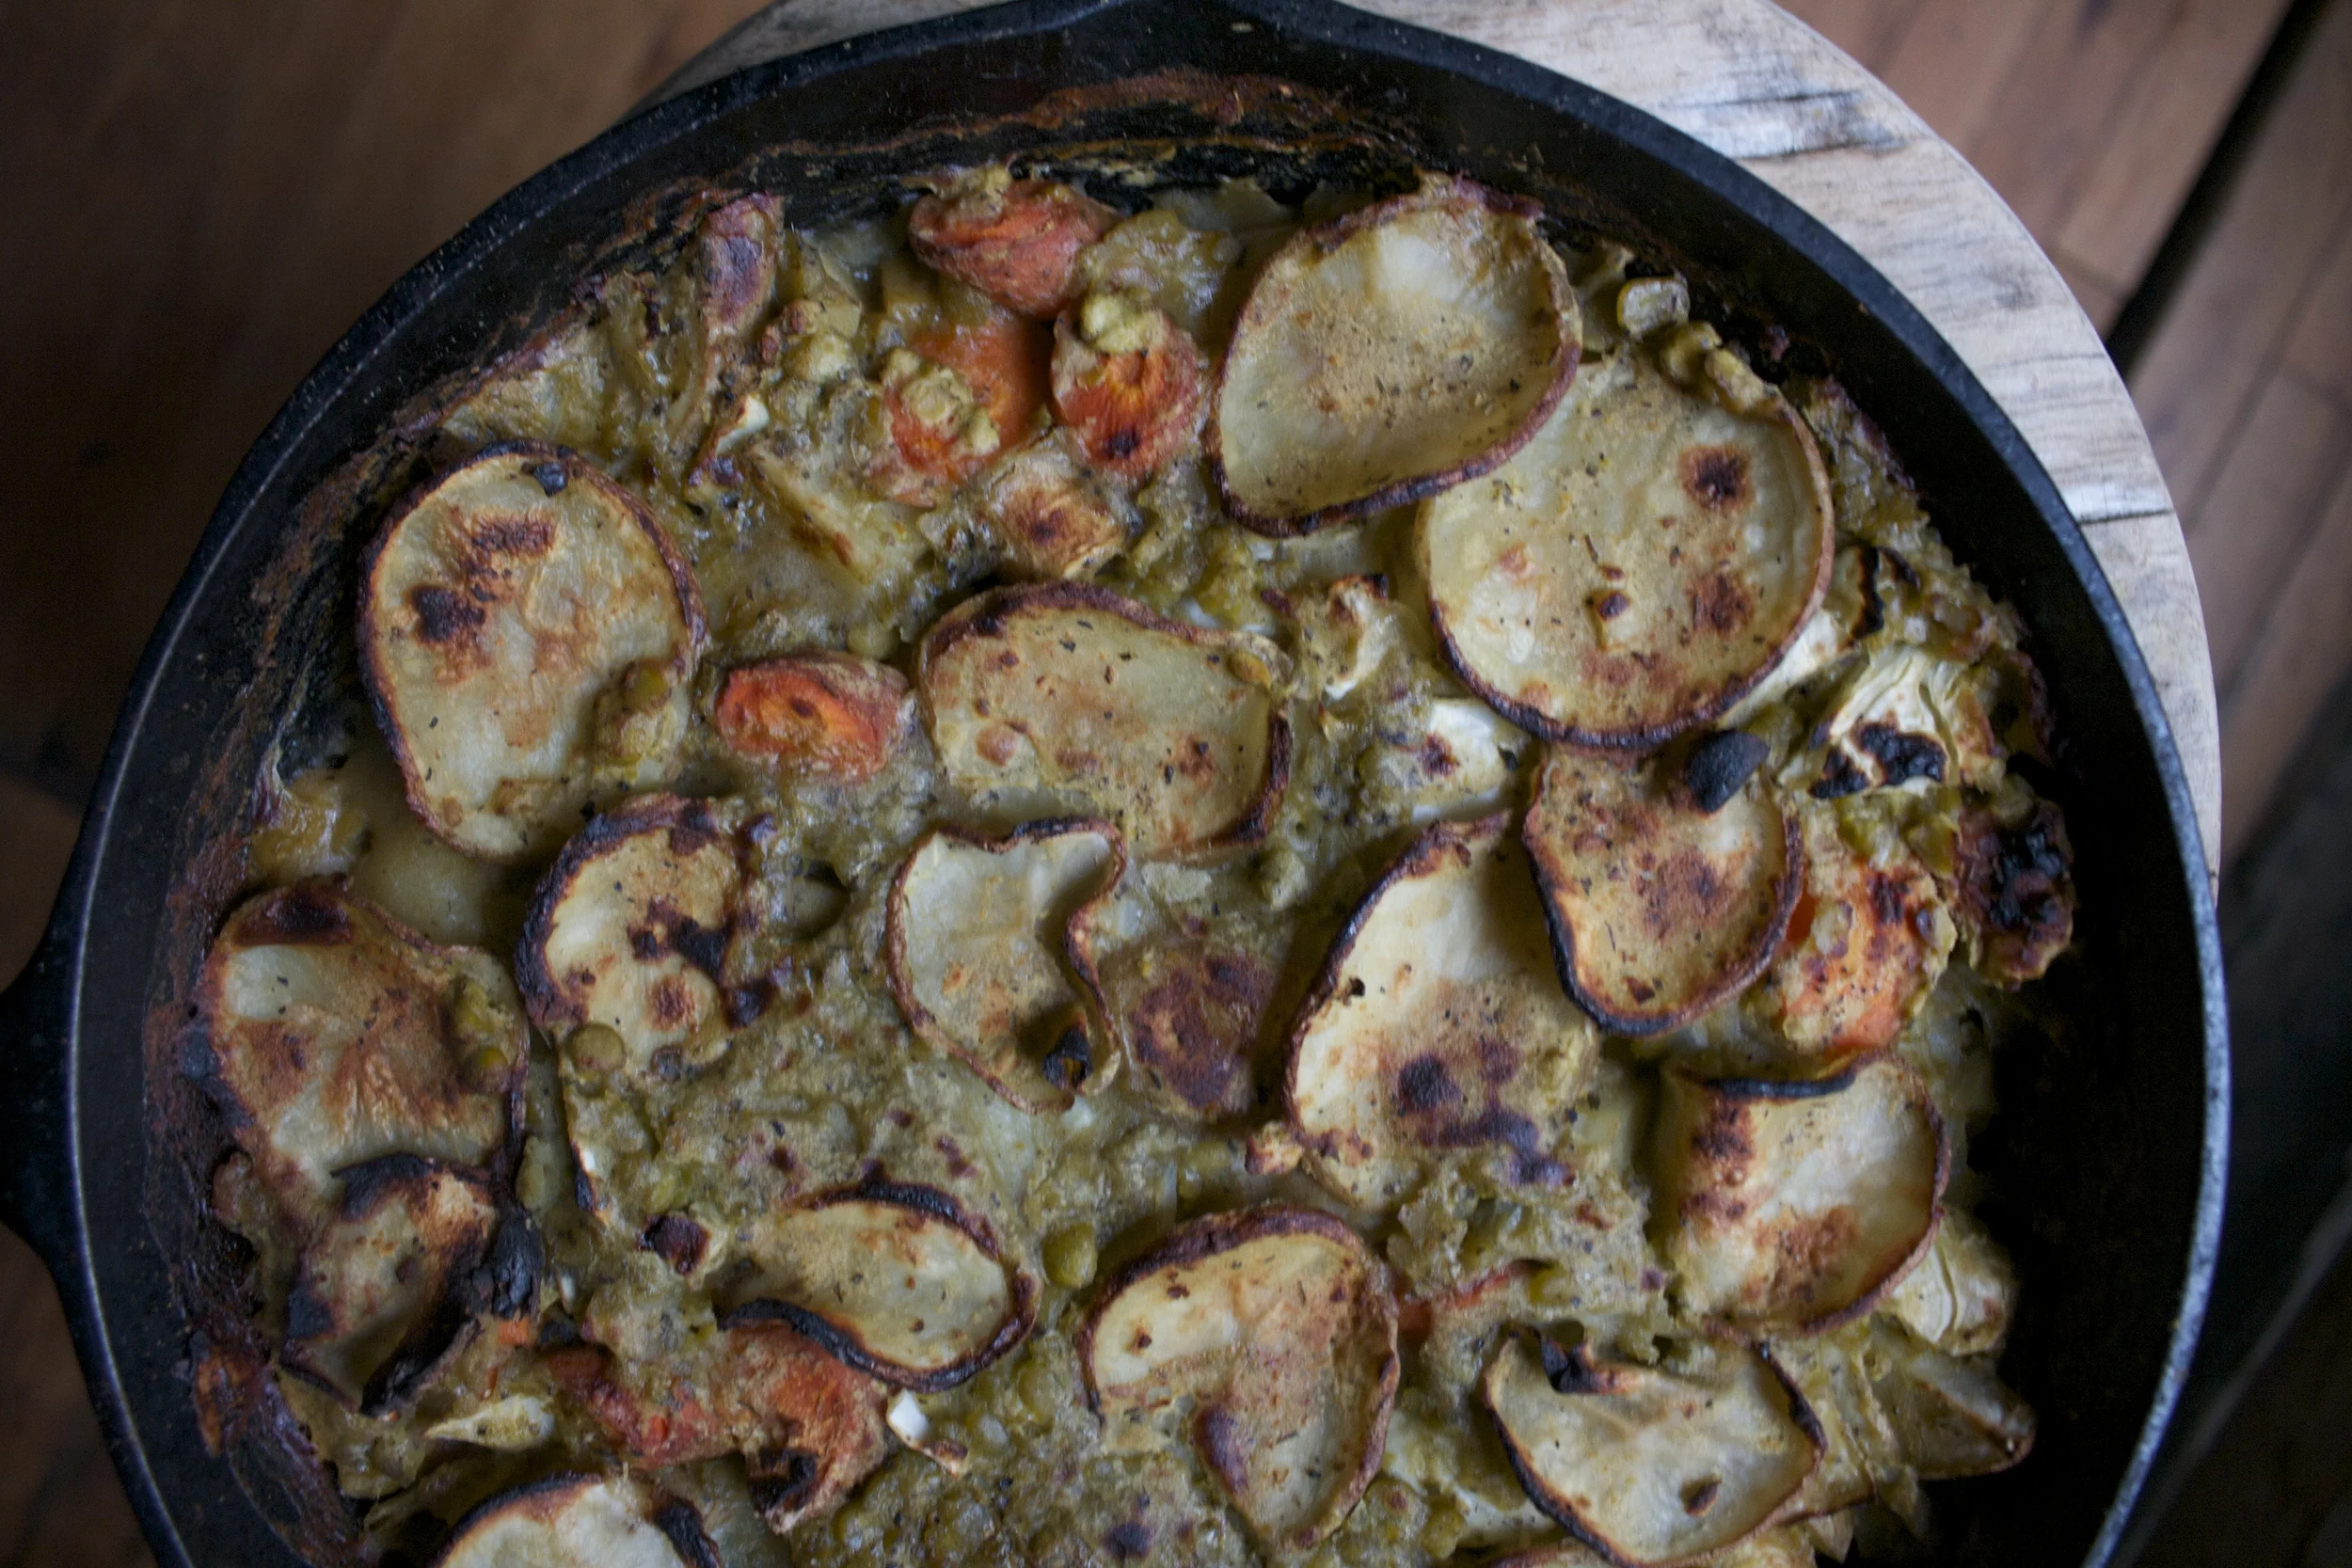
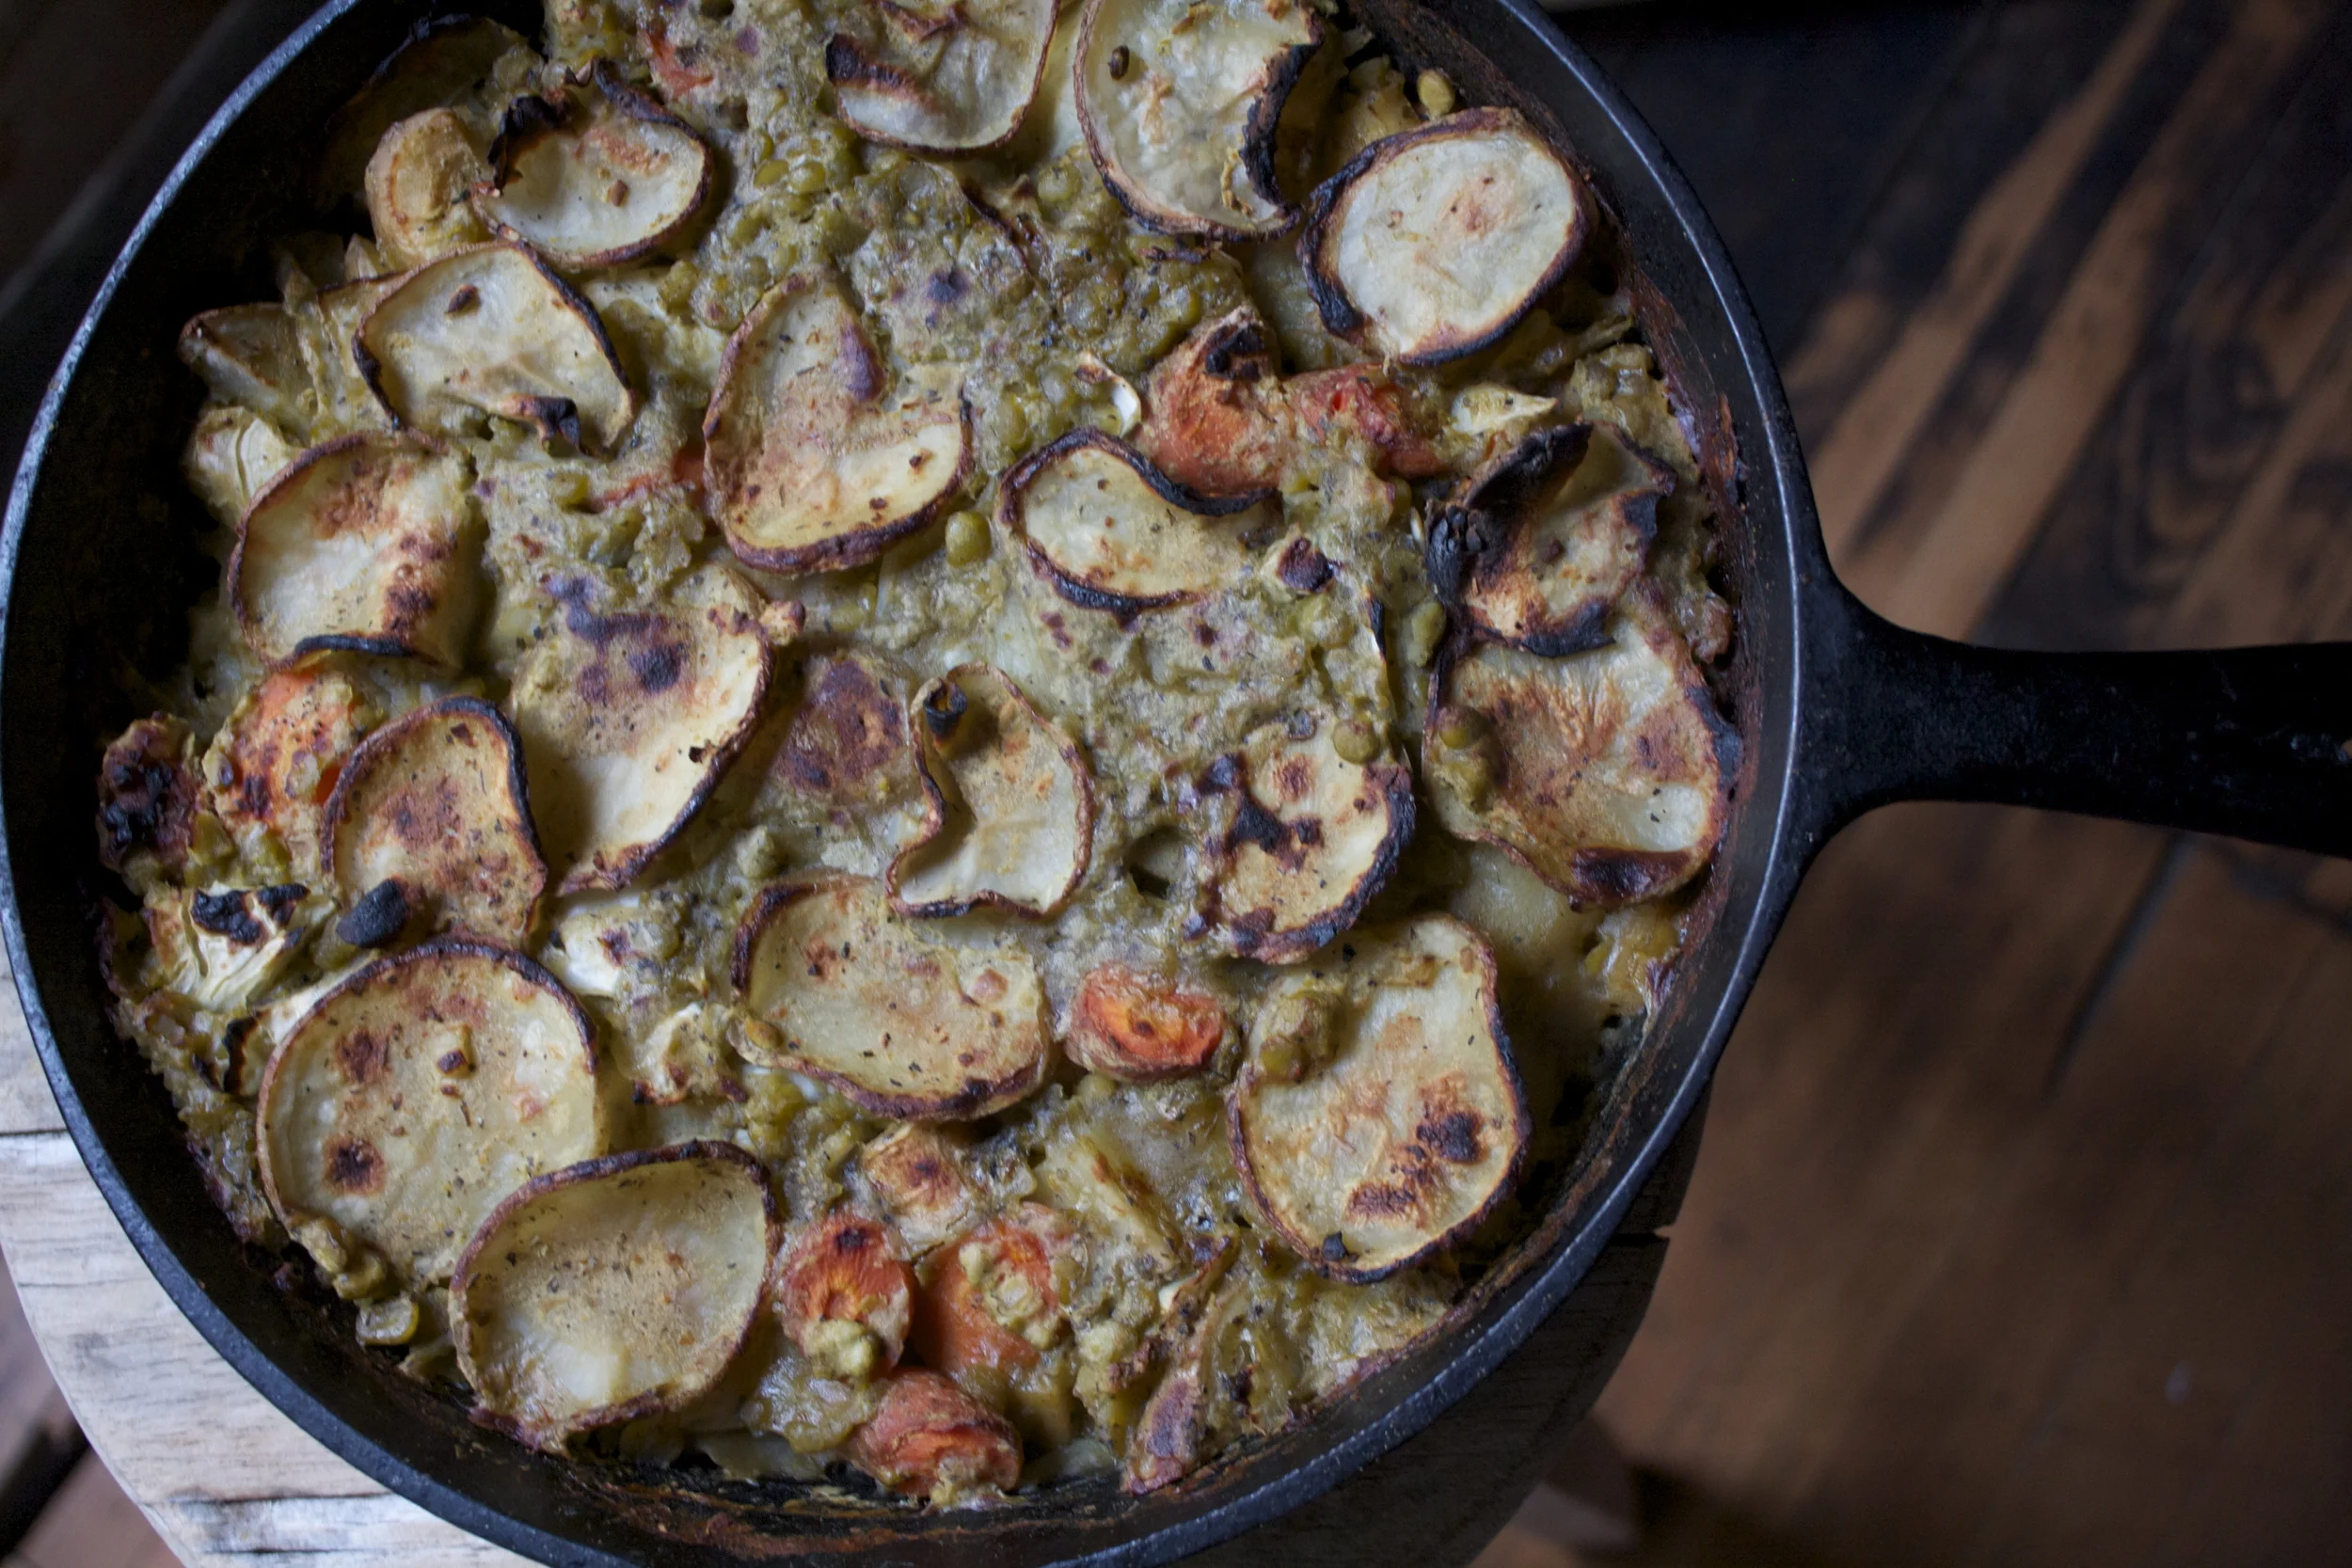
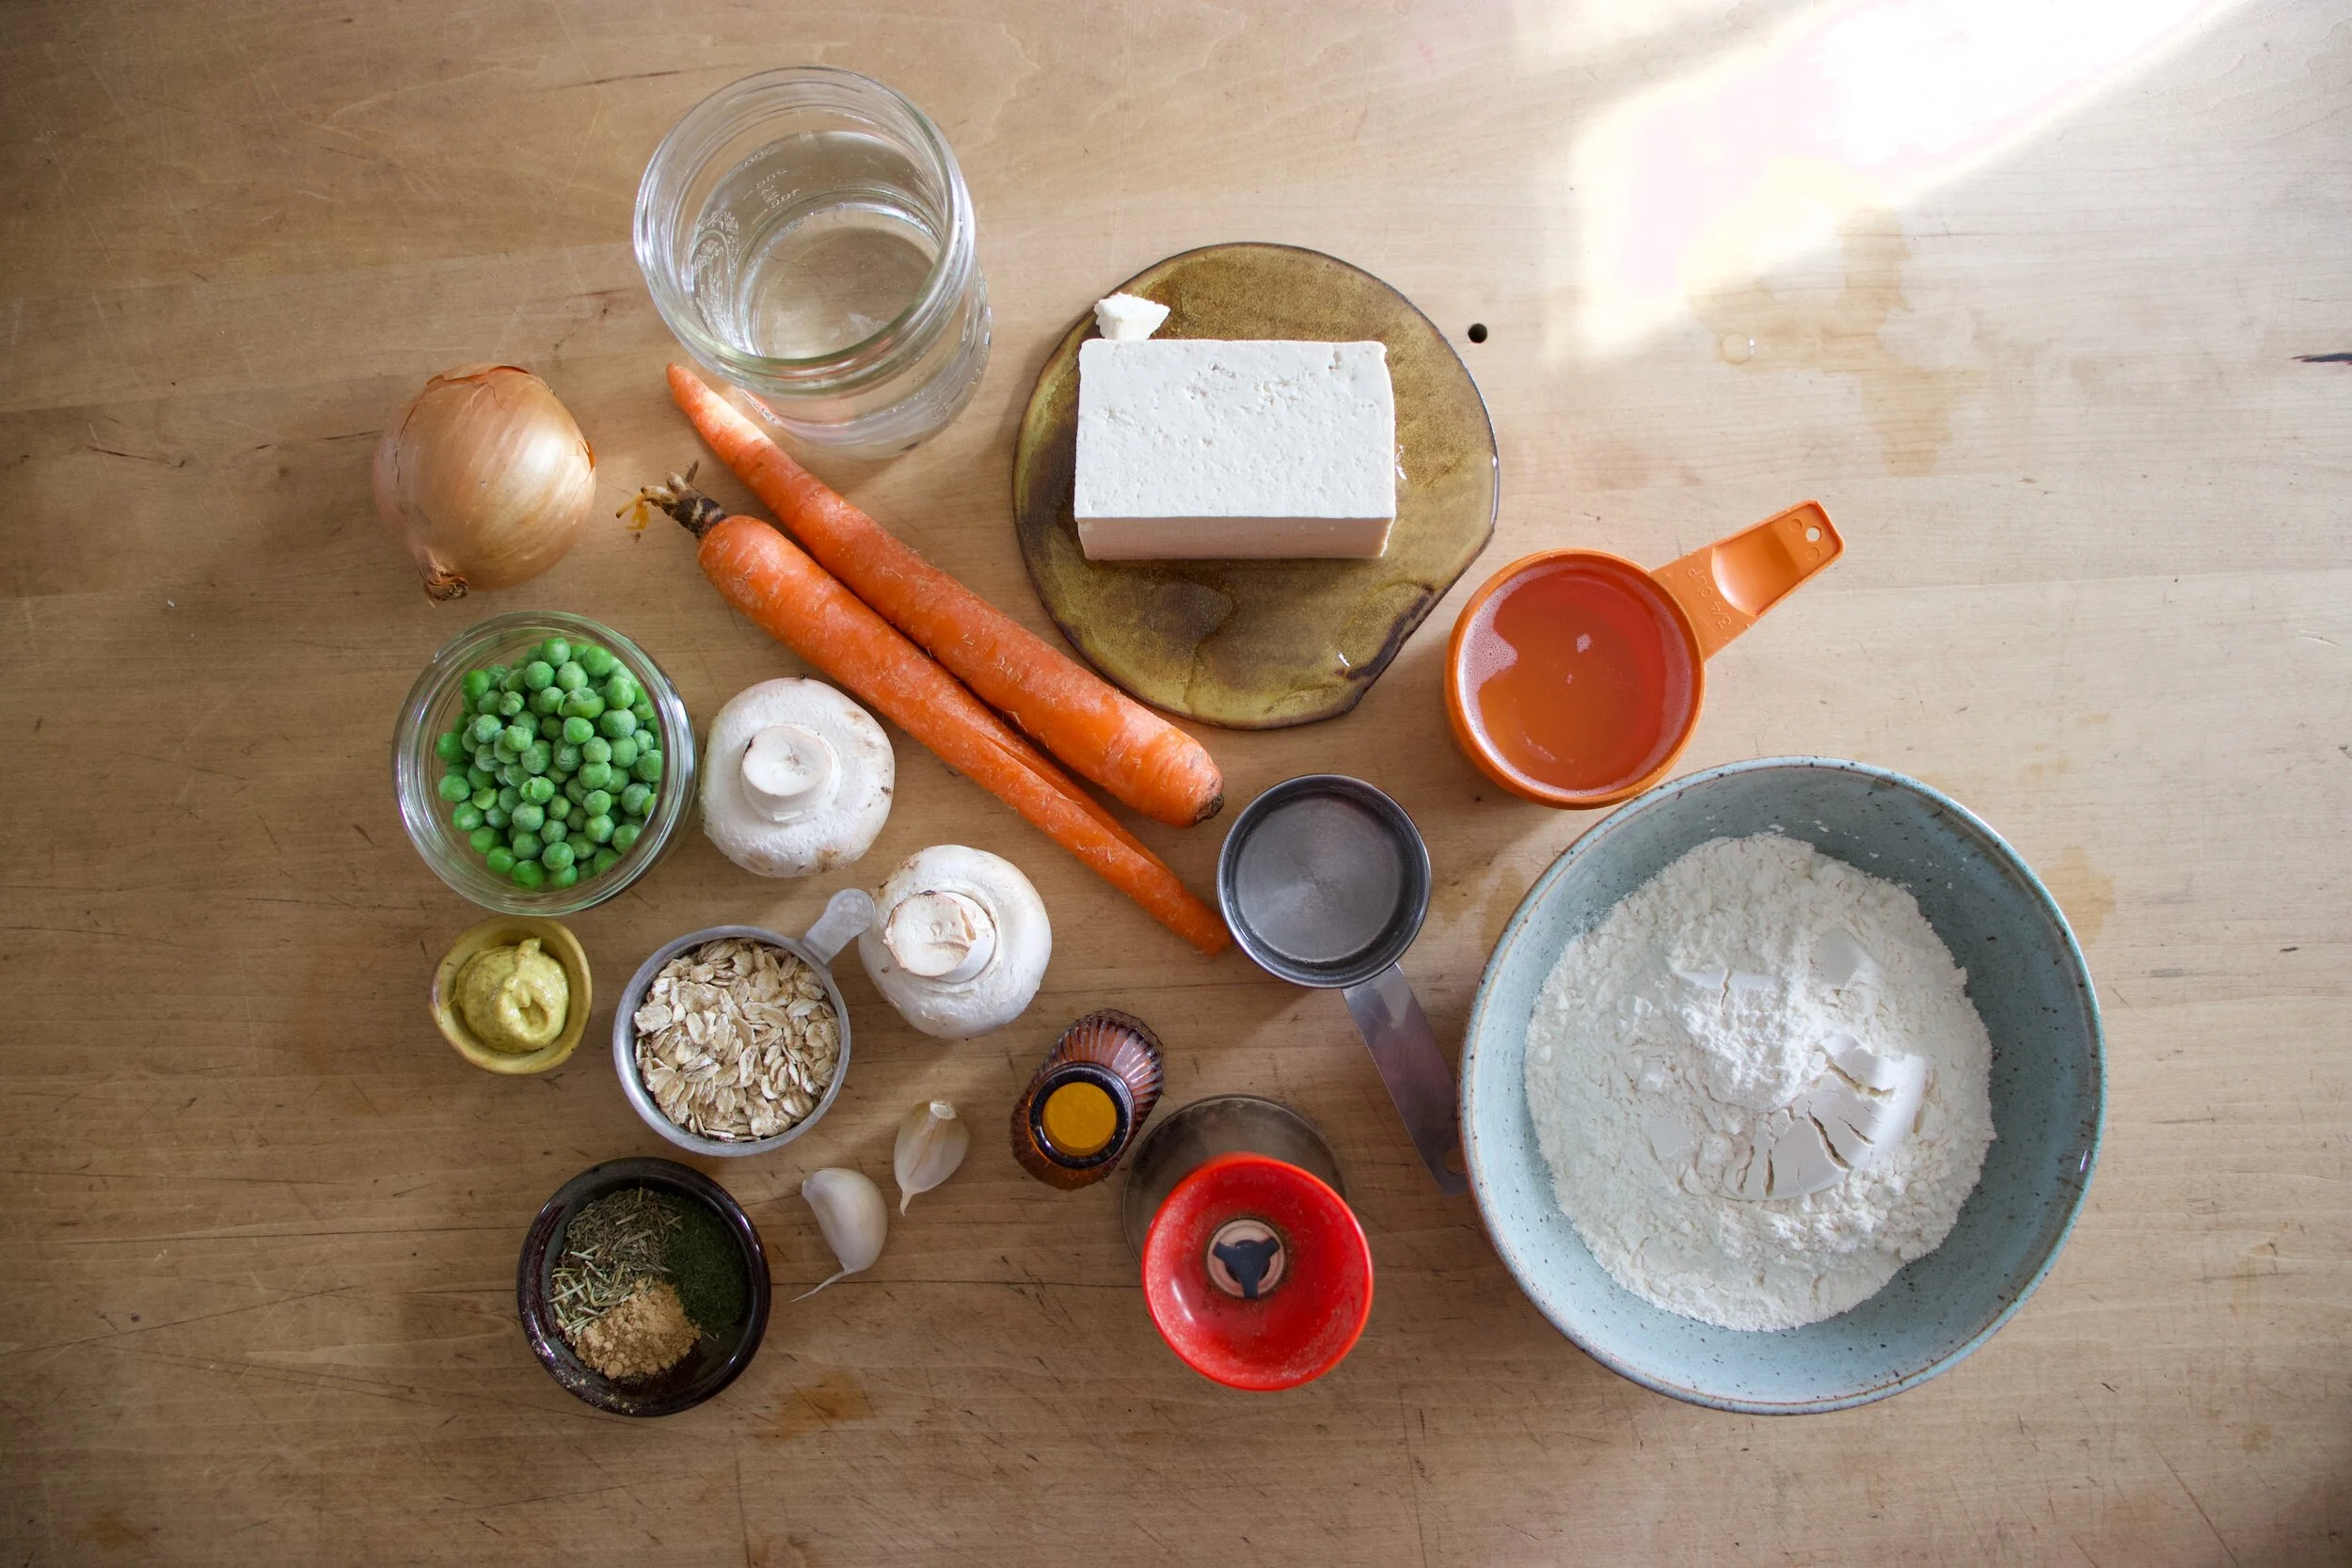
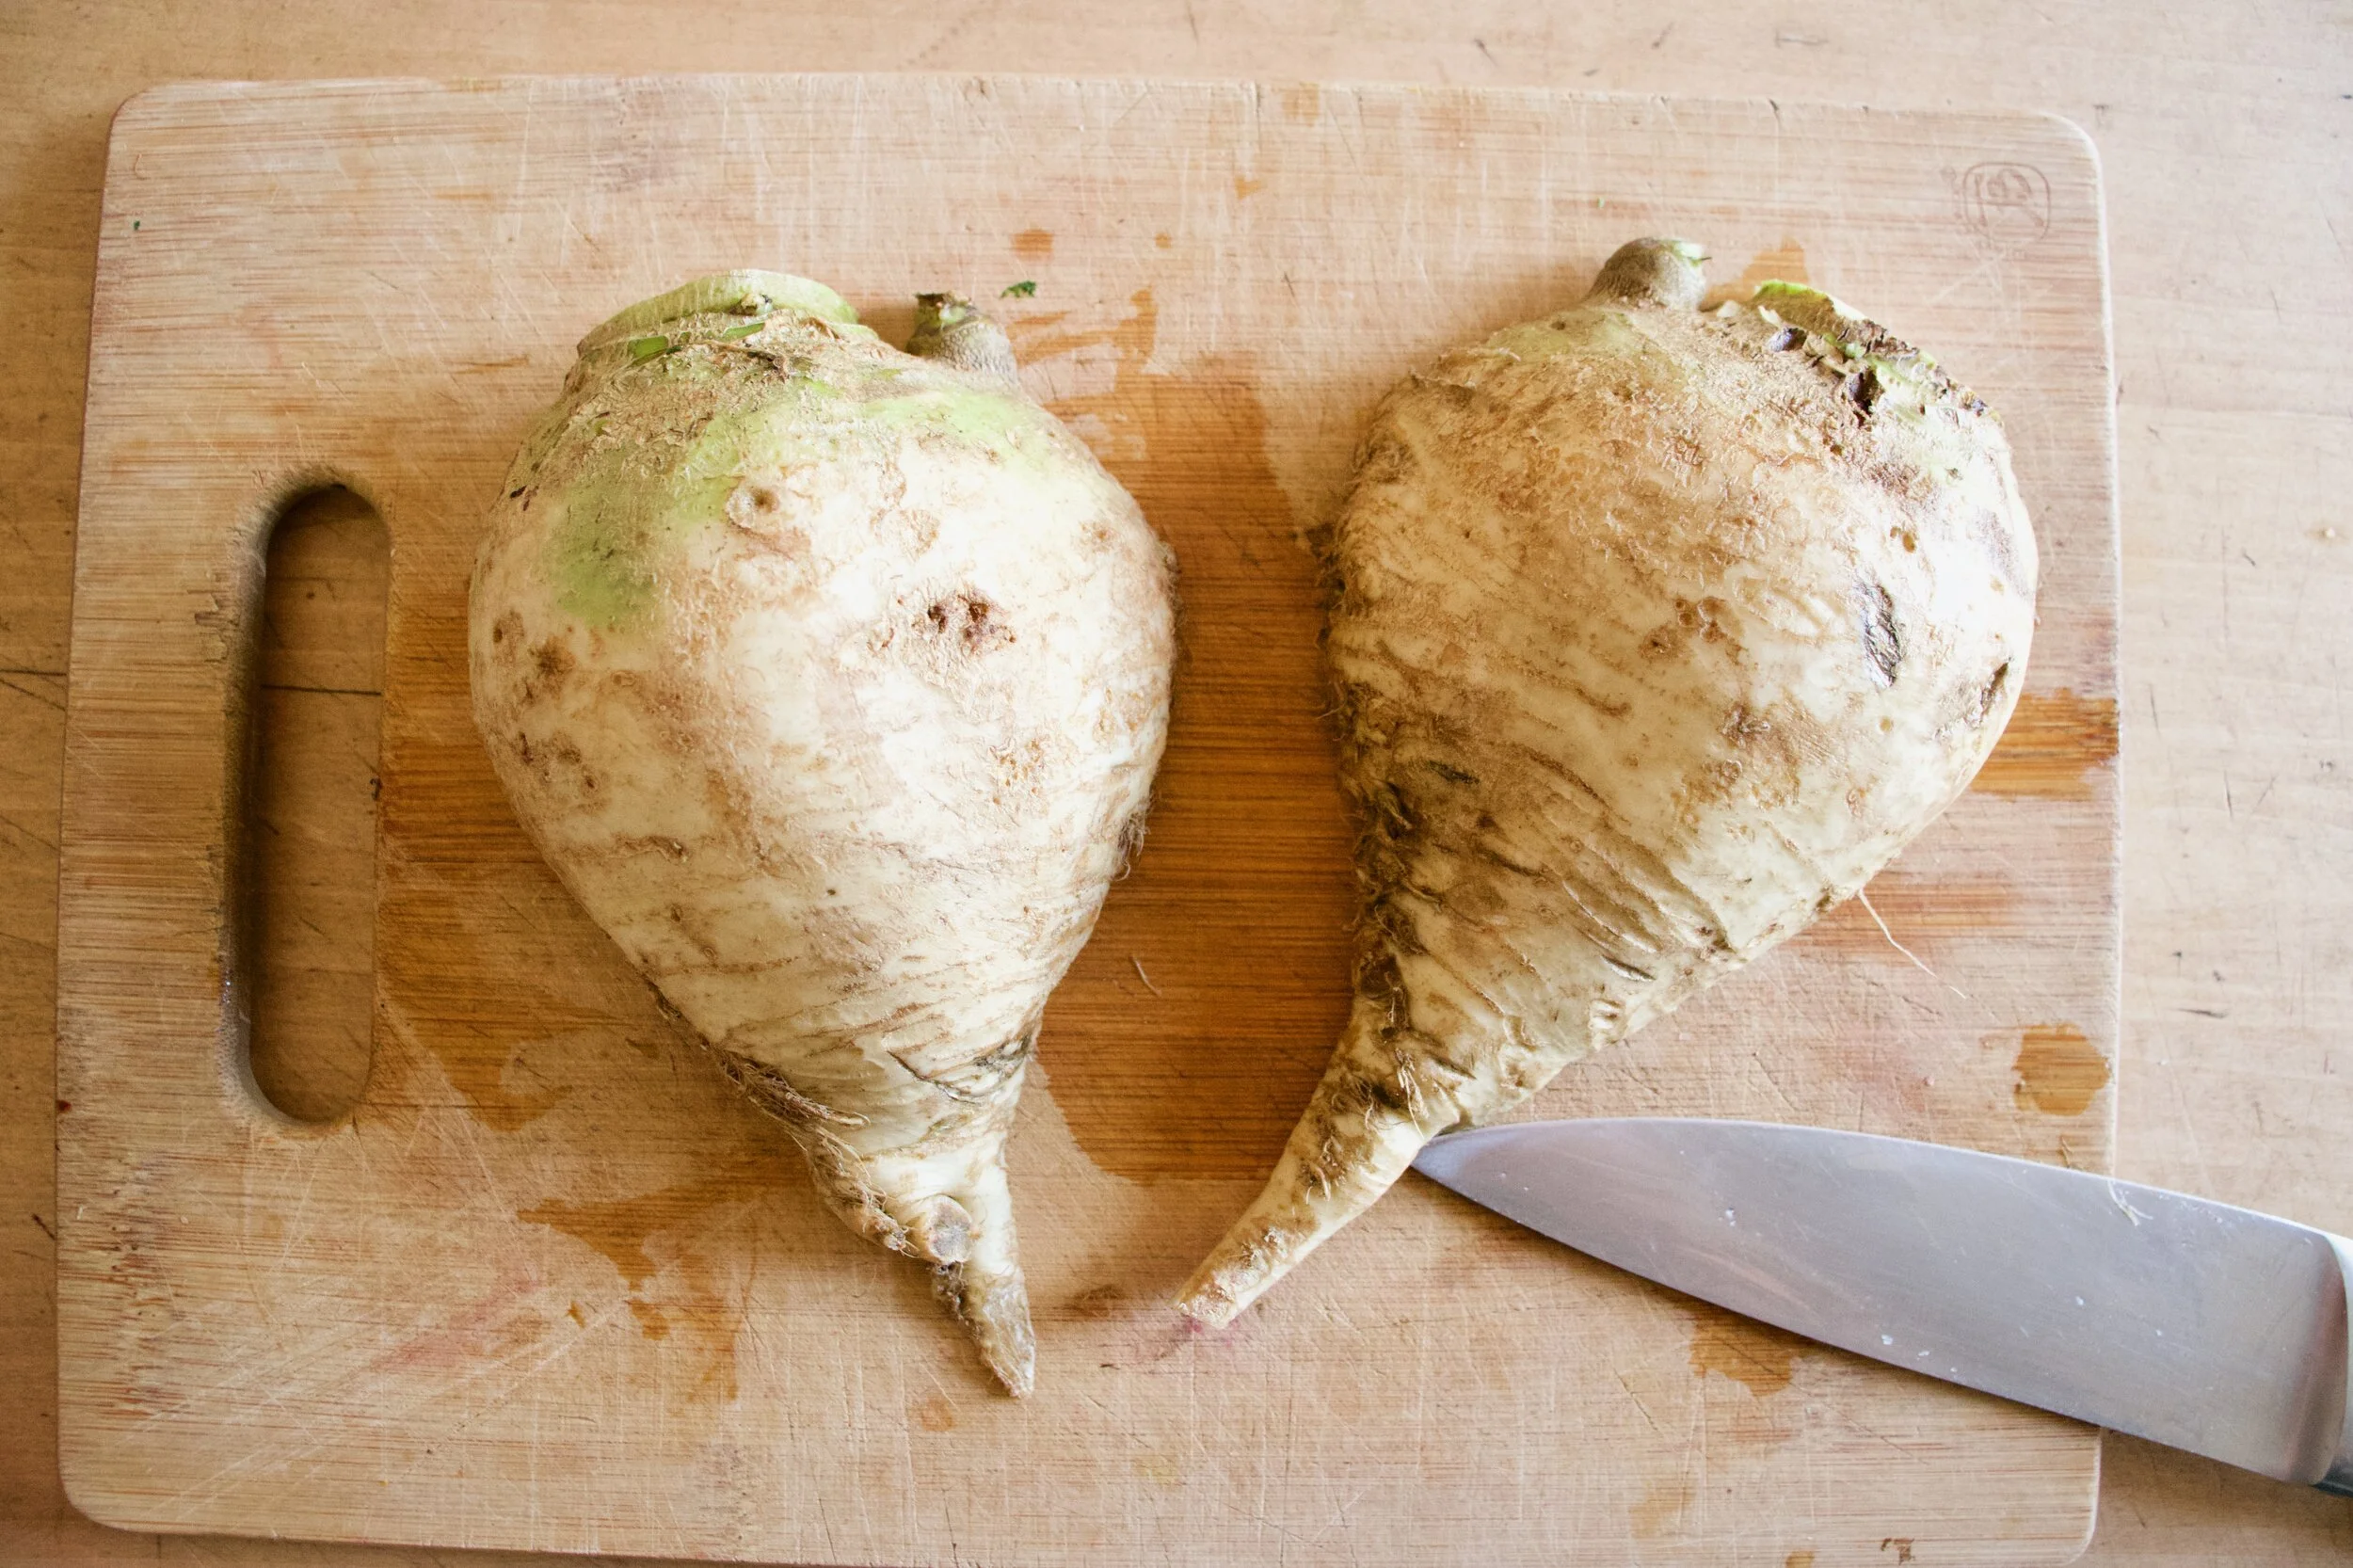
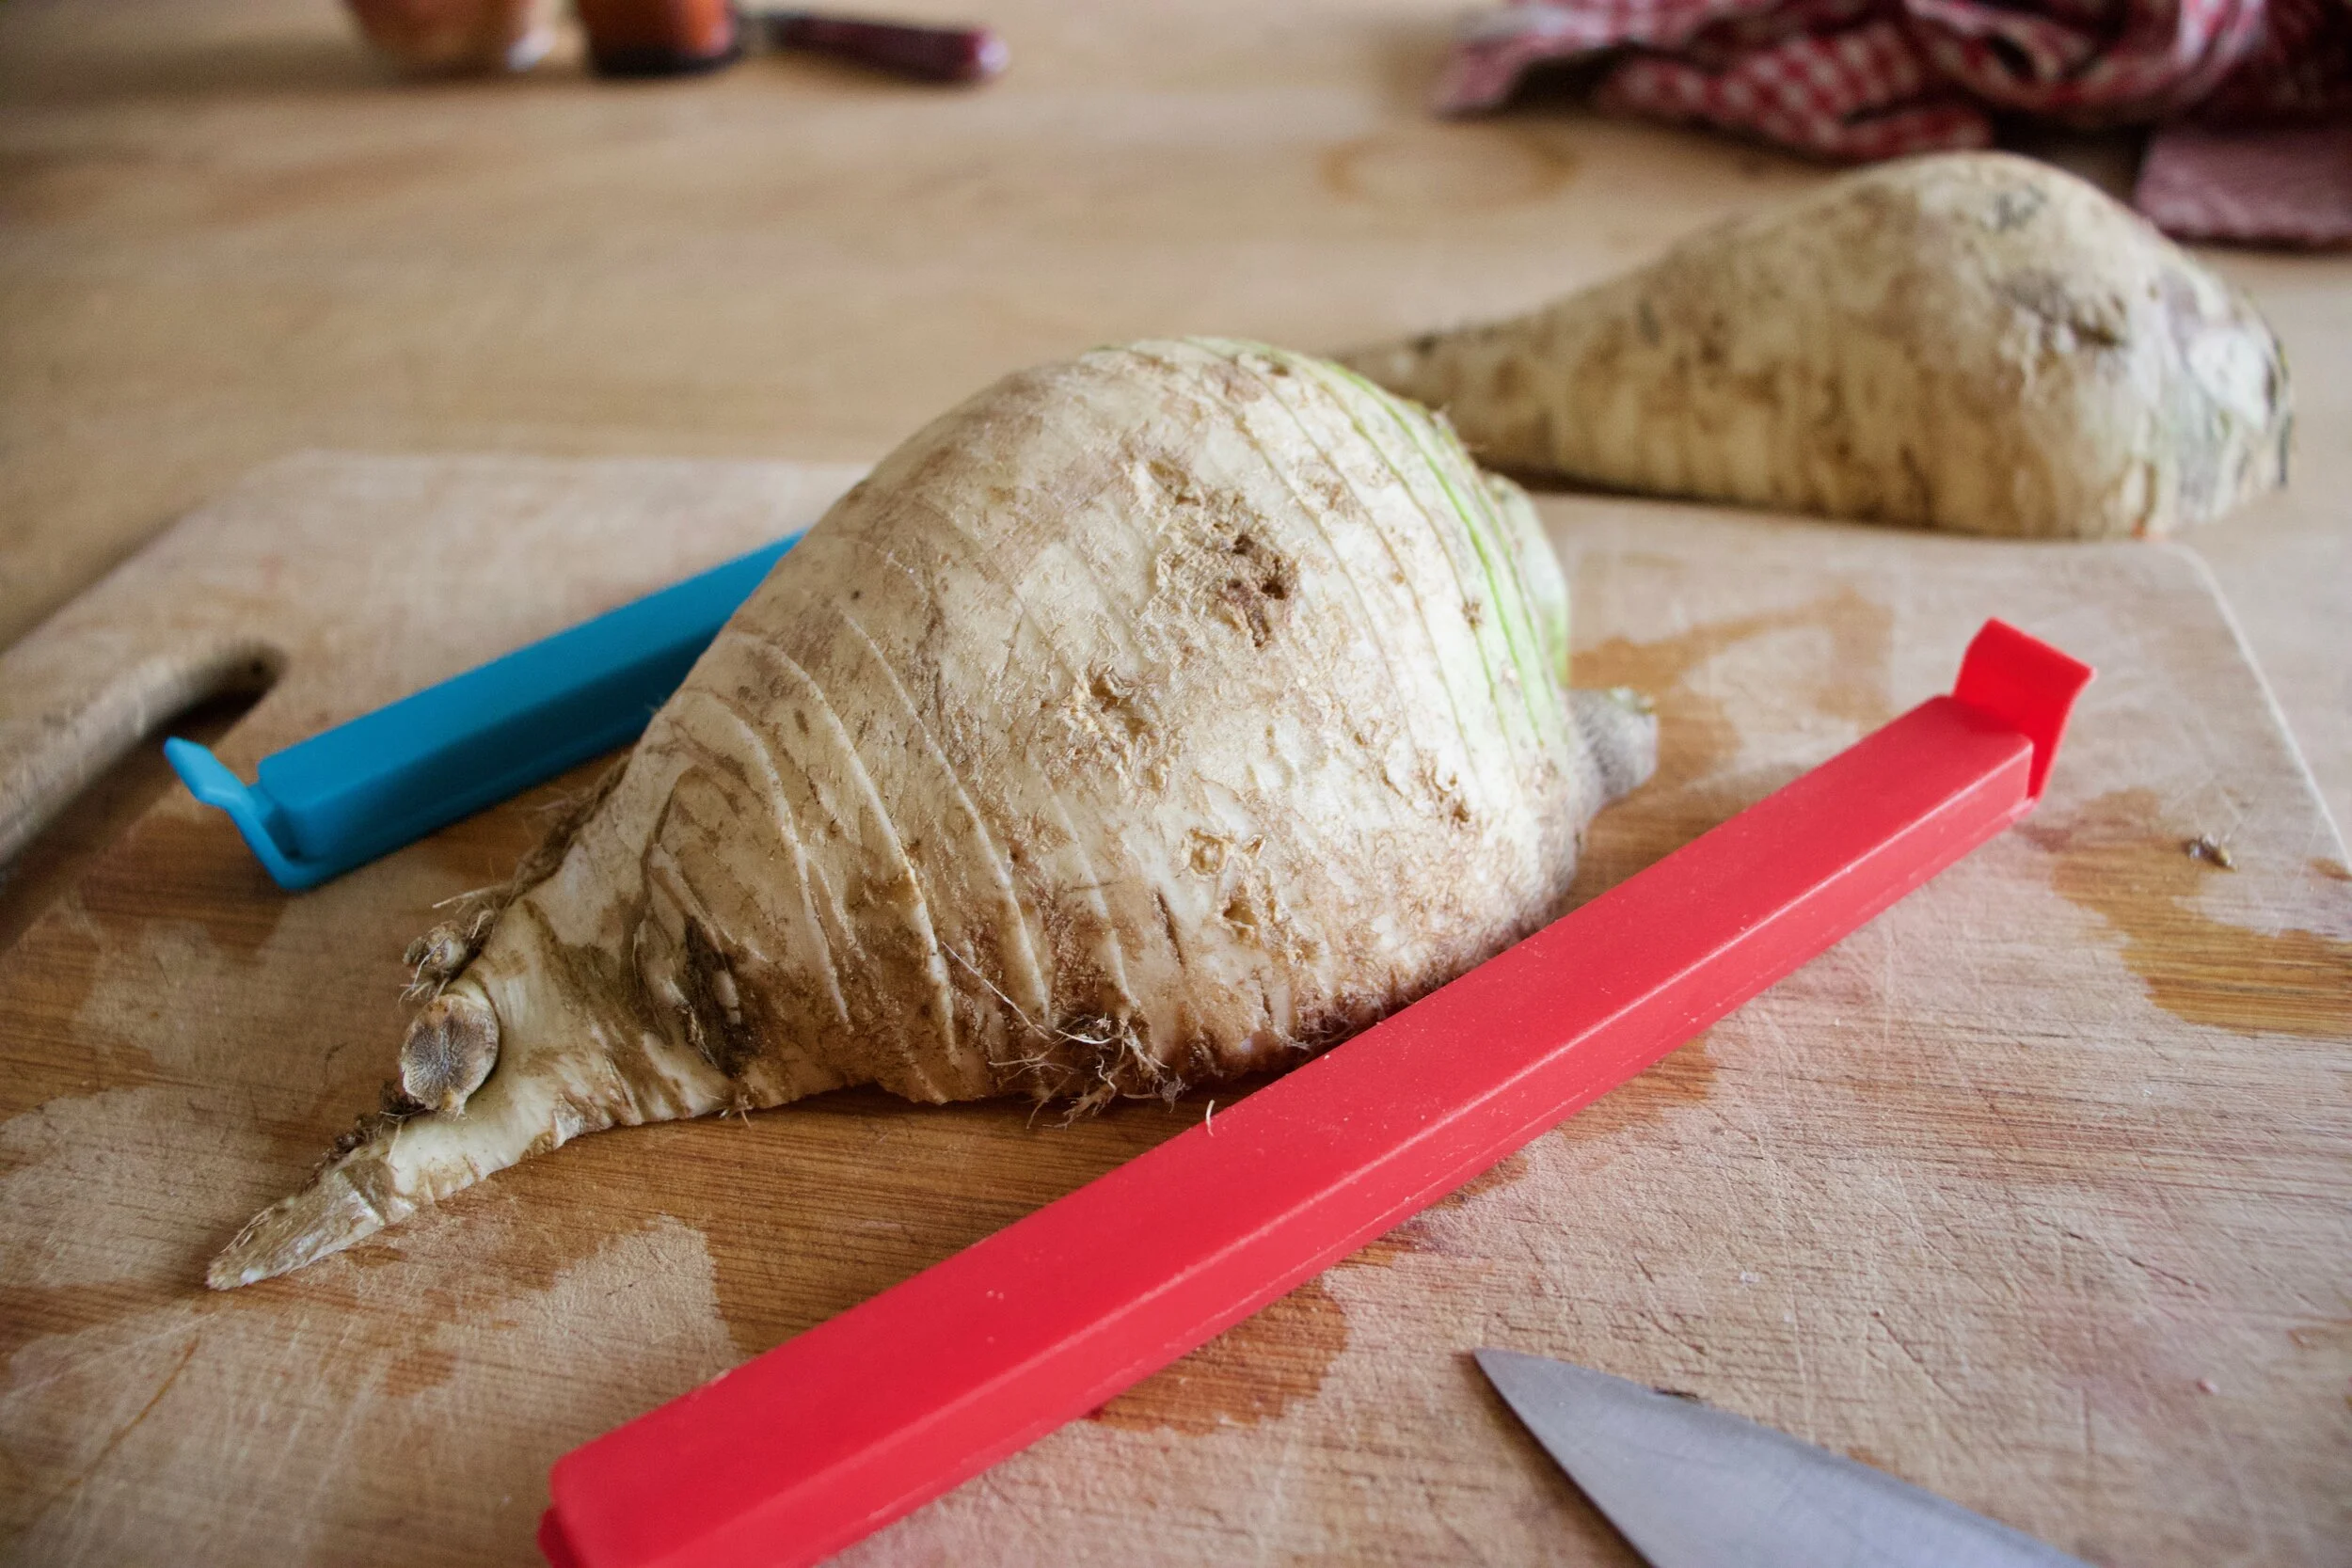
 %u00a0The stuff%u2026.For the split pea gravy we have a carrot, a parsnip and a large onion chopped into small chunks. %u00a0Salt, thyme, a bay leaf and of course the split peas. Then there is the celeriac root* sliced into 1/2 inch thick rounds and some plain old yellow mustard .
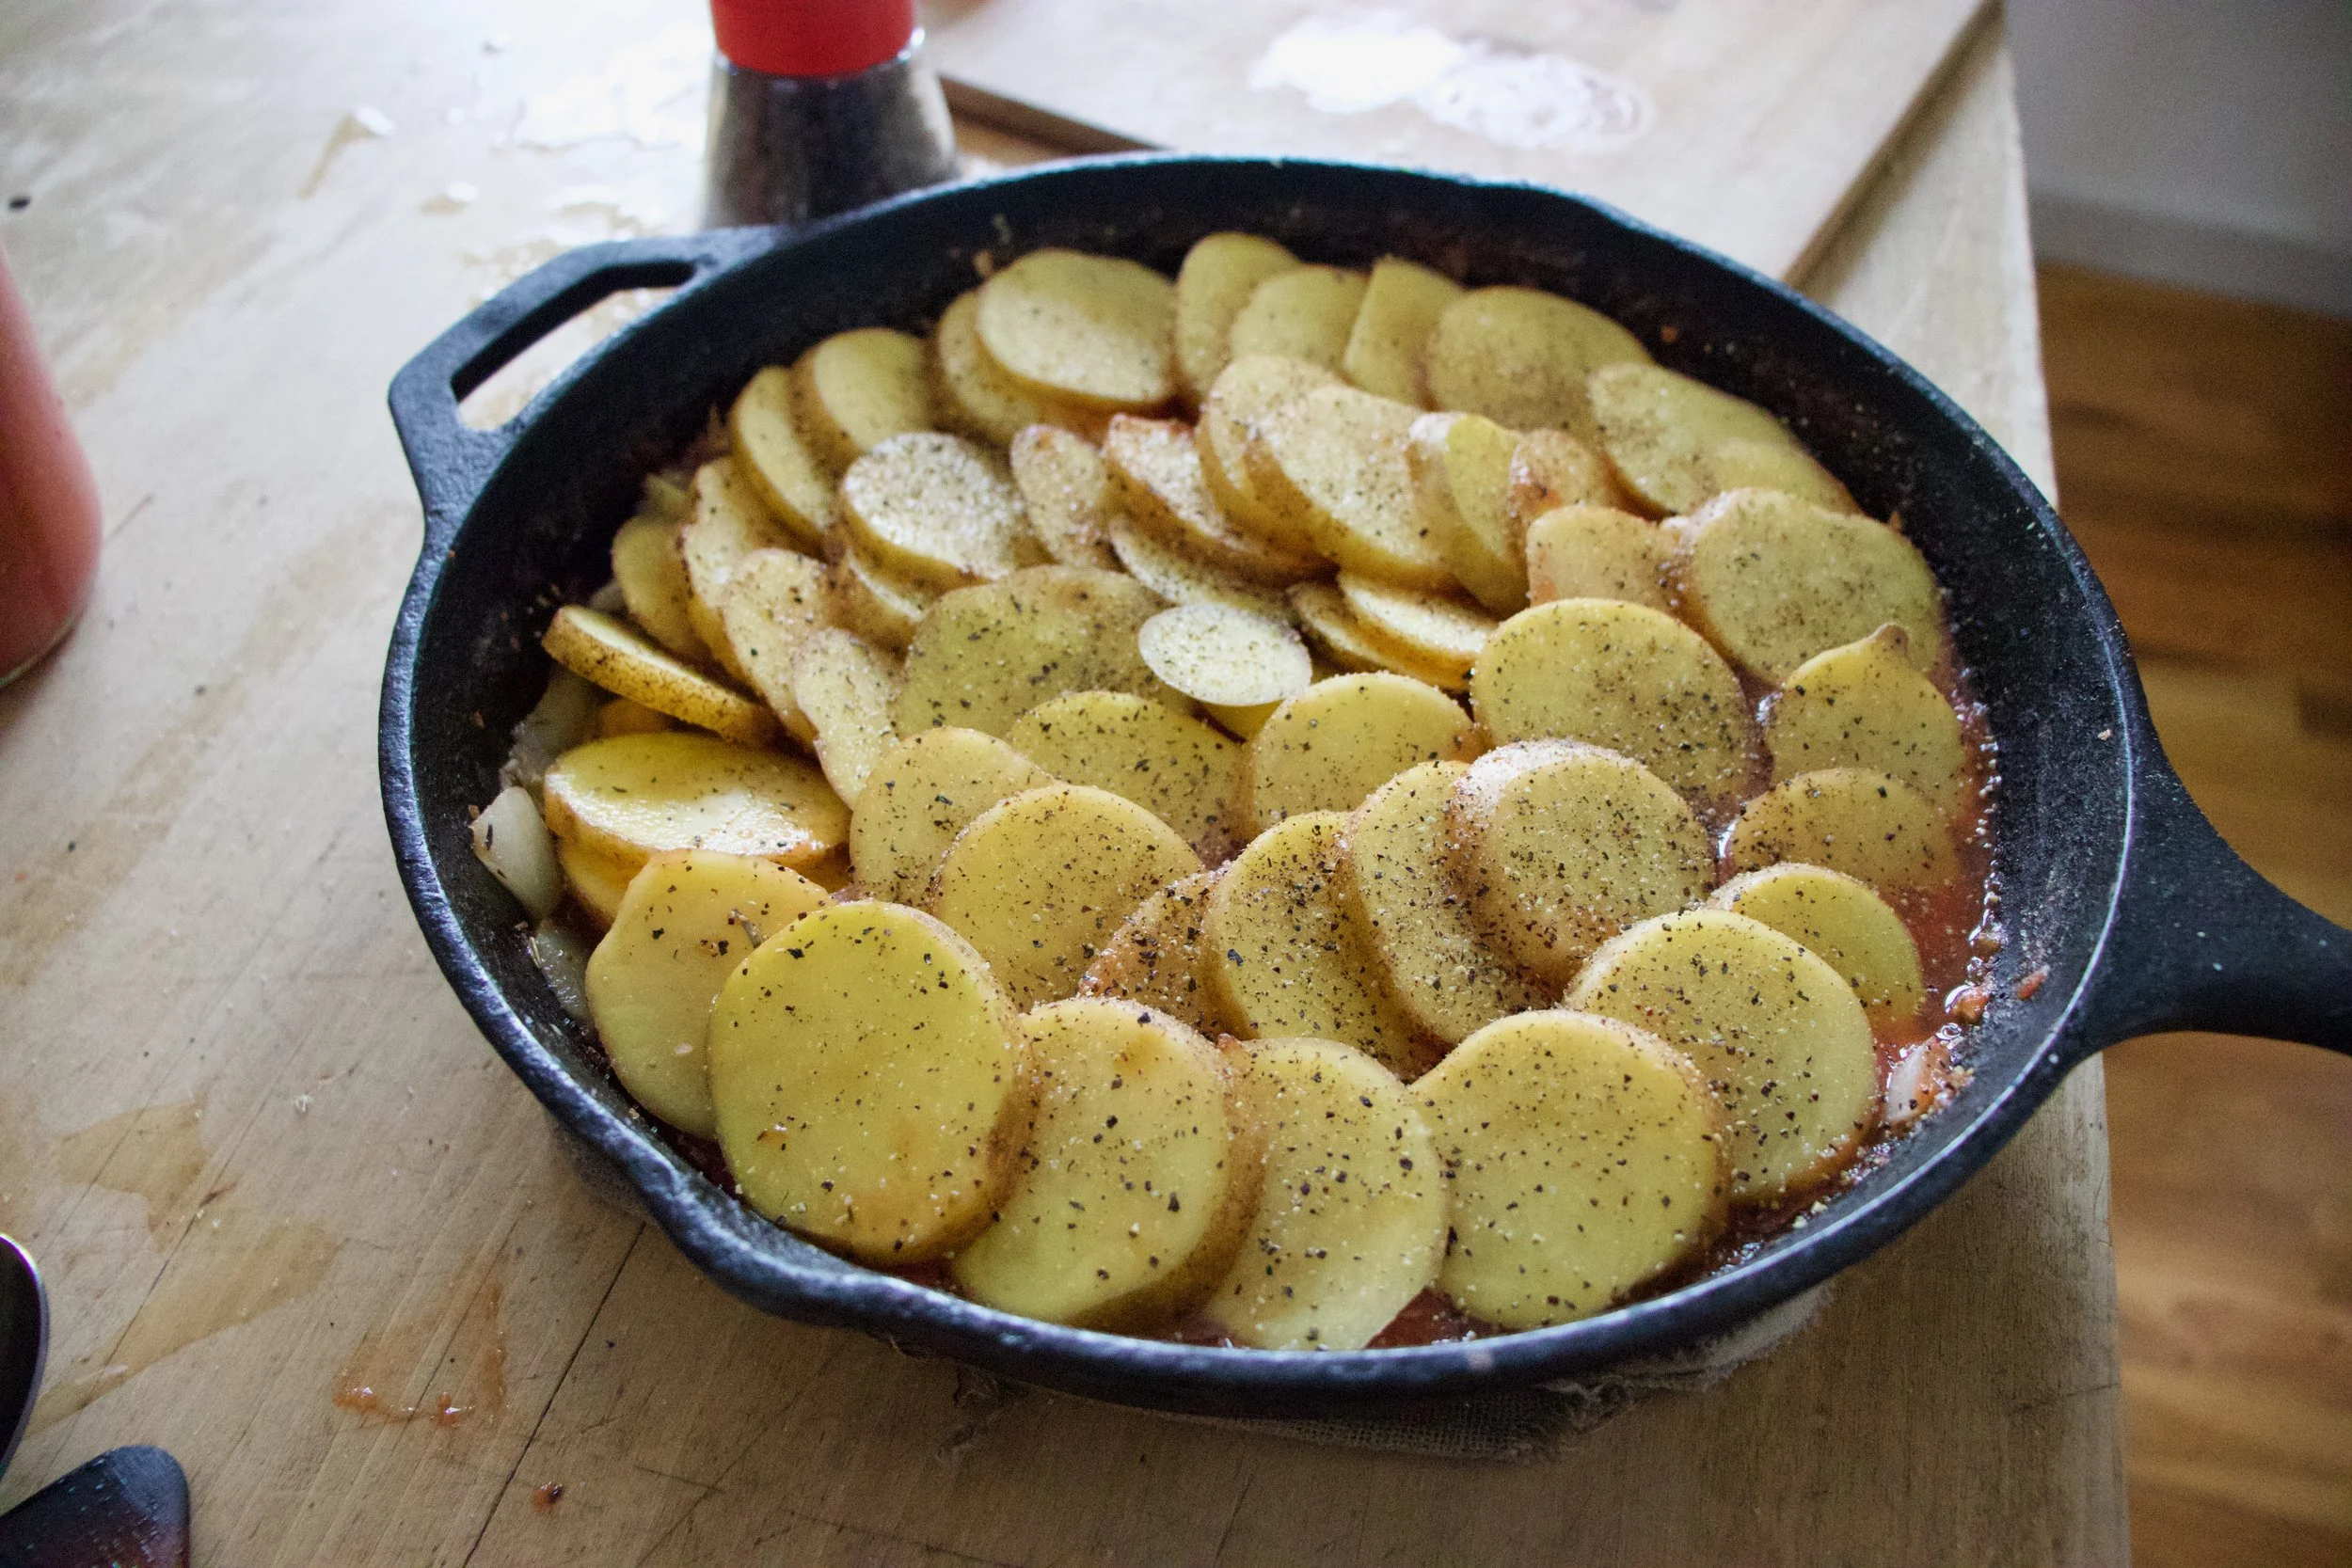
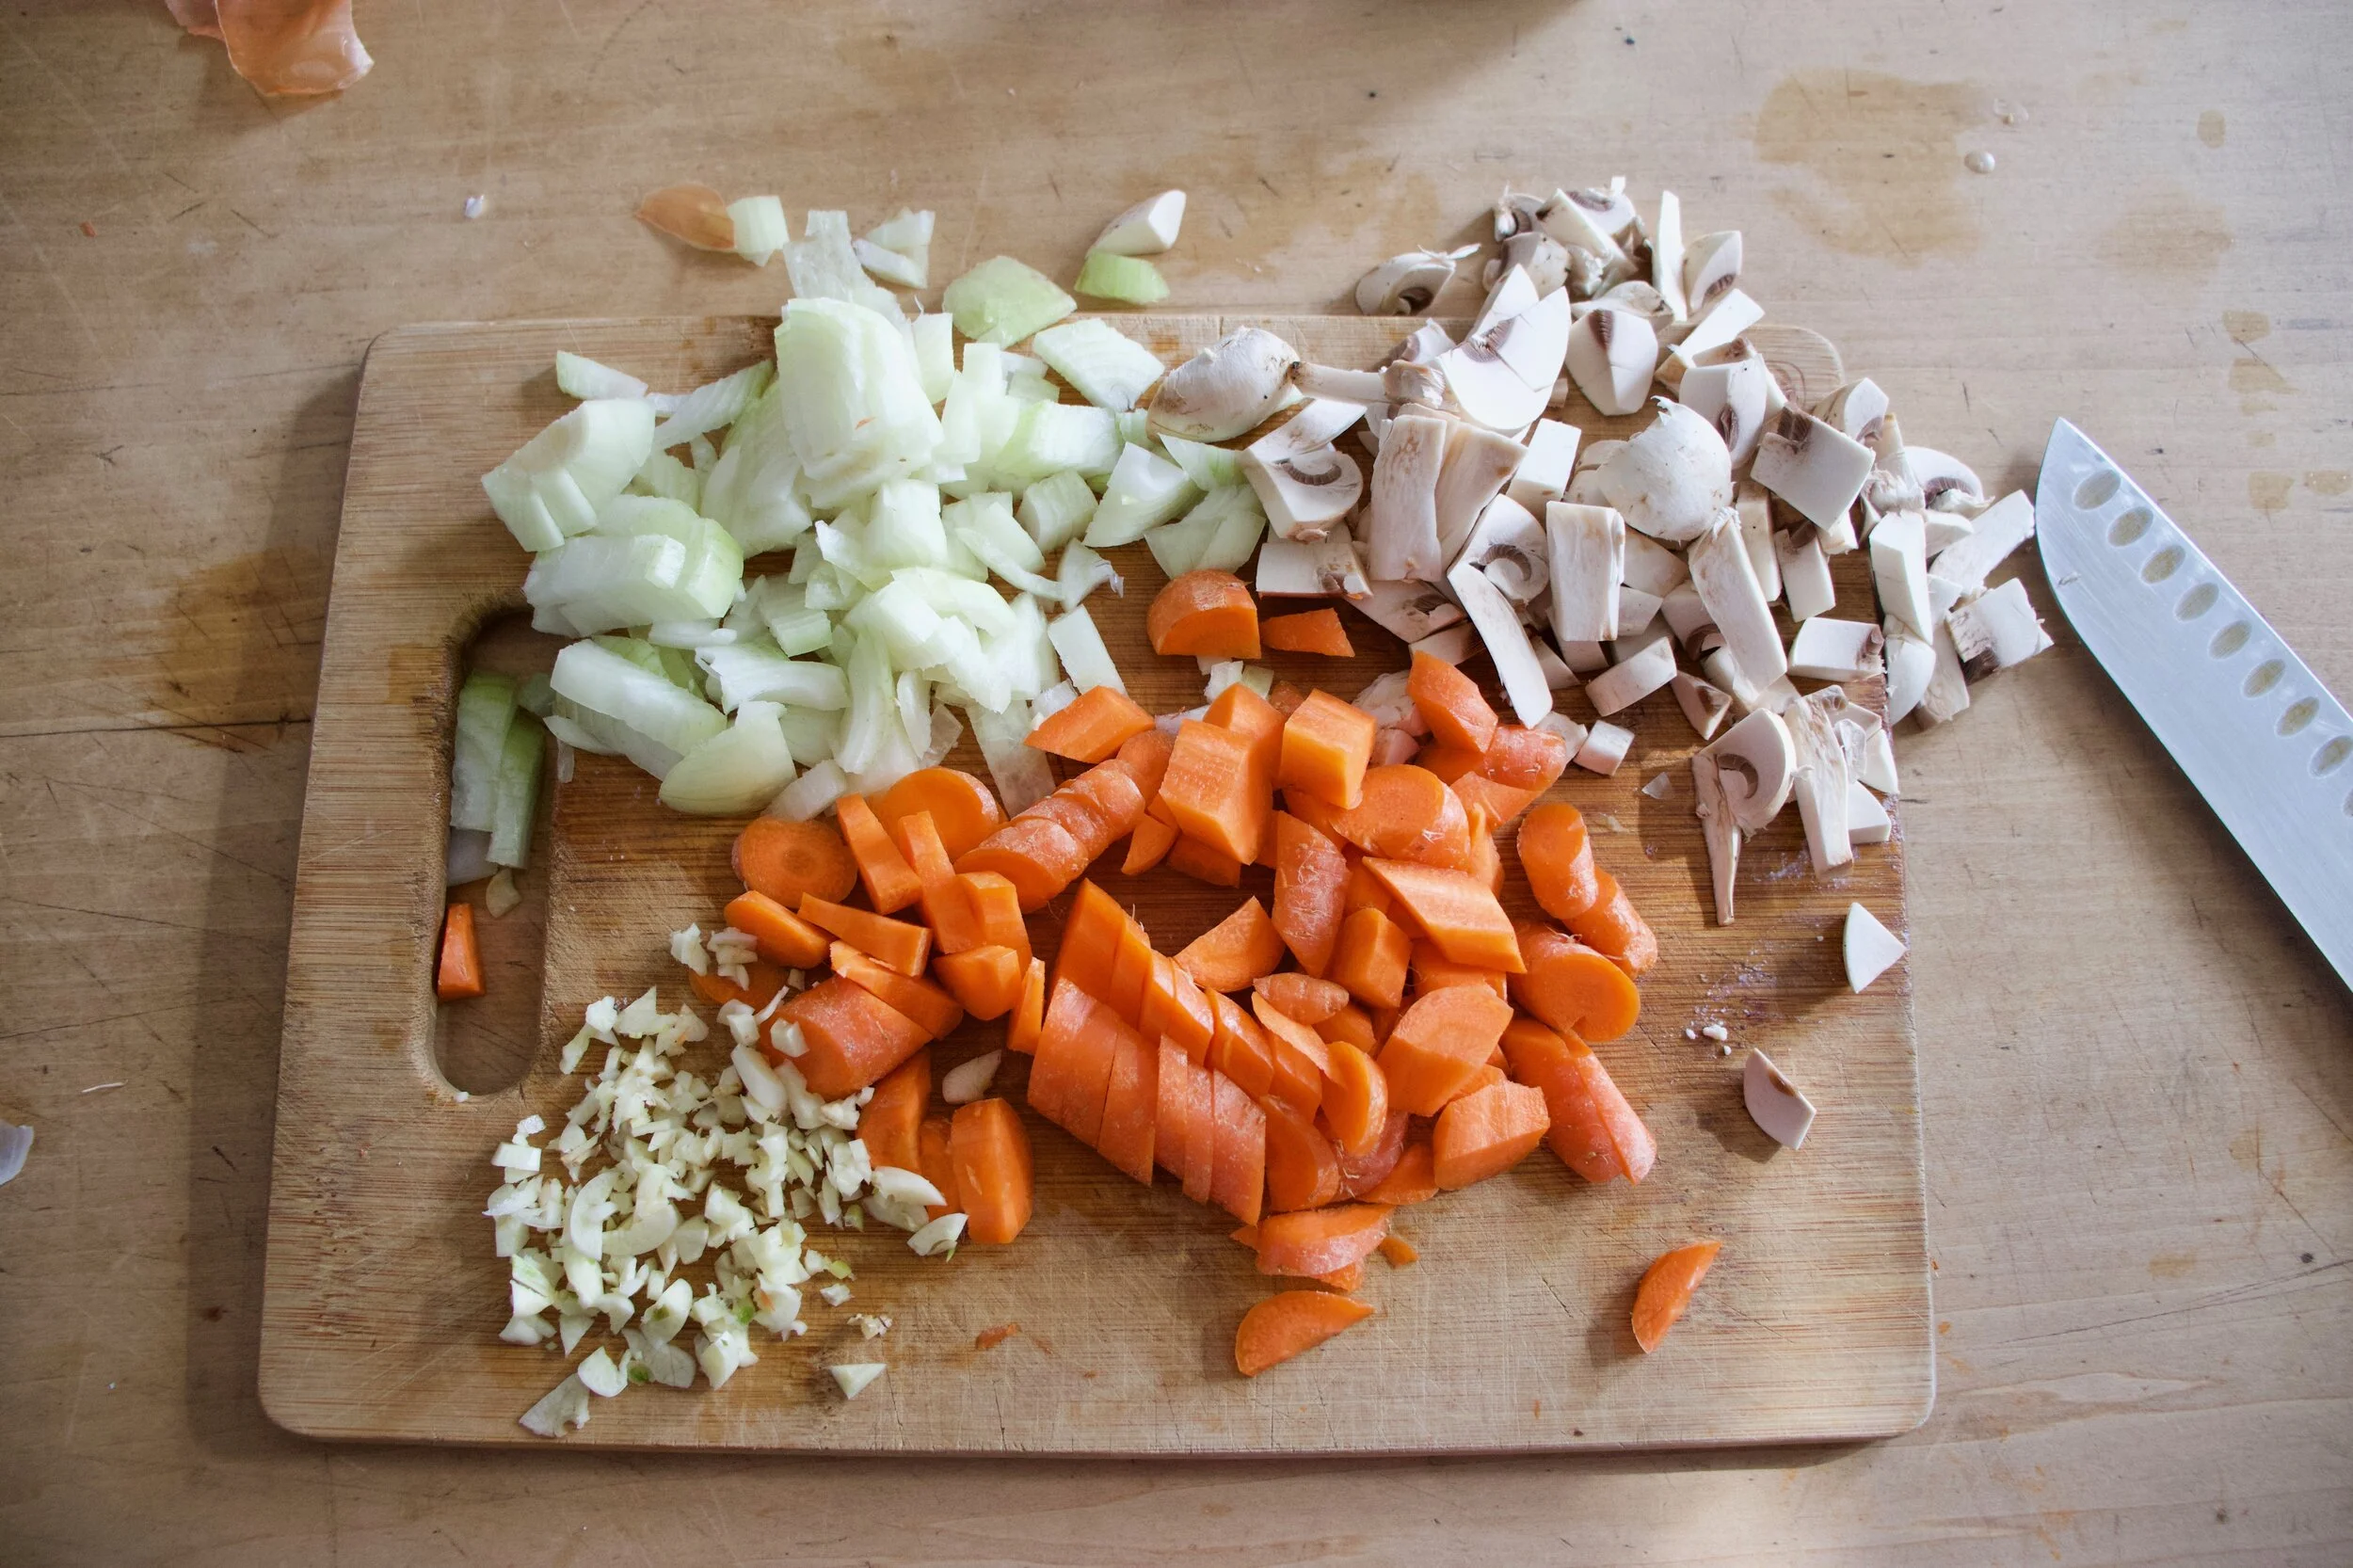
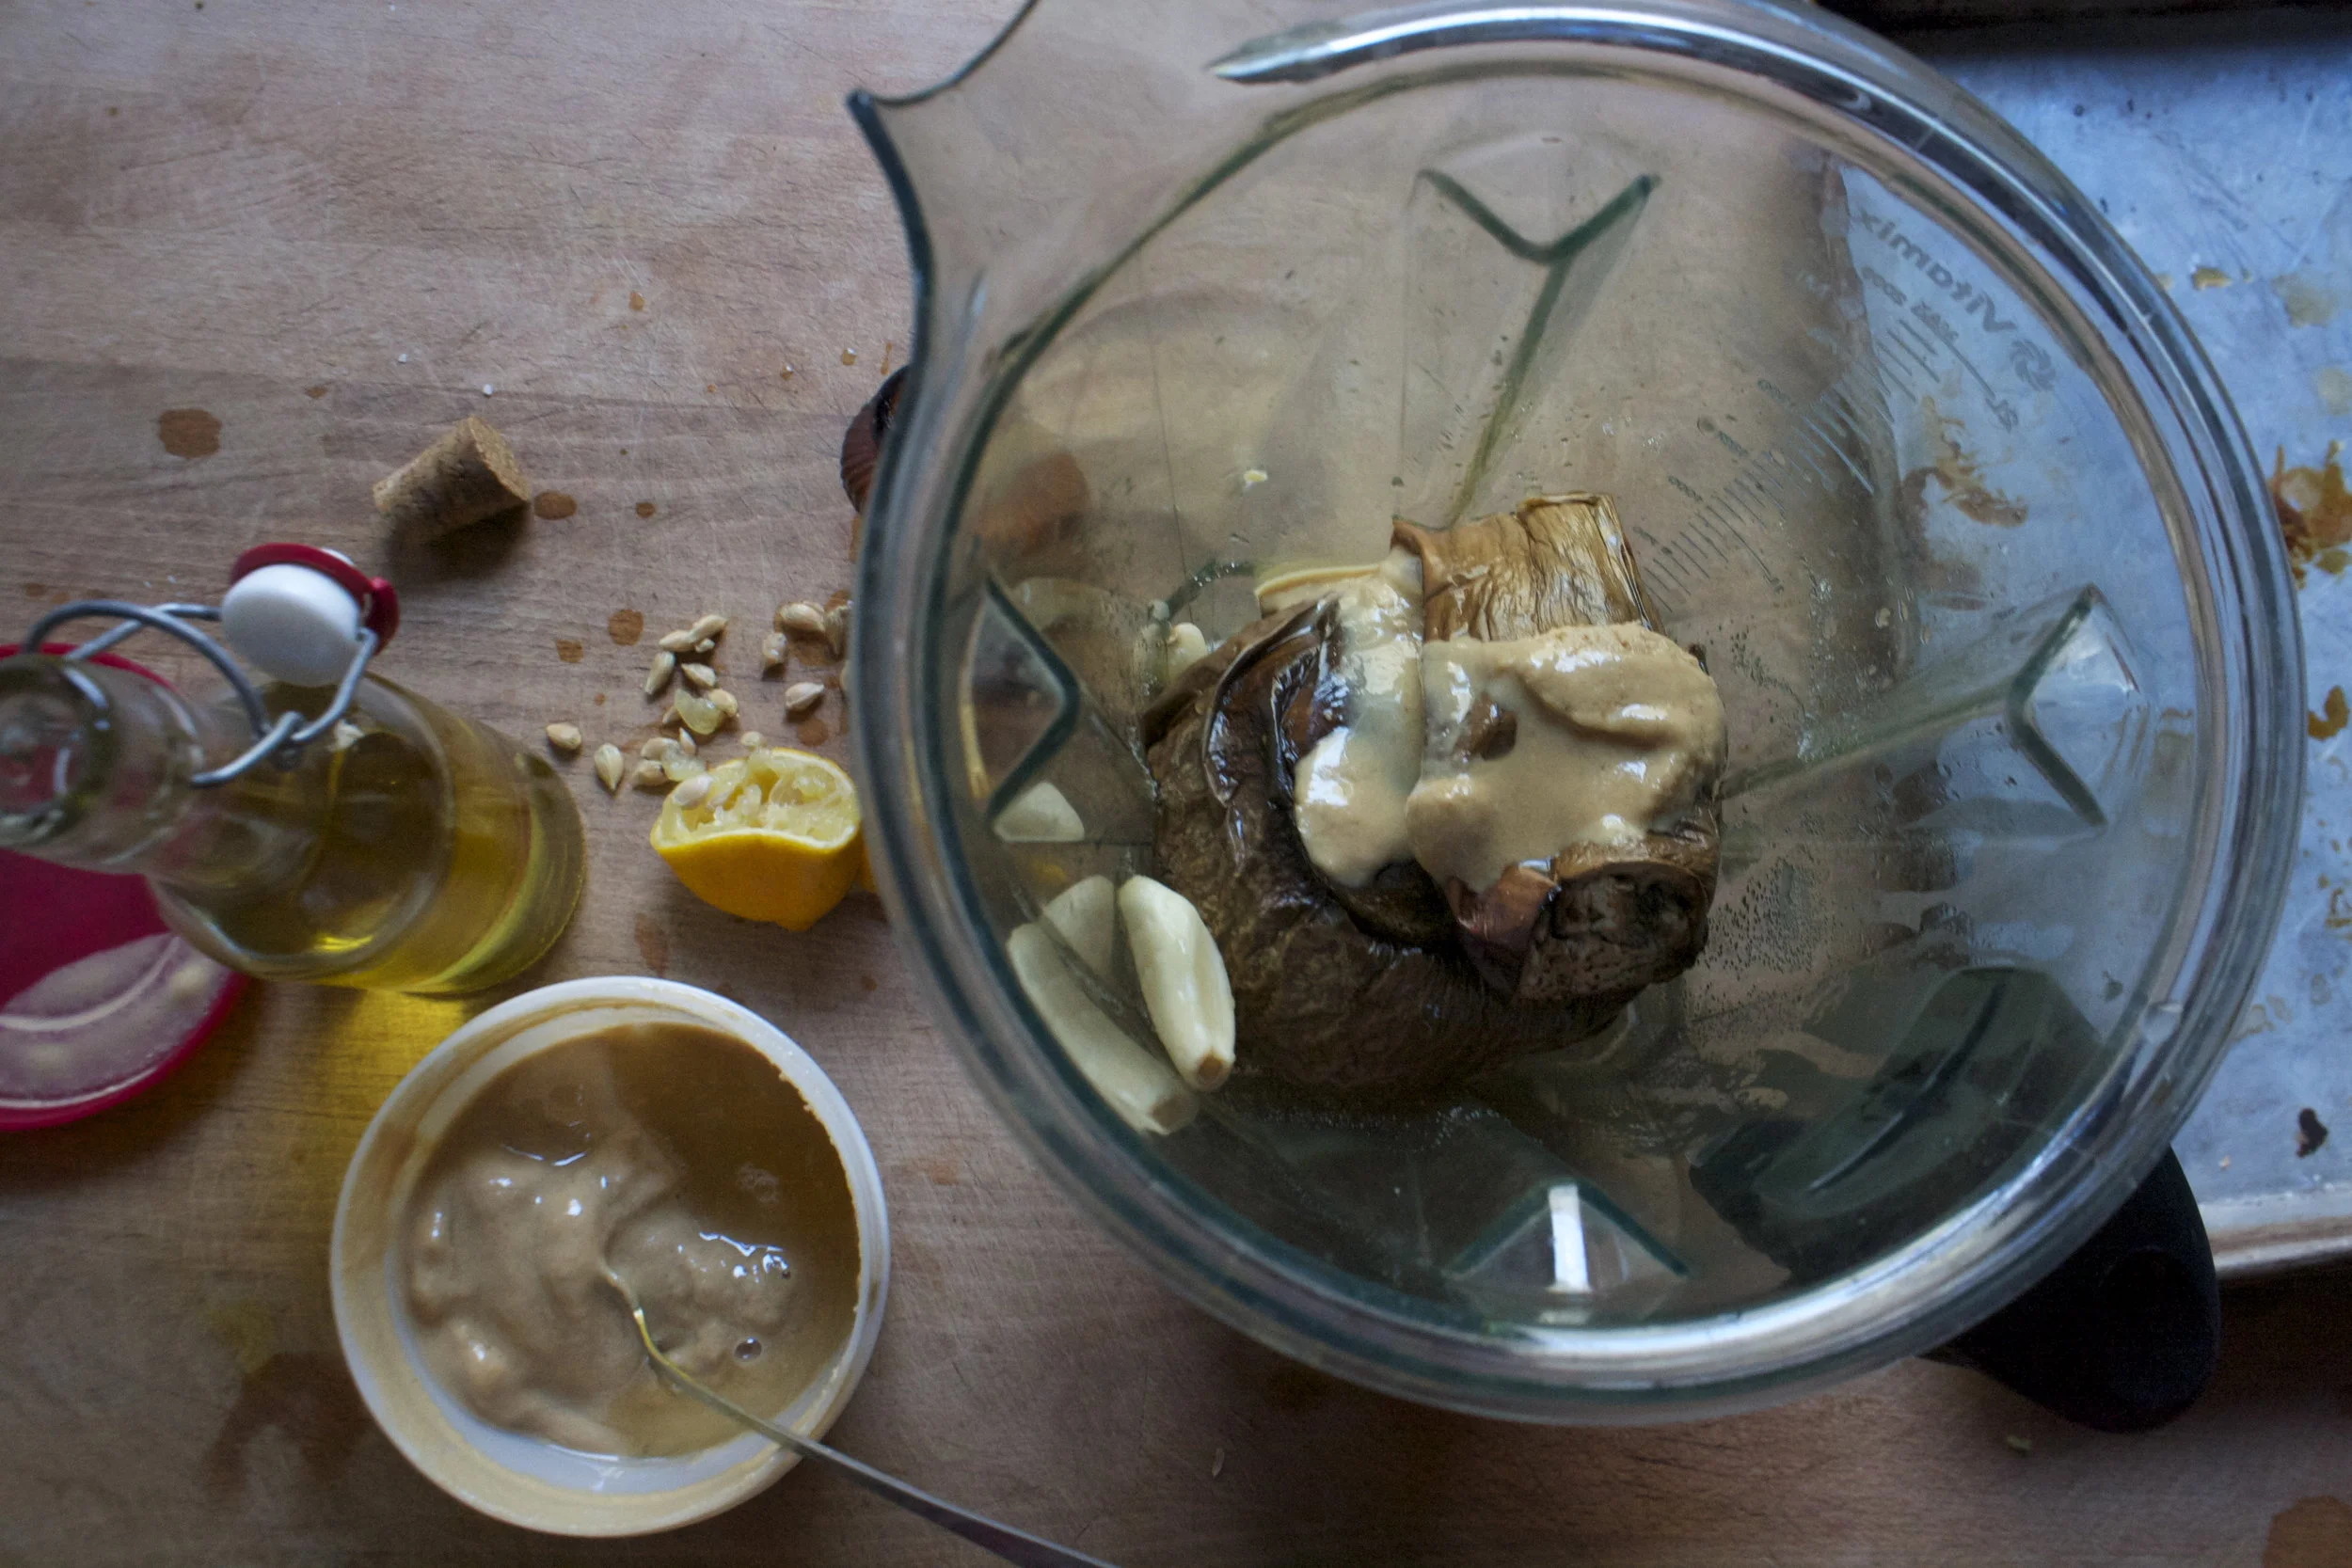
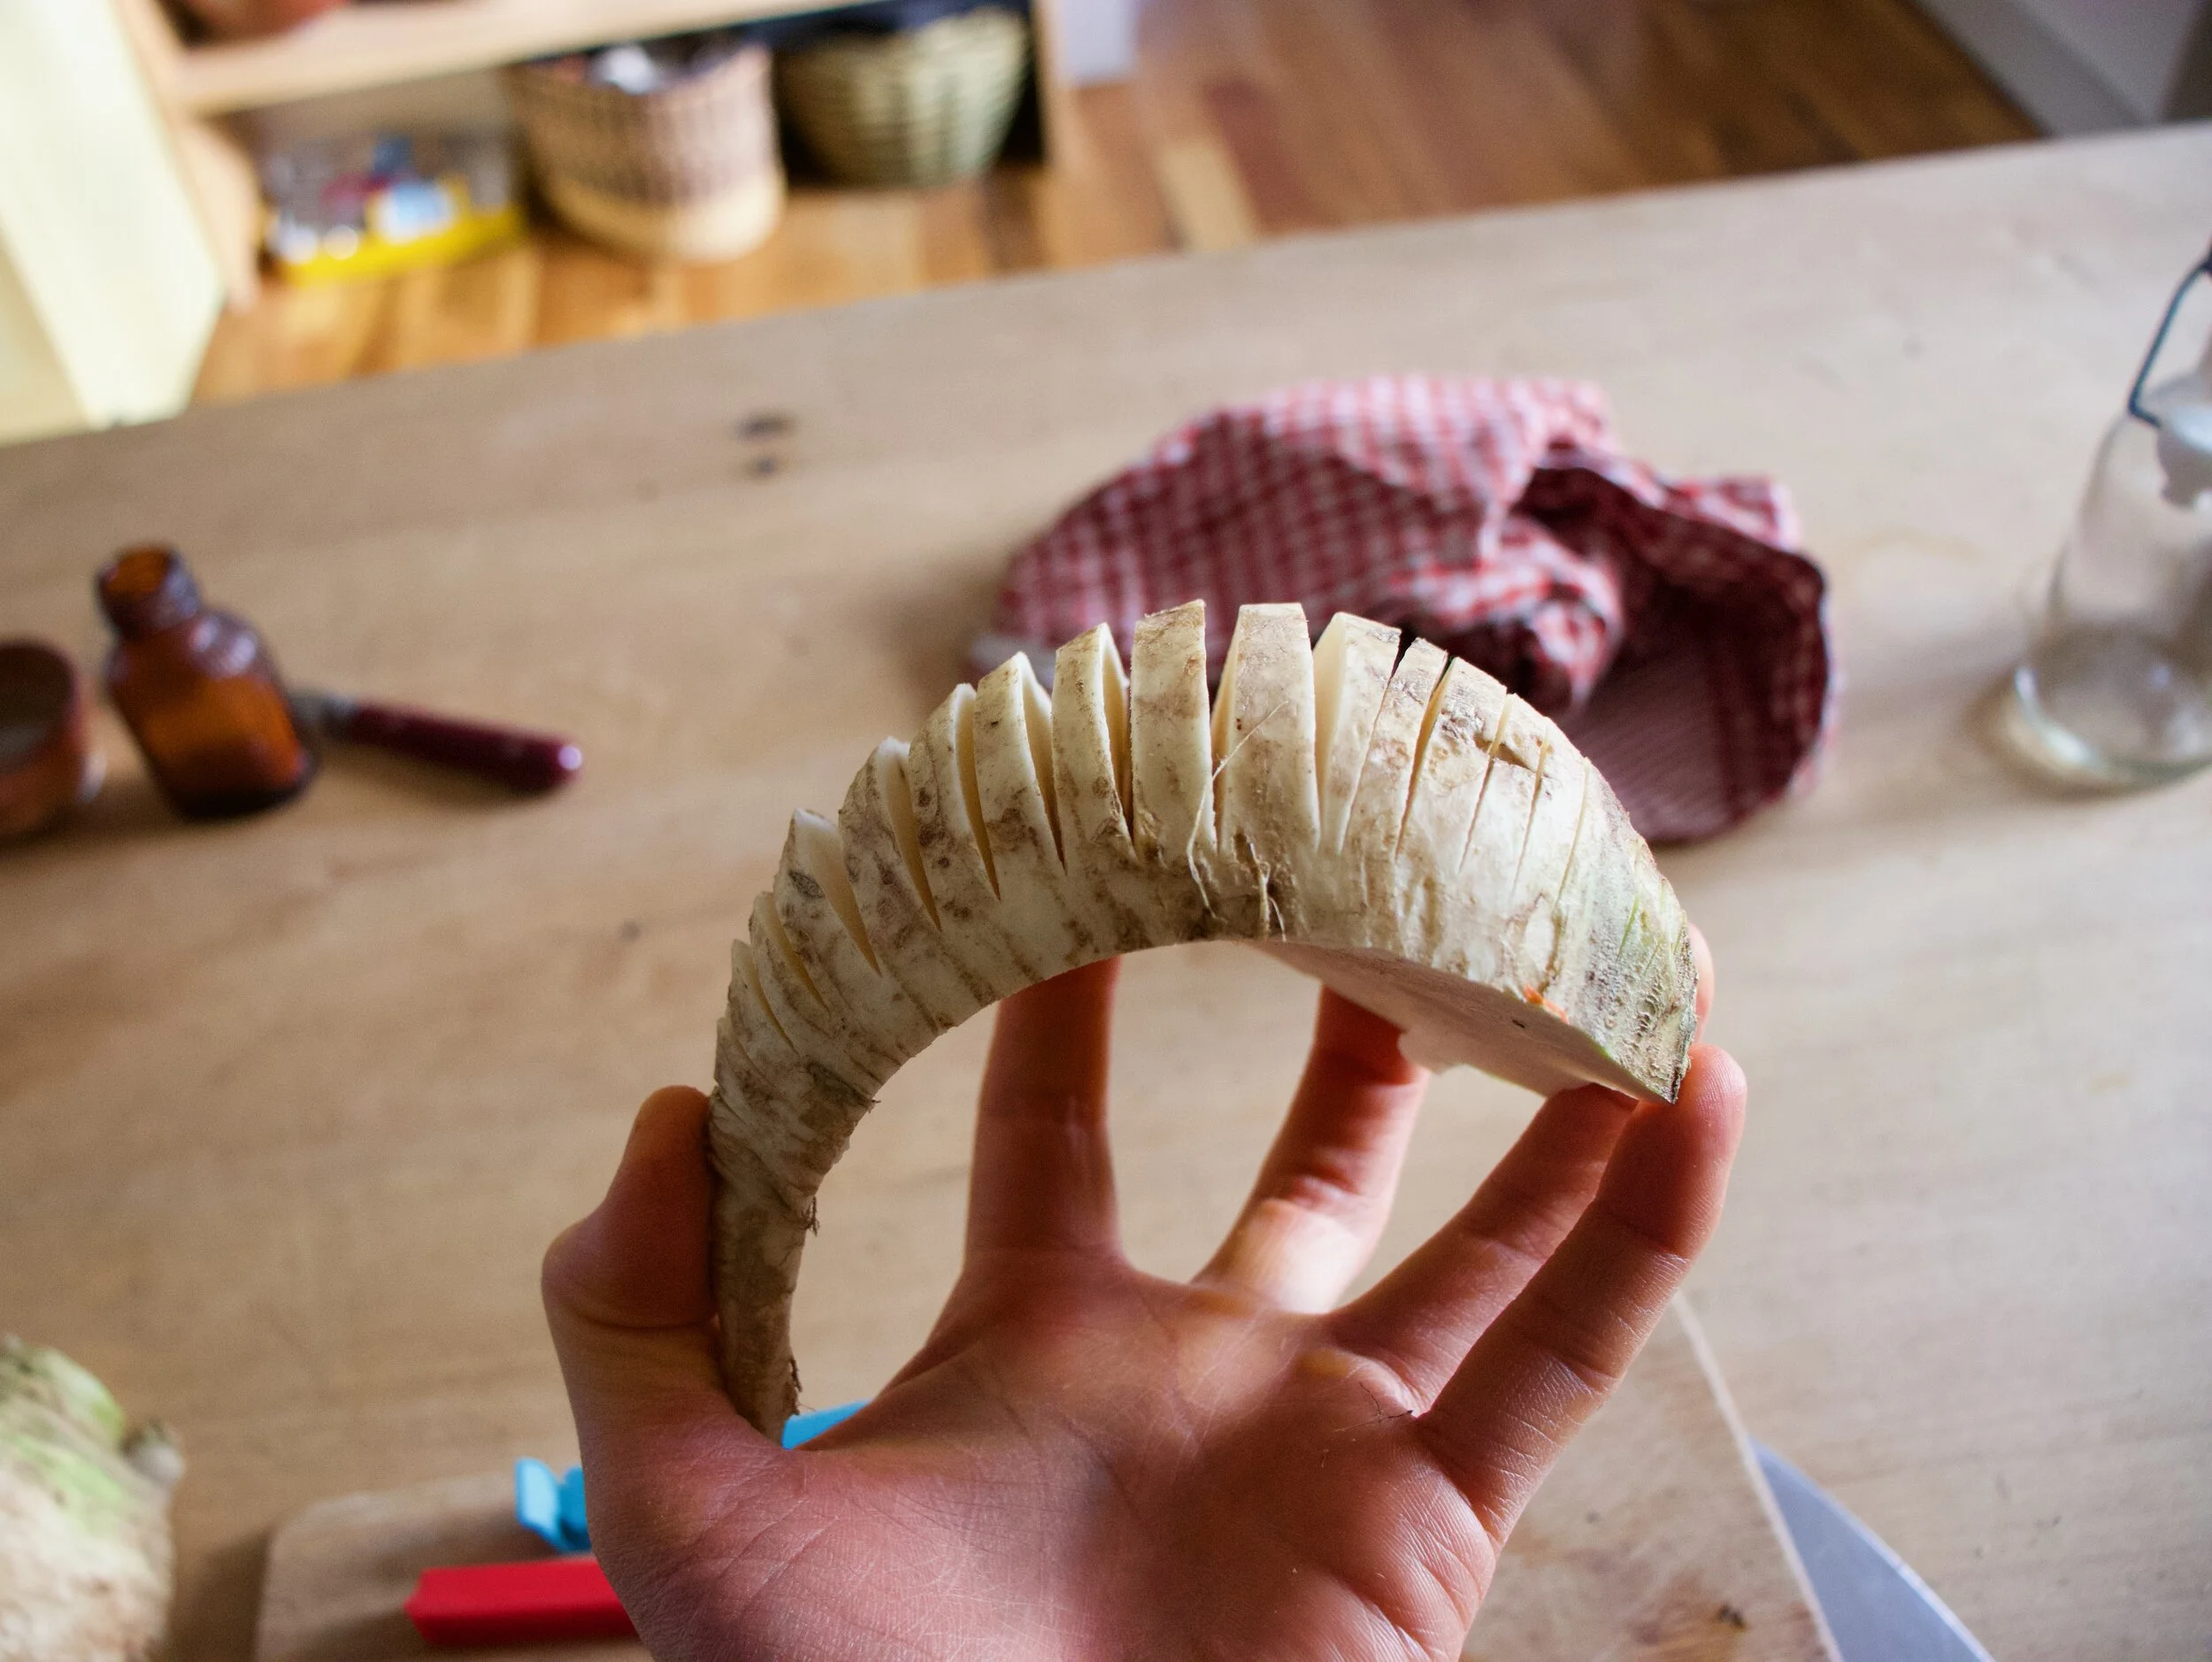
 Toss the chopped parsnip, carrot, onion and the spices into a pot on medium heat and let veggies sweat a few minutes until tender. %u00a0Add in the split peas and enough water to cover everything. %u00a0Turn pot on high and bring to a boil, then cover and turn to low. Make sure to give the pot a good stir ever few minutes and add more water if needed%u00a0
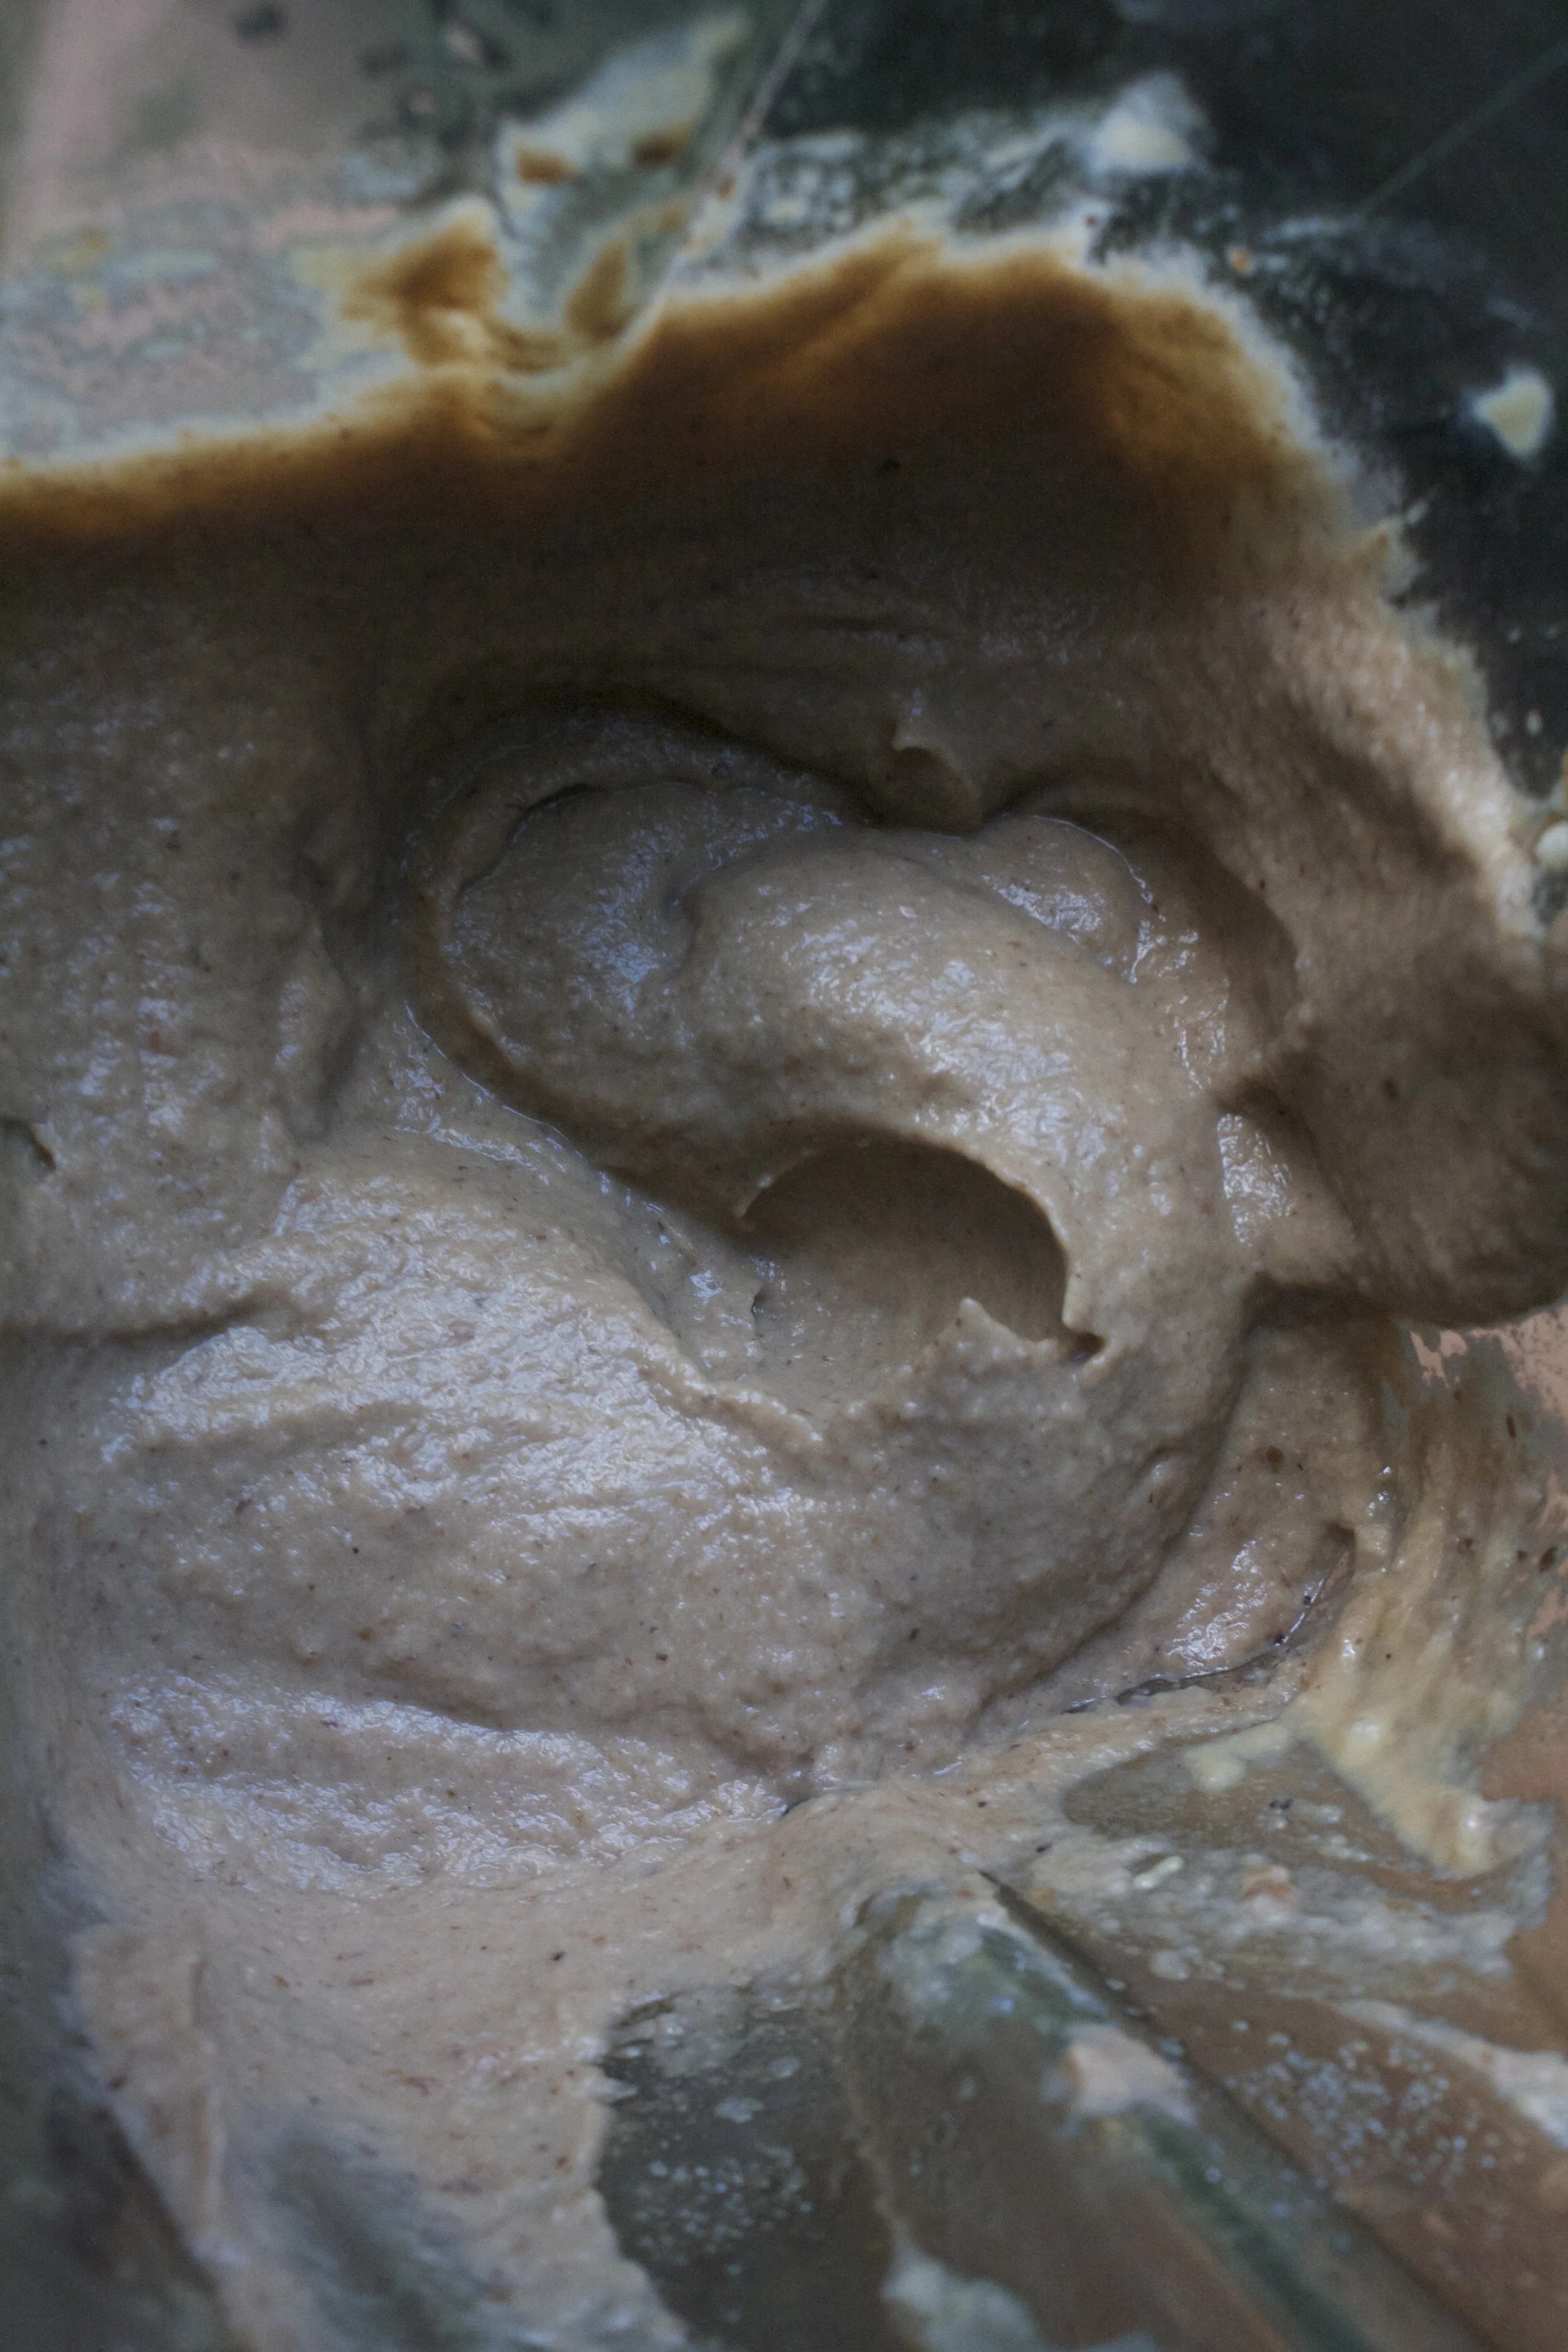
 Once the peas have soften, remove the bay leaf and puree until smooth and oh so creamy. Taste and add more salt and pepper if needed. If you find that the gravy seems to thick, just add in more water until it’s the consistency that you want.%u00a0
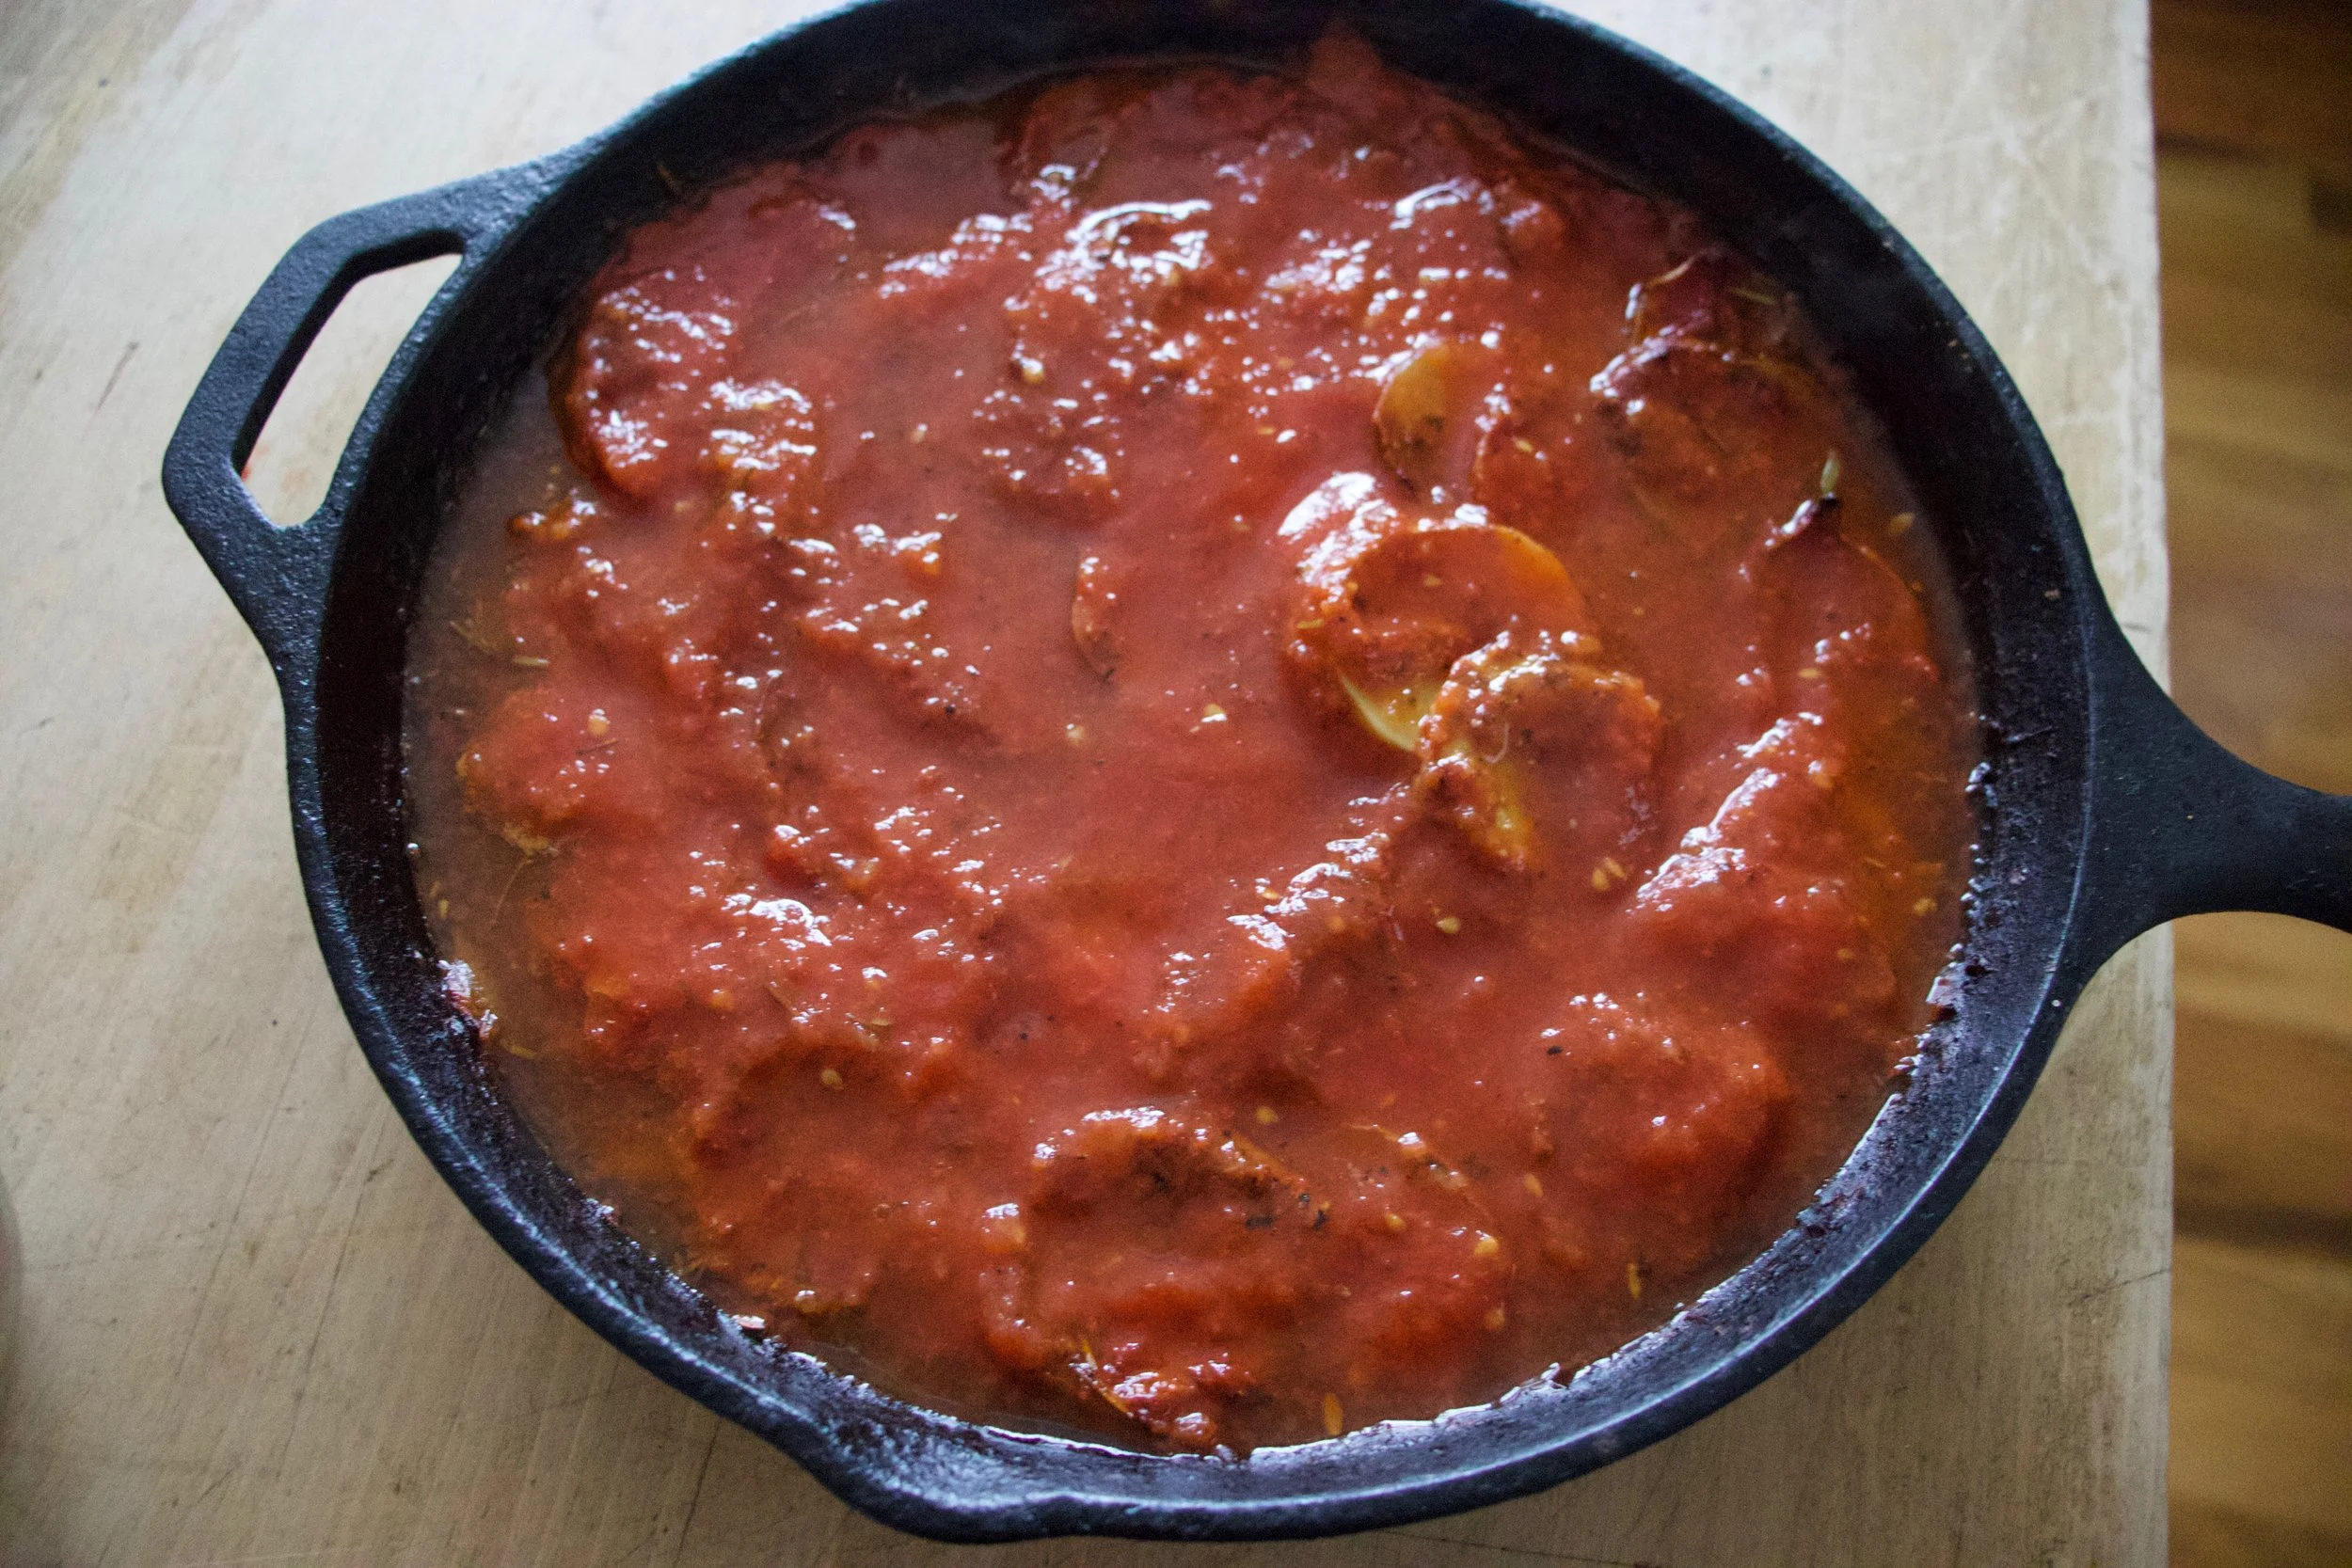
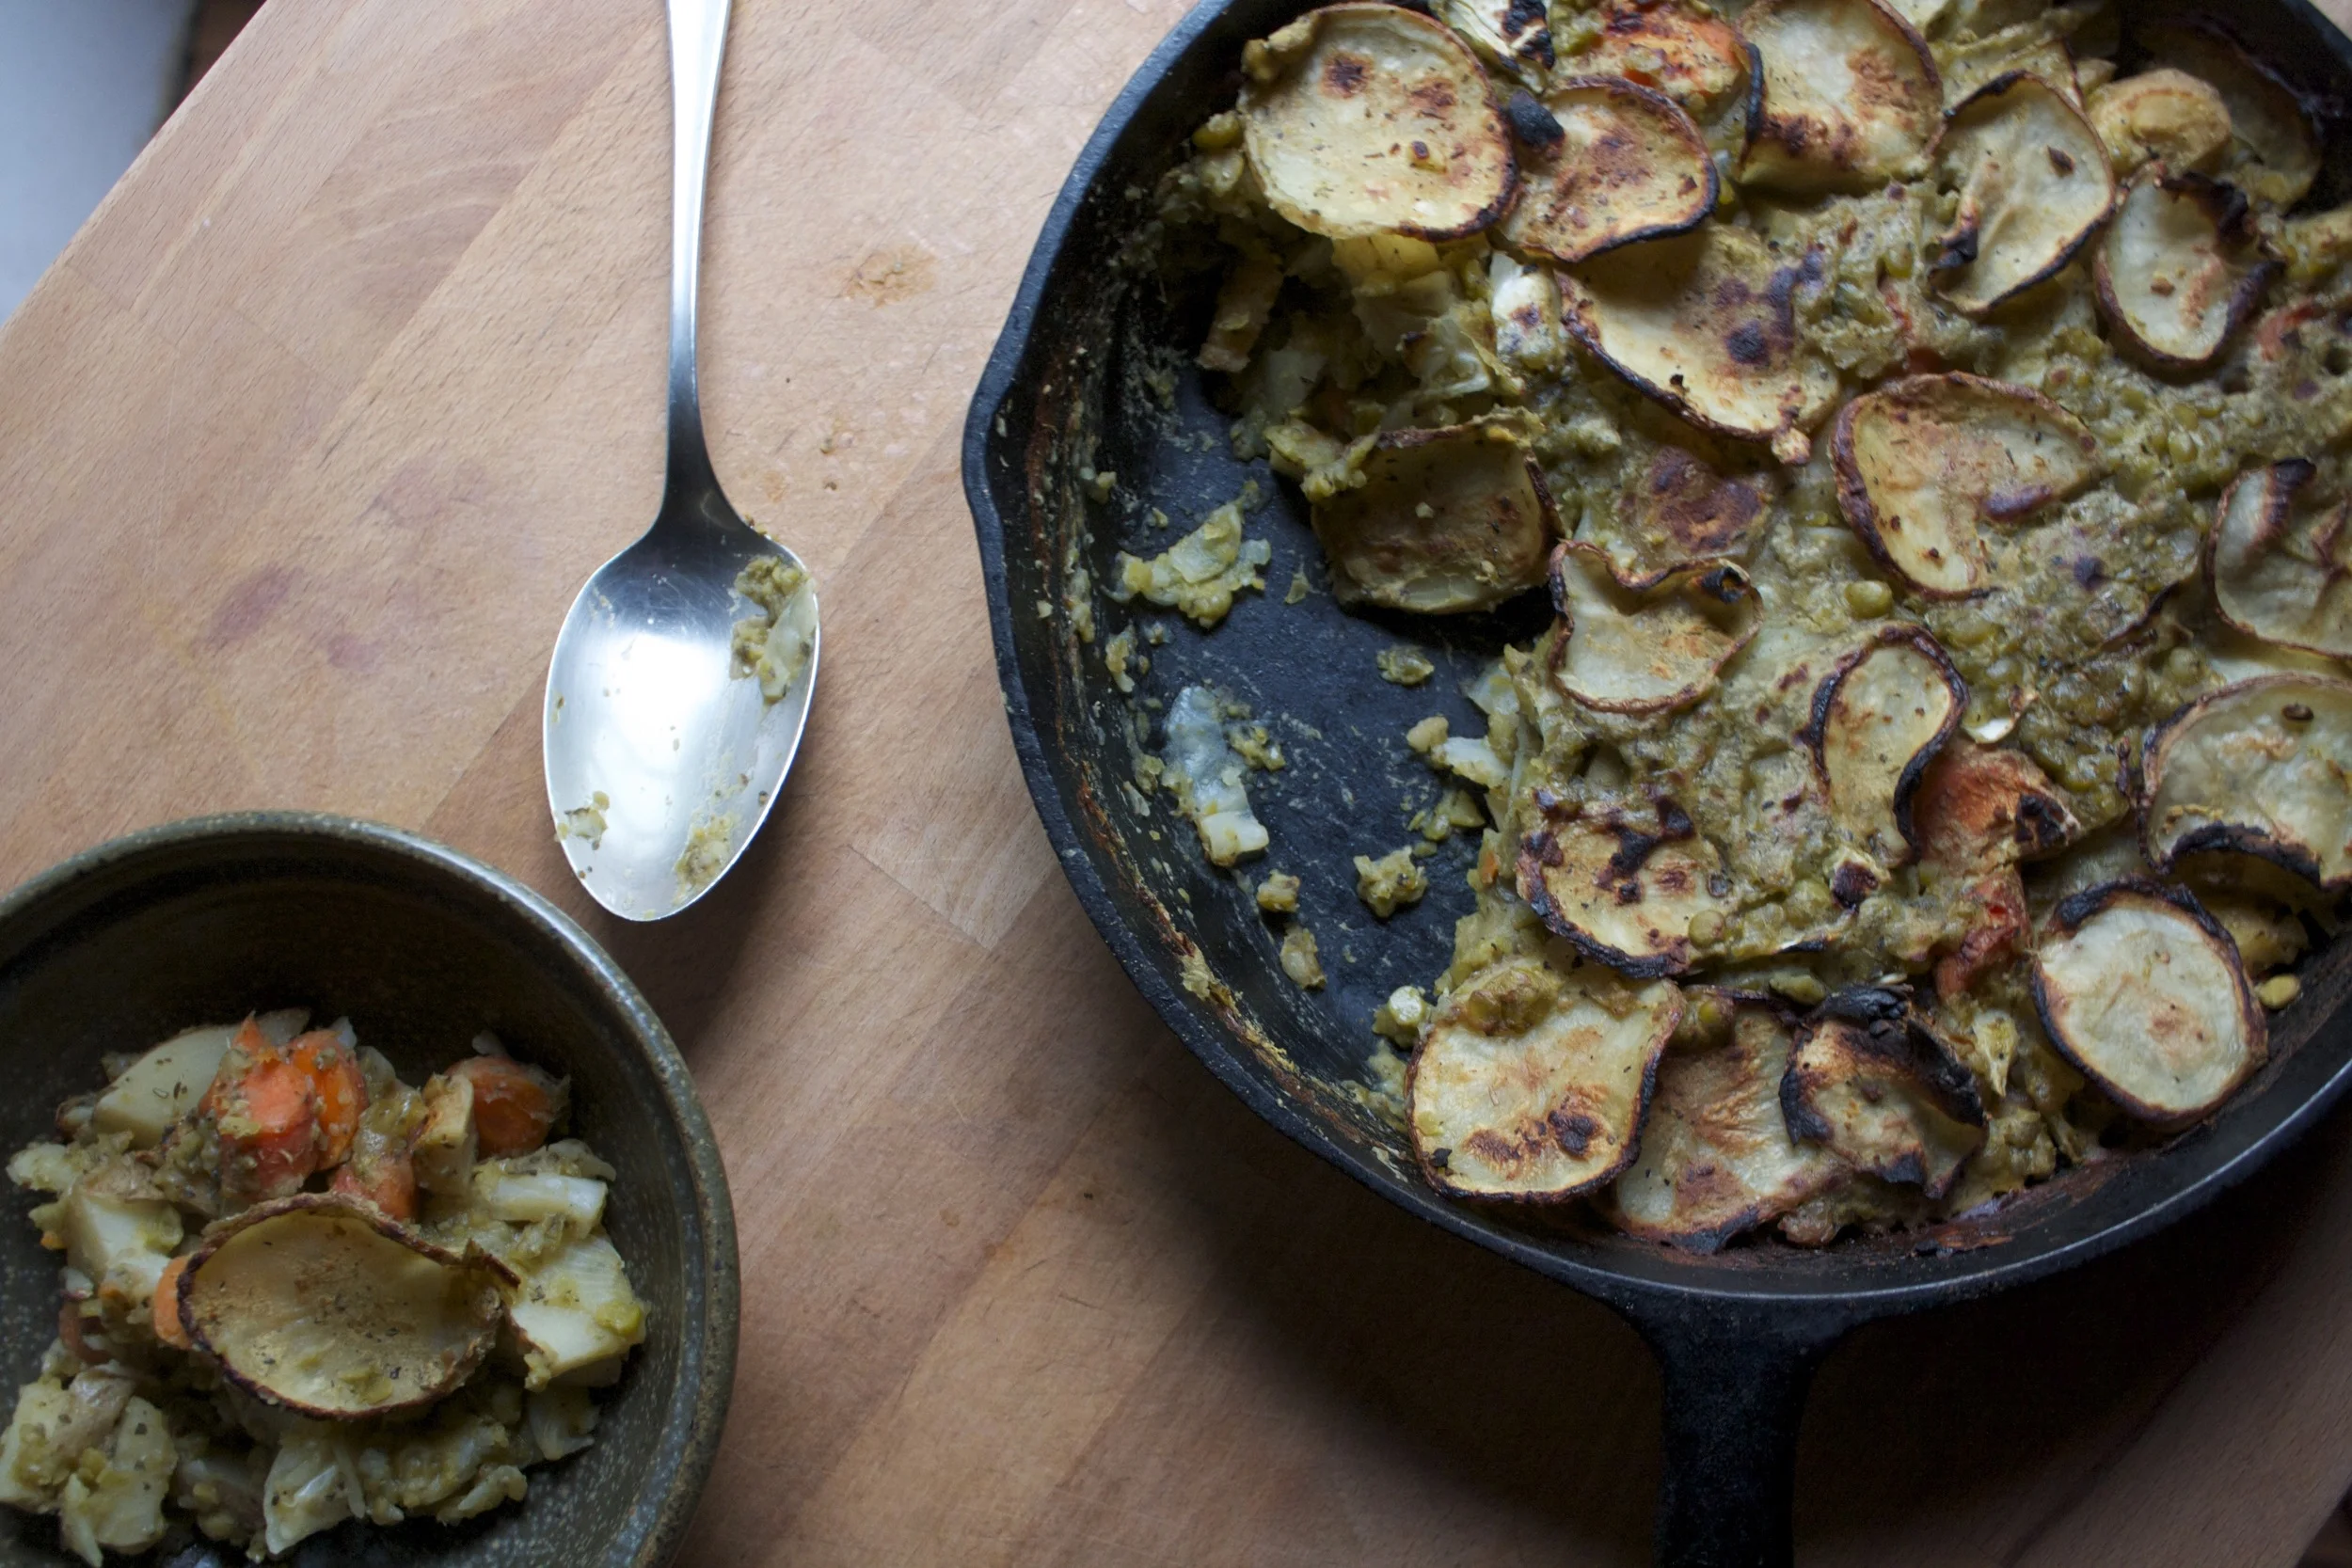
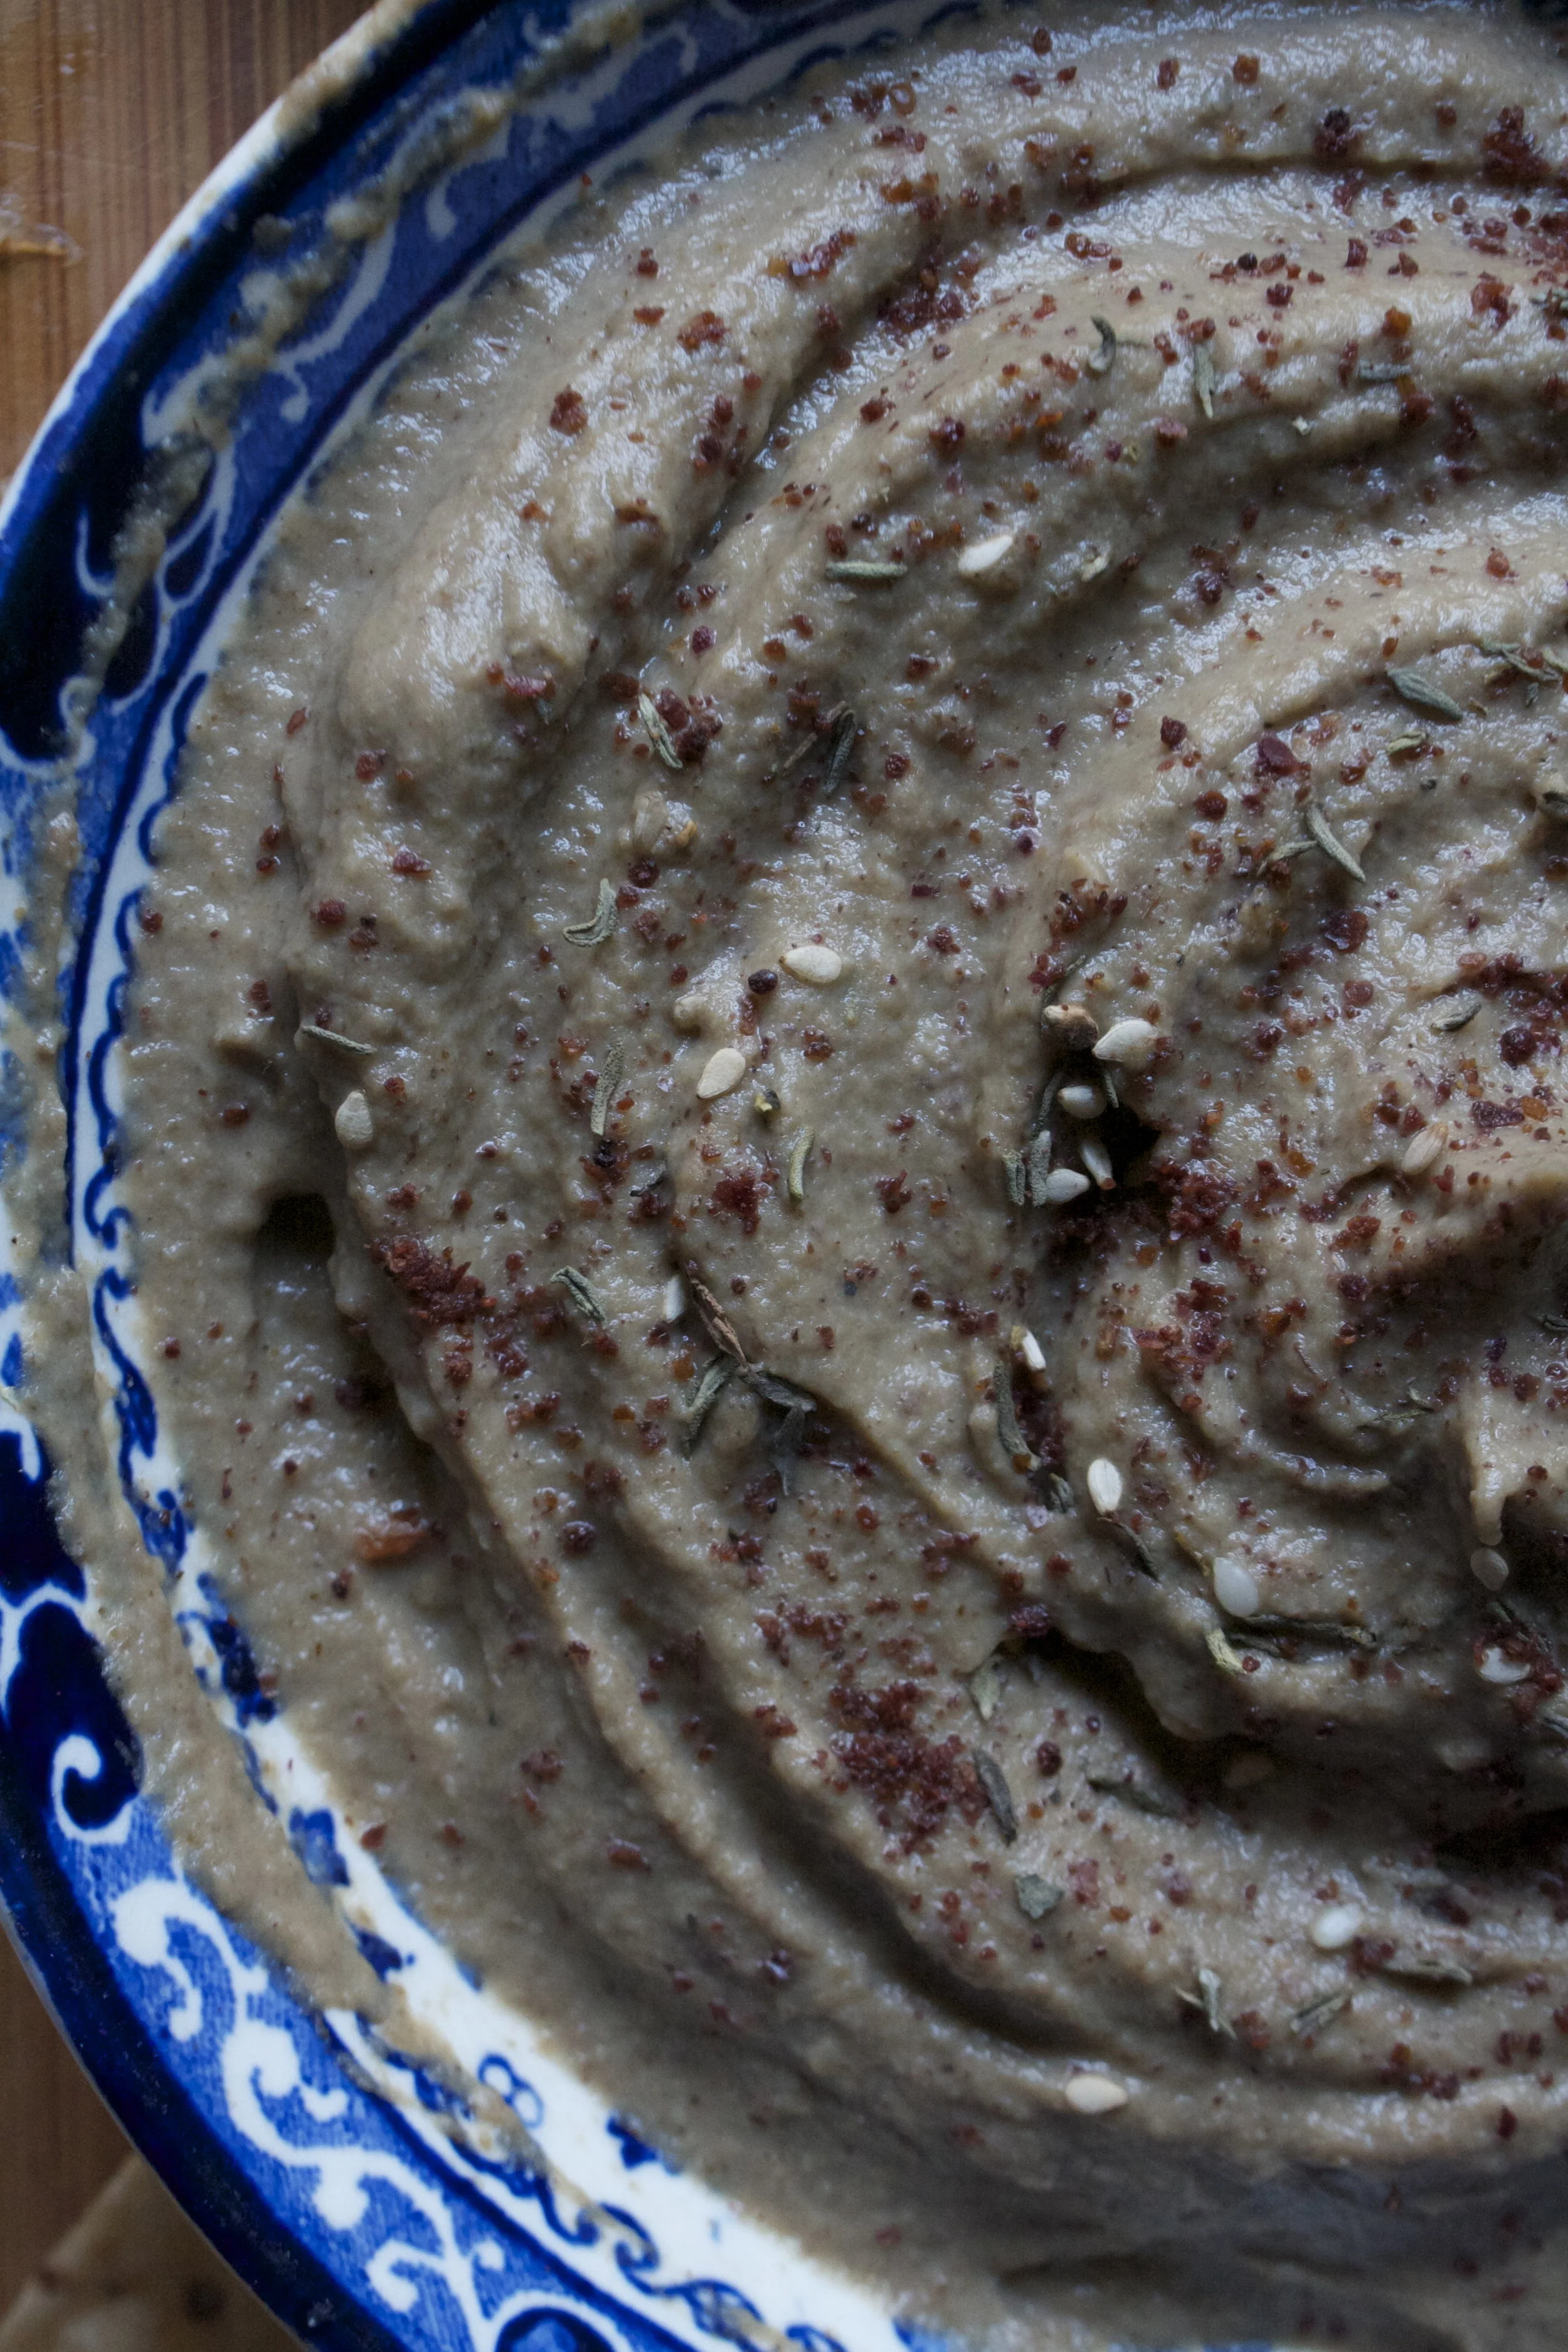
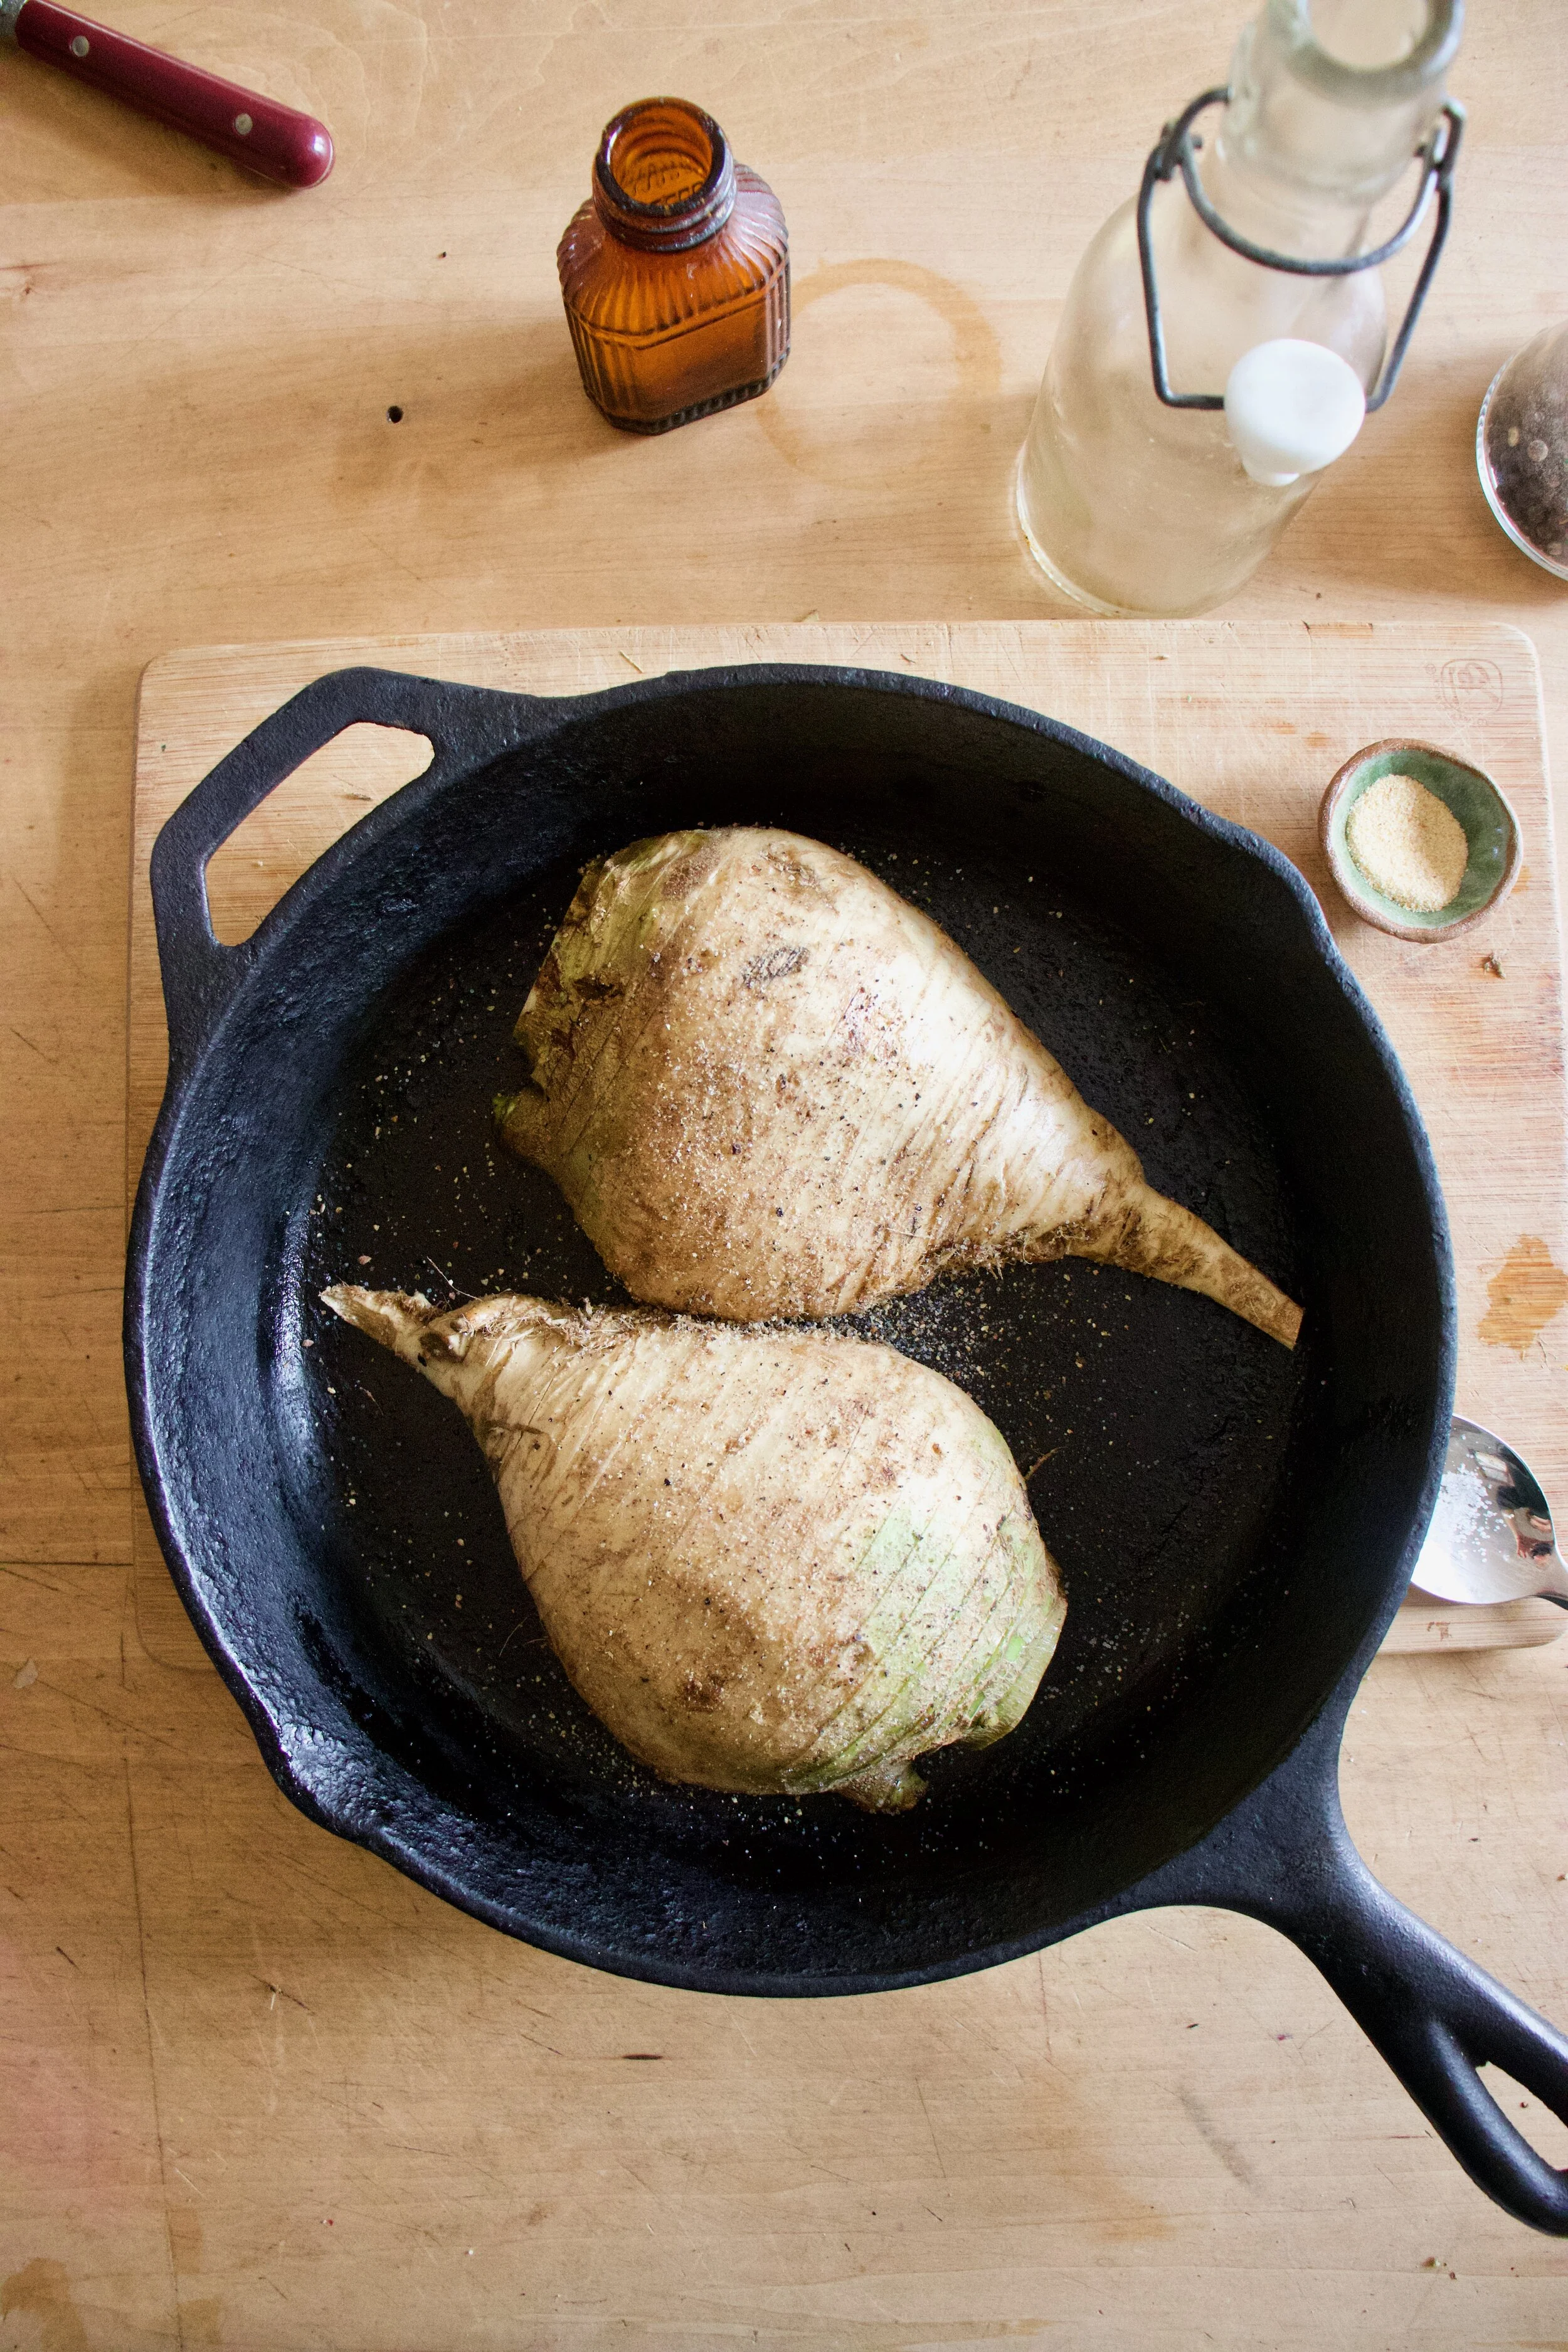
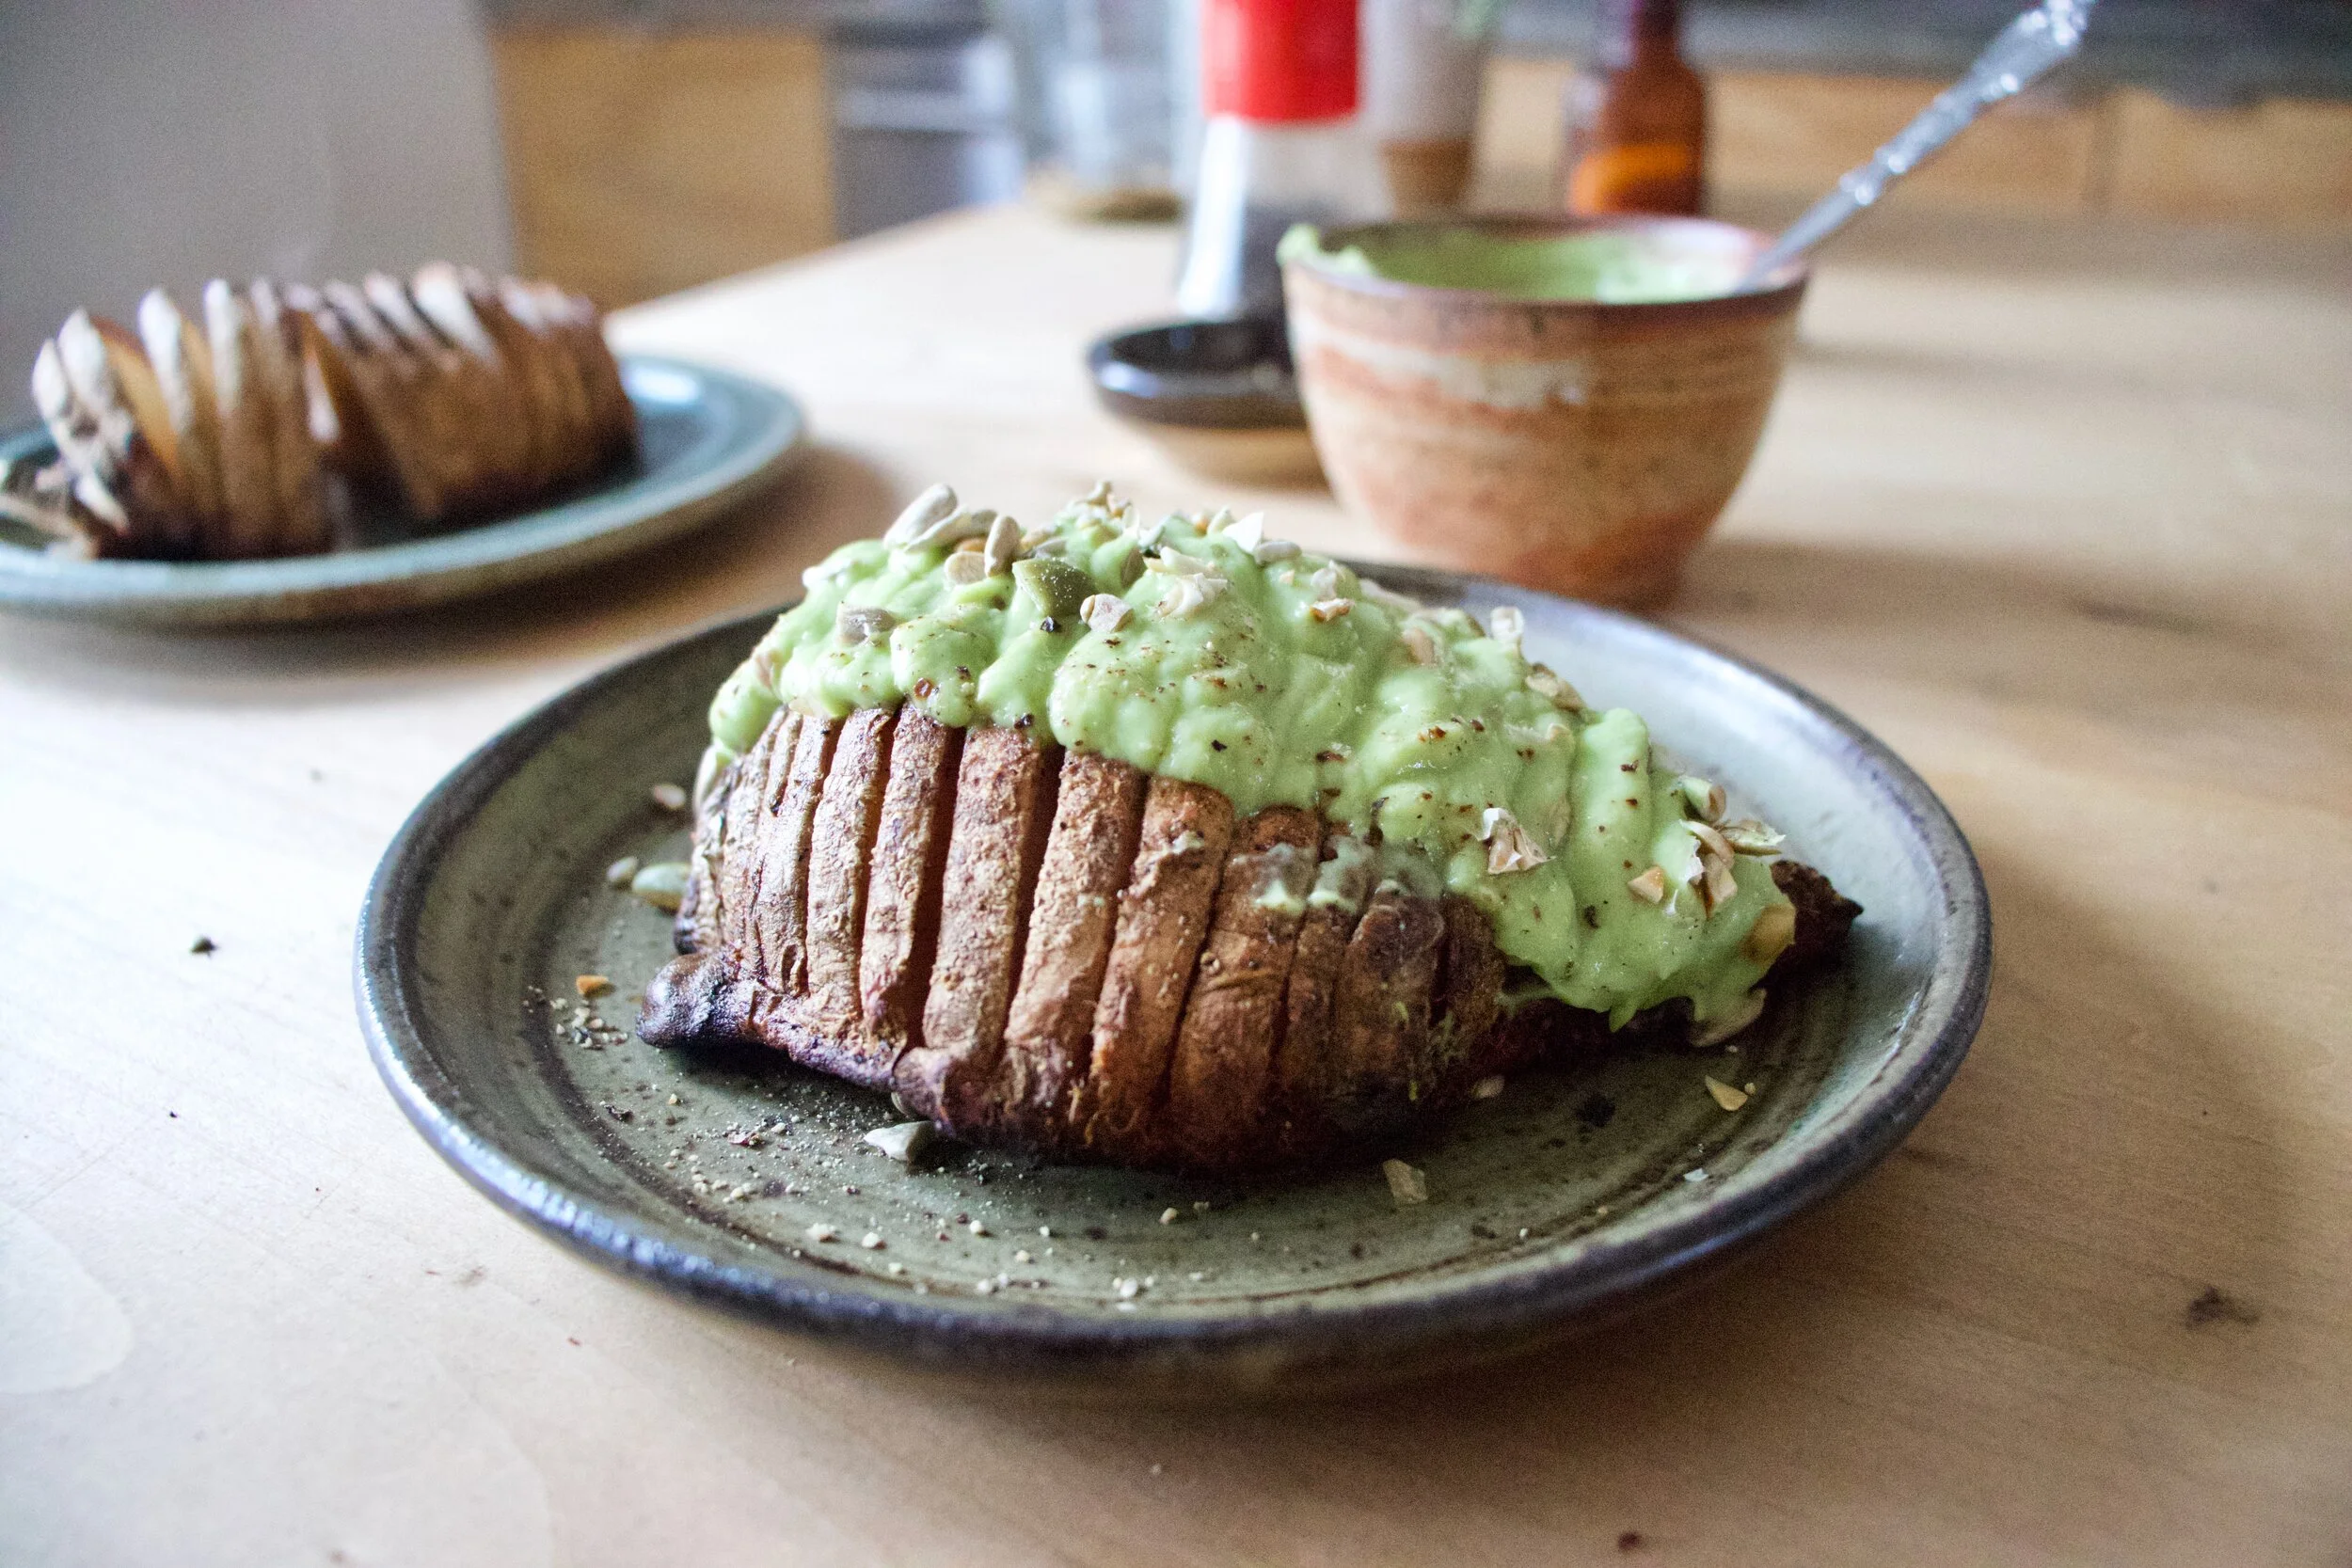
 The gravy is made, the celeriac is roasted%u2026 now we are ready to eat!!%u00a0
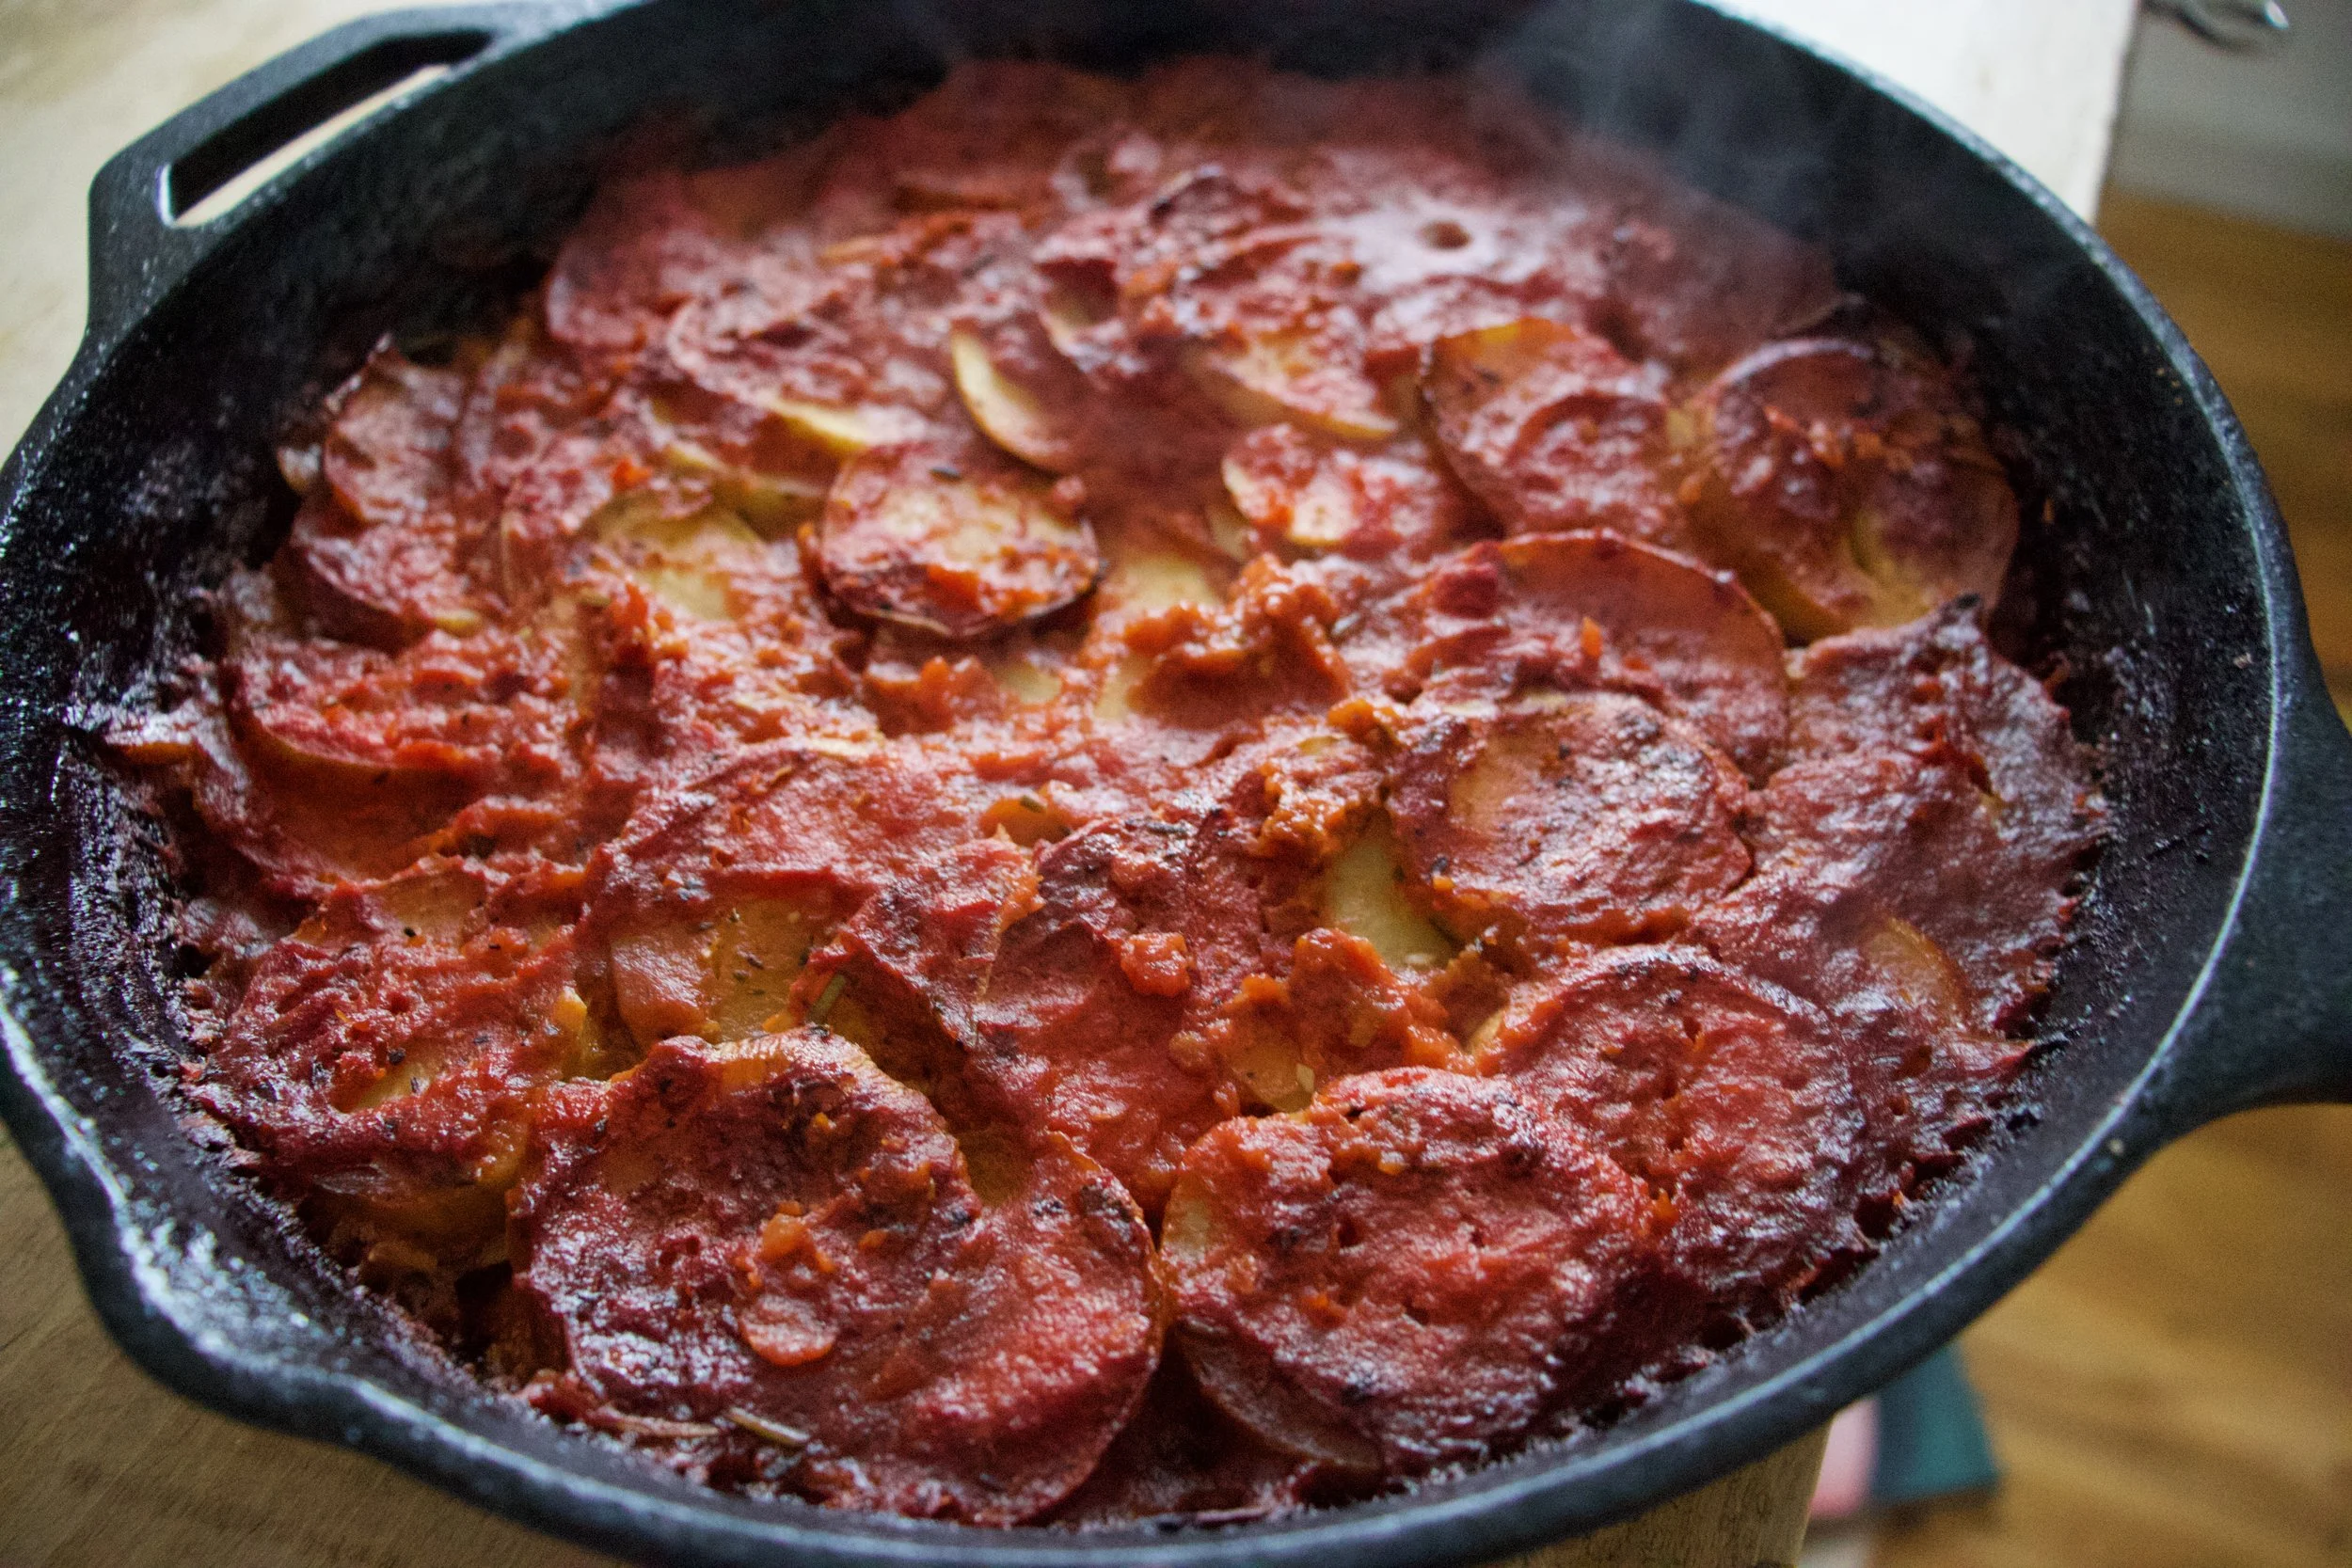
 Stick the celeriac on a plate and dump good amount of that gravy right on top. Feel free to add a bed of spinach, or a grain or anything you want, because why not, and also some chopped tomatoes for a little acid and prettiness.
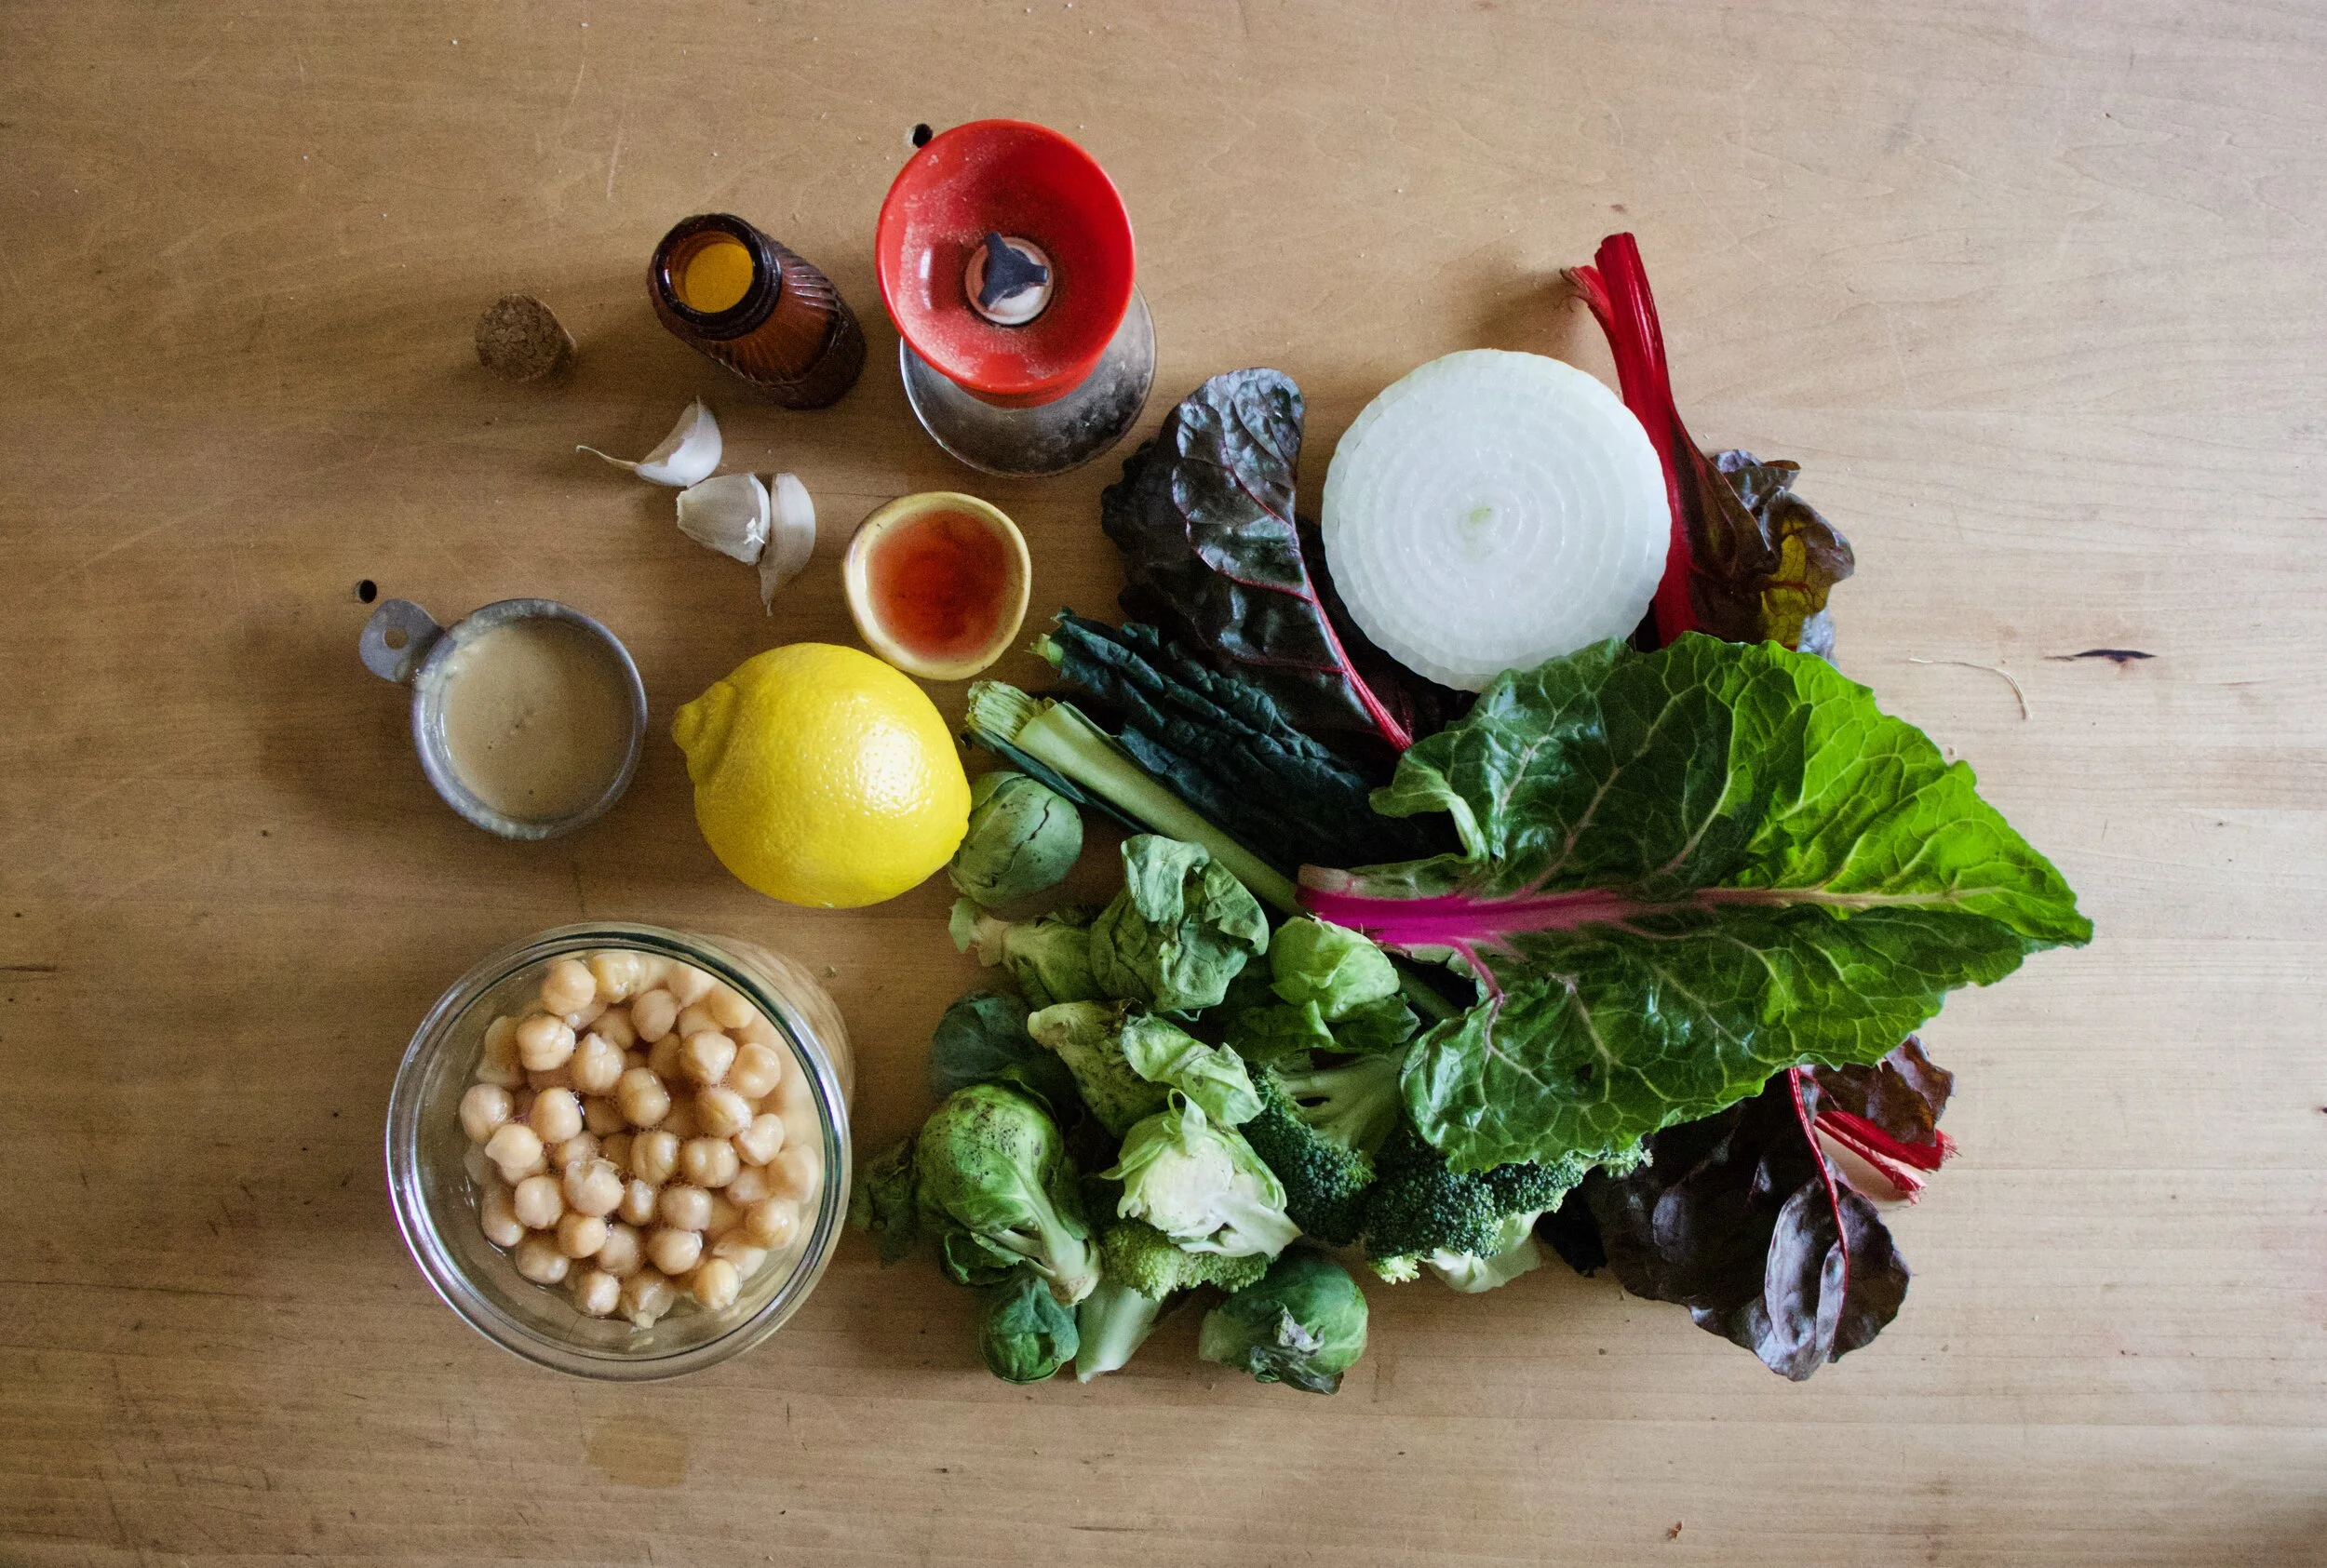


 I’ll let you know now, I am a make and eat soup all year long person. I can think of few things better then sitting outside, basking in the sun, hopefully with a light wind, a book in hand, enjoying a nice big cup of some good homemade soup. (Doesn’t that sound so freaking lovely?) This soup right here is perfect for just that. Parsnips are the best, kind of like a big white sweet, yet starchy carrots. And cooked together with a little bit of light and lemony thyme, rich earthy turmeric and a couple more chopped veggie….. you got yourself a nice thick and fragrant bowl of happiness that fills you up without weighing you down. It’s food you can eat that fills you up, leaves you feeling cozy, yet still wanting to hop on a bike or lace up the running shoes. Hearty without the feeling of all the heaviness.
 The stuff. Parsnips, carrots, onion and garlic. Thyme and turmeric, salt and pepper. the tinniest bit of oil and water (water not shown)
 Chop all the veggies and the garlic, drizzle a dutch oven or a pot with oil, toss in the veggies. Add the turmeric, the thyme, and 1/2 cup of water.
  Sweet sweating the veggies. Turn pot on medium and cook until the water completely cooks out. When the veggies start to brown and stick to the pot, deglaze with water. Give a good stir and keep cooking. Repeat the deglazing process until the veggies are super soft and ready to blend. (I did this 4 times.. it only took 10 minutes)
 Add enough water to cover the cooked veggies.
  And now blend the heck out of it.. Go as smooth or chunky as you want. I blended as smooth as I could get with this crappy immersion blender. (Blender on loan until I finally decide on, and buy a new one)
 And there you have it. Scoop into bowls, add lots of cracked black pepper, and go to town. I made enough to save a bowl for later… it didn’t last for later.
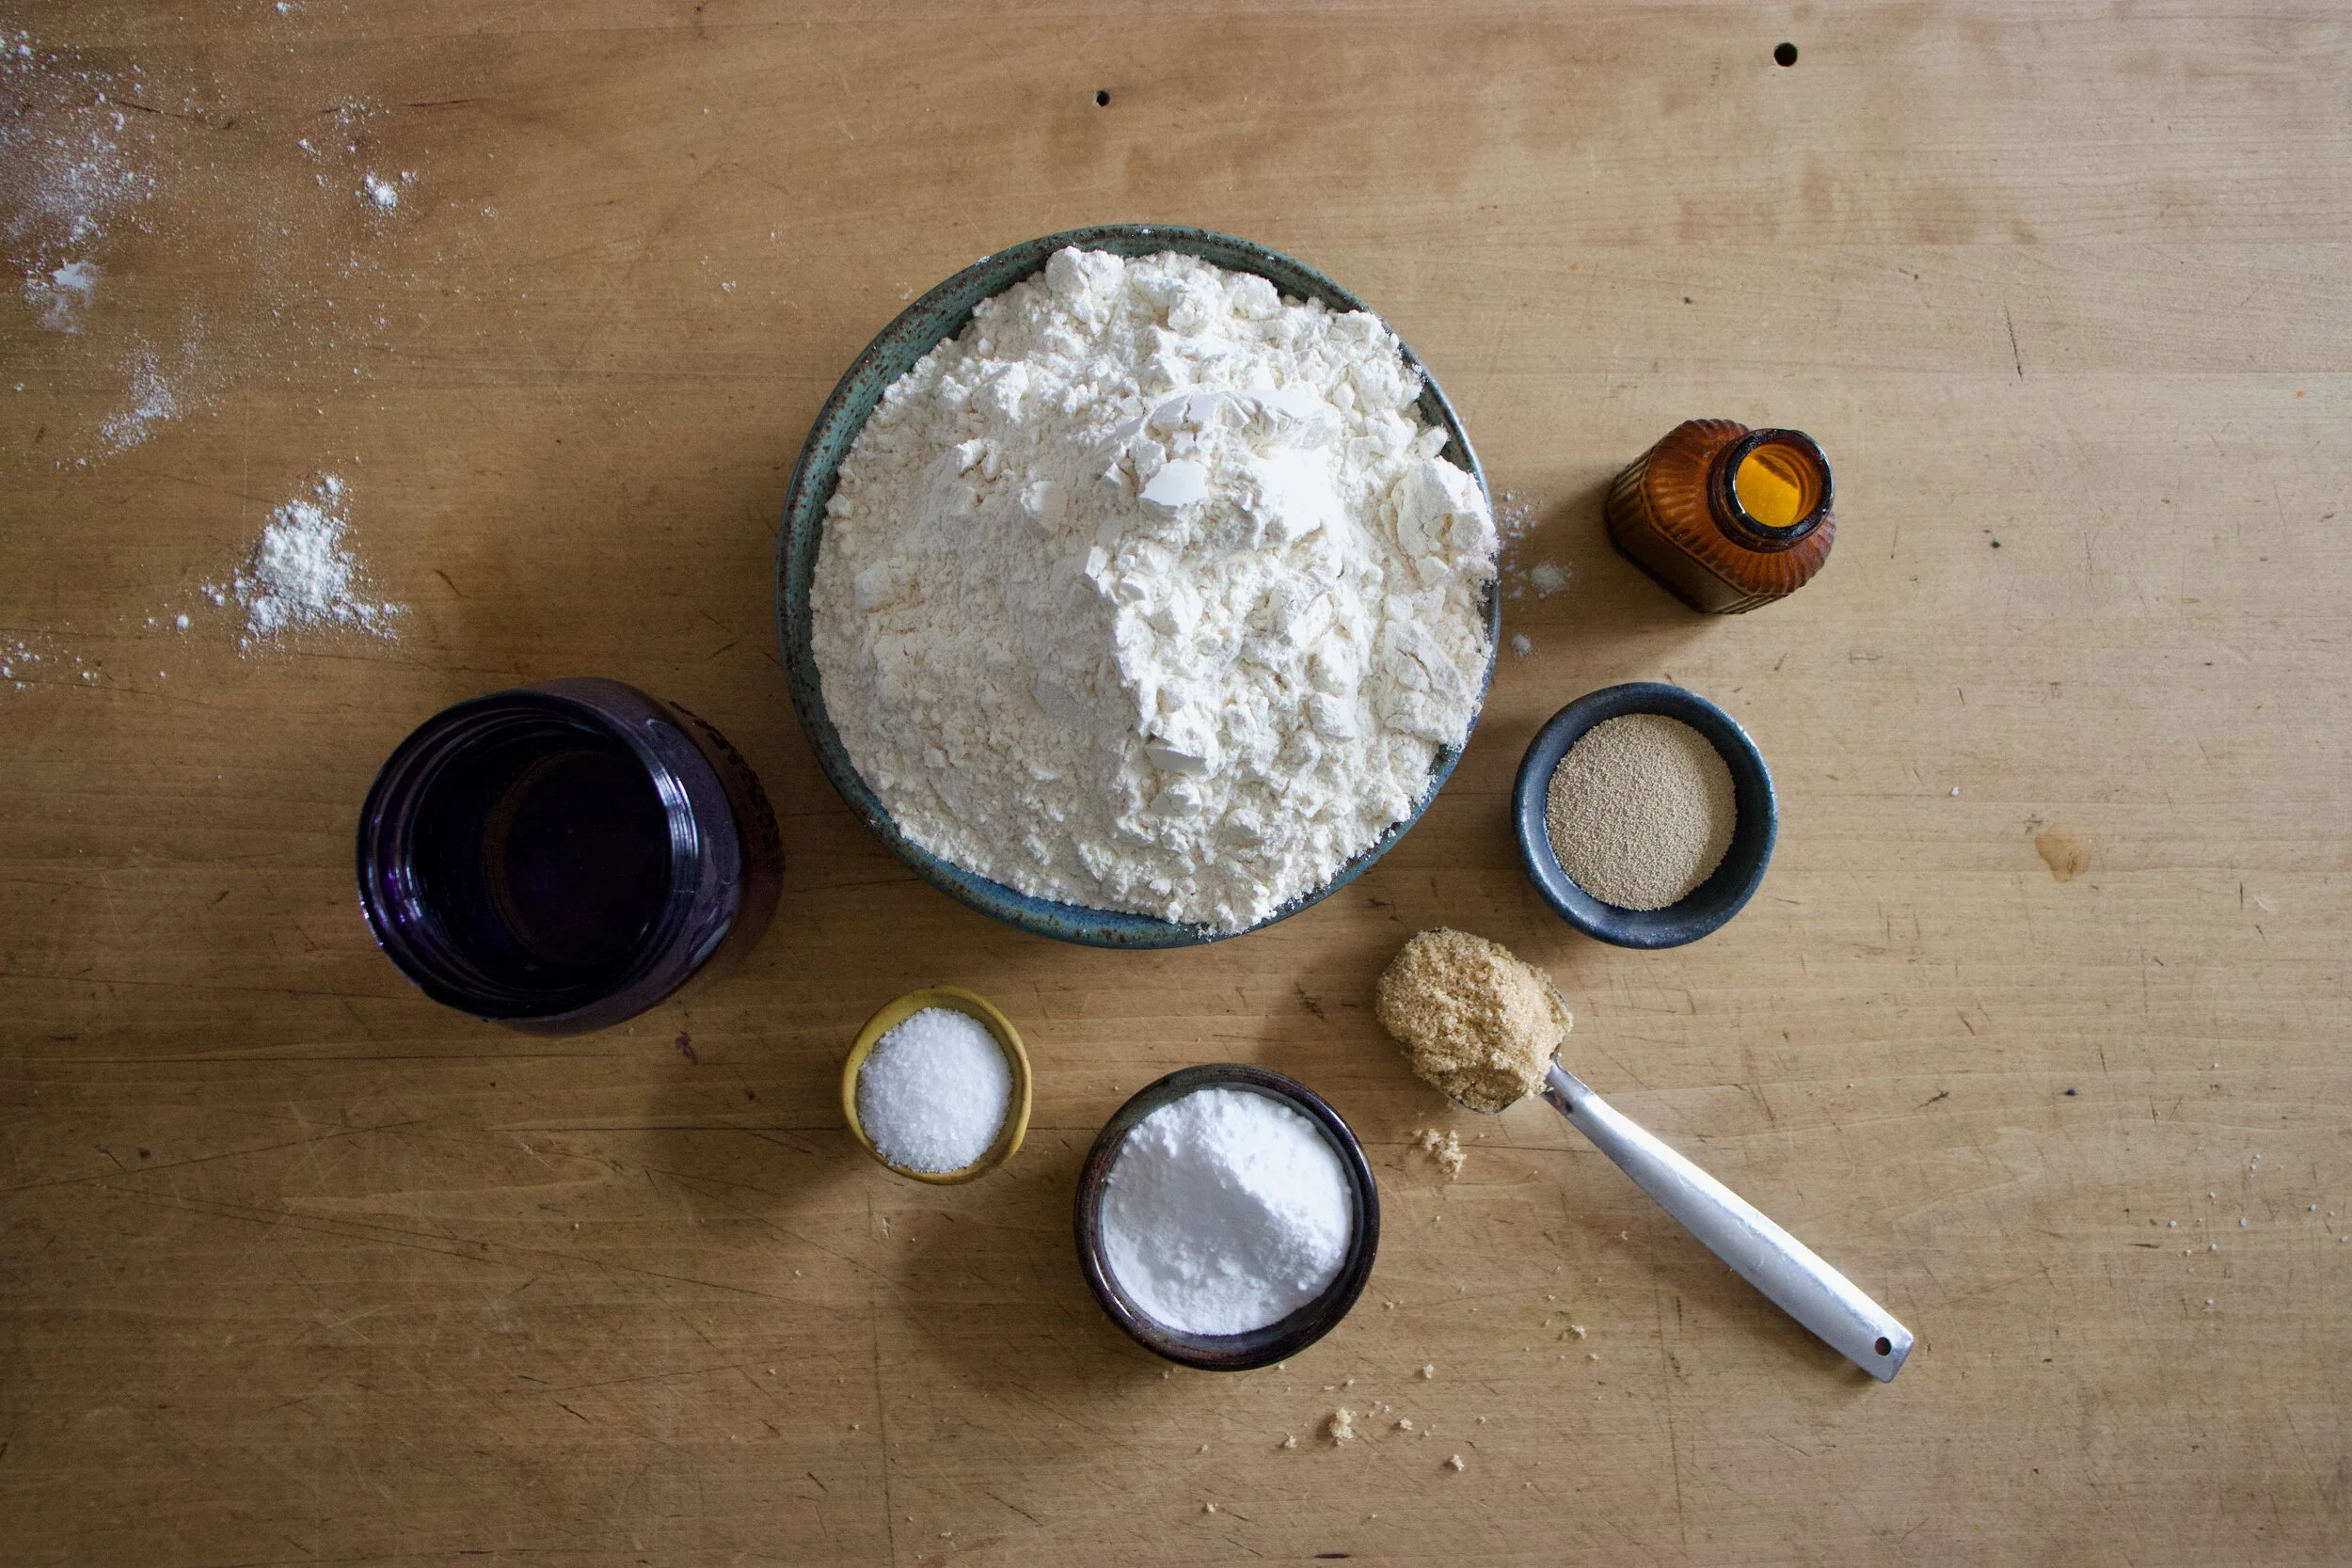


THE LOVELY CRAZY
February 23, 2020 by maximios • Blog
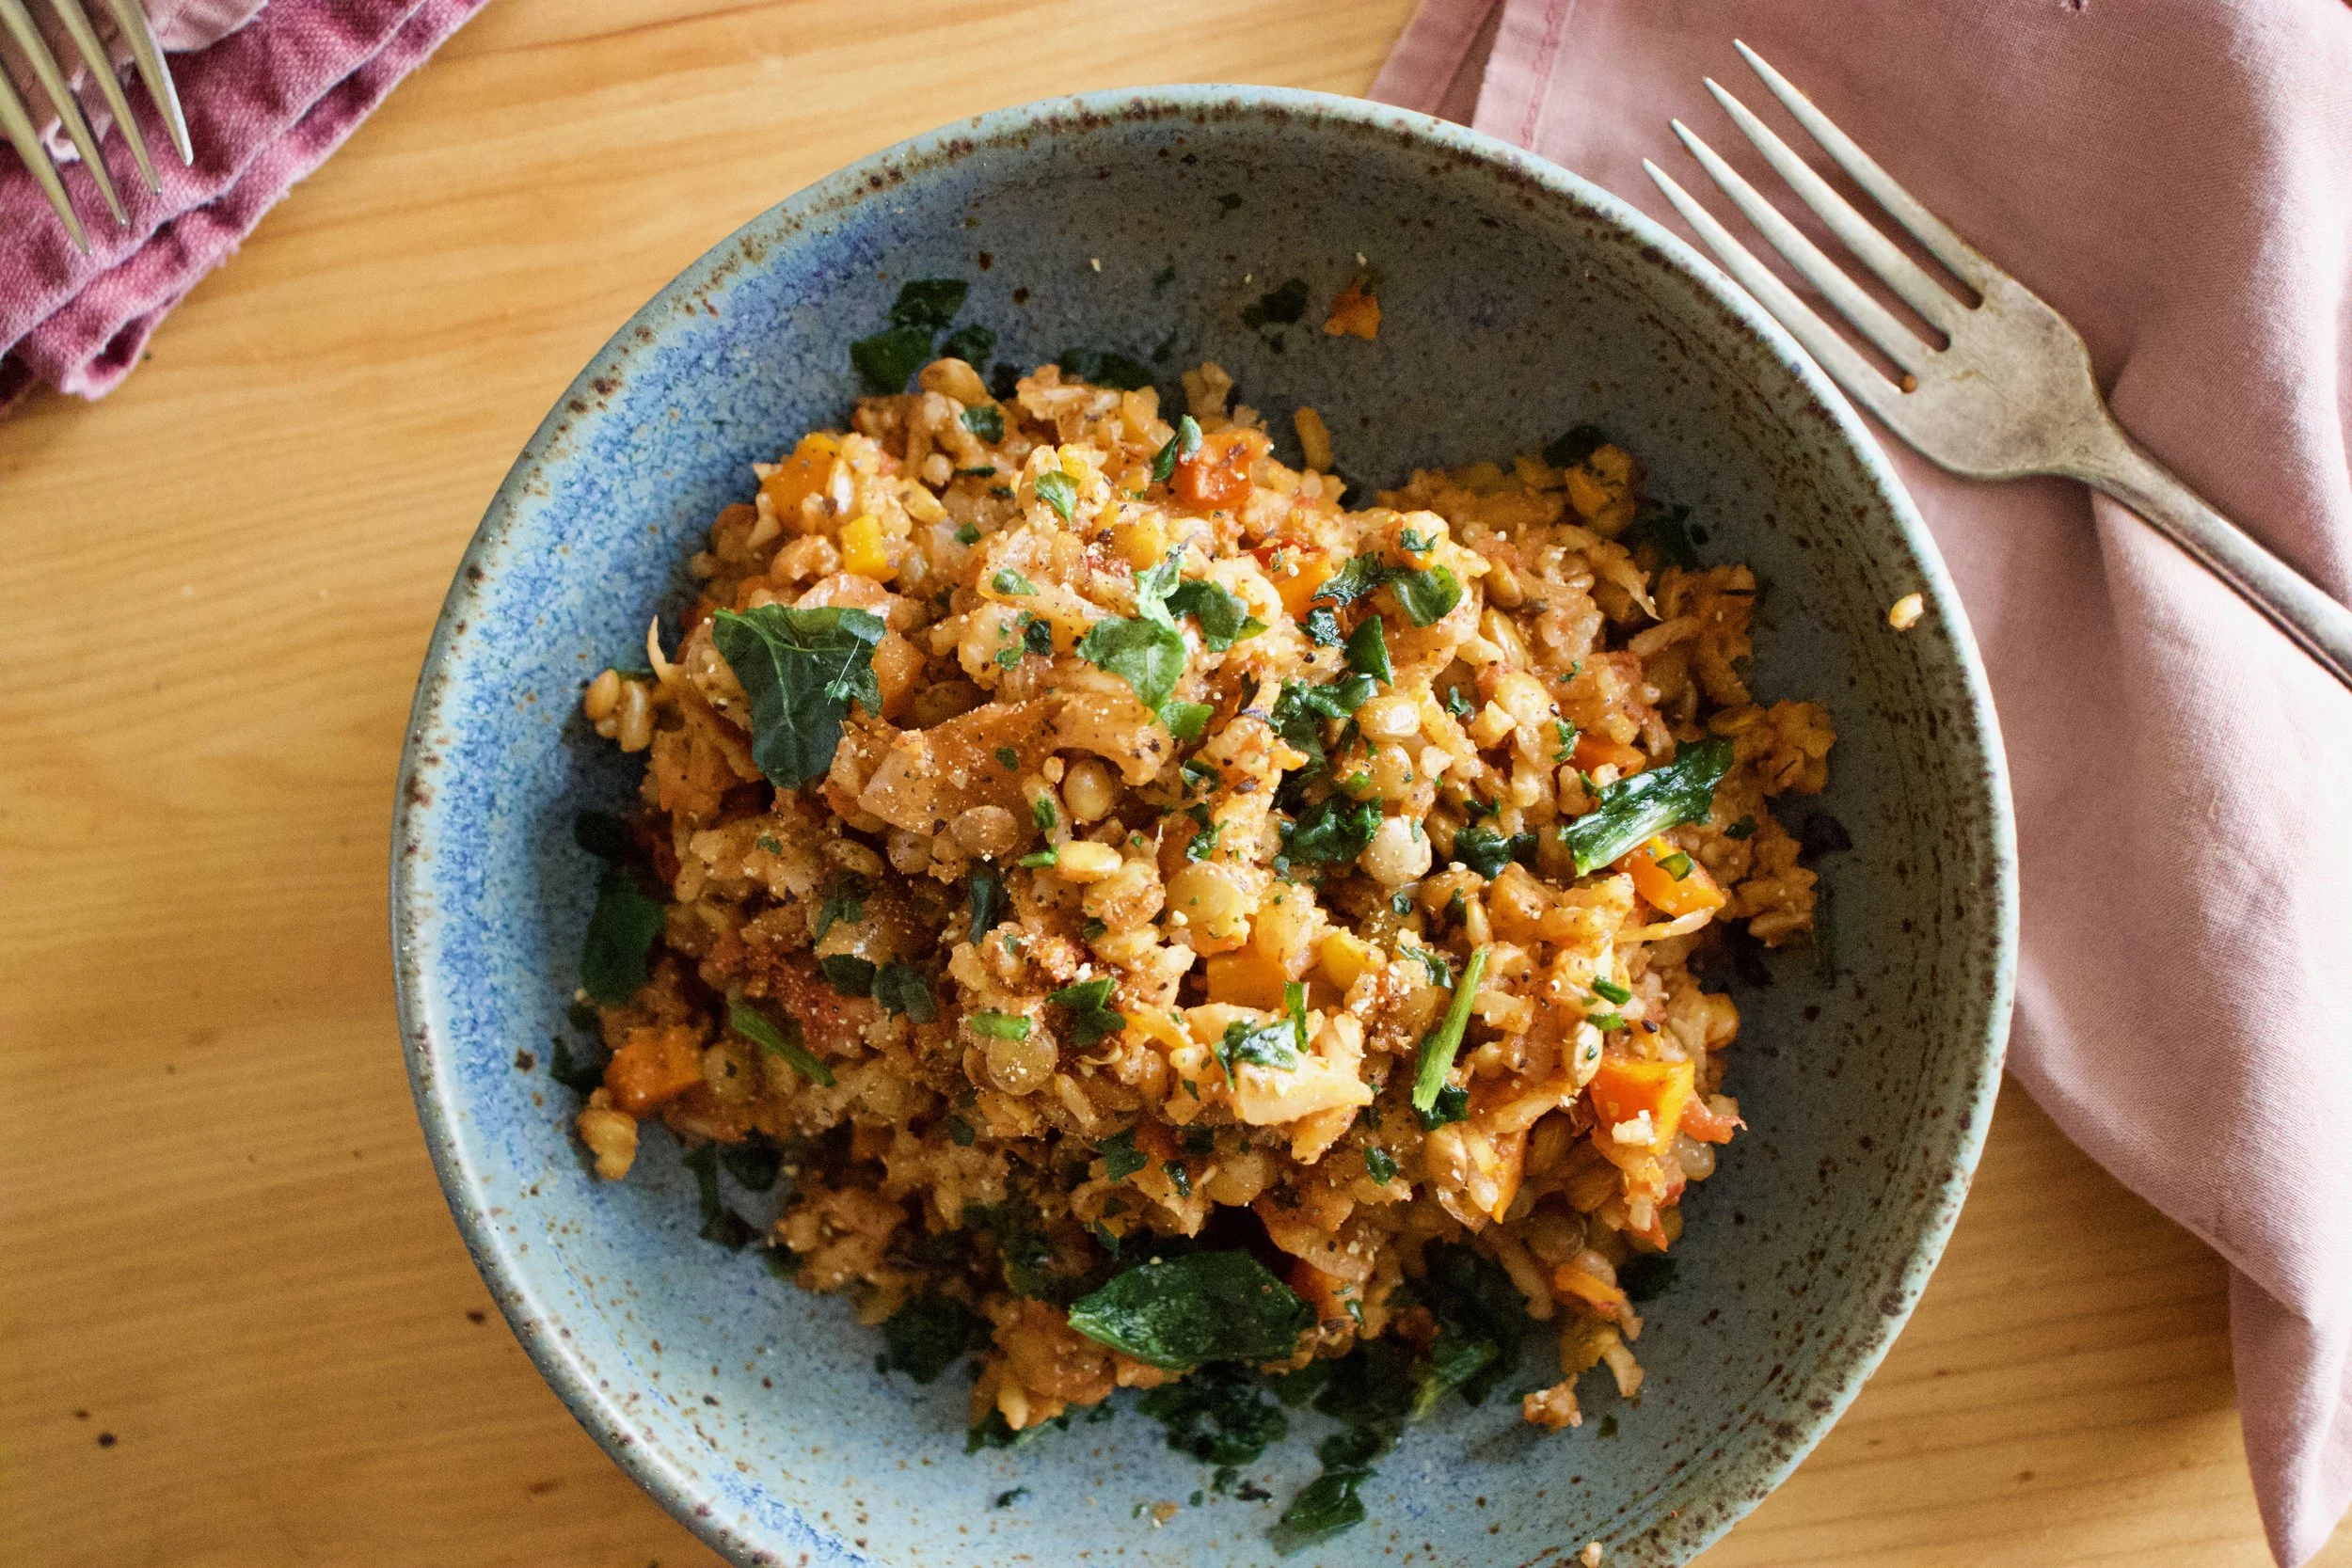
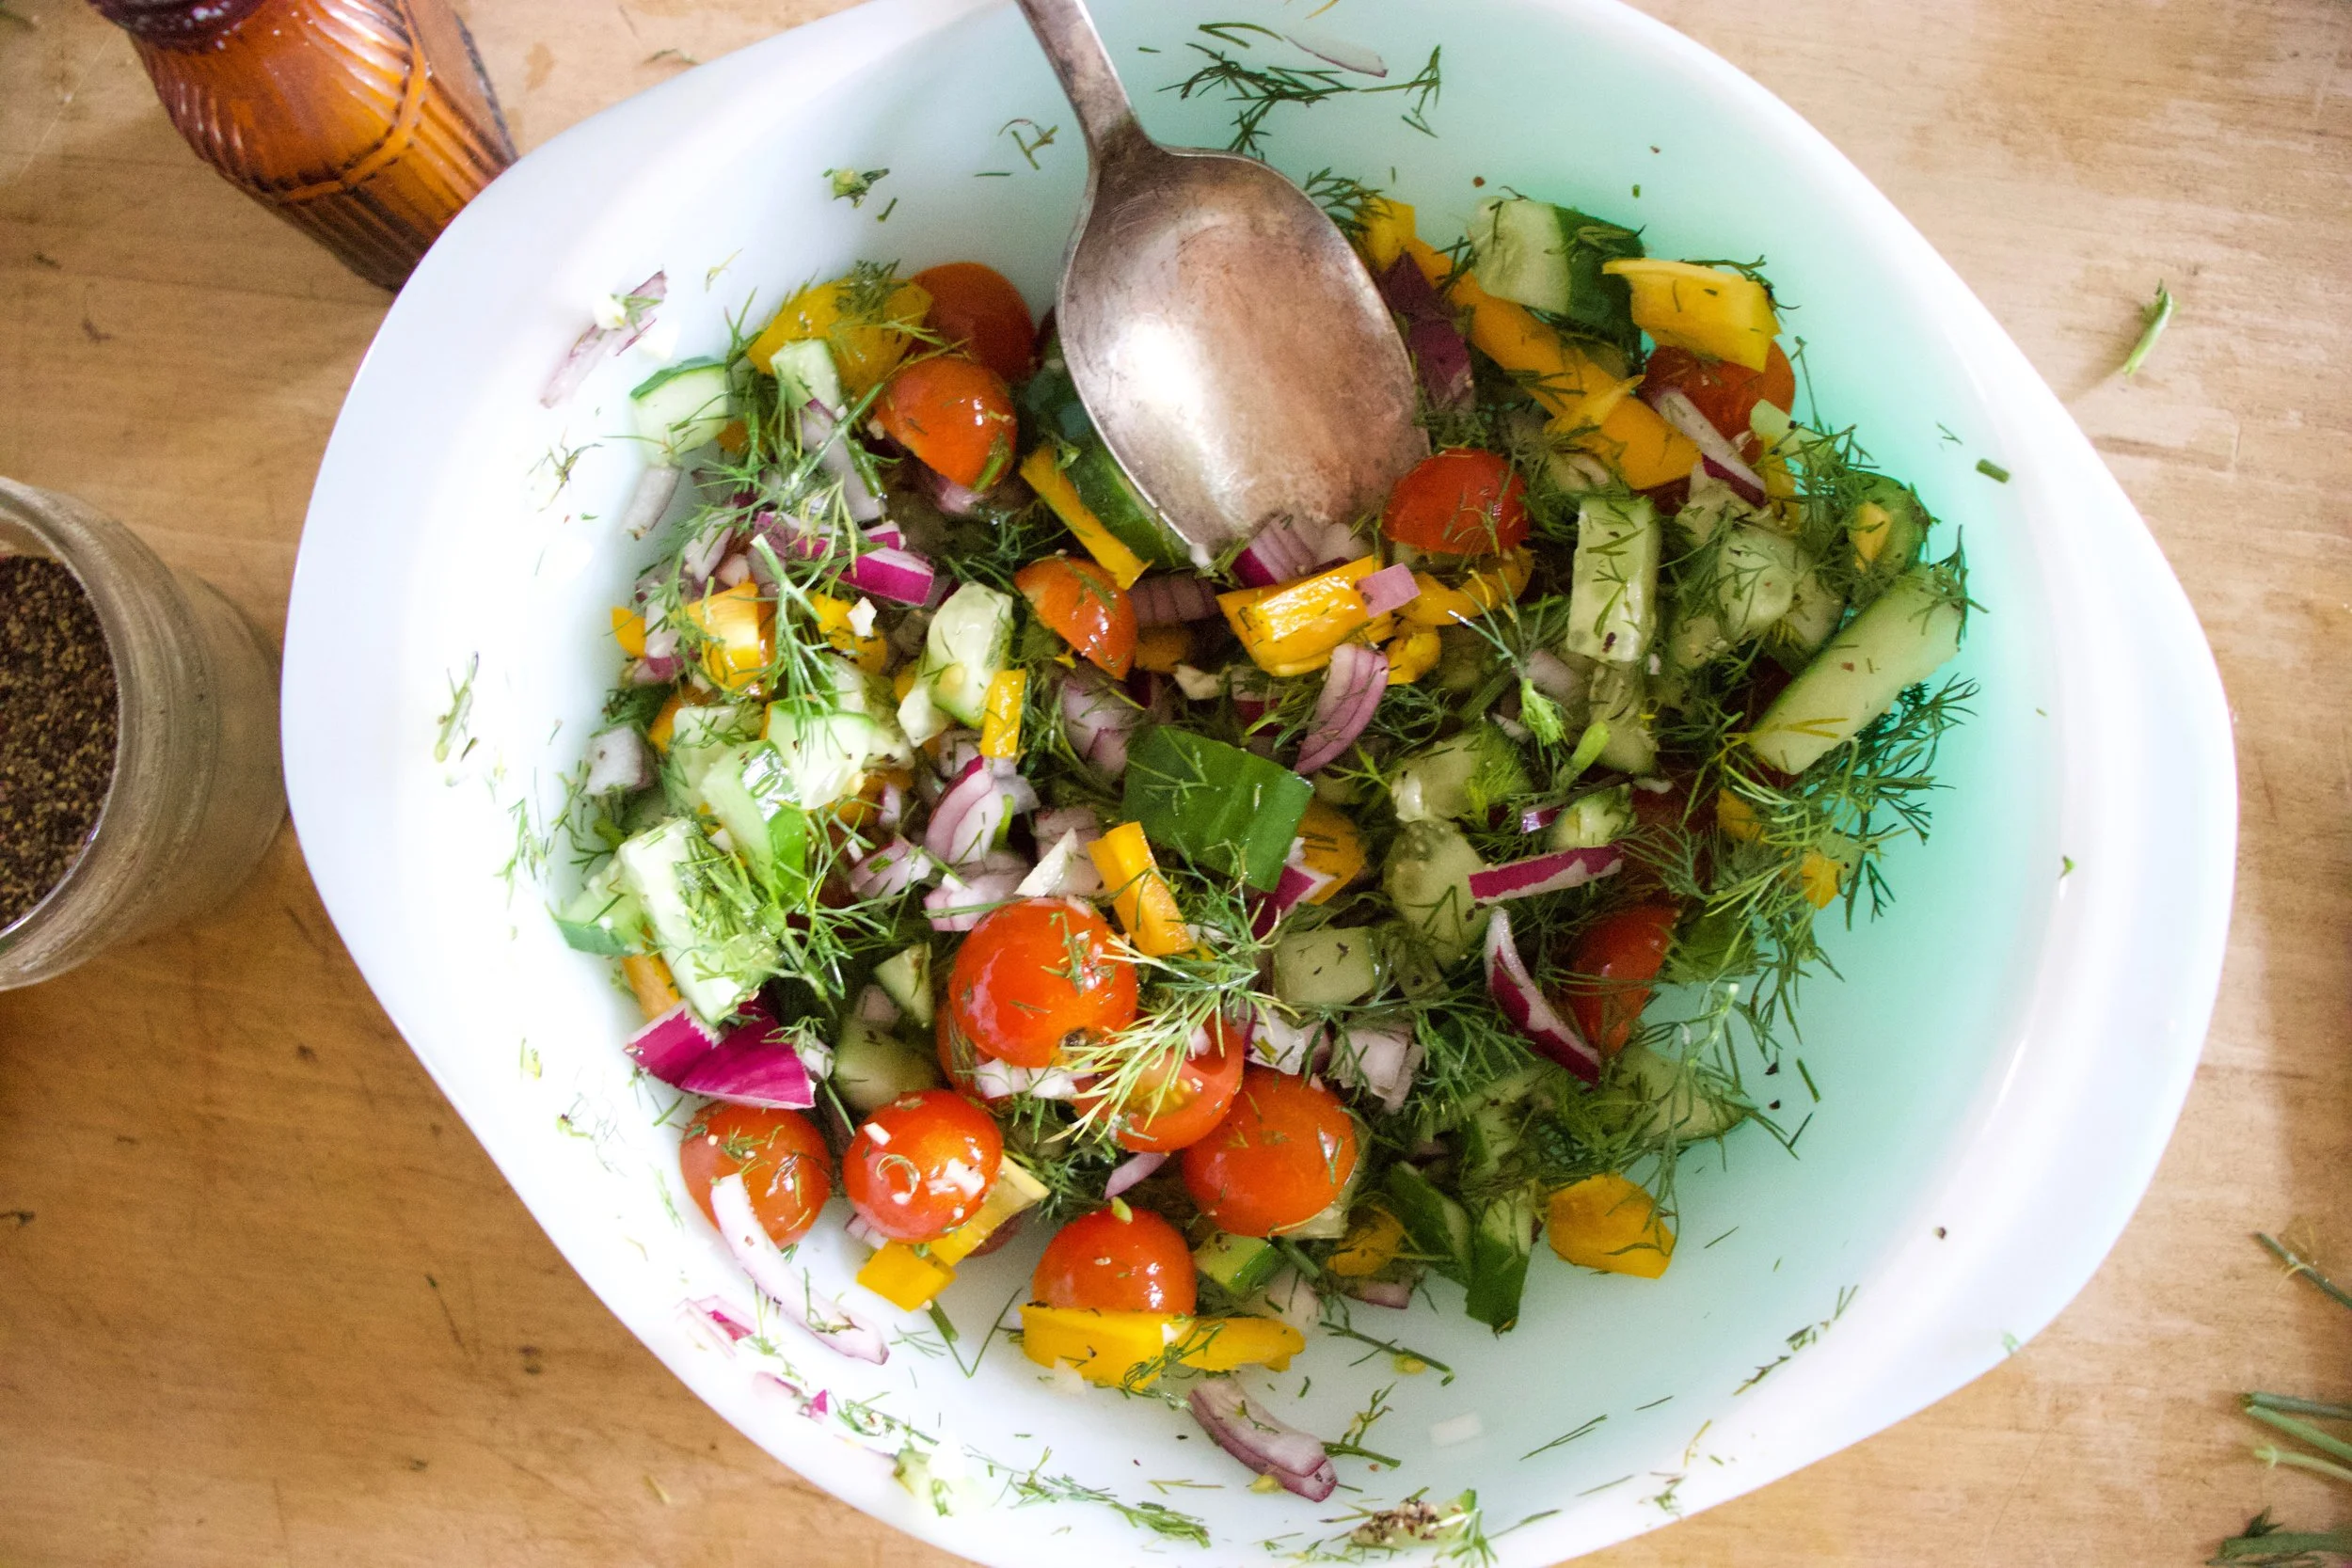
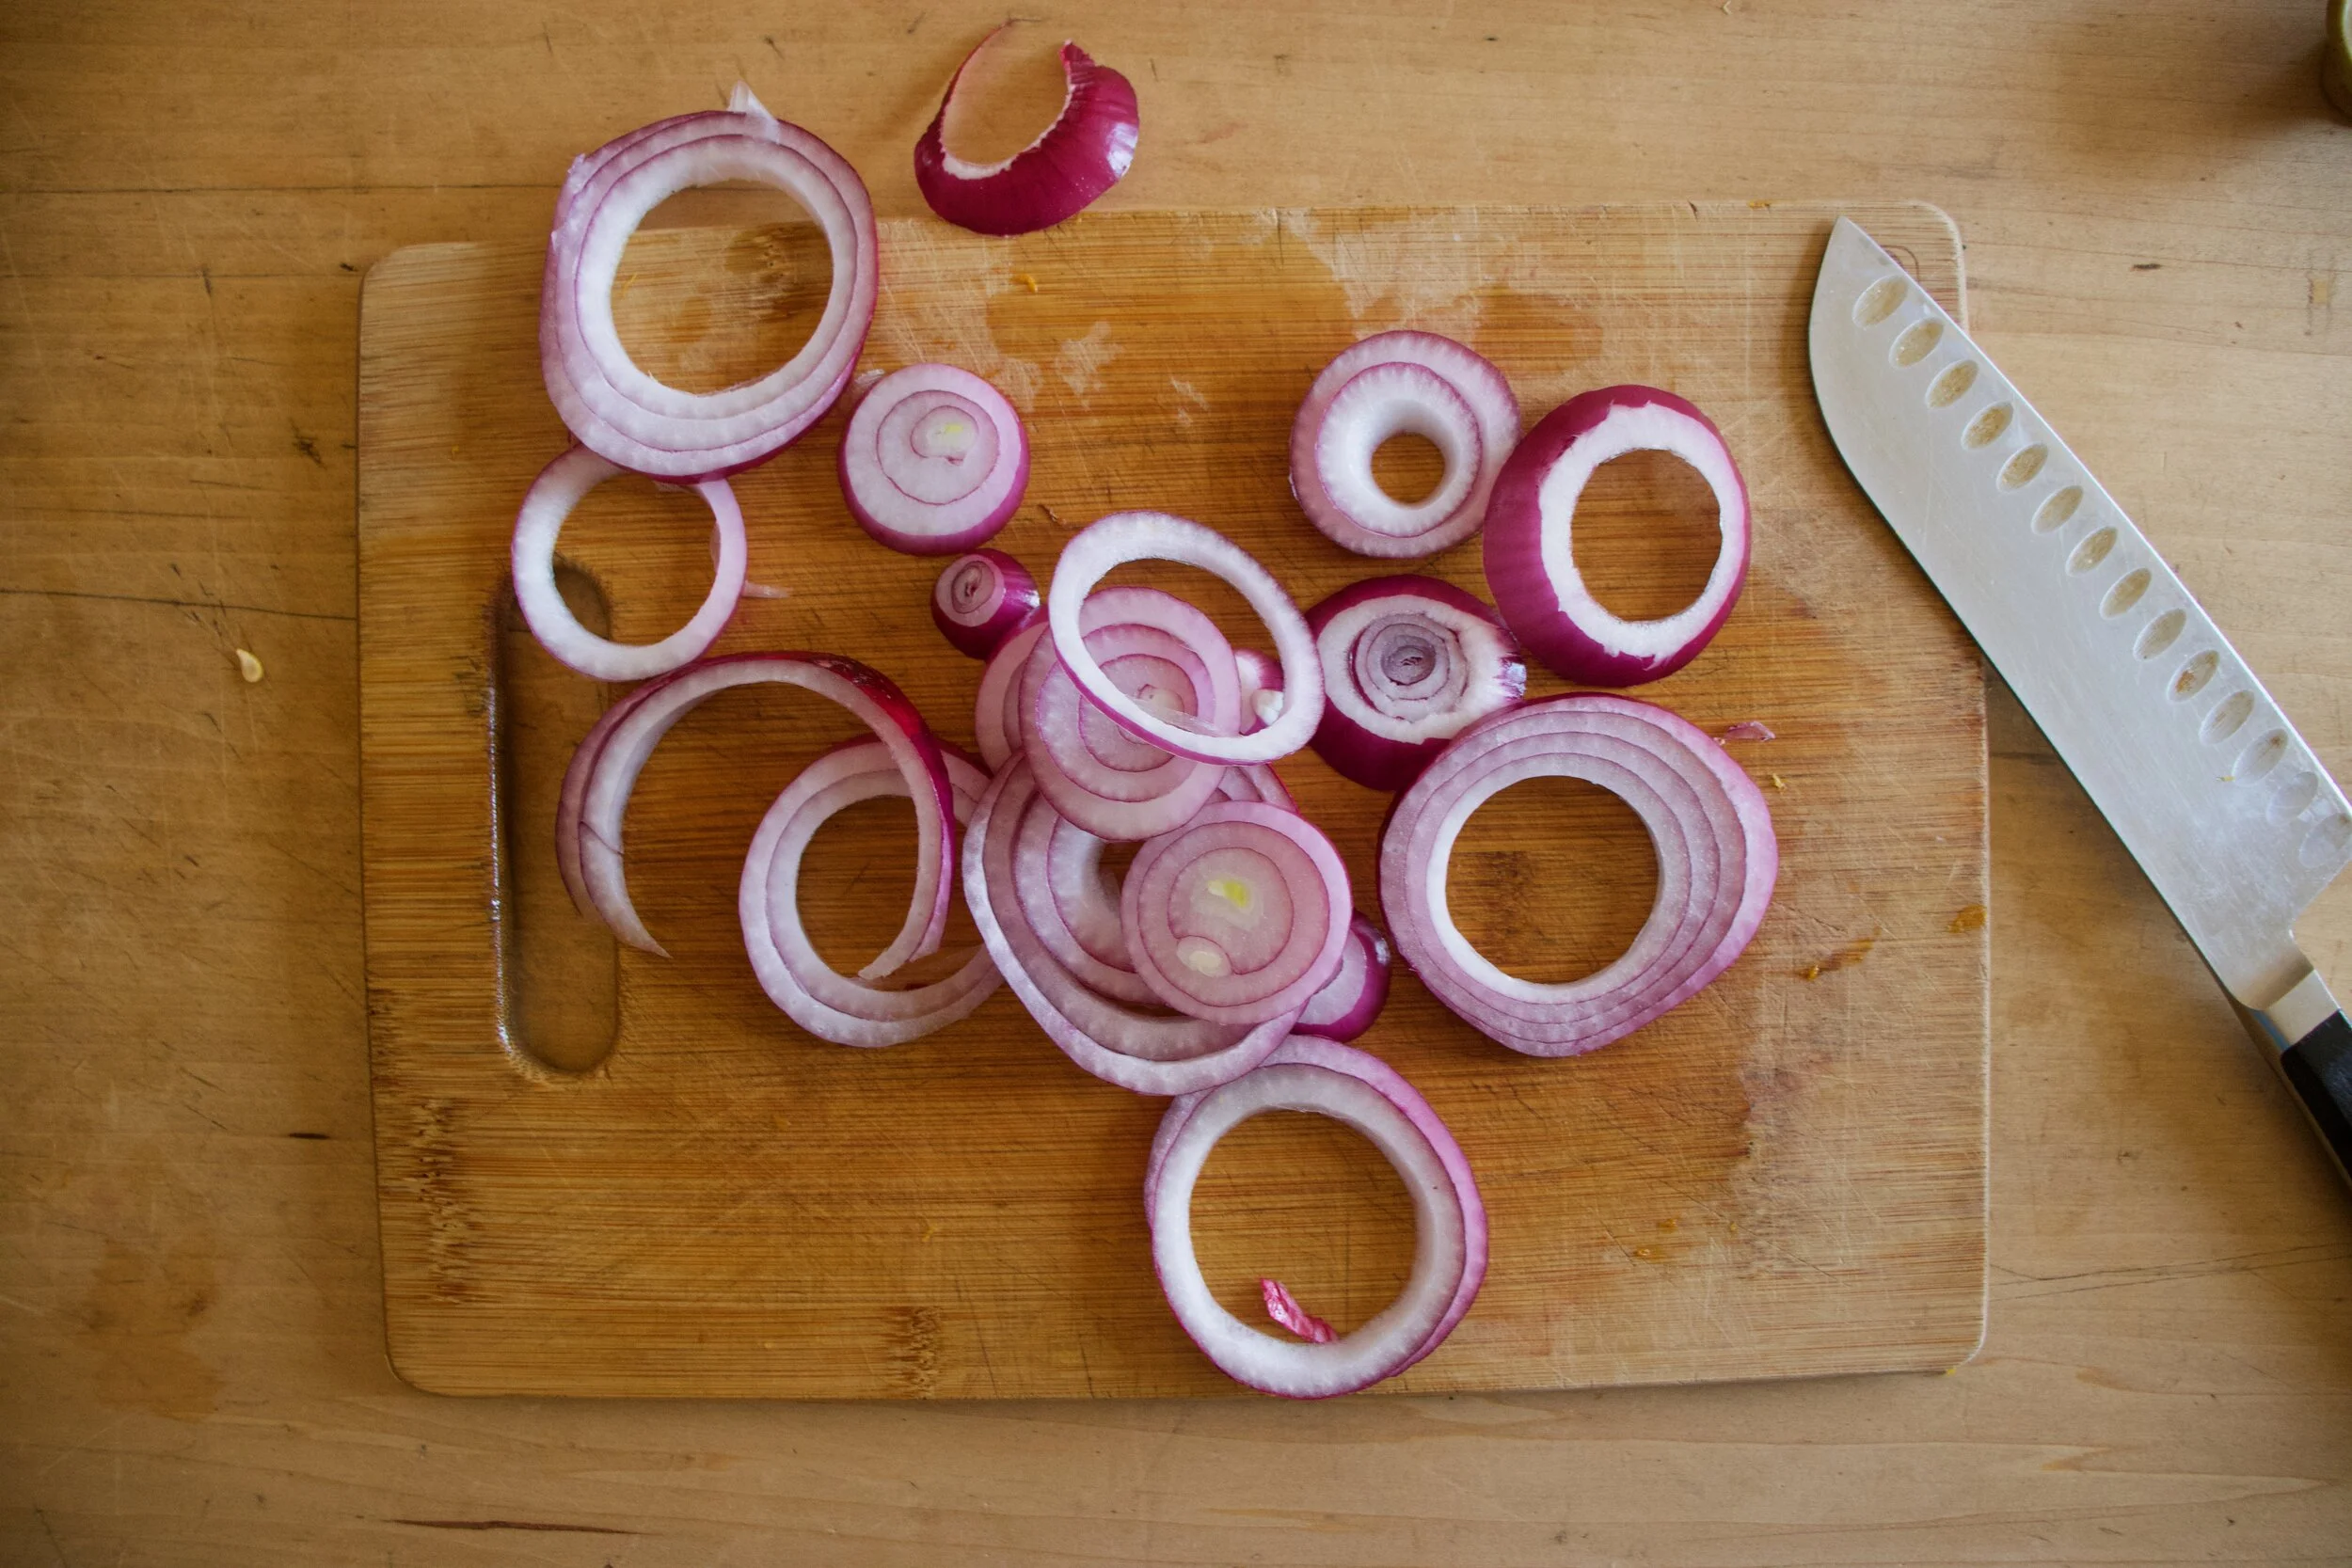
Salad season is here. Green salads, fruit salads, potato salads, and grain salads. All the salads and we are not mad about it.
This is a good grain salad using millet, which I am sightly surprised to hear that a lot of people have never had. Millet is kind of like quinoa, but not. I cooks fluffy and looks kind of the same, and is gluten free like quinoa. I think the biggest difference is that millet is slightly softer and tastes a bit more nutty. It also is really good at absorbing liquid flavors.
But who are we to compare. The main thing is that it is nutritious and delicious so we will eat it.
Back to the salad. This is one of those grain salads that is good cooked and served warm but only gets better with a little age (like an hour or a day) in the fridge. Served hot or cold or room tempature, and is hearty enough to be meal like but is also a fantastic addition as a side to any of you meal plans. Like maybe a BBQ? Whatever the occasion, or non occasion, this is just a really good grain salad situation and I think you will be pleased, smiling all smiles while eating it.
To the millet salad.
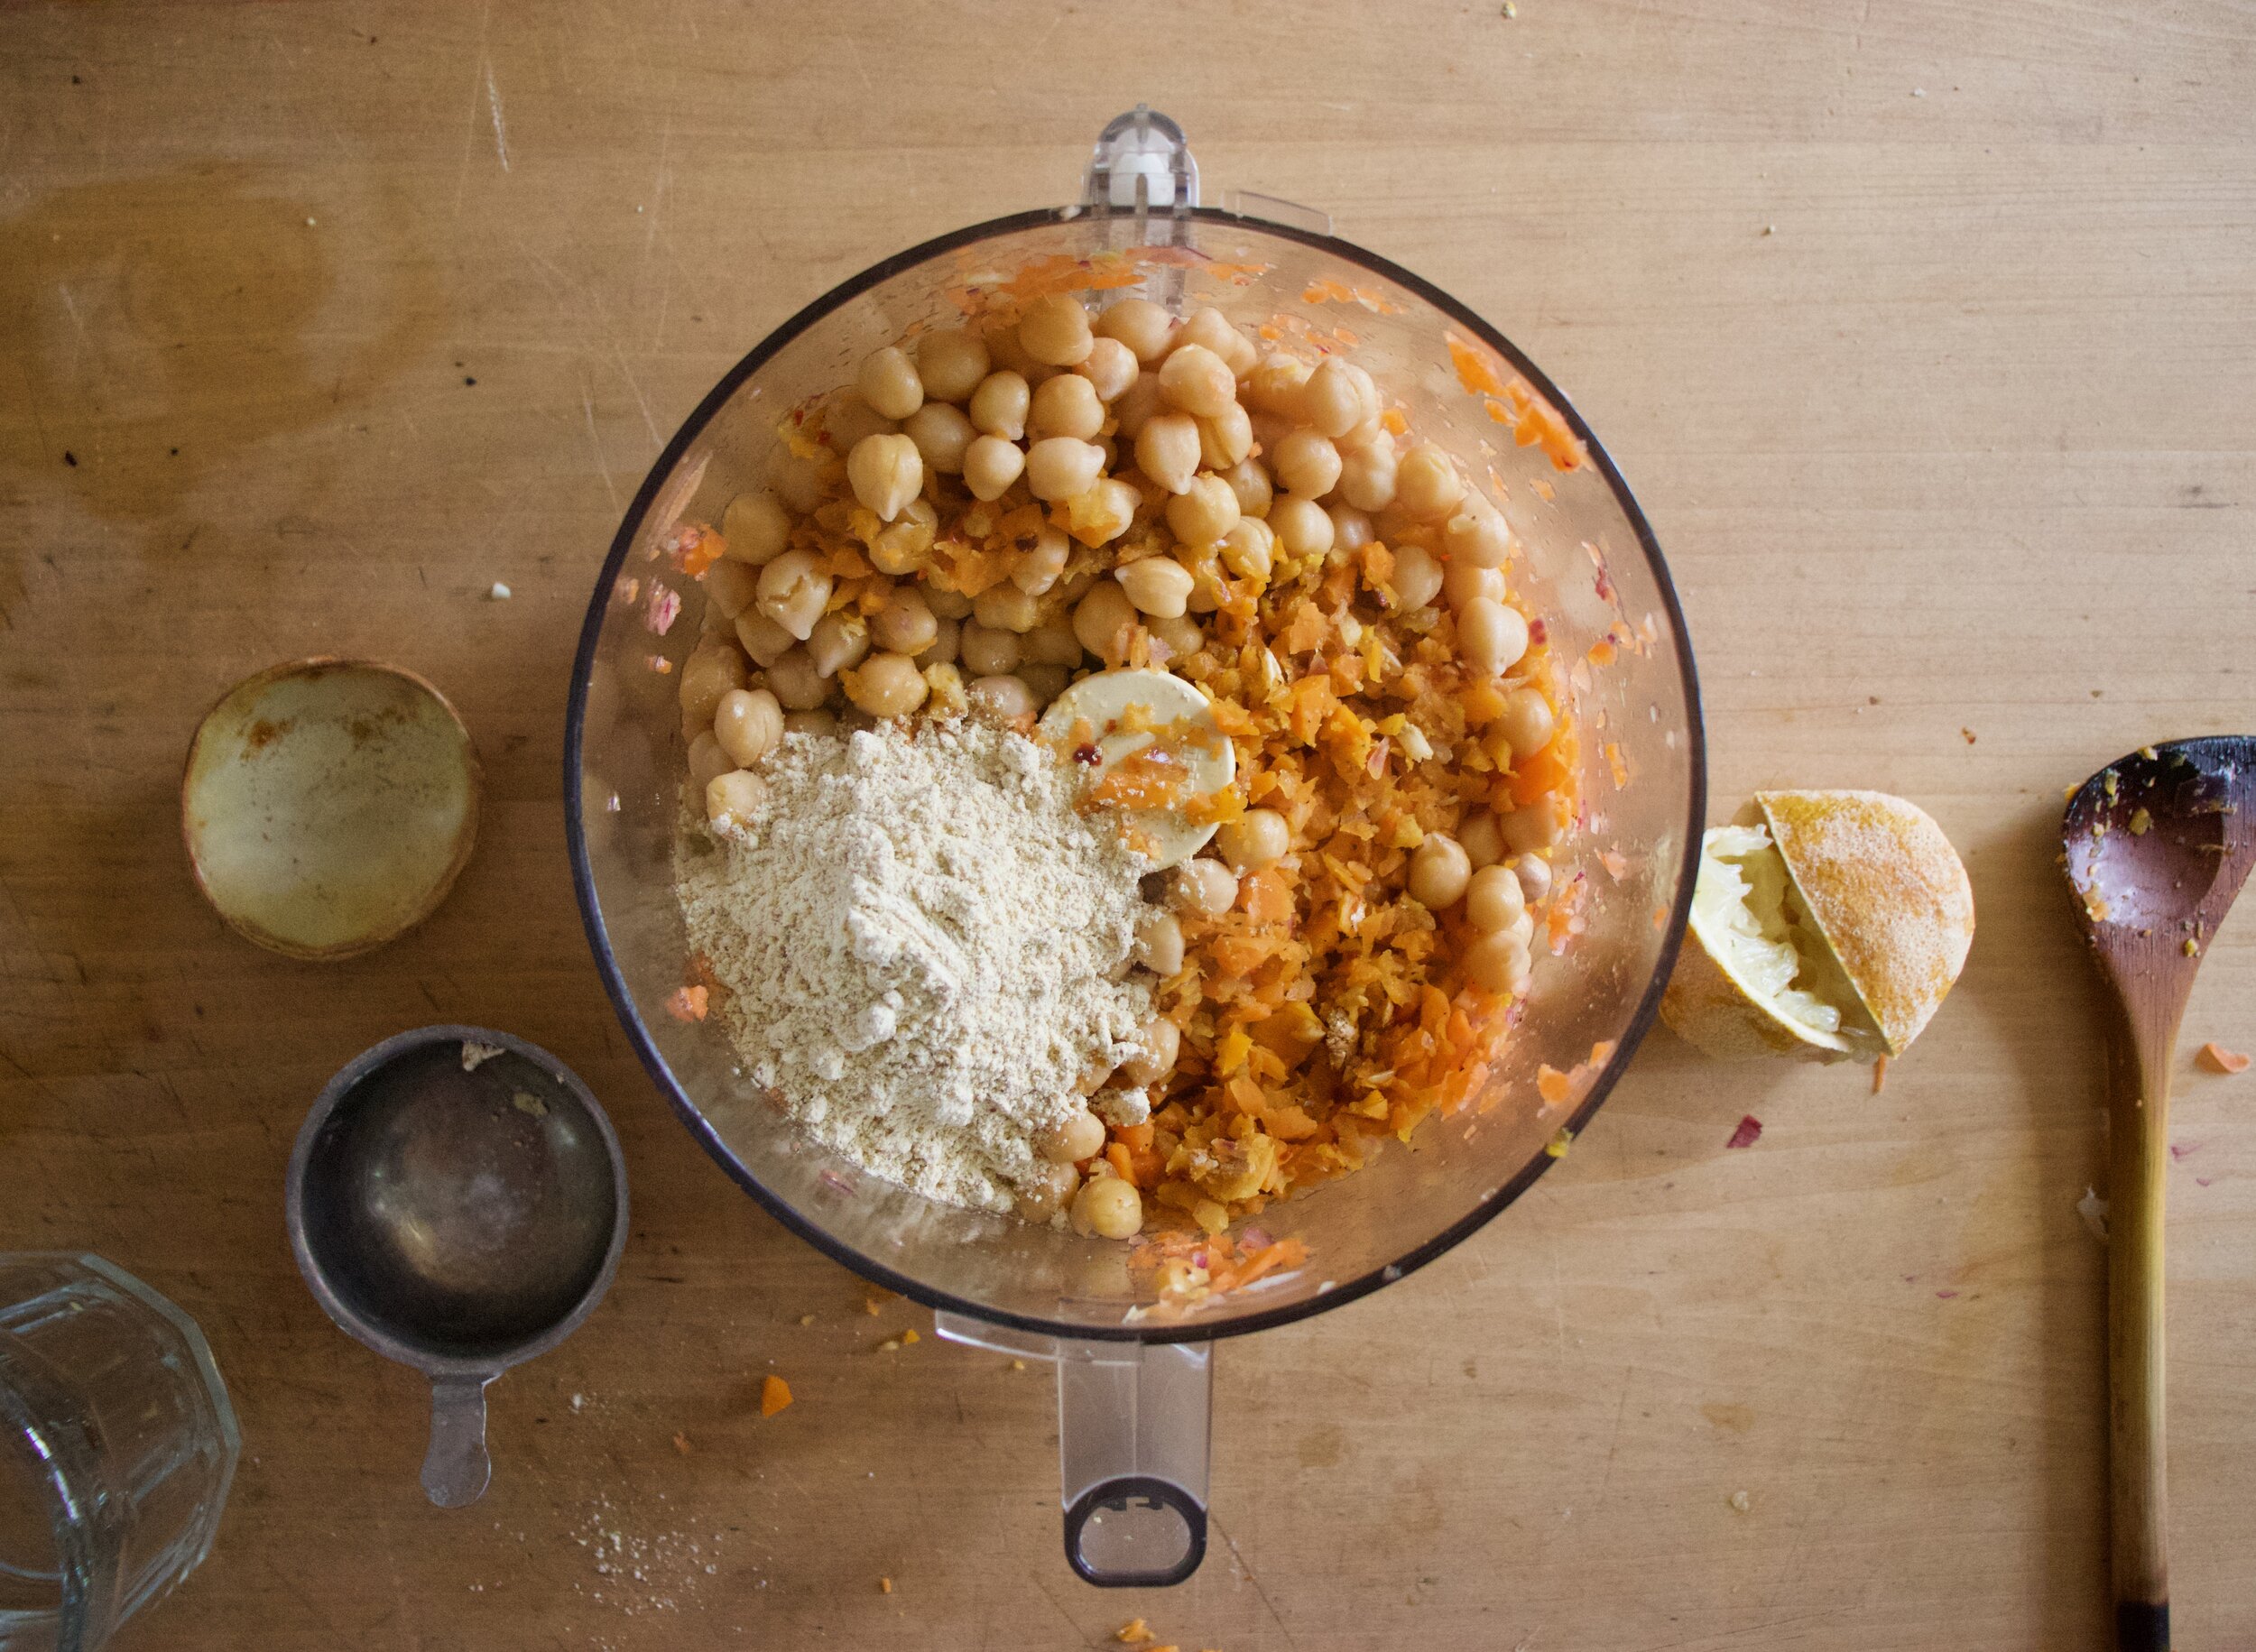
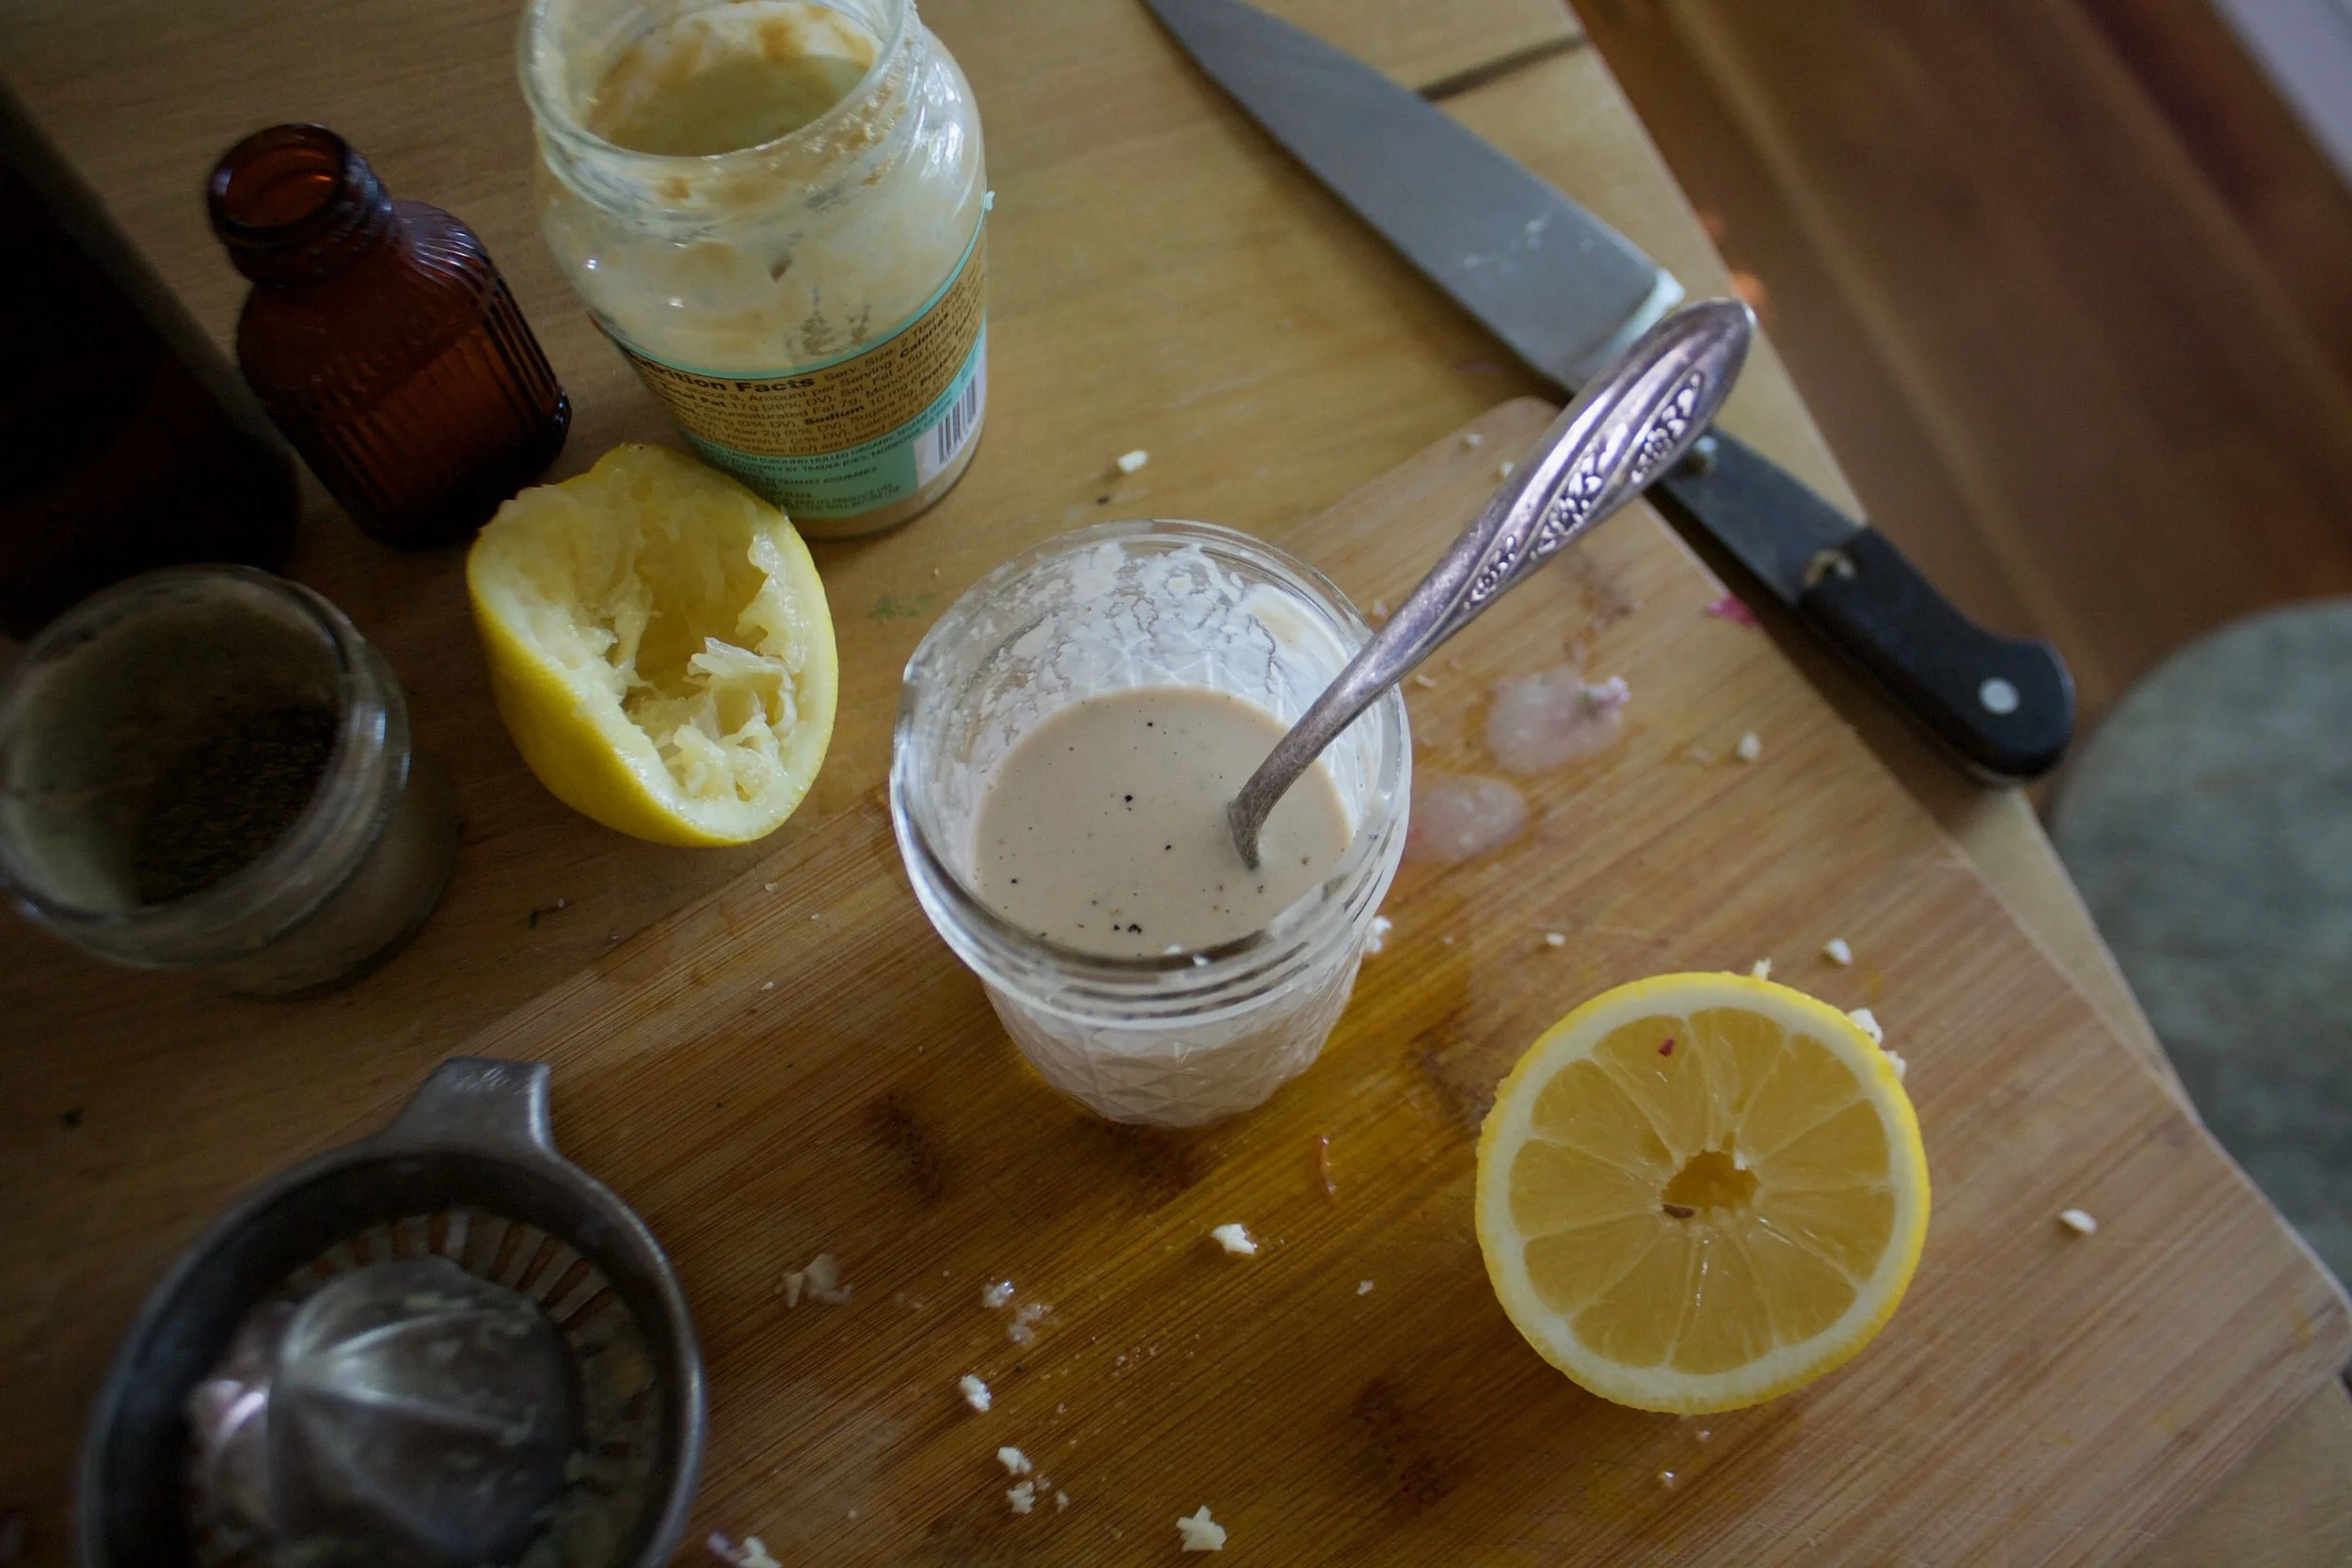
The stuff. Millet, a couple handful of greens, a few mushrooms, an onion, dijon mustard, a little maple syrup, red wine vinegar, a lemon, a couple cloves or garlic, some toasted sunflower seeds, and salt and pepper.
Start by giving the millet a little toast, just enough to really up the nutty flavor and make it that much more yummy. It only takes a few minutes in a skillet on medium heat. Not an entirely necessary step, but you should do it.
Toasted millet goes into pot with water. Bring pot to a boil and then turn to the lowest simmer and cover.
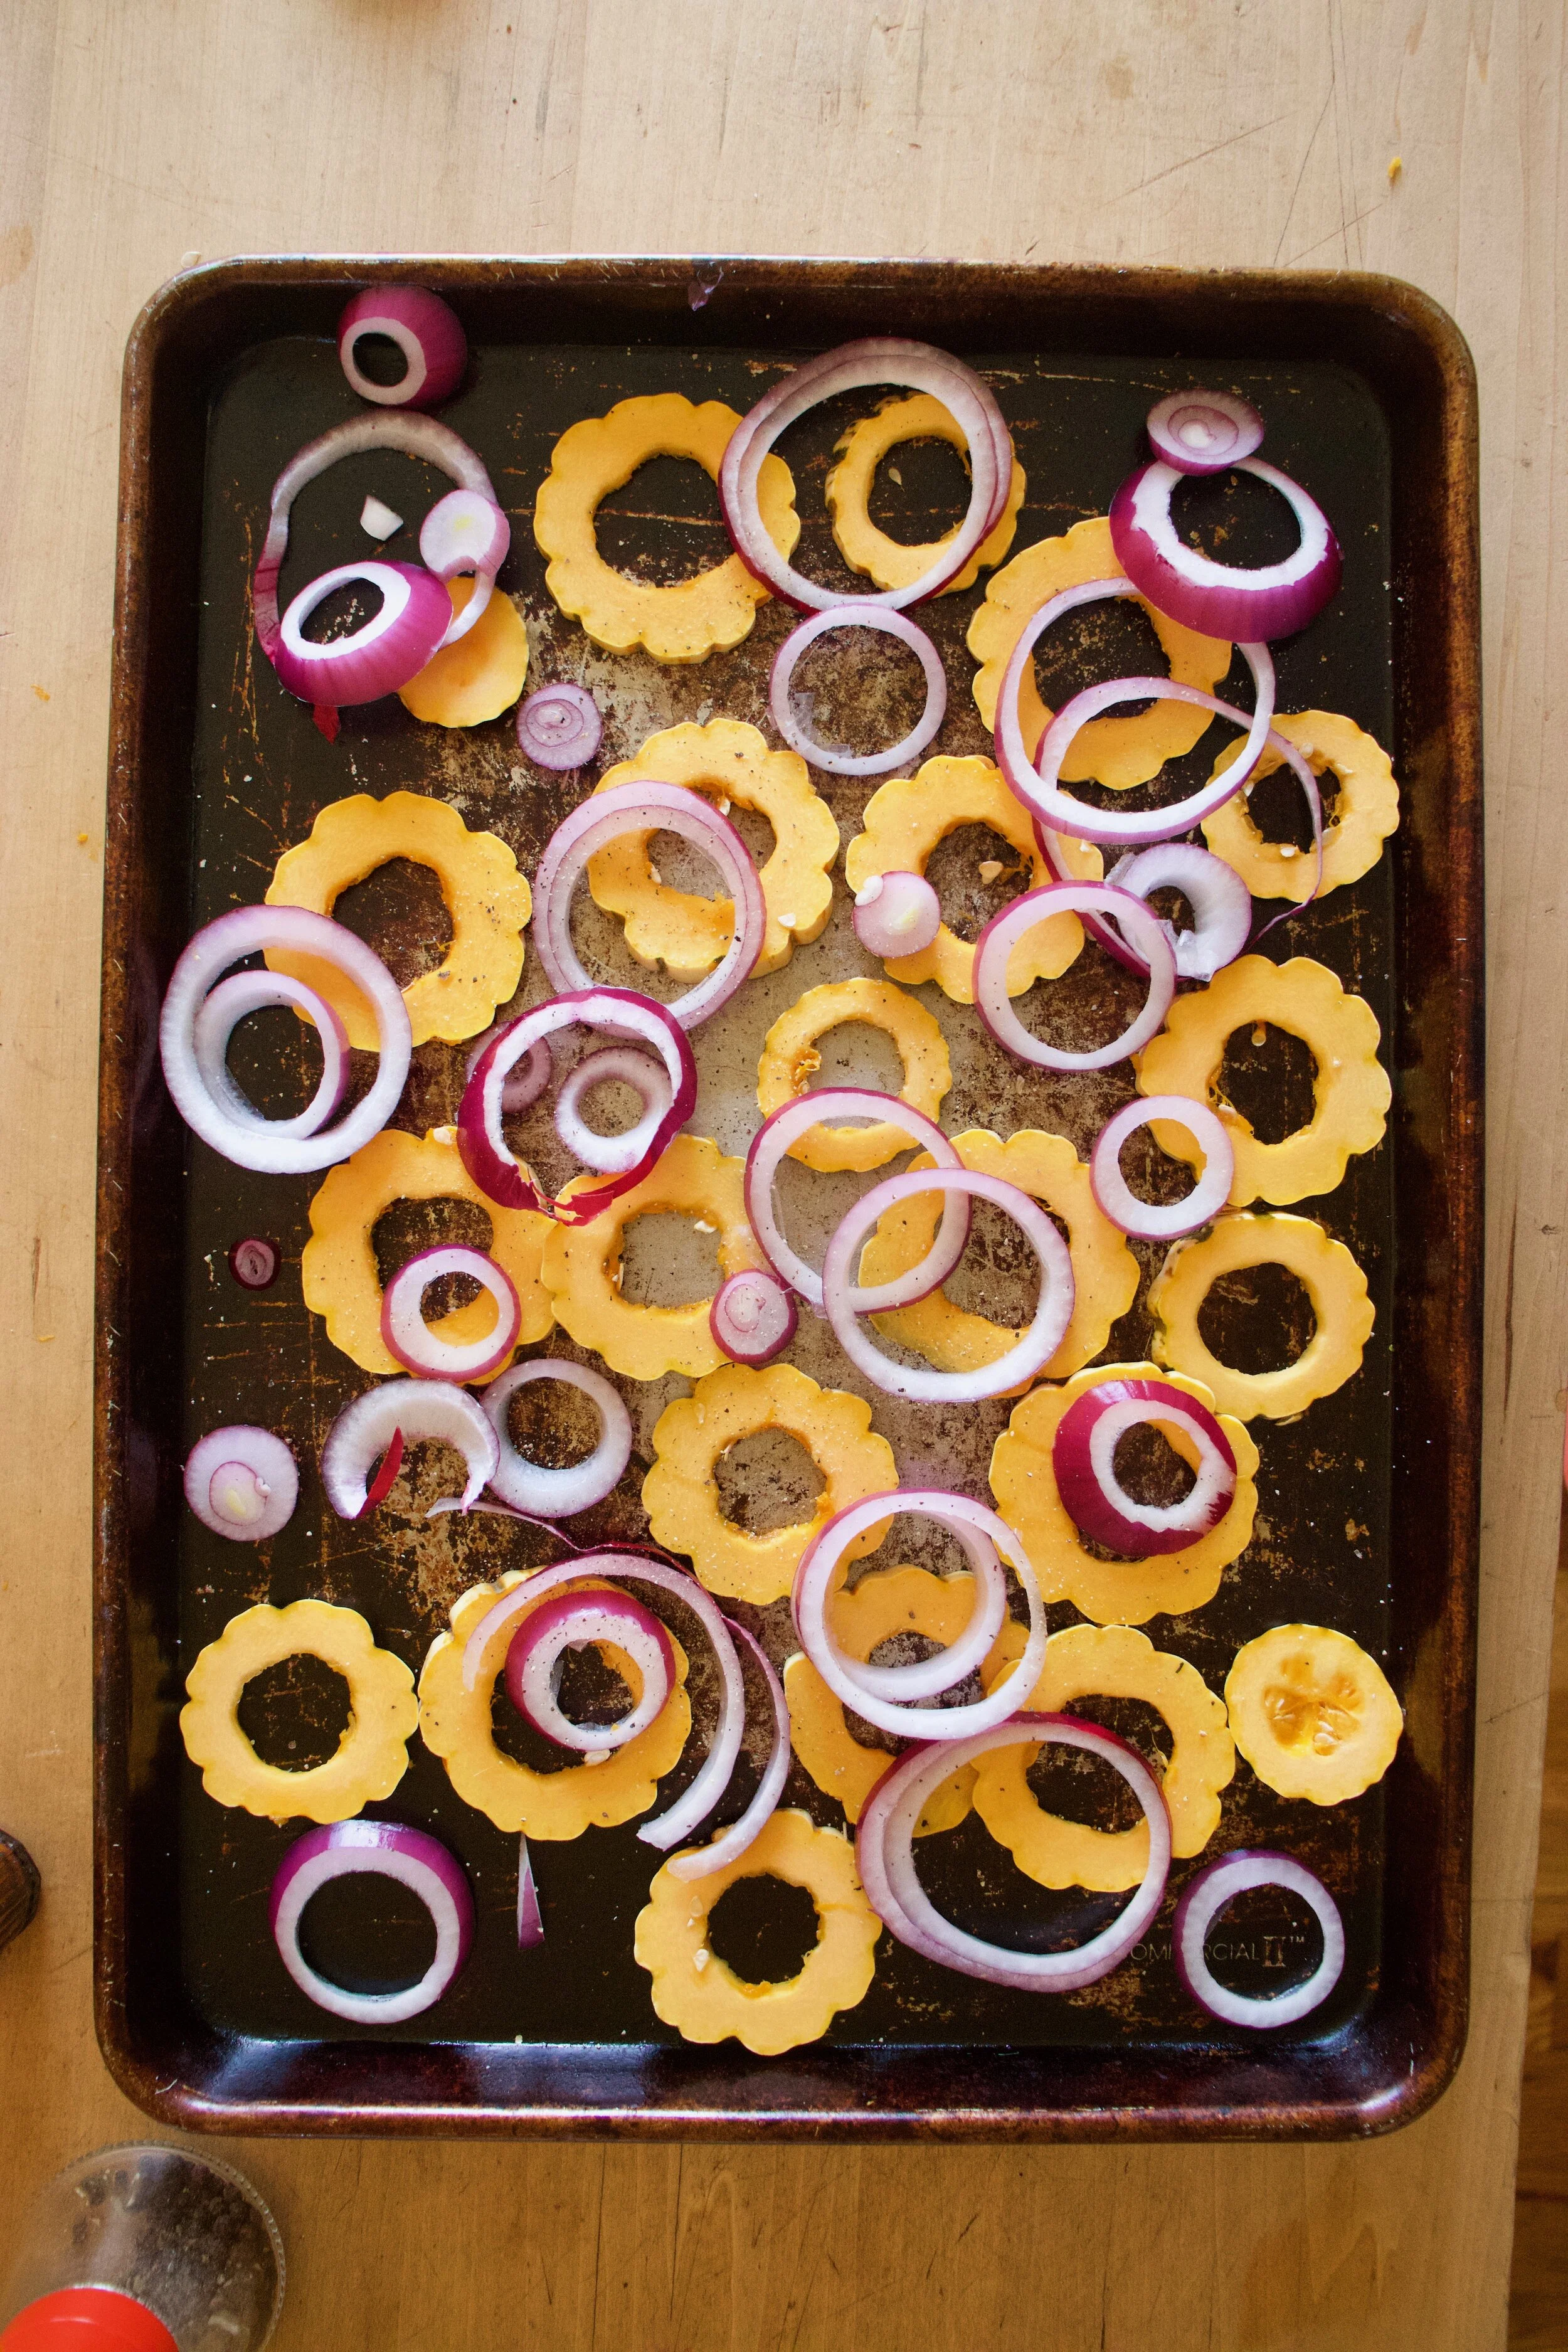
While millet is cooking, get to the mushrooms and onions. Chop the onion thin and small and the mushrooms thin and small as well. Place them into the skillet with a drizzle of oil and place on medium heat. Mix around every now and then and cook until the mushrooms and onions are soft and a nice golden brown.
And make the vinaigrette. Minced garlic, mustard, vinegar, the juice of the lemon, and maple syrup get put into one place.
Mixed and now all is one.
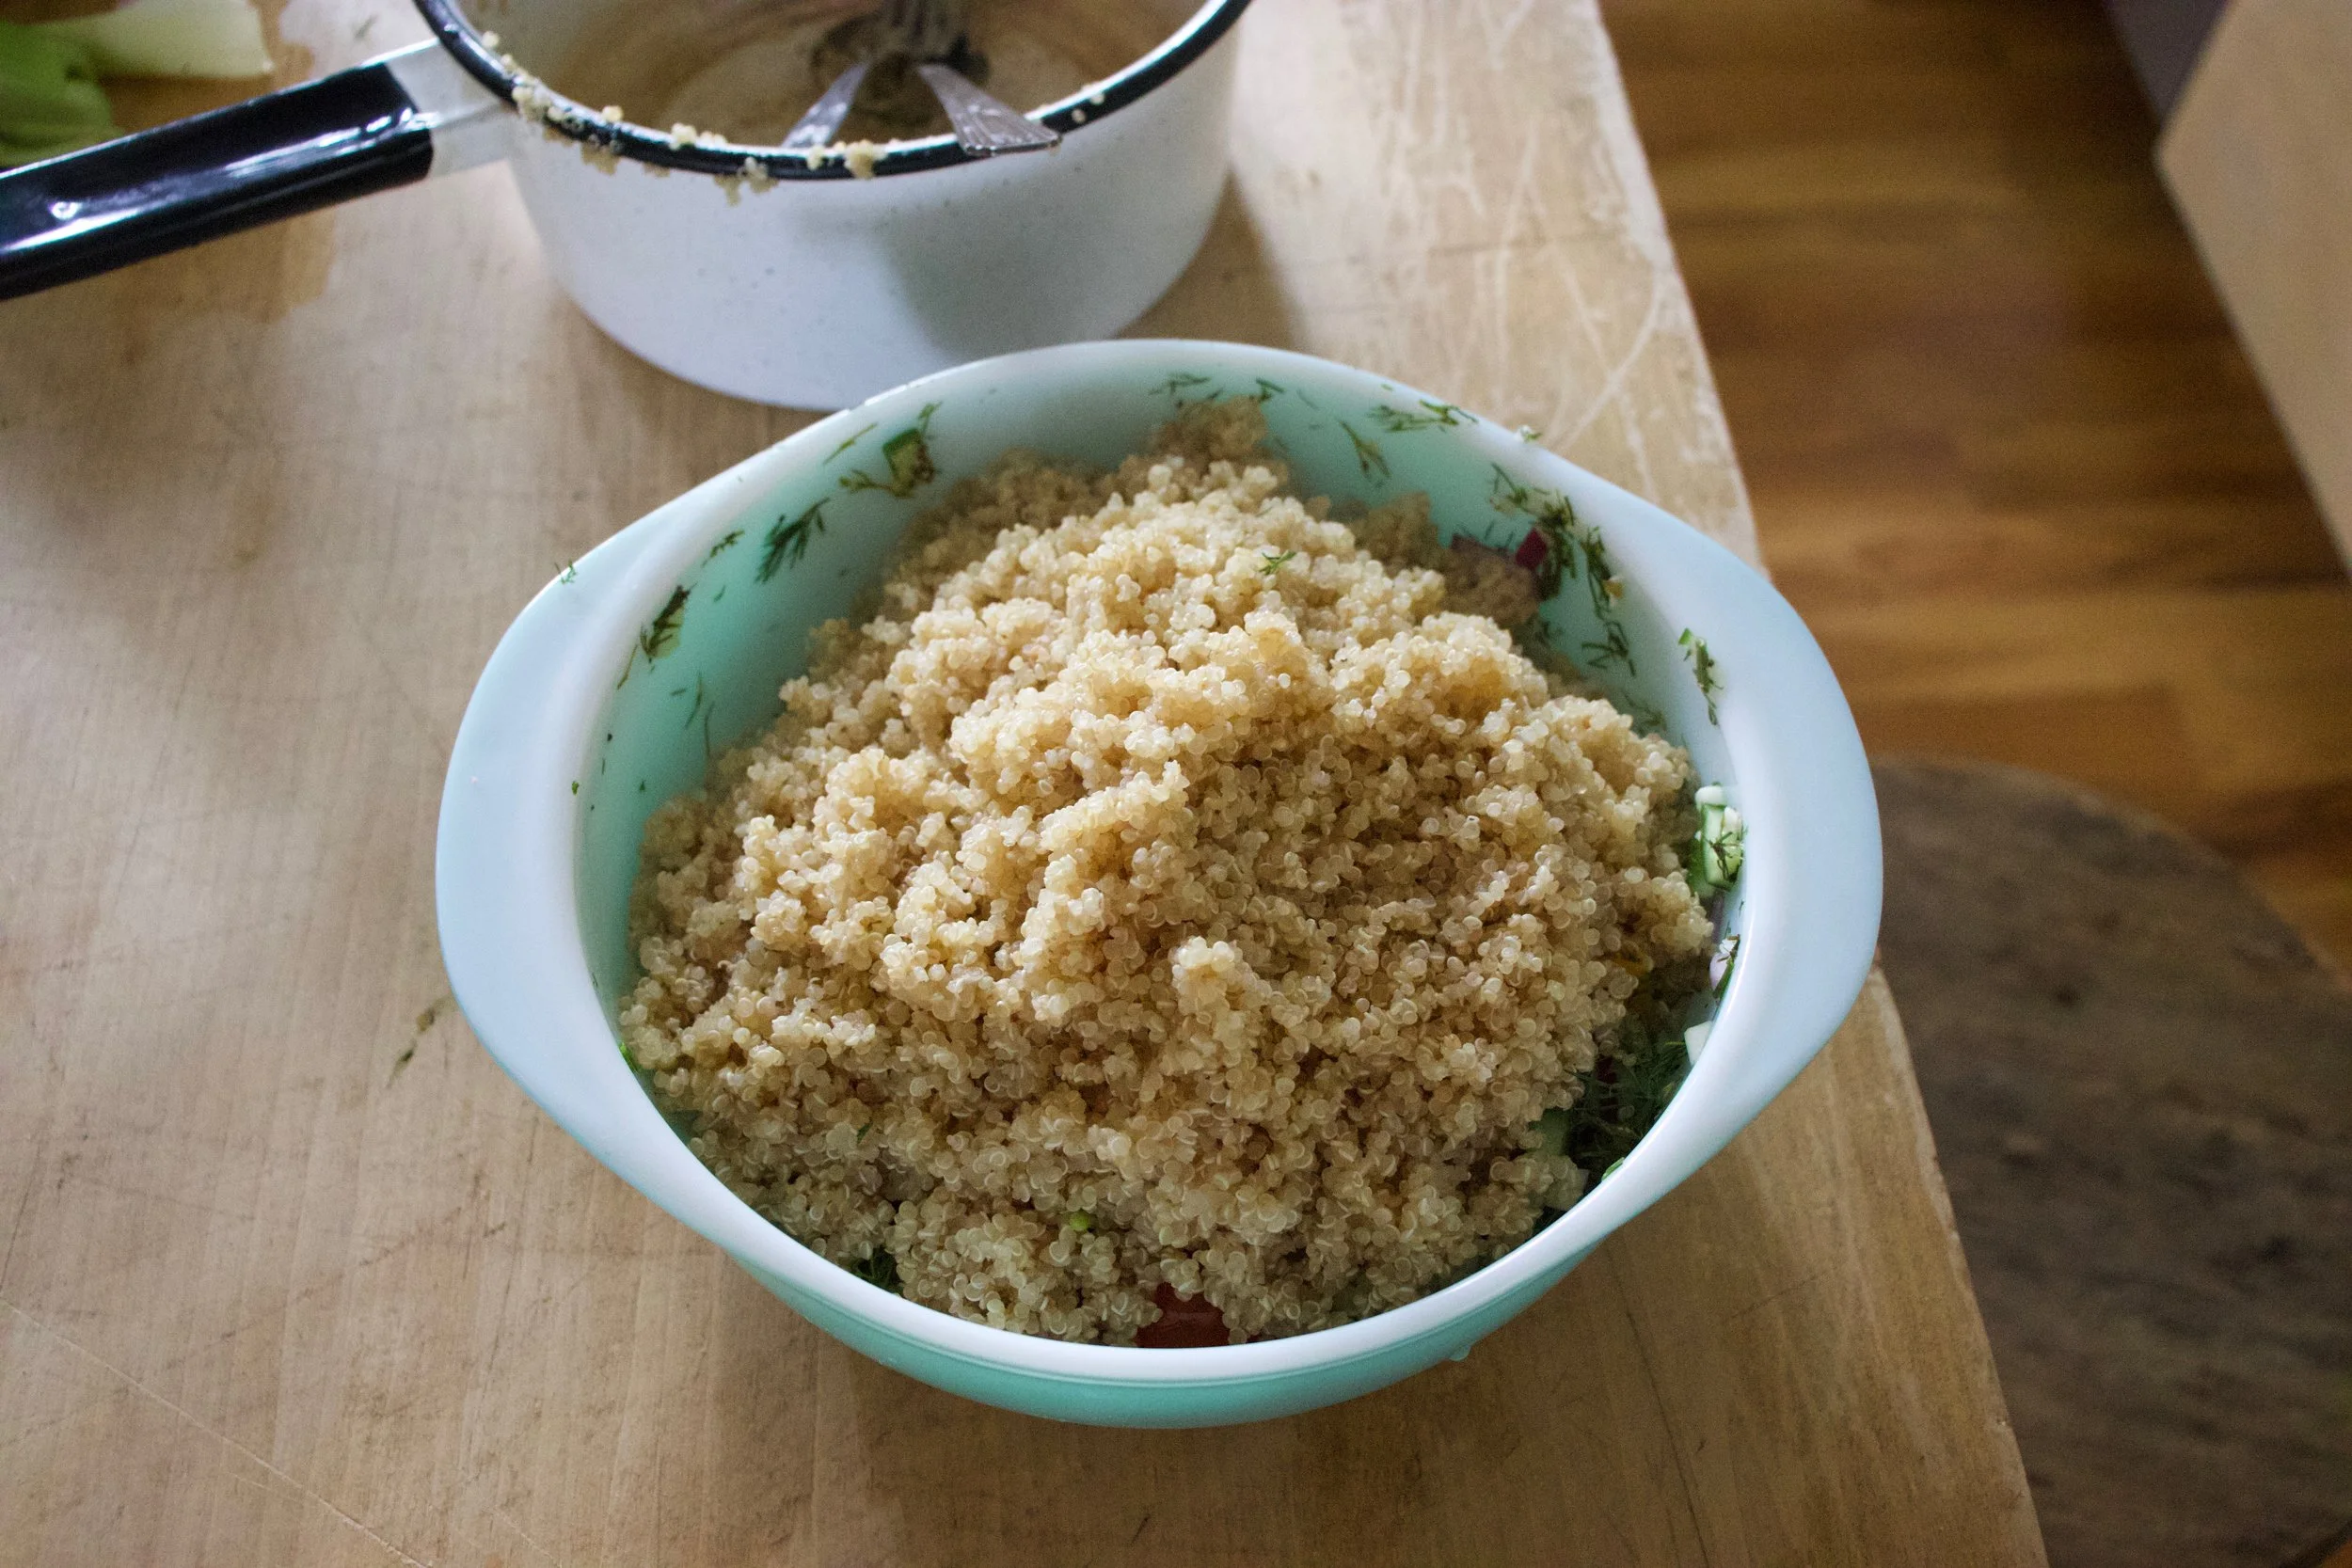
Millet. Cooked and fluffed and ready to go.
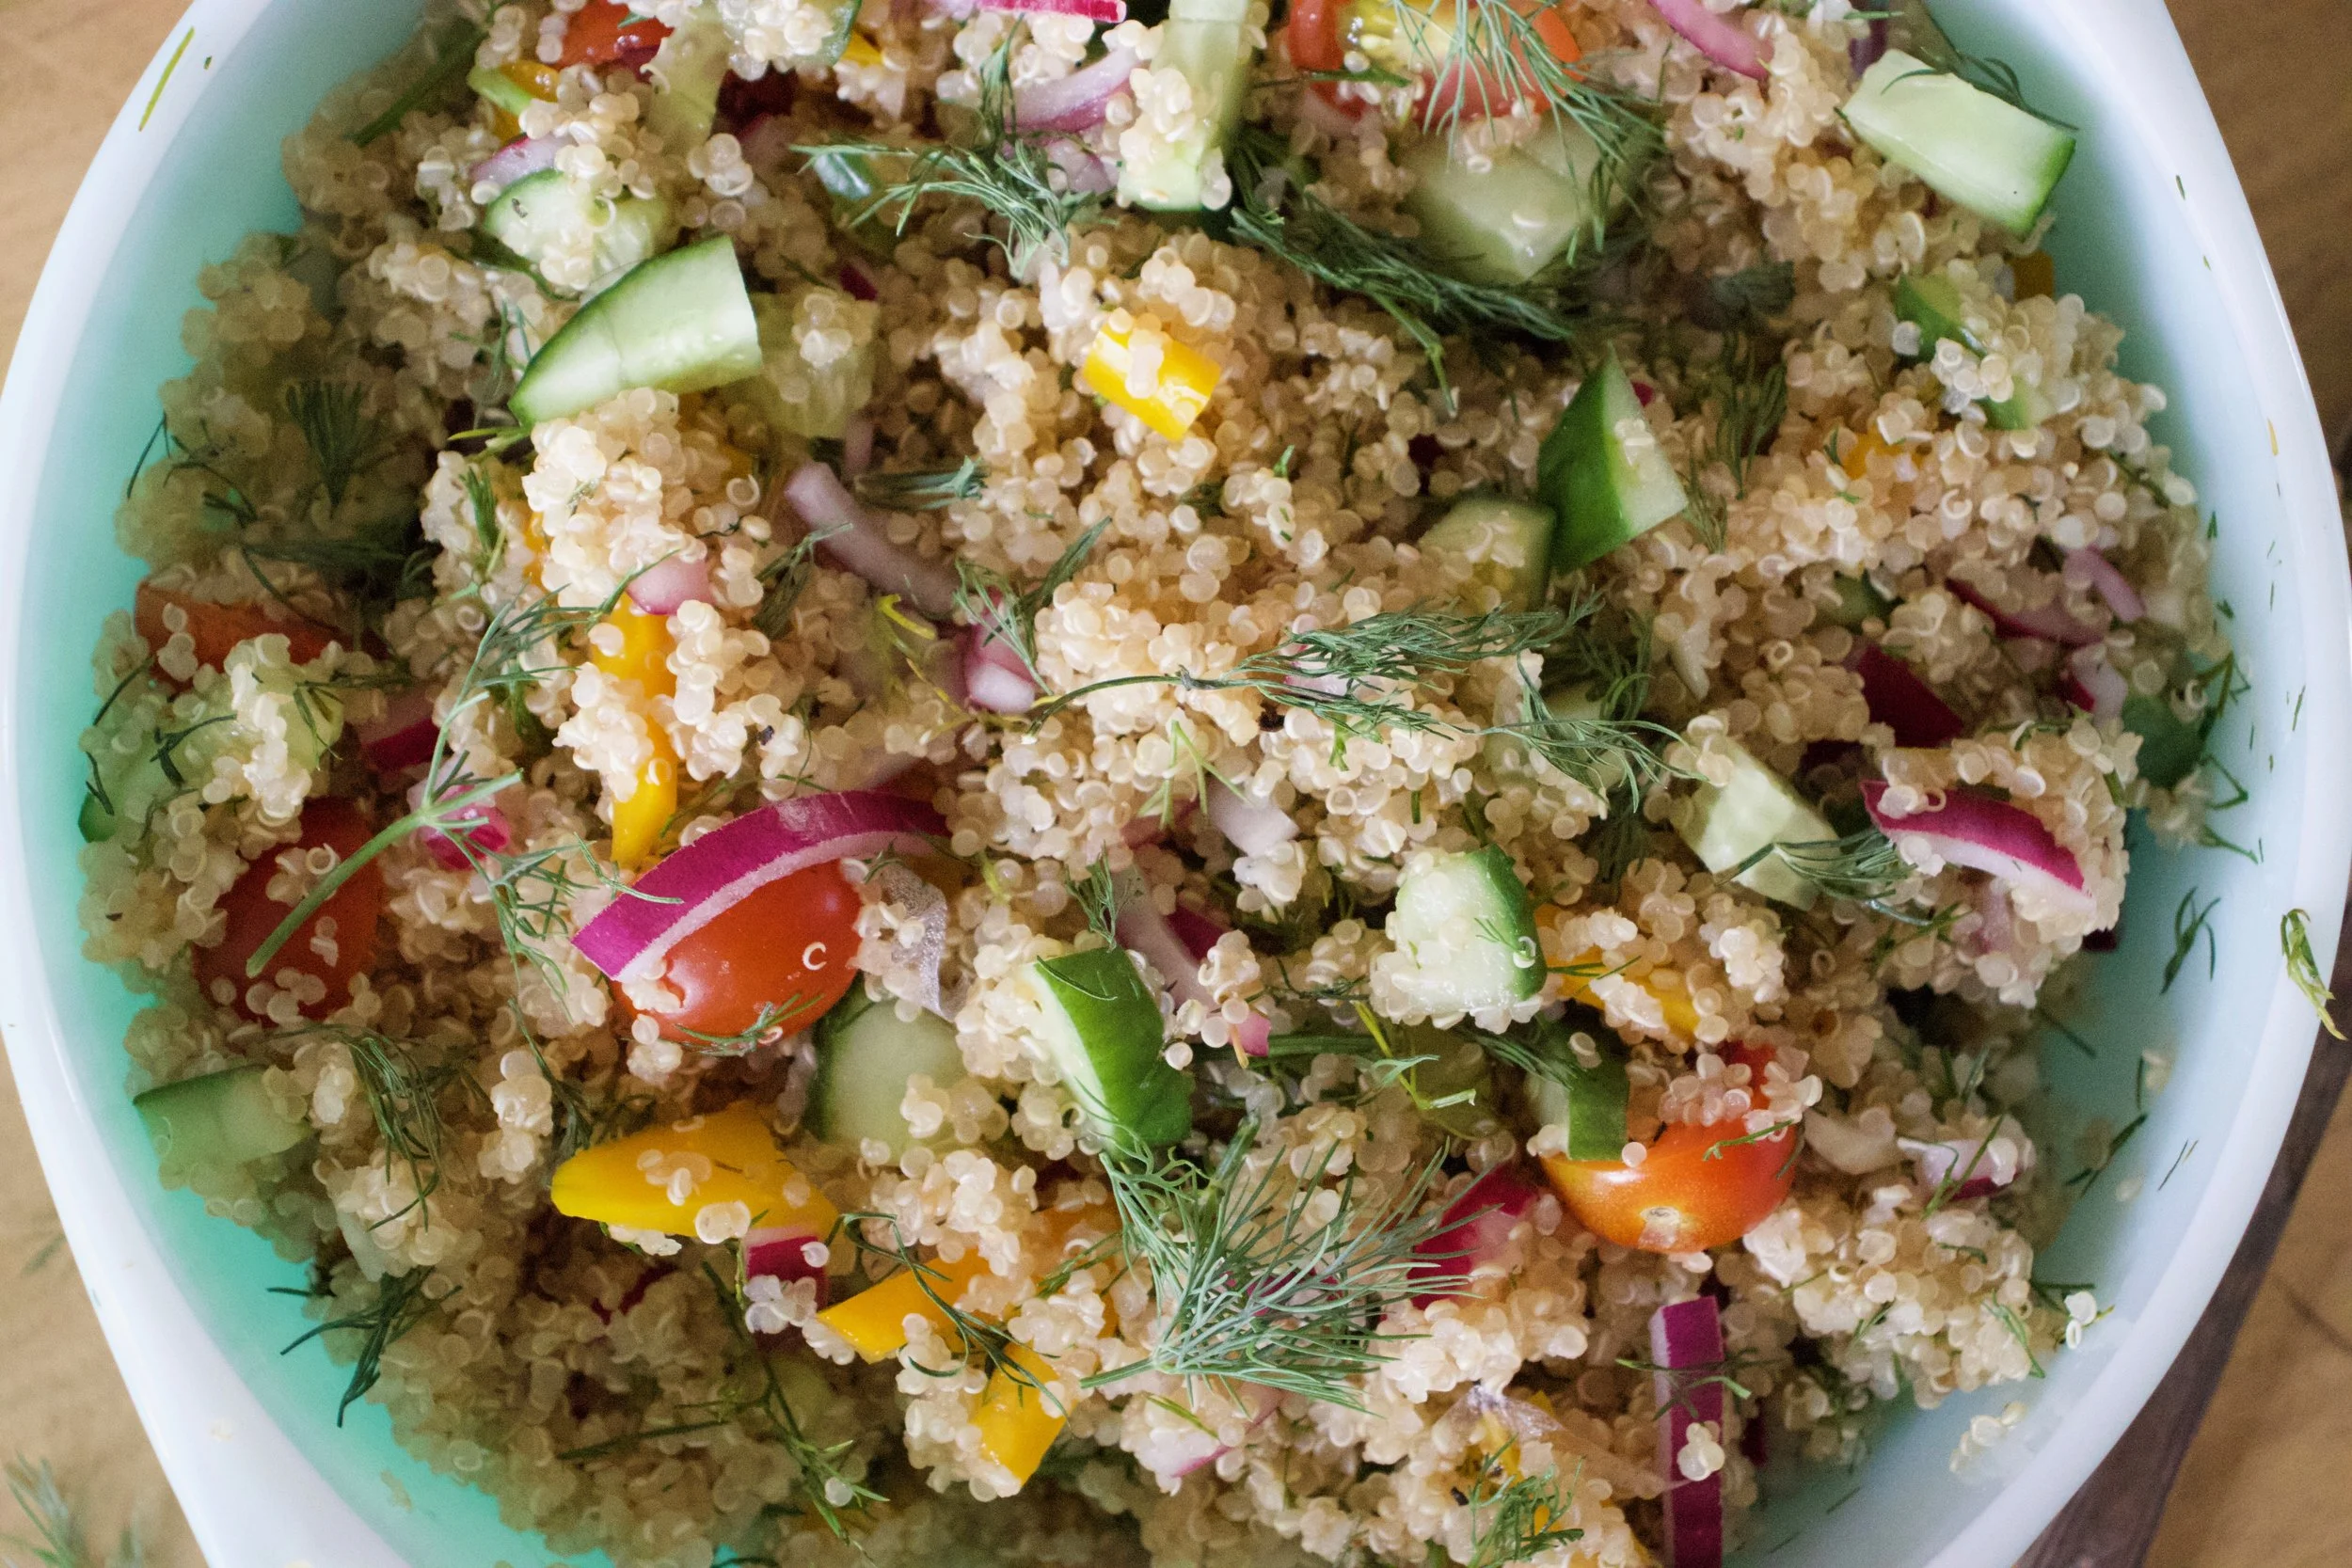
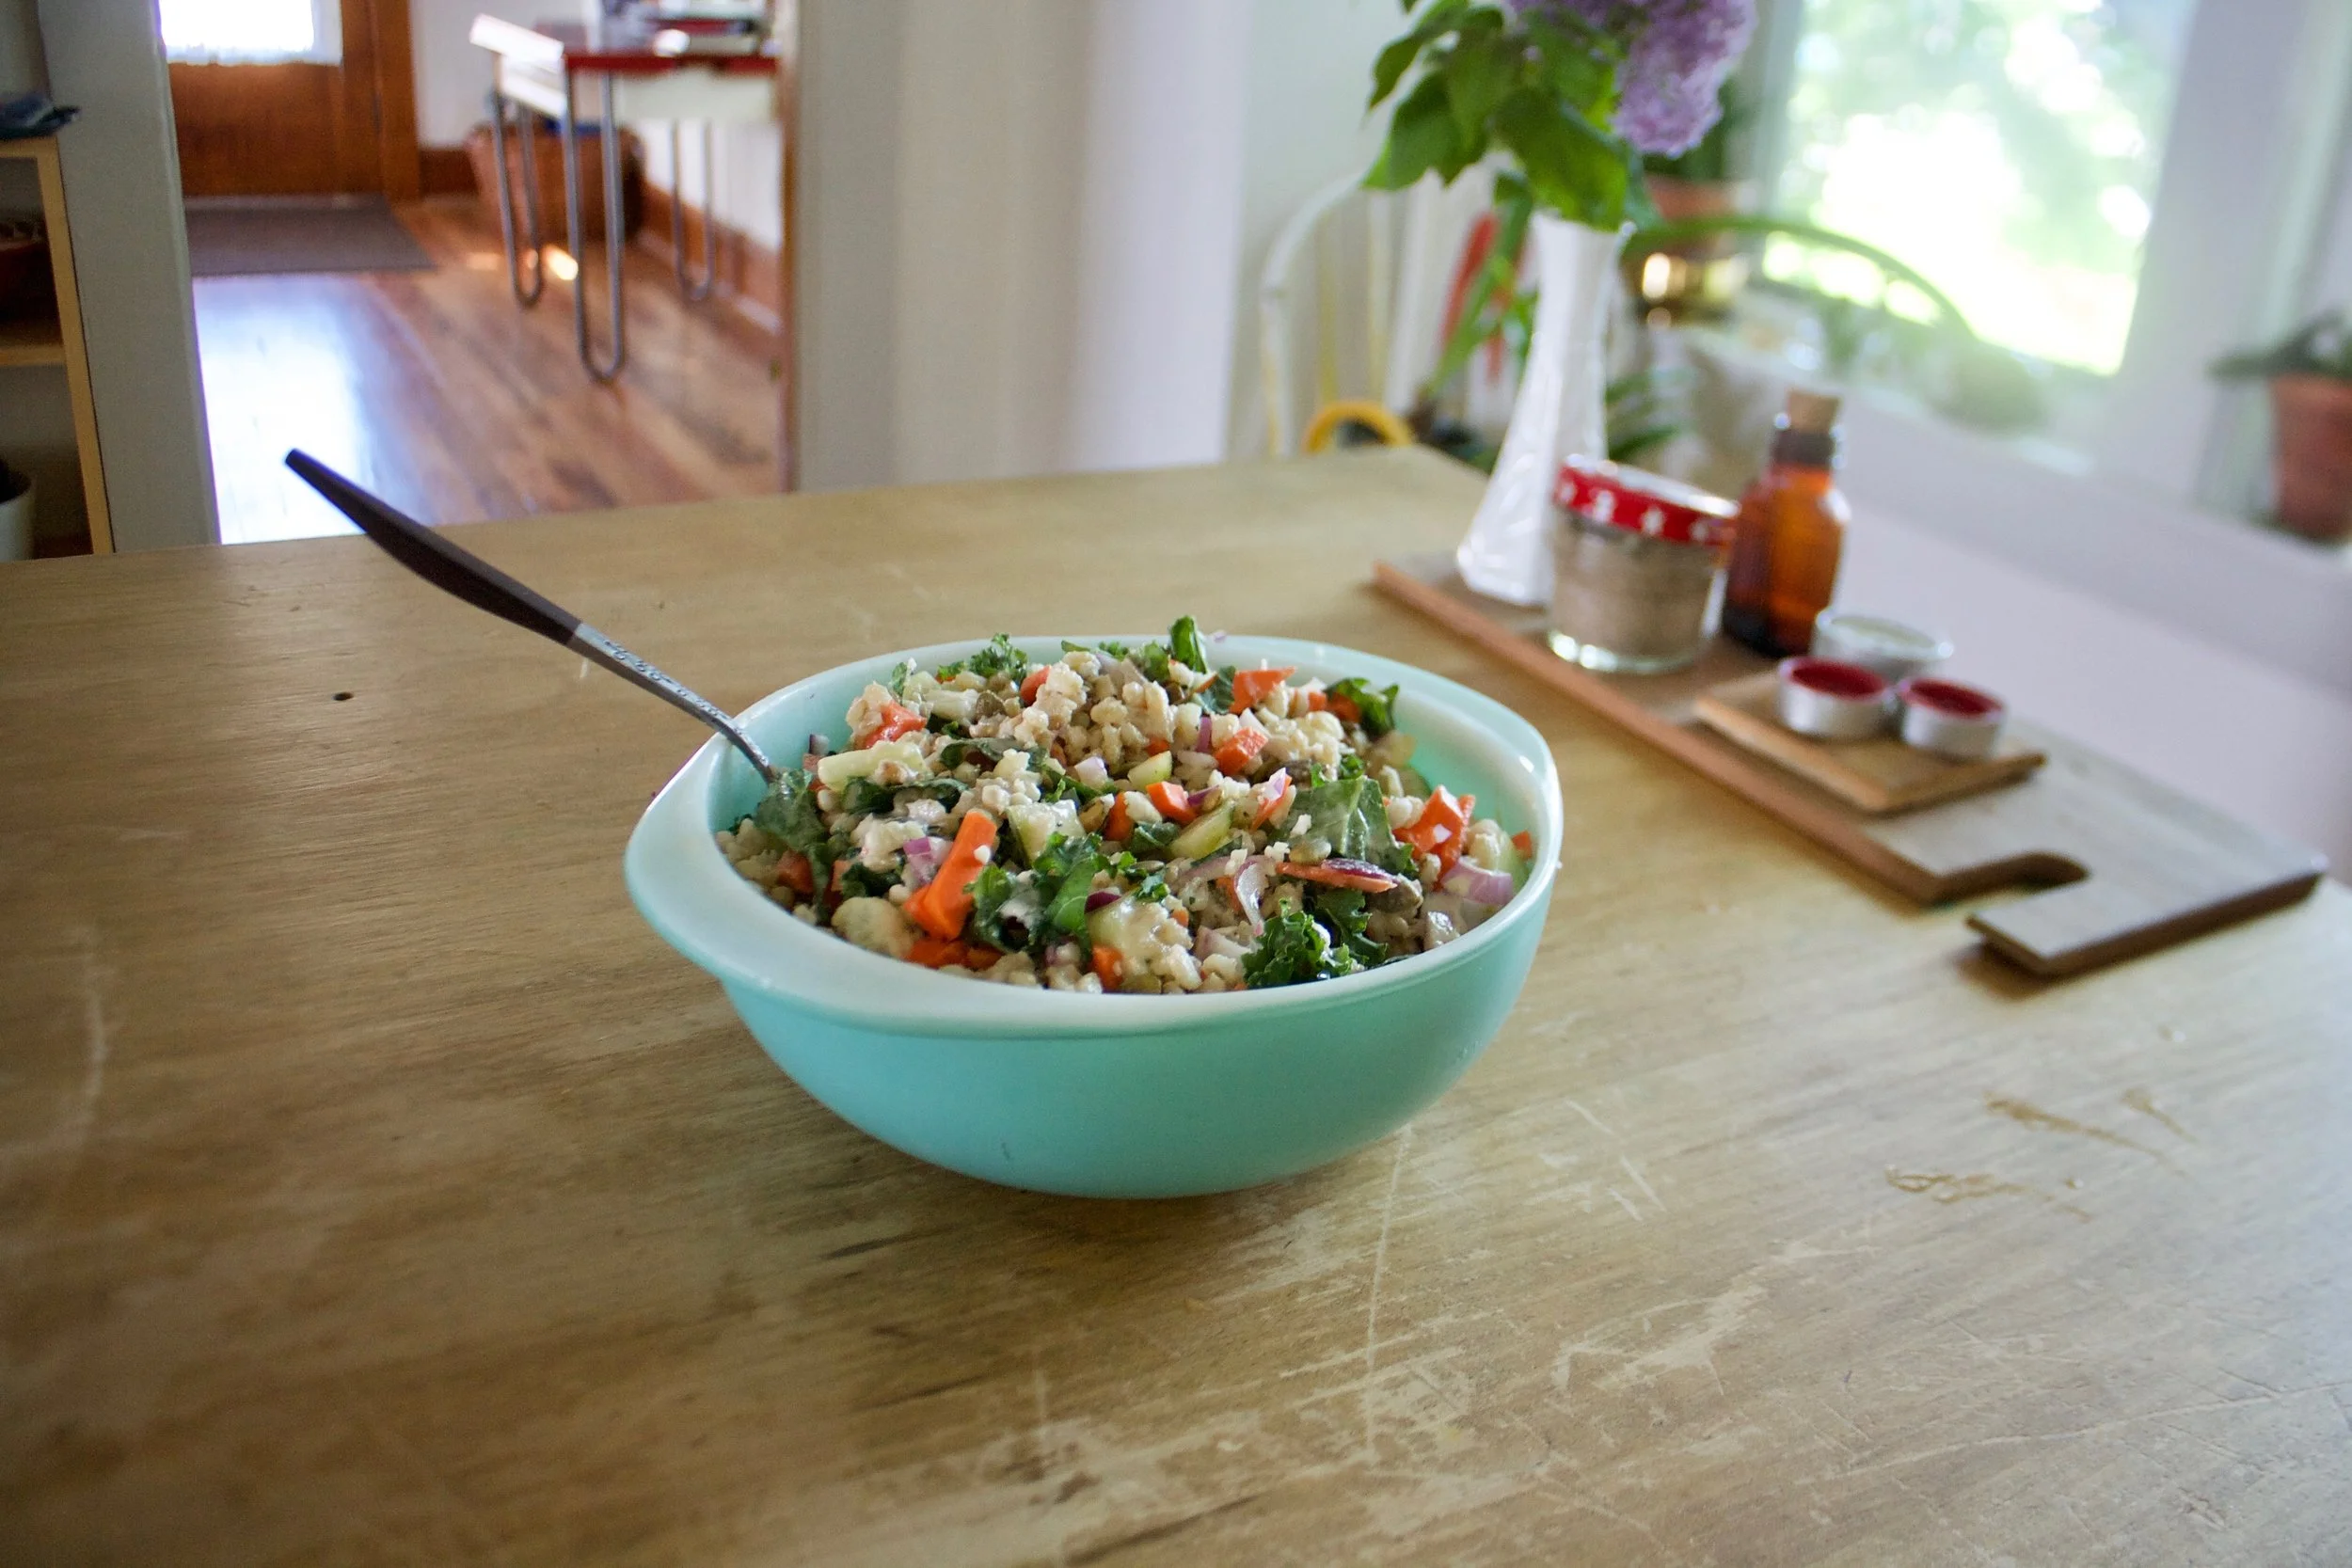
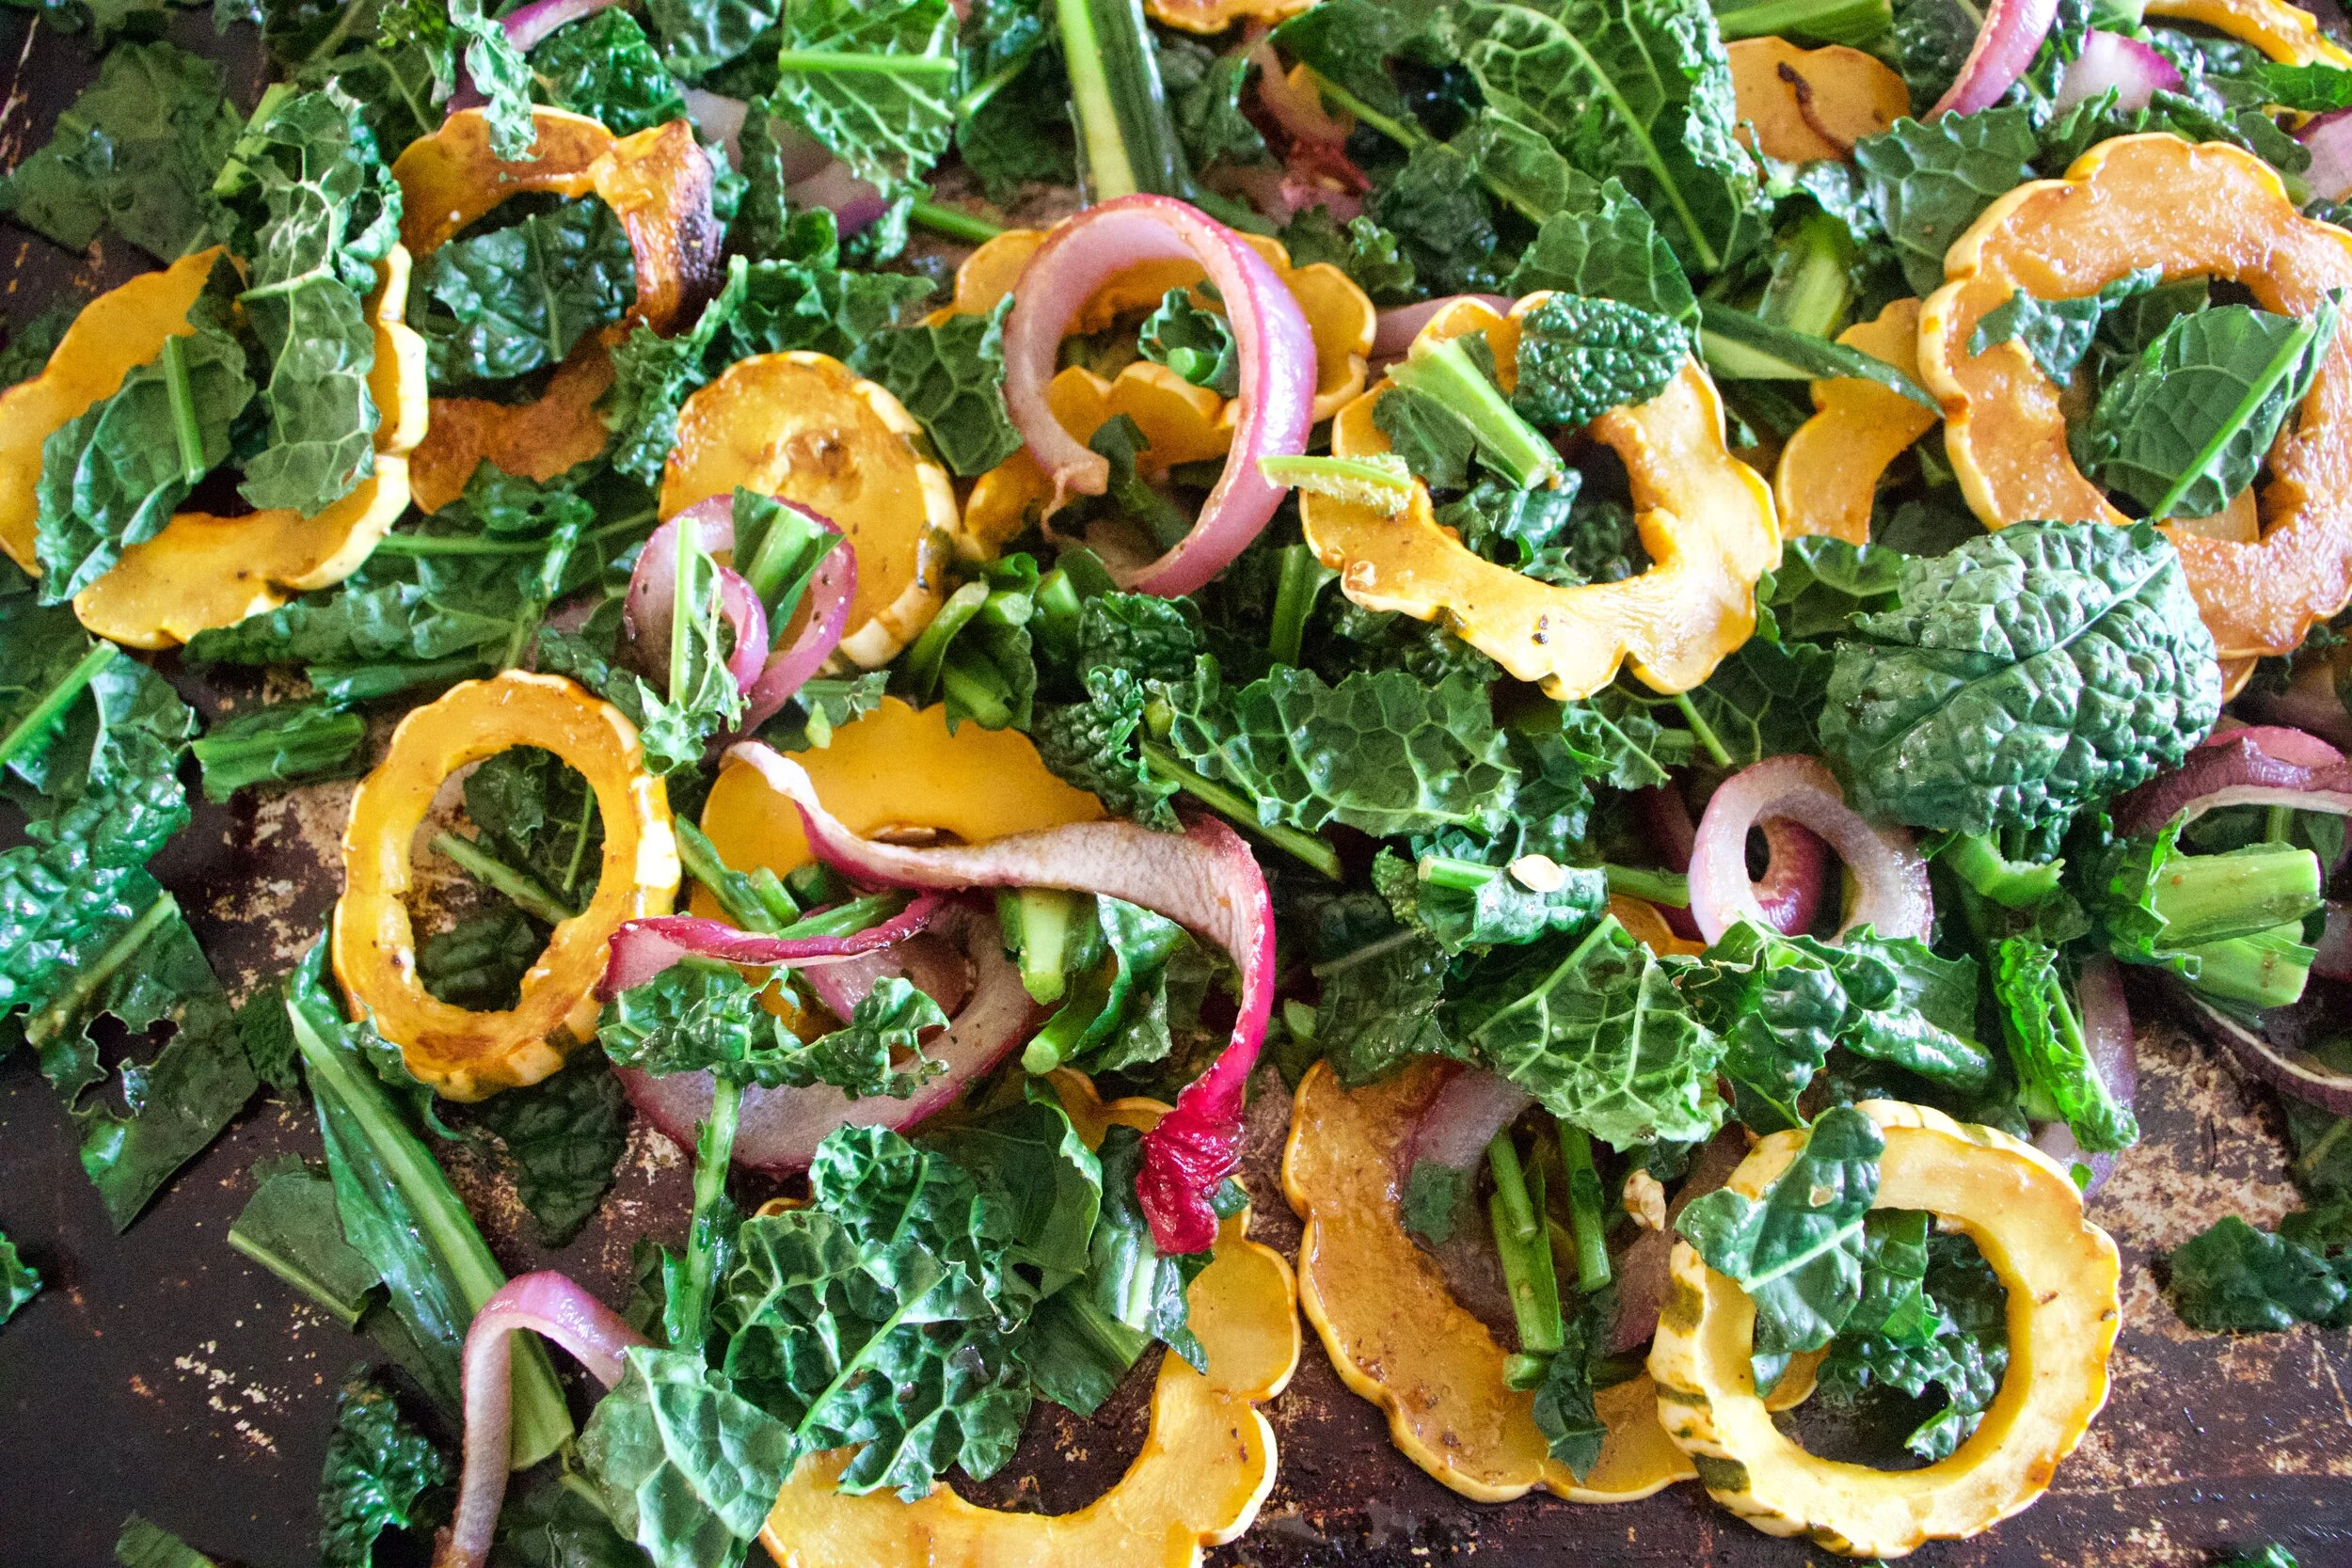
Cooked mushrooms and onions go into the pot, along with the greens, the sunflower seed, and the vinaigrette. This step can be right away or you can wait a little while for things to cool as to not wilt the greens. Up tp you.
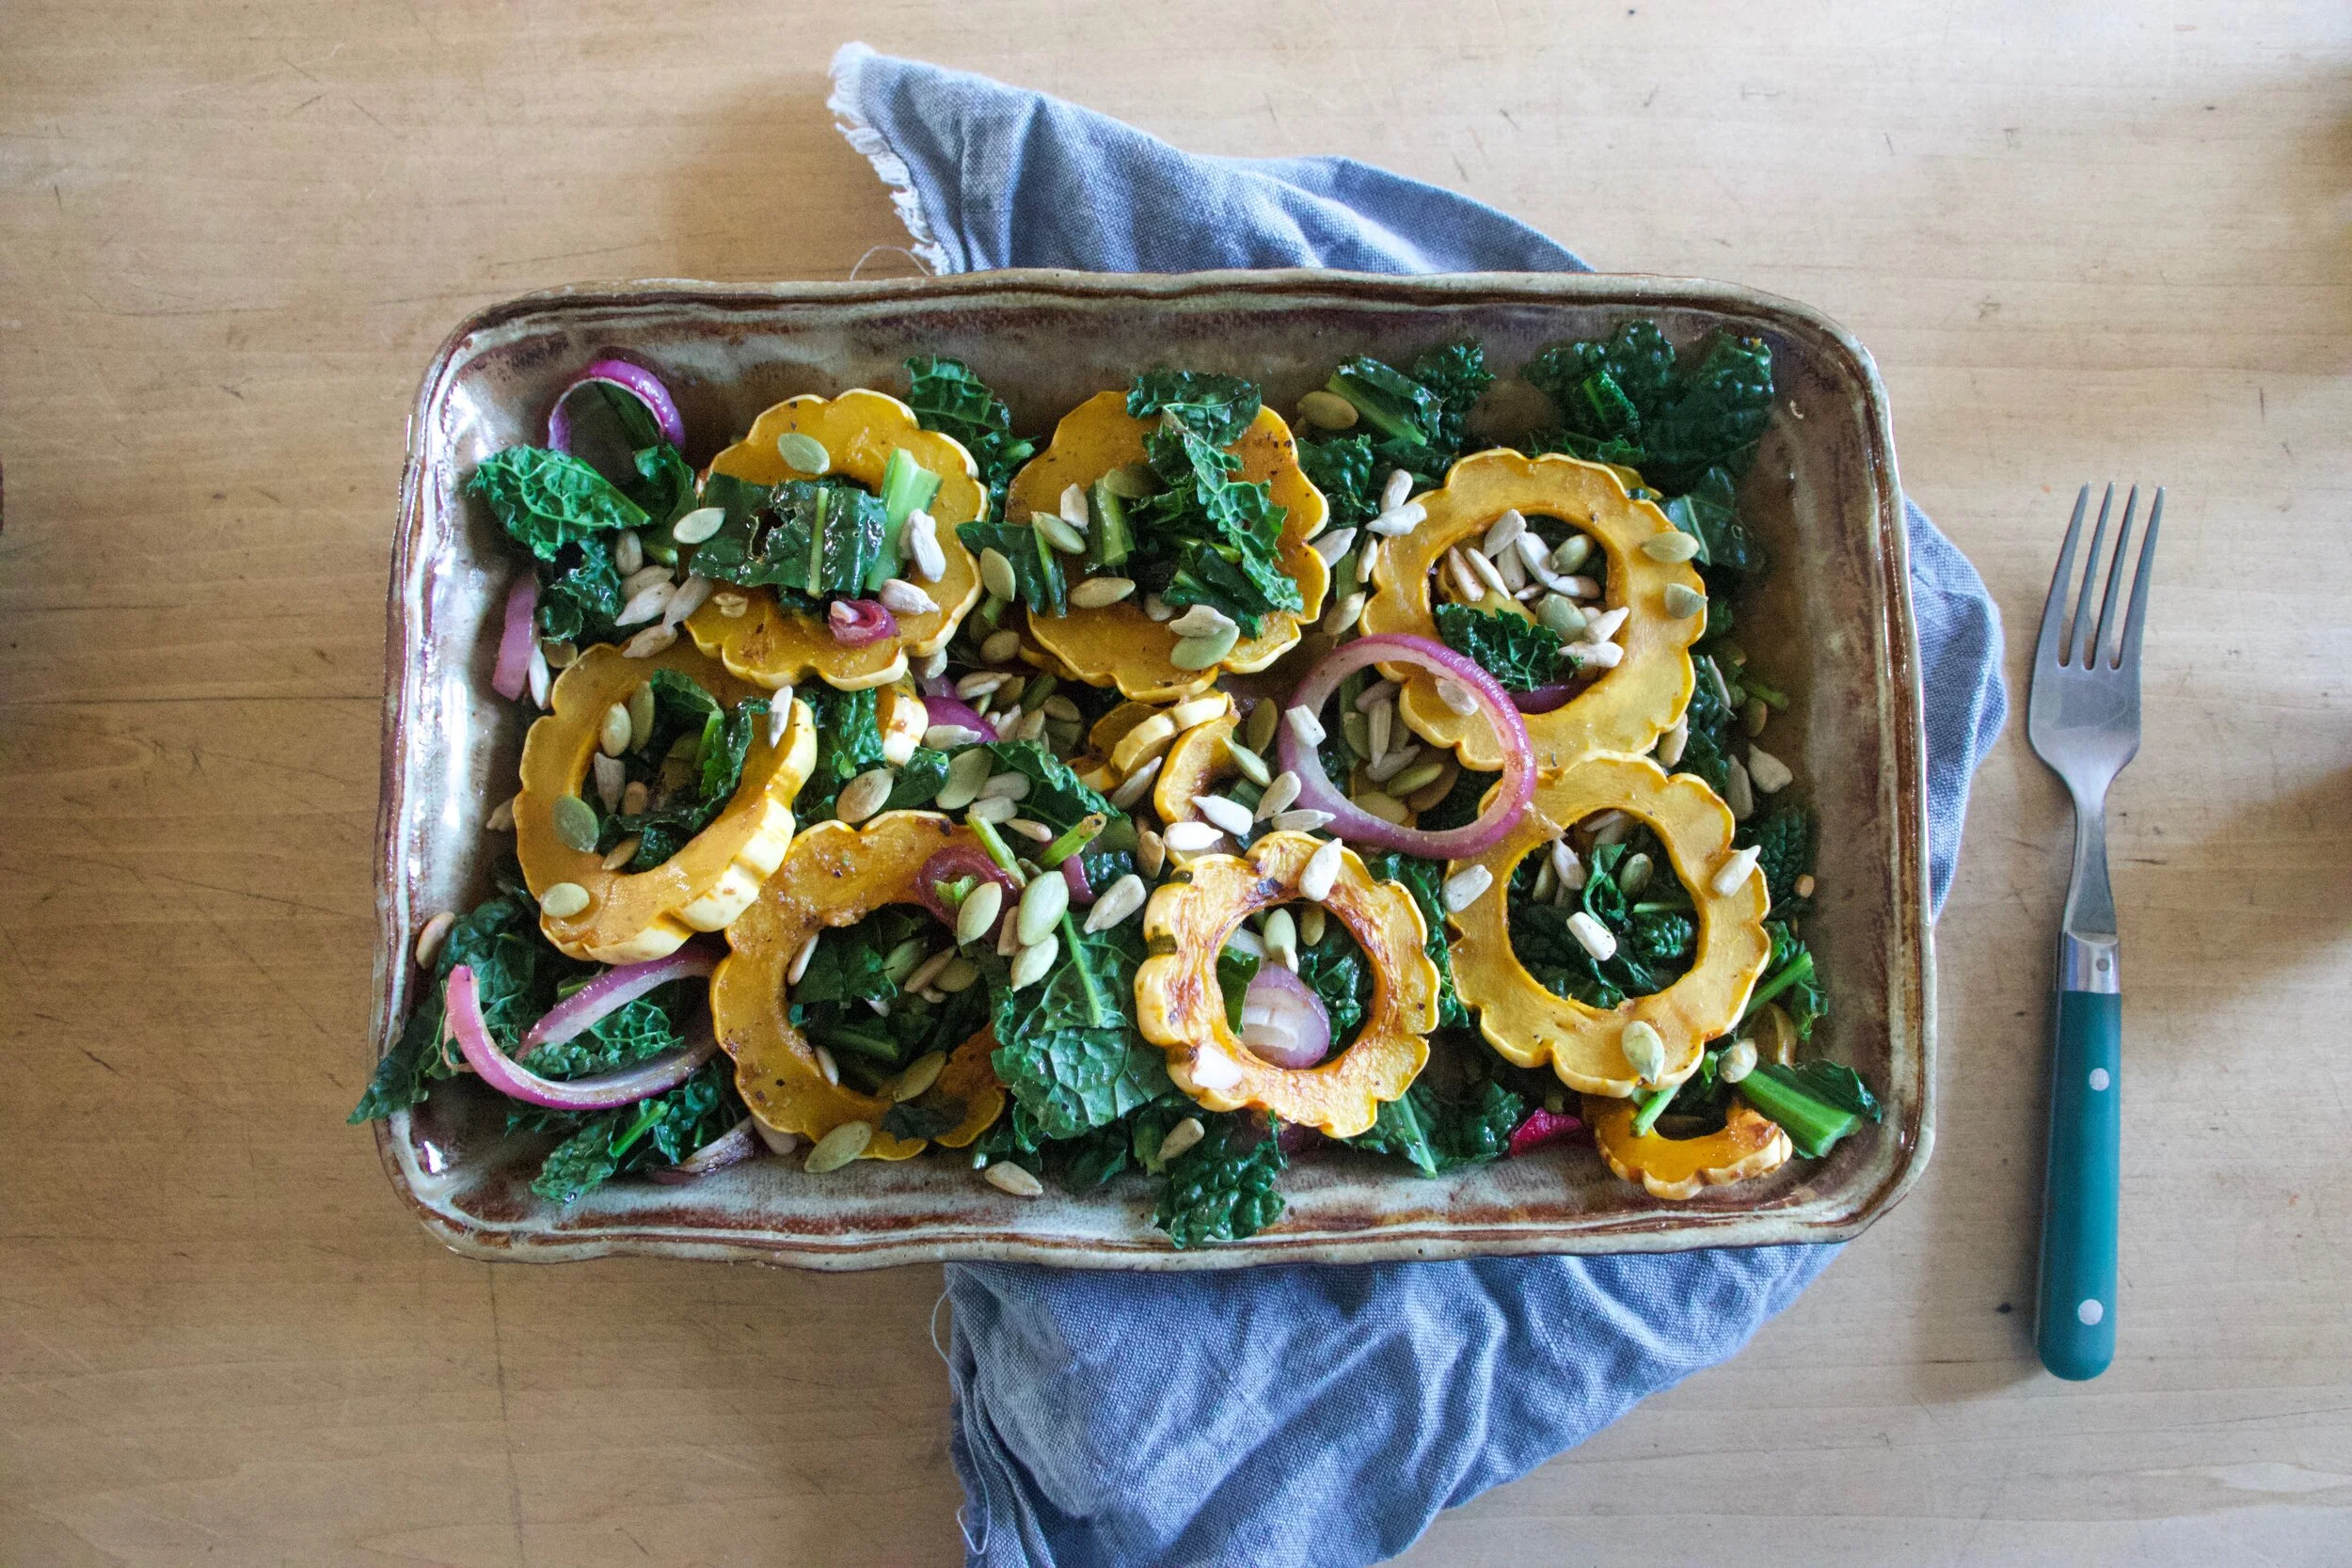
Mixed with love and hunger.
Even if you are making it ahead of time, just do yourself a favor. Grab a bowl, grab a fork, and get down on it.
-C
Seves 4-6
3/4 cup uncooked millet
2 cups water
1 sweet onion
3-4 big button mushrooms
Large handful or two of bitter greens like arugula, spinach or a mixture.
2 tablespoon brown or dijon mustard
2 tablespoon red wine vinegar
1 teaspoon maple syrup
2 cloves garlic
salt and pepper
handful toasted sunflower seeds
To start, toast millet. Dump the uncooked millet into a pan and place on a medium heat tt for about 5 minutes or until you start hearing the millet crackle.This gives the millet a slightly more nutty flavor but you can skip this step if you don%u2019t care.
Dump millet and water into medium pot. Place on high heat until water starts to boil then tun heat down to simmer and over. After about 15 or 20 minutes, when most of the water is gone, turn pot completely off. Let sit, covered for another 10ish minutes then take a fork and fluff it.
While the millet is cooking, cook the veggies. Grab the onion and slice it up into thin pieces. Clean off the mushrooms and chop them into small thin pieces too. Place the chopped stuff into the skillet with a drizzle of olive oil and a pinch of salt and place on a medium heat. Stir occasionally and cook for about 15 minutes or until the onion and mushroom are a nice dark, golden brown.
And make the mustard vinaigrette. Mince garlic and place into a jar or bowl with the vinegar, the mustard, the maple, and the juice of the lemon. Mix and set aside.
Once the millet is cooked, the mushrooms and onions are cooked, and the vinaigrette is made, all you have left to do is mix everything together. You can do this while things are slightly warm which will wilt the greens a bit, o let them cool so the greens stay fresh. Up to you. (I like the greens fresh)
Finally, dump cooked mushrooms and onions into pot with cooked millet. Add in the greens and sunflower seeds and drizzle the vinegertte all over. Toss around until fully mixed. Sprinkle with lots of fresh cracked pepper.
Then eat. Or place in a container to bring to the BBQ.
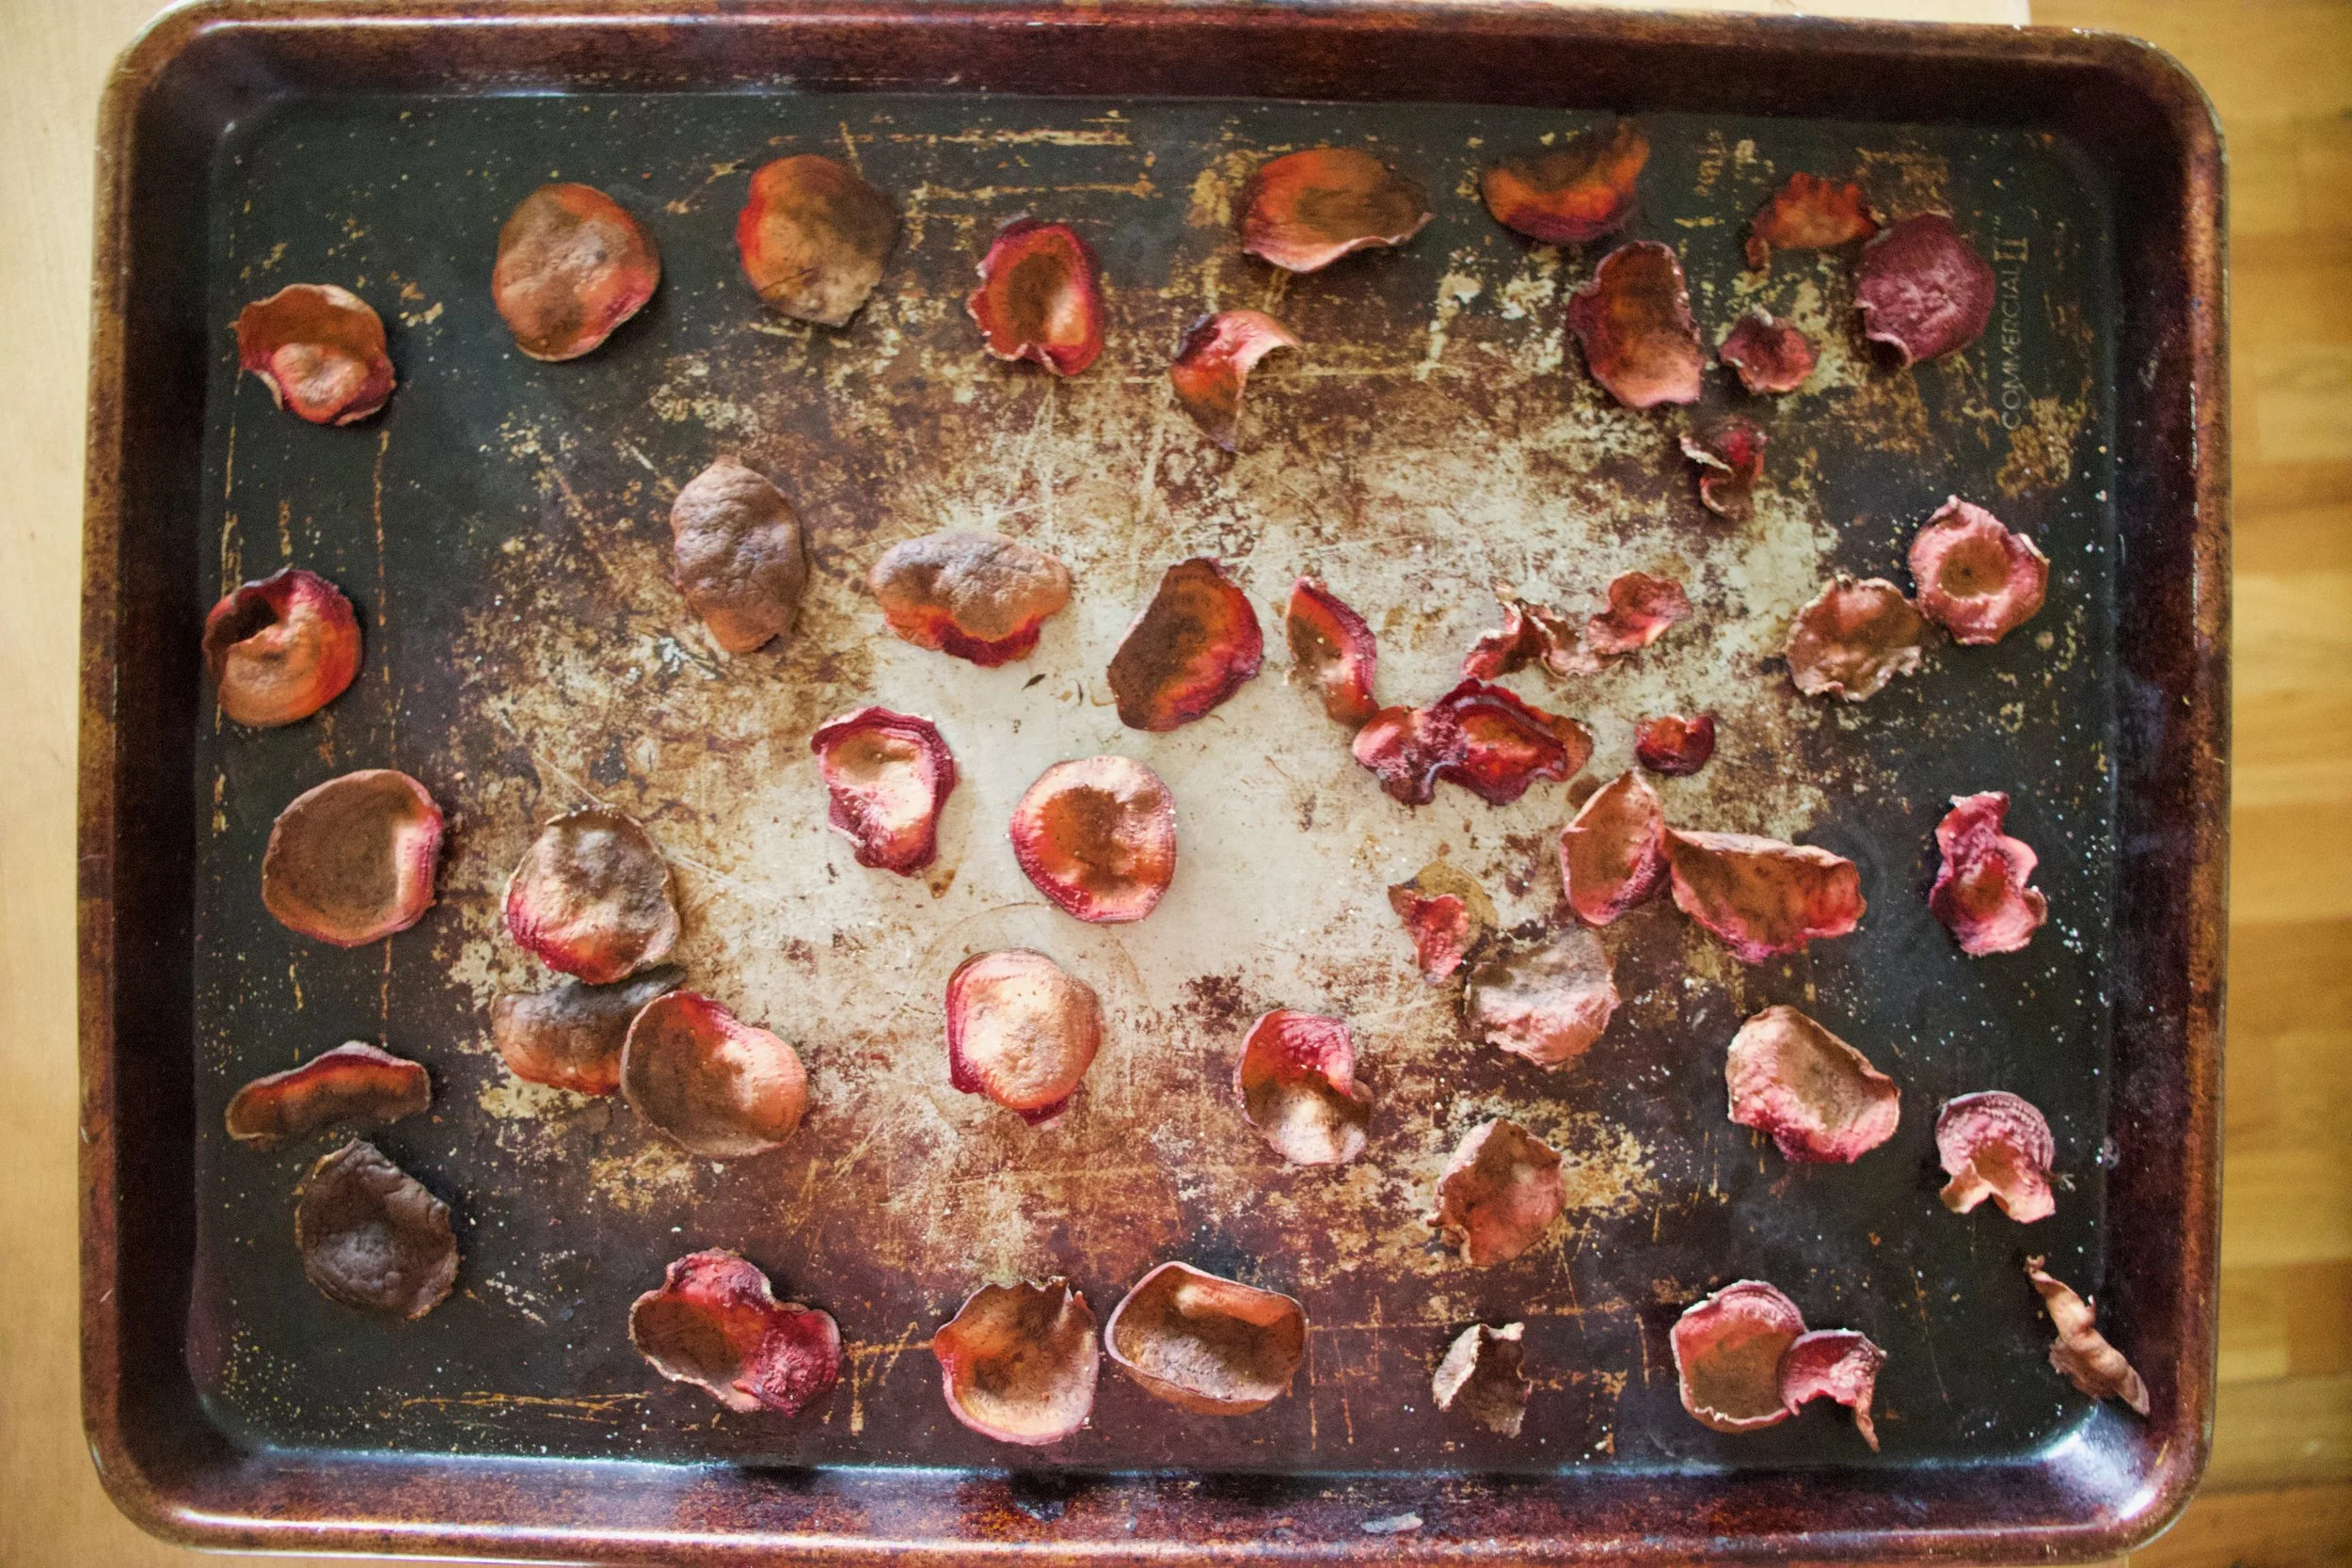
%u00a0Cabbage is probably the number one eaten food in my house. It is not uncommon for us to go through a very large head a day. And I get that it may seem odd to you, but it’s true. We are cabbage people, so much so that we will probably turn into cabbage patch people. I can see it now.
One of the reasons that we eat so much cabbage is that it is so versatile.. Raw, steamed, roasted, the possibilities are a plenty, not to mention that cabbage is pretty dang cheap. And not to far around the corner it is St Patrick’s day when cabbage is basically given out for free. During this time I stock up, buy 100 lbs and ferment, roast, and peel my way through all of it. Is it sick that I am kind of excited about that ? (there are worse things to be excited about)
This cabbage dish is one of those dishes that can be eaten on it’s own, as a side, or as a condiment. Topped on a salad, stuffed into a sandwich, or shoveled into the mouth. You really can’t go wrong eating it anyway.
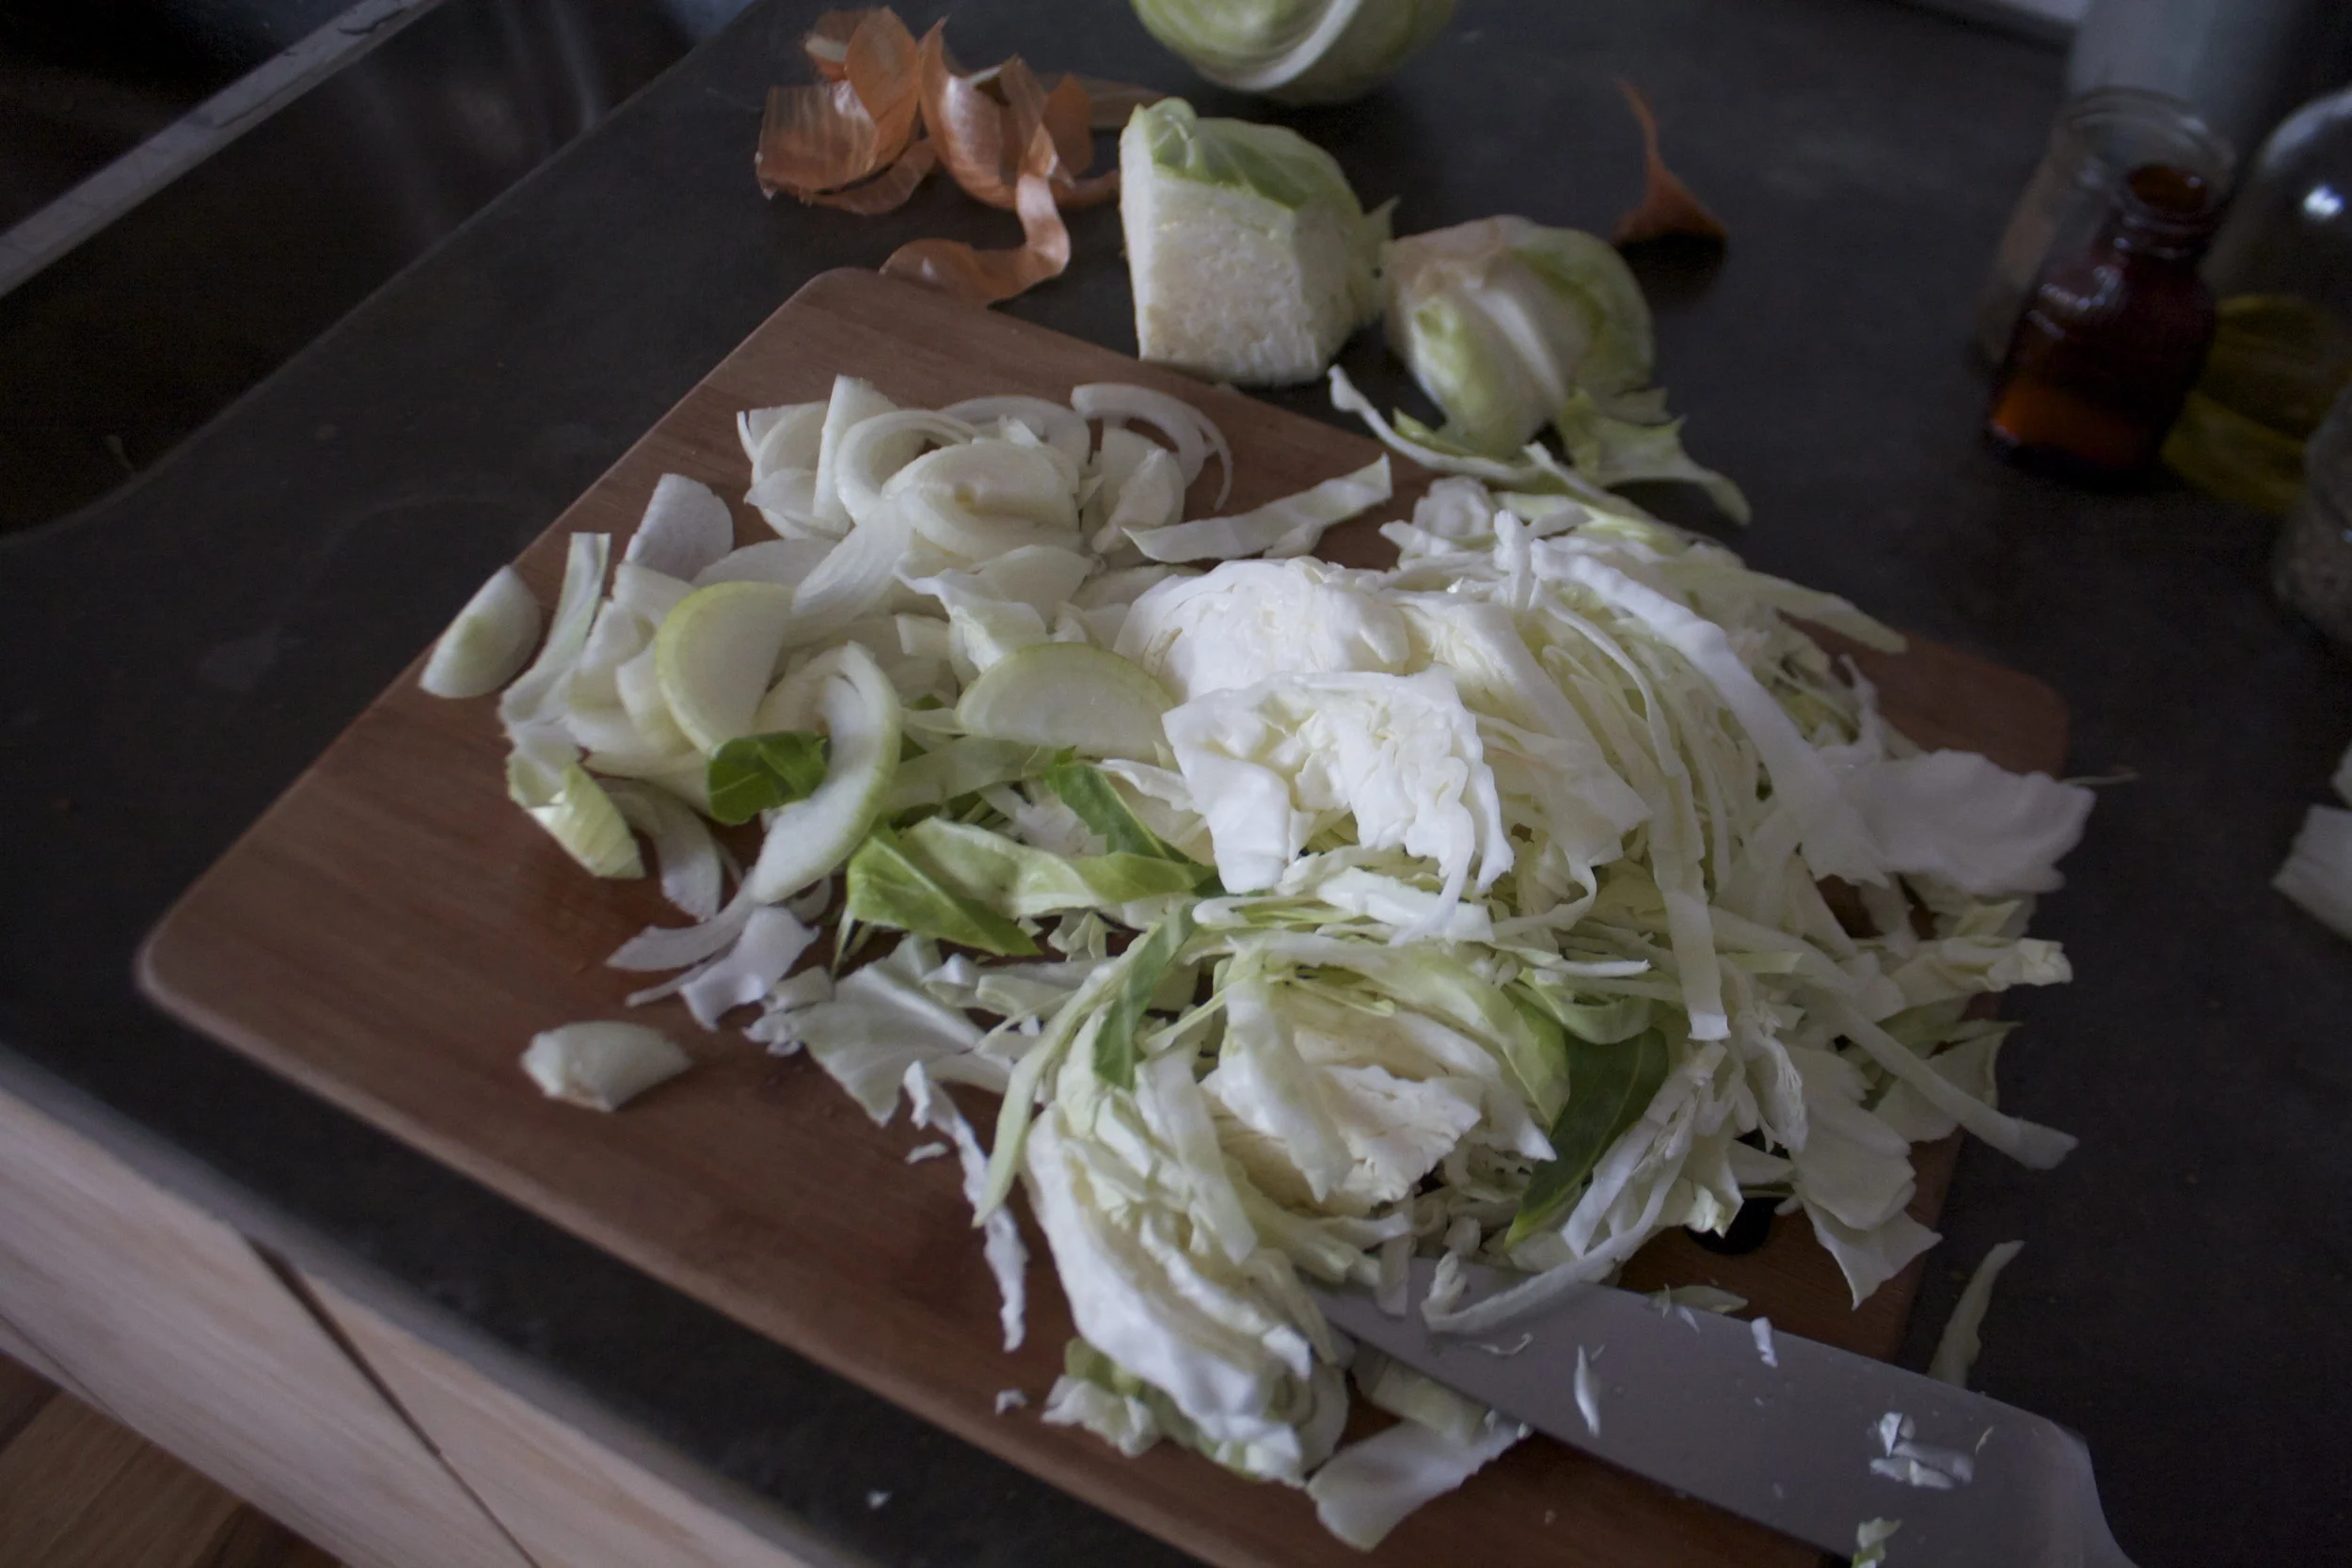
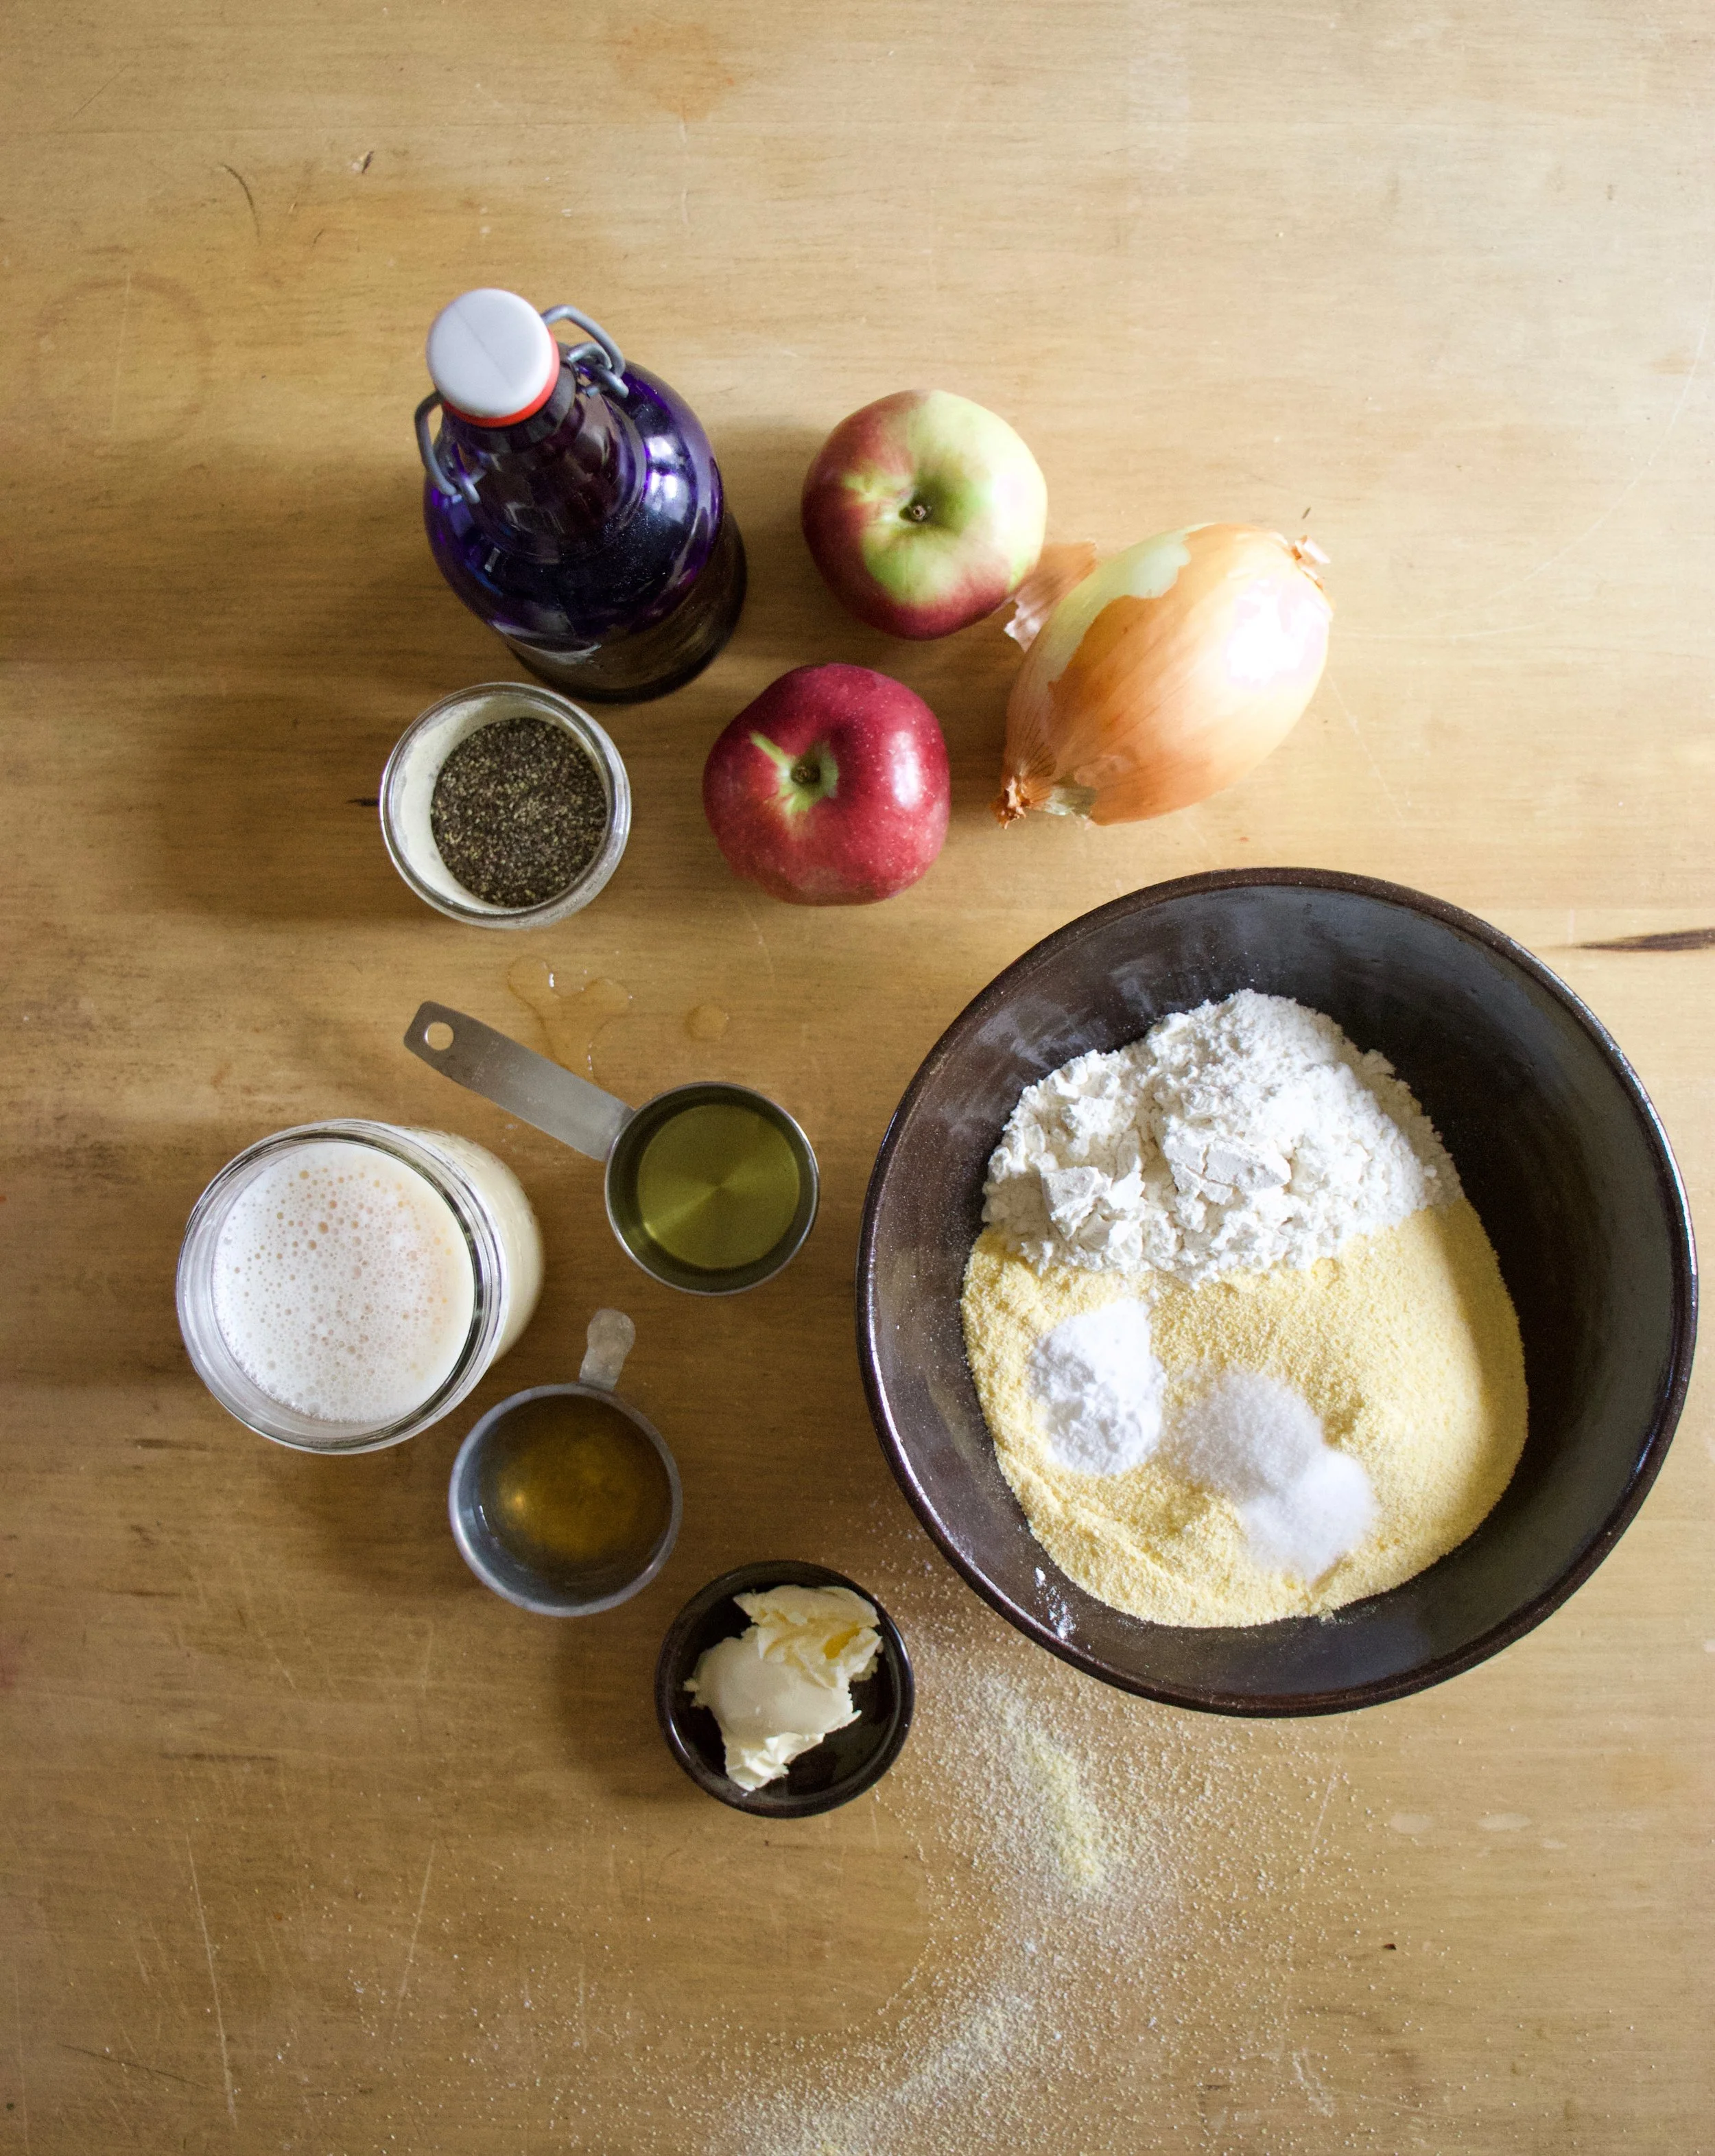
The stuff. Cabbage, onions, caraway seeds, salt and pepper, and some apple cider vinegar. (I accidentally grabbed the oil)
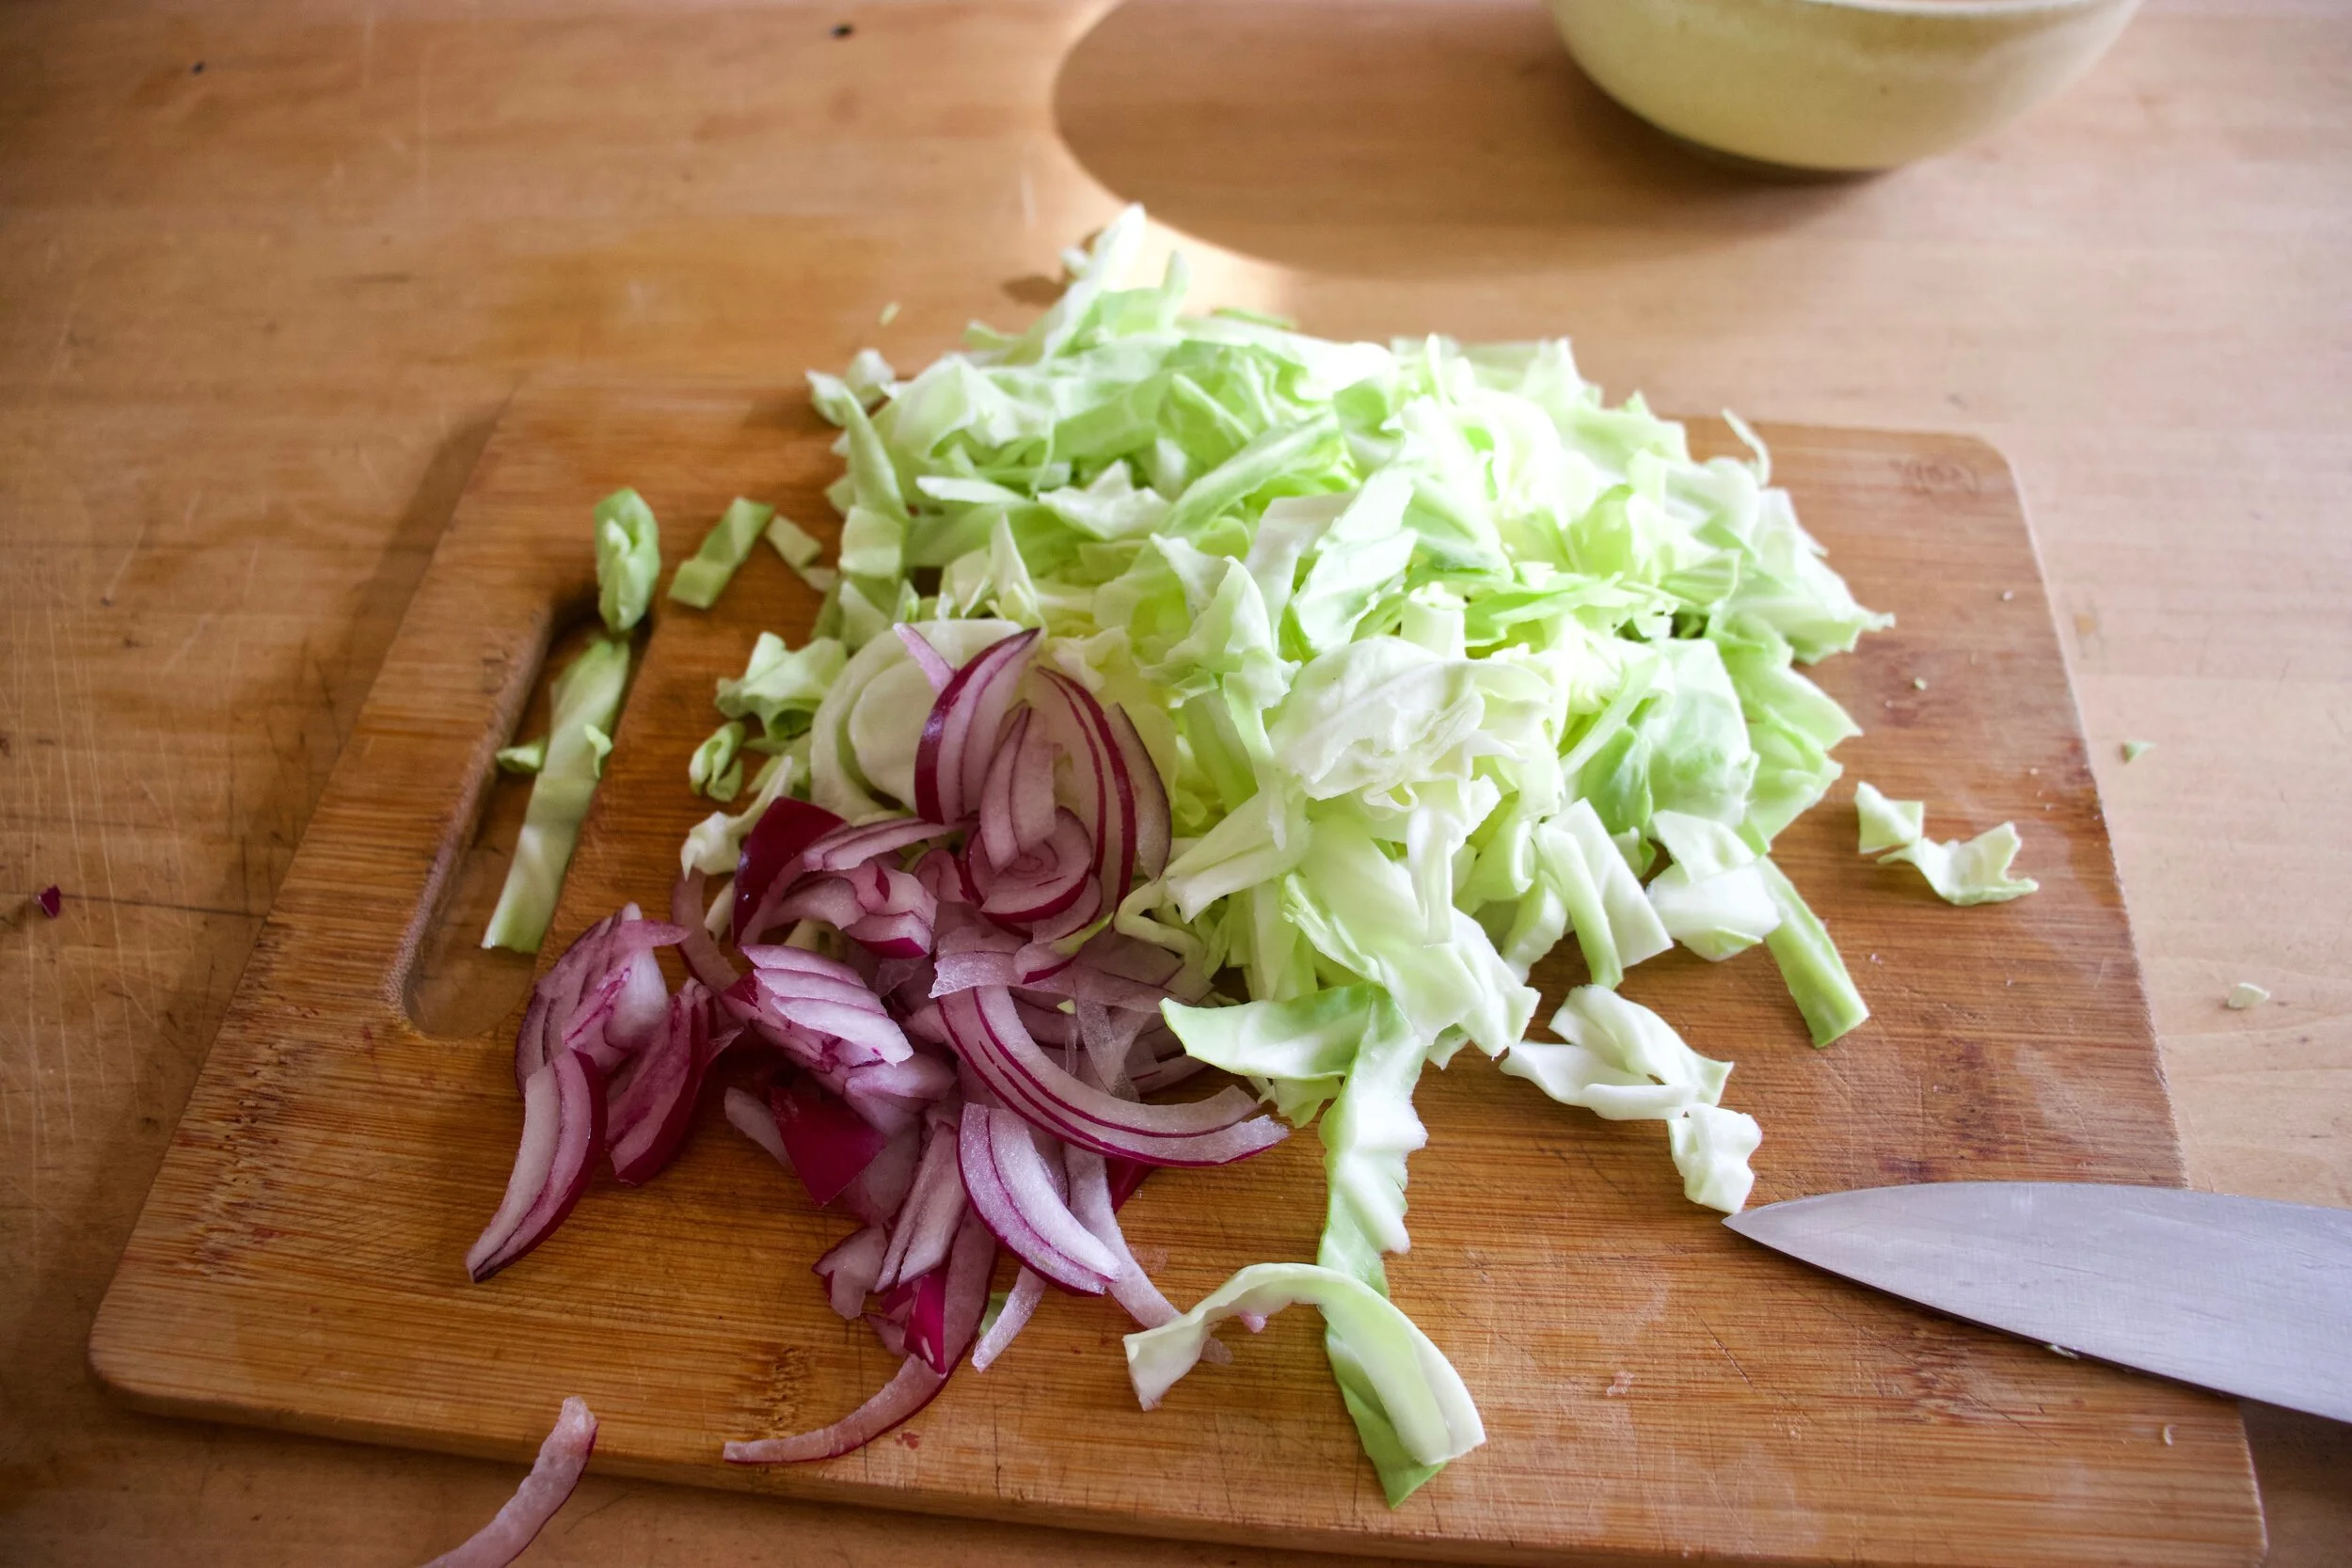
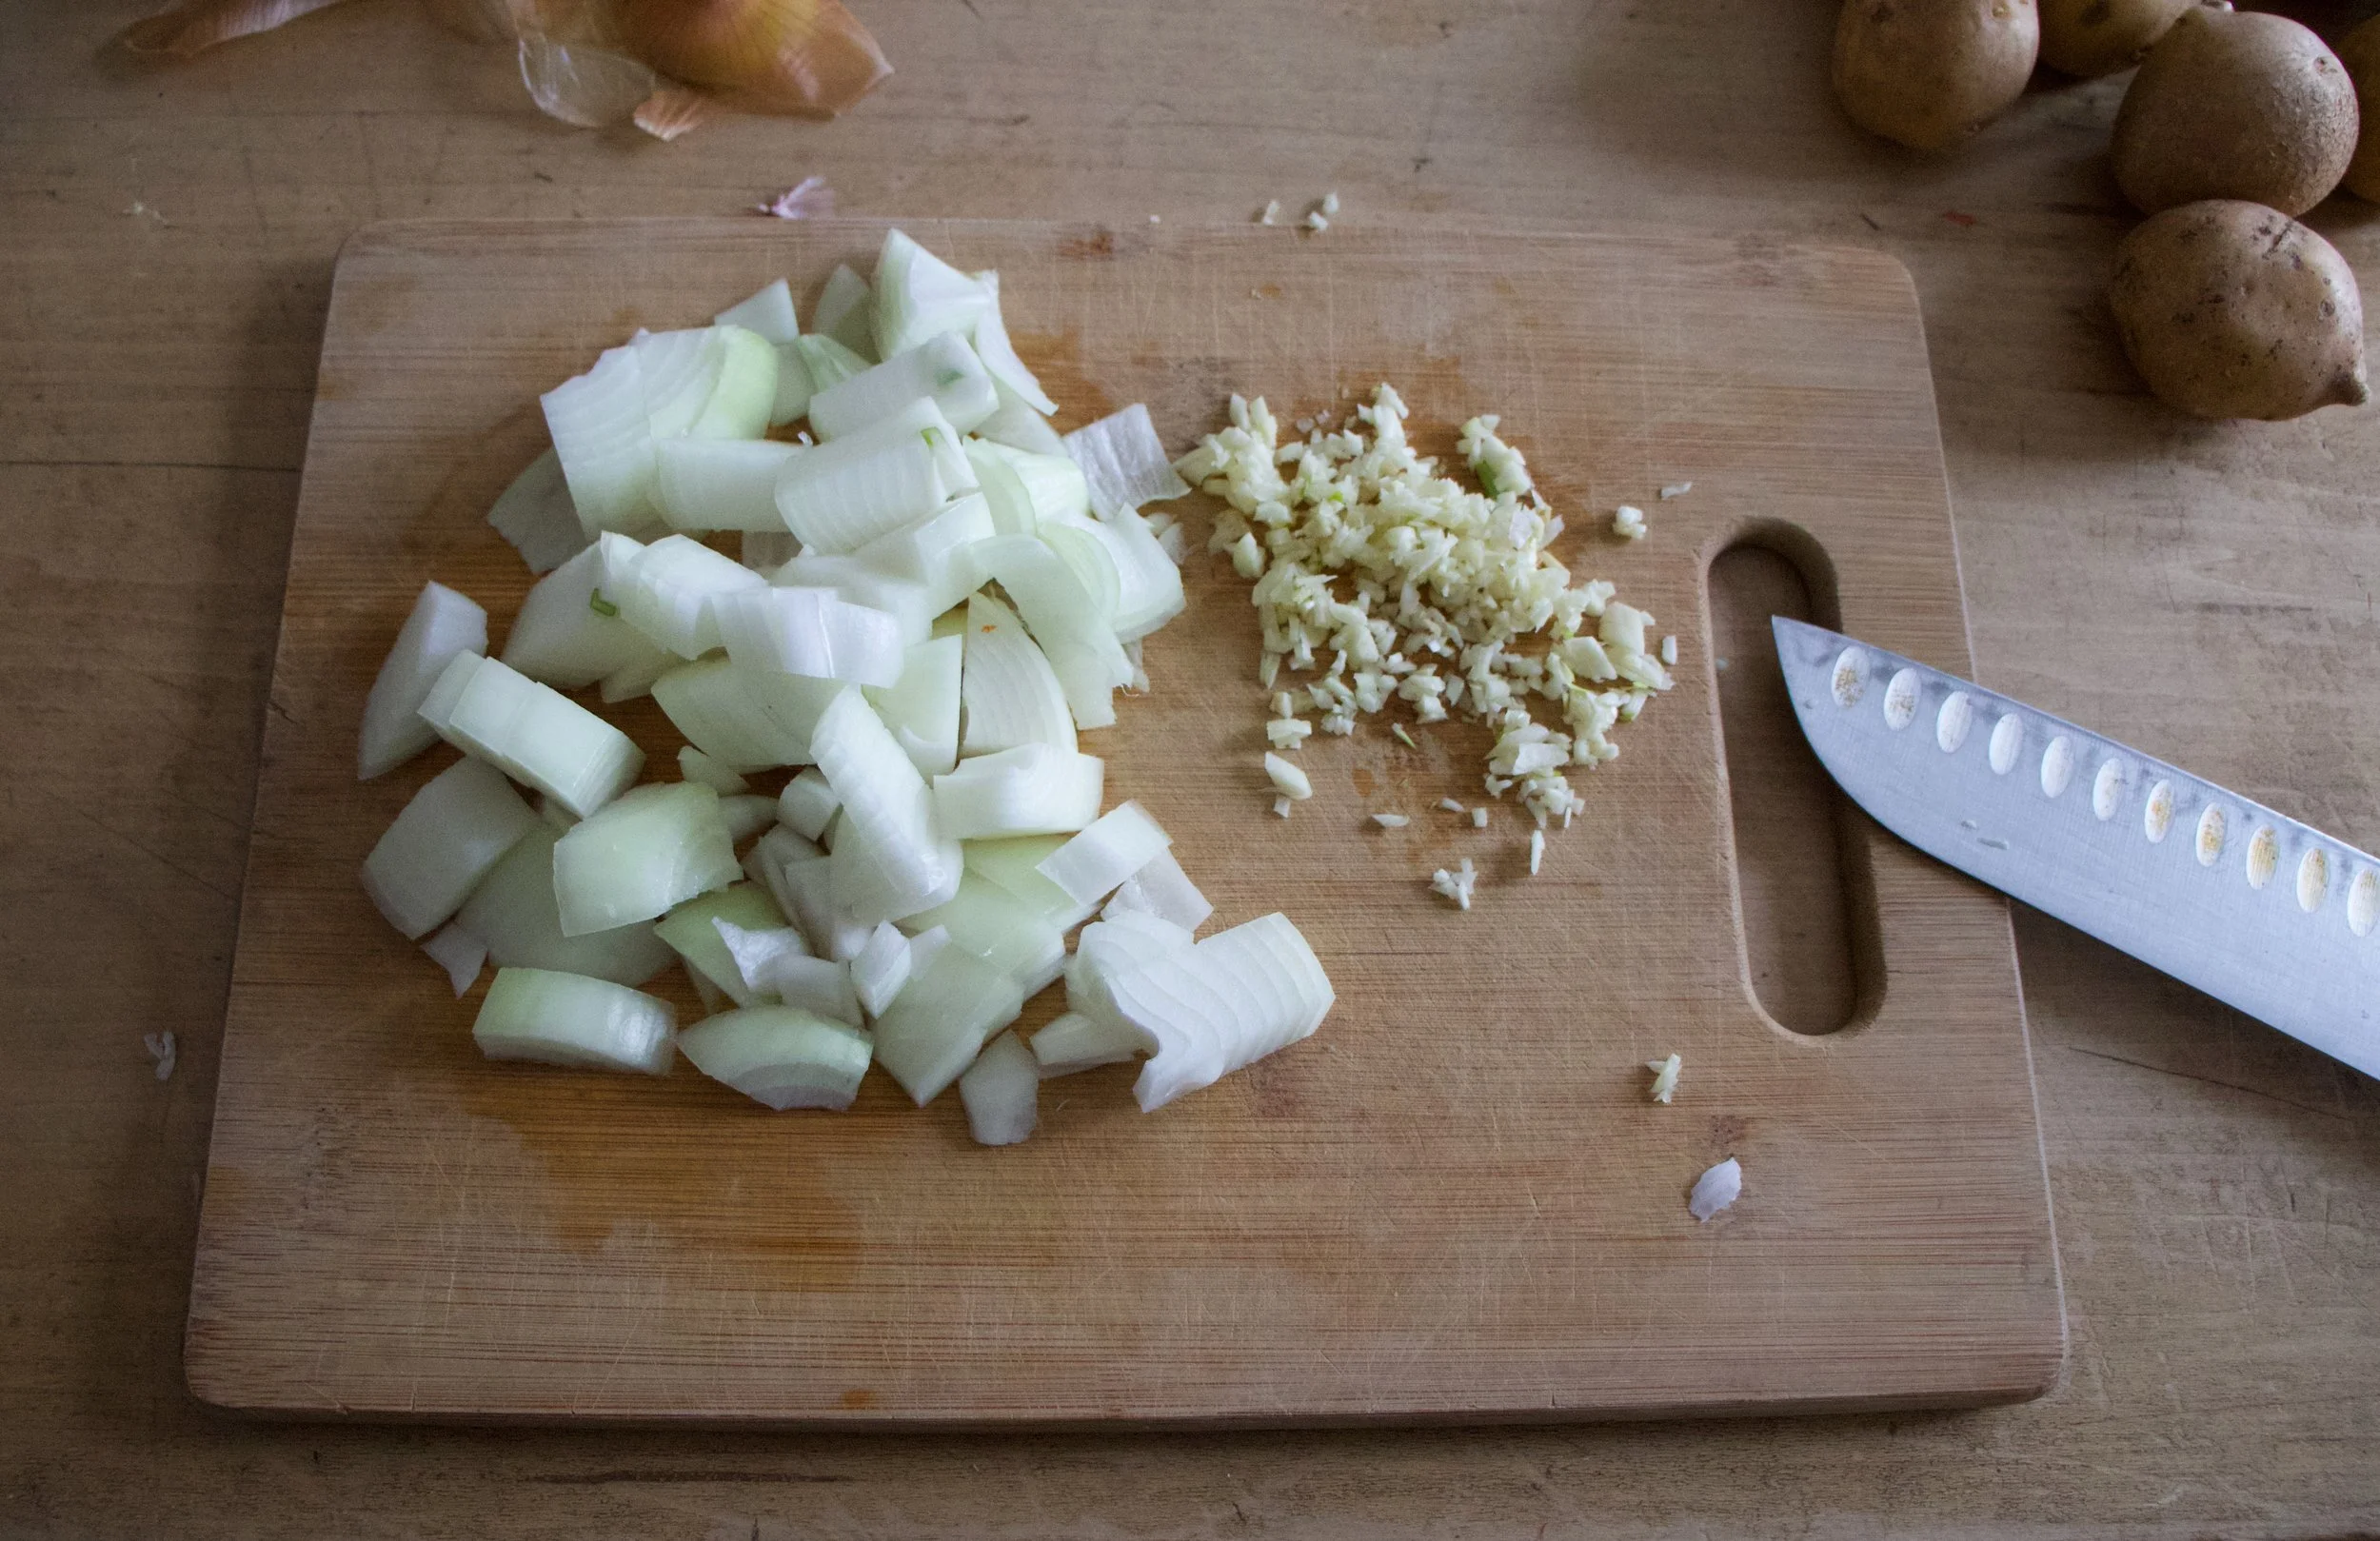
Shred up the cabbage and onions. Thin is good, but some bigger pieces are good too.
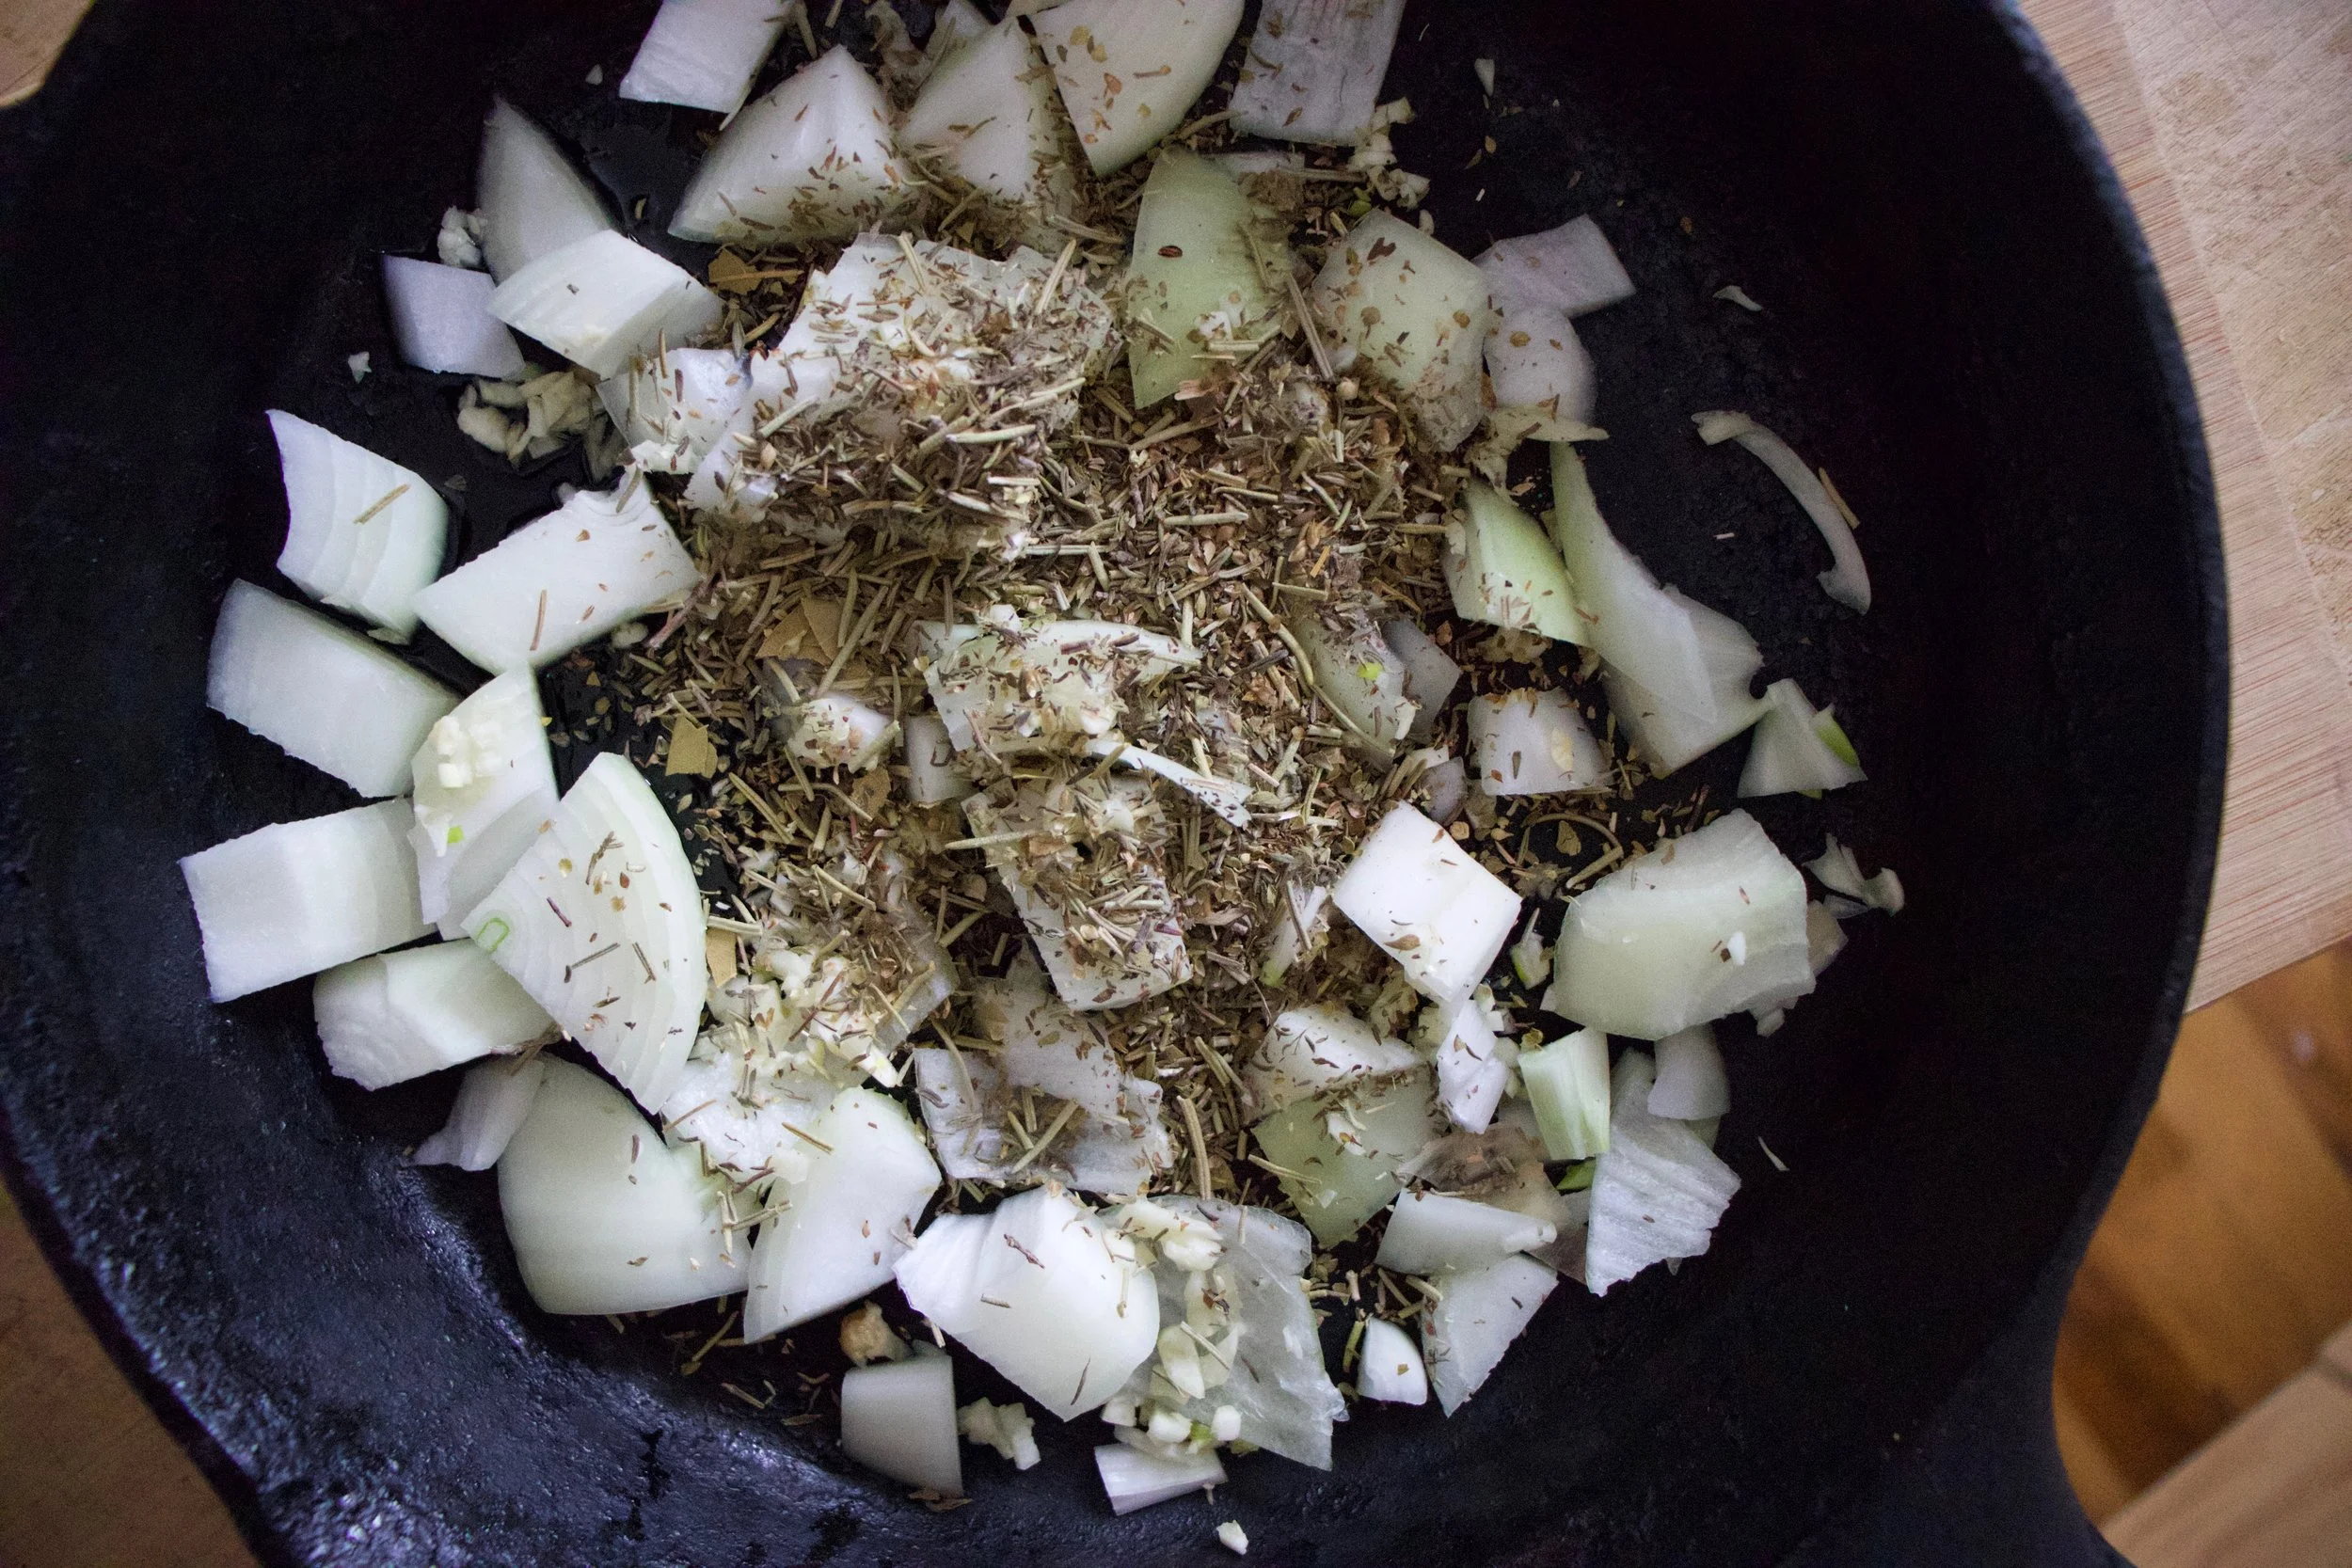
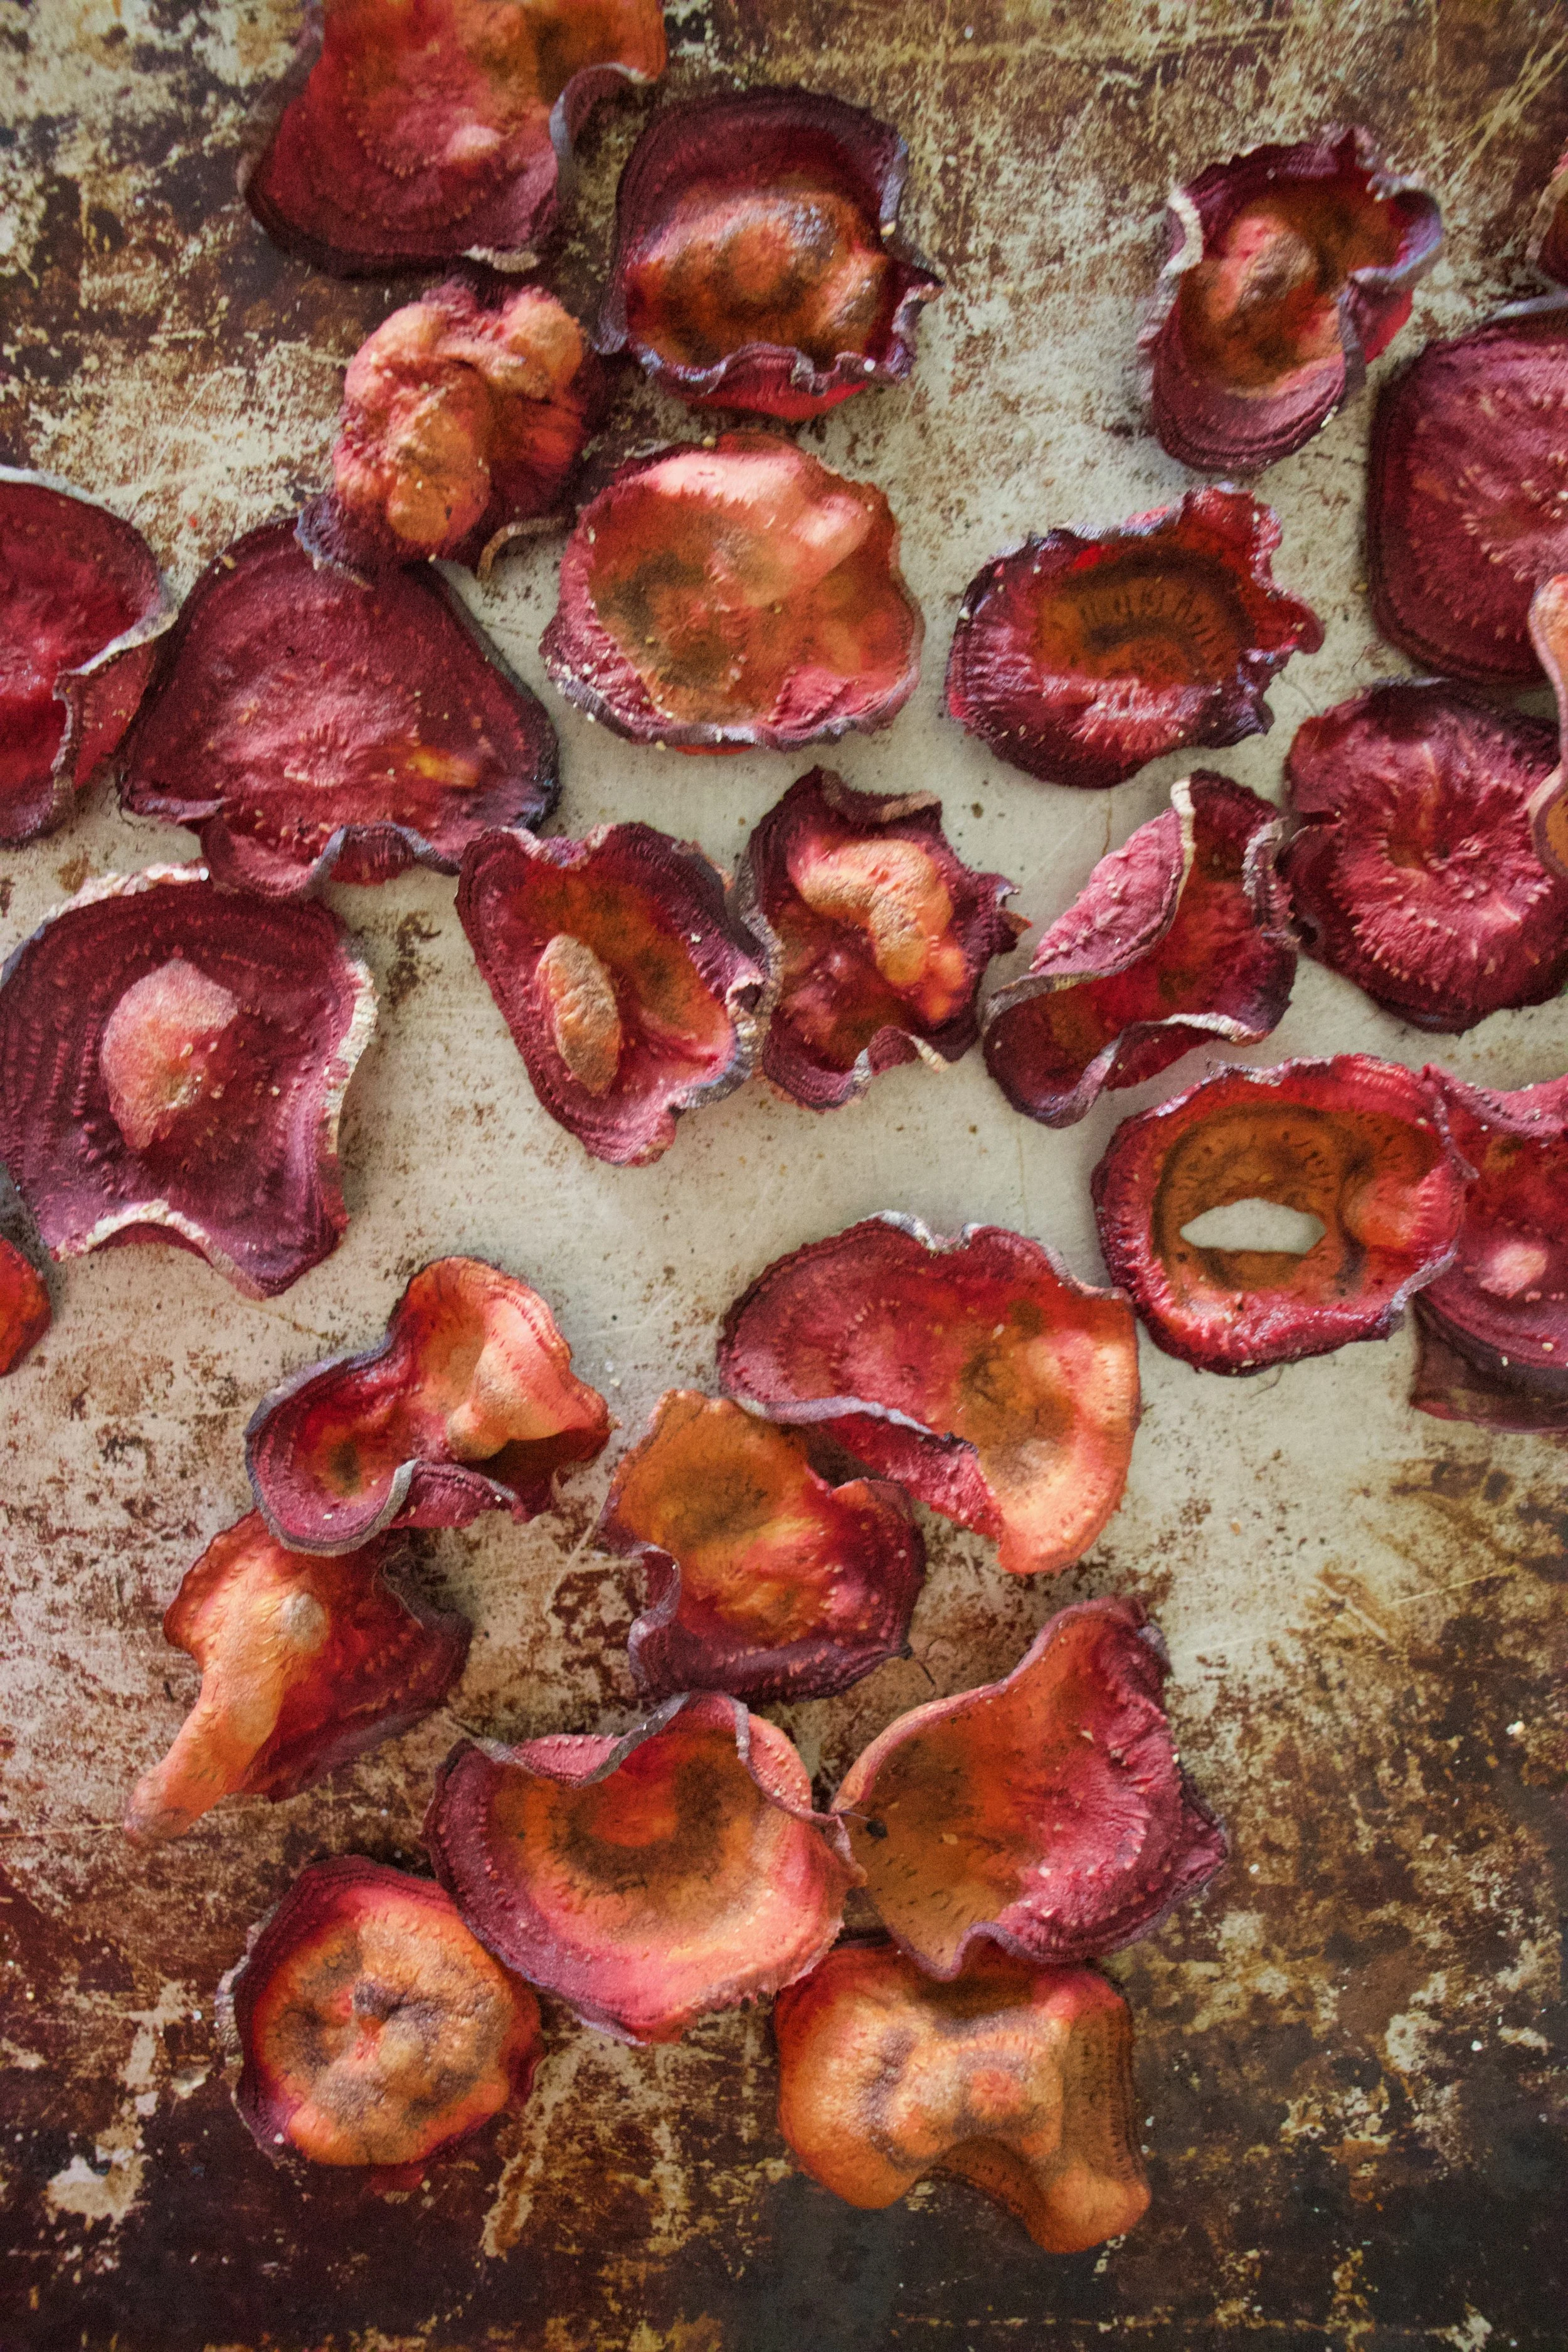
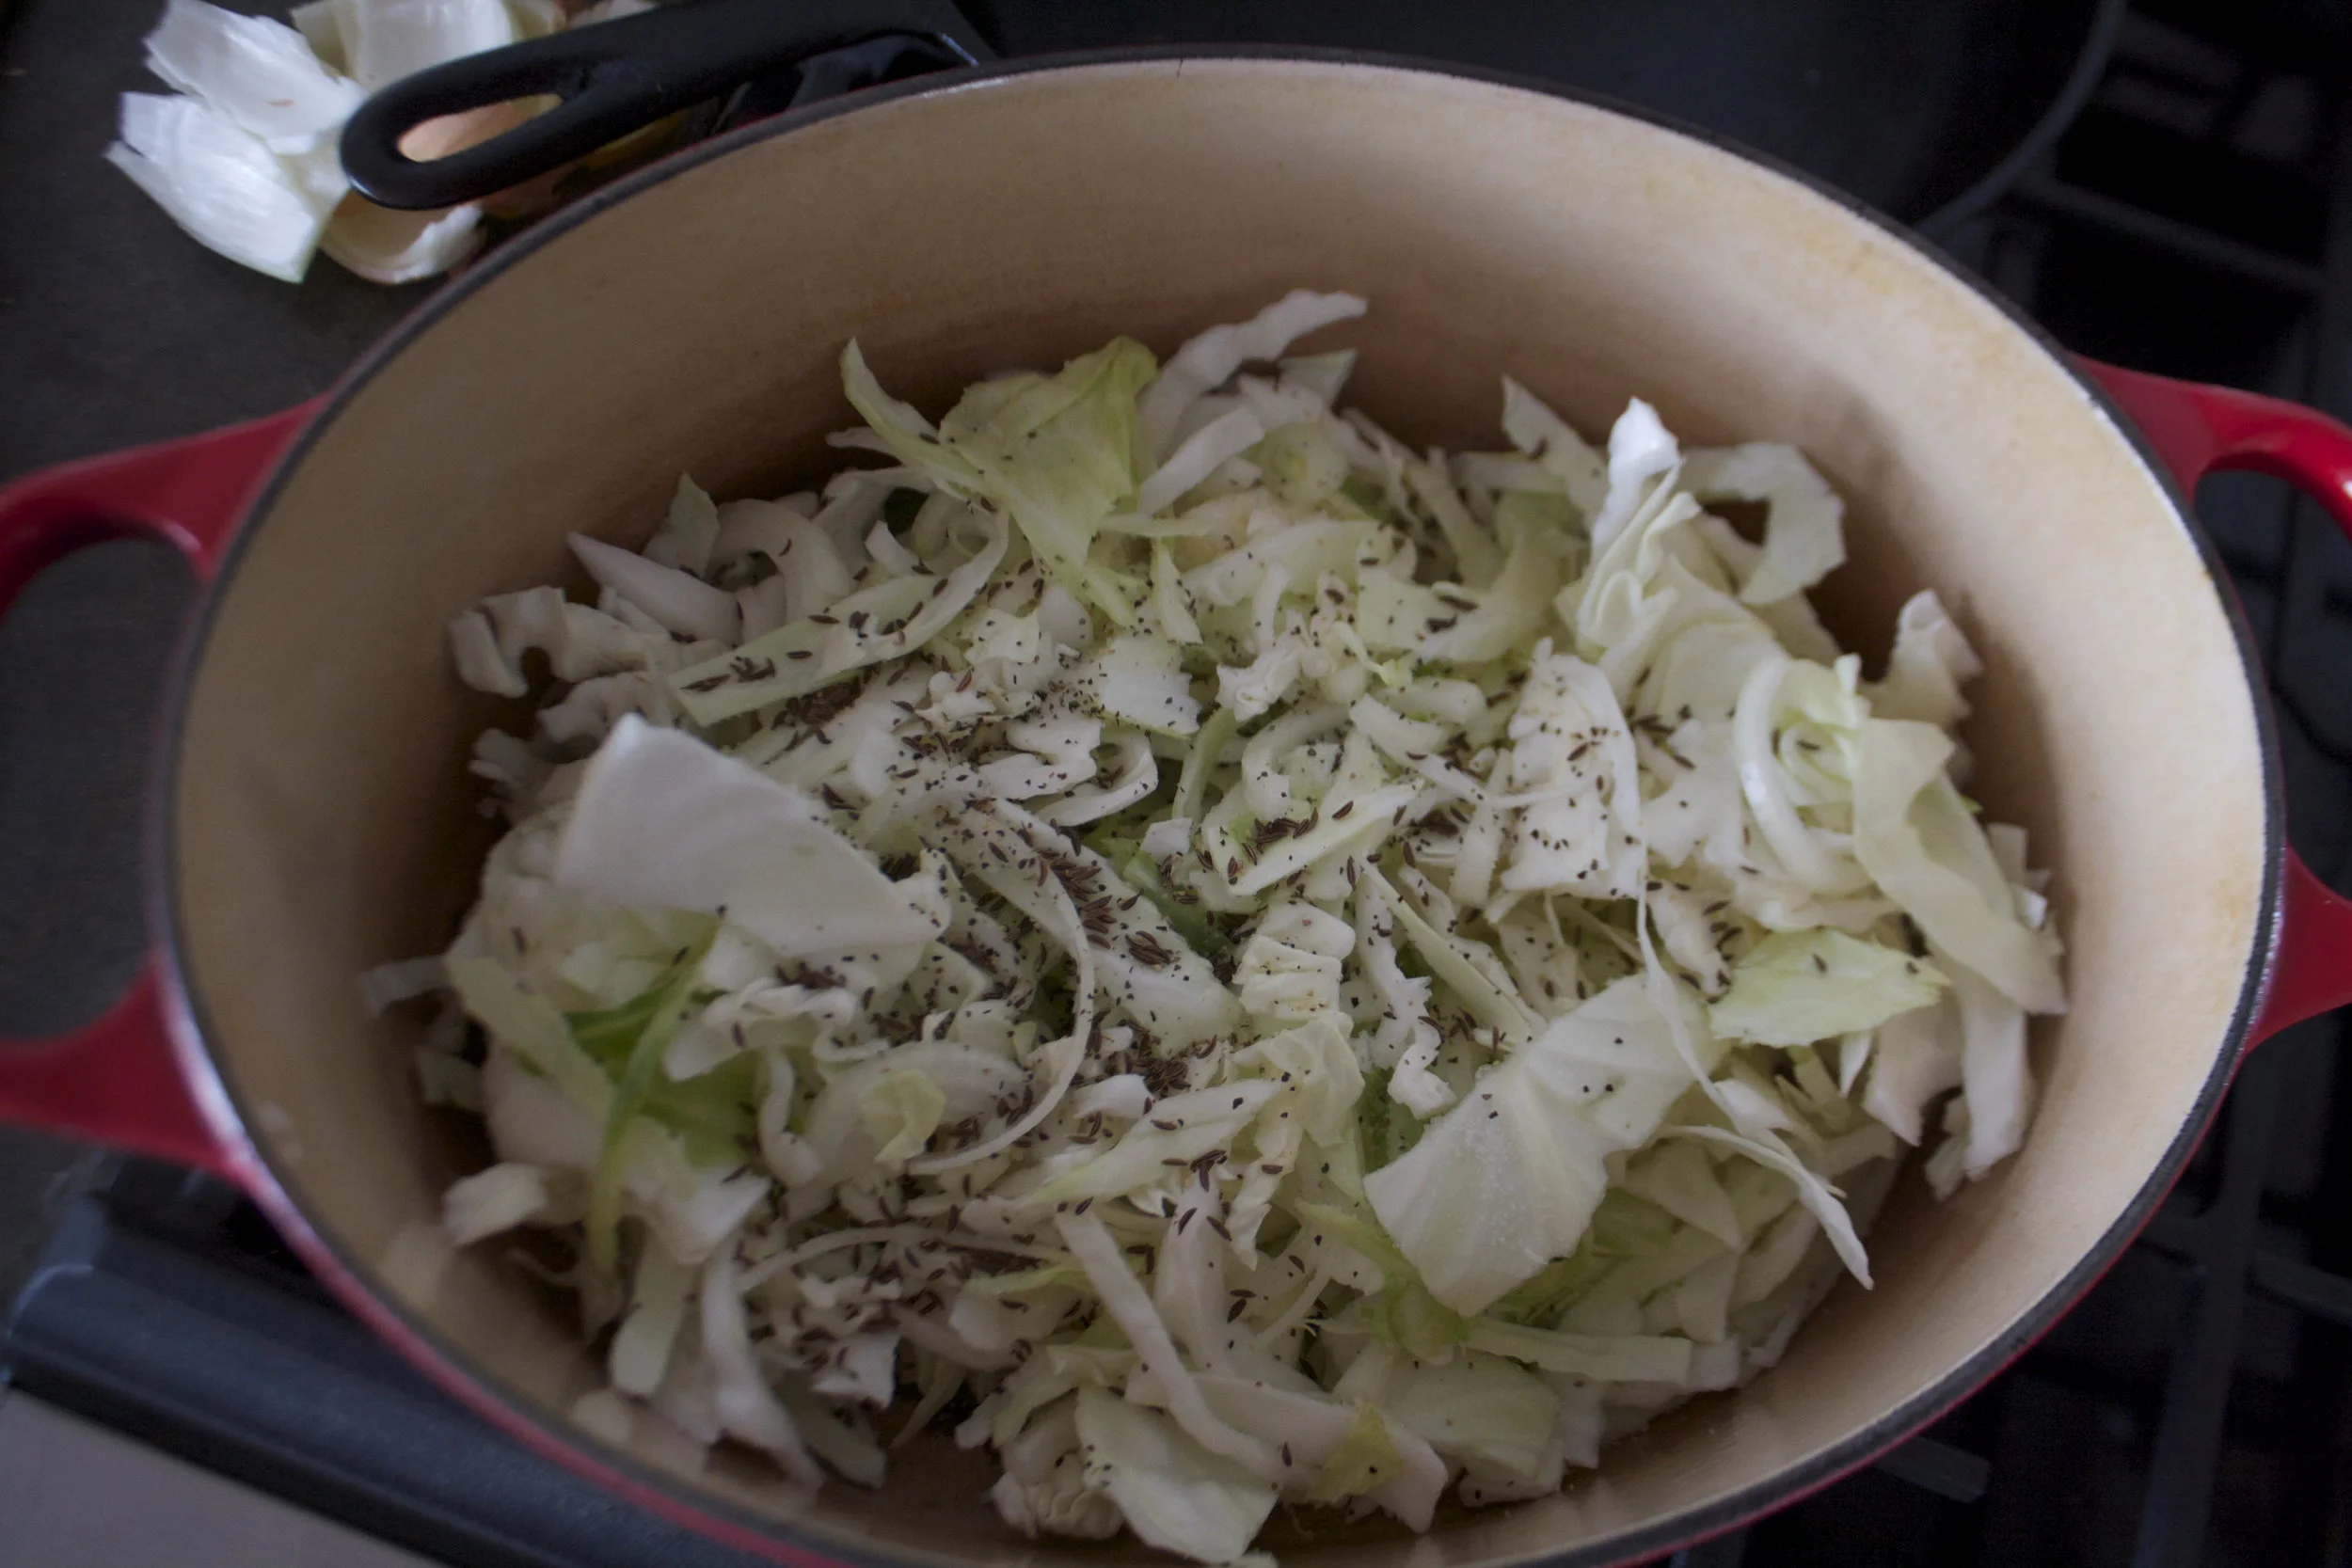
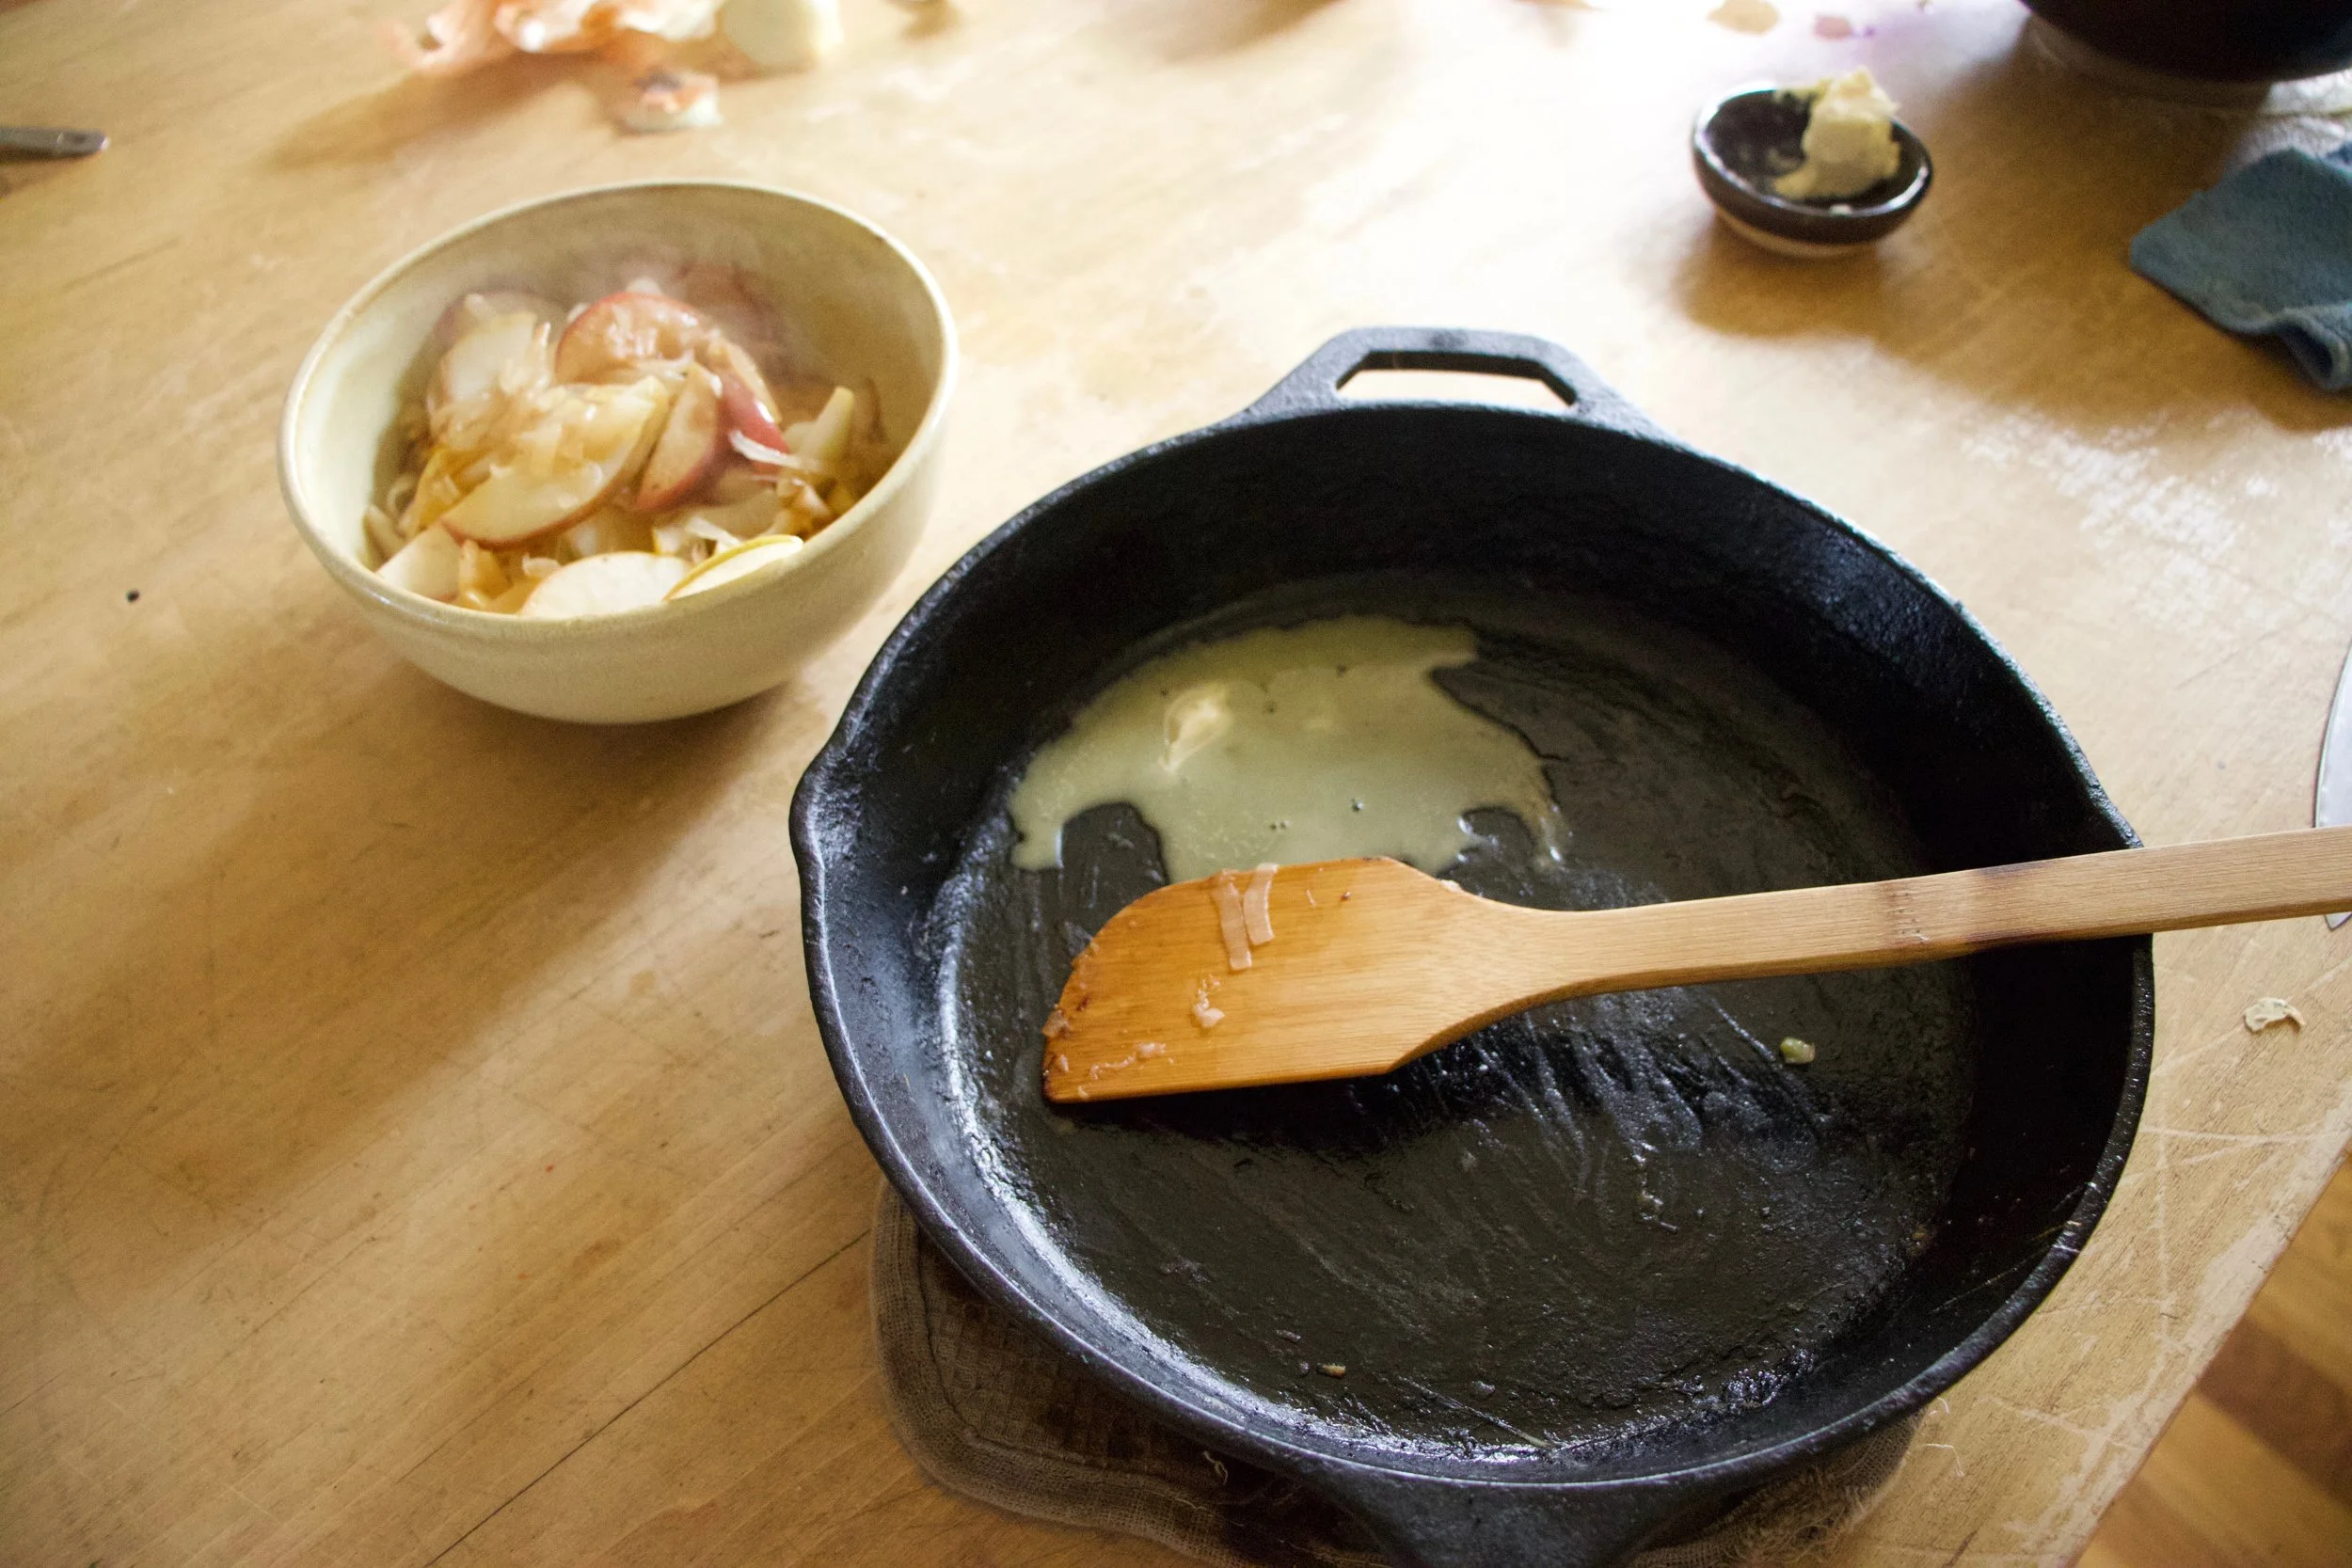
Into a big pot sprinkled with caraway, salt and pepper. A splash of water helps to get things started. Stickon a low heat topped with a lid.%u00a0 And just let it be for a while butgive it a stir ever 10-15 minutes or so.
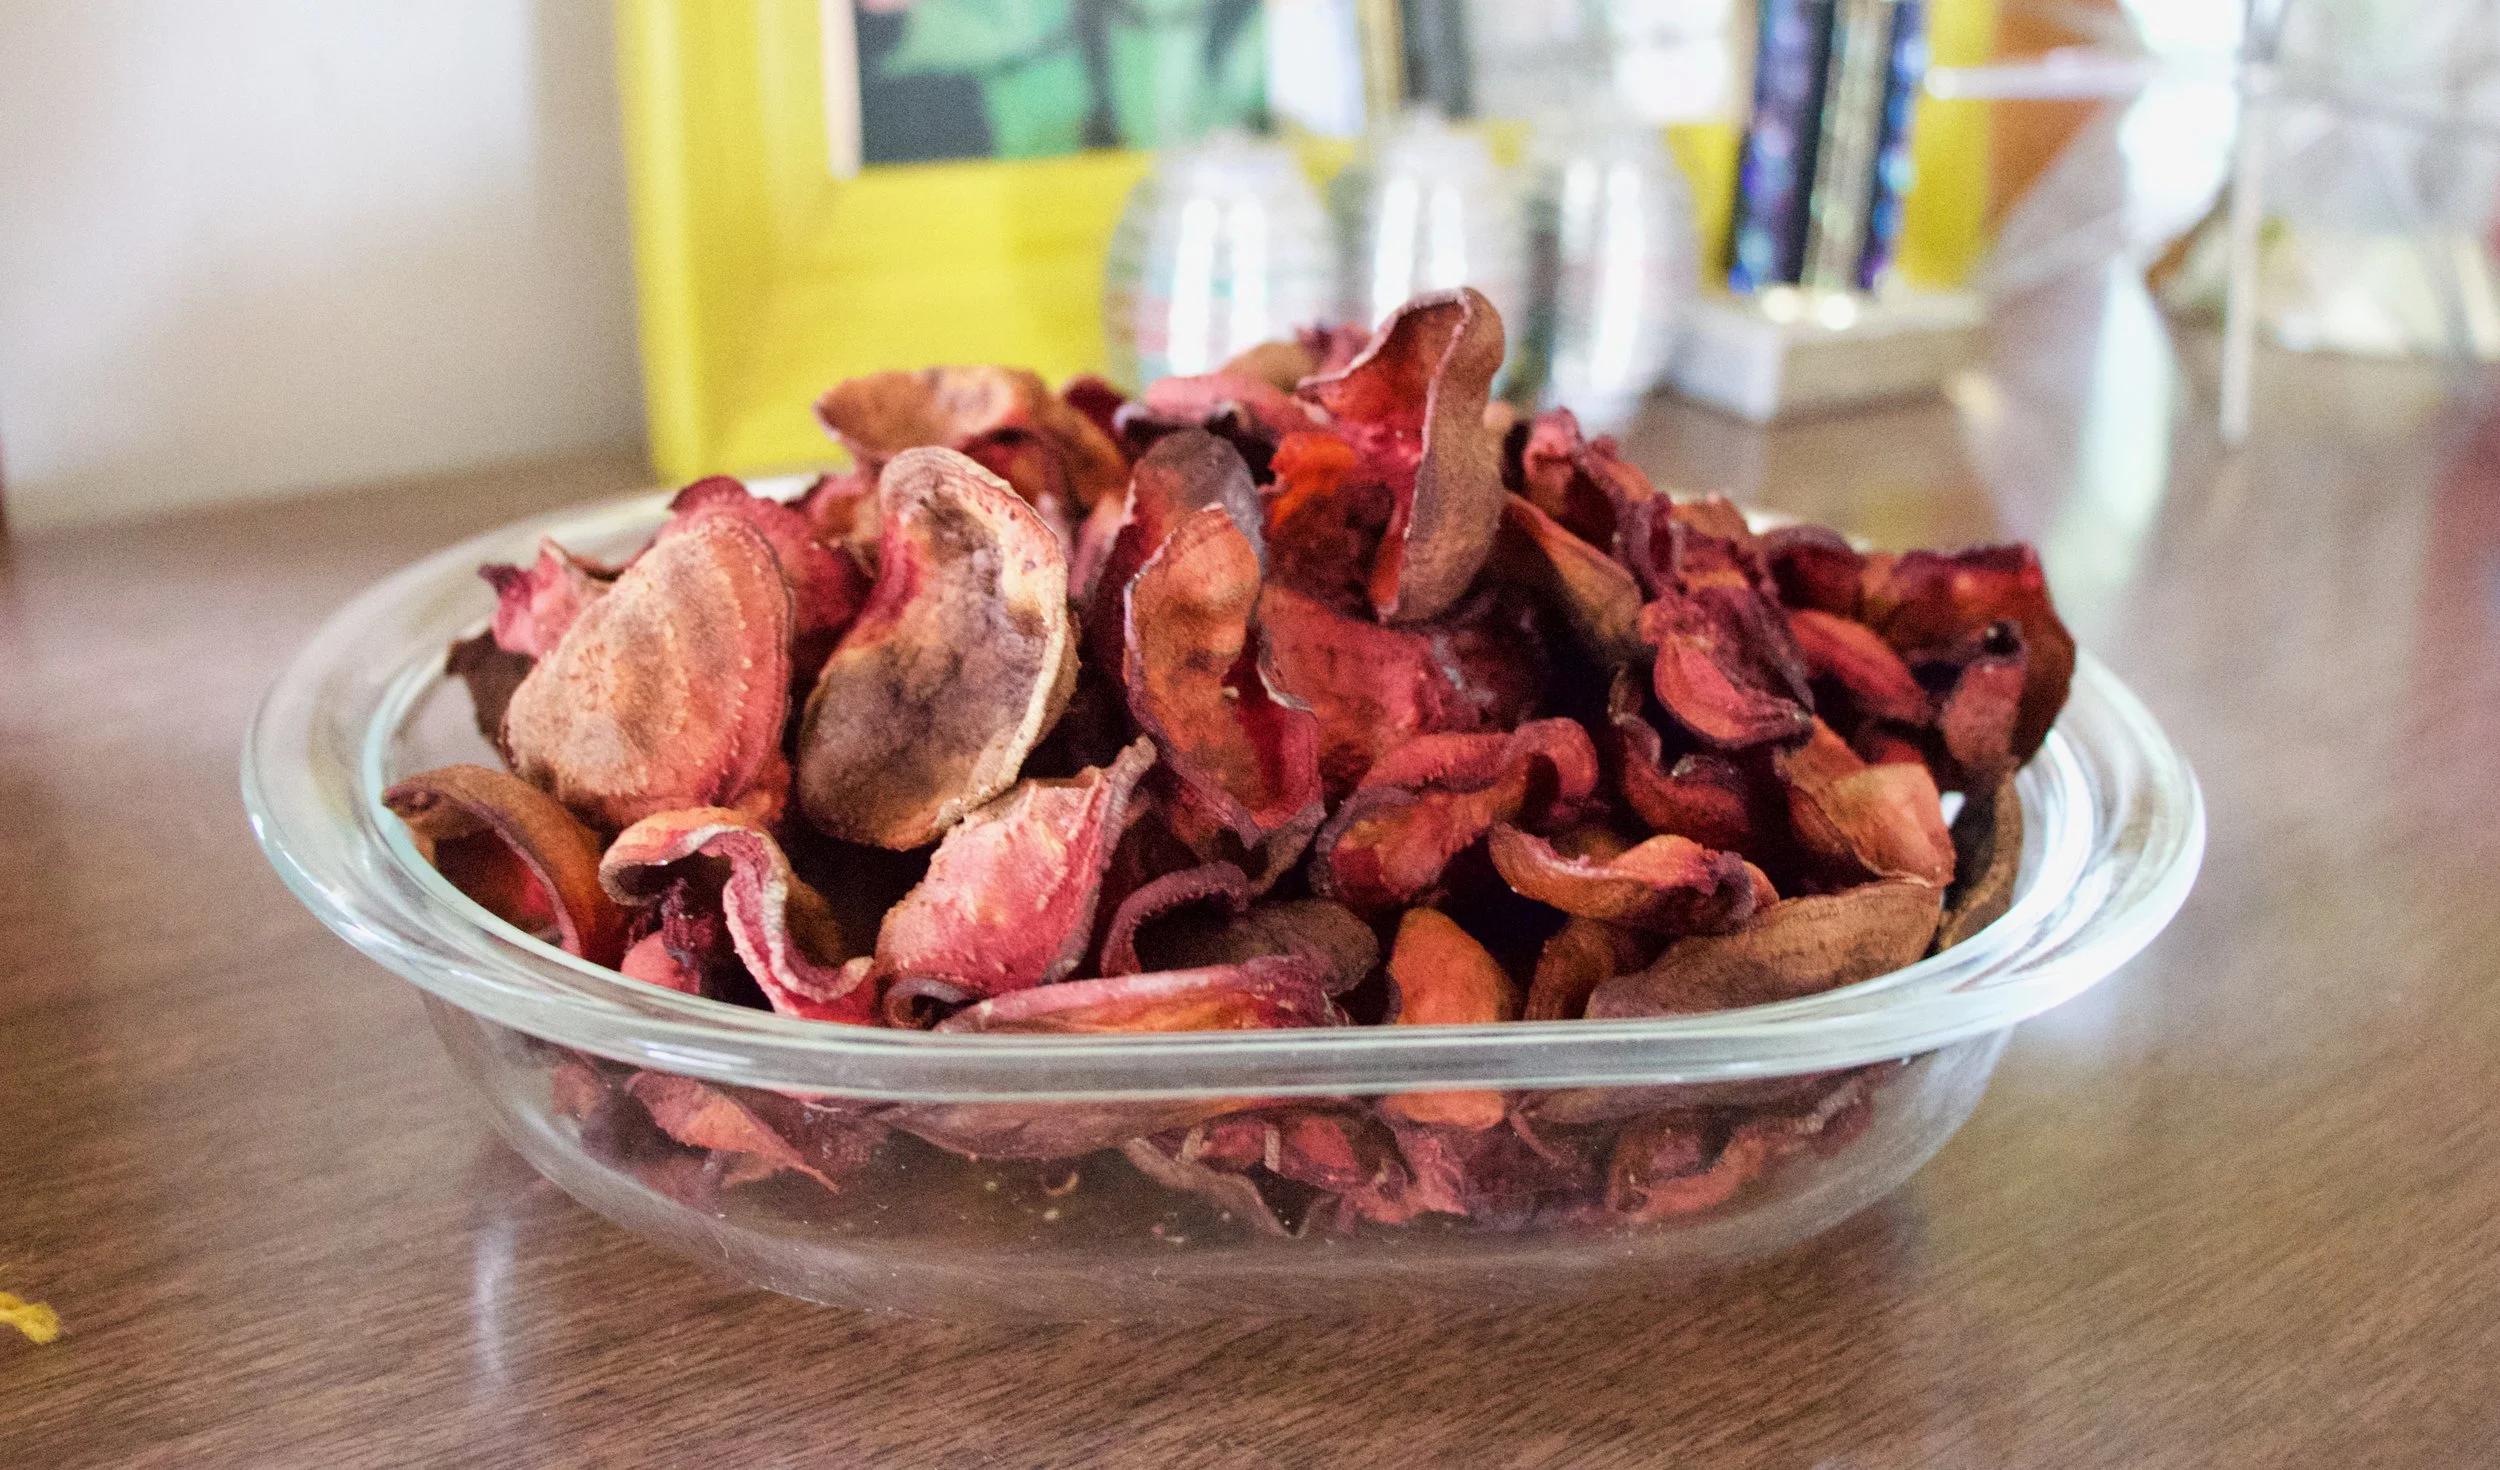
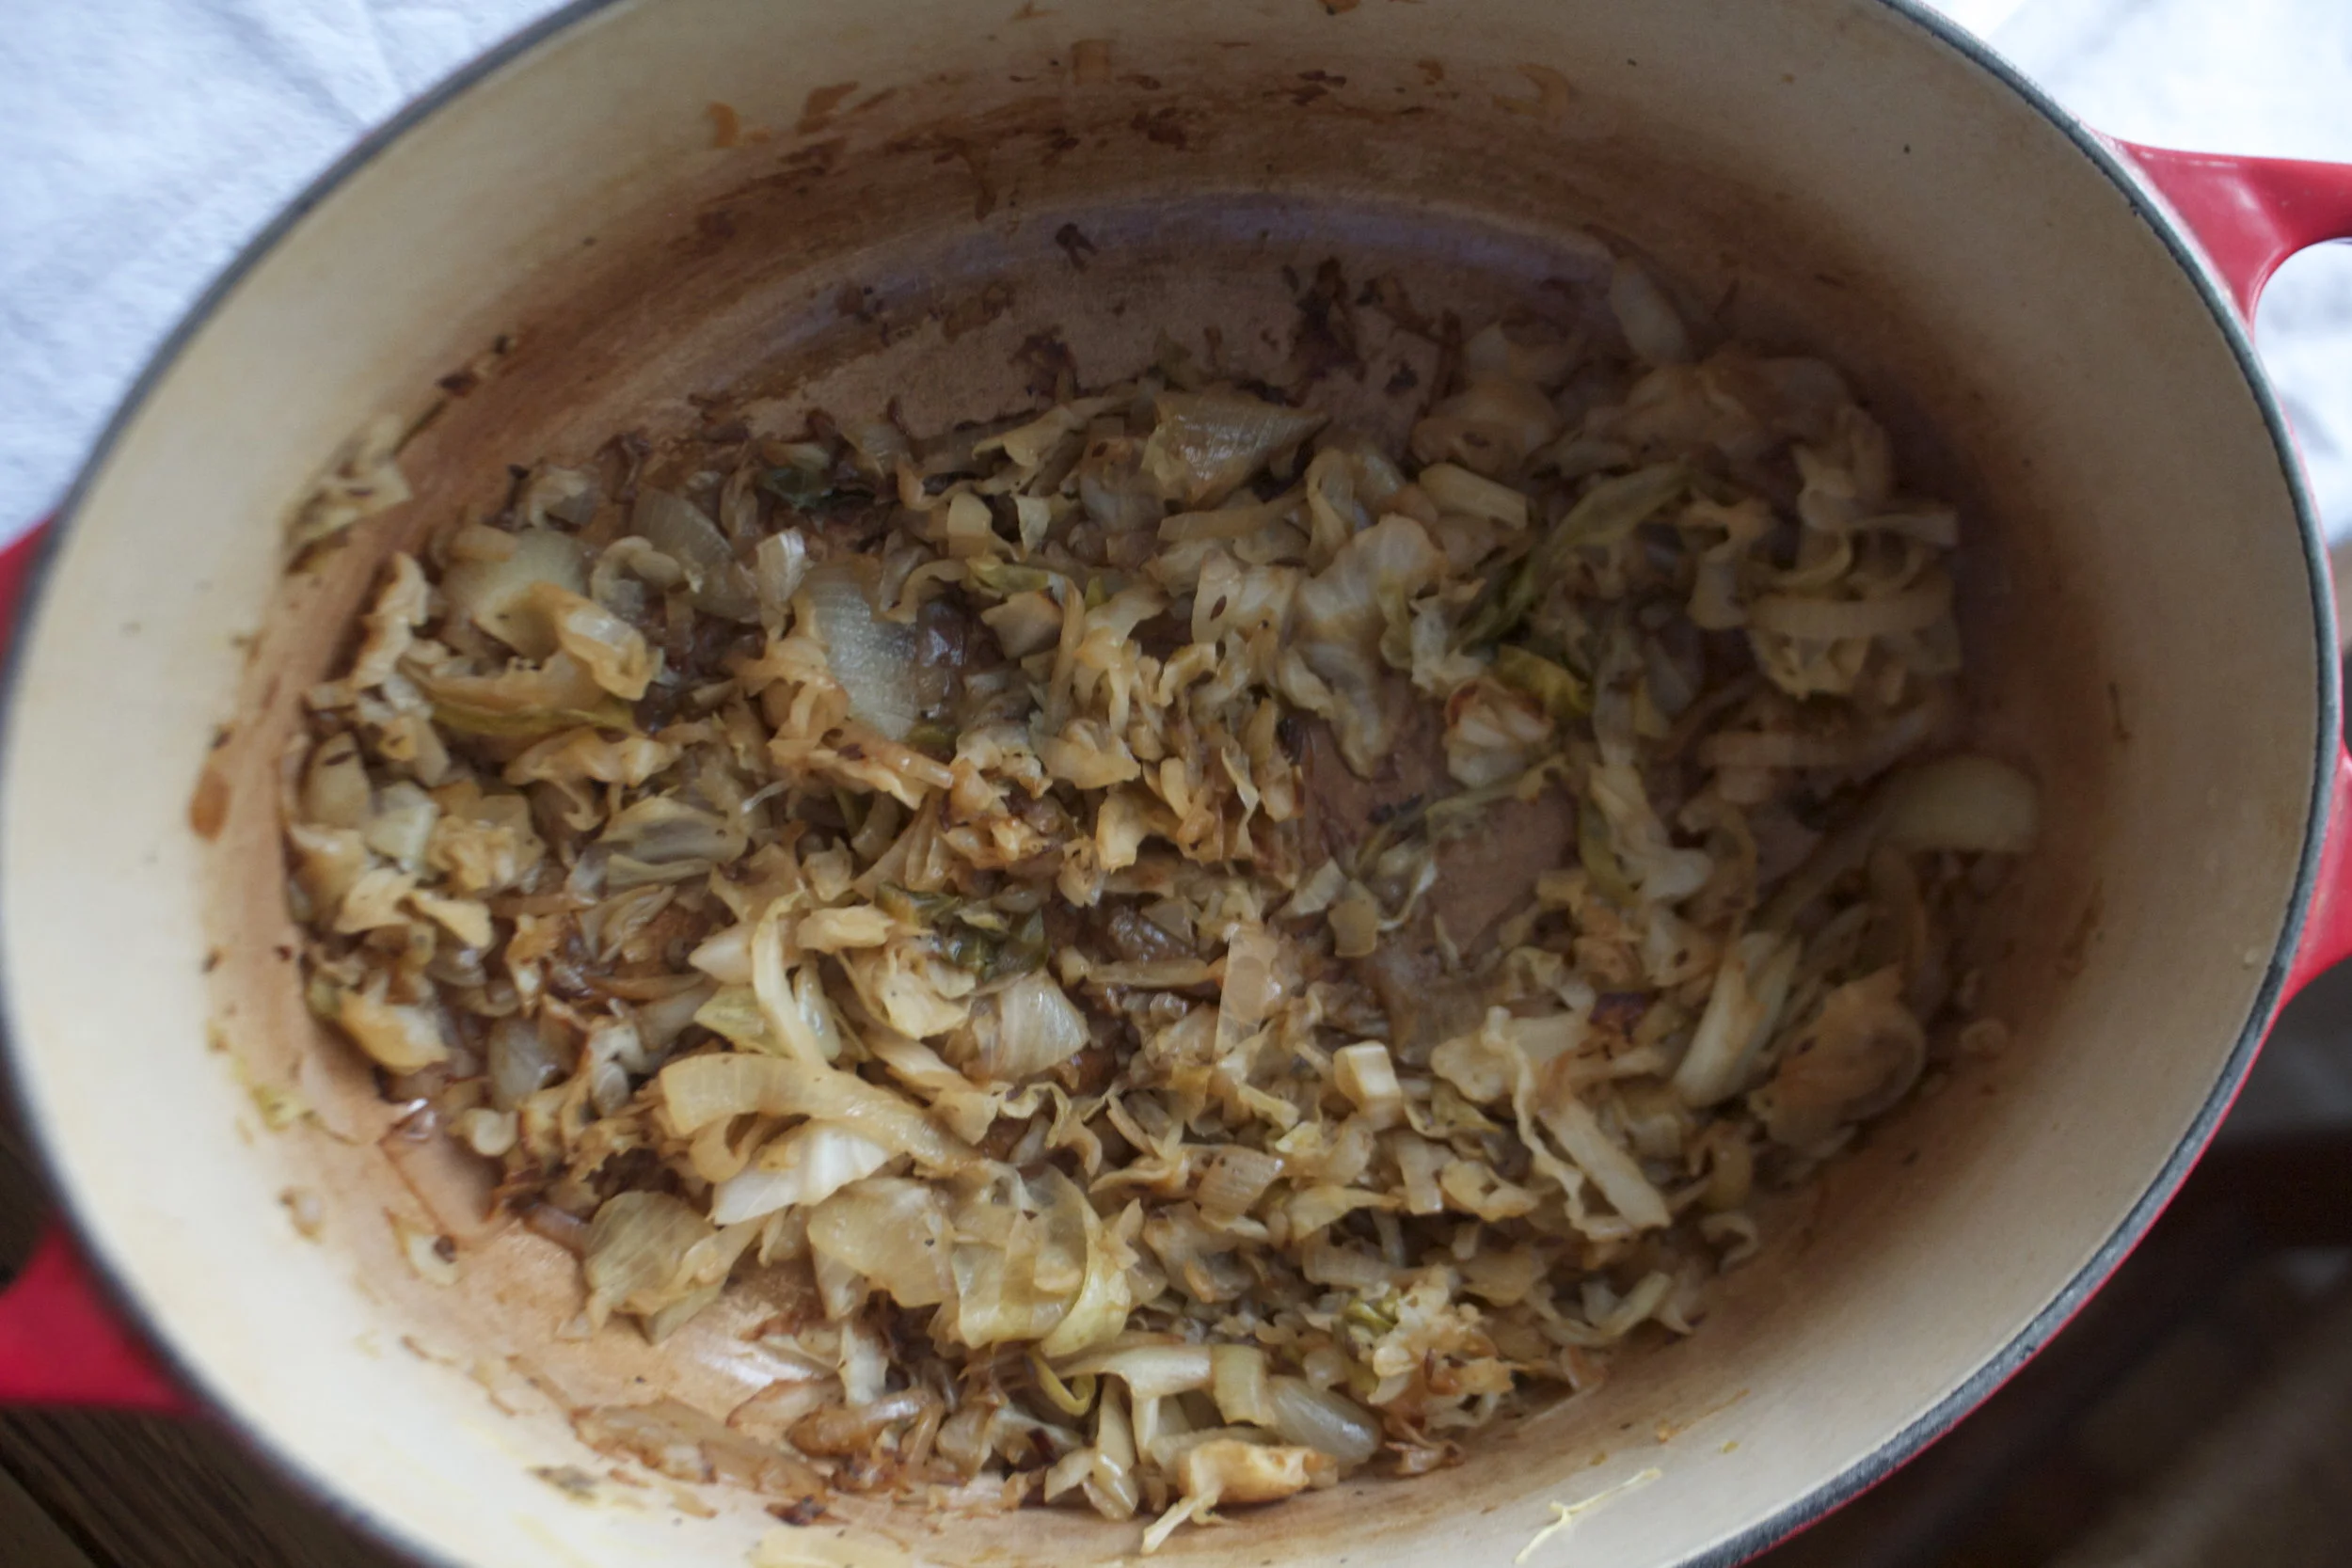
About an hour it’s all cooked down and sweet and tasty as can be. A splash of vinegar finishes it off.
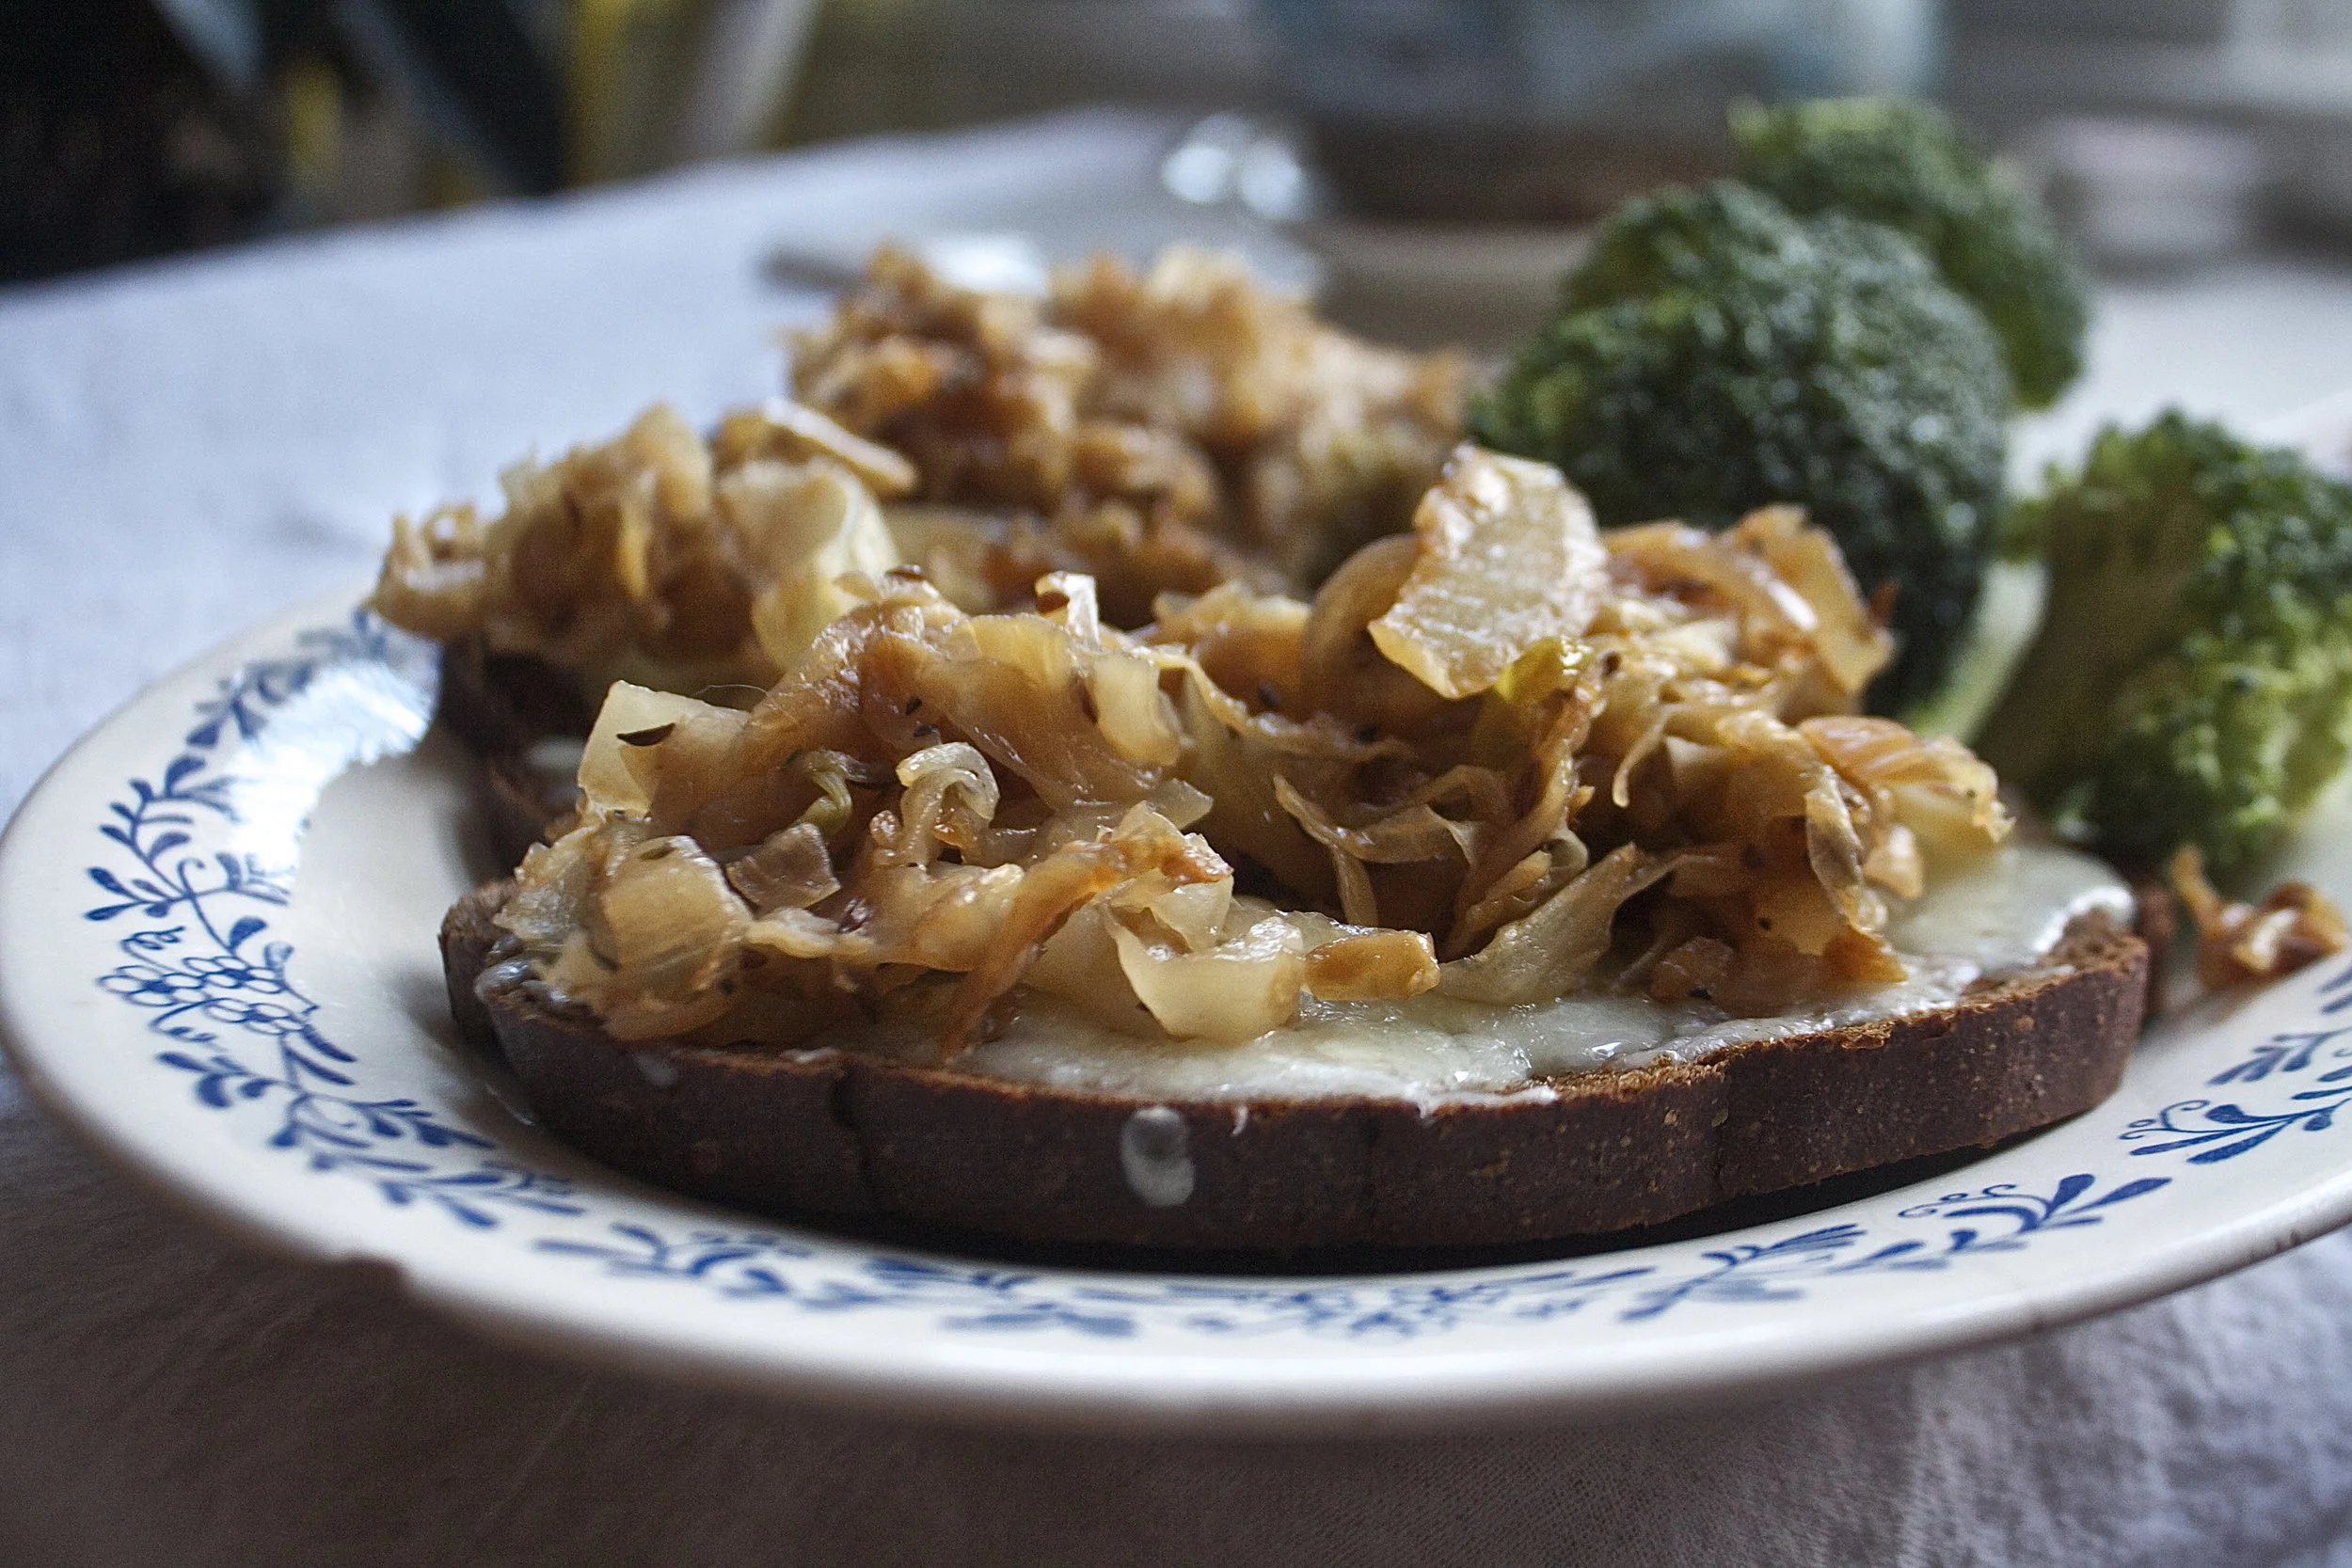
This batch was destined for the mr’s open faced cheese sandwich. I thought I made enough to pack some for lunch, but
I ended up just eating the left overs for a snack. I don’t know why I didn’t make more.%u00a0 Next batch I’ll make it a double.
Happy day to you.
-C
makes about 2 cups
Thinly shred the cabbage and thinly slice the onions. Dump the now shredded cabbage and onion into a large dutch oven or heavy bottom pot that has a tiny drizzle of olive oil. Sprinkle with caraways seeds and about a teaspoon salt, a good splash or water then mix around. Place pot on a low heat and cover. Let cook down for about 45 minutes to an hour , stirringever 10 minutes or so, until the mixture has shrunk to about 1/3 it’s original size and is soft and tender. When just about done, mix in a tablespoon of the vinegar . Taste and season with more vinegar, salt and pepper if you like.
Eat as is or is or on salads, sandwiches or wraps.
Shit on a shingle is one of those foods that I like to call “trash food”, you know stuff like beefaroni or pork and beans. Stuff that we all loved as little kids but might think twice about feeding to anyone now. ( I’ll still feed nick a can of beefaroni.. he likes it)%u00a0As a throwback to our earliest food memories, (also a lack of food in the house and wanted to make something fast, easy, and cheap.. thanks mom!) I made the mister my rendition of the classic. Creamy Lentils and Mushrooms on toast. Not quite as trashy as creamed beef (lentils, mushrooms and onions are not trashy) but you get the same reminiscing feeling. I guess I could call it something like “stuff on a shingle” or lumps on a shingle”, but what kid (or adult) %u00a0would want to eat that. Let’s just stick with shit, it makes it more awesome to eat it.
If you need to, make it classy by serving it with a cloth napkin and a nice fork and knife. But eat it however you need to. (As kids we like dirty hands and no fork, preferably with a big tall glass of overly sweetened red flavored kool-aid)
Enjoy this fantastic Spring weekend!
-C
%u00a0Shit on s Shingle (Creamy Lentils and Mushrooms on Toast)
One serving
Slice the mushroom and onion and toss into a pan or skillet with a drizzle of oil. Cook on medium heat until brown and fragrant than dump onto a plate. In same skillet, add the oil and the flour and mix with a whisk while slowly adding in the milk. Keep whisking until sauce starts to thicken. Turn heat to simmer and add in the cooked lentils and the saut%u00e9d mushrooms and onions. Push down the bread in the toaster.. and when it pops up, dump the shill over it.
So to give a lighter feel to a heartier squash, I busted out one of my favorite spices, the oh so lovely tarragon. It has a sweet, light, fruity and floral taste that pairs beautifully with the squash and onions. It give the dish a nice spring like flavor that will leave you feeling satisfied without wanting to move directly onto the couch and hide under a blanket. This is a eat and ride you bike kind of dish ( you don’t actually have to go for a bike ride if you don’t want to)
Note. If I had a grill, I would definitely cook this dish on it. As of now, I don’t own one so I am left to cook on the stove. But by all means, if you have a grill, do it up!
I am pretty sure you can figure out the rest.
Happy day!
-C
Tarragon Butternut and Onions
Chop squash and onions into similar size pieces. Toss in a skillet or on a oiled baking sheet and add the rest of the ingredients. Toss around and place into a 425 degree oven for about 30-40 minutes or until squash is fork tender. %u00a0
Remove from oven and eat.
%u00a0Make as a side dish or add to a salad. Eat as a light lunch, or a midnight snack%u2026 eat it however you want.
So in walks polenta(if polenta could walk) What goes good with polenta? Caramelized onions, mushrooms and yes, my last delicate squash.(I am too nice) A nice base of marinara sauce and a bit of parmesan cheese mixed into the crust and sprinkled on top%u2026..a complete work of genius that I was proud to serve to the gluten free lady.
Note. I have to make this clear, just because this pizza is gluten-free doesn’t mean that a person that is not gluten-free cannot eat this. Anyone and Everyone should eat this pizza.
There are so many different ratios and directions on how to prepare polenta, so if you feel like your way is better, I trust you. What I did for this crust was 1 cup cornmeal to about 2 1/4 cups water. The main thing is the finished product. You want a pasty paste that is spreadable but not overly watery.
Bring the water to a boil and constantly whisk while gradually pouring in the cornmeal. After a minute to two, it should be pretty well incorporated and there shouldn’t be to many lumps. Turn the heat down to simmer and stir a lot %u00a0until the polenta starts to pull away for the sides of the pot. Really scrap the bottom of the pot so it doesn’t burn. Once its done, add in a 1/4 cup of parmesan( if you want to keep it vegan, just don’t add it) and salt and pepper.
This crust needs to be pre baked so stick it in the oven.It should take about 20ish minutes.
You got the crust in, the squash in, now we need to caramelize the onions. You may be thinking that 2 onions is a lot, and it kind of is, but you want a lot. A tiny bit of oil into a skillet and all the onions. medium low heat with a lid, string on occasion. When the onions start to caramelize, add the mushrooms and cook until onions are nice and soft and the mushrooms are no longer raw. %u00a0By the time you done with this task%u2026everything should be ready%u2026.time to assemble!
First marinara%u2026then the roasted squash.
Its time to eat! %u00a0 And I know that it was a success. This is my gauge for how good it was%u2026I stopped by the next day to drop a xmas tree stand off to her(again, look at how nice I am) and she was eating lunch%u2026the left over pizza. That might not seem like anything to you but to me%u2026 She doesn’t eat leftovers. Sure, she will stick them in the fridge, but that’s where they stay until she tosses into the garbage. The pizza was leftover good%u2026.That is good!
Polenta Delicata Caramelized Onions and Mushroom Pizza
Ingredients
Directions
Pre heat oven to 425
In a medium saucepan, bring 2%u00bc cups water to a boil. Whisking constantly, slowly add the cornmeal while constantly whisking. Once full incorporated, turn to low and stir for a few minutes until the polenta starts to thicken and pull away from the sides. Stir in 1/4 cup of parmesan (if using). Salt and pepper to taste. Genously oil a pizza sheet to a cookie sheet and spread the polenta mixture %u00a0about a 1/2 thick. Place into oven and bake for 20-25 minutes or until crust is a nice golden brown.
While the crust is cooking, place thinly sliced squash on an oiled baking sheet and sprinkle with salt and pepper. Place in oven at the same time as crust, flipping squash after 10 minutes. Cook until fork tender, about 20 minutes.
While the crust and squash is baking, caramelize the onions. In a large skillet with a bit of oil. toss in onions and a little salt. %u00a0Cook on medium low heat with a %u00a0lid, giving them a good stir every now and then. Once onions are nicely cooked down, toss in the mushrooms. Continue to cook unit mushrooms are no longer raw.
Remove crust %u00a0and squash from oven and let cool for a minute. Now just pile stuff on. Spread %u00a0marinara sauce evenly around crust. Add squash and top with cheese. Dump the onions and mushroom on top and sprinkle with a bit more cheese.(Again, use vegan or no cheese to keep it vegan) Place back into oven for another 20 minutes.
Remove and let cool for a few minutes%u2026%u2026%u2026..and then eat eat eat!!!
A good side dish for this pizza%u2026a nice light arugula salad. Hey, you could even just toss some greens right on top of this pie, that would be fantastic too!
Enjoy and be awesome!