
THE LOVELY CRAZY
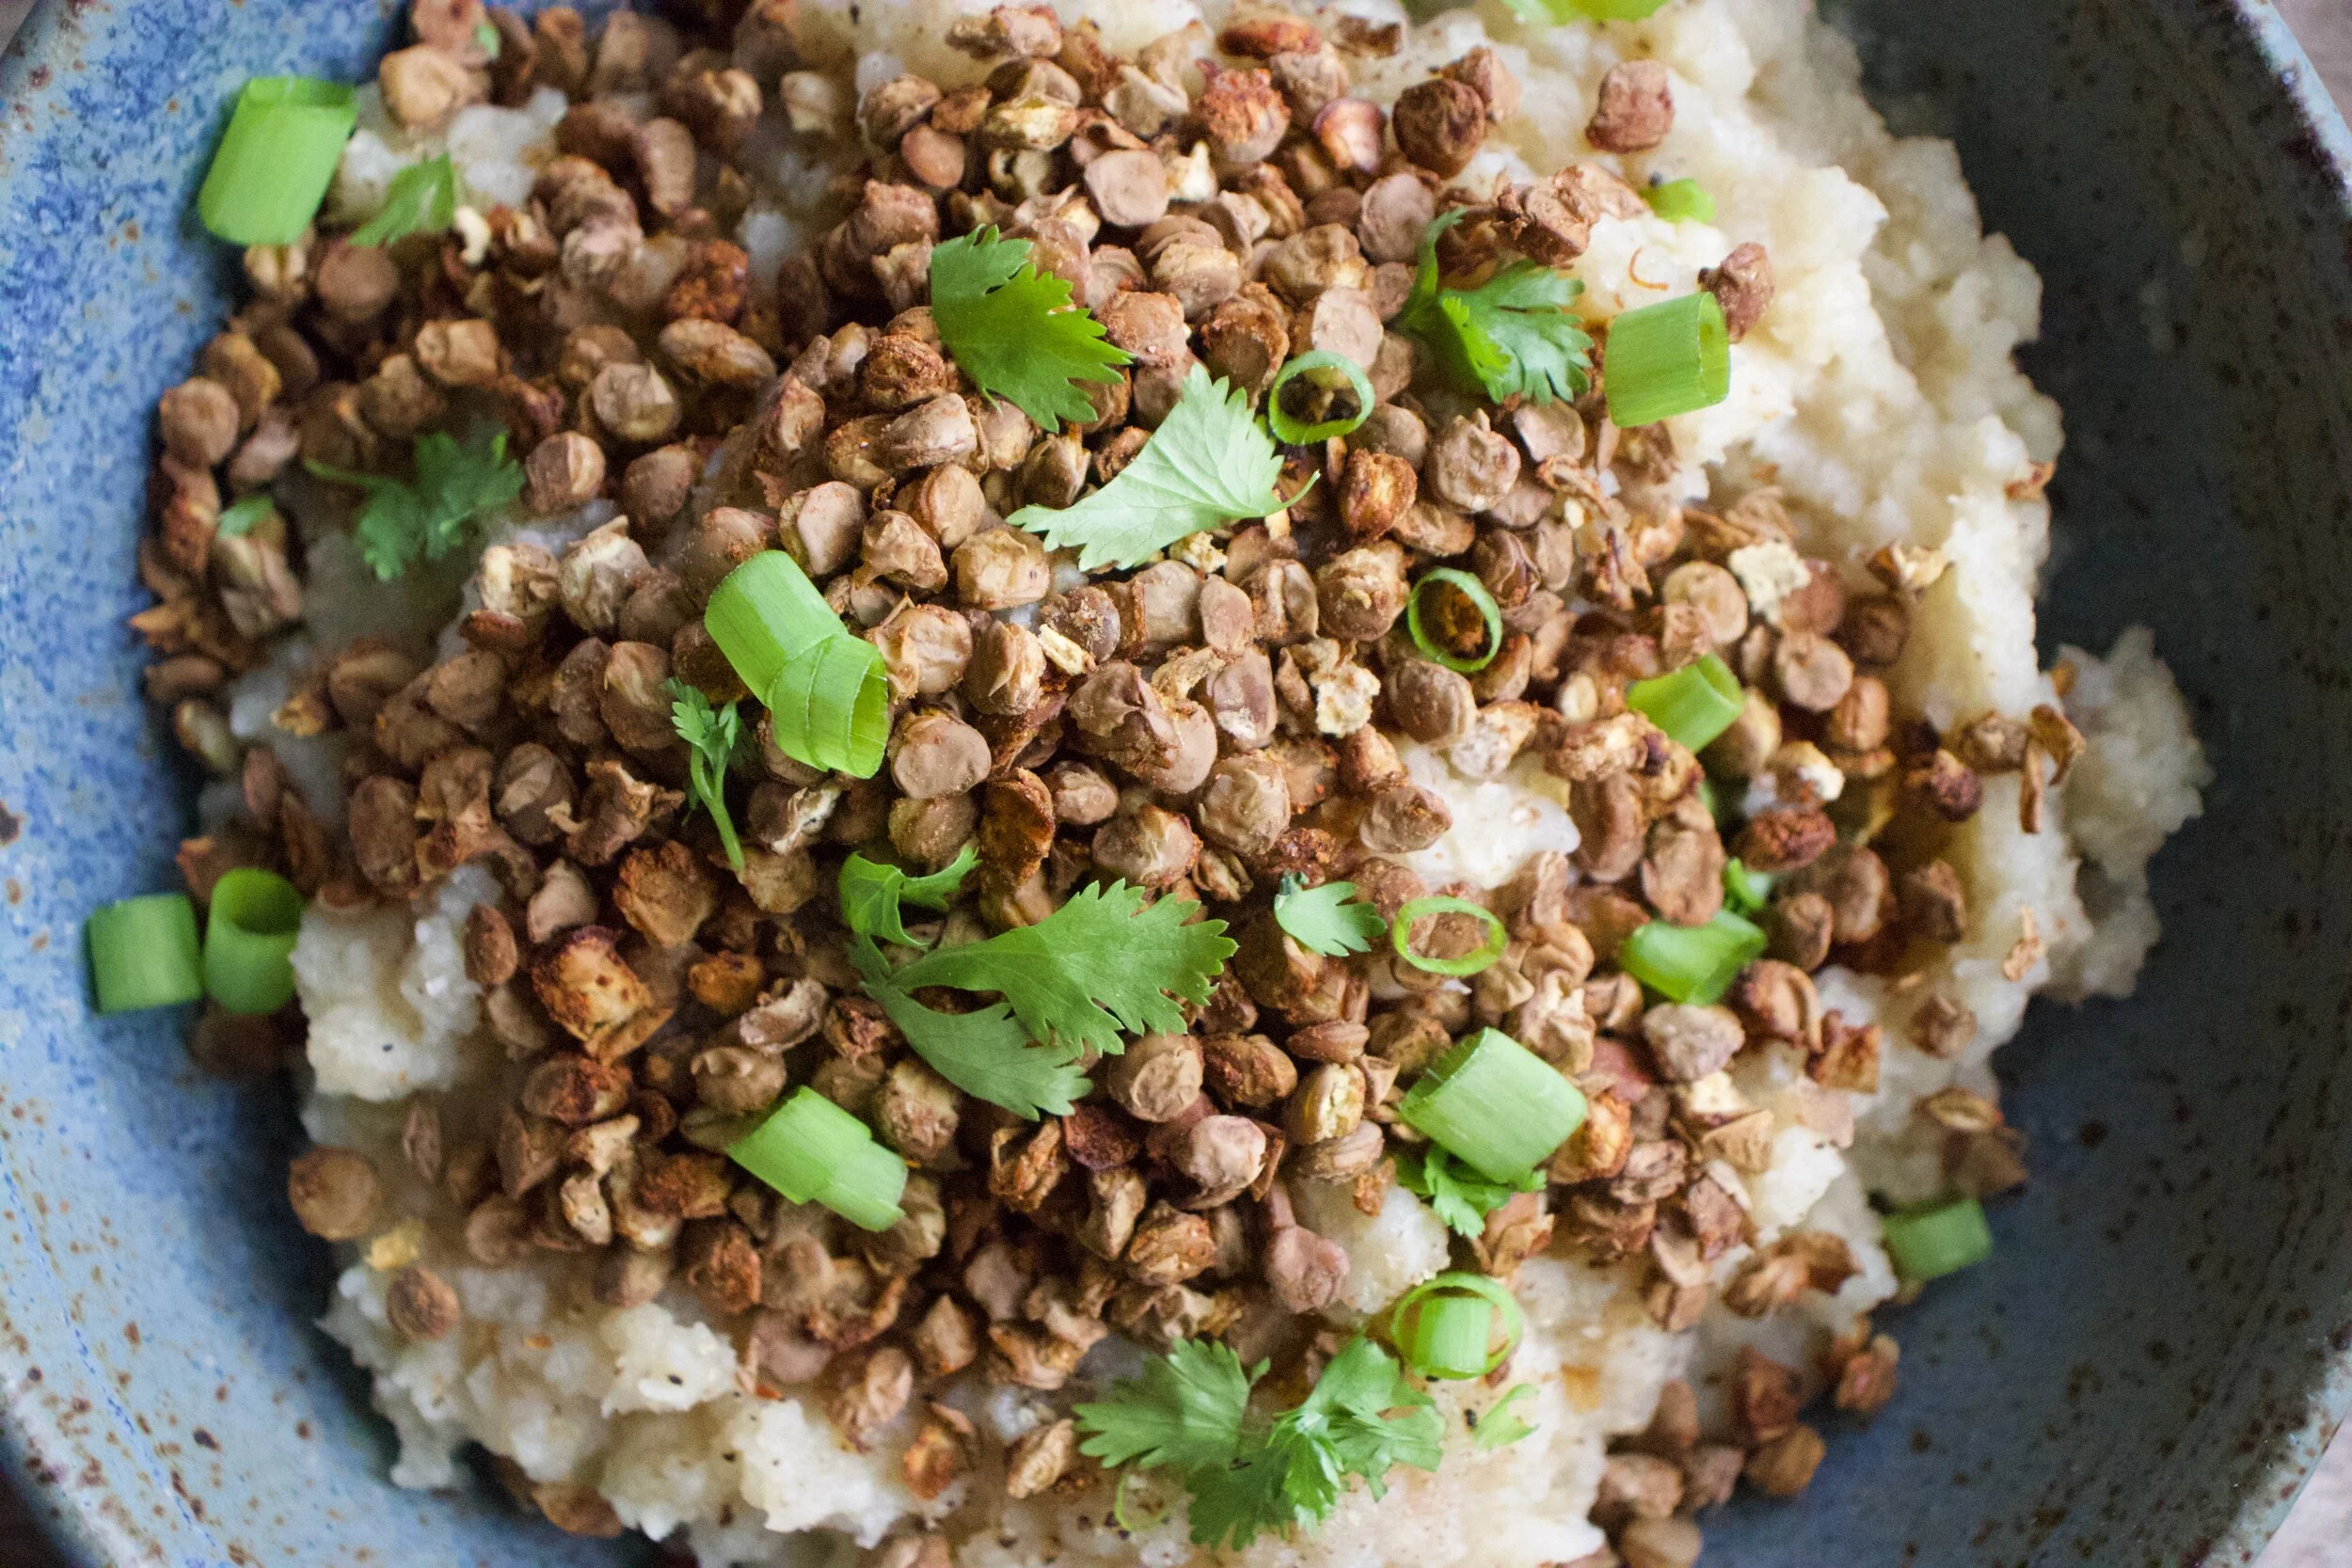
Every now and then I make something for me. All for me. This is one of those dishes that was not destined to be shared with anyone. That I had no one else in mind to eat besides me. No worring about what anyone else with think. Just a simple little dish that I was craving and wanting.
So I made it and man, was it so freaking satisfying. Cooking for oneself is very much a gratifying experience.
Celeriac, or also know as celery root. Have you ever had it? If not, well duder, you need to. It is in my top 3 favorite vegetables and that is saying a lot. So anyway, celeriac, has a slight celery taste, but also kind of earthy and nutty. It pairs well with anything that a potato might, but also is amazing on it%u2019s own. Roasted, steamed, raw. Just really fantastic. And it is in season so get on it and go find yourself some.
And lentils. In my top 3 favorite foods. Made them crispy because pureed celeriac and crispy lentils just sounded right and I love me crispy things. Again, I was making this dish fo me so crispy was happening.
Together, the creamy, delicious pureed celeriac covered with a bunch of spiced, crispy lentil%u2026.Amazing. Eating it, I couldn%u2019t have been happier. I did myself one good with this one.
I might even have to make it to share someday.
Now to the celeriac and lentils!
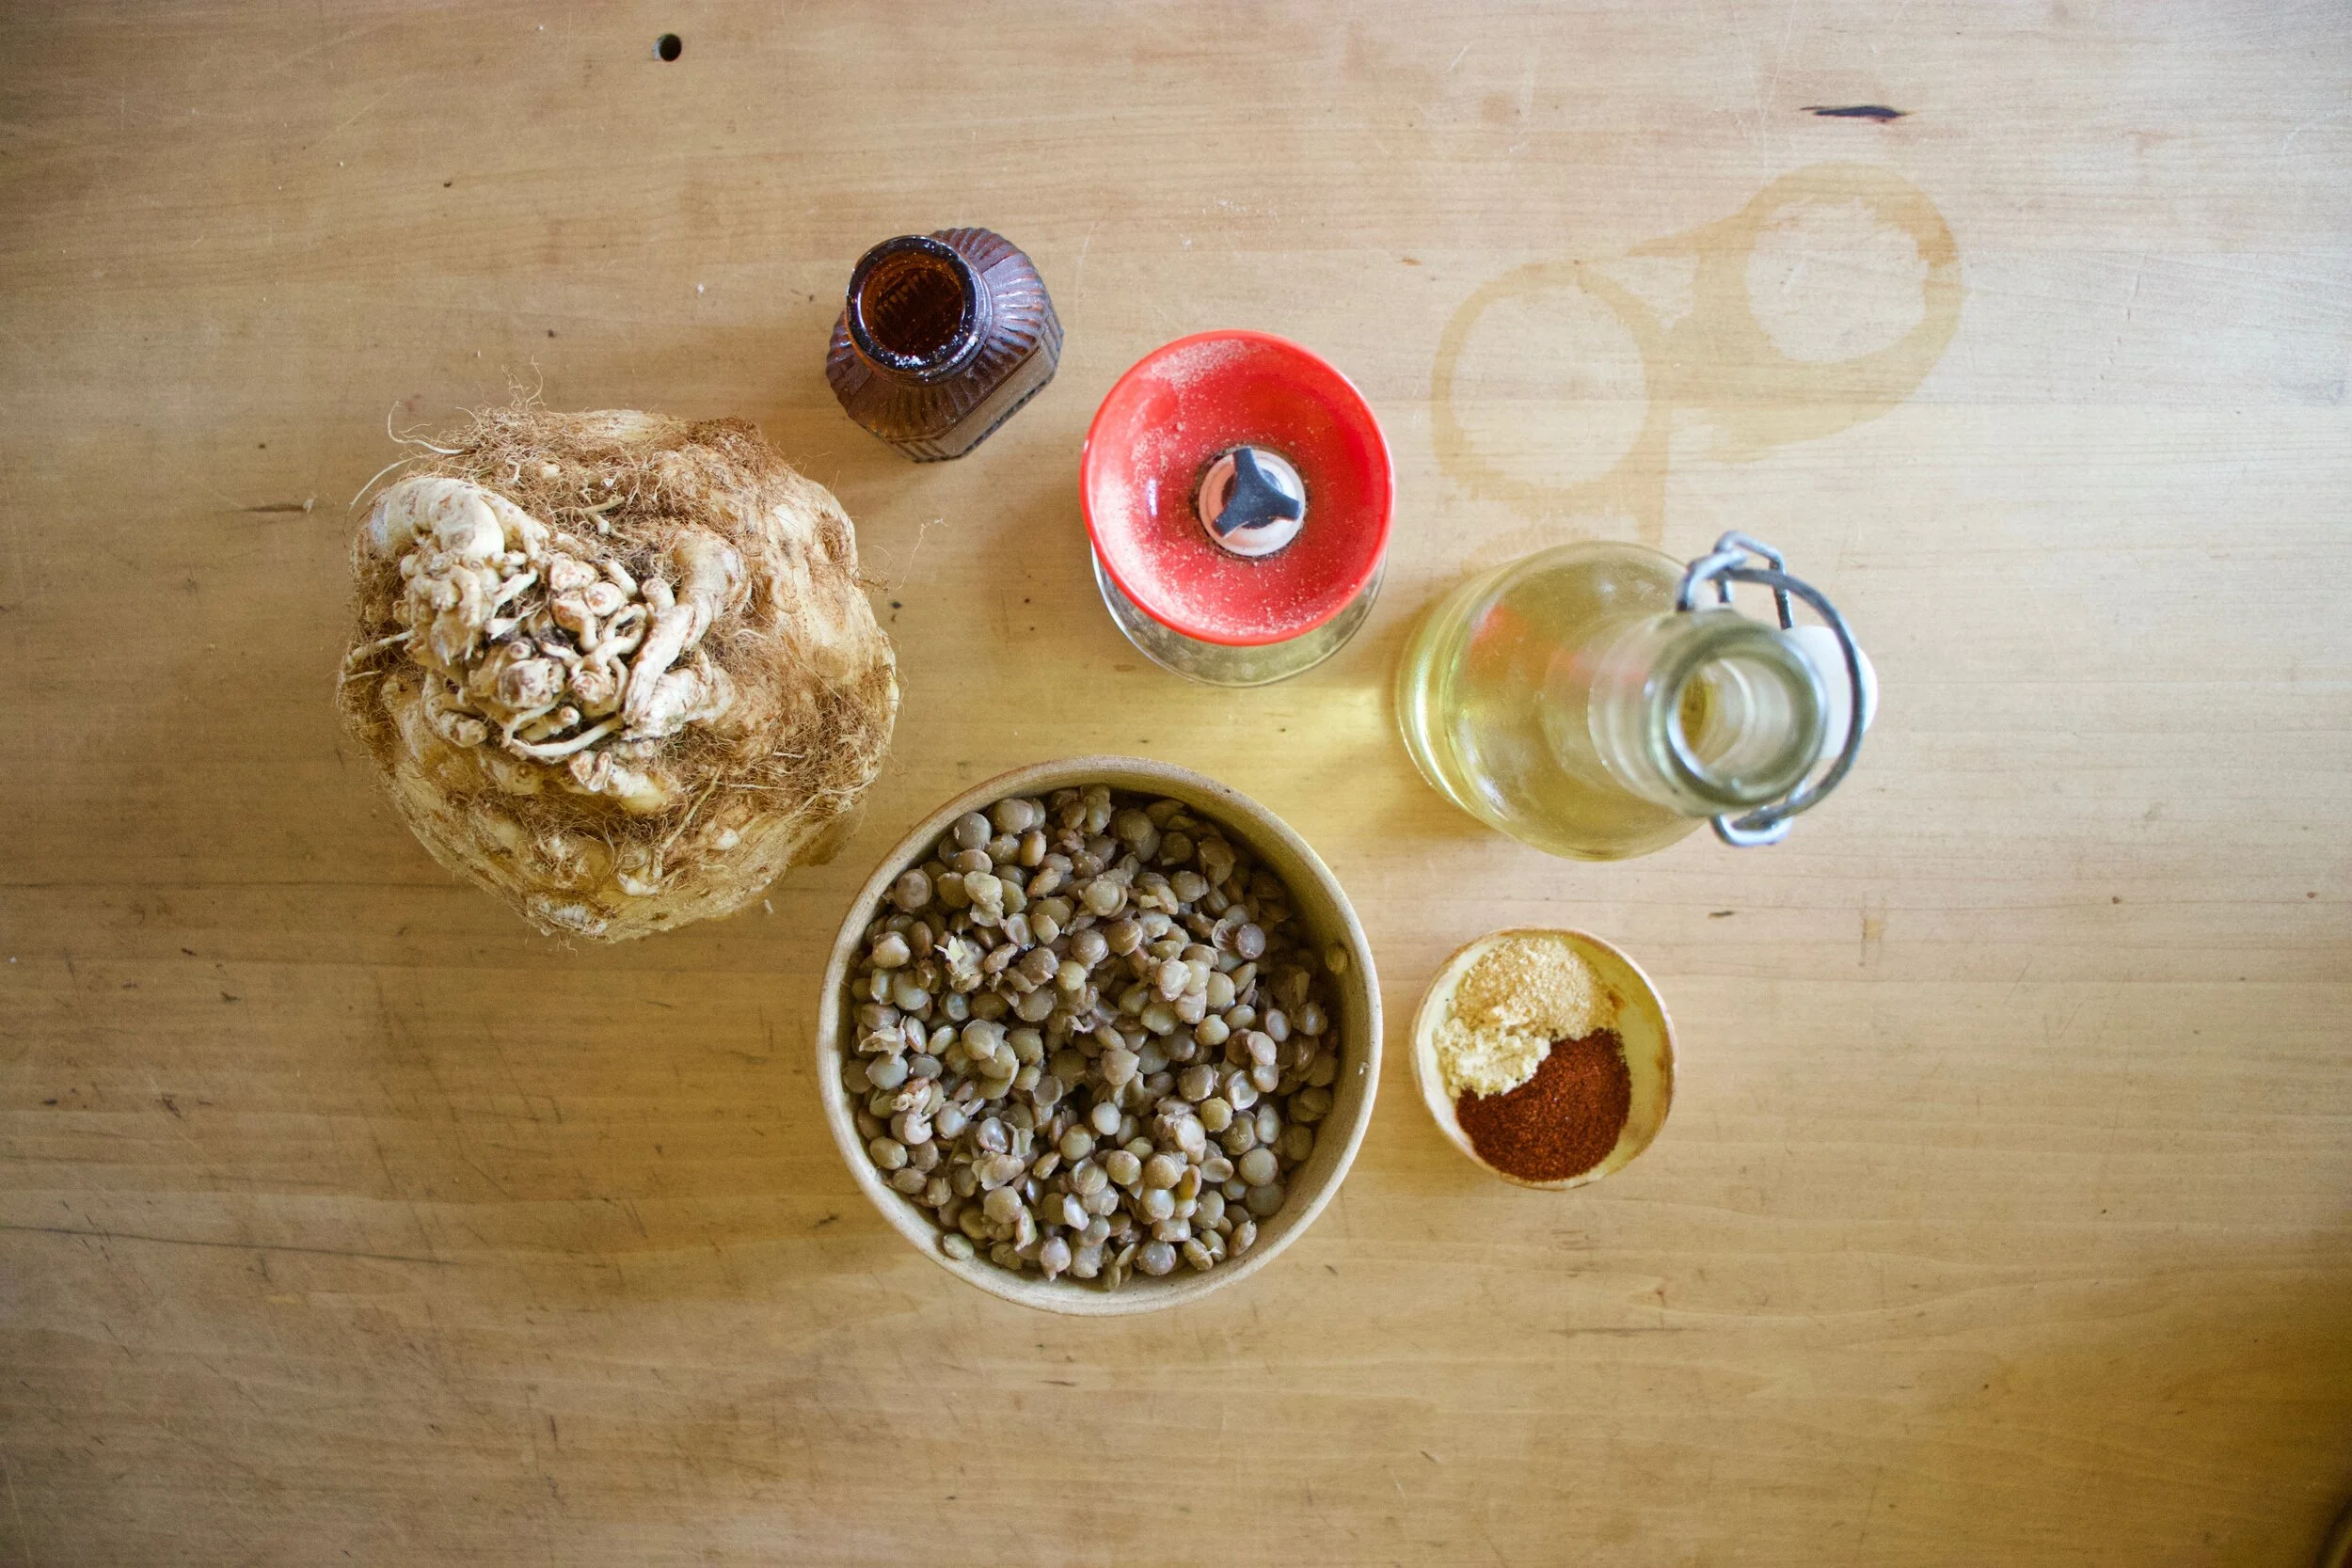
The stuff. A bulb of celeriac, some cooked lentils, salt and pepper, chili powder, garlic powder. mustard powder, and oil. (oil is optional)
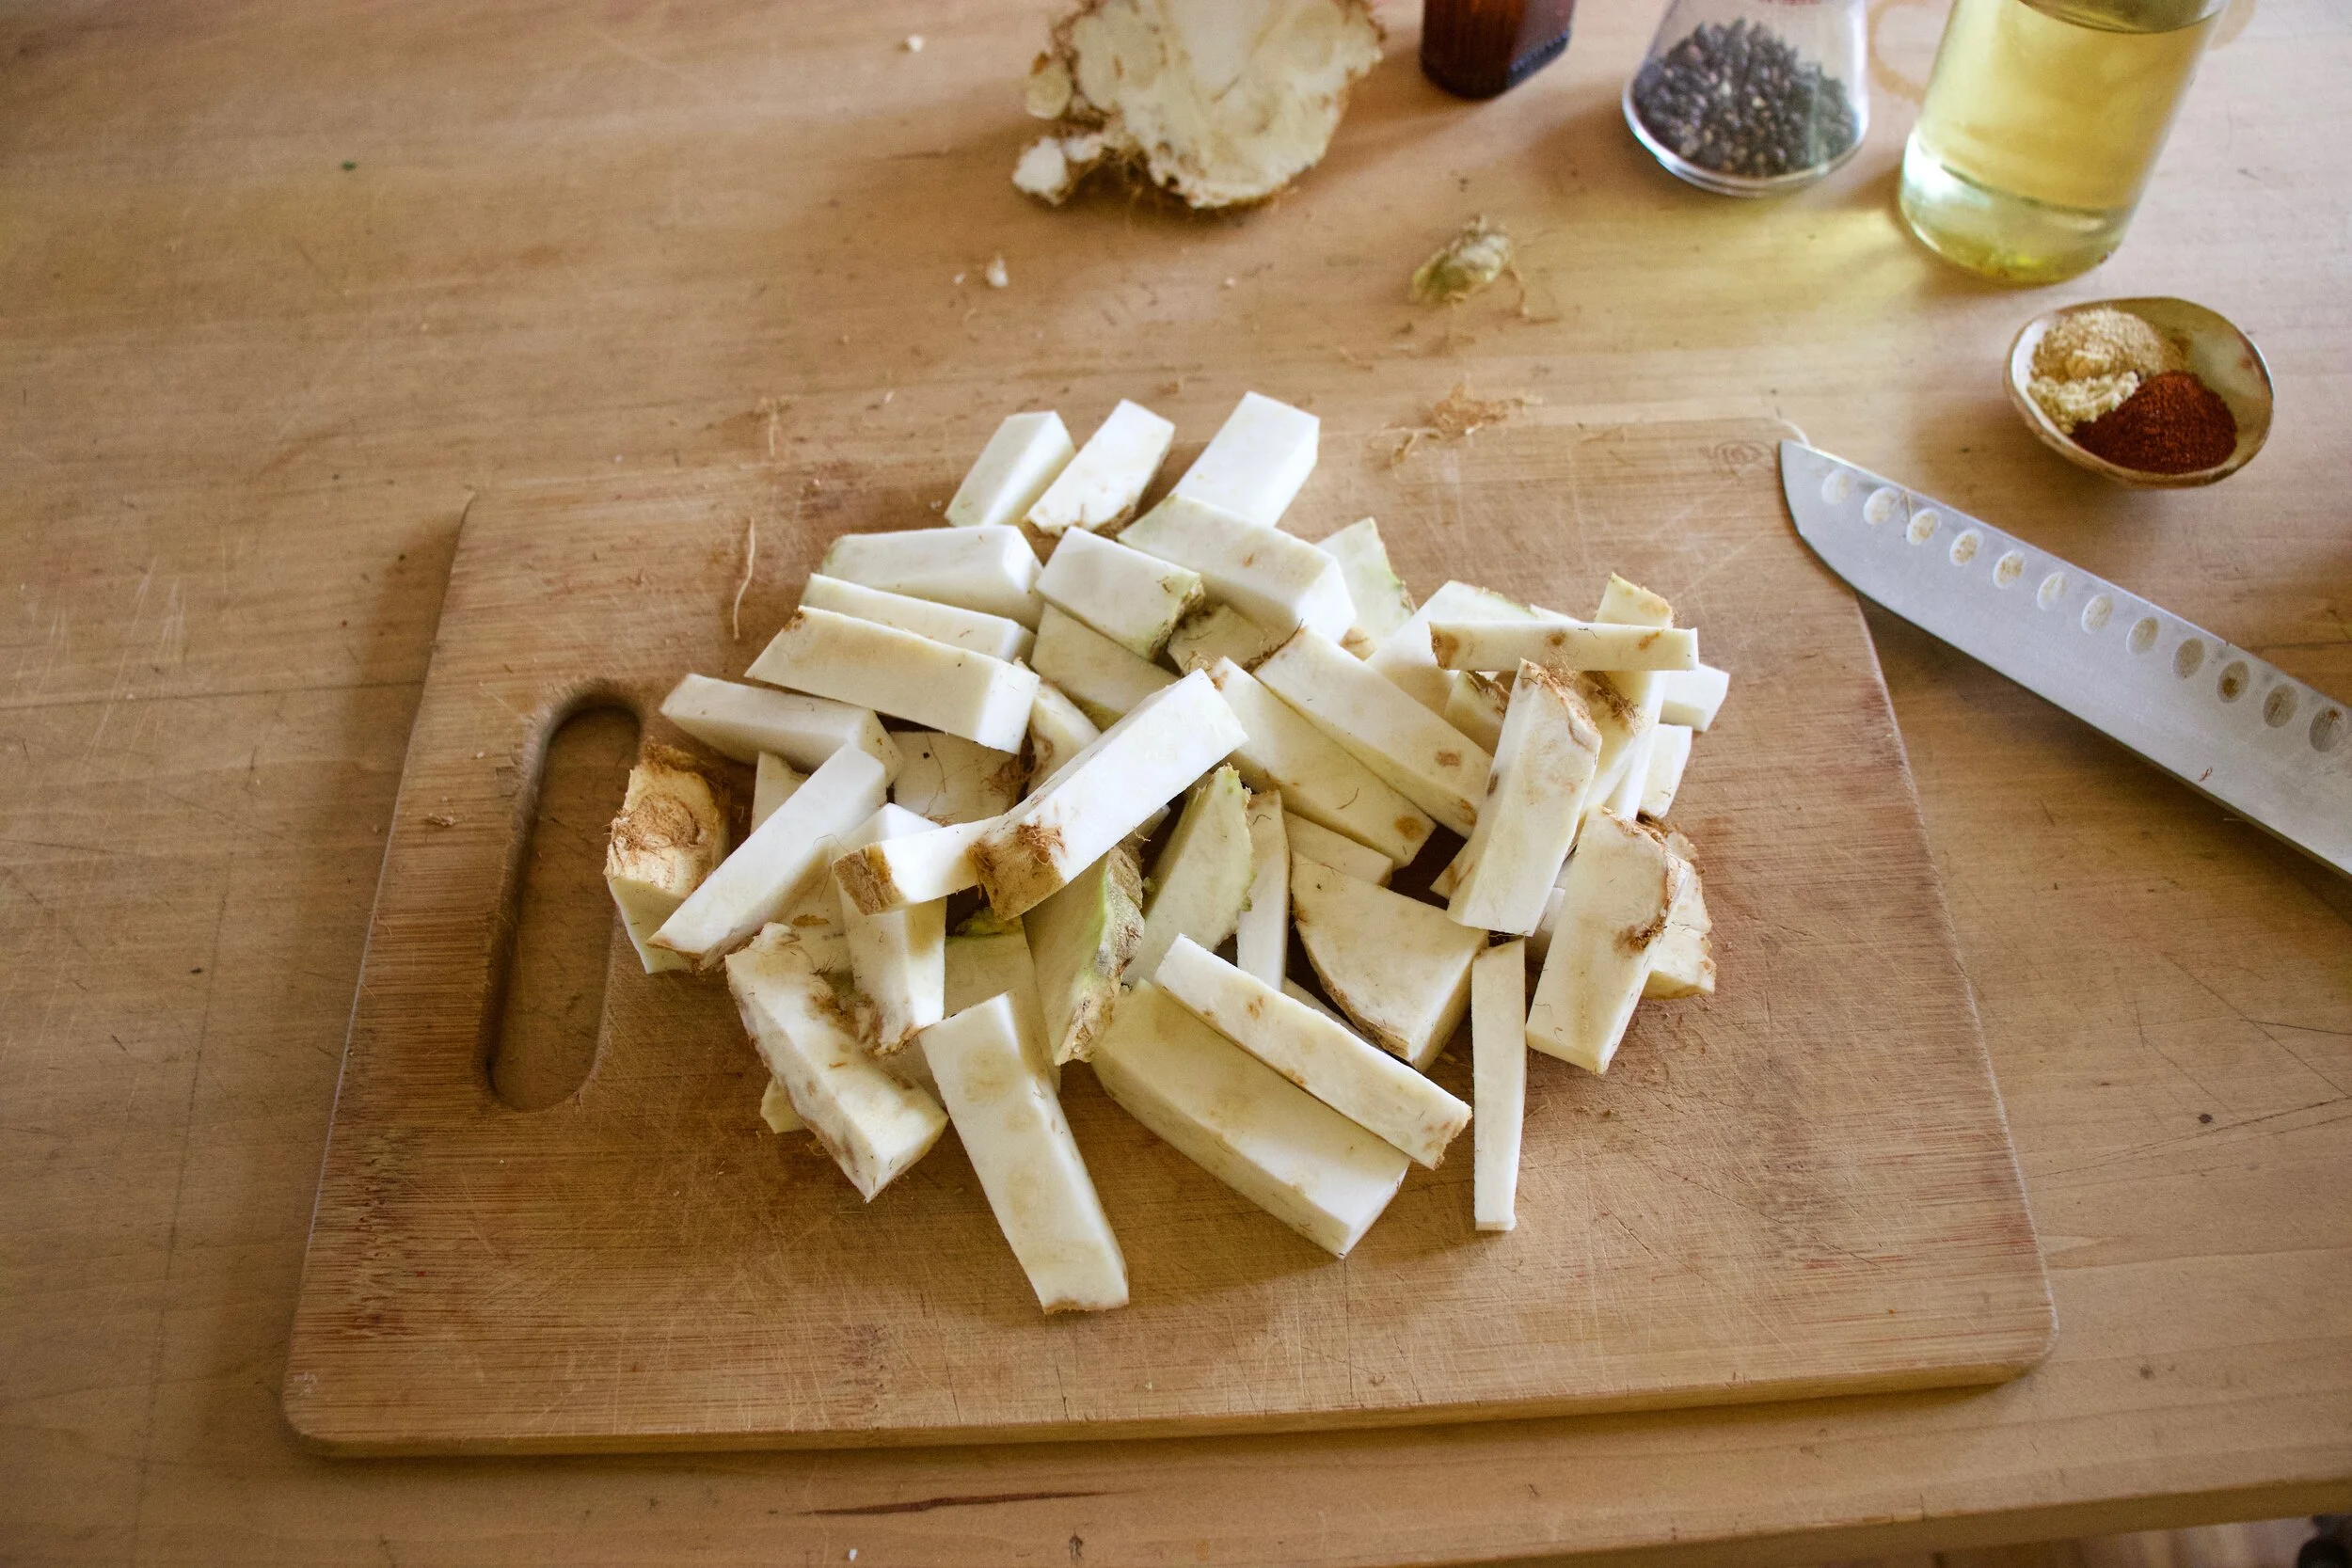
The celeriac. Ok, so most people peel it. I actually get weird looks from people when I tell them I don’t , but let me do me, you know. So anyway. Peel it if you want, or not, just cut it up into chunks.
Place cut up celeriac into a pot and cover with water. Place on stove on medium heat and cook until fork tender.
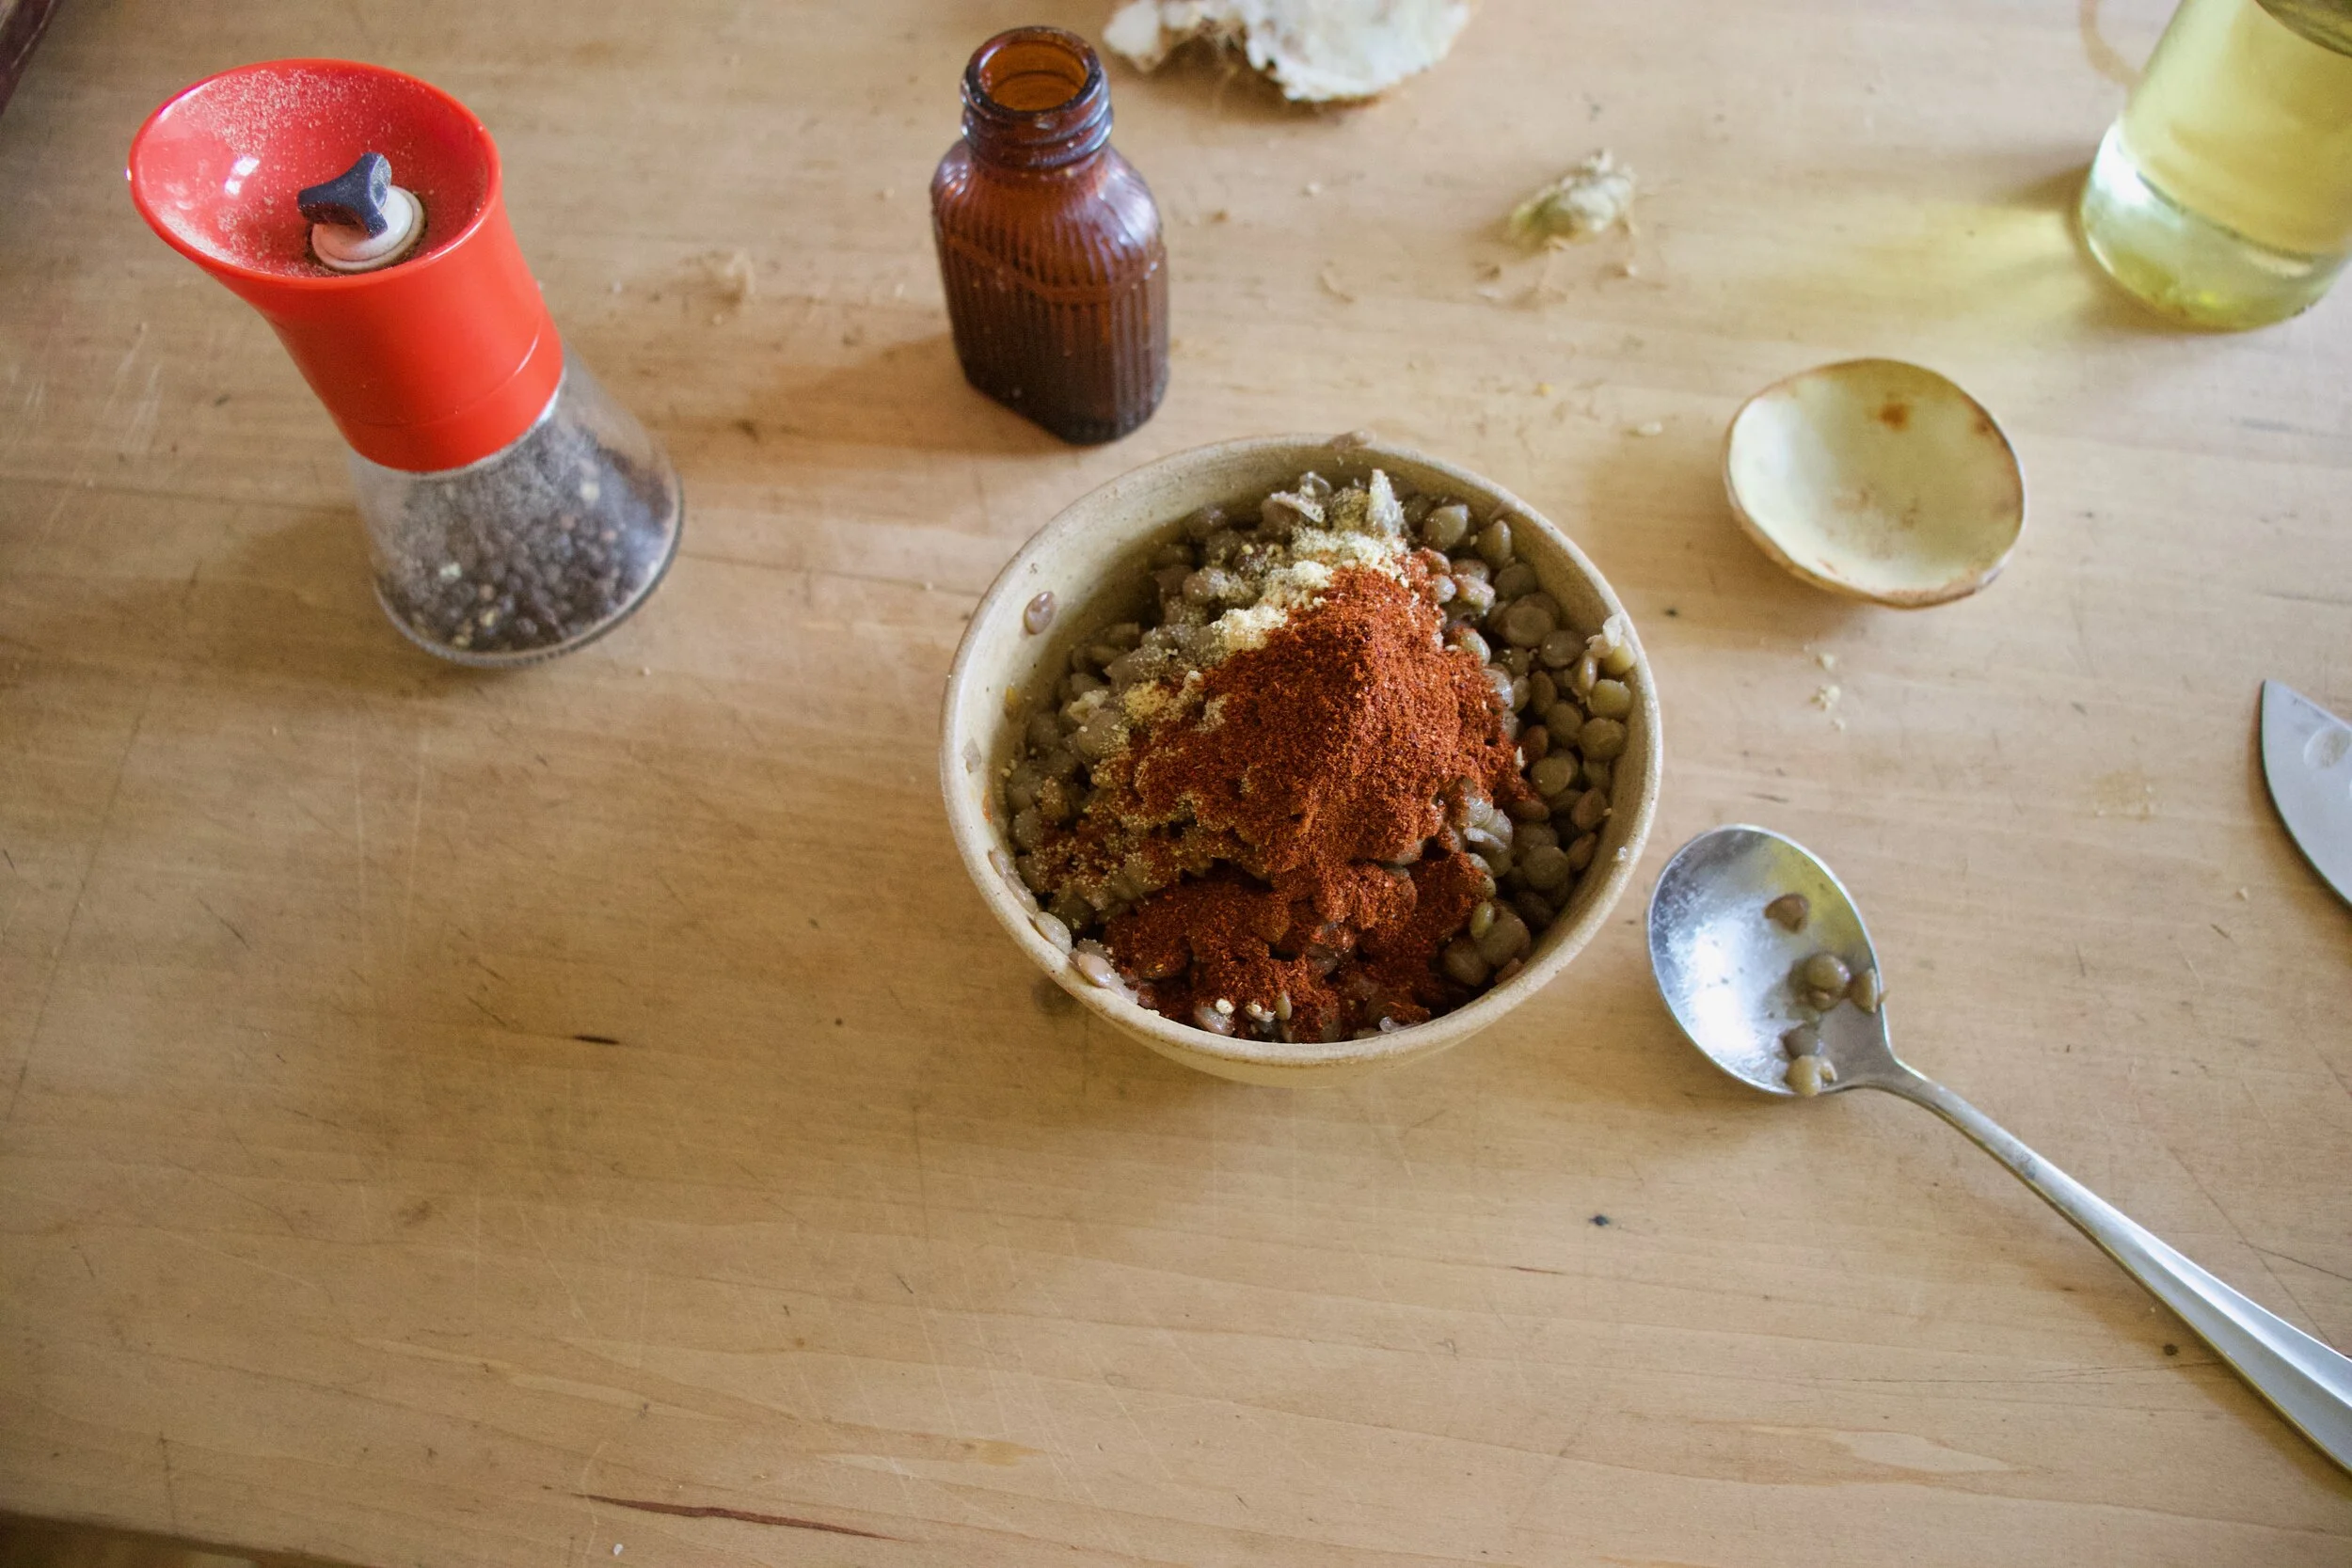
Lentils meet spices and get mix all together. Add a pinch of salt and lots of cracked pepper too.
Spread now spiced lentils onto a baking sheet, pop into oven, and bake until crispy. Easy peasy.

And to puree the celeriac. Strain any extra water into a cup. Season with a pinch of salt and pepper and grab the hand blender (or regular blender) and blend it, adding back in some of the strained water as needed, to get to a consistency that you like. Me, I liked it pretty smooth, but also with a little chunk. Heck, you could leave it really chunky or go all out completely smooth. Up to you. Also if you want a creamier texture, add in a teaspoon or so of the olive oil. That is a taste preference. I didn’t add oil this time, but I have before. It%u2019s good both ways.

And there you have it. Add the celeriac puree to a bowl, top with crispy lentils, and garnish with something green if you want.
Then eat it.
Not going to lie. After this picture was taken, I busted out the spicy mustard and covered everything with it. And it was amazing.
-C
serves 1 as a meal, or a few as a side dish
-
1 1/2 cups cooked green lentils
-
1 large celeriac bulb (soft ball sized)
-
1 teaspoon chili power
-
1/2 teaspoon ground mustard powder
-
1/2 teaspoon garlic powder
-
salt and pepper
-
olive oil (optional)
Grab celeriac and peel if you want, or just give it a really good wash. Cut into chunks and place into pot. Add enough water to just cover the celeriac and place on medium heat on the stove. Cook until fork tender.
In the mean time, mix all the spices and a good pinch of salt and lots of pepper together with the lentils. Dump them and spread them out onto a lightly oiled baking sheet. Place in oven and turn to 400 degrees (you can start cooking the lentils while the oven is preheating). Bake for about 20 minutes or until lentils are crispy.
Once the celeriac is tender, strain water into a cup and either with a hand blender or a regular blender, blend until smooth, adding in some of the poured off water as needed. You can puree as smoothly as you like or leave a few chunks.. Also, you might want to add in a teaspoon or so of olive oil for a slightly richer and creamier taste. Season to taste with salt and pepper.
Ehen the lentils are done, take them from oven. Place large amount (or all) of the celeriac puree to a bowl, cover with some (or all) of the crispy lentils and that is that. Eat away.
Serving suggestion%u2026. Mustard. Any kind. So good.
There are a million things you can, and should, do with tomatoes. Salsa is one of those things. Especially with the super fresh and ripe summertime tomatoes that may or may not be overflowing every empty surface of your kitchen (my current predicament). And peaches. Now is the time friends to eat your peaches. In season and oh so tasty. Do it now before it%u2019s too late and those oh so deliciously ripe and sweet peaches are gone and all that is left are mealy, gross, supermarket fakes. Only eat in season peaches. That is a life lesson everyone should know.
This salsa is perfect. Super fresh, sweet and slightly spicy, with a hint of tangy goodness and just, you, really freaking perfect. A salsa that hits all the right notes with out being overly anything and underly nothing if you know what I mean. All the tastes of summertime. A darn good salsa. Darn good.
This salsa also makes me a winner at the game I am playing with myself called %u201cGet the mr to eat tomatoes and like it”%u201c. The game started when he told me he was sick of tomatoes and he didn’t want to eat anymore. I made the salsa (which also made me a winner in the other game I play called %u201cGet the mr to eat fruit in his savory dishes%u201d, because he also tells me how much he hates fruit in savory), he tried the salsa, raved about the salsa, and then went and ate the rest of the salsa with his rice and beans. .
I win again! Haha
Anyway, super fast, super fresh, super super. A great way to use up a any of your shit load of tomatoes you might have laying around and to get in a few more of those summertime peaches before they are gone again for the year.
Now to the salsa.

The stuff. Cherry tomatoes, peaches, an onion, a jalape%u00f1o, a lime, a bunch of cilantro, salt and pepper, and a little vinegar.
Start by cutting up the tomatoes into quarters. Do this carefully or else you will have tomatoes rolling around everywhere. Place chopped tomatoes into a bowl.
Then dice up those peaches into small little pieces and toss into bowl with tomatoes.
Onion gets diced up too and placed into bowl.
Jalapeno, seeds removed, diced up nice and small. Get it into the bowl.
And cilantro. Give it a rough chop and into the bowl it goes.

A sprinkle of salt, lots of pepper (to taste of course), the juice of the lime, and a splash of vinegar. Mix it all up and there you have it.

Into a jar (or you can just keep it in the bowl if you want), and it%u2019s ready for eating. Chips, tacos, to top a salad%u2026 This salsa does it all. Heck, just eat it with a spoon. There is absolutely nothing wrong with that.
-C
Makes about 32 oz of the good stuff
-
1 overflowing pint cherry tomatoes (red, yellow, sun gold or a mix of any)
-
2 ripe but firm peaches
-
1 bunch cilantro
-
1-2 jalape%u00f1os (depending on how hot you want it)
-
1 small red or white onion
-
a lime
-
salt and pepper
-
splash red or white wine vinegar
Grab the tomatoes and carefully, so they don%u2019t roll away, cut each one into quarters. Place in a big bowl. Cut peaches in half, remove pit, and dice the flesh into very small little piece and toss into bowl. Now onion, dice that into small little pieces, along with the jalape%u00f1o and toss into bowl. Cilantro gets a rough chop then into the bowl it goes. Now sprinkle in a little salt and lots of black pepper. Add the juice of the lime and a splash of the vinegar and toss it all around. Let sit for a few minutes, taste, then season with more salt and pepper if needed. Can add more vinegar for more acid if needed too.
This salsa only gets better with a little age so you can definitely make it a day or two ahead of time.
Store in a bowl to serve or a jar for longer storage. Use within a 4-5 days of making it.
Spit peas are one of my go to%u2019s when camping. Besides taking up no room at all to pack, they are also super easy to make. Plus they only take about an hour to cook, which is the perfect amount of time to prepare the rest of the food for a meal and sit and chill out before eating. Not to mention that they are damn freaking tasty, especially after a day frolicking through woods and paddling on water. I mean, who doesn%u2019t like split peas? (If you say you don%u2019t, you probably should try again because I bet you would like these)
Constnaly thinking of our next hiking, kayaking, and camping adventure has got me with split peas on the mind. Especially now that the nights are getting a little cooler. Knowing that I am gonna have a hearty, protein pack and filling meal after a day of activity is just the greatest.
And collard greens. A green that gets overlooked a lot. No super popular, well, not around these parts, which is crazy because they are SO good! They have a more pronounced flavor (in a good way) then most greens. More pungent and earthy, and slitghy salty, if that makes sense. And hold up better then any green when cooked making them perfect to toss into pots with things like spit peas . Plus they travel well. I can bring a bunch camping with me and not worry that if I leave them out for to long they will turn into slimy green mush. If it is really hot, sure they might wilt up a bit, but stick the stems in a little water, they will last all day fine. And that is all you need them to do.
So yeah, this dish is perfect for camping, but also perfect for not camping and just making at home too. Again, super easy, fast and is just a great tasting dish.
Split peas and collard greens. Topped off with mustardy cabbage slaw. Can%u2019t wait to make this again this weekend!
To the spit pas and collard greens!
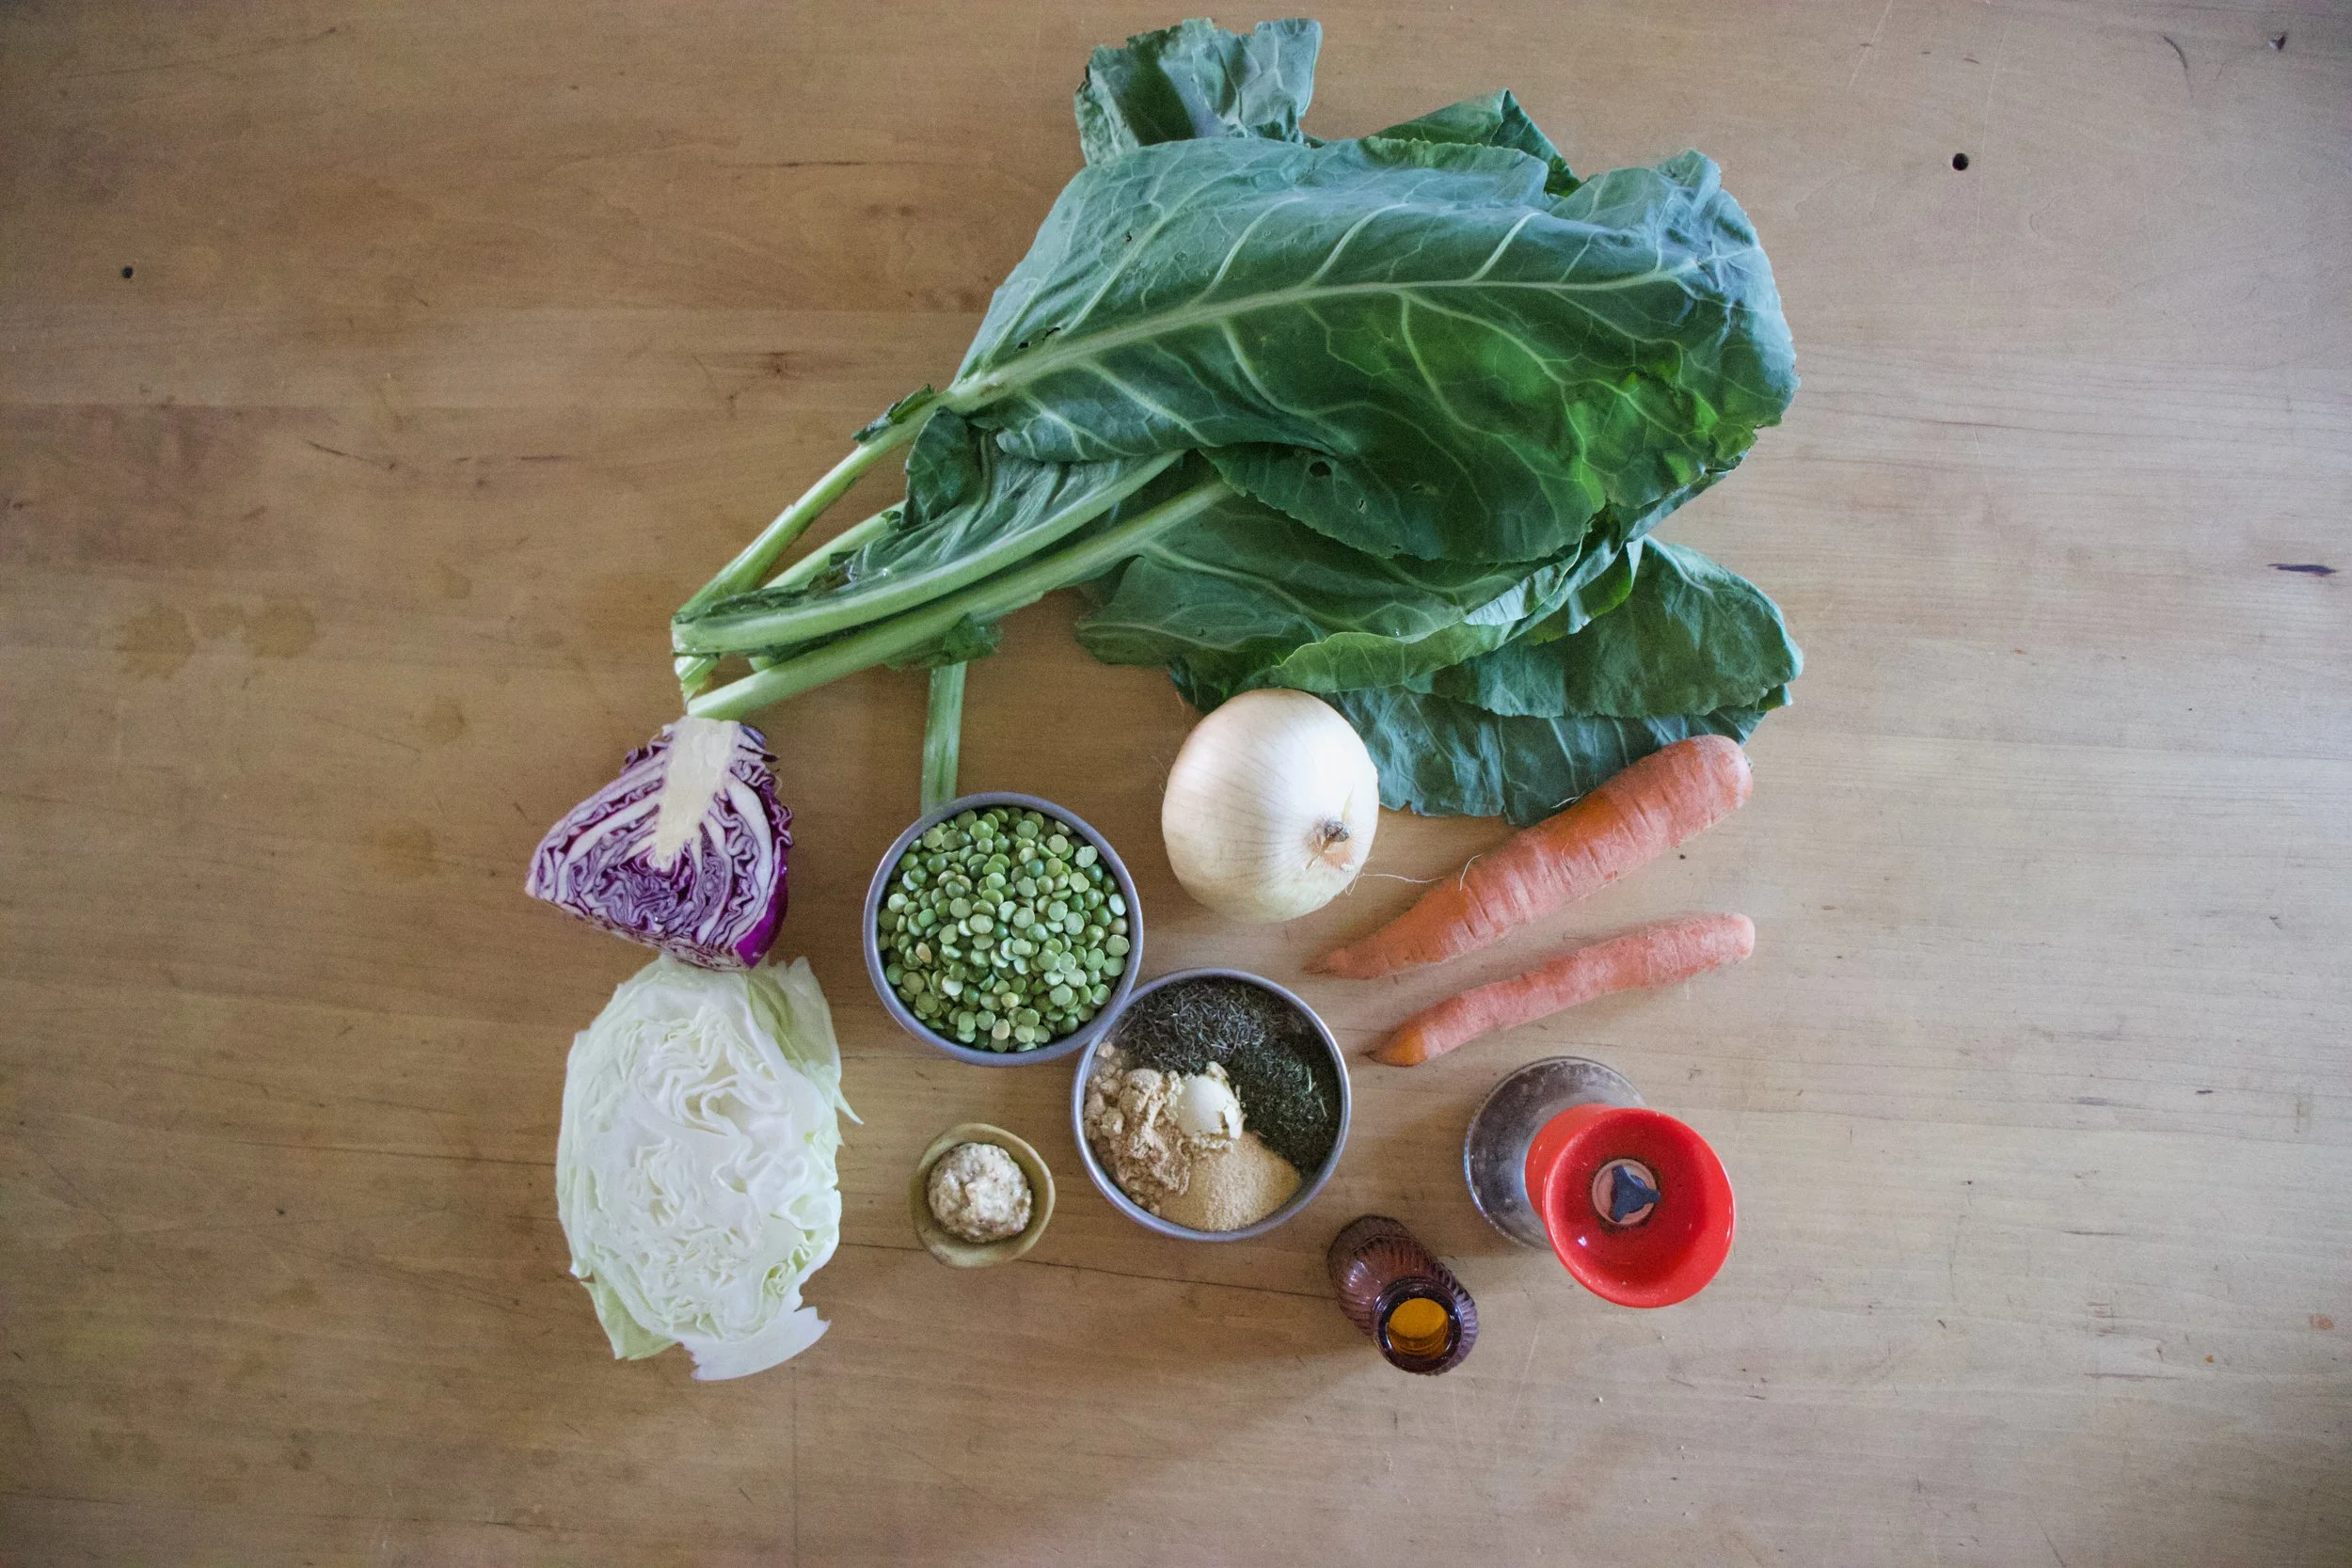
The stuff. A bunch of collard greens, some split peas, an onion, a couple carrots, some cabbage, stone ground mustard, spices which include garlic, ginger, dill, thyme, and ground mustard. And salt and pepper. And you are gonna need water too.
Start by removing the stems from the leaves of the collards. Then small dice up the carrots, the onion and the stems. Grab the collard leaves, roll them up together, then slice then into thin ribbons.

All that stuff you just cut up now gets tossed into big pot, along with all the spices.

Add in the dried peas and water. Lots and lots of water. Bring pot to boil, then reduce heat to low and loosely cover pot. Cook foe 45-50 minutes or so.

While the peas and greens are cooking, shred up some cabbage.
Add a good dollop or two of some good stone ground or Dijon mustard and mix.
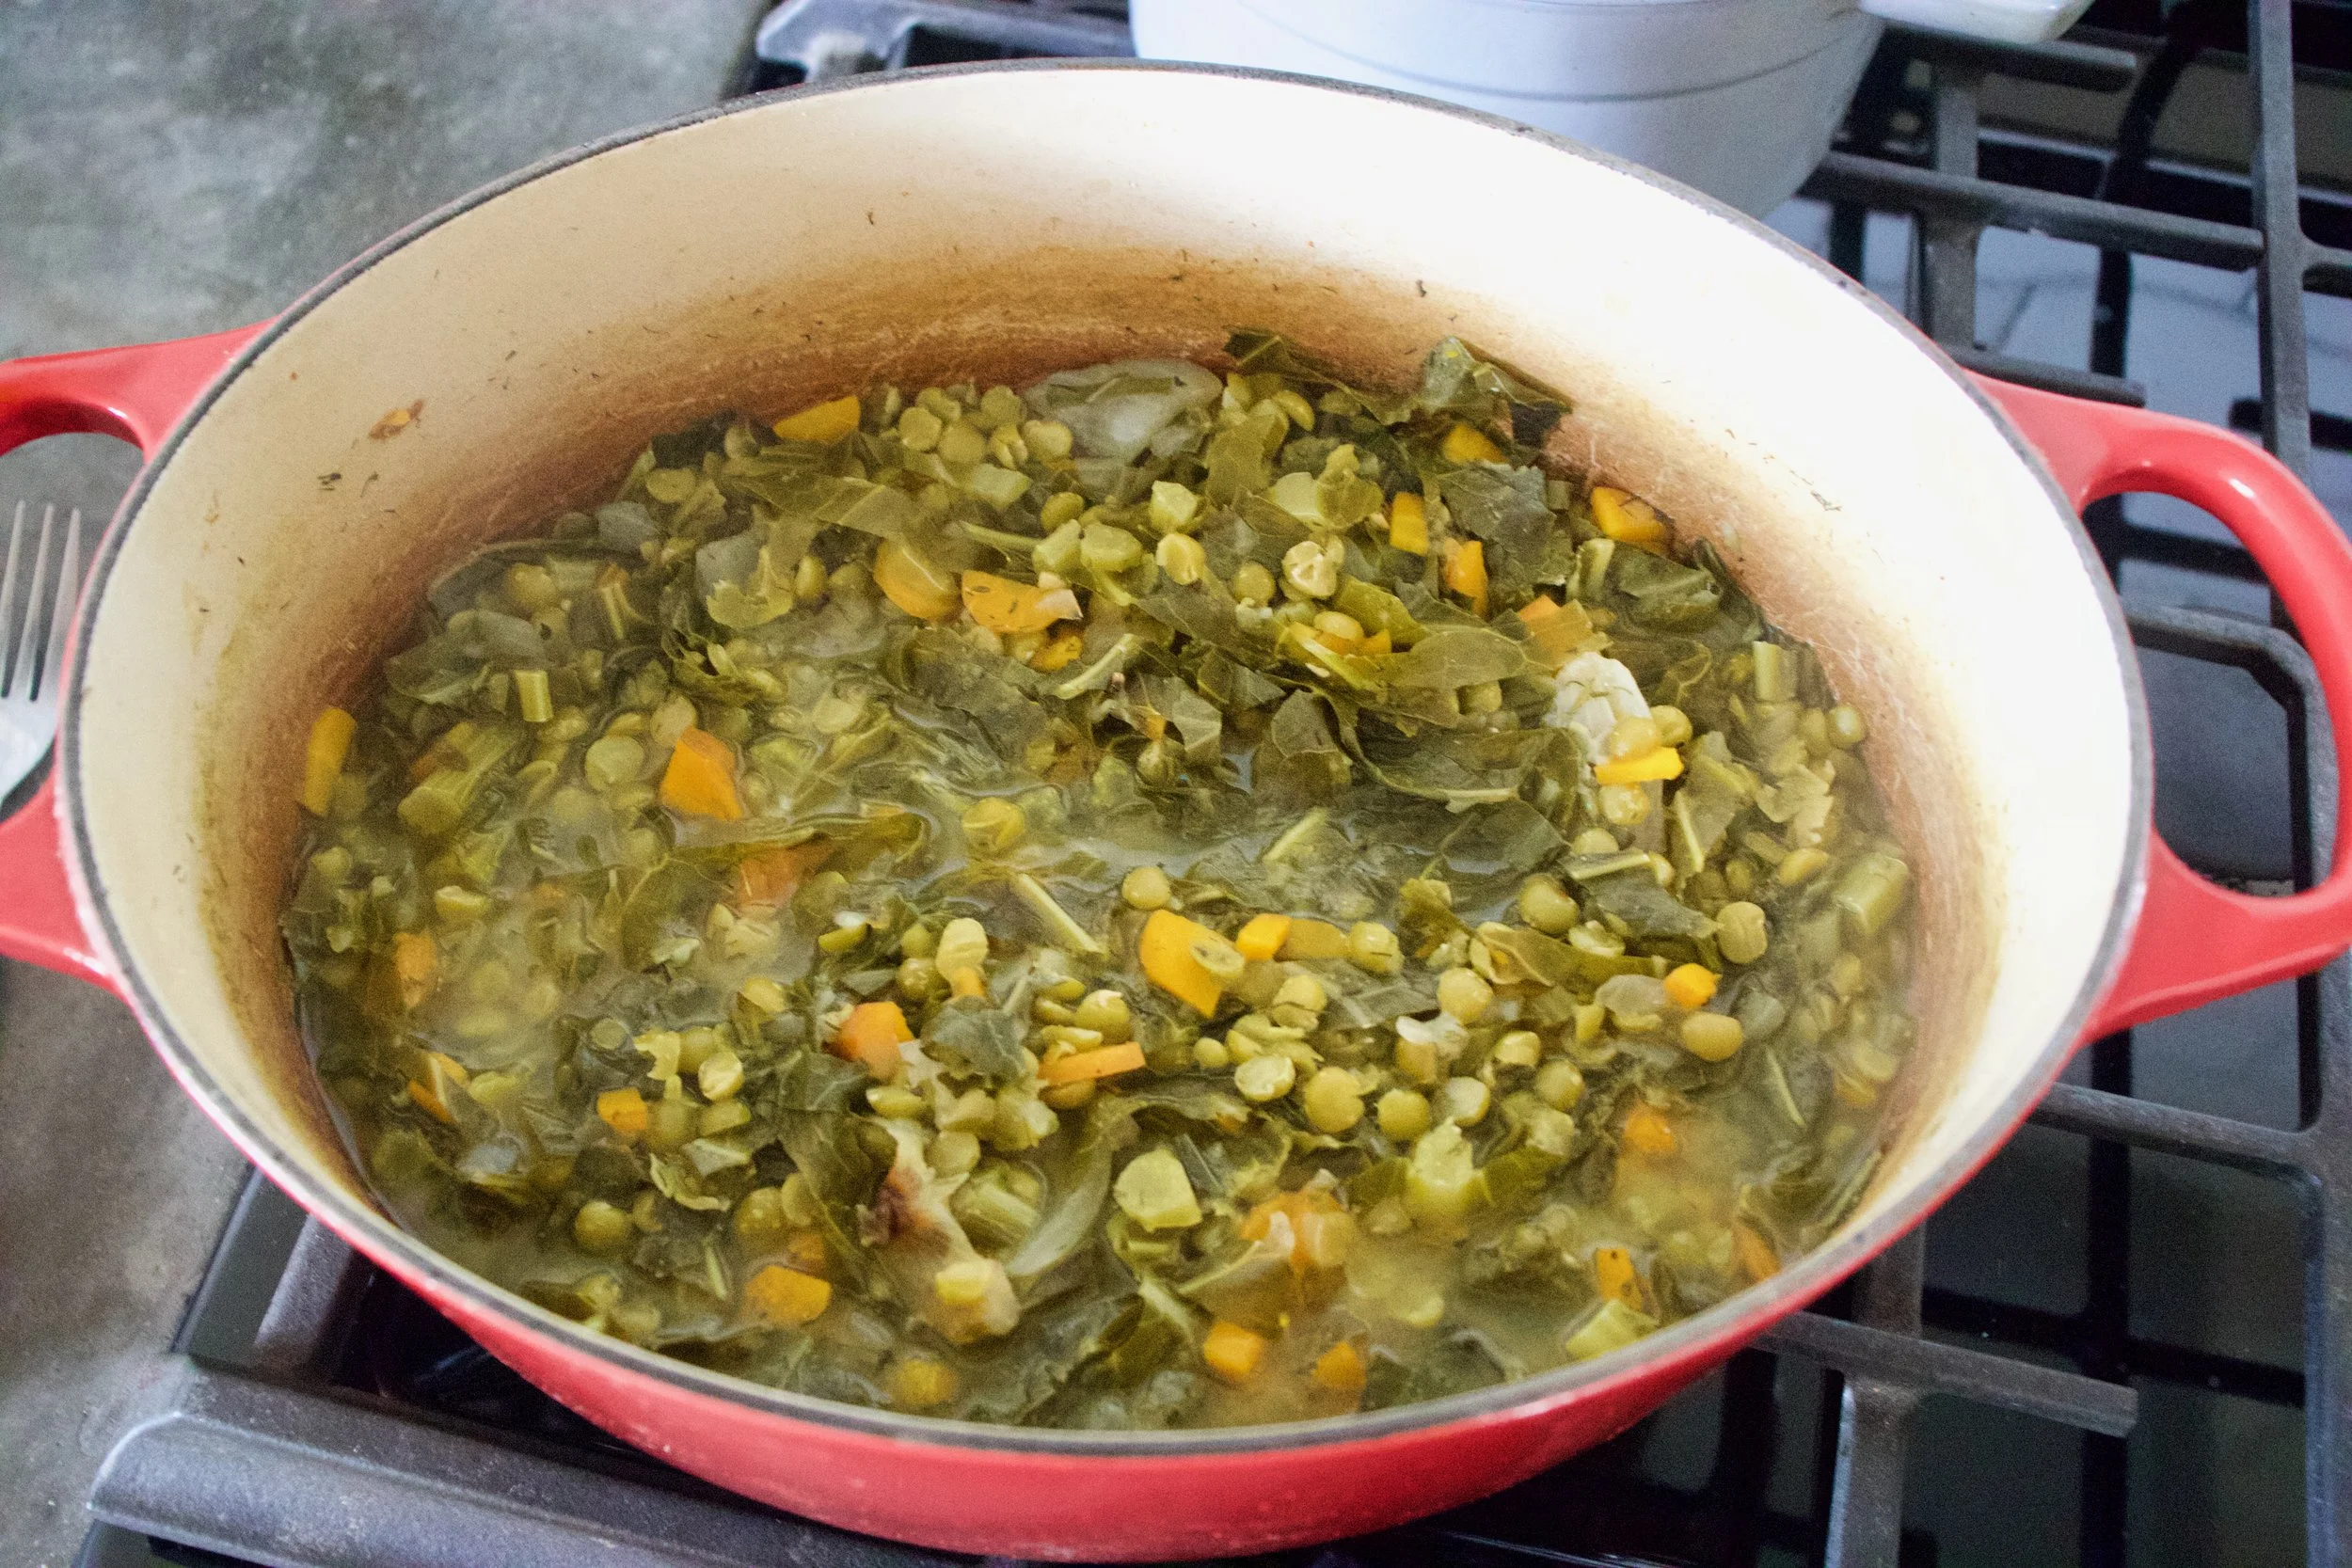
Cooked until the split peas are tender and starting to fall apart. Taste and season with salt and pepper.

And then you eat. A big bowl full of the slpit peas and greens, topped with some mustardy cabbage slaw.
This is good food. Really freaking good.
-C
serves 4-6 folks
-
2 cups dried split peas
-
8-9 cups water
-
1 large onion
-
2 carrots
-
1 bunch collard greens (about 6-7large leaves)
-
1 teaspoon garlic powder
-
1 teaspoon ginger powder
-
1 tablespoon dill
-
1 tablespoon thyme
-
1 teaspoon ground mustard
-
salt and pepper
-
2-3 tabespppms Dijon or stone ground mustard
-
1/2 head of cabbage (red and or green)
Start by removing the stems from the collards. Grab the carrots and onion and dice them up small, along with the stems. Then take the leaves of the greens and stack and roll them up together. Slice the roll into thin ribbons. Place all of it, carrots onions stems, and greens, into large pot, along with all the spices, (don%u2019t add any salt until the end) and stick o the stove. Add in the split peas and 8 cups of water. Bring pot to a boil, then reduce to low and place a loose lid on pot. Let cook for 45 minutes to an hour, or until the spit peas are tender and just about to fall apart. If you think you might need to add more water to cook the peas through, then add another cup.
Once cooked, season with salt pepper to taste.
For the cabbage slaw,which you can make right after your start the peas, just shred up cabbage and mix it together with the mustard and set aside.
And once the split peas and collard greens are all cooked, scoop into bowls, top with some of the cabbage slaw, and eat to your face.
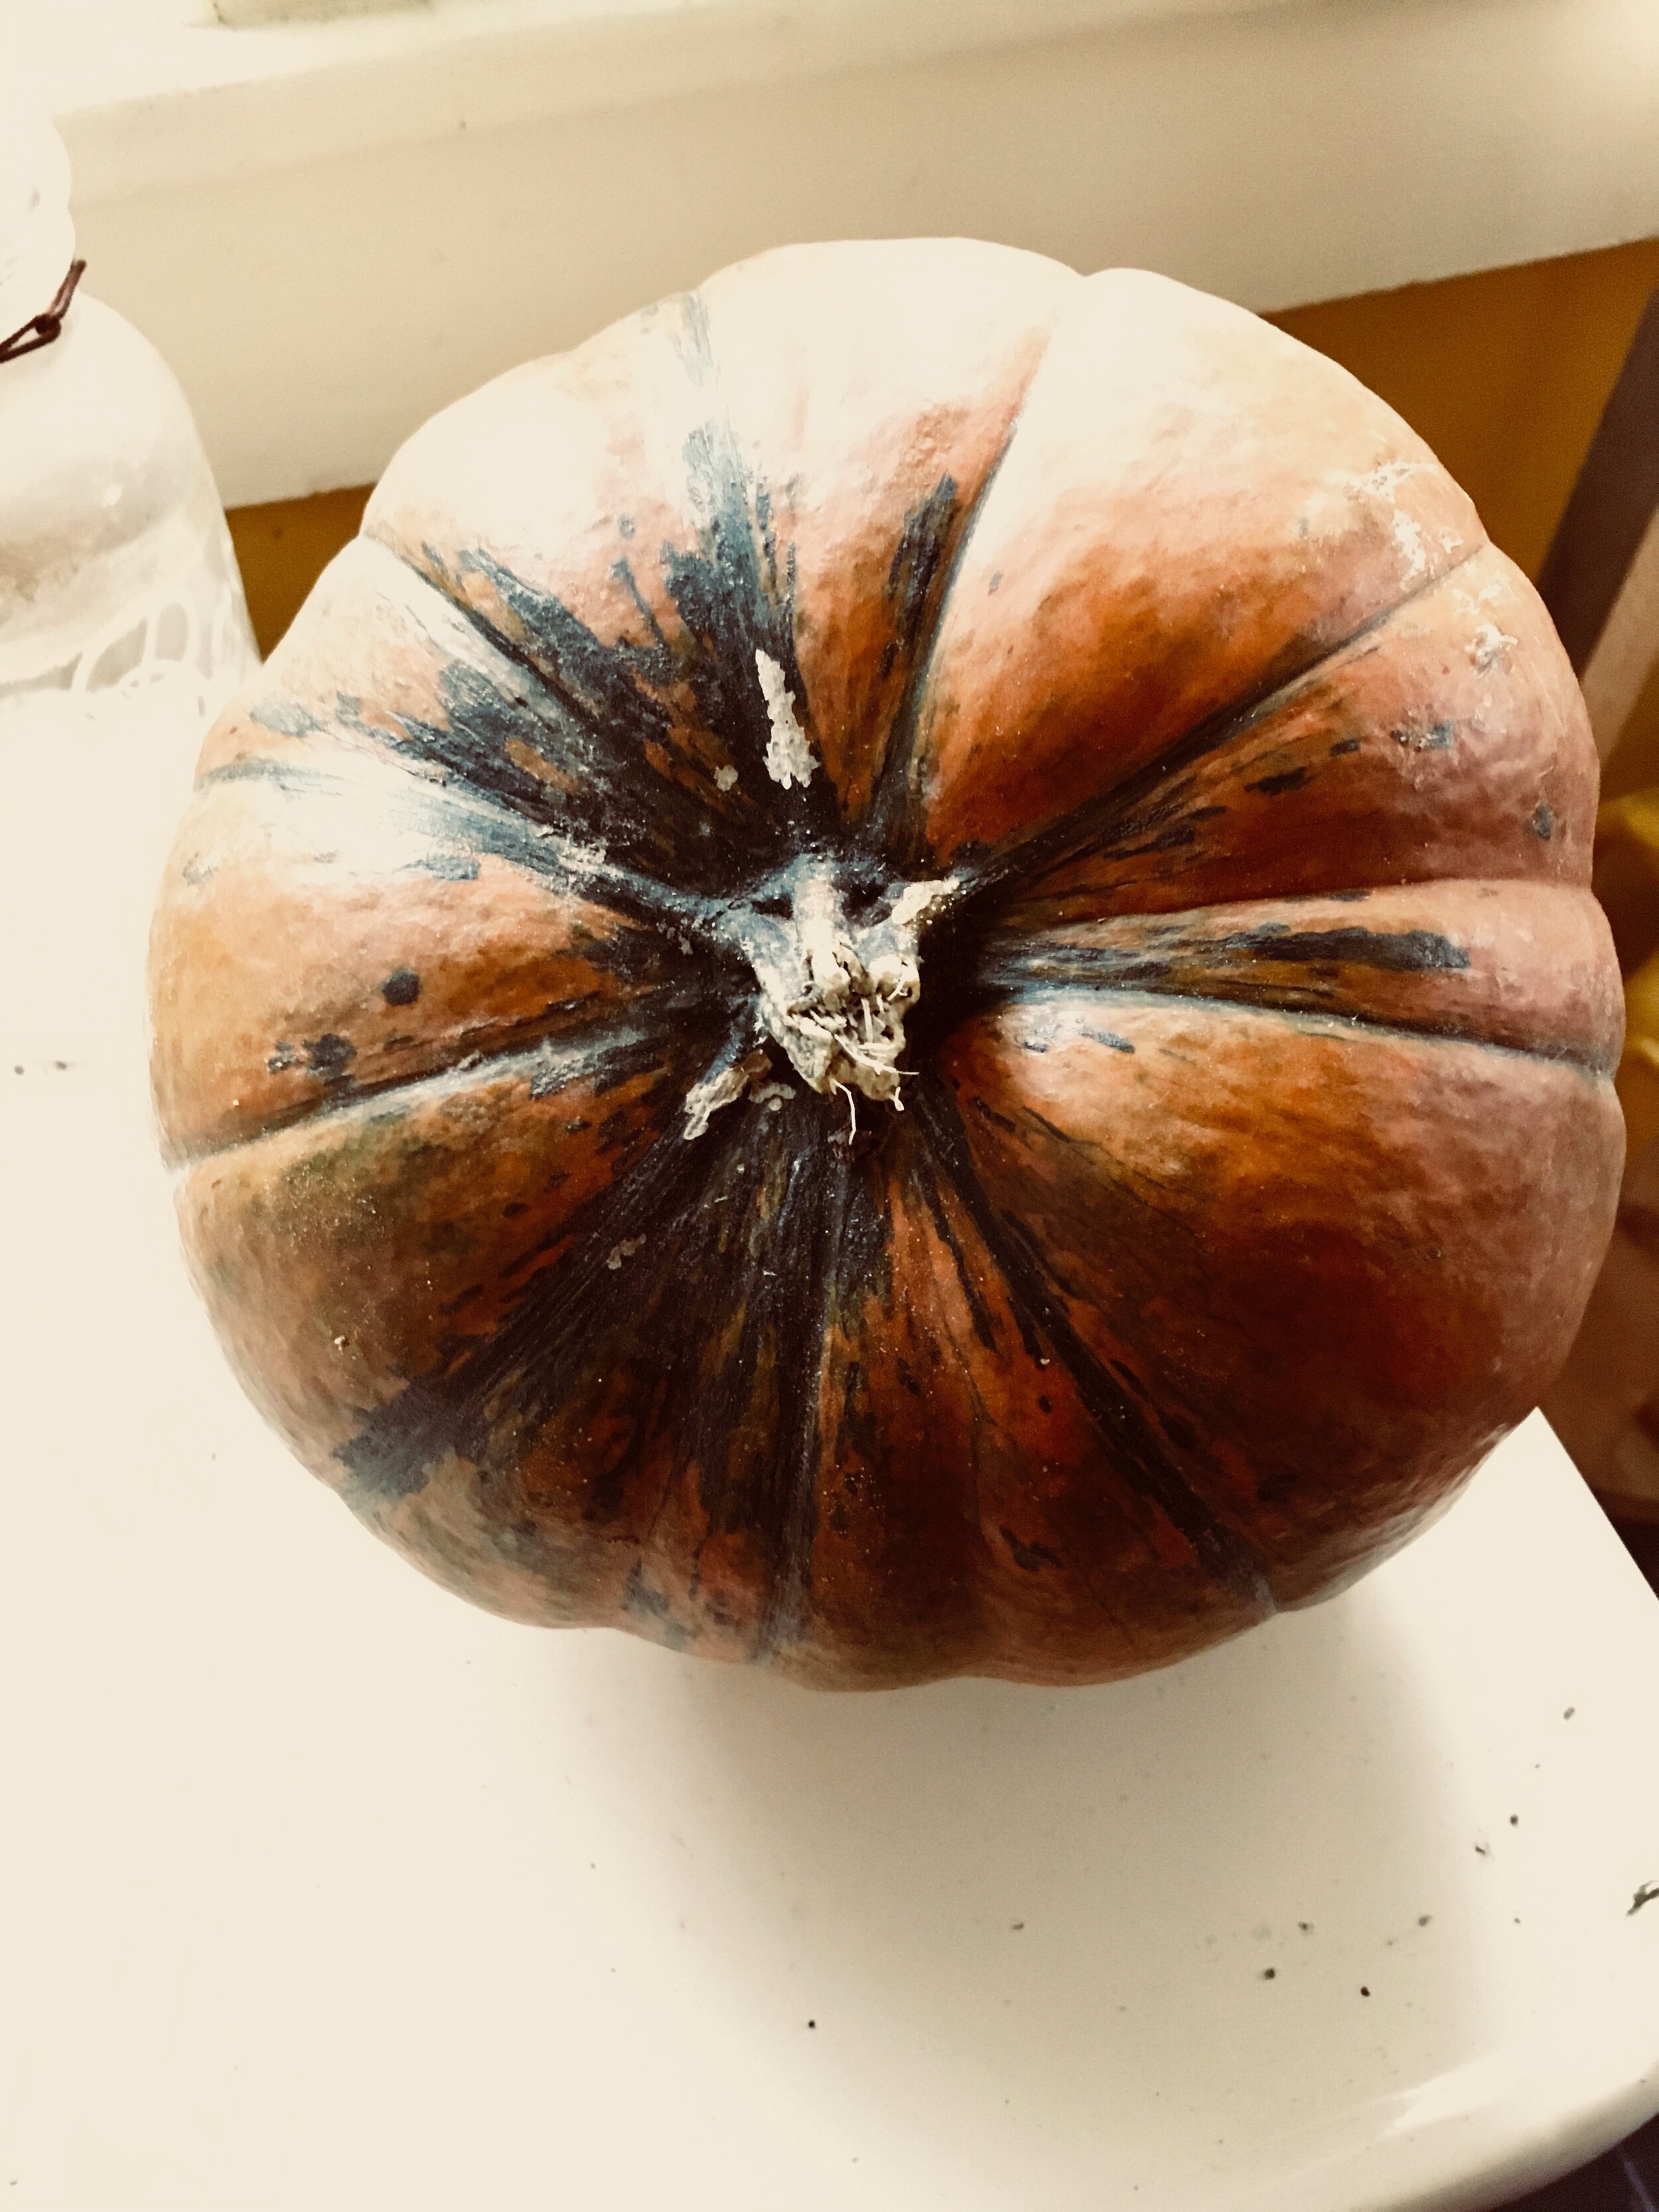
Are you as excited about pumpkin season as I am. And not because of pumpkin spice this or that, I am talking about real squash pumpkin. I am so excited, and have started a stash. I have about 10 sugar pumpkins all through the house. Equal parts fall decor and dinner. Being able to eat your decorations is key to a successful life. I am 100 percent sure about that.
So now that we have established that it%u2019s time to eat pumpkin, we also have to realized that there are more ways to eat pumpkin then in baked goods. Savory pumpkin is just as good, if not better then sweet pumpkin. I mean, it%u2019s a squash and don%u2019t we all love a good ssavory squash situation? If you don%u2019t, well you are in the wrong place my friend.
This dish here pretty much sums up all that I ever want to eat again. Roasted pumpkin with cumin is one of the best things ever. No joke. Swiss chard is definitely my favorite green, besides spinach, (and I love kale, but chard is better then kale too!) and red lentils are my favorite kind of lentils. All I all, this small list of ingredients makes for one heck of a dish. I was pre making this for dinner for Barb and the mr. and ended up making something else for dinner so I could eat and save it all for myself. I did not share one bit of this and feel zero bad about it. I mean, I made it so it is mine. They had chili, I secretly ate this.
It%u2019s come to that. I am hiding my pumpkin and lentil dish. What is wrong with me? Ha!
Now to the best pumpkin dish ever!

The stuff. A sugar pumpkin, some swiss chard, an onion, red lentils, a few cloves of garlic. cumin, salt and pepper, and olive oil.
Cut the pumpkin in half, scoop the seeds out (save for roasting later), and chop into mouth sized chunks. Dice the onion up, and remove the stalk and thicker part of the rib from the chard leaves and dice up the stalk. Stick the leaves to the side.
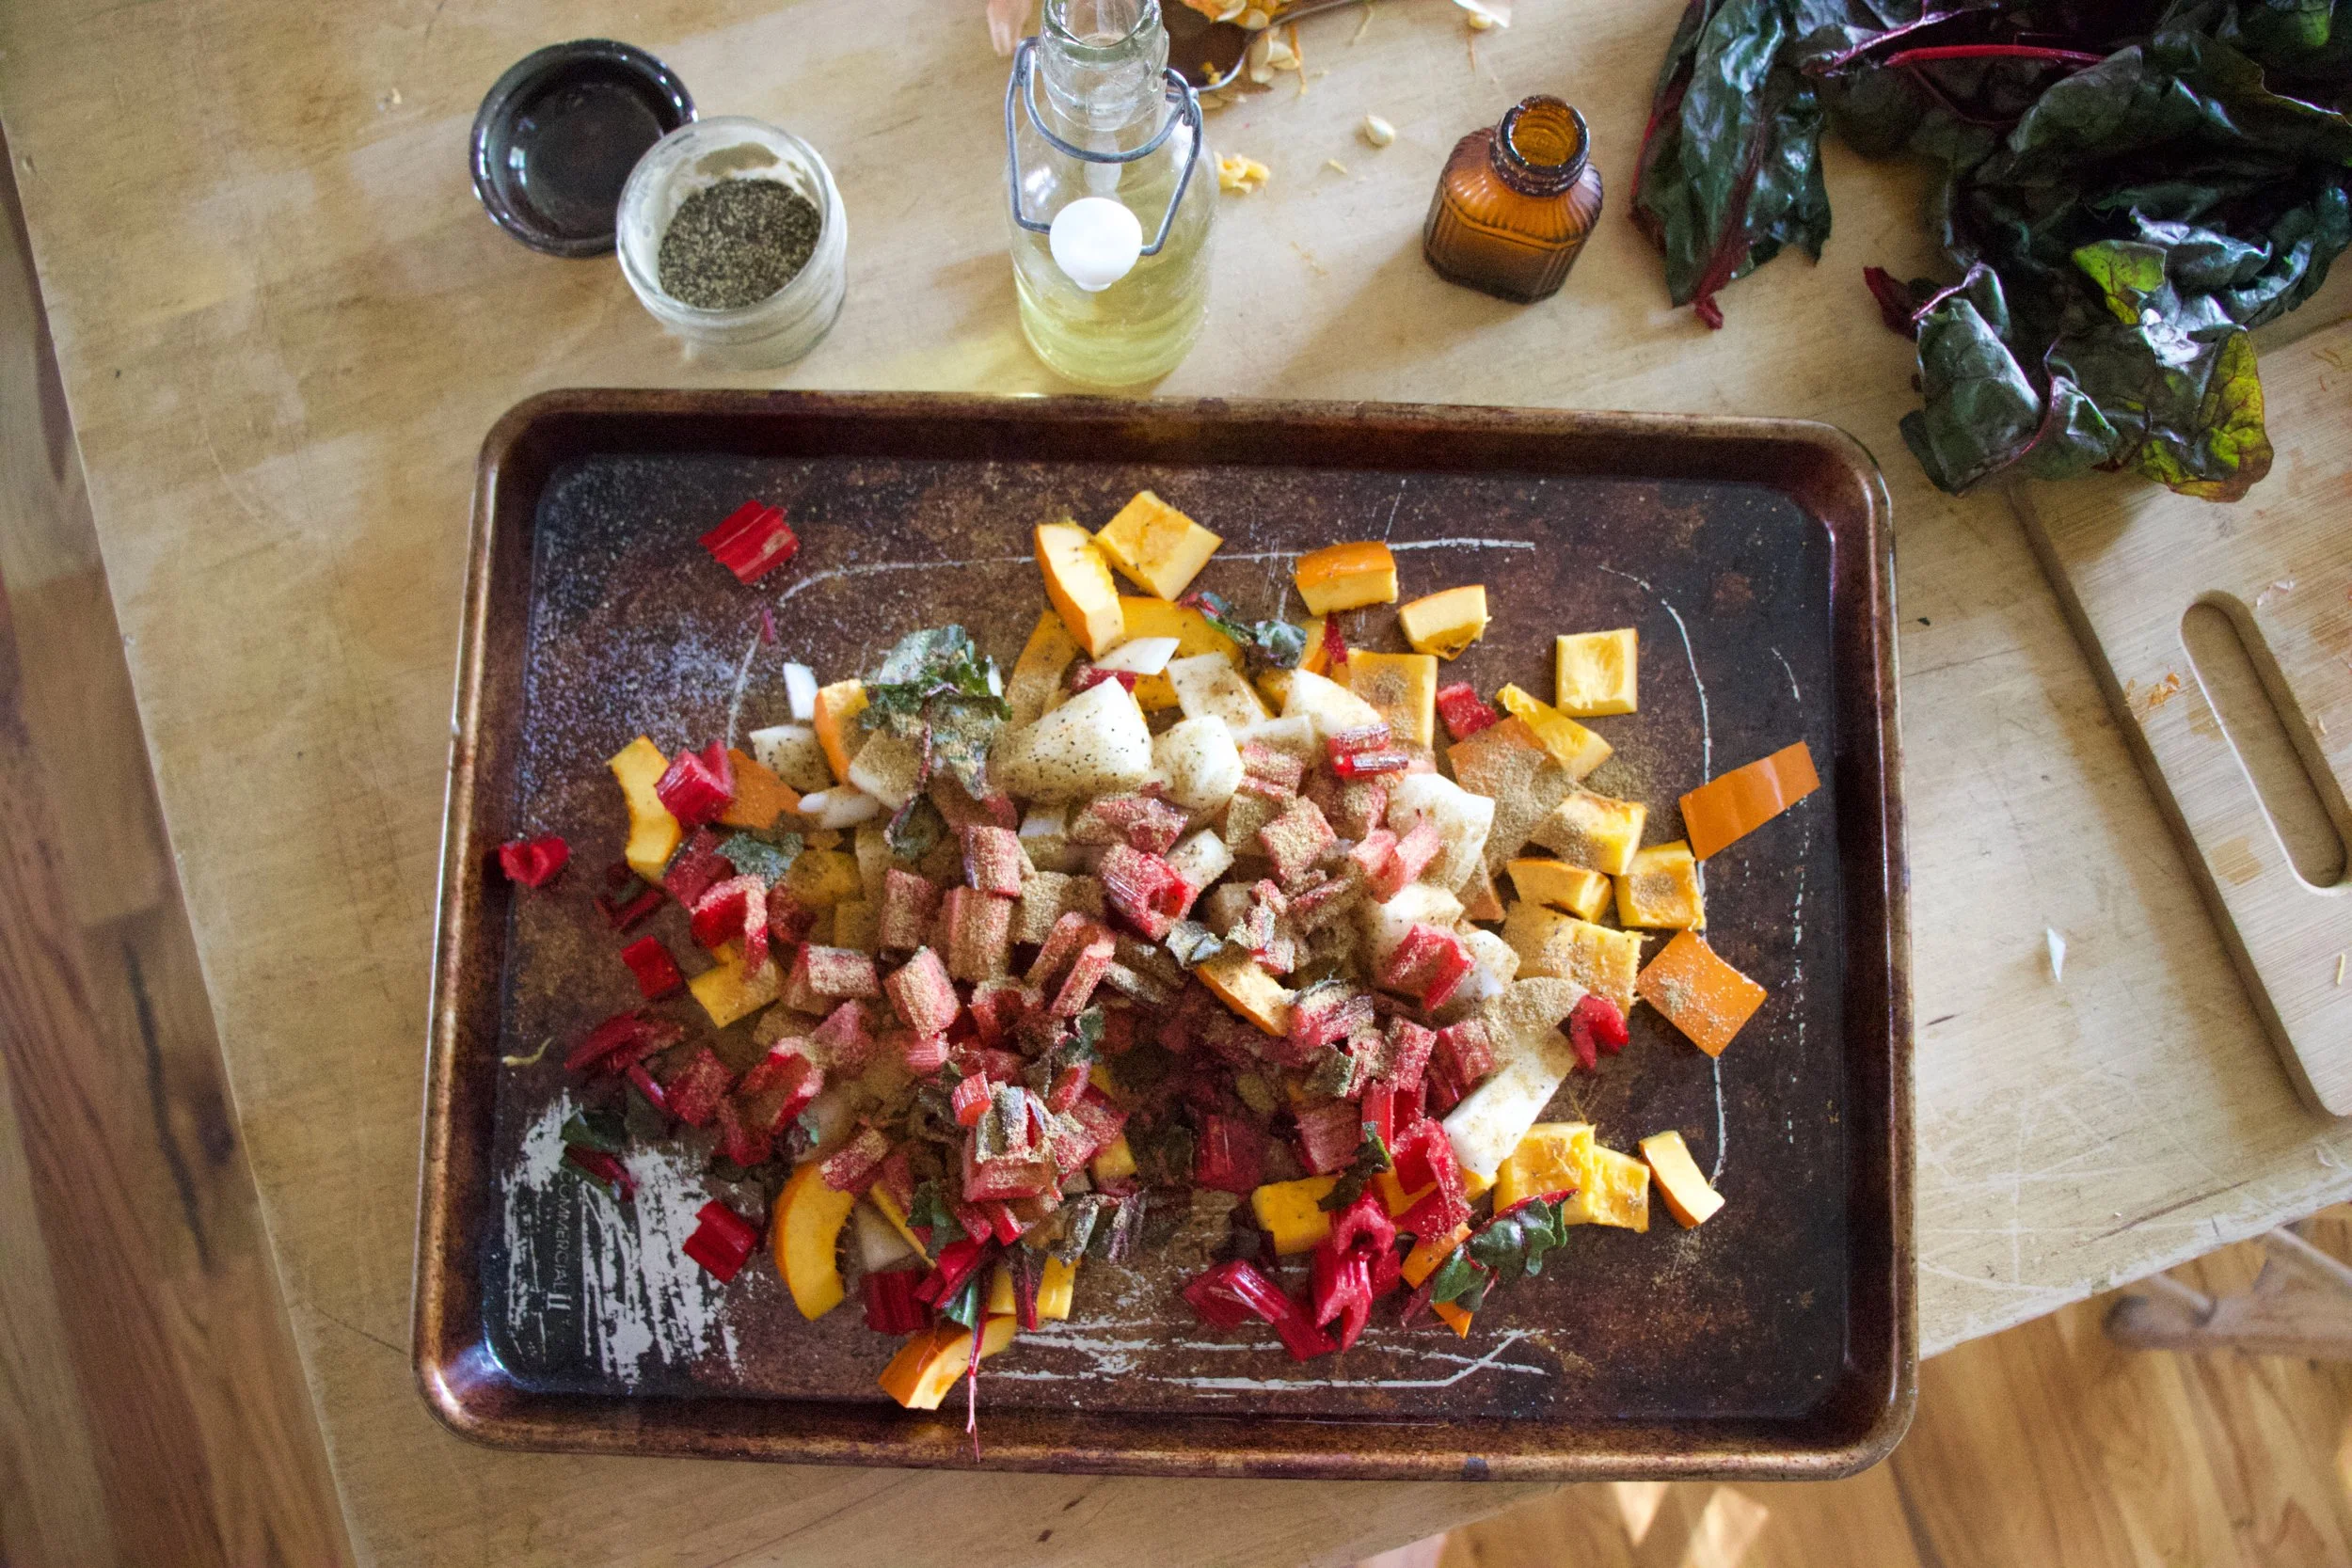
Place all the chopped up stuff onto a baking sheet, drizzle with a little bit of oil, dump on some cumin and sprinkle with salt and pepper then toss it all around.
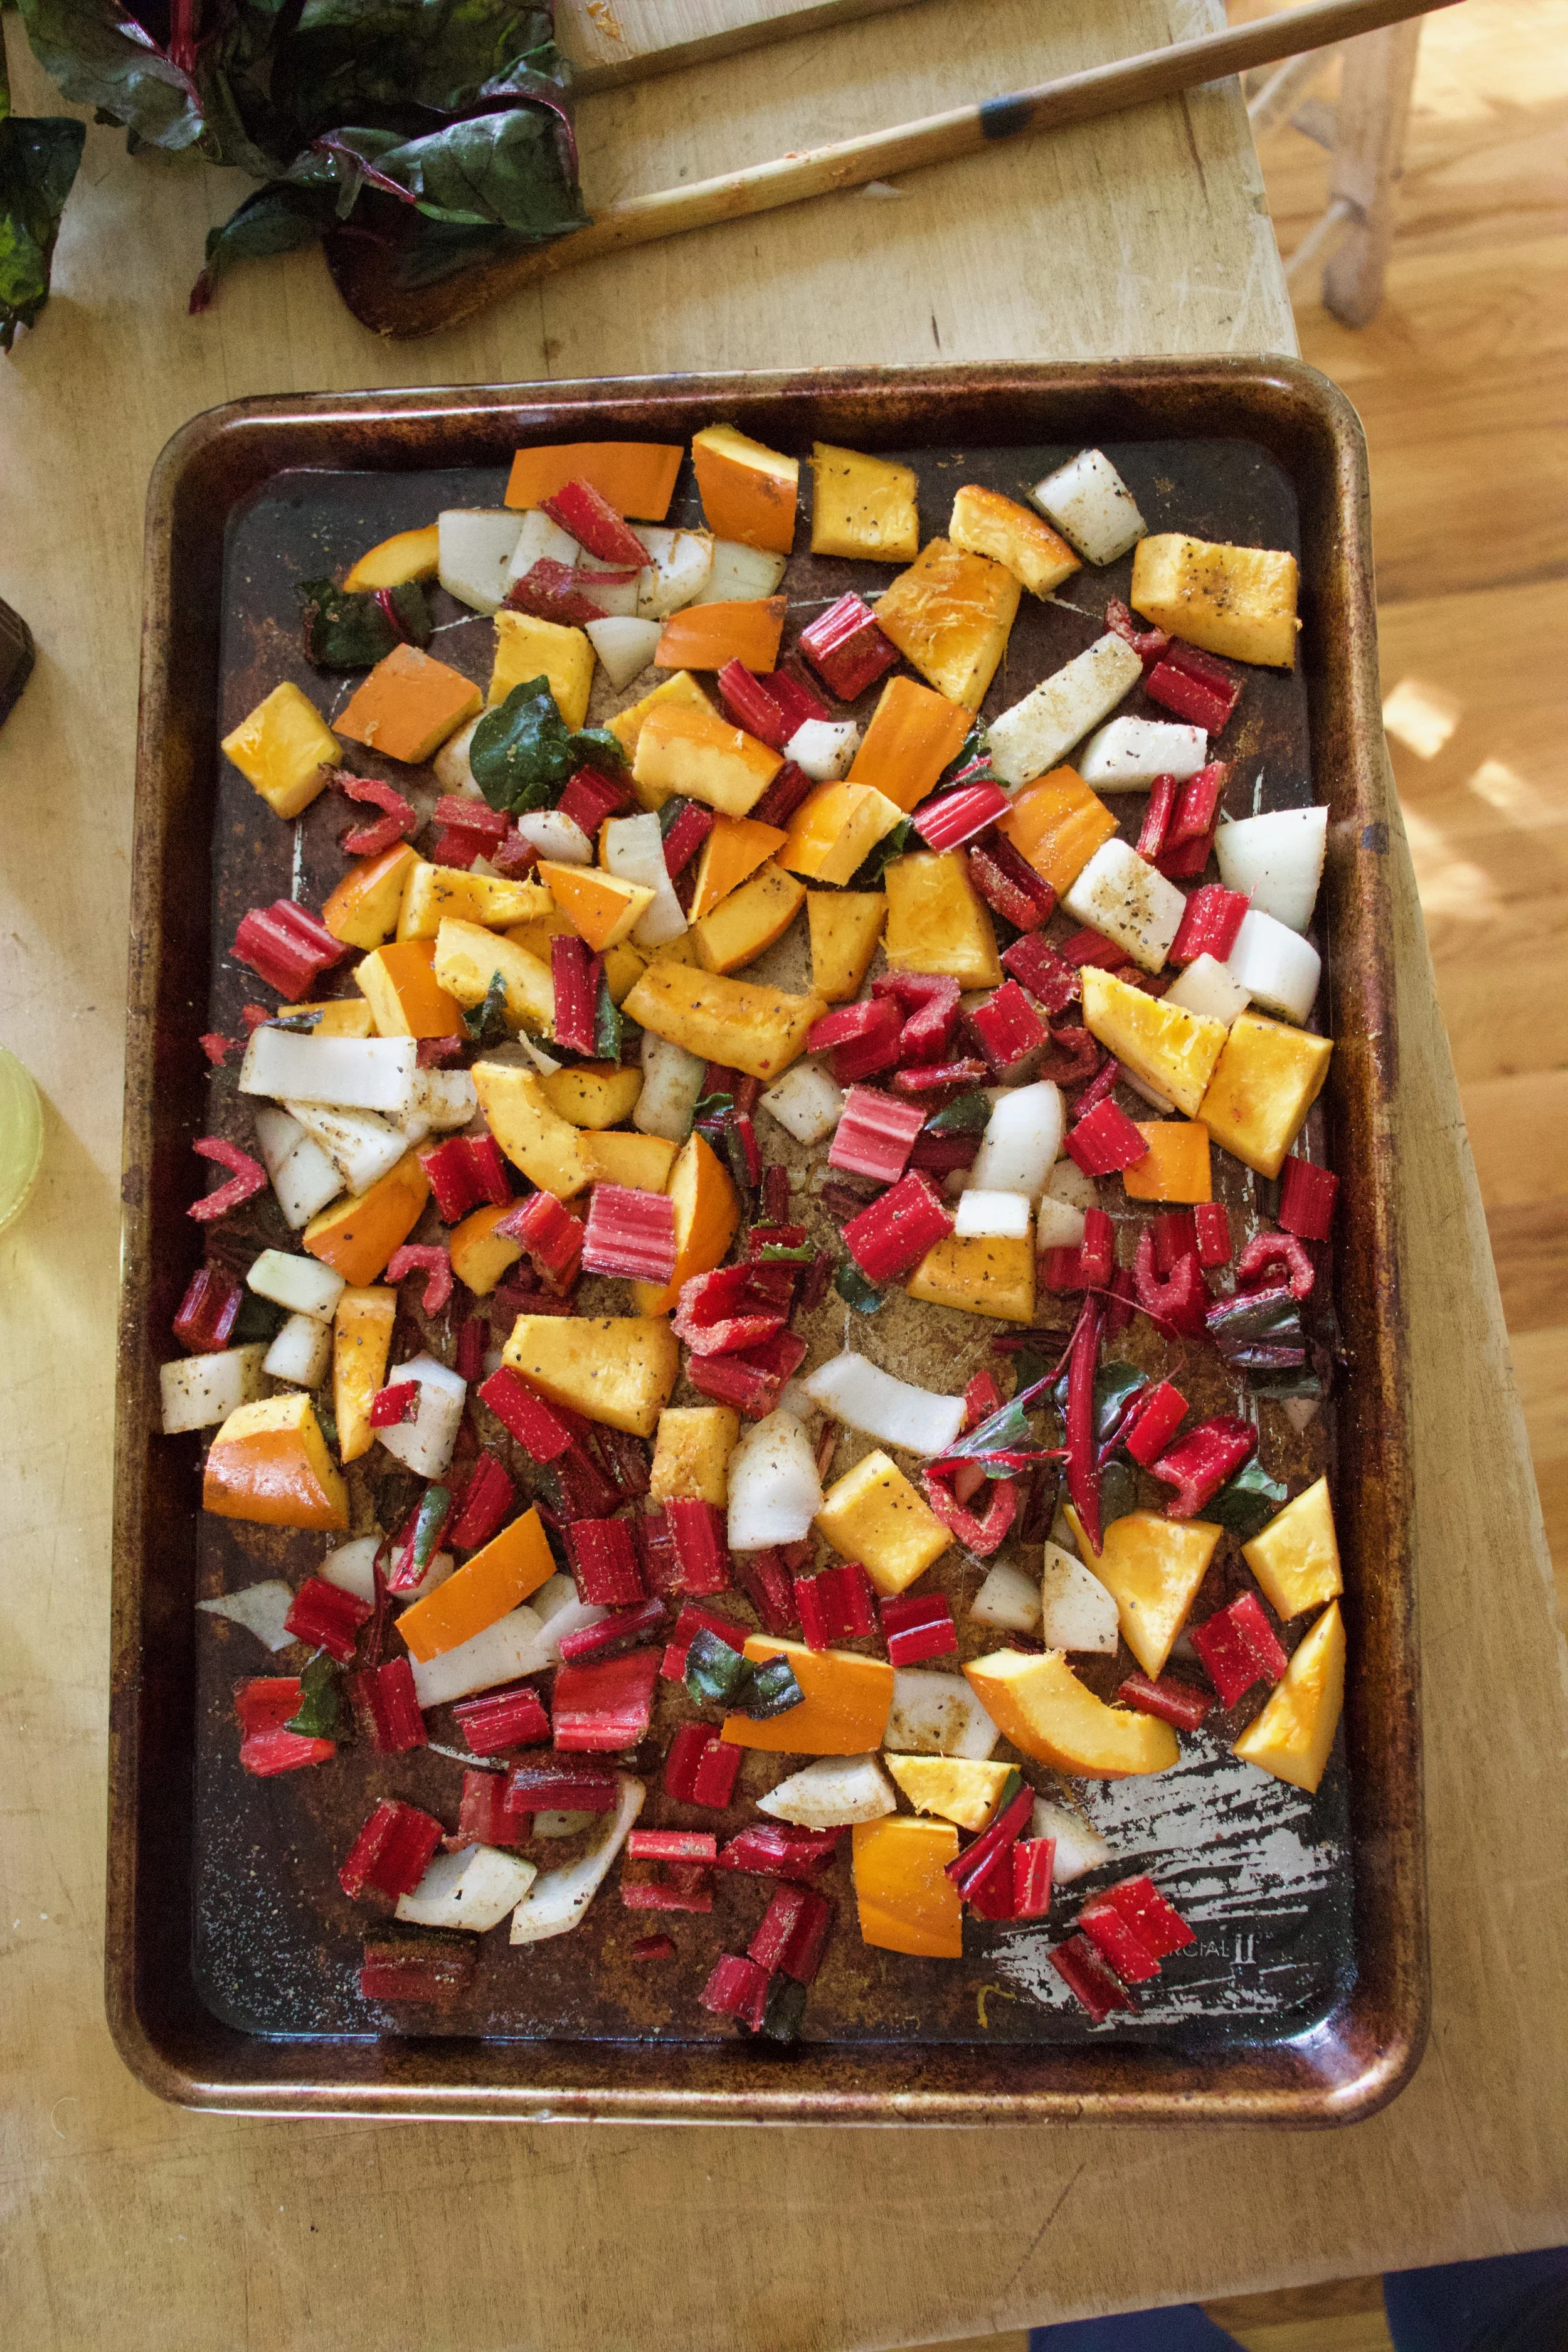
A fall roast ready for the oven.
Once veggies are in oven roasting, make the lentils. Water and lentil in a pot, bring to a boil, turn on low and let cook until lentils are done. Once cooked, sprinkle in a pinch of salt.
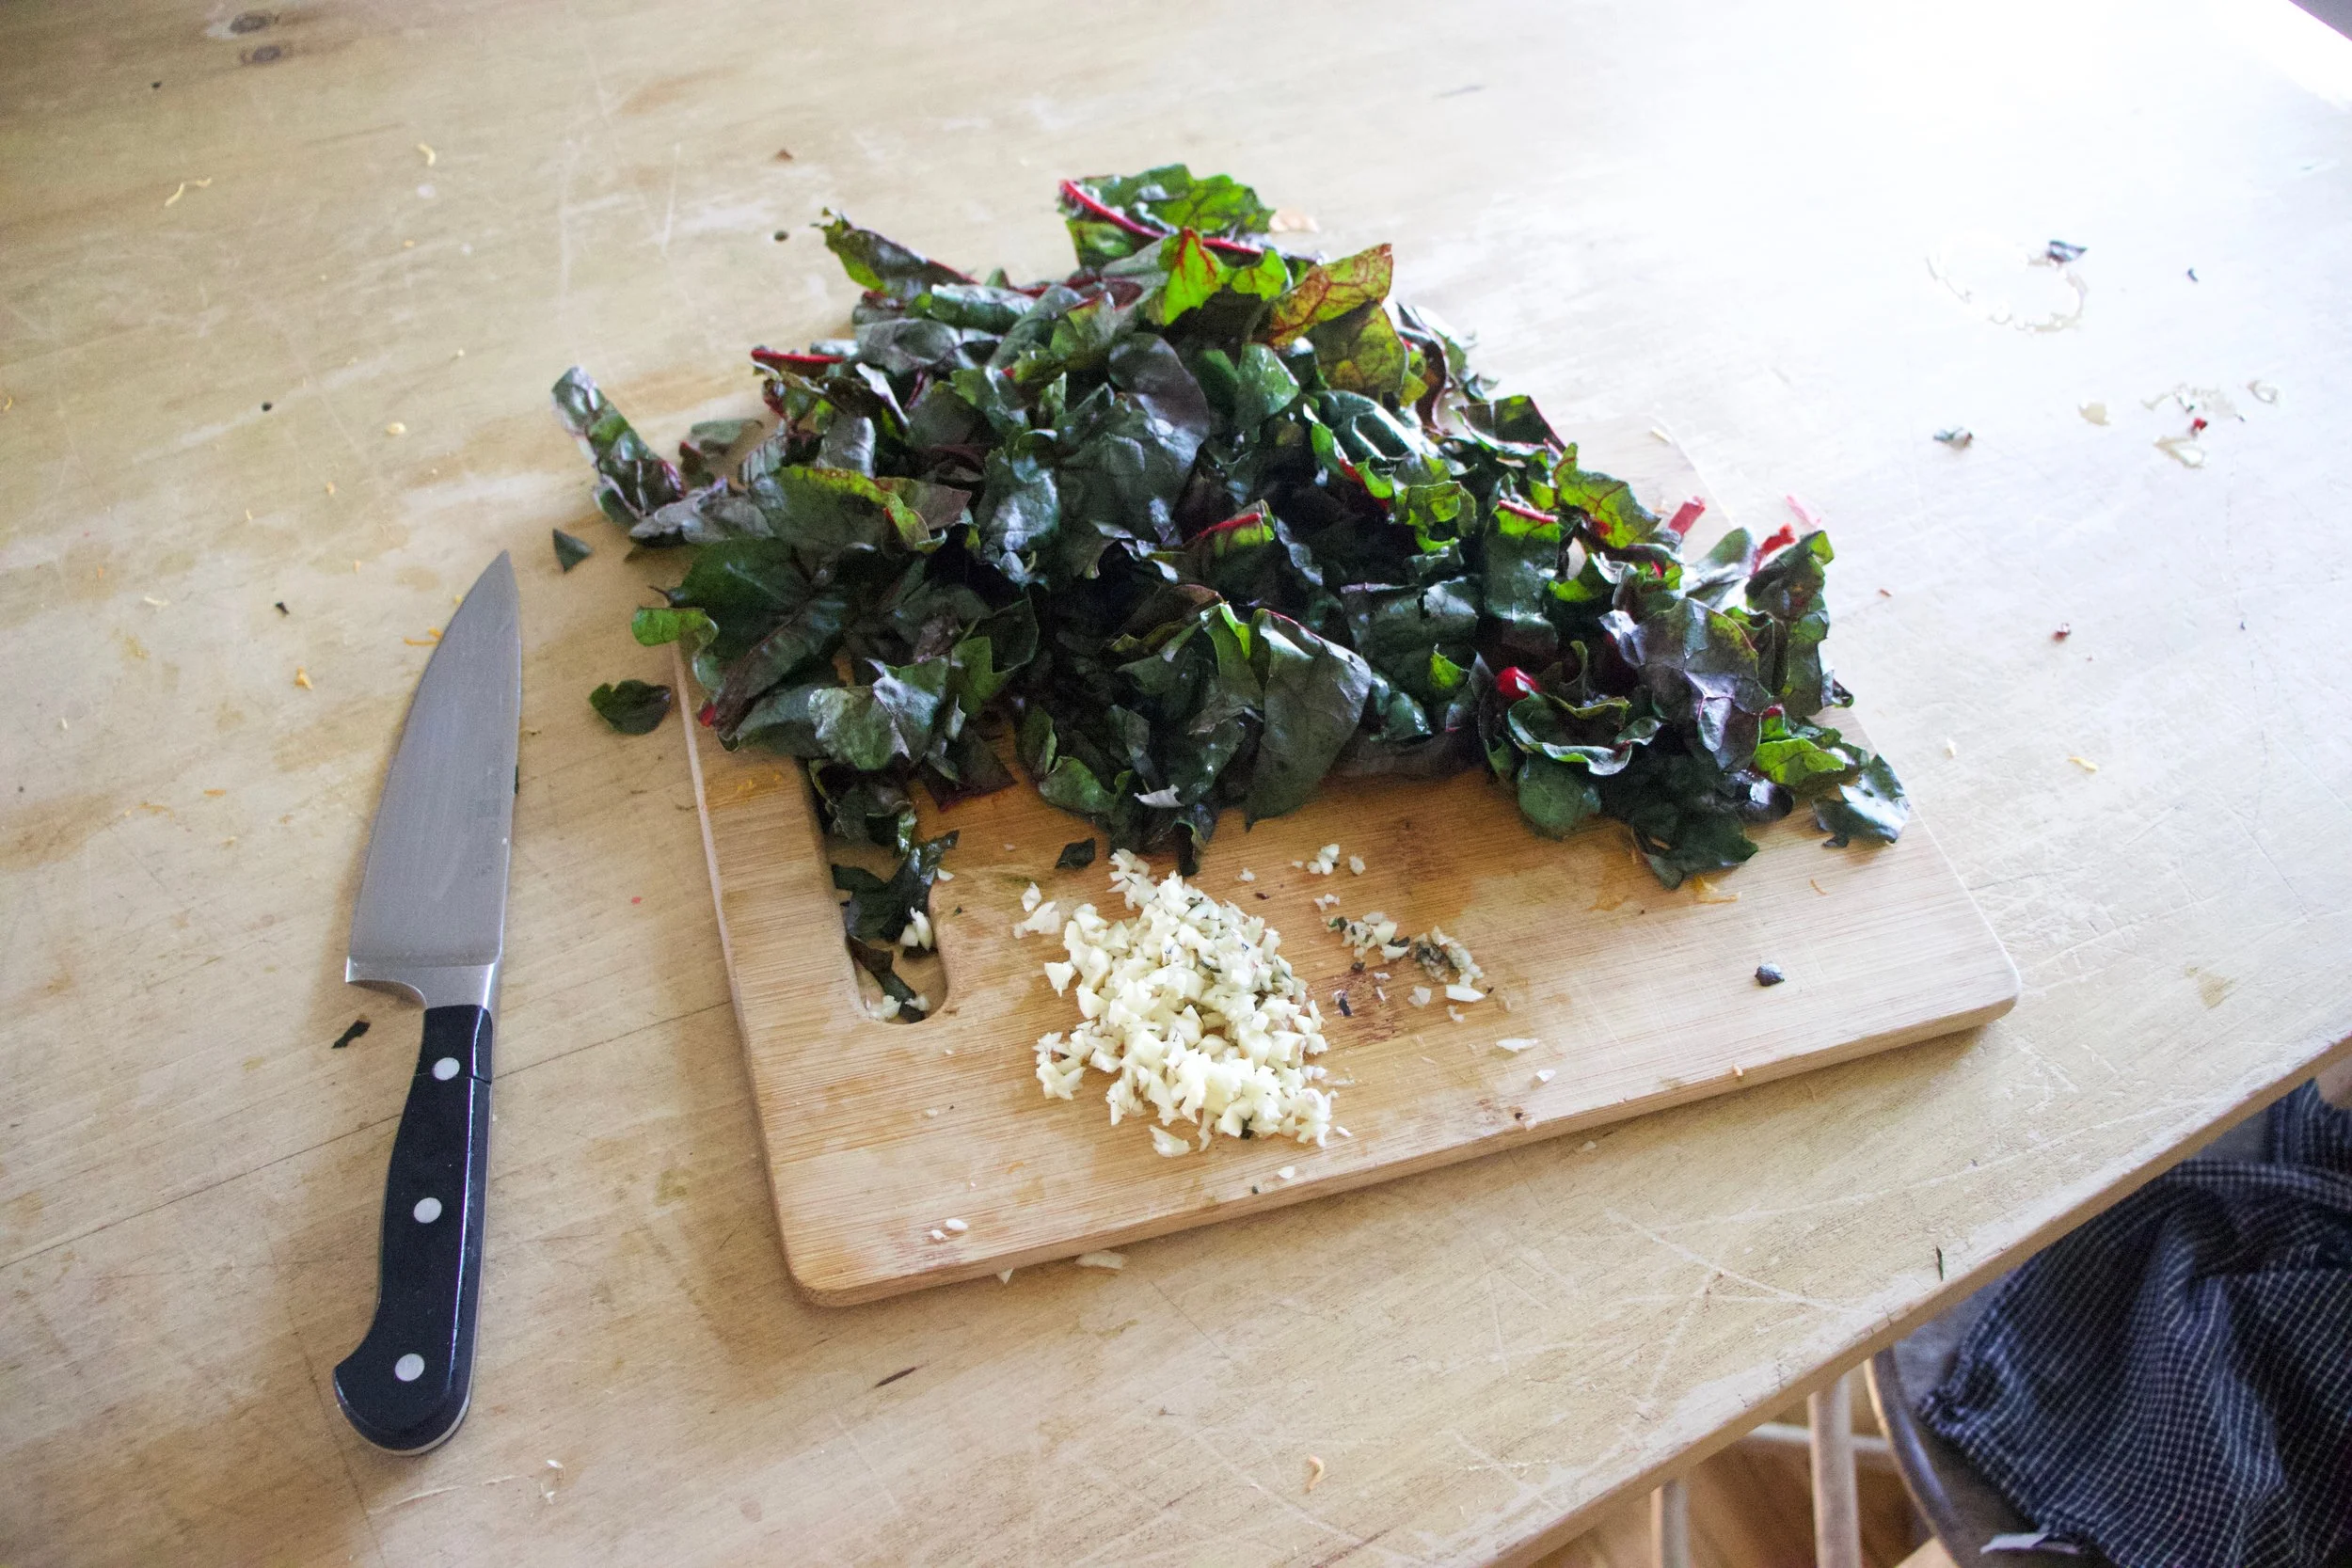
Also mince up the garlic and rough chop up the chard leaves.
Fall veggies are looking nice and roasted and tasting all so good. Toss in the minced garlic and chopped chard leaves and pop the baking sheet back into the oven for a little longer just until the garlic and leaves are cooked too.
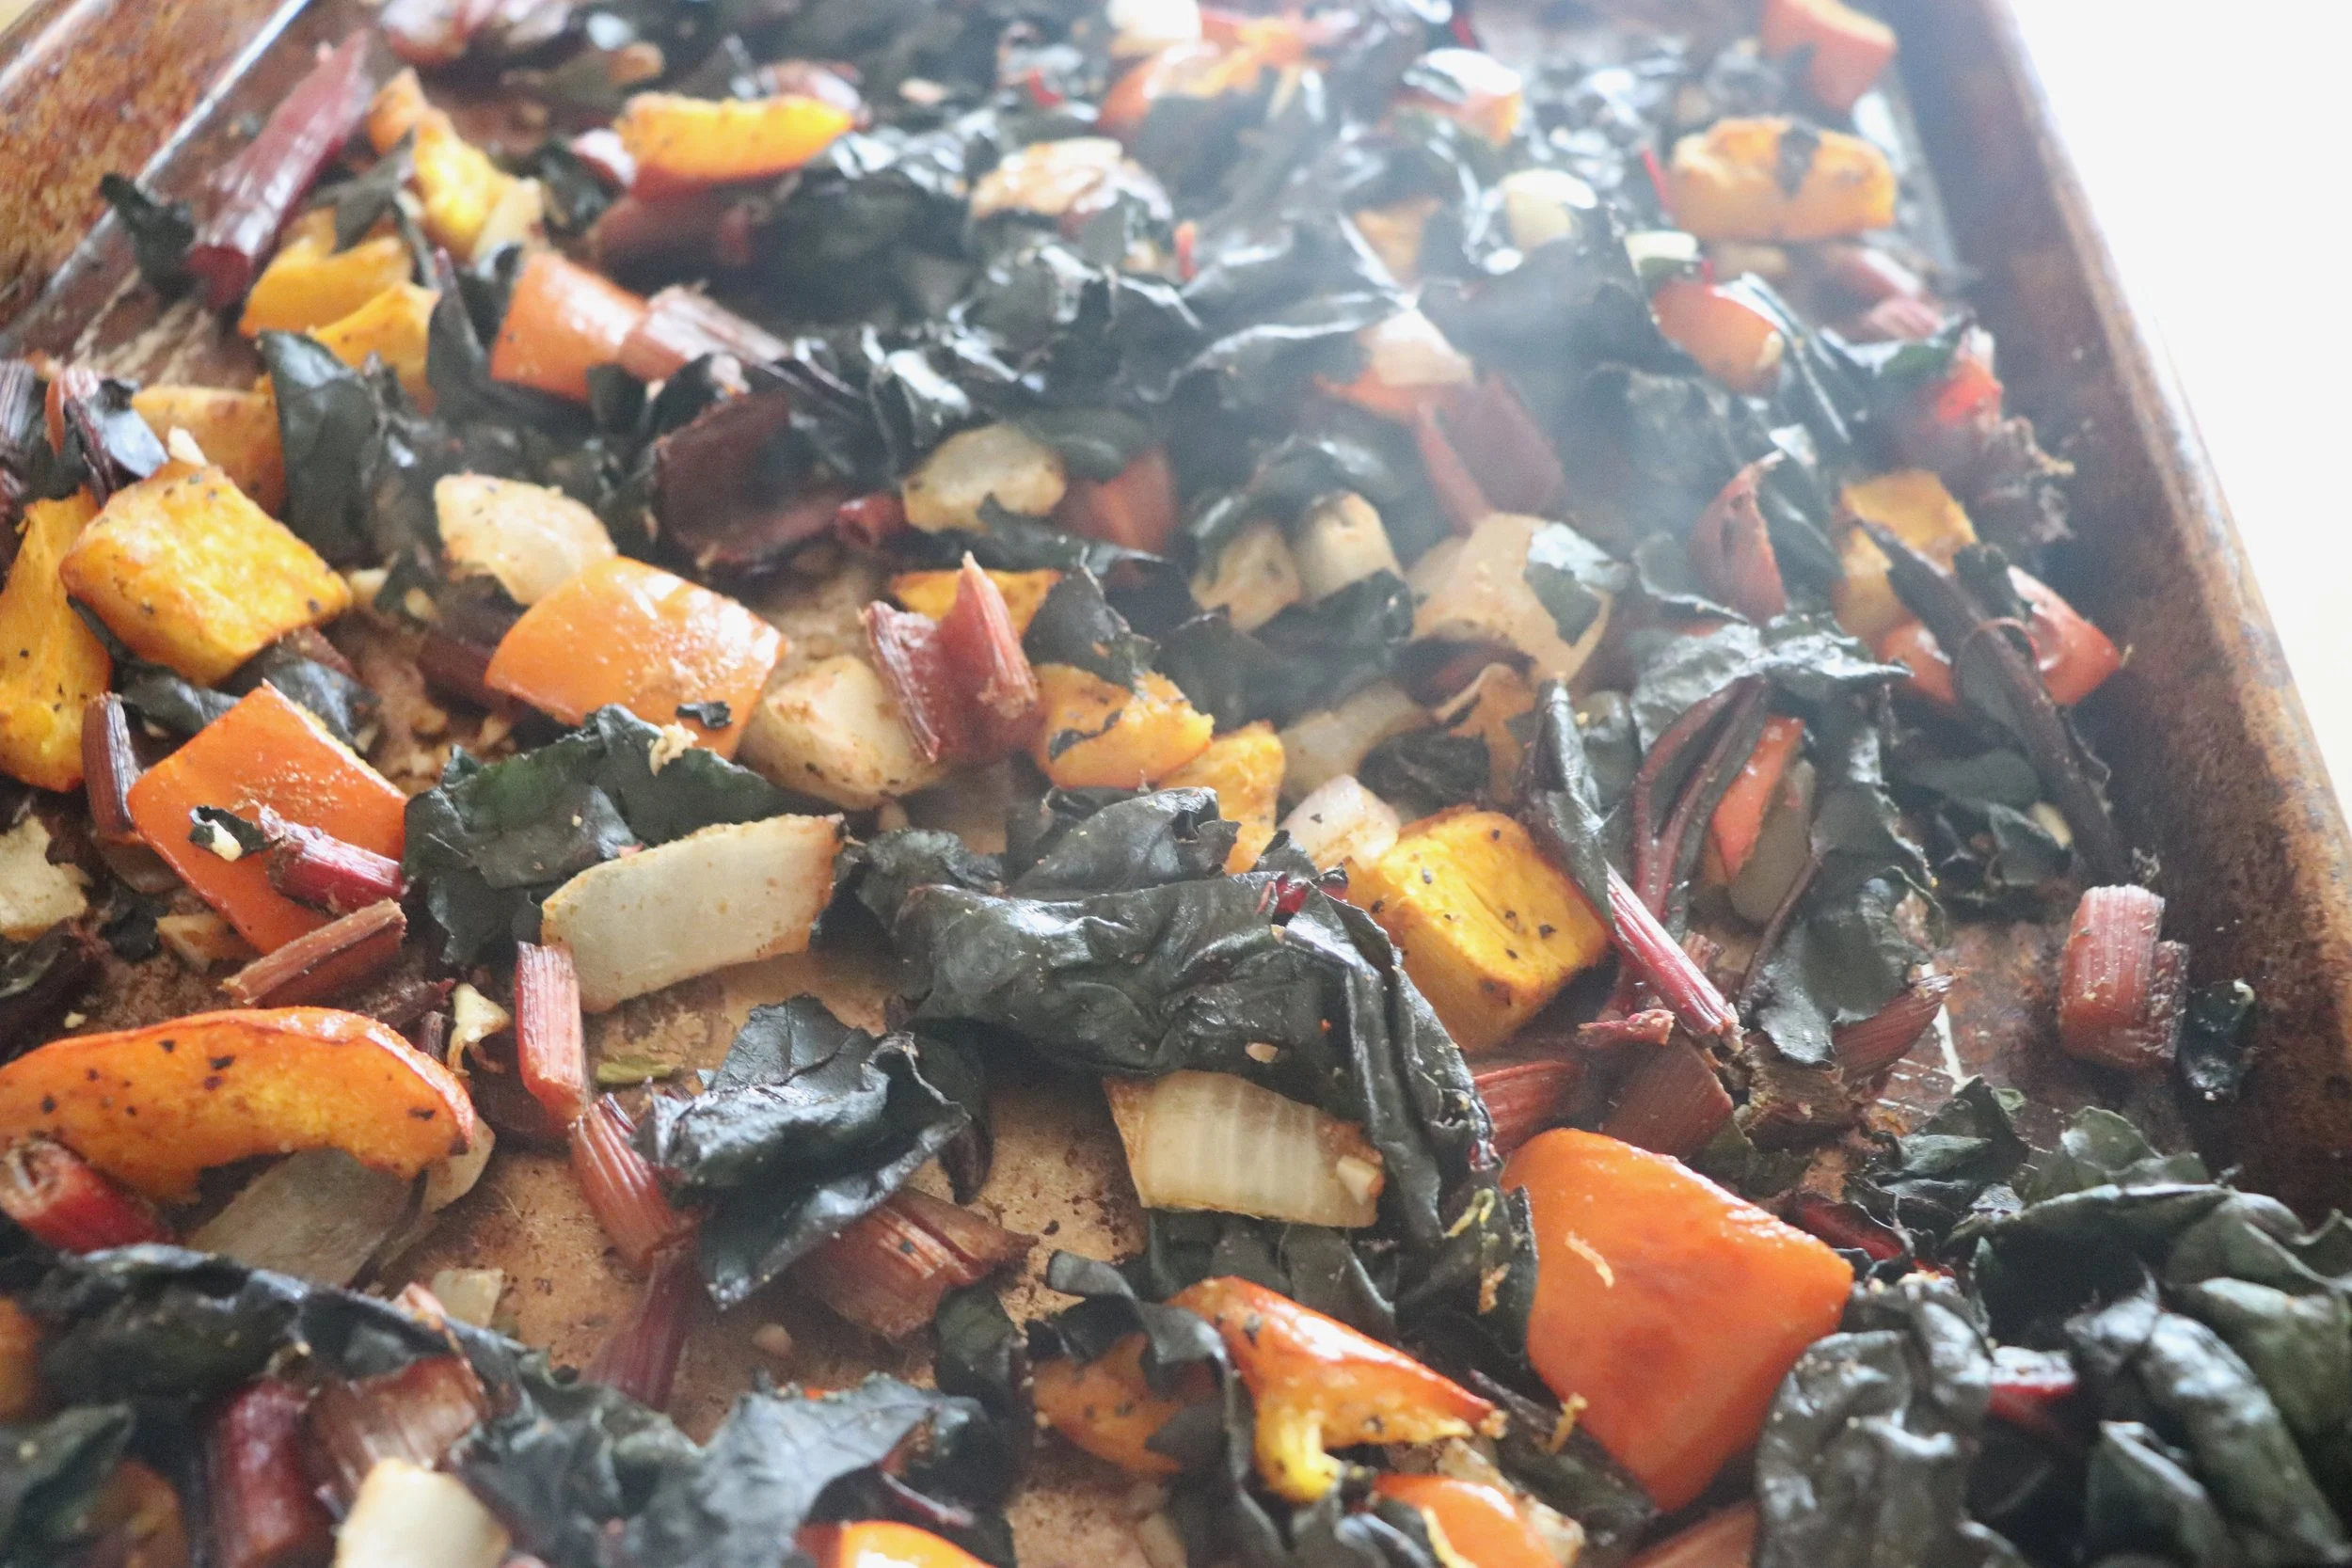
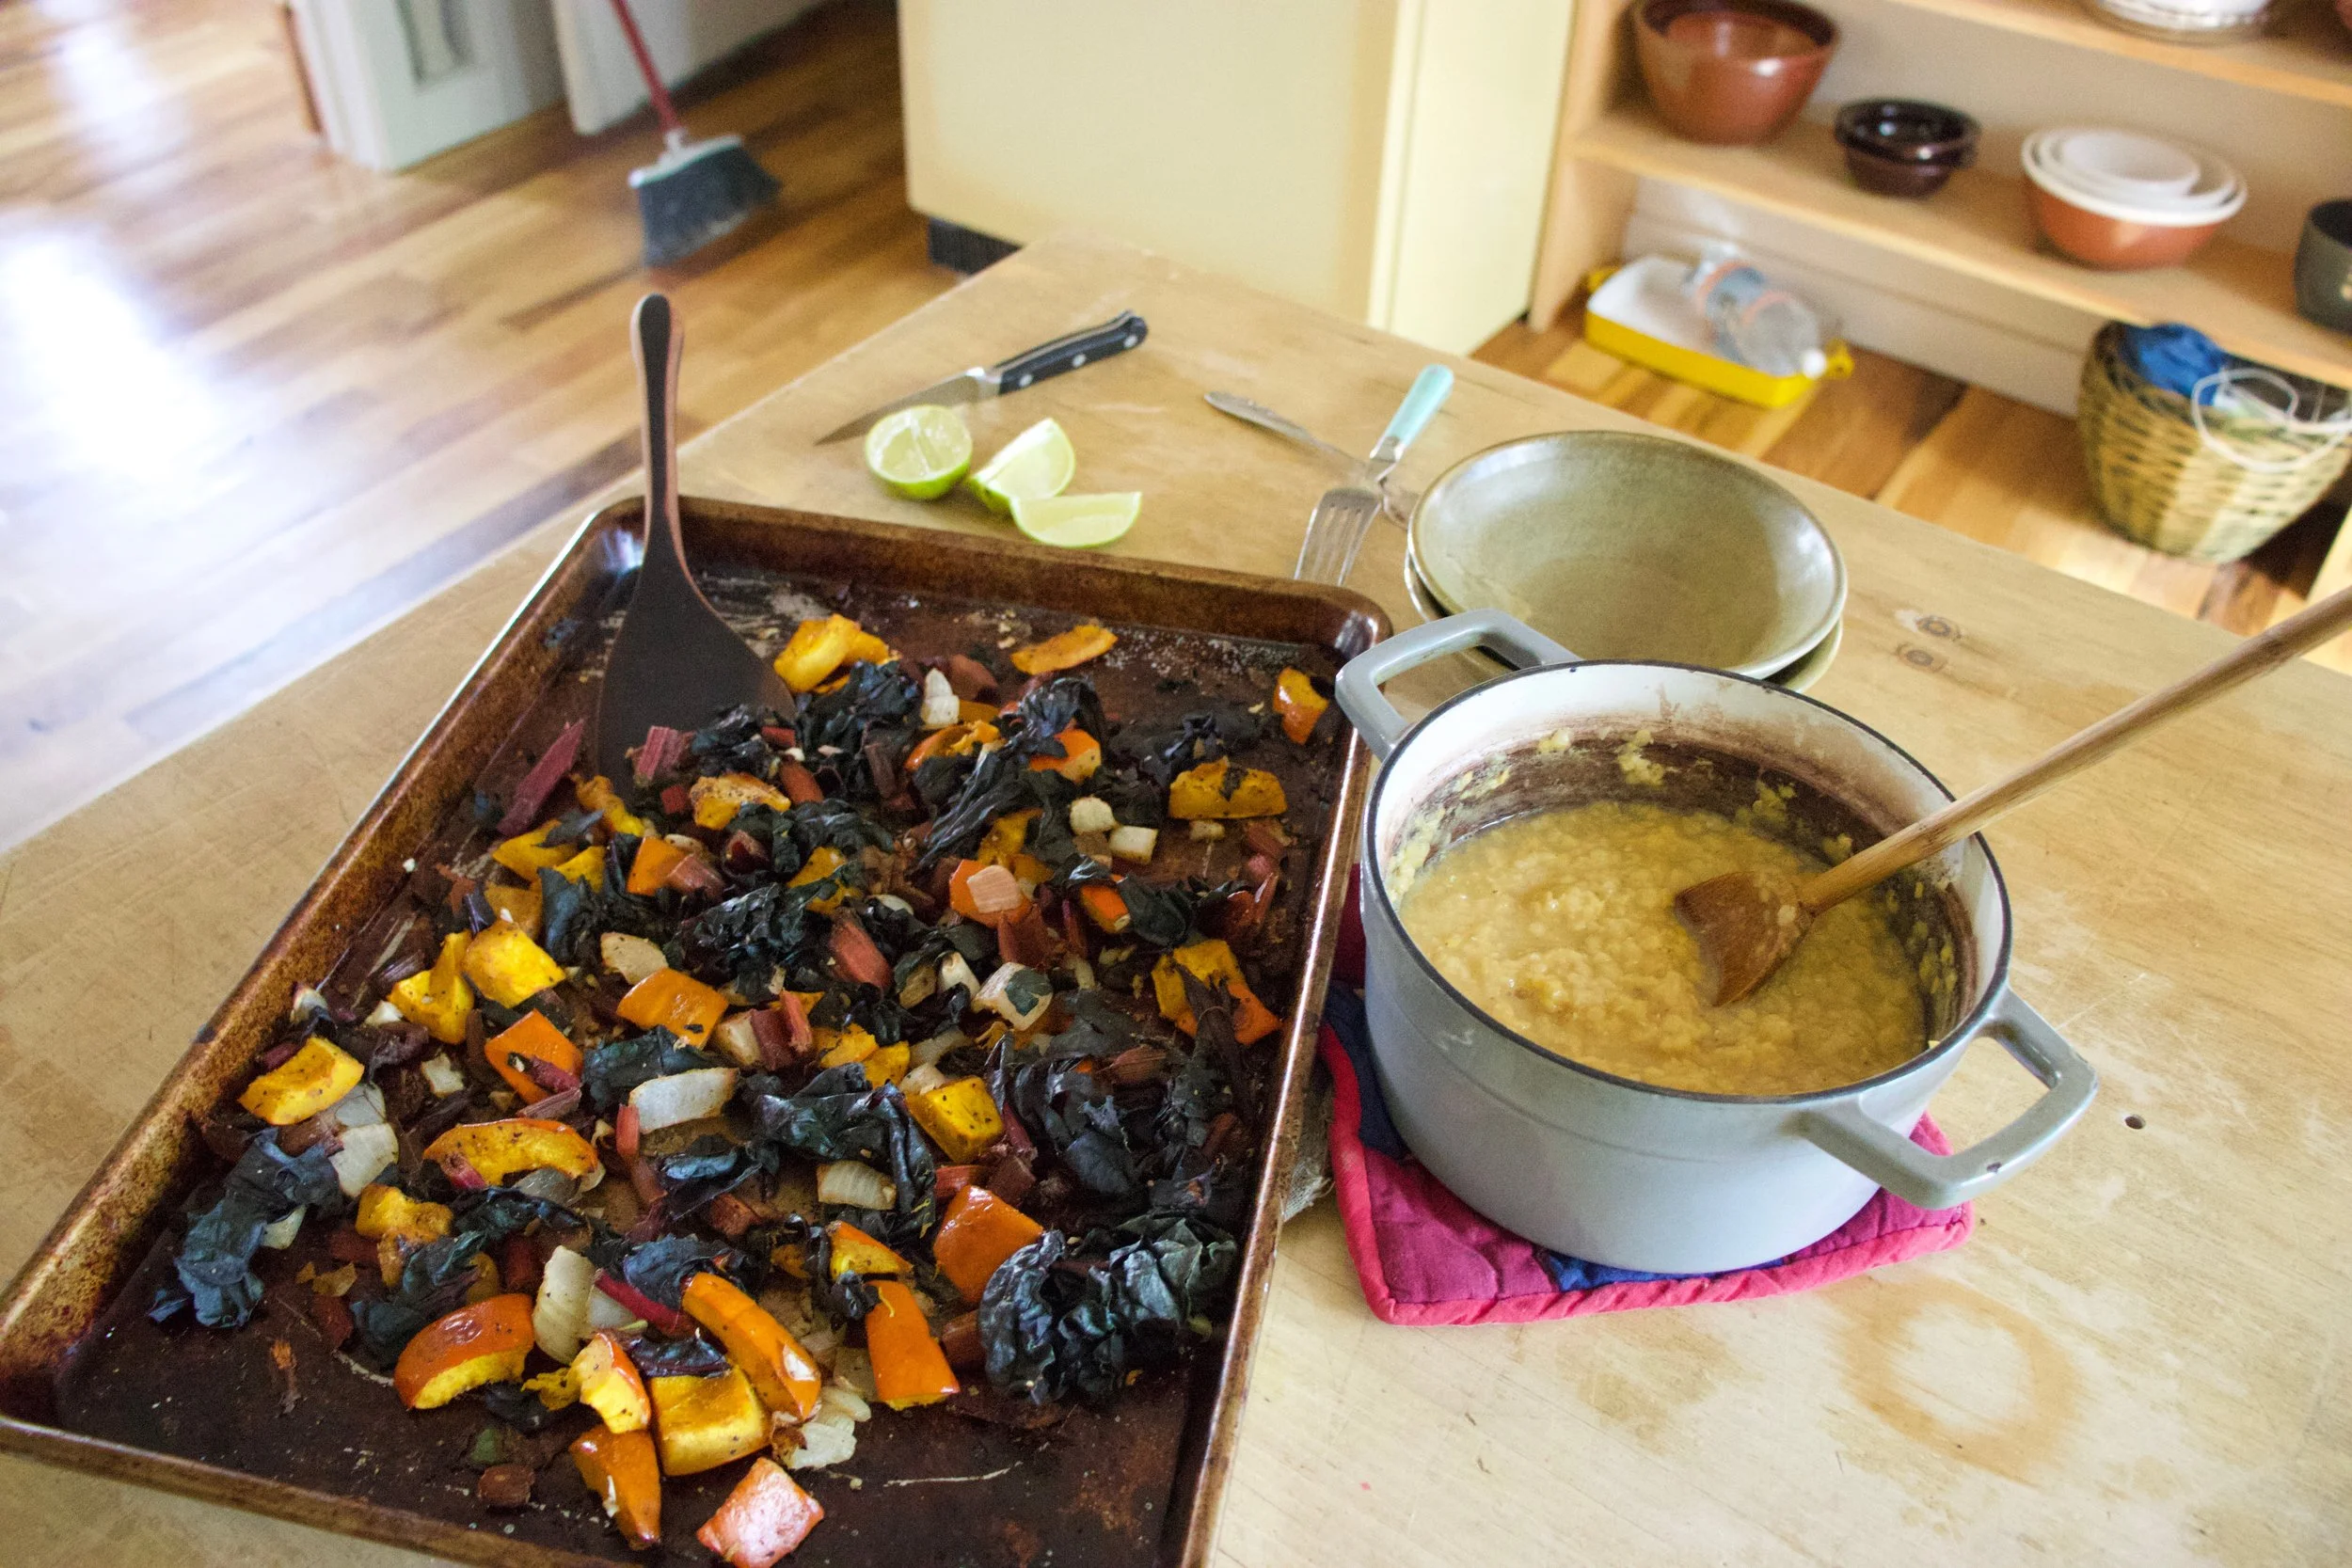
Now you have your lentils and the cumin roasted pan of goodness. If you have a lime, cut that up too because it will make this all just perfect. Perfect I tell you.
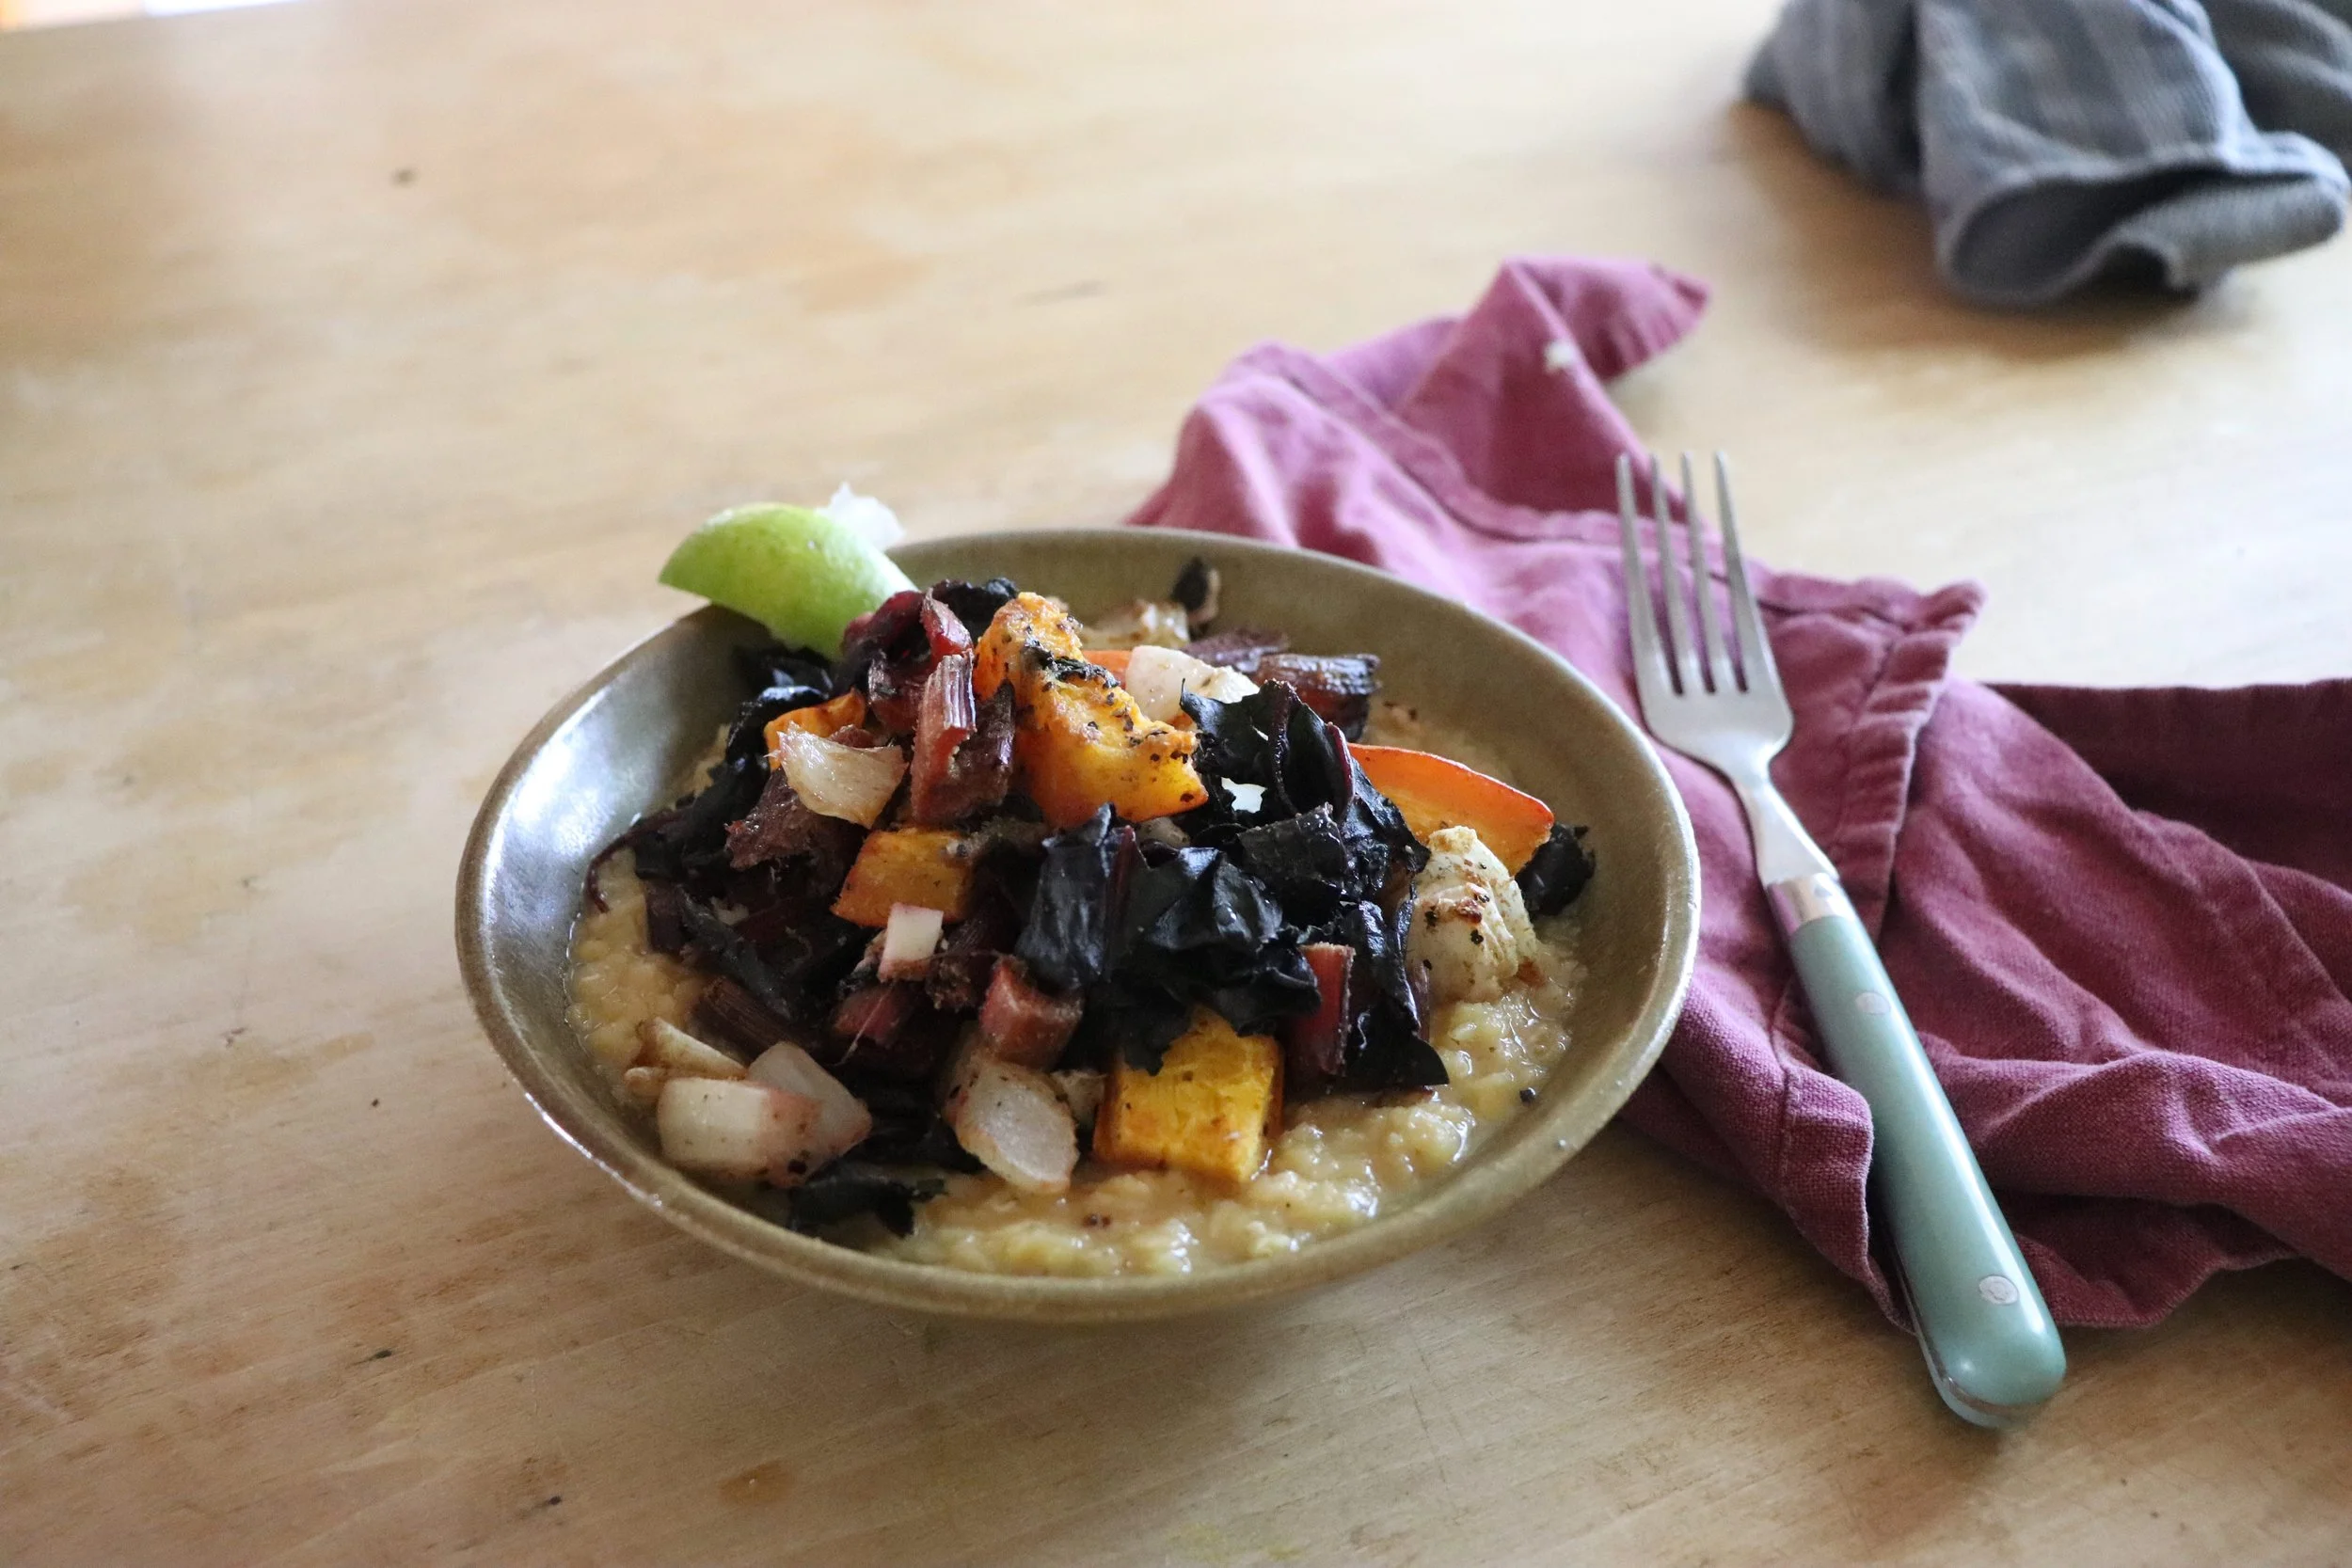
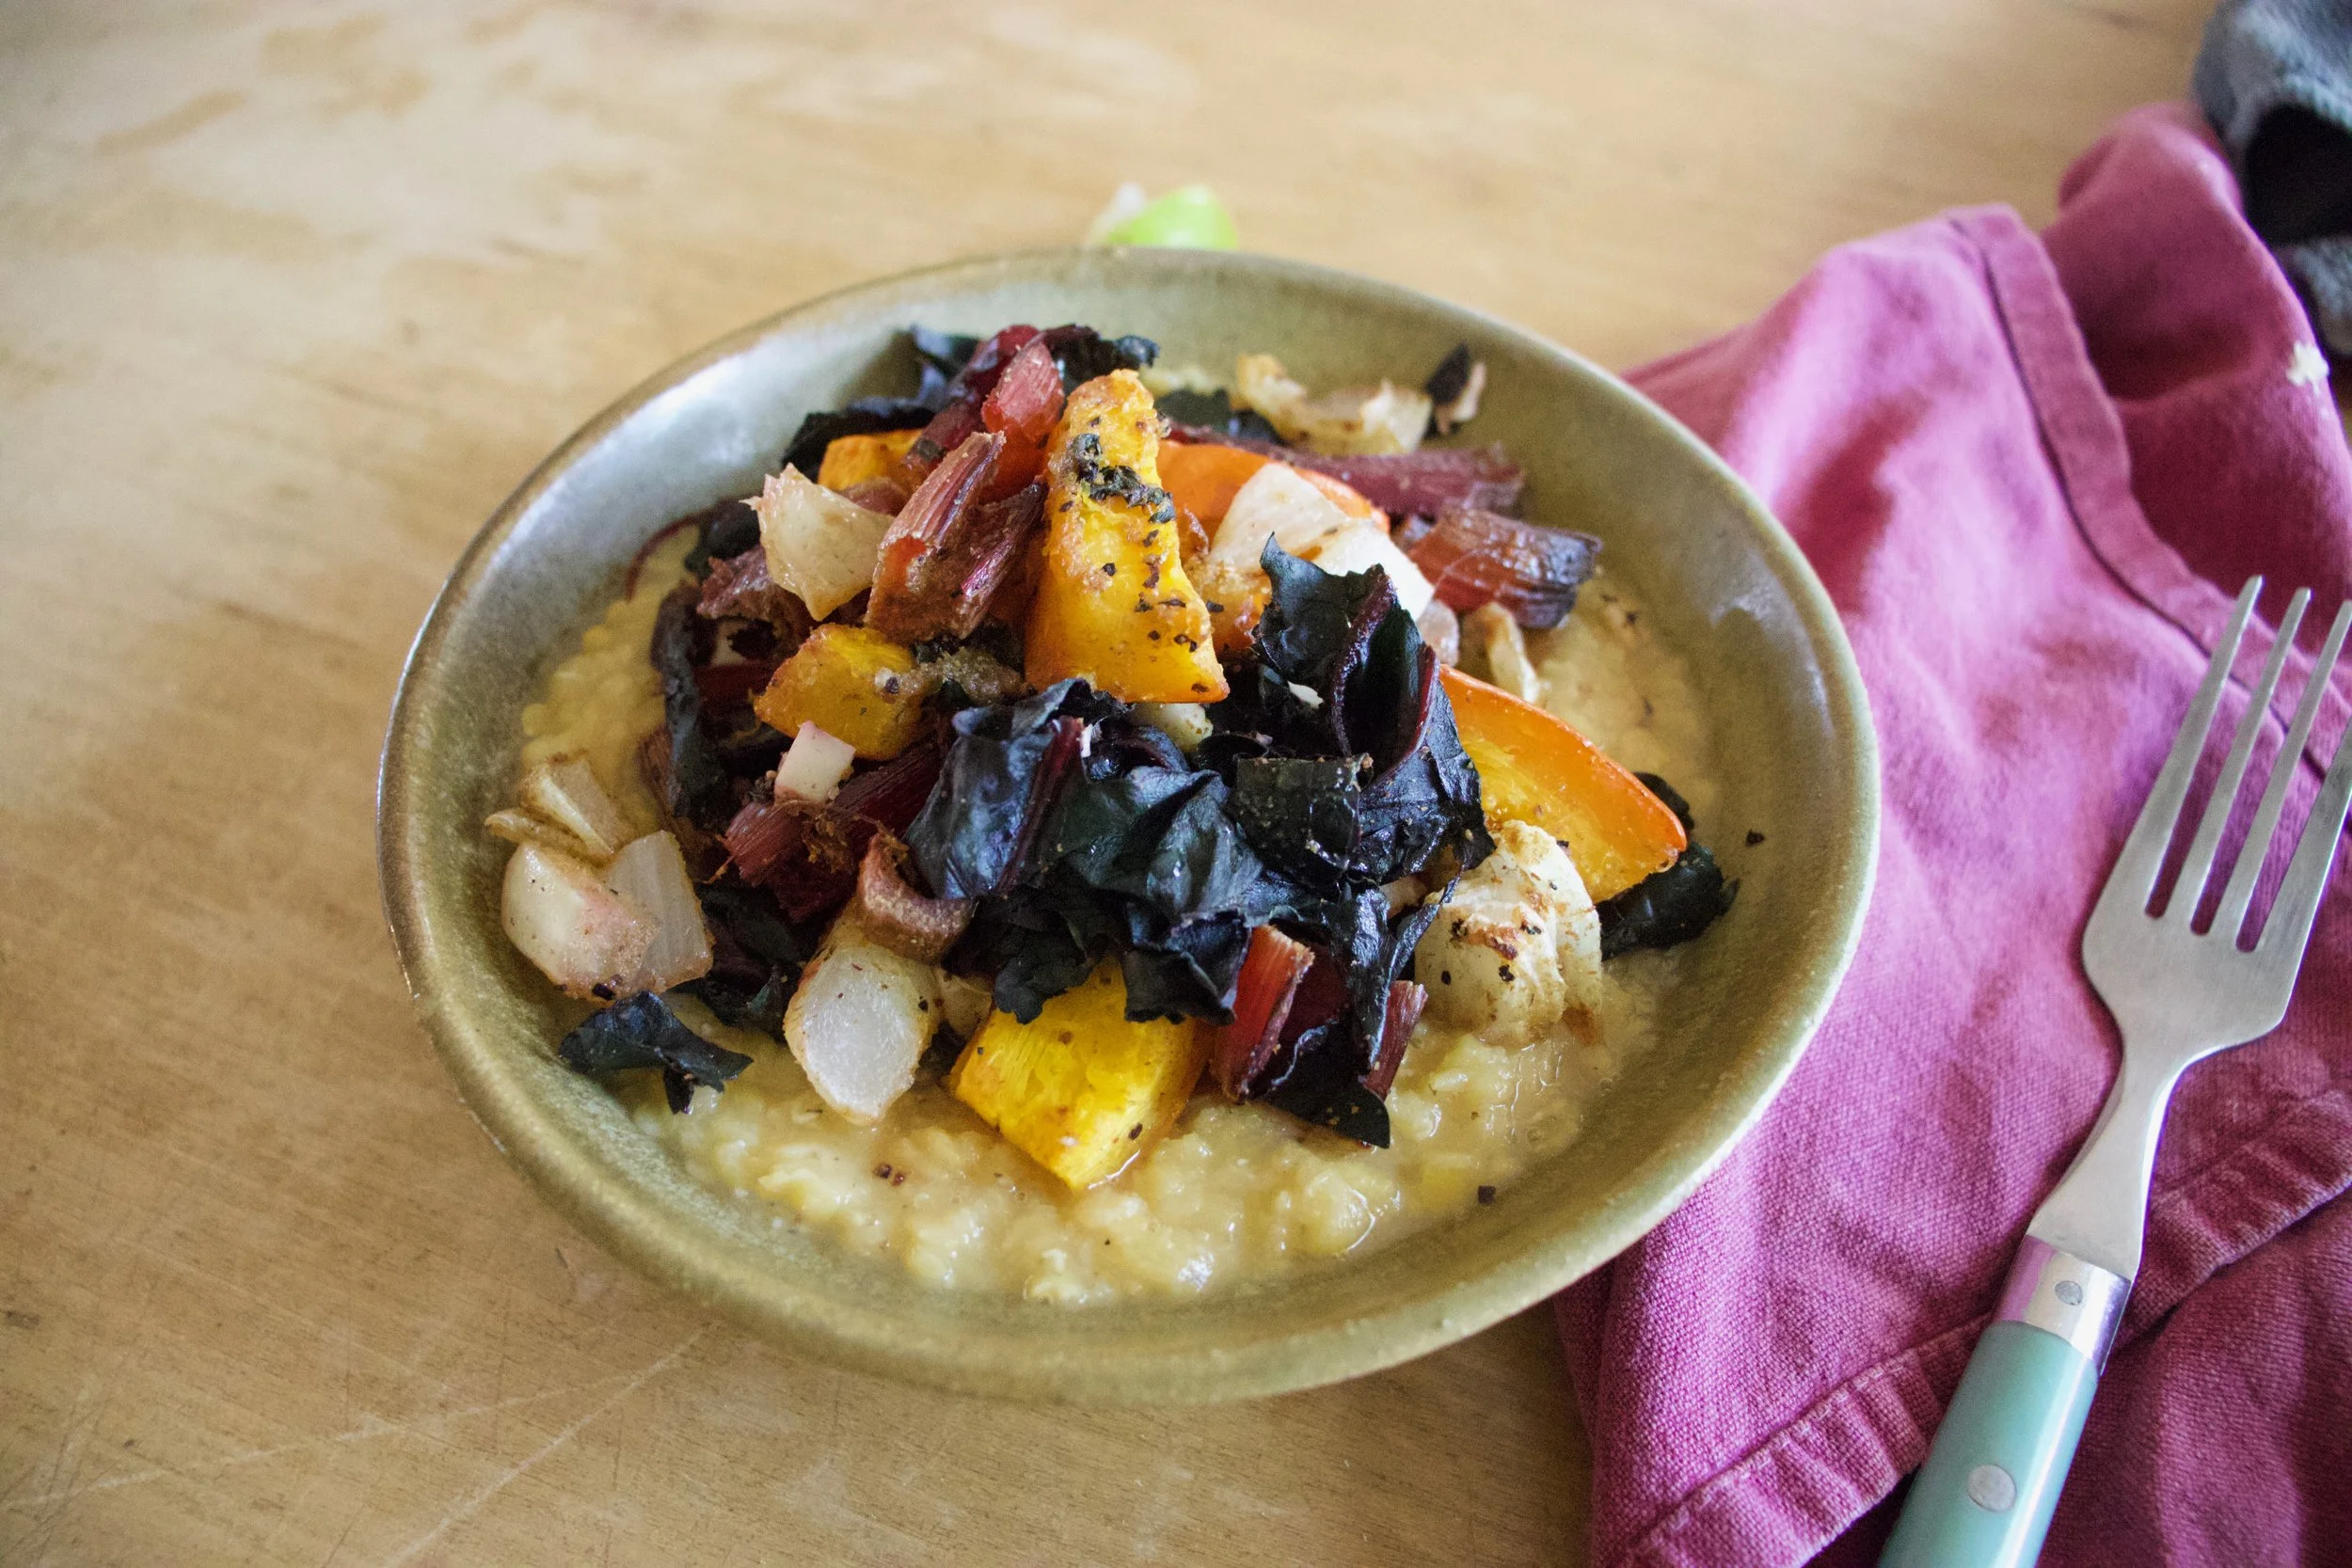
Here it is. A bowl of red lentils, piled high with cumin roasted pumpkin and chard with a fresh squeeze of lime. Once you aat a few bites, tell me. Best fall dish ever, right!?!
Have a fantastic fall weekend.
-C
serve 2-3
-
1 pie pumpkin
-
1 bunch of Swiss chard (between 5-6 large stalks, more if the stalks are small)
-
1 yellow onion
-
2-3 cloves garlic
-
1 cup died red lentils
-
3 cups water
-
2 tablespoons cumin
-
A lime (optional)
-
salt and pepper
-
olive oil
Preheat oven to 400
Start by cutting pumpkin in half and removing seeds, (place seeds aside for later to roast), then cut the pumpkin into inch or so cubes. Grab the chard, remove the stalks and ribs from the leaves, place leaves to the side, and dice the stalks up. Dice onion into medium sized chunks and place all of what you have just chopped on a baking sheet. Drizzle a teaspoon or two of oil all over. Spinkle on the cumin and a pinch of salt and pepper and toss around. Evenly distribute the veggies on the pan and stick into the oven to roast, for about 25 minutes, or until the pumpkin and chard stalks are fork tender. In the meantime rough chop the leaves and mince the garlic. When the pumpkin and chard are just about done, remove pan from oven and toss in the garlic and leaves. Place pan back into oven for another 8-10 minutes or until the leaves have cooked. Remove from oven.
While the veggies are roasting, make the lentils. Place the water and lentils into a medium sized pot and bring to a boil. Once boiling, turn down to low, giving it a stir ever few minutes until lentils are soft.Once cooked, remove from heat and season with pinch of salt salt.
When the lentils are cooked and the veggies are roasted, it%u2019s time to eat. Spoon lentils into a bowl and top with roasted veggies. Season with more salt and pepper if needed and cut up lime (optional) and squeeze juice all over. Eat right away and save any for later.


Whether you are stuck at home because you have the flu or because you do not want to leave the house for fear of turning into a human popsicle, or maybe even you just don’t want to because this is the first weekend that you have no plans, no obligations, no parties, well then you are in good company.%u00a0
Unfortunately for me, I have to leave the house.%u00a0I have obligations, I am getting over the flu, and I am pretty sure I am going to turn into a popsicle because when -8 is the high for the day, well, it’s bound to happen.%u00a0
But lucky for me I already made the soup, in my fitful sicky, but able to think about and eat food again state. Yes I had the flu, or better yet, the stomach flu. And the stomach flu and food do not mix. Even the thought of food would send me reeling and it was just no good. I seriously thought I would never be able to think or better yet, eat food again without turning straight to the bucket.%u00a0But I will stop there because you don’t need to hear about my misery. Anyway, the death spiral subsided and food was no longer the enemy. I actually wanted (kinda of) to eat again. So food it was to be.
Because it was my first day back to food, I really wanted to take it super easy. (Before I made this soup I actually boiled a carrot until it was mush and ate that just to test my tummy)%u00a0%u00a0Nothing heavy, obviously hot and warming, not to spicy. %u00a0Just soothing and nourishing. And I didn’t really want think about it and worry about it and spend much time in the kitchen. Sure I could have bought a can of soup but actually no, canned soup is not for me. And I know the mr would have thrown something together for me but I was determined to be a slightly productive human and do something with my day even if it was minimal.%u00a0%u00a0I had to make the soup, I had to do it.%u00a0
This soup was exactly what I needed and could not have been any easier to make.%u00a0Chop up some shit, toss it into a pot, and walk away (or nap on the couch) for a little while. It can be done on the stove, in a slow cooker, or if you have a Instapot and want to do that, I should say go for it. And I am not saying this because I was starving, but %u00a0this was one dang fantastic tasting soup. Right in every way. It’s going on my semi permanent soup rotation for the next few months.%u00a0%u00a0%u00a0%u00a0
No bad after 48 hours of dying and no food. (stupid flu)

The stuff. Carrots, celery, a small rutabaga, and and onion. A red potato, a parsnip, some green been, garlic, canned tomatoes, navy beans, %u00a0thyme, rosemary, a bay leaf, and salt and pepper.
Note here that all this stuff was already in my house. Say you do not have a rutabaga or a parsnip, it’s totally fine. You can add%u00a0

Here is the hardest part. Chop it all up into little pieces. All of it all mixed together, just get it chopped.

And toss it all into a big pot with he green beans,%u00a0a handful of dried beans,%u00a0and the spices.

Add in the can of tomatoes

Then fill the pot with water.
Now stick the pot on the stove and bring to a boil then reduce heat to a little lower the medium and loosely cover with a lid.%u00a0

A couple hours later, once the beans are cooked and the veggies are tender, you got yourself a big ol’%u00a0pot of some fantastic home made, easy as can be, vegetable soup.%u00a0

Chunky, hearty, and easy as can be. And the best part is that I have left overs and we all know that left over soup is the best soup.%u00a0
Stay warm, don’t turn into a popsicle.
-C
Makes a big pot of soup
- 2 carrots
- 3 stalks of elery
- 1 onion
- 1 small rutabage
- 1 red onion
- 1 parsnip
- 2 cups frozen green beans%u00a0
- 1/2 cup navy beans
- 3-4 cloves garlic
- 1 28oz can %u00a0(no salt added)%u00a0crushed tomatoes
- 1 teaspoon roasemary
- 1 teaspoon thyme
- 1 bay leave
- salt and pepper
- water
Note. You might not want rutabaga in this or you might want to add some cauliflour or peppers, so go for it. It’s a pretty adaptable soup so use what you got and like.%u00a0
Grab all you raw veggies, give them a quick wash, then chop them all up into bite sized pieces. Mince up the garlic.%u00a0Dump it all into a large heavy bottom pot. Add in the frozen green beans, the dried beans, the spices and the can of tomatoes. Add a pinch of salt and pepper and %u00a0enough water to cover the everything 3-4 inches.%u00a0
Place pot on stove, bring to a boil, then reduce heart to medium low and loosely cover wit a lid. Cook, giving it a stir once in a while, %u00a0for a least 1.5 hours ( can cook all day on long on simmer if you like)%u00a0%u00a0or until the beans are coooked through and the veggies have soften.%u00a0Add more water if needed.
Serve when you are ready to eat. Refrigerate leftovers.
I am finally getting to the point in the kitchen that I have stuff for food other then lentils and carrots. Slowly I am restocking all the food and spices that I have let myself run out of when we started the moving out process. It has been a great purge, especially for all of my spices, which I have (or had) so many of and some where maybe not as fresh as they should be. Slowly I have been dumping those not so fresh spices into the crock pot with beans and replacing with freshy fresh ones.
The other day I did a spice run at the coop. Bulk spices are the way to go but sometime I can get a little out of hand. A pinch of this, a cup of that. I want them all, but I was pretty good. Just a few for now, and nothing to crazy.%u00a0 One that I did get was dill, lots and lot of freshly dried dill (I might have gone a little overboard with the amount I bought. I guess I was worried I might run out of dill, but its ok, I will for sure use it.). What to do with dill? Well toss pretty much anything with some dill and vinegar and you got yourself a dill pickle of sorts which is great.%u00a0 I just so happen to have a pickle craving and not a pickle in the house so me and my abundance of dill went and pickled potatoes to make french fries. And I must say, these fries are freaking amazing.%u00a0 Everything fantastic about dill pickles and french fries all in one. Baked because I don’t fry things, and not at all french. These fries are just what I needed to hit my dill pickle craving and use up some of my abundance of dill.
Here’s to the pickle fries. Mouth puckering goodness!

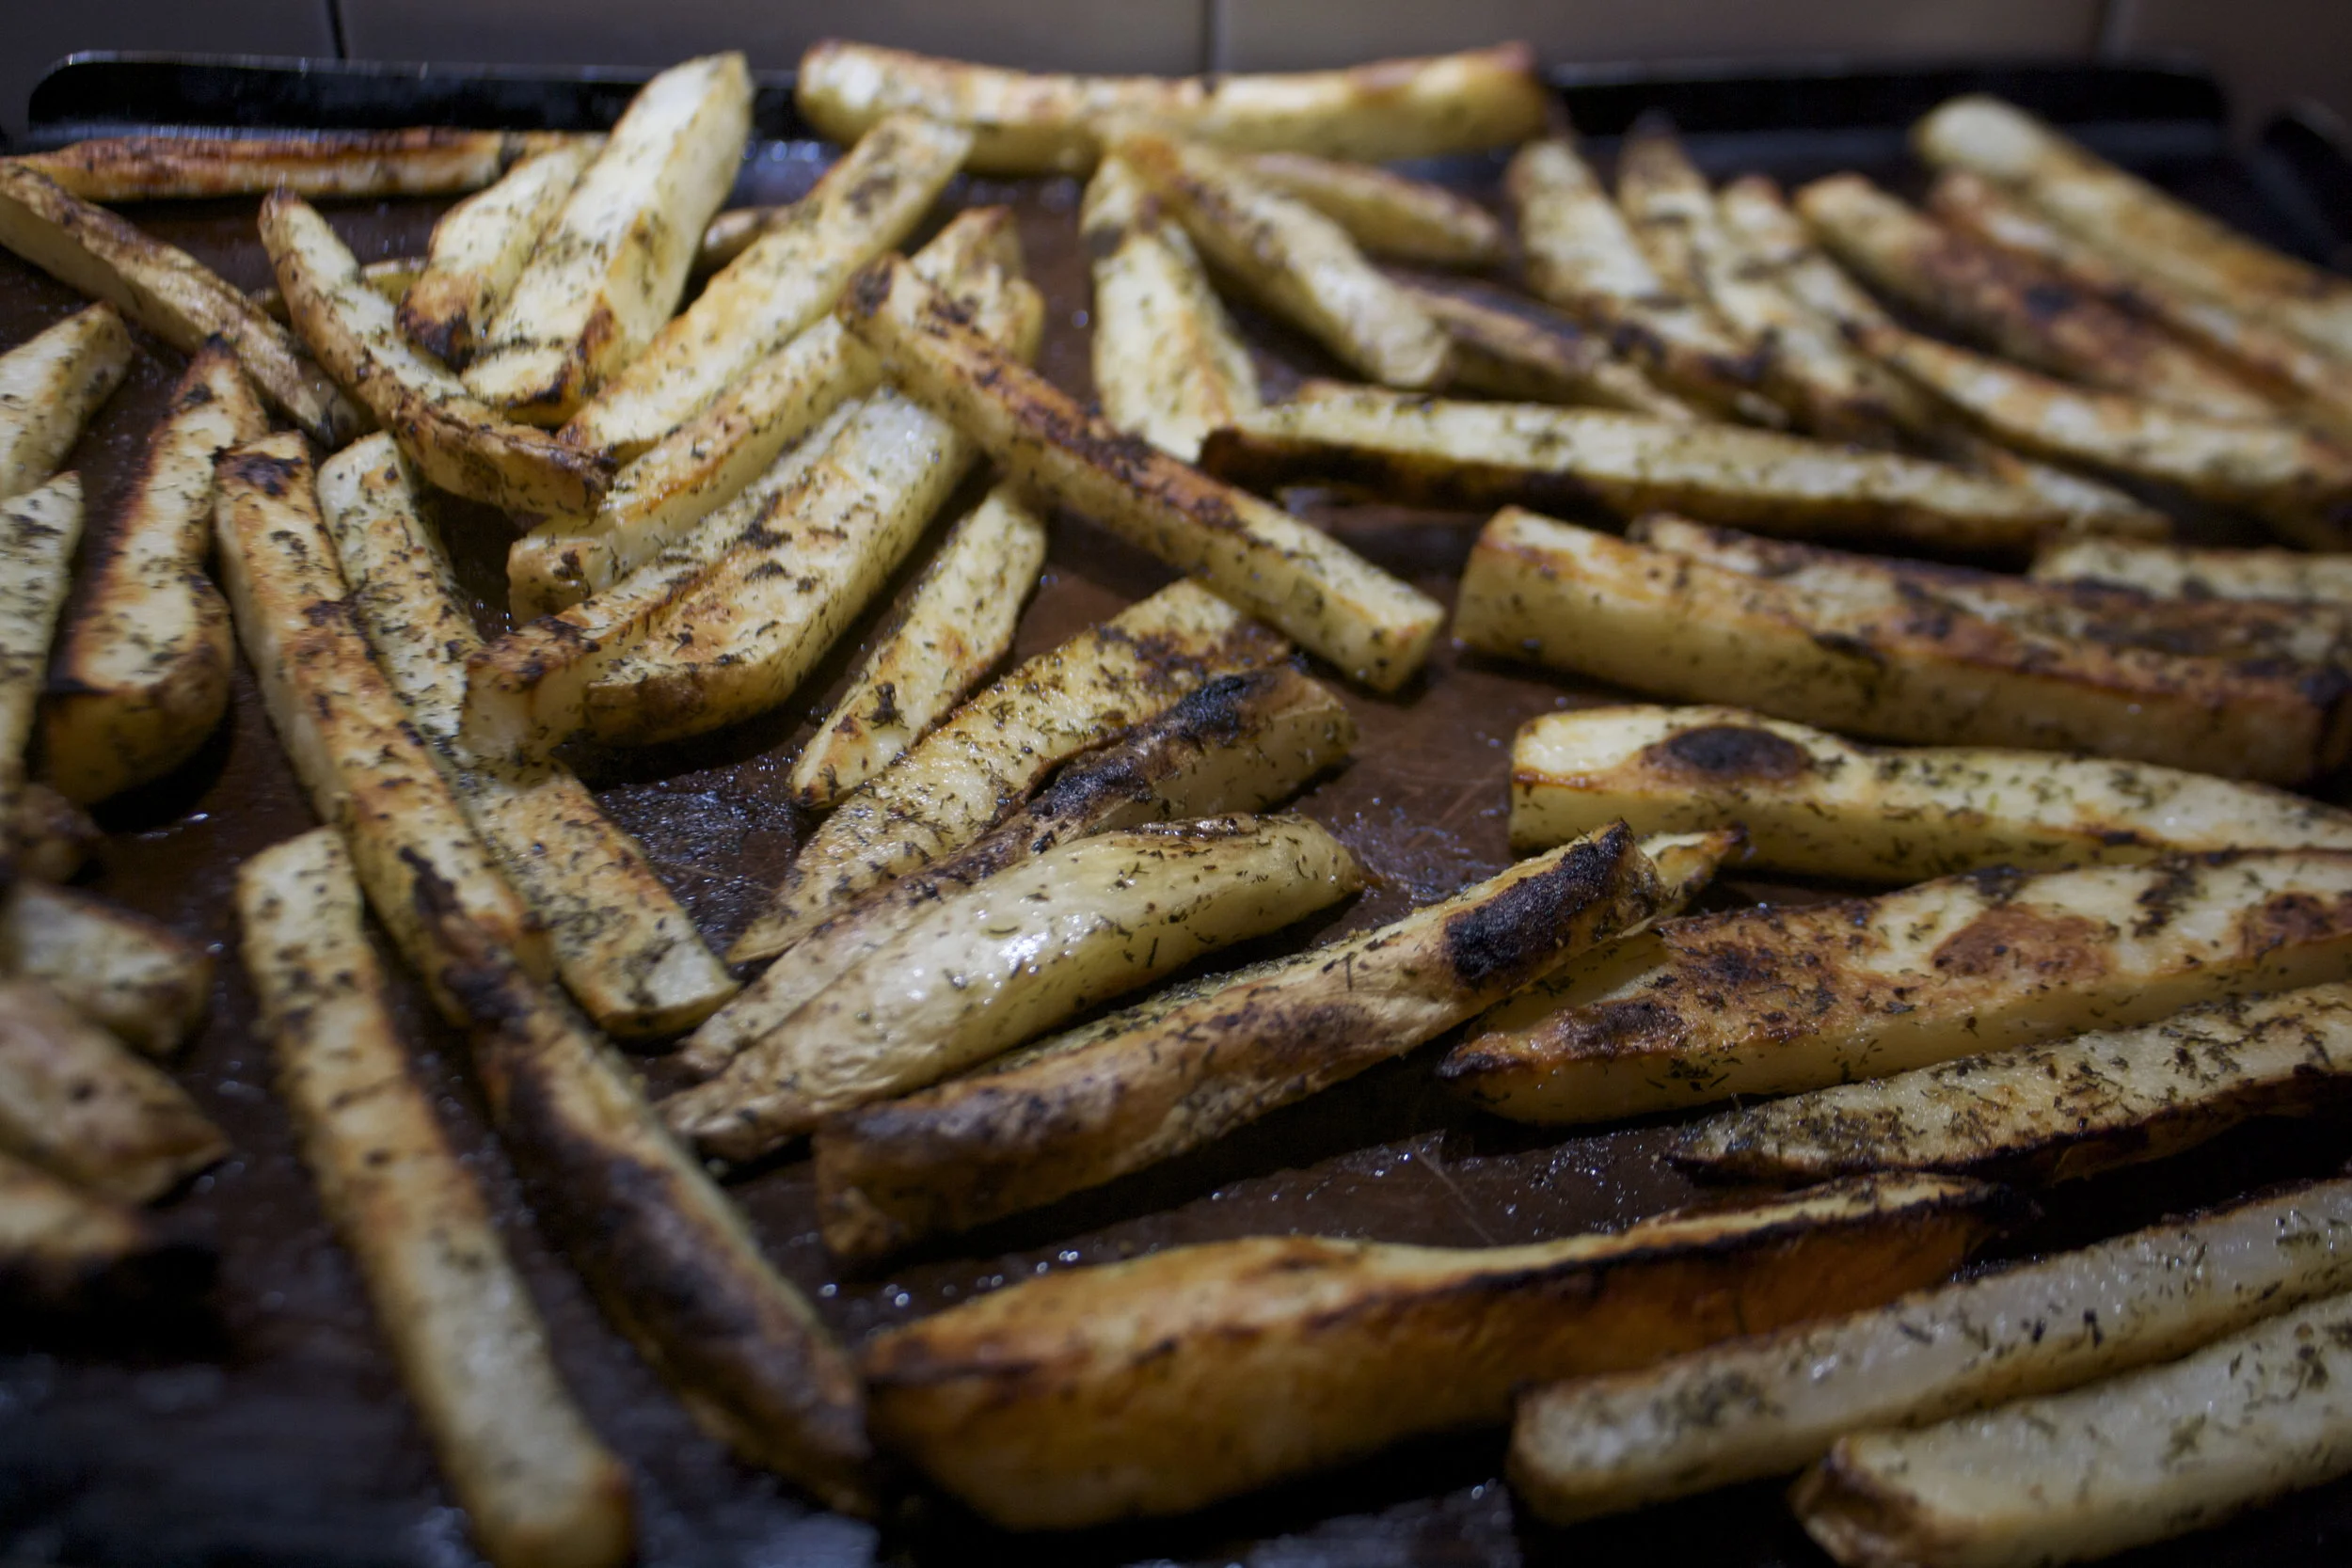
The stuff. A few russet potatoes and some vinegar. Salt, pepper, garlic powder, onion powder, and dill are the spices to use. And olive oil, which is not pictured but necessary.

First off, cut up the potatoes into fries. Cutthe potato in half, then cut that half in half, then each half of half into strips… easy easy. Toss the now fries into a big bowl of cold water as you go. (It removes some of the starch so your fries are not soggy)

Stain the starchy water from the bowl then dump the vinegar in with the potatoes, tossing as you go. And now you wait. Stick the potatoes into the fridge for about 1/2 hour to an hour, tossing the them around ever 10 minutes or so. (the longer they are in there, the more vinegar they will absorb)
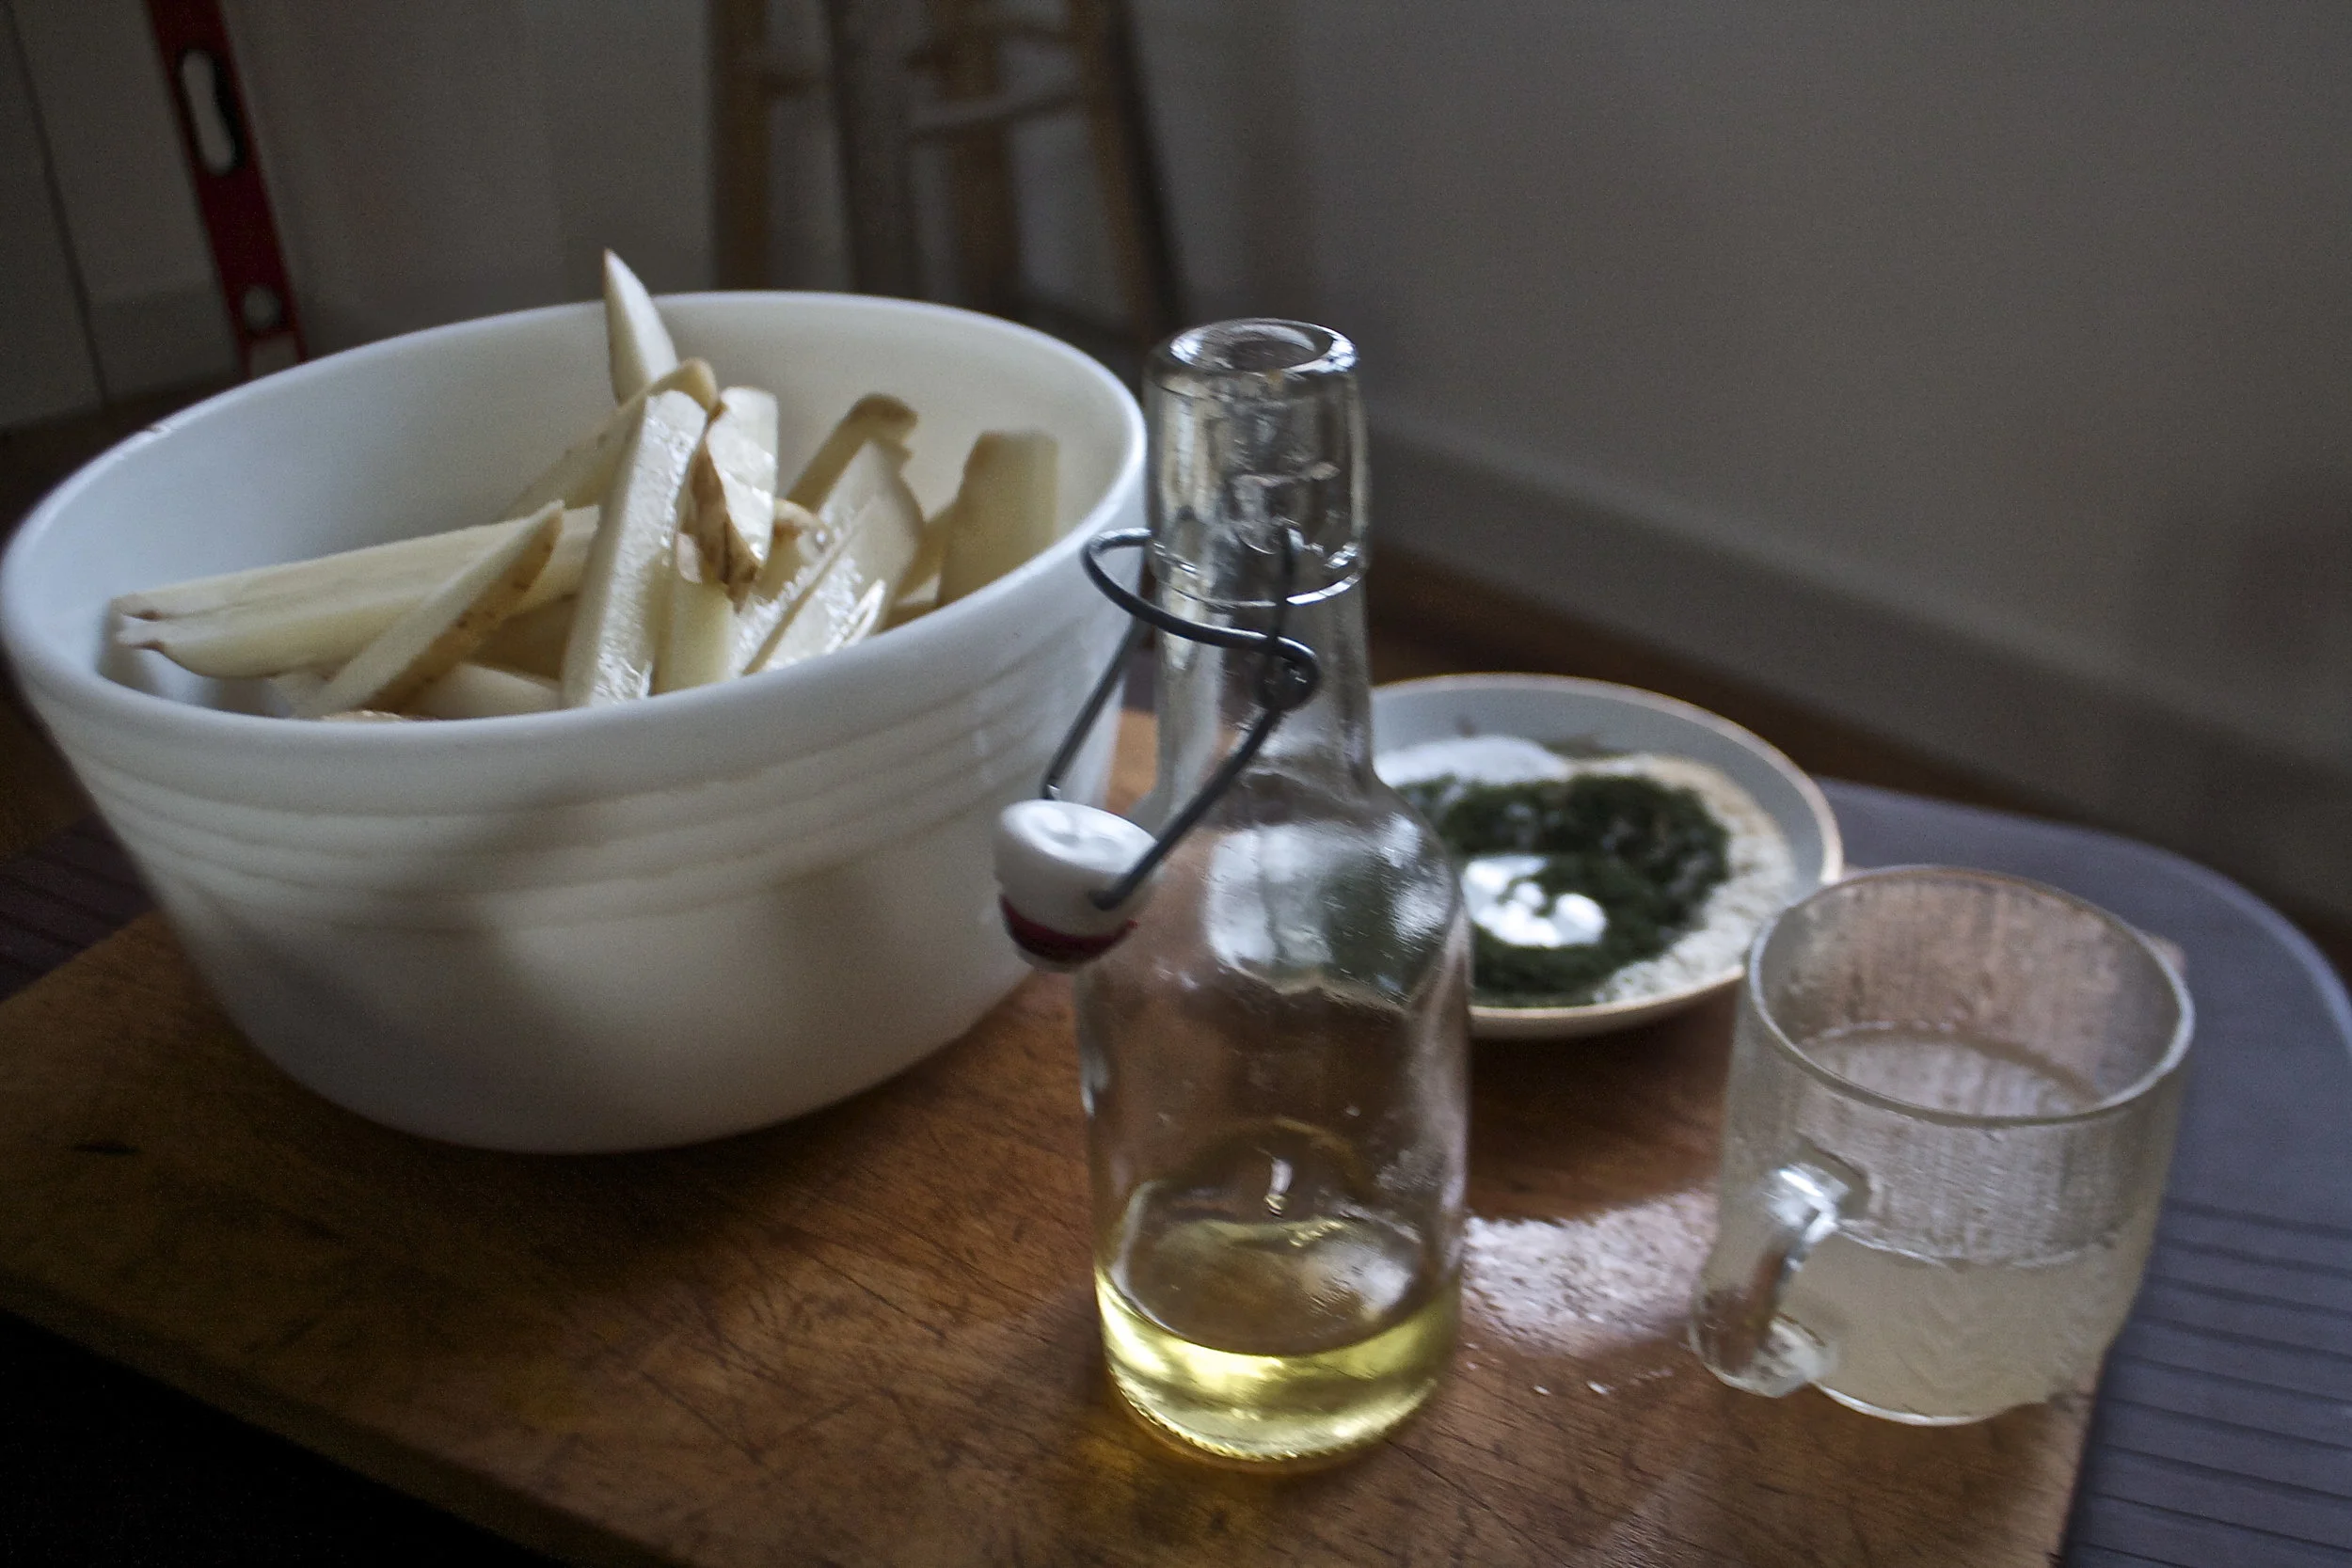
Now preheat. Strain the vinegar out of bowl, drizzle potatoes with olive oil and toss until evenly coasted then sprinkle on the spices.
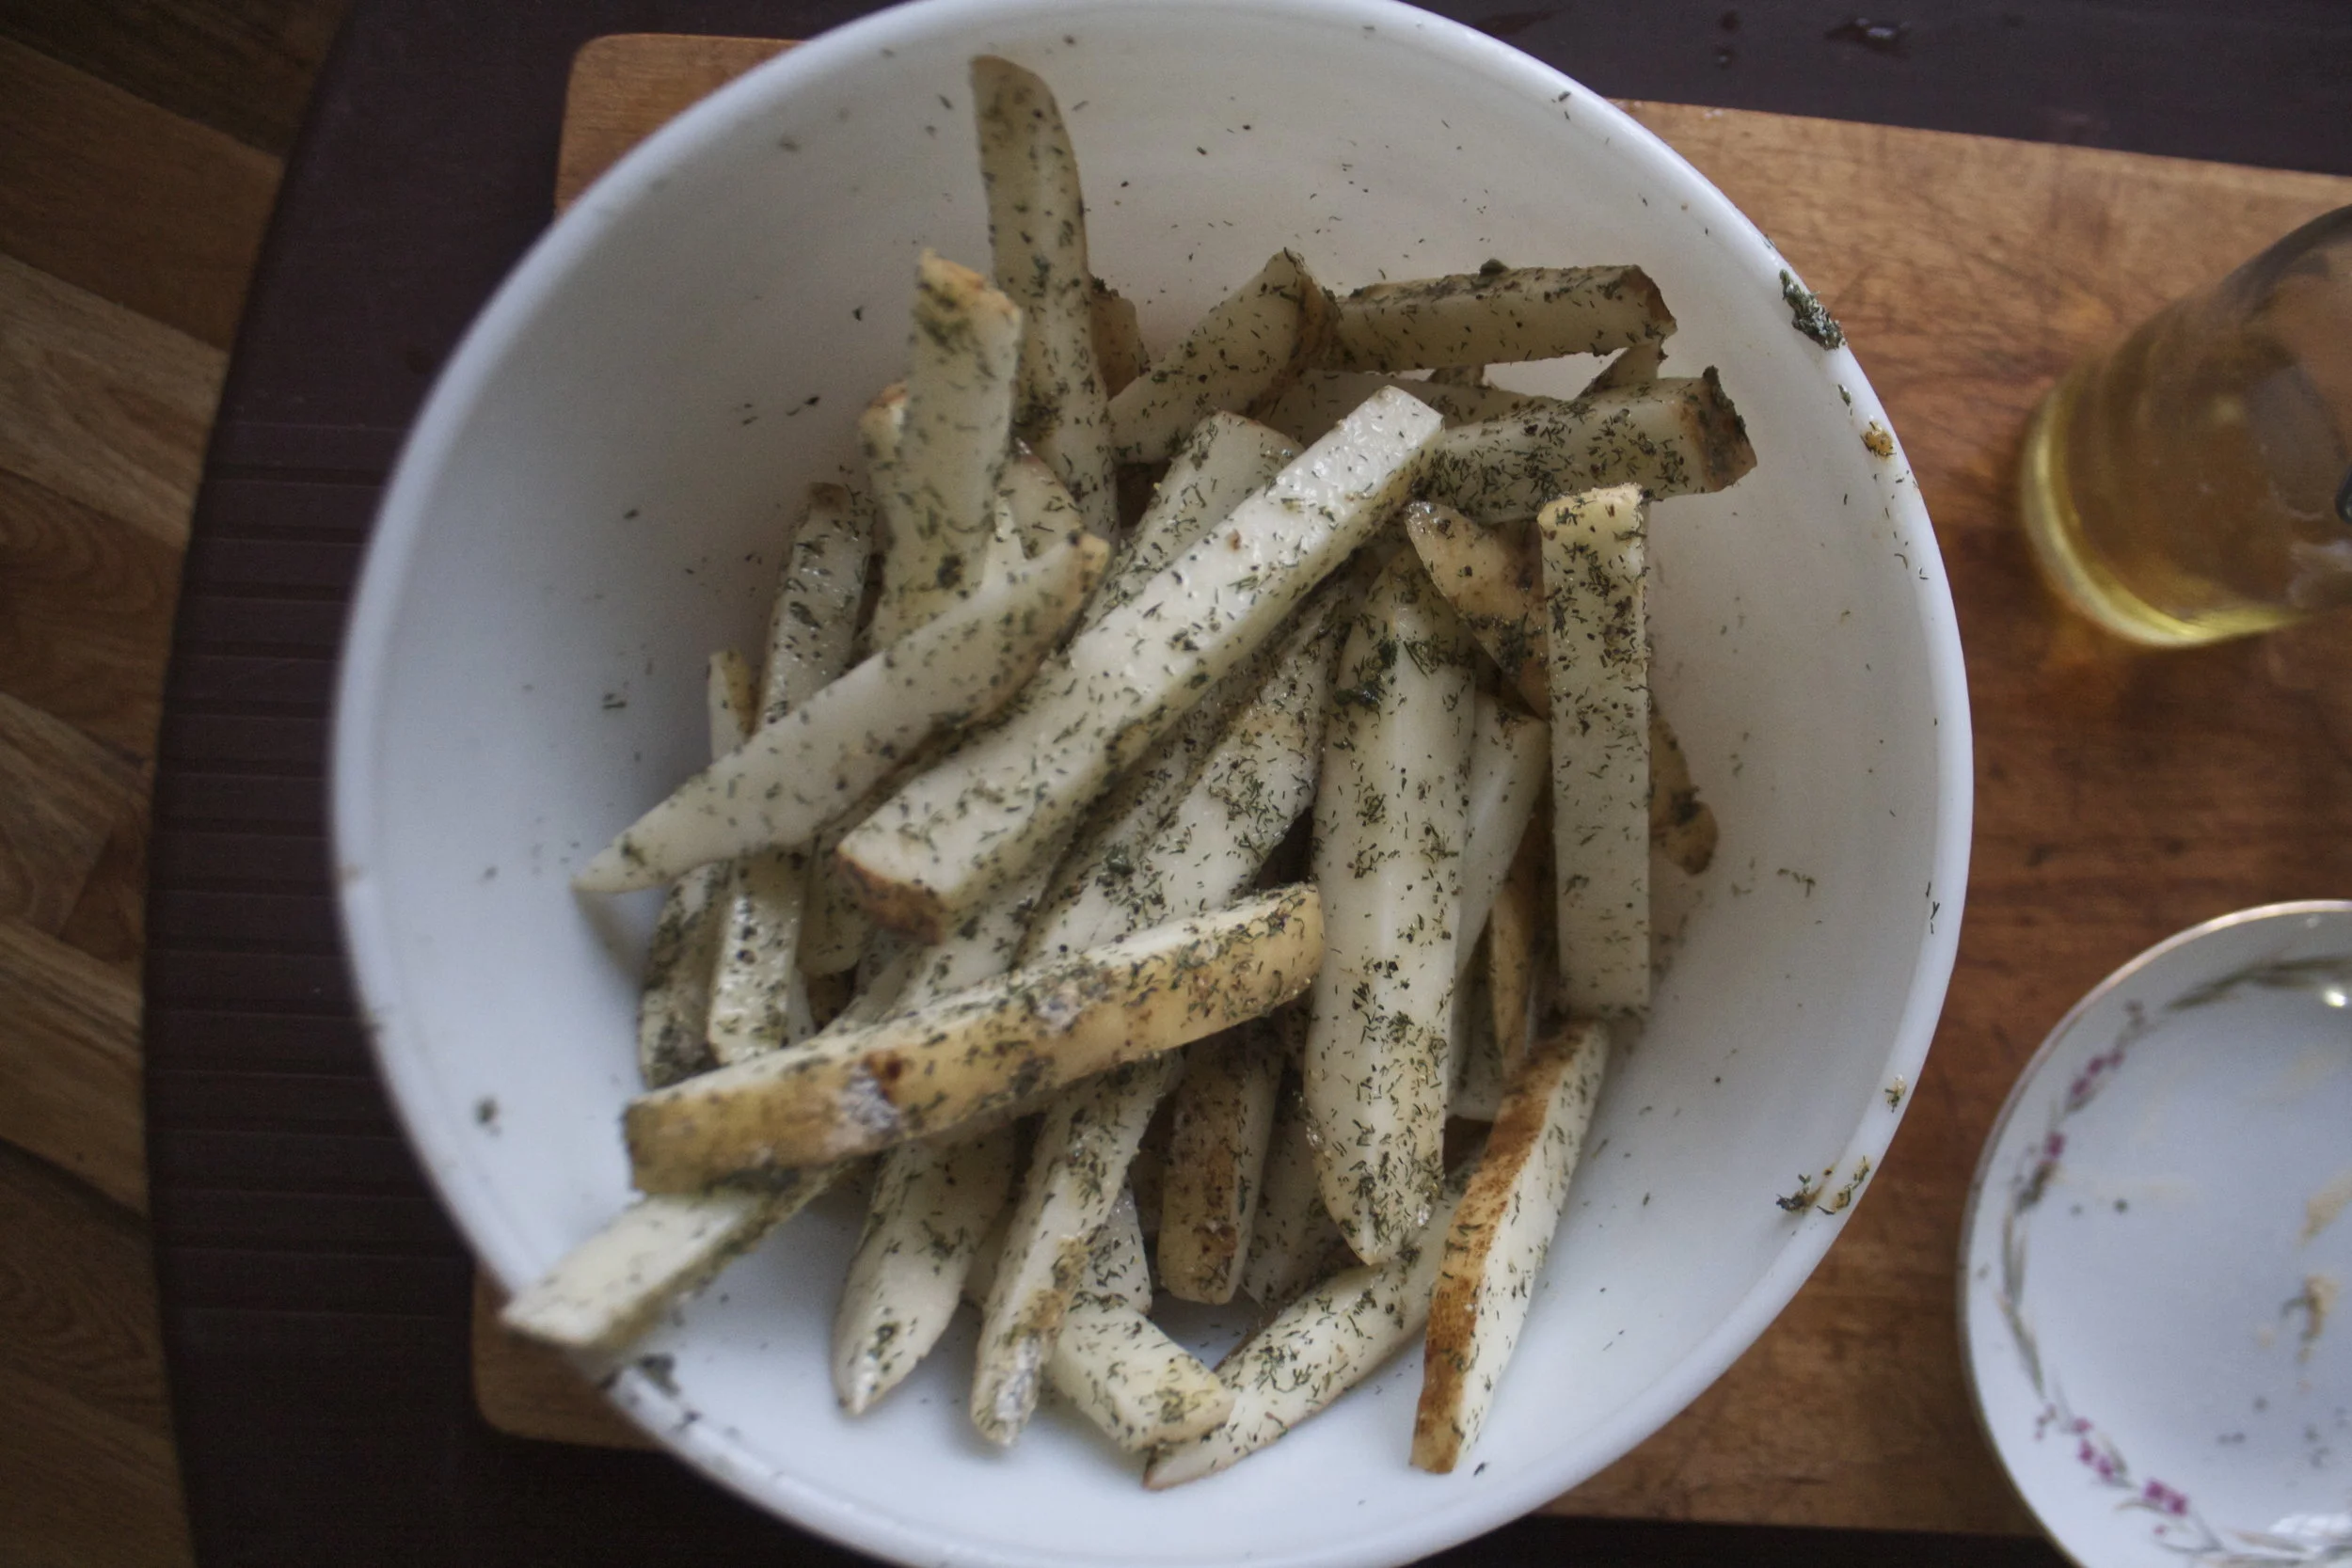
Pretty potatoes, looking good enough to eat(but don’t eat raw potatoes, that is gross and will make you sick)
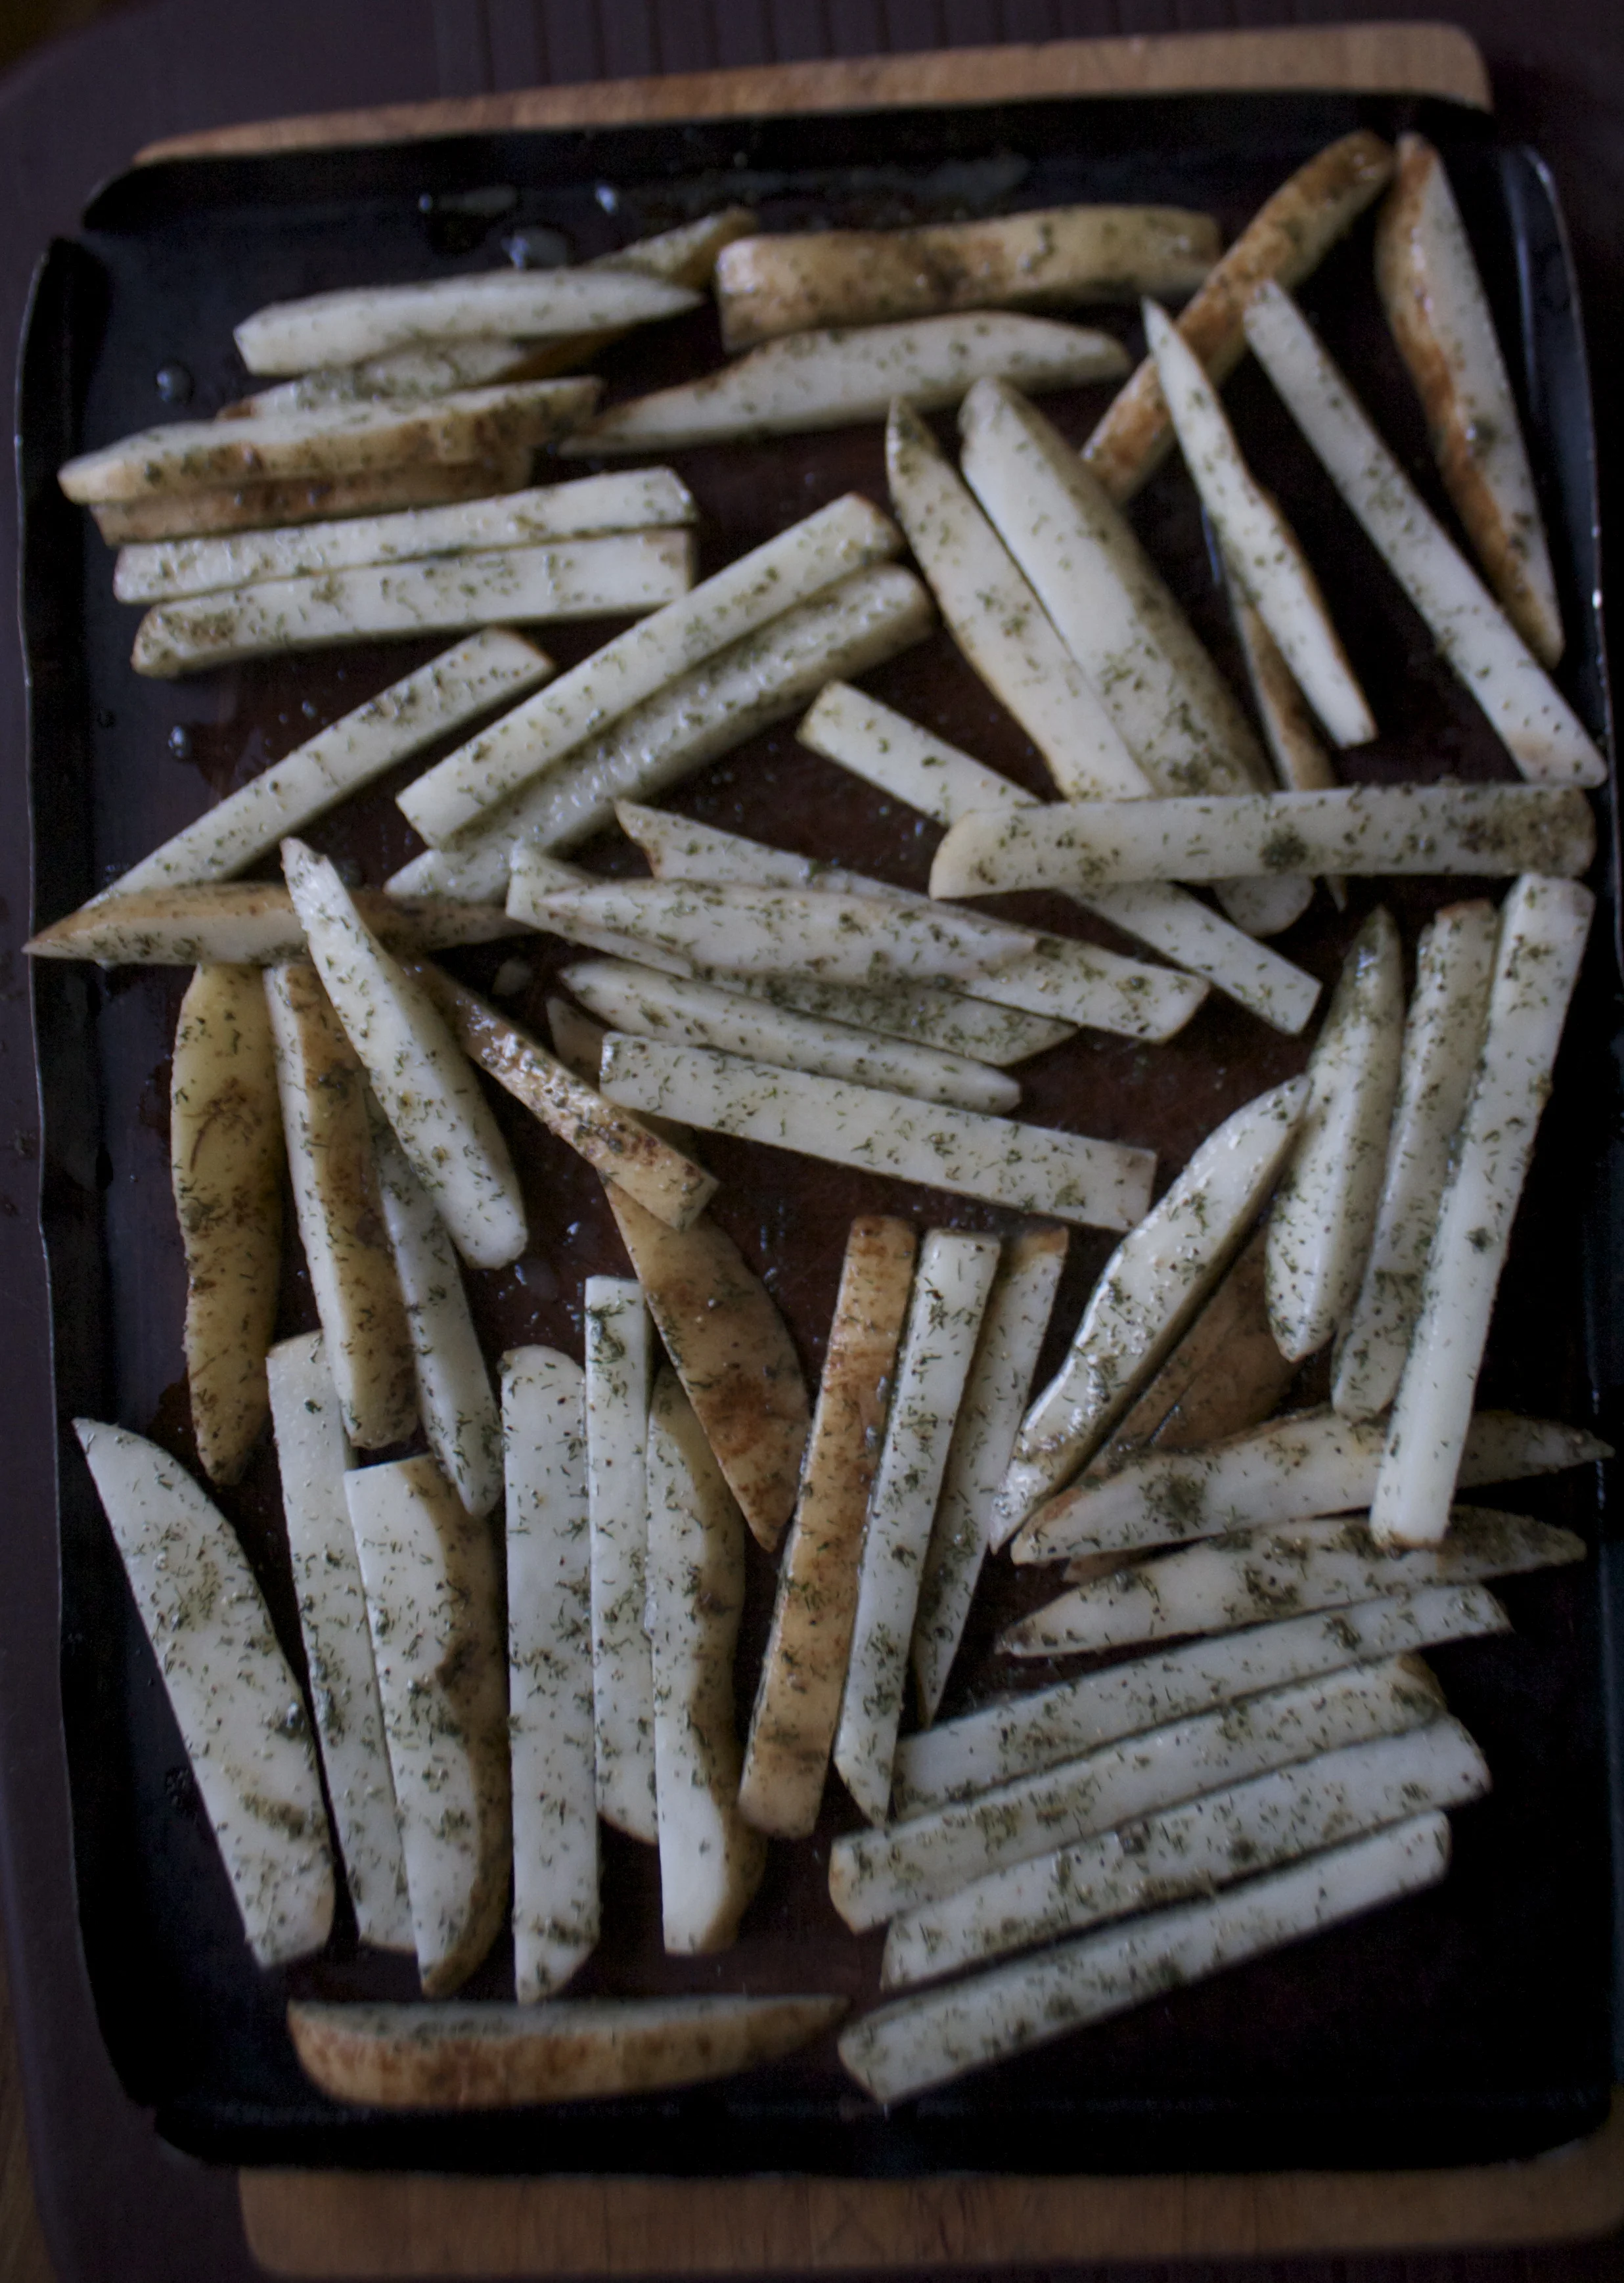
Single layer on a baking sheet, ready for the oven.
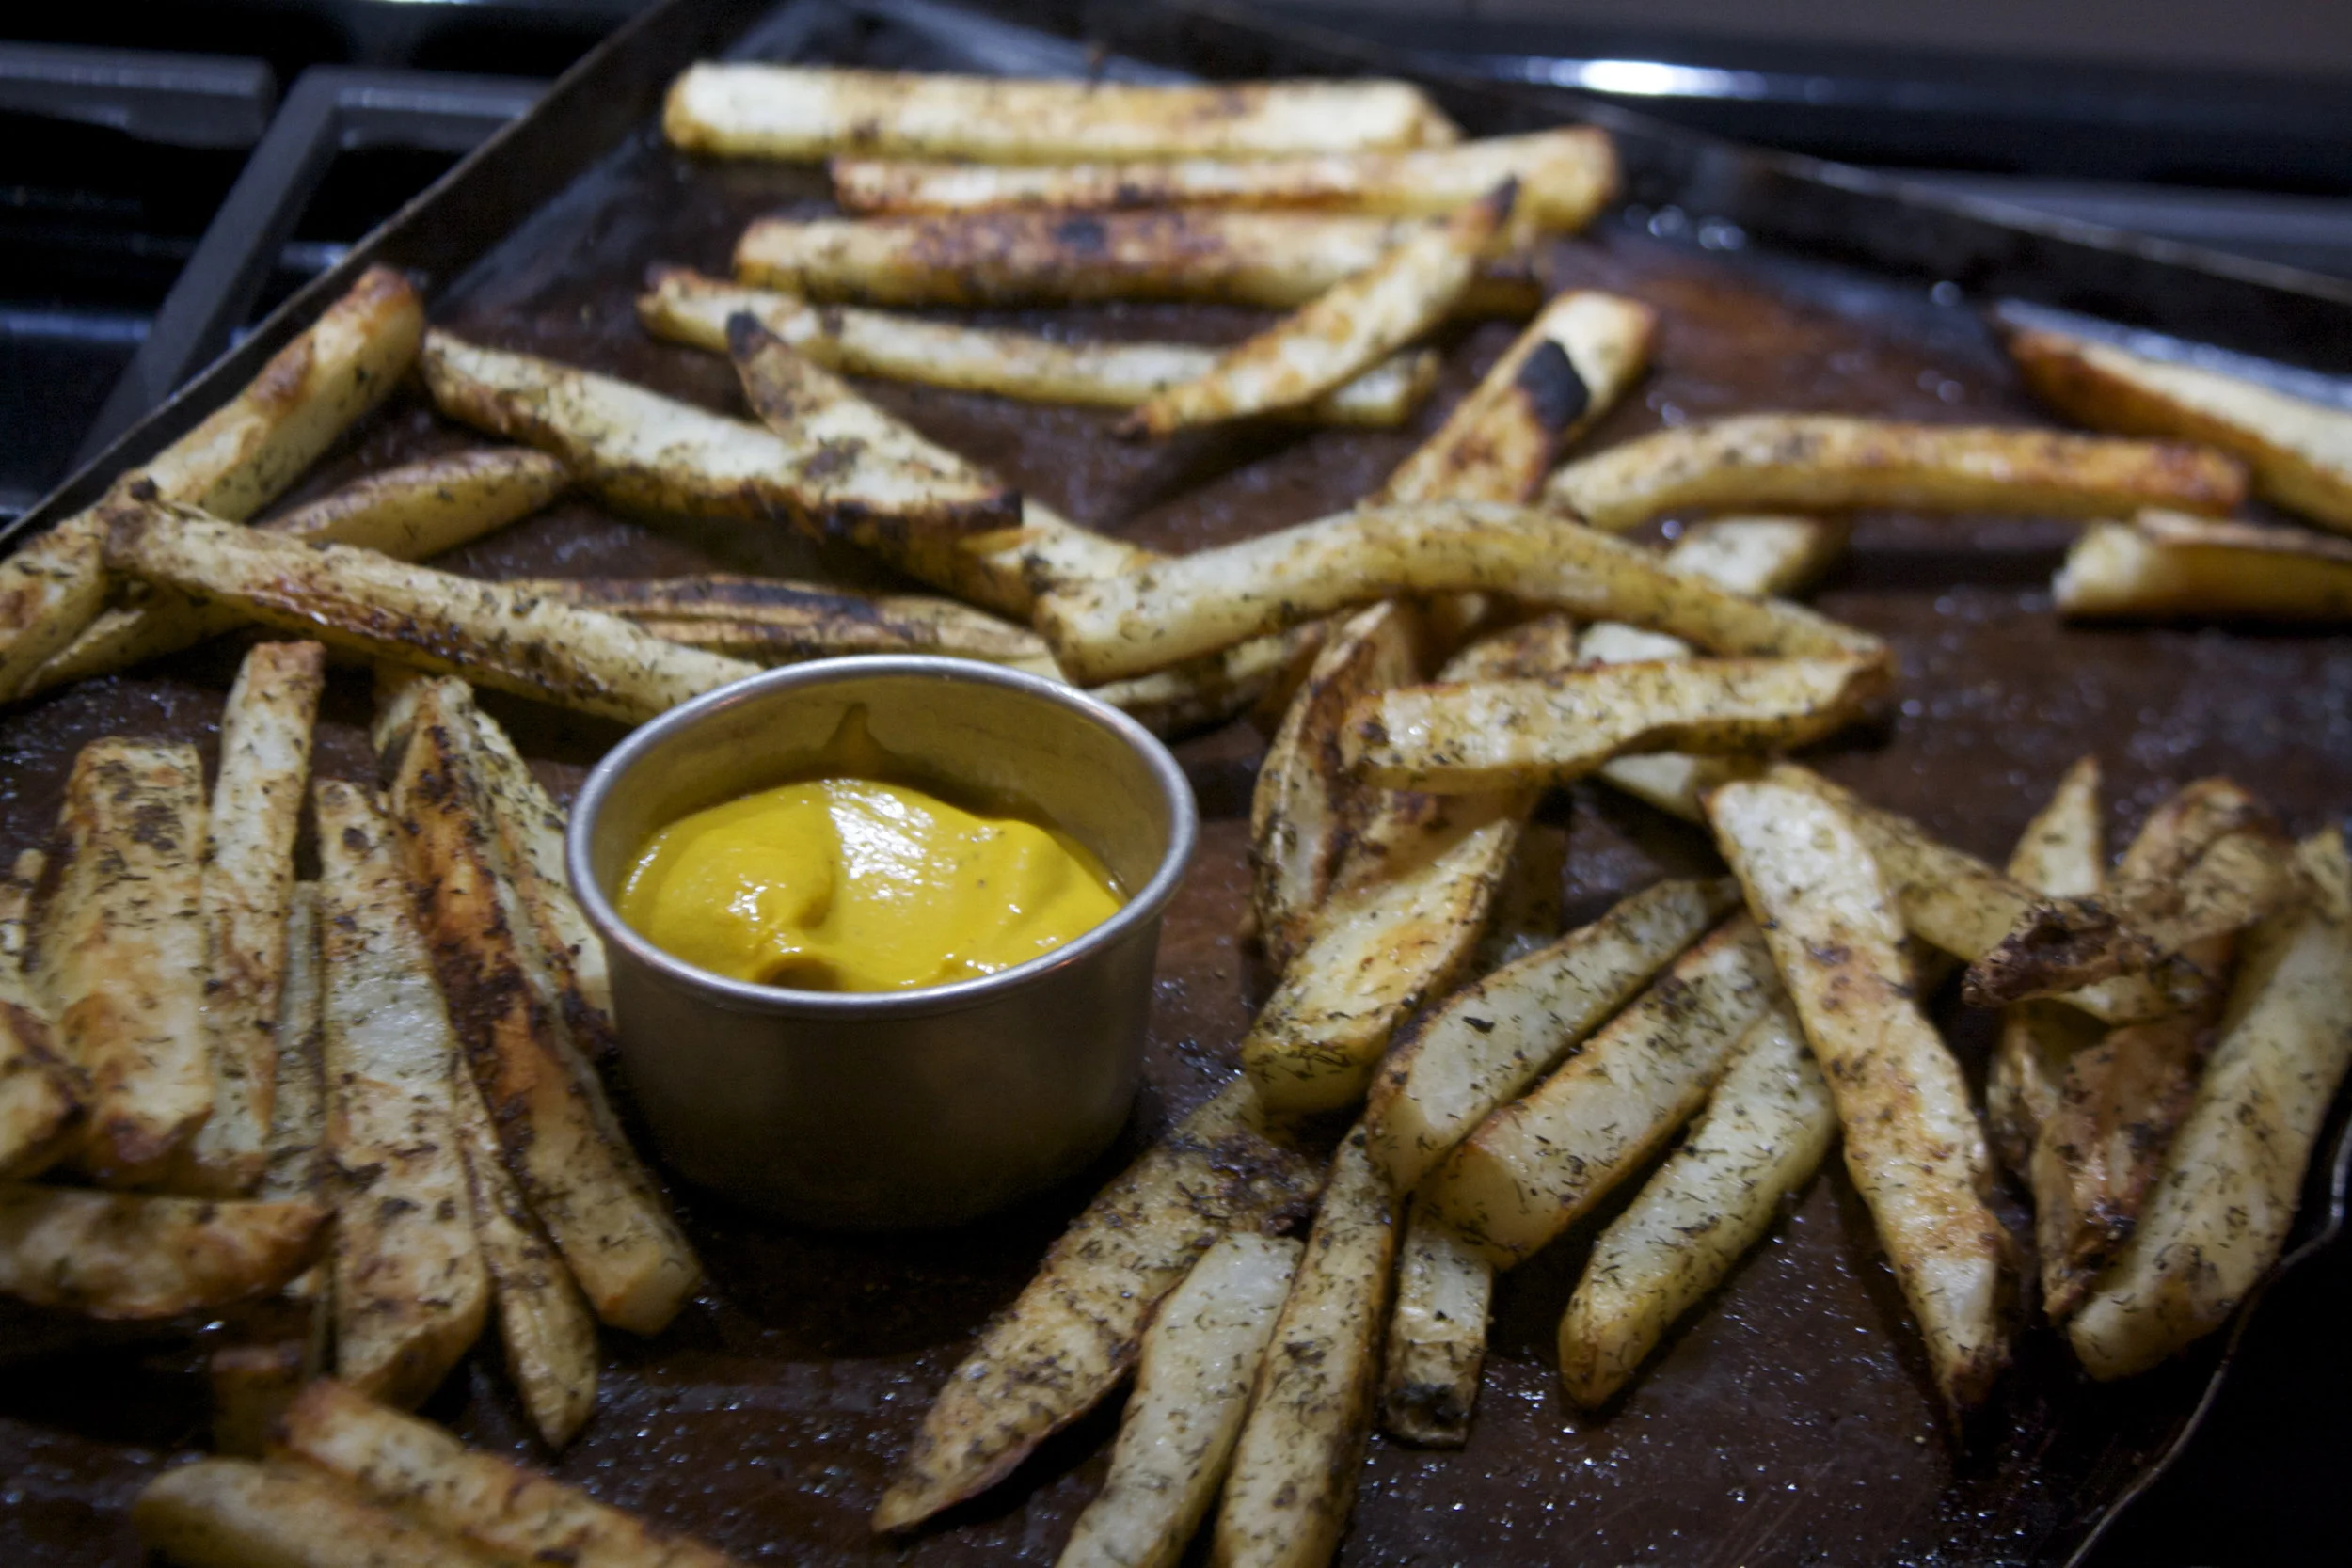
Baked until golden crispy and nice. Didn’t even wait for a plate, just some mustard and off we go.
Dill pickle french fries. So good.
Bye
-C
should serve 2 people
- 3 Russet Potatoes
- 1/4 cup white vinegar
- 2 teaspoons dill
- 1 tablespoon salt
- 1 teaspoon onion powder
- 1 teaspoon garlic powder
- i teaspoon pepper
- 2-3 tablespoons olive oil
Rinse potatoes then cut lengthwise into 4 equal pieces. Then cut each slice into long strips about 1/2 inch . Place the cut potato into a bowl of cold water and toss them around to remove a bit of the starch. Drain the water then dump the vinegar onto the potato and toss around. Let sit for 30- 60 minutes in the fridge, tossing ever 10 minutes or so.
Preheat oven to 400.
Once the oven is hot, pour off the vinegar from the potatoes (can be reserved for cleaning) Drizzle the potatoes with olive oil, making sure they are evenly coated, then mix all the spices together and sprinkle all over potatoes. Place coated fries single layer on a baking sheet and into the oven they go. Bake for about 45 minutes flipping after about 25. Fries are done when they are golden brown and crispy.
Serve with ketchup, mustard or whatever you like on fries or pickles.
A few weeks ago the mr and I were standing at the check out line at the grocery store when up behind us comes Shannon (sister of mine) which was really weird because I was just saying how I felt like I was going to see her there. (Sister ESP) Of course we just started talking and stopped paying attention. (handed over the bags and wallets to the mr) She was telling me about the party she was going to and the salad she was really excited to go home and make for that party. (like as excited I as I get when I talk about salad, but maybe she was more excited about the party, hard to tell)%u00a0 The lady cashier rang us through while the mr was kind enough to bag and pay, then rang Shannon through, which the mr was also kind enough to bag and pay(using her card). We chatted a bit more, walked our separate ways and moseyed on home. When we got there, I started putting our groceries away and there it was, a bag of Shannon’s groceries, the stuff for the salad she was going to make for her party. Oops. So the mr called her up and told her, was willing to drive all the way back to her house right then and there in the snow to bring it to her no problem, but she just laughed and said no. She would just make something else. All she wanted was for us to eat it, or better yet, make the salad she was going to make and then eat it.%u00a0 And that is what I did, or at least I think I did. I used the cabbage, limes, and broccoli that she bought, some black beans I had,%u00a0 chopped and tossed and ate. Not sure if it is exactly what she as describing, but it’s good.
Thanks Shannon for the bag of groceries, sorry we stole it. I owe you a salad.

The stuff. Some red cabbage, a broccoli crown, black beans (rinsed ans drained) a lime, and salt.

Cabbage gets shredded and broccoli gets chopped into small little pieces.

Chopped veggies, beans, lime juice and salt go into a big bowl.

Tossed. Now it may look done, but what this salad really needs is time to let the lime juice do it’s work. Let the salad sit for at least 30 minutes, but heck, if you make this a few hours, if not even a day ahead, well it’s only going to taste that much better.

And after the wait, eat it.
This salad makes for a great light Lunch or a pre-dinner (the small meal you eat before dinner, that’s a thing right?)
Enjoy your weekend.
-C
serves 4-6
- 2 cups cooked or 1 can of black beans, rinsed and drained
- Half of a small head of red cabbage
- 1 large broccoli crown
- 1 or 2 juicy limes
- a good pinch of salt
Finely shred the cabbage and small chop the broccoli. (stem and all) Dump the veggies into a bowl and sprinkle with salt. Mix in the drained black beans and toss with the juice of the lime. Let sit for at least 30 minutes. This salad taste good just made but only gets better with time, like if you can make it a few hours, if not a day ahead, go for it. When you are ready to eat. well eat it.%u00a0 Add more salt if needed, more lime juice if you want, maybe a pinch or two of pepper.
It’s strange to think that only a few years ago I was not a big eggplant fan. Before I started to experiment with cooking it myself, the only time I had ever really had it was when I was young and it was deep fried, like eggplant parm style. It just wasn’t for me.
So when I started doing my farm share 5years ago and were getting lots of eggplants, I knew I had to figure something out and try new ways of eating it. Well it turns out that I actually love eggplant, like a lot.%u00a0 I went eggplant crazy and for a while was eating a eggplant a day, either roasted or tuned into soup or cooked crispy into chips. And lots of baba ganoush, or what I think of as eggplant hummus (all the hummus stuff minus the chick peas). Smooth, creamy, rich and tangy. I have been know to make a batch and eat it all to my face in a sitting.( there is absolutely nothing wrong with that) It’s that good. And bonus. Being so super busy busy, this is just so dang fast and easy to make. 25 minutes and 20 of those minutes are the eggplant roasting, and you got yourself something tasty to eat. Plus if you have a few eggplant in the fridge that might have seen better days, turning them into the baba ganoush is a great way to go.
Baba ganoush, The name just says it all cause how could something called baba ganoush be anything other then awesome.

The stuff. A couple (or three) eggplants, a lemon, some tahini, garlic, olive oil and salt.
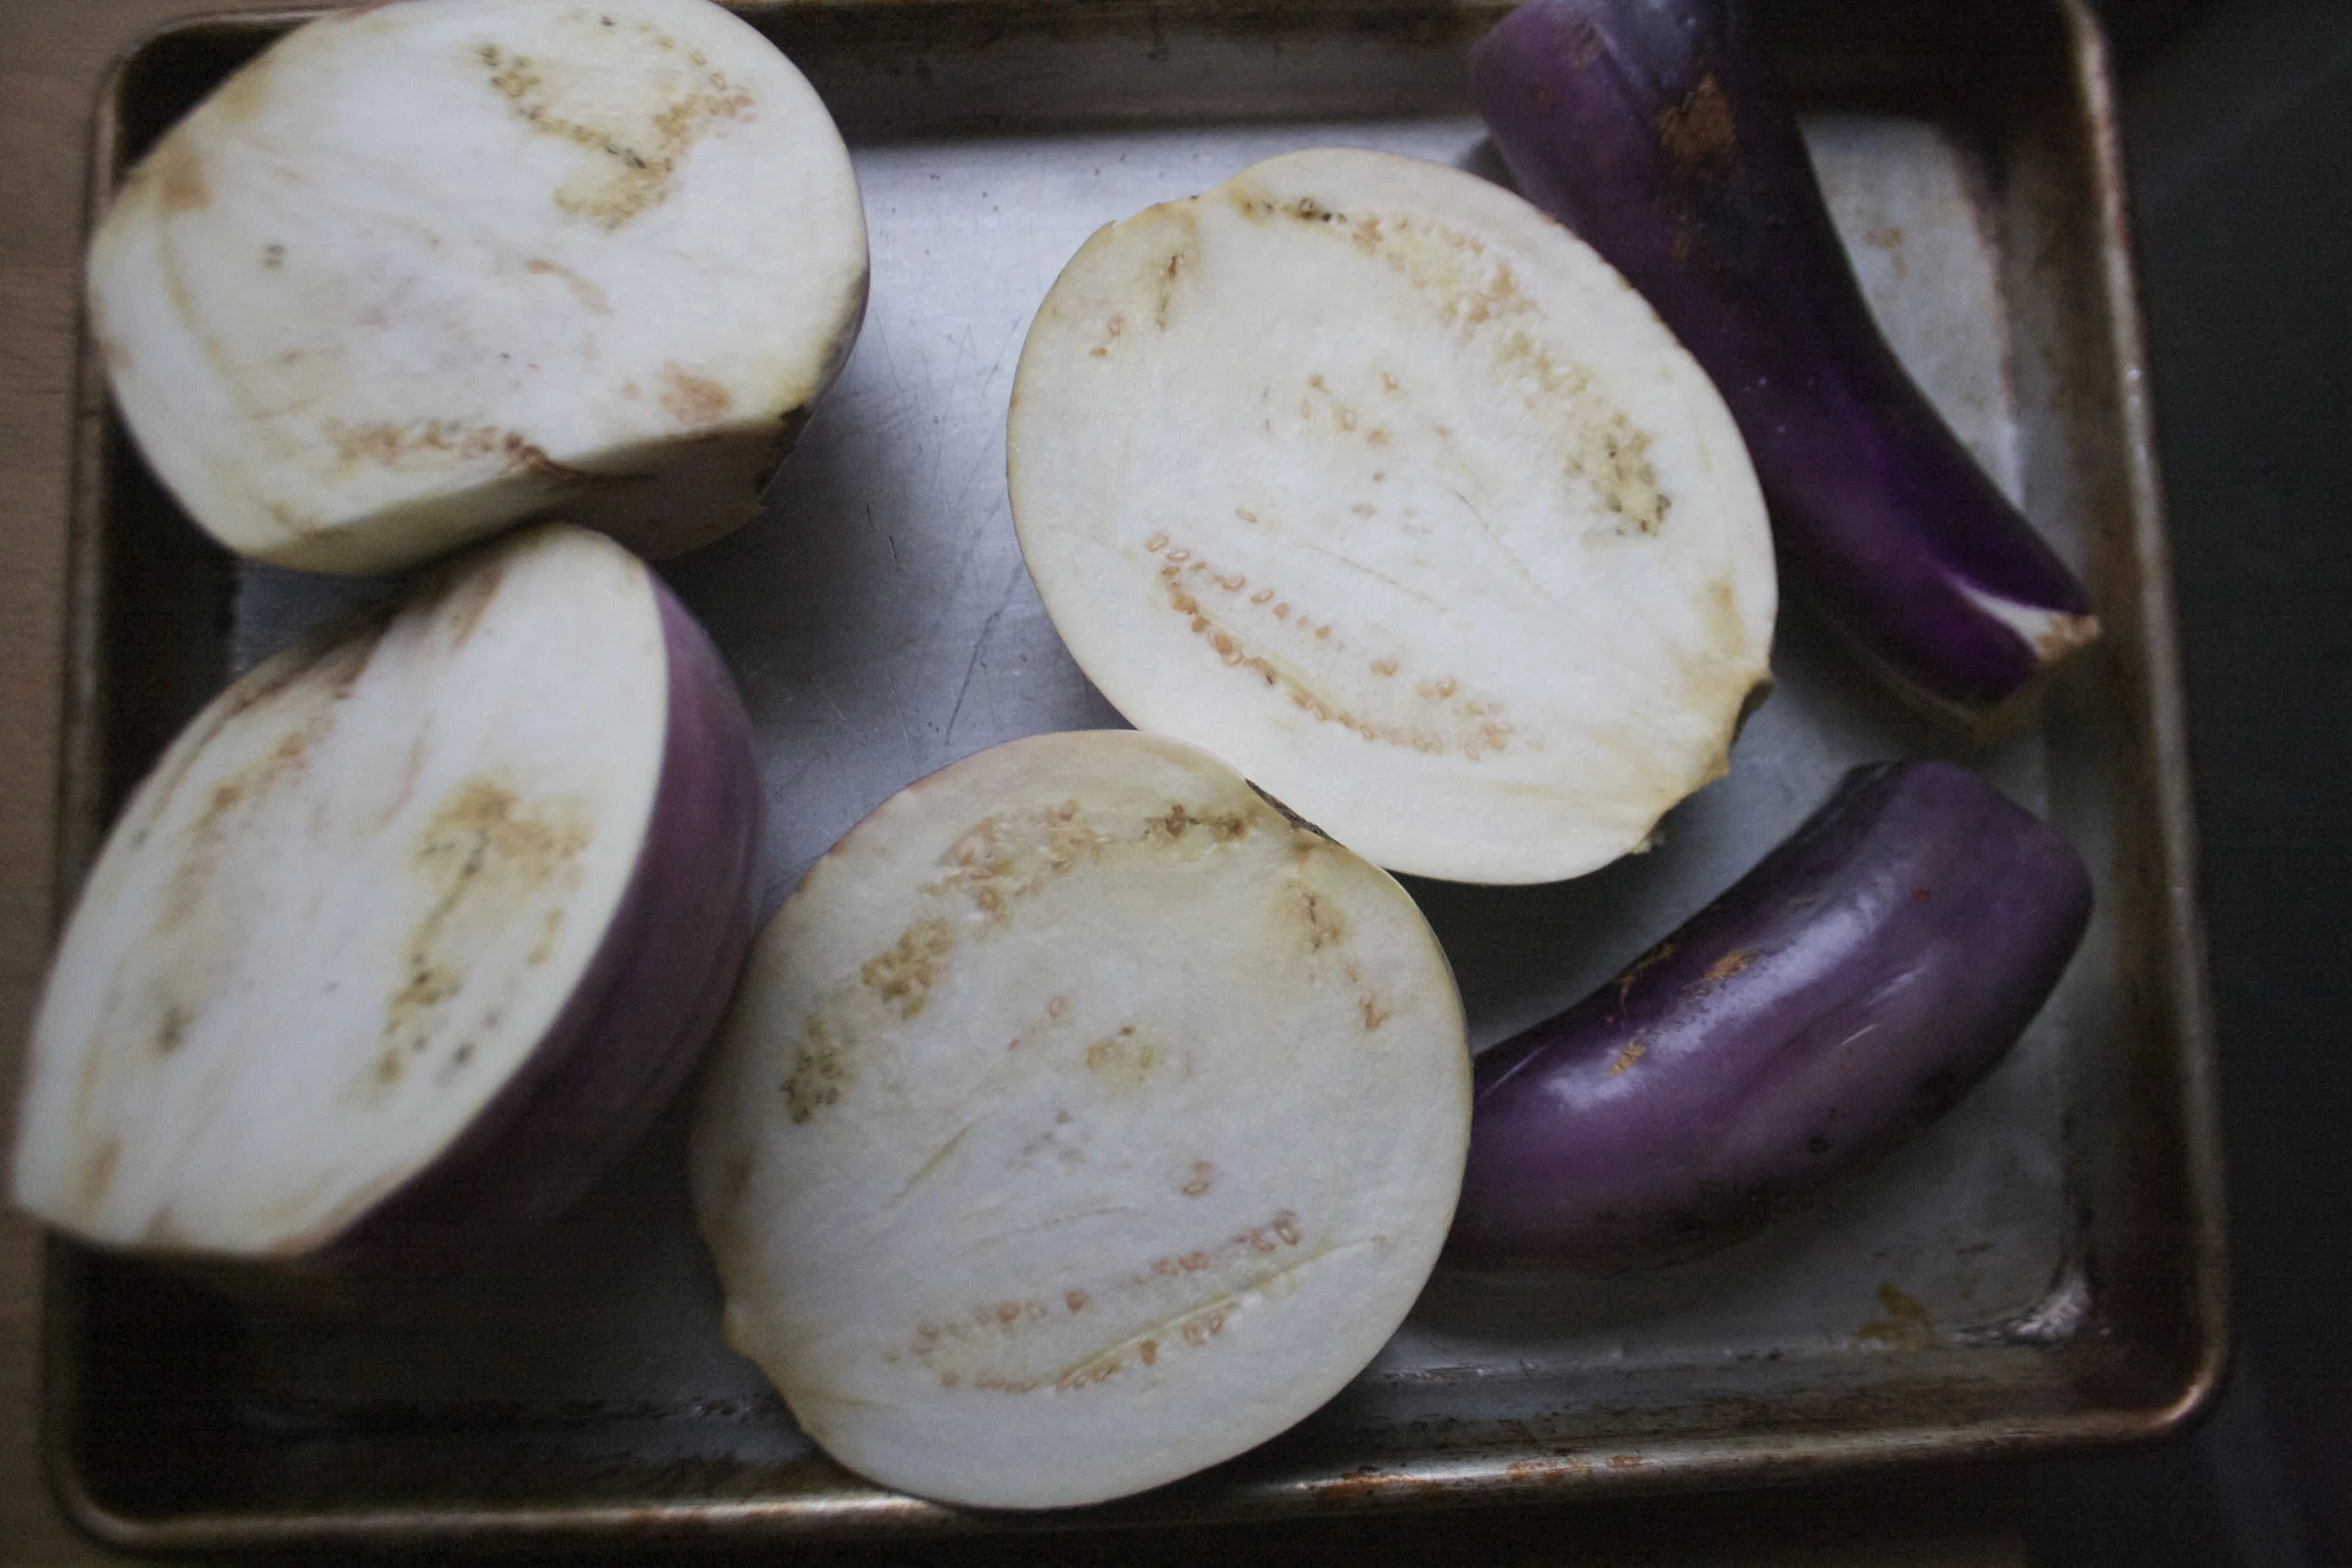
Eggplant get sliced in half and stuck onto a baking sheet to go into a super hot oven to roast. Some people oil it, I don’t, but you can if you want.
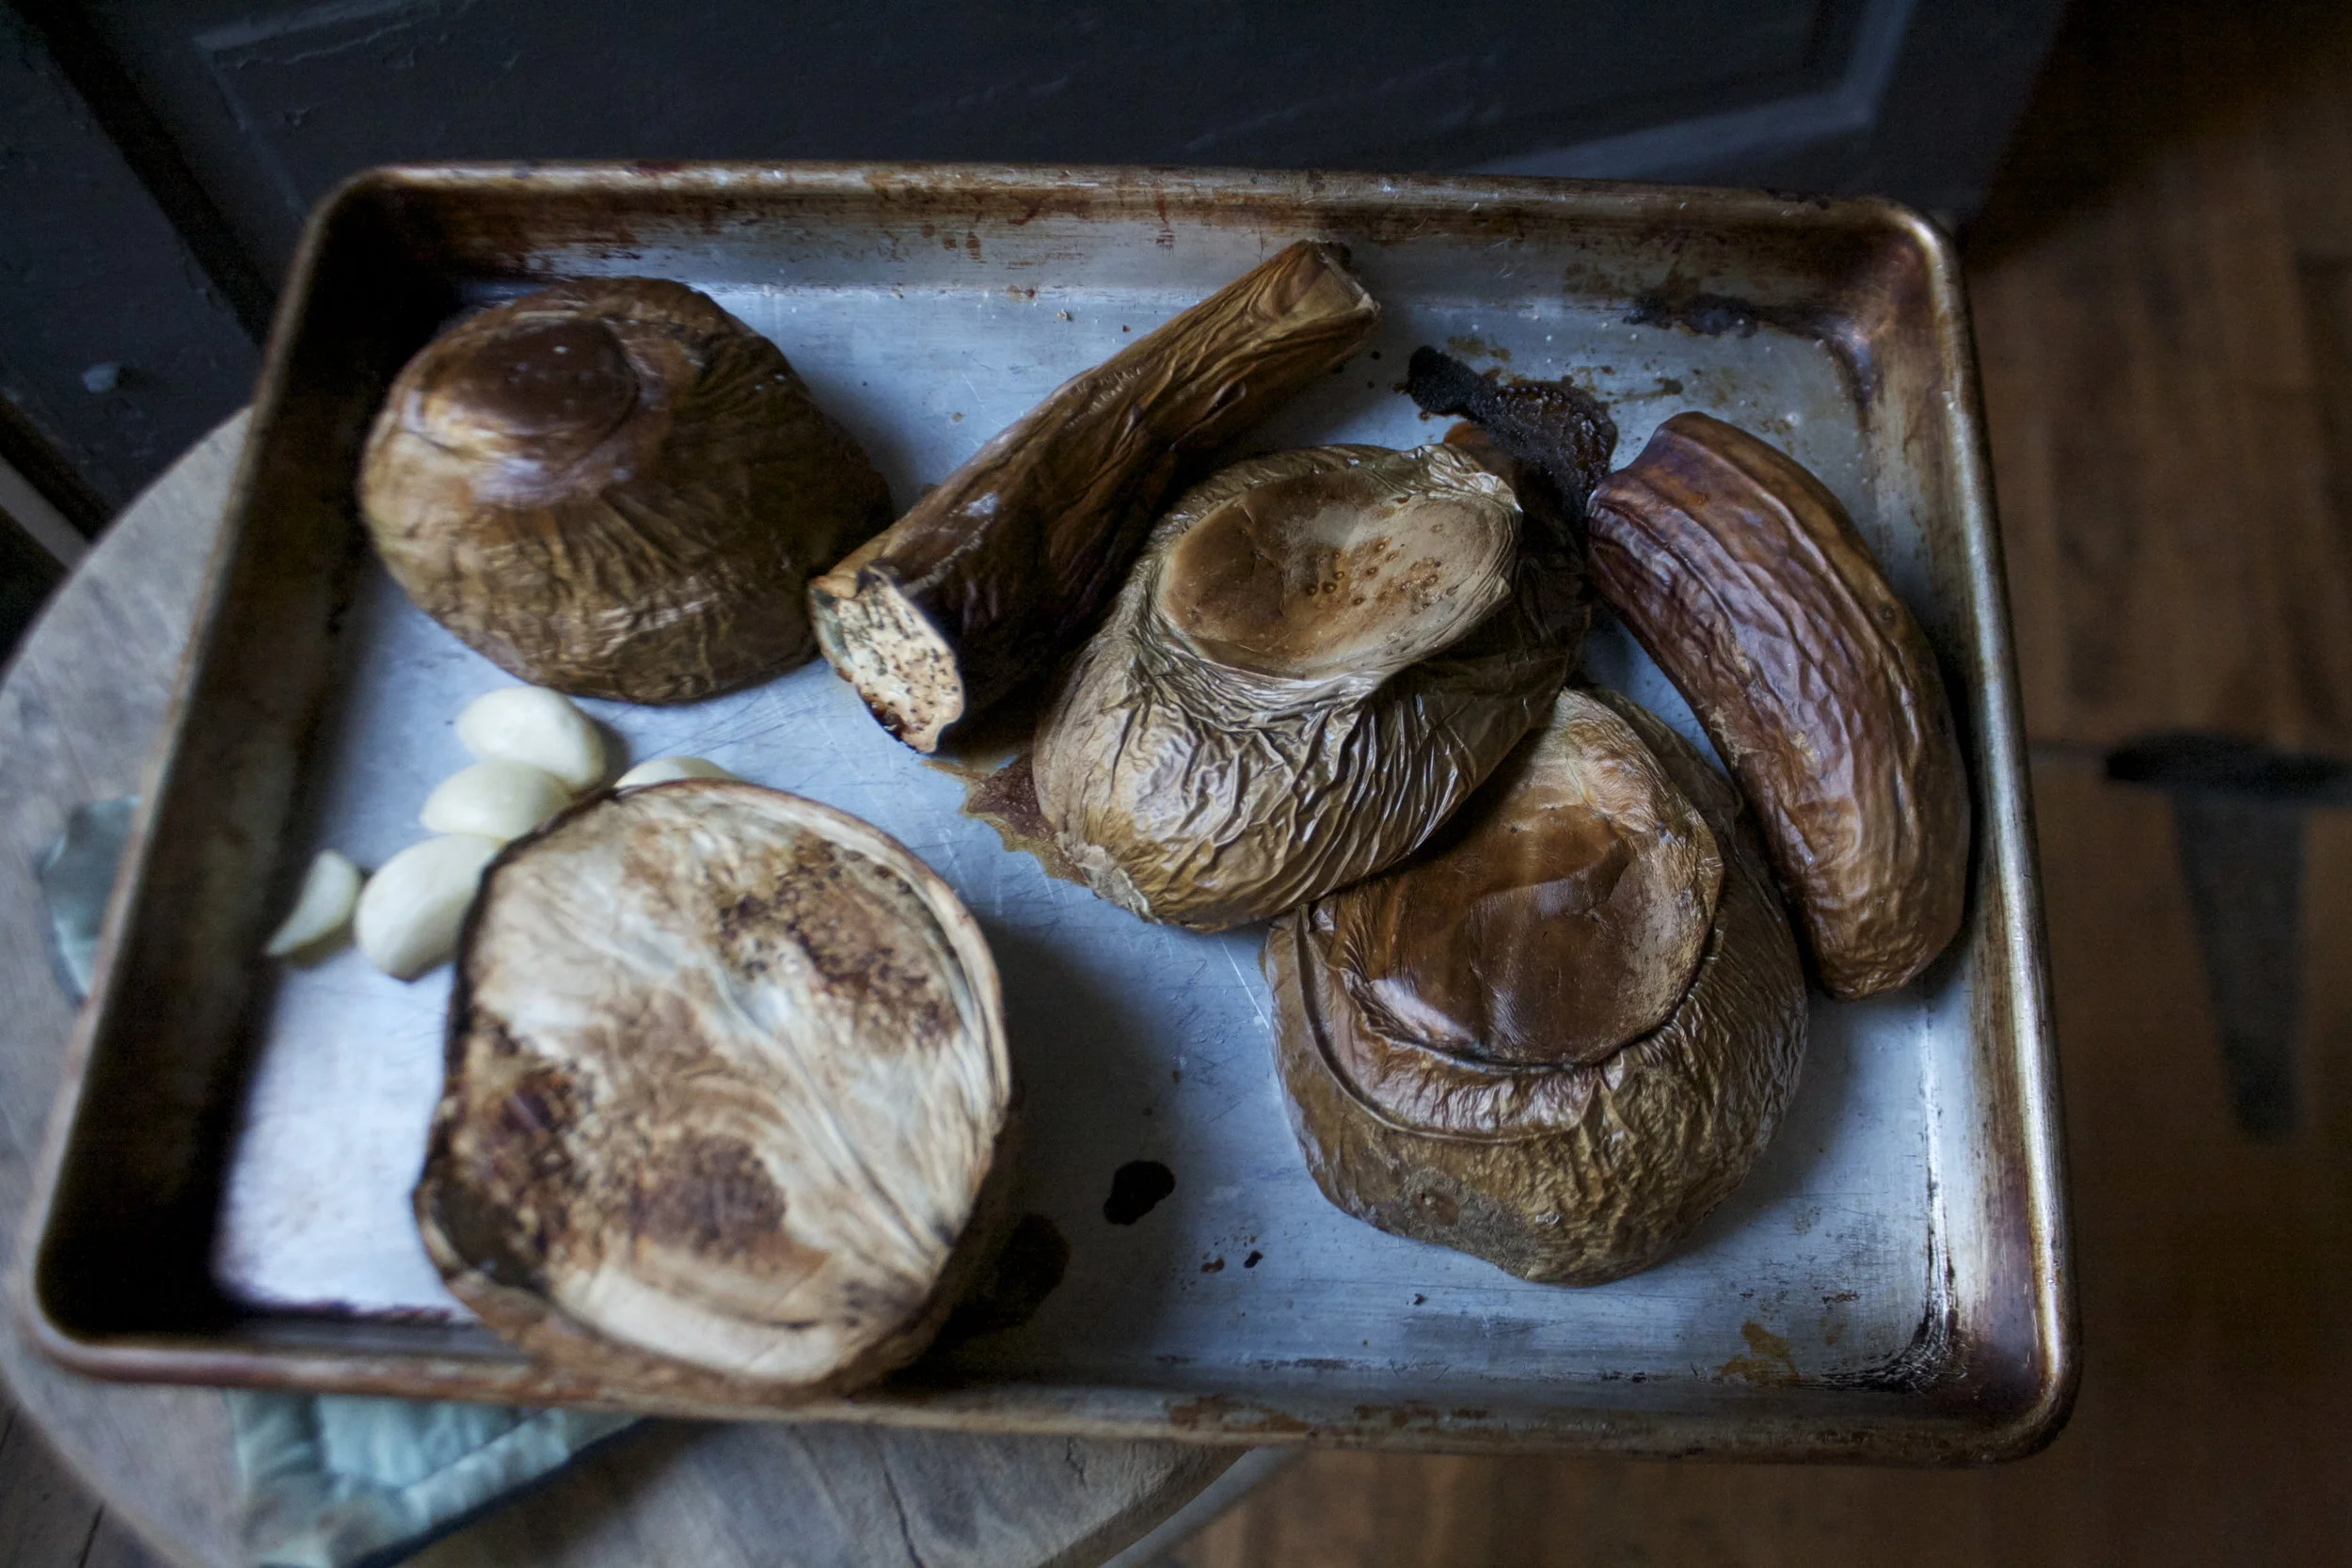
Brown and tender. Roasted to perfection.
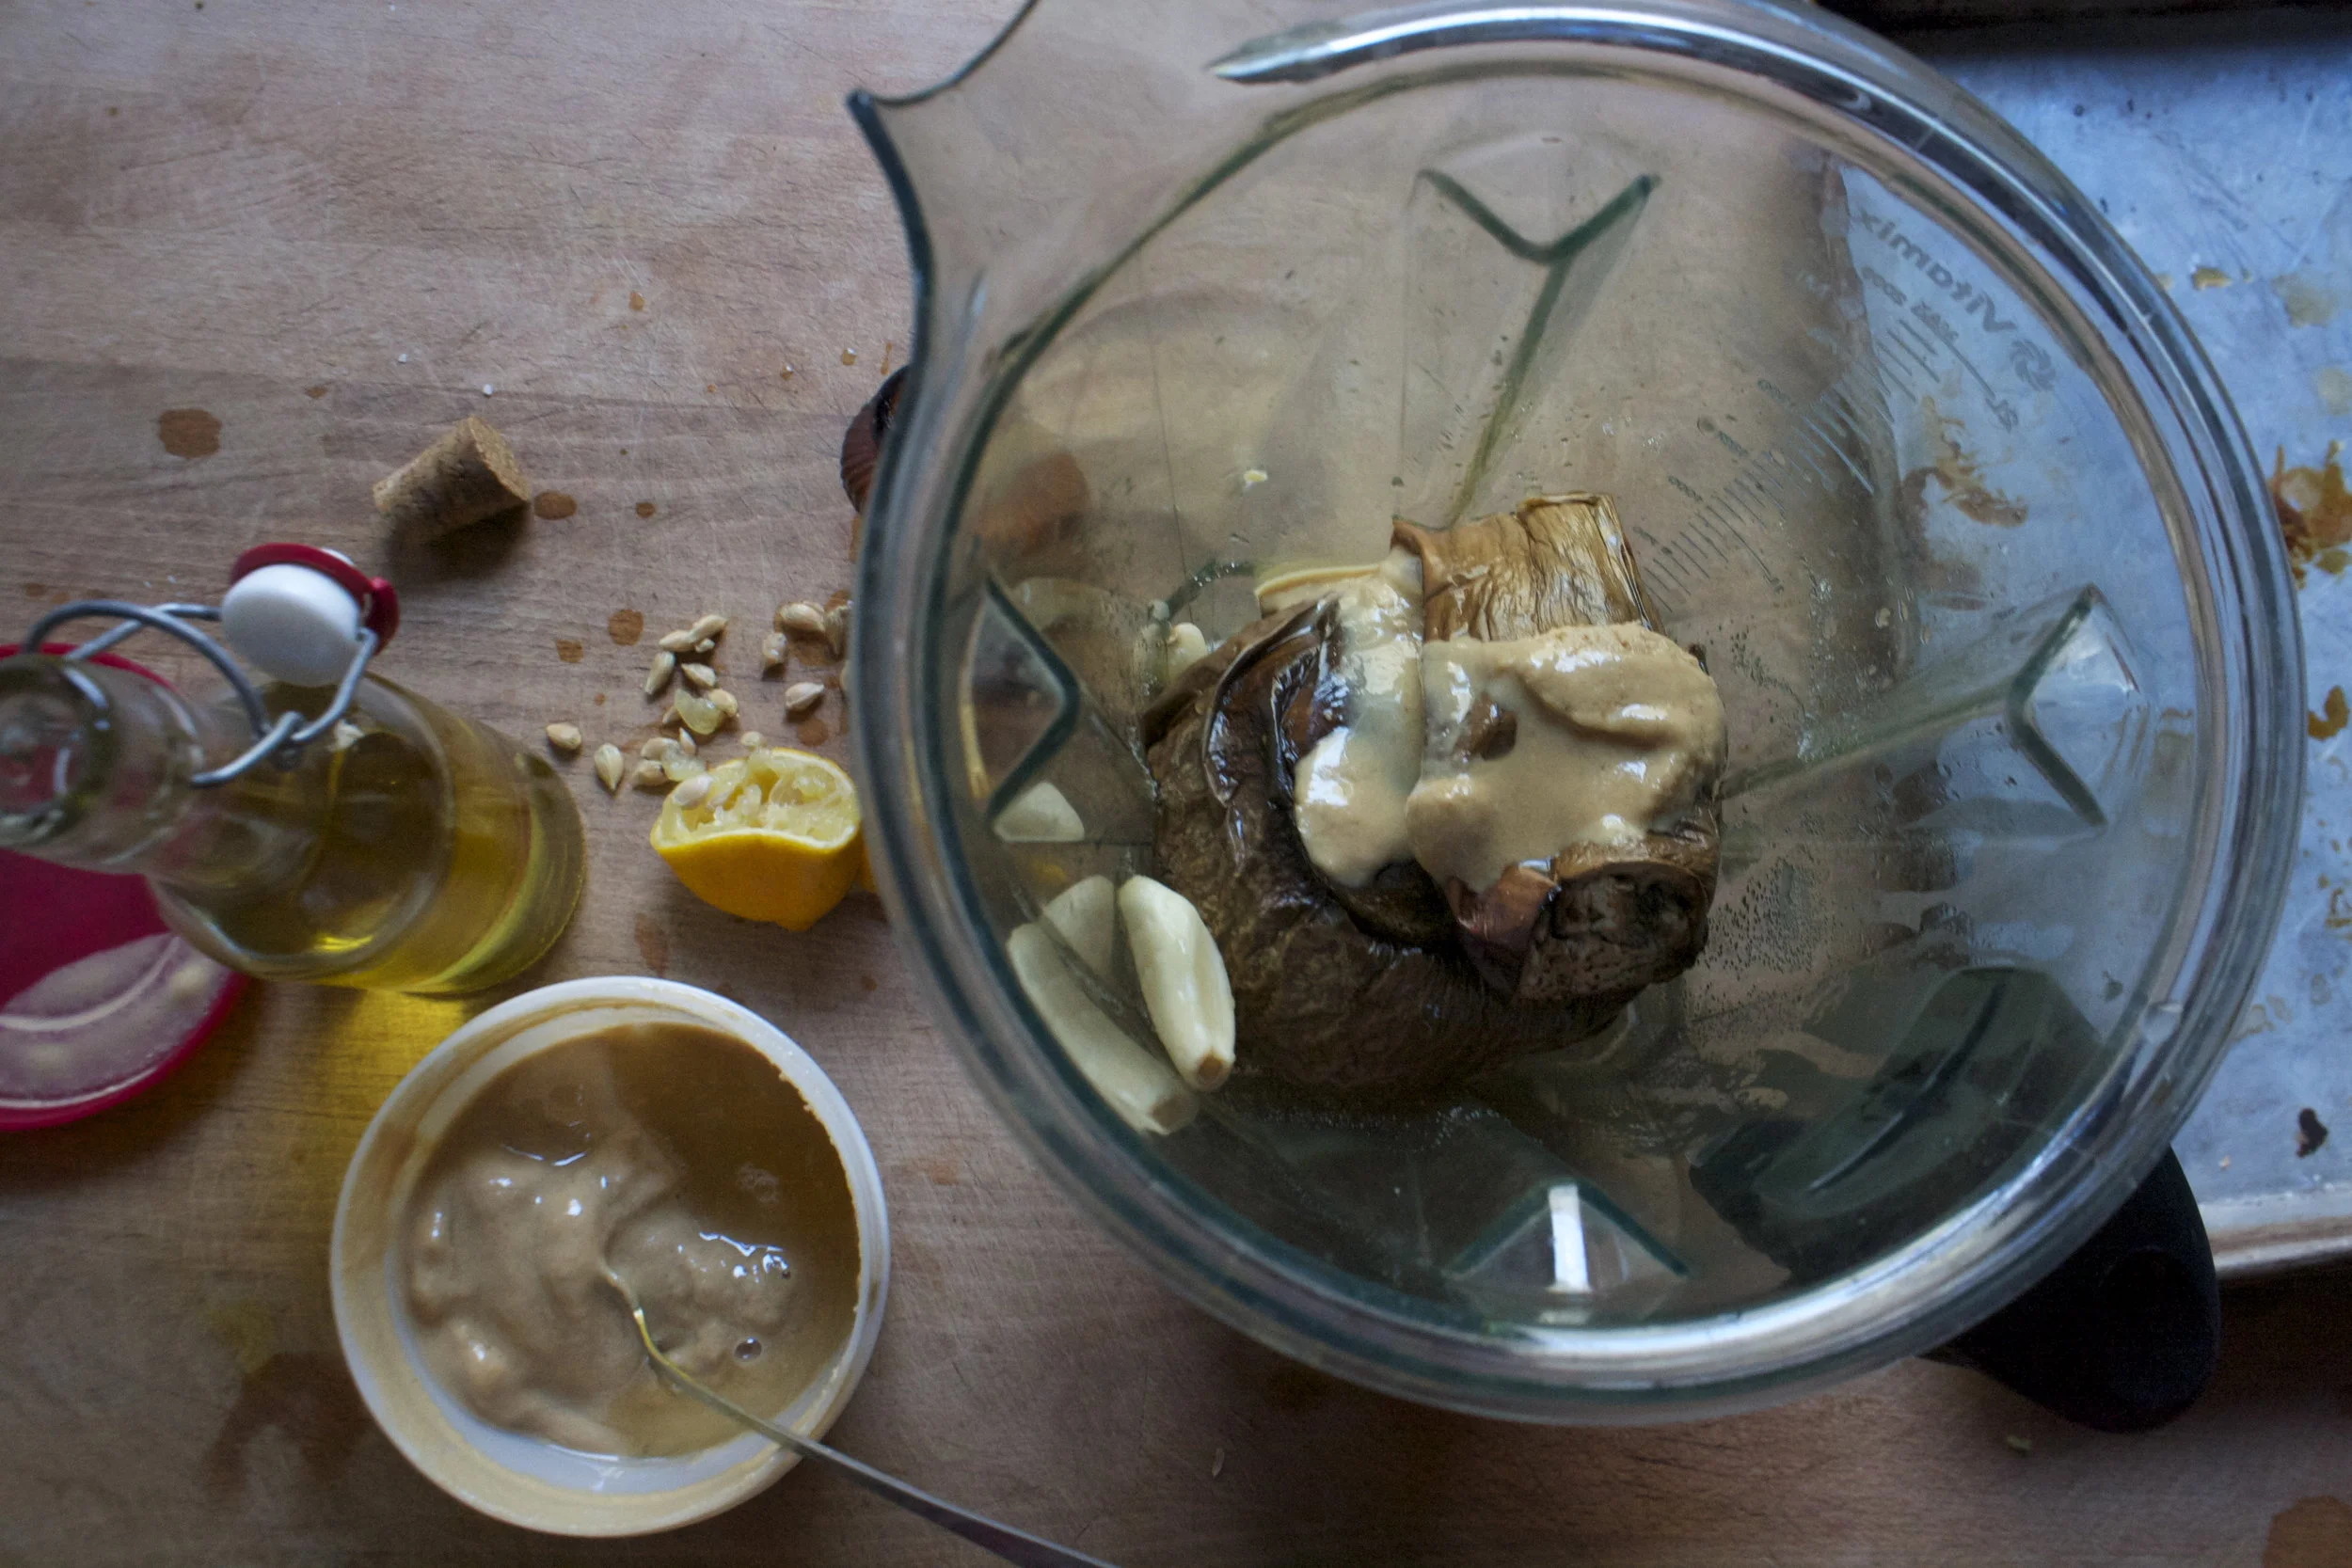
Toss the roasted eggplant and the garlic into a blender. Add in the juice of the lemon, tahini, olive oil and a pinch of salt.
Blend.
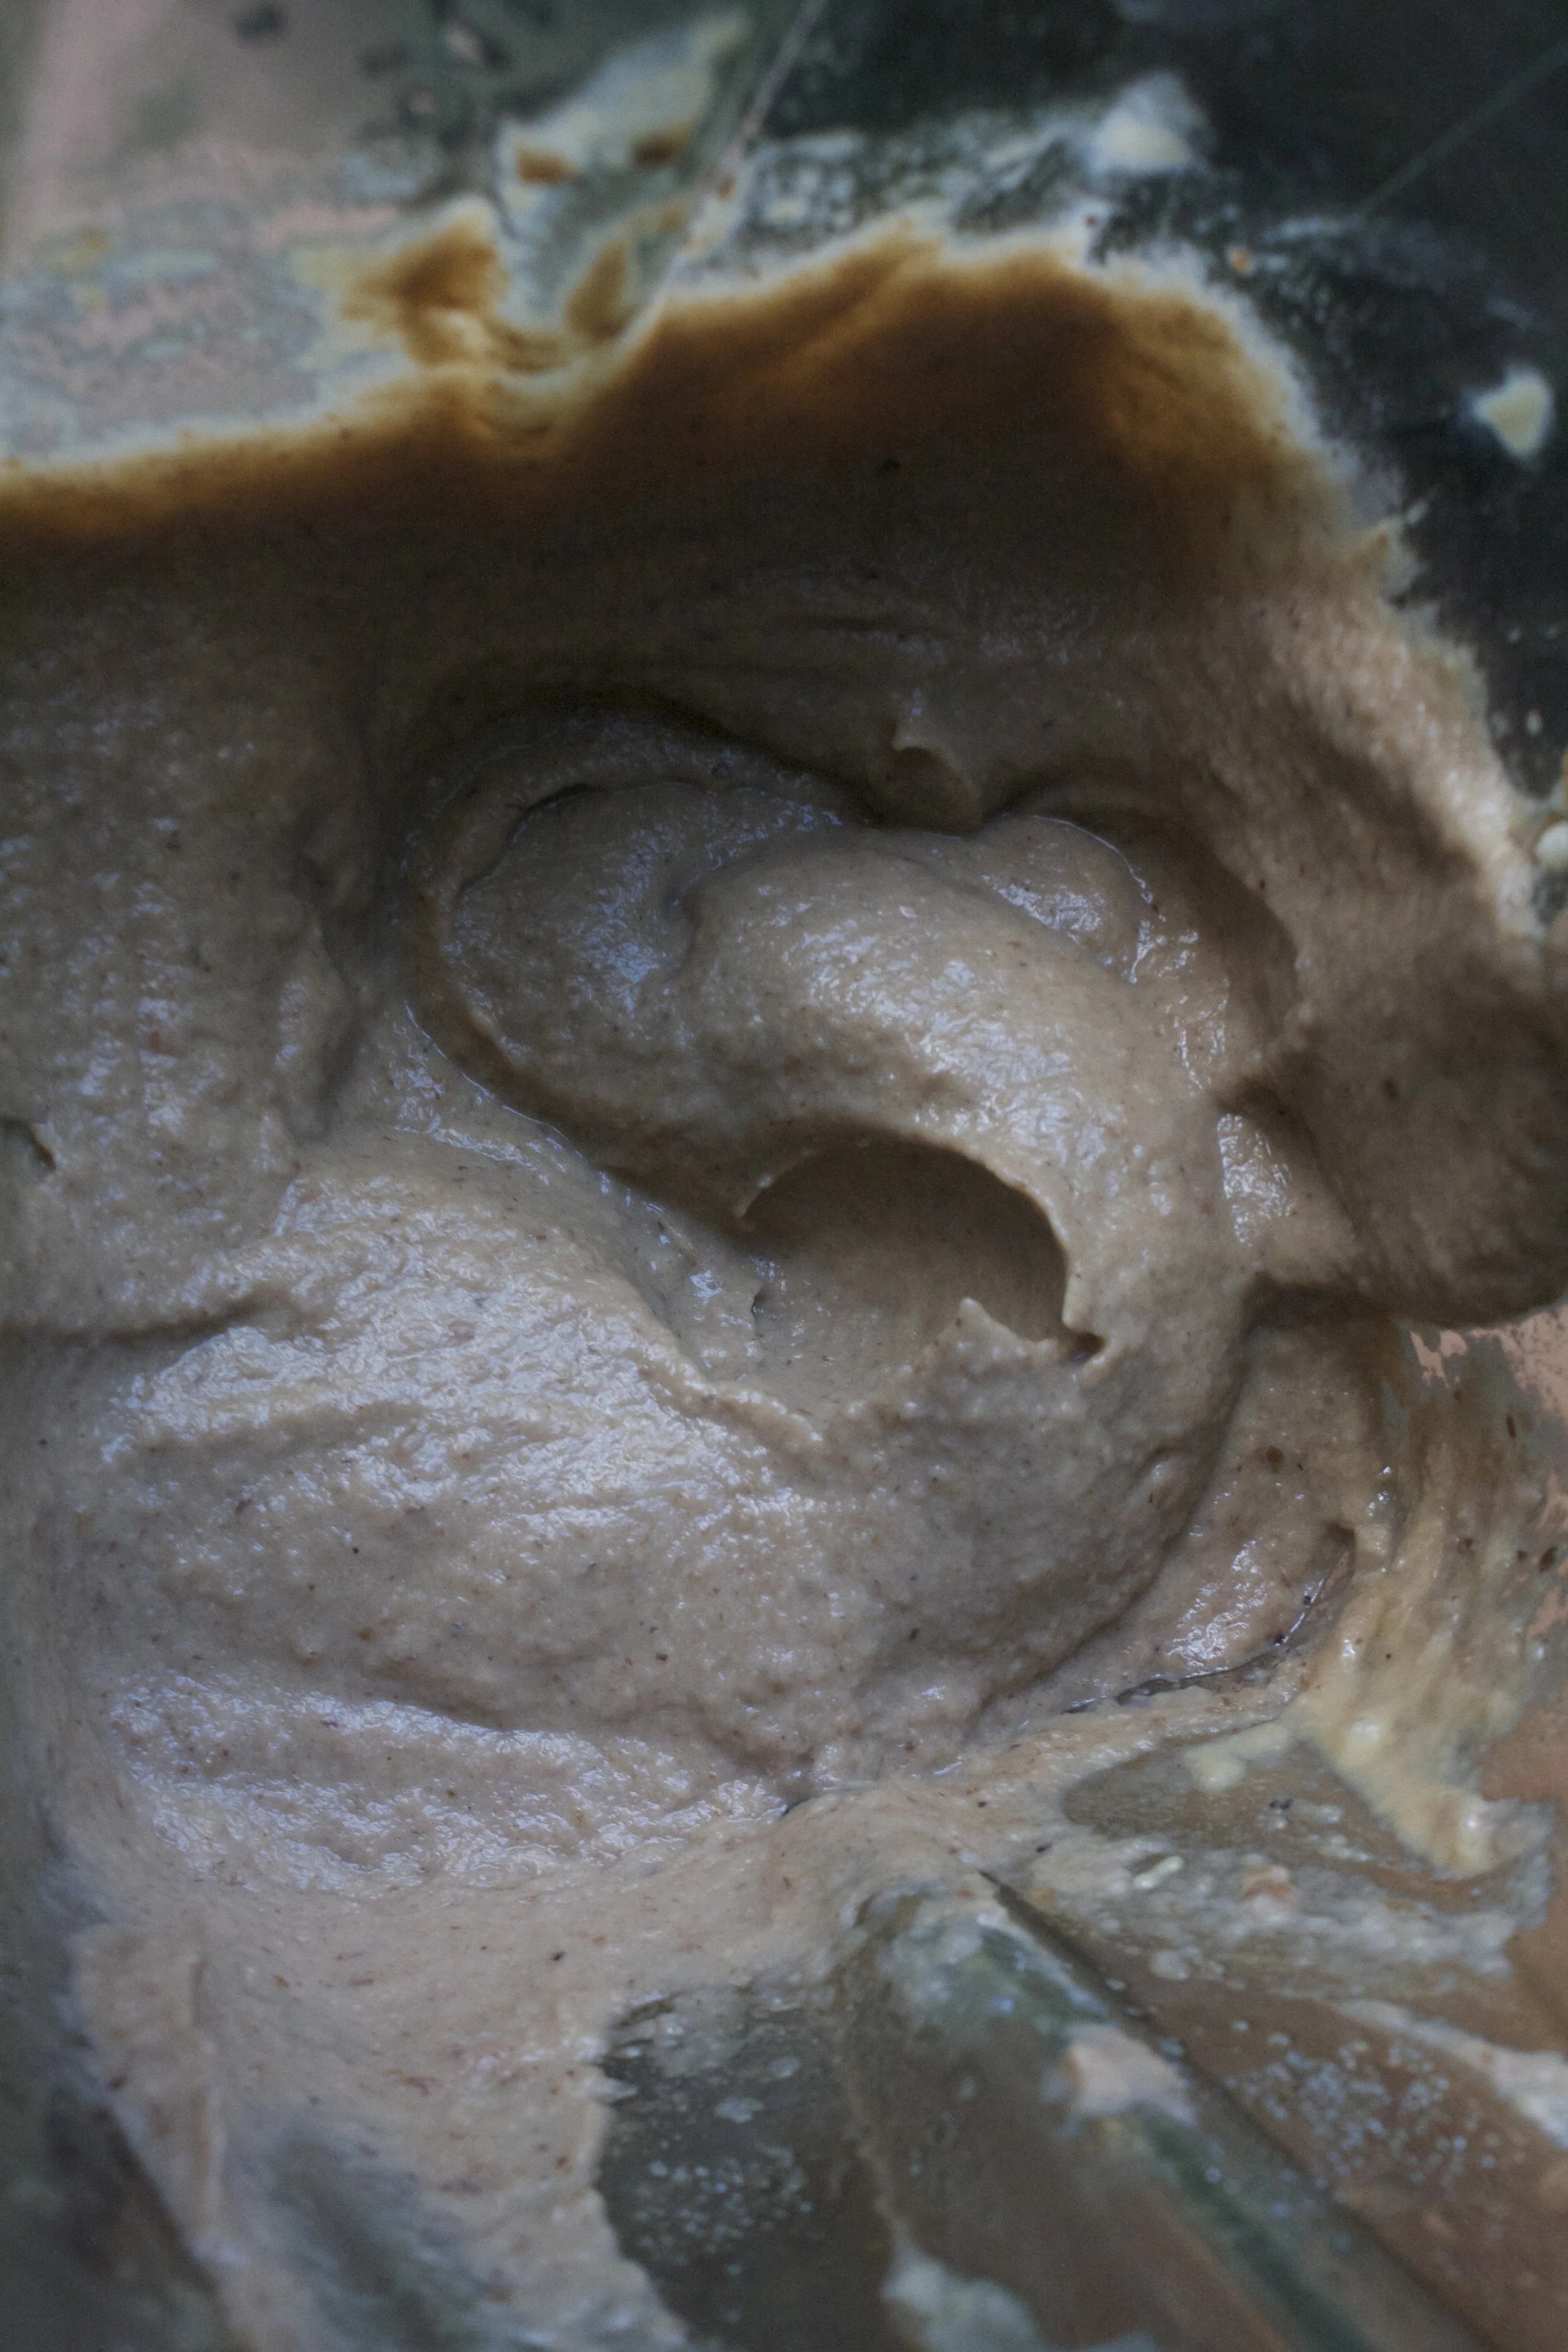
So silky smooth. Taste and add any more tahini, salt, lemon that you want until it taste like it should taste to you.
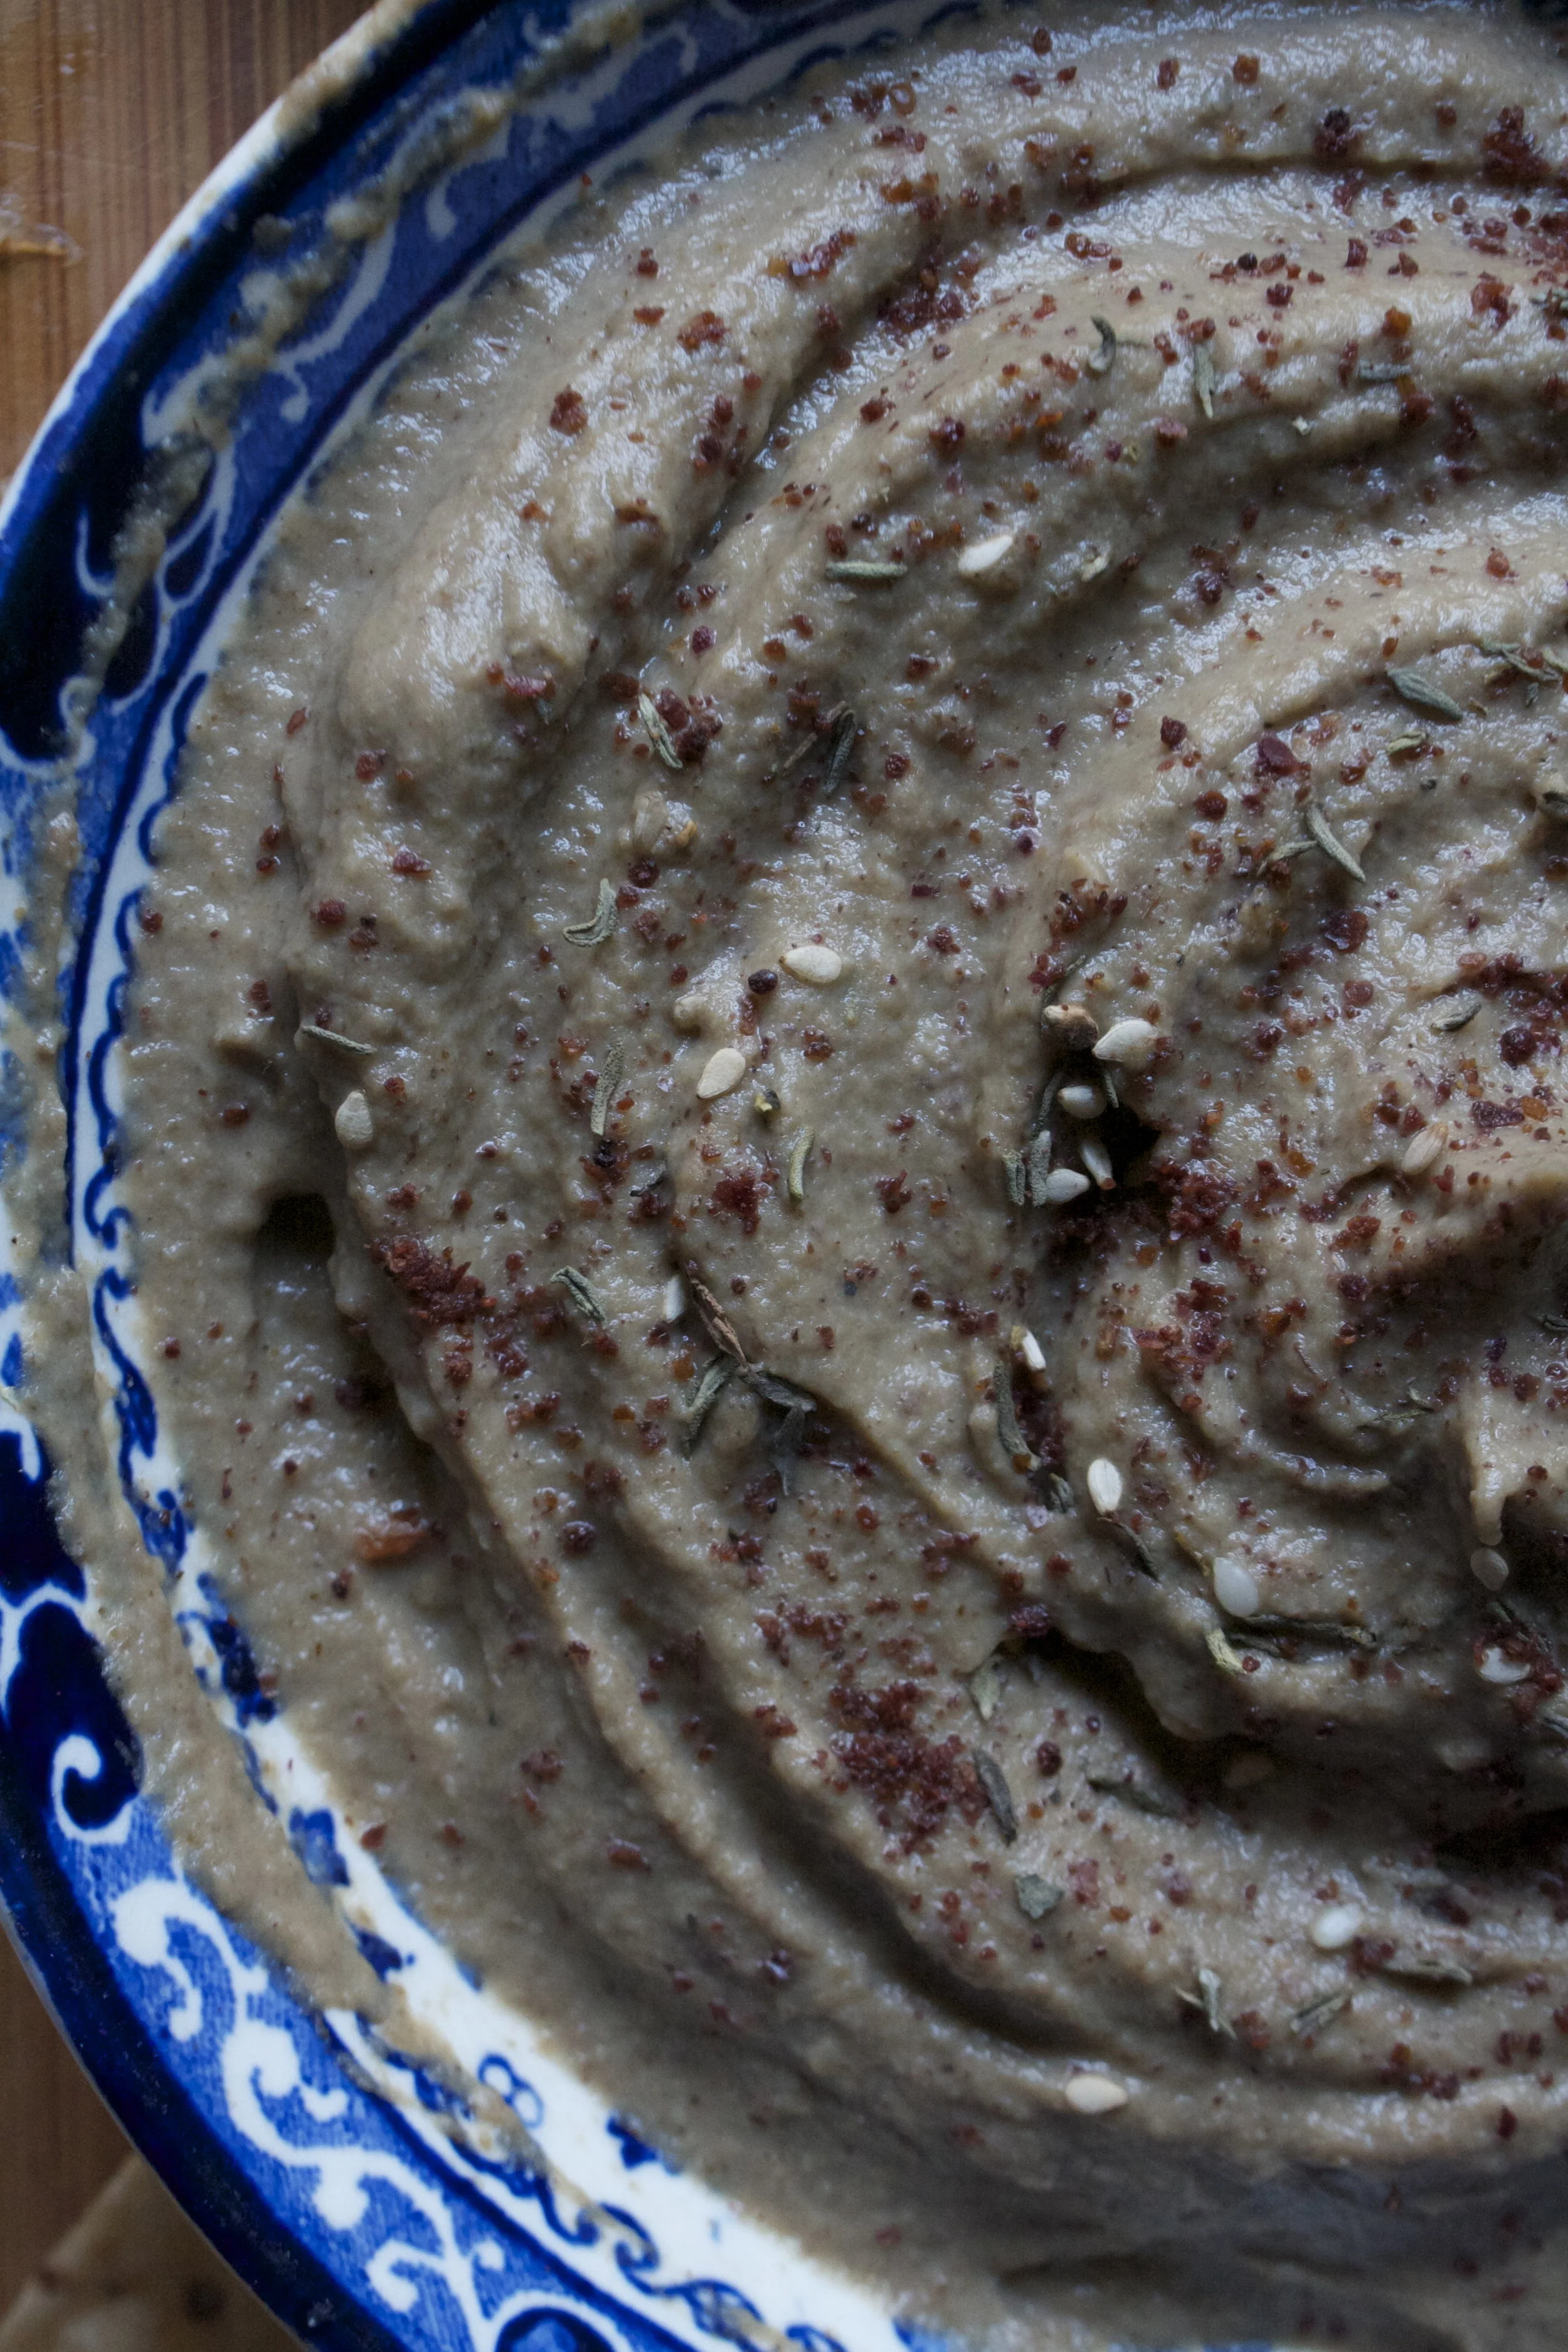
And into a bowl it goes. Baba ganoush all up in your face. I highly enjoy a good dusting of some zataar on top, but even just a sprinkle of pepper, or sumac, sesame seeds or even thyme is nice. Or nothing, you don’t need anything.
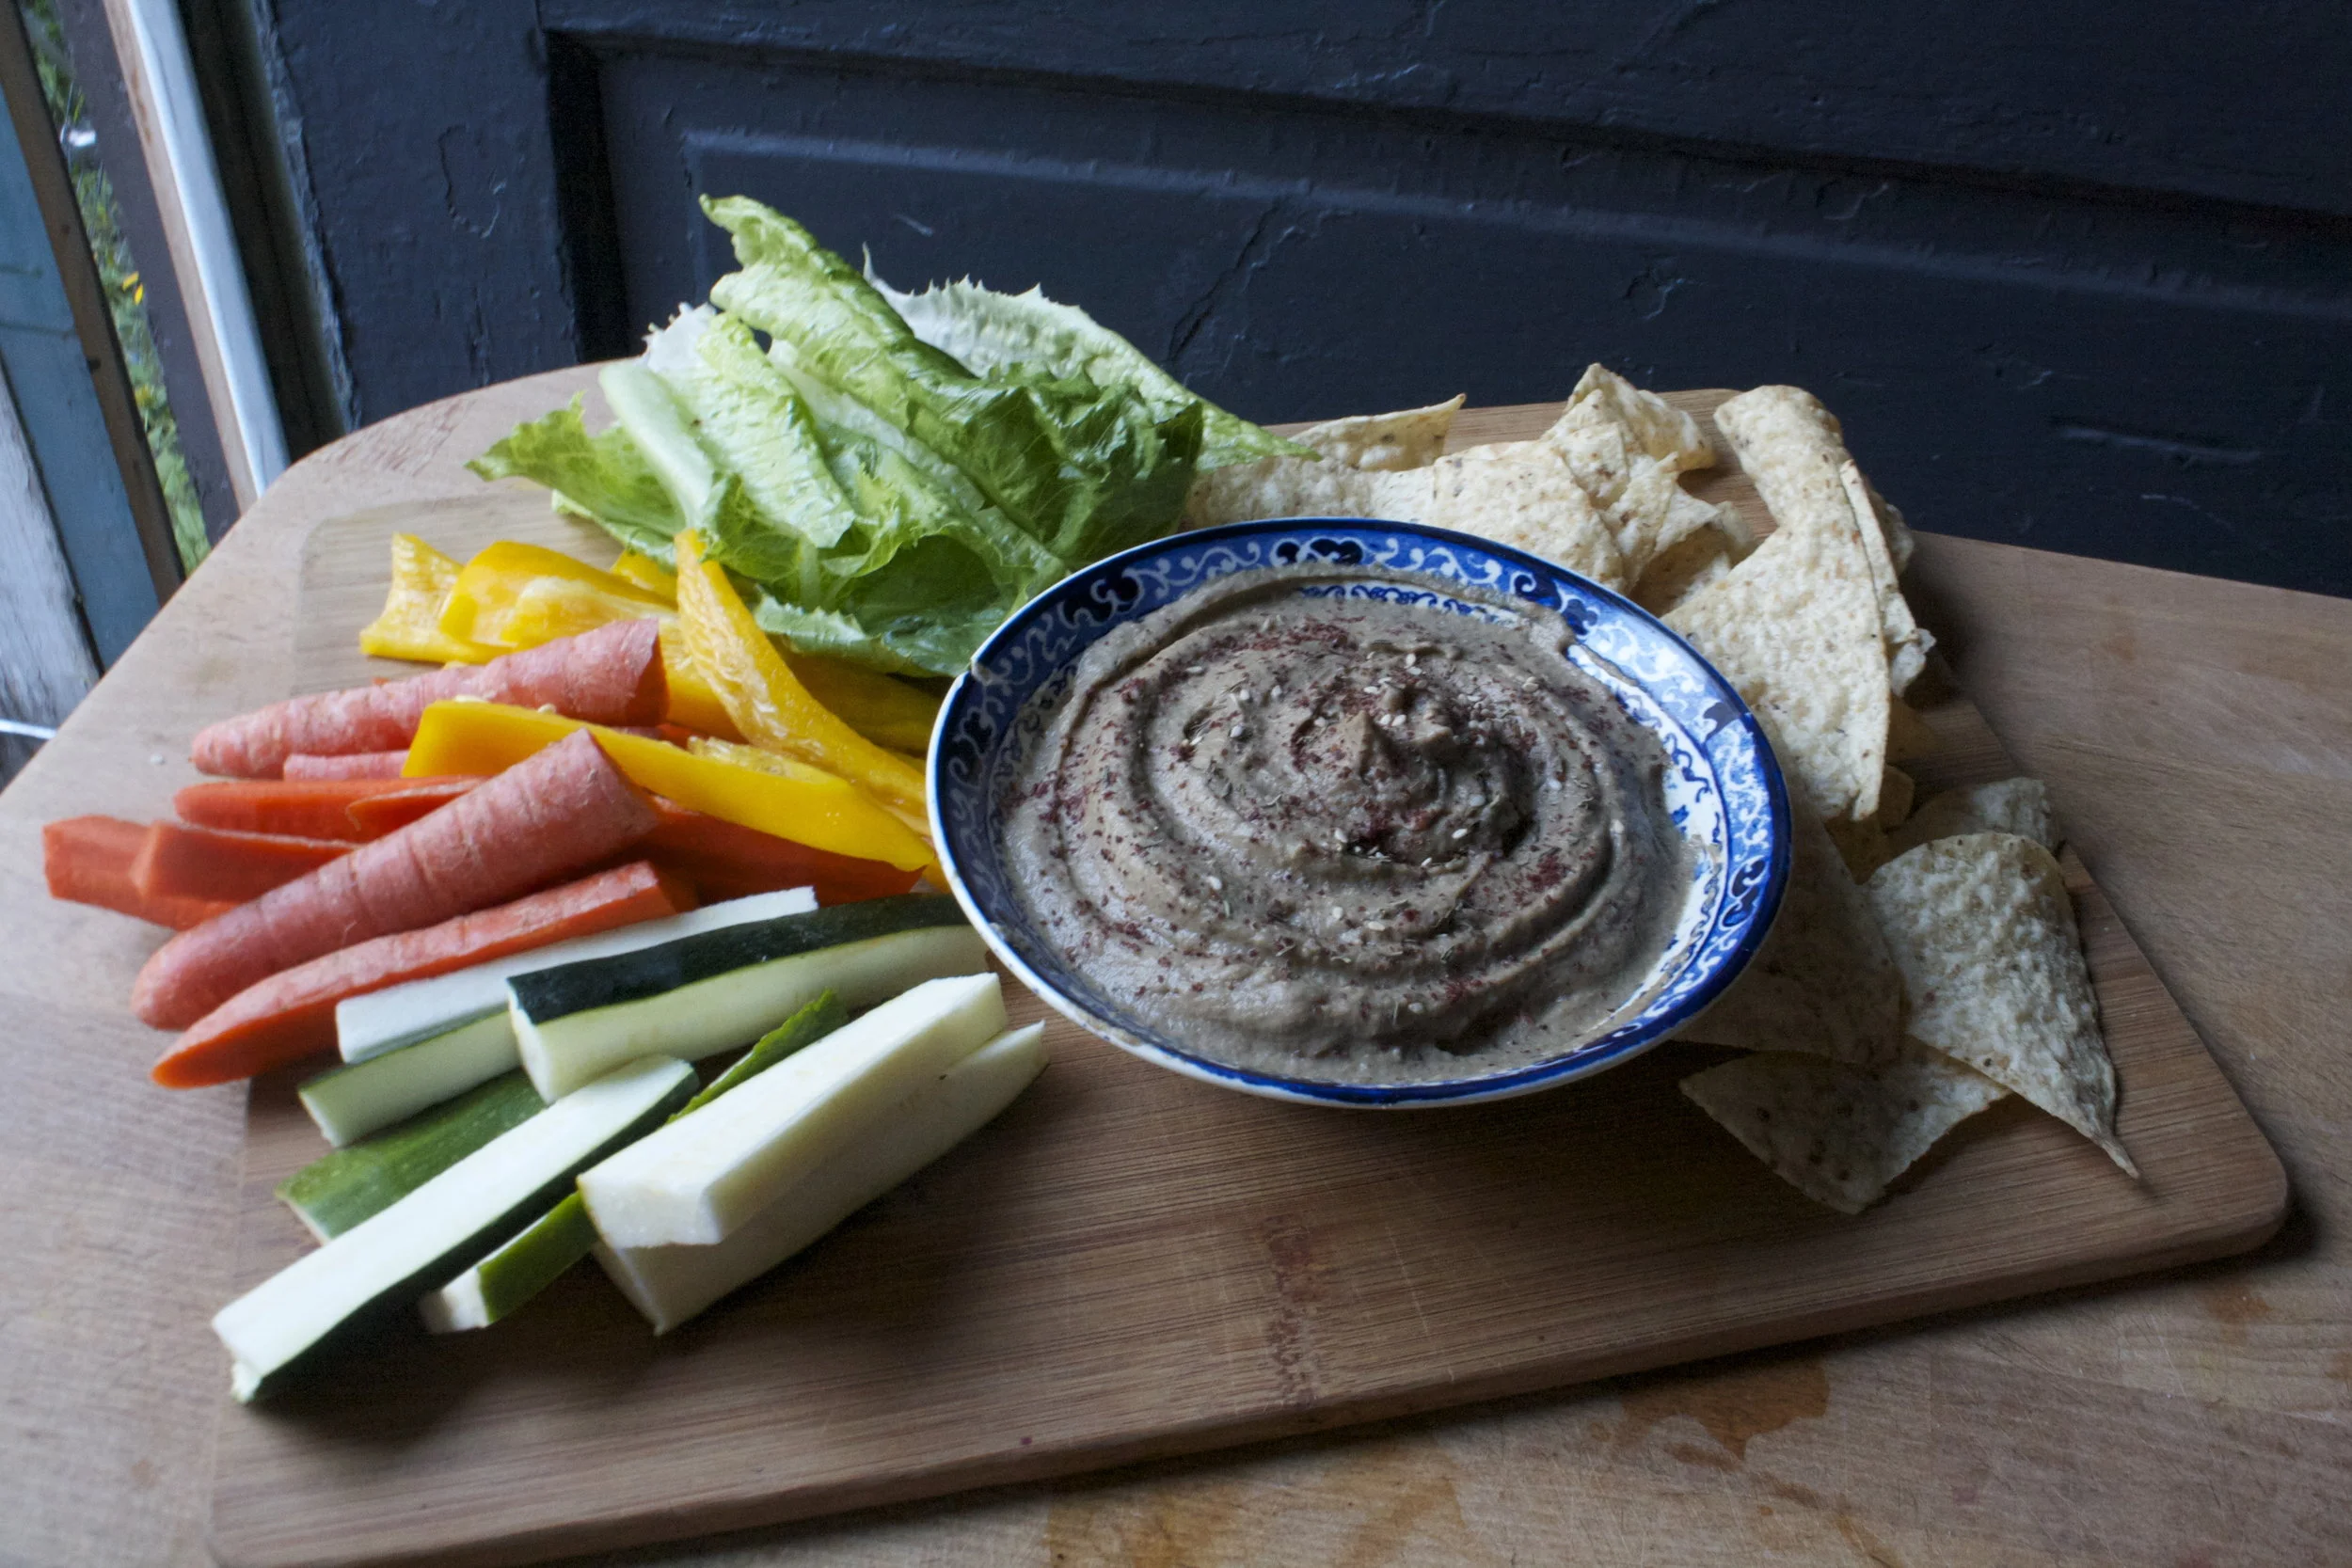
A big bowl of baba served with some chippers (for the mr) and cut up veggies (for me!) I wanted to make pitas but just didn’t have the time. Oh well, next time.
Be careful, this stuff is addictive!
-C
Make about 2-1/2 cups
- 2 eggplants (or 3 smaller sized eggplant)
- 1 lemon
- 3-4 cloves garlic
- 3 tablespoons tahini ( more if you like)
- 1 tablespoon olive oil
- salt
- Zataar (optional)
Crank up the oven to 450
Slice eggplants in half and place on a cooking sheet and into the oven they go.
Bake for 25ish minutes, flipping over after 15 or so minutes, until the eggplant browned is nice and tender then remove from oven.%u00a0 Take the cooked eggplant and dump into a blender.(skin and all)%u00a0 Add in the juice of the lemon, the tahini, the olive oil, and a pinch of salt. Blend it all together until smooth. Taste and add more tahini and or salt if needed.( can even add more lemon too) Once you are happy with the taste, scoop into a bowl and serve with a good pinch of zataar seasoning (if your into it) and a butt load of veggies, pitas, chips or whatever you dip into you baba ganoush.
















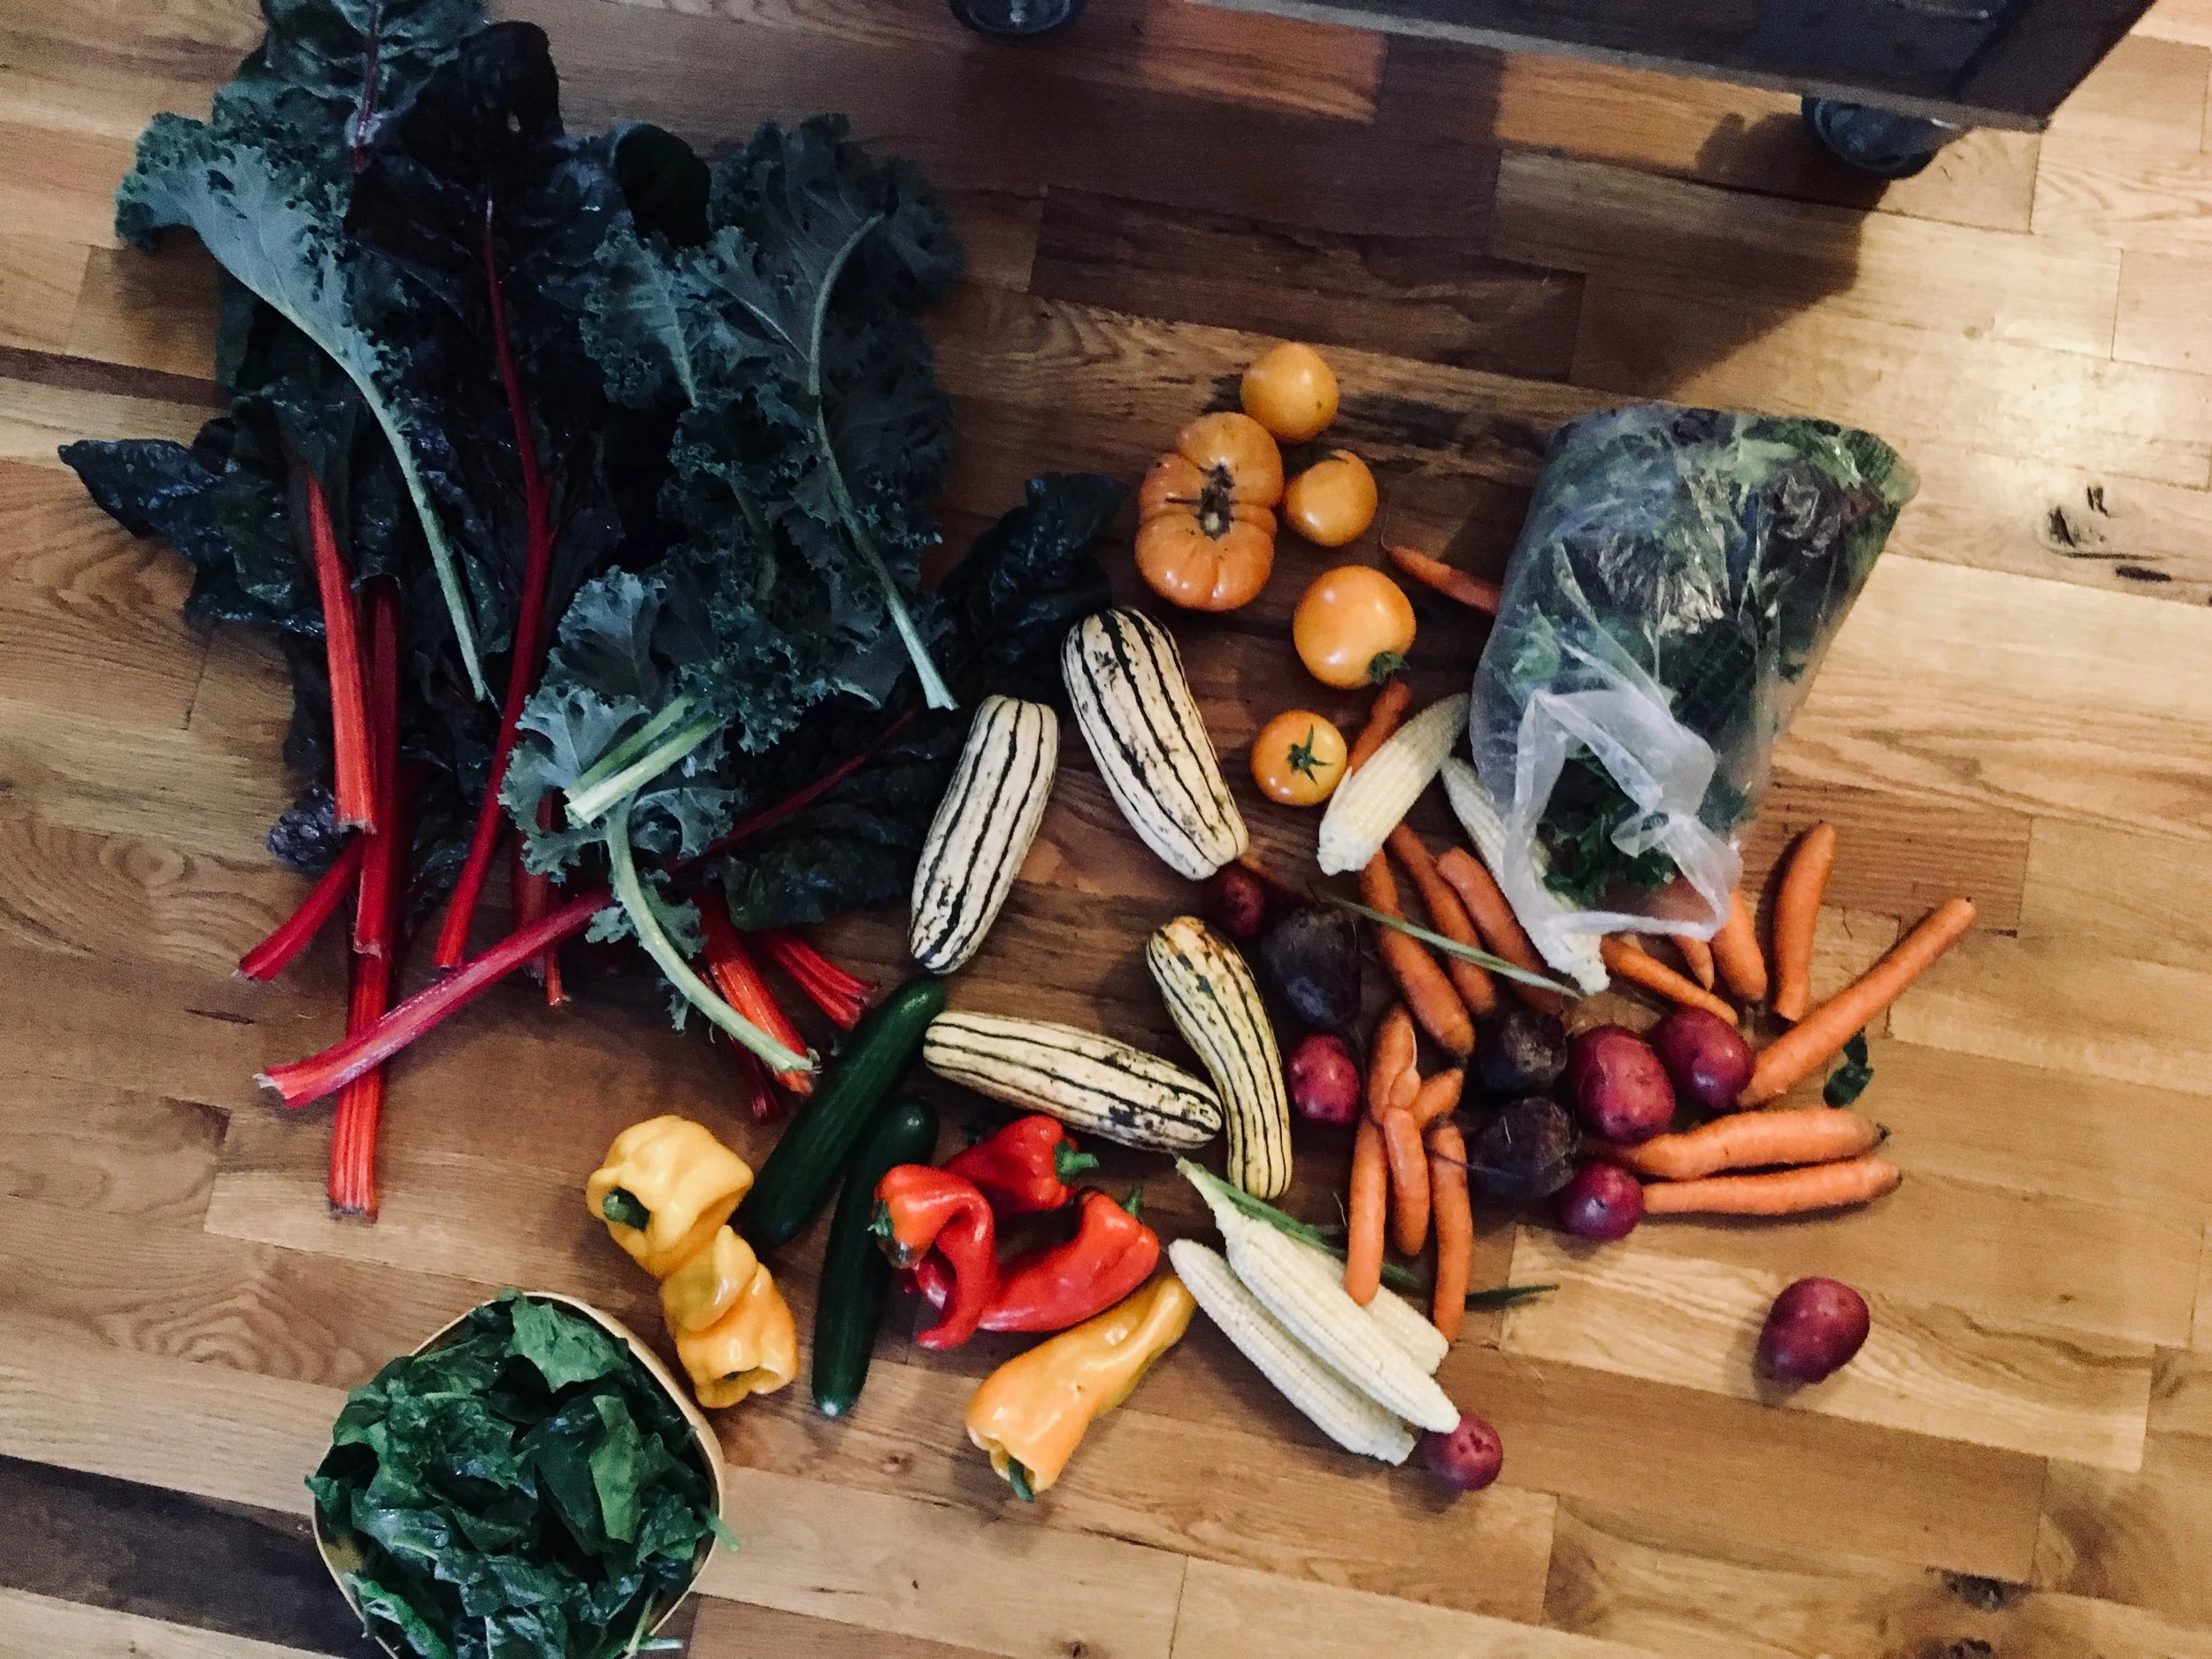













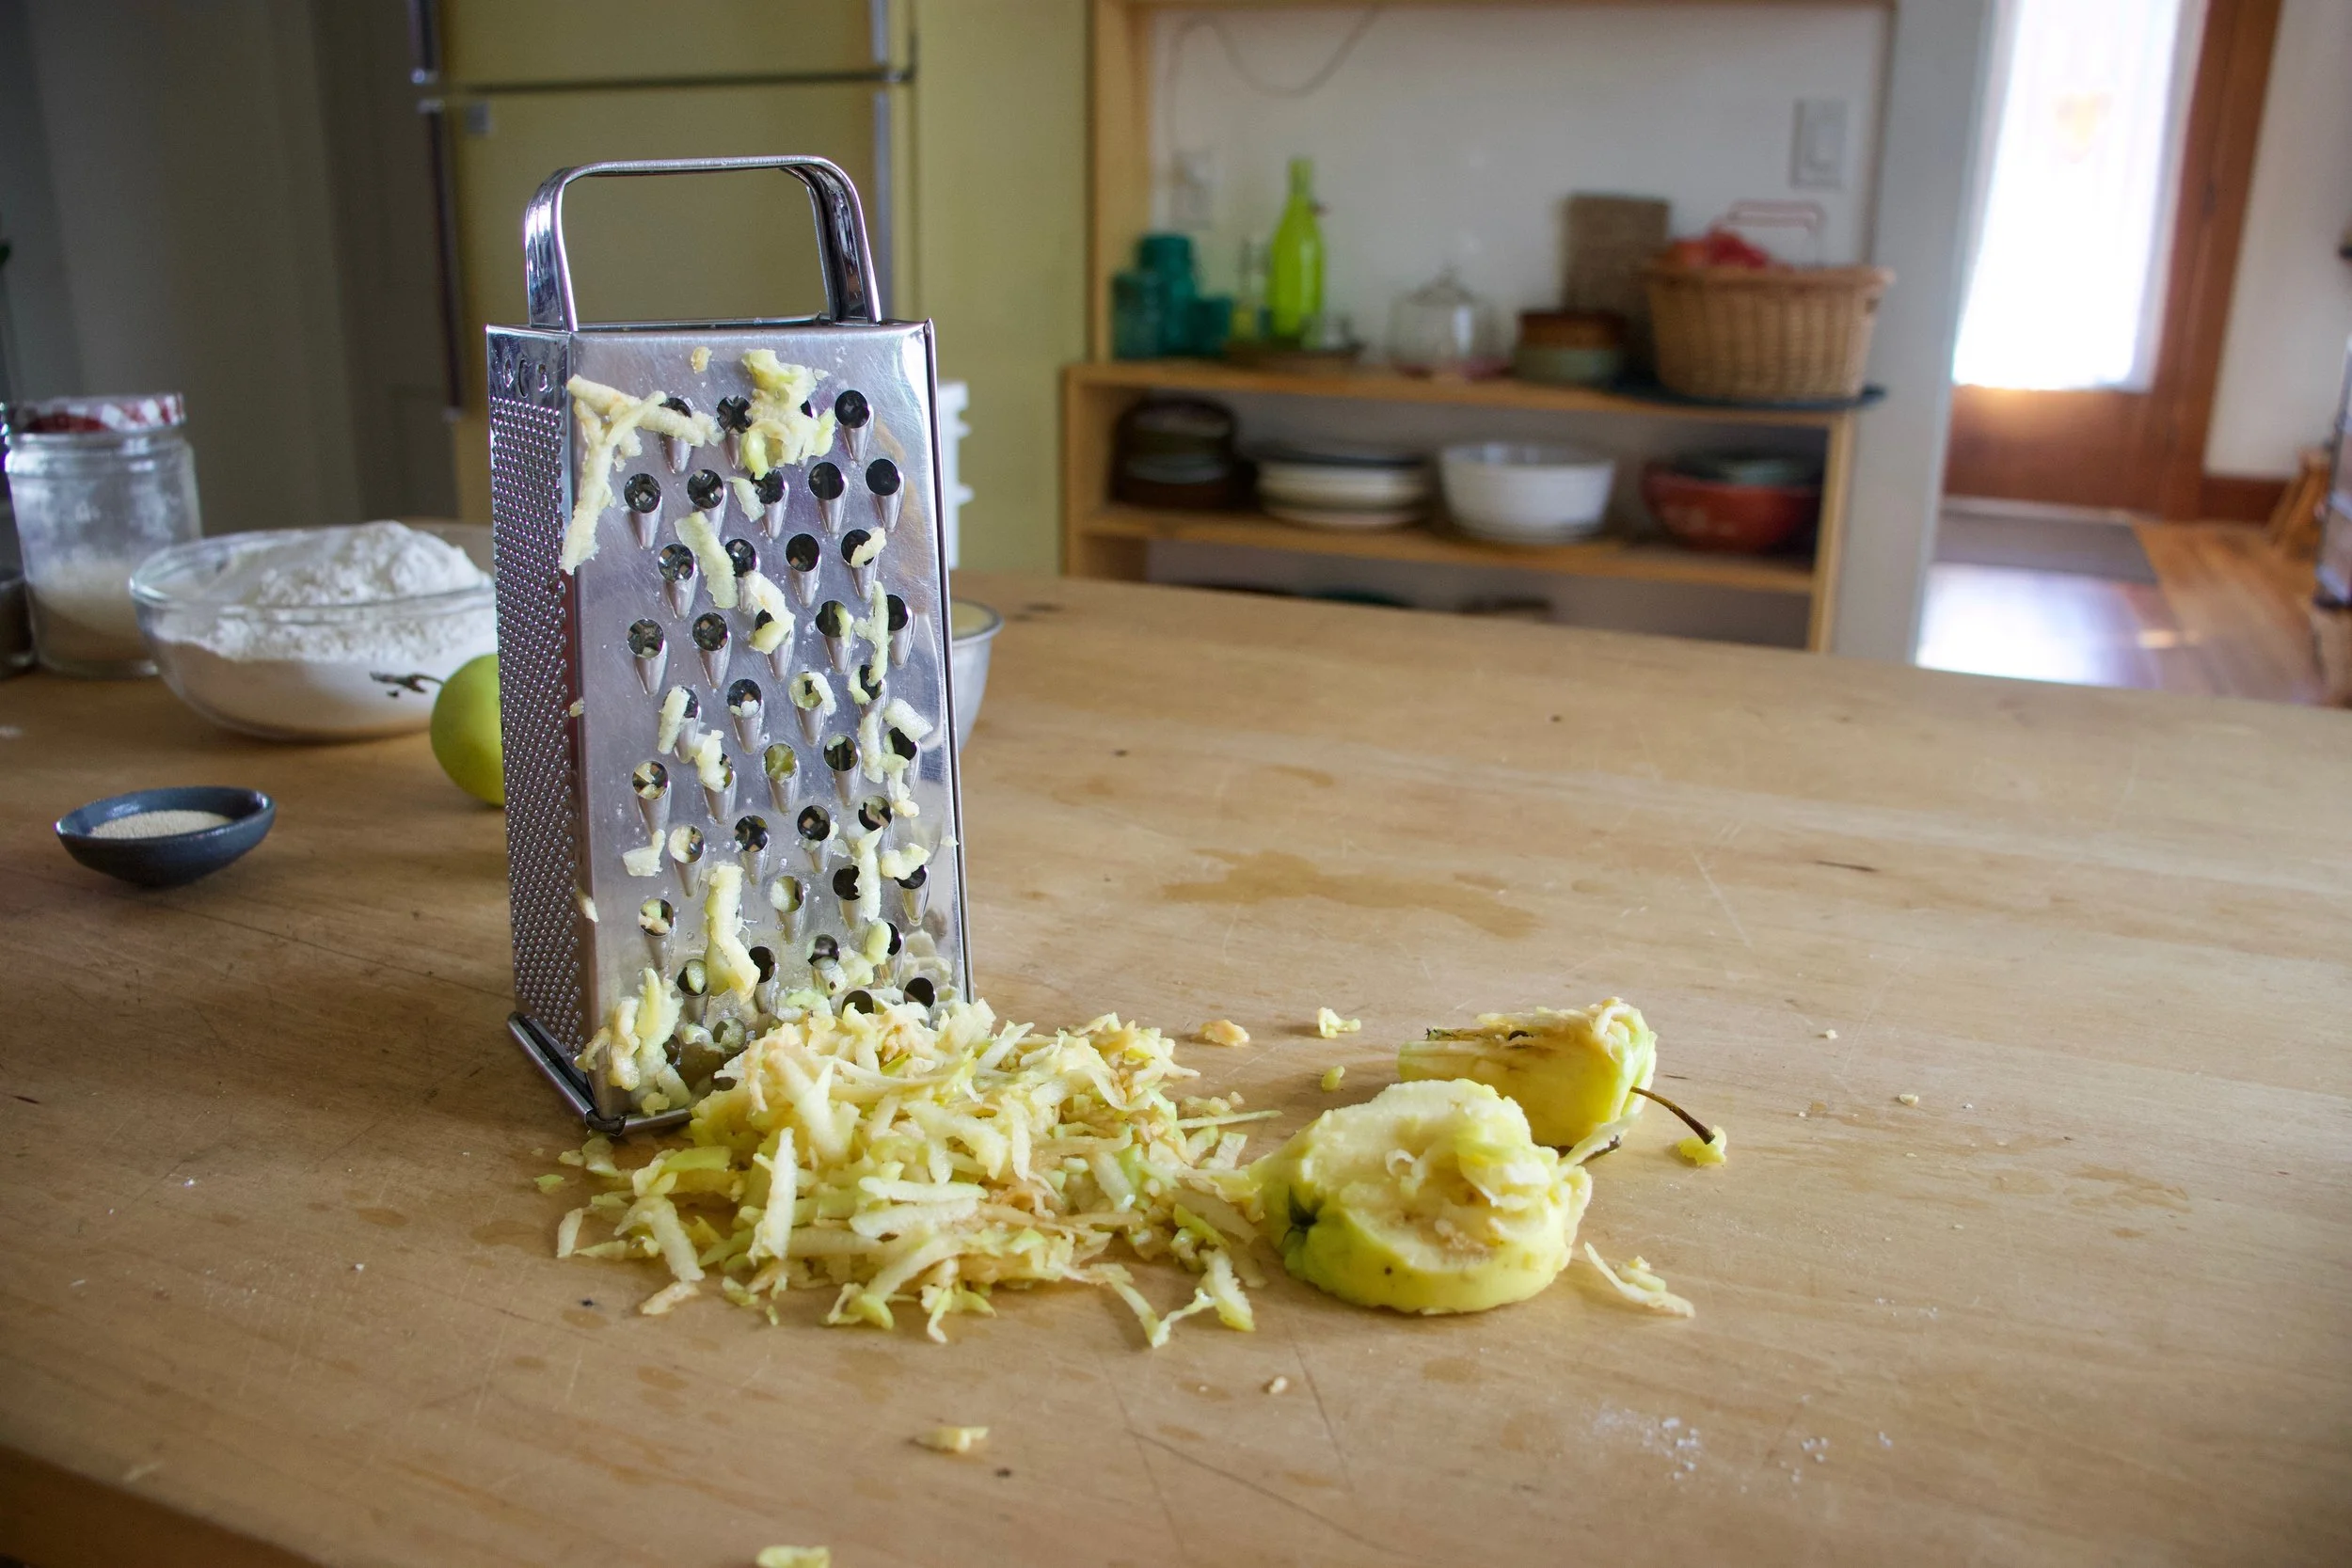


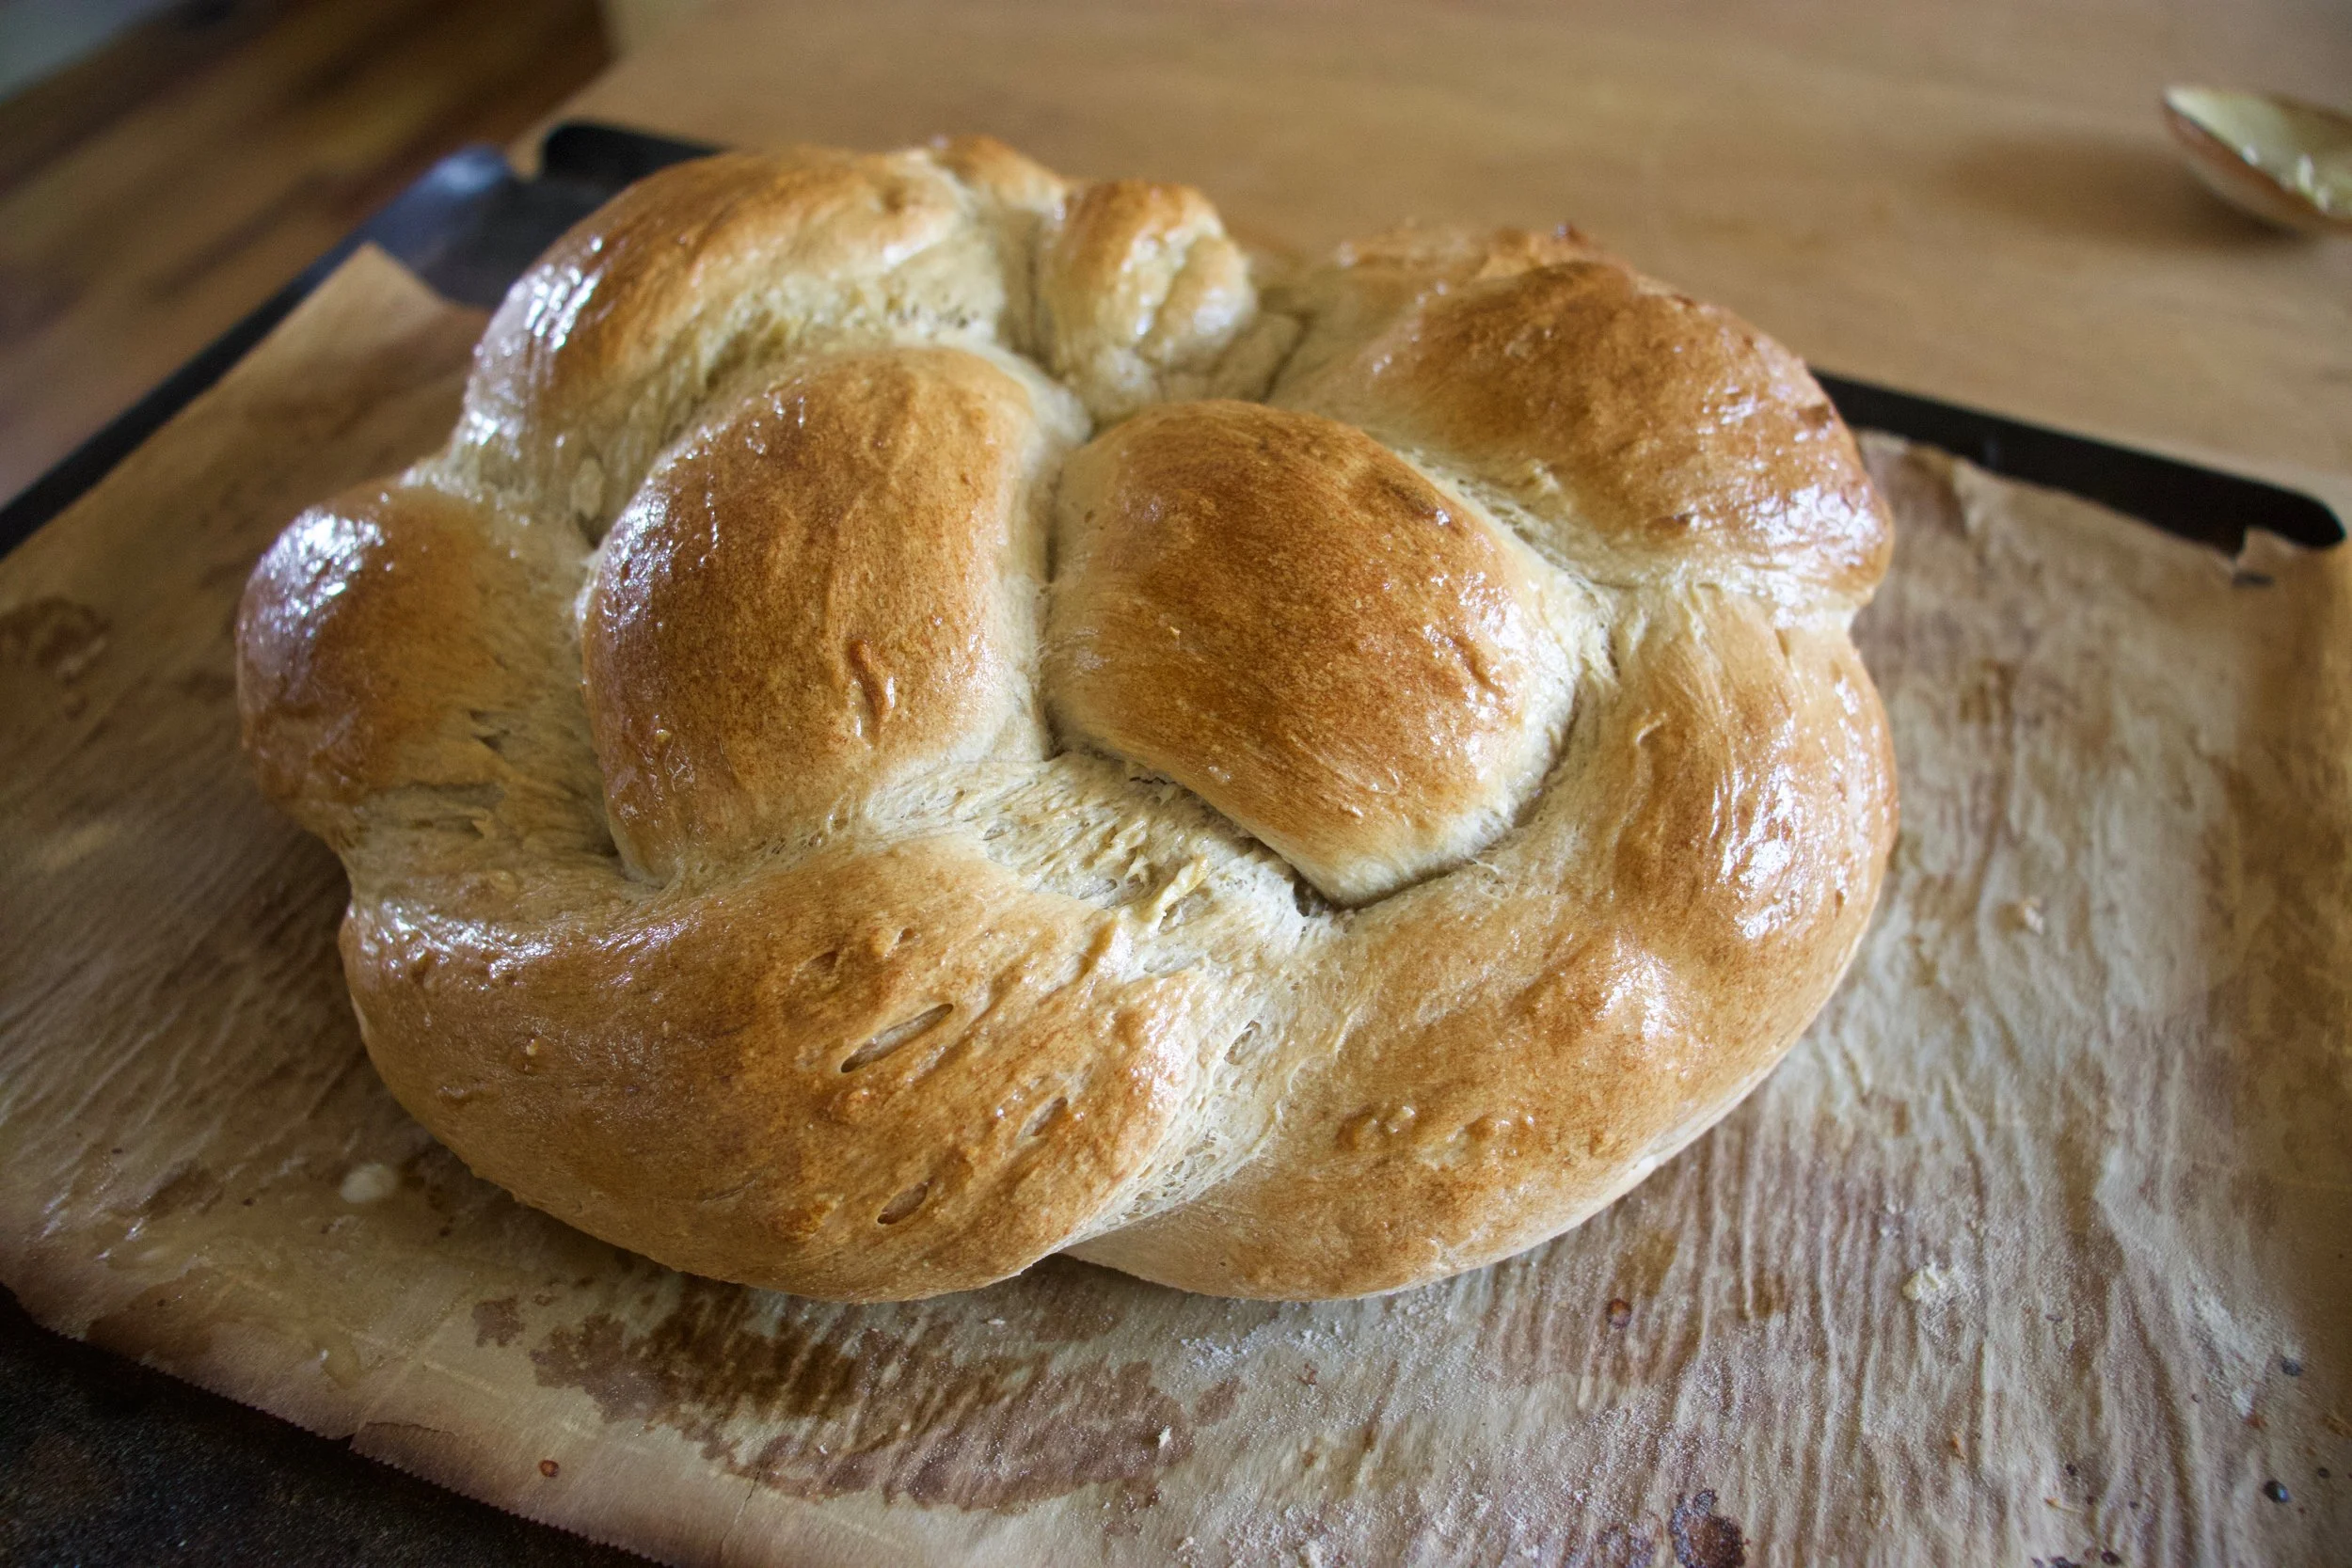


















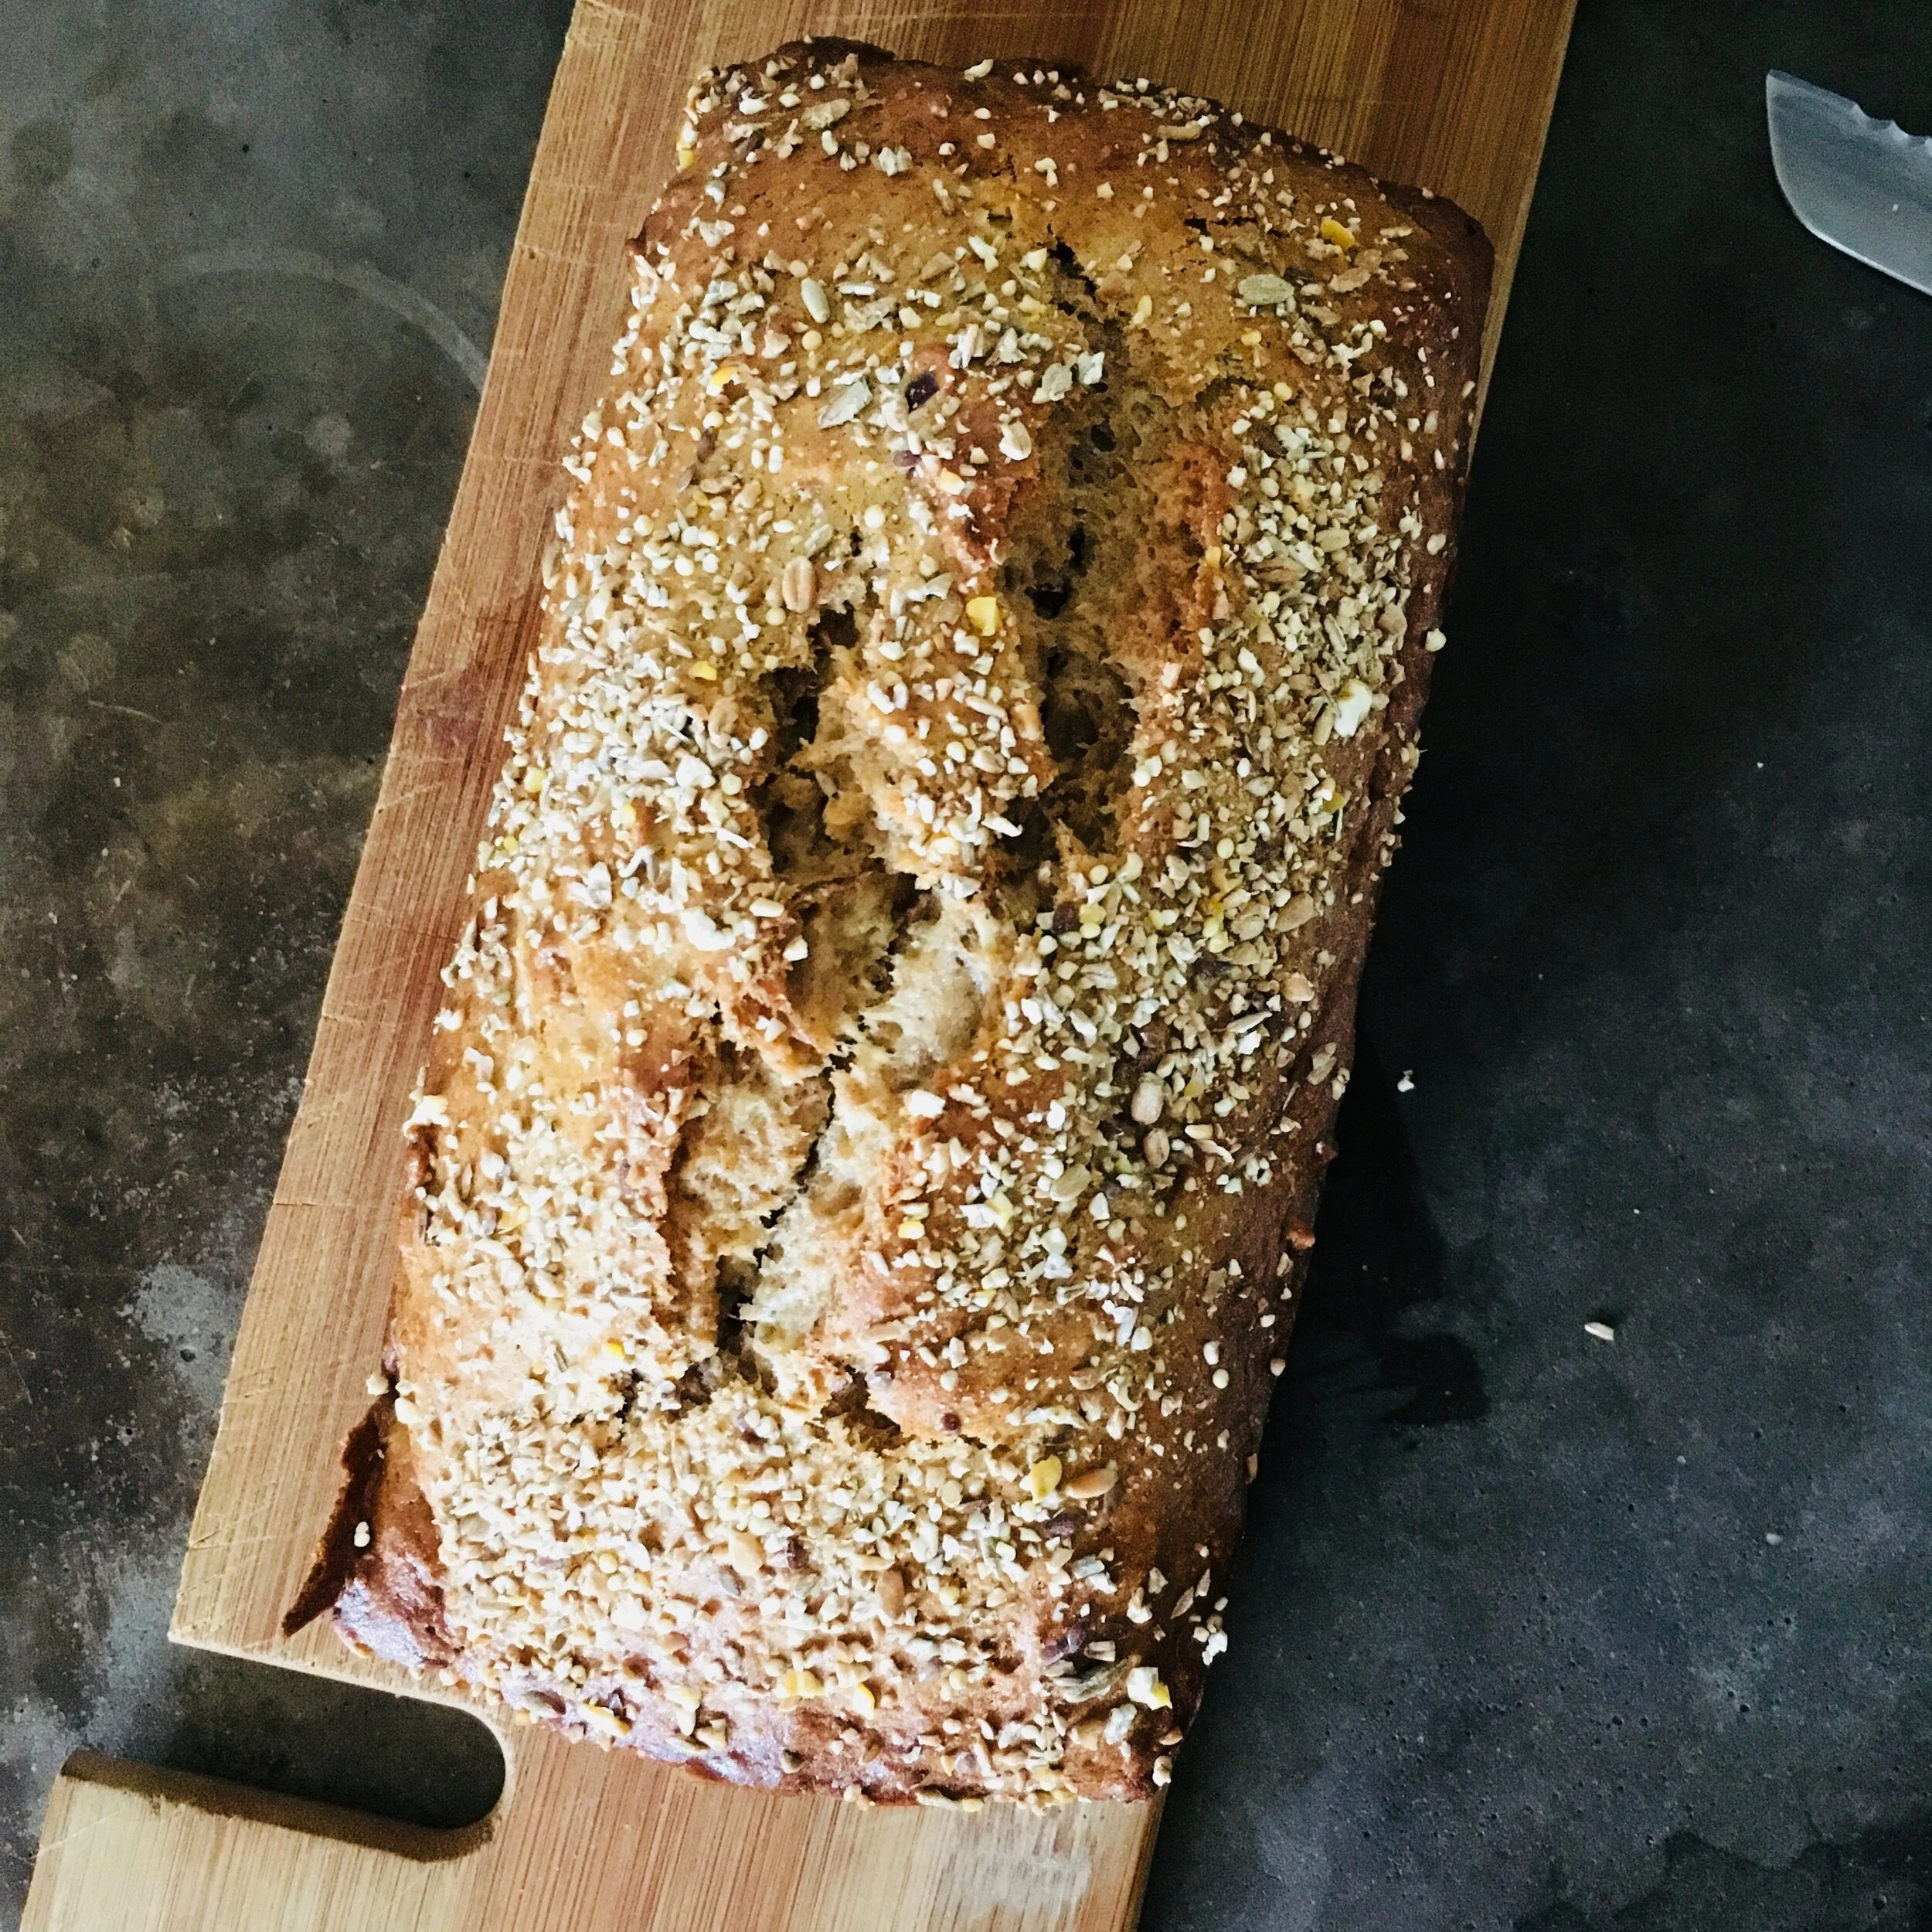
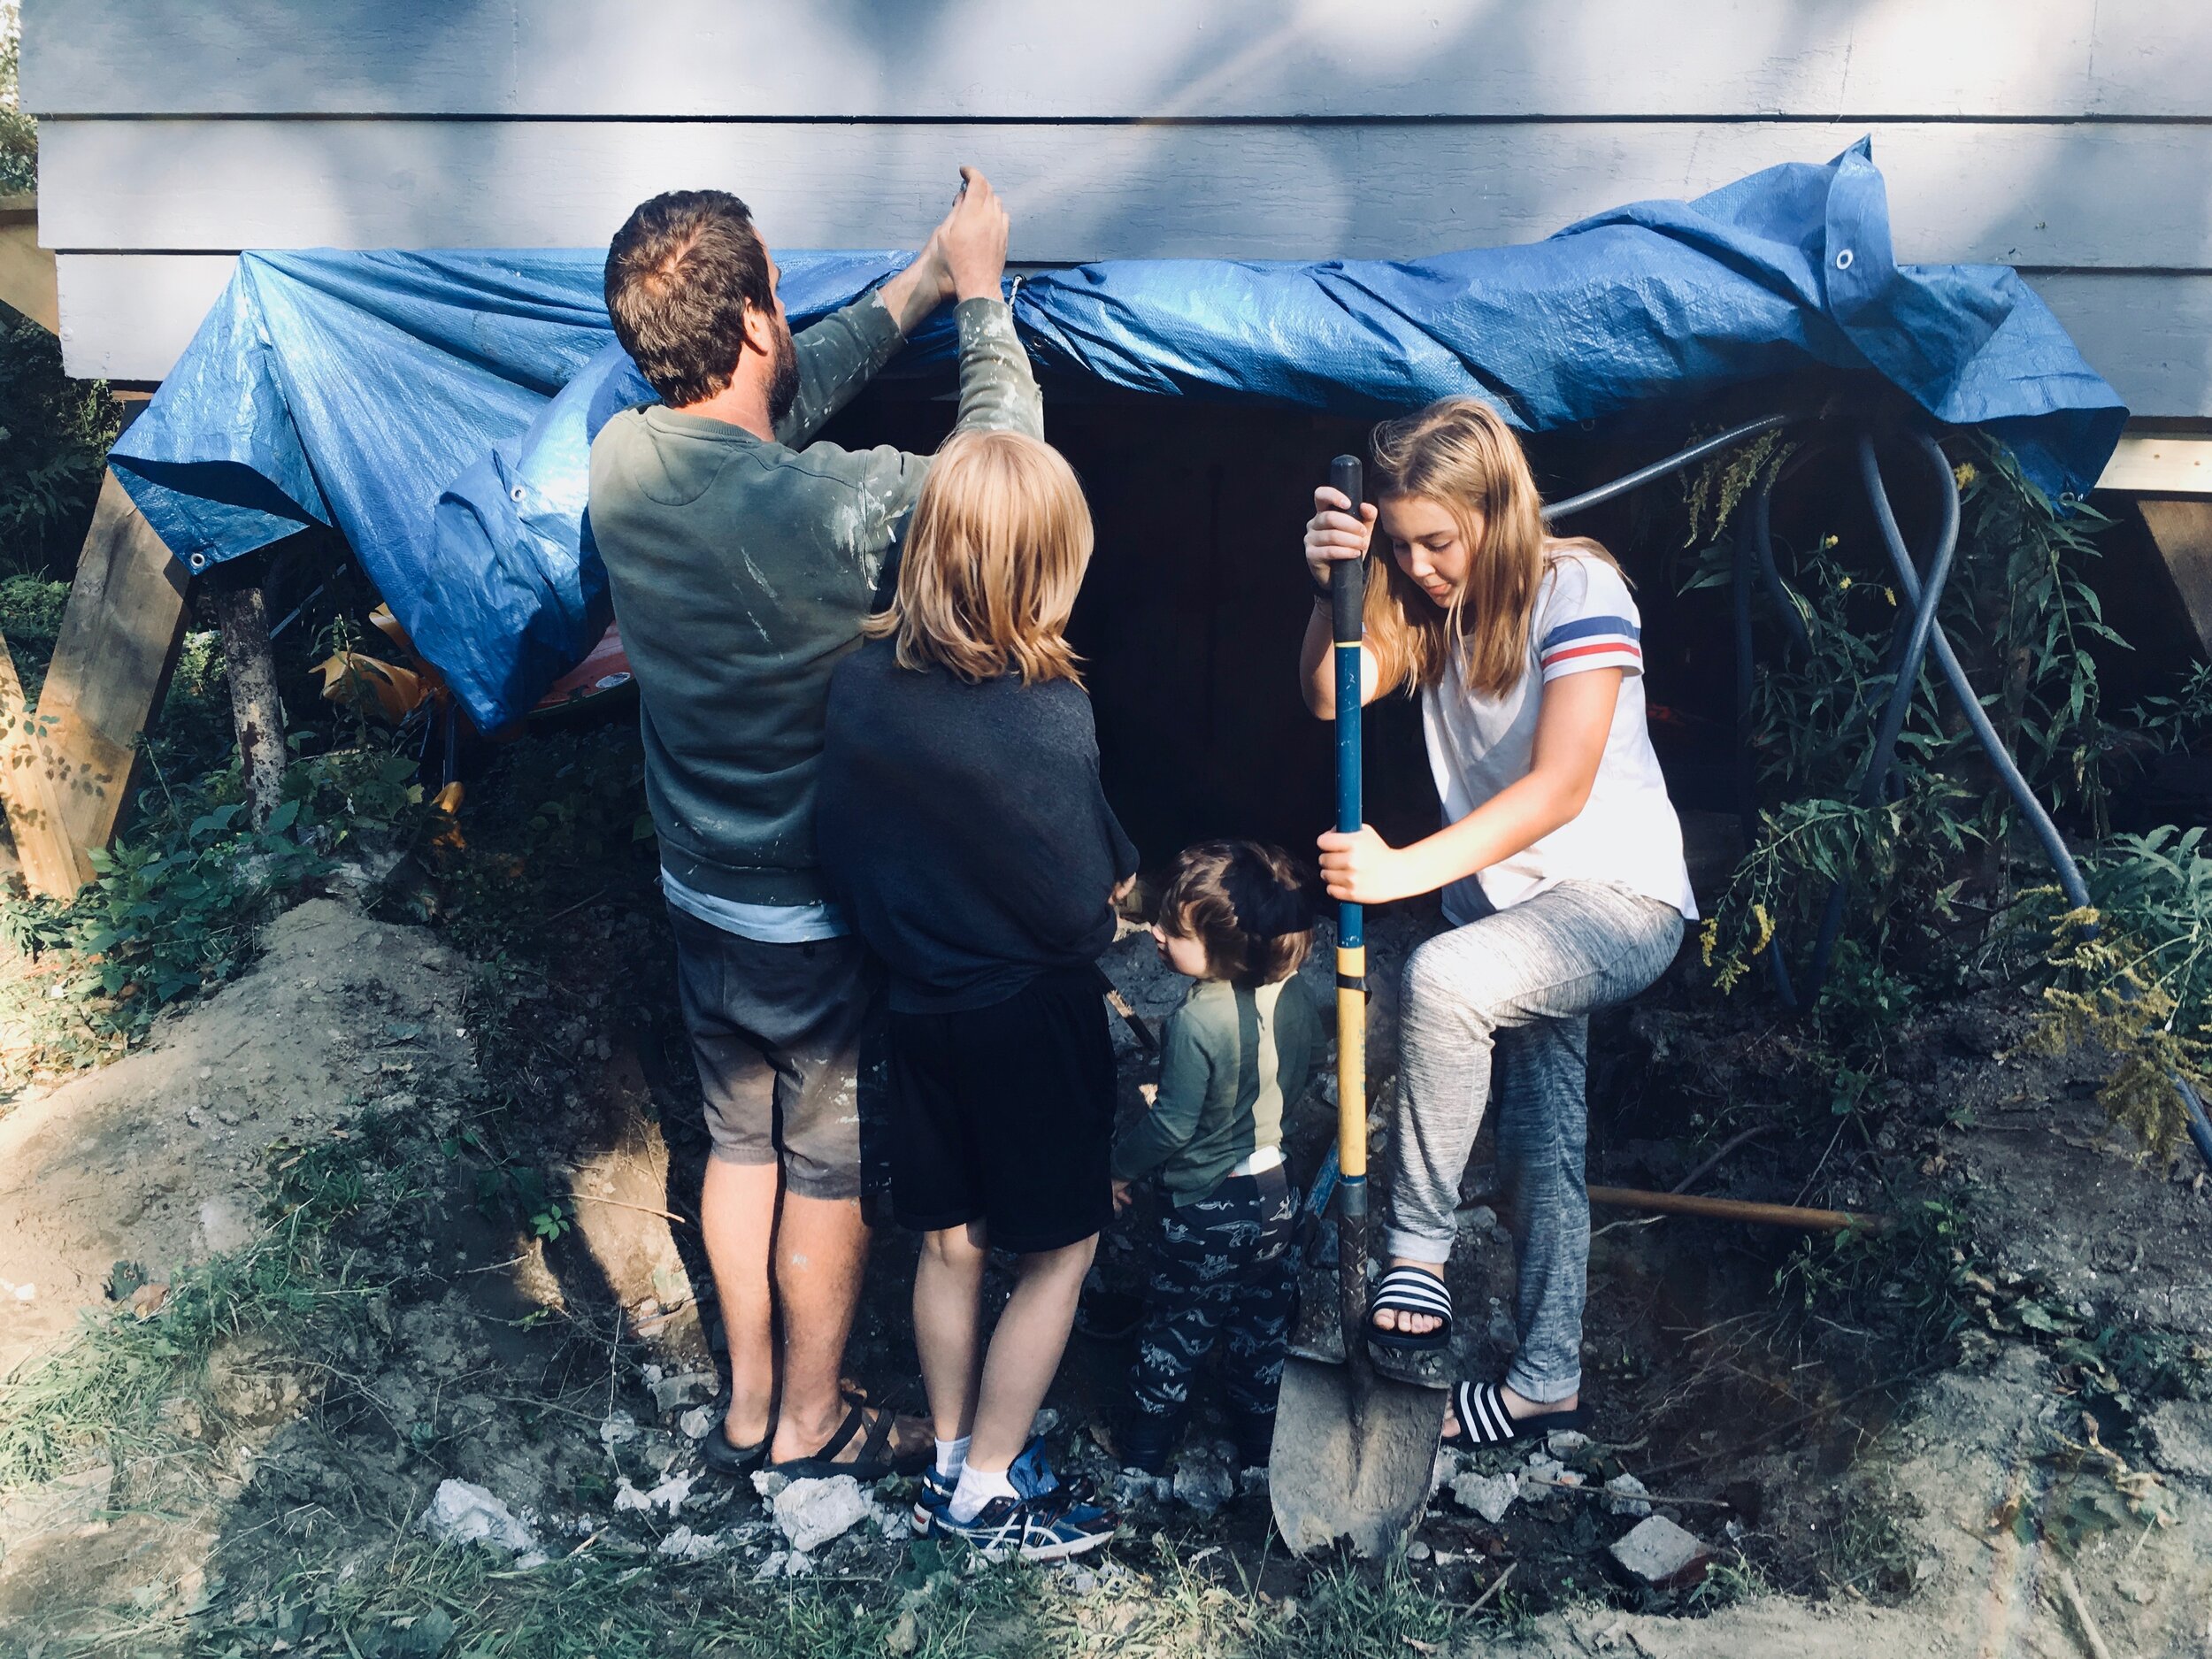





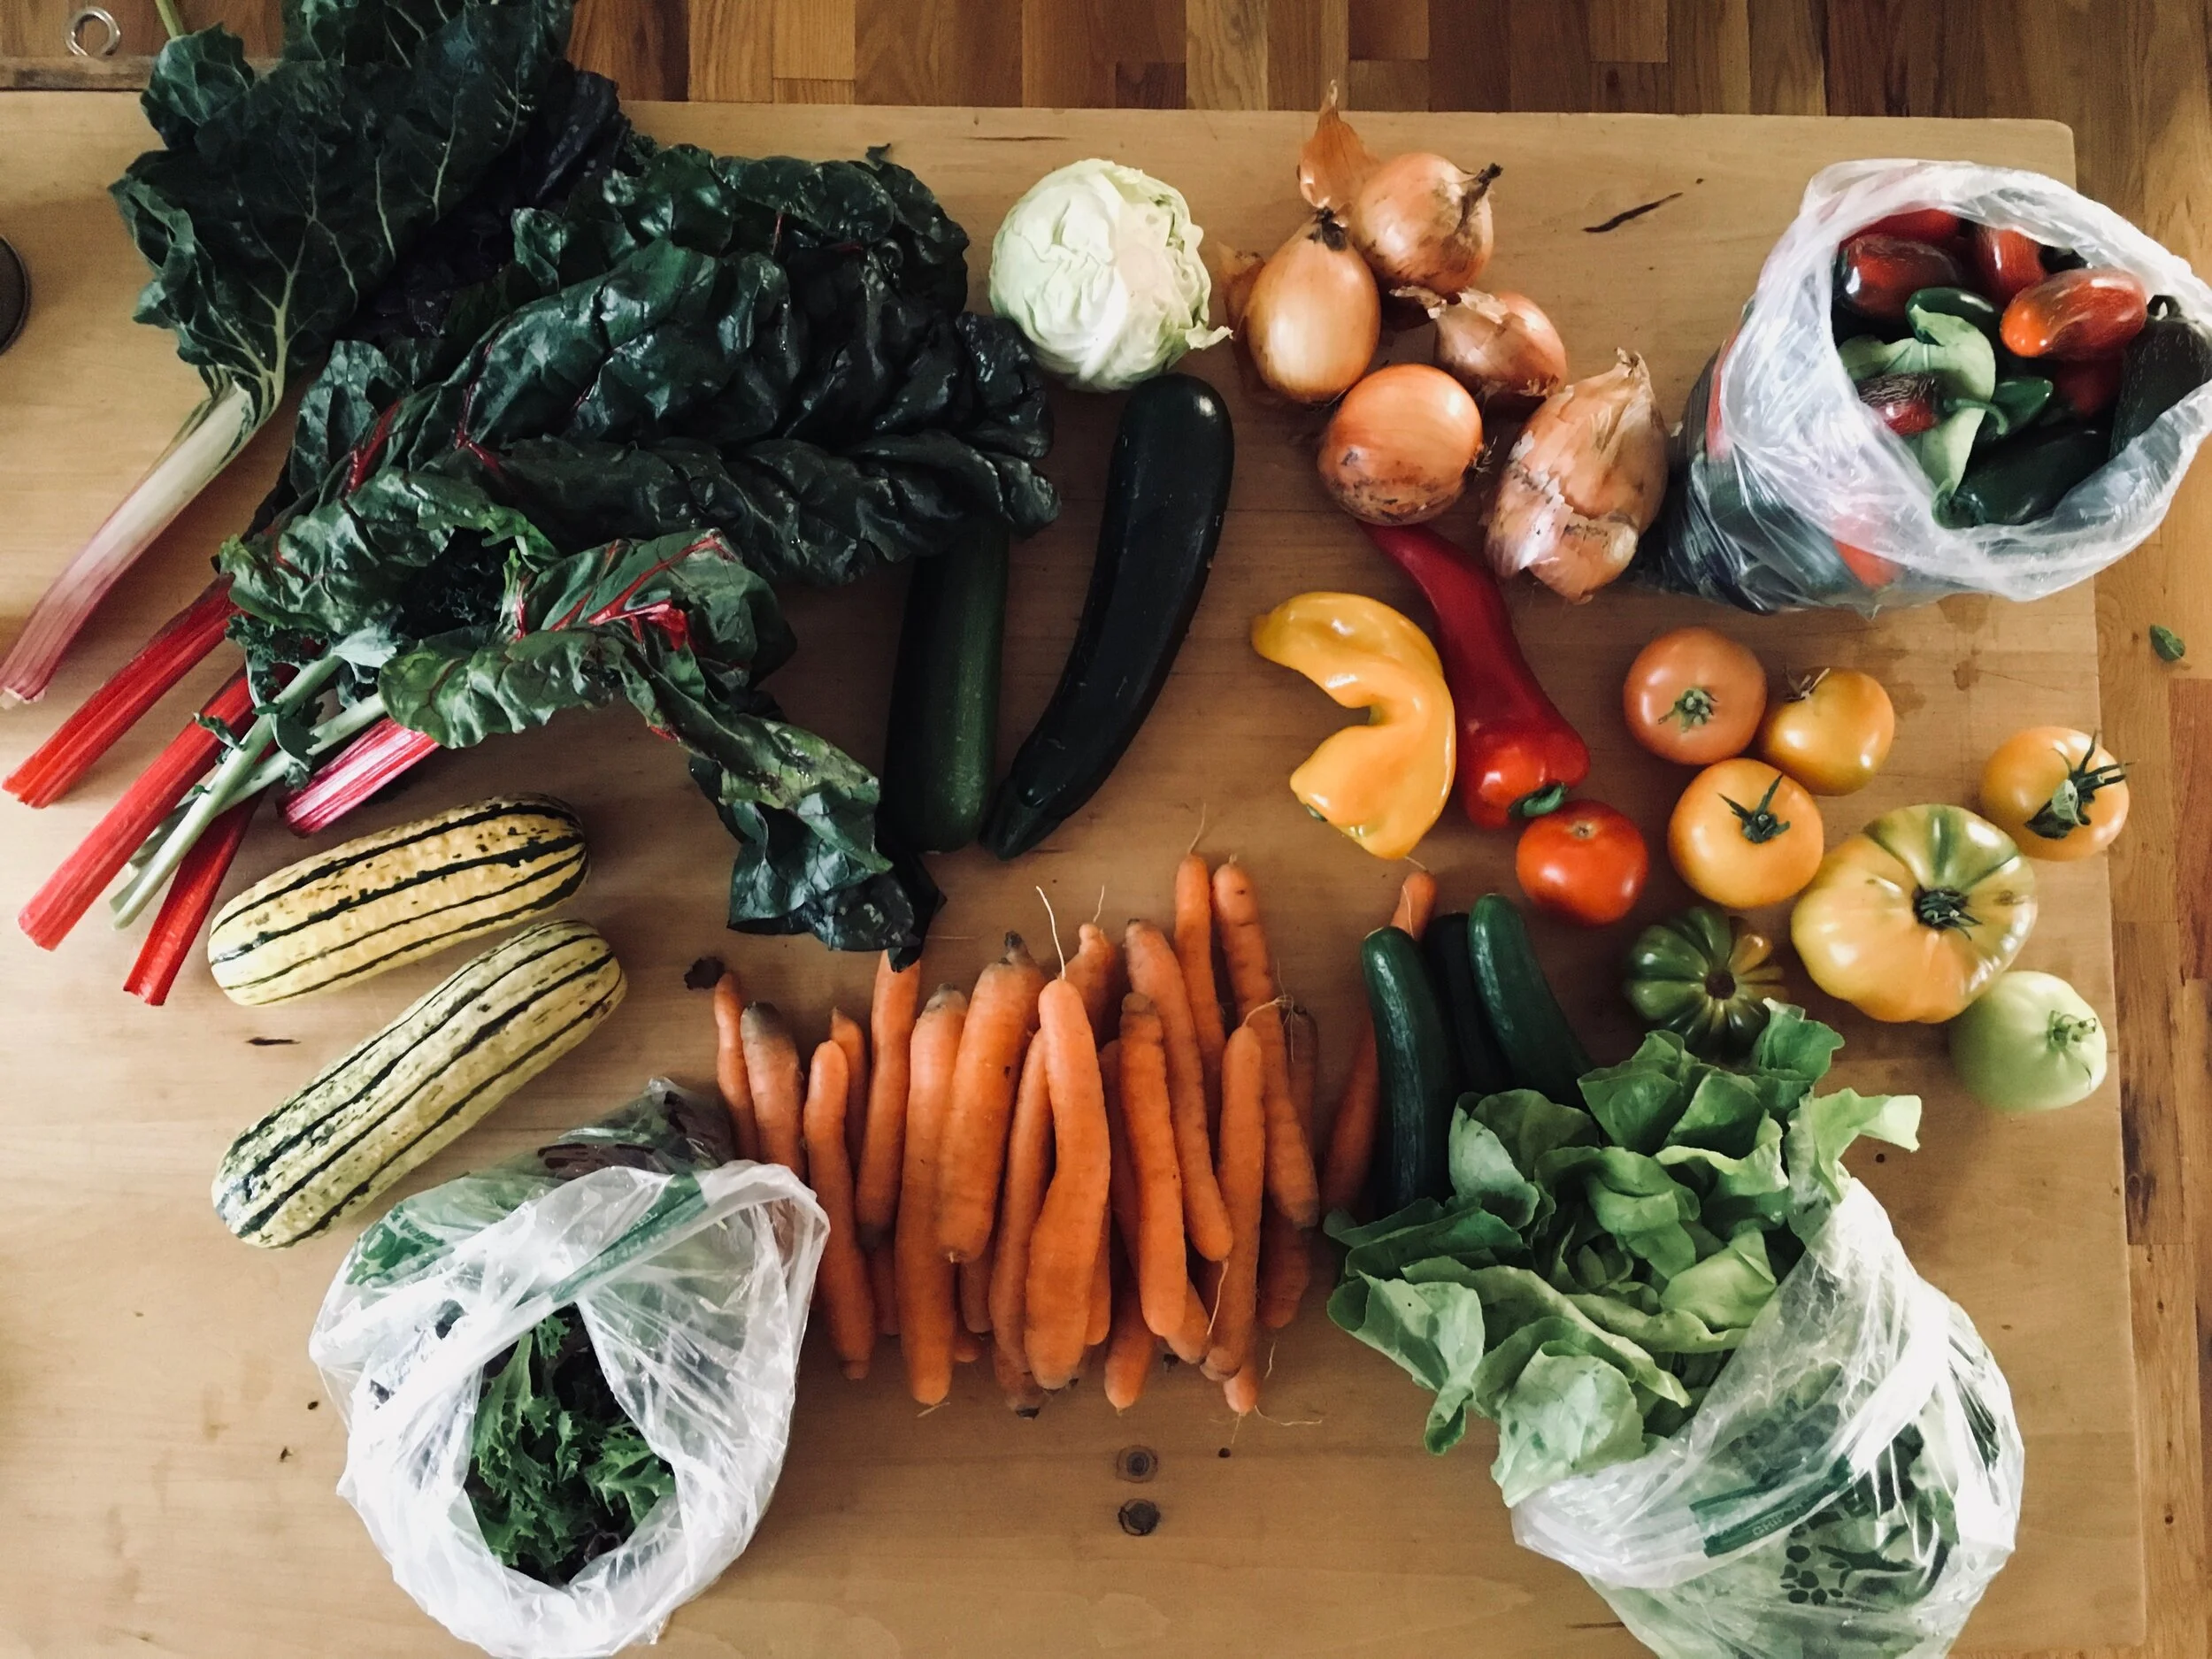



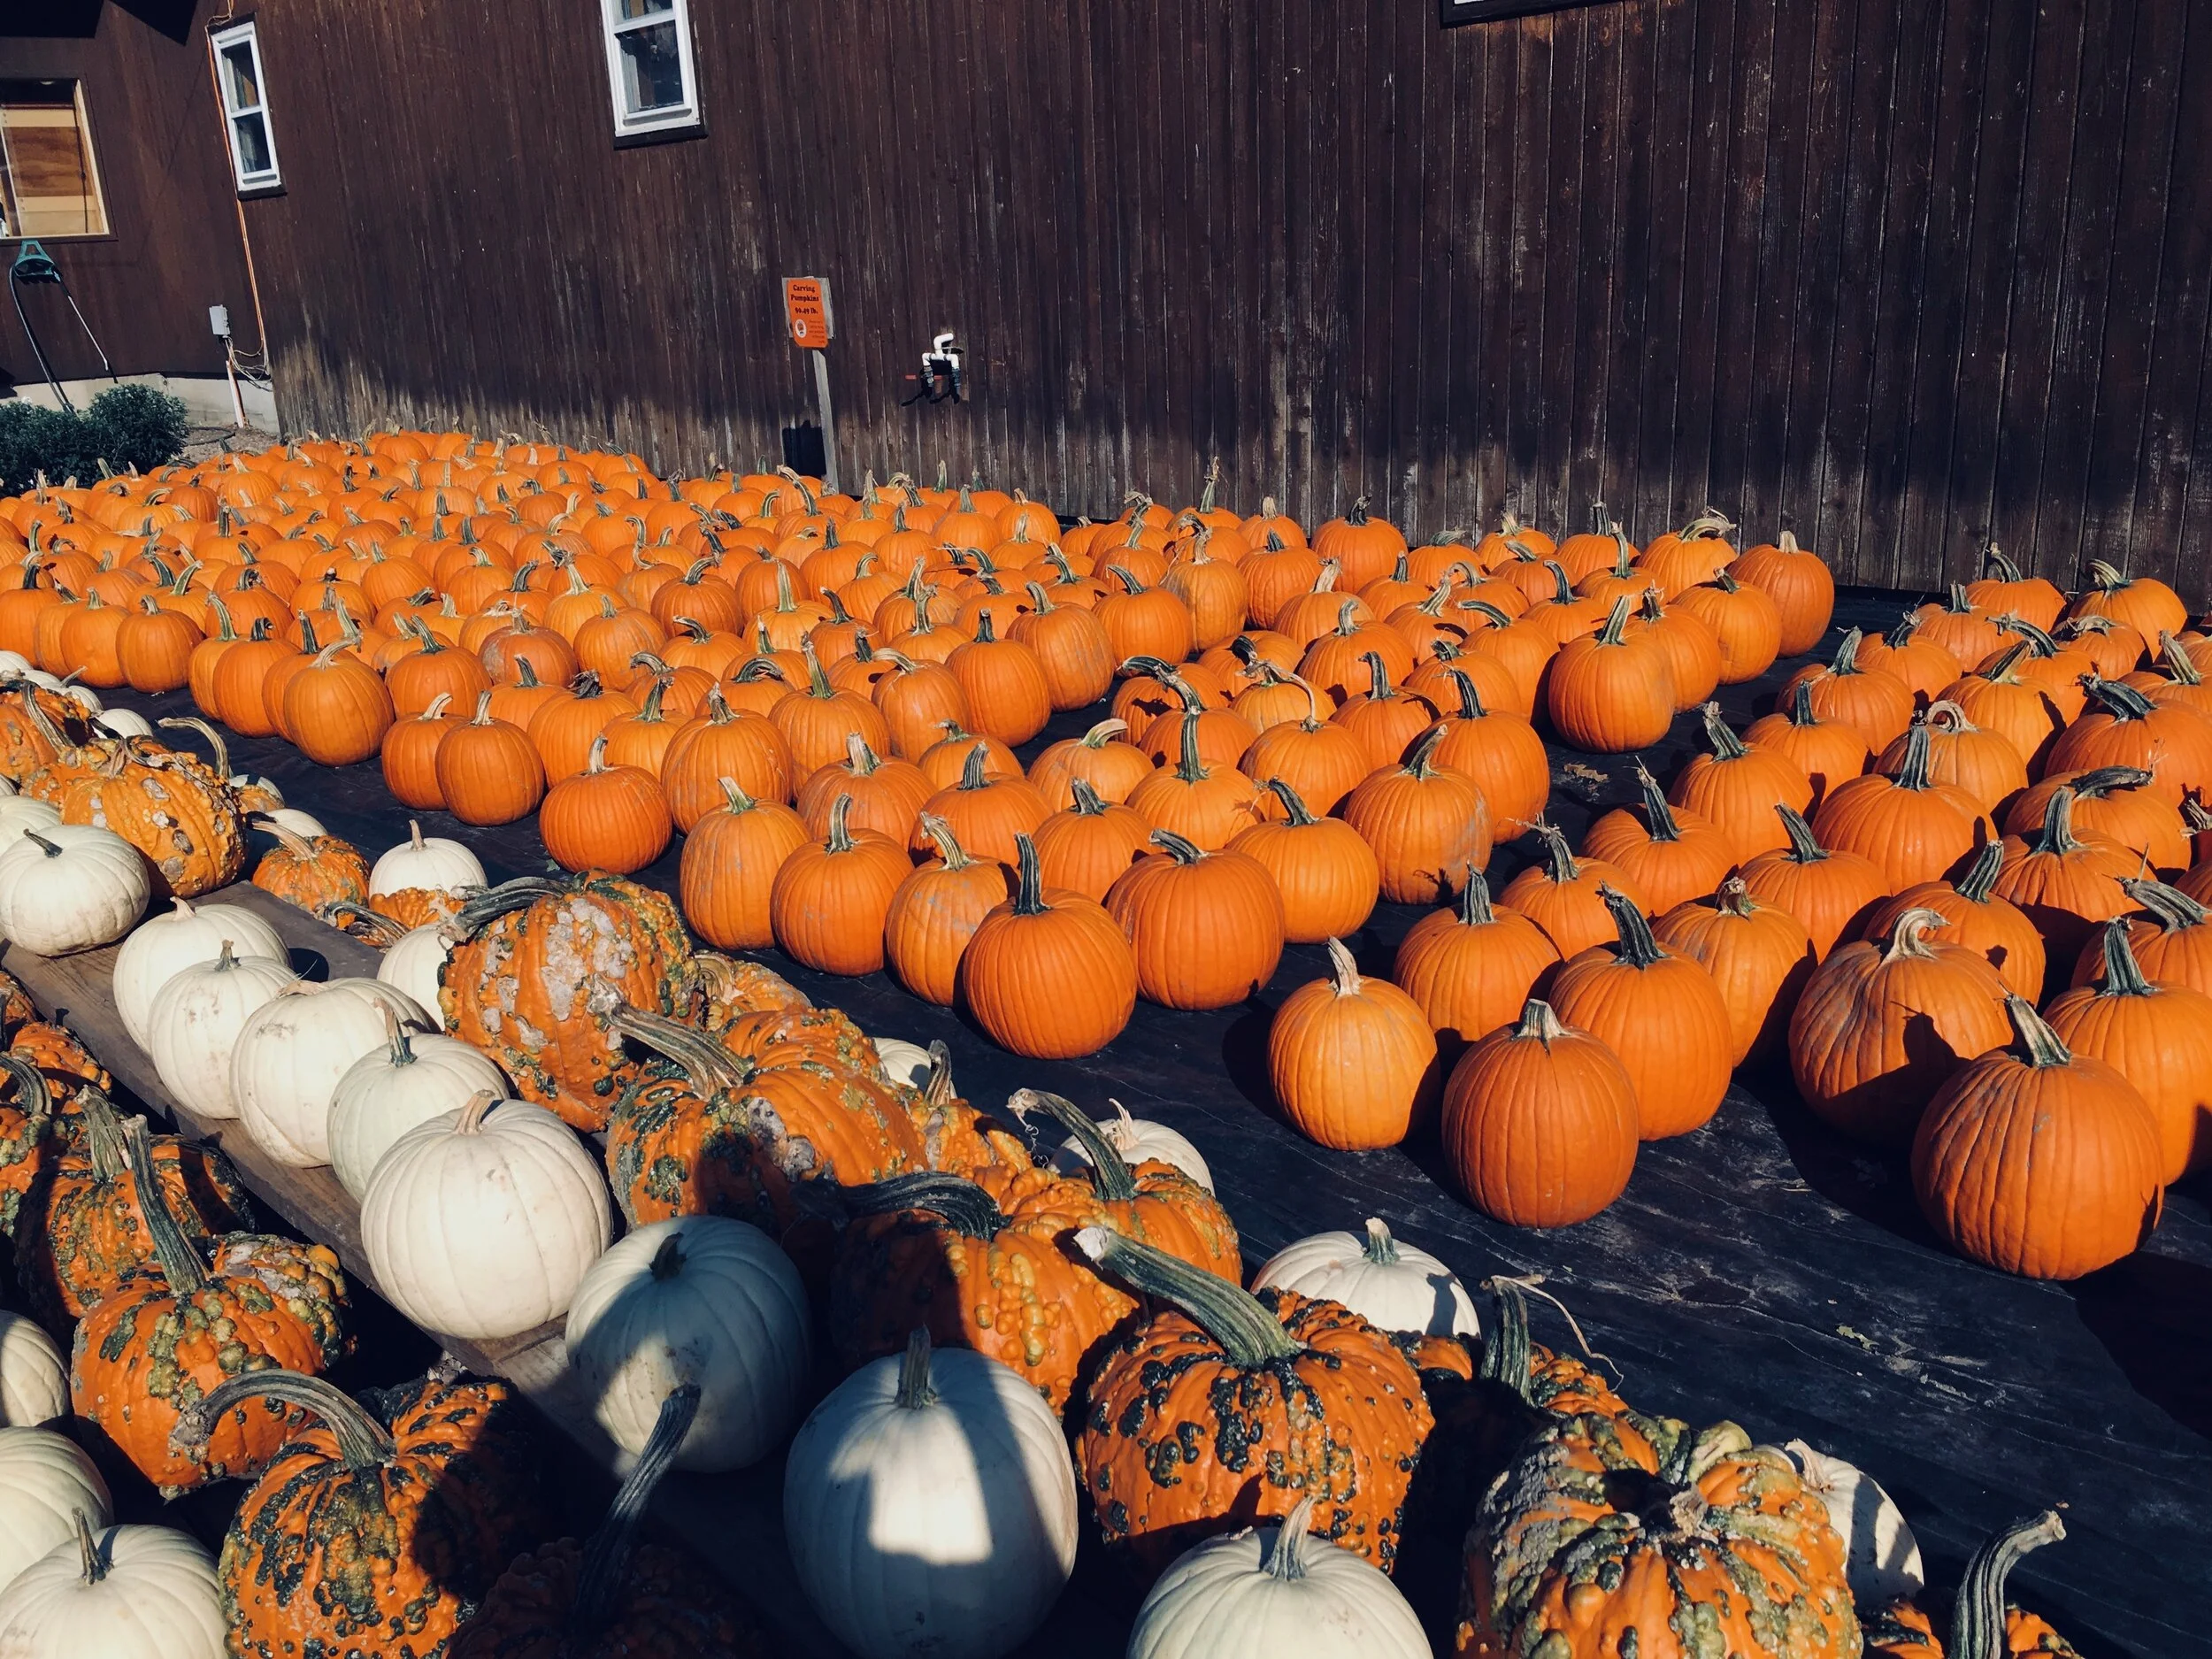
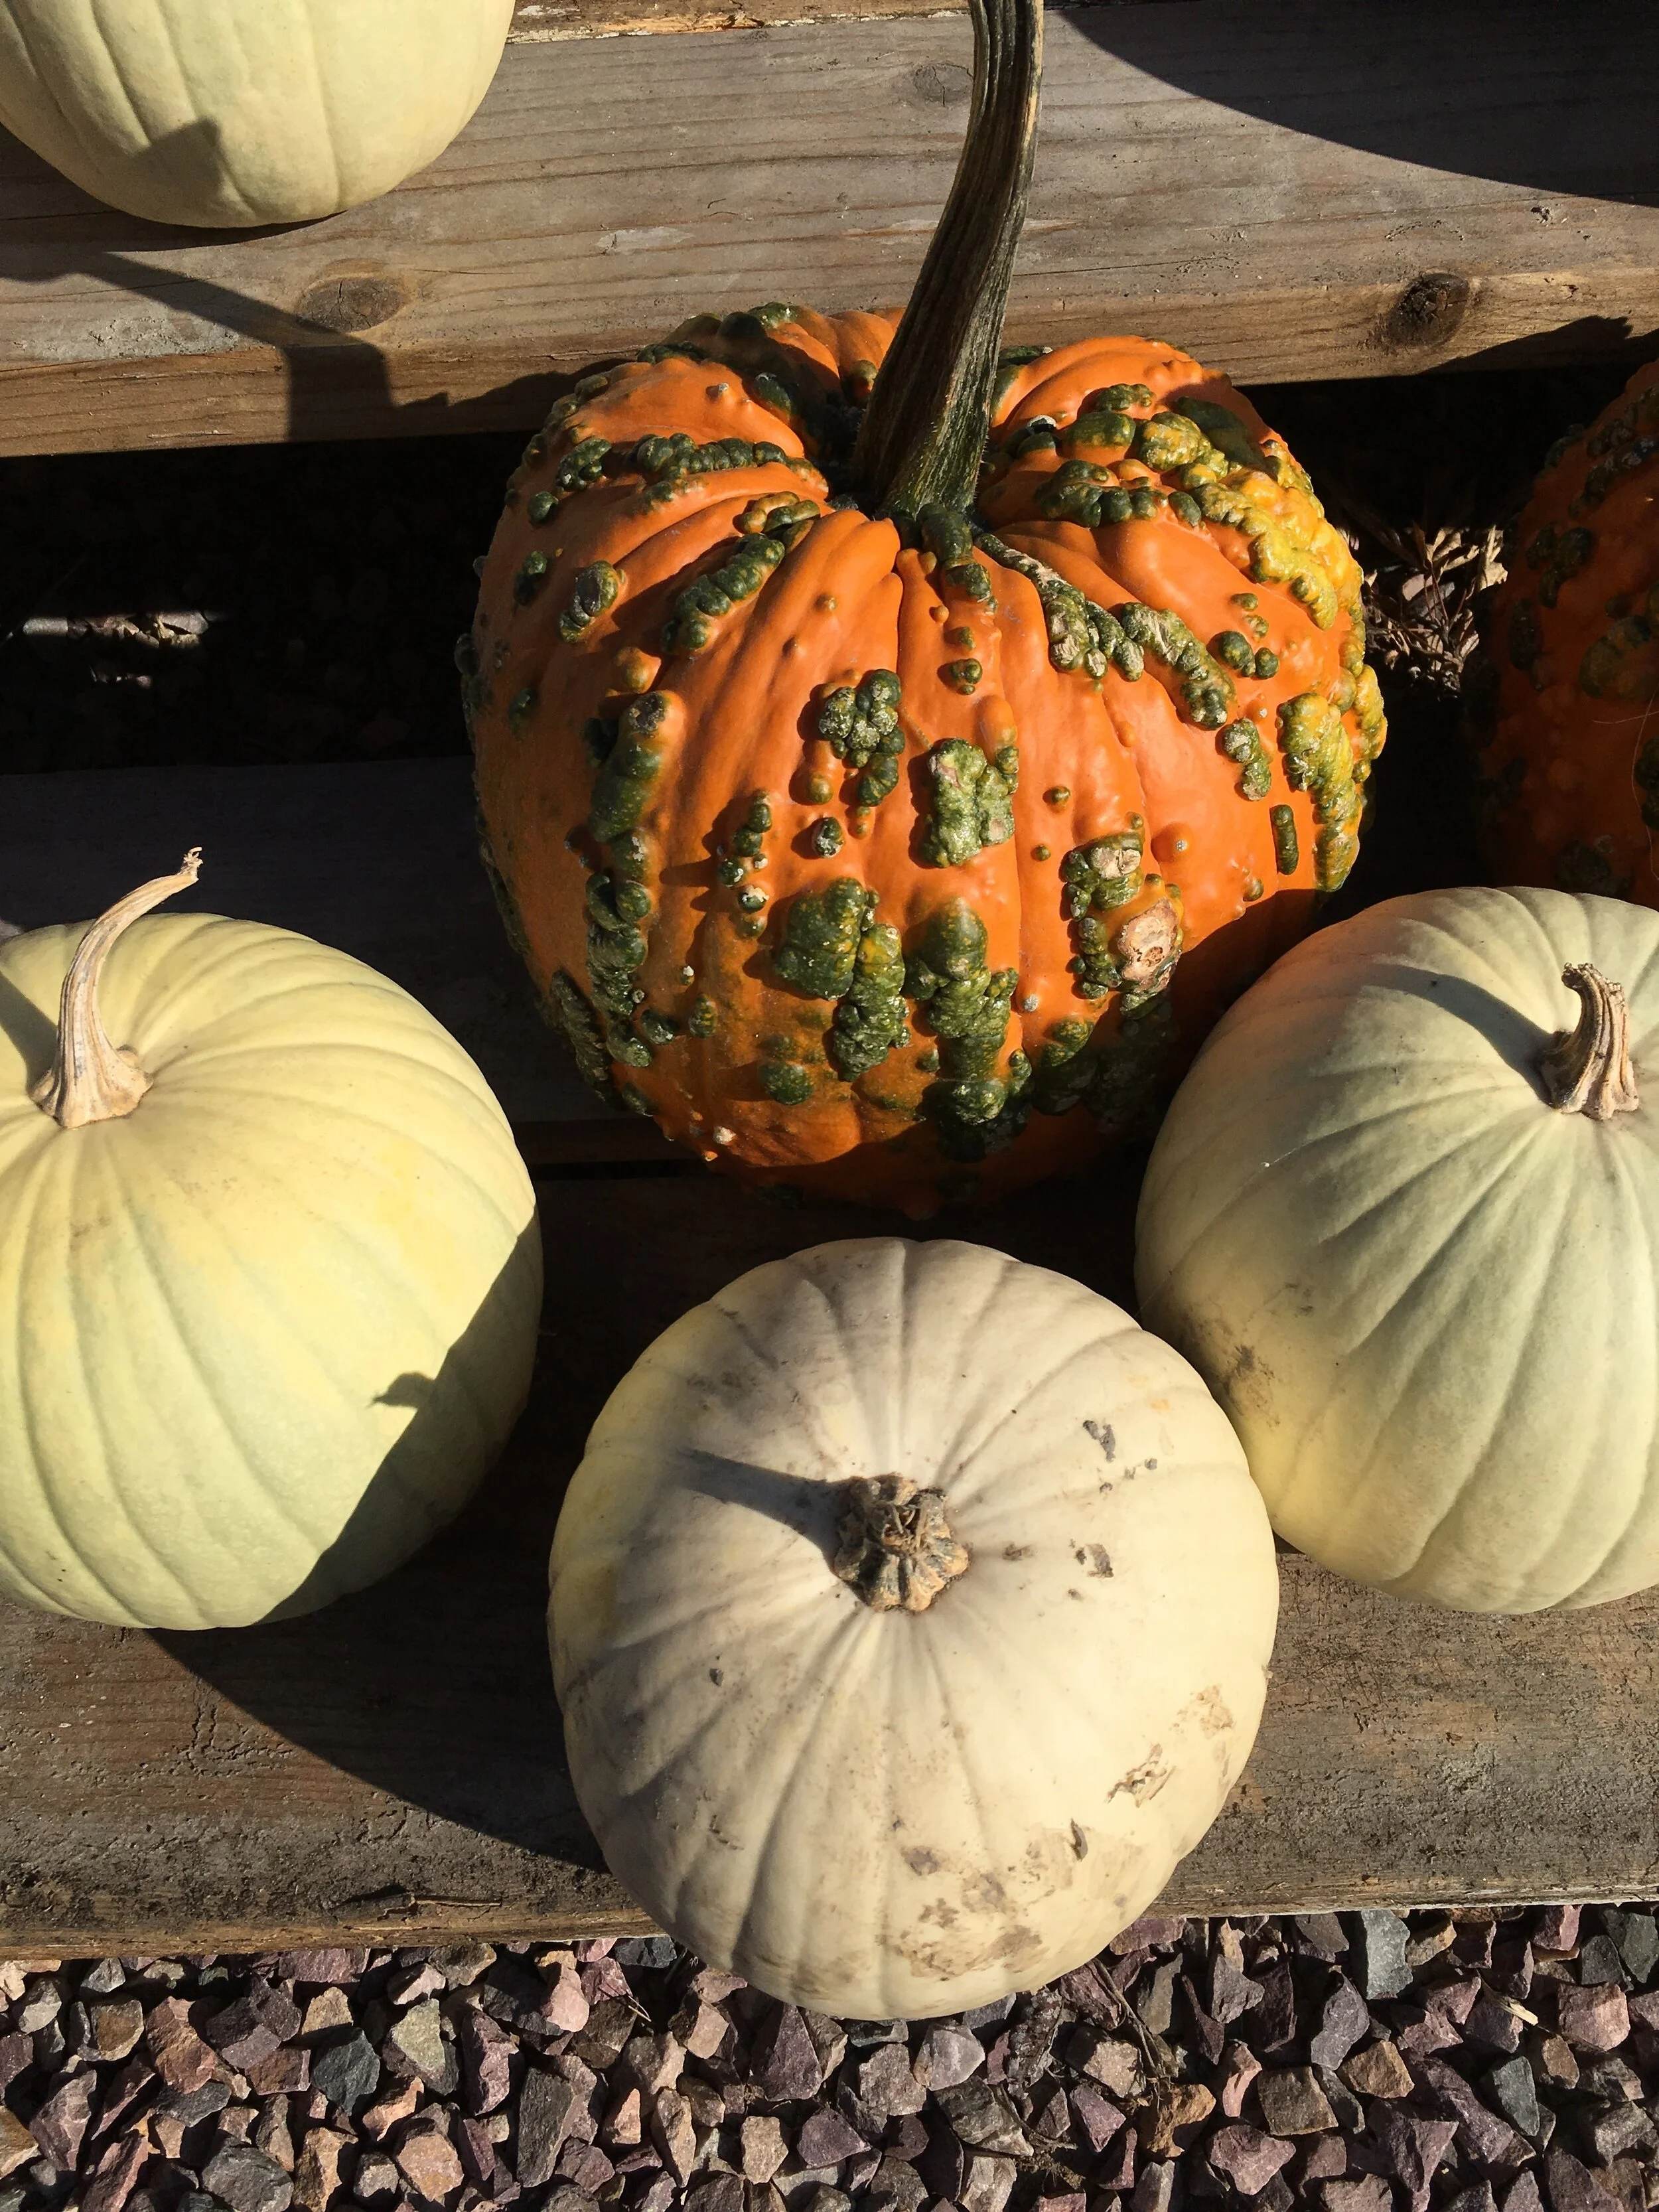










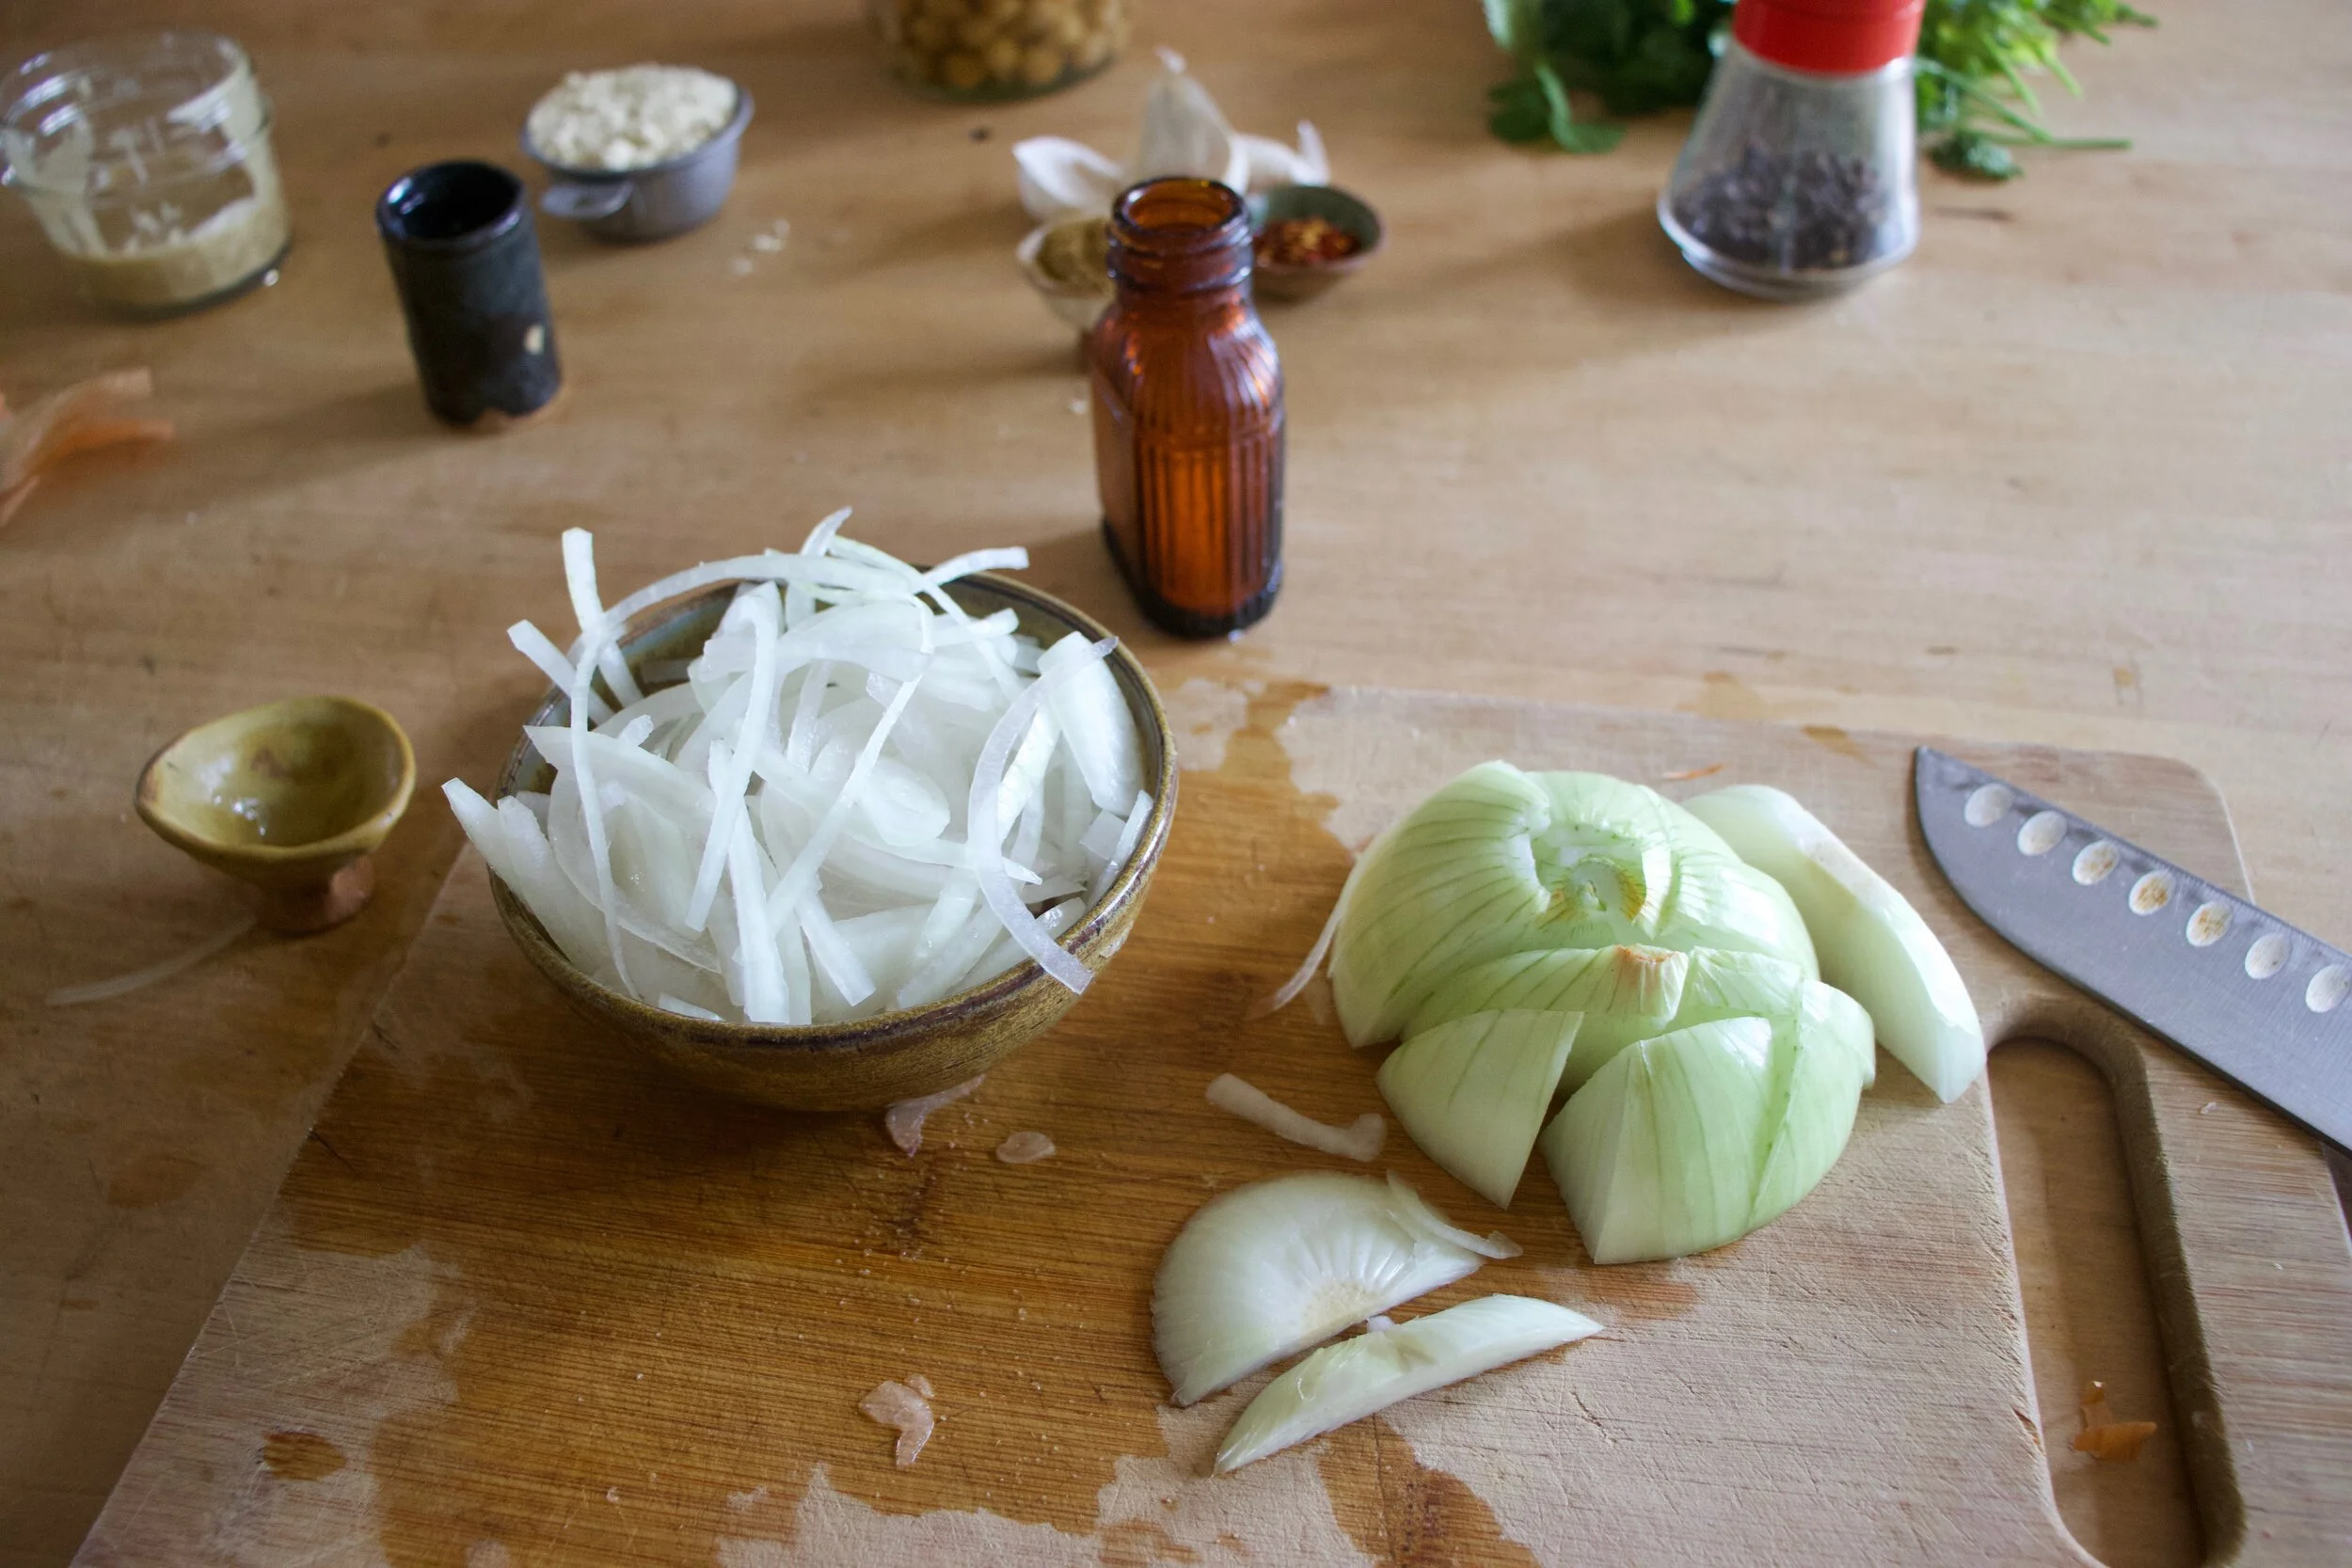



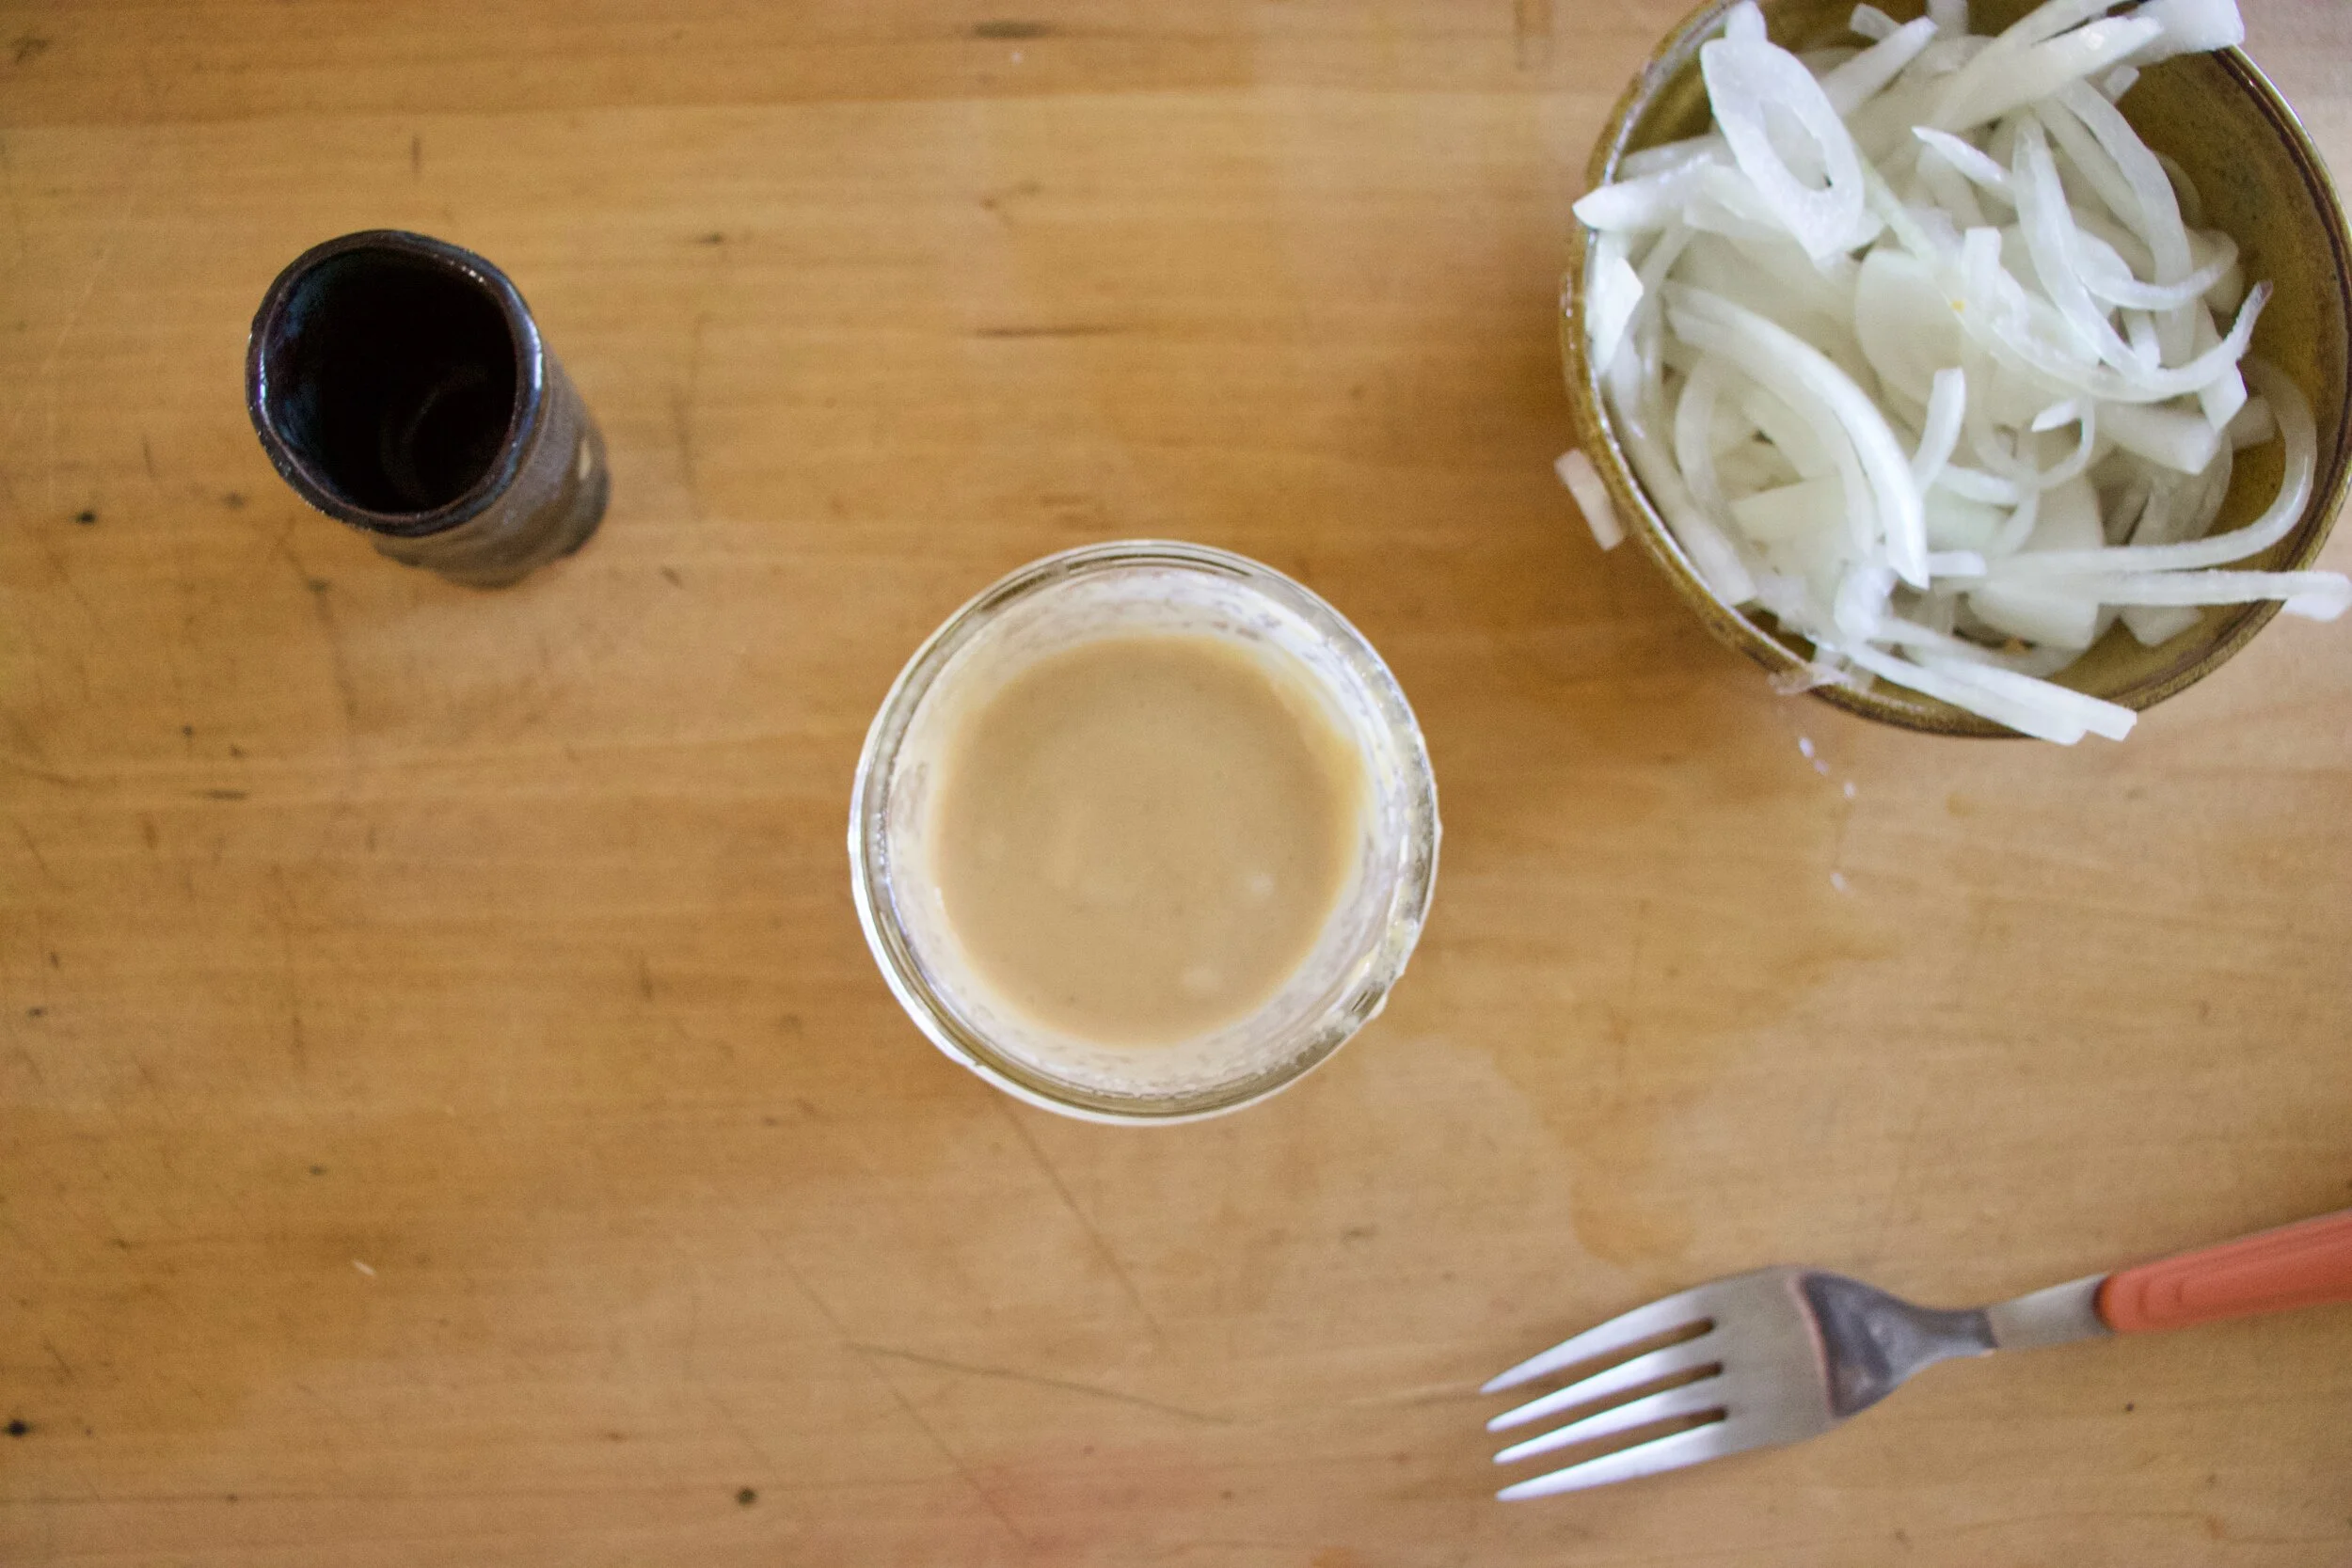
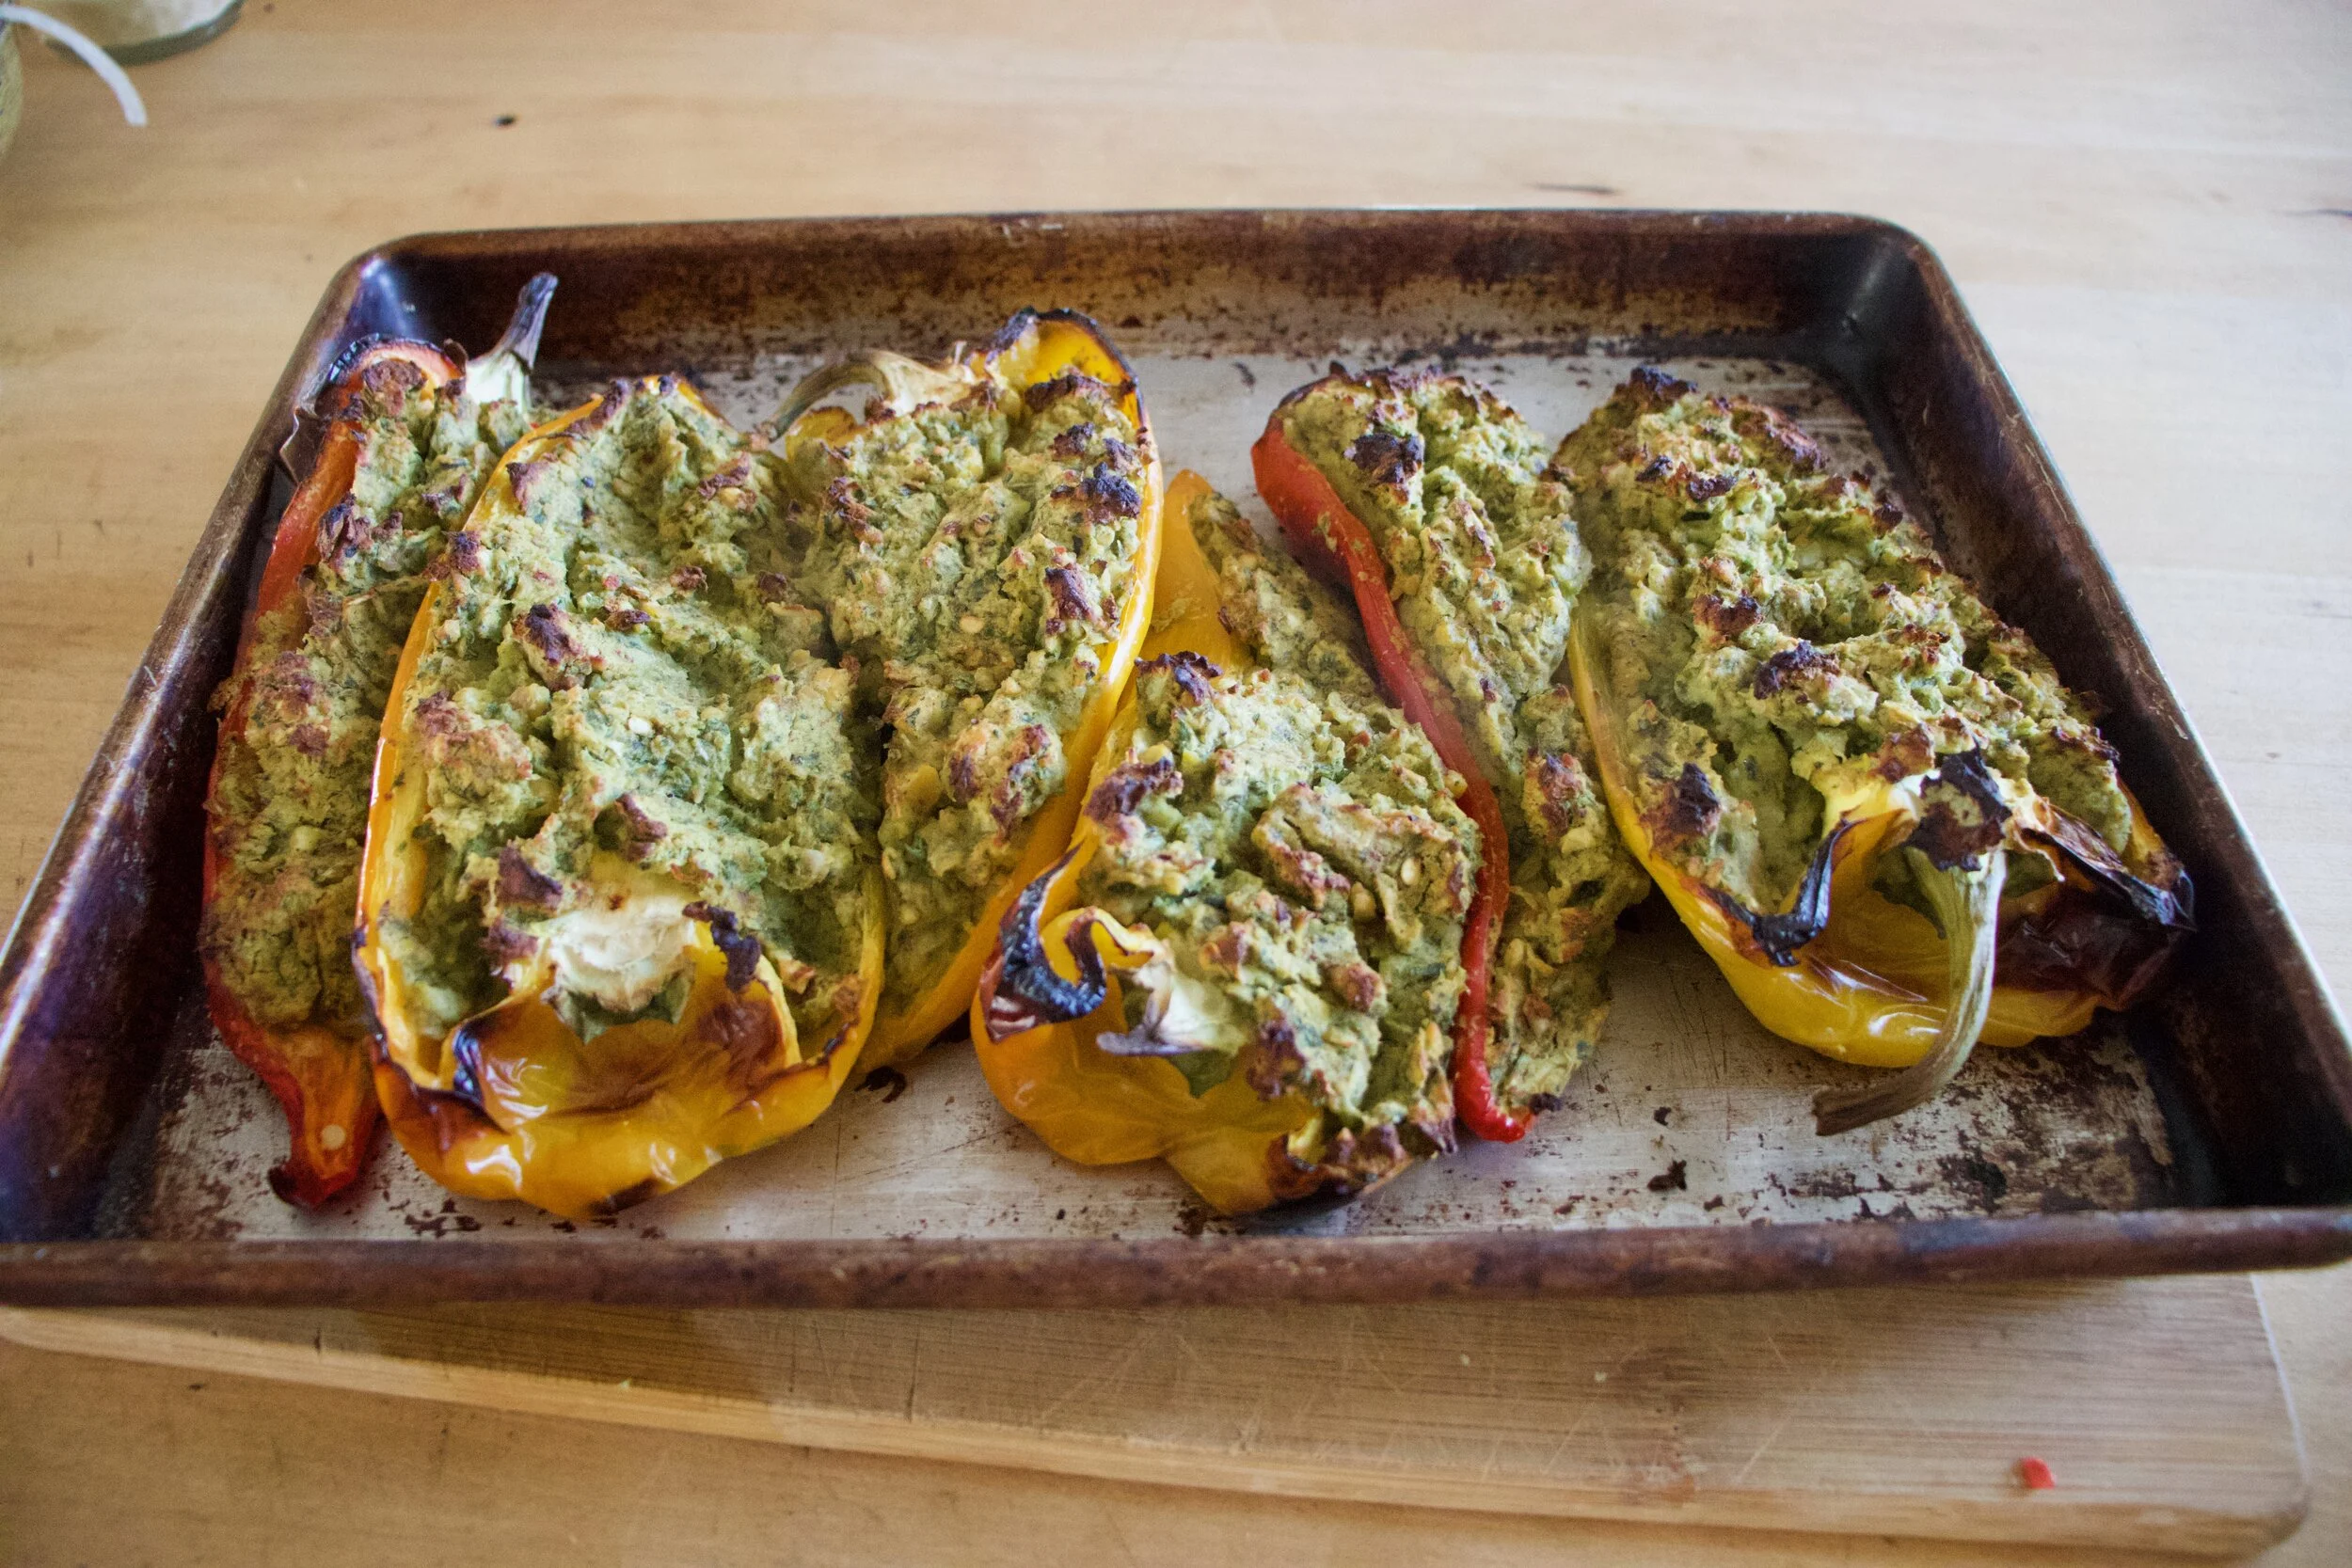
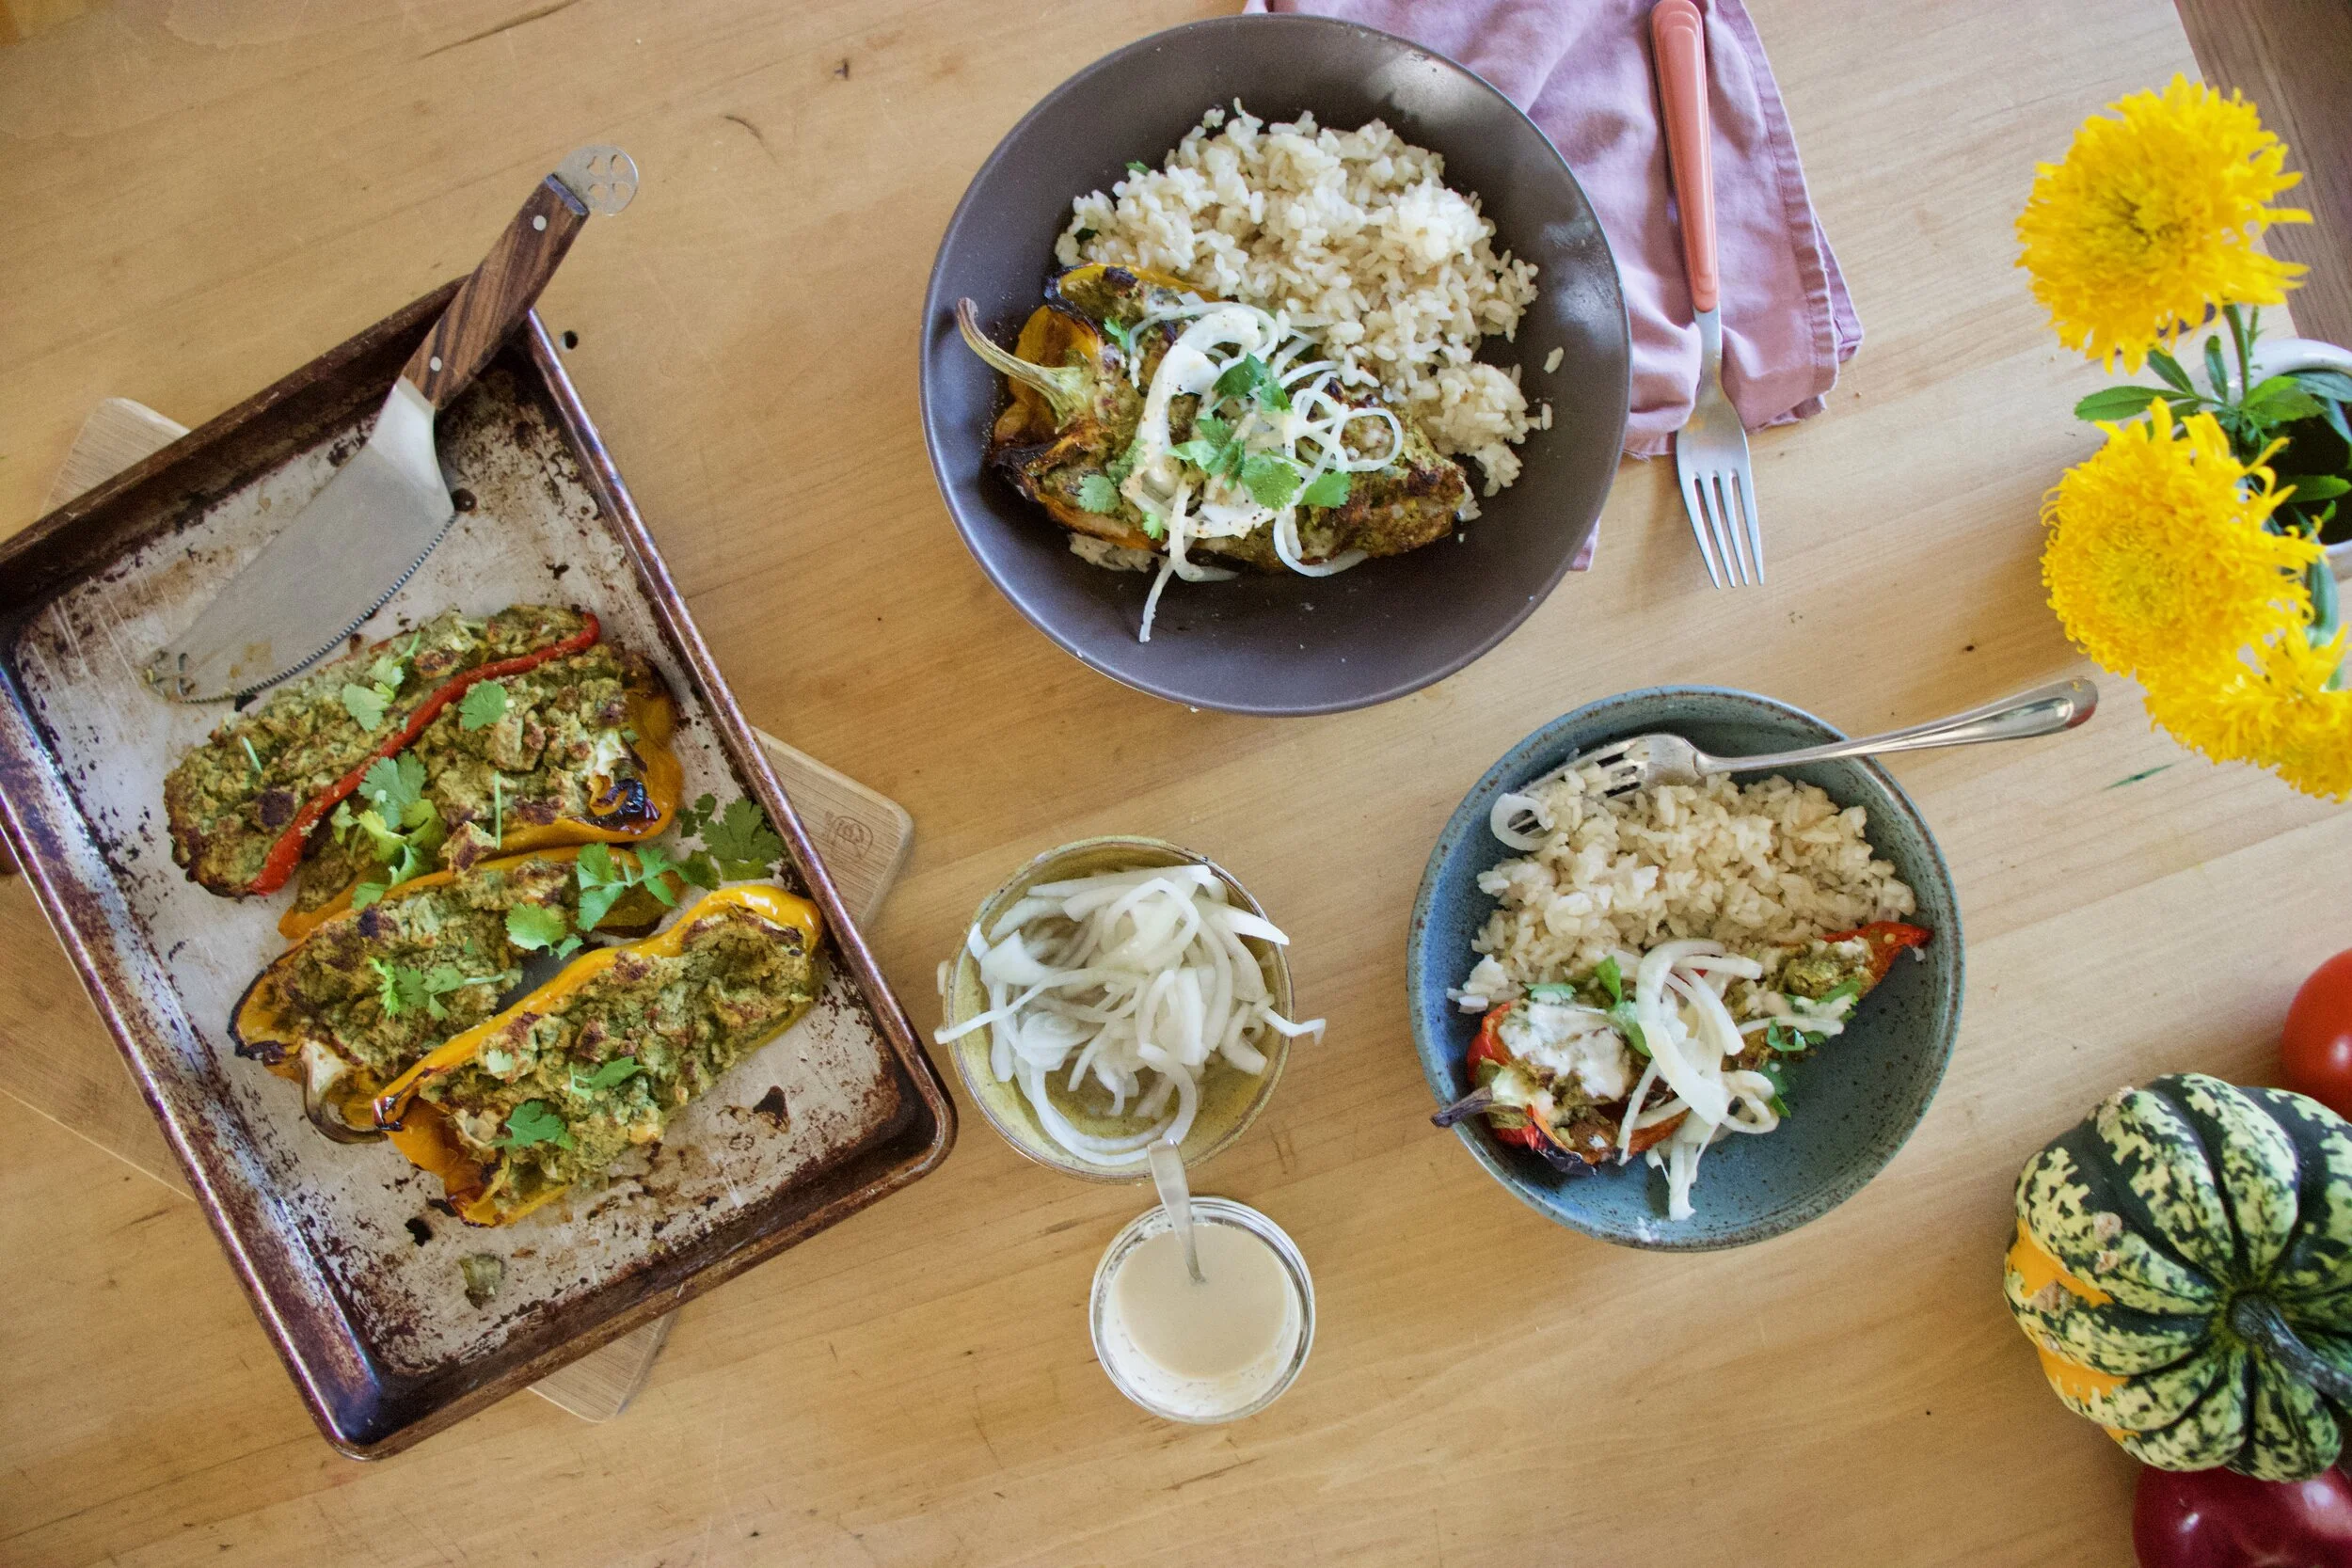



































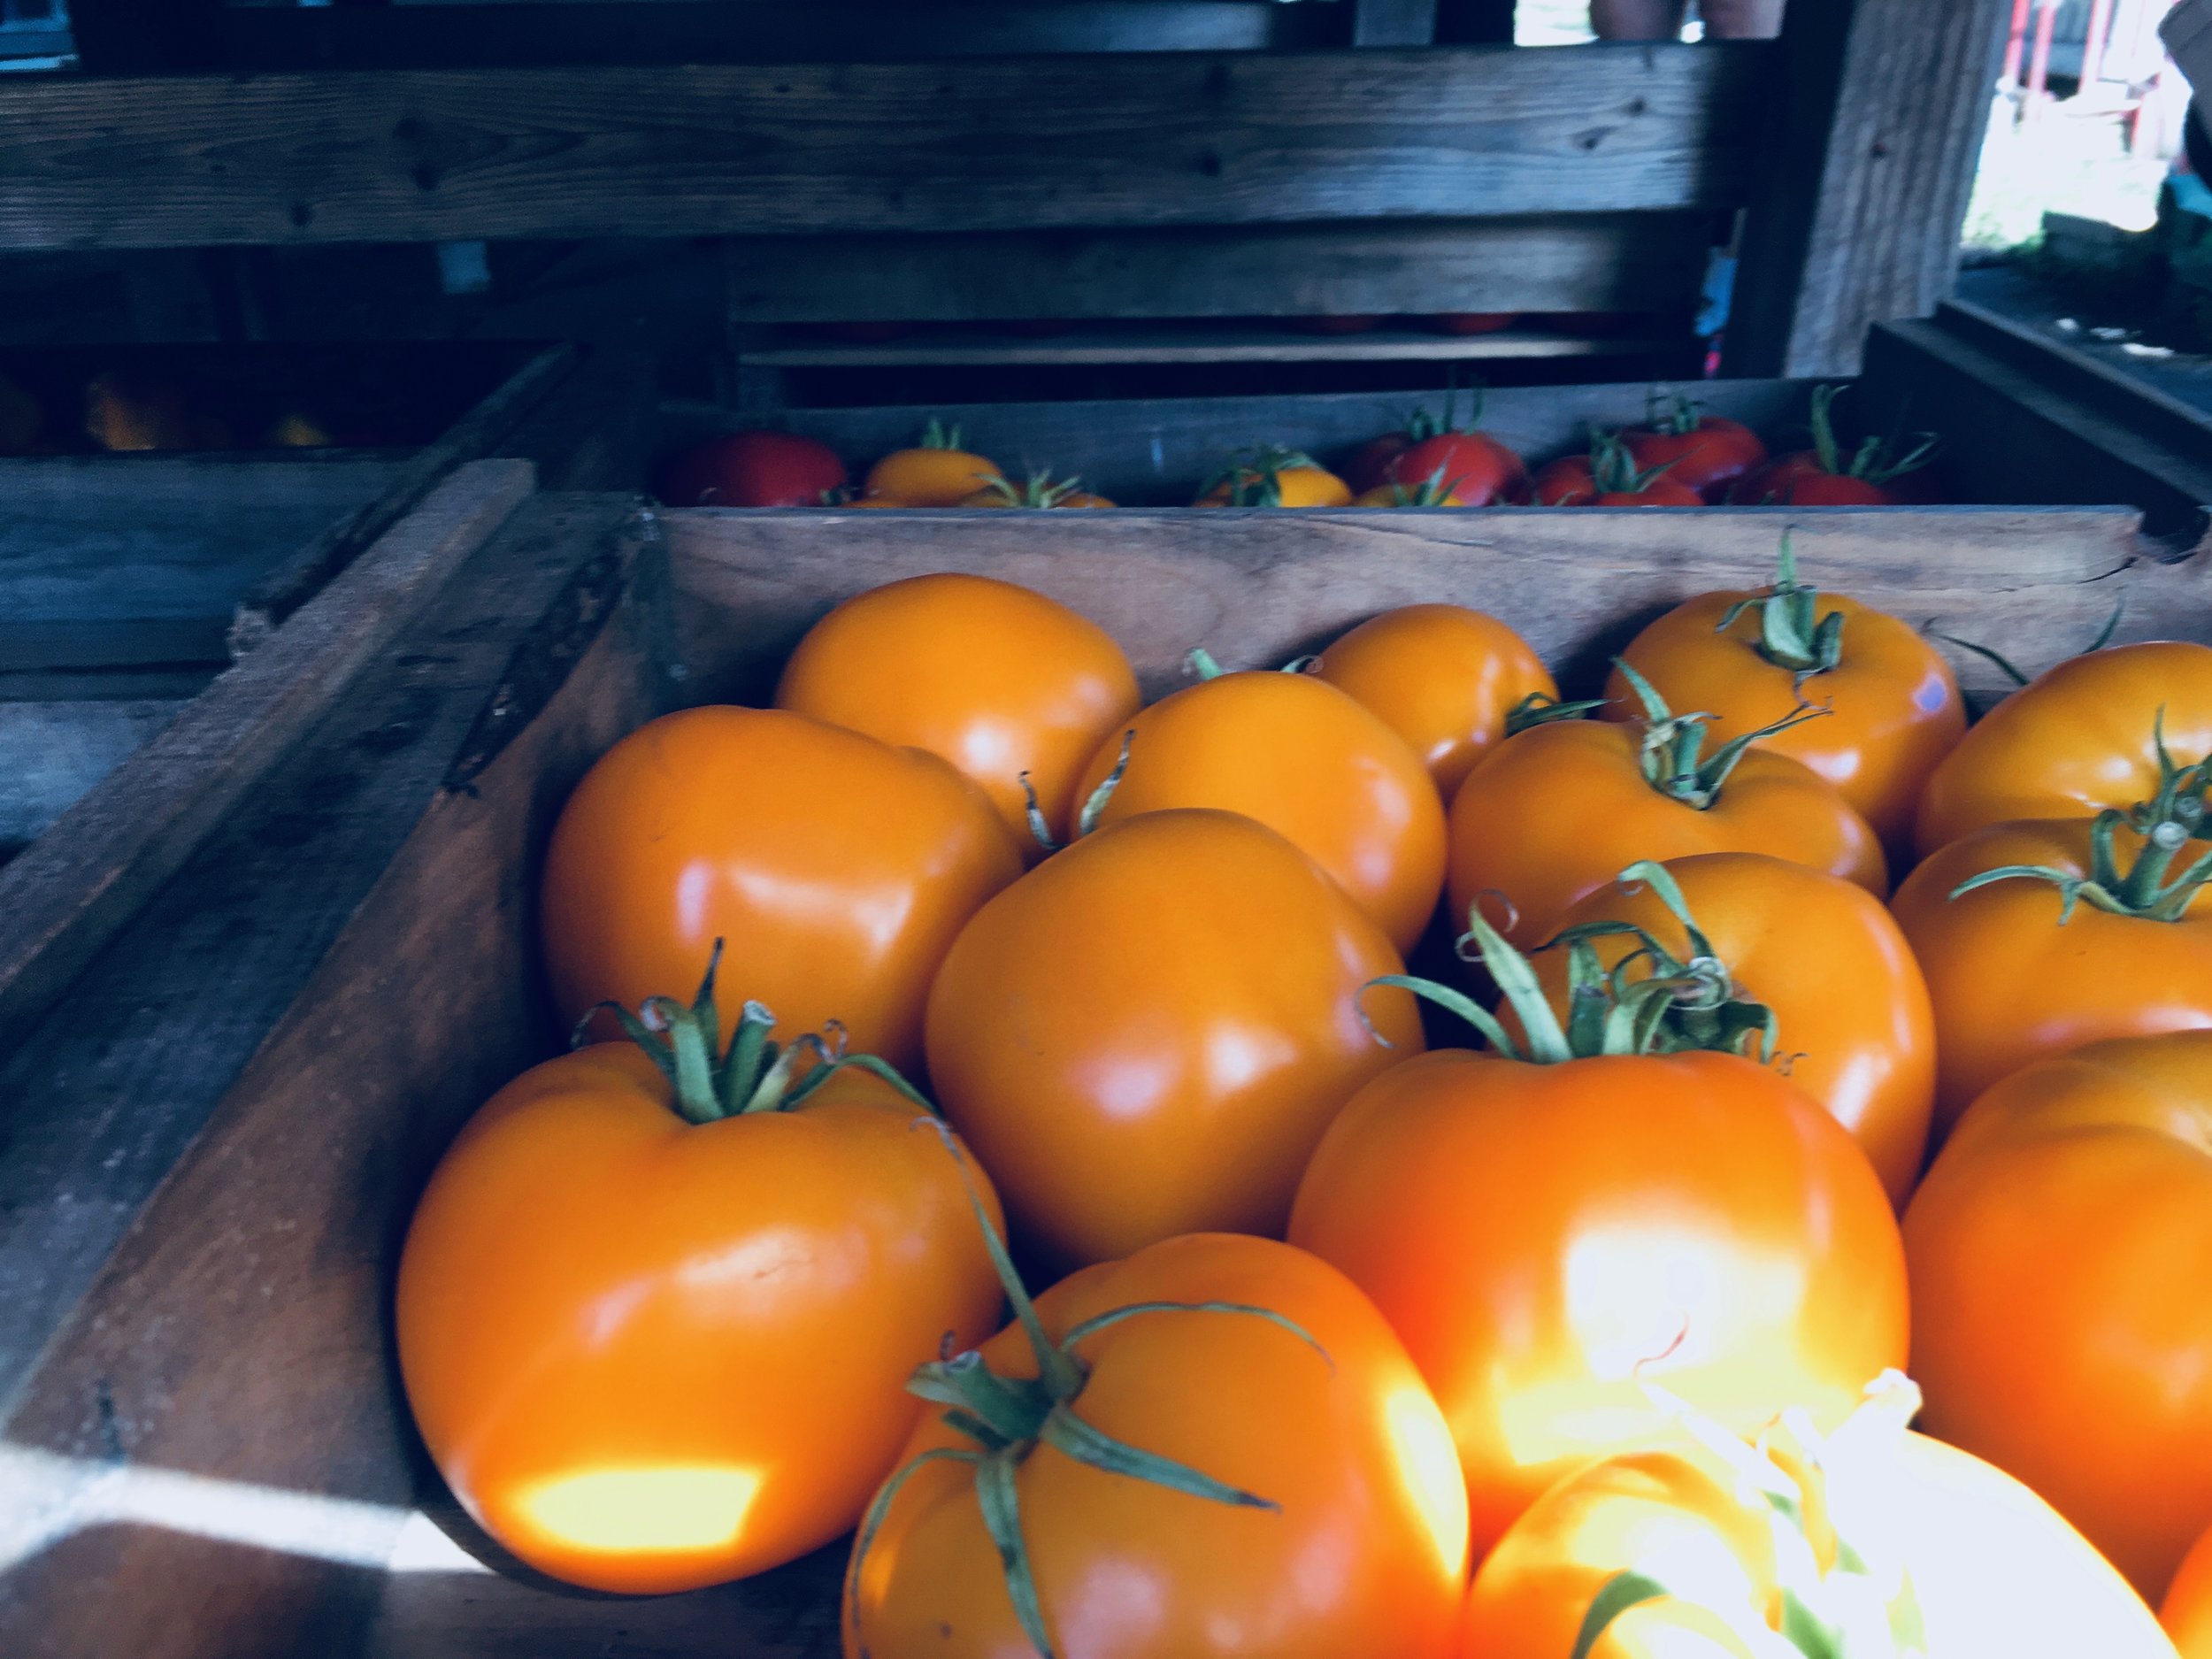























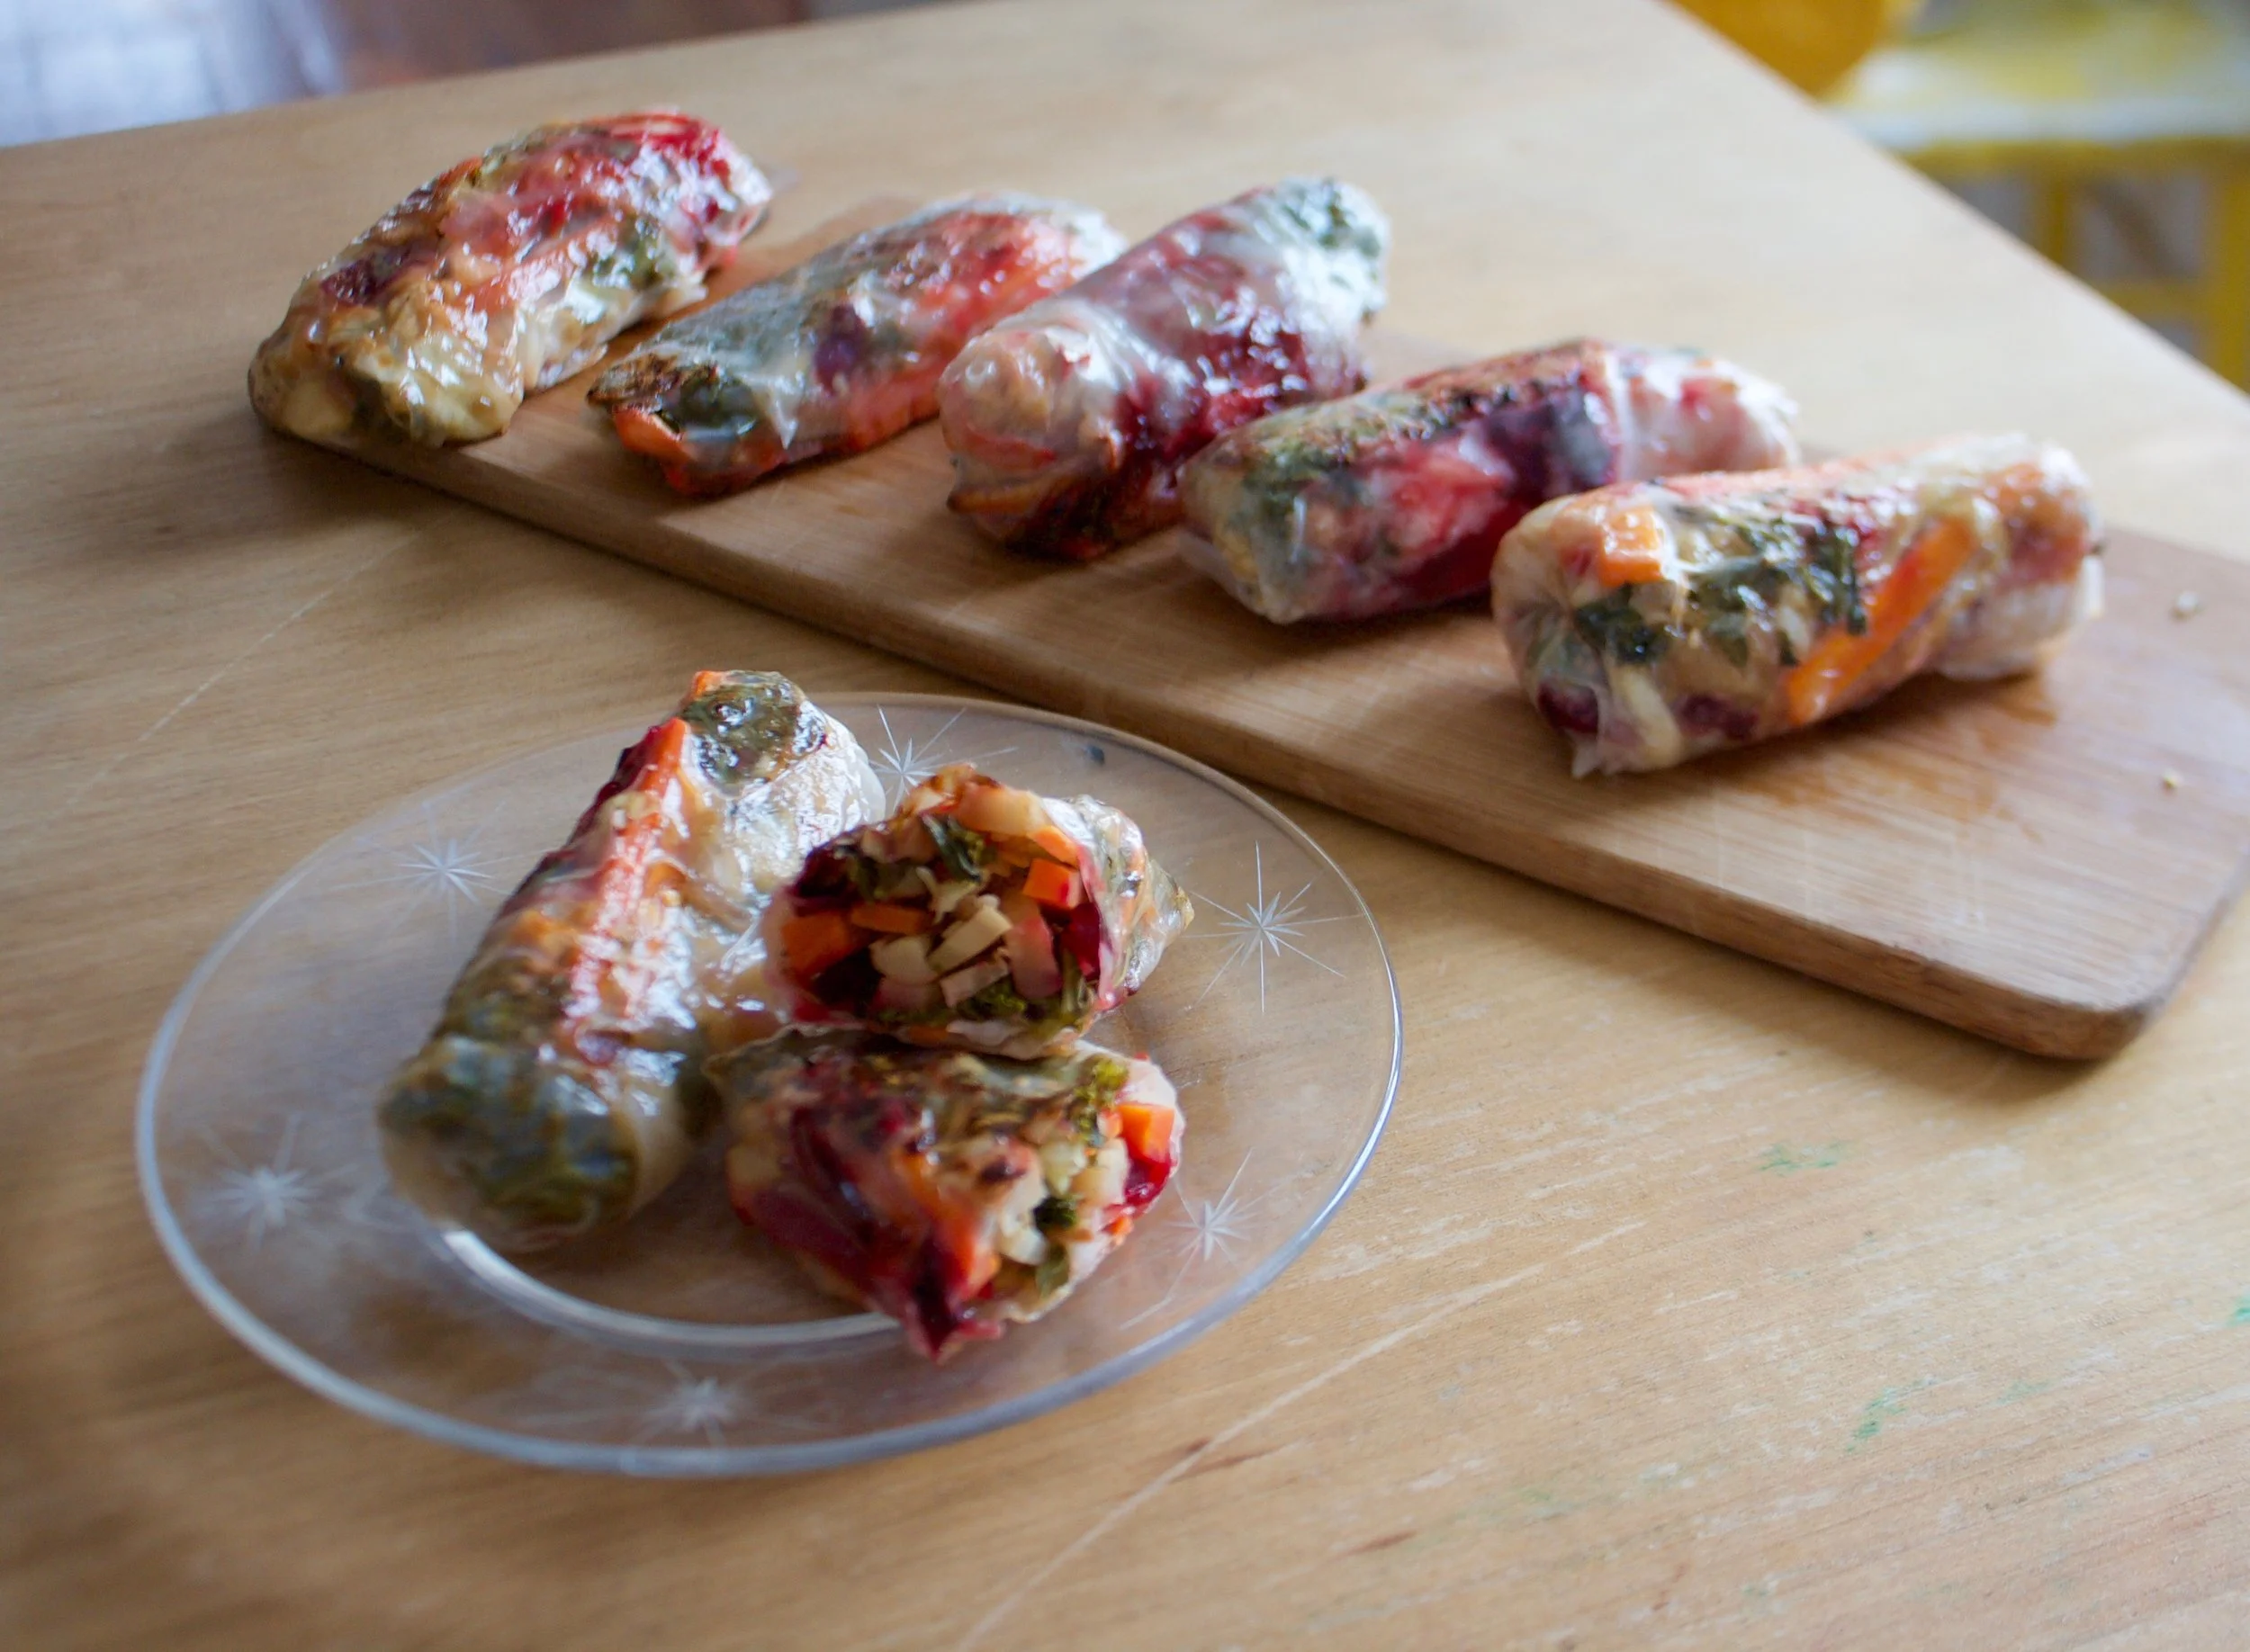
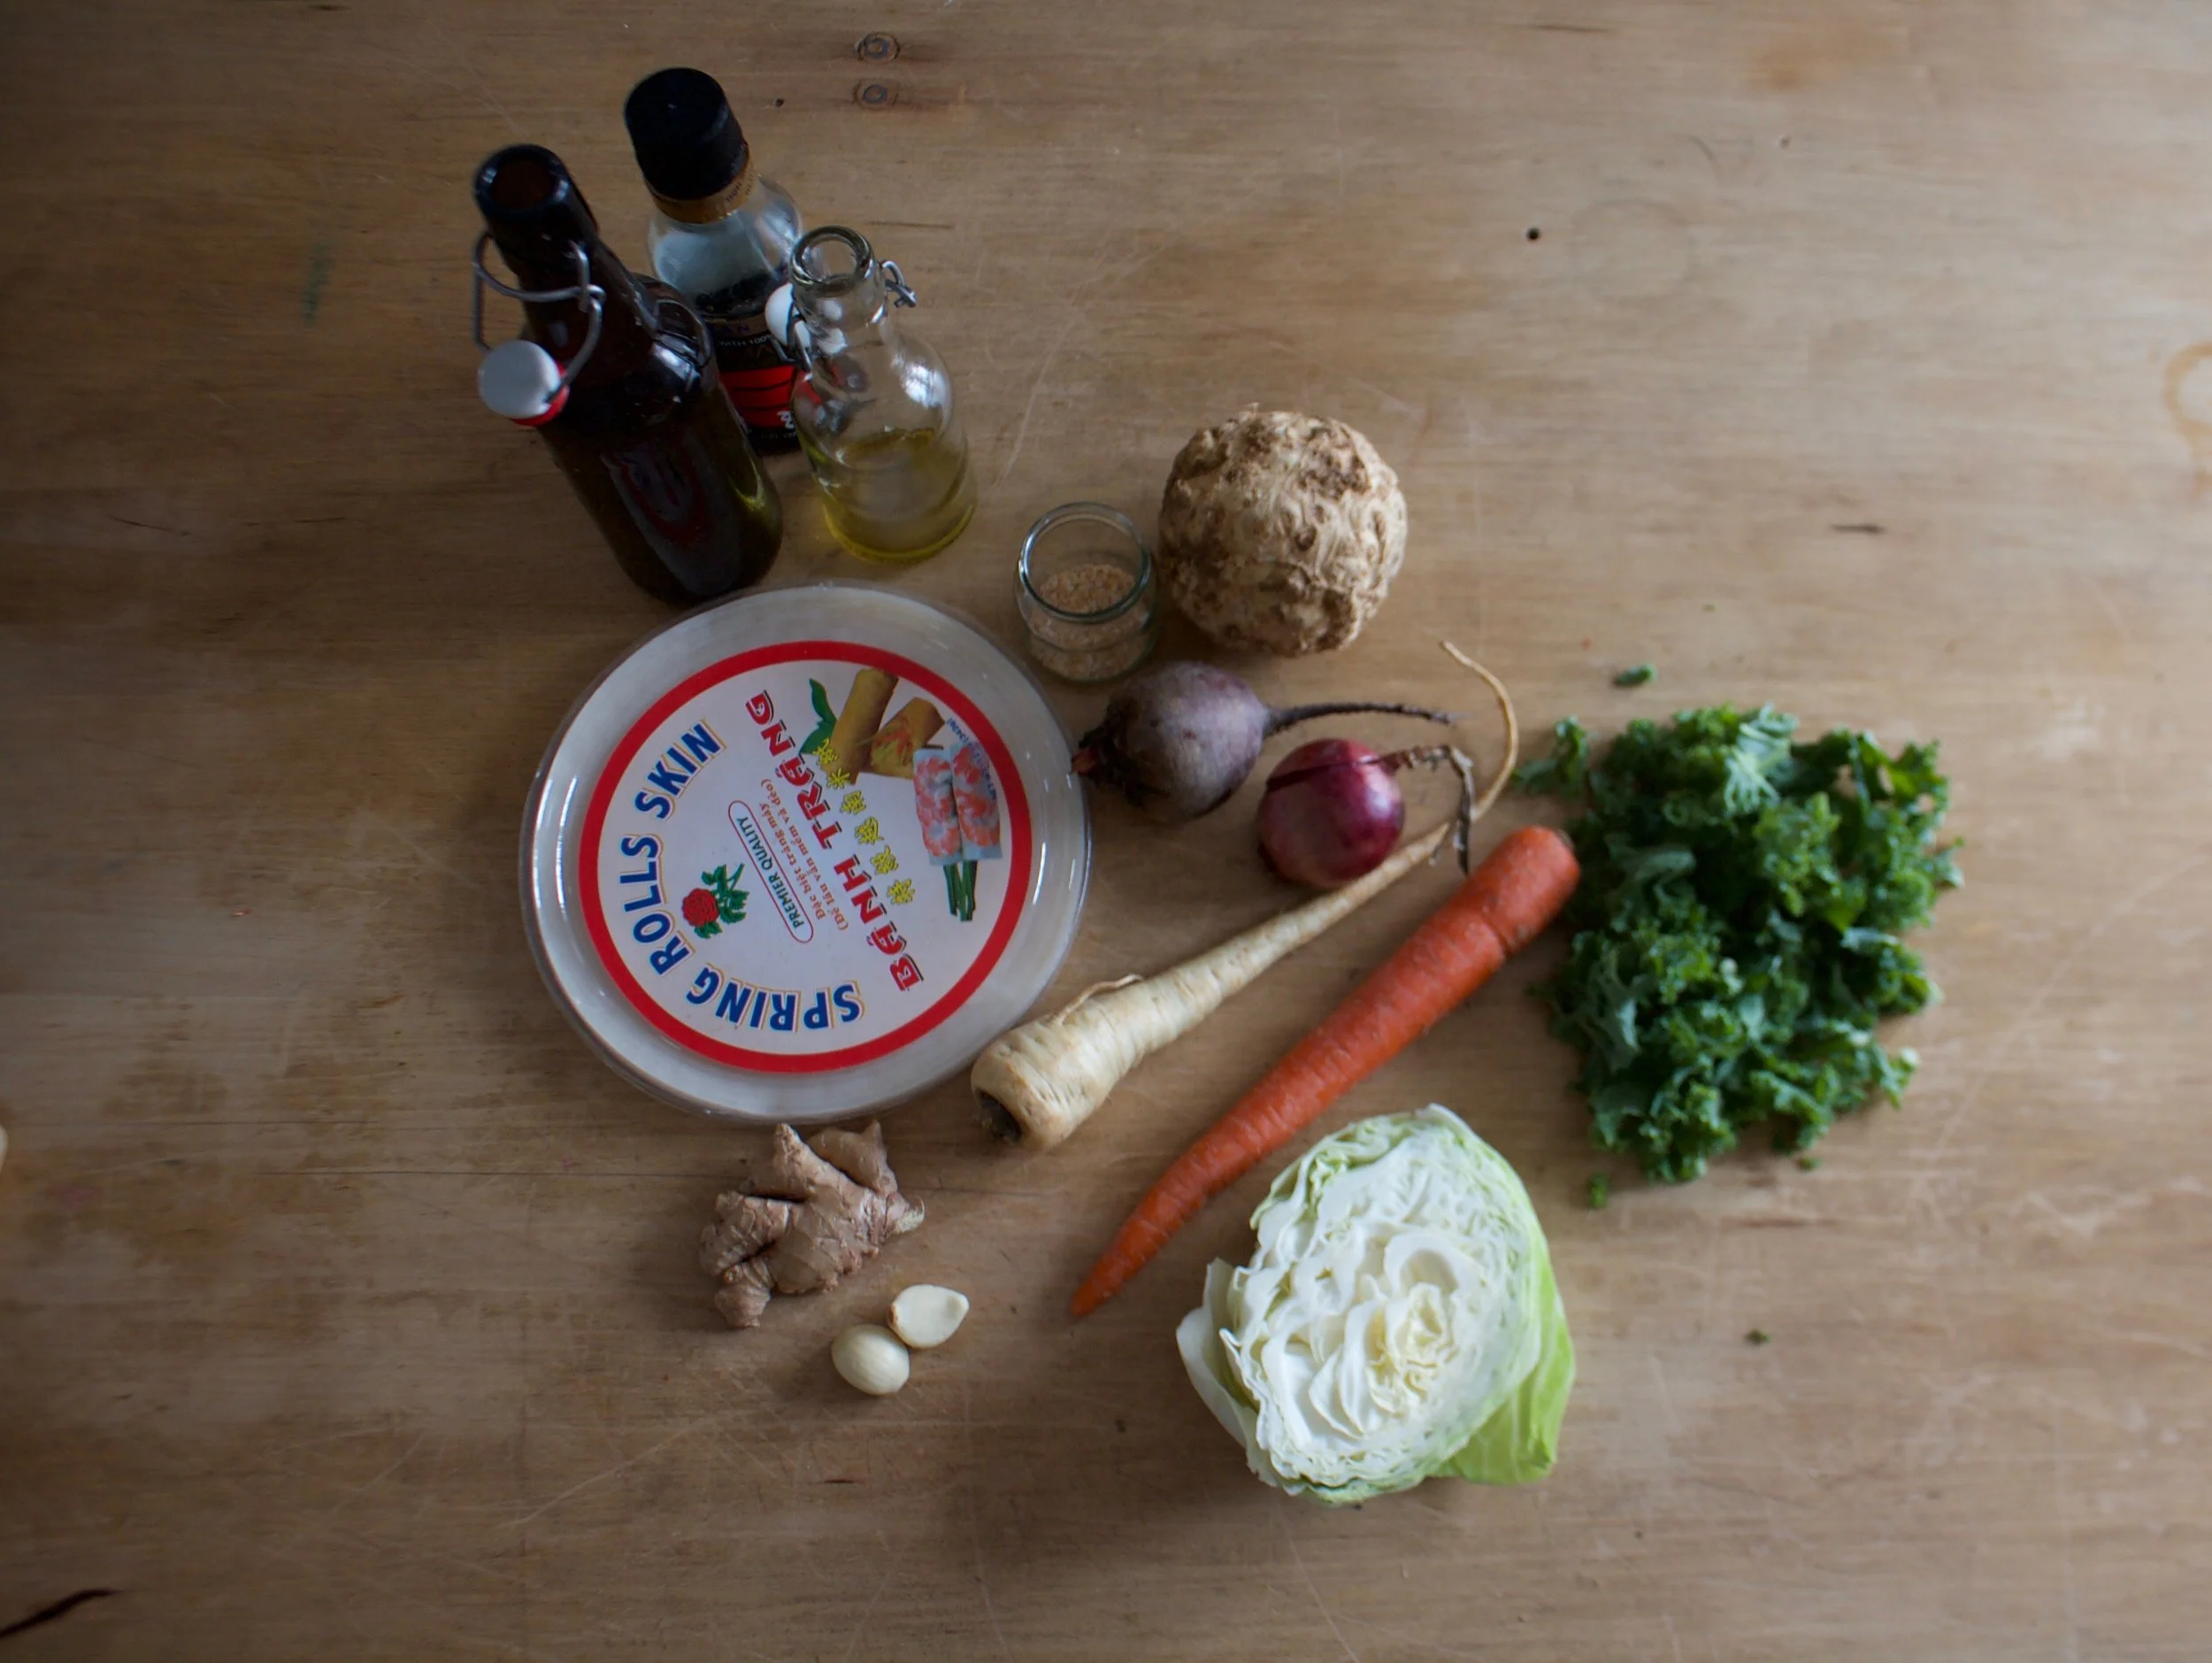
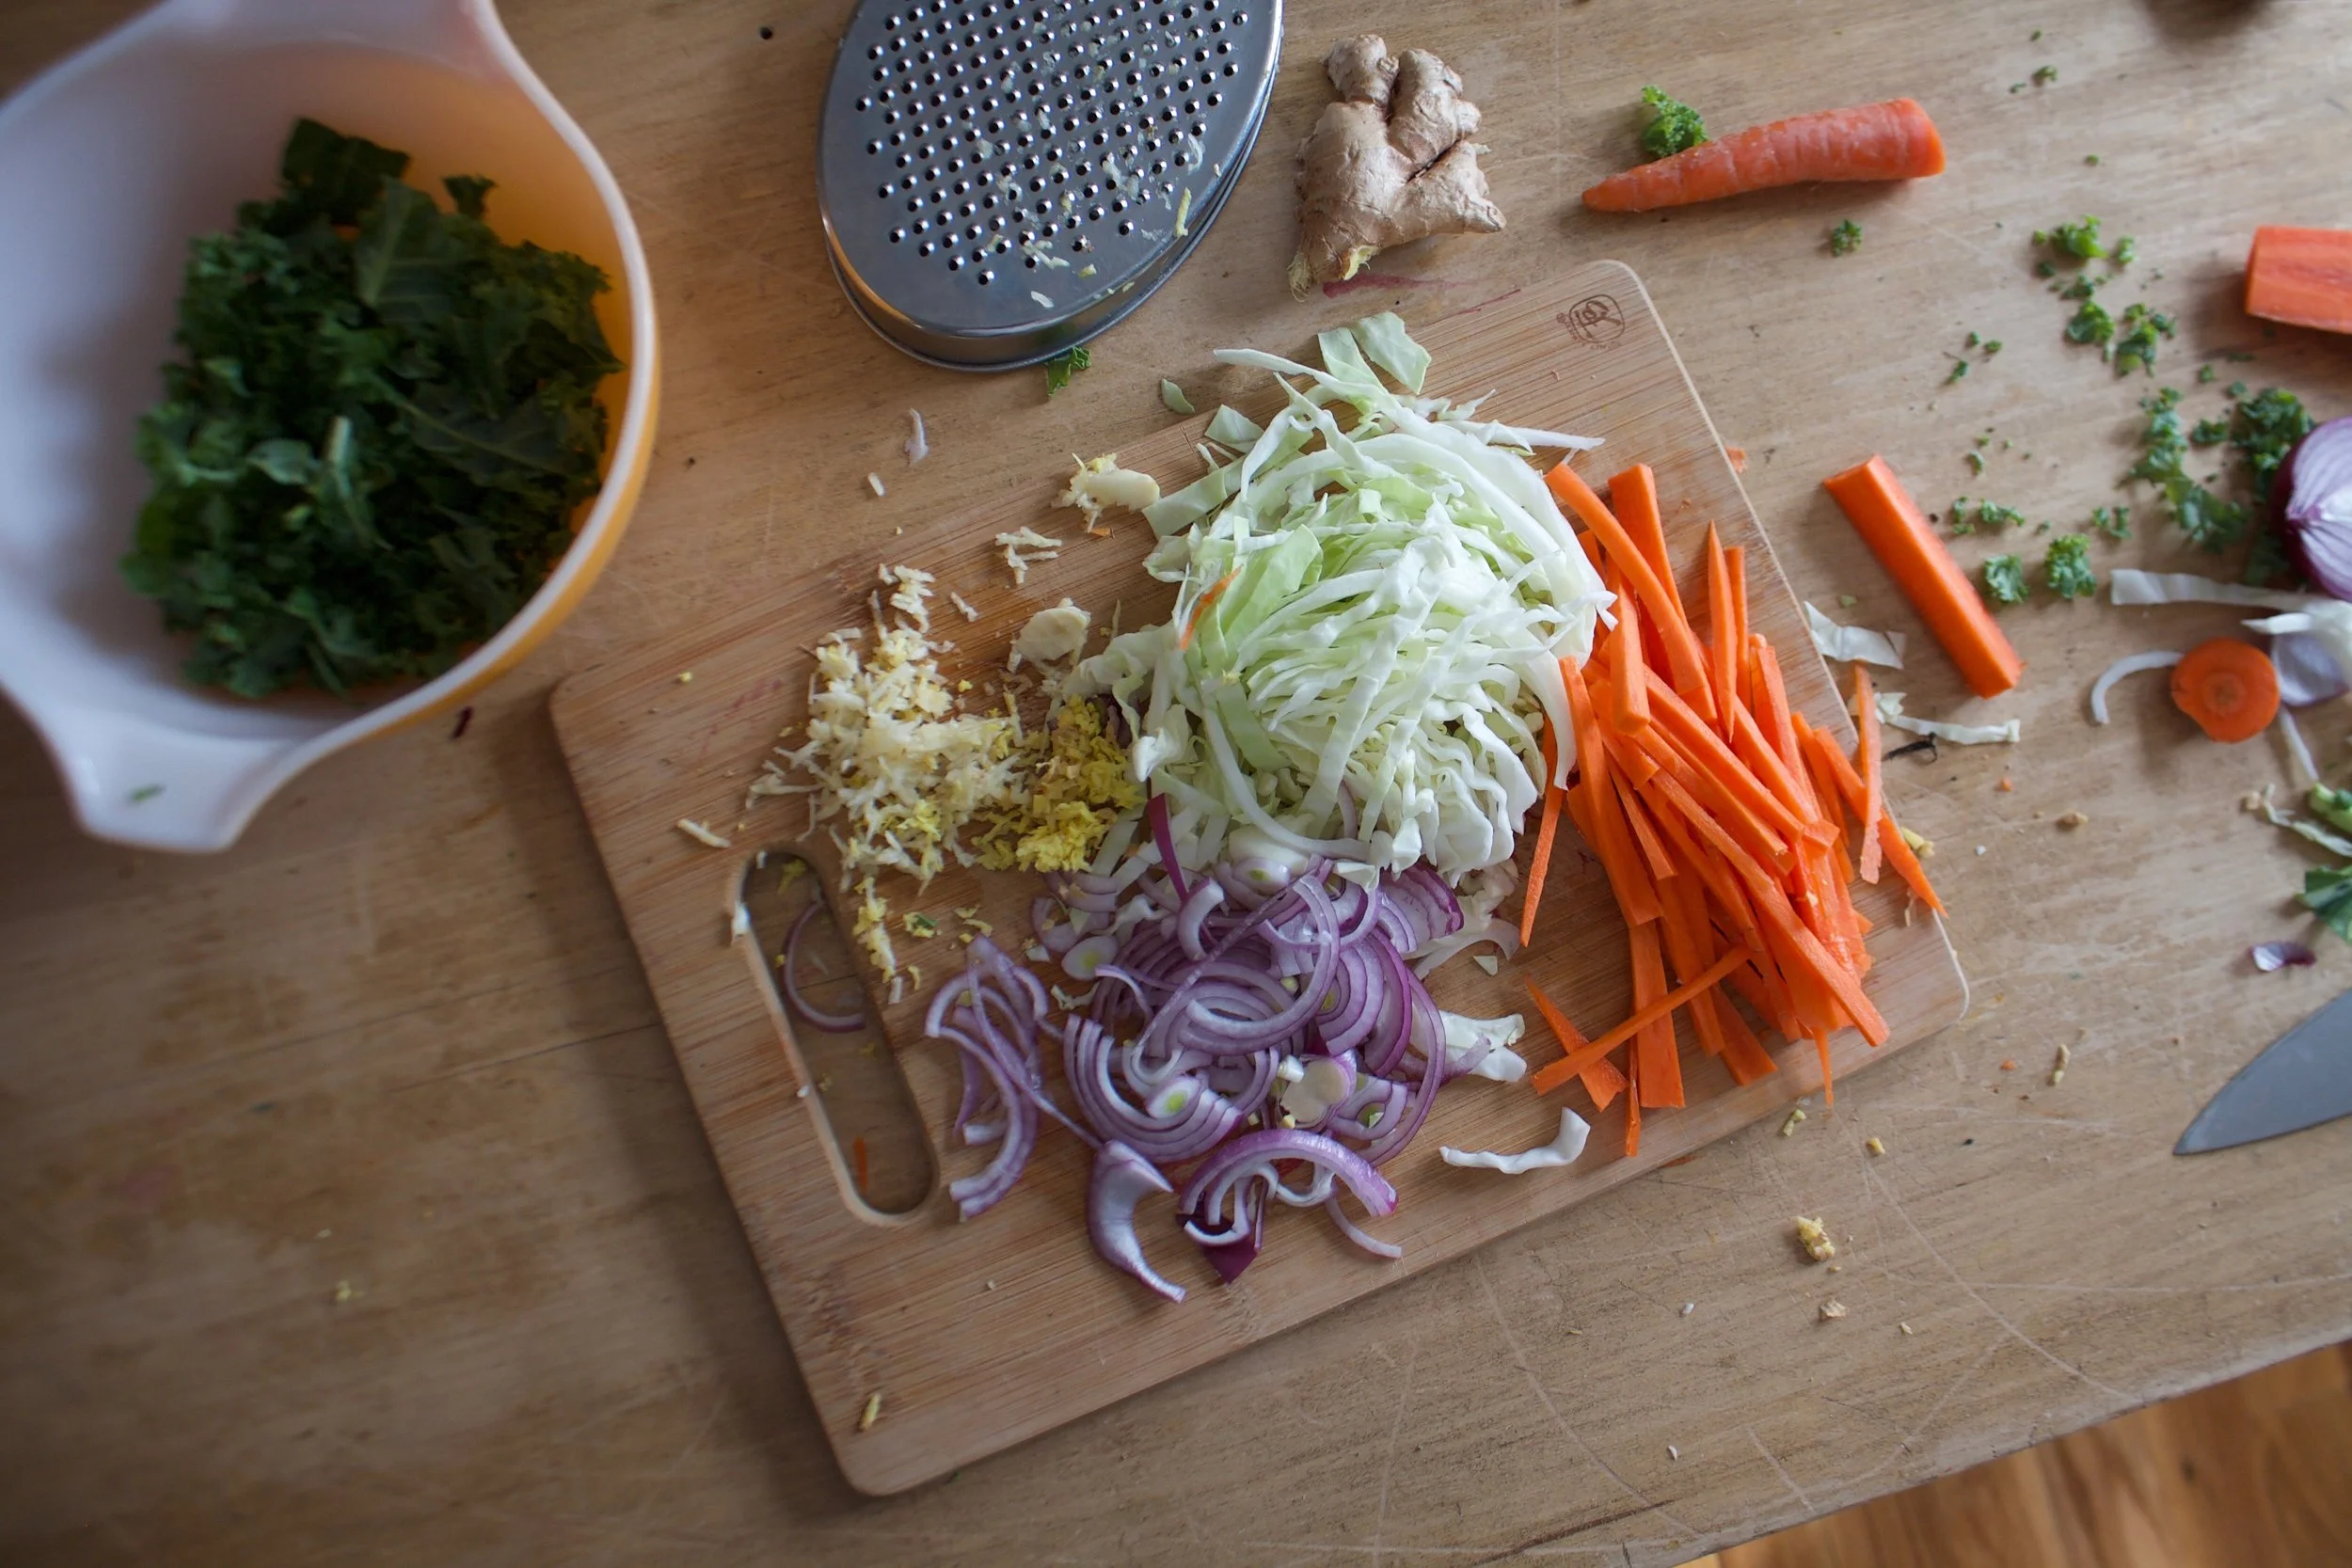
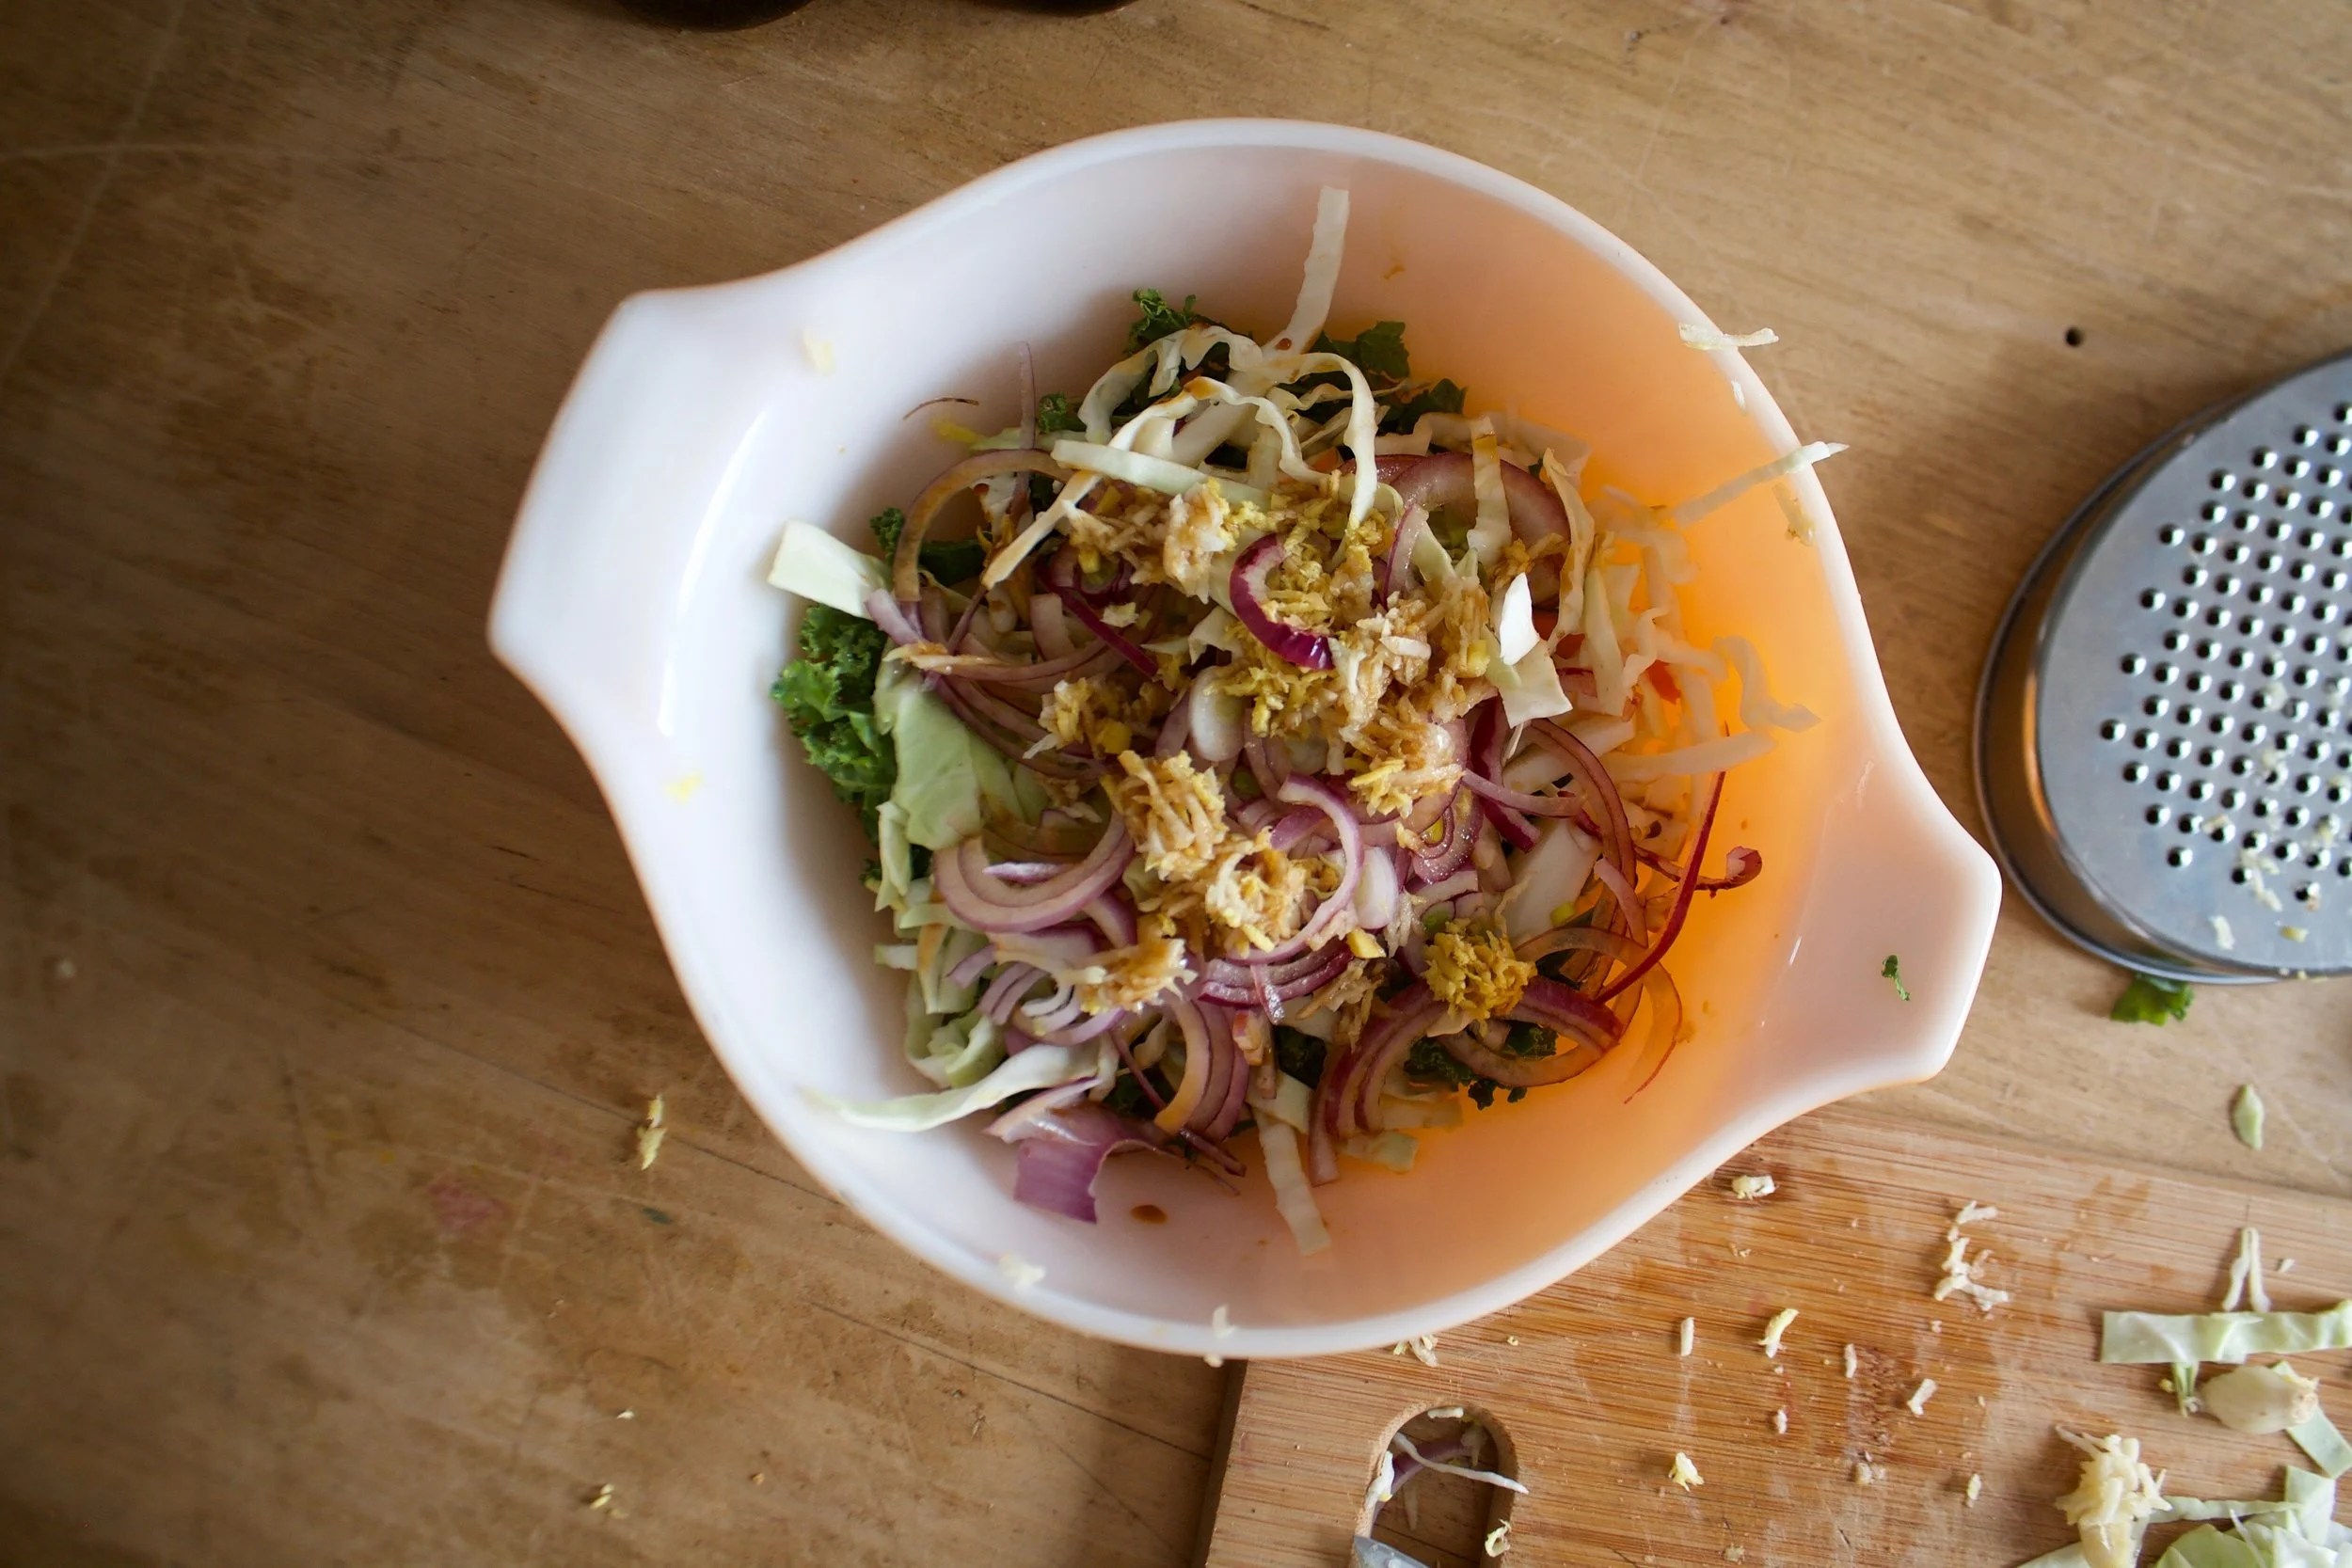





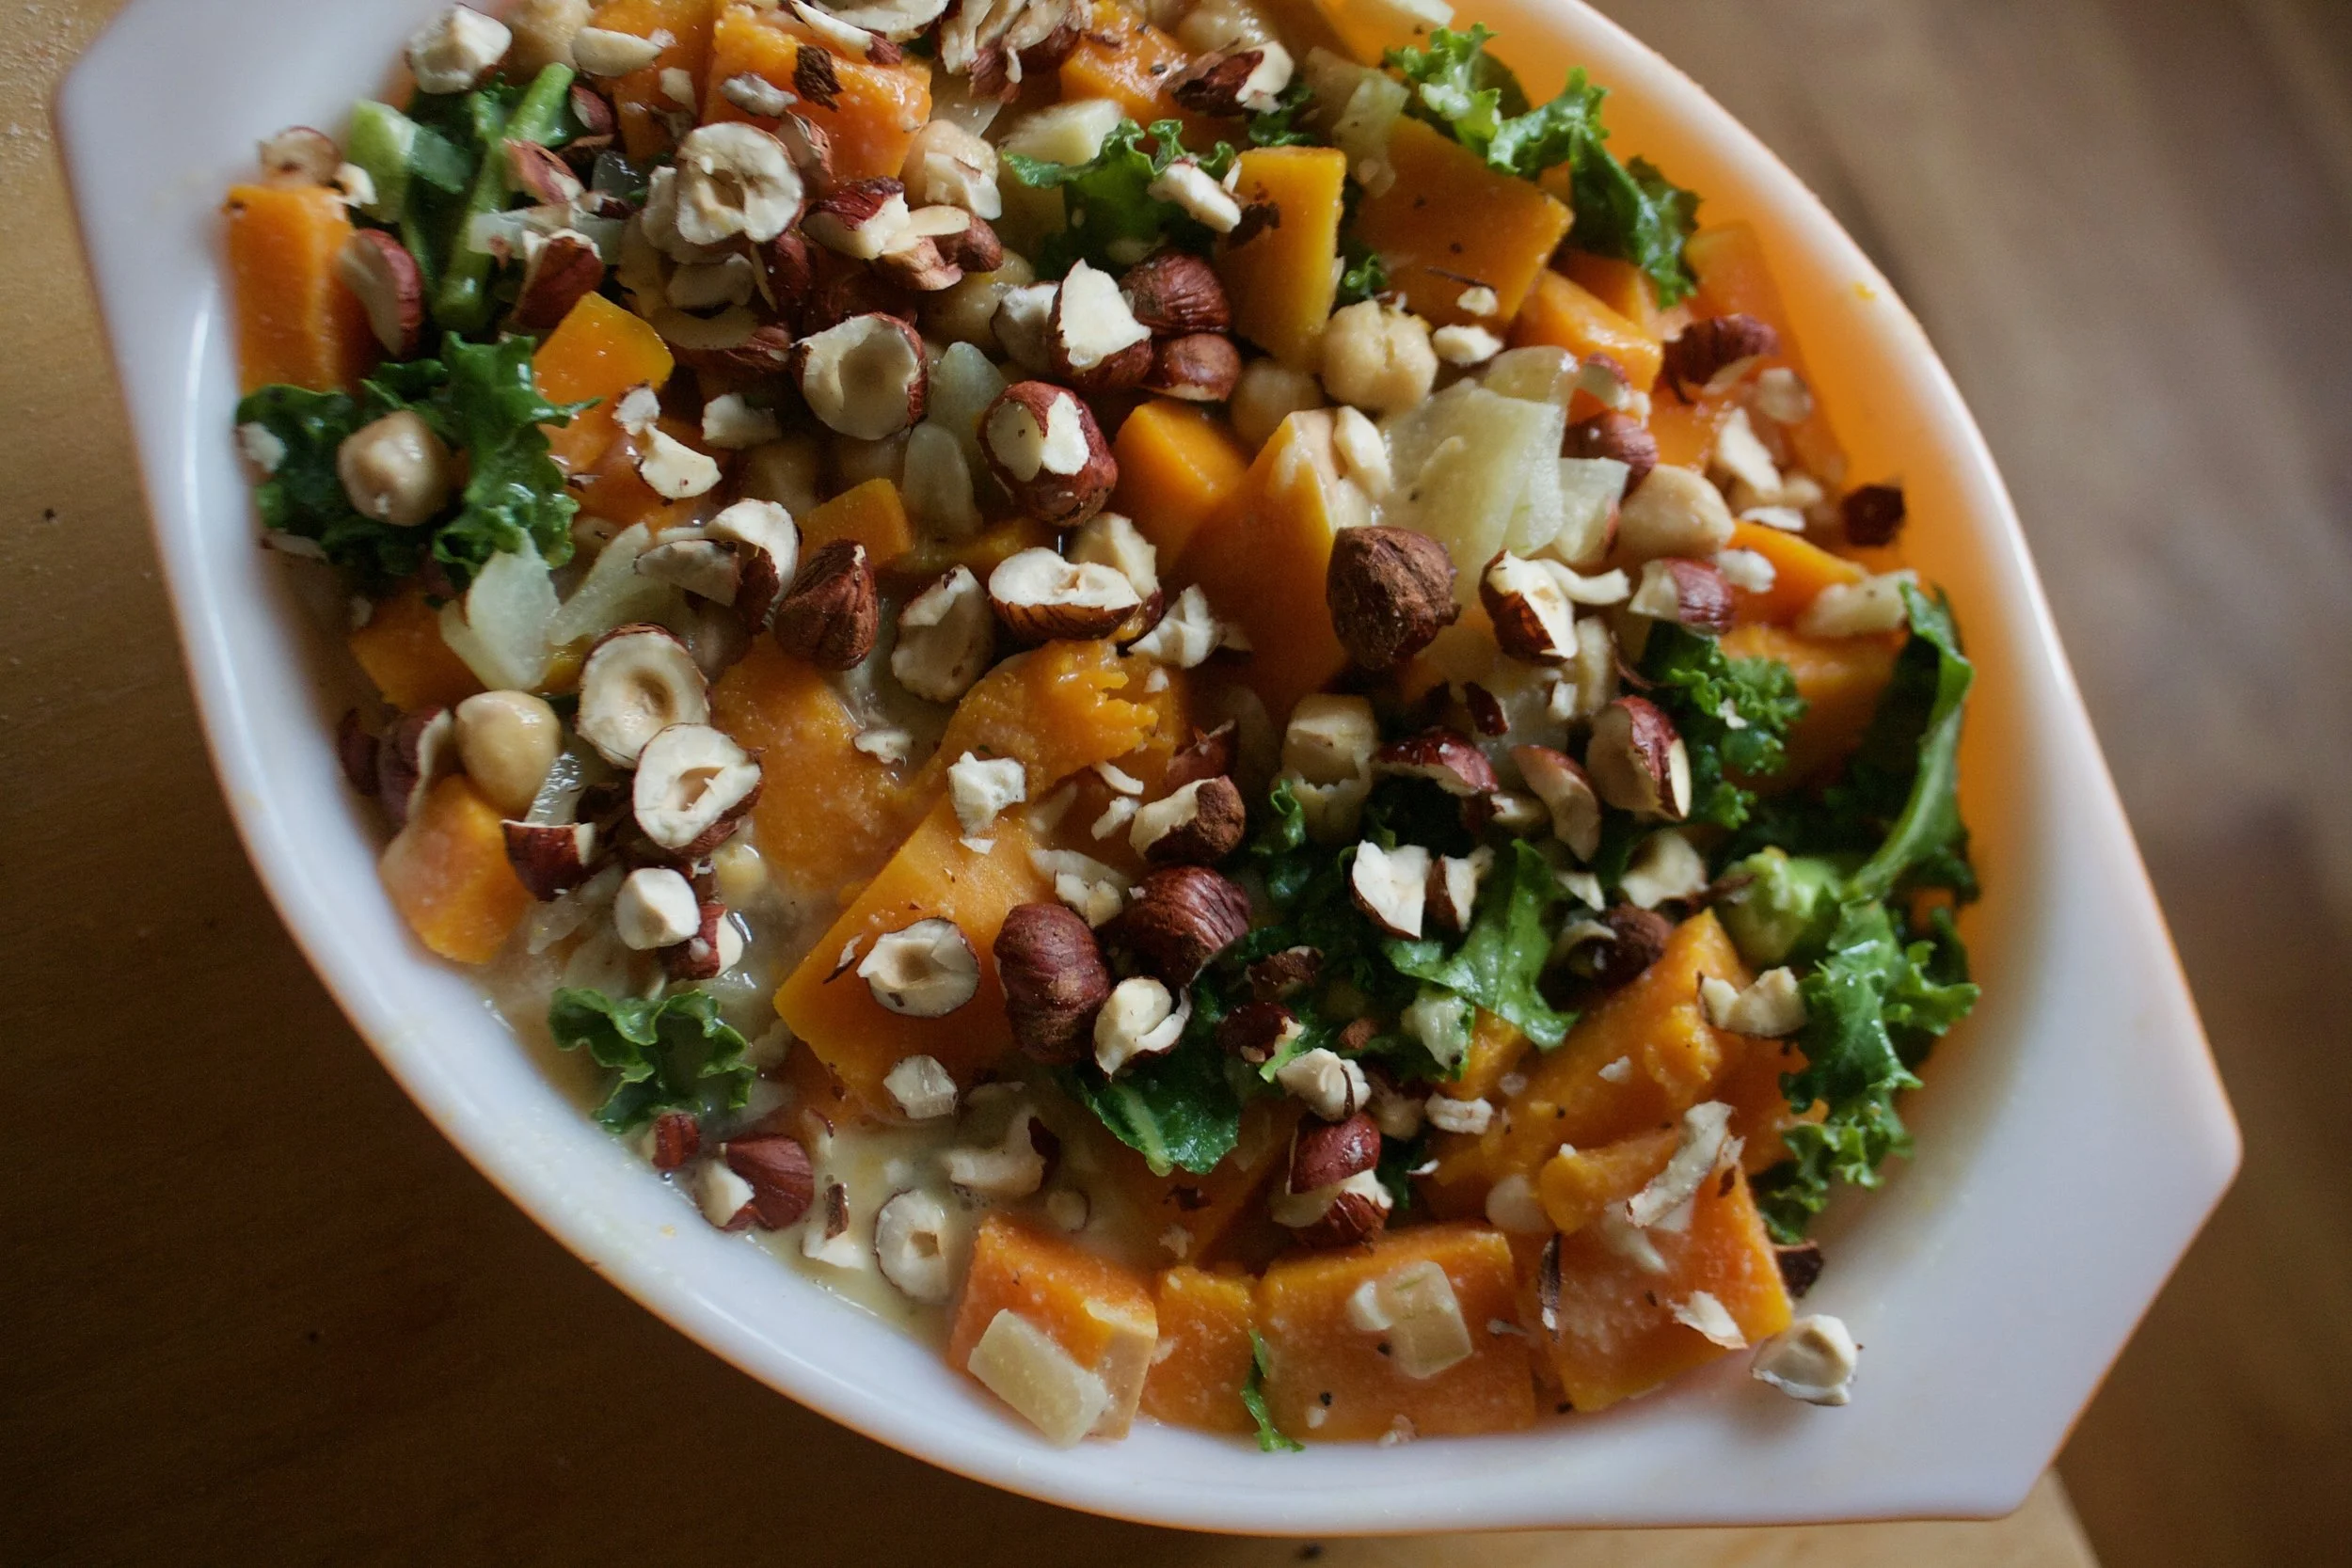
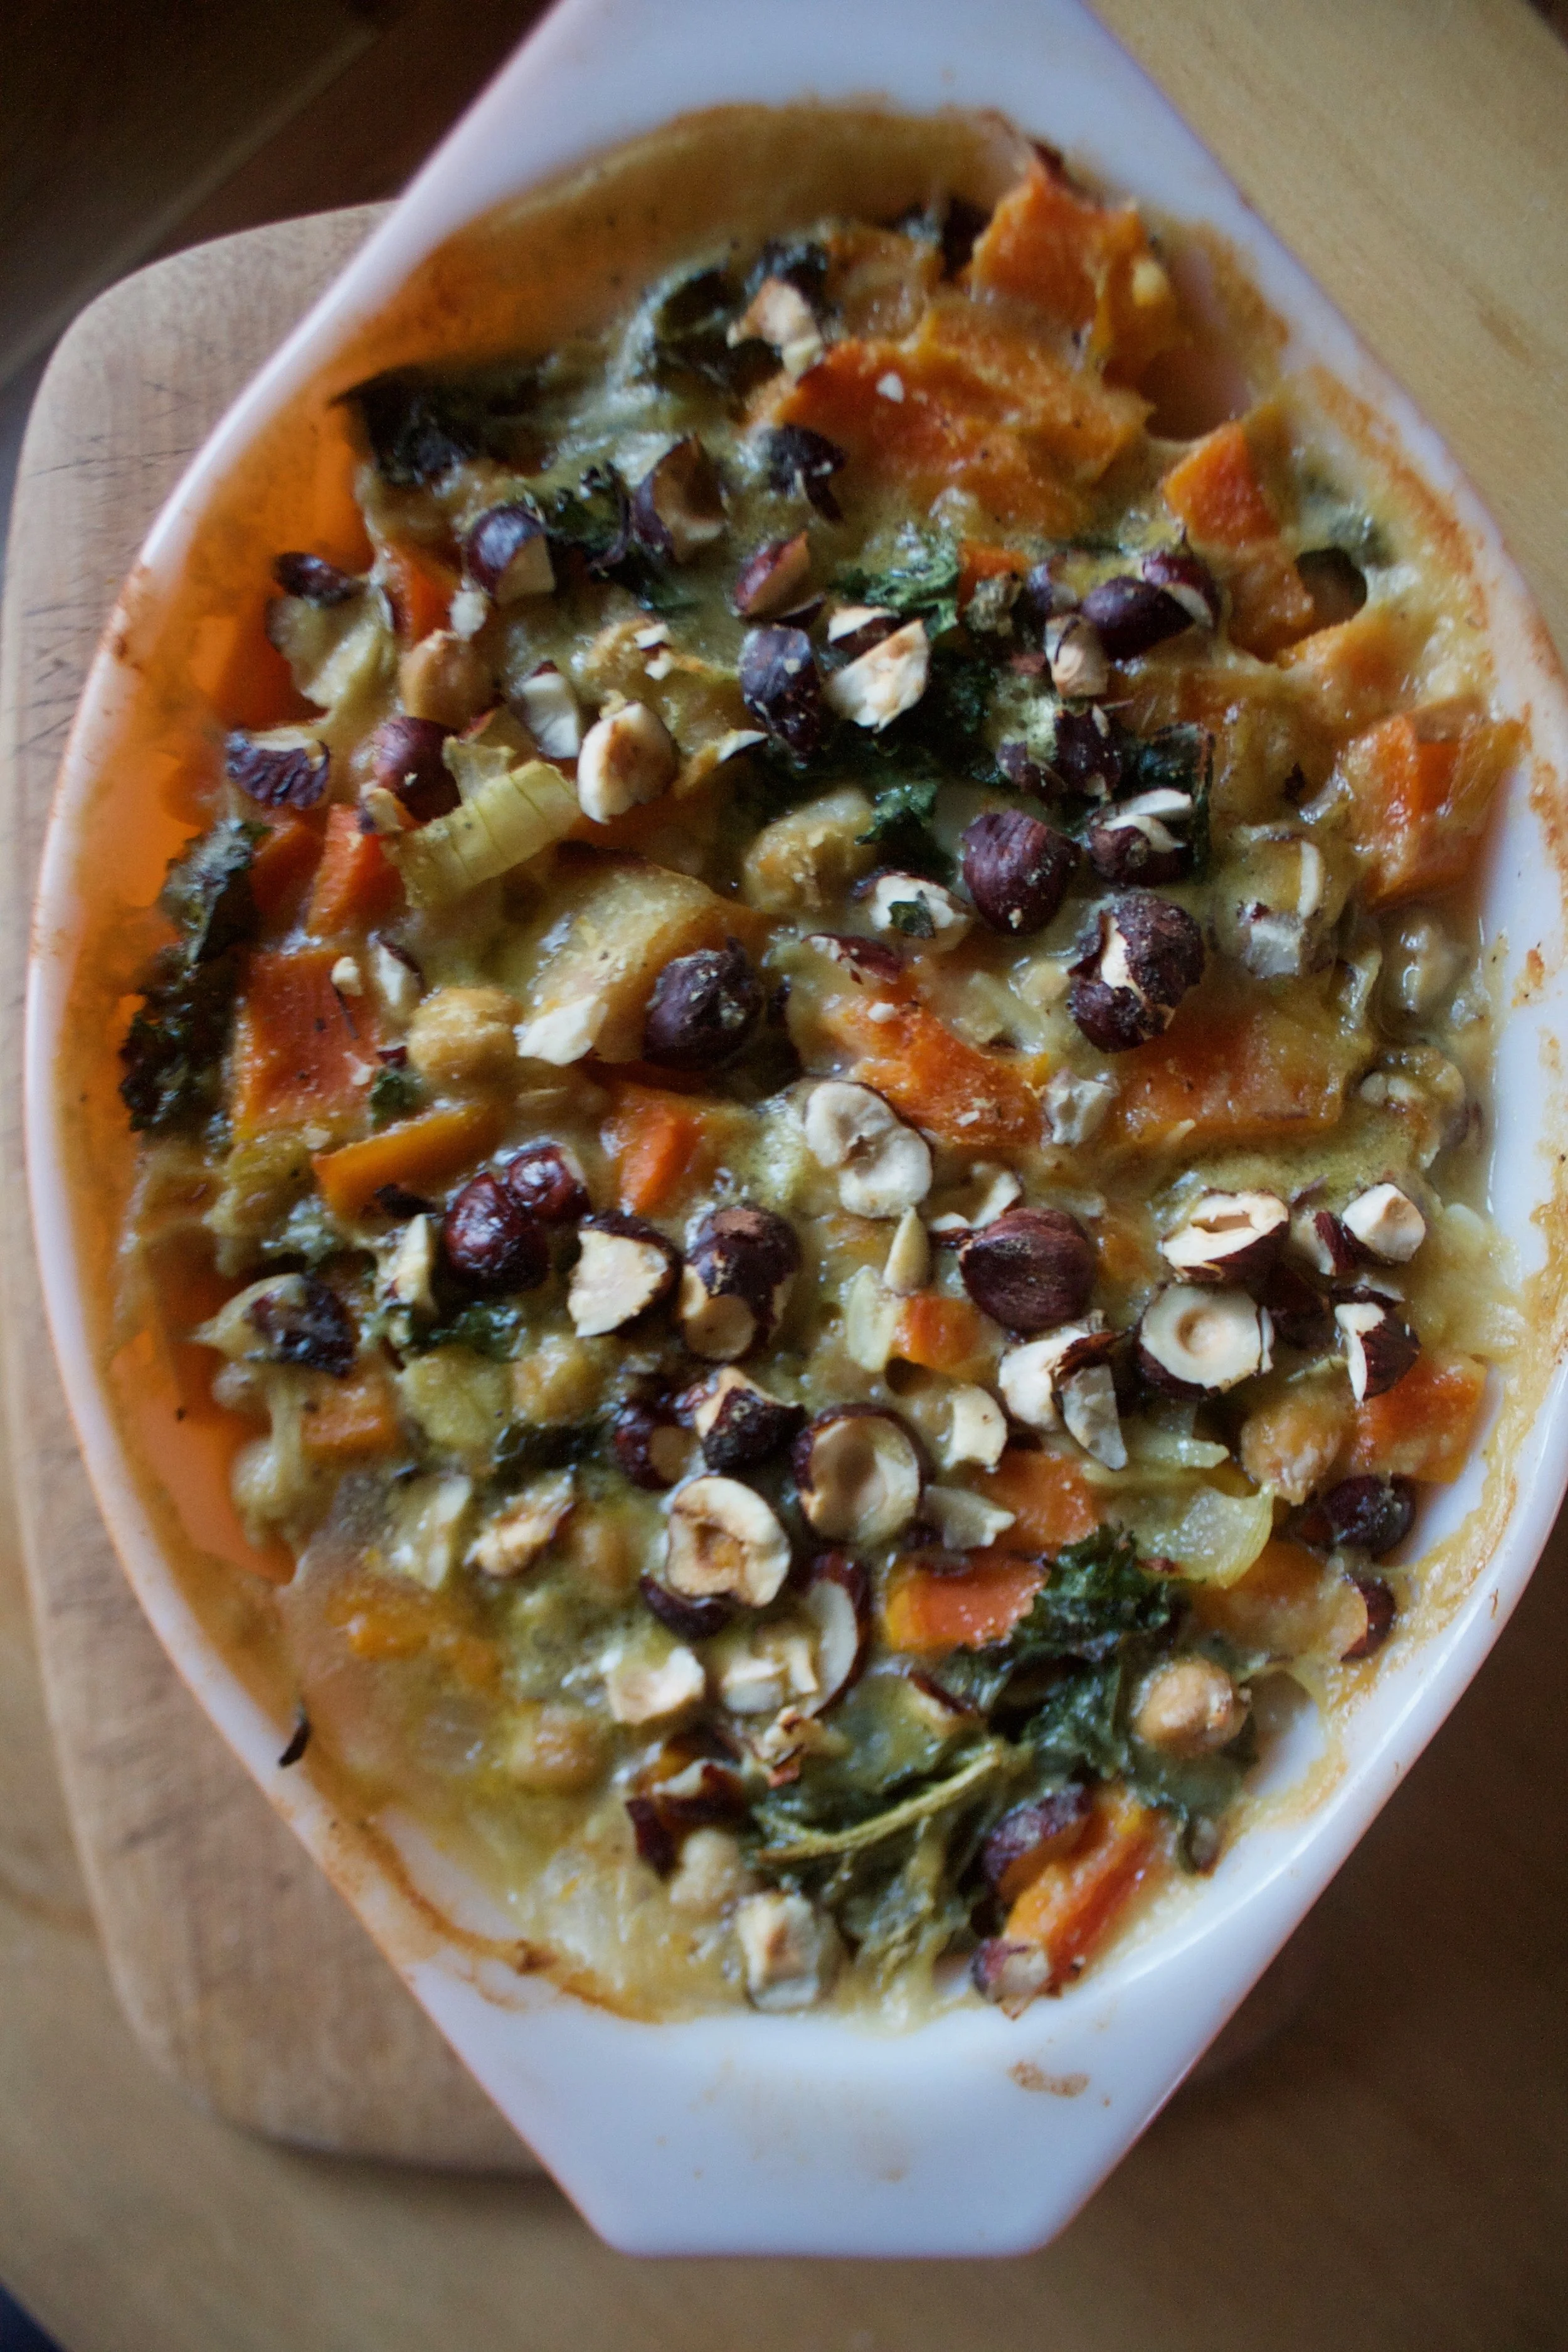

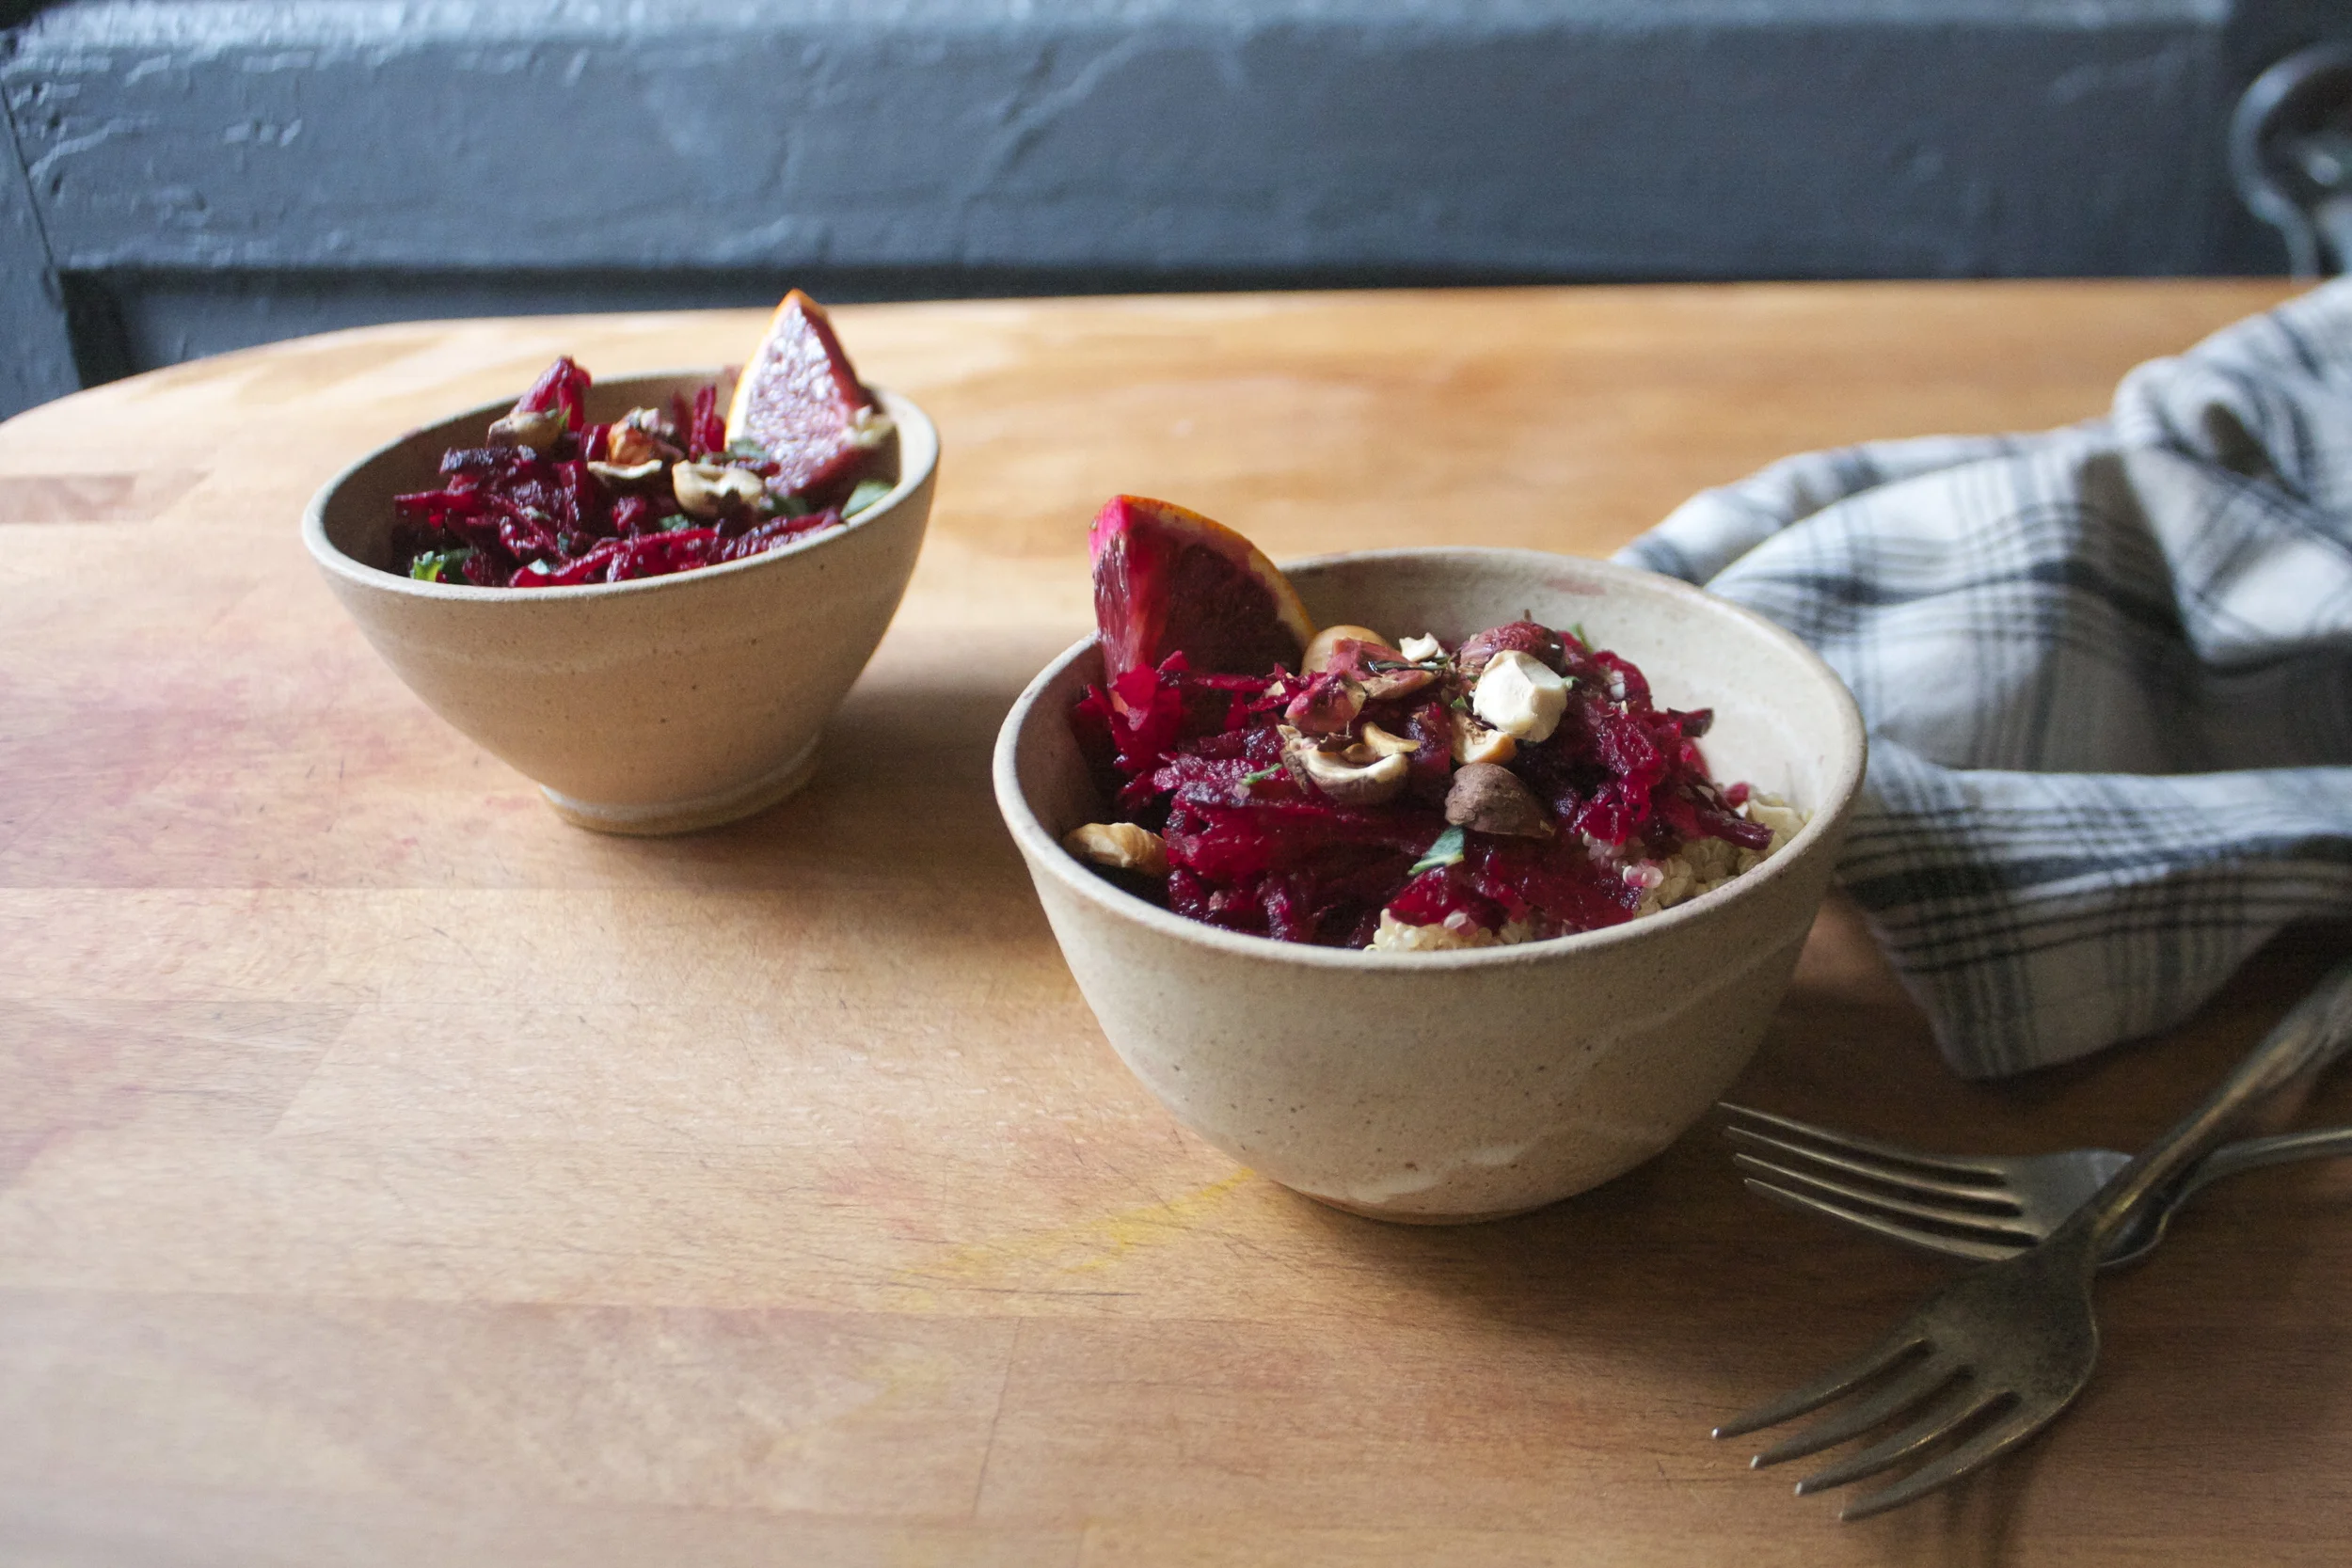

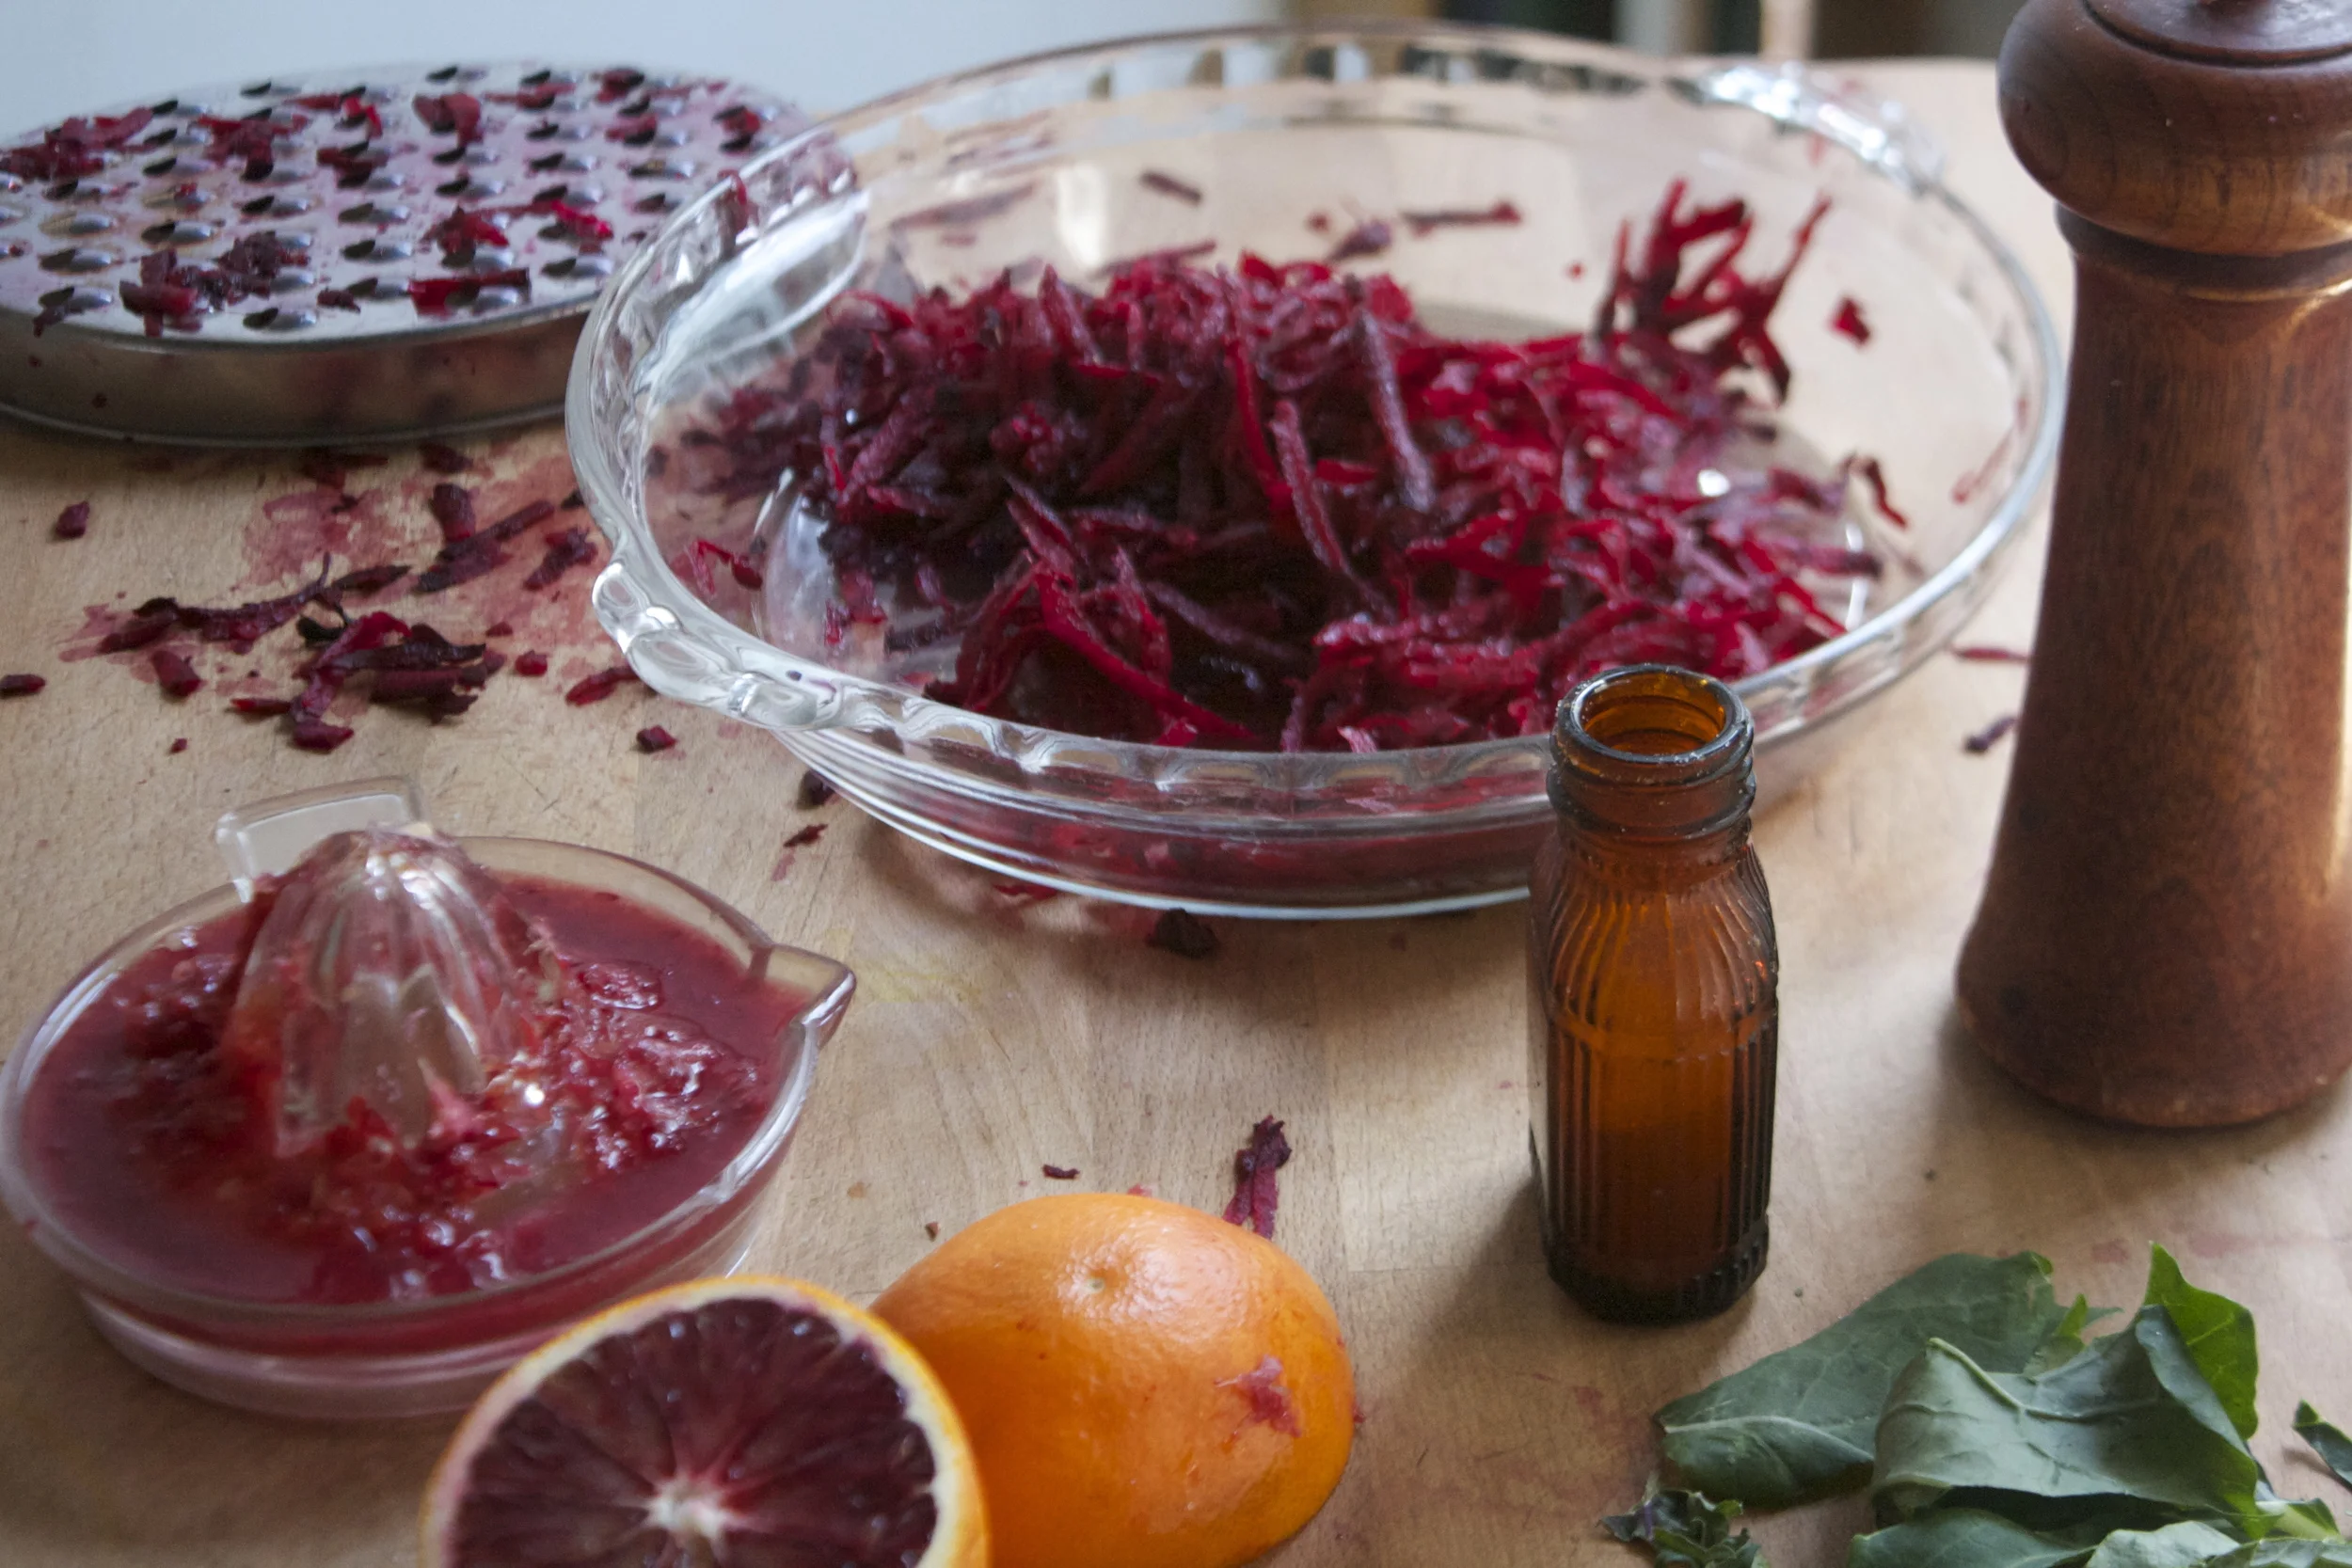

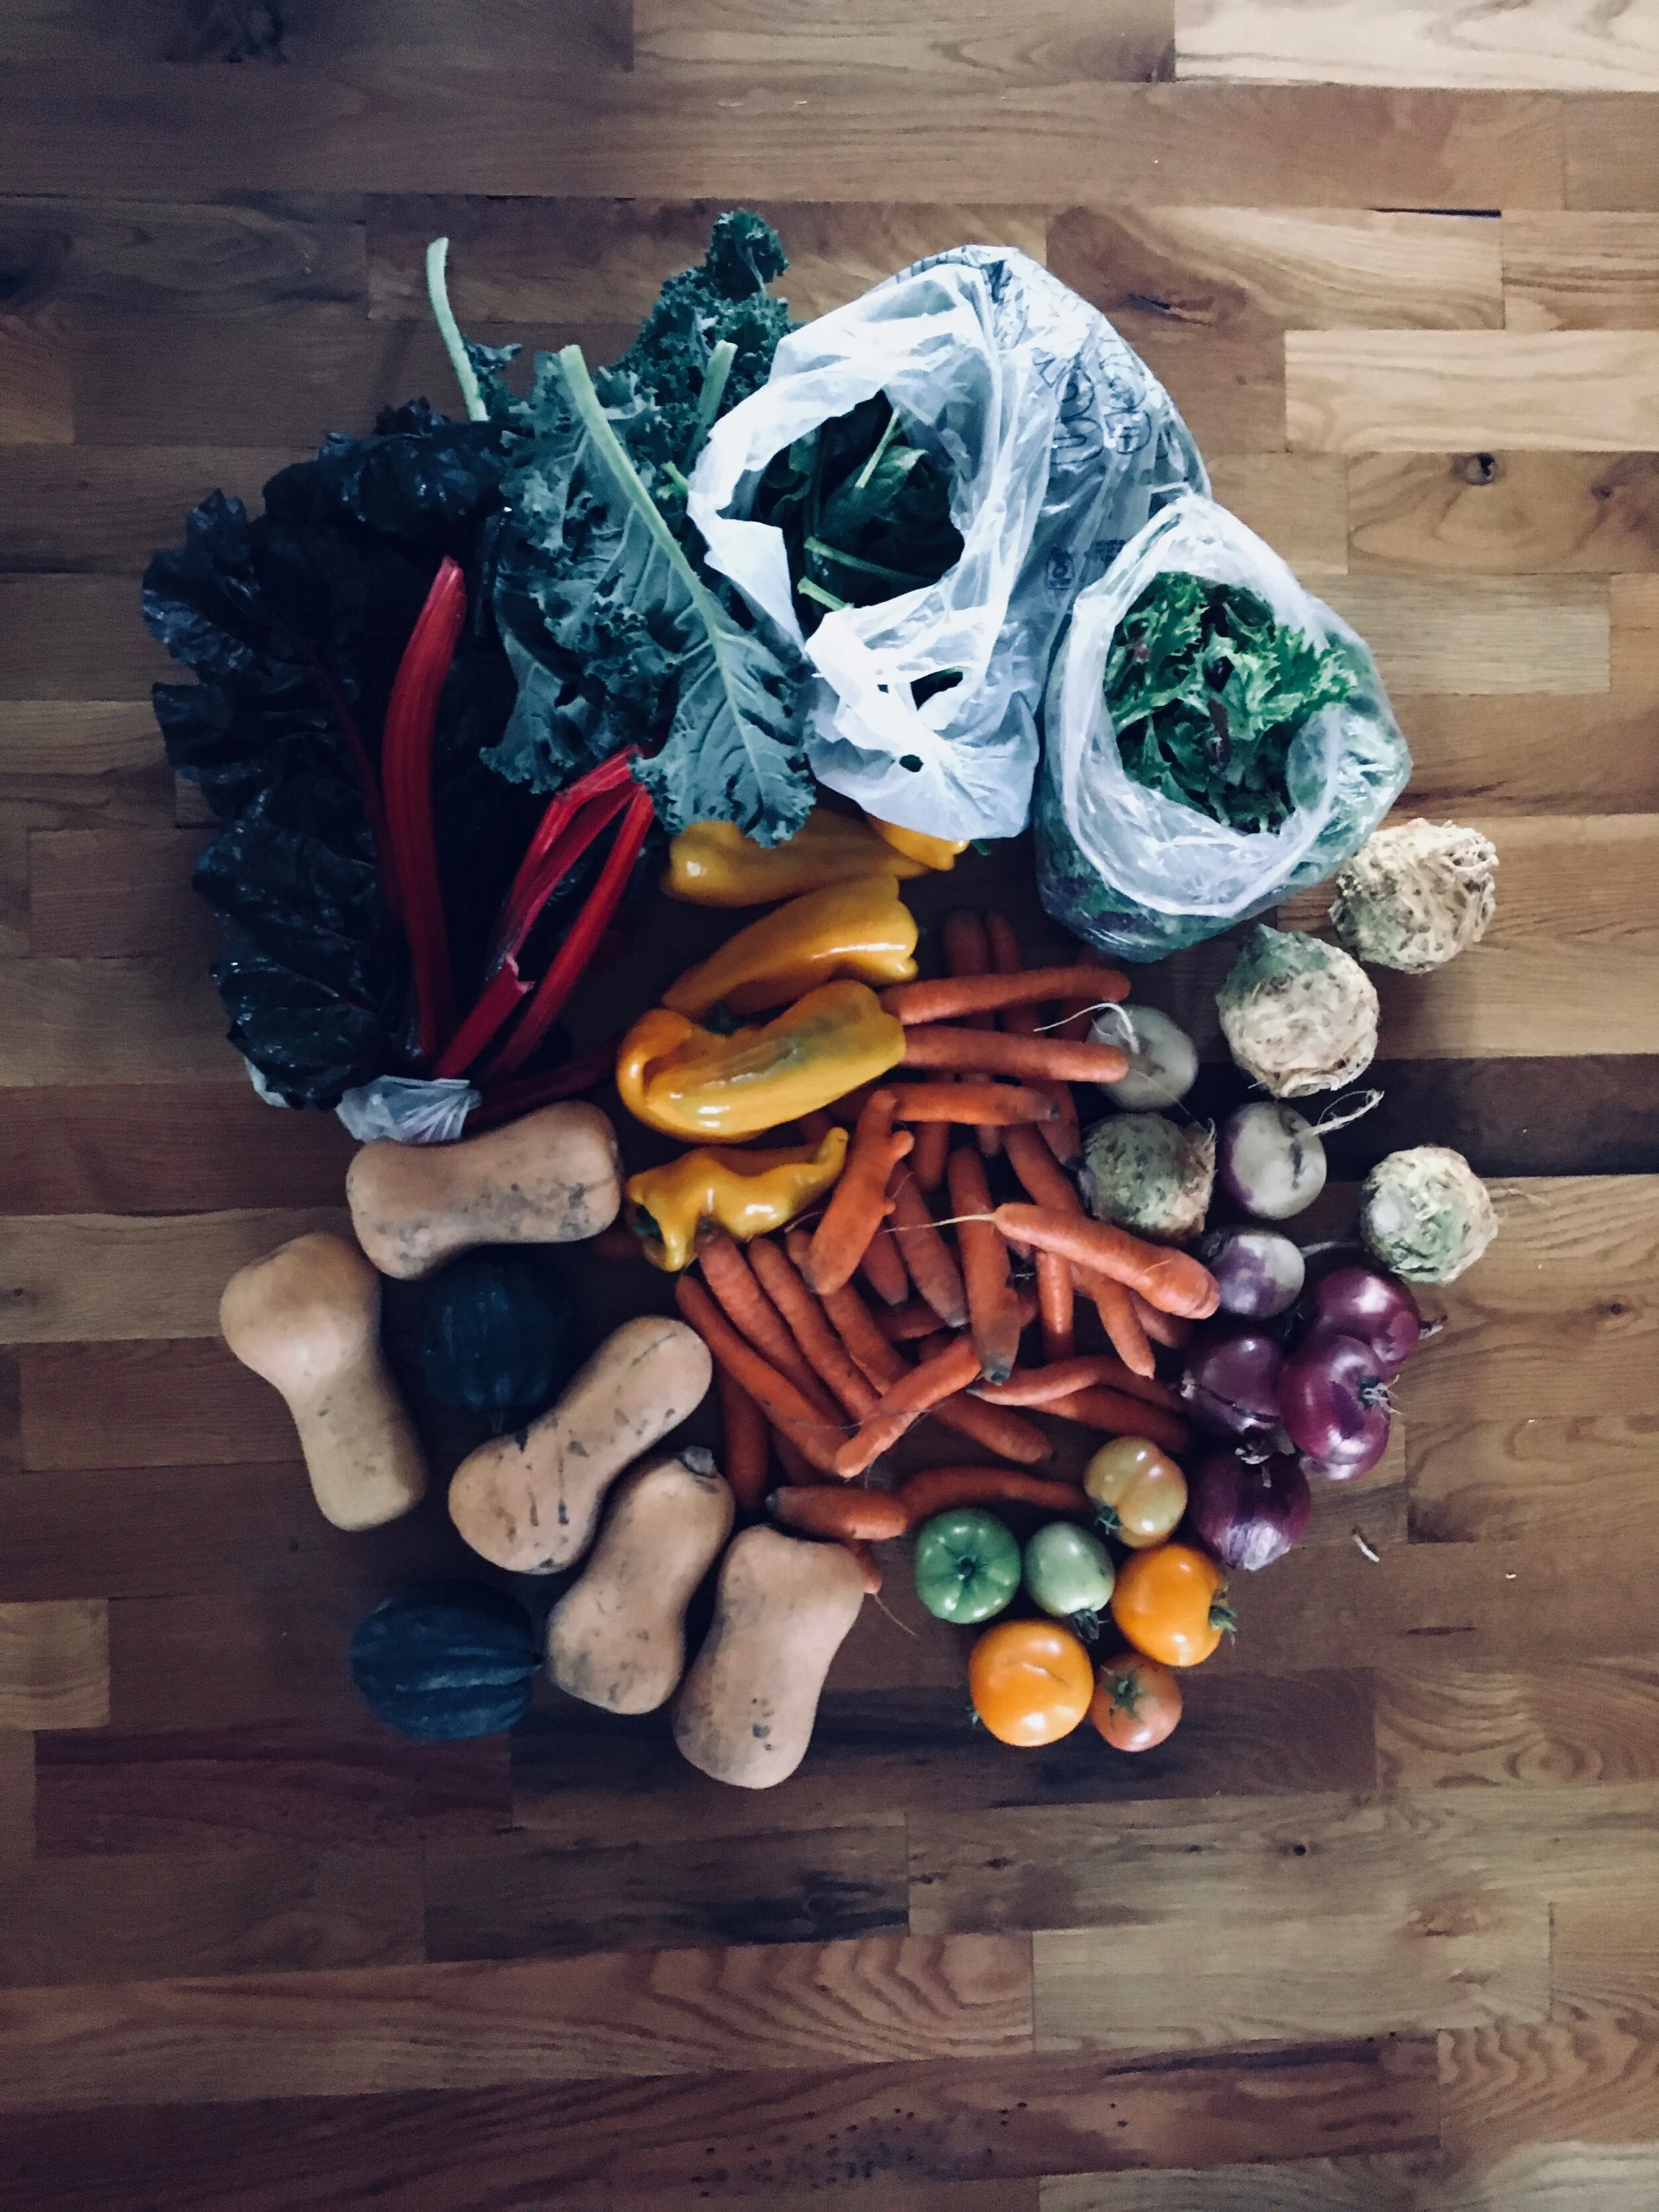
 My winter farm share is coming to an end this week. One more pick and then a three week stretch until the summer share starts%u2026 WHAT AM I GOING TO DO!!! Stock up as much as I can is what.
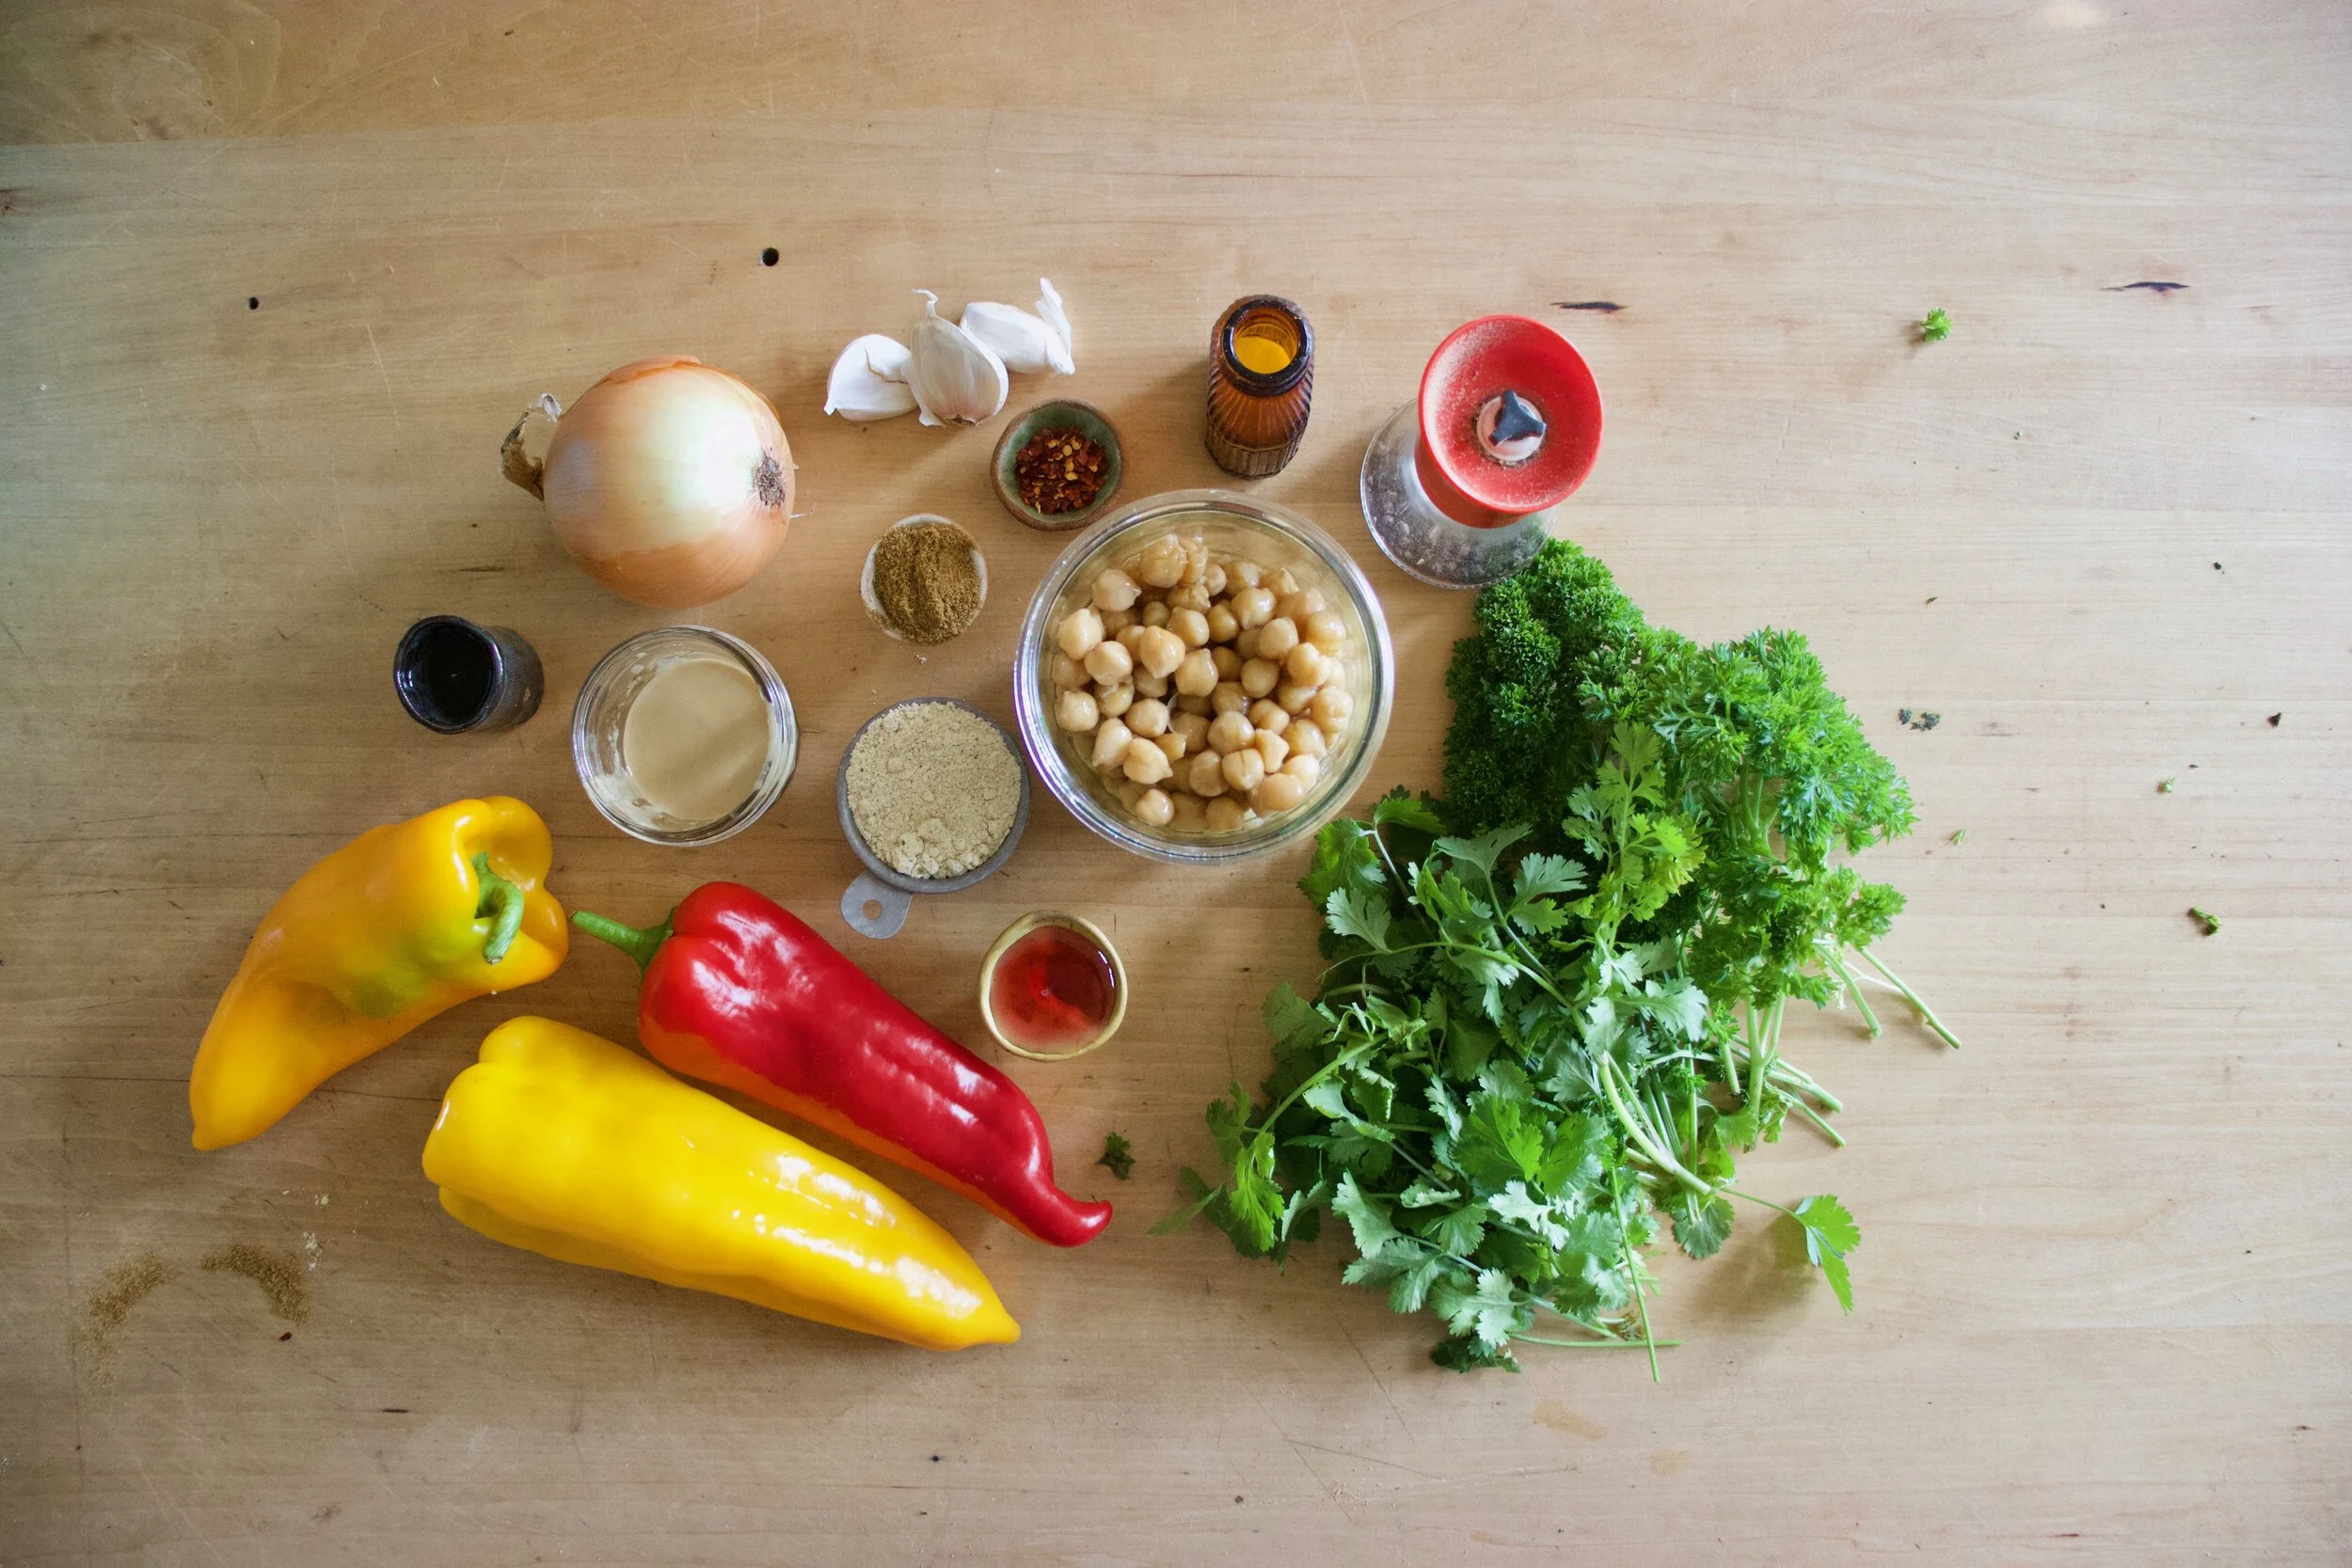
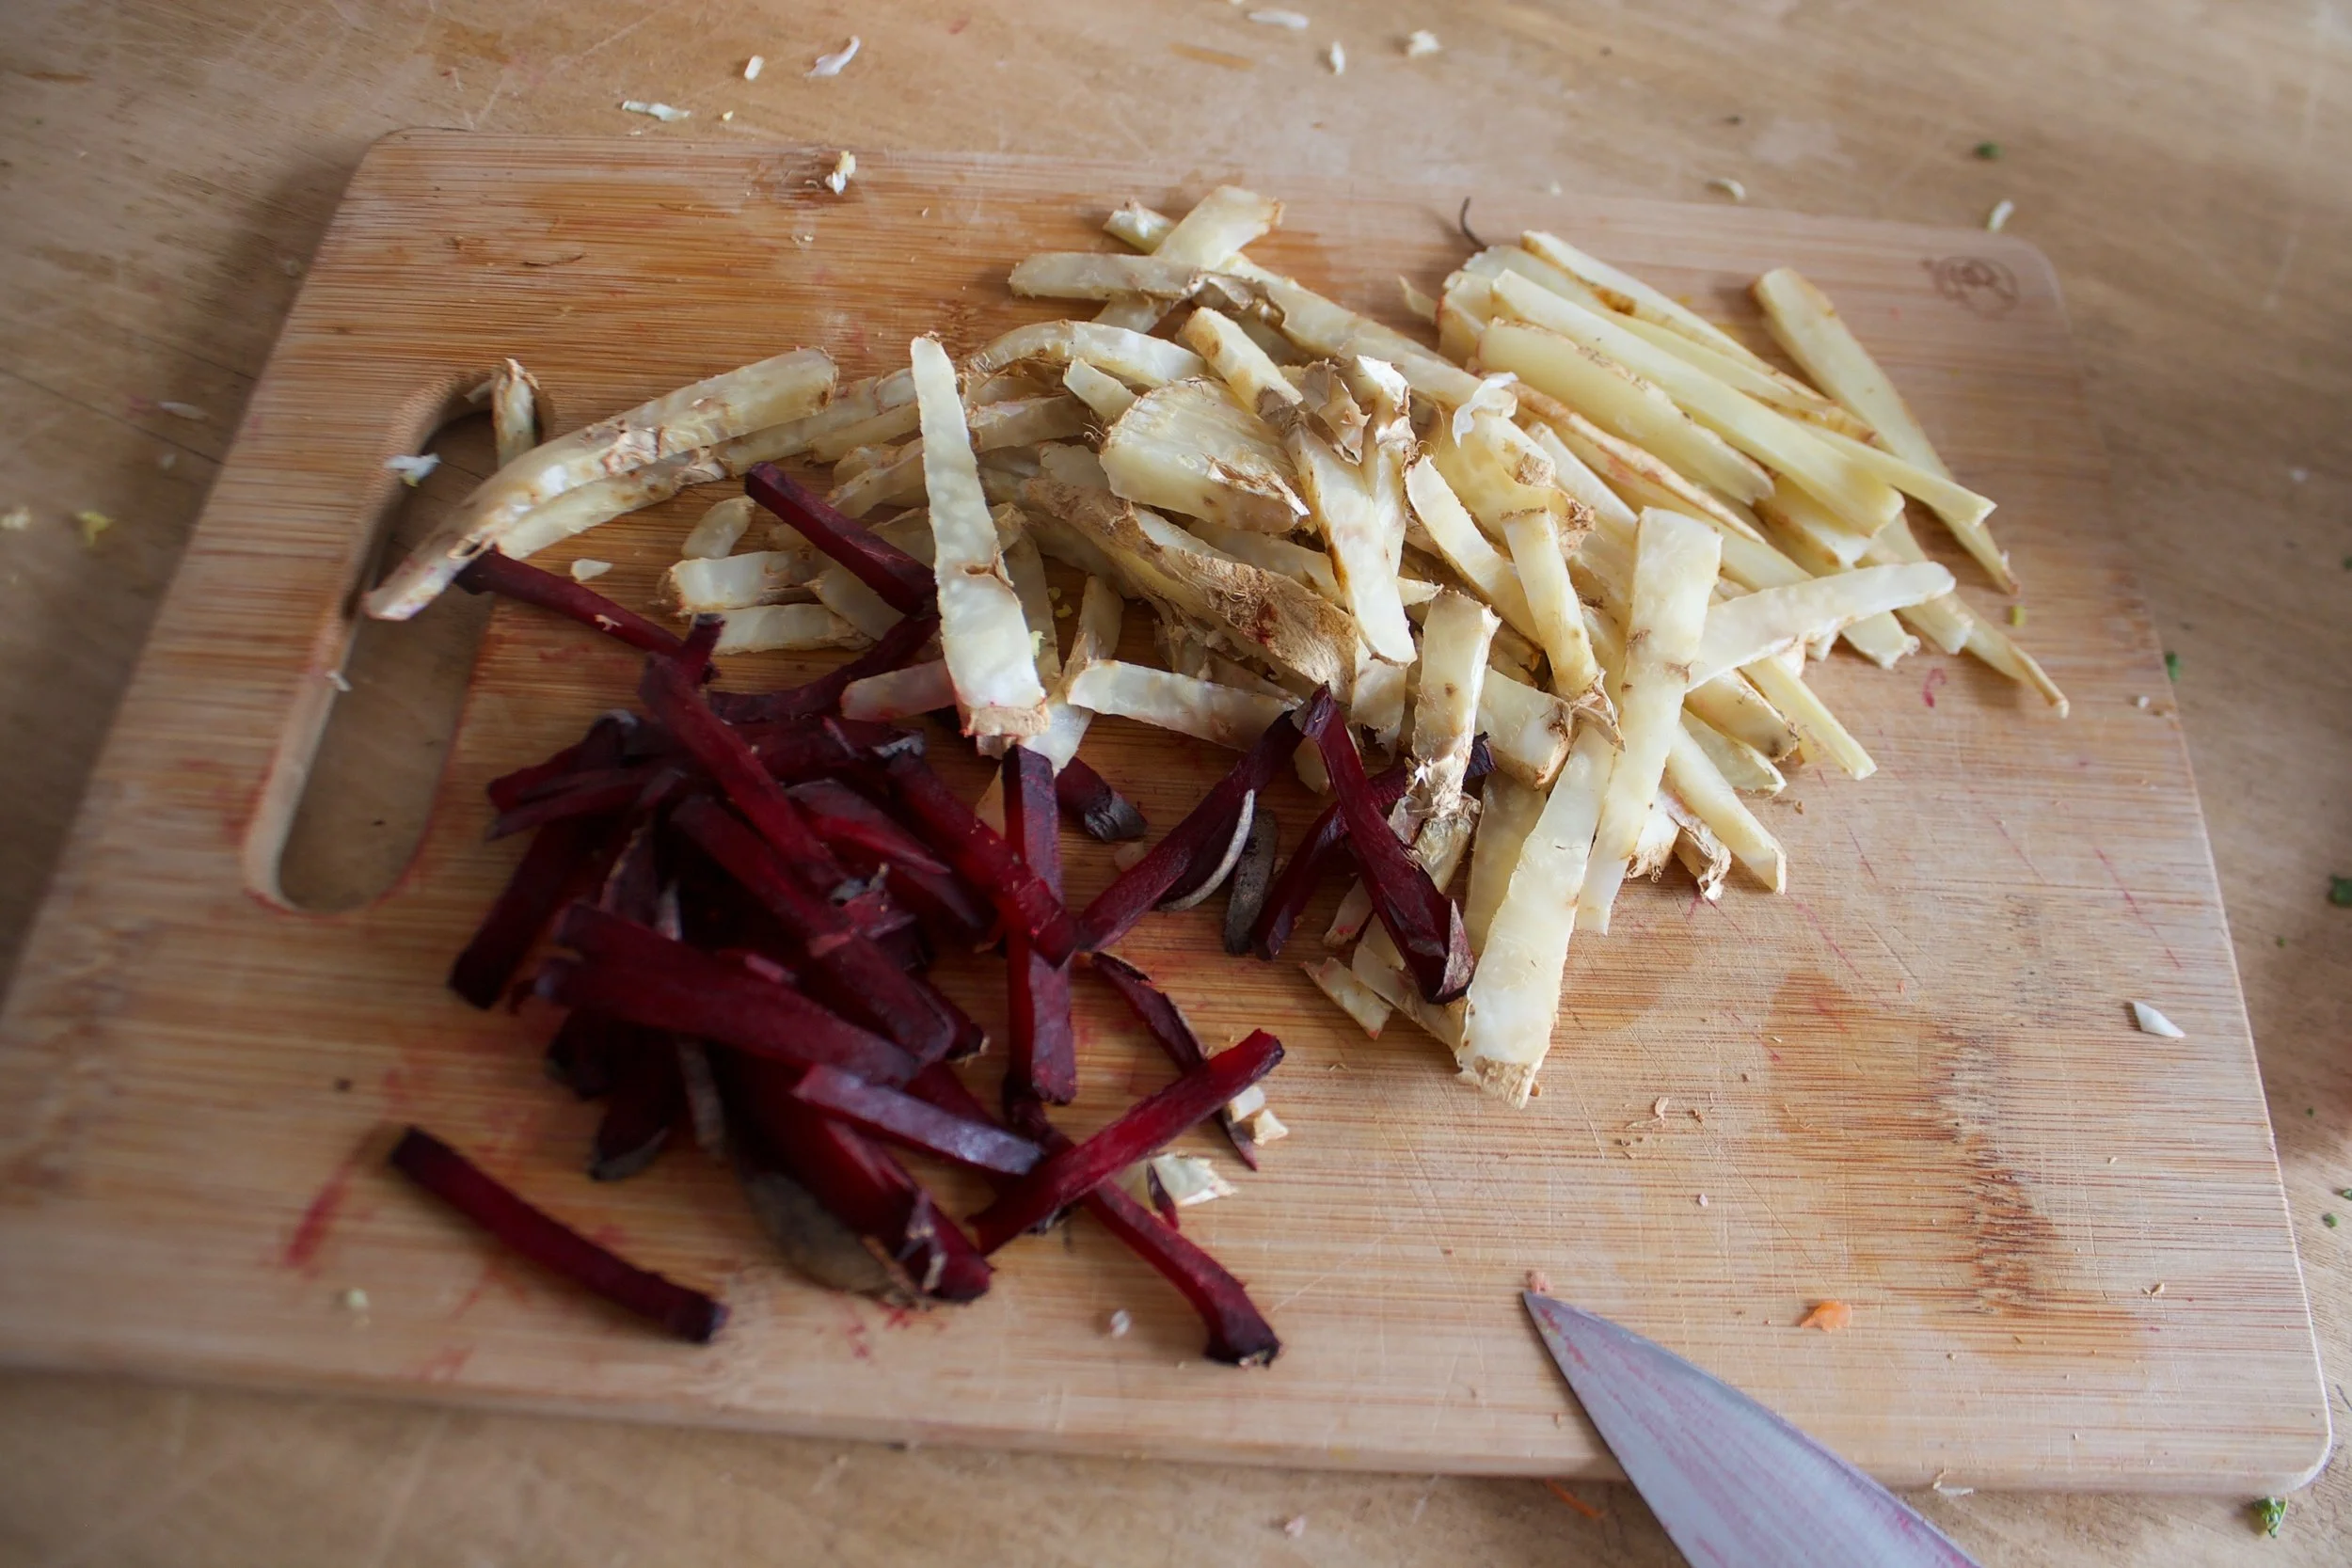
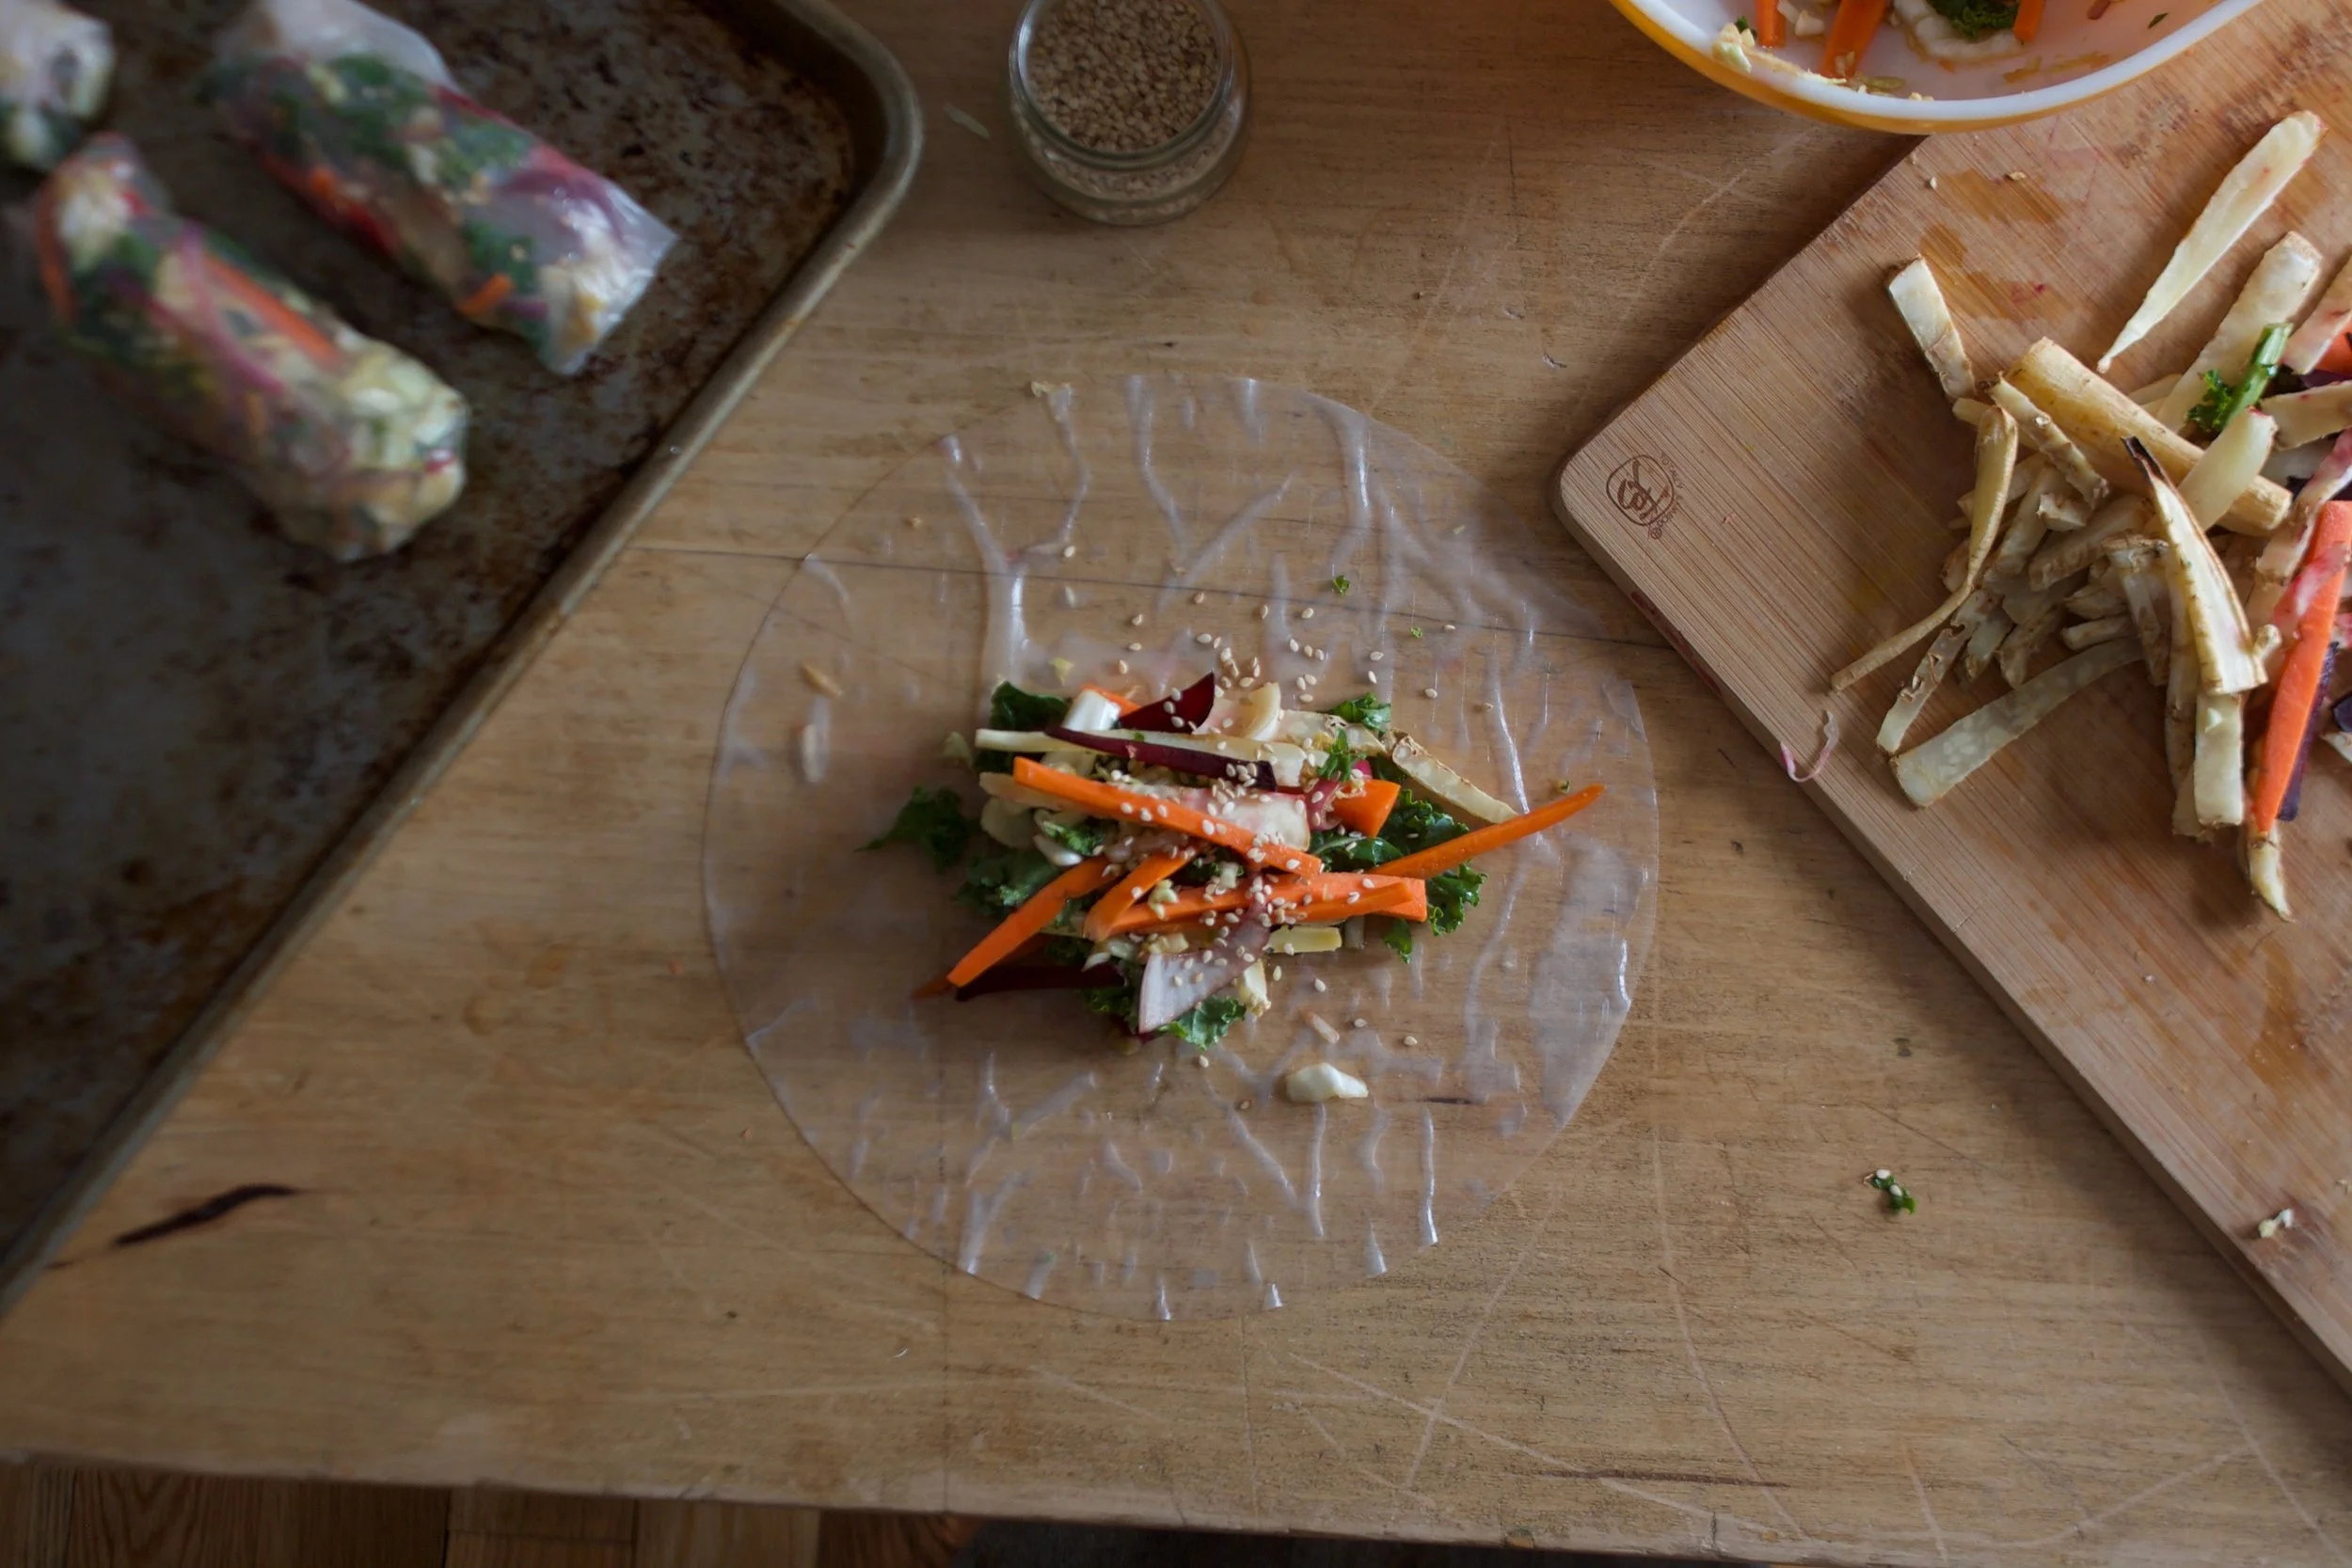
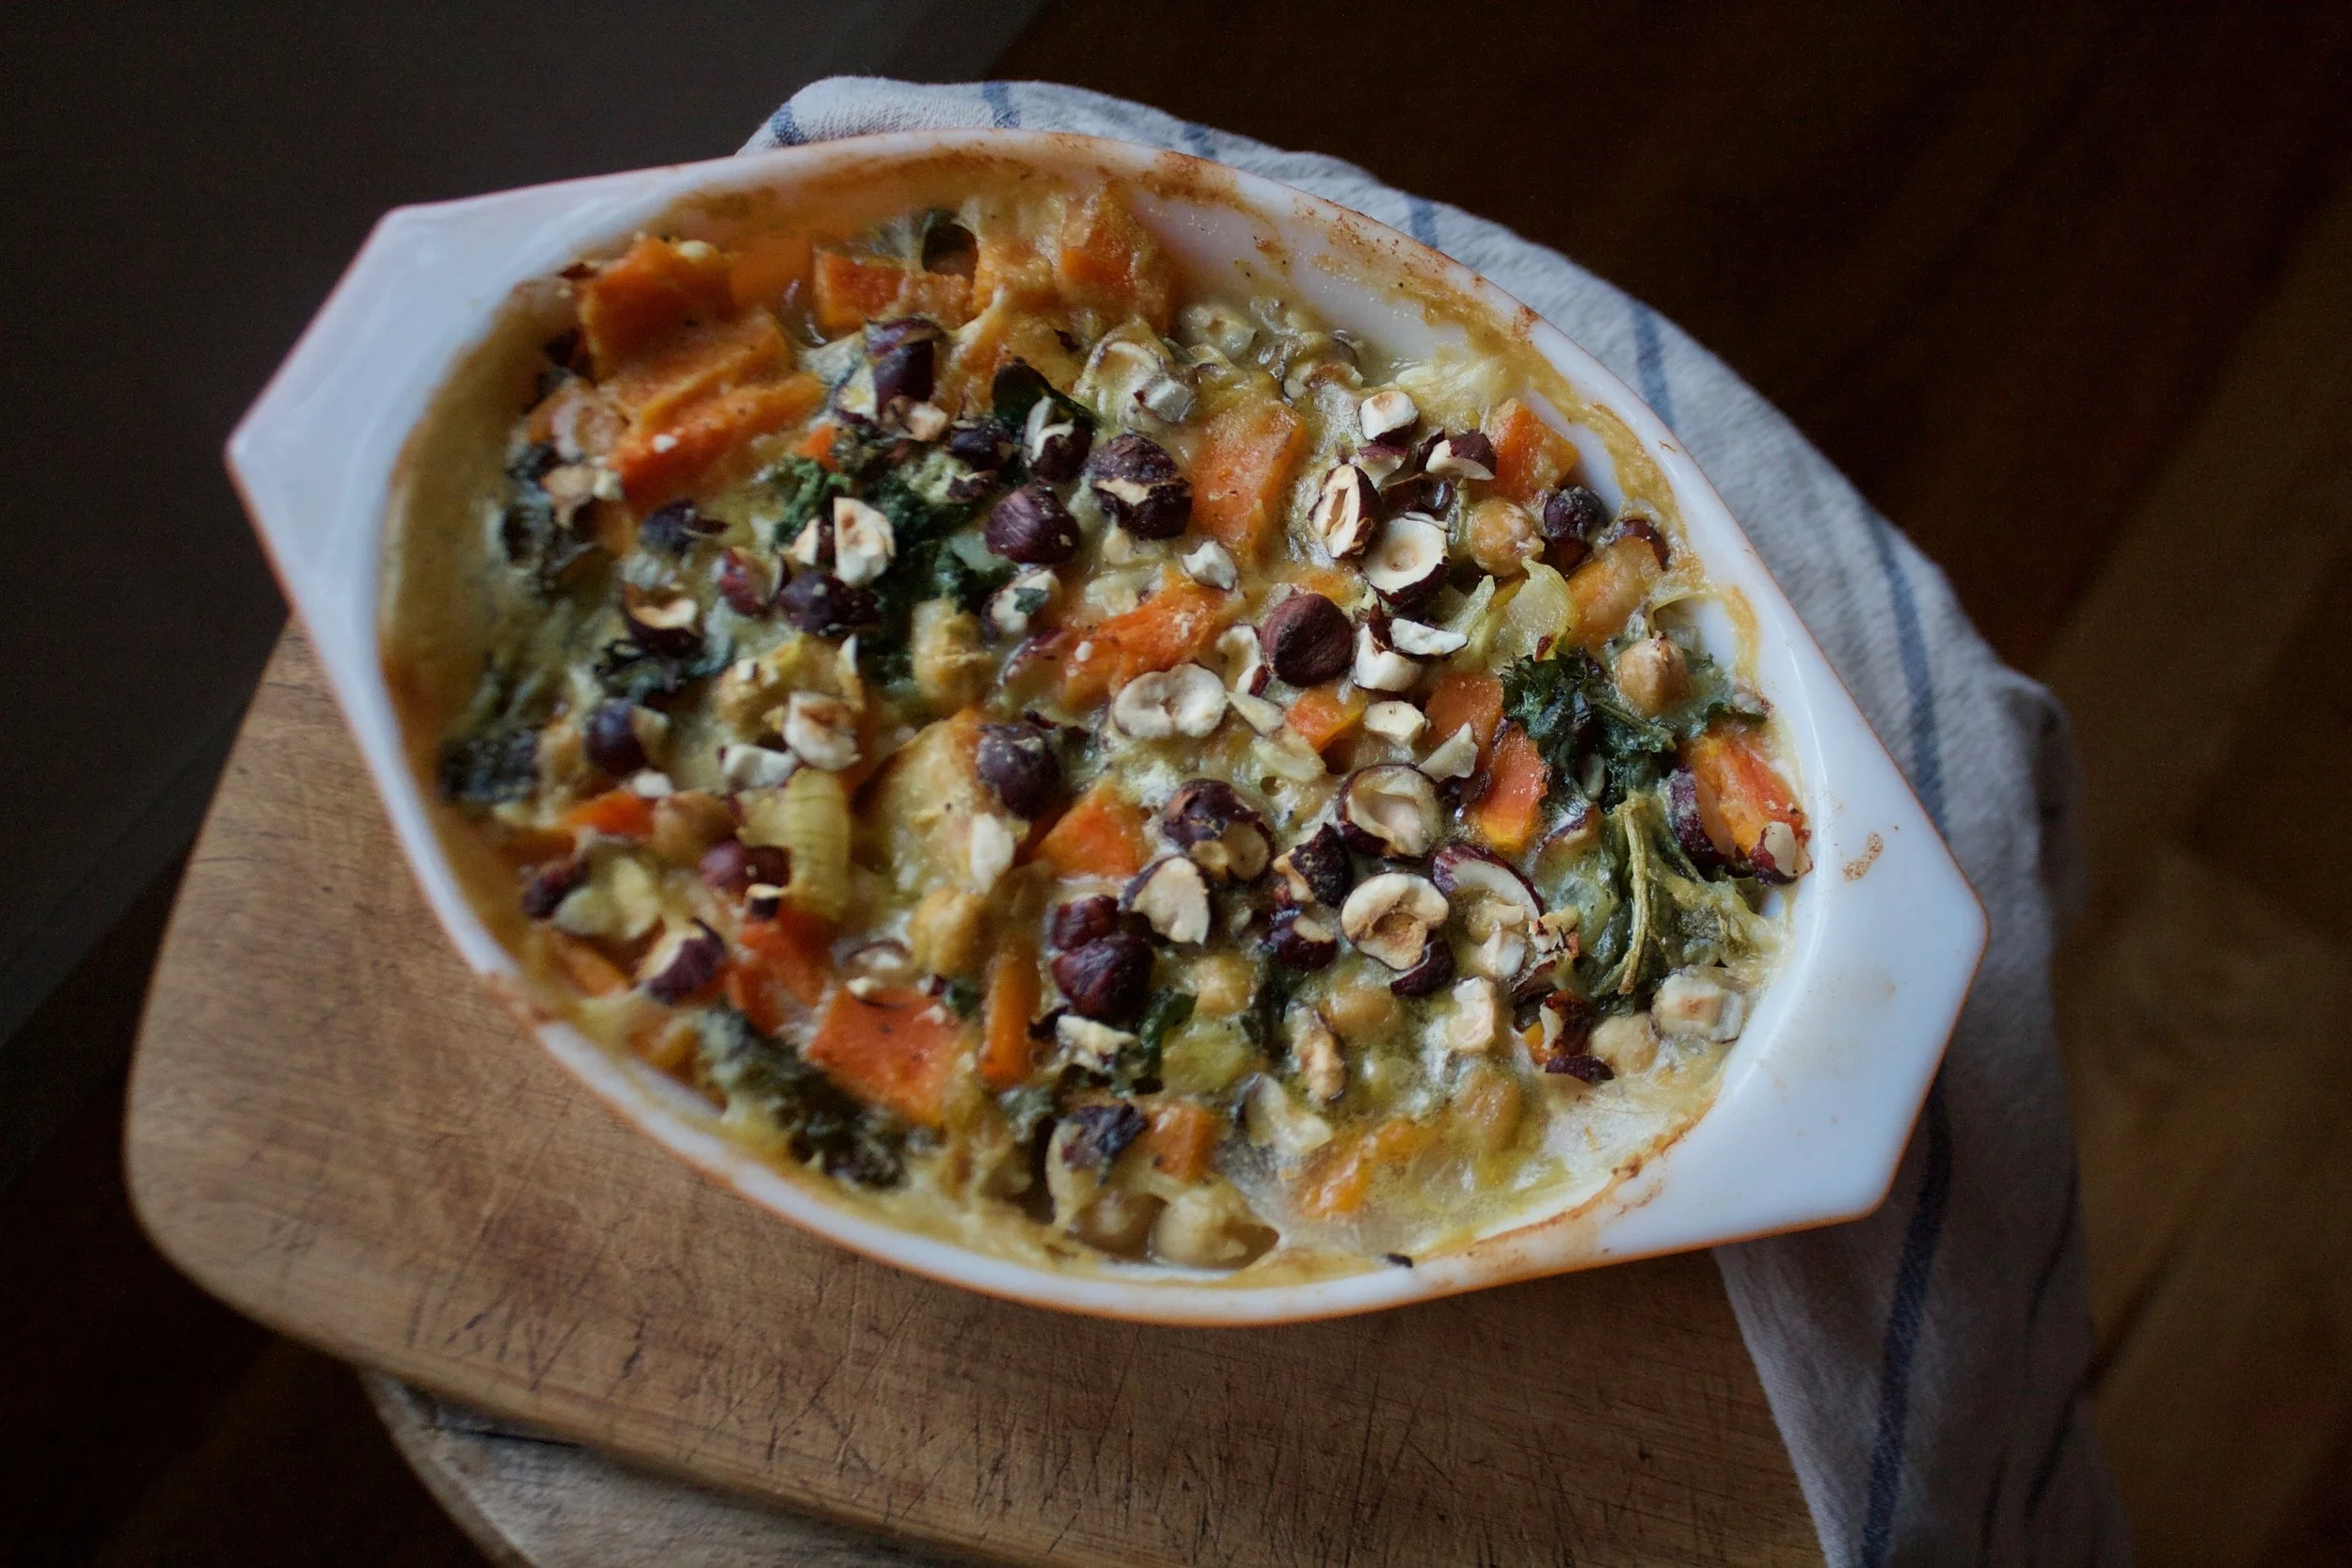
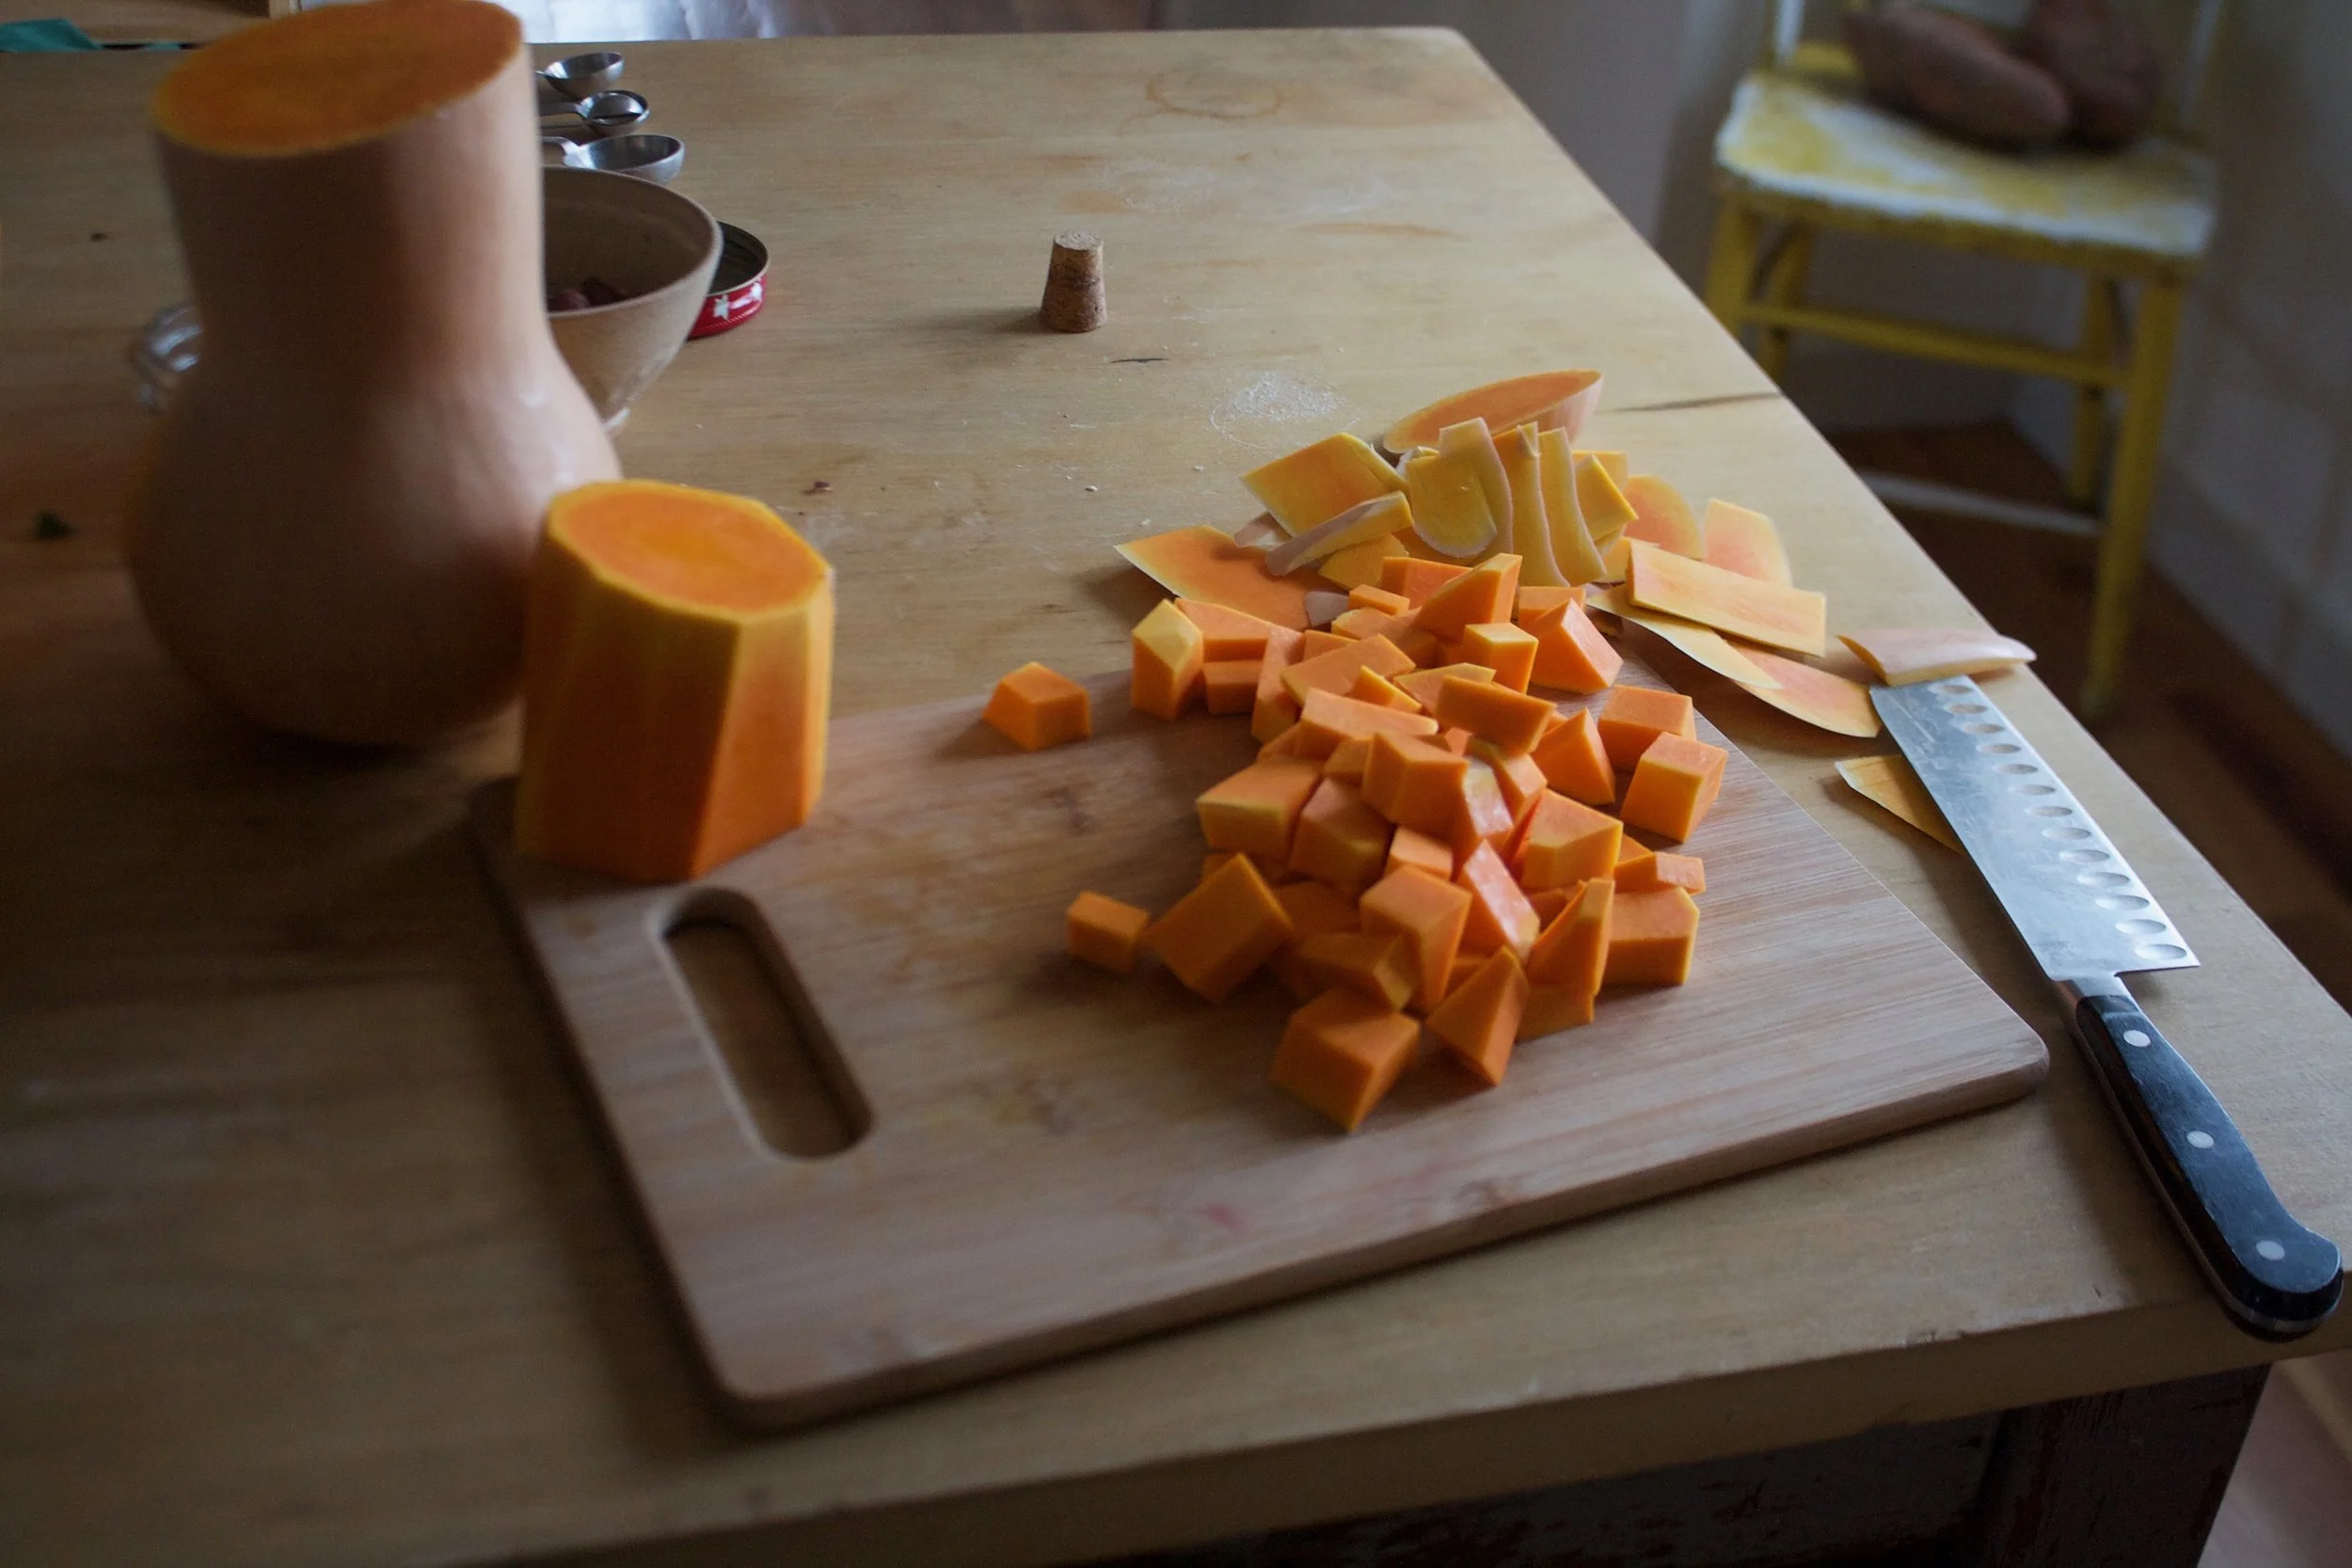
 %u00a0The stuff%u2026.For the split pea gravy we have a carrot, a parsnip and a large onion chopped into small chunks. %u00a0Salt, thyme, a bay leaf and of course the split peas. Then there is the celeriac root* sliced into 1/2 inch thick rounds and some plain old yellow mustard .
 Toss the chopped parsnip, carrot, onion and the spices into a pot on medium heat and let veggies sweat a few minutes until tender. %u00a0Add in the split peas and enough water to cover everything. %u00a0Turn pot on high and bring to a boil, then cover and turn to low. Make sure to give the pot a good stir ever few minutes and add more water if needed%u00a0
 Once the peas have soften, remove the bay leaf and puree until smooth and oh so creamy. Taste and add more salt and pepper if needed. If you find that the gravy seems to thick, just add in more water until it’s the consistency that you want.%u00a0
 The gravy is made, the celeriac is roasted%u2026 now we are ready to eat!!%u00a0
 Stick the celeriac on a plate and dump good amount of that gravy right on top. Feel free to add a bed of spinach, or a grain or anything you want, because why not, and also some chopped tomatoes for a little acid and prettiness.
 %u00a0I’ll let you know now, I am a make and eat soup all year long person. I can think of few things better then sitting outside, basking in the sun, hopefully with a light wind, a book in hand, enjoying a nice big cup of some good homemade soup. (Doesn’t that sound so freaking lovely?) This soup right here is perfect for just that. Parsnips are the best, kind of like a big white sweet, yet starchy carrots. And cooked together with a little bit of light and lemony thyme, rich earthy turmeric and a couple more chopped veggie%u2026.. you got yourself a%u00a0nice thick and fragrant bowl of happiness that fills you up without weighing you down. It’s food you can eat that fills you up, leaves you feeling cozy, yet still wanting to hop on a bike or lace up the running shoes. %u00a0Hearty without the feeling of all the heaviness.
 The stuff. Parsnips, carrots, onion and garlic. Thyme and turmeric, salt and pepper. the tinniest bit of oil and water (water not shown)
 Chop all the veggies and the garlic, drizzle a dutch oven or a pot with oil, toss in the veggies. Add the turmeric, the thyme, and 1/2 cup of water.%u00a0
 Sweet sweating the veggies. Turn pot on medium and cook until the water completely cooks out. When the veggies start to brown and stick to the pot, deglaze with water. Give a good stir and keep cooking. Repeat the deglazing process until the veggies are super soft and ready to blend. (I did this 4 times.. it only took 10 minutes)
 Add enough water to cover the cooked veggies.%u00a0
 And now blend the heck out of it.. Go as smooth or chunky as you want. I blended as smooth as I could get with this crappy immersion blender. (Blender on loan until I finally decide on, and buy a new one)
 And there you have it. Scoop into bowls, add lots of cracked black pepper, and go to town. I made enough to save a bowl for later%u2026 %u00a0it didn’t last for later.%u00a0
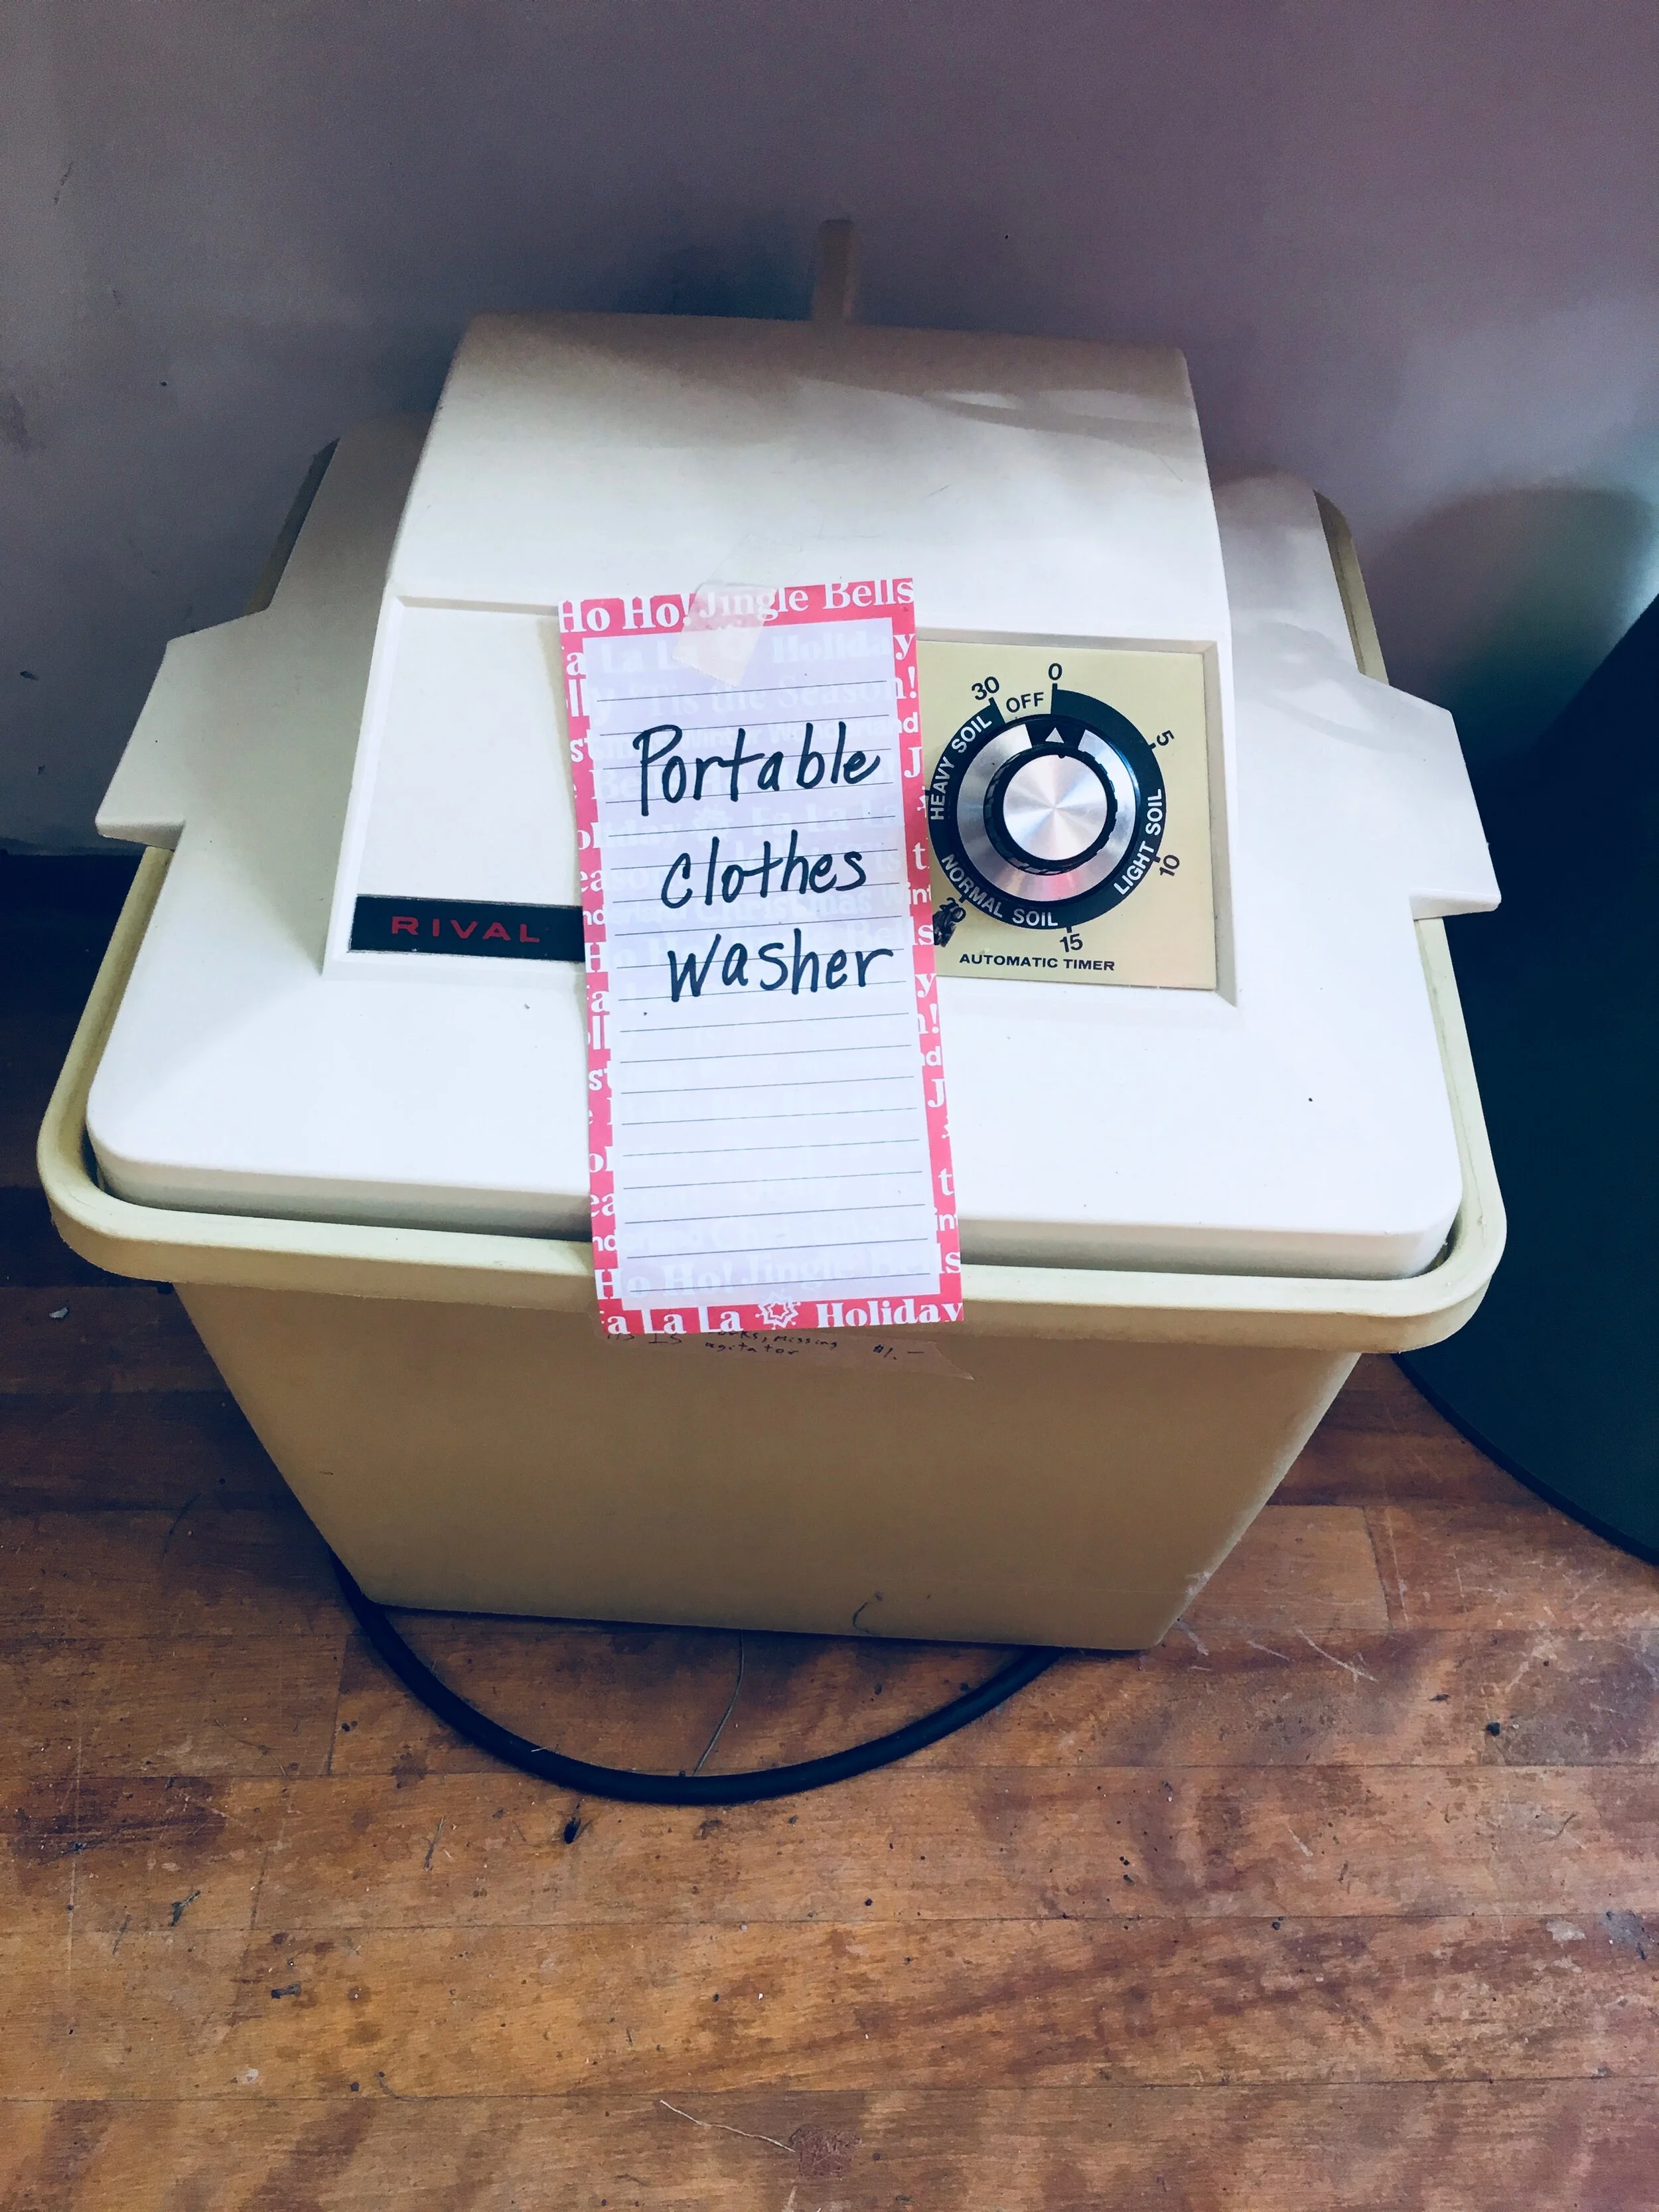
 The kitchen, living room, dinning room, office%u2026all over great room., covered in piles of clothes. Sometimes listening to music and folding laundry can be so, I don’t know, peaceful. I just felt happy at this moment. (might be the fact that I know have some clean clothes and dish cloths)
 %u00a0%u00a0
 %u00a0Standing in line at the grocery store, saw this magazine and started to laugh. I love Oprah…but now%u2026I really love Oprah. Best magazine cover ever!
 Another picture of the pup. Letting his rino toy have the bed. A little pathetic%u2026A lot cute
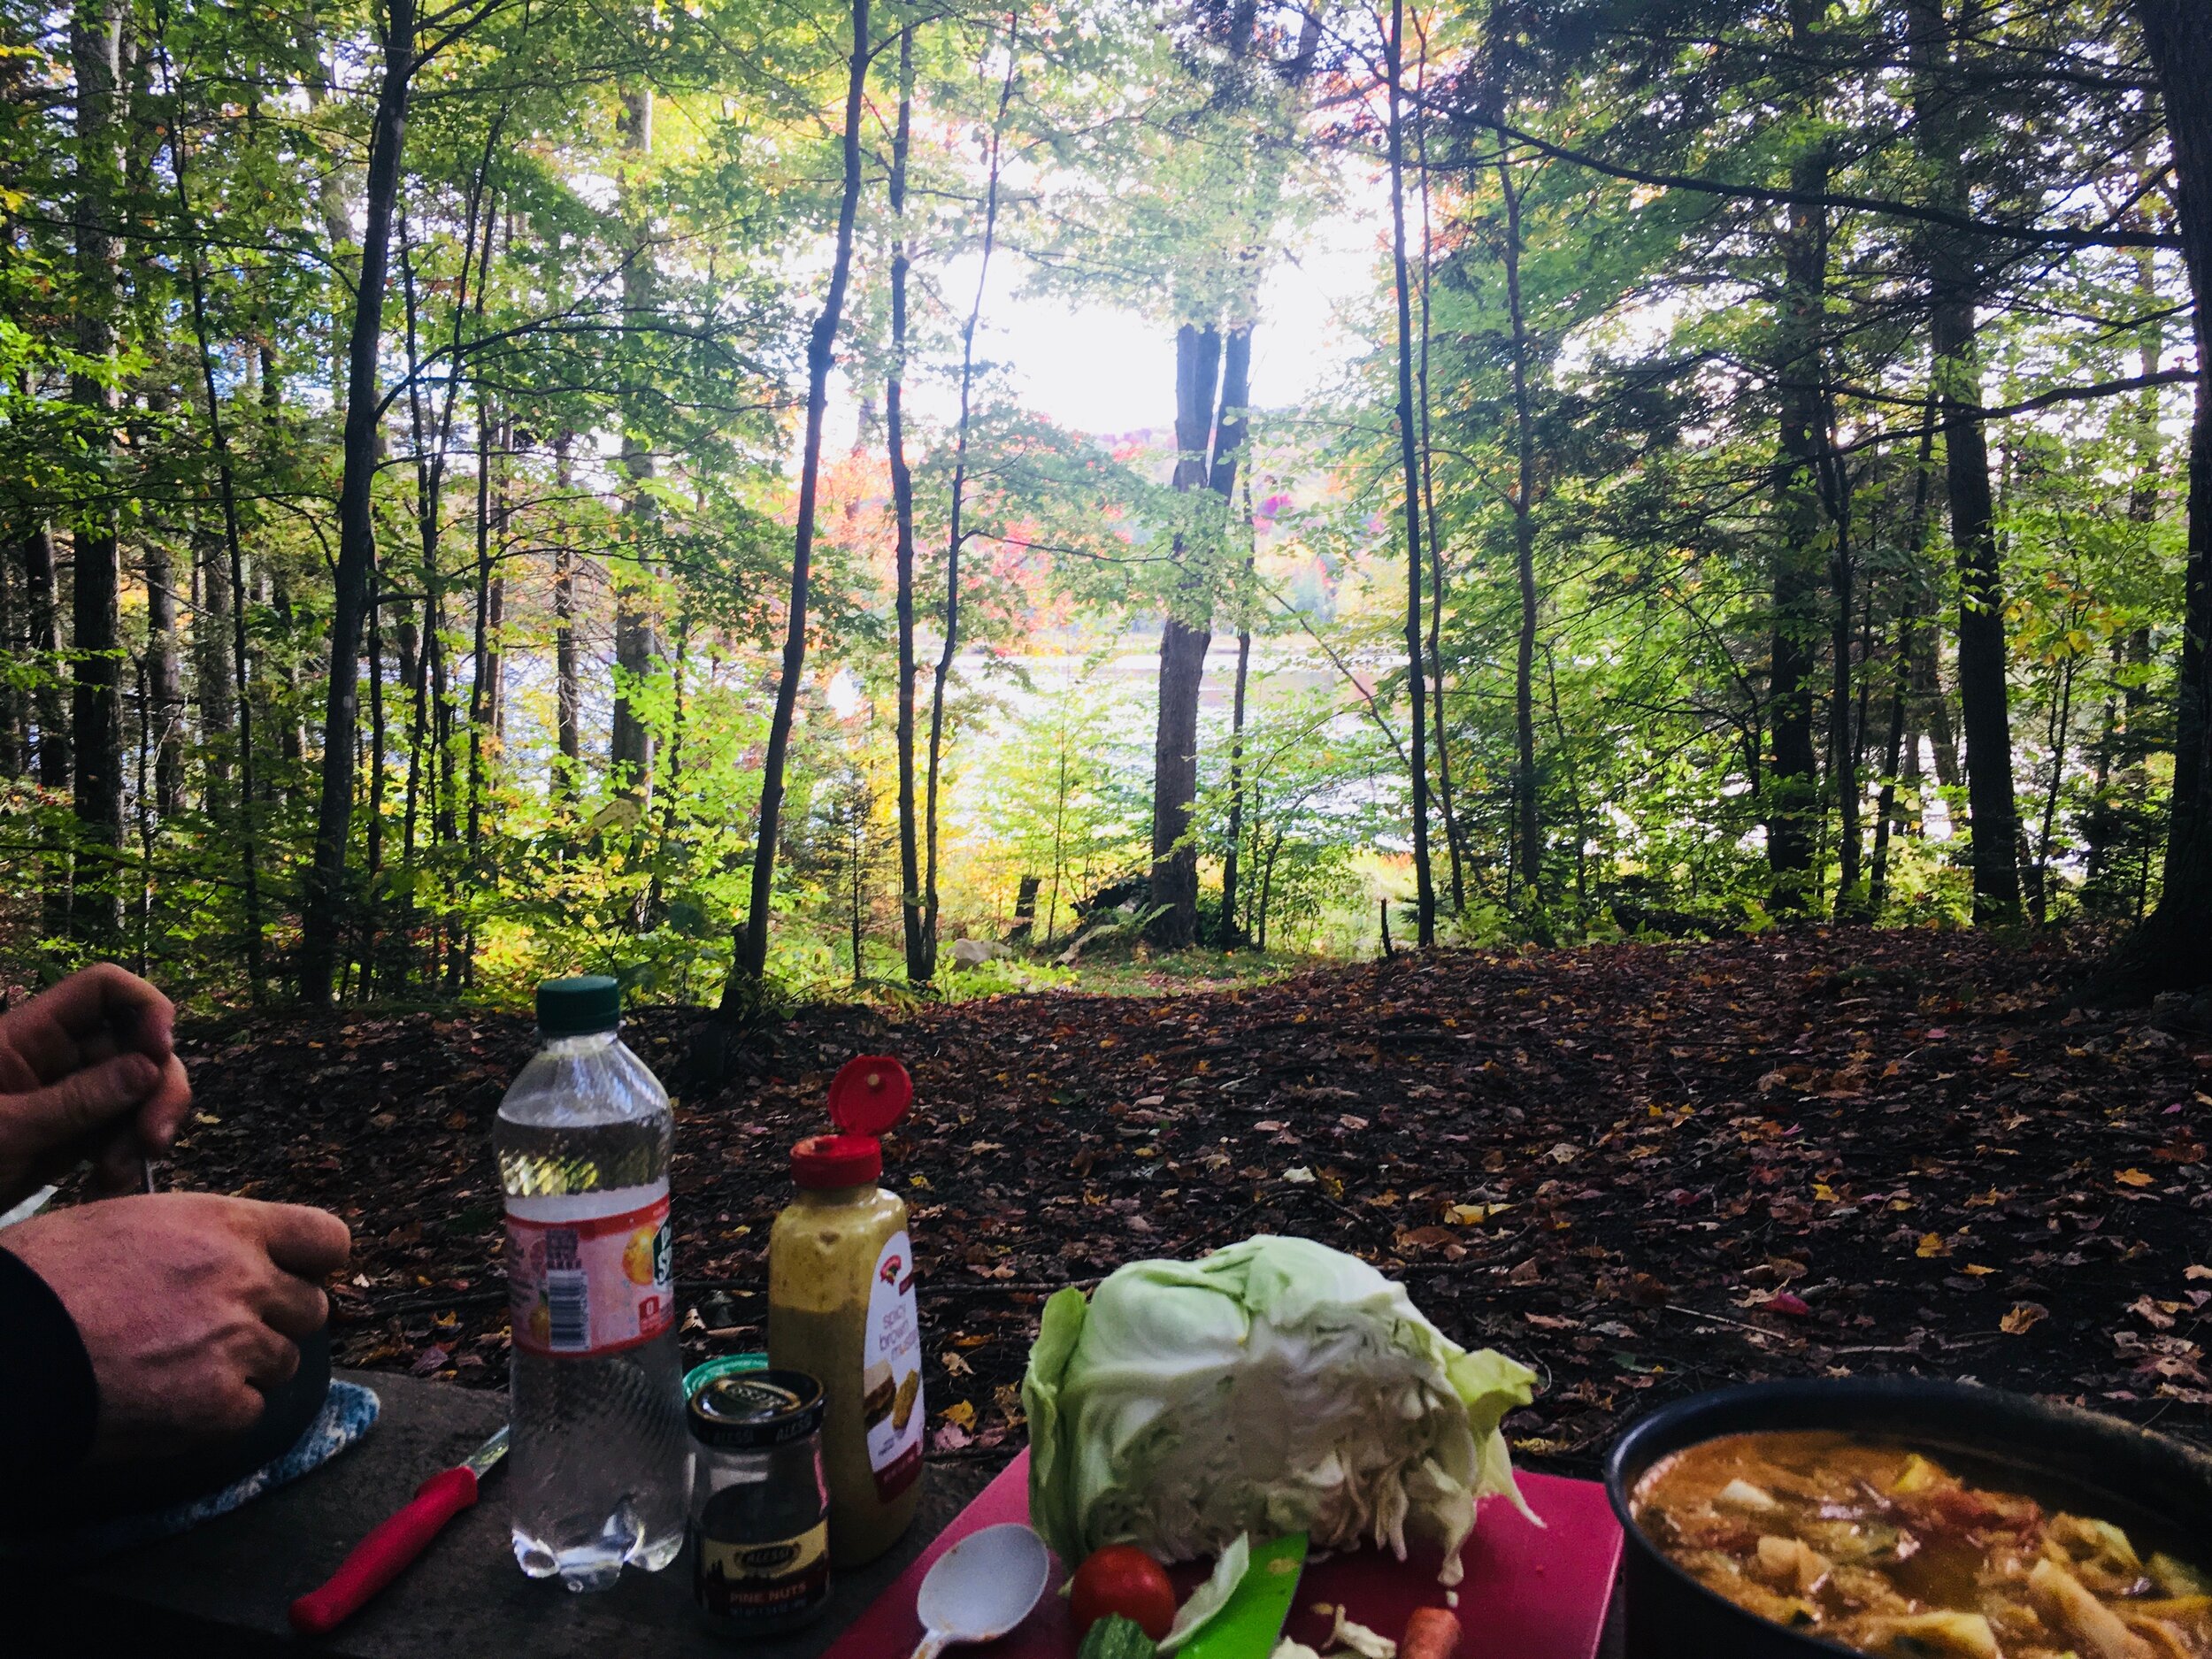
 %u00a0%u00a0I am doing little recipe testing and this situation in this pot is so freaking good! Just trying to work out a %u00a0few technical kinks.%u00a0
 %u00a0%u00a0
 %u00a0
 %u00a0


























































































































































































THE LOVELY CRAZY
November 8, 2019 by maximios • Blog
Soup. No joke (although people make jokes about me), is eaten in my house, at lunch and sometime even at dinner. Every. Single. Day. There is just no going wrong with a big pot or veggies, spices, sometimes beans, sometime not. I make it in big batches, in small batches. Sometimes it%u2019s more a bisque, or a chili or a stew, or just a really really spicy broth. Whatever I have in the fridge or freezer, the stuff that might not be great eaten fresh, sad spinach%u2026. It all turns in soup.
Does that make me some kind of weird soup freak? Maybe, but I am ok with that. And to those who see me walking down the street and yell silly things about me having to get home to eat my soup (it happens more then you know) well, you know you are just jealous and secretly wish you were eating soup with my too. So %ud83d%ude1d.
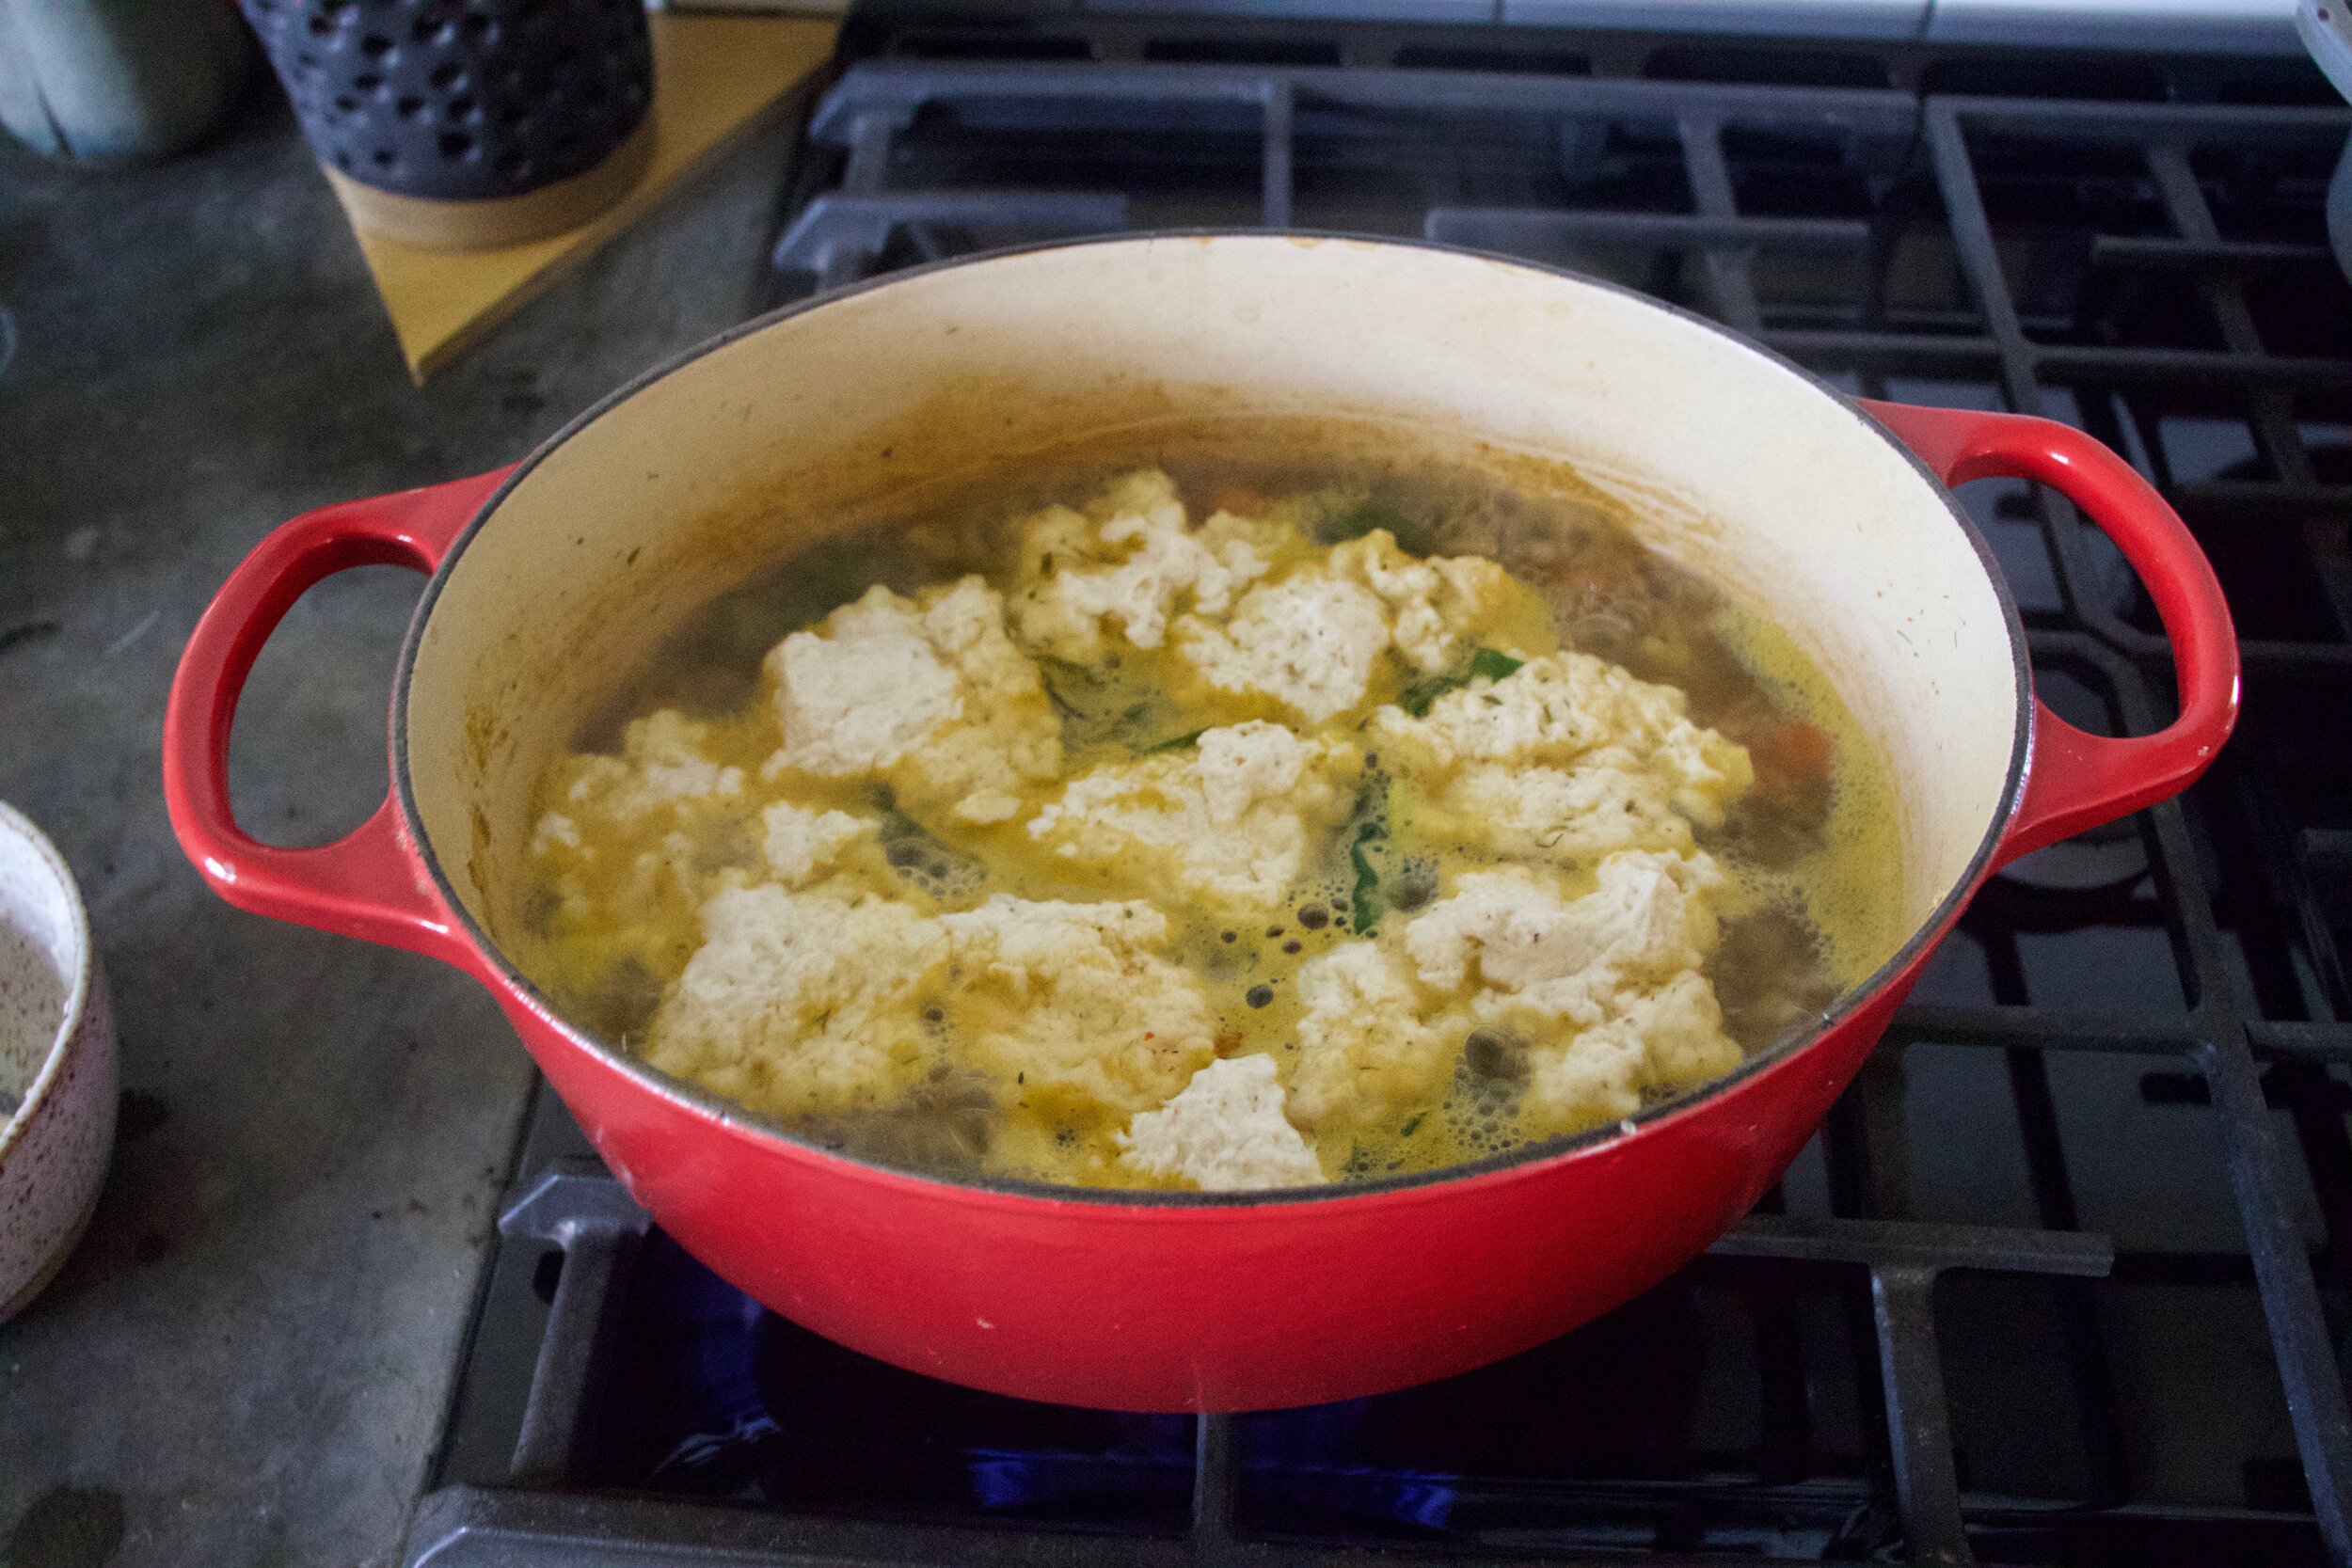
Are you a soup person too? I mean, who isn%u2019t, especially right now that is is fall time and it%u2019s getting chilly and darker out and all we want to do is hibernate. Definitely a soup time if there was ever a specific time for soup. And this soup, made even more hardy and comforting with the addition on dumplings. I actually made it specifically for the mr because, well just because I love him and thought he would enjoy it. And well, he loved it because dumplings of course. Light and slightly chewy, soup thickening dumplings with hot and comforting soup. A perfect end to a day of him working outside in the cold.
So soup. Make it. Dumplings. Add those too. You will be a winner with food, and in life.
To the soup and dumplings!
The stuff. A few stalks of Swiss chard, a couple carrots and a few potatoes. An onion, dried navy beans, some cherry tomatoes. Then there is flour, with salt and baking powder, a little oil, plant based milk, and salt and pepper.
Veggie chopping time. Dice the potatoes, the onion, the carrots, and the stalks of the chard into small mouth sized pieces. Cut the cherry tomatoes in half and the chard leaves into small ribbons. Set the tomatoes and greens aside.
Dump the carrots, onion, chard stalks, and potatoes into a very large pot, add all the spices, a good pinch of salt, lots of black pepper, and a few splashed of water. Cook on medium high heat for 5-7 minutes to just kind of sweat the veggies a bit.
Add in beans and water. Bring pot to a boil then reduce heat to medium and let cook for about an hour. Just give it a stir once in a while.
After an hour check the beans. If they seem close to being done (almost squish in between fingers), then add in the tomatoes, the chard greens, and a few more cup of water. Keep on heat and start the dumpling batter.
Dumpling batter. Mix together the dry ingredients then add in the wet. Mix until combined.
Soup. All nice and looking just about done. The vegges are soft and tender, the beans are cooked. Check and season for salt now then get ready to drop dumplings.
Drop the dumplings. Tablespoons of batter go right into the soup. Thencook, with a lid slightly covering pot, for about 15 minutes.
Look at that. Soup with soft, fluffy, dumpling ready for consumption.
Now all you have to do it serve it up and eat it up.
Soup all day. Every day. Dumplings too!
-C
makes 4-6 servings
For the soup
1/2 cup dried small white beans
1 large onion
2 carrots
2 small red potatoes
3 Swiss chard leaves and stalks
handful of cherry tomatoes (about a cup or so)
1 teaspoon garlic powder
1 teaspoon dill
1 teaspoon thyme
1 teaspoon ginger
1 teaspoon marjoram
1 teaspoon ground mustard
1/2 teaspoon sage
1/2 red pepper flakes
12 cups water
salt and pepper to taste
For dumplings
1 cup all purpose flour
1 tablespoons oil
1 teaspoon baking powder
1/2 teaspoon salt
1 teaspoon black pepper
1/2 cup warm water or plant based milk
Couple quick notes. I use water but if you really want, use veggie stalk. I find stalk overpowers soup and makes it taste salty, even when it is low sodium. Plus water is there and free but again, use stalk if you want. Also, you can use just about any veggie that you like so if you want to replace chard with celery and spinach or throw some red peppers into the soup, go for it.
Start by small dicing the potatoes, the onion, the carrots, and the stalks of the chard. Dump it all into a large pot, along with all the spices and a good pinch of salt and pepper, and place on the stove on medium high heat with about 1/2 cup water and cook for a few minutes. Cut the cherry tomatoes in half and cut the chard leaves into small ribbons. Set aside.
Once the veggies and spices have had a few minutes on the stove, add in the dried beans and 10 cups of water. Bring the pot to a boil then reduce to a medium heat. Cook for about an hour, giving it a stir once in a while. After an hour, check beans for doneness but removing one or two and pinching between fingers. . They should be close to done by now. If they are still really heard, cook for another 20 minutes, if almost cooked through, toss in the tomatoes, the chard greens and the other 2 cups of water. Keep cooking.
In the meantime, make dumpling dough. Mix the dry together then add in the oil and milk. Mix until just combined. Set aside.
Once the soup is done (the veggies are all soft and tender, the beans are cooked through which should take a total of 1 1/2 hours), it%u2019s time to dumpling. Turn the soup up to a medium high heat and carefully drop tablespoons of the dumpling batter right into the soup. The batter will float. Once all the dumplings are in, half cover the pot and let the dumpling cook for 15 minutes or until the dumplings are big, light. and fluffy.
Remove pot from heat and serve and eat right away. Big bowls, Big spoons. Pinch more of salt if needed. Lots of pepper.
Potatoes in tomatoes. It just has a nice ring to it. And to tell the truth, that is the only reason I made this dish, because it sounds good.
Ok, not really the only reason, but it was the start, that and I have been sitting on some potatoes for a little while and it was time for them to be eaten. Enter in the tomatoes. I figures cooking the potatoes in tomatoes is alike to a ketchup and french fry situation. Not completely the same, but you get the idea. Add in chickpeas for good measure and onion because I wanted to and that is that. Nothing fussy, one pot, easy, hearty, and good.
Also not hurting anyone that these potatoes take a little while to bake. I could have made this dish in a way that made them cook faster (like parboil the potatoes) but I wanted the heat from the oven. It has been pretty freaking dang cold out so I liked having the heat, it adds another dimension to the term comfort food (as in me being comfortable hanging out next a hot oven).
Anyway, nothing too fancy, just all around tasty dish. It is just what you need to bake and eat on any given cold winter day. And it sounds nice too. Just say it aloud. Potatoes in Tomatoes. Right? Now you see, it had to be done.
To the potatoes in tomatoes!
The stuff. Potatoes, crushed tomatoes, cooked chick peas, an onion, a few cloves garlic, Italian seasoning, salt and pepper and a bit of olive oil.
Start by chopping the onion and mincing the garlic.
Get it all into a cast iron pan or oven safe skillet with a little olive oil. Add the spices and give it some heat on the stove top while you cut potatoes.
Now cut those potatoes nice and thin. A mandolin works wonders but a knife will do just as well, just try to keep the thickness all the same.
Potatoes are cut and onion mixture has sweated a bit so now you add in the chick peas (with liquid) and half the crushed tomatoes. Stir it all up.
Layer on potatoes, drizzle with a tiny bit of olive oil and give them some salt and pepper love.
Dump the rest of the tomatoes on top then add in water, enough that all the potatoes are completely submerged.
Now into the oven they go.
Doesn%u2019t that just look all fantastic? I mean really really , A+ good, no? If you are feeling extra crispy, you could even stick the skillet under the broiler for a few minutes right before you pull it out.
And that is that. Potatoes in tomatoes with chick peas and onions. A simple but very satisfying dish to keep your cold belly full of warm goodness.
Be well.
-C
About a pound or so of white or red potatoes
3 cups (or a 28oz can) crushed tomatoes
2 cups (or a 16 oz can) cooked chickpeas in liquid
1 large onion
2-3 close garlic
2 tablespoons Italian seasoning
2-3 cups water
olive oil
salt and pepper
Preheat oven to 400
Grab onion and dice into small pieces. Mince the garlic. Grab a medium sized oven safe skillet and toss the onion and garlic in with a tablespoon or so of olive oil and the seasoning. Place on medium heat and cook for a few minutes until the the onion is slightly cooked and fragrant. Remove from heat. Mix in the chick peas with liquid and half of the crushed tomatoes.
Rinse potatoes and slice into 1/4 inch thick rounds. Place tomatoes into the skillet, layering any way you want. Drizzle the top with like a teaspoon olive oil then sprinkle the tomatoes with salt and pepper. Spread the rest of the crushed tomatoes over the potatoes then pour the water in. If the potatoes are not completely submerged in water, add more until they are. Cover the skillet with a lid or tin foil.
Place skillet in oven and bake 40ish minutes then remove lid or foil and bake for another 25-30 minutes or until potatoes are fork tender and slightly crispy on the edges. Depending on the type of patotoes you use,(like a really firm and waxy yellow potato) you might need to add more water to the skillet and cook for longer. If that is the case, just pour more water over until the potatoes are submerged again and keep baking until cooked.
For extra crispy, when potatoes are done, place skillet under broiler for a few minutes until crisp to your liking.
Pull from oven, let cool a minutes or two then dig in.
Had some littles over for dinner halloween dinner the other night %u00a0and I made them some mac n’ cheese.
Kinda, cause it wasn’t really cheese. Let me explain.%u00a0
These particular littles are tough. Getting them to eat things that are not pizza, hot dogs,%u00a0or some other crap is not always easy.(although they will always eat carrots)%u00a0So whenever they come over, I try to feed them a healthier version of something that I know that they like, %u00a0like tofu dogs or homemade whole wheat pizzas. So this night, I though I would give my vegan mac and cheese and try.%u00a0%u00a0I mean,what kid doesn’t like it? But what kind is the question. If you ask them, its got to be boxed Kraft mac and cheese.%u00a0I knew when I was making it that there was a great chance that I might have to make peanut butter banana sandwiches as well, but whatever These little littles need to stop being such picky crappy eaters and yeah. Even if that means I make them eat what why don’t like or that on the ride home I tell them that any pizza that is not home made will probably end up killing them)%u00a0So I try, and sometimes it works.%u00a0
So I made it, no cheese in sight and served it up.%u00a0The verdict…. The mr, he loved it. My sister (she came too) she was into it as well. One little ate almost an entire bowl, and the other, well he spit it out,%u00a0but he is more a hot dog guy then a mac and cheese guy so his opinion doesn’t count. So to conclude,%u00a0yes, this is a fantasic mac and cheese that just happened to be cheese less,%u00a0%u00a0full of veggies, and damn tasty!
And serving suggestion DON”T LET THE LITTLE KNOW IT”S NOT REAL CHEESE!!! They don’t need to know
To the mac!
The stuff. A small butternut squash, a potato, an onion, and a carrot. Also needed is nutritional yeast (the cheeze), garlic powder, olive oil, salt and pepper, and some water. And pasta.. don’t forget the pasta.%u00a0
Start with the onion and carrot in a big pot with some oil. Stick that on the stove and turn on the heat, and when that’s going, chop up the butternut sqauh and the potato and toss that into the pot too. Let the stuff cook for just a few minutes.
Pour in water (enough o submerge all the veggies) %u00a0and add in the garlic powder and some salt and pepper. Bring the water to a boil then turn heat down to medium and stick a lid on the pot.
Now is a good time to boil up your pasta situation (cook it the way the package says too)
When it’s done, strain it. And if it happens that it is done a little before the sauce, it’s cool, just drizzle it with a little oil so that the noodles don’t all stick together and set aside.
Back to the sauce. Once the pot of veggies is all tender and falling apart, take it off the stove.
And blend the crap out of it with your blending method of choice (a hand o a regular blender)
Oh, and mix in the nutrioanl yeast (can add it in at the blending stage%u2026 I just forgot too) and season with any more salt and pepper if needed.
Grap the cooked noodles,%u00a0dump them into the sauce and give a good mix.
Scoop into food eating vessels,(handled coffee mugs are great for the littles.. and cute)%u00a0Maybe sprinkle on some chopped green stuff(my people enjoyed the addition of chopped up kale) and serve right away!
Now you can eat all the mac n cheeze.%u00a0
Happy Thursday!
-C
Serve 6 or so people
Chop up the onion and the carrot and stick into a large heavy bottom pot with a splash or two of olive oil and stick on the stove on medium heat.%u00a0While that’s %u00a0going on, chop up the butternut and potato into reasonable small chunks and toss that into the pot with the other stuff. Add in the garlic powder, season well with salt and pepper, and add enough water to full submerge the contents of the pot. Bring the water to a boil then reduce heat to medium and stick a cover on the pot.
While the veggies are boiling, boil the pasta up, slightly al denta (follow what the pasta people on the package tells you to do)
Once all the veggies in the pot are super tender, even falling apart (about 20 minutes) remove pot from heat and using your blending method of choice (hand or normal blender)%u00a0%u00a0blend everything together until smooth and creamy and then add in the nutritional yeast. Taste and if you think it needs it, add more salt and %u00a0pepper.%u00a0If you find that the sauce seems to thick, add in a splash or two of water.. to thin, stick back on stove and cook long to reduce.%u00a0
So you got you cooked pasta and you sauce. Mix it all together. And wa la%u2026 Mac N’ Cheeze
serve right away and eat it all. But any left overs can be refrigerated. Tastes great %u00a0the next day warmed in a skillet with a little oil.%u00a0
Whenever I think of pot pies, I think of those little frozen, boxed pot pies that you get in the freezer section of the grocery store. Those frozen disks filled with all sorts of nasty shit made many appearances in my childhood. Hungry after school?%u00a0Go home,grab pot pie from the freezer, give it a few stabs with a fork and toss it into the oven..%u00a0
Well one day I did exactly that. Came home from school, grabbed a pot pie out of the freezer,%u00a0grabbed %u00a0a sharp knife (wait a knife?) and stabbed the pie. One hole. Stabbed it again. Two holes. One more time for good measure. three holes, and. knife goes through pie and into my hand. I can remember it like it was yesterday. I was so shocked that I just stood there for a few minutes just staring at the whole situation.%u00a0Imagine that, a little girl holding a knife with a frozen pot pie stuck on it covered in blood, screaming. Ugh.
Needless to say, after that, I never touched one of those frozen pot pies again.
But this is not one of those nasty frozen pot pies. This is a one pot,(skillet) full of warm and hearty goodness. Seasoned tender veggies and beans covered in a creamy polenta crust that has no need for any sort of stabbing. %u00a0%u00a0And bonus.. only one pot to clean up! And it’s all cool and autumn-y out so we don’t want to die when to oven is on!!!%u00a0
Pot Pie WInner!
The stuff. Onion, zucchini. potato, carrot, tomato, canaille beans, corn meal, boiling water, Italian seasoning, salt and pepper, and a little olive oil. %u00a0
So If you are missing, or not wanting to use any of the above veggies, don’t. Just sub in more of another or ad something different. Same with the bean. If you had chick peas or navy beans%u2026 its’ all going to taste good.%u00a0
Chop up all the veggies, except the tomato and toss into a oiled skillet. Sprinkle with salt and pepper and the italian seasoing and stick on medium heat. We want to give the veggies a little cooking head start, but the majority of the cooking will happen in the oven. With that said, turn your oven on.%u00a0
Once the veggies have become slightly tender,%u00a0add in the beans and the tomatoes.%u00a0%u00a0Keep cooking for a little while longer, just to soften up the tomatoes.
While thats going on, get the polenta ready. Add a little salt to the cornmeal and grab yourself a whisk. Slowly poor boiling water over cornmeal while constantly mixing with whisk to prevent big lumps. (it’s ok if there rare a few small lumps)
Dump the polenta onto veggies
And smooth over the top. Sprinkle with lots of pepper and stick it into hot oven to bake.
Some time later(about 45 minute) the polenta is all cooked and crispy, the veggies underneath %u00a0are all %u00a0creamy and soft, and the whole thing is ready for consumption.
Grab you bowls, grab you forks%u2026%u00a0Big scoops right into bowl
And happy eating it is.
-C
serve 3-4
*I make my own italian spice blend, which consists of basil, oregano, thyme, marjoram,,%u00a0rosemary,%u00a0and garlic powder. I think most blends are the same, minus the garlic so make your own use a pre blended mixture, just look to see there is garlic in it. If not, add a teaspoon or two of garlic powder to the veggies.
Preheat oven to 425.
Oil a large (I used a 12 inch) cast iron skillet or such oven. Chop up all the veggies, except the tomatoes, into smallish, mouth sized chunks and toss into skillet. Add in seasoning and a good few pinches of salt and pepper. Place on medium heat and cook for about 8 minutes, or until the veggies start to release there juices and are slightly tender.%u00a0%u00a0Now chop up the tomatoes and toss those into the pot along with the beans, in with the veggies. Cook for another 5 %u00a0minutes or until all the veggies are slightly tender.%u00a0
In a large jar or bowl, whisk together a pitch or two of salt and pepper to the cornmeal. While continuously whacking, pour the boiling water over the cornmeal. Pour/ spread cornmeal mixture over veggies, then smooth it out to form the crust. Season with salt and lots of pepper and place into oven. Bake for 45-50 minutes or until the polenta is cooked and has turned a nice golden brown. Remove from oven, let cool for a few minute, then serve.
Some folks might enjoy some type of cheese so if you want to,%u00a0%u00a0give it to them.