
THE LOVELY CRAZY

I am a year round maker and consumer of soup.
With that being said, the nature of my soups change seasonally. My summertime soups are usually on the lighter side, made with the%u00a0fresh bounty of the season, and spiced more on the light and floral side, opposed to the really deep and warm spices%u00a0that I use all winter long,
This corn chowder is made just right. It had the perfect balance of hearty and creamy from the potatoes and use of pureed%u00a0onion cream, but%u00a0%u00a0still light and refreshing from the sweet fresh corn and the lemony fresh thyme. It is for sure%u00a0a great summertime soup (chowder) Even the%u00a0Mr.%u00a0was even really into it, and he claims he doesn’t like corn. (I say bullshit to that.. he eats corn all the time)
Now to chowder!
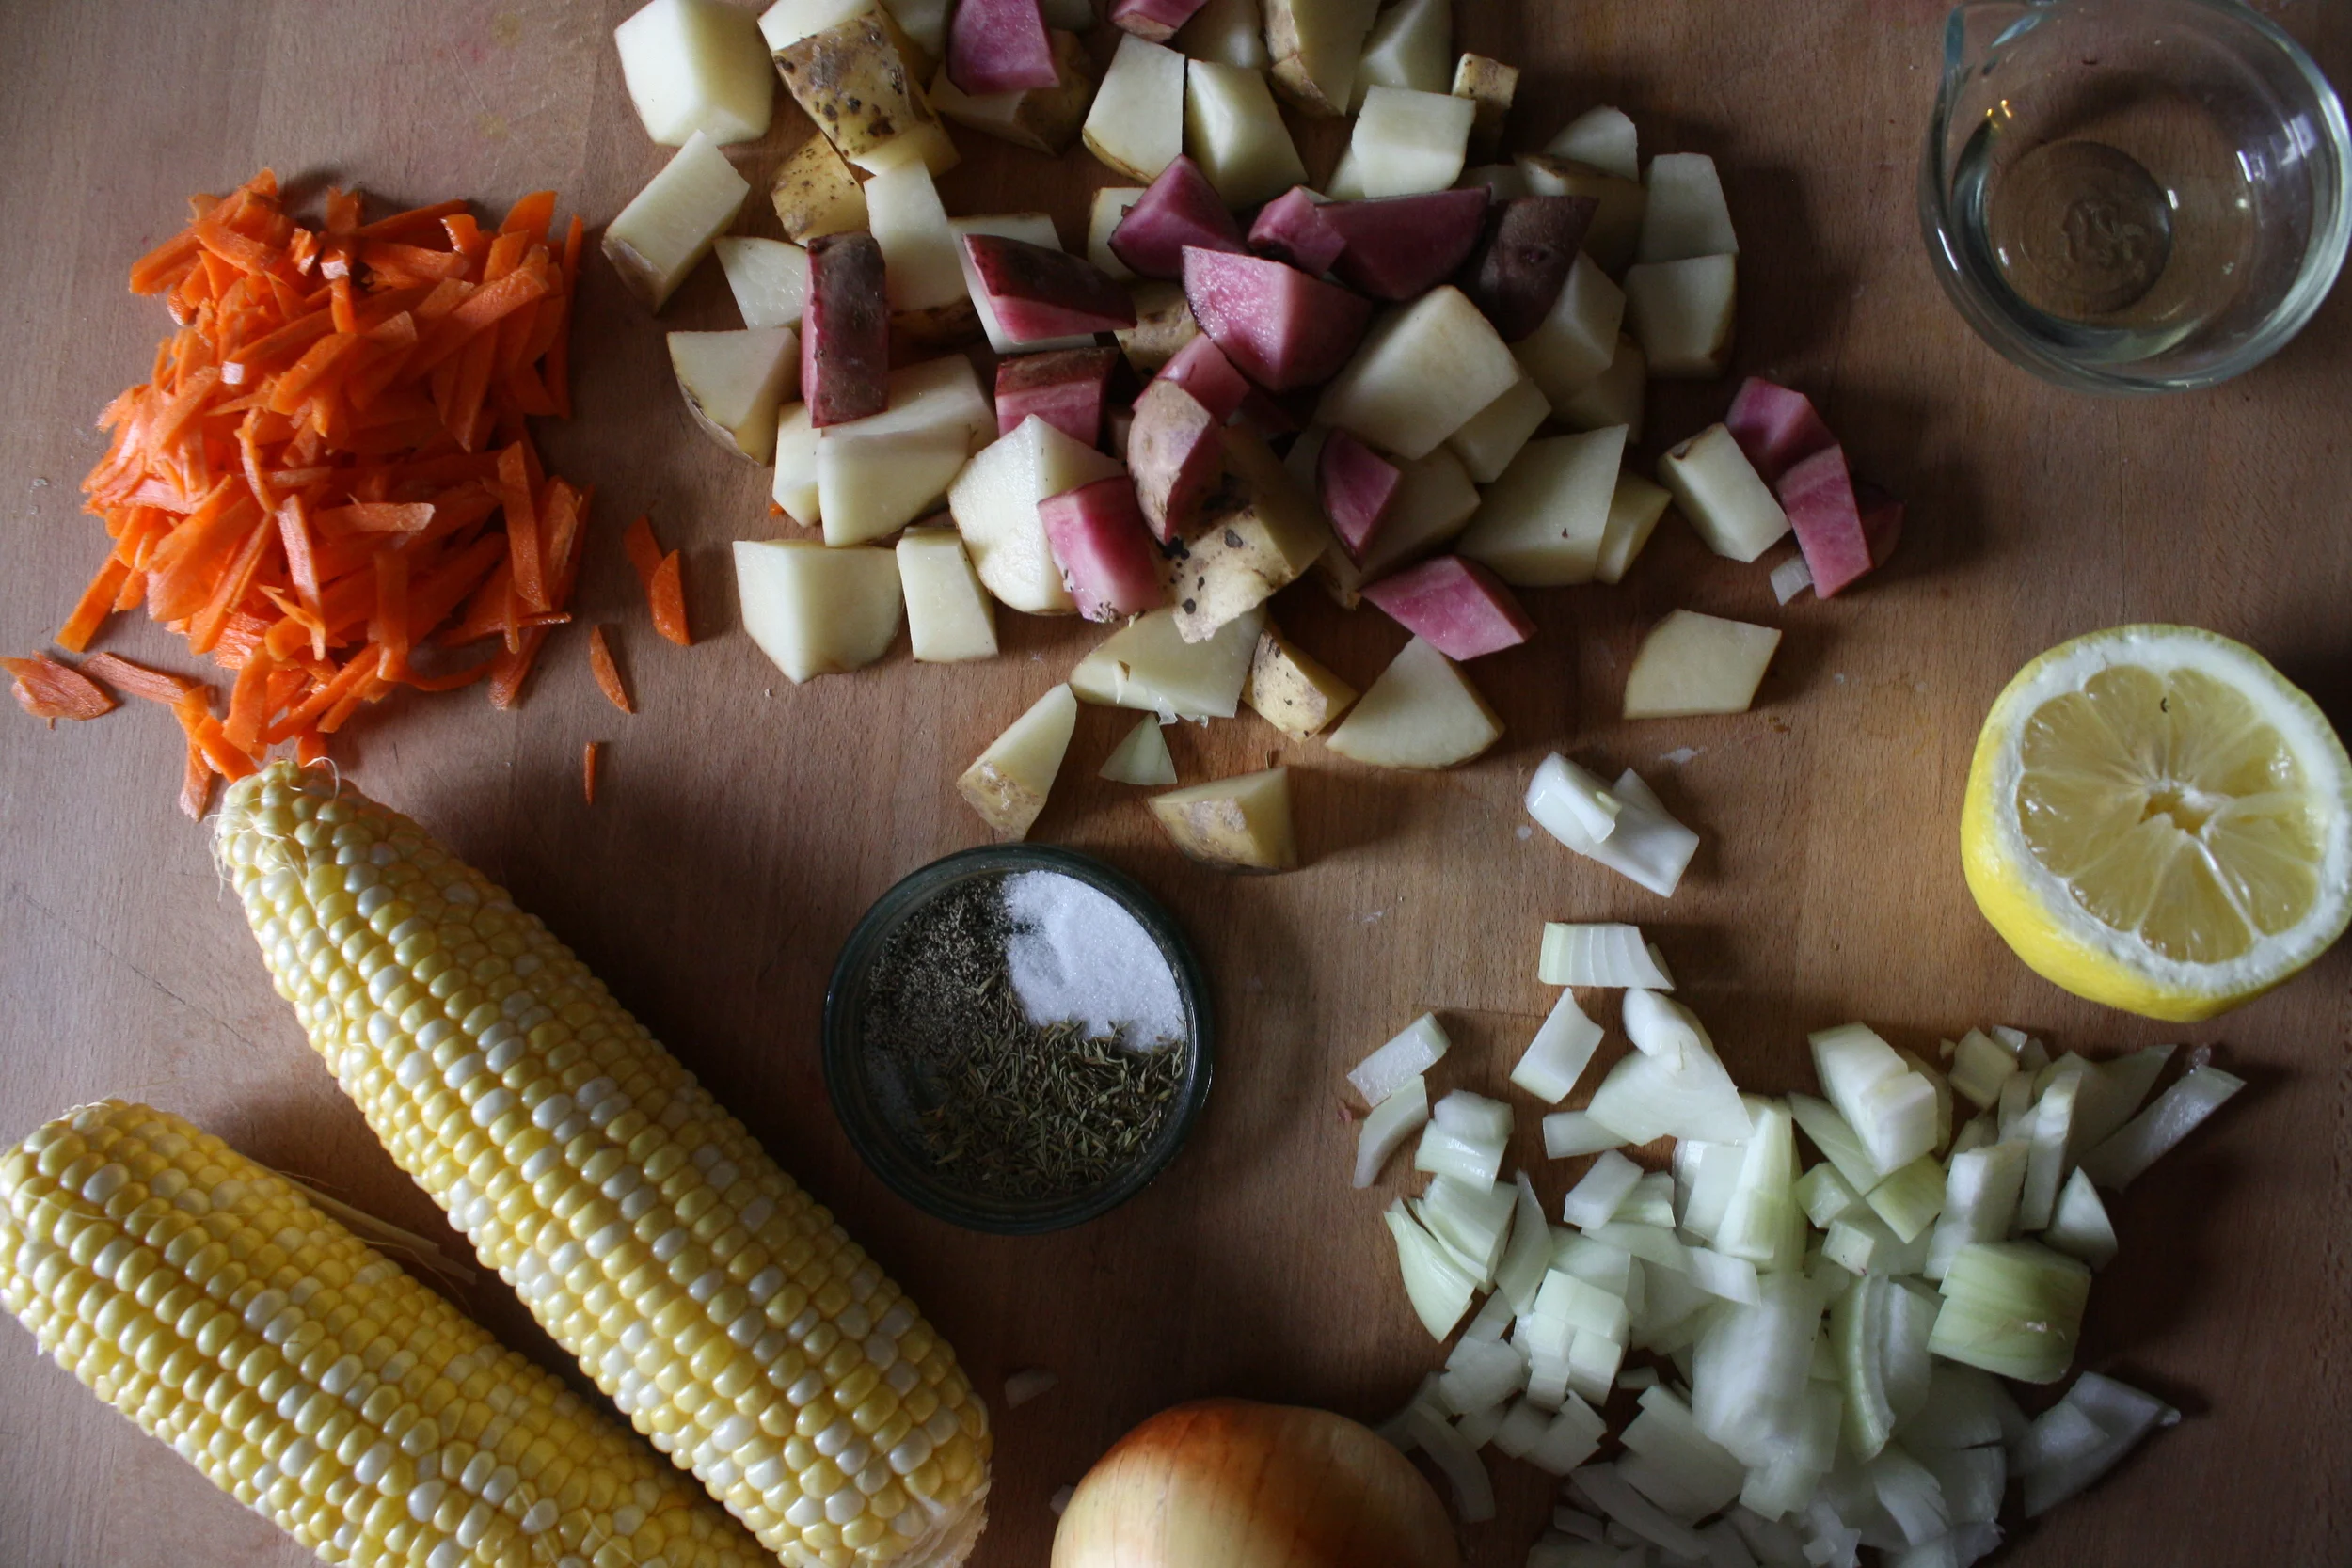
The Stuff. Some super fresh corn on the cob, a couple onions, a few chopped up potatoes and a chopped up carrot. Then we have a little oil, a lemon,%u00a0dried thyme and salt and pepper.%u00a0
To start, take an%u00a0onion, chop it up, and toss into%u00a0a large heavy pot with a little olive%u00a0oil and%u00a0a sprinkle of salt. Stick pot on stove on medium heat and cook until %u00a0onions are soft and traslutcent. When the onions are done, remove and%u00a0add to a blender or%u00a0bowl. (if using a hand blender)%u00a0Add in the juice of the lemon%u00a0and blend it all up until nice a smooth.%u00a0
You have now made a nice creamy cream that will help make the final product more, well more creamy without the use of cream (lets say cream on more time !)%u00a0.Set aside.
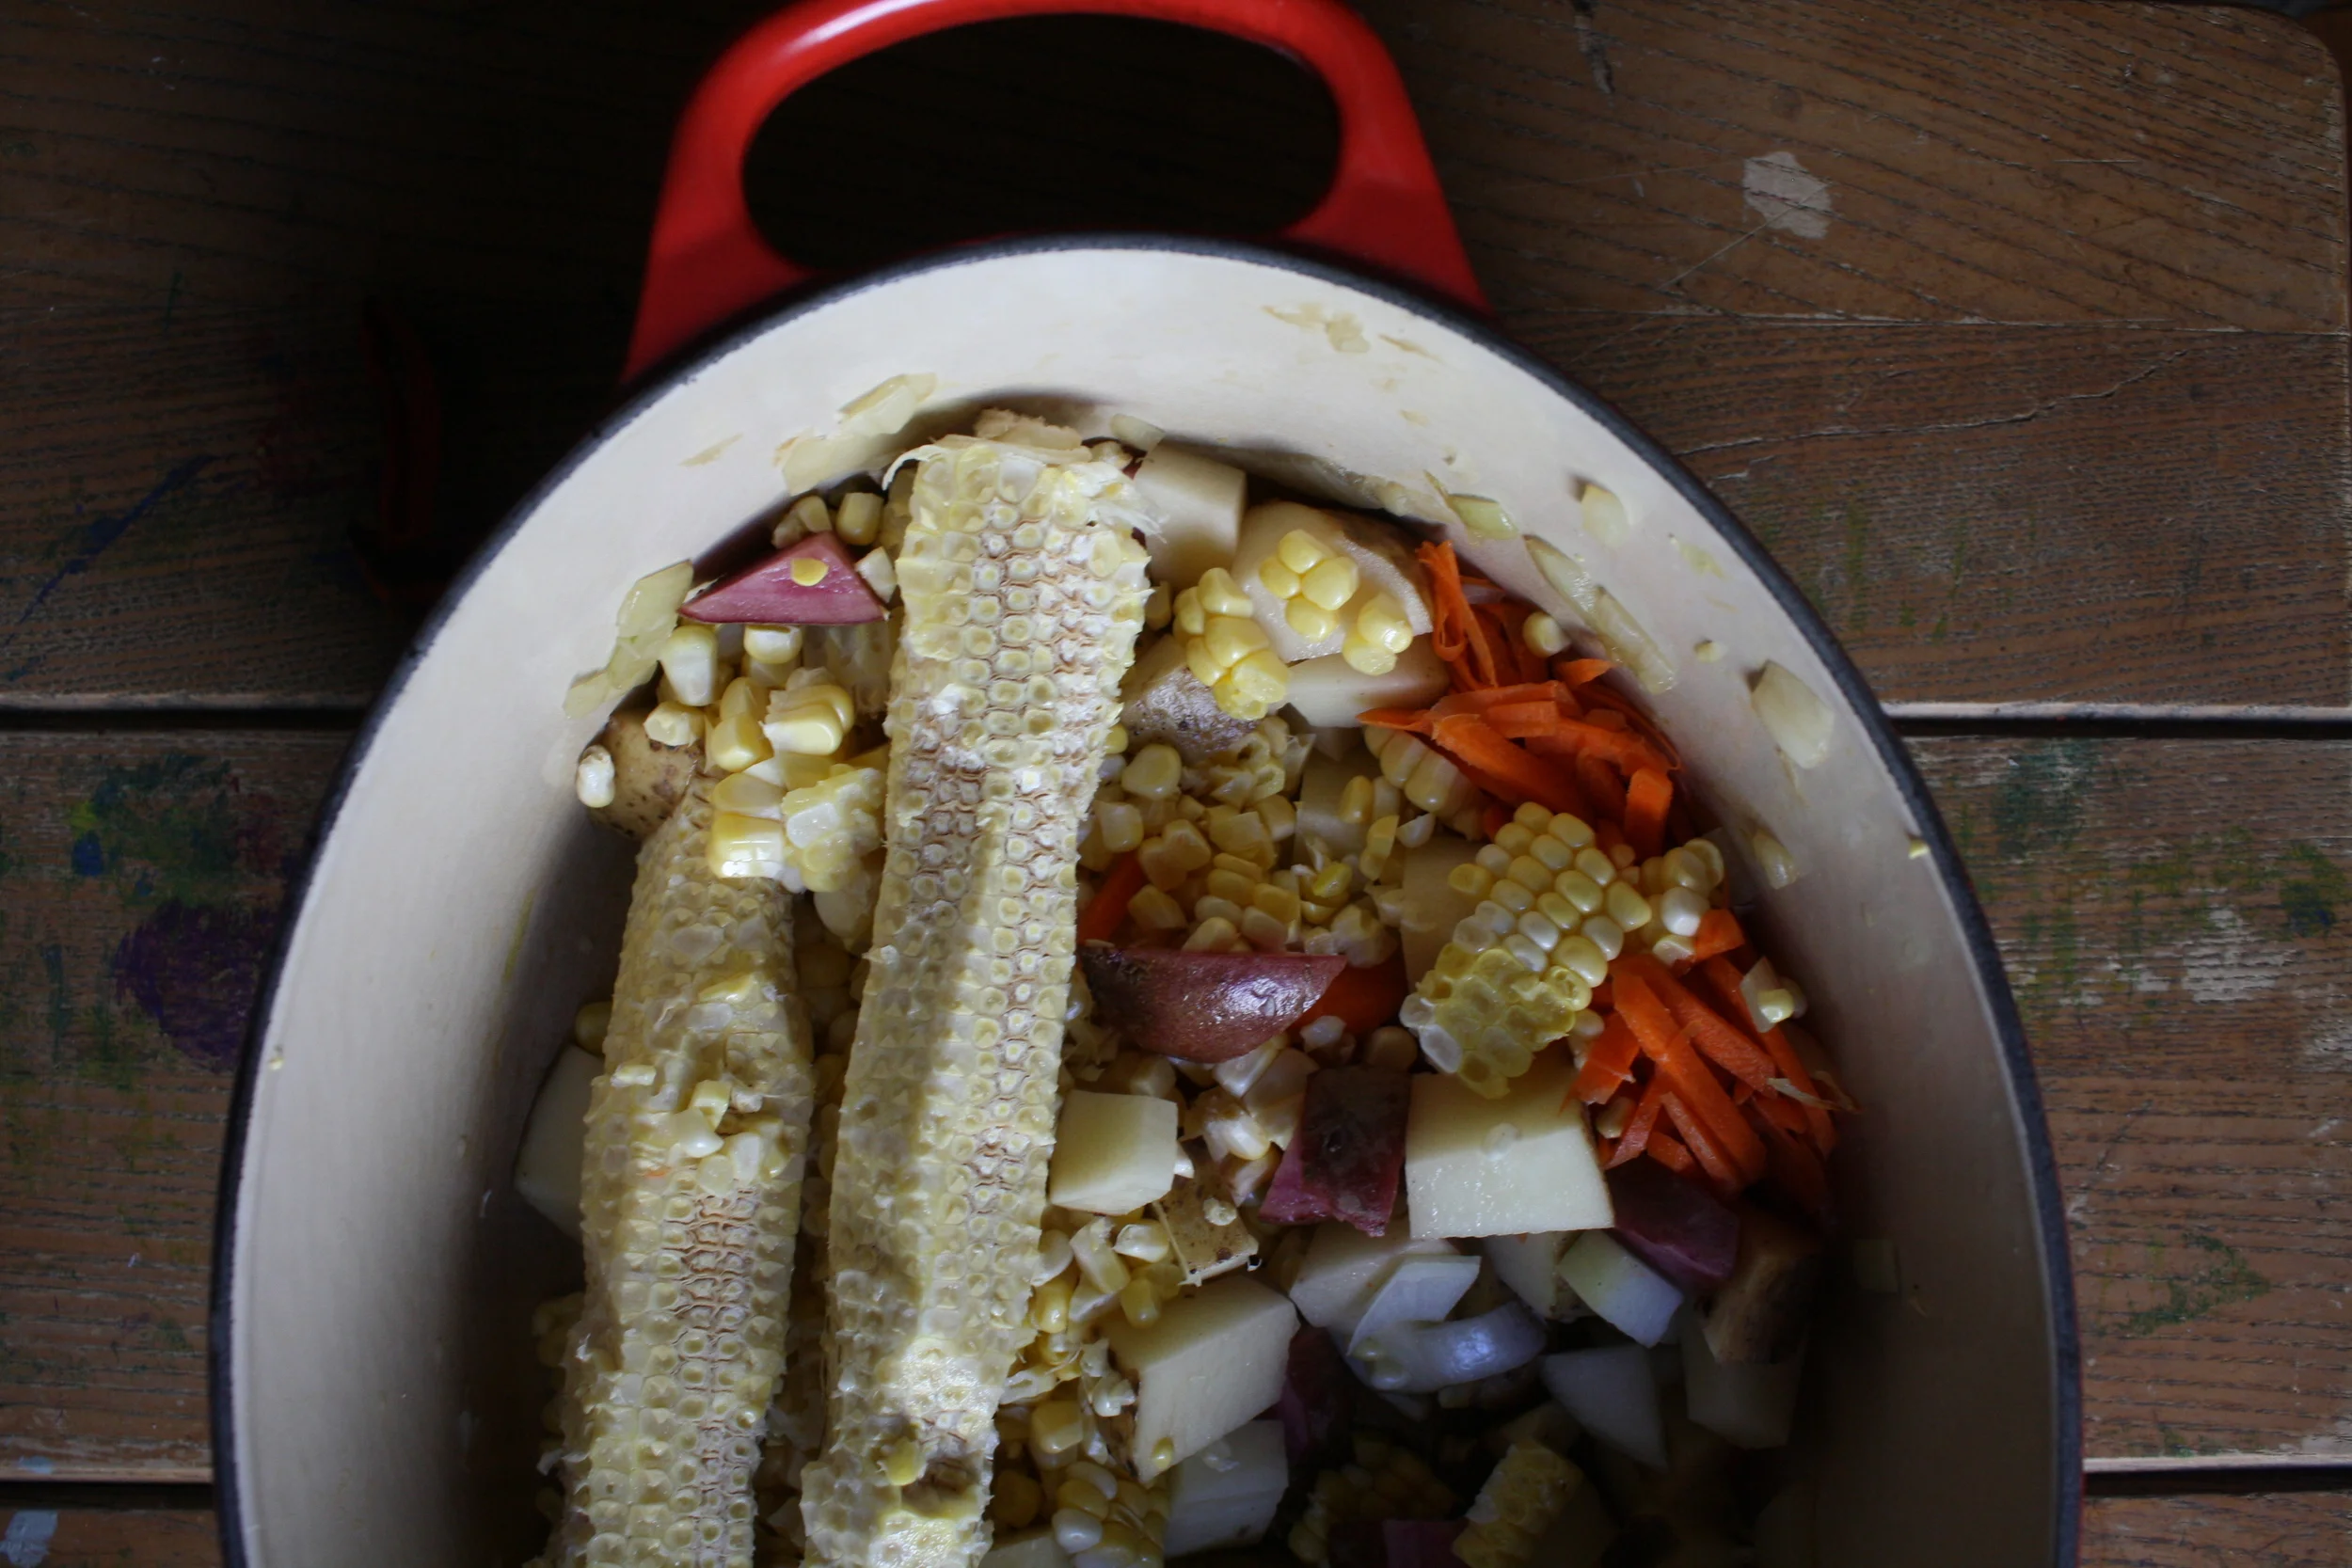
When the pot is empty again, add in the rest of the stuff, including the cobs of the corn, (they hold a butt load of flavor)%u00a0the dried thyme, and salt and pepper.%u00a0Place%u00a0on stove and add enough%u00a0water to completely%u00a0submerge the veggies. Keep pot on a medium heat, add a lid, and stir ever once in a while. Cook until the potatoes are nice and tender.%u00a0(when the potatoes%u00a0are done, so is everything else)

Now that everything is all cooked up, remove the cobs and stir in the onion puree.
Now with a hand blender, blend up until the chowder is thick and smooth, but still nice and chunky. (If you are working with a blender, just remove about half of the soup and blend up, then dump back in) The optimal chunkiness %u00a0is up to you , so %u00a0blend, check the chunk,%u00a0%u00a0then blend a little more if needed. If you feel that the soup is to thick, add in a little more water, or to thin, just cook down o little longer.
%u00a0Once you like the constituency,season to taste with salt and pepper and%u00a0place pot back on a simmer until you are ready to serve.%u00a0

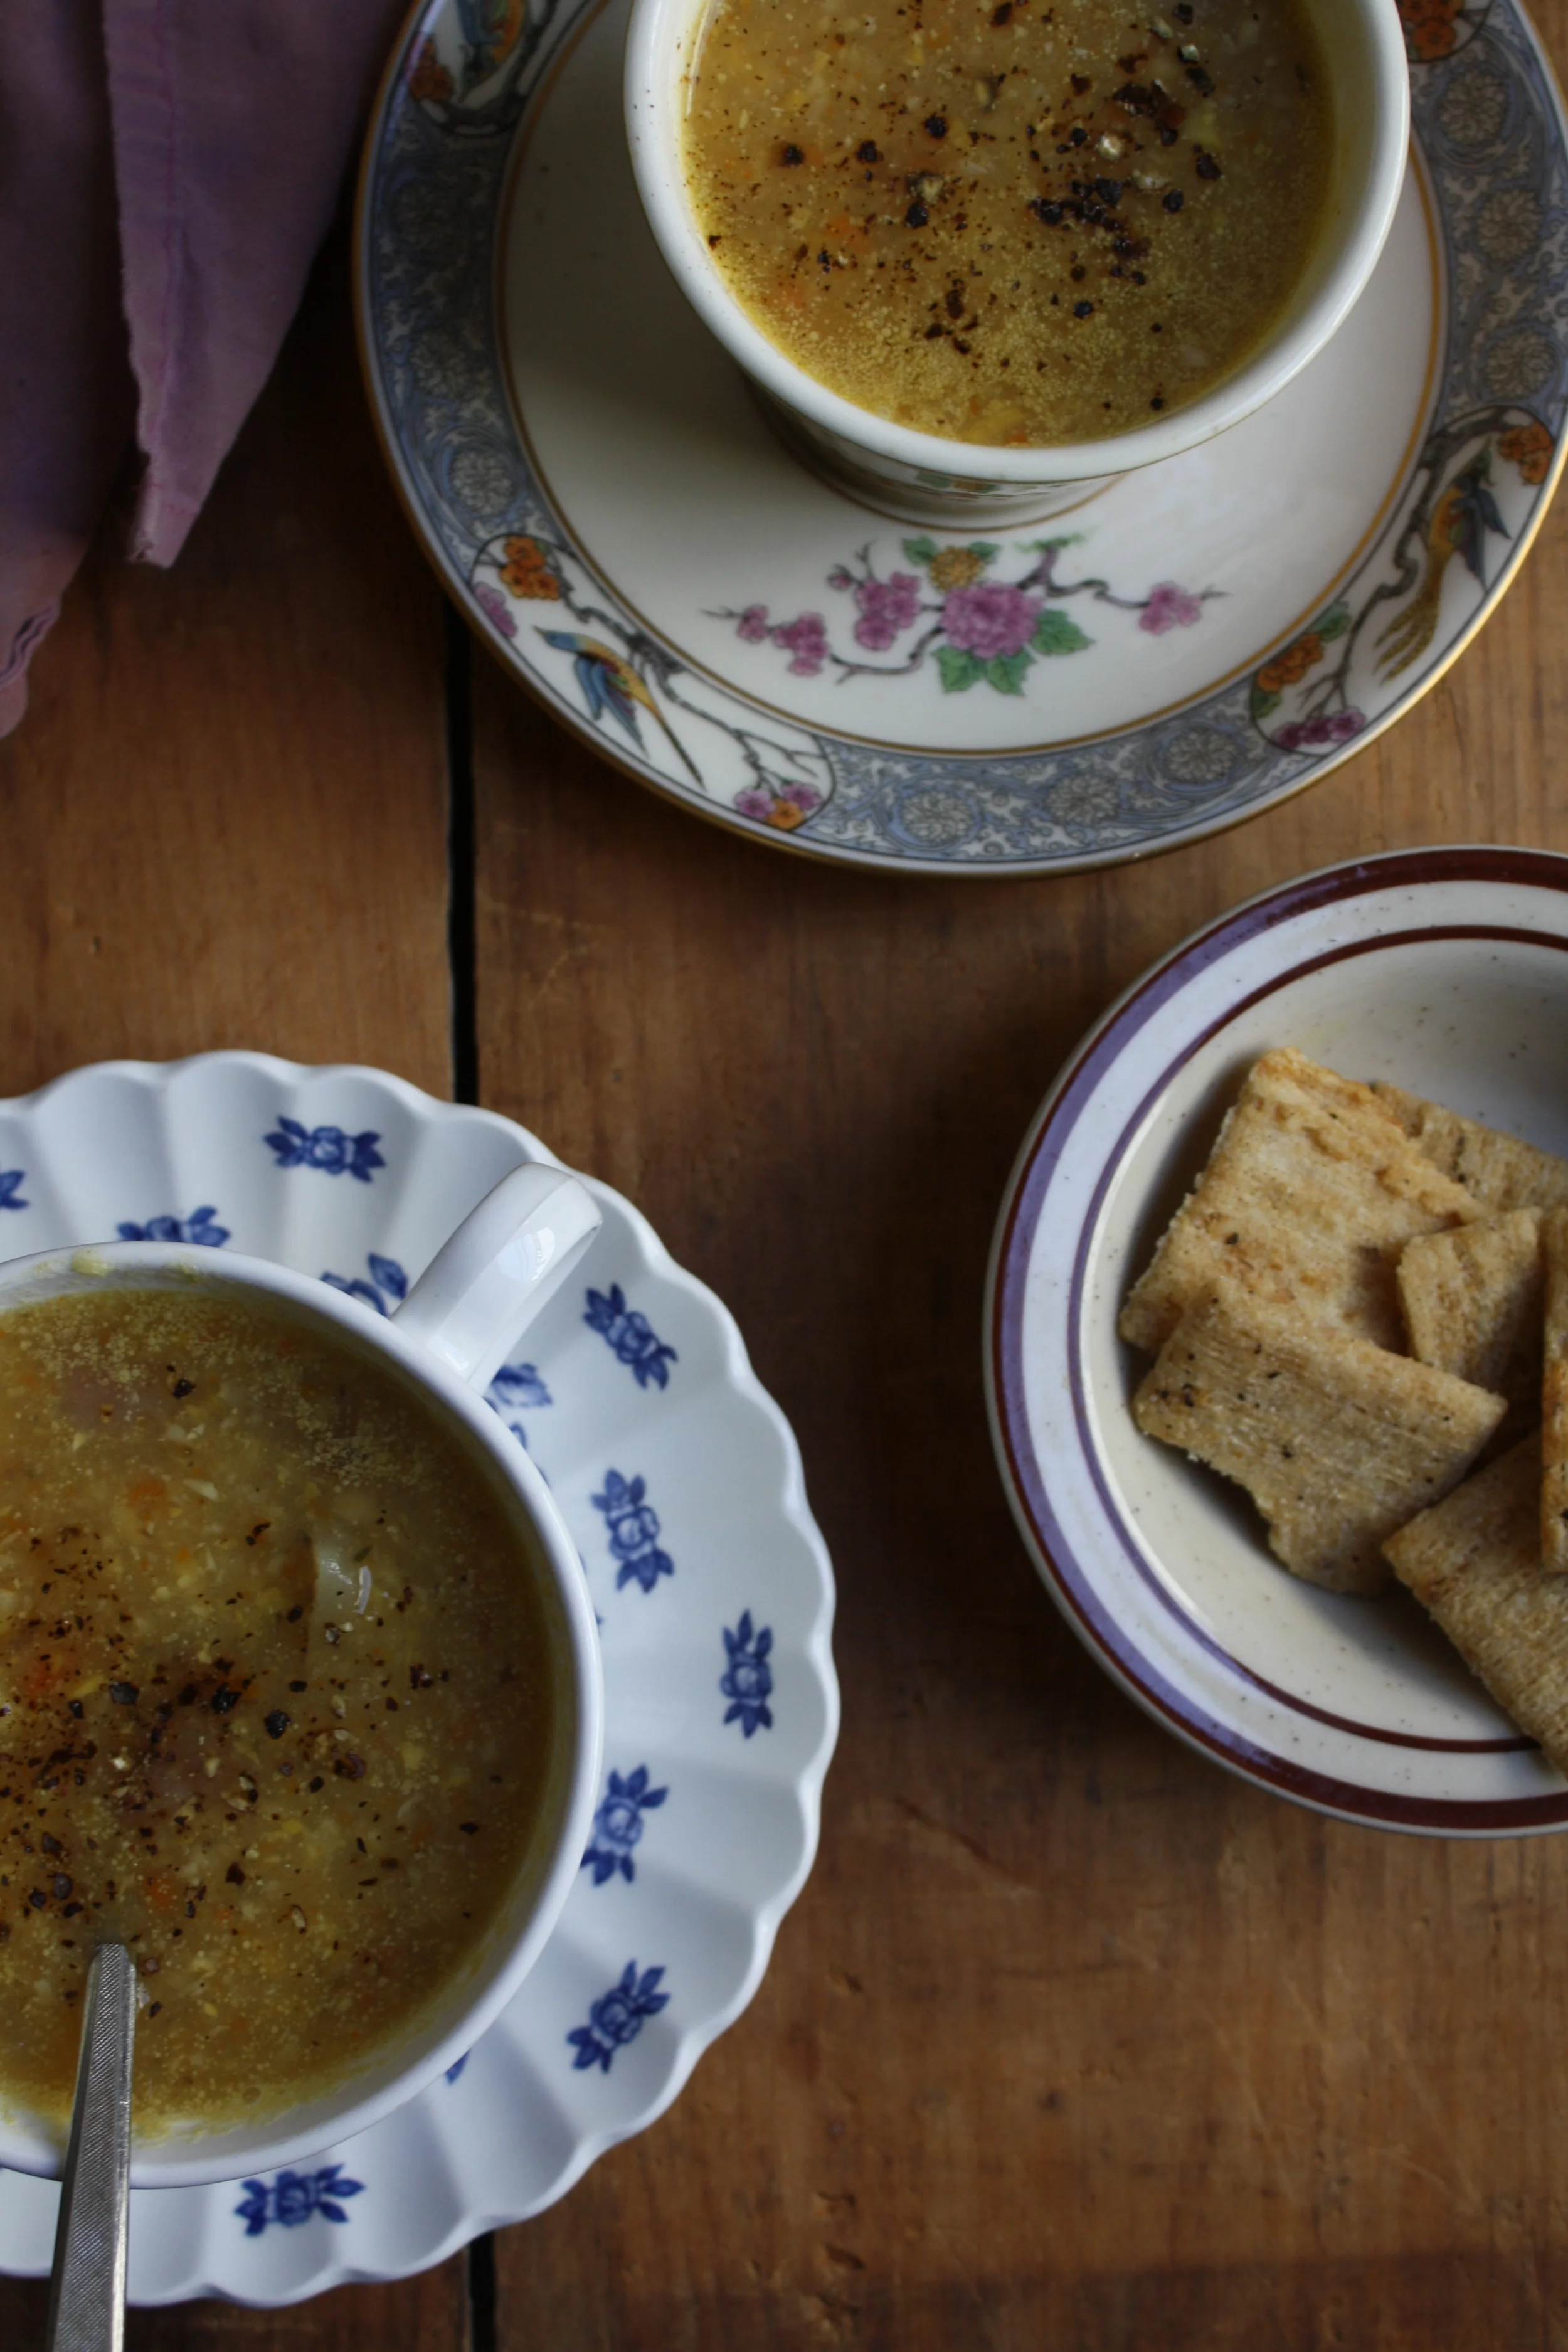
And thats how we make%u00a0corn chowder
It tastes best serves in the daintiest of the cups, sprinkled heavily with cracked pepper, and with a side of some cracker situation (Saltines would be best, but sometime there are only triscits in the house)
Summertime is for chowder!
HAPPY Humpday Wednesday!!!
-C
Makes a pot big enough for 4-6 nice decent sized servings
- 2 fresh ears of corn
- 3 medium (tennis ball sized)%u00a0red or white potatoes
- 2 white or yellow onions
- 1 carrot
- Juice of a lemon
- 1 tablespoon olive oil
- 1 1/2 %u00a0tablespoons dried thyme
- salt and pepper
To start, peel%u00a0and dice one whole onion and toss into pot with olive oil and stick on medium heat. Cook onions until translucent and fragrant. Remove from pot and add cooked onions and the lemon juice to a blender and puree until smooth and set aside.
While you are cooking down the onions, dice up the carrot and onion, remove the corn kernels from the cob, and chop up the potatoes. Once you have removed the first batch of onions, toss in corn, onions, carrot, potatoes, and the dried thyme.%u00a0Stir around in the pot on medium heat for a few minutes just to warm up the spices. Add the cobs into the pot and fill with enough water to cover the stuff in the pot. Place back on medium heat with a lid and cook for another 20ish minutes, or until potatoes are super tender and almost falling apart.
Remove cobs from pot and add in the onion puree. Now either remove about half the soup and place in the bender and blend up til smooth, or use a hand blender and blend up chowder until you get your%u00a0desired chunkiness. If you think the chowder seems to thick, add in more water, or to thin, just cook down a little longer on the stove.
When ready to eat, ladle chowder into a cup or bowl and add lots of fresh cracked pepper.%u00a0
Serve with a cracker and a spoon to eat it with.
 HOORAY FOR SPRING!!!!!!!
Yesterday The mister and I went for a walk, a long walk. I was wearing a sweater, a light jacket and I %u00a0left the mittens and hat at home. There was sunshine, huge puddles and mud. Birds were chirping. It was amazing.
After our nice long walk, we got home and I needed to start dinner. It was a little later than I usually so I wanted fast and easy %u00a0I usually always have pesto in my fridge (I had to make some, but it only takes 5 minutes)%u00a0because when it’s in there, I can whip up a big awesome meal in the time it takes to boil some pasta or quinoa or smear on toast or toss with potatoes. It really can be used on everything and can be made out of just about anything. Kale and walnuts are just one of so many fantastic combos. And frozen ravioli is always in the freezer too. I %u00a0used just plain cheese, but use whatever kind you like.
Together, pesto and ravioli, well that’s a quick, easy, and tasty meal, perfect for a spring evening, %u00a0And yea, there will be left over pesto from this recipe%u2026 just stick it in the fridge or freezer%u2026.you will be glad you have it.
 %u00a0 %u00a0%u00a0
 %u00a0 %u00a0Pesto stuff. Kale, walnuts, parmesan cheese(nutritional yeast to keep it vegan), garlic, lemon, olive oil, and salt and pepper.
A few little pre steps before the blending.. Toast the walnuts. Just toss onto a dry skillet and stick on medium heat for about 5 minutes or until they start to become n%u00e9e and fragrant. Remove from skillet and add in a bit of water. Add in chopped or ripped kale and cover to let the kale tenderize, but only for about 2 minutes. (you want the kale to still be crispy and fresh tasting) %u00a0Drain water and add kale, garlic, toasted walnuts, cheese %u00a0and the juice of the lemon into a food processor. Turn on and slowly add in olive oil until you get to a nice paste, adding more oil to get to your desired consistency. Oh and don’t forget to salt and pepper to taste!
 %u00a0
 Straight up frozen ravioli goes onto an oiled baking sheet.(make sure that non are overlapping) Place into an oven at 400 degrees for about 15-18 minutes, flipping after 10. If you want to add mushroom and a few more walnuts, just toss them onto the ravioli when you are flipping over the ravioli.%u00a0
When the ravioli is nice and brown and crispy, remove from oven and dump the ravioli and the mushrooms into a bowl. Add a big old scoop of the freshly made pesto and toss around.%u00a0
 Look at this%u2026 fresh, crunchy, light and happy. Kinda like a spring day.
I am the best lady, making the mister a pretty yummy dinner.%u00a0
Have a great Tuesday!
-C
Kale Pesto and Baked Ravioli
- 4-5 cups chopped Kale
- 1/2 cup Parmesan Cheese ( Nutritional Yeast %u00a0to make it vegan)
- 1/2 cup Walnuts
- 1/4-1/2 cup Olive Oil
- 4-5 Cloves Garlic
- 1 Lemon
- Salt and Pepper
- 1 bag of frozen ravioli(use vegan or gluten-free if you want)
- 3-4 mushrooms
Note..There will be plenty of left over pesto%u2026 Just fridge or freeze it
Place walnuts in a skillet and toast on medium heat for about 3-5 minutes or until the nuts become fragrant. In the same skillet, add enough water %u00a0to cover bottom and add in all the kale. Place a lid on it and let kale wilt on medium heat for about a minutes or 2, Take off heat. Add walnuts. garlic, cheese, salt and pepper, and juice of lemon to a food processor. Blend. Now add in the kale and blend, slowly adding olive oil until a thick paste forms. You can add as much oil as you want to make it as thick or thin as you like.
Preheat oven to 400
Place frozen ravioli on an oiled baking sheet, making sure none are overlapping. Place into oven for about 15-18 minutes, removing after 8 minutes to flip. When you take the ravioli out to flip, slice up the mushrooms and grab a few more walnuts and toss onto baking sheet with the ravioli. %u00a0When the ravioli’s%u00a0are nicely browned and toasty, remove (mushrooms and walnuts too) and place into bowl. Add a big scoop of pesto and toss to mix.
Serve and eat.. fork is optional.
Note..Add a thin layer to the top of any left over pesto to keep it fresh and from turning black%u00a0
 %u00a0 %u00a0%u00a0
 I have never in my life seen, let alone received, a kohlrabi as big as the one I picked up from my farm share last week. It was, no joke, bigger then my head. (completely nuts) %u00a0If I didn’t know the farm and the farmers of my CSA, I would have to question whether or not it was grown in radioactive sludge%u2026(kind of like the dandelions in the Teenage Mutant Ninja Turtle movie from the 90’s)
What is a kohlrabi you ask? It’s kind of a cross between a turnip and a cabbage that is usually the size of a baseball. It can be eaten raw (I like chunks dipped in mustard) or cooked. (roasted chunks dipped in mustard) %u00a0It pairs well with sweet stuff like apples and honey, or in any savory stuff. Its one of my favorite vegetables (I say that about them all!)
So now that you know about kohlrabi (if you didn’t already) its time to get yourself some and make this soup. Because for real,%u00a0%u00a0I am not kidding when I say that this is one of the best soups that I have ever made. %u00a0You really must try it. And do it soon because hopefully in the next few weeks the soup weather will turn into fresh pea weather and we might not want soup as much (I eat soup all year long)
 A gigantic kohlrabi cut in half ( I only used one of the halts) A whole yellow onion and 2 large carrots. I also added in 4 cloves or garlic
Peel the kohlrabis tough skin off and chop up into chunks. Chop the carrot, garlic and onion as well .
 %u00a0 %u00a0
 All of those chopped veggies get thrown into a pot with two cups of water and a good sprinkle of salt and pepper. Cover and place on medium heat for about 20-25 minutes. (give a stir ever now and then) Keep cooking until the veggies are fork tender.%u00a0
 Once the chunks are all cooked up,%u00a0its time for the %u00a0immersion blender. (or into a regular blender) Add in at least 3 cups of water, but more to thin out to your desired consistency and let it rip.%u00a0Stop blending once%u00a0the soup is nice and creamy. Taste and season with salt and pepper to taste. Leave on low heat to bring back to a good soup %u00a0eating temperature.
 %u00a0Now the soup is done.. and you can eat it just as it is, but you should really add in the asparagus. It is just so f*ing good. Just grab a few spears, dice them nice and small, and throw into the soup pot. Let it cook for another 5 minutes and wa la..%u00a0
 Soup is done. Ladle into bowls and if you want a little fancy presentation, add a swirl of mustard (it’s so good) and a whole cooked asparagus spear.
And eat one of the greatest soups ever!
Happy Day Wednesday!
-C
Creamy Kohlrabi Soup with Asparagus
- 3-4 kohlrabi (or 4 cups chopped Kohlrabi)
- 2 large carrots
- 1 large onion
- 4 or more cloves of garlic
- Salt and Pepper
- 4-6 spears of Asparagus (extra if you want to garnish)
- Yellow Mustard (optional)
Peel outer layer of kohlrabis. Roughly chop the onion, carrot, kohlrabi and garlic and stick it all into large dutch oven or stock pot. Add water until veggies are half submerged . Add a good sprinkle of salt and pepper and place on burner on medium heat and cover. Check ever 5 or so minutes and give the pot a good stir. After about 25 minutes, all the veggies should be very tender and almost fall apart when stuck with a fork. With an immersion blender or regular blender, blend till smooth, adding water until soup is at your desired constancy. Return soup to medium heat. Small dice asparagus and add to pot. (I added 2 extra whole pieces and fished them put once cooked for garnish.) Keep on heat for another 5-10 minutes until asparagus is cooked.%u00a0
Scoop into bowl and squirt top with yellow mustard and top with a spear of cooked asparagus.
Eat with a spoon and lick bowl clean.
%u00a0 %u00a0%u00a0 WOO WHOA!! MARDI GRAS! I wish I was down in New Orleans today celebrating%u2026 and soaking up some warmth and sunshine, catching beads, maybe even %u00a0taking my shirt off(?!!?)%u00a0
No, I keep my shirt on today because I am not like that, and also, I would die of hypothermia. Today I wear a shirt, underneath 5 other shirts ad sweaters. %u00a0Because today is just another day of -20 below here in Vermont.%u00a0
To keep me from going completely crazy, I am thinking of warm weather and I am thinking of New Orleans (love that place!) and the humongo celebration that’s been going on there for the past week. Everyone partying out in the streets. Big floats and beads all around. I might be feeling a little jealous, (more of the weather then the partying) but thats ok, I have TV to watch and a warm comforter to wrap myself up in. And maybe I should have done a post of fried donuts or of some type of alcohol party drink to celebrate the day, but I really just wanted to make something warm and spicy, so I went with some dank cajun beans. And also I wanted to sing%u2026. “Beans Beans the musical fruit, the more you eat the more you toot!!” hehe
But for real, these beans %u00a0are sooooo f-ing tasty and super versatile. You can serve the spicy beans with the rice or just eat just the beans. You could do the beans and %u00a0add to a bed of kale (me) or add cheese, guacamole and a few %u00a0corn tortillas to the mix (the mister). %u00a0Simple to make, super tasty and full of flavor! %u00a0And pretty freaking heathy to boot! This dish%u00a0gets an A+!

This dish is so full of flavor but so simple to make. We start with presoaked black beans drained and rinsed. Cajun seasoning (which is basically 1 part onion powder, thyme, oregano, %u00a0and 2 parts paprika, garlic powder, cayenne power, and salt and pepper) Sliced onion and jalapeno, and a few tablespoons of tomato paste. Oh, and the rice.
%u00a0 %u00a0 %u00a0%u00a0
 Beans are in a pot filled with water unit beans are completely sumerged. Add in the onion, jalape%u00f1o, tomato paste and cajun seasoning. Bring to a boil then cover with a lid and simmer for about 45 minutes%u2026.. %u00a0After about a half hour, start up the rice. Water in pot with rice, bring to a boil, cover and simmer for 15-20 minutes.%u00a0
 The rice is done and fluffed with at fork. The beans are cooked with just the tiniest bit of bite, bathing in a thick spicy tomatoey sauce. The chunks of onion and jalape%u00f1o have broken down and are hiding in every bite%u2026. Oh so good!
%u00a0Now get ready for the bowl!!!%u00a0 Bringing a little spice and %u00a0nice to this crazy cold winter day or any fun festivities you may have planned. %u00a0
Have a Fantastic Day.. Stay Warm or if you already are.. lucky you!
-C
Cajun Black Beans and Rice
Ingredients
- 1 1/2 cups dried black beans* soaked for at least 4 hours or overnight..Rinse and strained
- 2 tablespoons tomato paste
- 2 tablespoons Cajun seasoning
- salt and pepper
- 1 Jalape%u00f1o
- 1 small yellow onion
- 1 tomato (I used a large roma)
- 1 1/2 cup of dried rice plus 3 cups water
*If you want to use canned beans, go for it%u2026Just sub in 2 cans rinsed and strained black beans and only add a cup of water to the beans. Pre saut%u00e9 the onion and the jalape%u00f1o before adding to the beans and only simmer the beans for about 15 minutes.%u00a0
Place you soaked beans into a pot and fill with water until the beans are completely summered. %u00a0Slice the jalape%u00f1o and onion and add to the pot along with the %u00a0tomato paste and the cajun seasoning. %u00a0Bring to a boil then place a lid on it and turn heat down to low. Let simmer for about 45 minutes or until the beans are completely cooked.
When the beans are about half way done, add rice to water and bring to a boil. Once boiling, place a lid on pot and turn heat down to simmer and cook for about 15 minutes or %u00a0until all water is absorbed and rice is tender. Fluff with a fork.
To sever. place a scoop of two of rice to a bowl and top with a scoop of two of beans.%u2026 Top with diced tomatoes and scallions%u2026 (The mister added shredded pepper jack to his and thought it was excellent)
Eat with a fork or spoon.

%u00a0It’s Friday!!! And what does that mean? Pizza Pizza!!!!But not just Fridays%u2026pizza happens more times then not in our house%u2026It’s the misters favorite food and for real, he could eat it everyday, all day.%u2026He is kind of made of the stuff. As for me, well I don’t mind making it for him because it’s easy. And because I am making it, it doesn’t have 8 million calories, 9 million grams of fat and have 10 million milligrams of sodium like takeout of frozen. %u00a0My pizzas are for the most part pretty freaking heathy. It really depends on how its topped. Like take this one.. Homemade pesto, good quaility cheese, (you can use vegan or low fat)%u00a0chickpeas and tomatoes. Not to shabby. And really, it isn’t any more complicated then calling the take-out place or unwrapping the frozen plastic disk from the box. All you need is some good dough (I guess you could use store bought) and some good quality toppings%u2026 and you’re there%u2026Pizza in your face.
For this pizza I used the skillet cooking method. This crust is one of %u00a0the misters favorites. It is a basic pizza dough but cooked on the stove in a skillet. It’s almost like a pita bread, but not. And I like to make it this way because its really fast (once the dough is made) and I can even make up a few crusts to have on hand for later.
Fast, healthy, and tasty%u2026..Why not eat pizza every day?%u00a0

Not too many ingredients here. 3 cups of all purpose flour or 2 cups all purpose and 1 cup white whole wheat. A teaspoon salt, a teaspoon honey (use sugar if vegan), yeast and warm water%u2026%u00a0
Start with the dough. %u00a0Add honey or sugar to yeast and warm water and let sit to active, which should take about 5 minutes.
%u00a0Mix together the salt and flour(s) and add the foamy yeast mixture. Mix until it all comes together and dump out onto a floured surface. (if the dough seems to dry add a splash of water..if way to wet, add a little flour) Give the dough a good 2-3 minute knead session, adding flour as needed to keep the dough from sticking. Form a nice ball, place back into bowl and drizzle with oil. Cover bowl with a towel and stick in warm place to rise for about an hour or until it has doubled in size.

When dough has doubled, dump back onto a floured surface and divide into 4 equal sized balls (or as many balls at whatever size you want)
Now you have a few choices here. You can either cook up all the dough now if you need it, or freeze dough balls for future use. If you think you are going to make pizza again within the next few days, it can be refrigerated, or you could also blind bake the dough and freeze or fridragerate that and have pre baked crusts all ready to go. So many options%u2026 just do whatever works for you.%u00a0

To make the dough in a skillet, oil the bottom of a 15 inch skillet, turn burner on to high and let preheat until the oil is sizzling. Roll dough out to roughly the size of the skillet and when it has preheated, place dough on in there and let cook for about 3-5 minutes, or until the dough starts to bubble and the bottom has started to brown. Turn burner down to medium and flip. Cook this side for another 3-5 minutes.
If you want oven crust, just roll out and place on a baking sheet and bake with topping on at 475 degrees for about 20 minutes


Now the crust is ready for the toppings!!
Preheat the oven to 450 degrees.%u00a0
Smear the pesto (for this pie, I used the last of my homemade pesto from last summer%u2026sad face) Mince garlic and distribute evenly on top of that. Then do the cheese, followed by the tomato slices and chick peas. Sprinkle with a bit of salt, cracked pepper and some parmesan cheese.%u00a0
Stick into oven for 10 or so minutes or until the chesse is nice and bubbly and the crust os crispy and brown.


And that is pizza. A super duper, yummy, healthy, not too fatty or overly salty%u2026 %u00a0can be eaten breakfast lunch or dinner time, pretty, satisfying, pizza. %u00a0
Make it for yourself, for you lover, for a friend. Make it in the shape of a heart or an elephant. Give you kid(s) a ball of dough and have them make their own%u2026 I know%u2026 such a good idea.%u00a0
Everyday, all day.. Happy Friday and Happy Pizza
Stay warm!
-C
For the dough ..Makes about four 10 inch pizza doughs or three 12 -14 inch doughs. This is also the same recipe I use for all of my pizzas (skillet and oven)
- 3 cups of all purpose flour or %u00a02 cups all purpose and 1 cup white whole wheat
- 2 1/4 teaspoons of yeast or 1 packet
- 1 teaspoon of honey or sugar
- 1 teaspoon salt
- 1 1/2 cups warm water
The Pizza Toppings (for a 15 inch crust..adjust amounts to your need or liking)
- 1/4 cup of pesto
- 1 large %u00a0roma tomato thinly sliced
- a few cloves of garlic minced
- 1/1 cup of prepare chick peas.. rinsed and drained
- 1/2- 3/4 cup of cheddar cheese (or any kind you like..use vegan cheese if you want too)
- salt, pepper, and parmeasan (optional) to sprinkle on top
To start, place honey, yeast and water into a jar or bowl and let sit to active until mixture starts to foam. Mix together flour and salt into a large bowl and add in yeast mixture. Stir until combined and dump onto a well floured surface. Knead dough for a a few minutes and form into a ball. Place back into bowl, drizzle with oil and top with a towel. Place somewhere warm to rise for an hour, or until dough has doubled in size.
When dough is done rising, dump back onto floured surface and divide into 4-8 equal sized balls.( 4 balls make %u00a015 inch pizza%u2026 8 balls are good for individual size pizzas) Place whatever dough you are not going to use into a closable plastic bag and either stick in fridge(if using within a few days) or freeze for future use.
Place skillet on high heat on stove and drizzle with oil. Also, preheat oven to 450 degrees. Roll out you dough and when the skillet is has gotten really hot, place dough right on in. Let cook for about 3-5 minutes or unit the cough has started to form bubbles and the bottom has started to brown. Turn heat down to low and cook other side for another 3-5 minutes or until browned.%u00a0
Now pizzafy it.. Add on the toppings. Smear with pesto, add minced garlic, then evenly sprinkle cheese. Top with the chick peas and the sliced tomatoes. A sprinkle of salt and pepper and a dusting of grated parmesan%u2026%u2026Right into the oven for about 10 minutes to melt it all together%u2026..
Pizza Pizza!!!

I am such a sucker for the reduced price produce at the grocery store. I save at least half of the original price for stuff that might look a little weird or have a brown spot or something. Sometimes I can’t believe what ends up on in the bin, stuff that I wouldn’t consider reduced bin material, but hey, if they want to stick it in there, then I will be more than happy to buy it.A couple days ago I found some good looking roma tomatoes in that said reduced produce bin..the skins the tiniest bit wrinkled (like I could care less), least hen 50 cents a pound. Um, yea, I bought those and put them to good use.%u00a0
Tomatoes roasted until they fell apart with a few other chunks of stuff, then piled onto a base of spinach and couscous. %u00a0This meal cost me pennies and was stupid easy and fast to make. And pretty to boot. Perfect for a quick healthy meal on a busy day or maybe for those people looking for a tasty, not too completed dinner to make for %u00a0a special someone for Valentines day? Or make just for yourself%u2026its pretty much the perfectly dish. Anyone can get into it. And if you don’t happen to have a grocery store with a reduced produce bin full of tomatoes%u2026it’s cool, you’ll just have to pay full price for the perfect ones.


So simple. A little olive oil in pan. Chunk the tomatoes and throw in pan with the chopped onion, carrot, cauliflower, garlic and chick peas. Drizzle a bit more oil and top with salt and pepper. Give it all a toss and stick into oven. That’s that. Just leave it in there until everything is so nice and soft and falling apart.


One of the best things about couscous is that%u00a0you don’t even need to dirty a pot or a bowl to make it, %u00a0just add dried couscous to the bowl you are going to eat out of with a cup of boiling water and a pinch of salt. %u00a0(I added the spinach with the water too) After about 8 minutes, the couscous absorbs all the water and you just fluff it up with a fork. Easy, freaking Peasy!!!%u00a0Out of the oven and piled on%u2026..

I mean, if this isn’t one classy looking meal, then I don’t know what is.
Sprinkle with a little parmesan or nutritional yeast if you want and step back and admire. And now eat it to you face.
And barely any dishes to wash. No big mess to clean up. %u00a0I could get used to that.%u00a0
-C%u00a0
Serves 2
- 3/4 cup Couscous
- 1 cup boiling water
- Handful of chopped spinach
- 4-5 roma tomatoes chopped
- 1 medium carrot diced
- Half of an onion diced
- Cup or so of cauliflower (fresh or frozen)
- Cup of prepared chick peas
- 4 or 5 cloves garlic minced
- Olive oil to drizzle
- Salt and pepper
Preheat oven to 400
Place onion, carrot, cauliflower,tomatoes, chick peas and garlic into a large skillet. Drizzle with olive oil, sprinkle with salt and pepper, and give everything a light toss. Stick into oven for 35-40 minutes until tomatoes are falling apart and everything is nice and roasted.
In a medium bowl, (or serving bowl) add cup of boiling water to dry couscous and spinach. Sprinkle with salt and cover. Let sit for at about 8 minutes, or until the couscous had fully absorbed all the water. Fluff with a fork and top with roasted tomato stuff.
Top with parmesan or nutritional yeast if you are into it.
Enjoy!
 One of the best things about winter is that I can have something in the oven at any time and not worry about how hot the house is going to get. %u00a0I get to spend my free time (or my in between free minutes) baking up all the thing that I would not dare bake in the summer. (lots of bread and cakes) Yeah,%u00a0I might complain a little about how cold it is outside (to my defense, -20 is kind of a bitch) but then I think of the super hot humid days that come during the summer and cringe. %u00a0At least when its cold out I am able to get warm, (que oven) %u00a0but when its super hot and humid, I just turn into something that border lines a wet towel and the rabbit animal%u2026 Not so pleasant. %u00a0 I much prefer cooler weather. So no big surprise%u2026.I made bread.. or focaccia to be exact. And now you should too because first off, you want to eat it, and secondly, you can probably whip this up faster then it would take to get all of you winter warmies on and leave the house. Don’t leave, just turn the oven on.%u00a0
  The stuff, which isn’t a whole lot%u2026 Flour and salt. %u00a0A mixture of honey, water, and yeast. And olive oil. Its pretty much my pizza dough recipe, tweaked with the addition of oil, less flour and no kneading.%u00a0
  Mix together the wet and dry%u2026I used my nifty dough whisk, but a wooden spoon or even your hand works. Mix mix mix. The dough should %u00a0be really slack and sticky. %u00a0And guess what.. no need to knead! Just make sure the dough is uniformly incorporated%u2026hehe.. uniformly incorporated%u2026 sounds weird.%u00a0
  %u00a0 %u00a0 %u00a0 %u00a0
 Drizzle the dough (don’t worry about making it into a ball, a blob is good) with a little oil and place in a nice warm place topped with a towel to rise for about an hour or until dough has doubled in size. Once is has fully risen, drizzle 2 tablespoons oil in two 9 inch cake pans. %u00a0Divide dough in half, and kind of smoosh dough into pans. Cover and let rise for another 20 minutes or so.
  When dough has finished its second rise, drizzle each %u00a0with another tablespoon of oil and with your fingers, fill out the pan and indent the dough, kind of like%u00a0playing a piano or tickling a puppy(?)%u2026.Then layer your toppings (if you want any) %u00a0Start with any herbs, then the veggies. Then last, any cheese you got. I used thyme, cracked black pepper, tomato, onion, topped with parmesan cheese. And the other one is just plain old salt.%u00a0
  Pulled from the oven when nice and golden brown..set on a wire rack to cool for a few minute and removed from the pans.
  The mister was practically salivating waiting for a slice%u2026 and he was so not disappointed. Crispy outside with soft airy insides%u2026 Everything a perfect focaccia should be. The one with the toppings was the favorite for the first night, but for a peanut butter and cheese panini for lunch the next day%u2026plain is the way to go.. My suggestion, do what I did, jazz one up and leave one plain. And then make more if you need too because the forecast call for another week of below zero!!! Oh the things that I’ll get to make! (me being positive) Stay warm! -C
Focaccia with out without stuff
- 3 cups all-purpose flour%u00a0
- 1 tablespoon salt plus 2 teaspoons for topping (can use more or less if you want)
- 2 teaspoons active yeast (or one package)
- 1 1/2 cups warm water
- 1 tablespoon honey (or sugar if vegan)
- 6 tablespoons olive oil
Optional toppings
- Fresh cracked pepper
- Thyme or any other spices
- Thinly sliced tomato
- Thinly sliced onion%u00a0
- Parmesan Cheese%u00a0
- Anything you want!
In a bowl or jar, mix honey (or sugar), yeast and warm water together and let sit for about 5 minutes or until yeast is activated and starts to foam In a large bowl, whisk together flour and 1 tablespoon of salt. With either a wooden spoon, dough whisk, or if you have one, a stand mixer with a dough hook, mix the yeast mixture with the flour. The dough is going to be really sticky so mixing might get a little gloppy, but keep at it until everything is full incorporated.. for about 3-5 minutes and don’t be afraid to use your hand%u2026 you can wash it off. %u00a0Once mixed drizzle with oil and cover with a towel. Let rise for about an hour or until dough has dubbed in size. When dough has double, coat%u00a0two 8 or 9 inch cake pans each with 2 tablespoons olive oil. Dump dough onto floured surface and cut in half. Take each half a place in pan. cover and let rise again for another 20ish minutes. preheat over to 400 degrees After second rise, lightly take your fingers and push down dough, making little indents all over the surface. Drizzle each with another tablespoon of olive oil and sprinkle each with a teaspoon of salt. If using spices or any other toppings, nows the time to layer them on. And do any cheese last! Place in oven and bake for about 30 minutes or until the tops are golden brown. When done, place on a wire rack and let cool a bit before removing %u00a0from pans. Done!!%u00a0 To store, place in a paper bag.. best eaten within a few days!
 So the mister wants to know%u2026″Why would anyone ever buy those crappy english muffins from the store when they could be eating these?”
Good question%u2026And we will all answer%u2026.”Never again! Because I now make the sickest E.M.s around.!”(E.M.s is the cool short way to say english muffins and now that you are going to make your own%u2026.man, your so cool!)
These E.M.s are perfect. Easy to make, not overly fussy, and you end up with a super yummy, extremely versatile, individually portion super sweet little disk of bread. And the best part is..nooks and crannies! I think that is why I decided to make these E.M.s, %u00a0so Nick and I can talk the about nooks and crannies%u2026(Sometimes we need light conversation)
 %u00a0
We start with flour and salt whisked together in a bowl. The honey, yeast and warm water are getting on proofing in a jar. An egg waiting to be cracked, some milk, and 2 tablespoons of butter. All this good stuff equals%u2026nooks and crannies!
Oh you like my nifty dough whisk%u2026.me too, I use it all the time. Maybe I should have a dough whisk give away %u00a0%u2026%u2026maybe%u2026..
 Everything all mixed together, dumped onto a floured surface and kneaded for 10 minutes by hand%u2026..If you have a stand mixer, you can use it if you want, but you are missing out on the fun of doing it by hand%u2026.
When the dough has been sufficiently kneaded, gather dough into a nice ball, coat with a little oil and place back into bowl. Cover with a towel and stick in a warm place to rise for about an hour or until it has doubled in size.
 When dough has doubled, punch down and plop out onto floured surface.%u00a0Dust the bottom of a griddle or in my case, two cast iron pans, with corn meal. Divide dough into 8-10 equal balls and smash into 2 inch thick disks.%u00a0
 Place on griddle or pans and sprinkle more corn meal on top of each E.M. Cover and let rise for another 15 minute.%u00a0
 Now the E.M.s %u00a0have rested, turn the griddle (or pans) on to low heat. Once your griddle (or pans) gets hot, continue to cook that side for another 7-10 minutes, or until golden brown. Flip and cook other side for 10-12 minutes or until golden brown. Once browned, check for doneness with a thermometer. The inside should reach 200 degrees.( if you don’t have a thermometer, fork split one open and check%u2026. you are going to eat it anyway) If the outside cooked faster then the inside, no worries, just pop them into the oven at 350 for 8-10 minutes. I had to pop mine into the oven for to cook completely.
 %u00a0
 Remove form griddle, let cool a bit, and %u2026%u2026Fresh, fluffy fat, fantastic%u2026.Everything and more that a real english muffin should be. Split open with a fork and%u2026%u2026. the nooks and crannies! So spot on. %u00a0Serve with anything your heart desires%u2026I served these with whipped honey butter%u2026. and eat the only kind of E.M. you will ever again eat. Grocery store english muffins be damned!
Enjoy and Happy Tuesday!
-C
English Muffins
Ingredients
- 2 1/2 %u00a0cups unbleached all-purpose flour
- 2 teaspoons honey
- 1 teaspoon salt
- 2 tablespoon butter at room temperature
- 1 1/4 teaspoons active dry yeast
- 1/4 cup warm water
- 3/4 cup milk
- 1 egg
- cornmeal for pan
Combine warm water, honey and yeast in a bowl to active..about 5-10 minutes or until yeast is foamy.
In a separate bowl, whisk together flour and salt. Mix in butter(I use my fingers) When yeast mixture is done proofing, whisk together mixture with the egg and milk. Add wet %u00a0to dry and mix until just incorporated%u00a0%u00a0Dump out onto floured surface and knead dough for 8 minutes, adding a bit of flour whenever dough starts to get too sticky. %u00a0Roll into a ball, coat with oil and place back into bowl and cover with a towel. Let rise for 60 minutes or until sought has doubled in size.
Once the first rise is done, deflate dough and divide into 8 equal pieces(10 for a slightly smaller muffin). %u00a0Smoosh each ball into a flat disk, about 2 inches thick) and place on a cold cornmeal dusted cast iron griddle. (I used 2 cast iron pans) Sprinkle tops of muffins with more corn meal and let dough rest for another 15 minted. %u00a0Turn burners on low heat. Let griddle get hot and continue to cook the muffins for another 10 minutes or until golden brown. Flip and cook opposite side until gold brown and remove from griddle. To make sure the muffins are cooked completely, stick an instant%u00a0read thermometer into the center%u2026it should read 200 degrees. (if you don’t have a thermometer, split one open%u2026 the tester E.M.) %u00a0If the E.M.s%u00a0are not completely cook, just stick in the oven on 350 for 5-10 minutes or until cooked throughout.
Remove and let cool. %u00a0To serve, split open with a fork and give a light toast. Spread with butter, jam, peanuts butter, anything you want%u2026maybe %u00a0make E.M pizzas!%u00a0
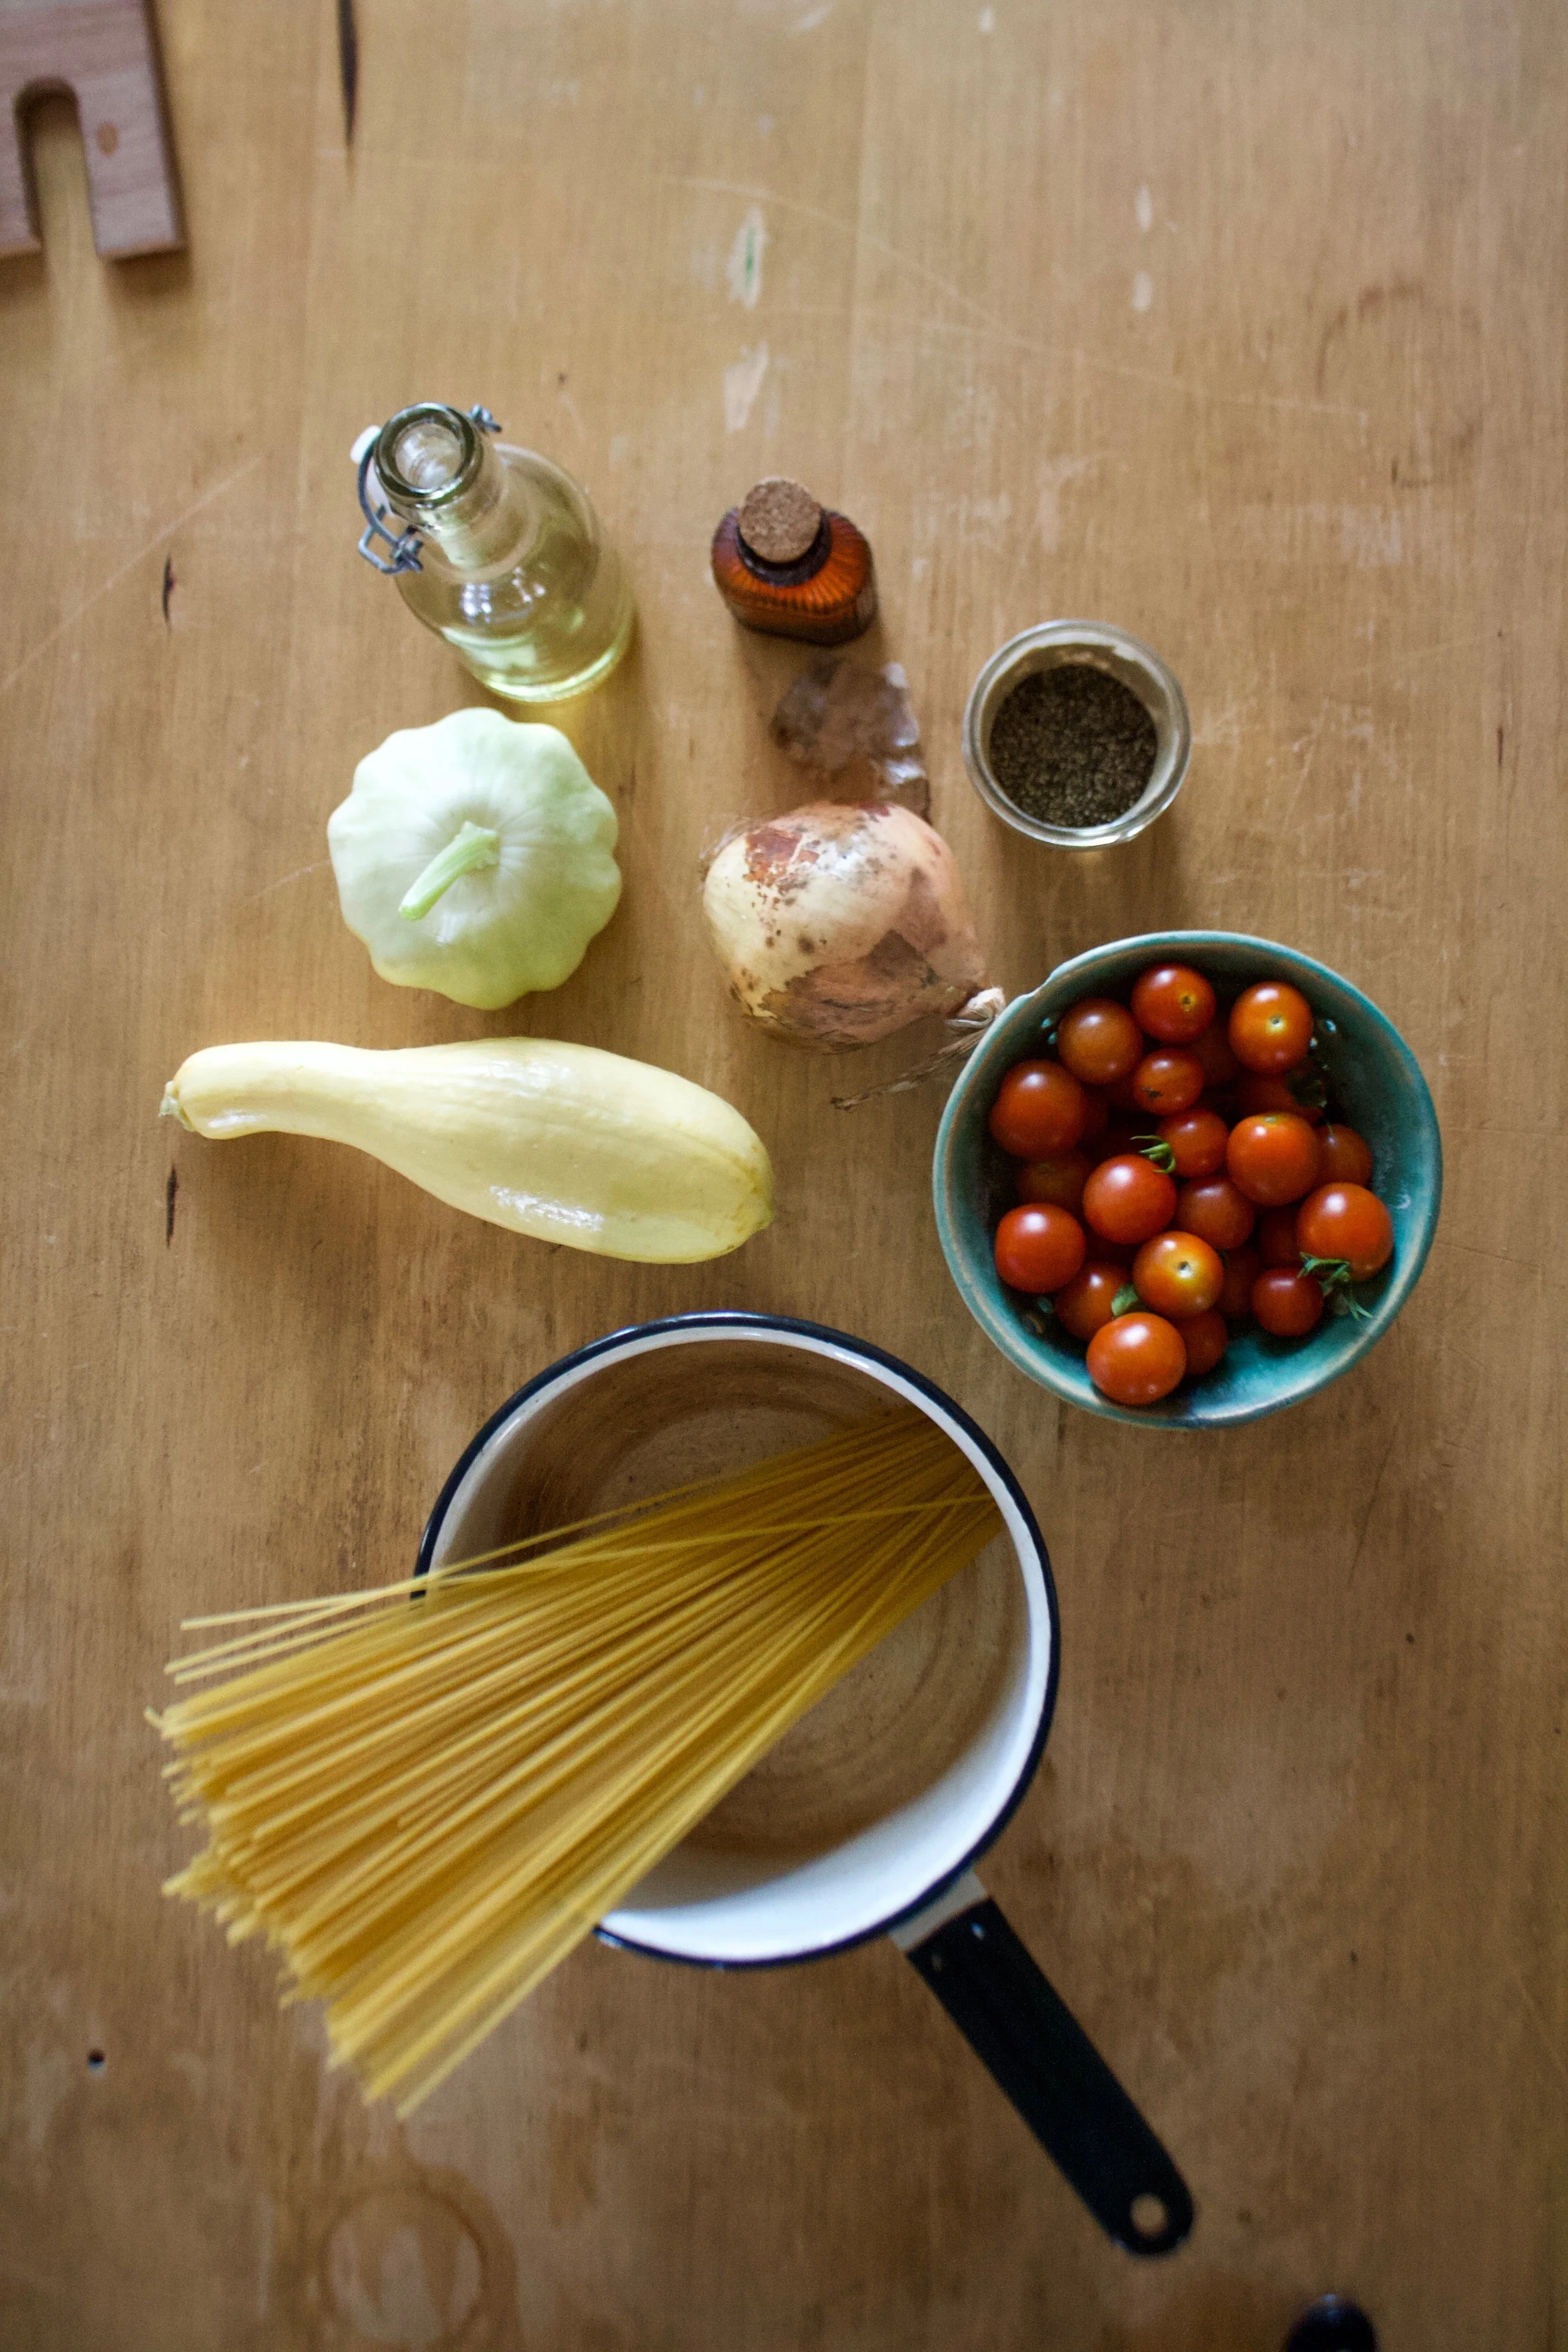

















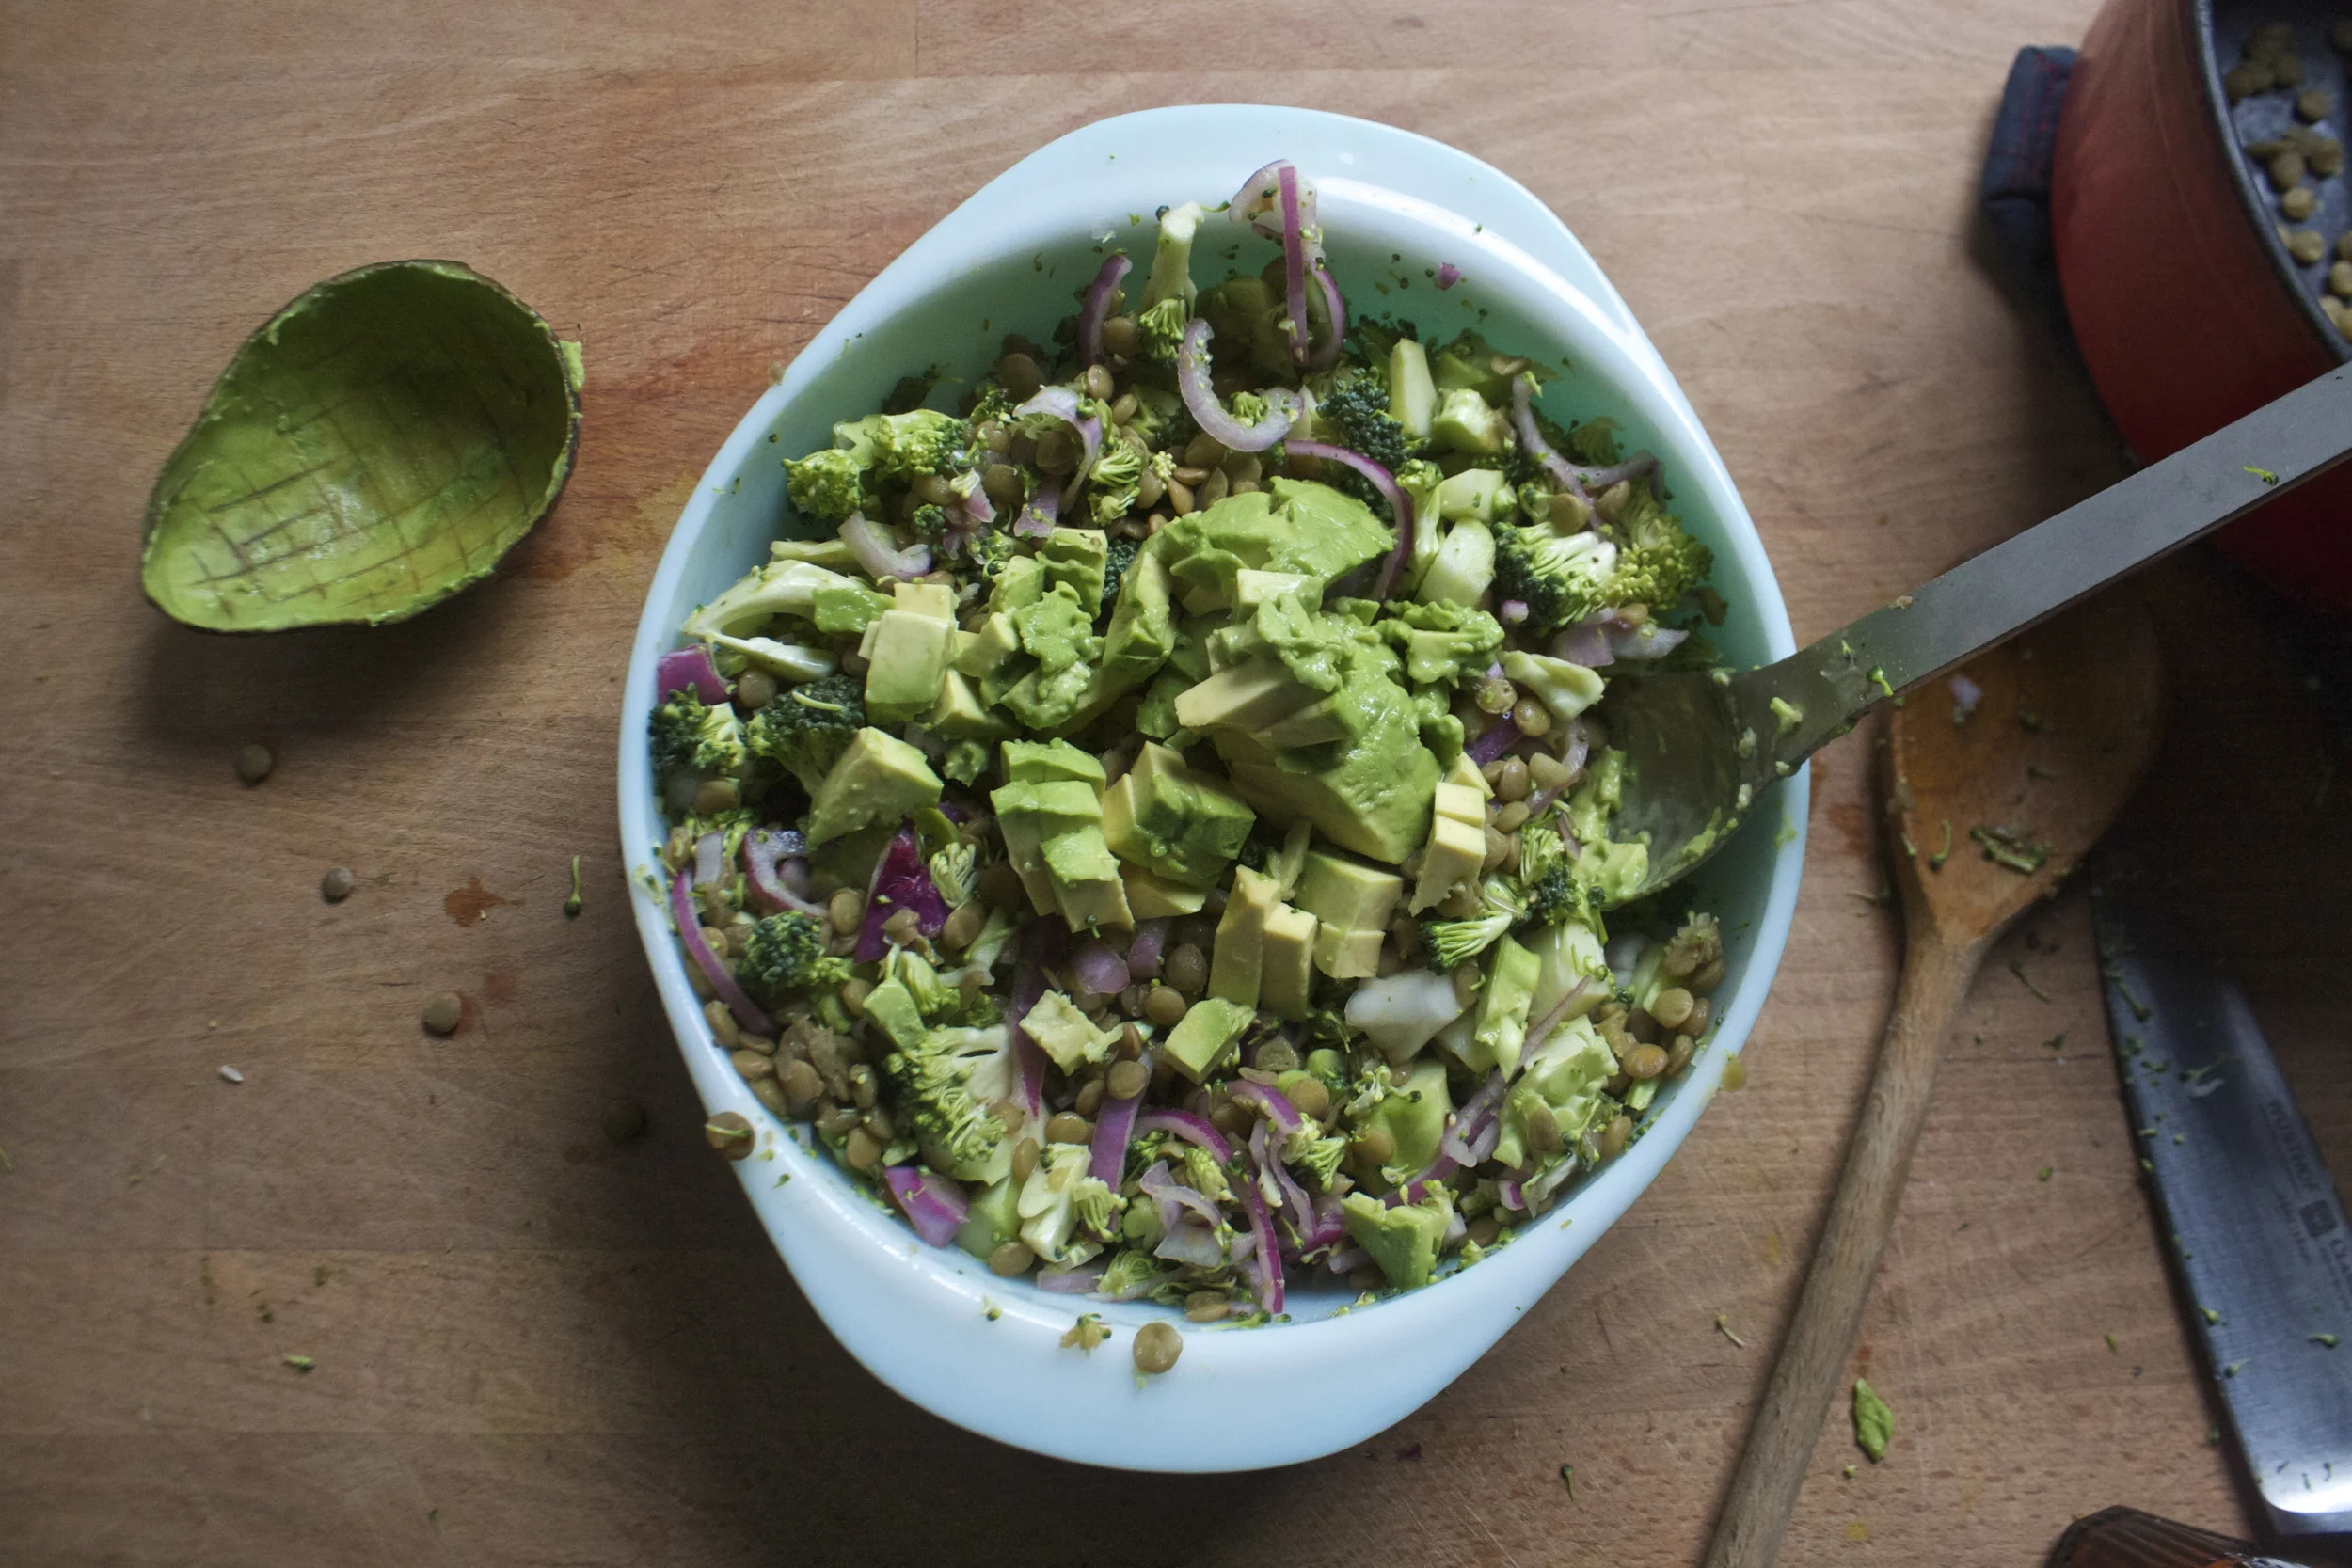
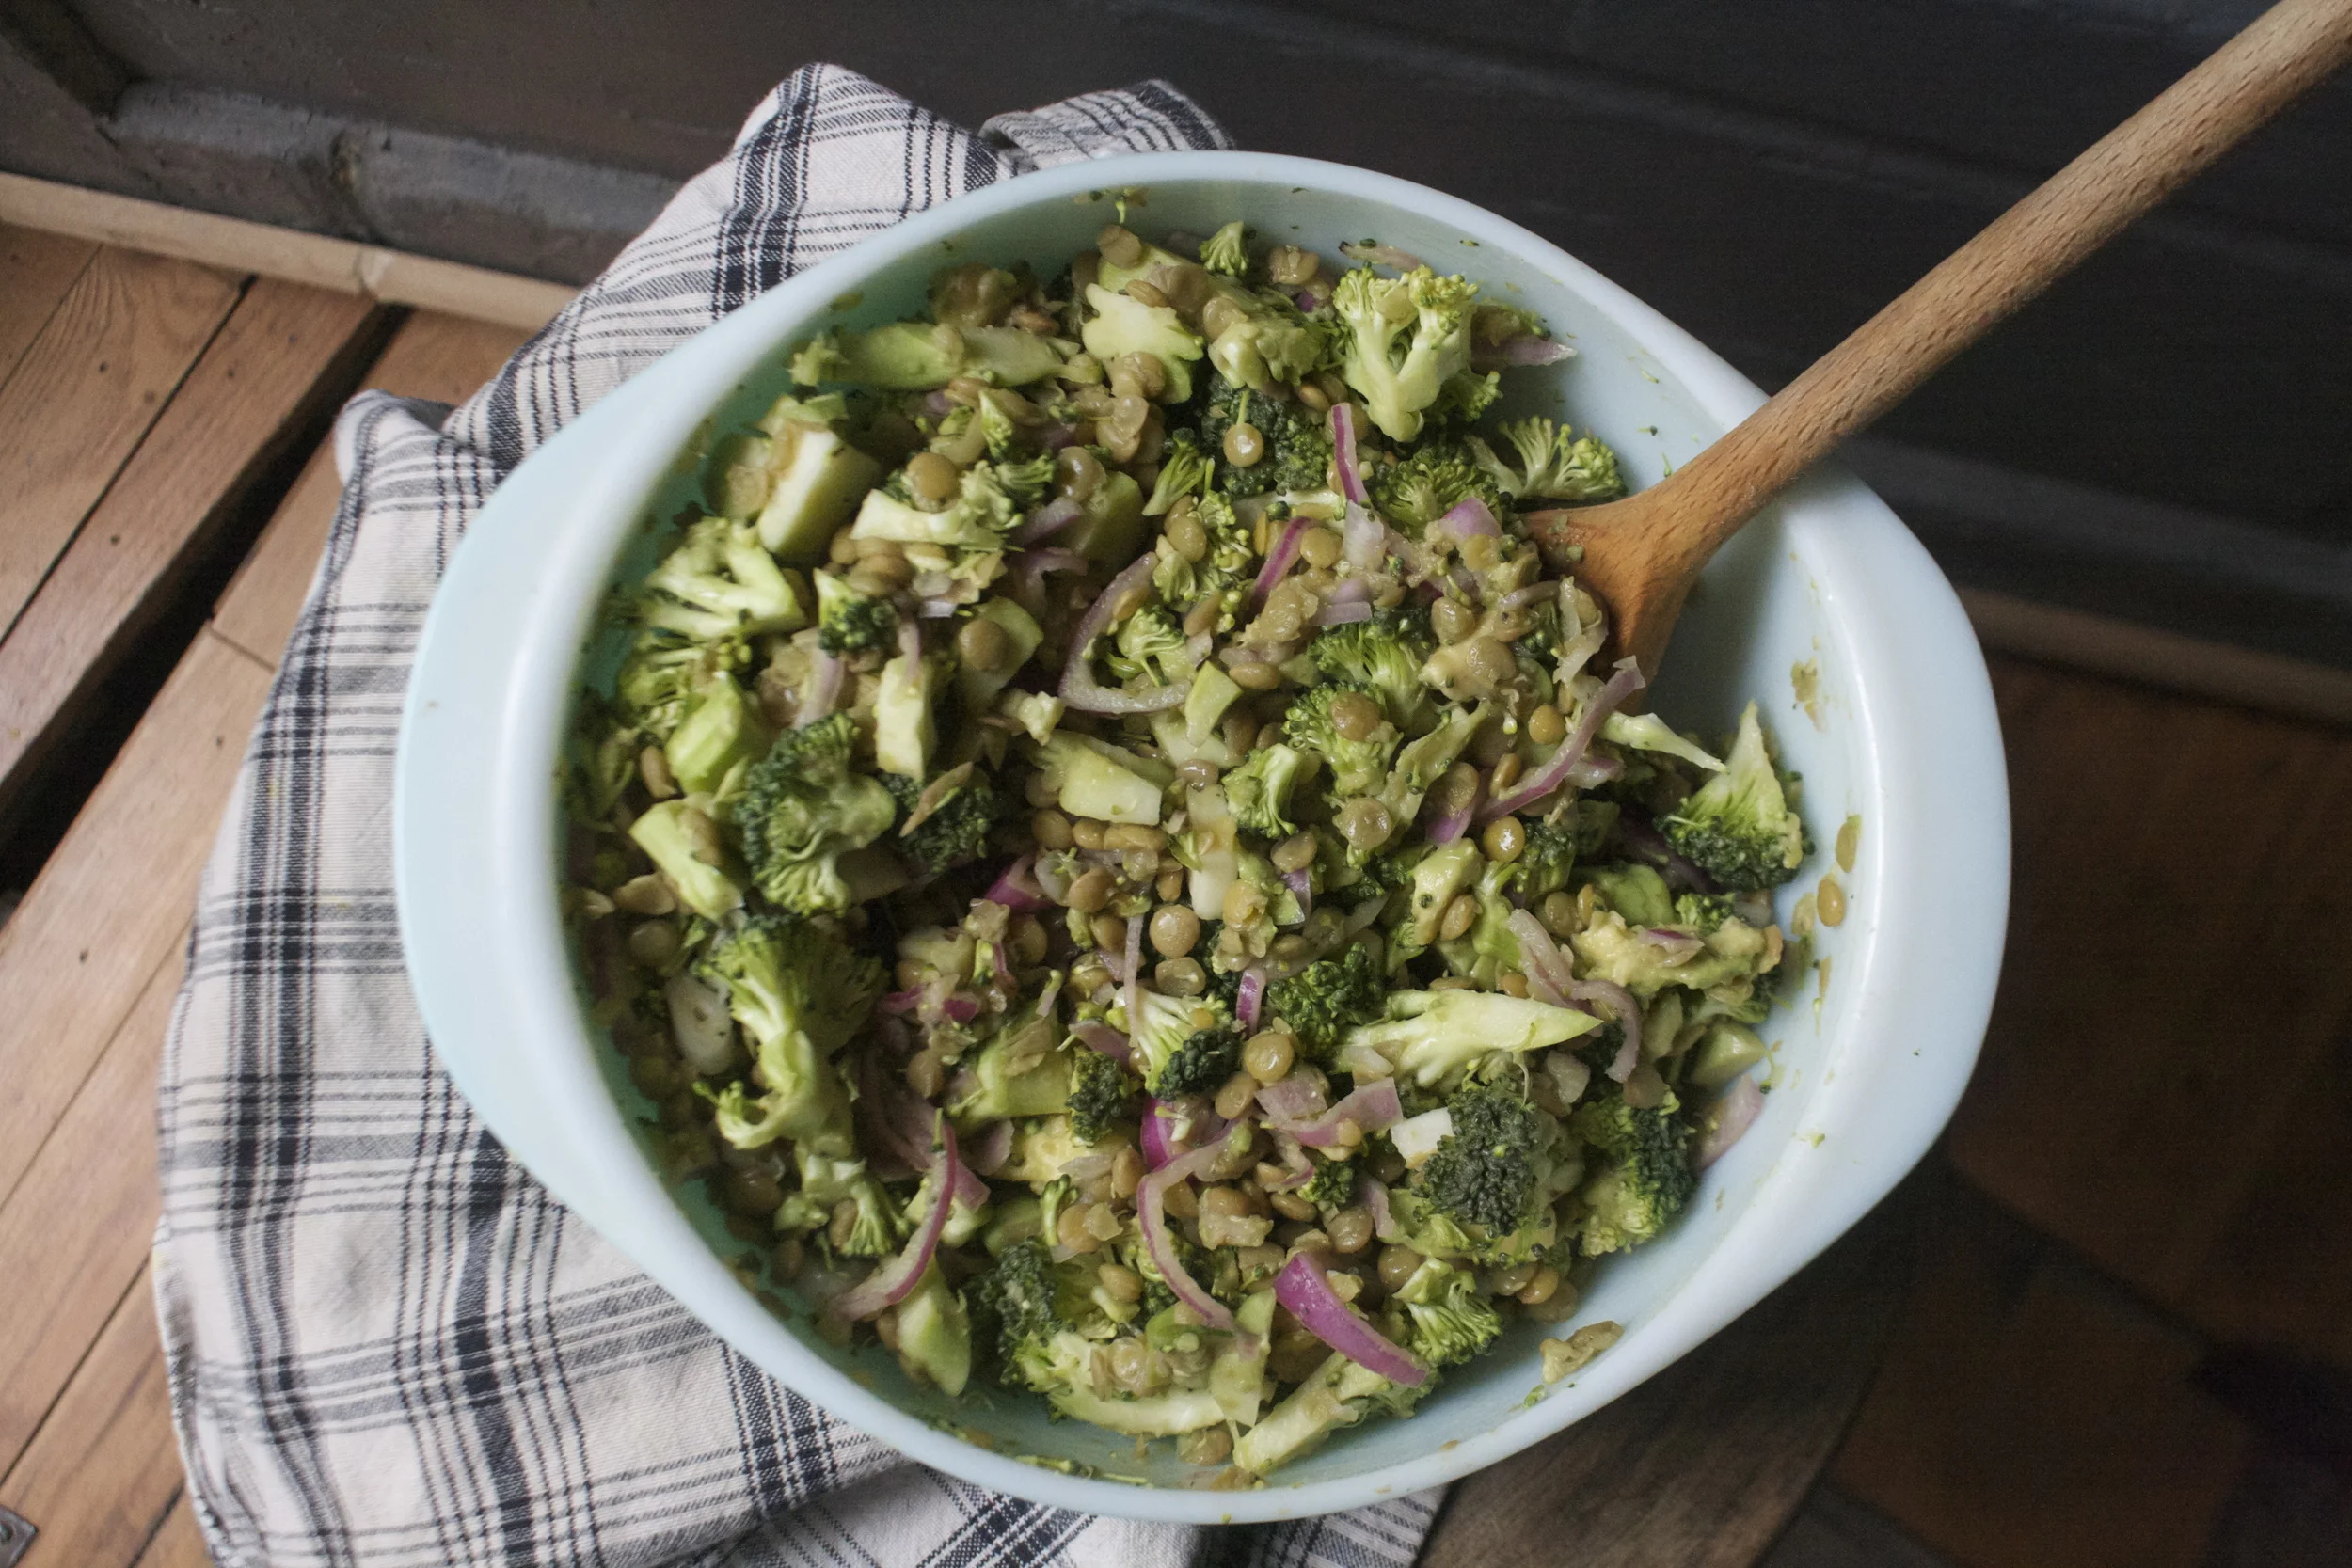
 The bounty of spring is upon us. Asparagus is everywhere and I have been embracing it.. smelly pee and all.%u00a0 And along with all my spring veggies and smells, %u00a0I have grabbing for more springy spices. I go through seasonal spice kicks, like cinnamon and ginger in the fall, curries and chills in the winter. And for spring, I am big on sumac. If you haven’t heard of it or tasted it, it kind of taste like a tangy salty lemon..without actually having any salt. And its a really pretty, a bright red, almost purple color. I use it on a lot of things, especially veggies and bean dishes, sometimes as a lemon replacer, but mostly to add another level of tangy flavor.%u00a0It’s fantastic, really great for all those springy time dishes. Nice and bright!
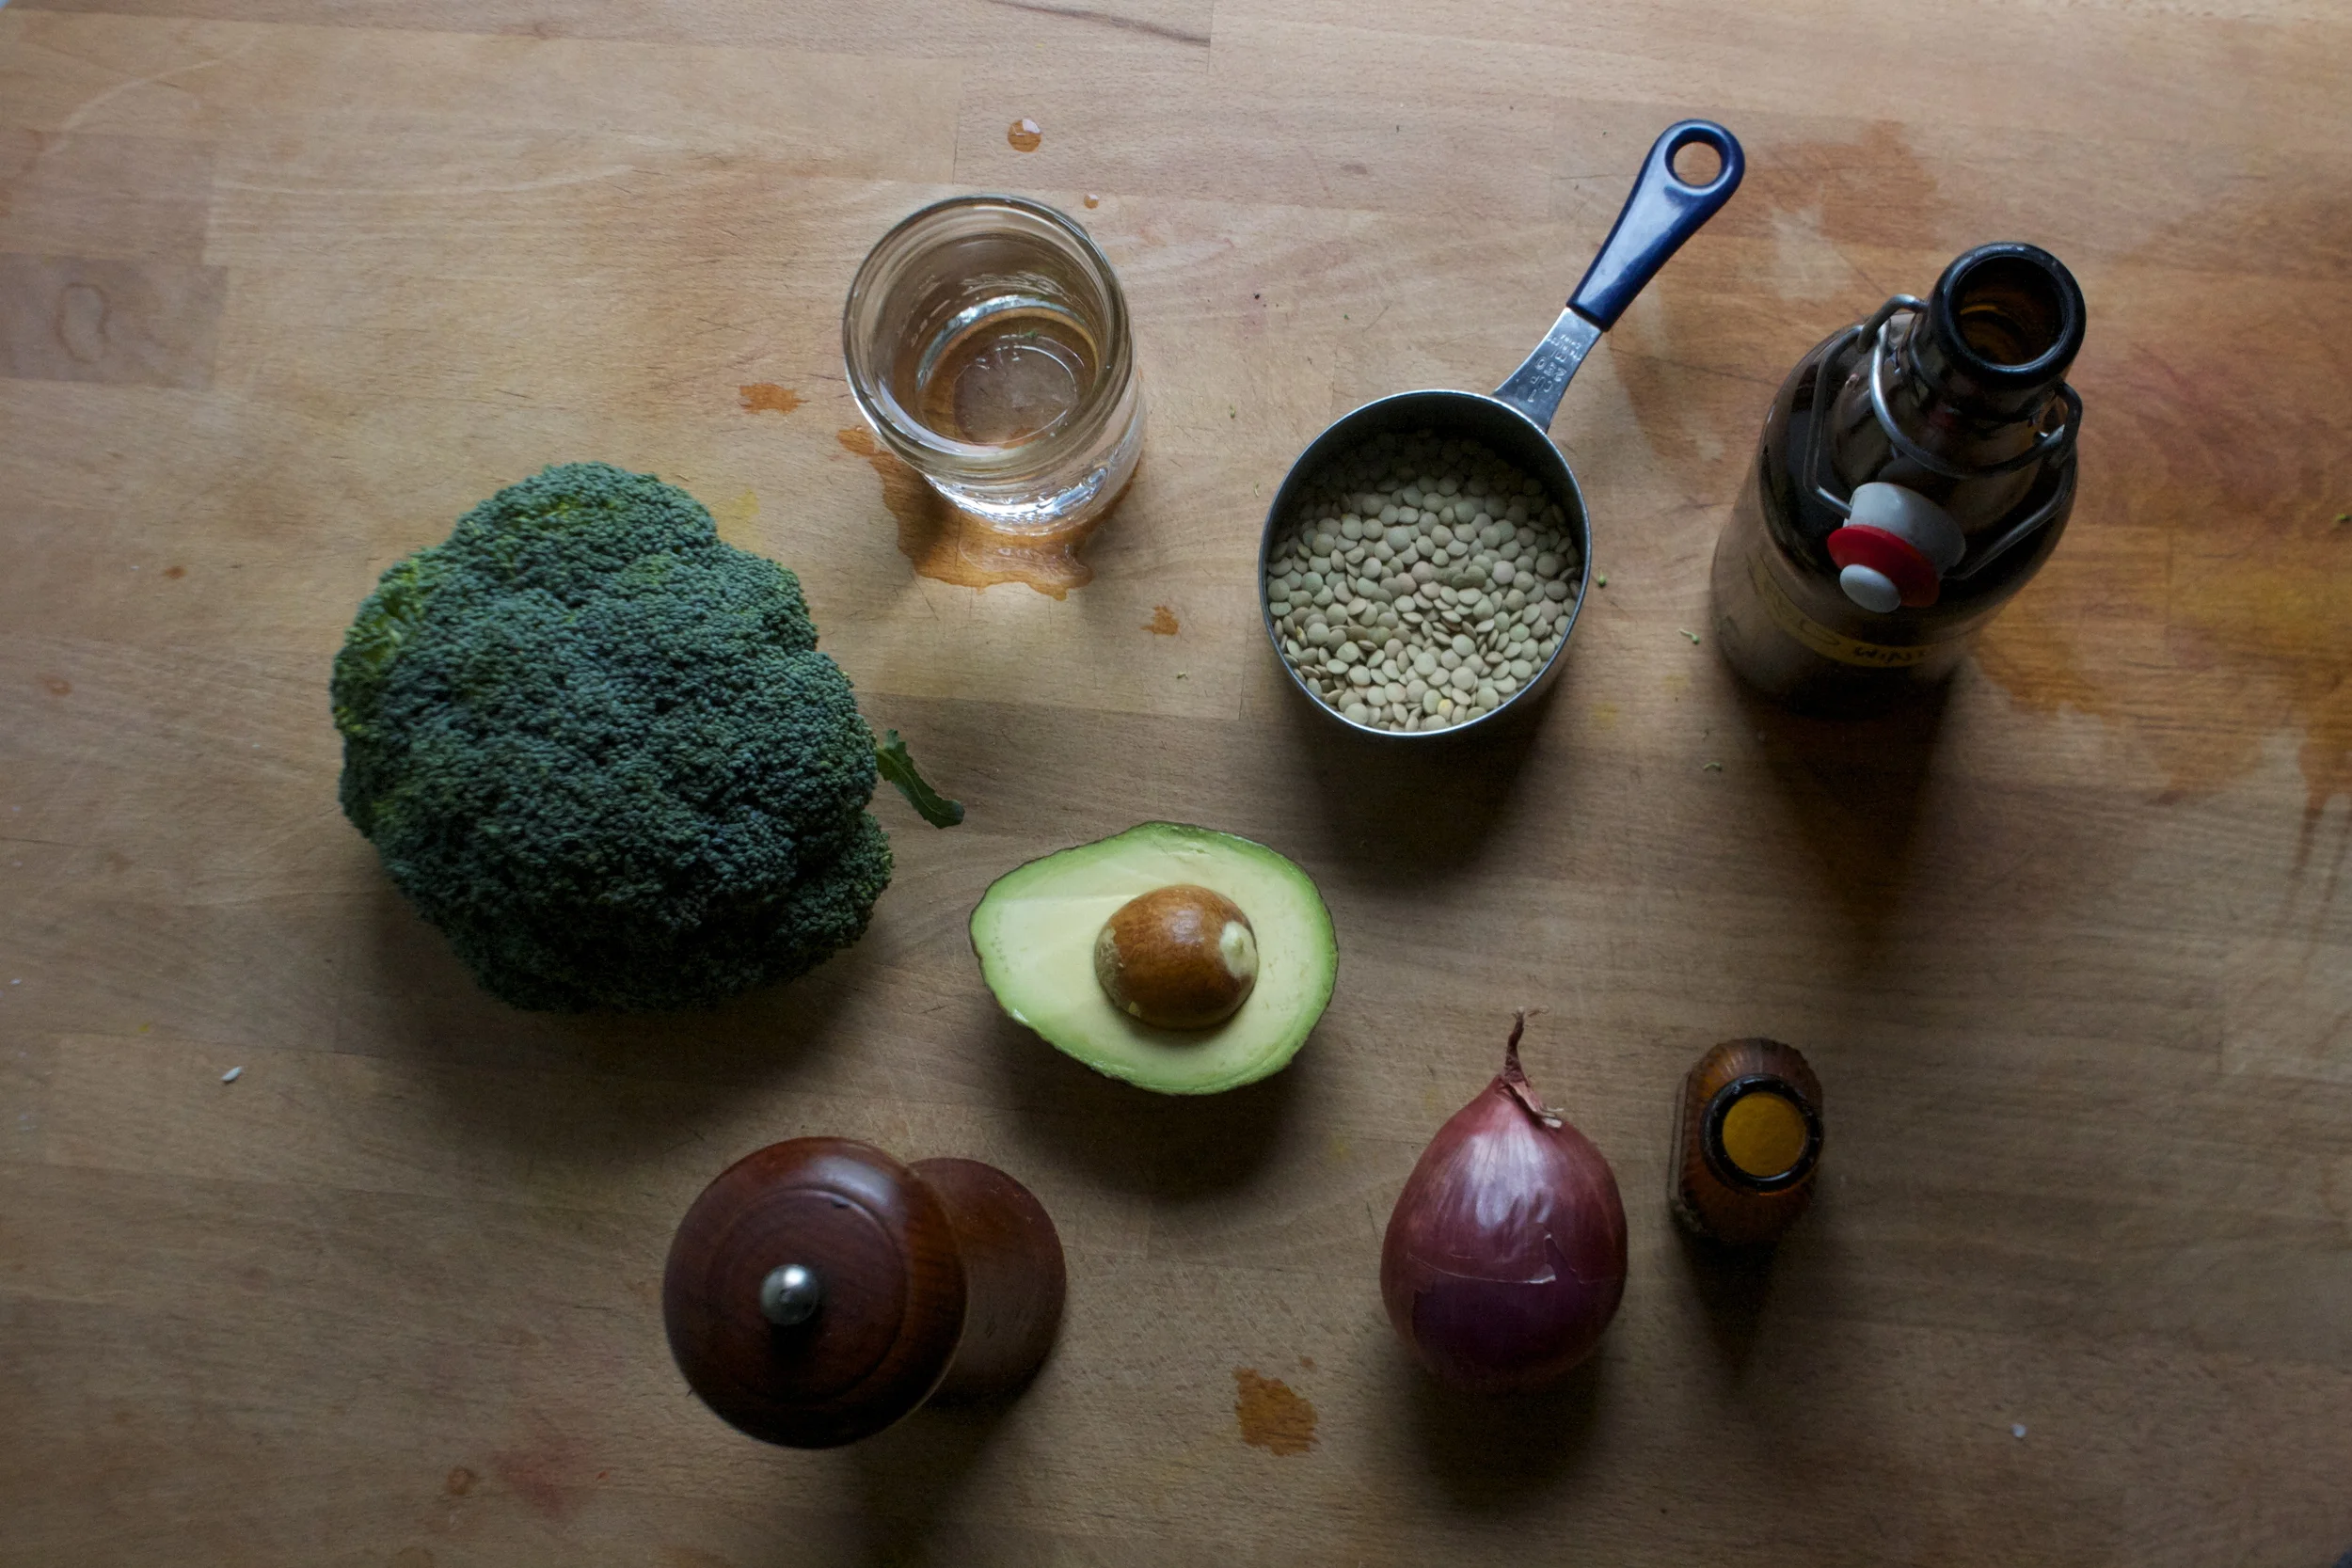
 The stuff of the stuff. Quinoa and asparagus for the base. Sumac, lemon, garlic, onion, salt and pepper and a little splash of oil for the dressing.%u00a0
 %u00a0 %u00a0 %u00a0
 Start by making the dressing. You want to have it sit for at least 10 minutes. It will be perfect by the time the quinoa is done. Mince the garlic, dice the onion and juice the lemon. Stick it all into a jar with the sumac, a pinch of salt and pepper and about a teaspoons worth of olive oil. Stick a lid on the jar and shake shake shake. and let it sit.
 When the quinoa is simmering, cook up the asparagus. Add a drizzle of oil, to a pan and a few splashes of water. Place trimmed and chopped asparagus to pan and sprinkle with salt. Cook on medium heat for about 8 minutes, or until cooked but still has a nice crunch to it. Take off heat and add the dressing to pan. %u00a0Let it sit and marinate for a few minutes.
 When the quinoa is tender, fluff with a fork and add to the skillet with the asparagus and dressing. Toss around to make sure all the quinoa gets dressed. Take a taste.. does it need a little salt and pepper? Add a pinch if it does.
 Pile into a bowl, add a bit of cracked pepper.. and eat.
 Pomeamole!! %u00a0That’s what I want to call it, so that’s what it is. Guacamole with the addition of tiny little pearls of sweet and tangy juice.. I mean, come one, it can’t get much better. This is what happens when avocados are on super sale, I buy a lot%u2026and then eat a lot%u2026.and then eat some more. %u00a0I start to get a little crafty and, wa la.. add pomegranate seeds. I also inflict anyone eating around me with avocado, even if they believe that they don’t like it because that’s not possible. I know this because there was a time where I believed that I didn’t like avocados%u2026 and that’s just crazy. I remember the very moment I realized I was wrong. It was the first food Nick ever made for me. I was working at a pottery studio and wasn’t able to leave because of a raku firing %u00a0and I was starving. My love saved me with a sandwich, and it was the best I had ever eaten. %u00a0A sandwich that contained hummus, greens, sun-dried tomatoes, and yup, big slices of avocado. That sandwich change my life. I knew from that moment on%u2026. %u00a0I loved avocados%u2026%u2026oh and that I loved Nick too. I know, we are so cute that you want to barf. Well go ahead, just do it before you eat the pomeamole.
 It’s all pretty simple…One very tasty ripe avocado, about 1/2 cup of pomegranate seeds, %u00a0a little chopped onion, a bit of chopped tomato, %u00a0a lemon, a few cloves of garlic and a pinch of salt. %u00a0It’s what dreams are made of.
 Mash it all together minus the pomegranate seeds%u2026 As smooth or as chunky as you like it%u2026.
 Fold in 1/2 the seeds
 And top with the rest! And another squeeze of lemon%u2026 just like that. You can eat this magic with anything you want; %u00a0chippers, rice cakes, tacos, toast, or even top a kale salad with a big scoop. %u2026..we at it with carrots and broccoli. SO GOOD!





































































 This is an amazing book, full of pictures and information about 123 different varieties of apples%u2026.I am so excited to read it! My love got it for me for Christmas%u2026.So nice, so sweet.
  Its been a weird weather week..warm and gray.. This touch of blue really stood out.
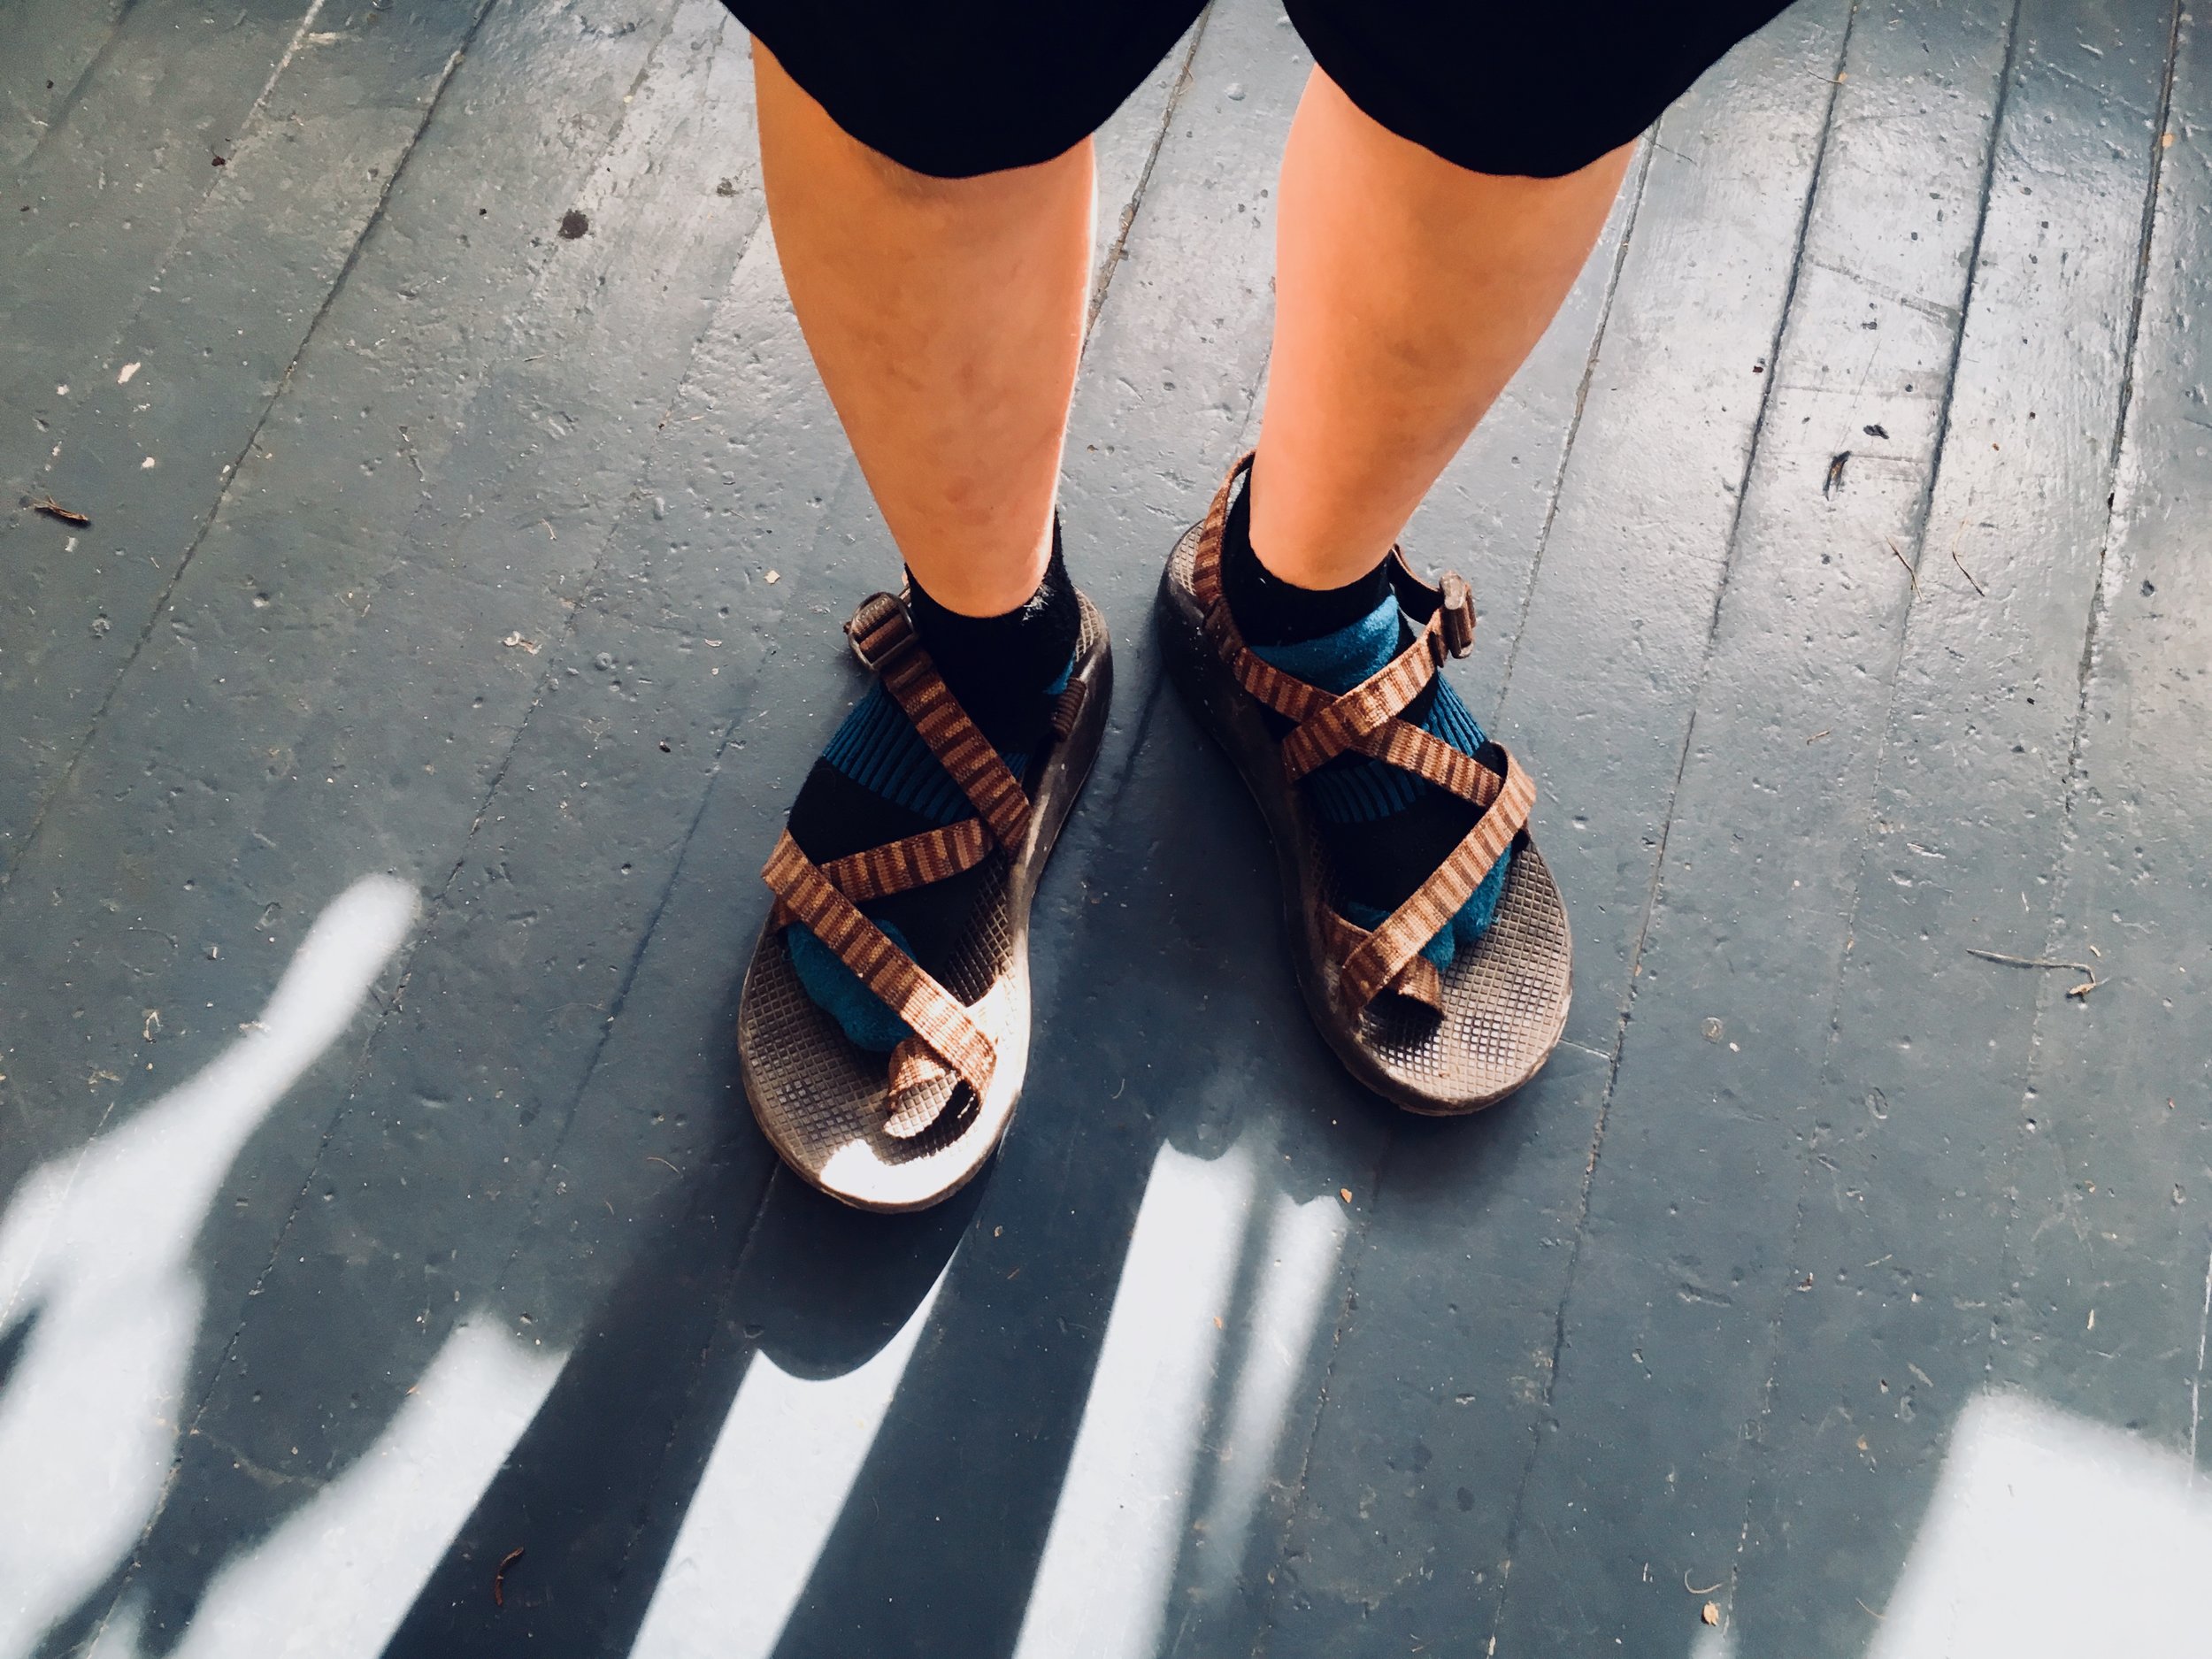
 I found my favorite rag wool socks (Hooray!!!!).. and wore them all week.(don’t judge)
 Ice Skating!!! One of my nephews was born on Christmas so we always do a skating %u00a0party at the ice rink on Christmas eve%u2026%u2026%u2026.another of %u00a0my favorite family traditions%u2026Always a super blast. Here my sister and nick were giving this little her first ever skating lessons. All I can say is good thing she was wearing a helmet.
 %u00a0Another gift from the mister%u2026a weck juice jar%u2026%u2026If you know me or are getting to know me, you will know that I am jar obsessed and weck jars are some of my favorite. I eat, drink, store everything in jars. This beauty is destined for tea and or coffee.
 I am not saying this because he is my lover, but Nick is an amazing artist. He has really gotten into using spray paint and has been doing some really awesome large scale images(nothing illegal%u2026%u2026.yet!!) He did this whale a few days ago.. I am always blown away at he talent.
 Popcorn drizzled in melted peanut butter%u2026.. WHOA!!!!! I also like to add garlic salt and chunks of fresh apple. It is the best most fantastic movie snack ever%u2026%u2026%u2026Maybe I’ll share with you sometime.
 An early morning walk with the pup to the waterfront%u2026We watched the sun come up…I am so lucky to live in such a beautiful place.









































































































THE LOVELY CRAZY
October 15, 2019 by maximios • Blog
Summertime is in full swing. Hot ass days, garden fresh veggies, zucchinis as big as whales, and did I mention that hot ass heat? If you have been around here before, you know how well I handle the heat. (NOT WELL AT ALL!)
I think we are all hot these days. But really, lets just focus on the good things, like fresh summa veggies!
This sandwich is all about summertime and not having to turn on a single flame or heat source and takes all of 5 minutes to make. Zucchini because it is everywhere, beans for more substance and they are delicious, all mixed up in a creamy bean and tahini sauce. Super fast, fresh and oh so delicious. I made a big batch for sandwiches but also I was just eating it with a fork. It%u2019s a tasty one that will be on the summer rotation for sure for the next few months, or until the zucchini runs out and I dare to turn the oven on again. (Ok, I am being a whine ass. It%u2019s not THAT bad and I did turn the oven on, early morning, to bake bread. So yeah.) But for real. This is a great, super fast, throw together, fresh, light but filling, sandwich situation for any and all of your summertime eating needs. What more do we need? The mr said all he needed with the sandwich were chips. Chips and a nice cold drink.
Done sir. Done.
Now to the sandwich!
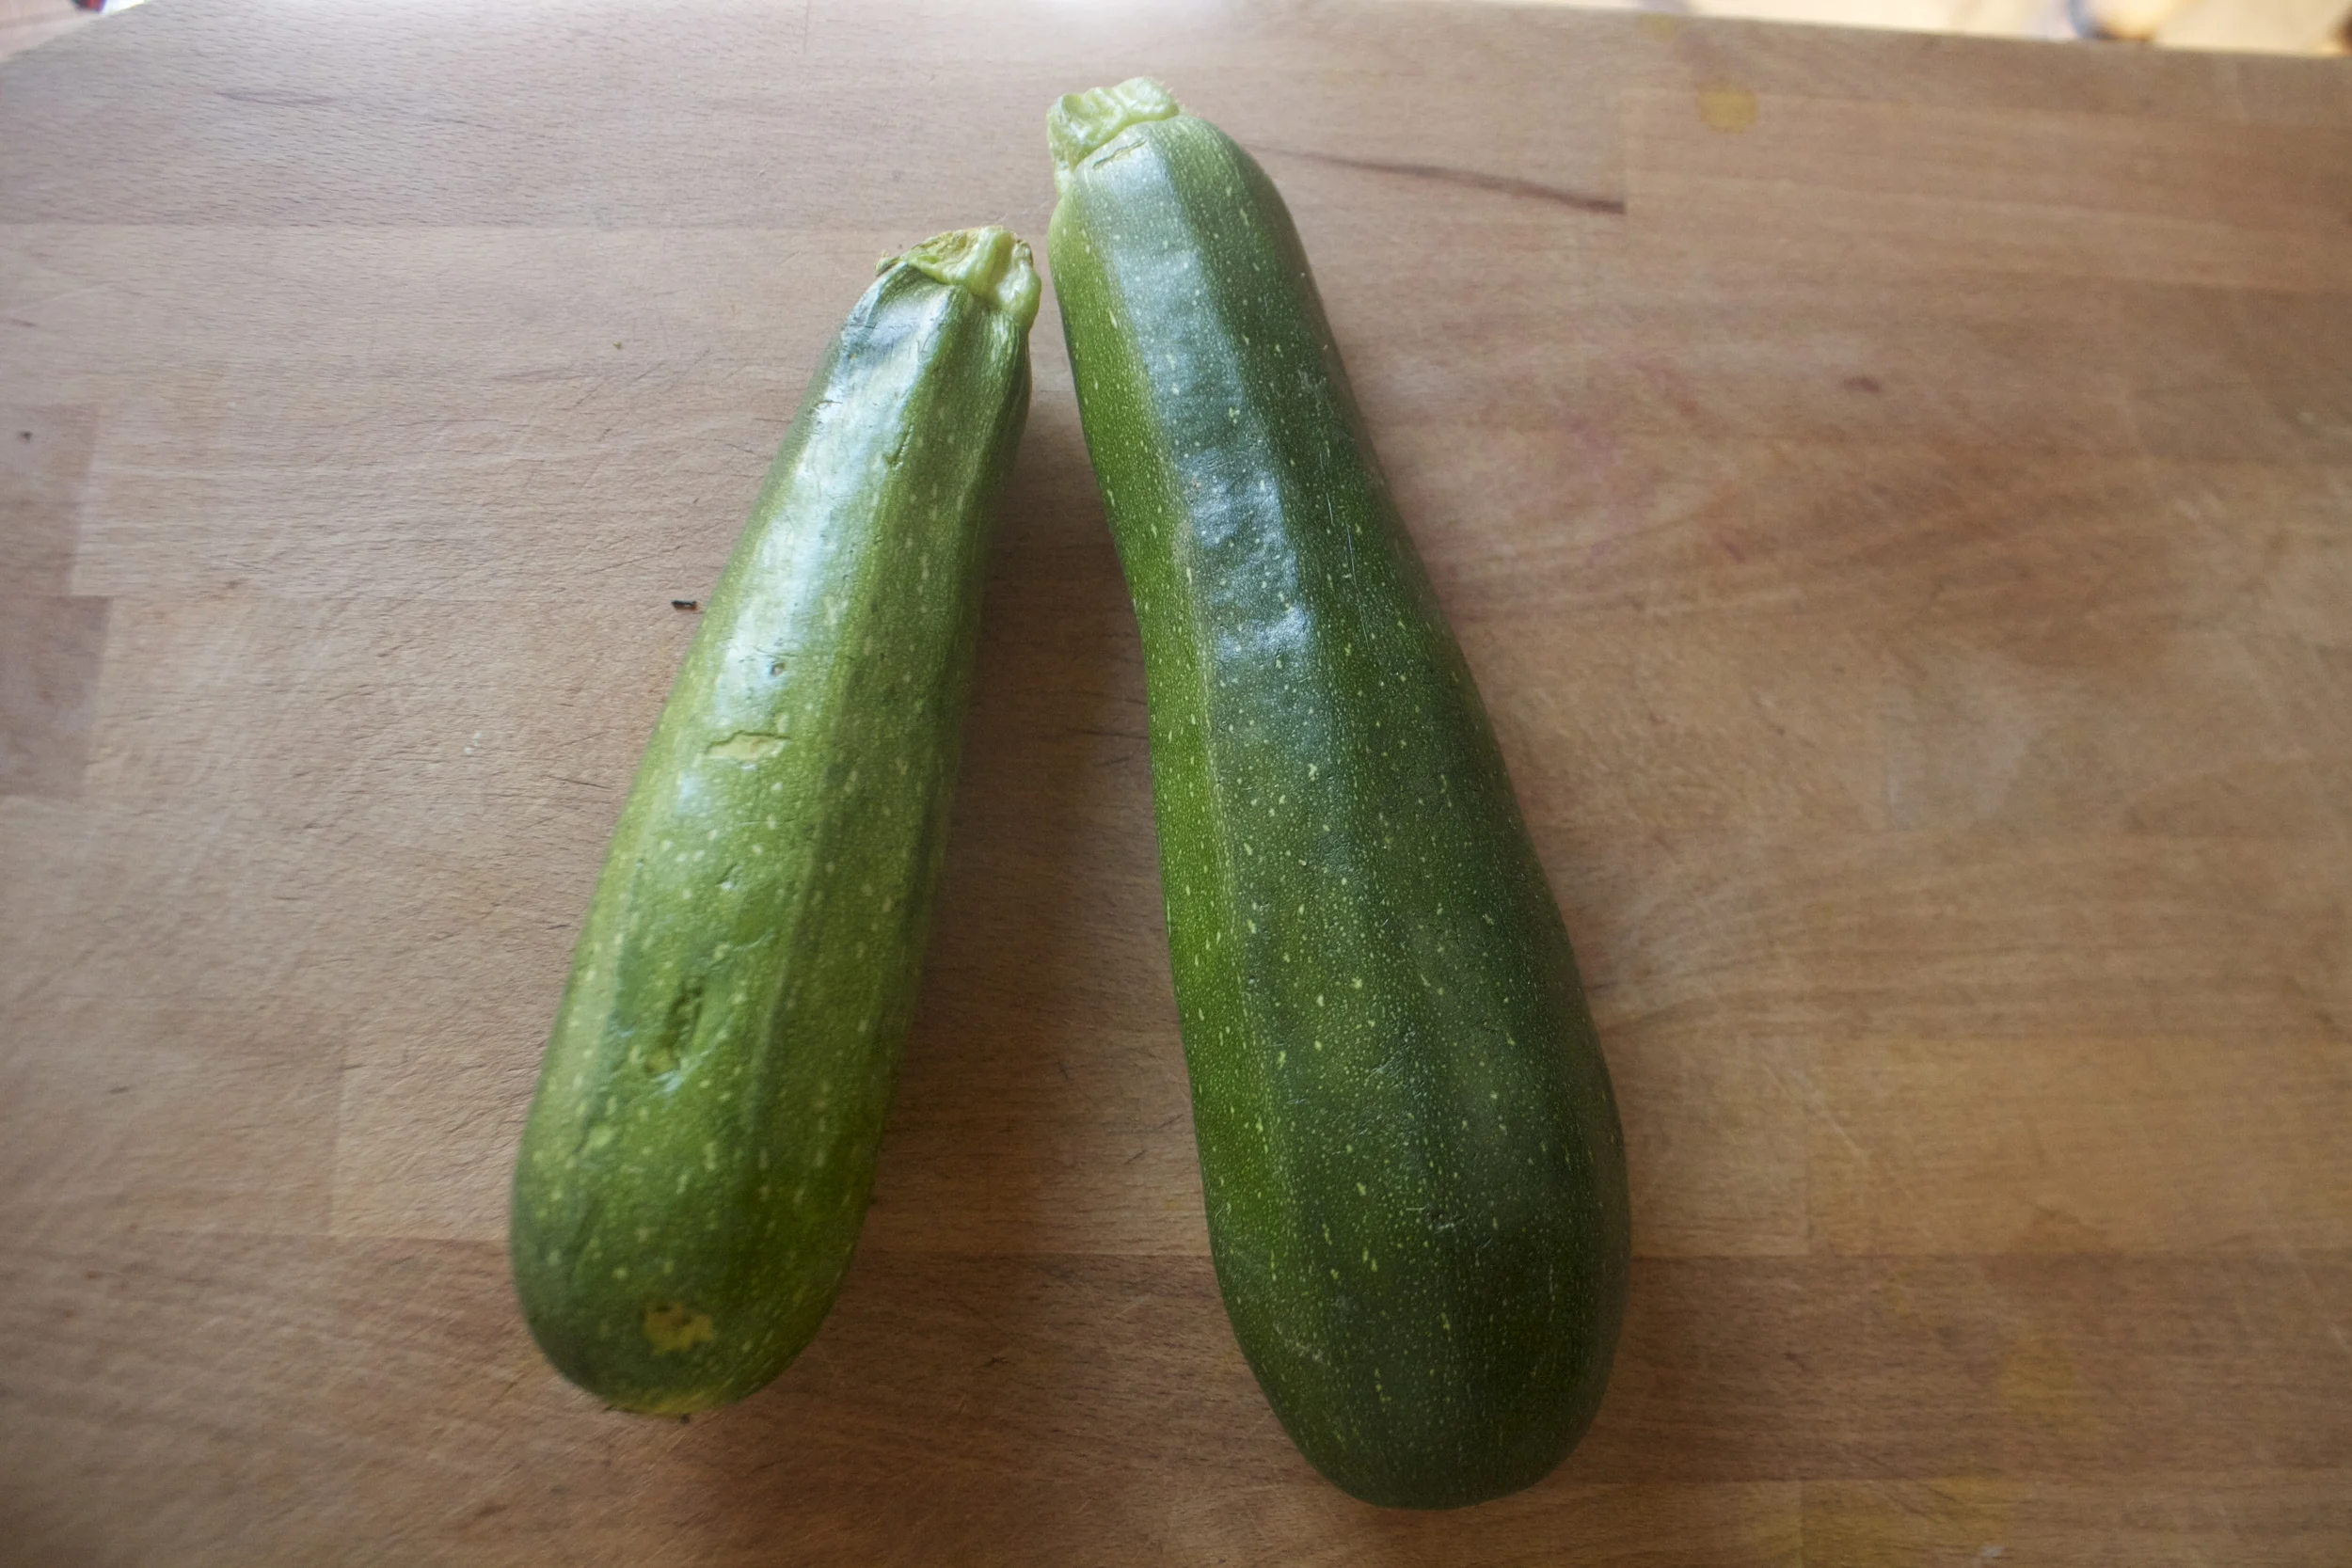
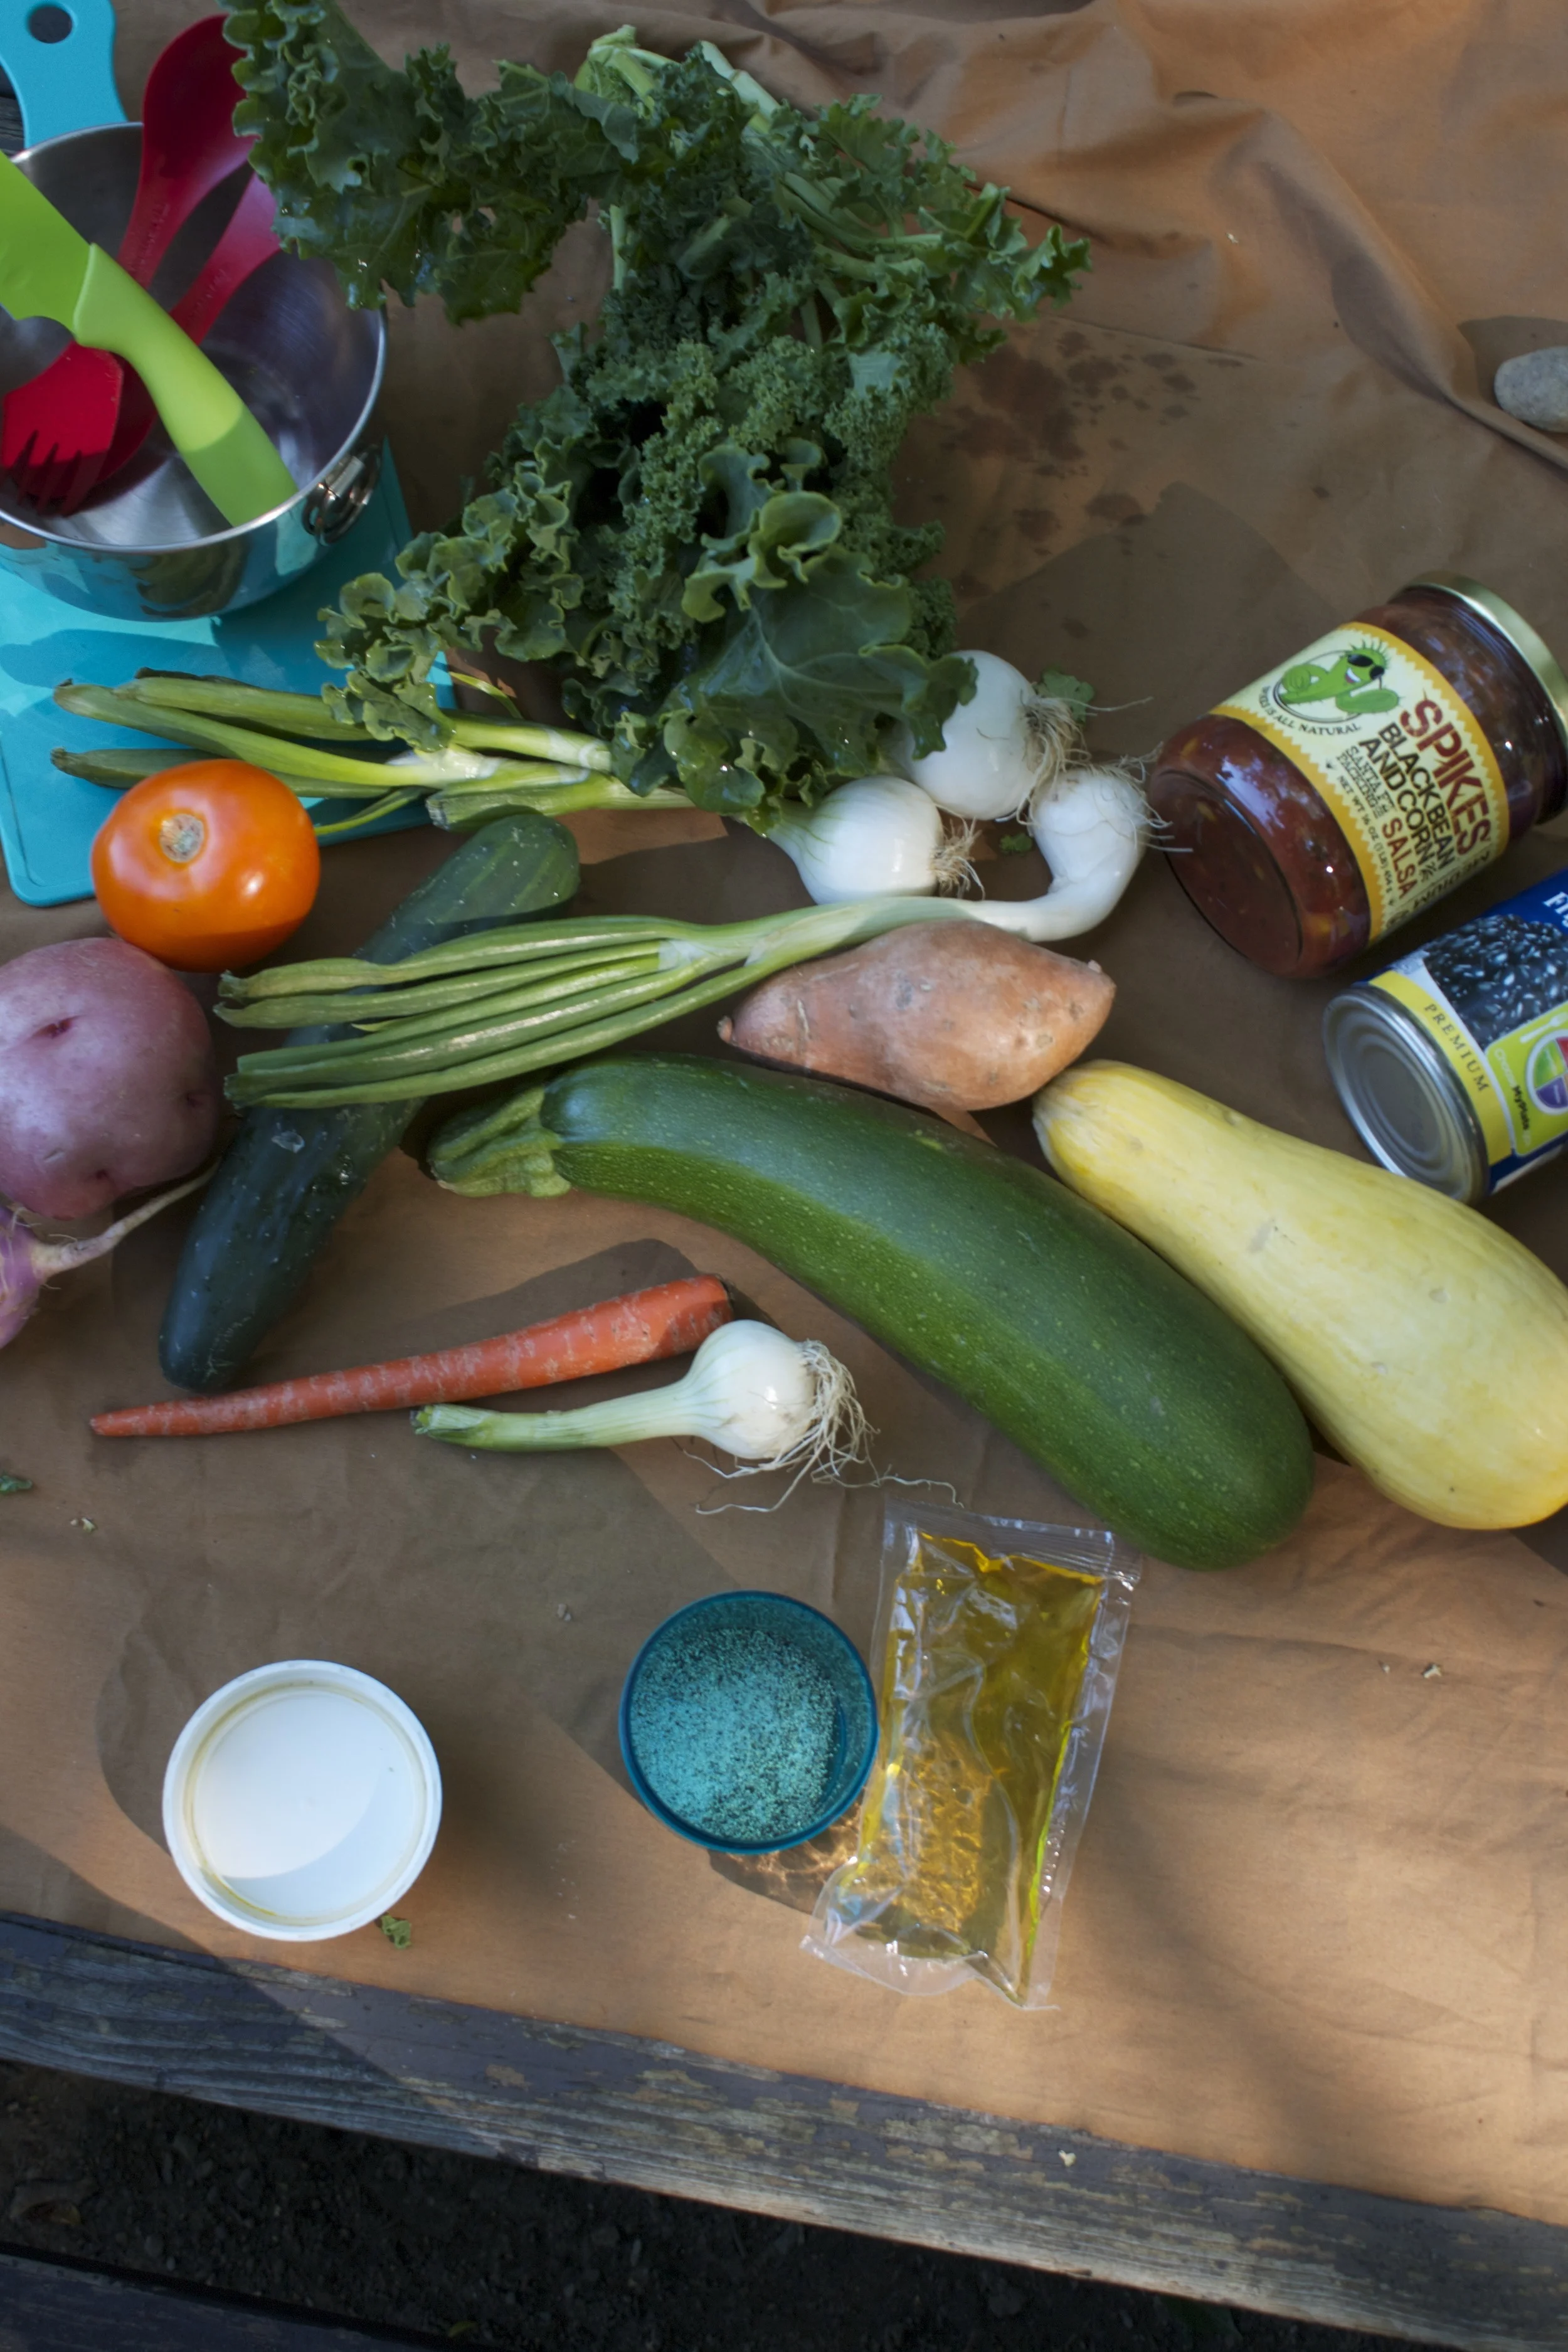
The stuff. White beans, a zucchini, and a fresh spring onion. Also some tahini, a lemon, a few cloves of garlic, a little vinegar and water, and salt and pepper. And to serve as a sandwich you need bread. lettuce, and tomato. Well you only need the bread, but you get what I am saying.
Fist off. Half the white beans go into blender or jar with the tahini, the juice of the lemon, garlic, vinegar and a splash of water. Blended unit nice and creamy smooth. And yes, it is basically hummus but whatever.
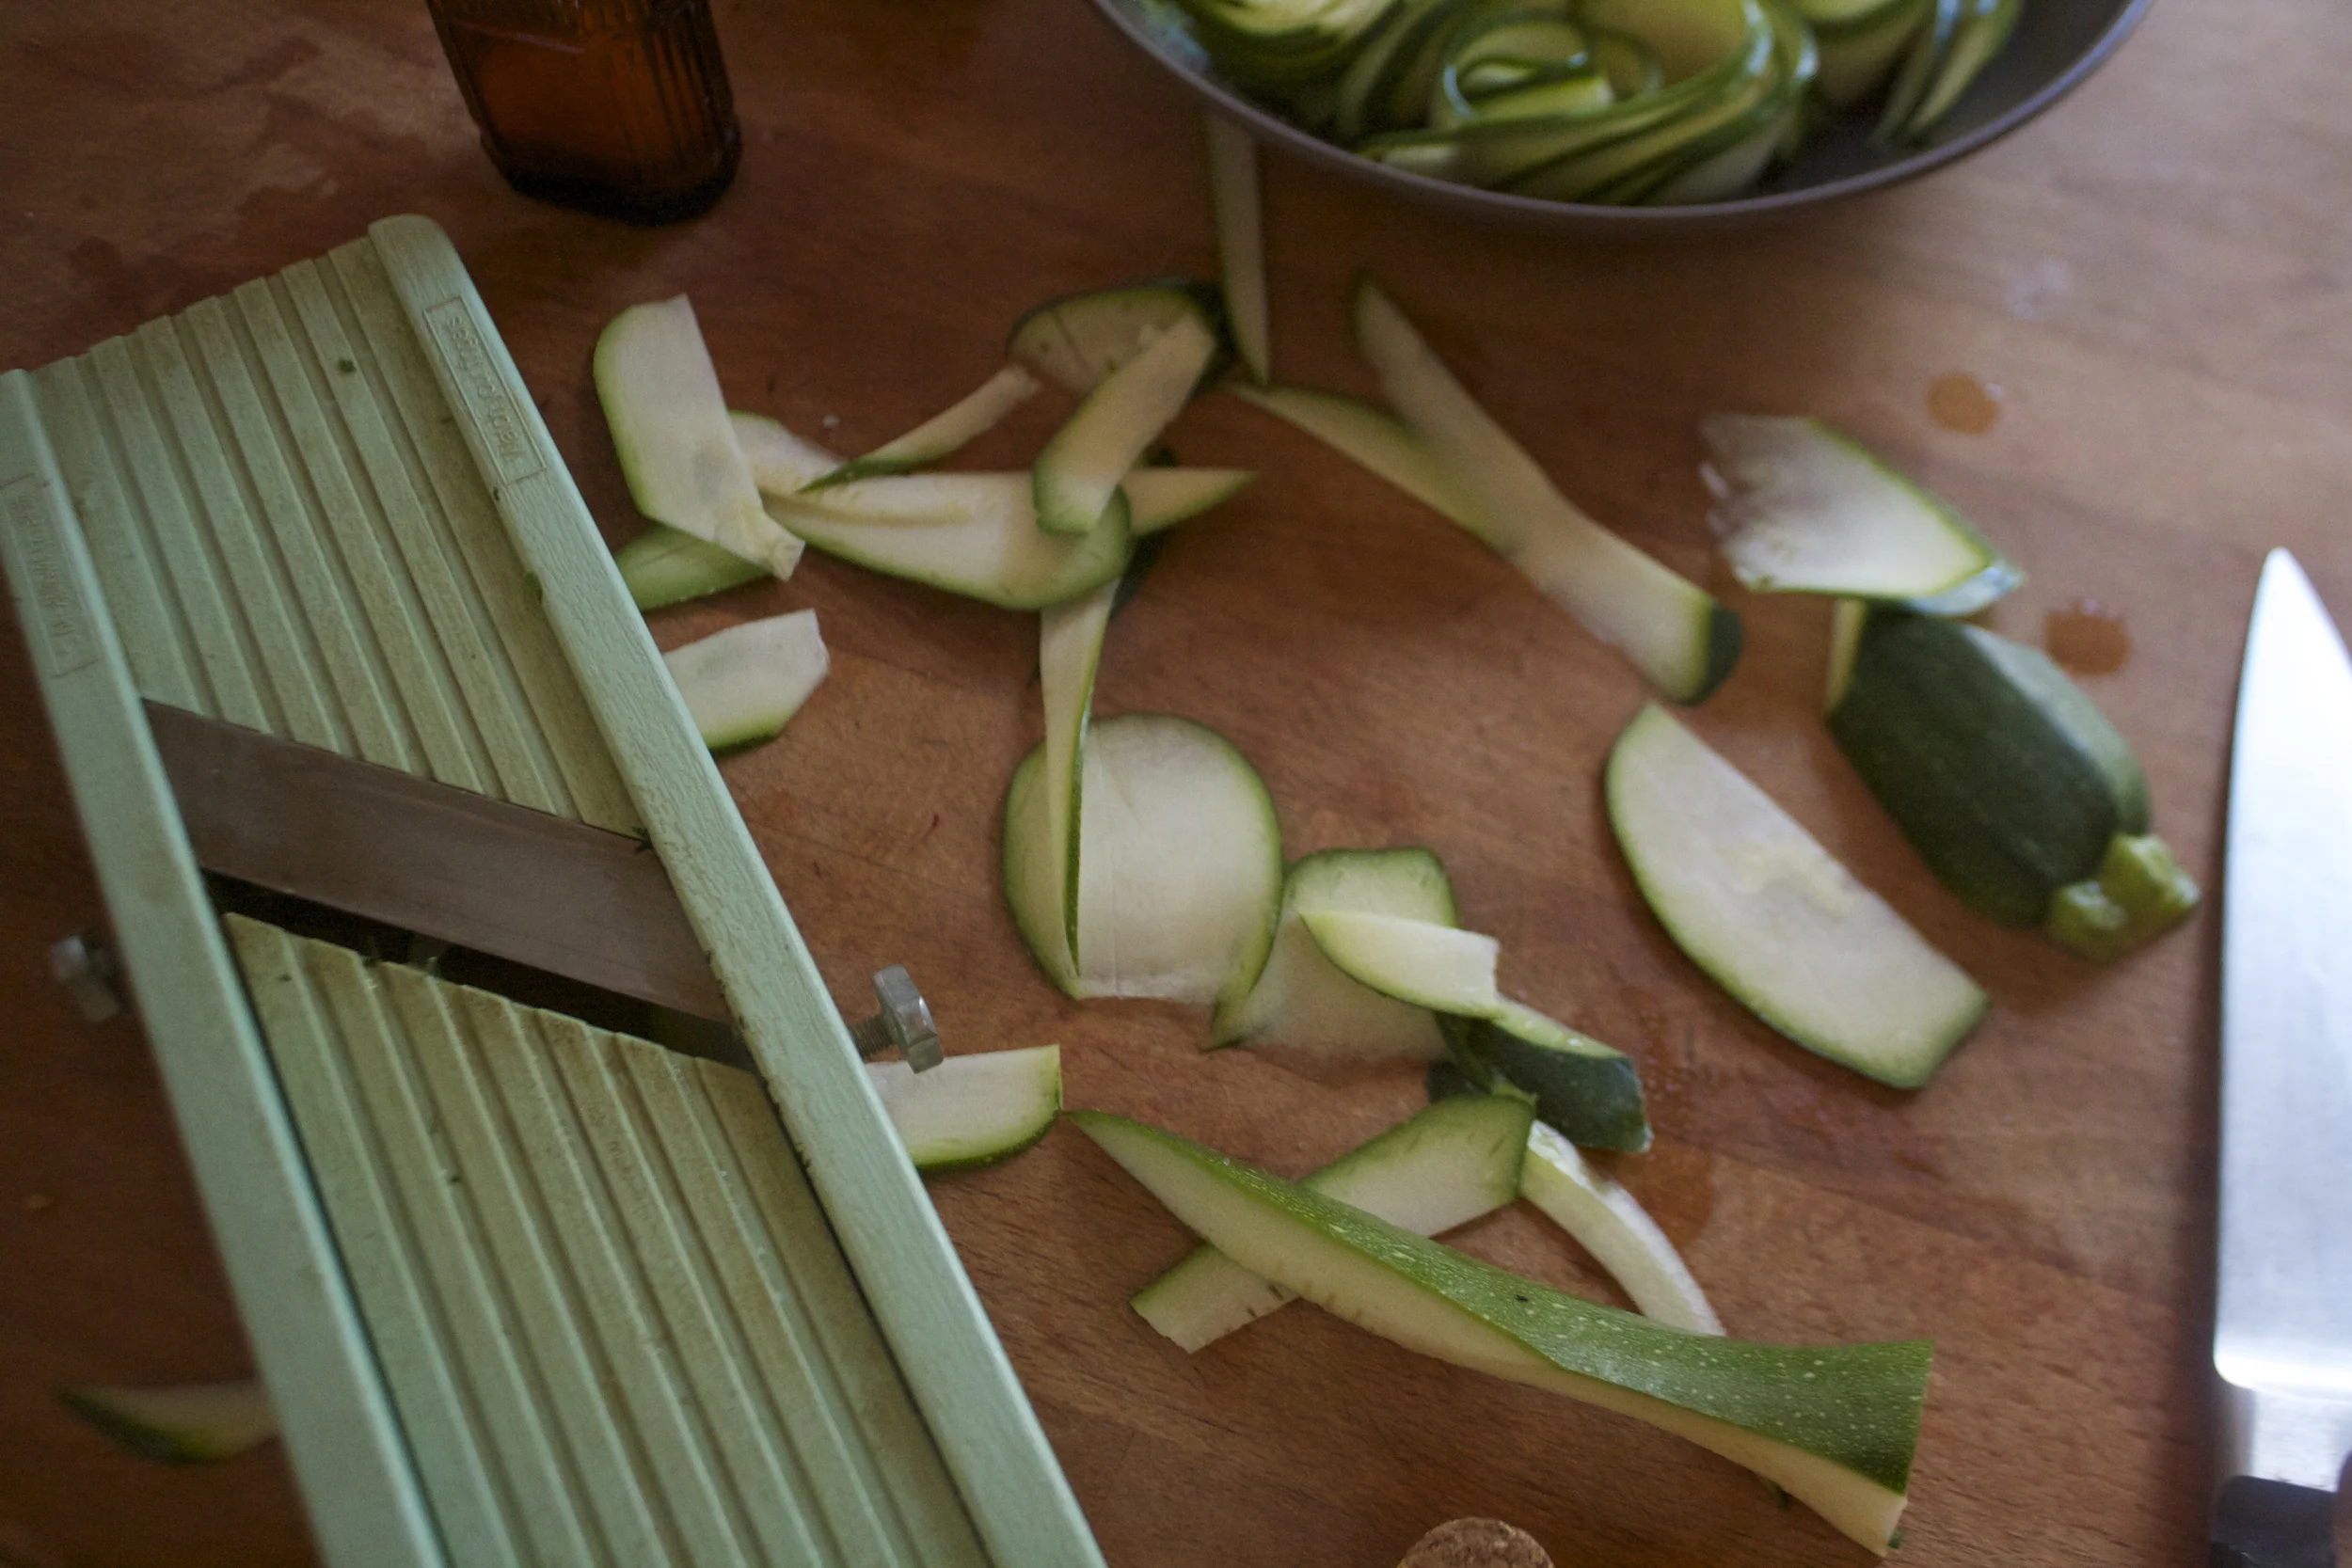
Julienne the zucchini and chop up the onion.
Note. You don%u2019t have a mandolin or done%u2019t want to julienne with a knife, well just chop the zucchini into small little chunks.
Bean, onion, and zucchini in a bowl. Add in the bean tahini mixture and mix. And ta da, all done. All of 5 minutes and no heat. Good for us.
Now here is the thing. This salad is ready to eat now. You can continue onto the sandwich path or just eat it like it is with a fork. What I really liked to do is scoop spoonfuls into lettuce cups with a slice of tomato and a squirt or mustard. So yes sandwich, but also whatever else you want it to be.
But as a sandwich%u2026. Bread. And lettuce and tomato and heck, whatever else you want to throw on there. (Again, mustard is A+)
Now stop. Sandwich time.
Stay cool!
-C
makes 3-4 sandwiches
1 medium sized zucchini
2 1/2 cups cooked and strained white beans (a can will do)
1 spring onion (or a small white or red onion)
3 tablespoons tahini
2-3 cloves minced garlic
1 lemon
1 tablespoon white or red wine vinegar
2-3 tablespoons warm water
salt and pepper
And to serve as a sandwich
bread or wrap of your choice
tomato slices
lettuce
anything else you want
Place half of the beans, tahini, garlic, juice of the lemon, and the vinegar into a jar and use a immersion blender or a regular blender and blend until creamy smooth. Add in a tablespoon at a time of water until the consistency is just slightly thinner then hummus.
Grab zucchini and using a mandolin or a knife and julienne it. (You can also just cut into small little cubes.) Dice the onion up into small pieces and toss with zucchini, onion, and the other half of beans into a big bowl. Dump the bean tahini mixture all over and veggies bean mixture and toss around. Add salt and pepper to taste.
To make it a sandwich%u2026 Place a scoop onto a bread situation, add some lettuce and tomato and whatever else you want, and eat it.