It%u2019s been a week of weeks if you know what I mean. The world. There is a lot to process, good and bad. And now I think I need to catch up with my mind. I feel like I have let it run to far ahead of the rest of me. Or maybe I am running away from it? Either way. I need to reign it it and focus. That is the goal anyway.
As our routine, we went camping on Sunday and it was just the best, an unexpected greatness. We started with a great hike through pastures and woods and to a gorge and then headed to the park to pitch the tent. D.A.R State park. Neither of us had ever been there before and hadn%u2019t heard anything about it, so we were not sure what to expect. And it turned out to be just fantastic. Big and spacious, pretty, relaxing, and right on the lake. Very few campers, all of which were old people. So quite. Our site was perfect and there was a sink near the bathrooms to wash dishes in. What more can you ask for? We played on the rock beach, made dinner, hug out by the fire, walked around the camp, went back down to the beach and skipped rocks while watching the sun set, and then crawled in to the tent for the night. The stars were crazy bright, the fireflies were everywhere, the sounds of the waves were faint but there. I was just as happy as as clam. Even when I woke up chilly. And then we woke up, made coffee, the mr fished for a few while I read and watched the sun come up then off and back to life we went.
After we got home Monday things got really busy and completely out of the norm. First off, the mr has been working a time sensitive job that has had him leaving as soon as I walk in the door in the morning and not getting home until I am in bed. And that in itself is not usual, but if that does happen, we will see each other during the day, at least for meals. It might not seem like such a biggy to most people, but for the past 17+ years, we have eaten almost every single meal together, and this week, no meals. I have been eating alone all week. At first I loved it because I love reading while I am eating and only ever do it on the very rare occasion that the mr is not home for a meal. But all week for lunch and dinner, alone. I have read 2 books, but I was starting to get lonely. I missed my mr. So sad. HAHA.
Anyway, while he was gone all week, I did some work, had coffee with my mom, made cookies with the littles, met Barb%u2019s boyfriend, and ate ten thousand tomatoes. I also spent a good chunk of time cleaning out the loft (again) for my dad, and oh, I don%u2019t even know, a bunch of other stuff. Then Jeff Dad came to VT. We went for a hike with couple littles at a state park, sat in traffic on the interstate for far too long, and then went to Megans house where I made dinner for everyone. I got to meet Anthony%u2019s girl friend ( a week of meeting the significant others), got a glimpse of the butterfly chrysalis, and made Sophia cry because we picked all her basil for pesto and she really really didn%u2019t want to share it. So I owe the girl a new basil plant.
Yesterday was family reunion up in Belvidere. The whole crew. Great as always. Seeing family is always the best. I love them all, even if they exhaust me and maybe make me want to run away screaming. But isn%u2019t that the way it suppose to be?
And then we came home, the mr left again to finish this job last night and came home while I was in bed. Again. But now he is done. And I am so excited to have him around, although this week is a new job that will be taking him away again. At least we have today. Camping. Ricker Pond State Park. I am excited. No work for the mr. Just him and me heading out into the wilderness with our tent and sleeping bags and a socks! Socks cause it had been getting chilly at night%u2026.YAY for cool late summer nights! I am so ready for some cool weather and to bust out all my sweaters!!!!
Internet from the Internet.
-It%u2019s that time of year again. One day theres one, the next there are a million! How to Get Rid of Fruit Flies Before They Take Over Your%u00a0Kitchen
–Call Me Crazy, but I Think an Active Vacation Eases Stress More Effectively Than the Beach. No, not crazy at all. I need activity all the way, whether it is hiking, biking, or just walking 20 miles around a city. No beach reading for me.
-Avoid the toilet plume! Hey, Just Always Close Your Toilet Lid, OK?
-I don%u2019t really get it, but it is awesome. Watch the New, Brilliant Trailer for Season 10 of %u201cThe Great British Bake Off%u201d
–It%u2019s the Season for Fruit, and Also for Writing About Cutting Fruit as an Act of Love. I always cut fruit up for the ones I love. HAHAHA, but for real.
-Oh fuck. A New Study Reveals Just How Toxic a Bee%u2019s World Has Become
–Collards vs. Kale: Why Only One Supergreen Is a Superstar. Strange how people perceive certain things%u2026
-I like. ON TREND: THE ART DECO BED.
–Fun People Order Pancakes: What Your Diner Order Says About You. Black coffee all the way.
-Can you imagine%u2026 3 feet tall. Super bad ass and super scary! I wonder if they could talk too? This three-foot-tall parrot proves New Zealand is the mecca of giant weird birds
–Give Up Your Gas Stove To Save The Planet? Banning Gas Is The Next Climate Push. Would you? I think we all are going to need too. I am already thinking of induction. Definitely next kitchen I remodel.
And pictures from the week.
Farm share started last week (HOORAY!!!!) but always, at the beginning when things are still getting on growing, we are only getting a few things. Lot of greens which I will never get enough of, and lots of potatoes. Also, I made the mistake of buying a very large bag of potatoes last week right before farm share and now I am basically swimming in potatoes. And so the story goes%u2026.
So what do you do with a shit ton of potatoes? Yeah, I thought potato cannon to but then I realized that I would have to use my potatoes and sure I have a lot, but I am not wasting them on that. So gnocchi they became. Gnocchi. Basically a boiled french fry or a mashed potato meat ball. Or maybe more like a ravioli. Whatever they are, they are loved by potato loving people and are fun to make. I mean, when do you ever get to use the ricer? ( Don%u2019t worry, you can make gnocchi without a ricer.)
To the gnocchi.
The stuff. Potatoes, flour, an onion, some tomatoes, a few cloves of garlic, salt, pepper, and olive oil.
Note. Make sure to use russet potatoes because they make the lightest, fluffiest gnocchi. You could probably use Yukon gold, but any hard wax potato just won%u2019t do.
First step is to make baked potatoes. Place potatoes in oven, directly on rack, and bake for 30-45 minutes until nice and soft and tender. Just like you would when you eat it as a baked potato. Once cooked cut them in half and let them cool off for a few minutes.
Once potatoes are cool enough to handle, scoop all the flesh out of skins. Keep skins for soup or a snack for later.
And the fun part. Flour the counter then rice the potatoes. You can also do this with a food mill or even grate the potato with a box grater. Once all riced, cover with flour and start to fold and mix the potato into the flour gently until the dough starts to come together. If the dough seems really sticky and wet, add in a tablespoon or two of flour, to dry and crumbly, add in a tablespoon or two of water. The goal is a nice fluffy dough that hold it shape but is not overly dense.
Cut off a potion of the dough, roll it into a rope about an inch thick, then cut into inch long pieces.
To cook gnocchi. Bring a big pot of water to a boil and carefully drop in a handful of gnocchi into the water. They are gonna sink, but after a minute or two they start to float. Once floating, remove them from the pot with a slotted spoon and place them on a lightly oiled baking sheet. Repeat until all the gnocchi are cooked.
Cooked and ready%u2026 Ready for what? For anything you want but these are going into a tomato and onion situation.
Mince garlic and dice tomatoes and place into skillet with a good pinch of salt and a splash of olive oil. Place on stove and cook until slightly tender. Dice up tomatoes into small chunks and add to skillet along with a cup of water (if you have gnocchi water, use that) Turn heat up and cook until mixture start to bubble, then turn heat down to low and cook until the tomatoes are mushy.
And then drop in gnocchi. Keep on heat until the gnocchi are warmed completely all the way through.
Sprinkle of salt, lots of pepper, and something green if you want to be fancy.
And then you eat them.
-C
Makes 3-4 servings
2.5 pounds russet potatoes
2/3 cup of all purpose flour
1 large onion
3-4 tomatoes
few cloves garlic
salt and pepper
olive oil
water
Place potatoes directly into oven on one of the oven racks and bake on 450 degrees until soft and tender. Should take about 1/2 hour to 45 minutes, depending on size of potatoes.
Once cooked, remove from oven carefully, cut in half, carefully, and let cool for a about 10 minutes, just so you can handle the potatoes without burning yourself. In the mean time, get a large pot, fill it with water, and set it on the stove to boil.
When the potatoes are not to hot to touch, grab them and with a spoon, scoop out all the potato flesh from the skin (keep skin for a snack or for soup). Lightly flour the counter and start ricing the potatoes directly onto the counter. (You can also use a food mill or a box grater if you don%u2019t have ricer). Once all potato is rices, cover with floor and gently fold potato over into flour, over and over, even using a knife, to kind of cut the potato into the flour, until it all mostly comes together. Be careful to not overwork the dough or else it will become dense make the gnocchi chewy. If the dough seems is sticky, add in a few more tablespoons of flour, to dry and seems crumbly, add a few tablespoons warm water.
Once you have the dough, make sure the water on the stove is still there and has not evaporated and is at a gentle boil. Cut dough in thirds then roll out a portion into a rope about an inch thick. Cut the rope into inch long pieces. Repeat with the rest of dough.
When all the gnocchi are made, grab a rimed baking sheet, coat with oil, and place close by the boil water.
Now to cook them. Drop a handful of gnocchi into water carefully. They will sink. Watch and after about a minute or two, they will start to float. Once floating, take a slotted spoon and take them out of water. Place them on the greased baking sheet. Repeat until all the gnocchi are cooked. (when done cooking, save a cup of the cooking water)
After the gnocchi is cooked, you can do whatever you want with it, like eat it right away with salt and pepper or whatever, but to make the quick tomatoes onion situation, dice up the onion and mince the garlic. Place into a skillet with a drizzle of olive oil and a pinch of salt and place on stove and start to cook. Dice up the tomatoes and once the onion is tender, add in the dice tomatoes and about a cup of the gnocchi cooking water. Turn the heat up until the water is bubbling then reduce to low and cook until the tomatoes are mushy and tender. Once cooked, add in the gnocchi, toss them around, and cook until the gnocchi are fully warmed through.
And then eat it. Maybe a little more salt if needed, definitely lots of pepper, and whatever else you want.
This summer has been weird. And when I say weird, I mean too stupid freaking hot and humid and it’s screwing up my life.%u00a0I think I have gone a month, maybe more, without making soup.%u00a0That is just not right. For as long as I can remember I have made soup, or at least eaten soup, just about everyday, even all summer long. But the terrible heat and humidity this year, I just have had no desire. It has been straight up shredded zucchini and whole tomatoes for some time now. I just don’t want to have any residual added heat to my life.%u00a0%u00a0But the other day, oh how lovely. I woke up with a chill, %u00a0enough that I needed to grab a long sleeve before leaving the house, and had the very strong urge to return home and get my soup on. And soup on I did!
For my first trip back into soup (oh how I missed soup!),%u00a0I went simple and used what I, and many, many people have ample supplies of right now.%u00a0Tomatoes. And beans because I wanted my soup to be thick and creamy and I had the beans so why the heck not.
This soup really requires very little and you get the most thick, delicious, creamy, tomatoey soup. Perfect to eat alone, but is fanatic with some crackers, or a hunk of crusty bread. And it uses a lot of tomatoes which is nice because I am (as are many of you.. My neighbor is bringing me HER tomatoes now too) trying to make a dent in the ever growing pile or these beauties on the counter. This soup dented it, until I went out to the garden a few minutes later. My pile is bigger then ever, which is fine because I am back on my soup game.%u00a0
The stuff. Lots of tomatoes, some white beans (I used navy, but any white bean would be good) a large onion, a carrot, salt and pepper, a lemon, some olive oil, and honey (optional).
First off, chop the carrot and onion into chunks.
Toss the chopped stuff into a big ol’ pot with a drizzle of olive oil and cook on a medium heat until nice and soft.%u00a0
While veggies are cooking, core and cut up all those tomatoes.%u00a0
When the veggies have cooked up a bit, add the tomatoes, the beans, and a sprinkle of salt and pepper to the pot and give it a good mix. Return to high heat, stirring even so often, until the tomatoes give off enough juiced to start boiling then turn heat down to medium and cook for a little while, like 1/2 an hour or 45 minutes.
Until it looks lit this. The tomatoes have all fallen apart and the beans, carrots and onions are mushy.%u00a0
Blended with the juice of the lemon and a sprinkle of pepper and more salt if needed.%u00a0
Now serve into a %u00a0bowls. Garnish with a drizzle of honey if you are feeling it. Sliced cherry tomatoes make for fancy garnish.%u00a0
Creamy tomato bean soup for everyone!
Hurray for soup!
-C
Makes about 1/2 gallon (enough to serve a crowed or enough to serve one for a few days and maybe freeze some for later)
10-12 large tomatoes%u00a0
2 1/2 cup or 1 can of cooked white beans (I used navy but any white bean will be good)
1 large onion
1 large carrot
I lemon
olive oil
salt and pepper
honey (optional)
Start by chopping the onion and carrot up into small chunks. Grab a large heavy bottom pot, drizzle a teaspoon or two of olive on the bottom then toss in the chopped veggies. Place the pot on a medium heat, stirring occasionally until the onion and carrot start to soften.%u00a0
While the veggies are cooking, core and cut up all the tomatoes. Once the veggies are soft, dump in all the tomatoes, along with the beans and all the liquid they are in. Sprinkle with salt and pepper and turn heat up to high, giving it a good stir until the tomatoes start to get super juicy then bring the pot to a boil. Once boiling, reduce heat to medium and cook for another half hour to 45 minutes, giving it a stir ever so often. %u00a0When the tomatoes have completely fallen apart and the carrot, onions, and beans are mushy, you know its done.%u00a0
Remove the pot from heat and dd in the juice of the lemon. Using a hand blender, blend until it’s a smooth creamy consistency. If you only have a counter belnder, let soup cool a little before handling and %u00a0be really freaking careful and blend a few cups at a time, making sure to have the blender lid on. Hot soup in the face is no fun.
Once soup is creamy and smooth, serve in bowls with a drizzle of honey (totally optional, but some people really like a touch of sweetness to their tomato soup) and more pepper to a taste. Garnish with thinly sliced cherry tomatoes if you are feeling fancy.%u00a0
Any extra soup can be refrigerated for up to a week. Can also be frozen.%u00a0
I got my first few ears or corn from the farm share this week which is exciting because I wait until we get corn from the farm to eat it. I figure that we get so much from the farm that there is no freaking way I am going to buy it and plus I know that that corn was picked a few hours before I got it. If you are going to eat corn, it needs to be fresh (life lesson).
Have I told you that the mr hates corn? I am pretty sure I have. I also have a theory that he really doesn’t hate it so I just go ahead and make food with corn in it. Then he eats it, likes it, and I am all like” AHA, you like corn be-otch! I win!” (not sure what I win). But then the next time I mention we have fresh corn and how would he like it he is all like, I hate corn.%u00a0 It’s a game we keep on playing.%u00a0
So I got fresh corn, lots of tomatoes, and the kale is growing strong out back. I figured I would give the mr a break from all the zucchini for the night and make he a nice warm summer salad with the corn that he “hates”.
The mr ate it all and didn’t even mention corn so now I am thinking that he just hates the word corn and if I don’t say the word then there will be no problem. HA HA, I am a genius.
The stuff. A tomato, a ear of corn, some kale, a little balsamic vinegar, oil, and salt and pepper.
Chop the tomato and remove the corn from the cob.
Toss into an oven safe skillet with a drizzle of oil and a pinch of salt.
Now stick it into the oven
After about 10 minutes the tomato has fallen apart and the corn is all nice and tender.
While the skillet is still hot the vinegar goes in and the (chopped) kale goes in. Mix it all around until the kale wilts. And be careful, the pan is hot.
Dump it into a bowl, sprinkle with pepper, grab a fork, and you are on.
Happy eating.
-C
makes a salad for one or two small side salads
1 medium tasty tomato
1 ear of corn
like 4-5 good sized kale leaves
2-3 tablespoons balsamic vinegar
%u00a0oil of choice (i used avocado oil)
salt and pepper
You can cook this in or on the stove. I did it in the stove because I was baking anyway
Preheat oven to 425
Remove corn from cob and chop tomato into medium sized chunks. Toss into a oven safe skillet with a drizzle of oil and a little pinch of salt. Stick in oven and cook until the corn is tender and the tomatoes have fallen apart, about 10 minutes. Remove from oven and mix in vinegar. Chop kale into mouth sized pieces and toss into hot skillet. Mix around until kale starts to wilt. And it’s done. Serve with a pinch of pepper.
%u00a0%u00a0You ever make dish, completely on the fly, just to use something up (I have a lot of ripe tomatoes) with no real expectation, just because%u2026 Then have it be one of the best freaking things that you have ever made?%u00a0This salad is one of those things.. maybe not the best thing I have ever made, but definitely the best salad I have ever made%u2026. this week.
A salad compiled of all things amazing, taking just a few minutes to make and is the perfect balance of uber fresh with baby spinach, raw kale, and crunchy quick pickled onions. Then adding a touch of warmth with the sweet and juicy seared tomatoes and big chunks of creamy avocado.
I mean, for reals. %u2026…Best Salad Ever !!!! (this week)
Now let’s do this.
%u00a0The Stuff. A big bowl of baby spinach and chopped up kale, a few sliced up roma tomatoes, some super thinly sliced red onion, half an avocado, red wine vinegar and salt and pepper.%u00a0%u00a0Before you do anything, place the sliced onions into bowl, sprinkle with a pinch of salt and add a few glugs of the red wine vinegar. You want the onions to sit in the vinegar for at least 5 minutes on the counter cause the longer they sit the more crispy pickly they get. (after eating onions like this, you will never want to eat them any other way)%u00a0Lightly oil a skillet and preheat to a medium heat. Once the skillet is hot, sprinkle the tomato slices with salt and pepper and %u00a0place tomatoes right on in, snugly, but not overlapping. Let cook for about 3-4 minutes, or until the bottoms start to brown. Flip and cook other side for another few minutes.Once the tomatoes are seared on both sides, remove them gently from skillet and toss them on top of the bowl of greens.
Take the pickled onions and toss those right on top, with any of the residual vinegar, add dice and scoop the half of avocado and toss that on in as well.And now eat the best salad ever (this week).
Make the day good!
-C
Skillet Seared Tomato and Quick Pickled Onion Salad
Serves 2 as a side, 1 for a hungry eater
2 large or 3 smaller roma tomatoes
1/2 of a red onion
2-3 tablespoons red wine vinegar
1 1/2 cups baby spinach
1 1/2 cups chopped kale
salt pepper
1/2 a ripe avocado%u00a0
olive oil (to grease pan)
Thinly slice red onion and place in a bowl. %u00a0Add vinegar into a and sprinkle with salt. Let sit on counter for at least 5 minutes, if not longer,
Slice tomatoes into 1/2 inch thick rounds and sprinkle with a pitch or salt and pepper. %u00a0Lightly oil a skillet and preheat it on medium heat. Once the skillet is preheated, stick the tomatoes on it (watch out for splattering tomato juice) Cook first side for about 3 minutes or until the bottom has browned, then flip and do the same for other side.%u00a0
One tomatoes are seared, place directly onto the greens. Now dump the pickled onions and residual vinegar on top. And %u00a0dice up %u00a0avocado and add that on top too.%u00a0
Now eat your salad, fork or fingers%u2026 %u00a0
And I know, ba-daaaamn. So good.
%u00a0Happy Cinco de Mayo! And what better day to share my version of %u00a0my oh so fantastic pico de gallo, or as I call it, super freshy salsa.
I love me some freshy salsa, It makes me oh so happy.%u00a0
%u00a0I make this stuff all the time, especially during the warmer months and tomato season. I usually make a batch right before a meal, just enough to eat right away, but sometimes I ‘ll make a big batched of it, thinking I’ll save some for the next day. %u00a0 It never makes it past the second day in the fridge because it’s just one of those things that when you see it, you want to eat it. Weird but true. And it’s totally ok to do so cause it’s basically eating a big bowl of healthy goodness, so eat on!
It takes no time to prepare, tastes super refreshing, goes on everything, and it’s just so freaking tasty. You can eat it with tacos and chips (the mister) or like me, I like to add it to everything; salads, popcorn, or directly in my mouth.%u00a0
Make one batch, make 4, it doesn’t matter cause you will eat it all, and need to make more.
The stuff. Chopped Roma tomatoes, chopped red onion, a diced jalape%u00f1o, lemon, a bunch of cilantro, and salt.
Stick all the chopped stuff into a jar and add in the juice of the lemon. Roughly chop the cilantro and add that on in with a sprinkle of salt.%u00a0
Mix it up%u2026.And thats it. Now eat%u2026 with something or without.
A spoon out of the jar is one of my favorite ways to go at it.
Happy Cinco de Mayo, Happy Tuesday!
-C
Pico de Gallo%u2026 Freshy Salsa
4-5 Roma Tomatoes
1 small red onion
1-2 jalape%u00f1os (Depending on heat preference)
1 lemon or lime
salt
1 bunch of cilantro (don’t use it if you don’t like it)
Chop tomatoes and onion and toss into a bowl or jar. %u00a0Cut seeds from jalape%u00f1o(s) and dice up into little bitty pieces and add that to the tomato and onion. Roughly chop the cilantro and toss that in as well with the juice of the lemon or lime. Sprinkle with salt. Stir, let sit for a minutes, taste and then add more salt if needed.%u00a0
Eat right away or make ahead and store in the fridge until ready to use.
Goes great with corn chips, tacos, toss onto salads or eat as is standing in front of the fridge. If someone is judging you, they are stupid.
I was cleaning my spice shelf (I feel like I do this like once a week) and found some poppy seeds hiding behind some jars. Accidental spice findings happened more often the then one might think in my house.. I like to buy tiny baggies of spices with good intentions of using them, but because of their tiny size, I often lose them or forget about them due to that %u00a0tininess. But I usually find those tiny little bags, and when I find them, I try to use them right away..(I don’t like having old spices around and no, I will not toss it)%u00a0And it just so happened that I has a lemon in need of using.. and it was getting close to dinner time. I could wait and make lemon poppy seed cake or muffins, or just start dinner. %u00a0 Then I was like, ” I’ll %u00a0just make lemon poppy seed pasta.” And so I did. And of course it needed to have lots of garlic and some kind of vegetable to round out the dish, (I know tomatoes are fruit but you know what I mean) %u00a0
And the mister%u2026.He loved it. And I am sure you will too. How can you go wrong with lemon, garlic and poppy seeds all creamy and fragrant? You really can’t, %u00a0Pus this recipe is so easily adaptable. It can be vegan and or gluten free..whatever you want it to be.%u00a0
So if you are looking for a %u00a0fast, delicious, and impressive looking dinner%u2026 look no further. You gots one right here!
Start by tuning oven on to 400 degrees. Chopped tomatoes %u00a0and sprinkle in oil and salt and stick in the oven. Do this first because the rest of the meal only takes about 10 minutes..So fast!!!
Choose your pasta and get a pot of water boiling and start on the sauce.. which includes, olive oil, lots of garlic, flour, milk(any kind you use), lemon zest a little lemon juice, poppy seeds, salt and pepper.%u00a0
The sauce is pretty much a basic roux%u2026
Crush the garlic and stick into pot with the oil. Let simmer for a few minutes until you can smell the garlic, which smells like heaven. Whisk in the flour and then gradually whisk in the milk. Keep on low heat and continuously whisk until sauce has thickened and doesn’t run off a spoon. Add in lemon zest, the poppy seeds, and the salt and pepper. Mix it all up and turn off heat.
Once your pasta is cooked (cook however it says to on package), reserve about a 1/4 cup of pasta water and drain the rest. Add the pasta water and pasta the sauce. (the pasta water helps the sauce and noodles canooddle together)
And its all mixed up just waiting to be served%u2026and the roasted tomatoes!
Scooped into a bowl with a scoop of the roasted tomatoes and some chopped chives, %u00a0served with a couple wedges of lemon..just because.
And dinner is done%u2026. %u00a0and it took all of 15 minutes.%u00a0
Thank me later.
-C
Lemon Garlic Poppyseed Pasta with roasted tomatoes
3 cups pasta (whatever you want..so it can be gluten free too)%u00a0
3 tablespoons olive oil
3 tablespoons flour (use corn or arrowroot starch for gluten free)
2 cups milk (cow, hemp, soy%u2026any kind you use)
6 cloves garlic
Zest of 1 lemon
1 tablespoon poppy seeds
2 roma tomatoes (optional but really good)
salt and pepper
Start by chopping tomatoes %u00a0and placing them in a skillet or baking sheet, sprinkled in salt and a little bit of olive oil, and stick into a 400 degree oven
Bring a large pot of water to a boil add you pasta%u2026cook to the boxes instructions.
While pastas is boiling, crush garlic and add to a pot with the olive oil. Heat on medium low heat until the garlic is fragrant and slightly brown. Now whisk in flour and then whisk in milk. Continue to whisk until sauce thickens to where it doesn’t run of a spoon. Add in the zest of 1 lemon, the poppy seeds and salt and pepper to taste. When pasta is done (should be around the same time the sauce is done) reserve about a 1/4 cup of pasta water and drain the pasta from the rest. Add water and pasta to the sauce and mix together.
Remove roasted tomatoes from the oven. Scoop pasta into bowls and top with a scoop of the tomatoes. (you can mix into pasta, but it will turn the sauce red and the tomatoes will fall apart)
Serve with a wedge of lemon and bring food to face!
Roasted veggies of any kind can get this girl in trouble. Place a sheet pan meant for many full of roasted veggies and watch out, I will probably eat them all. I can%u2019t stop, won%u2019t stop and you know what, I am not sorry, especially if its roasted brussel sprouts and squash.l I am grabbing at every last bit, especially all the really crispy, almost burnt pieces. Burnt food is one of my favorite flavors.
This dish is pretty basic, but also not. A slightly overlooked grain, spelt, makes for a hearty backdrop to the magic of roasted sprouts and squash, covered with a sunflower butter sauce which is a nice spin on a traditional peanut sauce. It%u2019s pretty easy to make and pretty to look at as well. A nice hearty and warming meal for all of those cold winter nights. And it%u2019s not going to make you feel heavy or gross, like if you sat and ate an entire lasagna. No, you will feel full and fantastic and ready for a cookie (it is the holidays after all).
The ingredients in this dish are mainly inspired by the half eaten jar of sunflower butter a friend of mine gave me at the gym, plus the fact that I have been getting a few stocks of brussel sprouts each week at farm share so we are eating them at ever meal, (plus I LOVE brussel sprouts) and me trying to use up all of the grains and such in the pantry before restocking anything more or new. A dish of convenience sure, but also a damn delicious one at that. With this being said, if you had a different grain you wanted to use, or an abundance of some other veggies that you have or prefer, well go ahead and use them. You do you my friend.
And really, I was thinking of you when I made this dish. Sometimes at this time of year people tend to forget to eat, or tend to eat on the not so healthy side. This grain bowl situation is just what your body is in need of. Simple delicious nourishment.
The stuff. Spelt that has been soaking in water for a while, half a butternut squash, brussel sprouts, a red onion. Also sunflower butter, a few cloves garlic, a lime, soy sauce, a touch of maple, salt and pepper, and olive oil.
The spelt will probably take the longest so get it on the stove. Strain away the soaking water and place into with fresh water. Bring to boil then reduce heat to a simmer. Place a lid on pot ans let it go.
Next, get to the veggies. Halve the big sprouts (small ones can stay whole) chop onion into chunks and cube the squash.
A drizzle of oil, a sprinkle of salt and pepper, and a good toss around and it ready for the oven.
Meanwhile, make the sunflower butter sauce. Its pretty basic. The sunflower butter, minced garlic, soy, maple, and juice of the lime all into a vessel that can hold it. Add a couple tablespoons of warm water to thin it out and done. Sunflower butter sauce. Easy Peasy.
After about an hour, your slept should be cooked (that sounds aggressive to me) Tender and chewy and just right.
The veggies should be roasted and done too. Crisp as you like ( I actually like mine even darker, but the mr does not so I went a light roast this time)
And it%u2019s all ready for you to eat.
Roasted butternut squash and brussel sprouts on a warm bed of spelt covered in sunflower butter sauce. Living the good life here.
Take care of yourself this week, and always for that matter. Eat some good food. Your body will be happy for it.
Bye.
-C
Serves 2-3
1 cup spelt berries (soaked in water overnight if you remember)
3 cups water
about 1/2 of a butternut squash
about a pound of Brussel sprouts
a medium red onion
1/4 cup sunflower seed butter (unsalted and unsweetened)
2 tablespoons liquid amionos or soy
1 teaspoon maple or honey
1 lime
2 cloves garlic
salt and pepper
olive oil
Preheat oven to 425
Place soaked spelt berries in a pot with water and a pinch of salt. Bring a boil then reduce heat, place a lid on pot and simmer for 45 minutes to an hour or until spelt berries are tender and all the water has been absorbed.
While spelt is cooking, cut sprouts in half (unless they are very small), cube the butternut into pieces about an inch big, and chop the onion up into chunks. Place all that you just chopped onto a baking sheet, drizzle with a teaspoon or two of olive oil and toss around. Sprinkle the veggies with a pinch or so of salt and pepper and pop into the hot oven. Roast for 40-45 minutes or until roasted to your desired doneness. (I like things a lot darker then the mr so I would leave my veggies in for closer to an hour)
For the sunflower butter sauce. Mince garlic and place into bowl or cup with the sunflower butter. Add in the maple, soy, and the juice of the lime. Mix together and add in a 2 tablespoons of warm water to thin out. Add more water if needed to get to a thick but pourable consistency.
Once the spelt is cooked, the veggies are roasted and the sauce is made, well you can assemble and eat. Spelt in a bowl, toss on some roasted veggies, and cover in the sauce. And then you eat it.
I made the decision to not go grocery shopping for the rest of the week so I can completely empty out and unplug the fridge while we are on our adventures. Why? Well if I unplug it, I won’t have to de-ice it when we get back and that would be great. Plus why use electricity when were are not here to enjoy it? But yesterday I realized, we don’t really keep a lot of food in the fridge. No that’s not true. When I go grocery shopping, I buy a shit ton of veggies. like 5 lbs of greens 10 lbs of carrots, and 5 lbs more of other veggies… and it’s gone within 4 to 5 days.%u00a0 So yesterday when I opened the fridge, it was basically already empty besides the few condiments that I keep in there like mustard, soy sauce and pickle juice (all of which can be left out of the fridge when we are gone). What I did have were a few mushrooms. and a little bit of spinach. It was really sad. So I went grocery shopping. A big, fill the fridge with tons of veggies shop. And I will probably will have to do it one more time before we leave so I am going to stop worrying about emptying the fridge. It empties out pretty fast already.
What can I say, I like me some veggies.
Putting the grocery hall away, the last of the mushrooms and the spinach came out first to be consumed. I have a bunch of onions that I need actually do need to be eaten before we leave and it close to dinner time.. So I grab that stuff and some farro. Yup, farro, a kinda hardy wheat grain that all the cool kids are eating right now. I figured that I should be a cool kid too and make a farro bowl with those veggies. Roasted stuff tossed with balsamic vinegar and cooked farro, served in a pretty bowl. So good. so cool.
What do you think of farro?%u00a0 I am curious because I am totally into it (me being a cool kid) But the mr, not so much.%u00a0 I though for sure he would love it, but no. He said it was too chewy and too seedy and just not great. I think that maybe if he wasn’t a cranker butt last night that he might have actually liked it, but whatever. You win some you lose some. I consider this a win cause I get to eat it all myself. Like all the cool kids.
The stuff. A onion, a bunch of crimini mushrooms, and a few handfuls of baby spinach. And we also have some farro, balsamic vinegar, water salt, pepper, ans a bit of olive oil.
Get the farro going by dumping it into a pot with water ans a pinch of salt and bring it to a boil. Once boiling, stick a lid on it and turn heat down to low and let it simmer.
Now chop up the onion and mushrooms and toss in to a oven safe skillet or baking sheet with a drizzle of olive oil and some salt ans pepper
Stick into the oven to roast.
After a good 20-25minutes of so, the mushroom onion mixture is all nice and roasted. Remove from the oven for a sec, dump in some balsamic vinegar, mix to coast everything and stick the skillet back into the oven for few more minutes until all the liquid has absorbed and the vinegar starts to caramelized. (but not burn)
Remove it again from the oven and now toss in the spinach.
And the farro should be done by now too(It should be soft but still a bit chewy.) If there is any extra liquid left in the pot, just strain it out.
Then mix he cooked farro into the roasted stuff.
Serve into a bow with a little more vinegar if you want and pepper. Lots of cracker pepper.
Now eat it and serve some to your boyfriend who says he doesn’t like it, then eat his too!
Happy day to you
-C
serves 2
1 cup dried farro
2 1/2 cups water
1 medium onion
6-7 crimini mushrooms
2 big handfuls of baby spinach
4-5 tablespoons balsamic vinegar
salt and pepper
olive oil
Preheat oven to 400
Combine the water ans farro into a pot, sprinkle in a pinch of salt and place on the stove top on high heat. Bring to a boil then place a lid on pot ans turn heat to low. Let farro simmer for about 30 minutes or until tender but still slightly chewy.
Once you have the farro on the stove, chop the onion into 1/2 inch chunks and dice the mushrooms into smaller sized pieces. Place on a baking sheet or cast iron skillet, toss with a drizzle of olive oil and season with salt and pepper. Place into oven and roast for about 20 minutes or until the mushrooms and onion are nicely browned and yummy looking. Remove from oven and mix in the balsamic vinegar. Place back into over for another 6-8 minutes or until all the vinegar has been absorbed. Take back out of oven and mix together with the spinach and the cooked farro.(If farro is cooked but there is still liquid left, just strain it out.)
Serve with a cracked pepper and a splash more of vinegar if your feelin it.
Also tastes great at room temperature of cold out of the fridge.
%u00a0This week was good. %u00a0Two days in a row the front door was open, the window was open and the heater was off, which pretty much made me that happiest person in the world. My spring cleaning brain has kicked in and I want to clean everything (even the walls). I even spent a good part of an afternoon moving and rearranging furniture. (The house ended up basically the same as when I started) And one of the best parts of the week%u2026.most of the snow melted! I am getting super hyped to start raking, cleaning, planting and weeding and and just getting really dirty! Oh how I love the spring!
Here are a few internet things from the week
-%u00a0Ancient Grains are new again%u00a0About time!
-%u00a0This article about the chemistry of cookies is a good one%u2026.
– Oooohh pretty. %u00a0String art
-How to Do Fishtail or Herringbone Braids Step by Step%u00a0 I need to start doing something with my hair besides a really sloppy pony tail that I don’t take out for days on end.%u00a0
-I think I want to make this Honeycomb shelves.
And %u00a0some real life happy%u00a0Oh Intervale Community Farm..I love you. I picked up my farm share and was especially pumped %u00a0for another gigantic kohlrabi and some locally grown, locally milled wheat flour.
%u00a0%u00a0The trees, they are a budding
%u00a0The perfect ripeness, destined for naner ice-cream!
My sister and I took this little for a sled ride through the wood where there was snow (but it was 45 degrees!) The hike ended up with me %u00a0pulling her through a field of mud. It was fantastic.%u00a0
One year ago today. Dinner with my favorite people.%u00a0
Hope your weeks was awesome and warm..Spring is just about here to stay!
You ever make dish, completely on the fly, just to use something up (I have a lot of ripe tomatoes) with no real expectation, just because… Then have it be one of the best freaking things that you have ever made? This salad is one of those things.. maybe not the best thing I have ever made, but definitely the best salad I have ever made…. this week.
A salad compiled of all things amazing, taking just a few minutes to make and is the perfect balance of uber fresh with baby spinach, raw kale, and crunchy quick pickled onions. Then adding a touch of warmth with the sweet and juicy seared tomatoes and big chunks of creamy avocado.
I mean, for reals. ……Best Salad Ever !!!! (this week)
Now let’s do this.
The Stuff. A big bowl of baby spinach and chopped up kale, a few sliced up roma tomatoes, some super thinly sliced red onion, half an avocado, red wine vinegar and salt and pepper. Before you do anything, place the sliced onions into bowl, sprinkle with a pinch of salt and add a few glugs of the red wine vinegar. You want the onions to sit in the vinegar for at least 5 minutes on the counter cause the longer they sit the more crispy pickly they get. (after eating onions like this, you will never want to eat them any other way) Lightly oil a skillet and preheat to a medium heat. Once the skillet is hot, sprinkle the tomato slices with salt and pepper and place tomatoes right on in, snugly, but not overlapping. Let cook for about 3-4 minutes, or until the bottoms start to brown. Flip and cook other side for another few minutes.Once the tomatoes are seared on both sides, remove them gently from skillet and toss them on top of the bowl of greens.
Take the pickled onions and toss those right on top, with any of the residual vinegar, add dice and scoop the half of avocado and toss that on in as well.And now eat the best salad ever (this week).
Make the day good!
-C
Skillet Seared Tomato and Quick Pickled Onion Salad
Serves 2 as a side, 1 for a hungry eater
2 large or 3 smaller roma tomatoes
1/2 of a red onion
2-3 tablespoons red wine vinegar
1 1/2 cups baby spinach
1 1/2 cups chopped kale
salt pepper
1/2 a ripe avocado
olive oil (to grease pan)
Thinly slice red onion and place in a bowl. Add vinegar into a and sprinkle with salt. Let sit on counter for at least 5 minutes, if not longer,
Slice tomatoes into 1/2 inch thick rounds and sprinkle with a pitch or salt and pepper. Lightly oil a skillet and preheat it on medium heat. Once the skillet is preheated, stick the tomatoes on it (watch out for splattering tomato juice) Cook first side for about 3 minutes or until the bottom has browned, then flip and do the same for other side.
One tomatoes are seared, place directly onto the greens. Now dump the pickled onions and residual vinegar on top. And dice up avocado and add that on top too.
Now eat your salad, fork or fingers…
And I know, ba-daaaamn. So good.
Being that it was St. Patricks day this week and lots of folks buy up a good amount of cabbage, I figured that this is a good time to get people to try one of my most favorite of favorite meals…..Beet bean and cabbage steaks. I love to play around with food, how to pair textures and colors plus tastes while trying to make whatever I am making healthy and balanced. This is one of my fav creations. And sure, this may seem like a somewhat weird combo, maybe a little like a extremely hippy dippy vegan fake meat thing, and you might be kind of right, but screw if it doesn’t taste like A-mazing. First off, notice how freaking dang pretty this thing is. The roasted beets bring a earthy hearty flavor but also pack a huge punch of color, especially when blended together with the ever so sweet white bean, which brings a nice mellow taste and a great serving of protein. (Beets and beans are meant for each other). Spread that brightly colored, tasty mixture onto of a huge slab of one of my favorites, roasted cabbage with all its crunch and cabbagy flavor and you got yourself a hearty healthy meal of deliciousness.
So maybe this might seem a little out of your normal food routine, but why not try it? Trust me….you will love it and everyone you make it for will think you are a number 1 badass too.
Cabbage, white beans, and beets. There is a lemon involved, but it didn’t make it into the picture.
Notes…. I used white beans, but I have also done this with chick peas and lentils. All are fantastic. Also, I did not peel my beets because I never do.(I do not peel anything the skin is full of goodness and I love the taste) If you don’t want to eat the skin, then peel them. Cabbage is cut into inch thick slabs… I like to us the inter most part of a cabbage head cause I like the core. But use any cut that you want. 2 beets are chopped into chunkers and both the cabbage and the beets are placed on a lightly oiled baking sheets, seasoned with salt and pepper, and stuck into the oven for 20-25 minutes at 400 degrees.
Once the beets are tender and the cabbage is cooked to a nice withered golden pretty, take out of the oven, but leave the oven on. Leave the cabbage on the pan but throw the beets into a blender or a big bowl if using a hand blender with the white beans
Beans and beets get pureed together. Add the juice of 1/2 a lemon (or the whole lemon, depending on your taste) and a pinch of salt and pepper. With a big spoon or spatula, scoop equal amounts of the bean/beet mixture on top of the cabbage steaks and spread around. Sprinkle with cracked pepper and place back into oven for another 5-10 minutes. (You could totally skip the second bake, but I like my cabbage well done and crispy)
Oh ho boy… And with a good squirt of mustard to finish off… I could eat this all day, everyday
And now I am #1
Happy Wednesday… Keep it good!
-C
Beet and Bean Cabbage Steaks
Makes 2 Thick Cut Steaks
1/2 head of cabbage (green or red)
2 cups or 1 can of cooked white beans
2 medium beets
1 lemon
salt and pepper
Mustard (Optional)
Preheat Oven to 4oo degrees
Cut two 1 ish inch thick rounds of cabbage from the widest part of the head. Place on a lightly oiled baking sheet. Chop beets into chunks and toss on same baking sheet.(Peel if you want) Sprinkle everything with salt and pepper. Stick into oven for 20-25 minutes or until the beets and cabbage are tender. Remove veggies from oven and place roasted beets into a blender (or bowl if using a hand blender) but leave the cabbage on the baking sheet. Add the white beans, the juice of half a lemon, and salt and pepper to the beets and puree until smooth. Scoop equal amounts of the mixture to each cabbage steak, sprinkle with pepper and place back into oven for another 5-10 minutes to give the beans and beets a nice crunchy crust (You can skip this step if you don’t want to be crusty)
Remove from oven, stick on a plate and drizzle with mustard….Fork and knife are good ways to eat it, but eating it with you fingers makes less dirty dishes.
I have never in my life seen, let alone received, a kohlrabi as big as the one I picked up from my farm share last week. It was, no joke, bigger then my head. (completely nuts) If I didn’t know the farm and the farmers of my CSA, I would have to question whether or not it was grown in radioactive sludge…(kind of like the dandelions in the Teenage Mutant Ninja Turtle movie from the 90’s)
What is a kohlrabi you ask? It’s kind of a cross between a turnip and a cabbage that is usually the size of a baseball. It can be eaten raw (I like chunks dipped in mustard) or cooked. (roasted chunks dipped in mustard) It pairs well with sweet stuff like apples and honey, or in any savory stuff. Its one of my favorite vegetables (I say that about them all!)
So now that you know about kohlrabi (if you didn’t already) its time to get yourself some and make this soup. Because for real, I am not kidding when I say that this is one of the best soups that I have ever made. You really must try it. And do it soon because hopefully in the next few weeks the soup weather will turn into fresh pea weather and we might not want soup as much (I eat soup all year long)
A gigantic kohlrabi cut in half ( I only used one of the halts) A whole yellow onion and 2 large carrots. I also added in 4 cloves or garlic
Peel the kohlrabis tough skin off and chop up into chunks. Chop the carrot, garlic and onion as well .
All of those chopped veggies get thrown into a pot with two cups of water and a good sprinkle of salt and pepper. Cover and place on medium heat for about 20-25 minutes. (give a stir ever now and then) Keep cooking until the veggies are fork tender.
Once the chunks are all cooked up, its time for the immersion blender. (or into a regular blender) Add in at least 3 cups of water, but more to thin out to your desired consistency and let it rip. Stop blending once the soup is nice and creamy. Taste and season with salt and pepper to taste. Leave on low heat to bring back to a good soup eating temperature.
Now the soup is done.. and you can eat it just as it is, but you should really add in the asparagus. It is just so f*ing good. Just grab a few spears, dice them nice and small, and throw into the soup pot. Let it cook for another 5 minutes and wa la.. Soup is done. Ladle into bowls and if you want a little fancy presentation, add a swirl of mustard (it’s so good) and a whole cooked asparagus spear.
And eat one of the greatest soups ever!
Happy Day Wednesday!
-C
Creamy Kohlrabi Soup with Asparagus
3-4 kohlrabi (or 4 cups chopped Kohlrabi)
2 large carrots
1 large onion
4 or more cloves of garlic
Salt and Pepper
4-6 spears of Asparagus (extra if you want to garnish)
Yellow Mustard (optional)
Peel outer layer of kohlrabis. Roughly chop the onion, carrot, kohlrabi and garlic and stick it all into large dutch oven or stock pot. Add water until veggies are half submerged . Add a good sprinkle of salt and pepper and place on burner on medium heat and cover. Check ever 5 or so minutes and give the pot a good stir. After about 25 minutes, all the veggies should be very tender and almost fall apart when stuck with a fork. With an immersion blender or regular blender, blend till smooth, adding water until soup is at your desired constancy. Return soup to medium heat. Small dice asparagus and add to pot. (I added 2 extra whole pieces and fished them put once cooked for garnish.) Keep on heat for another 5-10 minutes until asparagus is cooked.
Scoop into bowl and squirt top with yellow mustard and top with a spear of cooked asparagus.
Eat with a spoon and lick bowl clean.
When something goes on sale at the grocery store, I tend to buy it. Being that it is Valentines Day this week, all the stores are having specials on all sorts of sexy things… and strawberries are one of them. Now I am not a huge fan of buying produce that is terribly out of season, but I can’t help myself…a good deal is a good deal and the strawberries were a super good deal. I was just going to make some sweet ass strawberry jam or maybe a lovely strawberry cake with them (and I probably still will), but these strawberries are actually super juicy and full of flavor, and it’s always nice to eat some full flavor freshy strawberries… especially soaked in balsamic vinegar. And yeah, I think that this salad is pretty sexy, so it makes for a perfect Valentines day dish.
A handful of ingredients and 5 minutes will get you to a fantastic salad experience.
A bowl of baby spinach, a few chopped up strawberries*, half a sliced avocado and a small handful of toasted almonds.. Oh, and don’t forget the balsamic vinegar….
*Note.. Strawberries are kind of heart shaped already so if you want, reserve a few slices to fancy up you salad presentation, but chop up the rest into smaller pieces.
Pour the vinegar on the strawberries and let sit for at least 5 minutes. (the longer the strawberries can sit with the vinegar, the better)
Pile it on.. thinly slice avocado.. rough chopped toasted almonds… It’s pretty much as easy as it can get.And last but not least, toss on the balsamic soaked strawberries and drizzle the remaining vinegar. (if you made hearts, place on top to make pretty) Sprinkle with a pitch of salt and pepper and pow! Fancy, sexy, delicious salad.
Not to shabby for 5 minutes and a handful of ingredients. Anyone (don’t feed to a person with nut allergies) would be so syked to be fed a salad like this… You yourself should be pretty excited to eat a salad like this. Heck, I am excited to eat a salad like this!
A love salad for everyone and everyday!
YAY for Thursday and Happy meal planning!!!!
-C
♥ Balsamic Strawberries on Spinach Almond Avocado Salad ♥
Ingredients for 1 large or 2 small salads
3-4 ripe strawberries
handful of roasted almonds (slivers or whole)
1/2 avocado
2 tablespoons Balsamic Vinegar
3 cups baby spinach
Pinch of salt and pepper
Dice strawberries into small pieces (reserve a few whole slices for heart shapes if you want) and toss in a small bowl with the balsamic vinegar. Let sit for at least 5 minutes. Rinse and dry spinach. Place in a bowl(s) and top with thinly sliced avocado, chopped almonds and balsamic soaked strawberries. Drizzle the residual vinegar on top and sprinkle with a pinch of salt and pepper.
Eat with a fork
There is a joke about Vermonters, that all we talk about is the weather. Well, it’s kind of true. But to our defense, we get a lot of weather, and it’s always changing and intense and both lovely and crazy and all over. So yeah, we talk. A lot, about the weather. And on that topic, I am trying so hard not to complain, but honestly, I am getting a little sick, both physically and mentally from all of these super, to freaking cold temperatures. Yesterday the high was 0 ( which was at like 2 in the morning) and factor in the windchill, the temp stayed at like 25 below. It f**king sucks. I can’t stay outside for too long or else I will probably die. The dog is having a hard time making it around the block before he gets ice paws, and the mister, well he even started wearing gloves (he wears a sweater all winter and never gets cold…..he is officially cold)
And not only is the cold keeping us all indoors, but its making us all borderline sick. We both have been fighting something for the past few week. The headaches, stuffy nose, chest congestions. The puppy is getting super dry skin and gave himself a hot spot. BLAh!! Ok, enough! No more complaining
Because I do really love the winter and all the pretty snow!!!!
But we are feeling kind of sick so to make us feel oh so much better, a fantastic, super tasty, healing, good for me, good for you, soup. Turmeric ginger carrot… oh man. Made with lots of ginger, turmeric and garlic and finished with a drizzle of raw honey. This soup is exactly what we need. All ingredients scream.. FEEL GOOD, BE WARM AND COZY! Almost everything in it has antibacterial and anti inflammatory properties. The veggies are hearty and heathy and just eating soup helps to keep hydrated. And the best part..it tastes so freaking amazing.
So whether you are feeling a little mah, or just a little hungry.…this soup is where it’s at!
Lots of chopped up carrots, a small onion, a little bit of cauliflower I had left over and a small beet. If you don’t have the cauliflower and or a beet, just use ares pepper or another 2 carrots.. no biggy.
Then we have the fresh ginger ( you can use powdered) turmeric and garlic. All the good healthy spicy and yummy stuff.
I accidentally spilled the turmeric on the counter..but it kind of looks like I might have done it on purpose… yeah, let’s go with that. Chop the garlic and he ginger into chunksAnd toss into the pot to warm and activate. Just a little toasty toast.
And the veggies are roasted and tender and smell so good. It took a lot of will power to not eat the whole pan right there.
I added the roasted veggies and 3 cups water straight into my pot with the spices because I used an emulsion blender. If you are using normal blender, add the veggies, the toasted spices and the water to the blender and blend until smooth. Then transfer to a pot.
Pretty much all blended together….(I left a few big chunks in there to snack on while I was waiting to eat serve…I was really hungry) and let to simmer for a little longer…
And now ladle into a bowl and get ready for a fantastic finish… drizzle a spoonful of raw honey into soup…….so so good. You could add the honey before serving, but heating it kills all the good antibacterial stuff so that’s why we wait. Then I sprinkle some chopped kale and chives. (do it if you want, but not necessary)
Now enjoy. Let the warmth wash over you and feel all those good spices helping to fight the good fight to keep you well and all the yummy to satisfy your hunger.
And lets hope for some warm (above 0!!) weather!
-C
Turmeric Ginger Carrot Soup
Ingredients
5 large carrots
1 small onion
1 small beet*
quarter head cabbage ( or a cup of frozen)*
2-3 teaspoons turmeric
2-3 tablespoons fresh ginger (1/2 teaspoon if using powdered)
4-6 cloves garlic
salt pepper
raw honey (omit if vegan)
* If you don’t have or want to use beet and or the cauliflower, you can use a red pepper, a small sweet potato, or just use a few more carrots.
Chop all veggies into similar sized chunks and toss into a lightly oiled pan or on a baking sheet and sprinkle with salt. Stick in oven at 425 for about 30 minutes or until all veggies are fork tender.
In a large soup pot or dutch oven, toss chopped garlic, ginger and the turmeric and place on medium heat for a few minutes to activate the spices. Add the roasted veggies and 3 cups water to pot (if using emulsion blender) and blend until smooth. If using a blender, add the toasted spices, roasted veggie and 3 cups water and blend until smooth then transfer to a large pot or dutch oven. Add salt and pepper to taste. Turn heat down to simmer and let cook for an addition 10 minutes.
When ready to serve, ladle soup into bowl and drizzle a spoonful of raw honey into soup. Garnish with fresh chopped kale, chives, cabbage or whatever you want. (or nothing is good too)
Roasted veggies of any kind can get this girl in trouble. Place a sheet pan meant for many full of roasted veggies and watch out, I will probably eat them all. I can%u2019t stop, won%u2019t stop and you know what, I am not sorry, especially if its roasted brussel sprouts and squash.l I am grabbing at every last bit, especially all the really crispy, almost burnt pieces. Burnt food is one of my favorite flavors.
This dish is pretty basic, but also not. A slightly overlooked grain, spelt, makes for a hearty backdrop to the magic of roasted sprouts and squash, covered with a sunflower butter sauce which is a nice spin on a traditional peanut sauce. It%u2019s pretty easy to make and pretty to look at as well. A nice hearty and warming meal for all of those cold winter nights. And it%u2019s not going to make you feel heavy or gross, like if you sat and ate an entire lasagna. No, you will feel full and fantastic and ready for a cookie (it is the holidays after all).
The ingredients in this dish are mainly inspired by the half eaten jar of sunflower butter a friend of mine gave me at the gym, plus the fact that I have been getting a few stocks of brussel sprouts each week at farm share so we are eating them at ever meal, (plus I LOVE brussel sprouts) and me trying to use up all of the grains and such in the pantry before restocking anything more or new. A dish of convenience sure, but also a damn delicious one at that. With this being said, if you had a different grain you wanted to use, or an abundance of some other veggies that you have or prefer, well go ahead and use them. You do you my friend.
And really, I was thinking of you when I made this dish. Sometimes at this time of year people tend to forget to eat, or tend to eat on the not so healthy side. This grain bowl situation is just what your body is in need of. Simple delicious nourishment.
The stuff. Spelt that has been soaking in water for a while, half a butternut squash, brussel sprouts, a red onion. Also sunflower butter, a few cloves garlic, a lime, soy sauce, a touch of maple, salt and pepper, and olive oil.
The spelt will probably take the longest so get it on the stove. Strain away the soaking water and place into with fresh water. Bring to boil then reduce heat to a simmer. Place a lid on pot ans let it go.
Next, get to the veggies. Halve the big sprouts (small ones can stay whole) chop onion into chunks and cube the squash.
A drizzle of oil, a sprinkle of salt and pepper, and a good toss around and it ready for the oven.
Meanwhile, make the sunflower butter sauce. Its pretty basic. The sunflower butter, minced garlic, soy, maple, and juice of the lime all into a vessel that can hold it. Add a couple tablespoons of warm water to thin it out and done. Sunflower butter sauce. Easy Peasy.
After about an hour, your slept should be cooked (that sounds aggressive to me) Tender and chewy and just right.
The veggies should be roasted and done too. Crisp as you like ( I actually like mine even darker, but the mr does not so I went a light roast this time)
And it%u2019s all ready for you to eat.
Roasted butternut squash and brussel sprouts on a warm bed of spelt covered in sunflower butter sauce. Living the good life here.
Take care of yourself this week, and always for that matter. Eat some good food. Your body will be happy for it.
Bye.
-C
Serves 2-3
1 cup spelt berries (soaked in water overnight if you remember)
3 cups water
about 1/2 of a butternut squash
about a pound of Brussel sprouts
a medium red onion
1/4 cup sunflower seed butter (unsalted and unsweetened)
2 tablespoons liquid amionos or soy
1 teaspoon maple or honey
1 lime
2 cloves garlic
salt and pepper
olive oil
Preheat oven to 425
Place soaked spelt berries in a pot with water and a pinch of salt. Bring a boil then reduce heat, place a lid on pot and simmer for 45 minutes to an hour or until spelt berries are tender and all the water has been absorbed.
While spelt is cooking, cut sprouts in half (unless they are very small), cube the butternut into pieces about an inch big, and chop the onion up into chunks. Place all that you just chopped onto a baking sheet, drizzle with a teaspoon or two of olive oil and toss around. Sprinkle the veggies with a pinch or so of salt and pepper and pop into the hot oven. Roast for 40-45 minutes or until roasted to your desired doneness. (I like things a lot darker then the mr so I would leave my veggies in for closer to an hour)
For the sunflower butter sauce. Mince garlic and place into bowl or cup with the sunflower butter. Add in the maple, soy, and the juice of the lime. Mix together and add in a 2 tablespoons of warm water to thin out. Add more water if needed to get to a thick but pourable consistency.
Once the spelt is cooked, the veggies are roasted and the sauce is made, well you can assemble and eat. Spelt in a bowl, toss on some roasted veggies, and cover in the sauce. And then you eat it.
Being that it was St. Patricks day this week and lots of folks buy up a good amount of cabbage, I figured that this is a good time to get people to try one of my most favorite of favorite meals…..Beet bean and cabbage steaks. I love to play around with food, how to pair textures and colors plus tastes while trying to make whatever I am making healthy and balanced. This is one of my fav creations. And sure, this may seem like a somewhat weird combo, maybe a little like a extremely hippy dippy vegan fake meat thing, and you might be kind of right, but screw if it doesn’t taste like A-mazing. First off, notice how freaking dang pretty this thing is. The roasted beets bring a earthy hearty flavor but also pack a huge punch of color, especially when blended together with the ever so sweet white bean, which brings a nice mellow taste and a great serving of protein. (Beets and beans are meant for each other). Spread that brightly colored, tasty mixture onto of a huge slab of one of my favorites, roasted cabbage with all its crunch and cabbagy flavor and you got yourself a hearty healthy meal of deliciousness.
So maybe this might seem a little out of your normal food routine, but why not try it? Trust me….you will love it and everyone you make it for will think you are a number 1 badass too.
Cabbage, white beans, and beets. There is a lemon involved, but it didn’t make it into the picture.
Notes…. I used white beans, but I have also done this with chick peas and lentils. All are fantastic. Also, I did not peel my beets because I never do.(I do not peel anything the skin is full of goodness and I love the taste) If you don’t want to eat the skin, then peel them. Cabbage is cut into inch thick slabs… I like to us the inter most part of a cabbage head cause I like the core. But use any cut that you want. 2 beets are chopped into chunkers and both the cabbage and the beets are placed on a lightly oiled baking sheets, seasoned with salt and pepper, and stuck into the oven for 20-25 minutes at 400 degrees.
Once the beets are tender and the cabbage is cooked to a nice withered golden pretty, take out of the oven, but leave the oven on. Leave the cabbage on the pan but throw the beets into a blender or a big bowl if using a hand blender with the white beans
Beans and beets get pureed together. Add the juice of 1/2 a lemon (or the whole lemon, depending on your taste) and a pinch of salt and pepper. With a big spoon or spatula, scoop equal amounts of the bean/beet mixture on top of the cabbage steaks and spread around. Sprinkle with cracked pepper and place back into oven for another 5-10 minutes. (You could totally skip the second bake, but I like my cabbage well done and crispy)
Oh ho boy… And with a good squirt of mustard to finish off… I could eat this all day, everyday
And now I am #1
Happy Wednesday… Keep it good!
-C
Makes 2 Thick Cut Steaks
1/2 head of cabbage (green or red)
2 cups or 1 can of cooked white beans
2 medium beets
1 lemon
salt and pepper
Mustard (Optional)
Preheat Oven to 4oo degrees
Cut two 1 ish inch thick rounds of cabbage from the widest part of the head. Place on a lightly oiled baking sheet. Chop beets into chunks and toss on same baking sheet.(Peel if you want) Sprinkle everything with salt and pepper. Stick into oven for 20-25 minutes or until the beets and cabbage are tender. Remove veggies from oven and place roasted beets into a blender (or bowl if using a hand blender) but leave the cabbage on the baking sheet. Add the white beans, the juice of half a lemon, and salt and pepper to the beets and puree until smooth. Scoop equal amounts of the mixture to each cabbage steak, sprinkle with pepper and place back into oven for another 5-10 minutes to give the beans and beets a nice crunchy crust (You can skip this step if you don’t want to be crusty)
Remove from oven, stick on a plate and drizzle with mustard….Fork and knife are good ways to eat it, but eating it with you fingers makes less dirty dishes.
You ever make dish, completely on the fly, just to use something up (I have a lot of ripe tomatoes) with no real expectation, just because… Then have it be one of the best freaking things that you have ever made? This salad is one of those things.. maybe not the best thing I have ever made, but definitely the best salad I have ever made…. this week.
A salad compiled of all things amazing, taking just a few minutes to make and is the perfect balance of uber fresh with baby spinach, raw kale, and crunchy quick pickled onions. Then adding a touch of warmth with the sweet and juicy seared tomatoes and big chunks of creamy avocado.
I mean, for reals. ……Best Salad Ever !!!! (this week)
Now let’s do this.
The Stuff. A big bowl of baby spinach and chopped up kale, a few sliced up roma tomatoes, some super thinly sliced red onion, half an avocado, red wine vinegar and salt and pepper. Before you do anything, place the sliced onions into bowl, sprinkle with a pinch of salt and add a few glugs of the red wine vinegar. You want the onions to sit in the vinegar for at least 5 minutes on the counter cause the longer they sit the more crispy pickly they get. (after eating onions like this, you will never want to eat them any other way) Lightly oil a skillet and preheat to a medium heat. Once the skillet is hot, sprinkle the tomato slices with salt and pepper and place tomatoes right on in, snugly, but not overlapping. Let cook for about 3-4 minutes, or until the bottoms start to brown. Flip and cook other side for another few minutes.Once the tomatoes are seared on both sides, remove them gently from skillet and toss them on top of the bowl of greens.
Take the pickled onions and toss those right on top, with any of the residual vinegar, add dice and scoop the half of avocado and toss that on in as well.And now eat the best salad ever (this week).
Make the day good!
-C
Skillet Seared Tomato and Quick Pickled Onion Salad
Serves 2 as a side, 1 for a hungry eater
2 large or 3 smaller roma tomatoes
1/2 of a red onion
2-3 tablespoons red wine vinegar
1 1/2 cups baby spinach
1 1/2 cups chopped kale
salt pepper
1/2 a ripe avocado
olive oil (to grease pan)
Thinly slice red onion and place in a bowl. Add vinegar into a and sprinkle with salt. Let sit on counter for at least 5 minutes, if not longer,
Slice tomatoes into 1/2 inch thick rounds and sprinkle with a pitch or salt and pepper. Lightly oil a skillet and preheat it on medium heat. Once the skillet is preheated, stick the tomatoes on it (watch out for splattering tomato juice) Cook first side for about 3 minutes or until the bottom has browned, then flip and do the same for other side.
One tomatoes are seared, place directly onto the greens. Now dump the pickled onions and residual vinegar on top. And dice up avocado and add that on top too.
It is exactly that time of year. Apples galore, cool days in need of a little extra warm, meaning a warm oven is welcome, if not needed. It%u2019s the best time of year, or at least one of them.
And so I bake bread. Sometimes just a roll, and sometime a loaf, almost everyday. I love bread baking because, well just because. Plus it%u2019s what people want to eat and will always eat because I guess bread=love. Makes sense to me.
This bread was made from a small dip in the 2 gallons of applesauce I made the night before. (We had sooooo many apples). The mr isn%u2019t the biggest fan of applesauce, says he would rather eat a fresh apple. I kind of get it, but dude, warm, chunky, slightly cinnamon-y applesauce%u2026 I mean, that is happiness right there. Right? Anyway, I am trying not to eat all the applesauce to my face by myself at once (it has been a challenge) and plus I needed to make the mr some bread, so I figured what the hell. I%u2019ll just use applesauce as my liquid in the bread. And so I did and that is that and now that mr really like applesacue (when it is baked into bread)
This bread is a basic sandwich type bread. The apple taste is there but not overwhelming so it can be used for sandwiches of all kinds, toast, just eating with a smear od something, or not. Just a overall good loaf of bread with a little extra from the apple. And braided because I was feeling classy. It%u2019s amazing what at little braiding of bread dough can do for your self esteem. Made me feel like I was the coolest person in the world. Haha!
Now to the bread.
The stuff. A few apples, regular all purpose and white whole wheat flour, salt, applesauce, maple syrup, yeast, and warm water.
Applesauce, shredded apple, maple, yeast, and a little water get mix up and let to sit for a few minutes to activate yeast. Then the salt gets mixed in, along with all the flour. Stir until dough forms. Dough should be slightly sticky, ut not wet. IF wet, add a handful more flour. To dry, add more water.
Dump the dough onto a floured surface, cover your hands in flour, and knead dough for about 5 or so minutes, adding more flour as needed to keep dough from sticking, until the dough is a nice and cohesive texture.
Nice looking dough. Now roll dough into a ball.
Place dough in a clean wet or oiled bowl and cover with a damp cloth for one to one and a half hours or until dough doubles in size.
Dump dough onto floured surface.
Cut dough into 3 equal pieces and roll out into long longs.
Braid logs together. You can stop here bake it this way or%u2026
After placing it on a parchment lined baking sheet, tuck the ends of the braids underneath each other and make it like this. Either way. And once you have the dough on the baking sheet, brush a little water or plant milk on top and let dough rest for 15 minutes of so while the oven preheats.
Before oven and after oven. Classy, right?
Then for shin and soft crust, rub warm loaf with some plant butter.
And for the hard part. Let it cool before slicing it. Ok sure, a little warm is fine, but wait at least 20 minutes (an hour would be best) and then eat you some bread.
Eat you some bread. That%u2019s a t-shirt right there.
Happy Fall friends!
-C
makes pretty one loaf
2 cups all purpose flour
1 1/2 cups white whole wheat flour plus more for kneading
1 cup unsweetened room temperature applesauce
1 large or 2 small apples ( about 2/3 cup shredded apple)
1/4- 1/2 cup warm water
1 tablespoon maple syrup or honey
2 teaspoons active yeast
1 teaspoon salt
1 tablespoon or so plant milk or water
1 tablespoon plant based butter (optional for rubbing on finished bread)
Grab the apples and shred them until you have 2/3 cup shredded apple. In a large bowl, mix together the applesauce, shredded apples, yeast, 1/4 cup warm water, and sweetener.and let yeast activate for a few minutes. Add in salt, the all purpose flour and the 1 1/2 cups white wheat flour. Stir together until dough forms. The dough should be a little bit sticky so if the dough seems to dry, add in 1/4 cup more warm water. If it seems really wet, add in a handful more flour.
Dump dough out onto a well floured surface and knead for about 5 minutes adding a little bit of flour to the counter as needed to prevent it from sticking. Once dough is cohesive in texture, roll into a ball and place into a clean wet or oiled bowl. Cover with a damp towel and allow the dough to double in size. Should take between an hour and an hour and a half.
Once dough doubles in size preheat oven to 400
Dump risen dough back onto a well flour counter. Cut the dough into 3 equal sizes and roll each piece into long logs about 20 inches or so long. Place each roll next to each other and braid. Grab a baking sheet and line with a piece of parchment paper. Sprinkle with a bit of flour and place braided dough onto sheet, either as a braid or if you want, like I did, wrap the braid around itself into a rounded braid situation. Tuck ends into each other and under the loaf. Brush the top gently with a little plant milk or water and let rest for about another 15 minutes or so.
After the rest, place dough into preheated oven. Bake for 35-45 minutes (Less if left long braid, more if wrapped braid) or until the top is a deep golden brown and when tapped on the bottom, it sounds hollow. Also can use an insta read thermometer and check temperature. You want it to reach 190 degrees.
Once bread is baked, remove from oven. If you want the top to stay a little crispy, don%u2019t do anything but let it cool. For a softer, shinny crust, rub the top while it is still warm with some plant based butter.
Let bread cool completely before cutting.
Then eat it like you would eat bread. Any and every way.
Store cooled loaf in a airtight bag on counter for 2-3 days but if not eating that fast, slice and place into freezer. That way you can pull out individual pieces and toast as you want.
I am a firm believe in the healing power of food. Whenever anyone (that I like) gets some sort of medical percedure, I like to bring them something home cooked, weather it be dinner or a baked good,%u00a0%u00a0you know, so they don’t have to worry about starving to death. ( no one I have ever visited was ever starving)%u00a0Food helps you heal and food makes you happy so bringing a healing person some food only makes sense to me.%u00a0So when the mr’s aunt recently had part of her knee drilled out, cleaned out and stuffed with human cadaver bone marrow (%u00a0pretty cool))%u00a0%u00a0I baked her,%u00a0her husband, and her kiddos some muffins.
Why muffins? Well I was thinking soup or a casserole, but the mr suggests I do a baked good instead. I was going to go with a cake, but then that can get kind of annoying and troublesome with a couple of kids. Cupcakes are to cheesy and don’t send the right message of get well, (cupcakes say, run around.. sugar high!), a pie would have been nice, but I am not sure if the kids like pie. Then there are muffins.. muffins are perfect. Not terribly packed full of sugars and crap. A little more hearty, can be eaten as a snack, a dessert, or a quick breakfast, and keep for a good while. %u00a0I made them apple cause I gots a shit ton of apple and peanut butter cause protein is good and it just makes sense.%u00a0
Apple+peanut butter are BFF’s and really, what human doesn’t like peanut butter?%u00a0
So his aunt and family got the muffins, and the mr only got 1. I think he was really disappointed that I didn’t save him another one or make more. %u00a0
Oh well. I guess I can make them again, if he is lucky.%u00a0
And I feel like I should say get we’ll soon Sarrh, but this last is a badass and is already doing great,so I will just say,%u00a0Hi Sarah, looking good!
Now to the muffins!
The stuff. Dry ingredients are flour, baking packing soda cinnamon and salt. Then we have applesauce, breon sugar, oil, vanilla extract and vinegar.%u00a0For the streusel…. peanut butter, brown sugar, flour, salt and earth balance. (you could use butter if you want)
The streusel stuff goes into a bowl and gets mixed until it turns into a crumbly, soft dough and set aside.
Whisk together the flour, baking soda, cinnamon and salt in one bowl, then in another bowl, mix together he applesauce, oil, vanilla, %u00a0sugar and lastly, the vinegar.%u00a0
Fold the wet into the dry, mixing just enough until incorporated. And remember%u2026.DON”T OVERMIX!
Now scoop batter into muffin pans. Use liners, or not%u2026 I usually don’t but figured that lined muffins travel and keep a little better%u2026 plus I just found a bunch when I was cleaning out a kitchen drawer.
Streusel top those muffins!
A view from the side%u2026 Use it all, don’t be shy, the crumble is there to be eaten%u2026 Oh, and lesson learned by me.%u00a0Next time I make these I will give the streusel a little pat into each muffin, to really secure it to the tops.%u00a0So yeah, you should do that.
Now into the ove they go!
Pull out to cool when the streusel is browned, the muffins are poofed, and a tester poked comes out clean.
The smell alone will make your mouth water and you tummy growl.%u00a0
A muffin win!
Happy Friday!%u00a0%u00a0Do lots of fun fall stuff this weekend!
-C
Makes 12 muffins
%u00a0Muffin Stuff
2 1/4 cups all-purpose flour
2 teaspoons baking soda
1 teaspoon salt
1 teaspoons ground cinnamon
2 cups applesauce*%u00a0(recipe here)
2/3 cups brown sugar
1/2 cup oil
2 tablespoons apple-cider vinegar
1 teaspoon pure vanilla extract
Peanut Butter Streusel Stuff
1/2 cup flour
1/3 cup peanut butter
3 tablespoon %u00a0brown sugar
2 tablespoons %u00a0earth balance
* IF you are using homemade applesauce (you should!) A little chunky is good. Just make sure that there are no huge chunks. Also, if you applesauce is really thick, just add a bit of water to think it would. It doesn’t have to be pourable, but it should have a bit of water content to it.%u00a0
Turn oven on to 350 and either grease or line a 12 hole muffin pan
In a bowl, combine all of the streusel stuff unit it becomes a kind of crumbly dough and set aside.
In a large bowl, whisk together the flour, baking soda, salt, and cinnamon. In a separate bowl, mix together the applesauce,, brown sugar, oil, vanilla,, and vinegar. Pour the wet into the dry and fold in until %u00a0just fully incorporated, br careful to not over mix the batter.
Scoop equal amounts of batter into you muffin tin. Grab the streusel l topping and evenly distipute that all over the muffins, giving the topping a soft pat to make sure it stays put while baking.%u00a0
Place muffins in oven and bake for about 30 ish minutes, or unlit the streusel is browning, the muffins are poofy and a test comes out clean.
Remove from oven, pop muffins from tin, and let cool on a rack.
Serve as soon as you want. A glass of milk (plan, nut or cow) or a big old cup of joe goes really well with this muffin situation.%u00a0
Earlier this week, the mr and I took a little Vermont drive. We grabbed some coffee,%u00a0went to the country side, down some dirt roads, and struck apple gold. This road was lined with apple trees.(no, it was not an orchard) Trees all over the place, of all sorts of different variety apples, just falling from the trees. It was crazy. So We stopped, tasted, and picked picked picked. We filled up the trunk of the car.
This is after a few days earlier we picked about 2 bushels of heirloom apples that are growing all around our garden.So yeah, we might have a few apples laying around the house
But we picked with purpose.%u00a0The mr is in processes of making , from scratch, his own hard apple cider. He has 2 of these humngo 5 gallon glass carboys (is that what they are called) or glass jugs %u00a0that he was attempting to fill with cider. No problem right? We have an abundance of apples. Well that’s all well and good, but guess what? We don’t have a press. The mr didn’t seem to see this as a problem. He will just borrow a juicer%u2026HAHAHAH. that worked, for about 2 cups of juice, then the motor blew out. So I let him use my blender. He spent 4 house deseeding and blending apples to a pulp and squeezing the juice through a piece of cotton. It was ridiculous and amazing and he actually got about 3 gallons of juice through the process, which is now fermenting in the basement, but he did not get anywhere near the ten gallons that he was looking for. So next project%u2026 build an cider press.(seriously)
But we still gots about half of the shit ton of apples that we picked. Luckily,most of them are good keepers so I can store them for a while (until I eat them all) but some of them are starting to smell so super apple-y that I can tell that they need to be used %u00a0asap. And thats fine by me cause that just mean applesauce!%u00a0
Applesauce!!! It is a must,%u00a0an apple season stable. Sure you can make all sorts of pies, tarts cakes, salads,%u00a0pretty much apple anything, but applesauce is apple at it’s most delicious %u00a0purest state( besides fresh).%u00a0Plus applesauce can be used to make all of those %u00a0apple cakes, breads, salads and such. IT’s also %u00a0what you do when you have any apples that need to be eaten, might taste a little on the meh side,are too sour,%u00a0might look a little to funky to eat, or just because applesauce rocks and you want some.%u00a0
So yeah, applesauce is awesome-sauce and you need to make some May you apples be store bought, orchard pick, or wild foraged.%u00a0Any apples will do!
Applesauce time!
The stuff. Apples, apple and apple.%u00a0
Cut up the apples, removing the seeds and stems. (peel if you really must)
Toss all those apples into a pot and add in a few couple of water. Place lid on the pot, stick one medium heat, and let it cook.
Until it looks like this. %u00a0Applesauce.. a little on the chunk side(the way I like it) but if you want it smooth, just use a masher or a blender to smooth it as much as you like. This applesauce is all about you my friend.
Spoon into jars%u2026 and into you mouth.
Add some stuff (cinnamon, peanut butter, fresh raspberries…)%u00a0add to stuff, (yogurt, muffin batter, salad dressing%u2026)%u00a0or eat straight up.%u00a0The possibilities are endless!
Happy Wednseday and Happy First day of Fall!!!
-C
Makes about 2 pints%u00a0
5-6 pounds apples (use any variety or varieties that you like)
2 1/1- 3 1/2 %u00a0cups water
Note. I am not an apple peeler kind of lady. I get that some of you are, so by all means, peel your apples if you want.%u00a0
Chop apple into chunks, removing the seeds and the stem and toss into a heavy bottom pot. Pour in aout 2 cups water and stick on on a medium high heat and top the pot with %u00a0lid. After about 5 minutes, give the apple a good stir and turn heat to medium low. Let simmer for about 20-30 minutes, stirring every now and then,%u00a0adding more water if needed, until the apple are completely soften and falling apart. %u00a0Turn burner of and %u00a0either with a masher of some kind, or even a wood spoon, smash apart any large chunks of apples. If you like a smooth sauce, add it to a blender and puree until you are happy with the consistency. Want it thinner, add a little more water. Thicker, cook a little longer.
Note that once it’s refrigerated, it will become thicker too. Store in jars for up to a week (if it lasted that long)
Eat as is, or add %u00a0anything that you heart desires to it. Cold is great, warm is amazing. Can be used in just about any baked good or savory recipes that you can think up!
It’s been a week of weeks if you know what I mean. The world. There is a lot to process, good and bad. And now I think I need to catch up with my mind. I feel like I have let it run to far ahead of the rest of me. Or maybe I am running away from it? Either way. I need to reign it it and focus. That is the goal anyway.
As our routine, we went camping on Sunday and it was just the best, an unexpected greatness. We started with a great hike through pastures and woods and to a gorge and then headed to the park to pitch the tent. D.A.R State park. Neither of us had ever been there before and hadn’t heard anything about it, so we were not sure what to expect. And it turned out to be just fantastic. Big and spacious, pretty, relaxing, and right on the lake. Very few campers, all of which were old people. So quite. Our site was perfect and there was a sink near the bathrooms to wash dishes in. What more can you ask for? We played on the rock beach, made dinner, hug out by the fire, walked around the camp, went back down to the beach and skipped rocks while watching the sun set, and then crawled in to the tent for the night. The stars were crazy bright, the fireflies were everywhere, the sounds of the waves were faint but there. I was just as happy as as clam. Even when I woke up chilly. And then we woke up, made coffee, the mr fished for a few while I read and watched the sun come up then off and back to life we went.
After we got home Monday things got really busy and completely out of the norm. First off, the mr has been working a time sensitive job that has had him leaving as soon as I walk in the door in the morning and not getting home until I am in bed. And that in itself is not usual, but if that does happen, we will see each other during the day, at least for meals. It might not seem like such a biggy to most people, but for the past 17+ years, we have eaten almost every single meal together, and this week, no meals. I have been eating alone all week. At first I loved it because I love reading while I am eating and only ever do it on the very rare occasion that the mr is not home for a meal. But all week for lunch and dinner, alone. I have read 2 books, but I was starting to get lonely. I missed my mr. So sad. HAHA.
Anyway, while he was gone all week, I did some work, had coffee with my mom, made cookies with the littles, met Barb’s boyfriend, and ate ten thousand tomatoes. I also spent a good chunk of time cleaning out the loft (again) for my dad, and oh, I don’t even know, a bunch of other stuff. Then Jeff Dad came to VT. We went for a hike with couple littles at a state park, sat in traffic on the interstate for far too long, and then went to Megans house where I made dinner for everyone. I got to meet Anthony’s girl friend ( a week of meeting the significant others), got a glimpse of the butterfly chrysalis, and made Sophia cry because we picked all her basil for pesto and she really really didn’t want to share it. So I owe the girl a new basil plant.
Yesterday was family reunion up in Belvidere. The whole crew. Great as always. Seeing family is always the best. I love them all, even if they exhaust me and maybe make me want to run away screaming. But isn’t that the way it suppose to be?
And then we came home, the mr left again to finish this job last night and came home while I was in bed. Again. But now he is done. And I am so excited to have him around, although this week is a new job that will be taking him away again. At least we have today. Camping. Ricker Pond State Park. I am excited. No work for the mr. Just him and me heading out into the wilderness with our tent and sleeping bags and a socks! Socks cause it had been getting chilly at night….YAY for cool late summer nights! I am so ready for some cool weather and to bust out all my sweaters!!!!
Internet from the Internet.
-It’s that time of year again. One day theres one, the next there are a million! How to Get Rid of Fruit Flies Before They Take Over Your Kitchen
–Call Me Crazy, but I Think an Active Vacation Eases Stress More Effectively Than the Beach. No, not crazy at all. I need activity all the way, whether it is hiking, biking, or just walking 20 miles around a city. No beach reading for me.
-Avoid the toilet plume! Hey, Just Always Close Your Toilet Lid, OK?
-I don’t really get it, but it is awesome. Watch the New, Brilliant Trailer for Season 10 of “The Great British Bake Off”
–It’s the Season for Fruit, and Also for Writing About Cutting Fruit as an Act of Love. I always cut fruit up for the ones I love. HAHAHA, but for real.
-Oh fuck. A New Study Reveals Just How Toxic a Bee’s World Has Become
–Collards vs. Kale: Why Only One Supergreen Is a Superstar. Strange how people perceive certain things…
-I like. ON TREND: THE ART DECO BED.
–Fun People Order Pancakes: What Your Diner Order Says About You. Black coffee all the way.
-Can you imagine… 3 feet tall. Super bad ass and super scary! I wonder if they could talk too? This three-foot-tall parrot proves New Zealand is the mecca of giant weird birds
–Give Up Your Gas Stove To Save The Planet? Banning Gas Is The Next Climate Push. Would you? I think we all are going to need too. I am already thinking of induction. Definitely next kitchen I remodel.
It is exactly that time of year. Apples galore, cool days in need of a little extra warm, meaning a warm oven is welcome, if not needed. It%u2019s the best time of year, or at least one of them.
And so I bake bread. Sometimes just a roll, and sometime a loaf, almost everyday. I love bread baking because, well just because. Plus it%u2019s what people want to eat and will always eat because I guess bread=love. Makes sense to me.
This bread was made from a small dip in the 2 gallons of applesauce I made the night before. (We had sooooo many apples). The mr isn%u2019t the biggest fan of applesauce, says he would rather eat a fresh apple. I kind of get it, but dude, warm, chunky, slightly cinnamon-y applesauce%u2026 I mean, that is happiness right there. Right? Anyway, I am trying not to eat all the applesauce to my face by myself at once (it has been a challenge) and plus I needed to make the mr some bread, so I figured what the hell. I%u2019ll just use applesauce as my liquid in the bread. And so I did and that is that and now that mr really like applesacue (when it is baked into bread)
This bread is a basic sandwich type bread. The apple taste is there but not overwhelming so it can be used for sandwiches of all kinds, toast, just eating with a smear od something, or not. Just a overall good loaf of bread with a little extra from the apple. And braided because I was feeling classy. It%u2019s amazing what at little braiding of bread dough can do for your self esteem. Made me feel like I was the coolest person in the world. Haha!
Now to the bread.
The stuff. A few apples, regular all purpose and white whole wheat flour, salt, applesauce, maple syrup, yeast, and warm water.
Applesauce, shredded apple, maple, yeast, and a little water get mix up and let to sit for a few minutes to activate yeast. Then the salt gets mixed in, along with all the flour. Stir until dough forms. Dough should be slightly sticky, ut not wet. IF wet, add a handful more flour. To dry, add more water.
Dump the dough onto a floured surface, cover your hands in flour, and knead dough for about 5 or so minutes, adding more flour as needed to keep dough from sticking, until the dough is a nice and cohesive texture.
Nice looking dough. Now roll dough into a ball.
Place dough in a clean wet or oiled bowl and cover with a damp cloth for one to one and a half hours or until dough doubles in size.
Dump dough onto floured surface.
Cut dough into 3 equal pieces and roll out into long longs.
Braid logs together. You can stop here bake it this way or%u2026
After placing it on a parchment lined baking sheet, tuck the ends of the braids underneath each other and make it like this. Either way. And once you have the dough on the baking sheet, brush a little water or plant milk on top and let dough rest for 15 minutes of so while the oven preheats.
Before oven and after oven. Classy, right?
Then for shin and soft crust, rub warm loaf with some plant butter.
And for the hard part. Let it cool before slicing it. Ok sure, a little warm is fine, but wait at least 20 minutes (an hour would be best) and then eat you some bread.
Eat you some bread. That%u2019s a t-shirt right there.
Happy Fall friends!
-C
makes pretty one loaf
2 cups all purpose flour
1 1/2 cups white whole wheat flour plus more for kneading
1 cup unsweetened room temperature applesauce
1 large or 2 small apples ( about 2/3 cup shredded apple)
1/4- 1/2 cup warm water
1 tablespoon maple syrup or honey
2 teaspoons active yeast
1 teaspoon salt
1 tablespoon or so plant milk or water
1 tablespoon plant based butter (optional for rubbing on finished bread)
Grab the apples and shred them until you have 2/3 cup shredded apple. In a large bowl, mix together the applesauce, shredded apples, yeast, 1/4 cup warm water, and sweetener.and let yeast activate for a few minutes. Add in salt, the all purpose flour and the 1 1/2 cups white wheat flour. Stir together until dough forms. The dough should be a little bit sticky so if the dough seems to dry, add in 1/4 cup more warm water. If it seems really wet, add in a handful more flour.
Dump dough out onto a well floured surface and knead for about 5 minutes adding a little bit of flour to the counter as needed to prevent it from sticking. Once dough is cohesive in texture, roll into a ball and place into a clean wet or oiled bowl. Cover with a damp towel and allow the dough to double in size. Should take between an hour and an hour and a half.
Once dough doubles in size preheat oven to 400
Dump risen dough back onto a well flour counter. Cut the dough into 3 equal sizes and roll each piece into long logs about 20 inches or so long. Place each roll next to each other and braid. Grab a baking sheet and line with a piece of parchment paper. Sprinkle with a bit of flour and place braided dough onto sheet, either as a braid or if you want, like I did, wrap the braid around itself into a rounded braid situation. Tuck ends into each other and under the loaf. Brush the top gently with a little plant milk or water and let rest for about another 15 minutes or so.
After the rest, place dough into preheated oven. Bake for 35-45 minutes (Less if left long braid, more if wrapped braid) or until the top is a deep golden brown and when tapped on the bottom, it sounds hollow. Also can use an insta read thermometer and check temperature. You want it to reach 190 degrees.
Once bread is baked, remove from oven. If you want the top to stay a little crispy, don%u2019t do anything but let it cool. For a softer, shinny crust, rub the top while it is still warm with some plant based butter.
Let bread cool completely before cutting.
Then eat it like you would eat bread. Any and every way.
Store cooled loaf in a airtight bag on counter for 2-3 days but if not eating that fast, slice and place into freezer. That way you can pull out individual pieces and toast as you want.
When your sister drops off 50 lbs of beets, on top of the 50 lbs that you have to harvest that are growing in your garden, what do you do?
Well chips of course.
Yeah, chips. That%u2019s right. When I got home from camping on Monday and there was a humongous pile of beets sitting next to my front door, I am not going to lie, I was a little shocked. I mean there wasn’t just a few little ones. These beets were freaking huge, like the size of my arm, and so many. But pretty much right after my initial shock I knew what needed to be done. First, eat a few roasted, second, roast extra to freeze for later, and lastly, make a few bunches of chips.
Have you ever had beet chip? They are amazing. Crispy, crunchy, tasty as all heck. If you like beets, even in the slightest, you will love these. If you hate beets, well maybe don%u2019t? Either way, beet chips are the best chip. Wha’t%u2019s not to love? Pink, and chippy. Sweet, and salty. And then you add the fact that making beets into chips is a good way to get your veggies in and that you can eat a whole bowl full and feel zero guilt because you are just eating beets. Plus making beets into chips is a good way to use up any extra beets you might have laying around or that have been dropped off at your front door.
These chips, once they are made, will not last long. So when you do make them, know you will probably be making them again soon there after. Me, I have still have to harvest all my garden beets so beet chips are happening again soon. Real soon (like this afternoon!)
To the beets!
The stuff. Beets (these are Formanova beets but any variety works) salt and pepper ,and oil.
Ok so you need to cut these bad boys reallllllly thin. Like 1/15th a inch. So, what I am saying is, use a mandolin. If you don%u2019t have one, a knife will do, but you are going to have a hard time getting them as thin as you need to and all of them consistent so baking is going to be a little more tricky so maybe you should just go borrow or invest in a mandolin.
Grab baking sheets, oil, and salt and pepper. You can either dump the oil directly onto the pile of sliced beets and really toss to make sure each one has been coasted or do what I did which was I drizzled oil into my hands and rubbed each sliced beet between my oiled hands before placing on the sheet.
After you get them on there, single layered with no overlapping, sprinkle tops with a pinch of salt and pepper.
On the way into the oven.
After the oven. Baked for about 18 minutes. You really have to watch after the first 13 or so minutes to make sure you catch them at the perfect time. Crispy, but not burnt.
A side by side shot. Crazy shrinking will happen!
Oh man, so delicious. And so pretty!.
Let the chips cool before eating, you know, so you don%u2019t burn your tongue. Plus they crisp up a wee bit more.
Once cooled, pile them into bowl, and then eat them. And eat them all. They are only beets after all. And you won%u2019t be able to stop yourself anyway. Ha
-C
Makes enough for an evening of chip eating for 1-2 people
2 Large beets (think softball sized)
a tablespoon or two of oil (I used grape seed but really any would work)
salt and pepper
Note. Making these without cutting with a mandolin will be a pain in the ass. It can be done, but if you have a mandolin, use it.
Preheat oven to 350
With a mandolin, slice the beets about 1/15 inch thick. (No need to peel the beets unless you want to.) Once beets are all sliced, either drizzle them all with a tablespoon or so of oil and toss until all are coated. OR what I did and found worked really well was drizzled oil into my hands and rubbed each beet between my oiled hands as I was placing them on the baking sheets. Either way.
Now place oiled beets, single layered, without overlapping, on baking sheets. Sprinkle with a pinch of salt and pepper and place into oven. Bake for about 13 minutes without worrying then start to check every minute or so until the beets are a deep golden brown and crispy ,which will be between 15-20 minutes. Also, even though you cut them all the exact same thickness, some might crisp up faster so you should remove done chips as they happen. Once they are done, place on a rack to cool. And then do another batch. And not, they do crisp up a tiny bit more as they cool.
Once chips are cool and crisp, eat.
Store uneaten (how did you not eat them all?) chips in an air tight container. If you notice that they turned a bit chew, just place them back into oven while preheating oven to 300 then turn oven off and let sit in there for a few minutes.
%u00a0 %u00a0 %u00a0Spicy, crispy cauliflower%u2026 um yes please.%u00a0 I really like cauliflower. The mister loves it, or at least likes it better than any other vegetable. So when he asked for spicy cauliflower, well yea I am going to make it because I am so nice and really, could I say no to a veggie request? (I might have said no if it involved deep frying) Also, I found fresh cauliflower on sale! ($2.25) I don’t usually cook fresh cauliflower, but %u00a0I figured at that price, it wouldn’t be bad to cook a head. (If I am cooking cauliflower, which I do a lot, I just use frozen%u2026.casue it be waaaay cheaper)%u00a0
Fresh, cheap and requested veggies%u2026.those are must makes. And the mister was happy with I handed him the plate of oh so lovely looking crispy crunchy loveliness. (I kind of like to make him happy%u2026sometimes)
The stuff. Cauliflower, chopped and broken into pieces. Corn meal mixed with salt, pepper, onion and garlic powder, and because I made this for the mister, parmesan cheese. And in the green bowl, srirsachi and a little oil. The%u00a0cauliflower%u00a0gets a coat of the hot sauce and then tossed around in the corn meal mixture. Handling as little as possible, place coated pieces on a lightly oiled baking sheet and stick those suckers in the oven for%u00a0about a half hour, taking them out and%u00a0flipping half way.And take them out of the oven when pieces tuned golden brown, stik them on a plate, and serve immediately.
A bit of spice, a bit of crispy , a lot a yum. %u00a0Serve with some crunchy veggies, maybe a squeeze of lemon and definitely some type of avocado situation.
A beer would be lovely too!
Have a fantastic weekend!%u00a0
-C
Spicy Crispy baked Cauliflower
1 head cauliflower, chopped or broken into florets
1/2 cup corn meal
3-4 tablespoon sriracha or your favorite hot sauce
1 tablespoon olive or coconut oil
salt and pepper
Any seasonings you might like (garlic or onion powder,%u00a0parmesan cheese,%u00a0national yeast%u2026. whatever%u00a0floats your boat)
Preheat oven to 400 degrees%u00a0
In a bowl, mix together sriracha and oil. In a separate %u00a0bowl, mix salt, pepper, any seasonings you might like, and corn meal. %u00a0Take cauliflower and toss in sauce to coat. Remove from sauce and toss around in cornmeal mixture till fully coated, but try not to hand too much%u00a0so the coating doesn’t come off. Place pieces on a lightly oiled baking sheet and stick into oven. Bake for about 15 minutes, remove and flip pieces. Back into the oven for another 15-20 minutes (depending on you crispy preference) Remove when golden brown (or darker if you like) and%u00a0serve immediately.
Cucumber, celery, and carrots are great accompaniments.. also a little mashed avocado or guacamole is much appreciated.
First day of Spring!! Well kind of I guess. I think it actually starts at like 6:20 tonight, when the temperature is going to dip back done to 10.(Spring my ass) I don’t know about you people out there but here in Vermont, we are really hanging on to winter. I have to keep telling myself%u2026″ It will be warmer soon and you’ll be looking forward to this weather in a few months.. so stop bitching!” %u00a0I give myself good pep talks.
Anyway, last week at the farm share pick up, there was a nice little surprise. We got a few pounds of some sweet locally grown and milled whole wheat flour. There was a little sign with the information about the wheat and where it came from, but in my haste of gathering all of my other veggies, I failed to take notes and forgot the name of the farm that it came from. But I do know that my farm traded some celeriac for the wheat. %u00a0I was really excited because I am really into the idea of using locally grown grains and I don’t know, it just made me really happy, especially because it was a trade. %u00a0Food framing and local sharing is stuff that makes me happy.
I wanted to make something to kind of showcase the hearty, nutty flavor of the wheat and I also wanted to make something that my mister would eat for breakfast. Well what better way to do that then with muffins!%u00a0Banana coconut whole wheat%u00a0(that just happen to be vegan) Hearty, fruity, and smells like the word lovely and the color yellow.%u00a0A few to eat and a few to share. Hanging at home, running away or %u00a0getting ready for a day of spring cleaning%u2026.This is a great weekend to make muffins!%u00a0
The stuff%u2026 Light, nutty local whole wheat flour, ripe oh ripe bananas and coconut flakes are the stars in this muffin%u2026 But we need the other stuff too. Brown sugar, vanilla, coconut oil and a chia egg. %u00a0Baking powder, baking soda, and last but not least, salt.
%u00a0Yup, that sounds about right%u00a0 %u00a0The salt, baking soda, and baking powder are whisked together. The banana and all the rest of the stuff are mixed up%u2026 Then mix the wet mixture into the dry. Stir until combined and then add in the coconut flakes,Scoop mixture %u00a0into 12 lined muffin cups%u2026 A scoop like mine works very nicely. Don’t have one, well I recommend you get yourself one. Until then, use a spoon. Something I always do when baking any muffin is sprinkle the tops of each muffin with a bit of %u00a0sugar or brown sugar. It melts and caramelizes and adds a sweet little crunch to the tops.%u00a0
Now stick the muffins into the oven.%u00a0Remove from oven when they look like this, nice and golden brown. Also good idea to check with a tester stuck into the middle. When it comes out clean, they are done.12 happy little muffins cooling on a rack, waiting to be eaten with you mouth.%u00a0
Doesn’t the sight of pretty food make you happy, like sing a song happy?%u00a0Muffins, whoa yah!! %u00a0Friday yah yah!! %u00a0Spring%u2026What, Yah!! %u00a0Yah%u2026Yah Yah!!!
Terrible I know, but at least you were spared hearing my actual voice.%u00a0
Have a great weekend. Do lots of springy stuff!
-C
2 Cups Whole Wheat Flour
4 Ripe bananas
1 Teaspoon Baking Soda
1/2 Teaspoon Baking Powder
1 teaspoon Salt
1 teaspoon Vanilla Extract
3/4 Cup Brown Sugar
1/3 cup melted Coconut Oil
1 Tablespoon Chia Seeds + 3 Tablespoons warm water
1/2 Cup Unsweetened Coconut Flakes
Preheat oven to 350
In a small bowl, mix 3 tablespoons warm water to the chia seeds and let sit for at least 5 minutes (10 is better) In a large bowl, peel and mash the bananas until they turn into a kind of chunky soupy puree. %u00a0Add in brown sugar, chia seed mixture, vanilla extract, and the melted coconut oil (make sure it’s melted or it won’t incorporate into the mixture) Mix together. In another bowl, whisk together the flour, baking soda, baking powder and salt. Mix the wet mixture with the dry until combined then mix in the coconut flakes.%u00a0
Line a 12 cup muffin tin and fill each cup about 3/4 the way up with batter. Sprinkle each muffin with brown sugar and place in oven on center rack. Bake for 25-30 minutes or until the tops 0f the muffins are golden brown and a tester inserted into the middle comes out clean.%u00a0
Remove muffins from tin and let cool.
Serve as is or maybe with a smudge of coconut butter, or anything you want really.
No need for fork, just use you mouth.
I swear I didn’t plan this, but today is officially Pi Day!%u00a0Pi being the mathematical constant of the ratio of the circumference of a circle to its dimeter (did I say that right?) 3.1415%u2026%u2026 And today’s date is 3.14.15. %u00a0 Whoa%u2026I guess that means that this pie was meant to be.%u00a0
But the real reason I made this pie was for a surprise treat for the mister. He left for a couple of days and me being the super assume lady love of his, thought it would be nice for him to come home to his favorite dessert.. plain old rhubarb pie.( I know, I be the best) And it didn’t hurt that when I went to the grocery store, there was a big old pile of fresh, gorgeous rhubarb staring me right in the face, and on sale to boot.
The funniest thing. Me and the mister have been together for a very long time (12+ years%u2026.we started dating in high school, so I am not that old!) and I have known that his favorite dessert is plain rhubarb pie for ever. Every time we have one of our food discussions about our favorite foods, (which happens more than it should and usually consists of me running my mouth and him grunting or nodding once in a while) rhubarb pie always comes up. He even talks about the old lady who used to make him rhubarb pie for mowing her lawn. And guess what… %u00a0I have never once made him a plain rhubarb pie. Why? Honestly, I have no idea. Maybe I secretly think I was going to screw up his one favorite dessert, or maybe I never quit had enough rhubarb for a pie, or maybe I am really just an awful lady. But for whatever reason, it doesn’t matter anymore because I finally made him a plain rhubarb pie.%u00a0
The stuff for the makings of pie%u2026 One single pie crust, flour, sugar and rhubarb. I mean, come on, this might be one of the simplest pies ever. %u00a0
Note%u2026The first thing the mister said to me when he saw the pie was. “Where is the top crust? My response what “Screw you ass face” but then chuckled. This pie would be great with a top crust, but I was thinking how pretty it would be without it. And honestly, I only made a single crust. What I am saying is.. make a double crust if you want a top.
%u00a0 %u00a0%u00a0The chilled pie crust gets rolled out, placed into a pie plate, trimmed and made all pretty. The bottom is sprinkled with a 1/4 cup of sugar and stuck back into the fridge while the oven preheats %u00a0to 350. %u00a0Now is a good time to dice the rhubarb into inchish chunks. Once the oven is preheated, remove crust from fridge and add in the diced rhubarb.
%u00a0 %u00a0The remaining sugar and flour get mixed together in a bowl %u00a0and dump on top of the rhubarb. Give it a tiny toss with you fingers just to get some of the mixture to sink down a little. (Don’t worry, the filling will be perfect when you do it like this) I also cut up the pie crust trimmings and placed on top%u2026 not necessary, but looks pretty and is a good use of the scraps.
Now cover the entire pie with tinfoil. Cut and x through the middle and fold foil back to expose the filling but keep the crust covered. (so much easier than trying to squish strips of foil together..you know what I am talking about)%u00a0
And then the pie is ready to be baked.
In the oven for 5o minutes with the foil, then 10 or so minutes without to finish.And then you take it from the oven and marvel at the beauty.
I am now truly the best super awesome lady love. I should get a freaking crown but would settle for a stand mixer or blender as a reward instead.%u00a0
Important%u2026..Let the pie cool completely (or just about) before cutting.The filling needs a bit of time to set.
Happy Saturday, Happy Weekend, Happy PI Pie Day!!!
-C
Rhubarb Pie
Single Pie Crust.. Recipe here
4-5 large Rhubarb Stocks (4 cups chopped)
1 1/4 cups white sugar
a hefty 1/3 cup flour
Make you pie crust.. and make sure it’s chilled!
Roll our pie crust and place in pie plate. Trim and make edge all nice and pretty. Add 1/4 cup of sugar to the bottom %u00a0and stick back in the fridge to relax while you get the other stuff together.
Preheat oven to 350
Wash and dice rhubarb into inchish chunks. In a bowl, mix together 1 cup of sugar and the flour. Once the oven is preheated, remove crust from fridge and fill crust with the chopped up rhubarb. Now dump the sugar, flour mixture on top, slightly tossing it around with your fingers. Cover entire pie with tin foil and with a knife, cut an x through the middle of the foil. Fold foil back to expose the center of the pie, but keep the crust covered. Stick into oven. Bake for about an hour, removing the tin foil after about 50 minutes. Pie is done when the crust is golden brown and a fork or knife stuck into the middle of pie comes out with a thick jam like sauciness.
Let pie cool and set for a bit.
Slice. Serve on a plate with an eating utensil and maybe a scoop of vanilla bean ice cream. %u00a0Lick plate clean.
%u00a0How awesome will you be when you bring the most freaking amazing tortilla chips to the party this weekend? You will be like..”what, it ain’t no thang.. I am just good like that” Yes, yes you are.
And yes, I am assuming that you will be making these awesome%u00a0chippers to share at a Super Bowl part this weekend. I say this because even as I sit here writing this (with the TV on) there has been nothing but football talk%u2026deflated balls, hot wings, half time shows and commercials. It’s almost as big as Christmas. %u00a0Got to get the decorations, the special game day food and your football jerseys. It’s crazy and all over the place. So that’s why I am assuming you are making these for the game. %u00a0But if you not going to be participating in any football parties.. by all means, make these chips for yourself anyways. Celebrate you day! Have a non football watching party. Or just make these whenever. %u00a0Jalape%u00f1o Lime chips for everyday!%u00a0
Note: You can make these chips without the jalaeno and or the lime if you need or want to. You can also stop after the first step and have some dank corn totillas for tacos ands stuff..But definitely make the chips%u2026 worth it for sure!
%u00a0 %u00a0 %u00a0
All the stuff.. Masa harina, hot water, salt, a lime and a jalape%u00f1o. Zest lime and place half the zest into a glass bowl with oil and either sit on warm oven or microwave for 30 seconds to infuse. %u00a0Puree the jalape%u00f1o with a cup of hot water and add the puree and half the zest of a lime, plus salt, to the masa harina. Mix it all up with another 1/2 cup of water or enough to make the dough resemble play dough%u2026 You can add more water or masa if you dough is to wet or dry.%u00a0
Knead dough a few times just to make sure it’s completely uniformed and divide %u00a0into 12-14 equal pieces. Place balls on a plate and cover with a wet paper towl to keep from drying out.
%u00a0I do not own a tortilla press so I used what I had%u2026 wax paper, a wooded cutting board and brunt force. I took each ball and place it between the two pieces of the waxed paper, placed the cutting board on top, and with all my might and body weight, pressed down to smoosh. %u00a0It works like a charm.
My%u00a0cast iron skillet is big enough to cook 2 -3 at a time, but doing one at a time is cool too. Preheat the skillet to medium heat. Cook each tortilla for about 2-3 minutes ( or until starting to brown) on each side. Half way there to chips!!!
With my fingers ( you can using a basting brush for sure), I rubbed a little of the lime oil all over %u00a0both sides of each tortilla. Stacked a few high, %u00a0then sliced those tortillas into triangle shapes. If you %u00a0want to go crazy, you could cut them into strips or even use a cookie cutter and do some fun shapes%u2026 but triangle are easy, classic, and practical. A good shape for dipping!
Placed all nice and cozy on a baking sheet. trying not to overlap. Into a 400 degree oven for about 20 minutes to complete the chip making process.. After about 15 minutes, check for doneness. When nice a crispy, remove from oven, squeeze %u00a0lime juice all over and sprinkle with salt. I then stuck them back in the oven for a few more minutes just to dry the lime..
After cooling down, take those chips and stick them in a bowl.%u00a0
Eat a few, but wait and save them for the party. Or better yet, make a few batches. Bring a batch, eat a batch. (Its ok, you are allowed)
Eat with some salsa, maybe some of%u00a0this guacamole, or just as they are%u2026Anyway is the right way as long as you are eating!
Have fun making these and have fun getting read for the party this weekend (Super Bowl or not!)
-C
Jalape%u00f1o Lime Tortilla Chips
Makes 12-14 tortillas.. then made into a medium bowl of tortilla chips.
Ingredients%u00a0
2 cups masa harina
1 1/2 to 1 3/4 cups hot water
1%u00a0teaspoon salt
1 lime (juice and zest)
1 large or 2 small jalape%u00f1os%u00a0
2 tablespoons olive oil
salt
To start, zest lime and add 1/2 of the zest to bowl with the oil. Place oil on warm spot on stove to let the oil infuse the limeness.%u00a0
Take jalapeno and puree with 1 cup of hot water. In a large bowl, add puree %u00a0and remaining lime zest to the masa harina and mix, adding an additional 1/2 to 1 cup of hot water until the dough %u00a0resembles %u00a0play dough, not to soft, but not to dry and completely incorporated
Divide dough into 12-14 balls and place on a plate %u00a0under a wet paper towel to keep dough from drying out.%u00a0
One at a time, take a dough ball and place between two pieces of wax or parchment paper. Place either a plate or cutting board on top and press down as hard as you can (you could even stand on it). Remove flatten tortilla from paper and place in medium hot skillet. Cook each tortilla for 2-3 minutes on each side.
When all tortillas have been made, lightly rub lime oil on all over both sides. Stack a few on top of each other and cut into triangles. Place pieces on a baking sheets (I used 2) and bake at 400 for 15- 20 minutes or until lightly browned and crunchy. When chips are done, remove from oven, squeeze or sprinkle lime juice on chips and sprinkle with salt. Stick back into oven for another 2 or so minutes to re-crisp%u00a0from the lime juice.%u00a0
Remove and let cool completely, then dump into a bowl
Enjoy!
So the mister wants to know%u2026″Why would anyone ever buy those crappy english muffins from the store when they could be eating these?”
Good question%u2026And we will all answer%u2026.”Never again! Because I now make the sickest E.M.s around.!”(E.M.s is the cool short way to say english muffins and now that you are going to make your own%u2026.man, your so cool!)
These E.M.s are perfect. Easy to make, not overly fussy, and you end up with a super yummy, extremely versatile, individually portion super sweet little disk of bread. And the best part is..nooks and crannies! I think that is why I decided to make these E.M.s, %u00a0so Nick and I can talk the about nooks and crannies%u2026(Sometimes we need light conversation)
%u00a0
We start with flour and salt whisked together in a bowl. The honey, yeast and warm water are getting on proofing in a jar. An egg waiting to be cracked, some milk, and 2 tablespoons of butter. All this good stuff equals%u2026nooks and crannies!
Oh you like my nifty dough whisk%u2026.me too, I use it all the time. Maybe I should have a dough whisk give away %u00a0%u2026%u2026maybe%u2026..
Everything all mixed together, dumped onto a floured surface and kneaded for 10 minutes by hand%u2026..If you have a stand mixer, you can use it if you want, but you are missing out on the fun of doing it by hand%u2026.
When the dough has been sufficiently kneaded, gather dough into a nice ball, coat with a little oil and place back into bowl. Cover with a towel and stick in a warm place to rise for about an hour or until it has doubled in size.
When dough has doubled, punch down and plop out onto floured surface.%u00a0Dust the bottom of a griddle or in my case, two cast iron pans, with corn meal. Divide dough into 8-10 equal balls and smash into 2 inch thick disks.%u00a0
Place on griddle or pans and sprinkle more corn meal on top of each E.M. Cover and let rise for another 15 minute.%u00a0
Now the E.M.s %u00a0have rested, turn the griddle (or pans) on to low heat. Once your griddle (or pans) gets hot, continue to cook that side for another 7-10 minutes, or until golden brown. Flip and cook other side for 10-12 minutes or until golden brown. Once browned, check for doneness with a thermometer. The inside should reach 200 degrees.( if you don’t have a thermometer, fork split one open and check%u2026. you are going to eat it anyway) If the outside cooked faster then the inside, no worries, just pop them into the oven at 350 for 8-10 minutes. I had to pop mine into the oven for to cook completely.
%u00a0Remove form griddle, let cool a bit, and %u2026%u2026Fresh, fluffy fat, fantastic%u2026.Everything and more that a real english muffin should be. Split open with a fork and%u2026%u2026. the nooks and crannies! So spot on. %u00a0Serve with anything your heart desires%u2026I served these with whipped honey butter%u2026. and eat the only kind of E.M. you will ever again eat. Grocery store english muffins be damned!
Enjoy and Happy Tuesday!
-C
English Muffins
Ingredients
2 1/2 %u00a0cups unbleached all-purpose flour
2 teaspoons honey
1 teaspoon salt
2 tablespoon butter at room temperature
1 1/4 teaspoons active dry yeast
1/4 cup warm water
3/4 cup milk
1 egg
cornmeal for pan
Combine warm water, honey and yeast in a bowl to active..about 5-10 minutes or until yeast is foamy.
In a separate bowl, whisk together flour and salt. Mix in butter(I use my fingers) When yeast mixture is done proofing, whisk together mixture with the egg and milk. Add wet %u00a0to dry and mix until just incorporated%u00a0%u00a0Dump out onto floured surface and knead dough for 8 minutes, adding a bit of flour whenever dough starts to get too sticky. %u00a0Roll into a ball, coat with oil and place back into bowl and cover with a towel. Let rise for 60 minutes or until sought has doubled in size.
Once the first rise is done, deflate dough and divide into 8 equal pieces(10 for a slightly smaller muffin). %u00a0Smoosh each ball into a flat disk, about 2 inches thick) and place on a cold cornmeal dusted cast iron griddle. (I used 2 cast iron pans) Sprinkle tops of muffins with more corn meal and let dough rest for another 15 minted. %u00a0Turn burners on low heat. Let griddle get hot and continue to cook the muffins for another 10 minutes or until golden brown. Flip and cook opposite side until gold brown and remove from griddle. To make sure the muffins are cooked completely, stick an instant%u00a0read thermometer into the center%u2026it should read 200 degrees. (if you don’t have a thermometer, split one open%u2026 the tester E.M.) %u00a0If the E.M.s%u00a0are not completely cook, just stick in the oven on 350 for 5-10 minutes or until cooked throughout.
Remove and let cool. %u00a0To serve, split open with a fork and give a light toast. Spread with butter, jam, peanuts butter, anything you want%u2026maybe %u00a0make E.M pizzas!%u00a0
I usually base my meals on what I know I have for food in the house and what I know needs to be eaten.%u00a0I was a little surprised when muling around in the freezer to find a block of extra firm tofu. (I don’t remember buying). Maybe a tofu fairy left it in there for me, or maybe it has been in there for years and I just am now stumbling upon it. Either way, I found it and it had to be eaten. So I cooked it up, and I cooked it up nice and good. Tofu is a pretty vertical food, being that its basically a flavorless block of protein. It can go sweet or savory, mashed, chopped or blended. Add fresh garlic, any type of sauce %u00a0or even %u00a0peanut butter. (the possibilities are quite endless) %u00a0I was going for a dinner dish so I decided on a simple cubed tofu with lots of ginger and garlic (so good to ward of those winter sicko bugs out there) and baked it up nice and%u00a0crispy with fresh bright green broccoli and soba noodle. %u00a0Quick, easy, tasty and healthy.. I did it again. %u00a0Thanks tofu fairy!
%u00a0%u00a0This noodle dish is super easy to make and take only about a half hour. We start with extra firm tofu, a package of buckwheat soba noodle, a nice big broccoli crown, honey, fresh ginger, garlic and soy sauce. oil for pan and lime for a finish. %u00a0Nothing fancy.%u00a0Dice the tofu into small cubes and place onto a clean dish towel and pat dry%u2026It really helps the tofu suck in more flavor and become nice a and crispy.
%u00a0Tofu get moved into a lightly oiled skillet, %u00a0ready to go into a hot oven. Why baked instead of saut%u00e9ed on the stove? I find that the tofu keeps it shape and crisps up better when baked. But do whatever you want%u2026.. But just bake it.
While the tofu is baking, make up the sauce. Grate about 2 tablespoons of fresh ginger and4 large cloves of garlic into a bowl. Whisk together with 2 tablespoons honey, 1/3 cup %u00a0soy ( tamari or brags aminos works too) and 1/3 cup of warm water. %u00a0Taste it, and if you think it needs more anything, add it. I actually used 6 cloves of garlic, but I really wanted a garlic packed sauce. %u00a0 %u00a0
Oh and start a pot of water to boil noodles in.
%u00a0After 15 ish minutes, give tofu a flip, then after about 25 minutes, the tofu should be nearly done. Remove from the oven and toss in the chopped broccoli and 1/3 cup of the sauce. Its a little watery but thats what you want, it will cook down in the oven. Now stick the skillet goes back into the oven and boil the soba noodle.
%u00a0%u00a0%u00a0Another 10 minutes in the oven and the sauce starts to caramelize and the broccoli is cooked but still nice and crisp. %u00a0Remove skillets from oven and toss in the cooked noodles and the rest of the dressing. Toss and toss and place on a plate, or a bowl, or if your into it, just eat out of the pan. (it happens)
I added a small handful of fresh shopped cabbage to add a bit more crunchy bite. %u00a0I also added a squeeze of lime juice on top for a nice acidic finish. Lemon works and even a slash of vinegar would be nice, but plain is good too. What ever you do, just EAT!%u00a0
A quicky yummy, noodley dinner! %u00a0And leave a little extra for left overs because these noodles are fantastic cold%u2026 think lunch, or a later that night fridge snack.%u00a0
keep it in the reals!
-C
Ginger Soy Tofu and Broccoli Soba Noodles
Ingredients
1 package of extra firm tofu
1 package Soba noodle%u00a0
1 large crown of fresh Broccoli
2 tablespoons grated fresh ginger
3-4 cloves garlic
1/3 cup low sodium soy sauce
1/3 cup water
2 tablespoons honey (or brown sugar for vegan)
Lime wedges(Optional)
Chopped cabbage(optional)
coconut or oil for skillet
Preheat oven to 425
Remove tofu from package, cut into cubes and lay on a clean dish towel and pat dry.%u00a0
Tofu goes into a oiled skillet and placed in oven for 25 minutes. Give tofu a flip after about 15 minutes. While tofu is baking, make the dressing, chop the broccoli and boil water for soba noodles.
For dressing, grate fresh ginger and garlic into a bowl. Whisk together with soy, water and honey (or brown sugar).
When water is at a boil, add soba noodle and cook until done ( about 6-8 minutes..Follow instructions of package)
When tofu has baked for 20 minutes, remove skillet, toss in chopped broccoli and 1/2 cup of soy ginger dressing Return skillet to oven for another 10 minutes or until dressing just starts to caramelize. %u00a0Remove for oven and toss in cooked soba noodles and the rest of dressing. If you want a little more veggie bit, add in some fresh chopped cabbage. Plate and serve with a wedge of lime or lemon or even a sprinkle of red wine vinegar.
It%u2019s officially fall and officially fantastic. All of my sweaters are so happy to see me, and me them. So are the sweatpants and the socks. They are here for me to keep me all cozy and warm. Nothing like coming home on a cold dreary day and throwing on a big chunky sweater, a oversized pair of soft sweatpants, and thick wool socks. Add a cup of hot tea, a good book, and a lap blanket and heading out tp sit on the front porch and breathing in all that fresh fall air. So good. So freaking good.
Last Sunday camp was at Gifford State Park. Another Vermont gem. So pretty, so quite, the colors starting to show in the trees. We went for a nice hike into a forest of old growth trees, then launched out the kayaks on a nearby pond and paddles around for awhile. Back to the campsite for lentils and zucchini then the mr fired up some wood and we watched the sun set behind the golden trees. Laid under a sky full of the brightest stars and watching the trees whip around and listened to the wind blow hard and wild all night long. It was dang near perfect. And after the morning coffee making and tent taking down, off into the week we went.
Back in town we got back to it as per usual. The this and that of life. I made gallons of applesauce, fed Barb and went on a tea and pumpkin run (fall essentials). Went over to Moms for dinner and so the mr could fix her sink. I harvesting the last bits of summer from the garden then went to Costco to find a Christmas tree??? (They had them set up right next to the bathing suits and halloween candy. %ud83e%udd37%ud83c%udffb%u200d%u2640%ufe0f) We did some more stuff that needed doing. Looked at land in the wilds of Vermont (found a piece but there were offers on it already. So bummed) I worked the studio, picked up farm share, and I worried about the mr after he stabbed himself in the eye with a screwdriver and almost lost the eyeball. Then we had the boys sleep over Friday for Mileys birthday so she could have a sleep over with her friends at her house. We made pizza, went to the park, and all cuddled up in pile of blankets while they watched a weird cartoon something that I paid zero attention to and I read and kind of fell asleep. The next day after pancakes we dropped the off, the mr and I did the chores and then went back over for a little family party for the birthday lady. The mr made spaghetti, Miley and I decorated her cake, then they ate the pasta, then the cake, and then the mr and I peaced out to come home. Straight up, I was feeling way over stimulated from days of human interaction. So I pretty much passed the F out when we got home. I love my family but jeez can they make a lady tired.
Sunday for reals and I am feeling ready. Today is suppose to be another fantastic day, slightly on the chilly side maybe but not raining so that is good. We are heading out for one of the few camps we have left for the year. Zack Pond Woods. A little pond with a couple of undeveloped designated campsites. It is first come, first to use so we are super hoping that we get there and there will be a place available to set up for the night. If not, we might have to boogie over to a campground near by that we have already been too. But I am feeling like there might not be a ton of people trying to camp out on a Sunday night when it is suppose to get into the 30%u2019s overnight and maybe rain the morning. I am ok with all that, especially if that means other people aren%u2019t and leave us be. HA.
Anyway, hope you all are having a grand old weekend and taking in all the fall and focusing on eating all the apples and pumpkins. We know your priorities!
Links to things that I read and looked at n the internet this week.
-Today is National Coffee day!!!!! Everywhere You Can Get Free Coffee for National Coffee Day
–You%u2019ll Be Shocked by How Much Food Americans Waste Each%u00a0Year. Sadly, I was not shocked.
-Fall medicinal shopping list. These to make a syrup for cold and flu, and this for everything. Get it before you need it (and it%u2019s out of stock)
–Tree-Poaching Is On the Rise. What the fuckers. Also, so sad for trees and for the people.
-If telling people a little more gets them to recycle, well tell them what they want to hear! This simple tweak could drastically raise our pathetic recycling rates
–Vegans are more than what they do not eat. Hear Hear!!!!
-Did you know? Peanuts Aren’t Real Nuts (And More Essential Nut Info). Especially good to know when allergies are involved
–Is corn a fruit, a vegetable, or a grain? What were you thinking?
-IF you are going to smoke weed around people, you have to share it. No way around it unless you are an asshole. HA. How to politely smoke weed
–Why Millennials Are Suddenly So Obsessed With Houseplants. I grew up with a million house plants so thats one reason, but also I need real living things around me to feel good feels.

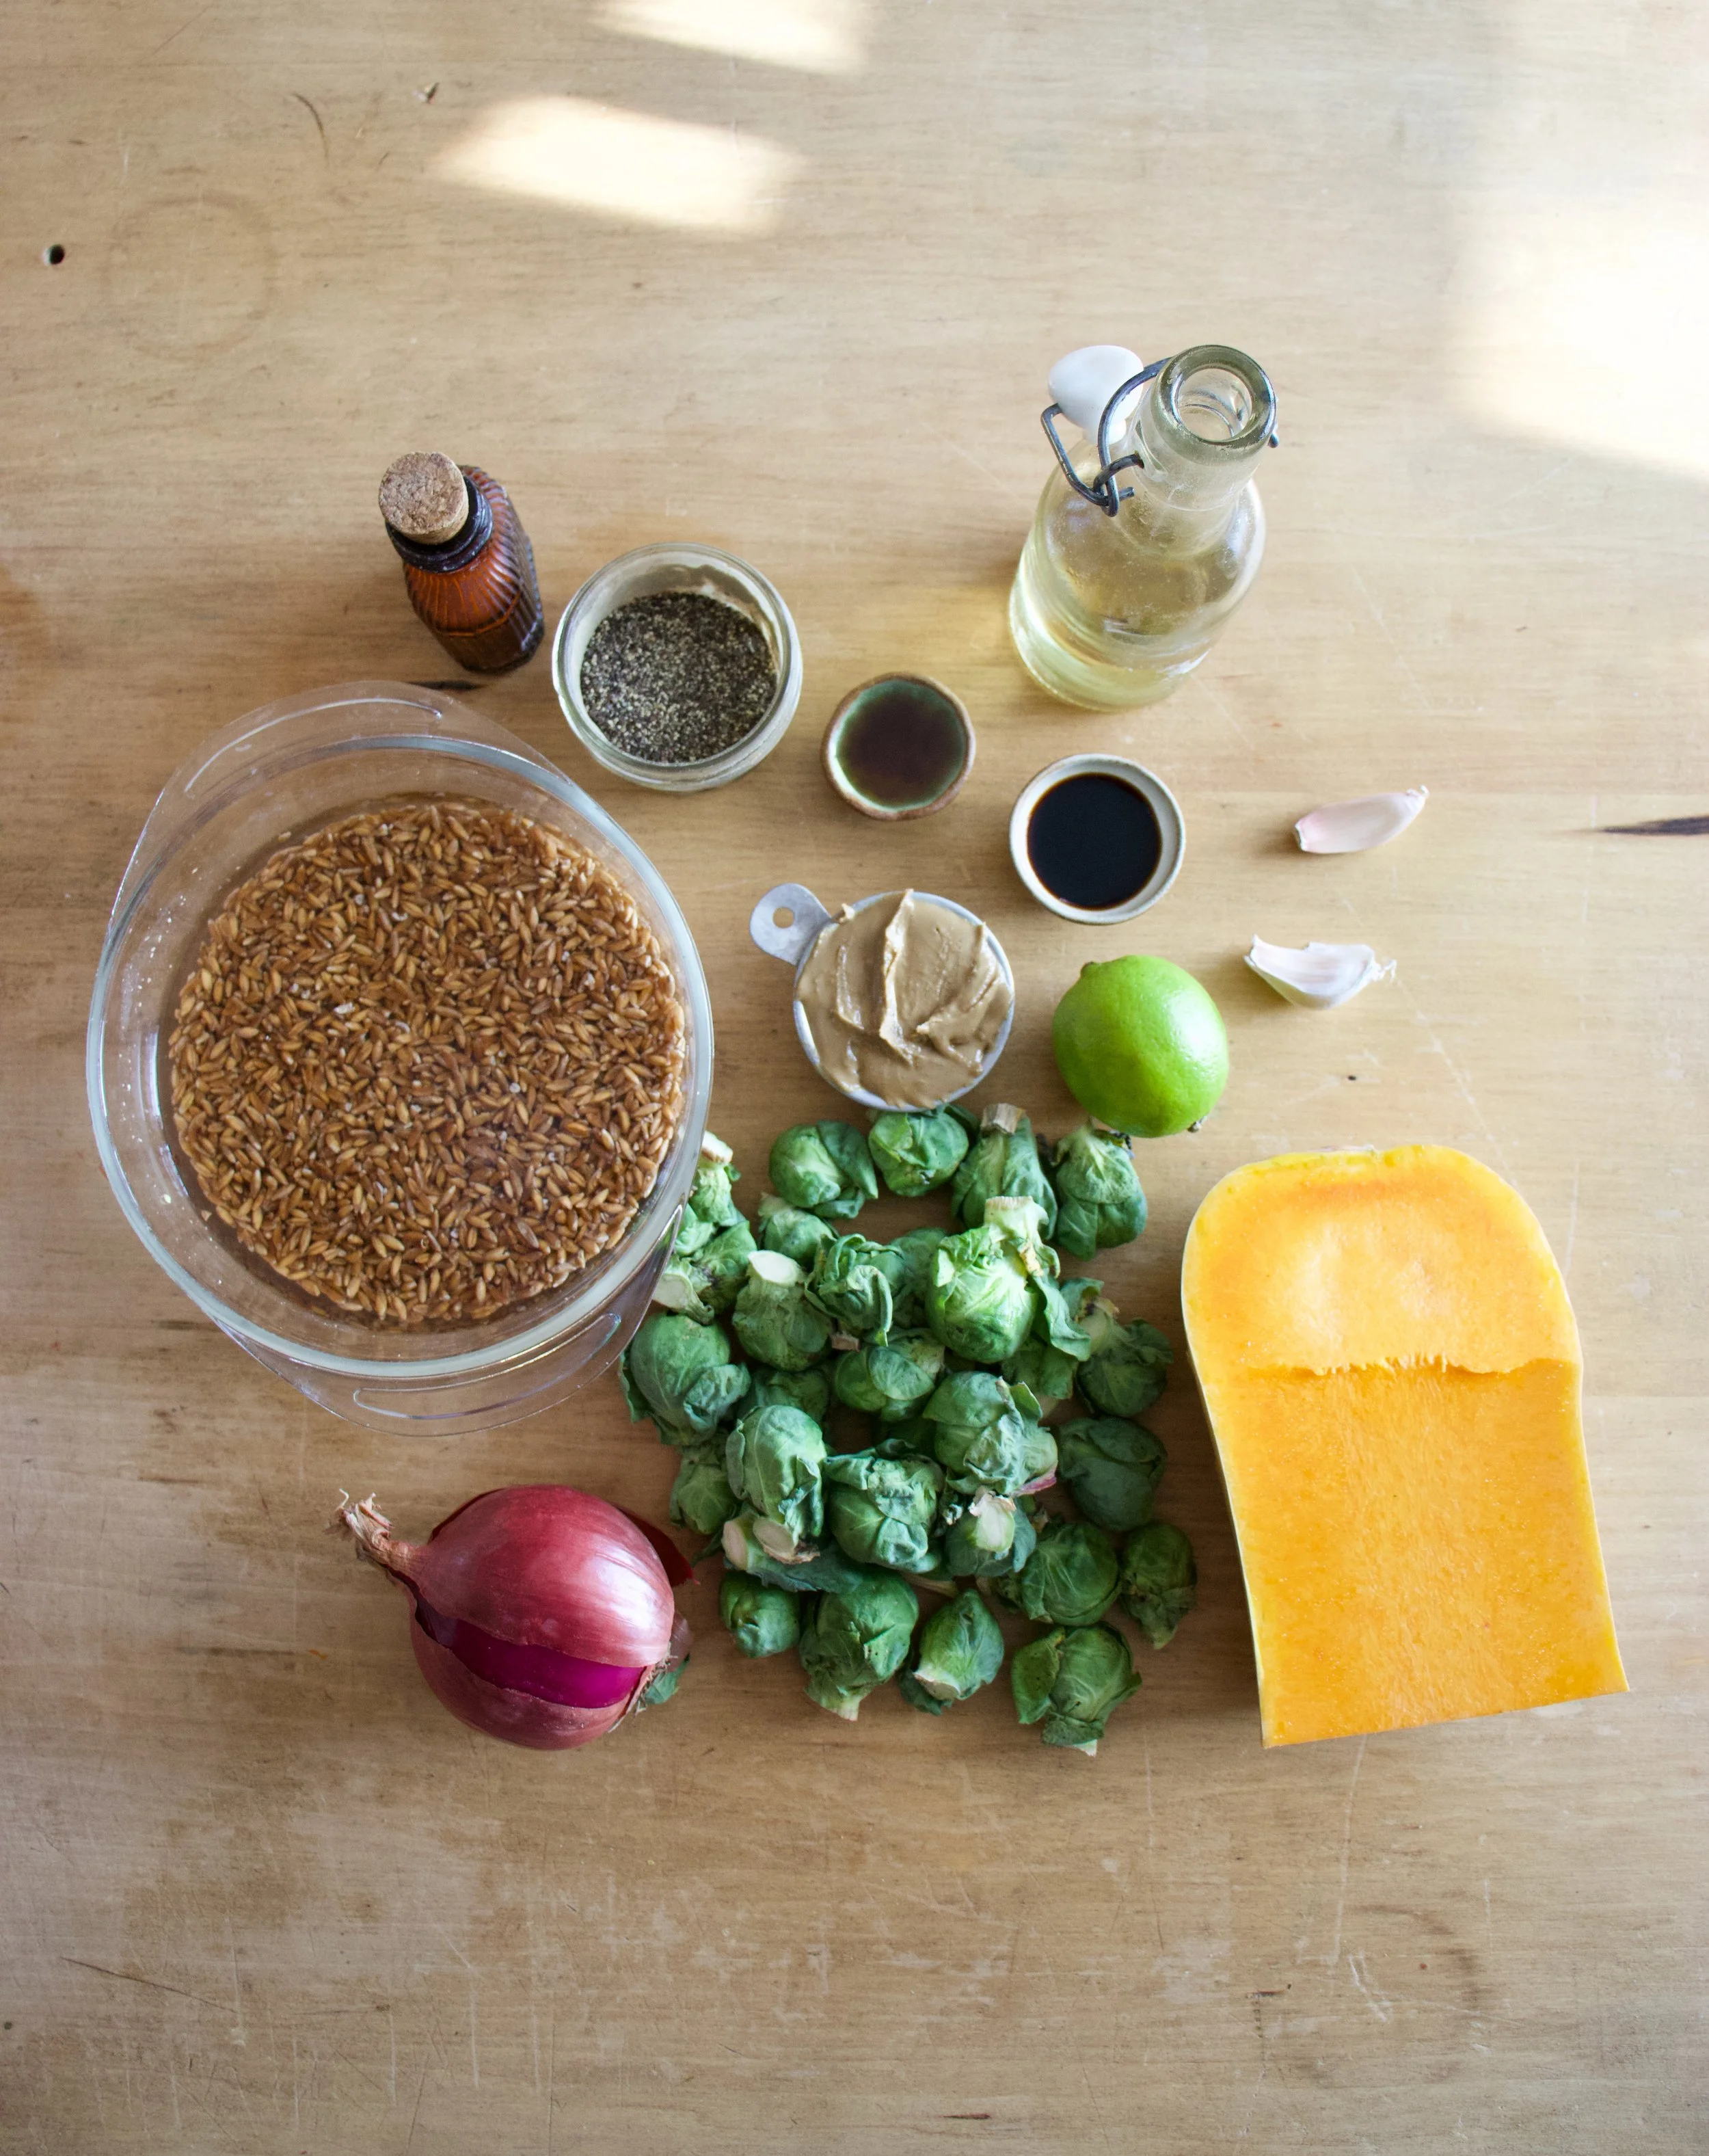
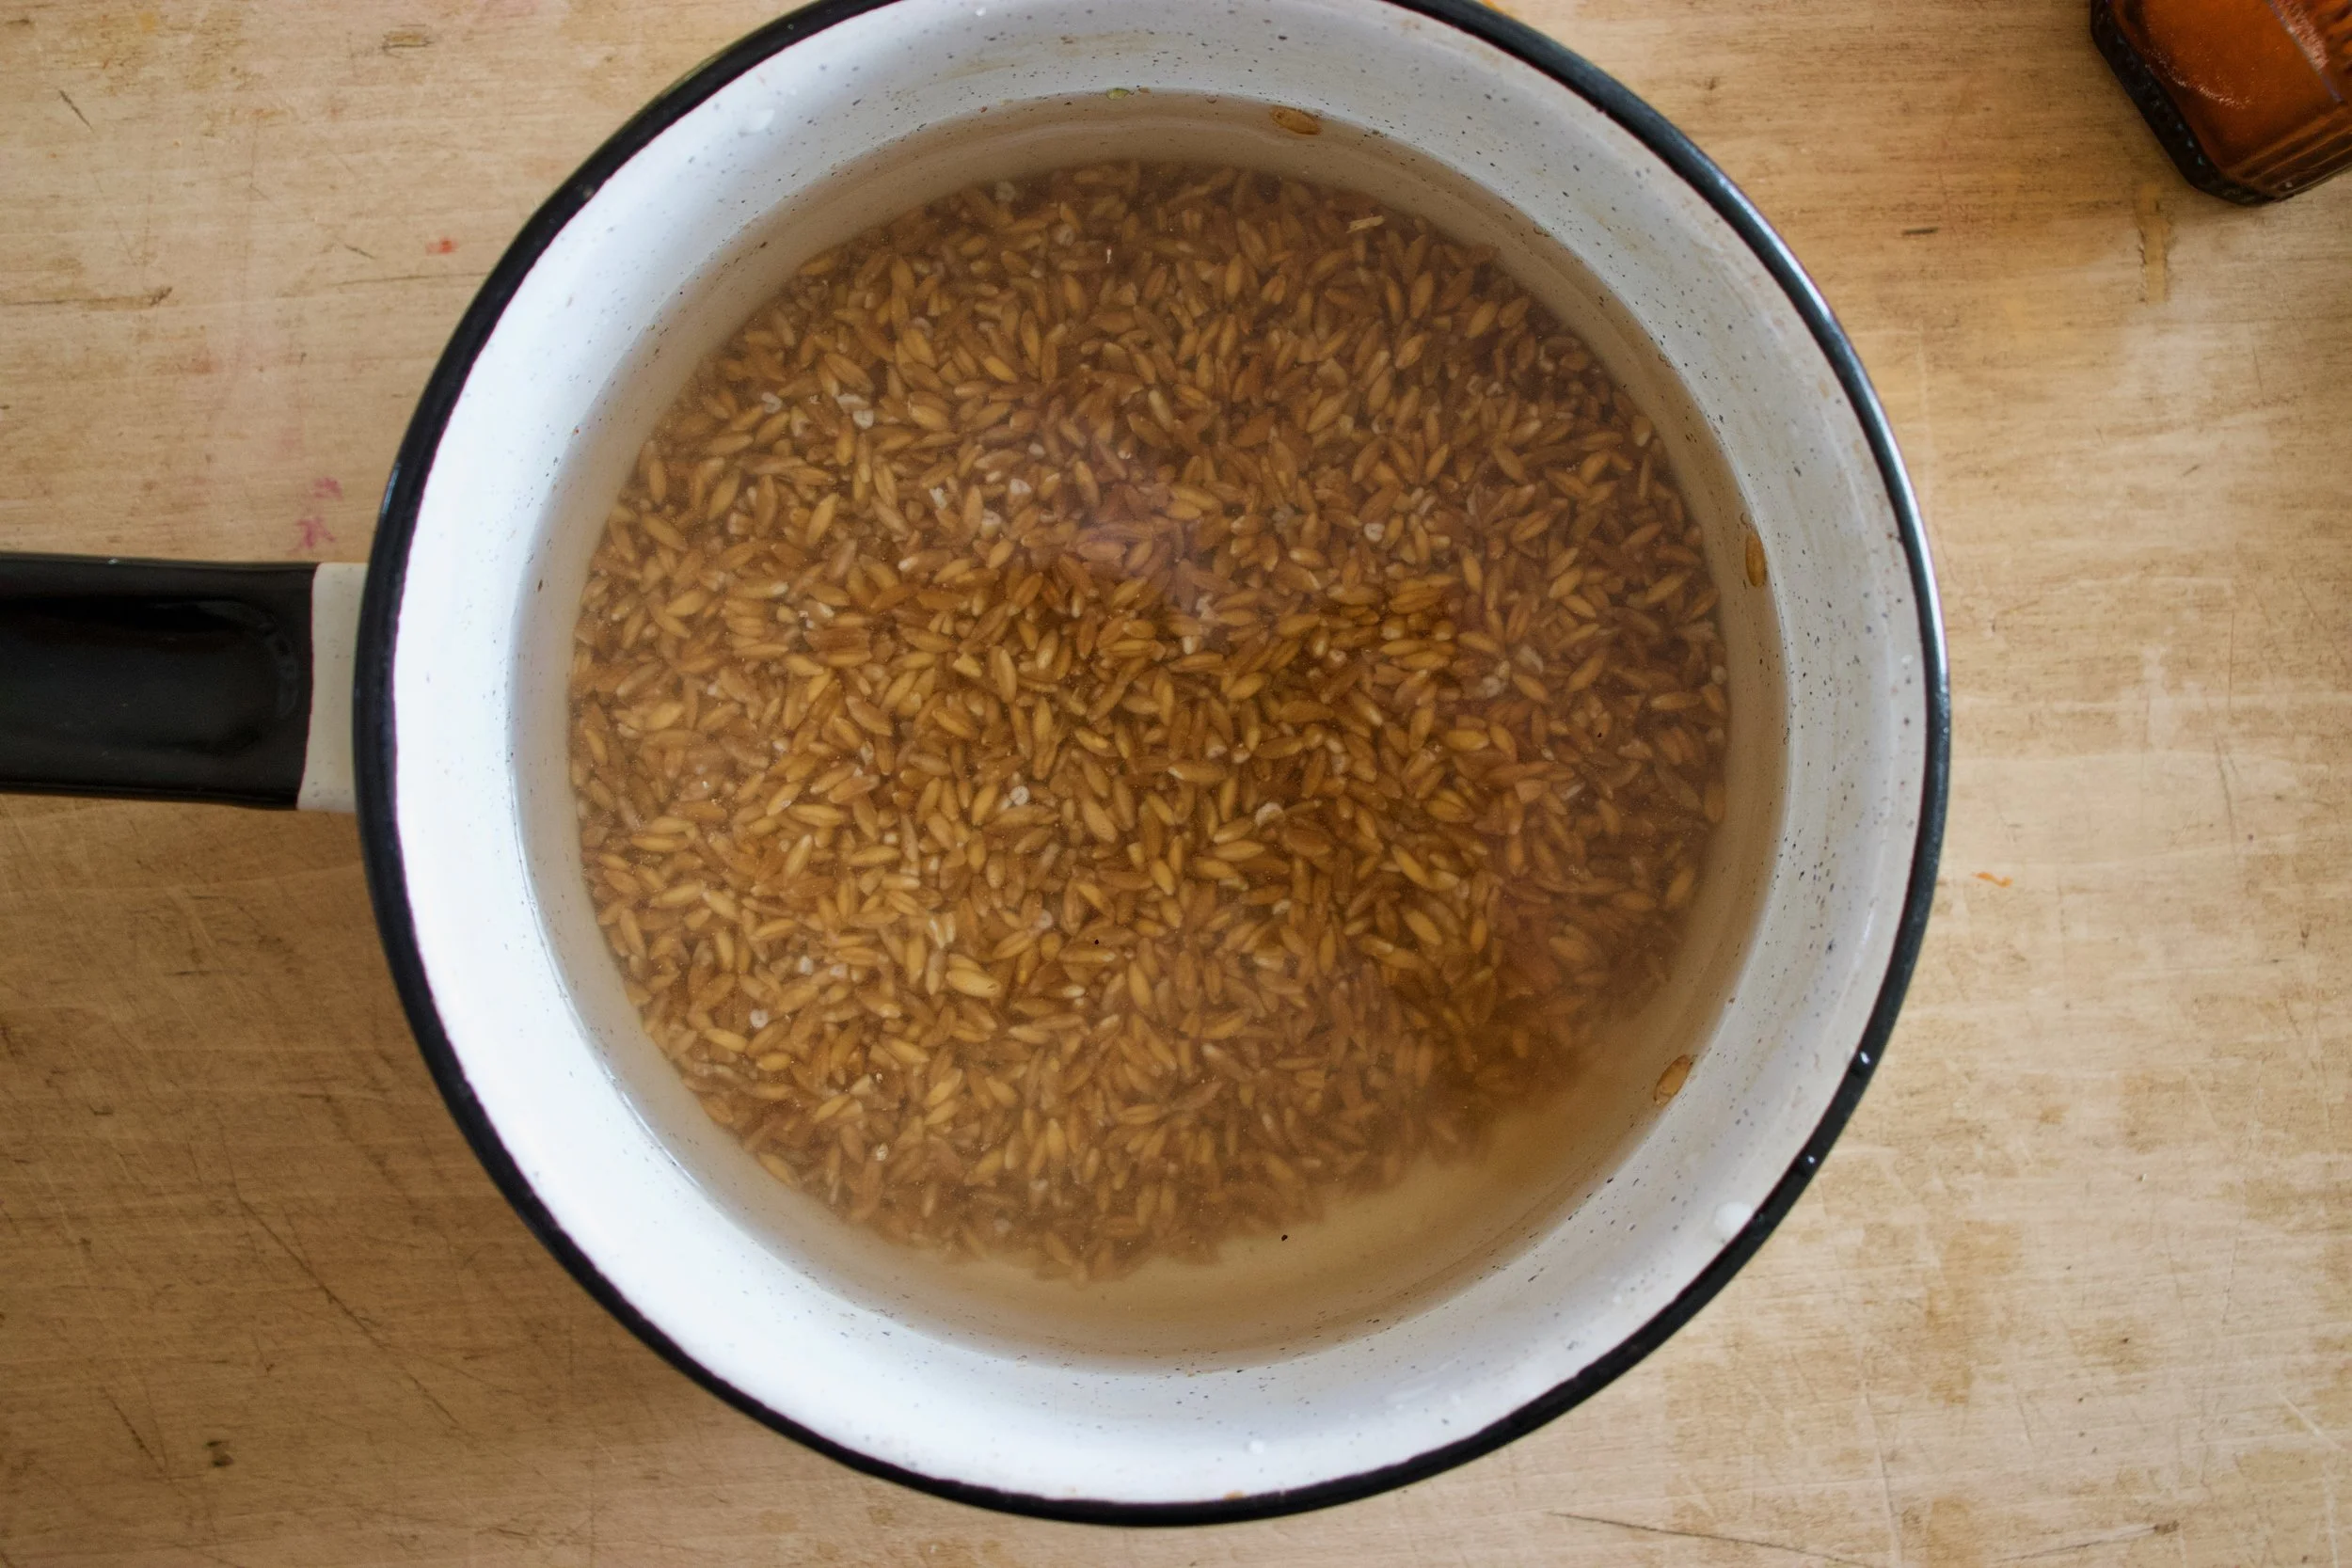
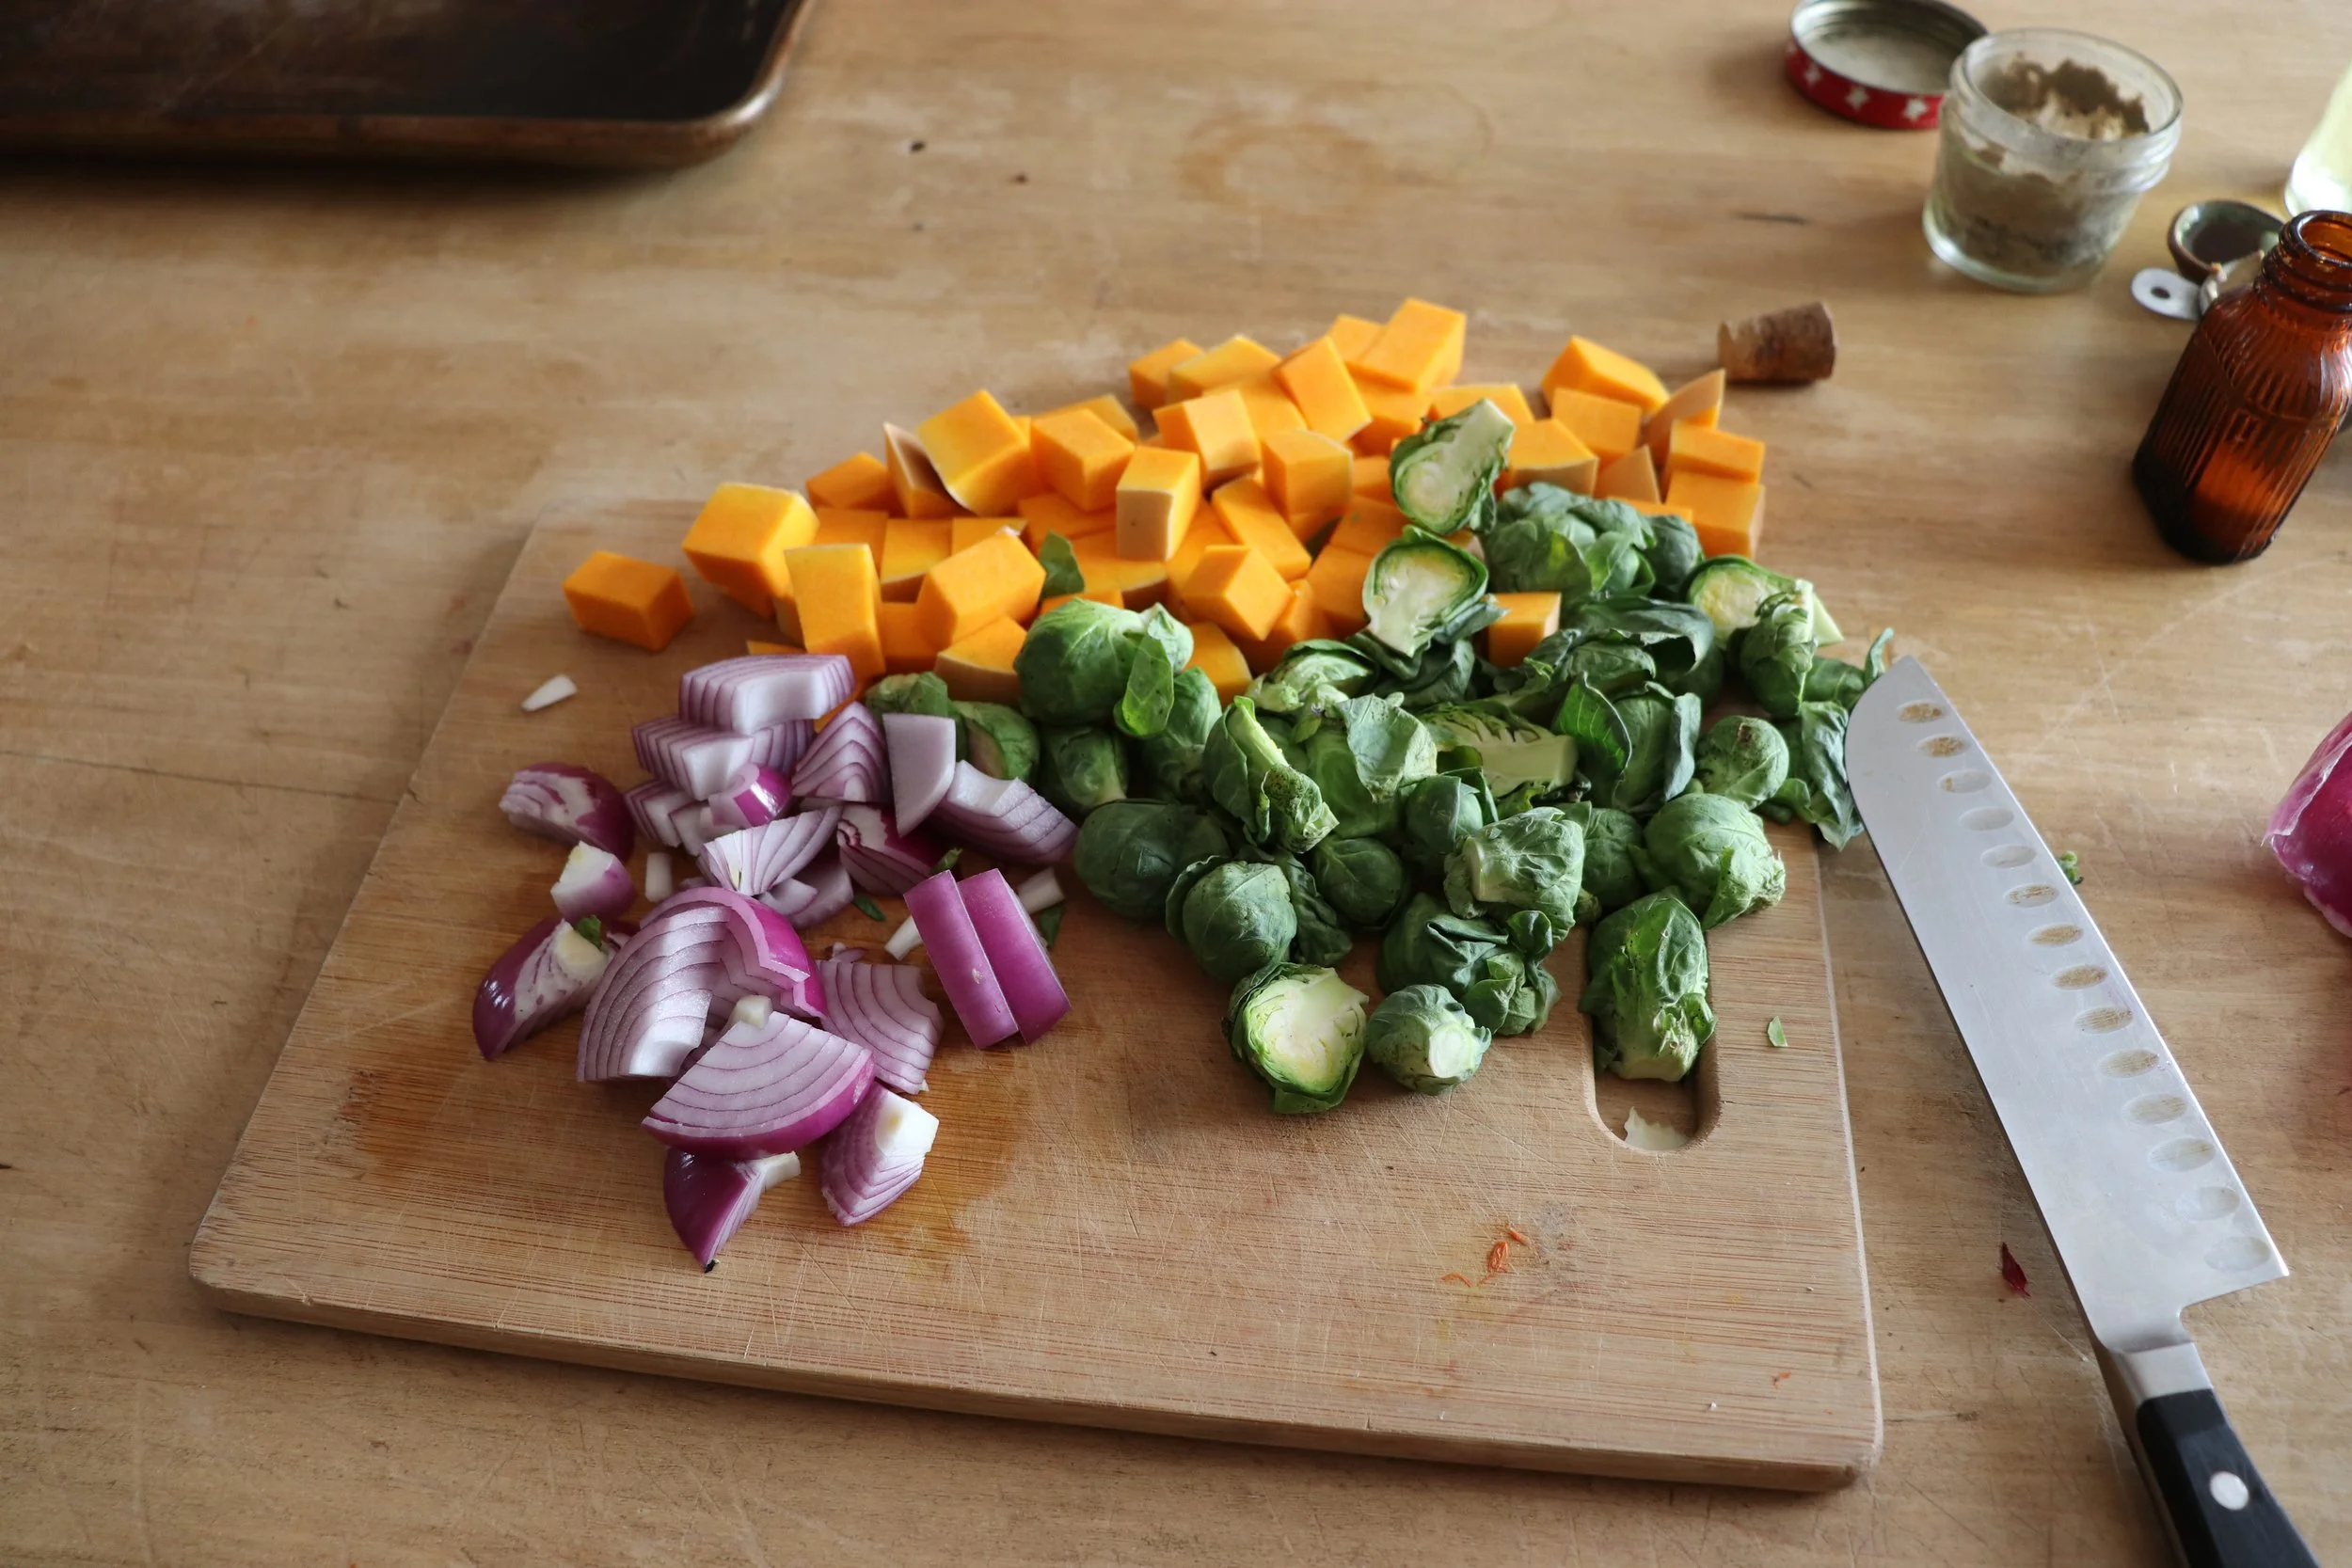
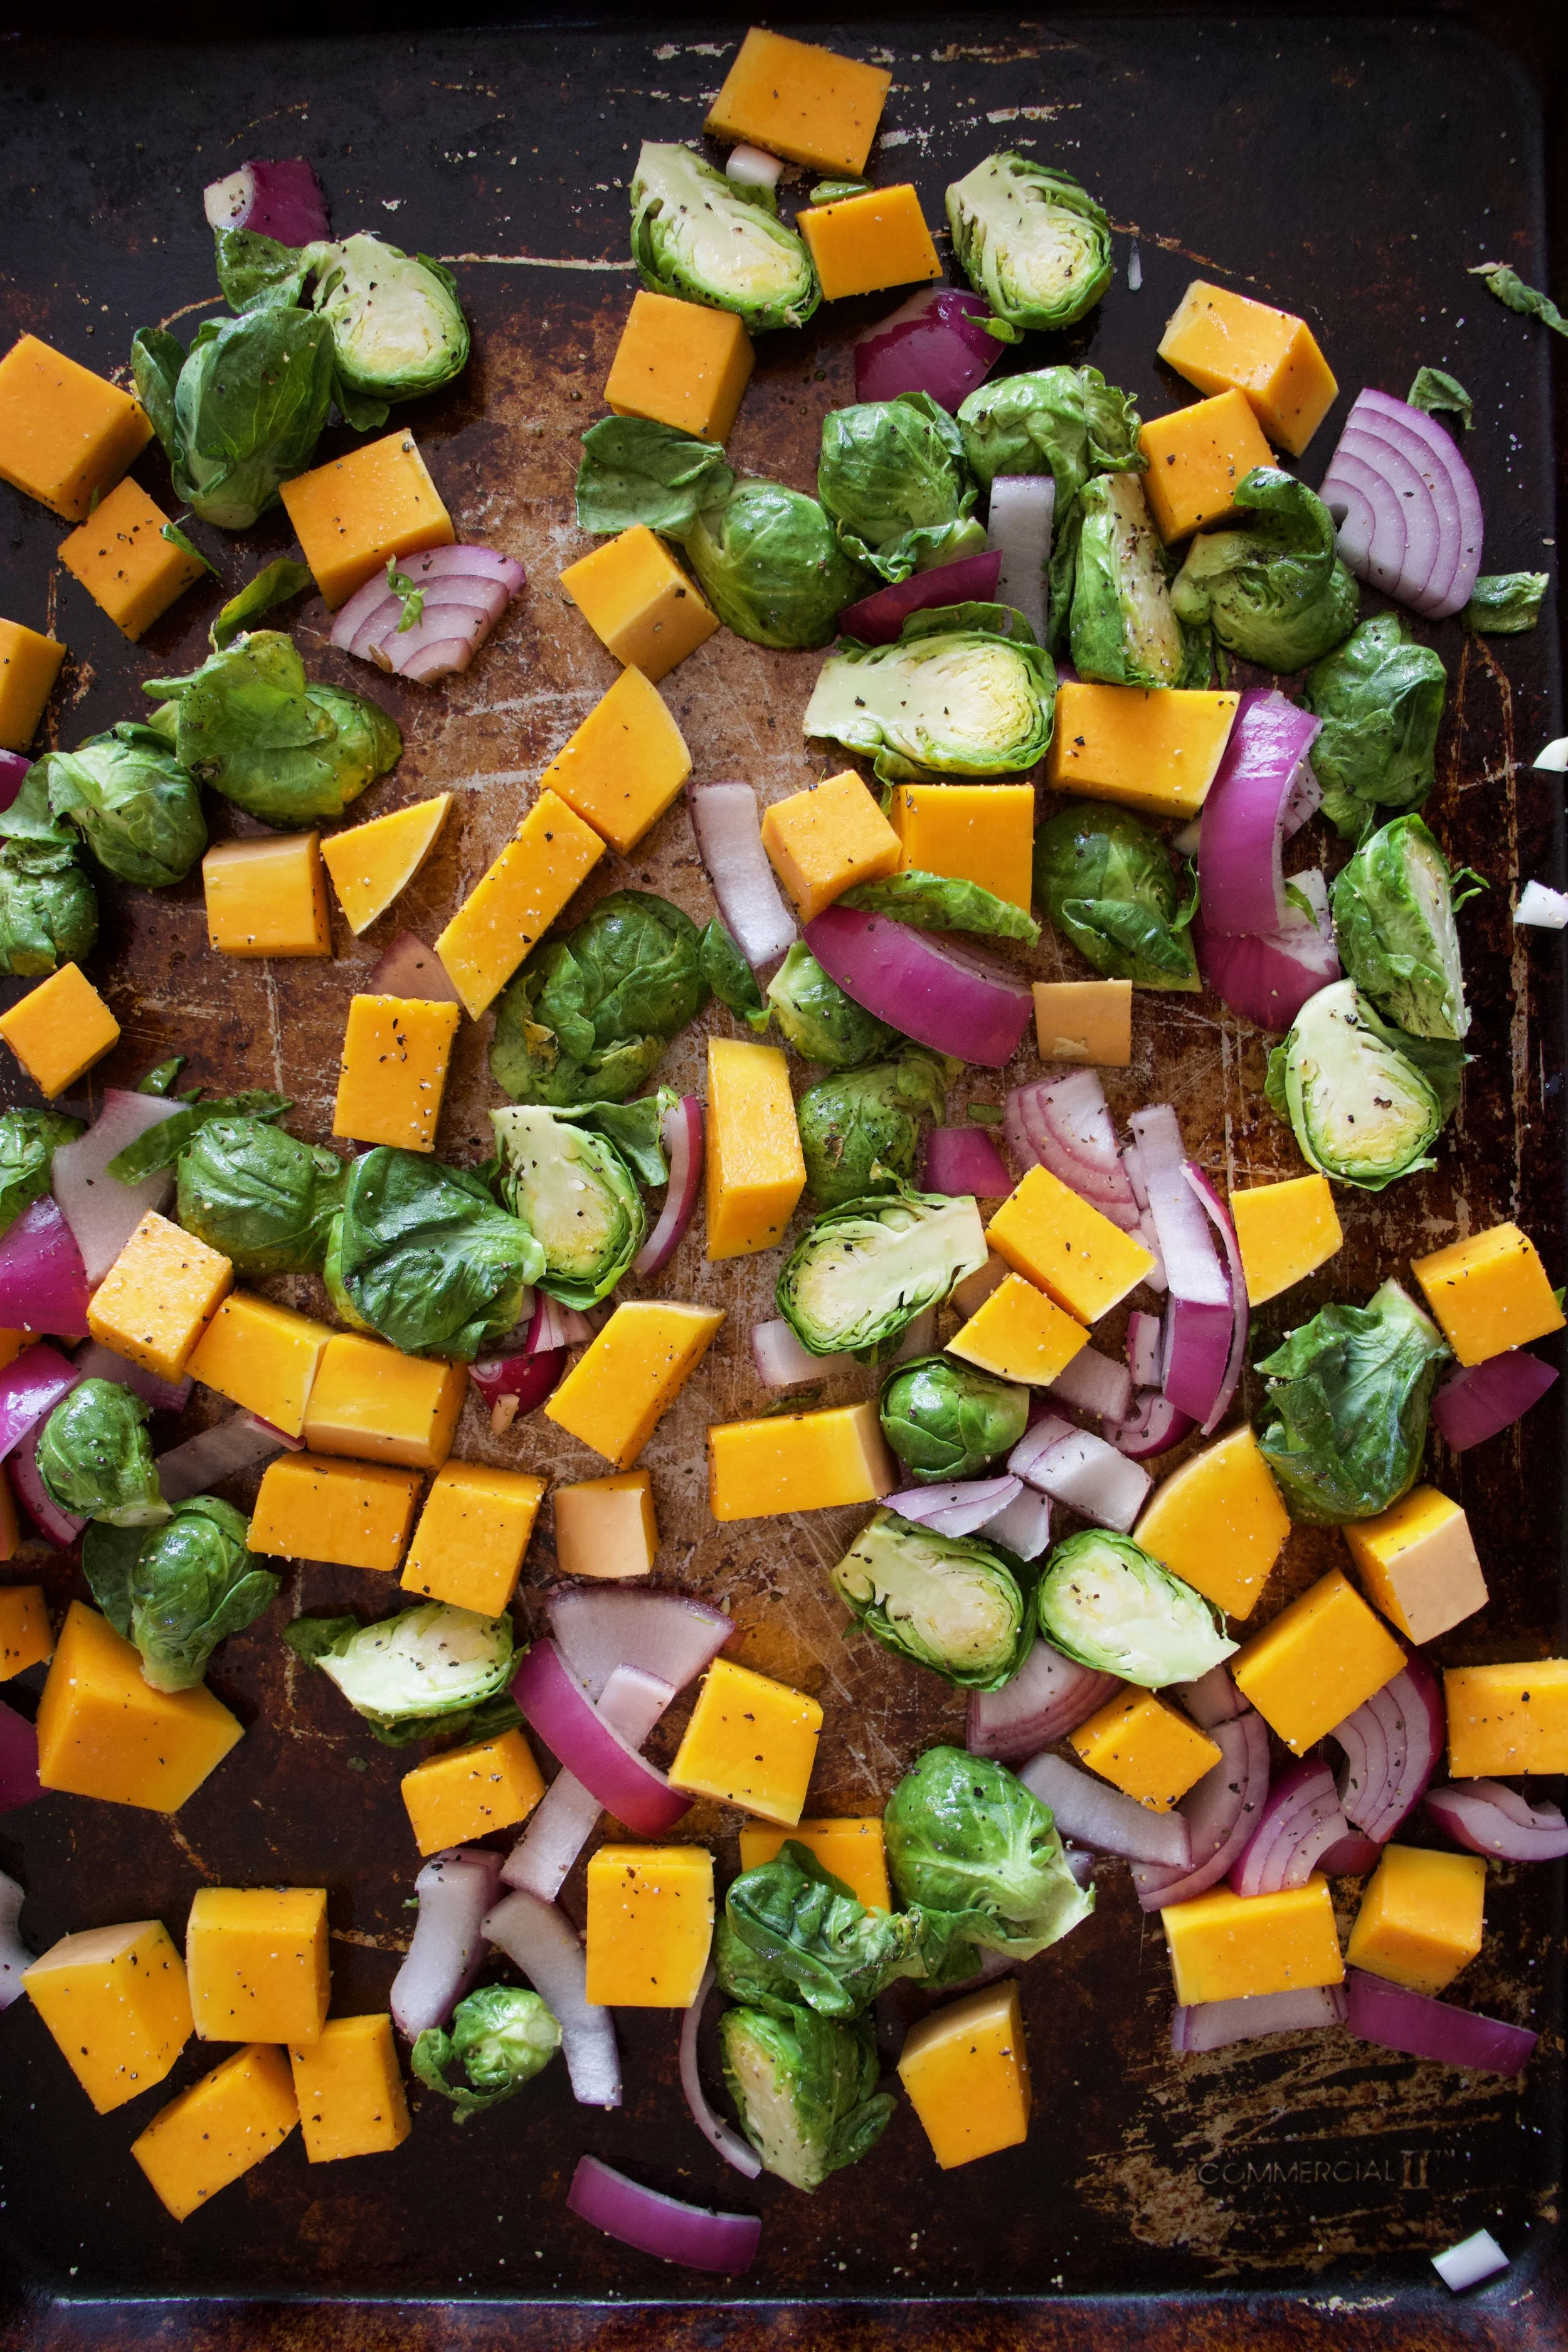

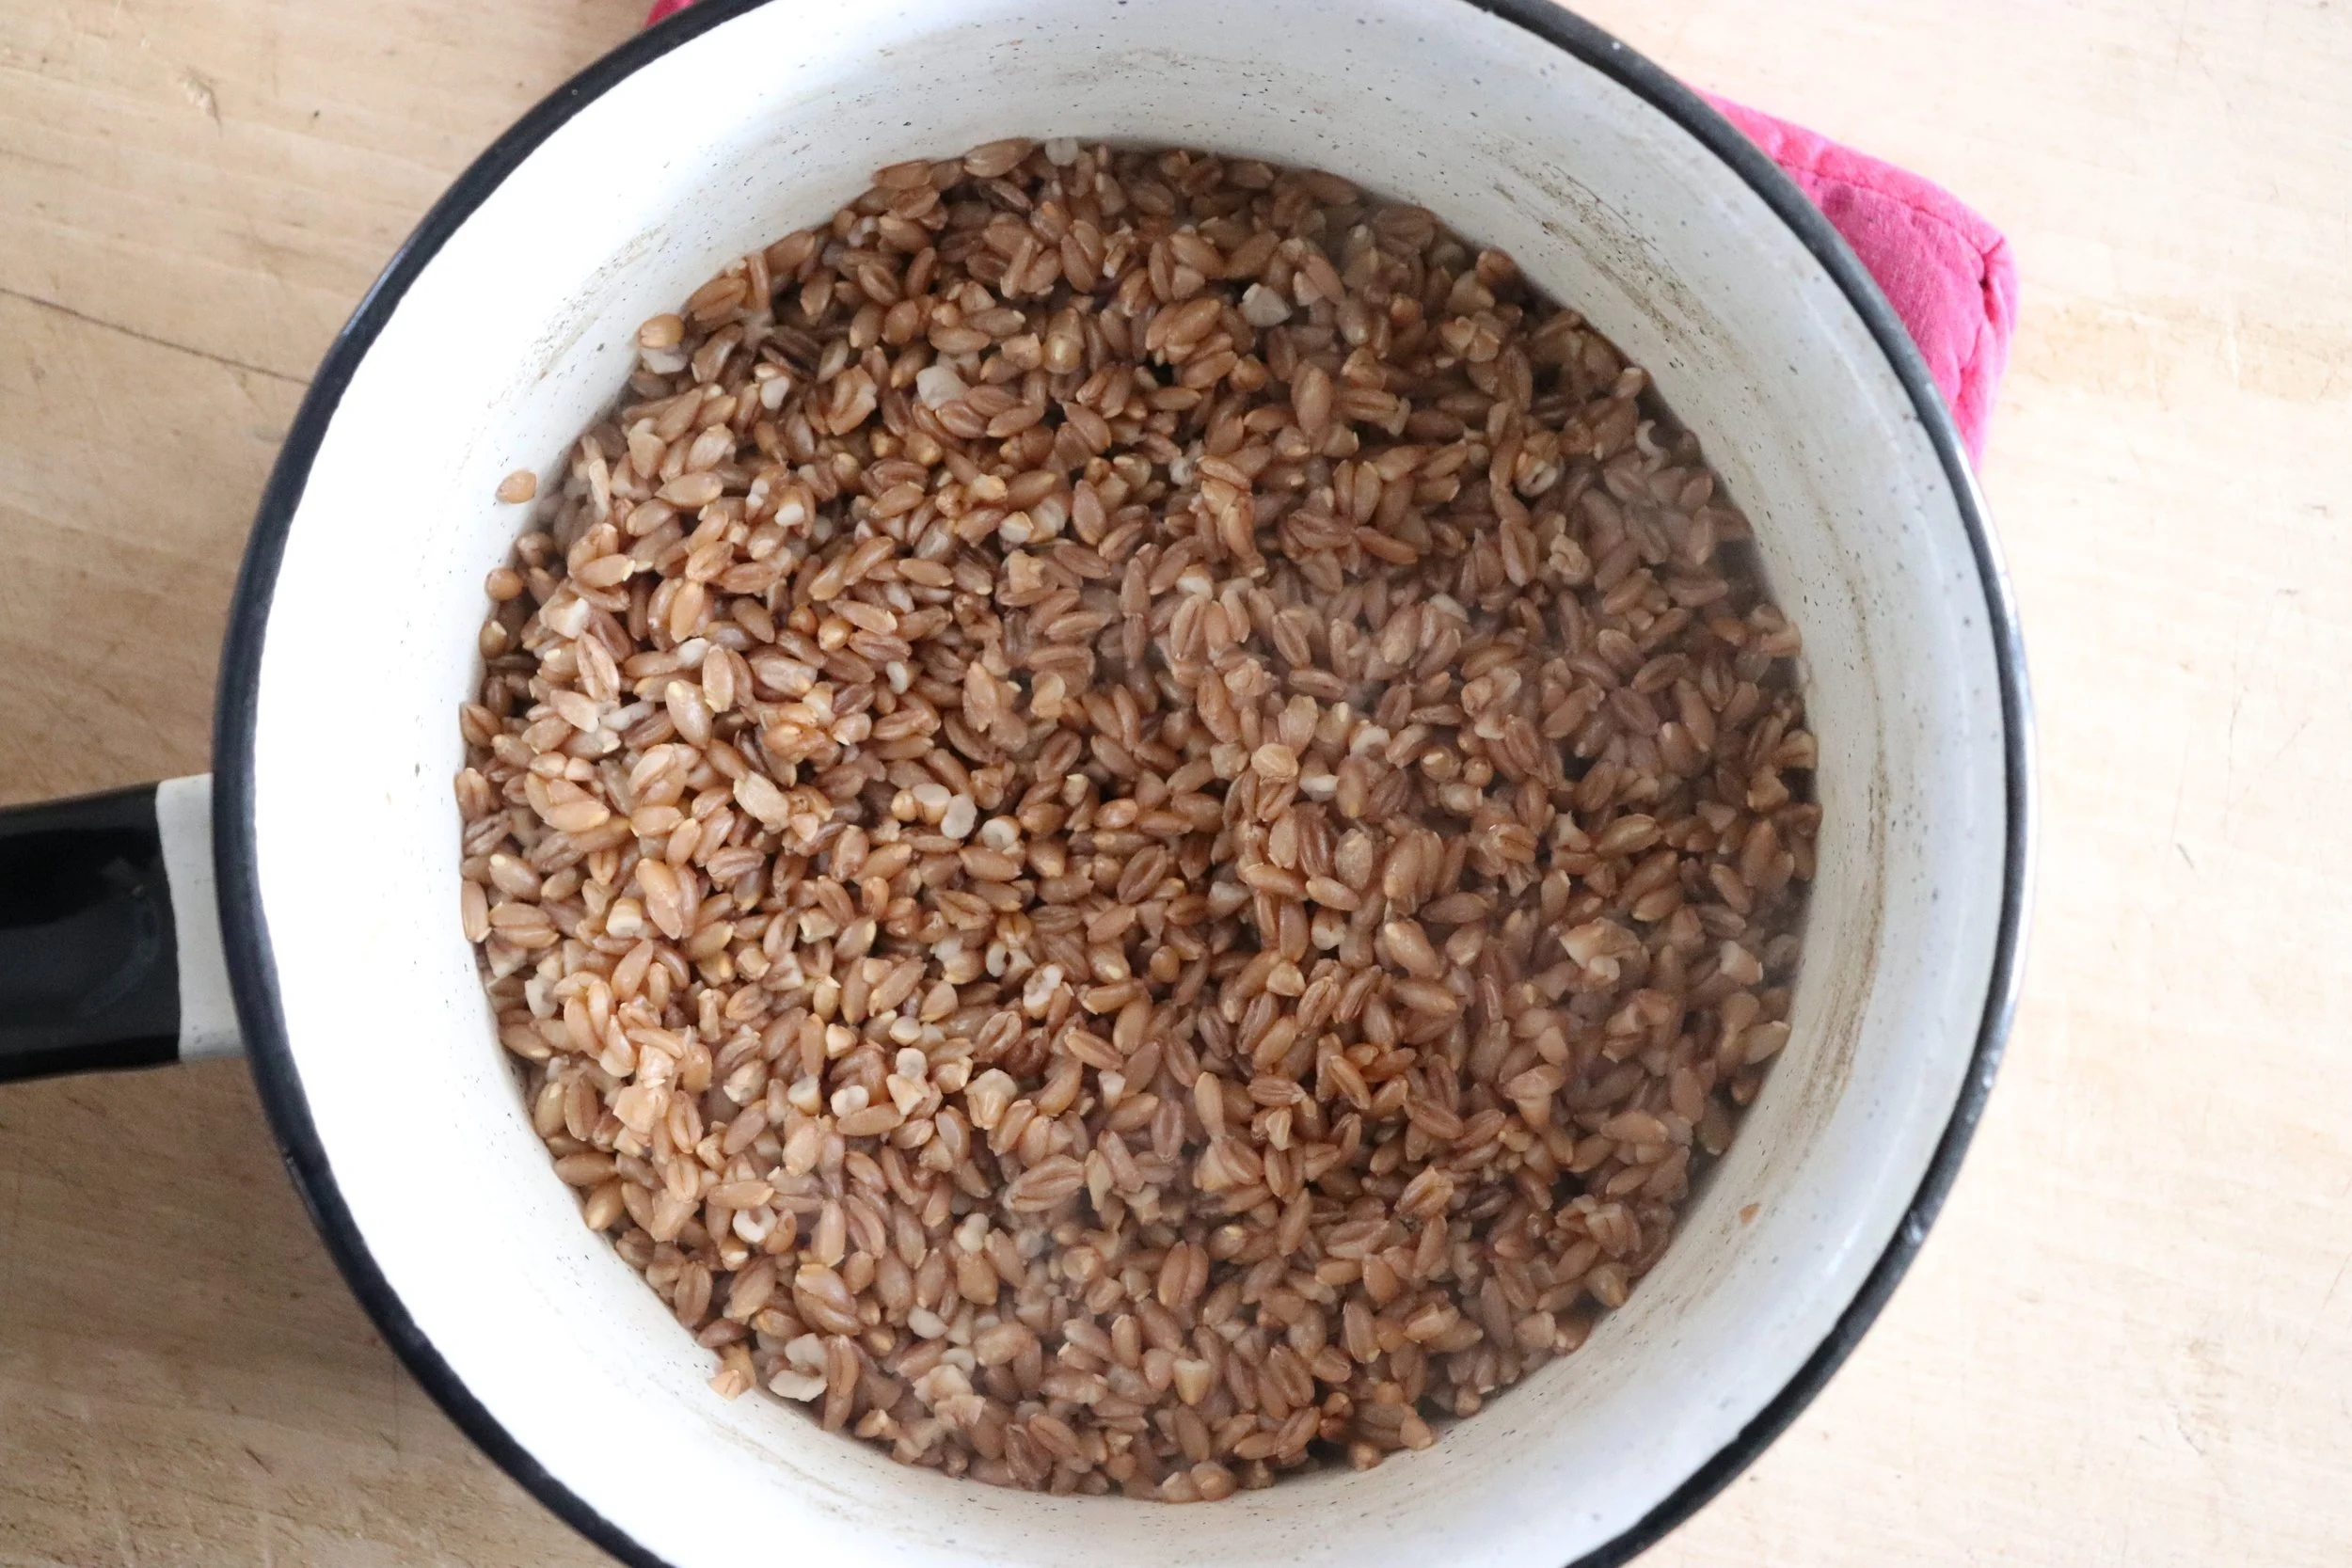

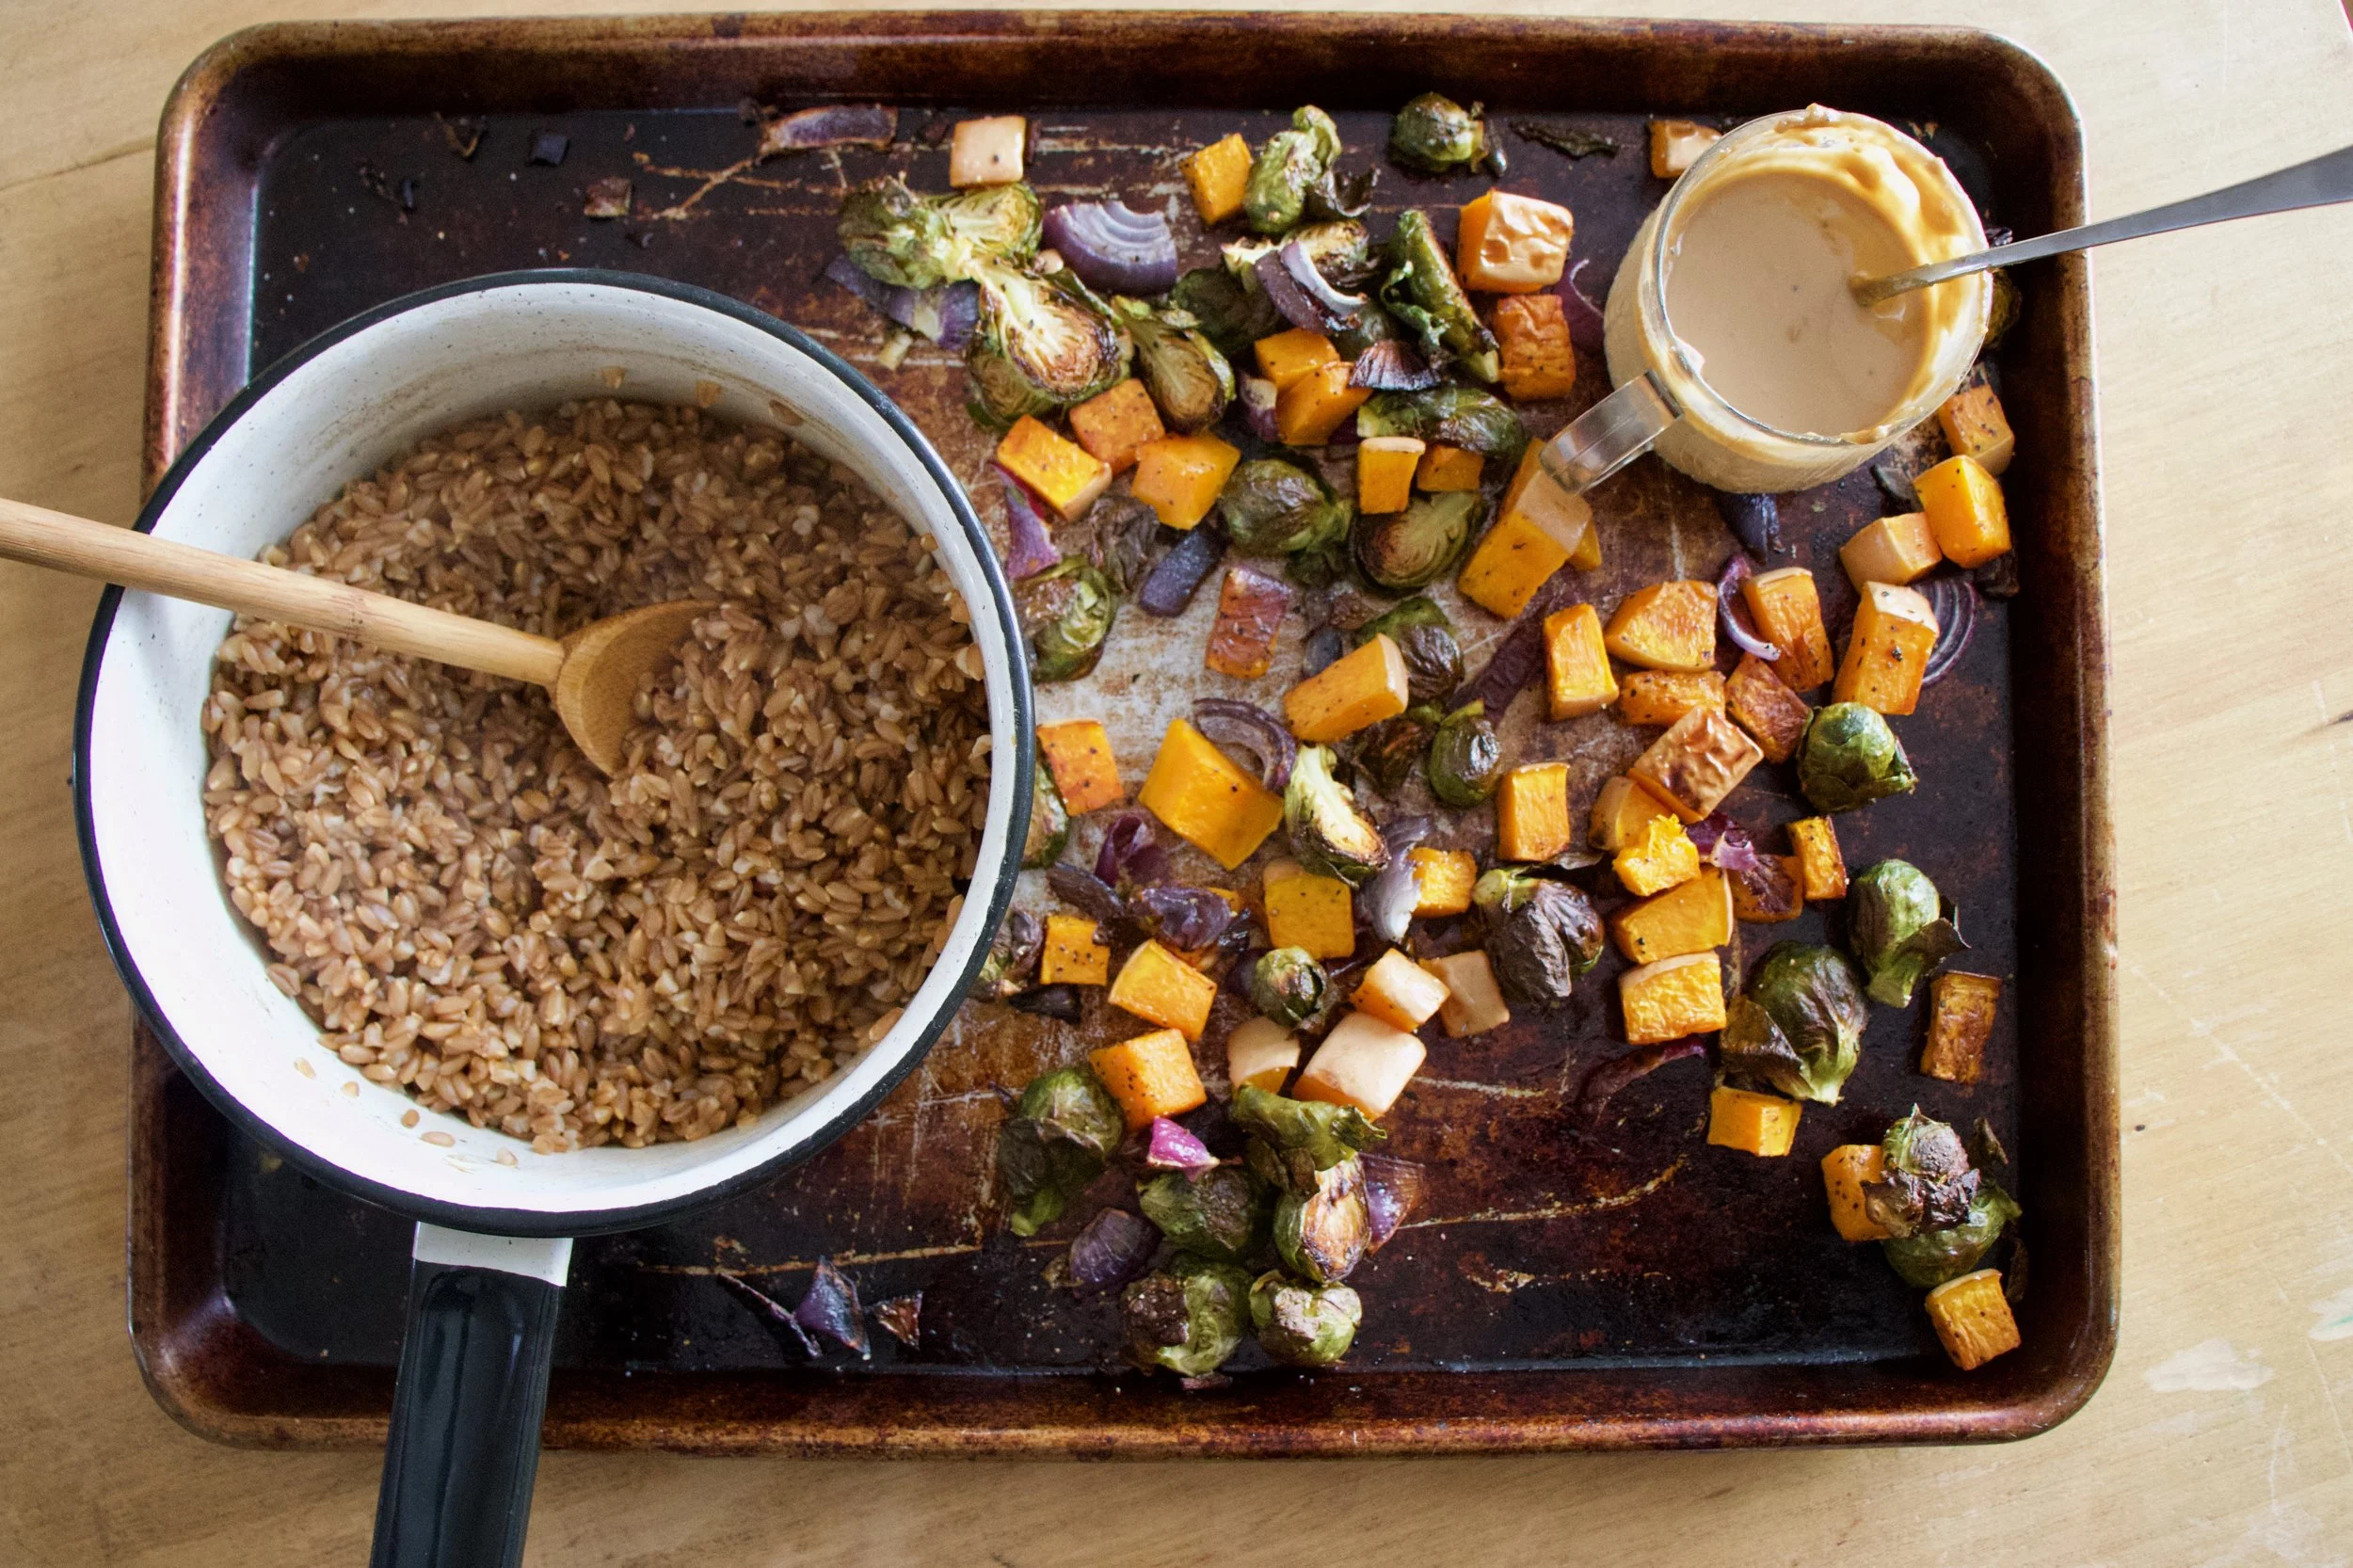

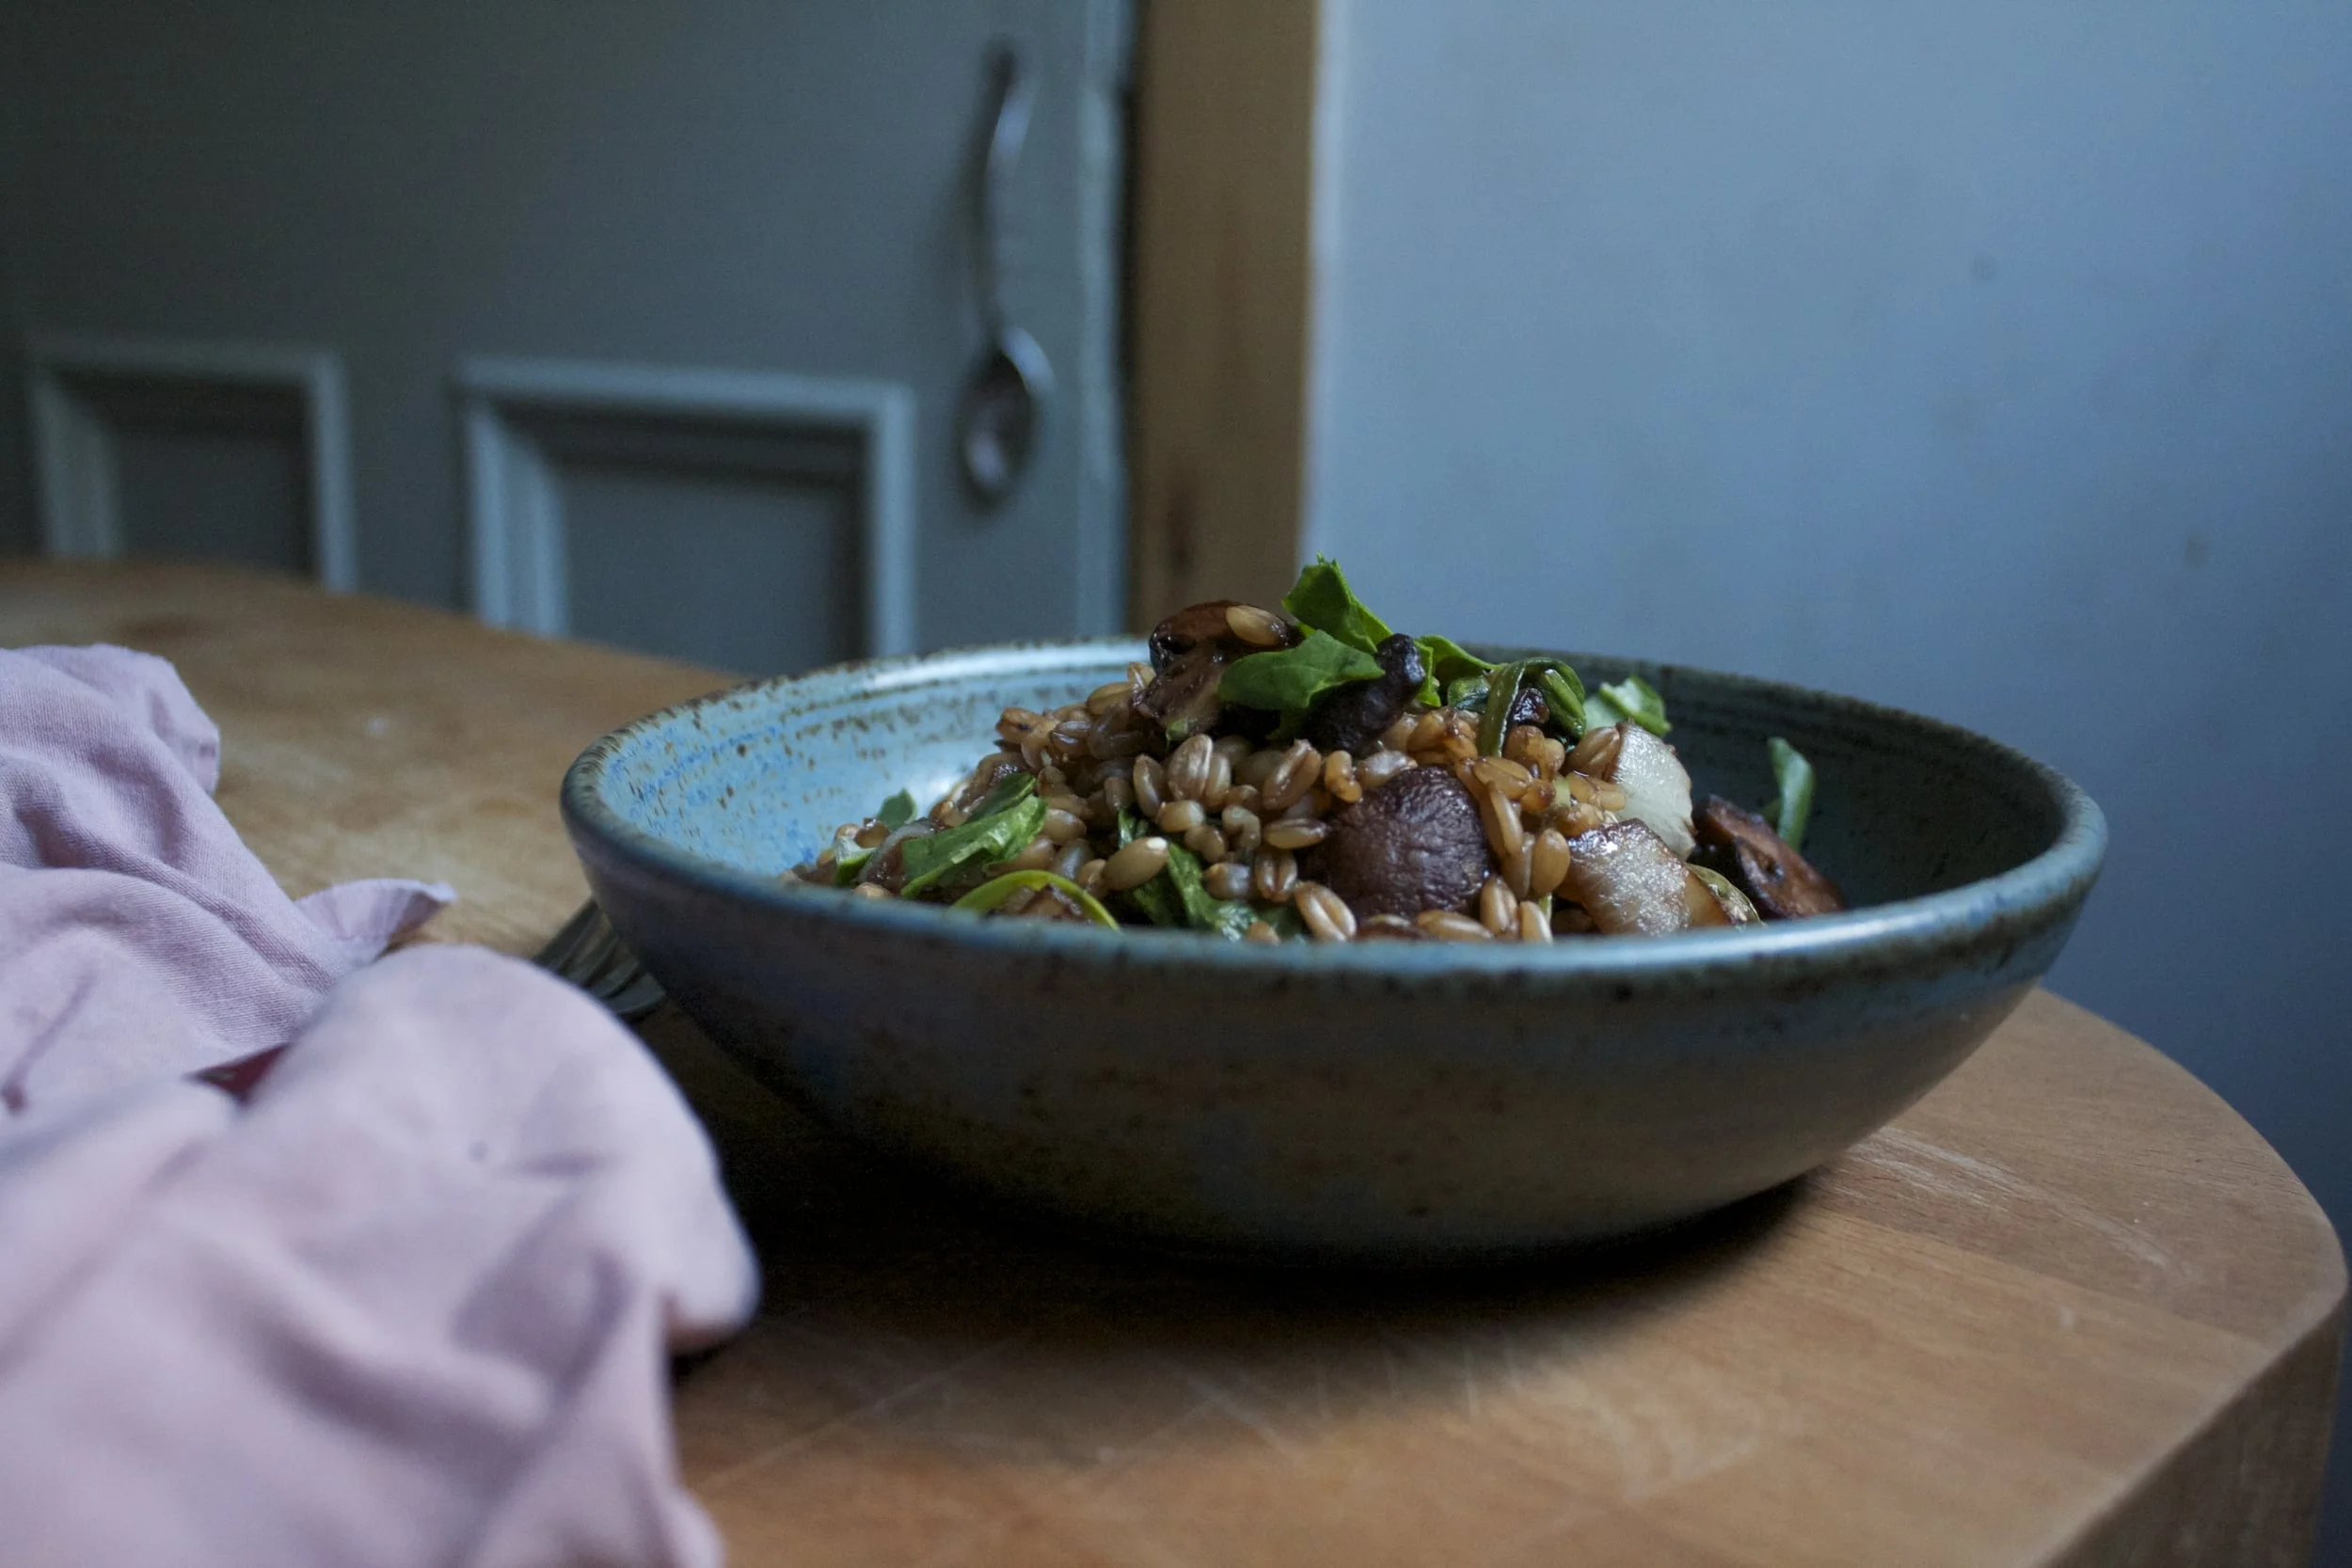


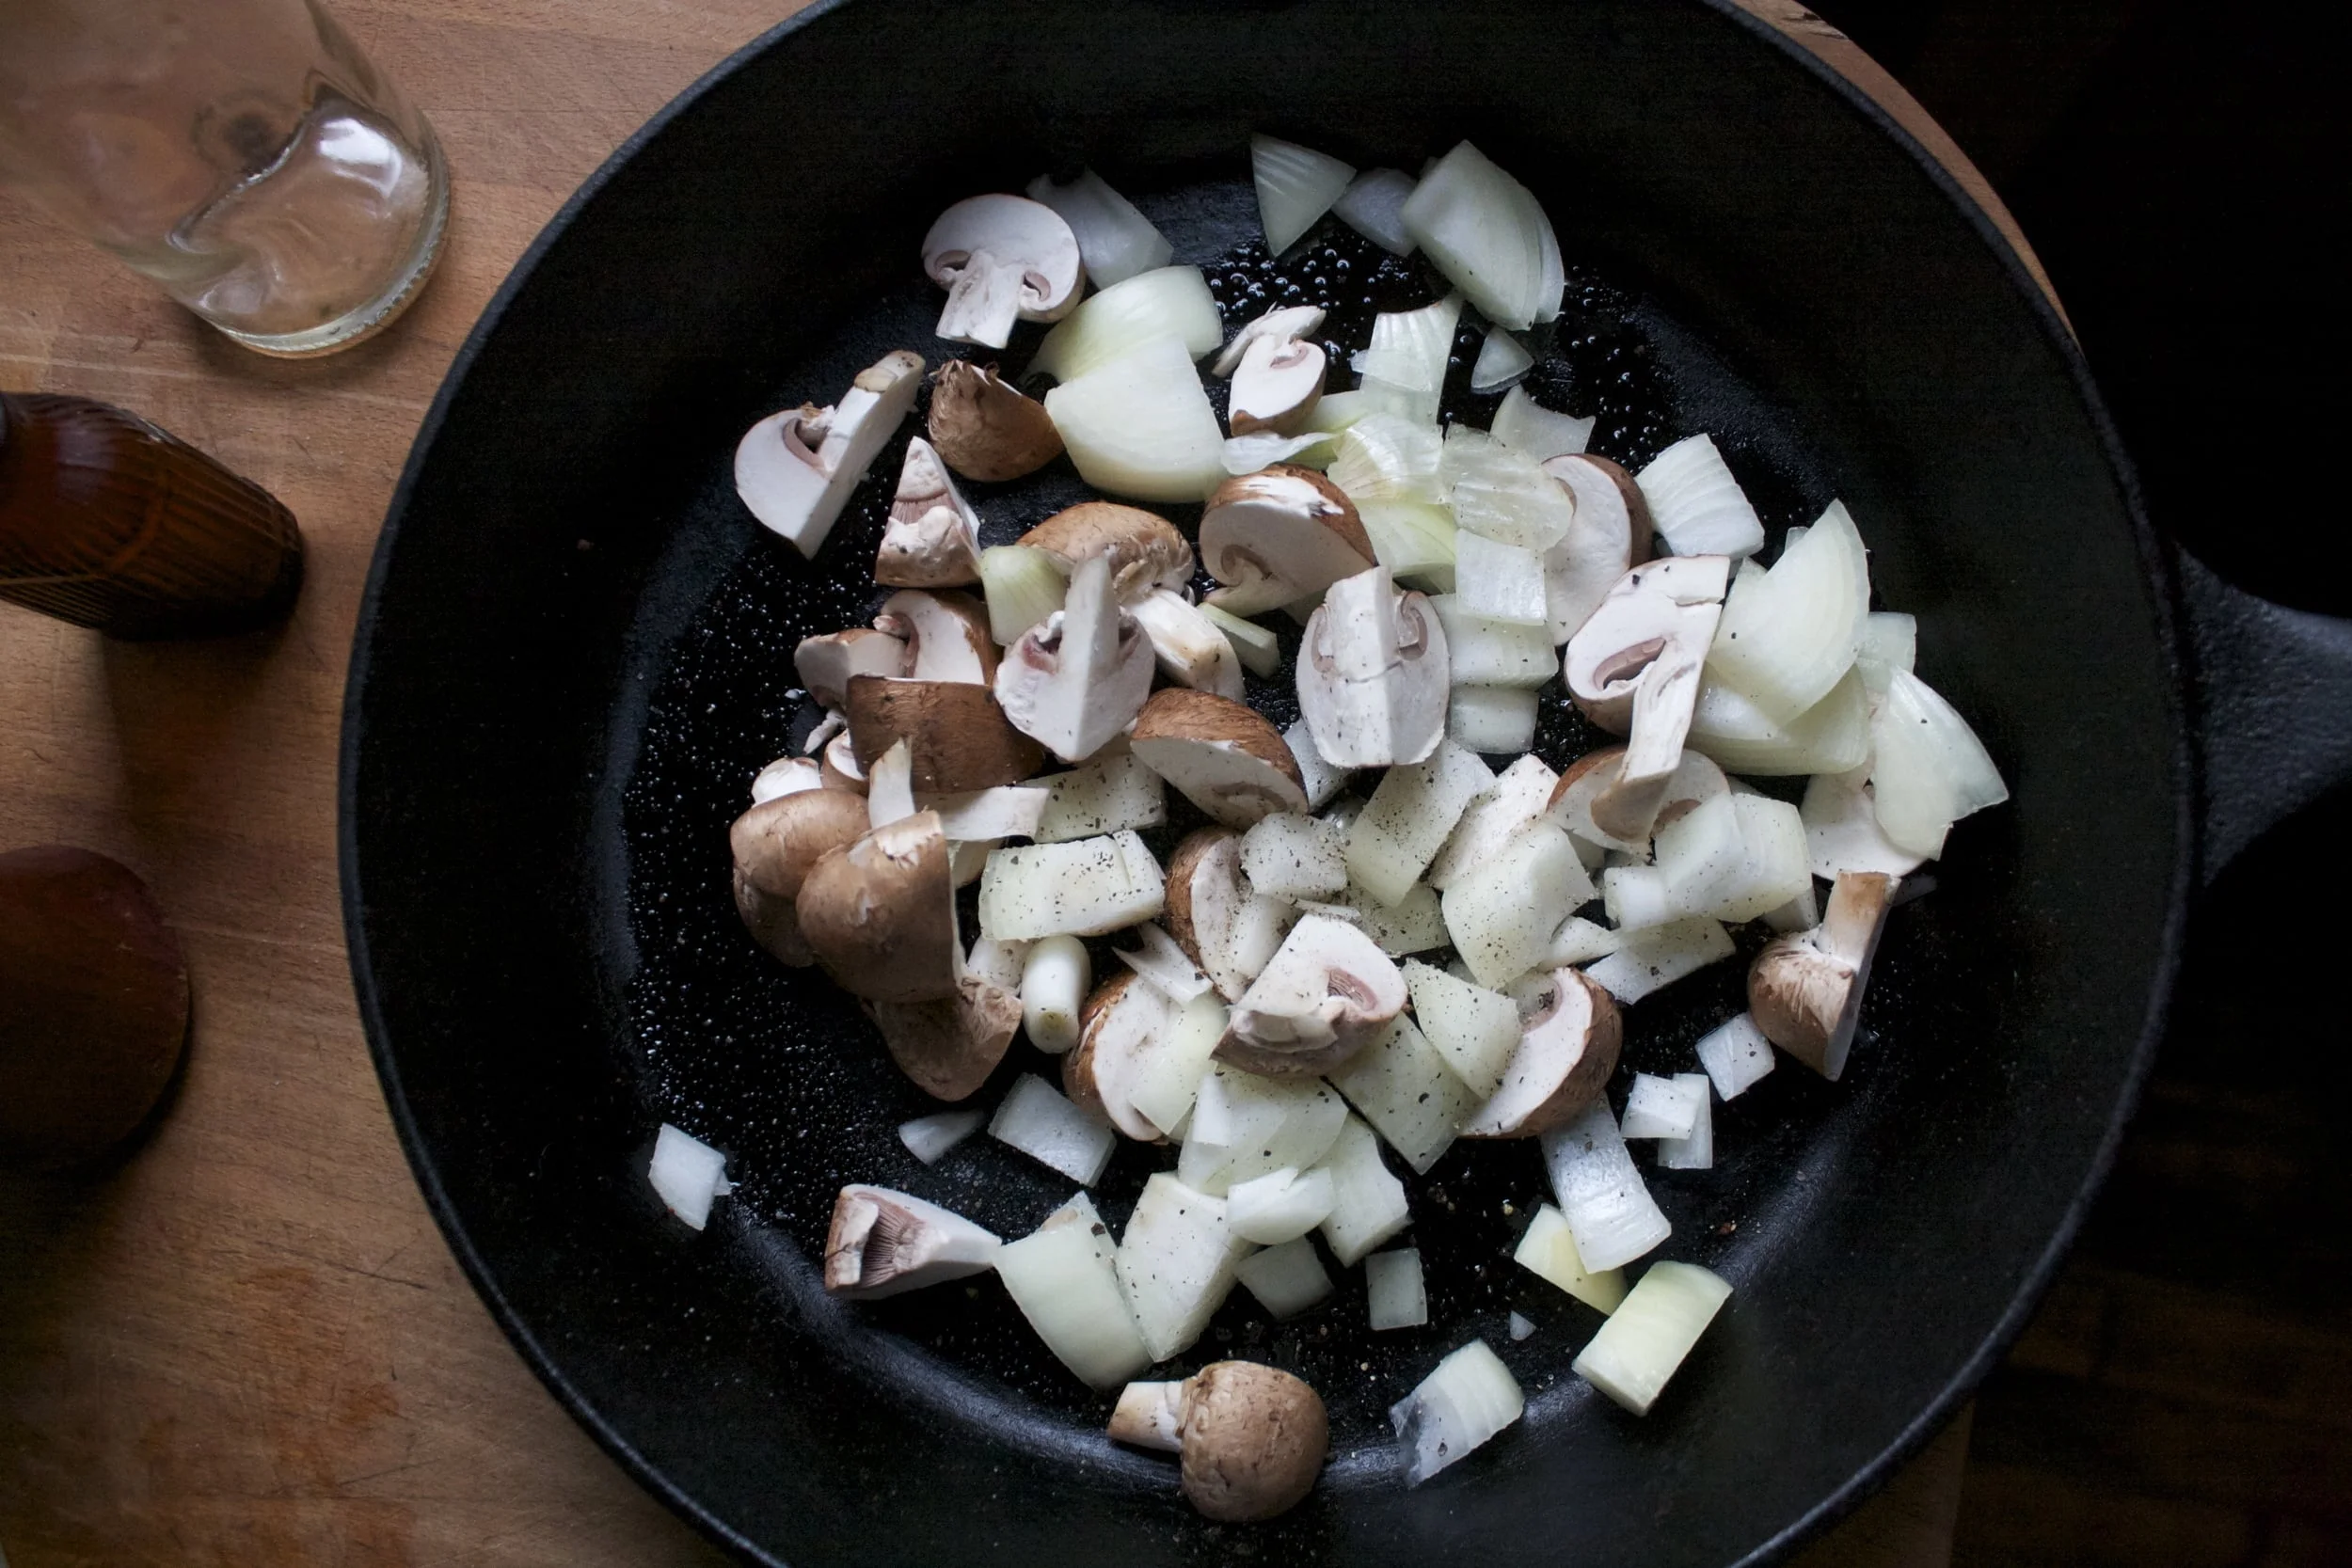

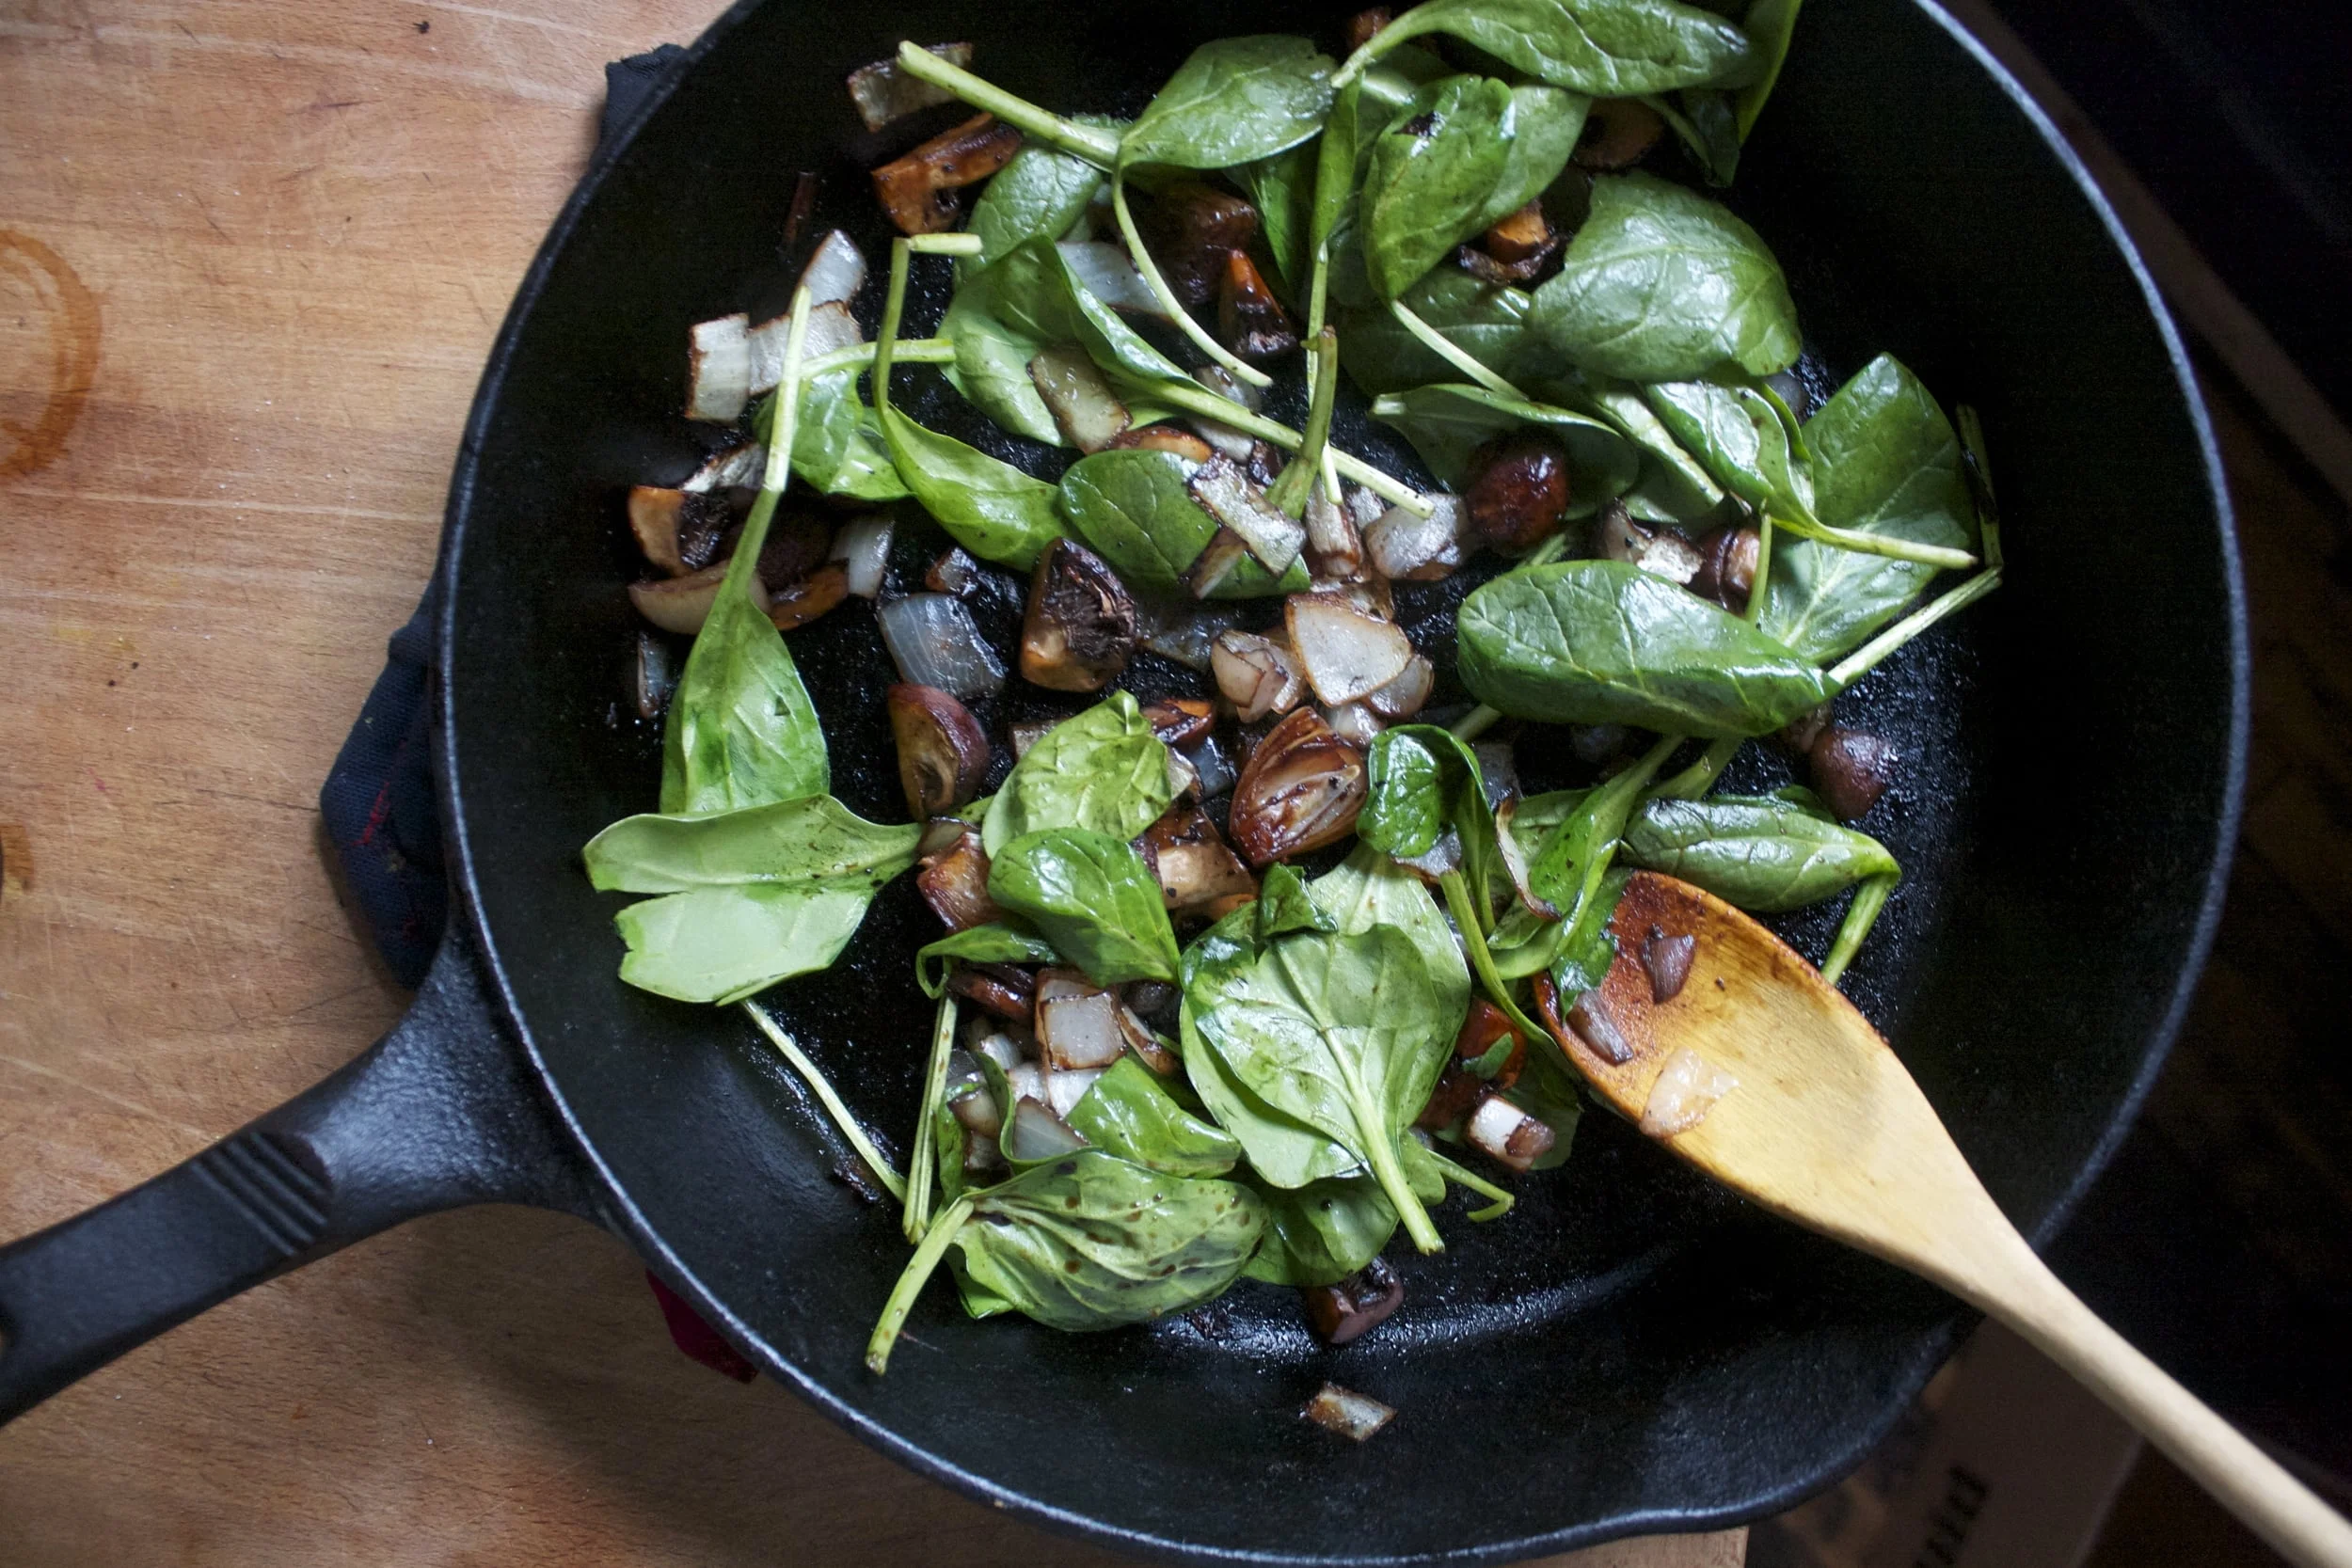
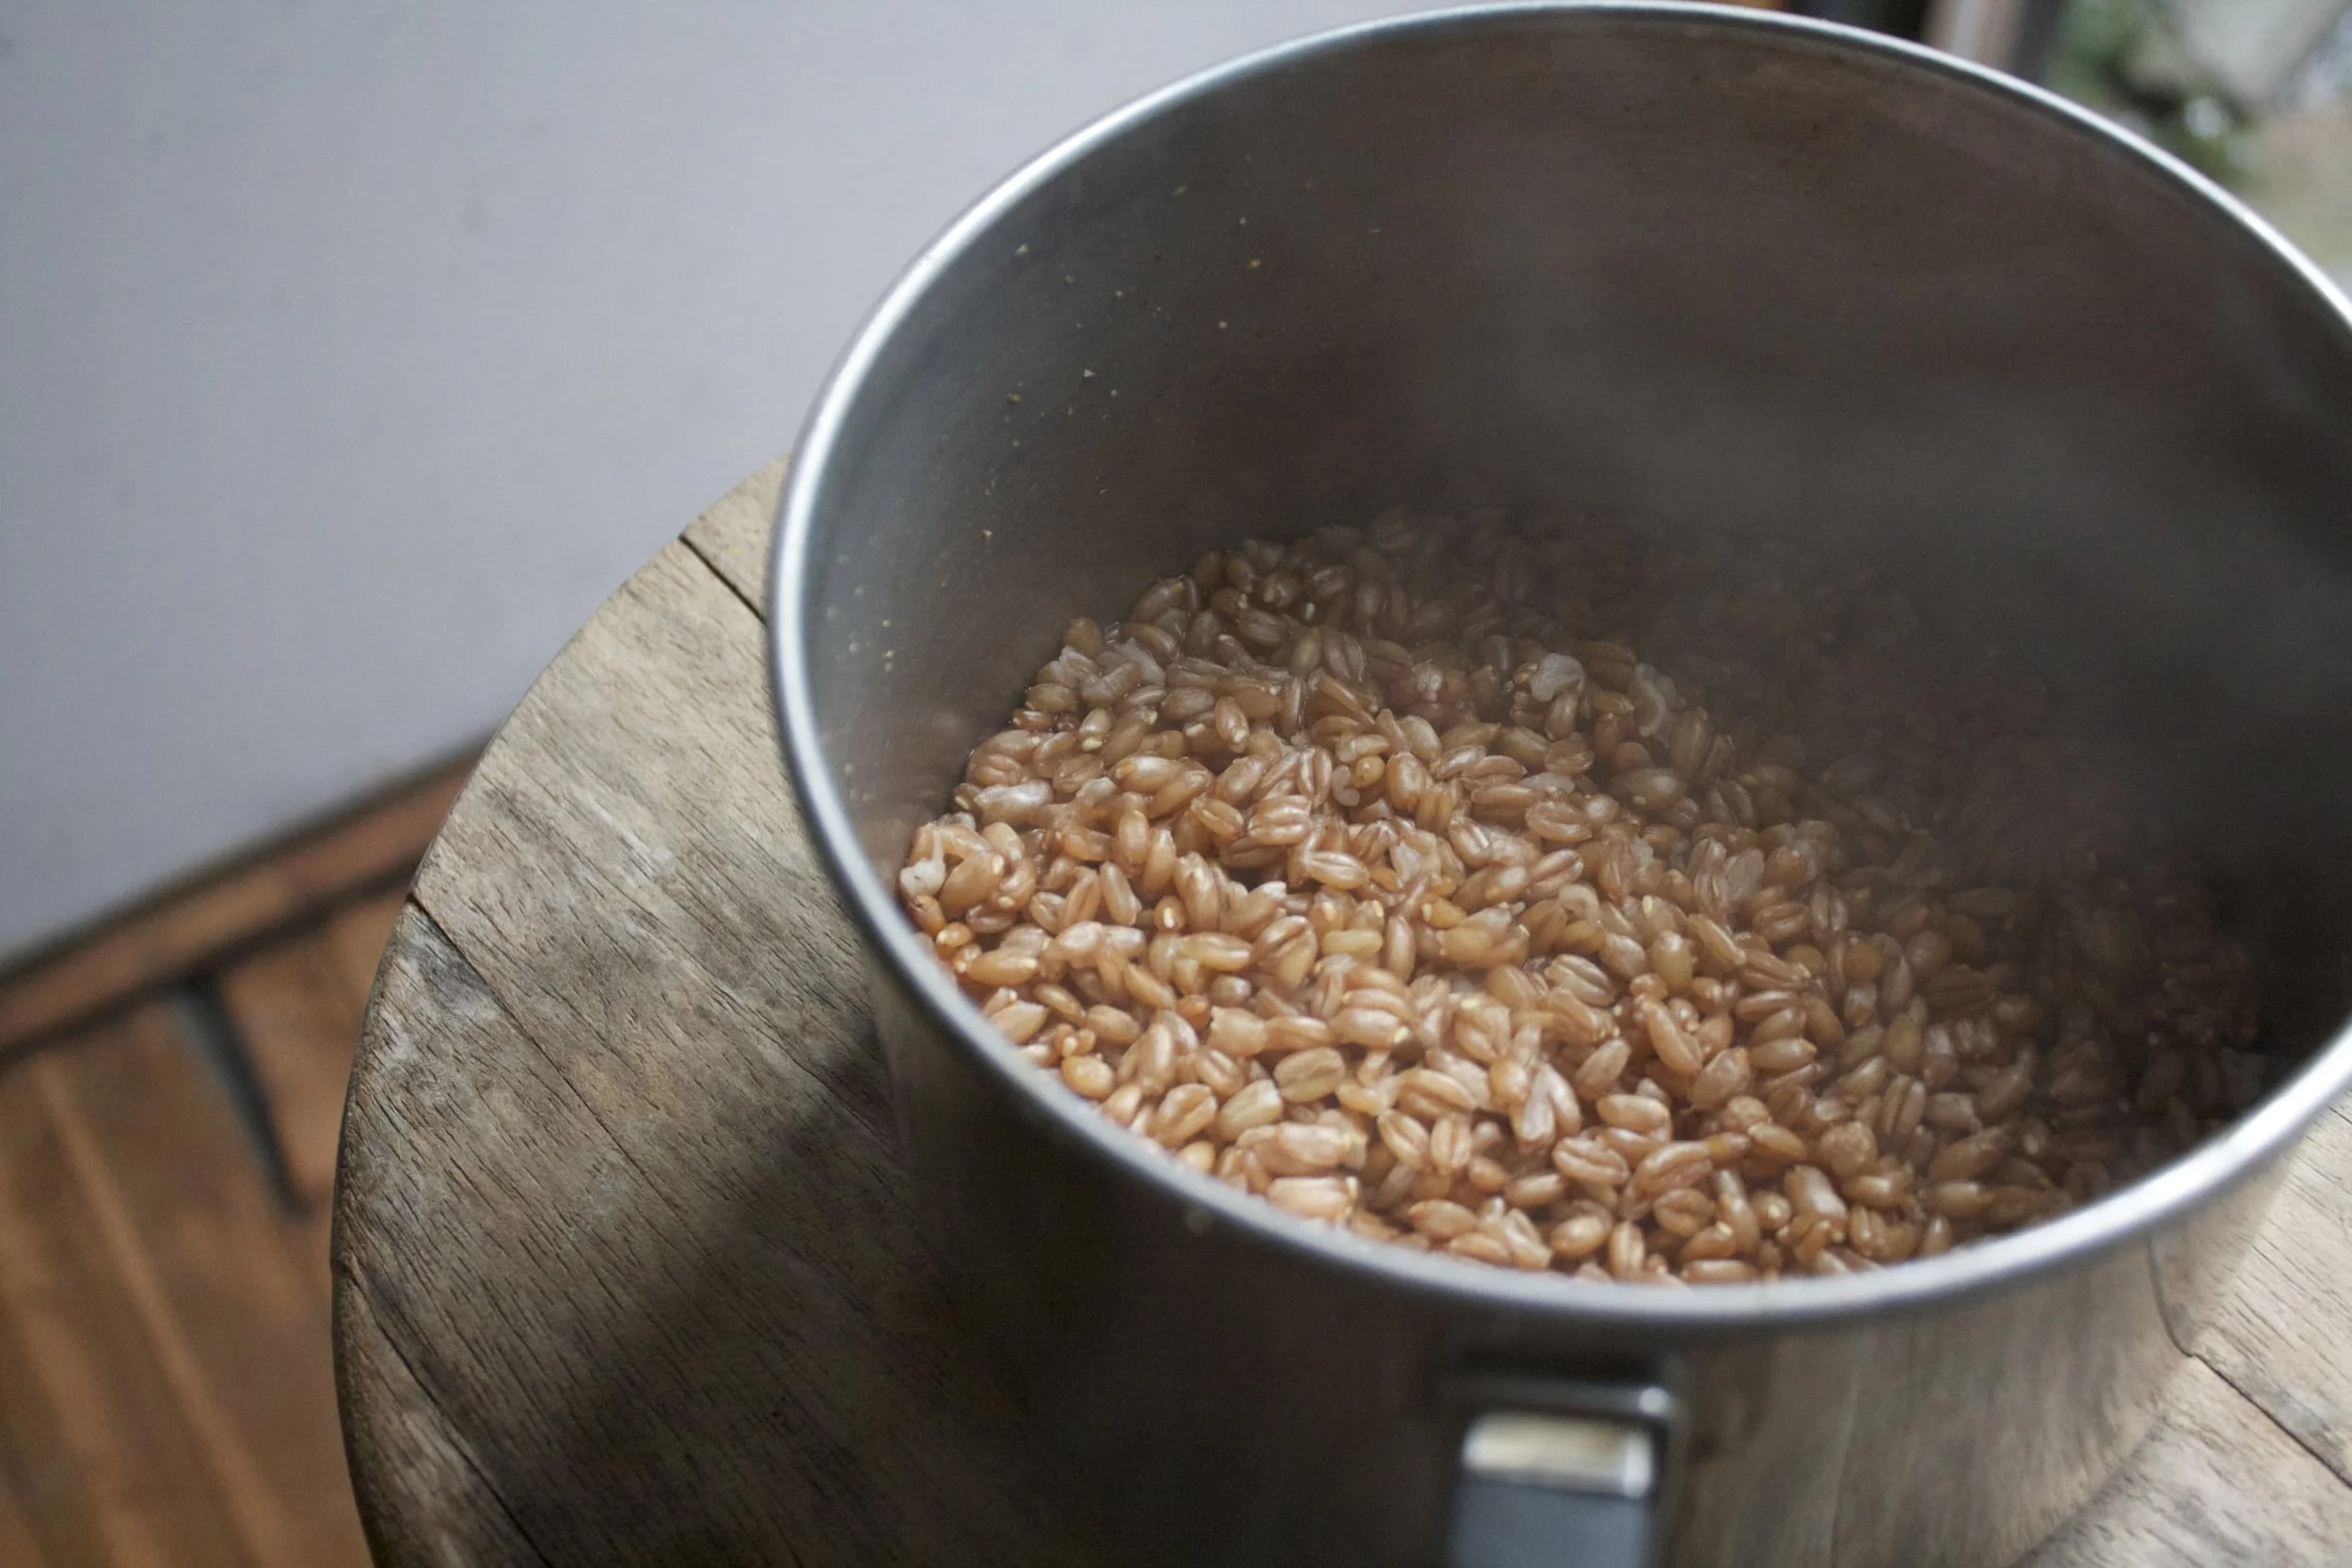
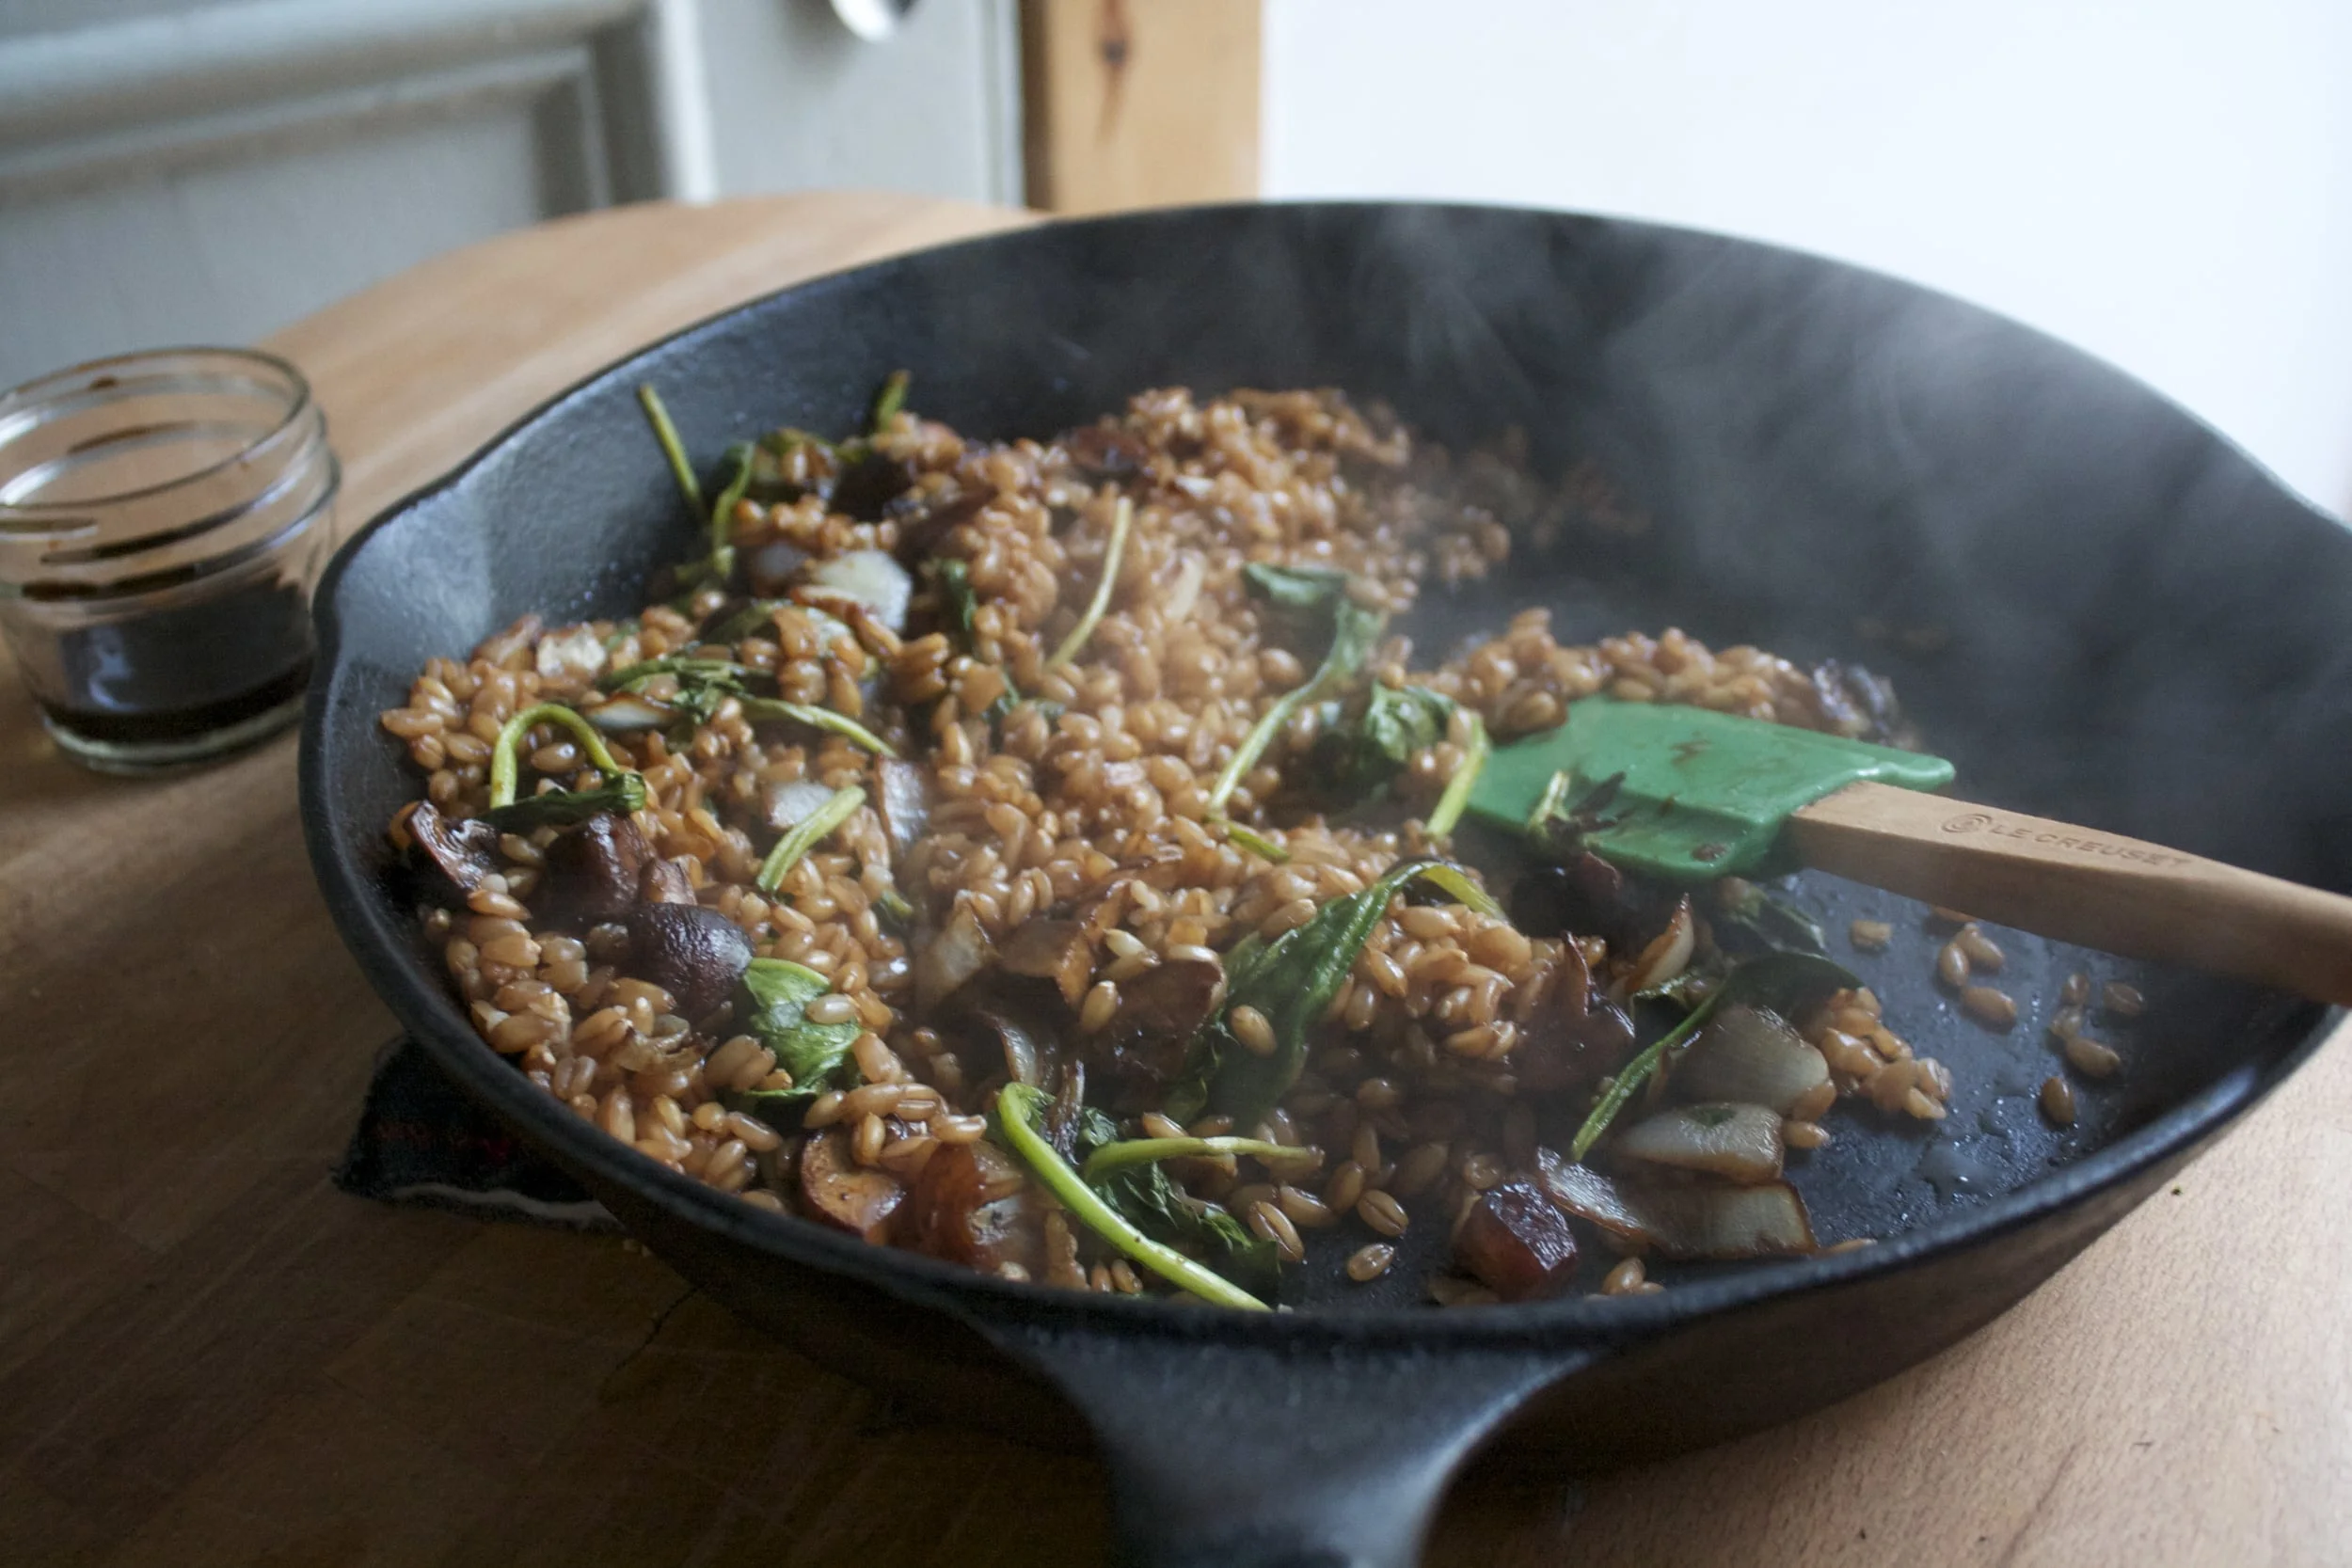
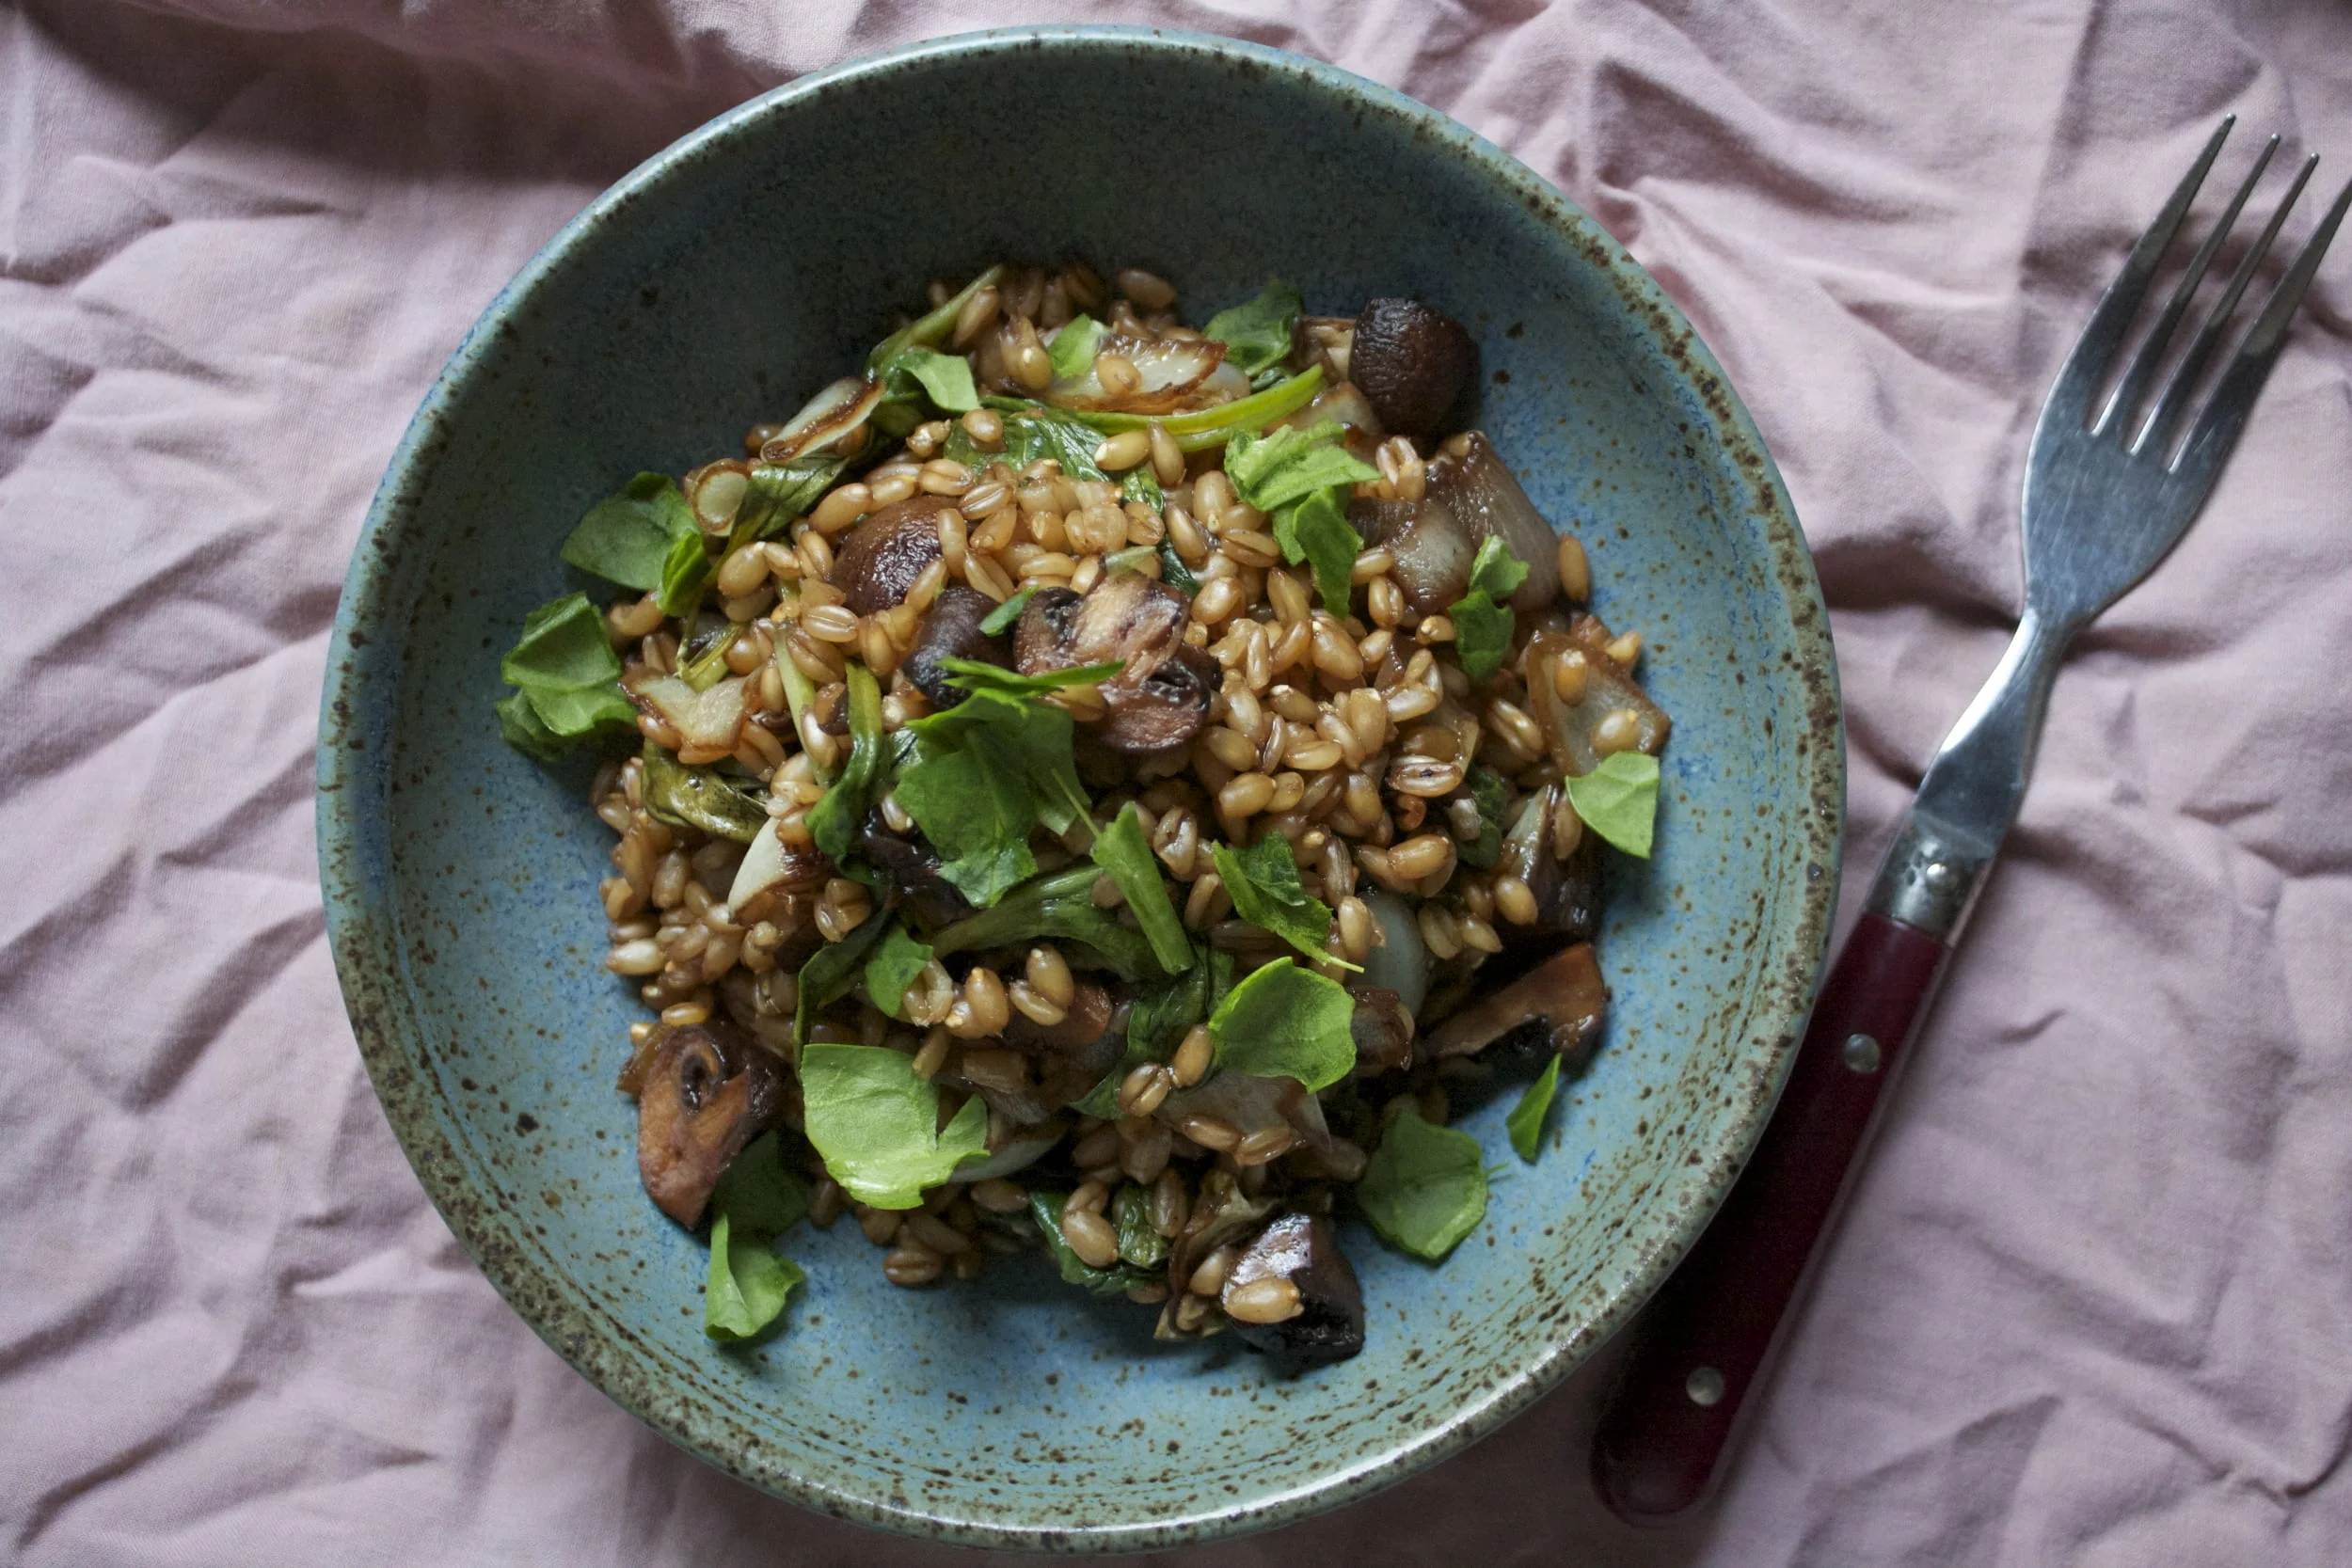
 %u00a0This week was good. %u00a0Two days in a row the front door was open, the window was open and the heater was off, which pretty much made me that happiest person in the world. My spring cleaning brain has kicked in and I want to clean everything (even the walls). I even spent a good part of an afternoon moving and rearranging furniture. (The house ended up basically the same as when I started) And one of the best parts of the week%u2026.most of the snow melted! I am getting super hyped to start raking, cleaning, planting and weeding and and just getting really dirty! Oh how I love the spring!
 Oh Intervale Community Farm..I love you. I picked up my farm share and was especially pumped %u00a0for another gigantic kohlrabi and some locally grown, locally milled wheat flour.
 %u00a0The trees, they are a budding
 %u00a0The perfect ripeness, destined for naner ice-cream!
 My sister and I took this little for a sled ride through the wood where there was snow (but it was 45 degrees!) The hike ended up with me %u00a0pulling her through a field of mud. It was fantastic.%u00a0
 One year ago today. Dinner with my favorite people.%u00a0


 Being that it was St. Patricks day this week and lots of folks buy up a good amount of cabbage, I figured that this is a good time to get people to try one of my most favorite of favorite meals…..Beet bean and cabbage steaks. I love to play around with food, how to pair textures and colors plus tastes while trying to make whatever I am making healthy and balanced. This is one of my fav creations. And sure, this may seem like a somewhat weird combo, maybe a little like a extremely hippy dippy vegan fake meat thing, and you might be kind of right, but screw if it doesn’t taste like A-mazing. First off, notice how freaking dang pretty this thing is. The roasted beets bring a earthy hearty flavor but also pack a huge punch of color, especially when blended together with the ever so sweet white bean, which brings a nice mellow taste and a great serving of protein. (Beets and beans are meant for each other). Spread that brightly colored, tasty mixture onto of a huge slab of one of my favorites, roasted cabbage with all its crunch and cabbagy flavor and you got yourself a hearty healthy meal of deliciousness.
  Cabbage, white beans, and beets. There is a lemon involved, but it didn’t make it into the picture.
 Cabbage is cut into inch thick slabs… I like to us the inter most part of a cabbage head cause I like the core. But use any cut that you want. 2 beets are chopped into chunkers and both the cabbage and the beets are placed on a lightly oiled baking sheets, seasoned with salt and pepper, and stuck into the oven for 20-25 minutes at 400 degrees.
 Once the beets are tender and the cabbage is cooked to a nice withered golden pretty, take out of the oven, but leave the oven on. Leave the cabbage on the pan but throw the beets into a blender or a big bowl if using a hand blender with the white beans
 Beans and beets get pureed together. Add the juice of 1/2 a lemon (or the whole lemon, depending on your taste) and a pinch of salt and pepper. With a big spoon or spatula, scoop equal amounts of the bean/beet mixture on top of the cabbage steaks and spread around. Sprinkle with cracked pepper and place back into oven for another 5-10 minutes. (You could totally skip the second bake, but I like my cabbage well done and crispy)
 Oh ho boy… And with a good squirt of mustard to finish off… I could eat this all day, everyday
 I have never in my life seen, let alone received, a kohlrabi as big as the one I picked up from my farm share last week. It was, no joke, bigger then my head. (completely nuts) If I didn’t know the farm and the farmers of my CSA, I would have to question whether or not it was grown in radioactive sludge…(kind of like the dandelions in the Teenage Mutant Ninja Turtle movie from the 90’s)
 A gigantic kohlrabi cut in half ( I only used one of the halts) A whole yellow onion and 2 large carrots. I also added in 4 cloves or garlic
 All of those chopped veggies get thrown into a pot with two cups of water and a good sprinkle of salt and pepper. Cover and place on medium heat for about 20-25 minutes. (give a stir ever now and then) Keep cooking until the veggies are fork tender.
  Once the chunks are all cooked up, its time for the immersion blender. (or into a regular blender) Add in at least 3 cups of water, but more to thin out to your desired consistency and let it rip. Stop blending once the soup is nice and creamy. Taste and season with salt and pepper to taste. Leave on low heat to bring back to a good soup eating temperature.
 Now the soup is done.. and you can eat it just as it is, but you should really add in the asparagus. It is just so f*ing good. Just grab a few spears, dice them nice and small, and throw into the soup pot. Let it cook for another 5 minutes and wa la..
  Soup is done. Ladle into bowls and if you want a little fancy presentation, add a swirl of mustard (it’s so good) and a whole cooked asparagus spear.
 When something goes on sale at the grocery store, I tend to buy it. Being that it is Valentines Day this week, all the stores are having specials on all sorts of sexy things… and strawberries are one of them. Now I am not a huge fan of buying produce that is terribly out of season, but I can’t help myself…a good deal is a good deal and the strawberries were a super good deal. I was just going to make some sweet ass strawberry jam or maybe a lovely strawberry cake with them (and I probably still will), but these strawberries are actually super juicy and full of flavor, and it’s always nice to eat some full flavor freshy strawberries… especially soaked in balsamic vinegar. And yeah, I think that this salad is pretty sexy, so it makes for a perfect Valentines day dish.
 A handful of ingredients and 5 minutes will get you to a fantastic salad experience.
 Pour the vinegar on the strawberries and let sit for at least 5 minutes. (the longer the strawberries can sit with the vinegar, the better)
 Pile it on.. thinly slice avocado.. rough chopped toasted almonds… It’s pretty much as easy as it can get.
 And last but not least, toss on the balsamic soaked strawberries and drizzle the remaining vinegar. (if you made hearts, place on top to make pretty) Sprinkle with a pitch of salt and pepper and pow! Fancy, sexy, delicious salad.
 There is a joke about Vermonters, that all we talk about is the weather. Well, it’s kind of true. But to our defense, we get a lot of weather, and it’s always changing and intense and both lovely and crazy and all over. So yeah, we talk. A lot, about the weather. And on that topic, I am trying so hard not to complain, but honestly, I am getting a little sick, both physically and mentally from all of these super, to freaking cold temperatures. Yesterday the high was 0 ( which was at like 2 in the morning) and factor in the windchill, the temp stayed at like 25 below. It f**king sucks. I can’t stay outside for too long or else I will probably die. The dog is having a hard time making it around the block before he gets ice paws, and the mister, well he even started wearing gloves (he wears a sweater all winter and never gets cold…..he is officially cold)
 I accidentally spilled the turmeric on the counter..but it kind of looks like I might have done it on purpose… yeah, let’s go with that. Chop the garlic and he ginger into chunks
 And toss into the pot to warm and activate. Just a little toasty toast.
  And the veggies are roasted and tender and smell so good. It took a lot of will power to not eat the whole pan right there.
 I added the roasted veggies and 3 cups water straight into my pot with the spices because I used an emulsion blender. If you are using normal blender, add the veggies, the toasted spices and the water to the blender and blend until smooth. Then transfer to a pot.
 Pretty much all blended together….(I left a few big chunks in there to snack on while I was waiting to eat serve…I was really hungry) and let to simmer for a little longer…

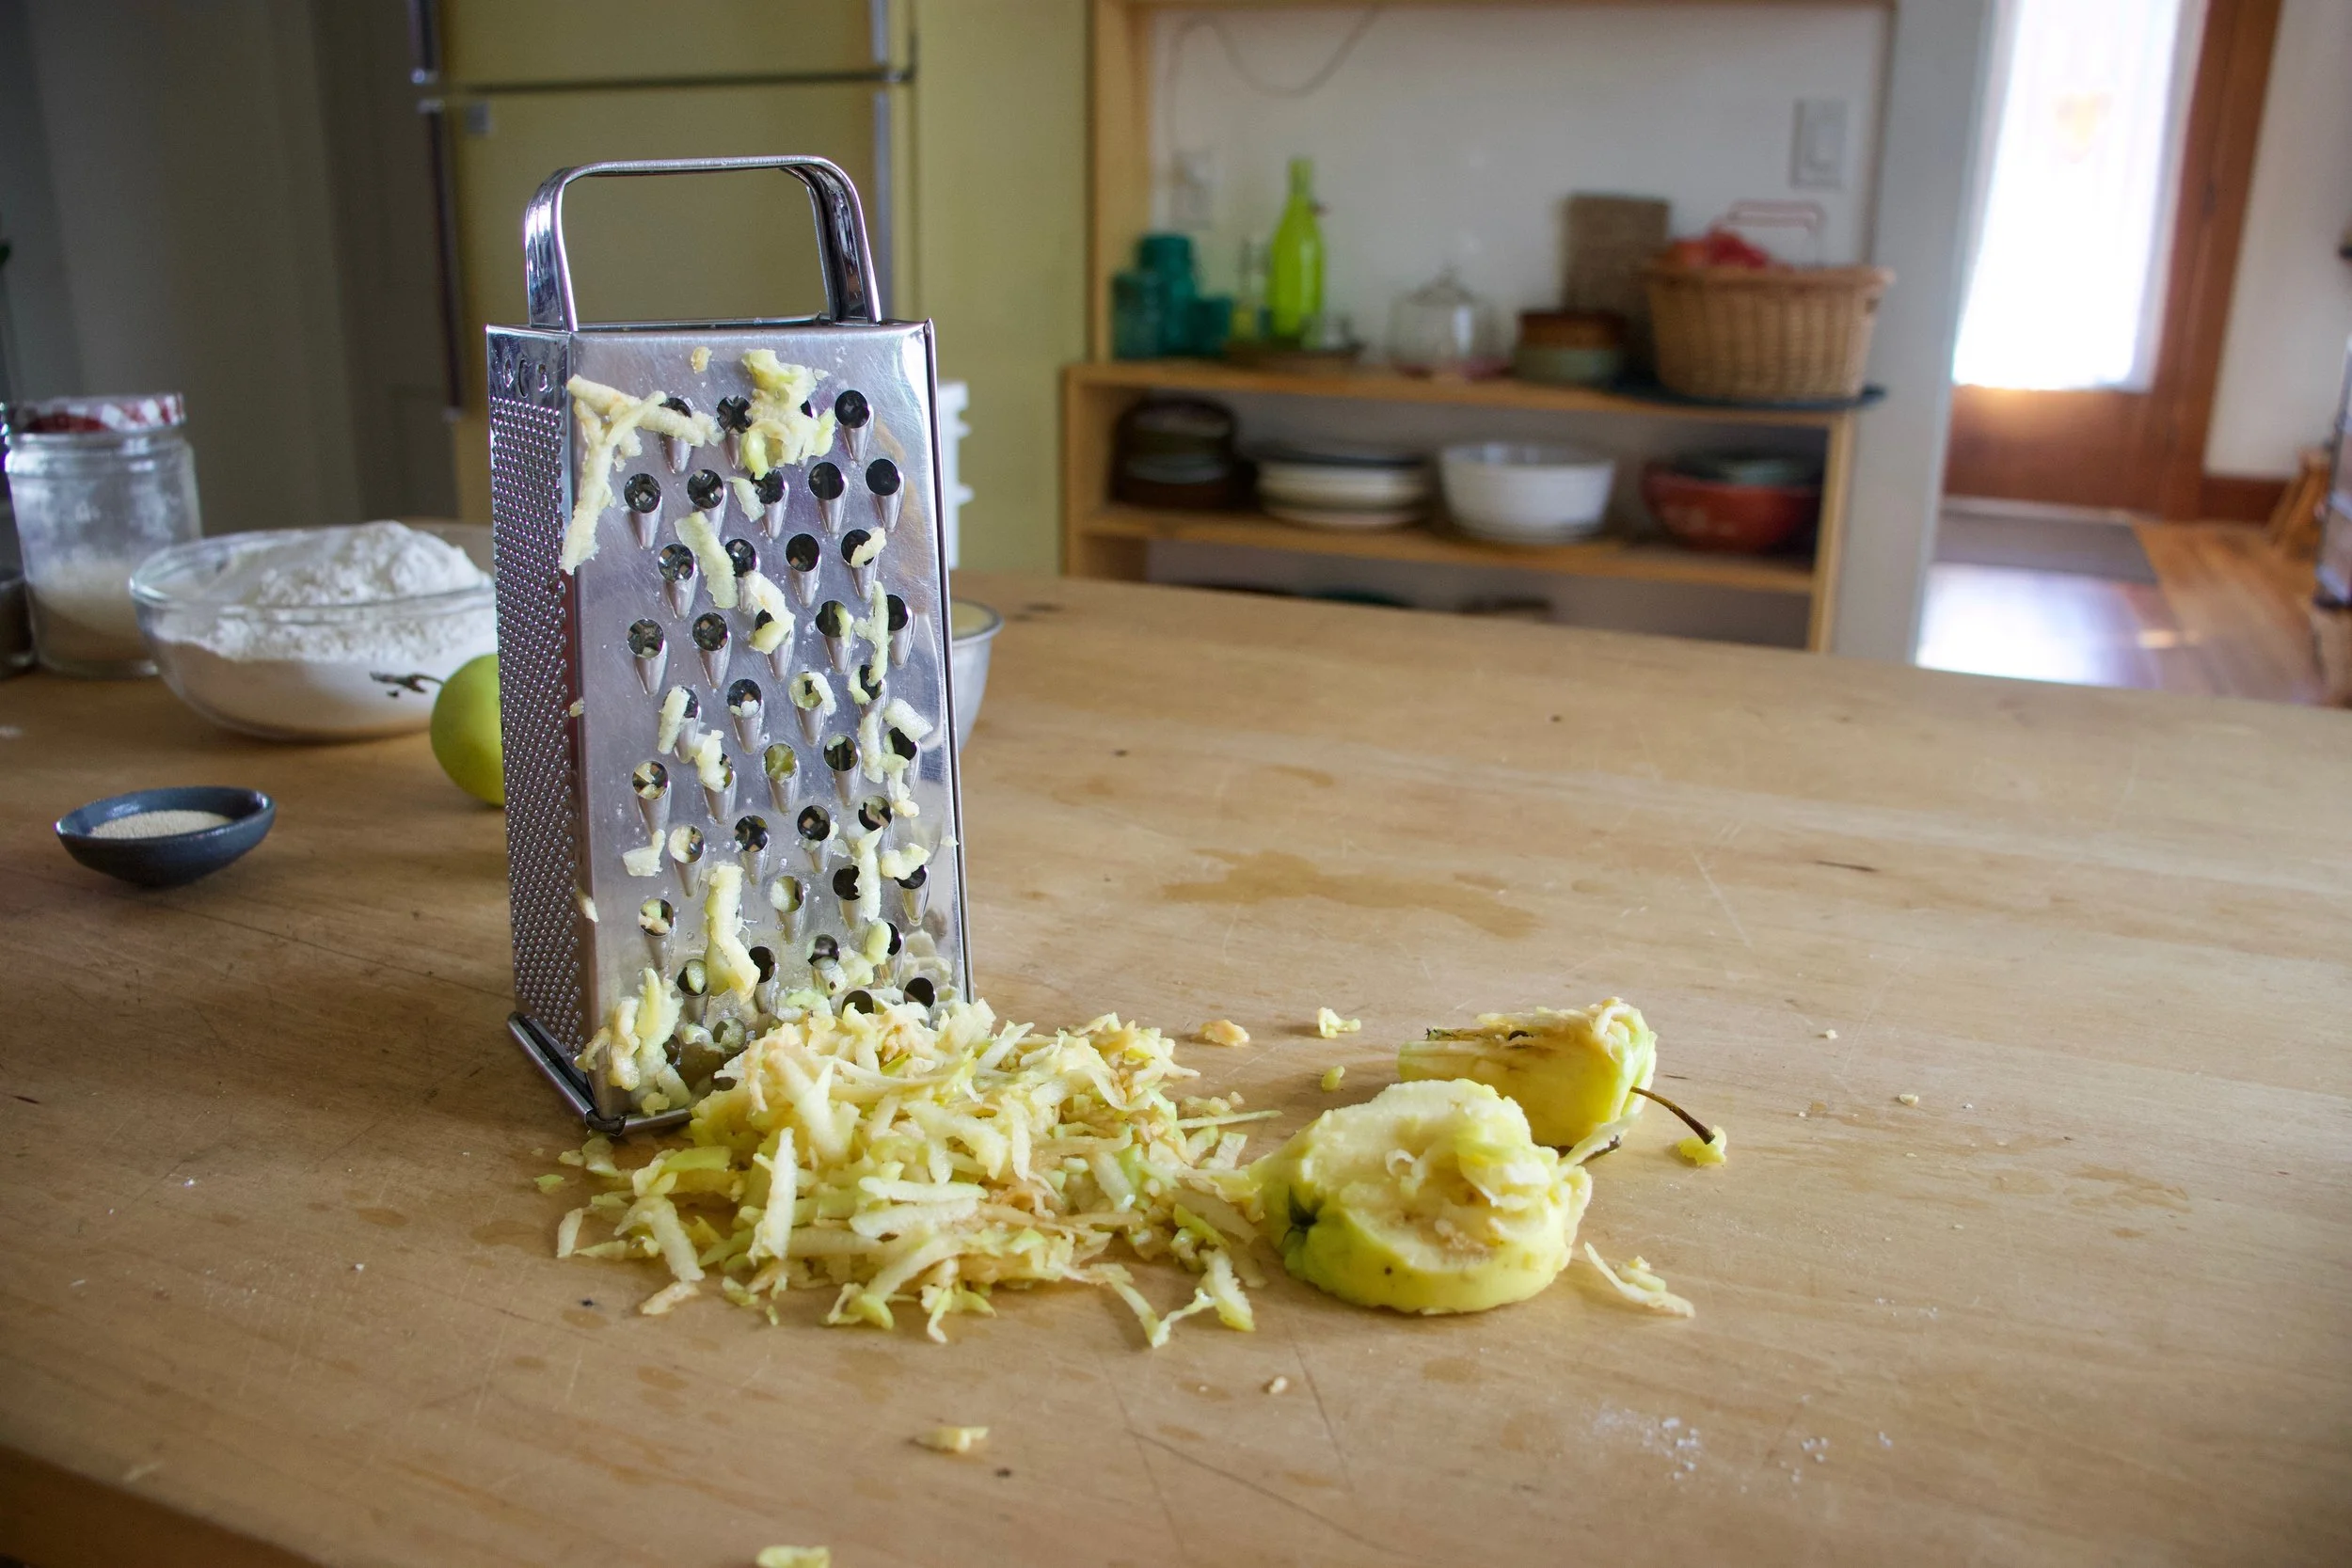
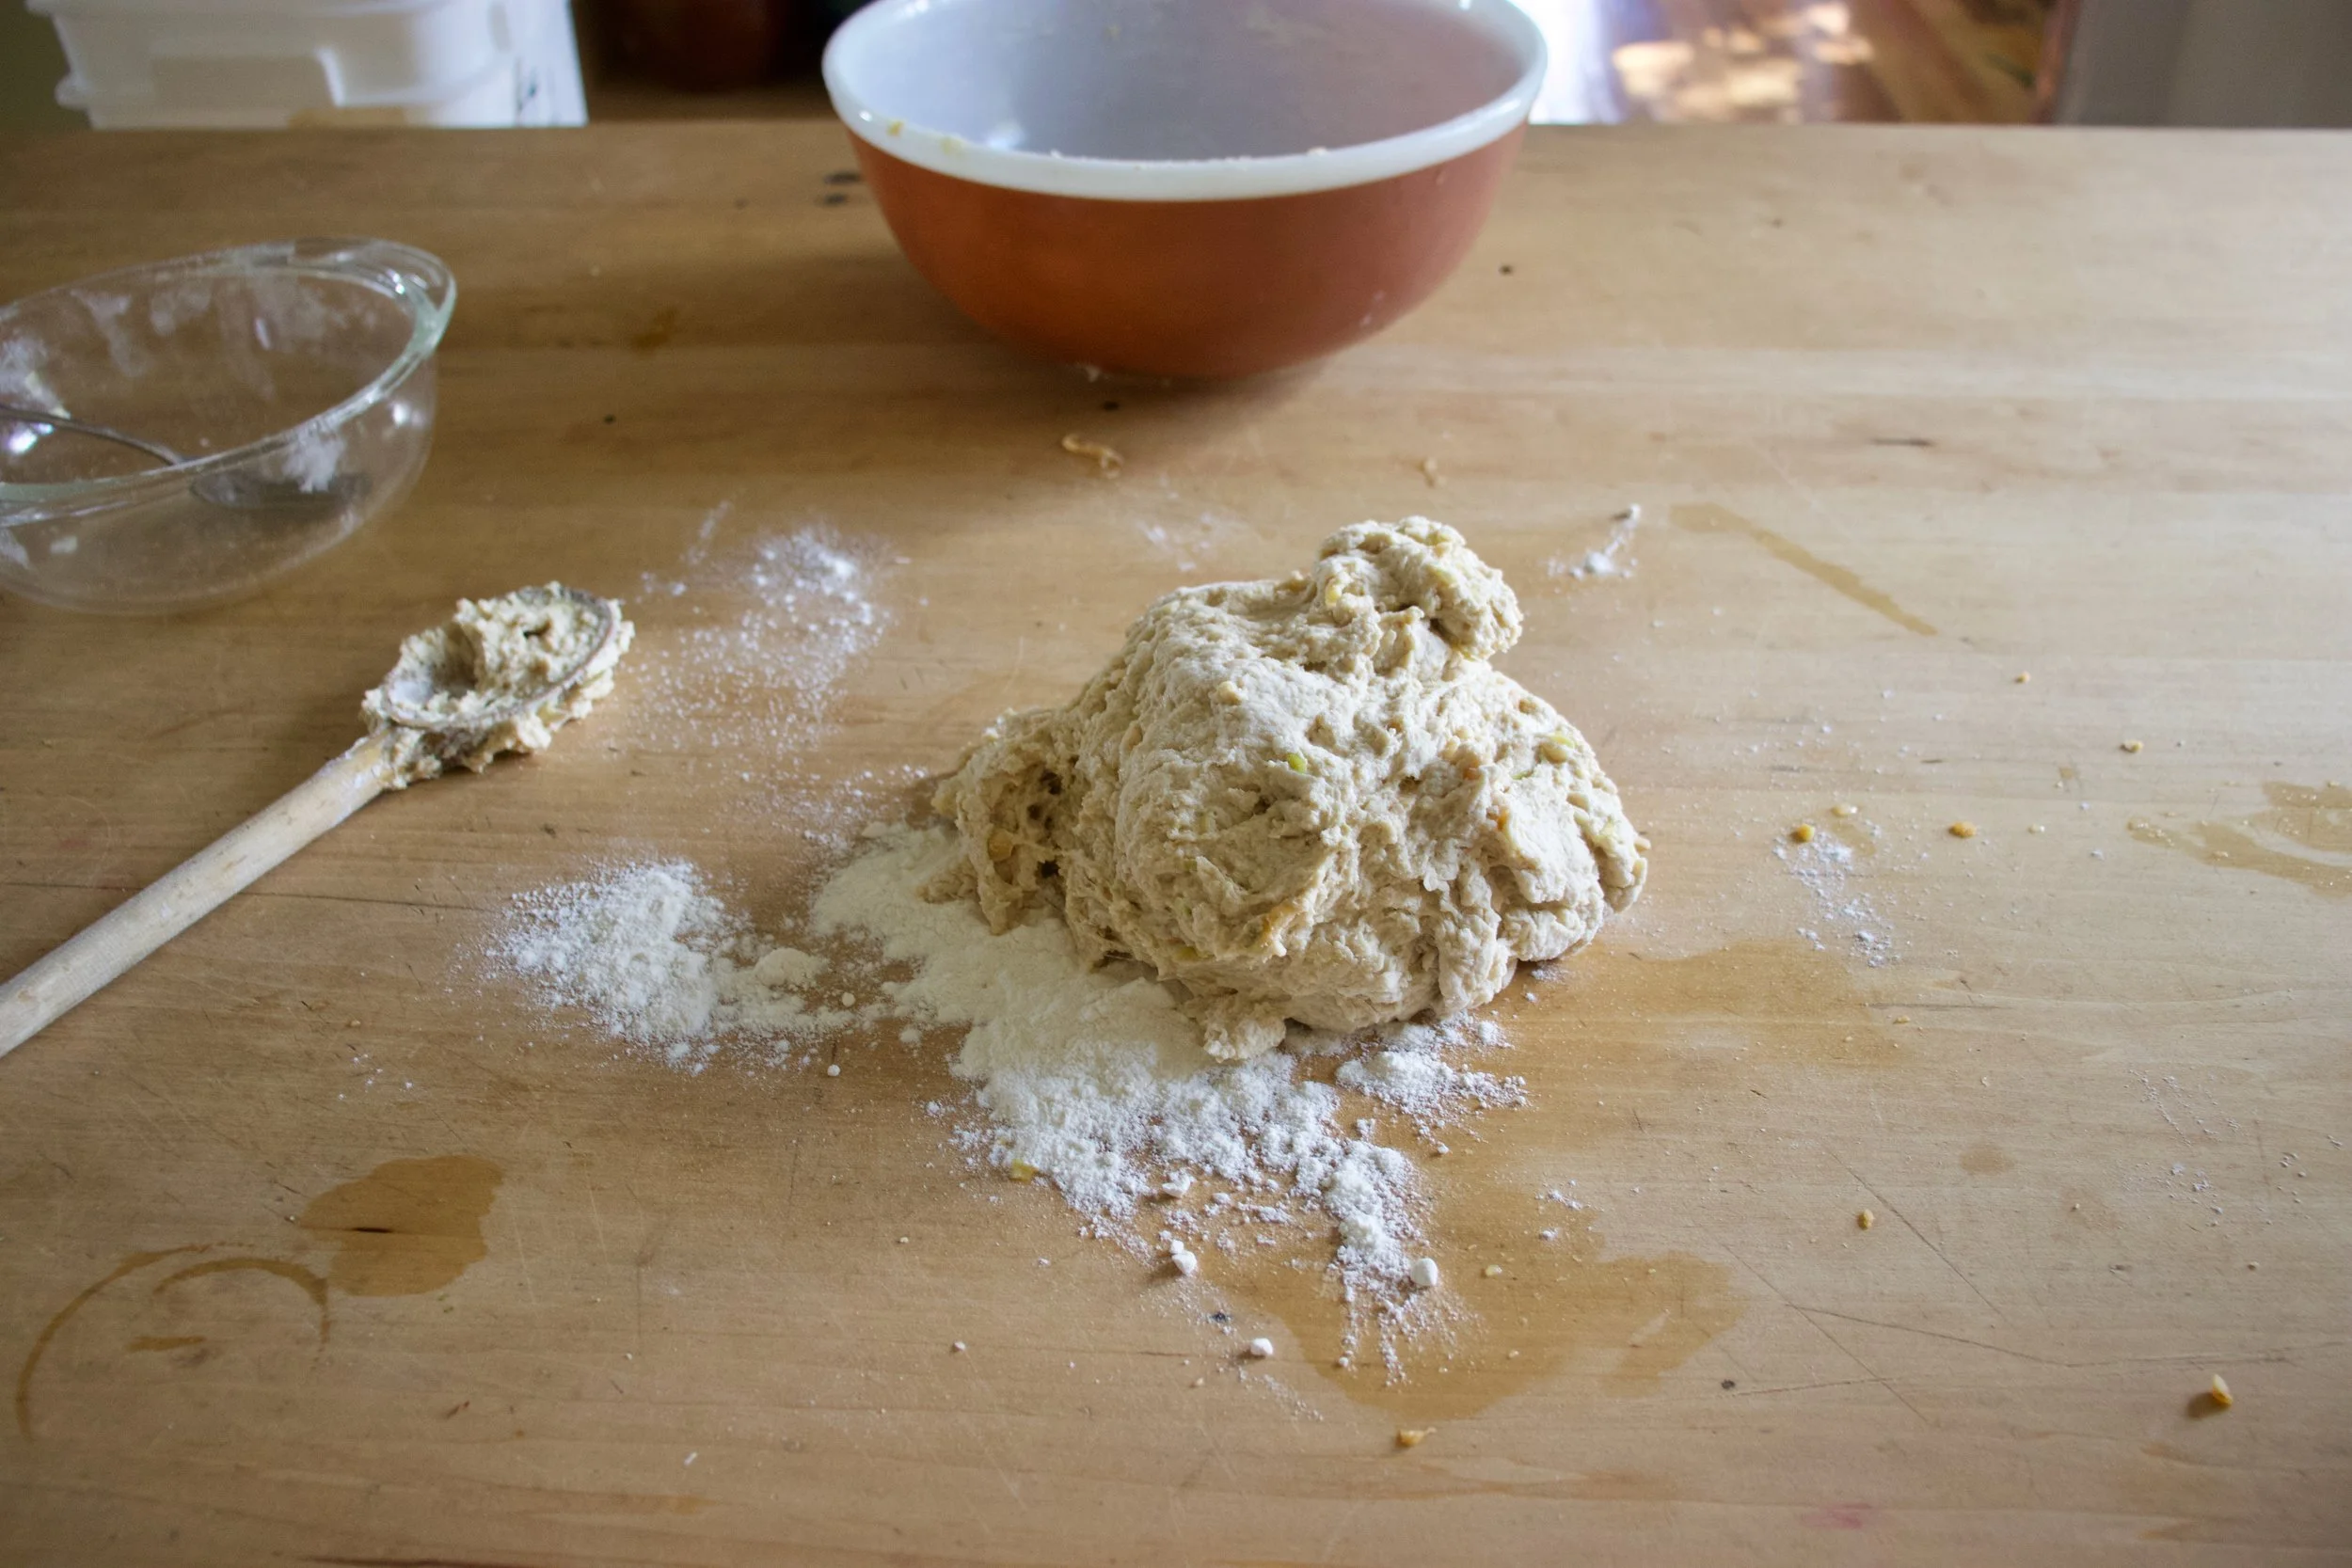
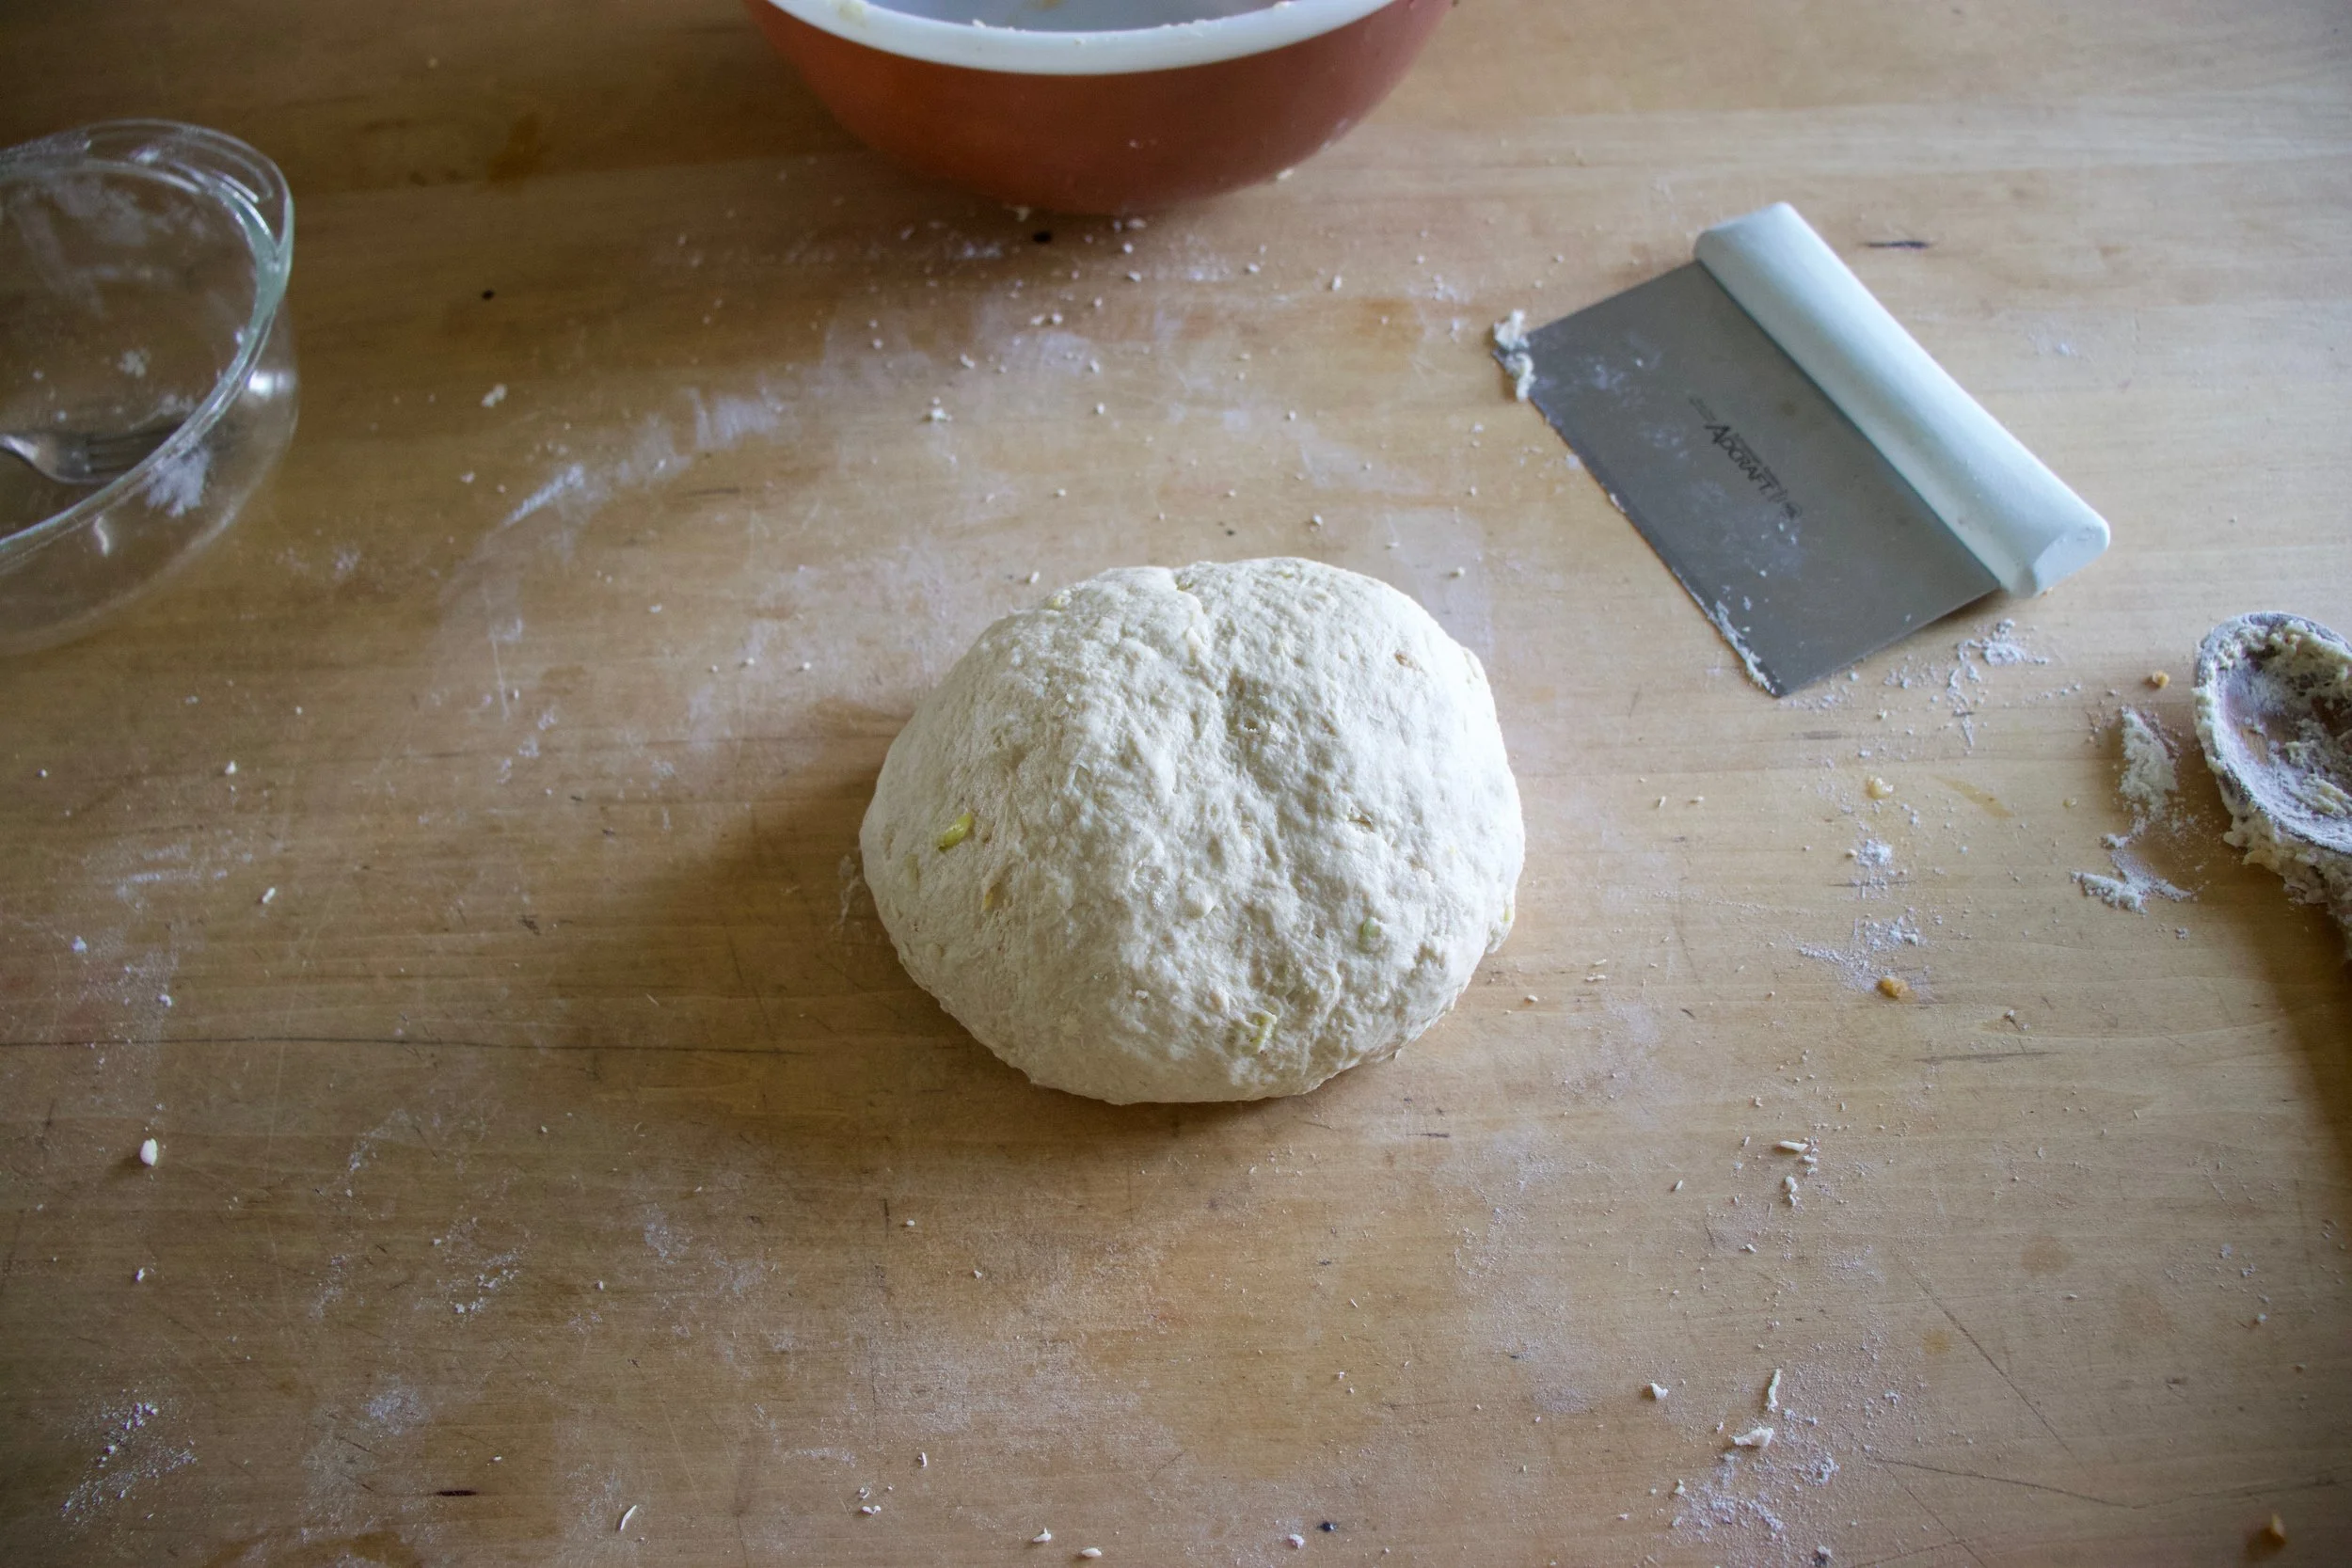
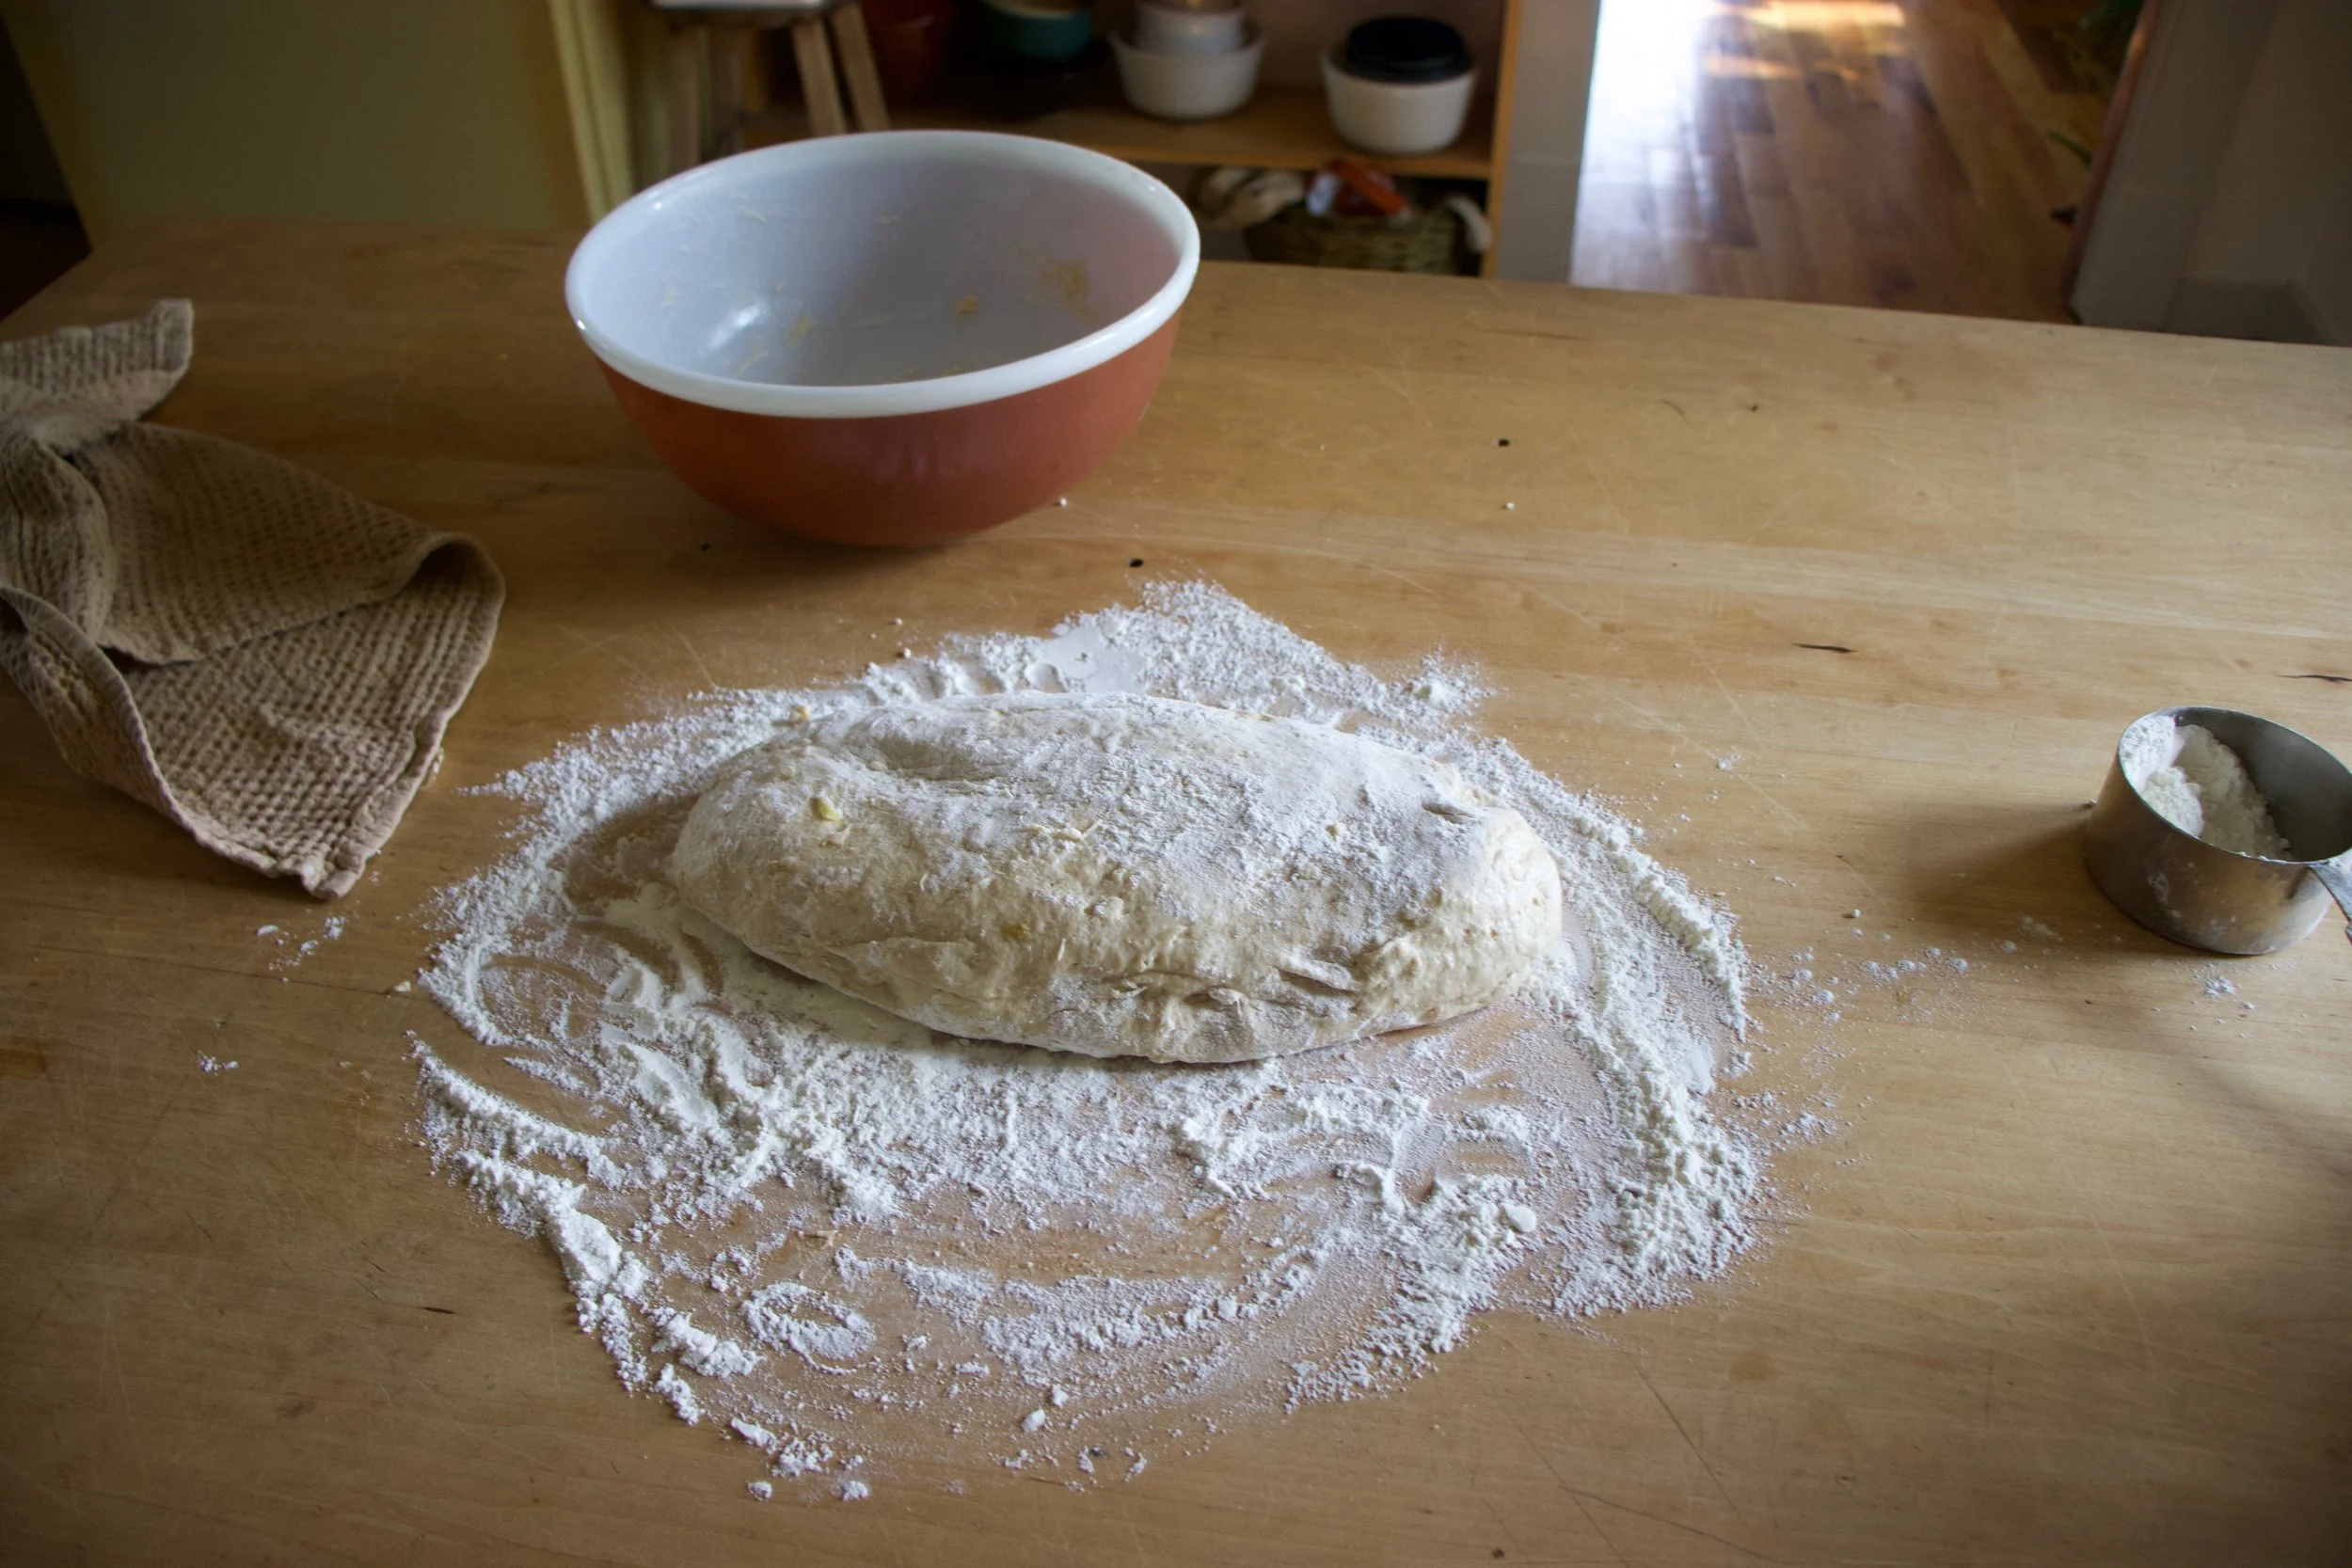

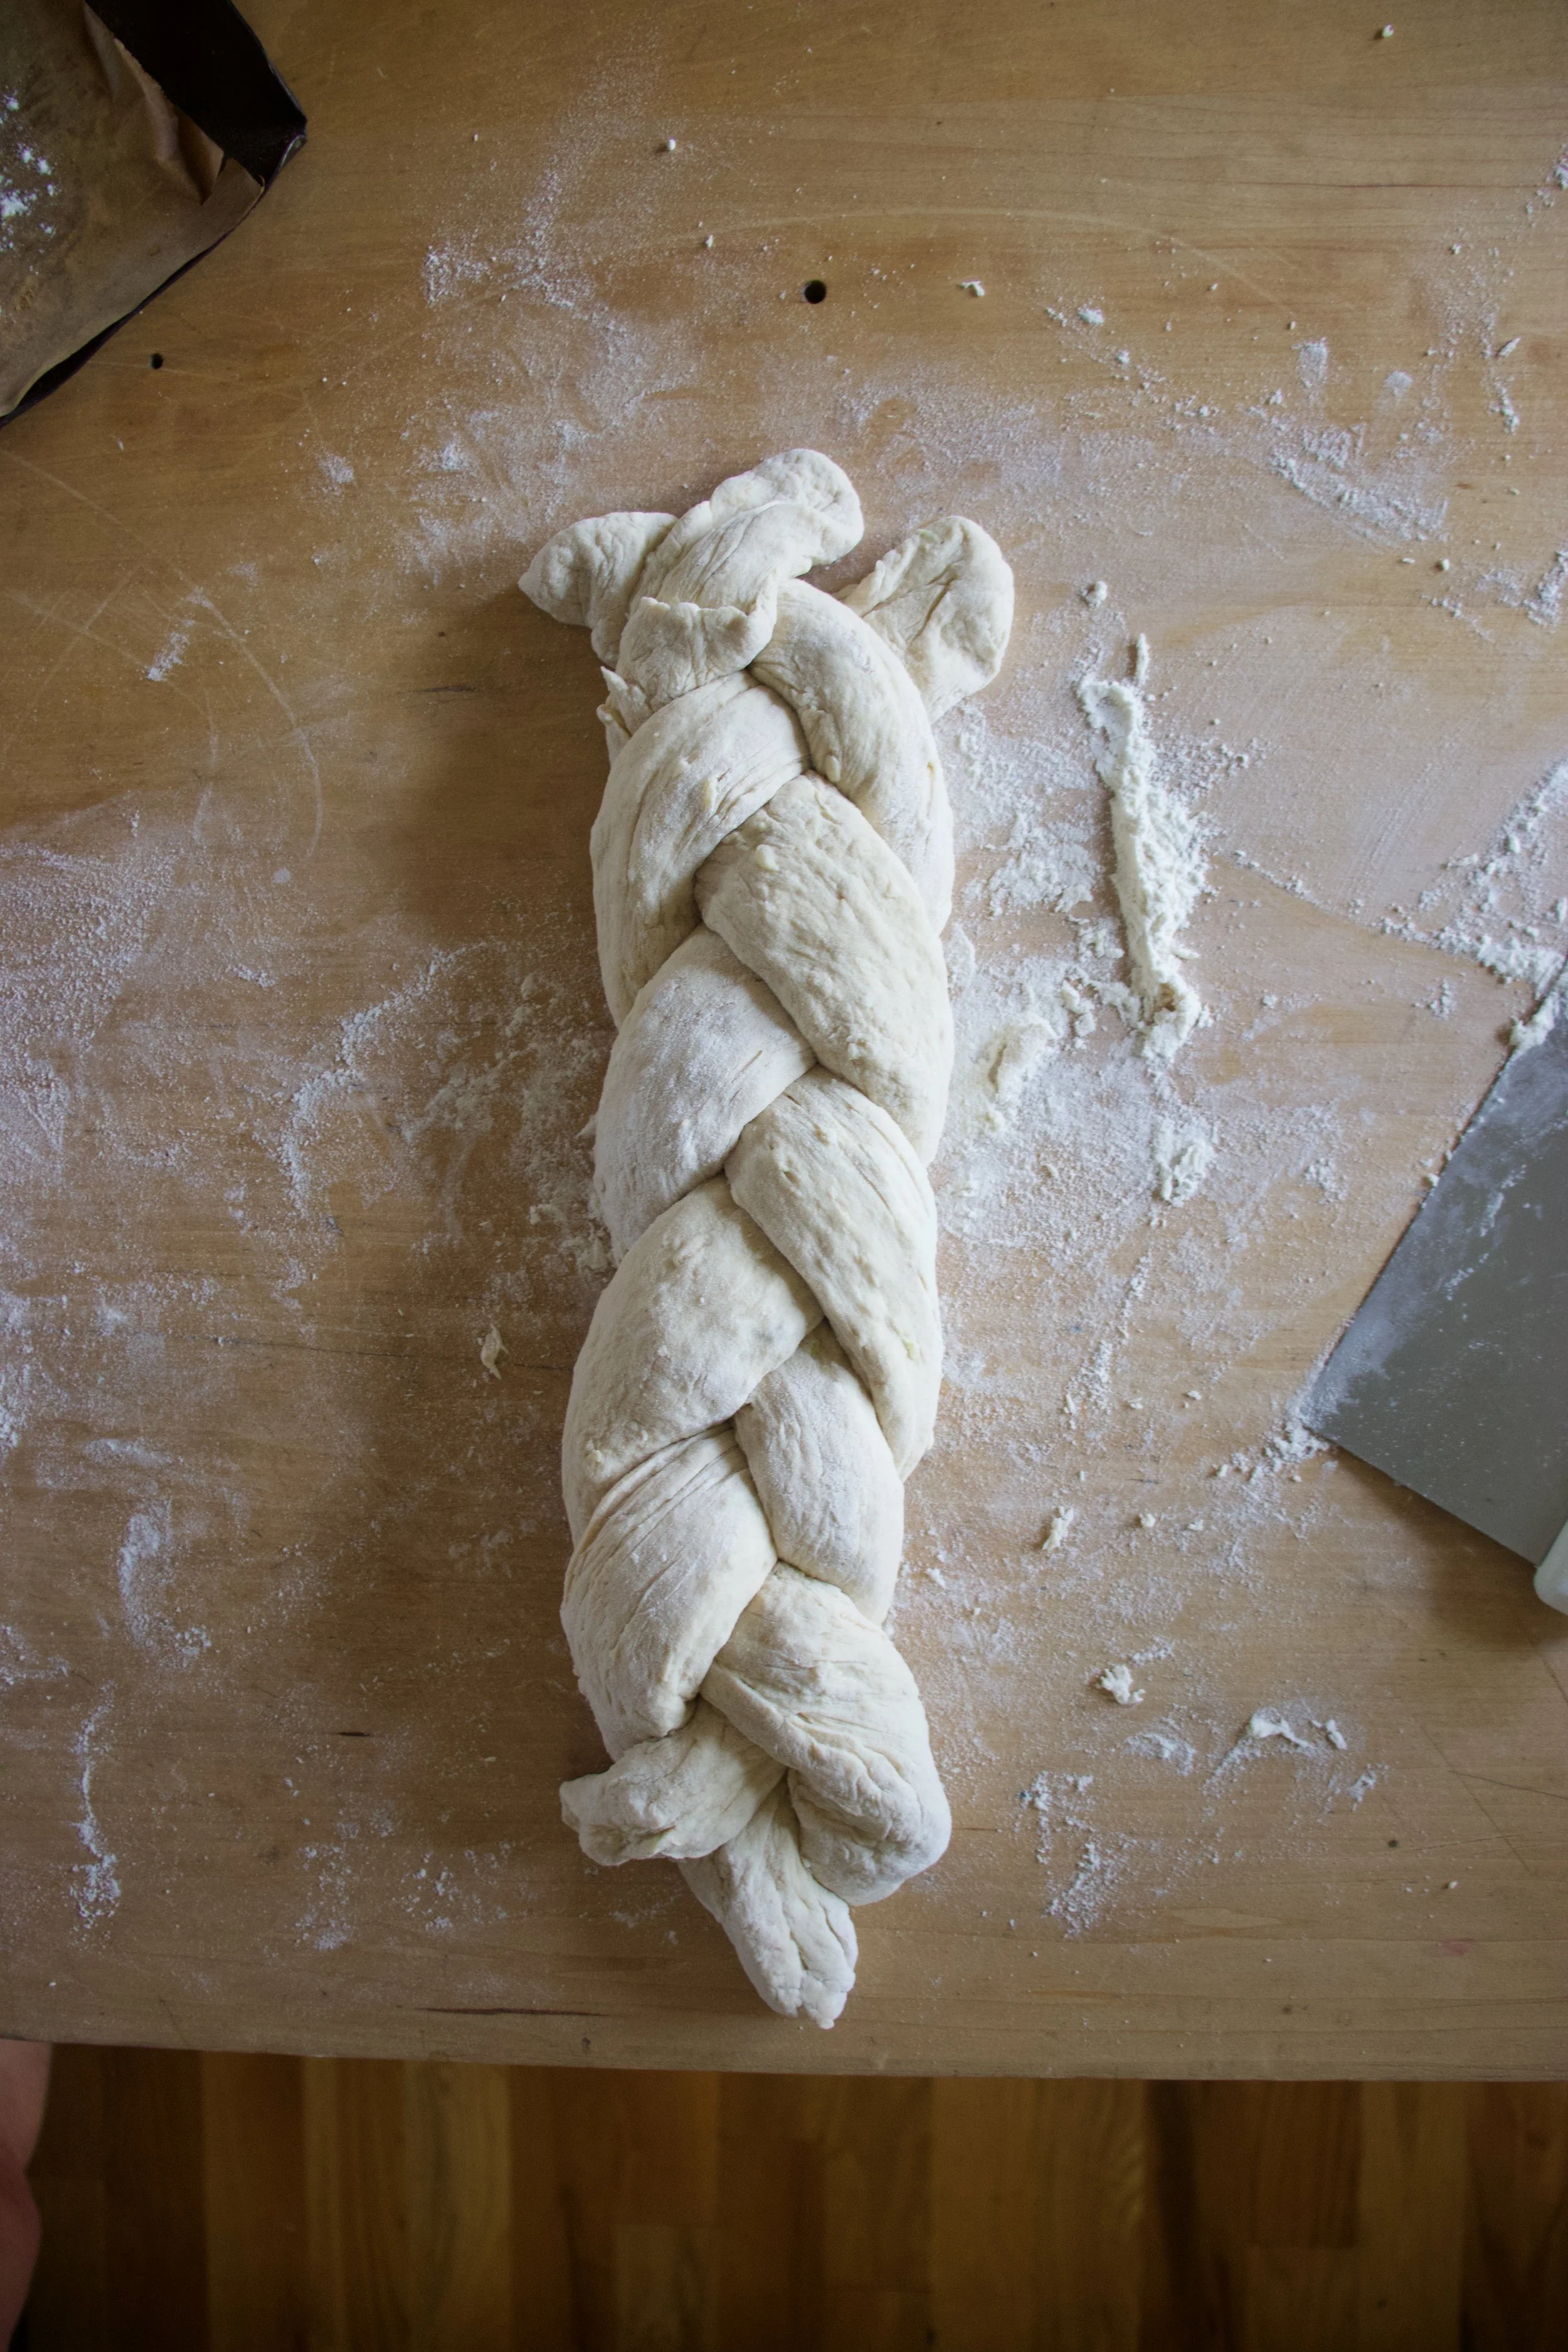

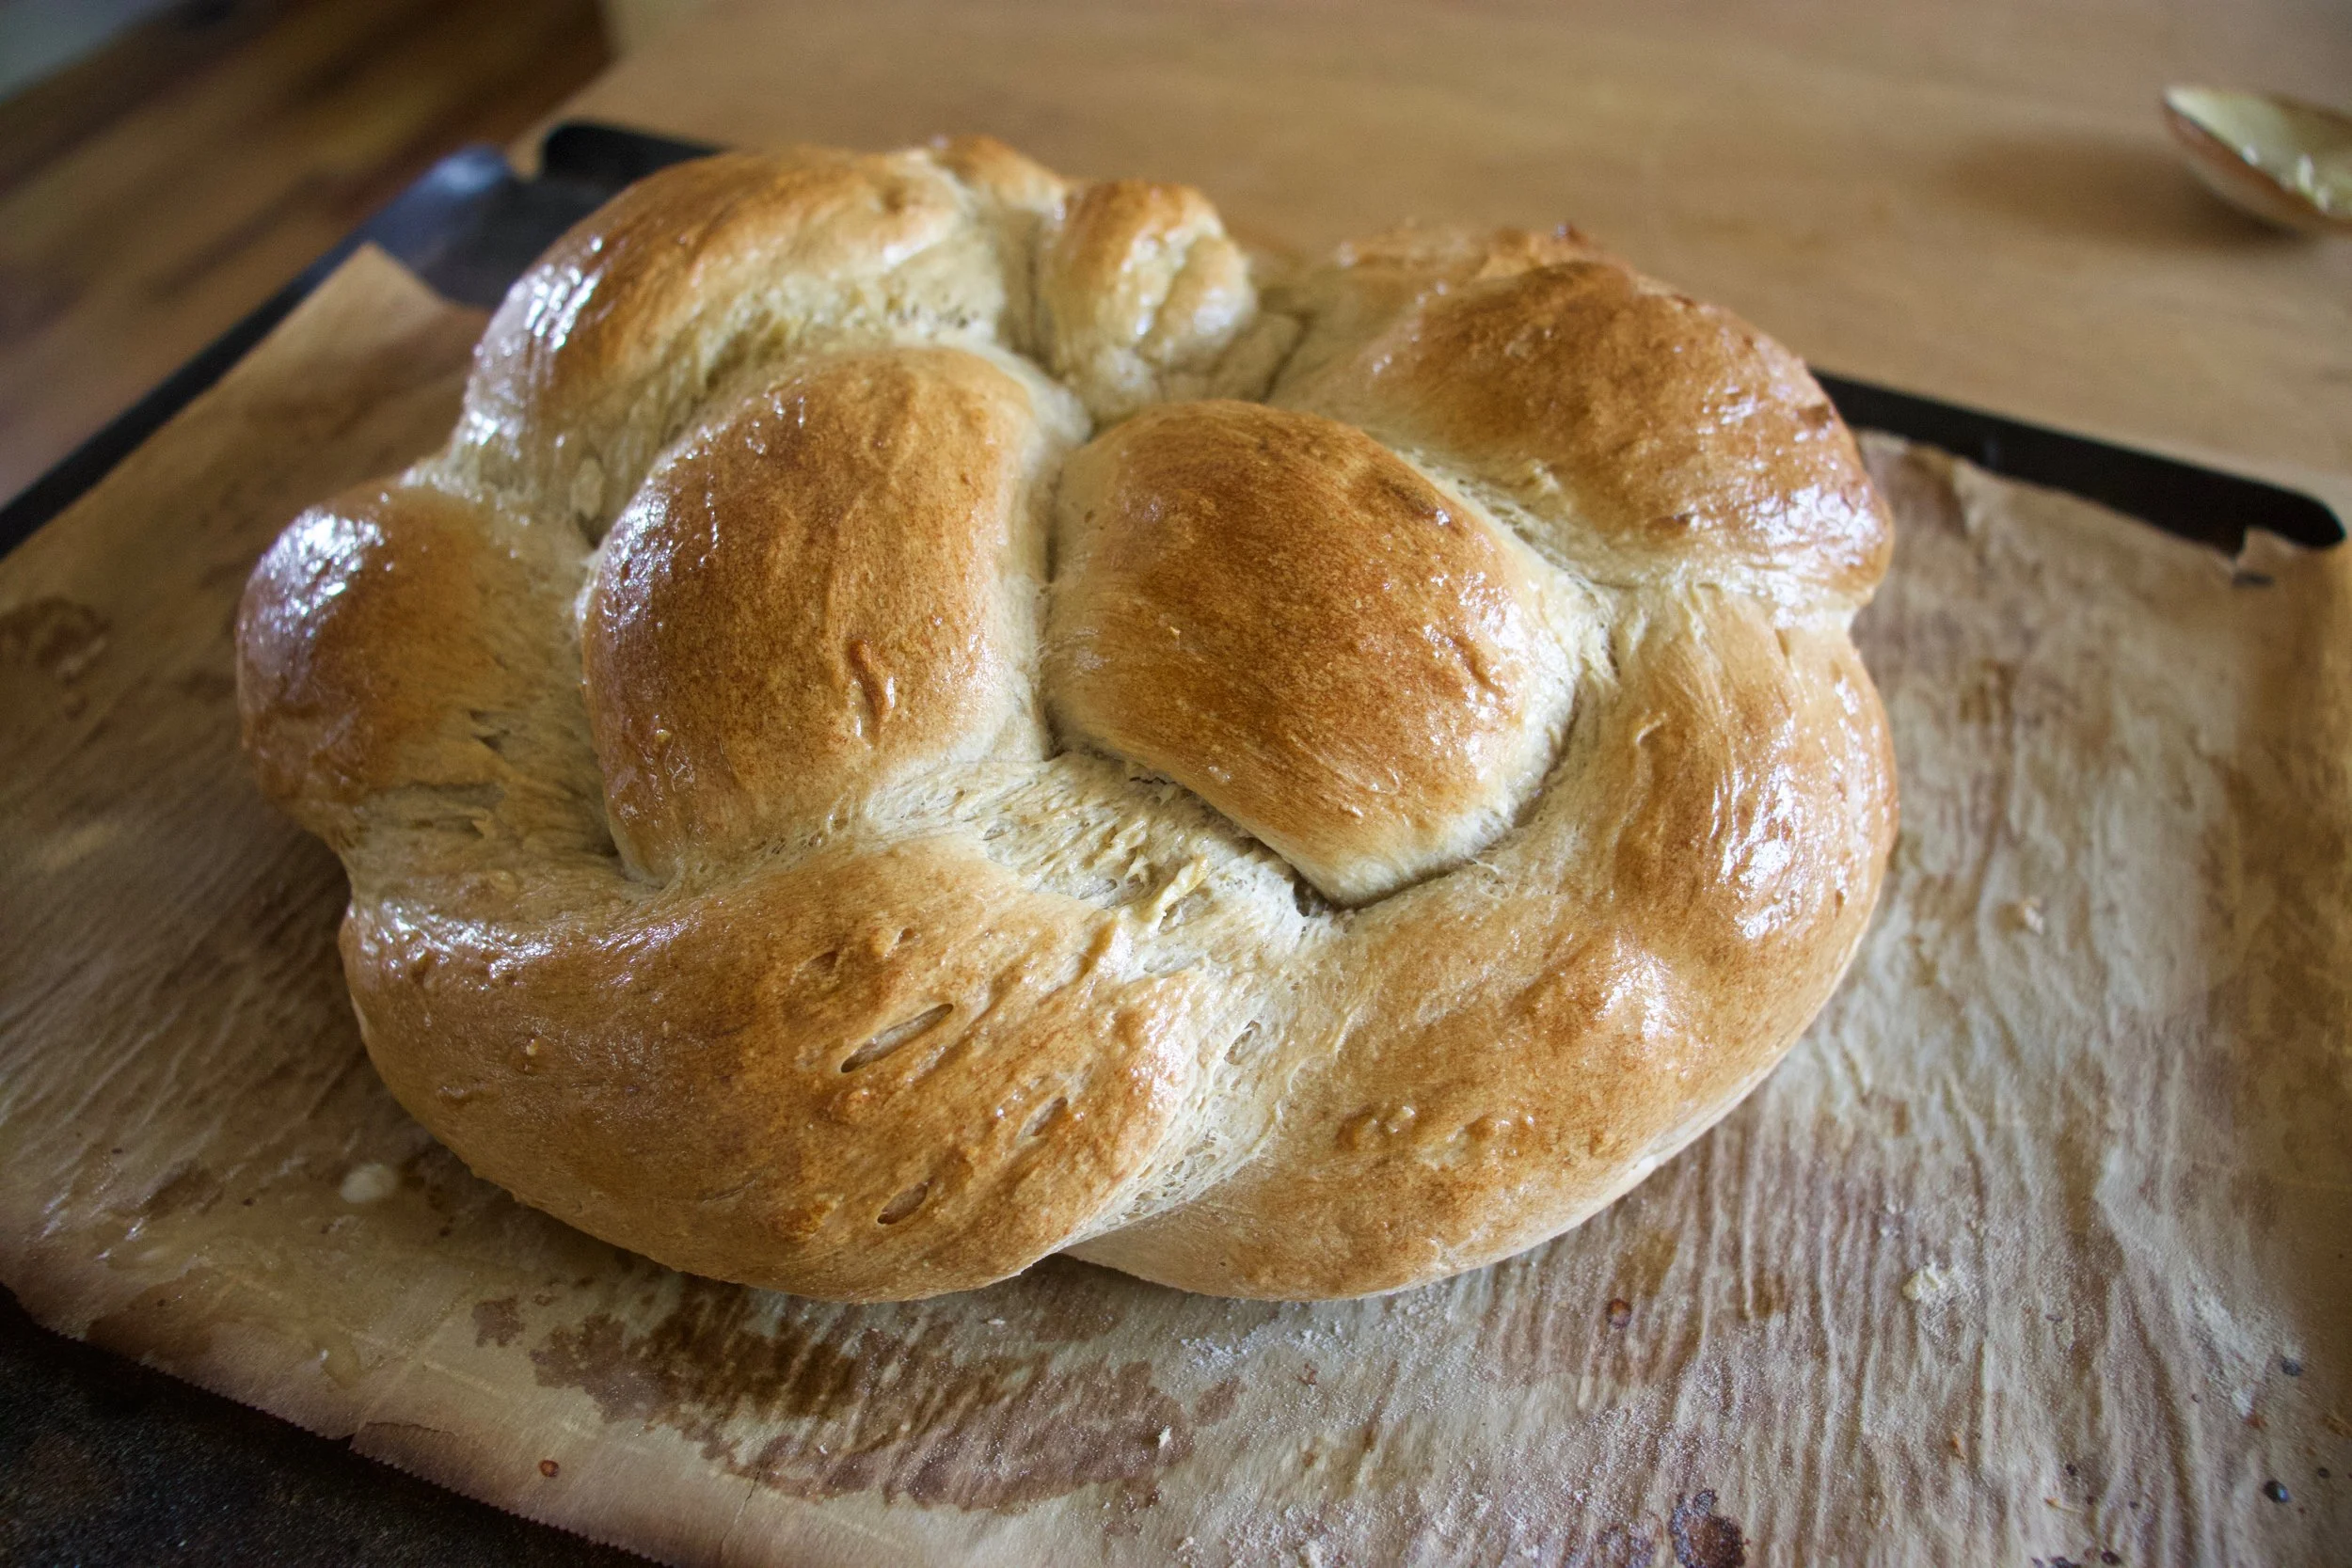


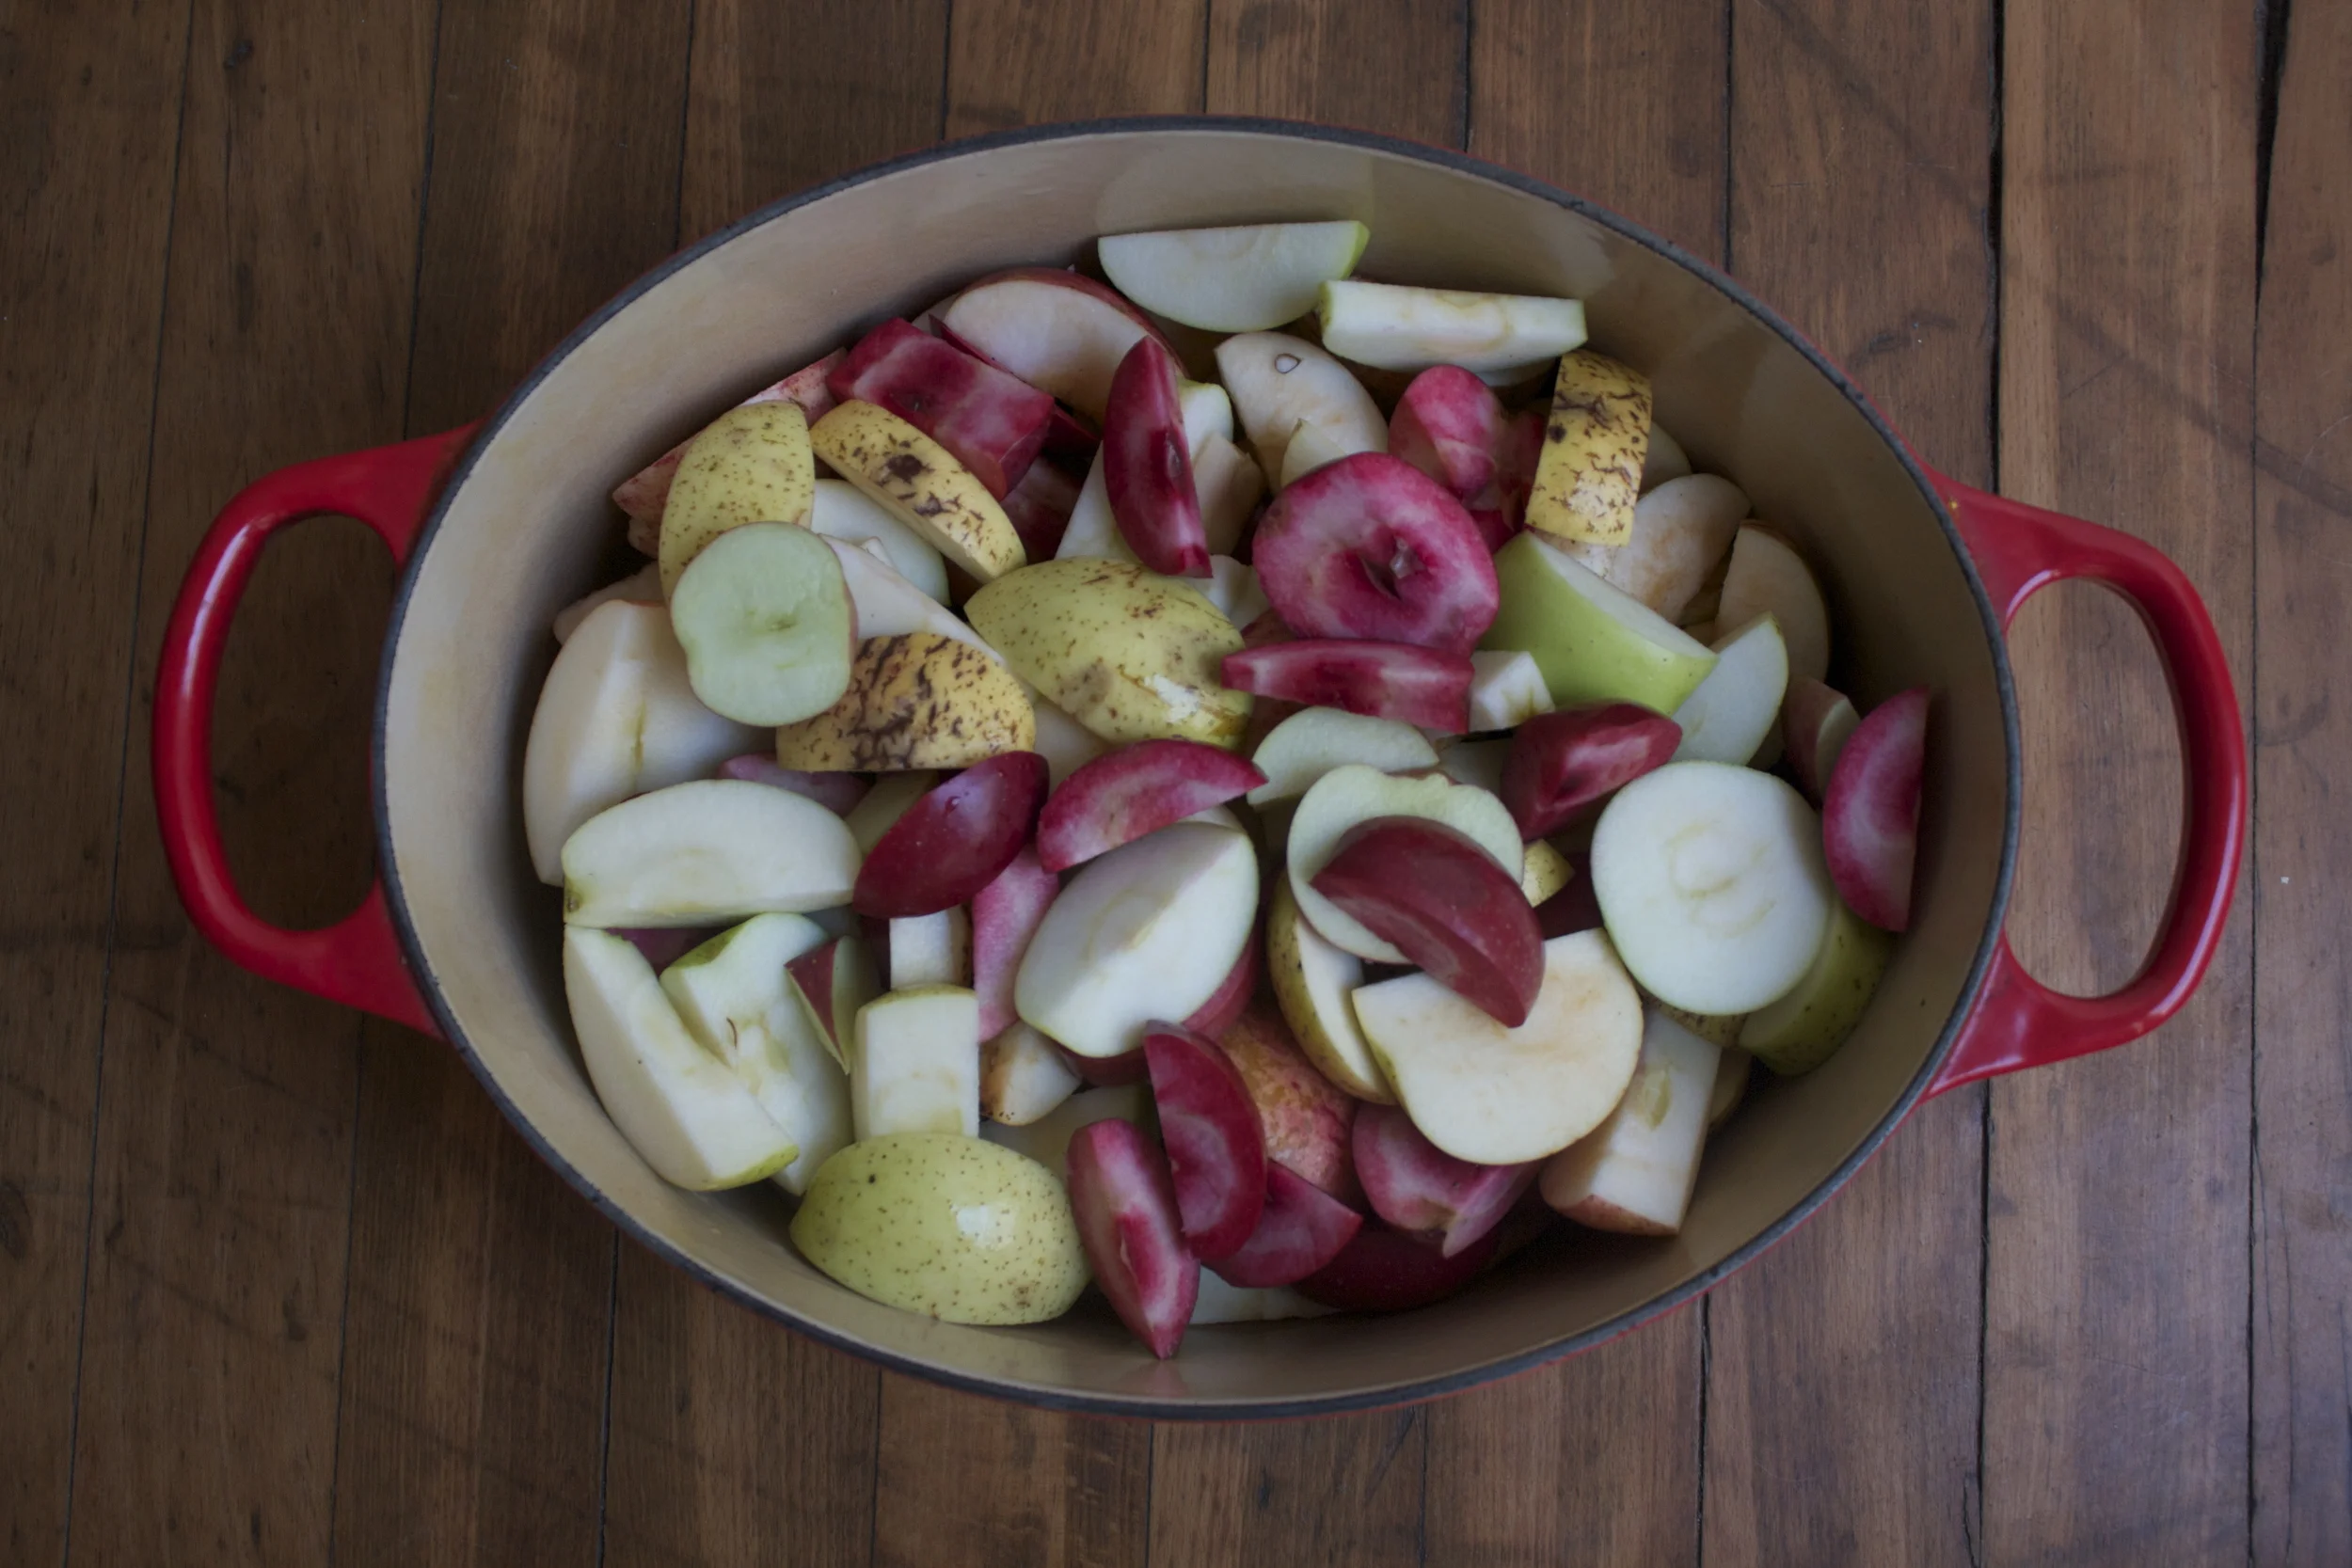

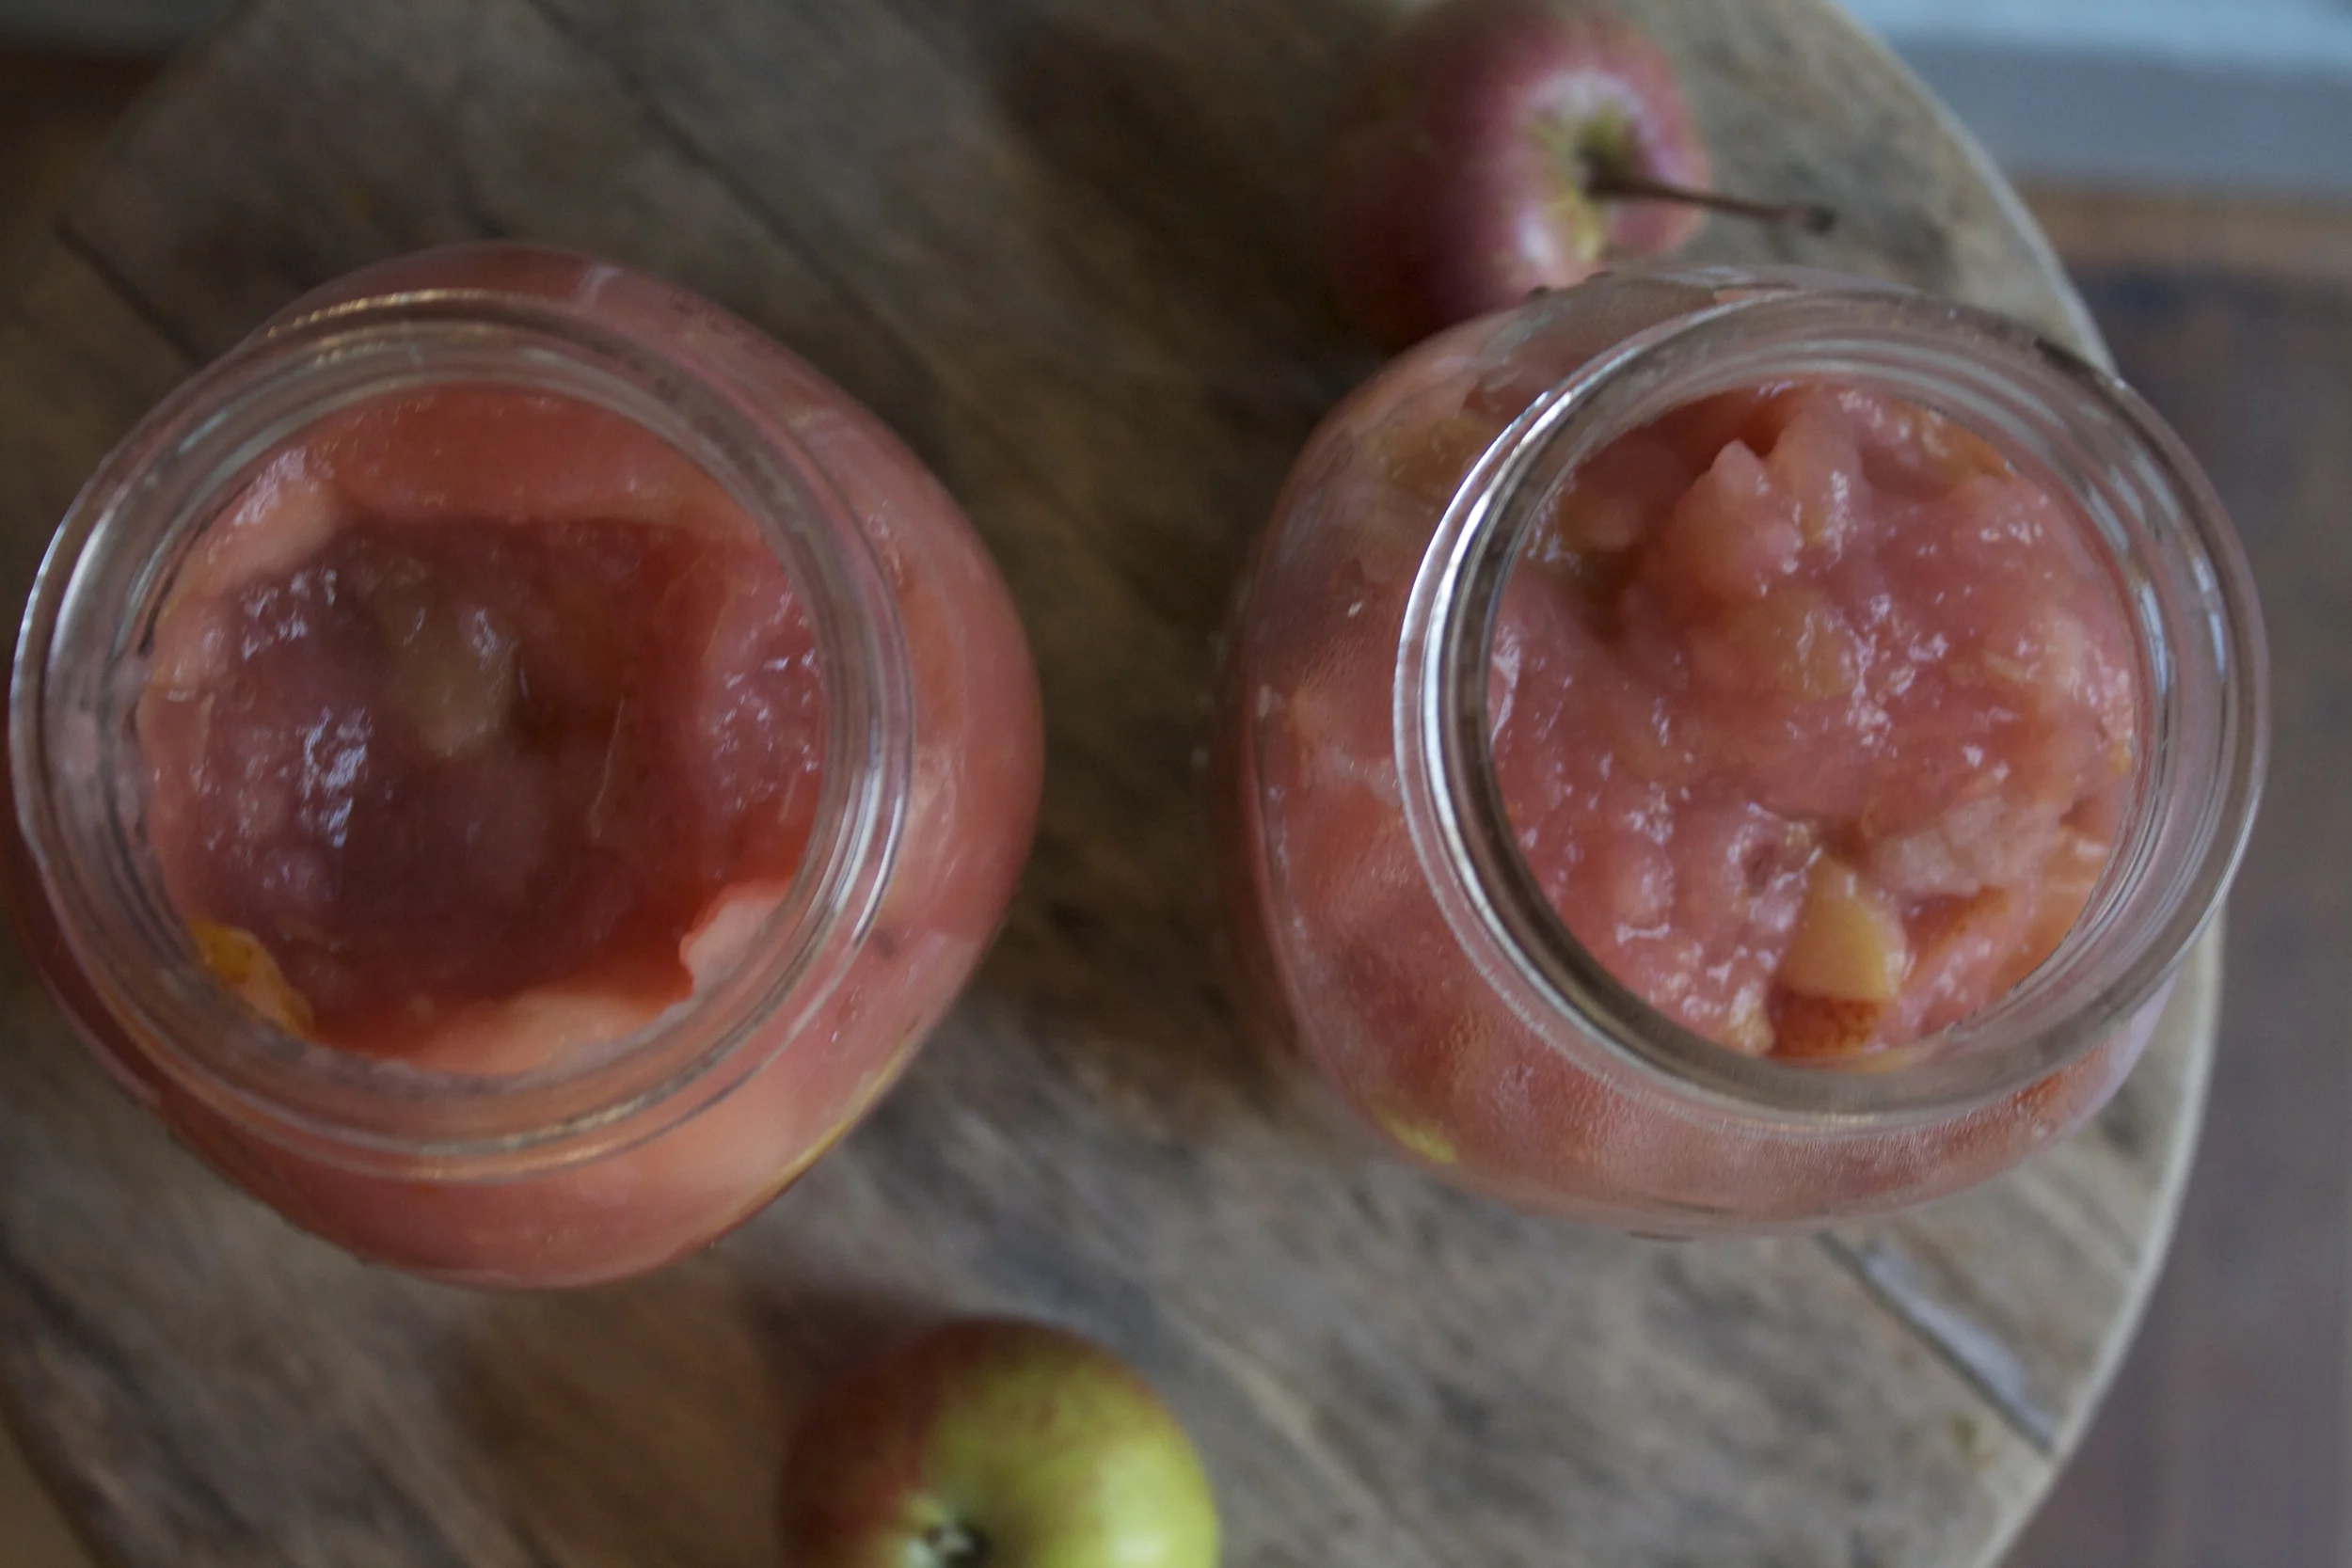
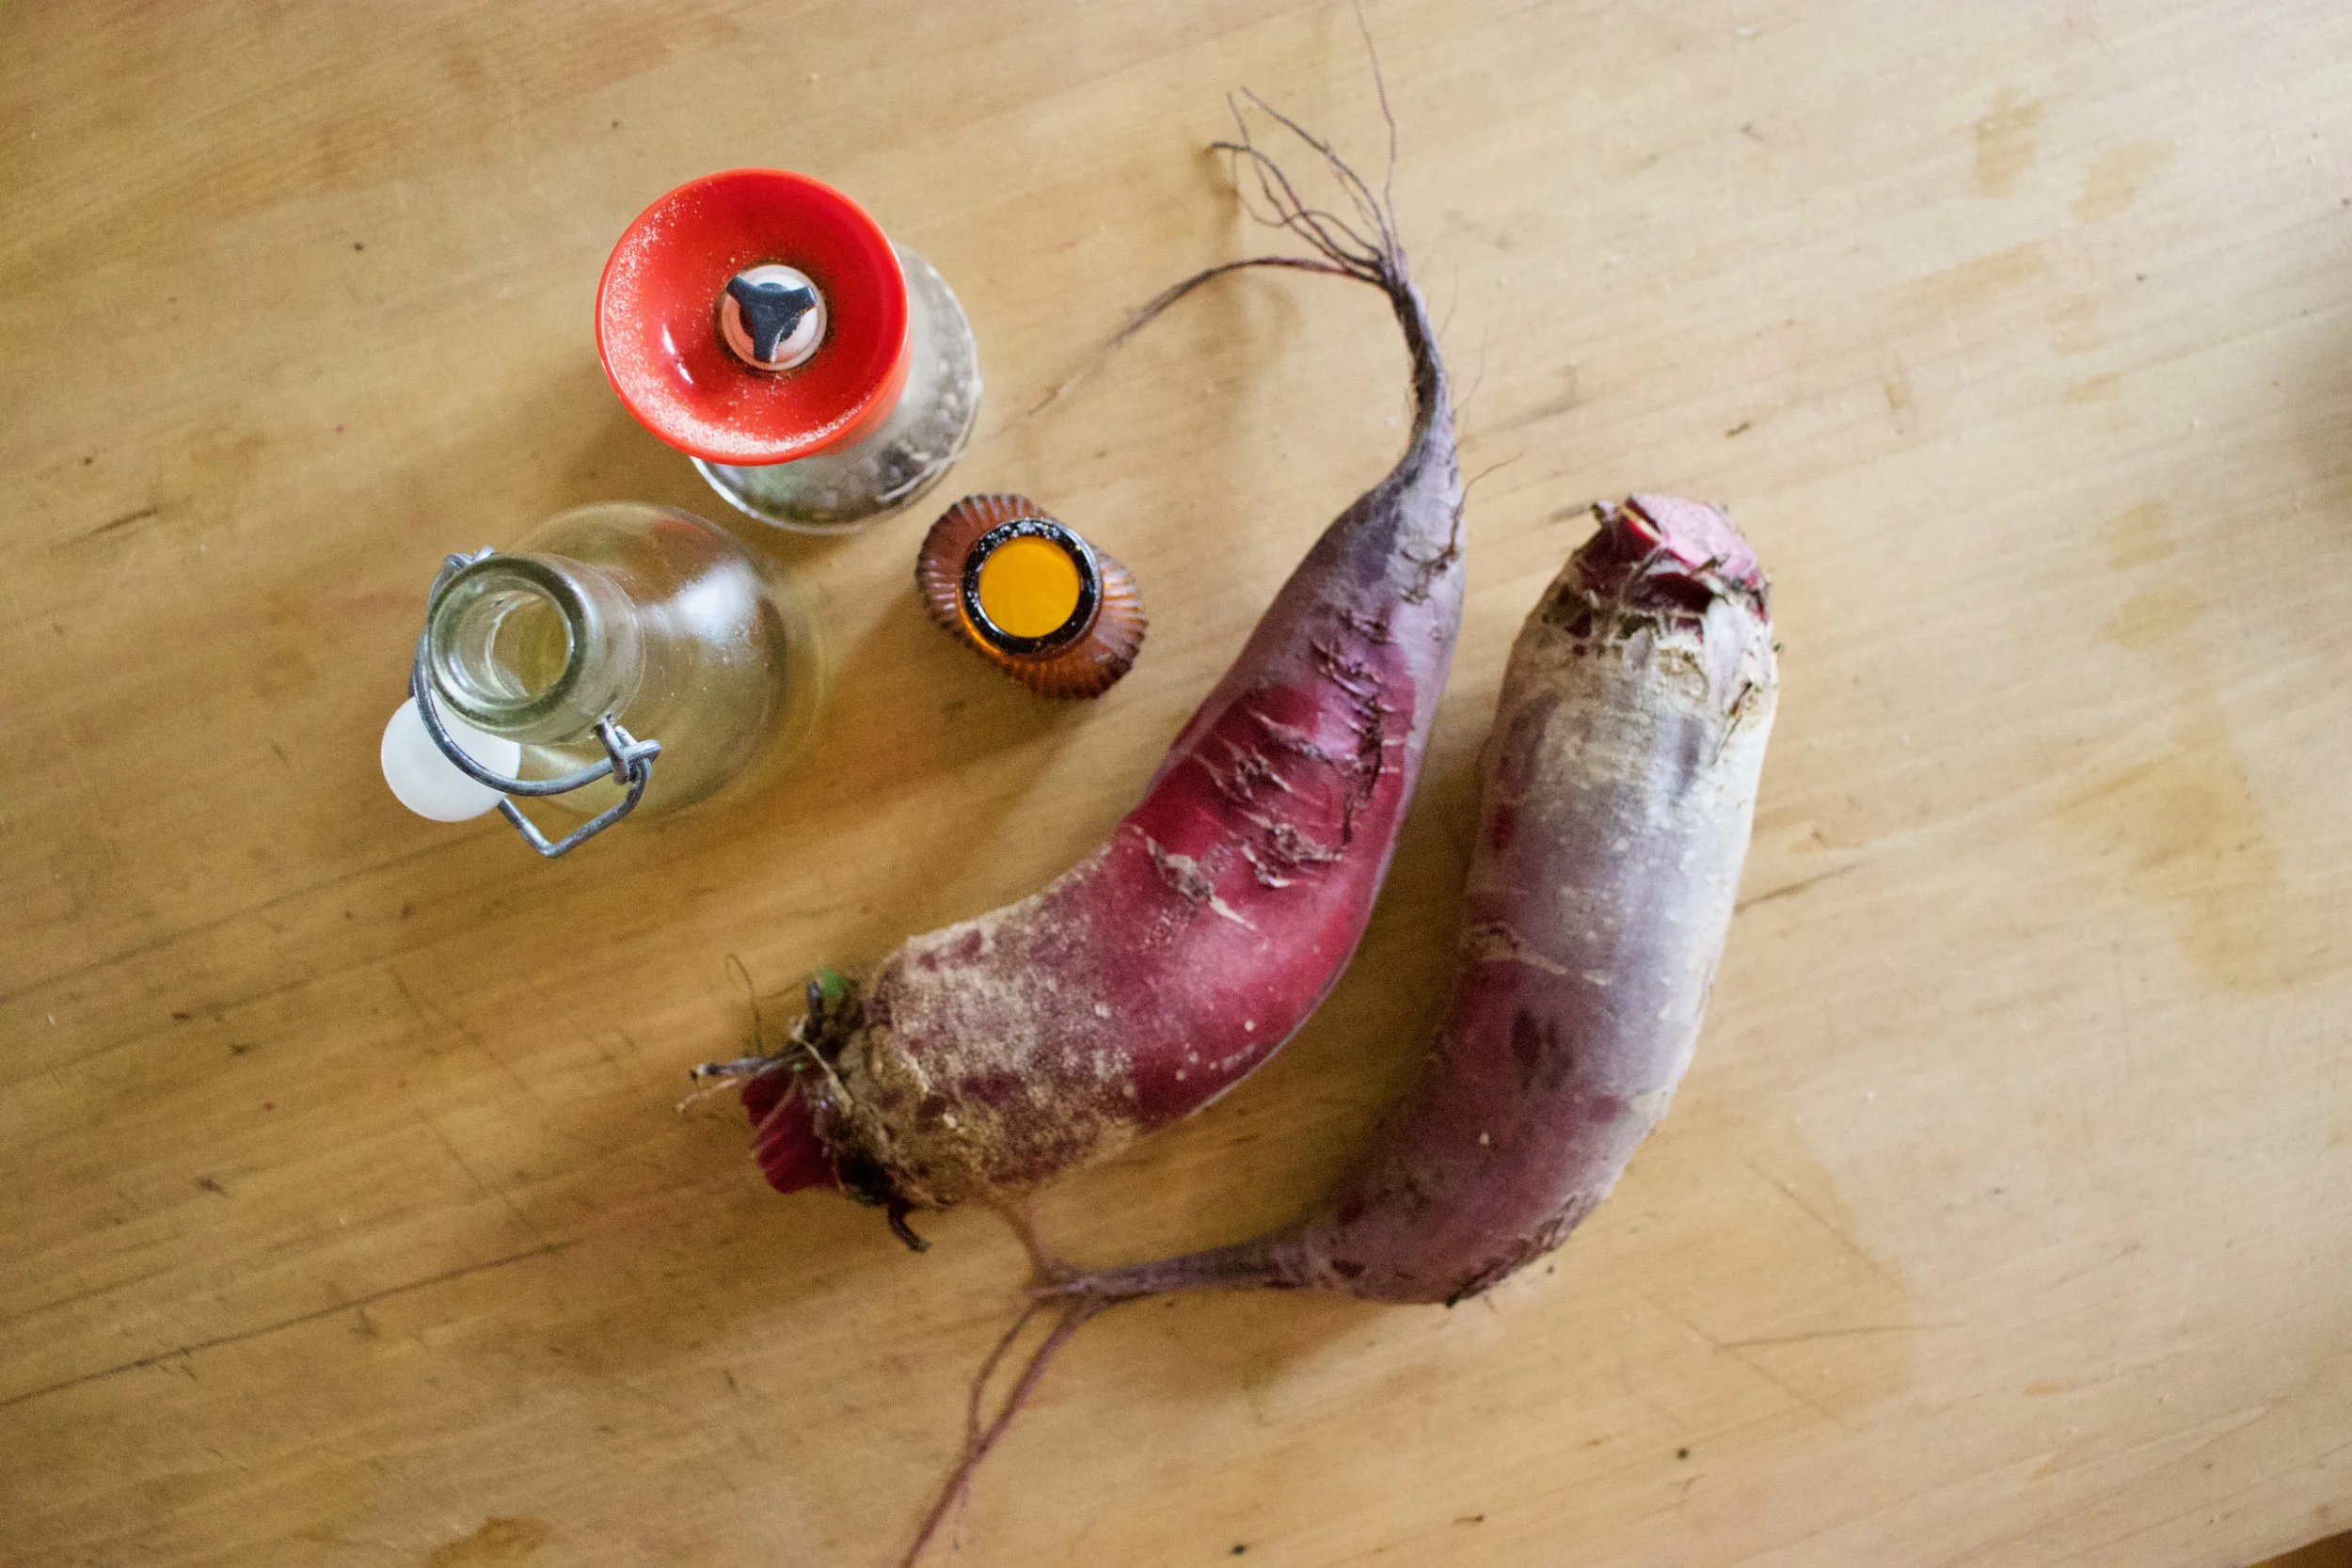
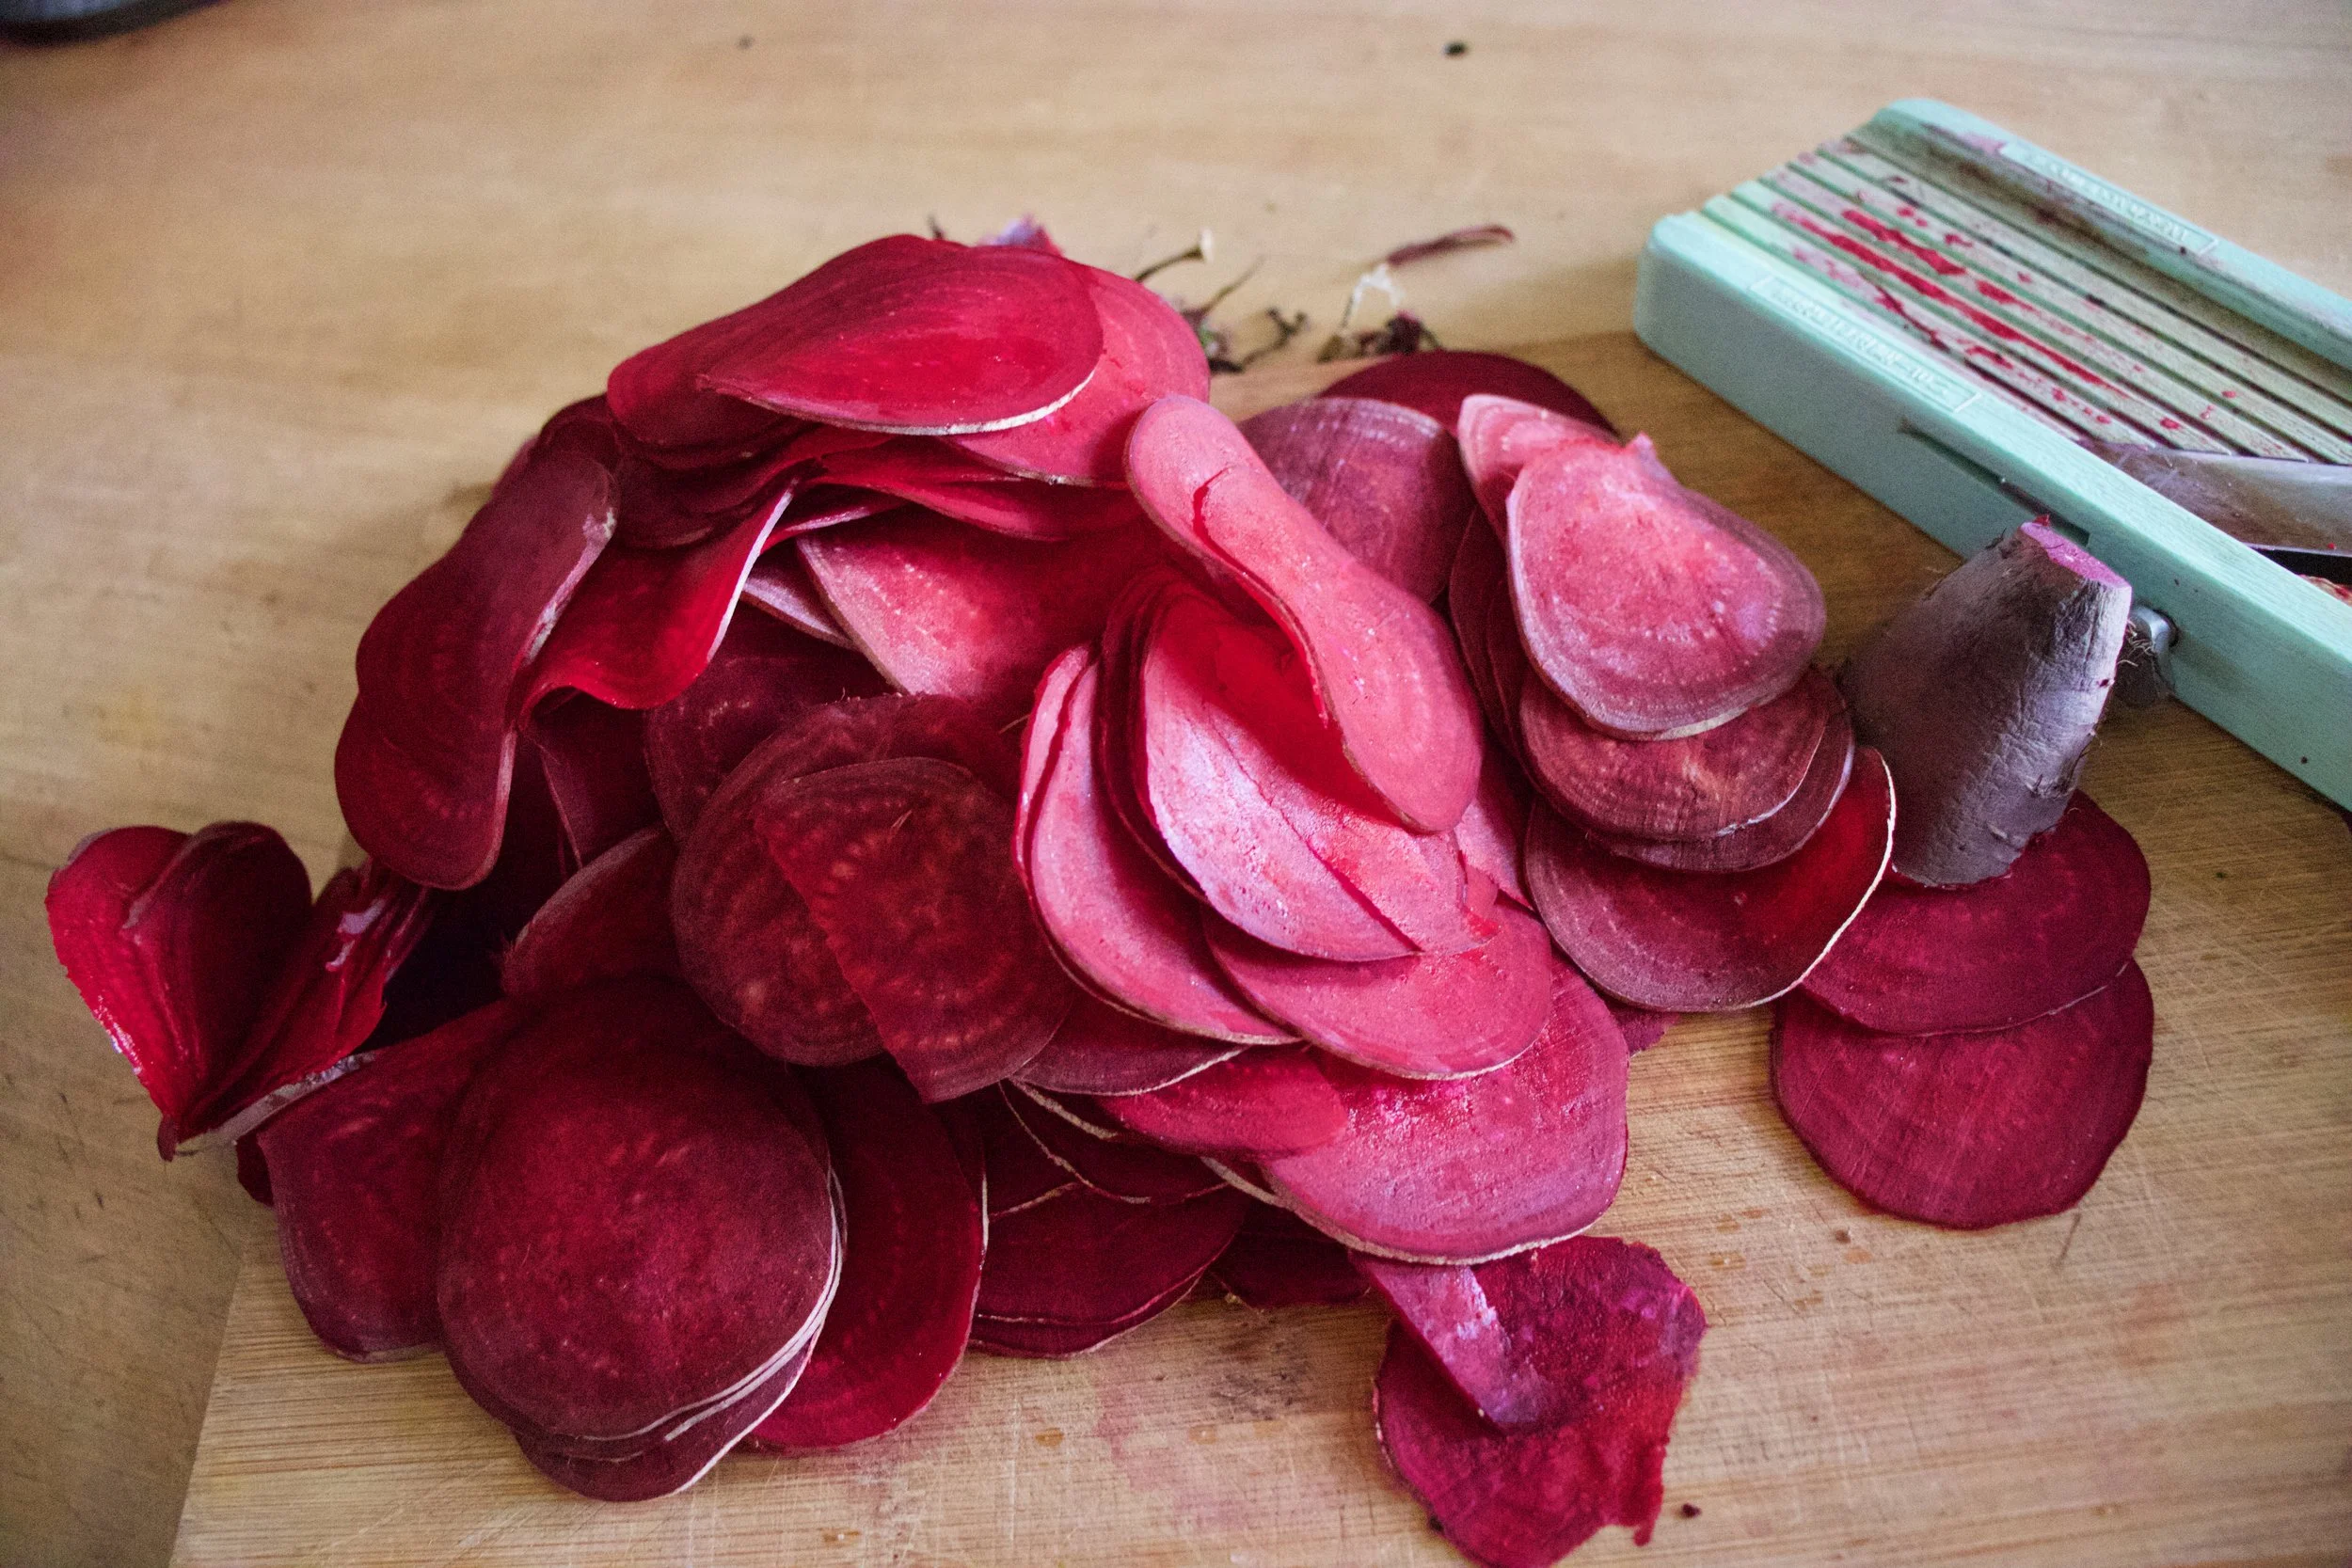
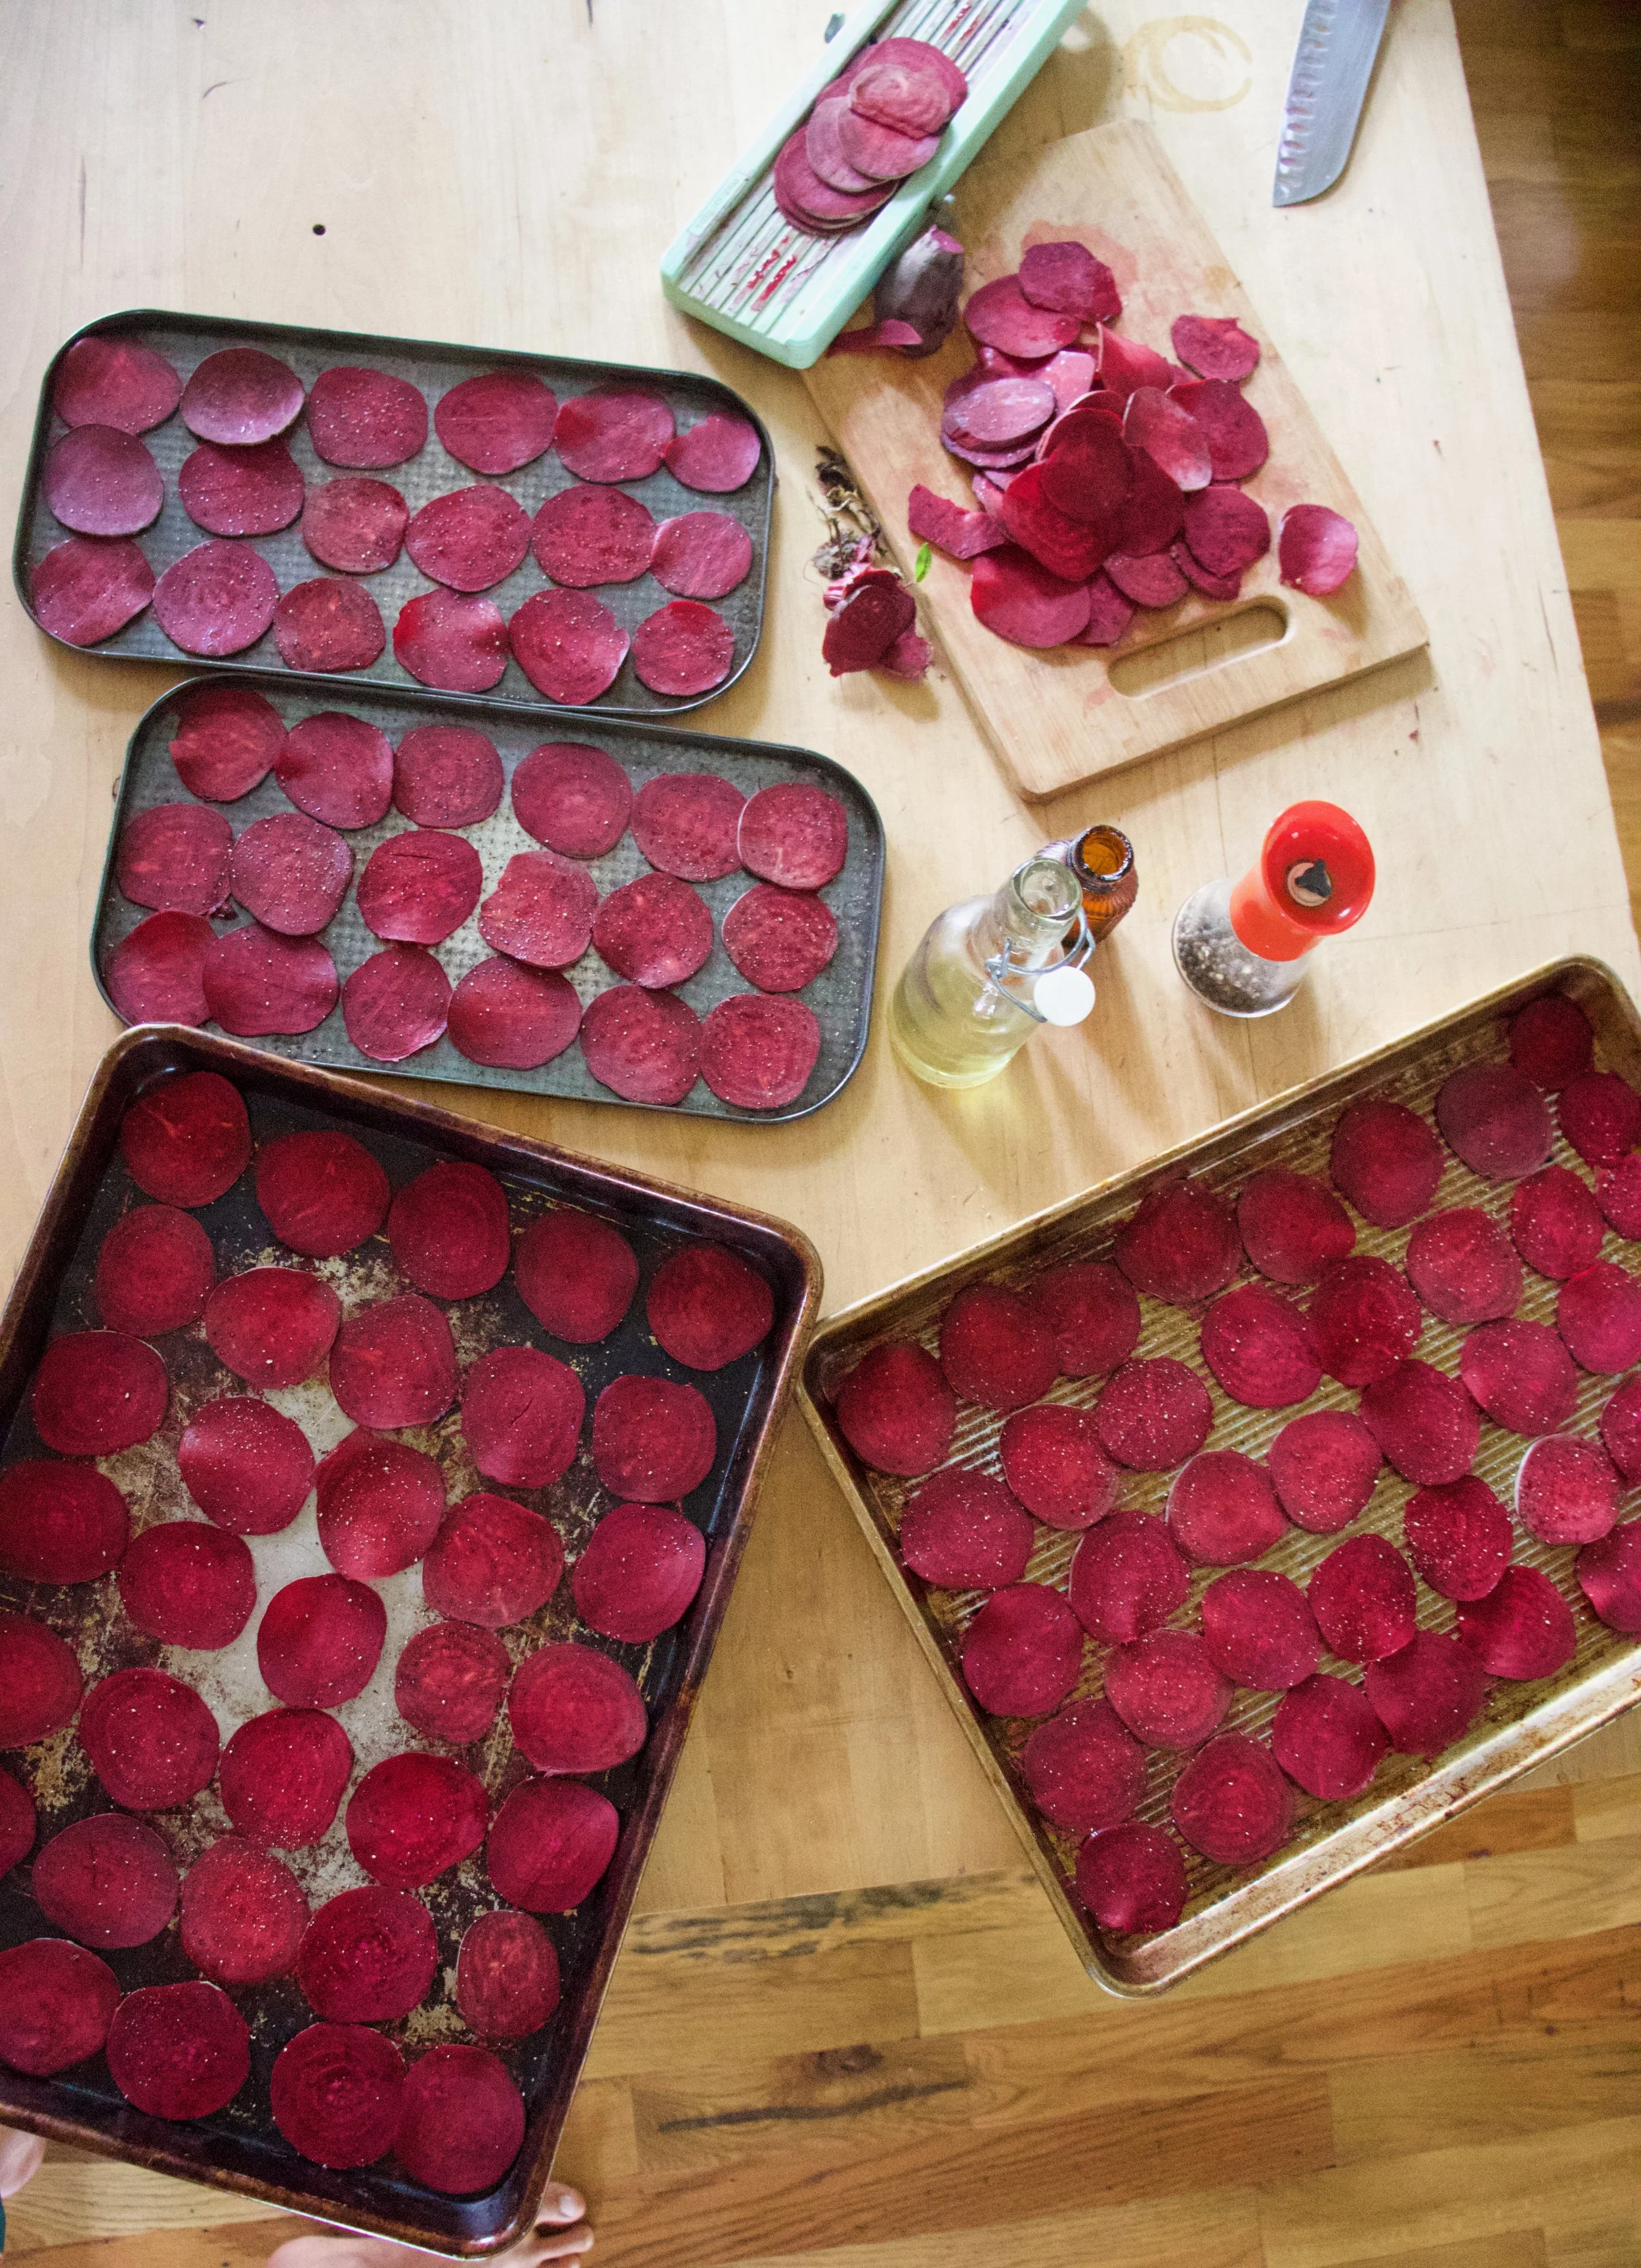
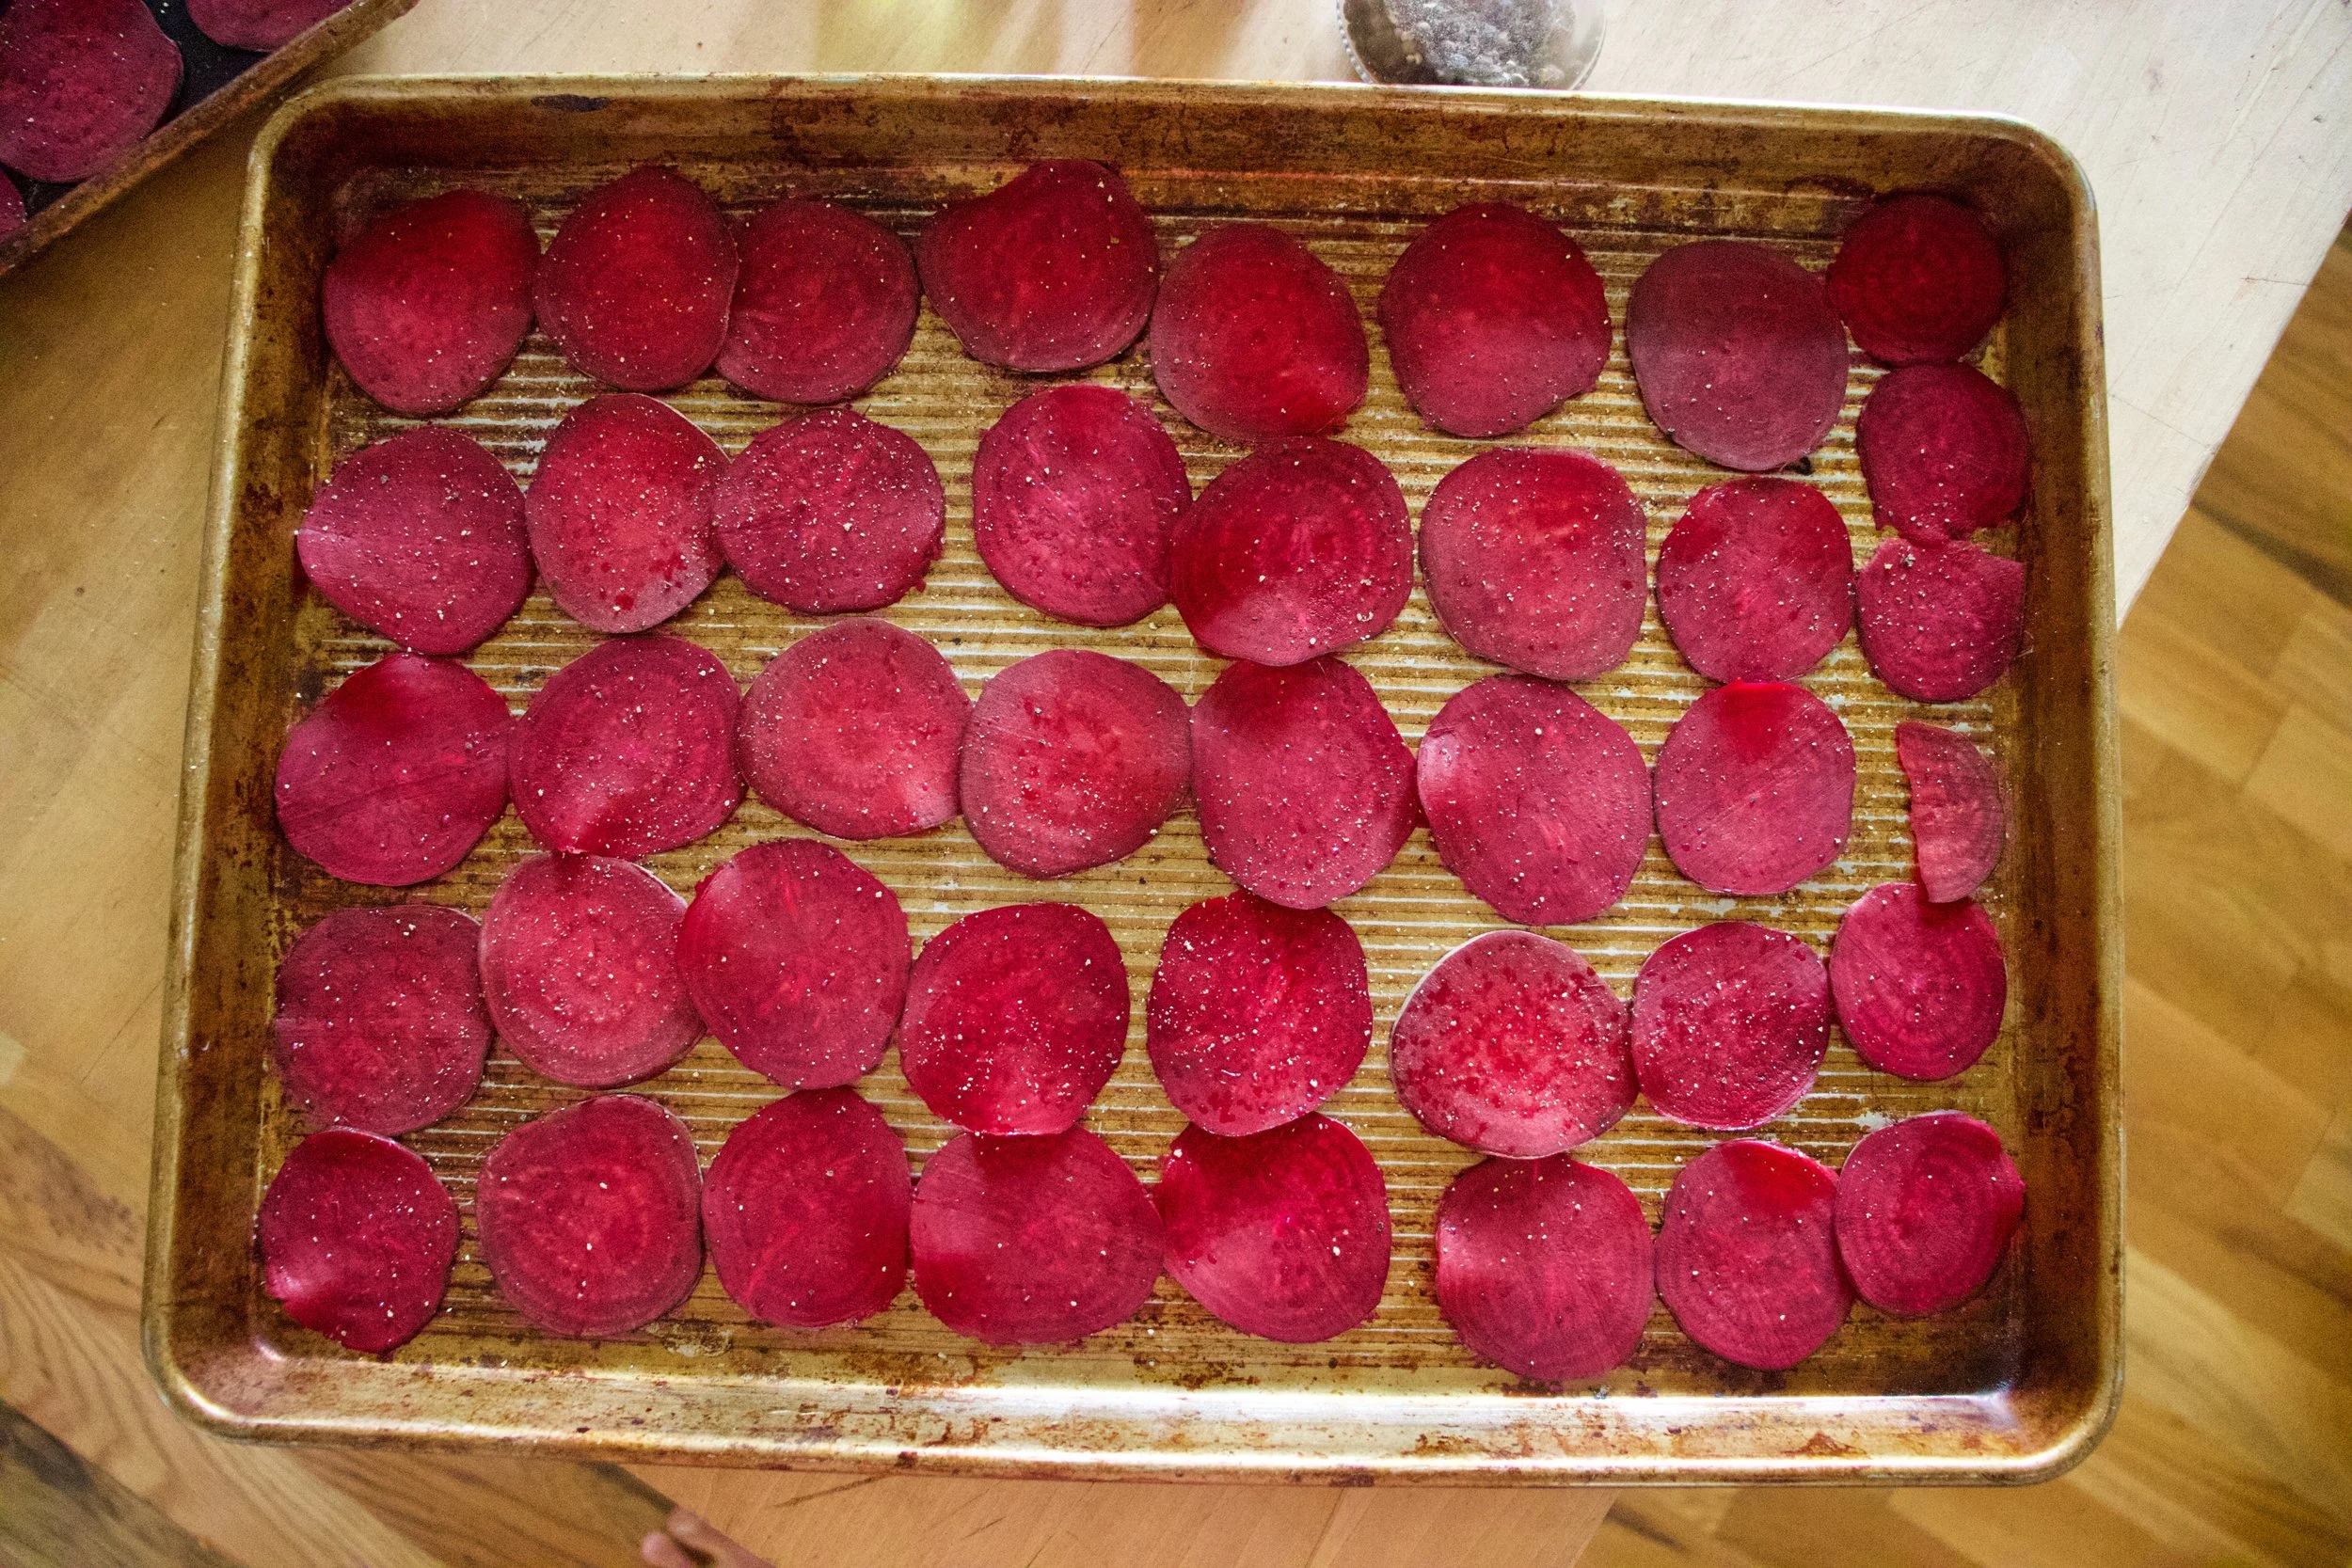
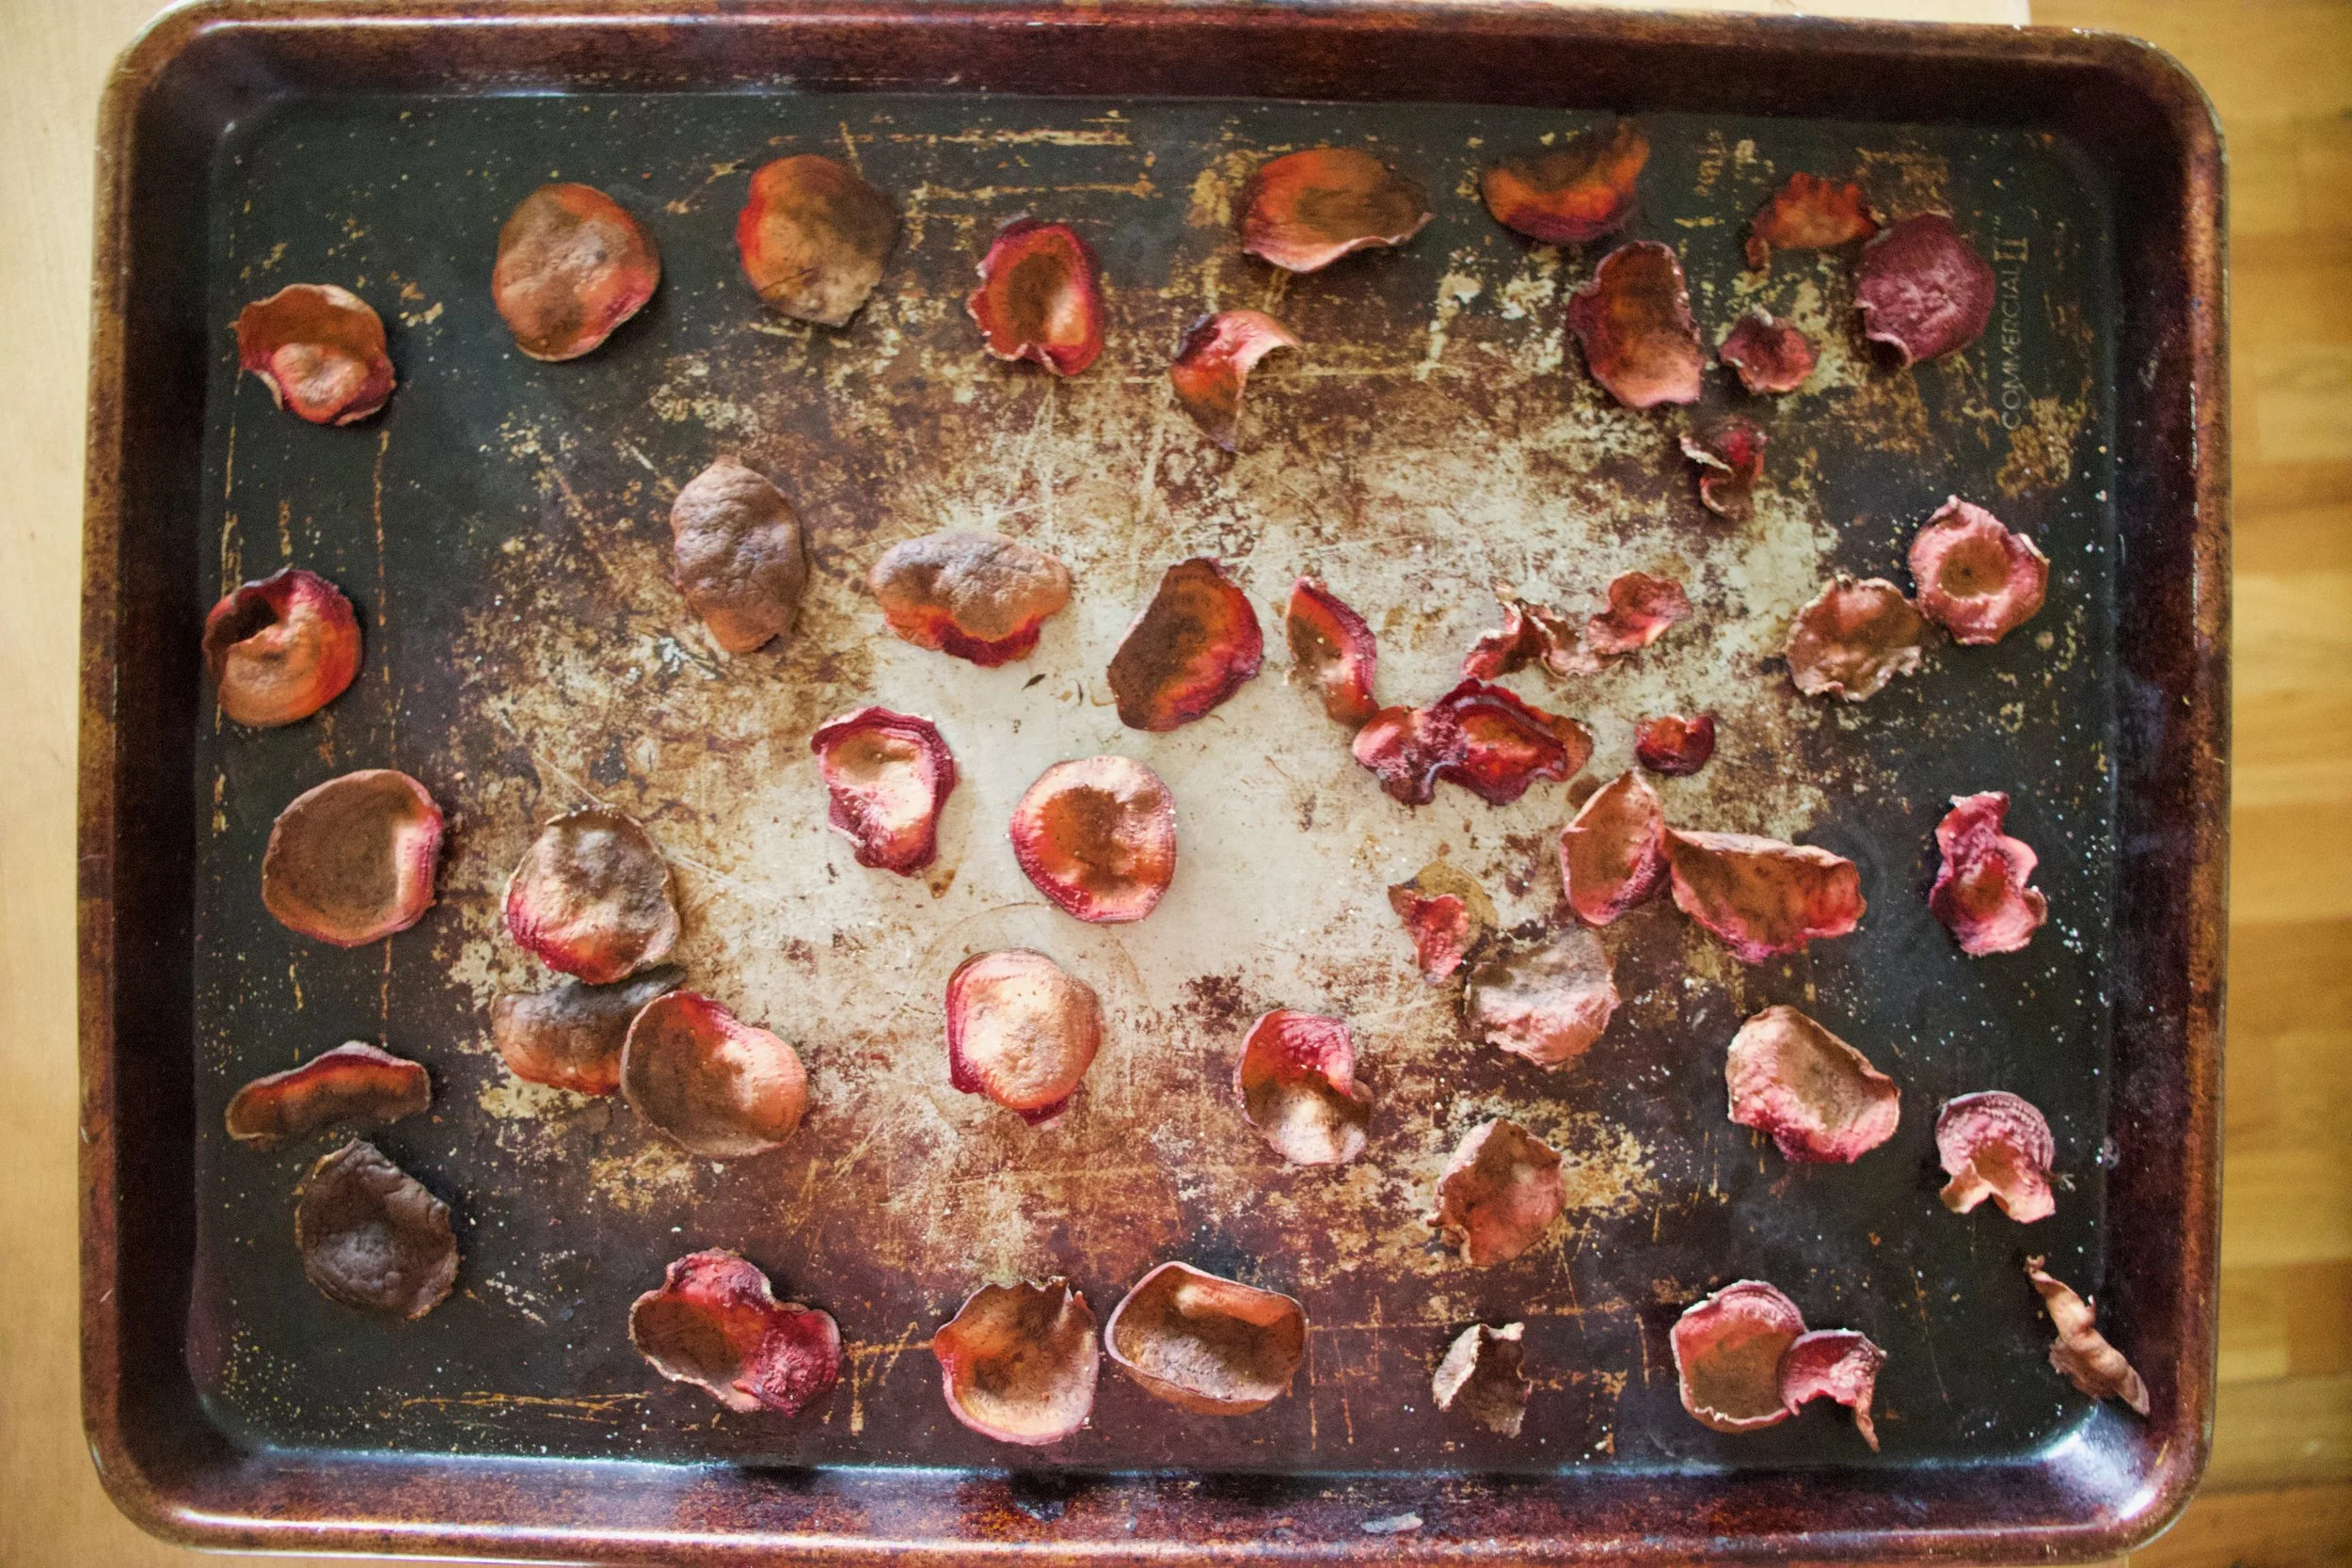

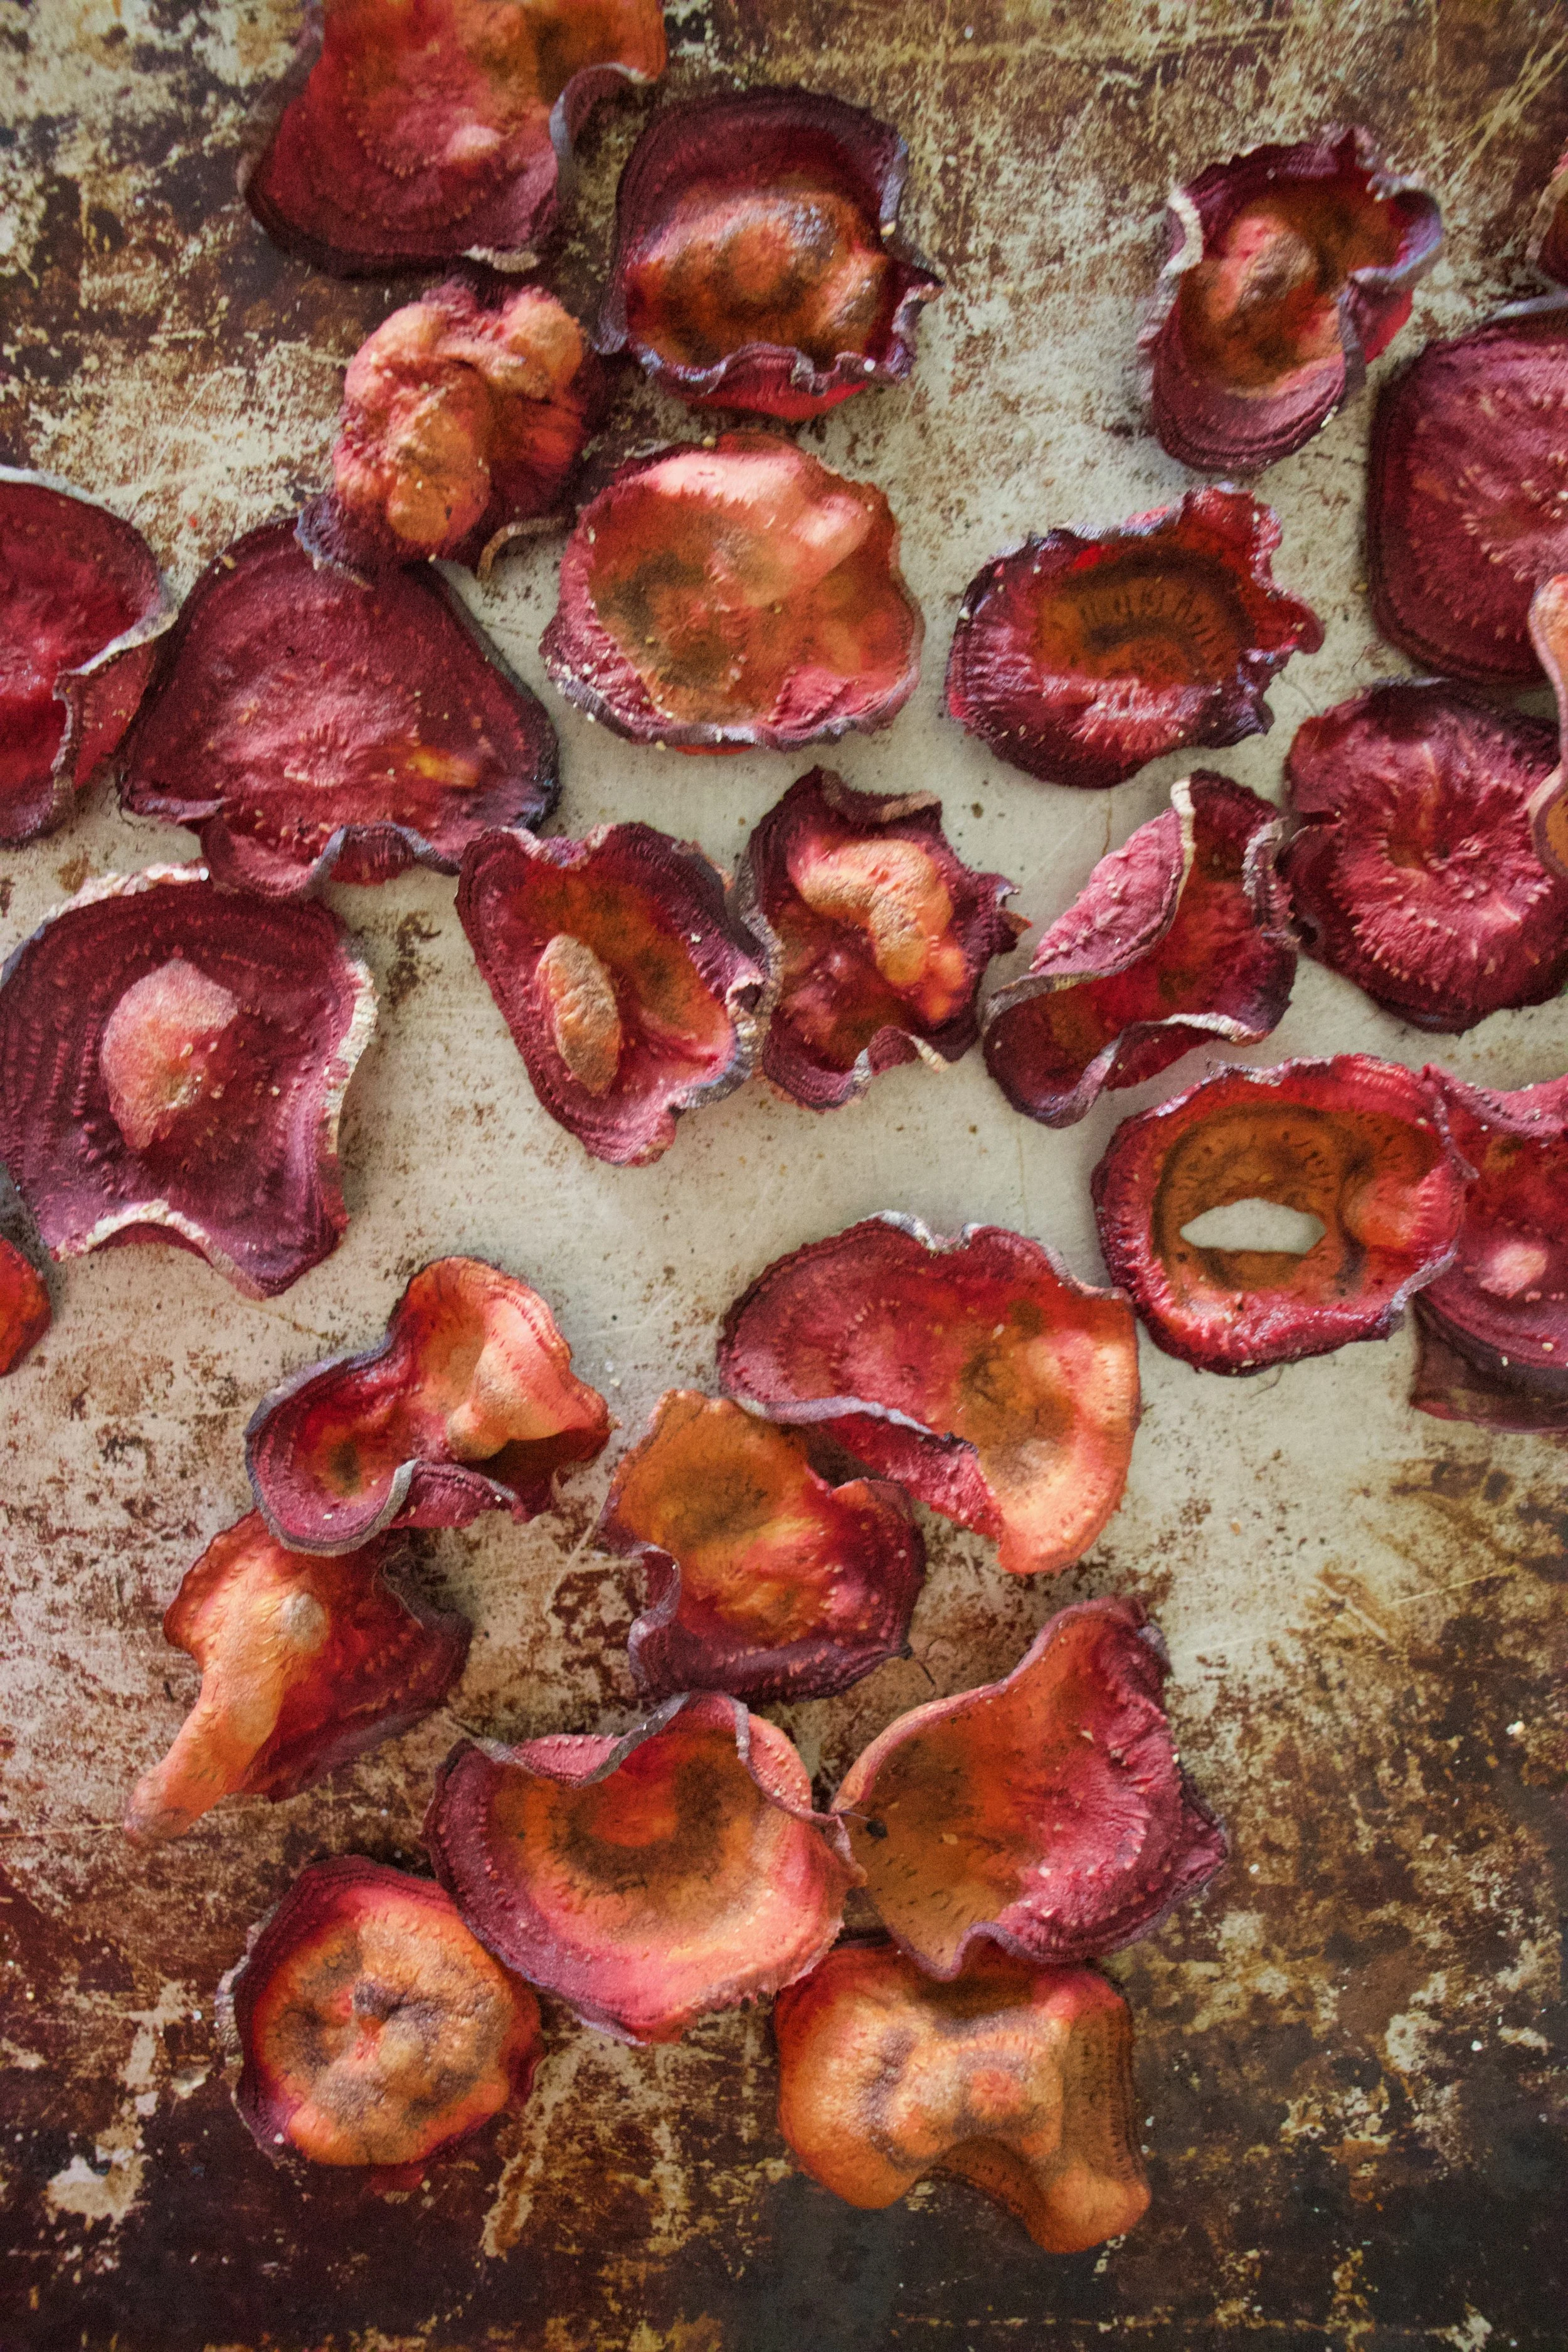
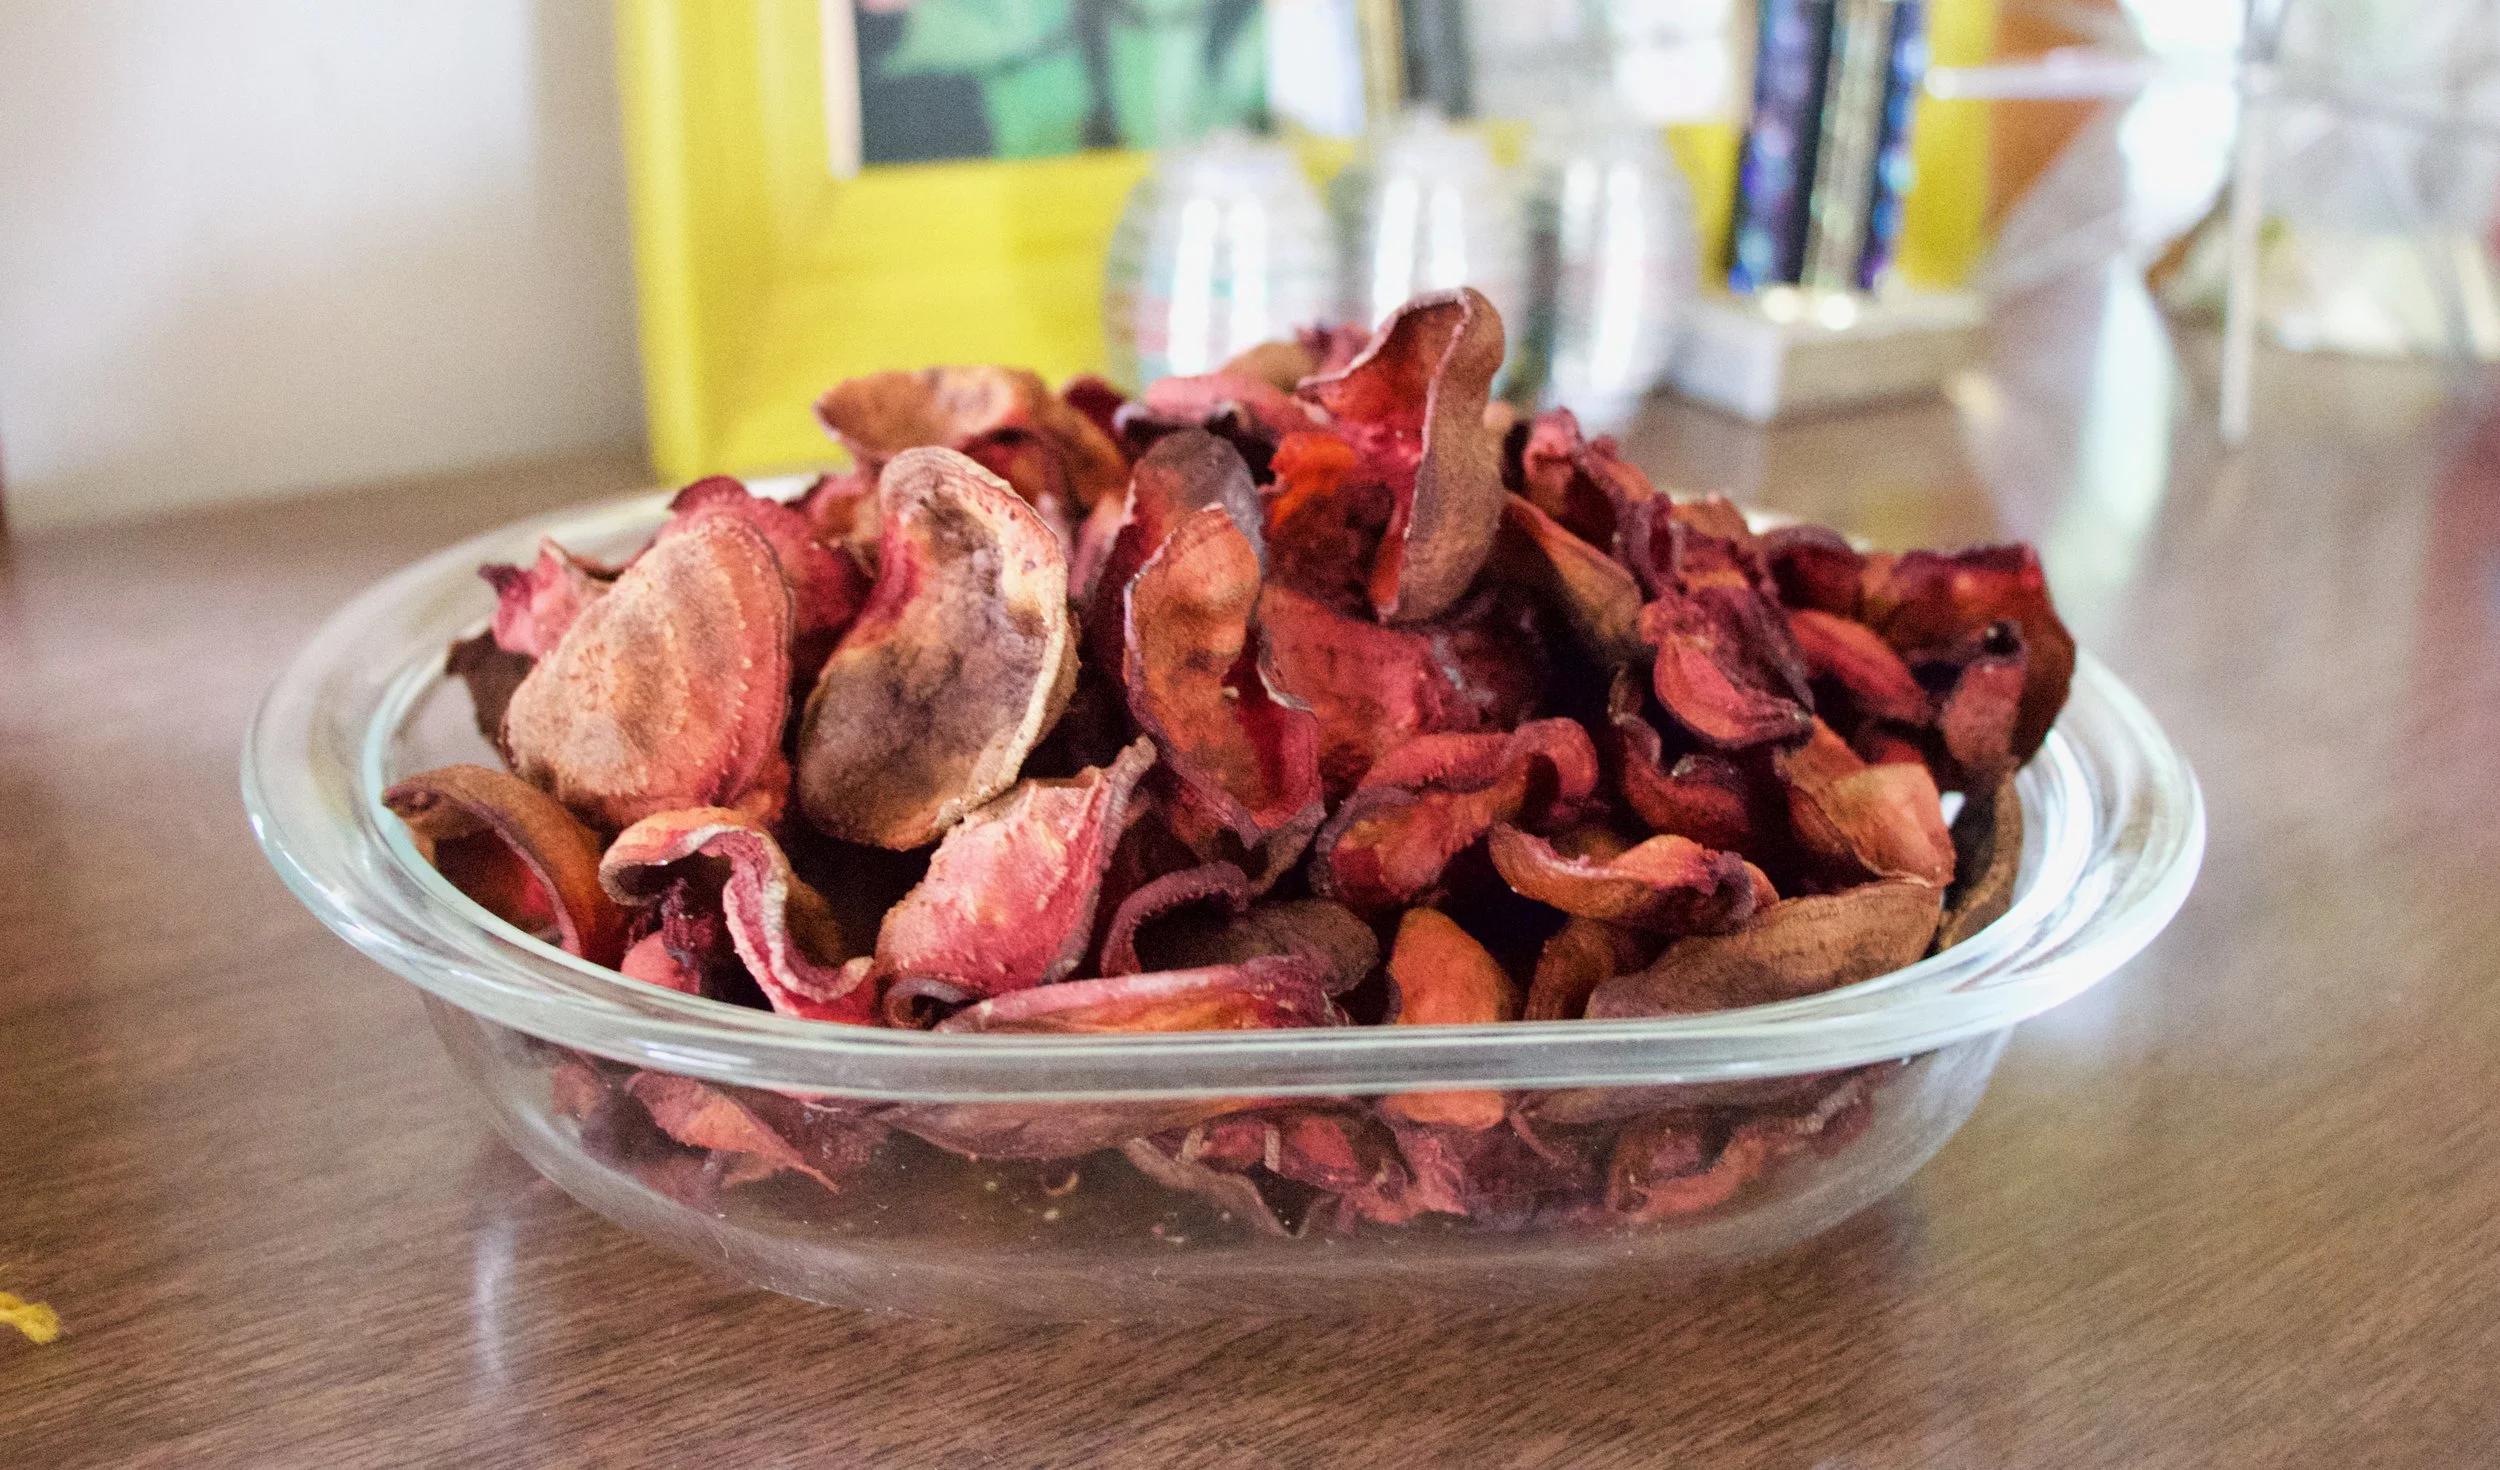
 %u00a0 %u00a0 %u00a0
 Spicy, crispy cauliflower%u2026 um yes please.%u00a0 I really like cauliflower. The mister loves it, or at least likes it better than any other vegetable. So when he asked for spicy cauliflower, well yea I am going to make it because I am so nice and really, could I say no to a veggie request? (I might have said no if it involved deep frying) Also, I found fresh cauliflower on sale! ($2.25) I don’t usually cook fresh cauliflower, but %u00a0I figured at that price, it wouldn’t be bad to cook a head. (If I am cooking cauliflower, which I do a lot, I just use frozen%u2026.casue it be waaaay cheaper)%u00a0
 The stuff. Cauliflower, chopped and broken into pieces. Corn meal mixed with salt, pepper, onion and garlic powder, and because I made this for the mister, parmesan cheese. And in the green bowl, srirsachi and a little oil.
  The%u00a0cauliflower%u00a0gets a coat of the hot sauce and then tossed around in the corn meal mixture. Handling as little as possible, place coated pieces on a lightly oiled baking sheet and stick those suckers in the oven for%u00a0about a half hour, taking them out and%u00a0flipping half way.
 And take them out of the oven when pieces tuned golden brown, stik them on a plate, and serve immediately.


 I swear I didn’t plan this, but today is officially Pi Day!%u00a0Pi being the mathematical constant of the ratio of the circumference of a circle to its dimeter (did I say that right?) 3.1415%u2026%u2026 And today’s date is 3.14.15. %u00a0 Whoa%u2026I guess that means that this pie was meant to be.%u00a0
 The stuff for the makings of pie%u2026 One single pie crust, flour, sugar and rhubarb. I mean, come on, this might be one of the simplest pies ever. %u00a0
 %u00a0 %u00a0%u00a0
 The chilled pie crust gets rolled out, placed into a pie plate, trimmed and made all pretty. The bottom is sprinkled with a 1/4 cup of sugar and stuck back into the fridge while the oven preheats %u00a0to 350. %u00a0Now is a good time to dice the rhubarb into inchish chunks. Once the oven is preheated, remove crust from fridge and add in the diced rhubarb.
 %u00a0 %u00a0
 The remaining sugar and flour get mixed together in a bowl %u00a0and dump on top of the rhubarb. Give it a tiny toss with you fingers just to get some of the mixture to sink down a little. (Don’t worry, the filling will be perfect when you do it like this) I also cut up the pie crust trimmings and placed on top%u2026 not necessary, but looks pretty and is a good use of the scraps.
 And then you take it from the oven and marvel at the beauty.
 %u00a0How awesome will you be when you bring the most freaking amazing tortilla chips to the party this weekend? You will be like..”what, it ain’t no thang.. I am just good like that” Yes, yes you are.
 %u00a0 %u00a0 %u00a0
 Knead dough a few times just to make sure it’s completely uniformed and divide %u00a0into 12-14 equal pieces. Place balls on a plate and cover with a wet paper towl to keep from drying out.
 My%u00a0cast iron skillet is big enough to cook 2 -3 at a time, but doing one at a time is cool too. Preheat the skillet to medium heat. Cook each tortilla for about 2-3 minutes ( or until starting to brown) on each side.
  Half way there to chips!!!
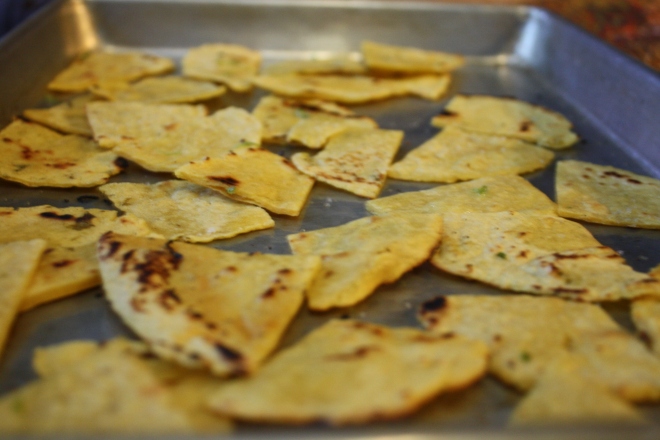 Placed all nice and cozy on a baking sheet. trying not to overlap. Into a 400 degree oven for about 20 minutes to complete the chip making process.. After about 15 minutes, check for doneness. When nice a crispy, remove from oven, squeeze %u00a0lime juice all over and sprinkle with salt. I then stuck them back in the oven for a few more minutes just to dry the lime..
 After cooling down, take those chips and stick them in a bowl.%u00a0
 So the mister wants to know%u2026″Why would anyone ever buy those crappy english muffins from the store when they could be eating these?”
 %u00a0
 Everything all mixed together, dumped onto a floured surface and kneaded for 10 minutes by hand%u2026..If you have a stand mixer, you can use it if you want, but you are missing out on the fun of doing it by hand%u2026.
 When dough has doubled, punch down and plop out onto floured surface.%u00a0Dust the bottom of a griddle or in my case, two cast iron pans, with corn meal. Divide dough into 8-10 equal balls and smash into 2 inch thick disks.%u00a0
 Place on griddle or pans and sprinkle more corn meal on top of each E.M. Cover and let rise for another 15 minute.%u00a0
 Now the E.M.s %u00a0have rested, turn the griddle (or pans) on to low heat. Once your griddle (or pans) gets hot, continue to cook that side for another 7-10 minutes, or until golden brown. Flip and cook other side for 10-12 minutes or until golden brown. Once browned, check for doneness with a thermometer. The inside should reach 200 degrees.( if you don’t have a thermometer, fork split one open and check%u2026. you are going to eat it anyway) If the outside cooked faster then the inside, no worries, just pop them into the oven at 350 for 8-10 minutes. I had to pop mine into the oven for to cook completely.
 %u00a0
 Remove form griddle, let cool a bit, and %u2026%u2026Fresh, fluffy fat, fantastic%u2026.Everything and more that a real english muffin should be. Split open with a fork and%u2026%u2026. the nooks and crannies! So spot on. %u00a0Serve with anything your heart desires%u2026I served these with whipped honey butter%u2026. and eat the only kind of E.M. you will ever again eat. Grocery store english muffins be damned!
 I usually base my meals on what I know I have for food in the house and what I know needs to be eaten.%u00a0I was a little surprised when muling around in the freezer to find a block of extra firm tofu. (I don’t remember buying). Maybe a tofu fairy left it in there for me, or maybe it has been in there for years and I just am now stumbling upon it. Either way, I found it and it had to be eaten. So I cooked it up, and I cooked it up nice and good. Tofu is a pretty vertical food, being that its basically a flavorless block of protein. It can go sweet or savory, mashed, chopped or blended. Add fresh garlic, any type of sauce %u00a0or even %u00a0peanut butter. (the possibilities are quite endless) %u00a0I was going for a dinner dish so I decided on a simple cubed tofu with lots of ginger and garlic (so good to ward of those winter sicko bugs out there) and baked it up nice and%u00a0crispy with fresh bright green broccoli and soba noodle. %u00a0Quick, easy, tasty and healthy.. I did it again. %u00a0Thanks tofu fairy!
 %u00a0%u00a0This noodle dish is super easy to make and take only about a half hour. We start with extra firm tofu, a package of buckwheat soba noodle, a nice big broccoli crown, honey, fresh ginger, garlic and soy sauce. oil for pan and lime for a finish. %u00a0Nothing fancy.
 %u00a0Dice the tofu into small cubes and place onto a clean dish towel and pat dry%u2026It really helps the tofu suck in more flavor and become nice a and crispy.
 %u00a0Tofu get moved into a lightly oiled skillet, %u00a0ready to go into a hot oven. Why baked instead of saut%u00e9ed on the stove? I find that the tofu keeps it shape and crisps up better when baked. But do whatever you want%u2026.. But just bake it.
 While the tofu is baking, make up the sauce. Grate about 2 tablespoons of fresh ginger and4 large cloves of garlic into a bowl. Whisk together with 2 tablespoons honey, 1/3 cup %u00a0soy ( tamari or brags aminos works too) and 1/3 cup of warm water. %u00a0Taste it, and if you think it needs more anything, add it. I actually used 6 cloves of garlic, but I really wanted a garlic packed sauce. %u00a0 %u00a0
 %u00a0After 15 ish minutes, give tofu a flip, then after about 25 minutes, the tofu should be nearly done. Remove from the oven and toss in the chopped broccoli and 1/3 cup of the sauce. Its a little watery but thats what you want, it will cook down in the oven. Now stick the skillet goes back into the oven and boil the soba noodle.
 %u00a0%u00a0%u00a0Another 10 minutes in the oven and the sauce starts to caramelize and the broccoli is cooked but still nice and crisp. %u00a0Remove skillets from oven and toss in the cooked noodles and the rest of the dressing. Toss and toss and place on a plate, or a bowl, or if your into it, just eat out of the pan. (it happens)

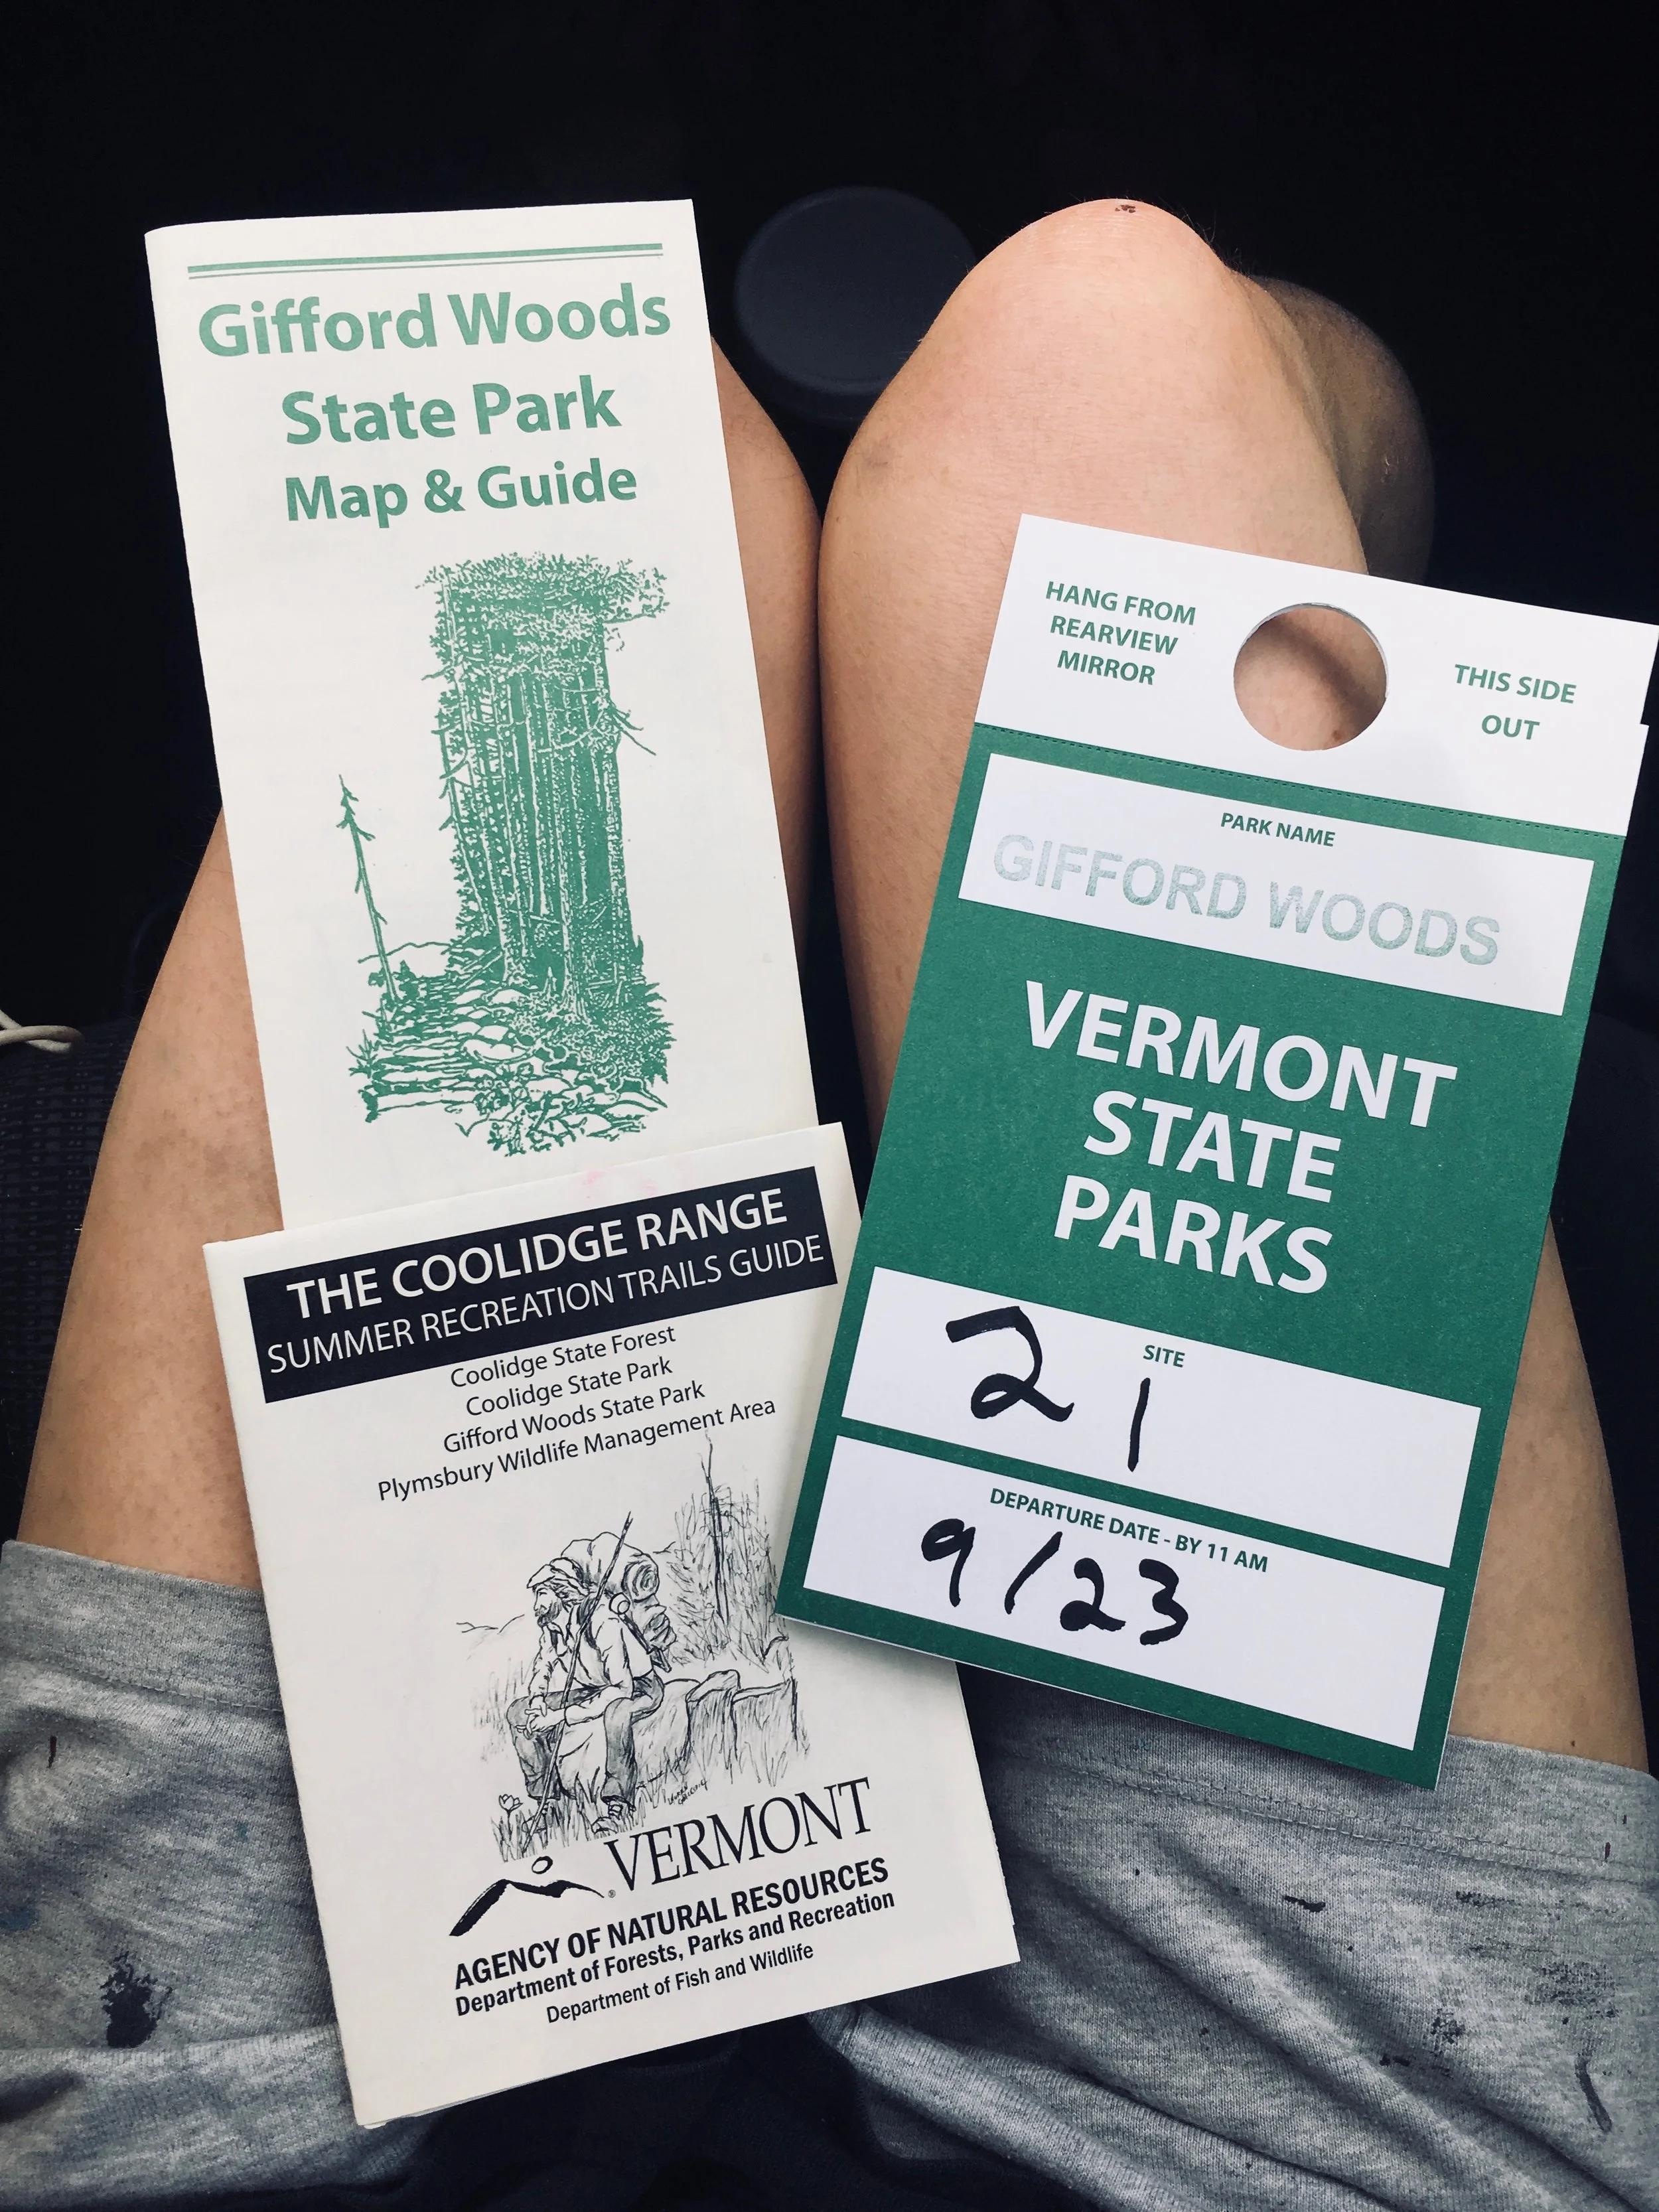
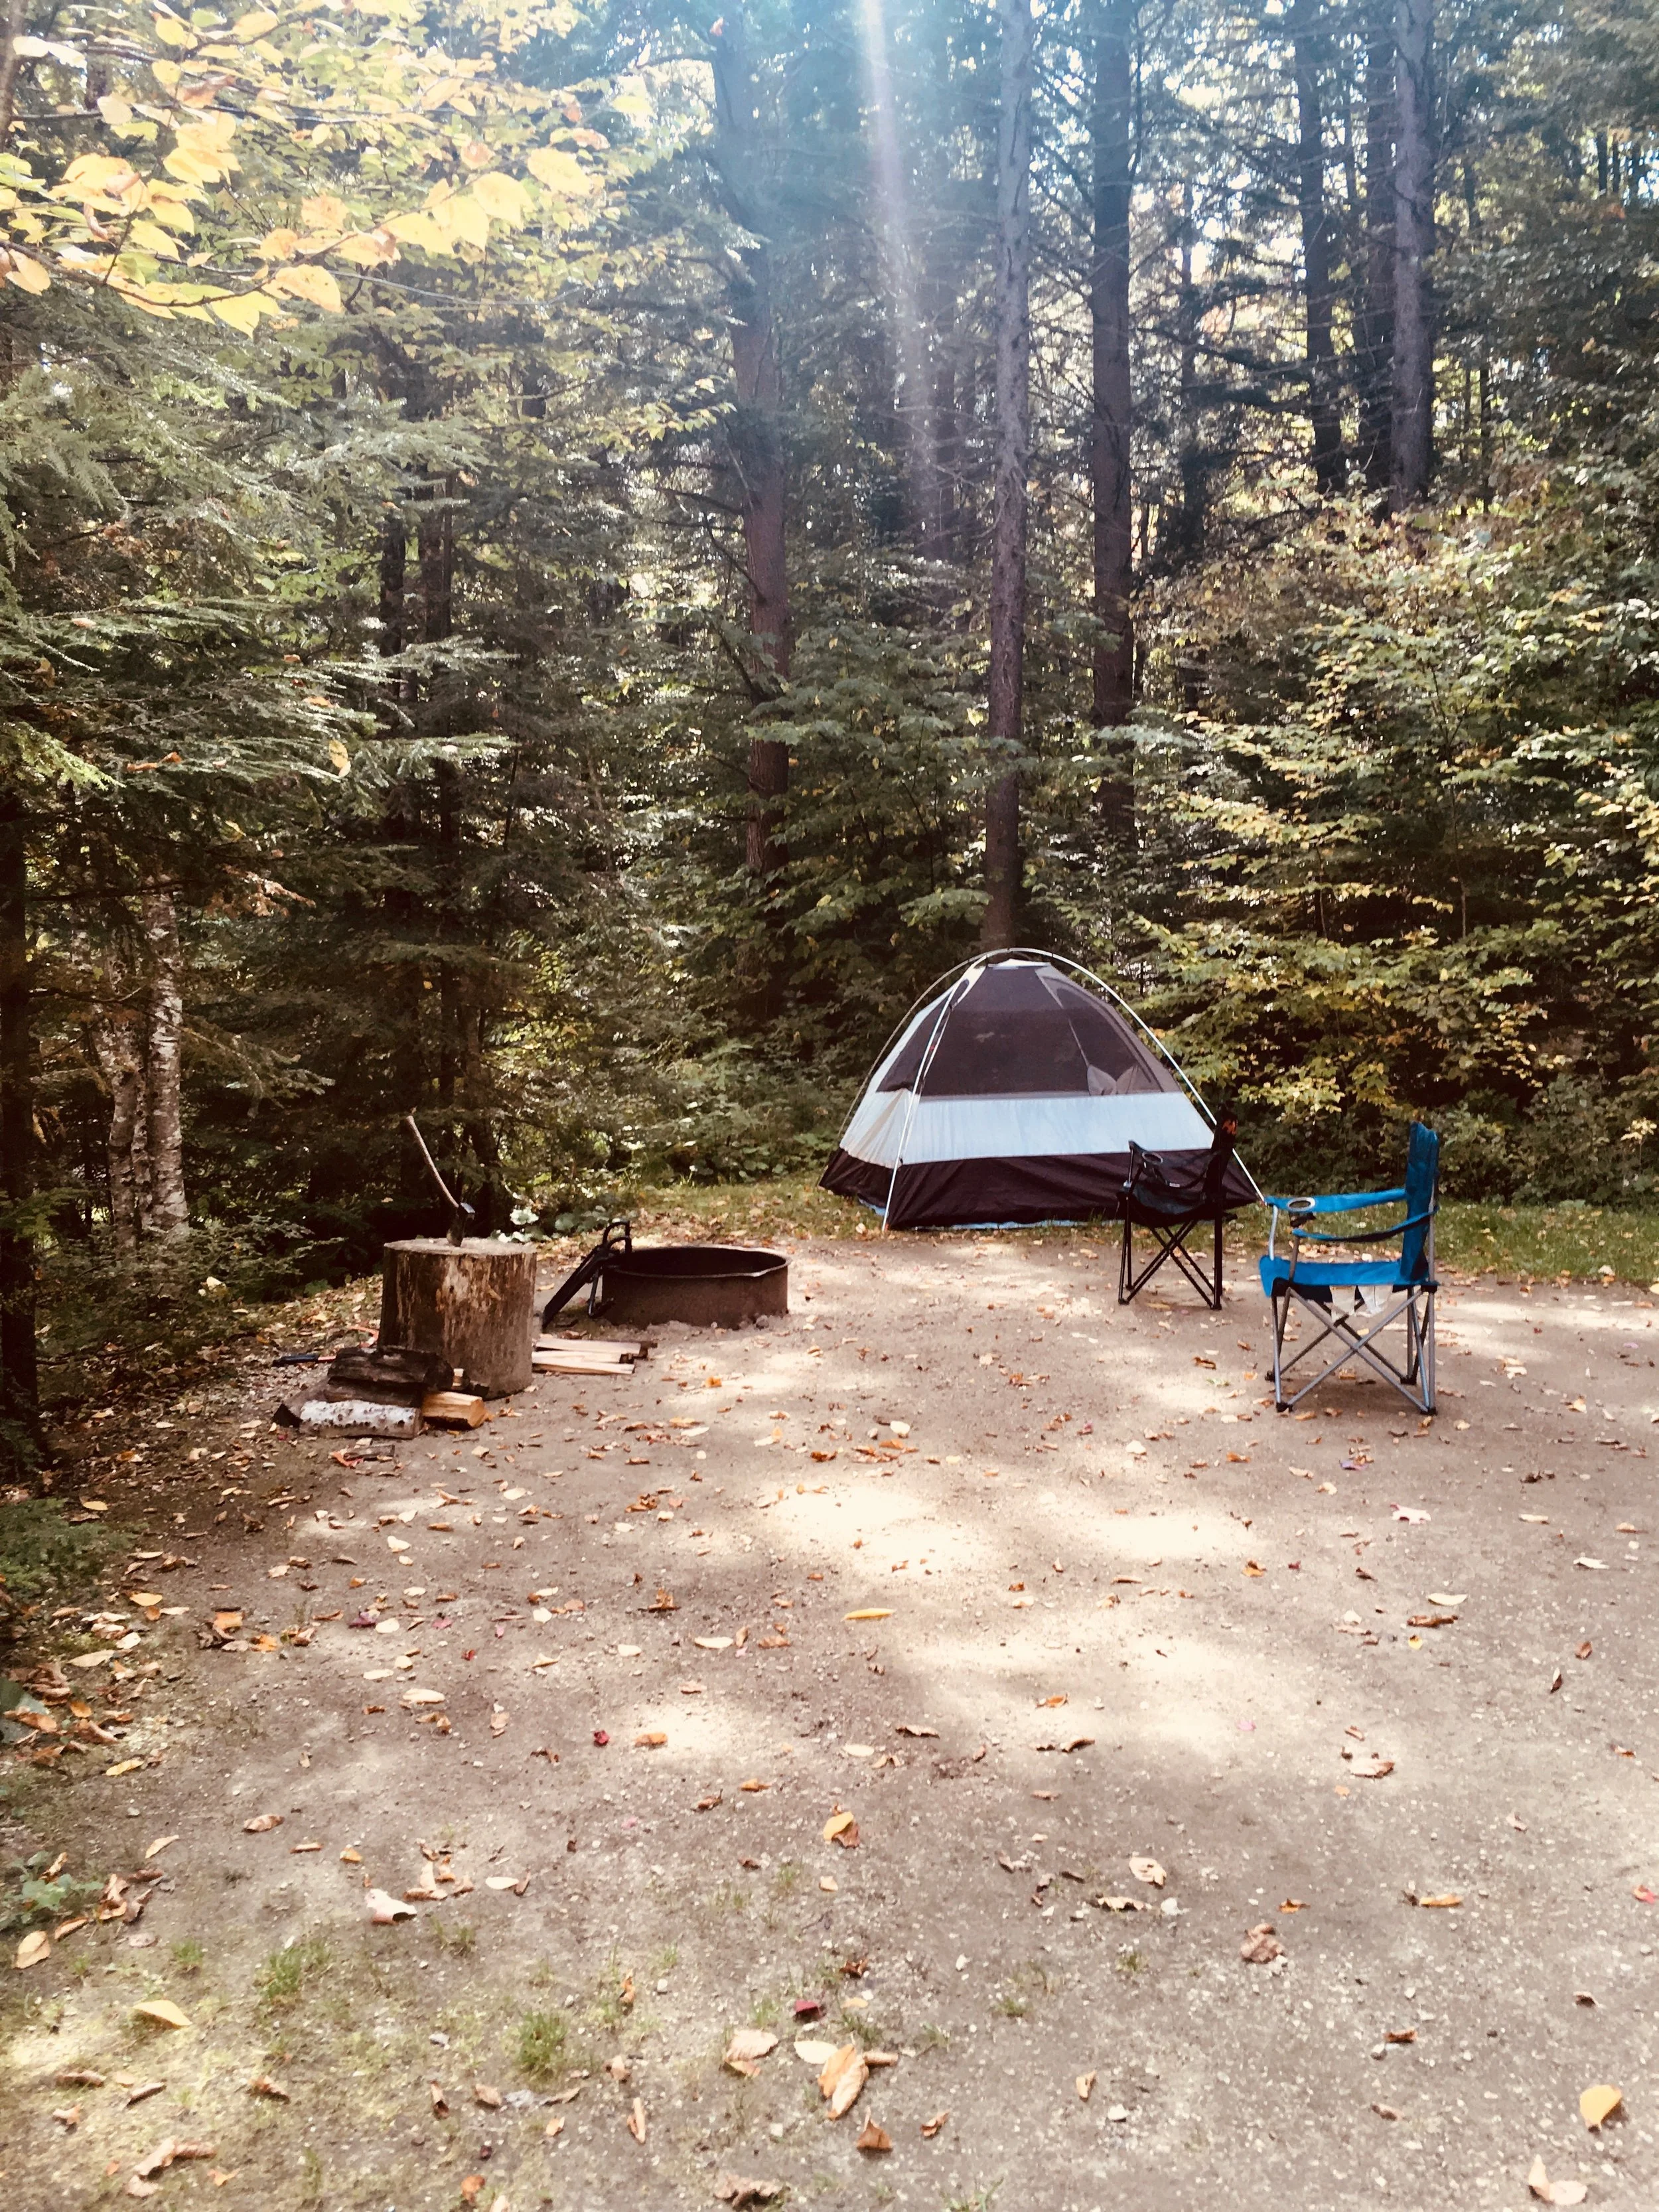















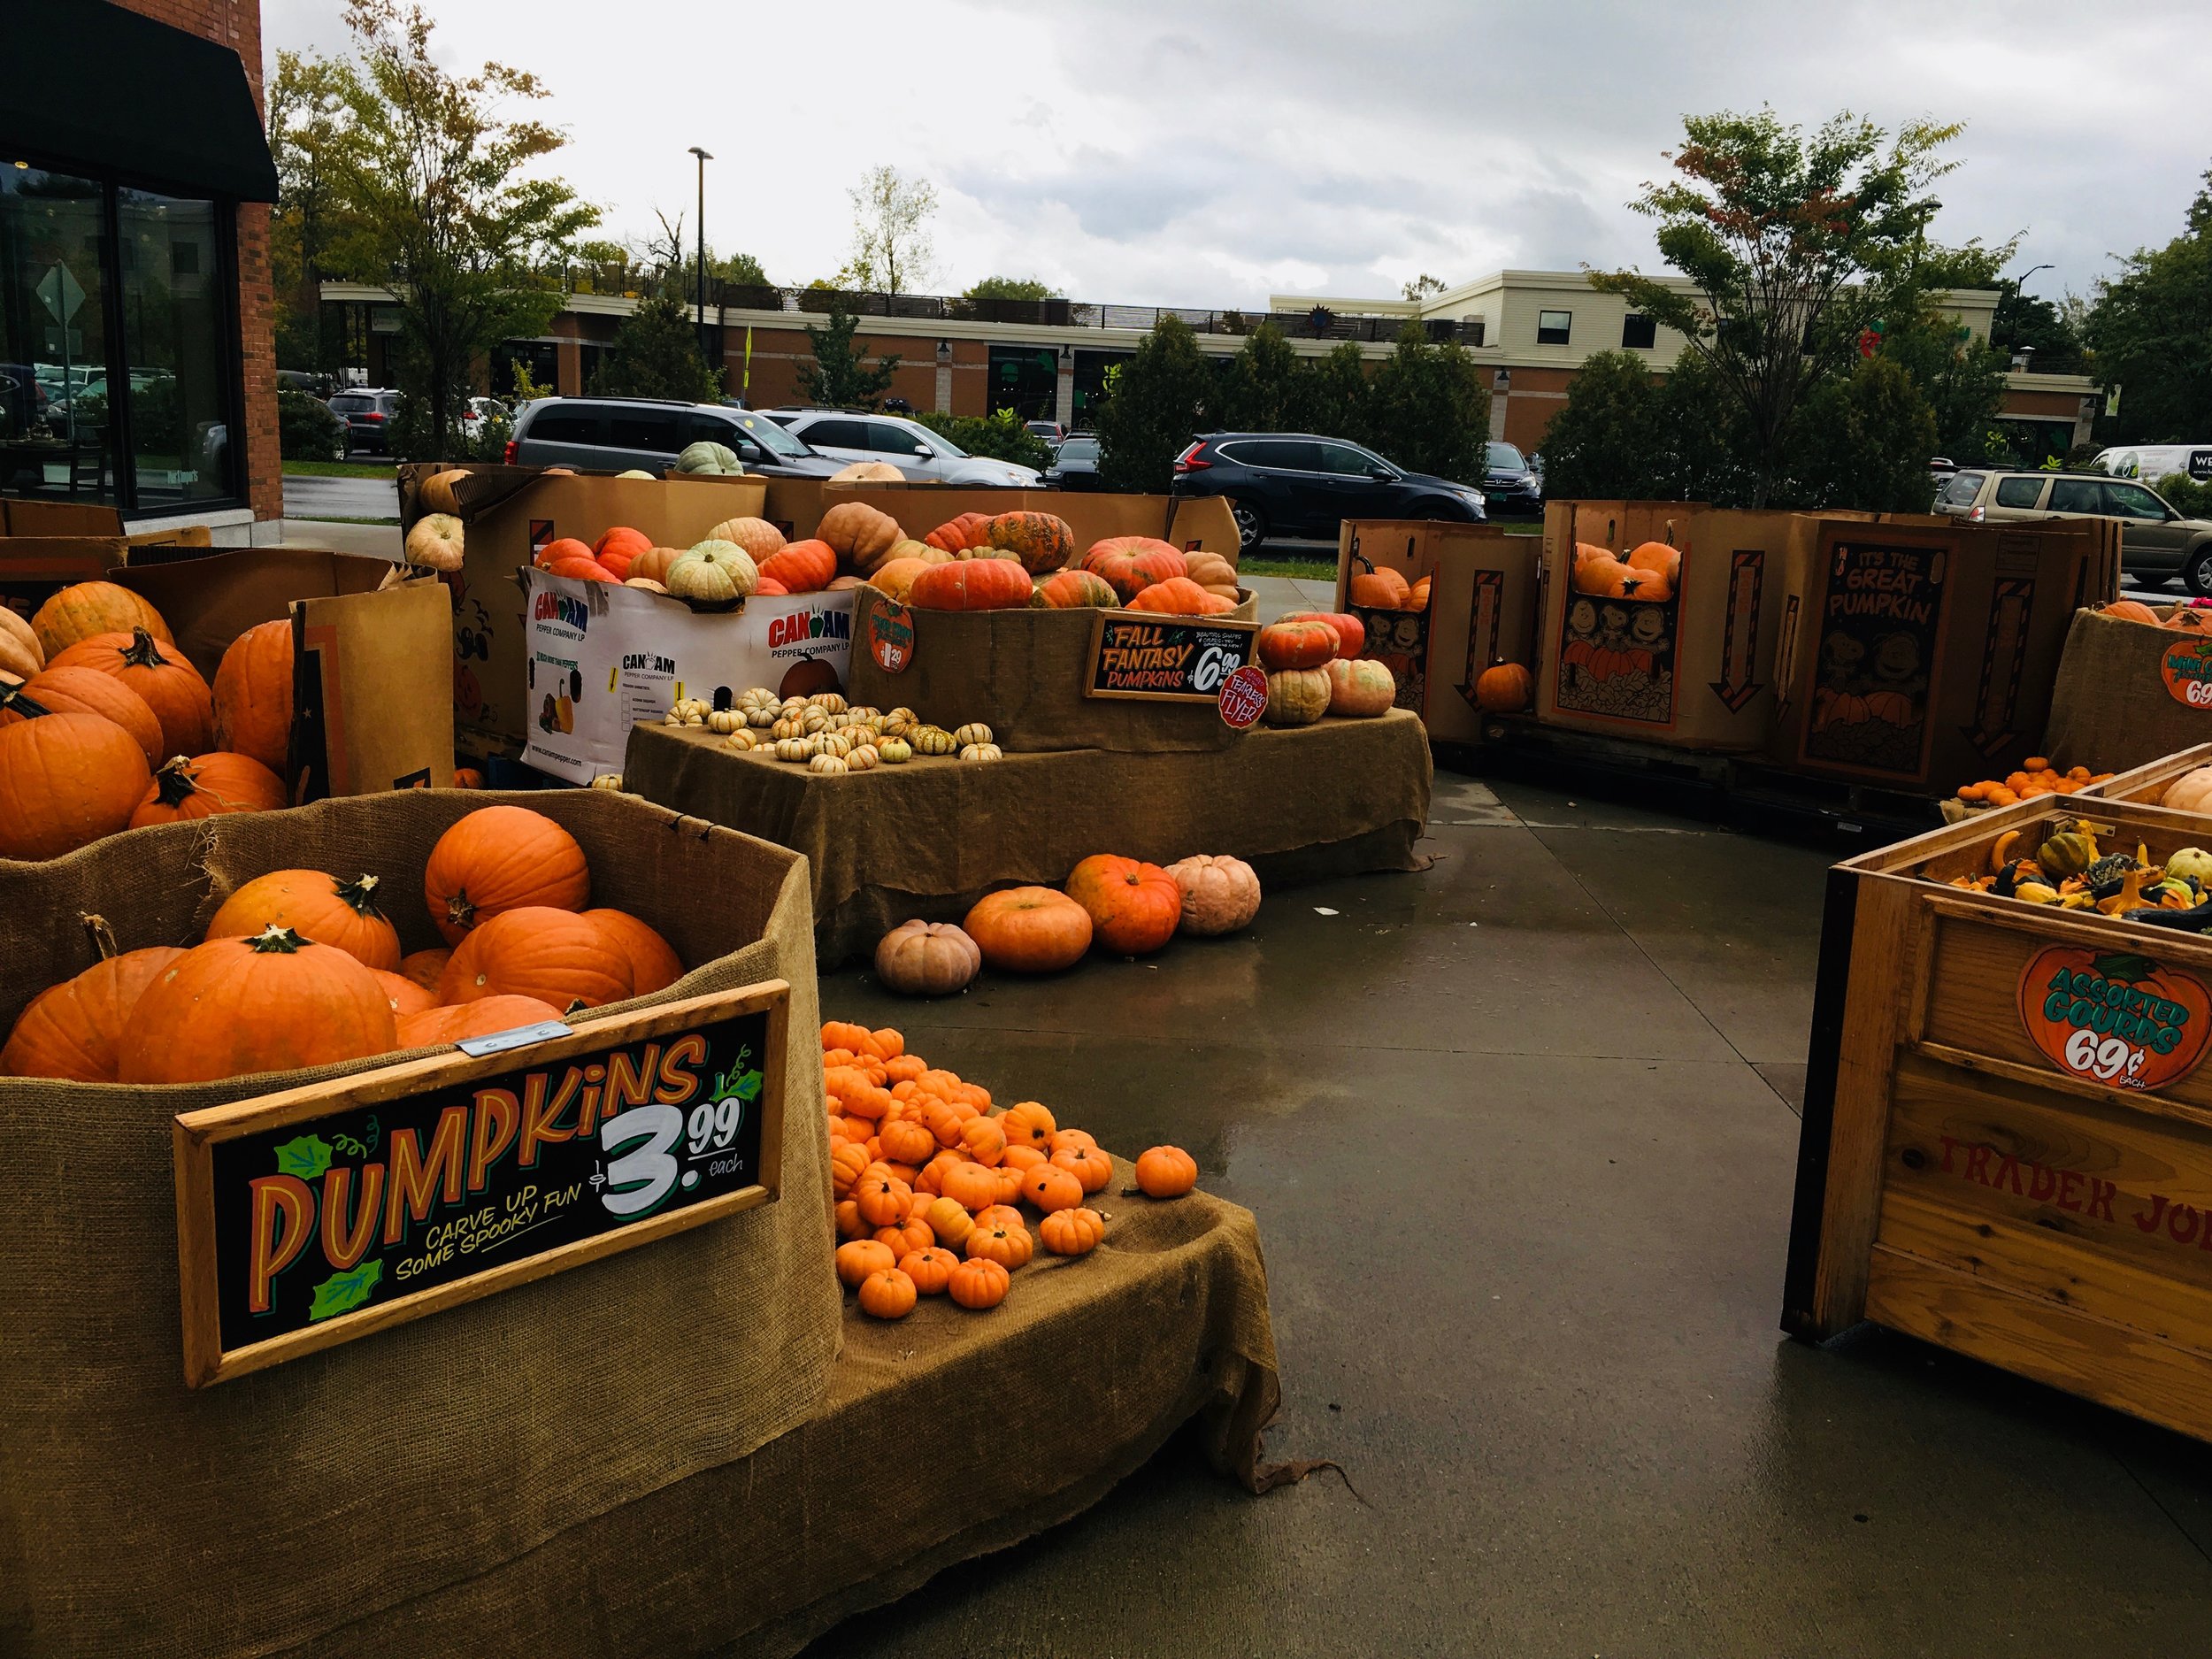

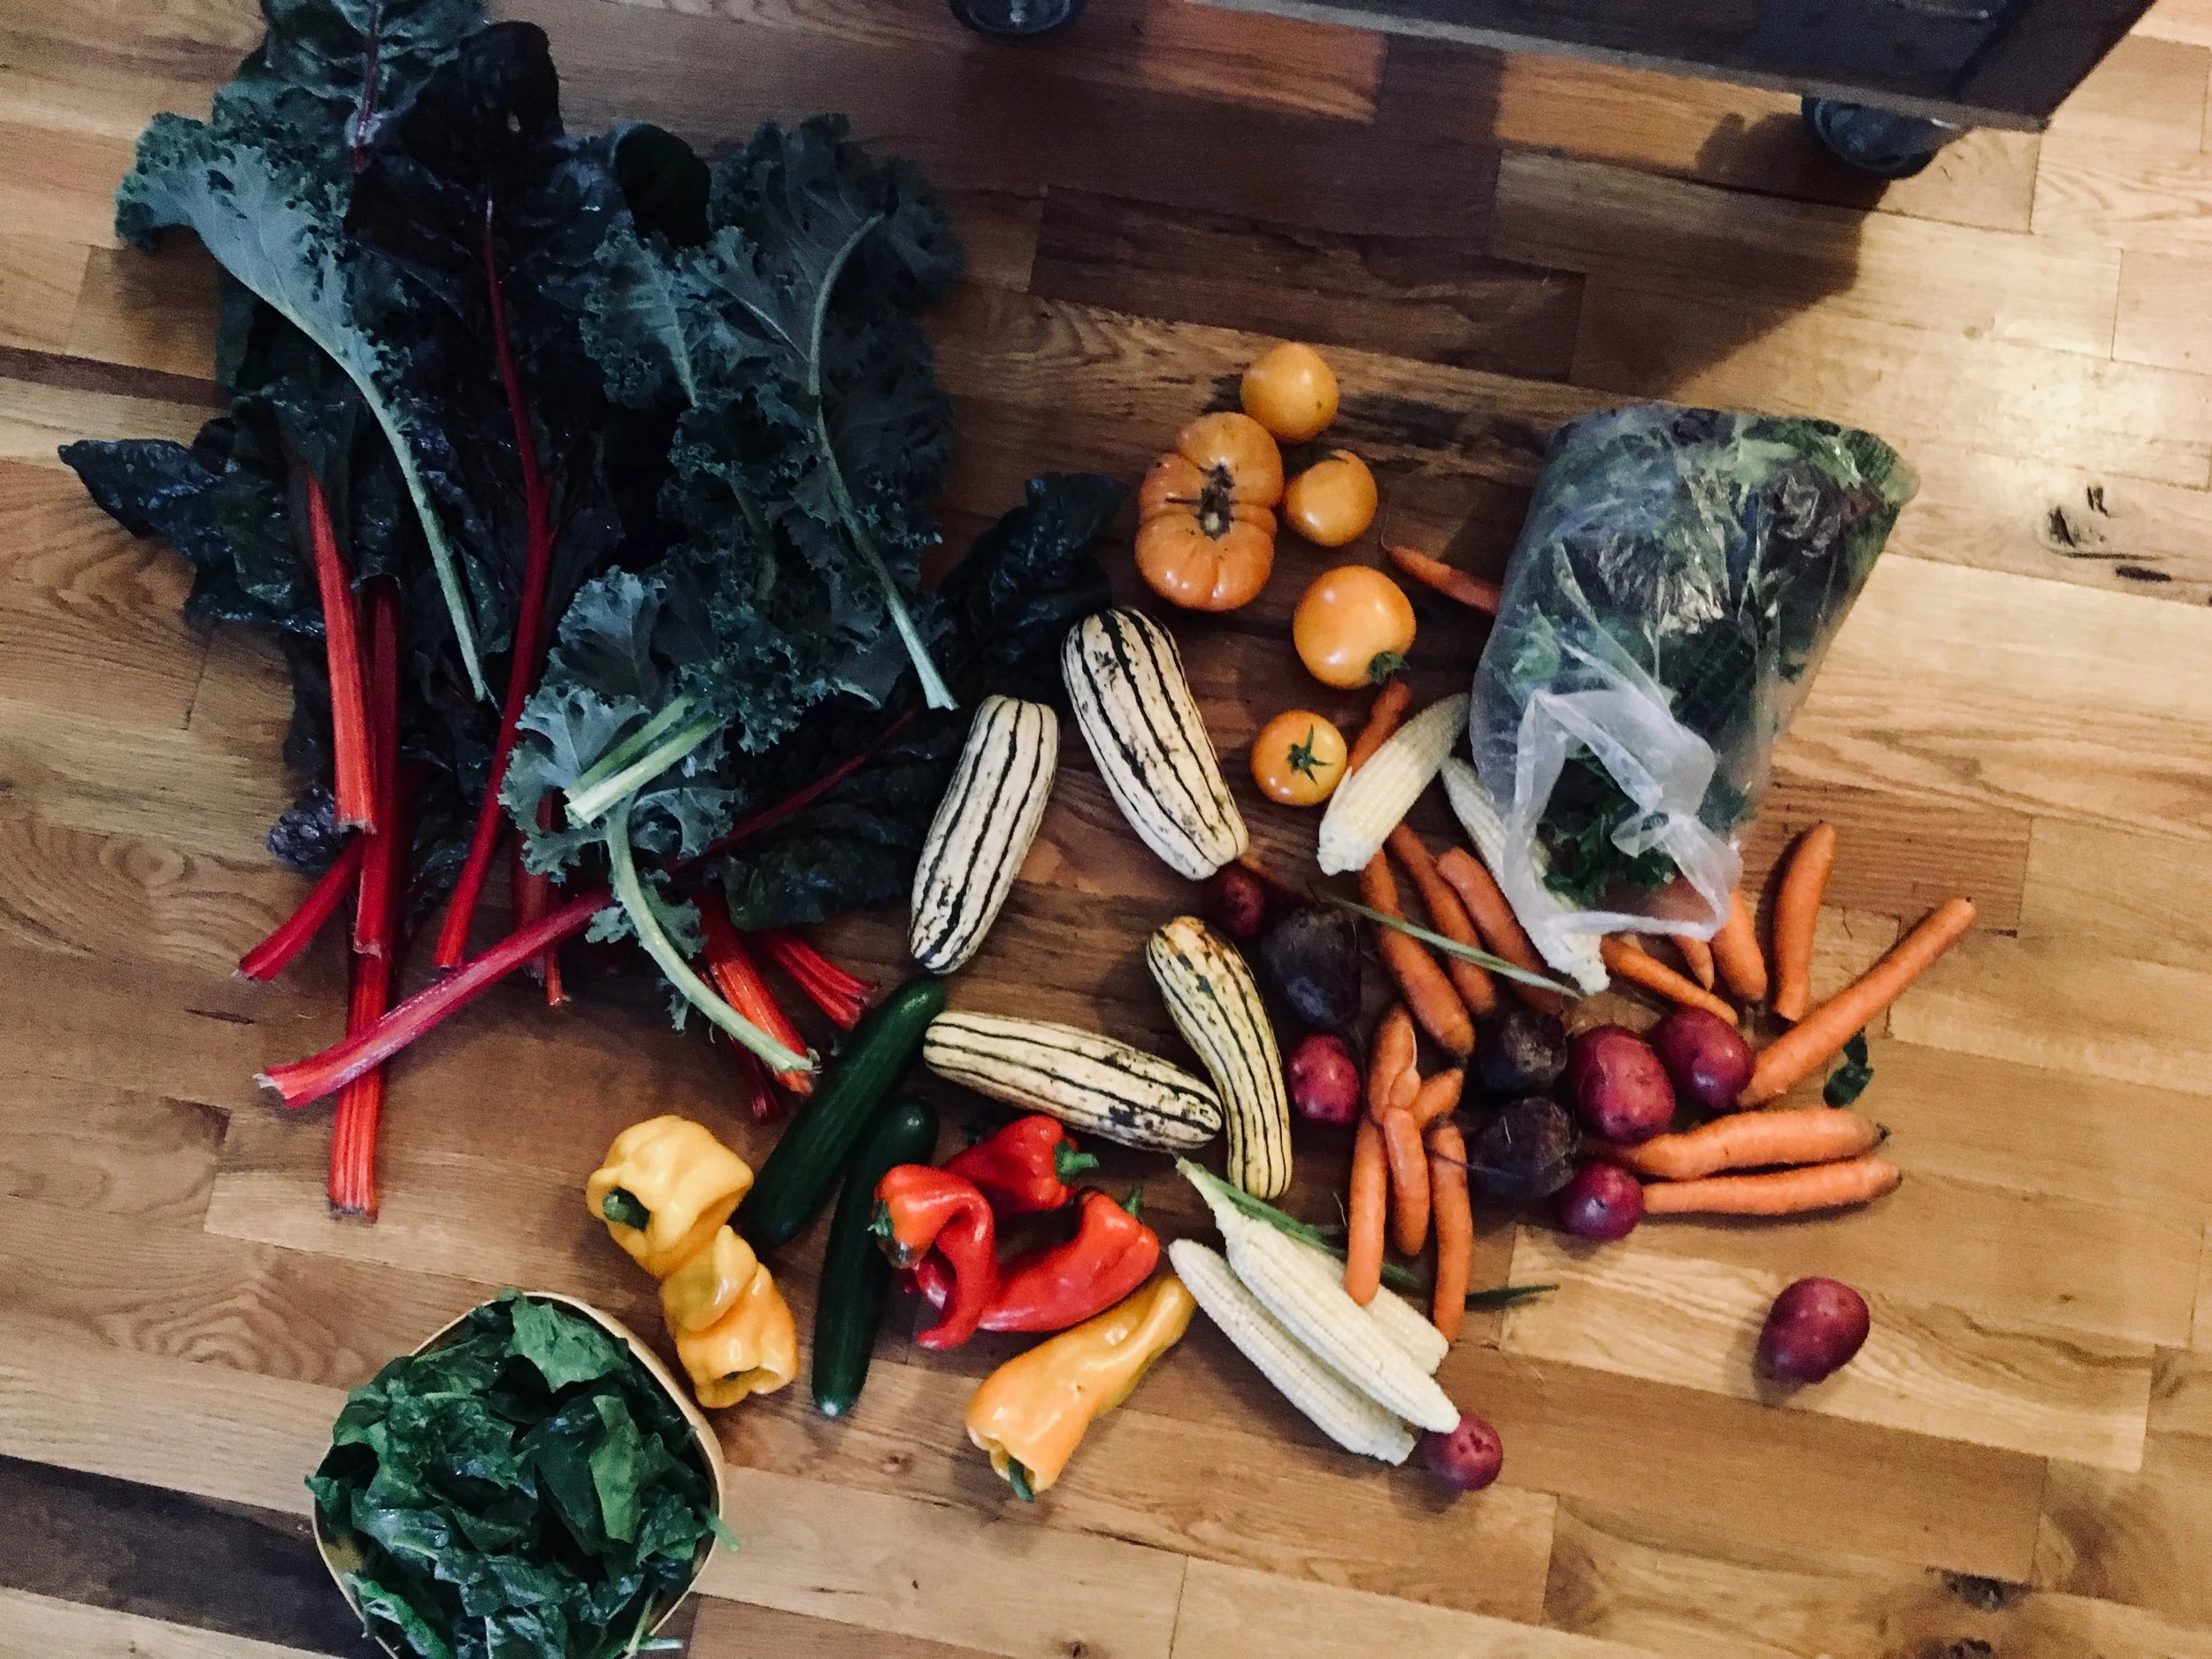













THE LOVELY CRAZY
October 15, 2019 by maximios • Blog
It%u2019s been a week of weeks if you know what I mean. The world. There is a lot to process, good and bad. And now I think I need to catch up with my mind. I feel like I have let it run to far ahead of the rest of me. Or maybe I am running away from it? Either way. I need to reign it it and focus. That is the goal anyway.
As our routine, we went camping on Sunday and it was just the best, an unexpected greatness. We started with a great hike through pastures and woods and to a gorge and then headed to the park to pitch the tent. D.A.R State park. Neither of us had ever been there before and hadn%u2019t heard anything about it, so we were not sure what to expect. And it turned out to be just fantastic. Big and spacious, pretty, relaxing, and right on the lake. Very few campers, all of which were old people. So quite. Our site was perfect and there was a sink near the bathrooms to wash dishes in. What more can you ask for? We played on the rock beach, made dinner, hug out by the fire, walked around the camp, went back down to the beach and skipped rocks while watching the sun set, and then crawled in to the tent for the night. The stars were crazy bright, the fireflies were everywhere, the sounds of the waves were faint but there. I was just as happy as as clam. Even when I woke up chilly. And then we woke up, made coffee, the mr fished for a few while I read and watched the sun come up then off and back to life we went.
After we got home Monday things got really busy and completely out of the norm. First off, the mr has been working a time sensitive job that has had him leaving as soon as I walk in the door in the morning and not getting home until I am in bed. And that in itself is not usual, but if that does happen, we will see each other during the day, at least for meals. It might not seem like such a biggy to most people, but for the past 17+ years, we have eaten almost every single meal together, and this week, no meals. I have been eating alone all week. At first I loved it because I love reading while I am eating and only ever do it on the very rare occasion that the mr is not home for a meal. But all week for lunch and dinner, alone. I have read 2 books, but I was starting to get lonely. I missed my mr. So sad. HAHA.
Anyway, while he was gone all week, I did some work, had coffee with my mom, made cookies with the littles, met Barb%u2019s boyfriend, and ate ten thousand tomatoes. I also spent a good chunk of time cleaning out the loft (again) for my dad, and oh, I don%u2019t even know, a bunch of other stuff. Then Jeff Dad came to VT. We went for a hike with couple littles at a state park, sat in traffic on the interstate for far too long, and then went to Megans house where I made dinner for everyone. I got to meet Anthony%u2019s girl friend ( a week of meeting the significant others), got a glimpse of the butterfly chrysalis, and made Sophia cry because we picked all her basil for pesto and she really really didn%u2019t want to share it. So I owe the girl a new basil plant.
Yesterday was family reunion up in Belvidere. The whole crew. Great as always. Seeing family is always the best. I love them all, even if they exhaust me and maybe make me want to run away screaming. But isn%u2019t that the way it suppose to be?
And then we came home, the mr left again to finish this job last night and came home while I was in bed. Again. But now he is done. And I am so excited to have him around, although this week is a new job that will be taking him away again. At least we have today. Camping. Ricker Pond State Park. I am excited. No work for the mr. Just him and me heading out into the wilderness with our tent and sleeping bags and a socks! Socks cause it had been getting chilly at night%u2026.YAY for cool late summer nights! I am so ready for some cool weather and to bust out all my sweaters!!!!
Internet from the Internet.
-It%u2019s that time of year again. One day theres one, the next there are a million! How to Get Rid of Fruit Flies Before They Take Over Your%u00a0Kitchen
–Call Me Crazy, but I Think an Active Vacation Eases Stress More Effectively Than the Beach. No, not crazy at all. I need activity all the way, whether it is hiking, biking, or just walking 20 miles around a city. No beach reading for me.
-Avoid the toilet plume! Hey, Just Always Close Your Toilet Lid, OK?
-I don%u2019t really get it, but it is awesome. Watch the New, Brilliant Trailer for Season 10 of %u201cThe Great British Bake Off%u201d
–It%u2019s the Season for Fruit, and Also for Writing About Cutting Fruit as an Act of Love. I always cut fruit up for the ones I love. HAHAHA, but for real.
-Oh fuck. A New Study Reveals Just How Toxic a Bee%u2019s World Has Become
–Collards vs. Kale: Why Only One Supergreen Is a Superstar. Strange how people perceive certain things%u2026
-I like. ON TREND: THE ART DECO BED.
–Fun People Order Pancakes: What Your Diner Order Says About You. Black coffee all the way.
-Can you imagine%u2026 3 feet tall. Super bad ass and super scary! I wonder if they could talk too? This three-foot-tall parrot proves New Zealand is the mecca of giant weird birds
–Give Up Your Gas Stove To Save The Planet? Banning Gas Is The Next Climate Push. Would you? I think we all are going to need too. I am already thinking of induction. Definitely next kitchen I remodel.
And pictures from the week.
Farm share started last week (HOORAY!!!!) but always, at the beginning when things are still getting on growing, we are only getting a few things. Lot of greens which I will never get enough of, and lots of potatoes. Also, I made the mistake of buying a very large bag of potatoes last week right before farm share and now I am basically swimming in potatoes. And so the story goes%u2026.
So what do you do with a shit ton of potatoes? Yeah, I thought potato cannon to but then I realized that I would have to use my potatoes and sure I have a lot, but I am not wasting them on that. So gnocchi they became. Gnocchi. Basically a boiled french fry or a mashed potato meat ball. Or maybe more like a ravioli. Whatever they are, they are loved by potato loving people and are fun to make. I mean, when do you ever get to use the ricer? ( Don%u2019t worry, you can make gnocchi without a ricer.)
To the gnocchi.
The stuff. Potatoes, flour, an onion, some tomatoes, a few cloves of garlic, salt, pepper, and olive oil.
Note. Make sure to use russet potatoes because they make the lightest, fluffiest gnocchi. You could probably use Yukon gold, but any hard wax potato just won%u2019t do.
First step is to make baked potatoes. Place potatoes in oven, directly on rack, and bake for 30-45 minutes until nice and soft and tender. Just like you would when you eat it as a baked potato. Once cooked cut them in half and let them cool off for a few minutes.
Once potatoes are cool enough to handle, scoop all the flesh out of skins. Keep skins for soup or a snack for later.
And the fun part. Flour the counter then rice the potatoes. You can also do this with a food mill or even grate the potato with a box grater. Once all riced, cover with flour and start to fold and mix the potato into the flour gently until the dough starts to come together. If the dough seems really sticky and wet, add in a tablespoon or two of flour, to dry and crumbly, add in a tablespoon or two of water. The goal is a nice fluffy dough that hold it shape but is not overly dense.
Cut off a potion of the dough, roll it into a rope about an inch thick, then cut into inch long pieces.
To cook gnocchi. Bring a big pot of water to a boil and carefully drop in a handful of gnocchi into the water. They are gonna sink, but after a minute or two they start to float. Once floating, remove them from the pot with a slotted spoon and place them on a lightly oiled baking sheet. Repeat until all the gnocchi are cooked.
Cooked and ready%u2026 Ready for what? For anything you want but these are going into a tomato and onion situation.
Mince garlic and dice tomatoes and place into skillet with a good pinch of salt and a splash of olive oil. Place on stove and cook until slightly tender. Dice up tomatoes into small chunks and add to skillet along with a cup of water (if you have gnocchi water, use that) Turn heat up and cook until mixture start to bubble, then turn heat down to low and cook until the tomatoes are mushy.
And then drop in gnocchi. Keep on heat until the gnocchi are warmed completely all the way through.
Sprinkle of salt, lots of pepper, and something green if you want to be fancy.
And then you eat them.
-C
Makes 3-4 servings
2.5 pounds russet potatoes
2/3 cup of all purpose flour
1 large onion
3-4 tomatoes
few cloves garlic
salt and pepper
olive oil
water
Place potatoes directly into oven on one of the oven racks and bake on 450 degrees until soft and tender. Should take about 1/2 hour to 45 minutes, depending on size of potatoes.
Once cooked, remove from oven carefully, cut in half, carefully, and let cool for a about 10 minutes, just so you can handle the potatoes without burning yourself. In the mean time, get a large pot, fill it with water, and set it on the stove to boil.
When the potatoes are not to hot to touch, grab them and with a spoon, scoop out all the potato flesh from the skin (keep skin for a snack or for soup). Lightly flour the counter and start ricing the potatoes directly onto the counter. (You can also use a food mill or a box grater if you don%u2019t have ricer). Once all potato is rices, cover with floor and gently fold potato over into flour, over and over, even using a knife, to kind of cut the potato into the flour, until it all mostly comes together. Be careful to not overwork the dough or else it will become dense make the gnocchi chewy. If the dough seems is sticky, add in a few more tablespoons of flour, to dry and seems crumbly, add a few tablespoons warm water.
Once you have the dough, make sure the water on the stove is still there and has not evaporated and is at a gentle boil. Cut dough in thirds then roll out a portion into a rope about an inch thick. Cut the rope into inch long pieces. Repeat with the rest of dough.
When all the gnocchi are made, grab a rimed baking sheet, coat with oil, and place close by the boil water.
Now to cook them. Drop a handful of gnocchi into water carefully. They will sink. Watch and after about a minute or two, they will start to float. Once floating, take a slotted spoon and take them out of water. Place them on the greased baking sheet. Repeat until all the gnocchi are cooked. (when done cooking, save a cup of the cooking water)
After the gnocchi is cooked, you can do whatever you want with it, like eat it right away with salt and pepper or whatever, but to make the quick tomatoes onion situation, dice up the onion and mince the garlic. Place into a skillet with a drizzle of olive oil and a pinch of salt and place on stove and start to cook. Dice up the tomatoes and once the onion is tender, add in the dice tomatoes and about a cup of the gnocchi cooking water. Turn the heat up until the water is bubbling then reduce to low and cook until the tomatoes are mushy and tender. Once cooked, add in the gnocchi, toss them around, and cook until the gnocchi are fully warmed through.
And then eat it. Maybe a little more salt if needed, definitely lots of pepper, and whatever else you want.
This summer has been weird. And when I say weird, I mean too stupid freaking hot and humid and it’s screwing up my life.%u00a0I think I have gone a month, maybe more, without making soup.%u00a0That is just not right. For as long as I can remember I have made soup, or at least eaten soup, just about everyday, even all summer long. But the terrible heat and humidity this year, I just have had no desire. It has been straight up shredded zucchini and whole tomatoes for some time now. I just don’t want to have any residual added heat to my life.%u00a0%u00a0But the other day, oh how lovely. I woke up with a chill, %u00a0enough that I needed to grab a long sleeve before leaving the house, and had the very strong urge to return home and get my soup on. And soup on I did!
For my first trip back into soup (oh how I missed soup!),%u00a0I went simple and used what I, and many, many people have ample supplies of right now.%u00a0Tomatoes. And beans because I wanted my soup to be thick and creamy and I had the beans so why the heck not.
This soup really requires very little and you get the most thick, delicious, creamy, tomatoey soup. Perfect to eat alone, but is fanatic with some crackers, or a hunk of crusty bread. And it uses a lot of tomatoes which is nice because I am (as are many of you.. My neighbor is bringing me HER tomatoes now too) trying to make a dent in the ever growing pile or these beauties on the counter. This soup dented it, until I went out to the garden a few minutes later. My pile is bigger then ever, which is fine because I am back on my soup game.%u00a0
The stuff. Lots of tomatoes, some white beans (I used navy, but any white bean would be good) a large onion, a carrot, salt and pepper, a lemon, some olive oil, and honey (optional).
First off, chop the carrot and onion into chunks.
Toss the chopped stuff into a big ol’ pot with a drizzle of olive oil and cook on a medium heat until nice and soft.%u00a0
While veggies are cooking, core and cut up all those tomatoes.%u00a0
When the veggies have cooked up a bit, add the tomatoes, the beans, and a sprinkle of salt and pepper to the pot and give it a good mix. Return to high heat, stirring even so often, until the tomatoes give off enough juiced to start boiling then turn heat down to medium and cook for a little while, like 1/2 an hour or 45 minutes.
Until it looks lit this. The tomatoes have all fallen apart and the beans, carrots and onions are mushy.%u00a0
Blended with the juice of the lemon and a sprinkle of pepper and more salt if needed.%u00a0
Now serve into a %u00a0bowls. Garnish with a drizzle of honey if you are feeling it. Sliced cherry tomatoes make for fancy garnish.%u00a0
Creamy tomato bean soup for everyone!
Hurray for soup!
-C
Makes about 1/2 gallon (enough to serve a crowed or enough to serve one for a few days and maybe freeze some for later)
Start by chopping the onion and carrot up into small chunks. Grab a large heavy bottom pot, drizzle a teaspoon or two of olive on the bottom then toss in the chopped veggies. Place the pot on a medium heat, stirring occasionally until the onion and carrot start to soften.%u00a0
While the veggies are cooking, core and cut up all the tomatoes. Once the veggies are soft, dump in all the tomatoes, along with the beans and all the liquid they are in. Sprinkle with salt and pepper and turn heat up to high, giving it a good stir until the tomatoes start to get super juicy then bring the pot to a boil. Once boiling, reduce heat to medium and cook for another half hour to 45 minutes, giving it a stir ever so often. %u00a0When the tomatoes have completely fallen apart and the carrot, onions, and beans are mushy, you know its done.%u00a0
Remove the pot from heat and dd in the juice of the lemon. Using a hand blender, blend until it’s a smooth creamy consistency. If you only have a counter belnder, let soup cool a little before handling and %u00a0be really freaking careful and blend a few cups at a time, making sure to have the blender lid on. Hot soup in the face is no fun.
Once soup is creamy and smooth, serve in bowls with a drizzle of honey (totally optional, but some people really like a touch of sweetness to their tomato soup) and more pepper to a taste. Garnish with thinly sliced cherry tomatoes if you are feeling fancy.%u00a0
Any extra soup can be refrigerated for up to a week. Can also be frozen.%u00a0
I got my first few ears or corn from the farm share this week which is exciting because I wait until we get corn from the farm to eat it. I figure that we get so much from the farm that there is no freaking way I am going to buy it and plus I know that that corn was picked a few hours before I got it. If you are going to eat corn, it needs to be fresh (life lesson).
Have I told you that the mr hates corn? I am pretty sure I have. I also have a theory that he really doesn’t hate it so I just go ahead and make food with corn in it. Then he eats it, likes it, and I am all like” AHA, you like corn be-otch! I win!” (not sure what I win). But then the next time I mention we have fresh corn and how would he like it he is all like, I hate corn.%u00a0 It’s a game we keep on playing.%u00a0
So I got fresh corn, lots of tomatoes, and the kale is growing strong out back. I figured I would give the mr a break from all the zucchini for the night and make he a nice warm summer salad with the corn that he “hates”.
The mr ate it all and didn’t even mention corn so now I am thinking that he just hates the word corn and if I don’t say the word then there will be no problem. HA HA, I am a genius.
The stuff. A tomato, a ear of corn, some kale, a little balsamic vinegar, oil, and salt and pepper.
Chop the tomato and remove the corn from the cob.
Toss into an oven safe skillet with a drizzle of oil and a pinch of salt.
Now stick it into the oven
After about 10 minutes the tomato has fallen apart and the corn is all nice and tender.
While the skillet is still hot the vinegar goes in and the (chopped) kale goes in. Mix it all around until the kale wilts. And be careful, the pan is hot.
Dump it into a bowl, sprinkle with pepper, grab a fork, and you are on.
Happy eating.
-C
makes a salad for one or two small side salads
You can cook this in or on the stove. I did it in the stove because I was baking anyway
Preheat oven to 425
Remove corn from cob and chop tomato into medium sized chunks. Toss into a oven safe skillet with a drizzle of oil and a little pinch of salt. Stick in oven and cook until the corn is tender and the tomatoes have fallen apart, about 10 minutes. Remove from oven and mix in vinegar. Chop kale into mouth sized pieces and toss into hot skillet. Mix around until kale starts to wilt. And it’s done. Serve with a pinch of pepper.
%u00a0%u00a0You ever make dish, completely on the fly, just to use something up (I have a lot of ripe tomatoes) with no real expectation, just because%u2026 Then have it be one of the best freaking things that you have ever made?%u00a0This salad is one of those things.. maybe not the best thing I have ever made, but definitely the best salad I have ever made%u2026. this week.
A salad compiled of all things amazing, taking just a few minutes to make and is the perfect balance of uber fresh with baby spinach, raw kale, and crunchy quick pickled onions. Then adding a touch of warmth with the sweet and juicy seared tomatoes and big chunks of creamy avocado.
I mean, for reals. %u2026…Best Salad Ever !!!! (this week)
Now let’s do this.
%u00a0The Stuff. A big bowl of baby spinach and chopped up kale, a few sliced up roma tomatoes, some super thinly sliced red onion, half an avocado, red wine vinegar and salt and pepper.%u00a0%u00a0Before you do anything, place the sliced onions into bowl, sprinkle with a pinch of salt and add a few glugs of the red wine vinegar. You want the onions to sit in the vinegar for at least 5 minutes on the counter cause the longer they sit the more crispy pickly they get. (after eating onions like this, you will never want to eat them any other way)%u00a0Lightly oil a skillet and preheat to a medium heat. Once the skillet is hot, sprinkle the tomato slices with salt and pepper and %u00a0place tomatoes right on in, snugly, but not overlapping. Let cook for about 3-4 minutes, or until the bottoms start to brown. Flip and cook other side for another few minutes.Once the tomatoes are seared on both sides, remove them gently from skillet and toss them on top of the bowl of greens.
Take the pickled onions and toss those right on top, with any of the residual vinegar, add dice and scoop the half of avocado and toss that on in as well.And now eat the best salad ever (this week).
Make the day good!
-C
Skillet Seared Tomato and Quick Pickled Onion Salad
Serves 2 as a side, 1 for a hungry eater
Thinly slice red onion and place in a bowl. %u00a0Add vinegar into a and sprinkle with salt. Let sit on counter for at least 5 minutes, if not longer,
Slice tomatoes into 1/2 inch thick rounds and sprinkle with a pitch or salt and pepper. %u00a0Lightly oil a skillet and preheat it on medium heat. Once the skillet is preheated, stick the tomatoes on it (watch out for splattering tomato juice) Cook first side for about 3 minutes or until the bottom has browned, then flip and do the same for other side.%u00a0
One tomatoes are seared, place directly onto the greens. Now dump the pickled onions and residual vinegar on top. And %u00a0dice up %u00a0avocado and add that on top too.%u00a0
Now eat your salad, fork or fingers%u2026 %u00a0
And I know, ba-daaaamn. So good.
I love me some freshy salsa, It makes me oh so happy.%u00a0
%u00a0I make this stuff all the time, especially during the warmer months and tomato season. I usually make a batch right before a meal, just enough to eat right away, but sometimes I ‘ll make a big batched of it, thinking I’ll save some for the next day. %u00a0 It never makes it past the second day in the fridge because it’s just one of those things that when you see it, you want to eat it. Weird but true. And it’s totally ok to do so cause it’s basically eating a big bowl of healthy goodness, so eat on!
It takes no time to prepare, tastes super refreshing, goes on everything, and it’s just so freaking tasty. You can eat it with tacos and chips (the mister) or like me, I like to add it to everything; salads, popcorn, or directly in my mouth.%u00a0
Make one batch, make 4, it doesn’t matter cause you will eat it all, and need to make more.
Stick all the chopped stuff into a jar and add in the juice of the lemon. Roughly chop the cilantro and add that on in with a sprinkle of salt.%u00a0
Mix it up%u2026. And thats it. Now eat%u2026 with something or without.
A spoon out of the jar is one of my favorite ways to go at it.
Happy Cinco de Mayo, Happy Tuesday!
-C
Pico de Gallo%u2026 Freshy Salsa
Chop tomatoes and onion and toss into a bowl or jar. %u00a0Cut seeds from jalape%u00f1o(s) and dice up into little bitty pieces and add that to the tomato and onion. Roughly chop the cilantro and toss that in as well with the juice of the lemon or lime. Sprinkle with salt. Stir, let sit for a minutes, taste and then add more salt if needed.%u00a0
Eat right away or make ahead and store in the fridge until ready to use.
Goes great with corn chips, tacos, toss onto salads or eat as is standing in front of the fridge. If someone is judging you, they are stupid.
And the mister%u2026.He loved it. And I am sure you will too. How can you go wrong with lemon, garlic and poppy seeds all creamy and fragrant? You really can’t, %u00a0Pus this recipe is so easily adaptable. It can be vegan and or gluten free..whatever you want it to be.%u00a0
So if you are looking for a %u00a0fast, delicious, and impressive looking dinner%u2026 look no further. You gots one right here!
Choose your pasta and get a pot of water boiling and start on the sauce.. which includes, olive oil, lots of garlic, flour, milk(any kind you use), lemon zest a little lemon juice, poppy seeds, salt and pepper.%u00a0
Crush the garlic and stick into pot with the oil. Let simmer for a few minutes until you can smell the garlic, which smells like heaven. Whisk in the flour and then gradually whisk in the milk. Keep on low heat and continuously whisk until sauce has thickened and doesn’t run off a spoon. Add in lemon zest, the poppy seeds, and the salt and pepper. Mix it all up and turn off heat.
And dinner is done%u2026. %u00a0and it took all of 15 minutes.%u00a0
Thank me later.
-C
Lemon Garlic Poppyseed Pasta with roasted tomatoes
Start by chopping tomatoes %u00a0and placing them in a skillet or baking sheet, sprinkled in salt and a little bit of olive oil, and stick into a 400 degree oven
Bring a large pot of water to a boil add you pasta%u2026cook to the boxes instructions.
While pastas is boiling, crush garlic and add to a pot with the olive oil. Heat on medium low heat until the garlic is fragrant and slightly brown. Now whisk in flour and then whisk in milk. Continue to whisk until sauce thickens to where it doesn’t run of a spoon. Add in the zest of 1 lemon, the poppy seeds and salt and pepper to taste. When pasta is done (should be around the same time the sauce is done) reserve about a 1/4 cup of pasta water and drain the pasta from the rest. Add water and pasta to the sauce and mix together.
Remove roasted tomatoes from the oven. Scoop pasta into bowls and top with a scoop of the tomatoes. (you can mix into pasta, but it will turn the sauce red and the tomatoes will fall apart)
Serve with a wedge of lemon and bring food to face!
ENJOY!