My winter farm share is coming to an end this week. One more pick and then a three week stretch until the summer share starts… WHAT AM I GOING TO DO!!! Stock up as much as I can is what.
I have been strategic about the roots and veggies that I have chosen to bring home the past few weeks.(My farm lets you pick what you want) I know what I can buy at the store, things like carrots and potatoes, so I have been passing those up, but the roots like beets and celeriac… I have been bringing home baskets of those and hoarding them in the fridge and basement in preparation for the laps in farm fresh food and knowing that if I want to by these at the store it s going to coast me a million dollars a pound. (a for real million dollars)
Yup, lots of roots around here, especially celeriac root which is fantastic. I am kind of obsessed with celeriac, with its fibrous, knobby exterior, soft but almost meaty texture inside, and a flavor that is close to celery but so much better. I don’t know why it has taken me so long to do a posting featuring this amazing root vegetable (I eat it almost every day)
So here, an amazingly tasty, hearty but not heavy, celeriac recipe. Perfect for spring and the change into summer…. Mustard roasted celeriac with an fanatic split peas gravy that will have you licking you bowl clean.
The stuff….For the split pea gravy we have a carrot, a parsnip and a large onion chopped into small chunks. Salt, thyme, a bay leaf and of course the split peas. Then there is the celeriac root* sliced into 1/2 inch thick rounds and some plain old yellow mustard .
*Note. I don’t peel my celeriac root. I really enjoy the fibrous exterior but realize that some don’t(The mister does not like it) so peel it if you want.
Toss the chopped parsnip, carrot, onion and the spices into a pot on medium heat and let veggies sweat a few minutes until tender. Add in the split peas and enough water to cover everything. Turn pot on high and bring to a boil, then cover and turn to low. Make sure to give the pot a good stir ever few minutes and add more water if needed
While the gravy is cooking, take the celeriac rounds and brush each side with yellow mustard, sprinkle with pepper, and place on a baking sheet. Stick into the oven to roast for about 25 minutes, flipping the rounds after about 10 minutes.
Once the peas have soften, remove the bay leaf and puree until smooth and oh so creamy. Taste and add more salt and pepper if needed. If you find that the gravy seems to thick, just add in more water until it’s the consistency that you want. The gravy is made, the celeriac is roasted… now we are ready to eat!! Stick the celeriac on a plate and dump good amount of that gravy right on top. Feel free to add a bed of spinach, or a grain or anything you want, because why not, and also some chopped tomatoes for a little acid and prettiness.
Serve with the fanciest knife and fork you can find. Extra yellow mustard and sriracha sauce are great condiments to have close by.
Happy Tuesday!
-C
Mustard Roasted Celeriac with Split Pea Gravy
2 medium celeriac roots
6 tablespoons mustard
1 large carrot
1 medium parsnip
1 large yellow onion
2/3 cup split peas
2-3 cups water
1 bay leaf
2 teaspoons thyme or italian spice mix
salt and pepper
spinach (optional)
diced tomatoes(optional)
Preheat oven to 400 degrees
Small dice the carrot, parsnip and onion and throw into a large pot. Spinkle with salt and pepper, add in the thyme and bay leaf and add a splash of water. Stick on stove on medium heat and stir. Let cook until the veggies become soft and fragrant. Now add in the split peas and 2 cups of water. Bring to a boil then cover and turn heat down to medium low. Let cook until the split peas become tender (about 25 minutes) string on occasion and adding more water if the peas are not completely summered while cooking.
Once the peas are tender, let cool for a few minutes, remove bay leaf, and either dump into a blender or blend with an immersion blender until nice and creamy. If gravy seems to thick, add in more water.
Scrub or peel celeriac roots and slice them into 1/2 inch think rounds. Place on a baking sheet and brush mustard on both sides and spindle with pepper. Stick into oven for about 10 minutes, flip, then back into the oven for another 15 or so minutes, or unit the celeriac is tender.
When the celeriac is done remove from oven and stick a few rounds on a bed of spinach (or not, or any kind of grain or green you like) Top with a hearty helping of the gravy and toss on some chopped up tomatoes.
Is it really for real April? Where has all the time gone and where the hell is the warm weather? It’s not funny anymore. I am officially OVER winter! Ok, so now that I got that off my chest…..
Last night the misters Dad came over for a long awaited dinner accompanied by talk of life goals and what her referred to as “narratives” or the story of our lives. Some deep shit to be talking about at dinner, especially with zero alcohol to be had.
Me, being so super awesome, was all up in taking charge in making the food. Except that last night I didn’t have a bunch of time and honestly, much energy to be doing anything. And sure, I could have just made a pot of spaghetti, but that just felt like cheeping out. So Polenta it was. And because I just made a hug pot of navy bean, those were going into the polenta too.
Beany polenta baked in the oven with a tomato sauce cooked on the stove. About 5 minutes of hands on time and an hour to cook it all. It’s the perfect meal to make when you have guests coming over. Fast prep, into the oven and on the stove, and then you have an hour to clean and make yourself presentable. See, I am a thinker. (I ended up skipping the making myself presentable part… I stayed in my gym clothes.. no need to impress family right?) Then after about and hour you end up with a hearty healthy pretty meal, all from scratch, that seems like you spent the afternoon cooking. When in fact you spent the past hour vacuuming and watching Gilmore Girls.
The Stuff. Cornmeal, water, navy beans and parmesan for the polenta. Crushed tomatoes, garlic, dried basil, onion, carrot, zucchini, and summer squash for the sauce. Salt, pepper, and olive oil all around.
Cornmeal and water go into a cast iron skillet (or any oven safe dish) with a pinch of salt and pepper. Give it a little mix and stick it into the oven at 400 degrees .
Once the polenta is in the oven, make the sauce. Chop up all the veggies and stick into a dutch oven or sauce pot with a pinch of salt, the basil and a good drizzle of olive oil. Stick on medium heat and let veggies cook down a bit. When the veggies are tender, add in minced garlic, crushed tomatoes and another drizzle or oil. Turn burner to lowest setting and simmer (giving it a stir every now and then) for about 45 minutes or until the polenta is done. After about 30 minutes when the water had pretty much all cooked down, take the polenta out of the oven and stir in the beans, the parmesan, a tablespoon or two of olive oil and salt and pepper. Smooth top out and sprinkle with more pepper, parmesan and drizzle with a bit more oil. Stick back into oven for another 1/2 or until polenta has formed a crust and no longer giggles when you wiggle the pan.
Pull polntna from the oven and let sit for at least 1o minutes.
Two big spoons and a pile of plates. Have the people serve themselves!
Have a Happy Day!
-C
Baked Navy Bean Polenta with Chunky Tomato Sauce
Serves 4 hungry people
For the Polenta
1 1/2 Cups Course Ground Corn Meal
4 Cups Water
3 Cups Prepared Navy Beans (Or just use to cans)
1/2 Cup Parmesan Cheese or Vegan Parmesan (Optional)
3 Tablespoons Olive Oil
Salt and Pepper
For the Sauce
One 28oz Can of Crushed Tomatoes
1 large Carrot
1 Small Onion
4 (or more ) Cloves Garlic
1 teaspoon Dried Basil
1 Small Zucchini
1 Small Summer Squash
Olive Oil
Salt and Pepper
Preheat oven to 400
In a large skillet, mix together the cornmeal and the water and add a good pinch of salt and pepper. Place into oven for about 30 minutes or until the polenta starts to congeal at the edge of the skillet nd most of the waster has cooked down.
Remove skillet from oven and with a whisk or wooden spoon, mix in the beans, the parmesan (if using) and 2-3 tablespoons of olive oil. Smooth out mixture, sprinkle with salt, pepper, parmesan and drizzle with olive oil. Stick back into oven for another 30 minutes or so. Polenta is done when it no longer wiggles when you giggle the skillet.
For the sauce
Small dice the carrot and the onion and stick into a medium dutch oven oor sauce pan with a drizzle of olive oil. Place on medium heat and cook until the veggies are tender. Add in tomato, minced up garlic and basil. stir and let simmer on stove top for about 45 minutes. When you place the polenta back into the oven for the second bake, dice up zucchini and squash and add to sauce. Stir and keep on simmer until ready to serve.
Once the polenta has completely cooked, remove from oven and let sit for at least 5 minutes…10 is better to solidify.
Spoon big piles of polenta on a plate or in a bowl, top with a big heap of tomato sauce. Sprinkle with a little more parm and maybe another dash of pepper .
When your sister drops off 50 lbs of beets, on top of the 50 lbs that you have to harvest that are growing in your garden, what do you do?
Well chips of course.
Yeah, chips. That%u2019s right. When I got home from camping on Monday and there was a humongous pile of beets sitting next to my front door, I am not going to lie, I was a little shocked. I mean there wasn’t just a few little ones. These beets were freaking huge, like the size of my arm, and so many. But pretty much right after my initial shock I knew what needed to be done. First, eat a few roasted, second, roast extra to freeze for later, and lastly, make a few bunches of chips.
Have you ever had beet chip? They are amazing. Crispy, crunchy, tasty as all heck. If you like beets, even in the slightest, you will love these. If you hate beets, well maybe don%u2019t? Either way, beet chips are the best chip. Wha’t%u2019s not to love? Pink, and chippy. Sweet, and salty. And then you add the fact that making beets into chips is a good way to get your veggies in and that you can eat a whole bowl full and feel zero guilt because you are just eating beets. Plus making beets into chips is a good way to use up any extra beets you might have laying around or that have been dropped off at your front door.
These chips, once they are made, will not last long. So when you do make them, know you will probably be making them again soon there after. Me, I have still have to harvest all my garden beets so beet chips are happening again soon. Real soon (like this afternoon!)
To the beets!
The stuff. Beets (these are Formanova beets but any variety works) salt and pepper ,and oil.
Ok so you need to cut these bad boys reallllllly thin. Like 1/15th a inch. So, what I am saying is, use a mandolin. If you don%u2019t have one, a knife will do, but you are going to have a hard time getting them as thin as you need to and all of them consistent so baking is going to be a little more tricky so maybe you should just go borrow or invest in a mandolin.
Grab baking sheets, oil, and salt and pepper. You can either dump the oil directly onto the pile of sliced beets and really toss to make sure each one has been coasted or do what I did which was I drizzled oil into my hands and rubbed each sliced beet between my oiled hands before placing on the sheet.
After you get them on there, single layered with no overlapping, sprinkle tops with a pinch of salt and pepper.
On the way into the oven.
After the oven. Baked for about 18 minutes. You really have to watch after the first 13 or so minutes to make sure you catch them at the perfect time. Crispy, but not burnt.
A side by side shot. Crazy shrinking will happen!
Oh man, so delicious. And so pretty!.
Let the chips cool before eating, you know, so you don%u2019t burn your tongue. Plus they crisp up a wee bit more.
Once cooled, pile them into bowl, and then eat them. And eat them all. They are only beets after all. And you won%u2019t be able to stop yourself anyway. Ha
-C
Makes enough for an evening of chip eating for 1-2 people
2 Large beets (think softball sized)
a tablespoon or two of oil (I used grape seed but really any would work)
salt and pepper
Note. Making these without cutting with a mandolin will be a pain in the ass. It can be done, but if you have a mandolin, use it.
Preheat oven to 350
With a mandolin, slice the beets about 1/15 inch thick. (No need to peel the beets unless you want to.) Once beets are all sliced, either drizzle them all with a tablespoon or so of oil and toss until all are coated. OR what I did and found worked really well was drizzled oil into my hands and rubbed each beet between my oiled hands as I was placing them on the baking sheets. Either way.
Now place oiled beets, single layered, without overlapping, on baking sheets. Sprinkle with a pinch of salt and pepper and place into oven. Bake for about 13 minutes without worrying then start to check every minute or so until the beets are a deep golden brown and crispy ,which will be between 15-20 minutes. Also, even though you cut them all the exact same thickness, some might crisp up faster so you should remove done chips as they happen. Once they are done, place on a rack to cool. And then do another batch. And not, they do crisp up a tiny bit more as they cool.
Once chips are cool and crisp, eat.
Store uneaten (how did you not eat them all?) chips in an air tight container. If you notice that they turned a bit chew, just place them back into oven while preheating oven to 300 then turn oven off and let sit in there for a few minutes.
It is exactly that time of year. Apples galore, cool days in need of a little extra warm, meaning a warm oven is welcome, if not needed. It%u2019s the best time of year, or at least one of them.
And so I bake bread. Sometimes just a roll, and sometime a loaf, almost everyday. I love bread baking because, well just because. Plus it%u2019s what people want to eat and will always eat because I guess bread=love. Makes sense to me.
This bread was made from a small dip in the 2 gallons of applesauce I made the night before. (We had sooooo many apples). The mr isn%u2019t the biggest fan of applesauce, says he would rather eat a fresh apple. I kind of get it, but dude, warm, chunky, slightly cinnamon-y applesauce%u2026 I mean, that is happiness right there. Right? Anyway, I am trying not to eat all the applesauce to my face by myself at once (it has been a challenge) and plus I needed to make the mr some bread, so I figured what the hell. I%u2019ll just use applesauce as my liquid in the bread. And so I did and that is that and now that mr really like applesacue (when it is baked into bread)
This bread is a basic sandwich type bread. The apple taste is there but not overwhelming so it can be used for sandwiches of all kinds, toast, just eating with a smear od something, or not. Just a overall good loaf of bread with a little extra from the apple. And braided because I was feeling classy. It%u2019s amazing what at little braiding of bread dough can do for your self esteem. Made me feel like I was the coolest person in the world. Haha!
Now to the bread.
The stuff. A few apples, regular all purpose and white whole wheat flour, salt, applesauce, maple syrup, yeast, and warm water.
Applesauce, shredded apple, maple, yeast, and a little water get mix up and let to sit for a few minutes to activate yeast. Then the salt gets mixed in, along with all the flour. Stir until dough forms. Dough should be slightly sticky, ut not wet. IF wet, add a handful more flour. To dry, add more water.
Dump the dough onto a floured surface, cover your hands in flour, and knead dough for about 5 or so minutes, adding more flour as needed to keep dough from sticking, until the dough is a nice and cohesive texture.
Nice looking dough. Now roll dough into a ball.
Place dough in a clean wet or oiled bowl and cover with a damp cloth for one to one and a half hours or until dough doubles in size.
Dump dough onto floured surface.
Cut dough into 3 equal pieces and roll out into long longs.
Braid logs together. You can stop here bake it this way or%u2026
After placing it on a parchment lined baking sheet, tuck the ends of the braids underneath each other and make it like this. Either way. And once you have the dough on the baking sheet, brush a little water or plant milk on top and let dough rest for 15 minutes of so while the oven preheats.
Before oven and after oven. Classy, right?
Then for shin and soft crust, rub warm loaf with some plant butter.
And for the hard part. Let it cool before slicing it. Ok sure, a little warm is fine, but wait at least 20 minutes (an hour would be best) and then eat you some bread.
Eat you some bread. That%u2019s a t-shirt right there.
Happy Fall friends!
-C
makes pretty one loaf
2 cups all purpose flour
1 1/2 cups white whole wheat flour plus more for kneading
1 cup unsweetened room temperature applesauce
1 large or 2 small apples ( about 2/3 cup shredded apple)
1/4- 1/2 cup warm water
1 tablespoon maple syrup or honey
2 teaspoons active yeast
1 teaspoon salt
1 tablespoon or so plant milk or water
1 tablespoon plant based butter (optional for rubbing on finished bread)
Grab the apples and shred them until you have 2/3 cup shredded apple. In a large bowl, mix together the applesauce, shredded apples, yeast, 1/4 cup warm water, and sweetener.and let yeast activate for a few minutes. Add in salt, the all purpose flour and the 1 1/2 cups white wheat flour. Stir together until dough forms. The dough should be a little bit sticky so if the dough seems to dry, add in 1/4 cup more warm water. If it seems really wet, add in a handful more flour.
Dump dough out onto a well floured surface and knead for about 5 minutes adding a little bit of flour to the counter as needed to prevent it from sticking. Once dough is cohesive in texture, roll into a ball and place into a clean wet or oiled bowl. Cover with a damp towel and allow the dough to double in size. Should take between an hour and an hour and a half.
Once dough doubles in size preheat oven to 400
Dump risen dough back onto a well flour counter. Cut the dough into 3 equal sizes and roll each piece into long logs about 20 inches or so long. Place each roll next to each other and braid. Grab a baking sheet and line with a piece of parchment paper. Sprinkle with a bit of flour and place braided dough onto sheet, either as a braid or if you want, like I did, wrap the braid around itself into a rounded braid situation. Tuck ends into each other and under the loaf. Brush the top gently with a little plant milk or water and let rest for about another 15 minutes or so.
After the rest, place dough into preheated oven. Bake for 35-45 minutes (Less if left long braid, more if wrapped braid) or until the top is a deep golden brown and when tapped on the bottom, it sounds hollow. Also can use an insta read thermometer and check temperature. You want it to reach 190 degrees.
Once bread is baked, remove from oven. If you want the top to stay a little crispy, don%u2019t do anything but let it cool. For a softer, shinny crust, rub the top while it is still warm with some plant based butter.
Let bread cool completely before cutting.
Then eat it like you would eat bread. Any and every way.
Store cooled loaf in a airtight bag on counter for 2-3 days but if not eating that fast, slice and place into freezer. That way you can pull out individual pieces and toast as you want.
Not just sweater weather, which it had been all week and I am LOVING IT, but it%u2019s lamp light weather too. I forgot that I had all these fantastic lights around my house and yesterday when it was dark out at 6 (it was raining so the sky was cloudy) I got to turn on a couple lamps that haven%u2019t had any action in months. It was soooo nice and cozy. This my friends, this is the best time of year!
Camping last week was great and not so great. The campground was pretty, but our fellows campers were very rawdy and loud and there was a party at the picnic pavilion that had a shitty classic rock cover band playing. The noisy people and shitty music echoed through the park for longer then anyone should have had to deal with it. But I guess that happens, especially on a long holiday weekend. And really, besides the buttheads, we had fun. We went for a nice hike through the woods and into giant fields of wildflowers and goldenrod then spent some great time in the kayaks on a nearby lake (away from all the people). Plus after eating dinner and then packing it in for the night, we didn%u2019t get soaking wet, which we could tell by the many car doors slamming and people screaming at 1am , a good few people did. Our tent stayed nice and dry inside and we even managed to stay dry when we got out of the tent and and realized it was sitting in a giant puddle. We even managed to stayed pretty dry packing up and getting on our way home, in the rain! It%u2019s because we are good at coming I guess.
Then the rest of the week came and went in a fast blur. Mostly some same. Had lunch with Barb, cleaned apartments for new tenants,, made cards for artwork, picked up farm share, and you know, other life stuff. I have been busy in the kitchen harvesting garden food and canning or freezing it as well. Trying to stock up on as much food as I can for the winter. Then the littles slept over Friday. We watched Dumb and Dumber and I fell asleep on the couch. Woke up made waffles (I was so excited to use my waffle iron. It%u2019s been too long) and sent them on their way home to be moody tweens because that is now happening.
Oh, and I can%u2019t forget about how some little shithead smashed in the back of our car. Yup, that happened too. But that is pretty much it. I think%u2026.
Now for today. Mt Auscunty State park if all goes to plan. Should be a fun one with lots of hiking and a big high tower and stuff. I know it is gonna get mighty cold tonight so I am packing my winter long underwear and a jacket, hat, and mittens. So excited!
Links to explore on the internet.
–Doctors are now prescribing houseplants to help treat anxiety and depression. Makes a whole heck of a lot of sense to me. And why not try this simple remedy before trying a bunch of drugs?
-I wasn’t;t surprised much when I read this. Junky processed food is so bad, especially if it is all you eat. .19-Year-Old Goes Blind Due to Diet of Pringles, Bread, Fries, and Processed Meats
–Lush Botanical Forms Translated Into Abstract Embroideries%u00a0. So very pretty.
-Another good reason to ditch that pessimistic attitude and to look at he bright side of things. It doesn%u2019t hurt to try. Optimists For The Win: Finding The Bright Side Might Help You Live Longer
–Why do clowns creep us out?%u00a0Because they are creepy, that is why.
-I want, no, I need this cabin. Totally Off-the-Grid Cabin in the New Hampshire Woods
–This Apple Might Be the Most Anticipated Piece of Produce in History. I heard about this apple few years ago. I wonder if it%u2019s gonna live up tp all the hype. We shall see.
-Why don%u2019t we have one of these? The Otter: The 1950s Amphibious Caravan That Time Forgot!
–Can Bullet Journaling Save You? I am a list maker in all the ways. I a ma doodler to no end. I love pretty things and I love hand writing and have a ton of sketch books but besides the occasional list of note in a sketch book, I have never really gotten into Buju. It%u2019s to time sensitive I think, for me anyway.
–Squeeze in a Quick Nap at Work with This Under-Desk Hammock. A new way to sleep on the job. HA.
Pictures from the week.
August. Then gem of the summer. Warm days, cool nights. The knowledge that yes, it is still summery now, but soon it will be crisp, and cool, and all fall with sweaters and apples and%u2026 I am getting ahead of myself. Still summer here, and I should just enjoy it will it lasts. So that is what I will do.
This past week was busy and a little on the stressful side at times. It started with camping on Sunday which was good, maybe not the best, but no camping is bad camping, unless it is bad. It just that is was terribibly hot and there was a lot of people around and poison ivy everywhere which made me anxious because I was also getting attacked by mosquitoes so I kept thinking I was starting to get it. (I am very allergic to poison ivy). Also I woke up in the middle if the night to the mr yelling because someone was looking into our tent. I didn%u2019t see said person because I was asleep until I wasn%u2019t and I did questioned whether or not he might have dreamed it, but needless to say, I didn’t not sleep much after that. So yeah, other then that, not bad. And then we got out of the tent early, made the coffee and went on our way home. To life. We had (and still have) a lot of stuff going on, all at once because that is how it goes. But we got stuff done, and then some. And we even managed to get in a couple kayak sessions! First of the year because we are butts and also we just finally got around to getting racks for the car.(No more truck to throw them into. Sad). We also made time to look at a big chunk of land that I was sooooo expecting to love but nope, wasn%u2019t for us. We test drove a newer van that was awesome, but again,wasn;t for us. We picked up farm share together and ate ten thousand tomatoes, and are now officially 100% filed and finished our taxes. Checks were wrote, I might have cried a little, but done they are.
So yeah, the week went, we did, I am tired, the mr is really tired, and we are ready to get out of here for the night. Our camping stuff is packed and ready to go. Now where are we going is the question%u2026..Somewhere without night creepers would be nice.
Links from the internet for you to take or leave.
-Plastics Or People? At Least 1 Of Them Has To Change To Clean Up Our Mess. A beach of flip flops. How depressing. People, let%u2019s all just stop buying plastic!
-I don%u2019t know what the heck is wrong with people but curly parsley is the shit! It%u2019s delicious and I can eat handfuls of it. For real. How Did Curly Parsley Get So Uncool?
-Reading this made me sad and angry. Greenland Is Melting Away Before Our Eyes
–This Must Be What It%u2019s Like to Live Inside a Rainbow. I can appreciate it and I would love to say there but I don%u2019t think I could actually live with that much color. Sensory overload!
-Now these rooms. I could live in. Cool Pics Show Hotel Rooms of the U.S in the 1950s and ’60s
-This reminded me so much of my sister Erin. She would do something like this (or already has) Three Cats in Japan Have a Closet Full of Custom-Made Hats Felted From Their Shedded Fur
–This Remote Corner Of Nevada Is One Of The Darkest Places In The World. I want to go. I will go. And I bet everyone else wants to to, so lets all not be assholes and trash the place like happens when cool places are discovered.
-I am a slut for bedding. Just pictures of pretty textiles make me happy. BOHO BEDDING.
–At Burger King, Your Meat-Free Burger Might Come With a Coating of Real Meat Juice. This is another reason why I don%u2019t ever go out to eat. And this 1 In 4 Food Delivery Drivers Admit To Eating Your Food. I trust no one!
–Japanese Way of Making Iced Coffee. Do you drink Iced coffee? I love it but rarely drink it because I have no will power when it comes to coffee and will basically chug it and then it is gone and I am sad. Hot coffee slows me down, if only a little bit.
There are a million things you can, and should, do with tomatoes. Salsa is one of those things. Especially with the super fresh and ripe summertime tomatoes that may or may not be overflowing every empty surface of your kitchen (my current predicament). And peaches. Now is the time friends to eat your peaches. In season and oh so tasty. Do it now before it%u2019s too late and those oh so deliciously ripe and sweet peaches are gone and all that is left are mealy, gross, supermarket fakes. Only eat in season peaches. That is a life lesson everyone should know.
This salsa is perfect. Super fresh, sweet and slightly spicy, with a hint of tangy goodness and just, you, really freaking perfect. A salsa that hits all the right notes with out being overly anything and underly nothing if you know what I mean. All the tastes of summertime. A darn good salsa. Darn good.
This salsa also makes me a winner at the game I am playing with myself called %u201cGet the mr to eat tomatoes and like it”%u201c. The game started when he told me he was sick of tomatoes and he didn’t want to eat anymore. I made the salsa (which also made me a winner in the other game I play called %u201cGet the mr to eat fruit in his savory dishes%u201d, because he also tells me how much he hates fruit in savory), he tried the salsa, raved about the salsa, and then went and ate the rest of the salsa with his rice and beans. .
I win again! Haha
Anyway, super fast, super fresh, super super. A great way to use up a any of your shit load of tomatoes you might have laying around and to get in a few more of those summertime peaches before they are gone again for the year.
Now to the salsa.
The stuff. Cherry tomatoes, peaches, an onion, a jalape%u00f1o, a lime, a bunch of cilantro, salt and pepper, and a little vinegar.
Start by cutting up the tomatoes into quarters. Do this carefully or else you will have tomatoes rolling around everywhere. Place chopped tomatoes into a bowl.
Then dice up those peaches into small little pieces and toss into bowl with tomatoes.
Onion gets diced up too and placed into bowl.
Jalapeno, seeds removed, diced up nice and small. Get it into the bowl.
And cilantro. Give it a rough chop and into the bowl it goes.
A sprinkle of salt, lots of pepper (to taste of course), the juice of the lime, and a splash of vinegar. Mix it all up and there you have it.
Into a jar (or you can just keep it in the bowl if you want), and it%u2019s ready for eating. Chips, tacos, to top a salad%u2026 This salsa does it all. Heck, just eat it with a spoon. There is absolutely nothing wrong with that.
-C
Makes about 32 oz of the good stuff
1 overflowing pint cherry tomatoes (red, yellow, sun gold or a mix of any)
2 ripe but firm peaches
1 bunch cilantro
1-2 jalape%u00f1os (depending on how hot you want it)
1 small red or white onion
a lime
salt and pepper
splash red or white wine vinegar
Grab the tomatoes and carefully, so they don%u2019t roll away, cut each one into quarters. Place in a big bowl. Cut peaches in half, remove pit, and dice the flesh into very small little piece and toss into bowl. Now onion, dice that into small little pieces, along with the jalape%u00f1o and toss into bowl. Cilantro gets a rough chop then into the bowl it goes. Now sprinkle in a little salt and lots of black pepper. Add the juice of the lime and a splash of the vinegar and toss it all around. Let sit for a few minutes, taste, then season with more salt and pepper if needed. Can add more vinegar for more acid if needed too.
This salsa only gets better with a little age so you can definitely make it a day or two ahead of time.
Store in a bowl to serve or a jar for longer storage. Use within a 4-5 days of making it.
You know when you eat something that you haven%u2019t had or haven%u2019t had in a long time and it%u2019s all you want to eat?
I am having a moment with apples and onions. Roasted and raw, it%u2019s on my mind every time I am making food. Weird? I don%u2019t know, but it%u2019s sweet and savory and all fall like and comforting. It%u2019s a good moment.
So now I am passing on my moment in the form of cornbread. Why cornbread? Well I think cornbread is a fine fine vessel for things that could be perceived sweet of savory. This cornbread is in fact not sweet, but not not sweet. It is a little both and suits the the apple and onion moment quite well.
People ate it, at first somewhat suspect that it was not going to be good, but after a bite or two they too appreciated the apple onion combination. And the cornbread. Even got a lady that doesn’t even like cornbread to like this so that is something right?
Embrace the moments.. To the cornbread!
The stuff. A couple apples, an onion, cornmeal, flour, salt, and baking soda. Also soy milk, oil, apple cider vinegar, maple syrup, pepper, Sansa little earth balance.
Start by thinly slicing the onions. Toss them into a oven safe skillet with about a tablespoon of earth balance and place on a medium heat.
Once the onions are cooking, thinly slice the apples too.
Toss the apples in with the onions and stir around wait a few minutes and stir around some more until the stuff all looks like%u2026
This. The apples ans onions are super tender sans soft and amazing and do not eat them all, but maybe have bite or two.
Scoop the mixture out of the skillet ans melt another tablespoon of earth balance into the skillet, trying to evenly coat the bottom.
Now to the cornbread. Mix together all of the dry ingredients.
Then add in all the wet and gently mix until completely incorporated.
Pour the batter into the greased skillet
Top with the apple union mixture then pop into the oven for about 40-45 minutes to bake.
Golden crisp and amazing smelling. Check for donees with a tester stuck in the middle and when its done, its done.
Now the hard part. Let it cool. You can go right at it, but it will crumble and fall apart. This bread really needs a little time to chill.
Then it%u2019s time. Eat what you need. Careful, it might be all of it.
It is spring yes? I know it is officially spring but around here it has been more or less still winter which is to be expected but is, at this point, no longer welcomed. I, as well as everyone else I talk to, are over it. Enough snow. enough of the hats and jackets. Just enough.
But the bright side of the chilly, cold weather is that we can and still want to turn the oven on and cook things. And because I turned the heat off a little prematurely, I am cold so I really want the oven on.
One skillet, a little chop action, a stir, some good time in the oven and there you go, food for your belly. Not a ton of dishes to do, steps to fallow, thoughts to think (other then eating thoughts). A good old, hearty, simple to toss together, spicy, delicious skillet of goodness. Prepare it fast, pop into warm oven, sit in kitchen drawing up plans for the spring veggie garden, and then eat yourself warm. What more can we ask for?
We can ask for spring weather because seriously. But other then that.
To the goodness of cajun lentils and rice!
The stuff. Lentils, brown rice, cajun seasoning, some crushed tomatoes, an onion, a carrot, a few cloves garlic, some cauliflower, water, oil, and salt and pepper.
First off, mince garlic and chop up the cauliflower, carrot, and onion into small pieces.
Toss it all into a good sized oven safe skillet with a splash of oil. Mix in the cajun seasoning too and stick o nth stove on medium heat for a few minutes.
Cook until fragrant and slightly tender. Taste it, it is good.
Dump in the lentils and rice. Then dump I the tomatoes and the water. Give it all a mix.
And after. All done. Now dinner.
Grab some green thing to chop and toss on for some color.
Now grab some bowls, a few forks, and get to eating.
-C
Serves 4-6
3/4 cup uncooked brown or white rice
3/4 cup dried green lentils
2 cups crushed tomatoes (preferably not salted)
2 1/4 cups water
3 tablespoons cajun seasoning (see note)
1 large carrot
1/4 head of cauliflower (about 2 cups chopped)
1 large yellow onion
2-3 cloves garlic
1 tablespoon olive oil
salt and pepper
Note. Store bought cajun seasoning usually contains salt and pepper so when seasoning, be aware of the amount of salt (if any) you choose to use.
Preheat oven to 350
Start by chopping the carrot, onion, and cauliflower into small pieces. Mince the garlic and toss it all into the skillet with the olive oil. Stir in the cajun seasoning and sprinkle in salt and pepper if it needs it. Place skillet on medium high heat and cook veggies until fragrant and slightly tender which should take about 5 minutes then remove from heat. Dump in the lentils, rice, water and tomatoes. Stir until mixed then either place a lid or foil over the top. Place into preheated oven for about an hour, removing the lid or foil after 40ish minutes and giving it a stir when you do. The bake is done when the rice and lentils are fully cooked, but if you are into a crispy top and crunchy sides, by all means, cook a little longer.
Remove from oven when fully cooked and you are happy with crispness. Let cool for a few minutes, toss on some chopped green something or another if you want, and serve it up.
Left overs store great in the fridge for a few day and freeze well too.
I can%u2019t remember the last time I have gone a day without eating lentils. Seriously, even when we travel I buy or bring along a bag of lentils. Or when we are camping, its basically all we eat. So it is safe to say that I know my way around a lentil or two. They are probably my favorite food (I say that about all my favorites)
Other then lentils being amazing delicious, the are so versatile. I am sure I say it all the time, but there is nothing you cannot make with lentils, sweet or savory. And nutritional as all heck. So much iron and a super amount of protein. Lentils are basically the perfect food in tiny little coin shaped form. Take it from this vegan lady here. Lentils help keep me alive. HA.
But enough about how many lentils I eat, what we need to address is this chili. It doesn%u2019t matter if you are a lentil feen or not, you will very much enjoy yourself a big bowl of this hearty, slightly spicy, warming goodness. Especially now, when it%u2019s cold outside and the days are short and you just want to eat something filling and healthy and that is not left over holiday cookies. And big bonus, this is a chili that you could come home to start at 5 and basically have it ready to eat by 6. That is just one bit of the magic of lentils, they so cook so fast.
And it%u2019s chili and chili is the best so you really should just get it made. It%u2019s what you need, I can tell.
To all the lentil goodness!
The stuff. Green lentils, crushed tomatoes, a cubanelle pepper, an onion, a couple carrots, and some cauliflower. Also a few cloves or garlic, cumin, chili powder, ground ginger, a red jalape%u00f1o, and salt and pepper.
Get started by small choping the carrot, onion, and pepper. Mince up the garlic too.
Grab that jalape%u00f1o and remove steam (and seeds if you want heat) and dice into very very small piece.
Into a big old pot it all goes, along with the cauliflower and all the spices. Add a splash of water and a sprinkle of salt and pepper and stick it on the stove for a few minutes to warm up the veggies and spices.
Looking good.. So good I wanted to eat it all, but don%u2019t, it%u2019s for the chili.
Now add all the tomatoes and water and place back on stove on high heat until it starts to boil, then reduce heat to a medium and cook until lentils are tender.
Well look at that, chili.
And why not top with a little avocado while you are at it. It is a very good addition, to the spiciness.
Very little amount of works for such great rewards. Probably going to be your new favorite chili recipe just so you know.
Lentil chili. Grab a bowl, kick up your feet, and dig on it.
-C
makes a lot of chili, like 10-12 servings
1 pound green lentils
1 large onion
5-6 cloves or garlic
1 cubanelle pepper (or any green or sweet pepper)
2 large carrots
3 cups chopped cauliflower (fresh or frozen)
6 cups (two 28 oz cans) crushed tomatoes
2 hefty tablespoons cumin
1 hefty tablespoon chili powder
1 teaspoon ground ginger
1 jalape%u00f1o pepper
6-8 cups water
salt and pepper
diced avocado for serving (optional)
Remove steam and seeds from cubanelle pepper and small dice it along with the carrots and onion then place int all nto a large heavy bottom pot. Mince the garlic add into pot. Remove steam and seeds from jalape%u00f1o pepper and finely dice it and add to pot. Last but not least, add the spices to the mix. Add a splash of water and place on high heat and cook the veggies and spices until for 5 or so minutes, just to give them a little heads start and to activate the spices.
Once the veggies have had a few minutes of heat, dump in the dried lentils, the tomatoes, and 6 cups of water. Stir around and keep on high heat until it starts to boil then turn down to medium and continue to cook, stirring once in a while, until the lentils are tender and the chili has thickened, which should take about 35-40 minutes. If at any time you the lentils are not submerged in liquid but are not cooke through, add more water. And once the lentils are cooked you can thicken bu continuing to cooke does or thin it out by adding more water. Taste soup and season with salt and pepper as you see fit.
To serves, ladle into bowls and tope with diced avocado.
Left overs are fantastic hot or cold and will last in the fridge for about a week. Or if you want, you can freeze a few servings.
Have I told you that my CSA is totally awesome? Well, if I haven’t yet, consider yourself %u00a0told. Anyway, one of the coolest thing that the farm does %u00a0for it’s members is they plant a variety of pick your own crops. There are strawberries, beans, tomatoes, herbs, flowers, and some other stuff. We also get to pick hot peppers.%u00a0%u00a0Yes. Lot and lots of hot peppers. And not just jalape%u00f1os. They have like 5 different varieties, inching habanero. And there are a ton.%u00a0%u00a0SO many, in fact, that I don’t even bother picking the amount that I am allowed. (15 hot peppers a week.. my butthole would kill me) But I did pick a bunch (I went with the red jalape%u00f1os which are mother f-ing HOT) and made me some hot oh hot sauce!
Note to anyone that is handling hot peppers. Watch where you stick your hands. I cut up jalape%u00f1os a lot, and most of the time I am pretty good about not touching anything, but once in a while I will cut up a pepper, not wash my hands, then maybe scratch my leg.. Then I might rub my eyes, or pick my nose (might to might not happened) And it’s not instantaneous. It starts low and slow, then all of a sudden, you shit is burning and your like “What the Hell!! I am on FIRE!. And then you might thick to yourself “Oh shit, do I have a flesh eating virus? %u00a0Should I be concerned?”%u00a0%u00a0(Me after a particularly itchy night,%u00a0making some salsa,. Good thing the mr was there ego tell me I was being a dumb ass and cutting up peppers at dinner) So yeah. not flesh eating virus, but never the less,%u00a0don’t touch!
Now lets make so Freaking HOT SAUCE!%u00a0
The stuff. ! butt load of red jalape%u00f1os (you can use green), a red bell pepper, an onion, a few cloves of garlic, salt, vinegar, oil and water.%u00a0
Grab yourself a big pot, roughly chop up the onion and garlic and toss it into that pot with a drizzle of olive oil and a few splsahes of water. Stick it on the stove on medium heat and let cook while you cut up the peppers.%u00a0
So the peppers. First thing first%u2026..Coat your hands with oil (or use gloves) and don’t touch anything on you body!%u00a0This is a critical %u00a0if you do not want you hands, then your face, probably part of you leg, and definitely behind you ears , to burn like a mother.
Now cut the stems off,%u00a0slice the peppers in half and remove the seeds and ribs.%u00a0I find using a big spoon to scoop and scrap the seeds and ribs out to work the best, but do it any way you please. Also leave the seed sin rips in if you want.. it just makes the sauce that much hotter. (I would usually but again, these peppers are fire f-ing hot!)
Once de-seeded and ribbed, chop up the pepper and the jalape%u00f1os into chunks.
Toss into the pot with the onions and garlic thats on the stove and add in water and a sprinkle of salt. Stick back on stove, bring to a boil then reduce heat to medium and stick a lid on pot.
After about 25 minutes or so, the peppers are soft and falling apart and the liquid has reduced to about 1/2%u2026 Thats when is time…
Note. Watch you face when you open you pot to check.. Don’t stick you face in the pot as soon as you remove the lid, or you will get a ace of spicy hot stem that will burn your eyeballs.
Now dump it all in,including liquid ,into a blender. Add in 1/2 cup of vinegar and a sprinkle of salt then turn it on.%u00a0(Make sure to have the lid on%u2026 no one wants to clean up a hot sauce mess!) Blend for however long it takes for the sauce to be smooth.
Super smooth and saucy.. Give it a taste. Does it need more vinegar? How about a little more salt? Are you wishing you had a little more sweetness to it? Add what you need.. More vinegar, more salt, or a teaspoon or two of some honey or sugar.. it is your hot sauce after all.
And when you are happy with the taste.. pour into bottles. And then pour in everything!
Happy Friday..Make it hot!
-C
Makkes about 4 cups
15-18 jalape%u00f1os
4-5 cloves galric
1 red bell pepper
1 yellow onion
1/2-1 cup white vinegar
2 cups water
salt (to taste)
oil or rubber gloves%u00a0
Dice the onion and garlic and stick not a heavy bottom pot with a drizzle of olive oil, a sprinkle of salt and a splash of water. Place on low heat and let cook.
After thats on the stove oil you hands, and de-stem the jalape%u00f1os and the red pepper, removing the seeds and ribs. IF you want, you can totally leave the seeds and ribs in if you want, it makes the sauce even hotter.%u00a0
Chop peppers into smallish chunks and toss into the pot writ the galic and onion. Add about 2 cups or so of water, bring to a boil, then let simmer for about 25-30 minutes, or until the peppers are nice and soft.
Dump peppers into a blender %u00a0with 1/2 cup of vinegar and blend.%u00a0Taste the sauce, and if you like it there, stop, or add in more if you taste wants it. You can also add in more salt, maybe some other flavor spices, or even a little honey to sweeten it a bit.
Pour into containers and enjoy!%u00a0
This sauce will last sat least 4 months in the fridge (If not eaten all by then)
I have been meaning to make this jam for a while now. I’ll buy a bunch of jalape%u00f1os, then slowly, before I get to cooking them down,%u00a0end up eating them%u00a0all. But not today,%u00a0and the rewards are great, Fresh jalape%u00f1o jam. So much potential for the greatest of things%u00a0(I am thinking mango jalape%u00f1o sorbet%u2026 no, I am making jalape%u00f1o mango sorbet) And if you, like me are a jalape%u00f1o fan, this is going to make your life amazing. You will find yourself jamming up everything, or maybe just eating it with a spoon.
Whatever you want to do with it,%u00a0just make it.%u00a0
Honey and jalape%u00f1os.. All you need, well a little salt and water too, but that’s it.
What you need to do is remove the stems,, most of the ribs and half of the seeds removed. (You could remove all or none of the seeds depending on you heat preference)%u00a0Chop the peppers%u00a0into small chunks, toss into a pot,%u00a0sprinkle with a bit of salt, add in a splash of water. Place%u00a0the pot on medium heat. Top it with a lid, and give the peppers a good stir%u00a0every few minutes. While the peppers are cooking, you want to make sure the bottom isn’t sticking and buringin. If that starts to happen, just turn the heat down a bit and add%u00a0in a little splash more of water.
After about 20 minutes, the peppers are fully cooked and falling apart. The liquid is cooked down and the peppers are starting to caramelize on the bottom of the pan. When that happened, remove the pot from heat.
Now you can either blend the peppers, mash the peppers with a fork, or leave it chunky. Thats a choice Ill leave to you. ( I like to blend, but keep some%u00a0chunks)
And drizzle in a bit o honey. As little or as much as you like.
And scoop into a jar.%u00a0Eat the jam on anything you want. (I found myself eating it with a spoon)
Keep it Real!
-C
Makes about 1 1/2 cups of jam
10 large jalape%u00f1o peppers
a pinch of salt
About 1 tablespoon of honey, but add more if you like (And if you want to keep it vegan, use agave or sugar)
Wash, remove ribs and most seeds (the more seeds you leave the hotter it will be)%u00a0and dice jalapenos into small chunks. Place in a pot with a few%u00a0splashes of water and a sprinkle of%u00a0salt. Turn on medium heat and cover, stirring every few minutes. If the peppers seem%u00a0to be sticking %u00a0o the pot and burning, turn heat down and add another splash of water.%u00a0After about 20 minutes, the peppers should be really%u00a0tender and%u00a0falling apart. The liquid should be completely cooked out and the peppers will start to caramelized at the bottom of the pot. When that starts to happen, remove from heat. %u00a0Now%u00a0either mash with a fork, blend with a hand blender, or leave superr chunky. Drizzle in honey (or sweetener)%u00a0and stir.%u00a0
Eat right away or stick in a jar and store in the fridge for up to a week (It won’t last that long)
My oldest sister graduated from nursing school this past weekend (wahoo!) and the friends and family had a party for her. I made these cupcakes for the party.But really, I made them just for her.
See, she is not a lady big on sweets. When I asked her what kind of dessert she wanted me to make her, she said if I could make a cake out of french fries, well that would be great. (I was close to making a french fry cake) But instead, I went a slightly different route and made cakes out of thing that I know she loves and can eat. Jalape%u00f1os because she is obsessed. Strawberries cause she likes her some fruit and are in season and I think, go with everything. Avocado frosting because she loves avocado and cornmeal because it makes the cakes a tad less sweet and a little more hearty. I also used GF flour cause she is GF.%u00a0
%u00a0Wow, I am the best sister. And here are a few more reasons why..
I went to the party (I am not a big party person.. But I did have fun and her friends were cool)
I changed into a clean outfit for her party (I really didn’t want to)
I stayed out past my 6 (I made it until 7.. what!!!)
I make her food
I am awesome (I think so anyway)
So yeah. The cupcakes. The Nurse lady totally got down with these. I am pretty sure that I heard the words, amazing and oh my good, %u00a0while they were being noshed on. The day after, %u00a0the nurse lady told me that they were the talk of the party (bullshit, but thanks)
Whatever, I was just glad she liked them.
The stuff. For the cupcakes; cornmeal and some pre blended gluten free flour. Sugar, salt, baking powder and baking soda. Soy milk (use whatever milk you want) oil, apple cider vinegar, strawberries and a couple jalape%u00f1os . For the icing; an avocado, a lemon, and some powdered sugar.
This is not a%u00a0hard batter to work, no need for a mixer or to cream anything, it can all be done with a wooden spoon.
%u00a0First, preheat the oven.
Then trim and tiny dice the strawberries, remove seeds and tiny dice the jalape%u00f1os and toss it all into a bowl. Sprinkle with a bit of sugar.
In a large mixing bowl, whisk together the flour, cornmeal, baking soda and powder, salt and sugar. Then add in the rest of the stuff. Stir together until combined.Now fold in the chopped berries and jalape%u00f1os and scoop batter into a well greased (or lined) cupcake tin.
Stick into oven to bake%u2026
Check cakes after 20 minutes and remove from oven when they are golden brown and a tester comes out clean when poked.
Remove from pan and place on a wire rake to cool.%u00a0
While the cakes are a coolin, add avocado to a blender with the zest of half a lemon and the juice of that half of lemon and blend smooth. %u00a0Add in the sugar and blend. %u00a0
The icing should be thick, but spreadable. Using your judgement and you taste buds, add more sugar %u00a0if the icing seems to thin or lemon juice if it seems to dry.
And once the cakes are cooled, spread with icing and top with sliced strawberries.
Your welcome Nurse Shannon!
Happy Friday!!!
-C
Jalape%u00f1o Strawberry Cornmeal Cupcakes with Avocado Frosting
makes 24 cupcakes
1 1/2 cup gluten-free flour blend (if you don’t need or want it gluten-free, just use all-purpose flour)
1 1/2 cups cornmeal
3/4 cup white sugar
1 teaspoon salt
2 teaspoons baking soda
2 teaspoons baking powder
1 tablespoon apple cider vinegar
2 cups nut or plant milk
1/2 cup oil
1 1/2 cups diced fresh strawberries
2 jalape%u00f1os
For the frosting
1 whole avocado
1/2 lemon (zest and juice)
2-2 1/2 cups powdered sugar
Pre heat oven to 350
Wash, trim and dice strawberries into little pieces and toss into a bowl. Remove stem and seeds from jalepenos and dice into small pieces.. add to bowl. Sprinkle with a little sugar.
In a large bowl, combine flour, cornmeal, baking soda, powder, salt, and sugar and whisk together. Now add in the oil, milk, and vinegar and mix together with a wood spoon until combined. Lastly, fold in the strawberries and jalape%u00f1os.
Scoop mixture into well greased (or lined) cupcake tin and stick into oven. Bake for about 20-25 minutes, or until cakes are gold brown and a tester comes out clean. Remove from oven, remove form tin, and sick on a wire rack to cool.%u00a0
While the cakes are cooling, take the avocado, sugar, and the zest and juice of half a lemon and blend with your choice of blending drive until smooth. %u00a0The icing should be thick enough to If the icing is to runny, add more sugar, or to thick, a little more lemon juice.
Now Ice cupcakes and top with sliced strawberries.
Eat for breakfast, lunch, dinner or dessert.
No utensils required, just some teeth.%u00a0
%u00a0 %u00a0 %u00a0Spicy, crispy cauliflower%u2026 um yes please.%u00a0 I really like cauliflower. The mister loves it, or at least likes it better than any other vegetable. So when he asked for spicy cauliflower, well yea I am going to make it because I am so nice and really, could I say no to a veggie request? (I might have said no if it involved deep frying) Also, I found fresh cauliflower on sale! ($2.25) I don’t usually cook fresh cauliflower, but %u00a0I figured at that price, it wouldn’t be bad to cook a head. (If I am cooking cauliflower, which I do a lot, I just use frozen%u2026.casue it be waaaay cheaper)%u00a0
Fresh, cheap and requested veggies%u2026.those are must makes. And the mister was happy with I handed him the plate of oh so lovely looking crispy crunchy loveliness. (I kind of like to make him happy%u2026sometimes)
The stuff. Cauliflower, chopped and broken into pieces. Corn meal mixed with salt, pepper, onion and garlic powder, and because I made this for the mister, parmesan cheese. And in the green bowl, srirsachi and a little oil. The%u00a0cauliflower%u00a0gets a coat of the hot sauce and then tossed around in the corn meal mixture. Handling as little as possible, place coated pieces on a lightly oiled baking sheet and stick those suckers in the oven for%u00a0about a half hour, taking them out and%u00a0flipping half way.And take them out of the oven when pieces tuned golden brown, stik them on a plate, and serve immediately.
A bit of spice, a bit of crispy , a lot a yum. %u00a0Serve with some crunchy veggies, maybe a squeeze of lemon and definitely some type of avocado situation.
A beer would be lovely too!
Have a fantastic weekend!%u00a0
-C
Spicy Crispy baked Cauliflower
1 head cauliflower, chopped or broken into florets
1/2 cup corn meal
3-4 tablespoon sriracha or your favorite hot sauce
1 tablespoon olive or coconut oil
salt and pepper
Any seasonings you might like (garlic or onion powder,%u00a0parmesan cheese,%u00a0national yeast%u2026. whatever%u00a0floats your boat)
Preheat oven to 400 degrees%u00a0
In a bowl, mix together sriracha and oil. In a separate %u00a0bowl, mix salt, pepper, any seasonings you might like, and corn meal. %u00a0Take cauliflower and toss in sauce to coat. Remove from sauce and toss around in cornmeal mixture till fully coated, but try not to hand too much%u00a0so the coating doesn’t come off. Place pieces on a lightly oiled baking sheet and stick into oven. Bake for about 15 minutes, remove and flip pieces. Back into the oven for another 15-20 minutes (depending on you crispy preference) Remove when golden brown (or darker if you like) and%u00a0serve immediately.
Cucumber, celery, and carrots are great accompaniments.. also a little mashed avocado or guacamole is much appreciated.
I am kind of obsessed with%u00a0%u00a0pickled jalape%u00f1os%u2026 like I want to eat a whole jar with a fork and then drink the juice. So much hot and spicy love.%u00a0 One of my sisters is the same way, pickled %u00a0hot pepper obsessed. We used to buy the humongo gallon sized jars of jalape%u00f1os at Costco and go through them in like a month. But sadly, Costco stopped selling those humongous jars and we have been left buying the itty bitty jars that actually fit in a normal fridge. (I know, so sad). %u00a0And maybe because the jars were normal sized and I was more aware that I shouldn’t eat a of cup of jalape%u00f1os at one sitting, or just the mire fact that a tiny jar cost the same as a gallon, but the store bought little jars weren’t doing it for me anymore. %u00a0And then fate happened. The grocery store was having a super sale on fresh jalape%u00f1os and %u00a0I figured it was time to make%u00a0make my own. Now I don’t think I can ever go back to those store bought jars of blah %u00a0because the ones I made are the best freaking pickled jalape%u00f1os this girl has ever eaten. %u00a0I might even start making my own gallon sized jars!!!!
Note%u2026.Don’t toss the pickled juice! It is a super yummy, full of flavor, liquid gold. You can use it as a straight up salad dressing or add to a homemade dressing. Add juice to soups, casseroles, marinades. Replace some of the liquid in a bread recipe and use the pickled juice. Use it in your favorite cocktail drinks. There is no end to what you can use the juice for.%u00a0
-C
Pickled Jalape%u00f1os
for a half pint jar
8-10 Jalape%u00f1os%u00a0
Apple cider Vinegar
1 teaspoon salt
Remove stem and seeds*of %u00a0jalape%u00f1os and thinly slice. (I used a mandolin which works really well, but a sharp knife does the trick) Pack Jalape%u00f1os into a clean glass half pint jar and fill with half water/half apple cider vinegar and a teaspoon of salt. Dump %u00a0into a pot %u00a0with a lid, and bring to a boil. Take of heat and let cool for a few minutes. Stick back into jar (leave an inch of head room) Stick in fridge for at least a day. Eat your heart out.
*I like to keep some of the seeds. It adds heat.
Because it is cold outside. Because I had an hour to kill before I needed to leave the house and because I wanted to make a sweet treat for the mister (who had been dealing with frozen pipes all day) and for the little littles that I was going to hang out with.%u00a0 My original idea was to just make regular old snickerdoodles, but as %u00a0I was riffling around my tea drawer for a mid day tea (it’s usually coffee, but I am trying to cut back on drinking one thousand cups a day) I got hit with a little inspiration. Chai tea spiced snickerdoodles. Yes! a nice black chai, full of flavors or cinnamon, ginger, cardamon, allspice, and pepper. So many good time tastes. %u00a0And while I am at it, why not add some chocolate to that mix, because, well just because.
Chai, chocolate, and sugar equals%u2026.Bada da da%u2026.. awesome Cookies! And who doesn’t want awesome cookies?
The stuff%u2026Flour, salt, baking powder, cinnamon, and allspice. Cocoa powder, brown and white sugar. Veggie Oil %u00a0(you can use butter, or vegan butter instead for a chewier cookie) vanilla, a little vinegar and a nice cup of %u00a0chai tea… %u00a0Also a little bowl of cinnamon and sugar to doodle the cookies.
%u00a0 %u00a0 The sugars, oil, tea, vinegar, and vanilla go into a big bowl. Beat for a minute on medium, then add the rest of the stuff and beat some more until fully incorporated%u2026. Simple simple.%u00a0
Preheat the oven to 375 and get%u00a0the cookies all dressed up in a cinnamon sugar suit by taking globs of dough and kind of rolling it into ball (perfection is not necessary) Drop dough balls into the cinnamon sugar and toss around to fully coat. Place on cookie sheet and give a good smoosh to flatten the cookie balls out to about 1/2 inch thick. Now into the oven for about 9-11 minutes to bake.%u00a0
Aahhhh%u2026%u2026.pulled from the oven and placed on a rack to cool. Fluffy, chewy, pillowy soft and spicy cookies. Oh the smell of so good!Made extra large to make extra little littles happy. The best part? I made each little sing me a song for a second cookie%u2026 I am the greatest!
Heres to a Happy Hump Day!
-C
Chocolate Chai Snickerdoodles%u00a0
The stuff-
2 cups all purpose flour
1/3 cup cocoa powder
2 teaspoons baking powder
1 teaspoon cinnamon
1 teaspoon salt
1/2 teaspoon allspice
Chai teabag steeped in 1 1/4 cups boiling water
1 cup brown sugar
1/4 cup white sugar
3/4 cups vegetable oil (can substitute butter or vegan butter for a more chewy cookie)
1 teaspoon vanilla
1 teaspoon apple cider vinegar%u00a0
2 tablespoons each of cinnamon and white sugar to coat cookie balls in
Preheat oven to 375
In a cup, steep tea bag in 1 1/4 cups boiling water. Let tea steep for 10 minutes.
In %u00a0Large bowl, add sugars, oil, vanilla, vinegar and steeped tea and beat on medium speed for about 2 minutes. Add the rest of the ingredients (besides cinnamon and sugar for coating) and beat on low until everything is fully incorporated.%u00a0
%u00a0Add the cinnamon and sugar to a small bowl and mix together. Take globs of dough and roughly formed %u00a0ball then drop into cinnamon sugar and toss to coat. Place coated balls on cooke sheet and smoosh down so cookies are about 1/2 inch thick. Place in oven for about 9-11 minutes or until cookies are just barely cooked through. Remove and let cool on a wire rack.
My suggestion for sharing%u2026.If they want one, make them sing and dance for it!
It is exactly that time of year. Apples galore, cool days in need of a little extra warm, meaning a warm oven is welcome, if not needed. It%u2019s the best time of year, or at least one of them.
And so I bake bread. Sometimes just a roll, and sometime a loaf, almost everyday. I love bread baking because, well just because. Plus it%u2019s what people want to eat and will always eat because I guess bread=love. Makes sense to me.
This bread was made from a small dip in the 2 gallons of applesauce I made the night before. (We had sooooo many apples). The mr isn%u2019t the biggest fan of applesauce, says he would rather eat a fresh apple. I kind of get it, but dude, warm, chunky, slightly cinnamon-y applesauce%u2026 I mean, that is happiness right there. Right? Anyway, I am trying not to eat all the applesauce to my face by myself at once (it has been a challenge) and plus I needed to make the mr some bread, so I figured what the hell. I%u2019ll just use applesauce as my liquid in the bread. And so I did and that is that and now that mr really like applesacue (when it is baked into bread)
This bread is a basic sandwich type bread. The apple taste is there but not overwhelming so it can be used for sandwiches of all kinds, toast, just eating with a smear od something, or not. Just a overall good loaf of bread with a little extra from the apple. And braided because I was feeling classy. It%u2019s amazing what at little braiding of bread dough can do for your self esteem. Made me feel like I was the coolest person in the world. Haha!
Now to the bread.
The stuff. A few apples, regular all purpose and white whole wheat flour, salt, applesauce, maple syrup, yeast, and warm water.
Applesauce, shredded apple, maple, yeast, and a little water get mix up and let to sit for a few minutes to activate yeast. Then the salt gets mixed in, along with all the flour. Stir until dough forms. Dough should be slightly sticky, ut not wet. IF wet, add a handful more flour. To dry, add more water.
Dump the dough onto a floured surface, cover your hands in flour, and knead dough for about 5 or so minutes, adding more flour as needed to keep dough from sticking, until the dough is a nice and cohesive texture.
Nice looking dough. Now roll dough into a ball.
Place dough in a clean wet or oiled bowl and cover with a damp cloth for one to one and a half hours or until dough doubles in size.
Dump dough onto floured surface.
Cut dough into 3 equal pieces and roll out into long longs.
Braid logs together. You can stop here bake it this way or%u2026
After placing it on a parchment lined baking sheet, tuck the ends of the braids underneath each other and make it like this. Either way. And once you have the dough on the baking sheet, brush a little water or plant milk on top and let dough rest for 15 minutes of so while the oven preheats.
Before oven and after oven. Classy, right?
Then for shin and soft crust, rub warm loaf with some plant butter.
And for the hard part. Let it cool before slicing it. Ok sure, a little warm is fine, but wait at least 20 minutes (an hour would be best) and then eat you some bread.
Eat you some bread. That%u2019s a t-shirt right there.
Happy Fall friends!
-C
makes pretty one loaf
2 cups all purpose flour
1 1/2 cups white whole wheat flour plus more for kneading
1 cup unsweetened room temperature applesauce
1 large or 2 small apples ( about 2/3 cup shredded apple)
1/4- 1/2 cup warm water
1 tablespoon maple syrup or honey
2 teaspoons active yeast
1 teaspoon salt
1 tablespoon or so plant milk or water
1 tablespoon plant based butter (optional for rubbing on finished bread)
Grab the apples and shred them until you have 2/3 cup shredded apple. In a large bowl, mix together the applesauce, shredded apples, yeast, 1/4 cup warm water, and sweetener.and let yeast activate for a few minutes. Add in salt, the all purpose flour and the 1 1/2 cups white wheat flour. Stir together until dough forms. The dough should be a little bit sticky so if the dough seems to dry, add in 1/4 cup more warm water. If it seems really wet, add in a handful more flour.
Dump dough out onto a well floured surface and knead for about 5 minutes adding a little bit of flour to the counter as needed to prevent it from sticking. Once dough is cohesive in texture, roll into a ball and place into a clean wet or oiled bowl. Cover with a damp towel and allow the dough to double in size. Should take between an hour and an hour and a half.
Once dough doubles in size preheat oven to 400
Dump risen dough back onto a well flour counter. Cut the dough into 3 equal sizes and roll each piece into long logs about 20 inches or so long. Place each roll next to each other and braid. Grab a baking sheet and line with a piece of parchment paper. Sprinkle with a bit of flour and place braided dough onto sheet, either as a braid or if you want, like I did, wrap the braid around itself into a rounded braid situation. Tuck ends into each other and under the loaf. Brush the top gently with a little plant milk or water and let rest for about another 15 minutes or so.
After the rest, place dough into preheated oven. Bake for 35-45 minutes (Less if left long braid, more if wrapped braid) or until the top is a deep golden brown and when tapped on the bottom, it sounds hollow. Also can use an insta read thermometer and check temperature. You want it to reach 190 degrees.
Once bread is baked, remove from oven. If you want the top to stay a little crispy, don%u2019t do anything but let it cool. For a softer, shinny crust, rub the top while it is still warm with some plant based butter.
Let bread cool completely before cutting.
Then eat it like you would eat bread. Any and every way.
Store cooled loaf in a airtight bag on counter for 2-3 days but if not eating that fast, slice and place into freezer. That way you can pull out individual pieces and toast as you want.
What do you do when you have a bazillion ripe bananas? A sweet banana bread? Banaer ice cream? Mash them up in your oatmeal? These are what I usually do, well these things and just stock my freezer full of bananas because I am pretty sure that there should always be bananas in the freezer. .
I went grocery shopping and bought like a billion bananas because they were dirt cheap (19 cents a pound) and why not. There is plenty of room in the freezer.
And it was a bread making day. I wanted to make bread that involved a good knead, that the mr could have as a sandwich loaf, and that had bananas in it. (I love adding fruit and veggie purees to breads) I needed a multi functional loaf that can be used for toast and sandwiches. So I made it.
This bread doesn’t have a crazy powerful banana flavor, just a light bananerness that adds a touch of sweetness and yum to the bread. Perfect for slices and slathering with peanut butter.
Pretty sure I scored on this one. It was well loved by many and eaten within days. Lucky for the mr I have a billion bananas.
The stuff. Some all purpose flour and some whole wheat (with germ) flour. A couple really ripe bananas, a little earth balance, salt, yeast, and water.
Peel and blended bananas into a smooth banana puree.
Add enough water to the bananas to make 2 cups of liquid.%u00a0 Add in the yeast and earth balance and blend that in too.
Wet gets dumped and mixed into the (mixed) flours and salt.
Wet shaggy dough gets dumped onto the floured counter and kneaded for about 10 minutes into a nice uniform and smooth ball
Once risen twice it’s size, dump dough onto counter, shape into a log and place into a well greased loaf pan. Cover with plastic or wax paper and set to rise again. Second rise will take a little less time then the first, just wait for the dough to dome over the sides of the pan.
Once it looks good, stick the thing into a preheated oven, close the door, and watch it bake (for about 50 minutes)
Golden brown, hollow sounding, and the instant read thermometer reads 190….Bread is all baked.Now hard part. Let that loaf sit and cool completely. (trust, it needs to cool or you will just mush it)
Now that its cooled, you slice and eat. A loaf of bread with a slight hint of banana ready for you face.
The mr has been eating it toasted with peanut butter like I predicted or dipping it into his split pea soup. (he really liked it with the soup) Just suggestions.
Bye.
-C
makes one loaf
2 1/4 to 2 1/2 cups all purpose flour
1 cup whole wheat with bran flour (plus a little more for kneading)
2 rip bananas
1 teaspoon salt
2 teaspoons yeast (or 1 packet)
2 teaspoons earth balance (or butter)
1- 1/12 cups warm water
Peel bananas and blend them into a smooth puree. Add enough warm water to the banana mixture to equal 2 cups of liquid. Add the yeast and earth balance to the puree and mix until fully incorporated. Let sit for a few minutes to active yeast.
Whisk together the flours (start with the lesser amount) and salt in a large bowl. Dump the wet mixture into the bowl and mix together with a dough whisk or wooden spoon until you can no longer mix. If the dough is really wet, add in the other 1/4 of flour. Dump dough out onto a lightly floured surface and knead dough for about 10 minutes.
Place in a clean greased bowl and cover with plastic or wax paper and a towel and place in a warm place to rise. Depending on how warm your place is, it will take about 1 to 1 1/2 hours to double in size. Once risen, dump onto counter, shape into a log and place into a greased loaf pan. Cover again with plastic or wax paper and set to rise again for about 1/2- 45 minutes or until the dough forms a dome over the pan.
Preheat oven to 350.
When dough is done second rise, stick it into the preheated oven and bake. It should be in there for about 50 minutes, but check at 45 for a deep golden color and a internal temperature of 190. Once done, remove from oven, gently remove from pand and set on a wire rack to cool completely.
Once cooled you can go for it.
Stay fresh for about 3 days in a air tight container, but I would slice and freeze any if not gone by then.
I think that my favorite thing abut summer is probably the food. Yeah, no, definitely all the food. If it weren’t for all the delicious amazing things that grow during these summer months, I would probably hate summer. %u00a0Well, I mean, not hate it because summer is nice when it it nice, but lately it has not been so nice and so I am trying to make myself feel better by finding all the good things that I like about summer. Summer trees, summer flowers, the smell of fresh cut grass, river rocks, summer sandals, summer… well that’s what I got right now. But summer produce, that is the best and what keeps me happy when I am extremely over heated and over sunned and just want a blast of cold air accompanied by some dark clouds, a sweater and the smell of decomposing leaves. Obviously I am being a little crank butt, and I actually do usually like me some summertime, I am just over this summer. To hot, to humid, to dry. I am ready to move on.%u00a0
But back to the good parts of summer that I am not over.%u00a0The food.%u00a0The corn is flowing steadily (I am getting on average 10 pieces of corn a week from the farm. That is a lot of corn for 2 people, one of which says he doesn’t like corn), the kale is growing in super abundance in the garden, and it’s is for sure blueberry season. When we %u00a0have those three things and we toss in a avocado, as little onion, and lots of lime juice ,%u00a0BAM,%u00a0another super fantastic summertime eating time, reason that summer can be a ok. Makes %u00a0all the heat a little worth it.%u00a0
I am telling you, this is my new favorite food combination. Blueberries are magical (I think so anyway) and really add the perfect little sweetness, tartness, and texture to this salad. Crisping up the kale and corn elevates the deliciousness, and avocado always is welcome is any salad situation. This is one of those salads that you will make for yourself and then immediately want to make for someone you like because it is so good you want to share. OR you just want to make it for yourself again because you could share or you could just eat more of it yourself. It’s ok either way, you do you.%u00a0
The stuff. A cob of fresh corn. some fresh blueberries, a bunch of dinosaur kale, a lime, an avocado, a piece of a sweet onion, sea salt, pepper, and a little oil.%u00a0
First off preheat the oven then cut the corn off the cob.
Then deal with the kale. Each leaf needs just the slightest bit of oil. The easiest way to do this is to dump a little oil into your hands and grab each piece of kale and rub your oily hands all over the kale.
After the kale is oiled, chop it into chunks. First place the corn on a baking sheet then add the kale on top. Placet it into the oven to get all crispy… The kale will might get crispy before the corn, which is fine because you can remove the kale then pop the corn back into the oven for a few more minutes to keep cooking if you want. Or you might just want to call it cooked, it’s your call.%u00a0
I popped the corn back into the oven to get a little more color. I like a real crispy corn.%u00a0
Cut up some onion and avocado into chunks.%u00a0
And time to compile. Kale, onions, corn, avocado, blueberries, and lime juice. And don’t or get a sprinkle of sea salt and pepper.%u00a0
Toss it all around and be delighted.%u00a0
Just look at that salad. Who wouldn’t want to eat that?%u00a0
Heres to summer salads….The reason I can barely stand the heat!
-C
makes one salad
10 or so large Lacinato (Dinosaur) Kale leaves
1 fresh cob of corn
%u00a01/2 of an avocado
1/2 cup fresh blueberries
1/4 of a sweet onion (about 1/4 cup diced)
1 lime
teaspoon olive oil
sea salt and pepper %u00a0
Preheat oven to 350
Cut the corn off the con and place on a lightly oiled baking sheet. Take a little oil and rub into hands then grab the kale leaves ans rub oil all over them. Once oiled, rough chop into medium sized pieces (don’t chop small, it will shrink a lot in the oven). Place chopped kale on top of corn and stick into hot oven. Bake until the kale is crispy, about 12-15 minutes.. What closely after 10 minutes to prevent burning.
Remove the kale from the baking sheet and place in a large bowl. The corn will be cooked, but if you want to make it a little crispier , just toss it back into the oven for a few minutes. %u00a0Once corn is to your liking, remove from pan and toss into two with the kale.
Small dice up some onion and dice up half of the avocado. Toss into the bowl with the kale and corn. And the blueberries, add those in. Sprinkle the whole shebang with a little sea salt and pepper and squeeze the juice of at least half of a lime all over (use the whole lie if you want) Give it all one last toss and that is it.%u00a0
Eat your new favorite salad. Think about making it for all your favorite friends and family and how impressed they will be because this is one of those impressive salads. T
I got my first few ears or corn from the farm share this week which is exciting because I wait until we get corn from the farm to eat it. I figure that we get so much from the farm that there is no freaking way I am going to buy it and plus I know that that corn was picked a few hours before I got it. If you are going to eat corn, it needs to be fresh (life lesson).
Have I told you that the mr hates corn? I am pretty sure I have. I also have a theory that he really doesn’t hate it so I just go ahead and make food with corn in it. Then he eats it, likes it, and I am all like” AHA, you like corn be-otch! I win!” (not sure what I win). But then the next time I mention we have fresh corn and how would he like it he is all like, I hate corn.%u00a0 It’s a game we keep on playing.%u00a0
So I got fresh corn, lots of tomatoes, and the kale is growing strong out back. I figured I would give the mr a break from all the zucchini for the night and make he a nice warm summer salad with the corn that he “hates”.
The mr ate it all and didn’t even mention corn so now I am thinking that he just hates the word corn and if I don’t say the word then there will be no problem. HA HA, I am a genius.
The stuff. A tomato, a ear of corn, some kale, a little balsamic vinegar, oil, and salt and pepper.
Chop the tomato and remove the corn from the cob.
Toss into an oven safe skillet with a drizzle of oil and a pinch of salt.
Now stick it into the oven
After about 10 minutes the tomato has fallen apart and the corn is all nice and tender.
While the skillet is still hot the vinegar goes in and the (chopped) kale goes in. Mix it all around until the kale wilts. And be careful, the pan is hot.
Dump it into a bowl, sprinkle with pepper, grab a fork, and you are on.
Happy eating.
-C
makes a salad for one or two small side salads
1 medium tasty tomato
1 ear of corn
like 4-5 good sized kale leaves
2-3 tablespoons balsamic vinegar
%u00a0oil of choice (i used avocado oil)
salt and pepper
You can cook this in or on the stove. I did it in the stove because I was baking anyway
Preheat oven to 425
Remove corn from cob and chop tomato into medium sized chunks. Toss into a oven safe skillet with a drizzle of oil and a little pinch of salt. Stick in oven and cook until the corn is tender and the tomatoes have fallen apart, about 10 minutes. Remove from oven and mix in vinegar. Chop kale into mouth sized pieces and toss into hot skillet. Mix around until kale starts to wilt. And it’s done. Serve with a pinch of pepper.
As I sit here writing this, mind you typing is not a terribly labor intestive activity, I am drip drip dripping sweat%u2026 It’s just not right.
%u00a0And today will be as hot as shit fuck. But its support to get so much better tomorrow. So that’s it, not more complaining. Everything is all good.
Now lets talk about this salad. This is such a fresh, clean, and full flavor salad made of just a few simple ingredients,%u00a0the star being the fennel.%u00a0%u00a0Almost licorice-y and sweet, yet still has a crisp earthiness, it pairs so well with onion and kale and dressed with just lemon juice.%u00a0Simple, easy, and very much satisfying. Kind of the perfect salad to make when you don’t want to make anything because the world is a sauna and nothing hurts you soul more then to think of turning on the oven.(full disclosure.%u00a0Stove burn does go on for a few minutes.. but only a few)
Maybe you have never had fennel or think you don’t like it, Well if you haven’t had it, you must, and if you think you don’t like it, you should try it again.%u00a0Up until recently, I kind of discarded fennel as a mah veggie. I didn’t hate it, but I never really cared for it, and I definitely did not seek it out. But this past year, for some odd reason (I blame/thank old age) I have really gotten into the yummy bulb. I have even gone out of my way to find it.%u00a0%u00a0And last week I was much excited when I went to farm share pick up and found that there was crate of fennel.%u00a0Woo HOO!%u00a0
Sweet fennel+hot weather and no desire to move = Fennel onion carrot salad
The stuff. A bulb of fennel (this was a big one so I use half of it),a medium onion , a big carrot, a bunch of kale, salt, pepper, a little olive oil and a lemon (I ended up using 2 smallish lemons)
Take you fennel and either with a mandolin or a knife, thinly slice the bulb. Do the same with the onion.
Toss the sliced fennel and onion into a lightly oiled skillet and sprinkle with a dash of salt. Place on medium low heat and cook jjust until the veggies are soften and starting to brown.
Chop the kale into pieces small enough to fit into your mouth and julienne or shred the carrot.
Compile the stuff. Juice the lemon.%u00a0Kale into a bowl, dump most tot the lemon juice on that and sprinkle with salt and mix around (I used my hands).%u00a0Dump the saut%u00e9ed fennel onion onto of that and top with the carrot and the rest of the juice.%u00a0
TA DA! Now that’s some pretty.
And toss it all around. I like to add a few thinly slices of raw fennel and lots of fresh cracked pepper.
Share with a friend. Or not. (a not for me)
Happy hump de dump day. Stay cool friends!
-C
Makes a big salad for one, or a few smaller sized side salads.%u00a0
1 small or half of a large bulb of fennel
i medium white or hello onion
1 large carrot
a bunch of kale (like 3-4 cups chopped)
1 large juicy lemon (or two small lemons)
With either a mandolin or using a knife, slice up the fennel and onion super thin. Toss into a lightly oiled skillet, sprinkle with salt,%u00a0and stick on the stove on medium low heat. Stir and let cook down for 5-8 minutes or until the fennel and onion have soften and are starting to brown.
While thats cooking, chop up the kale into small pieces and julienne or shred the carrot.%u00a0
Place kale into bowl, juice the lemon and drizzle most of the juice all over the kale and give it a good mix. Dump on the cooked fennel onion and top with the carrots and a the rest of the lemon juice.. Sprinkle with salt and pepper to taste and give it a good toss. Top with a few fresh shaving of fennel.
Share with a friend, or eat it all to your self.
It seems that everywhere I turn this week, there corn. So much so that its coming out of my ears%u2026..get it.. ears! (yes I am that lame)%u00a0
Yup, its now%u00a0officially (but%u00a0unofficially) summer and that means 2 things, well 3 things. First, we eat corn. Secondly, It%u2019s hot out, and get so hot in our little tiny loft that having the oven on is like torture so I%u00a0avoid it at all costs. And lastly, I seem to always have less time(or forget) to make dinner %u00a0cause,%u00a0you know, I am%u00a0outside running%u00a0around with my head cut off.%u00a0
The solution to the last two%u2026..Quesadillas.%u00a0
I probably make the mister quesadillas at least 5 time a week. They are just so easy to make (takes about 8 minutes) are full of some kind of veggie situation and lots of cheese (which is the misters favorite food group). You can make one, for a quick lunch, or very easily make 10 to feed a few people for a easy dinner. (everyone likes a quesadilla!). And even%u00a0though I cooked these%u00a0particular ones inside, quesadillas are great made outside on the grill. They just make so much sense.%u00a0
And so it goes.
Summertime + corn = Charred corn and kale quesadillas.
The Stuff. Freshy freshy corn on the cob. A few flour tortillas, a bunch of chopped kale and some shredded cheese. (I used pepper jack)
With a sharp knife, cut the corn off the cob. I find using a deep bowl works best to catch corn, and you could even invert another little bowl inside to rest the cob for easier cutting (I skipped extra bowl.. once less dish to wash)
While you are cutting the corn, preheat a large pan on medium high heat.%u00a0
Once the pan is hot, toss the corn kernels right on into it and sprinkle with salt and pepper %u00a0Let cook for a minutes or two, then give it a stir and cook for another minute.%u00a0
After about 4 minutes the corn turns bright yellow and starts to char. %u00a0Remove pan from heat and toss in the chopped up kale.
And compile the quesadilla. Tortilla, grated cheese, corn and kale, more cheese if you please, and top with anther tortilla. %u00a0Place assembled quesadilla into the pan and place on medium heat. Cook both sides until brown and cheese is ooey gooey.
Remove from pan and cut into triangles (or any shape you want)%u00a0
Serve right away. Can be eaten on a napkin, plate, or directly off the counter.%u00a0
Not needed, but it would be nice of you to serve with a little avocado, salsa, or sour cream.%u00a0
Happy Tuesday!
-C
Makes two 8 inch quesadillas
Four 8 inch flour tortillas (use gluten free if needed)
2 ears of fresh corn
3-4 larges kale leaves
1 cup* shredded pepper jack cheese (use vegan cheese if needed)
*Note. Use more cheese if you want%u00a0
Preheat a large pan %u00a0on medium high. While the pan is heating up, cut the corn from the cob. Once pan is hot, toss corn kernels into hot skillet and sprinkle with a pinch of salt and pepper. Give corn a stir after a few minutes. Once the kernels start to turn bright yellow and get a little charred, remove pan from heat. Chop up kale into little pieces and toss into pan with the corn while the pan is still hot. Mix around and let the kale wilt a bit from the residual heat.%u00a0
Ready your tortilla. Place half the cheese onto totilla, add on half of the corn and kale mixture, sprinkle with a bit more cheese and top with another tortilla. Place onto now empty pan and heat up quesadilla until brown on both sides and chesse is melty. Remove from skillet and cut into triangle. Repeat for the second quesadilla.
Serve right away with or without some guacamole, salsa, or sour cream.
plates are not required.%u00a0
Guess what guys %u2026.I got myself a sick vintage waffle/ griddle iron. I couldn’t be more thrilled!!!%u00a0I found this thing at the local recycled goods store the other day, along with a very beautiful old white pyrex mixing bowl. It was one of my best thrift store scores! (Checking out the inventory and the condition of all the old things that day, I would say an old lady had just died and all her perfectly keep, mint condition kitchen stuff had just been donated. %u00a0But it’s cool, cause I get the feeling that she was at least 90, with a big loving family, and was happy until the day she died. And I am sure she would be pleased that I have taken over the waffle maker. Thanks old lady!)
%u00a0And now I am pretty sure that %u00a0everything I make for the next week will be cooked on said waffle/griddle. I am serious, I already have a list of things to try and cook on it; cookies, biscuits, granola bars, potatoes, fruit, some type of pasta situations%u2026. the list of possibilities is endless and I bet that at least 1/2 of these things will be totally awesome and amazing.
But first thing first. I need to make dinner.
So waffles for dinner!!%u00a0
Note. These waffles are completely 100% fantastic for any meal you want to make them for. They consist of nothing more then beans, a shit ton of veggies, and just a bit of cornmeal. But don’t let that fool you because they are super packed full of so much flavor, have a really soft tender inside, with a nice crispy outside and are so super pretty. They are wonderful!%u00a0The stuff. First, we got a big old pile of shredded up veggies which include; carrot, beet, sweet potato, onion, parsnip, celeriac, and a little bit of kale. %u00a0A we got a bowl of rinsed and strained white beans, a little bit of cornmeal and salt, pepper, and garlic powder.%u00a0
The makings of something amazing!Before you do anything. get your waffle iron out and preheat it.%u00a0
While thats going on, take you beans, %u00a0add 3/4 cup water and puree until smooth with whatever blending device want to like to use. (I used my hand blender%u2026less to clean)Now collect all the shredded veggies and dump into a big bowl with the bean puree, the spices and the cornmeal. Mix until combined. The batter should be thick, but not dry. If its seems to wet, add more corn meal, or too dry, add a little more water.
Note how my batter turned a magical pink%u2026 I love beets, they make everything pretty! And check out that bowl!When your waffle iron is preheated, oil it if needed (if your not sure, add a little oil just to really make sure your waffles don’t stick) and take appropriate size spoonfuls of the batter and stick on iron. Close it and wait%u2026..My iron has a little light that turns on when the waffles are done cooking, so I waited patiently (ok iI did open it a few time) until light tuned on and removed the perfectly cooked waffles.
Did I mention how awesome my new/old vintage iron is?
SO AWESOME!!
I made a little gaucamole and gave the mister and little bowl of plain Greek yogurt with lemon juice, but feel free to top, drizzle, or dump whatever you want onto these beauties%u2026%u00a0
Happy waffle Wednesday!!!
-C
Veggie Bean Wonder Waffles
Makes 8-10 waffles (in my iron) feeds 2-3 peeps
1 small carrot shredded
1 small parsnip shredded
1/2 a small celeriac root
1 small beet shredded
2 kale leaves chopped into tiny bits
1/2 an onion, shredded
1/2 a small sweet potato shredded
1/2 cup cornmeal
2 cups(or 1 can) cooked, rinsed and strained white beans
2 teaspoons garlic powder
teaspoon each salt and pepper
oil for iron(if needed)
Note on veggies%u2026 I used what I had in the fridge and shredded, it came to about 3 cups. If you don’t have these specific veggies or only want to use a few.. go for it. Just make sure to have 3 cups of whatever veggies you use.
Take you beans and blend them up with whatever device you would like to use. Once creamy, add to a bowl with the rest of the ingredients. Stir until combined.
Once the waffle iron is preheated, oil it( if needed) and place the recommended amount of batter right on it there. Close and cook until golden brown and waffly.
Serve on a plate with topping of your choice, A few suggestions.. Guacamole, salsa, hummus, mustard, greek yogurt%u2026 anything that tastes good to you.
Eat as breakfast, lunch or dinner…
Fork into face
%u00a0%u00a0You ever make dish, completely on the fly, just to use something up (I have a lot of ripe tomatoes) with no real expectation, just because%u2026 Then have it be one of the best freaking things that you have ever made?%u00a0This salad is one of those things.. maybe not the best thing I have ever made, but definitely the best salad I have ever made%u2026. this week.
A salad compiled of all things amazing, taking just a few minutes to make and is the perfect balance of uber fresh with baby spinach, raw kale, and crunchy quick pickled onions. Then adding a touch of warmth with the sweet and juicy seared tomatoes and big chunks of creamy avocado.
I mean, for reals. %u2026…Best Salad Ever !!!! (this week)
Now let’s do this.
%u00a0The Stuff. A big bowl of baby spinach and chopped up kale, a few sliced up roma tomatoes, some super thinly sliced red onion, half an avocado, red wine vinegar and salt and pepper.%u00a0%u00a0Before you do anything, place the sliced onions into bowl, sprinkle with a pinch of salt and add a few glugs of the red wine vinegar. You want the onions to sit in the vinegar for at least 5 minutes on the counter cause the longer they sit the more crispy pickly they get. (after eating onions like this, you will never want to eat them any other way)%u00a0Lightly oil a skillet and preheat to a medium heat. Once the skillet is hot, sprinkle the tomato slices with salt and pepper and %u00a0place tomatoes right on in, snugly, but not overlapping. Let cook for about 3-4 minutes, or until the bottoms start to brown. Flip and cook other side for another few minutes.Once the tomatoes are seared on both sides, remove them gently from skillet and toss them on top of the bowl of greens.
Take the pickled onions and toss those right on top, with any of the residual vinegar, add dice and scoop the half of avocado and toss that on in as well.And now eat the best salad ever (this week).
Make the day good!
-C
Skillet Seared Tomato and Quick Pickled Onion Salad
Serves 2 as a side, 1 for a hungry eater
2 large or 3 smaller roma tomatoes
1/2 of a red onion
2-3 tablespoons red wine vinegar
1 1/2 cups baby spinach
1 1/2 cups chopped kale
salt pepper
1/2 a ripe avocado%u00a0
olive oil (to grease pan)
Thinly slice red onion and place in a bowl. %u00a0Add vinegar into a and sprinkle with salt. Let sit on counter for at least 5 minutes, if not longer,
Slice tomatoes into 1/2 inch thick rounds and sprinkle with a pitch or salt and pepper. %u00a0Lightly oil a skillet and preheat it on medium heat. Once the skillet is preheated, stick the tomatoes on it (watch out for splattering tomato juice) Cook first side for about 3 minutes or until the bottom has browned, then flip and do the same for other side.%u00a0
One tomatoes are seared, place directly onto the greens. Now dump the pickled onions and residual vinegar on top. And %u00a0dice up %u00a0avocado and add that on top too.%u00a0
Now eat your salad, fork or fingers%u2026 %u00a0
And I know, ba-daaaamn. So good.
Last week pineapples were on sale everywhere%u2026%u2026So I bought 5. Don’t judge%u00a0
And I bet I am not the only one that got overly excited at $1.50 pineapple and bough themselves a few. We will just call ourselves opportunists. %u00a0Now we have plenty of pineapples and don’t have to pay %u00a0the $4 a piece prices. (Justification) %u00a0
But if you don’t have a pineapple laying around, you must go get one. (Maybe if your lucky, there might still be some sales going on) because you must make this salad. I am on a mission to make everyone I know eat it because, for lake of a better way to say it%u2026%u2026.It will rock your world.
Dill and pineapple are a serious match made in heaven. Pineapple, with its sweet, tangy, citrusness %u00a0and dill with it’s super fresh earthiness. Mixed together with a few other helpers to create a fresh, clean, chunky, tangy, over the top, flavor. I could stop right there, but toss in a handful of lentils, some creamy avocado and a bed of kale%u2026It’s like the best spring time, celebration on you tongue, happiness in you tummy, kind of salad.
A salad that will make you smile. (and maybe buy %u00a05 pineapples)%u00a0
%u00a0Stuff for the goodness. We got the kale, some avocado because all salads should have avocado and some cooked lentils because, well, all salads should have lentils (or beans or nuts.. so you could totally something else) Then a few sprigs of fresh dill, a clove of garlic, red wine vinegar, salt and a bowl of chunked up pineapple.%u00a0The pineapple, dill, garlic, red wine vinegar, a splash of water and a pinch of salt get blended in a blender or whatever blending device you use. Go as smooth or chunky as you like, I recommend going smooth, but leaving a little chunk, like half blended.
The prep is done, now compile. %u00a0Kale in bowl, top with lentils,. Toss on avocado chunks, and, last but not least, the blended pineapple dill mixture.So good%u2026%u2026So so good.
Happy Friday!!
-C
So Good Pineapple Dill Kale Salad
Serves Two
3 cups washed and chopped Kale
1/2 a avocado, diced
1 cup fresh pineapple chunks
1-2 springs fresh dill
1 tablespoon Red Wine Vinegar
Salt%u00a0
1/2 cup cooked lentils%u00a0(or any bean or nut will do)
Note. No fresh dill? You can use dried, just sub in 1 teaspoon for the fresh and after blending with the pineapple, let sit a little longer to really let the flavors meld together.%u00a0
Place pineapple, dill, pinch of salt, vinegar and garlic into a blender or whatever you own that blends and blend stuff together, leaving it a little chunky. Let sit for 5-10 minutes.
Kale goes into a bowl and add the lentils and diced avocado. Pour the blended pineapple on. Toss around.%u00a0
Now eat.
Whenever my little sister comes over for dinner, I always end up making lentils in some form or another because she, like me, is awesome and loves a good lentil. It makes me so happy that she has such great taste in food and wants to eat what I make. %u00a0It’s validation from a teenage girl which is the best kind of validation.%u00a0
So last night when she came over after school for dinner and trash talk (she likes to verbally abuse Nick) %u00a0we decided %u00a0to make both of our favorites %u2026 Lentils AND sweet potatoes. How can you go wrong with that combo? Well I am telling you that you can’t. The rich creamy soft and slightly sweet sweet potato mixed up with the hearty, earthy, oh so fantastically tasty lentil. Add in a bit of kale and cheese if you wish and serve with salsa and guac… Whoa, it’s the best!!!
Such a great evening, I get to the cooking, the sister gets to the verbal abuse and the mister, begin the champ that he is, takes it and dishes it right back.%u00a0
I am the greatest(coolest)%u00a0sister.%u00a0
Baked sweet potatoes, cooked lentils, chopped up kale and monetary jack cheese (Cheese is optional.. and make it vegan cheese if you want) And you don’t need then, but salsa and guacamole are the best toppings.. So you have them.%u00a0
Cut the cooked potato in half lengthwise and scoop the flesh out into a bowl. With a fork, smooth%u00a0the potato , sprinkle with salt and pepper and mix in lentils and kale.
Stuff the mixture back into the skins of the potato.
And add some cheese (The mister and the sister wanted lots of cheese, no cheese for me) and stick the potatoes into the oven and let bake for another 5 or so minutes or until the cheese is all melty or the top is nice and crispy.%u00a0
Remove and plate%u2026 Serve with salsa and guacamole and maybe some corn chips. %u00a0
I am the greatest sister
-C
Makes 2 serving
1 Large Sweet Potato
1 cup Prepared Lentils
1 cup Chopped Kale
1/2 cup Grated Monetary Jack Cheese (Vegan style or not)%u00a0
Salsa (optional)
Guacamole(optional)
Place potato in oven at 400 degrees for 30-40 minutes or until soft a baked throughout.
While potato is baking, prepare lentils. %u00a02 cups water to 1 cup lentils. Add water and lentil to pot, bring to a boil, add a sprinkle of salt, and reduce to simmer until lentils are tender.%u00a0
When potato is cooked, remove potato %u00a0and let cool for a few minutes.%u00a0Cut in half lengthwise and scoop out most of the flesh out of the skins and place into a big bowl. WIth a fork, mash the potato a bit %u00a0Add in the lentils and the kale, a sprinkle of salt and pepper, and mix to combine. Stuff the mixture back into the skins of the potatoes and top with cheese. (if using ) Place potatoes back into oven for 5-10 minutes until cheese is melty and bubbly or the top of the potato is a bit crispy. Remove from oven and serve on a plate with salsa and guacamole.
There are just some things in life that are always right, like puppies, rainbows, human decency,%u00a0or the smell of %u00a0springtime flowers. And tacos. Tacos are always right. Seriously, have you ever meet someone that doesn’t enjoy a taco of some sort, of some variety? Everyone has a taco, that is a fact. (Even if you skip the tortilla and go straight for all the fillings like me.)
And if you are like me, lentils and butternut squash are always right too. So are all the veggies and %u00a0the avocado.%u00a0Together all this goodness makes for one amazingly fantastical, very right taco.%u00a0
We all need a little bit rightness in our lives right now. Why not start with dinner.%u00a0
The stuff. You got to get lenitls, butternut squash, cumin, chili pepper, salt and pepper, and olive oil. Also kale,%u00a0red onion, cabbage, avocados, a jalape%u00f1o,%u00a0limes, and garlic. And you need something to stick it all in, so flour or corn tortillas.%u00a0
Start with making the veggie slaw. Basic here, just chop up the kale, onion, and cabbage into small thin pieces.
All that veggie goodness goes right into a bowl with a sprinkle of salt and the juice of a lime. Give it a good toss to coast it all and set aside to do it’s magic. The longer it sits, the better it gets.
Now to roast the squash. %u00a0Dice it into small mouth sized pieces. I usually don’t peel, but most people do and the mr has been avoiding he peel when he eats the squash so I peeled it (and roasted it and ate it myself)%u00a0
Toss the squash in a drizzle of olive oil and the cumin and chili powder and a little salt and pepper.%u00a0
Raw squash goes into a preheated skillet (or baking sheet) and roasted until browned and tender.%u00a0
Squash meets lentils and it is good. So so good.%u00a0
And don’t forget the jalape%u00f1o mousse.%u00a0. Dice the jalapeo and the garlic and toss into a blender (or jar to use an emulsion blender) with the avocado, juice of a lime, a sprinkle of salt, %u00a0and a little bit of water.
A pillowy cloud of green goodness.%u00a0
You got all the stuff,%u00a0you know what to do.
Fact. Tacos = happiness.%u00a0Now get on it.%u00a0
-C
make about 6 tacos%u00a0
1 1/2 cups cooked french lentils
1/2 of a small butternut squash (about 3 cups cubed)
1 tablespoon cumin
1 teaspoon chili powder%u00a0
salt and pepper
olive oil
2-3 large kale leaves
1/4 head of cabbage
small red onion
2 limes
1 large or 2 tiny avocados%u00a0
2-4 tablespoons water cup
1 jalapeno
2 cloves garlic
6 small %u00a0flour or corn tortillas%u00a0
Grab the kale, cabbage, and red onion and thinly slice and dice into small pieces. Place into bowl, sprinkle with 1/2 teaspoon salt and add in the juice of a lime. Give it all a good mix around and set aside.%u00a0
Preheat oven to 450. %u00a0Place your cast iron skillet or baking sheet in oven while preheating.
Take squash, peel the skin off (if you want) and cut into cubes about an inch big. Place in a bowl and toss with a little olive oil and the cumin and chili powder. Sprinkle a little salt and pepper in and toss it all around. When the oven is preheated, carefully remove the pan and dump the squash in it. Evenly disperse the squash then place the pan back into the oven and roast squash until browned and tender, which takes about 25 minutes.%u00a0
When the squash is done, remove and dump into a big bowl along with the lentils.
While the squash is roasting you can go ahead and make the avocado mousse. Scoop avocado fruit into a bowl %u00a0or blender and add in the jalape%u00f1o (seeds and ribs removed) and the garlic. Add in the juice of a lime and 2 tablespoons water. Blend until smooth. Add in more water to thin out to desired consitancey.%u00a0
Now you have everything ready to taco. Grab your tortillas and heat them up if want and start to pile it all on. Lentil squash mixture, a good handful of the veggie slaw, topped with a dollop or two of the avocado mousse. Now you got yourself a taco and it’s ready for your face.%u00a0

 Is it really for real April? Where has all the time gone and where the hell is the warm weather? It’s not funny anymore. I am officially OVER winter! Ok, so now that I got that off my chest…..
 The Stuff. Cornmeal, water, navy beans and parmesan for the polenta. Crushed tomatoes, garlic, dried basil, onion, carrot, zucchini, and summer squash for the sauce. Salt, pepper, and olive oil all around.
 Cornmeal and water go into a cast iron skillet (or any oven safe dish) with a pinch of salt and pepper. Give it a little mix and stick it into the oven at 400 degrees .
 Once the polenta is in the oven, make the sauce. Chop up all the veggies and stick into a dutch oven or sauce pot with a pinch of salt, the basil and a good drizzle of olive oil. Stick on medium heat and let veggies cook down a bit. When the veggies are tender, add in minced garlic, crushed tomatoes and another drizzle or oil. Turn burner to lowest setting and simmer (giving it a stir every now and then) for about 45 minutes or until the polenta is done.
  After about 30 minutes when the water had pretty much all cooked down, take the polenta out of the oven and stir in the beans, the parmesan, a tablespoon or two of olive oil and salt and pepper. Smooth top out and sprinkle with more pepper, parmesan and drizzle with a bit more oil. Stick back into oven for another 1/2 or until polenta has formed a crust and no longer giggles when you wiggle the pan.
 Pull polntna from the oven and let sit for at least 1o minutes.
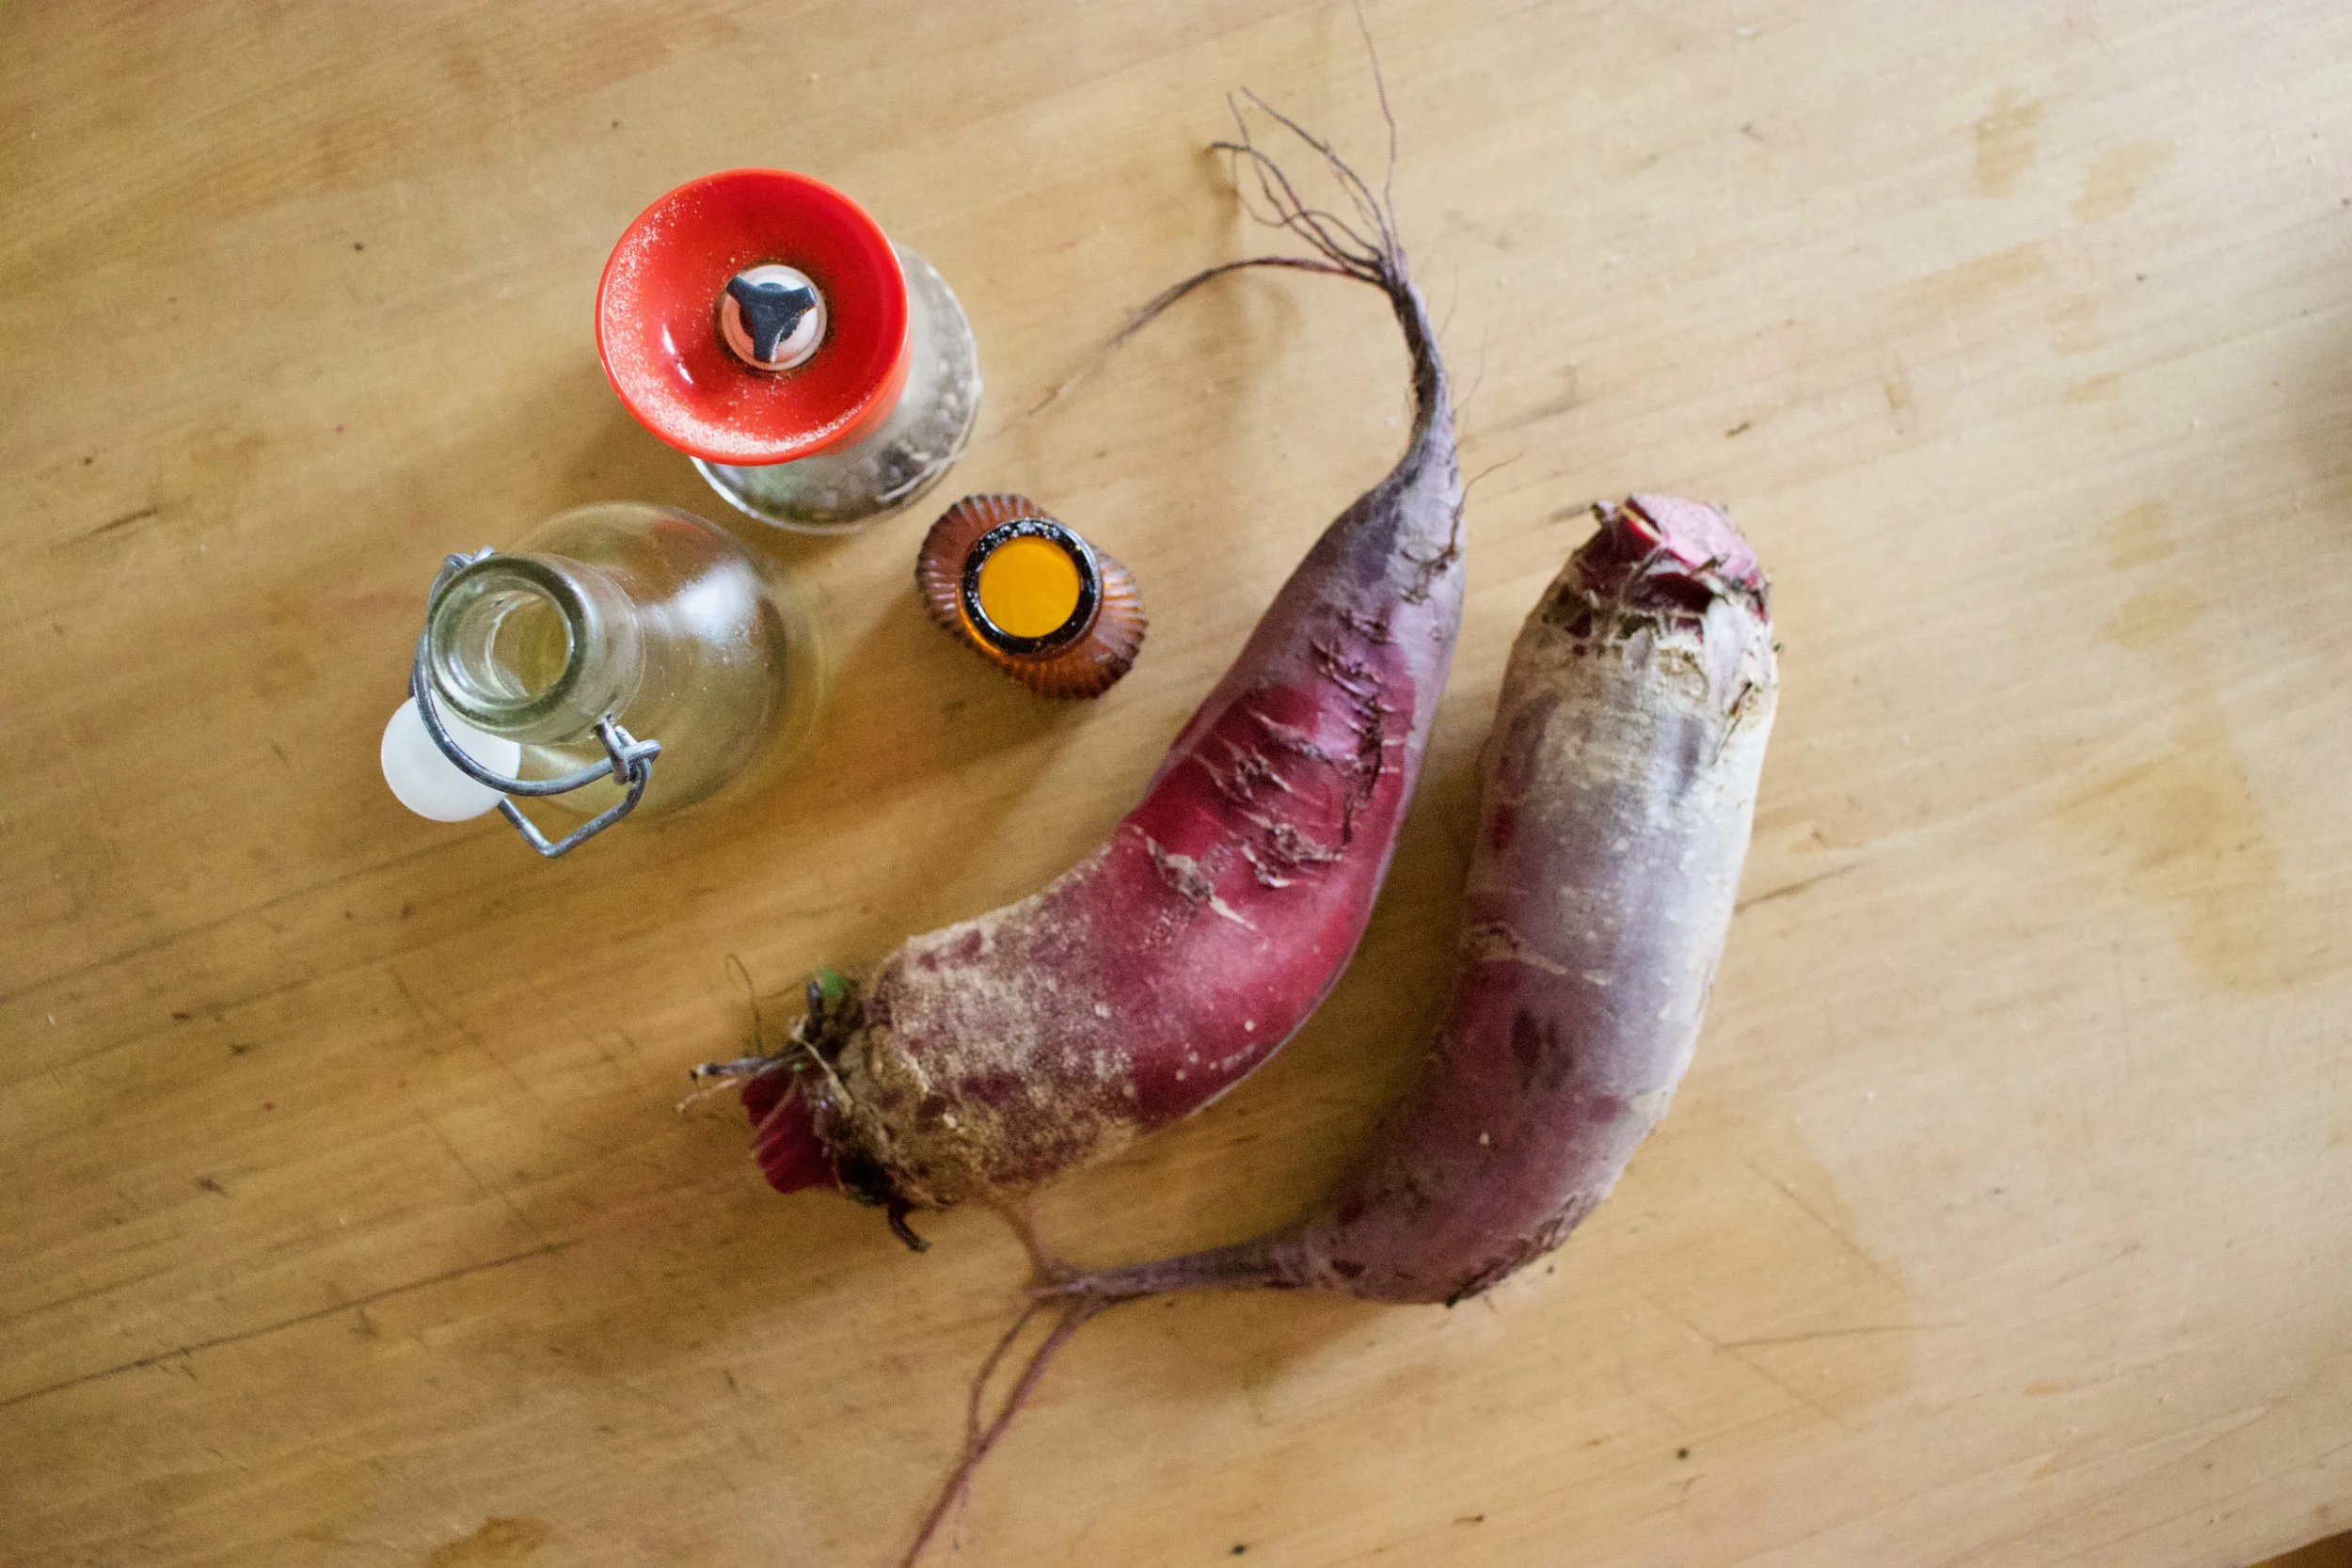

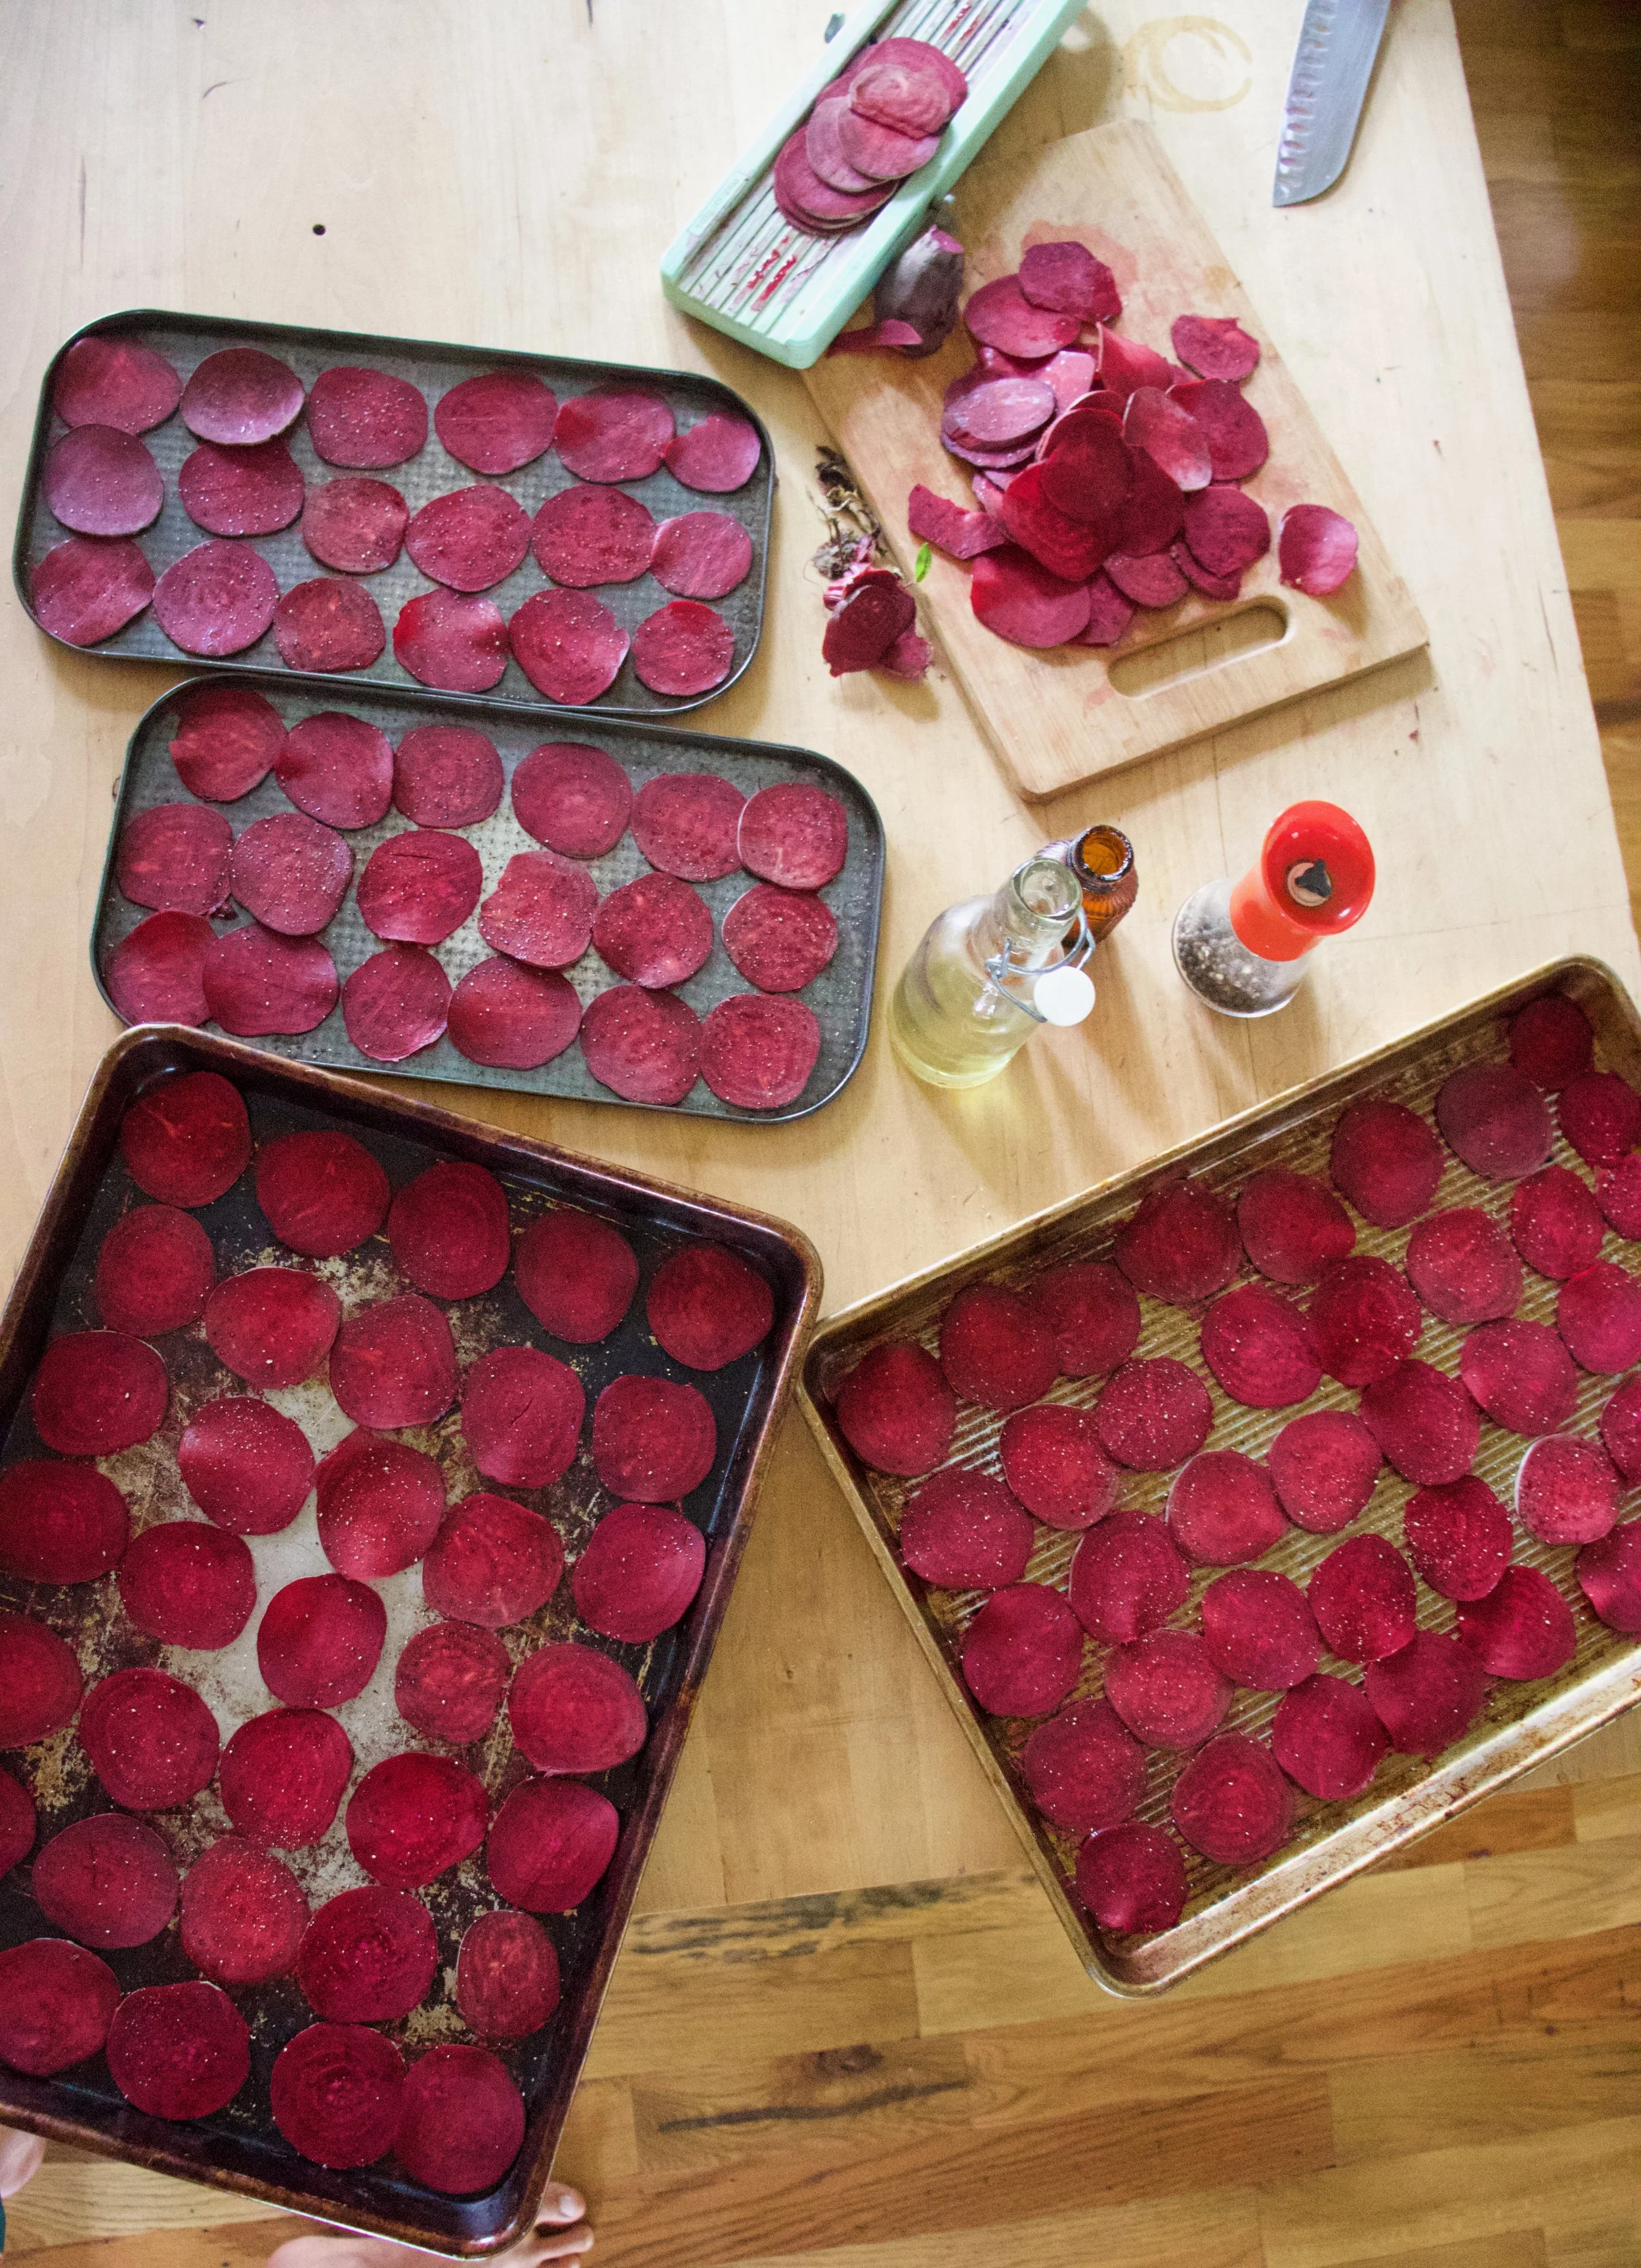
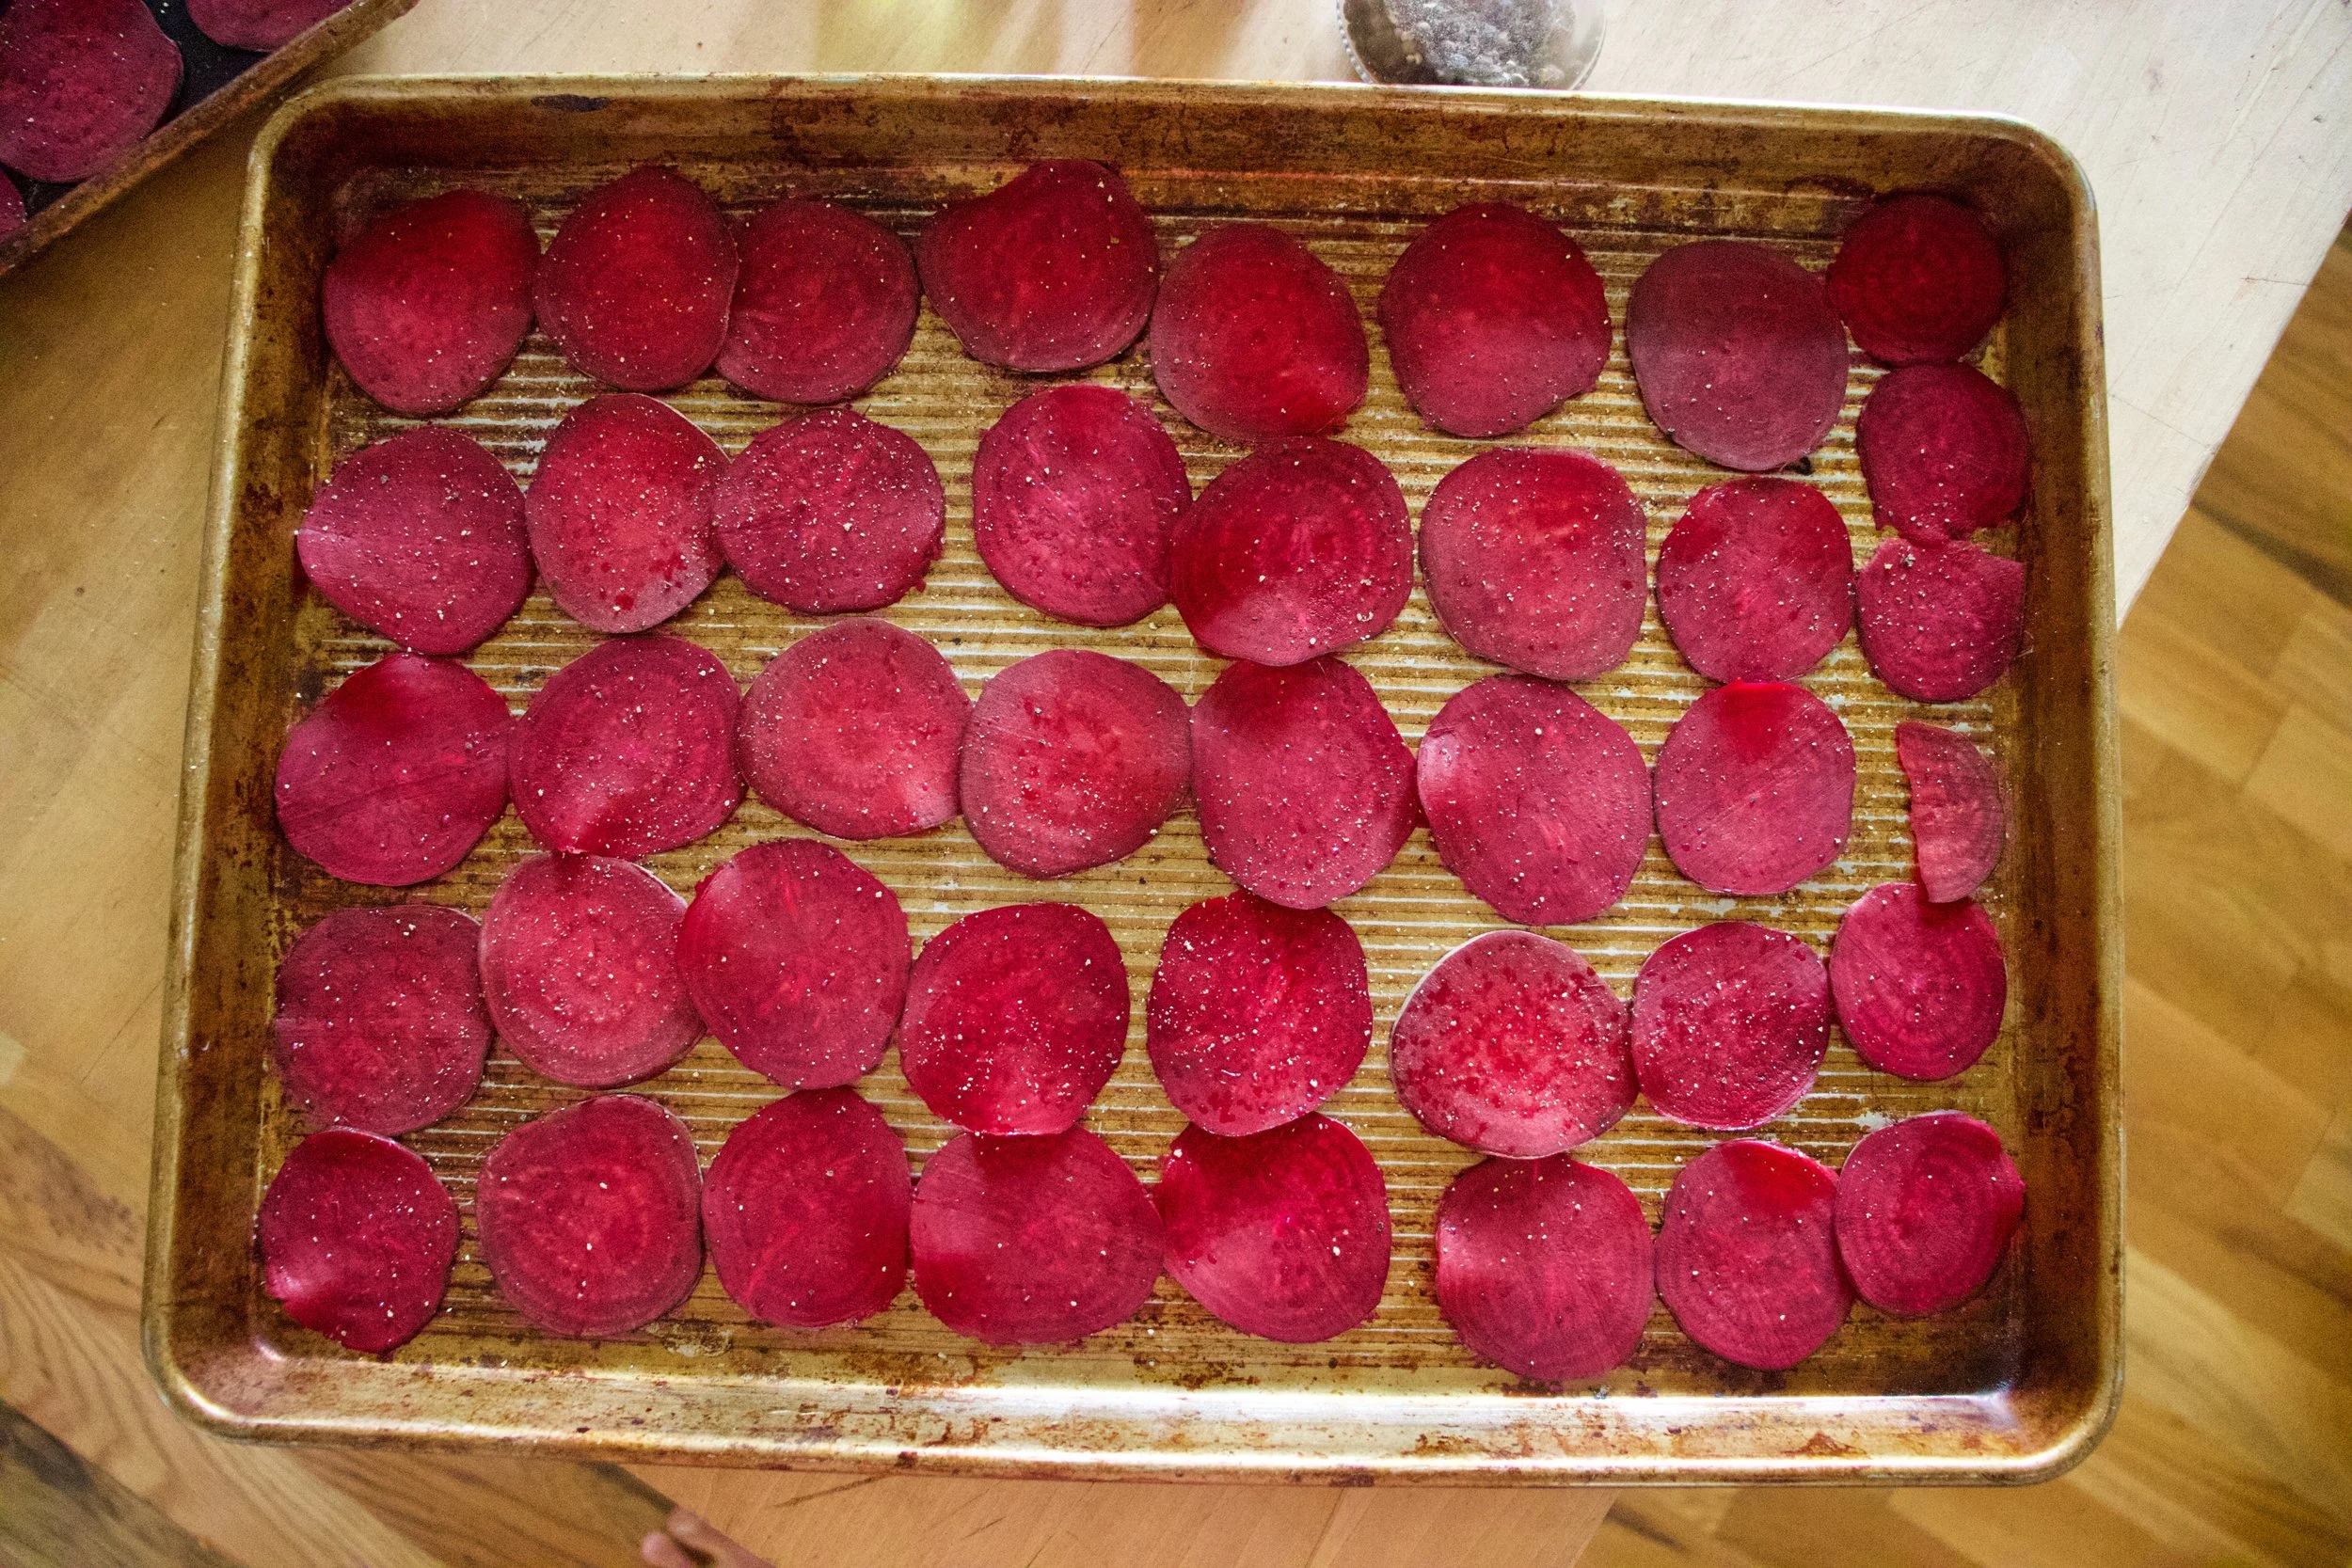
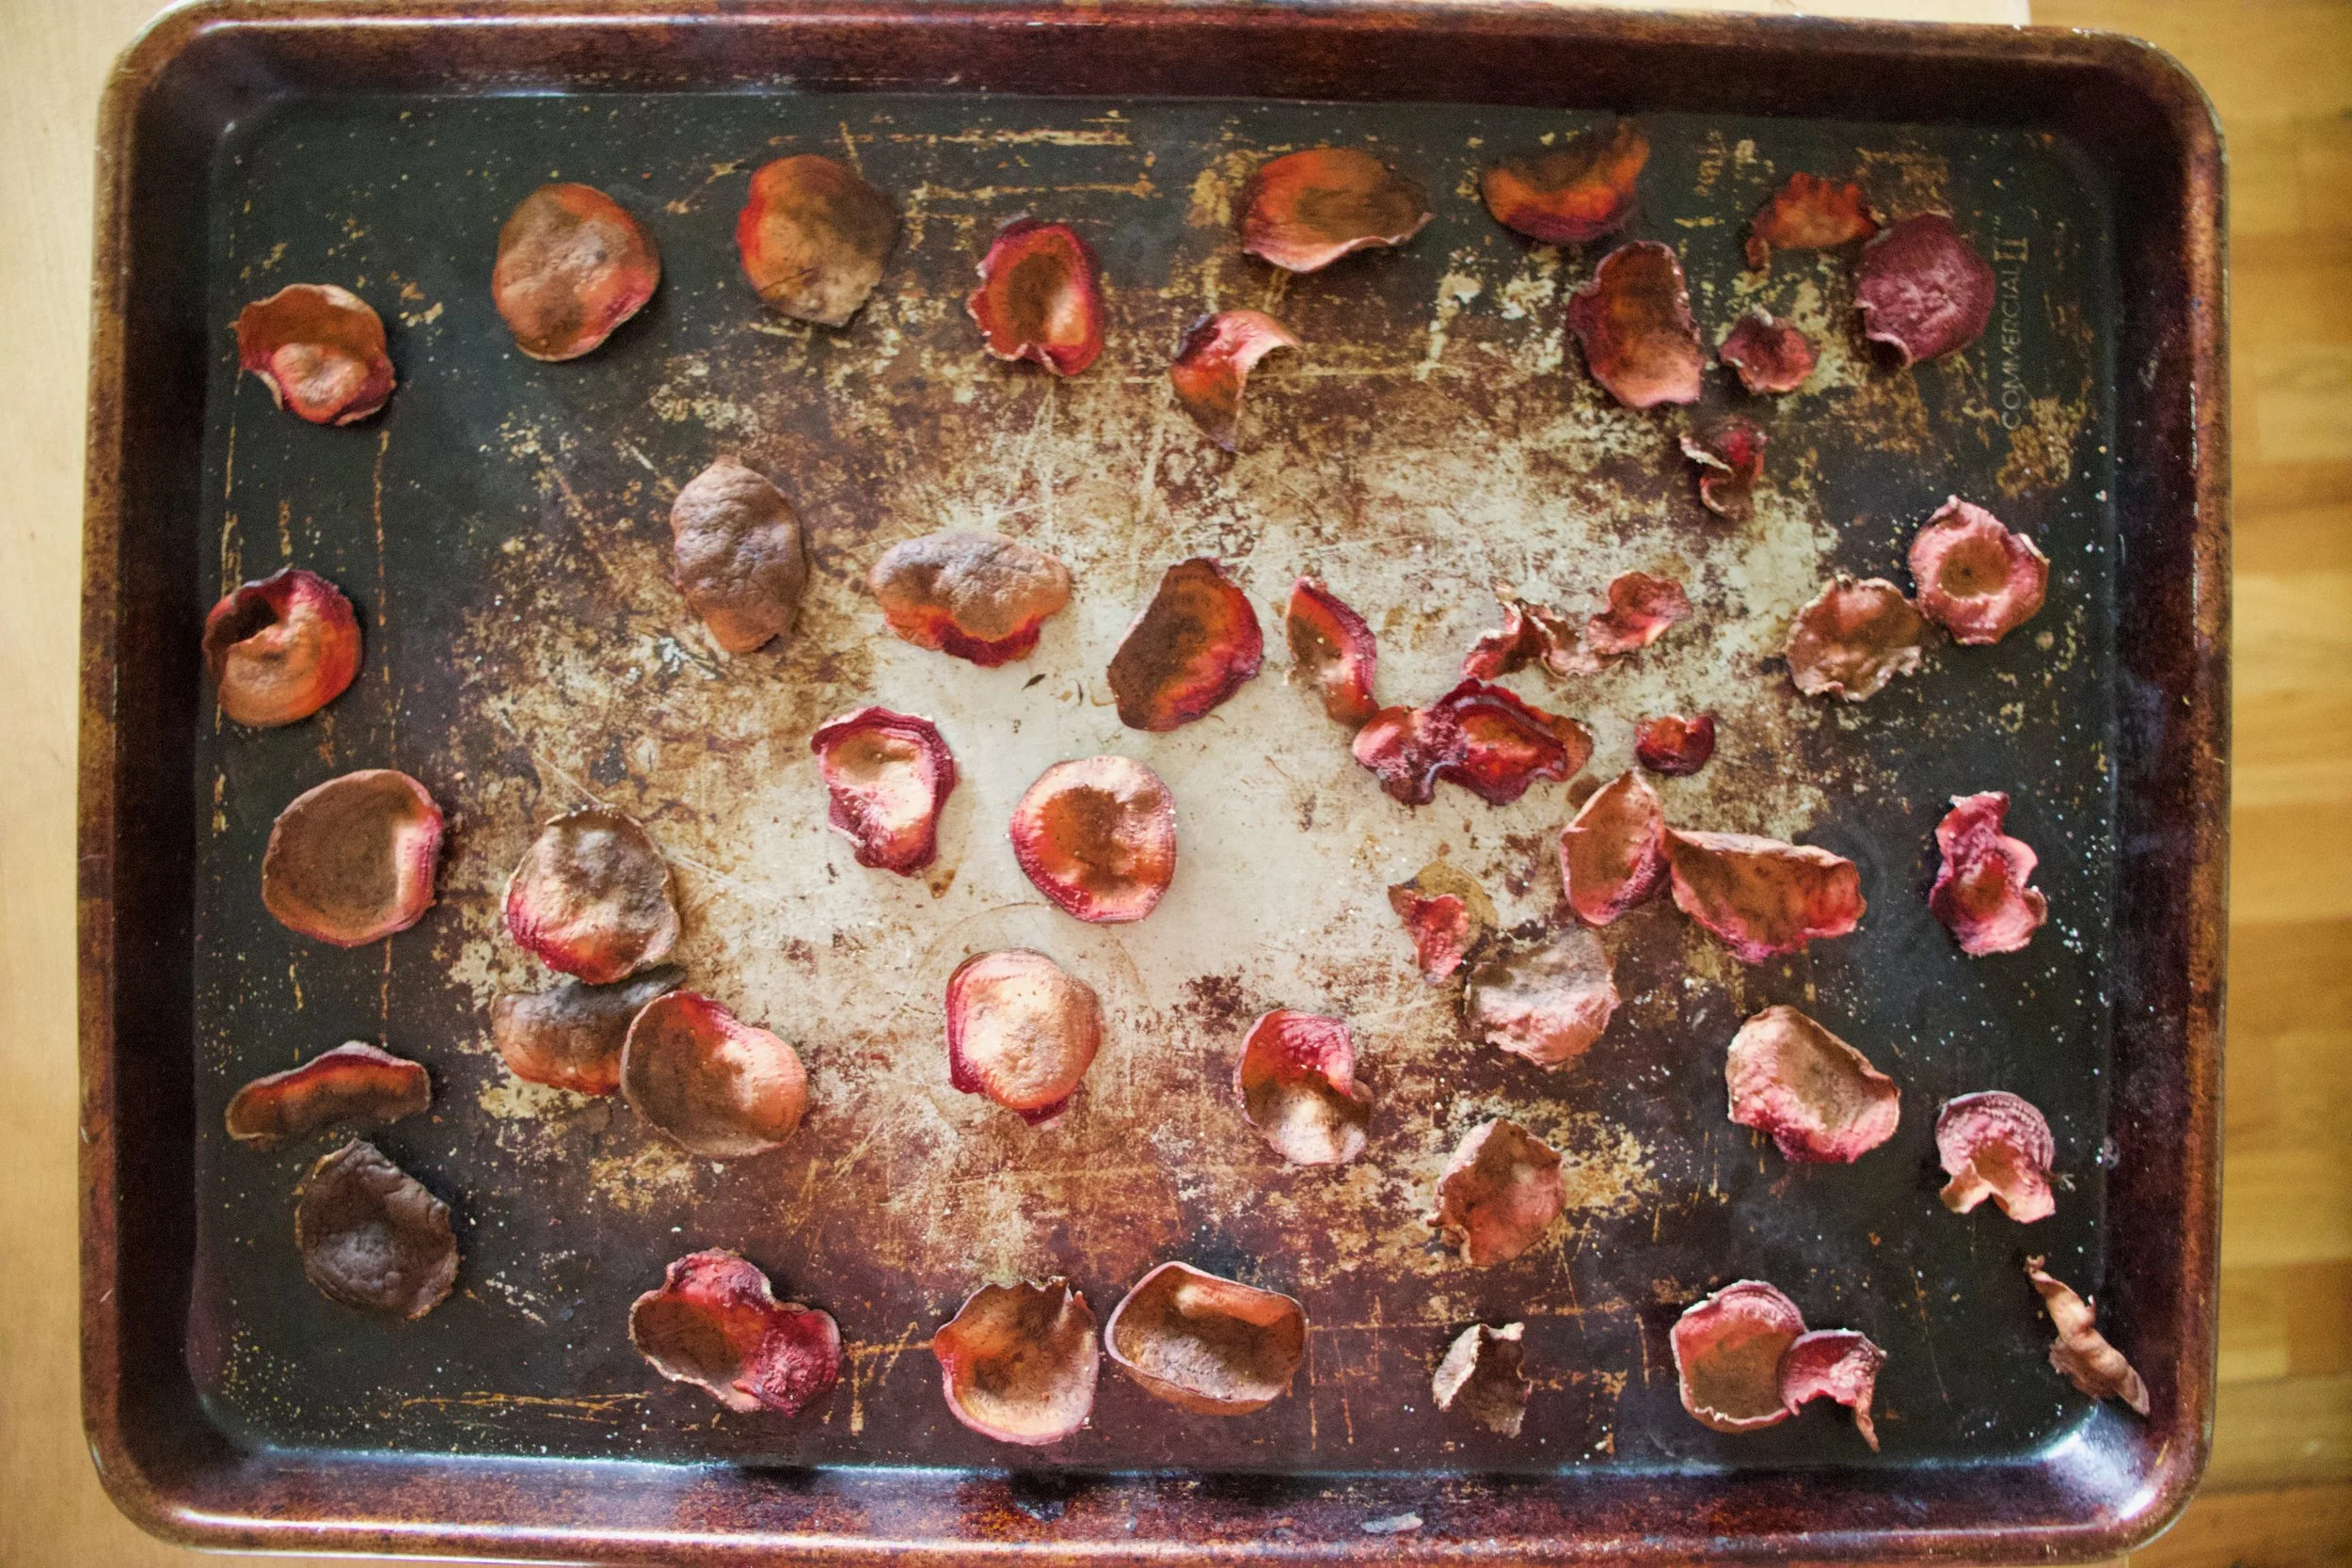

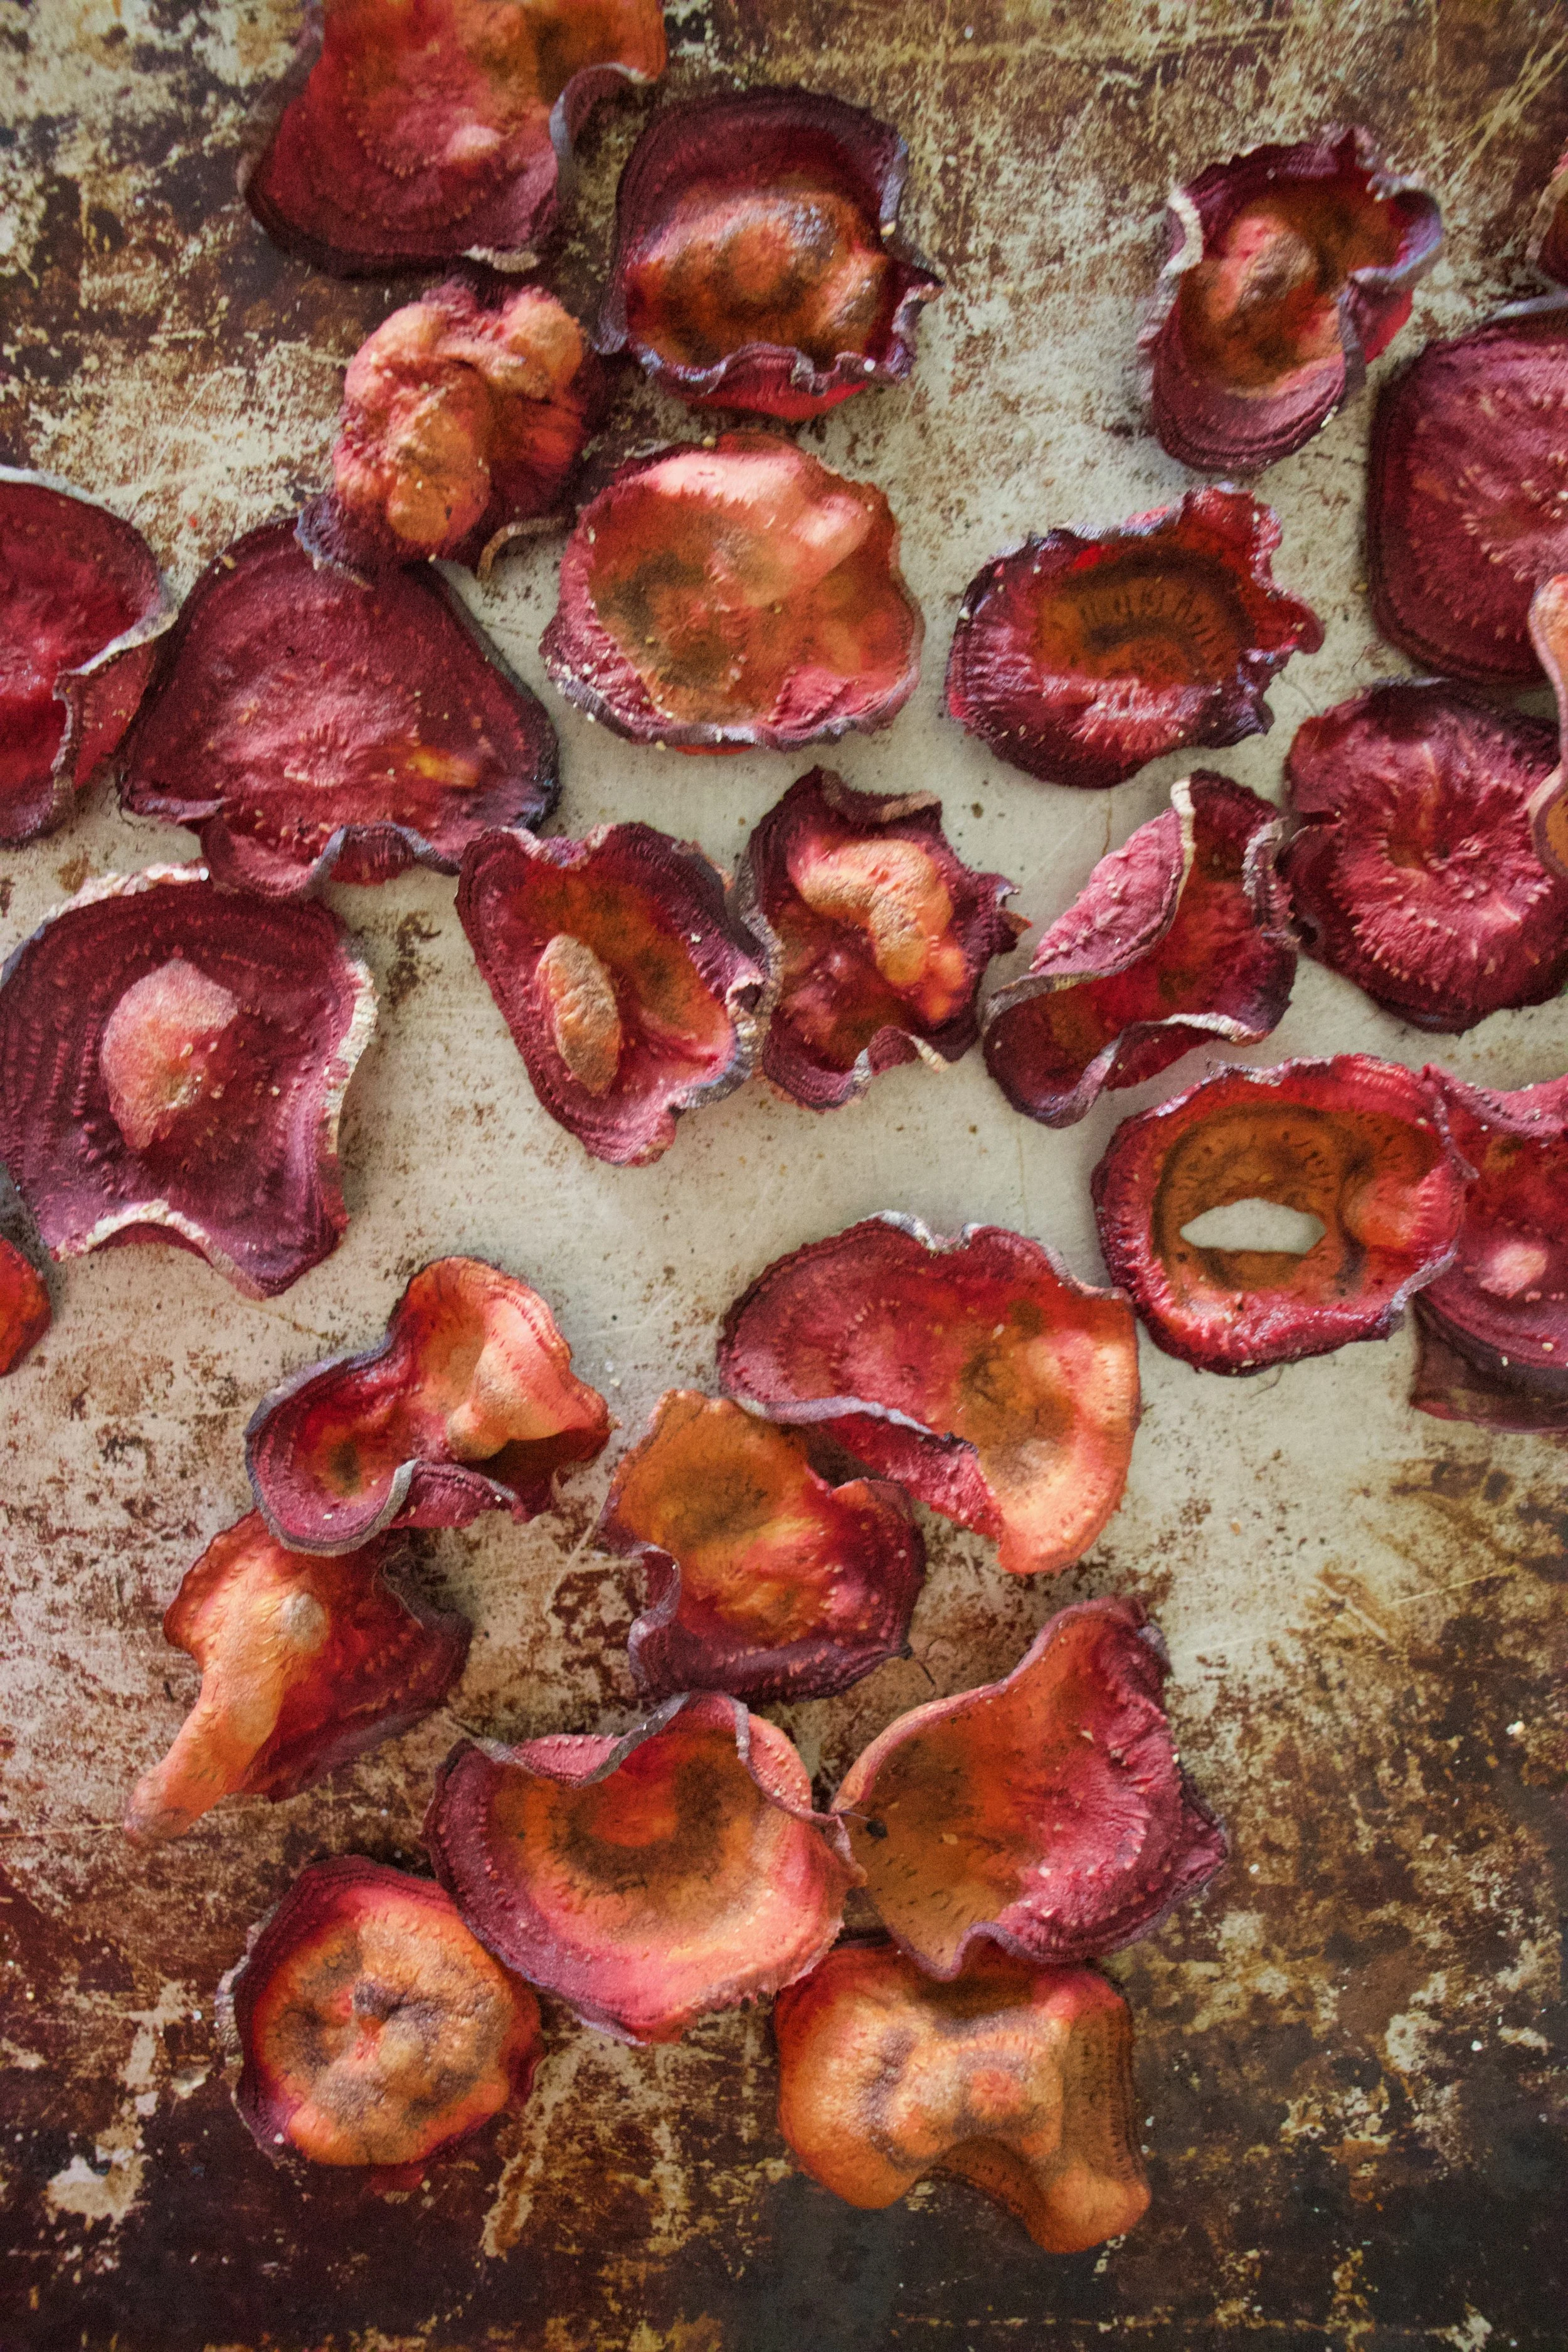
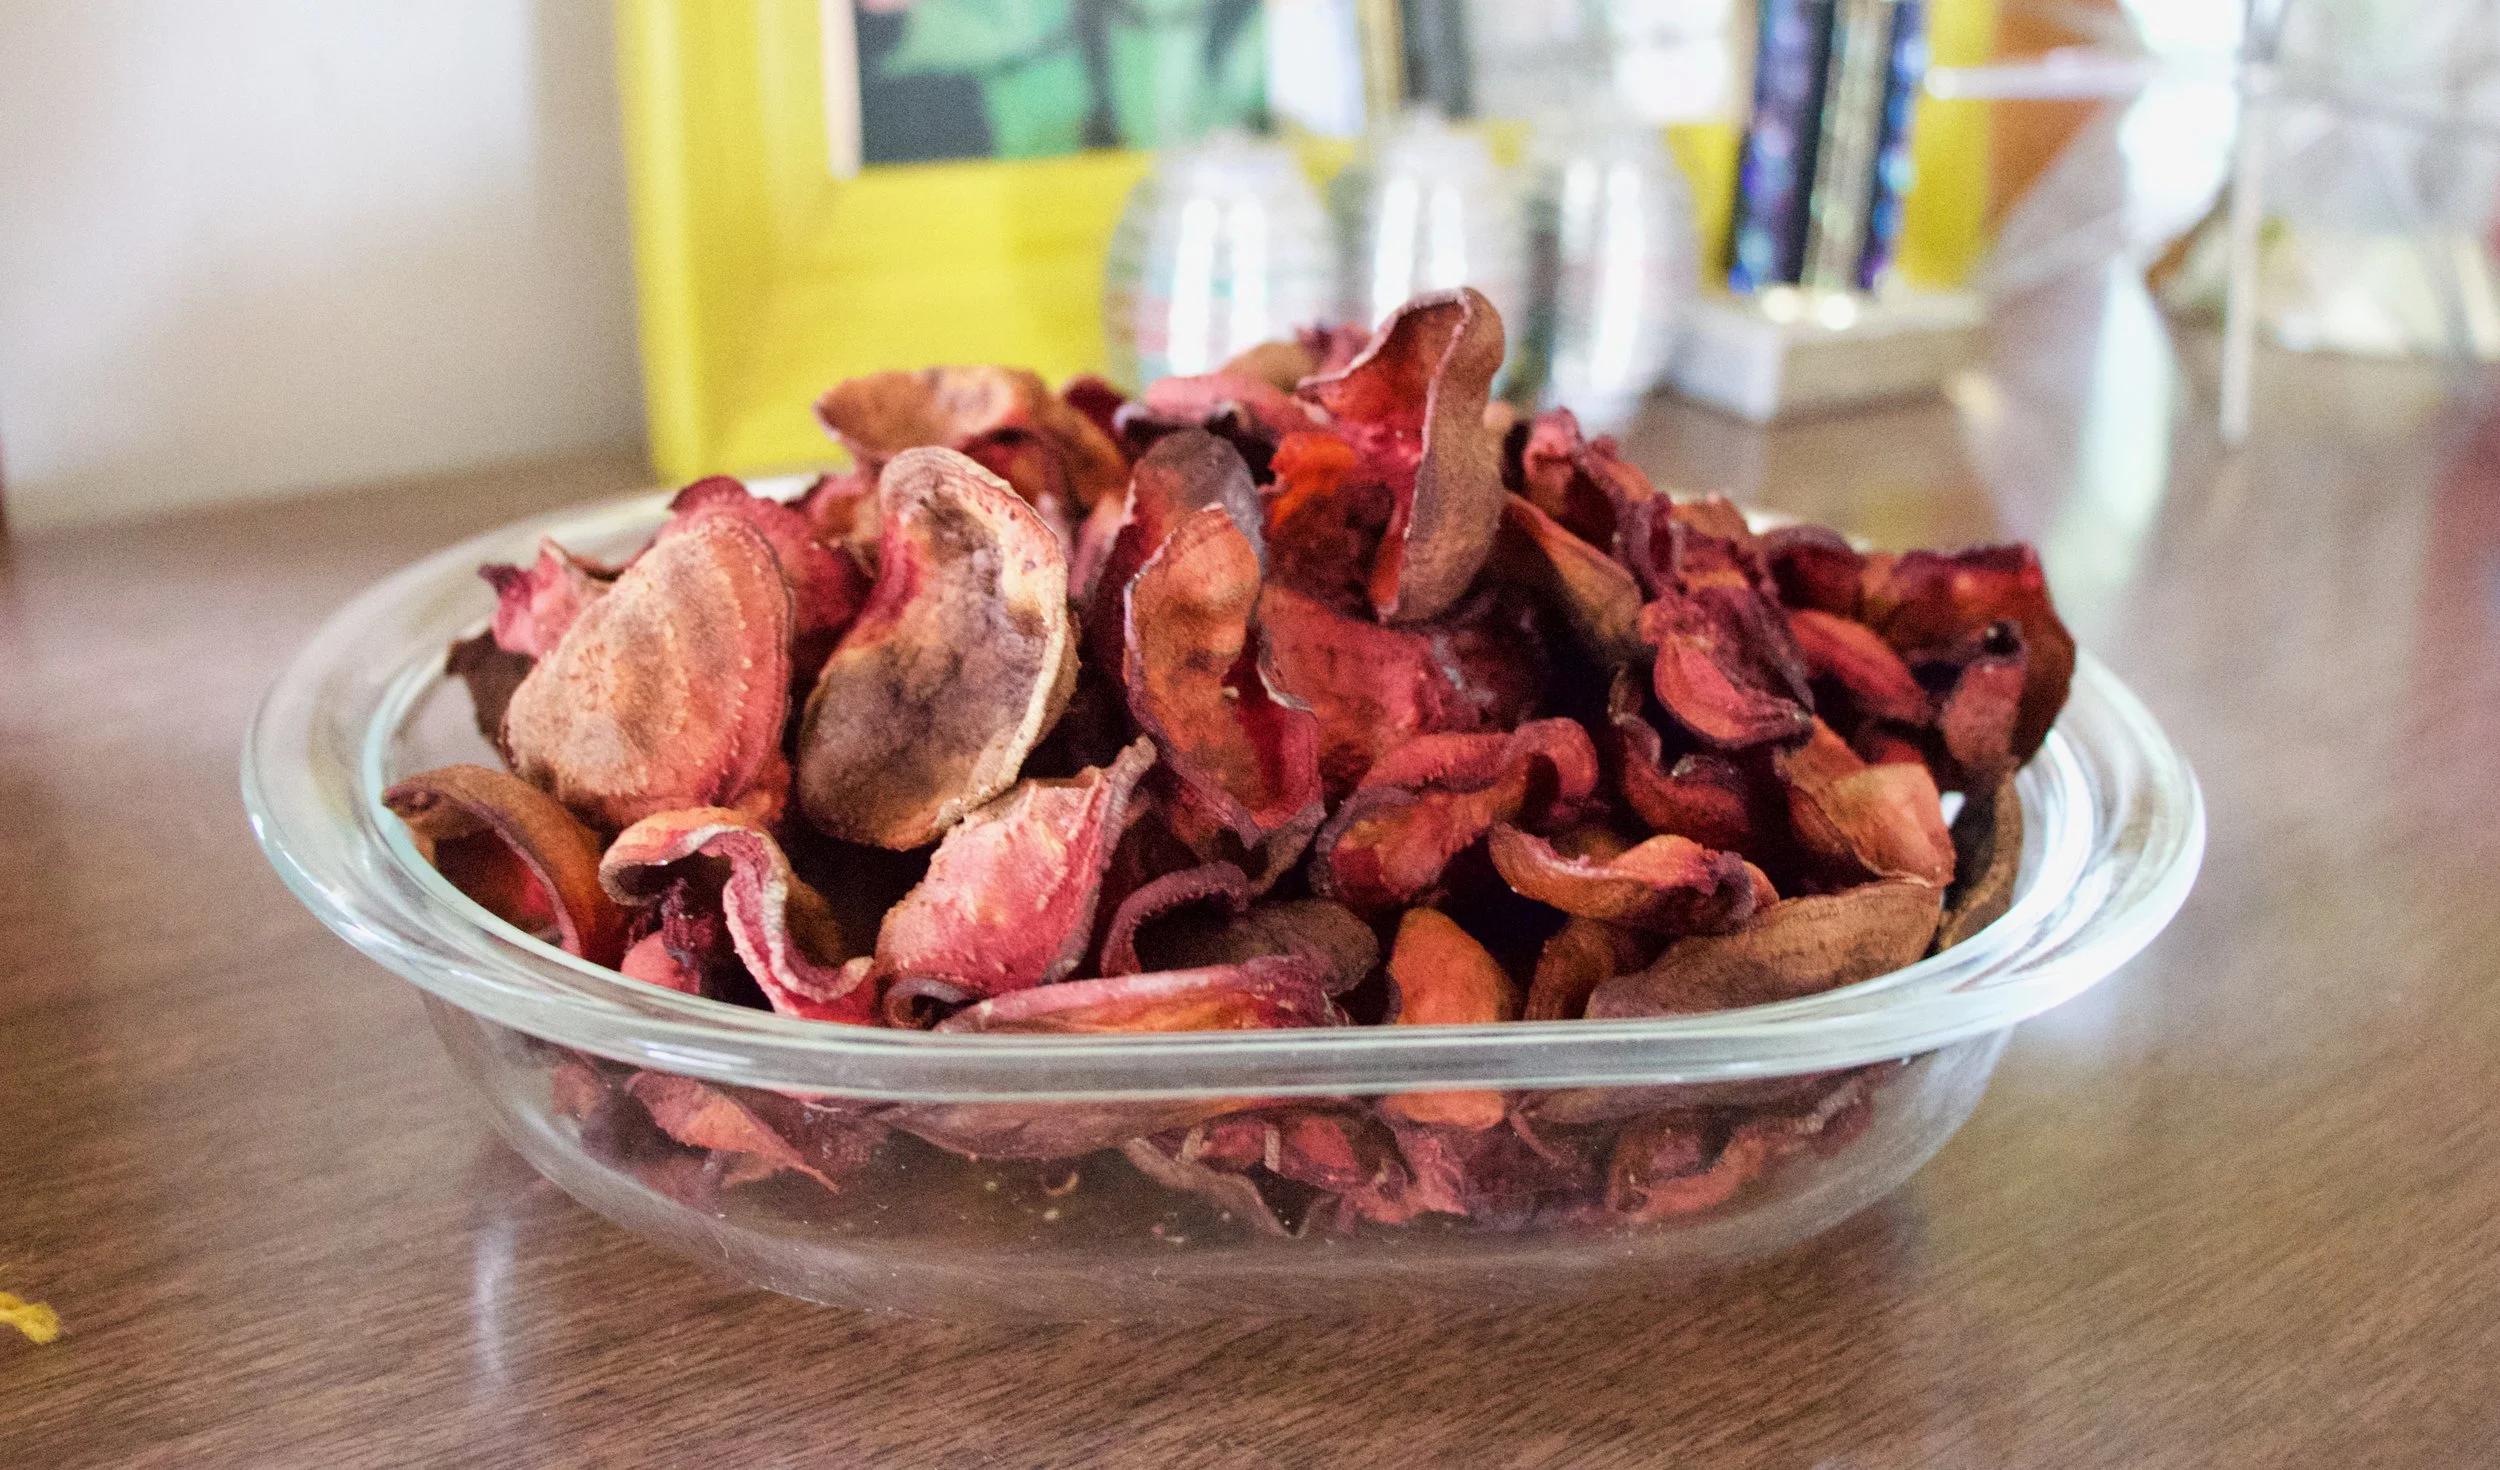

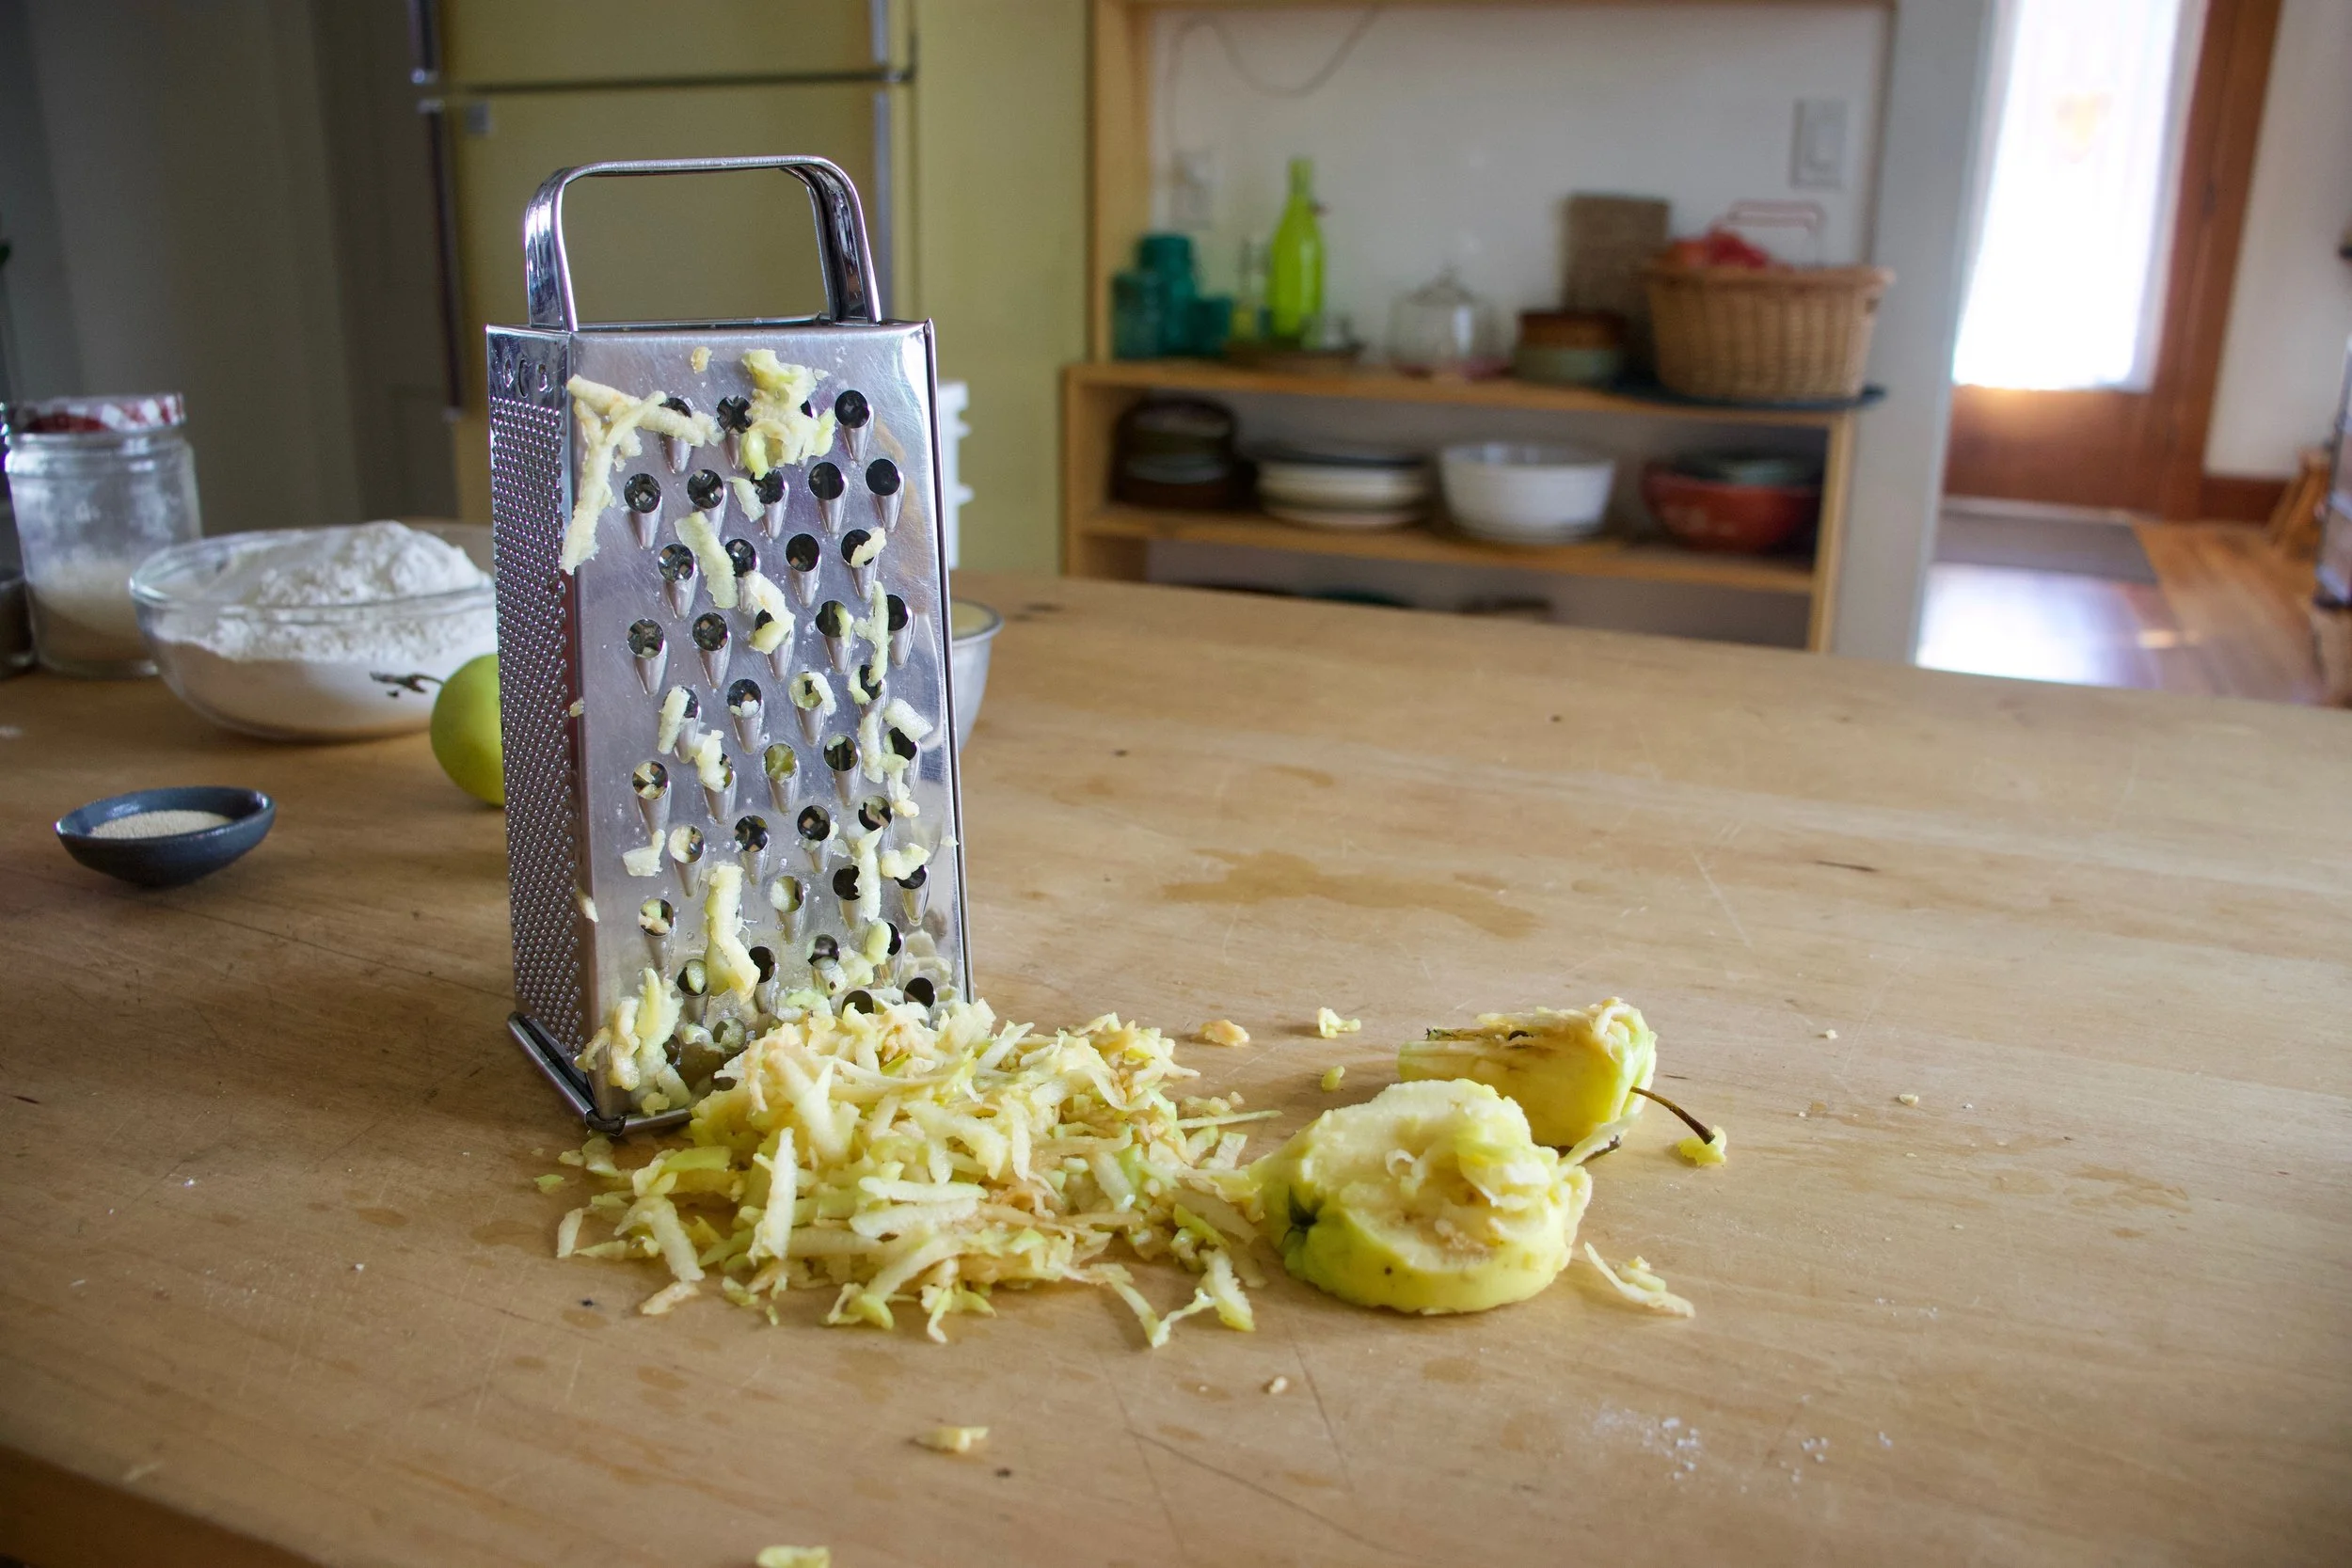
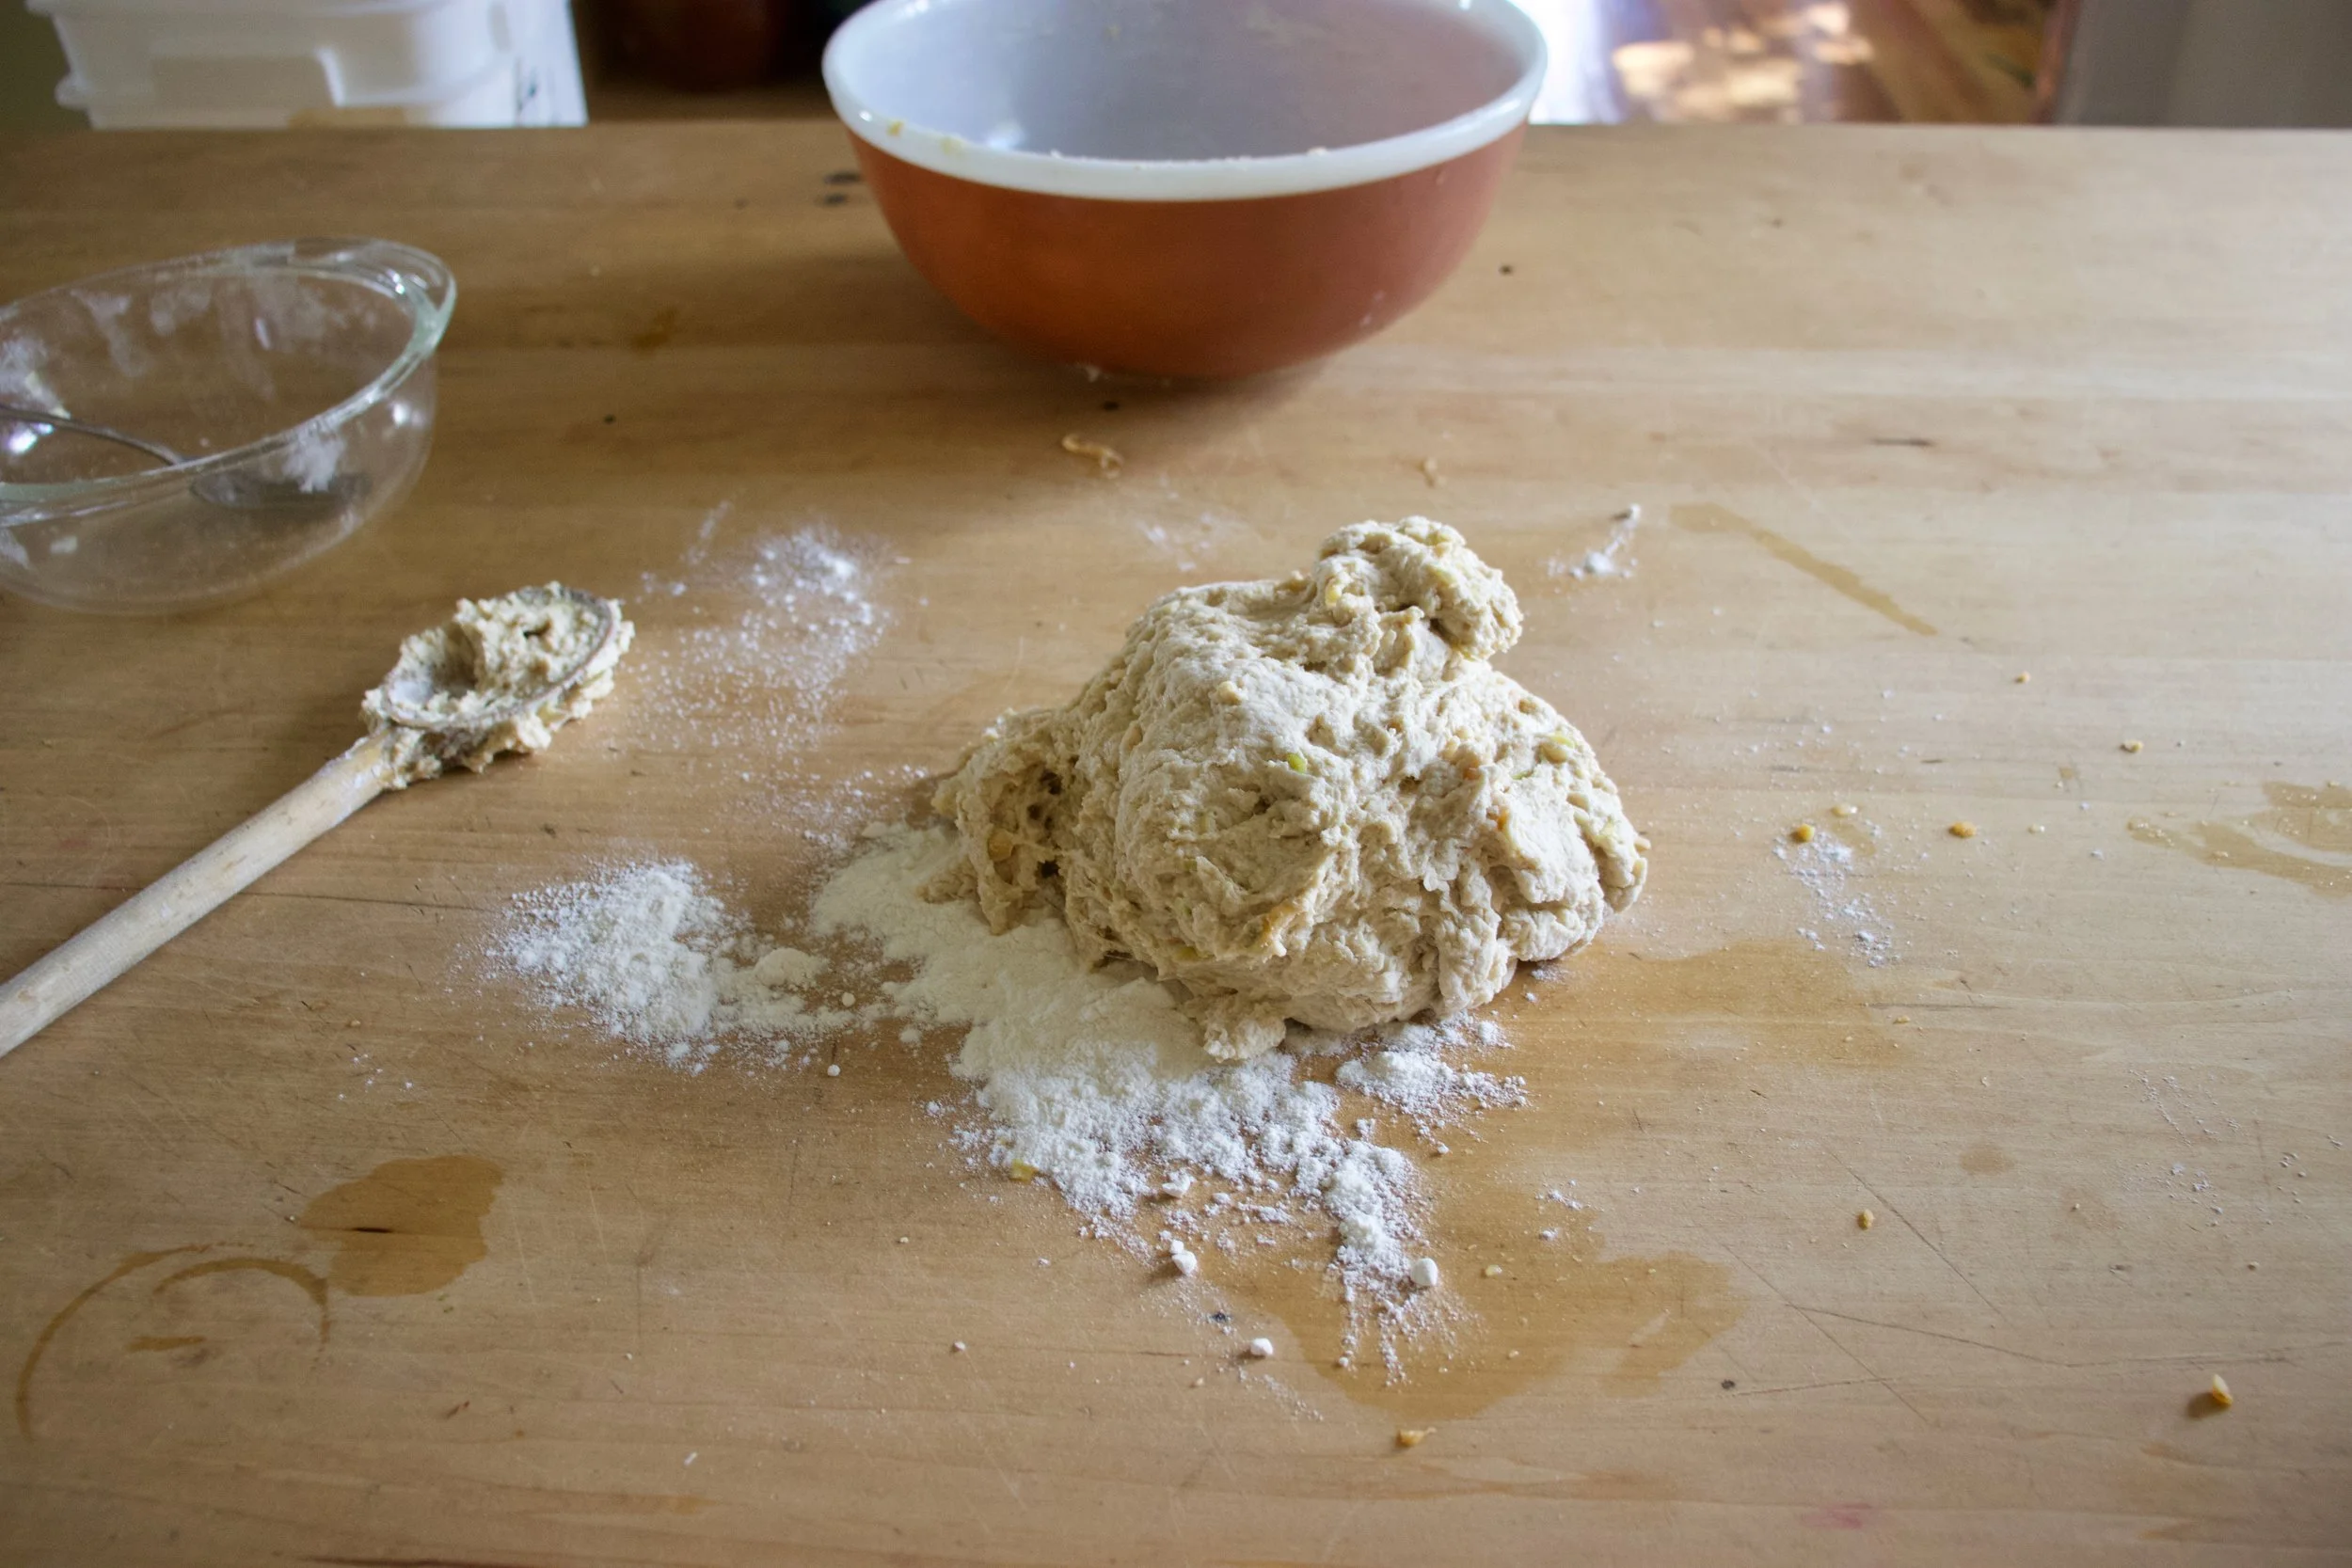
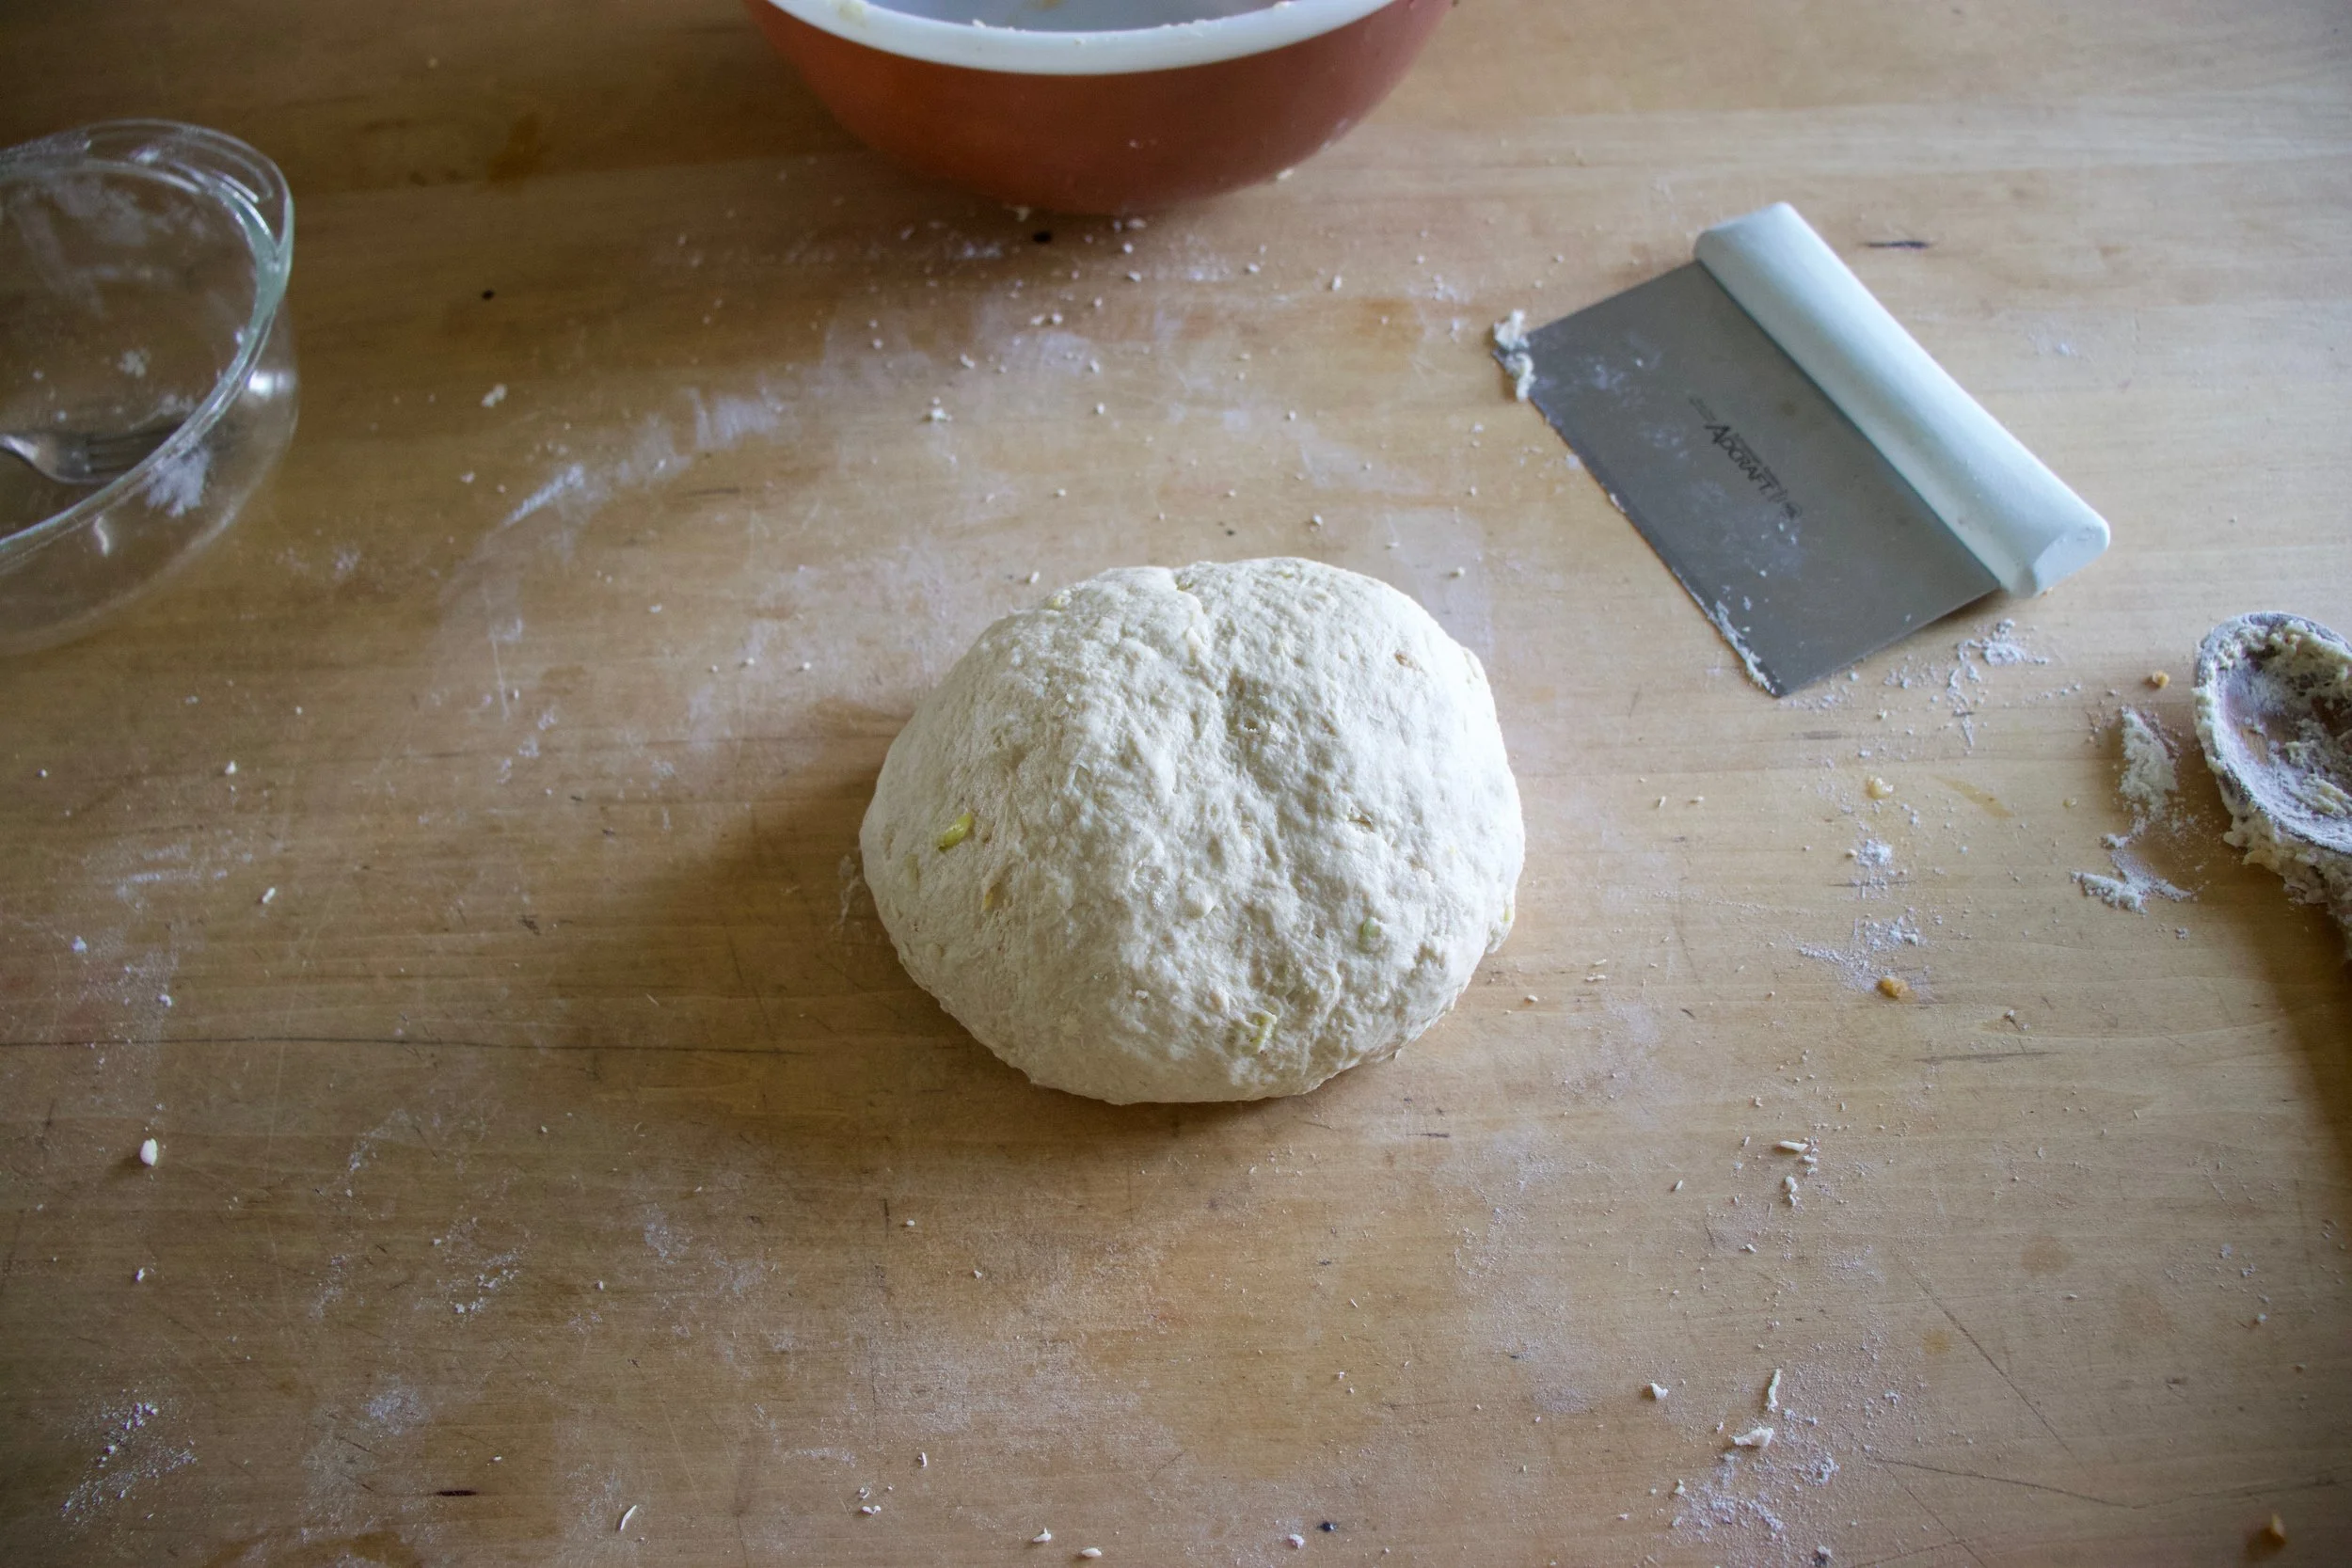
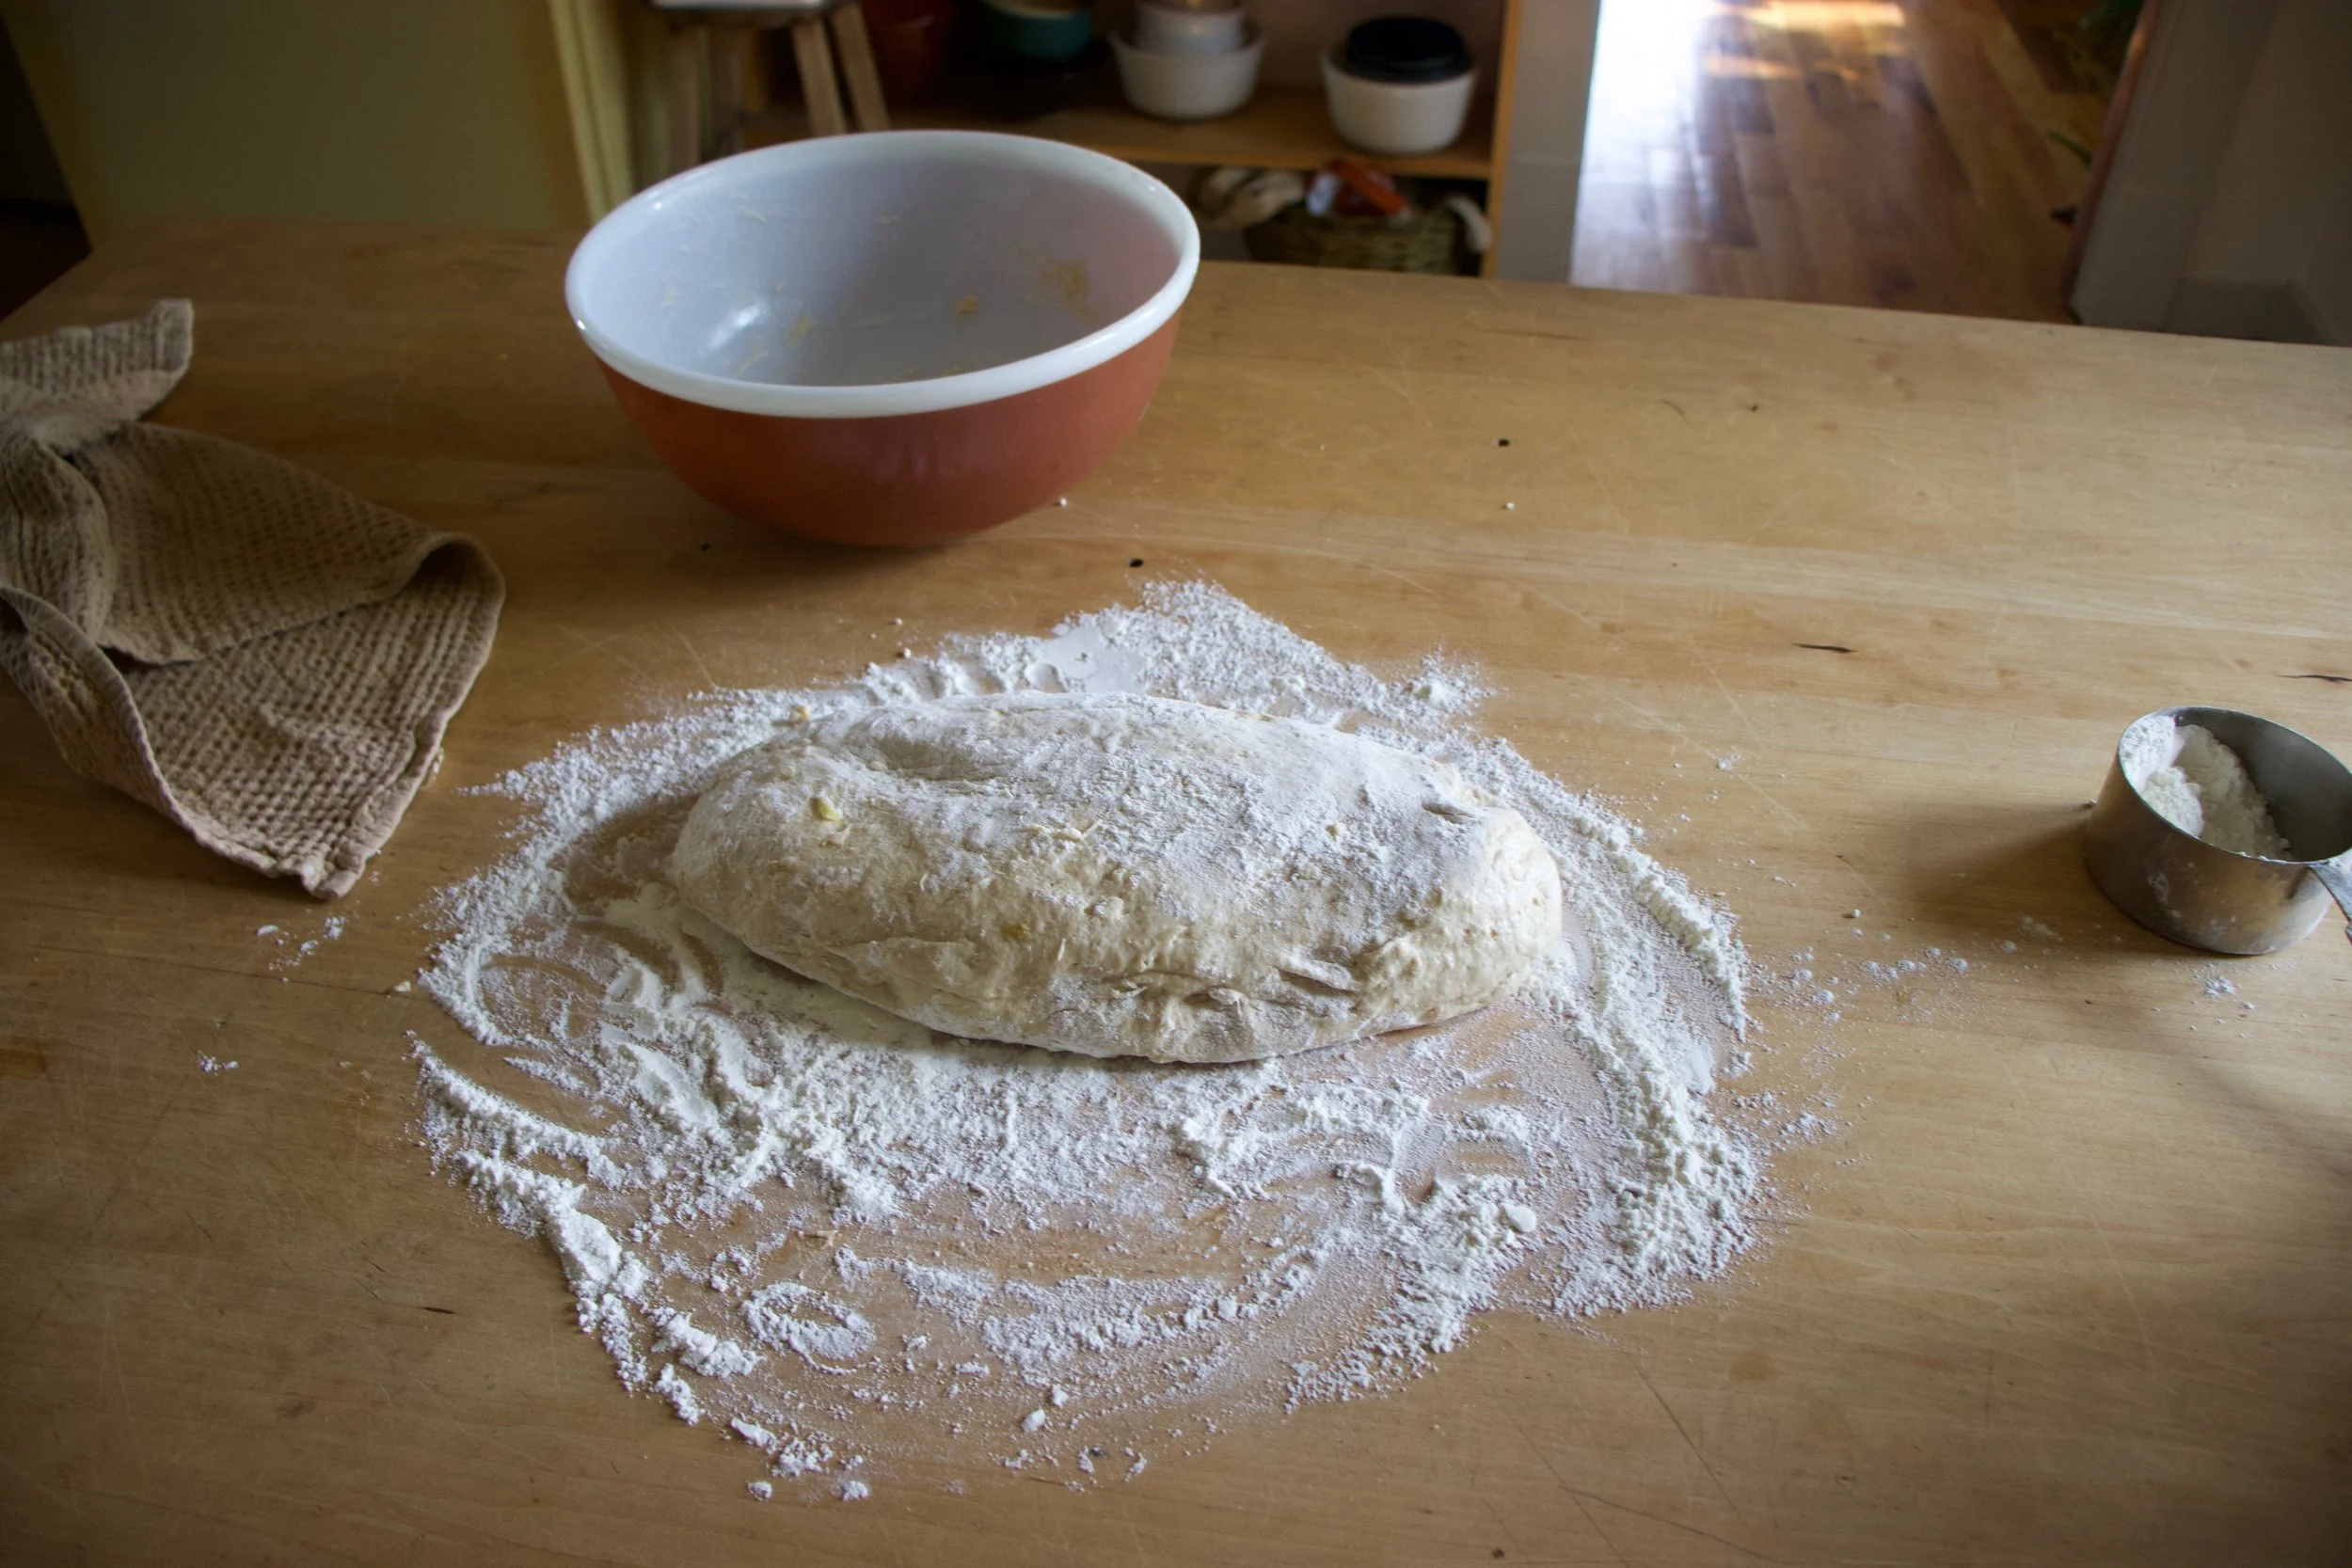

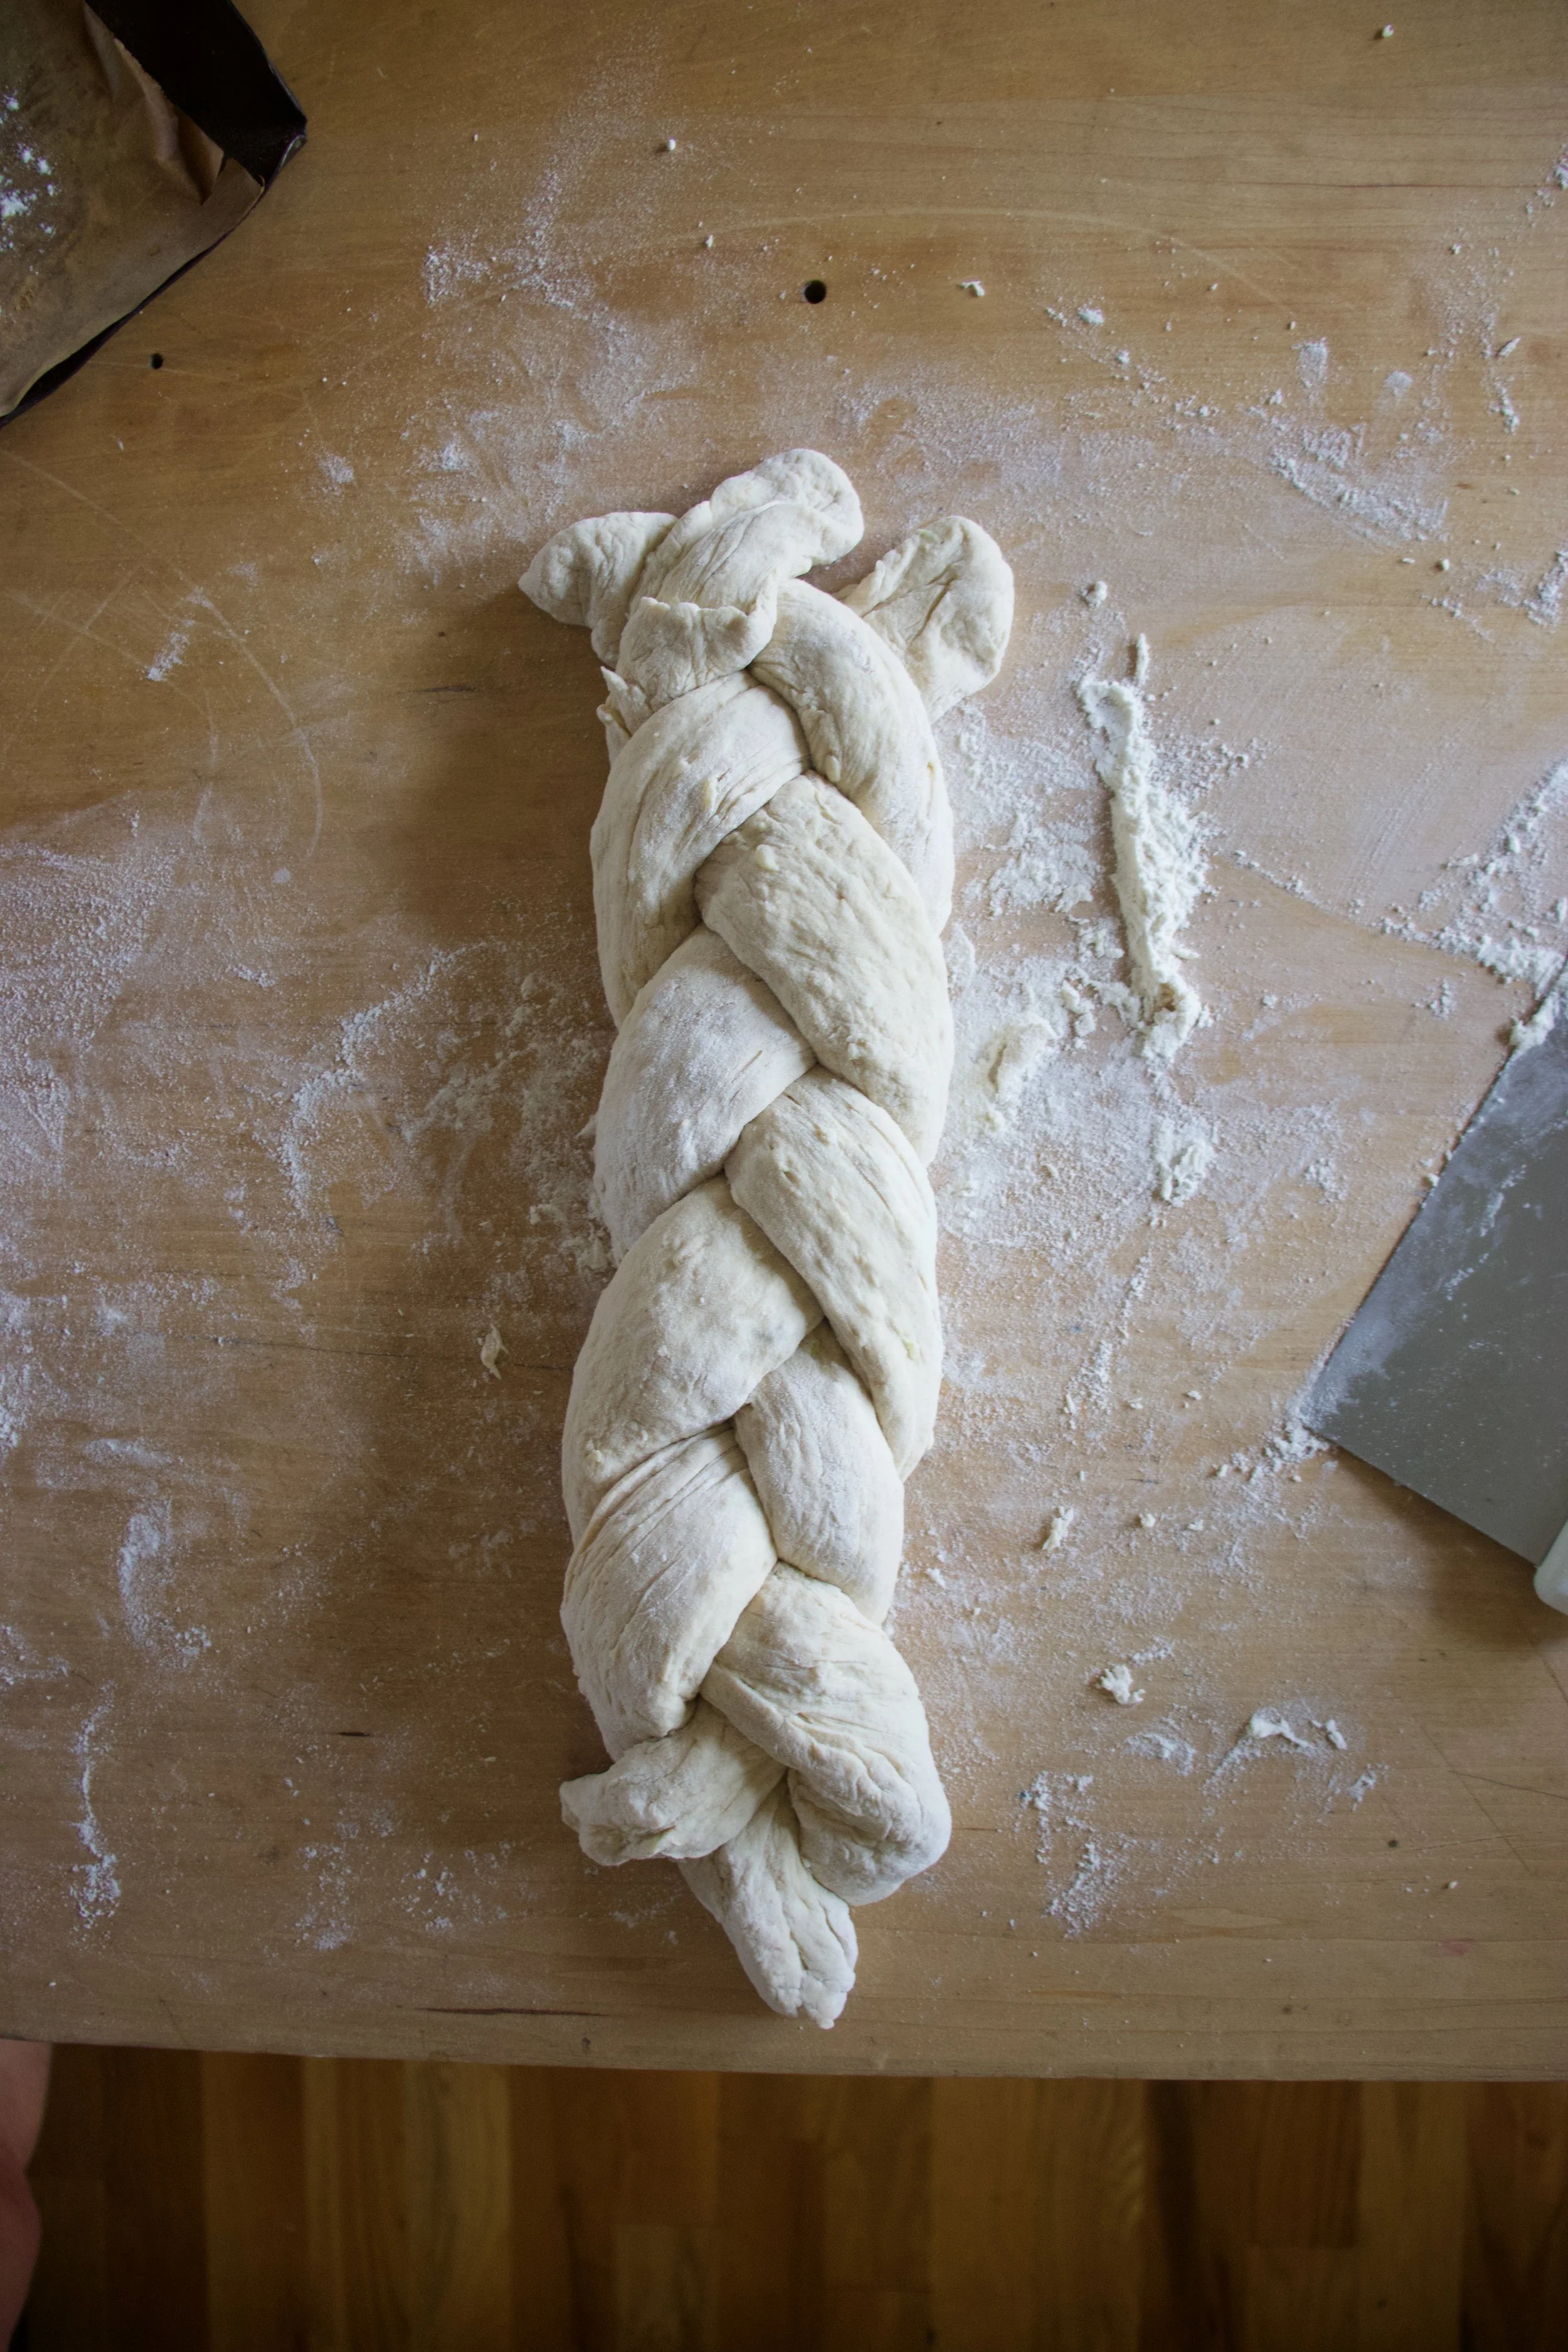

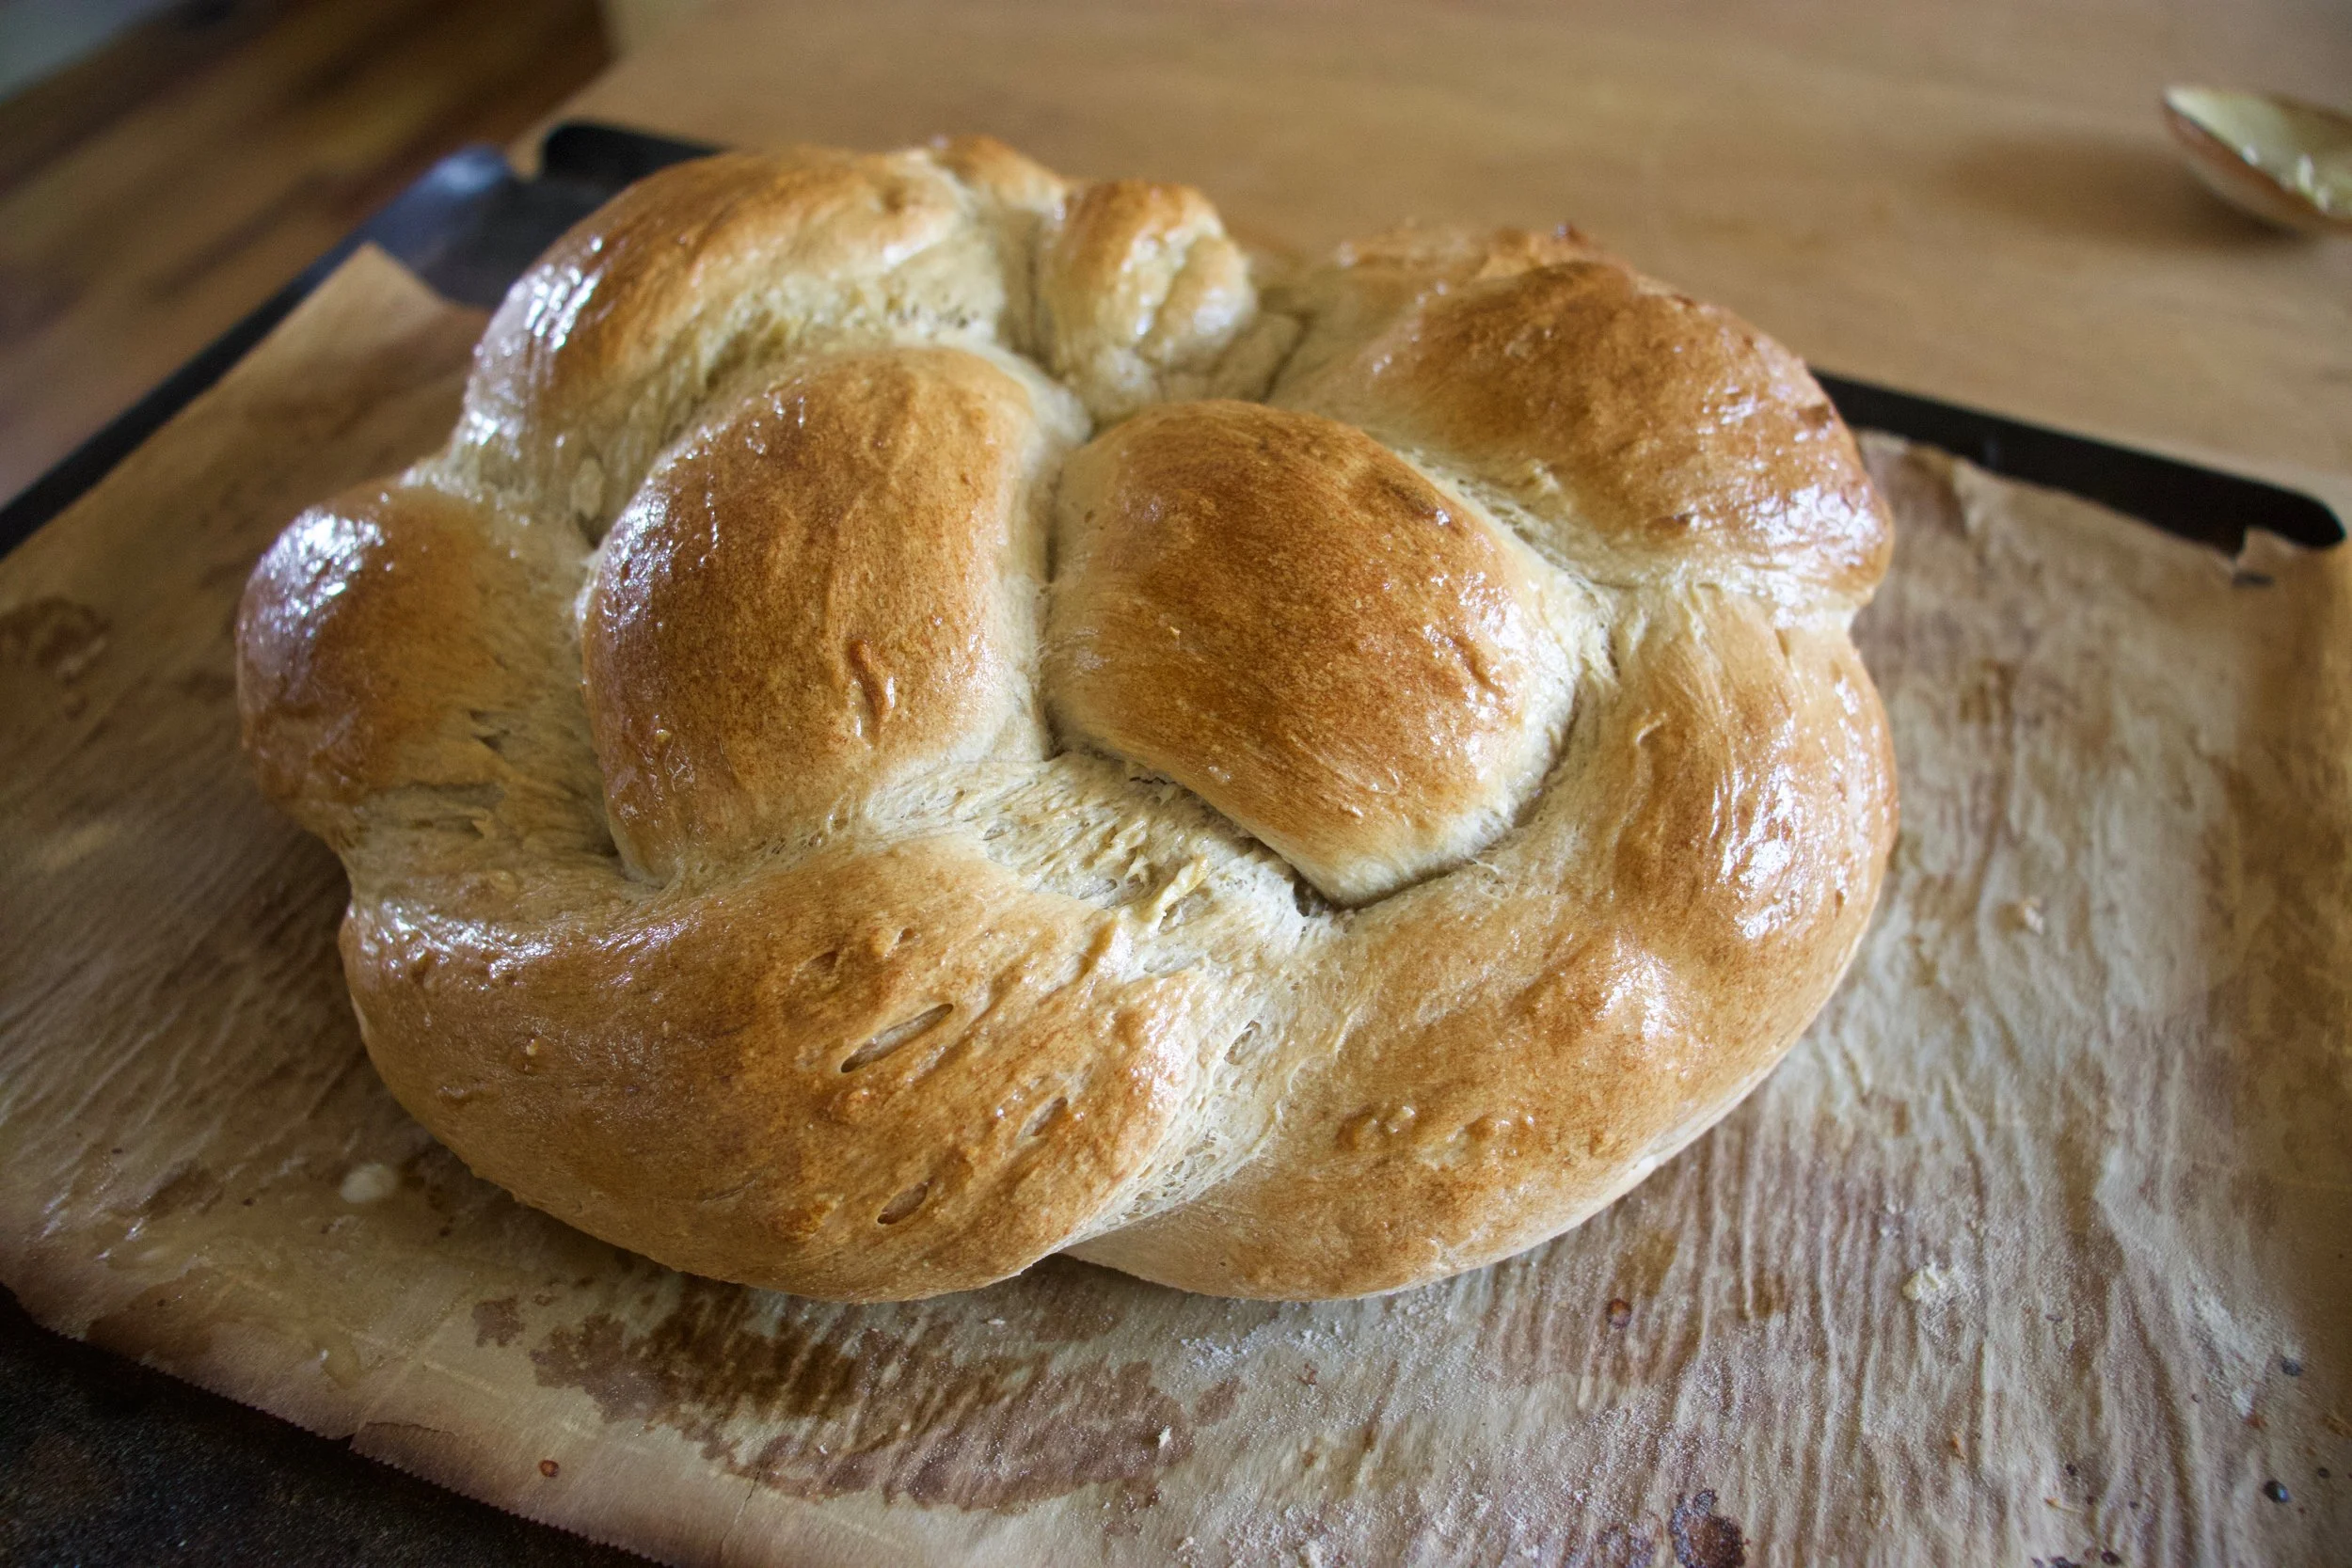


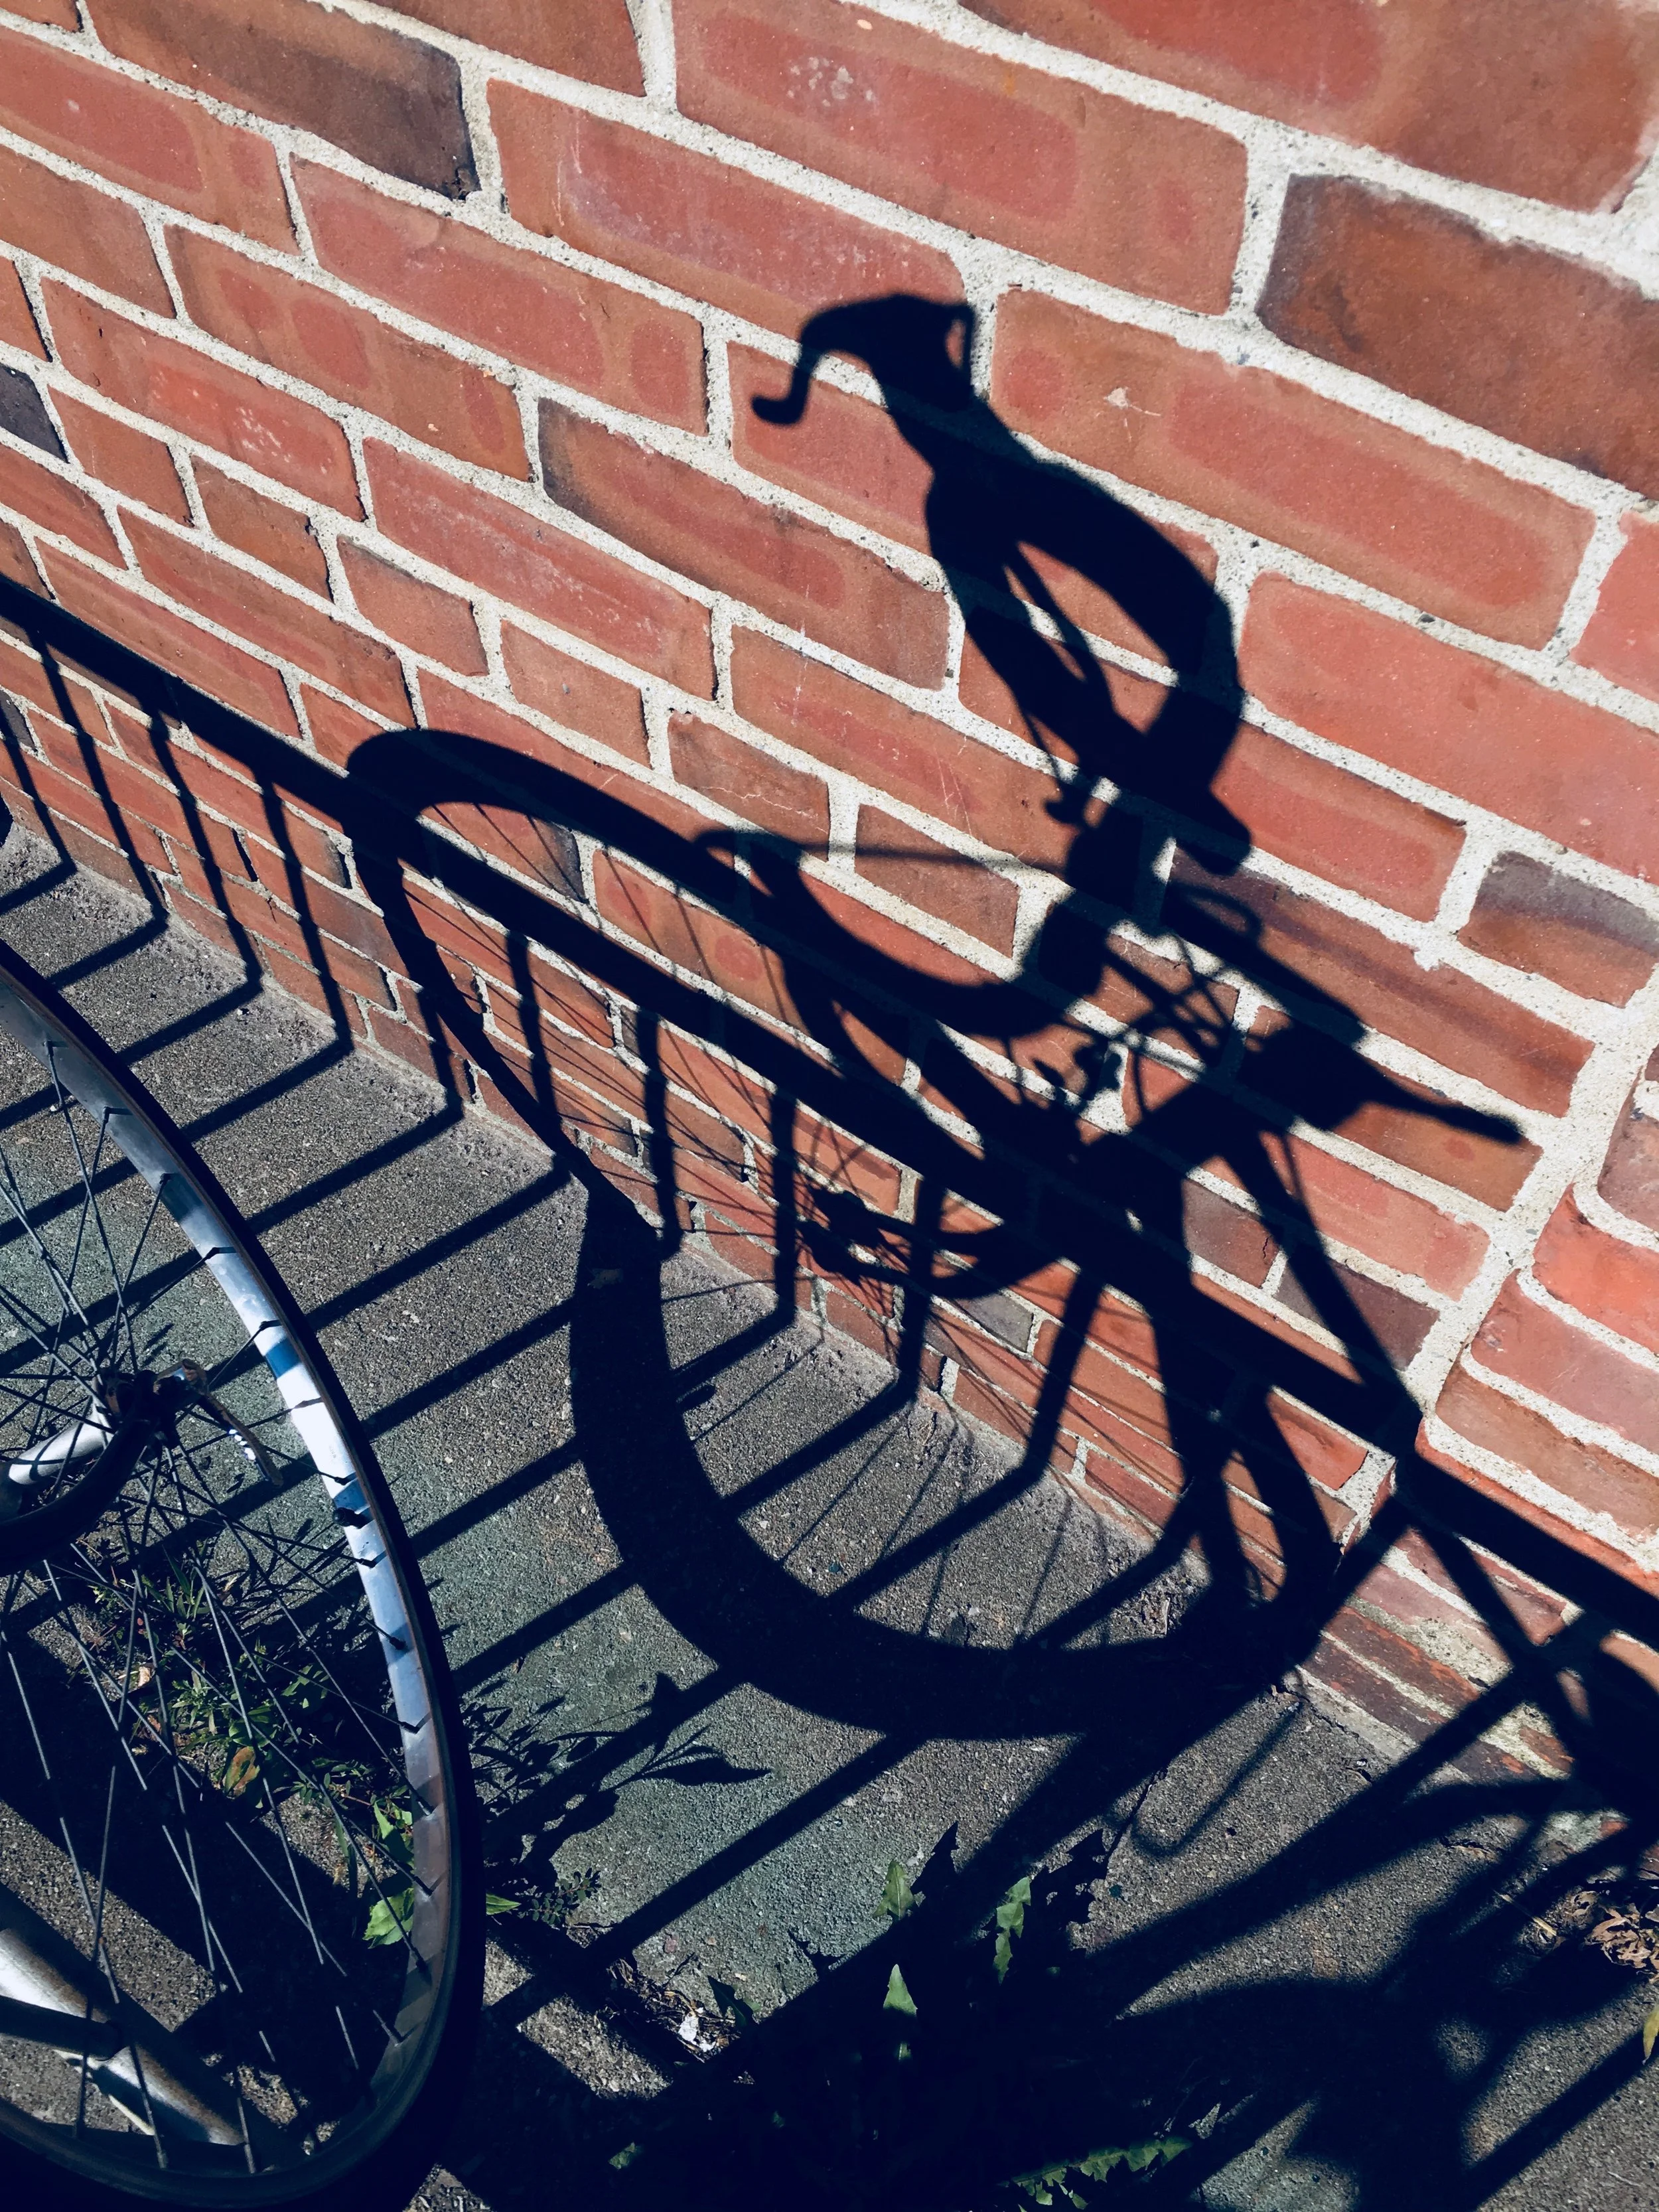


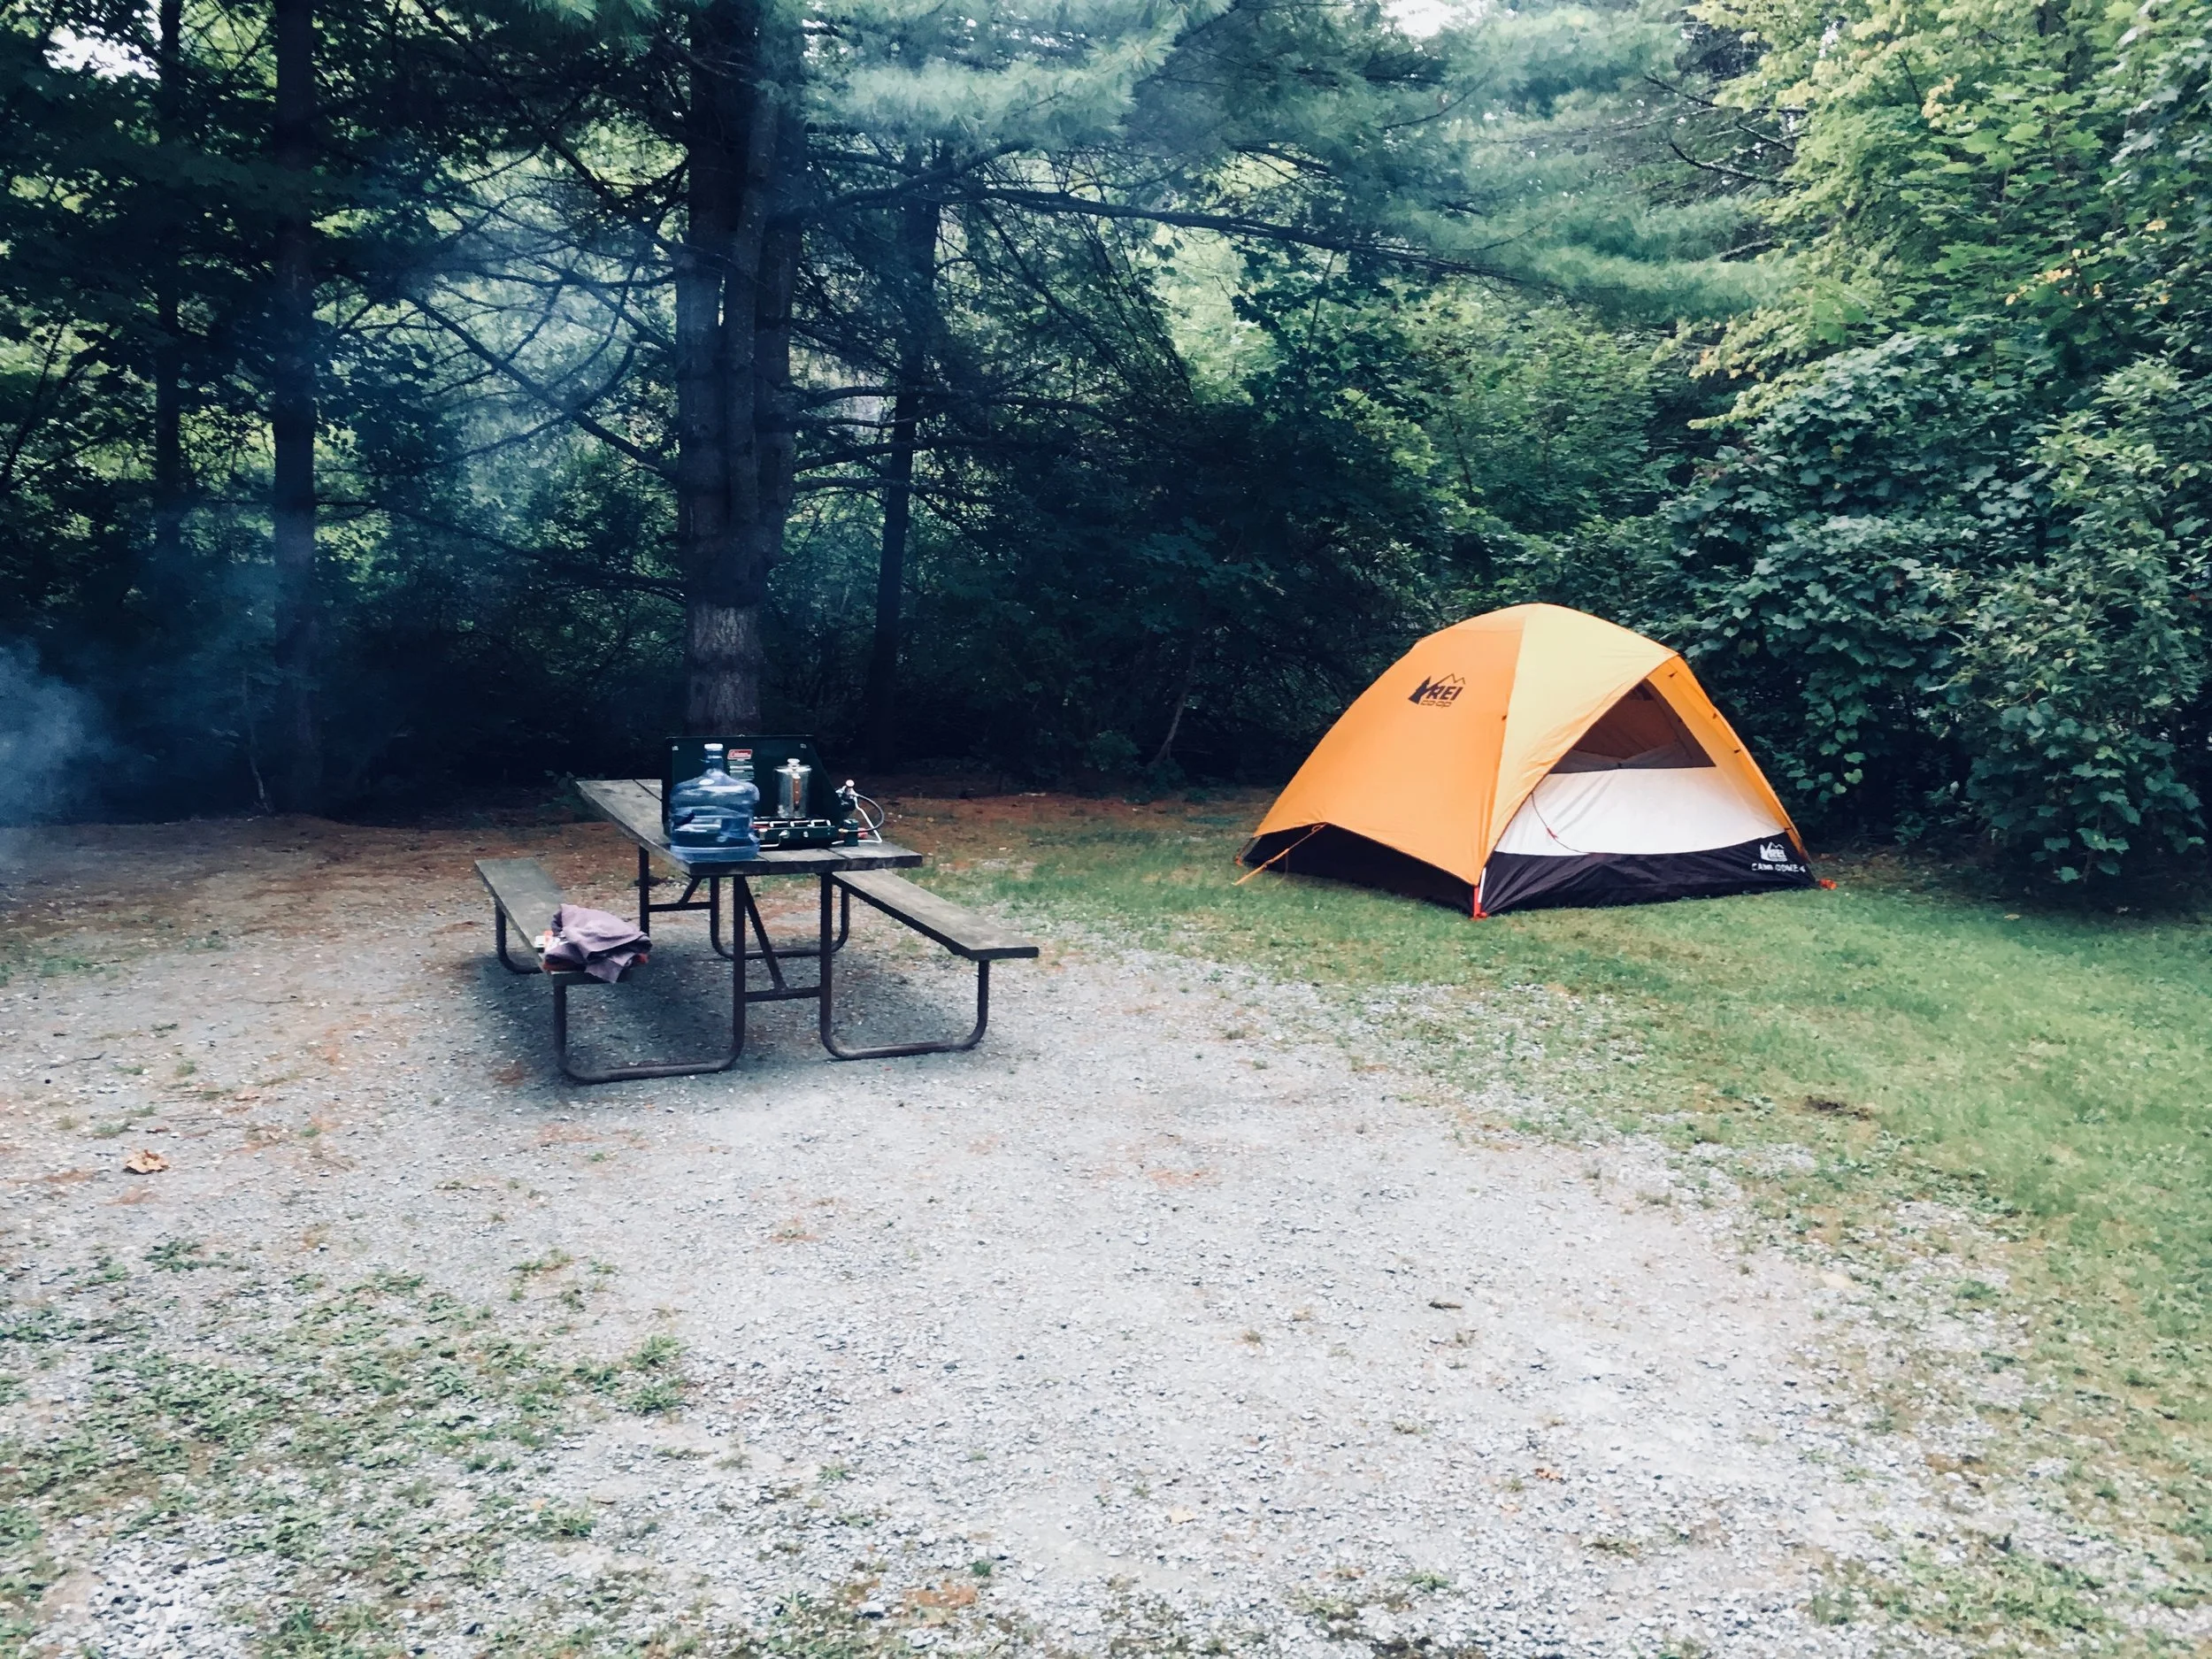


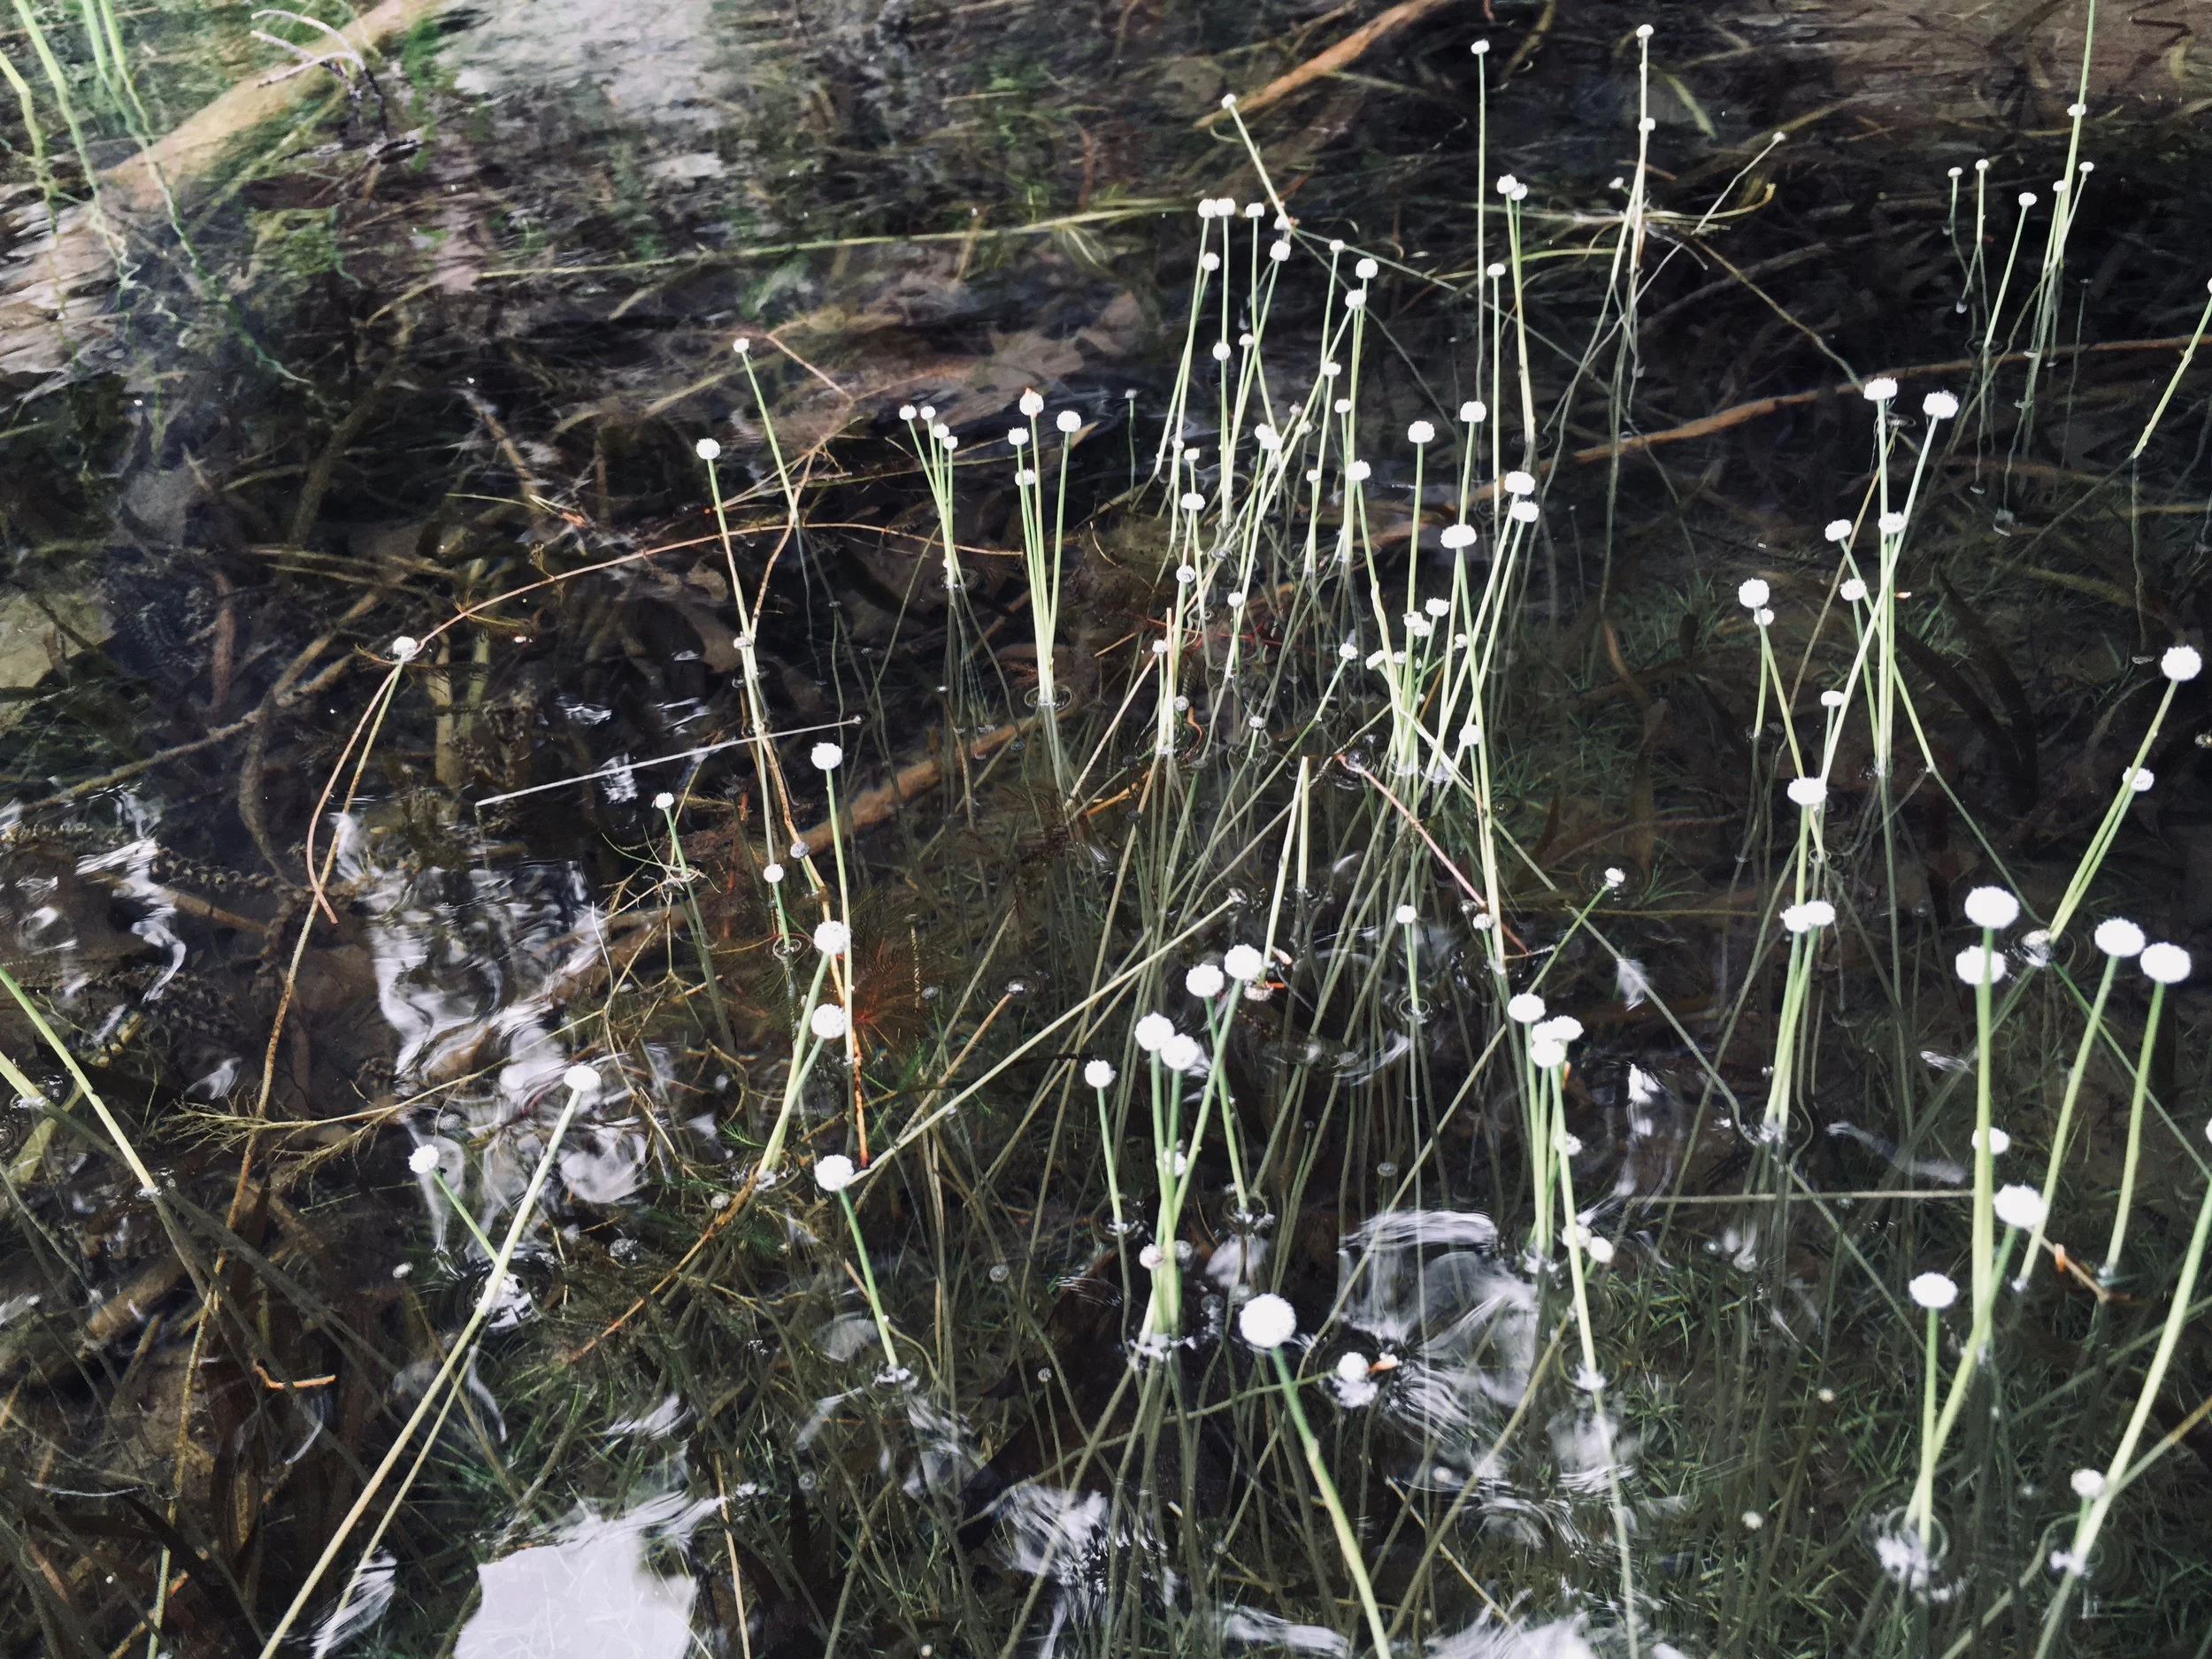


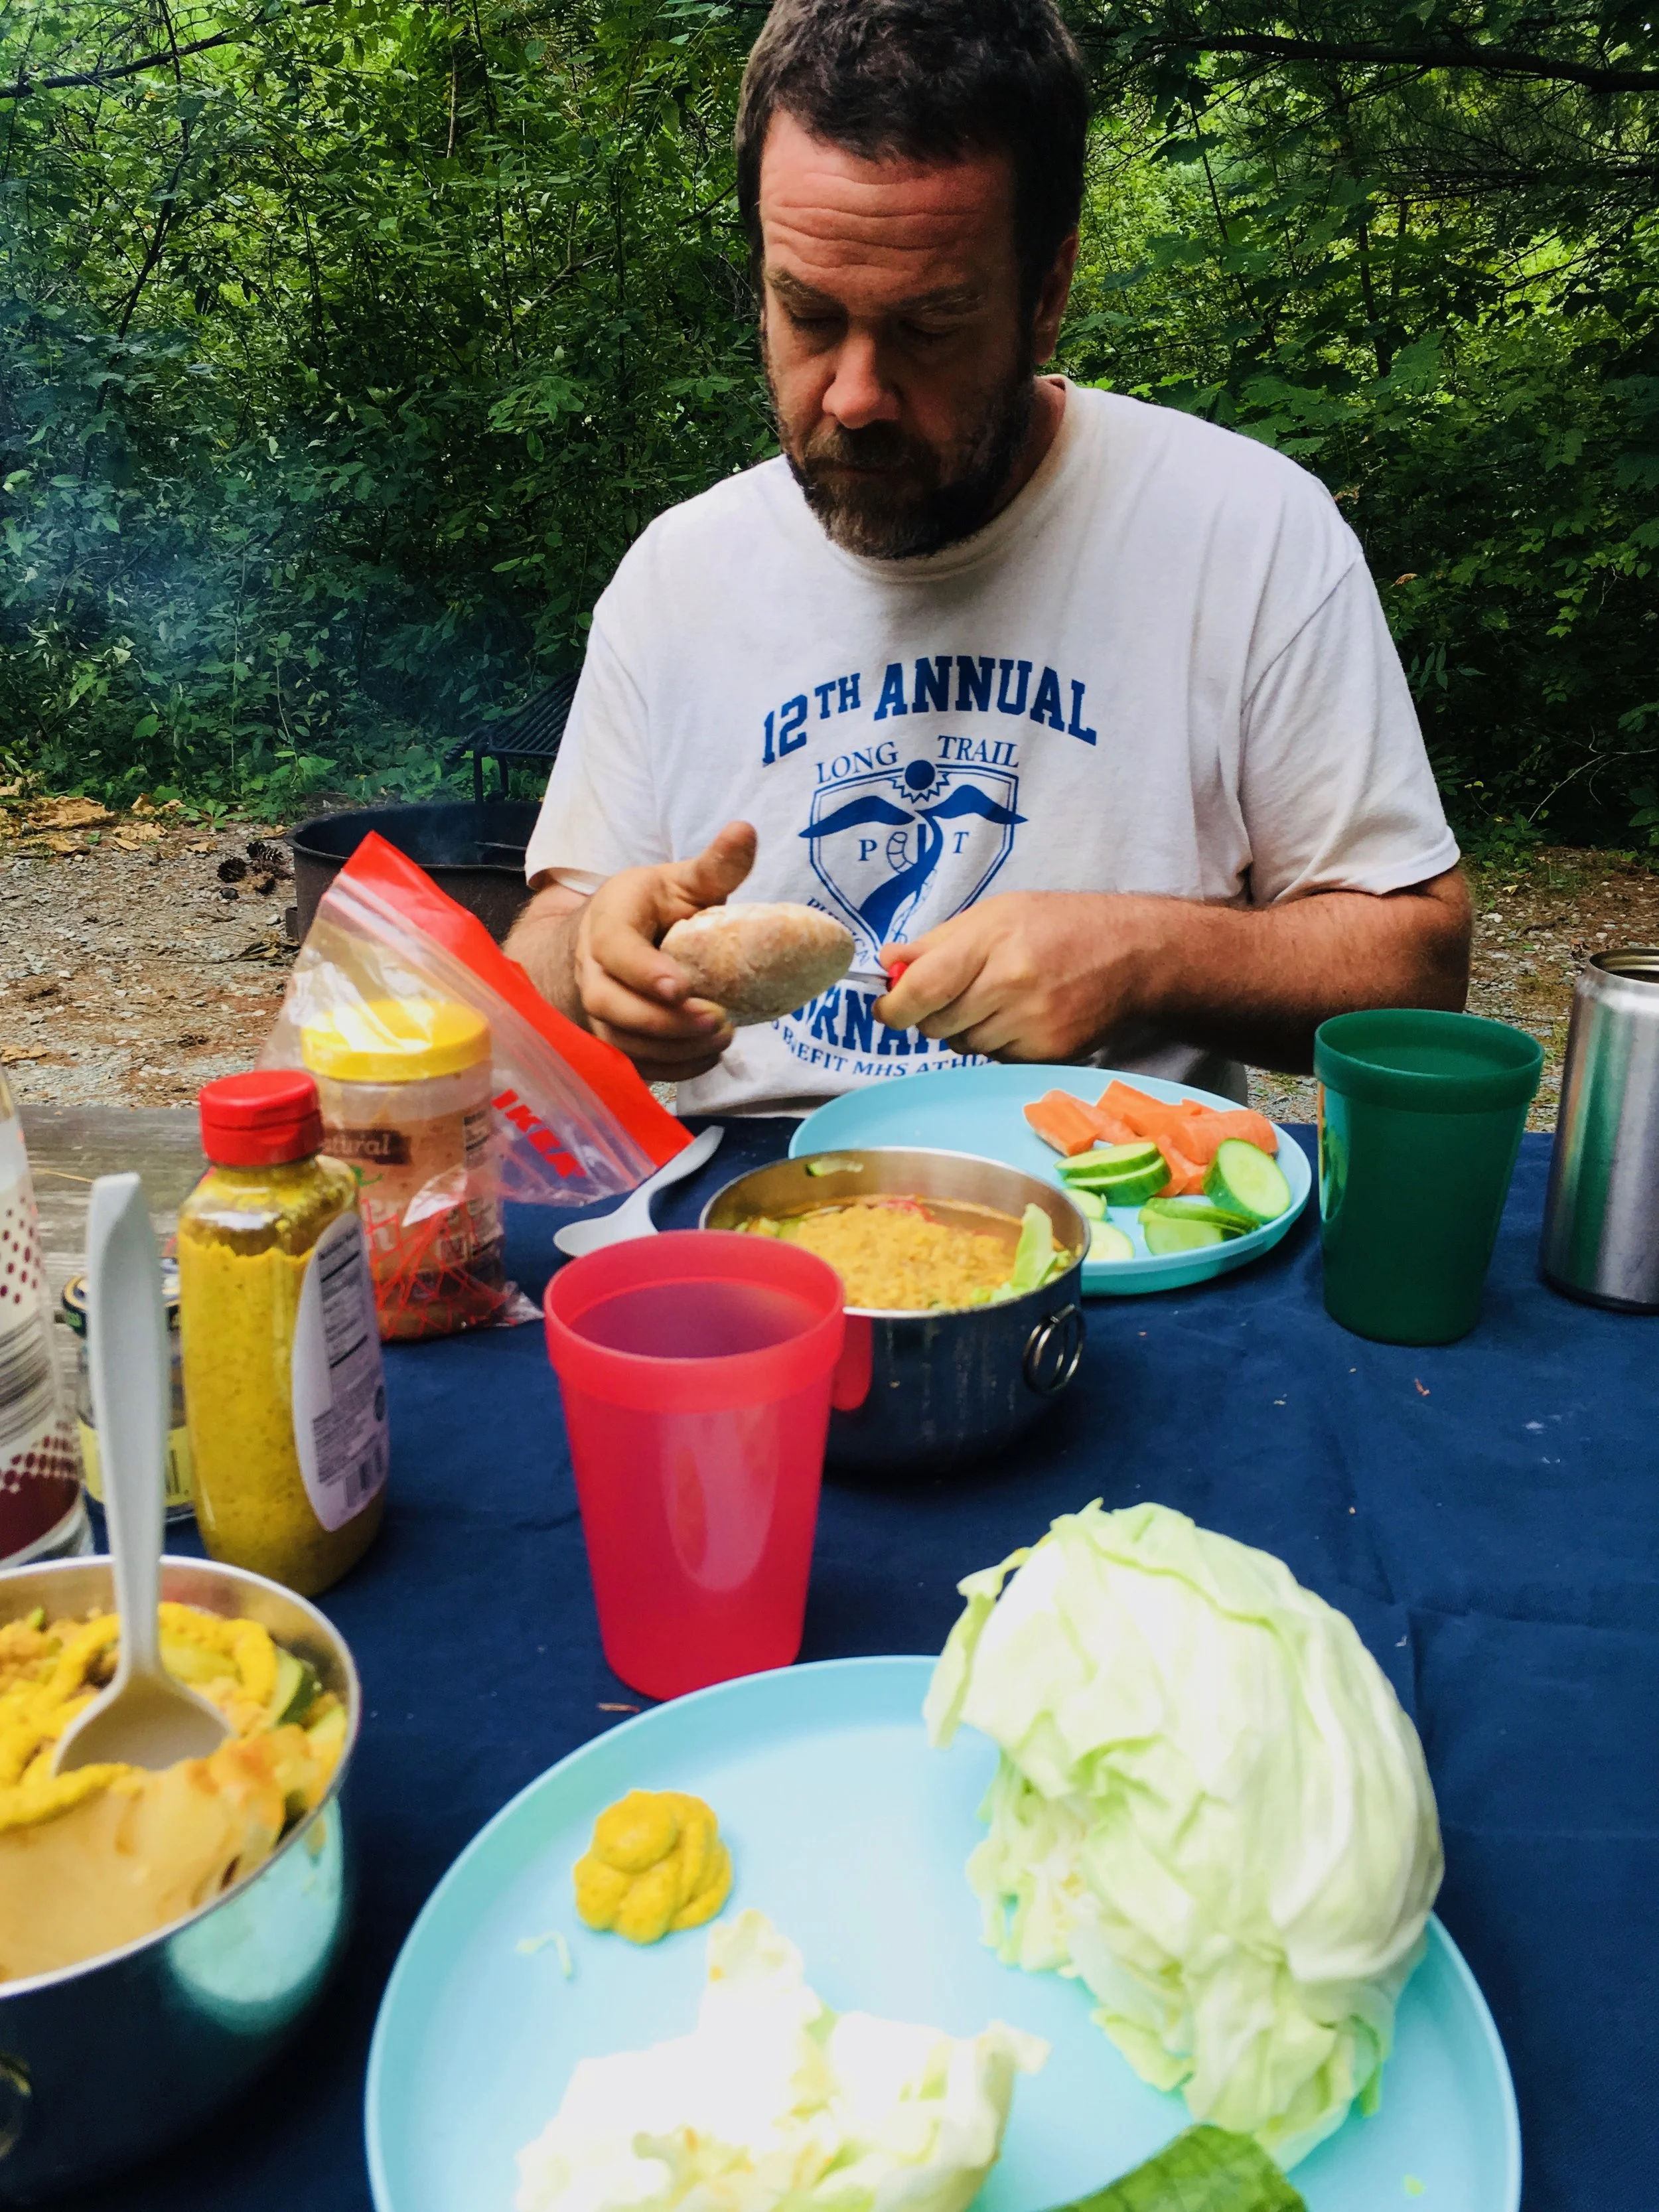


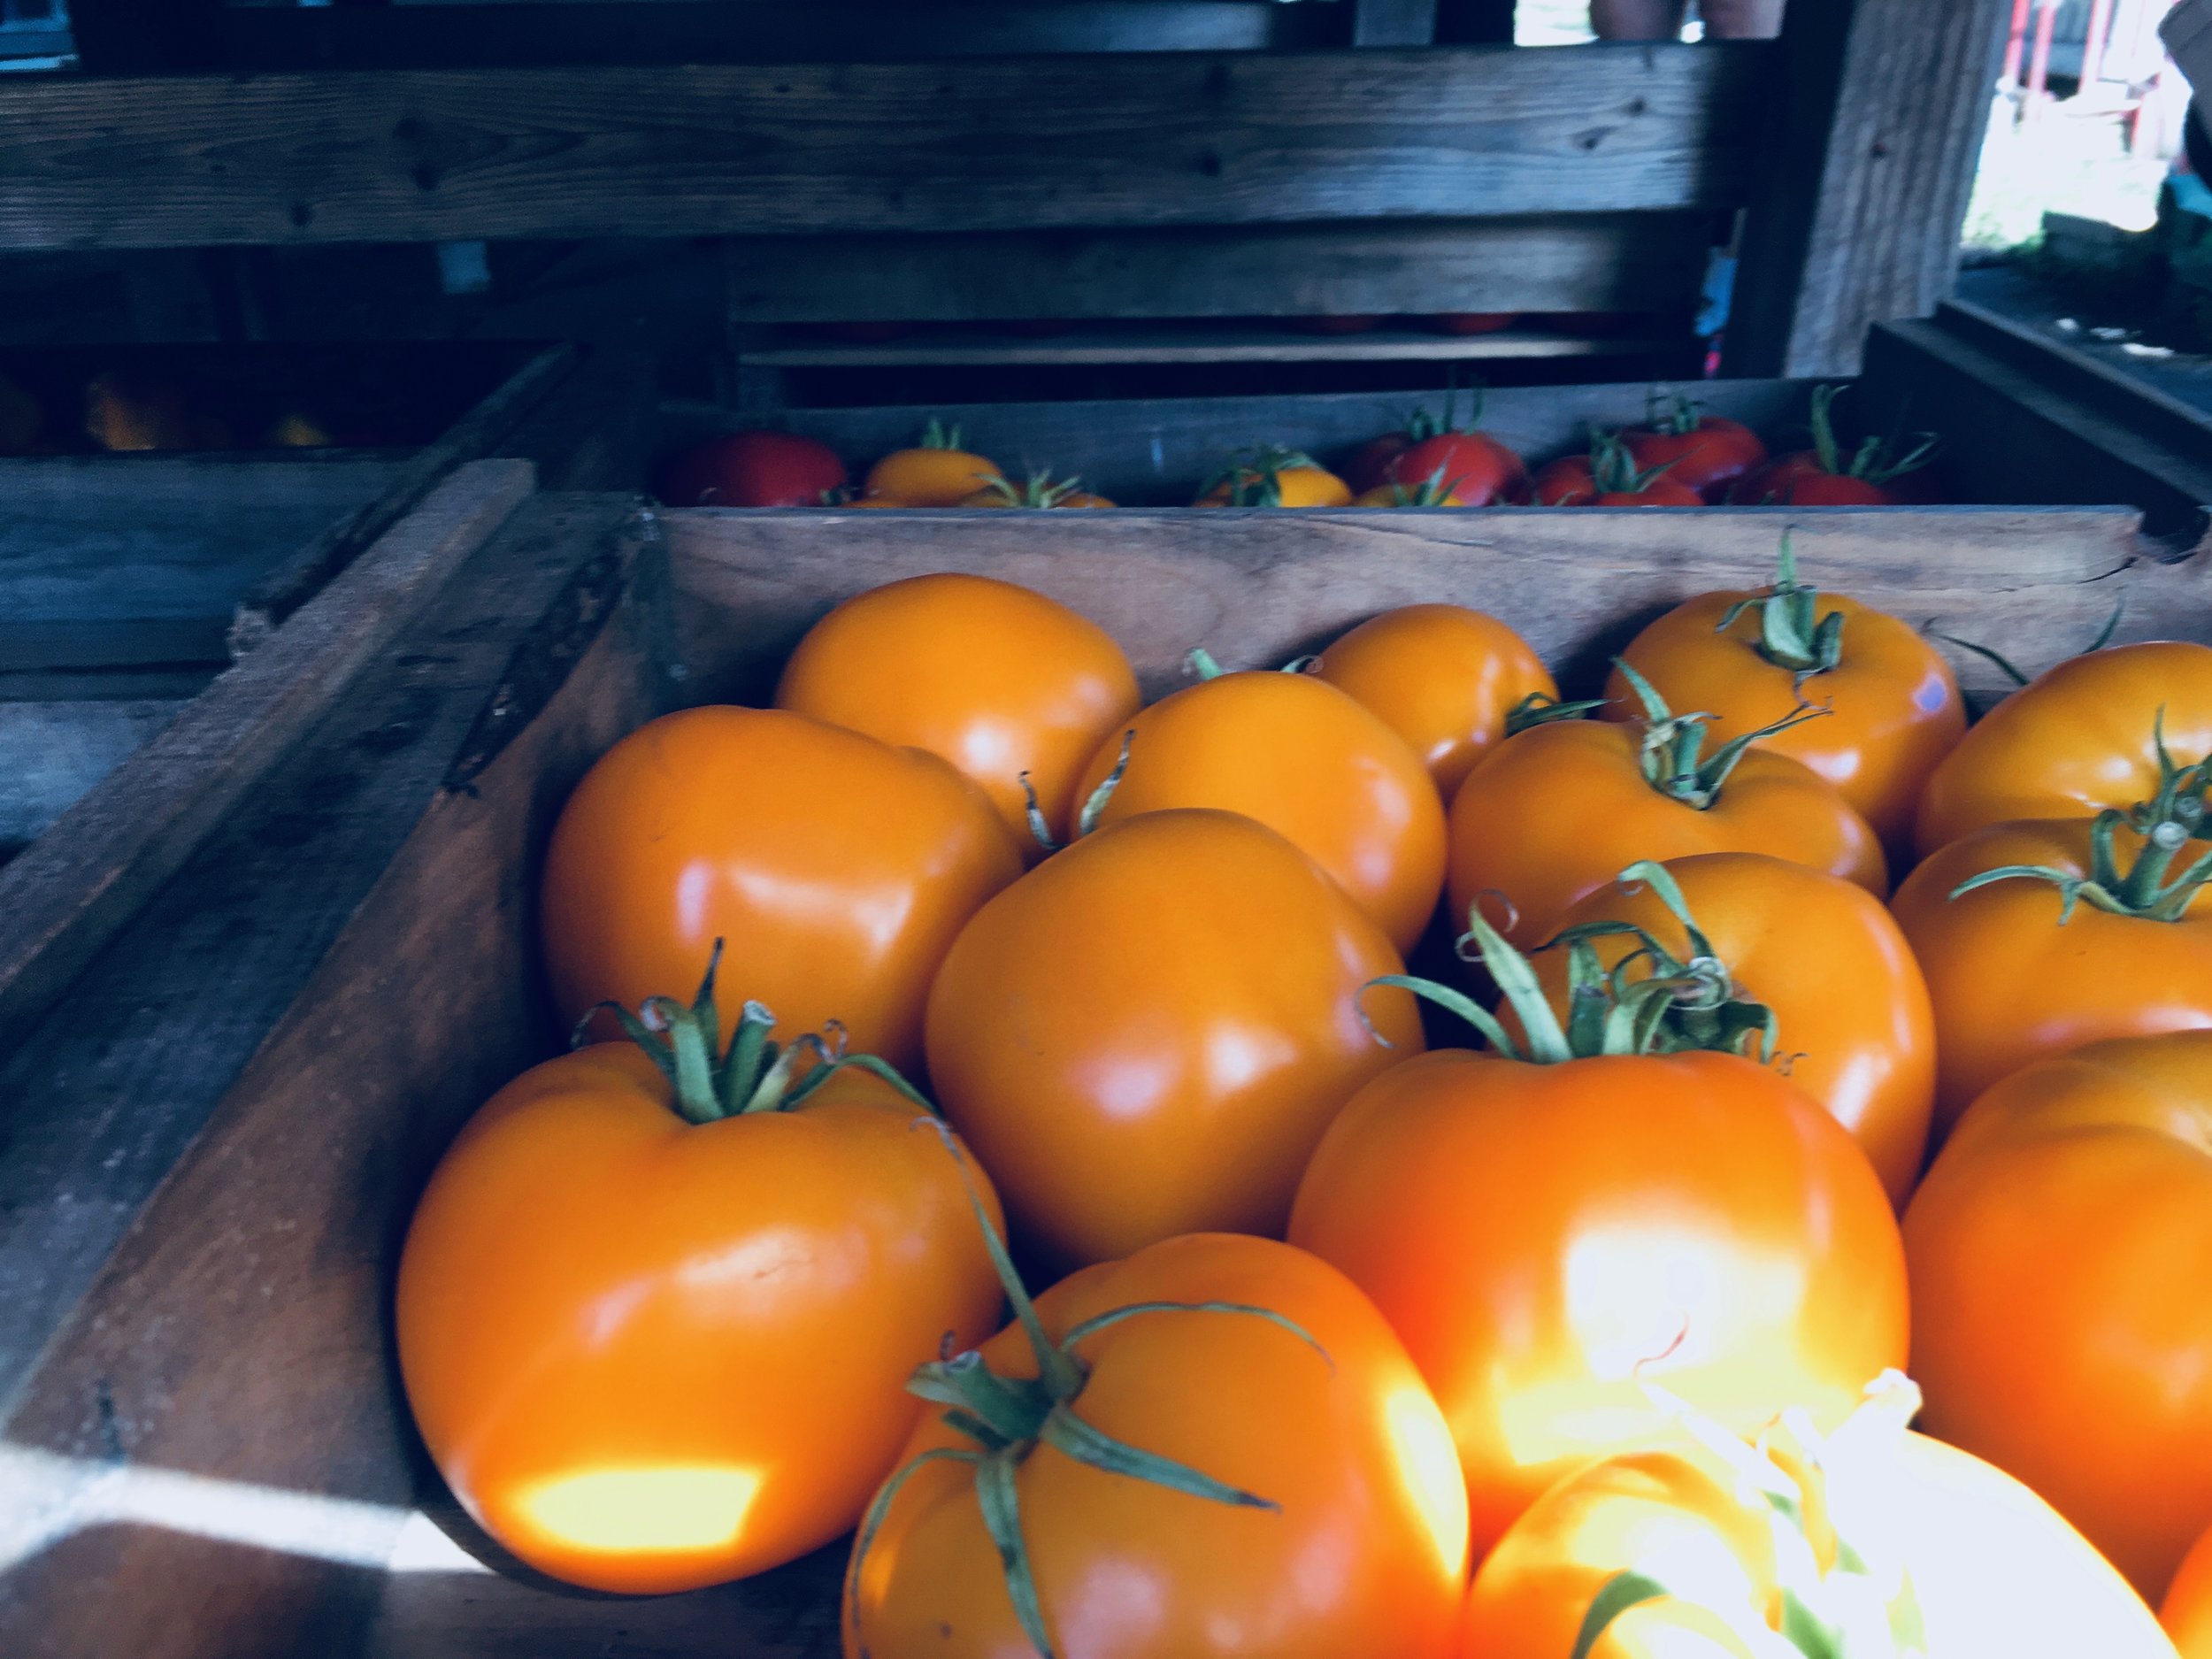


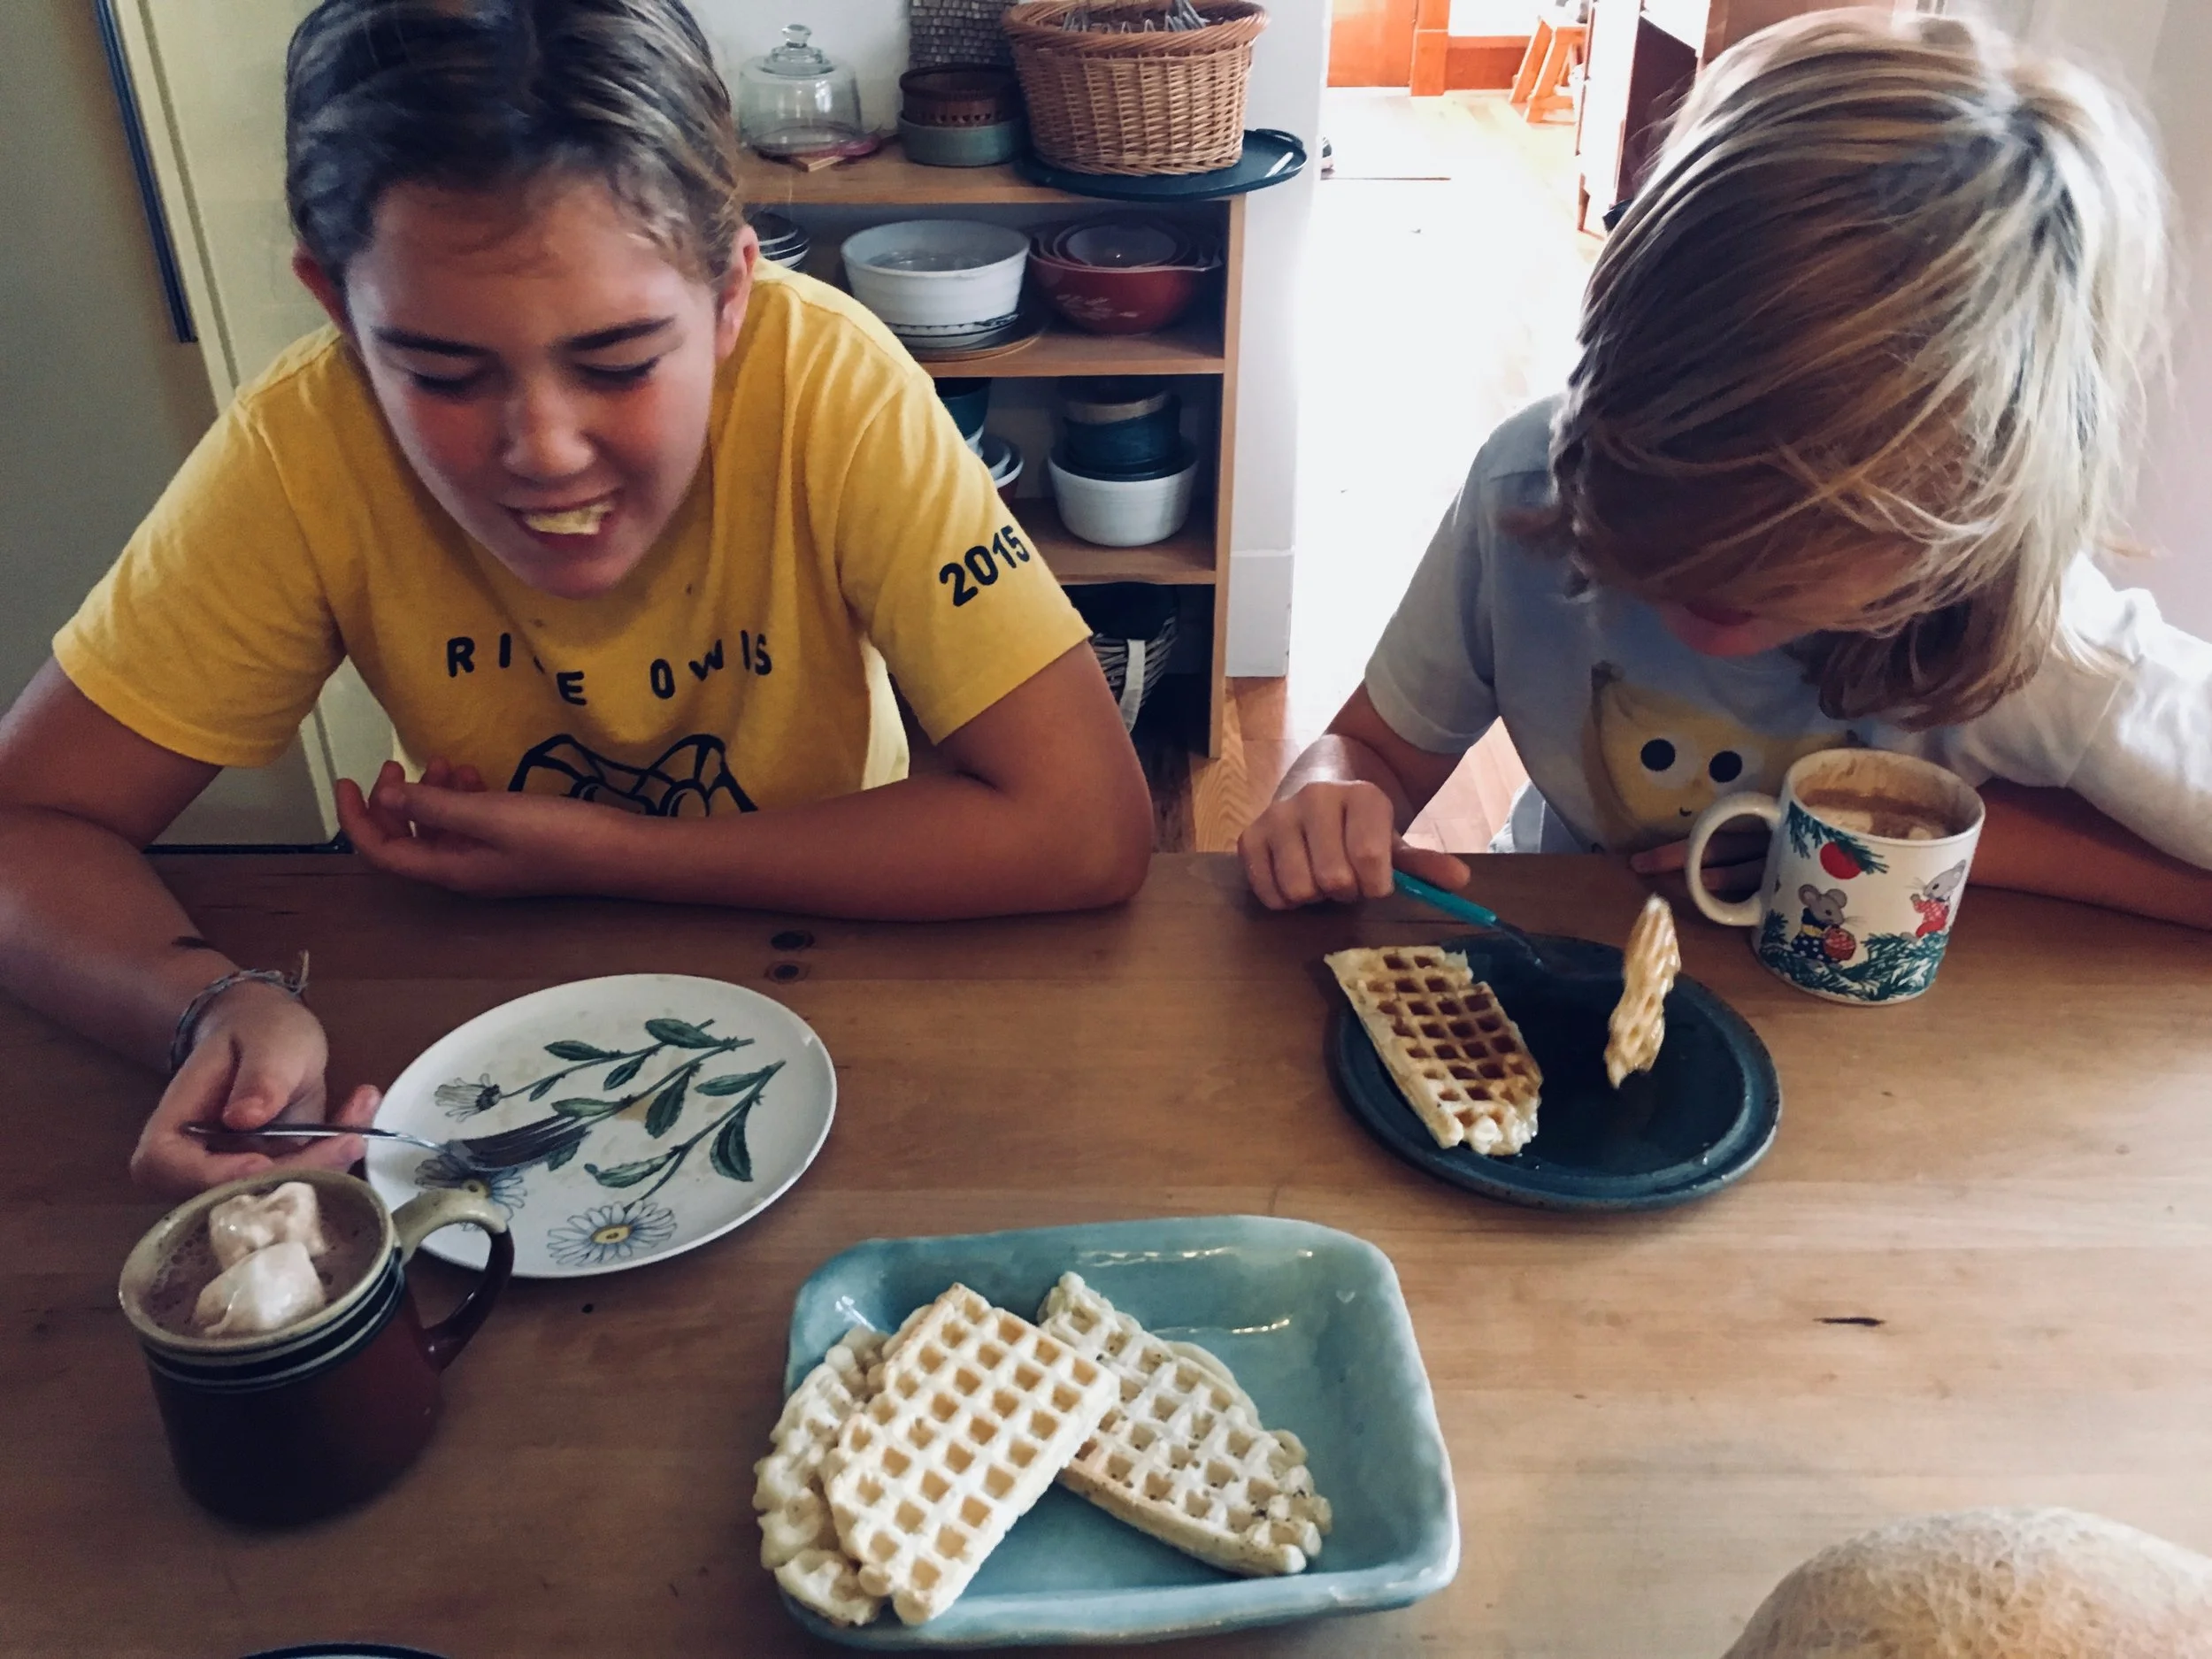

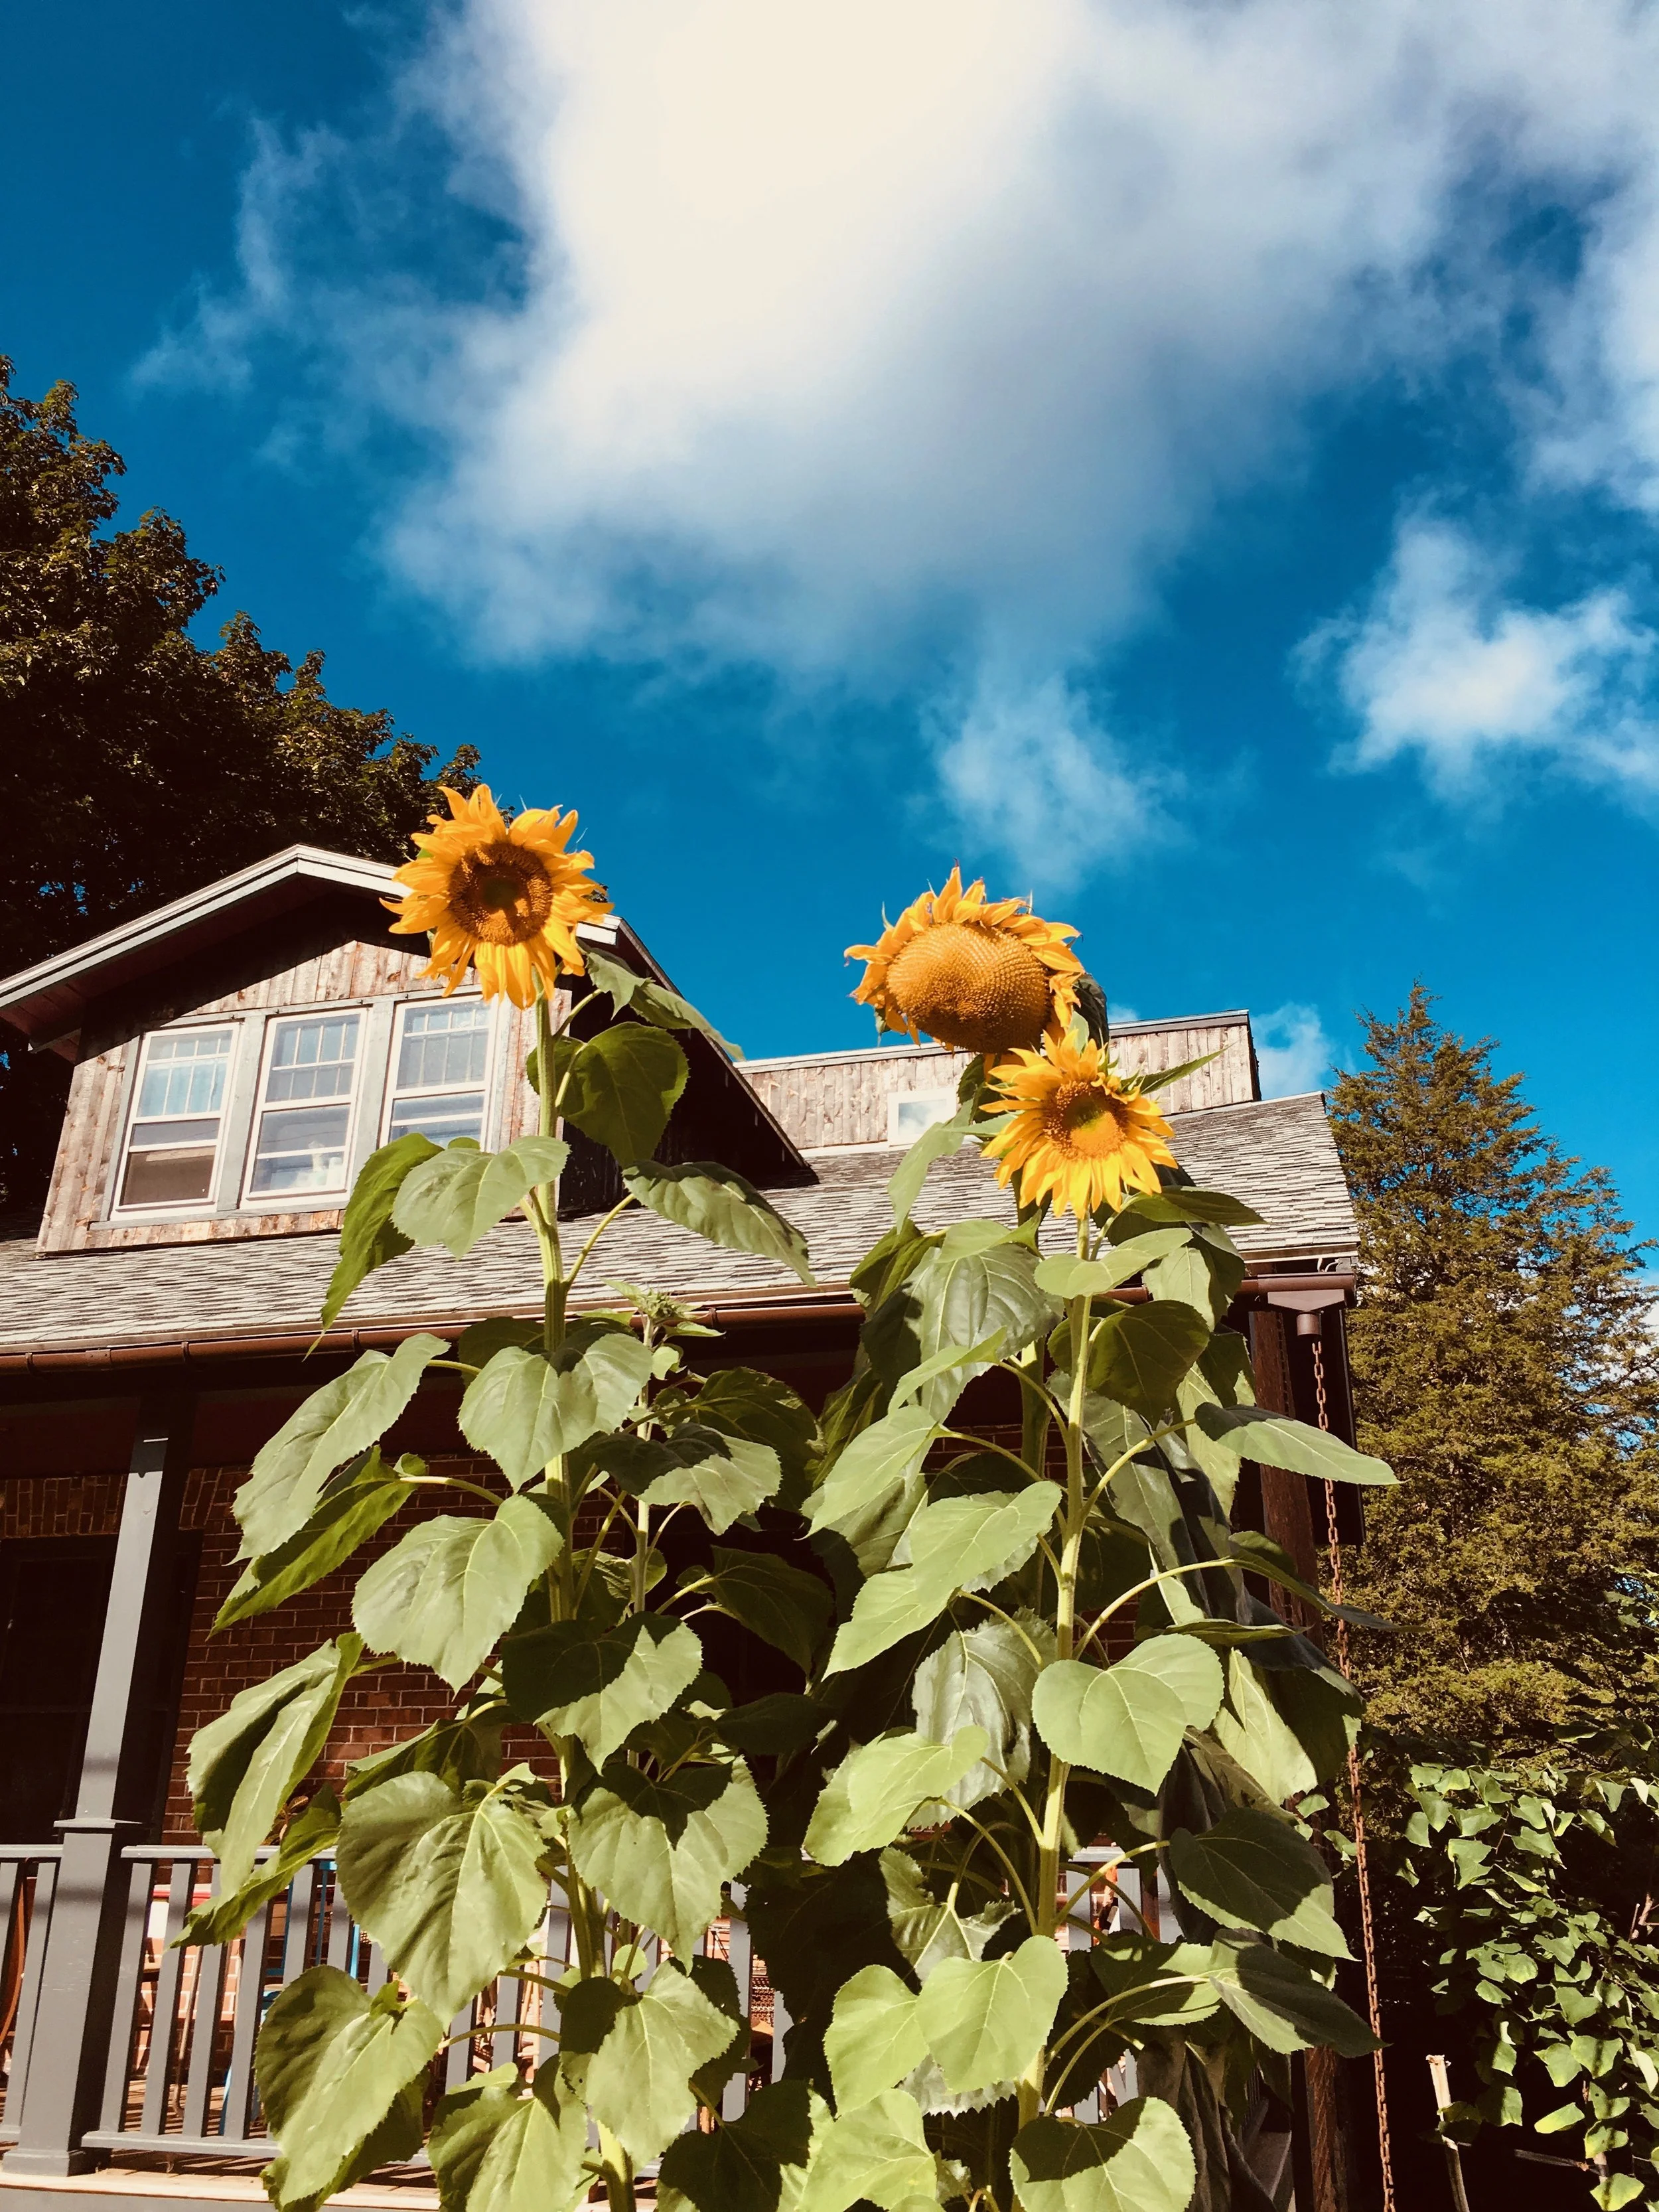


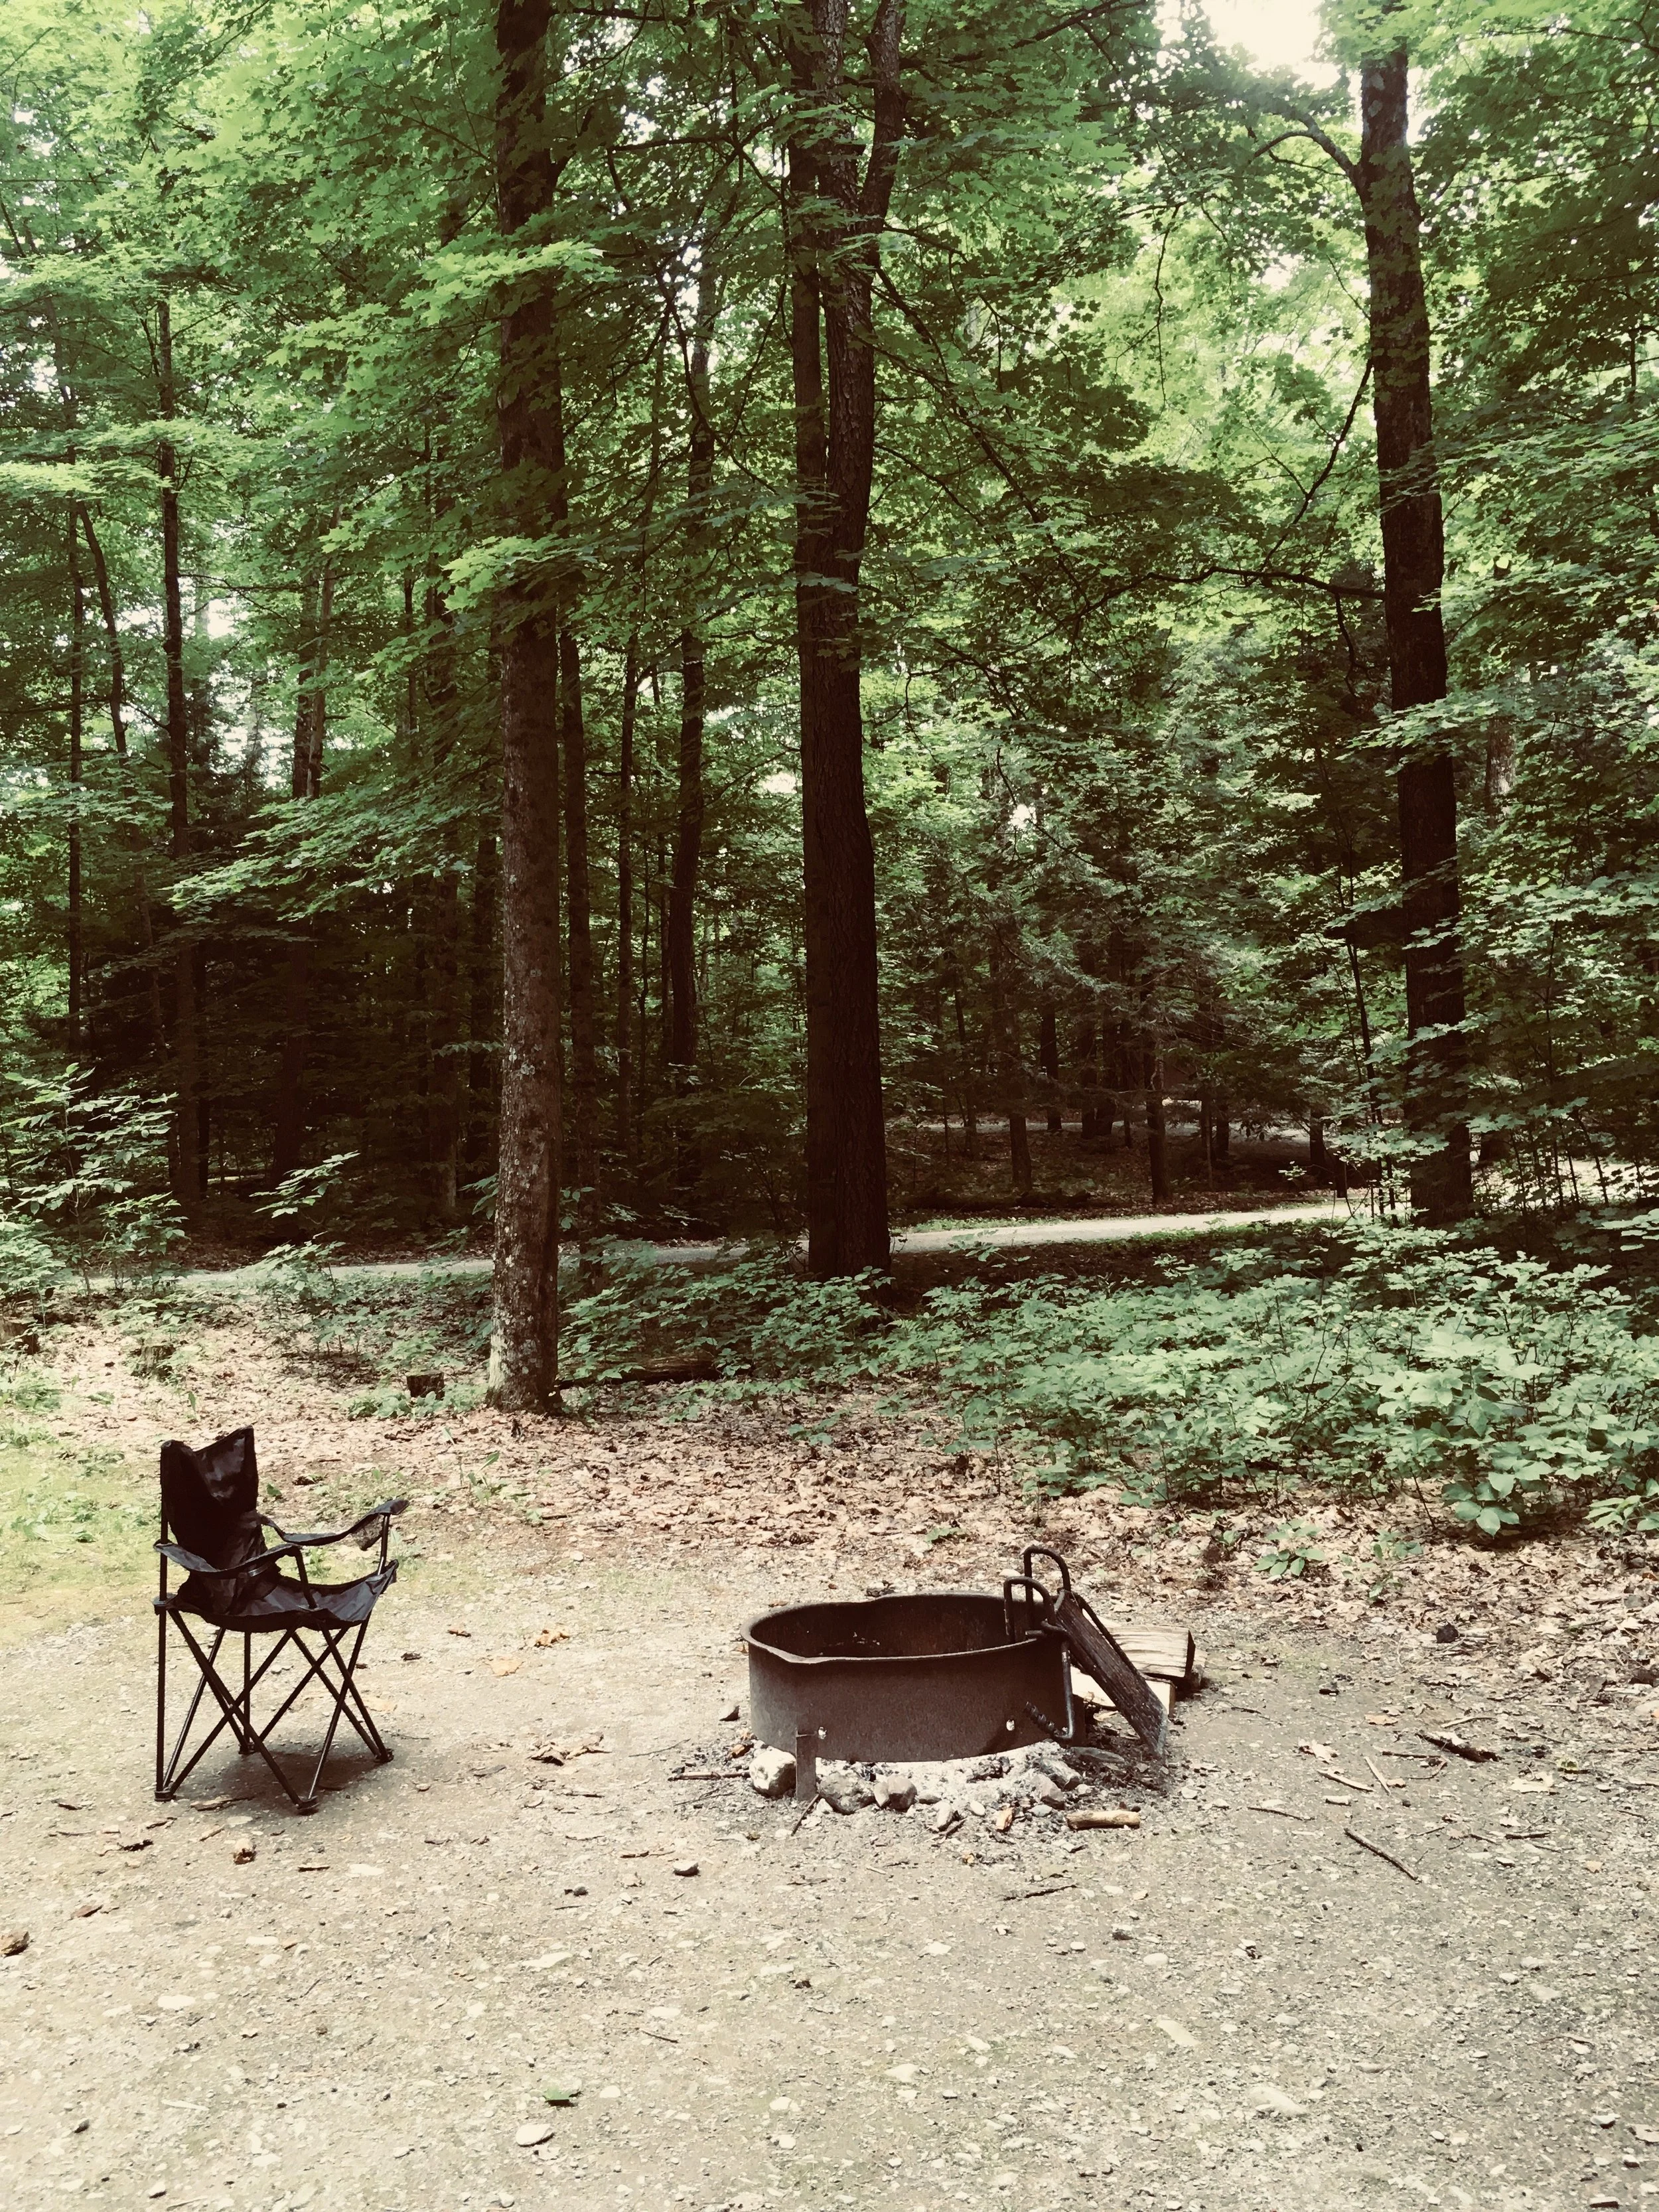


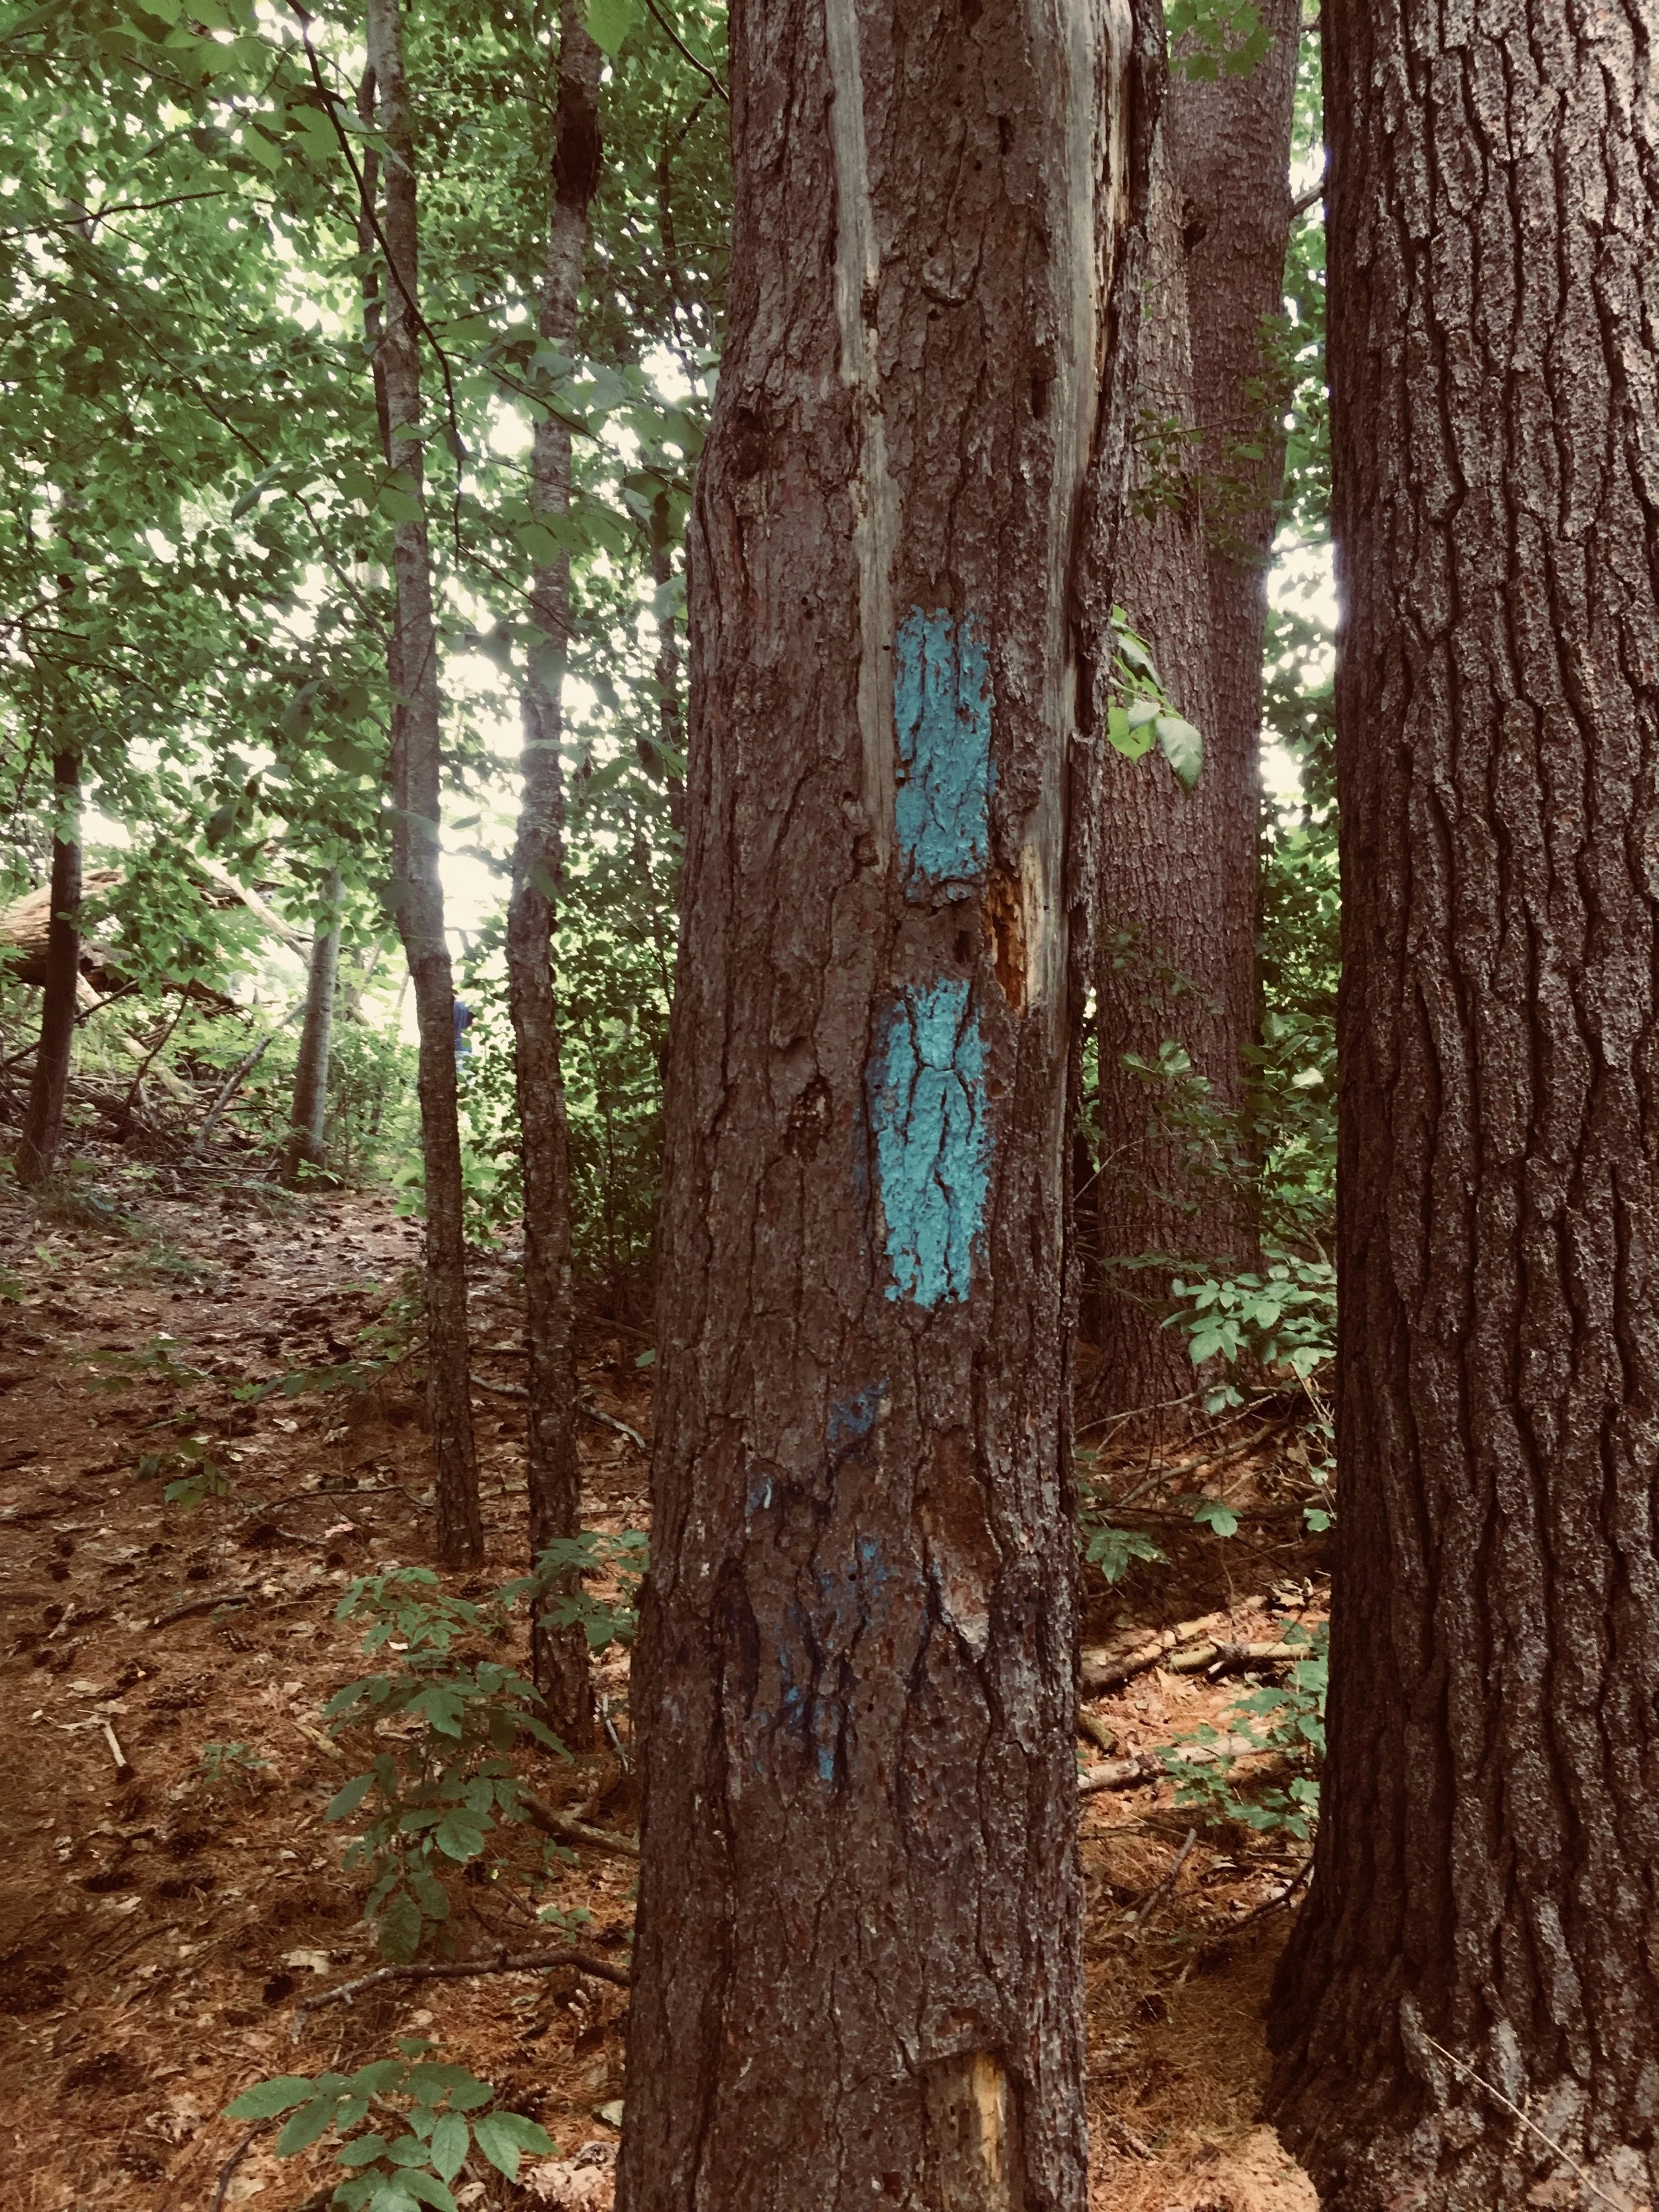
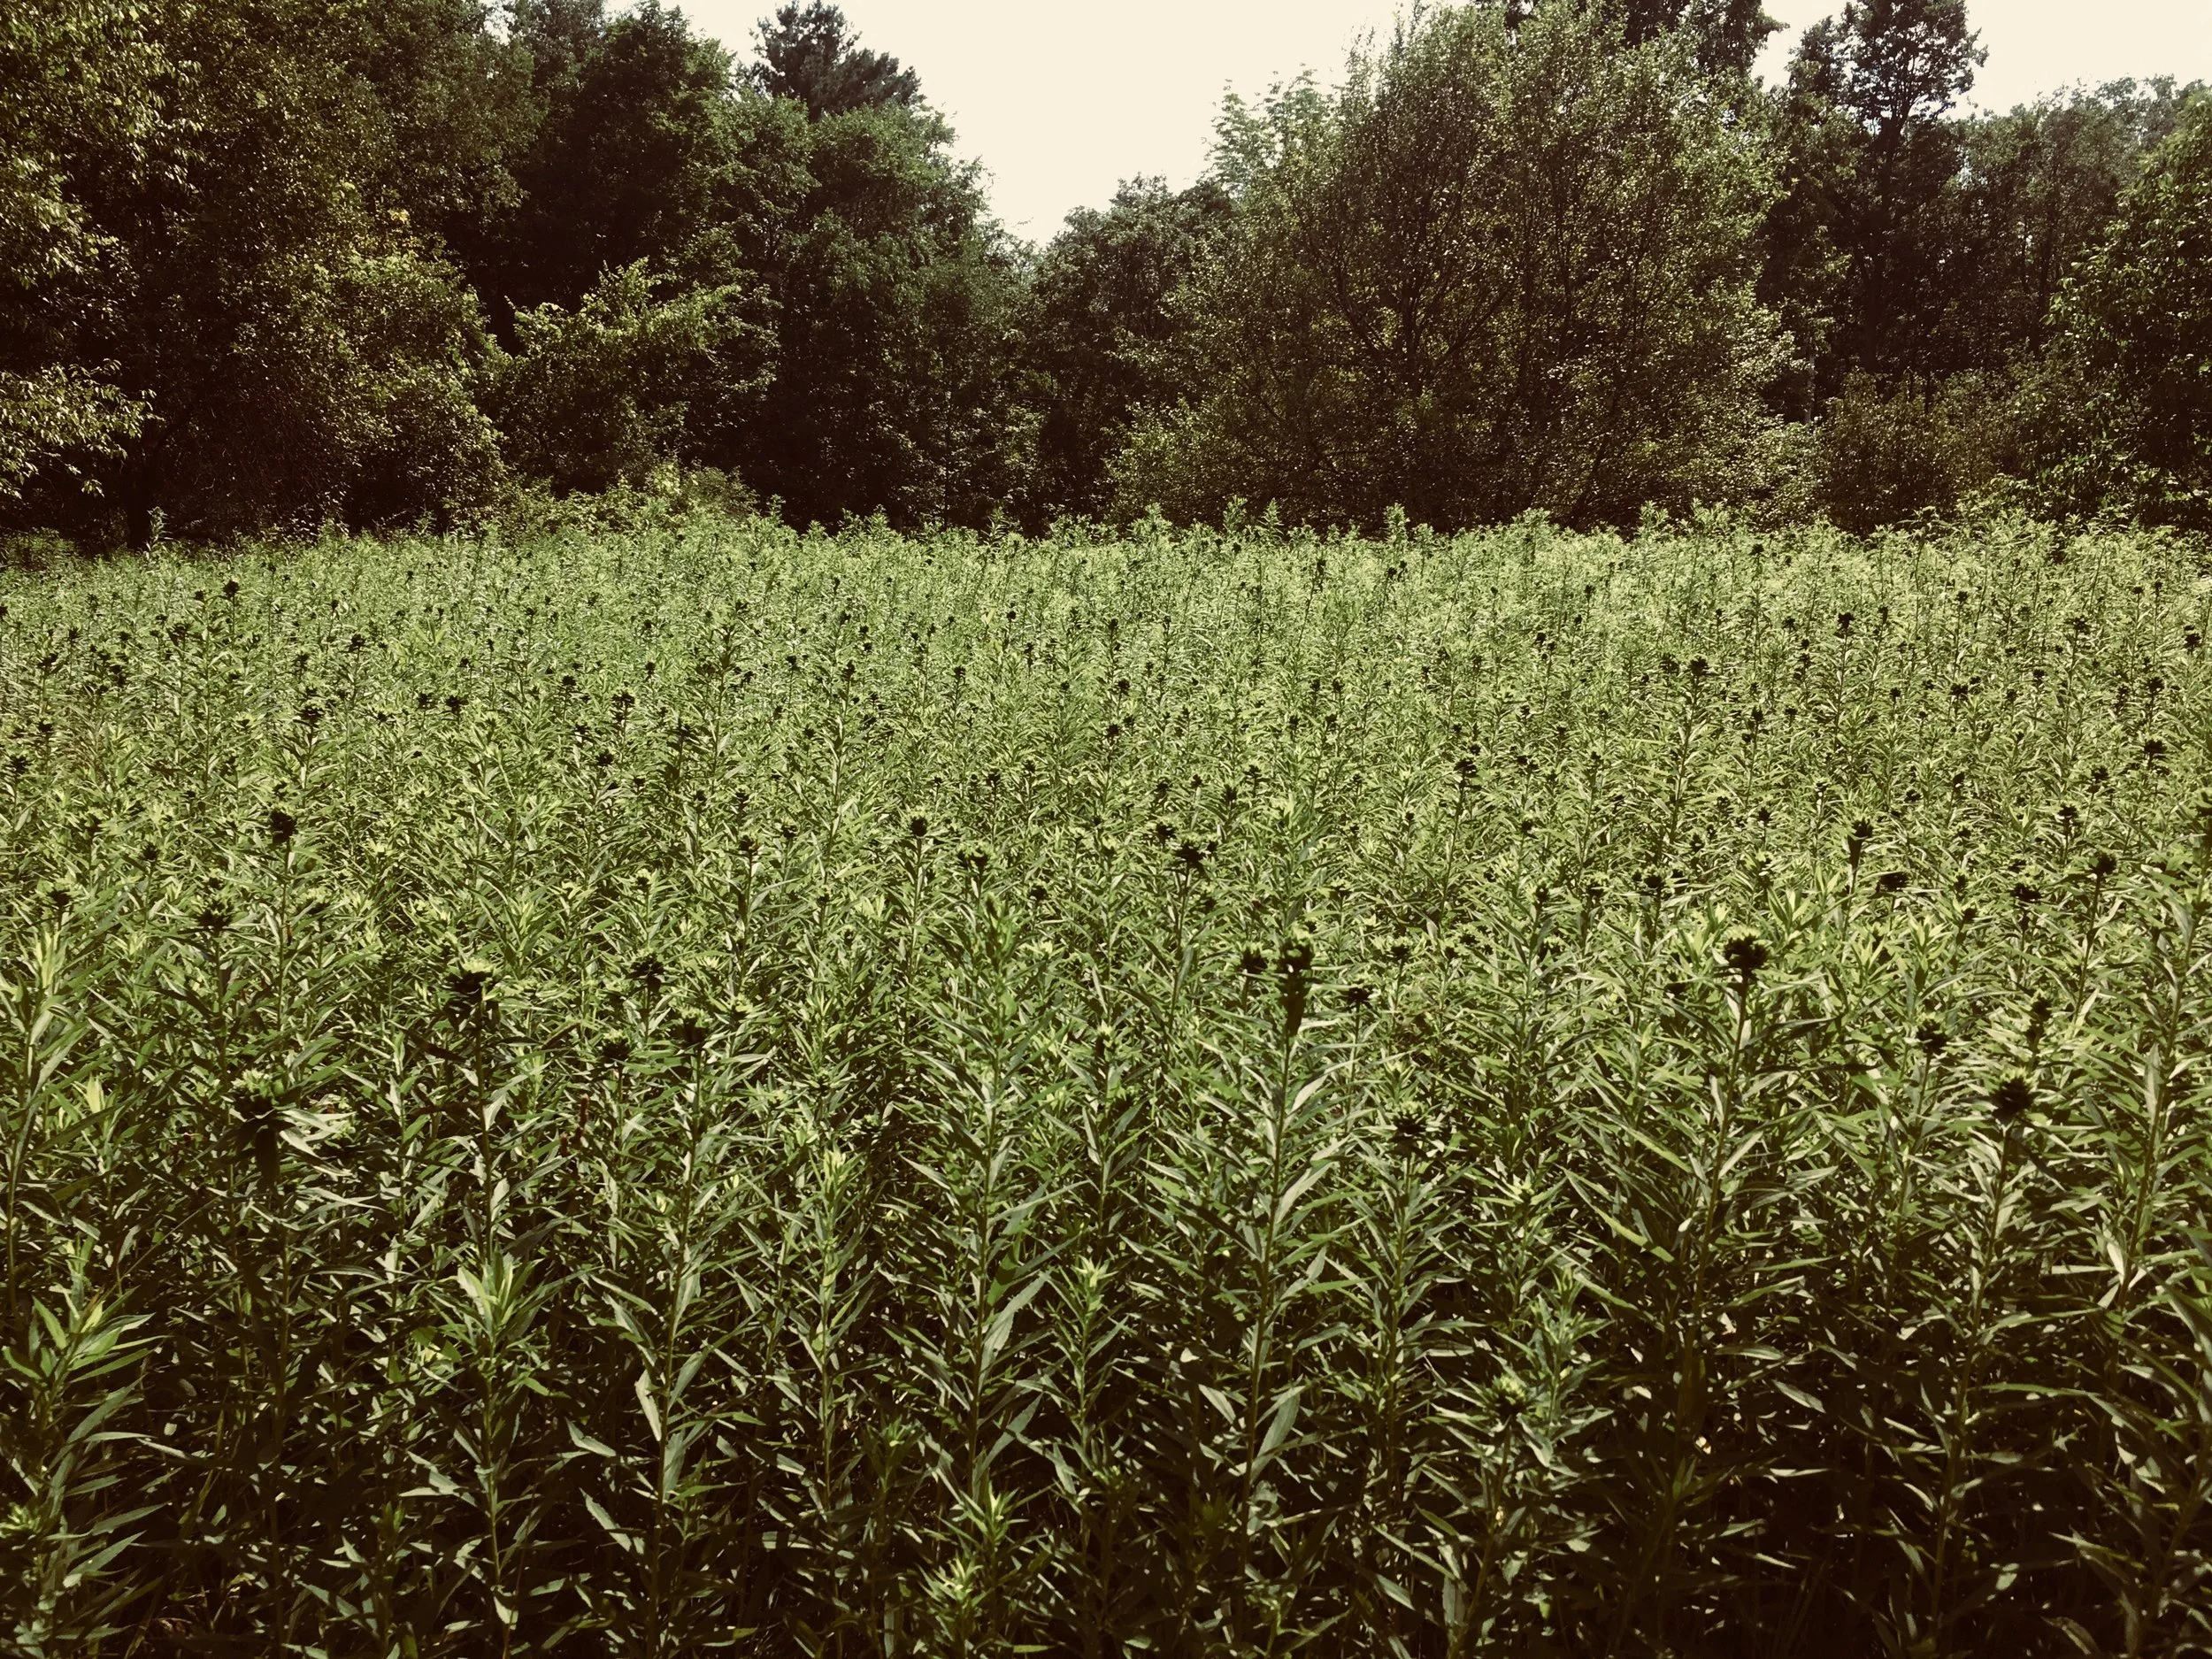


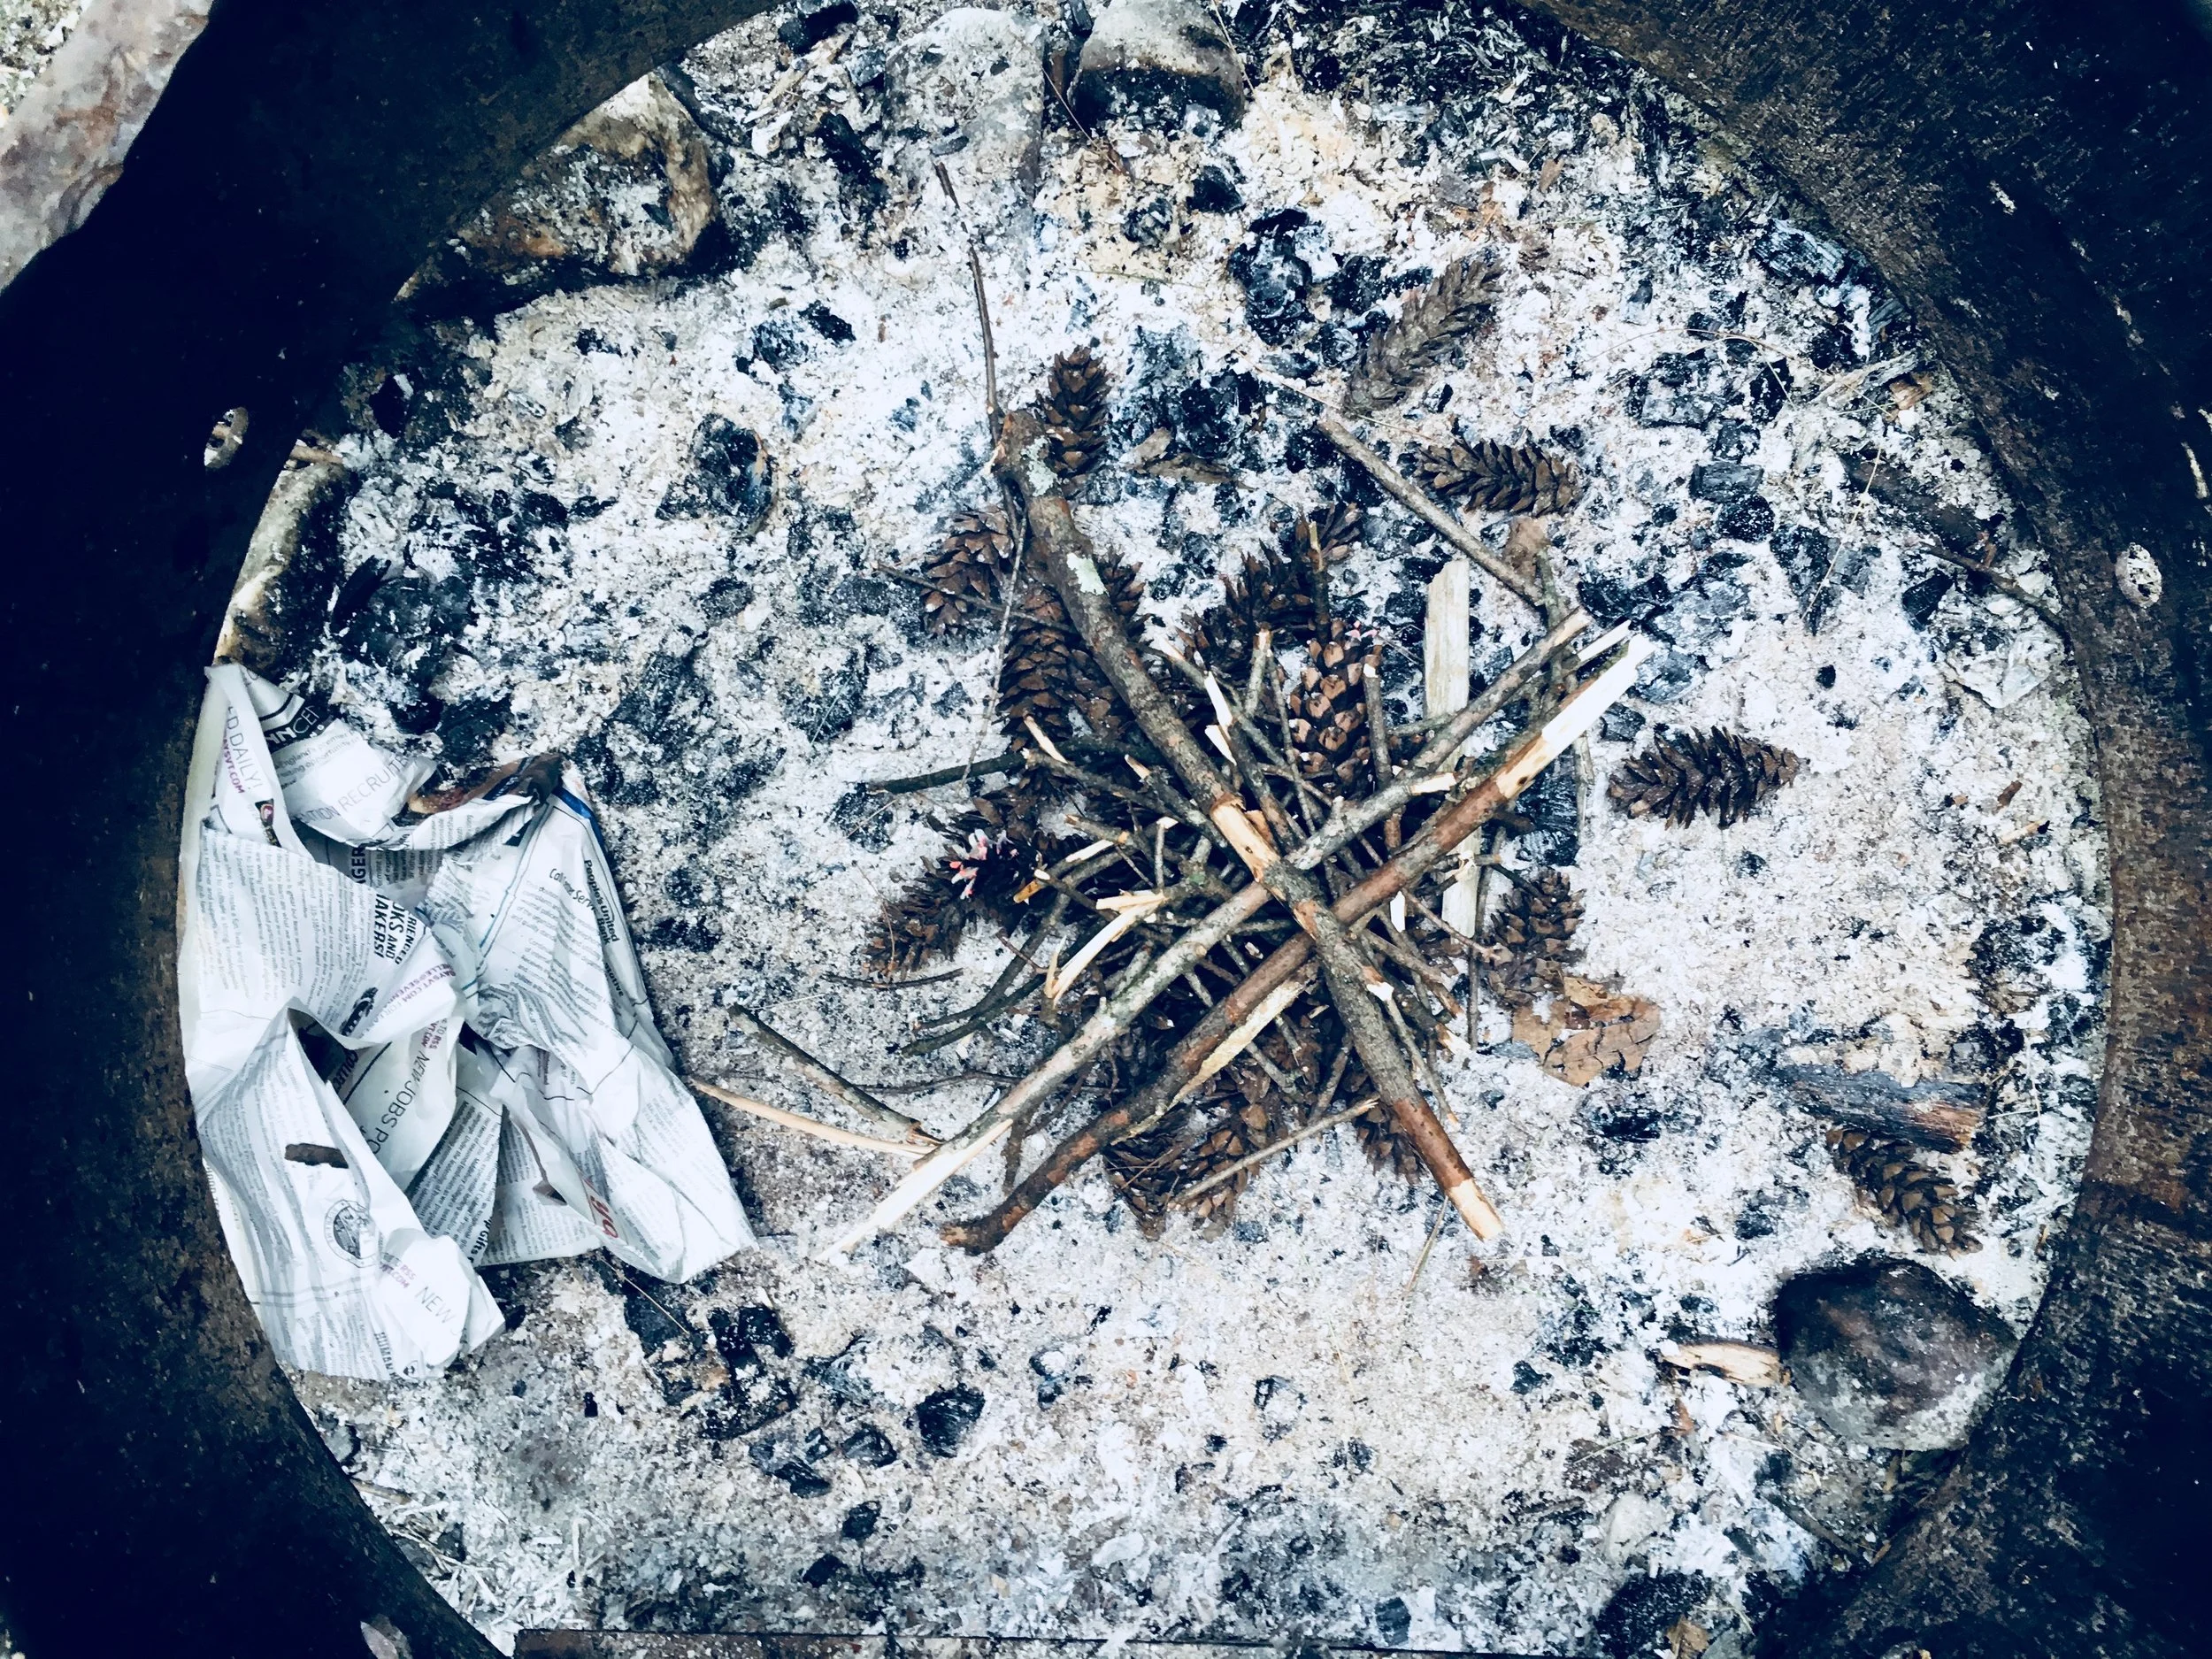


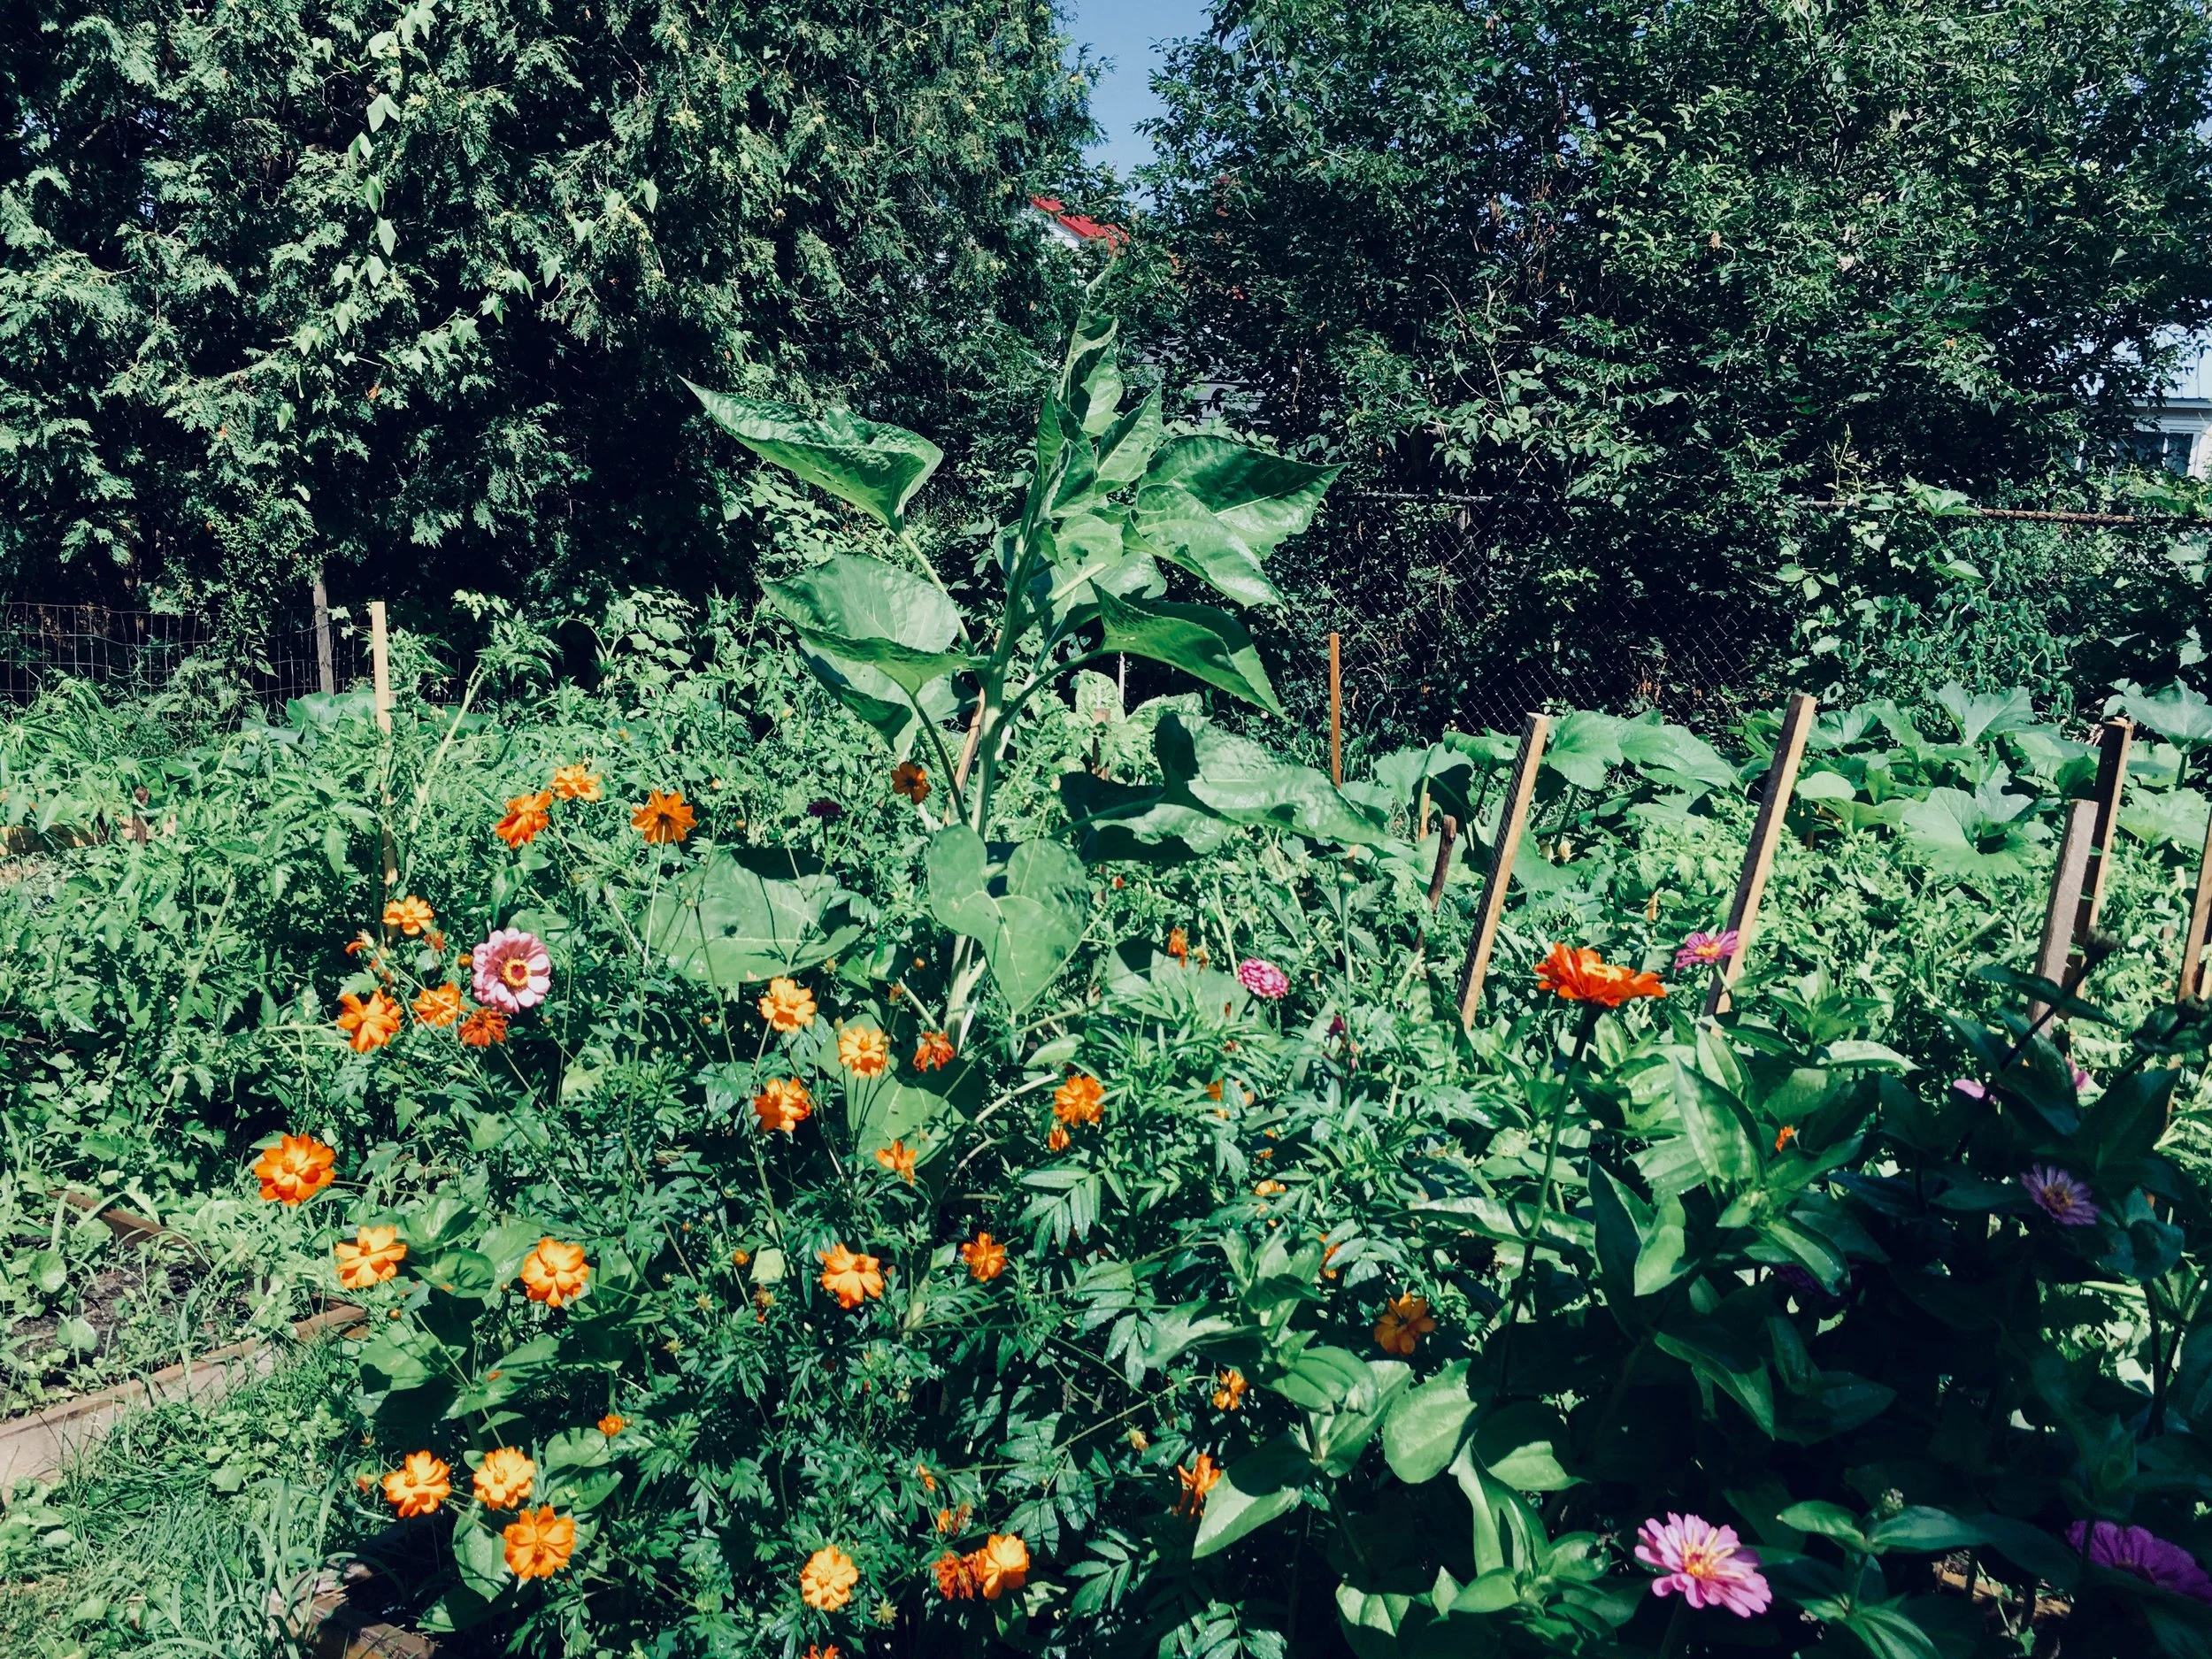

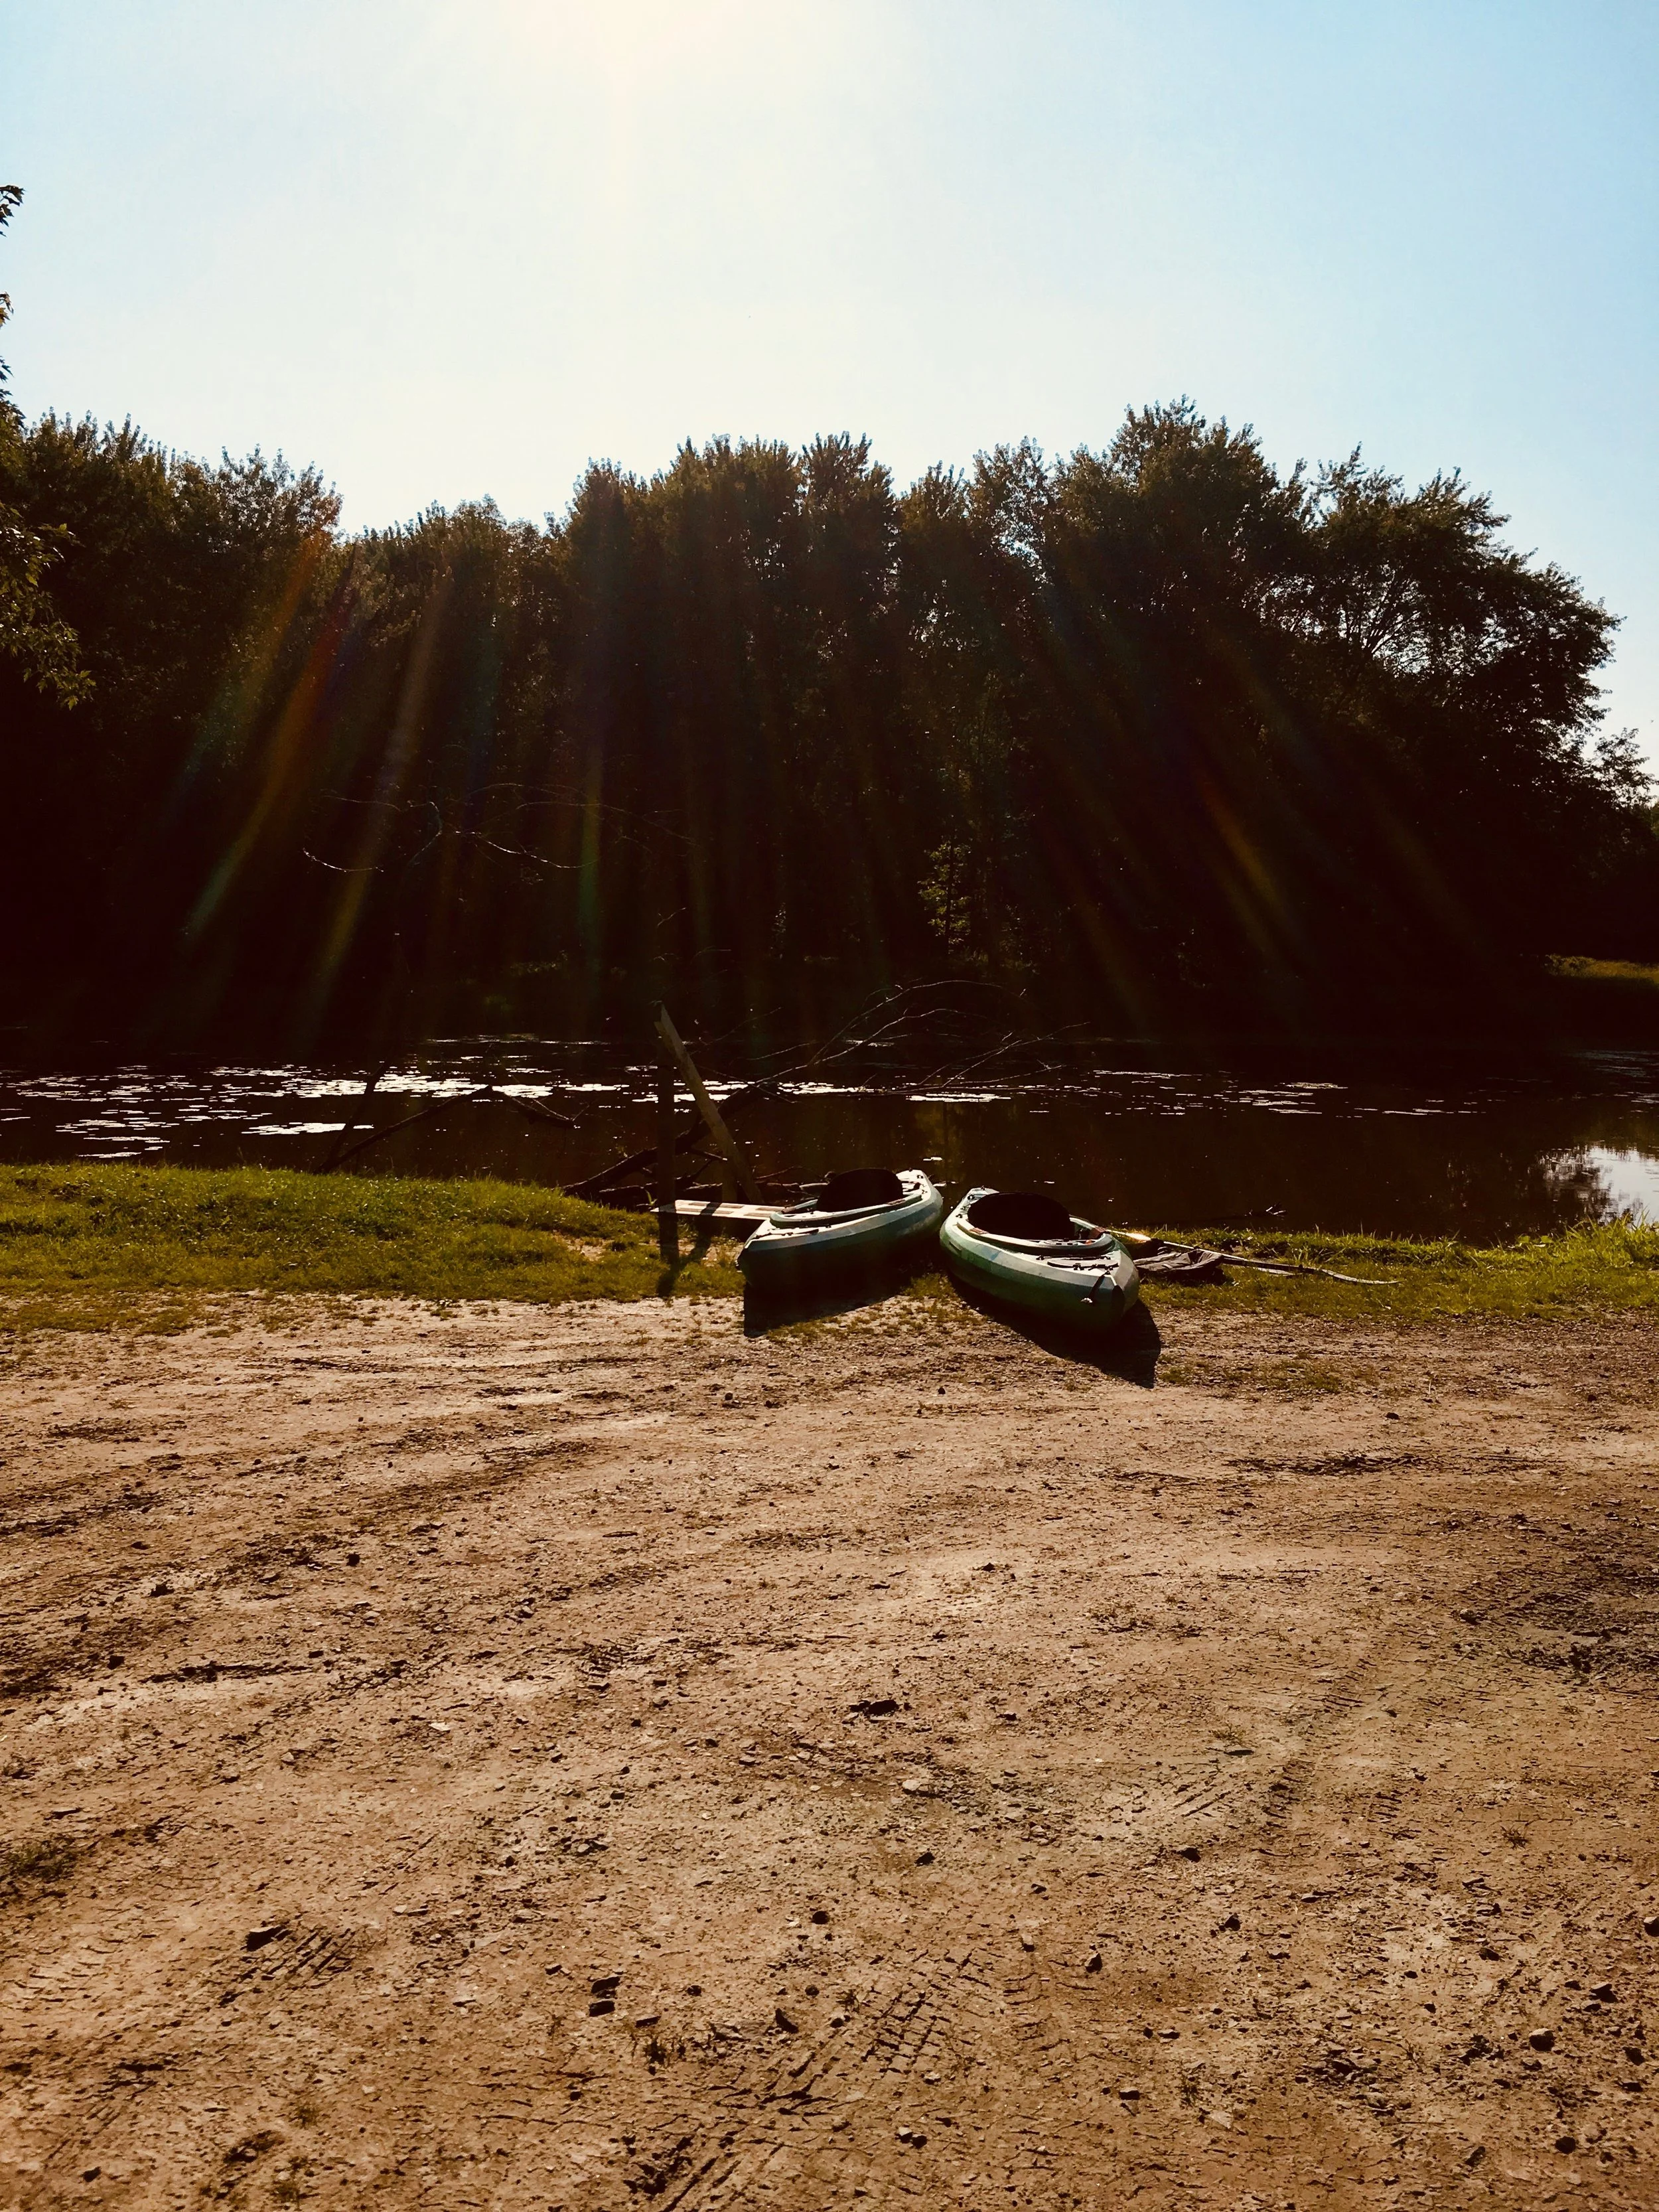


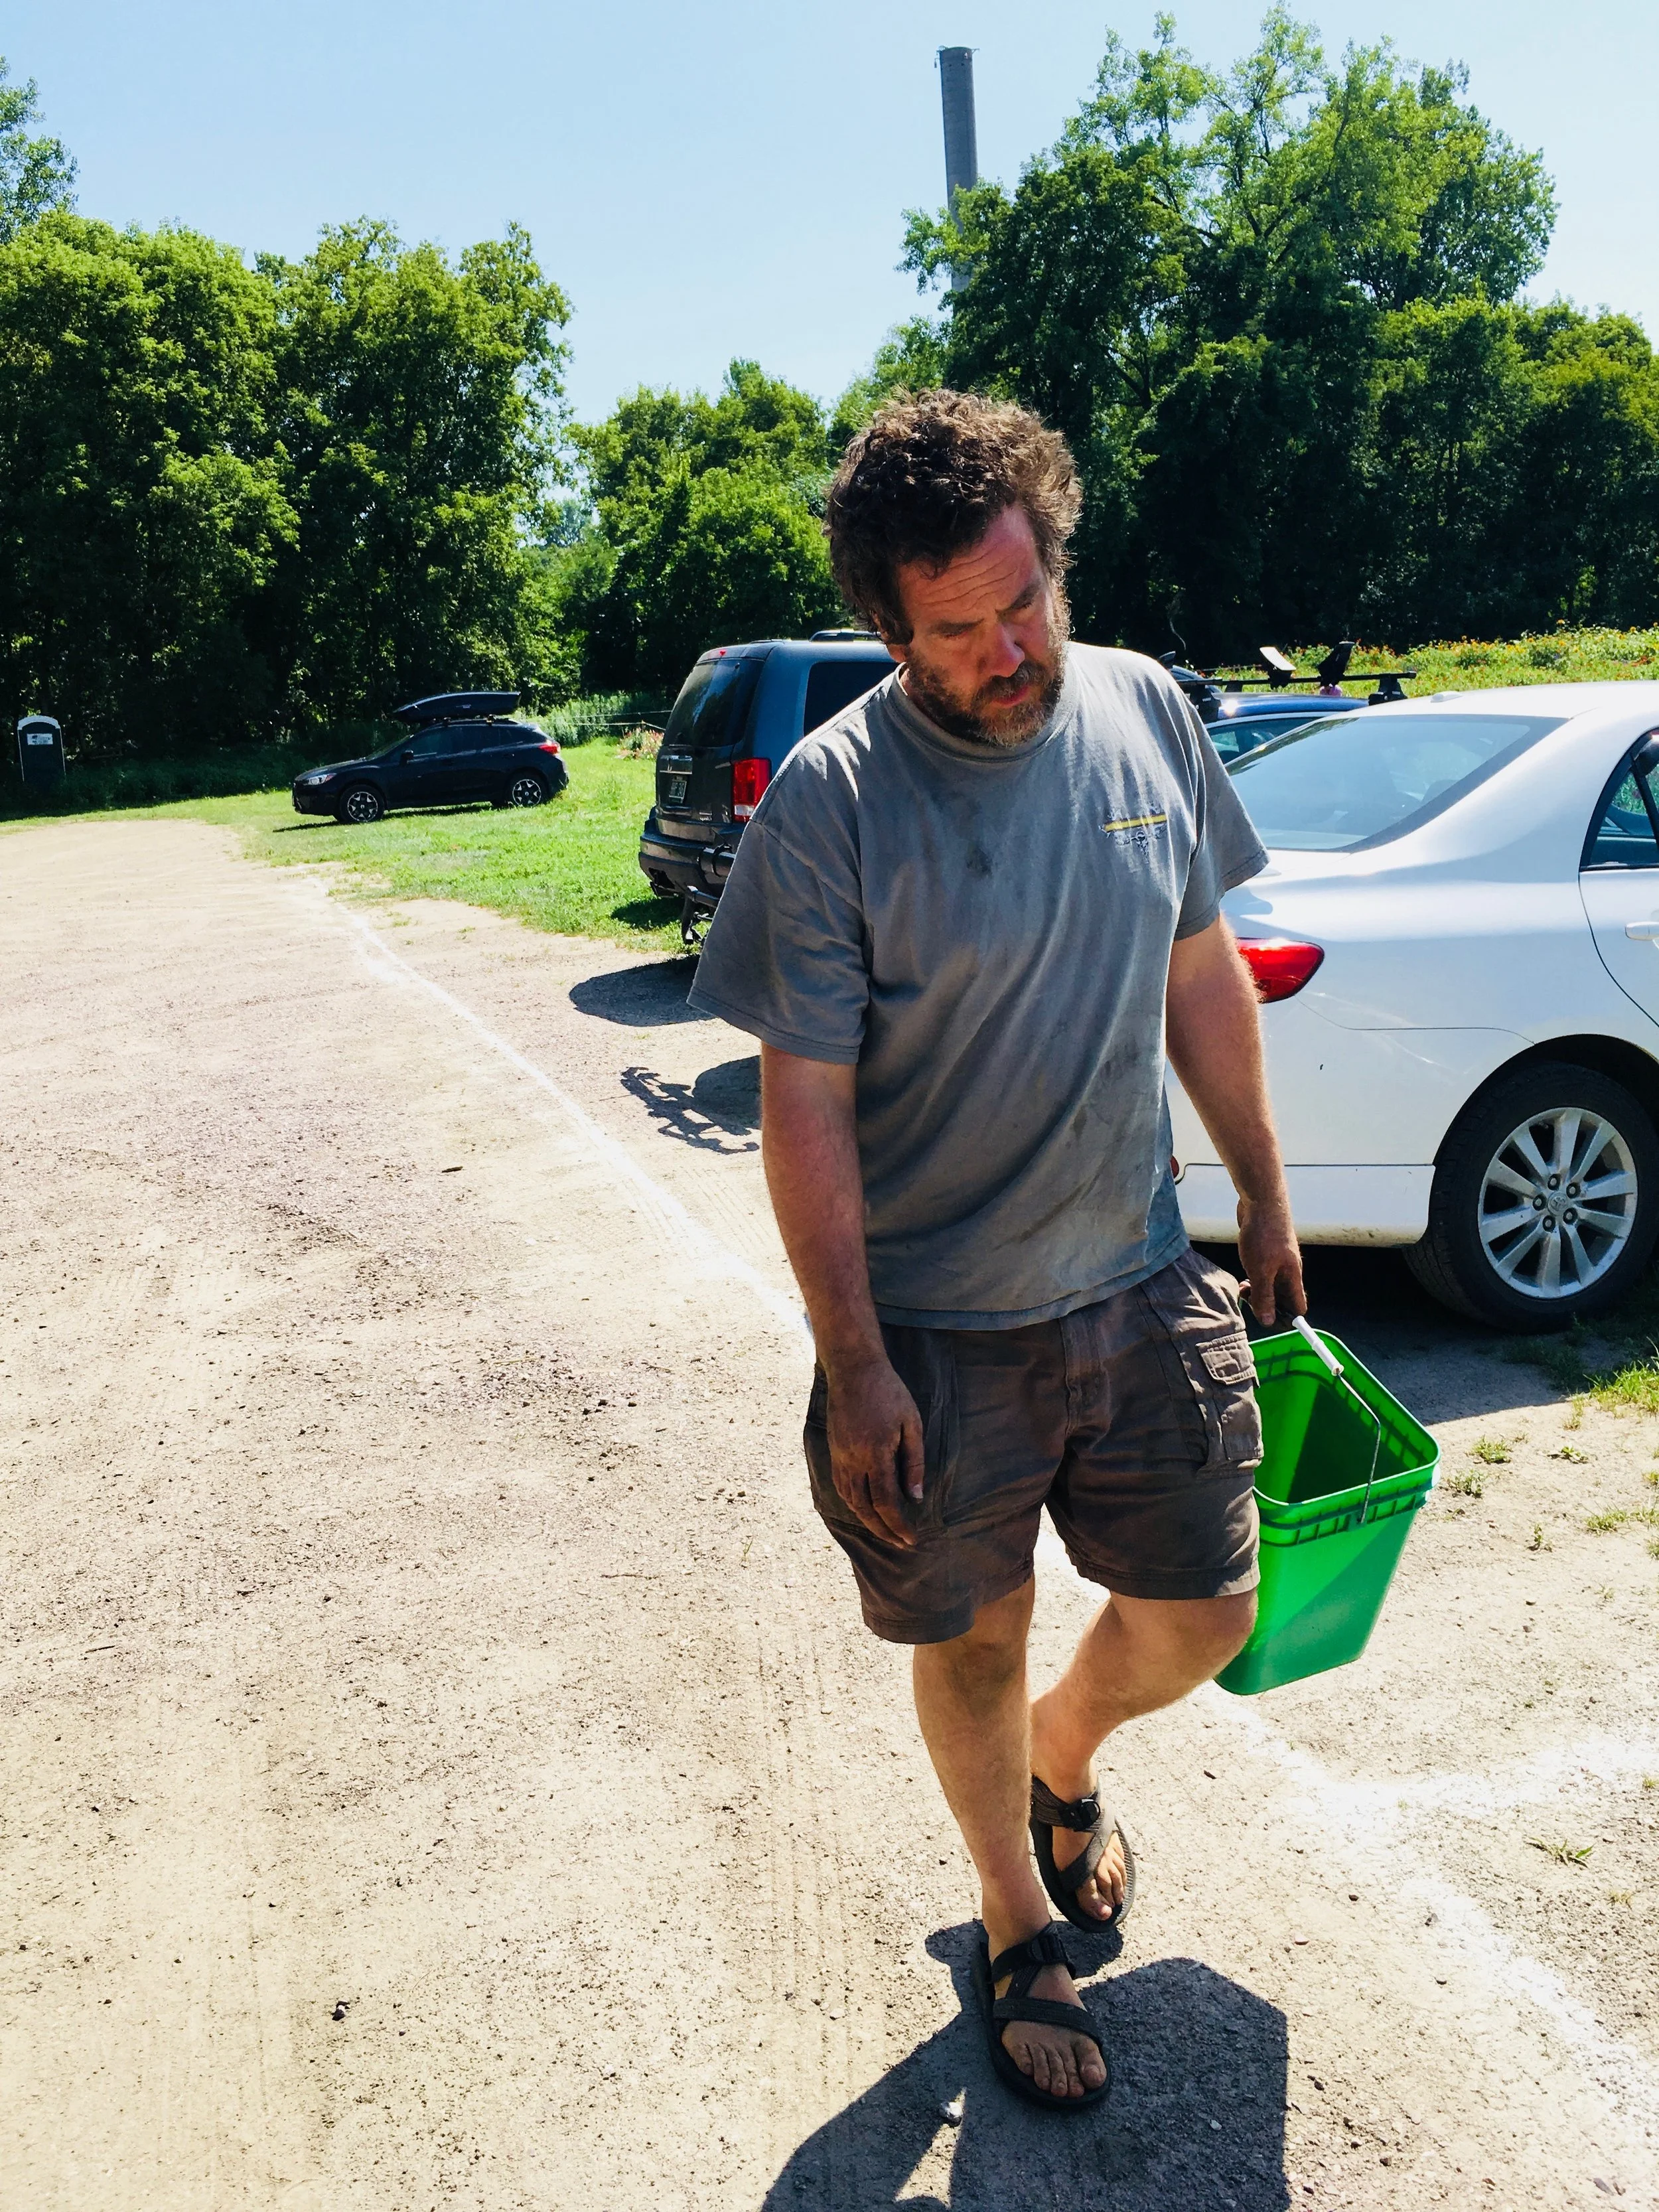
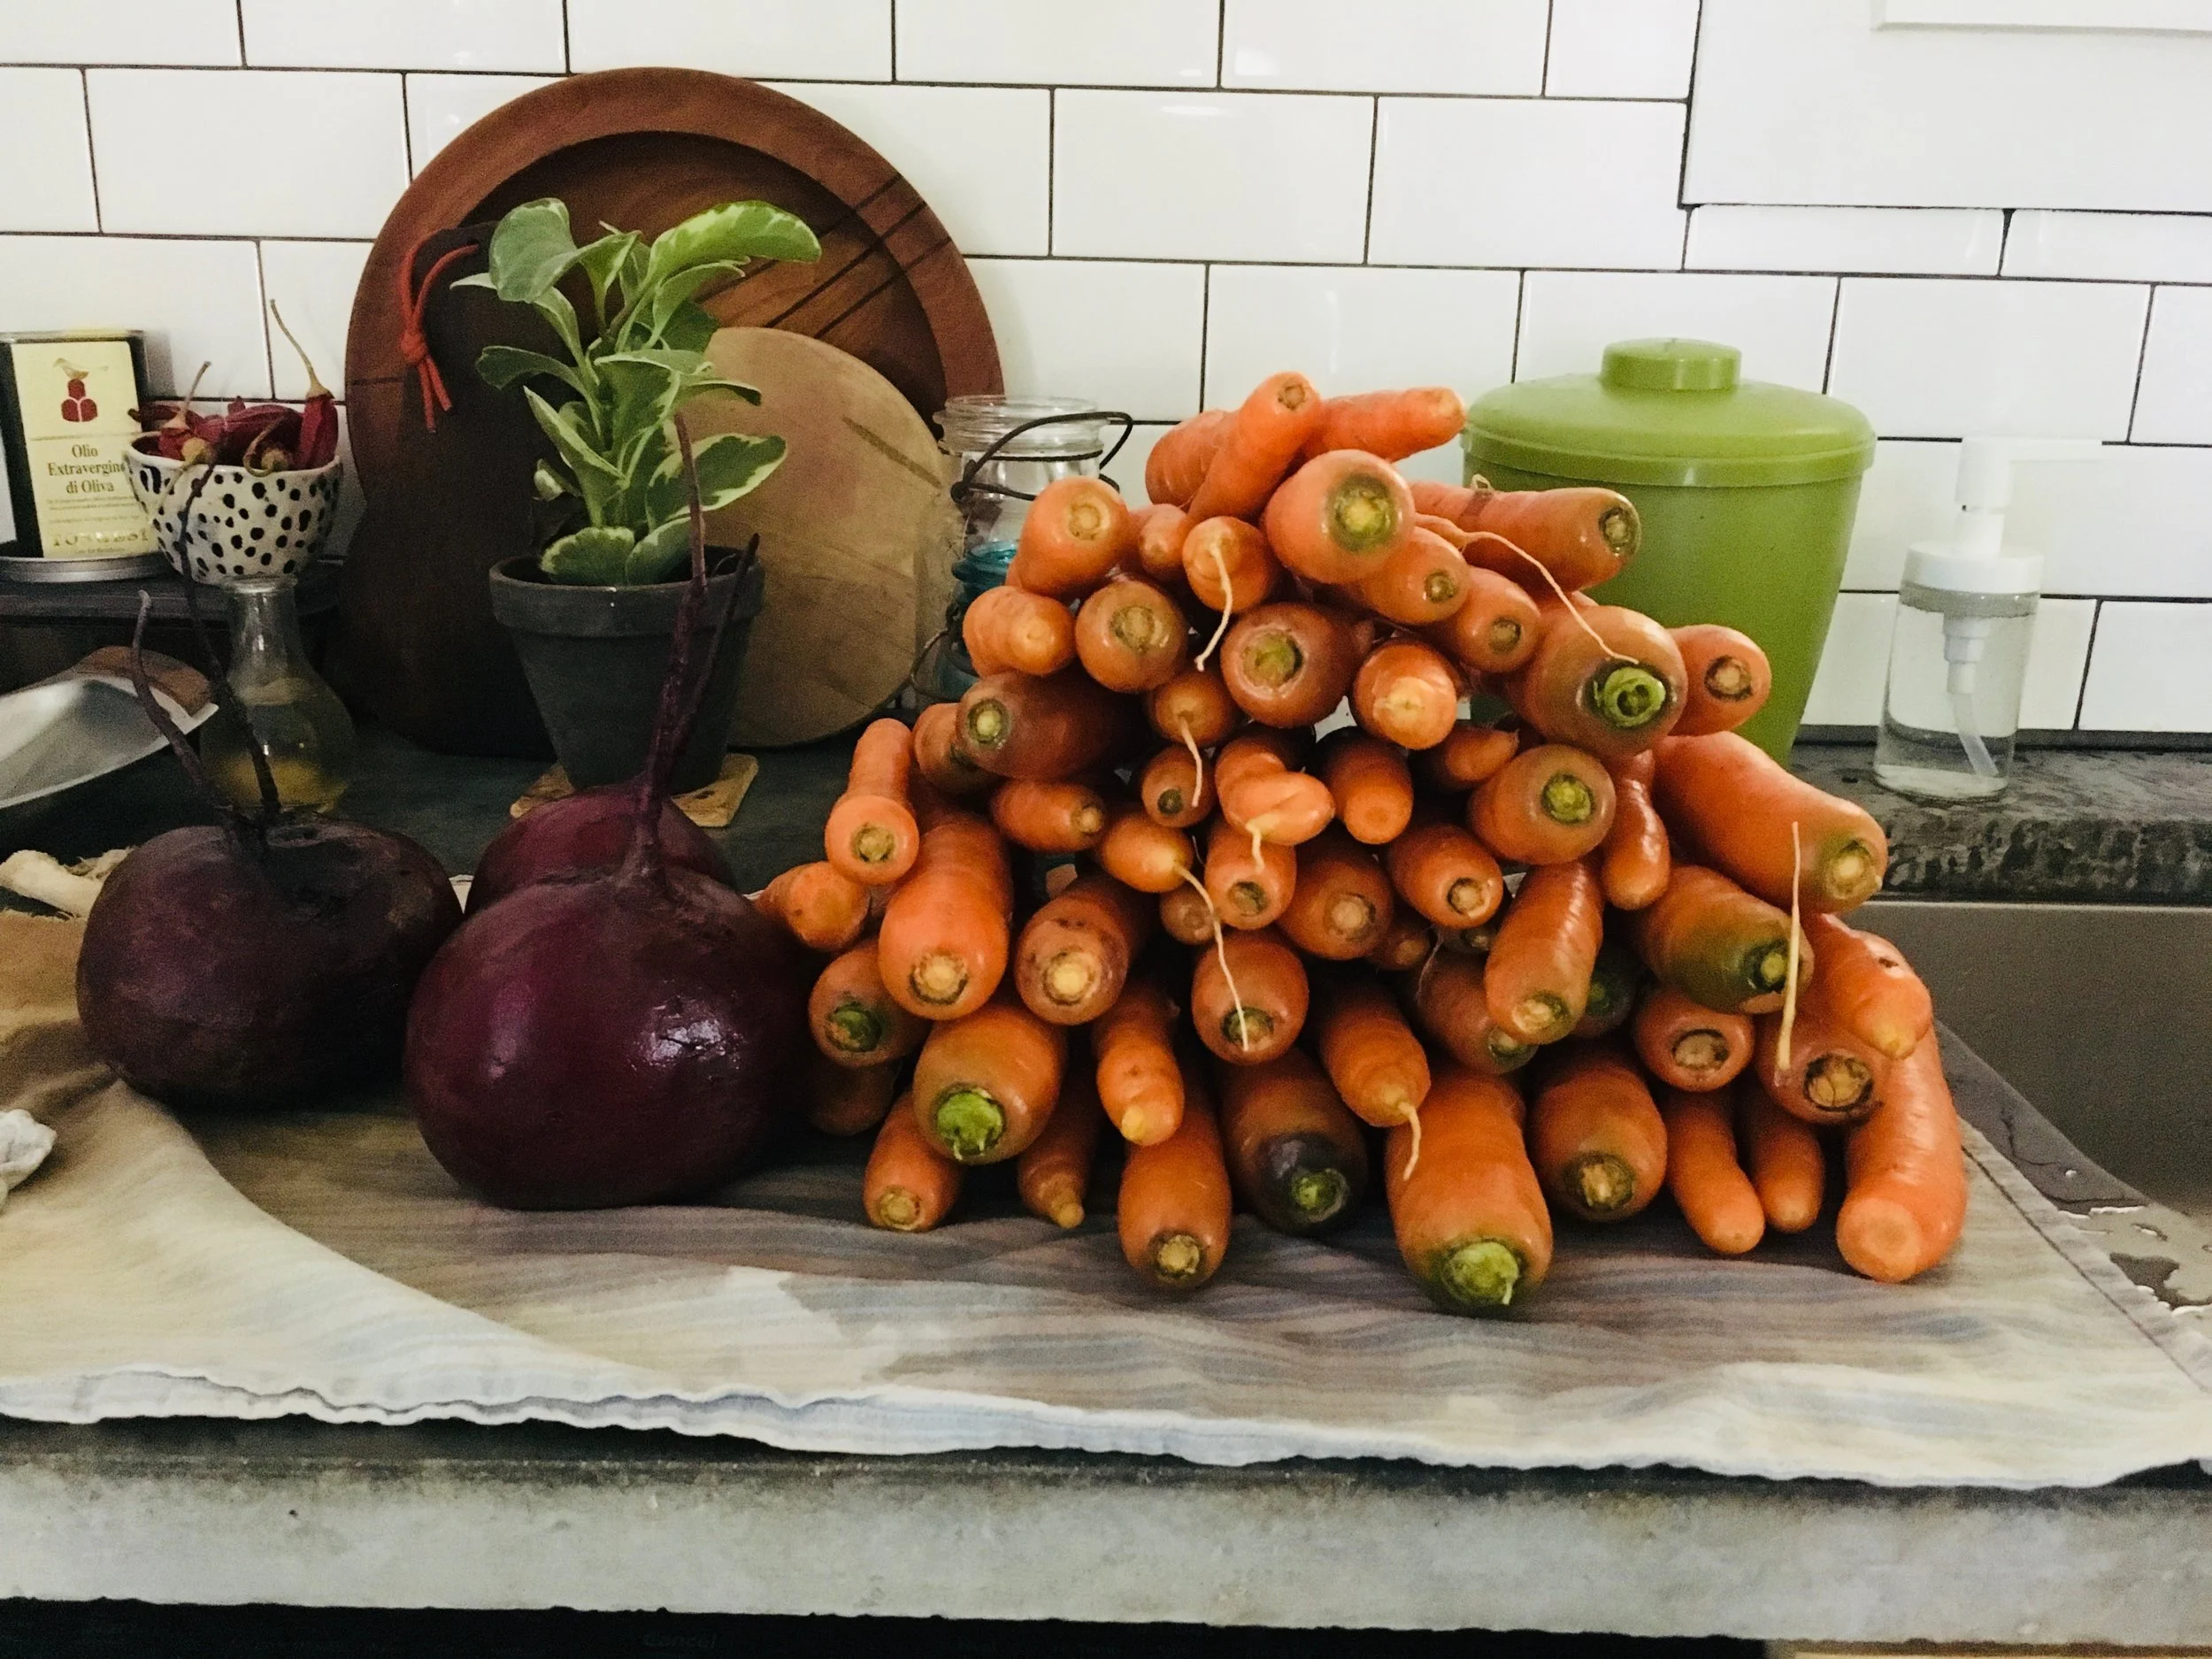
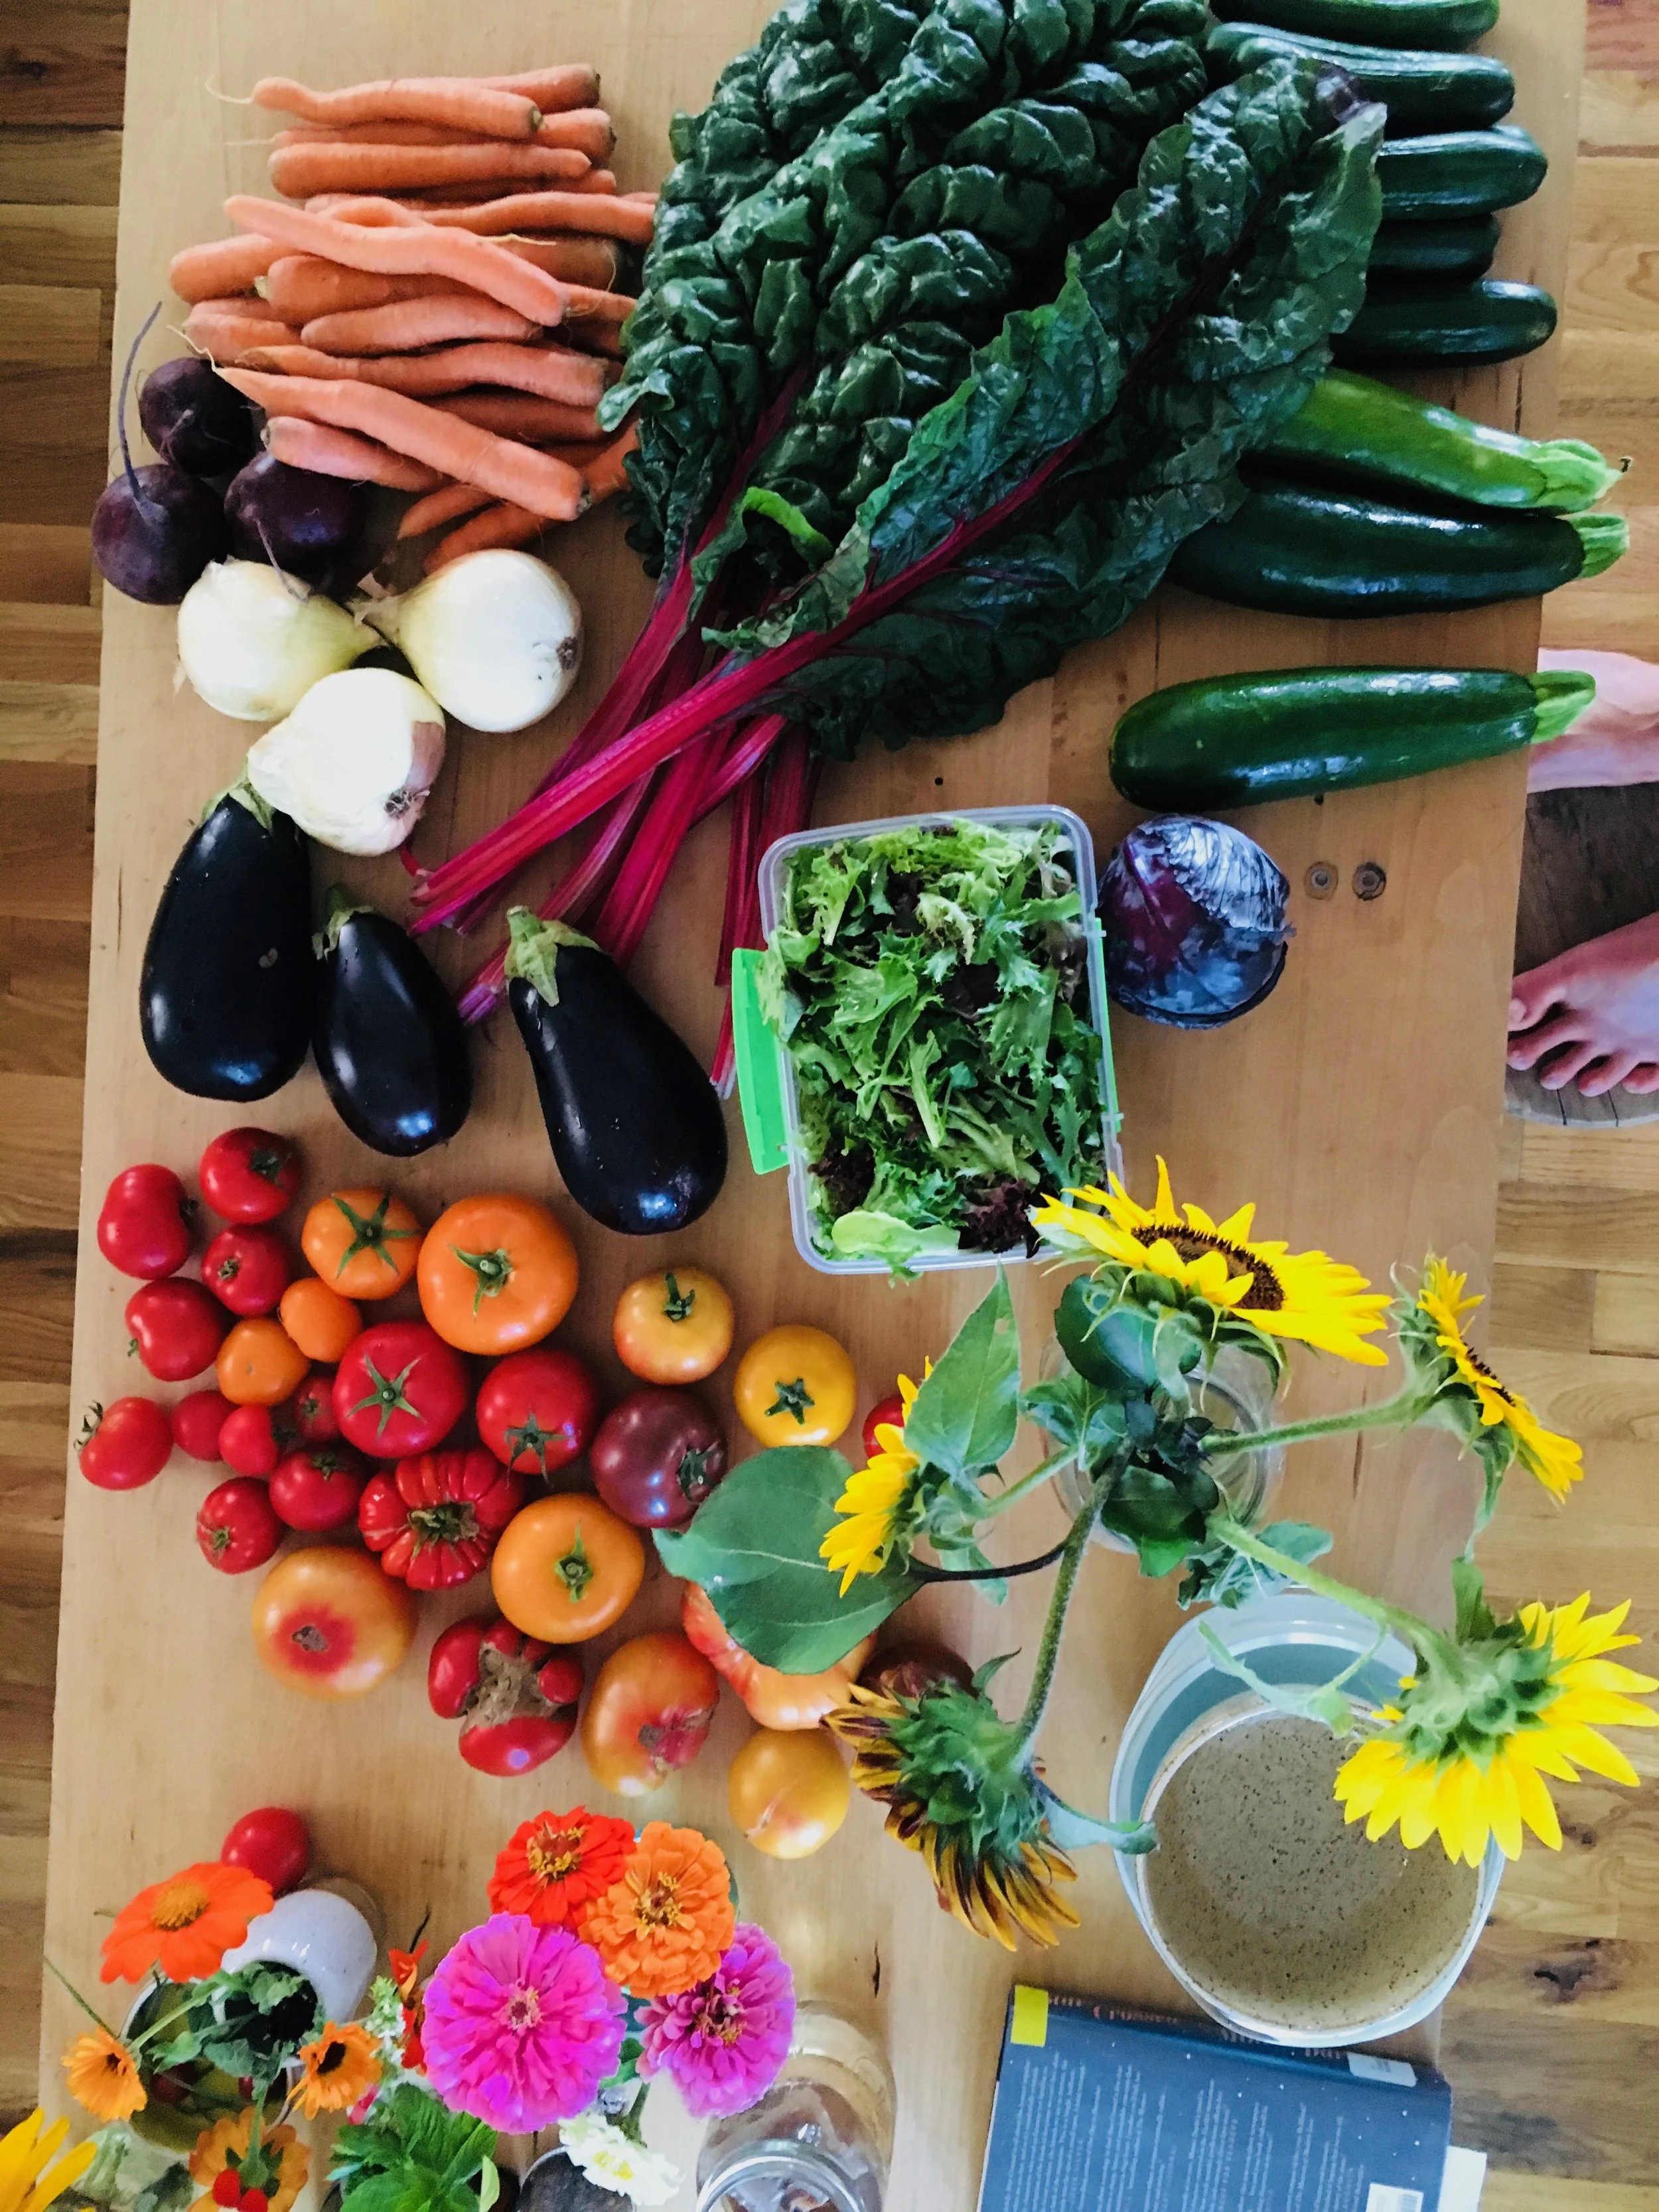

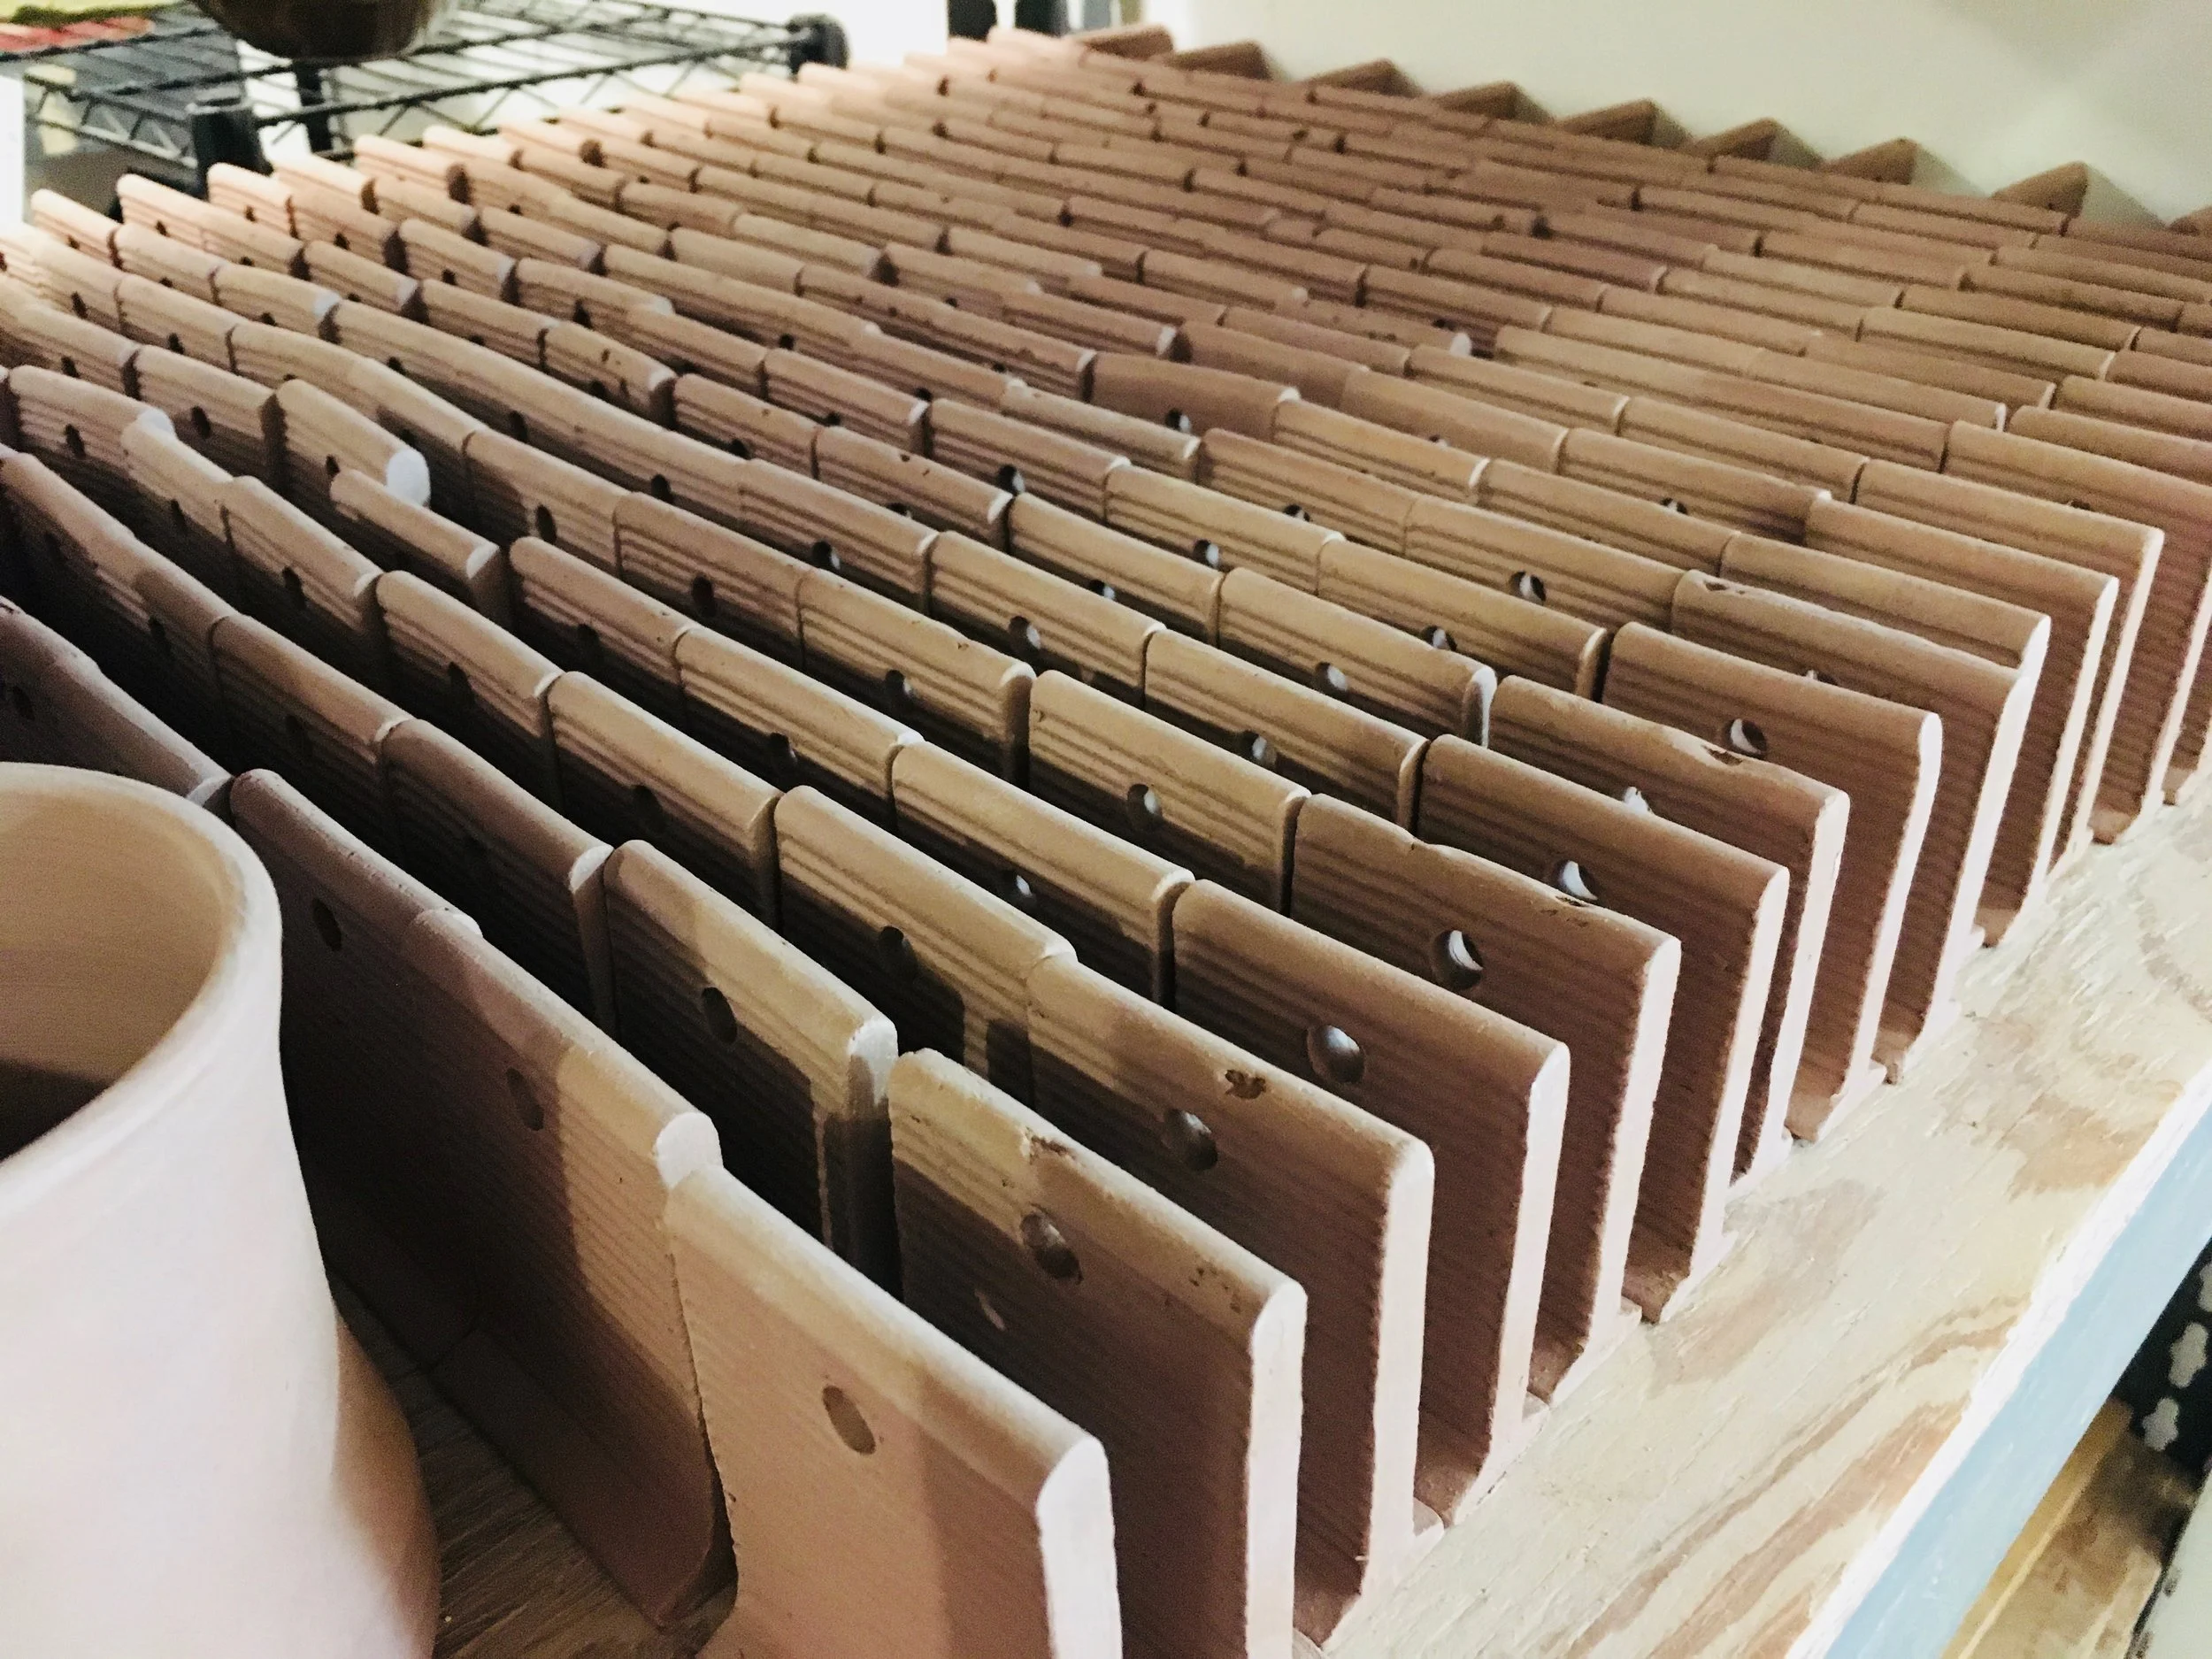


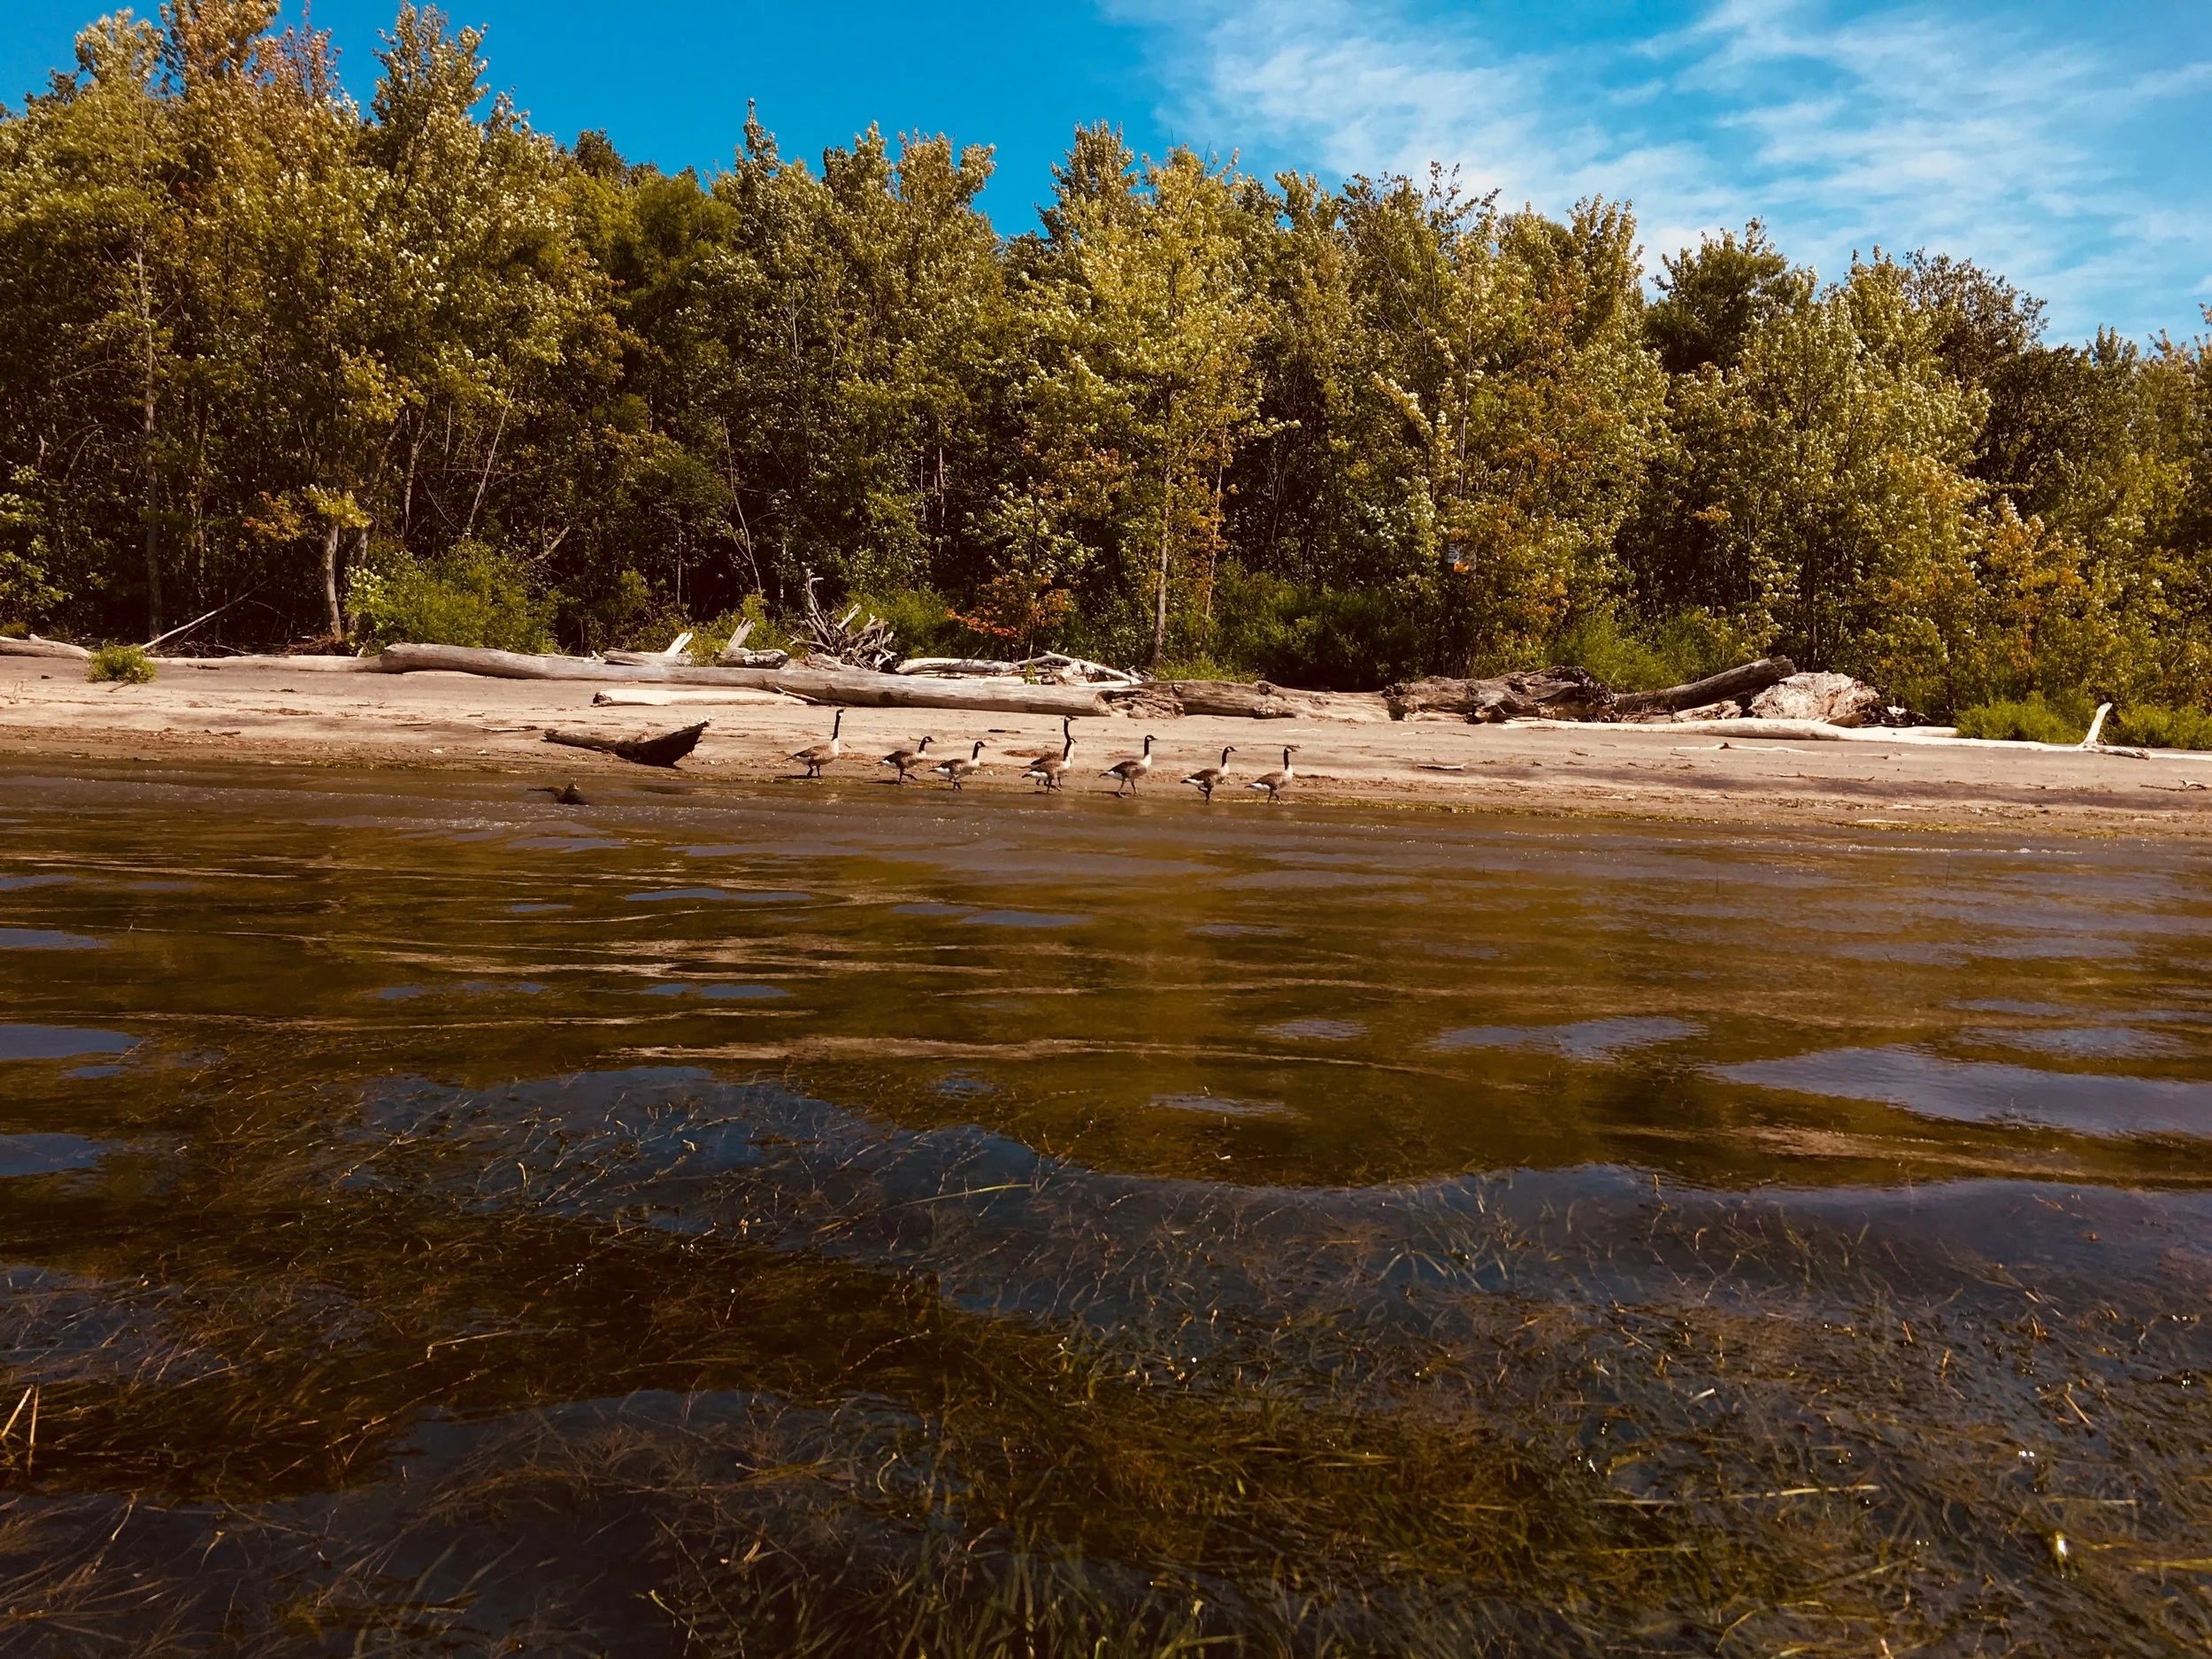


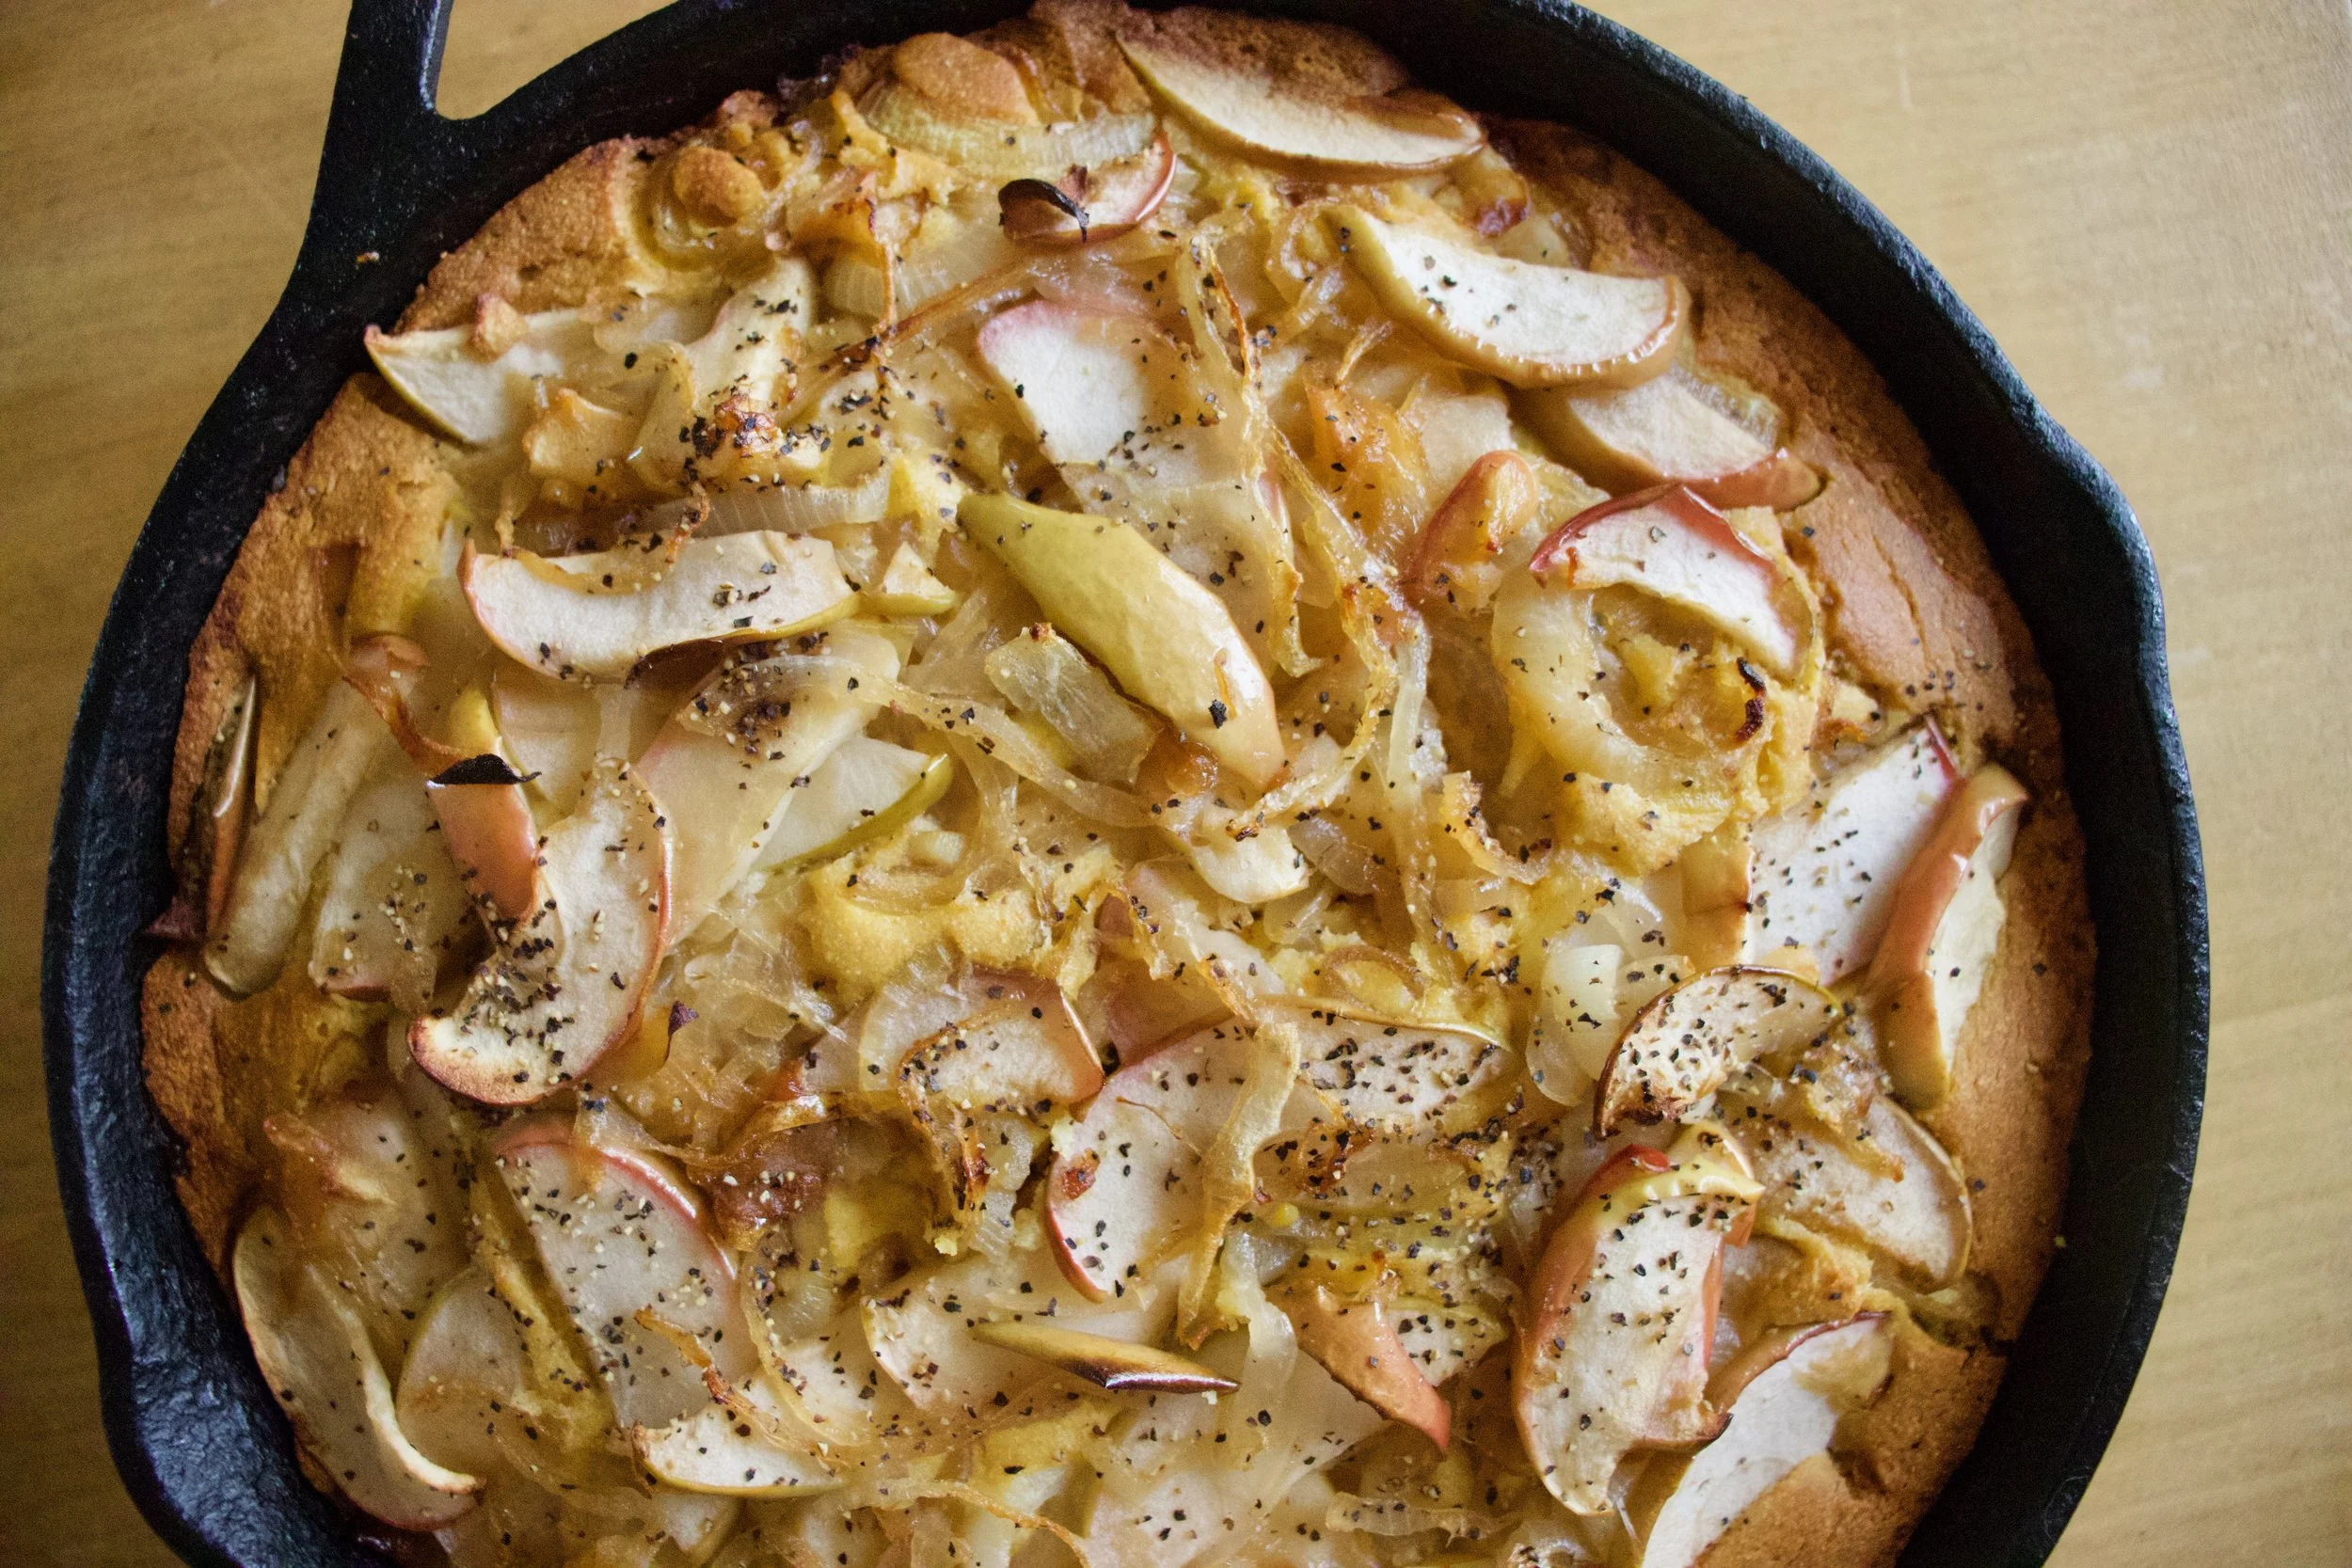
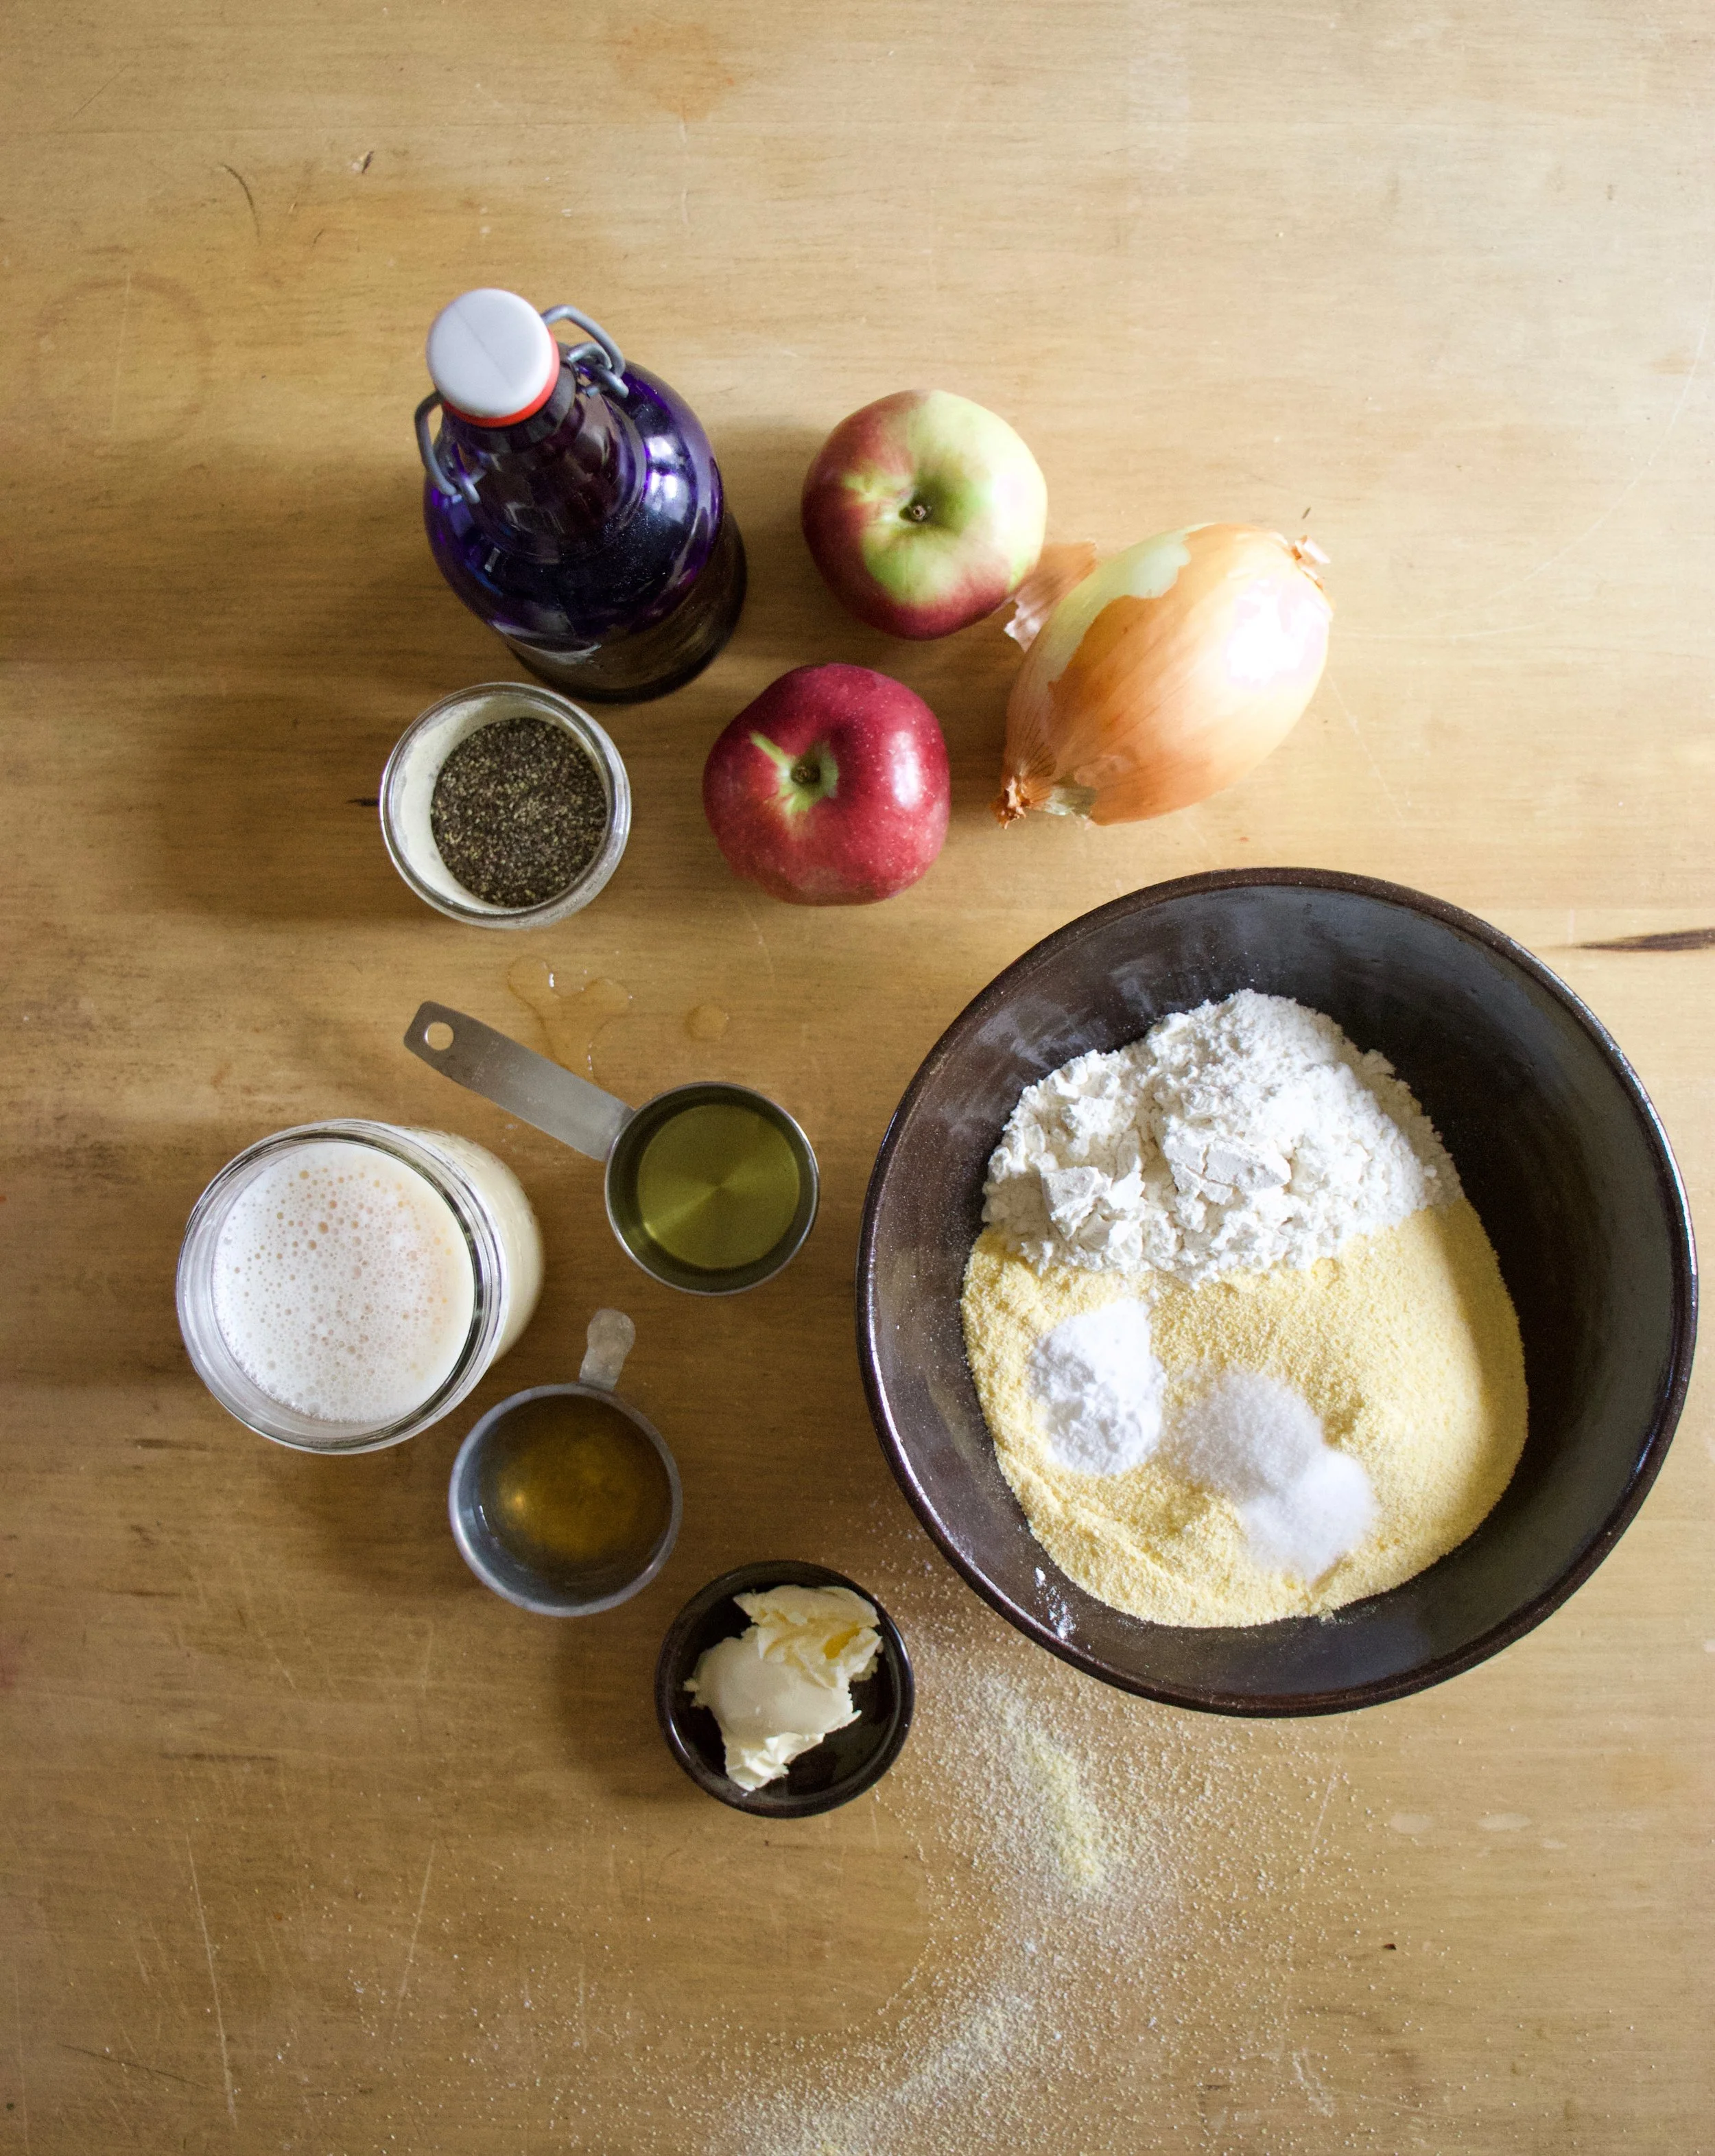


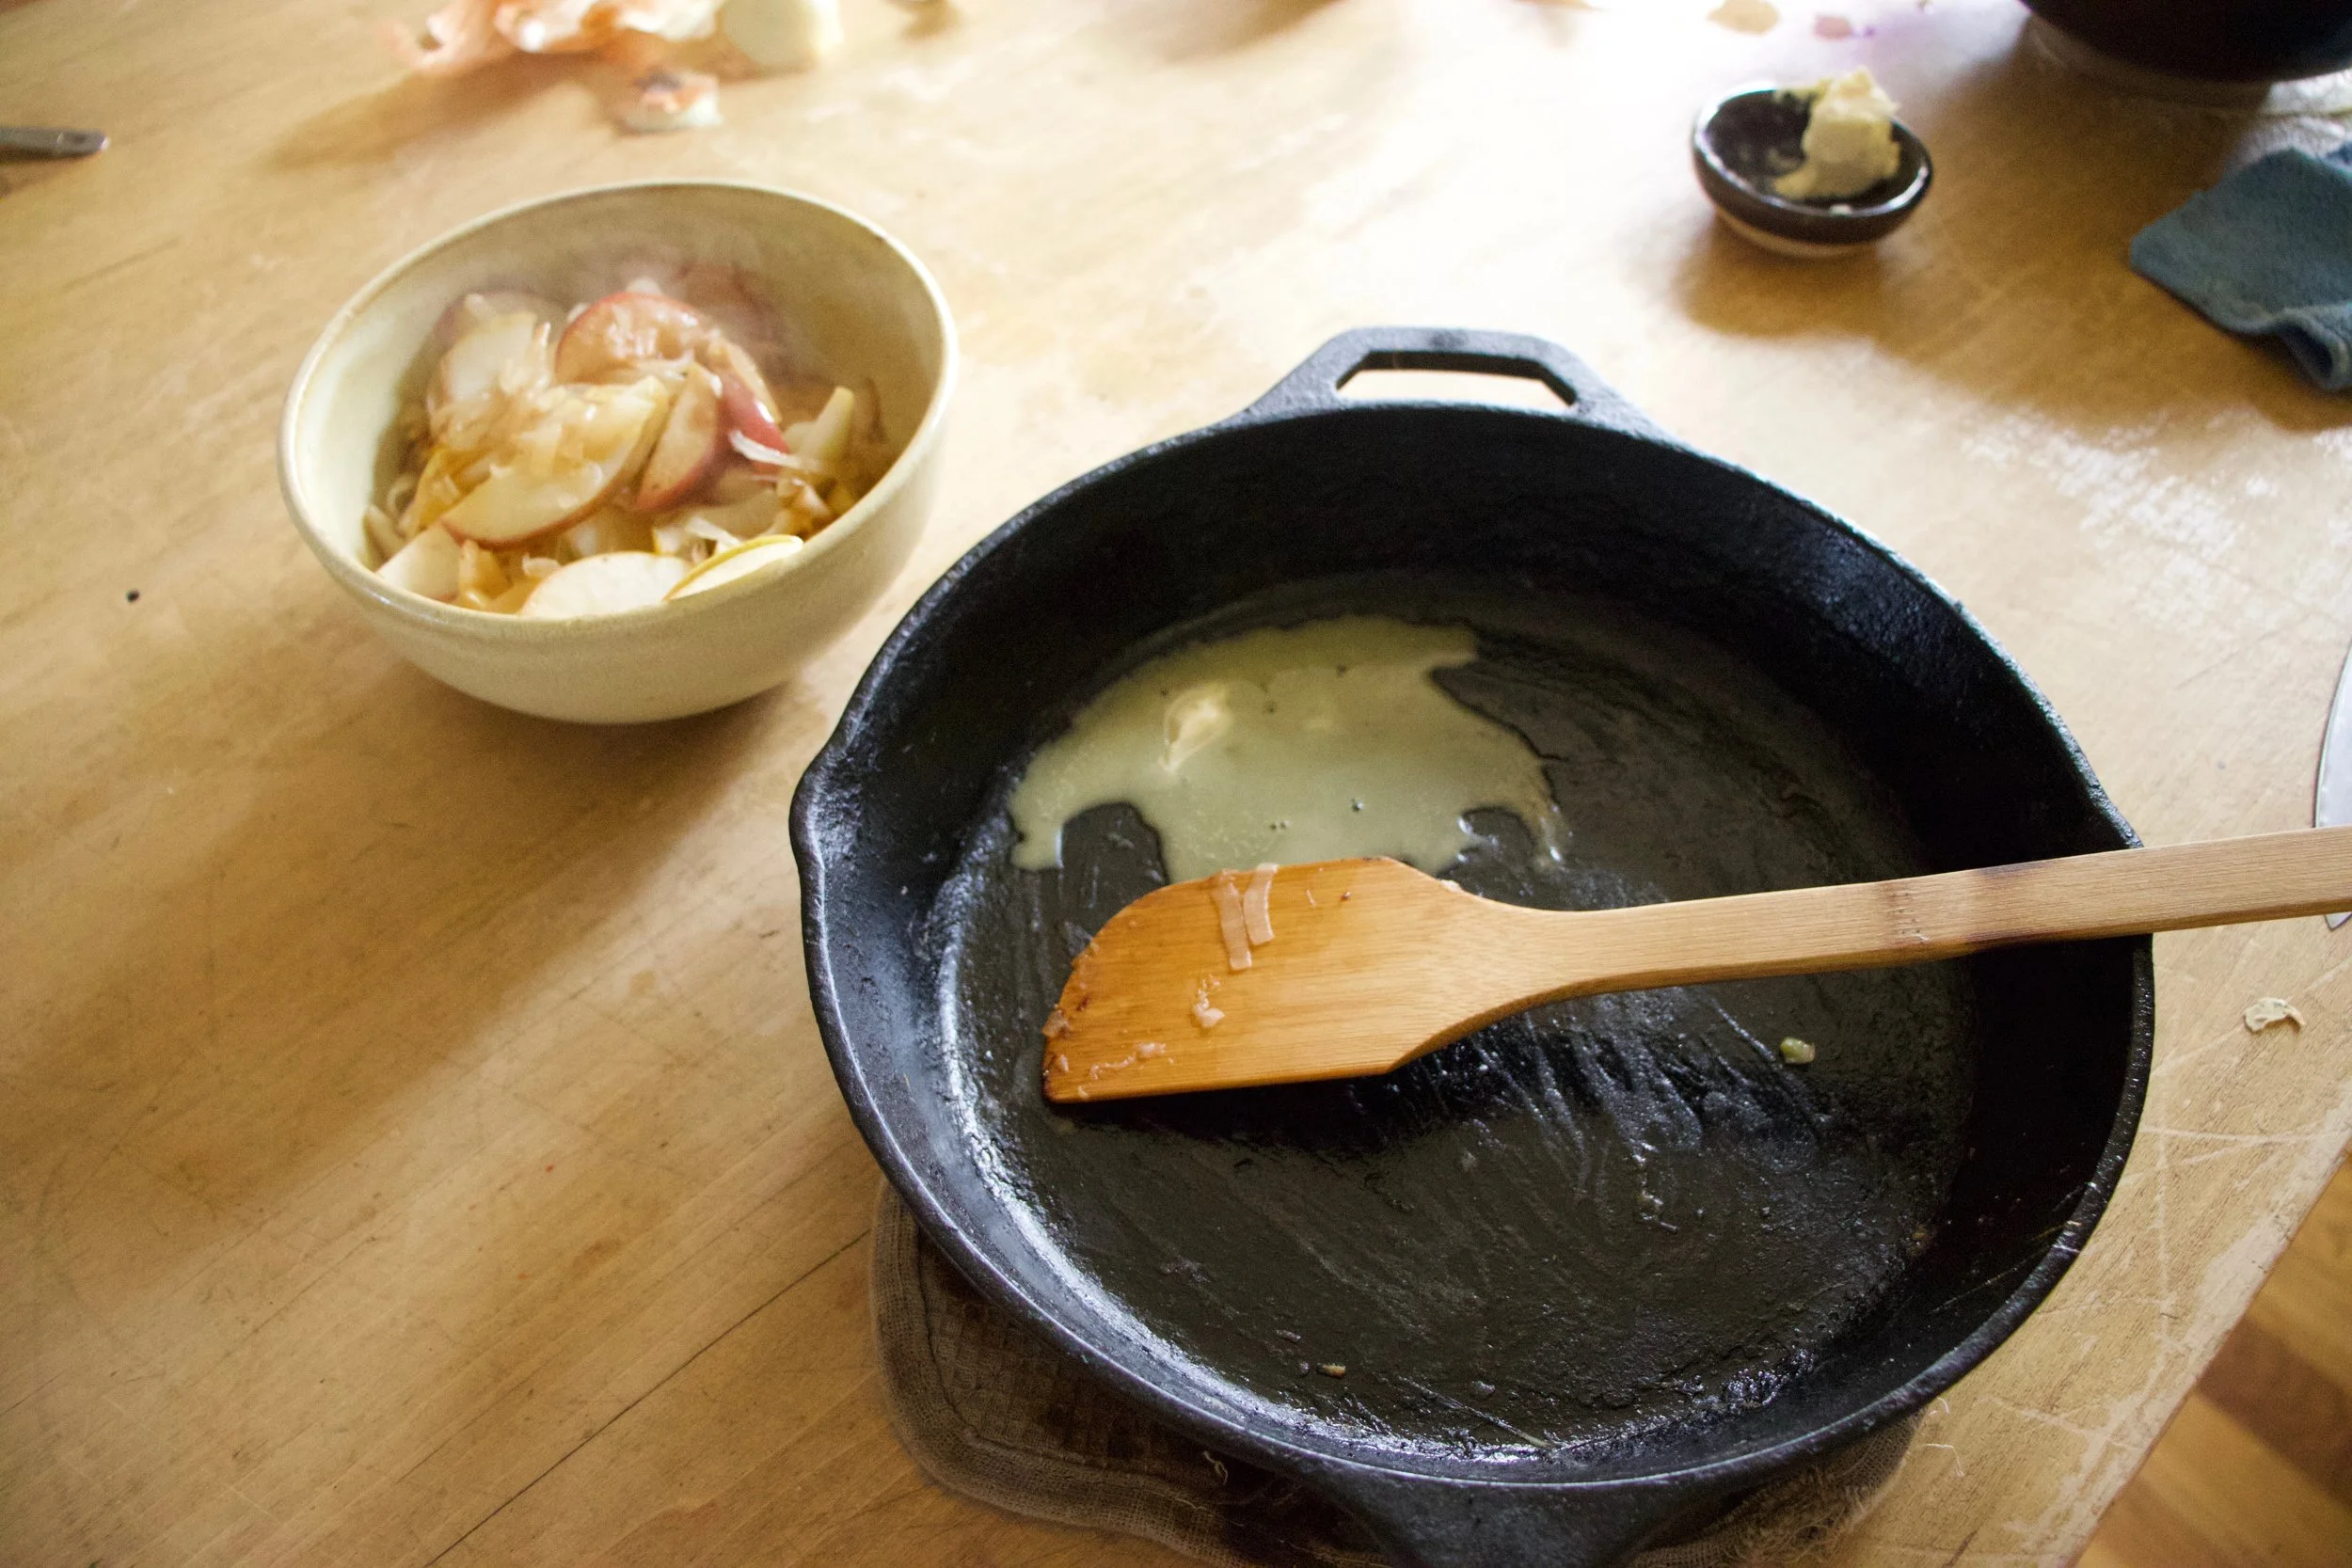

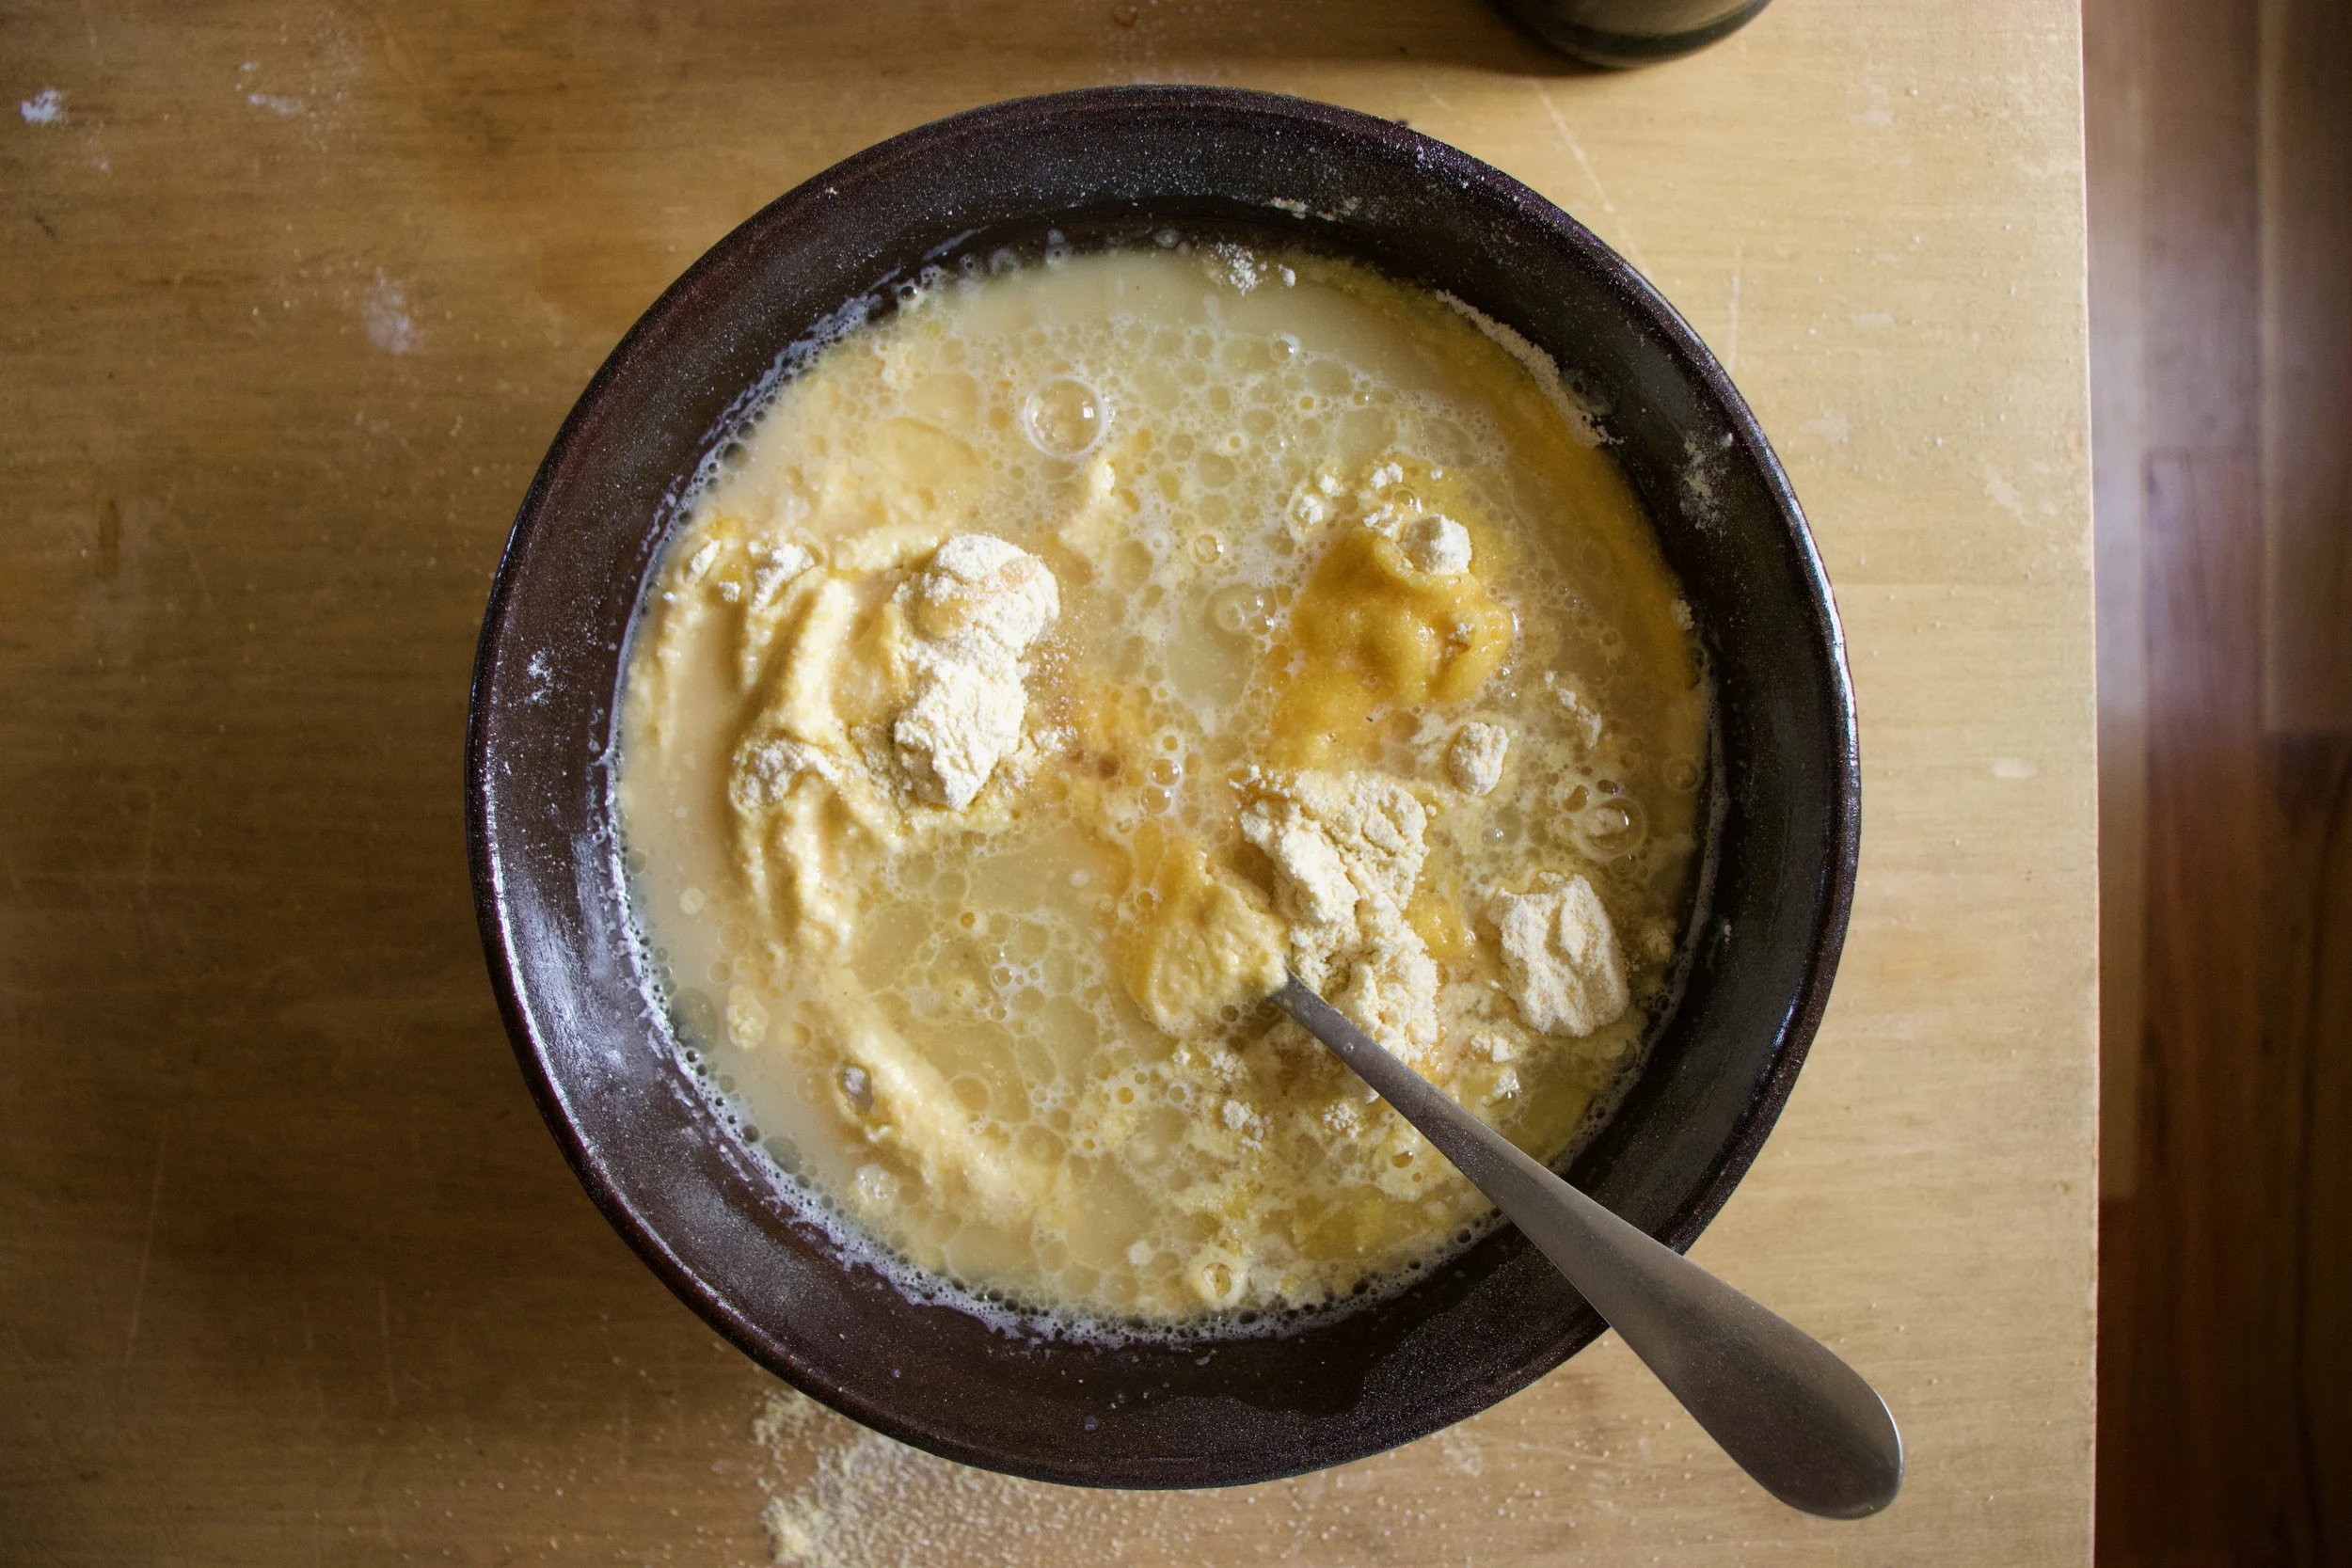


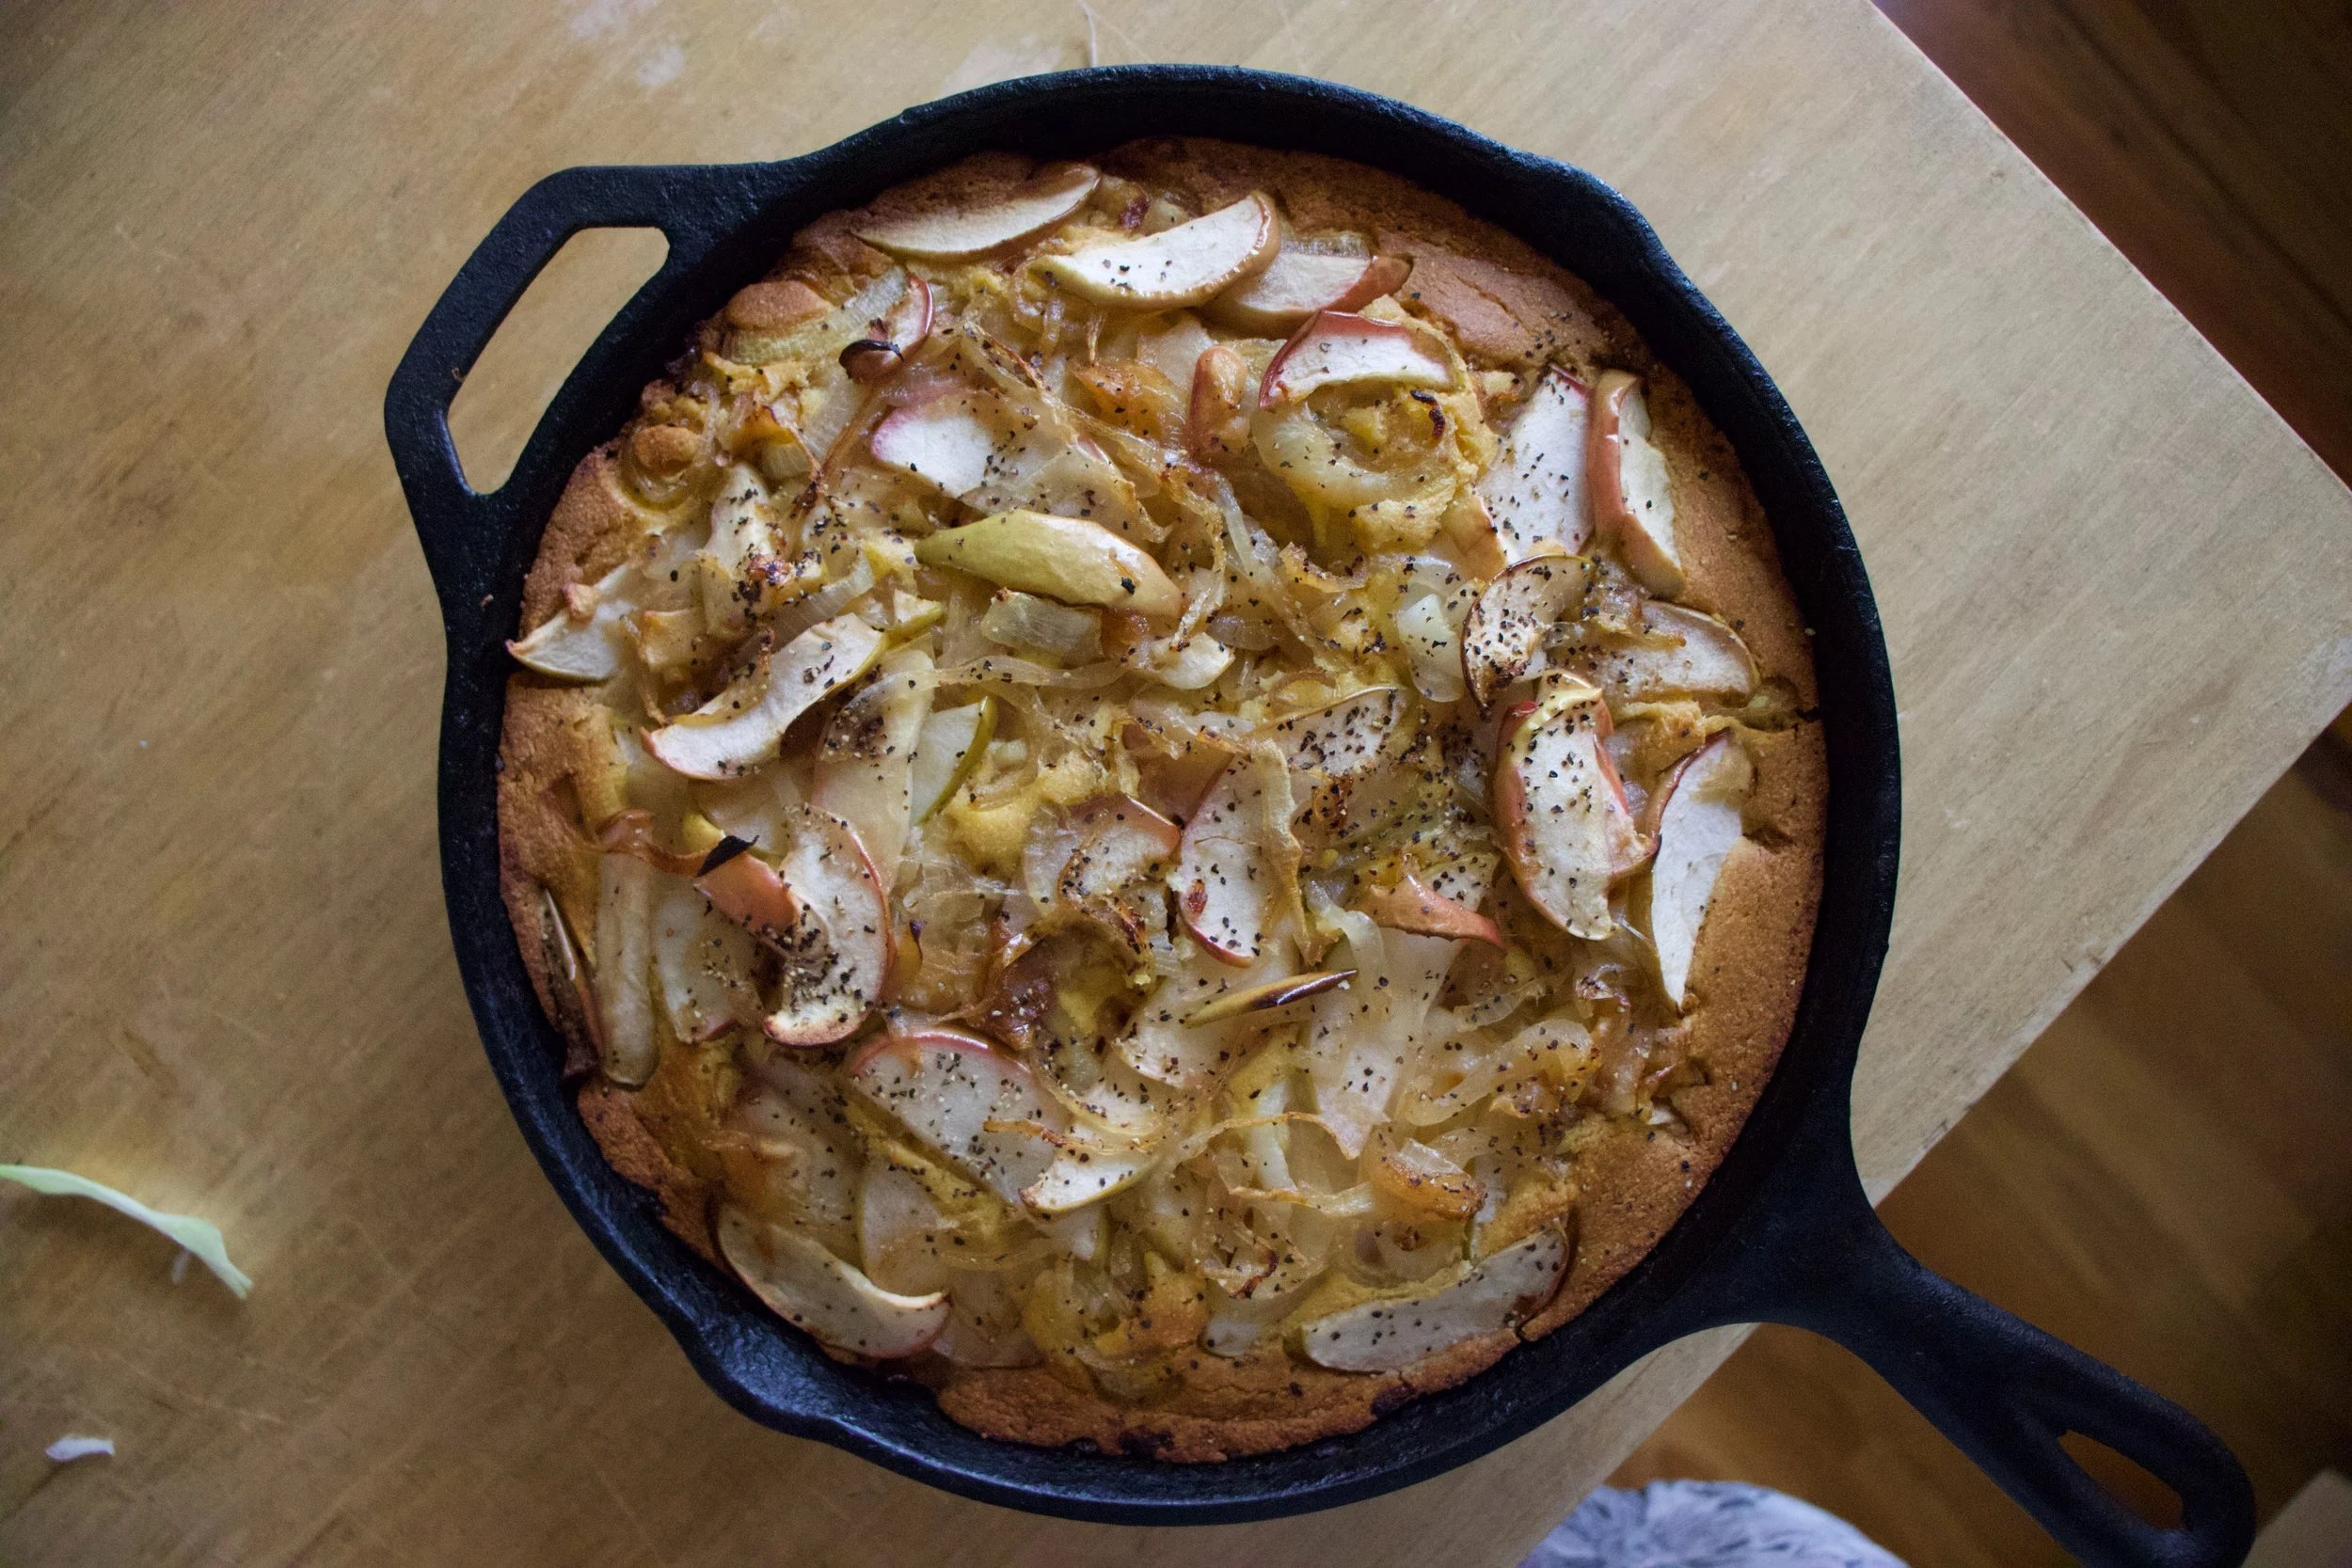

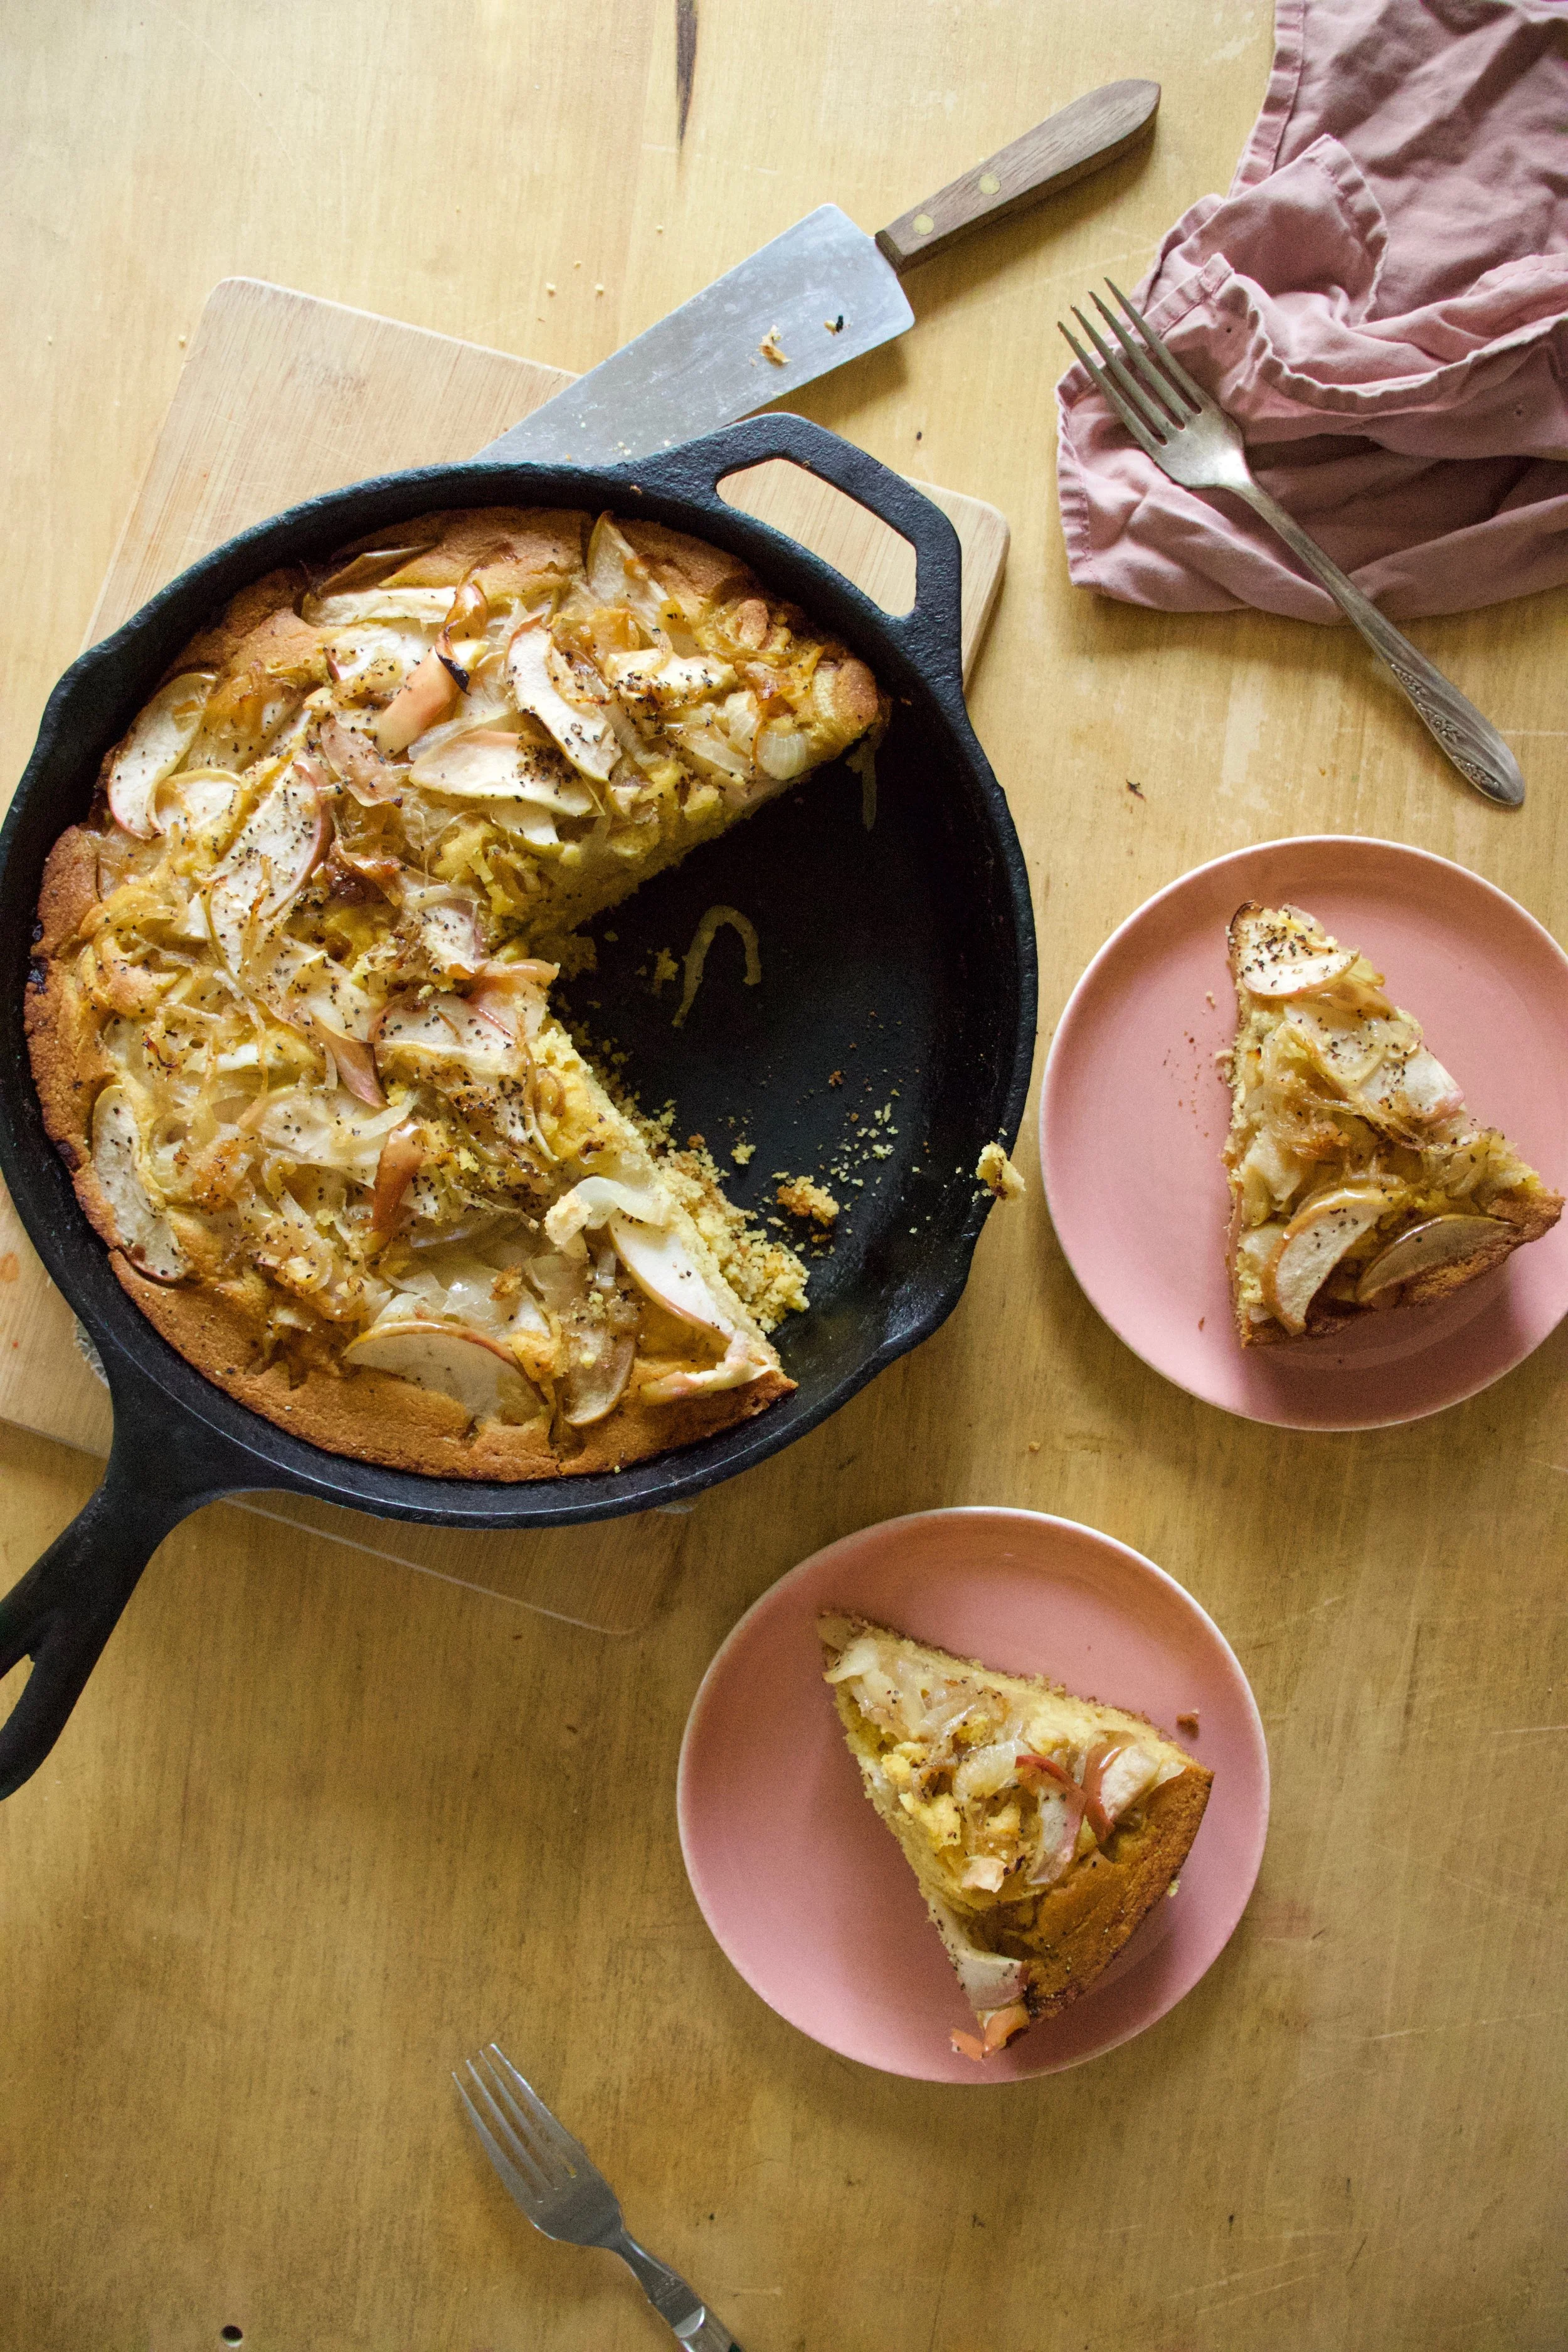
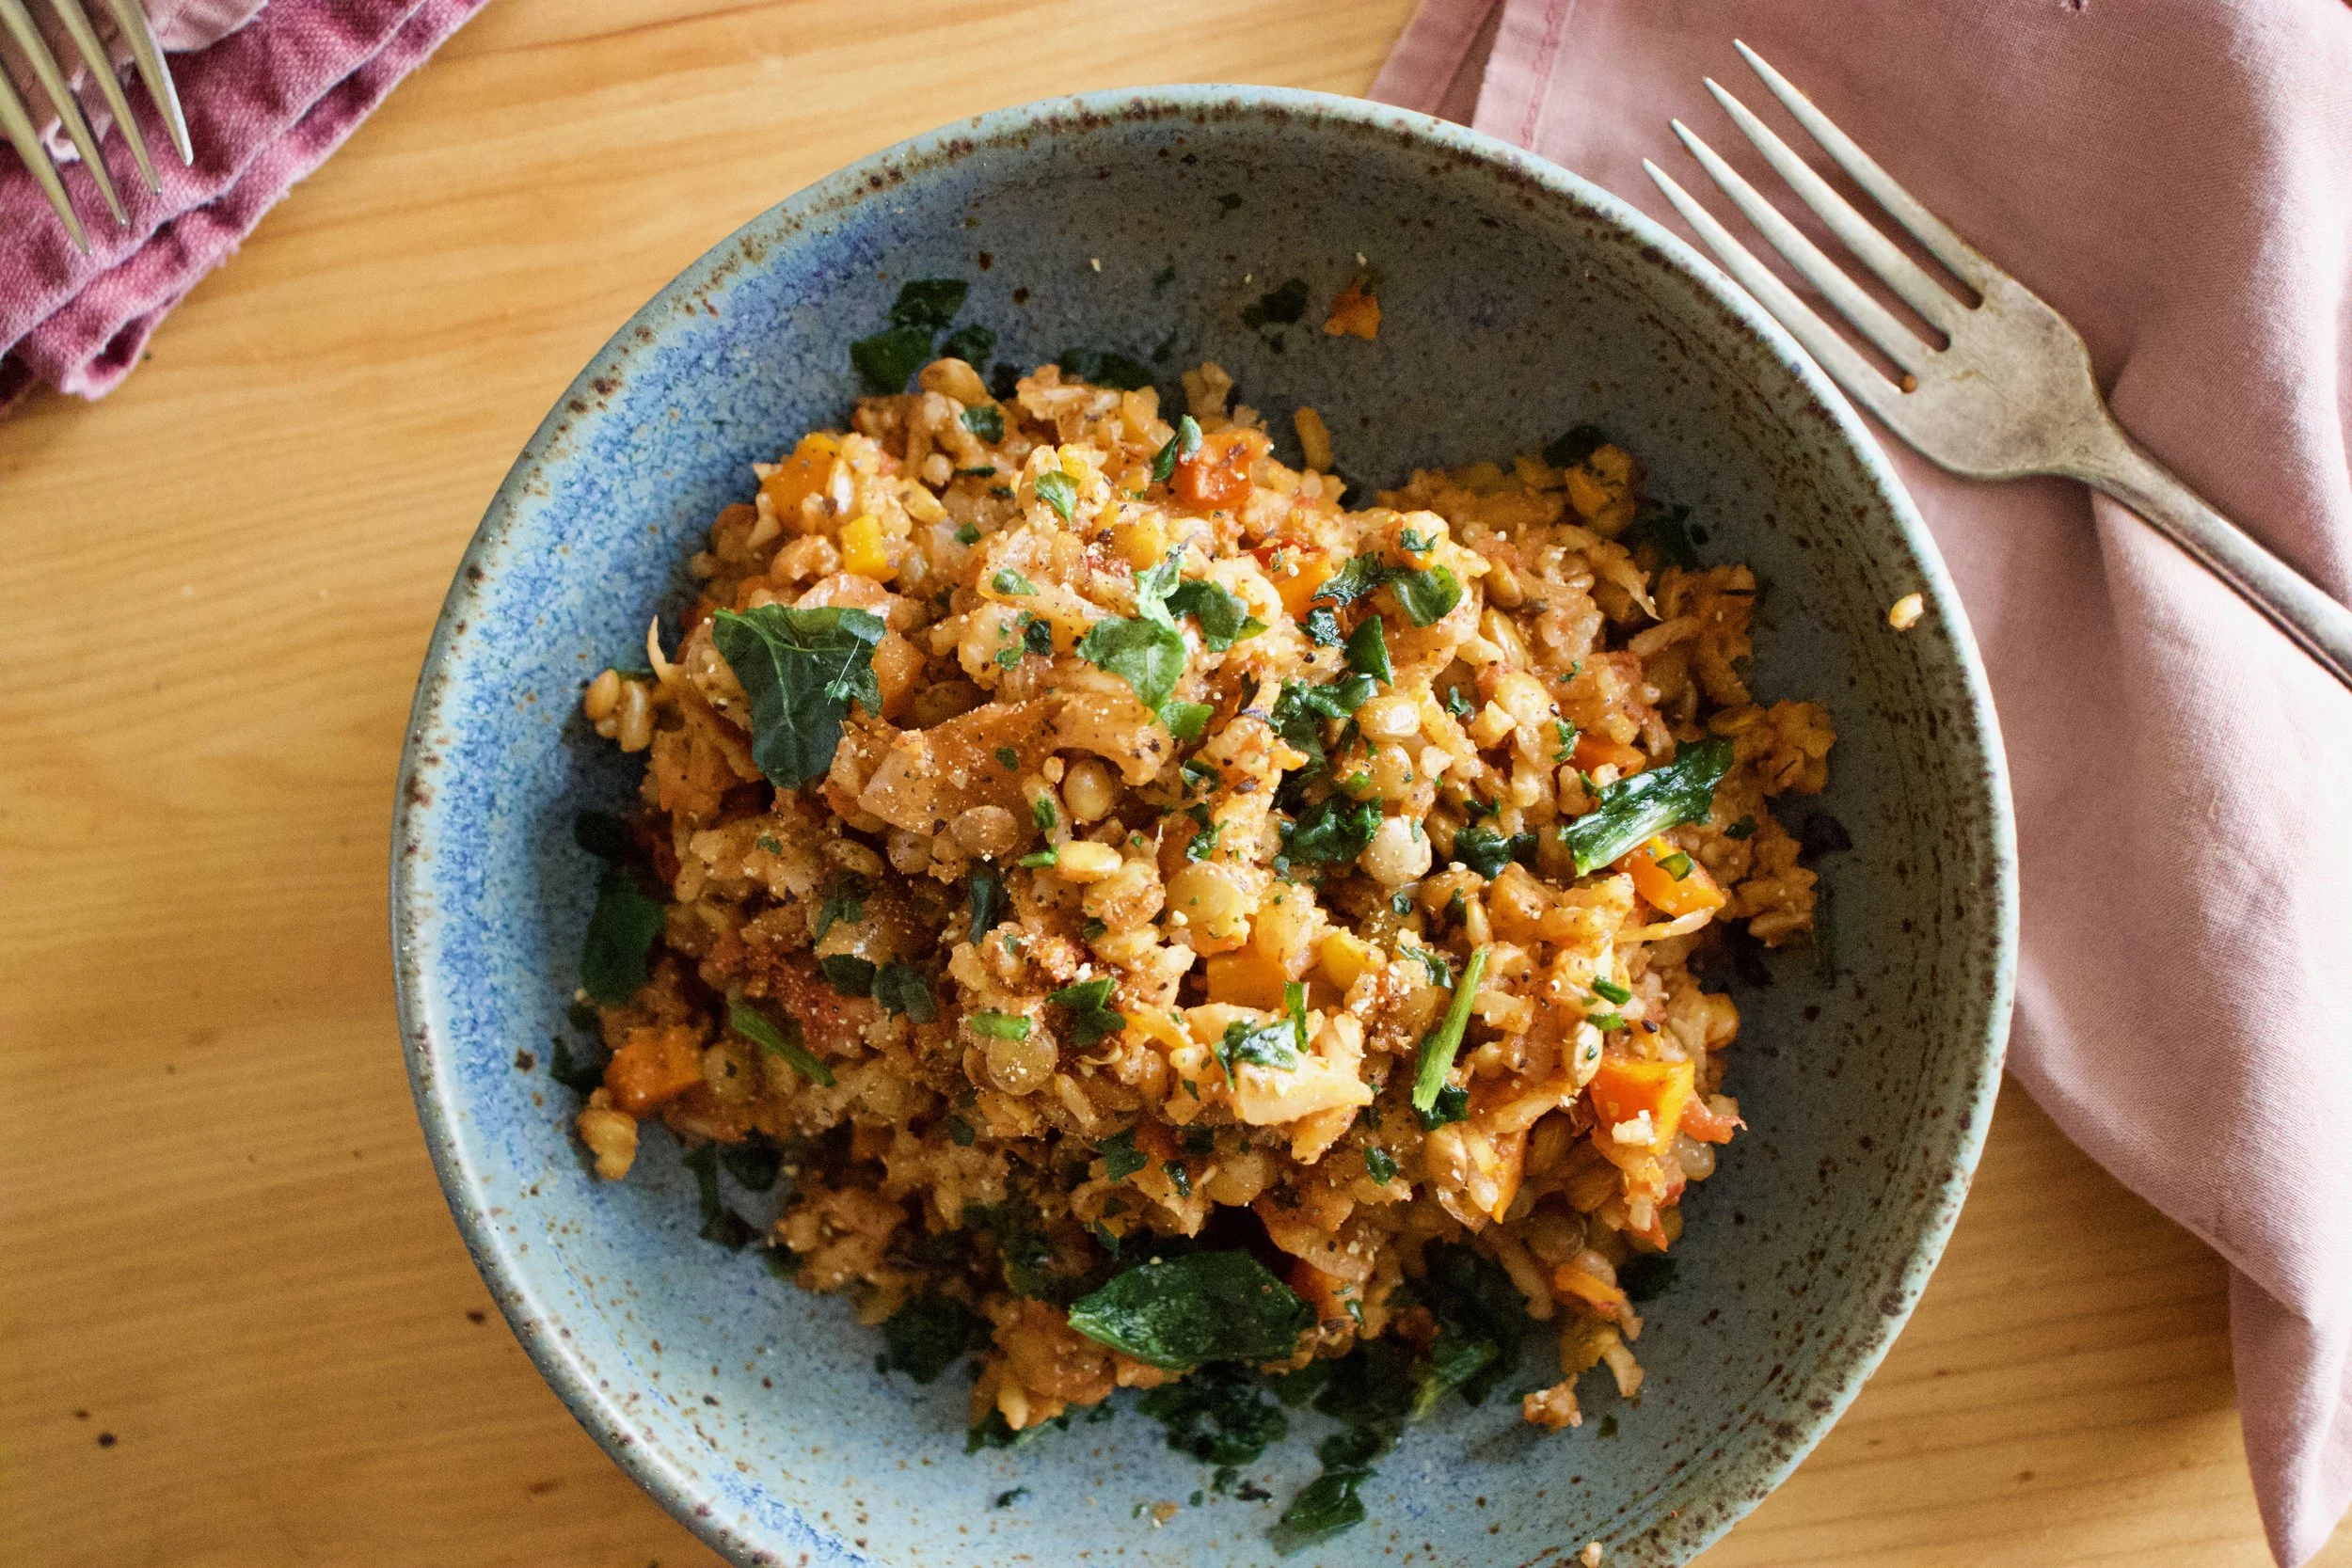


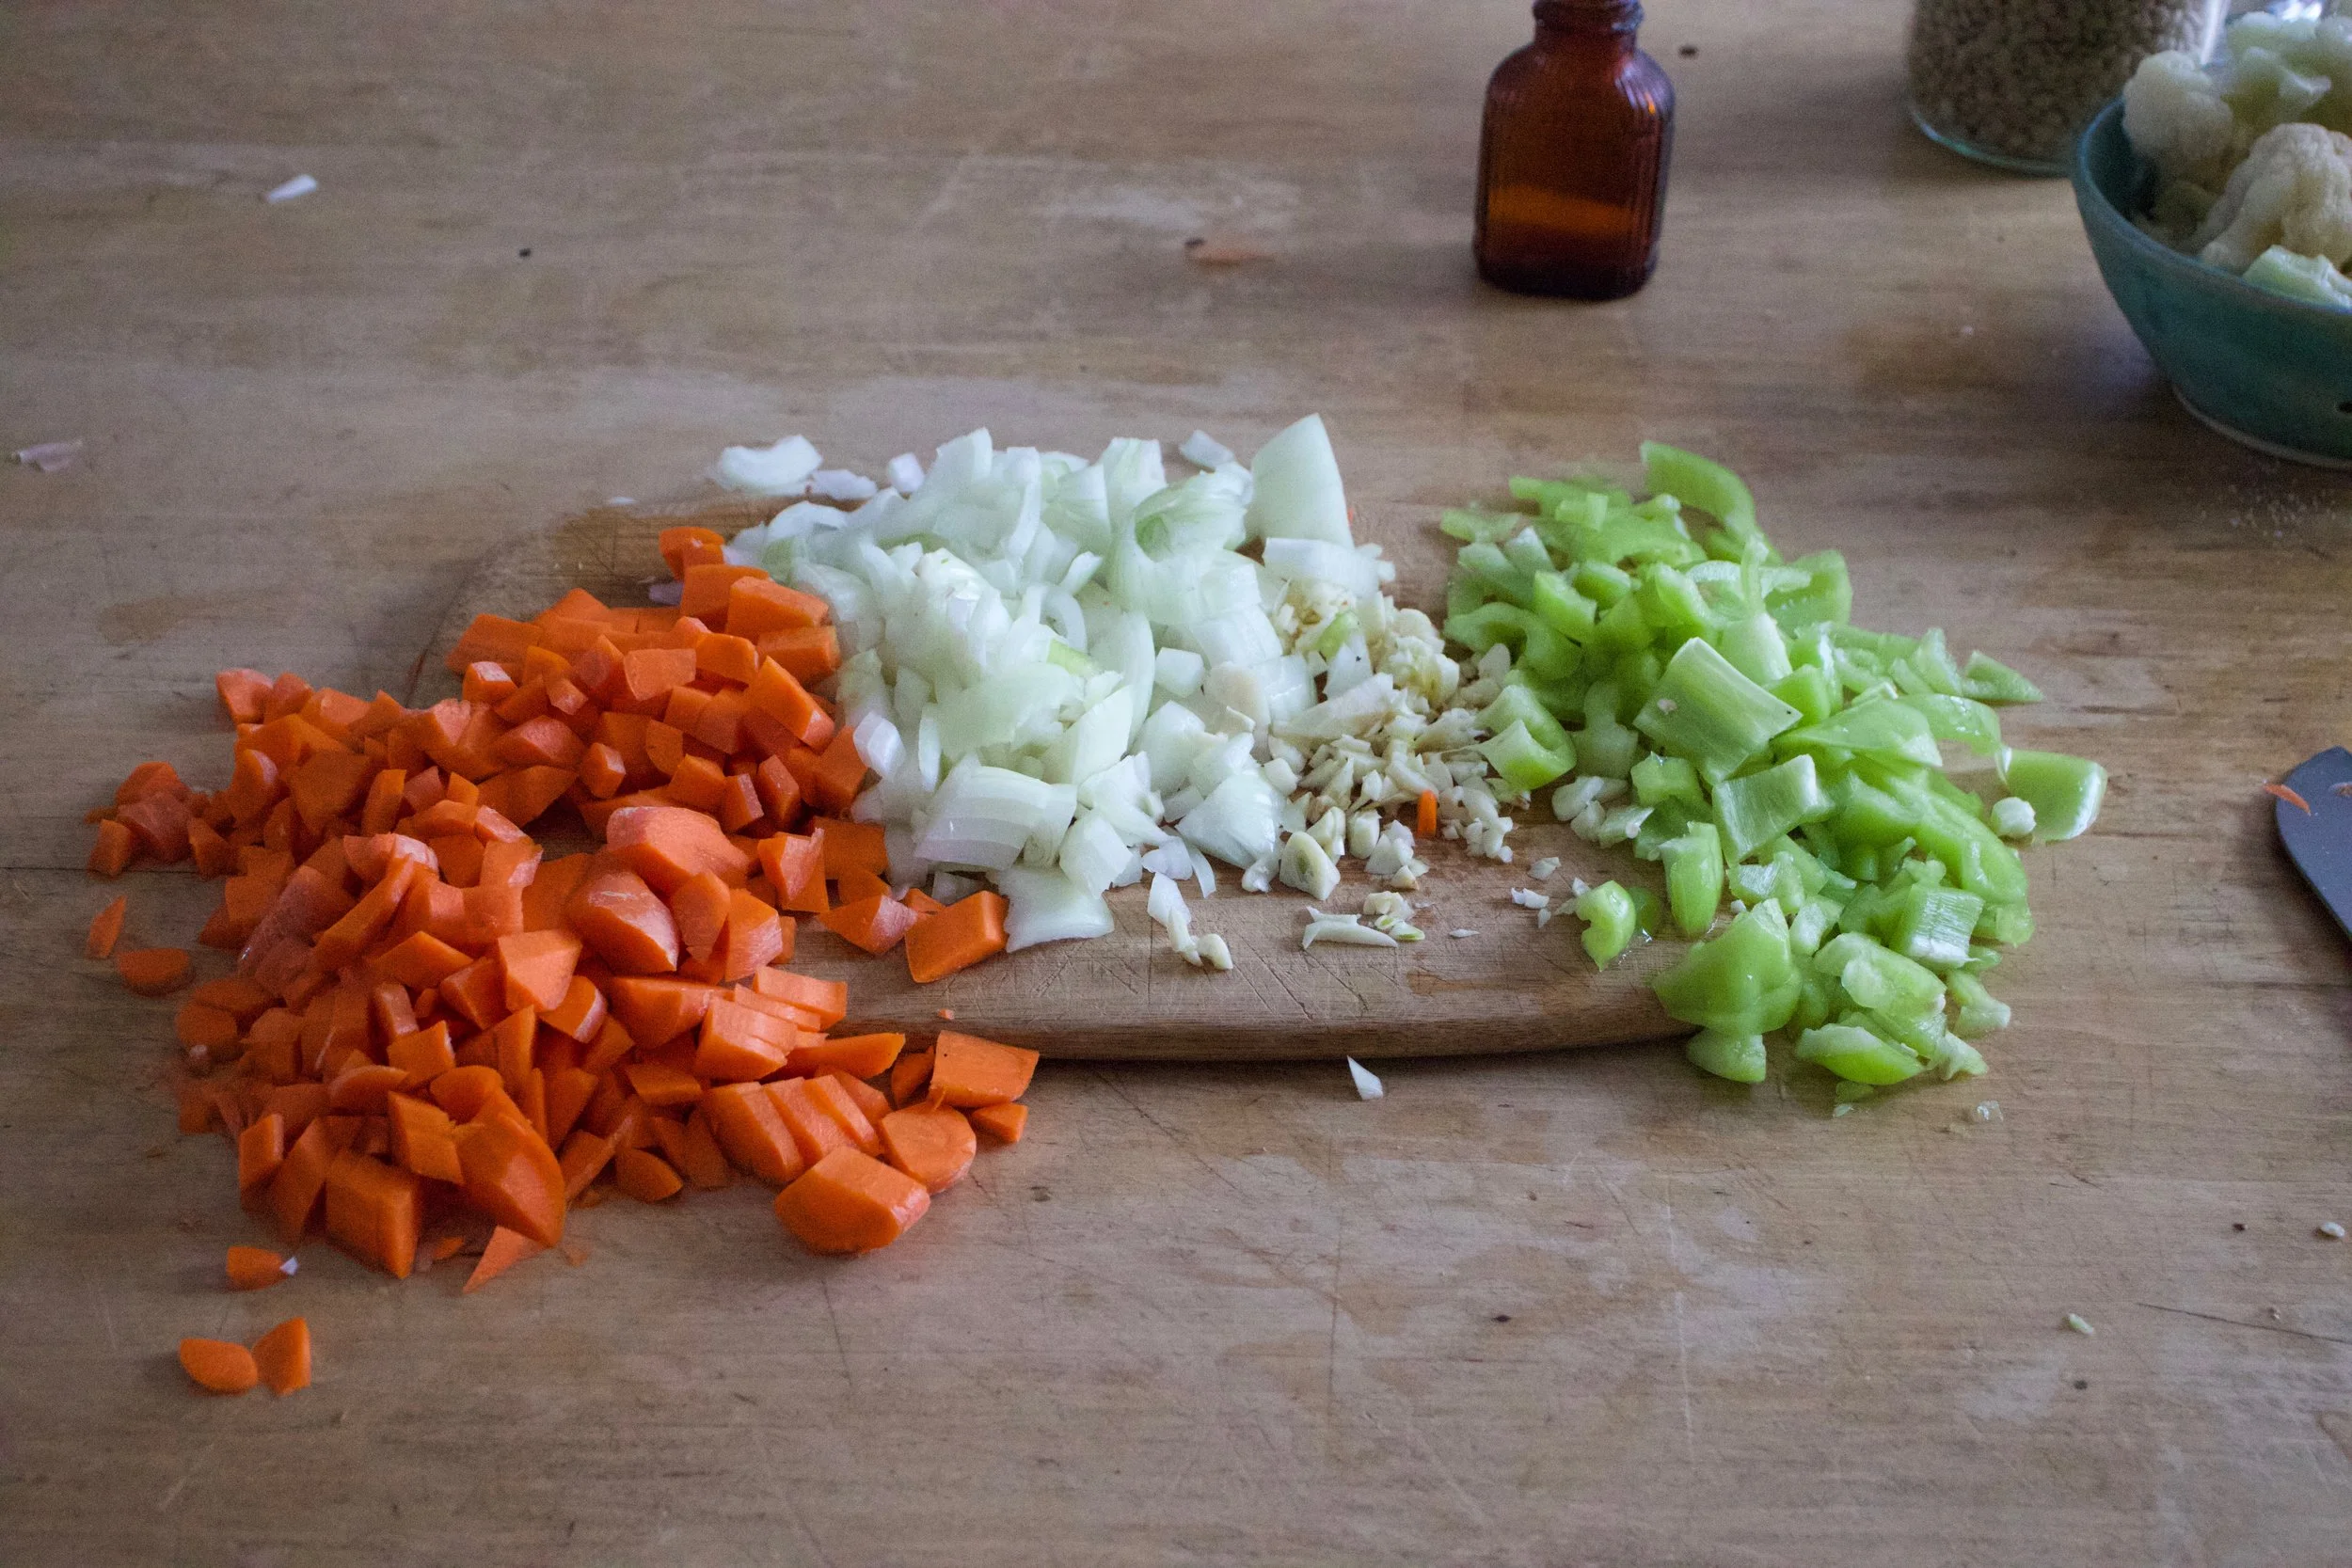


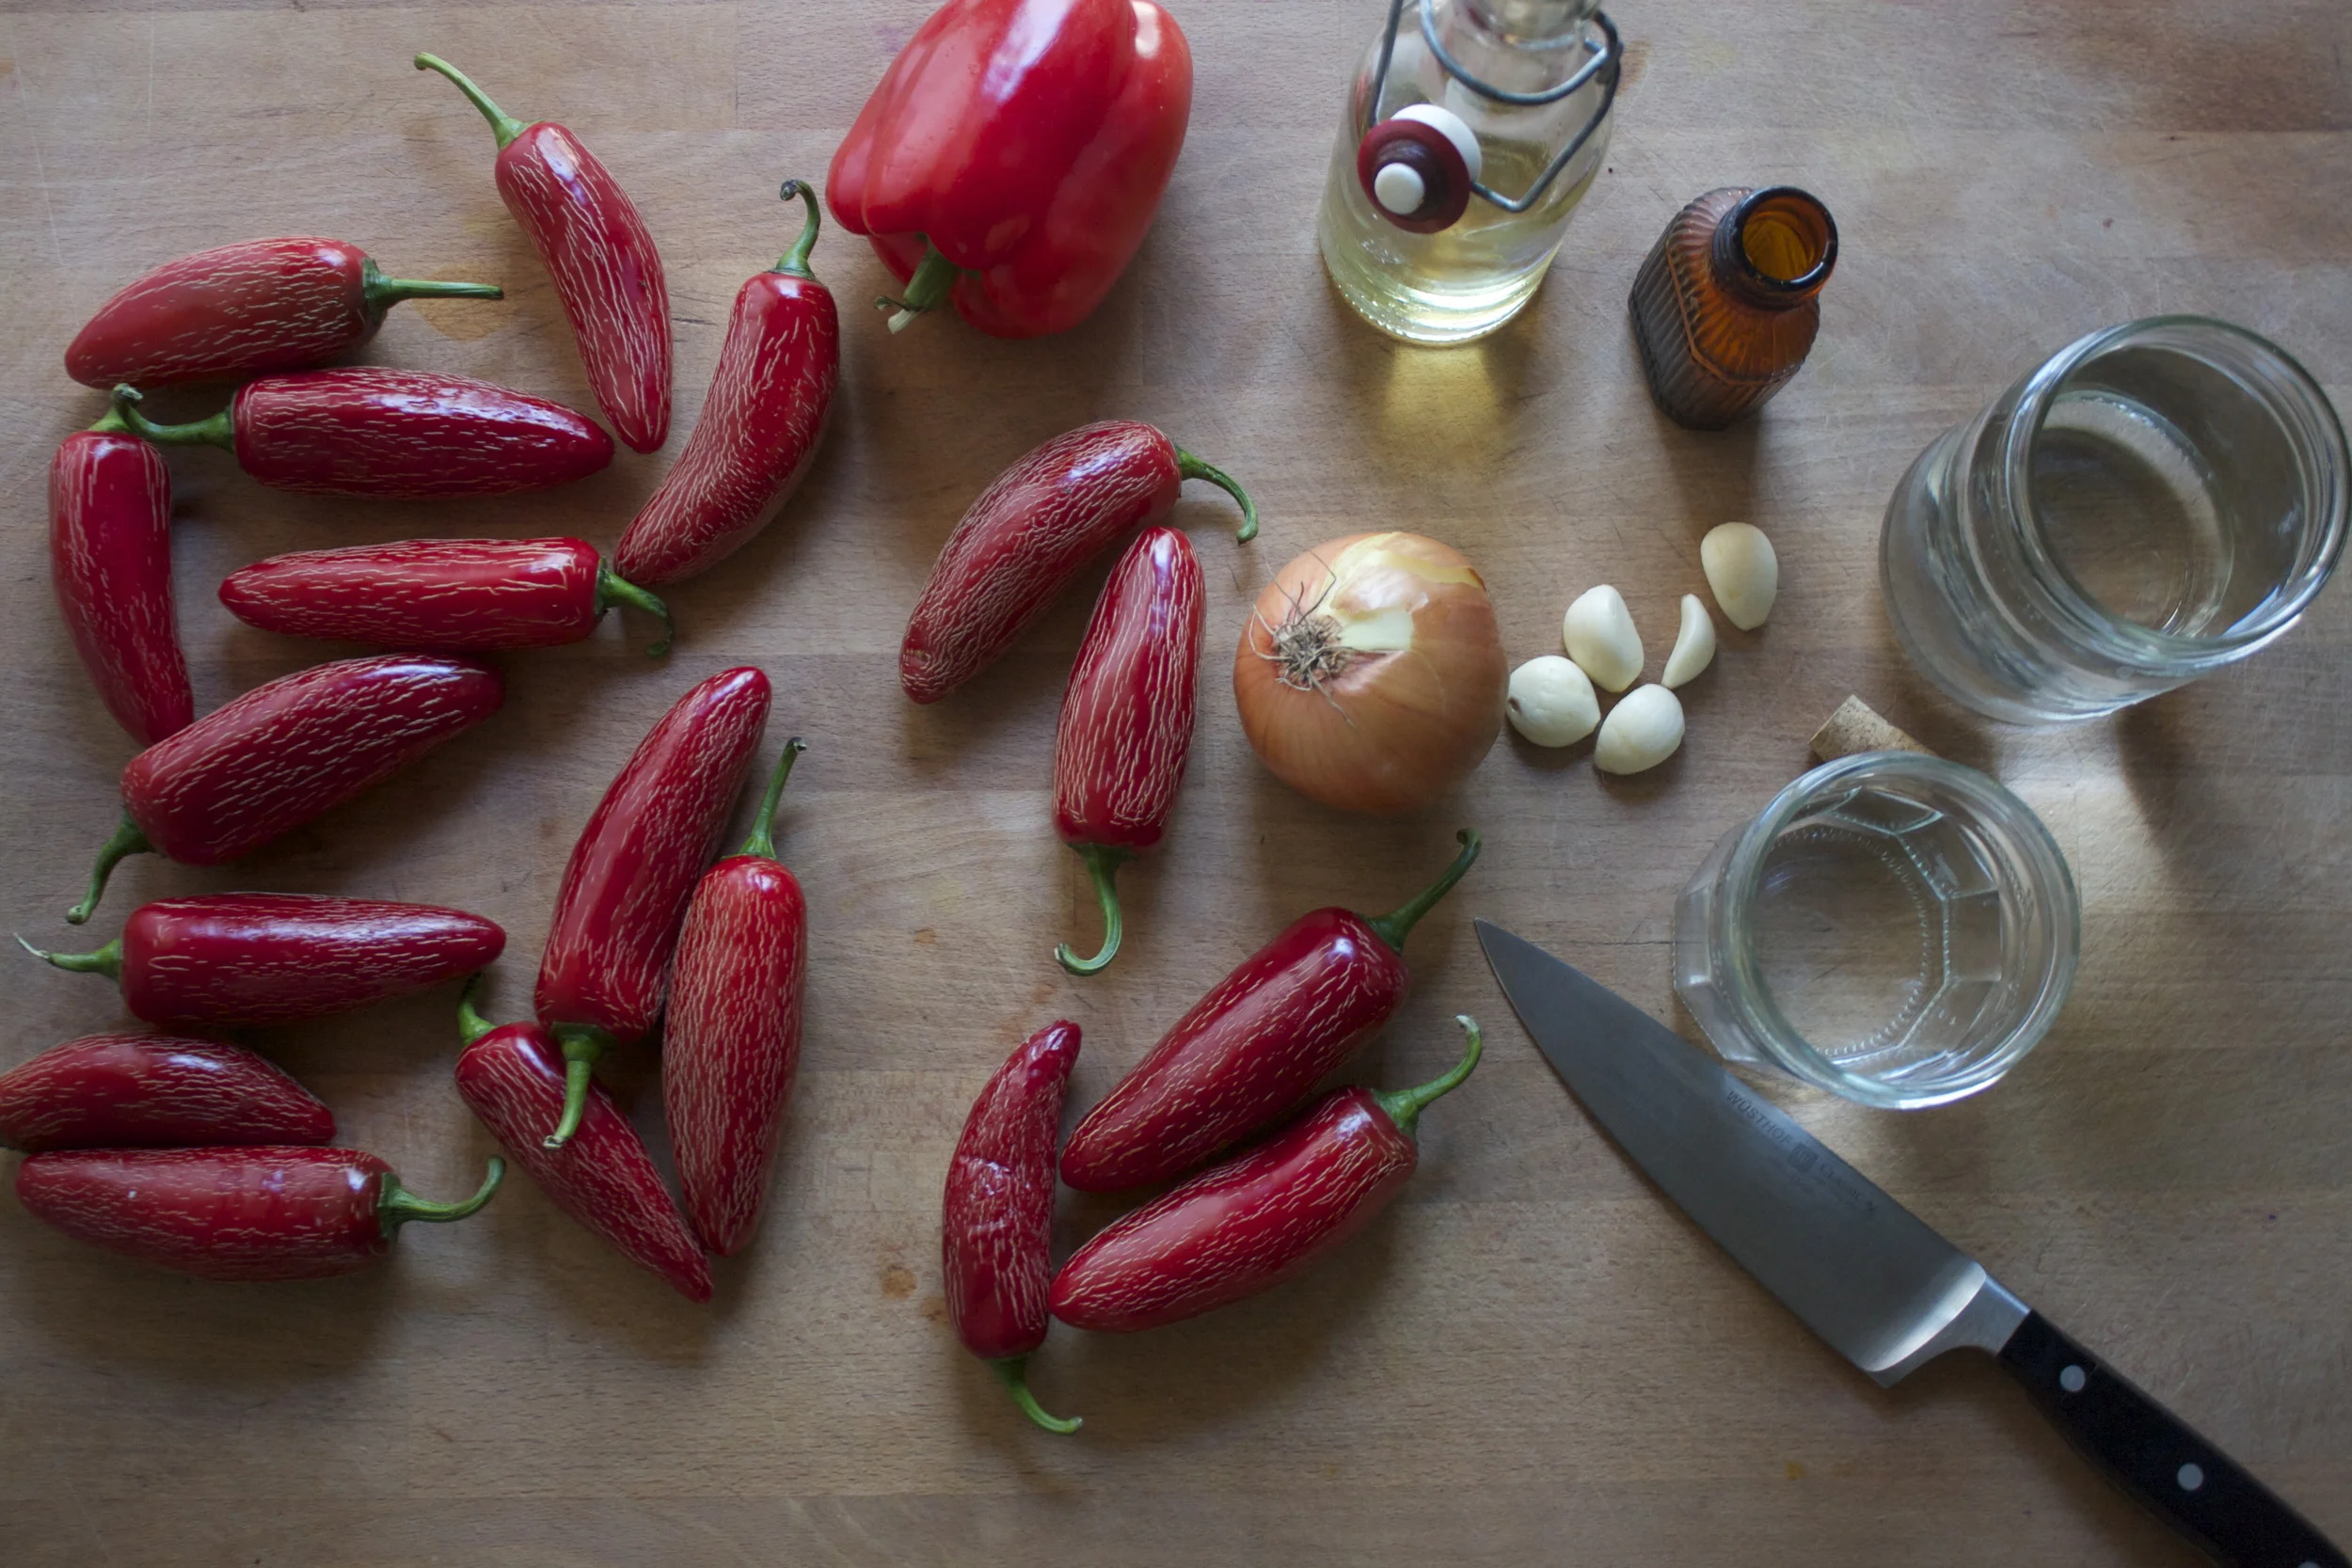
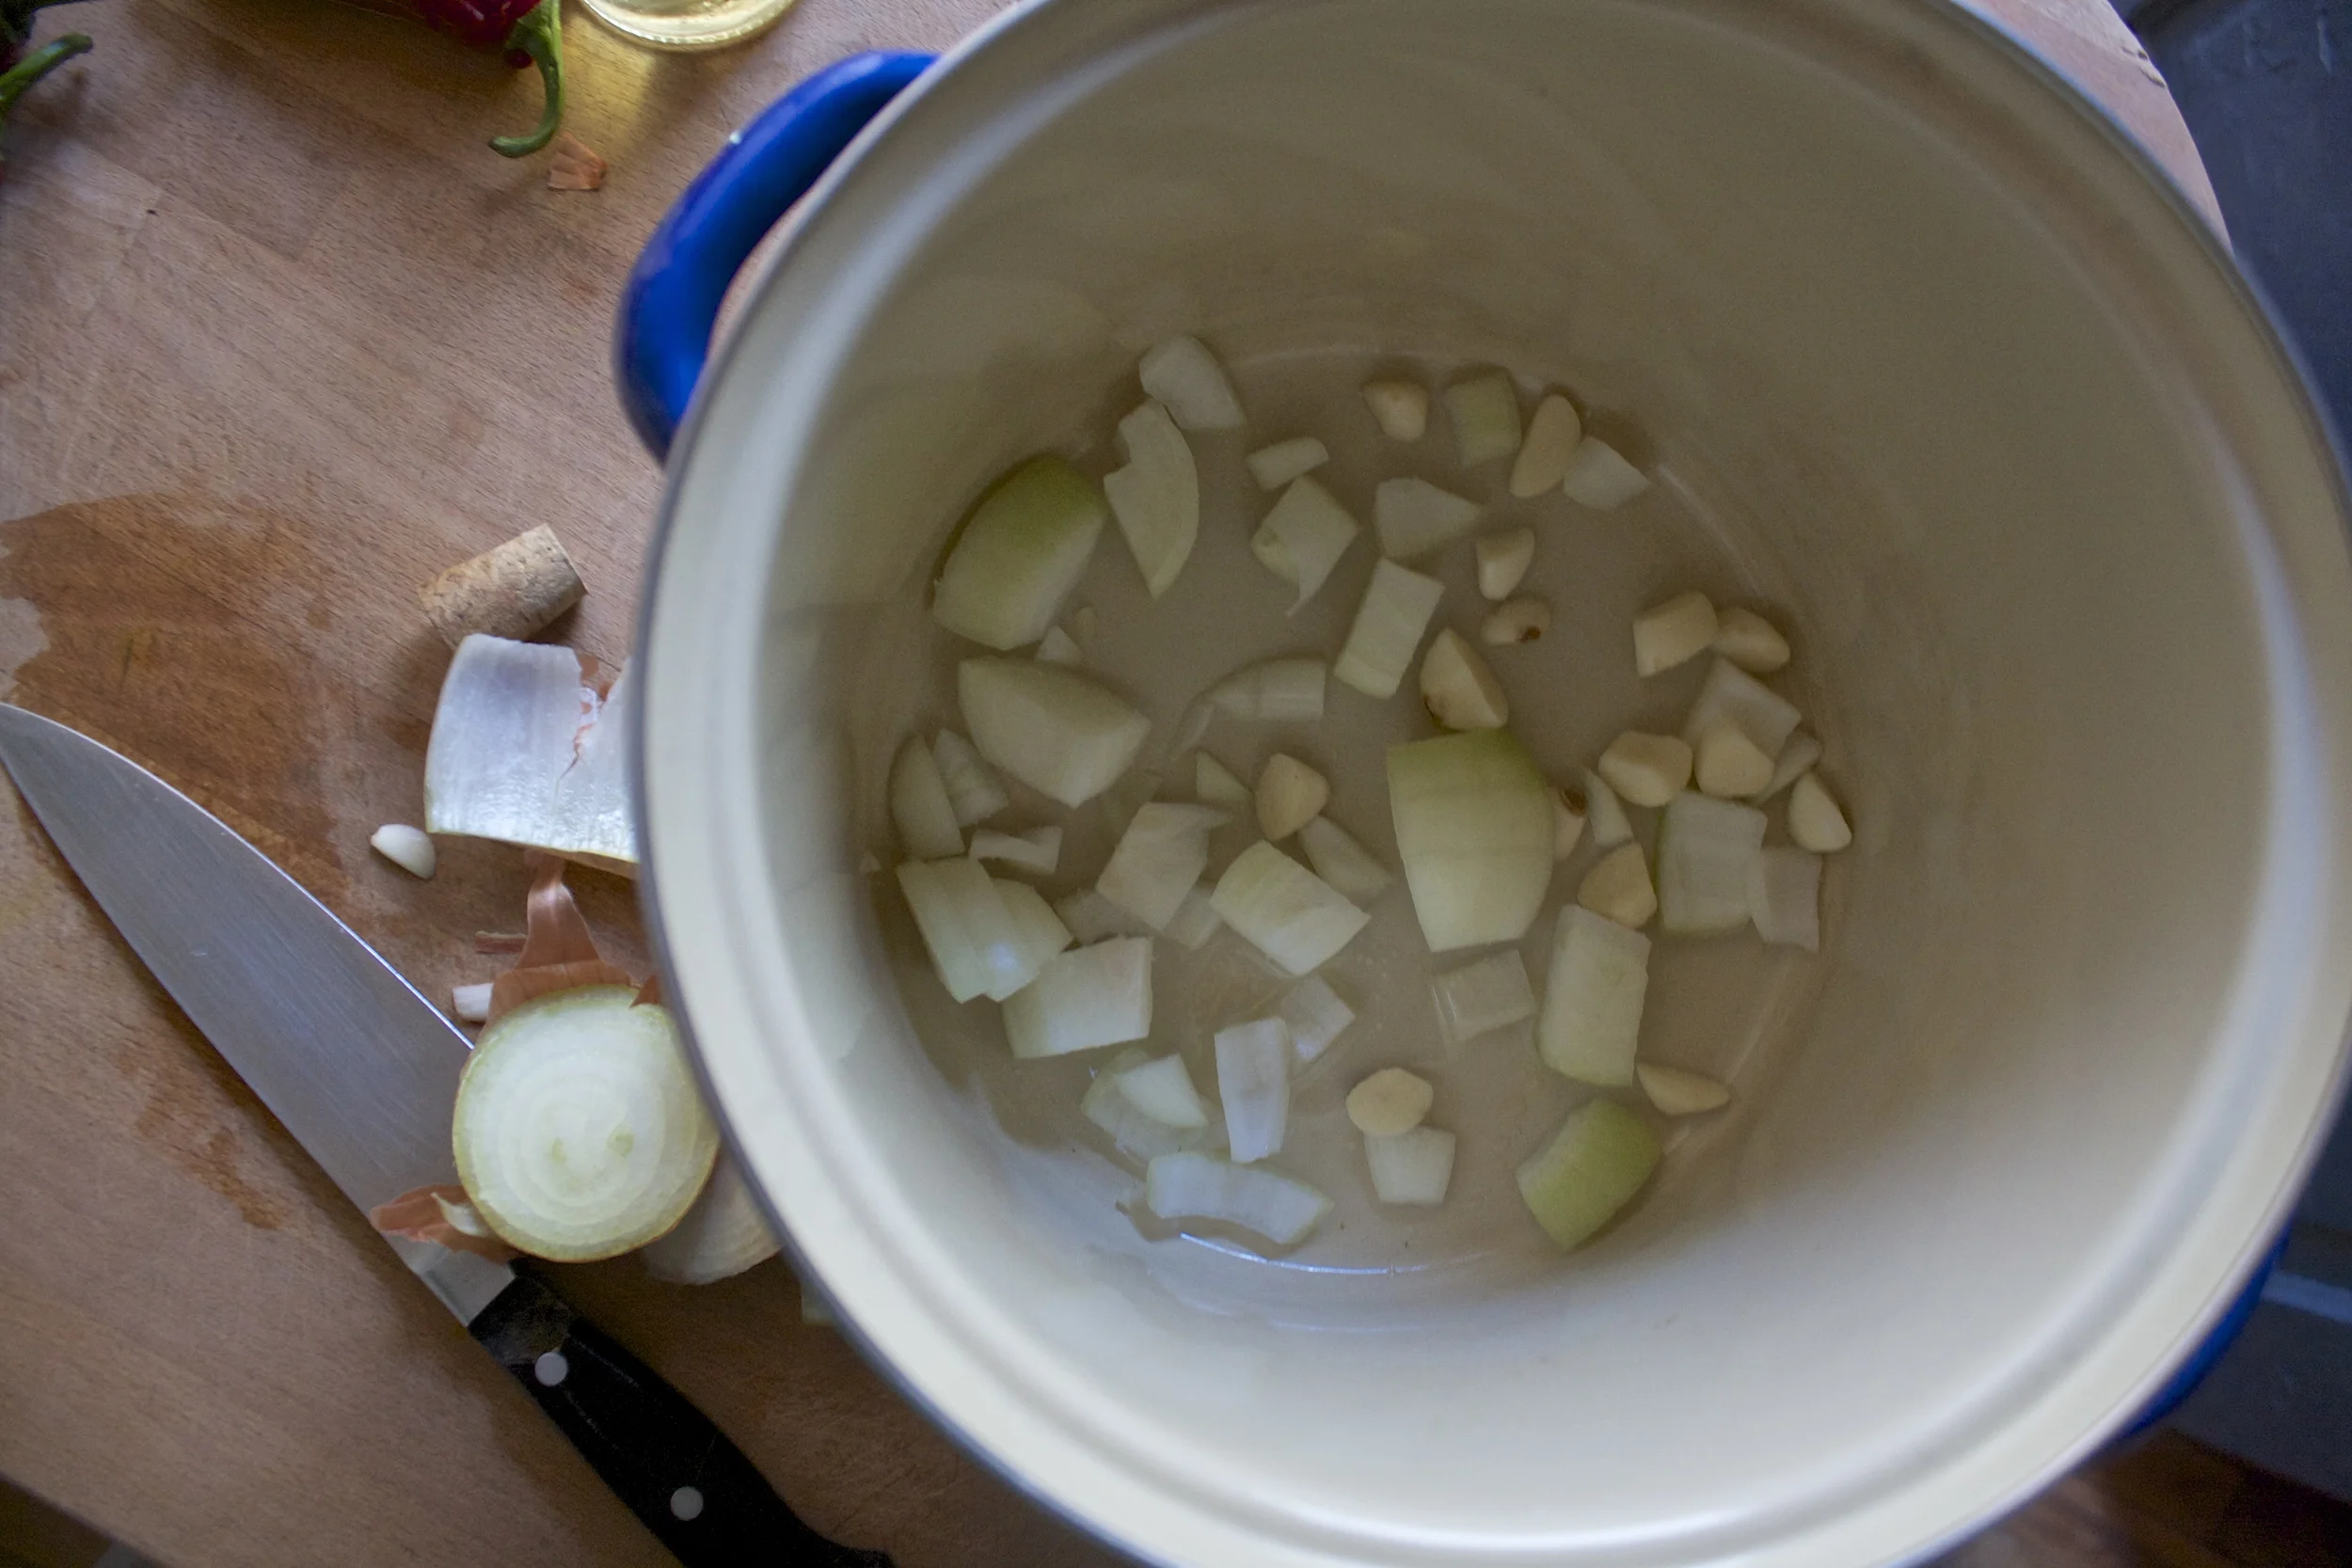
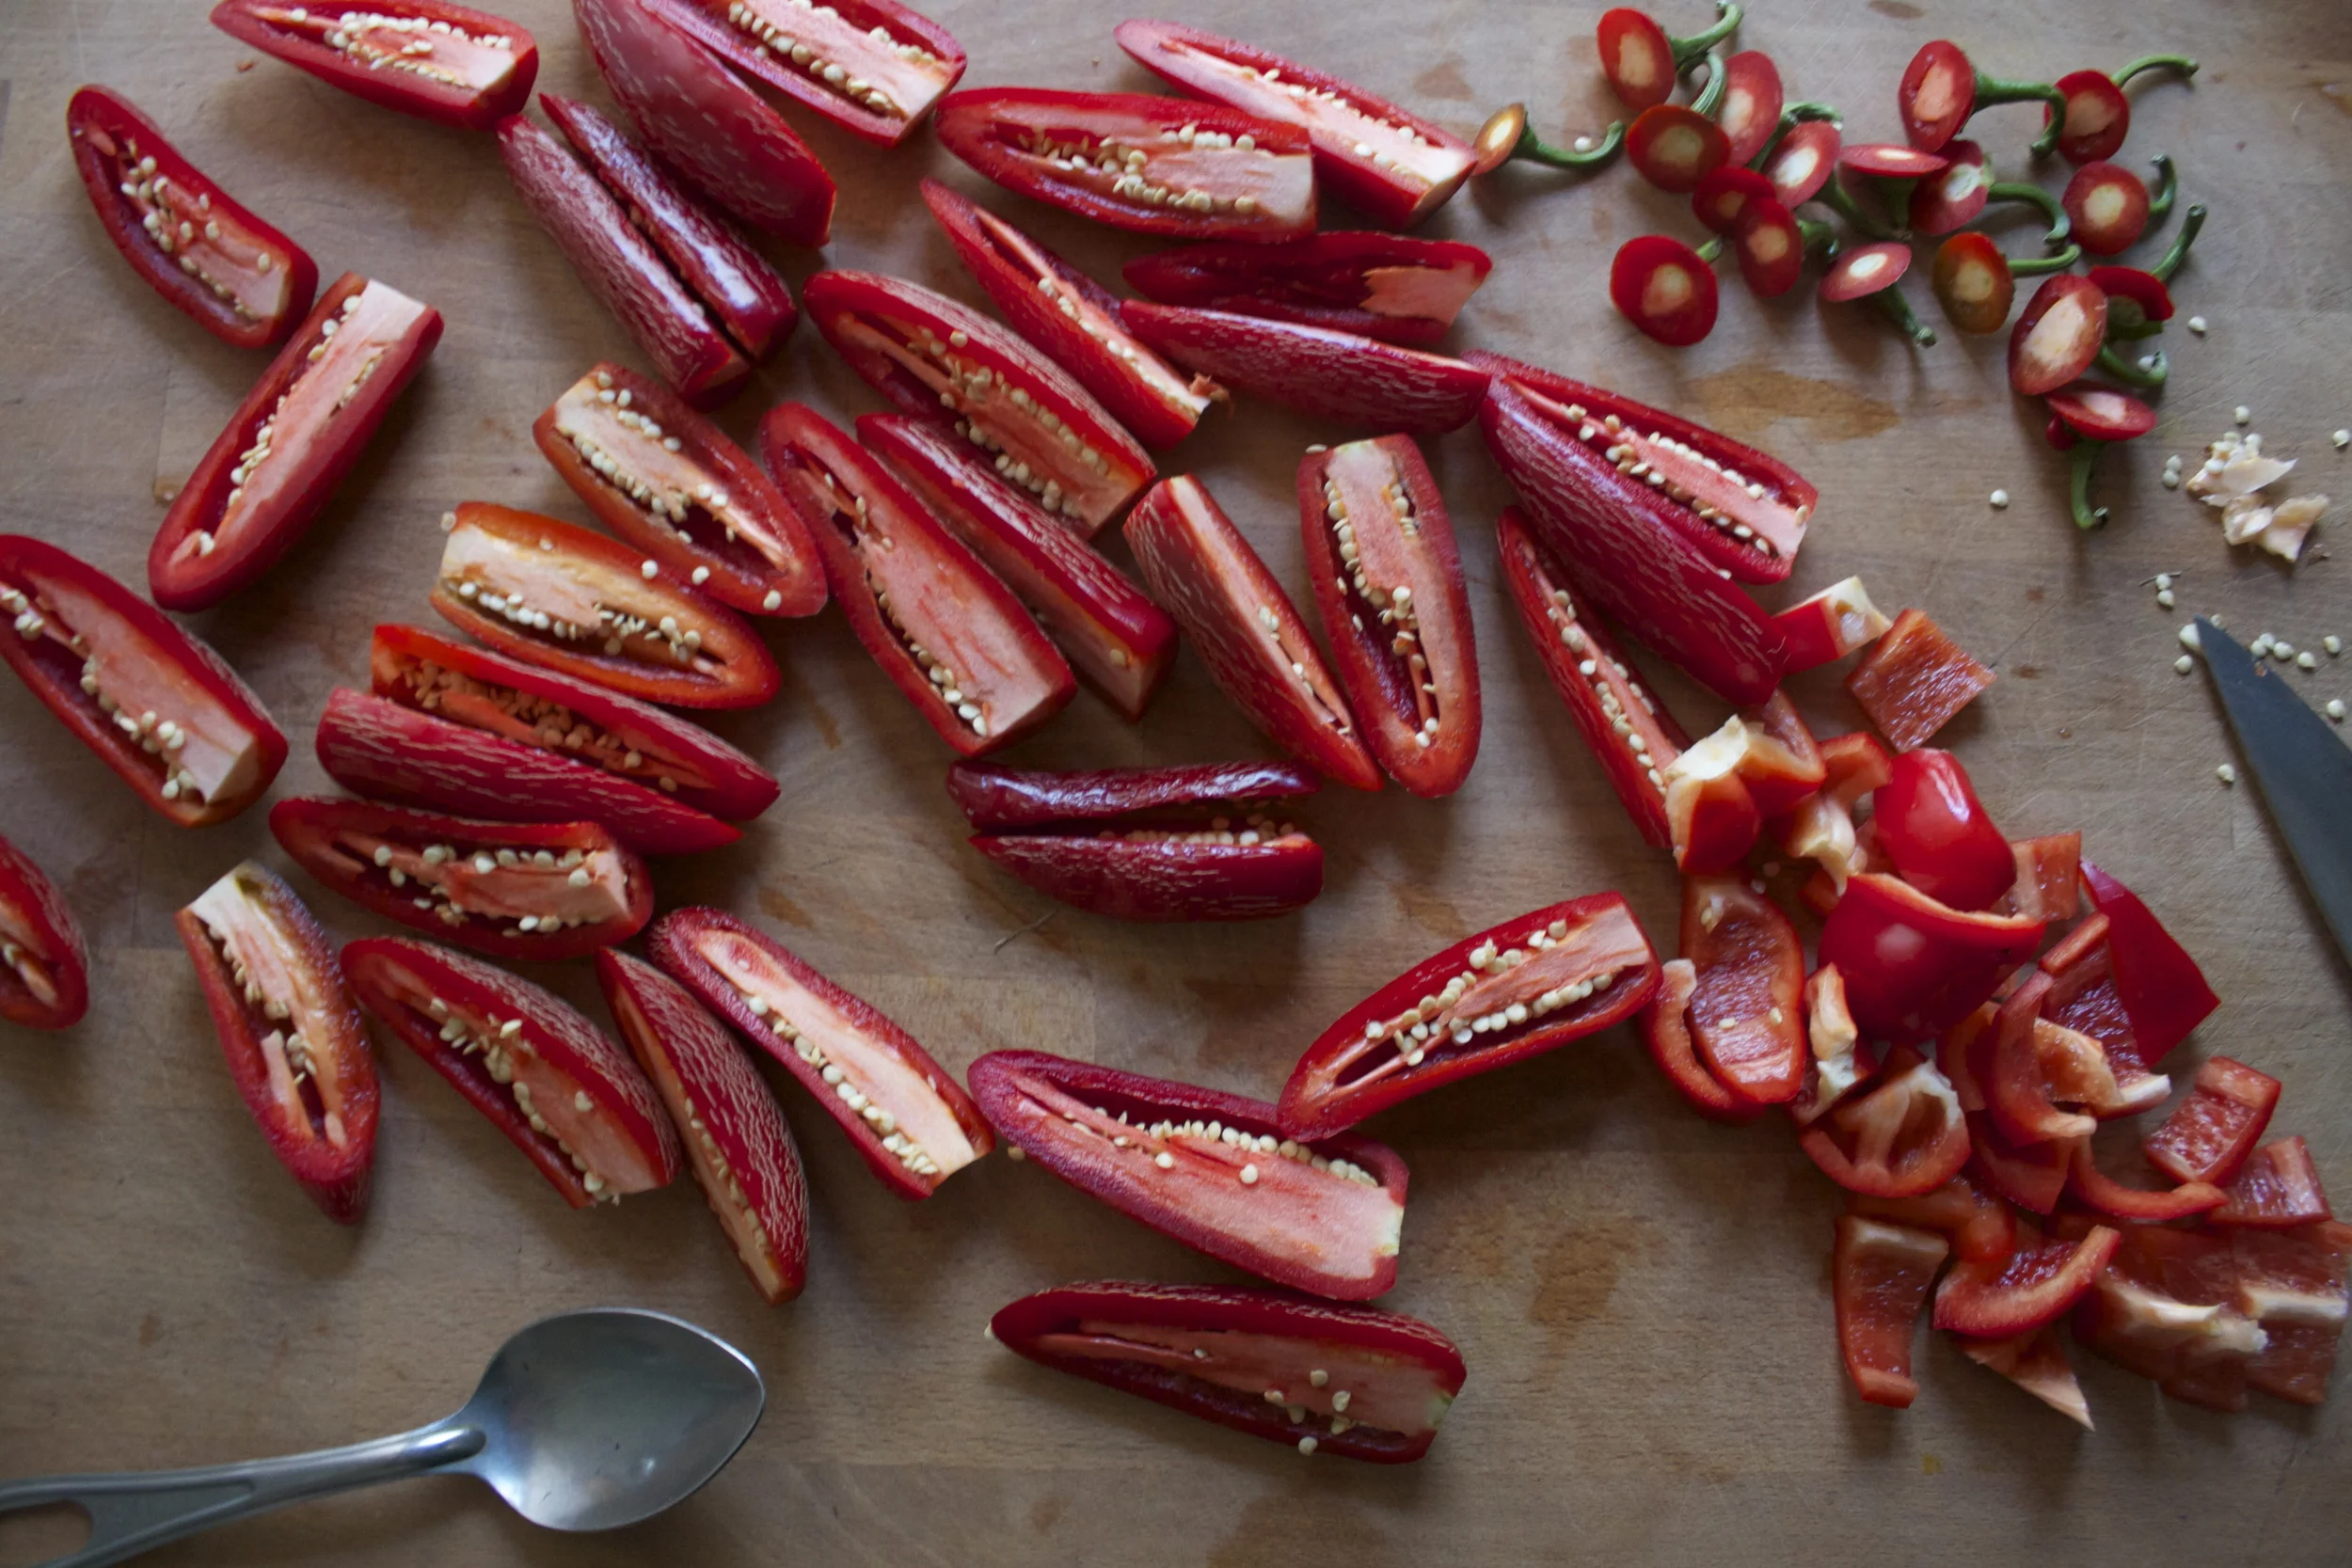
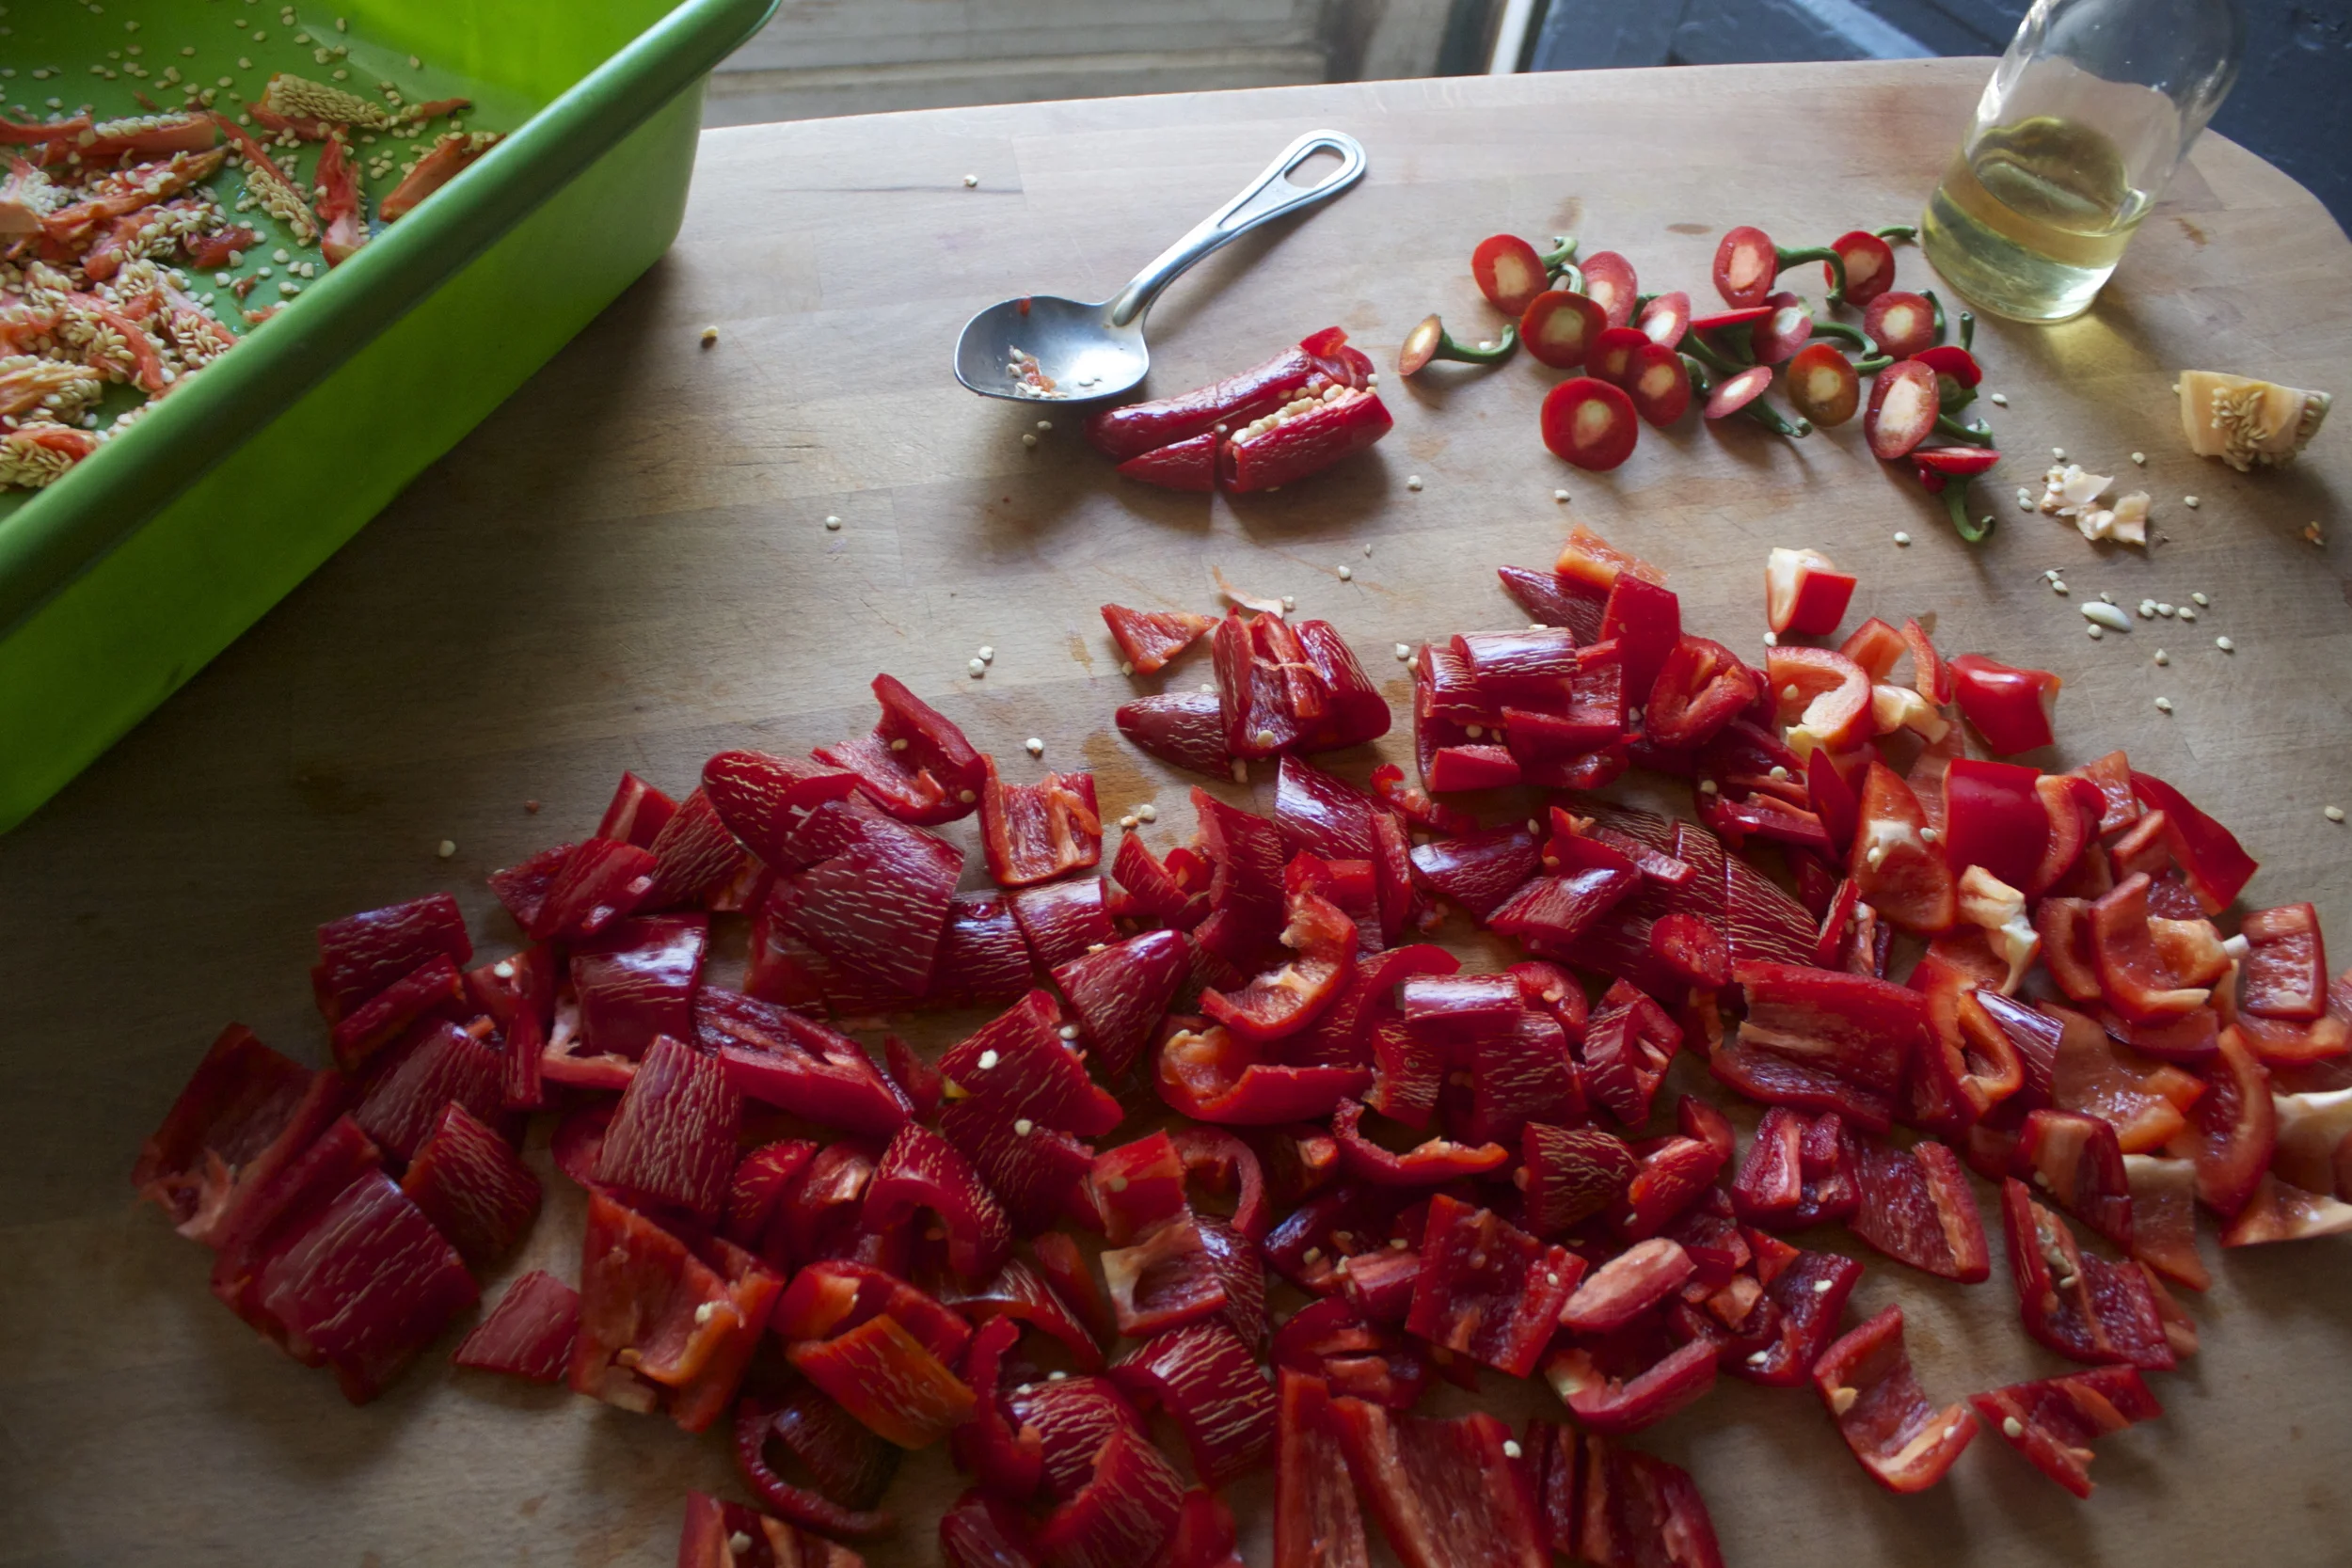
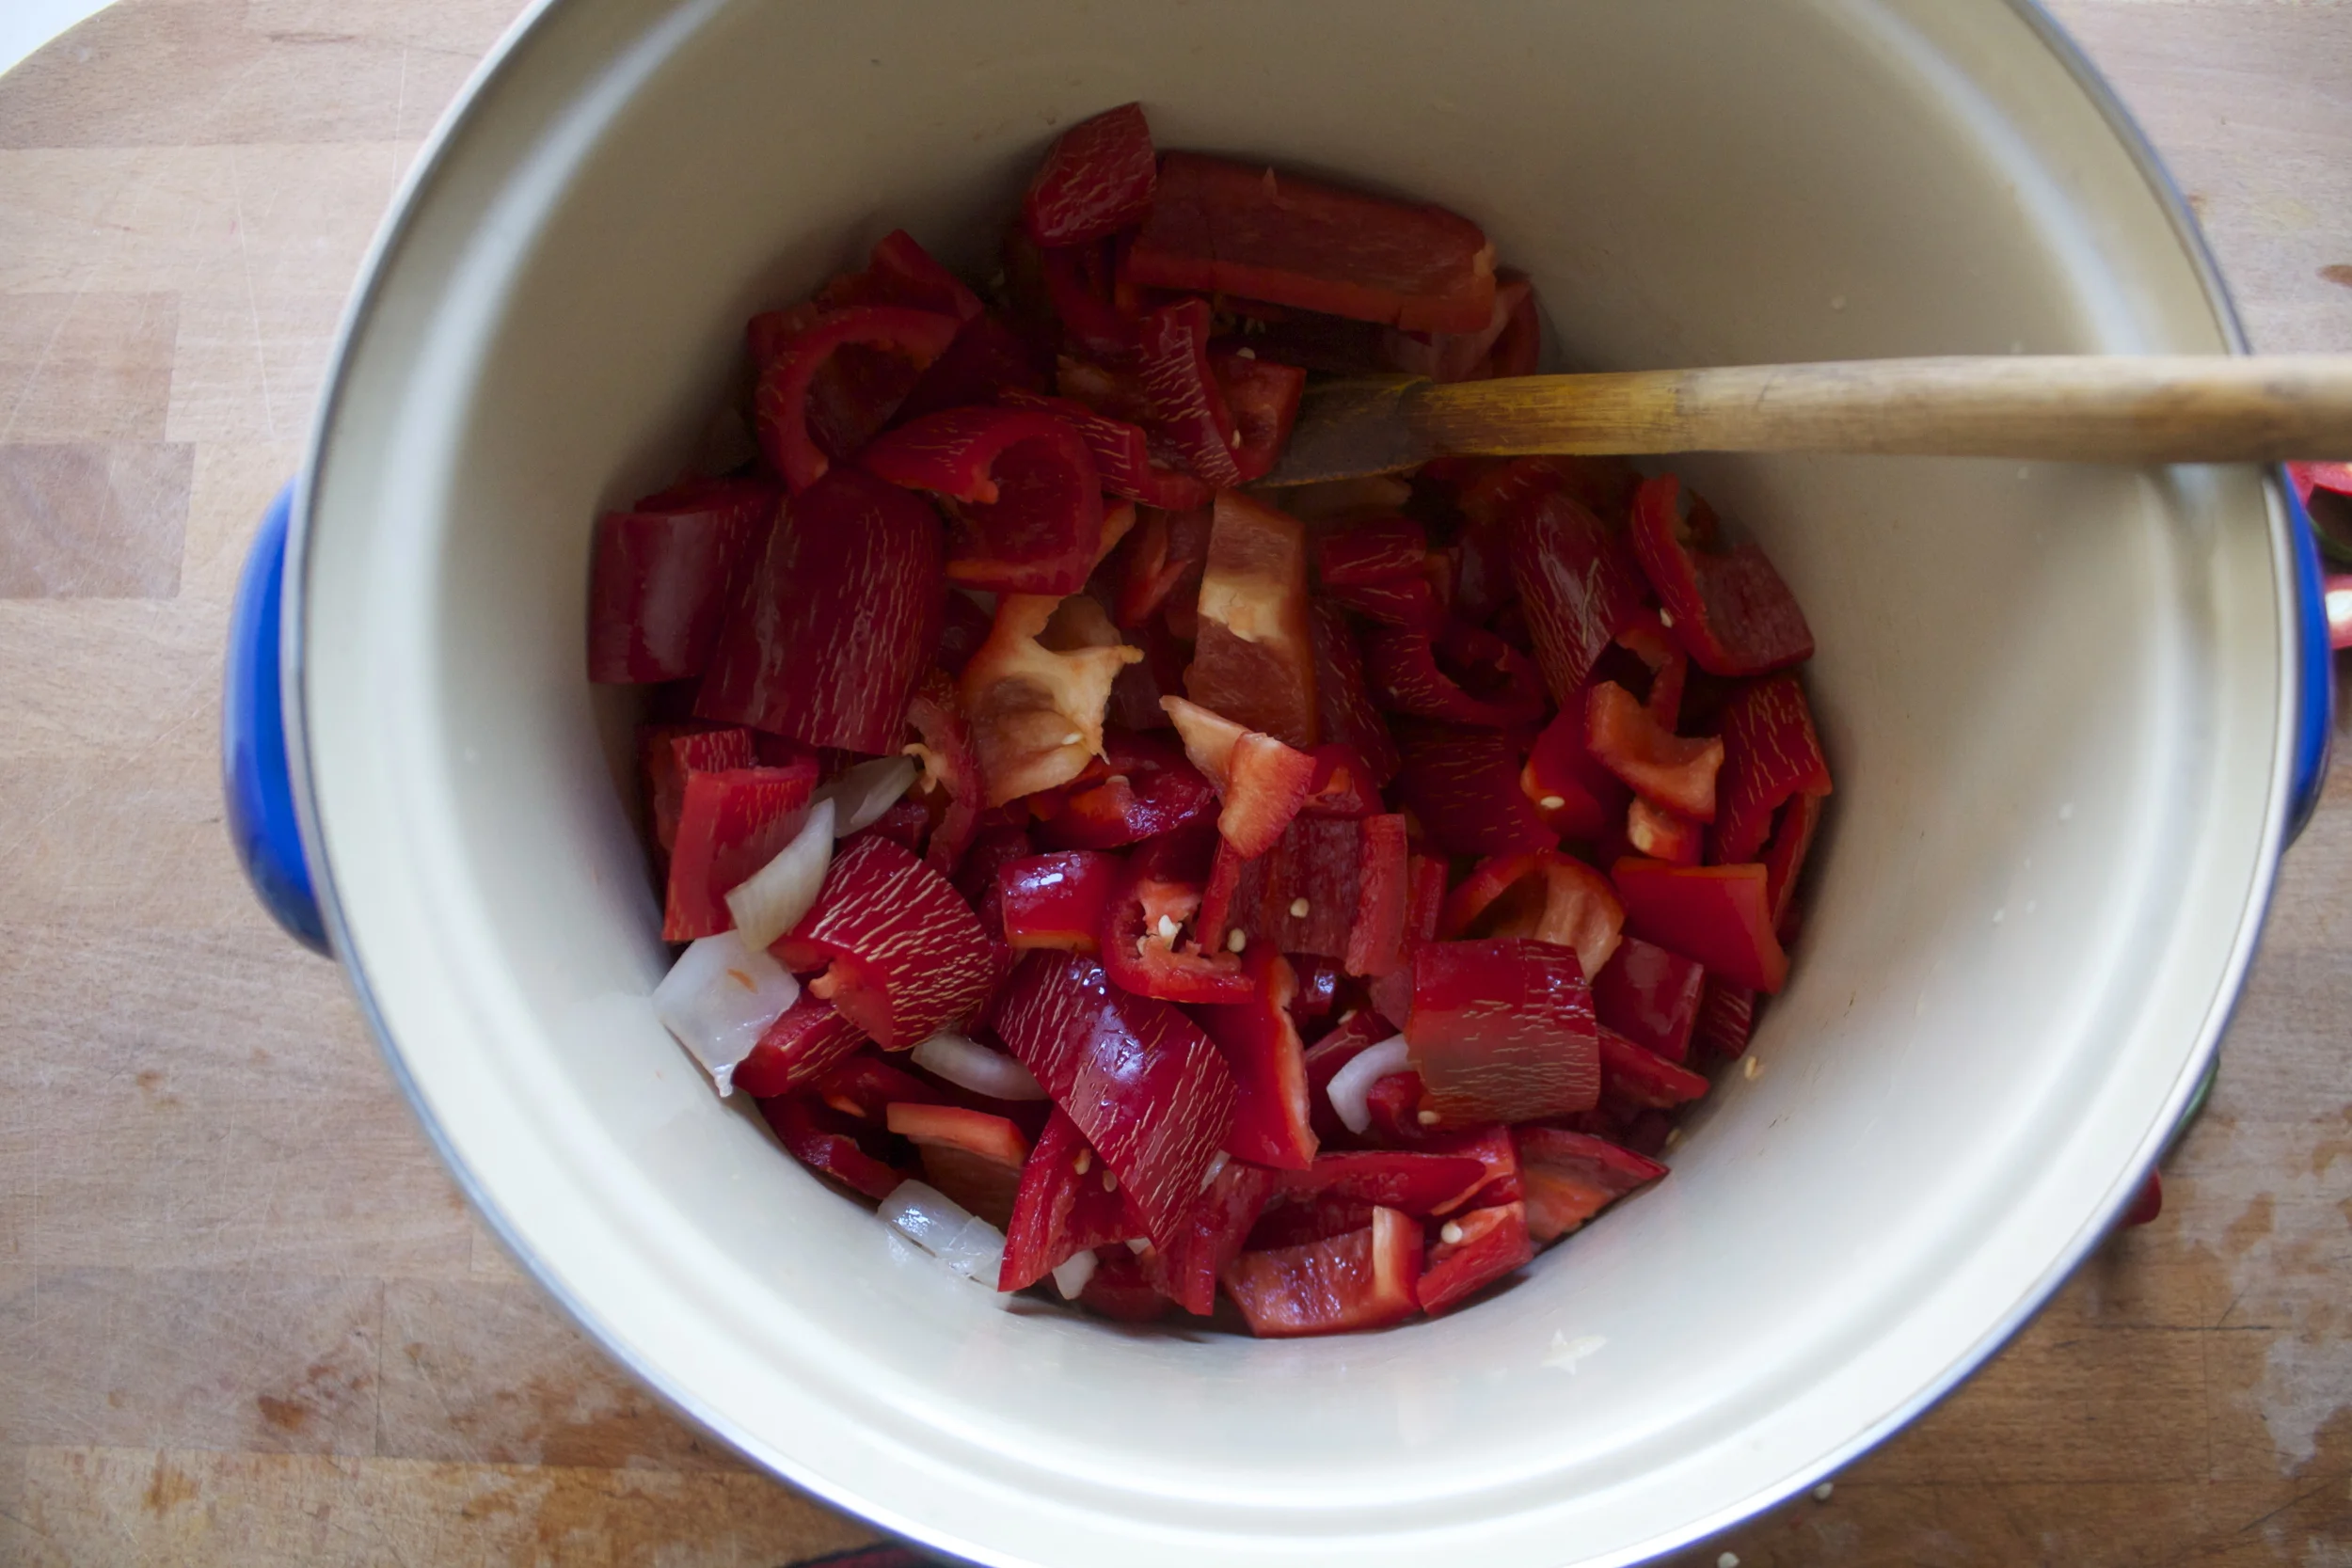

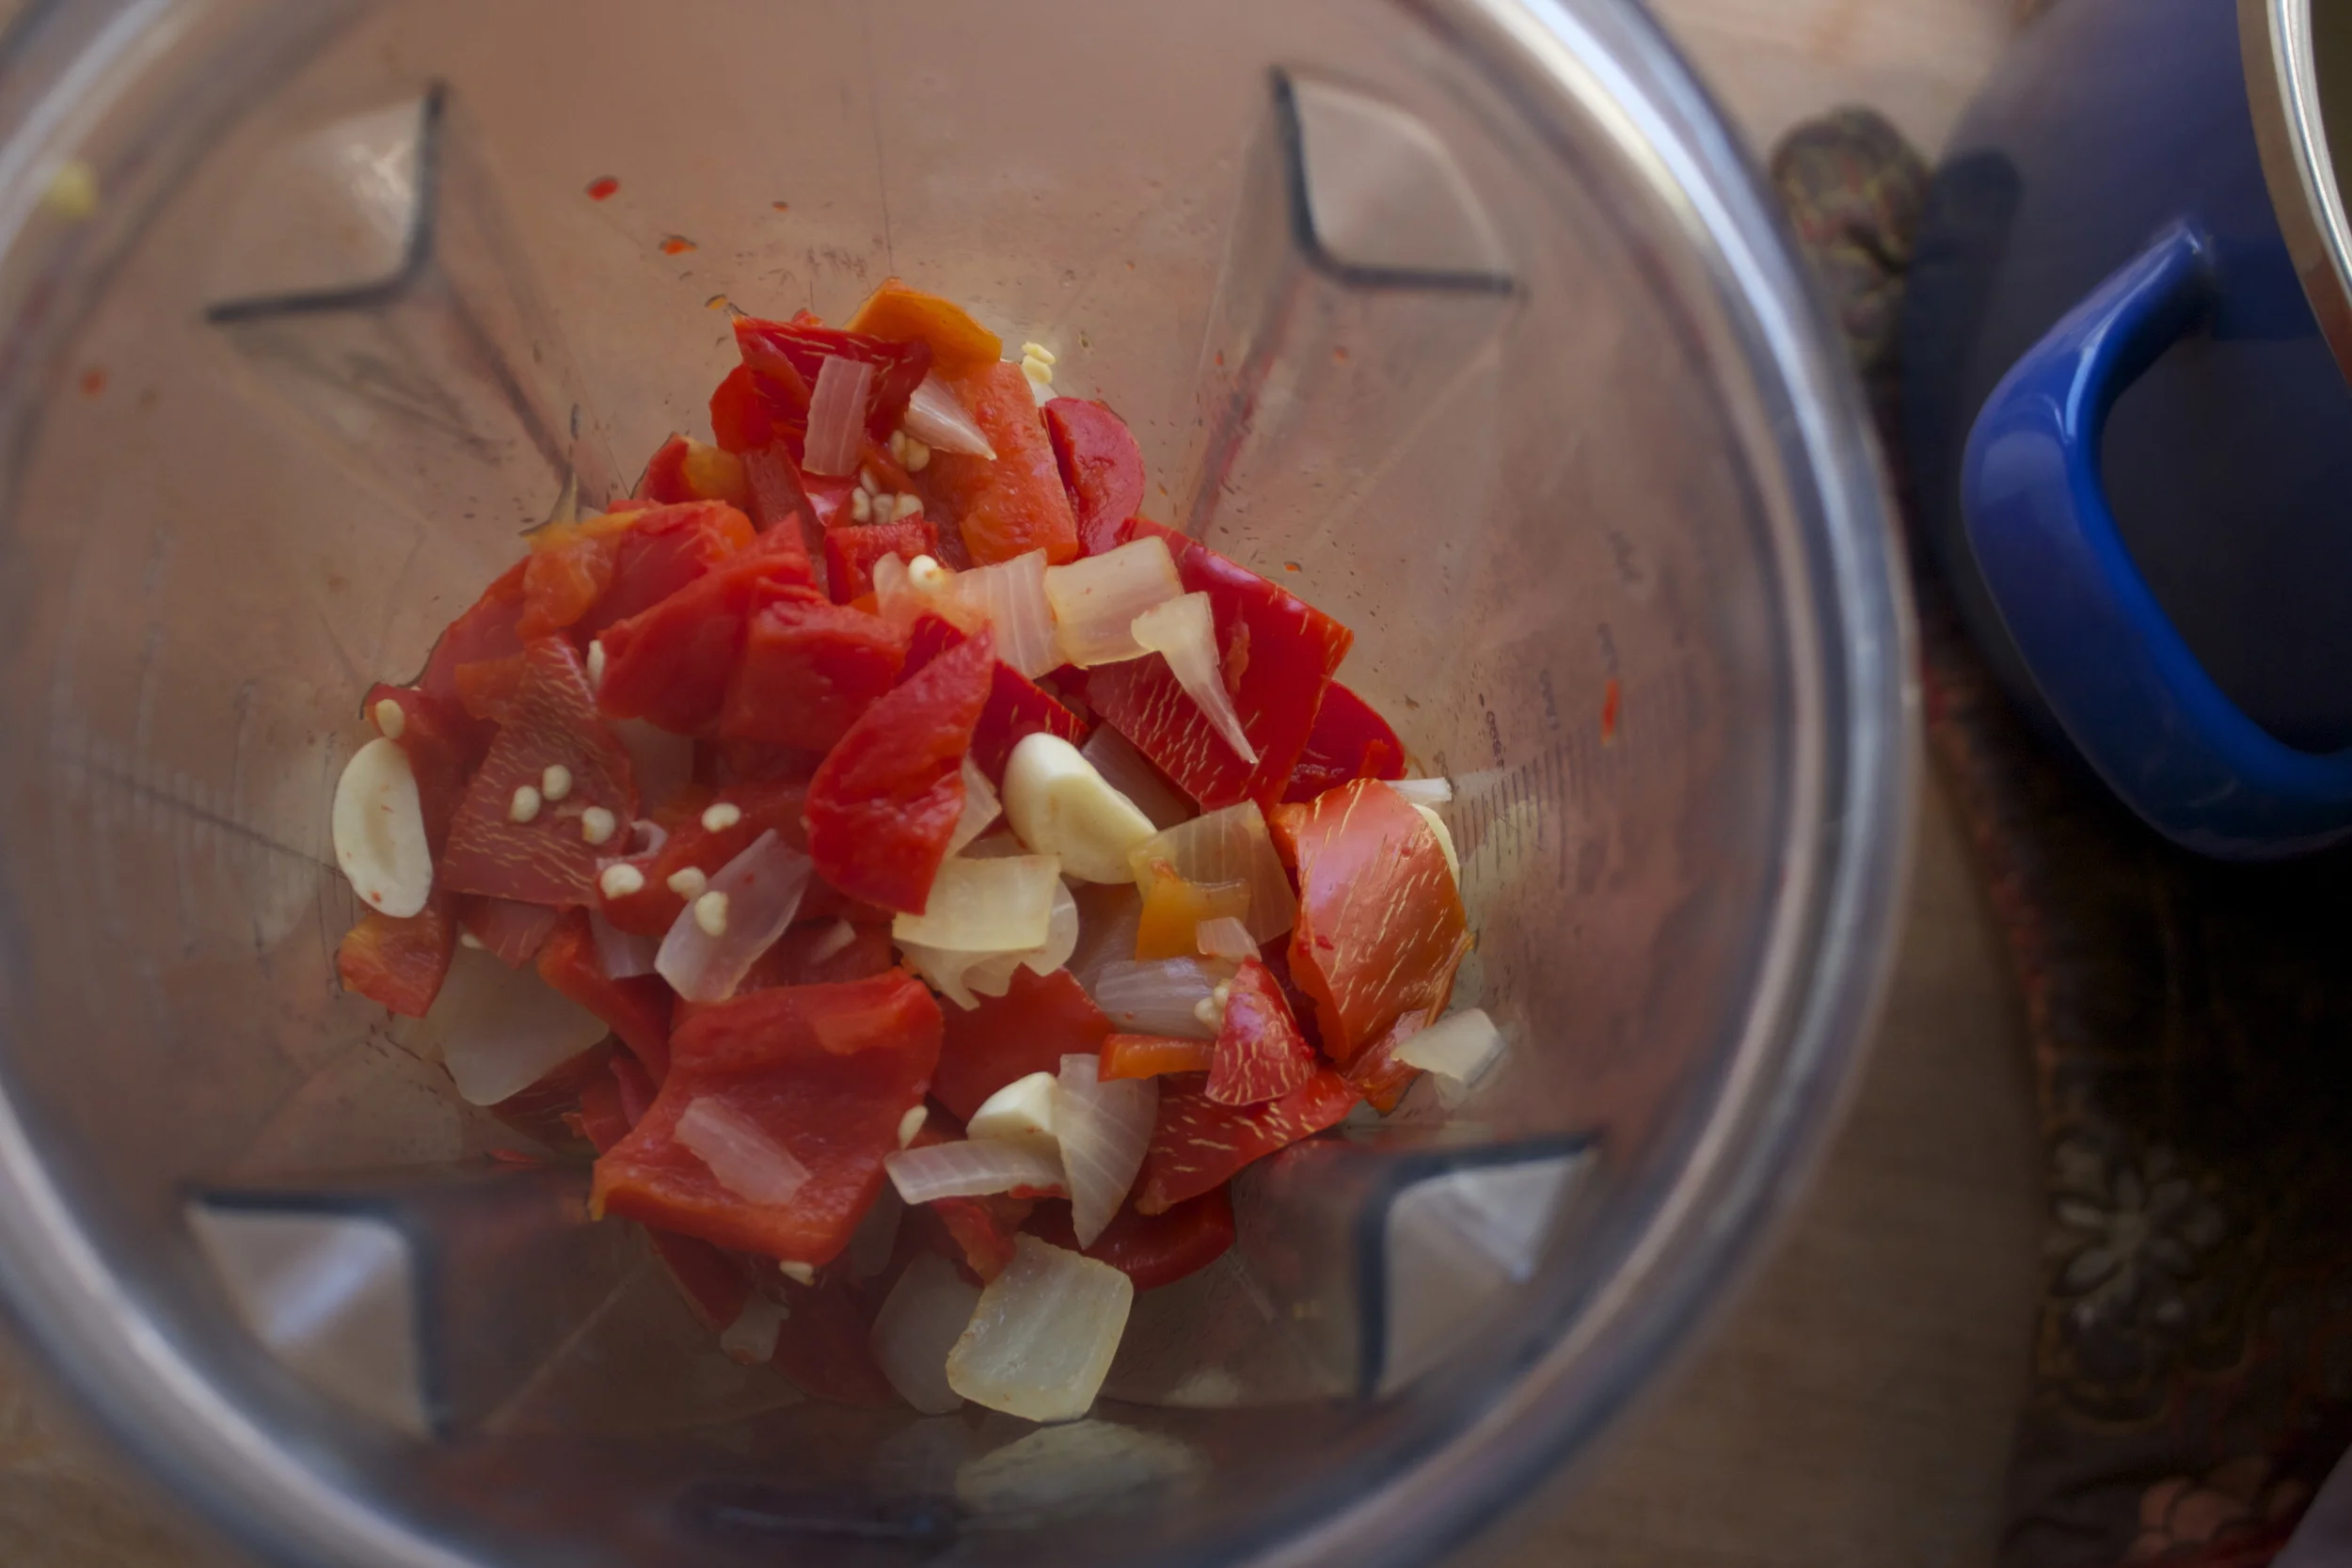
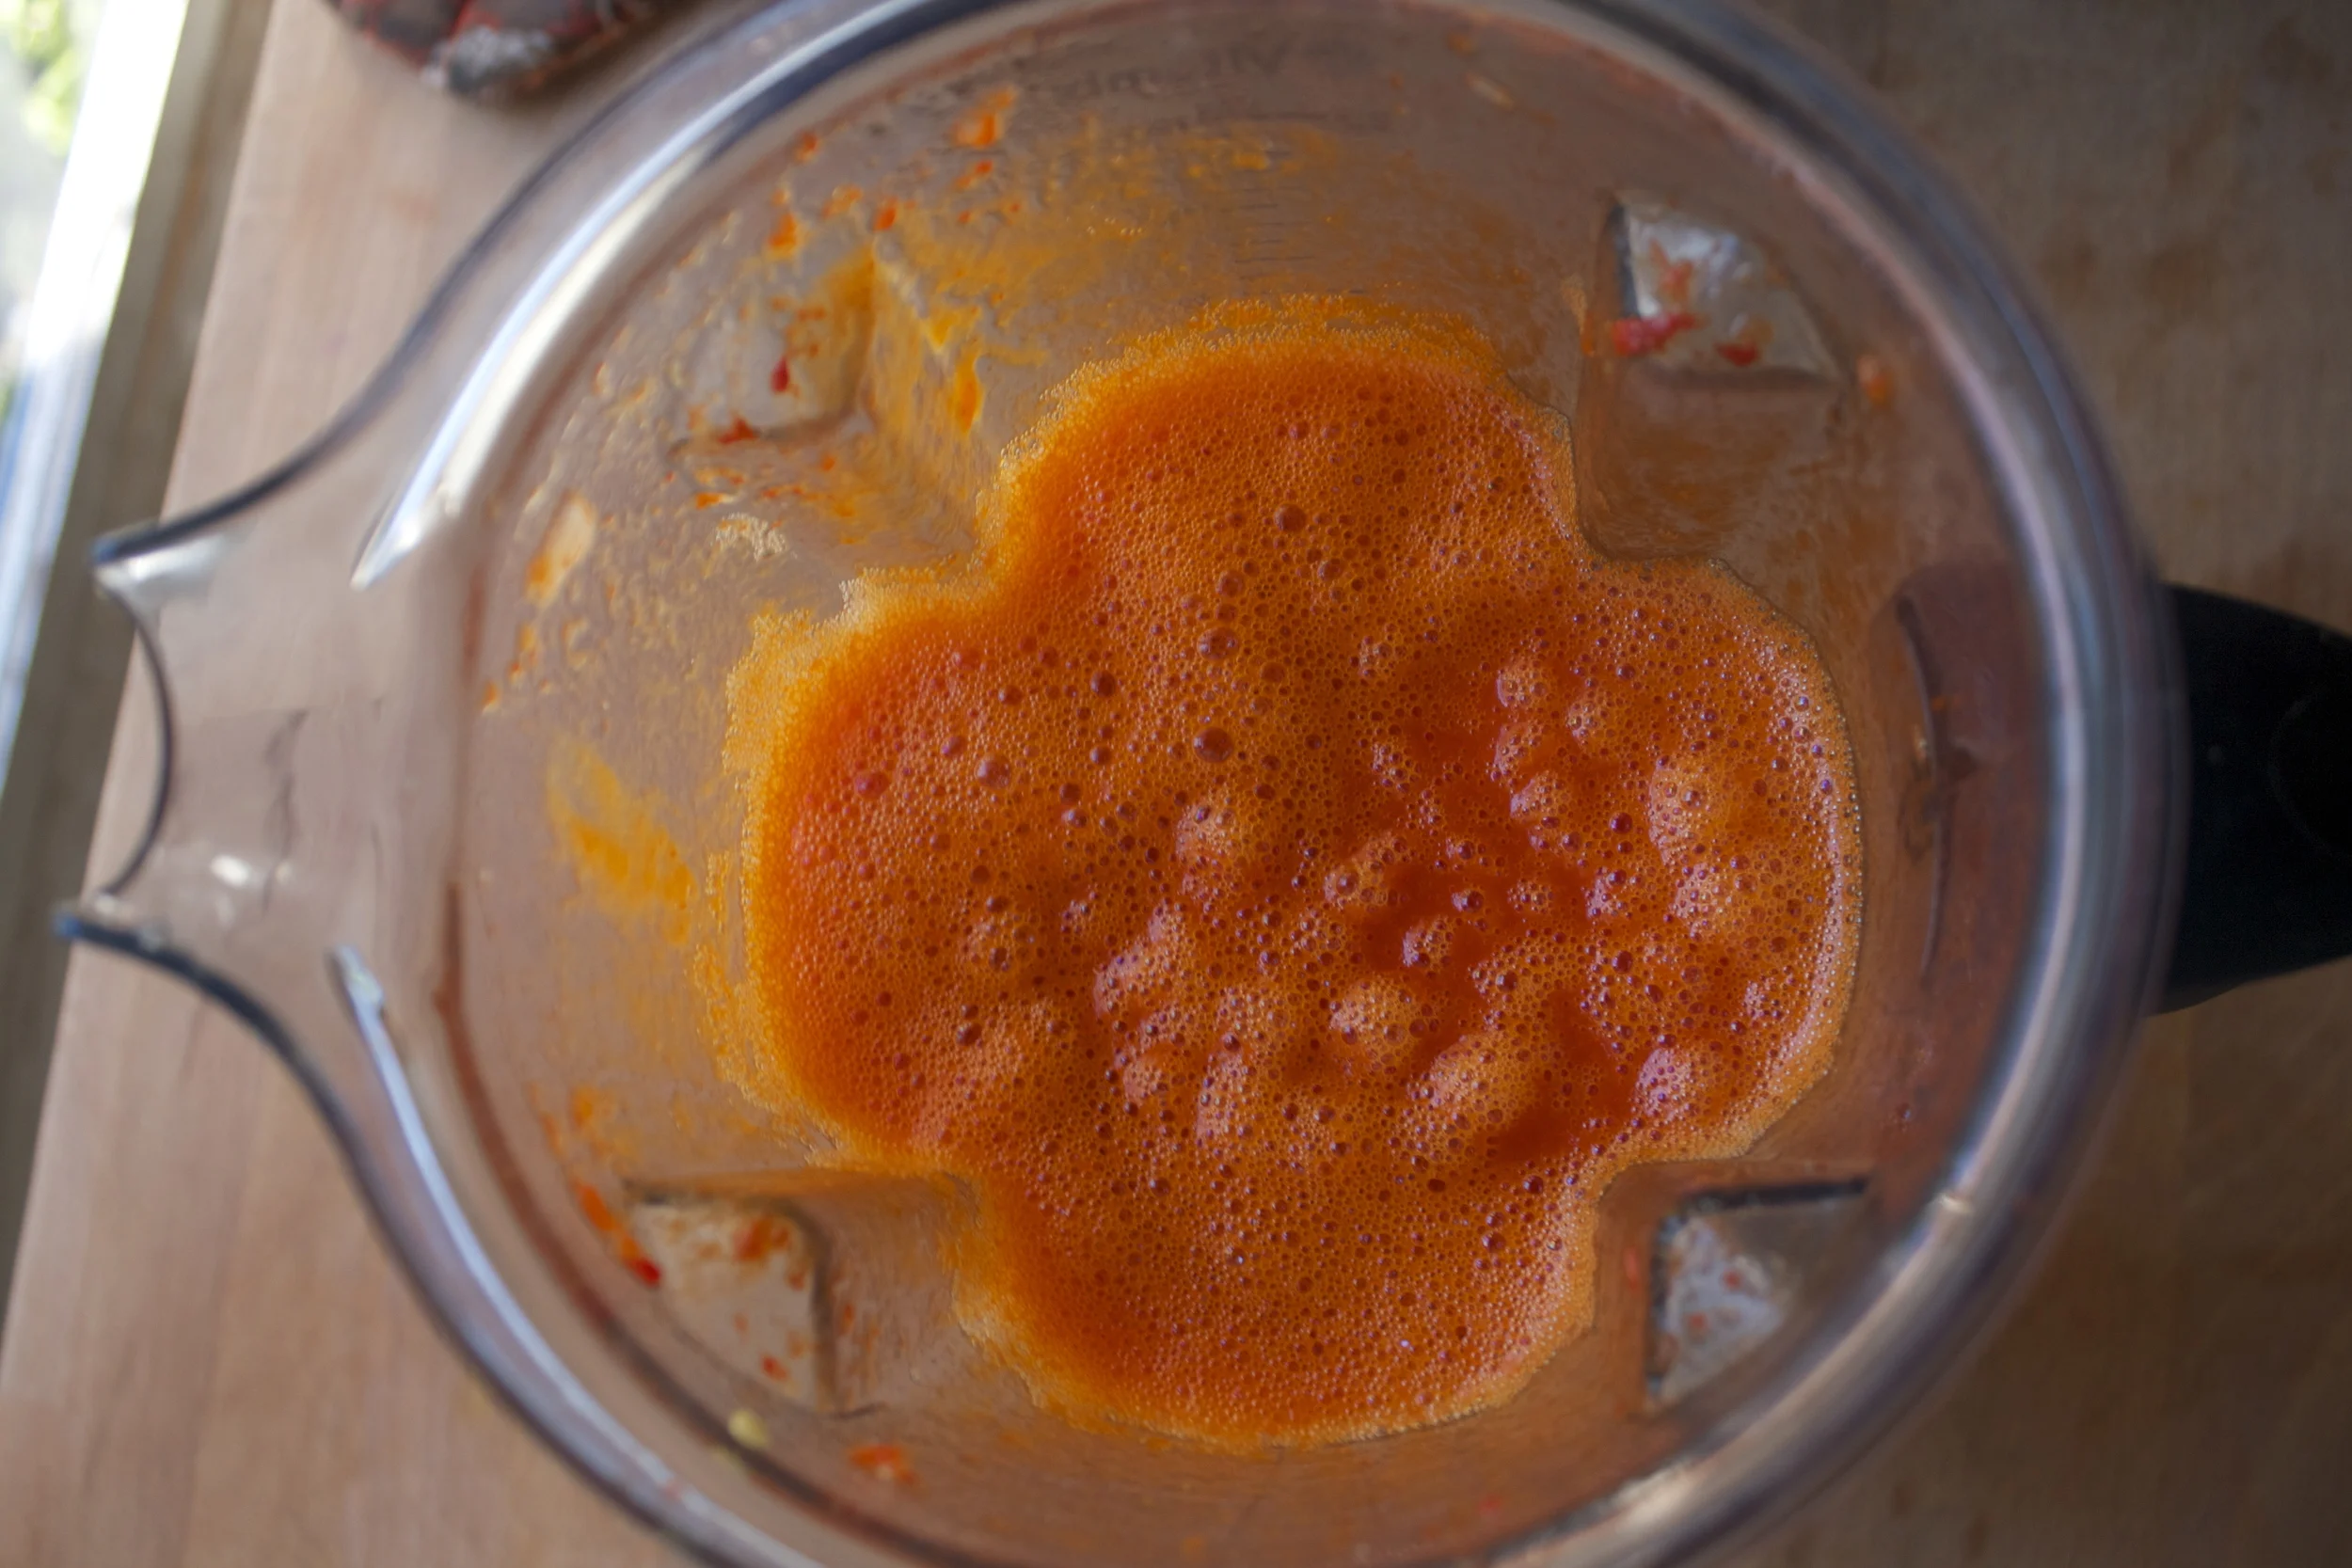
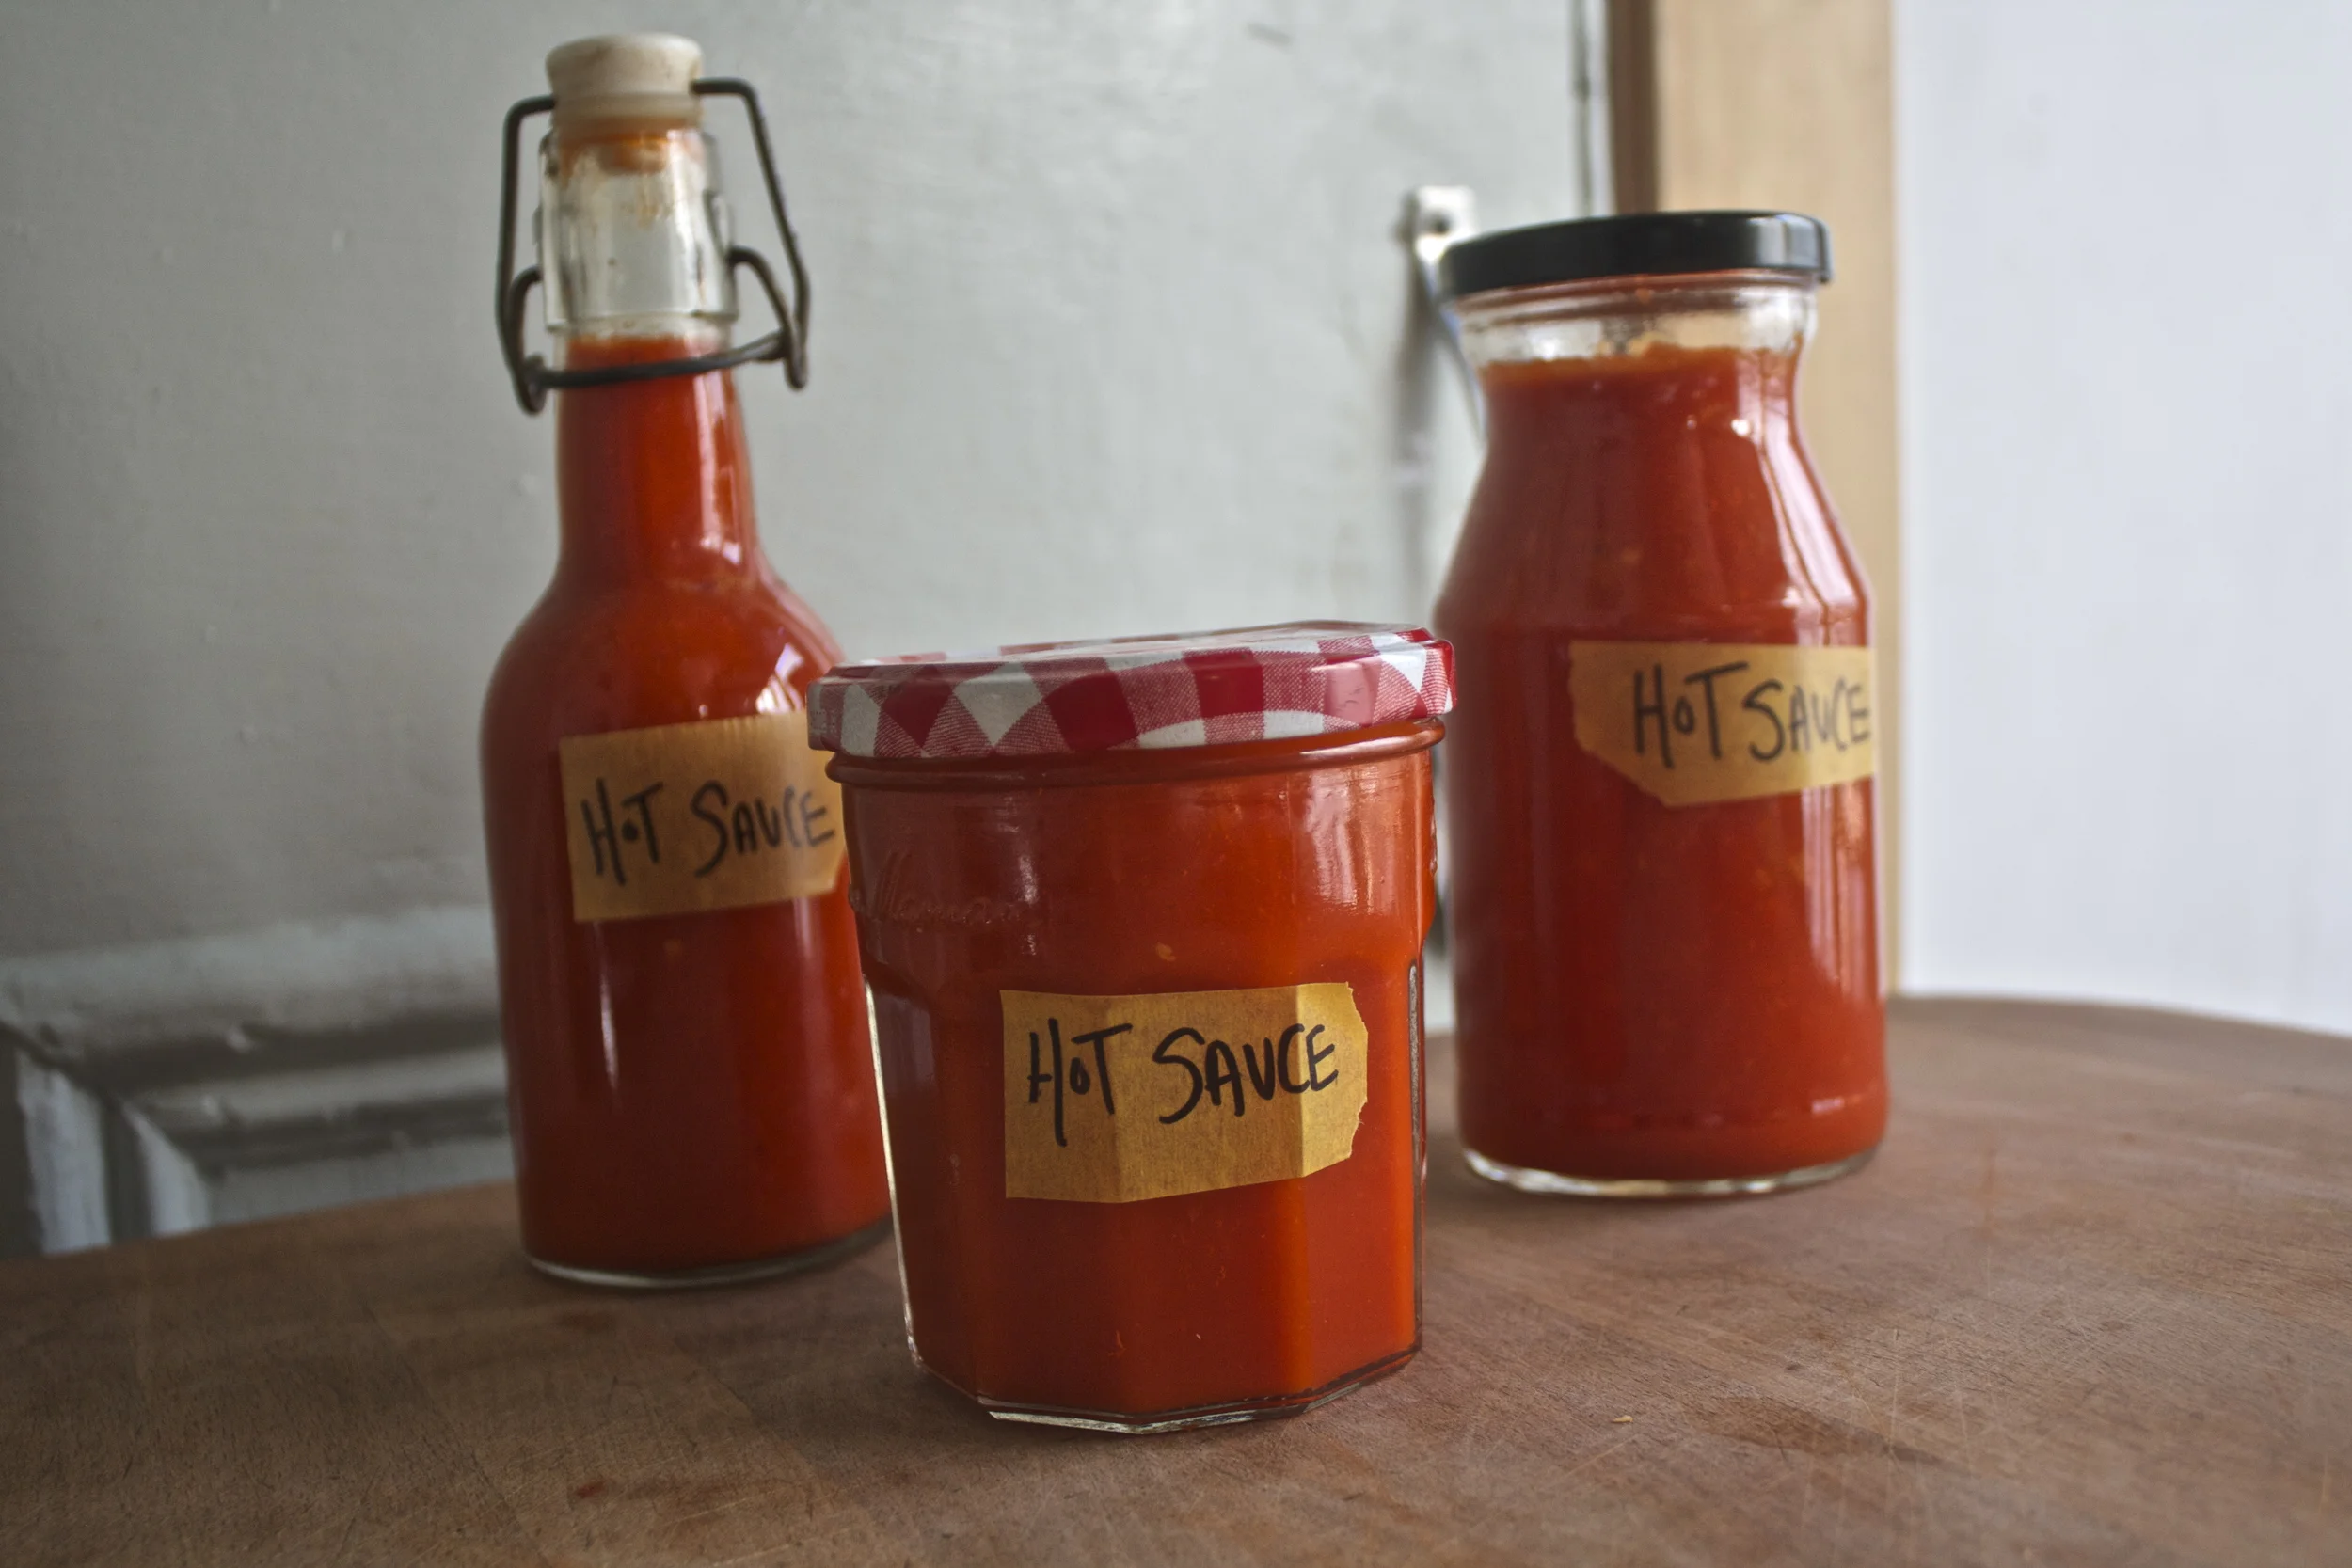
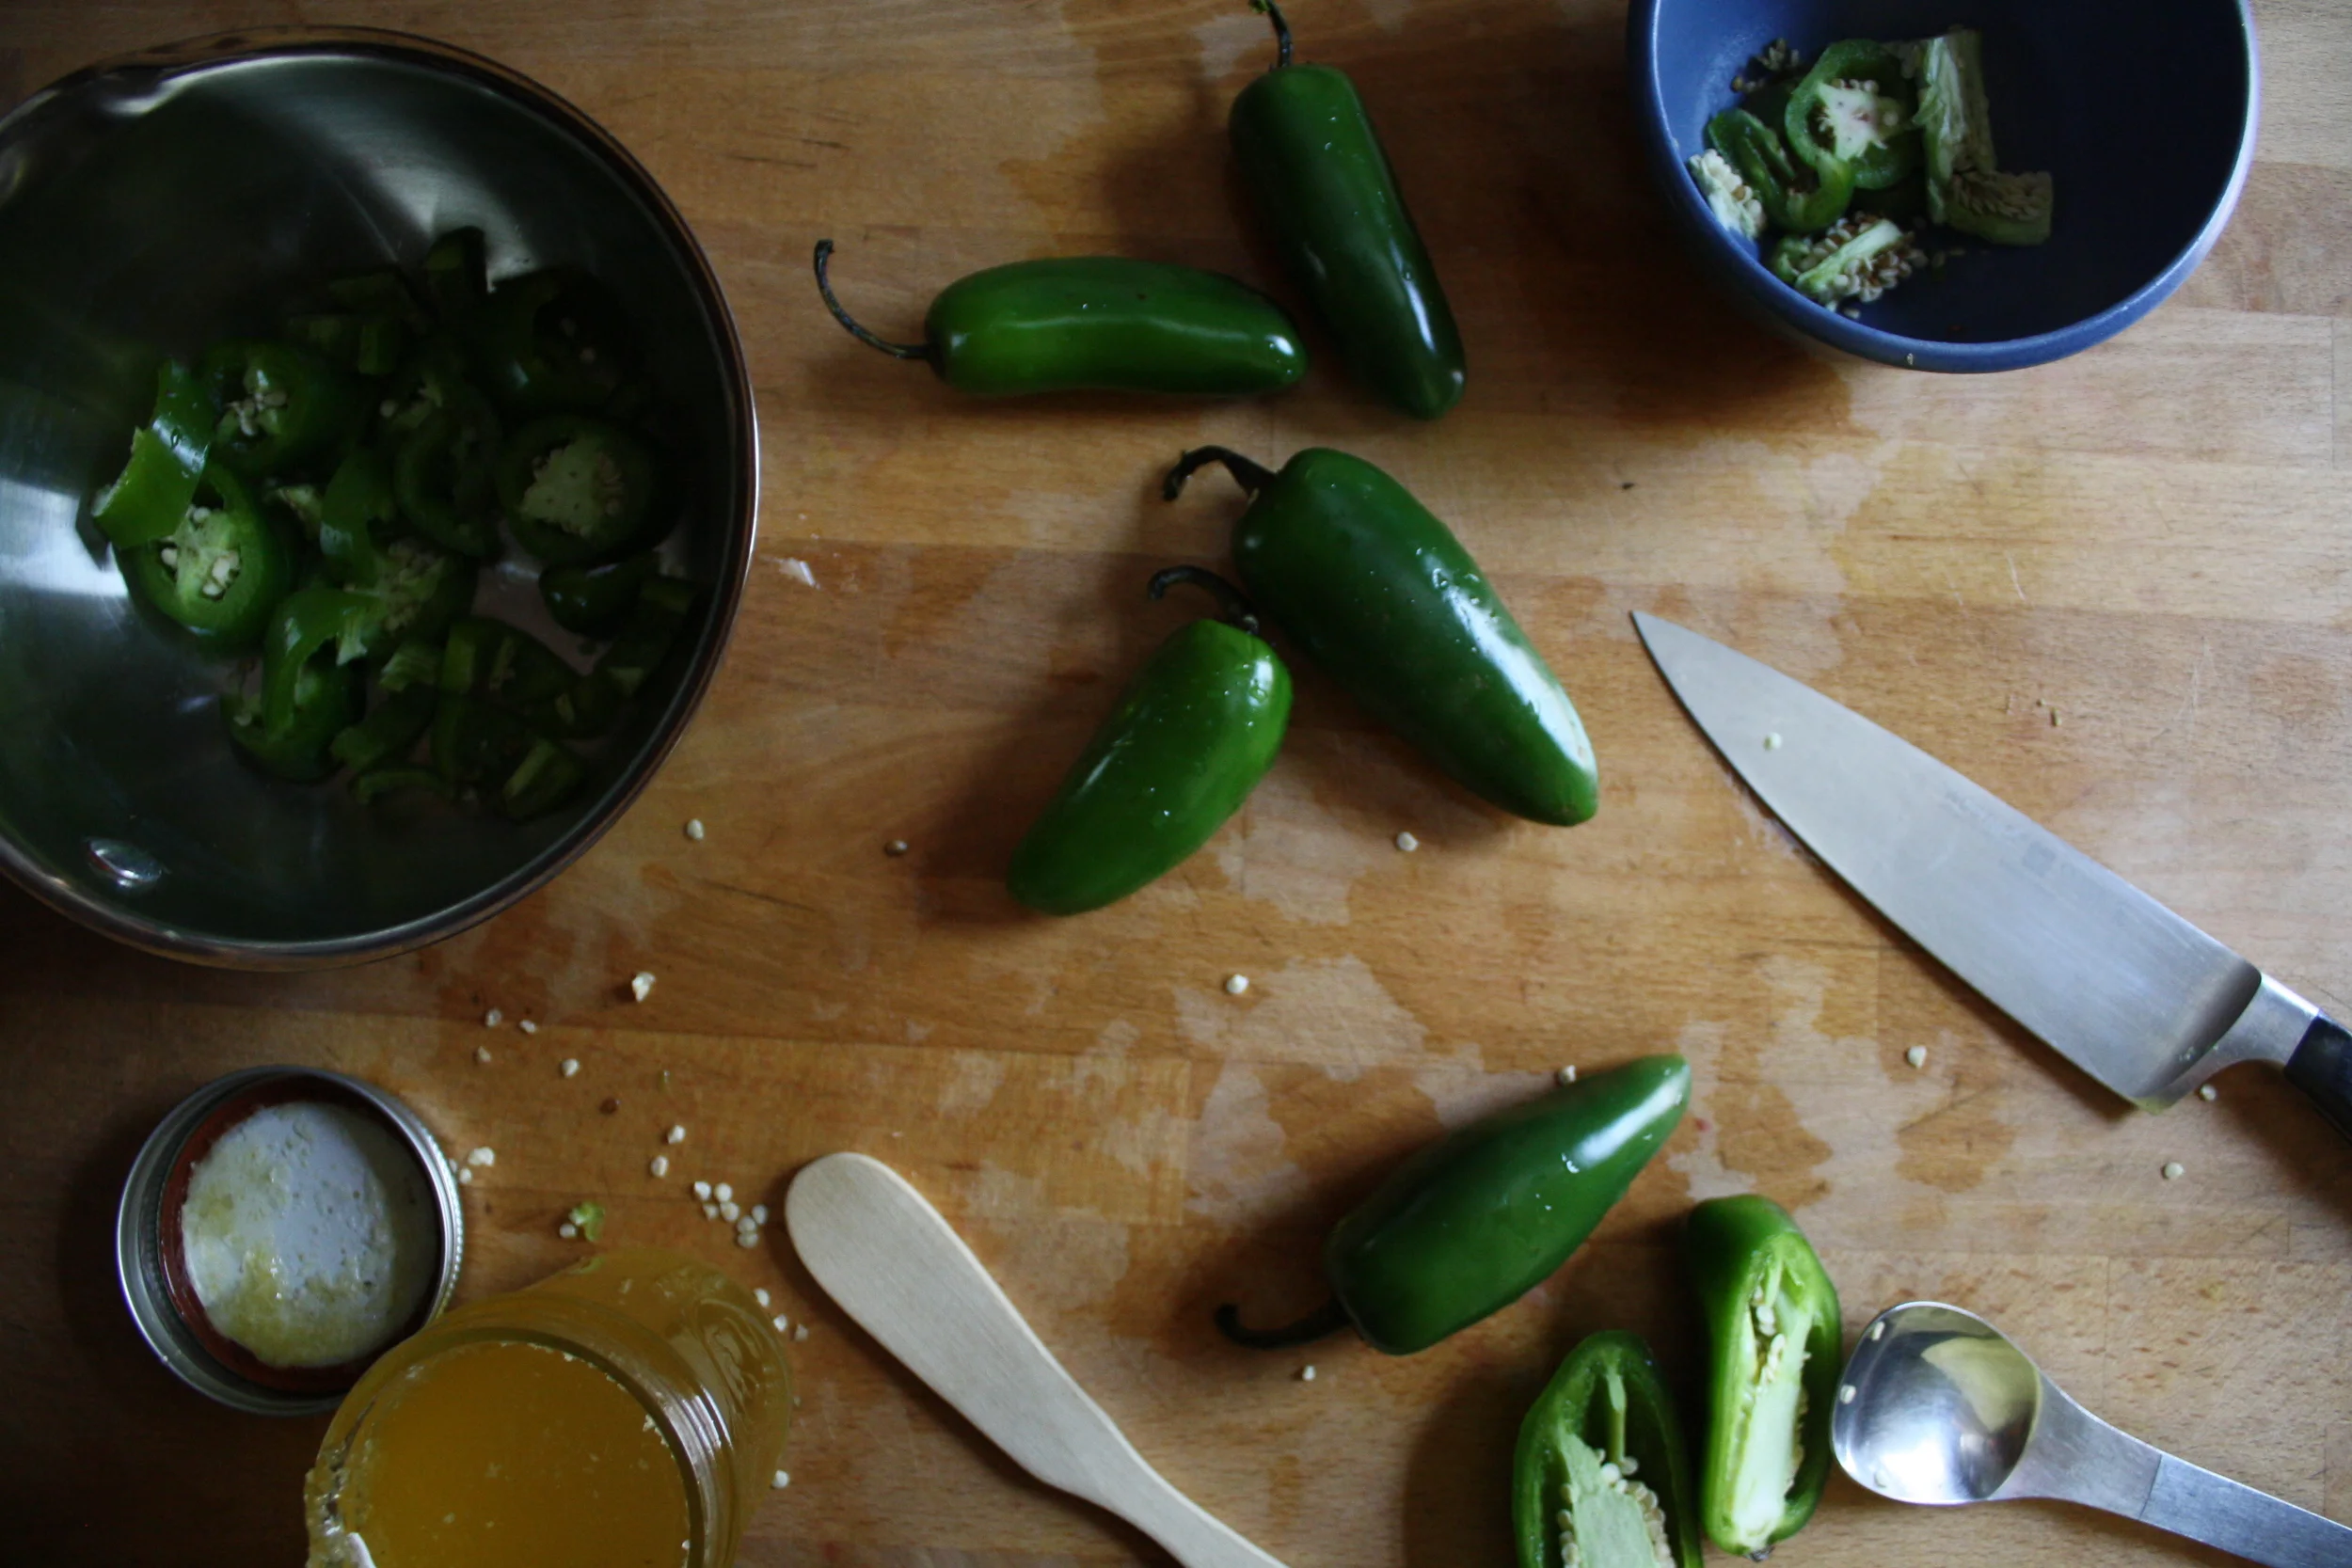
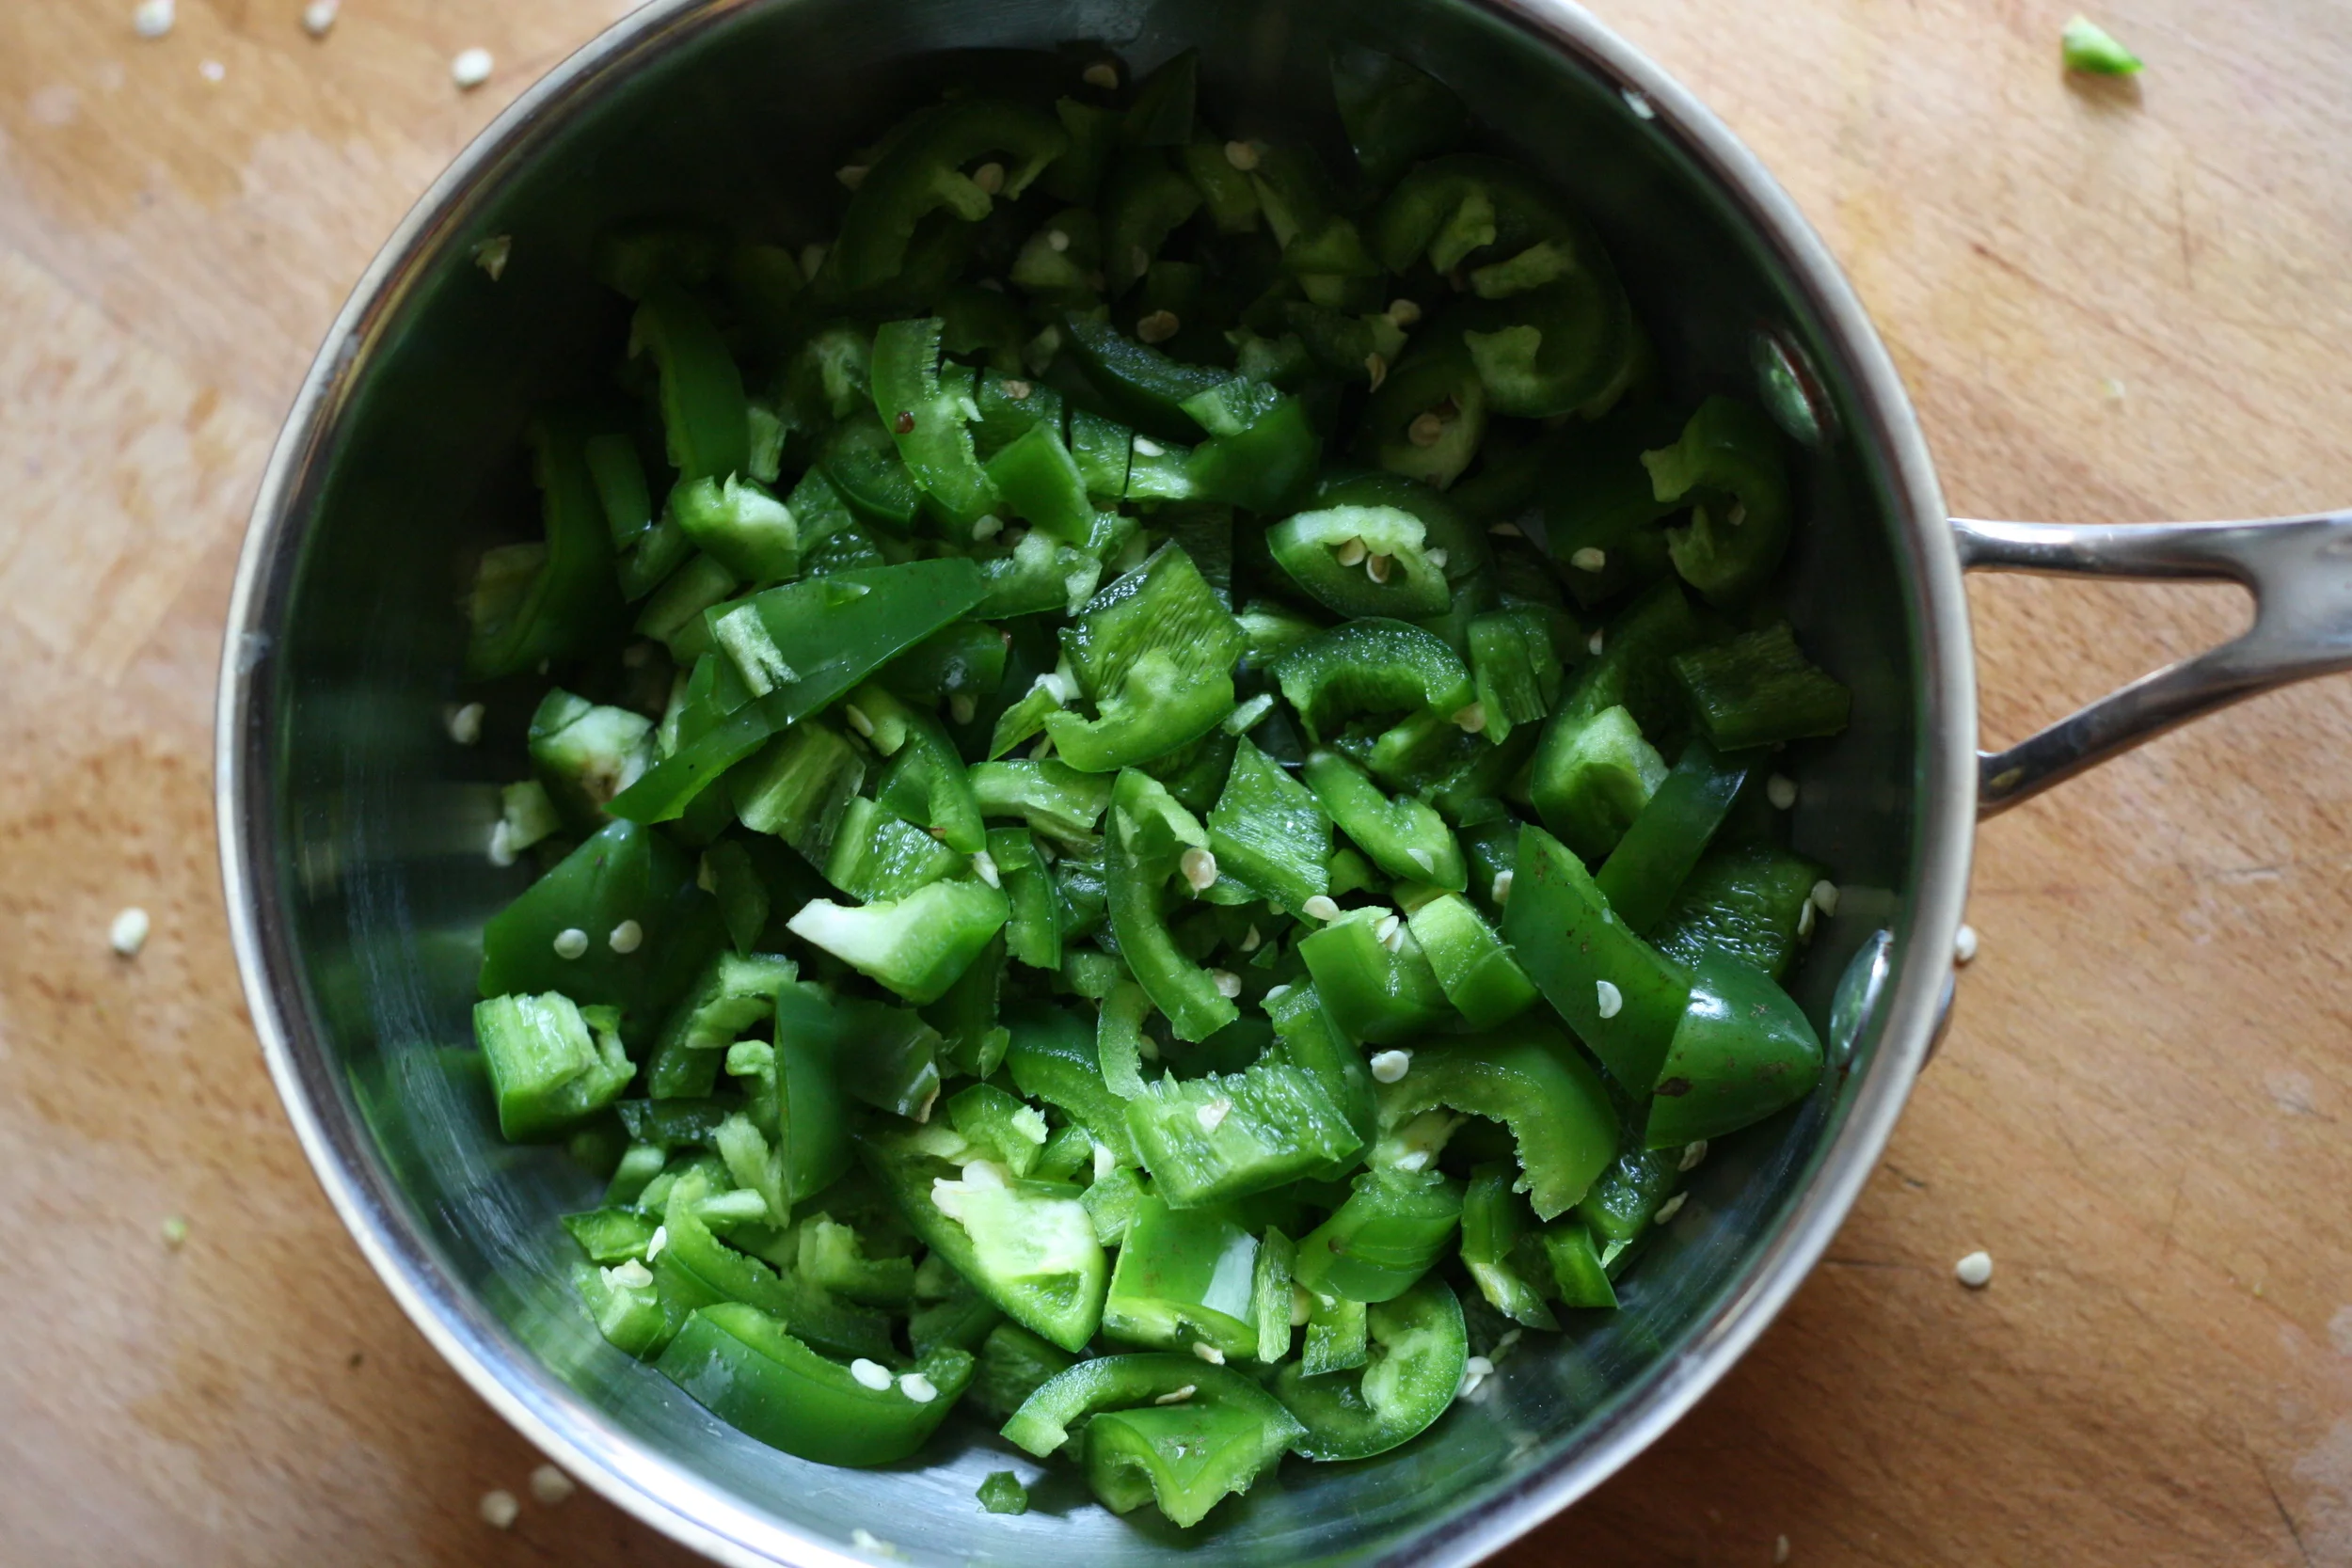
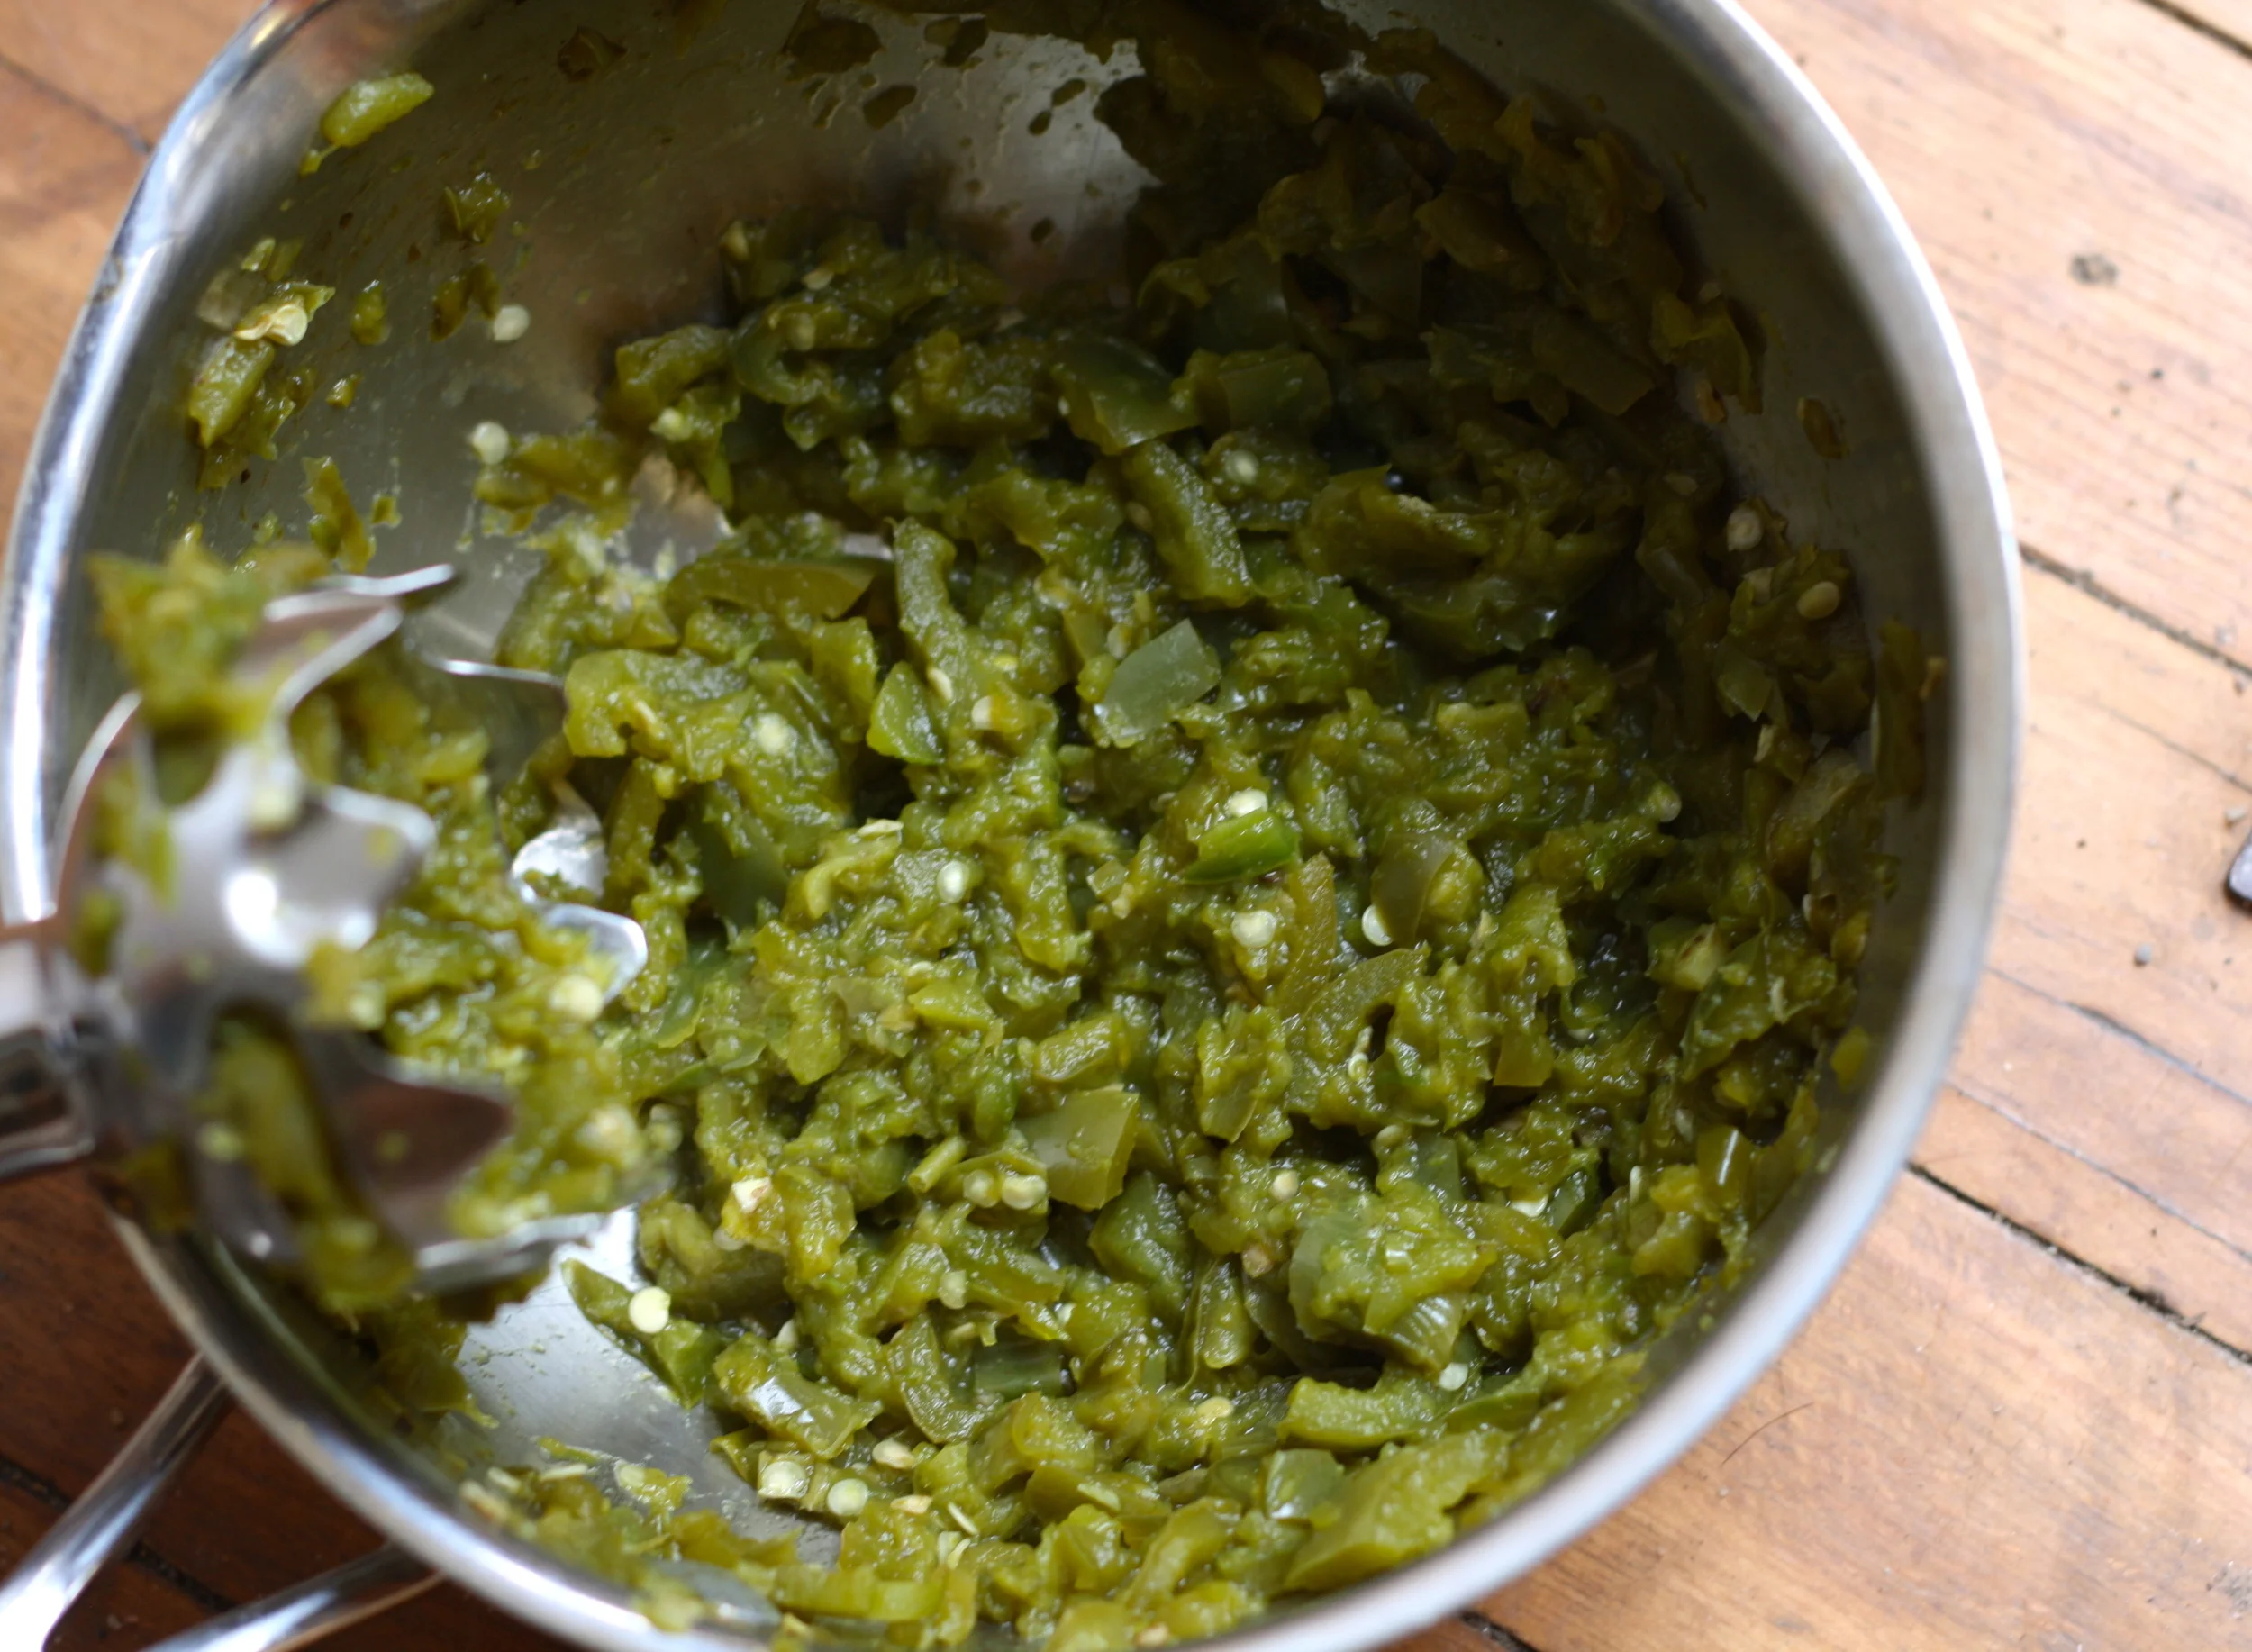
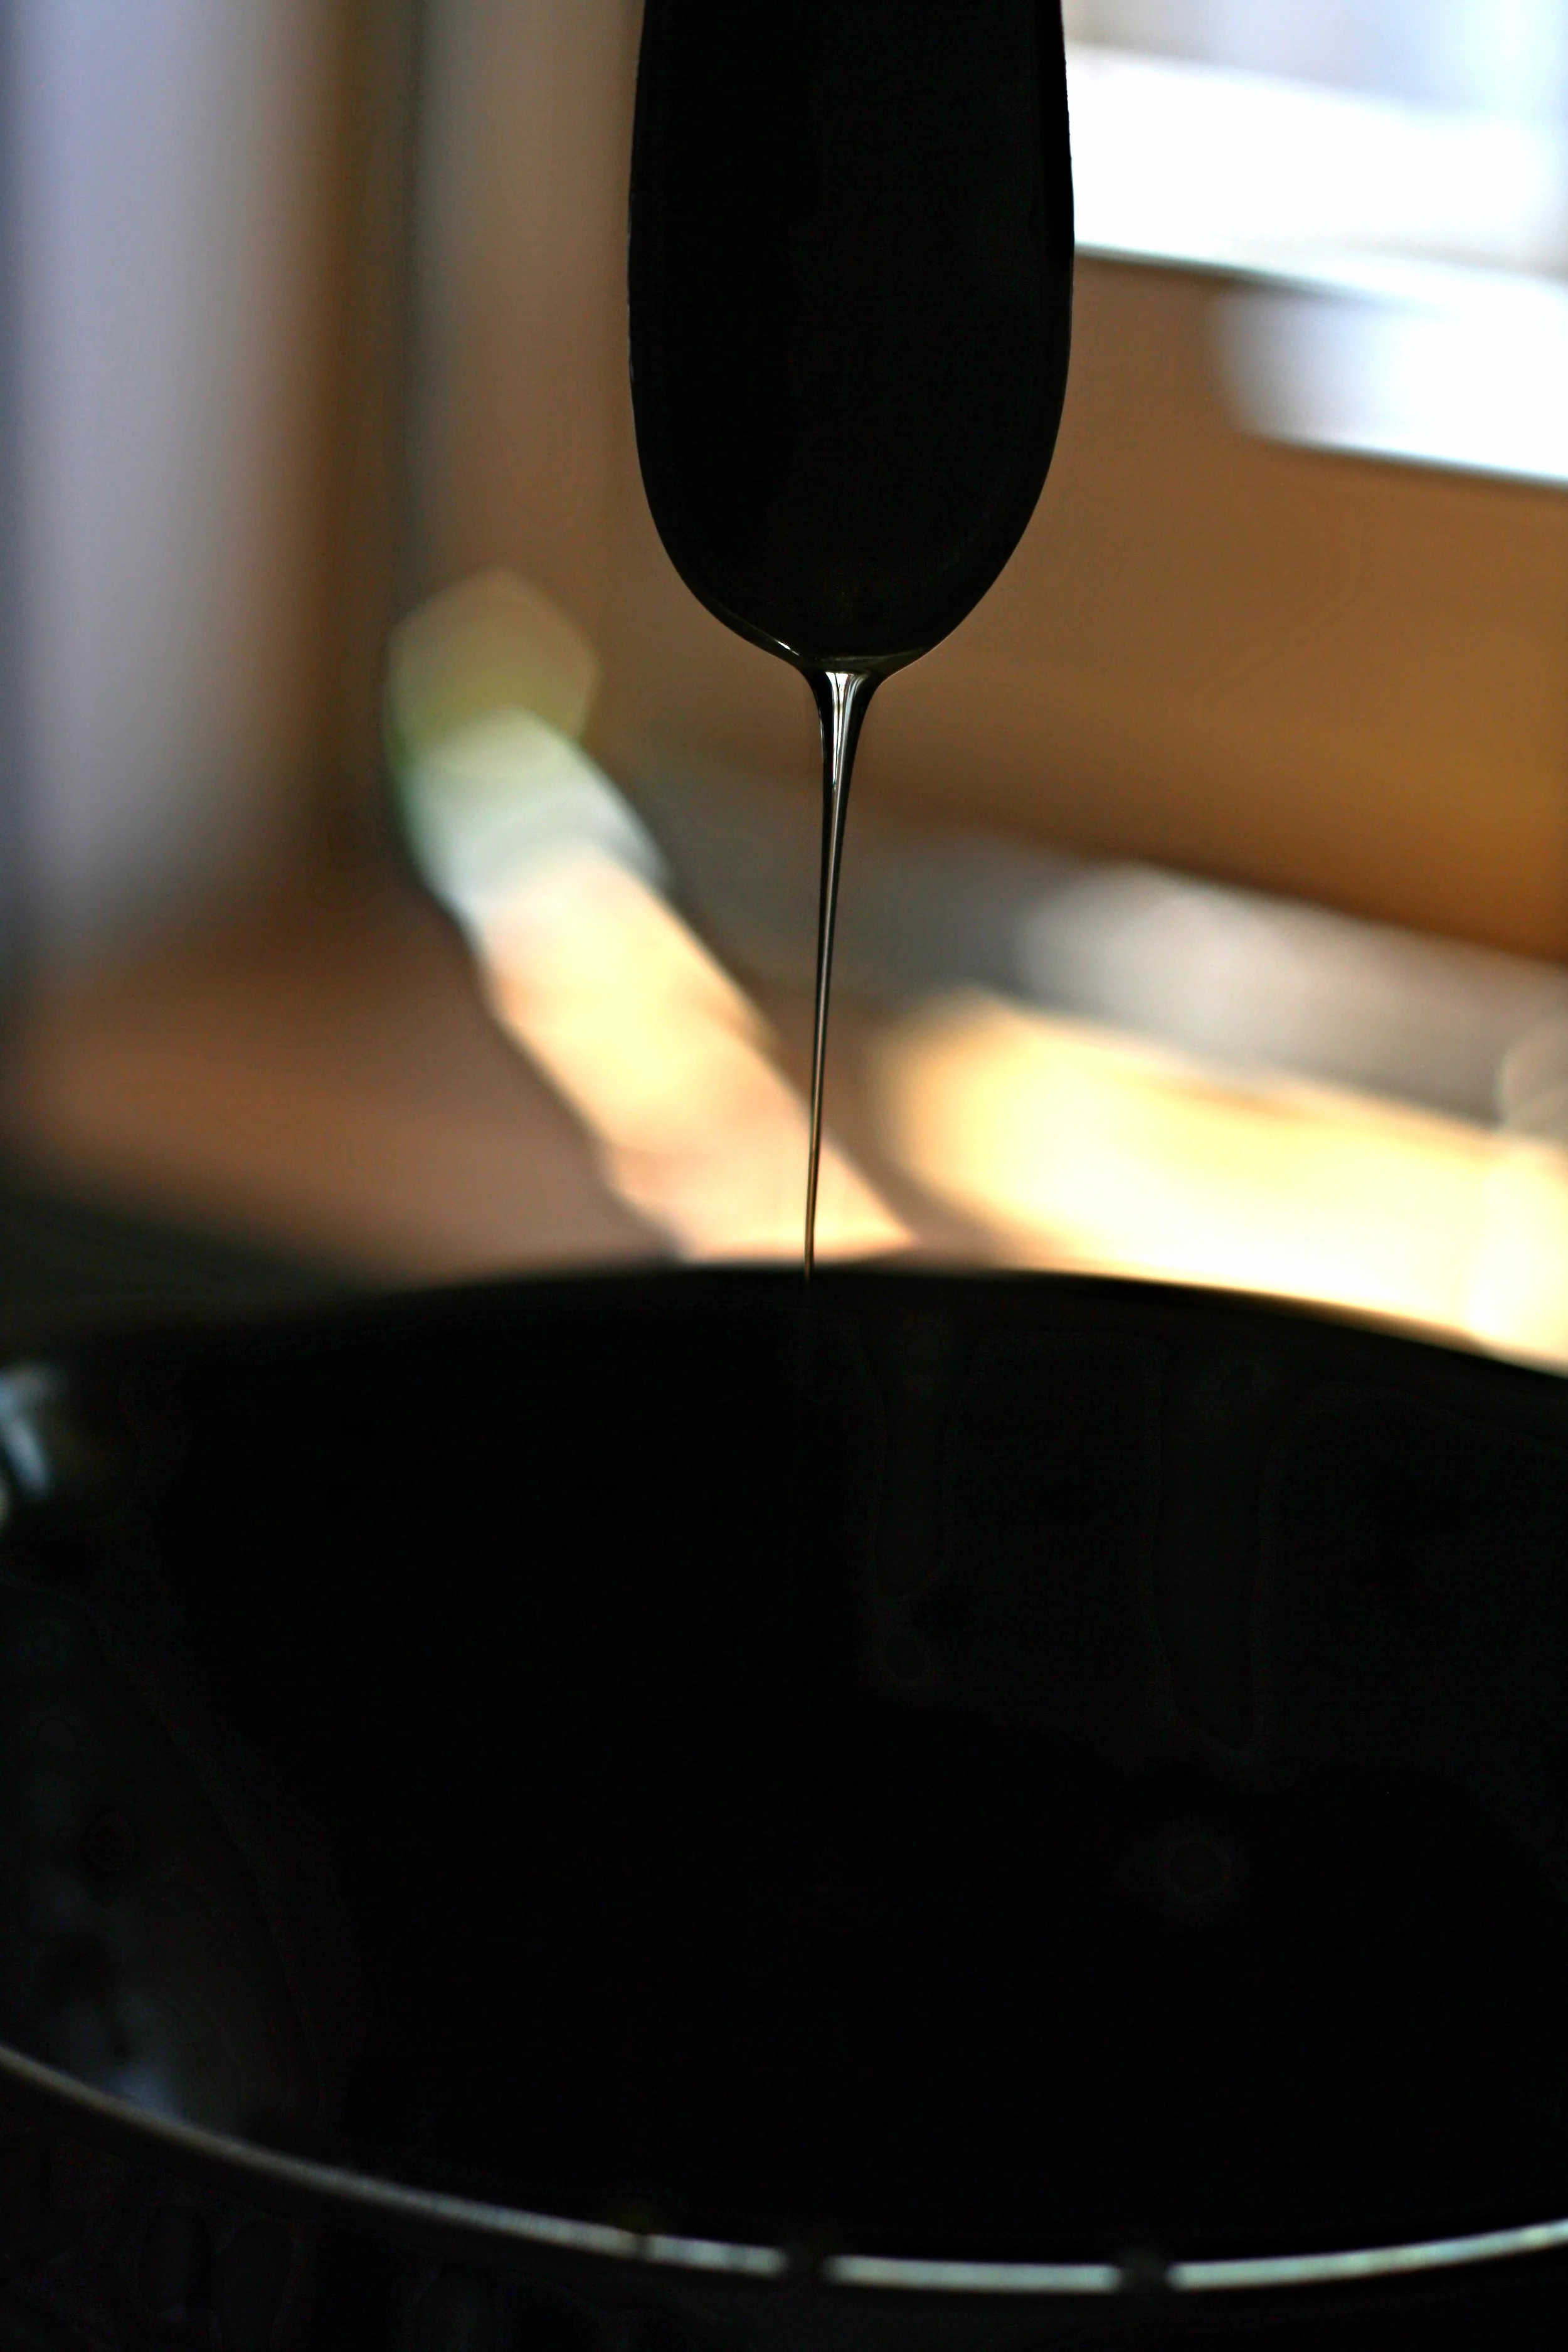


 %u00a0 %u00a0 %u00a0
 Spicy, crispy cauliflower%u2026 um yes please.%u00a0 I really like cauliflower. The mister loves it, or at least likes it better than any other vegetable. So when he asked for spicy cauliflower, well yea I am going to make it because I am so nice and really, could I say no to a veggie request? (I might have said no if it involved deep frying) Also, I found fresh cauliflower on sale! ($2.25) I don’t usually cook fresh cauliflower, but %u00a0I figured at that price, it wouldn’t be bad to cook a head. (If I am cooking cauliflower, which I do a lot, I just use frozen%u2026.casue it be waaaay cheaper)%u00a0
 The stuff. Cauliflower, chopped and broken into pieces. Corn meal mixed with salt, pepper, onion and garlic powder, and because I made this for the mister, parmesan cheese. And in the green bowl, srirsachi and a little oil.
  The%u00a0cauliflower%u00a0gets a coat of the hot sauce and then tossed around in the corn meal mixture. Handling as little as possible, place coated pieces on a lightly oiled baking sheet and stick those suckers in the oven for%u00a0about a half hour, taking them out and%u00a0flipping half way.
 And take them out of the oven when pieces tuned golden brown, stik them on a plate, and serve immediately.
 I am kind of obsessed with%u00a0%u00a0pickled jalape%u00f1os%u2026 like I want to eat a whole jar with a fork and then drink the juice. So much hot and spicy love.%u00a0 One of my sisters is the same way, pickled %u00a0hot pepper obsessed. We used to buy the humongo gallon sized jars of jalape%u00f1os at Costco and go through them in like a month. But sadly, Costco stopped selling those humongous jars and we have been left buying the itty bitty jars that actually fit in a normal fridge. (I know, so sad). %u00a0And maybe because the jars were normal sized and I was more aware that I shouldn’t eat a of cup of jalape%u00f1os at one sitting, or just the mire fact that a tiny jar cost the same as a gallon, but the store bought little jars weren’t doing it for me anymore. %u00a0And then fate happened. The grocery store was having a super sale on fresh jalape%u00f1os and %u00a0I figured it was time to make%u00a0make my own. Now I don’t think I can ever go back to those store bought jars of blah %u00a0because the ones I made are the best freaking pickled jalape%u00f1os this girl has ever eaten. %u00a0I might even start making my own gallon sized jars!!!!
 Because it is cold outside. Because I had an hour to kill before I needed to leave the house and because I wanted to make a sweet treat for the mister (who had been dealing with frozen pipes all day) and for the little littles that I was going to hang out with.%u00a0 My original idea was to just make regular old snickerdoodles, but as %u00a0I was riffling around my tea drawer for a mid day tea (it’s usually coffee, but I am trying to cut back on drinking one thousand cups a day) I got hit with a little inspiration. Chai tea spiced snickerdoodles. Yes! a nice black chai, full of flavors or cinnamon, ginger, cardamon, allspice, and pepper. So many good time tastes. %u00a0And while I am at it, why not add some chocolate to that mix, because, well just because.
 The stuff%u2026Flour, salt, baking powder, cinnamon, and allspice. Cocoa powder, brown and white sugar. Veggie Oil %u00a0(you can use butter, or vegan butter instead for a chewier cookie) vanilla, a little vinegar and a nice cup of %u00a0chai tea… %u00a0Also a little bowl of cinnamon and sugar to doodle the cookies.
 %u00a0 %u00a0
  The sugars, oil, tea, vinegar, and vanilla go into a big bowl. Beat for a minute on medium, then add the rest of the stuff and beat some more until fully incorporated%u2026. Simple simple.%u00a0
 Aahhhh%u2026%u2026.pulled from the oven and placed on a rack to cool. Fluffy, chewy, pillowy soft and spicy cookies. Oh the smell of so good!
 Made extra large to make extra little littles happy. The best part? I made each little sing me a song for a second cookie%u2026 I am the greatest!
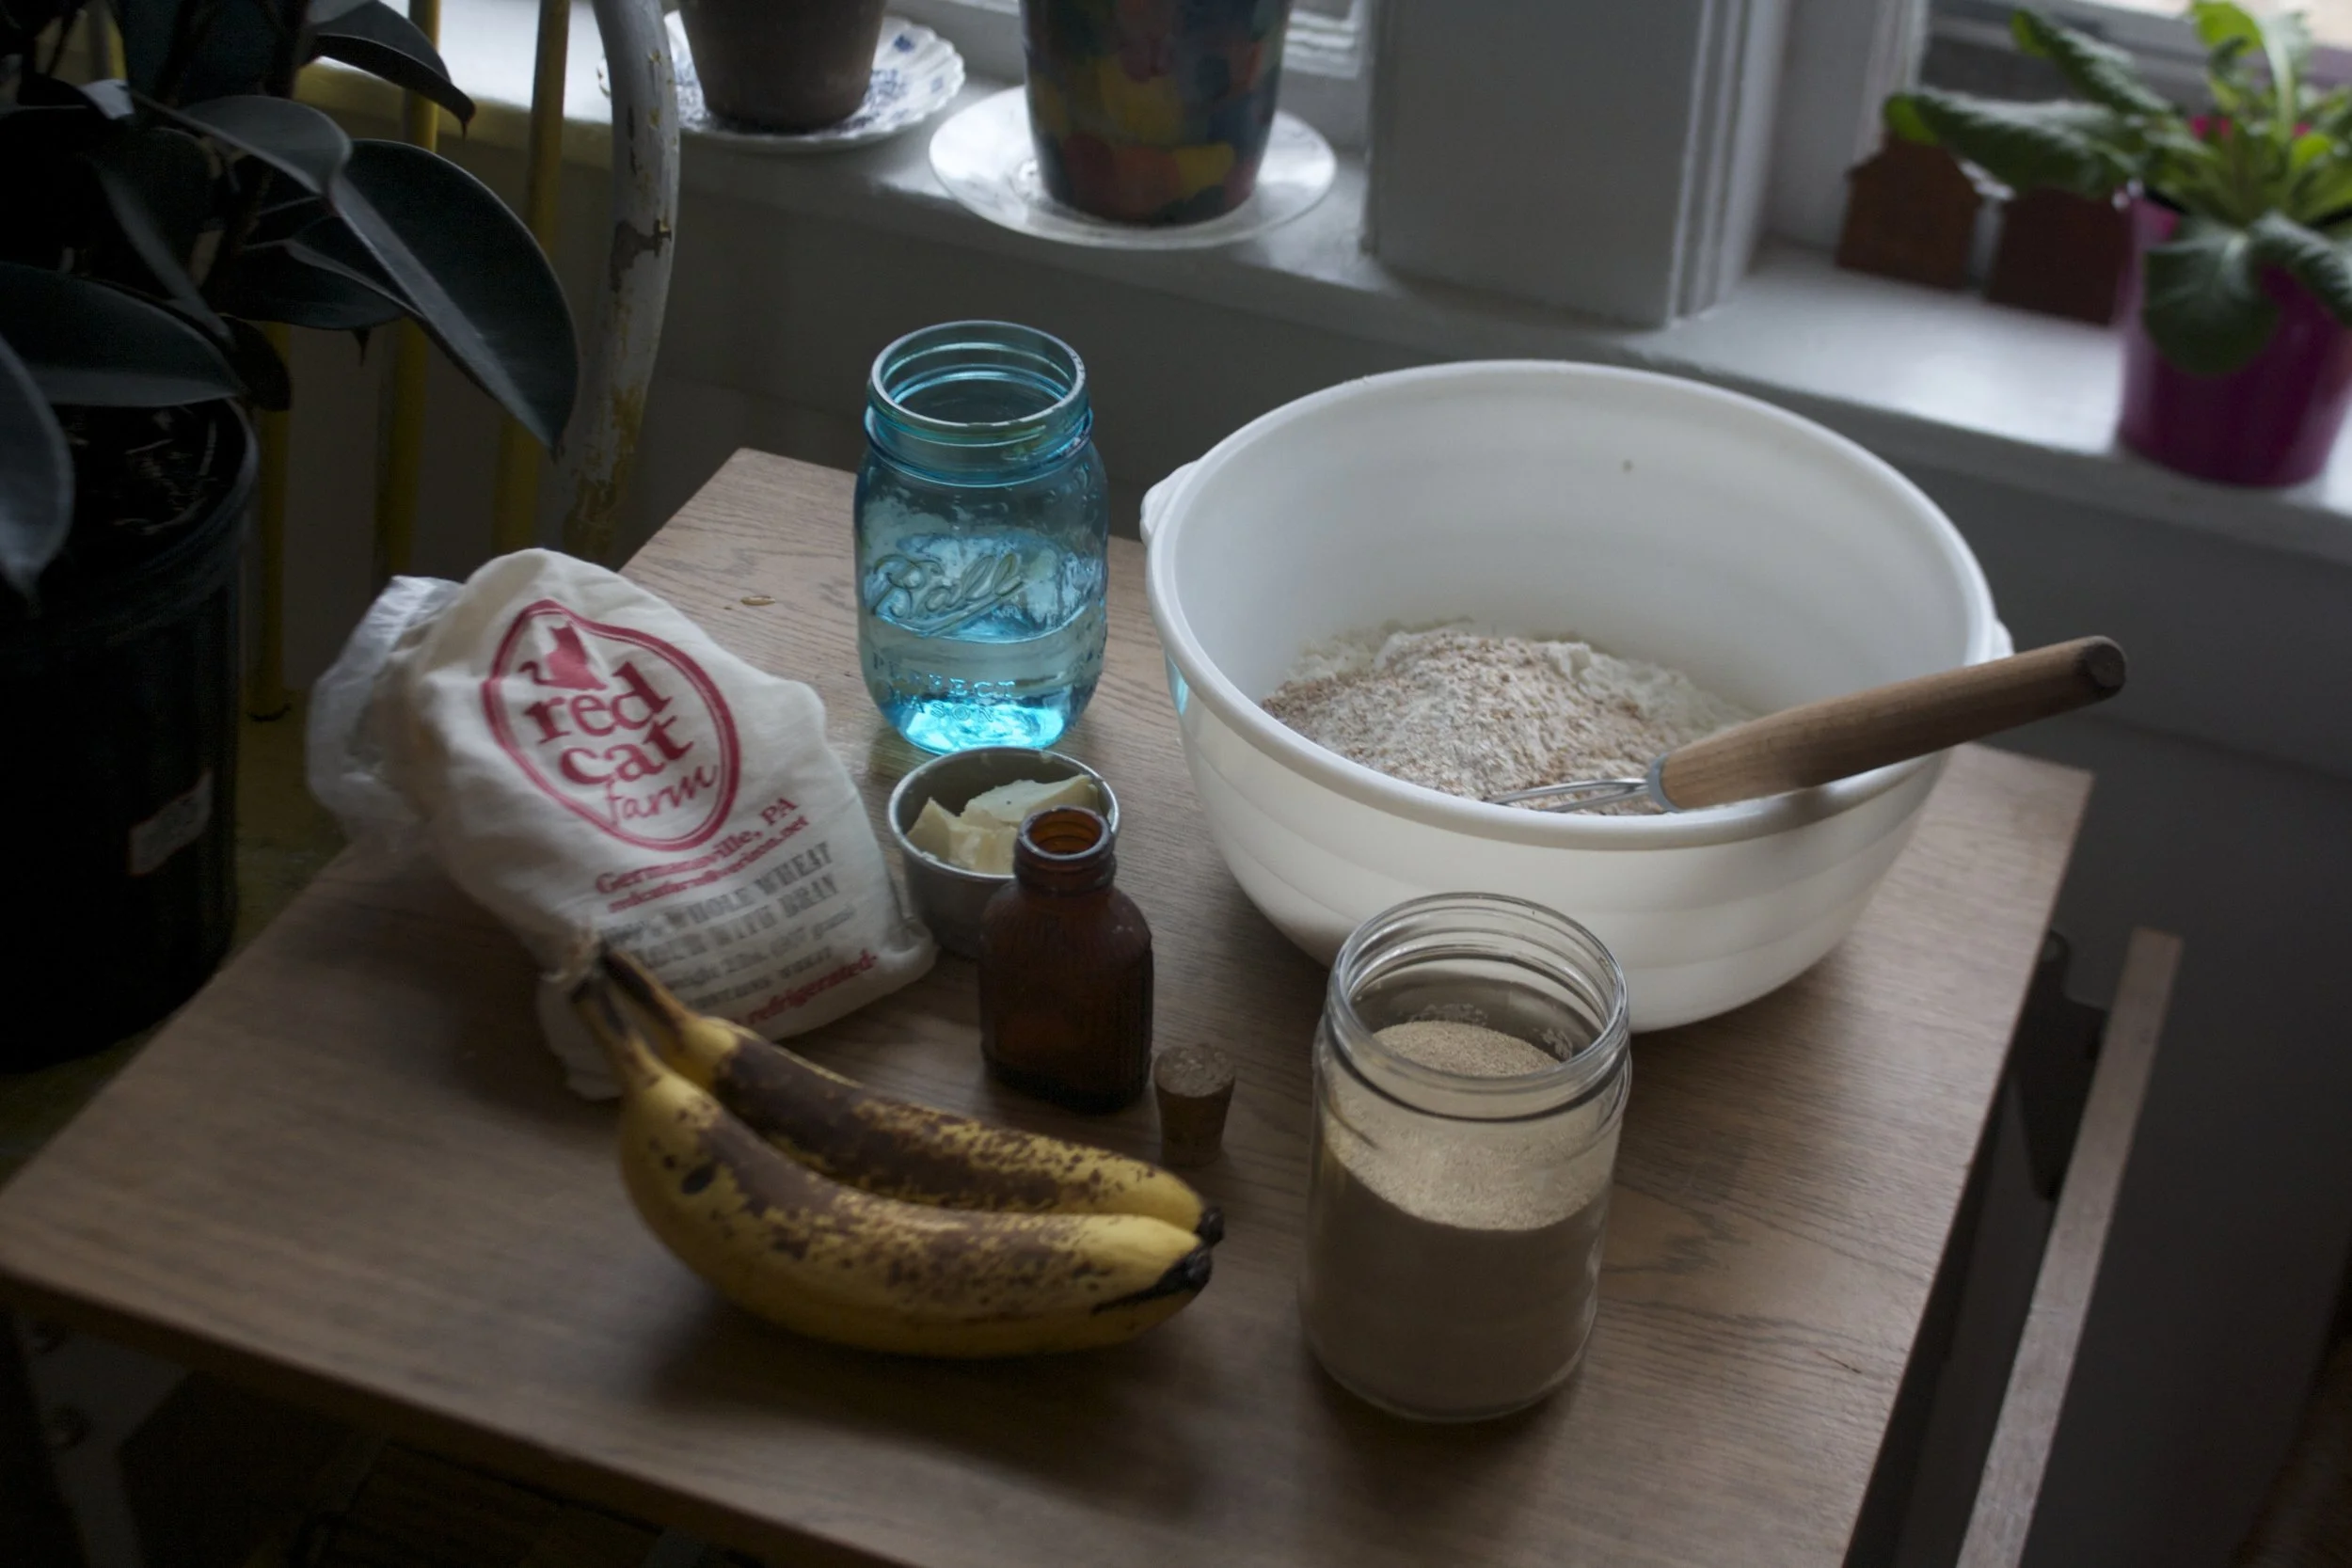

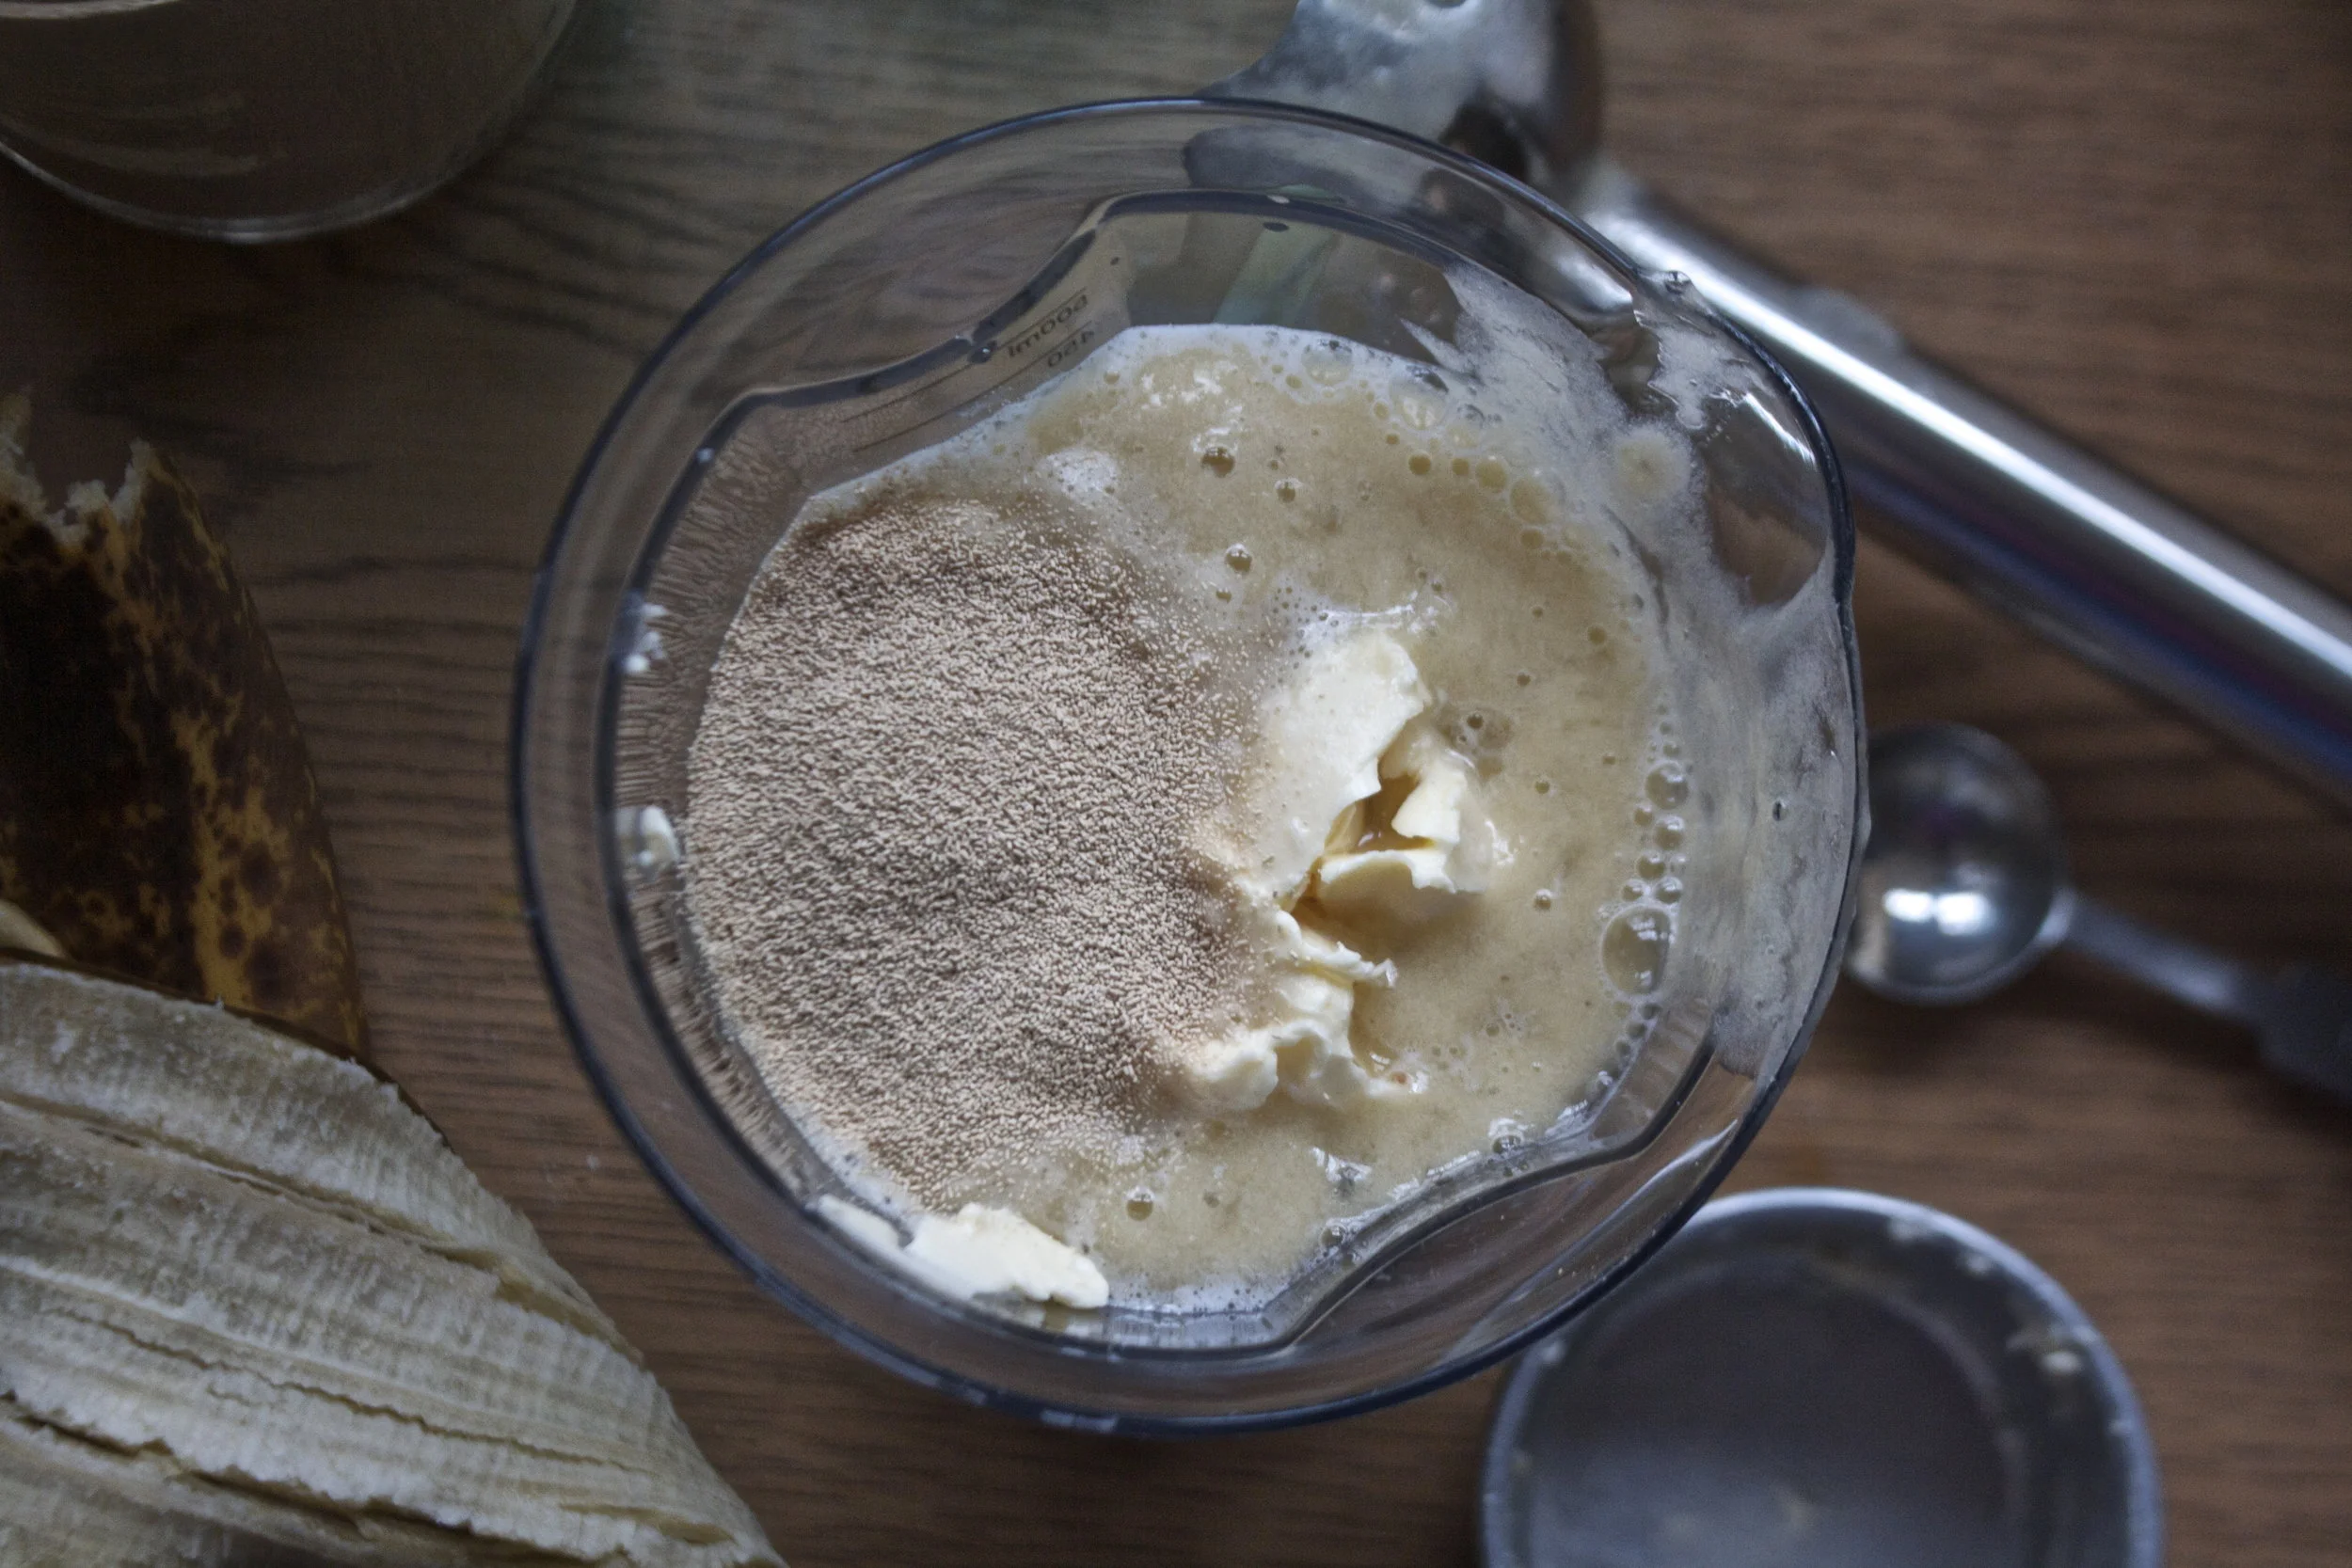


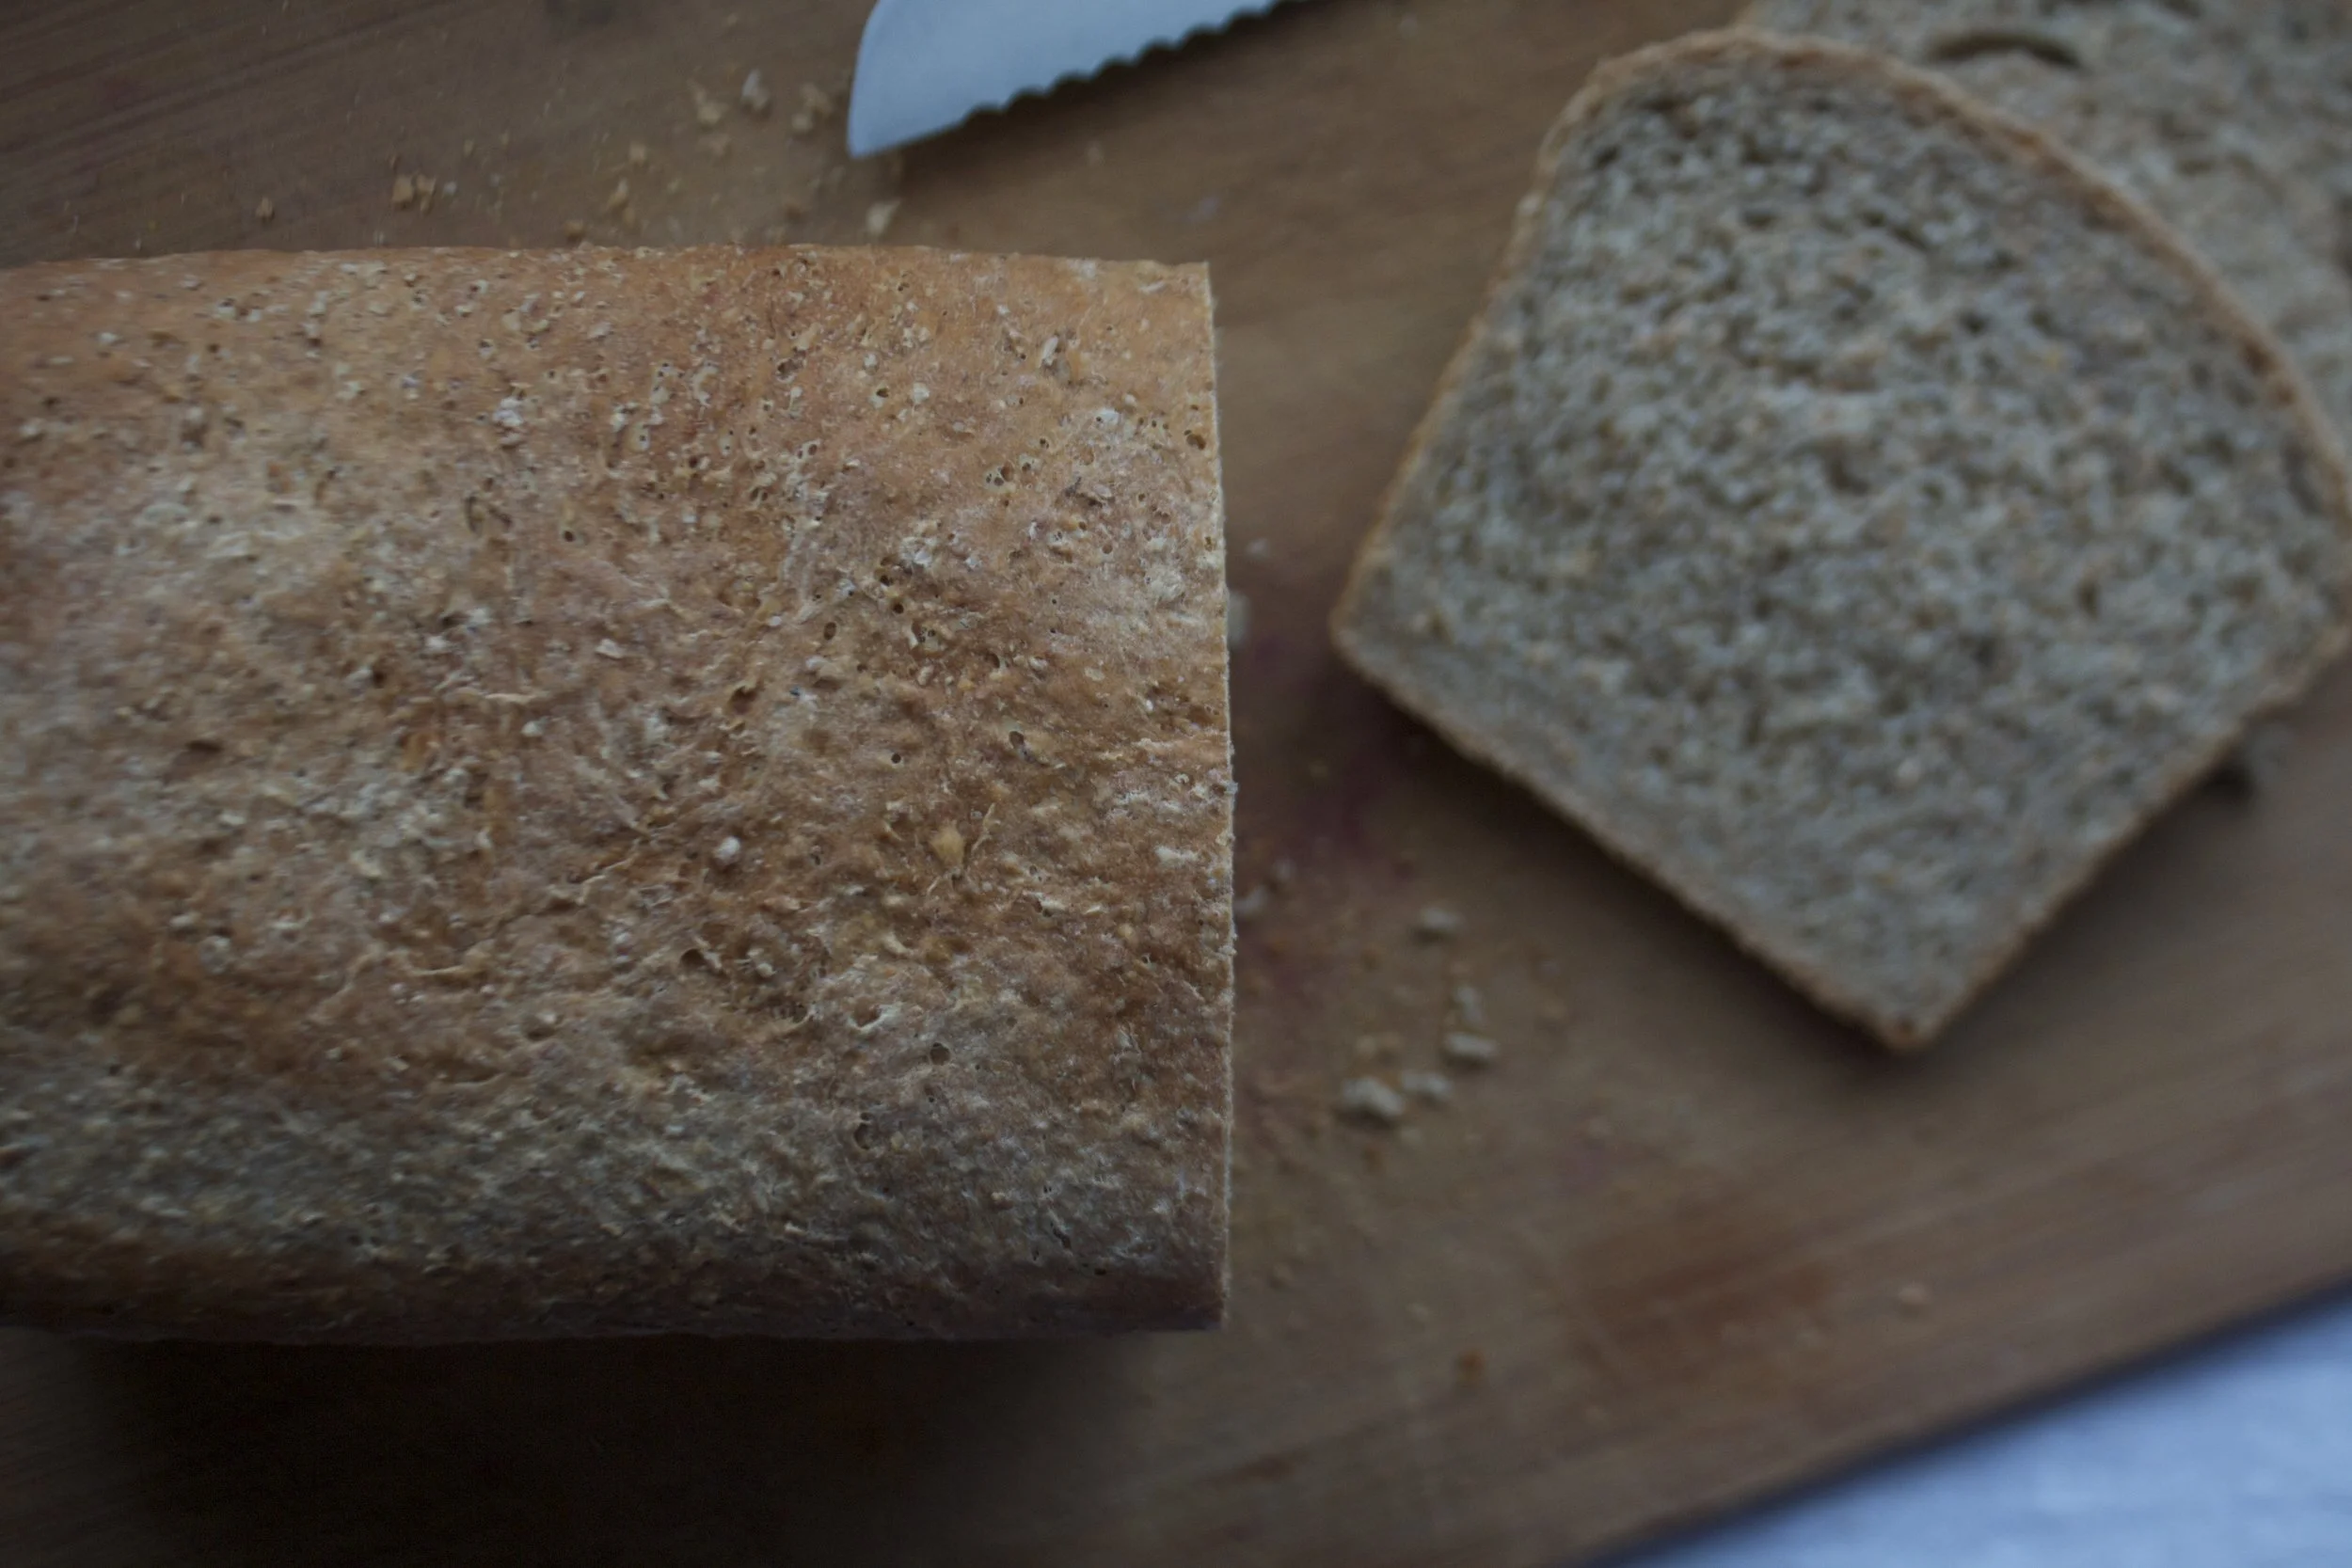

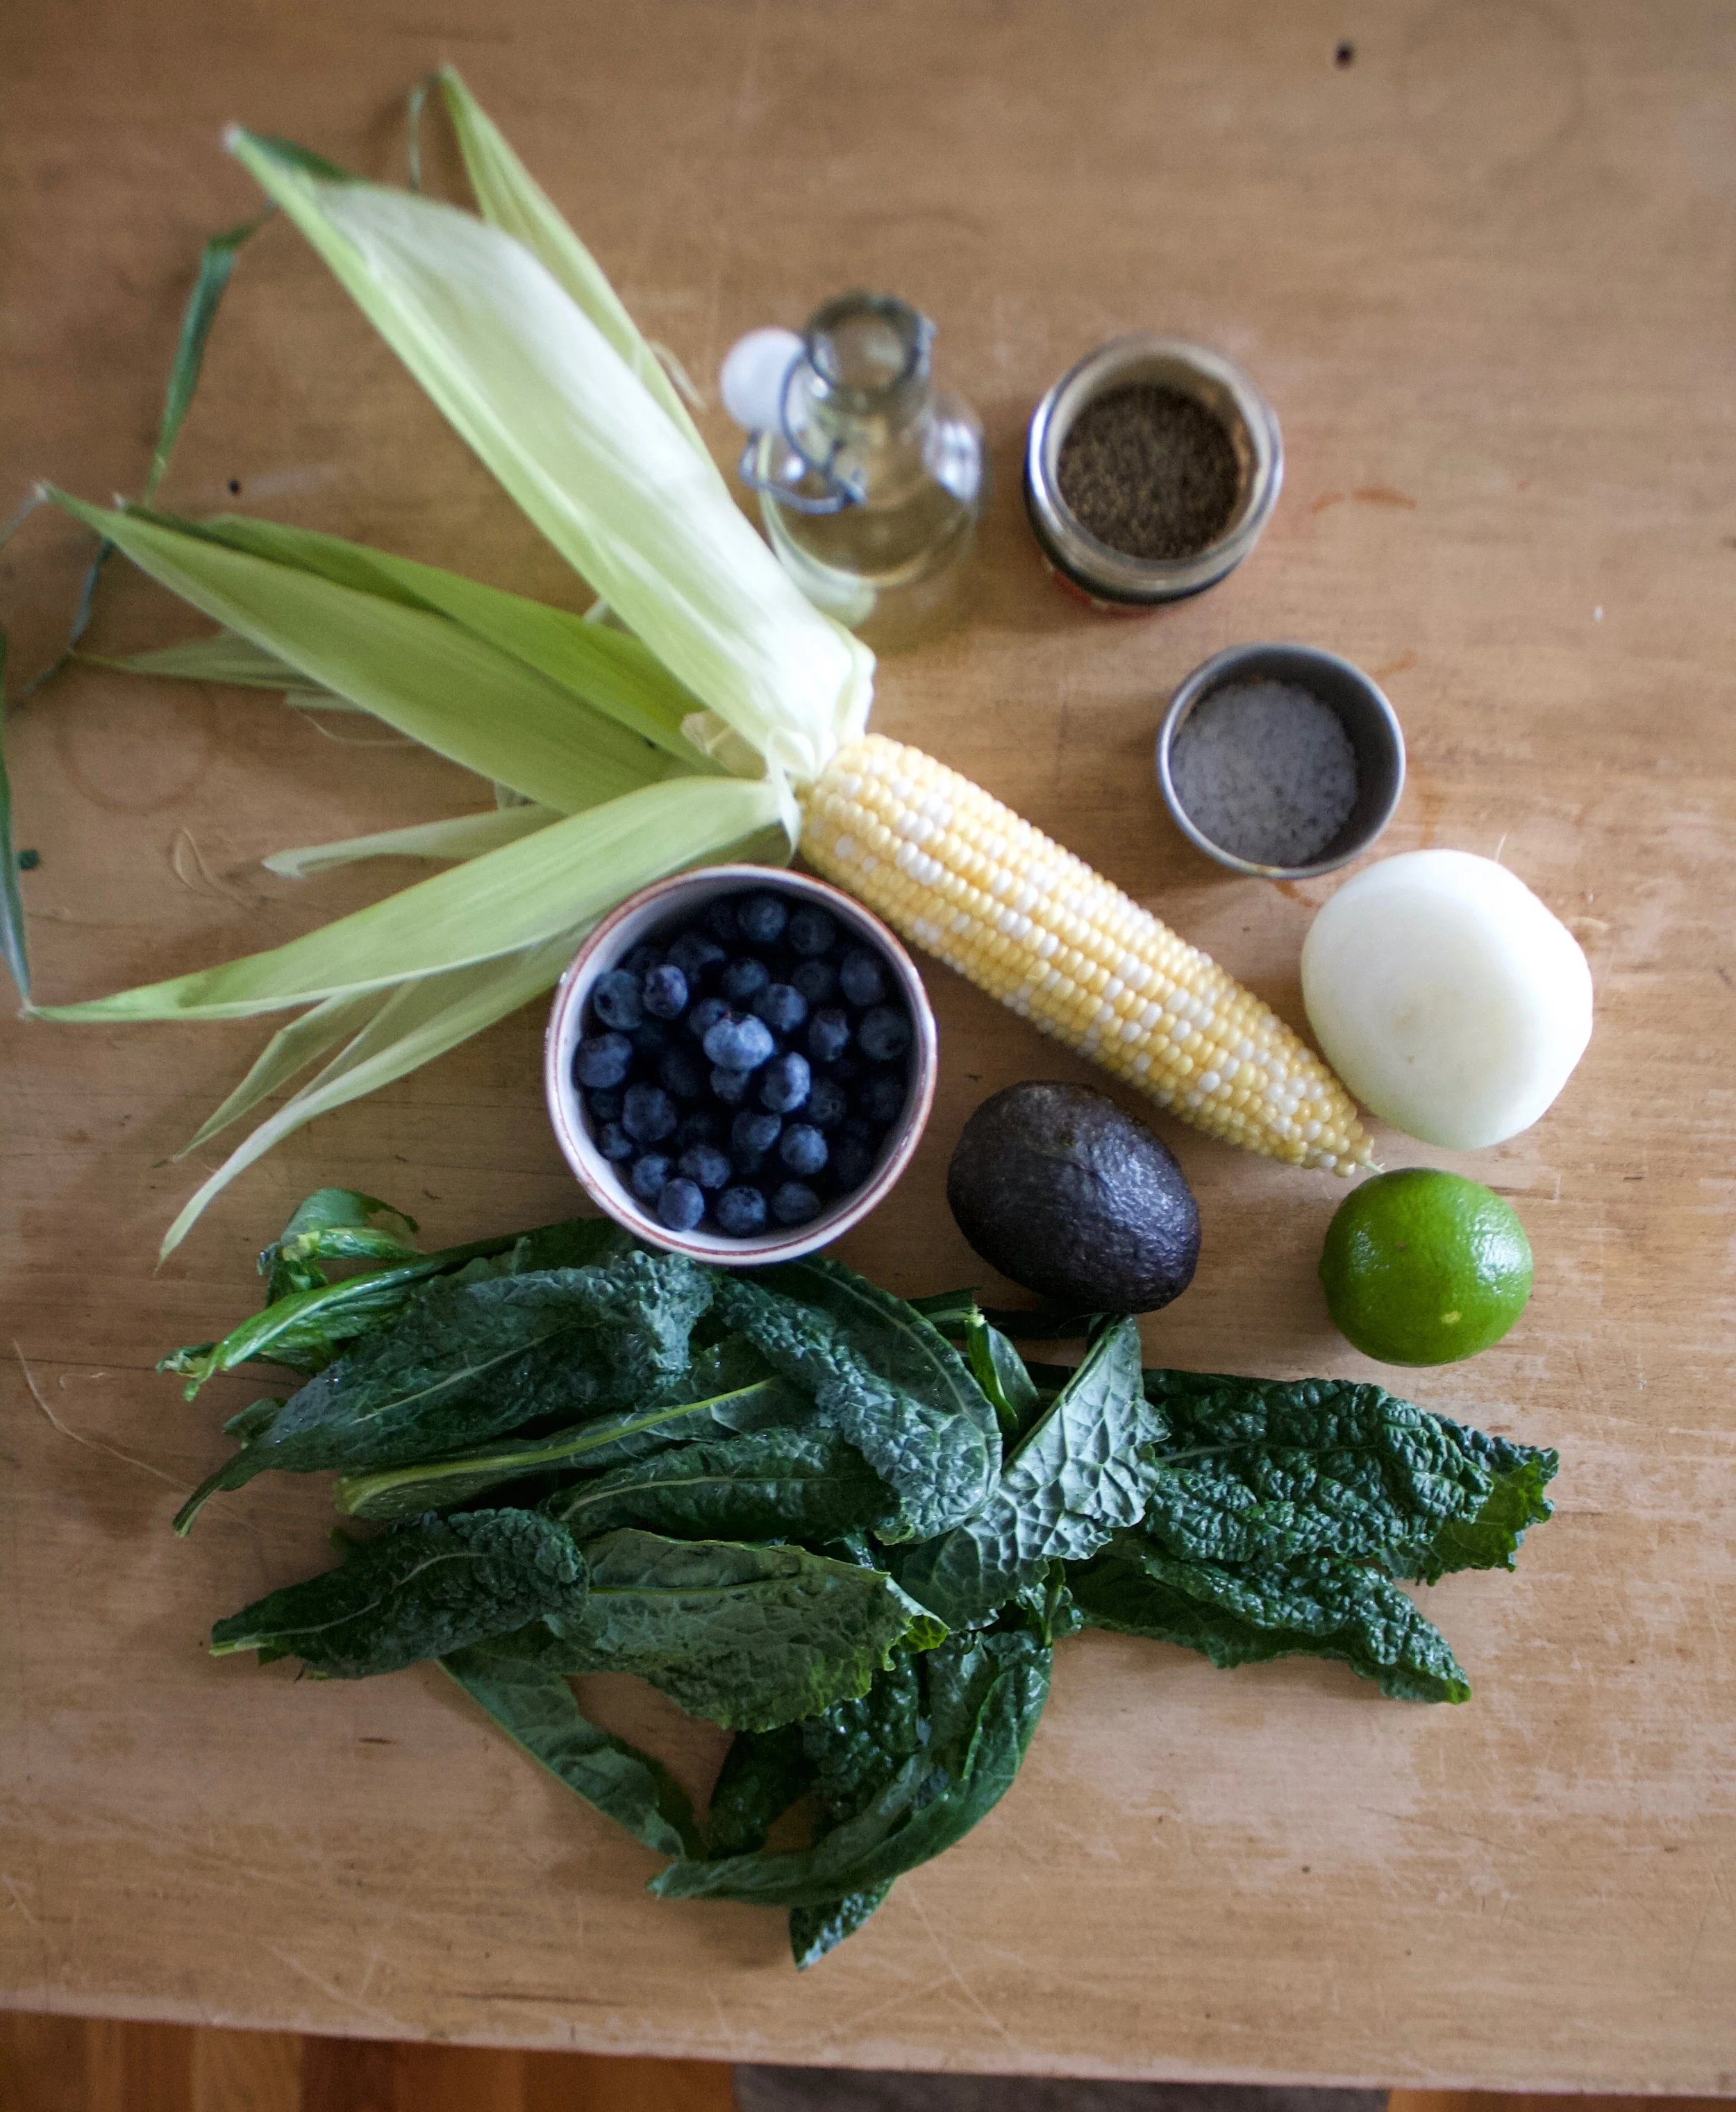
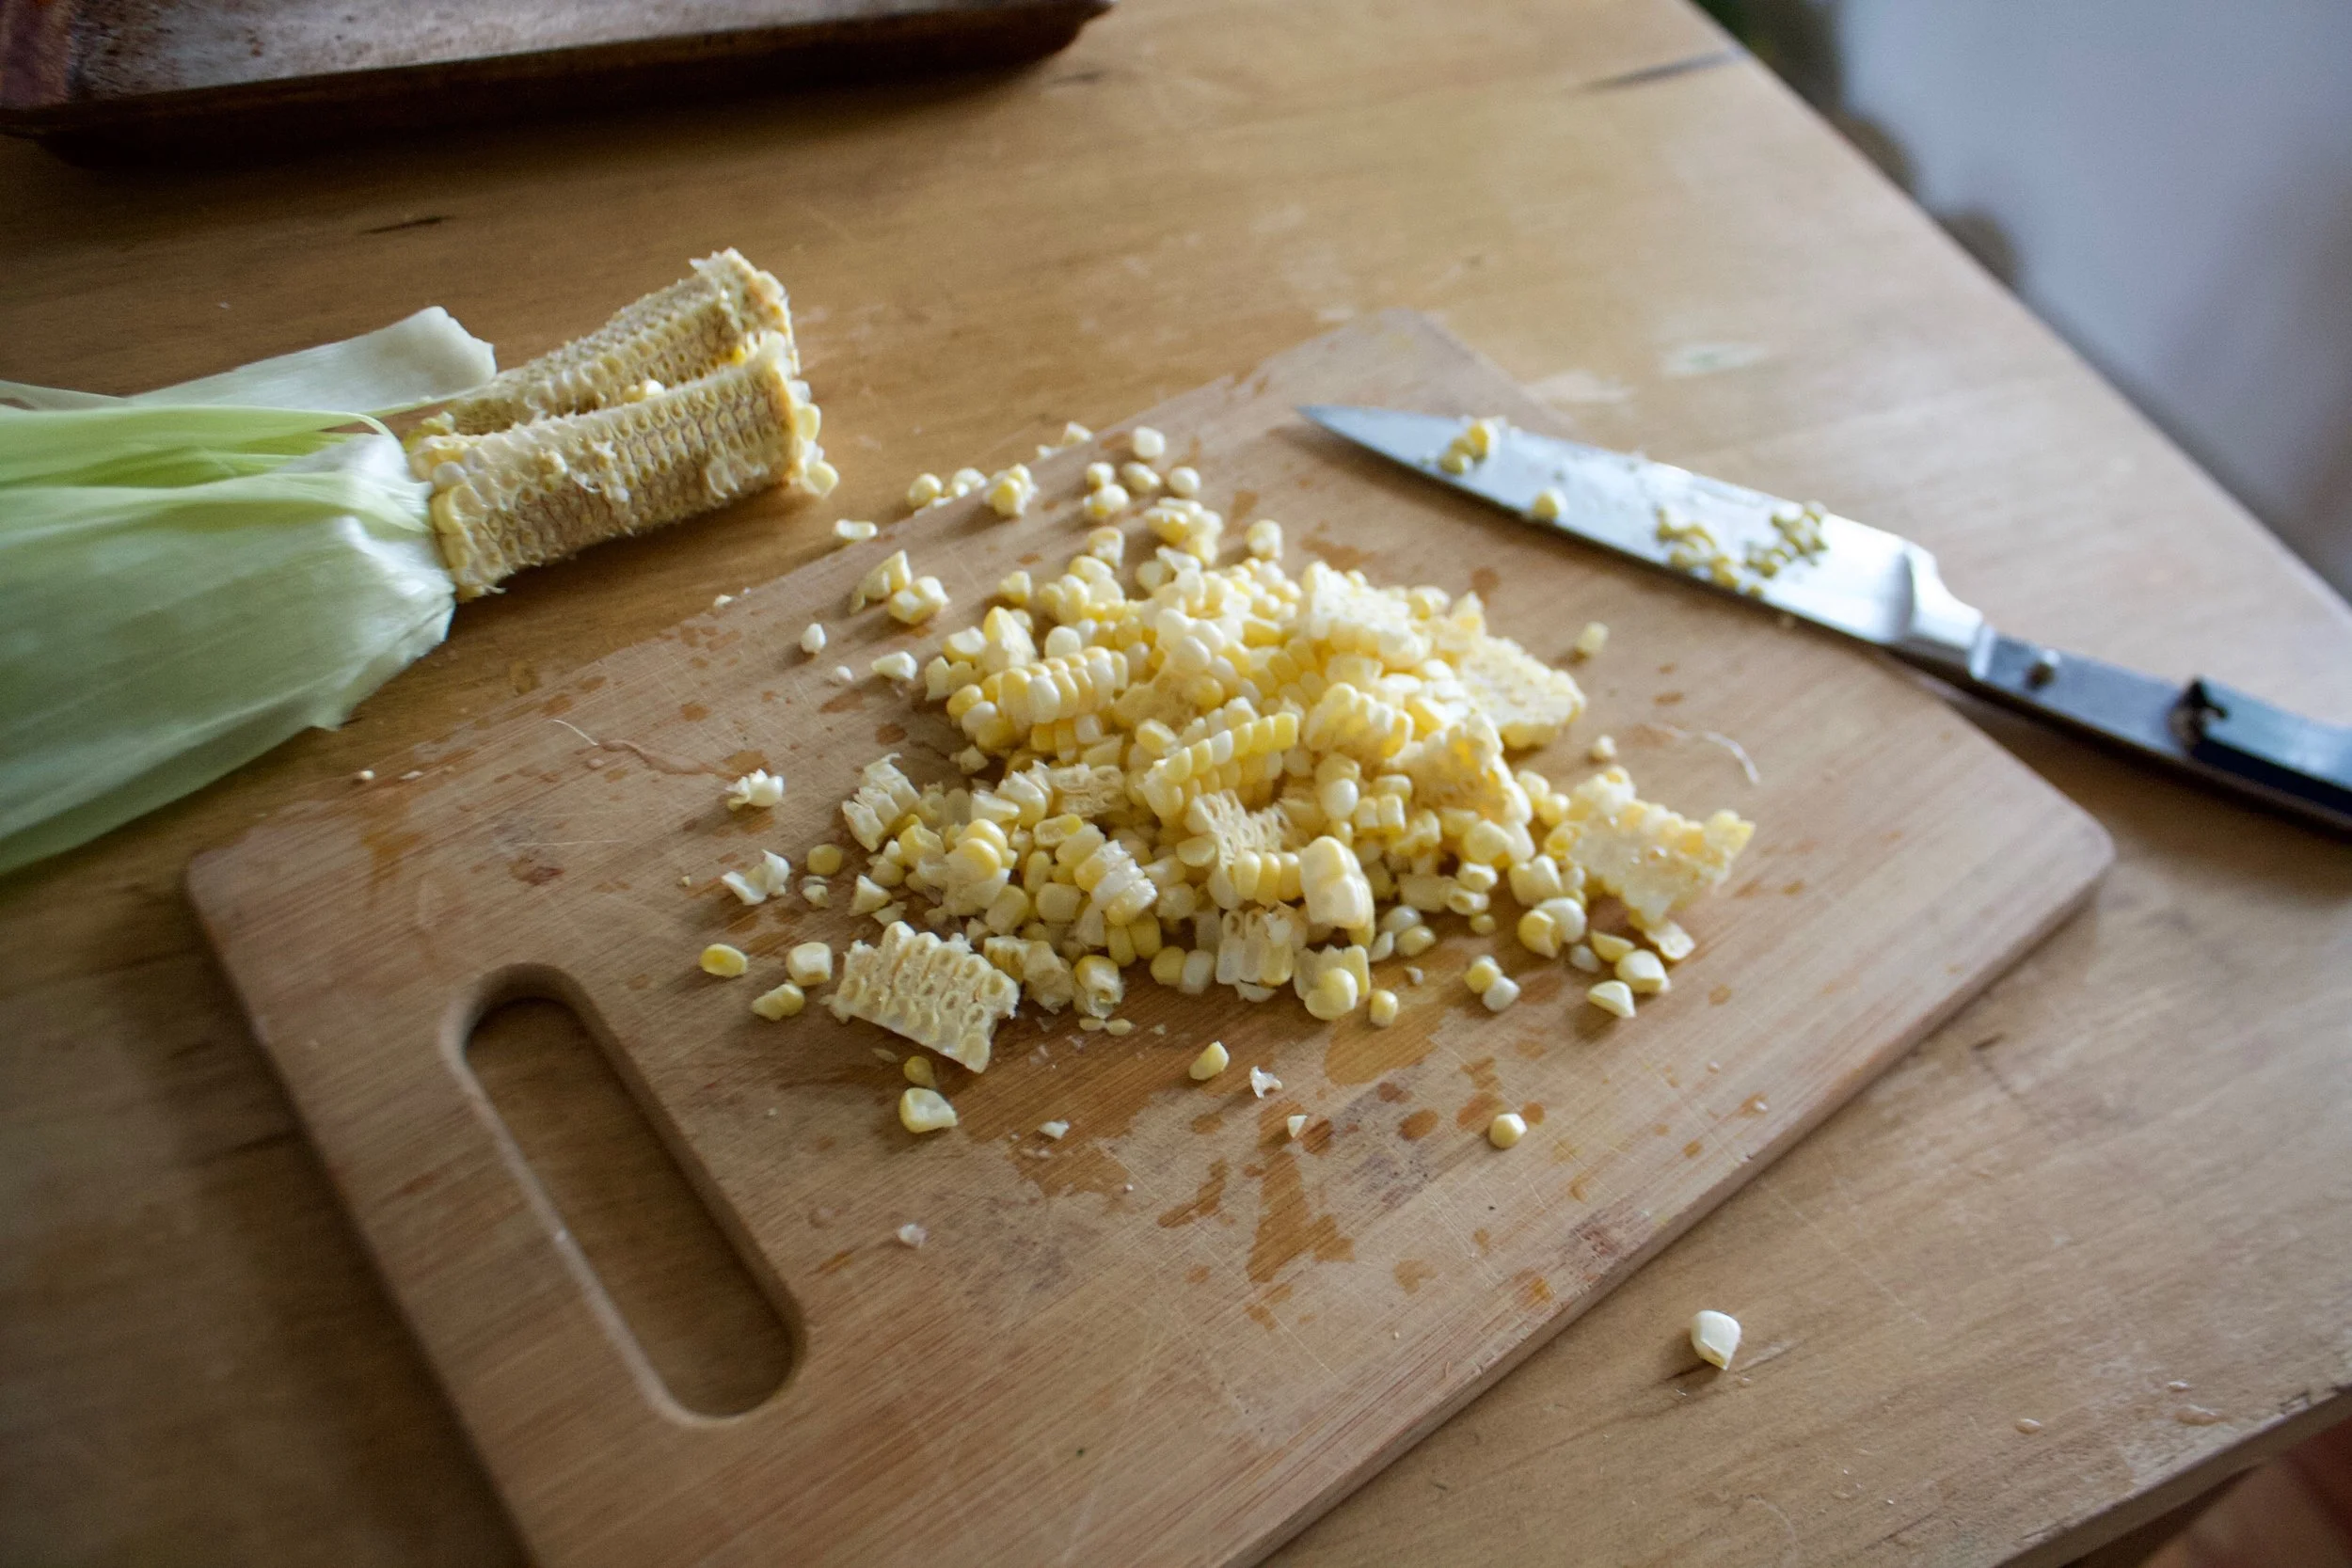


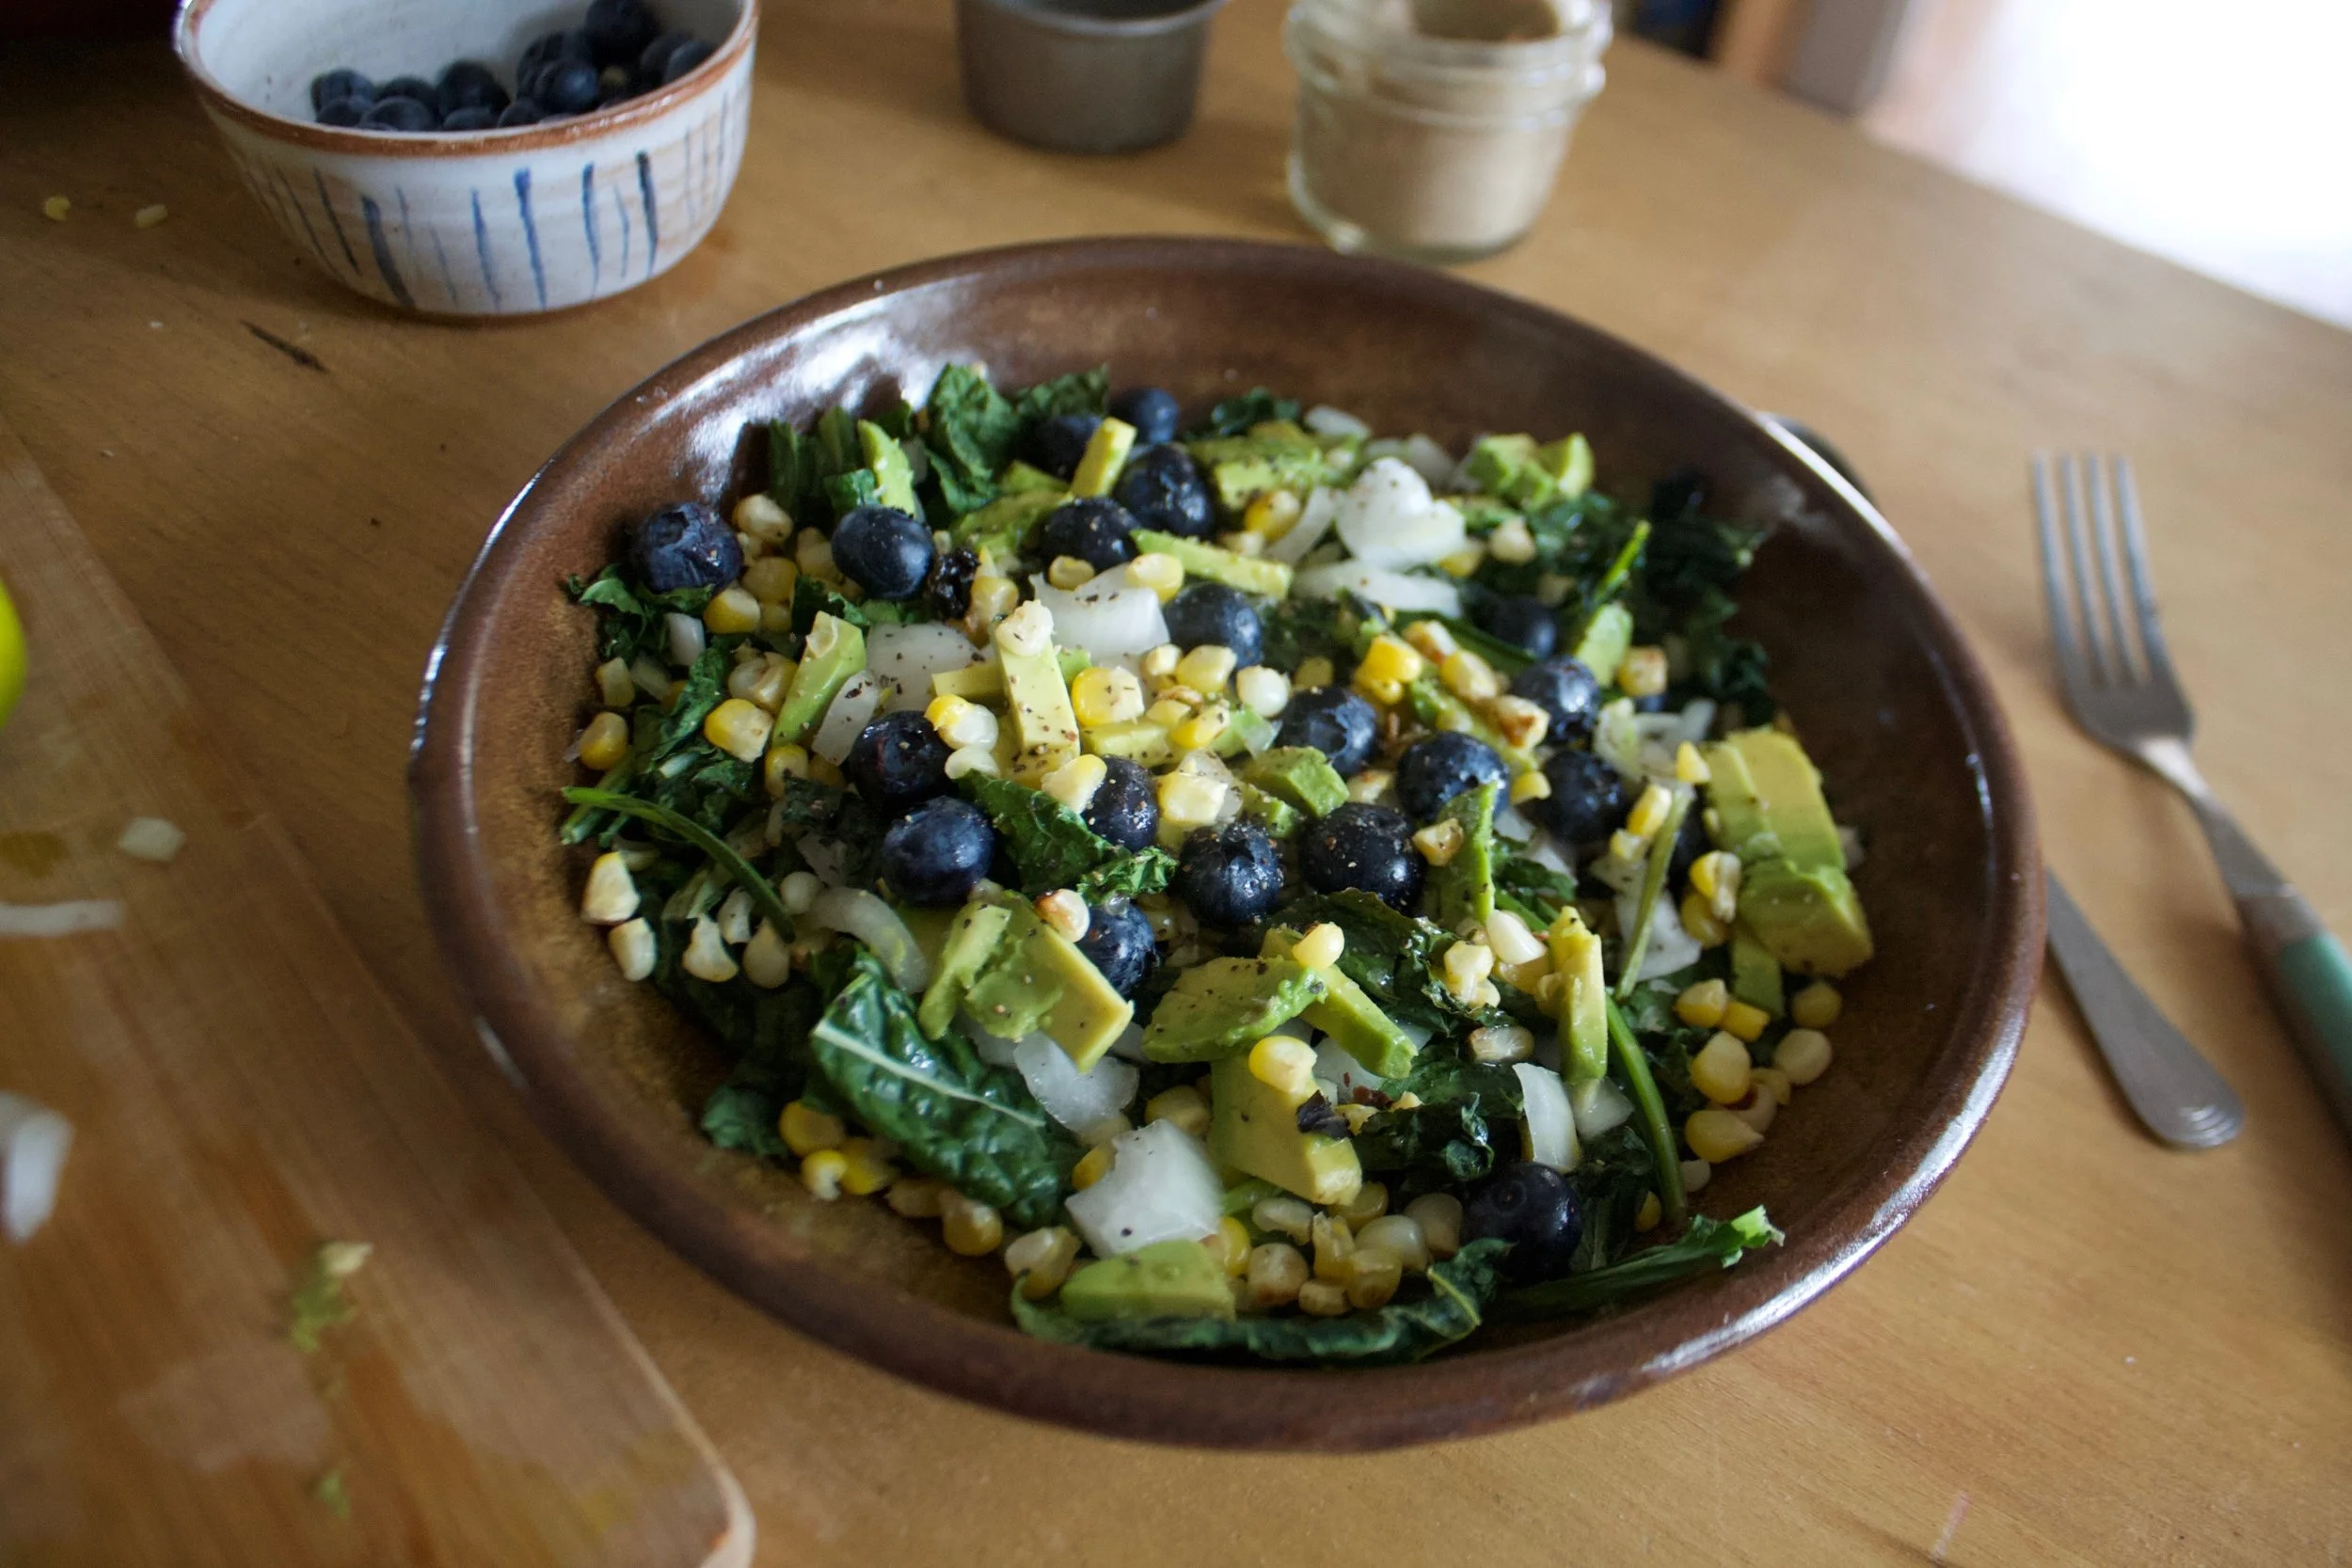


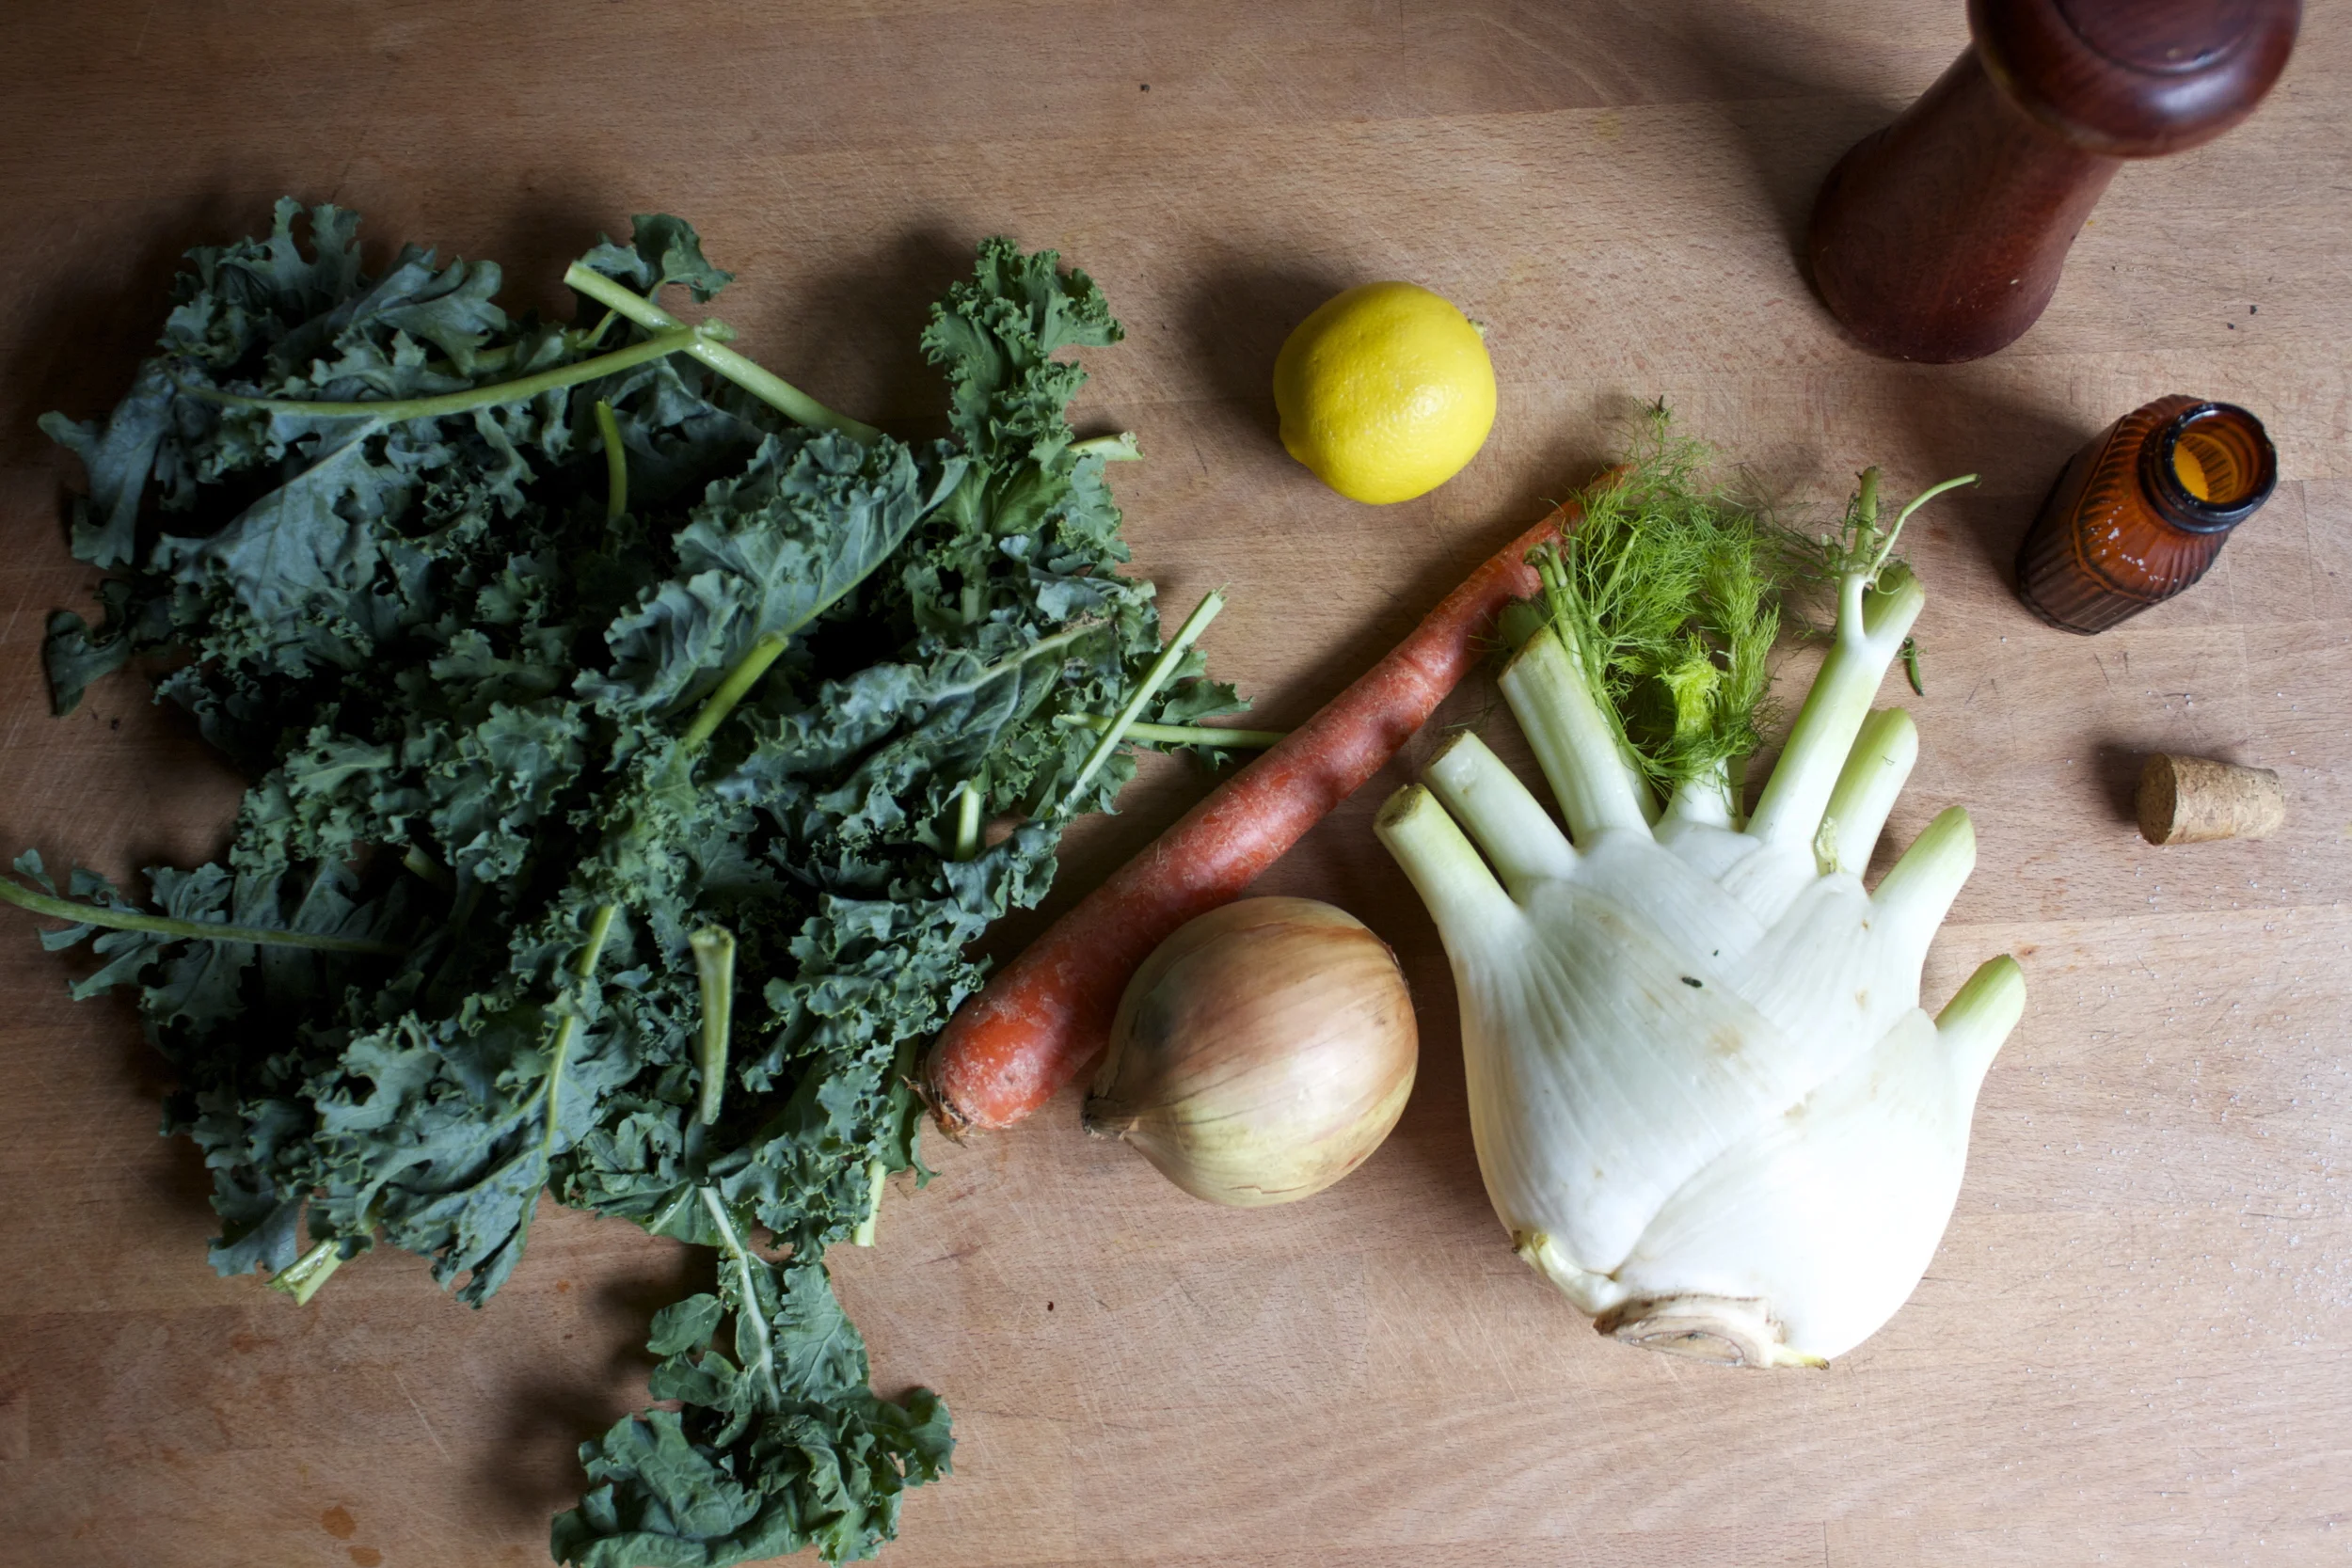


 Last week pineapples were on sale everywhere%u2026%u2026So I bought 5. Don’t judge%u00a0
 %u00a0Stuff for the goodness. We got the kale, some avocado because all salads should have avocado and some cooked lentils because, well, all salads should have lentils (or beans or nuts.. so you could totally something else) Then a few sprigs of fresh dill, a clove of garlic, red wine vinegar, salt and a bowl of chunked up pineapple.%u00a0
 The pineapple, dill, garlic, red wine vinegar, a splash of water and a pinch of salt get blended in a blender or whatever blending device you use. Go as smooth or chunky as you like, I recommend going smooth, but leaving a little chunk, like half blended.
 So good%u2026%u2026So so good.


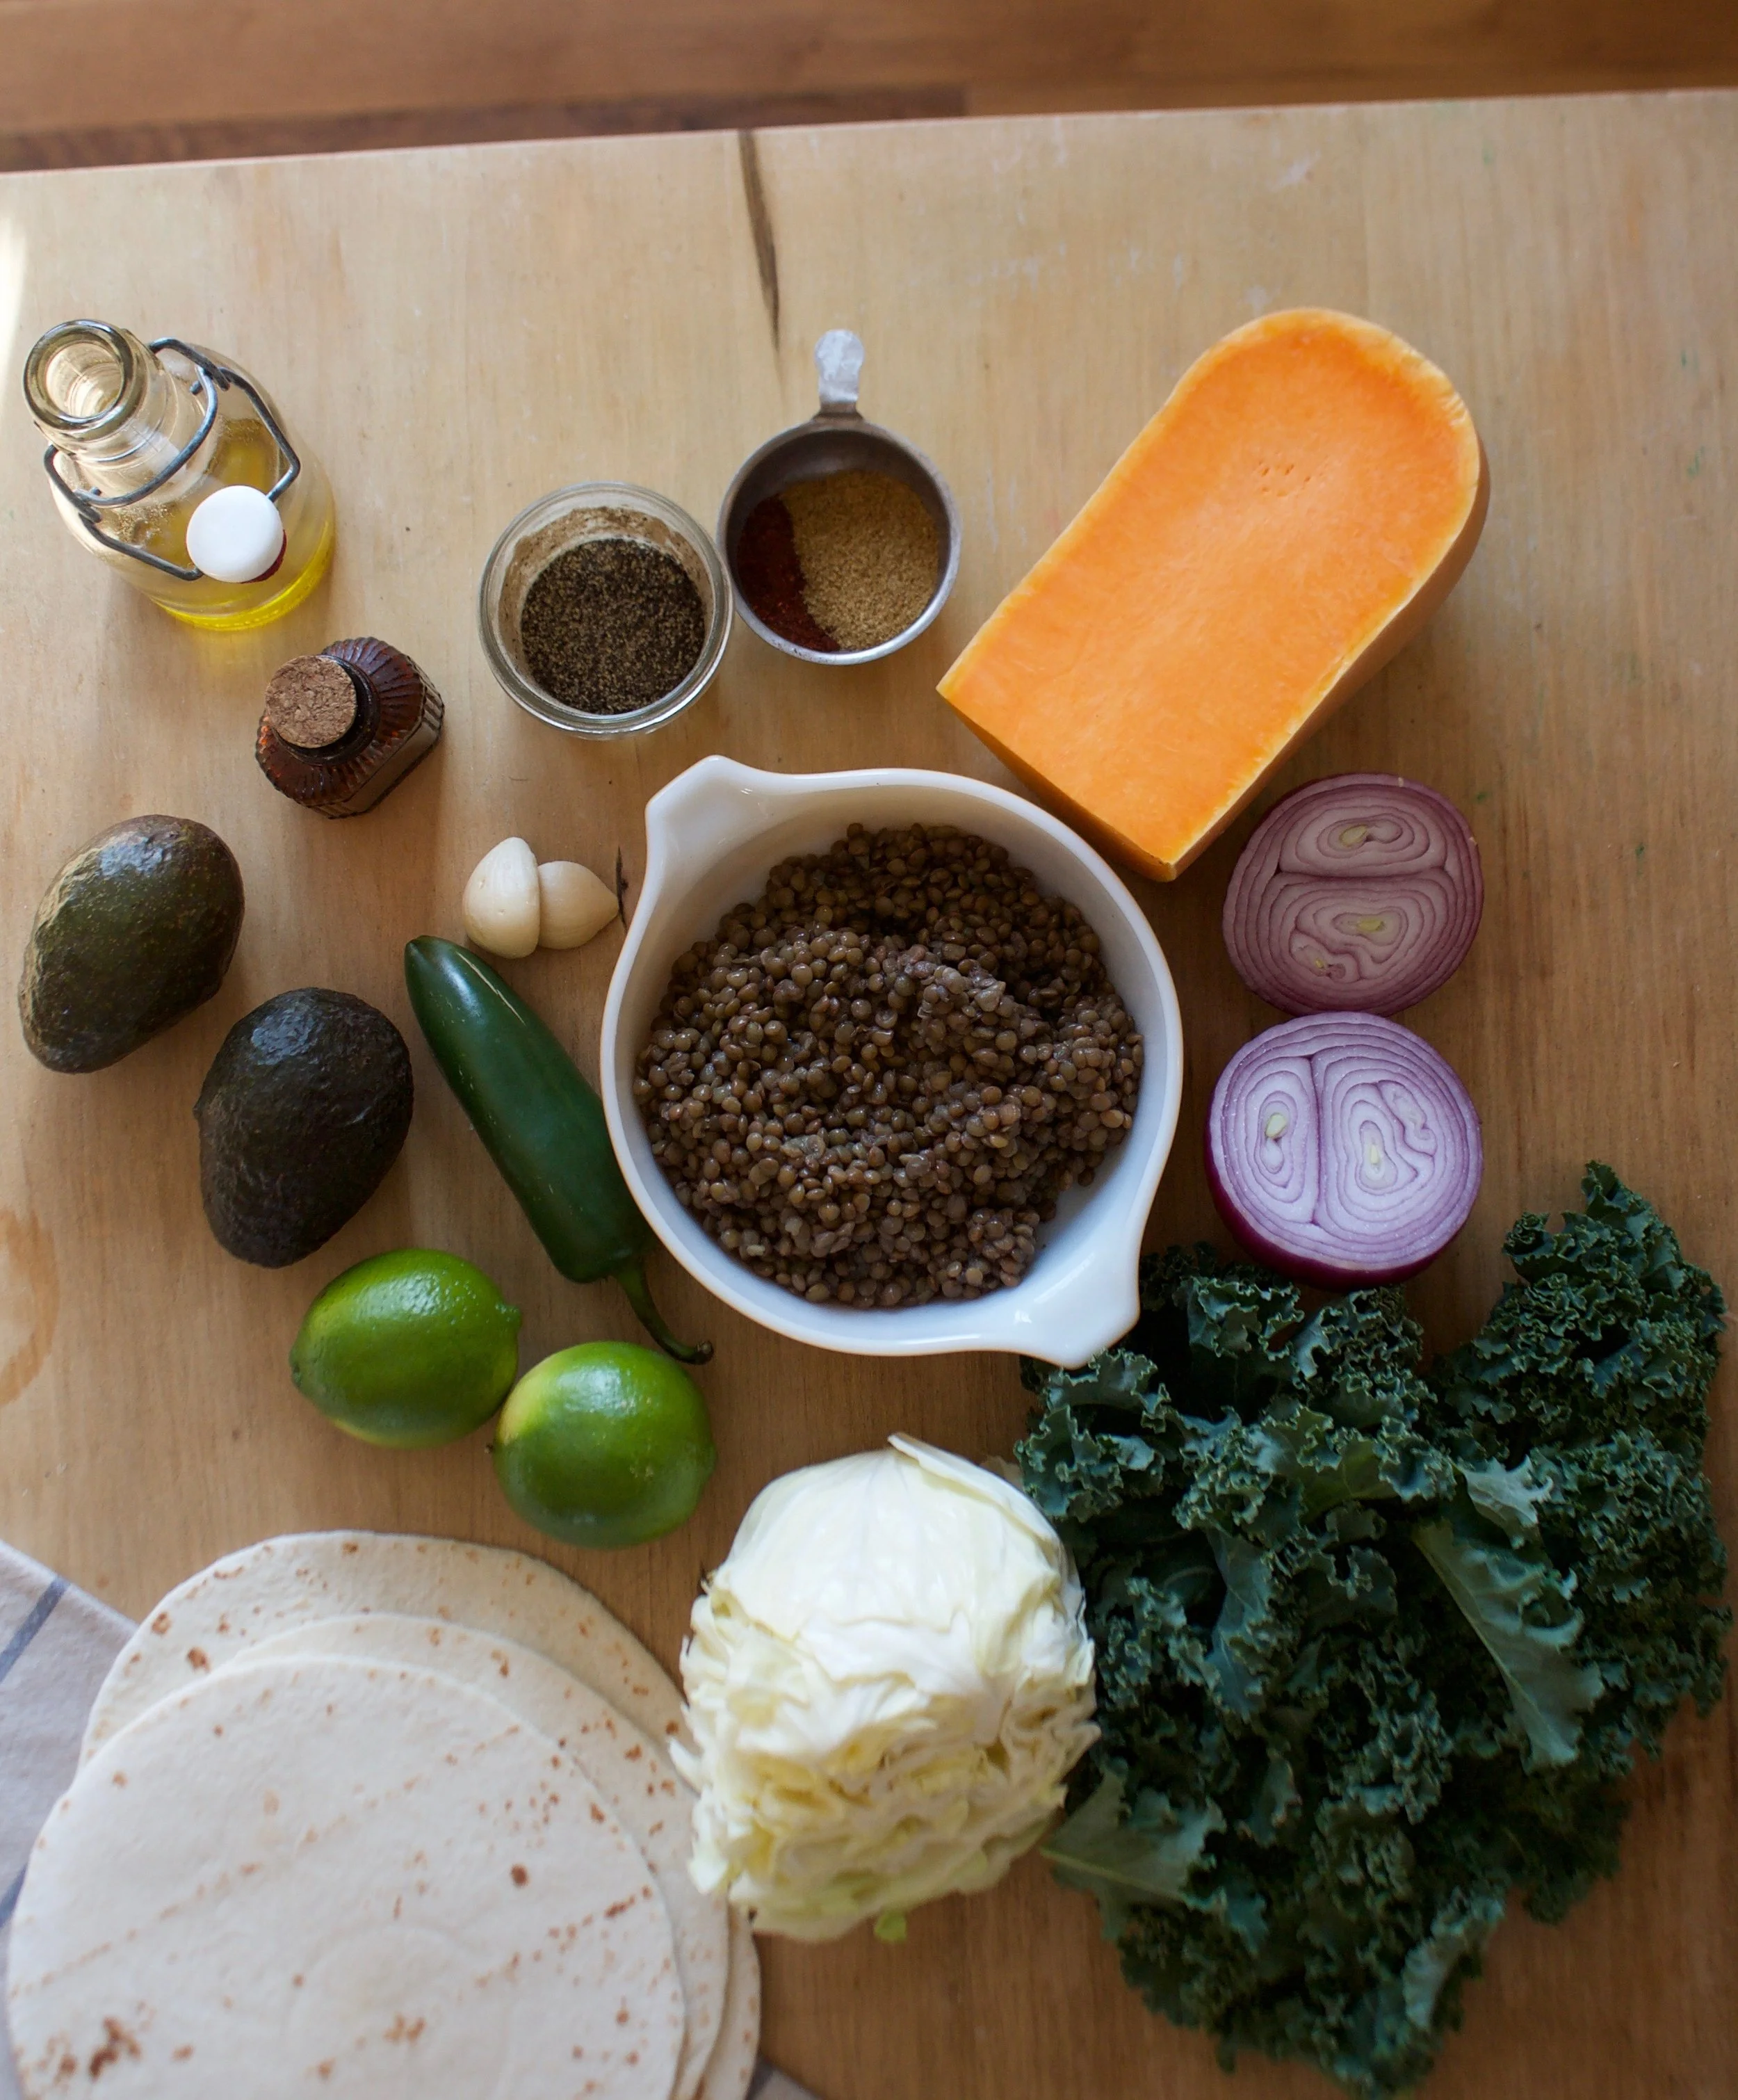

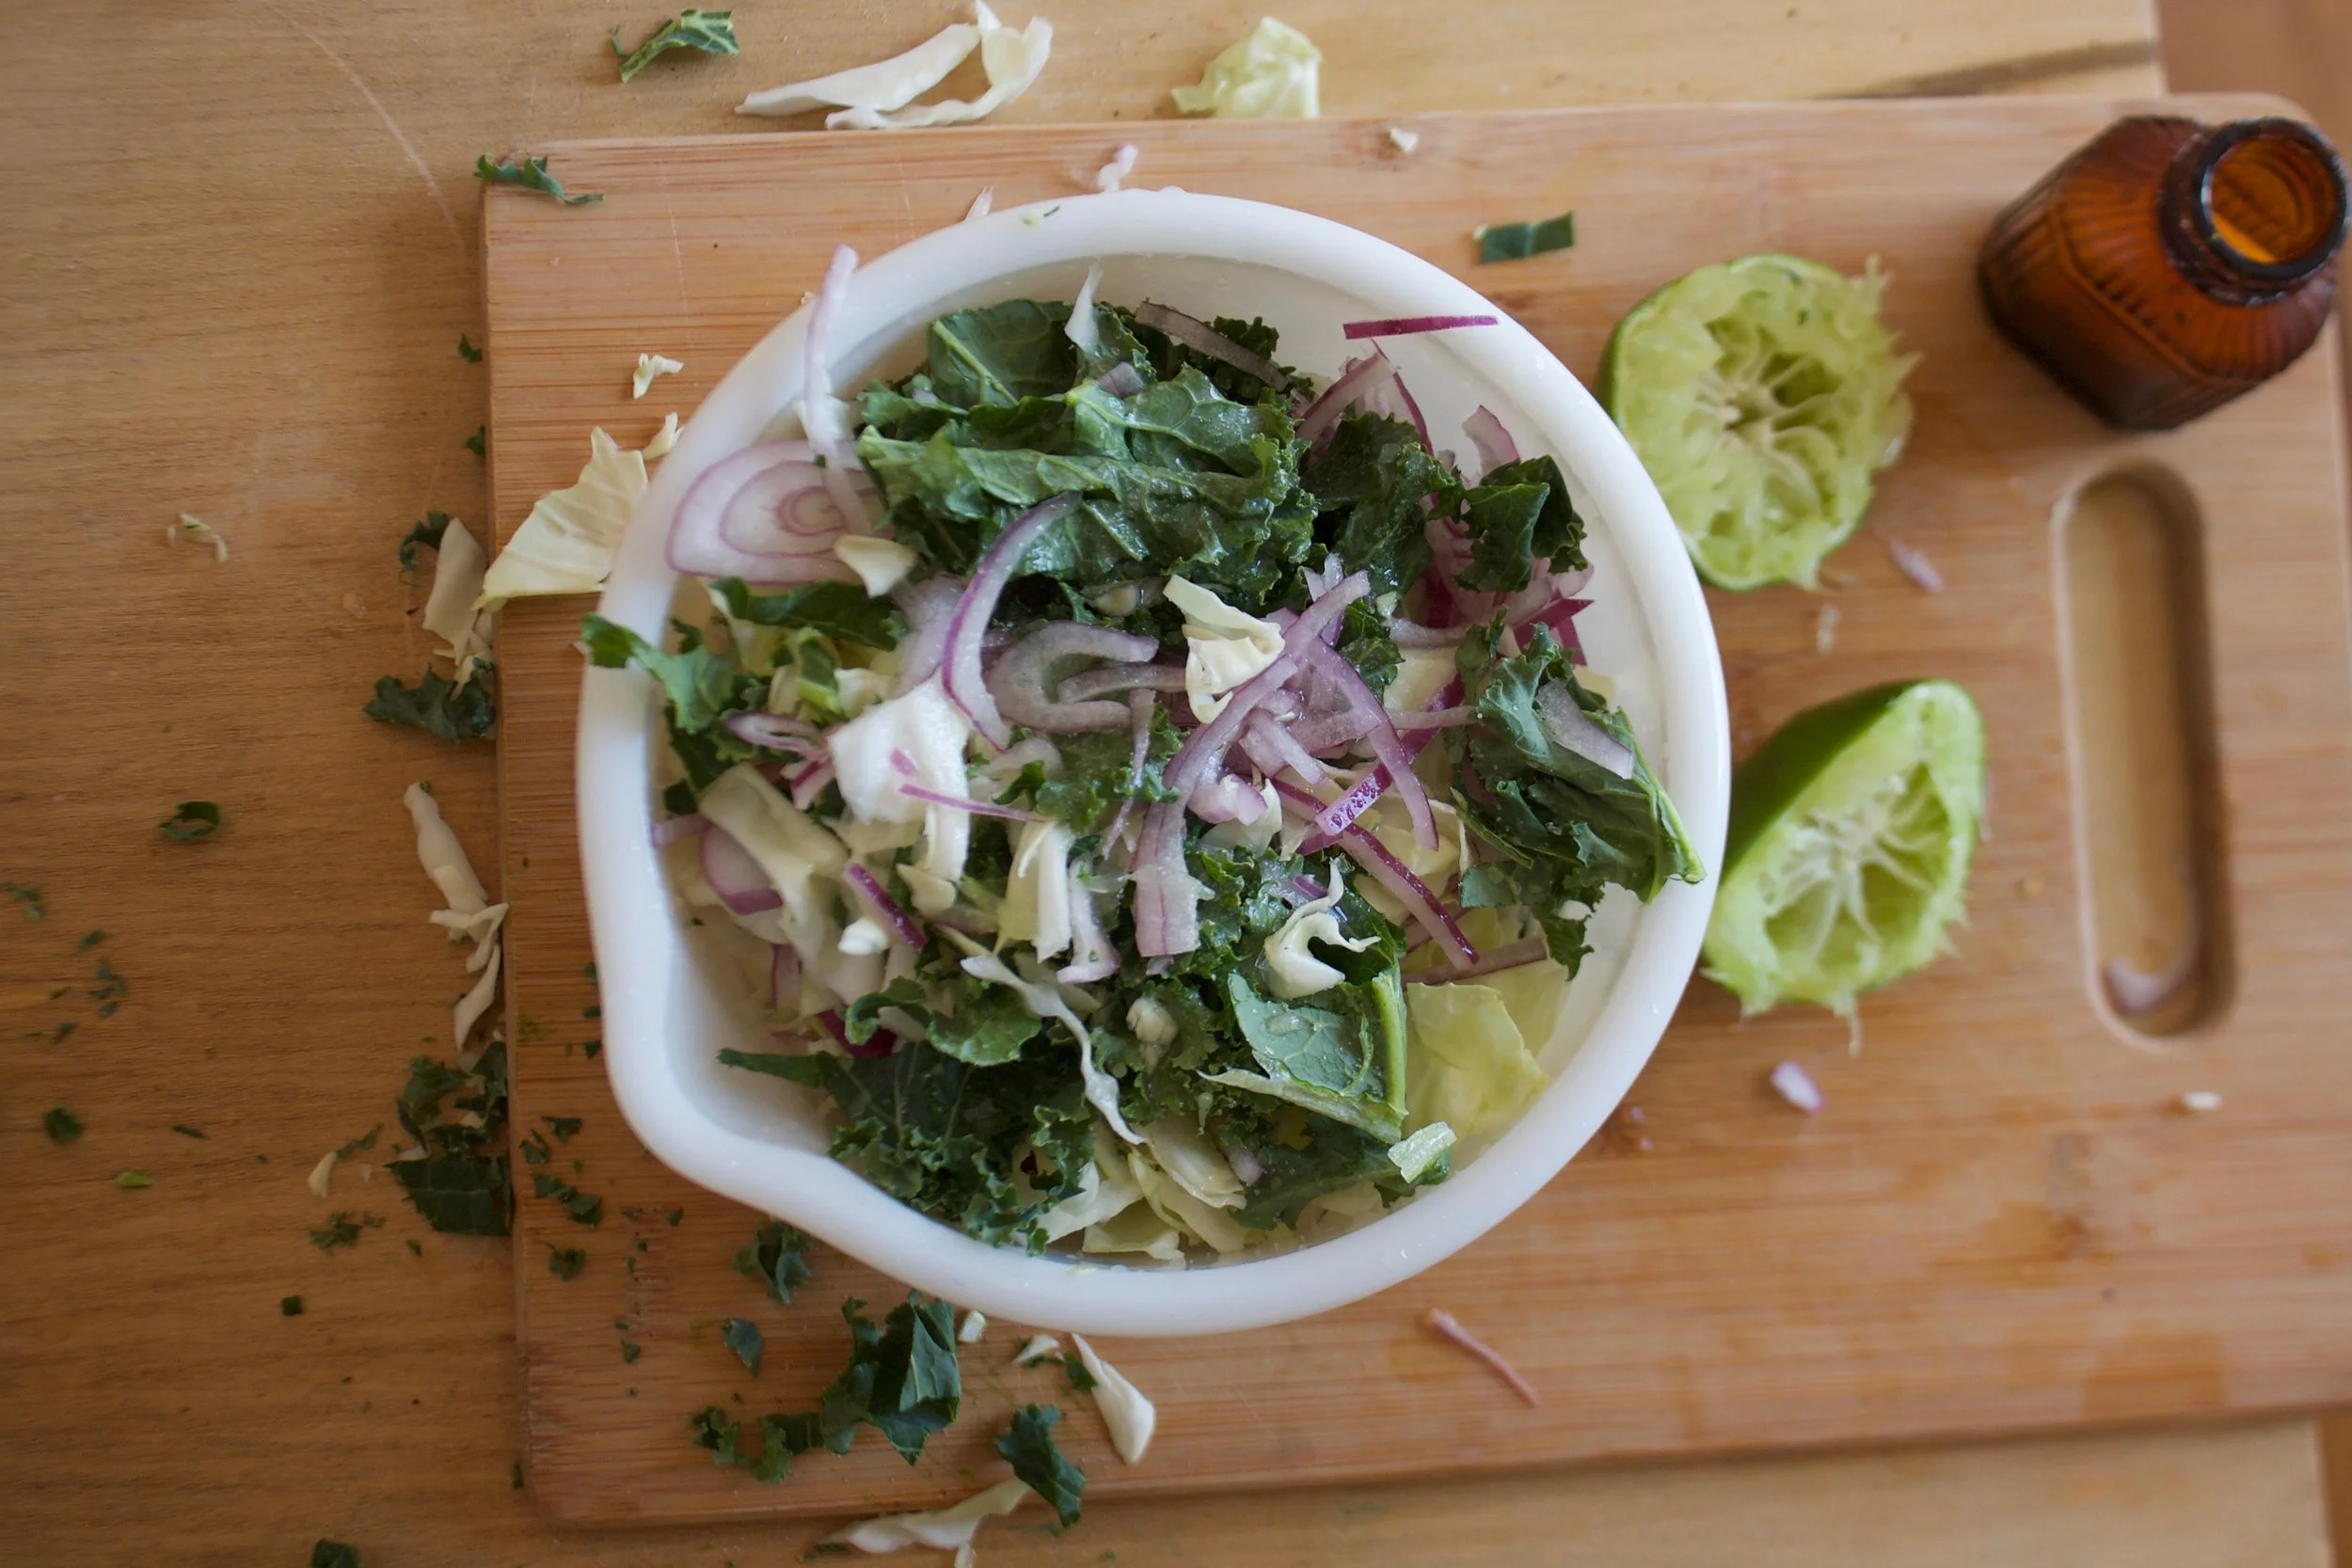

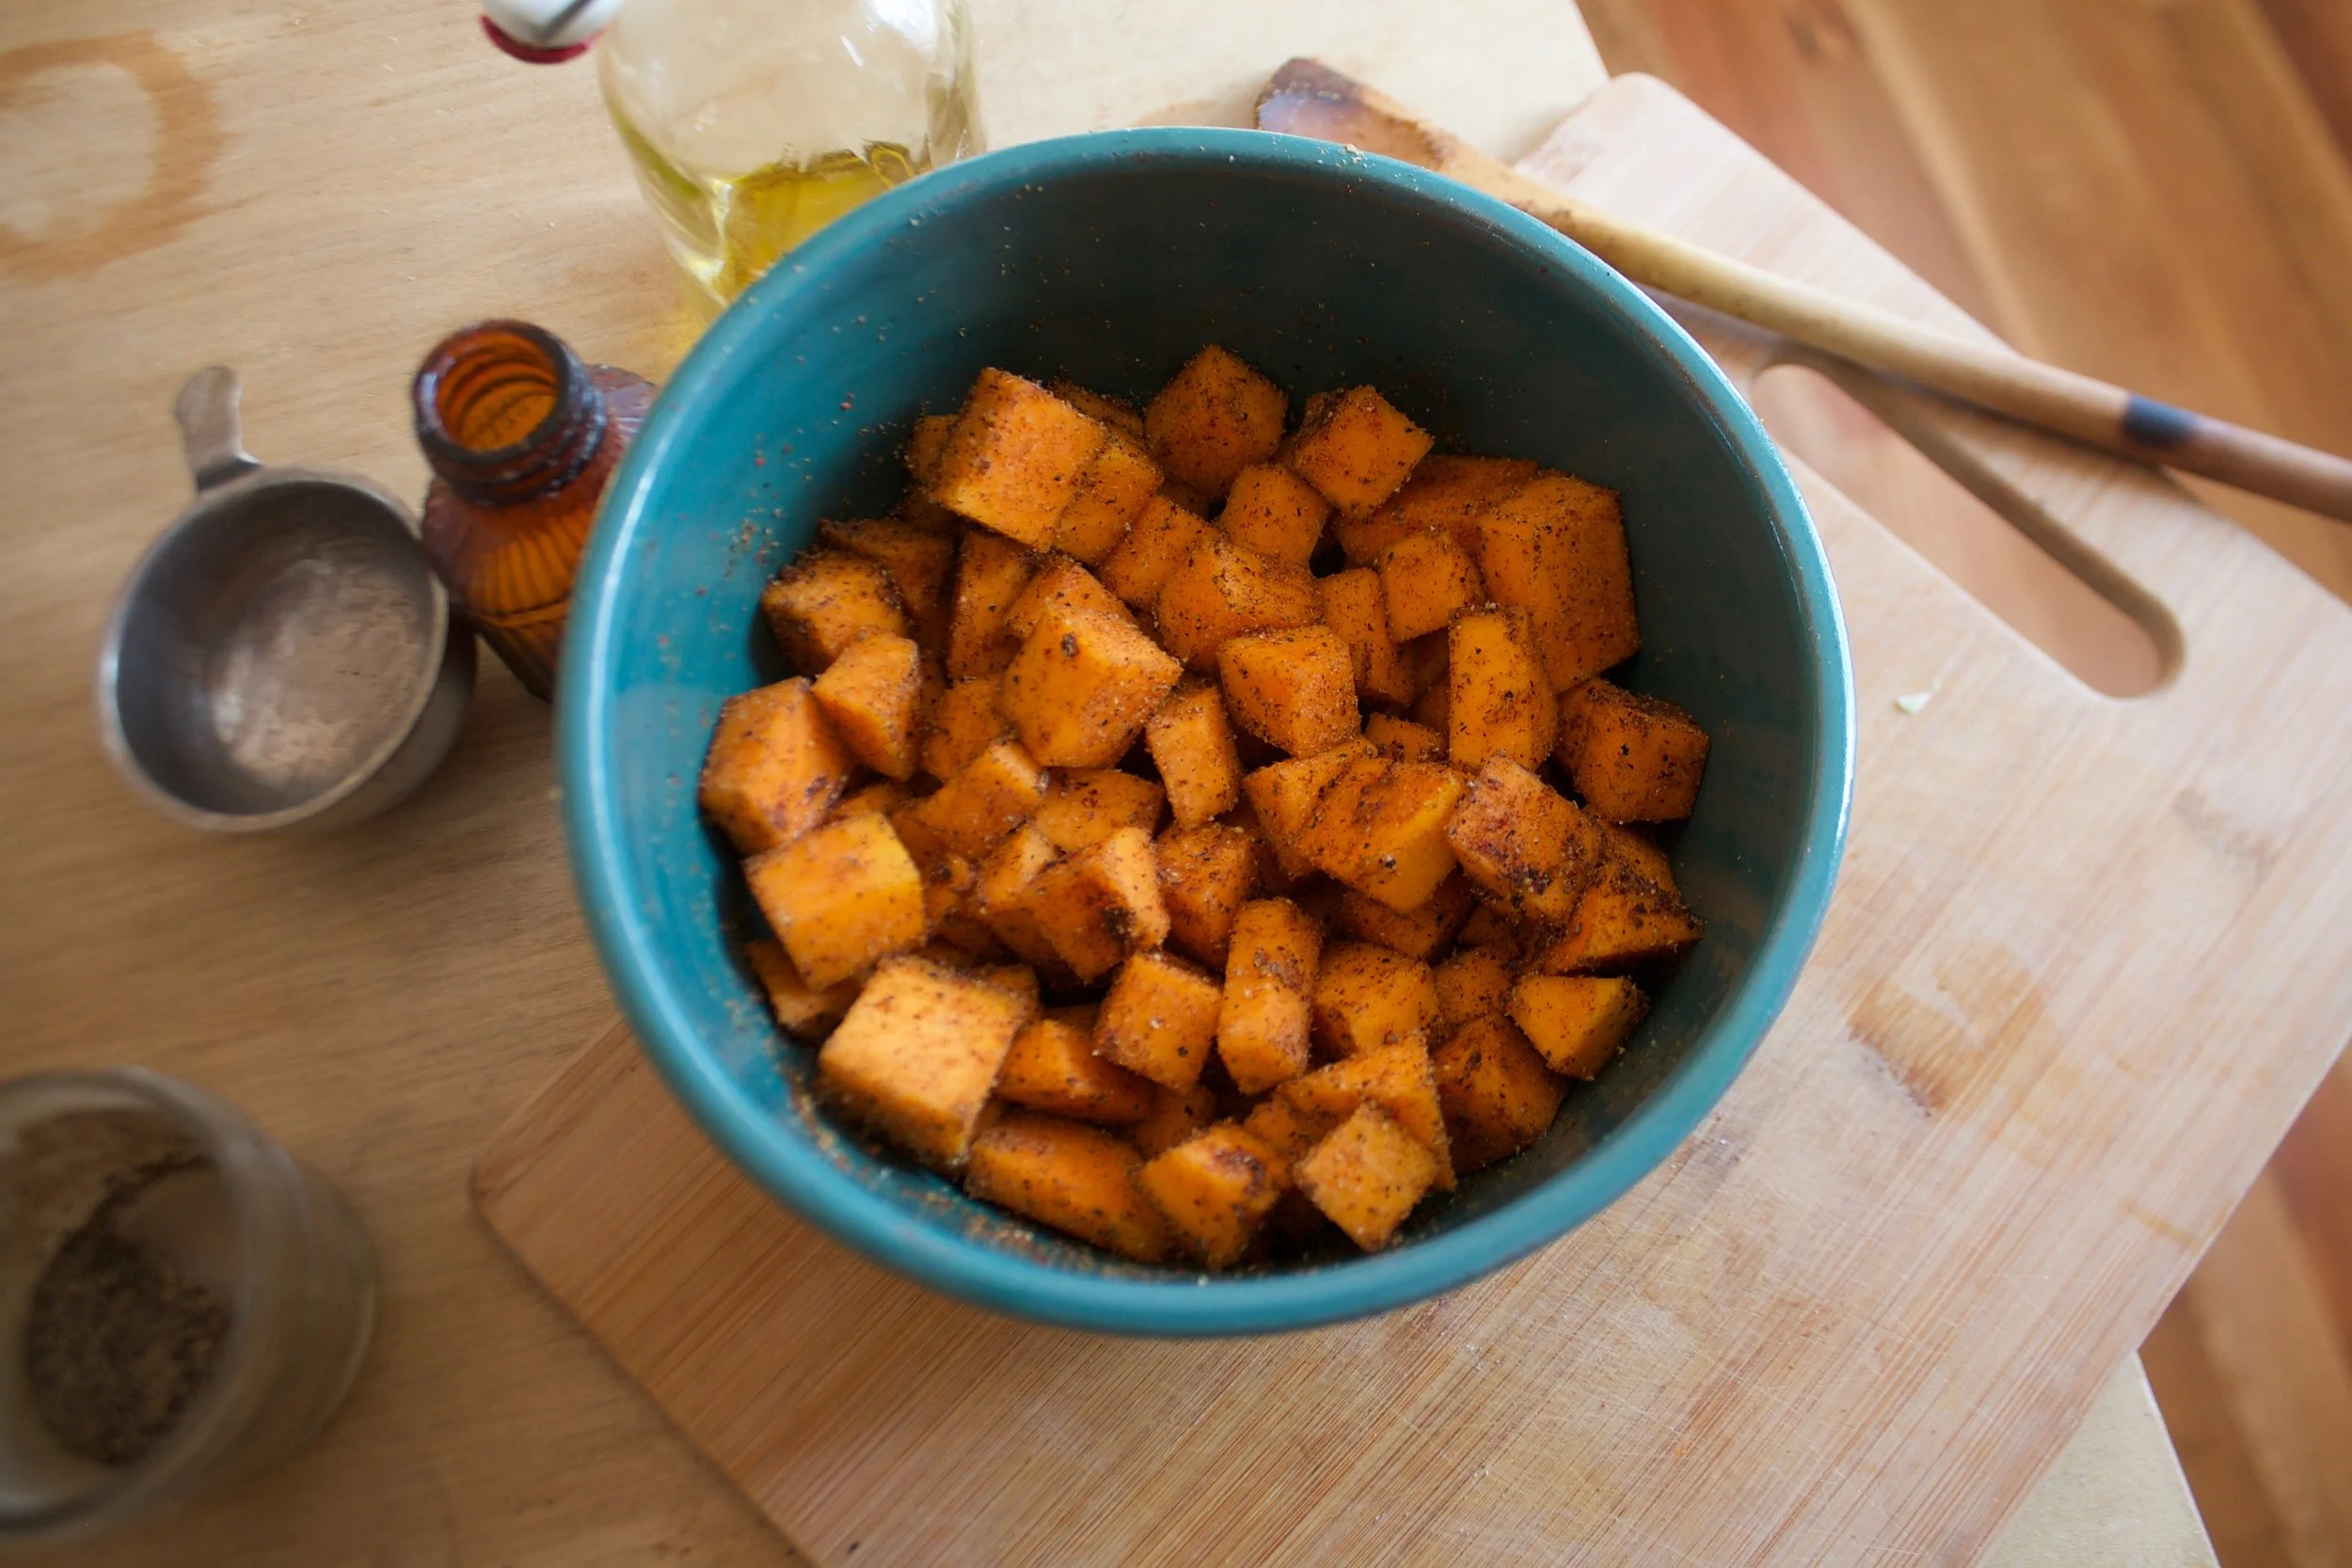
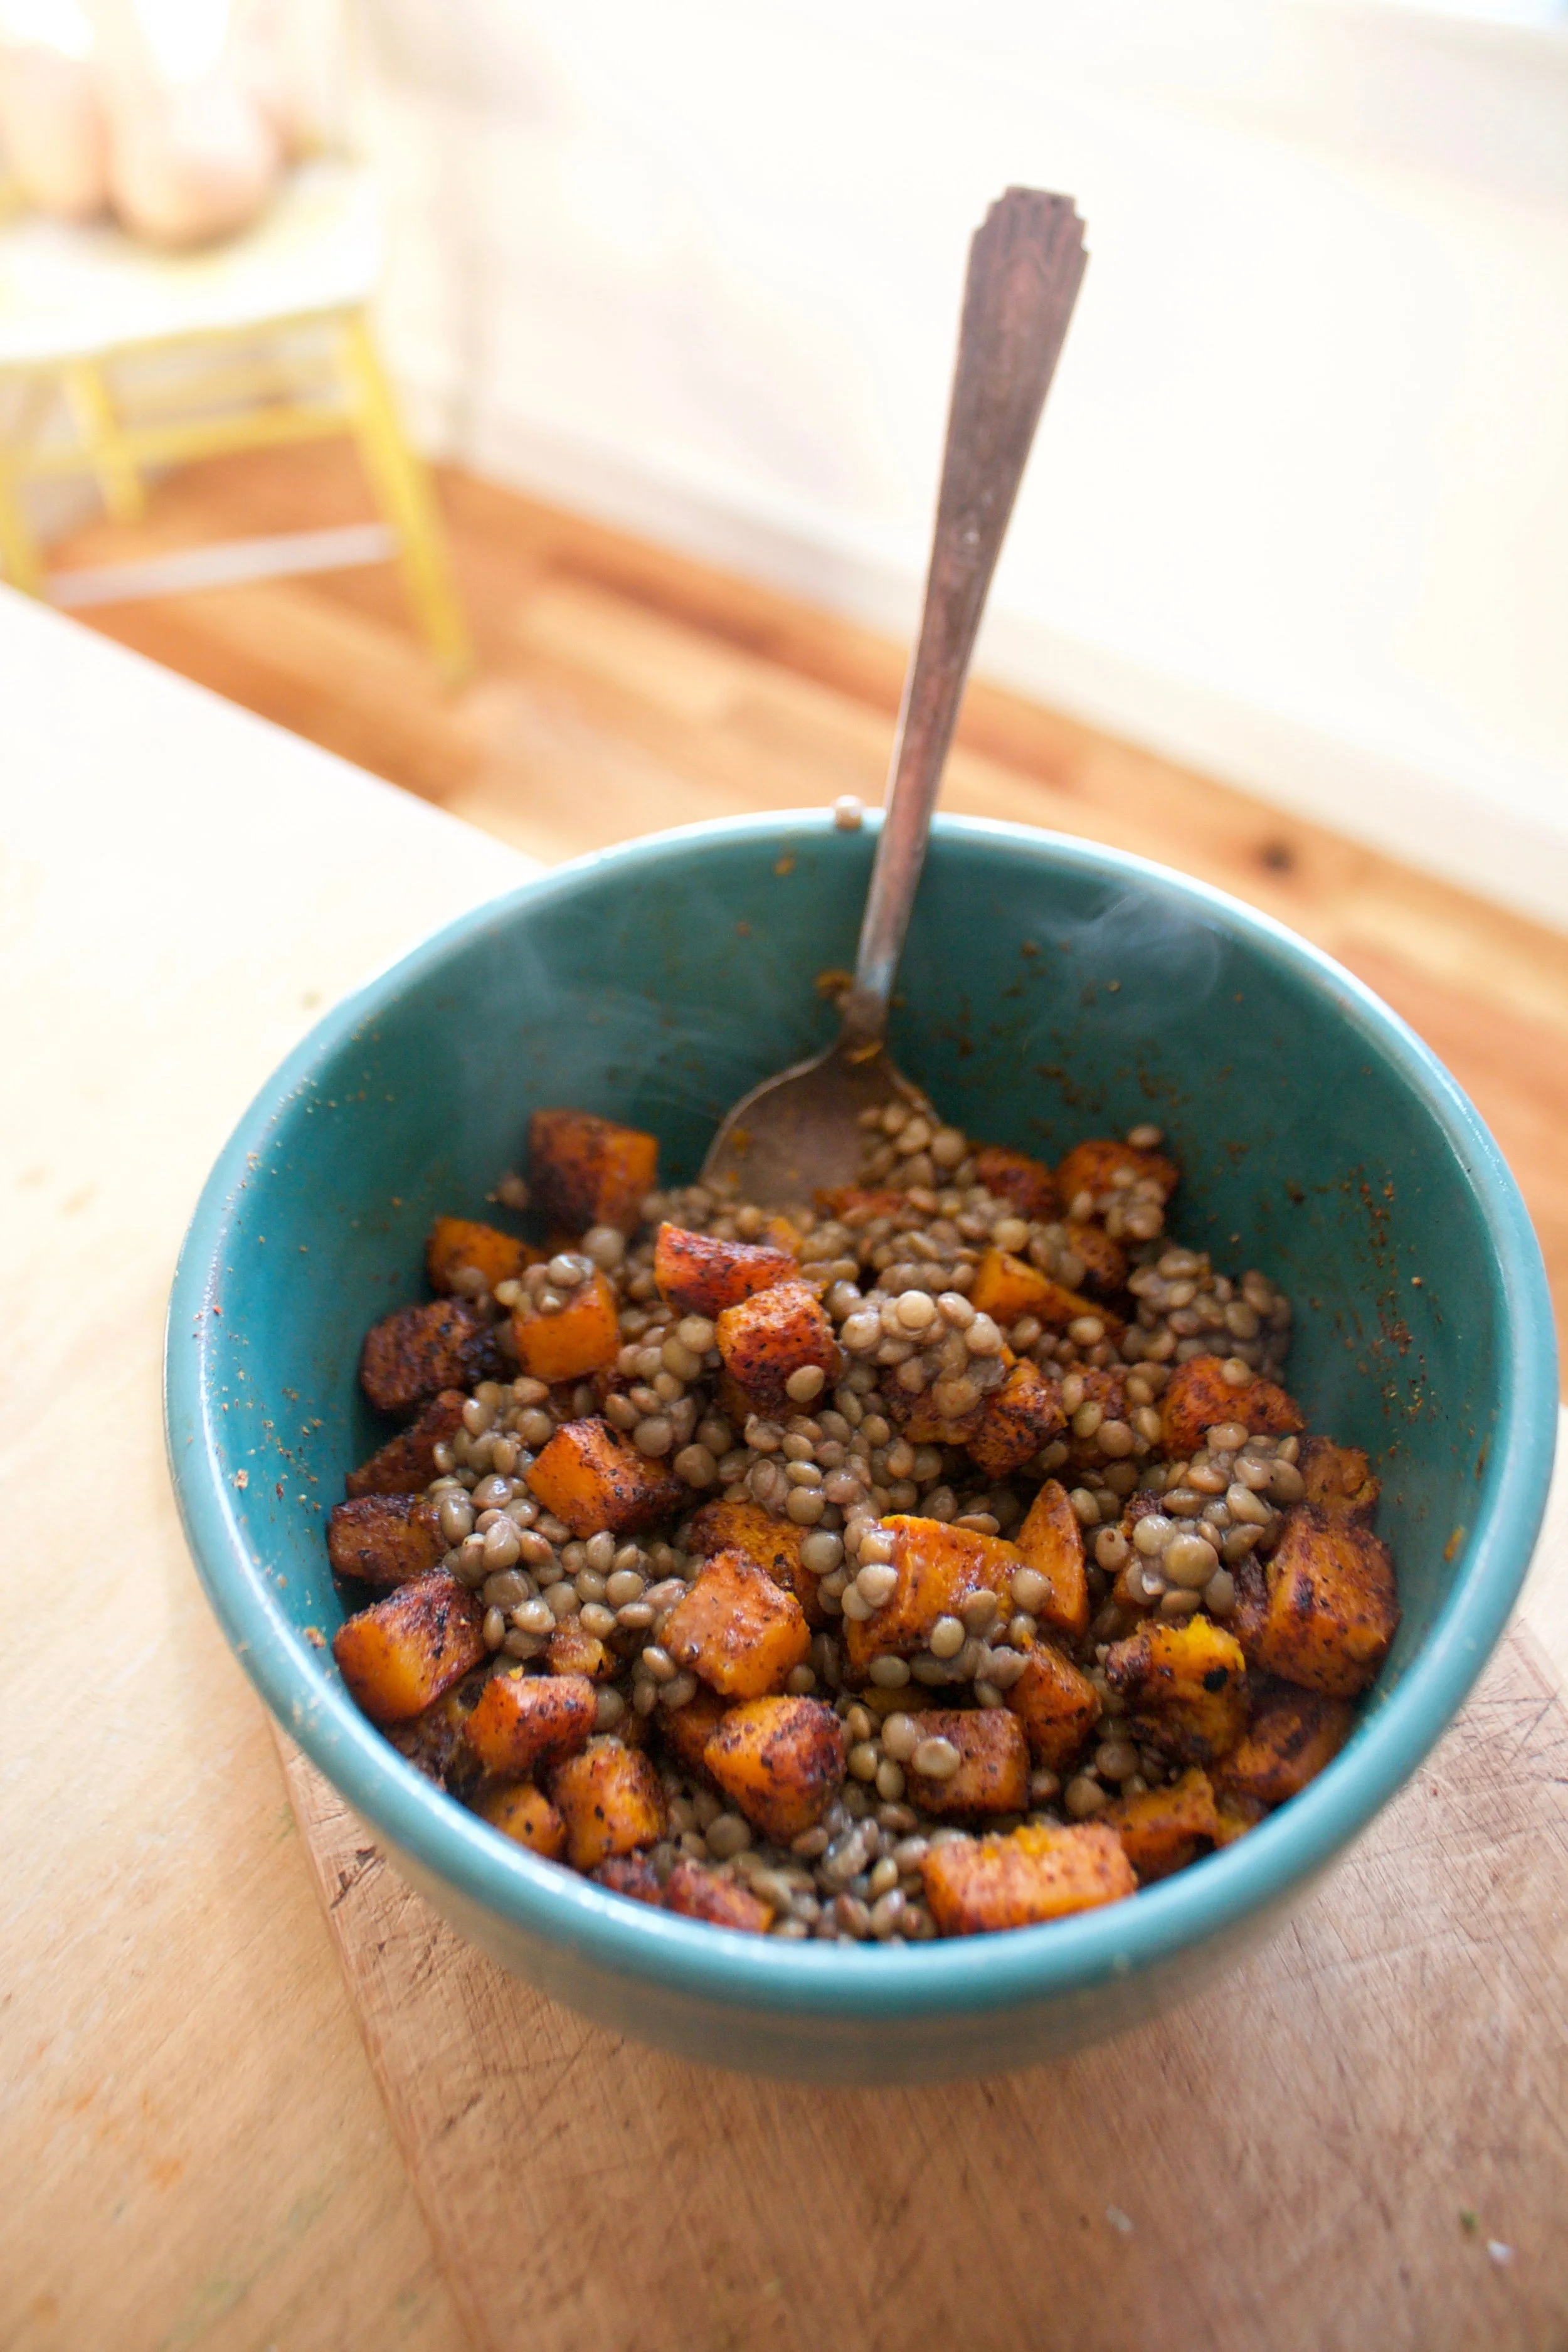


THE LOVELY CRAZY
October 15, 2019 by maximios • Blog
I have been strategic about the roots and veggies that I have chosen to bring home the past few weeks.(My farm lets you pick what you want) I know what I can buy at the store, things like carrots and potatoes, so I have been passing those up, but the roots like beets and celeriac… I have been bringing home baskets of those and hoarding them in the fridge and basement in preparation for the laps in farm fresh food and knowing that if I want to by these at the store it s going to coast me a million dollars a pound. (a for real million dollars)
Yup, lots of roots around here, especially celeriac root which is fantastic. I am kind of obsessed with celeriac, with its fibrous, knobby exterior, soft but almost meaty texture inside, and a flavor that is close to celery but so much better. I don’t know why it has taken me so long to do a posting featuring this amazing root vegetable (I eat it almost every day)
So here, an amazingly tasty, hearty but not heavy, celeriac recipe. Perfect for spring and the change into summer…. Mustard roasted celeriac with an fanatic split peas gravy that will have you licking you bowl clean.
*Note. I don’t peel my celeriac root. I really enjoy the fibrous exterior but realize that some don’t(The mister does not like it) so peel it if you want.
While the gravy is cooking, take the celeriac rounds and brush each side with yellow mustard, sprinkle with pepper, and place on a baking sheet. Stick into the oven to roast for about 25 minutes, flipping the rounds after about 10 minutes.
Serve with the fanciest knife and fork you can find. Extra yellow mustard and sriracha sauce are great condiments to have close by.
Happy Tuesday!
-C
Mustard Roasted Celeriac with Split Pea Gravy
Preheat oven to 400 degrees
Small dice the carrot, parsnip and onion and throw into a large pot. Spinkle with salt and pepper, add in the thyme and bay leaf and add a splash of water. Stick on stove on medium heat and stir. Let cook until the veggies become soft and fragrant. Now add in the split peas and 2 cups of water. Bring to a boil then cover and turn heat down to medium low. Let cook until the split peas become tender (about 25 minutes) string on occasion and adding more water if the peas are not completely summered while cooking.
Once the peas are tender, let cool for a few minutes, remove bay leaf, and either dump into a blender or blend with an immersion blender until nice and creamy. If gravy seems to thick, add in more water.
Scrub or peel celeriac roots and slice them into 1/2 inch think rounds. Place on a baking sheet and brush mustard on both sides and spindle with pepper. Stick into oven for about 10 minutes, flip, then back into the oven for another 15 or so minutes, or unit the celeriac is tender.
When the celeriac is done remove from oven and stick a few rounds on a bed of spinach (or not, or any kind of grain or green you like) Top with a hearty helping of the gravy and toss on some chopped up tomatoes.
Eat with at knife and fork like a fancy person.