I am Colleen, an aspiring functioning adult with an overactive mind and too many things that I want to do. I started this site with the purpose of sharing the things that I love: lots of vegan cooking and baking, art, DIY stuff, travel and adventures, and over all beautiful and lovely things.
I am self taught in the ways of the kitchen, picking up skills through the years running a coffee/bakery shop where I baked everything everyday. Add in the years of feeding the giant masses of my family. I guess you can say that I have picked up a few things about cooking and baking and making hungry people happy.
I like to experiment with new food combinations and create my own recipes. And I like my food pretty.I went to school for art so I naturally gravitate towards the aesthetically pleasing. I am pretty passionate about not only the source of my food, (my local farm share is year round and a 1/4 mile away) but living as close to waste free as possible. Food waste makes me angry! (seriously)
My lover, (the mister), Nick whom I adore and think is the cats meow, and I have spent the better part of the last 10 years renovating then renting old homes. Together we live with our old 9 year old pup, Washer, screwball cat, Only, and few hives of bees in our 200 square foot loft in Burlington VT.(The bees live outside!) I have to mention that I come from a large family that all live within smacking distance. Eight siblings, four of which have kids, ages 2-13, are a big part of my everyday life. I am the cool aunt that makes all the birthday cakes! Getting the littles to eat good healthy food is one of my things, not to mention they all know if they eat their carrots they will end up with dessert.
And now you know, so enjoy and feel free to comment or ask questions…I can be a little blunt, so you can be too. I am cool with that . Oh, and just so we are clear, I am vegan so the recipes I share are vegan too. And delicious. Ha
A Few Fun Facts
Eating a lot of carrots over a long period of time can make your skin turn orange (personal experience)
Billboards are illegal in the state of Vermont
Honey bees travel as far as 5 miles away from the hive to collect nectar and pollen
Owning a dog can be harder then owning a baby
Joeys (Koala bear babies) eat their moms poop. They do so because it contains all the microbe that the baby needs in order for them to eat the leaves of the euculptus tree leaves without it being toxic to them
Most of that dust under your bed is actually your own dead skin
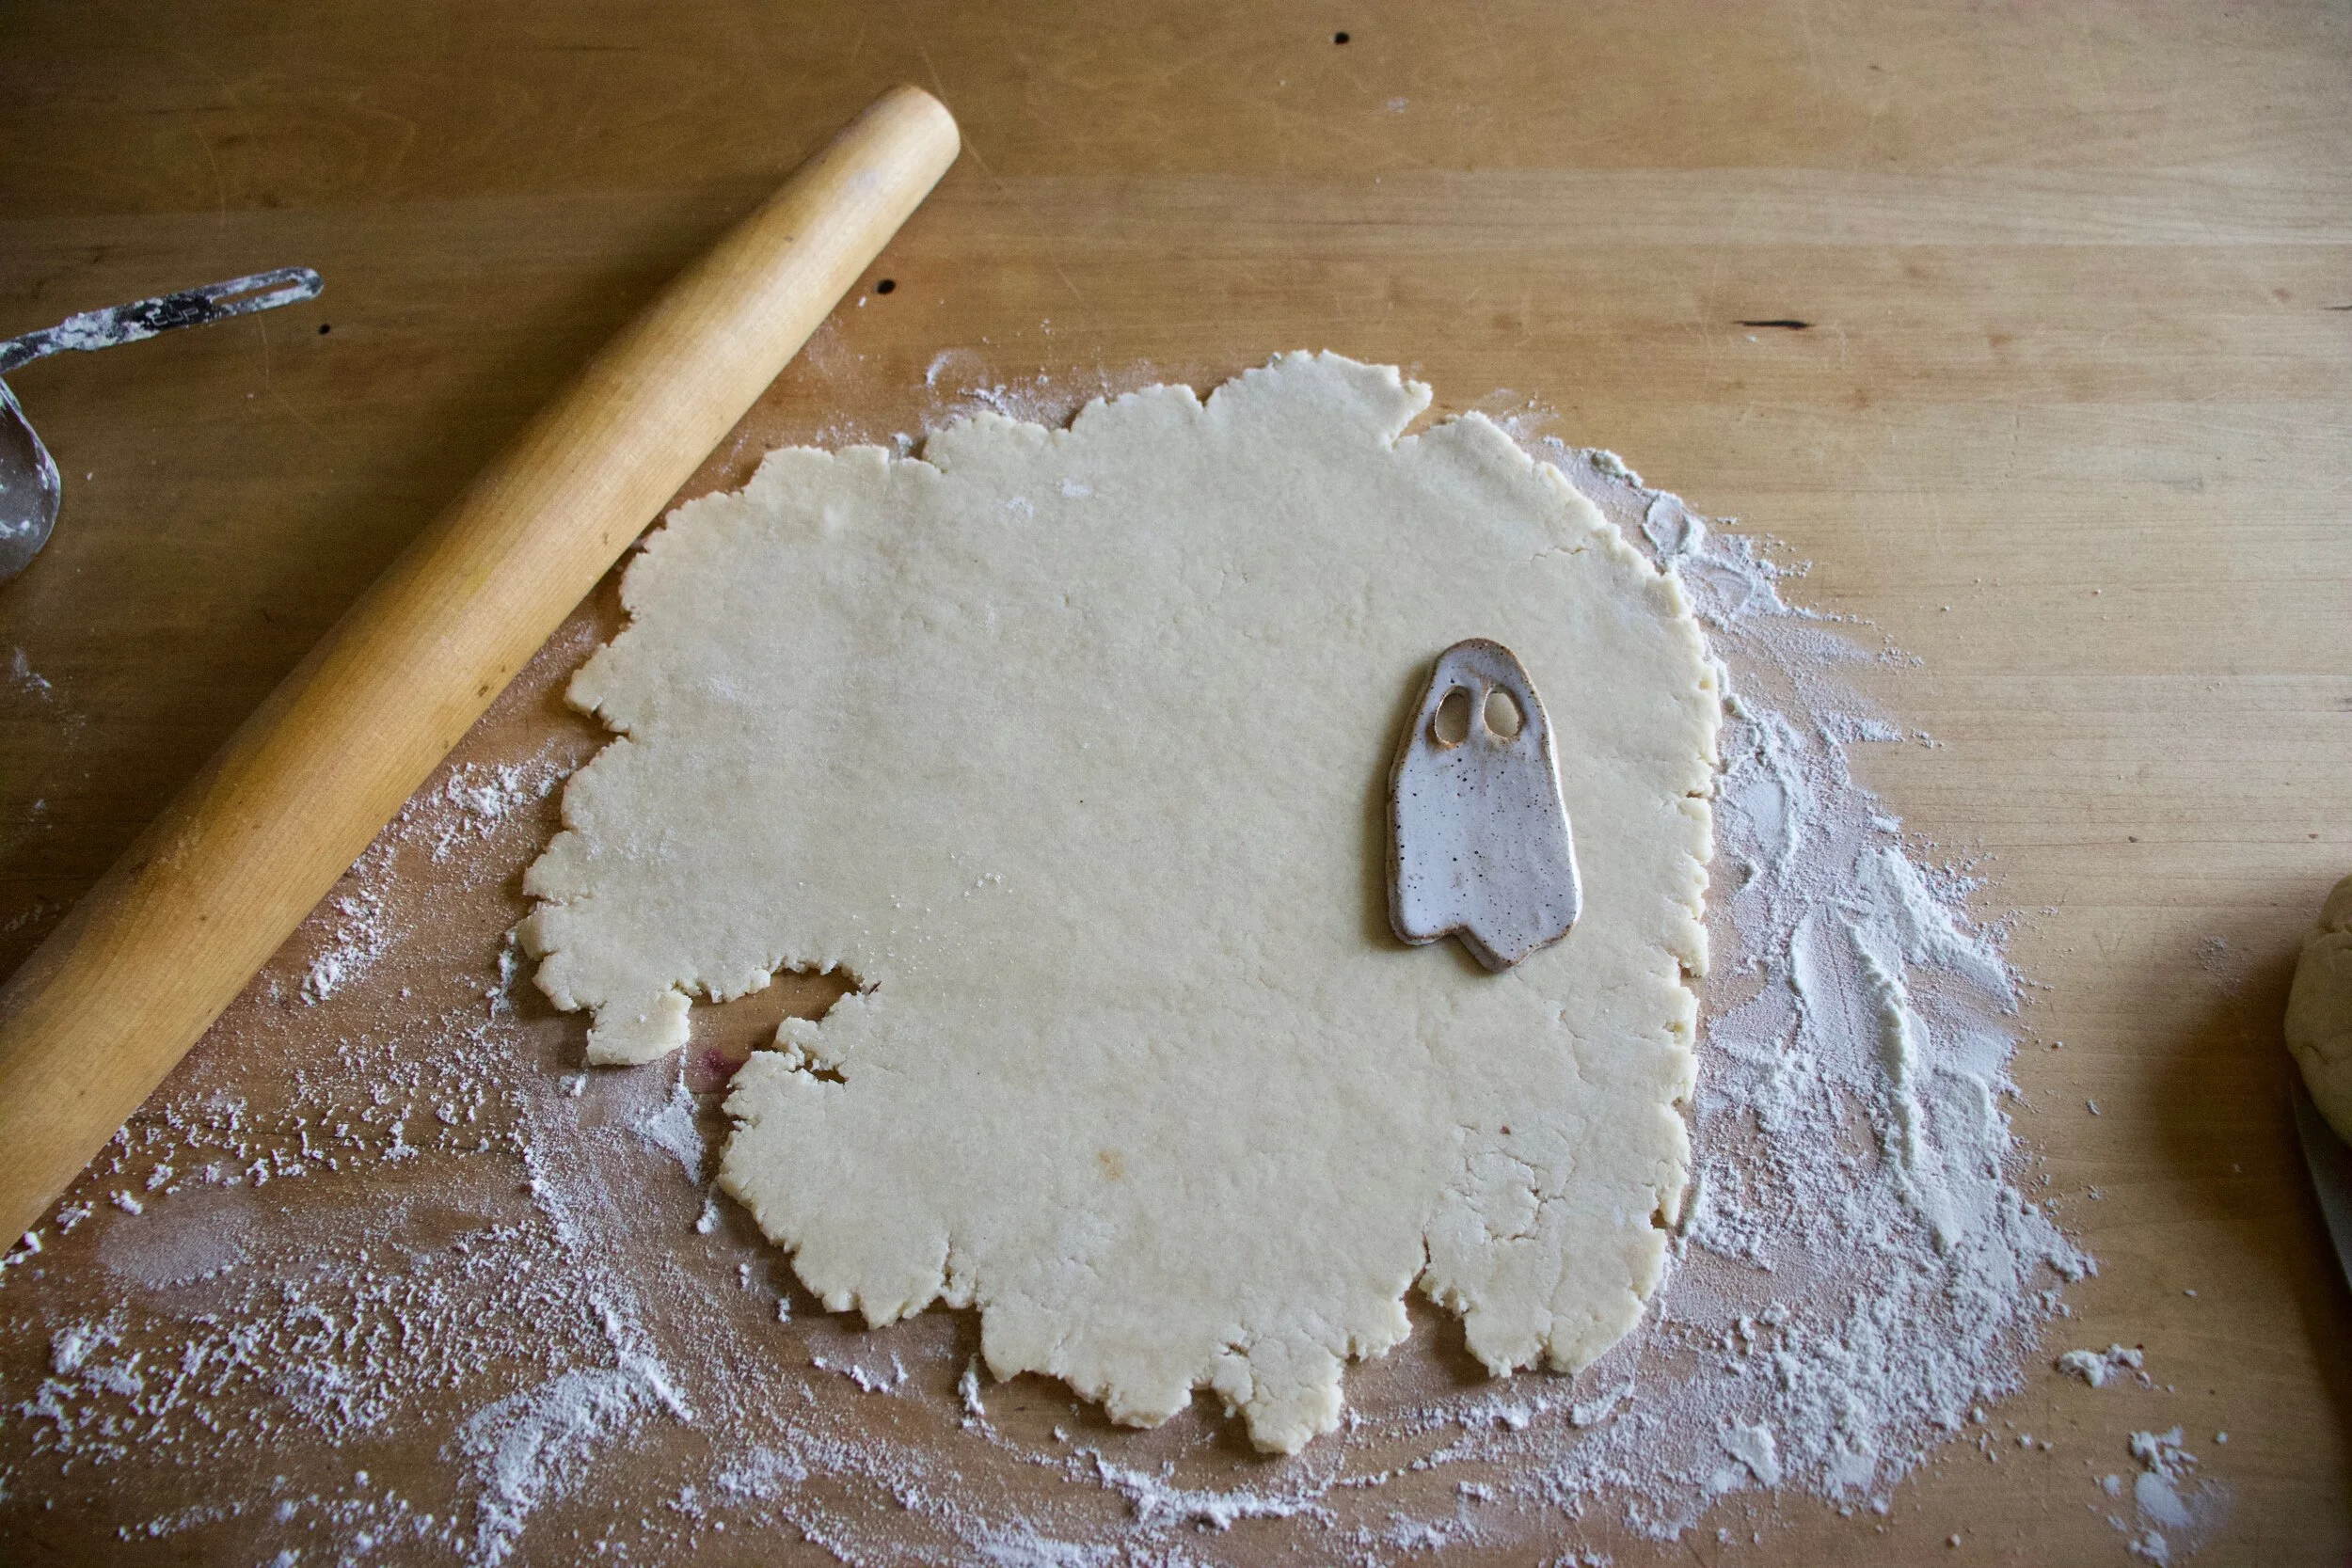
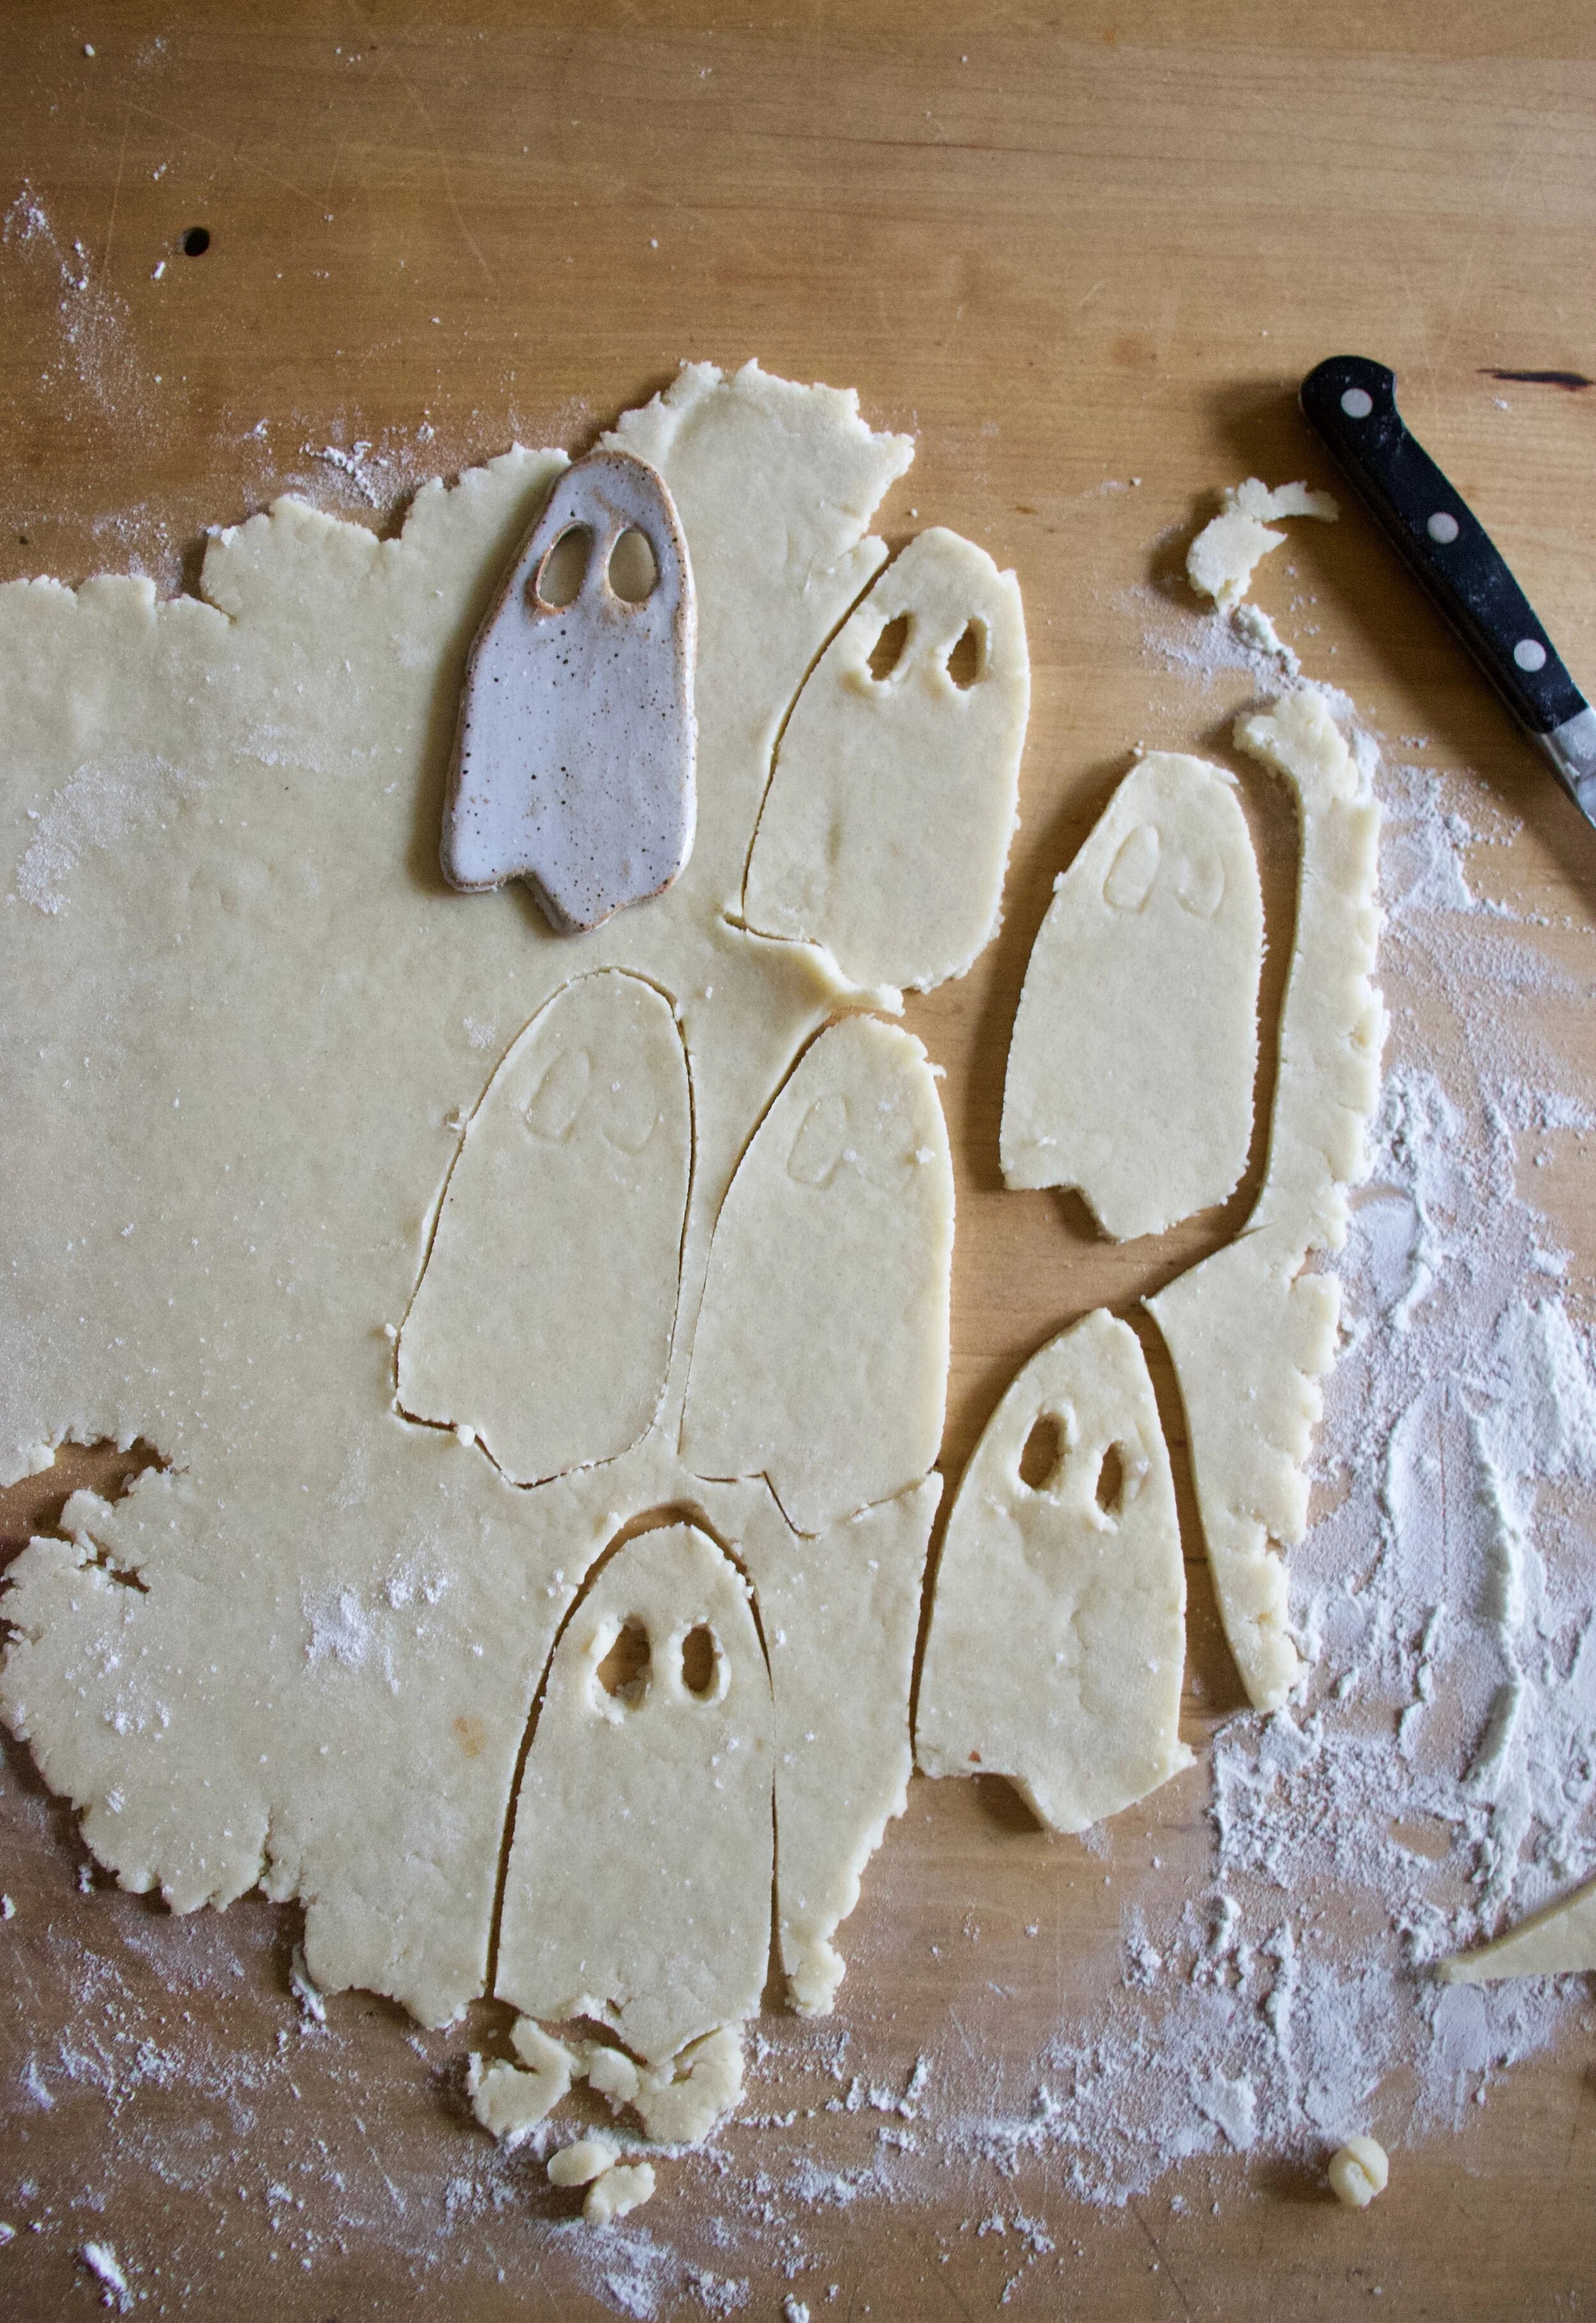
As of right now, these are by far the best cookies I have ever made. Look at them. They are SO CUTE!. Worth all the effort, seeing that I do not own a ghost cookie cutter (although I think my version of ghosts are pretty fantastic) and had to hand cut out each cookie with a knife and a ghost cutout I made a few weeks back. They make me happy just looking at them. That right there is saying something. And I don%u2019t know about you and where you are, but it is getting pretty freaking cold out and I refuse to turn the heat on for a few more weeks so I do what I need to do to stay warm. If that means turning on the oven to bake cookies, then so be it. I have a feeling I am going to be making a few more batches of cookies before the months over. HA! (For reals though.)
These cookies are more or less a traditional sugar cookie with a chocolate ganache type filling, both with a hint of coconut flavor from the use of coconut oil. Something about the whole combination; the cookie, the coconutieness, and the chocolate that really had everyone (I gave them out a Barbs birthday party) praise my amazingness. I guess they are pretty freaking delicious.
Cute and delicious. Best kind of cookie!
And quick note. Yes these are ghosts but think of all the fun shaped sandwich cookies you could make. I am thinking moose shaped cookies next or maybe Christmas trees%u2026 Oh the possibilities!
Now, to the cookies!
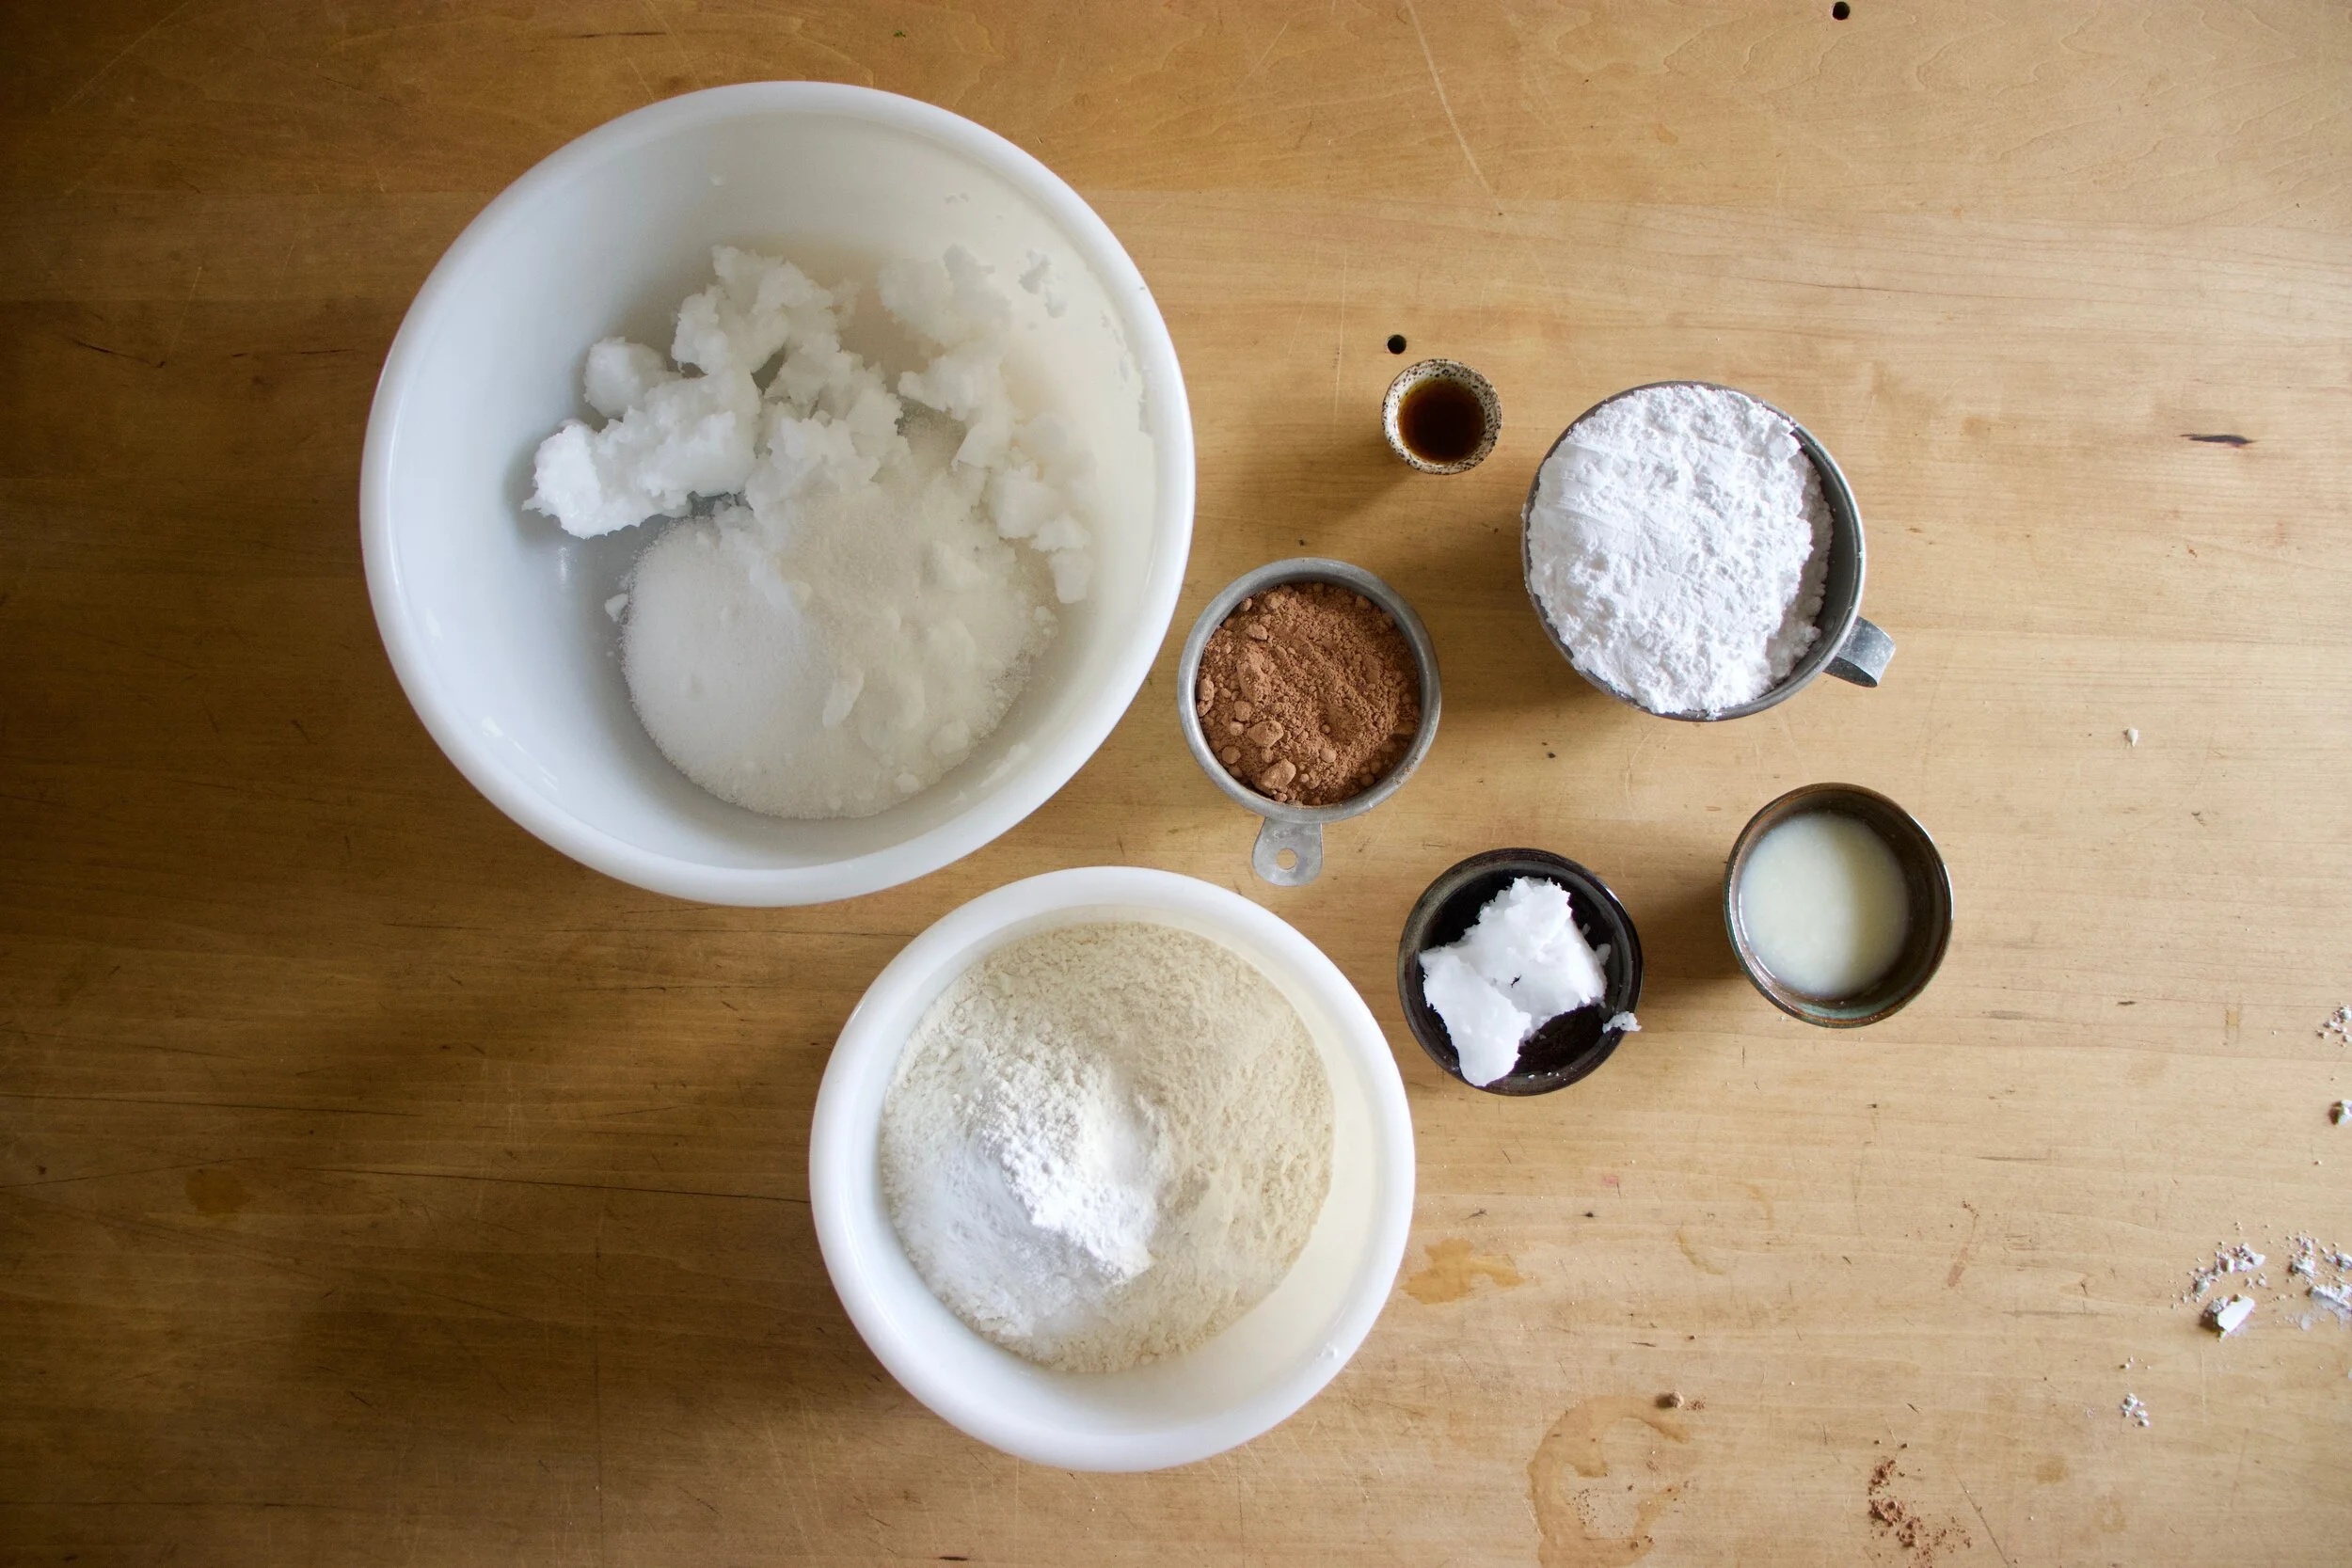
The stuff. White sugar, coconut oil, flour, baking powder, salt, vanilla, almond milk, cocoa powder, and powdered sugar. For cookies and filling.
To make cookie dough. Beat toghetet the coconut oil with sugar and vanilla until smooth and fluffy. Add in all the dry ingredients and the almond milk and mix until a dough forms.
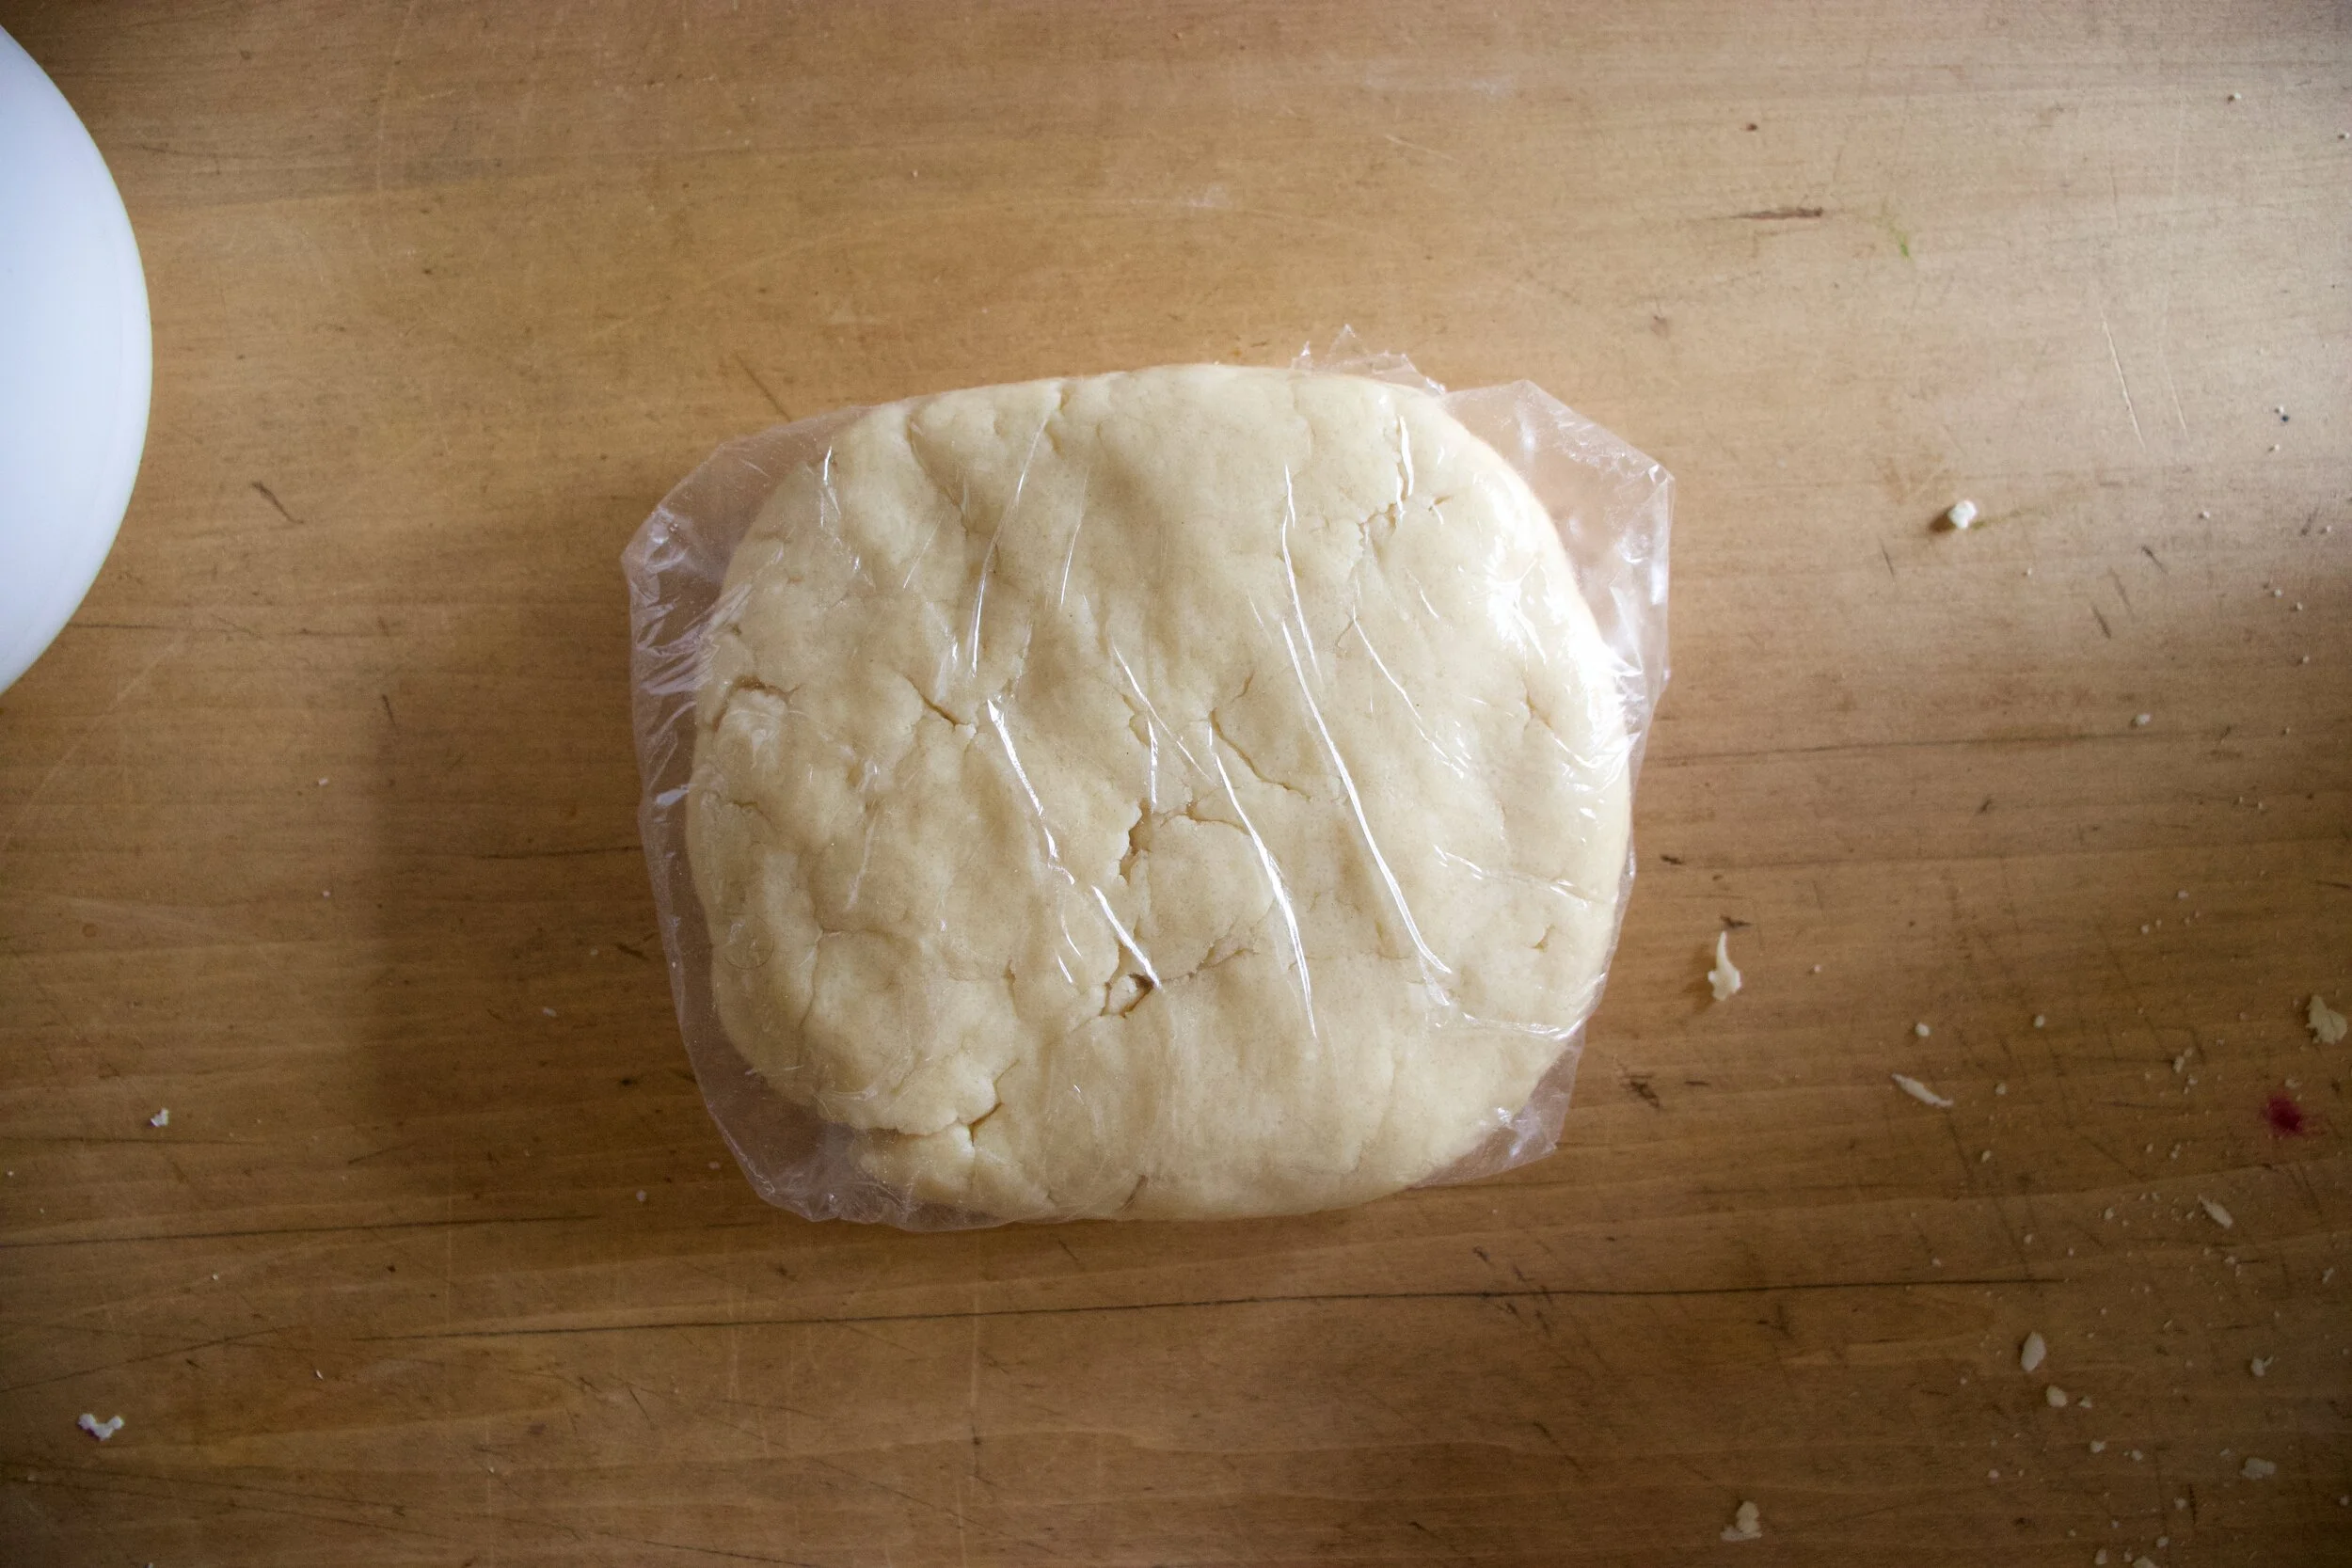
Wrap dough in plastic and squish tight. Place in fridge for an hour or up to a day.
After dough has had time in the fridge, grab it and roll it out on a lightly floured surface to about 1/4 inch thick.
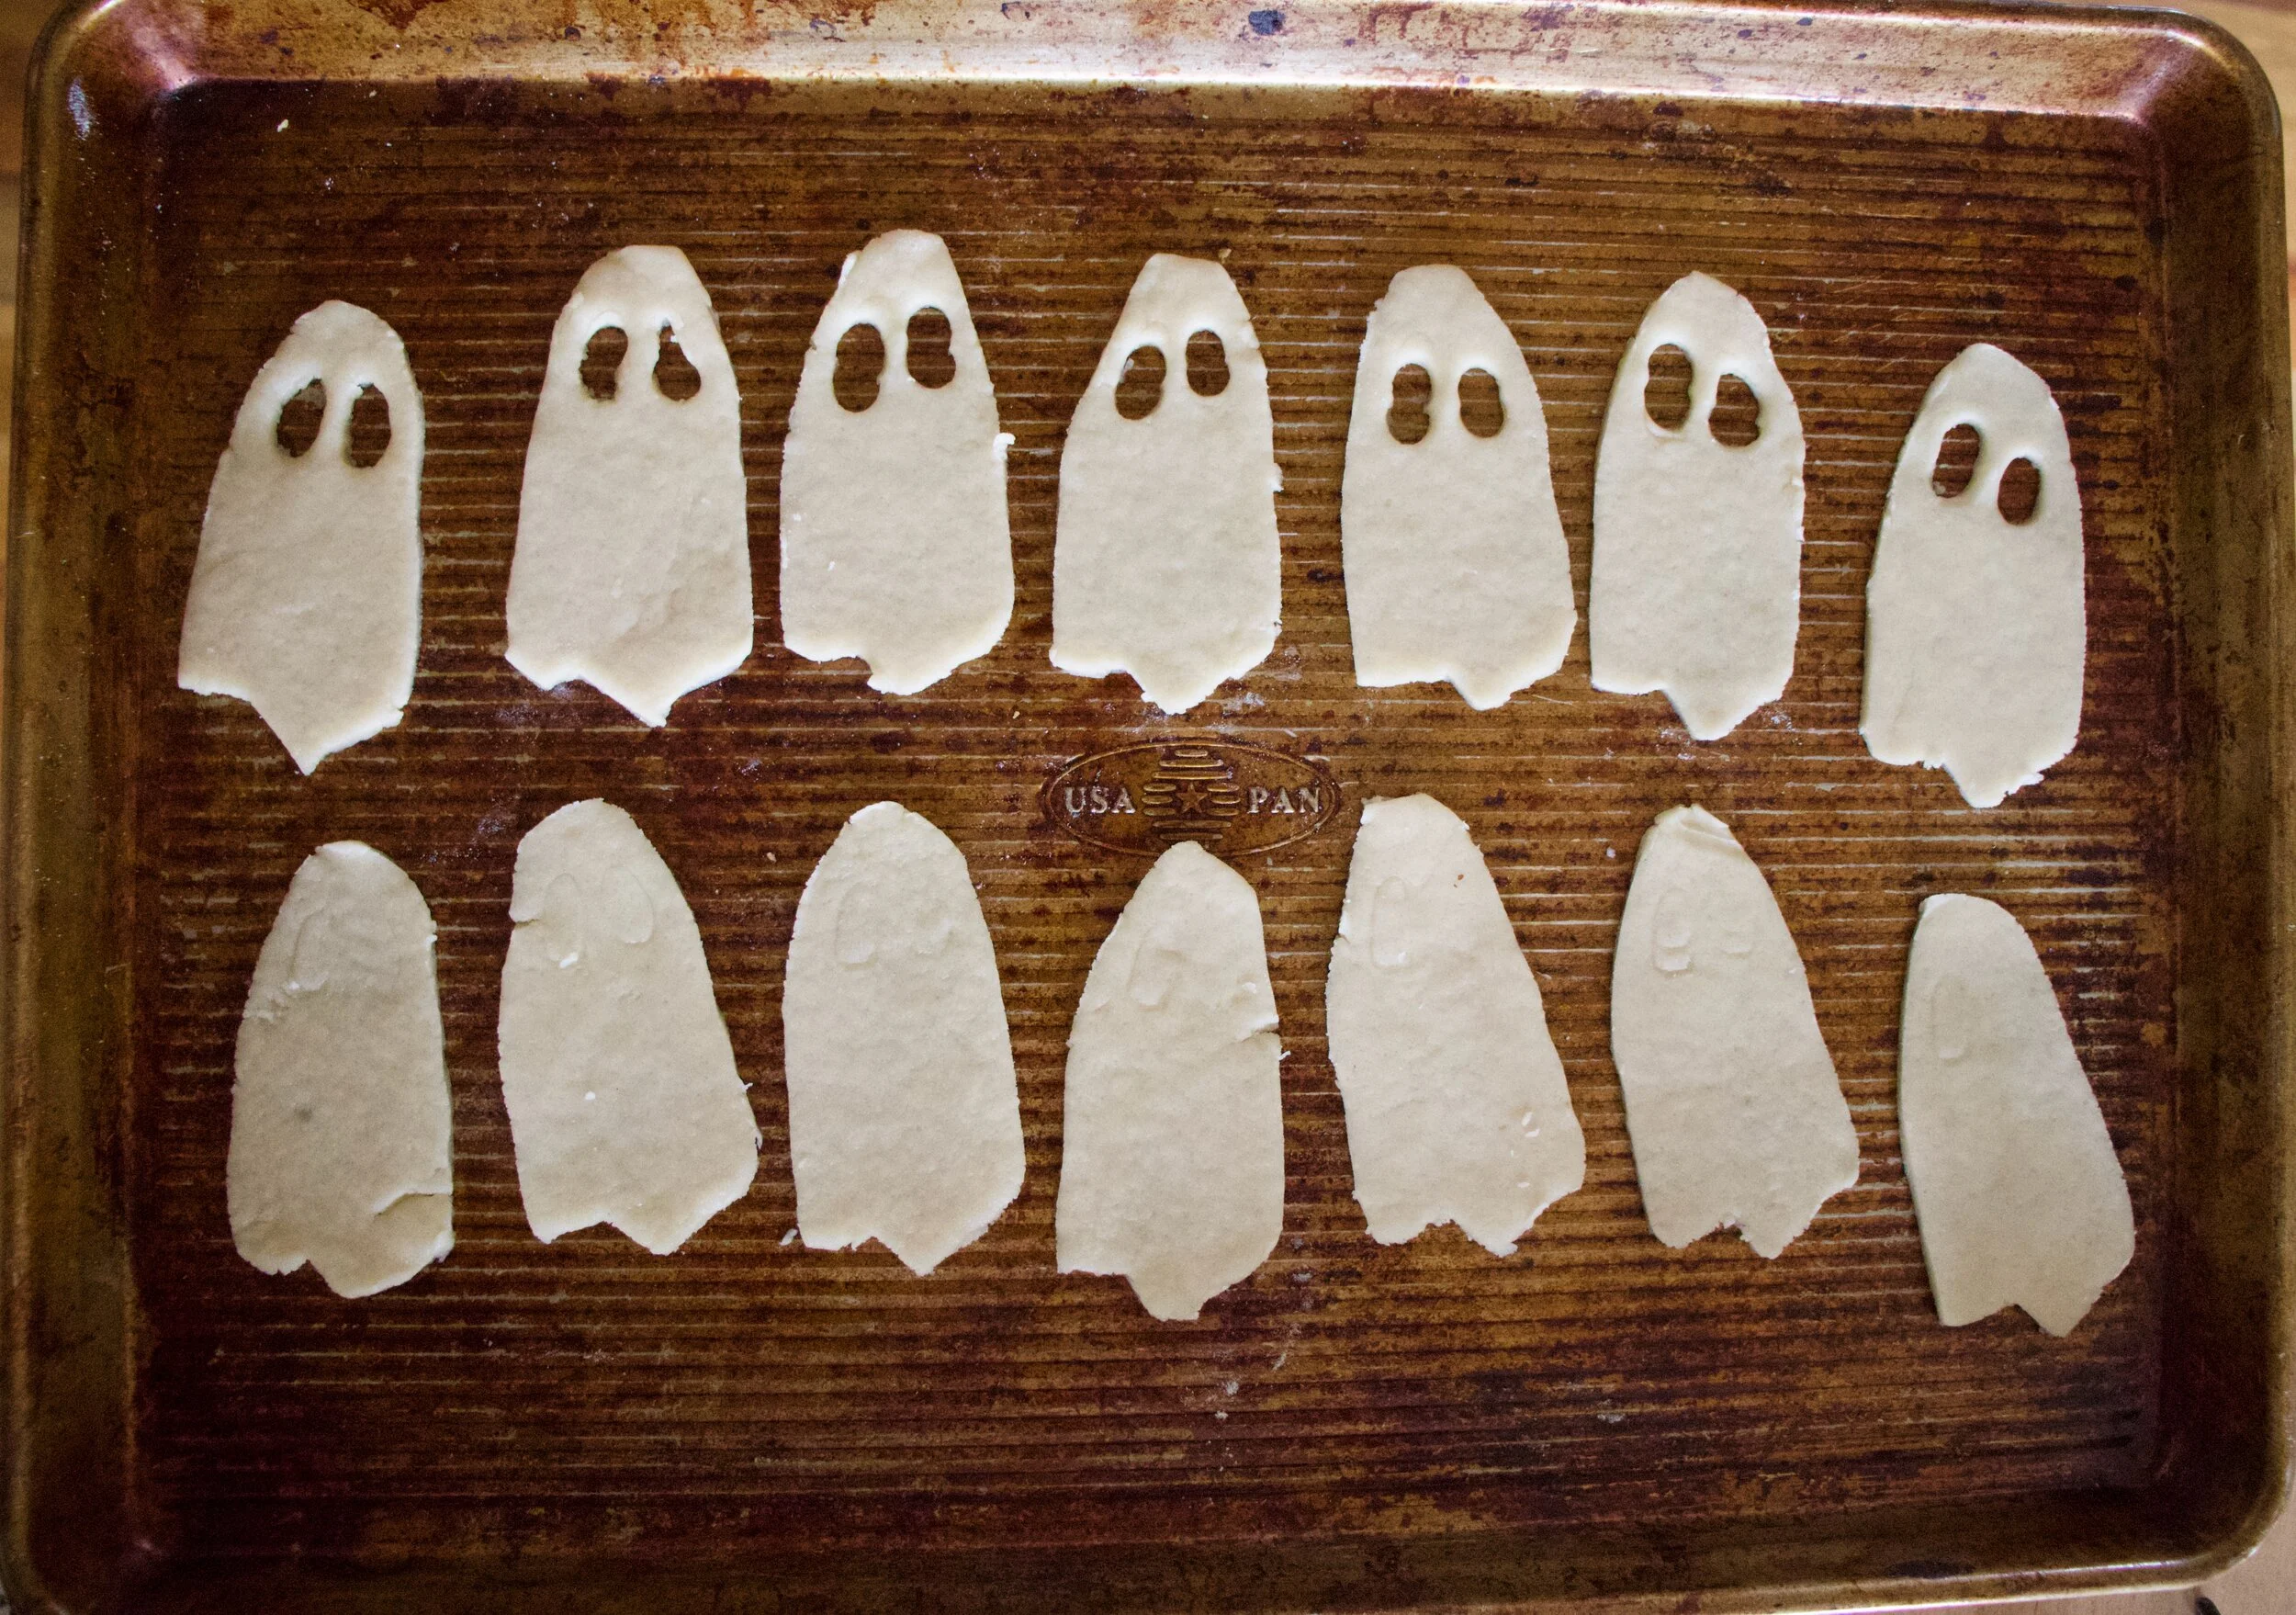
Cut out cookie shapes. If you want to cut out eyes or a few different shapes, remember each cookie needs a top and bottom so even numbers folks.
Place cut out cookies on a baking sheet then into the oven they go.
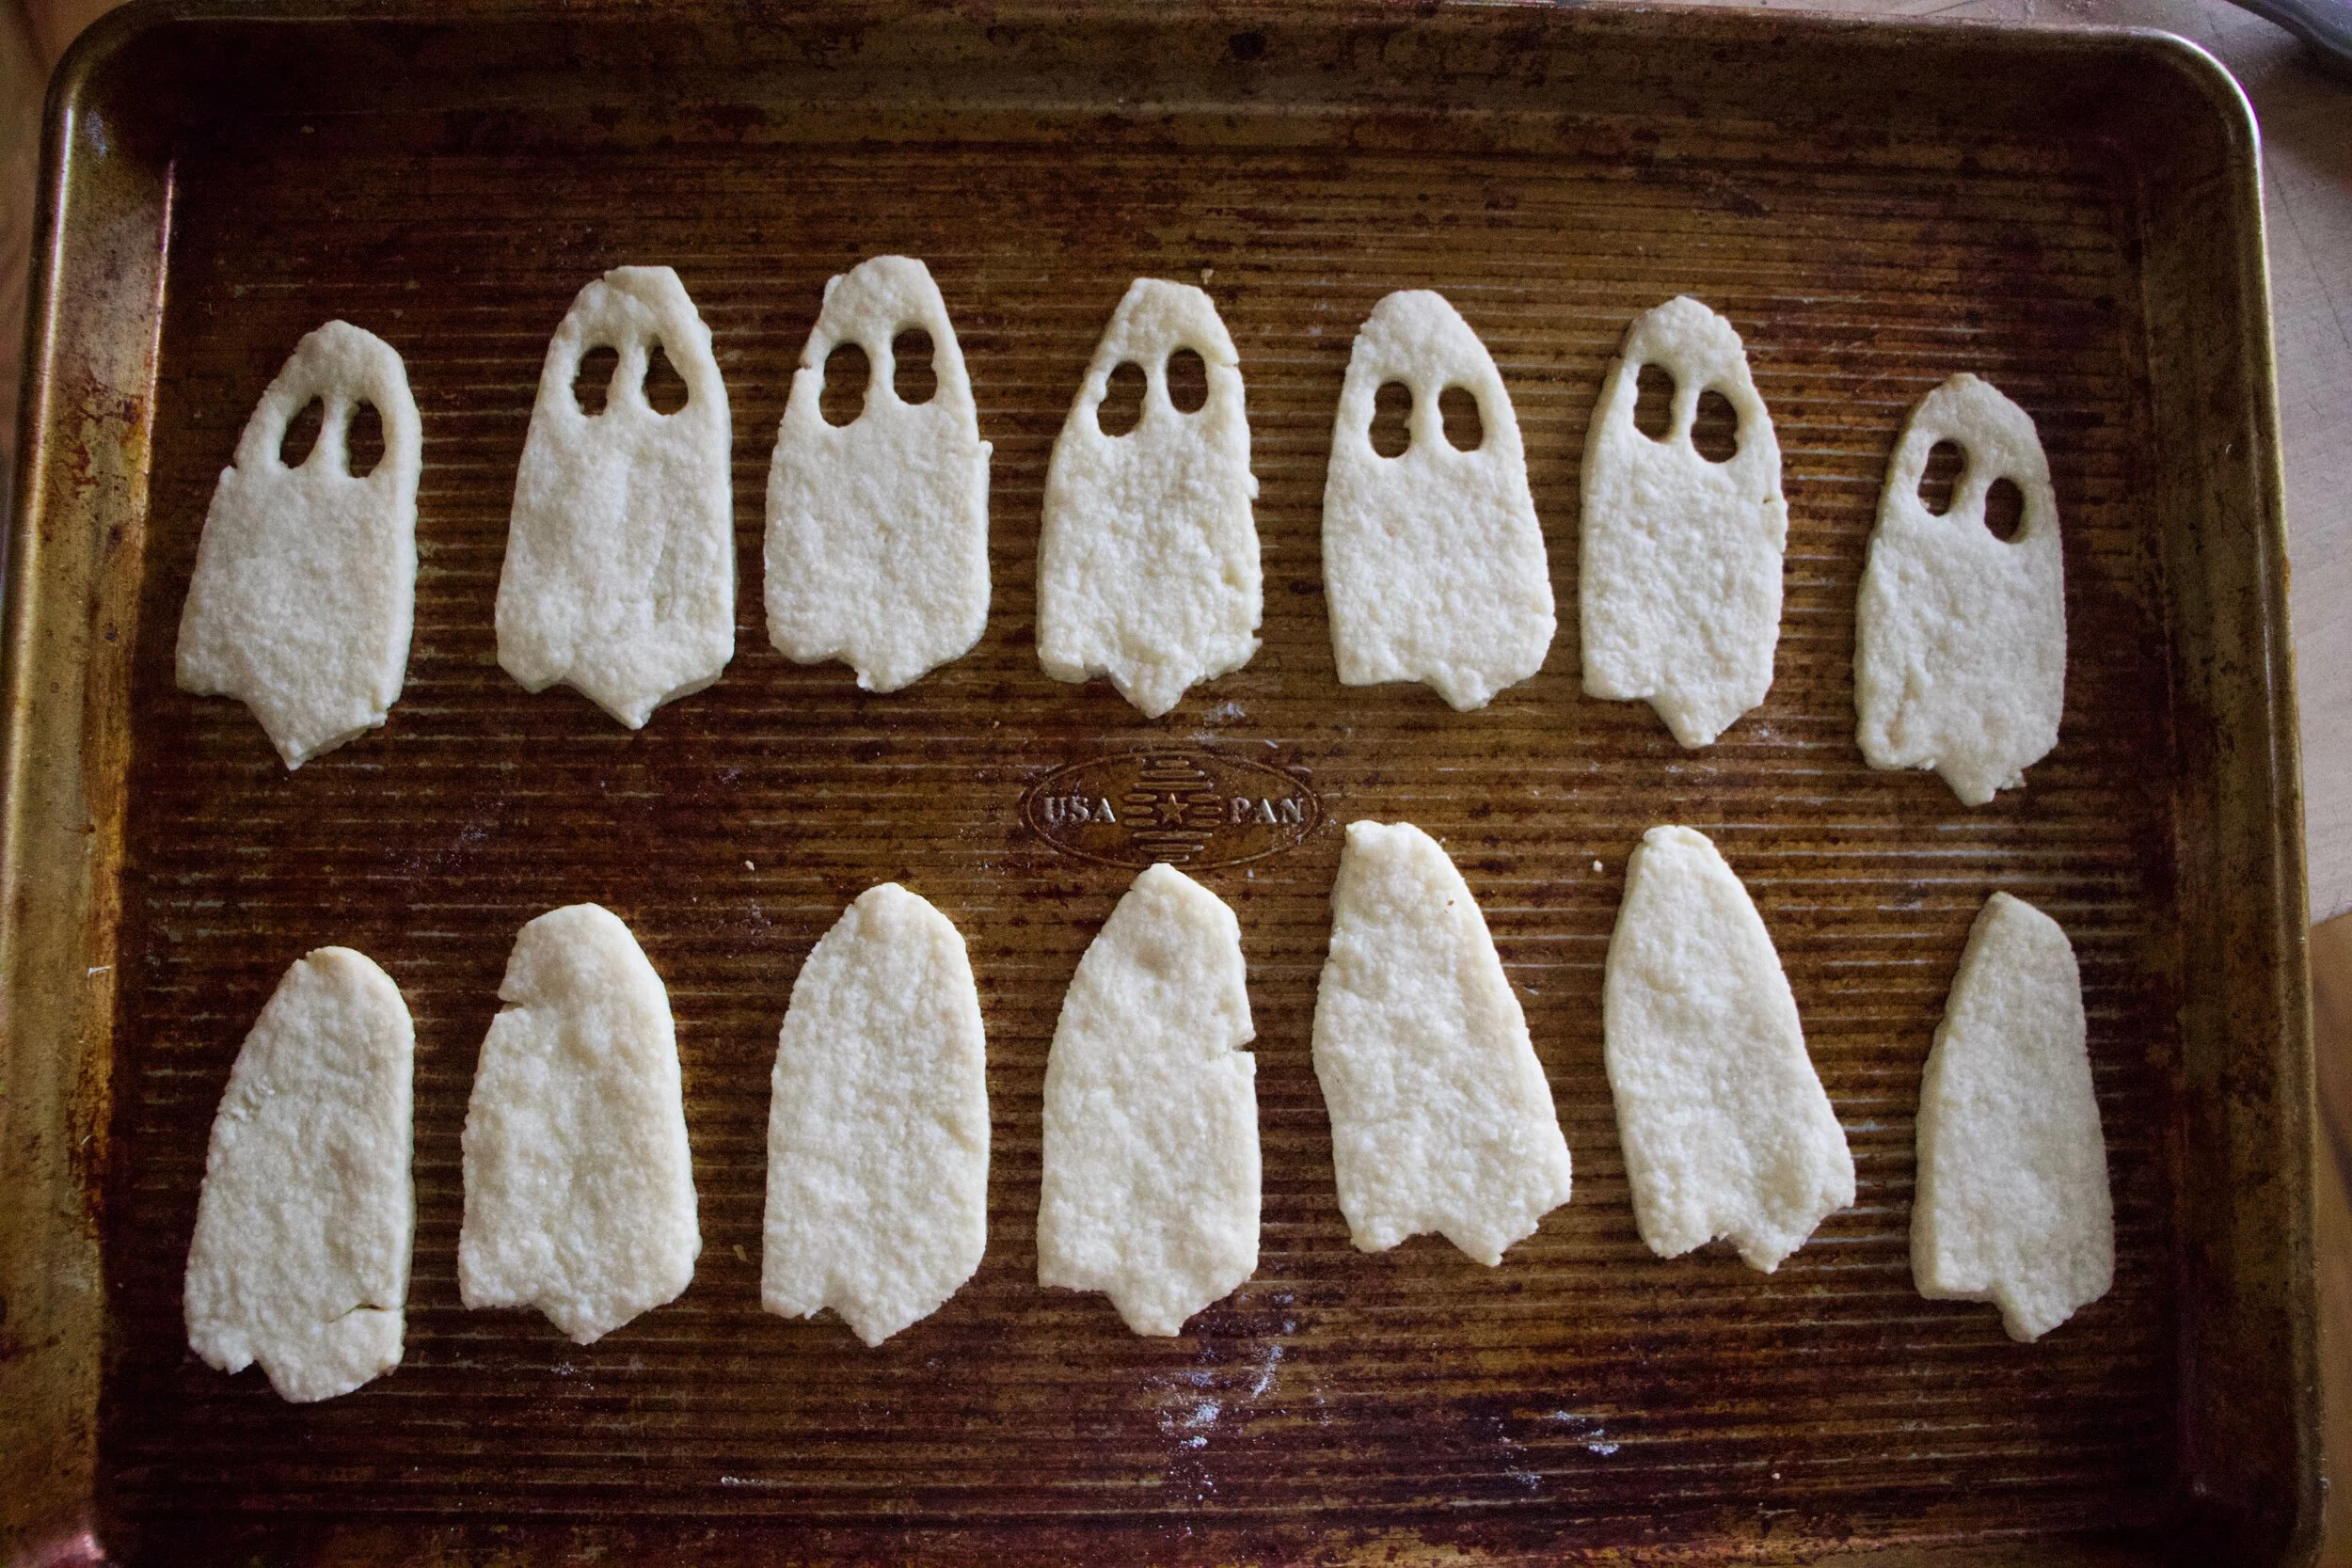
Bakes and ghostly! Place them on a wire rack to cool and keep baking the rest of the cookies.
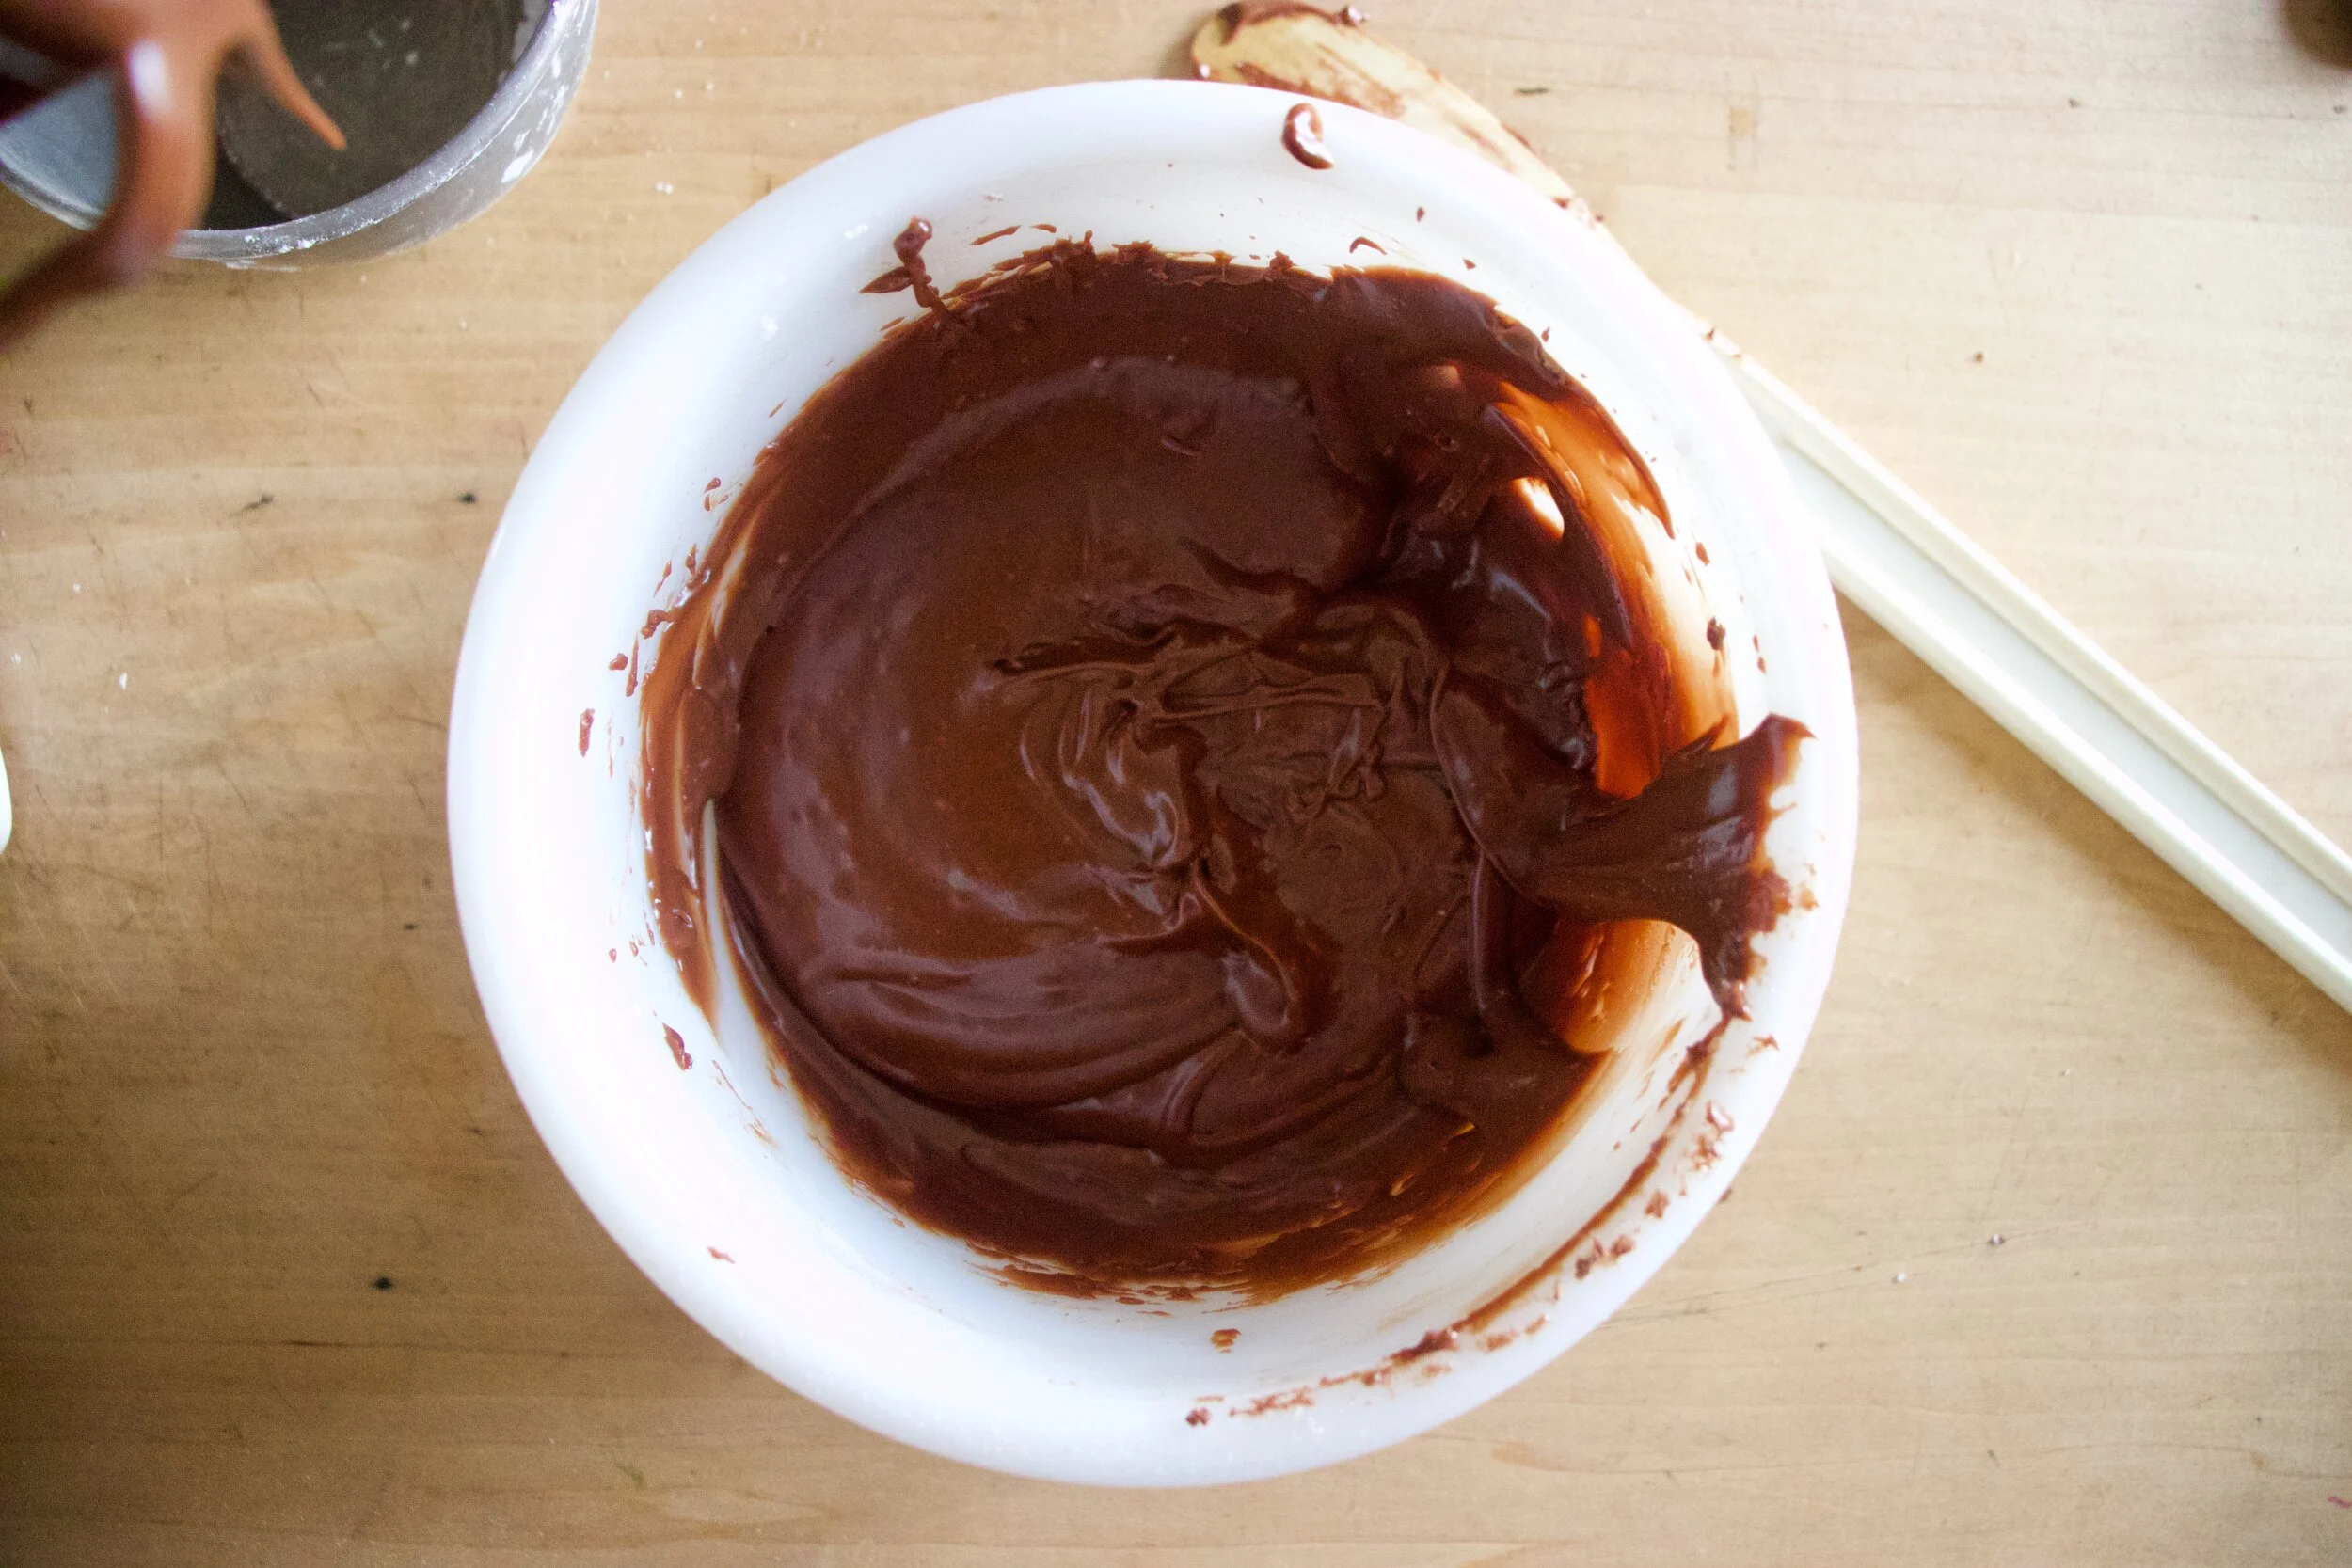
While cookies are cooling, make chocolate filling. Super soft, almost melted coconut oil goes in a bowl with vanilla and gets beaten together. Add in the cocoa powder, powdered sugar and pinch of salt and kept beating slowly anding in a bit of milk until the whole shebang comes together into chocolate filling awesomeness.
Once the cookies are completely cooled, fill them. The filling might have tightened up a bit so if it is not spreadable, pop into microwave for like 8 seconds to get it to move. Scoop or smear equal amounts of filling onto the bottoms of the cookies and top them off with their tops.
Done, and ready to eat.
Ghosts cookies for all your ghost fueled festivities.
-C
makes at least 16 sandwich cookies
For the cookies
2 1/4 cups all purpose flour
3/4 cup white sugar
1 teaspoon baking powder
1/2 teaspoon salt
1 teaspoon vanilla extact
2/3 cup soft coconut oil
5 tablespoons plant milk (I used almond)
For the filling
1 1/2- 2 cups powdered sugar
1/3 cup cocoa powder
4 tablespoons melted coconut oil
1/2 teaspoon vanilla extract
2-3 tablespoons plant milk
1/8 teaspoon salt
Preheat oven to 350
In a bowl beat together the white sugar with the coconut oil and vanilla extract. Add in the flour, baking powder, and salt and start to mix with a spoon or fork, adding in the milk as you go. Keep mixing until completely incorporated and turns to a ball of dough. Gather together into a ball and wrap in plastic. Pat flat and place into fridge for an hour or up to a day.
To cut out cookies. Roll fridgerated dough out on a floured surface to about 1/2 inch thick. Cut out shapes, making sure to have a top and bottom for each cookie. Gather left over dough into a ball and repeat until all the dough is used.
Place cookies on a baking sheet and bake for 13-15 minutes or until they are just starting to lightly brown around the edges. Remove from oven and place on a wire rack to cook.
For chocolate filling. Beat together the melted coconut oil with vanilla. Add in the lesser amount of powdered sugar, salt, and cocoa powder. Beat on low, adding in 2 tablespoons plant milk. Beat until mixture comes together into a thick but spreadable consistency. If it seems too thick, add more milk, too thin, a little more powdered sugar.
Cookie assembly. 2 cookies at a time. A top and bottom. Spread about a tablespoon of chocolate filling to bottom cookies and pop the top on.
Eat cookies. Store what is not eaten in a airtight container for up to a week, but these ghosts will definitely not last that long.
It started a few nights ago when I was eating my after dinner dessert snack. A big bowl of fresh strawberries. But there was something missing. I wanted a little something else to add to my dessert so I opened the freezer to see if there was any frozen bananas. What caught my eye was the bag of peas. And it just seemed right so I poured some into a bowl, dumped hot water on them to thaw, and mixed them into the bowl with the strawberries. Now I got to tell you, it was one of the most satisfying delicious desserts I have had in a long time. Think about it. Peas are sweet and creamy and strawberries are sweet and tart. The combination might seem a little strange but haven%u2019t we learned by now that I am always right about flavors? HAHA. But really. It%u2019s one of my new favorite snacks.
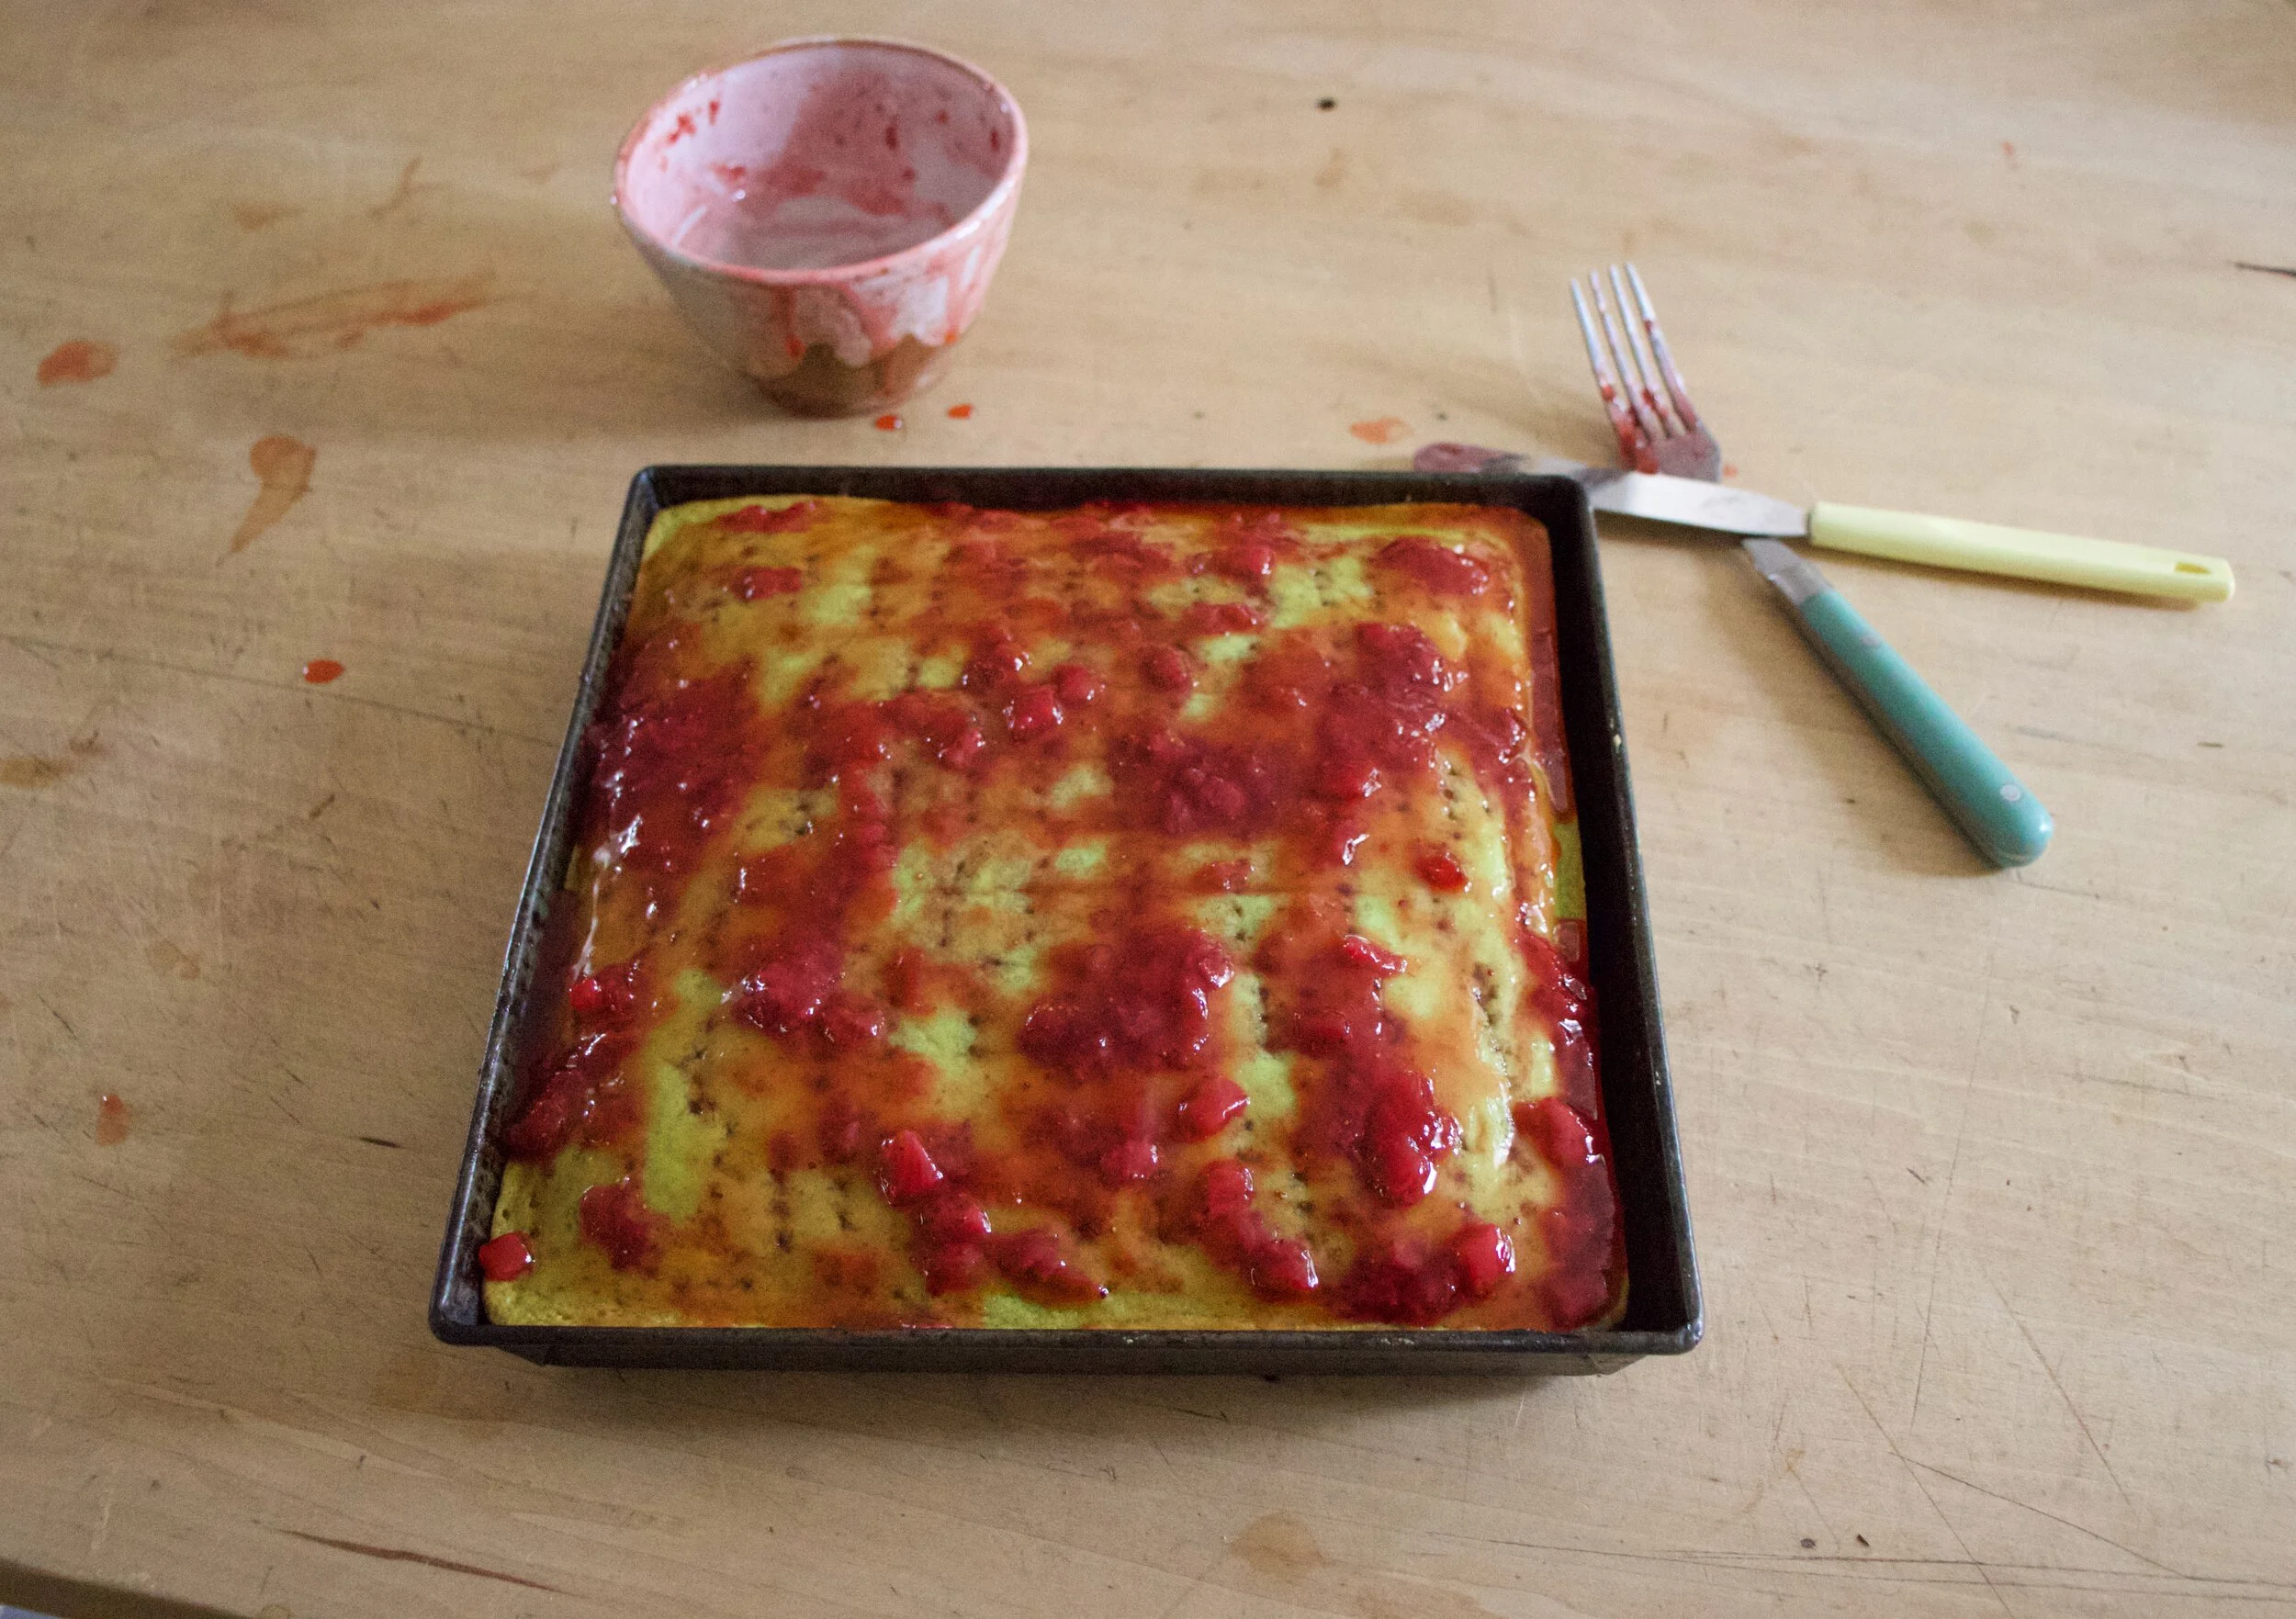
Now how to share my newfound love of peas and strawberries? Well cake of course. I figured people are less hesitant to try new flavor combinations when in cake form because everyone wants cake. And I was right. Plus it is a real looker if I do say so myself. Bright green cake with bright red strawberry glaze. A spring time snack with the spring time feels. Everything about this cake is right on point with all the things. And it is super fast and easy to make to boot because it%u2019s all thrown together in a blender.
You really can%u2019t go wrong here friends. And if you happened to be needing a little something something to snack on with your mama this weekend, well I think you just found the perfect snack.
Now to the cake!
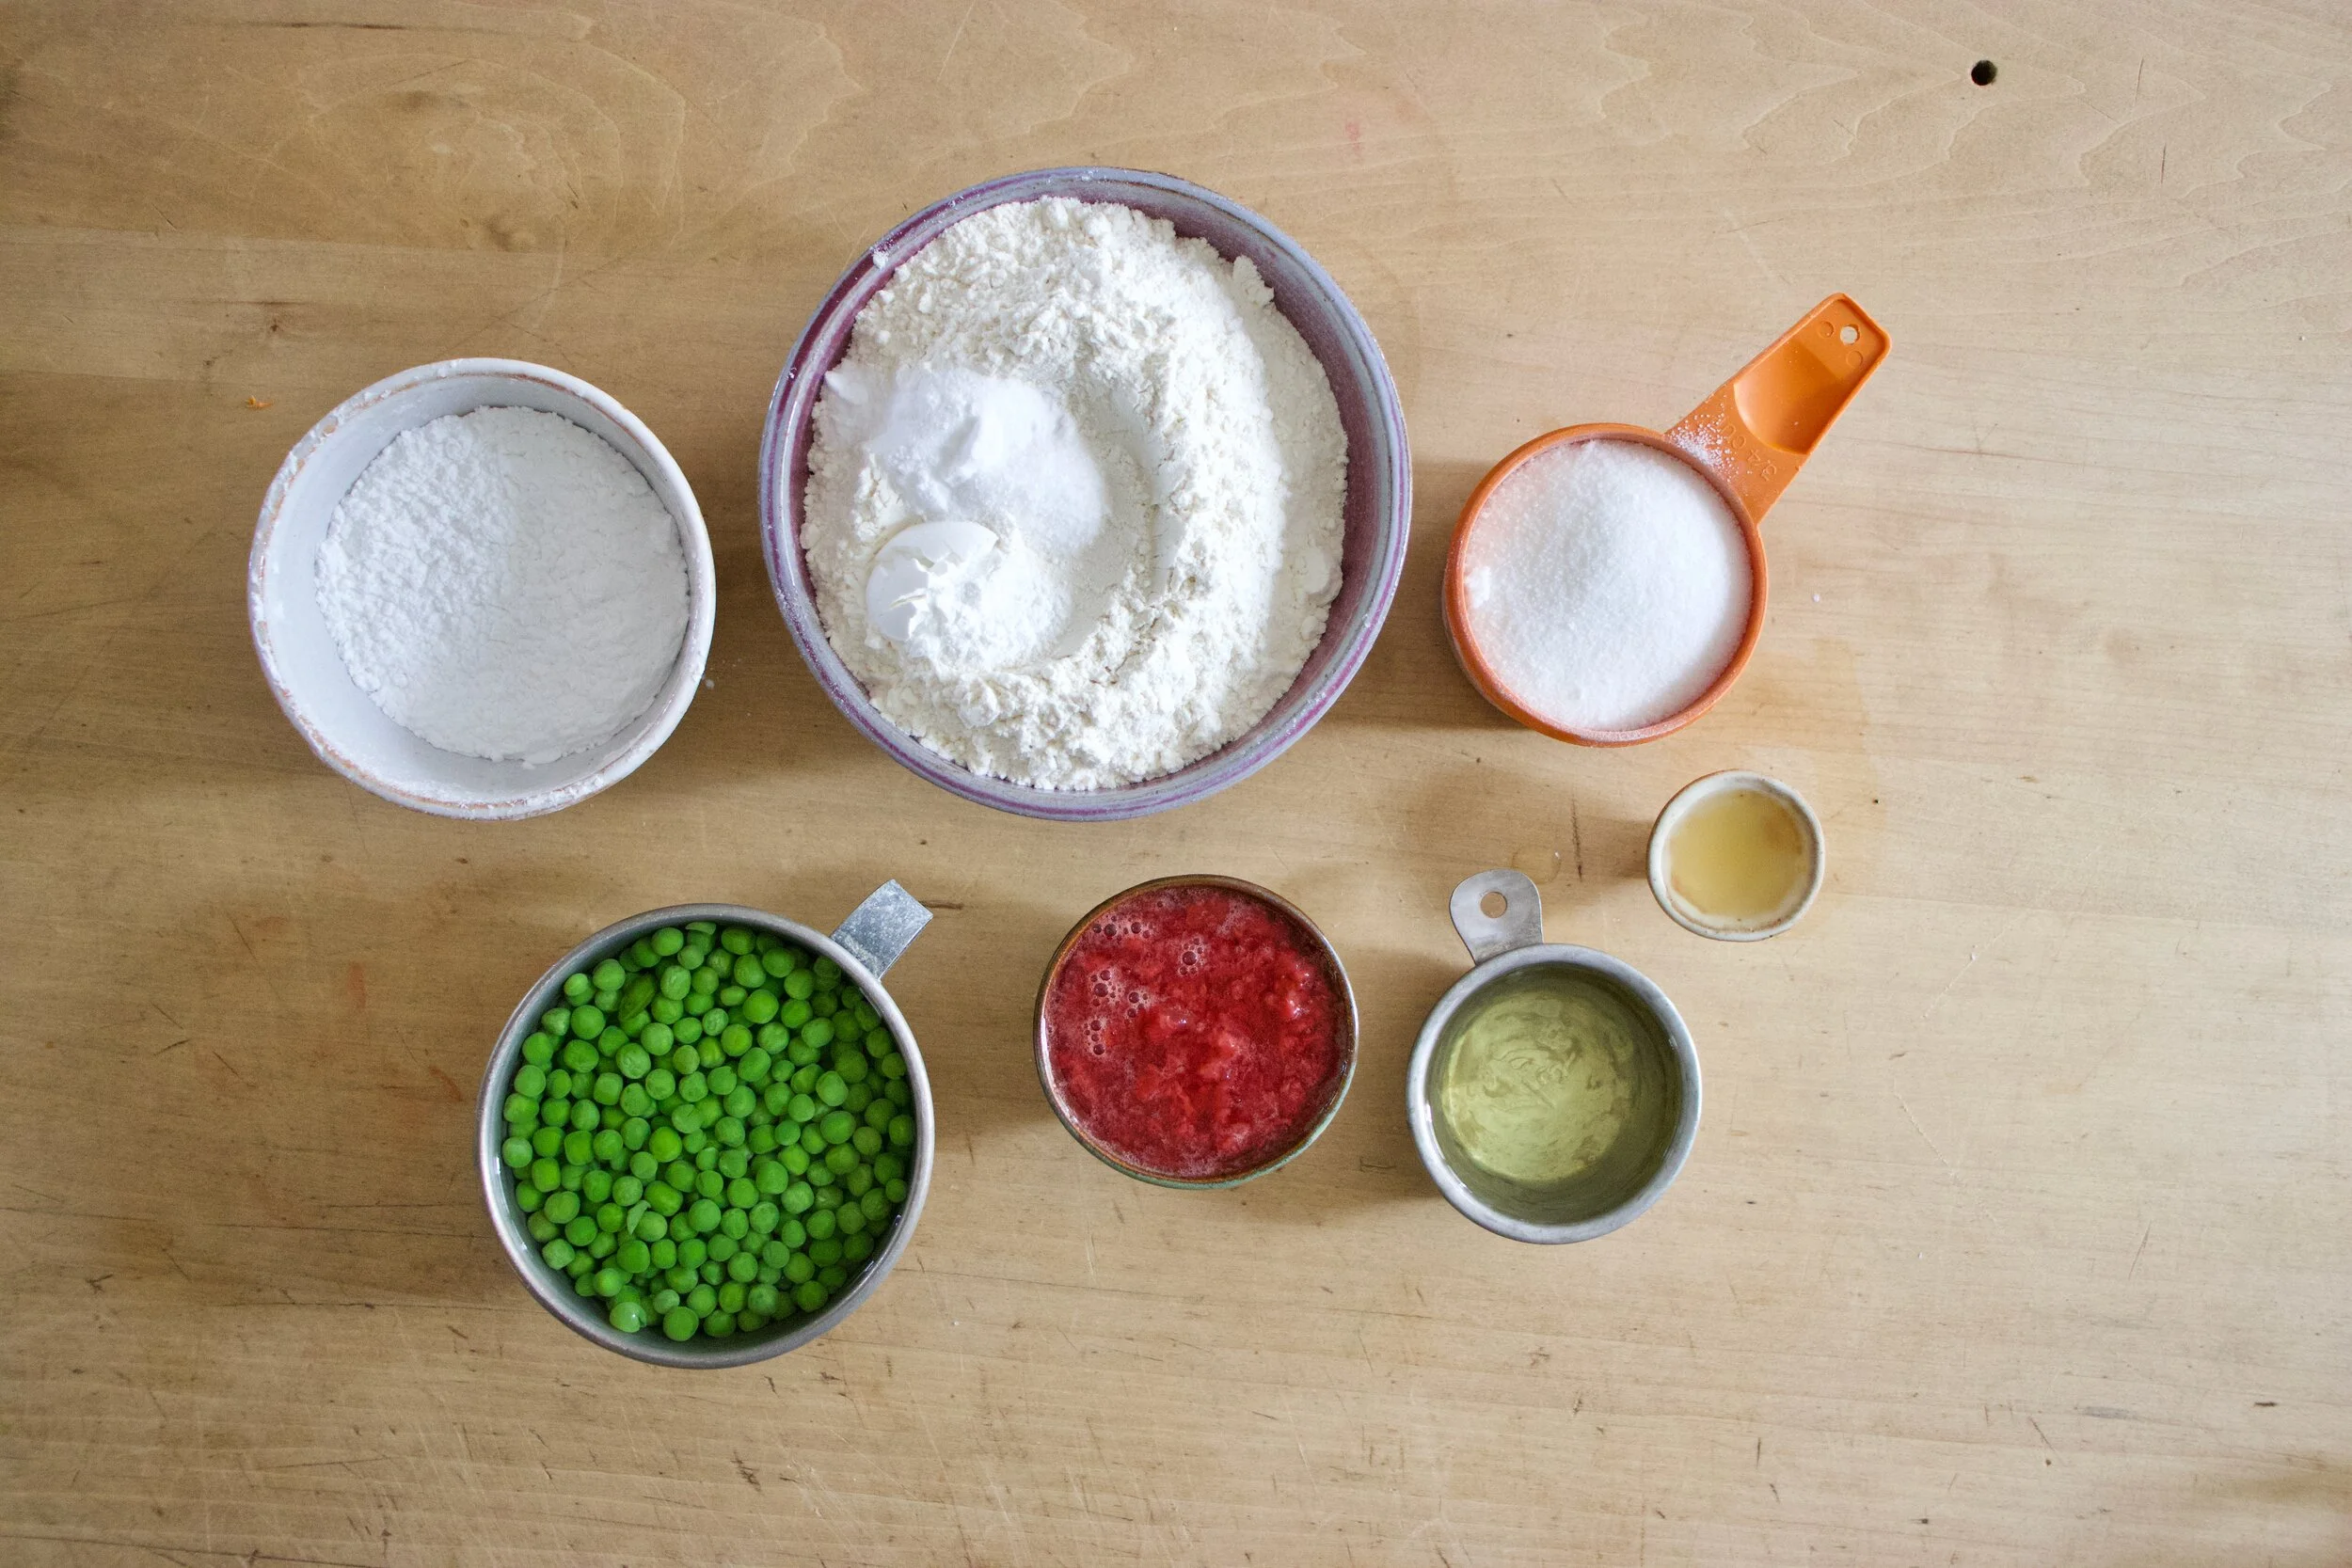
The stuff. Peas,strawberrie jam of perceives (I had just made it so it is still warm) Flour, sugar and powdered sugar, baking soda and powder, salt, oil, and vinegar.
Super easy here. Place peas into blender and blend until smooth. Add oil and sugar and blend until incorporated. Then add in all the dry. Before you blend, take a spoon or spatula and hand mix it a little. Add in a cup of water and vinegar then pulse until incorporated. Don%u2019t over blend it or else it will be tough.
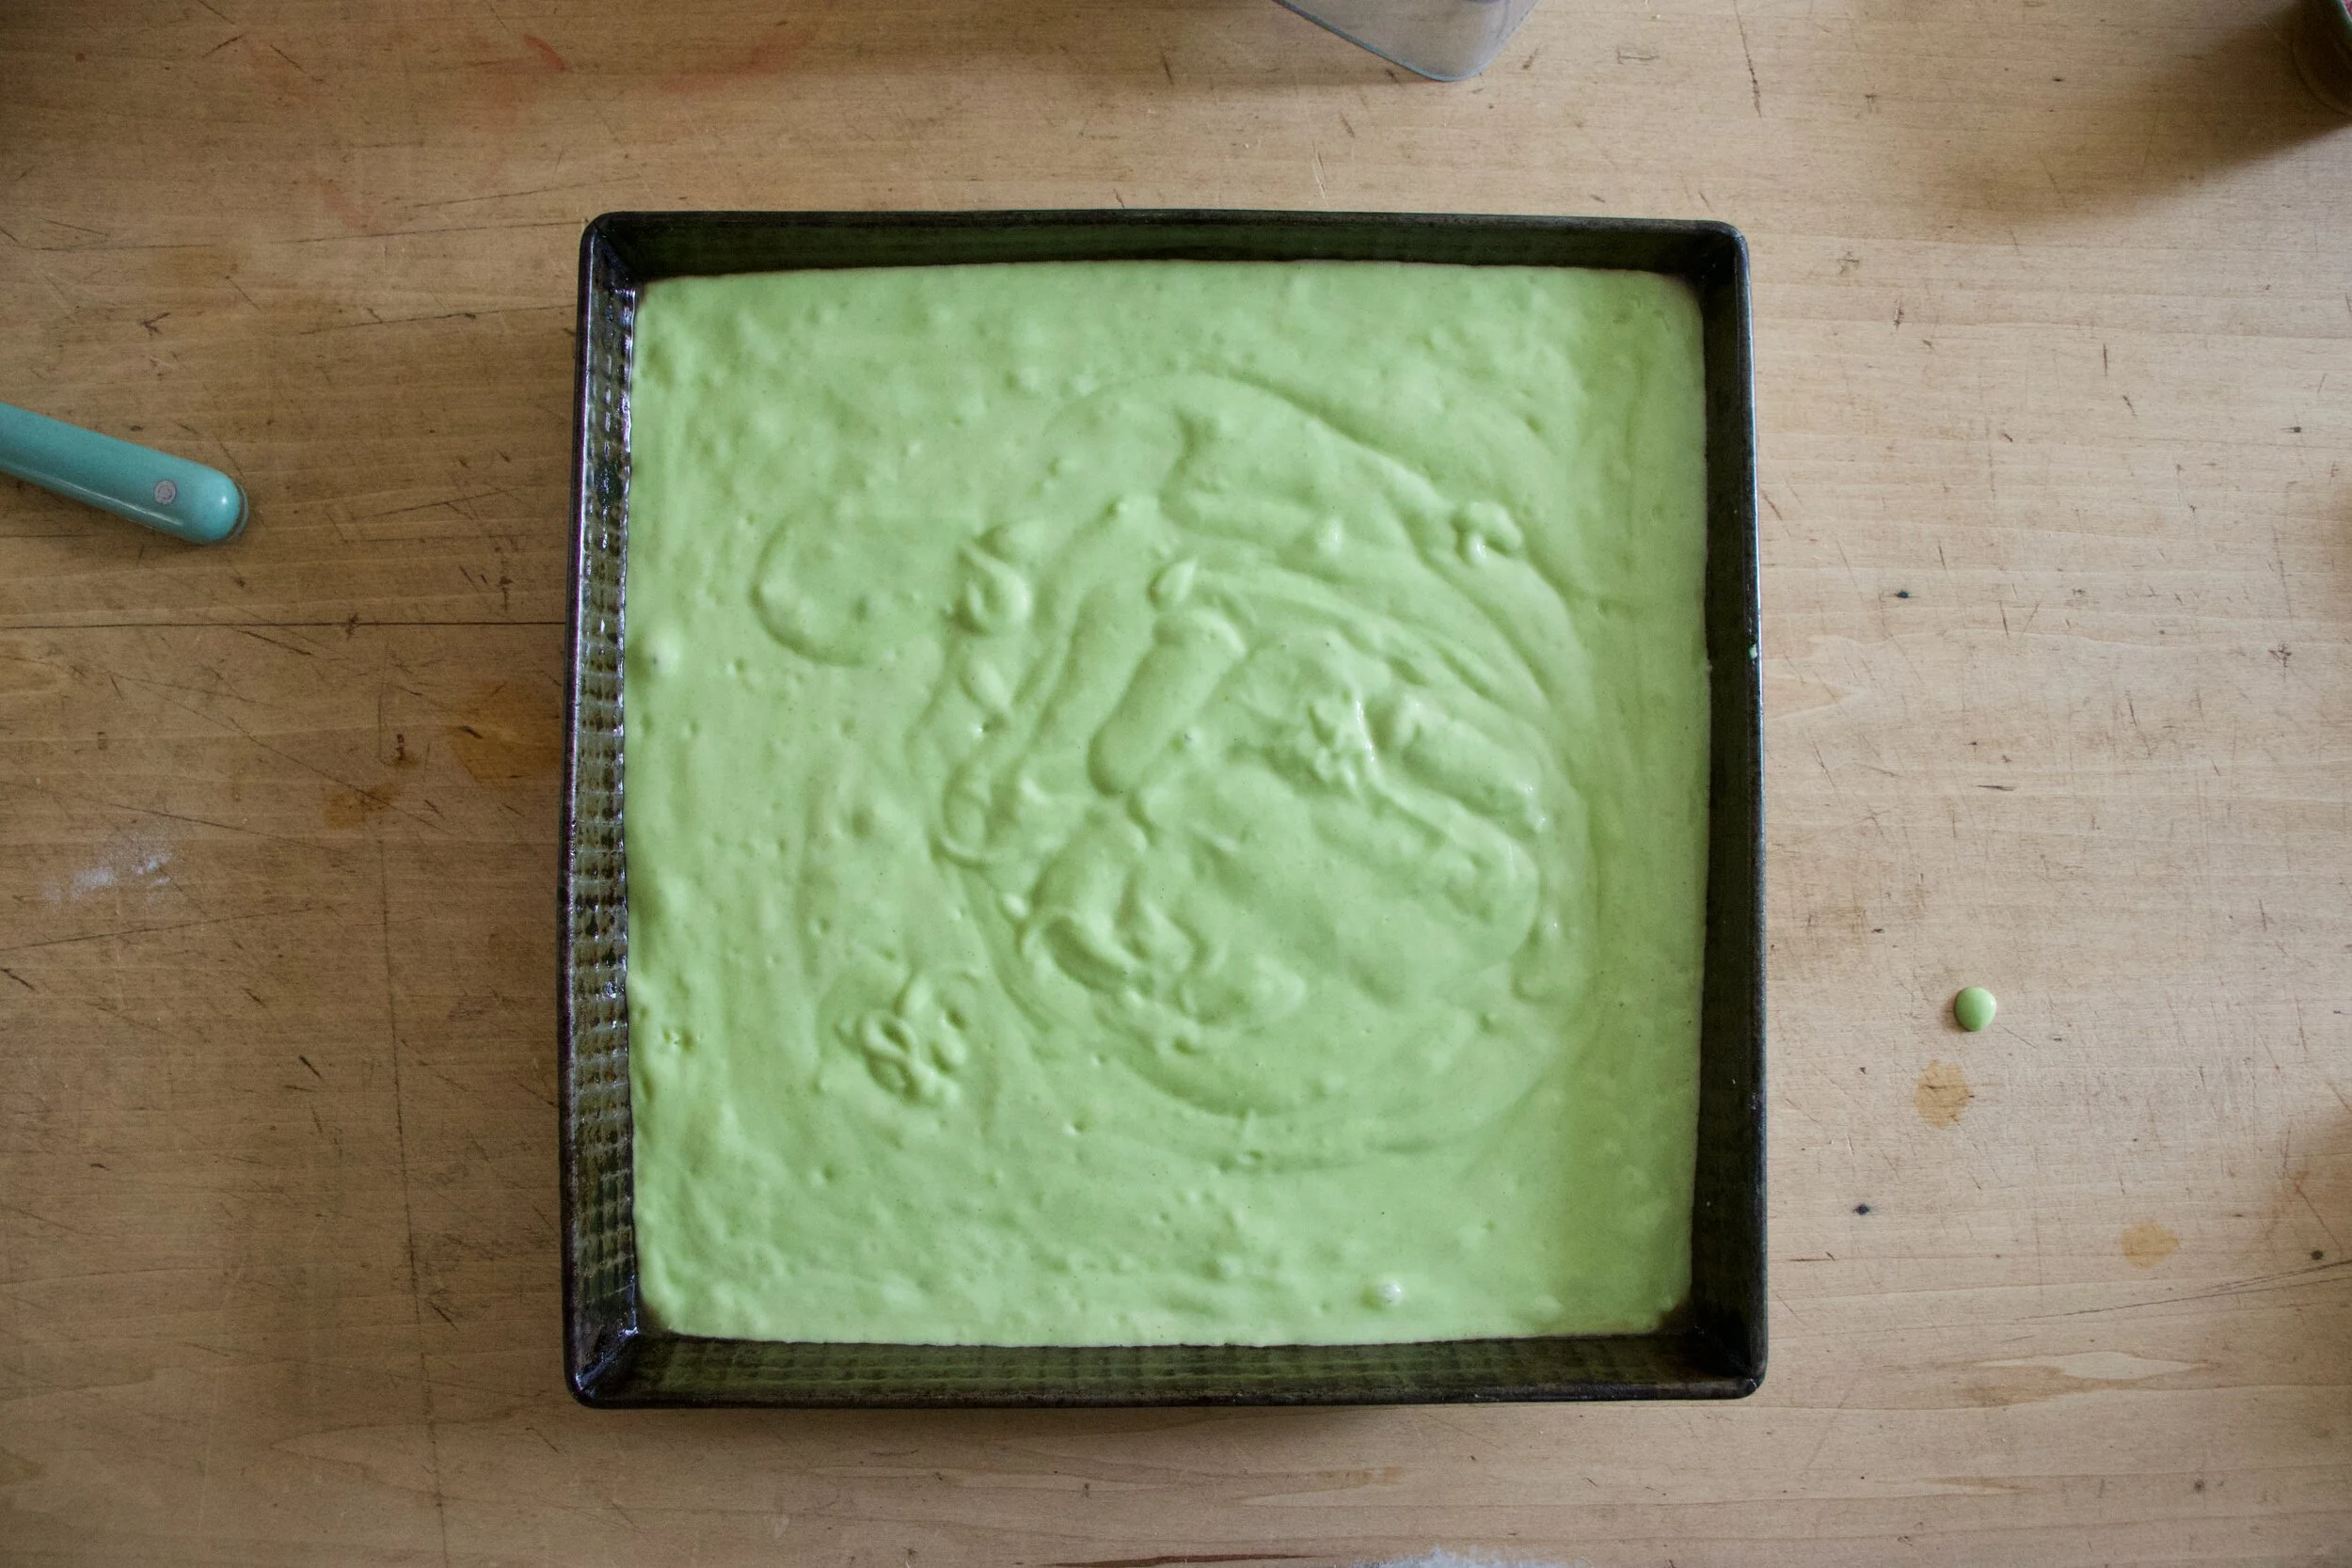
Pour batter into a well greased pan and pop into a hot oven. Bake.
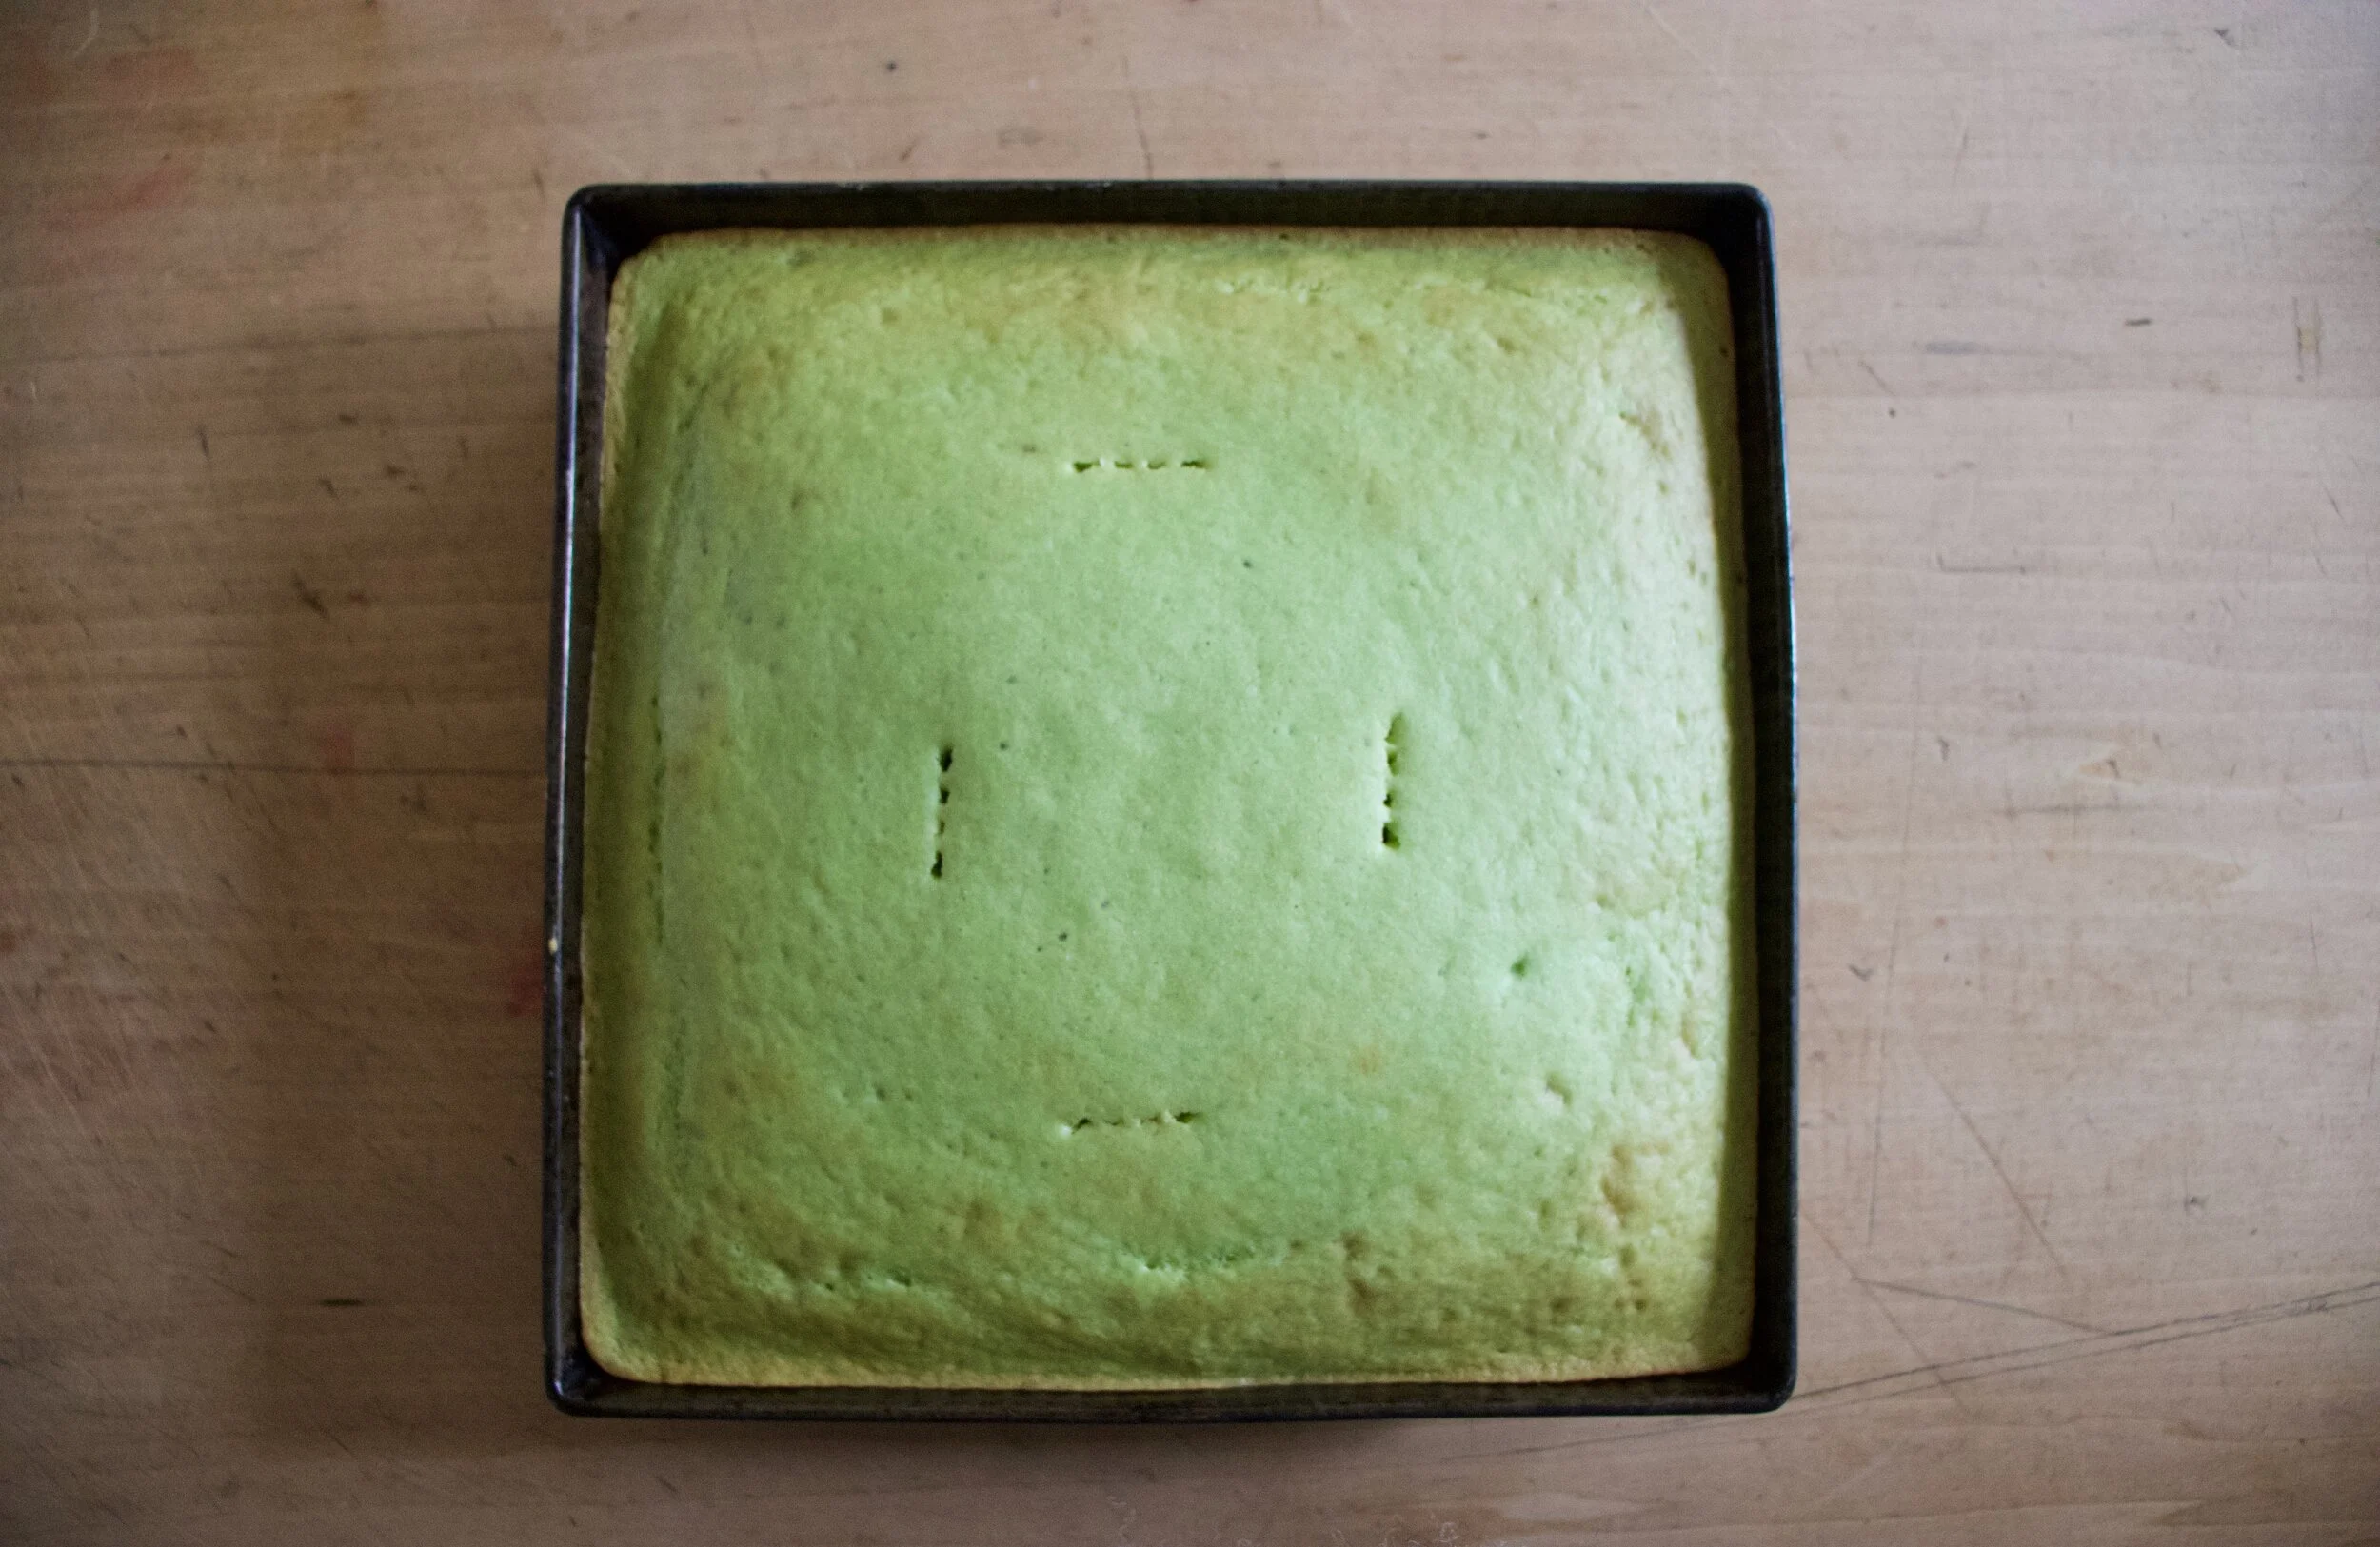
Afer about 25 minuts, check for doneness. When the fork or tester comes out clean, it is done!
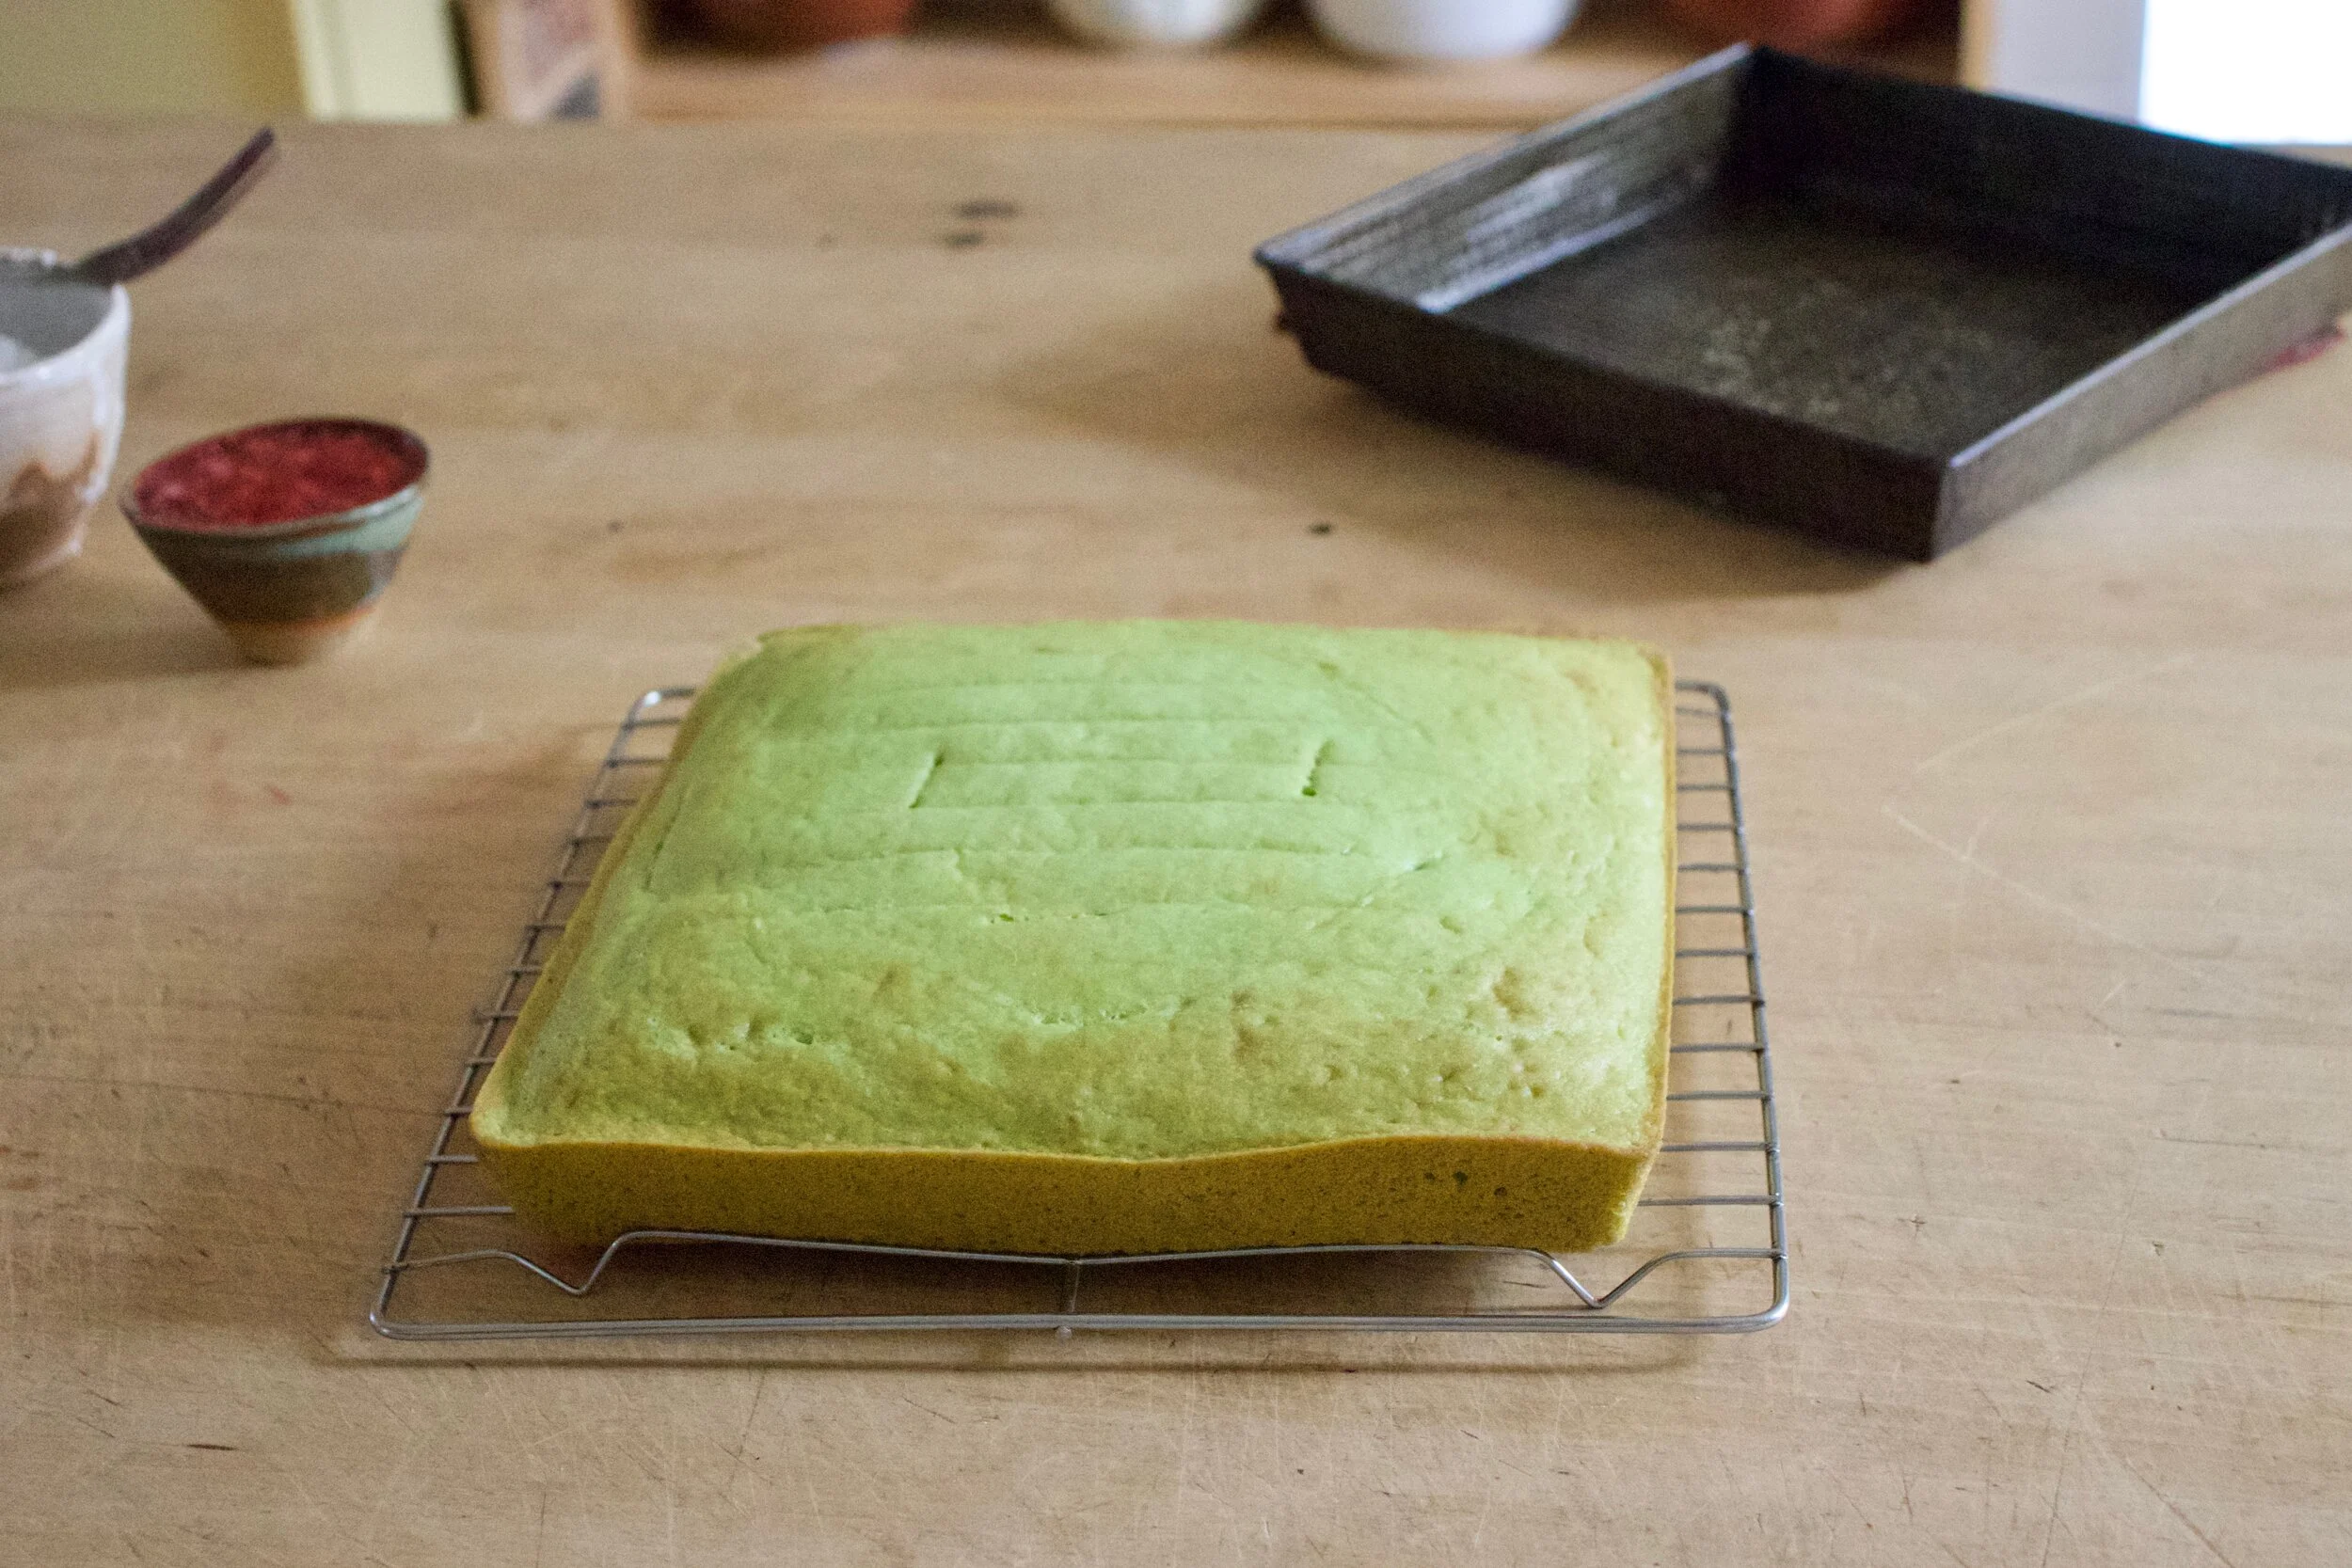
Pop cake out and let cool on a wire rack.
And glaze. Warm up the jam in the microwave on on stove until loose then mix jam with powdered sugar.
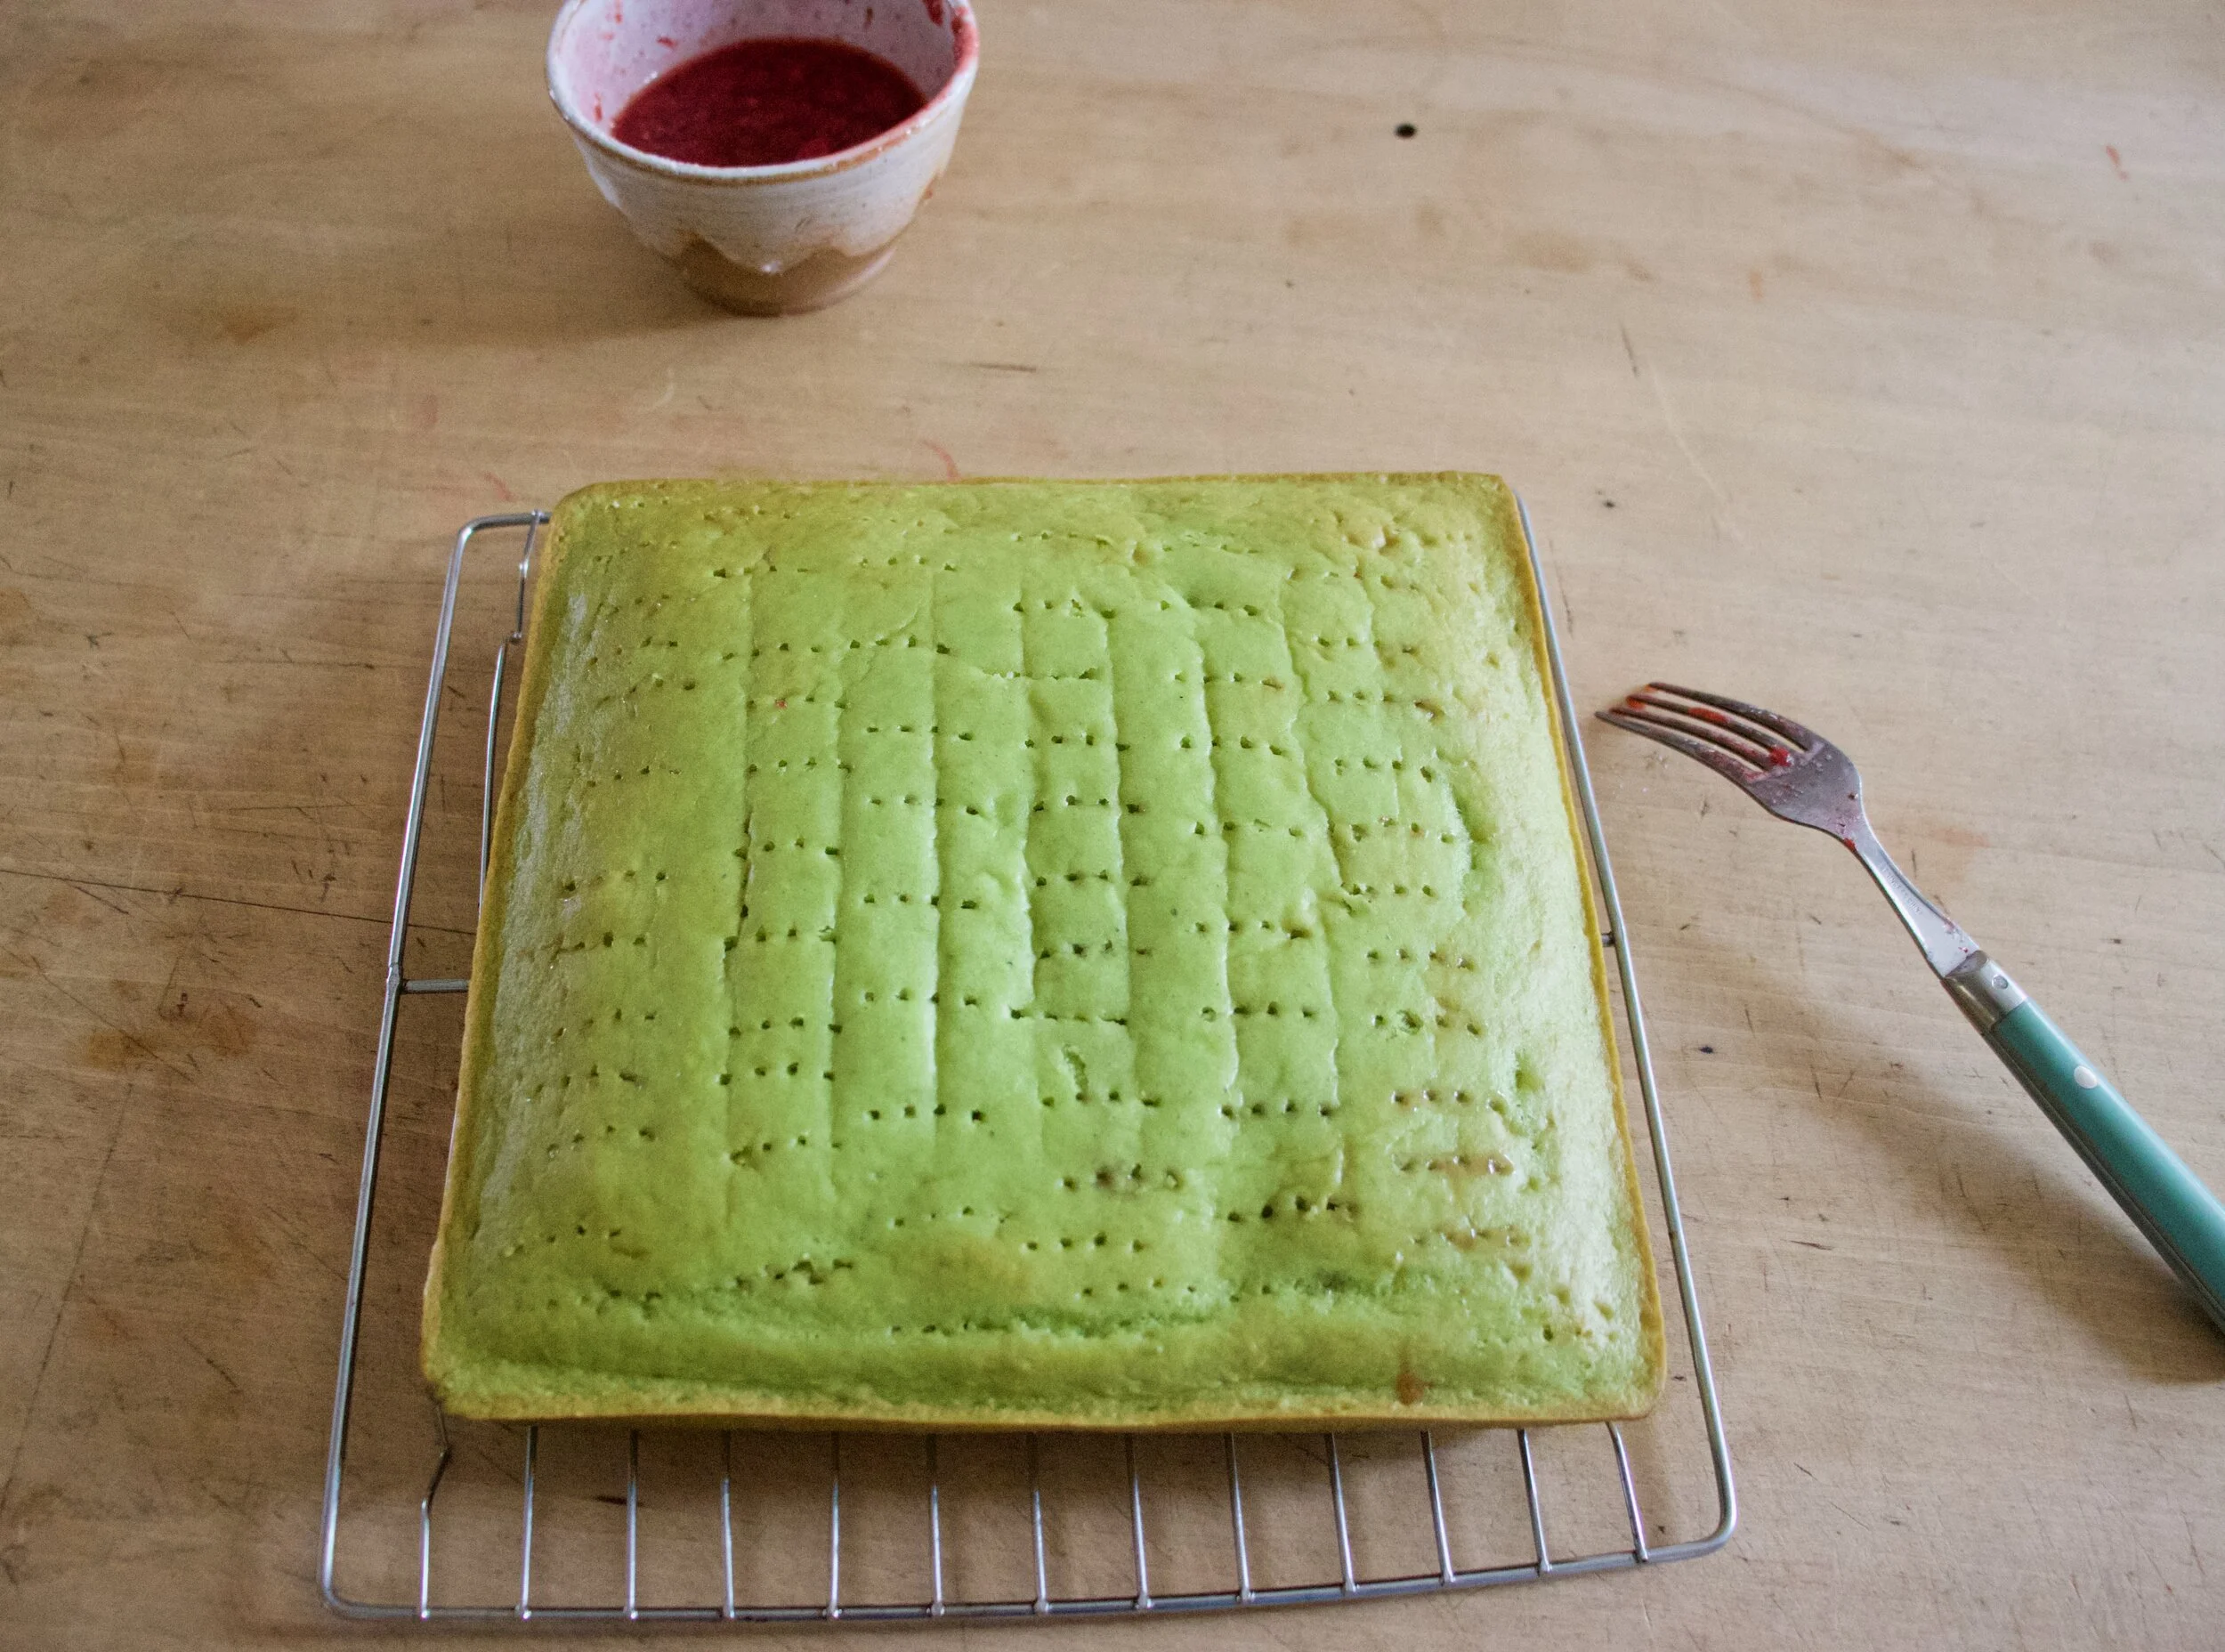
When the cake has cooled, grab a fork and stab holes all over so when you pour glaze on it will kind of seep into said holes.
Pop cake back into pan (or don%u2019t if you dont want too) and pour glaze all over top.
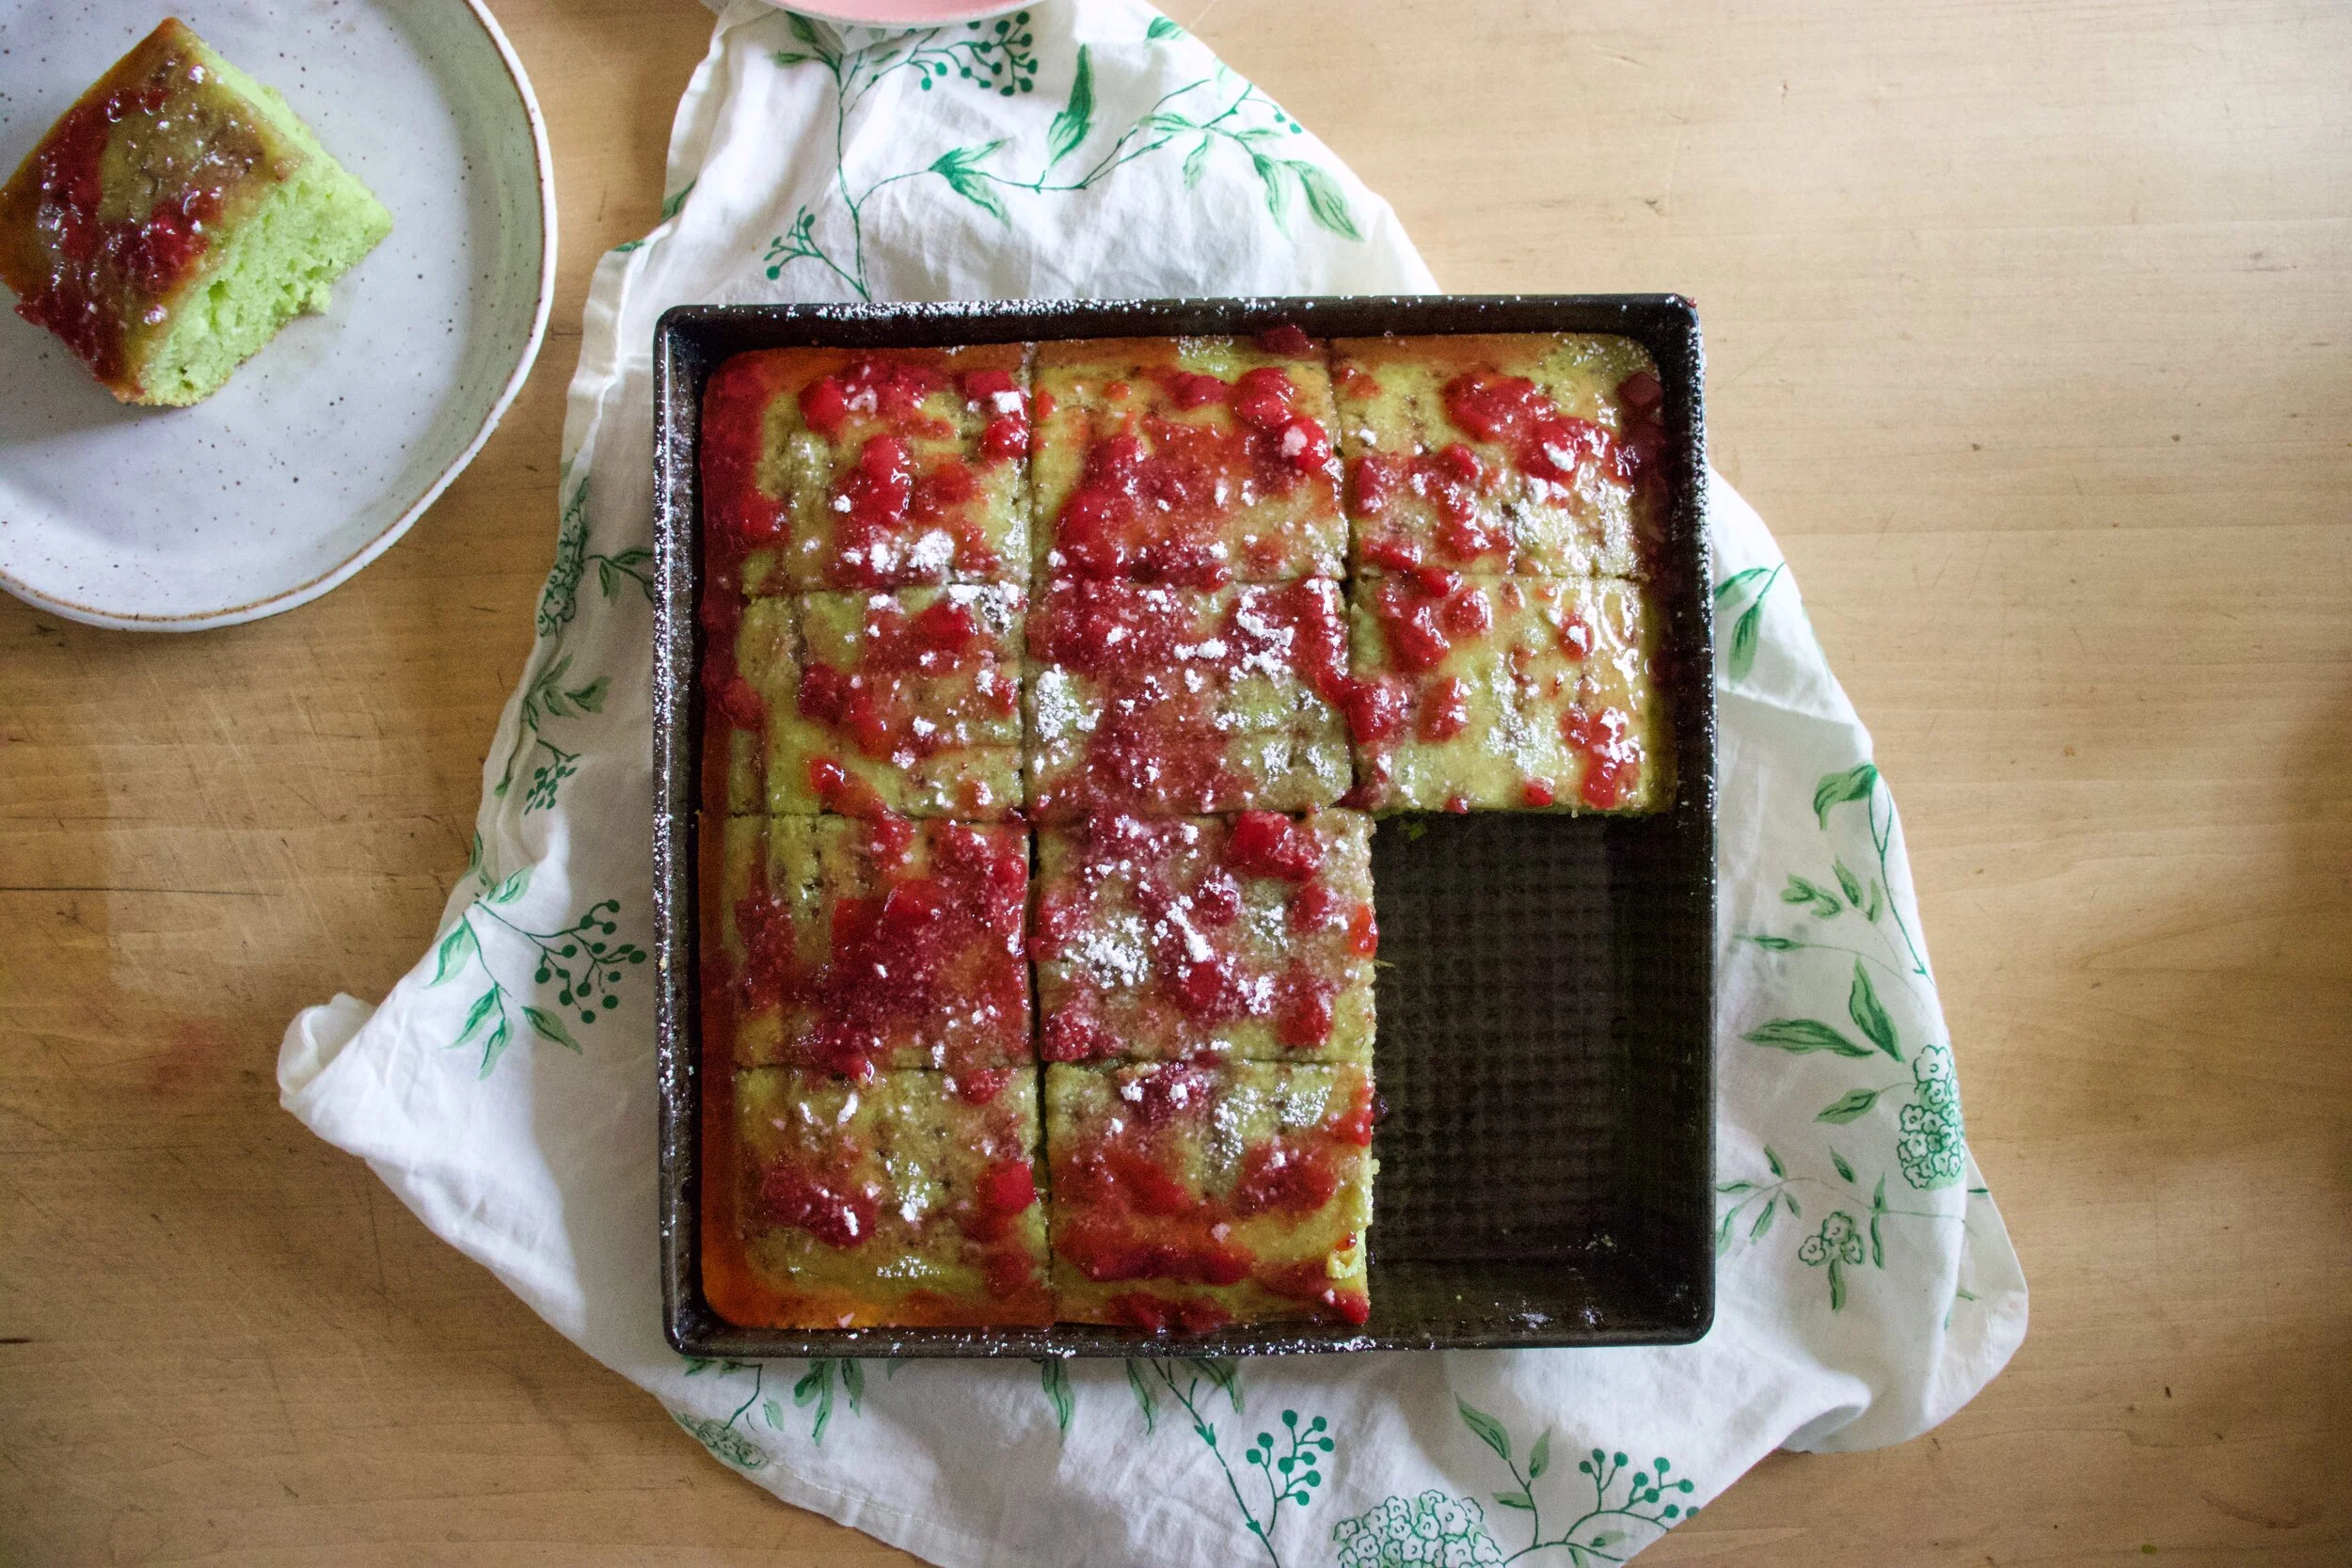
A dusting of powdered sugar for looks and done and done. Cut into squares, pop a piece on a plate, and snack away.
-C
makes a 9×9 cake
2 cups all purpose flour
3/4 cup white sugar
1 1/3 cups sweet peas (fresh or frozen and thawed)
1 cup water
1/3 cup oil
1/2 teaspoon salt
1 teaspoon baking powder
1 teaspoon baking soda
1 tablespoon vinegar
1 cup powdered sugar
3 tablespoon strawberries jam or preserves
Preheat oven to 350
Place peas into blender ans blend until smooth. Add in oil and sugar and blend until incorporated. Next add in baking soda and powder and then flour on top. Grab a spoon or spatula and mix a little to give the batter a head start then add int he water and vinegar. Pulse in blender for a few seconds, scrap sides, then pulse again until it just become a cohesive batter. Don%u2019t oven blend it or that cake will be tough.
Pour batter into a well greased 9×9 baking tin and place into hot oven. Bake for about 25 minutes or until golden brown and a tester comes out clean. When it is done, pop out of oven and pop cake out of tin to cool on a wire rack.
Once cake is cooled, place back into baking pan. Mix together the powdered sugar and jam then either microwave it or heat on stove for 30ish seconds until warmed and pourable. Grab a fork and stab holes all over top of cake then pour glaze all over.
Sprinkle some more powdered sugar on top for looks, but other then that, it%u2019s now time to eat.
Cake that is not eaten is best keep at room temperature for 2-3 days. Can be frozen too.
It was a toss up this week. Share this recipe or share home remedies for%u00a0flatulence!!!! Mah haha! (But honestly, should I share some home remedies for bloating and the toots?)
Ok, so we all know what is going on in the world at the moment and jeezm fuck. I%u2019ll leave it at that.
Word on the streets (or in the news) is that everyone and their mom went out the past few weeks and stock piled a shit ton of food, especially beans. And you know what, that%u2019s cool because beans are amazing and sometimes the silver lining behind bad shit is that you discover something magical. Like beans.
But there is also the issue of all the food people stocked up on in a slight frenzy and might not have had exact intentions for it. Maybe some greens? Did you buy greens? Are they, right now, sitting in your fridge, maybe a little sad, getting neglected because you have been binge eating up the rest of the girl scout cookies like what?
Well maybe this is a good time to use those greens before they go completely bad and you end up tossing them.%u00a0Even though shit is mad crazy right now, we need to get perspective, especially on food. Waste is preventable. You don%u2019t need to be that person. If you bought it, you for sure better be eating it.
But let me be clear. This is not just a recipe to use up greens and beans because you have to. No no no. These beans and greens are so freaking delicious. It is spring after all and greens are so bountiful and amazing right now. All I want to do is stuff handfuls of the tender green things into my mouth. After months of roots on top of roots, I could gladly eat nothing but greens for the next month. (Until all the other spring veggies start growing!)
This dish is quick and easy and tasty as AF. You can use any type of bean that you have, pretty much any greens you have, and any bread you have. As for the tahini sauce that gets drizzled on top, if you don%u2019t have tahini, you can make it with another nut butter or just use some other dressing situation. It really is that simple and adaptable. And delicious and nutritious. All the boxes are checked!%u2714%ufe0f
Now to the beans and greens on toast!
The stuff. Beans, greens. bread, tahini, an onion, a lemon, a little garlic powder, salt and pepper, and olive oil.
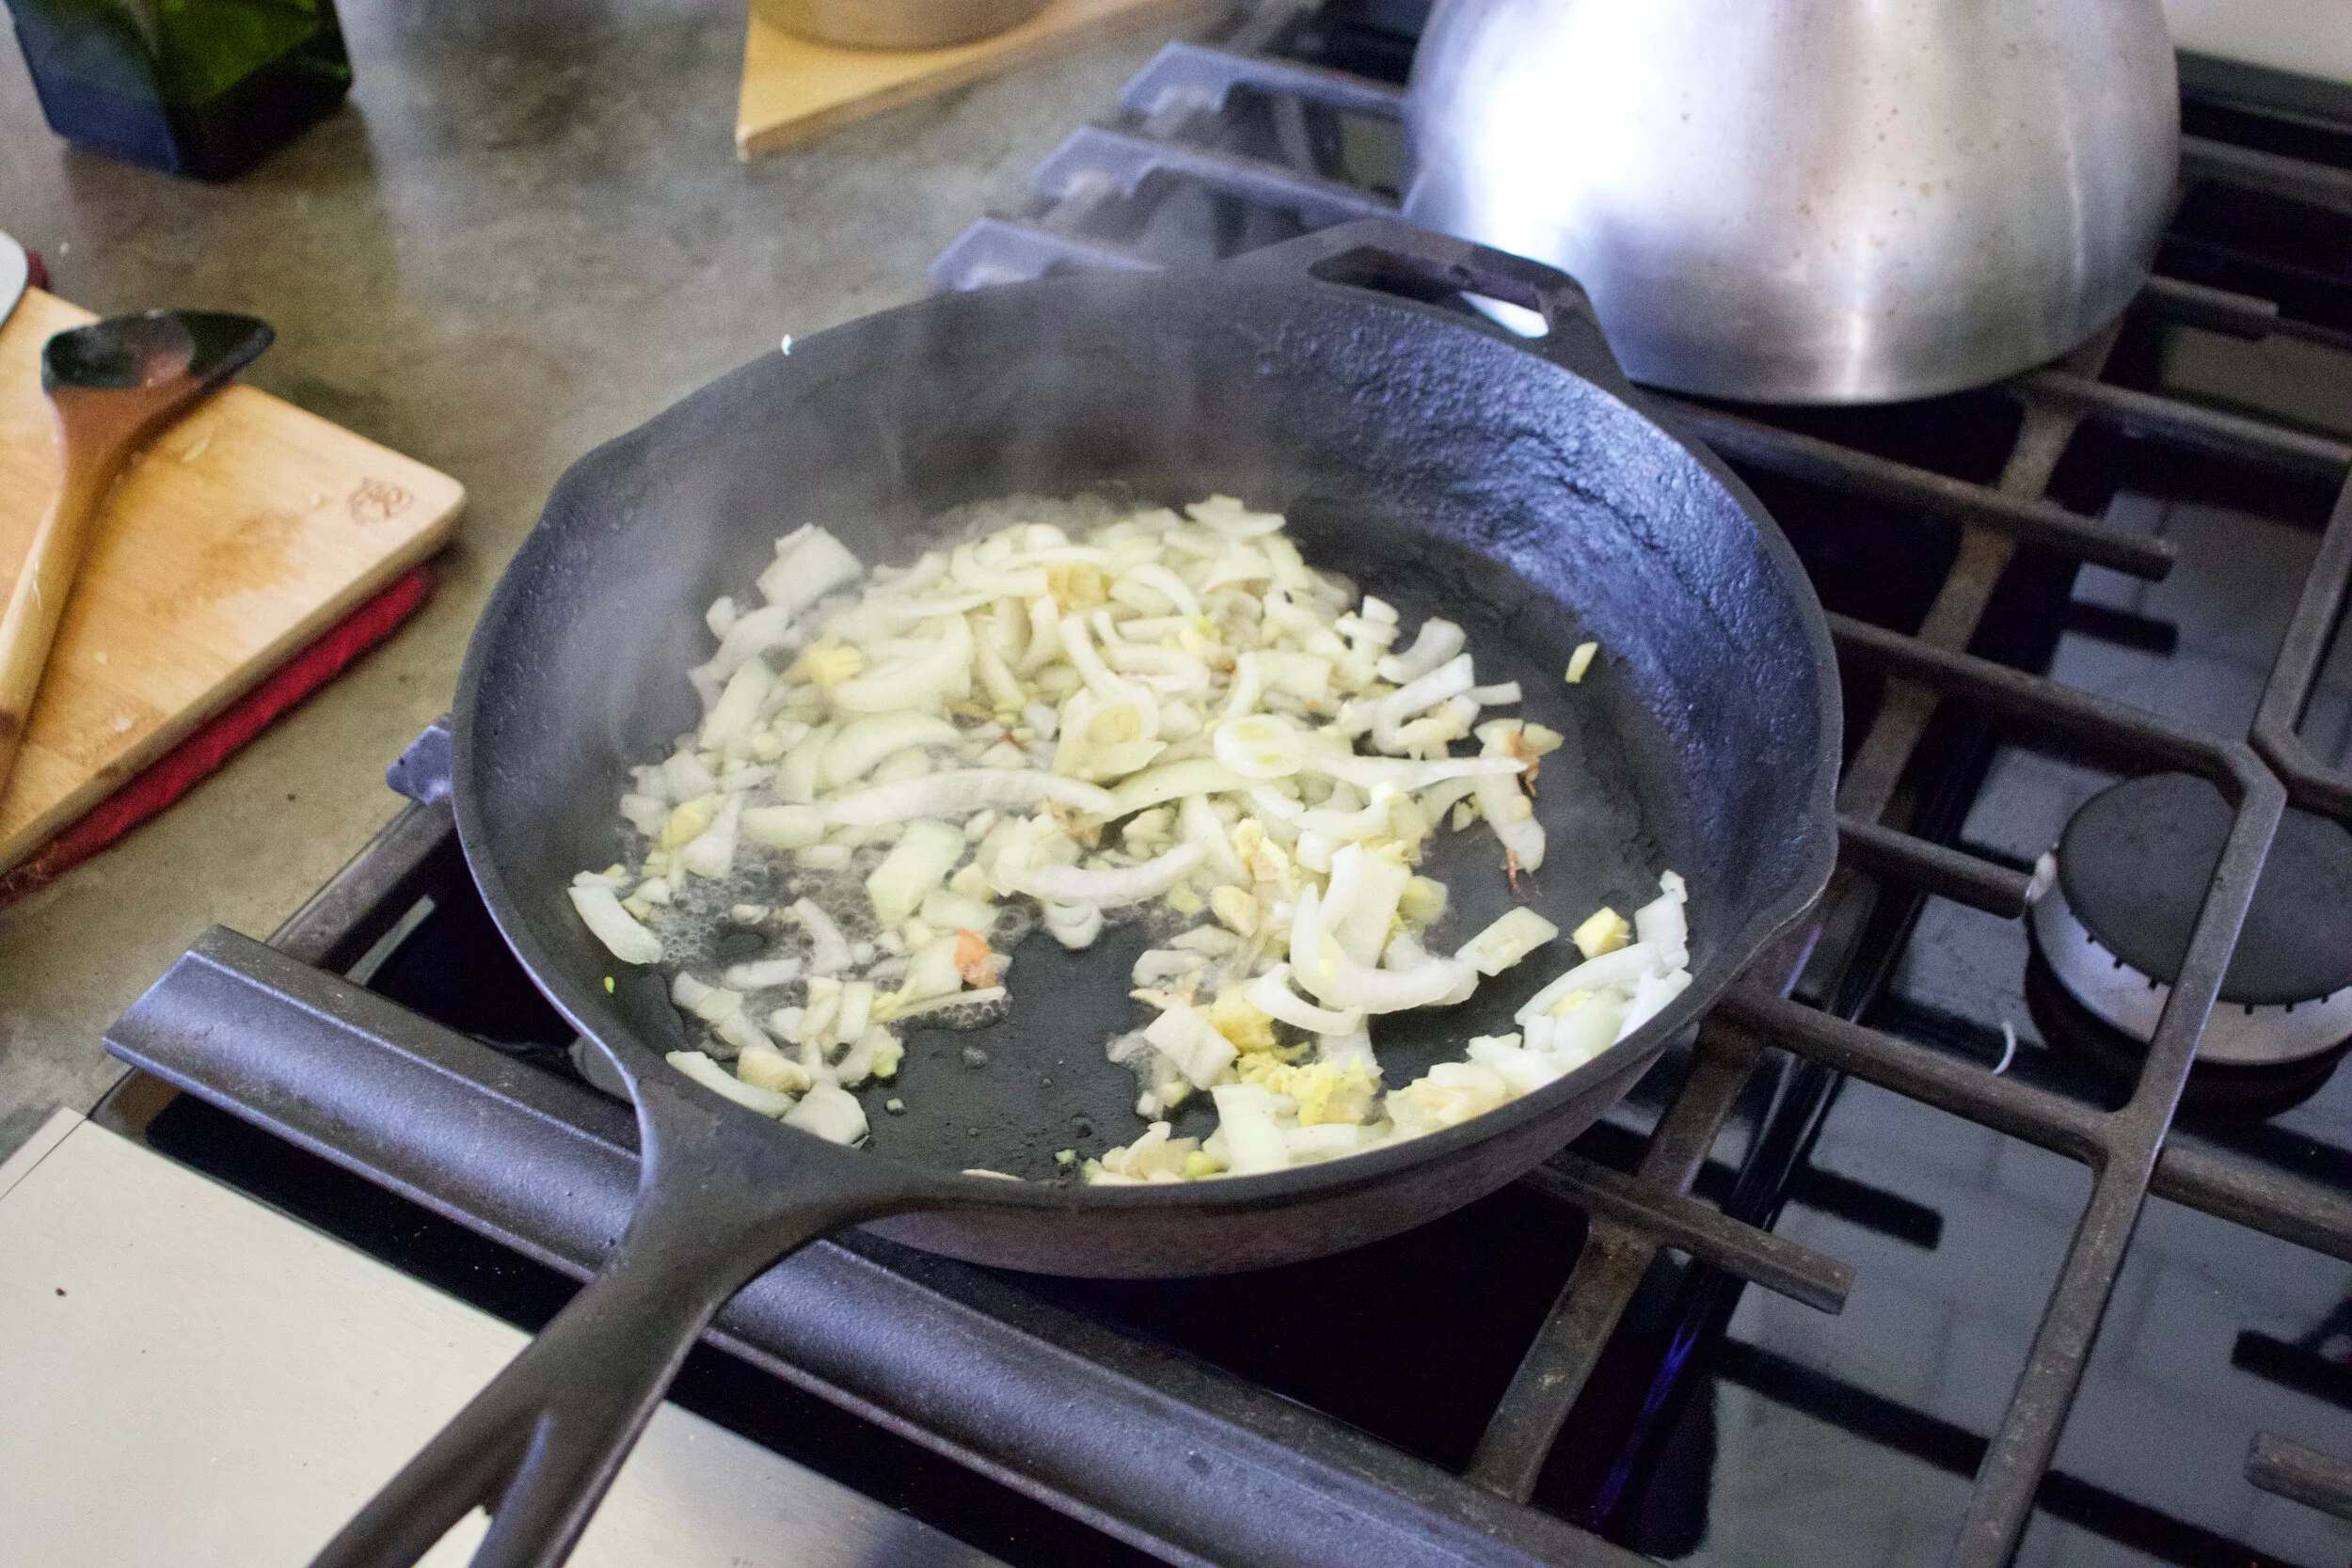
Onions into a skillet with a touch of oil. Cook until soft.
Once onions are soft, toss in the beans! Keep on heat and cook for a few minutes.
And lastly the greens. Right on in, just mix then around and let them wilt down to your preferable wiltedness.
Tahini sauce. All you do is mix the thin with lemon, garlic, a little pinch of salt and pepper, and water until it is creamy.
Lastly, toast the bread. I used a skillet but use the toaster or oven. Whatever you want to do.
And that is it. Toast on plate, pile on the beans and greens and get that tahini sauce drizzled also over!
Now eat. And revel in the greatness of all the good that is now in your mouth!
Stay safe and healthy and aware!
-C
Serves 1
2 cups cooked or canned beans (I used navy but any bean will work)
2-3 large handfuls of greens (I used a mixture of spinach, kale, and chard, but again, any green will do, even romaine or spring mix)
1 small onion
2 pieces of bread
a lemon (you can sub a tablespoon vinegar if you don%u2019t have a lemon)
a tablespoon or so water
a clove of garlic minced or a pinch of garlic powder
olive oil
salt and pepper
First dice up the onion and toss into a medium sized skillet with a drizzle of olive oil and a pinch of salt. Place on medium heat and cook until soft which should take about 5-6 minutes. Once cooked, add in the beans and stir around.
Let those hang out for a few minutes and start the toast. I think you can figure out how to make toast so I will let you do that. Also make the tahini sauce. Mix the tahini, the juice of the lemon, garlic, and a pinch of salt and pepper together until completely incorporated. Drizzle in enough water to thin it out to a drizzle-able consistency.
After beans and onions have had the past few minutes to warm and cook, toss in all the greens and a splash of water. Cook for another minutes to 2 or until greens have wilted.
Grab a plate, place toast on plate, pile the beans and greens on toast then drizzle all the tahini sauce on top. Season with salt and pepper if needed.
Smile and then eat.
I think this might be the week. The week were I take off the down comforter from the bed, wash all of my winter hats and mittens and pack them away, and stick the snow shovels back uderneath the back porch. After this past week of warmish spring weather I am calling it. I am now pretty much officially over winter. Bring on the sandals, the open windows, the leaving the house with our layer after layer! Every year I forget how much I love spring until we get a little spring weather and then I remember how glorious it is. Don%u2019t get me wrong, I have lived in VT my whole life and know that there is bound to be at least one more snow storm but whatever, it won%u2019t last long so pack up winter I will and into spring mode I go!
So a good week weather wise. And life wise it wasn%u2019t bad either. The mr and I got out of town and checked out some land (no go). We voted like good citizens then got rid of the Christmas tree that had been frozen in the front lawn for the past 3 months. I went to the dentist and received all the praise for very clean teeth and walked out with lots of free dental floss because I floss A LOT. Went for lots of walks whenever I could. Went over to have dinner at moms. Spent a good amount of time in the studios. Picked up farm share and almost got the car stuck in a mud pit but didn%u2019t so that was a win. And I replaced the nasty ass shower curtains in the shower. Plus good on me, I even made a dent in the pile of paperwork I am currently going thought for the taxes. I have been so productive and accomplished. Its a great feeling. I owe it all to the windows being open and all the fresh air. And coffee. I have been drinking a shit ton of coffee this week but I guess what%u2019s new?
Oh an I almost forgot, my website to buy pottery is up!!!!! Started small and simple so there are only a few mugs up as of now, but I am planning on doing a big shop update with lots more in the next few weeks. Until then, at least it exists for real now. And if you need a mug, go here. stem+node.
Today I am going to try not to think to much about what time it is because daylight savings (did you remember that?). Every year I do it, play that game about how yesterday it was an hour earlier and what time is it really when I need to just forget about it and adjust accordingly. It%u2019s just hard when your body is on one schedule and your brain is on another. But other then that, just going to stop in and hang with the little for a bit, maybe go for a nice long walk, and then do some chores that need doing that I am not looking forward to. Or not. I might just skip that last part and sit on the front porch and read all afternoon%u2026. Tough call here but I have a feeling the porch might win out, at least for some portion of that day.
Links from my week of interneting.
-These things are so popular right now. I freaking hate them. Is a Weighted Blanket the Sleep Solution You%u2019ve Been Waiting%u00a0For?
–Reupholstered and it feels so good. What it%u2019s%u00a0really%u00a0like to get a sofa covered on a budget. I love our couch and hope to one day get it reupholstered but have wondered if it is worth it. Especially when the mr eats on it and get butter stains all over it%u2026%u2026
-A lot of people don%u2019t realize this. Your Fancy Honey Might Not Actually Be Honey
–We need this. Step-by-Step Instructions on Making the Paper Airplane that Broke World Records
–Blueprints for an Aframe. Our future!
What%u2019s the Point of Panic Shopping? I am slightly shocked at how worked up some people seem to be about having months of food on hand. I figured everyone would just order all their food and stuff form amazon like usual.
-I can smell smoker from a mile away. And I avoid them. Smokers expose you to %u2018thirdhand smoke%u2019 just by being in the same room
–Should You Do It in Jeans? Once in a while I%u2019ll see someone at the gym working out in jeans. It freaks e out. Worst yet, trying to do yoga. How? HOW!
-Simple and clean. SERENITY NOW.
–Holy shit that is a lot of sugar. Your favorite childhood cereals, ranked by sugar
And pictures from the week.
Besides the usual hubbub of life around here, a few things really stick out to me from last week. First off, at the beginning of the week we FINALLY BOUGHT A VAN!!! It was amazing. A big white astro van. Original big boat like seats. The three door trunk that was everything. Ashrtays in the back seat (yes they did) . Its was perfect. Perfect for work, for travel, perfect for life. But notice I say %u201cit was%u201d. Well guess what? We also RETURNED A VAN!!!! Yup. We bought it, brought it home, and as soon as we got home, the brakes went out. Oh, ok we thought. Let%u2019s bring it to our mechanic and see what he says. Turns out the mechanic that we bought it from was a little shady and sold us a lemon. Not only were the bakes rotten, but there was a bunch of other hidden issues. So yeah. no more van. We were, and still are a bit crushed, but it could have been worse right? We could have been flying down the interstate when the brakes gave out and that would have been much much worse.
Enough about the van. A good thing this week is Erin and I went and got bikes for the littles. It was awesome. They were so excited and cute and it was just so good. We walked into the bike shop, picked out bikes, test rode bikes, and bought bikes, all within an hour. Yeah I might have told them they suck because they were able to just go get a bike and I have been bike shopping for over a month and have spent hours at the bike shop, but whatever. And so we brought the bike back to my house, I made dinner, and they biked around the neighborhood. At first Judah was having really hard time because he had never ridden a grip brake, shifting bike, but after a little lesson from the mr, the kid was off. Only stopped to tell us that his nuts hurt. (Good to know kid).
And last but but not least, maybe the worst part of life at the moment. The MOTHERFUCKING MOSQUITOS. Those fuckers be feasting on me like what. It%u2019s nasty disgusting, and all sorts of terrible. All of a sudden there are millions and billions and you can barely even walk out of the house before they start to swarm. I have received no less then one thousand bites this week, and that is me trying not to get bitten. (Yes I am exaggerating, but seriously.) I don%u2019t even know what to do anymore. It is so bad that when you walk from the house to the car you are probably going to get bitten in the face at least once if not a bunch of times. It is all sorts of wrong and I just can%u2019t even. I lay awake at night trying not to itch off all my skin because of all the bites. And they are not normal mosquitos bites, these bits itch and almost hurt for days. Gardening.. please. I am out there in all my socks, pants, jackets, and hoods. Still they attack my face and hands. Hopefully this is the worst of it and any day now all the bats will come and eat them aaaaaalllllll!!!!!I(I might start importing bats to my house) That or I am going to turn myself into an electric bug zapper. How? Not sure yet. I%u2019ll let you know if I figure it out.
Anyway. That is mostly the gist of the week. Some downs, some ups, but all and all not horrible. The weather alone folks. Let talk about that for a minute. How freaking fantastic has it been? I am loving it. Little sun here and there, Some rain showers, a few thunderstorms. Not cold, not hot. Pretty much perfect in my eyes. And the world. So much pretty! The trees. I mean, can you not say spring foliage might be even better then fall? The trees are just so vibrant in greens, whites and purples. It is good. We are good.
Now for today. I am leaving the house much too early to go read and drink coffee in the car, waiting for the gym to open. Why you may ask would I do that. Well if I want to go to the gym, I need to get inside the perimeter of the Vermont City Marathon. The course starts right around there so the roads will be blocked off with thousands of people running for a few hours this morning. Sure I could skip gym and run around here, but I would rather not have to run in full body armor. (DAMN the MOSQUITOES AAAGHHHH!!!!) And really, I don%u2019t mind. I can even sit on the steps at the gym that overlook the lake. It actually will be kind of nice. After that, I%u2019ll come home, grab the mr, and we will head up to Belvidere for some family time. Cousins are in the state so we, and the other sisters, are going up for lunch. Let%u2019s just hope the mosquitoes are not as bad up there. I can%u2019t take it.
Interent for the taking.
-I have always considered the use by date a suggestion. I think the simple wording change will make a big difference. To Reduce Food Waste, FDA Urges ‘Best If Used By’ Date Labels. And really, who says the best isn%u2019t yet to come? HA
-Erin has the right idea, to buy THESE in bulk. I am seriously considering getting at least one set. I can%u2019t take the MOTHERF$%#ERS anymore!
-This feels heavy. Finding purpose is a somewhat fluid concept, don%u2019t you think? Either way, this makes a lot of sense. What’s Your Purpose? Finding A Sense Of Meaning In Life Is Linked To Health
-My dad sent me this link. It%u2019s a little video of his life goal, to be a extreme mountain bike nanny. (my dad is a weirdo.)
–GLAMOUR CAMPER SPF 50+ ALL NATURAL SUNSCREEN WITH ALL NATURAL BUG DETERRENT & GLITTER. And Glitter. Need I say more?
-I love old charts and pictures from textbooks. These are particularly fantastic. Cross-Sections of Geological Formations and Views of the Cosmos Bring the World to Life in 19th Century Educational Charts
–What Is A Moonbow?%u00a0 And now on my life bucket list of things I need to see.
–This Study Shows That Having Flowers and Plants Can Ease Pain and Anxiety. Truth. Flowers and plants are everything.
-Firefly magic. How these mysterious fireflies synchronize their dazzling light shows
Pictures from the week
Let%u2019s talk about how soup is the perfect food. It can be light and fresh, hearty and deep, chunky or smooth. You can eat it with a spoon, or somtime a fork if warranted, or just drink it from a mug. It%u2019s usually a one pot meal, a small pot for one, a big pot for many. Make a pot of soup and eat some now and save some for later. It freezes amazingly well. Got a few extra sad carrots and wilted greens? Toss them into a pot with whatever you have on hand, maybe those veggies scraps and you got yourself a meal. Want something more filling, just add in some grains. Feeling sick, warm soup will make it all better. Feeling fresh and springy, well soup is there for you too. Seriously soup, you can do anything. If I could, I would marry you. %u2665%ufe0f
This soup is one of this velvety smooth, light but rich, delicious beyond delicious soups. A fresh spring time soup. Not to hearty or heavily spiced. Super rich and creamy and flavorful. Bright ass green which makes it amazing in itself, but then with a nice tangy sumac tahini swirl on top, well it is just about the most perfect soup. I made to share, which I did, (and everyone licked their bowls clean) but then hoarded the little bit left over and ate it cold for a late afternoon snack. That is another thing about soup, you can eat is cold and it is still amazing.
Tasty and delicious, and nutritious. This soup does it all.
To the soup!
The stuff. Peas, chopped broccoli, and chopped cauliflower which are all frozen and slightly thawed. You can totally use fresh here too, but I just so happen to have it frozen so you might as well save the fresh stuff for fresh eating. Also have a big yellow onion, a few cloves garlic, some tahini, a lemon, sumac, and salt and pepper. You need water which I did not picture here.
A pot, some water and a roughly chopped onion and the garlic start off this soup. Bring the pot to a boil, then turn to medium and let the onion and garlic cook until very tender. I have been making a lot of soups starting with this step lately. Boiling the onion and garlic until tender and fragrant really make for a super flavorful and clean soup base. Or soup in itself.
Now add in the broccoli and cauliflower to the pot and cook until tender.
Mid soup cooking time is a good time to make the sumac tahini sauce for the swirl. Basics here, just mix the tahini, the sumac, a pinch of salt and pepper, the juice of the lemon and a tablespoon of warm water together until smooth.
Last but not least, the peas. Add them in and they just need a few minutes to cook through.
And then it all gets blended to become this green creamy goodness.
Ladle into bowls, grab the sumac tahini sauce and swirl it on in. A tablespoon or so is good. And don%u2019t forget a little more pepper and another pinch of sumac for good measure.
Just appreciate for a moment. That is one good looking bowl of soup. And it taste even better then it looks.
-C
Makes about 4 serving
1 1/2 cups fresh or frozen peas
1 1/2 cup chopped fresh or frozen cauliflower
1 1/2 cup chopped fresh or frozen broccoli
1 large onion
3-4 cloves garlic
4-5 cups water
Salt and pepper
1 teaspoon sumac
2 tablespoons tahini
2-4 tablespoons warm water
Start by removing the papery skin from the onion and chop into a few big chunks. Remove the skin from garlic too. Place into pot with 4 cups water. Turn heat on high and bring to a boil then turn heat to medium and let onion are garlic cook until tender which should take about 15-20 minutes
Once the onion is cooked, add in the broccoli and cauliflower. Turn heat back to high and bring to a boil again then turn back down to medium heat. Keep cooking until tender (another 15 minutes or so) then add in the peas. Keep on heat until peas are cooked through then remove the pot from heat and either transfer to a blender or use a immusrian blender to blend the soup until smooth. Add a little more water if needed to get to the right consistency to blend right. Or if you want a thinner soup.
For the tahini sumac swirl just mix the tahini and sumac together along with the juice of the lemon, two tablespoon warm water and a pinch of salt. Mix together until smooth. If the mixture is to thick, add another tablespoon of water.
To serve. Ladle or pour soup into bowls and drizzle and swirl the tahini sumac on top. Sprinkle with pepper and a pinch more sumac and you are good to go.
And all of a sudden the world is green and it is mazing and magical. The best time of the year, when all the cool and wet weather pays off with sunshine and flowers and the greenest greens. No longer freezing and it is yet to be too freaking hot. Spring spring SPRING. It is not lost on me. I take it, I suck it up, I appreciate it all. Even the cray cray rain storms. What a time, what a time.
Last week we started off Sunday going to see some jumping fish. We packed our lunches, grabbed the camera, drove the 2 hours to the river and sat around watching and waiting. Sadly we saw no jumping fish. And that was that in case you were wondering. One of these years we will see it.
The rest of the week has been a little crazy. In between work and chores and life stuff, just about every day we have had anywhere between 2-4 littles. What for their parents needed a sitter or a ride here and there cause their car broke down. Or just some aunt and uncle hang time because who doesn%u2019t want to hang with us? So beside the mr finish off the trophies for the Lund Family Fund Raiser, me working the pug mill at the studio, or us trying to trade off the car in hopes that we both can get where we need to go in time for getting there. (Oh man the car thing, that is a whole other beast.) Yeah, it%u2019s been busy and hectic. On the bright side we have spent a lot of the time running around outside, drawing, and eating. A few little highlights. One of the nights So was feeling a little sick and Coco was feeling mean and wouldn’t let her nap on the couch so she ended up dragging a bunch of pillows into the pantry and falling asleep. It just made sense. Then there was Judah with his mad drawing skills drawing me pictures of vegetables (amazing) then farting with his armpits. And Miley, with her tude and phone. Getting her to hang out and just be sweet was nice. And Coco. That freaking little. Always happy, always eating, always causing trouble. Loves to run into the garden and jump all over the couch covered in peanut butter. (that is the baby, not me. ha) We found him a three wheeler. His legs might be too short but we will figure it out. It is gonna be a fun summer!
After the week long little marathon that ended with sticky littles eating pancakes (and being dangerously low on maple syrup), thrift store shopping (I scored the best new photo piece), and stopping in on my maybe future new bike(???), I came home and cleaned the crap out of everything. It never fails to amaze me how gross kids can be. The toilet alone, well, lets not go there.
Today, as it is Mothers Day and all, I am going to be a dutiful daughter and go see my Mama. Right now (at the wee early hour of 5 am, I%u2019m about to pop some bread and then a cake into the oven as offerings. We are going over around lunch so I%u2019m going make focaccia grilled cheeses (with the fresh bread) and hand over the blueberry cake that she loves. Then hopefully just spend a couple hours drinking lots of coffee and chilling on the porch.
Look at me, I am such a good daughter.
Links of interest on the internet.
–Yes, I’m In School for Nutrition. No, I Don’t Want to Hear About Your Diet. I feel this. Sometimes people feel like they need to tell me everything they eat, for approval or something. And I actually don%u2019t mind talking about what people eat. I’ll even make suggestions about foods that I like to eat or ways to prepare certain things but I stay away from telling people what not to eat%u2026 (people always assume I am going to tell them to not eat meat. I say, I do me. You do you.)
-I don%u2019t know how may times I have seen Bill and Teds Excellent Adventure. This should be good. PlusI totally have a thing for Keanu Reeves. Bill & Ted are embarking on a third excellent adventure next year
–How Weeds Help Fight Climate Change. Weeds are not the problem friends. The chemicals that people use to get rid of them are!
-If you are interested in VT State Parks, here its the list of all the parks opening days. Can%u2019t wait for CAMPING!!!
-Did you go through an Arizona iced tea phase? I had a very brief stint with the green tea%u2026 I can%u2019t even imagine drinking one now. The Dream of the %u201990s Is Alive in AriZona Iced Tea
–An Interview With A Man Who Eats Leftover Food From Strangers’ Plates In Restaurants. I think this is awesome and have much respect.
-A question the I didn%u2019t know I wanted answered until I read this article. Why do cats%u2014and so many other animals%u2014look like they%u2019re wearing socks?
-I get all sorts of feels when I see pandas. MY favorite favorite animal growing up. I carried a pink polka dotted panda around with me for years. SO many panda things. So this is fantastic and I hope to visit one day and hug me a panda (with pink polka dots) China%u2019s new panda park will be three times bigger than Yellowstone
–I have heard and seen some crazy fights in the past in places we have lived. A good few actually. It is never a comfortable thing but sadly, we got used to it. Listening to My Neighbors Fight
-Mothers Have Been Complaining About Mother%u2019s Day Breakfast in Bed for More than Half a Century. Why Does It Go On?. I am a strict, NO FOOD! in bed person. It just have zero desire to eat in bed so breakfast in bed sounds terrible to me. Plus I am awake at 430 every morning and I don%u2019t eat for a few hours after I wake up. It just wouldn%u2019t work.
And pictures from the week.
This week has definitely gone by really slow except that it has flown by super fast, you know what I mean? It%u2019s probably because of all the up and down weather and my overall crazy brain that is pulling me all over the place New seasons do that to me, make me crazy.
The week started off with Easter. We went to my moms (half the family didn%u2019t show up (butthole reasons), did some lunch, played outside, and that was that. Then I came home to continue yarding (yarding is a new word I invented that means to spend time in the yard doing yard stuff)
The rest of the week went. We worked, the mr finished putting the floor down in the porch (I forgot to take a picture) He moved the camper and created a new workshop, applied large stickers to doors, made me 6 more raised beds (4 are TRIANGLES!!!). He has been doing all sorts of stuff. Me, I have been spending as much time outside I as I can, in between the piles of papers that I am trying to deal with, working at the studio, throwing pots, thinking about fixing my bike, and all around trying not run through a wall. I am in that head space where everything needs to be done and I am trying to do everything. All at once. Thats my spring brain. All of a sudden and BAM, my brain is awake, the world is awake, and there is a ton of shit to do.
On one of the nicer days (it has been a little chilly and rainy all week) we spent a few hours with Megan her littles and I grabbed the other littles. We took them outside, into the world, away from screen for a little jaunt in the woods, some time on the playground, and a bagel sandwich lunch. Fresh air, stick collecting, and see sawing was the highlight of the afternoon and a highlight of the week. I mean, gown ass people and little littles on the see saw, well you will see. Haha.
Saturday morning, 8 am, grocery store. If you need to grocery shop, this is the time. Yesterday I got to the store and no one else was there except all the stockers who had nicely stocked everything that I was looking for. I got to it before all the other people did and was rewarded with the best cabbages and apples! After that I went home, the mr took off to work with his work guy and I ended up staying home for the morning, cleaning house, doing laundry, and trying to organize the unorganizable. After that the mr came home we went and hung out with the littles for a few and got texted $5 each of store credit to the hardware store which in turn turned into a bunch of new seeds. Yay free seeds!
Today the mr and I were planning on hitting up the Kingdom to watch some jumping trout, but with the weather being as it is (raining and cloudy) we are going to hold off on that and just find a nice little, not too flooded stream for the mr to fish in and for me to sit nearby and spend some time reading. With all the coffee my can cup and bring. It%u2019s gonna be great.
Some stuff you might find of interest from the internet.
–Our Grocery Stores, Ourselves. Loyalties to the grocery store are deep. I know I have mine, kind of. (I shop around and I am more loyal to the farm then any grocery store.) But I do think there is a definite quality difference to stores, at least around here. You get to know which store sells local. Which stores have the crappy greens, or which store charge and extra $2 for the same exact thing you can get at a different store for that much cheaper. Straight to the farm . Always best.
-Always water, mostly because it is free and I hate having to have stock or broth on hand. WHEN WATER CAN BE THE KEY TO MORE FLAVORFUL SOUPS
I am pretty into these murals Maybe i%u2019ll try not do something like on one of my walls. Interior Murals by Camille Javal
-I could, and should, and dang it I am going to make something like this A frame. Simple and sweet. Now were to put it?
-Just in case you don%u2019t know. What%u2019s the Difference Between Jam and Jelly?
–Wait, I Should Clean My Fridge *How*%u00a0Often?. Yes folks. And I tell you, clean the stove every time! It%u2019s one of the best habits I have ever created.
-I wish I could embroider like this. Pretty freaking awesome. Graceful Figures and Shimmering Peacocks Embroidered on Tulle
–Can Nothing Change Your Life? Essence of flower is a thing and it might just be what you need in your life.
-Trees are magical. Trees by starlight%u2026 Whoa. See the world%u2019s oldest trees by starlight.
–I am very excited to find this pattern for this FRENCH MARKET BAG. Now I just need to learn how to crochet%u2026%u2026%u2026Yeah.
And pictures from the week.
I found another bag of frozen rhubarb in the chest freezer which is never a bad thing, but my rhubarb patch outside is growing strong and I will have all the fresh rhubarb I could possible eat within the next few weeks. So found rhubarb just means I need to eat it right fast before the fresh stuff comes in. (I haven%u2019t had a problem with that. it%u2019s almost gone already). Plus the other day while I was digging up and transplanting raspberry bushes to the back yard, my neighbor came over and gave me a gallon of frozen raspberries, harvested from said bushes that I was currently planting in my yard. Score for me! Free bushes and berries%u2026I have such nice neighbors.
So the logical thing to do with my new found and giving bounty was of course to hurry up and bake something. Cobbler. Why cobbler? Well, why not? I figured the mr would really like it and eat it and I also didn%u2019t want to make anything to fussy because I was just to dang busy spending all of my extra time outside doing outside things. And cobbler, it%u2019s not fussy because it is basically biscuits and jam baked up all together. Not a lot to think about and comes out looking all homey and sweet and smelling all nice and cozy. Doesn%u2019t that sound nice? And not a pain in the ass?
And best part. A made cobbler works as dessert or breakfasts or just a snack. Just asked the mr. He ate it for all the reasons. With a dollop of yogurt or cream of course because he is fancy like that.
And yeah the fruit I used was frozen, but fresh works just the same here too.
Now, lets get to that cobbler.
The stuff. Raspberries (frozen), rhubarb (frozen), sugar, flour, salt, baking power, cinnamon ,almond milk, apple cider vinegar, cornstarch, and oil.
Raspberries, rhubarb, sugar, cinnamon, cornstarch. Its all there in the bowl. Just needs to be mixed. So mix it.
Dump fruit mixture into well greased 8 inch pan and pop it into a hot oven to get a head start on baking.
While the fruits in the oven, make the biscuit dough. Mix the dry together then mix in the wet until just incorporated and a sticky dough forms.
Pulled from the oven, the fruit is starting to cook down and whoa, it just smells so good!
Drop on the biscuits dough on top of the fruit (careful of the hot pan). Evenly if possible, but don%u2019t work to hard to make it look perfect. Imperfection makes it look perfect, you know?
Once biscuits are on, lightly brush the tops with a little milk and sprinkle with more sugar then pop it back into the oven for another 25-30 minutes or until the biscuits are baked.
Pulled from the oven with a bubbly filling and a golden brown biscuity top. Things are looking good here.
And now it%u2019s time.
Dig on in my friend. Sever with something creamy like whipped coconut cream or some type of yogurt or ice cream situation of your choice. And again, this can be your breakfast.
Happy spring people!
-C
make a a 8 inch round which serves 5-6
For the Filling
2 cups raspberries (fresh or frozen)
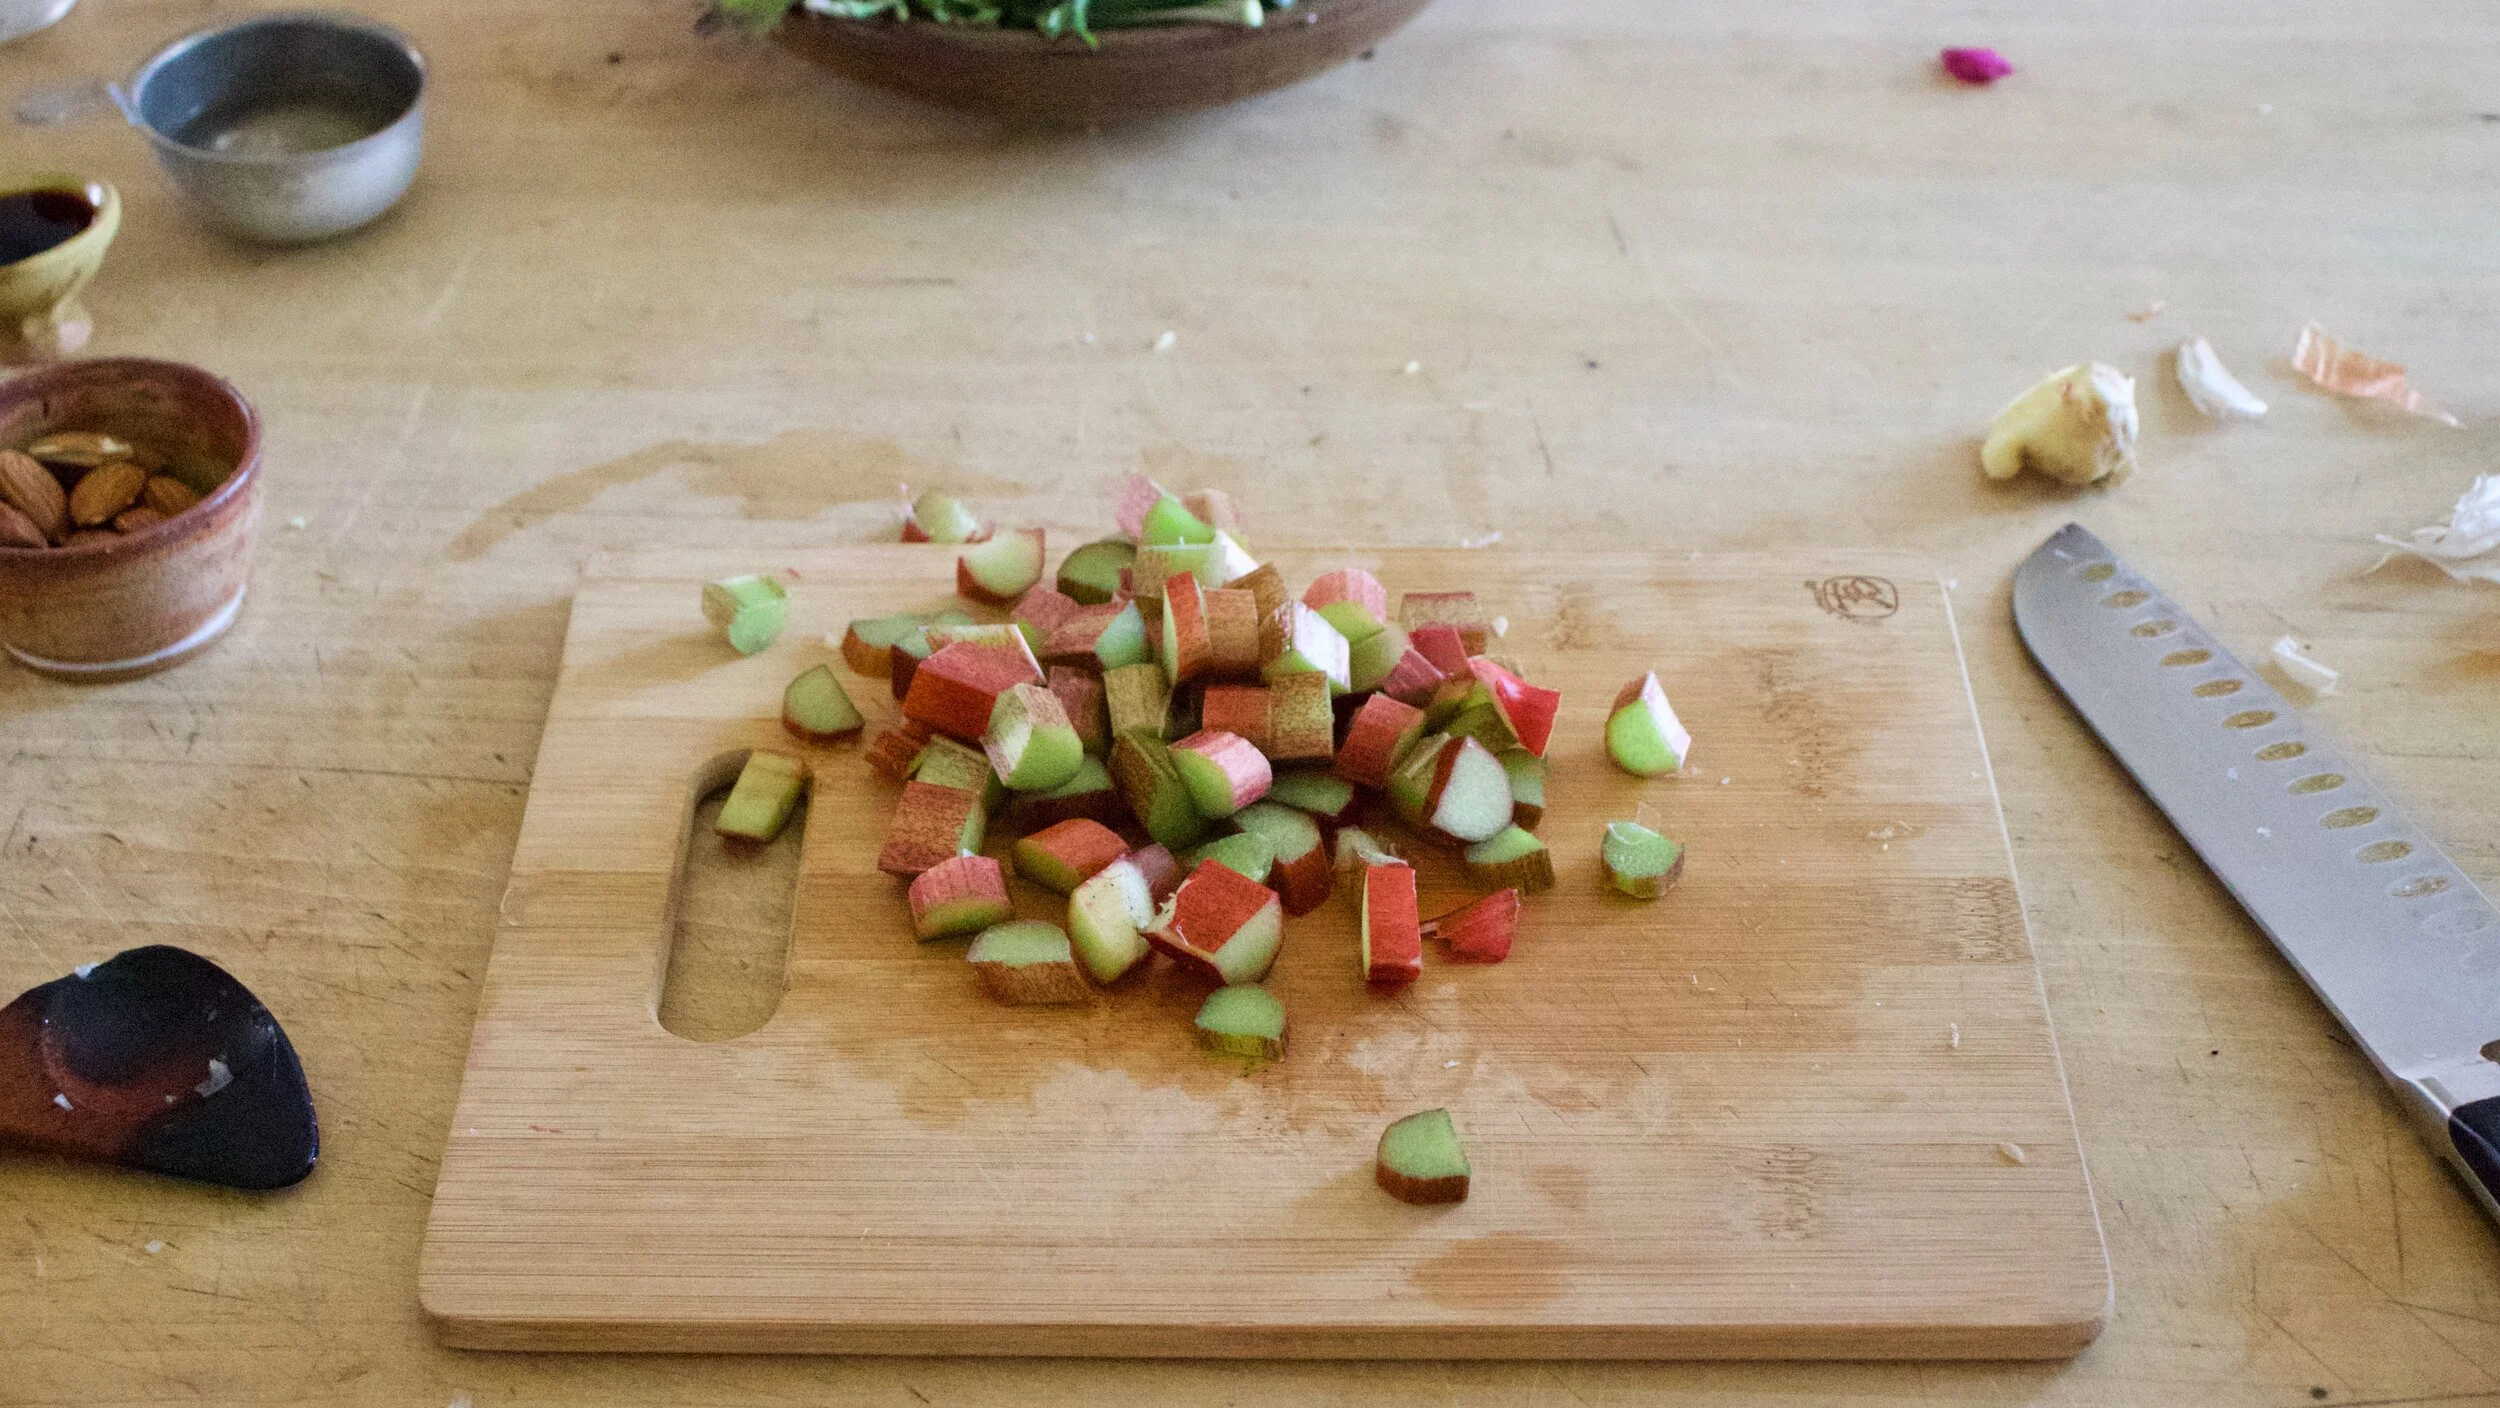
2 cups rhubarb chopped into 1/2 inch to inch long pieces (fresh or frozen)
1 1/2 tablespoons corn starch
3/4 -1 cup sugar (lesser amount if you like a little more tartness. I used lesser amount)
1 teaspoon cinnamon
For the dough
1 cups all purpose flour
1 1/2 teaspoon baking powder
1/2 teaspoon salt
3 tablespoons sugar
3 tablespoons neutral flavored oil
1/2 cup plant based milk
1 teaspoon apple cider vinegar
Preheat oven to 350.
In a large bowl mix together the rhubarb and raspberries with the corn starch, sugar, and cinnamon. Grease a 8 inch round pan the is at least 2 inches deep (can use a slightly large pan or a square) and dump in fruit mixture. Place into oven to bake for about 15 minutes or the fruit starts to break down.
While fruit is baking, mix up biscuit dough. Flour, salt, 2 tablespoons sugar, and baking powder go in a large bowl and mixed until combined. Add in the oil, the milk, and the vinegar. Mix until just incorporated and a dough has formed.
Remove the fruit cooking from the oven. Turn heat up to 375.
Carefully drop spoonfuls of biscuit batter on top of fruit. Brush the top of the biscuits with a little milk and sprinkle with remaining tablespoon sugar. Place the pan back into the oven and bake for another 25-30 minutes or until the biscuits are all nice and golden brown on top.
Remove from oven and let cool for a few minutes before serving. Serve warm with a scoop or dollop of soothing creamy (coconut cream, yogurt, ice cream%u2026..whatever floats your boat.)
Left overs can be stored in pan, just cover it with something and place in fridge. Can be eaten cold to or reheated in microwave or oven.
I am so happy for spring. It is my favorite season for sure. All the new, green things popping form the ground.. Warmer but not hot days, rain and sun then rain and more sun. No more winter jackets but sweaters are still good. People are in good moods. Flowers are coming out of the ground. The world is just a delight.
The week started off with a bang. I turned all of the garden beds over and did a great big yard rake and cleaning so things are looking pretty good back there right now. I repotted my tomatoes and peppers and started a bunch of greens and peas which makes me feel awesome. I think this might be the first year that I am actually on top of the planting season like I want to be. Yeh me. I also busted out the bike and went for the first ride of the year. Sure it was only a few blocks, but it was still fantastic. Now what I really need to do is give the old gal a tune up cause the chain was grinding and the tires need air and maybe new brakes? Not sure but I need to get to it, like asap because I plan on making the bike my means of transportation for the summer.
aside from all the that stuff, we also did some work, the mr did even more work (he is always working). I finished up a couple clay projects that have been lingering for a while. We went for lots of walks without jackets and I wore sandals all week. We managed a good stop by to see the littles and bring them carrot cookies. They ate all the cookies (2 dozen), beat the shit out of the mr, and managed to clean while they were doing it. We were impressed to say the least. The mr was sore from getting wacked a bunch.
Then Wednesday was Seans birthday. Would have been 30 years old%u2026Whoa. The family, friends, all of Seans friends went to the basketball court for a little pick up basketball game to celebrate and be together. It was fun, and sad, and good to see all the boys, but sad, but good. Never going get used to it. You know what I mean? Life.
Rest of the week came and went with the usual plus lots of rain and gray, but again, I was all about it because it is spring. worked at the studio on Friday where I moved all the clay in the world, got stabbed so hard by a stray pointy tool that was in slop bucket and got blood everywhere. I also managed to get so much clay in my hair and was overly praised for my height by all the studio ladies. They really appreciate my abilities at grabbing things on high shelves.
And the weekend. Yesterday we woke and basically ran out of the house to moms to borrow her truck (still haven%u2019t found a car to buy). We then drove the truck up to the greater north of Vermont and picked up all the cedar wood we need for the porch. Loaded up, drove back to the porch and unloaded all the wood. I came home for a few hours of power cleaning while the mr ran around all over some more and then back to moms for dinner. (Mom made ham, I brought my own dinner) We ate, Mom brushed my hair and then Barb breaded it which I love love and will never be able to do myself. I raided moms books (found nothing I haven%u2019t read already), searched for a missing bowl, made fun of the boys. Then I came home just in time to passed out.
Today, well today is Easter so after the gym and a few Sunday errands I need to do this morning, we are going to be doing a little easter lunch thing and an egg hunt for the littles at moms with the fam. After that I am coming home and continuing my quest for perfection in the yard, maybe tinker with the bike a bit, take a nap, read, drink all the coffee.. Looking at some sunshine and 70 degrees for the afternoon.. It%u2019s going to be a fine fine day.
And I still have not washed my hair so I need to do that. Most of the clay dried and fell out, but there still is some left%u2026.SO yeah, I need to do that today. I really hate washing my hair.
Internet links to check out.
–Fireflies Will Soon Light Up the Skies In Mesmerizing Harmony%u2014 Here’s How to See Them. I love me some fireflies, how cool would it be to see this.
– The Single Most Useful Snacking Rule I Give My Kid. I don%u2019t have my own kids, but when I have other peoples, I go by a rule like this too except my rule is you can eat veggies any time all the time.
-Want to grow your own avocado tree, here is how. Good luck.
–THE VINTAGE ROMANTIC BATH.. All the clawfoot tubs. Can%u2019t go wrong
-I am so ready. The first official %u201cStranger Things%u201d Season 3 trailer
–4 Natural Ways To Fertilize Houseplants. Now is a good time to fertilize!
-Hate the dentist? Read this and you will only hate it that much more. The Truth About Dentistry
-If ever I was to live on a house boat, this boat would be the one. And the floors in this place%u2026 swoon!
–How One Woman’s ‘Magically Delicious’ Pot Brownies Changed%u00a0History. Brownie Mary, what a lady.
-What the freaking f@ck? I am pretty sure I don%u2019t like where this could go. Neuroscientists just brought pig brain cells back to life.
Some pictures from the week
These are definitely my favorite shaped cutout cookies I have ever made. I mean seriously, carrot shaped carrot cookies, what could possibly ever be better? Nothing, and that%u2019s truth for you.
Not only are they carrot shaped, they are also carrot flavored. Yup, Carrot shaped, carrot flavored, awesomeness. A little cinnamon added to the cookie for little extra boost of flavor and an orange glaze because it works and orange is good and fresh and springing. All good stuff.
You might be thinking, huh, carrot puree in a cookie, well that doesn%u2019t sound right. But it is, it is right. And you know how I know that these cookies are awesome? Well I packed them up, (2 dozen of them) and took them over to the littles house for an after school treat. When I got there, the two older ones had friends over. I asked them if they wanted a carrot which earned me that look that said %u201care you serious%u201d but them showed them the cookies. Of course the wanted a carrot so I gave them each one. They ate their cookies then proceeded to beat the shit out of the mr. Then they asked for another cookies and beat the shit out of the mr some more. This when on and on for about a 1/2 hour until all the cookies were gone and the mr was crouched in the corner with a broom trying to defend himself against 4 rulely kids who where slashing at him with light sabers and spraying him in he face with kitchen cleaner. It%u2019s because they wanted more cookies. (and yes, the littles are getting crazy). So yeah, the cookies are good. Ass kicking good.
Anyway, a cookie with some goodness mix into it, shaped into a great shape, that will make everyone smile and happy. You could make them by yourself, make them with your friends, make them with some kids, with some old people. They are the perfect cookie to leave out for the easter bunny(do you leave carrots out for the easter bunny?) or to serve up at any easter party, spring party, or any garden party you might be attending. This cookie is pretty much perfect for any and every occasion that required a cookie. Or a carrot because carrots are always welcome.
To the carrots! I mean, the cookies!
The stuff. Flour, baking soda, salt, sugar, vegan butter, carrot puree, cinnamon, an orange, some powdered sugar, and food coloring.
Into a big bowl the sugar, vegan butter, and carrot puree go.
Beat for a minute or two until completely incorporated.
Add in all the rest of the dry stuff and mix by hand until it turns to dough.
This is the dough it turned into.
Gather the dough and wrap it or place in a plastic bag and stick it Into the fridge for a few hours or overnight. The dough NEEDS to chill.
After you let the dough be, remove from fridge, liberally dust counter, and roll out dough about 1/4 inch thick.
And then it%u2019s time to cut the cookies out. I unfortunately do not have a cookie cutter so I improvised and make 2 carrot cutouts from paper and hand cut each cookie. That worked but took forever so I got crafty and used a fat Christmas tree cookie cutter then just did a little trim and pinch to make it into a cookie. (I am a genius for that). Any way works, and you can also do other shapes too, the cookies don%u2019t change taste in different shapes. (but that would be so cool if they did)
Carefully place cut out cookies onto a baking sheet, giving them a little space because they do spread a tiny bit.
And into the oven to bake they go.
Out in 10 minutes looking all carrot like.
Carrots waiting to cool so they can be glazed.
The glaze. Pretty straight forward. Just zest orange into powdered sugar and juice the orange into the sugar and mix.
Divide glaze and dye one orange and one green
And glaze away. I recommend doing it over a rack and baking sheet to minimize mess because they do drip a bit.
Now just you look at that, carrot shaped carrot sugar cookies .What a sight!
And of course, carrots come in bunches. HA
Enjoy some carrots!
-C
makes about 2 and a half dozen (depending on size)
2 1/4 cups all purpose flour plus more for dusting
1 teaspoon baking soda
1/2 teaspoon salt
1 teaspoon cinnamon
1/2 cup vegan butter
3/4 cup granulated sugar
1/2 cup carrot puree ( see note about how to make puree)
For the glaze
2 to 3 cups powdered sugar
on orange
orange and green food coloring
Note. To make carrot puree, steam a couple carrots until completely soft them blend until smooth.
Place sugar, vegan butter, and carrot puree into a big bowl. Beat with a beater until light and fluffy. Add in the flour, baking soda, salt, and cinnamon and mix by hand until completely incorporated and mixture tunes into dough. Gather dough into a disk and wrap in plastic or place in a plastic bag and refrigerate for at least 2 hours or up to overnight.
Once dough has chilled enough and you are ready to go, preheat the oven to 350.
Place dough on a flour dusted counter and roll out about 1/4 inch thick. Cut out the cookies with a cutter or by hand and place on a baking sheet. Bake cookies for 10-11 minutes or until just starting to turn slightly brown around the edges. Remove from oven and place on a wire rack to cool.
Once cookies are all baked and cooling, make the glaze. Place powered sugar into a big bowl, zest in the orange then add in the juice od half the orange. Mix completely and check consistency. You want it to be slightly running but not liquid, but also not to stiff. Add more juice or more sugar to get it right. Once it is the right consistency, separate into 2 bowls. Dye one green and one orange. Now glaze you cookies. A knife or small spatula works best and yes, the glaze drips a little so do it over a baking sheet, but after about 10 minutes the glaze hardens.
And then you have carrot cookies and all is good. Now go eat a carrot cookie!
Store uneaten cookies in an airtight container for up to 5 days. They can be frozen too.
I think we did it, we made it through the winter. That little bit of snow the other night, well that was it. Until next winter!!!!! Now lets all just do all the spring things and enjoy the niceness of moderate temperatures and the sight of green things growing. We are in it and it is wonderous.
The past week flew by so fast. A lot of being everywhere at once and alll over. Now that spring has sprung there has been much to do. Besides working and the usual (the little apartment projects are just piling up) we have looked at not 1, but 3 different cars. The one van on Sunday was a bust (the guy was crazy and the car was dead. Craigslist. A definite miss there), and two others. Those were not good either (but not nearly as bad) so the hunt continues, as does the back and forth car sharing situation. We are definitely getting to our limit with sharing one small car but I have faith we will find something soon. Our poor car. It%u2019s getting trashed.
In between the work and life stuff we got to spend the most magical raining morning harvested wood from an apple orchard for future spoon projects. That might have been the highlight of the week, especially because I have now realized that I am suppose to live and work on apple orchard. I think it is my calling so I got to get on that. Other fun things included an evening of egg dying with Qui, Adrianna, and the littles which was fun and gross and I actually hate the whole real eggs and dying them thing, but the mr was all about it so%u2026.We also got to spend (babysit) an afternoon with So where she basically spent the entire time to beating on the mr and feeding us unicorn jellybean soup. Good times with that one.
And then there were taxes. I spent ever single free minute attempting to finish the stupid taxes and learn all about tax laws and try to be component. It got to the point where I was almost in tears%u2026 then I gave up. As of Friday morning, I now have until October to get those stupid things done. And I think we are just going to find a new accountant because really, I don%u2019t want to spend all my time learning tax law. Not my thing. I mean, when it takes me twenty minutes to figure out that the form won%u2019t summit because I am entering the wrong date (2018, not 2019), well, I should just leave it to a professional.
Saturday was the gem. Woke up to temperatures in the mid 50%u2019s, went for a nice walk, spent the morning throwing pots, and did some light cleaning. For the afternoon we met up with all the sisters, the littles, Mom and had lunch. The boys went away (they hung out at the park being dangerous) while us ladies went to the theater%u2026..Mamma Mia. Us girls bought the tickets for Mom%u2019s birthday present a few weeks ago. Not exactly my thing, but I was game.. And it was better then I was expecting, although I was%u2019t sure what I was expecting. I don%u2019t think I would have gone if not for many other circumstances, but it was fun and my mom had a great time. My biggest complaint was it was really loud and there were a ton of people. Oh, and that I have a Dancing Queen ear worm. But other then that, not bad.. After the show, the mr picked me up, we rushed to get some more things done before going home to finish cleaning. That might not sound fantastic but it was still light out, the world was still warm, the doors and windows were open and it just felt so good. Oh yes. Spring is finally here!
Today is going to be good. I plan on spending most of it out in the yard doing yard work. I am going to lather on the sunscreen, grab the tunes, the rake, hoe, and the shovel and get to it. Then hopefully I%u2019l be able to throw some seeds into the ground which I am already getting concerned about. The squirrels have come out full force and are looking hungry!.
Let the garden battles begin!
Some stuff I read on the internet from the week.
Again, I filed an extension. Why do they have to be so freaking hard? Another thing they have right in the Netherlands. Filing Your Taxes Is an Expensive Time Sink. That%u2019s Not an Accident.
-So my kind of home. This 650-Square-Foot Family Home in Ohio Is Off-Grid %u2018Country Minimalism%u2019
–Day hikers are the most vulnerable in survival situations. Here’s why. We have lost the trail before and it was actually kind of scary. Luckly we were on a small mountain and we knew there was a road at the bottom. We just kept going down until we hit the road. Ever since I stay very away of the trail.
-Genius. Pure genius And they are Vermont students too!. SheFly: Answer Nature’s Call
–How to Get Out of Your Own Head. I spend a lot of time in my head but that is where I feel the least crazy.. Or is that crazy. People make me crazy. They can%u2019t get me in my head.
-I exclusively clean with vinegar. Even my hardwood floors. Vinegar Is the Only Floor Cleaner You Need (Even for Carpet!)
–Oprah Bought an Avocado Orchard Because Grocery Store Avocados Were Too Expensive. The lady has got her priorities straight. For real, I would buy an avocado orchard too if I was Oprah rich too.
–Are Plastic Bag Bans Garbage? We (humans) just need to stop making more and reuse all the junk we already have. Reusable bags made out of all the old clothing and shit has no purpose anymore.
–“Do Skunks Like Their Own Smell?” And Other Stumpers! I always thought that skunks deals with their stink kind of like a person deals with their own farts%u2026 They just deal. HA
And pictures from the week.
It is getting oh so much nicer out yeah? Springing and such, well kind of. Still a wee bit chillier then it should be around here but still, it is spring and I am taking it.
And with the spring, I feel the itch, the itch to spend all of my free time outside. Out doing things that are not inside because I spent the last 7 long months inside way too much. I needed to be outside as much as possible and as it gets even nicer and warmer and garden temperature-able, I am basically going to be living outside.
Bring in sesame noodles. Super fast, super easy, super duper in every way. Make a big old batch and eat now, eat later, eat hot or eat cold. Everyone loves them, they love you, etc. etc%u2026 A perfect meal to have in rotation when you know that you are not going to have or want to spend much time cooking in the kitchen because you will be outside playing in the dirt and soaking up the sun. And think about all the picnics and BBQ%u2019s to come. These suckers are fantastic to have at any outdoor eating event. They are even peanut free so you can safely bring them to potlucks and such and don%u2019t have to worry about accidentally kill a peanut allergy person. And you can make them gluten free as well if you sub in your favorite gluten free pasta. These noodles, I am telling you. They are a winner in every way.
So with out further ado, the noodles!
The stuff. Spaghetti noodles, tahini, a few cloves of garlic, some toasted sesame oil, soy sauce, red wine vinegar, honey (used whatever sweetener you like), red pepper flakes, tasted sesame seeds some cabbage, half a red onion and a carrot.
Get pasta cooking. Boil water, drop noodles in, you know the drill. Cook as long as the the noodles need cooking, just make sure to not over cook them cause soggy noodles are nasty.
Chop, shred and julienne the cabage, onion and carrot. Nice and thin.
Mince the heck out of the garlic. Or use a garlic press if you want.
Now make the sauce. Add the minced garlic, along with the soy, sesame oil, vinegar, sweetener, and chili flakes to the bowl with the tahini. Mix, mix, mix until it is all incorporated and not lumpy. And that is that.
Noodles should be done by now so strain them out.
Add the prepared veggies to a big bowl.
Add in the cooked noodles
Cover with sauce and toss all around until all the noodles are coated and delicious. Sprinkle with sesame seeds and a pinch or so more of pepper flakes.
And then it is time. Eating time.
Happy spring!
-C
serves 3-6
3/4 lb (3/4 of a package) of your favorite spaghetti noodles (or linguine or similar noodle)
2 tablespoons toasted sesame oil
1/4 cup soy (low sodium if you have it and gluten free tamari if needed)
3 tablespoons red wine vinegar
3 tablespoons tahini
2-4 teaspoons red chili flakes
1-2 teaspoons sweetener of choice (maple, honey, or brown sugar)
4-5 cloves garlic
1-2 tablespoons toasted sesame seeds
about a 1/4 head of cabbage
a carrot
small red onion
Bring a pot of water to a boiling cook the noodles as directed on package. You want them al dente, cooked all the way, but barely. No soggy noodles. (unless you like them soggy)
In the mean time, shred the cabbage, julienne the carrot (or shred it) and slice the onion so very thinly. Place into a large bowl. Now mince garlic and place into a bowl along with the soy, sweetener, vinegar, tahini, sesame oil and a teaspoon or two (more for spicier) of chili flakes and whisk until completely incorporated. Taste and adjust if needed. Add more tahini for more body, more sweetener if needed or more hot pepper flakes for more spice.
Once noodles are cooked, drain and place into large bowl along with the shredded and julienned veggies. Pour in the sauce and toss it all around until all the noodles are covered. Sprinkle in the toasted sesame seeds and a small pinch more of the red pepper flakes.
Eat. Eat warm, room temp, or cold. They are delicious any way.
Any left overs just stick in fridge. Can be reheated or not. Also, you can make the sauce and the noodles a few day ahead of time of when you want to have the dish Just mix the sauce with the noodles when you are about to serve them%u2026 So simple!
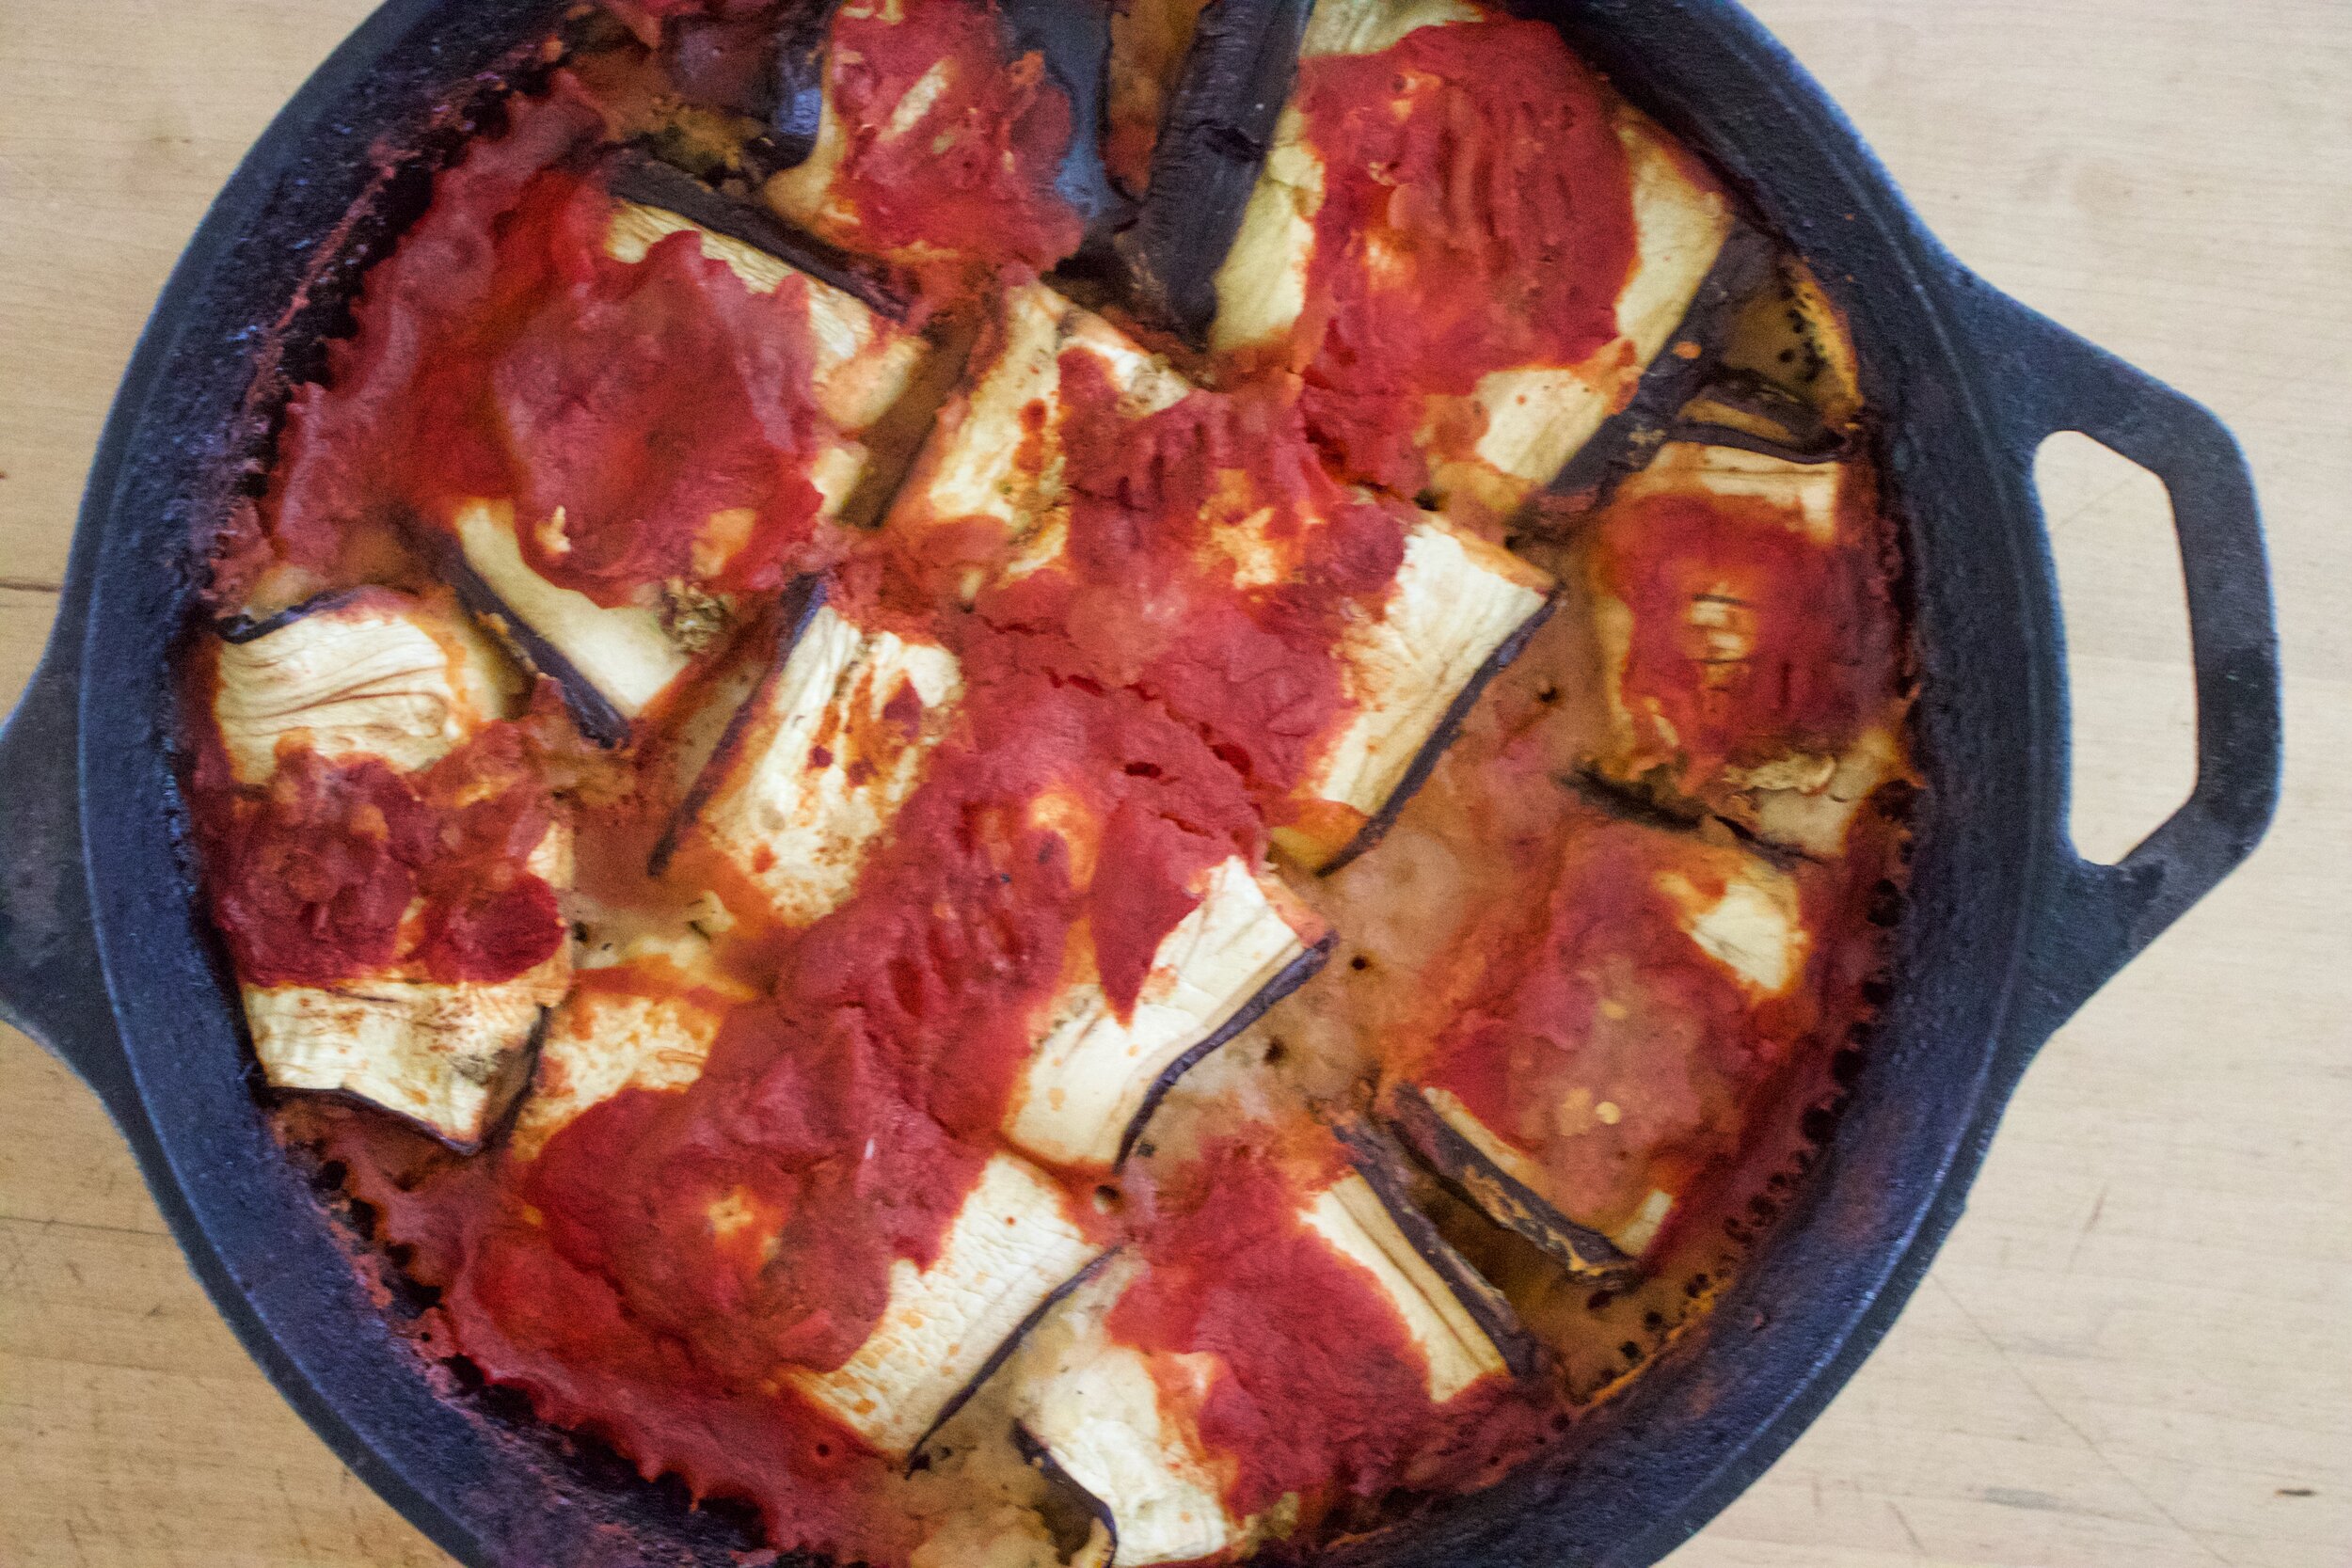
Eggplant and I are having real moment right now. I honestly think I have been eating one, in some way or another, just about every day for the last week or so. And no, I am not sick of them at all. But yes, I have been lazy about doing much other roasting or braising the old plant and just eating it straight into my mouth hole. But I guess sometimes my lazy ass wants more substance and also, it is nice to feed the mr something good too. I figured I should maybe do something a little more classy, more meal like, and might actually require a fork to eat it with. (I have a real tendency to eat with my hands, even the things that most people would probably say could not be eaten with hands. You should see me eat soup! Ha!) And so I prepared for us a feat of greatness (not really a feat, but great for sure). Eggplant roll ups.
These rolls are way more tasty and delicious then the effort it takes to make them. Really, they are super simple to make. Just a thick herby bean filling rolled up in eggplant and roasted in tomatoes. Sounds so good right? Well then taste even better. And then you can top that whole shebang with some fresh basil and everyone is all good to go.
So ok, I feed some to the mr for dinner because the goal was to fee us both with one dish, but I sure did eat more then half (like 3/4 of it) to myself. Without a fork.
There is no shame in my game.
Now to the eggplant rolls!
The stuff. An eggplant, an onion, some white beans, crushed tomatoes, a lemon, some thyme, oregano,and garlic powder, salt and pepper, oil, and basil. (I just pureed all my fresh basil into a paste so yeah).
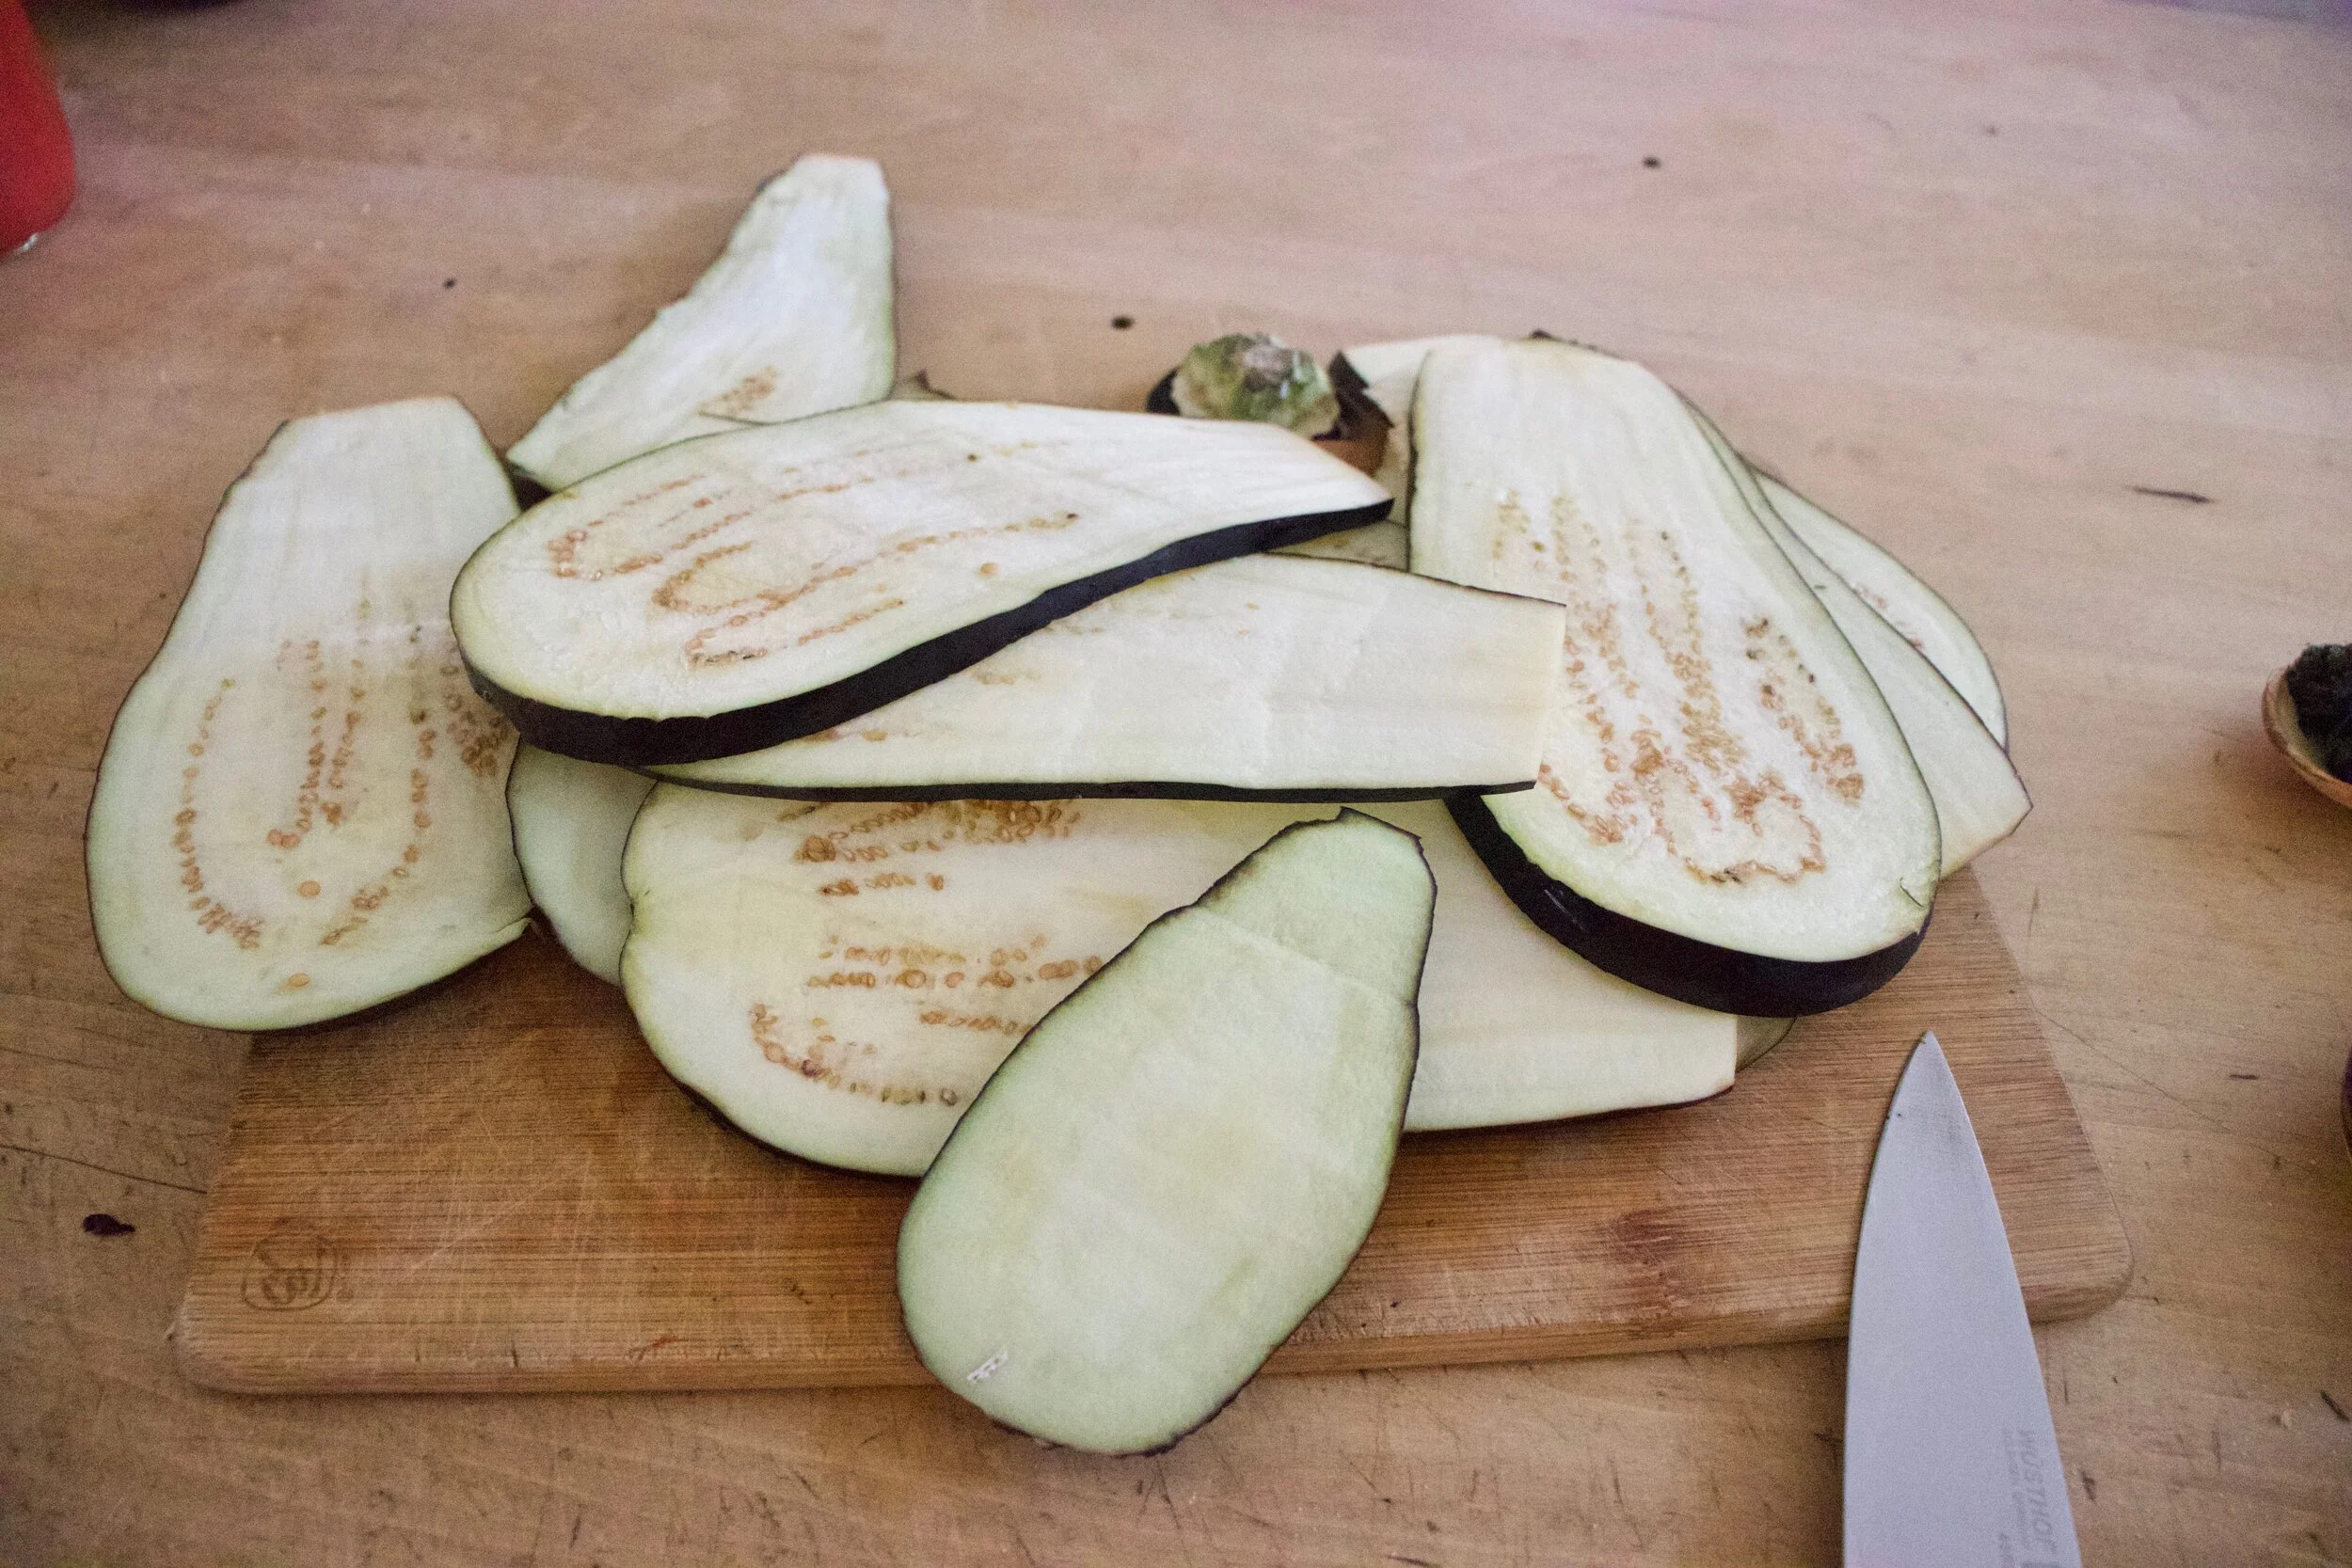
First up, slice the eggplant lengthwise into 1/2 inch thick pieces.
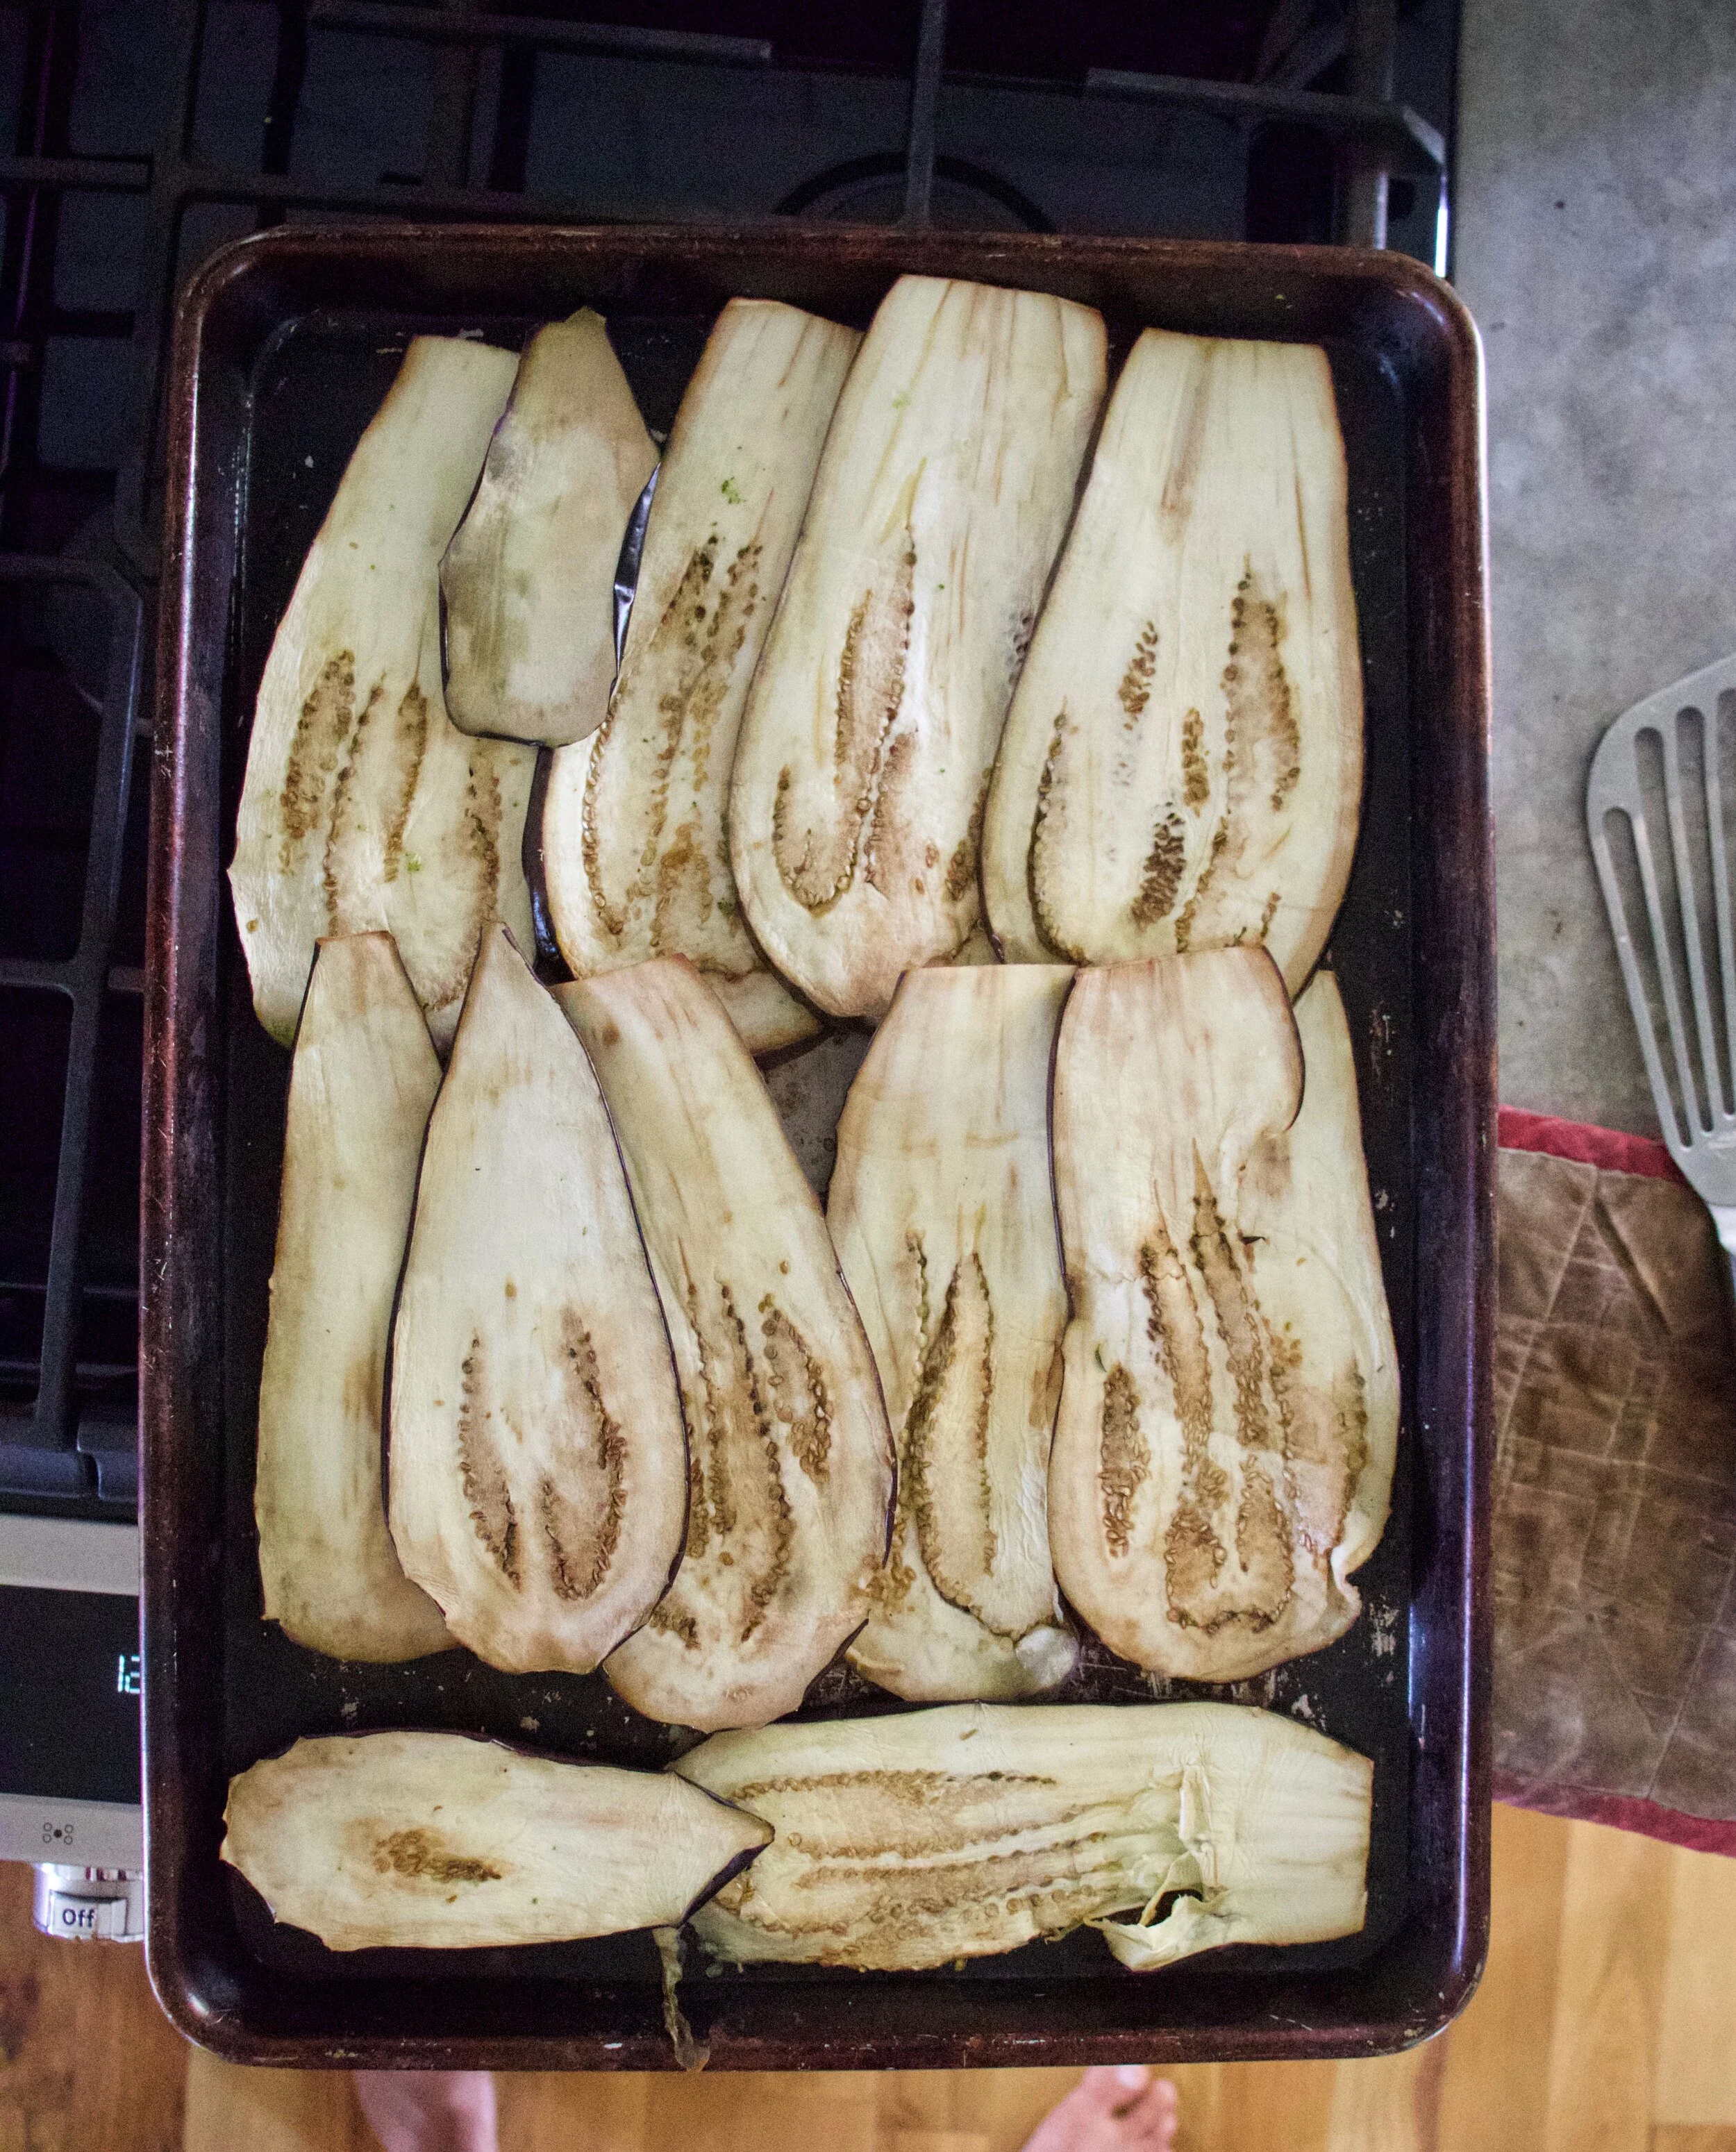
Place the pieces on a baking sheet and sprinkle with a pinch of salt. It is ok if they overlap a little, we are just trying to soften them a bit. Stick into a hot oven.
Into a skillet it goes to cook up until soft and fragrant.
Eggplant, comes out of the oven all nice a pliable.
Now make the bean filling. Beans, onions, spices, juice of lemon, and a good crank of pepper and a pinch of salt go into food processor. Blend until smooth.
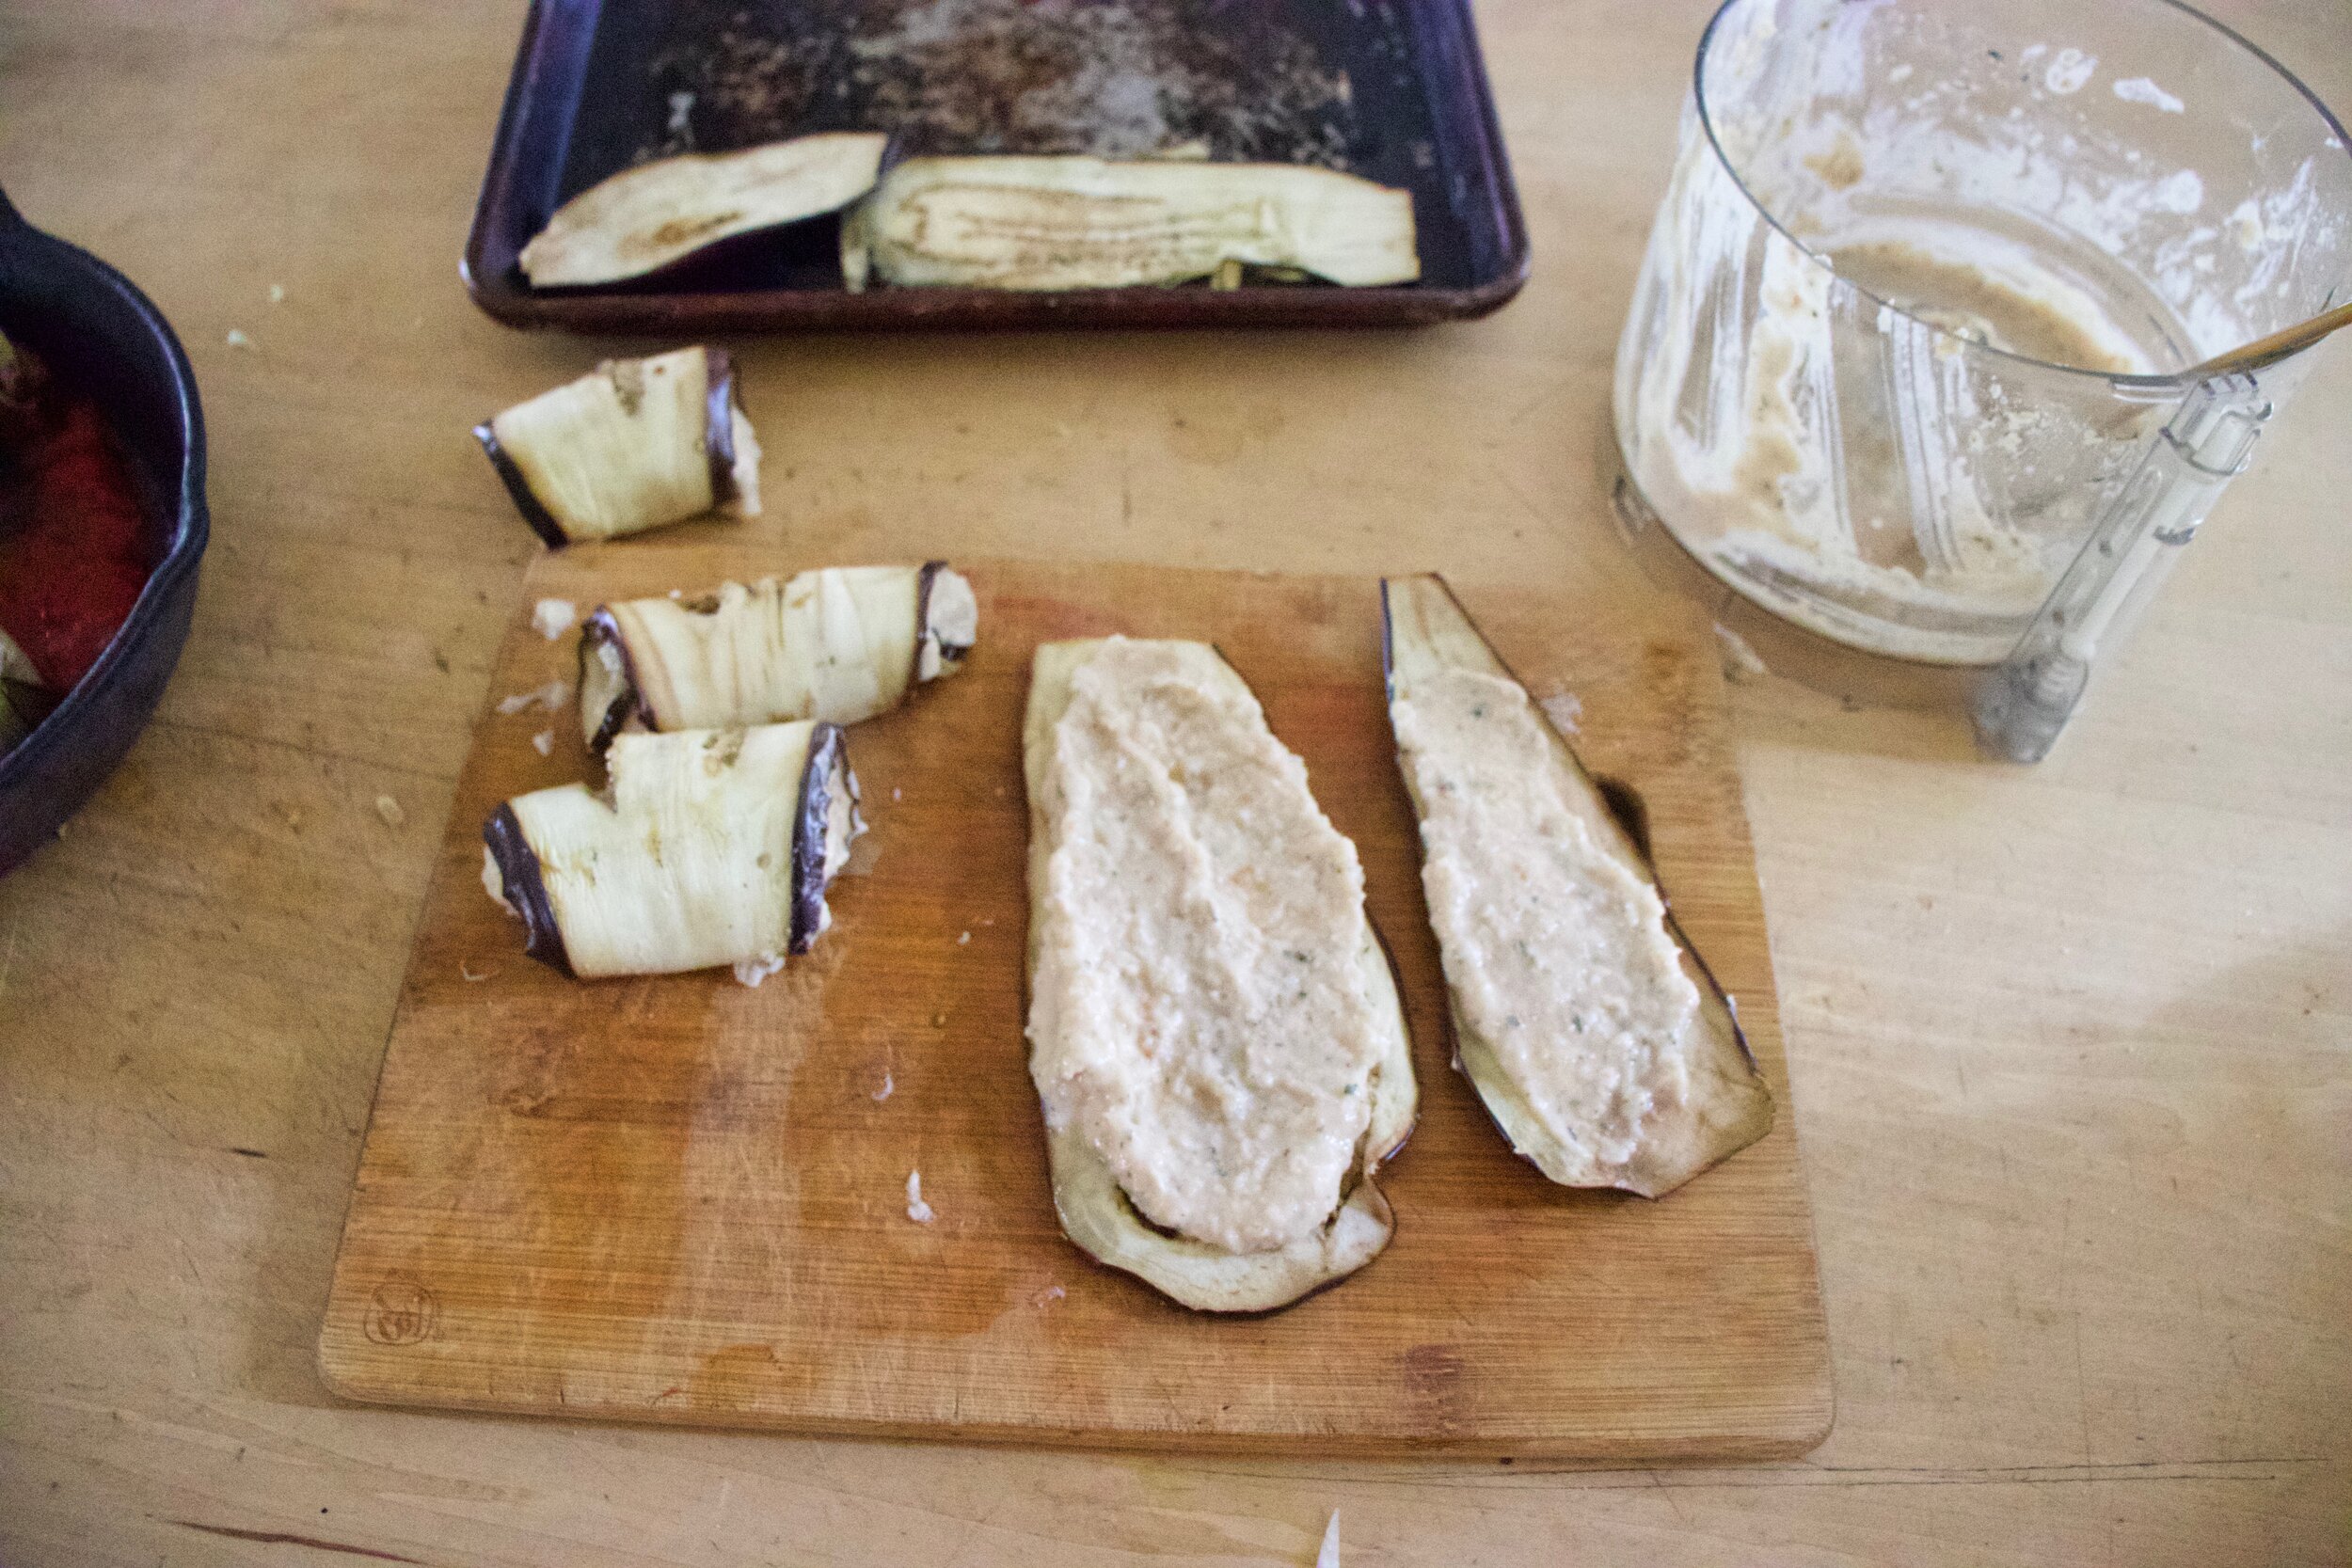
Gently grab an eggplant cut and cover one side with the bean mixture. Don%u2019t skimp our but don%u2019t add ore then you can roll up. And then roll it up.
Add a cup or so of sauce to a skillet or casserole dish, then place the rolls on in. Once all the rolls are in, cover with the remaining crushed tomato or marinara sauce.
Pop into hot oven to bake.
And then when the eggplant is tender and the sauce is all bubbly, pop it out.
Add some fresh basil (or basil puree) and grab that fork.
Nothing left for you to do beside eat it.
-C
serves 3-5
a medium to large eggplant
1 yellow onion
2 1/2 cups white beans (or one can)
a lemon
teaspoon each of thyme, garlic powder and oregano
3 cups crushed tomato or a simple marinara sauce
salt and pepper
splash of oil
fresh basil (optional)
Preheat oven to 400 degrees
Grab the eggplant and cut the very top off then cut slices lengthwise about 1/2 inch thick. You should get about 10-12 slices. Place the slices onto a baking sheet, overlapping a little if necessary, sprinkle with a pinch of salt, and place into oven. Cook for about 10 minutes or until the eggplant is just barely starting to soften and becomes pliable. Remove from oven and let cool a bit.
Meanwhile chop up the onion and place into a lightly oiled skillet. Cook for 5-8 minutes or until the onion starts to become translucent and fragrant. Once cooked, place into a food processor along with the beans (drained but keep the liquid),the spices, and the juice of the lemon. Pulse until smooth and if needed, add a few tablespoons of the bean liquid to loosen it up enough to blend. Taste and season with salt and pepper.
Now to make the rolls. Grab cooled off piece of eggplant, lay it flat, and cover with the bean mixture. Not too much or too little, probably a bit less then 1/4 cup. Then roll the eggplant up. Either grab a skillet or baking dish and add about 1 cup of the crushed tomato or marinara sauce to the bottom. Place rolls as they are being made into the dish. Once you have filled the dish with the rolls, cover with the remaining sauce.
Place the rolls into the oven and bake for 30ish minutes or until eggplant is nice and fork tender.
Once baked, remove from oven, left cool for a few minute and then serve. Top with fresh basil (or basil puree) if you want.
Eat with a fork.
Granola is a weakness of mine, well good granola is. I don%u2019t really call most stuff of the stuff you can buy at the store really granola, it is more like sugary candy crap that is marketed to be good for you when it really is not. That shit is gross and that%u2019s my truth.
Real granola, or the kind I make, is the basic bitch of granola. All it is is oats, a spice or two, salt, and a pureed up fruit (or veggies). Sometimes I will add a seed or nut at the end, or maybe even a little coconut or some other dried fruit. There is no added sweetener added, no added oils, just straight up oats and fruit.. And it%u2019s clumpy and crunchy, and all sorts of frantastic. It really is what every granola should strive to be.
The last batch I made was peach because, if you didn%u2019t know, it is peach season. Plus peach granola is delicious. That is fact. (unless you don%u2019t like peaches).
Now to the granola!
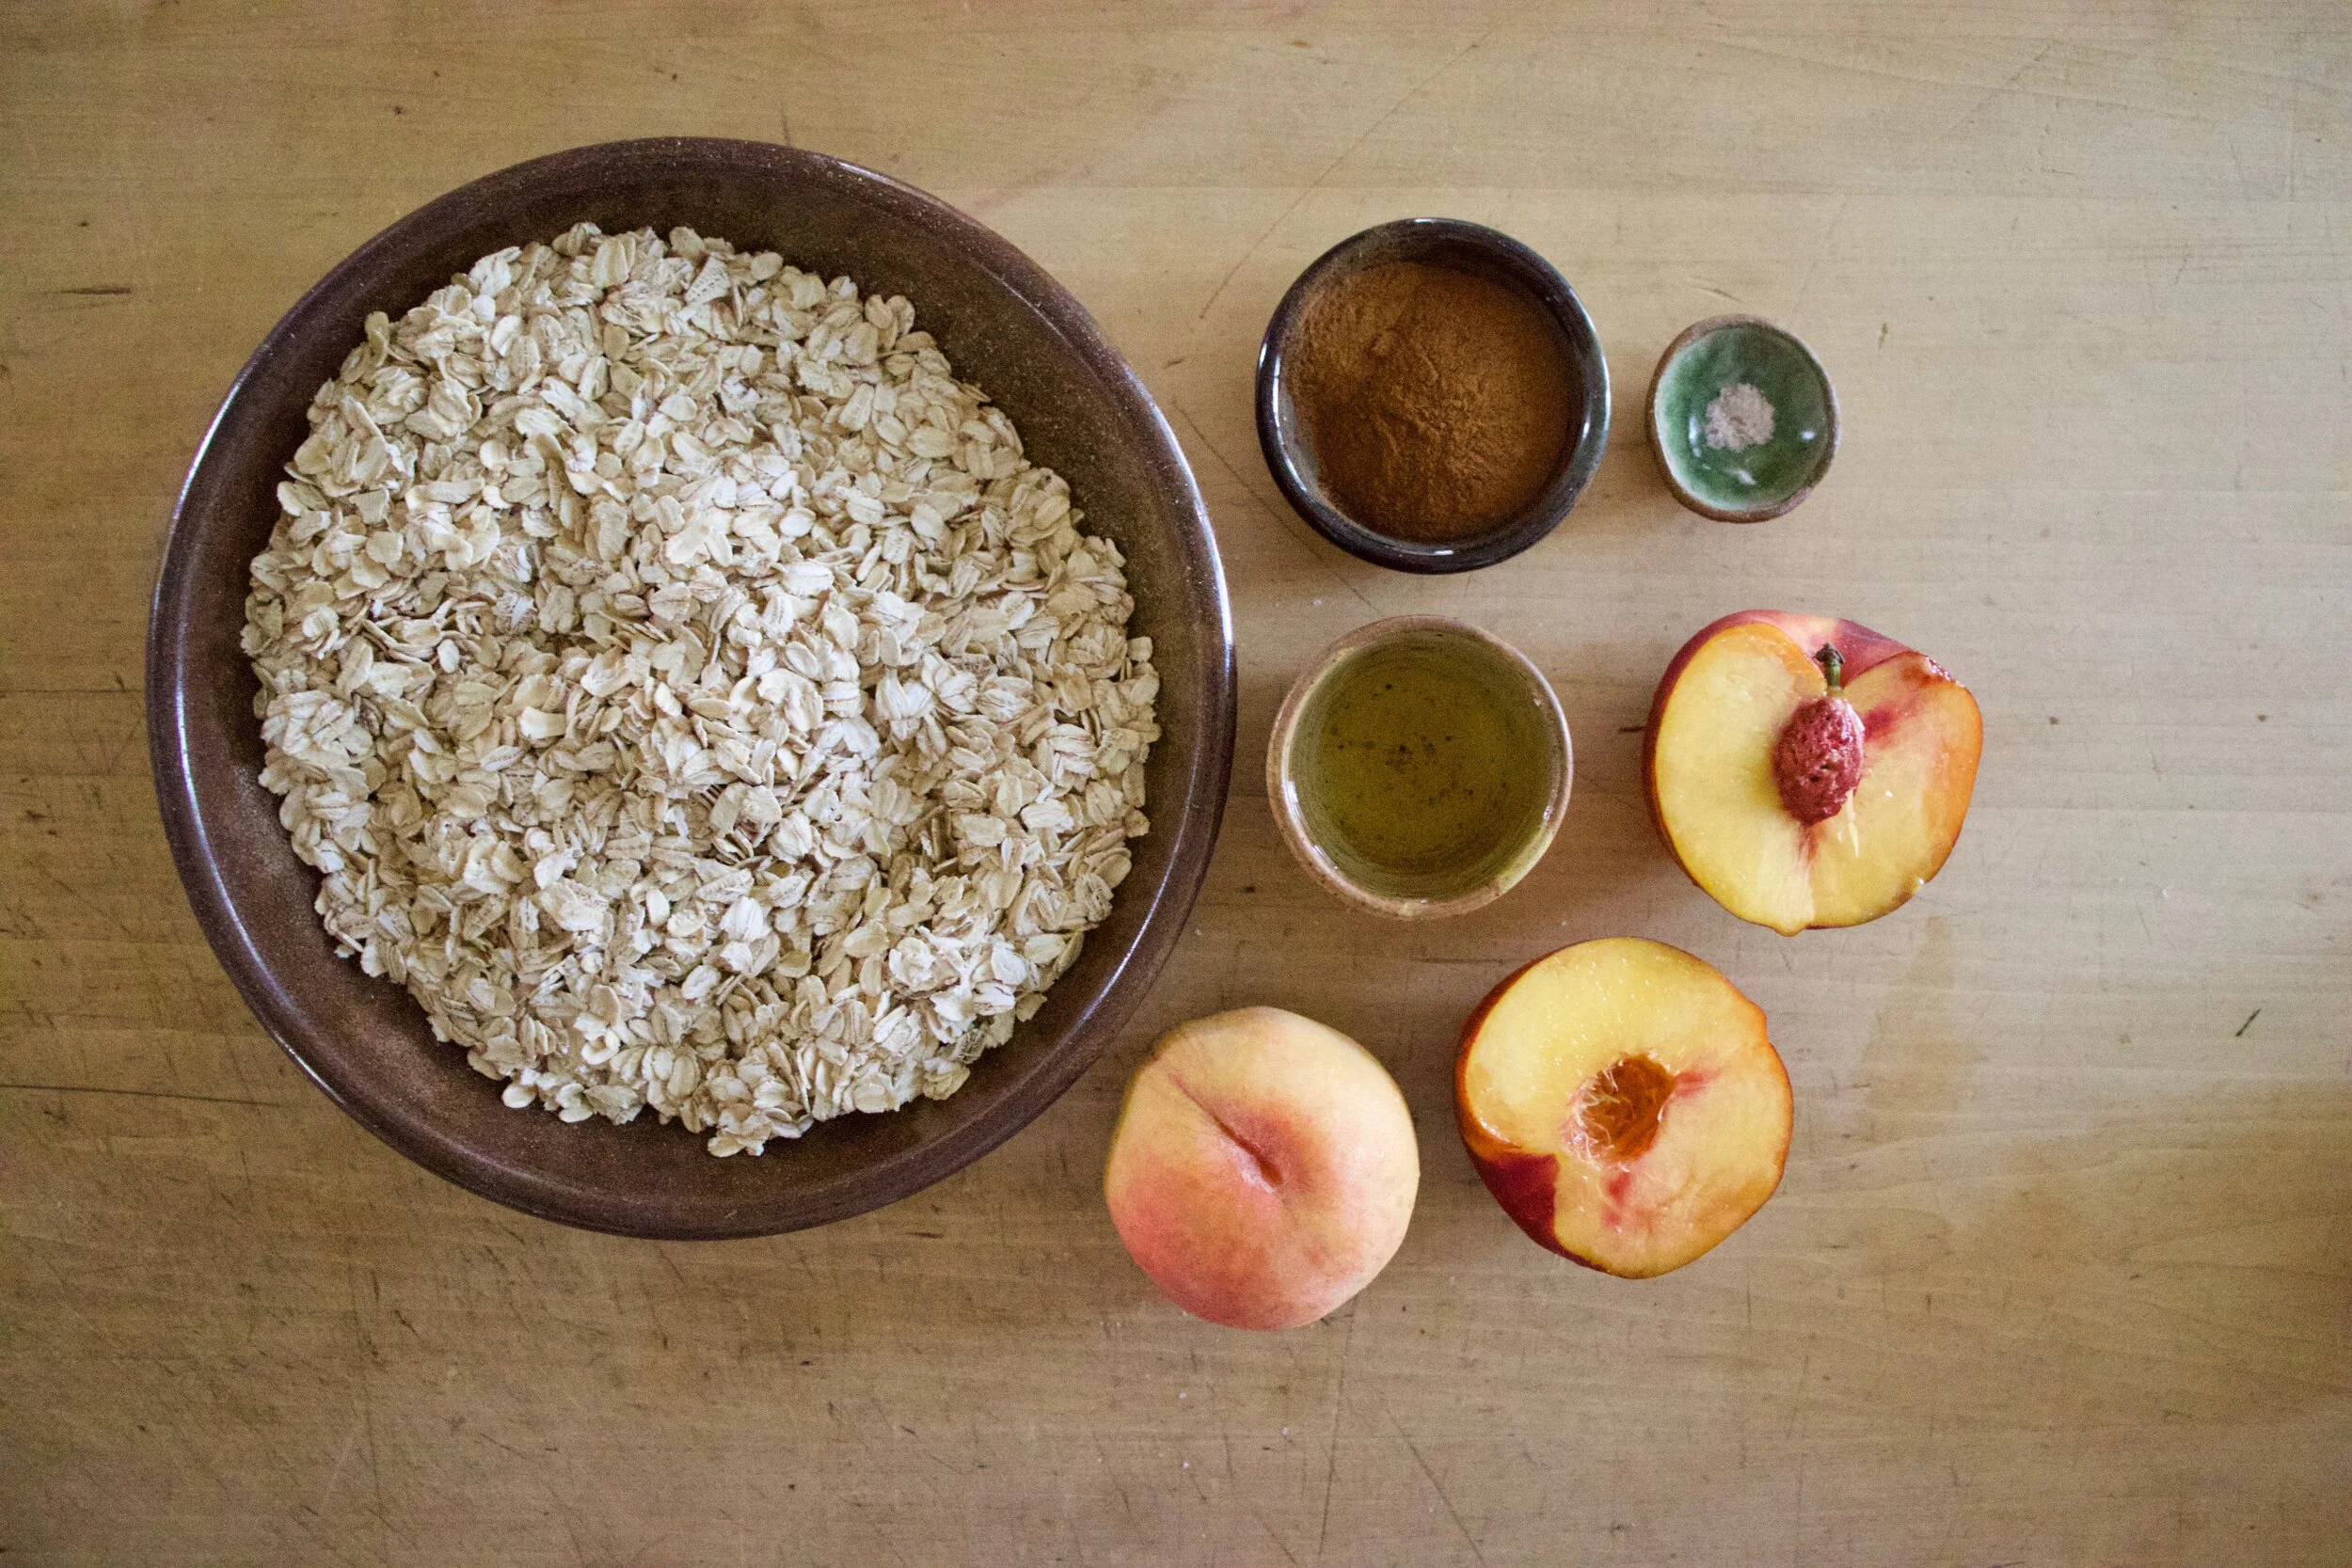
The stuff. Old fashion oats, a couple of ripe peaches, cinnamon, salt, and a little water.
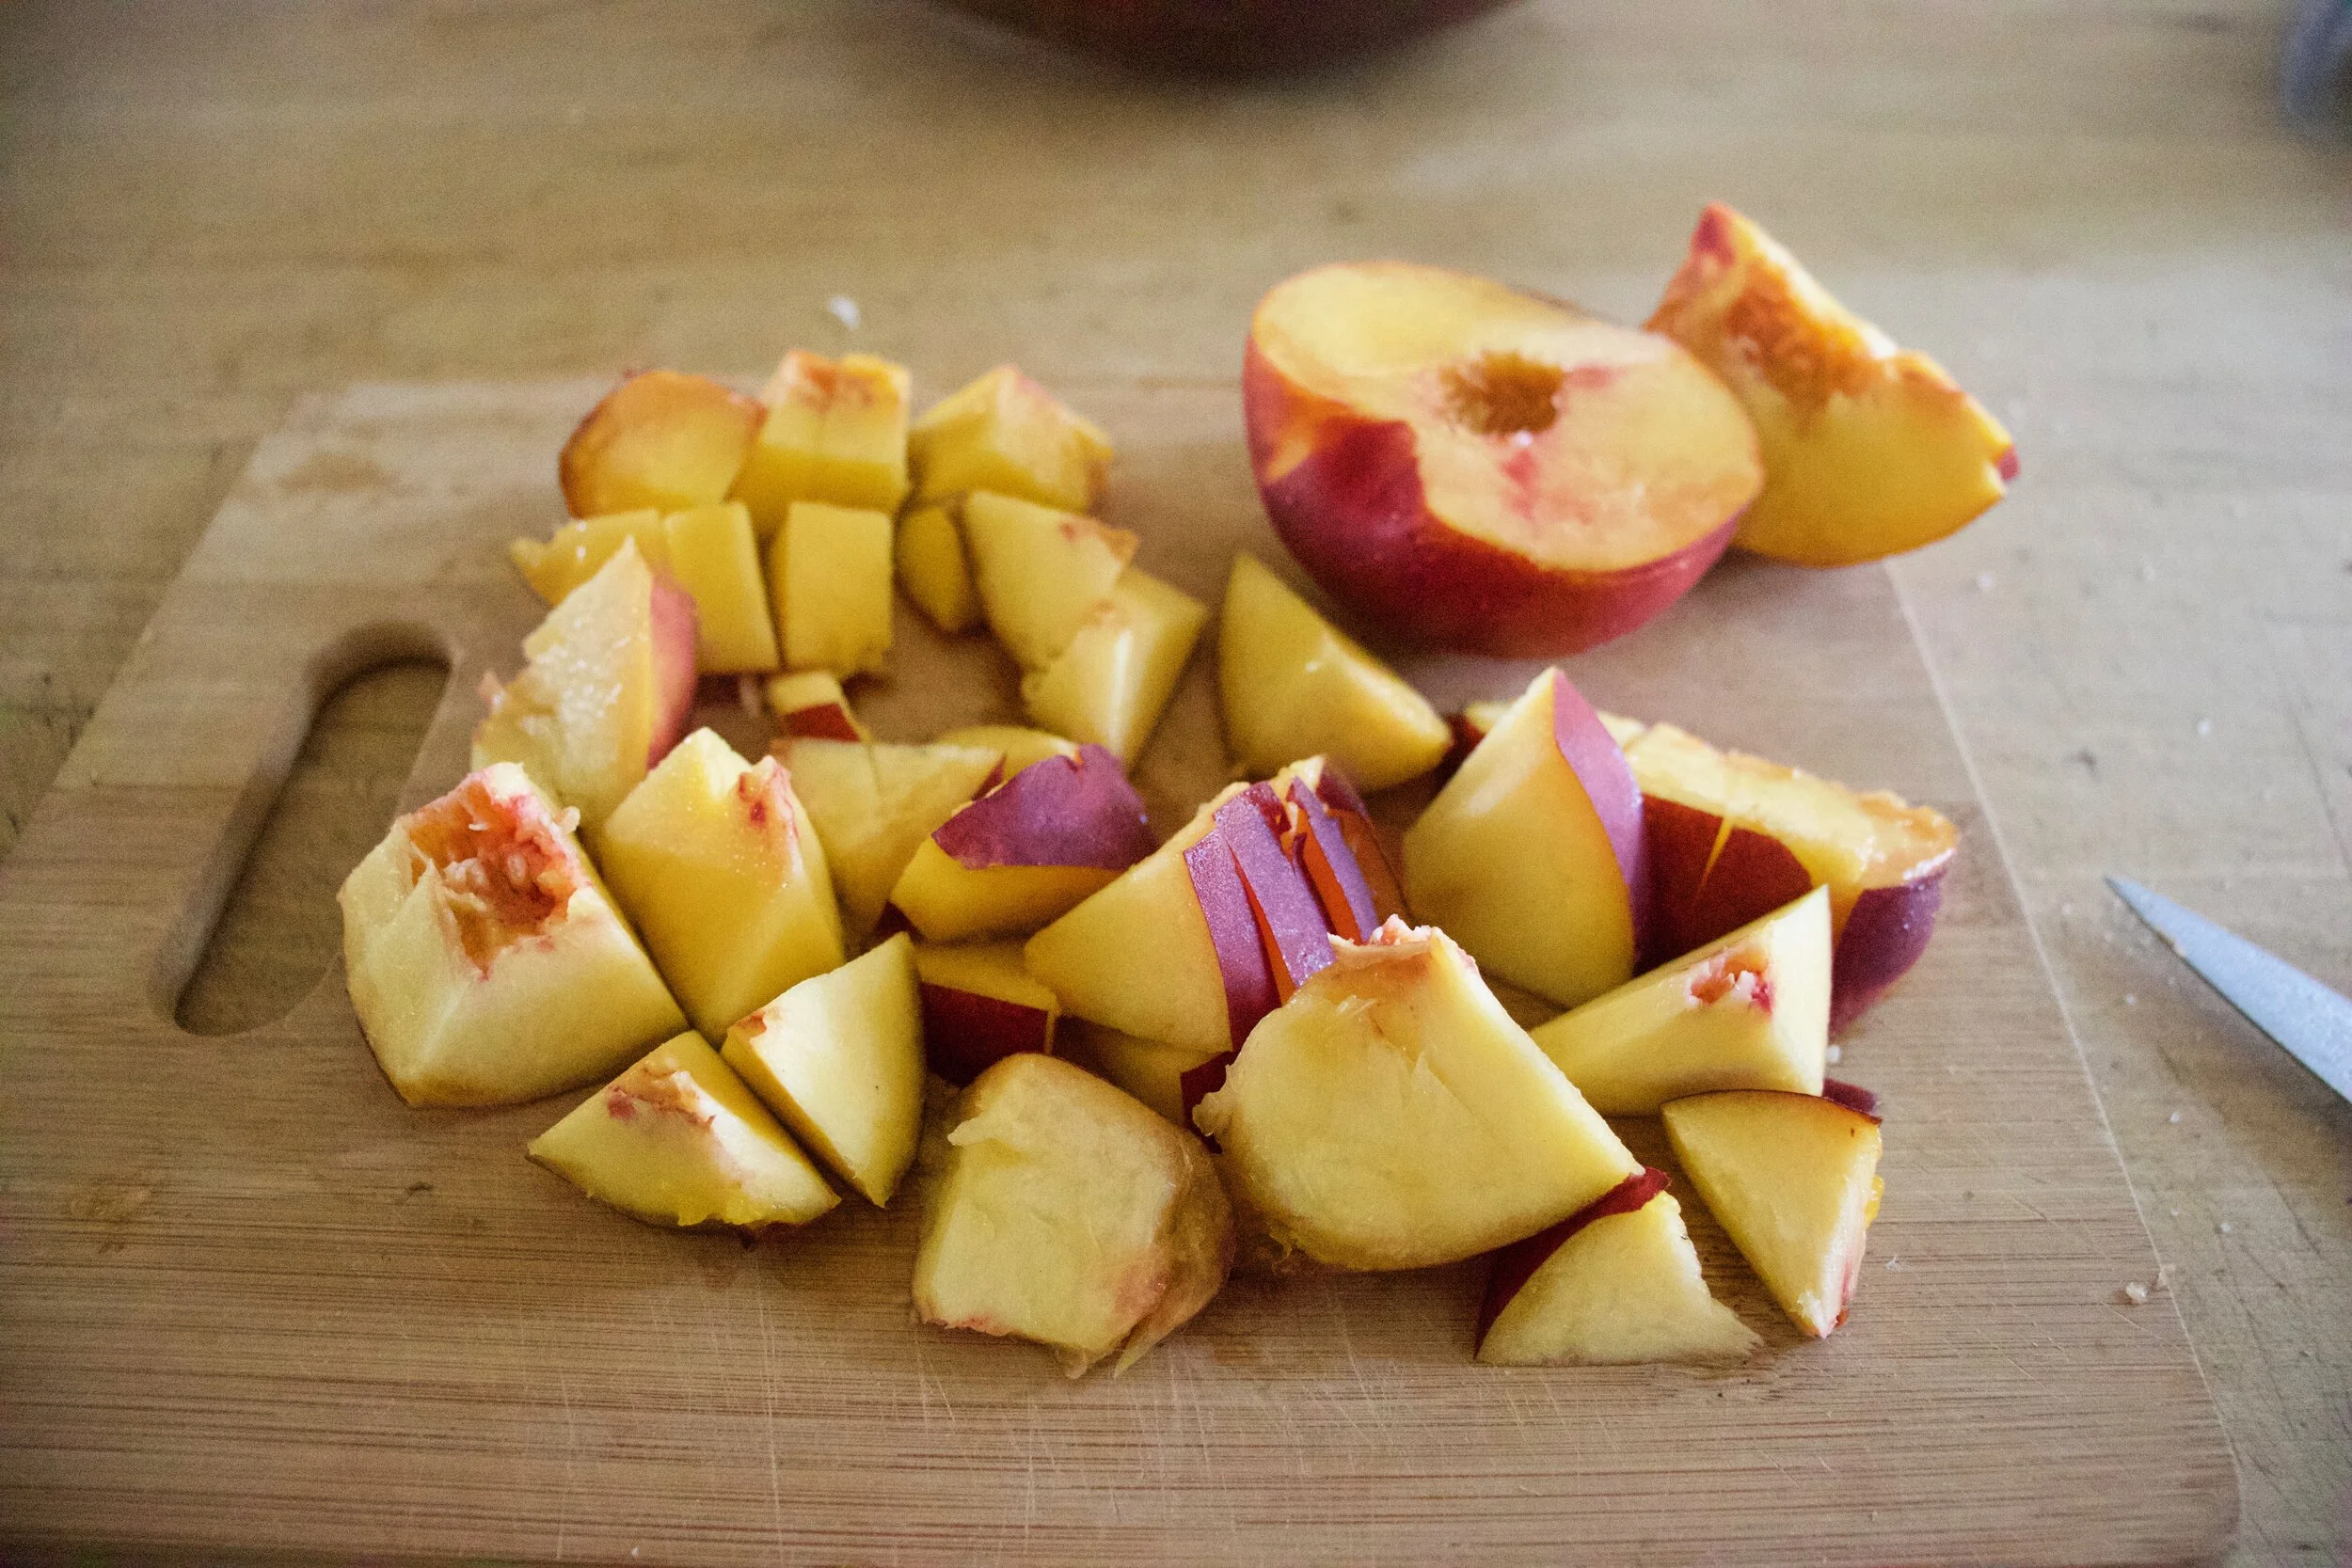
Cut peaches in half, remove pits, and cut into chunks.
Place peach chunks into blender and blend until smooth.
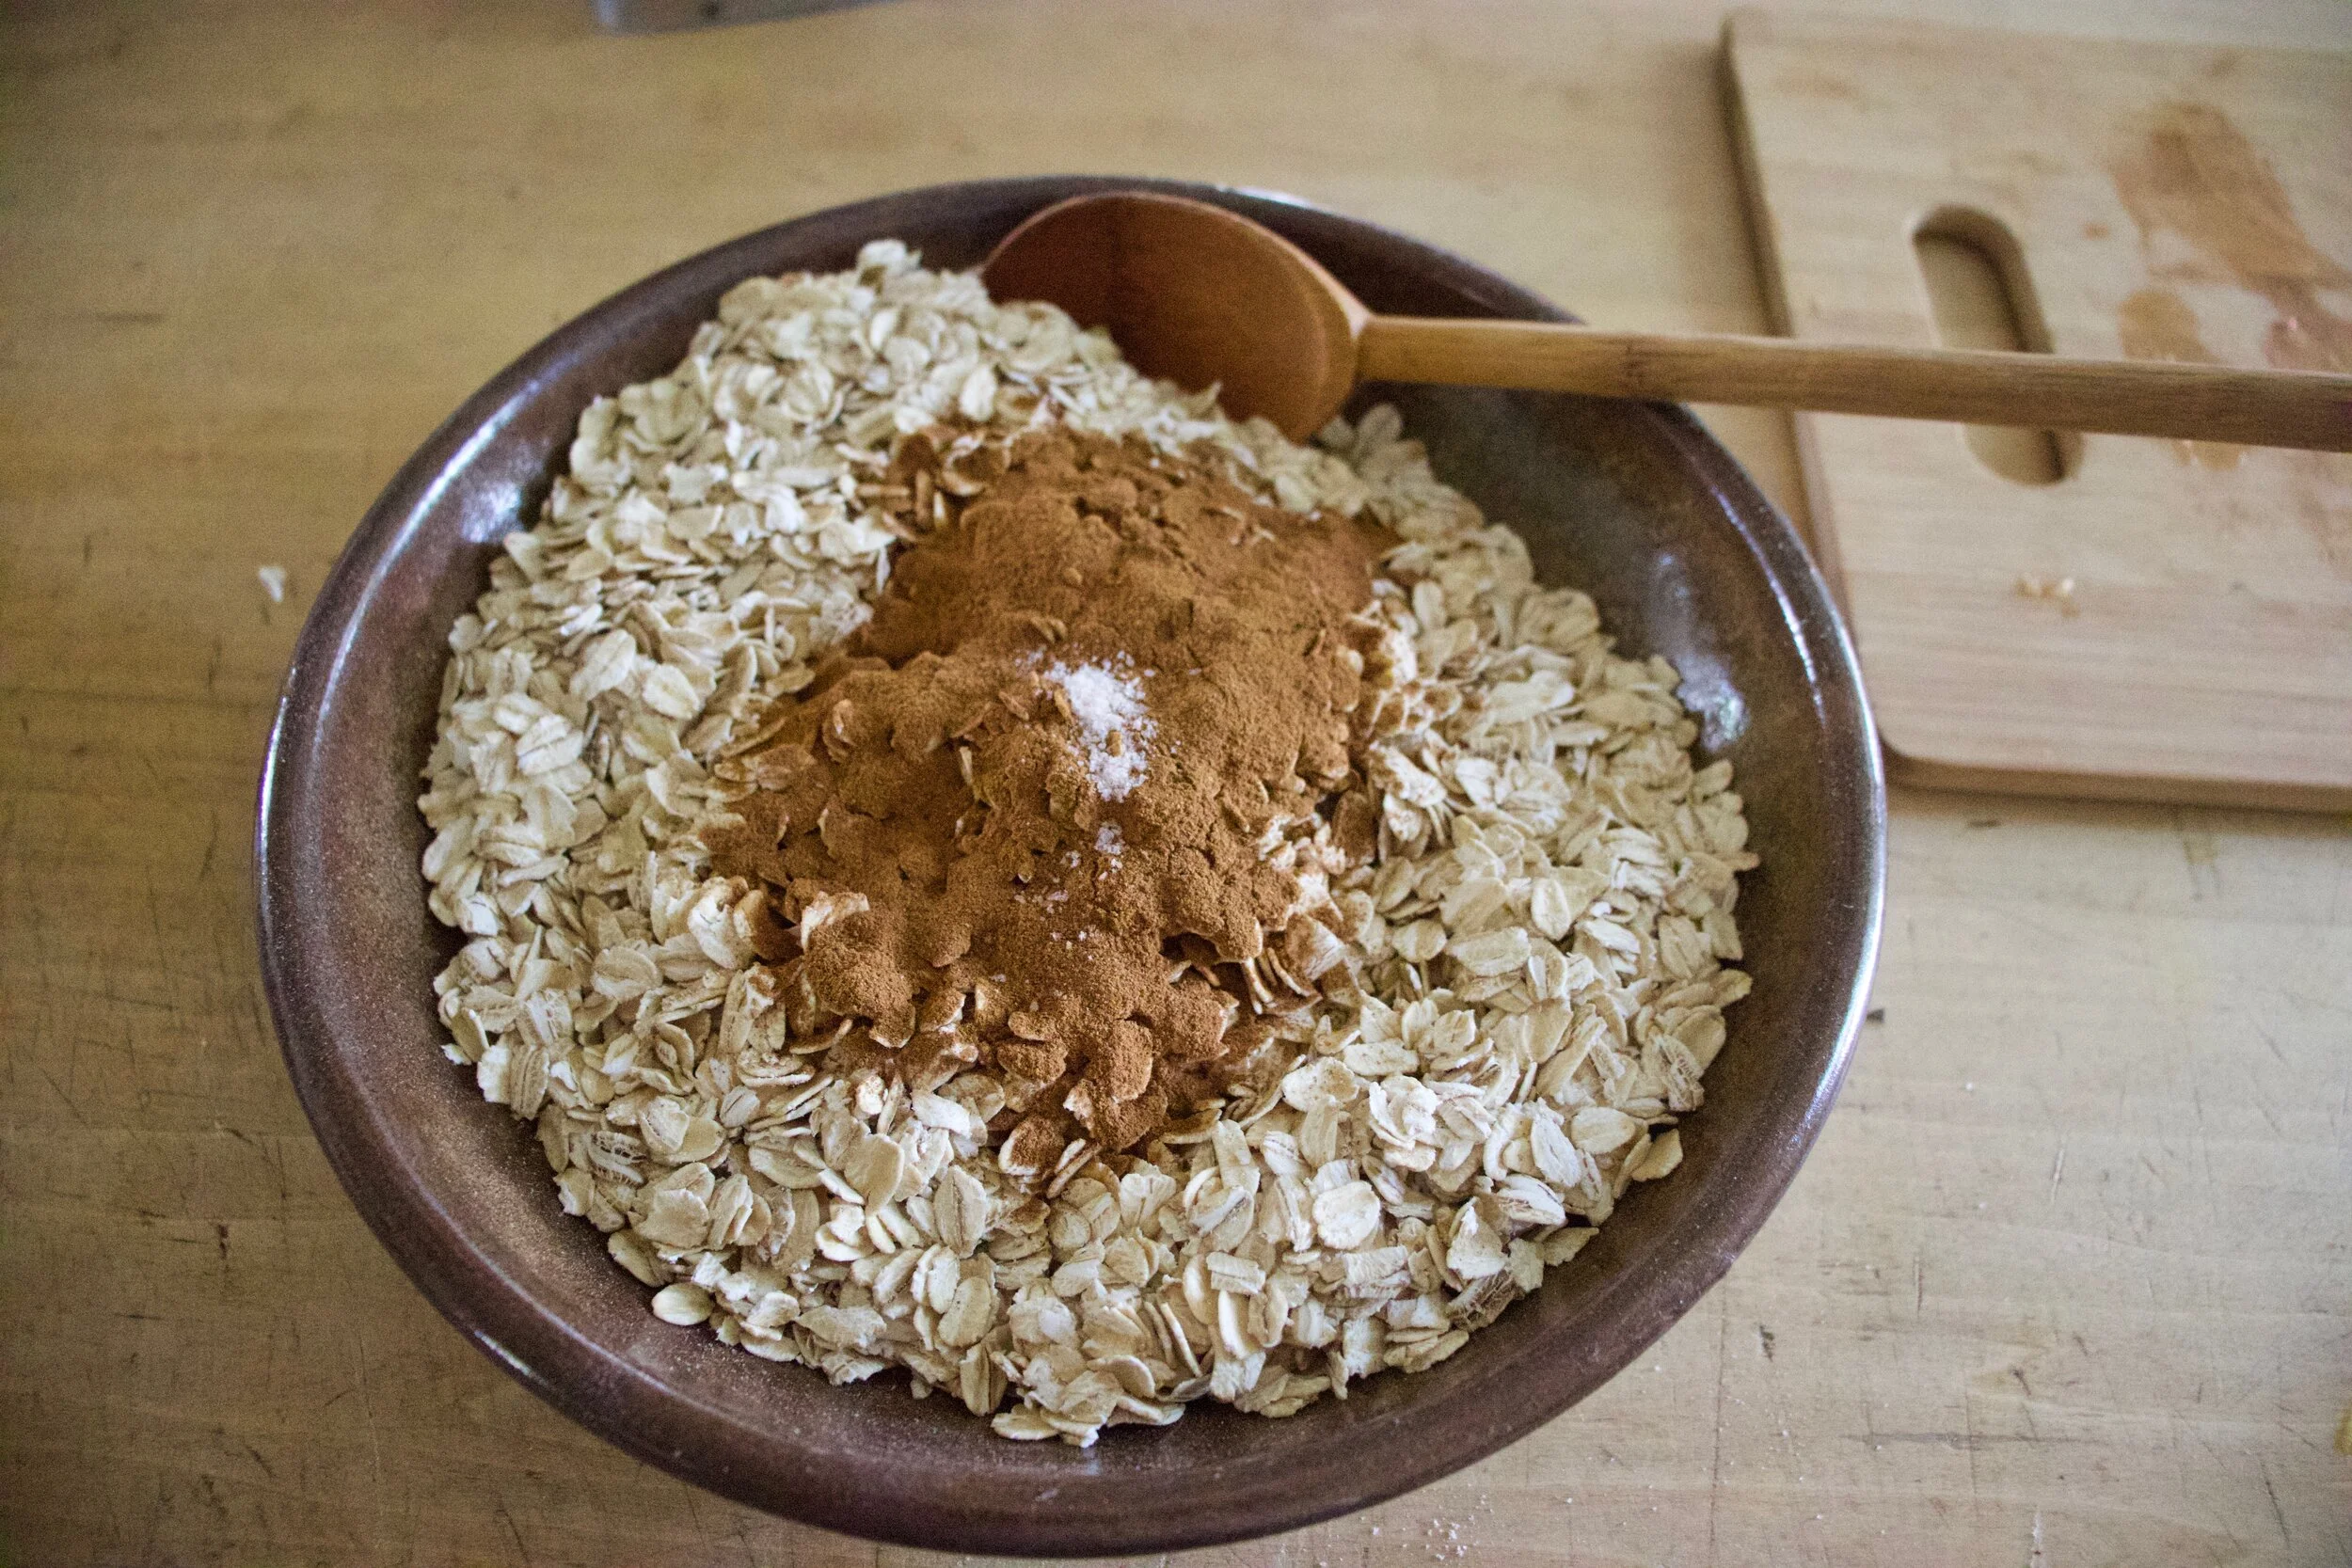
Mix the cinnamon and salt with the oats.
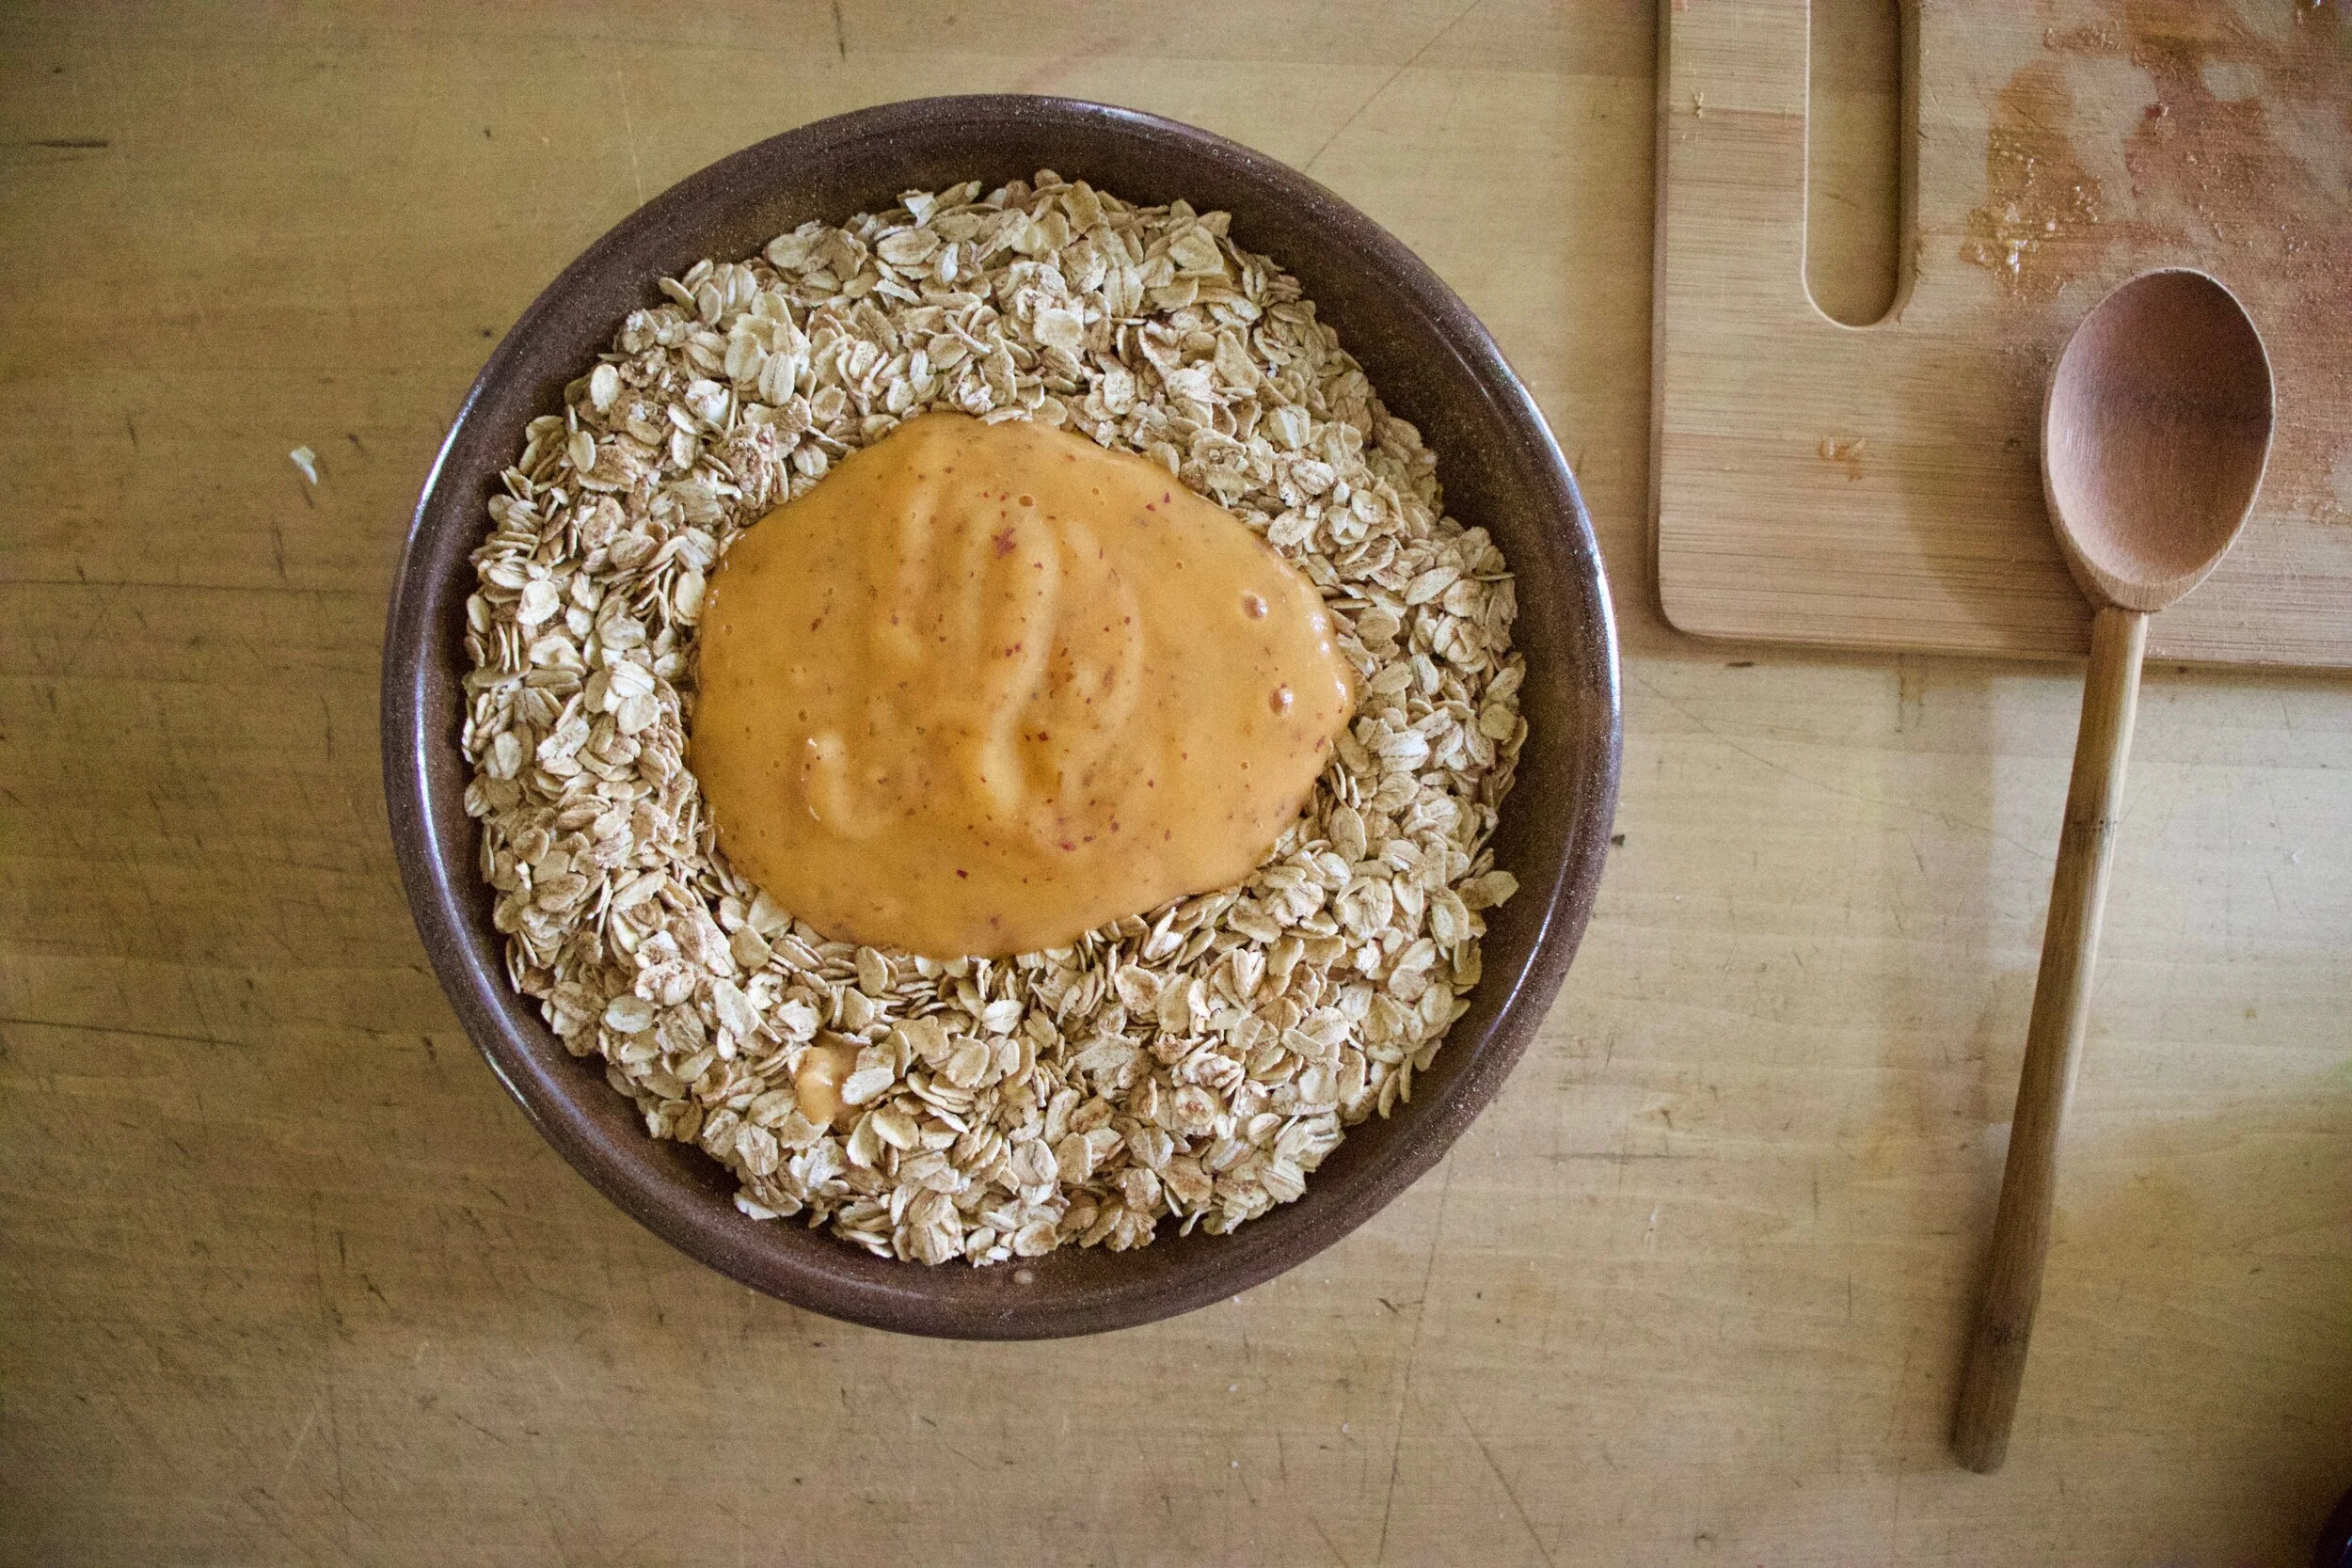
Pour the peach puree into the oats.
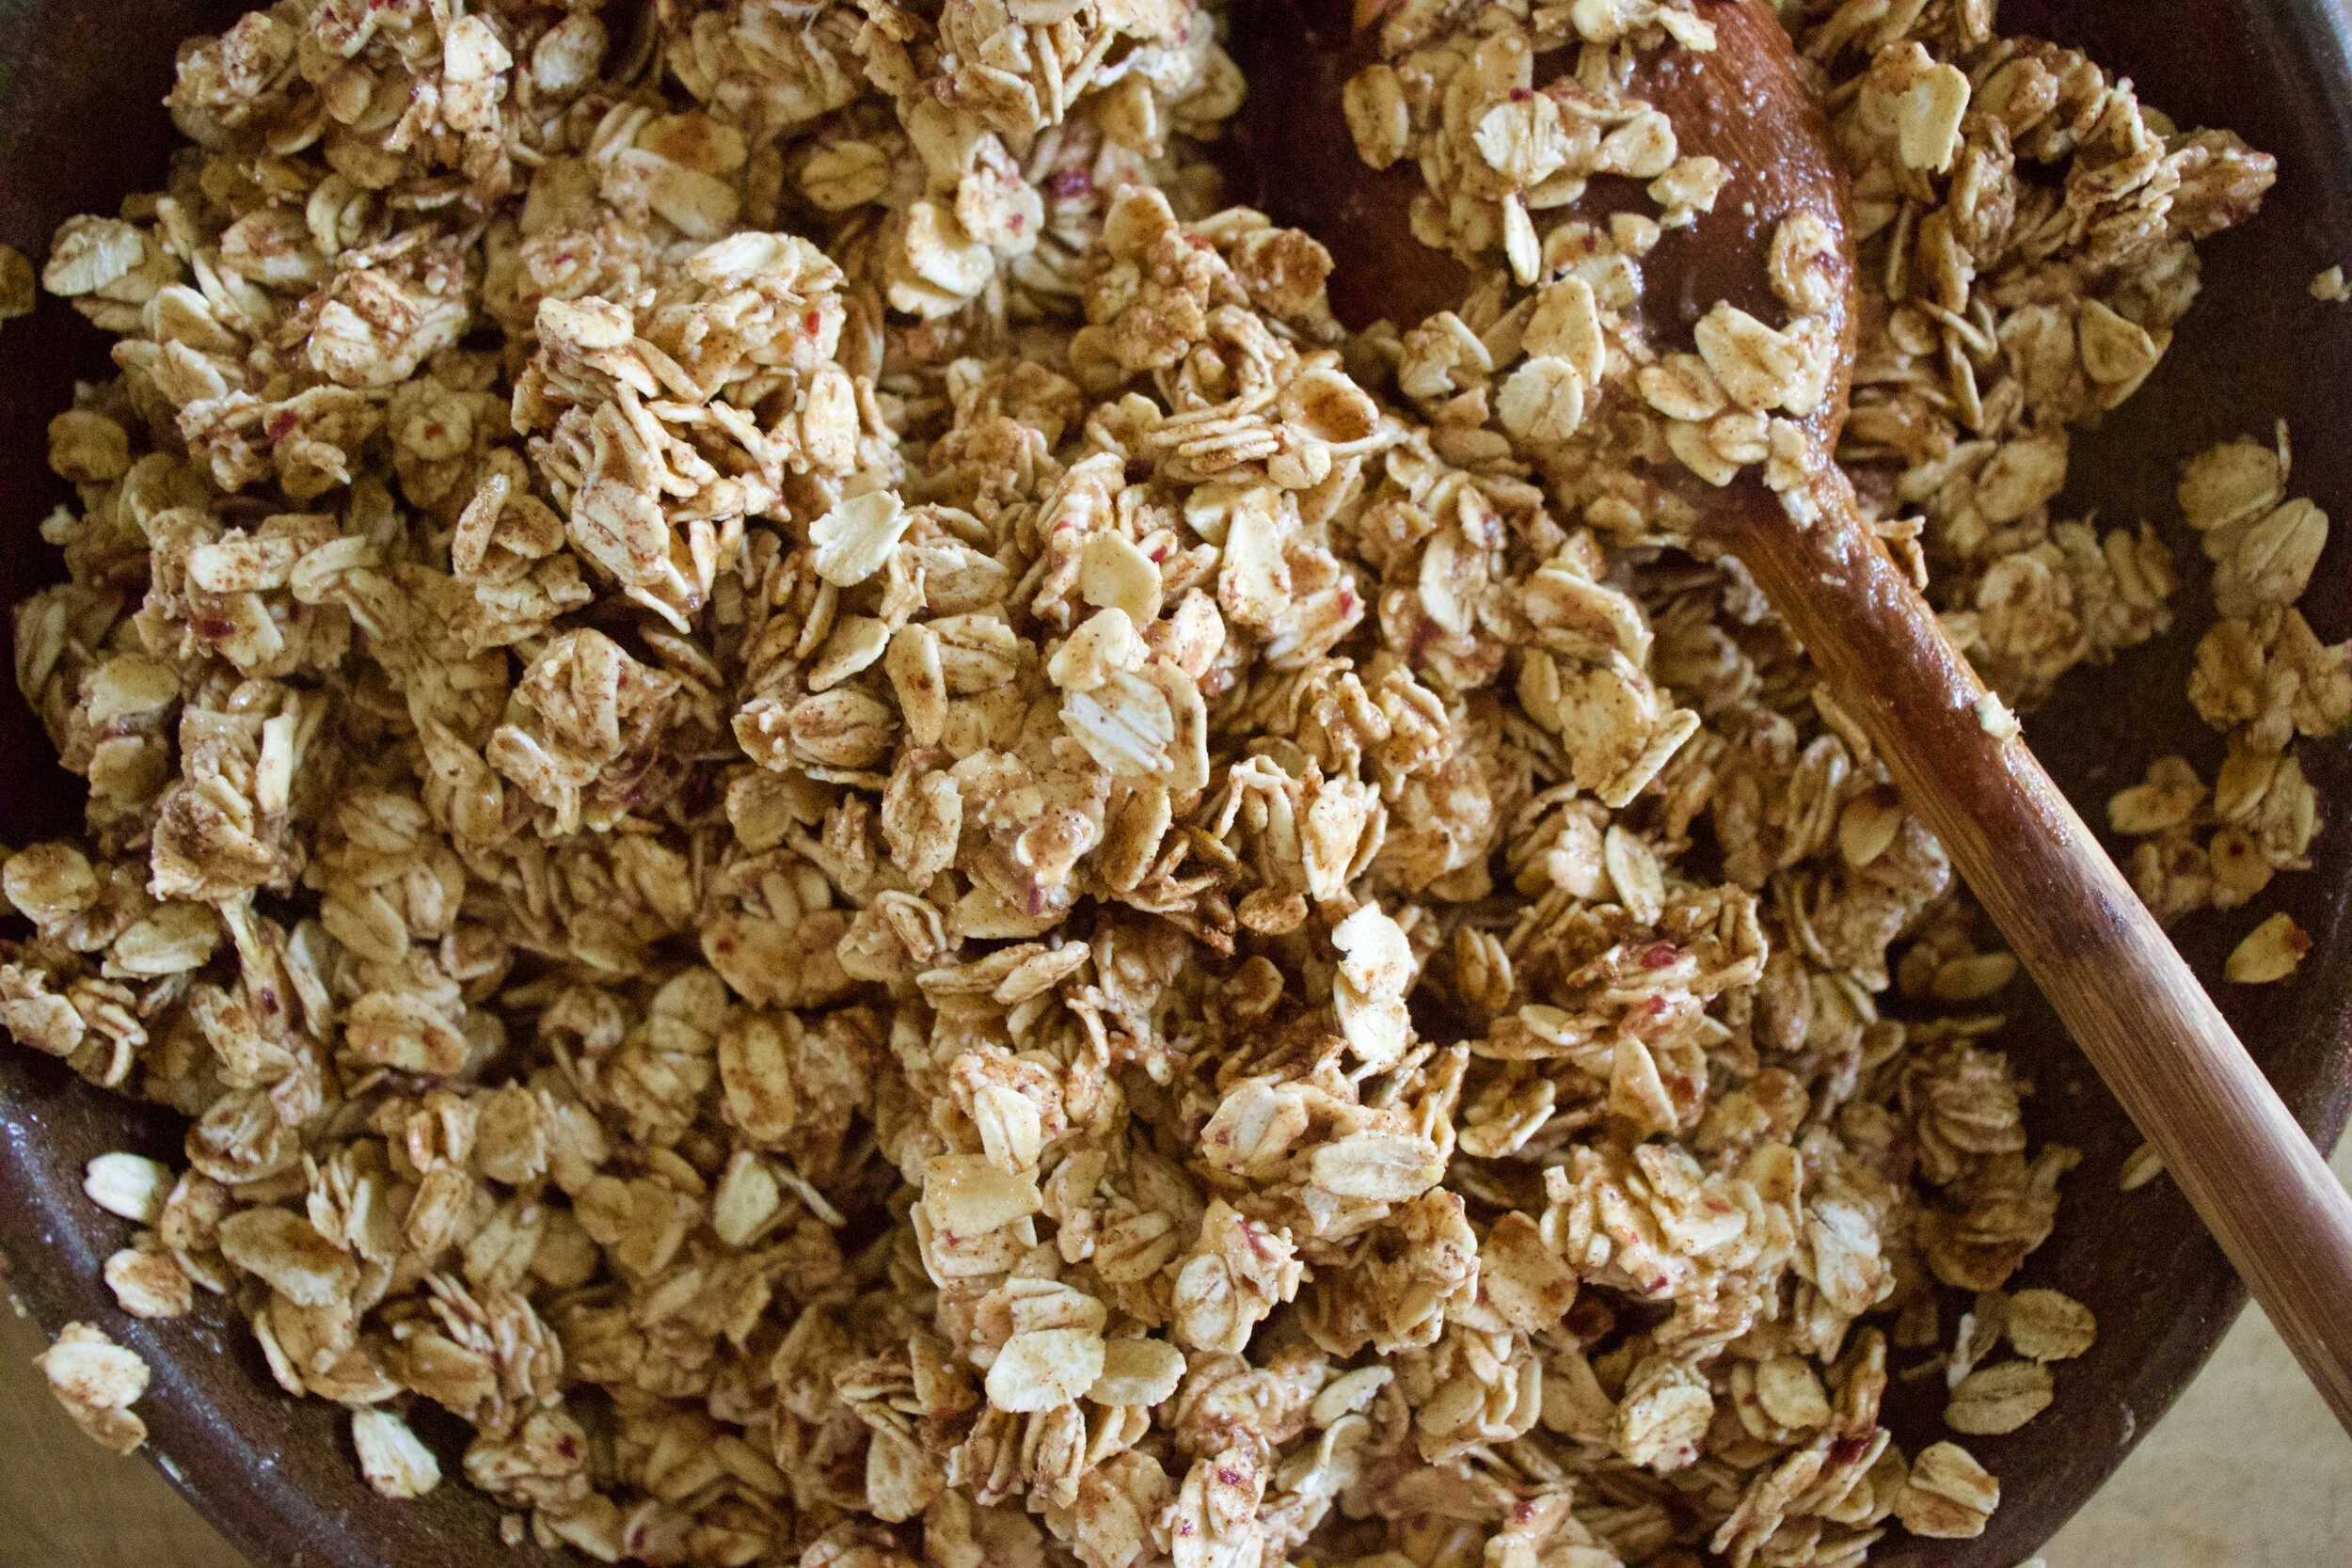
Mix until evenly incorporated and a little clumpy. If the oats are all moist but not creating any clumps, add a few tablespoons water until there is some clumping going on.
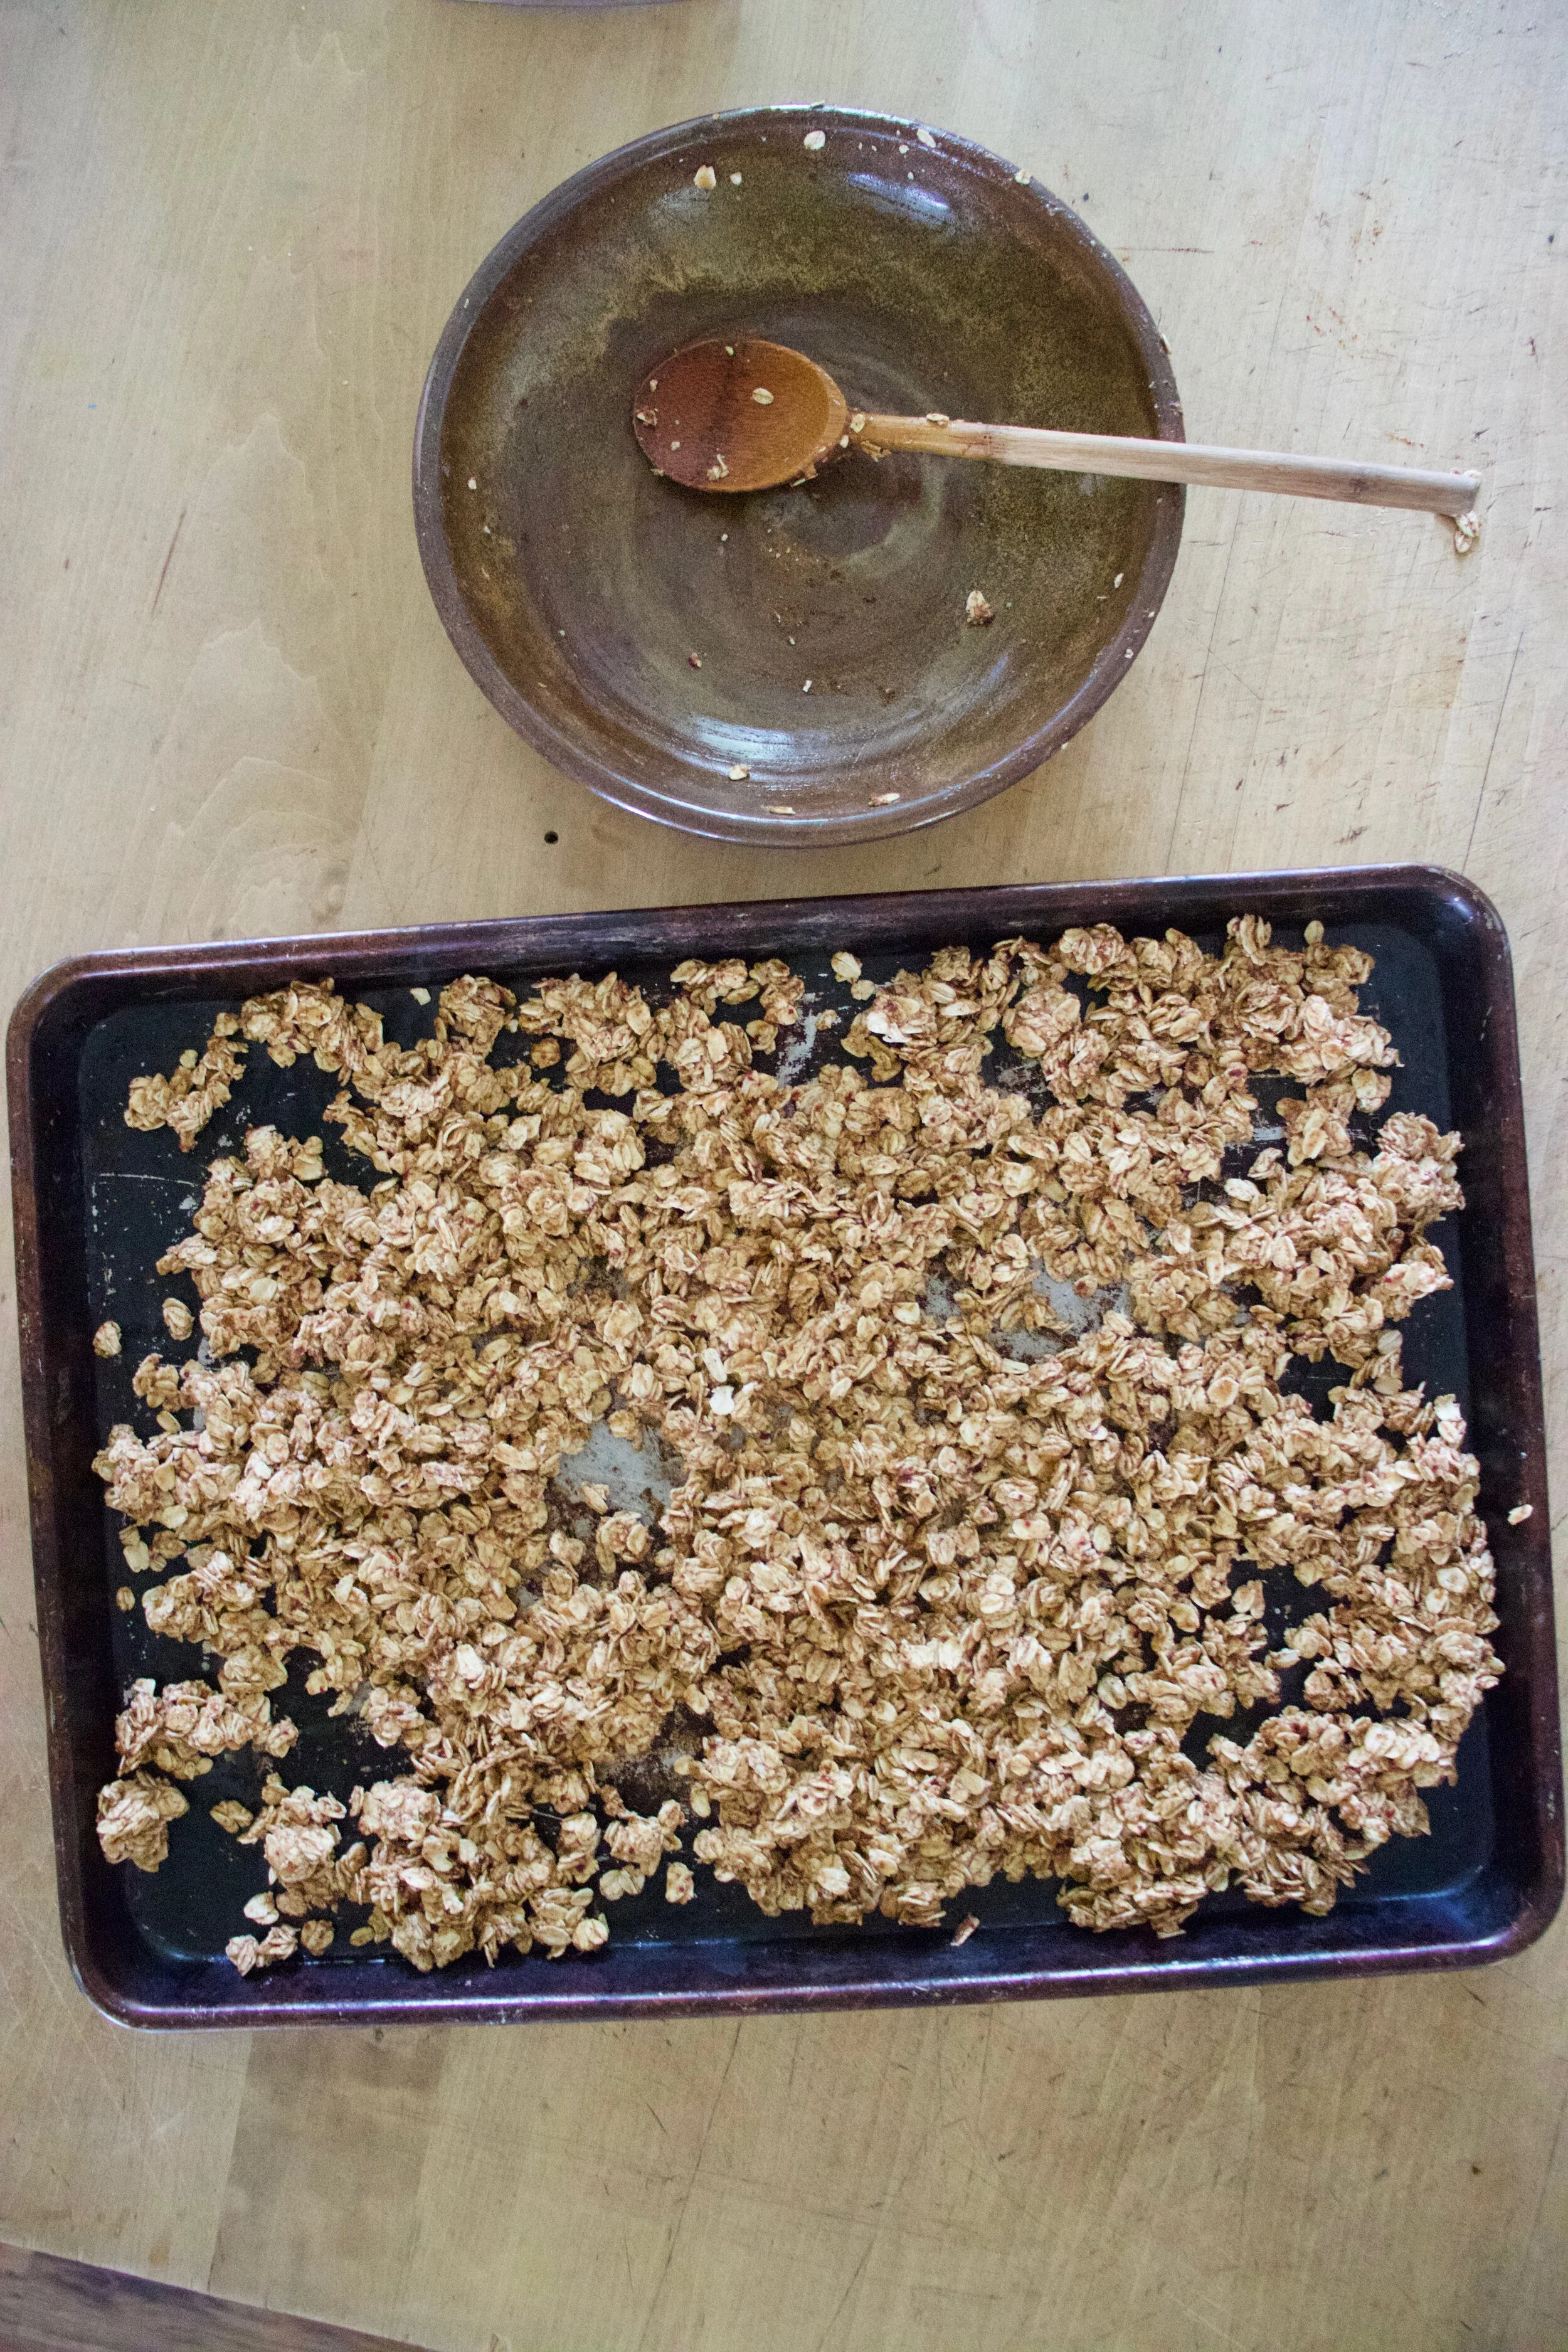
Dump mixture onto a baking sheet, You can line it, but I don%u2019t bother.
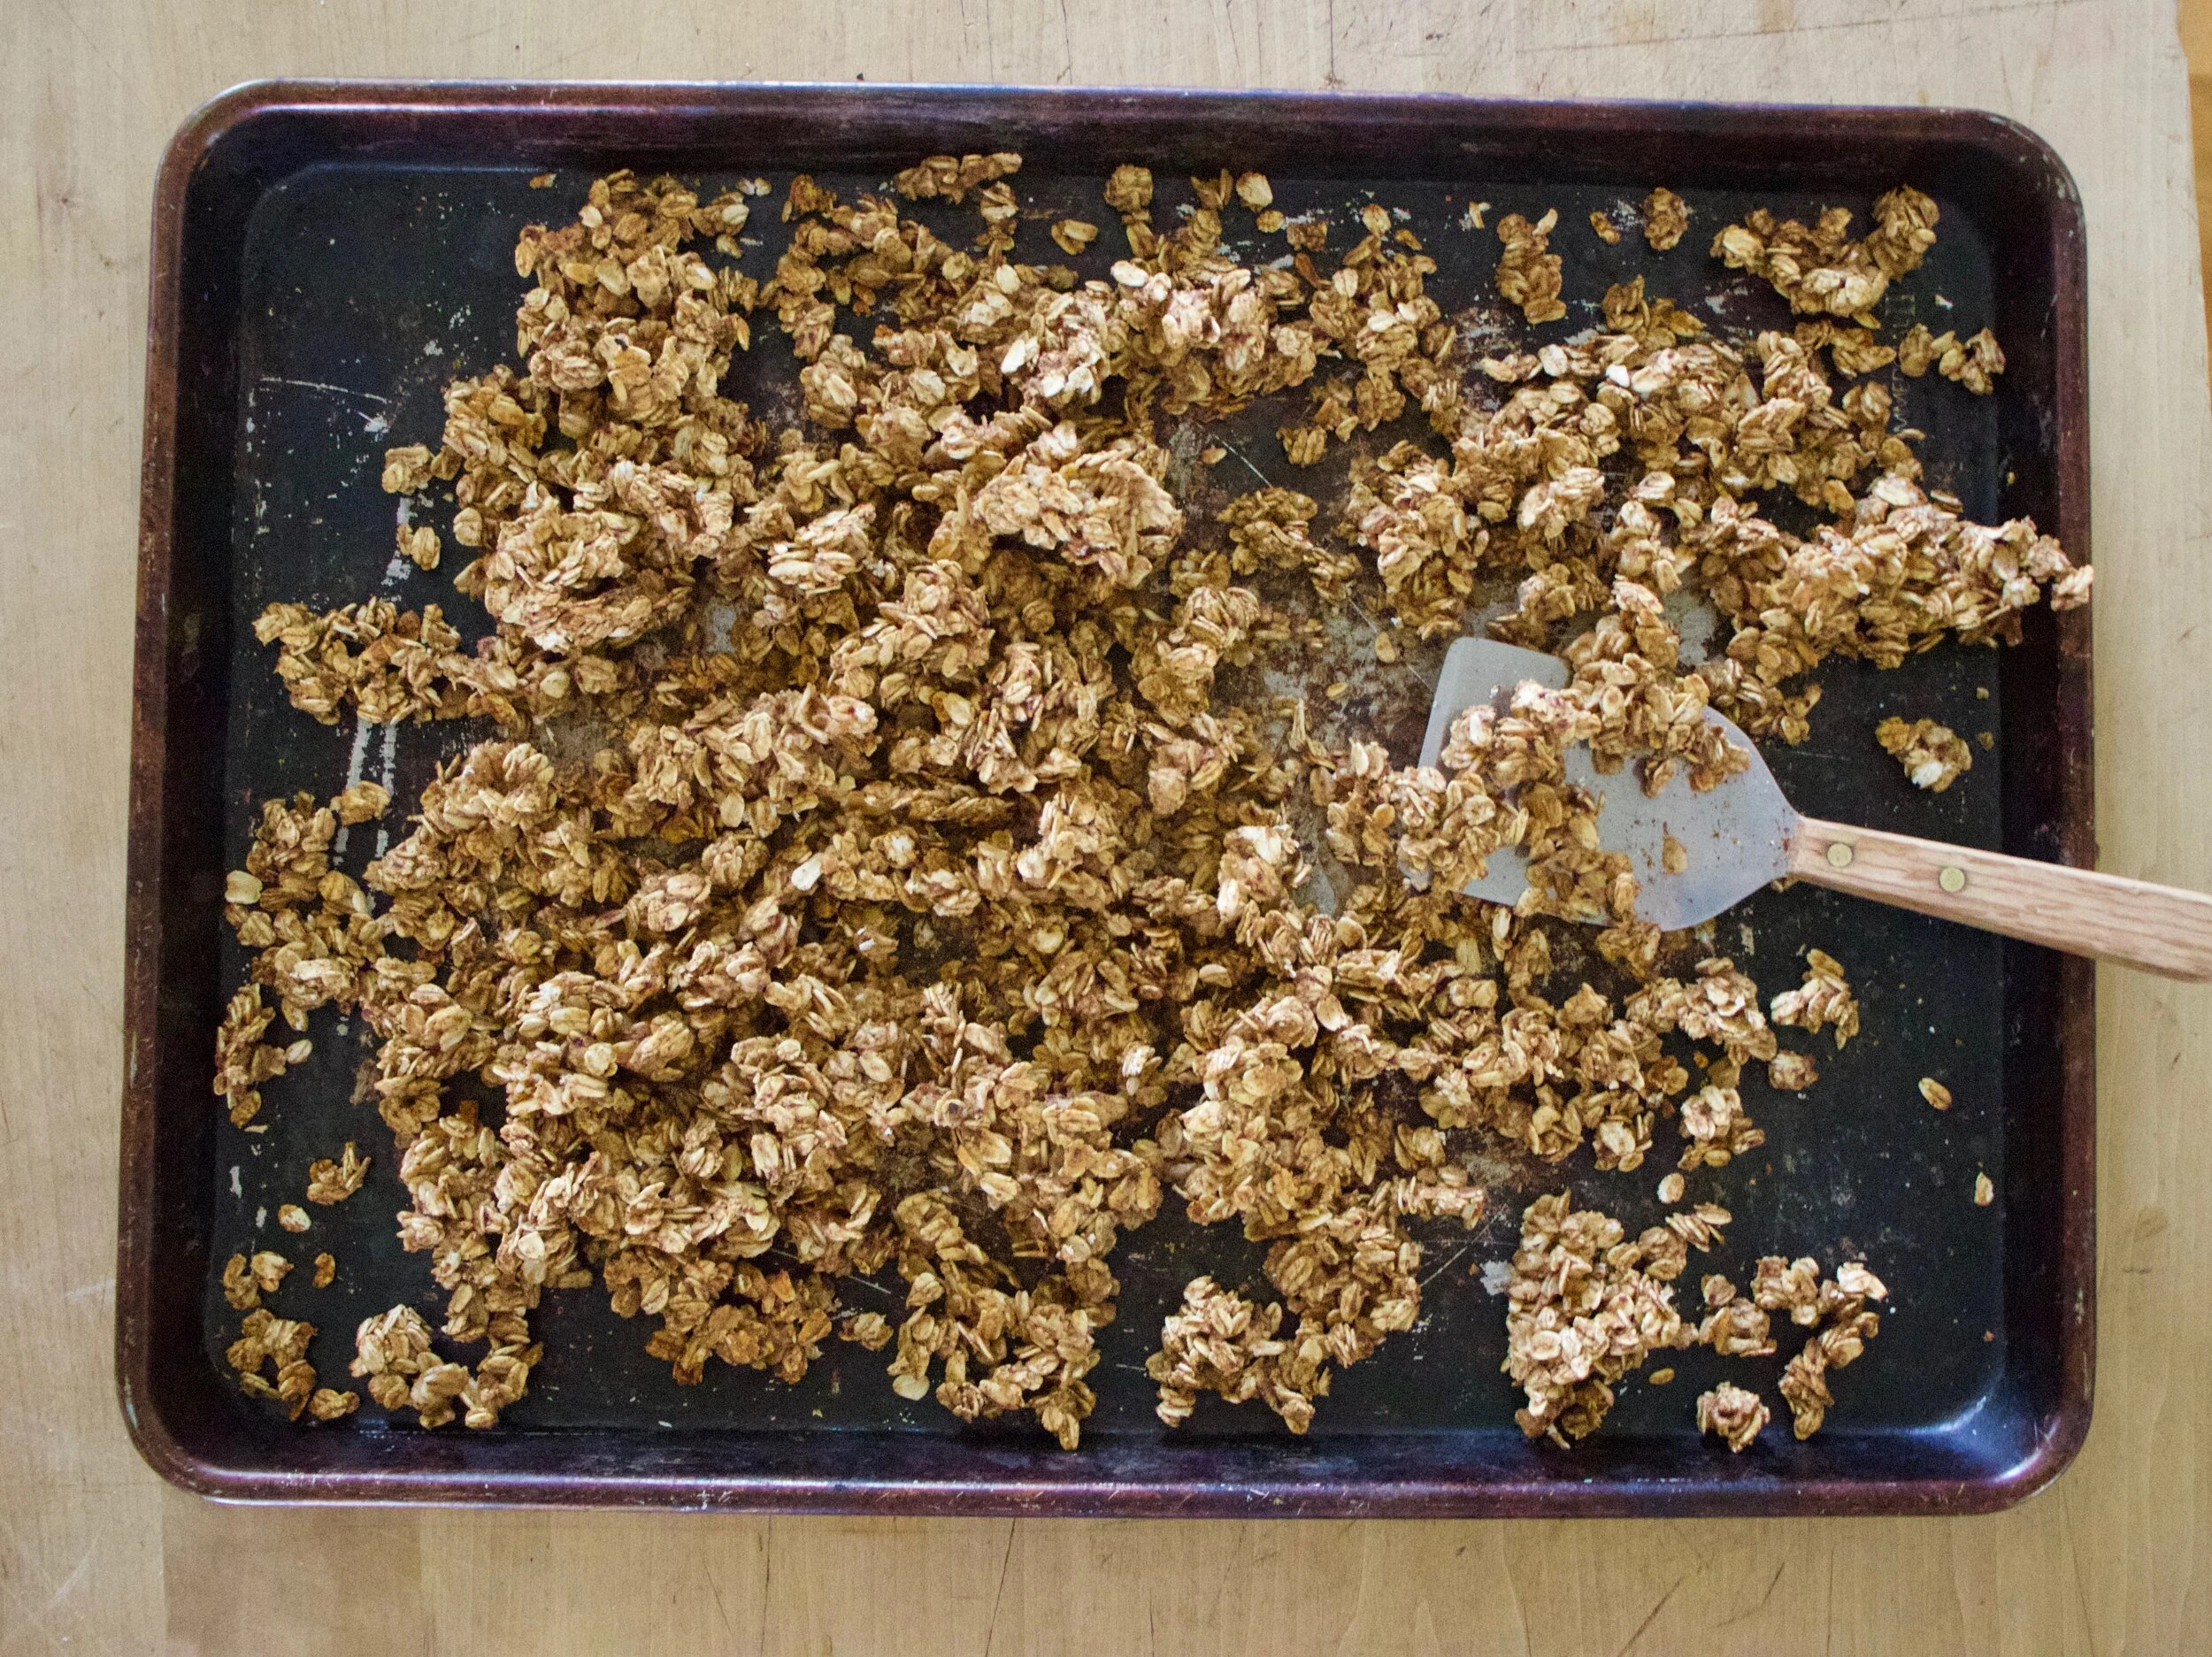
Pop into preheated oven to bake for about 25 minutes then remove from oven and toss around. Stick it back into oven for 25 more minutes or so. After 45-50 minutes of being in the oven, turn oven off and just let granola cool in oven. It%u2019s key to crispy granola.
Cooled off and all crispy and clumpy. Granola at it%u2019s finest.
Into a jar to save some for later to eat however you want.
Me, I like handfuls straight into my mouth, chased by a little oat milk. Hehe!
-C
makes 2 1/2 cups
2 peaches
2 1/2 cups old fashion oats
a few tablespoons of water (if needed)
1-2 tablespoons cinnamon
pinch of salt
Preheat oven to 375
Cut peaches in half, remove pits, and cut into a few chunks. Place chunks into a blender and blend until smooth.
Place oats into a big bowl and mix in the salt and cinnamon then dump in the peach puree. Mix until completely incorporated and a little clumpy. IF there are no clumps, add a few tablespoons water and mix. Dump mixture onto a baking sheet and evenly distribute. Place baking granola into oven to bake.
Bake for 25 minutes, remove the granola and toss around with a spatula, then place back into oven and bake for another 25-30 minutes. After being in the oven for a total of 45-50ish minutes, turn oven off but keep granola in oven to cool. This is key to a good crispy granola.
After cooling off in oven, remove and eat. Place what is not eaten in an airtight container. Eat within a week or so.
When your neighbor tells you to pick as many raspberries as you can, well you go pick as many raspberries as you can. Just a few houses down the street, she has a yard full of the heaviest fruited raspberry bushes that have seen. So I grabbed my biggest mixing bowl and went at it. So many raspberries, they were basically falling off into the bowl (and into my mouth). Fresh raspberries, there is not much better.
And she wants me to come back for anther round. We have good neighbors.
I had quite the raspberry loot. The mr and I ate some (maybe too many), froze some, and then I made danishes for no other reason then I wanted to. And that was a just decision because everyone loves a good danish.
And these were good, or sooo good, according to the mr. He ate half while the other half were demolished when I brought them to my moms for dessert which was the plan so it worked out. People and their danishes. It%u2019s a thing you know.(No, not really)
Now to the danishes!
The stuff. Fresh raspberries (You can use frozen or if you really want, raspberry jam) flour, sugar, salt, plant milk, oil, yeast, a lemon, powdered sugar, vanilla. and that is it.
Start with mixing the yeast with the oil, milk, and sugar in a large bowl. Add in the flour and slat ads mix mix mix until you can%u2019t mix no more.
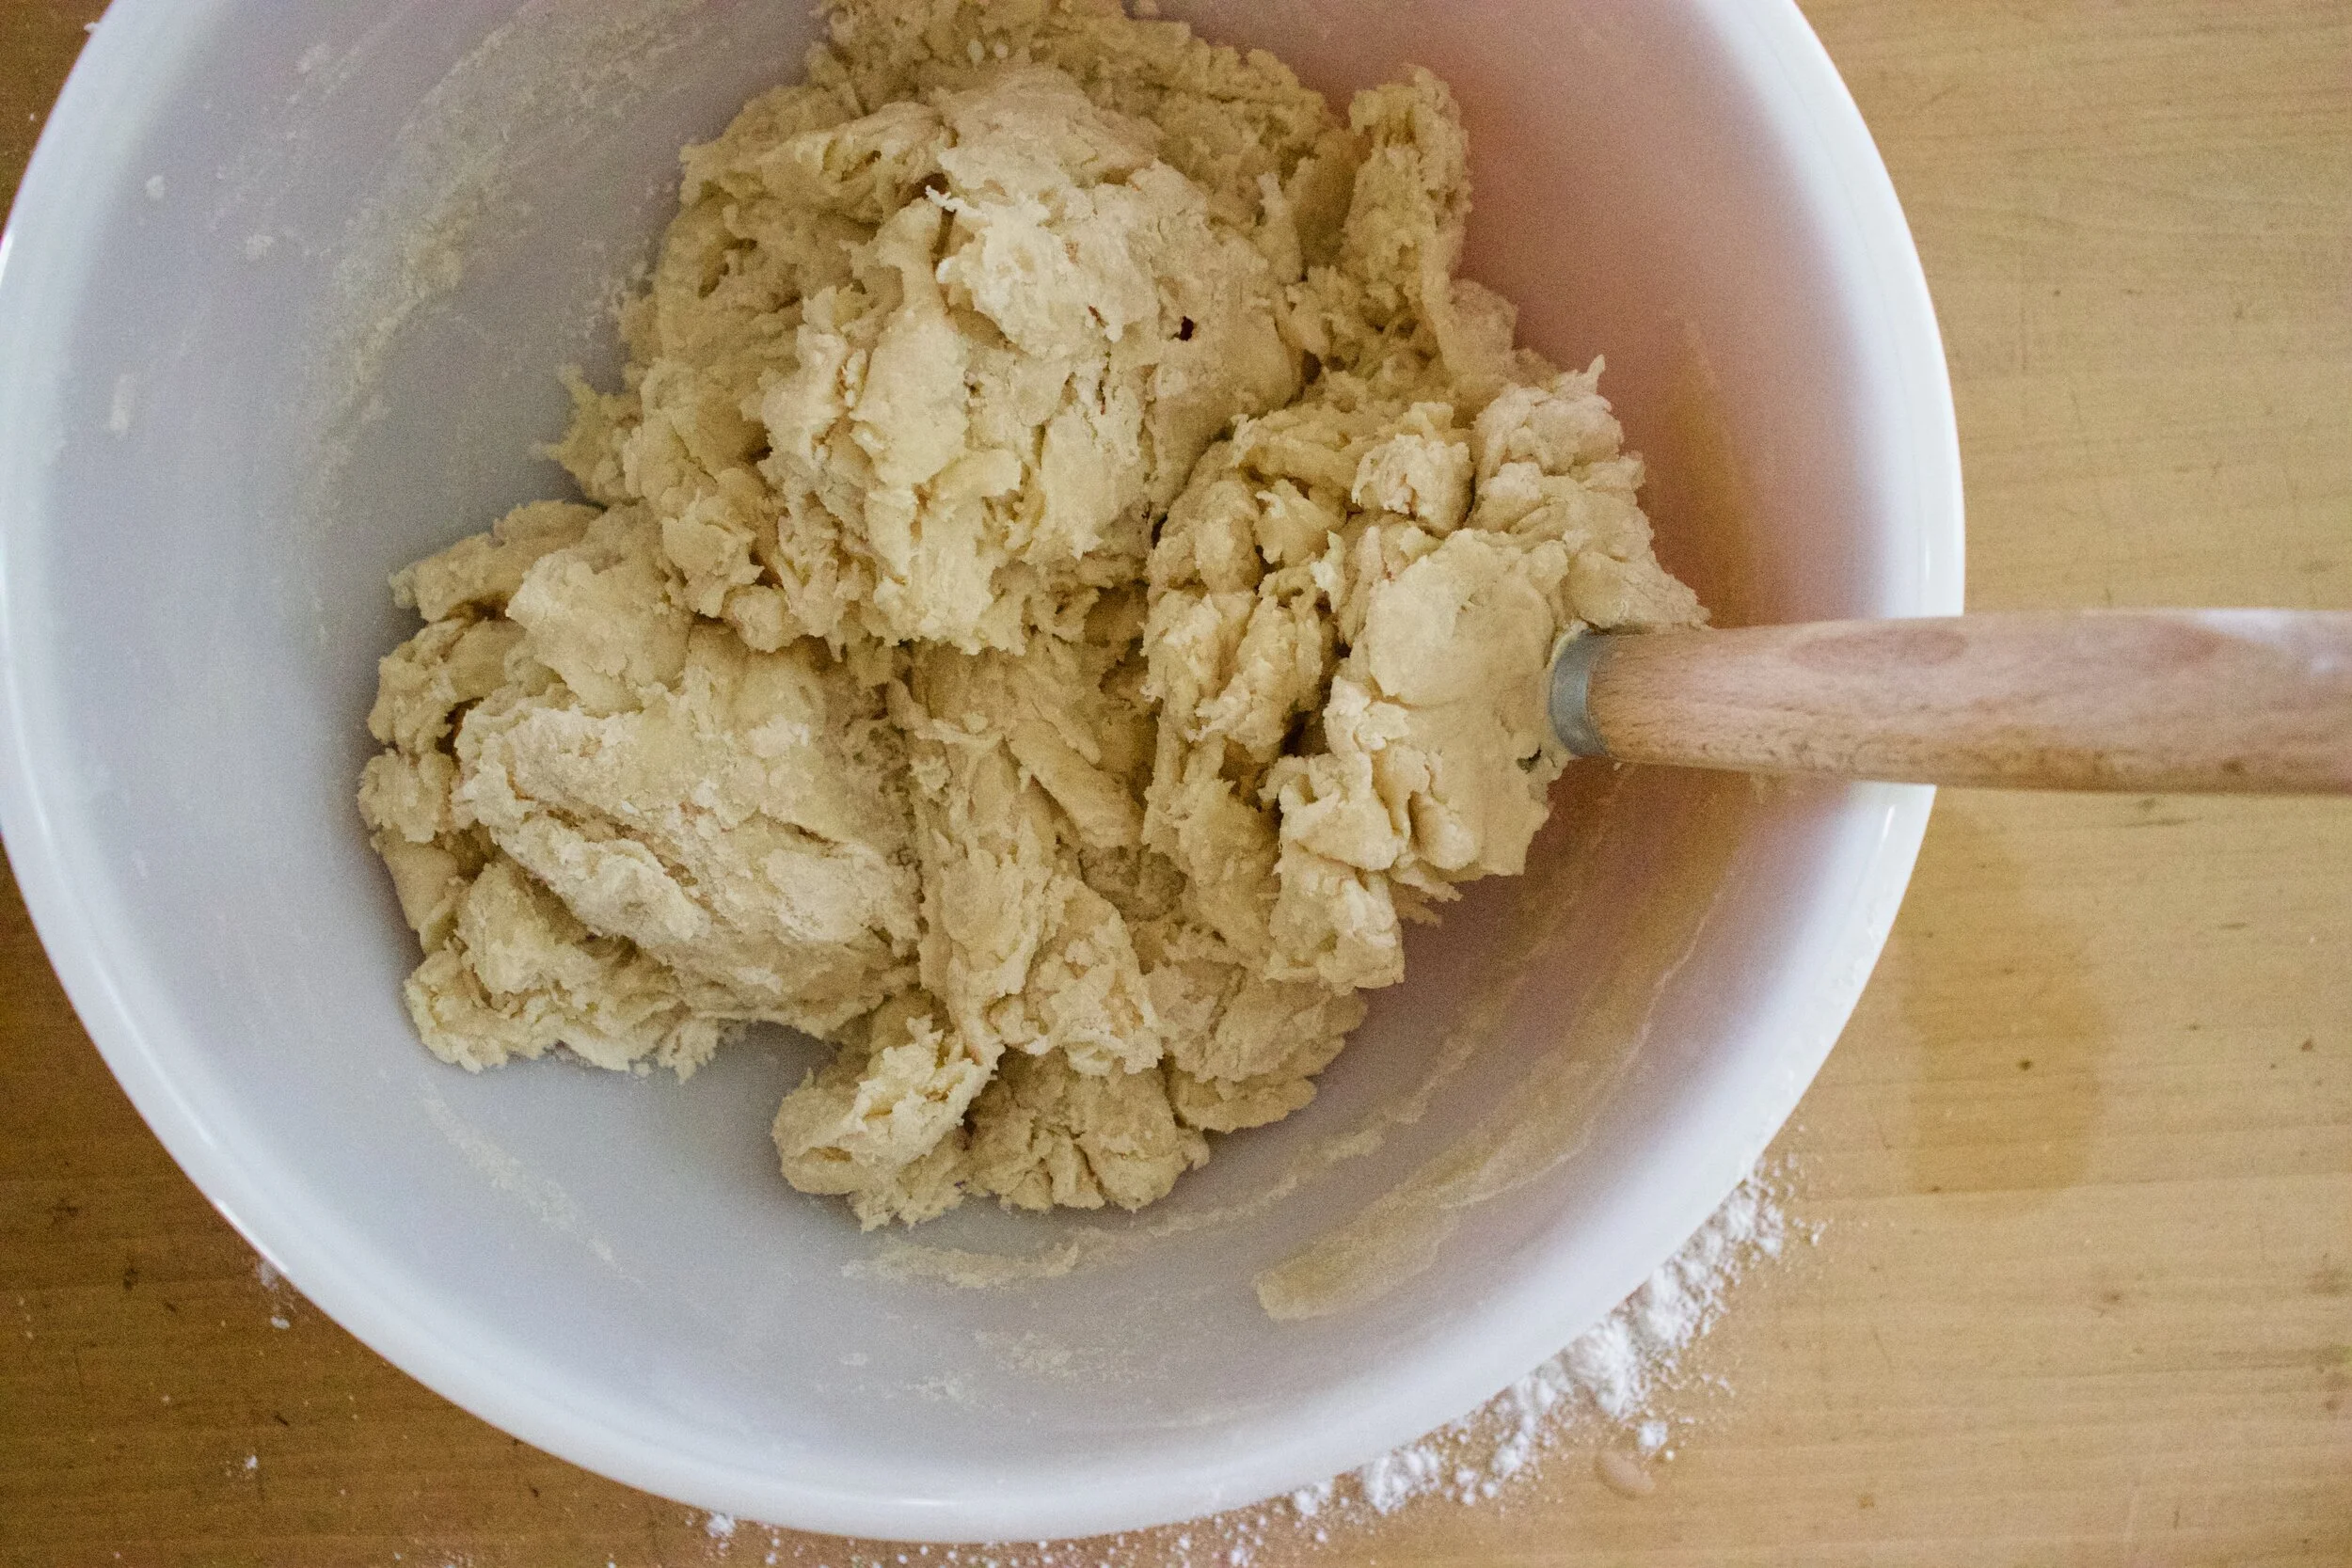
Dump onto a floured surface aaaaaanf. Knead. 5-8 minutes until the dough is all soft and smooth and uniformly dough.
Place the dough into cleaned bowl and cover. Set somewhere warm to rise.
In the mean time, make raspberry jam. Place raspberries and sugar into a pot and cook down until mixture is thick and jam like. Once the mixture sticks to a spoon like warm jam, turn heat off and let cool.
Dump dough out and cut into 12 equal pieces. Roll each piece into ball then roll out into a dish about a 1/2 inch thick.
Place dough disks onto splat or parchment lined baking sheet then indent each dough disk with a spoon or your fingers. Dollop a good plop of raspberry jammy into said intents. Once they are all jammed, pop them into the oven to bake. 15-18 minute should do it.
Look at those. Get them out of the oven and on to a wire rack for cooling time.
Make glaze. Sugar, lemon zest, vanilla, and lemon juice Mix until combined and yeah, that it glaze.
Drizzle the glaze all over those lovelies.
And then you eat becucae that is why you made them.
Share with your people. Or just eat them all to yourself, you made them and they are yours.
-C
makes 12
4 cups of all purpose flour
1 teaspoon salt
2 teaspoons yeast
1 cup room temperature plant based milk
1/2 cup neutral oil
1/3 cup white sugar
For raspberry jam
1/4 cup white sugar
2 cups fresh raspberry
For glaze
1 lemon
1 1/2 cups powdered sugar
splash of vanilla
In a large bowl combine the yeast, sugar, oil and milk. Really mix well and let sit for a minute to just get yeast activated. Dump in flour and salt and mix with a wooden spoon or whisk until it becomes to hard to stir. Dump mixture onto a lightly floured surface and knead dough for about 5-8 minutes or until the dough is soft and smooth. Place dough in a clean bowl and cover and let rise for about an hour or so or until the dough doubles in size.
While dough is rising, make raspberry jam. Mix raspberries and sugar together into a pot and place on medium heat on stove. Let cook for a couple minutes and once the raspebrries start to break down, stir. Let mixture cook down for about 10 minutes, stirring often, until the mixture becomes thick and sticks to a spoon like warm jam should. Take off heat and let cool.
Preheat oven to 350
Once dough has doubled in size, dump onto it onto a floured surface and with a knife or dough scraper, cut into 12 equal sized pieces. Roll each piece into a ball then flatten out into a disk about 1/2 inch thick. Place dough disks on a parchment or splat mat lined baking sheets (you will need 2). With a spoon, lightly push a intent into the center of each disk then place a good plop or the cooled raspberry jam into the intent. Once all the dough has its berries, place the baking sheets into the oven to bake, for about 15-18 minutes, or until the danishes are a nice golden brown.
When they are done baking, remove from oven and place on wire rack to cool.
While cooling, make the glaze. Zest lemon and place in a bowl with the powdered sugar and vanilla. Add in half the juice of the lemon and stir until completely combined. If the mixture is too thick, add more juice, to thin, add a little more powdered sugar.
And once the danishes are cooled, drizzle on the glaze. And then thats it. You can eat them now.
Any left over why are there left overs?) should be stored in a airtight container for a few days at room temp or in the fridge . They also freeze well.
Zucchini. One of the best summertime veggies. If you have been around here (as in my blog) for long enough, you all know how I am a zucchini feen. Once they start growing, I take them all. From my garden, from your garden, even my sisters mother in laws extra, plus the million I get with my farm share. At any given time I could have upwards of fifty zucchini spilling out all over the counter and shoved into any crevice I can find in the fridge. But the excess never lasts long because I eat them all. Mostly to myself, and I feel great about it. (Ok, I do end up freezing some of it for winter, but I am still eating it all!)
And every year when the first zucchinis start to hit the ground, all the people are up in my squash asking for zucchini bread, like they can%u2019t possibly make it themselves or anything. But I don%u2019t mind what so ever because sharing is caring and I guess I care. Plus I like to bake so it works, you know?
When I was recently asked to bake a loaf of zucchini bread, I made the decision to go the muffin route instead because aren%u2019t muffins just individual little breads that take half the time to cook them a loaf? Yup, and that is very nice when you want to minimize any hot oven time because summer is hot enough as it is.
And because they are muffins, they acceptable for breakfast, even with all the chocolate chips.
Win!
Now to the muffins!
The stuff. A good sized zucchini, flour, baking soda and powder, salt, brown sugar, oil, cinnamon, raw sugar, apple cider vinegar, and some chocolate chips.
In a large bowl, whisk together the flour, baking soda and powder, salt, cinnamon, and brown sugar until completely incorporated and there are no lumps of sugar.
Shred the zucchini. I used a smaller shredder so the pieced are very thin but a normal sized box grater shred works just as well
Add zucchini, oil, and vinegar to bowl and fold in until completely combined.
Then fold in chocolate chips. Duh.
Scoop batter into a greased muffin pan and sprinkle the tops with raw sugar. Pop into the hot oven to bake.
Pop out of tins to cool on a rack.
And eat. All to yourself or share, that is on you.
-C
makes 12 muffins
2 1/2 cups all purpose flour
1 1/2 teaspoon baking powder
1 teaspoon baking soda
1/2 teaspoon salt
1 tablespoon cinnamon
3/4 cup packed brown sugar
1/2 cup neutral flavored oil
2 tablespoons apple cider vinegar
1 medium zucchini (2 cups packed shredded zucchini)
2/3 cup chocolate chips
1/4 cup raw sugar (to sprinkle the tops) optional
Preheat oven to 350.
Grab a large bowl and add in the flour, baking powder and soda, cinnamon, and salt. Whisk together then add in the brown sugar and whisk in, making sure there are no big clumps.
Shred zucchini uniti you have 2 hefty cups. If you have a fine shredder, use that, if not, a normal sized shred will do.
Place shredded zucchini into the bowl along with the oil and the vinegar. Start folding with a spatula until everything is incorporated. Resist the urge to aggressively mix, it takes a minute for the liquid from the zucchini to absorb into the flour. (Over mixing it will make the muffins tough) Once the batter is uniform, fold in chocolate chips.
Scoop batter into a well greased or lined muffin tin. Sprinkle the tops with raw sugar and pop the pan into the preheated oven. Bake for about 30 minutes or until fluffily and domed and a tester stuck in one comes out clean.
When baked, remove from oven and pop out if tin. Let cool on a wire rack but feel free to eat one warm.
Store uneaten muffins in airtight container at room temp for a 2-3 days but if it is really hot out, just stick them in the fridge. Also can be frozen.
I love me some onions, I mean I eat one everyday so I asked myself why the heck haven%u2019t I made onion rings before? Probably because when I usually think onion rings, I think greasy and fried and that is not really my jam. But early in the week the lightbulb went off in my brain. I have been making a lot of stuff with bean flours lately and thought that chickpea flour would make an excellent batter for onions. And low and behold, I was right. Very very right.
These onion rings are so f-ing amazing. Sure they might not be the most traditional of onion ring but they are for sure just as good. A spicy crispy crunchy outer layer with a soft and creamy onion inside. Baked, not fried, and just really delightful. Easy to throw together and yeah, you got onion rings. I have made them twice this week already. Probably going to make them again tonight because why the hell not? They are simply a vegetable covered in bean. I should be eating them every day and you probably should be eating them everyday too.
Now to the onion rings!
The stuff. Onions (I used valida but any sweet variety will work) chickpea flour, spices (garlic, ginger, cumin, chili powder, paprika, and a pick or red pepper flakes), warm water, oil, and salt and pepper.
Mix up the batter. All the spices get mix together with the chickpea flour. Add in the water and then mix unit completely combined and all batter like.
Dip the onions into the batter and place on a oiled baking sheet. Try not to overlap too much and use the insides of large rings to place the small ones!
Into the oven and out of the oven. Crispy, dark, and delicious!
Get those rings onto a plate while they are hot, grab some dipping sauce of choice (tahini for me) and eat.
Get into this.
-C
3/4 cup checkpea flour
1 teaspoon each cumin and chili powder
1/2 teaspoon each garlic, paprika and ground ginger
pinch of red pepper flakes
2 medium sized valida onions (or whatever onions you have)
3/4 cup warm water
1/2 teaspoon salt
cracked pepper
tablespoon or so of oil to oil baking sheet
Preheat oven to 425.
In a wide bottomed bowl mix together the chickpea flour. salt. and all the spices. Add in the warm water and mix until completely incorporated and smooth. You want the batter to coat the onions when dipped but not be overly thick. If you think it needs to thicken up a bit, add a tablespoon more chickpea flour. To thin it, just add a splash more water.
Grab onions and peel off papery skin then slice into 1/4-1/2 inch rounds. Take onion rings and dip them into the batter then place rings on a large oiled baking sheet. Try not to overlap to much and definitely place smaller rings inside bigger rings. Also use a second baking sheet if you need to.
Once rings are all battered, place in preheated oven and bake for 40 minutes, giving them a flip atfter about 25-30 minutes.
Once dark brown and crispy, remove from the oven. Place rings on a plate and eat. Dipping sauce recommendation is tahini but anything or nothing at all is also right.
It started a few nights ago when I was eating my after dinner dessert snack. A big bowl of fresh strawberries. But there was something missing. I wanted a little something else to add to my dessert so I opened the freezer to see if there was any frozen bananas. What caught my eye was the bag of peas. And it just seemed right so I poured some into a bowl, dumped hot water on them to thaw, and mixed them into the bowl with the strawberries. Now I got to tell you, it was one of the most satisfying delicious desserts I have had in a long time. Think about it. Peas are sweet and creamy and strawberries are sweet and tart. The combination might seem a little strange but haven%u2019t we learned by now that I am always right about flavors? HAHA. But really. It%u2019s one of my new favorite snacks.
Now how to share my newfound love of peas and strawberries? Well cake of course. I figured people are less hesitant to try new flavor combinations when in cake form because everyone wants cake. And I was right. Plus it is a real looker if I do say so myself. Bright green cake with bright red strawberry glaze. A spring time snack with the spring time feels. Everything about this cake is right on point with all the things. And it is super fast and easy to make to boot because it%u2019s all thrown together in a blender.
You really can%u2019t go wrong here friends. And if you happened to be needing a little something something to snack on with your mama this weekend, well I think you just found the perfect snack.
Now to the cake!
The stuff. Peas,strawberrie jam of perceives (I had just made it so it is still warm) Flour, sugar and powdered sugar, baking soda and powder, salt, oil, and vinegar.
Super easy here. Place peas into blender and blend until smooth. Add oil and sugar and blend until incorporated. Then add in all the dry. Before you blend, take a spoon or spatula and hand mix it a little. Add in a cup of water and vinegar then pulse until incorporated. Don%u2019t over blend it or else it will be tough.
Pour batter into a well greased pan and pop into a hot oven. Bake.
Afer about 25 minuts, check for doneness. When the fork or tester comes out clean, it is done!
Pop cake out and let cool on a wire rack.
And glaze. Warm up the jam in the microwave on on stove until loose then mix jam with powdered sugar.
When the cake has cooled, grab a fork and stab holes all over so when you pour glaze on it will kind of seep into said holes.
Pop cake back into pan (or don%u2019t if you dont want too) and pour glaze all over top.
A dusting of powdered sugar for looks and done and done. Cut into squares, pop a piece on a plate, and snack away.
-C
makes a 9×9 cake
2 cups all purpose flour
3/4 cup white sugar
1 1/3 cups sweet peas (fresh or frozen and thawed)
1 cup water
1/3 cup oil
1/2 teaspoon salt
1 teaspoon baking powder
1 teaspoon baking soda
1 tablespoon vinegar
1 cup powdered sugar
3 tablespoon strawberries jam or preserves
Preheat oven to 350
Place peas into blender ans blend until smooth. Add in oil and sugar and blend until incorporated. Next add in baking soda and powder and then flour on top. Grab a spoon or spatula and mix a little to give the batter a head start then add int he water and vinegar. Pulse in blender for a few seconds, scrap sides, then pulse again until it just become a cohesive batter. Don%u2019t oven blend it or that cake will be tough.
Pour batter into a well greased 9×9 baking tin and place into hot oven. Bake for about 25 minutes or until golden brown and a tester comes out clean. When it is done, pop out of oven and pop cake out of tin to cool on a wire rack.
Once cake is cooled, place back into baking pan. Mix together the powdered sugar and jam then either microwave it or heat on stove for 30ish seconds until warmed and pourable. Grab a fork and stab holes all over top of cake then pour glaze all over.
Sprinkle some more powdered sugar on top for looks, but other then that, it%u2019s now time to eat.
Cake that is not eaten is best keep at room temperature for 2-3 days. Can be frozen too.
Why is it when I bring up anything that has to do with savory peanut butter, people get all wild and weird about it? There has been some misinformation that has seeped into peoples brains that told them that peanut butter cannot be savory, that it must be paired with something sweet and sugary.
Well I am here to tell you that that is bull shit and while peanut butter does go amazingly with all things sweet and or fruity, it is almost more fantastic with savory notes and veggies. Seriously, I eat peanut butter all the freaking time, and most of that time it is has garlic, vinegar, and some hot sauce mixed into it. To dip carrots and cabbage into of course.
This sandwich is basically that. Peanut butter mixed with a few spices and loaded with veggies. Sure ok, some of you might be a little skeptical, that is how you were raised. Peanut butter and jelly. Peanut butter and fluff. Peanut butter and banana. I get it, because that was me when I was a kid too. But then I grew up and my taste for great things grew up too, which lead me to this sandwich.
So trust me. It will probably be one of the best peanut butter sandwich situations that you will ever stick in your mouth. Plus what do you got to lose? It is a one sandwich, basically no time invested, easy as can be, adventure. One that will change your view of peanut butter and maybe even your life in all the good ways. For reals.
Now to the peanut butter and veggie sandwich!
The stuff. Peanut butter, soy, apple cider vinegar, garlic powder, black pepper, ginger, and red pepper flakes. Also bread and lots of sliced up or shredded veggies. I used red onion, shredded cabbage and carrot, cucumber, sliced fresh green beans, and spinach.
First you pile your veggies together and dump a little vinegar on to them. Also add a little pepper and toss a bit. I did it right on the cutting board. No need to dirty another bowl if you don%u2019t have to.
Now for the peanut butter spread. Mix the soy, rest of vinegar, the garlic, ginger, and red pepper flakes all together with the peanut butter. Add a tiny splash of water to loosen it up if needed. Mix until completely incorporated. And then dip your finger and taste it. Add more soy or spices if you want.
And then you spread the peanut butter all over the bread.
Top with the veggies that have been sitting a good couple minutes in the vinegar.
Close up the sandwich, cut in half%u2026
Eat.
I know, I know. Life is pretty swell, especially with a peanut butter and veggie sandwich.
You%u2019re welcome.
-C
makes 1 sandwich
2 heaping tablespoons peanut butter
1/2 teaspoon each ground ginger and red chili flakes
1/2 teaspoon garlic powder
2 tablespoon apple cider or red wine vinegar
1 tablespoon soy
splash of water
Veggies. You can use any or all of the following . Red onion, shredded cabbage, shedded carrot, sliced cucumber, green beans, spinach.
2 slices of some good ass bread
Start by placing all the veggies you are adding to the sandwich into a little pile and drizzle about a tablespoon of vinegar. Add ground black pepper and toss around a little. You can do this in a bowl, but just on a cutting board works too.
Next mix the peanut butter, tablespoon of vinegar, ginger, garlic, red chili flakes, and soy together until completely incorporated. Add a splash of water if needed to loosen a bit if it gets to thick to stir. Then taste. If you think it needs more heat, add more chili flakes, or more saltness, add a splash more soy.
And now spread the peanut butter all over the two slices of bread. Each side get equal amounts. Grab the veggies and pile them on, close sides together, and cut in half.
Eat. And yes, feel free to make another.
Do you have a shit ton of rice? I know of at least a few people that might have gone overboard with their rice stock so I think it might be safe to assume that many more did too. And that%u2019s cool, just as long as you eat it. No one like a food waster.
But are you bored with plan rice? Well I got you. Rice is so easy to jazz up. Add a little this, add a little that, and you%u2019ve got yourself a rice dish among the greats. Even better, toast the rice a little before cooking it and you end up with a even better, flavorful rice. That is fact.
Carrot ginger is a classic flavor combination and can pair with just about any other flavors so you don%u2019t have to think too hard about what else to serve with it. And really, you could just eat a big bowl of the rice. There is no need for anything else. It has it all. Grain, veggies, and seeds or nuts%u2026 All you need is a fork (or spoon if you are like that) and an open mouth and you are golden.
Now to the rice pilaf!
The stuff. Long grain brown rice, a couple carrots, some fresh ginger, garlic, an onion, soy sauce, olive oil, water, and pepper.
Grab onion and dice it up really small. Shredded or julienne the carrots.
Add a couple of tablespoons of olive oil to a pot. Add in the onions and start on medium heat and let them cook for a few minutes. Then add in the carrots and keep cooking for a few more minutes until they become slightly tender.
Mince the garlic and the ginger.
Add that freshly minced garlic and ginger to the pot and give it a good stir. Add in the rice now as well and cook for another few minutes , stirring it once or twice until you can smell the toasty-ness of the rice. Then add in the water and soy.
Bring the pot to a boil then turn heat down to the lowest simmer. Pop a top on the pot and let cook, undisturbed, for about 30ish minutes, or until all the liquid has absorbed into the rice.
Once rice is cooked, grab a fork and fluff then pop the lid back on and let it rest for 5-ish minutes. Trust, this makes the rice so just do it.
And then the rice is done, all fluffy and flavorful. Add some green something for a little pretty and yum. Also added a handful of toasted sunflower seeds because why the heck not.
-C
makes 3-4 servings
3/4 cup long grain brown jasmine rice
1 1/2 cups water
1 small onion
2 carrots (about 2 cups shredded)
2 tablespoons minced fresh ginger
2 tablespoons soy sauce
2-3 cloves garlic
2 tablespoon olive oil
pepper
1/2 cup toasted sunflower or any other seeds or nuts you have on hand (optional)
Start by dicing up the onion and shredding or julienning the carrot into small pieces. Place into medium pot along with olive oil and set on medium heat. Cook for a few minutes until the slightly tender.
Mince garlic and fresh ginger and add it to the pot with carrots and onions. Add in dried rice too and keep cooking on medium heat until the rice smells toasty. Add in the soy and the water. Bring pot to a boil then reduce to lowest simmer you got. Place a lid on top and cook for 30ish minutes or until the rice has absorbed all the liquid.
Once the rice has the liquid, remove the pot from the heat and fluff it with a fork. Place lid back on pot and let the rice rest for 5ish more minutes.
Then eat. I think adding a handful of some crunchy seeds or nut and maybe something green only adds to the rice so go for it if you have it around.
I am all about the quick meal. Sure I love me some kitchen time, but sometimes I just want good food good and fast. Chickpeas lightly saut%u00e9ed, tossed with fresh green peas, thin pieces of raw onion, and tahini sauce. Sounds easy and so simple right? Well it is, simply freaking fantastic.
I am also thinking ahead to those summertime cookouts or when people are flowing through the house in need of food. This is a definite dish to bring to a cookout of potluck dinner situation. You know, when we can do those things safely again. Until then, I make it and eat it to my face. Now you should too.
To the chickpea and peas!
The stuff. Chickpeas, peas, an onion, some tahini, soy sauce, red wine vinegar, and a little oil. Also need a splash of chickpea waster or regular water. And pepper, if you want it.
Tahini, soy, vinegar, and a little bit of chickpea water. Stir until smooth and creamy.
Cut up onion, nice and thin like.
Now saut%u00e9 chickpeas. Drain and rinse the beans and lightly coat a pan with oil. Toss chickpeas into pan on medium high heat and cook until they start to brown.
Once the chickpeas have somef dark color, toss in the peas and the onion. Mix it all tougher and turn heat off.
Dump it all into the bowl with the tahini sauce and mix it all together.
Add pepper, grab a fork, eat.
-C
Serves 1-4 people
2 1/2 cups (or one can) cooked chickpeas
2 cups fresh or frozen (and thawed) green peas
1 small onion
1/4 cup tahini
2 tablespoon red wine vinegar
1-2 tablespoon soy sauce/tamari/liquid aminos
a couple teaspoons olive oil for pan
In a medium sized bowl mix together the tahini, lesser amount of soy, and vinegar. Stir until smooth, adding in a splash or chickpea or regular water to thin out until it is the consistency of heavy cream. Taste. If it needs more soy, add a little more in until it tastes right.
Grab the onion and slice it up, really thinly and into small pieces.
Place a large skiller on medium high heat on stove. Add in a couple teaspoons olive oil to coat. If the chickpeas are still in water, rinse and drain. Dump drained chickpeas into hot skillet and cook for about 5-7 minutes or until they start turn deep brown on some sides. Throw in the peas and the onions, turn heat off, and mix around. Let sit in hot pan for a minutes or two then dump it all into the bowl with the tahini sauce. Mix it all around, add some cracked pepper, then, eat.
One of my go to things to do when I am feeling feelings of stress and or anxiety (or angry , or happiness, or sad%u2026 all the emotions really) is to bake. I have a feeling that I am going to be baking quite a bit in the next few weeks. And due to the fact that when I went to go buy my usual 25 lb bag of flour the other day and all the flour, at multiple stores, was sold out, I think some of you might be planning on some baking soon too? I sure hope so because I am gonna be pissed if I find out that people are just hoarding all the flour and not using it. %ud83d%ude01
Anyway, soda bread. This bread is not like a soft and fluffy yeasted bread. It is thick and hearty and this one is full of orange zest and dried cranberries to give it just a little more flavor. Of course I was thinking of St Patricks Day next week when I made it because we all know that Irish soda bread is well, Irish, and St Patricks Day is an Irish celebration, but I was also thinking that the mr was coming home for lunch and my sourdough was only about an hour into it%u2019s 8 hour ferment and I had no back up bread for lunch food. So soda bread is what I made. Quick to throw together, bakes within an hour, and is every bit as fantastic as any yeasted bread. The mr was very much pleased to have a nice sturdy, fragrant, hunk of a this bread situation when he came home for lunch and I was a little less crazy stressed because of it. Plus, as usual when baking nice things, the house smelled so good! I think I sometime just bake things just for the smell that lingers for the day. I love it when my hair smells like bread. HA!
Now go grab that flour your hoarding and get at this bread!
The stuff. All purpose and white whole wheat flour, some oats, baking soda and powder, salt, soy milk, brown sugar, oil, dried cranberries, a bit of apple cider vinegar, and an orange.
First add vinegar into milk and stir it up.
Zest the orange into the bowl with the dry stuff, add in the sugar, and give it a good stir to fully combine it all.
Add in the cranberries. Make sure they are not all stuck together and stir them in.
And lastly, add in the milk and oil and stir until a dough forms.
The beauty of unbaked bread dough.
Turn the dough out onto a well floured baking sheet and knead it a few times. Then shape into a big ball and score the top with a big X. Then you just pop it into the oven to bake.
There she is. A big, beautiful loaf of bread. And guess what, you don%u2019t have to wait forever to cut into it. Just 15 minutes of so.
Now you got what you were waiting for. Warm fresh bread, maybe some buttery spread, and a plate (if you a civilized). You eat, you feel better.
Stay well folks!
-C
makes 1 loaf
1 1/2 cups all purpose flour
1 cups white whole wheat flour
1/2 cup old fashion oats
1/4 cup packed brown sugar
1 teaspoon baking soda
1/2 teaspoon baking powder
1 teaspoon salt
1 1/2 cups plant milk
1 tablespoons apple cider vinegar
1/3 cup neutral oil
a large orange for zest
1/2 cup dried cranberries
preheat oven to 375
Mix together the apple cider vinegar with the milk and set aside.
In a large bowl, mix together both flours, the oats, the brown sugar, the baking soda and powder, the zest of the orange, and the salt, until full incorporated. Then toss in the cranberries (make sure they are not all stuck together) and mix them in. Lastly, add in the oil and milk and vinegar mixture and stir until completely combined.
Turn out dough onto a well floured surface and knead a few times, adding more flour to keep your hands from sticking then place on a well floured and parchment lined baking sheet. Form dough into a ball and then score the top with a big X that is about a third of the way deep. Place into oven to bake for 50-55 minutes or until bread is a deep golden brown and sounds hollow when tapped on the bottom.
Once bread is baked, allow to cool for at least 15 minutes or so on a wire rack before cutting into it, but you can cut while still slightly warm.
And then eat
Store uneaten bread in an airtight bag at room temperature for up to 3 days, but it is actually better to eat it within the first 2 days. It does great when sliced and frozen and then tossed back to life.
I am pretty sure making pretzels was one of the best ideas that I had all week. Making them into the shape of hearts, that WAS the best idea I had all week. Take note. Making anything into the shape of a heart is always the best idea.
So why pretzels? Well why not. I make so much bread in this house that I felt like making a little something different. I was thinking bagels, but I didn’t really want to have dough in the fridge for a day and plus I wanted to do something then and there and have it be done. Like pretzels. From start to finish they takes less then 2 hours. And you get to twist the dough and boil it and it is just fun. Like I could totally see making pretzels with a few littles or maybe a friend or a %u201cfriend%u201d. A pretzel making date. Now that is a good idea. Oh me, I am so full of all those good ideas. HAHA!
These pretzels are of the soft variety. And to make them pretzels, and not just bread, the kneaded dough gets shaped and then boiled in a baking soda bath (not lye%u2026don%u2019t have any lying around). Then they are sprinkled in course salt and baked til a deep golden brown. They come out soft and chewy just like a good soft pretzel should be. Then they need to be eaten right away, slightly warm, because that is how you are suppose to eat them.
And so the pretzels were made. The mr came home right after I pulled these puppies out of the oven and went for a walk to get some fresh air. When I got home I found him salivating over a plate, waiting for his cue to eat. The cue was given (once I put the camera away) and eat one he did. And then another. And another. Because really, what the hell, I made him heart shaped pretzels. He loved them so much that I just let him eat as many as he wanted. He was happy, I was happy, there where hearts. No complaints. Even when I told him he was having pretzels for all meals until they were gone. He just smiled he pretzel filled mouth at that.
To the pretzels!
The stuff. Flour, salt, course salt, brown sugar, yeast, water, and some baking soda.
The yeast, brown sugar and warm water go into a big bowl to activate. Once it starts to bubble, dump in the flour and salt and mix until a shaggy dough forms.
Dump dough onto a floured surface and knead for about 5 minutes.
Kneaded all nice to soft and supple.
Place the kneaded dough into a clean bowl and cover. Let sit for about an hour or until it doubles in size.
Once doubled, dump dough onto a lightly floured counter and cut into 12 equal pieces.
Now to shape. Roll each piece into a long rope, 16-20 inches long if you can. Fold the ends together and twist then fold twisted ends down back into itself.
Pinch the end into a point and there you go. A heart! %u2665%ufe0f
And then do it to all the dough.
Water and baking soda bath boiling away.
Grab the hearts and place a few at a time, gently, into the water for about 45 seconds then pull them out with a slotted spatula.
Onto a baking sheet either lined with parchment or a splat mat.
And don%u2019t forget to sprinkle them all with course kosher salt.
Into the oven they go.
About 18-20 minutes later%u2026 PRETZELS
Get them onto a cooling rack to cool just enough.
And then you just eat them because what else are you suppose to do.
And yes, grab the mustard because duh.
makes 12 pretzels
For the dough
3 1/2 – 4 cups all pupse flour
2 teaspoons yeast
1 heavy tablespoon brown sugar
1 teaspoon salt
1 1/2 cups warm water
2 tablespoons course kosher salt (for topping)
For water bath
7 cups water
2 tablespoons baking soda
Start by placing yeast, brown sugar, and warm water into a big bowl and mix. Let sit for a few minutes to activate yeast. Once active, dump in the lesser amount of flour and salt. Mix until a shaggy dough forms. If the dough seems super wet, add in a little more flour. Dump dough onto a floured surface and knead until soft and elastic for about 5 minutes, adding in a little more flour as needed to keep it from getting too sticky. Once dough had been kneaded, place into a clean bowl, cover, and let sit in a warm place for about an hour or until the dough doubles in size.
Once dough has doubled, preheat oven to 450. Also get the water bath ready by placing the water into big pot and placing on heat.
Back to dough. Dump the dough onto a lighty floured surface and cut into 12 equal sized pieces. Then shape each piece by rolling the dough into a rope between 16 to 20 inches long then twisting the two ends together a few times. Fold the ends over to the middle of the dough and pinch the end into a heart. (check images above if that doesn%u2019t make sense) Once all the dough has been shaped, its time to boil. When the water is at a rolling boil, dump in the baking soda and mix around. Place 2-3 pretzels gently into the water at a time and boil for about 45 seconds. Remove from water with a splatted spoon or spatula and place on a parchment or lightly oiled baking sheet. Repeat until all dough is boiled. Make sure when you place the pretzels onto the baking sheet you give them room so they are not touching. If you need to, use 2 baking sheets. And now before the placing them into the oven, sprinkle them with the course salt.
Now into the hot oven they go, for about 18-20 minutes or until they turn a deep golden brown.
Once baked, pull from oven, place on a wire rack to cool a bit, then eat them. Dipped in mustard or any other dipping situation you find appropriate.
Left overs, should there be any, should be stored individually either wrapped or in a bag at room temp for a few days. OR better yet, just freeze them. And when you want to eat one, just warm it up again in the oven.
Mid week, I was doing a little pantry cleaning/ inventorying of what I had and needed when I came upon not one, not two, or even three. No, six. SIX, jars of jam. And there are 2 that are already opened in the fridge. I don%u2019t know why, but knowing that there was that much jam in the house made me a little uneasy. Six unopened jars is about 3 jars past my comfort zone. Sure there are so many things you can do with a jar of jam (jelly, preserves, and marmalade included) and now that I am thinking about it, is one of the reasons why I bought a few jars a while back. Then there was Christmas and I think we got at least two jars as gifts so it%u2019s not all my fault, but still, that is just too many jars of jam. Right there I needed to get rid of at least one jar. So muffins. Jam muffins, with poppyseed crust because it%u2019s pretty and nobody ever complains about poppy seeds, or at least they don%u2019t until after they eat them and have poppy seeds stuck in their teeth all day. But that is just our mouths way of saving a little for later, am I right? HA
Anyway, a quick and simple muffin recipe for all of you people out there that might have a jar or two too many of jam in the fridge or pantry%u00a0(I used apricot but any flavor(s) would work) and could use yourself a tasty little muffin situation. I mean who doesn%u2019t want a tasty muffin?
To the muffins.
The stuff. In the bowl is white and white whole wheat flour, baking powder and soda, and salt. Also have apricot jam, oil, almond milk, apple cider vinegar, and orange, and some poppy seeds.
Grab a zester and zest the orange into the bowl with all the dry stuff. Whisk to combine.
Jam, oil, milk, and vinegar. All on top of dry. Whisk that up until just combined. No over mixing. You will get tough (not in a good way) muffins.
Scoop into well greased muffins tins then cover the tops with poppy seeds.
And out of the oven, looking all pretty like.
Pop those muffins out of the tins and cool on a wire rack for a bit. And by all means, don%u2019t wait until they are completely cool.
Now eat you a warm muffin and if they are mini, grab a few. You can%u2019t just eat one mini muffin, that is just crazy.
-C
Make 12 normal size muffins or 24 mini muffins
1 cup all purpose flour
1 1/4 cups white whole wheat flour
2 teaspoon baking powder
1/2 teaspoon baking soda
1/2 teaspoon salt
1 cup plant milk
1/3 cup neutral oil
1 tablespoon apple cider vinegar
zest of an orange
1 heaping cup apricot jam or preserves (can sub in any flavor you like)
1/3 cup poppy seeds
Preheat oven to 350
In a large bowl whisk together the flours, salt, baking powder and soda, and the zest of the orange. Add in the oil, milk, jam, and vinegar and whisk until just incorporated. Scoop batter into well grease muffin pans (12 regular or 24 mini) then cover the tops with poppy seeds. Pop into hot oven and bake until risen and a tester comes out clean when one is poked. For mini muffins, check after 13 minutes, for normal muffins, after 16 minutes.
Once baked, remove from oven and pop out of pans when cool enough to handle. Place on a wire rack to cool completely or just start eating them warm.
Store left over muffins in an airtight container for 3-4 days at room temperature. They also freeze well.
I found another bag of frozen rhubarb in the chest freezer which is never a bad thing, but my rhubarb patch outside is growing strong and I will have all the fresh rhubarb I could possible eat within the next few weeks. So found rhubarb just means I need to eat it right fast before the fresh stuff comes in. (I haven%u2019t had a problem with that. it%u2019s almost gone already). Plus the other day while I was digging up and transplanting raspberry bushes to the back yard, my neighbor came over and gave me a gallon of frozen raspberries, harvested from said bushes that I was currently planting in my yard. Score for me! Free bushes and berries%u2026I have such nice neighbors.
So the logical thing to do with my new found and giving bounty was of course to hurry up and bake something. Cobbler. Why cobbler? Well, why not? I figured the mr would really like it and eat it and I also didn%u2019t want to make anything to fussy because I was just to dang busy spending all of my extra time outside doing outside things. And cobbler, it%u2019s not fussy because it is basically biscuits and jam baked up all together. Not a lot to think about and comes out looking all homey and sweet and smelling all nice and cozy. Doesn%u2019t that sound nice? And not a pain in the ass?
And best part. A made cobbler works as dessert or breakfasts or just a snack. Just asked the mr. He ate it for all the reasons. With a dollop of yogurt or cream of course because he is fancy like that.
And yeah the fruit I used was frozen, but fresh works just the same here too.
Now, lets get to that cobbler.
The stuff. Raspberries (frozen), rhubarb (frozen), sugar, flour, salt, baking power, cinnamon ,almond milk, apple cider vinegar, cornstarch, and oil.
Raspberries, rhubarb, sugar, cinnamon, cornstarch. Its all there in the bowl. Just needs to be mixed. So mix it.
Dump fruit mixture into well greased 8 inch pan and pop it into a hot oven to get a head start on baking.
While the fruits in the oven, make the biscuit dough. Mix the dry together then mix in the wet until just incorporated and a sticky dough forms.
Pulled from the oven, the fruit is starting to cook down and whoa, it just smells so good!
Drop on the biscuits dough on top of the fruit (careful of the hot pan). Evenly if possible, but don%u2019t work to hard to make it look perfect. Imperfection makes it look perfect, you know?
Once biscuits are on, lightly brush the tops with a little milk and sprinkle with more sugar then pop it back into the oven for another 25-30 minutes or until the biscuits are baked.
Pulled from the oven with a bubbly filling and a golden brown biscuity top. Things are looking good here.
And now it%u2019s time.
Dig on in my friend. Sever with something creamy like whipped coconut cream or some type of yogurt or ice cream situation of your choice. And again, this can be your breakfast.
Happy spring people!
-C
make a a 8 inch round which serves 5-6
For the Filling
2 cups raspberries (fresh or frozen)
2 cups rhubarb chopped into 1/2 inch to inch long pieces (fresh or frozen)
1 1/2 tablespoons corn starch
3/4 -1 cup sugar (lesser amount if you like a little more tartness. I used lesser amount)
1 teaspoon cinnamon
For the dough
1 cups all purpose flour
1 1/2 teaspoon baking powder
1/2 teaspoon salt
3 tablespoons sugar
3 tablespoons neutral flavored oil
1/2 cup plant based milk
1 teaspoon apple cider vinegar
Preheat oven to 350.
In a large bowl mix together the rhubarb and raspberries with the corn starch, sugar, and cinnamon. Grease a 8 inch round pan the is at least 2 inches deep (can use a slightly large pan or a square) and dump in fruit mixture. Place into oven to bake for about 15 minutes or the fruit starts to break down.
While fruit is baking, mix up biscuit dough. Flour, salt, 2 tablespoons sugar, and baking powder go in a large bowl and mixed until combined. Add in the oil, the milk, and the vinegar. Mix until just incorporated and a dough has formed.
Remove the fruit cooking from the oven. Turn heat up to 375.
Carefully drop spoonfuls of biscuit batter on top of fruit. Brush the top of the biscuits with a little milk and sprinkle with remaining tablespoon sugar. Place the pan back into the oven and bake for another 25-30 minutes or until the biscuits are all nice and golden brown on top.
Remove from oven and let cool for a few minutes before serving. Serve warm with a scoop or dollop of soothing creamy (coconut cream, yogurt, ice cream%u2026..whatever floats your boat.)
Left overs can be stored in pan, just cover it with something and place in fridge. Can be eaten cold to or reheated in microwave or oven.
When your neighbor tells you to pick as many raspberries as you can, well you go pick as many raspberries as you can. Just a few houses down the street, she has a yard full of the heaviest fruited raspberry bushes that have seen. So I grabbed my biggest mixing bowl and went at it. So many raspberries, they were basically falling off into the bowl (and into my mouth). Fresh raspberries, there is not much better.
And she wants me to come back for anther round. We have good neighbors.
I had quite the raspberry loot. The mr and I ate some (maybe too many), froze some, and then I made danishes for no other reason then I wanted to. And that was a just decision because everyone loves a good danish.
And these were good, or sooo good, according to the mr. He ate half while the other half were demolished when I brought them to my moms for dessert which was the plan so it worked out. People and their danishes. It%u2019s a thing you know.(No, not really)
Now to the danishes!
The stuff. Fresh raspberries (You can use frozen or if you really want, raspberry jam) flour, sugar, salt, plant milk, oil, yeast, a lemon, powdered sugar, vanilla. and that is it.
Start with mixing the yeast with the oil, milk, and sugar in a large bowl. Add in the flour and slat ads mix mix mix until you can%u2019t mix no more.
Dump onto a floured surface aaaaaanf. Knead. 5-8 minutes until the dough is all soft and smooth and uniformly dough.
Place the dough into cleaned bowl and cover. Set somewhere warm to rise.
In the mean time, make raspberry jam. Place raspberries and sugar into a pot and cook down until mixture is thick and jam like. Once the mixture sticks to a spoon like warm jam, turn heat off and let cool.
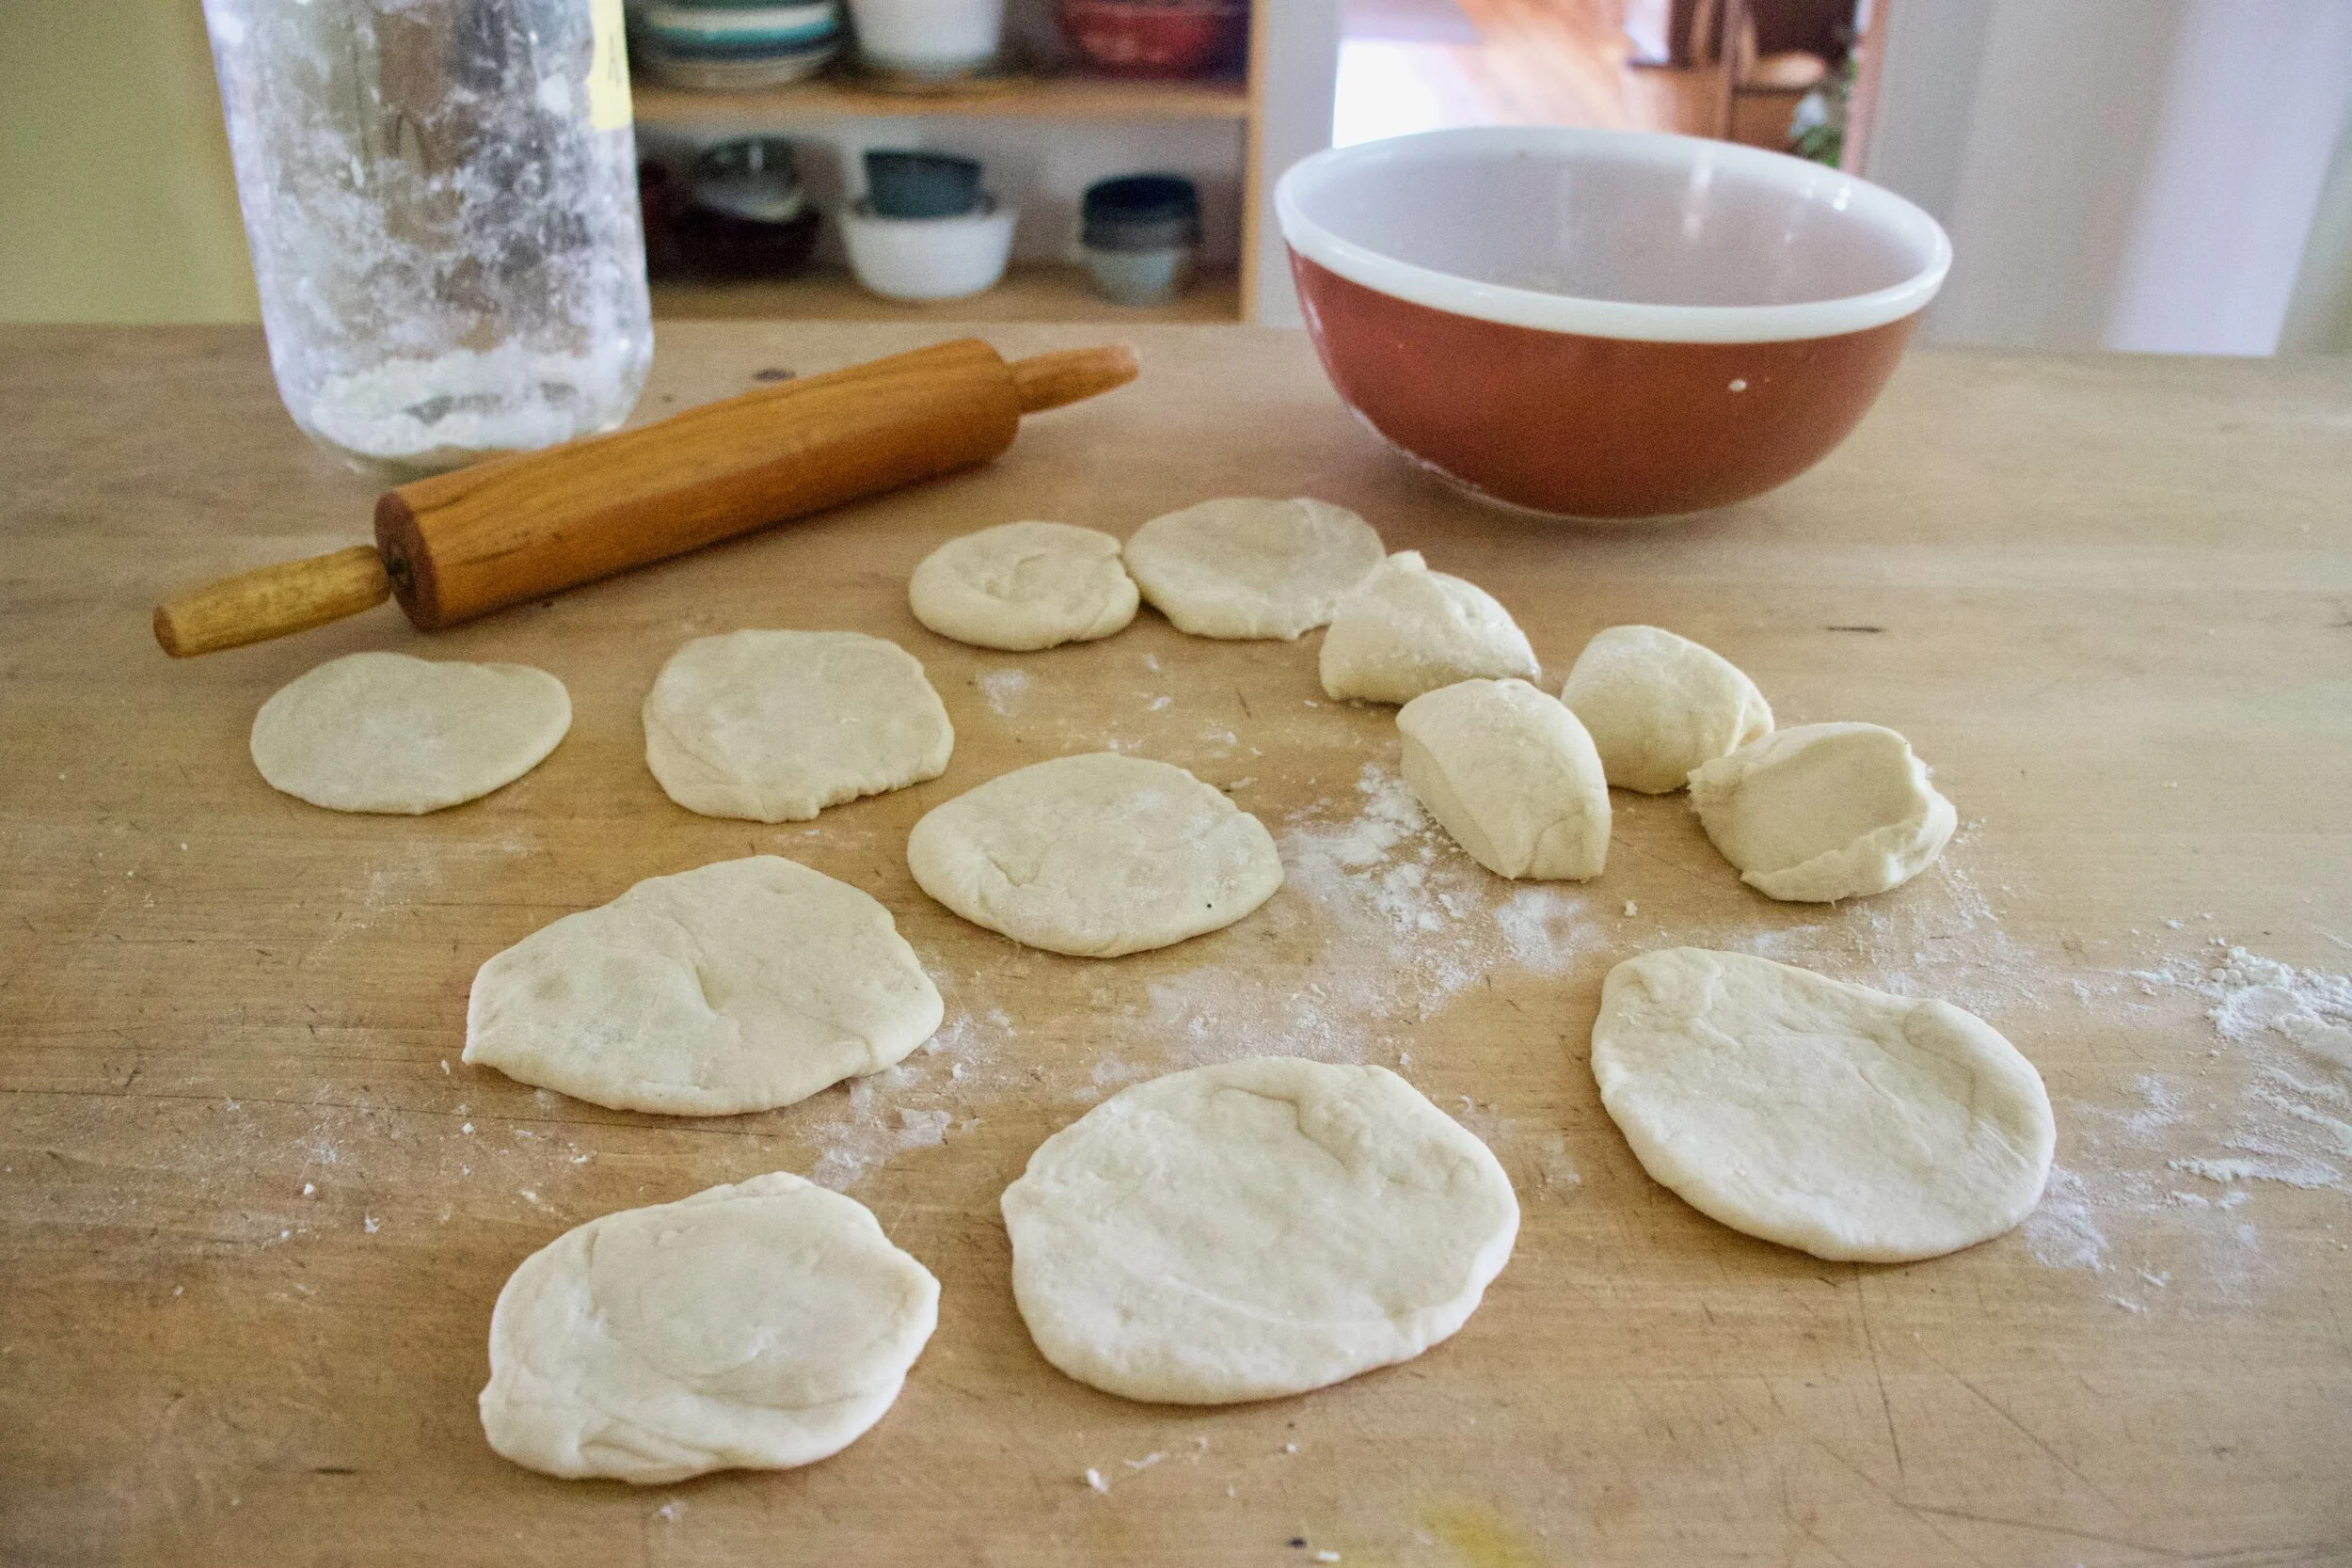
Dump dough out and cut into 12 equal pieces. Roll each piece into ball then roll out into a dish about a 1/2 inch thick.
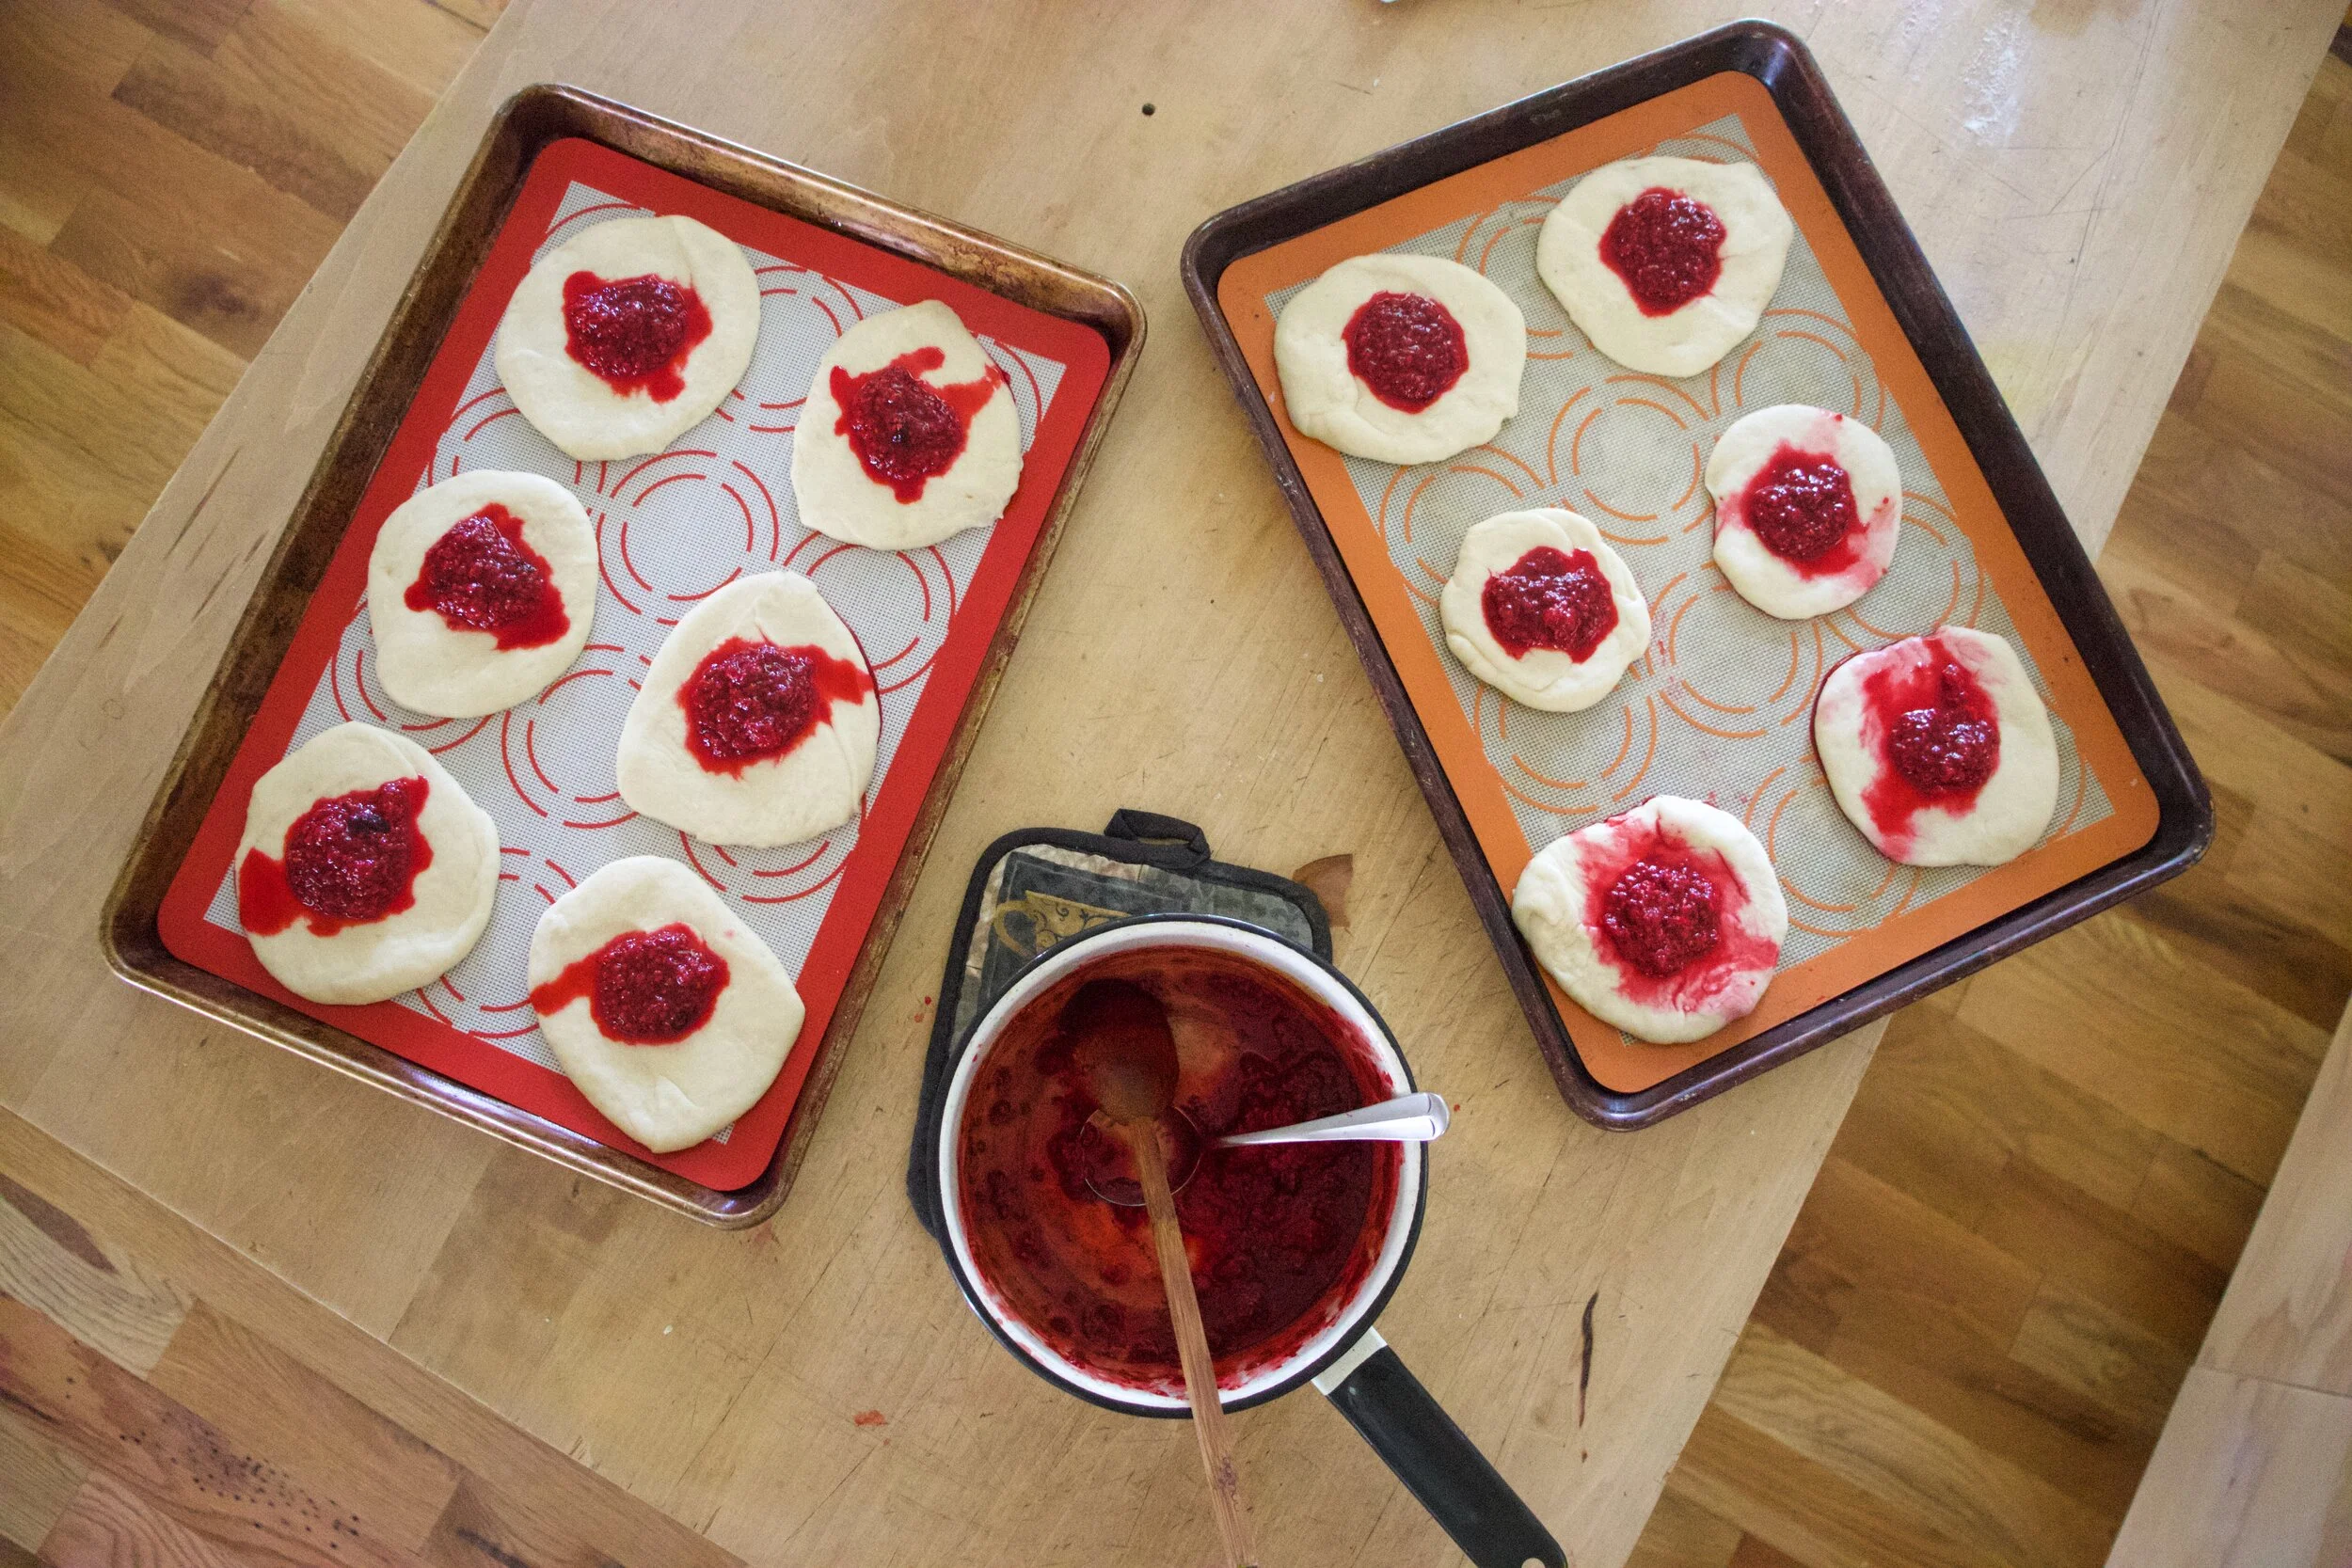
Place dough disks onto splat or parchment lined baking sheet then indent each dough disk with a spoon or your fingers. Dollop a good plop of raspberry jammy into said intents. Once they are all jammed, pop them into the oven to bake. 15-18 minute should do it.
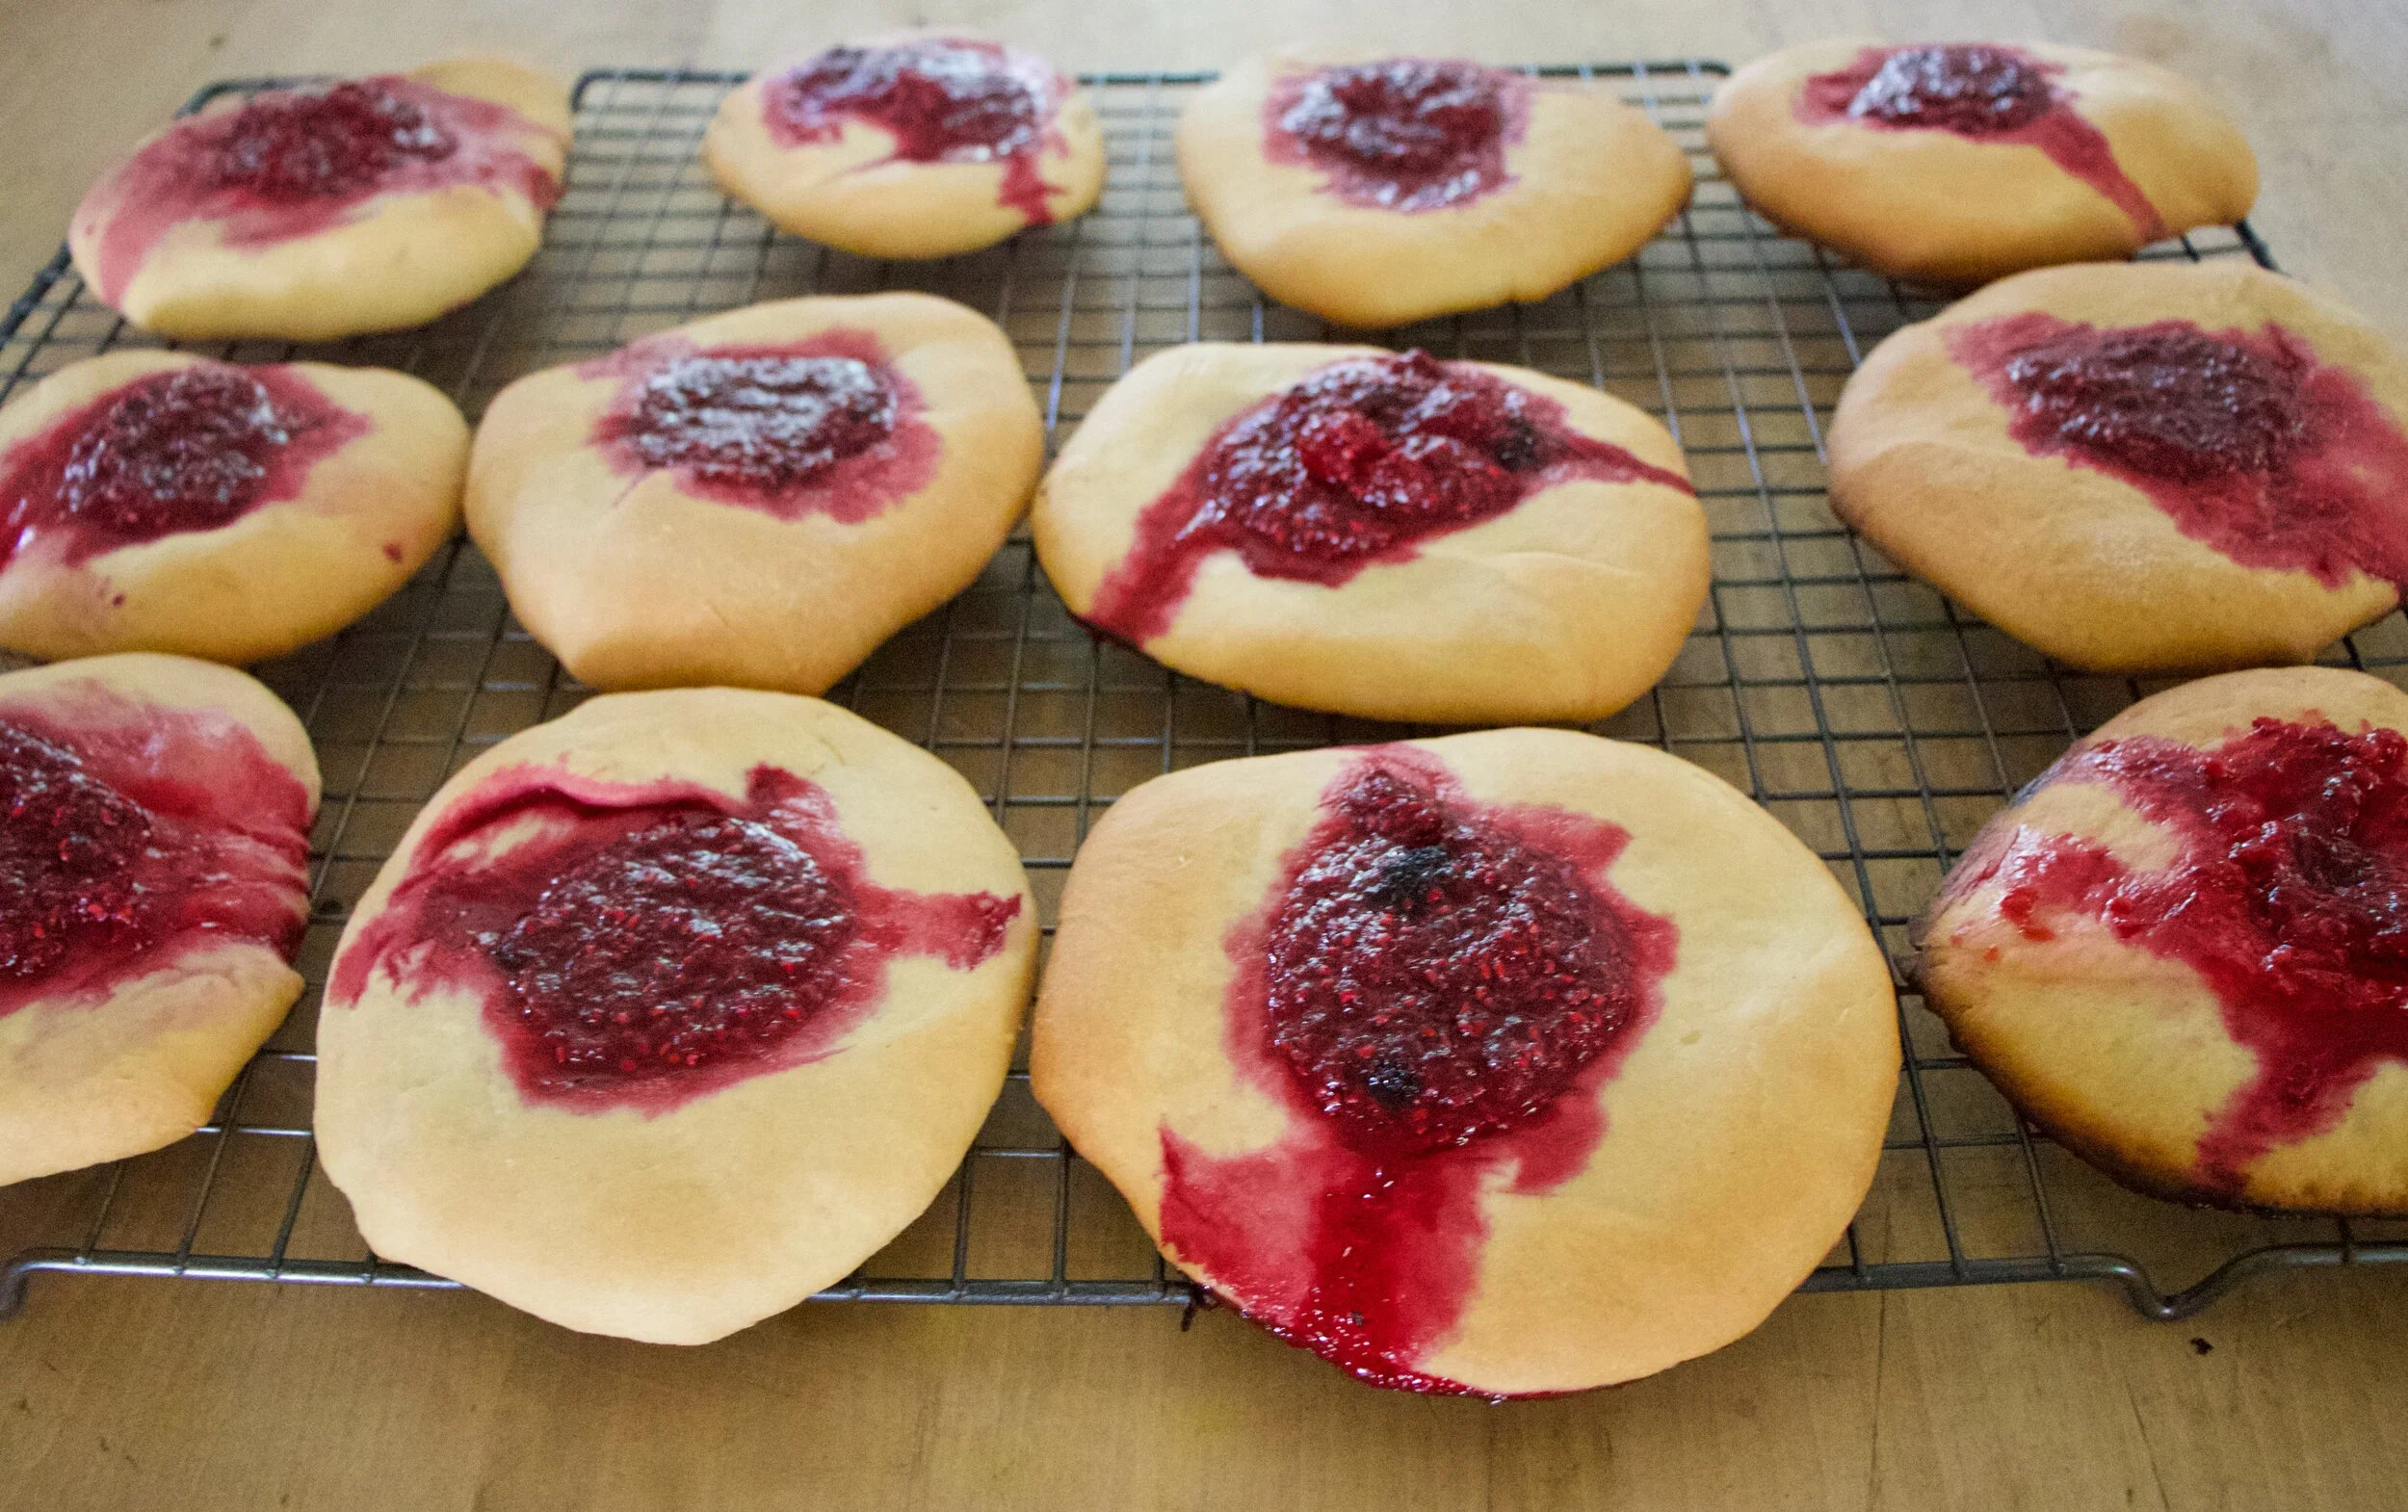
Look at those. Get them out of the oven and on to a wire rack for cooling time.
Make glaze. Sugar, lemon zest, vanilla, and lemon juice Mix until combined and yeah, that it glaze.
Drizzle the glaze all over those lovelies.
And then you eat becucae that is why you made them.
Share with your people. Or just eat them all to yourself, you made them and they are yours.
-C
makes 12
4 cups of all purpose flour
1 teaspoon salt
2 teaspoons yeast
1 cup room temperature plant based milk
1/2 cup neutral oil
1/3 cup white sugar
For raspberry jam
1/4 cup white sugar
2 cups fresh raspberry
For glaze
1 lemon
1 1/2 cups powdered sugar
splash of vanilla
In a large bowl combine the yeast, sugar, oil and milk. Really mix well and let sit for a minute to just get yeast activated. Dump in flour and salt and mix with a wooden spoon or whisk until it becomes to hard to stir. Dump mixture onto a lightly floured surface and knead dough for about 5-8 minutes or until the dough is soft and smooth. Place dough in a clean bowl and cover and let rise for about an hour or so or until the dough doubles in size.
While dough is rising, make raspberry jam. Mix raspberries and sugar together into a pot and place on medium heat on stove. Let cook for a couple minutes and once the raspebrries start to break down, stir. Let mixture cook down for about 10 minutes, stirring often, until the mixture becomes thick and sticks to a spoon like warm jam should. Take off heat and let cool.
Preheat oven to 350
Once dough has doubled in size, dump onto it onto a floured surface and with a knife or dough scraper, cut into 12 equal sized pieces. Roll each piece into a ball then flatten out into a disk about 1/2 inch thick. Place dough disks on a parchment or splat mat lined baking sheets (you will need 2). With a spoon, lightly push a intent into the center of each disk then place a good plop or the cooled raspberry jam into the intent. Once all the dough has its berries, place the baking sheets into the oven to bake, for about 15-18 minutes, or until the danishes are a nice golden brown.
When they are done baking, remove from oven and place on wire rack to cool.
While cooling, make the glaze. Zest lemon and place in a bowl with the powdered sugar and vanilla. Add in half the juice of the lemon and stir until completely combined. If the mixture is too thick, add more juice, to thin, add a little more powdered sugar.
And once the danishes are cooled, drizzle on the glaze. And then thats it. You can eat them now.
Any left over why are there left overs?) should be stored in a airtight container for a few days at room temp or in the fridge . They also freeze well.
Ever since schools have been canceled and we have turned to homeschooling, the school systems around my parts have been dropping lunches off to all the littles. Both my sisters with littles have been getting food every day and it is great and amazing and makes me less worried about all the kids that really depend on school for food. Thank you school systems for being awesome!
The thing with the food is that you get what you get. Just about everyday, packed with the lunches,are either applesauce cups or strawberry puree cups.
The little shits, well none of them eat them. I don%u2019t know if they just don%u2019t like them or are sick of them but yeah, they are really starting to pile up. And so sisters have been sending apple and strawberry cups my way and now I have shit ton too.
I figured I would just bake with them and that is what I have been doing, but I still have so many and it is way to hot to be baking all the time. What to do with an excess of fruit puree cups? Freeze them. And make them into granitas. Whats a granita? A granita is flaked frozen fruit, kind of like a slushy you eat with a spoon. And wouldn%u2019t you know, once the applesauce and strawberry cups were frozen and called something else, the littles were all over them.%u00a0I am a genius.
It also helped that is was like a 95 degrees out and when it is that gross, no one wants to eat anything that isn%u2019t frozen. Blah. Too hot way too early!
So if you find yourself with an excess amount of fruit cups or just want to make a healthy and delicious cold treat for your littles or yourself, do this.
Now to the apple strawberry granitias!
The stuff. Applesauce cups and strawberry puree cups. If you don%u2019t have the actually cups, you can use applesauce from a jar or homemade and make your own strawberry puree by tossing fresh or frozen strawberries into a blender. Easy peasy.
The apple and strawberry purees into a bowl
Mix together. Have a taste, it is delicious.
Dump mixture into a baking sheet or pan, preferably a metal one, and place in freezer.
After about and hour, once it is slightly frozen, remove from freezer. Grab a fork and scrape the puree to kind of fluff it up. Place back into freezer for another hour and repeat one or two more time until the texture is nice and fluffy. Once you like texture, place in freezer for another 1/2 to really freeze up.
When you are ready to eat, scoop and serve.
Once scooped, eat. Right away because frozen things don%u2019t stay frozen for long!
-C
makes about 4 servings
2 applesauce cups (or 2 cups applesauce)
2 strawberry cups (or 2 cups strawberries pureed)
1 tablespoon sugar (optional)
Dump the applesauce and strawberry puree into a bowl. Mix together and taste. If you think it could use a little sugar, mix it in. Remember, once frozen, it won%u2019t taste quite as sweet.
Dump mixture into a baking pan or sheet, preferable a metal one, and place in freezer. After about an hour, or once it has frozen a bit, remove from freezer, grab a fork, and scrape the puree to losses it up. Place back in freezer for another hour. Repeat with the fork one or two more times until the texture is that of fluffy ice. After the last scrape, keep in freezer for another 1/2 hour or so to get it really frozen again then when you are ready, scoop out into bowl and eat.
Any that doesn%u2019t get eaten right away, keep in freezer. You can transfer to a smaller container with a lid.
It started a few nights ago when I was eating my after dinner dessert snack. A big bowl of fresh strawberries. But there was something missing. I wanted a little something else to add to my dessert so I opened the freezer to see if there was any frozen bananas. What caught my eye was the bag of peas. And it just seemed right so I poured some into a bowl, dumped hot water on them to thaw, and mixed them into the bowl with the strawberries. Now I got to tell you, it was one of the most satisfying delicious desserts I have had in a long time. Think about it. Peas are sweet and creamy and strawberries are sweet and tart. The combination might seem a little strange but haven%u2019t we learned by now that I am always right about flavors? HAHA. But really. It%u2019s one of my new favorite snacks.
Now how to share my newfound love of peas and strawberries? Well cake of course. I figured people are less hesitant to try new flavor combinations when in cake form because everyone wants cake. And I was right. Plus it is a real looker if I do say so myself. Bright green cake with bright red strawberry glaze. A spring time snack with the spring time feels. Everything about this cake is right on point with all the things. And it is super fast and easy to make to boot because it%u2019s all thrown together in a blender.
You really can%u2019t go wrong here friends. And if you happened to be needing a little something something to snack on with your mama this weekend, well I think you just found the perfect snack.
Now to the cake!
The stuff. Peas,strawberrie jam of perceives (I had just made it so it is still warm) Flour, sugar and powdered sugar, baking soda and powder, salt, oil, and vinegar.
Super easy here. Place peas into blender and blend until smooth. Add oil and sugar and blend until incorporated. Then add in all the dry. Before you blend, take a spoon or spatula and hand mix it a little. Add in a cup of water and vinegar then pulse until incorporated. Don%u2019t over blend it or else it will be tough.
Pour batter into a well greased pan and pop into a hot oven. Bake.
Afer about 25 minuts, check for doneness. When the fork or tester comes out clean, it is done!
Pop cake out and let cool on a wire rack.
And glaze. Warm up the jam in the microwave on on stove until loose then mix jam with powdered sugar.
When the cake has cooled, grab a fork and stab holes all over so when you pour glaze on it will kind of seep into said holes.
Pop cake back into pan (or don%u2019t if you dont want too) and pour glaze all over top.
A dusting of powdered sugar for looks and done and done. Cut into squares, pop a piece on a plate, and snack away.
-C
makes a 9×9 cake
2 cups all purpose flour
3/4 cup white sugar
1 1/3 cups sweet peas (fresh or frozen and thawed)
1 cup water
1/3 cup oil
1/2 teaspoon salt
1 teaspoon baking powder
1 teaspoon baking soda
1 tablespoon vinegar
1 cup powdered sugar
3 tablespoon strawberries jam or preserves
Preheat oven to 350
Place peas into blender ans blend until smooth. Add in oil and sugar and blend until incorporated. Next add in baking soda and powder and then flour on top. Grab a spoon or spatula and mix a little to give the batter a head start then add int he water and vinegar. Pulse in blender for a few seconds, scrap sides, then pulse again until it just become a cohesive batter. Don%u2019t oven blend it or that cake will be tough.
Pour batter into a well greased 9×9 baking tin and place into hot oven. Bake for about 25 minutes or until golden brown and a tester comes out clean. When it is done, pop out of oven and pop cake out of tin to cool on a wire rack.
Once cake is cooled, place back into baking pan. Mix together the powdered sugar and jam then either microwave it or heat on stove for 30ish seconds until warmed and pourable. Grab a fork and stab holes all over top of cake then pour glaze all over.
Sprinkle some more powdered sugar on top for looks, but other then that, it%u2019s now time to eat.
Cake that is not eaten is best keep at room temperature for 2-3 days. Can be frozen too.
I don%u2019t really understand the pineapple Easter correlation. I think it might have something to do with ham, but you know what, I really don%u2019t care that much to figure it out. (Okay, I googled it and it is ham related.)
So no ham here but I am all about the pineapple. Last week when I did my grocery shop there were a shit ton of pineapples on sale, so I grab a few figuring that me and the mr would eat them for next week or so. Up until last week, I was positive that the mr really liked pineapple. Until I cut one up. Turns out the mr , for some reason, now doesn’t like pineapple that much. What. the, HELL!? This was new news to me. I swear he just says these things to piss me off, but whatever, I guess he is not a fan anymore and it just means more pineapple for me.
But I also made a cake with some of the pineapple because I had so much and also I just wanted to bake a cake. And guess what, turns out the mr does like pineapple, just as long it is in cake form. I should have known.
To the upside down cake!
The stuff. A pineapple, flour, baking soda and power, salt, brown sugar, coconut oil, vanilla and apple cider vinegar.
Cut up pineapple. If you want to get fancy, garb a cookie cutter and cut out pineapple shapes for the upside down part. Or just cut up 1/2 inch slices or rings. however you want.
Get the pan ready. Grease a pan, add a parchment bottom. place about a tablespoon coconut oil into pan and coat bottom of pan then evenly sprinkle in about 1/2 cup brown sugar. Layer in your pineapple.
In a large bowl, whisk together the dry ingredients%u2026 (a bowl bigger then mine)
Place pineapple into blender (use scraps if you have them) and blend until smooth. Add in the brown sugar, coconut oil, vanilla, and vinegar and blend until combined.
Pour wet into dry and whisk until combined.
Pour batter over pineapple and into the oven it goes.
Oooooh. Cake. Are you just so excited! You should be, it is an exciting time.
Give it a few minute before flipping it.
Flipped and revealed. So pretty!
Now it%u2019s cake time so get down on it.
-C
makes a 12 round or 9×13 inch rectangle cake
2 1/4 cups all purpose flour
1 teaspoon baking soda
1 teaspoon baking powder
1/2 teaspoon salt
3/4 cup brown sugar plus 1/4 cup
1/2 cup warm coconut oil plus 1 tablespoon
1 1/2 cups pineapple pureed which Is about 1/2 a small pineapple
About 1/4 pineapple for bottom
1/4 cup water
I tablespoon apple cider vinegar
Preheat oven to 350 degrees.
First get the pineapple cut up any way you usually do it. If you want specific shapes for the pineapple bottom, keep that in mind and cut the pineapple accordingly. You are going to want the pieces (like the circles that I used) to be about 1/2 inch thick. And if you are using a cut out, my suggestion is to cut out all the pieces that you need to use and use the cut out scrapes to puree.
Grease and parchemnt line a 12 inch round or 9×13 inch rectangle cake pan. Evenly spread a tablespoon coconut oil on parchment then evenly coat with 1/4 cup of brown sugar. Place pineapple cut outs or pieces into pan. It is fine if pineapple pieced overlap a bit but make sure to not go much thicker then1/2 inch in places.
In a large bowl whisk together the flour, baking power and soda, and salt.
Place 1 1/2 cups of chopped pineapple into blender and blend until smooth. Make sure it equals 1 1/2 cup pureed. Add in 1/4 cup water, 3/4 cups brown sugar, 1/2 cup warm coconut oil, vanilla, and the vinegar and blend until completely smooth. Pour mixture into the bowl with the whisked dry ingredients and mix until combined. Pour cake batter gently over pineapple in pan.
Bake for 45-50 minutes or until the cake is a nice golden brown and a tester poke comes out clean.
Remove cake from oven and let cool for about 5 minutes, then invert pan onto a wire rack or plate and remove pan gently. The cake should pop out easily with the parchment attached. Peel parchment off and if any of the pineapple cokes loose, jus stick it back on.
And then cake. Eat it.
It%u2019s not too late to get in a little end of the year baking. It is actually the perfect time to bake. All the holiday hub bub is still going on so there is usually still people all around still willing and able to eat your offerings (if you were so inclined to share), the days just feel more slow and of need of warmth and lovely smells. Plus we need something to do while while waiting for New Years, because we are just all sitting around waiting for that ball to drop, right? HAHAHA. No.
Anyway, I have been wanting to make some version of a boiled clementine cake for a while now. I love that fact the the whole clementine goes into the cake, that there is no peeling or zesting or juicing. It is just boil the clems for a little while to get the bitterness out and you are good to go. And it doesn%u2019t hurt that right now is citrus season so I have a humngo bowl of clementines, plus a shit load of other oranges and other citrus to go through so the thought of tossing a good few clementines into a cake, well it was just what needed to be done.
And the family is coming over to eat and trash my house so I needed another dessert besides the half eaten ice cream cake left in the freezer from Camereon%u2019s birthday/Christmas. So I baked that they will eat. And there we go. Win win.
Now to the clementine cake.
The stuff. Flour, baking powder and soda, salt, sugar, oil, cinnamon, vinegar, clementines, and powdered sugar.
First you need to boil the clementines. Big pot, fill with water, place clems inside, bring to a boil, then simmer for 2 hours. Seems like a long time but just do it while you are making and drinking coffee or doing laundry or whatever. You don%u2019t need to keep an eye on them, other then to check that the water hasn%u2019t evaporated, and it smells so nice.
After the 2 hours are up, remove clementines from water and let cool enough to handle. Cut in half. If there are giant seeds, remove them.
Place the clementines into blender and blend until silky smooth.
Now the other stuff. Flour, sugar, salt, baking powder and soda, and cinnamon. All into big bowl.
Whisk together until incorporated then add in the clementine puree, the oil, and the vinegar. Whisk together until it becomes a uniform batter.
Scoop batter into a very well greased bundt cake pan and bake, 50-60 minutes, until tester comes out clean.
The big revel%u2026. And it went perfect! Now time to let this sucker cool a bit on a wire rack.
While the cake is cooling, make a simple glaze. Just powdered sugar and fresh (not boiled) clementine juice. Mixed unit glaze consistency.
Once the cake is pretty much cooled, pour on the glaze.
And now it is cake time.
-C
Makes one bundt cake
2 1/4 cups all pupose flour
1 cup white sugar
1/2 teaspoon salt
1 teaspoon baking powder
1 teaspoon baking soda
1 tablespoon vinegar
1/2 cup any neutral oil
1 teaspoon cinnamon
6 clementines (you need 2 cups pureed)
For the glaze
1 cup powdered sugar
1 clementine
To start, place 6 clementines into large pot and fill with water. Place on stove and bring water to a rapid boil then reduce heat and continue to simmer clementines for about 2 hours.
Once clementines are cooked, cut in half and check and discard any large seeds. Place the clementines into a blended and blend until smooth. Should have about 2 cups puree. If you are short on volume, add water to make up the difference.
Preheat oven to 350
Grab a large bowl. Dump the flour, baking powder and soda, salt, cinnamon, and sugar and whisk together until completely incorporated. Now add in the clementine puree along with the oil and the vinegar. Mix until completely incorporated. Scoop batter into a well greased burnt pan (at least 10 cup capacity) then place into oven on middle rack and bake for 50-60 minutes until a tester (or a fork) stuck in to the deepest part of the cake comes out clean.
Once baked, remove cake from oven and allow to cool for a few minutes in pan, then flip the cake out of pan, gently of course, and hope you greased it well enough for it to just pop out. Once removed from pan, allow to cool on a wire rack.
While cake is cooling, make the glaze. Powered sugar into a bowl along with the juice of a clementine. Mix together. If the glaze is to thick, add more juice (or water), to thin, a little more powdered sugar until you reach your desired consistency (pourable but not runny is good) and once cake is cooled, pour glaze all over.
And then eat cake.
It is exactly that time of year. Apples galore, cool days in need of a little extra warm, meaning a warm oven is welcome, if not needed. It%u2019s the best time of year, or at least one of them.
And so I bake bread. Sometimes just a roll, and sometime a loaf, almost everyday. I love bread baking because, well just because. Plus it%u2019s what people want to eat and will always eat because I guess bread=love. Makes sense to me.
This bread was made from a small dip in the 2 gallons of applesauce I made the night before. (We had sooooo many apples). The mr isn%u2019t the biggest fan of applesauce, says he would rather eat a fresh apple. I kind of get it, but dude, warm, chunky, slightly cinnamon-y applesauce%u2026 I mean, that is happiness right there. Right? Anyway, I am trying not to eat all the applesauce to my face by myself at once (it has been a challenge) and plus I needed to make the mr some bread, so I figured what the hell. I%u2019ll just use applesauce as my liquid in the bread. And so I did and that is that and now that mr really like applesacue (when it is baked into bread)
This bread is a basic sandwich type bread. The apple taste is there but not overwhelming so it can be used for sandwiches of all kinds, toast, just eating with a smear od something, or not. Just a overall good loaf of bread with a little extra from the apple. And braided because I was feeling classy. It%u2019s amazing what at little braiding of bread dough can do for your self esteem. Made me feel like I was the coolest person in the world. Haha!
Now to the bread.
The stuff. A few apples, regular all purpose and white whole wheat flour, salt, applesauce, maple syrup, yeast, and warm water.
Applesauce, shredded apple, maple, yeast, and a little water get mix up and let to sit for a few minutes to activate yeast. Then the salt gets mixed in, along with all the flour. Stir until dough forms. Dough should be slightly sticky, ut not wet. IF wet, add a handful more flour. To dry, add more water.
Dump the dough onto a floured surface, cover your hands in flour, and knead dough for about 5 or so minutes, adding more flour as needed to keep dough from sticking, until the dough is a nice and cohesive texture.
Nice looking dough. Now roll dough into a ball.
Place dough in a clean wet or oiled bowl and cover with a damp cloth for one to one and a half hours or until dough doubles in size.
Dump dough onto floured surface.
Cut dough into 3 equal pieces and roll out into long longs.
Braid logs together. You can stop here bake it this way or%u2026
After placing it on a parchment lined baking sheet, tuck the ends of the braids underneath each other and make it like this. Either way. And once you have the dough on the baking sheet, brush a little water or plant milk on top and let dough rest for 15 minutes of so while the oven preheats.
Before oven and after oven. Classy, right?
Then for shin and soft crust, rub warm loaf with some plant butter.
And for the hard part. Let it cool before slicing it. Ok sure, a little warm is fine, but wait at least 20 minutes (an hour would be best) and then eat you some bread.
Eat you some bread. That%u2019s a t-shirt right there.
Happy Fall friends!
-C
makes pretty one loaf
2 cups all purpose flour
1 1/2 cups white whole wheat flour plus more for kneading
1 cup unsweetened room temperature applesauce
1 large or 2 small apples ( about 2/3 cup shredded apple)
1/4- 1/2 cup warm water
1 tablespoon maple syrup or honey
2 teaspoons active yeast
1 teaspoon salt
1 tablespoon or so plant milk or water
1 tablespoon plant based butter (optional for rubbing on finished bread)
Grab the apples and shred them until you have 2/3 cup shredded apple. In a large bowl, mix together the applesauce, shredded apples, yeast, 1/4 cup warm water, and sweetener.and let yeast activate for a few minutes. Add in salt, the all purpose flour and the 1 1/2 cups white wheat flour. Stir together until dough forms. The dough should be a little bit sticky so if the dough seems to dry, add in 1/4 cup more warm water. If it seems really wet, add in a handful more flour.
Dump dough out onto a well floured surface and knead for about 5 minutes adding a little bit of flour to the counter as needed to prevent it from sticking. Once dough is cohesive in texture, roll into a ball and place into a clean wet or oiled bowl. Cover with a damp towel and allow the dough to double in size. Should take between an hour and an hour and a half.
Once dough doubles in size preheat oven to 400
Dump risen dough back onto a well flour counter. Cut the dough into 3 equal sizes and roll each piece into long logs about 20 inches or so long. Place each roll next to each other and braid. Grab a baking sheet and line with a piece of parchment paper. Sprinkle with a bit of flour and place braided dough onto sheet, either as a braid or if you want, like I did, wrap the braid around itself into a rounded braid situation. Tuck ends into each other and under the loaf. Brush the top gently with a little plant milk or water and let rest for about another 15 minutes or so.
After the rest, place dough into preheated oven. Bake for 35-45 minutes (Less if left long braid, more if wrapped braid) or until the top is a deep golden brown and when tapped on the bottom, it sounds hollow. Also can use an insta read thermometer and check temperature. You want it to reach 190 degrees.
Once bread is baked, remove from oven. If you want the top to stay a little crispy, don%u2019t do anything but let it cool. For a softer, shinny crust, rub the top while it is still warm with some plant based butter.
Let bread cool completely before cutting.
Then eat it like you would eat bread. Any and every way.
Store cooled loaf in a airtight bag on counter for 2-3 days but if not eating that fast, slice and place into freezer. That way you can pull out individual pieces and toast as you want.
There are a million things you can, and should, do with tomatoes. Salsa is one of those things. Especially with the super fresh and ripe summertime tomatoes that may or may not be overflowing every empty surface of your kitchen (my current predicament). And peaches. Now is the time friends to eat your peaches. In season and oh so tasty. Do it now before it%u2019s too late and those oh so deliciously ripe and sweet peaches are gone and all that is left are mealy, gross, supermarket fakes. Only eat in season peaches. That is a life lesson everyone should know.
This salsa is perfect. Super fresh, sweet and slightly spicy, with a hint of tangy goodness and just, you, really freaking perfect. A salsa that hits all the right notes with out being overly anything and underly nothing if you know what I mean. All the tastes of summertime. A darn good salsa. Darn good.
This salsa also makes me a winner at the game I am playing with myself called %u201cGet the mr to eat tomatoes and like it”%u201c. The game started when he told me he was sick of tomatoes and he didn’t want to eat anymore. I made the salsa (which also made me a winner in the other game I play called %u201cGet the mr to eat fruit in his savory dishes%u201d, because he also tells me how much he hates fruit in savory), he tried the salsa, raved about the salsa, and then went and ate the rest of the salsa with his rice and beans. .
I win again! Haha
Anyway, super fast, super fresh, super super. A great way to use up a any of your shit load of tomatoes you might have laying around and to get in a few more of those summertime peaches before they are gone again for the year.
Now to the salsa.
The stuff. Cherry tomatoes, peaches, an onion, a jalape%u00f1o, a lime, a bunch of cilantro, salt and pepper, and a little vinegar.
Start by cutting up the tomatoes into quarters. Do this carefully or else you will have tomatoes rolling around everywhere. Place chopped tomatoes into a bowl.
Then dice up those peaches into small little pieces and toss into bowl with tomatoes.
Onion gets diced up too and placed into bowl.
Jalapeno, seeds removed, diced up nice and small. Get it into the bowl.
And cilantro. Give it a rough chop and into the bowl it goes.
A sprinkle of salt, lots of pepper (to taste of course), the juice of the lime, and a splash of vinegar. Mix it all up and there you have it.
Into a jar (or you can just keep it in the bowl if you want), and it%u2019s ready for eating. Chips, tacos, to top a salad%u2026 This salsa does it all. Heck, just eat it with a spoon. There is absolutely nothing wrong with that.
-C
Makes about 32 oz of the good stuff
1 overflowing pint cherry tomatoes (red, yellow, sun gold or a mix of any)
2 ripe but firm peaches
1 bunch cilantro
1-2 jalape%u00f1os (depending on how hot you want it)
1 small red or white onion
a lime
salt and pepper
splash red or white wine vinegar
Grab the tomatoes and carefully, so they don%u2019t roll away, cut each one into quarters. Place in a big bowl. Cut peaches in half, remove pit, and dice the flesh into very small little piece and toss into bowl. Now onion, dice that into small little pieces, along with the jalape%u00f1o and toss into bowl. Cilantro gets a rough chop then into the bowl it goes. Now sprinkle in a little salt and lots of black pepper. Add the juice of the lime and a splash of the vinegar and toss it all around. Let sit for a few minutes, taste, then season with more salt and pepper if needed. Can add more vinegar for more acid if needed too.
This salsa only gets better with a little age so you can definitely make it a day or two ahead of time.
Store in a bowl to serve or a jar for longer storage. Use within a 4-5 days of making it.
10 years ago, or maybe even longer, the mr and I planted 2 little blackberry canes in the way way back yard of our first house. Nothing big and we were not expecting much, which was good because for the years we lived there after that, nothing really happened with them beside becoming bigger and more thorny.
And then we moved and I kind of forgot about them.
But the other day while the mr was over there (we still own the building and have a barn that the mr works out of) he told me to go check out the bushes. Holy shit, those suckers are humongous, viscous as all hell, and were dripping (literally) with big, fat, juicy blackberries. So many in fact that I could barely pick them off before they all started to just fall off. I filled up two big containers, after eating like 2 pounds at least, and could have gotten more but I had no where else to stick them. Plus I was covered in gashed from the thorns. So I left the rest for another day.
I asked what the mr wanted me to make with the berries (in between eating big handfuls of the berries) and he asked for scones. So scones it was. Easy enough but I felt that I needed to add a little something something to spice it up a bit and that is why I added the black pepper. And because I like pepper and berried together and figured everyone will too. And let me tell you, so far they do, like really really do.
I mean who wouldn%u2019t like a sweet and spicy scone made with hand picked berries from berry bushes long ago planted with love that grew into monsters with thorns the size of knives that nearly killed me?
No one wouldn%u2019t. Everyone wants a scone.
And don%u2019t worry if you don%u2019t have killer blackberry bushes in which to harvest berries from. You can buy them too. Just won%u2019t be as special is all. HA.
To the scones.
The stuff. Flour, baking powder, baking soda, and salt are in the big bowl. Then there is coconut oil, almond milk, sugar, vanilla, and apple cider vinegar. And course ground black pepper and blackberries that I froze. You need to use frozen berries or else you will have yourself a hot mess.
Easy peasy. Dump pepper and sugar into the bowl with the rest of the dy and mix well. Dump in the solid coconut oil and cut it in like you would butter, until it is crumbly. Add in the milk, vinegar, and vanilla and gently mix until most the dough starts to come together, then add in in frozen berries.
Dump the dough onto a lightly flour surface. Yes, the dough is barely sticking together but that is alright, just smash and pat it until it sticks and comes together. Once together, pat it down into a round disk about an inch thick. Just know, as you are working it, the berries are gonna start to break apart which is totally fine, but your hands will turn purple.
Flatten and cut. Just about scones now, but not quite.
Place scones on a baking sheet and brush the tops with a little milk then lighty sprinkle more sugar and black pepper on the tops and then pop them into a hot oven.
Bakes and lovely and cooling ever so slightly..
Grab a plate, something hot to drink, and more berries because you can never have to many berries.
And eat. Still warm and all sorts of good.
Blackberry black pepper scone. Now you have them and everyone will want them. But know, there is no shame in hiding what you don%u2019t not want to share.
-C
makes 8-12 scones (depending how big you cut them)
2 1/2 cups all purpose flour
1/3 cup white sugar plus a tablespoon more for dusting tops
2 teaspoons baking powder
1/2 teaspoon baking soda
1 1/2 teaspoons course ground black pepper plus a little more for dusting tops
1/2 teaspoon salt
1/2 cup solid coconut oil
1 teaspoon vanilla
1 hefty cup frozen blackberries
1 tablespoon apple cider vinegar
3/4 cup cold plant milk plus about a tablespoon more for brushing on top
Preheat oven to 375
In a large bowl mix together the flour, baking powder and soda, salt, sugar, and pepper until well combined. Dump in the solid coconut oil and using a fork or pastry cutter, cut it into the dry until the mixture becomes crumbly. You do not want to fully incorporate the oil. Now dump in the cold milk, the vanilla, and the vinegar and gently mix until a dough starts to form. Dump in the blackberries and continue to gently mix until the dough just start to stick together.
Dump dough onto a lightly flour surface and gently squish, mush, and part the dough until it forms a ball. The berries will start to break apart and that is ok. Then flatten the dough into a disk that is about an inch thick. Take a knife of dough cutter and cut in half, then those halves into half, and then those halves in half. (8 pieces) You can even cut a few smaller if you want.
Place cut scones on a baking sheet and brush the tops with remaining milk then sprinkle tops with sugar and a little more pepper
Bake for 30 minutes or until golden brown. Once baked, remove from oven and place on a wire rack to cool.
Eat, warm of room temperature. Just don%u2019t wait too long.
Store left overs in airtight container at room temperature for 2 day, 3-5 in fridge, or freeze individual scones for months. Just pop them back into a hot oven for 10 or so minutes to reheat.
I recently found my old cast iron muffin pan hiding in the basement over at the loft. I totally forgot I had it and was very much happy to find it not covered in rust and still looking all nice and basically ready for use. Not even the seasoning and non stickness that I worked hard to produce on it was messed up, which is amazing because I also found another cast iron pan that I left down there and it did not fair as well. It had a little rust and was grimy. Fine by me, I didn%u2019t even want that pan anyway.
And that is basically why I made muffins. Because I wanted to use my muffin pan again.
These muffins. First off, muffins are muffins and are not meant to be a pain in the ass to make. This muffins are not, unless you think pitting cherries is a pain. For that I am sorry, but that is a small price to pay for a tasty ass muffin situation. Secondly, these muffins are well worth the tiny effort it takes to pit cherries because you end up with cherry muffins, and that alone should be enough of a reason. And the fact that they are damn tasty. The mr, who eats everything but never says too much about whatever is going into his mouth, texted me at 630 in the morning while I was at the gym just to tell me how amazing he thought they were%u2026.
Amazing at 630 am. That%u2019a validation.
Now go get yourself some cherries and make some muffins. And it is ok if you don%u2019t have a super sweet cast iron muffin pan. Most don%u2019t. But you are still cool, don%u2019t worry.
To the muffins!
The stuff. In the bowl is flour, rolled oats, baking soda and powder, salt and cinnamon. Also have cherries, brown sugar, almond milk, canola oil, apple cider vinegar, vanilla extract, and a lemon.
Hardest part of the whole shebang%u2026 pitting the cherries. Not my favorite thing to do, but definitely not the worst.
Do it any way you see fit, but I just cut them in half and kind of wedge the pit out with my thumb.
Once all the pits are removed, chop those sherries up into small pieces.
Then make the batter. Mix the dry together with the sugar and the zest of the lemon. Just make sure there are not huge clumps of the sugar in the mixture. Then add in all the wet and gently mix until combined. And then fold in the cherries.
Fill up well grease muffin pans with the batter then sprinkle a little brown sugar and a few oats on top.
Pop those soon to be muffins into a hot oven.
Remove the muffins from pan and let cool on a wire rack.
Cherry oat muffins. You are good.
-C
makes 11-12 muffins
1 1/2 cup all purpose flour
2/3 cup of old fashion rolled oats (plus 2 tablespoons to sprinkle tops with)
1/2 teaspoon baking soda
1 1/2 teaspoon baking powder
1/2 teaspoon salt
1/2 cup brown sugar (plus 2 tablespoons to sprinkle tops with)
1/2 teaspoon cinnamon
A lemon (juice and zest)
1 teaspoon vanilla
1 tablespoon apple cider vinegar
1 cup plant based milk
1/3 cup canola oil
Preheat oven to 350
First thing first, remove steams and pits from cherries. Do it any way that you want, but I find just cutting them in half and kind of popping the pit out with my thumb works best for me. Anyway, once the pits are remove, chop cherries up into small pieces.
Place flour, oats, baking powder and soda, salt, cinnamon, brown sugar, and zest of lemon into a big bowl. Mix together until completely incorporated. Make sure there are not huge clumps of brown sugar, if there are, break them up with your fingers. Add in the milk, oil, vanilla, vinegar, and juice of half a lemon. Gently mix until just incorporated. Now fold in chopped cherries.
Evenly scoop the batter into a well greased muffin tin. (There is enough batter for12 normal sized muffins.) Sprinkle the tops with the extra brown sugar and oats then pop the pan Ito the oven. Bake for 28-32 minutes or until the tops of the muffins are a nice golden brown and a taster poked into one of the muffins comes out clean.
When fully baked, remove muffins from oven and pop them out of the pan. Let cool on a wire rack but feel free to eat one or two warm.
Store any extra in an airtight container on counter for a day or two but in the fridge for about a week. Individual muffins can be wrapped and frozen for a good long will too.
Peaches are here. YAY!!! Peaches are for sure one of those fleeting fruits, one that once in season, you need to eat as many fresh as you can because once they are out of season, they are not good. Not good at all. And me being me, I see peaches, I buy a shit load, and now I have a fridge drawer full. Not complaining in the slightest, but peaches cannot sit around all summer waiting to be eaten. So if you are going to buy a shit load, know what you are going to do with them all.
My peaches, well they haven%u2019t had to wait long. I have been eating at least a peach a day and%u2026 I made these bars with a few. Sharing my peaches, thats what I do. HA.
These almond peach shortbread bars. Fantastic A+ on all fronts. Easy to make, not a whole heck of a lot of ingredients, make the house smell amazing, and really kick off the peach, summer vibe thing that goes on around here.
‘%u201cMillions of peaches, peaches for me. Millions of Peaches, peaches for free%u201d %ud83c%udfb6 (Peaches by The Presidents of the United States of America. If you have%u2019t head the song, look it up. I don%u2019t think I can even look at a peach without hearing the song in my head.)
Now to the peach almond shortbread bars!
The stuff. Peaches, almonds, vegan butter, brown sugar, flour, cinnamon, salt, and baking powder.
Easy peasy. Almonds go in to food processor first. Blend and pulse for a minute or two until they turn into a medium fine almond meal. (Don%u2019t over blend or you will end up with almond butter.) When almonds are ground, add in the flour, baking powder, salt, cinnamon, and sugar. Pulse until combined. Then add in the butter in chunks and pulse until dough just starts to come together.
Half the dough goes into a 9×9 baking pan. Smooshed evenly all over the bottom poke it with a fork. Then it just needs to go into the oven to bake. 15-18 minutes or so, just until it starts to brown a bit.
Peaches need to be cut so cut them up. !/2 inch thick slices, after the pits be removed of course.
Blinded baked bottom. Looks good yeah? Let it cool for a few minutes and then it gets peaches. Three rows, all over lapping and nestled together.
The top gets the remaining half of dough and is now it%u2019s ready for the oven. Another 40-ish minutes or so to really seal the deal.
Taken from the oven when golden brown, cooled, cut up, and placed on a pretty plate because pretty is nice.
I am pretty sure you figured out what to do next%u2026. EAT IT!
-C
makes a 9×9 pan which can be cut Into the sizes of your choice
1 cup vegan butter
1 cup packed brown sugar
2 cup cup all purpose flour
1 cups raw almonds
1 teaspoon baking powder
1 teaspoon salt
3 large firm peaches
1 heaping teaspoon cinnamon
Preheat oven 350
Place almonds into a food processor and pulse and blend until a fine meal has formed. It should take only a minute or two and stop half way and scrape the edges and sides do the almonds don%u2019t start to form a paste. Add in the flour, salt, baking powder, cinnamon,and sugar and pulse until combined. Add in the vegan butter in a few chunks and pulse until the mixture turns into a crumbly dough. Stop pulsing and dump mixture into big bowl.
Take half of the mixture and place into a 9×9 baking pan. Evenly distribute and press the dough into the bottom. Take a fork and poke the dough all over then place the pan in the oven. Bake for 15-17 minutes or until the dough just starts to lighly brown. Remove from oven.
While the bottom crust is cooling off for a few minutes, slice peaches into 1/2 inch slices. Obviously make sure to remove pit.
Now take your half baked crust and layer peaches evenly on top. It is easies to start at the top, make three rows across and then layer the peaches down (like in the picture above). Once peaches are layered, grab the remaining half of dough and evenly distribute on top. Place back into oven and bake for another 40-45 minutes or until the crumble on top is a nice deep golden brown.
Remove from oven, let coo completely (or as completely as you can) cut into pieces, and then you eat it.
Left over pieces should be placed in an airtight container in the fridge for up to 5 days. They freeze well individually wrapped too.
blind back for about 15 minutes of until the crust is starting to brown around the edges
bake for another 30 minutes
I found another bag of frozen rhubarb in the chest freezer which is never a bad thing, but my rhubarb patch outside is growing strong and I will have all the fresh rhubarb I could possible eat within the next few weeks. So found rhubarb just means I need to eat it right fast before the fresh stuff comes in. (I haven%u2019t had a problem with that. it%u2019s almost gone already). Plus the other day while I was digging up and transplanting raspberry bushes to the back yard, my neighbor came over and gave me a gallon of frozen raspberries, harvested from said bushes that I was currently planting in my yard. Score for me! Free bushes and berries%u2026I have such nice neighbors.
So the logical thing to do with my new found and giving bounty was of course to hurry up and bake something. Cobbler. Why cobbler? Well, why not? I figured the mr would really like it and eat it and I also didn%u2019t want to make anything to fussy because I was just to dang busy spending all of my extra time outside doing outside things. And cobbler, it%u2019s not fussy because it is basically biscuits and jam baked up all together. Not a lot to think about and comes out looking all homey and sweet and smelling all nice and cozy. Doesn%u2019t that sound nice? And not a pain in the ass?
And best part. A made cobbler works as dessert or breakfasts or just a snack. Just asked the mr. He ate it for all the reasons. With a dollop of yogurt or cream of course because he is fancy like that.
And yeah the fruit I used was frozen, but fresh works just the same here too.
Now, lets get to that cobbler.
The stuff. Raspberries (frozen), rhubarb (frozen), sugar, flour, salt, baking power, cinnamon ,almond milk, apple cider vinegar, cornstarch, and oil.
Raspberries, rhubarb, sugar, cinnamon, cornstarch. Its all there in the bowl. Just needs to be mixed. So mix it.
Dump fruit mixture into well greased 8 inch pan and pop it into a hot oven to get a head start on baking.
While the fruits in the oven, make the biscuit dough. Mix the dry together then mix in the wet until just incorporated and a sticky dough forms.
Pulled from the oven, the fruit is starting to cook down and whoa, it just smells so good!
Drop on the biscuits dough on top of the fruit (careful of the hot pan). Evenly if possible, but don%u2019t work to hard to make it look perfect. Imperfection makes it look perfect, you know?
Once biscuits are on, lightly brush the tops with a little milk and sprinkle with more sugar then pop it back into the oven for another 25-30 minutes or until the biscuits are baked.
Pulled from the oven with a bubbly filling and a golden brown biscuity top. Things are looking good here.
And now it%u2019s time.
Dig on in my friend. Sever with something creamy like whipped coconut cream or some type of yogurt or ice cream situation of your choice. And again, this can be your breakfast.
Happy spring people!
-C
make a a 8 inch round which serves 5-6
For the Filling
2 cups raspberries (fresh or frozen)
2 cups rhubarb chopped into 1/2 inch to inch long pieces (fresh or frozen)
1 1/2 tablespoons corn starch
3/4 -1 cup sugar (lesser amount if you like a little more tartness. I used lesser amount)
1 teaspoon cinnamon
For the dough
1 cups all purpose flour
1 1/2 teaspoon baking powder
1/2 teaspoon salt
3 tablespoons sugar
3 tablespoons neutral flavored oil
1/2 cup plant based milk
1 teaspoon apple cider vinegar
Preheat oven to 350.
In a large bowl mix together the rhubarb and raspberries with the corn starch, sugar, and cinnamon. Grease a 8 inch round pan the is at least 2 inches deep (can use a slightly large pan or a square) and dump in fruit mixture. Place into oven to bake for about 15 minutes or the fruit starts to break down.
While fruit is baking, mix up biscuit dough. Flour, salt, 2 tablespoons sugar, and baking powder go in a large bowl and mixed until combined. Add in the oil, the milk, and the vinegar. Mix until just incorporated and a dough has formed.
Remove the fruit cooking from the oven. Turn heat up to 375.
Carefully drop spoonfuls of biscuit batter on top of fruit. Brush the top of the biscuits with a little milk and sprinkle with remaining tablespoon sugar. Place the pan back into the oven and bake for another 25-30 minutes or until the biscuits are all nice and golden brown on top.
Remove from oven and let cool for a few minutes before serving. Serve warm with a scoop or dollop of soothing creamy (coconut cream, yogurt, ice cream%u2026..whatever floats your boat.)
Left overs can be stored in pan, just cover it with something and place in fridge. Can be eaten cold to or reheated in microwave or oven.
It%u2019s a smoothie. And no, we have never really been smoothie people in this house, but what can I say, sometimes smoothies happen, especially when you have about 20 ripe bananas in the fruit bowl with no room in the freezer and no need for 7 loafs of banana bread.
So I smoothied. And I like it (a lot).
This is a smoothie of simplicity. Nothing fancy. Simplest of simple. Straight to the point. And all sorts of good.
You might think, does this simple smoothie you speak of taste very good? Yes, yes indeed it does. It is all sorts of fantastic. Basically if you like creamy, nutty, oaty, bananery things, you will like this. And it%u2019s a perfect breakfast, snack, dessert, or just wanting a little treat like thing that is not garbage food. A smoothie of all smoothies with the most basic ingredients. And takes about 15 seconds to whip up. Can%u2019t complain about that.
To the smoothie goodness!
The stuff. A ripe banana, some old fashion rolled oats, a pinch of salt, water, and a smidge of maple syrup if you want it.
Everything goes into blender.
And blended until smooth. Hence the word smoothie.
Pour it into a cup (or if you are feeling primal, drink it straight from the blender%u2026 it%u2019s totally cool)
And done.
A banana oat smoothie.
Let the good time roll!
-C
makes 1 smoothie
1 very ripe banana
1/3 cup raw old fashion oats
1 1/2 cups water
pinch of salt
a tablespoon or two of any sweetener you like (optional)
a pinch of cinnamon (optional)
Place everything into a blender and blend until smooth. Pour into a cup, sprinkle with cinnamon if you wish, and drink right away.
When your neighbor tells you to pick as many raspberries as you can, well you go pick as many raspberries as you can. Just a few houses down the street, she has a yard full of the heaviest fruited raspberry bushes that have seen. So I grabbed my biggest mixing bowl and went at it. So many raspberries, they were basically falling off into the bowl (and into my mouth). Fresh raspberries, there is not much better.
And she wants me to come back for anther round. We have good neighbors.
I had quite the raspberry loot. The mr and I ate some (maybe too many), froze some, and then I made danishes for no other reason then I wanted to. And that was a just decision because everyone loves a good danish.
And these were good, or sooo good, according to the mr. He ate half while the other half were demolished when I brought them to my moms for dessert which was the plan so it worked out. People and their danishes. It%u2019s a thing you know.(No, not really)
Now to the danishes!
The stuff. Fresh raspberries (You can use frozen or if you really want, raspberry jam) flour, sugar, salt, plant milk, oil, yeast, a lemon, powdered sugar, vanilla. and that is it.
Start with mixing the yeast with the oil, milk, and sugar in a large bowl. Add in the flour and slat ads mix mix mix until you can%u2019t mix no more.
Dump onto a floured surface aaaaaanf. Knead. 5-8 minutes until the dough is all soft and smooth and uniformly dough.
Place the dough into cleaned bowl and cover. Set somewhere warm to rise.
In the mean time, make raspberry jam. Place raspberries and sugar into a pot and cook down until mixture is thick and jam like. Once the mixture sticks to a spoon like warm jam, turn heat off and let cool.
Dump dough out and cut into 12 equal pieces. Roll each piece into ball then roll out into a dish about a 1/2 inch thick.
Place dough disks onto splat or parchment lined baking sheet then indent each dough disk with a spoon or your fingers. Dollop a good plop of raspberry jammy into said intents. Once they are all jammed, pop them into the oven to bake. 15-18 minute should do it.
Look at those. Get them out of the oven and on to a wire rack for cooling time.
Make glaze. Sugar, lemon zest, vanilla, and lemon juice Mix until combined and yeah, that it glaze.
Drizzle the glaze all over those lovelies.
And then you eat becucae that is why you made them.
Share with your people. Or just eat them all to yourself, you made them and they are yours.
-C
makes 12
4 cups of all purpose flour
1 teaspoon salt
2 teaspoons yeast
1 cup room temperature plant based milk
1/2 cup neutral oil
1/3 cup white sugar
For raspberry jam
1/4 cup white sugar
2 cups fresh raspberry
For glaze
1 lemon
1 1/2 cups powdered sugar
splash of vanilla
In a large bowl combine the yeast, sugar, oil and milk. Really mix well and let sit for a minute to just get yeast activated. Dump in flour and salt and mix with a wooden spoon or whisk until it becomes to hard to stir. Dump mixture onto a lightly floured surface and knead dough for about 5-8 minutes or until the dough is soft and smooth. Place dough in a clean bowl and cover and let rise for about an hour or so or until the dough doubles in size.
While dough is rising, make raspberry jam. Mix raspberries and sugar together into a pot and place on medium heat on stove. Let cook for a couple minutes and once the raspebrries start to break down, stir. Let mixture cook down for about 10 minutes, stirring often, until the mixture becomes thick and sticks to a spoon like warm jam should. Take off heat and let cool.
Preheat oven to 350
Once dough has doubled in size, dump onto it onto a floured surface and with a knife or dough scraper, cut into 12 equal sized pieces. Roll each piece into a ball then flatten out into a disk about 1/2 inch thick. Place dough disks on a parchment or splat mat lined baking sheets (you will need 2). With a spoon, lightly push a intent into the center of each disk then place a good plop or the cooled raspberry jam into the intent. Once all the dough has its berries, place the baking sheets into the oven to bake, for about 15-18 minutes, or until the danishes are a nice golden brown.
When they are done baking, remove from oven and place on wire rack to cool.
While cooling, make the glaze. Zest lemon and place in a bowl with the powdered sugar and vanilla. Add in half the juice of the lemon and stir until completely combined. If the mixture is too thick, add more juice, to thin, add a little more powdered sugar.
And once the danishes are cooled, drizzle on the glaze. And then thats it. You can eat them now.
Any left over why are there left overs?) should be stored in a airtight container for a few days at room temp or in the fridge . They also freeze well.
It started a few nights ago when I was eating my after dinner dessert snack. A big bowl of fresh strawberries. But there was something missing. I wanted a little something else to add to my dessert so I opened the freezer to see if there was any frozen bananas. What caught my eye was the bag of peas. And it just seemed right so I poured some into a bowl, dumped hot water on them to thaw, and mixed them into the bowl with the strawberries. Now I got to tell you, it was one of the most satisfying delicious desserts I have had in a long time. Think about it. Peas are sweet and creamy and strawberries are sweet and tart. The combination might seem a little strange but haven%u2019t we learned by now that I am always right about flavors? HAHA. But really. It%u2019s one of my new favorite snacks.
Now how to share my newfound love of peas and strawberries? Well cake of course. I figured people are less hesitant to try new flavor combinations when in cake form because everyone wants cake. And I was right. Plus it is a real looker if I do say so myself. Bright green cake with bright red strawberry glaze. A spring time snack with the spring time feels. Everything about this cake is right on point with all the things. And it is super fast and easy to make to boot because it%u2019s all thrown together in a blender.
You really can%u2019t go wrong here friends. And if you happened to be needing a little something something to snack on with your mama this weekend, well I think you just found the perfect snack.
Now to the cake!
The stuff. Peas,strawberrie jam of perceives (I had just made it so it is still warm) Flour, sugar and powdered sugar, baking soda and powder, salt, oil, and vinegar.
Super easy here. Place peas into blender and blend until smooth. Add oil and sugar and blend until incorporated. Then add in all the dry. Before you blend, take a spoon or spatula and hand mix it a little. Add in a cup of water and vinegar then pulse until incorporated. Don%u2019t over blend it or else it will be tough.
Pour batter into a well greased pan and pop into a hot oven. Bake.
Afer about 25 minuts, check for doneness. When the fork or tester comes out clean, it is done!
Pop cake out and let cool on a wire rack.
And glaze. Warm up the jam in the microwave on on stove until loose then mix jam with powdered sugar.
When the cake has cooled, grab a fork and stab holes all over so when you pour glaze on it will kind of seep into said holes.
Pop cake back into pan (or don%u2019t if you dont want too) and pour glaze all over top.
A dusting of powdered sugar for looks and done and done. Cut into squares, pop a piece on a plate, and snack away.
-C
makes a 9×9 cake
2 cups all purpose flour
3/4 cup white sugar
1 1/3 cups sweet peas (fresh or frozen and thawed)
1 cup water
1/3 cup oil
1/2 teaspoon salt
1 teaspoon baking powder
1 teaspoon baking soda
1 tablespoon vinegar
1 cup powdered sugar
3 tablespoon strawberries jam or preserves
Preheat oven to 350
Place peas into blender ans blend until smooth. Add in oil and sugar and blend until incorporated. Next add in baking soda and powder and then flour on top. Grab a spoon or spatula and mix a little to give the batter a head start then add int he water and vinegar. Pulse in blender for a few seconds, scrap sides, then pulse again until it just become a cohesive batter. Don%u2019t oven blend it or that cake will be tough.
Pour batter into a well greased 9×9 baking tin and place into hot oven. Bake for about 25 minutes or until golden brown and a tester comes out clean. When it is done, pop out of oven and pop cake out of tin to cool on a wire rack.
Once cake is cooled, place back into baking pan. Mix together the powdered sugar and jam then either microwave it or heat on stove for 30ish seconds until warmed and pourable. Grab a fork and stab holes all over top of cake then pour glaze all over.
Sprinkle some more powdered sugar on top for looks, but other then that, it%u2019s now time to eat.
Cake that is not eaten is best keep at room temperature for 2-3 days. Can be frozen too.
I don%u2019t really understand the pineapple Easter correlation. I think it might have something to do with ham, but you know what, I really don%u2019t care that much to figure it out. (Okay, I googled it and it is ham related.)
So no ham here but I am all about the pineapple. Last week when I did my grocery shop there were a shit ton of pineapples on sale, so I grab a few figuring that me and the mr would eat them for next week or so. Up until last week, I was positive that the mr really liked pineapple. Until I cut one up. Turns out the mr , for some reason, now doesn’t like pineapple that much. What. the, HELL!? This was new news to me. I swear he just says these things to piss me off, but whatever, I guess he is not a fan anymore and it just means more pineapple for me.
But I also made a cake with some of the pineapple because I had so much and also I just wanted to bake a cake. And guess what, turns out the mr does like pineapple, just as long it is in cake form. I should have known.
To the upside down cake!
The stuff. A pineapple, flour, baking soda and power, salt, brown sugar, coconut oil, vanilla and apple cider vinegar.
Cut up pineapple. If you want to get fancy, garb a cookie cutter and cut out pineapple shapes for the upside down part. Or just cut up 1/2 inch slices or rings. however you want.
Get the pan ready. Grease a pan, add a parchment bottom. place about a tablespoon coconut oil into pan and coat bottom of pan then evenly sprinkle in about 1/2 cup brown sugar. Layer in your pineapple.
In a large bowl, whisk together the dry ingredients%u2026 (a bowl bigger then mine)
Place pineapple into blender (use scraps if you have them) and blend until smooth. Add in the brown sugar, coconut oil, vanilla, and vinegar and blend until combined.
Pour wet into dry and whisk until combined.
Pour batter over pineapple and into the oven it goes.
Oooooh. Cake. Are you just so excited! You should be, it is an exciting time.
Give it a few minute before flipping it.
Flipped and revealed. So pretty!
Now it%u2019s cake time so get down on it.
-C
makes a 12 round or 9×13 inch rectangle cake
2 1/4 cups all purpose flour
1 teaspoon baking soda
1 teaspoon baking powder
1/2 teaspoon salt
3/4 cup brown sugar plus 1/4 cup
1/2 cup warm coconut oil plus 1 tablespoon
1 1/2 cups pineapple pureed which Is about 1/2 a small pineapple
About 1/4 pineapple for bottom
1/4 cup water
I tablespoon apple cider vinegar
Preheat oven to 350 degrees.
First get the pineapple cut up any way you usually do it. If you want specific shapes for the pineapple bottom, keep that in mind and cut the pineapple accordingly. You are going to want the pieces (like the circles that I used) to be about 1/2 inch thick. And if you are using a cut out, my suggestion is to cut out all the pieces that you need to use and use the cut out scrapes to puree.
Grease and parchemnt line a 12 inch round or 9×13 inch rectangle cake pan. Evenly spread a tablespoon coconut oil on parchment then evenly coat with 1/4 cup of brown sugar. Place pineapple cut outs or pieces into pan. It is fine if pineapple pieced overlap a bit but make sure to not go much thicker then1/2 inch in places.
In a large bowl whisk together the flour, baking power and soda, and salt.
Place 1 1/2 cups of chopped pineapple into blender and blend until smooth. Make sure it equals 1 1/2 cup pureed. Add in 1/4 cup water, 3/4 cups brown sugar, 1/2 cup warm coconut oil, vanilla, and the vinegar and blend until completely smooth. Pour mixture into the bowl with the whisked dry ingredients and mix until combined. Pour cake batter gently over pineapple in pan.
Bake for 45-50 minutes or until the cake is a nice golden brown and a tester poke comes out clean.
Remove cake from oven and let cool for about 5 minutes, then invert pan onto a wire rack or plate and remove pan gently. The cake should pop out easily with the parchment attached. Peel parchment off and if any of the pineapple cokes loose, jus stick it back on.
And then cake. Eat it.
Pudding is comfort. Pudding is simple. Pudding is just that, nothing but pudding. And if you add some graham cracker crumble, well you got yourself a pudding parfait. And a pudding party of sorts, if you need one.
Now do you, like me, think about grade school when you see pudding? Or how about Billy Madison. Oh hell yeah, definitely watching Billy Madison, in grade school, with a snack pack. HA. Those were some days right there. And with all the littles being homeschooled these crazy days, I figured why not bring in a bit of the grade school feeling into the routine and make some pudding for an after lunch or after %u201cschool%u201d snack. For the routine purposes and also as a form of a bribe. Yes. You can bribe your children with pudding. Or your partner. The mr got his pudding too, just after he dealt with the recycling on the porch.
And plus. Oat milk. You got a stash? Yeah? Well use it in this pudding. It will make you glad you panicked bought 10 cartons and hid them under your mattress. Right next to all the canned beans of course.
Now to the pudding!
The stuff. Oat milk (use any milk you want or have), cocoa powder, brown sugar, corn starch, brewed coffee (optional), vanilla extract, graham crackers, coconut oil, and a little salt.
Start with a pot. Mix in the cocoa powder, brown sugar, and corn starch, and pinch of salt. Add in a little milk and coffee if using and mix around until its a thick paste and everything is incorporated.
Now add in the rest of the milk and place on medium heat on the stove. Heat up for about 3ish minutes and once it starts get hot and you see a bubble or two, start whiskingand don%u2019t stop. Whisk all around pot, all over the bottom, so no spot start to burn. Whisk whisk whisk, until it thickens to pudding consistency. Should take 3-5 minutes.
Once thick and pudding like turn heat off and add in the vanilla and chocolate chips. Whisk until completely melted and incorporated.
Silky and smooth. Hot pudding.
Pour the pudding into a jar or bowl and place into the fridge to set. 1- 2 hours.
In the meantime, graham cracker crumble. Smash up the crackers into a bowl, (big chunks are good) and add in the melted coconut oil and a tablespoon of brown sugar.
Mix around until evenly incorporated
Dump the crumbs onto a baking sheet and stick into the oven to toast up for about 10 minutes.
And now you assemble. Graham crumble on a vessel, topped with pudding, more crumble, and whatever whipped cream, yogurt, ice cream situation you might want to top it with.
Pudding. All for you to eat.
-C
make 4-6 serving
2 cups oat milk (can use any milk you have on hand)
1/3 packed cup brown sugar
2 tablespoon brewed coffee (optional but makes it a little more deep and chocolatey)
3 tablespoon cocoa powder
1/3 cup chocolate chips
2 tablespoons cornstarch
pinch of salt
1 teaspoon vanilla extract
For Graham Cracker Crumble
6 full sheets of package of graham crackers
2 tablespoon melted coconut oil or vegan butter
1 tablespoon brown sugar
In a medium size pot mix together the cocoa powder, brown sugar, corn starch, and a pinch of salt. Add in the coffee if using, and about 1/2 cup of milk. Mix until all the ingredients are evenly incorporated and the mixture is kind of pasty. Place pot on stove on medium heat and add in the rest of the milk . Let mixture heat up for a few minutes and once it starts to warm, start whisking. Whisk consistency until the mixture heats up and thickens to a pretty thick pudding consistency. Remove from heat, add in the chocolate chips and vanilla and keep whisking until the chocolate completely melts it.
Pour pudding into a jar or bowl and place into the fridge. 1-2 hours to cool and set.
In the meantime make the graham cracker crumble. Preheat oven to 350. Crush up crackers into a bowl (some big chunks are good) and mix in the brown sugar and melted coconut oil. Mix around until the crumbs are evenly moisten. Dump the crumble onto a baking sheet and place into oven for about 10 minutes or until the crumble is a nice deep golden brown. Remove from oven and let cool.
Once the pudding is set and the crumble is toasted, it is time to assemble. Scoop some crumble into a bowl or jar, add in some pudding, then top with more crumble. If you want, top with a dollop of something creamy like whipped cream, yogurt, or even ice cream.
Eat.
IF there is pudding and crumble left over, store the pudding I the fridge (will last a few days) and the crumble separately at room temperature in a airtight container.
I have been on a good long kick here with eating oats at night for my after dinner snack. Just about every night after cleaning up the dinner dishes, sweeping the floors, going for a nice after dinner walk with the mr, I come home, put the hot water on, grab my oats, my peanut flour, and sometimes a banana. As soon as the water boils I mash up some banana (if using), add in some oats, pour in some boiling water, and let them sit. I also pour a huge jar of tea then plop my butt down at the counter to do any brain tasks that need doing like checking the email, left over billing things, maybe check the old phone for the first time in hours%u2026 After about 5 minutes of that, I stop brain tasks because I just can%u2019t, grab oats, and dump in a few big ass tablespoons of peanut flour and cinnamon and give it a good stir. Voila, snack time. A delicious, nutritious, tummy filling and easy dish that is full of all sorts of things that my body needs. I grab a spoon, my tea, and open my book. For sure one of my favorite times of day.
Now lets talk about peanut flour. I have been eating peanut flour for a few years now. Not to confuse with powered peanut butter which is basically peanut flour but usually with added sugar and salt. Peanut flour is just peanuts, with the oil pressed out and then ground up into a super fine flour. And not a flour is the typical sense. Like you can%u2019t make bread with it, but you could add it to bread. You can also use it to thicken things like soups or sauces up. Or add it to smoothies, make a cake frosting with it , or just mix it with a little water and eat it with a spoon. It is delicious and amazing and full of protein without all the added fat and high calorie content. I started to add it to foods because of the protein but now I just eat it all the time because I freaking love the stuff. (Another favorite way to eat it is cut up carrot sticks tossed in the flour%u2026 SO GOOD!) Anyway, truth be told, it is not the most widely available stuff. I have only seen it in a few store over the years, so I have been buying it online. But recently someone told me that Trader Joes is selling it now (I haven%u2019t checked yet) so I figured now is a good time to share the greatness of the flour and how you might want to use it.
Anyway, these oats here are my favorite way to eat oats. Warm and creamy, but not cooked and gruel like. They are like a cross between stove top oats and overnight oats except they take all of 5 minutes to make and you don%u2019t need to dirty a pot. Then mixed with banana for extra sweetness and flavor, the peanut flour for all the peanut butter taste and protein. These oats are unstoppable.%u00a0 Delicious and nutritious for breakfast, lunch, snack time, or dessert, these oats are all win win. Add another win just because. Win, Win, WIN!
Now to the oats!
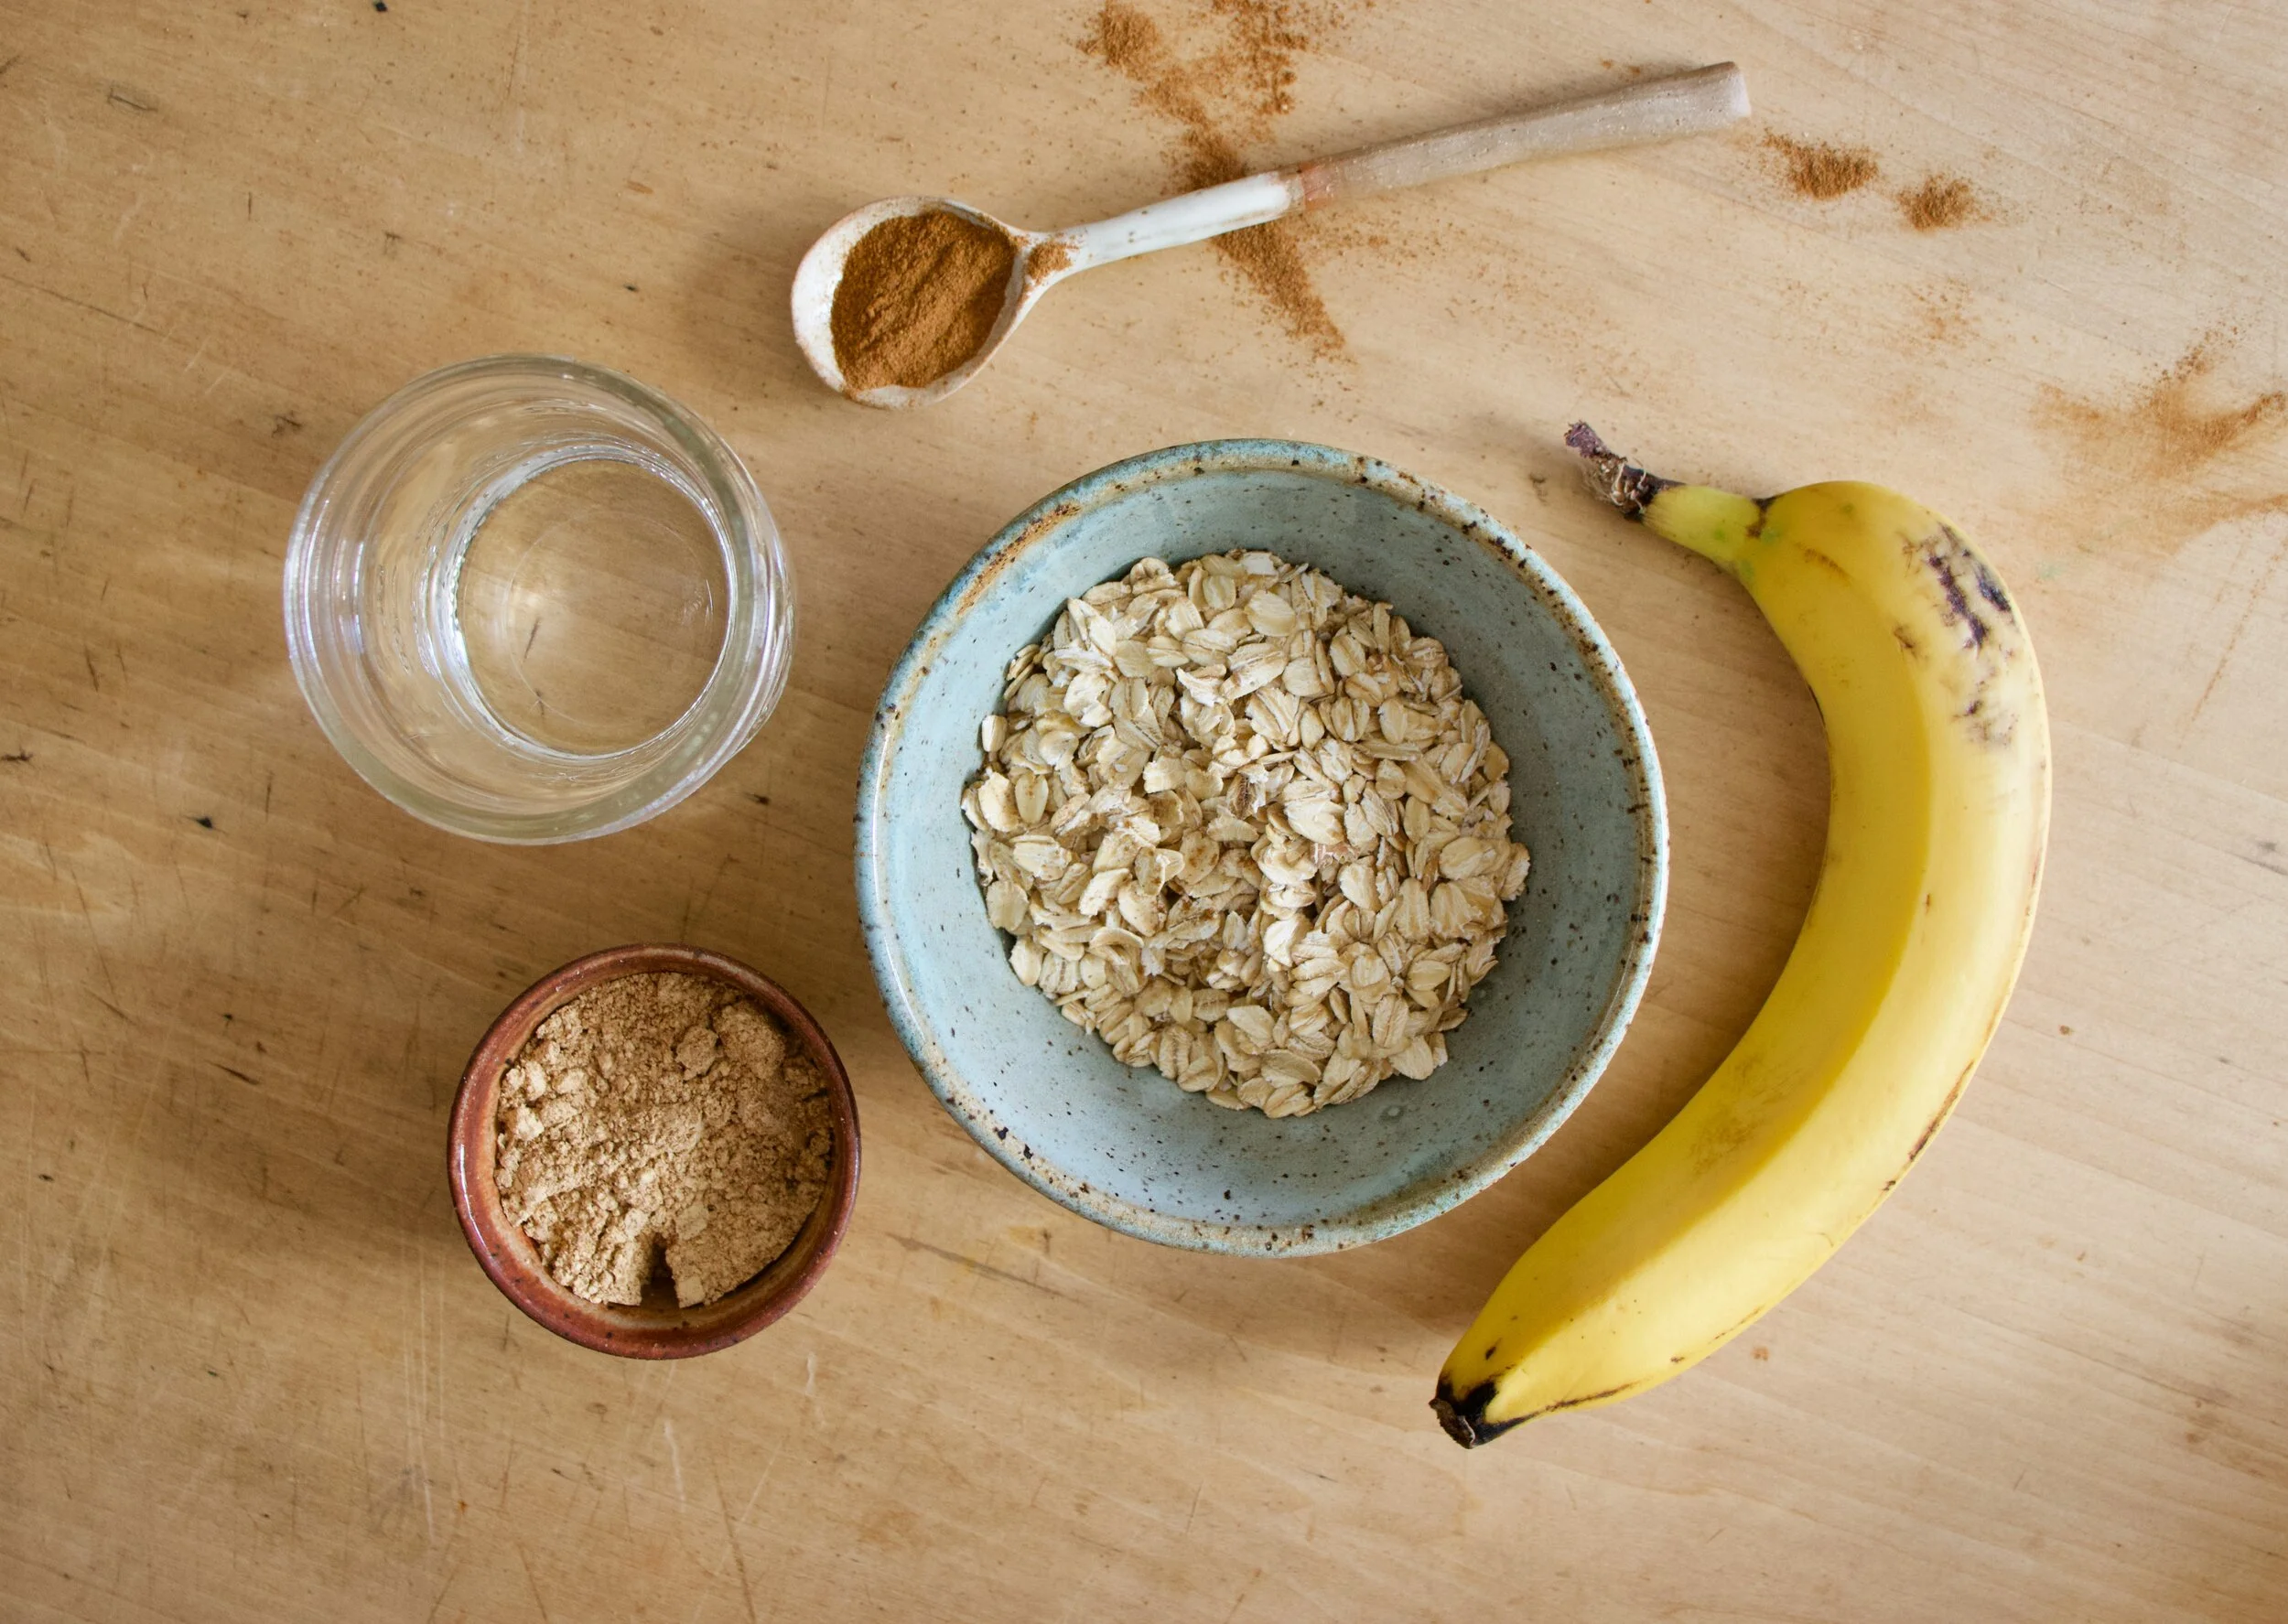
The stuff. Old fashion oats, a small banana, peanut flour, cinnamon, and boiling hot water.
Mash up the banana until smoothish then add in half the hot water and mix. Dump in the oats and mix those too.
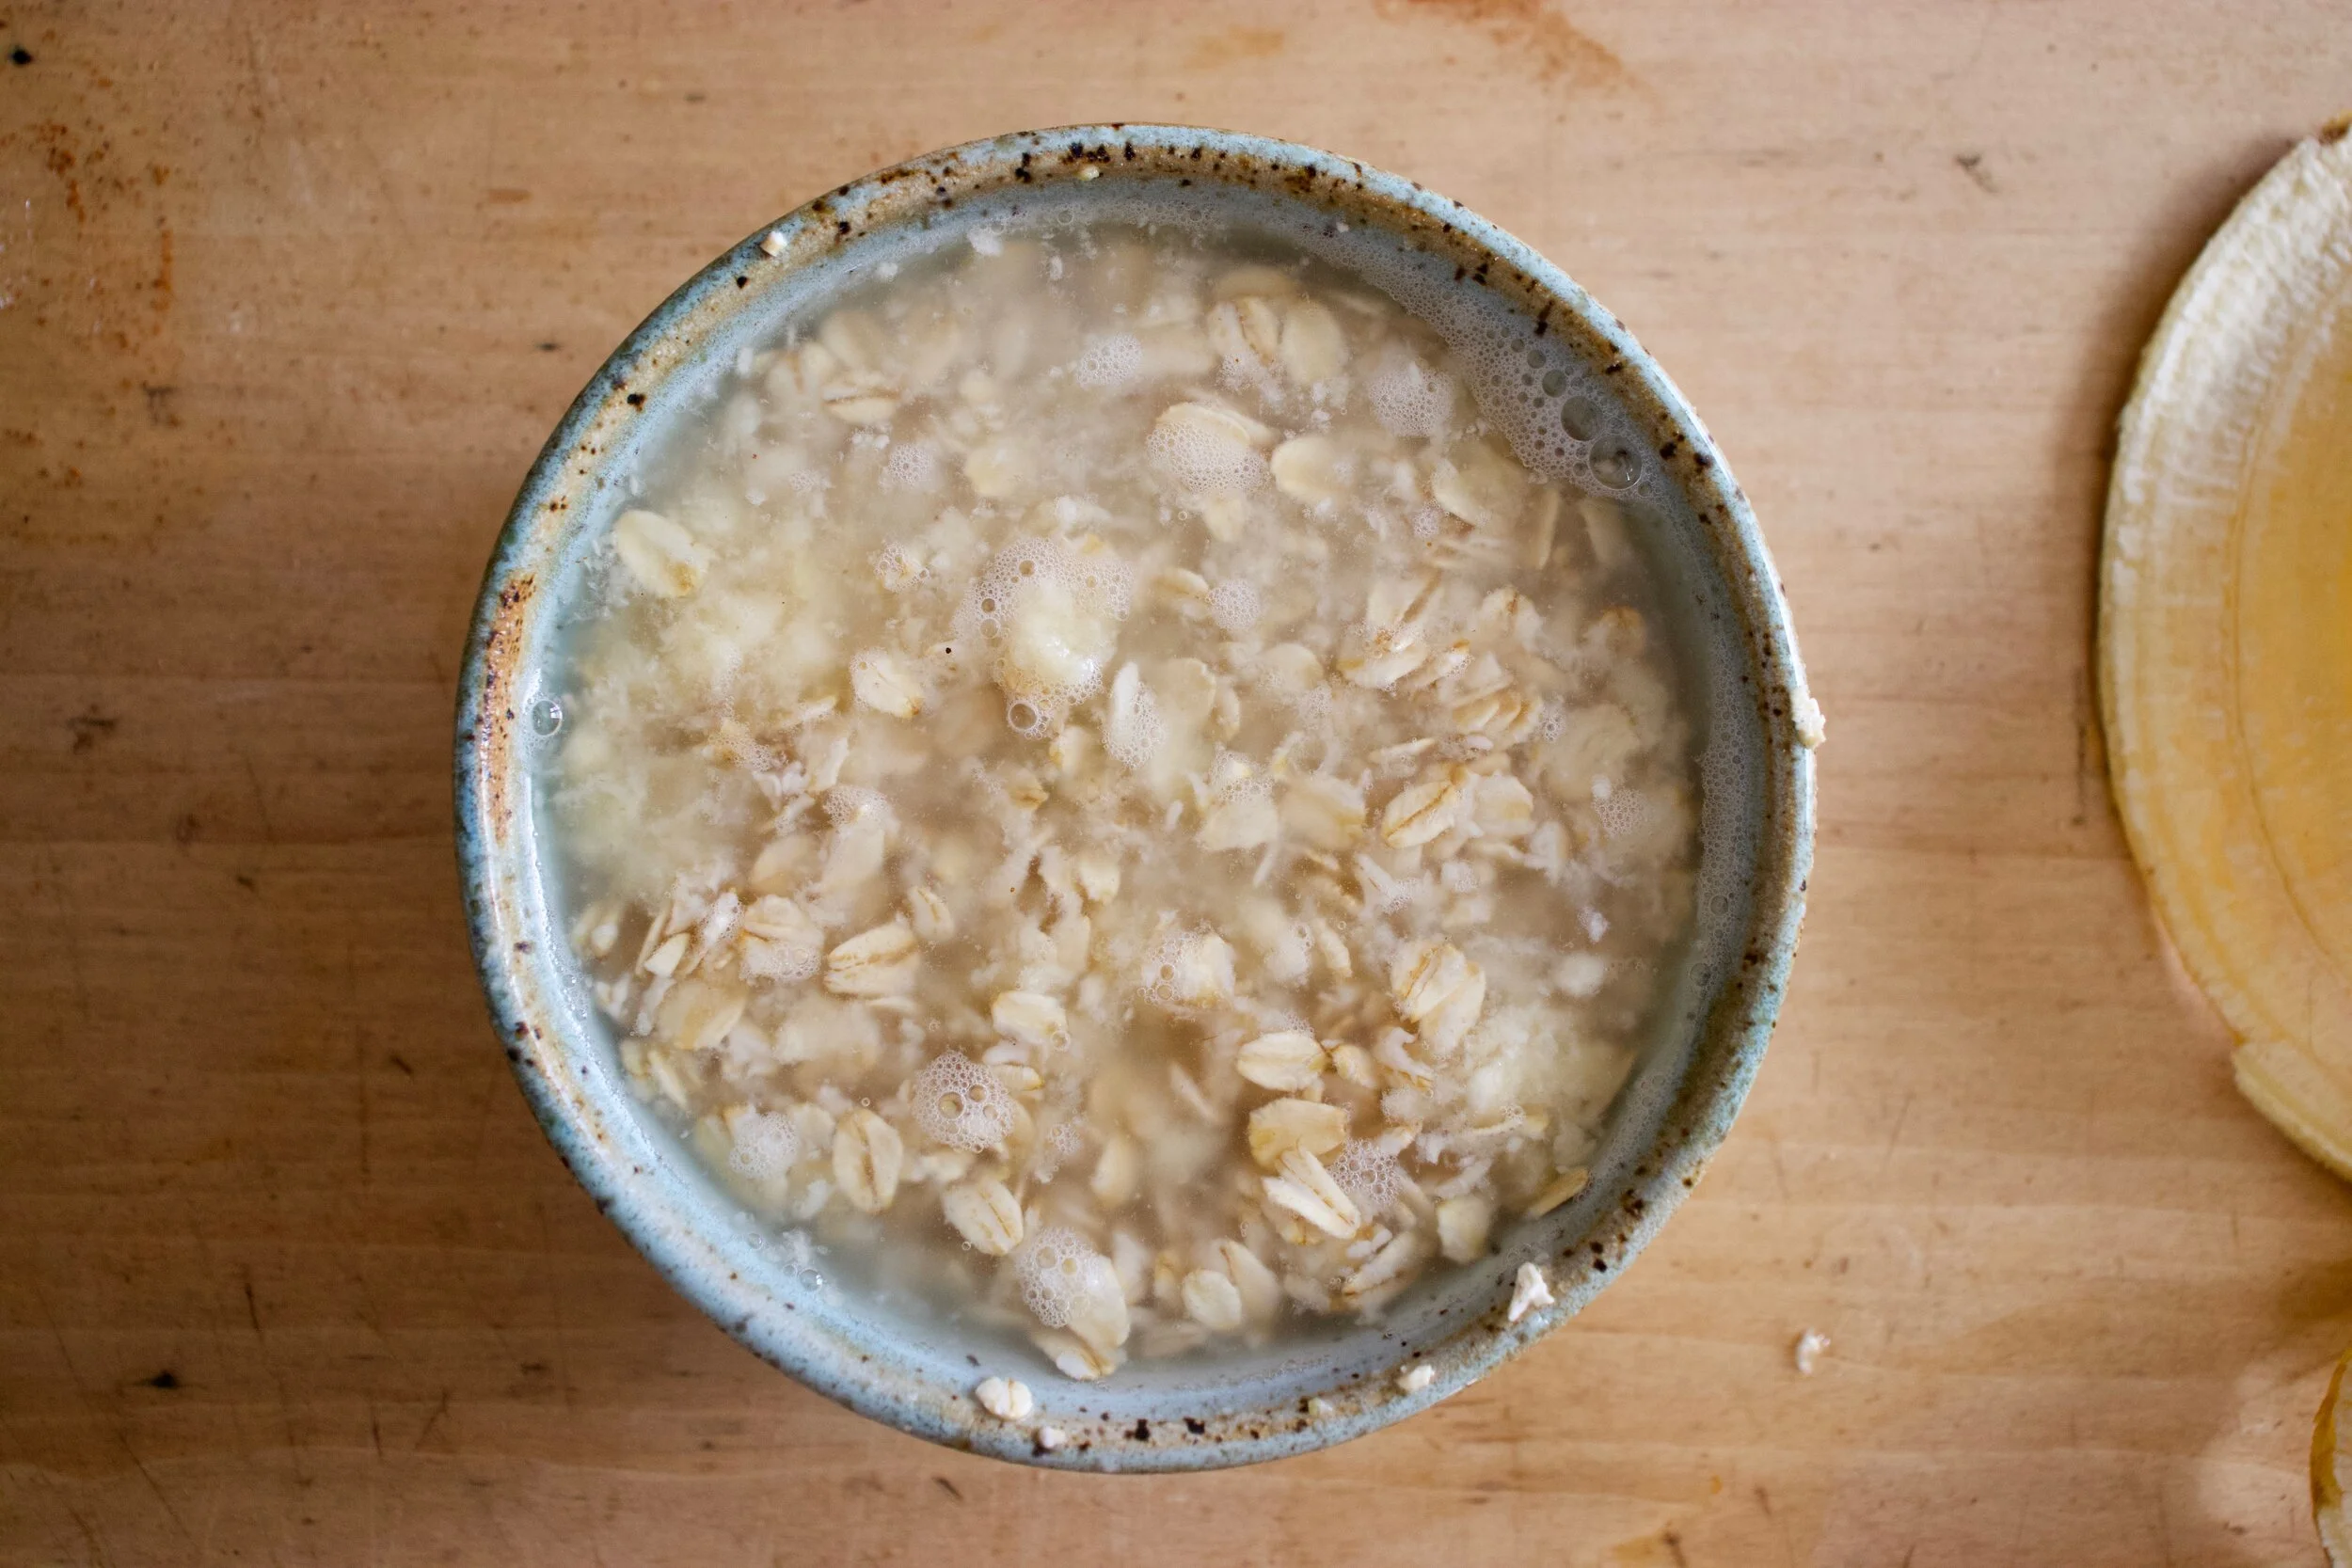
Top with the rest of the boiling water and let sit for about 5 minutes.
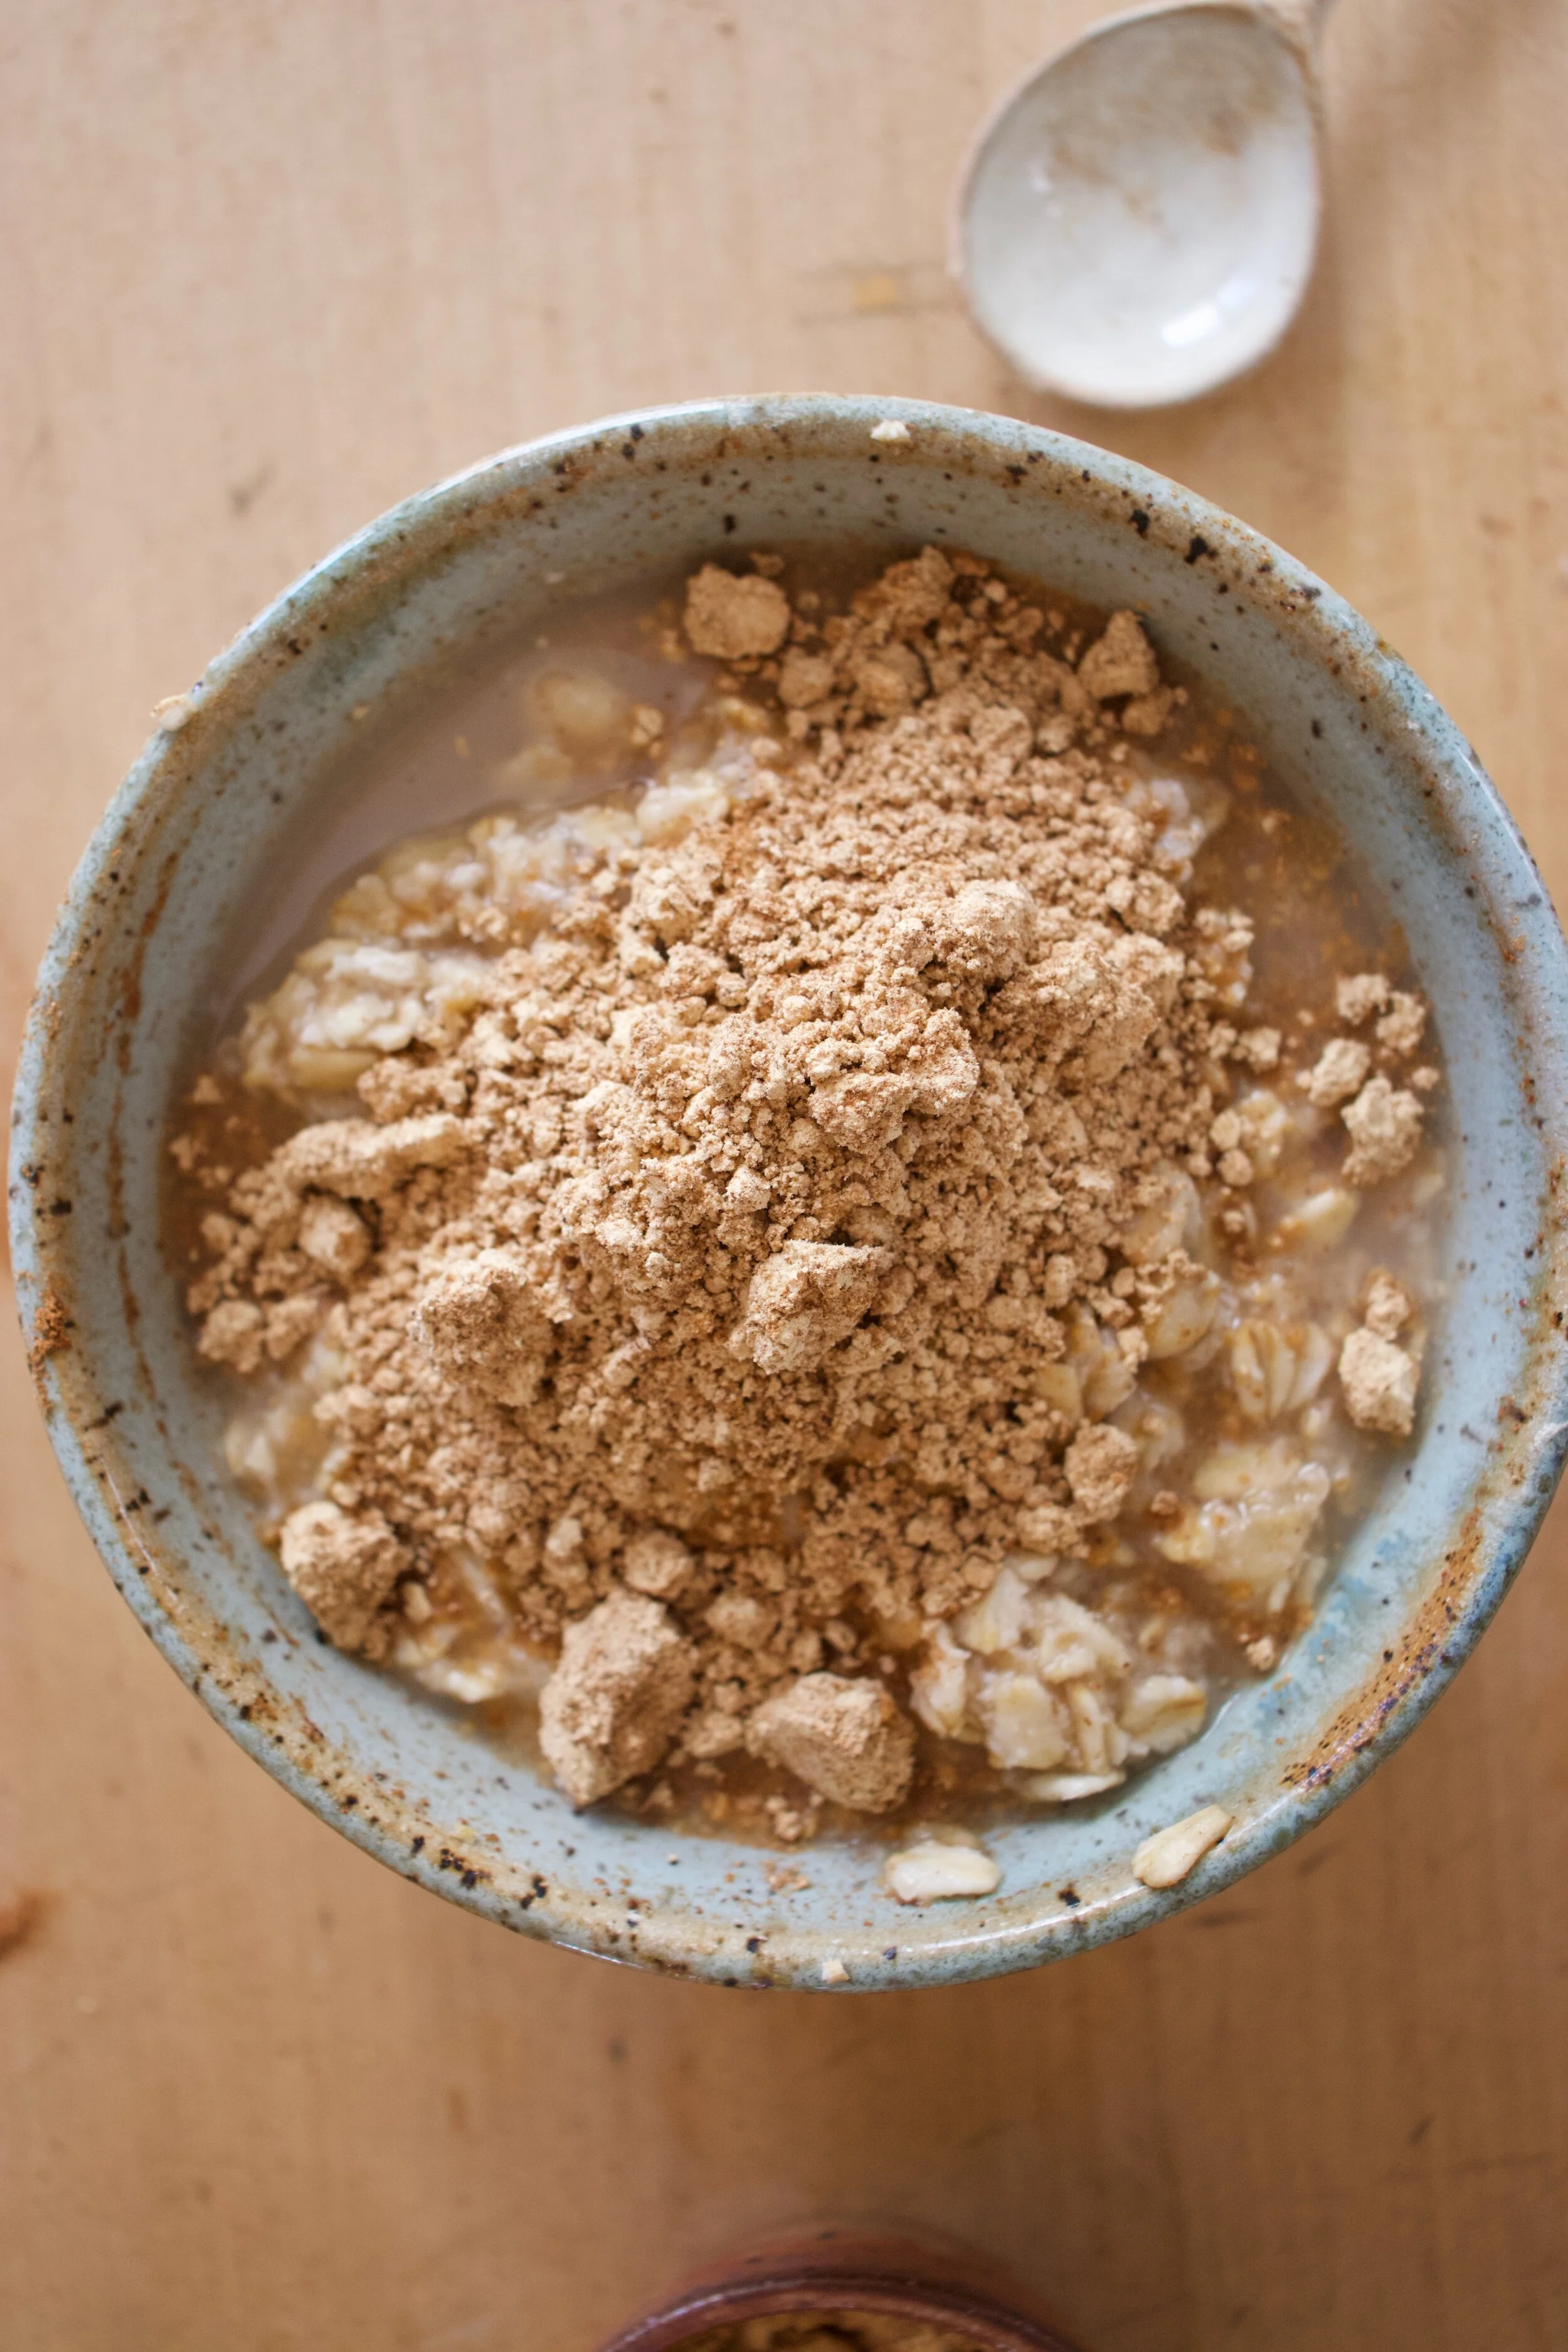
After the oats absorbed the hot banana water, dump on the cinnamon and the peanut butter flour and mix in.
Grab yourself a spoon friend.
Eat.
-C
Makes 1 serving. Can be halved for smaller portion
1 small banana
1/2 cup old fashion oats
2 (or more if you want) tablespoons peanut flour
1 teaspoon cinnamon (optional)
1 cup boiling water
Place peeled banana in a bowl and mash with a fork unit smooth. Add in half the boiling water and mix.. Dump in oats and mix until incorporated then add in the rest of the hot water. Let sit for 5 minutes until oats absorb all the water. Stir in peanut flour and cinnamon. Eat.
As of right now, these are by far the best cookies I have ever made. Look at them. They are SO CUTE!. Worth all the effort, seeing that I do not own a ghost cookie cutter (although I think my version of ghosts are pretty fantastic) and had to hand cut out each cookie with a knife and a ghost cutout I made a few weeks back. They make me happy just looking at them. That right there is saying something. And I don%u2019t know about you and where you are, but it is getting pretty freaking cold out and I refuse to turn the heat on for a few more weeks so I do what I need to do to stay warm. If that means turning on the oven to bake cookies, then so be it. I have a feeling I am going to be making a few more batches of cookies before the months over. HA! (For reals though.)
These cookies are more or less a traditional sugar cookie with a chocolate ganache type filling, both with a hint of coconut flavor from the use of coconut oil. Something about the whole combination; the cookie, the coconutieness, and the chocolate that really had everyone (I gave them out a Barbs birthday party) praise my amazingness. I guess they are pretty freaking delicious.
Cute and delicious. Best kind of cookie!
And quick note. Yes these are ghosts but think of all the fun shaped sandwich cookies you could make. I am thinking moose shaped cookies next or maybe Christmas trees%u2026 Oh the possibilities!
Now, to the cookies!
The stuff. White sugar, coconut oil, flour, baking powder, salt, vanilla, almond milk, cocoa powder, and powdered sugar. For cookies and filling.
To make cookie dough. Beat toghetet the coconut oil with sugar and vanilla until smooth and fluffy. Add in all the dry ingredients and the almond milk and mix until a dough forms.
Wrap dough in plastic and squish tight. Place in fridge for an hour or up to a day.
After dough has had time in the fridge, grab it and roll it out on a lightly floured surface to about 1/4 inch thick.
Cut out cookie shapes. If you want to cut out eyes or a few different shapes, remember each cookie needs a top and bottom so even numbers folks.
Place cut out cookies on a baking sheet then into the oven they go.
Bakes and ghostly! Place them on a wire rack to cool and keep baking the rest of the cookies.
While cookies are cooling, make chocolate filling. Super soft, almost melted coconut oil goes in a bowl with vanilla and gets beaten together. Add in the cocoa powder, powdered sugar and pinch of salt and kept beating slowly anding in a bit of milk until the whole shebang comes together into chocolate filling awesomeness.
Once the cookies are completely cooled, fill them. The filling might have tightened up a bit so if it is not spreadable, pop into microwave for like 8 seconds to get it to move. Scoop or smear equal amounts of filling onto the bottoms of the cookies and top them off with their tops.
Done, and ready to eat.
Ghosts cookies for all your ghost fueled festivities.
-C
makes at least 16 sandwich cookies
For the cookies
2 1/4 cups all purpose flour
3/4 cup white sugar
1 teaspoon baking powder
1/2 teaspoon salt
1 teaspoon vanilla extact
2/3 cup soft coconut oil
5 tablespoons plant milk (I used almond)
For the filling
1 1/2- 2 cups powdered sugar
1/3 cup cocoa powder
4 tablespoons melted coconut oil
1/2 teaspoon vanilla extract
2-3 tablespoons plant milk
1/8 teaspoon salt
Preheat oven to 350
In a bowl beat together the white sugar with the coconut oil and vanilla extract. Add in the flour, baking powder, and salt and start to mix with a spoon or fork, adding in the milk as you go. Keep mixing until completely incorporated and turns to a ball of dough. Gather together into a ball and wrap in plastic. Pat flat and place into fridge for an hour or up to a day.
To cut out cookies. Roll fridgerated dough out on a floured surface to about 1/2 inch thick. Cut out shapes, making sure to have a top and bottom for each cookie. Gather left over dough into a ball and repeat until all the dough is used.
Place cookies on a baking sheet and bake for 13-15 minutes or until they are just starting to lightly brown around the edges. Remove from oven and place on a wire rack to cook.
For chocolate filling. Beat together the melted coconut oil with vanilla. Add in the lesser amount of powdered sugar, salt, and cocoa powder. Beat on low, adding in 2 tablespoons plant milk. Beat until mixture comes together into a thick but spreadable consistency. If it seems too thick, add more milk, too thin, a little more powdered sugar.
Cookie assembly. 2 cookies at a time. A top and bottom. Spread about a tablespoon of chocolate filling to bottom cookies and pop the top on.
Eat cookies. Store what is not eaten in a airtight container for up to a week, but these ghosts will definitely not last that long.
Peaches are here. YAY!!! Peaches are for sure one of those fleeting fruits, one that once in season, you need to eat as many fresh as you can because once they are out of season, they are not good. Not good at all. And me being me, I see peaches, I buy a shit load, and now I have a fridge drawer full. Not complaining in the slightest, but peaches cannot sit around all summer waiting to be eaten. So if you are going to buy a shit load, know what you are going to do with them all.
My peaches, well they haven%u2019t had to wait long. I have been eating at least a peach a day and%u2026 I made these bars with a few. Sharing my peaches, thats what I do. HA.
These almond peach shortbread bars. Fantastic A+ on all fronts. Easy to make, not a whole heck of a lot of ingredients, make the house smell amazing, and really kick off the peach, summer vibe thing that goes on around here.
‘%u201cMillions of peaches, peaches for me. Millions of Peaches, peaches for free%u201d %ud83c%udfb6 (Peaches by The Presidents of the United States of America. If you have%u2019t head the song, look it up. I don%u2019t think I can even look at a peach without hearing the song in my head.)
Now to the peach almond shortbread bars!
The stuff. Peaches, almonds, vegan butter, brown sugar, flour, cinnamon, salt, and baking powder.
Easy peasy. Almonds go in to food processor first. Blend and pulse for a minute or two until they turn into a medium fine almond meal. (Don%u2019t over blend or you will end up with almond butter.) When almonds are ground, add in the flour, baking powder, salt, cinnamon, and sugar. Pulse until combined. Then add in the butter in chunks and pulse until dough just starts to come together.
Half the dough goes into a 9×9 baking pan. Smooshed evenly all over the bottom poke it with a fork. Then it just needs to go into the oven to bake. 15-18 minutes or so, just until it starts to brown a bit.
Peaches need to be cut so cut them up. !/2 inch thick slices, after the pits be removed of course.
Blinded baked bottom. Looks good yeah? Let it cool for a few minutes and then it gets peaches. Three rows, all over lapping and nestled together.
The top gets the remaining half of dough and is now it%u2019s ready for the oven. Another 40-ish minutes or so to really seal the deal.
Taken from the oven when golden brown, cooled, cut up, and placed on a pretty plate because pretty is nice.
I am pretty sure you figured out what to do next%u2026. EAT IT!
-C
makes a 9×9 pan which can be cut Into the sizes of your choice
1 cup vegan butter
1 cup packed brown sugar
2 cup cup all purpose flour
1 cups raw almonds
1 teaspoon baking powder
1 teaspoon salt
3 large firm peaches
1 heaping teaspoon cinnamon
Preheat oven 350
Place almonds into a food processor and pulse and blend until a fine meal has formed. It should take only a minute or two and stop half way and scrape the edges and sides do the almonds don%u2019t start to form a paste. Add in the flour, salt, baking powder, cinnamon,and sugar and pulse until combined. Add in the vegan butter in a few chunks and pulse until the mixture turns into a crumbly dough. Stop pulsing and dump mixture into big bowl.
Take half of the mixture and place into a 9×9 baking pan. Evenly distribute and press the dough into the bottom. Take a fork and poke the dough all over then place the pan in the oven. Bake for 15-17 minutes or until the dough just starts to lighly brown. Remove from oven.
While the bottom crust is cooling off for a few minutes, slice peaches into 1/2 inch slices. Obviously make sure to remove pit.
Now take your half baked crust and layer peaches evenly on top. It is easies to start at the top, make three rows across and then layer the peaches down (like in the picture above). Once peaches are layered, grab the remaining half of dough and evenly distribute on top. Place back into oven and bake for another 40-45 minutes or until the crumble on top is a nice deep golden brown.
Remove from oven, let coo completely (or as completely as you can) cut into pieces, and then you eat it.
Left over pieces should be placed in an airtight container in the fridge for up to 5 days. They freeze well individually wrapped too.
blind back for about 15 minutes of until the crust is starting to brown around the edges
bake for another 30 minutes
I found another bag of frozen rhubarb in the chest freezer which is never a bad thing, but my rhubarb patch outside is growing strong and I will have all the fresh rhubarb I could possible eat within the next few weeks. So found rhubarb just means I need to eat it right fast before the fresh stuff comes in. (I haven%u2019t had a problem with that. it%u2019s almost gone already). Plus the other day while I was digging up and transplanting raspberry bushes to the back yard, my neighbor came over and gave me a gallon of frozen raspberries, harvested from said bushes that I was currently planting in my yard. Score for me! Free bushes and berries%u2026I have such nice neighbors.
So the logical thing to do with my new found and giving bounty was of course to hurry up and bake something. Cobbler. Why cobbler? Well, why not? I figured the mr would really like it and eat it and I also didn%u2019t want to make anything to fussy because I was just to dang busy spending all of my extra time outside doing outside things. And cobbler, it%u2019s not fussy because it is basically biscuits and jam baked up all together. Not a lot to think about and comes out looking all homey and sweet and smelling all nice and cozy. Doesn%u2019t that sound nice? And not a pain in the ass?
And best part. A made cobbler works as dessert or breakfasts or just a snack. Just asked the mr. He ate it for all the reasons. With a dollop of yogurt or cream of course because he is fancy like that.
And yeah the fruit I used was frozen, but fresh works just the same here too.
Now, lets get to that cobbler.
The stuff. Raspberries (frozen), rhubarb (frozen), sugar, flour, salt, baking power, cinnamon ,almond milk, apple cider vinegar, cornstarch, and oil.
Raspberries, rhubarb, sugar, cinnamon, cornstarch. Its all there in the bowl. Just needs to be mixed. So mix it.
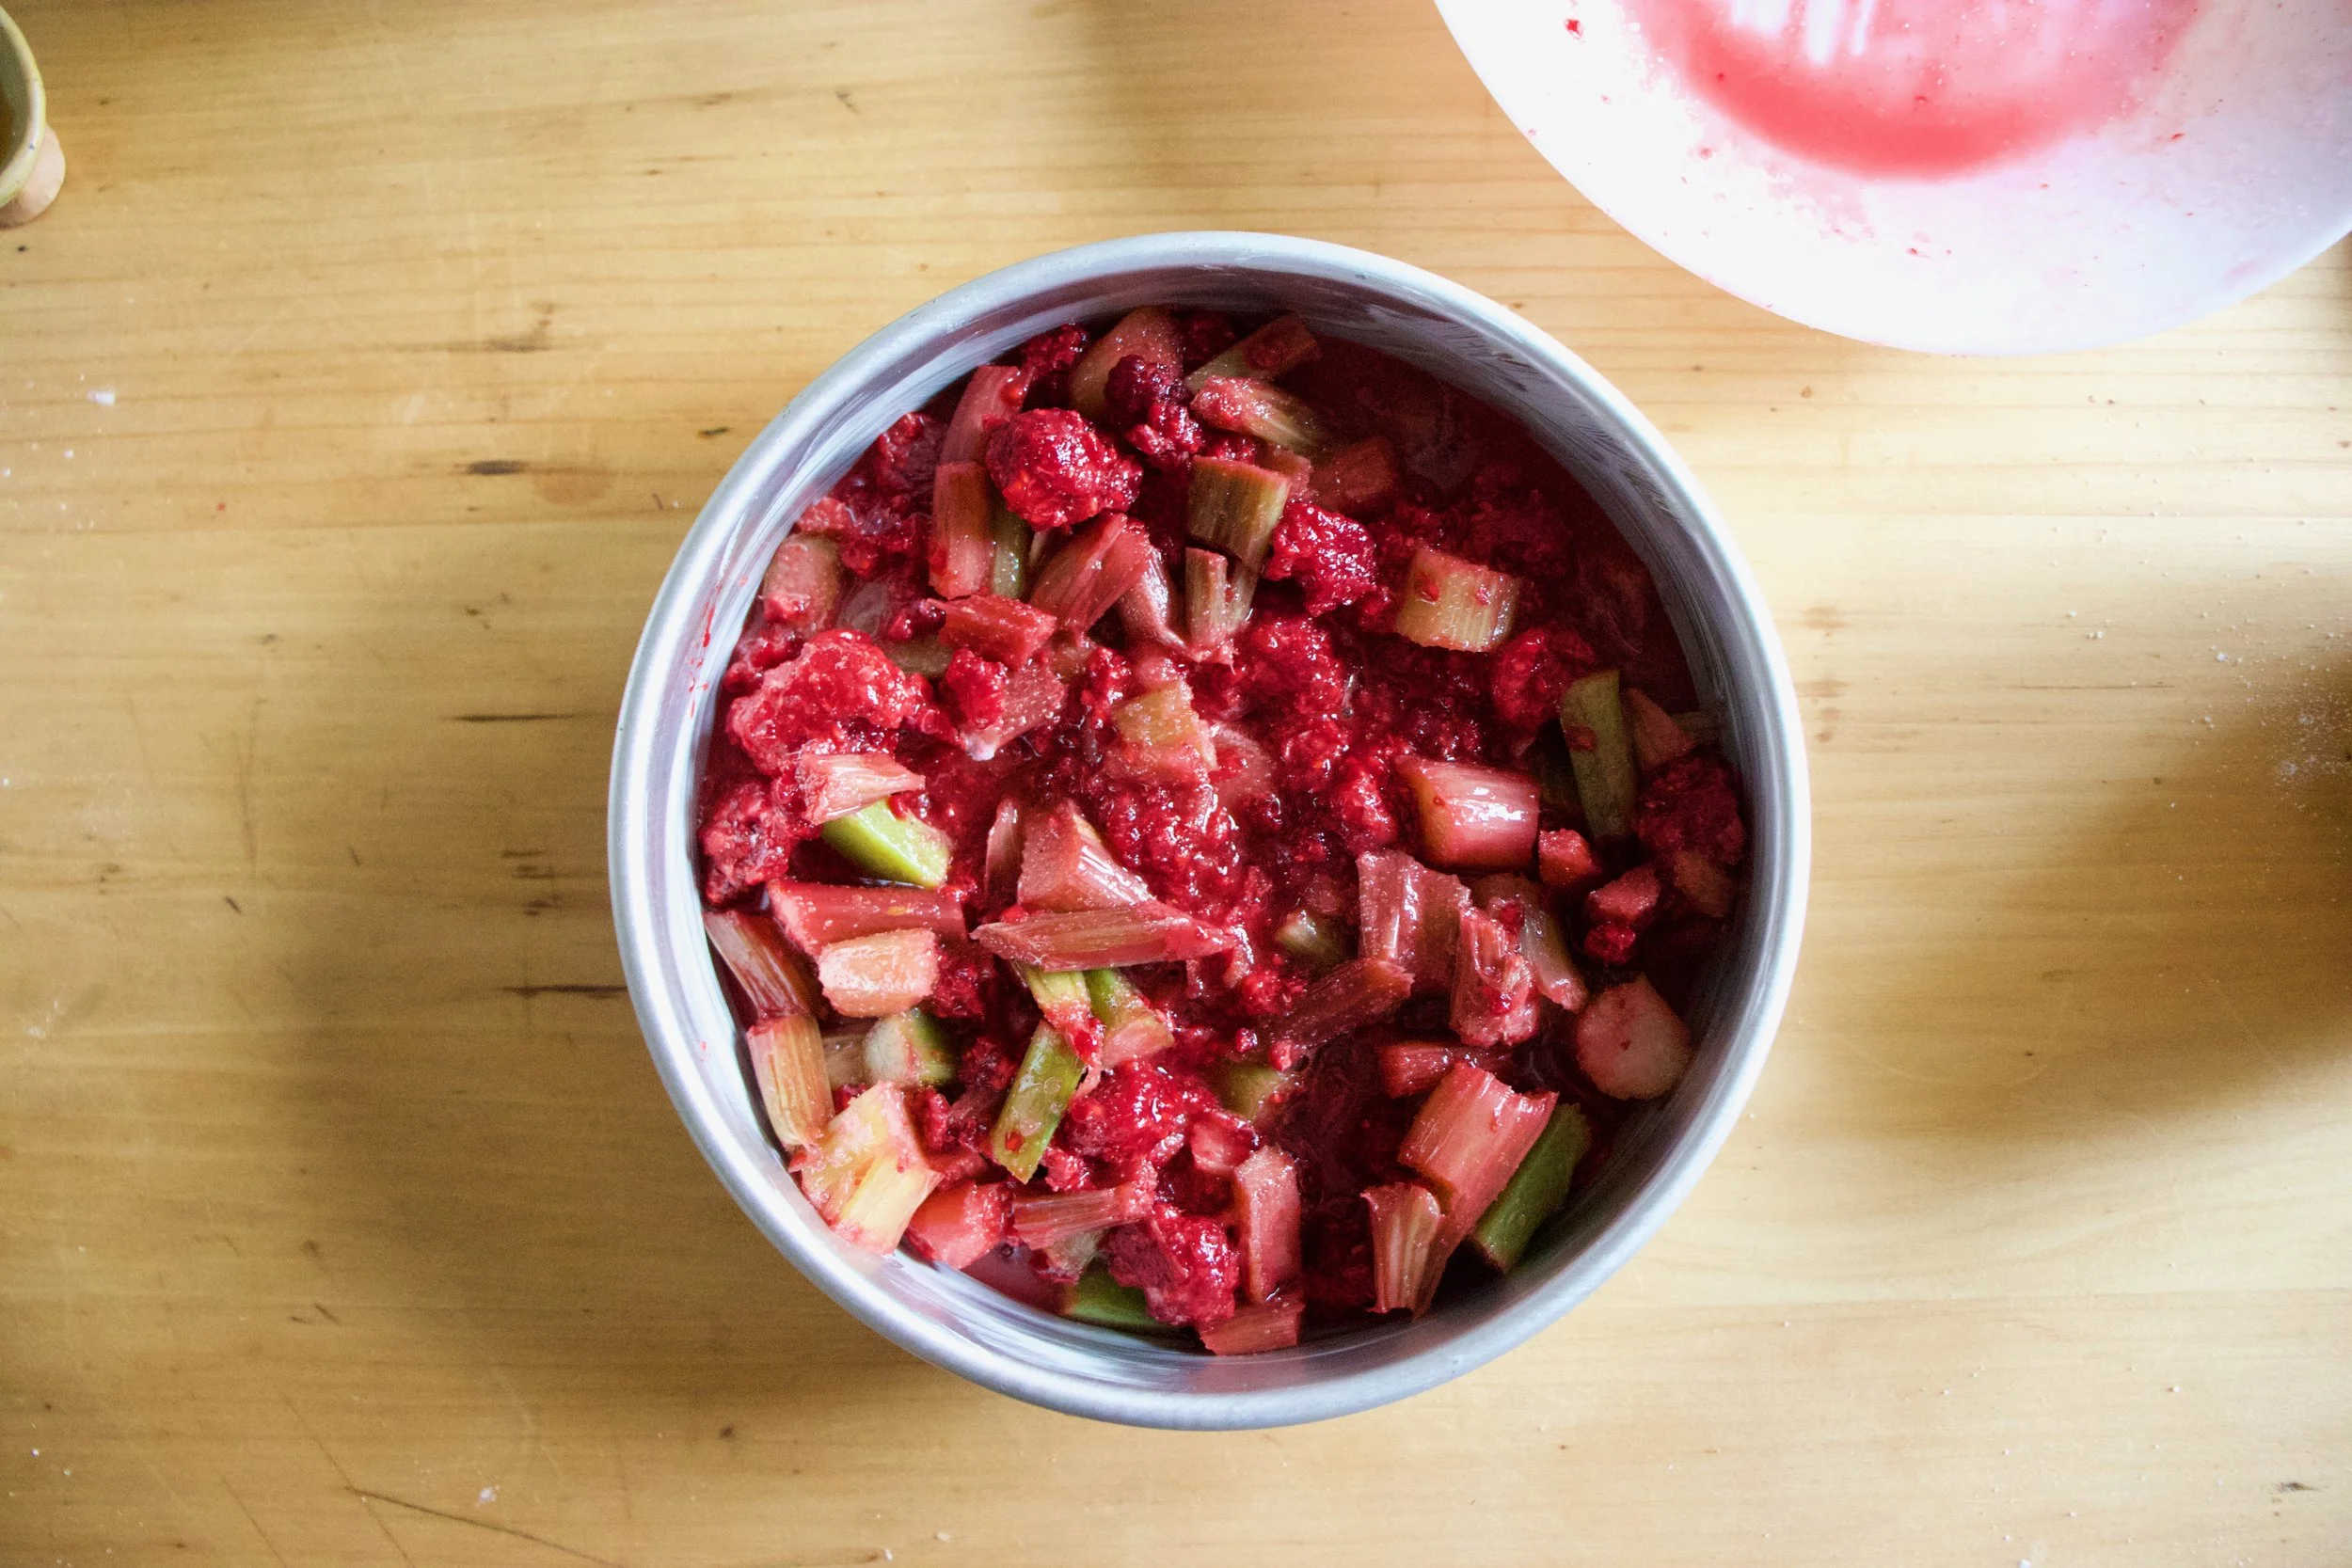
Dump fruit mixture into well greased 8 inch pan and pop it into a hot oven to get a head start on baking.
While the fruits in the oven, make the biscuit dough. Mix the dry together then mix in the wet until just incorporated and a sticky dough forms.
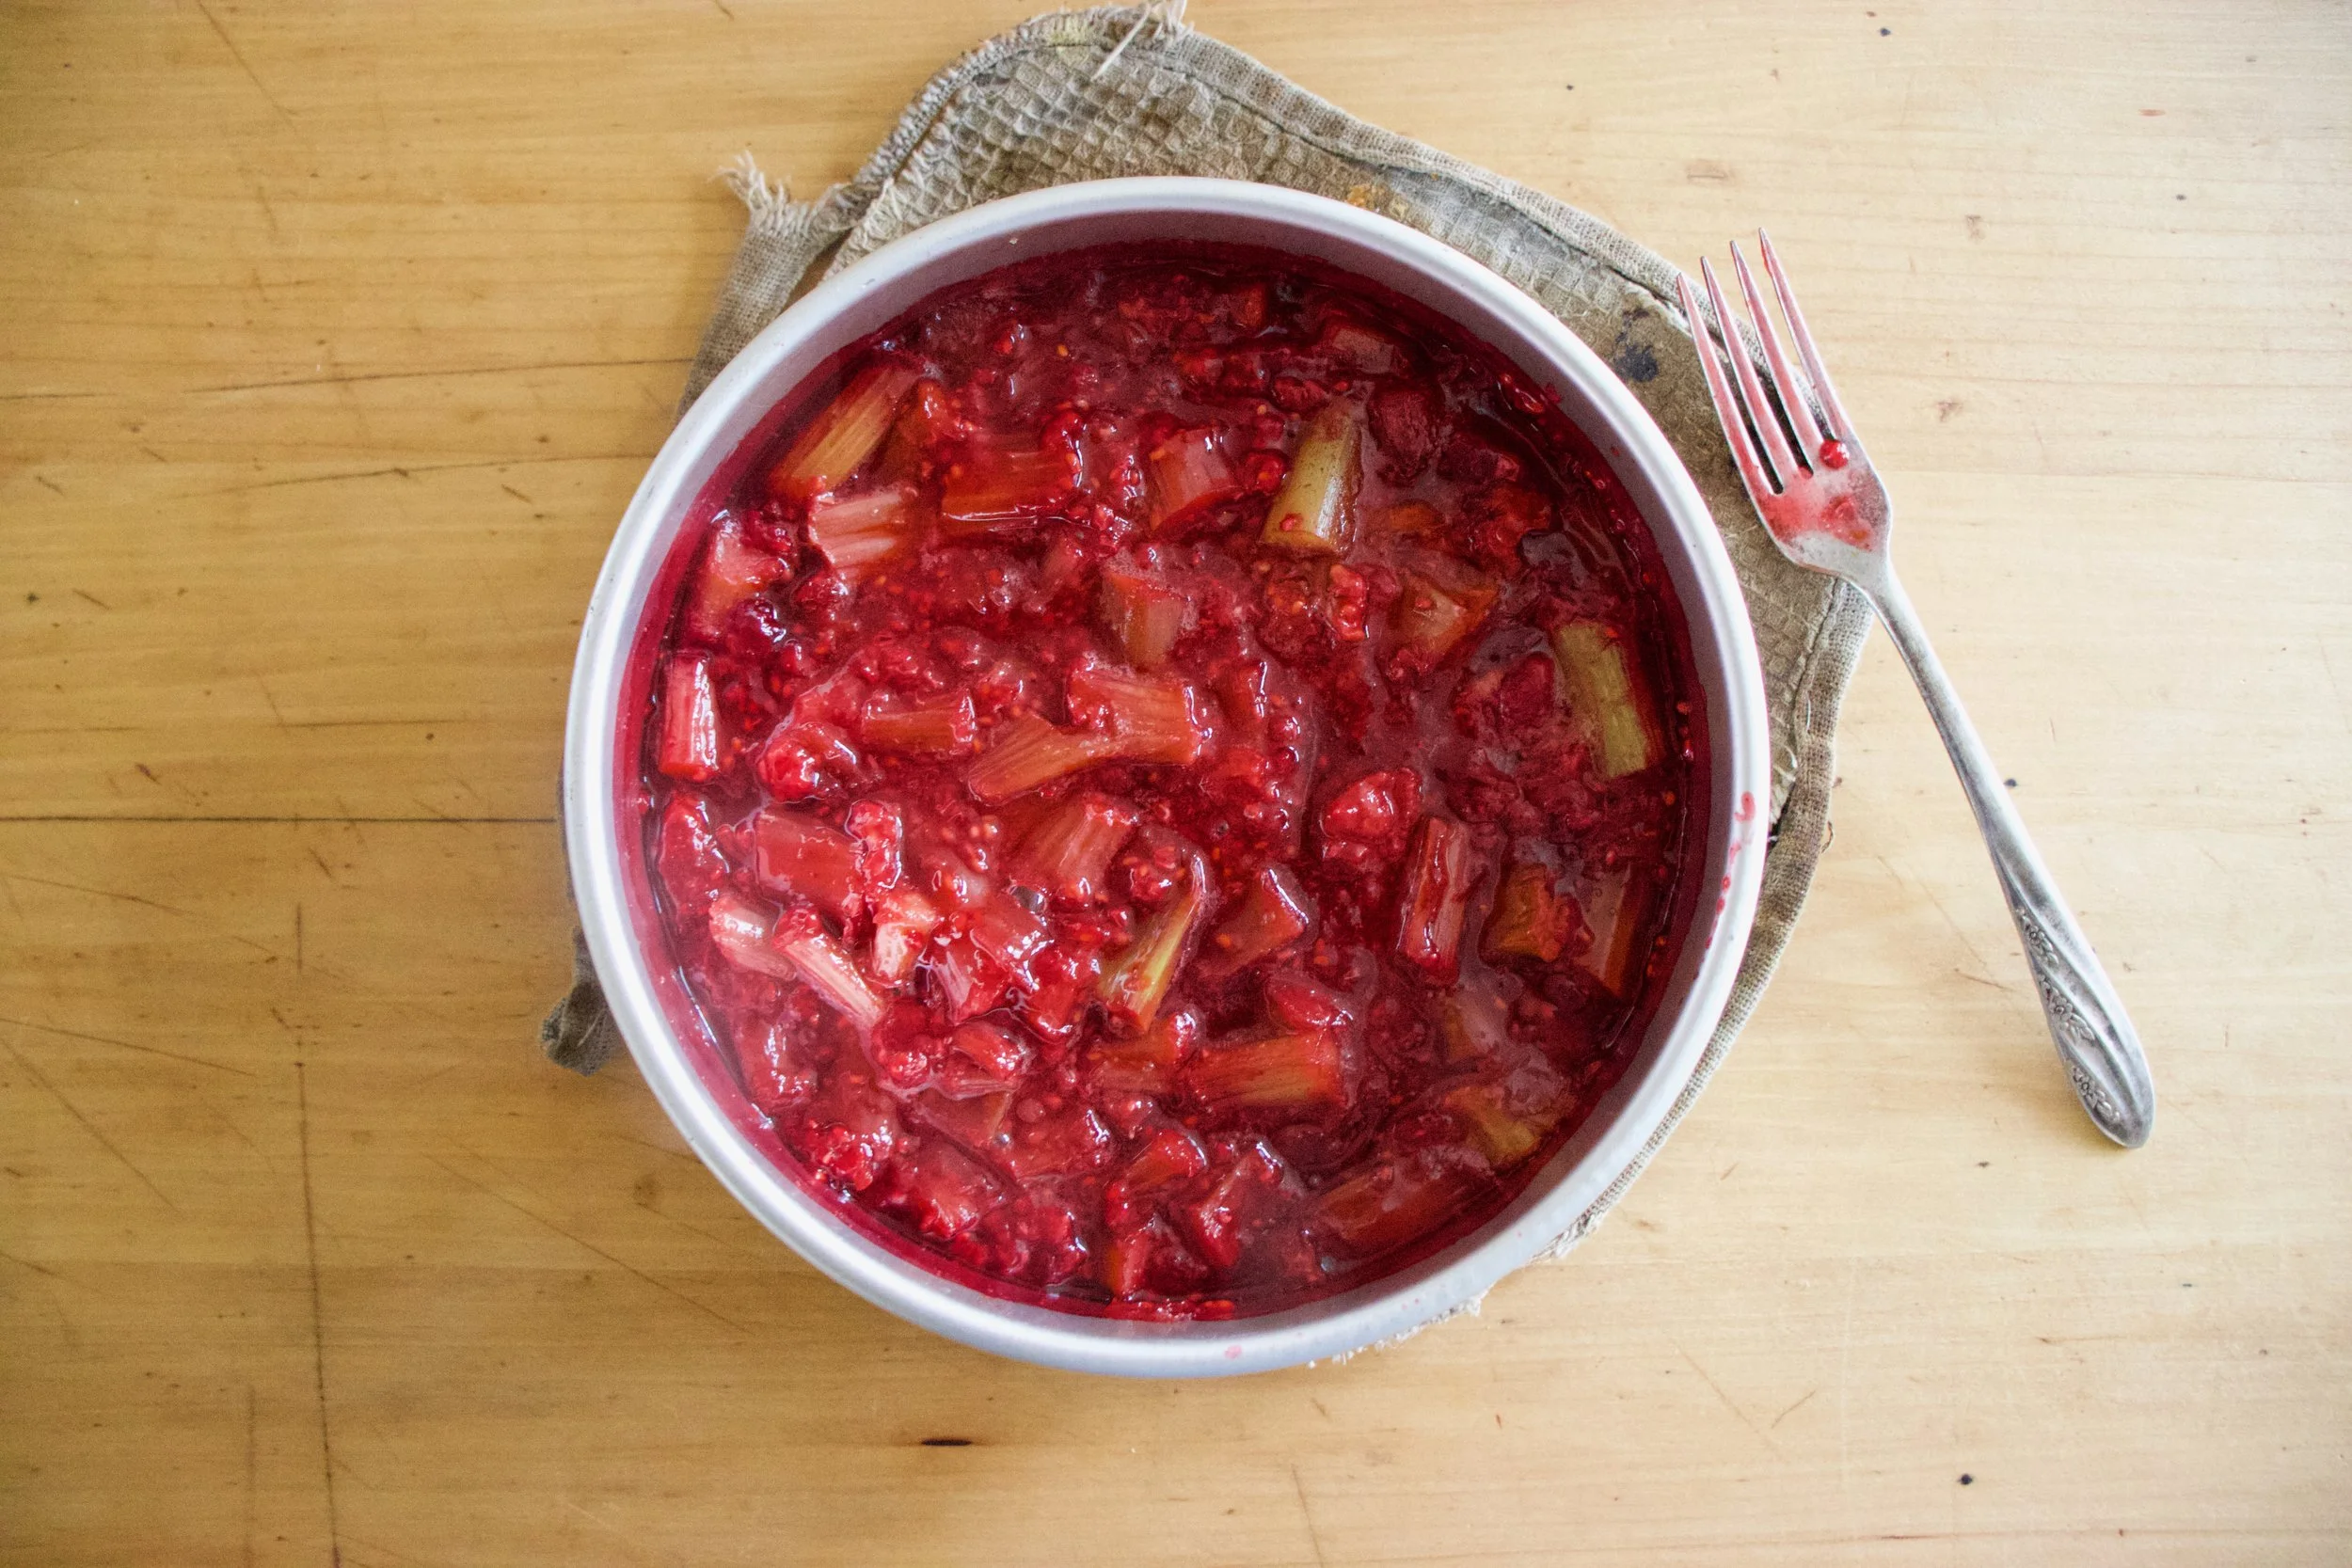
Pulled from the oven, the fruit is starting to cook down and whoa, it just smells so good!
Drop on the biscuits dough on top of the fruit (careful of the hot pan). Evenly if possible, but don%u2019t work to hard to make it look perfect. Imperfection makes it look perfect, you know?
Once biscuits are on, lightly brush the tops with a little milk and sprinkle with more sugar then pop it back into the oven for another 25-30 minutes or until the biscuits are baked.
Pulled from the oven with a bubbly filling and a golden brown biscuity top. Things are looking good here.
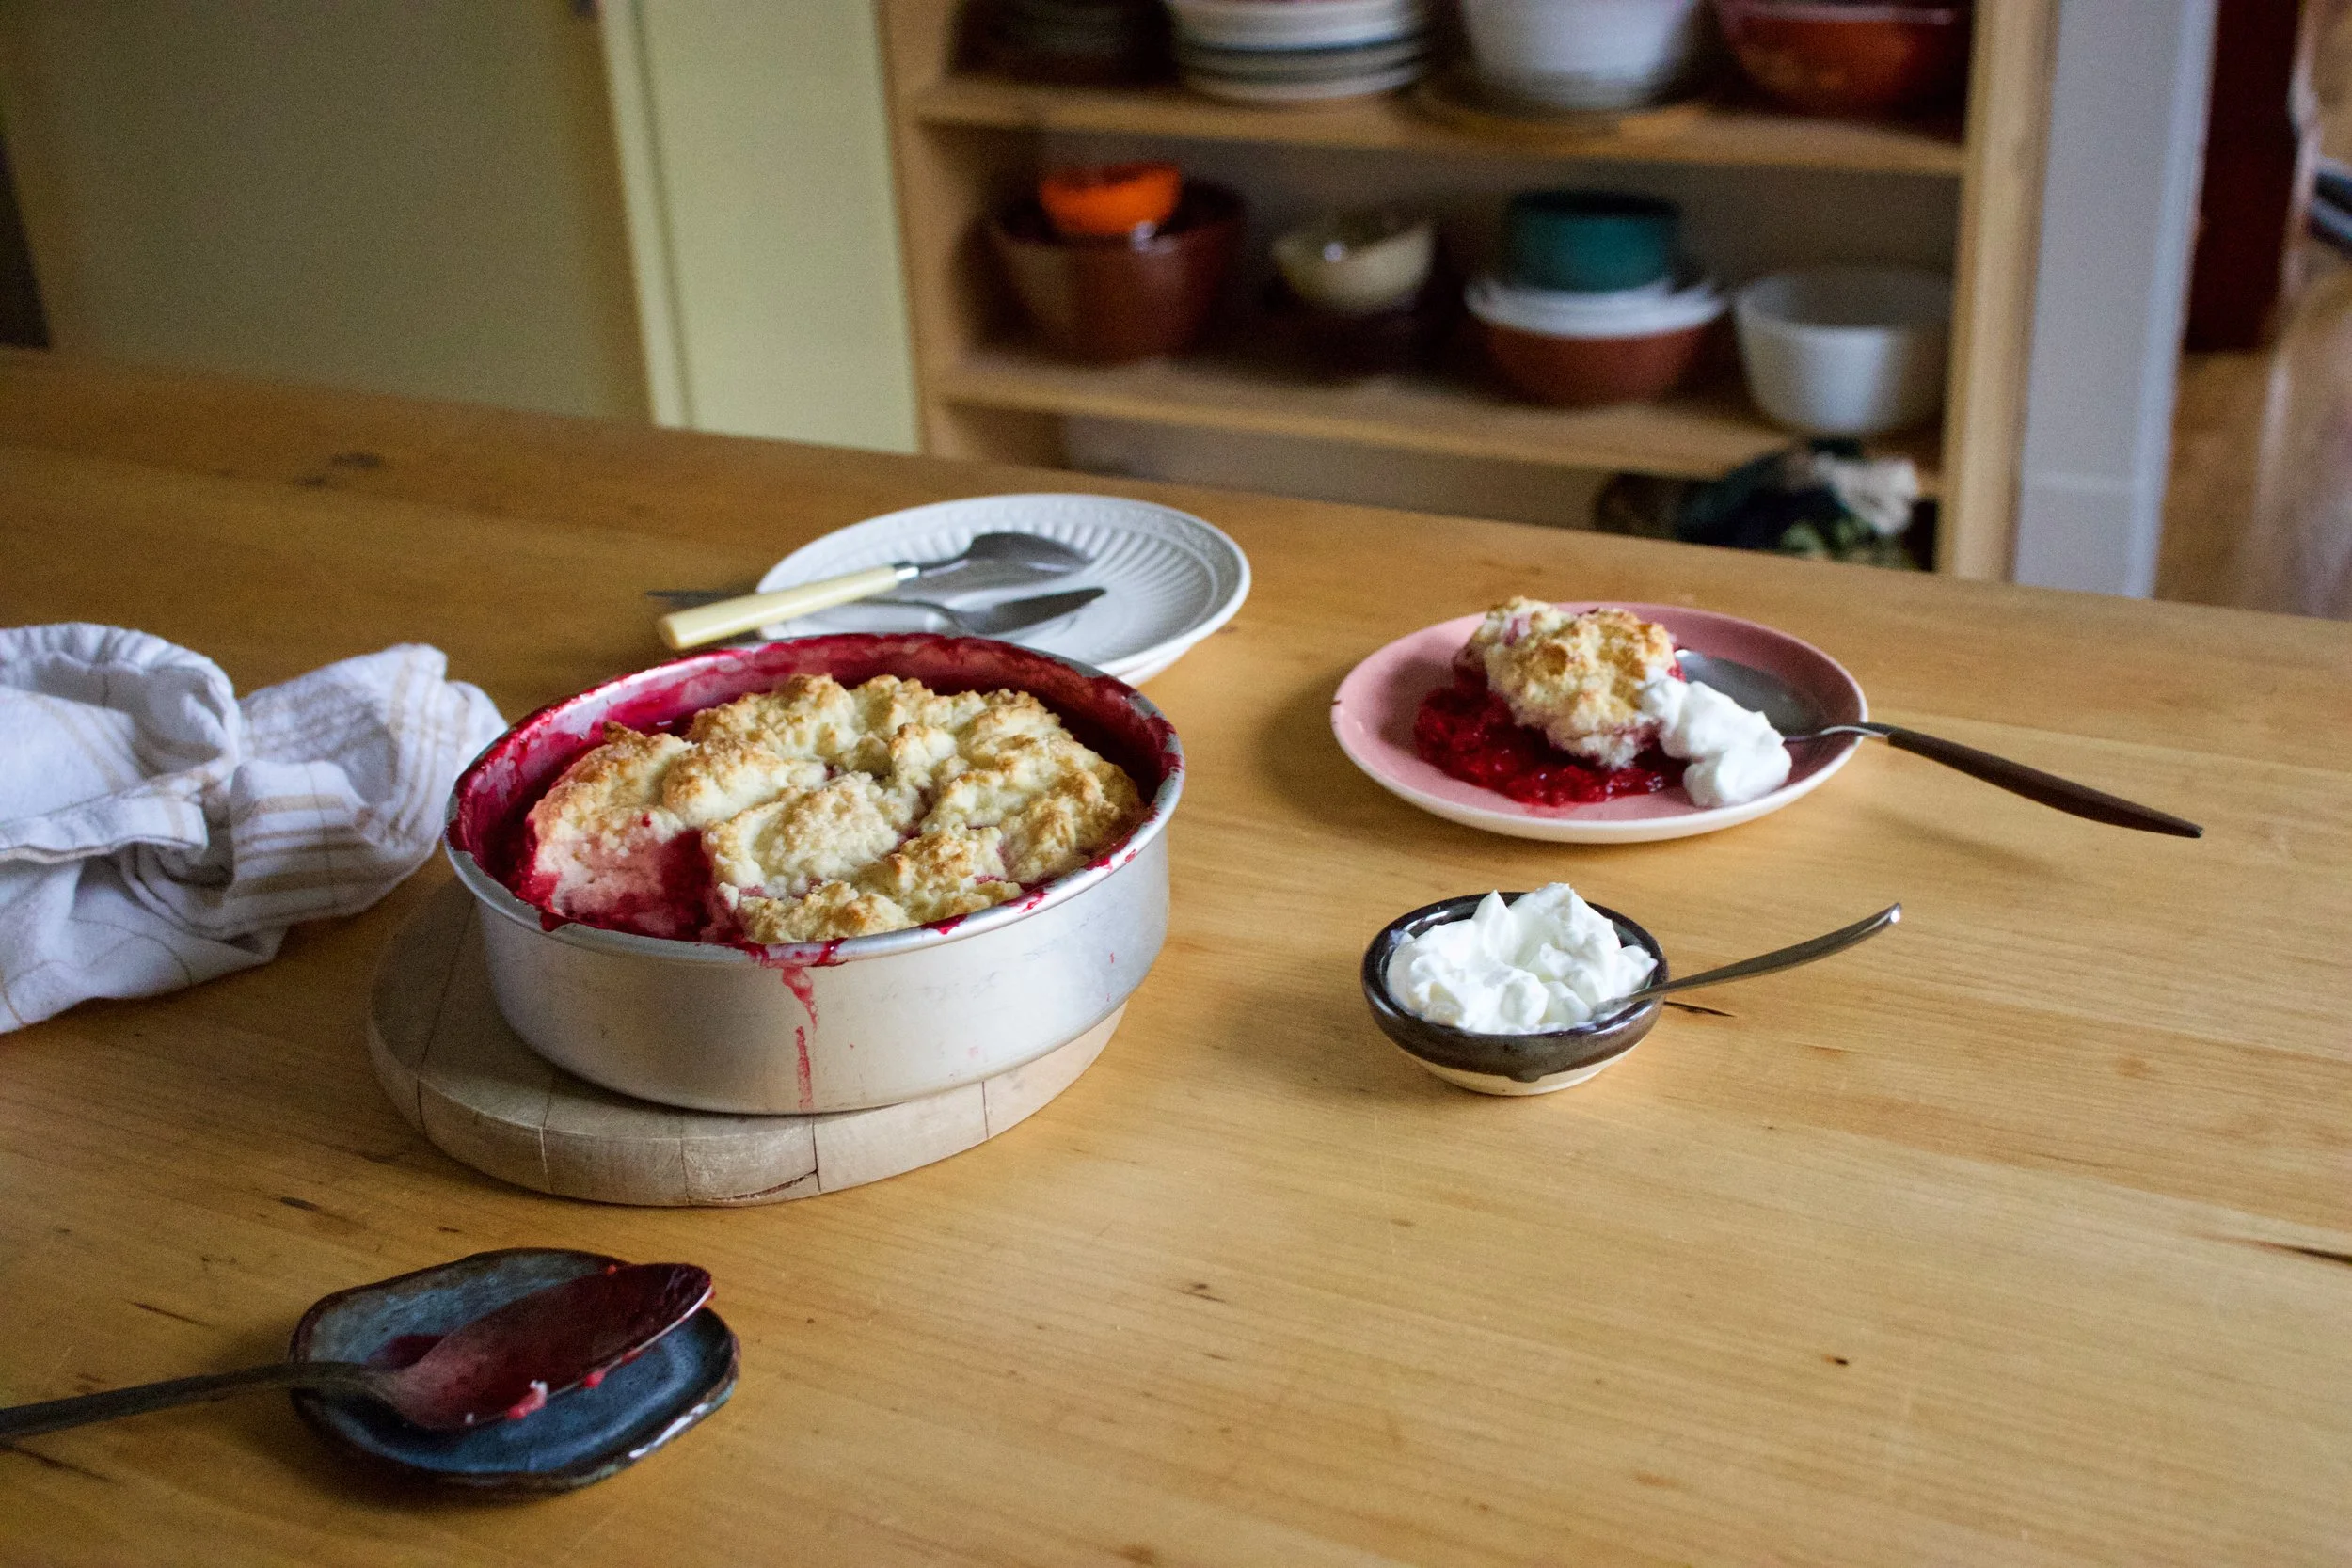
And now it%u2019s time.
Dig on in my friend. Sever with something creamy like whipped coconut cream or some type of yogurt or ice cream situation of your choice. And again, this can be your breakfast.
Happy spring people!
-C
make a a 8 inch round which serves 5-6
For the Filling
2 cups raspberries (fresh or frozen)
2 cups rhubarb chopped into 1/2 inch to inch long pieces (fresh or frozen)
1 1/2 tablespoons corn starch
3/4 -1 cup sugar (lesser amount if you like a little more tartness. I used lesser amount)
1 teaspoon cinnamon
For the dough
1 cups all purpose flour
1 1/2 teaspoon baking powder
1/2 teaspoon salt
3 tablespoons sugar
3 tablespoons neutral flavored oil
1/2 cup plant based milk
1 teaspoon apple cider vinegar
Preheat oven to 350.
In a large bowl mix together the rhubarb and raspberries with the corn starch, sugar, and cinnamon. Grease a 8 inch round pan the is at least 2 inches deep (can use a slightly large pan or a square) and dump in fruit mixture. Place into oven to bake for about 15 minutes or the fruit starts to break down.
While fruit is baking, mix up biscuit dough. Flour, salt, 2 tablespoons sugar, and baking powder go in a large bowl and mixed until combined. Add in the oil, the milk, and the vinegar. Mix until just incorporated and a dough has formed.
Remove the fruit cooking from the oven. Turn heat up to 375.
Carefully drop spoonfuls of biscuit batter on top of fruit. Brush the top of the biscuits with a little milk and sprinkle with remaining tablespoon sugar. Place the pan back into the oven and bake for another 25-30 minutes or until the biscuits are all nice and golden brown on top.
Remove from oven and let cool for a few minutes before serving. Serve warm with a scoop or dollop of soothing creamy (coconut cream, yogurt, ice cream%u2026..whatever floats your boat.)
Left overs can be stored in pan, just cover it with something and place in fridge. Can be eaten cold to or reheated in microwave or oven.
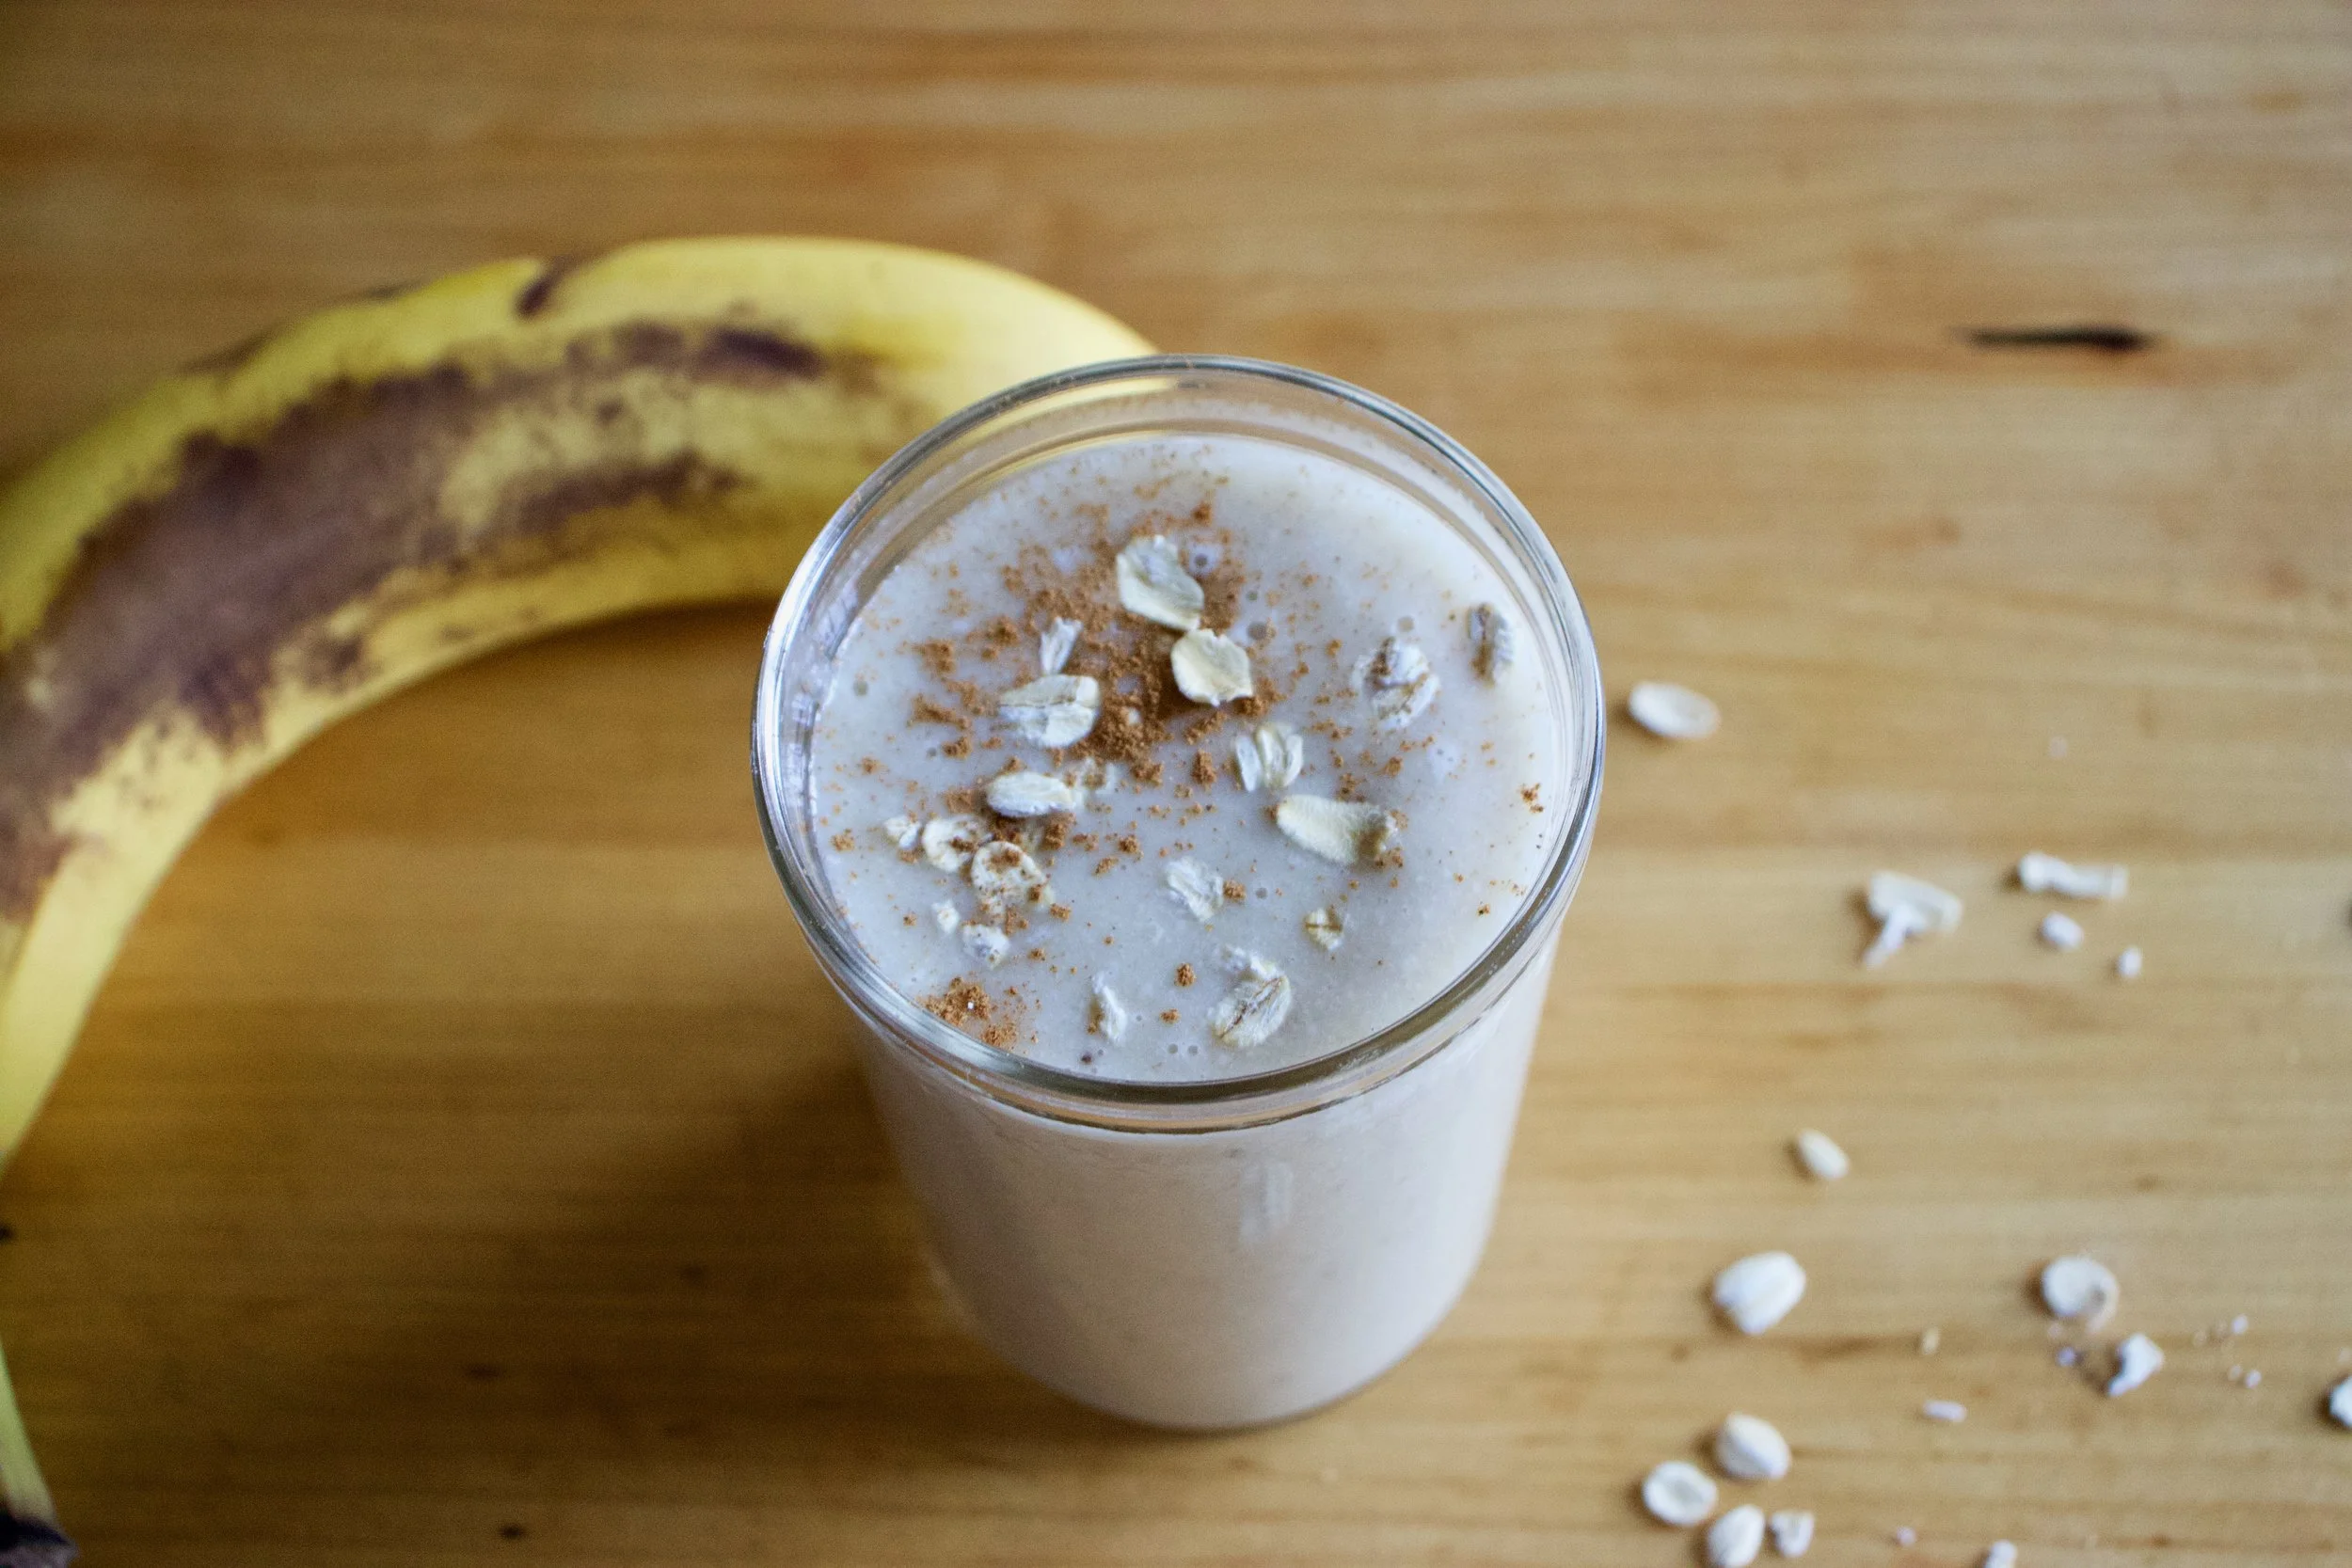
These are definitely my favorite shaped cutout cookies I have ever made. I mean seriously, carrot shaped carrot cookies, what could possibly ever be better? Nothing, and that%u2019s truth for you.
Not only are they carrot shaped, they are also carrot flavored. Yup, Carrot shaped, carrot flavored, awesomeness. A little cinnamon added to the cookie for little extra boost of flavor and an orange glaze because it works and orange is good and fresh and springing. All good stuff.
You might be thinking, huh, carrot puree in a cookie, well that doesn%u2019t sound right. But it is, it is right. And you know how I know that these cookies are awesome? Well I packed them up, (2 dozen of them) and took them over to the littles house for an after school treat. When I got there, the two older ones had friends over. I asked them if they wanted a carrot which earned me that look that said %u201care you serious%u201d but them showed them the cookies. Of course the wanted a carrot so I gave them each one. They ate their cookies then proceeded to beat the shit out of the mr. Then they asked for another cookies and beat the shit out of the mr some more. This when on and on for about a 1/2 hour until all the cookies were gone and the mr was crouched in the corner with a broom trying to defend himself against 4 rulely kids who where slashing at him with light sabers and spraying him in he face with kitchen cleaner. It%u2019s because they wanted more cookies. (and yes, the littles are getting crazy). So yeah, the cookies are good. Ass kicking good.
Anyway, a cookie with some goodness mix into it, shaped into a great shape, that will make everyone smile and happy. You could make them by yourself, make them with your friends, make them with some kids, with some old people. They are the perfect cookie to leave out for the easter bunny(do you leave carrots out for the easter bunny?) or to serve up at any easter party, spring party, or any garden party you might be attending. This cookie is pretty much perfect for any and every occasion that required a cookie. Or a carrot because carrots are always welcome.
To the carrots! I mean, the cookies!
The stuff. Flour, baking soda, salt, sugar, vegan butter, carrot puree, cinnamon, an orange, some powdered sugar, and food coloring.
Into a big bowl the sugar, vegan butter, and carrot puree go.
Beat for a minute or two until completely incorporated.
Add in all the rest of the dry stuff and mix by hand until it turns to dough.
This is the dough it turned into.
Gather the dough and wrap it or place in a plastic bag and stick it Into the fridge for a few hours or overnight. The dough NEEDS to chill.
After you let the dough be, remove from fridge, liberally dust counter, and roll out dough about 1/4 inch thick.
And then it%u2019s time to cut the cookies out. I unfortunately do not have a cookie cutter so I improvised and make 2 carrot cutouts from paper and hand cut each cookie. That worked but took forever so I got crafty and used a fat Christmas tree cookie cutter then just did a little trim and pinch to make it into a cookie. (I am a genius for that). Any way works, and you can also do other shapes too, the cookies don%u2019t change taste in different shapes. (but that would be so cool if they did)
Carefully place cut out cookies onto a baking sheet, giving them a little space because they do spread a tiny bit.
And into the oven to bake they go.
Out in 10 minutes looking all carrot like.
Carrots waiting to cool so they can be glazed.
The glaze. Pretty straight forward. Just zest orange into powdered sugar and juice the orange into the sugar and mix.
Divide glaze and dye one orange and one green
And glaze away. I recommend doing it over a rack and baking sheet to minimize mess because they do drip a bit.
Now just you look at that, carrot shaped carrot sugar cookies .What a sight!
And of course, carrots come in bunches. HA
Enjoy some carrots!
-C
makes about 2 and a half dozen (depending on size)
2 1/4 cups all purpose flour plus more for dusting
1 teaspoon baking soda
1/2 teaspoon salt
1 teaspoon cinnamon
1/2 cup vegan butter
3/4 cup granulated sugar
1/2 cup carrot puree ( see note about how to make puree)
For the glaze
2 to 3 cups powdered sugar
on orange
orange and green food coloring
Note. To make carrot puree, steam a couple carrots until completely soft them blend until smooth.
Place sugar, vegan butter, and carrot puree into a big bowl. Beat with a beater until light and fluffy. Add in the flour, baking soda, salt, and cinnamon and mix by hand until completely incorporated and mixture tunes into dough. Gather dough into a disk and wrap in plastic or place in a plastic bag and refrigerate for at least 2 hours or up to overnight.
Once dough has chilled enough and you are ready to go, preheat the oven to 350.
Place dough on a flour dusted counter and roll out about 1/4 inch thick. Cut out the cookies with a cutter or by hand and place on a baking sheet. Bake cookies for 10-11 minutes or until just starting to turn slightly brown around the edges. Remove from oven and place on a wire rack to cool.
Once cookies are all baked and cooling, make the glaze. Place powered sugar into a big bowl, zest in the orange then add in the juice od half the orange. Mix completely and check consistency. You want it to be slightly running but not liquid, but also not to stiff. Add more juice or more sugar to get it right. Once it is the right consistency, separate into 2 bowls. Dye one green and one orange. Now glaze you cookies. A knife or small spatula works best and yes, the glaze drips a little so do it over a baking sheet, but after about 10 minutes the glaze hardens.
And then you have carrot cookies and all is good. Now go eat a carrot cookie!
Store uneaten cookies in an airtight container for up to 5 days. They can be frozen too.
I am sadly at my last few bags of frozen garden foods from last season. As of now I have a bag of tomatoes, a couple bags of shredded zucchini, and a bag of rhubarb. Well, had a bag of rhubarb. I think I have eaten almost all of it already. My rhubarb patch better get up and producing stalks soon. And as for the rest of the veggies that I will require. Guess I am going to be surviving mostly on roots from farm share (we are getting a lot more greens though!!!!) and probably doing a bit more grocery shopping then I care too. A few more months. I can do it.
Anyway, enough about my freezer and lack of fresh produce problems.
Here in Vermont maple season is well on it%u2019s way making it a perfect time for anything maple. And rhubarb. Yeah I am using my frozen rhubarb from last year, but any time now (after the snow melts) there will be plenty of stalks for the taking. There will be so much maple and so much fresh rhubarb which are the perfect taste combination. Exciting times! And when added to oatmeal, things just get more gooder. (I know gooder is not a word but I think it should be) Oatmeal, especially baked, is the stuff where all gooder things start.
Have you had baked oatmeal yet? It truly is fantastic. Not at all gummy and gloopy like stove topped cooked oatmeal (but I like it like that too). It still has a good bite to it while still being soft and creamy and boy oh boy is it just the bees knees. With the addition of some crunchy almond friends, well even better. Trust me. If you are a oatmeal eater, you must try it baked. Best part is that it can be eaten as breakfast but also I have been serving it to the mr for dessert with a healthy drizzle of more maple. It%u2019s that good friends. From breakfast to dessert. Everyone is happy.
To the baked oatmeal.
The stuff. Old fashion oats, cinnamon, salt, baking powder, rhubarb (fresh or frozen), REAL maple syrup, some plant milk, a few flax eggs, a bit of tahini, and some almonds.
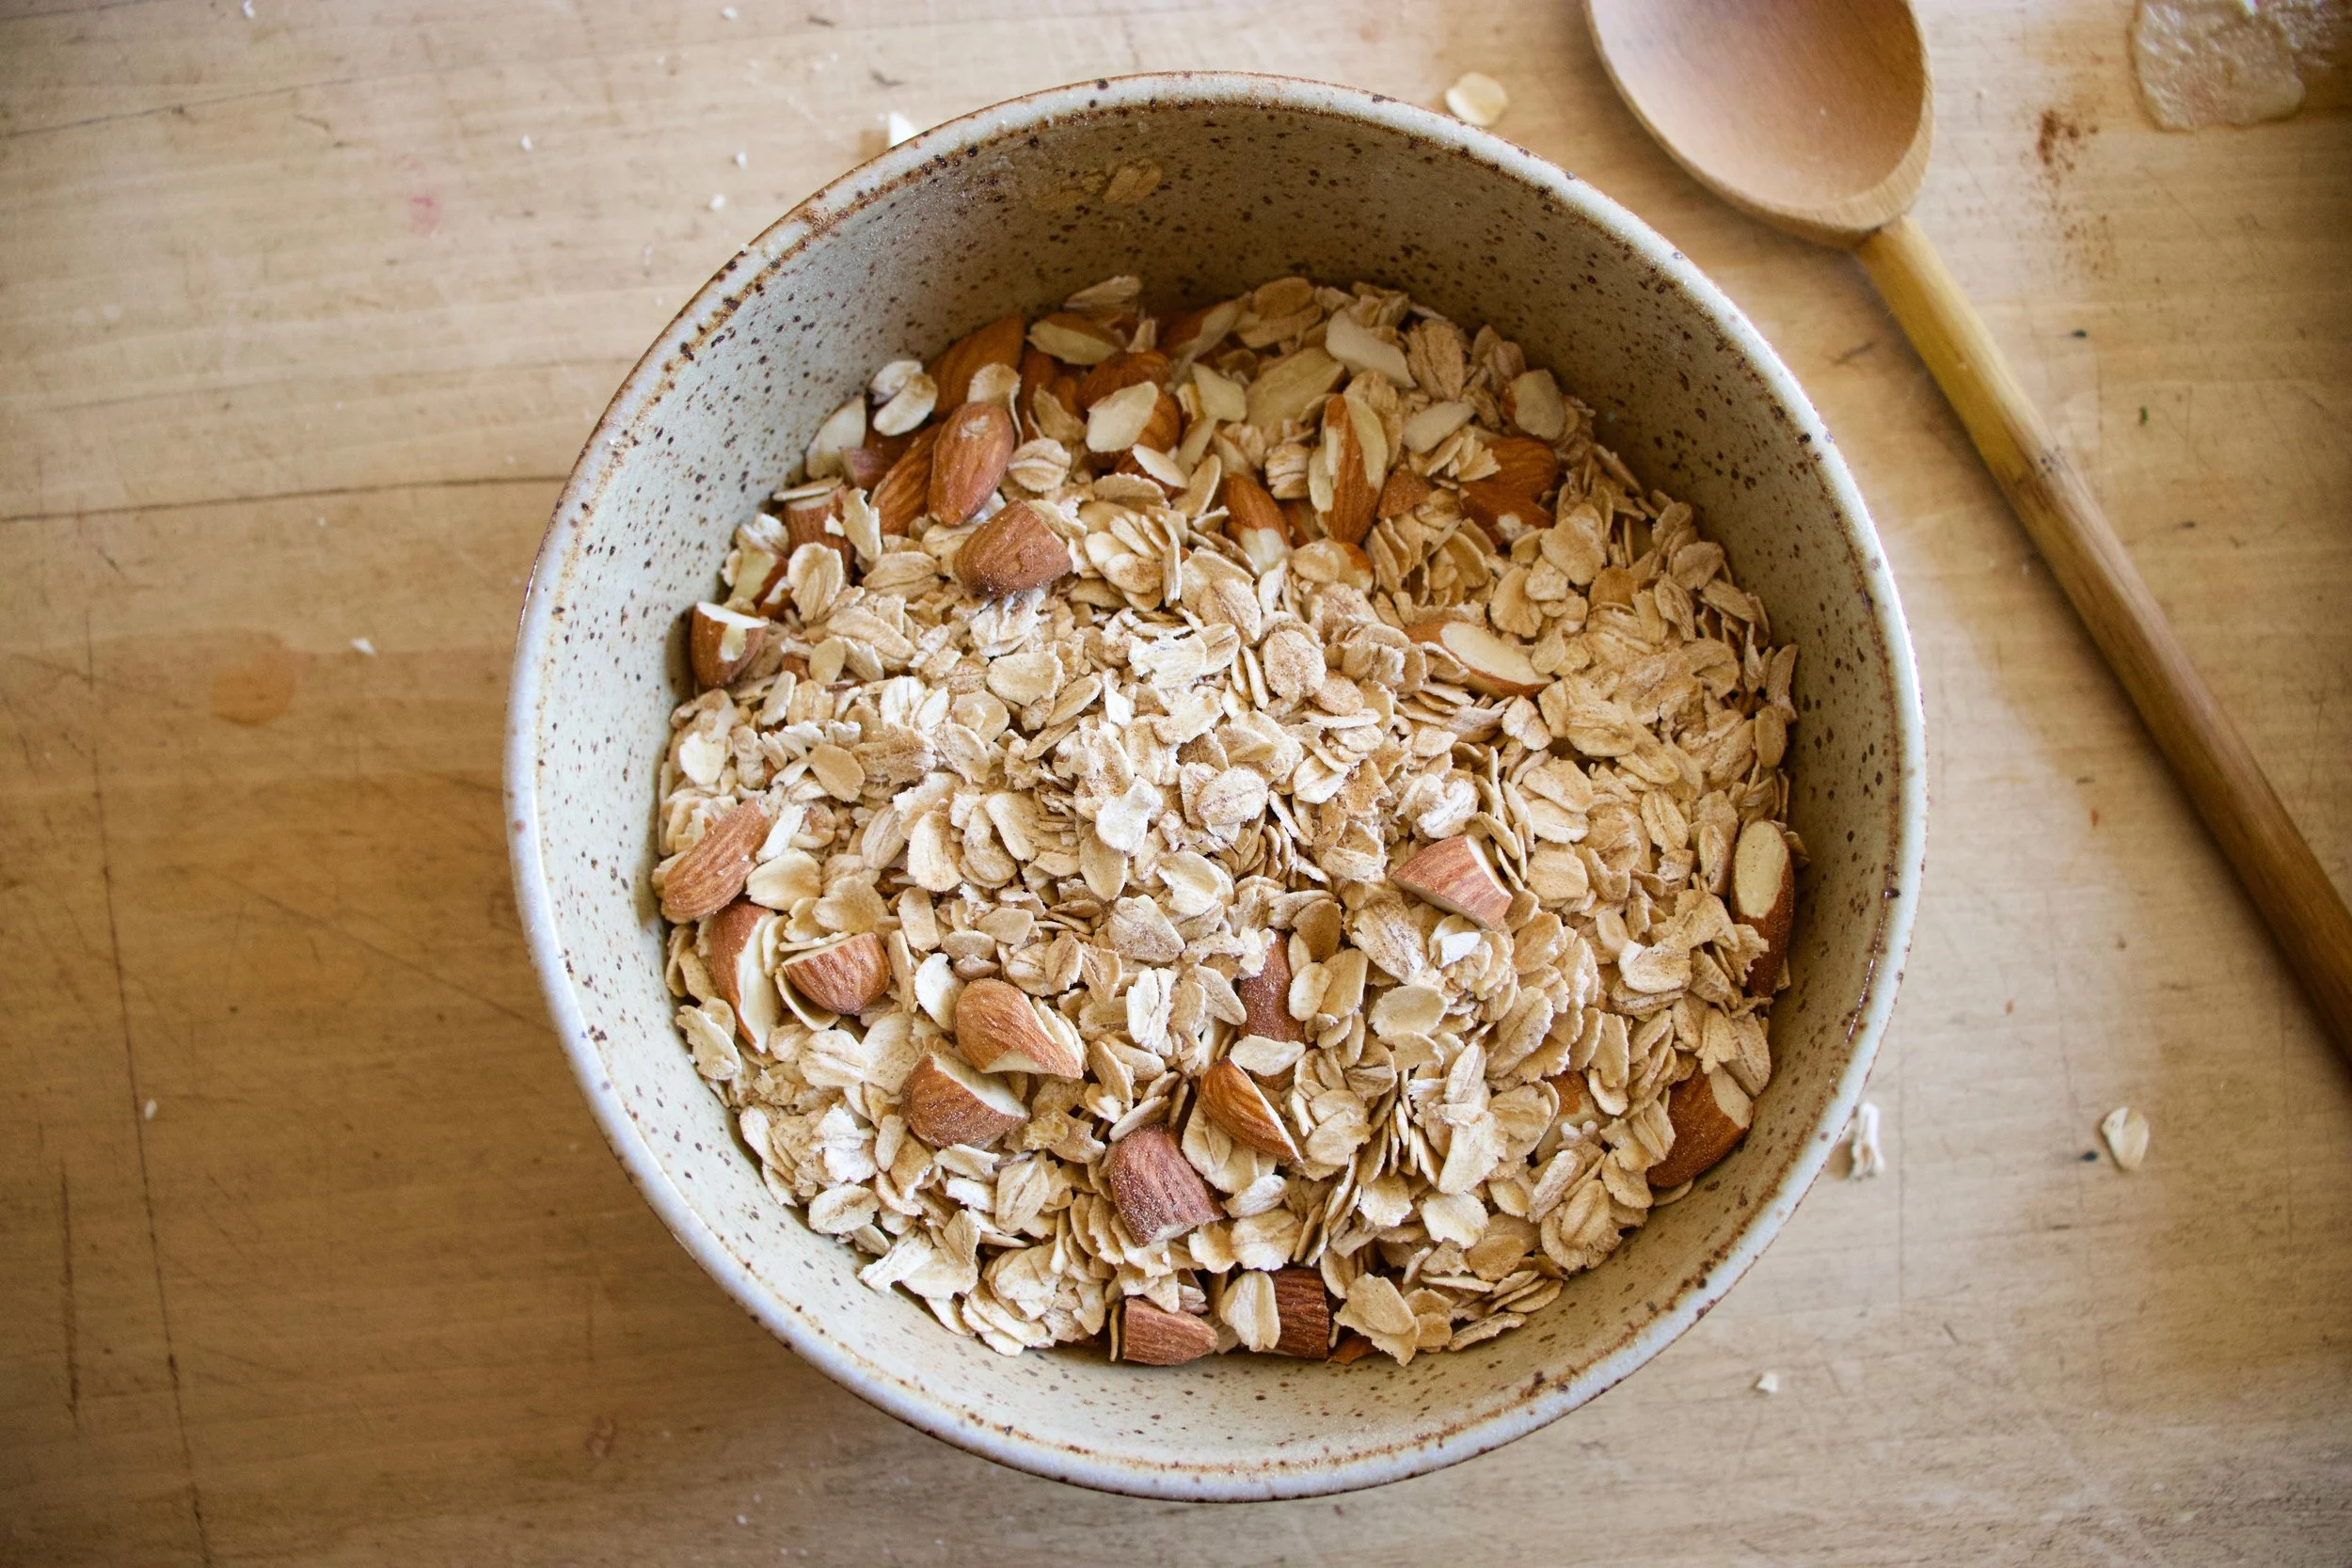
To start. Oats, cinnamon. salt, baking powder and almonds get a quick toss together in a big bowl.
If you rhubarb is not already chopped up into inch long pieces, do that. I already did before freezing it so yea me. Once its chopped, layer almost all of it (reserve a few small needful to toss on top) into a lightly greased 9×9 inch baking dish then cover evenly with the oat mixture.
In now empty bowl mix together the milk, the flax eggs, the tahini, and the maple until evenly incorporated.
Pour the wet mixture all over the oats and let it absorb.
Once the liquid is all absorbed , top with any left over almonds and the left over rhubarb. For good looks.
Pop into a hot oven to bake.
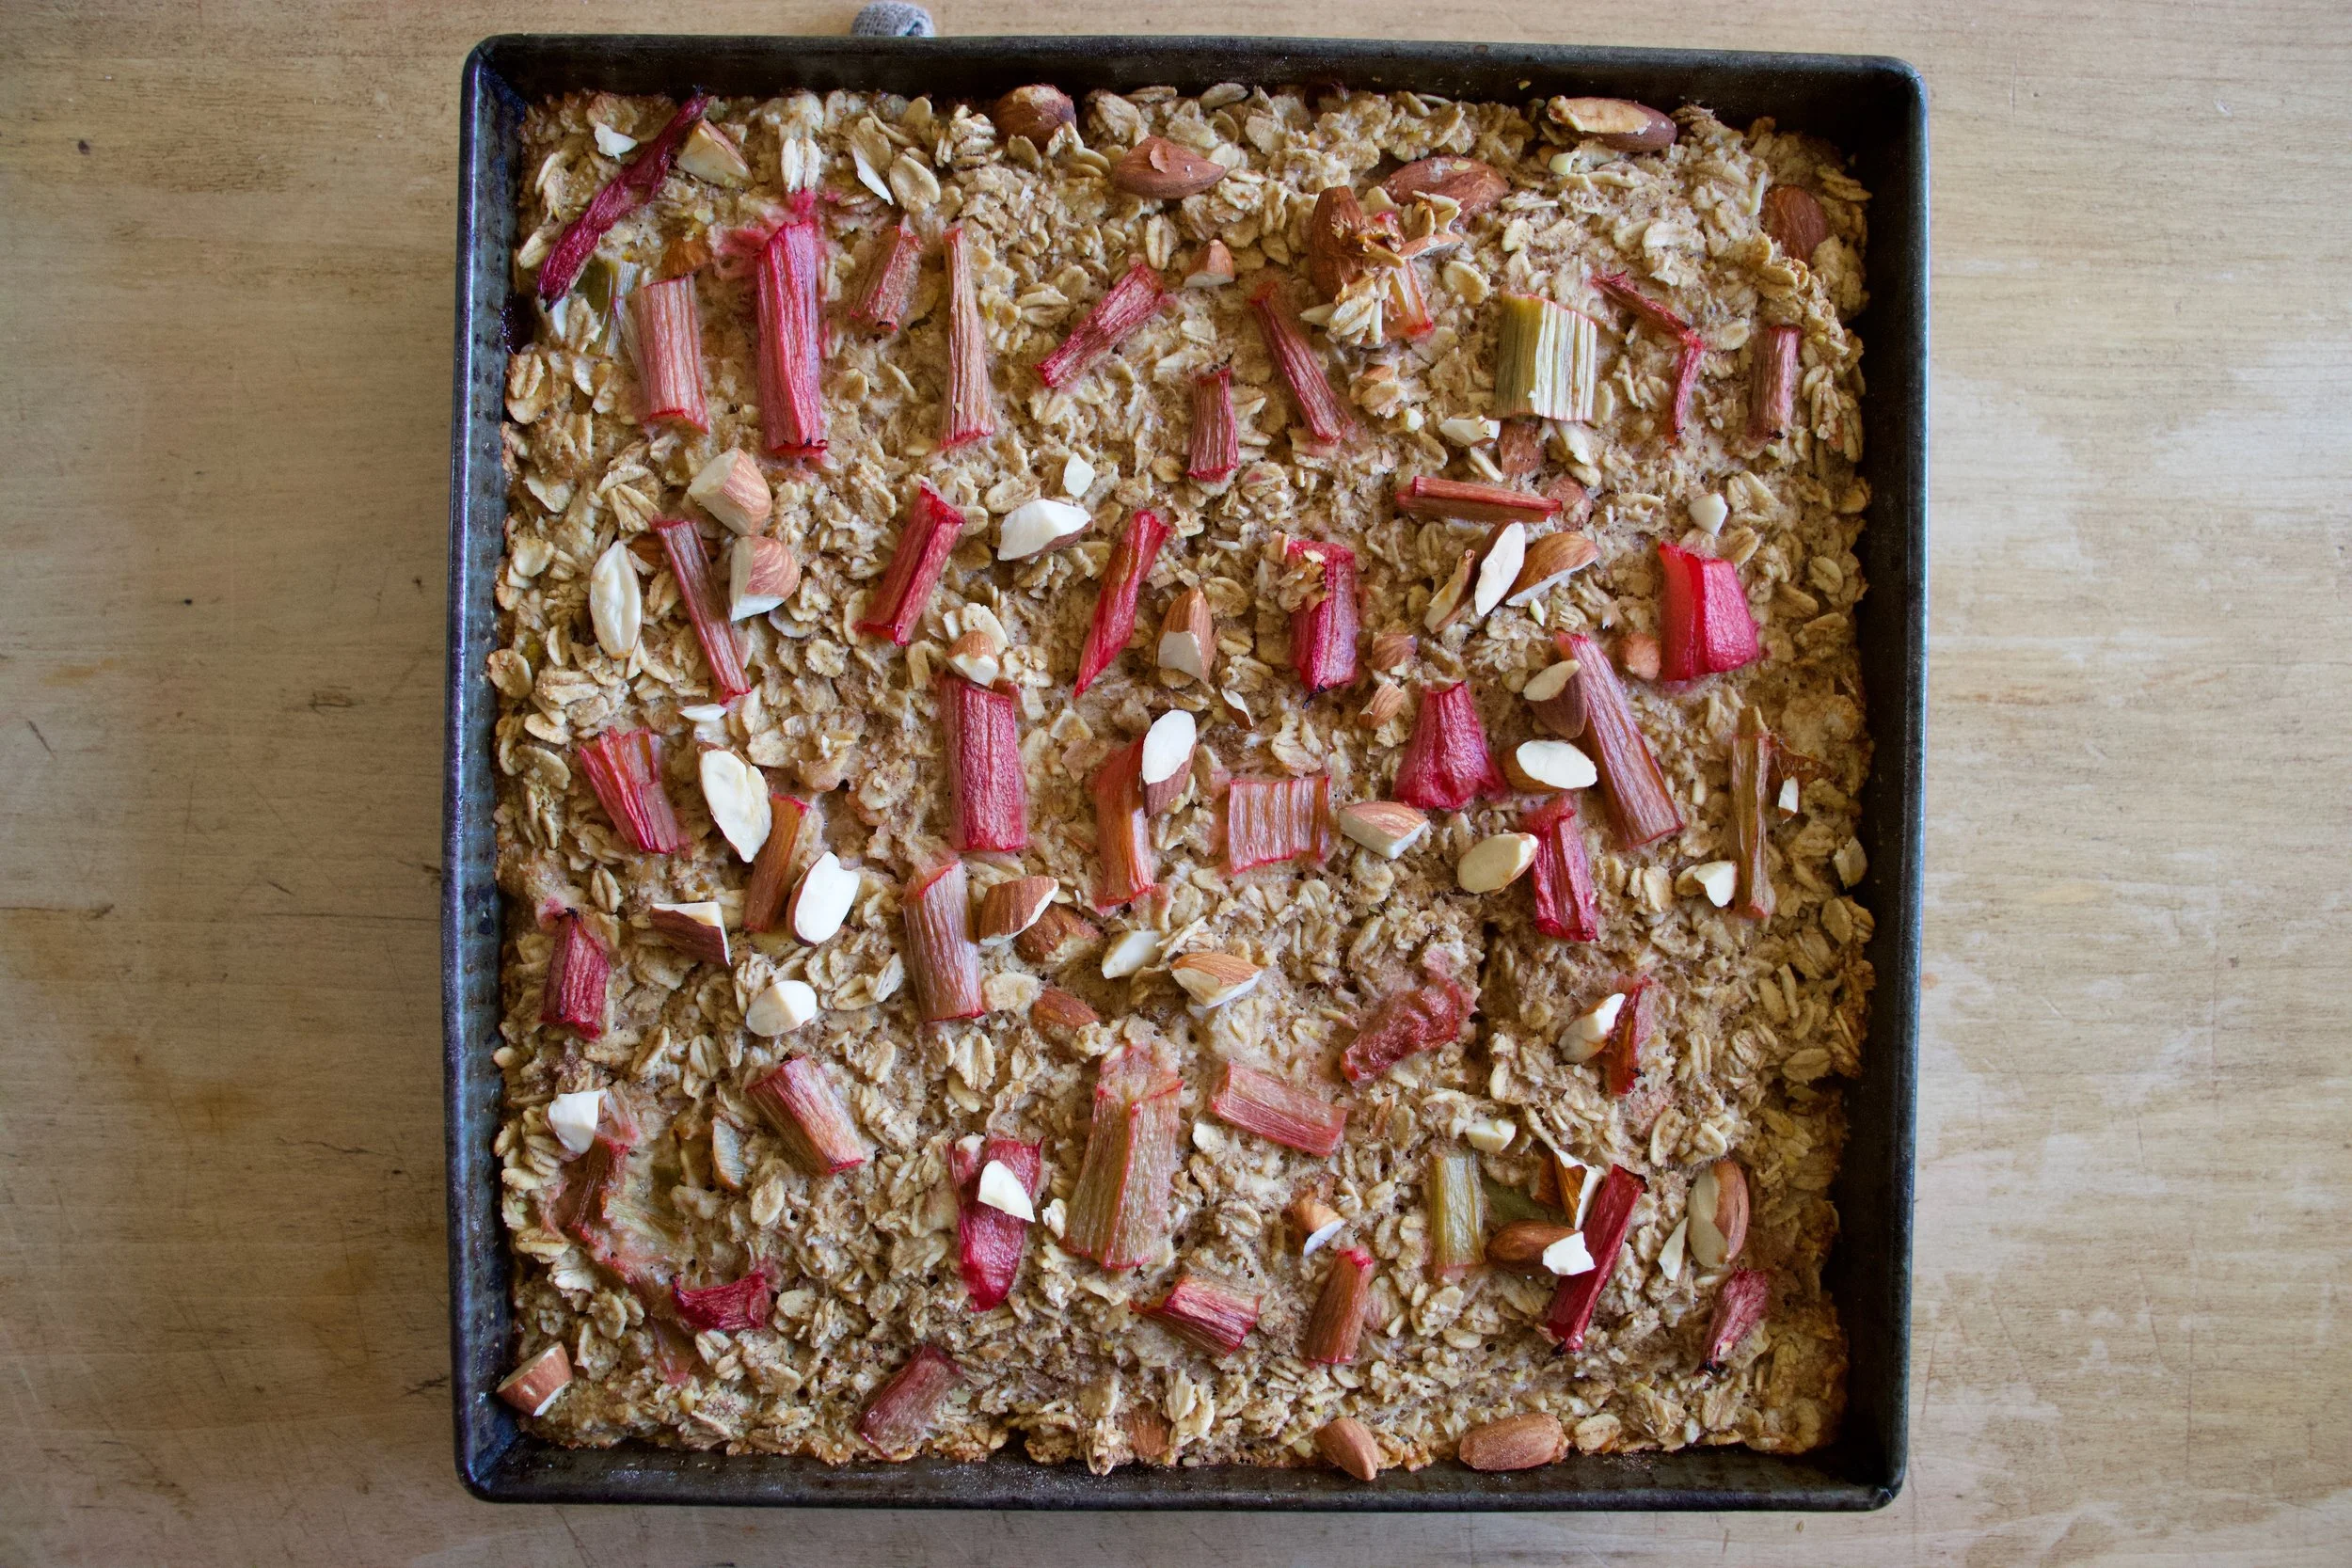
Golden brown with crispy edges. Rhubarb and maple baked oatmeal for all your maple, oaty and rhubarbie needs.
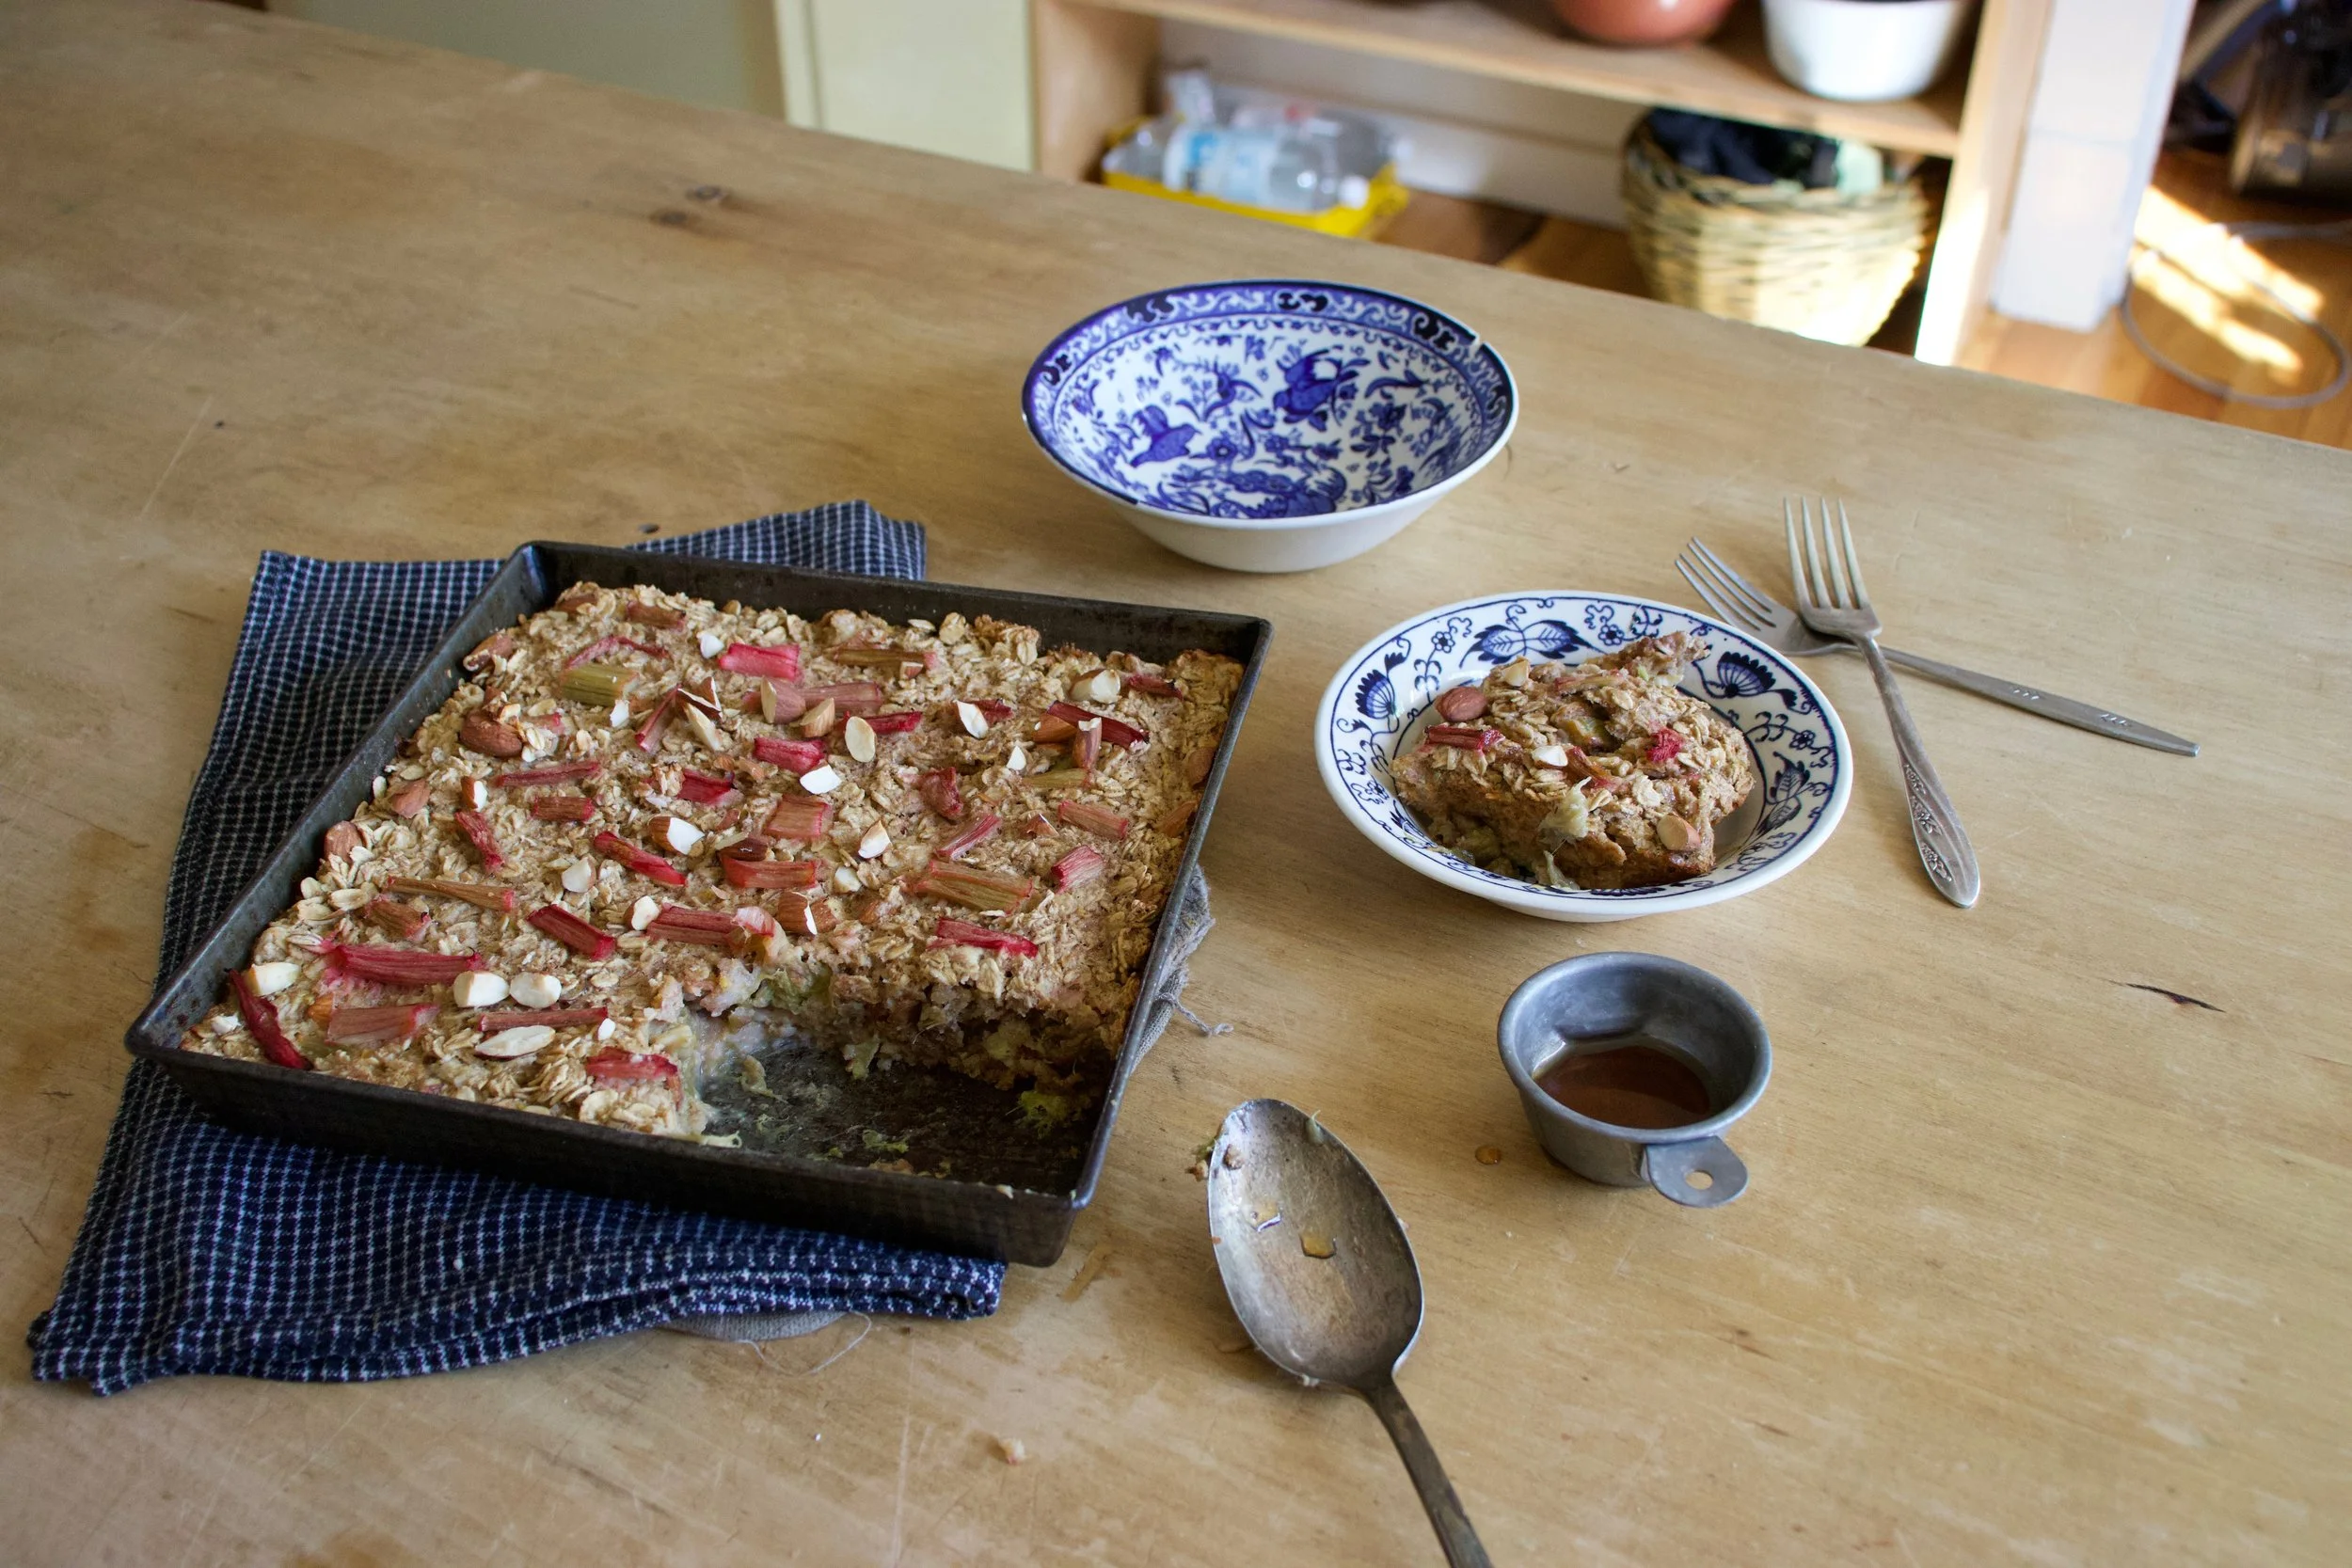
Fresh from the oven scooped warm into bowls. Top with extra maple if thats what you should want do.
Enjoy and happy maple season!
-C
Make a 9×9 pan of oatmeal
2 1/2 cups old fashion oats (make sure gluten free if need be)
2 1/2 cups fresh or frozen rhubarb chopped into inch long pieces
1 1/2 cup plant milk (water works but it won%u2019t be as creamy)
1/2 cup chopped almonds (optional)
Preheat oven to 375
Lightly grease a 9×9 inch baking pan (I used metal because it makes for crisper edges but glass works too) and dump 2 cups of the rhubarb in and evenly distribute on the bottom. In a large bowl mis the oats, the baking powder, salt, and cinnamon together. Mix in chopped nuts if you are using. Evenly cover rhubarb with oat mixture. In now empty bowl mix together the milk, flax eggs, maple syrup, and tahini until evenly incorporated. Pour mixture over oats. Let the mixture sit for a few minutes until the oats have abosbed all the liquid. Toss the rest of the diced rhubarb and a few more chop nuts to the top and pop into the oven to bake.
Bake for 30-40 minutes (shorter time for a wetter oatmeal, longer for a denser crispier oatmeal)
Once baked to your likeness, remove from oven and let cool for a few minutes just so it is not super hot. Scoop into bowls and serve warm with extra maple and milk or whatever you might want to serve with it.
Left overs last great in fridge for 3-4 days or individual portions can be frozen for a month or two. Just pop into microwave for a couple minutes to warm up.
I have a bag of coconut flour that I need to use up so I have made coconut snack cake a few times the past couple weeks. Once with orange instead of lime. Once I added chocolate chips. This time I stepped it up made a little glaze action, toasted a little coconut for some extra coconutiness and took these here pictures and wrote down the recipe. Just. For. You.
Not that I don%u2019t know already that my snack cake creation is good, but I guess it was just super A+++. I threw this one together right before the mr and I headed down to PA to hang with my dad. As soon as he (and sister and nephews) started in on it, well the responses were more then average. My dad even snuck a piece off and hid it for later. They really, really, really were into it. Wanted me to make another right then and there. Normally I would but my dad doesn%u2019t keep coconut flour on hand and I don%u2019t make it a habit to travel with any myself. (I might have to change that.) Next time he will know to stock the coconut flour.
I didn%u2019t realize my people were such coconut people. Good thing for them that I like coconut people. As a matter of fact, I consider myself a coconut person. And coconut is not code for awesome, but I am that too. HA
Anyway enough about me. Coconut snack cake is what you want to know about. It is soft and dense. Moist, not overly sweet. Lots of lime and coconut flavor and is just perfect for snack time. Eat it with a fork on a plate with coffee or tea or grab an piece and eat it walking down the street while thinking about green leaves and warmer weather. Or wherever and whenever. If you make it then it%u2019s up to you when and where you eat it. That only seems fair.
Now to the snack cake of your coconut lime dreams.
The stuff. Gonna need all purpose flour, coconut flour, salt, baking soda, baking powder, a couple flax eggs, some warmed coconut oil, plant milk, brown sugar, vanilla extra, apple sider vinegar, a couple lime, some powdered sugar, and some lightly toasted shredded coconut.
Grab a big bowl. Add in the brown sugar, flax eggs, warmed coconut oil, apple cider vinegar, and vanilla. Mix it all up until evenly incorporated.
Dump in the flours, baking soda and powder, and salt. Zest in lime, squeeze in lime juice and start to mix. Add in the milk as you are mixing.
Cake batter mixed and done. Now to bake it.
Dump the cake batter into a well greased baking pan and level it off with a spoon or spatula.
Now it%u2019s oven time to bake into a great and well cake.
A cake out of the oven, great and well. Golden brown and smells of all the goodness that a coconut cake could possible smell.
While cake is cooling, which it should be now, make the glaze. Powdered sugar, lime zest, and lime juice. Mix until it%u2019s glazy.
Pour the glaze all over cooled cake.
Don%u2019t forget the shredded coconut. Get it on before the glaze starts to set.
And then it%u2019s just the matter of cutting cake%u2026%u2026.
You know once you cut it, that means snack time right? Coconut lime snack cake for all of your coconut time, lime time, hungry snack time needs.
Keep it good.
-C
Makes a 9×9 cake
1 1/2 cups all purpose flour
1/2 cup coconut flour
3/4 packed cup brown sugar
1 teaspoon salt
1 teaspoon baking soda
1 teaspoon baking powder
1/2 cup coconut oil (warmed to liquid)
1 1/4 cup plant milk (I used almond)
2 flax eggs (2 tablespoons ground flax seeds with 1/2 cup warm water)
1 teaspoon vanilla
1 tablespoon apple cider vinegar
A lime
For the glaze
3/4 cup powdered sugar
a lime
1/4 cup or so toasted shredded coconut to sprinkle on top (optional)
Preheat oven to 350
In a large bowl, mix together the bbrown sugar, flax eggs, warmed coconut oil, vanilla, and apple cider vinegar until completely incorporated. Next dump in the flour, coconut flour, salt, baking soda and baking powder. Zest the lime into bowl. Start mixing, adding in the juice of the lime and the plant milk. Mix it all together until completely incorporated.
Dump mixture into a well greases 9×9 baking pan and level off with a spoon or spatula. Place into oven and bake for 30-35 minutes or until golden brown and a tester stuck into the middle of cake comes out clean.
Once baked, remove from oven, let cool in pan for a few minutes then carefully remove cake from pan and let cool on a wire rack.
While cake is cooling, make the glaze. Just zest other lime into powered sugar then add the juice (or as much juice as you needed) of the lime until a pourable glaze forms. If your lime is not particularly juicy enough and the glaze is still really thin, just add a splash of water to thin out as needed.
And when cake is completely cooled, pour glaze all over cake and cover with toasted coconut flakes.
Now cut. And eat.
Store left over cake in a air tight container for 3-4 days. Individual pieces freeze well for all your future snacking needs.
I have very strong feelings for heart shaped baked goods. I think that everything, all year round, should be heart shaped. How lovely would that be? It would be ever so lovely, or I would think so anyway. And yes, ok, I was thinking about Valentines Day when I made these cupcakes but don%u2019t let that be the only reason you make a cupcake, cake, or any other baked good into the shape of a heart or pink for that matter.. Hearts are just so sweet and cute and dare I say cuddly? (Can you cuddle baked goods? Let me know if you have and do. We should talk about that). And pink is just a fantastic color, especially when it is the color of the flavor. Purple-y pink equals a taste like berry so all just makes sense.
Anyways. Cupcakes. Made with nutty almond meal to taste all nutty, frosted with blackberry and clementine frosting which is a pairing that all party and non party people will love. A down right deeelightful combination that will, no matter your circumstance in life, make you smile. Because lets get this clear, these cupcakes might look all lovey dovey and Valentines Day-e and are very much a perfect Valentines Day treat, but also can be an everyday, run of the milll, straight up any day, all day cupcakes. Valentines Day does not own the heart or pink.
These cupcakes are for you to love and you don%u2019t need to worry if they love you back. That would be weird.
Slightly off topic thought. How awesome would it be if someone made a cute little teddy bear that when you squeezed it it would scream %u201cWHAT THE HELL! GET OFF ME!%u201d Hahahaha. That would be amazing.
To the cupcakes!
The stuff. Flour, almond meal, baking soda, baking powder, salt, sugar, soy milk, oil, vanilla extract, and apple cider vinegar. Also some blackberry jam, powdered sugar, some vegan butter, and a clementine.
In a big bowl, whisk together the granulated sugar, flour, almond meal, salt, baking powder, and baking soda.
Add in the oil, vanilla, milk, and apple cider vinegar. Mix until fully incorporated.
And that is some mixed batter.
Scoop the batter into well greased muffin tins. I used to different shapes and sizes because I wanted too. You can do the same, just be aware different sizes will cook at different times.
And into the hot oven they go.
Baked, popped out of the tins, and cooling to cool.
Frosting time. Butter, clementine zest, and jam mixed together makes for the prettiest color.
Add in the powdered sugar and juice of the clementine and beat with a beater.
Pretty pink frosting. All natural.
And now that the cupcakes are cooled (you must wait until they are completely cooled) get them frosted.
And of course, adding sprinkles will only make them that much better.
And now you got the cupcakes which makes it cupcake time.
Look at that smile. Thats a smile just for cupcakes, not at all because I told him too.
Happy happy.
-C
Makes 12-16 cupcakes (depending on size)
1 1/2 cups all purpose flour
1/2 cup almond meal
1/3 cup neutral oil
1 1/4 cup almond milk
3/4 cup white sugar
1 teaspoon baking soda
1 teaspoon baking powder
1 tablespoon apple cider vinegar
1/2 teaspoon salt
1 teaspoon vanilla or almond extract
For the frosting
3 tablespoons blackberry jam or preserves with or without seeds
2- 2 1/2 cups powdered sugar
4 tablespoon vegan butter
1 clementine (zest and some juice)
Preheat oven to 350.
In a large bowl whisk together the flours, salt, baking soda and powder and sugar until fully combines. In a separate bowl mix together the oil, milk, vinegar, and vanilla. Pour into the dry and mix, by hand, until full incorporated. Scoop batter into well greased muffin tins (heart or other shape up to you) and place into oven for 13-18 minutes (shorter time for smaller cupcakes, longer for larger sized) or until lightly browned and a tester stuck into a cake comes out clean. Pull from oven when done and pop from tin. Place on a wire rack to cool.
While cakes are cooling, make frosting. Beat together the butter, zest of the clementine, and jam. Add in the sugar and the juice and beat until fully incorporated. If the consistency is to thin, add a little more sugar, to thick, more clementine juice or if out of juice, a splash of milk.
Once cupcakes are full cooled, frost, add sprinkle if you would like, and then the only thing left to do is eat them.
Eat cupcakes, store left overs in an air tight container in the fridge for up to a week.
I found another bag of frozen rhubarb in the chest freezer which is never a bad thing, but my rhubarb patch outside is growing strong and I will have all the fresh rhubarb I could possible eat within the next few weeks. So found rhubarb just means I need to eat it right fast before the fresh stuff comes in. (I haven%u2019t had a problem with that. it%u2019s almost gone already). Plus the other day while I was digging up and transplanting raspberry bushes to the back yard, my neighbor came over and gave me a gallon of frozen raspberries, harvested from said bushes that I was currently planting in my yard. Score for me! Free bushes and berries%u2026I have such nice neighbors.
So the logical thing to do with my new found and giving bounty was of course to hurry up and bake something. Cobbler. Why cobbler? Well, why not? I figured the mr would really like it and eat it and I also didn%u2019t want to make anything to fussy because I was just to dang busy spending all of my extra time outside doing outside things. And cobbler, it%u2019s not fussy because it is basically biscuits and jam baked up all together. Not a lot to think about and comes out looking all homey and sweet and smelling all nice and cozy. Doesn%u2019t that sound nice? And not a pain in the ass?
And best part. A made cobbler works as dessert or breakfasts or just a snack. Just asked the mr. He ate it for all the reasons. With a dollop of yogurt or cream of course because he is fancy like that.
And yeah the fruit I used was frozen, but fresh works just the same here too.
Now, lets get to that cobbler.
The stuff. Raspberries (frozen), rhubarb (frozen), sugar, flour, salt, baking power, cinnamon ,almond milk, apple cider vinegar, cornstarch, and oil.
Raspberries, rhubarb, sugar, cinnamon, cornstarch. Its all there in the bowl. Just needs to be mixed. So mix it.
Dump fruit mixture into well greased 8 inch pan and pop it into a hot oven to get a head start on baking.
While the fruits in the oven, make the biscuit dough. Mix the dry together then mix in the wet until just incorporated and a sticky dough forms.
Pulled from the oven, the fruit is starting to cook down and whoa, it just smells so good!
Drop on the biscuits dough on top of the fruit (careful of the hot pan). Evenly if possible, but don%u2019t work to hard to make it look perfect. Imperfection makes it look perfect, you know?
Once biscuits are on, lightly brush the tops with a little milk and sprinkle with more sugar then pop it back into the oven for another 25-30 minutes or until the biscuits are baked.
Pulled from the oven with a bubbly filling and a golden brown biscuity top. Things are looking good here.
And now it%u2019s time.
Dig on in my friend. Sever with something creamy like whipped coconut cream or some type of yogurt or ice cream situation of your choice. And again, this can be your breakfast.
Happy spring people!
-C
make a a 8 inch round which serves 5-6
For the Filling
2 cups raspberries (fresh or frozen)
2 cups rhubarb chopped into 1/2 inch to inch long pieces (fresh or frozen)
1 1/2 tablespoons corn starch
3/4 -1 cup sugar (lesser amount if you like a little more tartness. I used lesser amount)
1 teaspoon cinnamon
For the dough
1 cups all purpose flour
1 1/2 teaspoon baking powder
1/2 teaspoon salt
3 tablespoons sugar
3 tablespoons neutral flavored oil
1/2 cup plant based milk
1 teaspoon apple cider vinegar
Preheat oven to 350.
In a large bowl mix together the rhubarb and raspberries with the corn starch, sugar, and cinnamon. Grease a 8 inch round pan the is at least 2 inches deep (can use a slightly large pan or a square) and dump in fruit mixture. Place into oven to bake for about 15 minutes or the fruit starts to break down.
While fruit is baking, mix up biscuit dough. Flour, salt, 2 tablespoons sugar, and baking powder go in a large bowl and mixed until combined. Add in the oil, the milk, and the vinegar. Mix until just incorporated and a dough has formed.
Remove the fruit cooking from the oven. Turn heat up to 375.
Carefully drop spoonfuls of biscuit batter on top of fruit. Brush the top of the biscuits with a little milk and sprinkle with remaining tablespoon sugar. Place the pan back into the oven and bake for another 25-30 minutes or until the biscuits are all nice and golden brown on top.
Remove from oven and let cool for a few minutes before serving. Serve warm with a scoop or dollop of soothing creamy (coconut cream, yogurt, ice cream%u2026..whatever floats your boat.)
Left overs can be stored in pan, just cover it with something and place in fridge. Can be eaten cold to or reheated in microwave or oven.
I found another bag of frozen rhubarb in the chest freezer which is never a bad thing, but my rhubarb patch outside is growing strong and I will have all the fresh rhubarb I could possible eat within the next few weeks. So found rhubarb just means I need to eat it right fast before the fresh stuff comes in. (I haven%u2019t had a problem with that. it%u2019s almost gone already). Plus the other day while I was digging up and transplanting raspberry bushes to the back yard, my neighbor came over and gave me a gallon of frozen raspberries, harvested from said bushes that I was currently planting in my yard. Score for me! Free bushes and berries%u2026I have such nice neighbors.
So the logical thing to do with my new found and giving bounty was of course to hurry up and bake something. Cobbler. Why cobbler? Well, why not? I figured the mr would really like it and eat it and I also didn%u2019t want to make anything to fussy because I was just to dang busy spending all of my extra time outside doing outside things. And cobbler, it%u2019s not fussy because it is basically biscuits and jam baked up all together. Not a lot to think about and comes out looking all homey and sweet and smelling all nice and cozy. Doesn%u2019t that sound nice? And not a pain in the ass?
And best part. A made cobbler works as dessert or breakfasts or just a snack. Just asked the mr. He ate it for all the reasons. With a dollop of yogurt or cream of course because he is fancy like that.
And yeah the fruit I used was frozen, but fresh works just the same here too.
Now, lets get to that cobbler.
The stuff. Raspberries (frozen), rhubarb (frozen), sugar, flour, salt, baking power, cinnamon ,almond milk, apple cider vinegar, cornstarch, and oil.
Raspberries, rhubarb, sugar, cinnamon, cornstarch. Its all there in the bowl. Just needs to be mixed. So mix it.
Dump fruit mixture into well greased 8 inch pan and pop it into a hot oven to get a head start on baking.
While the fruits in the oven, make the biscuit dough. Mix the dry together then mix in the wet until just incorporated and a sticky dough forms.
Pulled from the oven, the fruit is starting to cook down and whoa, it just smells so good!
Drop on the biscuits dough on top of the fruit (careful of the hot pan). Evenly if possible, but don%u2019t work to hard to make it look perfect. Imperfection makes it look perfect, you know?
Once biscuits are on, lightly brush the tops with a little milk and sprinkle with more sugar then pop it back into the oven for another 25-30 minutes or until the biscuits are baked.
Pulled from the oven with a bubbly filling and a golden brown biscuity top. Things are looking good here.
And now it%u2019s time.
Dig on in my friend. Sever with something creamy like whipped coconut cream or some type of yogurt or ice cream situation of your choice. And again, this can be your breakfast.
Happy spring people!
-C
make a a 8 inch round which serves 5-6
For the Filling
2 cups raspberries (fresh or frozen)
2 cups rhubarb chopped into 1/2 inch to inch long pieces (fresh or frozen)
1 1/2 tablespoons corn starch
3/4 -1 cup sugar (lesser amount if you like a little more tartness. I used lesser amount)
1 teaspoon cinnamon
For the dough
1 cups all purpose flour
1 1/2 teaspoon baking powder
1/2 teaspoon salt
3 tablespoons sugar
3 tablespoons neutral flavored oil
1/2 cup plant based milk
1 teaspoon apple cider vinegar
Preheat oven to 350.
In a large bowl mix together the rhubarb and raspberries with the corn starch, sugar, and cinnamon. Grease a 8 inch round pan the is at least 2 inches deep (can use a slightly large pan or a square) and dump in fruit mixture. Place into oven to bake for about 15 minutes or the fruit starts to break down.
While fruit is baking, mix up biscuit dough. Flour, salt, 2 tablespoons sugar, and baking powder go in a large bowl and mixed until combined. Add in the oil, the milk, and the vinegar. Mix until just incorporated and a dough has formed.
Remove the fruit cooking from the oven. Turn heat up to 375.
Carefully drop spoonfuls of biscuit batter on top of fruit. Brush the top of the biscuits with a little milk and sprinkle with remaining tablespoon sugar. Place the pan back into the oven and bake for another 25-30 minutes or until the biscuits are all nice and golden brown on top.
Remove from oven and let cool for a few minutes before serving. Serve warm with a scoop or dollop of soothing creamy (coconut cream, yogurt, ice cream%u2026..whatever floats your boat.)
Left overs can be stored in pan, just cover it with something and place in fridge. Can be eaten cold to or reheated in microwave or oven.
I am sadly at my last few bags of frozen garden foods from last season. As of now I have a bag of tomatoes, a couple bags of shredded zucchini, and a bag of rhubarb. Well, had a bag of rhubarb. I think I have eaten almost all of it already. My rhubarb patch better get up and producing stalks soon. And as for the rest of the veggies that I will require. Guess I am going to be surviving mostly on roots from farm share (we are getting a lot more greens though!!!!) and probably doing a bit more grocery shopping then I care too. A few more months. I can do it.
Anyway, enough about my freezer and lack of fresh produce problems.
Here in Vermont maple season is well on it%u2019s way making it a perfect time for anything maple. And rhubarb. Yeah I am using my frozen rhubarb from last year, but any time now (after the snow melts) there will be plenty of stalks for the taking. There will be so much maple and so much fresh rhubarb which are the perfect taste combination. Exciting times! And when added to oatmeal, things just get more gooder. (I know gooder is not a word but I think it should be) Oatmeal, especially baked, is the stuff where all gooder things start.
Have you had baked oatmeal yet? It truly is fantastic. Not at all gummy and gloopy like stove topped cooked oatmeal (but I like it like that too). It still has a good bite to it while still being soft and creamy and boy oh boy is it just the bees knees. With the addition of some crunchy almond friends, well even better. Trust me. If you are a oatmeal eater, you must try it baked. Best part is that it can be eaten as breakfast but also I have been serving it to the mr for dessert with a healthy drizzle of more maple. It%u2019s that good friends. From breakfast to dessert. Everyone is happy.
To the baked oatmeal.
The stuff. Old fashion oats, cinnamon, salt, baking powder, rhubarb (fresh or frozen), REAL maple syrup, some plant milk, a few flax eggs, a bit of tahini, and some almonds.
To start. Oats, cinnamon. salt, baking powder and almonds get a quick toss together in a big bowl.
If you rhubarb is not already chopped up into inch long pieces, do that. I already did before freezing it so yea me. Once its chopped, layer almost all of it (reserve a few small needful to toss on top) into a lightly greased 9×9 inch baking dish then cover evenly with the oat mixture.
In now empty bowl mix together the milk, the flax eggs, the tahini, and the maple until evenly incorporated.
Pour the wet mixture all over the oats and let it absorb.
Once the liquid is all absorbed , top with any left over almonds and the left over rhubarb. For good looks.
Pop into a hot oven to bake.
Golden brown with crispy edges. Rhubarb and maple baked oatmeal for all your maple, oaty and rhubarbie needs.
Fresh from the oven scooped warm into bowls. Top with extra maple if thats what you should want do.
Enjoy and happy maple season!
-C
Make a 9×9 pan of oatmeal
2 1/2 cups old fashion oats (make sure gluten free if need be)
2 1/2 cups fresh or frozen rhubarb chopped into inch long pieces
1 1/2 cup plant milk (water works but it won%u2019t be as creamy)
1/2 cup chopped almonds (optional)
Preheat oven to 375
Lightly grease a 9×9 inch baking pan (I used metal because it makes for crisper edges but glass works too) and dump 2 cups of the rhubarb in and evenly distribute on the bottom. In a large bowl mis the oats, the baking powder, salt, and cinnamon together. Mix in chopped nuts if you are using. Evenly cover rhubarb with oat mixture. In now empty bowl mix together the milk, flax eggs, maple syrup, and tahini until evenly incorporated. Pour mixture over oats. Let the mixture sit for a few minutes until the oats have abosbed all the liquid. Toss the rest of the diced rhubarb and a few more chop nuts to the top and pop into the oven to bake.
Bake for 30-40 minutes (shorter time for a wetter oatmeal, longer for a denser crispier oatmeal)
Once baked to your likeness, remove from oven and let cool for a few minutes just so it is not super hot. Scoop into bowls and serve warm with extra maple and milk or whatever you might want to serve with it.
Left overs last great in fridge for 3-4 days or individual portions can be frozen for a month or two. Just pop into microwave for a couple minutes to warm up.
Who doesn’t like a good bun, right? %u00a0And just because this is where my mind wonders, peachy sweet buns. Doesn’t that sound like a pick up line or something you say to your significant other. Like, “Oh hey peachy sweet buns, you are looking good. Woo hoo”…….. Anyway, this is not about anyones peachy sweet buns, it it about actually sweet buns so u-hum, yeah.%u00a0
I am not trying to float my own boat here, but I am really really good at making buns, and you know what, I bet that you are too. They may seem a little intimidating, but really, it’s quite easy. I think what throws some people off is the yeasted dough and having to knead and waiting for the dough to rise,%u00a0but don’t let that stop you from sweet sweet buns. They are no harder to make then a boxed cake (maybe a little harder) and the results are by far more amazing and delightful (we don’t use the word delightful enough around here) then any old box or pre-made thing will ever be. Ever. Freshly made buns are what is right in this world.
If you are awesome and decide to make buns like any good person with a baking itch or a need for some sweet bun goodness does, make them peachy because its peach season and how can a peach bun not be that much more amazing? %u00a0Just think. Soft sweet dough, jammy cinnamon peaches, covered in a sweet lemony glaze……
Go on now, go and get yourself some peachy sweet buns.
The stuff. Flour and salt in the bowl, melted earth balance, brown sugar, yeast, warm soy milk, cane sugar, cinnamon, powdered sugar, a couple of lemons, and af course, peaches.
Warm (not hot) soy milk, yeast, cane sugar, an melted (but again, not hot) earth balance go into a big bowl and get whisked around. Then add in the flour and salt ans mix around until you just can’t.
Time to knead. Dump the dough ad all the little bits onto a flour surface. Gather it all together and knead away, for about 5-8 minutes, or until the dough looks like….
This. Nice and soft and glossy. %u00a0Lightly grease the bowl ans stick the dough back into it, covered with a towel, and set for about 1 hour to rise and double in size.%u00a0
As soon as the dough is set ti rise, start on your peach filling. Chop up enough peaches that you have about 2 1/2 cups of chunks.
Brown sugar and peach chunks go into a pot and stuck on a medium heat until they start to bubble then set to a low simmer for about 20 minutes or until the peaches all break apart and reduce by half.
Add in the cinnamon and stir.. Peachy goodness. Now quick and stick that shit in the fridge or freezer to cool down.
BOOM. Dough did what it’s job and doubled. Time o make the buns.%u00a0
Place the dough on a lightly floured surface and roll our into a rectangle of sorts that is about 1/2 an inch thick%u00a0
Cover the surface with all the peachy jammy goodness, and sprinkle on the remaining finely chopped peaches.
And roll, as tightly as you can, without squeezing all the filling out. I roll towards me, but roll away from you if it is easier. %u00a0It might get a little sloppy… it’s ok, just lick your fingers and keep going.%u00a0
Rolled and cut into 12 pieces.
Place the rolls carefully onto a grease and parchment lined baking 9×13 baking dish. In my picture I used a baking pan, which was not what I wanted to do, but I wasn’t thinking properly and so that’s what I did. Something with sides is preferable, but the baking pan did the job so really, your call.%u00a0
When you place the buns in the dish, place them toughen a bit, it helps then bake up high instead of out. %u00a0And any remaining go on jam that spilled out can get scraped right on top of the buns,%u00a0if you didn’t already eat it.
Now into the preheated oven these %u00a0babies go.
Look at those beauts. And they smell. A-MAZ-ING!!%u00a0
Right away get that glaze made. Powdered sugar, lemon zest, ans lemon juice. Super easy, just add the zest and juice to sugar and mix until smooth and glaze.%u00a0
Pour glaze over warm buns. Make sure to hit them all or someone is going to be pissed they didn’t get enough glaze…..%u00a0
Then it’s really just up to you whether you wait for coffee or tea or not, but really, just eat right away. There should be very little time between newly glazed buns and a bun in your face.
Enjoy the peaches!
-C
Makes 12 Buns
For the Dough%u00a0
3 1/2 cups all purposes flour
1/4 %u00a0cup cane sugar
1 cup warm soy milk
2 teaspoon or 1 packet yeast
4 tablespoons melted vegan butter%u00a0
1 teaspoon salt
For the Filling%u00a0
3-4 good sized ripe peaches (about 3 cups chopped peaches)
3/4 cup brown sugar
1 tablespoon cinnamon
Juice of half a lemon
For the Glaze
1 lemons
1 1/2 cup powered sugar
In a large bowl mix together the yeast,%u00a0warm (not hot) soy milk,%u00a0sugar, and melted but cooled butter. Now add in %u00a0the salt and the flour. Mix until it’s too hard to mix then dump it all onto a lightly floured surface and knead for 7-10 minutes until the dough is %u00a0soft, elastic-y,%u00a0and smooth. Place dough back into a clean lightly greased bowl and drape with a damp towel. Let dough rise for about 1 to 1.5 hours or until it has doubled in size.
While the dough is rising, chop the peaches up until you have about 3 cups.%u00a0Place 2 1/2 cups of the %u00a0peaches into a medium sized pot with the brown sugar and lemon juice and stick on medium heat. Set the rest aside. Cook for about 20 minutes, stirring and mashing with a wooden spoon every few minutes,%u00a0until mixture has become thick and reduced by about 1/2. Remove from heat, stir in cinnamon,%u00a0%u00a0and place in fridge to cool.%u00a0
Once thee dough has doubled, dump onto a flour surface and roll our into a retacnge that is about 1/2 inch thick %u00a0Grab your peach mixture and spread the mixture evenly over the dough. Evenly distribute %u00a0the remaining chopped peaches over jam. %u00a0And then it’s the to roll.
Start from the long side and start to roll toward the other end, keeping it as tight as possible without squeezing out all the filling. %u00a0Once rolled, slice into 12 even sized buns.
Place on a lightly greased and parchment lined 9×13 inch baking sheet or pan and let rest and rest for another20 minutes or so. OR if you want to wait to bake them off,%u00a0cover them with plastic and set into the fridge for up to 24 hours. When you are ready to bake, remove from fridge and let the buns set on counter to come to room temperature before baking.%u00a0
Preheat oven to 350.
Place rolls into oven. Bake for 30-35 minutes or until all the buns have gotten a nice golden brown on top, and if you want to take the internal temp, that the temp has reached 190.%u00a0
Once the buns are done %u00a0baking, mix together the zest and juice of the lemon and powdered sugar. If the glaze seems to thick, add more juice or water, to think, add more sugar. Pour glaze all over warm (but not hot) buns.
And now all you need to do is serve up those buns right away, nice and warned.
Any left overs should be stored in the fridge for 3-4 days but should definitely be warmed up in the microwave for a minute or two before serving. They also freeze well too.%u00a0
We need fresh, we need green, we need color.
We need salad. %u00a0
The other night I made Megan’s birthday dinner which consisted of pizza and salad. The pizza was pizza and everyone loved it and ate it, but what surprised me was how everyone was really into the salad. A big ass bowl or fresh greens with onions and I think carrots and cabbage and some cranberries I pulled form the freezer and candies almonds. Simple and not fussy, and everyone was just so happy to eat it. I felt like a salad genus and now I am full on into making fun awesome spring salads. (I have to keep reminding myself that yes, it is indeed spring.%u00a0So what we got snow yesterday, it will melt, right????%u00a0)%u00a0
So I bring to you a a bowl of fresh crispy spring greens with crunch and bite and creaminess and flavor. A salad that will bring you joy and satisfaction and maybe even anticipation for your next salad adventure.%u00a0Not to mention a salad that looks so dang pretty.%u00a0
Get into the green. You will be as happy as a rabbit in a garden.%u00a0
The stuff. Greens, red onion, an avocado, almonds, blueberries, and a lemon. Also need some maple syrup, olive oil, red wine vinegar, and salt and pepper.%u00a0
A couple teaspoons of maple %u00a0go in with the almonds. Really toss make sure they are all coated.
Place the almonds into a hot skillet cook for about 5-7 minutes or until the maple has become sticky and the almonds no longer raw.%u00a0
When they are done,%u00a0dump them onto a piece of parchment to cool. Don worry if they clung a little, you can break them apart once they are hard.%u00a0
Easy ass dressing. Blueberries. juice from the lemon, olive oil, vinegar, a tiny splash of maple, and a good pinch or pepper.%u00a0
Blended then done. Taste and season with salt if needed.%u00a0
Avocado gets cut into small chunks and the onion get s thinly sliced.
It’s all ready, so now make a salad
Makes 2-3 %u00a0salads%u00a0
1/4 pound greens ( I used spring mix but mesclun mix or spinach is good too)%u00a0
1/2 %u00a0red onion
1 avocado
For the Almonds%u00a0
1/3 cup raw halved or slivered almonds
2 teaspoons maple syrup%u00a0
For the Blueberry lemon Vinaigrette%u00a0
1/3 cup blueberries (I used %u00a0frozen)
1 lemon
1 Tablespoon olive oil
2 Tablespoon red wine vinegar
1/2 teaspoon maple syrup
pinch or salt
pinch or pepper
To make the %u00a0candied almonds, preheat a skillet to on medium heat on top of the stove.%u00a0Place almonds into a small bowl and drizzle with maple syrup. Stir to coat. When the pan is hot, dump the maple covered almond into it and spread them out. Cook for a 3 minutes, then give a stir and cook for a 3 or so more minutes or until the maple has evaporated and the almonds are starting to brown. Dump the almonds directly onto a piece of parchment paper to cool and hardened. Do worry if they stick together a bit, you can break them apart after.%u00a0
To make the vinaigrette,%u00a0place the berries into a jar (if using stick blender) or blender with the juice of the lemon, olive oil, vinegar, maple, and a pinch of pepper Blend until smooth. Taste then add a very small pinch of salt or more to taste.%u00a0
For salad. Thinly slice the onion and dice the avocado. Place greens into bowl(s) and toss with onions and avocado. Top with %u00a0candied almonds and drizzle all over with the vinaigrette. Grab a fork and eat.
Any left over dressing will last in fridge for about a week and left over almonds will be good for.a few weeks in a airtight container.%u00a0%u00a0%u00a0
I am on full fledged baking mode. I bought the Costco sized bag of flour, stocked up on spices and chocolate chips, and am counting down the days to when all the littles come over for the cookie decorating party. But I am also trying to pace myself because I don’t need to have cookies, cake, and candies all over the house quite yet. The season is young and the time for stuffing your face with all the candies and cookies awaits. Until then, (next week sounds about right) sensible baking like bread and scones (yes, scones are sensible)
The other morning I woke up and was very determined that I must make scones. I don’t really know why scones, maybe it was the news of Prince Harrys engagement %u00a0(the dream of being princess is now dead)%u00a0%u00a0but it was a fierce determination..%u00a0 And they had to be cranberry because well, I have a tone of cranberries in the fridge. And I know I could have made them just cranberriy, but why not add a little chocolate. Still sensible in my book.%u00a0 So scones I did make. And after he shared one with Barb,%u00a0the mr has been eating them for breakfast which is just another reason why they are sensible…they are breakfast food.%u00a0
The stuff. Flour, baking soda, baking powder, and salt (all in the bowl). Sugar, coconut oil, cinnamon, soy milk and vinegar. And of course fresh cranberries and chocolate chips.
The sugar and cinnamon go into the bowl with the rest of the dry…whisk it all together. Oh, and preheat the oven.
Mix a tablespoon of vinegar into the milk so it starts to sour.
Coconut oil gets cut in to the mixture.. You want a course crumb, kind of like pea sized chunks of oil mix around in there.
And now rough chop the cranberries which is a little difficutl because they all want to roll away, but you can do it.%u00a0
I rough chopped the chocolate chips as well because why not.
Mix the cranberries and chocolate into the mixture until evenly incorporated.
Gently mix until the dough just comes together. Dump our onto a well floured surface.%u00a0
Pat the dough into a circle and flatten out until it’s about an inch and a half thick. Cut the circle into 8-10 equal pieces.%u00a0
Place the scones on a baking sheet and brush with a little milk. Pop them into the preheated oven%u00a0
Pop them out when they are all nice and golden brown.%u00a0
Place them on a cooling rack.
And watch them disappear or like a sensible person, eat one everyday for breakfast.%u00a0
Have a great weekend.
-C
makes 8-10 scones
2 %u00a01/4 cups flour%u00a0
1/3 cup %u00a0sugar
1 teaspoon cinnamon%u00a0
1 %u00a0teaspoon baking powder%u00a0
1 teaspoon baking soda
1 teaspoon salt
1/2 cup coconut oil
1 hefty cup fresh cranberries
1/2 cup chocolate chips
3/4 cup plant milk plus about a tablespoon more for brushing on top
1 tablespoons apple cider vinegar%u00a0
Preheat oven to 375.%u00a0
In a large bowl whisk together the flour, salt, baking soda, baking powder, cinnamon, and sugar. Add the vinegar to the milk and set aside. With a pastry cutter or 2 knives, cut the coconut oil into the dry mixture until it becomes a course crumb.%u00a0
Rough chop the cranberries and the chocolate chips (optional on the chocolate chips) and toss both into the bowl. Give it a quick mix to coat it all then dump in the milk. Mix until the dough comes together (DON”T OVER MIX) then dump the dough onto a lightly floured surface. Gather the dough into a ball and flatten out into a disk that is about and inch and a half thick. Cut into 8-10 equal sized wedged and place not a baking sheet. Brush the tops with a little milk and pop into the preheated oven.
Bake for 25 minutes or until the tops are all nice and golden brown. Remove from oven and place on a wire rack to cool.
Then eat them .
I have been so excited all week to make this star bread.%u00a0About a week ago, while perusing %u00a0King Arthur Flour recipes, I saw this %u00a0amazing star shaped cinnamon bun situation and just knew that I had to make it. I checked the recipe, made a a bunch of tweaks (made it vegan and a little simpler) and set a date with the oven. I figured that Friday was the day because well, this bread is basically a really pretty cinnamon bun and cinnamon buns are great for the weekend and plus the temperature in the world dropped to like super freaking freazing cold and what better way to stay warm then to crank the oven.%u00a0
And make it I did. And honestly. this was one of the most satisfying bread bakes that I have had in a while. It is just so dang pretty and smells so good and was honestly way easier to make then it looks (seriously, really simple). I don’t know if I am ever going to be ale to make cinnamon buns the regular way again. I mean look at this. %u00a0And best to let you know that it feeds a crowd, which is fantastic if you are going to be having any big family/friend gatherings in the next month or two. (or if you are just awesome and want to eat the whole thing to your face). Think about it, if you make this for the people (or yourself) %u00a0how cool and awesome and fancy you are going to seem. It’s really a win win win all around here so I don’t see a reason to not make it. Trust me, and thank me later.%u00a0
The stuff of stars. Flour. salt. yeast and soy milk. A little oil, sugar, mashed sweet potato, earth balance %u00a0and cinnamon.%u00a0
To start, a %u00a0couple of tablespoons sugar and the yeast go into the warm soy milk to kick start that yeast and get mixed together.
Salt, oil, and mashed sweet potato go into the big bowl with the flour.
Then the yeast mixture gets pouted in too. Get ready to mix. And mix.
And after mixing, some kneading. %u00a0A well floured surface with a extra flour on the side is needed here. You are going to want to knead the dough for about 5 minutes, adding a little flour whenever the dough gets to sticky.%u00a0
Once the dough is nice and smooth looking, cover it in oil and stick it into a bowl and cover it %u00a0and let %u00a0rise for about an hour.%u00a0
Make your cinnamon sugar mixture while waiting .%u00a0
Dough doubled in size and dumped onto the well flour counter.%u00a0
Take a dough cutter or knife and divided the dough %u00a0into four equal pieces and roll each piece into ball.
While keeping your surface well floured, roll a dough ball into circle (or as close to a circle as you can get it) about 12 inched wide%u00a0
Place rolled dough onto parchment paper and cover the surface with %u00a0earth balance. Then sprinkle a third of the cinnamon sugar mixture all over that.
Grab another ball of dough and roll it out the same size as the first and place on top the first dough. Repeat the earth balance and sugar mixture and then cover that with another rolled out dough. Earth balance and sugar mixture one more time, then the last dough.
All stacked up.Take the rolling pin and give the whole stacked thing a gentle little roll, just to make sure all layers are stuck together.
The fun part. Grab a small circle cutter or lid (I used small jar lid) and place directly in the middle. Take your dough cutter and score your cuts. Score into quarters then each corner into six pieces. You end up with twenty-four pieces.%u00a0There needs to be a even amount of pieces in order for the design to work so you could do %u00a022-16 pieces. I wouldn’t %u00a0go less.
To get the twist, grab a piece in each hand, give a little tug and twist the pieces towards each other 3 times. Take the ends and kind of tuck and pinch them together. %u00a0Repeat until all the pieces care twisted.%u00a0
%u00a0This is probably the most pretty cinnamon thing I have ever seen.%u00a0
Slide the star on the parchment onto a baking sheet and cover to rise and rest for about half hour or so and get the oven preheated.
After the second rise and right before you stick it into he oven, brush the top with a little plant milk.
And into the hot oven it goes.%u00a0
Aaaaa. So freaking pretty!%u00a0
After a few minutes, if you decided you want a little glaze action, go for it. I made up a super simple one, just a splash of vanilla in powder sugar with a splash of milk.%u00a0
Drizzled and ready for action.%u00a0
makes 12-13 servings%u00a0
For the dough%u00a0
2 3/4 -3 cups all purpose flour plus more for kneading.
1/4 cup mashed sweet potato *
1 1/4 cup warm soy (or any plant) milk plus 1 tablespoon to brush on pre bake
1/4 cup neutral oil plus 1 tablespoon to coat dough
1 packet or 2 teaspoon yeast
2 tablespoons sugar
1 teaspoon salt
for filling
7 tablespoons sugar
2 tablespoon cinnamon
3 tablespoons room temperature earth balance
For icing (optional)
1/2 teaspoon vanilla
1/2 cup powdered sugar
2-3 teaspoons plant milk
*I just mashed up a 1/4 cup of a roated sweet potato that I had in the fridge. If you don’t have a roasted potato laying around, you can steam of roast a sweet potato and mash it up for this.%u00a0
Measure milk into a large jar or bowl. Mix in 2 tablespoons sugar and the yeast. Set aside to activate.%u00a0In a large bowl mix together the lesser amount of flour and salt. Add in the sweet potato,%u00a0oil, and the soy yeast mixture. Mix together with a wooden spoon or dough spoon until you can’t. If the dough seems really wet, add in another 1/4 cup of flour. %u00a0Once mixed as well was you can get it, dump the dough onto well floured surface. Start kneading the dough, adding a little flour as you go if needed. Knead for about 5 minutes or until the dough is a nice soft but not to sticky uniform ball. Cover dough with a little oil and place into large clean bowl. Cover with a towel and let dough rise in a warm place for about an hour or until it doubles in size.
Mix the cinnamon and sugar together while waiting.
Once dough has risen, dump it onto a well floured surface and divide into 4 equal pieces. Roll each piece into a ball then grab the first ball and roll out into a large circle about 12 inches wide. Don’t worry hear if the circle is not perfect, its going to be fine. Place first circle onto piece of parchment paper and cover the surface with 1 tablespoon of earth balance. Sprinkle with a third of the cinnamon sugar mixture. Grab another dough ball and roll out to the same size as the first and place onto of the cinnamon sugared dough. Repeat the earth balance cinnamon sugar and top with another rolled out dough. Once more with the remaining earth balance and cinnamon sugar and top with the last rolled out dough. Take rolling pin and give the whole stacked thing a little roll to make sure it’s all stuck together well.
For the design part. Grab a small circle shaped thing about 2 inches wide (I used a jar lid) and place directly in the center of the dough. Take a dough cutter or sharpe knife and lightly score into quarters then each quarter into 6 pieces You could also cut less pieces, but the main thing you need is to have an even number of pieces for the design to work.%u00a0Once your lines are good, cut the lines by pushing down into the dough and not slicing back and forth. %u00a0Grab a piece in each hand and gently %u00a0twist the pieces towards each other 3 times then pinch the ends together. Repeat until all the pieces are twisted together. Slide the star onto a large baking sheet, cover, and let rest and rise for another 1/2 hour.%u00a0
Preheat oven to 400
When the star is risen again and right before it’s going into the oven, brush the top with a little plant milk. Pop it into the oven and bake for about 20- 25 minutes, or until the top is a nice deep gold brown.
Remove from oven and let cool a little bit. If you want a little icing, mix together the vanilla, powdered sugar, and plant milk. Wait until the star is less the hot and drizzle all over.
And now it’s time to get at it. Eat what you want and store the rest in an air tight container.%u00a0
As a reward to ourselves for finishing the floor laying week (what a freaking week, I will share some pictures soon) I stayed home for a little while yesterday morning and made some donuts for the mr ( I got to bake and do a little knitting and he got donuts.) Initially I was gonna make a cake, had it on my agenda for a cake at some point this week, but last minutes I felt the need to use my unused donut pan. I think it was a good call. Donuts don’t require as much pumpkin puree.%u00a0 I roasted a pumpkin a few days ago for the purpose of baking a cake with it but have slowly eaten most of it (on accident) so that there was just enough left to make the donuts. I have no willpower when it comes to roasted squash, I can’t stop eating it.
Anyway,%u00a0 I had me a mighty fine morning of trashing the kitchen, using my pretty mixing bowls, basking in the glory of the residual heat coming from the oven, and making the house smell all nice and fall spicy. And now there are donuts in the house with lots of sprinkles and only the mr to eat them. He really really likes them, like a lot. (me “don’t eat all those f*ing donuts dude, save some for later!”)
Another reason donuts were a good call, they are easy to share. Maybe I should go drop off a few to a friend. Any takers?
The donut stuff. Flour, baking soda, baking powder, and salt are in that bowl. Then we have pumpkin puree(homemade or canned) soy milk(or any milk), brown sugar, cinnamon, oil, and apple cider vinegar
All the wet stuff gets mixed together and the dry stuff plus the cinnamon gets whisked together too.
Wet into dry and mixed until combined.
Scoop batter into well greased donut pan and don’t do what I did and overfill (I always forget not to overfill). My fist batch came out a little bit bigger the expected with holes. No biggie.
Once pan is filled,%u00a0 pan goes into preheated oven. Bake until golden perfection (about 15-18 minutes or until a tester comes out clean)
Slightly overflown donuts cooked to all the goodness and popped out of the pan to cool on a cooling rack.
Glaze stuff. Powdered sugar, cocoa powder, a pinch of salt, a splash of vanilla, and a bit of soy milk….Mix it all together and that’s that.
Completely cooled donuts (very important to be completely cooled) go heads down into the bowl of glaze.
All glazed and looking good but I think somethings missing…..
Pumpkin, chocolate, sprinkles. BOOM!!!
Happy Friday!!!!
makes 10 donuts
For donuts
1 1/4 cups all purpose flour
1 teaspoon baking powder
1 teaspoon baking soda
1/2 teaspoon salt
1 tablespoon cinnamon
1/2 cup pumpkin puree
1/2 cup brown sugar
1/2 cup soy milk (any milk works)
3 tablespoons neutral oil like canola
1 tablespoon apple cider vinegar
For the glaze
7 heaping tablespoons powdered sugar
2 tablespoons cocoa powder
2 tablespoons soy milk
splash vanilla
pinch of salt
sprinkles!!!!…optional
Preheat oven to 350
In a big bowl, mix together the flour, baking powder and baking soda, salt, and the cinnamon. In a separate bowl mix together the pumpkin puree, sugar, soy milk, oil and the apple cider vinegar. Dump the wet mixture into the dry and mix until combined.
Ready the donut pan by really making sure it is well grease. Fill each donut mold about a 3/4 way full. I use a spoon but you could transfer that batter to a piping bag if you want. Place pan into oven and bake for 15-18 minutes or until the donuts are golden brown and a fork stabbed into one comes out clean. Pop donuts out of mold and let cool completely on a cooling rack.
Note. I have one pan that does 6 at a time. I had to wash, dry and re-grease the panto bake all the donuts.
Once donuts are cooled, gather the glaze ingredients. In a shallow bowl whisk together the sugar, cocoa, and salt. Add in a splash of vanilla and then the soy. Mix together until a glossy not to thick but not to thin consistency . If its too thick, add in another splash of milk, to think, more powdered sugar.
To glaze, take each donut and place face down in glaze and give it a little twirl.%u00a0 Remove and place back on cooling rack (glaze size up) and cover with sprinkles. (optional)
Then eat the donuts
Any uneaten can be placed in airtight container for 2-3 days or can be stuck into freezer.
I know that sometime some of the foods that I eat might seem a little strange to people. But think about it. Isn’t there something that you eat that other people think is kinda weird or that you know might be a little on the strange side and yet you love it.%u00a0
So apple lentils. I know some people think it’s weird, but trust me, it’s not, it’s actually pretty freaking magical. Lentils, especially red lentils, have a mild, nutty flavor that make them perfect to use in any type of dish, sweet or savory. And so nutritional value, with protein up the wazoo, these little guys are mega fantastic and yeah. SO don’t knock it till you try it.
Now first off, YAY for apple season!!! Aren’t we just so happy for fresh delicious apples? I am, so much so that I have made up a super cool apple jig where my head bobs up and down and my legs shift and convulse all over the place. ( could be mistaken for a seizure) It’s a sight to see for sure.%u00a0 And a second YAY for warm food again. The past week or two I have been waking up to temps in the 50’s giving the world just enough chill for a cozy morning sweater, a throw blanket and a nice hot bowl of breakfast porridge. (It also taste fantastic made ahead then eaten cold if the world decides to get warm again) My morning have been great, all cuddled on the couch with a book. my coffee, ad a bowl of apple lentil porridge. Best way to start the day.
The stuff. An apple, some red lentils, water, and some cinnamon. You can also add some maple or brown sugar to the mix if you want more sweetness.
Firstly, water ans lentils go into a pot and placed on the stove until the the water is boiling.
While that is happening, chop up you apple.%u00a0 Big pieces, little pieces, or both. I like both because the smaller pieces kinda of dissolve in the lentils and the bigger chunks will keep shape.
So once your lentils have started to boil, dump inmost (save a little bit to toss on after the lentils are cooked)%u00a0 of the chopped up apple and a good pinch or two of cinnamon. Mix it all around and place back on heat on low so simmer and cook.
Soft and all cooked to perfection. Gorgeous.
Dump the porridge into a bowl, add on the left over chunks of apples and give it another good sprinkle of cinnamon.
Breakfast of champions right here.
And because it’s what I eat every day…I am a champion.
You can be one too! (just eat some lentils)
-C
Makes one serving but can easily be double
1/2 cup dried red lentils
1 cup water
an apple ( mac, honey crisp, paula red are good varieties)
1 teaspoon or so of cinnamon
Optional… Add a little sweetener like maple or brown sugar if you want
Stick water and lentils go into a pot and bring to a boil. Chop apple into pieces, some big, some small or all the same size. Once the lentils are boiling, dump in most of the chopped apple (save about 1/4 of it for later) into the pot and sprinkle with cinnamon. Stir around, reduce heat to a low and cook until the lentils are soft (about 10 minutes) Once they are cooked, taste and decide if you need sweetener. If you do, add a teaspoon or two of whatever in now and mix around then,transfer the lentil goodness into a bowl, toss on remaining apple chunks, sprinkle with cinnamon, and go to town.
Spoon to mouth. Happiness.
It’s strange to think that only a few years ago I was not a big eggplant fan. Before I started to experiment with cooking it myself, the only time I had ever really had it was when I was young and it was deep fried, like eggplant parm style. It just wasn’t for me.
So when I started doing my farm share 5years ago and were getting lots of eggplants, I knew I had to figure something out and try new ways of eating it. Well it turns out that I actually love eggplant, like a lot.%u00a0 I went eggplant crazy and for a while was eating a eggplant a day, either roasted or tuned into soup or cooked crispy into chips. And lots of baba ganoush, or what I think of as eggplant hummus (all the hummus stuff minus the chick peas). Smooth, creamy, rich and tangy. I have been know to make a batch and eat it all to my face in a sitting.( there is absolutely nothing wrong with that) It’s that good. And bonus. Being so super busy busy, this is just so dang fast and easy to make. 25 minutes and 20 of those minutes are the eggplant roasting, and you got yourself something tasty to eat. Plus if you have a few eggplant in the fridge that might have seen better days, turning them into the baba ganoush is a great way to go.
Baba ganoush, The name just says it all cause how could something called baba ganoush be anything other then awesome.
The stuff. A couple (or three) eggplants, a lemon, some tahini, garlic, olive oil and salt.
Eggplant get sliced in half and stuck onto a baking sheet to go into a super hot oven to roast. Some people oil it, I don’t, but you can if you want.
Brown and tender. Roasted to perfection.
Toss the roasted eggplant and the garlic into a blender. Add in the juice of the lemon, tahini, olive oil and a pinch of salt.
Blend.
So silky smooth. Taste and add any more tahini, salt, lemon that you want until it taste like it should taste to you.
And into a bowl it goes. Baba ganoush all up in your face. I highly enjoy a good dusting of some zataar on top, but even just a sprinkle of pepper, or sumac, sesame seeds or even thyme is nice. Or nothing, you don’t need anything.
A big bowl of baba served with some chippers (for the mr) and cut up veggies (for me!) I wanted to make pitas but just didn’t have the time. Oh well, next time.
Be careful, this stuff is addictive!
-C
Make about 2-1/2 cups
2 eggplants (or 3 smaller sized eggplant)
1 lemon
3-4 cloves garlic
3 tablespoons tahini ( more if you like)
1 tablespoon olive oil
salt
Zataar (optional)
Crank up the oven to 450
Slice eggplants in half and place on a cooking sheet and into the oven they go.
Bake for 25ish minutes, flipping over after 15 or so minutes, until the eggplant browned is nice and tender then remove from oven.%u00a0 Take the cooked eggplant and dump into a blender.(skin and all)%u00a0 Add in the juice of the lemon, the tahini, the olive oil, and a pinch of salt. Blend it all together until smooth. Taste and add more tahini and or salt if needed.( can even add more lemon too) Once you are happy with the taste, scoop into a bowl and serve with a good pinch of zataar seasoning (if your into it) and a butt load of veggies, pitas, chips or whatever you dip into you baba ganoush.
Do you have a gazillion tomatoes, like so many that they are practically coming out of your ears? Me too…. Me too. This year the tomatoes have been gang busters, a explosion of the sweetest and most delicious fruit and now I have tomatoes littered everywhere, tucked into all the corners and baskets all over the house. It’s getting kinda tomato crazy over here.
%u00a0I can only eat so many tomatoes a day before all I have eaten are tomatoes and I start to feel slightly sick. Same with the mr, he has been a tomato eating champ as well but I think he was getting a little bored with all the tomato salads that I have been making. So I thought I would try something new and make a tomato cake. I figured why the heck not, tomatoes are technically a fruit and fruit and cake are great together and yeah. So tomato cake is going to be fantastic. I also wanted to make something that the mr would eat for breakfast. I have been doing this new thing in the mornings for the mr. I have coffee ready, some breakfast food (its been zucchini bread for a while), and a little vase of fresh flowers that I pick on my morning walk, all set out on the counter for when he wakes up. I know, I am so great right. Really I do it cause I want him to eat something before working all morning and plus if I am all sweet in the morning, he can’t be an old man cranky pants (at least he tries not to be).%u00a0 Now for the next few days the tomato cake is breakfast cake and all is good.
Anyway, the cake come out great. Bright reddish orange, dense but fluffy and most, and smells so good. The mr tells me it’s amazingand I shared a chunk with some of my family and everyone (minus a little) where fans. I am for sure going to be making this again soon, although I have been toying with the idea of eggplant sweet bread (too far??) but I’ll get to that later.
Now for the tomato cake!
The stuff. Flour, baking soda, baking powder and salt (all in the bowl). Brown sugar, oil, vanilla, apple cider vinegar and a few nice and juicy tomatoes.
First off, remove the core from tomatoes and cut into some chunks. Stick the chunks into a blender and blend.
Fresh and smooth tomato puree.
Now just dump the rest of the liquid stuff into the blender now and give it a whirl to mix it all up.
And pour the blended wet into the dry and mix until incorporated.
Pretty pink batter goes in a well greases bundt pan. I had got brown sugar everywhere while I was measuring it out and decided to just toss it on the cake as not to waste it…doesn’t hurt.
And now the batter goes into a preheated oven to bake .
A bit of time later you have yourself a cake.
The scary part. Flip the pan and hope all that grease does it’s job and the cake pops out. Lucky me this one popped out like a champ.
One de-panned, let the cake cool for a bit before cutting into it.
And now all you have left to do it eat it, so eat it.
Have a great weekend. Eat lots of tomatoes and make lots of cake.
-C
Makes one bundt cake
2 -1/3 cup all purpose flour
1 teaspoon baking soda
1 -1/2 teaspoon powder
1/2 teaspoon salt
2-3 large tomatoes (2 -1/2 cups after blended)
1/2 cup brown sugar (for a tad sweeter, add another 1/4 cup)
1/2 cup of any neutral flavored oil
1 teaspoon vanilla
1 tablespoon apple cider vinegar
Preheat oven to 350
Start by whisking together all the dry ingredients into a big bowl. Take tomatoes, remove core, chop into chunks, and place into a blender. Blend tomatoes until a smooth and frothy puree. Now add in the sugar, oil, vanilla, and apple cider vinegar and blend until incorporated. Pour wet mixture into dry and stir until combined.
Pour the cake batter into a greased (and floured if you want. I find it helps to make sure all the nooks are greases) and stick into preheated oven. Bake for 45-50 minutes until it’s a dark reddish golden brown and a tester (I use a fork) comes out clean when stabbed.
Remove from oven and let cool for a minute or two then invert cake, give the pan a few tap taps and hope that it comes out all nice and clean. (don’t worry if a piece gets stuck, you can just dust the top with some powdered sugar)
Let cake cool and when ready, cut a slice and eat it up. I was told no glaze, but I was going to make a simple lemon glaze (lemon juice and powdered sugar) for the top. The mr said it was perfect, but glaze would have been pretty.%u00a0 So glaze it up if you want.
I am running extremely low on food in my house, like there isn’t a can of beans or a box of pasta left. Yeah, I have a few zucchini left, but I think that mr might be getting a bit sick of it. (He has had zucchini noodles for lunch and dinner for the past few day). And I was going to go to the grocery store before dinner, but then I didn’t. Why? well because I didn’t really feel like it.
Turns out that I didn’t need to go to the store for dinner.I had a few mushrooms, an onion, and a few stalks of chard left in the fridge. (but pretty much nothing else) I just bought a 25 lb bag of flour so I am all stocked up on that and last minute I found a avocado that I thought was a beet in the fridge. All I needed to make a dinner, and a quick and easy, and really tasty one to boot. Plus being so mother F*ing hot, it was perfect because there was no need to turn on the oven.
Now the question is,now that dinner was made and being that the fridge is so empty, should I clean and defrost it? Answer is yes, yes I should, but am I going to? Probably not. I just don’t have it in me to stand in font of the fridge, hacking ice away with a large spoon and boiling water for an hour. It’s to hot. I’ll do it later.
The stuff. Flour, baking powder, olive oil, salt ans water for the skillet bread. A few humngo stalks of red chard, a couple mushrooms (I would have used a few more if I had them). an onion, and a few cloves of garlic.%u00a0 Missing is the pepper and the avocado and lemon that I found while rummaging the fridge.
The bread is super easy. Just whisk together the flour salt, and baking soda then add in the oil. Mix until it’s crumbly then mix in the water until it turns into a soft dough. Gather into a ball and stick in bowl then into fridge for a few minutes to let the dough rest.
After the dough has rested, take it and cut into 4 equal pieces. Roll each piece into ball and then roll out as flat as you can. Heat up a skillet to high heat and once hot, place rolled out flat onto (dry) skillet. Cook first side for about 3-4 minutes or until browned and cook, then turn heat down a bit, flip and cook other side until browned. Remove bread, turn heat back up, and repeat with remaining flats.
For the rest. Remove the leafy part of the chard and set aside .Thinly hop up the mushrooms, onion, and the chard stalk. Mince up the garlic. Toss it all (not the garlic yet)into a lightly oiled skillet , season with salt and pepper, and cook on medium heat until starting to brown. Now toss in a few splashes of water and the minced garlic, mix around, and cover wit a lid. Cook for another 8-10 minutes until the veggies are nice and soft.
Cooked and ready, but wait, chop up the chard leaves and toss them into skillet. Another splash of water and a few more minutes under a lid will wilt them up real quick.
Skillet beads are made, veggies are all nice and cooked up. The avocado and lemon where found, sliced.
Not bad for a last minute-lean out the fridge of all food-dinner. Not bad at all.
Don’t melt
-C
Make 4 flatbread
For the skillet bread
1 cup all purpose flour
1 teaspoon baking powder
1 teaspoon salt
2 tablespoons olive oil
4-5 tablespoons cold water
For the rest
2-4 white mushrooms
2-3 large stalks of chard (any color)
1 sweet onion
2-3 cloves garlic
salt and pepper
olive oil
water
An avocado and a lemon (optional)
To make the skillet bread. Mix together the flour, salt, and baking soda in a large bowl. Pour in olive oil and mix until crumbly then add in 4 tablespoons of water (5 if it seems to dry) until a dough forms. Gather dough into a ball, stick in bowl and cover, and place in the fridge to rest for about 10 minutes. Once dough has chilled, remove and cut into 4 equal sized pieces. Roll each piece into a ball then, on a clean surface, roll out as flat as you can. Grab a skillet and place on high heat. Once skillet has heated up, place a rolled out dough on hot, un-oiled surface and let cook for about 3-4 minutes or until the bottom cooked with golden brown spots. Turn heat to medium and flip bread. Cook the other side for another 4-5 minutes or until browned. Remove flat and turn heat back up. Cook the rest of the bread like the first one.
For the rest. Remove leafy parts of the chard from the stalk and set aside. Take stalk and chop into pieces about 1/ 2 inch think. Slice onion and mushrooms up as thinly as you can. Mince garlic. Garb a skillet, stick on medium heat and drizzle with a little olive oil. Toss in chard stalk, onions, and mushrooms, sprinkle with salt and pepper and mix around until the stuff starts to brown a bit. Add in a few good splashed of water and the garlic and then place a lid on the skillet. Cook for about 10 minutes, giving the mixture a good stir every few minutes. Once the veggies are all soft and yummy, chop up the remaining chard leafs and place them into the skillet. Add another splash of water and place the lid back on. Cook until the leaves have wilted.
To assemble. Flat bread on plate. Scoop some of the sauteed veggie mixture on top. A few slices of avocado on top with a squeeze of lemon juice and a bit of cracked pepper…You are good to go.
I am a glutton for punishment. 91 degrees, super humid, and what do I do, I turn on the oven to make bread. And this is after I drag the poor mr to the middle of a field on the hottest most humid day to pick strawberries. He didn’t complain once (well, maybe on our walk back to the car, but I was bitching a little too).
At home. recuperating from the picking, I made myself a snack of shredded zucchini with chopped strawberries covered in black pepper (try it, it is so freaking good) and was like “this would make a killer bread situation”. And that’s when I turned on the oven and went to town making bread with the zucchini and strawberries (minus the pepper cause, well I wasn’t sure if the mr would like it, but I think I’ll add it to the next loaf). And I know, hot day, hot oven=no but really, I was so F*ing hot that I didn’t think I could have gotten any hotter, so I figured why the hell not turn on the oven. (The mr and he pup where at the other house so I wasn’t torturing them with the heat)
And when the mr came home sure the house was still hot, there was fresh loaf of the sweetest smelling strawberry zucchini bread waiting for him. And so what ifI might have been slightly delirious, I had accomplished something great and was then okay with spending the rest of the say laying in a heap on the floor.
The mr says the bread was worth it.
The stuff. A good sized zucchini and a pint or so of the loveliest strawberries . Also have a bowl with flour (all purpose and while whole wheat) baking soda and baking powder, and a little salt. Sugar, oil, cinnamon, and a little vinegar are needed and a handful of walnut if you want too.
Oil and sugar go into a bowl and get mixed together until combined.
Zucchini gets shredded and added to the bowl.
And strawberries get chopped (stems removed) and go into the bowl along with the zucchini.
Mix the wet mixture up until it starts to get all juicy then mix in the vinegar.
The dry stuff gets mix together along with the walnuts.
%u00a0Now in goes the wet mixture. Mix it all together until just combined (don’t over mix)
Batter goes into a nicely greased pan and if you have it, sprinkle a little brown sugar on top.
Pop pan into preheated oven to do it’s thing.
And it’s thing it did. All dark brown and pretty with red and green bits all over. Quite the stunning loaf if I do say so myself. Remove from pan and let the bread cool for a little while..(you should wait until it’s completely cooled, but at 15 minutes would be ok)
You have waited long enough.. time to cute the bread.
Bread all day long.
Enjoy.
-C
makes 1 loaf
1 cup all purpose flour
1 cup white whole wheat flour
1 teaspoon baking soda
1 1/2 teaspoon baking powder
1 teaspoon salt
1 teaspoon cinnamon
3/4 cup brown sugar plus about a tablespoon to sprinkle on top
1/2 cup canola oil
1 tablespoon apple cider vinegar
1 medium zucchini (2ish cups shredded)
1 pint fresh strawberries (about 2 cups chopped)
1/2 cup walnuts (optional)
preheat oven to 350 degrees
In a large bowl, whisk together the flours, baking powder ans soda, salt, cinnamon, Toss in the walnuts as well.
In a separate bowl mix together the sugar and oil until combined then shred zucchini and dump it it. Grab strawberries, remove the stems, and chop those up into small chunks and add to the bowl with the zucchini. Mix until everything is mixed and starts to get juicy then mix in the vinegar.
Now dump the wet mixture into the dry and mix just until everything is incorporated and pour/scrape batter into a well greased loaf pan. Sprinkle he top with a little brown sugar and stick the pan into the oven.
Let cook for about an hour or until the top is a deep brown and a tester stuck into the middle comes out clean. Once out of the oven, let cool for a a few minutes, remove from pan and let cool completely on a wire rack.
About — The Lovely Crazy
August 11, 2020 by maximios • Blog
Hey hey hey!
I am Colleen, an aspiring functioning adult with an overactive mind and too many things that I want to do. I started this site with the purpose of sharing the things that I love: lots of vegan cooking and baking, art, DIY stuff, travel and adventures, and over all beautiful and lovely things.
I am self taught in the ways of the kitchen, picking up skills through the years running a coffee/bakery shop where I baked everything everyday. Add in the years of feeding the giant masses of my family. I guess you can say that I have picked up a few things about cooking and baking and making hungry people happy.
I like to experiment with new food combinations and create my own recipes. And I like my food pretty.I went to school for art so I naturally gravitate towards the aesthetically pleasing. I am pretty passionate about not only the source of my food, (my local farm share is year round and a 1/4 mile away) but living as close to waste free as possible. Food waste makes me angry! (seriously)
My lover, (the mister), Nick whom I adore and think is the cats meow, and I have spent the better part of the last 10 years renovating then renting old homes. Together we live with our old 9 year old pup, Washer, screwball cat, Only, and few hives of bees in our 200 square foot loft in Burlington VT.(The bees live outside!) I have to mention that I come from a large family that all live within smacking distance. Eight siblings, four of which have kids, ages 2-13, are a big part of my everyday life. I am the cool aunt that makes all the birthday cakes! Getting the littles to eat good healthy food is one of my things, not to mention they all know if they eat their carrots they will end up with dessert.
And now you know, so enjoy and feel free to comment or ask questions…I can be a little blunt, so you can be too. I am cool with that . Oh, and just so we are clear, I am vegan so the recipes I share are vegan too. And delicious. Ha
A Few Fun Facts
Eating a lot of carrots over a long period of time can make your skin turn orange (personal experience)
Billboards are illegal in the state of Vermont
Honey bees travel as far as 5 miles away from the hive to collect nectar and pollen
Owning a dog can be harder then owning a baby
Joeys (Koala bear babies) eat their moms poop. They do so because it contains all the microbe that the baby needs in order for them to eat the leaves of the euculptus tree leaves without it being toxic to them
Most of that dust under your bed is actually your own dead skin