
THE LOVELY CRAZY
Are you sizzling? Is that pool of water next to you , in fact, your own sweat?
Yeah, I feel you…..stupid heat wave.
During these long extended periods of heat and humidity, my body starts to revolt. I get bitchy, by skin get itchy, my head goes foggy, my stomach starts to refuse food. and I generally just feel like crap. I love the summer, but I am not, by any means, a hot, high humidity person.
So during this nasty bout of heat, I do what I can to find comfort. And one of my comforts is watermelon. I am pretty sure that watermelon is a magical fruit. A giant green oblong ball that when cracked open is the brightest, sweetest bright pink fruit.. I mean, thats pretty f ing magical. It can make anything better, and is one of the few things that I want to eat when its a million degrees outside without barfing.
Watermelon is my official heatwave food. Watermelon all day long (Is it bad that I could literally eat an entire watermelon all to my face, in one sitting? ) And because I am me, I like to spice it up a bit and slather a big glob of basil pesto to the melon…. and that makes me happy. Plus it makes the fact that I am eating nothing but melon seem a little more substantial.
Do you have a heatwave food? If not, try this….It will be your food.
The stuff. A big hunk of watermelon, basil, a lemon, olive oil and salt.
Stick the basil, the juice of the lemon, and a pinch of salt into a blender. Turn on and blend, adding just a tad bit of olive oil until a nice green pesto is made.
Prepare your melon. Remove rinds if you want and save for later.. (seriously, we can make gazpacho with it) and cut into inch thick chunks.
And now if your feeling it, stick a skillet on the stove and preheat on medium high. Once heated, place watermelon chunks on hot skillet and sear each side for about 3-5 minutes per side.
If you want to go fresh, just skip searing it. Me, I do a bowl of both.
And now slather the melon with the pesto
And go to town
Stay cool my friends!
-C
- Watermelon
- a bunch of basil
- a lemon
- salt
- olive oil
Place basil, a pinch of salt and the juice of the lemon into a blender. Turn on and blend, adding in a drizzle of olive oil until pesto forms.
Preheat a lightly oiled skillet (or a grill) on medium high heat. Take your watermelon and remove rinds (save for later) and cut into inch chunks.* When heated, add the watermelon. LEt each side sear for 3-5 minutes, or until caramelized. Tarnsfrer to a bowl.
*Note. The seared melon is fantastic cooked then cooled. Also, I know some people blot out the juice before grilling, but I think that is a waste and I find unnecessary, but if you don’t want a juicy piece of cooke melon, by all means, blot out the juice..
Or if you don’t want to cook it, don’t
And lastly, toss in a big giant scoop of pesto
Now eat… eat eat eat.
 Peas scream spring to me. The bright green color with that nice bright fresh taste….. kind of like a fresh spring day. Ah spring, so lovely, so nice, so hasn’t made its way here yet. So I guess I am left to eat my spring. And what better way to highlight those lovely spring tastes? A fantastic pesto my friends, and it can be made lickidy split.
Pesto is one of those things that I am constantly making, and not just the kind most people think of with basil and nuts, I pesto everything..peppers, greens, carrots, squash. And yea, I used this post to make a pesto pasta dish, but pesto has so many other fantastic uses. Like as a sandwich or wrap spread or a dip for veggies and crackers. I have used it as a soup base, a pizza sauce, on roasted potatoes and marinated tofu with pestos. It can also be thinned down and used as a salad dressing. See, so many uses.
And this pea pesto is no exception. It has such a great light, almost fruity, super bright taste. I mean, it’s peas so it taste just like peas but somehow even better. It really works in my mouth. I could eat a bowl of this stuff and be happy.
Whatever you plan on using it for, make the pesto. You will be thanking me later.
 Pesto Stuff. We got the peas, garlic, lemon, oil, cheese if you please, and salt.
  Take a handful of peas and set aside for later. Juice the lemon and take that and the rest of the stuff and stick in a food processor and puree until smooth.
Oh my, so green, so good. I first made it without cheese and scooped a little out for me. It was perfect. Like the most brilliant bright pea flavor ever. It made me happy. After I added in the cheese, the mister said it tasted even better…. so cheese or not, it’s going to be good! The pesto is made, and it only took about 2 seconds, now boil up the pasta. If you were a thinker, you could start the pasta and make the pesto while its boiling. (I wasn’t being a thinker) I used bow ties cause they are super cute, but use whatever pasta you’re feeling. Shells or the ones that look like little brains would be good options.
Once the pasta is cooked, strain, reserving about 1/4 cup of the water. Add that bit of water back to the pot, add in the pesto, give a stir and dump pasta back into the pot. Toss in a handful of peas, maybe sprinkle some cheese and give it a good crack of some pepper.
 Into a bowl and served with a fork to eat it with. A super green fresh springy meal of happiness. And all under 15 minutes in the kitchen.
Oh you want to thank me for this…
Hey, not a problem….not a problem at all.
-C
Spring Pea Pesto and Bow Ties
Makes enough pesto to coat a pound of cooked pasta and have some left over for sandwiches or to spread on crackers.
- 1 lb. fresh or frozen peas (thawed if frozen)
- 1 lemon
- 4-5 cloves garlic
- 2 ish tablespoons of olive oil
- 1/4 cup parmesan, really or vegan (optional)
- salt
- 1 lb (an average box) of bow tie pasta (use any whole wheat, vegan, gluten free variety)
Place peas, (remove a handful and set aside to toss into the pasta) garlic, the juice of the lemon, olive oil and the parmesan (if you are using) into a food processor. Blend until smooth. Taste and salt as needed.
Pasta… Boil per instructions on box. Strain pastas but save about a 1/4 cup of starchy water. Toss pasta, starchy water and pesto together, adding in the handful or more of the whole peas. Sprinkle with more parmesan and or cracked pepper ,if wanted, and serve in big bowls.
Use a fork. Eat, smile and be happy.
 HOORAY FOR SPRING!!!!!!!
Yesterday The mister and I went for a walk, a long walk. I was wearing a sweater, a light jacket and I left the mittens and hat at home. There was sunshine, huge puddles and mud. Birds were chirping. It was amazing.
After our nice long walk, we got home and I needed to start dinner. It was a little later than I usually so I wanted fast and easy I usually always have pesto in my fridge (I had to make some, but it only takes 5 minutes) because when it’s in there, I can whip up a big awesome meal in the time it takes to boil some pasta or quinoa or smear on toast or toss with potatoes. It really can be used on everything and can be made out of just about anything. Kale and walnuts are just one of so many fantastic combos. And frozen ravioli is always in the freezer too. I used just plain cheese, but use whatever kind you like.
Together, pesto and ravioli, well that’s a quick, easy, and tasty meal, perfect for a spring evening, And yea, there will be left over pesto from this recipe… just stick it in the fridge or freezer….you will be glad you have it.

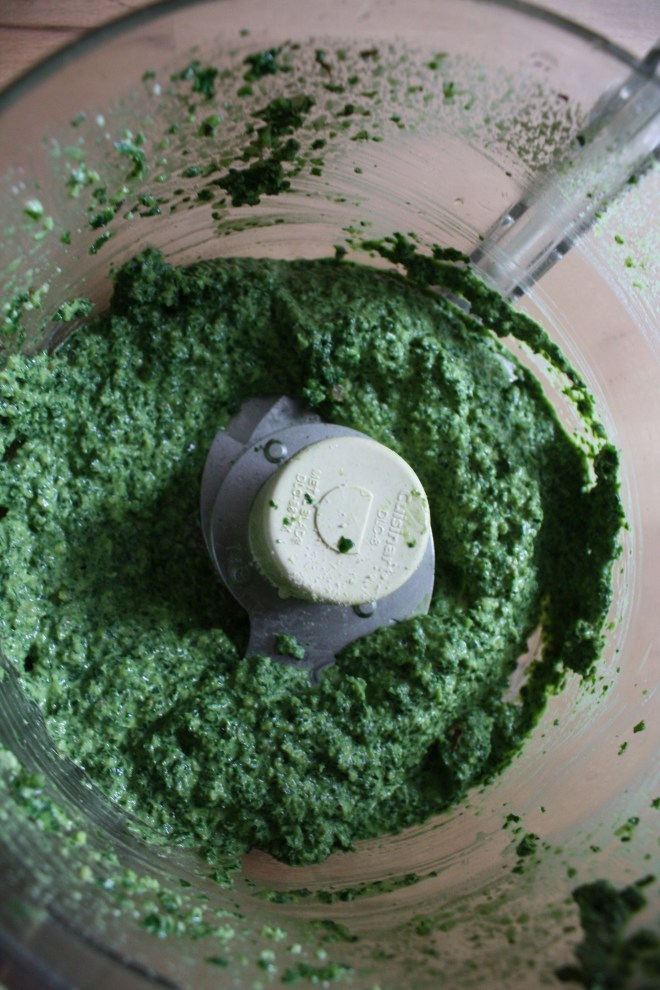 Pesto stuff. Kale, walnuts, parmesan cheese(nutritional yeast to keep it vegan), garlic, lemon, olive oil, and salt and pepper.
A few little pre steps before the blending.. Toast the walnuts. Just toss onto a dry skillet and stick on medium heat for about 5 minutes or until they start to become née and fragrant. Remove from skillet and add in a bit of water. Add in chopped or ripped kale and cover to let the kale tenderize, but only for about 2 minutes. (you want the kale to still be crispy and fresh tasting) Drain water and add kale, garlic, toasted walnuts, cheese and the juice of the lemon into a food processor. Turn on and slowly add in olive oil until you get to a nice paste, adding more oil to get to your desired consistency. Oh and don’t forget to salt and pepper to taste!
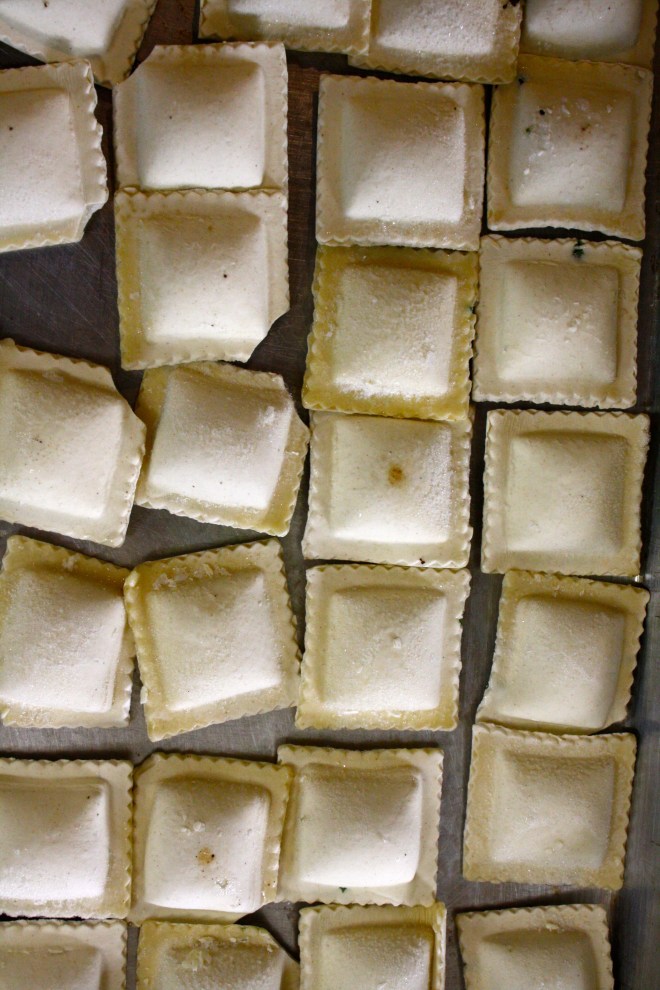
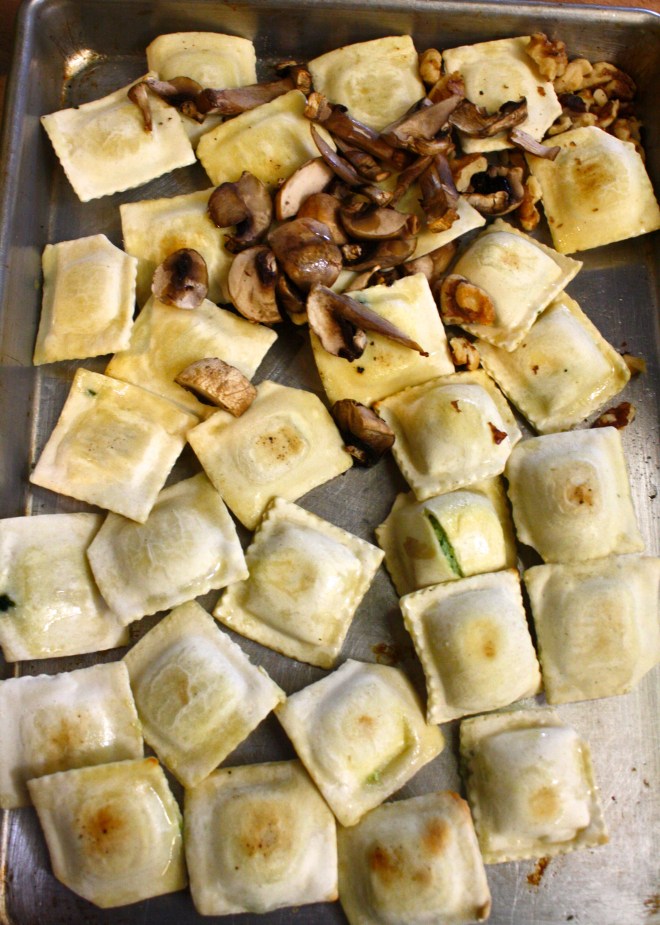 Straight up frozen ravioli goes onto an oiled baking sheet.(make sure that non are overlapping) Place into an oven at 400 degrees for about 15-18 minutes, flipping after 10. If you want to add mushroom and a few more walnuts, just toss them onto the ravioli when you are flipping over the ravioli.
When the ravioli is nice and brown and crispy, remove from oven and dump the ravioli and the mushrooms into a bowl. Add a big old scoop of the freshly made pesto and toss around.
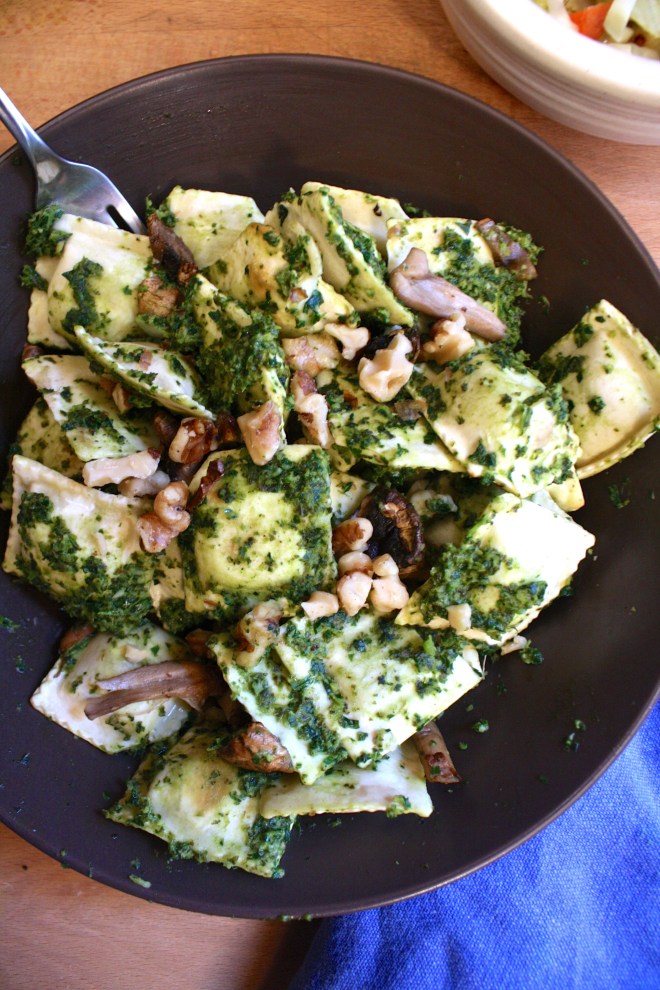 Look at this… fresh, crunchy, light and happy. Kinda like a spring day.
I am the best lady, making the mister a pretty yummy dinner.
Have a great Tuesday!
-C
Kale Pesto and Baked Ravioli
- 4-5 cups chopped Kale
- 1/2 cup Parmesan Cheese ( Nutritional Yeast to make it vegan)
- 1/2 cup Walnuts
- 1/4-1/2 cup Olive Oil
- 4-5 Cloves Garlic
- 1 Lemon
- Salt and Pepper
- 1 bag of frozen ravioli(use vegan or gluten-free if you want)
- 3-4 mushrooms
Note..There will be plenty of left over pesto… Just fridge or freeze it
Place walnuts in a skillet and toast on medium heat for about 3-5 minutes or until the nuts become fragrant. In the same skillet, add enough water to cover bottom and add in all the kale. Place a lid on it and let kale wilt on medium heat for about a minutes or 2, Take off heat. Add walnuts. garlic, cheese, salt and pepper, and juice of lemon to a food processor. Blend. Now add in the kale and blend, slowly adding olive oil until a thick paste forms. You can add as much oil as you want to make it as thick or thin as you like.
Preheat oven to 400
Place frozen ravioli on an oiled baking sheet, making sure none are overlapping. Place into oven for about 15-18 minutes, removing after 8 minutes to flip. When you take the ravioli out to flip, slice up the mushrooms and grab a few more walnuts and toss onto baking sheet with the ravioli. When the ravioli’s are nicely browned and toasty, remove (mushrooms and walnuts too) and place into bowl. Add a big scoop of pesto and toss to mix.
Serve and eat.. fork is optional.
Note..Add a thin layer to the top of any left over pesto to keep it fresh and from turning black
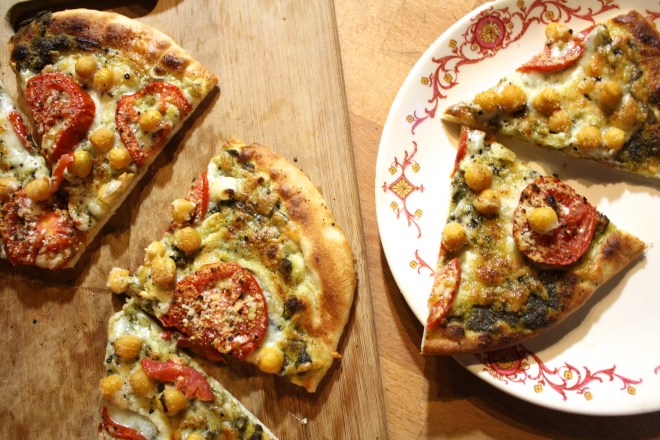 It’s Friday!!! And what does that mean? Pizza Pizza!!!! But not just Fridays…pizza happens more times then not in our house…It’s the misters favorite food and for real, he could eat it everyday, all day.…He is kind of made of the stuff. As for me, well I don’t mind making it for him because it’s easy. And because I am making it, it doesn’t have 8 million calories, 9 million grams of fat and have 10 million milligrams of sodium like takeout of frozen. My pizzas are for the most part pretty freaking heathy. It really depends on how its topped. Like take this one.. Homemade pesto, good quaility cheese, (you can use vegan or low fat) chickpeas and tomatoes. Not to shabby. And really, it isn’t any more complicated then calling the take-out place or unwrapping the frozen plastic disk from the box. All you need is some good dough (I guess you could use store bought) and some good quality toppings… and you’re there…Pizza in your face.
For this pizza I used the skillet cooking method. This crust is one of the misters favorites. It is a basic pizza dough but cooked on the stove in a skillet. It’s almost like a pita bread, but not. And I like to make it this way because its really fast (once the dough is made) and I can even make up a few crusts to have on hand for later.
Fast, healthy, and tasty…..Why not eat pizza every day?
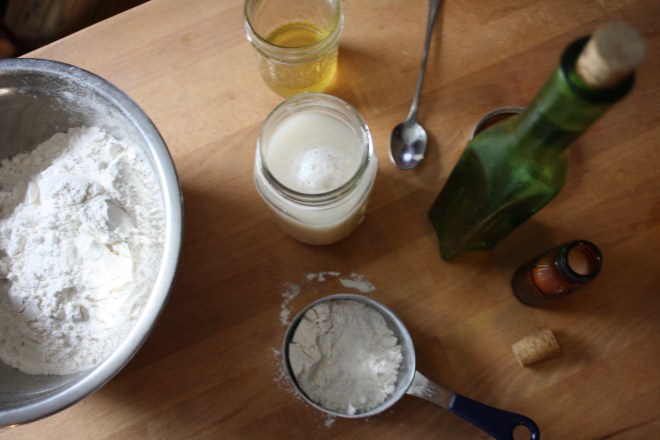 Not too many ingredients here. 3 cups of all purpose flour or 2 cups all purpose and 1 cup white whole wheat. A teaspoon salt, a teaspoon honey (use sugar if vegan), yeast and warm water…
Start with the dough. Add honey or sugar to yeast and warm water and let sit to active, which should take about 5 minutes.
Mix together the salt and flour(s) and add the foamy yeast mixture. Mix until it all comes together and dump out onto a floured surface. (if the dough seems to dry add a splash of water..if way to wet, add a little flour) Give the dough a good 2-3 minute knead session, adding flour as needed to keep the dough from sticking. Form a nice ball, place back into bowl and drizzle with oil. Cover bowl with a towel and stick in warm place to rise for about an hour or until it has doubled in size.
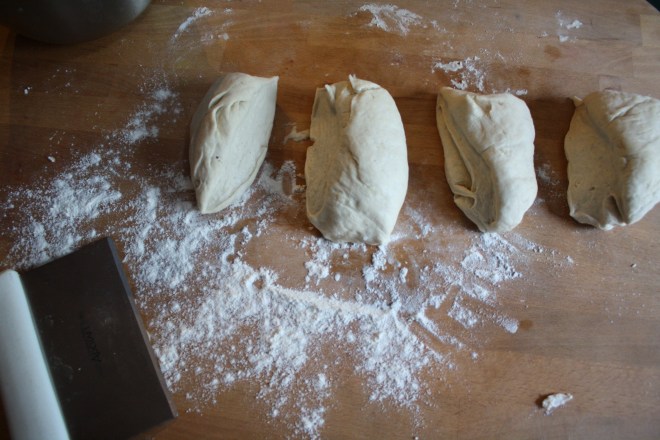 When dough has doubled, dump back onto a floured surface and divide into 4 equal sized balls (or as many balls at whatever size you want)
Now you have a few choices here. You can either cook up all the dough now if you need it, or freeze dough balls for future use. If you think you are going to make pizza again within the next few days, it can be refrigerated, or you could also blind bake the dough and freeze or fridragerate that and have pre baked crusts all ready to go. So many options… just do whatever works for you.
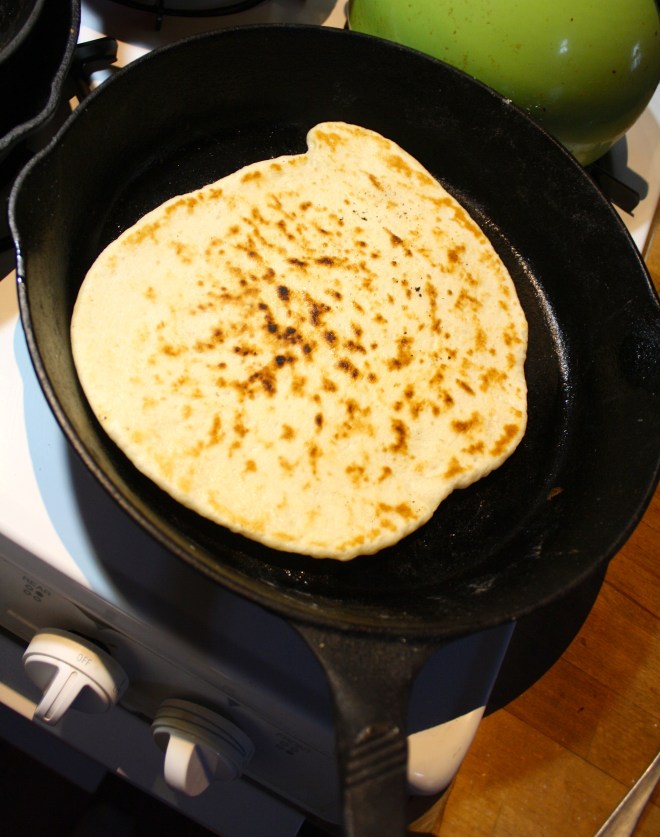 To make the dough in a skillet, oil the bottom of a 15 inch skillet, turn burner on to high and let preheat until the oil is sizzling. Roll dough out to roughly the size of the skillet and when it has preheated, place dough on in there and let cook for about 3-5 minutes, or until the dough starts to bubble and the bottom has started to brown. Turn burner down to medium and flip. Cook this side for another 3-5 minutes.
If you want oven crust, just roll out and place on a baking sheet and bake with topping on at 475 degrees for about 20 minutes
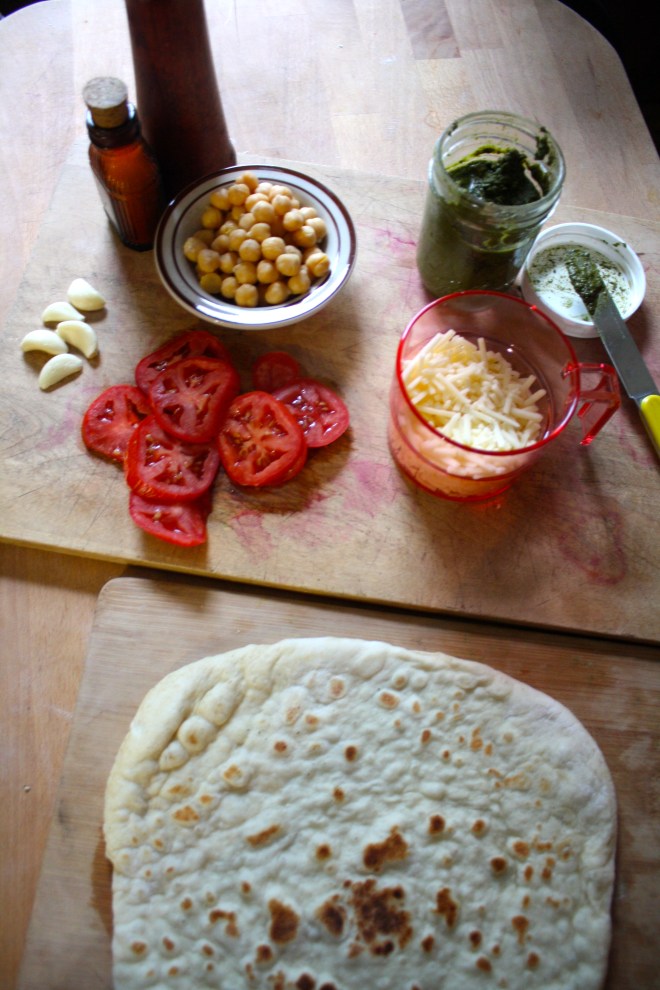
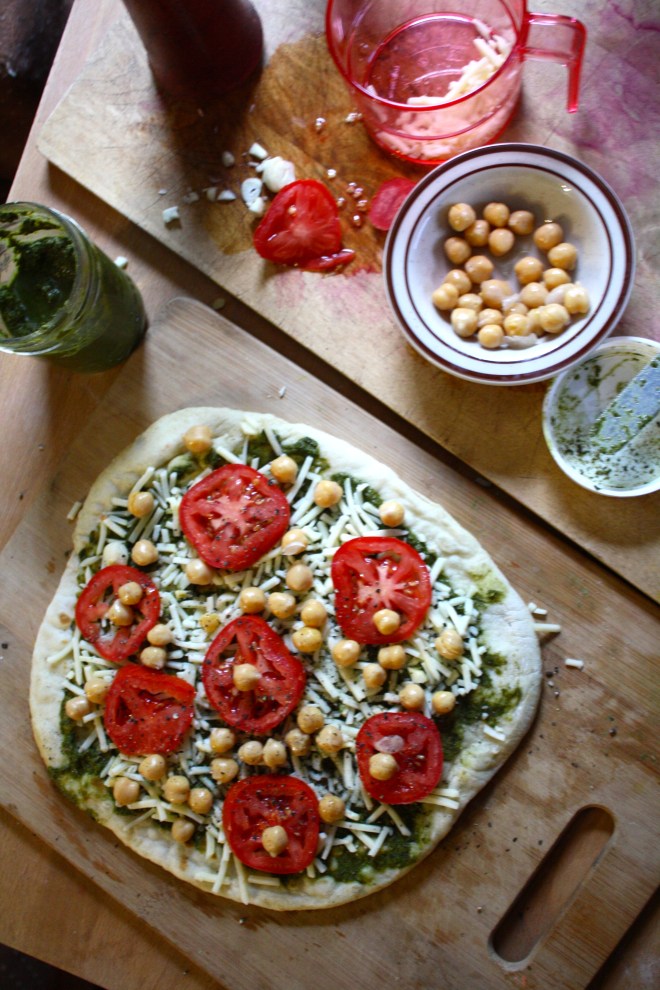 Now the crust is ready for the toppings!!
Preheat the oven to 450 degrees.
Smear the pesto (for this pie, I used the last of my homemade pesto from last summer…sad face) Mince garlic and distribute evenly on top of that. Then do the cheese, followed by the tomato slices and chick peas. Sprinkle with a bit of salt, cracked pepper and some parmesan cheese.
Stick into oven for 10 or so minutes or until the chesse is nice and bubbly and the crust os crispy and brown.
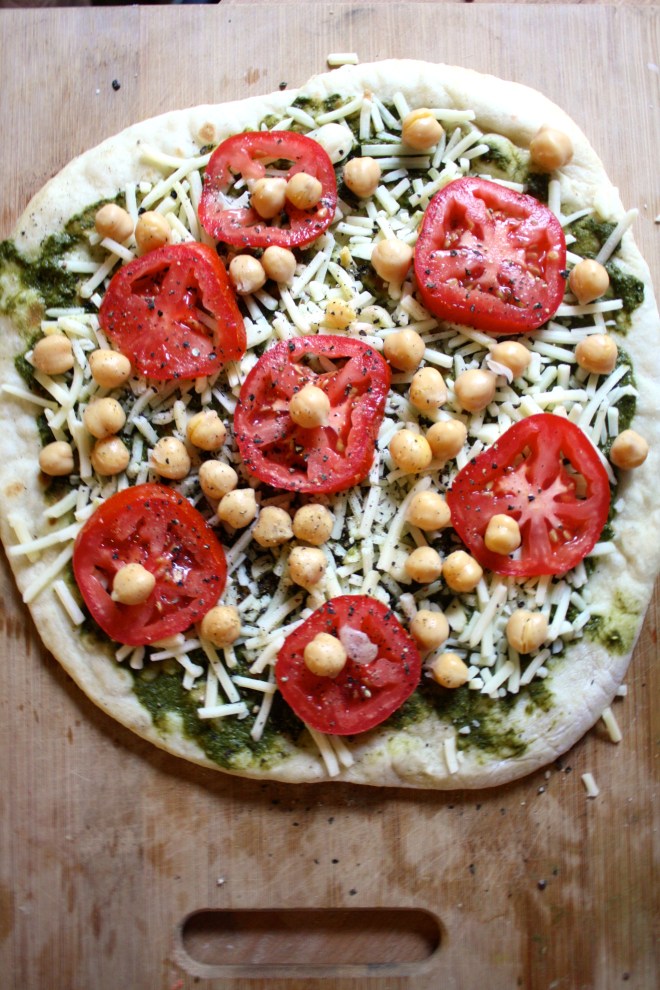
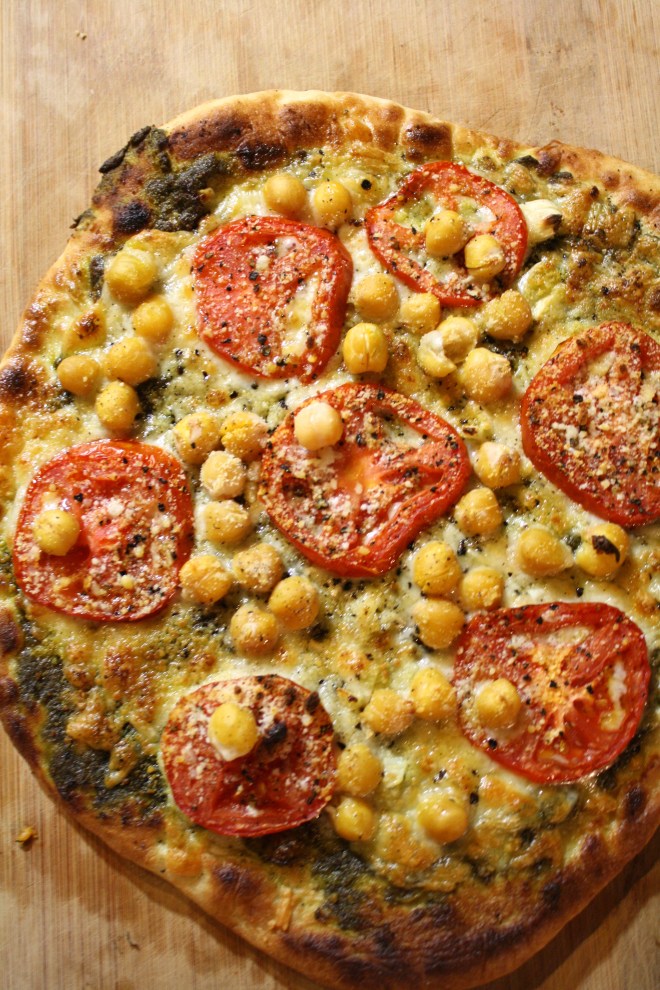
And that is pizza. A super duper, yummy, healthy, not too fatty or overly salty… can be eaten breakfast lunch or dinner time, pretty, satisfying, pizza.
Make it for yourself, for you lover, for a friend. Make it in the shape of a heart or an elephant. Give you kid(s) a ball of dough and have them make their own… I know… such a good idea.
Everyday, all day.. Happy Friday and Happy Pizza
Stay warm!
-C
Skillet Pizza Dough and Pesto Chickpea Pizza
Ingredients
For the dough
- 3 cups of all purpose flour or 2 cups all purpose and 1 cup white whole wheat
- 2 teaspoons of yeast or 1 packet
- 1 teaspoon of honey or sugar
- 1 teaspoon salt
- 1 1/2 cups warm water
The Pizza Toppings (for a 15 inch crust..adjust amounts to your need or liking)
- 1/4 cup of pesto
- 1 large roma tomato thinly sliced
- a few cloves of garlic minced
- 1/1 cup of prepare chick peas.. rinsed and drained
- 1/2- 3/4 cup of cheddar cheese (or any kind you like..use vegan cheese if you want too)
- salt, pepper, and parmeasan (optional) to sprinkle on top
To start, place honey, yeast and water into a jar or bowl and let sit to active until mixture starts to foam. Mix together flour and salt into a large bowl and add in yeast mixture. Stir until combined and dump onto a well floured surface. Knead dough for a a few minutes and form into a ball. Place back into bowl, drizzle with oil and top with a towel. Place somewhere warm to rise for an hour, or until dough has doubled in size.
When dough is done rising, dump back onto floured surface and divide into 4-8 equal sized balls.( 4 balls make 15 inch pizza… 8 balls are good for individual size pizzas) Place whatever dough you are not going to use into a closable plastic bag and either stick in fridge(if using within a few days) or freeze for future use.
Place skillet on high heat on stove and drizzle with oil. Also, preheat oven to 475 degrees. Roll out you dough and when the skillet is has gotten really hot, place dough right on in. Let cook for about 3-5 minutes or unit the cough has started to form bubbles and the bottom has started to brown. Turn heat down to low and cook other side for another 3-5 minutes or until browned.
Now pizzafy it.. Add on the toppings. Smear with pesto, add minced garlic, then evenly sprinkle cheese. Top with the chick peas and the sliced tomatoes. A sprinkle of salt and pepper and a dusting of grated parmesan……Right into the oven for about 10 minutes to melt it all together…..
Pizza Pizza!!!
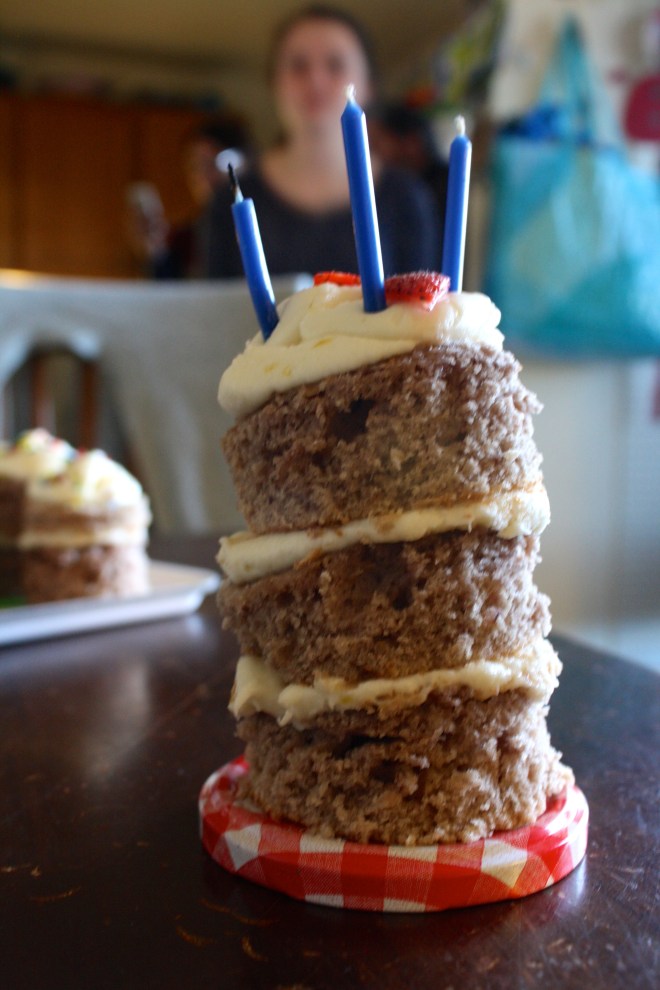
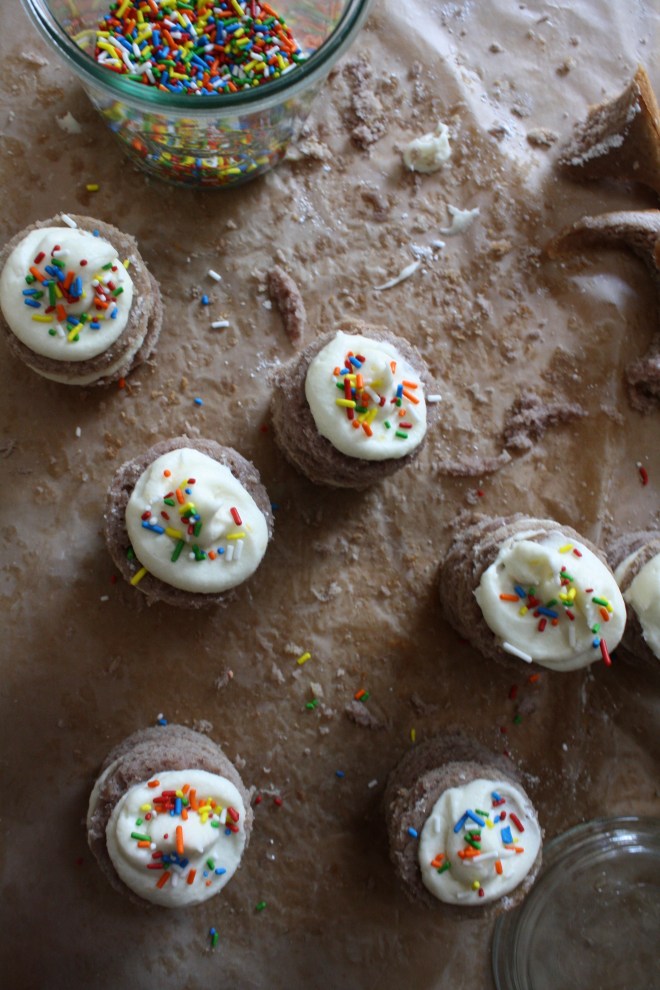
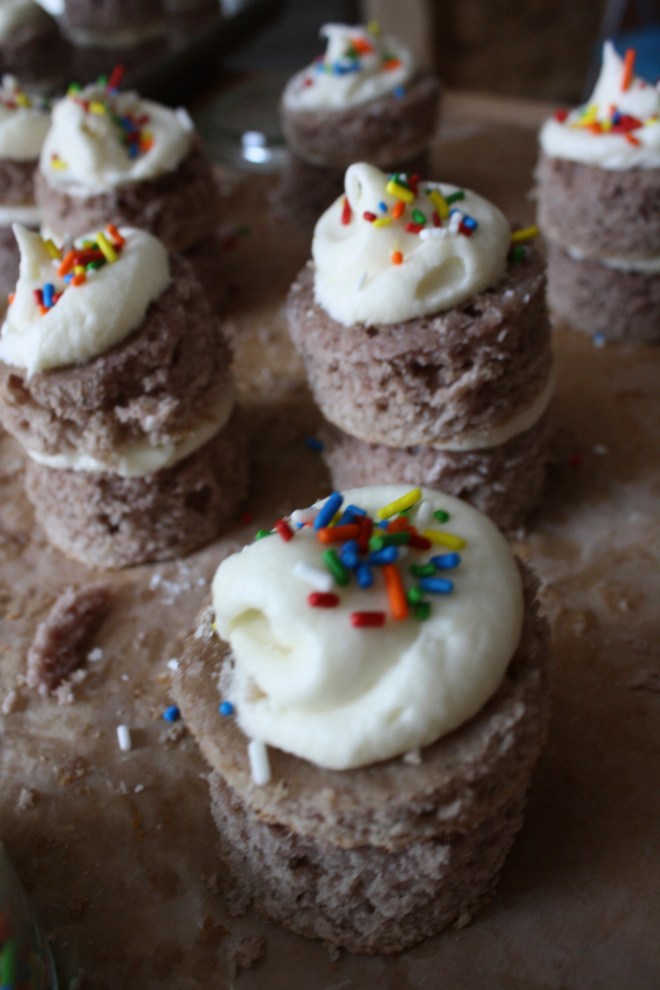 My Moms birthday was this past week, and naturally, I made the cake for our big family birthday gathering. (and I bought and made dinner and cleaned everything up, although the mister did do all the dinner dishes) Word to my sisters… You guys suck! (but I still love you)
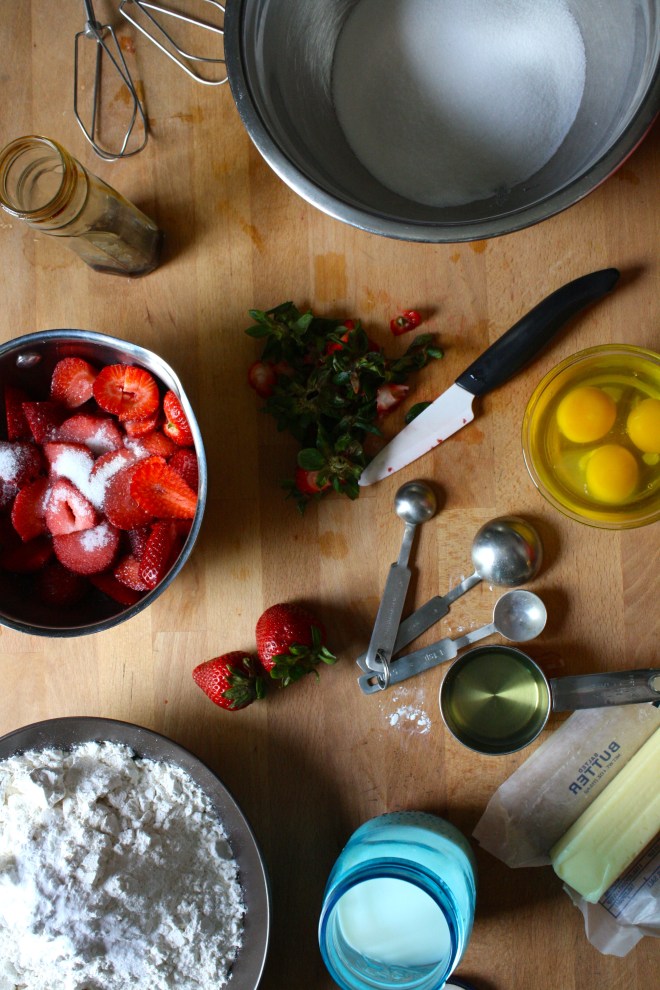 Cake Stuff. Flour, baking soda, baking powder, and salt whisked together in a bowl. Butter, a little oil, vanilla, eggs and buttermilk. Then of course we have strawberries cause it wouldn’t be a strawberry cake with out them.
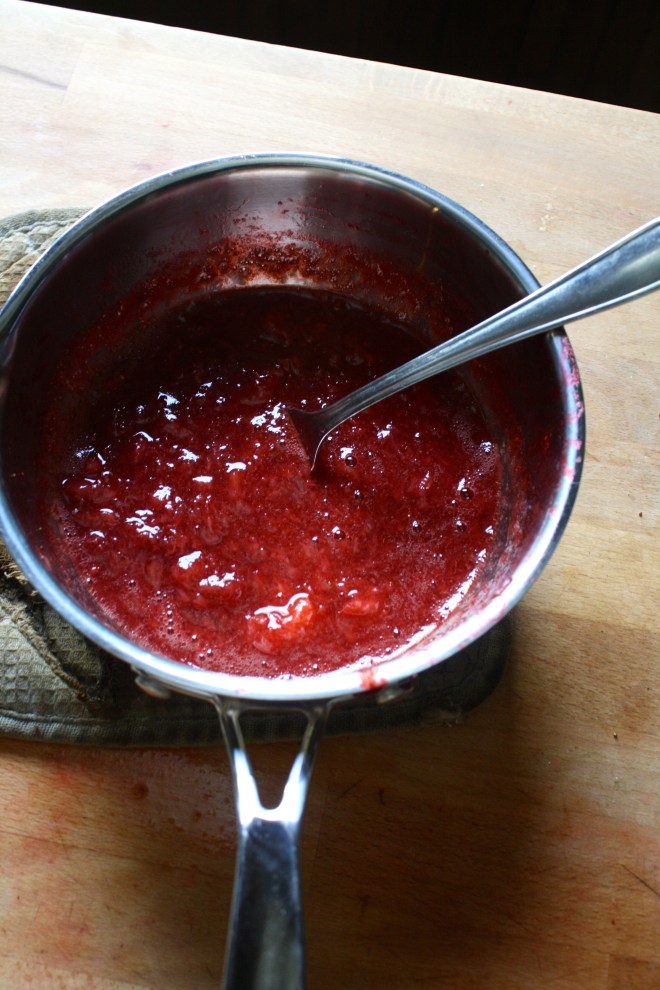 First things first. Wash, trim and dice up the strawberries. Stick them into a pot and sprinkle with a few tablespoons of sugar. Heat on low and let the strawberries cook for about 10 minutes, stirring frequently, until they turn into a thick syrup.
 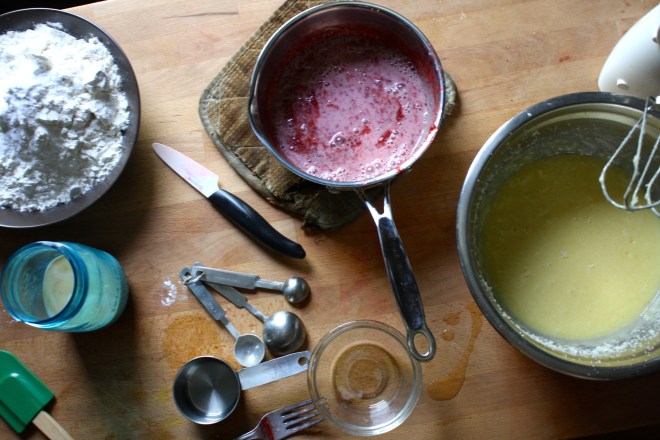 The sugar and the butter get beaten together until light and fluffy. Then goes in the oil, eggs, and vanilla. The milk is then added to the strawberry mixture. Add half the dry mixture to the wet, mix, then mix in half the strawberry mixture to that. Mix the rest of the dry in and finish off with the strawberry mixture.
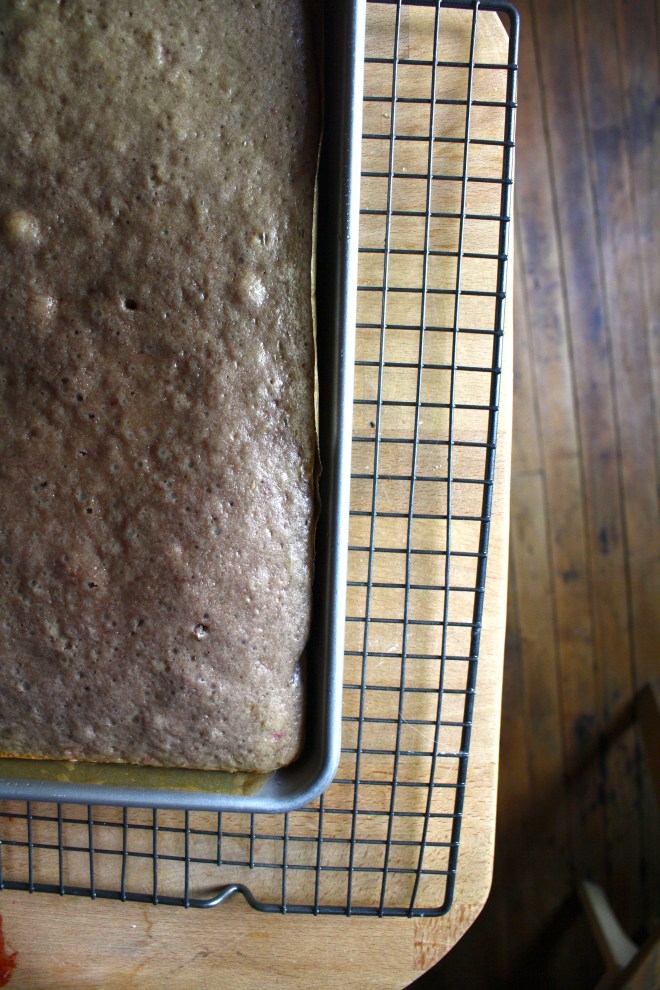 Cake gets pulled from the oven and set on a rack to cool.
 Tomato can cutout. (I couldn’t find my biscuit cutters) A biscuit or cookie cutter would probably work a little better.. The cakes kept getting stuck in the can.
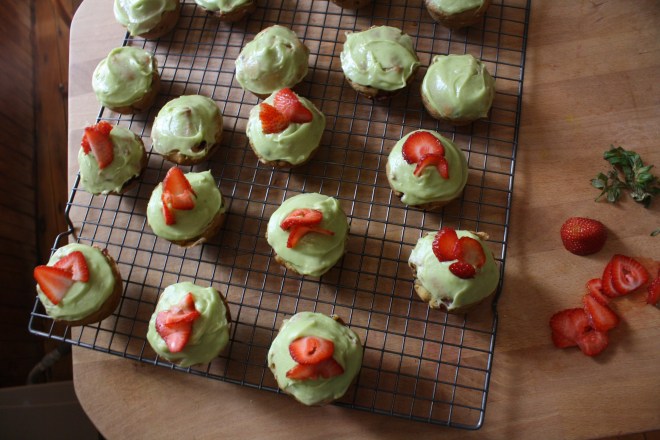
  Frost the cake!! Place frosting into a piping bag or a big plastic zip lock with the tip cut off. 2 rounds to a cake. A squeeze of frosting goes on one, topped with another and given a little smoosh. A nice big dollop of frosting on top then….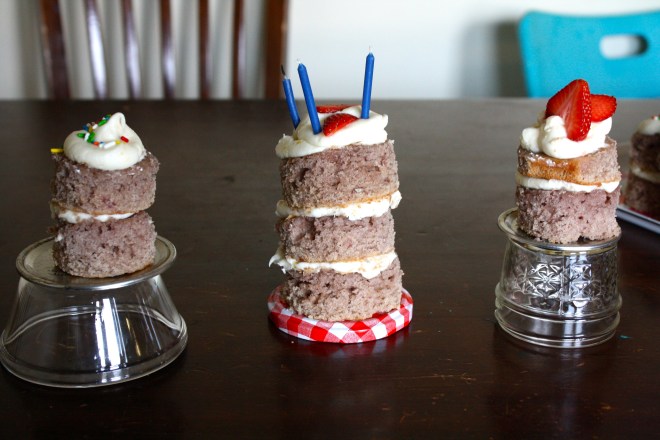

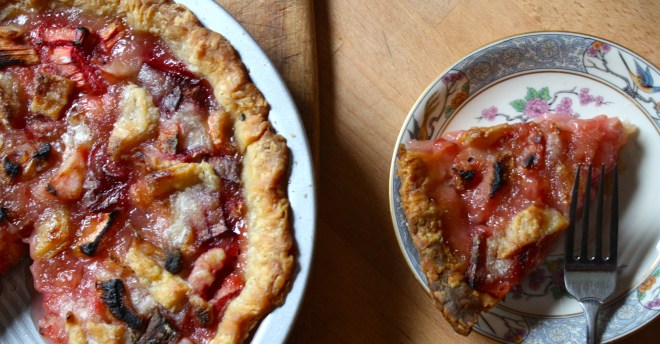
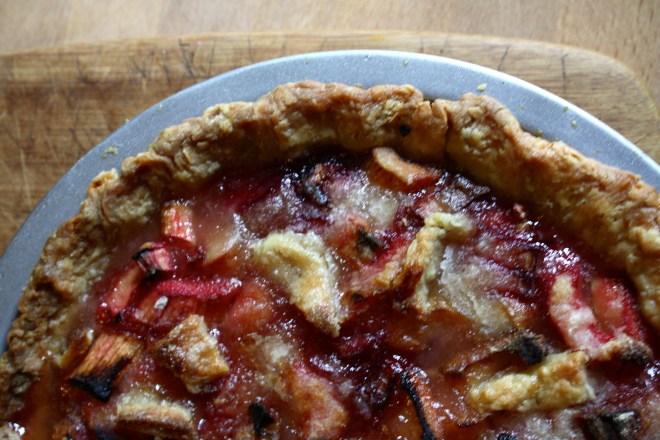 I swear I didn’t plan this, but today is officially Pi Day! Pi being the mathematical constant of the ratio of the circumference of a circle to its dimeter (did I say that right?) 3.1415…… And today’s date is 3.14.15. Whoa…I guess that means that this pie was meant to be.
 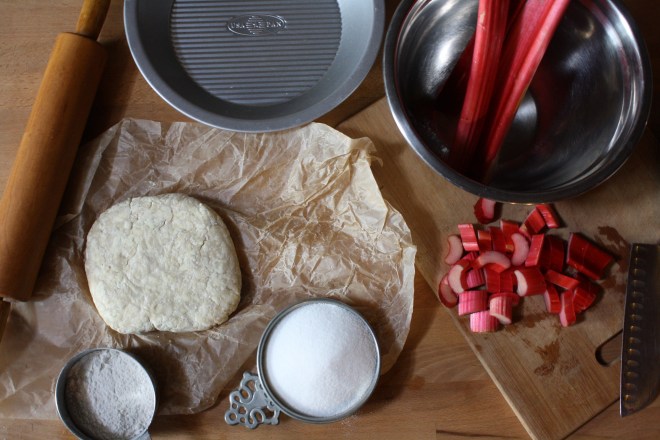 The stuff for the makings of pie… One single pie crust, flour, sugar and rhubarb. I mean, come on, this might be one of the simplest pies ever.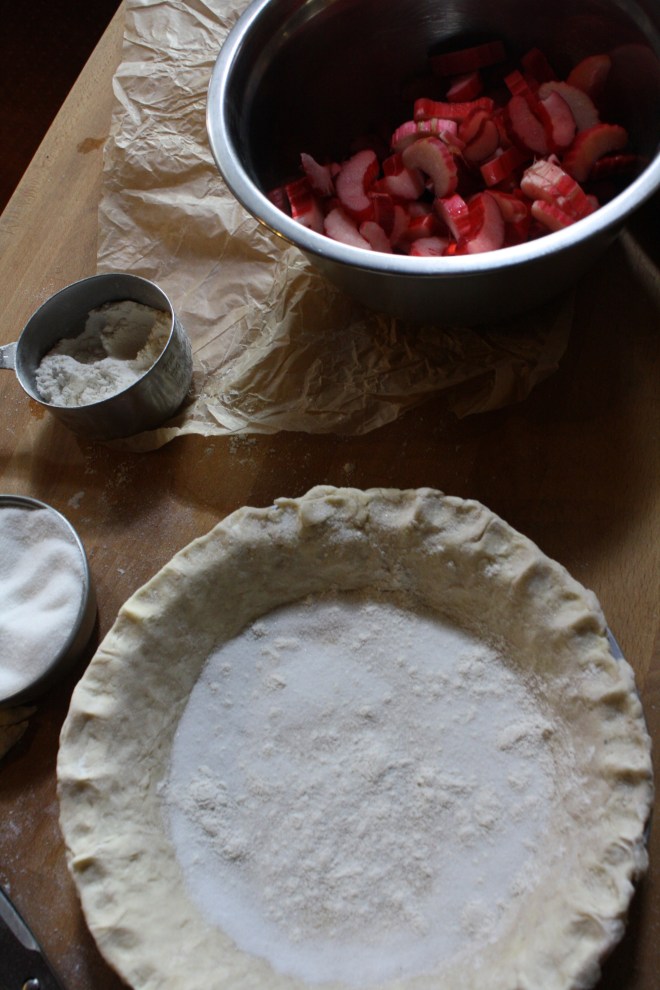
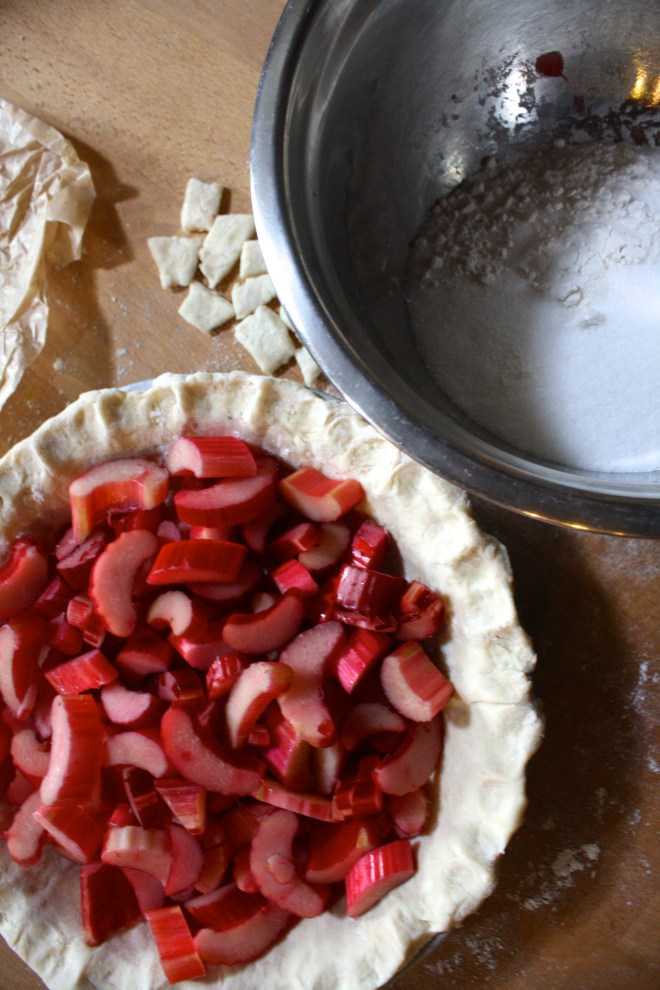 The chilled pie crust gets rolled out, placed into a pie plate, trimmed and made all pretty. The bottom is sprinkled with a 1/4 cup of sugar and stuck back into the fridge while the oven preheats to 350. Now is a good time to dice the rhubarb into inchish chunks. Once the oven is preheated, remove crust from fridge and add in the diced rhubarb.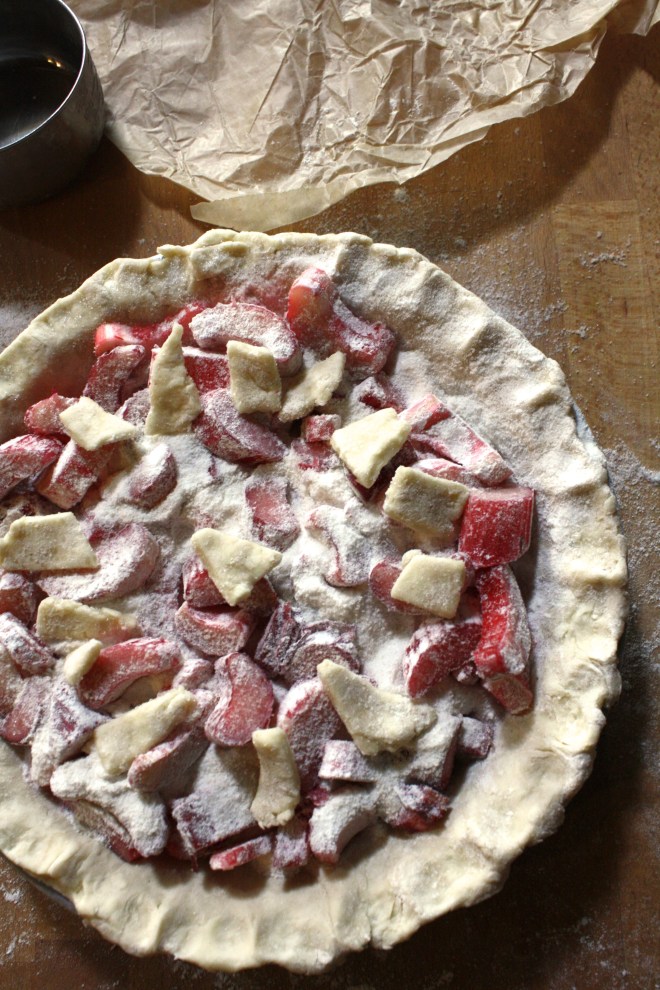
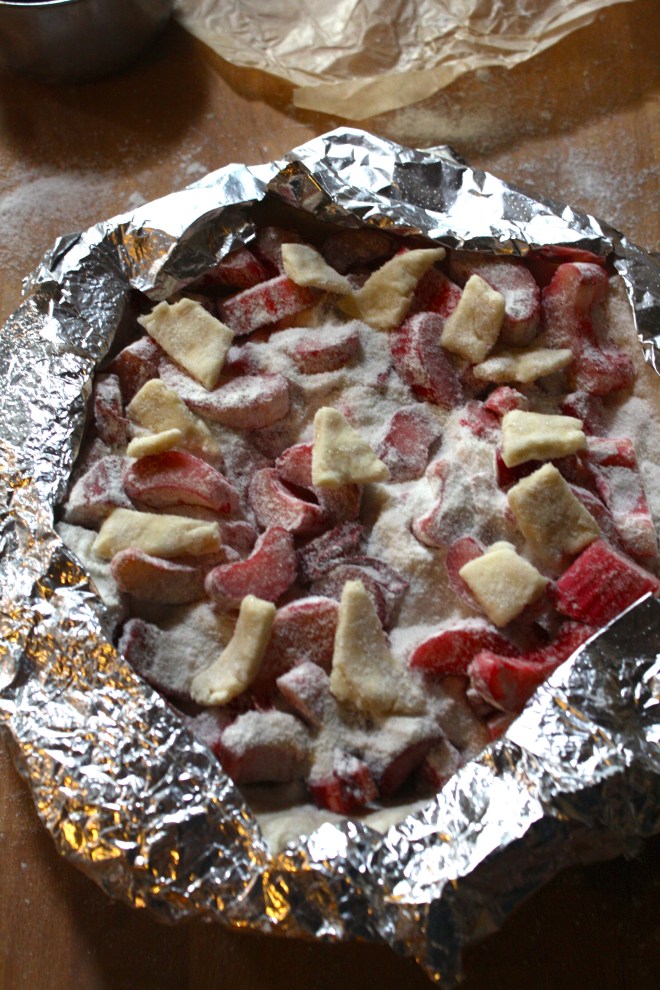 The remaining sugar and flour get mixed together in a bowl and dump on top of the rhubarb. Give it a tiny toss with you fingers just to get some of the mixture to sink down a little. (Don’t worry, the filling will be perfect when you do it like this) I also cut up the pie crust trimmings and placed on top… not necessary, but looks pretty and is a good use of the scraps.
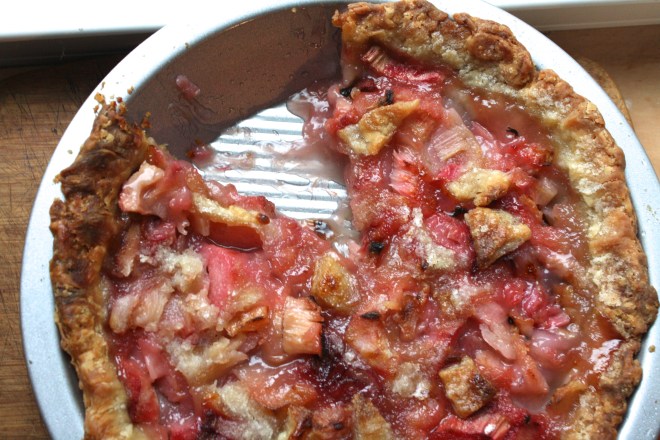 And then you take it from the oven and marvel at the beauty.
 I am so happy its Friday, but like whoa, this week has flown by so fast. I think I need to make a pie to slow things down a bit.. What Kind of pie am I making? We will get to that, but first we must make a killer pie crust, one to hold of the goodness to come.
 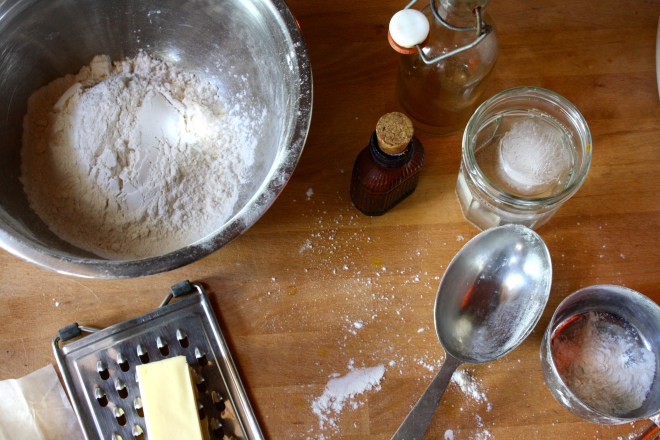 Crusty Stuff. Flour, a stick of frozen butter (or a stick of frozen Earth Balance, which I have used and it turns out much the same) a bit of sugar, some salt, ice water, and apple cider vinegar*.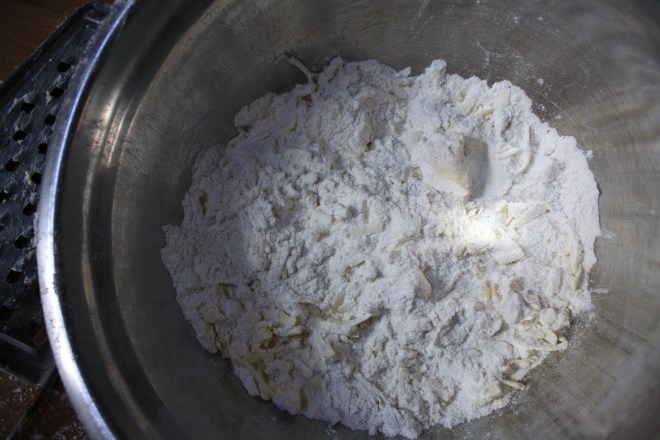
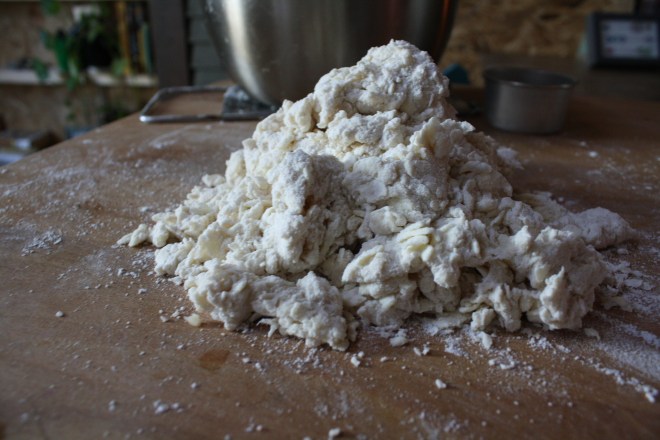 Dump the dough onto a lightly flour surface and kind of squish, smoosh dough into a pile. The dough is all clumpy and weird looking, Well thats what it is support to look like, so your good.
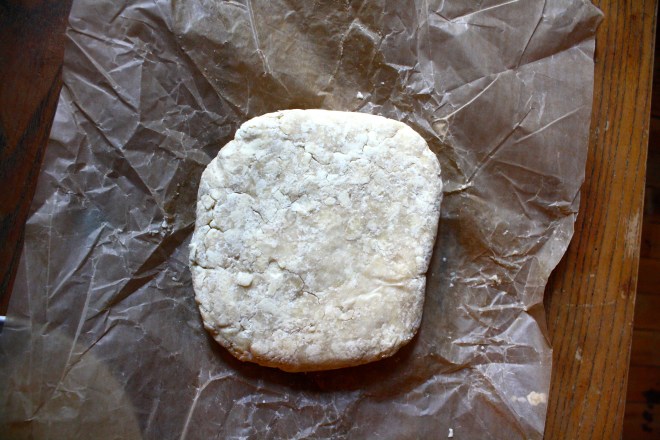
 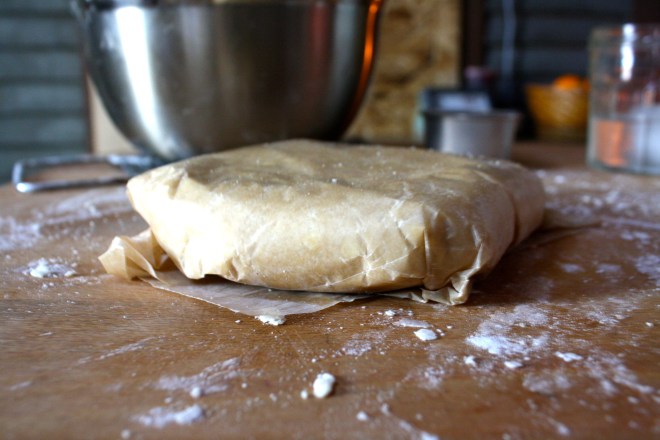 Once the dough is gathered into a ball, place onto a piece of wax paper and wrap. Now is the most satisfying part..Smoosh the wrapped dough into a disk but applying pressure. Aaahh, kind of looked like pie crust. Now Stick it in the fridge for a least a hour (Don’t skip this or your crust will be blah)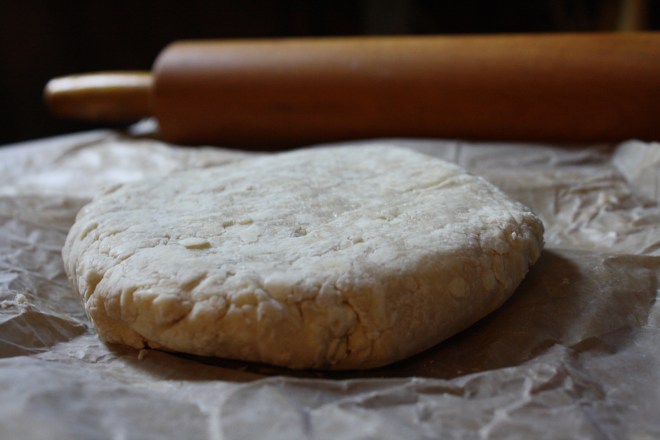
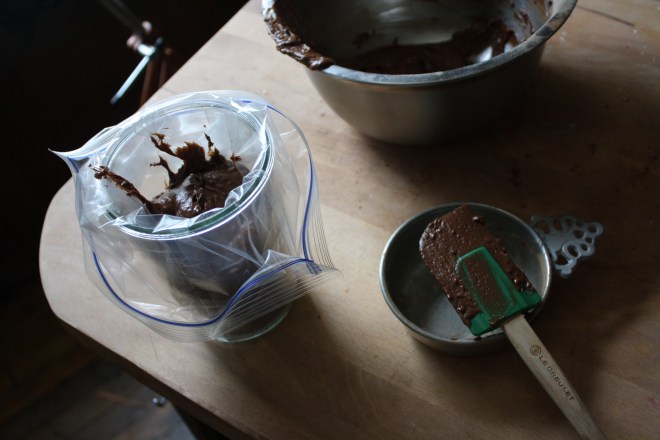
 All I want to do is make everything into hearts and turn everything pink…Is that a problem?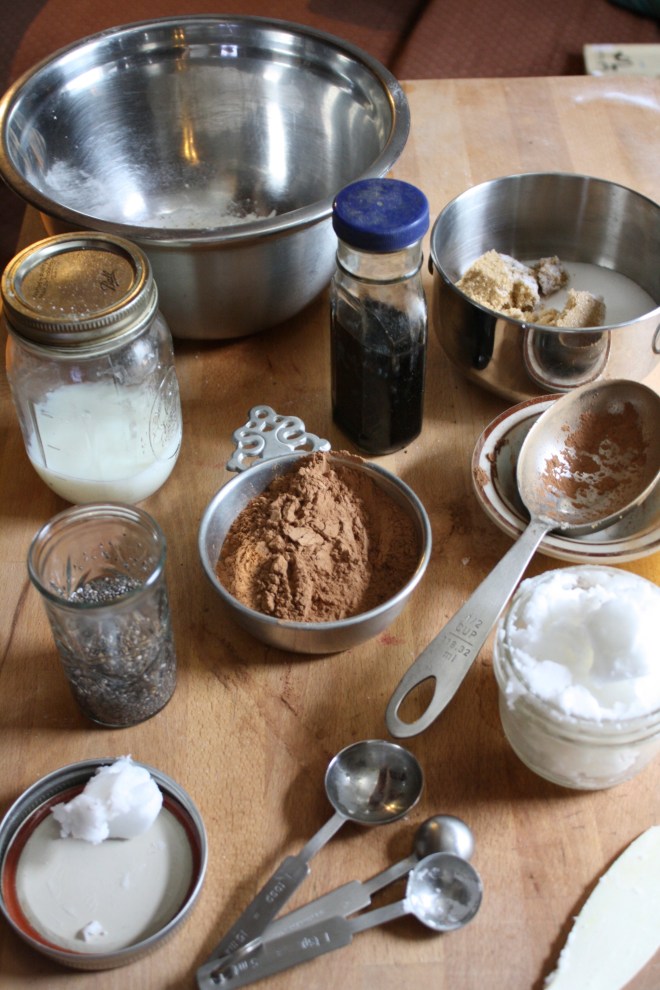
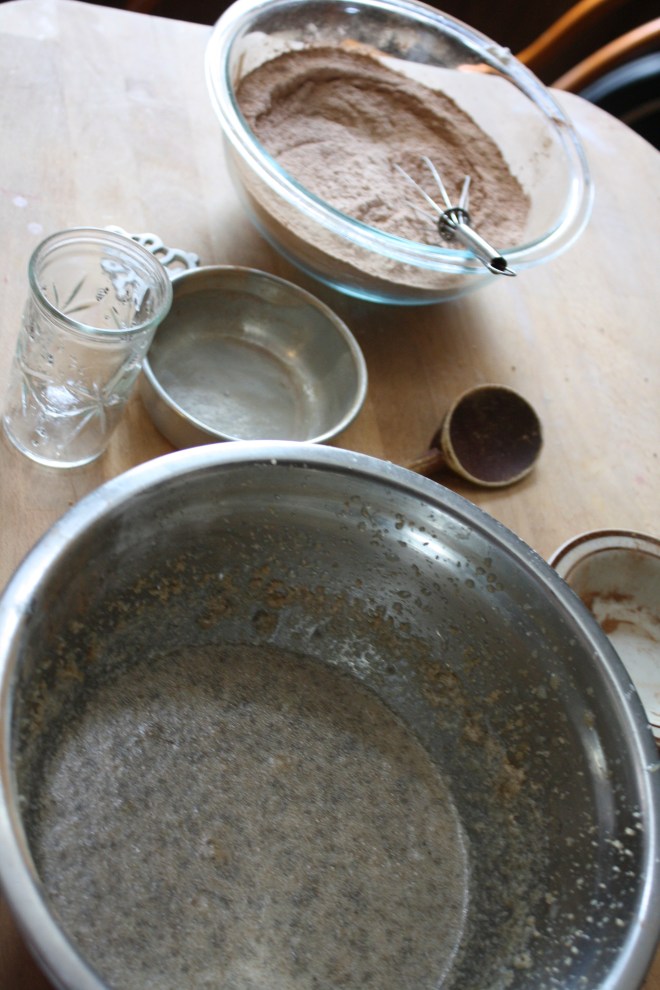
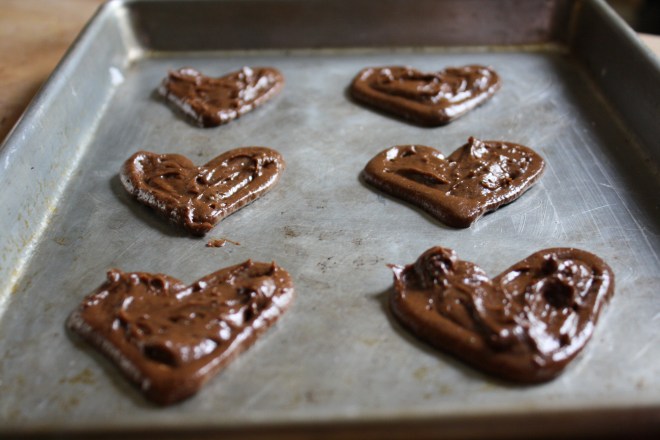
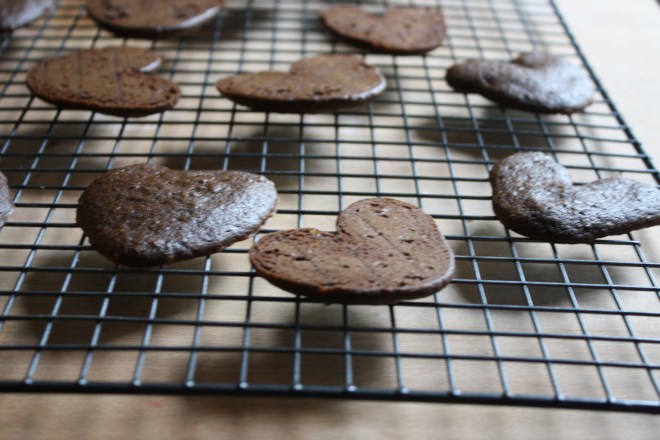 So lovely. Shadow hearts while the whoopie hearts cool.
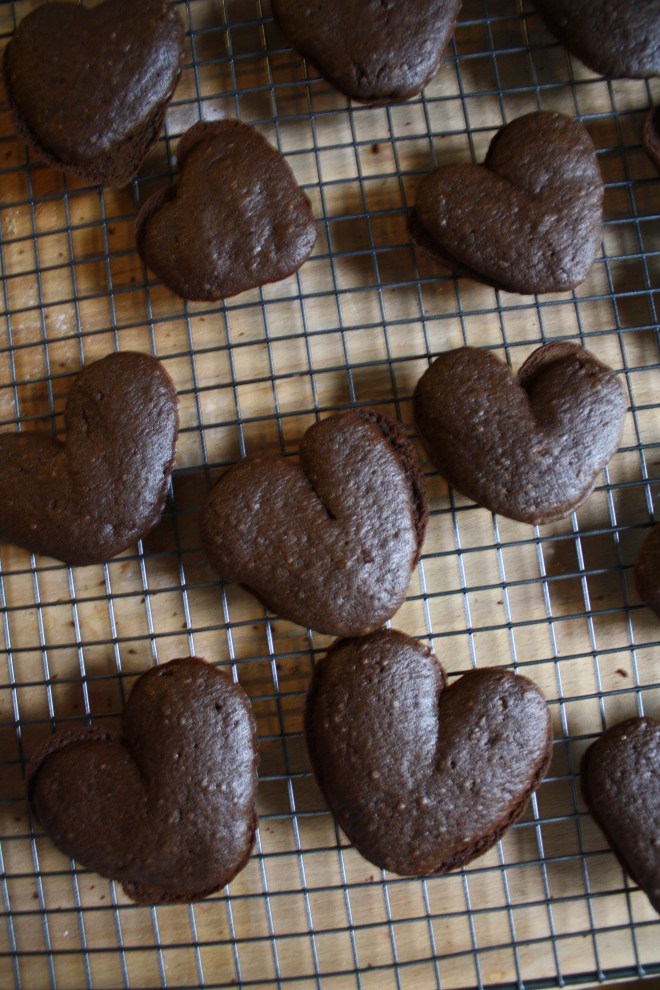 Whoopies all paired up
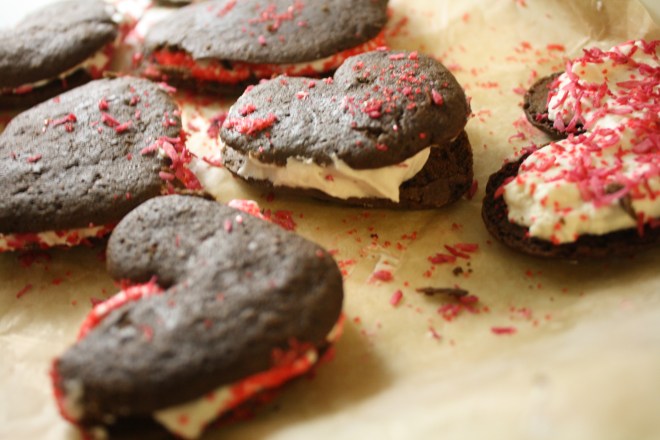 Stuffed with a generous dollop of whipped coconut cream ( a cold can of coconut cream whipped with a splash of vanilla and a tad bit of sweetener) and sprinkled with my home-made beet dyed coconut sprinkles…..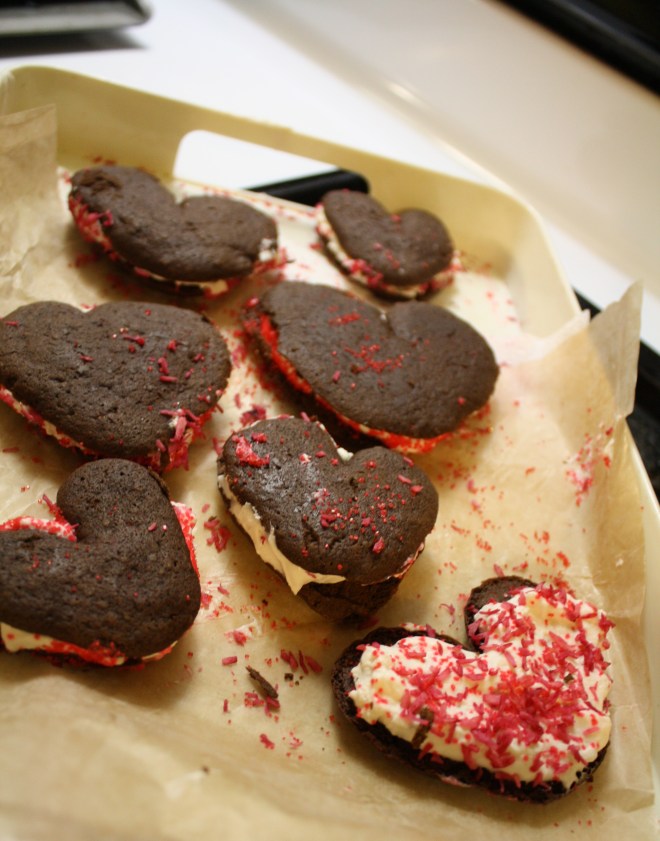
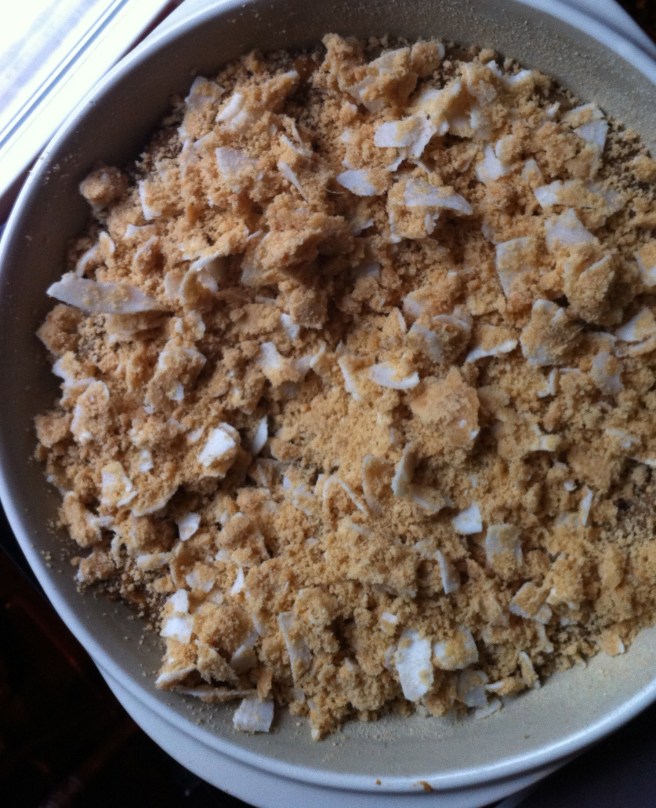 Yes Please. Thank you very much. Sweet Potato custard (I don’t know what else to call it) topped with coconut. My taste buds have found themselves in heaven. I have found myself sticking my butt out of the fridge with spoon in hand. Hey there, like what you see?
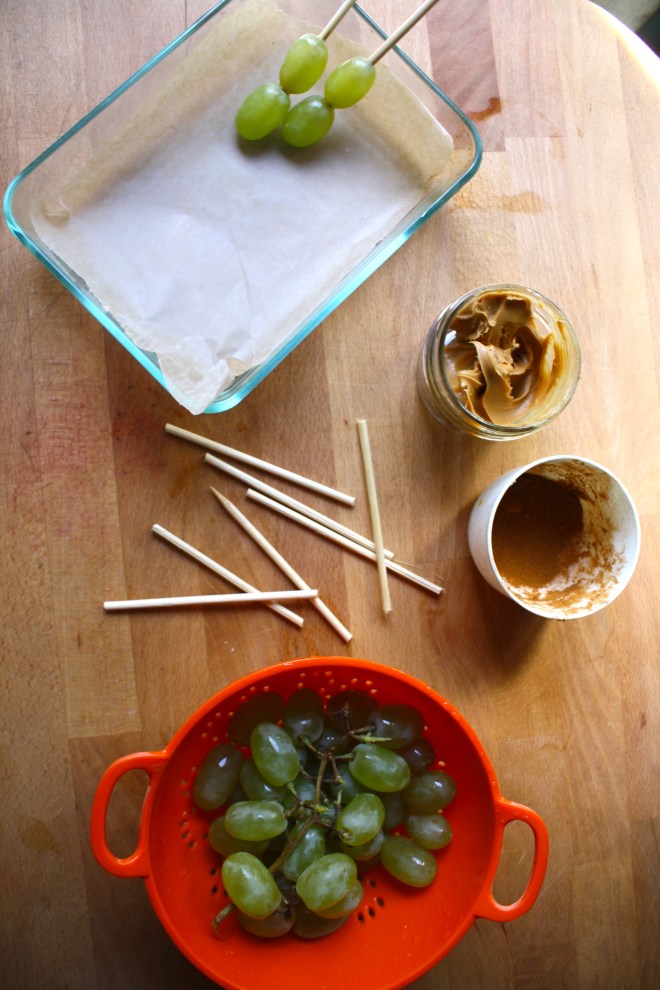 Custard ingredients. A whole lot of not much. Sweet potatoes are the star here. A few dates, chia seeds, and a bit of cinnamon spice. That’s it. Oh yes, this desert is 100% way acceptable for breakfast and comes with absolutely 0% quilt. Its magic.
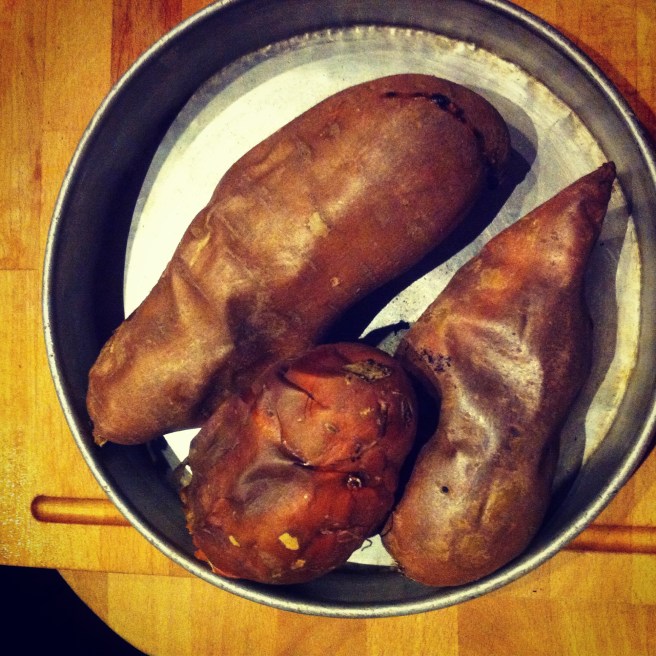 If you have left over sweet potato, this is your chance to use them up, but if not, 3 sweet potatoes, stuck in the oven at 400 degrees for about 45 minutes or until they are fork tender.
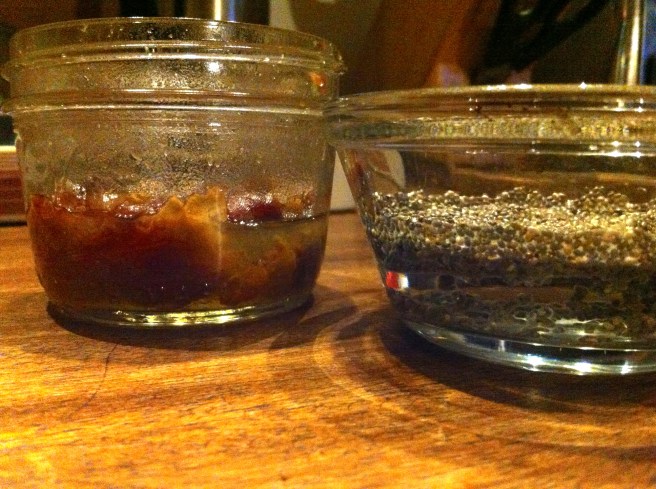 While the potatoes are baking, chia seeds go into water to soak.. I remember the first time I used chia seeds and they turned into gel, I thought something was very wrong. They are suppose to turn gloppy, so if your concerned, don’t be. Now take your dates..MAKE SURE TO REMOVE PIT!!!..and stick in some warm water, just enough to cover. If you are familiar with dates and use them often, you might already have date paste on hand…just use that. otherwise. we are going to turn these dates into a paste by simply letting them sit in a bit of water to soften and then pureeing.. It’s a really simple process that you can do every time you use date paste in a recipe, but my suggestion is to make a big batch and save the rest. It will turn into a new thing for you. You will want to eat it by the spoon full and then some. It’s that good..
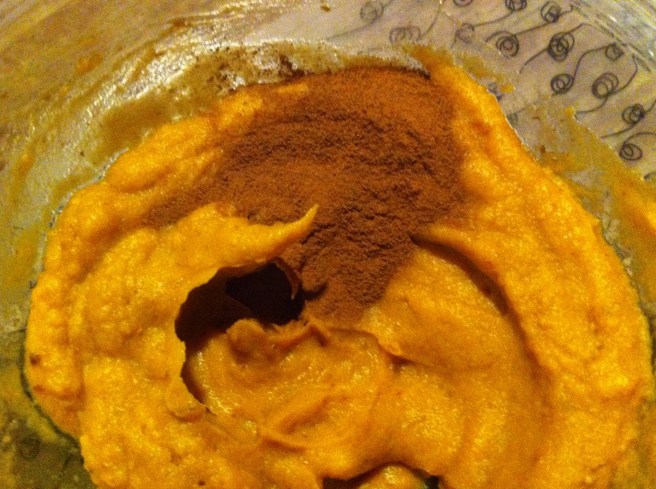 The potatoes are done and cooling… now is a good time to puree dates. The consistency doesn’t have to be silky smooth, but it doesn’t hurt to get close. Once the potatoes are cool enough to handle, remove skin( eat the skin) and stick into either a large bowl if you’re using a handle blender or emulsifier, or into the food processor. Puree those sweet roots of deliciousness, adding a splash of water or two if they need help whipping up. Add the chia seeds, the date paste, and spices….mix and POW!!. Go ahead, you must eat a bite….or two. Satisfied for now? Stick it into the fridge. Refrigerating for a bit to even over night makes the custard set up a smidge better, but you really don’t need to refrigerate. To be honest,, you don’t need to bake this either, just eat it like pudding(which is what I have been doing too) But you really want to bake it. Just stick the bowl in the fridge.
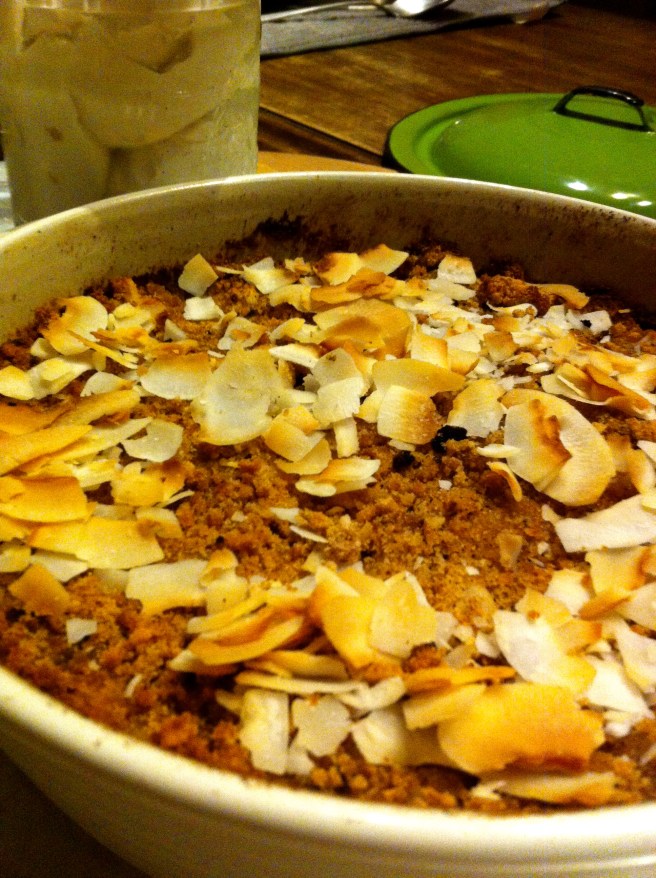
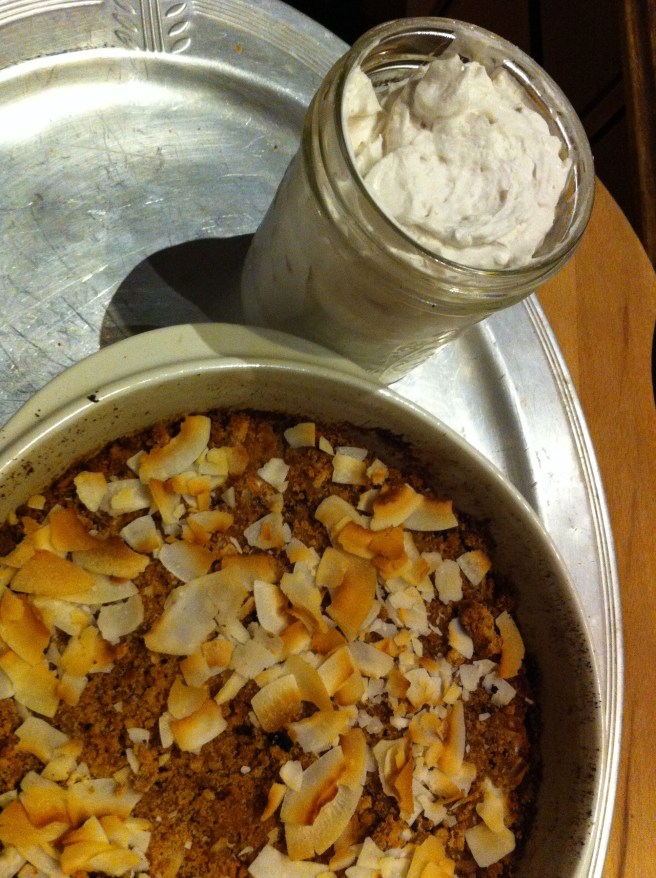
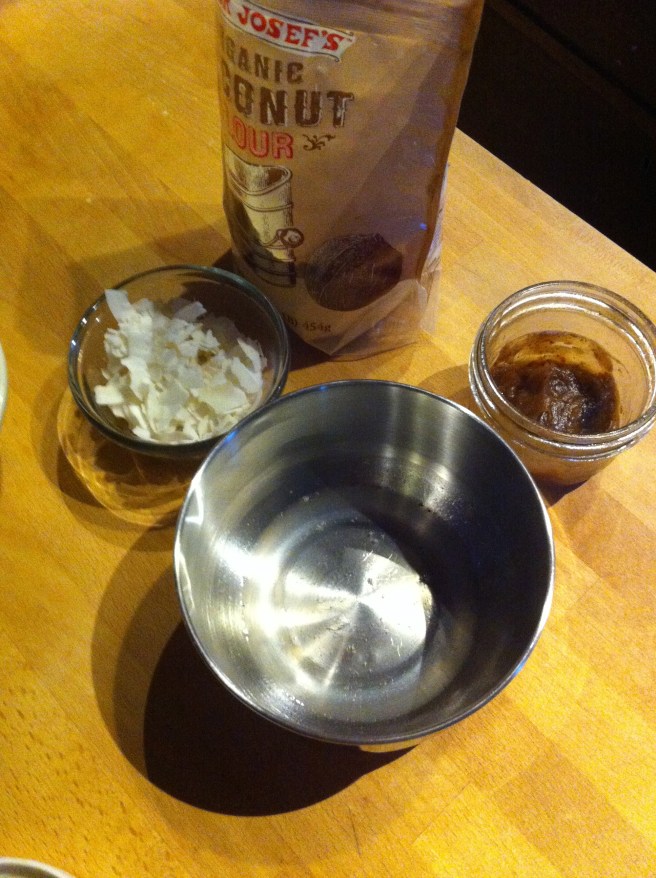 Now to make this custard even more awesome, we are going to add a little coconut topping. Here we have coconut flour, unsweetened coconut flakes, a little scoop of the custard filling and a little coconut oil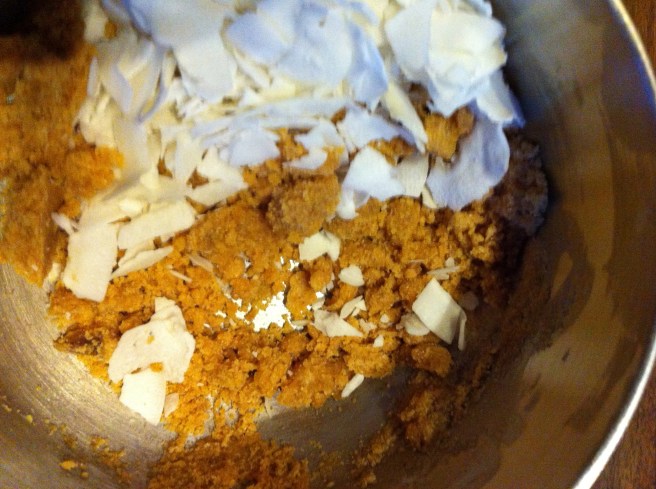
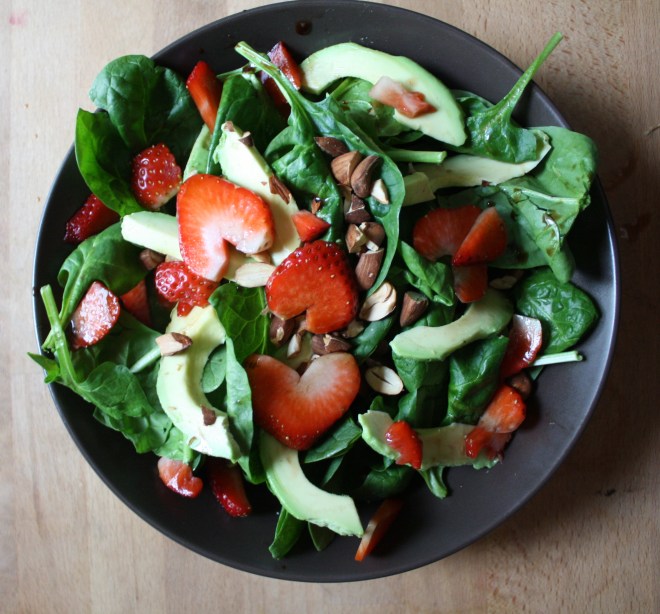 When something goes on sale at the grocery store, I tend to buy it. Being that it is Valentines Day this week, all the stores are having specials on all sorts of sexy things… and strawberries are one of them. Now I am not a huge fan of buying produce that is terribly out of season, but I can’t help myself…a good deal is a good deal and the strawberries were a super good deal. I was just going to make some sweet ass strawberry jam or maybe a lovely strawberry cake with them (and I probably still will), but these strawberries are actually super juicy and full of flavor, and it’s always nice to eat some full flavor freshy strawberries… especially soaked in balsamic vinegar. And yeah, I think that this salad is pretty sexy, so it makes for a perfect Valentines day dish.
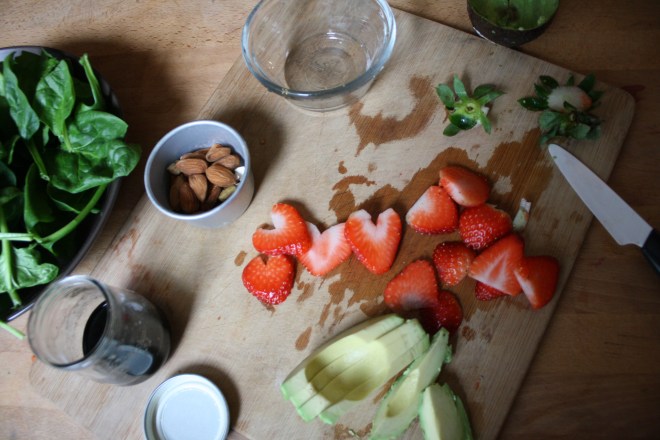 A handful of ingredients and 5 minutes will get you to a fantastic salad experience.
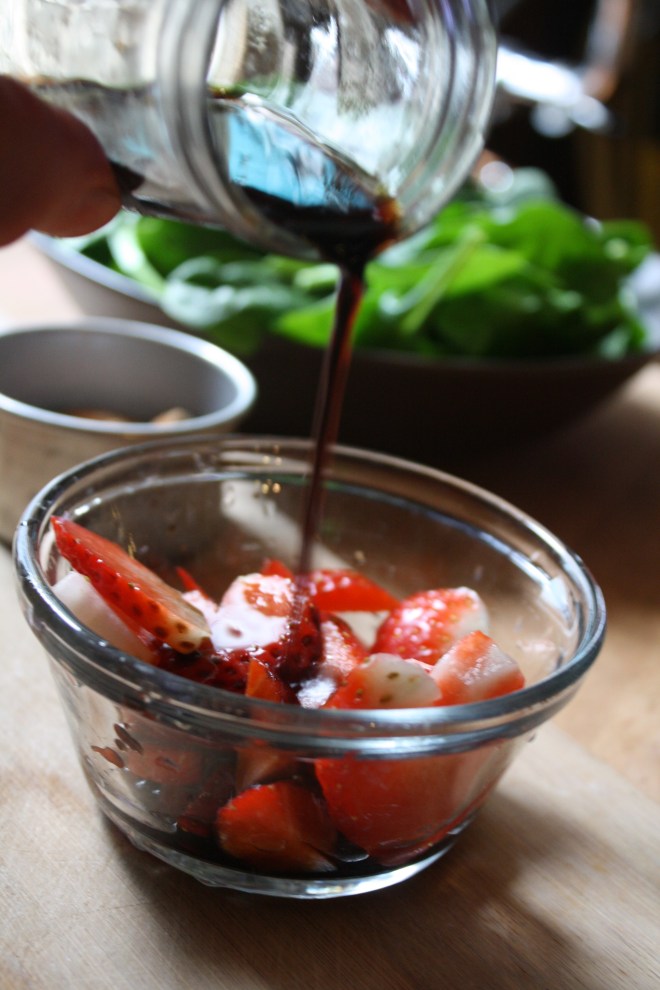 Pour the vinegar on the strawberries and let sit for at least 5 minutes. (the longer the strawberries can sit with the vinegar, the better)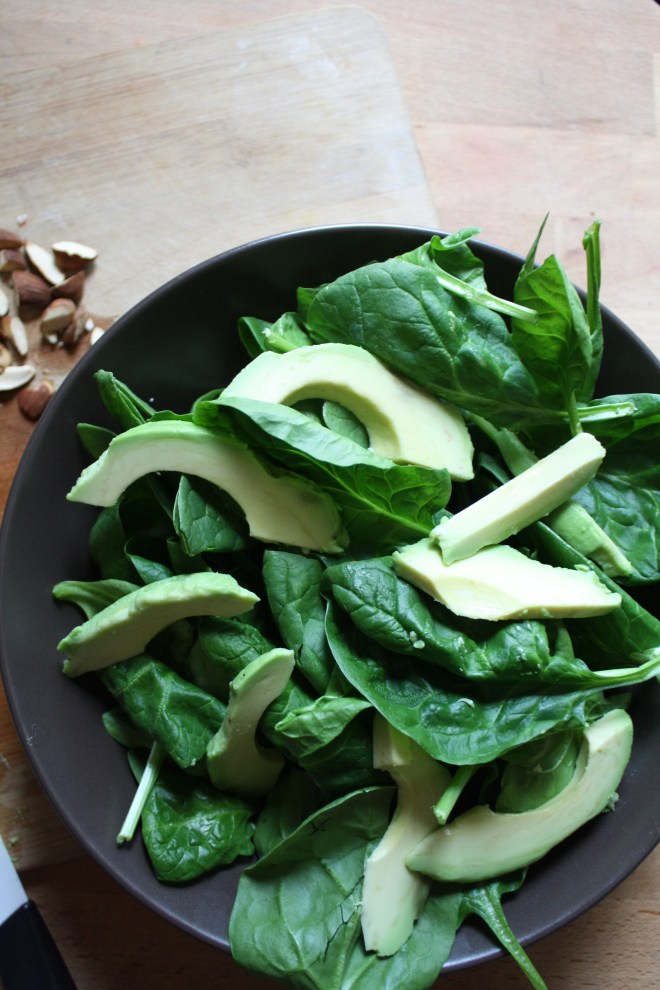
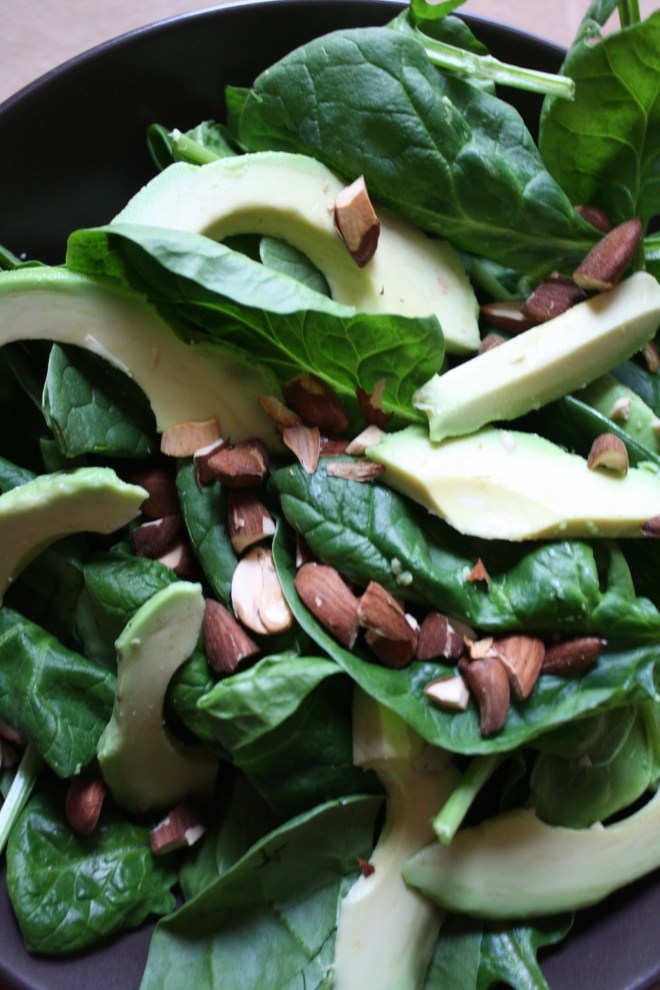 Pile it on.. thinly slice avocado.. rough chopped toasted almonds… It’s pretty much as easy as it can get.
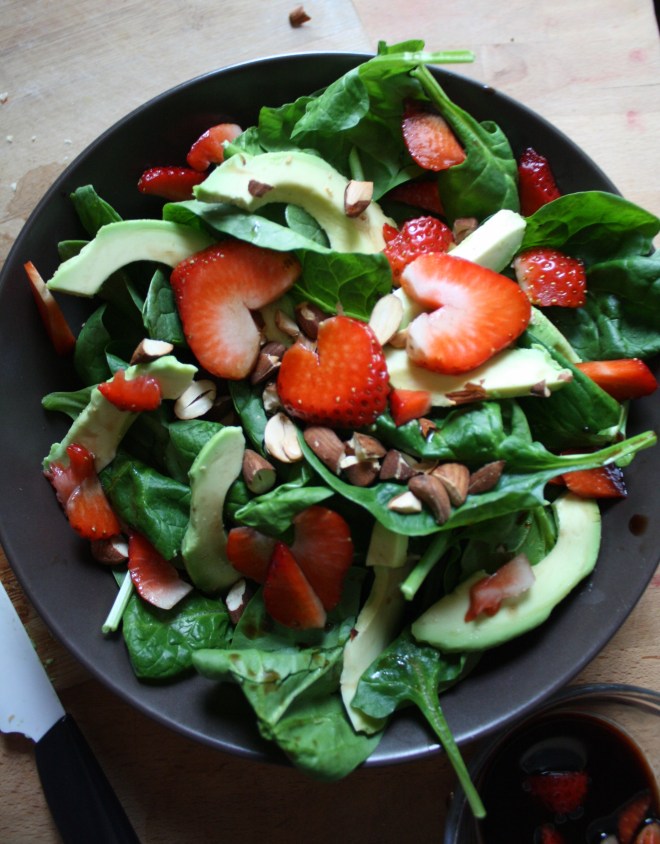 And last but not least, toss on the balsamic soaked strawberries and drizzle the remaining vinegar. (if you made hearts, place on top to make pretty) Sprinkle with a pitch of salt and pepper and pow! Fancy, sexy, delicious salad.
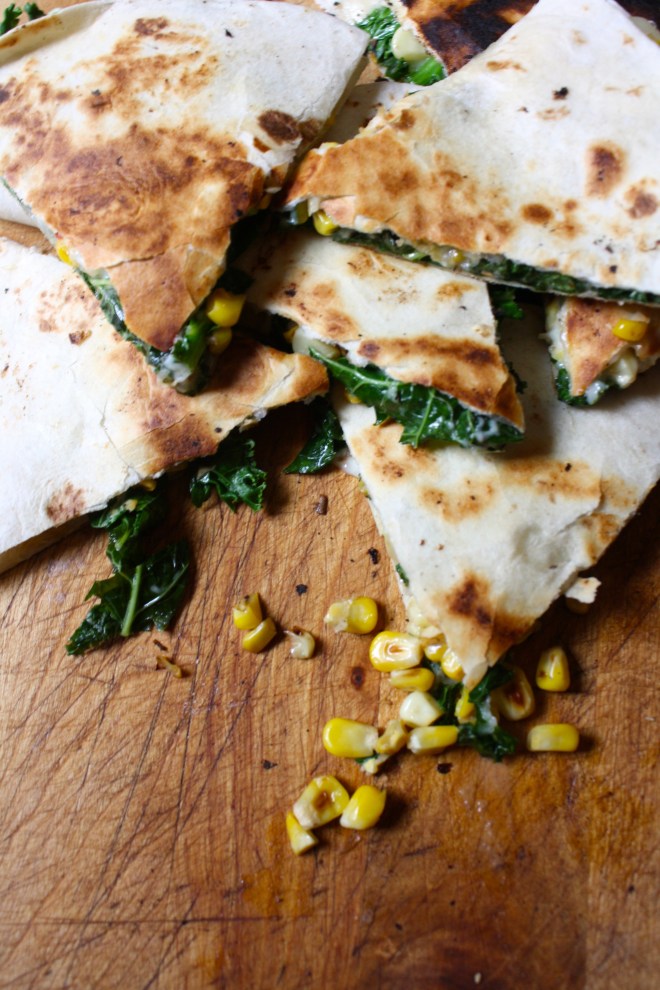
 Wowzers…Is it for real Memorial day weekend? Where has all the time gone? Let’s talk about a week gone by fast. My brain is on complete overdrive and I am having a hard time keeping it from exploding…SO MUCH TO DO! (Not bad stuff, just a lot of stuff) But lo, that’s life right? There is always a lots of “stuff” to do, but today I am going to try and let that stuff chill and maybe give myself a few hours of coffee, (so much coffee) reading a book in the sunshine, gardening, and just some overall chillin.
 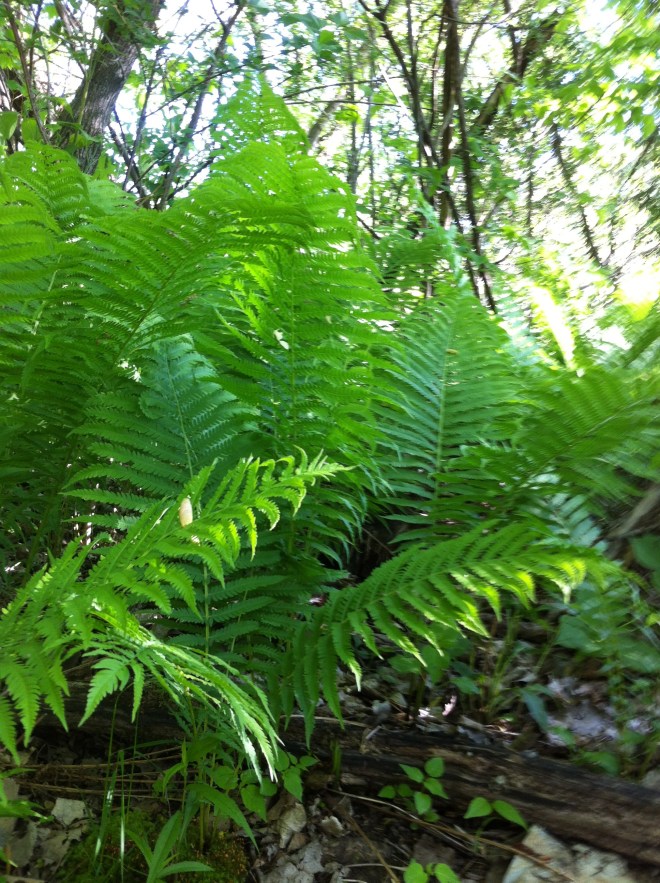 Goodbye fiddleheads…. Hello ferns
  On our way to a geo catch…. And note clothing options for 2 in the afternoon. I am much fond of that little guy wearing a rain jacket without a shirt in when its sunny and 80 degrees. And a pink poke dot bath robe.. I mean, it’s so the cool thing to do.
 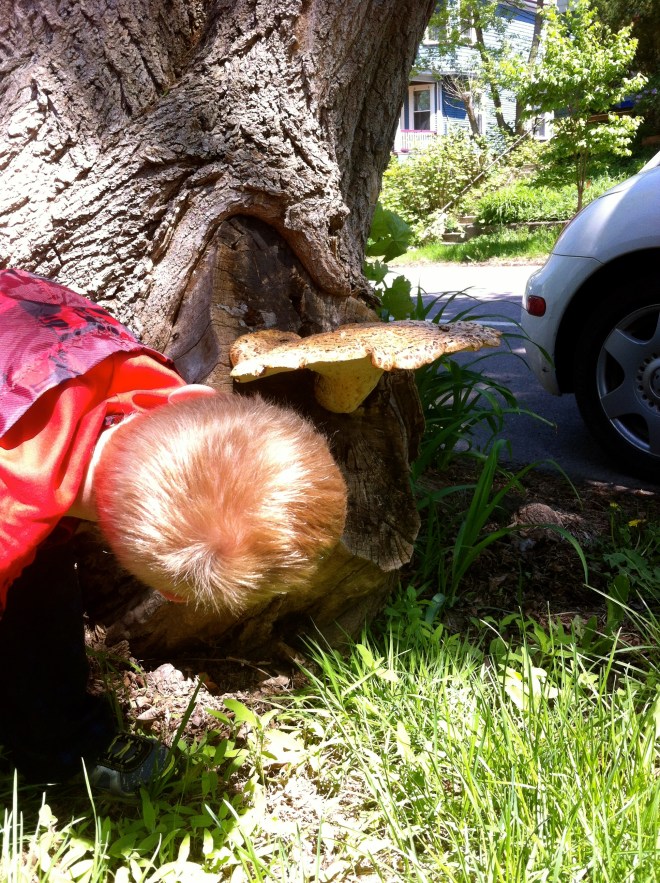 We didn’t find the geo, but we found this gigantic mushroom. Just as cool, maybe even cooler.
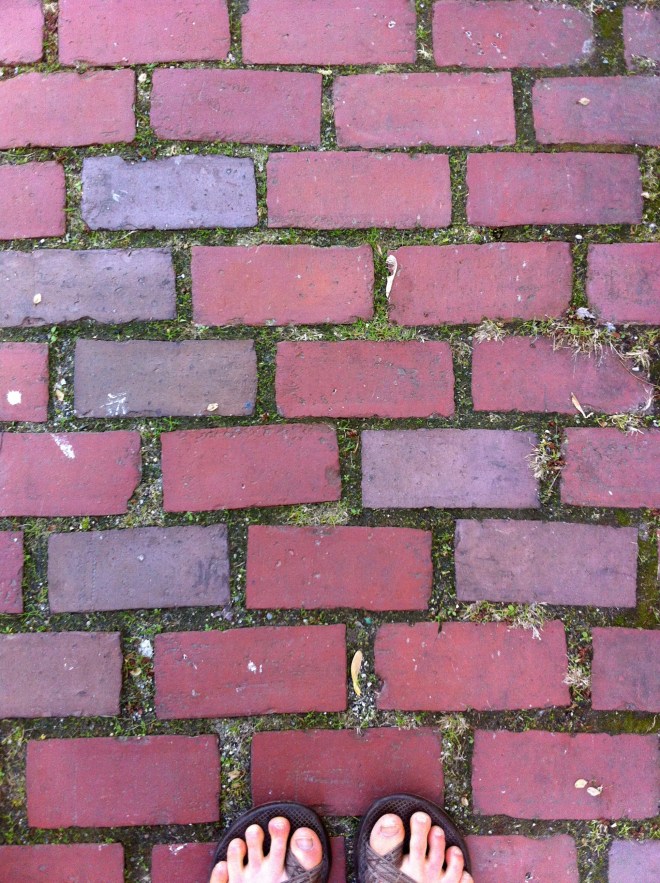 I love brick and there is one street in all of burlington (that I know of) that has brick sidewalks. I like to walk down it a lot.
 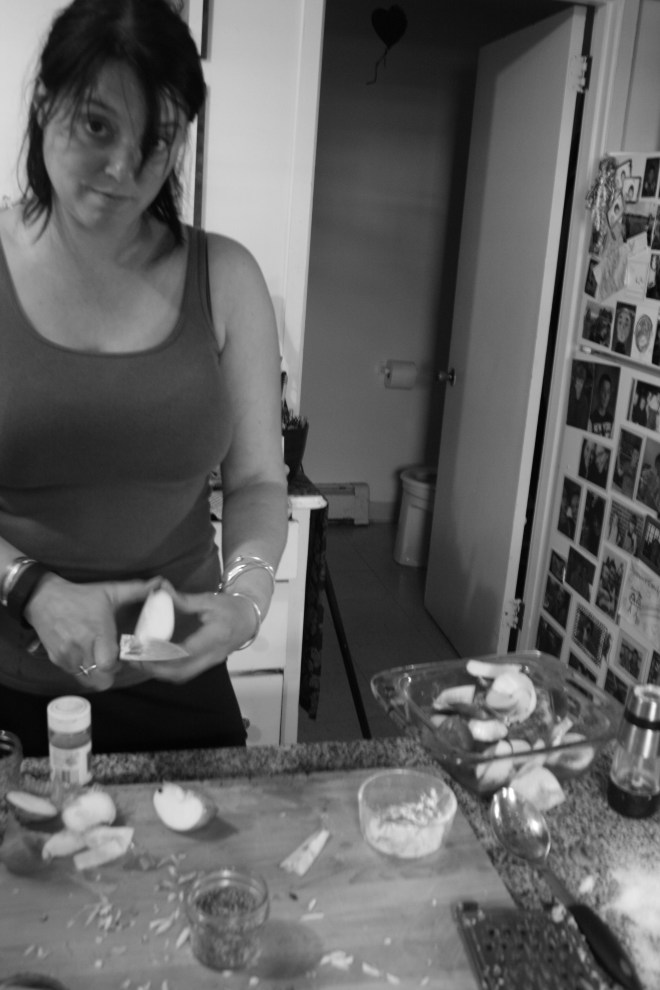 Nurse lady making food… I compare this to a big foot sighting. I have heard stories that she cooks,but have never actually witnessed it myself. (Just kidding….kinda)





 A couple of days ago, during a grocery store porous, I stumbles upon a produce item that I have not seen sold in stores before, Broccoli leaf. And I was kind of surprised to see that they were selling bunches of the leaf, organic, at 2 bucks a bunch. I was very excited ! But wait.. You can eat broccoli leaves? Heck yes you can! Broccoli leaves are fantastic. They taste kind of like broccoli, have a hearty texture like a collard, and can be used raw or cooked just like any other green. Its just one more super yummy green to add to your repertoire. So when I bring home something that I find to be a good score, like a bunch of broccoli leaves, I feel like I have to share it with the mister. (I am so nice) And this dish was how I shared them…. Tossed into a bowl of garlic raging pasta.
  The stuff…. A bunch of broccoli leaves, lots of garlic, pasta, olive oil, salt and a lemon. Pretty simple right?
  Fist off, get your water boiling for the pasta. Once its ready, drop a pinch of salt into the water and stick pasta in for the amount of time recommend by pasta box people. While the pasta is boiling, mince up the garlic (I used my garlic press) into a skillet and add in the oil. Stick on a burner on medium for a few minutes, stirring around to make sure the garlic doesn’t stick and burn.
 Once you start to smell the garlic, turn heat onto low, chop up the broccoli leaves (stems and all) and stir around until wilted and add in the juice of half a the lemon.When the pasta is cooked, remove a few tablespoons of starchy water and strain the noodles. Add water and pasta right into the skillet with the other stuff. Toss around, taste, season with salt and pepper. Go ahead and add some chopped tomato and or parmesan cheese if you want.
  And serve your amazingly amazing pasta. And make sure that you are ok with really smelly garlic breath…Casue it’s going to happen. Keep it good! -C


 My winter farm share is coming to an end this week. One more pick and then a three week stretch until the summer share starts… WHAT AM I GOING TO DO!!! Stock up as much as I can is what.
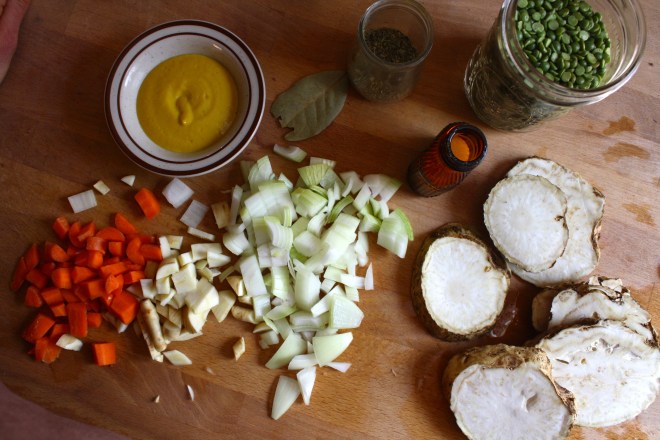 The stuff….For the split pea gravy we have a carrot, a parsnip and a large onion chopped into small chunks. Salt, thyme, a bay leaf and of course the split peas. Then there is the celeriac root* sliced into 1/2 inch thick rounds and some plain old yellow mustard .
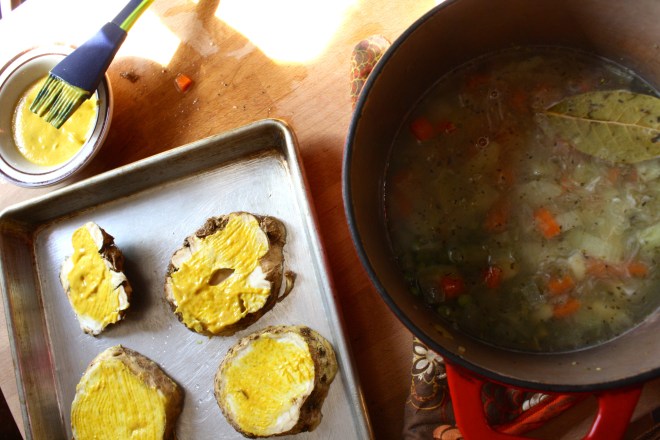 Toss the chopped parsnip, carrot, onion and the spices into a pot on medium heat and let veggies sweat a few minutes until tender. Add in the split peas and enough water to cover everything. Turn pot on high and bring to a boil, then cover and turn to low. Make sure to give the pot a good stir ever few minutes and add more water if needed
 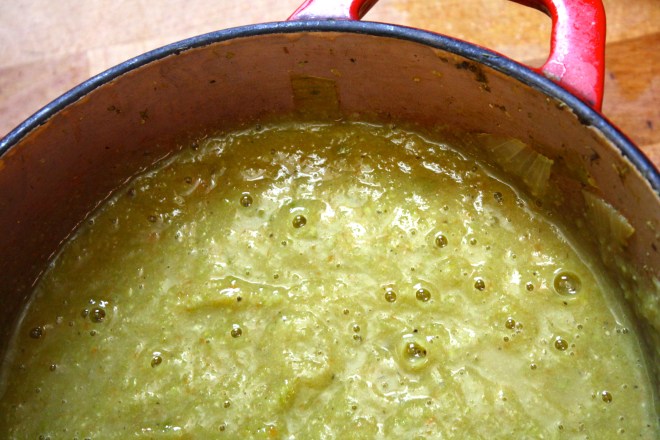 Once the peas have soften, remove the bay leaf and puree until smooth and oh so creamy. Taste and add more salt and pepper if needed. If you find that the gravy seems to thick, just add in more water until it’s the consistency that you want.
 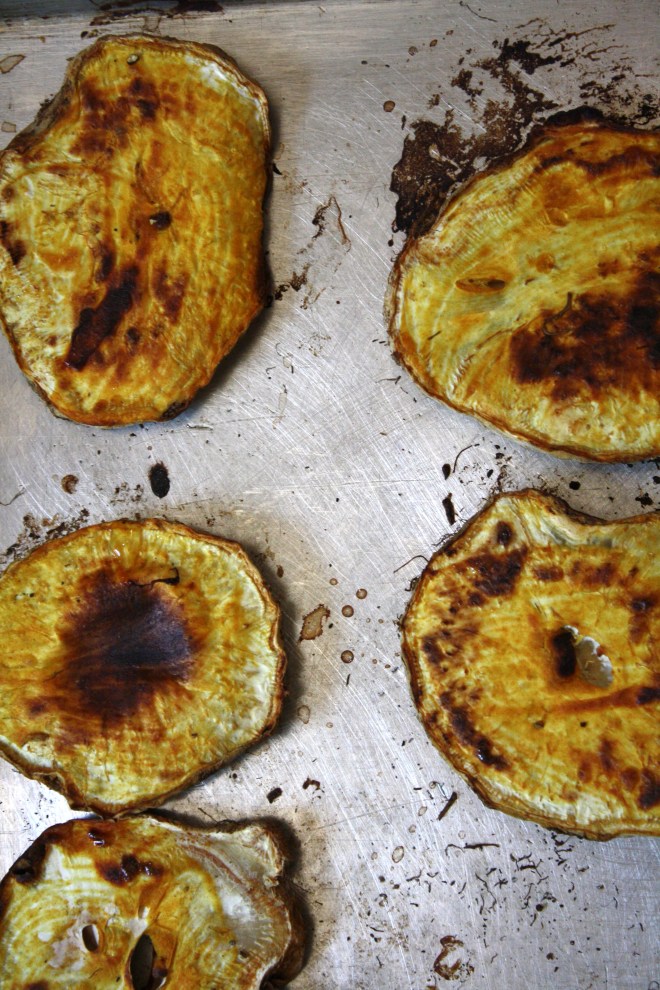 The gravy is made, the celeriac is roasted… now we are ready to eat!!
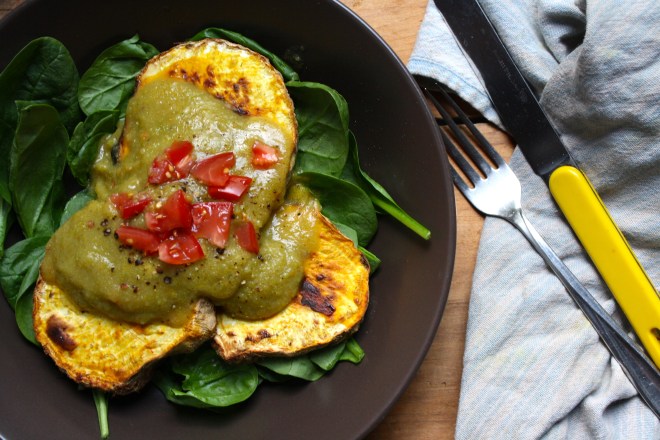
 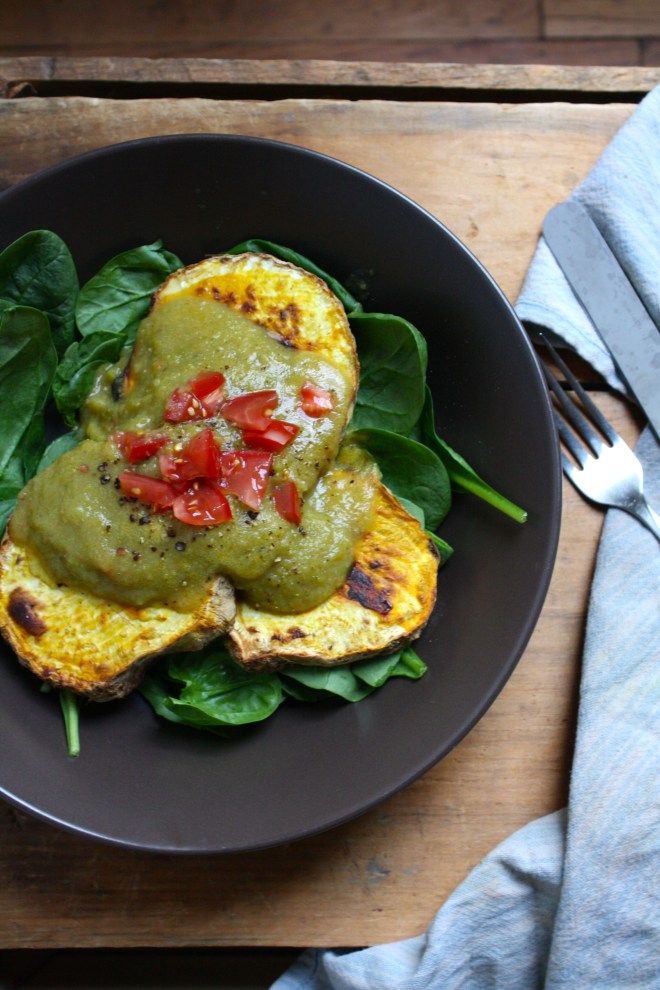 Stick the celeriac on a plate and dump good amount of that gravy right on top. Feel free to add a bed of spinach, or a grain or anything you want, because why not, and also some chopped tomatoes for a little acid and prettiness.
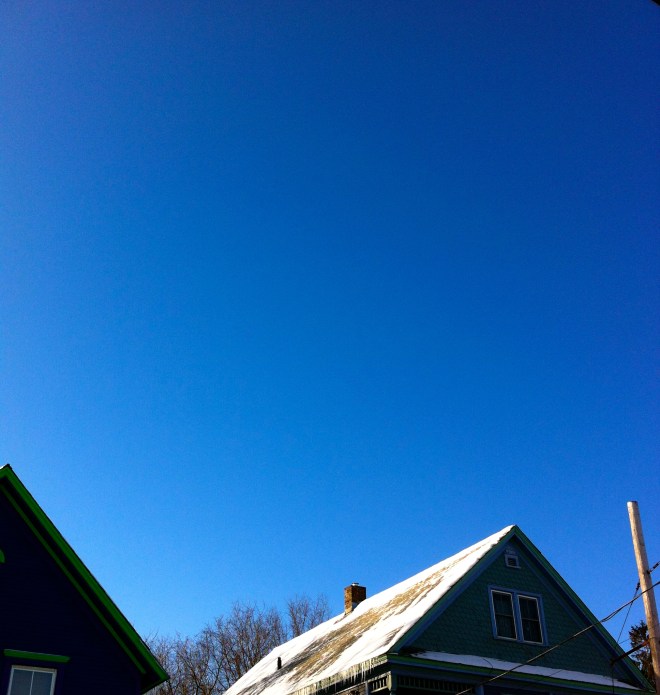 No matter what is going on in my day, seeing a blue sky like this puts a smile on my face….To bad that smile turned to ice and my face froze in place. Because for some reason, winter around here now means below zero all the time. I mean, I love winter, but I am not going to lie… I wouldn’t mind if the wind would stop blowing and we had a couple of days of above zero weather.. and maybe a good foot of snow. I guess I’ll just have to be patient, cause its bound to happen. I mean, we live in Vermont, and if nothing else, we get weather.
  The mister called these snow mounds goosebumps… I think that is exactly what they are
 And oh how I cannot handle how freaking cute she is!! Plus, a shout out to my brother in law….MADLOVE!
 Fresh snow..Even though it was -15, I had to stop and take this picture. The colors were amazing
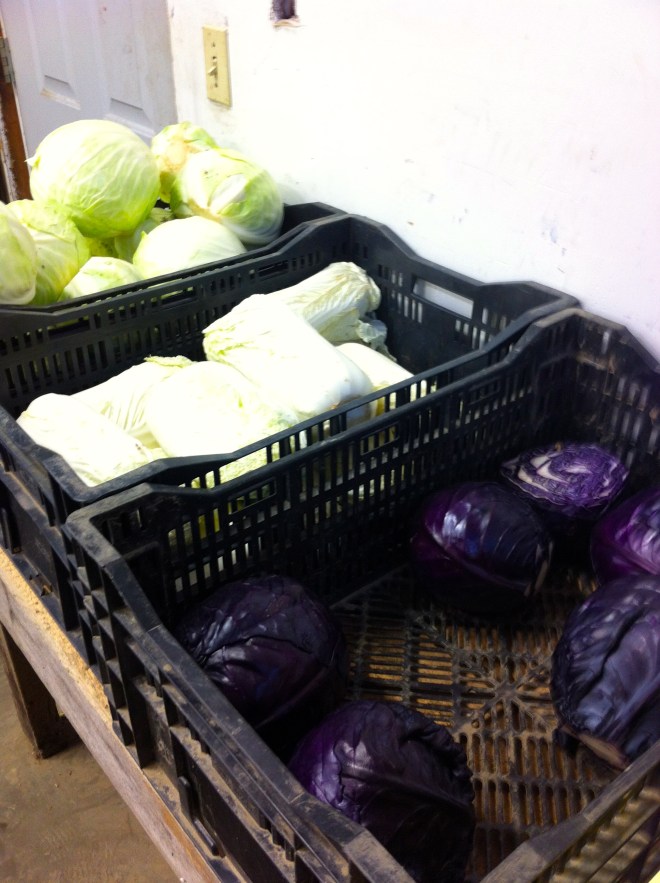 Cabbage at the farm share pick up! Love ICF!!!
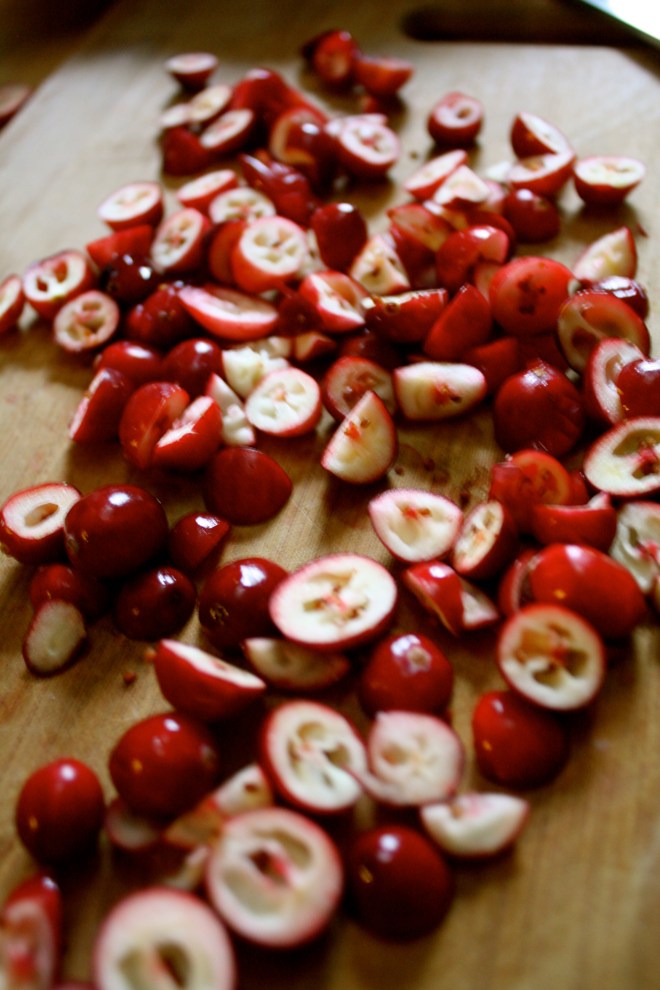 89 cents a pound for fresh organic cranberries. Score!! Made these Oatmeal fresh cranberry coconut chocolate chip cookies with them. Big hit.
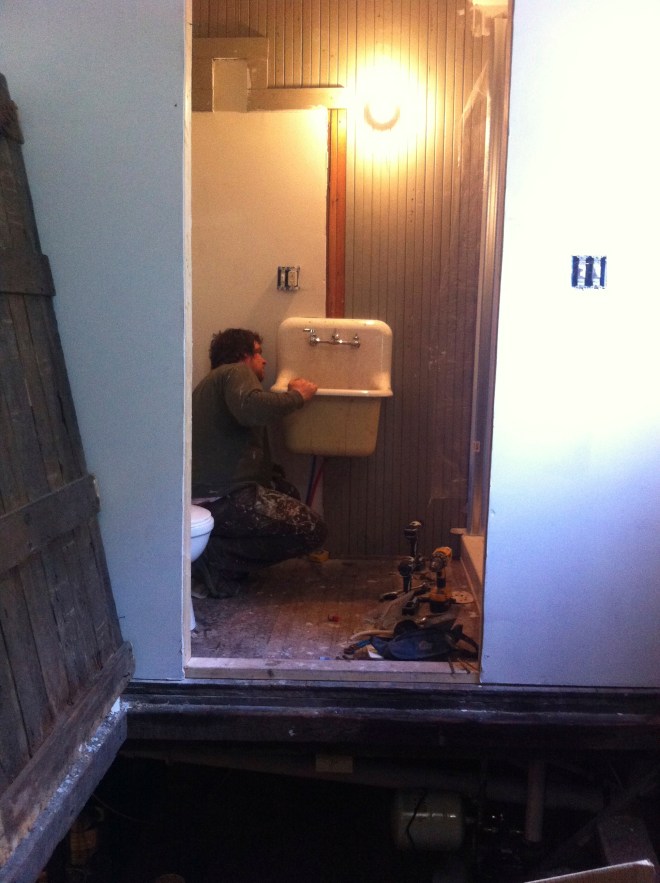 This picture was taken exactly a year ago…..The mister and I were finally putting in the bathroom of our tiny little home…. And look at that awesome sink! (another amazing salvage yard find) If you ever need or want to remodel a bathroom, I suggest using a old cast iron utility sink. So practical, so functional, so pretty.….it makes me happy everyday!
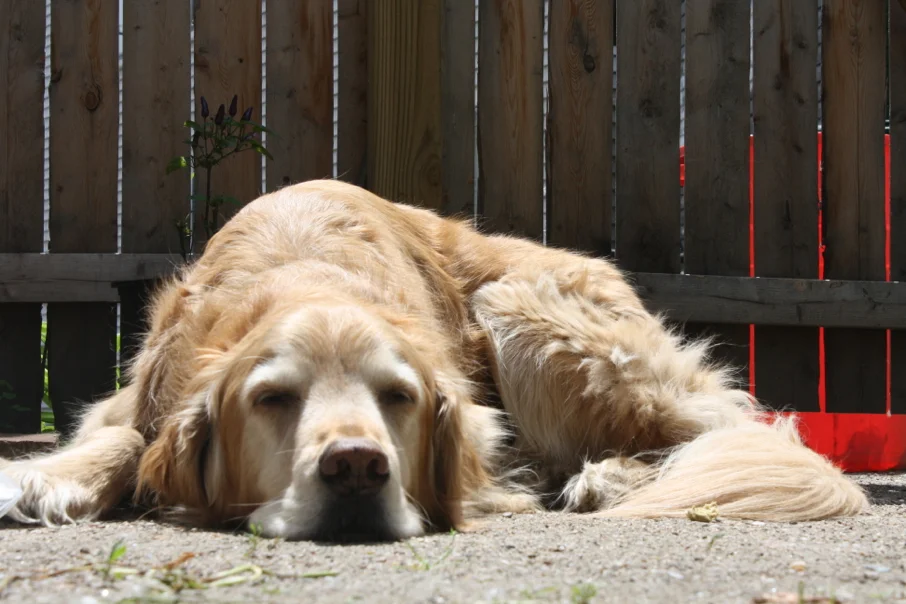
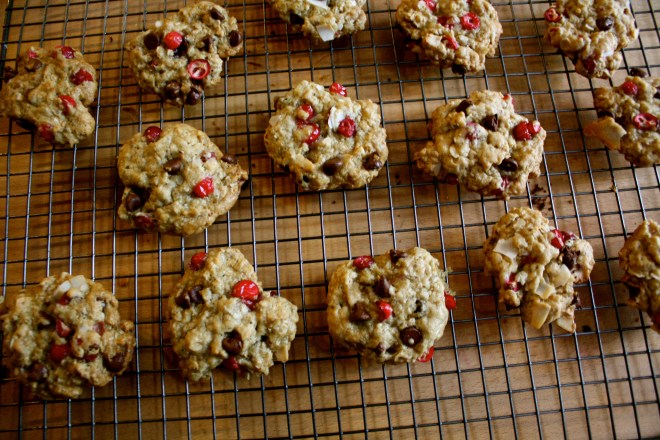 It hasn’t stopped snowing, the temperature is dropping fast (it’s getting to the point the dog doesn’t even want to be outside) and the mister is busy hand shoveling three long driveways. So I figured that in between all the laundry folding, plant watering , and all around sitting on my butt that I am doing INSIDE, that I would be so super nice and crank the stove up and make my love some cookies. I love making cookies, especially when I have chores to do. I think part of it is that cookies are baked in batches which breaks up the chores and gives a sort of rhythm to things. Plus everything is nice when the house smells like cookies. I was going to make chocolate chocolate chocolate cookies, but realized that I didn’t have cocoa powder, so I went with fresh cranberries (I just scored a pound of organic cranberries for 89 cents!) coconut flakes and chocolate chips. Plus I wanted to make them oatmeal because the mister likes oatmeal and oatmeal makes the cookies a little more hardy. (We need hardy when the temperature dips below zero) The verdict….. chewy, soft, slightly sweet oatmeal, bittersweet chocolate, nutty floral coconut, and the zing and pop of the fresh cranberries. He told me to hide them… hide so he will stop eating them….. because they be amazing!
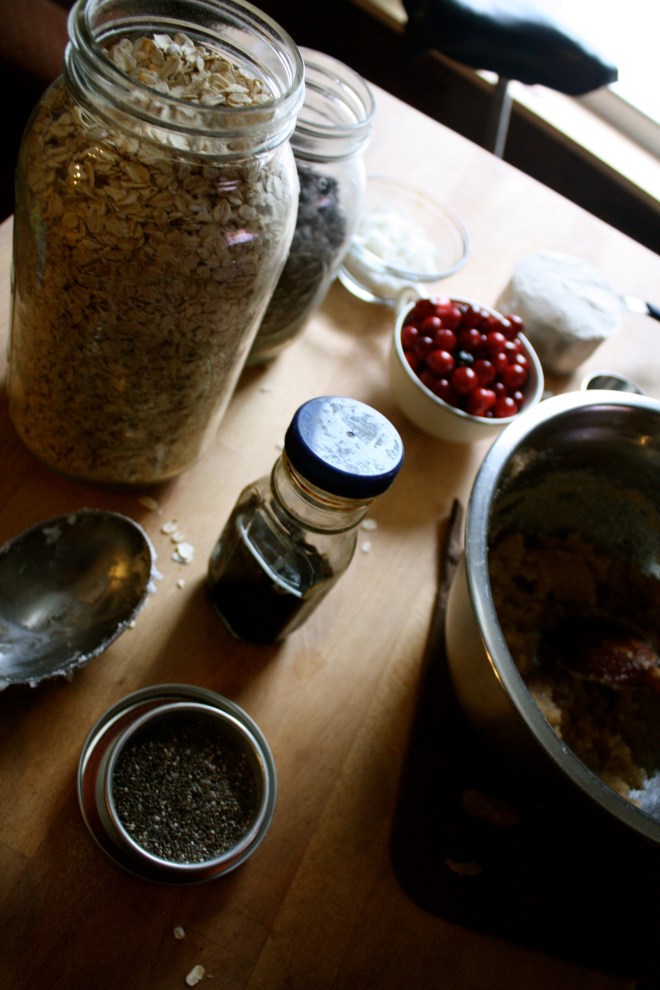 The base of this cookie….We are using regular old fashion oats and flour. Salt, baking soda and baking powder. Vanilla, chia seeds in hot water, coconut oil white and brown sugar…. You know, all the cookie stuff. Then all the goodness.. Chocolate chips, coconut flakes, and fresh cranberries. Goodness. Oh yeah, and they are vegan…if that matters to you.
 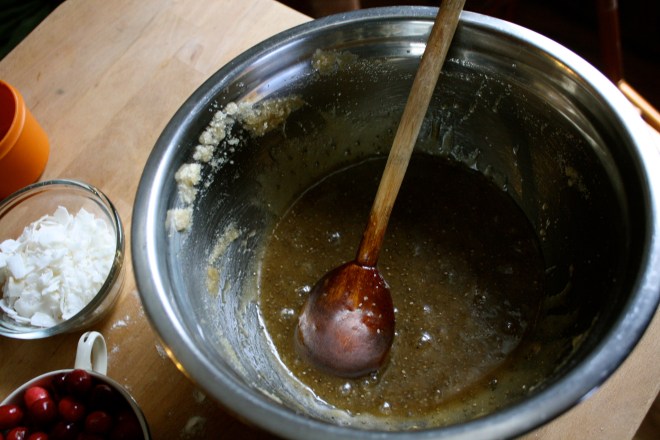 Warm the coconut oil and mix with the white and brown sugars. Then add the chia seeds soaked in hot water. Stir until nice and silky smooth.
 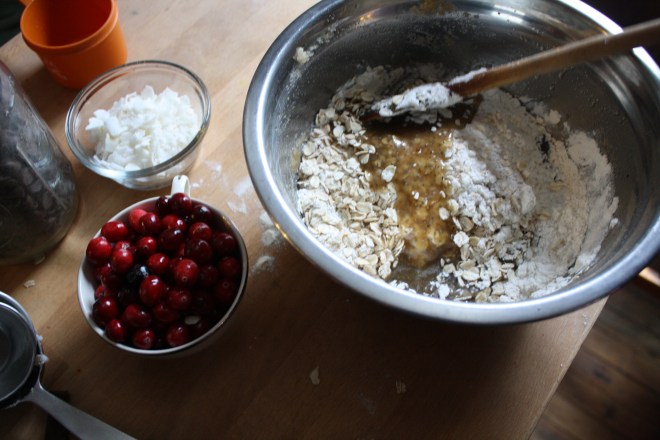 In goes some more stuff. I just dumped all the dry right on in that bowl and mixed it up nice and nice.
 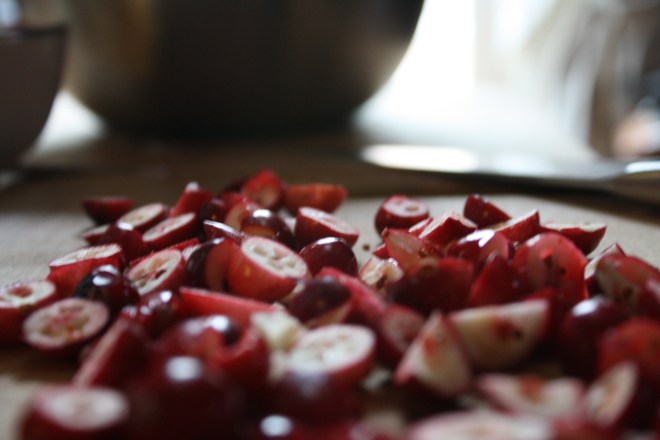 Chopped the fresh cranberries into chunks… One at a time…… Just kidding, I actually laid a cutting board on top of the cranberries, applied a little pressure and sliced through the cranberries.. Does that make sense? I hope so, because its is much easier and faster and the cranberries don’t all roll away.
 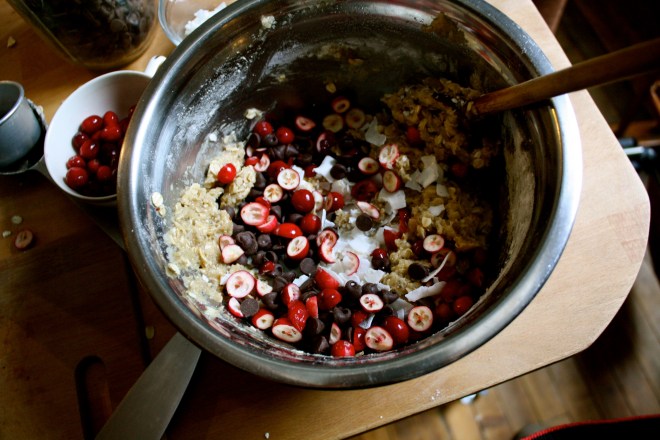 The chopped cranberries, coconut flakes and the chocolate chips go in to be mix all up.
 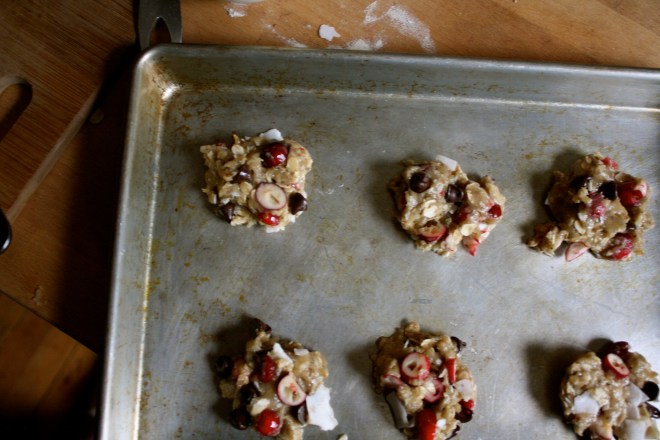 I used my hands to form the balls and gave each mound a little smoosh, but not completely flat. Then into a preheated 375 degree oven for about 13-15 minutes or until a nice golden brown.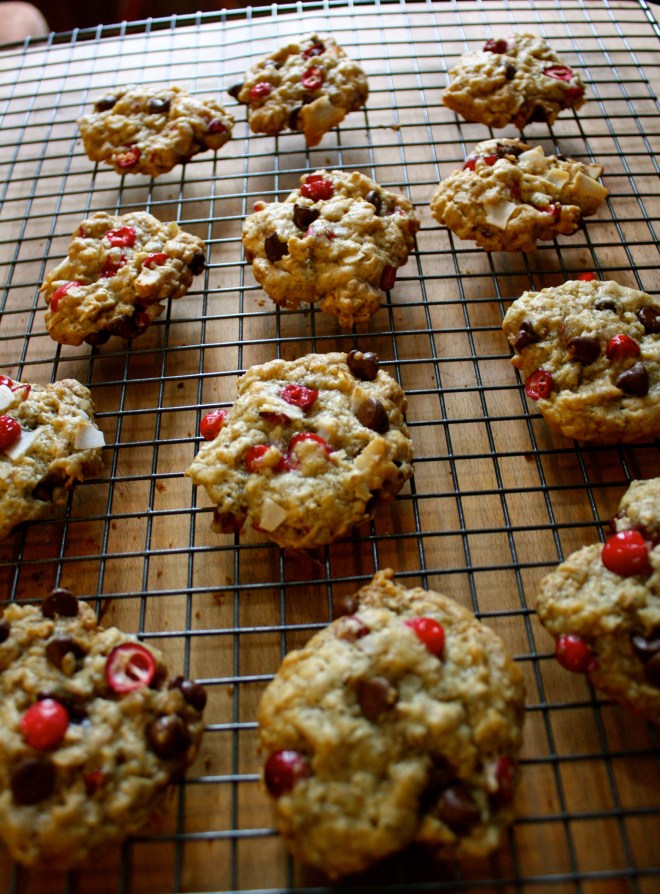
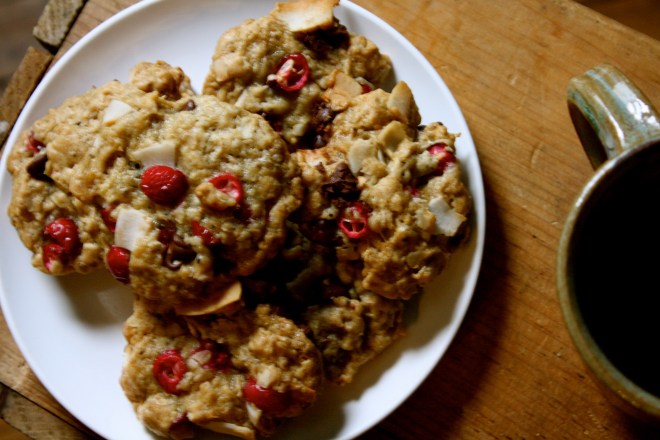 A cup of hot coffee and a plate of warm cookies… I am the nicest, right! (After his nice cookie rest I proceeded to do a little nagging, so the day evened out) So today is probably a great day for everyone to make cookies. It’s freezing out, its saturday and well, just cause. You might even be looking for a great recipe to make for that big party your going to. You should make these cookies. Have a Fantastic Weekend!!! -C
 I was informed yesterday that if I was going to make tortilla chips, that I better make some sweet ass dips to go with them. I kind of agree… tortilla chips need dip… or better yet, two dips. Queso and guacamole. It’s what needed to be done, and so I did it.

 Perfect…
 To think that both of these dips took about 10 minutes total to make. (I had pre baked the cauliflower and sweet potato) And for real, I would spend much more time if I had too because both of these dips are so freaking good, I definitely will be making these on the regular.
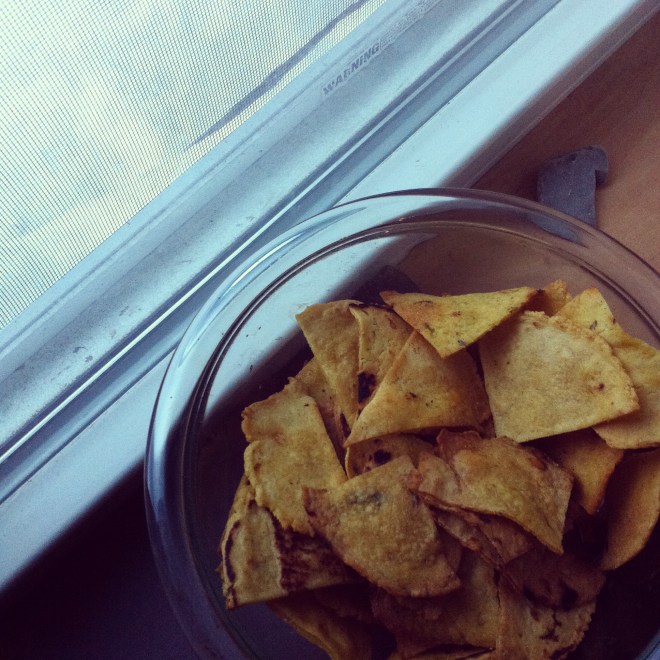 How awesome will you be when you bring the most freaking amazing tortilla chips to the party this weekend? You will be like..”what, it ain’t no thang.. I am just good like that” Yes, yes you are.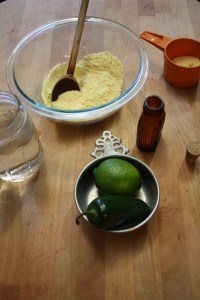
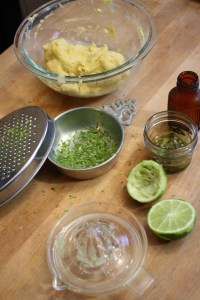
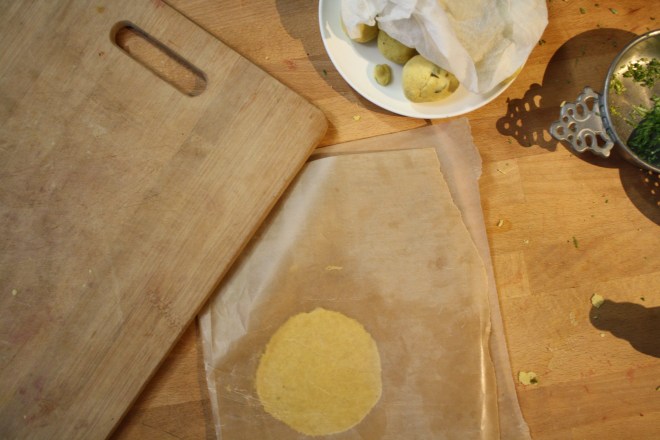 Knead dough a few times just to make sure it’s completely uniformed and divide into 12-14 equal pieces. Place balls on a plate and cover with a wet paper towl to keep from drying out.
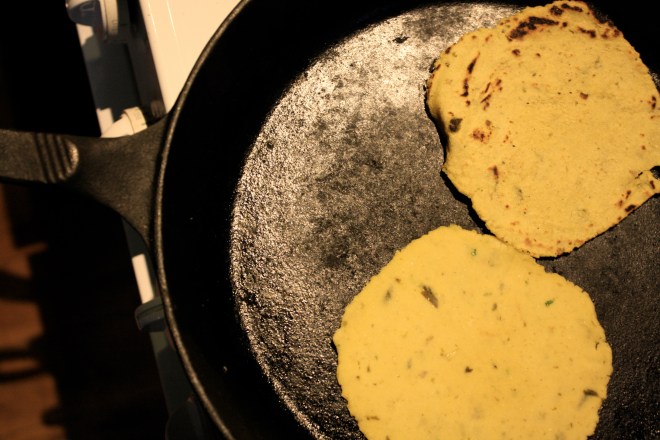 My cast iron skillet is big enough to cook 2 -3 at a time, but doing one at a time is cool too. Preheat the skillet to medium heat. Cook each tortilla for about 2-3 minutes ( or until starting to brown) on each side.
 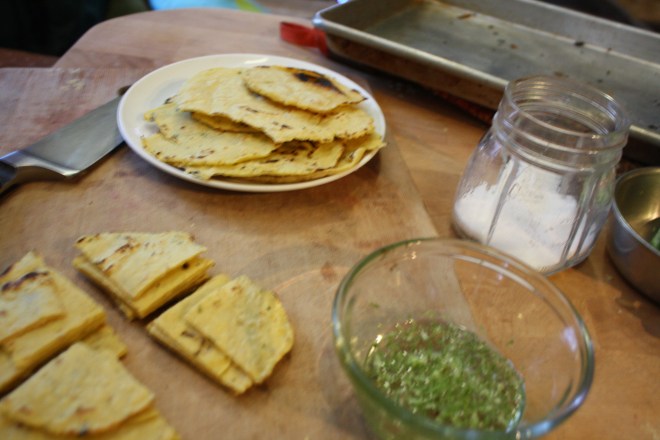 Half way there to chips!!!
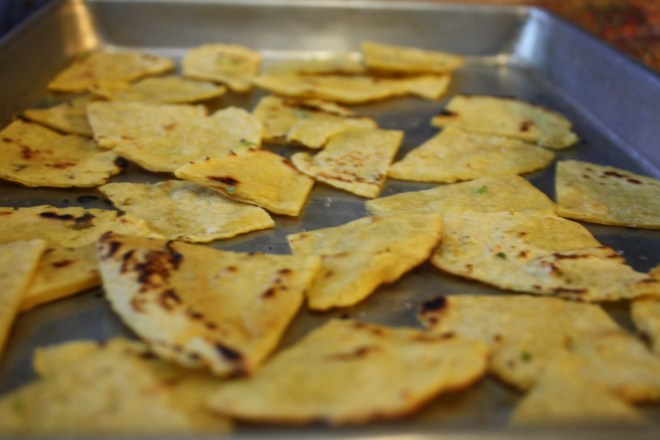 Placed all nice and cozy on a baking sheet. trying not to overlap. Into a 400 degree oven for about 20 minutes to complete the chip making process.. After about 15 minutes, check for doneness. When nice a crispy, remove from oven, squeeze lime juice all over and sprinkle with salt. I then stuck them back in the oven for a few more minutes just to dry the lime..
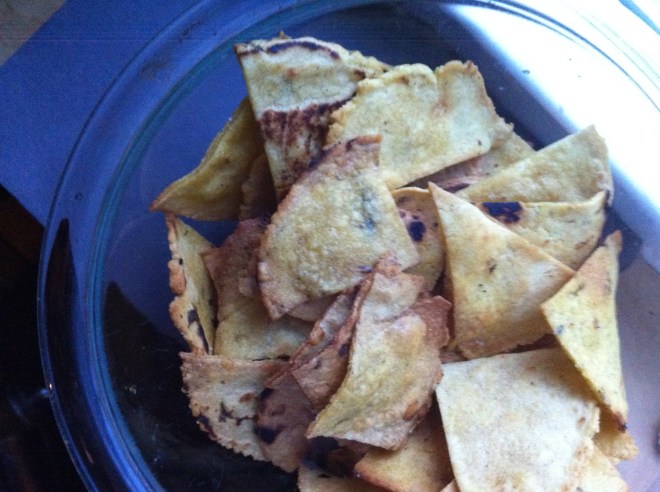 After cooling down, take those chips and stick them in a bowl.
 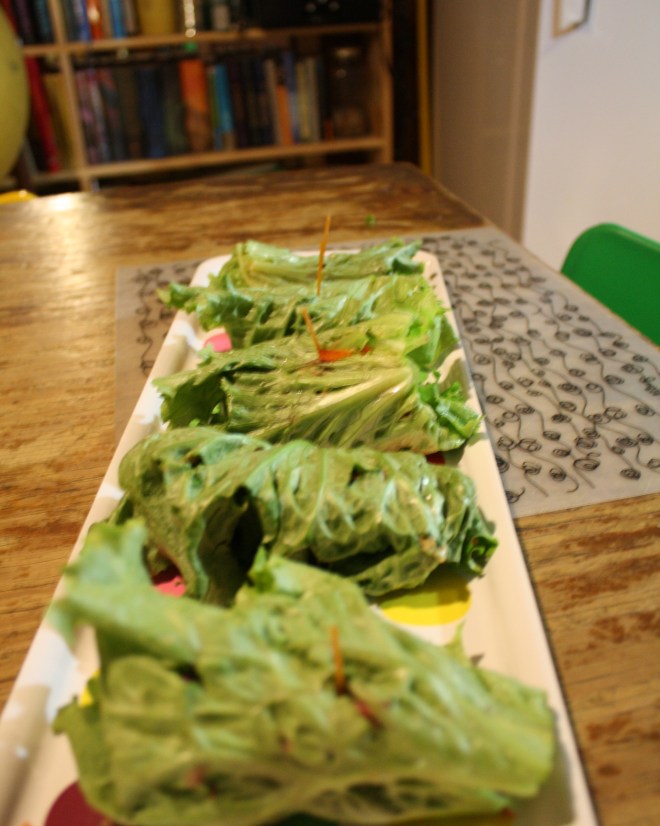 I eat vegetables like I breath air… constantly and almost mindlessly. Some people are addicted to sugar or coffee, but me, I am addicted to veggies. ( I am also extremely addicted to coffee) This is my truth, but I am ok with it.
 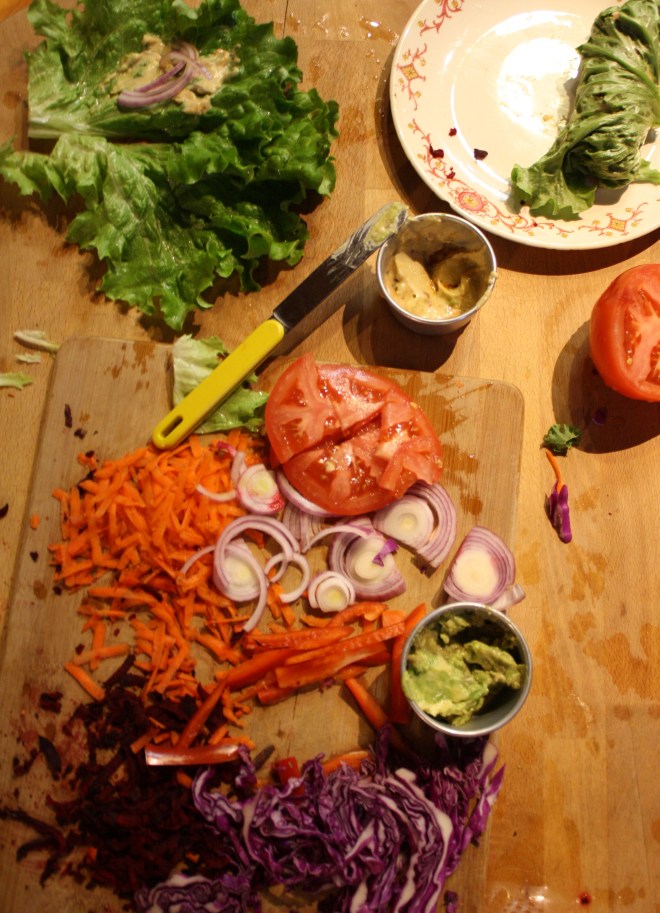 Pretty much a little bit of everything that I have in my fridge….Shredded red cabbage, carrots, beets. Some sliced of red onion, tomato and red pepper. Hummus and a little mashed avocado
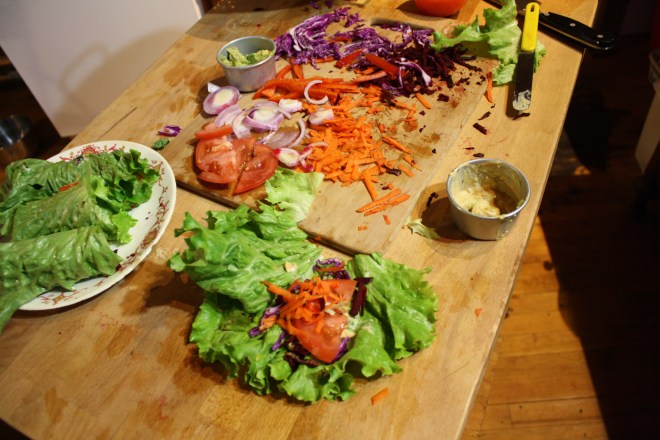 Yes, it may look like a mess, but that’s just me trying to make five different things at once. But really, making these wraps are simple simple. Just take rinsed and dried green or red leaf lettuce, smear on hummus and mashed avocado and pile on the veggies. Roll and stick with a toothpick to keep from unrolling. See…. simple.
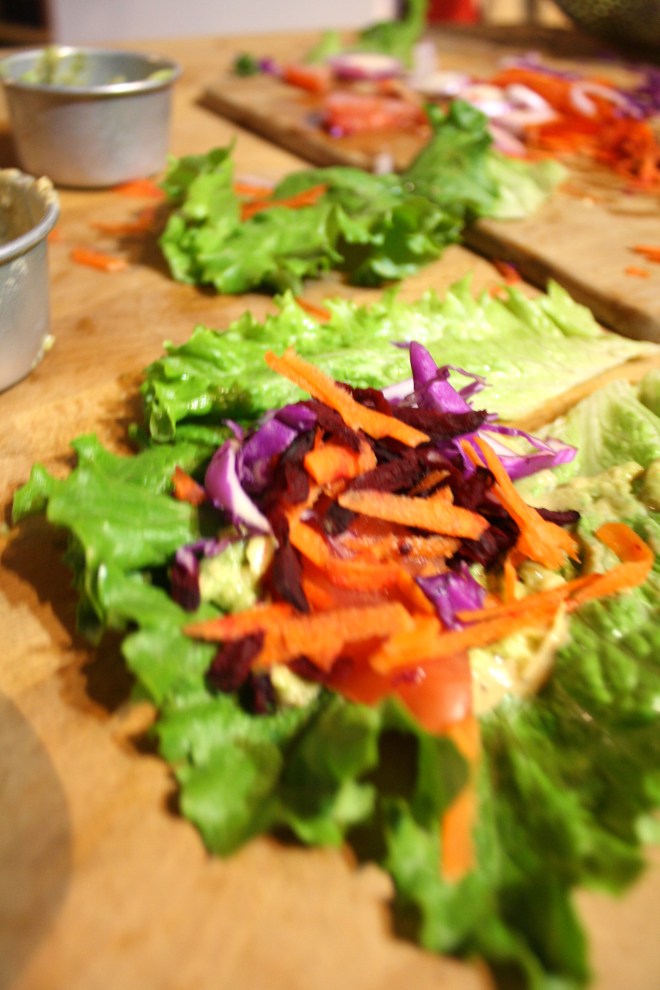 So many colors…… so much pretty.
 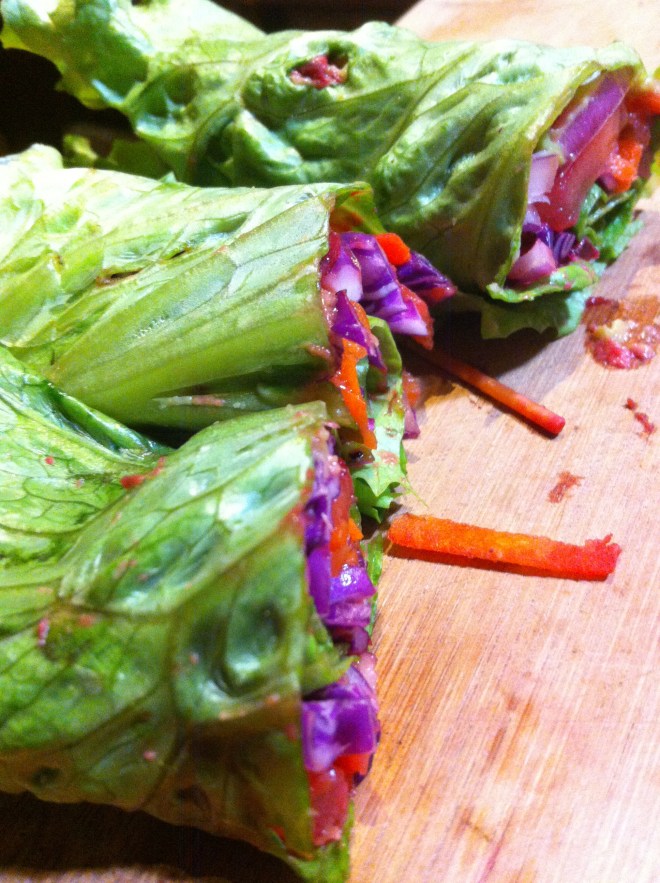 Wrapped and rolled…Sliced down the middle, just to see all the pretty inside.
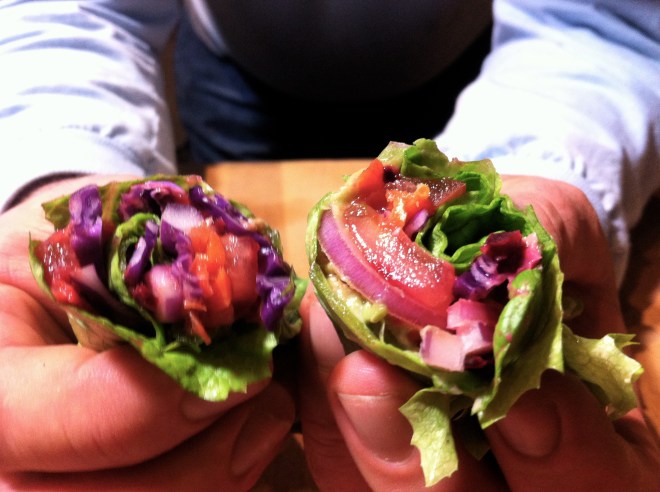 These might be veggie wraps, but man, look at those sausage fingers…(hehehe)
 Don’t let the fact that these rich, fudgy, soft, oh so yummy brownies have beans in them scare you away, it just means that you can eat more, you know, like half a pan, and not think twice about it. (I think that is perfectly acceptable) And the carob. Well one of the things I always do for my birthday is to buy a new ingredient of some sort that I wouldn’t normally buy because it’s either too expensive or is hard to find. Carob is neither too expensive or hard to find, but I couldn’t find the really expensive stuff that I was looking for so I grabbed a bag of carob powder. If you have never tried carob, it’s a must. It’s kind of like chocolate, but more fruity, sweet, not bitter, and caffeine free, while still containing all the good health benefits as chocolate. It’s really good…..you will like it. (You can use cocoa instead, but then you are going to miss out on the awesomeness of carob and be left with a plain old normal black bean brownie)
 One bowl. Beans, oil, oats, baking powder carob and vanilla. I used an emulsion blender but a blender or a food processor does the same…..blend together until fully incorporated, smooth and creamy with little speckles of oats. It’s so simple and barely a mess to be made.
 Into a greases pan and into the oven for 25- 30 minutes…. Out of the oven when a toothpick comes out clean
 Let cool for at least 10 minutes (ok, maybe 5) and cut into squares of any size you like.
 Stacked on parchment….oh so pretty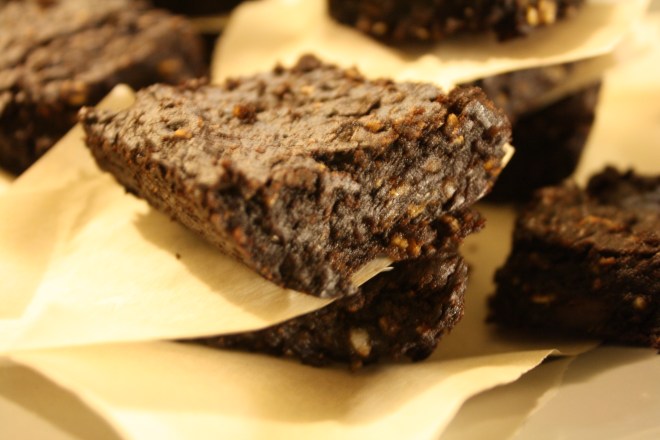
THE LOVELY CRAZY
September 19, 2015 by maximios • Blog
FRIDAY YEAH YEAH!!!!
And for your Friday, I made these awesome little raw/ vegan/ gluten free cookies.
Now wait a minute. Don’t let all the labels of what is not in these cookies scare you away. Just focus on all the stuff that these cookies are made of. Almonds, Cashews, Coconut, Cocoa, Oatmeal. They are cookies made with lots of good yummy stuff that just happened to be enjoyed by those with specific food diets as well as those who eat anything. A cookie for all! See, don’t they sound excellent? Yes, yes they do. And they are good. So, so, good. Even the mr. is into them. And he is far from being raw/vegan/ gluten free.
And because these cookies are made with all sorts of good for you stuff (lots of proteins, good healthy fats, and complex carbs) you can pretty much feel zero percent guilt eating them. They a are a no joke, healthy, energy packed cookies of goodness. A fantastic way to start the morning, eat with lunch, as dessert, post work out, or eat as a late night snack. (Just don’t eat them all at once)
Now go for it!
The raw stuff. A cup of old fashion rolled oat that have been soaking in water for about an hour. Almonds(which I spent 20 minutes deshelling) cashews, dehydrated coconut flakes, some cocoa powder and a few medjool date. If your nuts are unsalted, add a pinch of salt too.
Dump everything into a food processor. BUT WAIT! Make sure to remove the pits from the dates)I have broken a blade in the past form a date pit)
Blend unit combined and a kind of rough dough is formed. It will be a little sticky. If it;s to sticky to handle, place into the fridge for a few minutes to set up.
Now take blobs of mixture and roll into balls
And you could totally leave them as balls… you can even play with your balls….
But I think they look nicer squished flat and topped with pieces of nuts and coconut. They look almost fancy, if I do say so myself.
Now have yourself a cookie, and place the rest in the fridge (they get harder and, if you can imagine, taste even better after a few hours of cold)
Freak Yeah FRIDAY! Do fu stuff!
-C
Makes 15 normal sized cookies (you can make more or less, depending on the ball size)
Add all the ingredients into a food processer and blend until the mixer forms a cohesive dough. It;s going to be a tad sticky, but if it seems to sticky to handle, refrigerate for a little bit so it’s easier to handle. (I have no problem handling right away)
Scoop and roll into balls and either leave them as is or squish them flat. Sprinkle with chopped nuts and coconut
Eat one or two right away, then stick the rest in fridge.
A ok to eat as breakfast, with lunch, at dinner, as as snack, a post workout protein, or when sitting on the couch and watching TV.