
THE LOVELY CRAZY
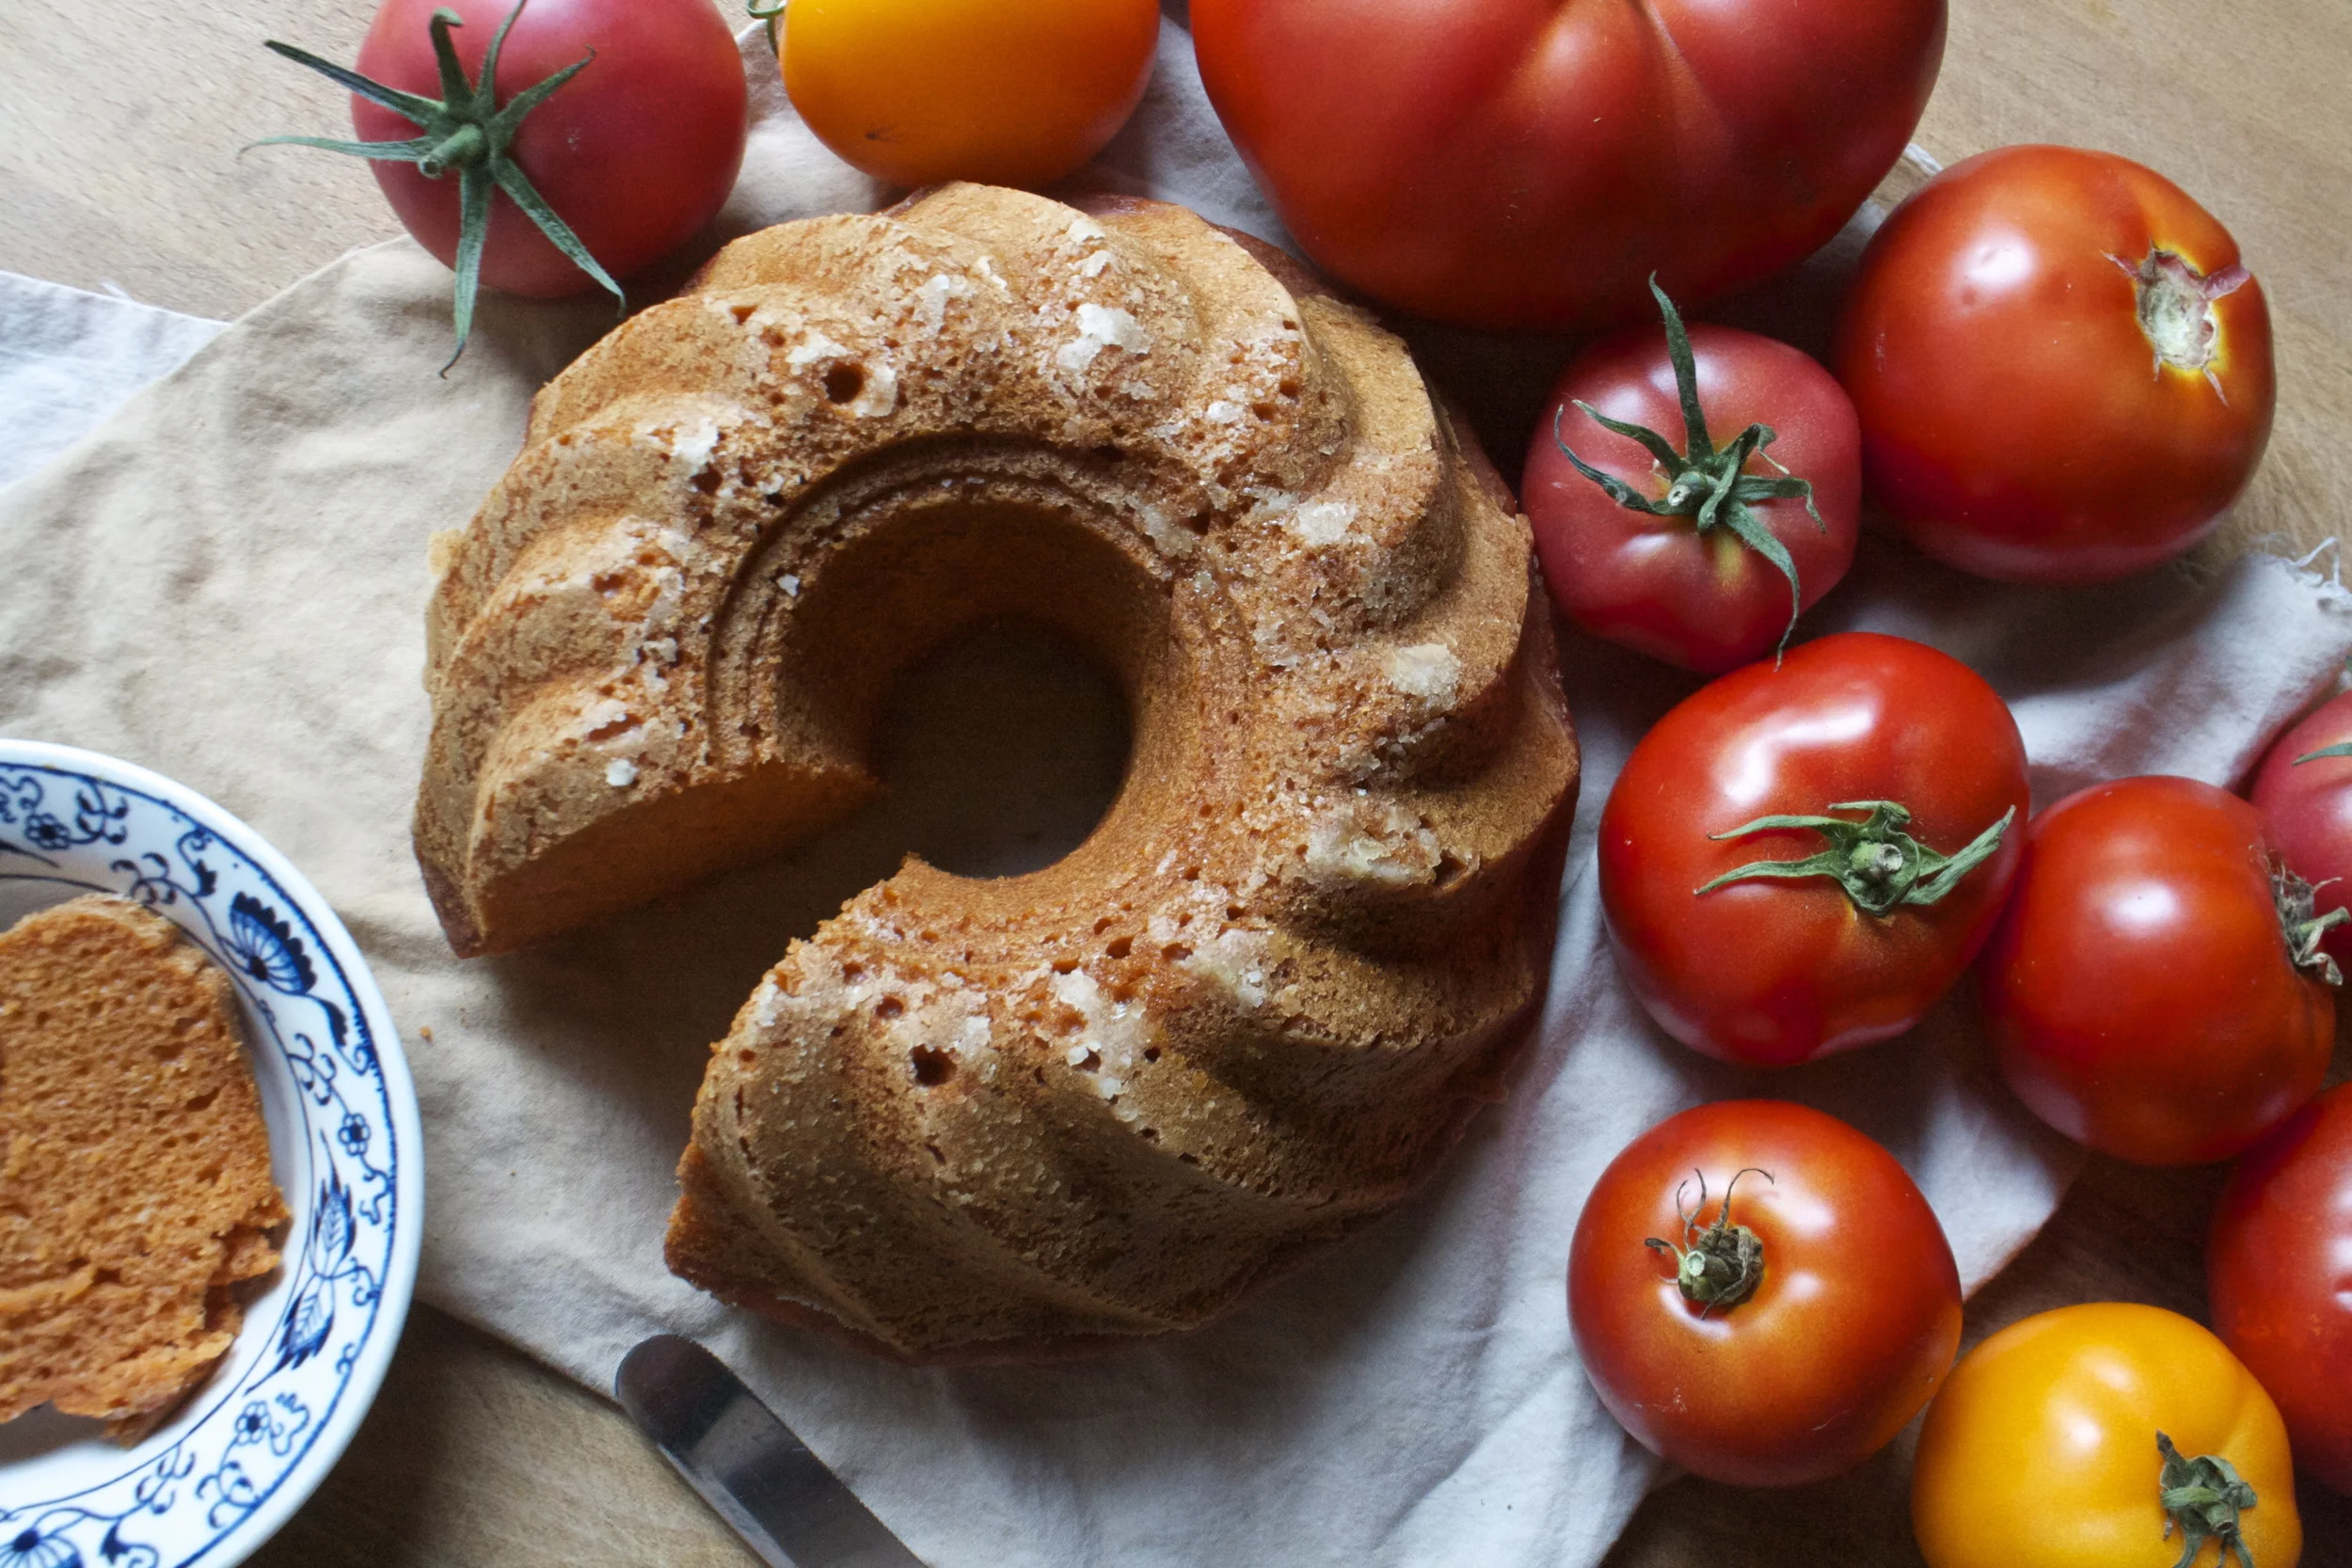
Do you have a gazillion tomatoes, like so many that they are practically coming out of your ears? Me too…. Me too. This year the tomatoes have been gang busters, a explosion of the sweetest and most delicious fruit and now I have tomatoes littered everywhere, tucked into all the corners and baskets all over the house. It’s getting kinda tomato crazy over here.
%u00a0I can only eat so many tomatoes a day before all I have eaten are tomatoes and I start to feel slightly sick. Same with the mr, he has been a tomato eating champ as well but I think he was getting a little bored with all the tomato salads that I have been making. So I thought I would try something new and make a tomato cake. I figured why the heck not, tomatoes are technically a fruit and fruit and cake are great together and yeah. So tomato cake is going to be fantastic. I also wanted to make something that the mr would eat for breakfast. I have been doing this new thing in the mornings for the mr. I have coffee ready, some breakfast food (its been zucchini bread for a while), and a little vase of fresh flowers that I pick on my morning walk, all set out on the counter for when he wakes up. I know, I am so great right. Really I do it cause I want him to eat something before working all morning and plus if I am all sweet in the morning, he can’t be an old man cranky pants (at least he tries not to be).%u00a0 Now for the next few days the tomato cake is breakfast cake and all is good.
Anyway, the cake come out great. Bright reddish orange, dense but fluffy and most, and smells so good. The mr tells me it’s amazingand I shared a chunk with some of my family and everyone (minus a little) where fans. I am for sure going to be making this again soon, although I have been toying with the idea of eggplant sweet bread (too far??) but I’ll get to that later.
Now for the tomato cake!
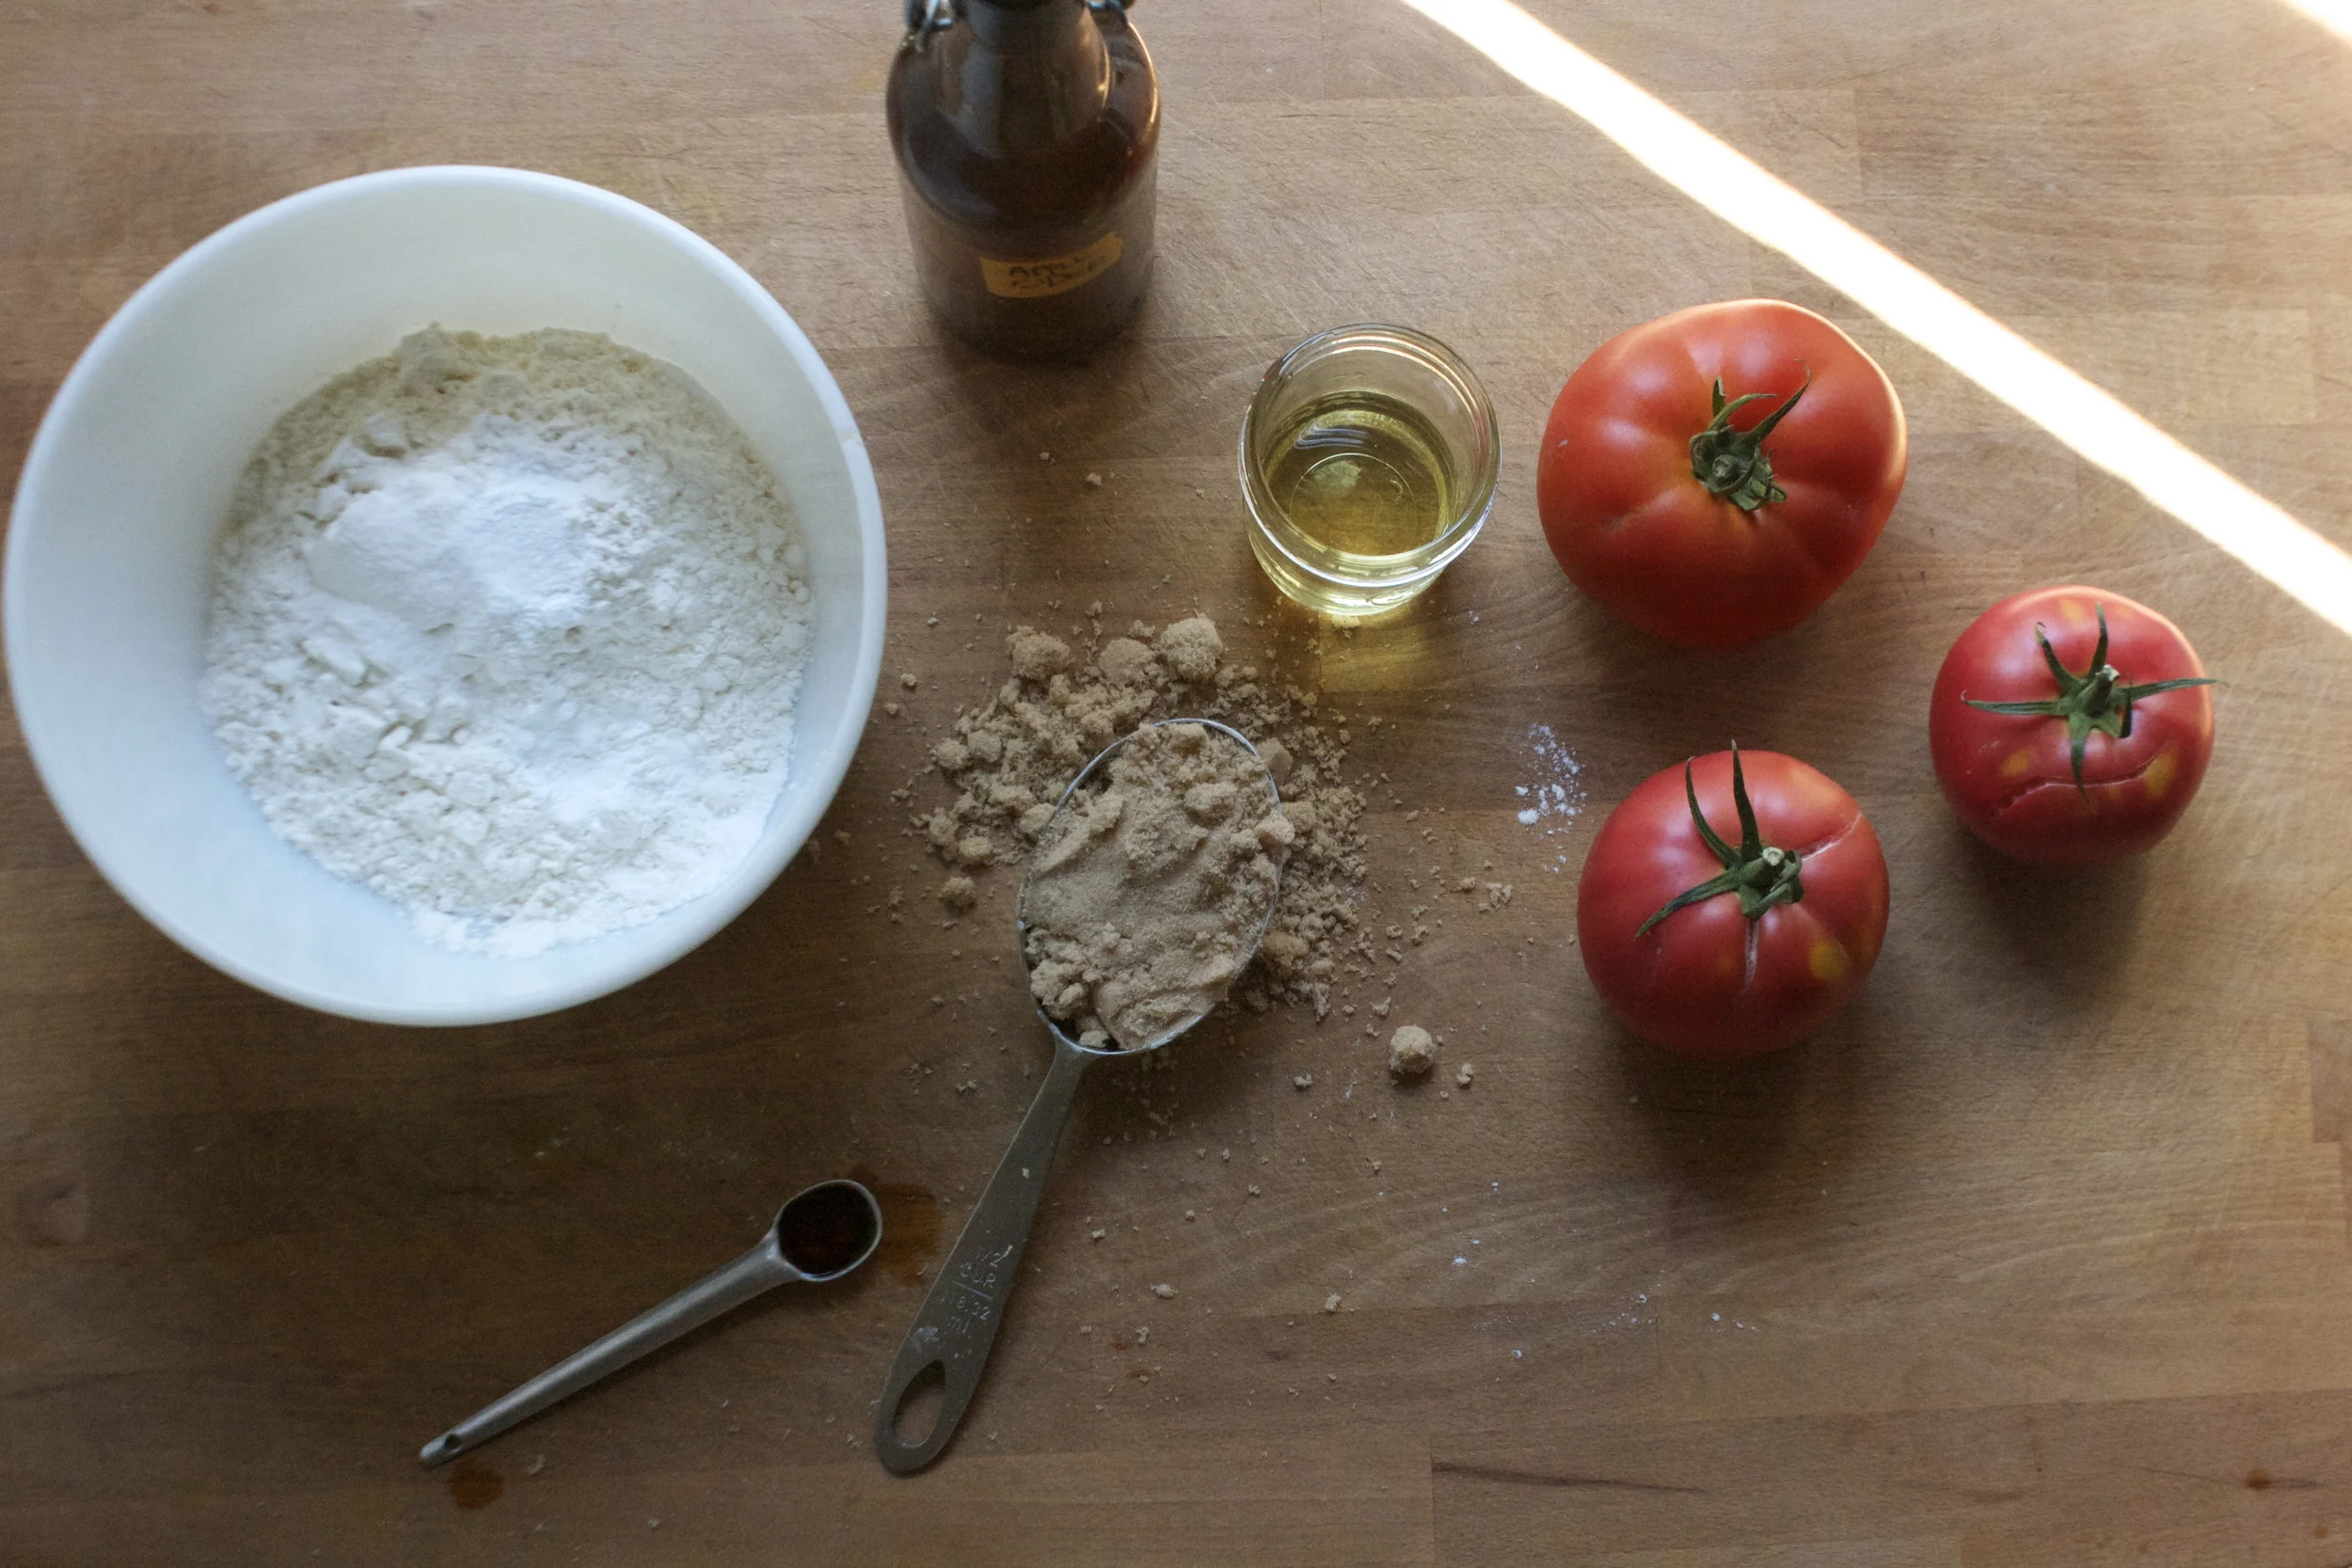
The stuff. Flour, baking soda, baking powder and salt (all in the bowl). Brown sugar, oil, vanilla, apple cider vinegar and a few nice and juicy tomatoes.
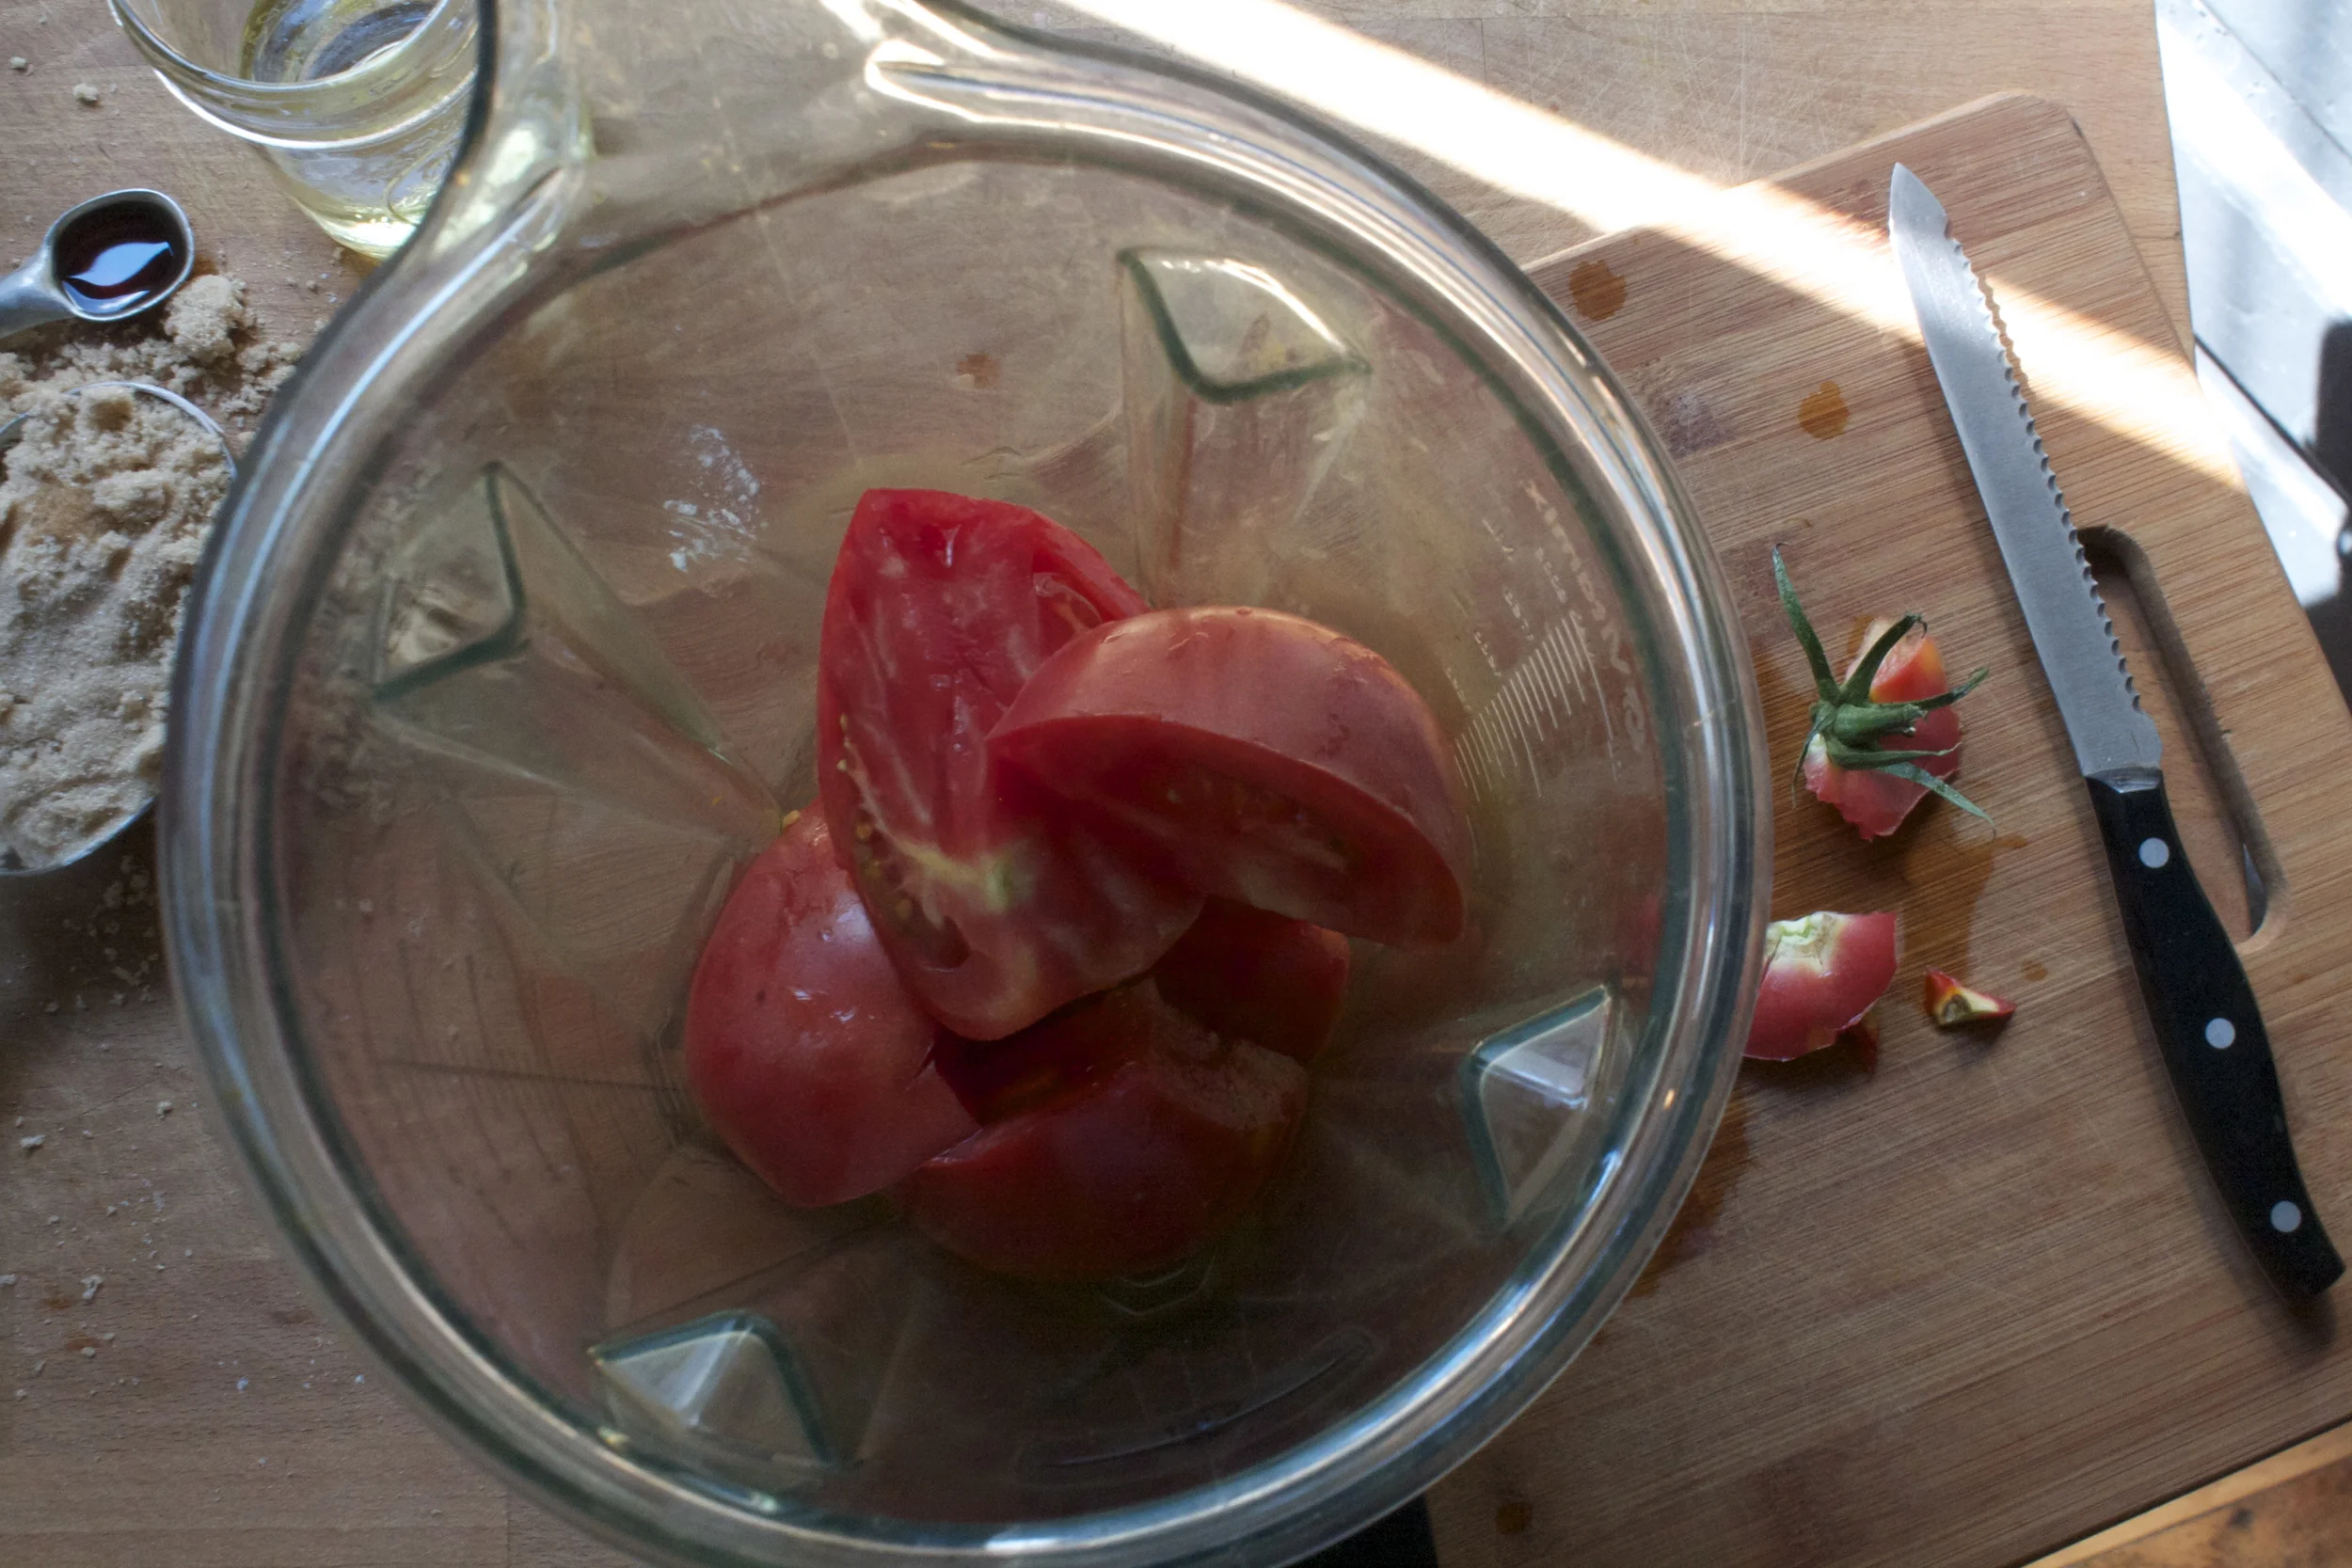
First off, remove the core from tomatoes and cut into some chunks. Stick the chunks into a blender and blend.

Fresh and smooth tomato puree.

Now just dump the rest of the liquid stuff into the blender now and give it a whirl to mix it all up.

And pour the blended wet into the dry and mix until incorporated.
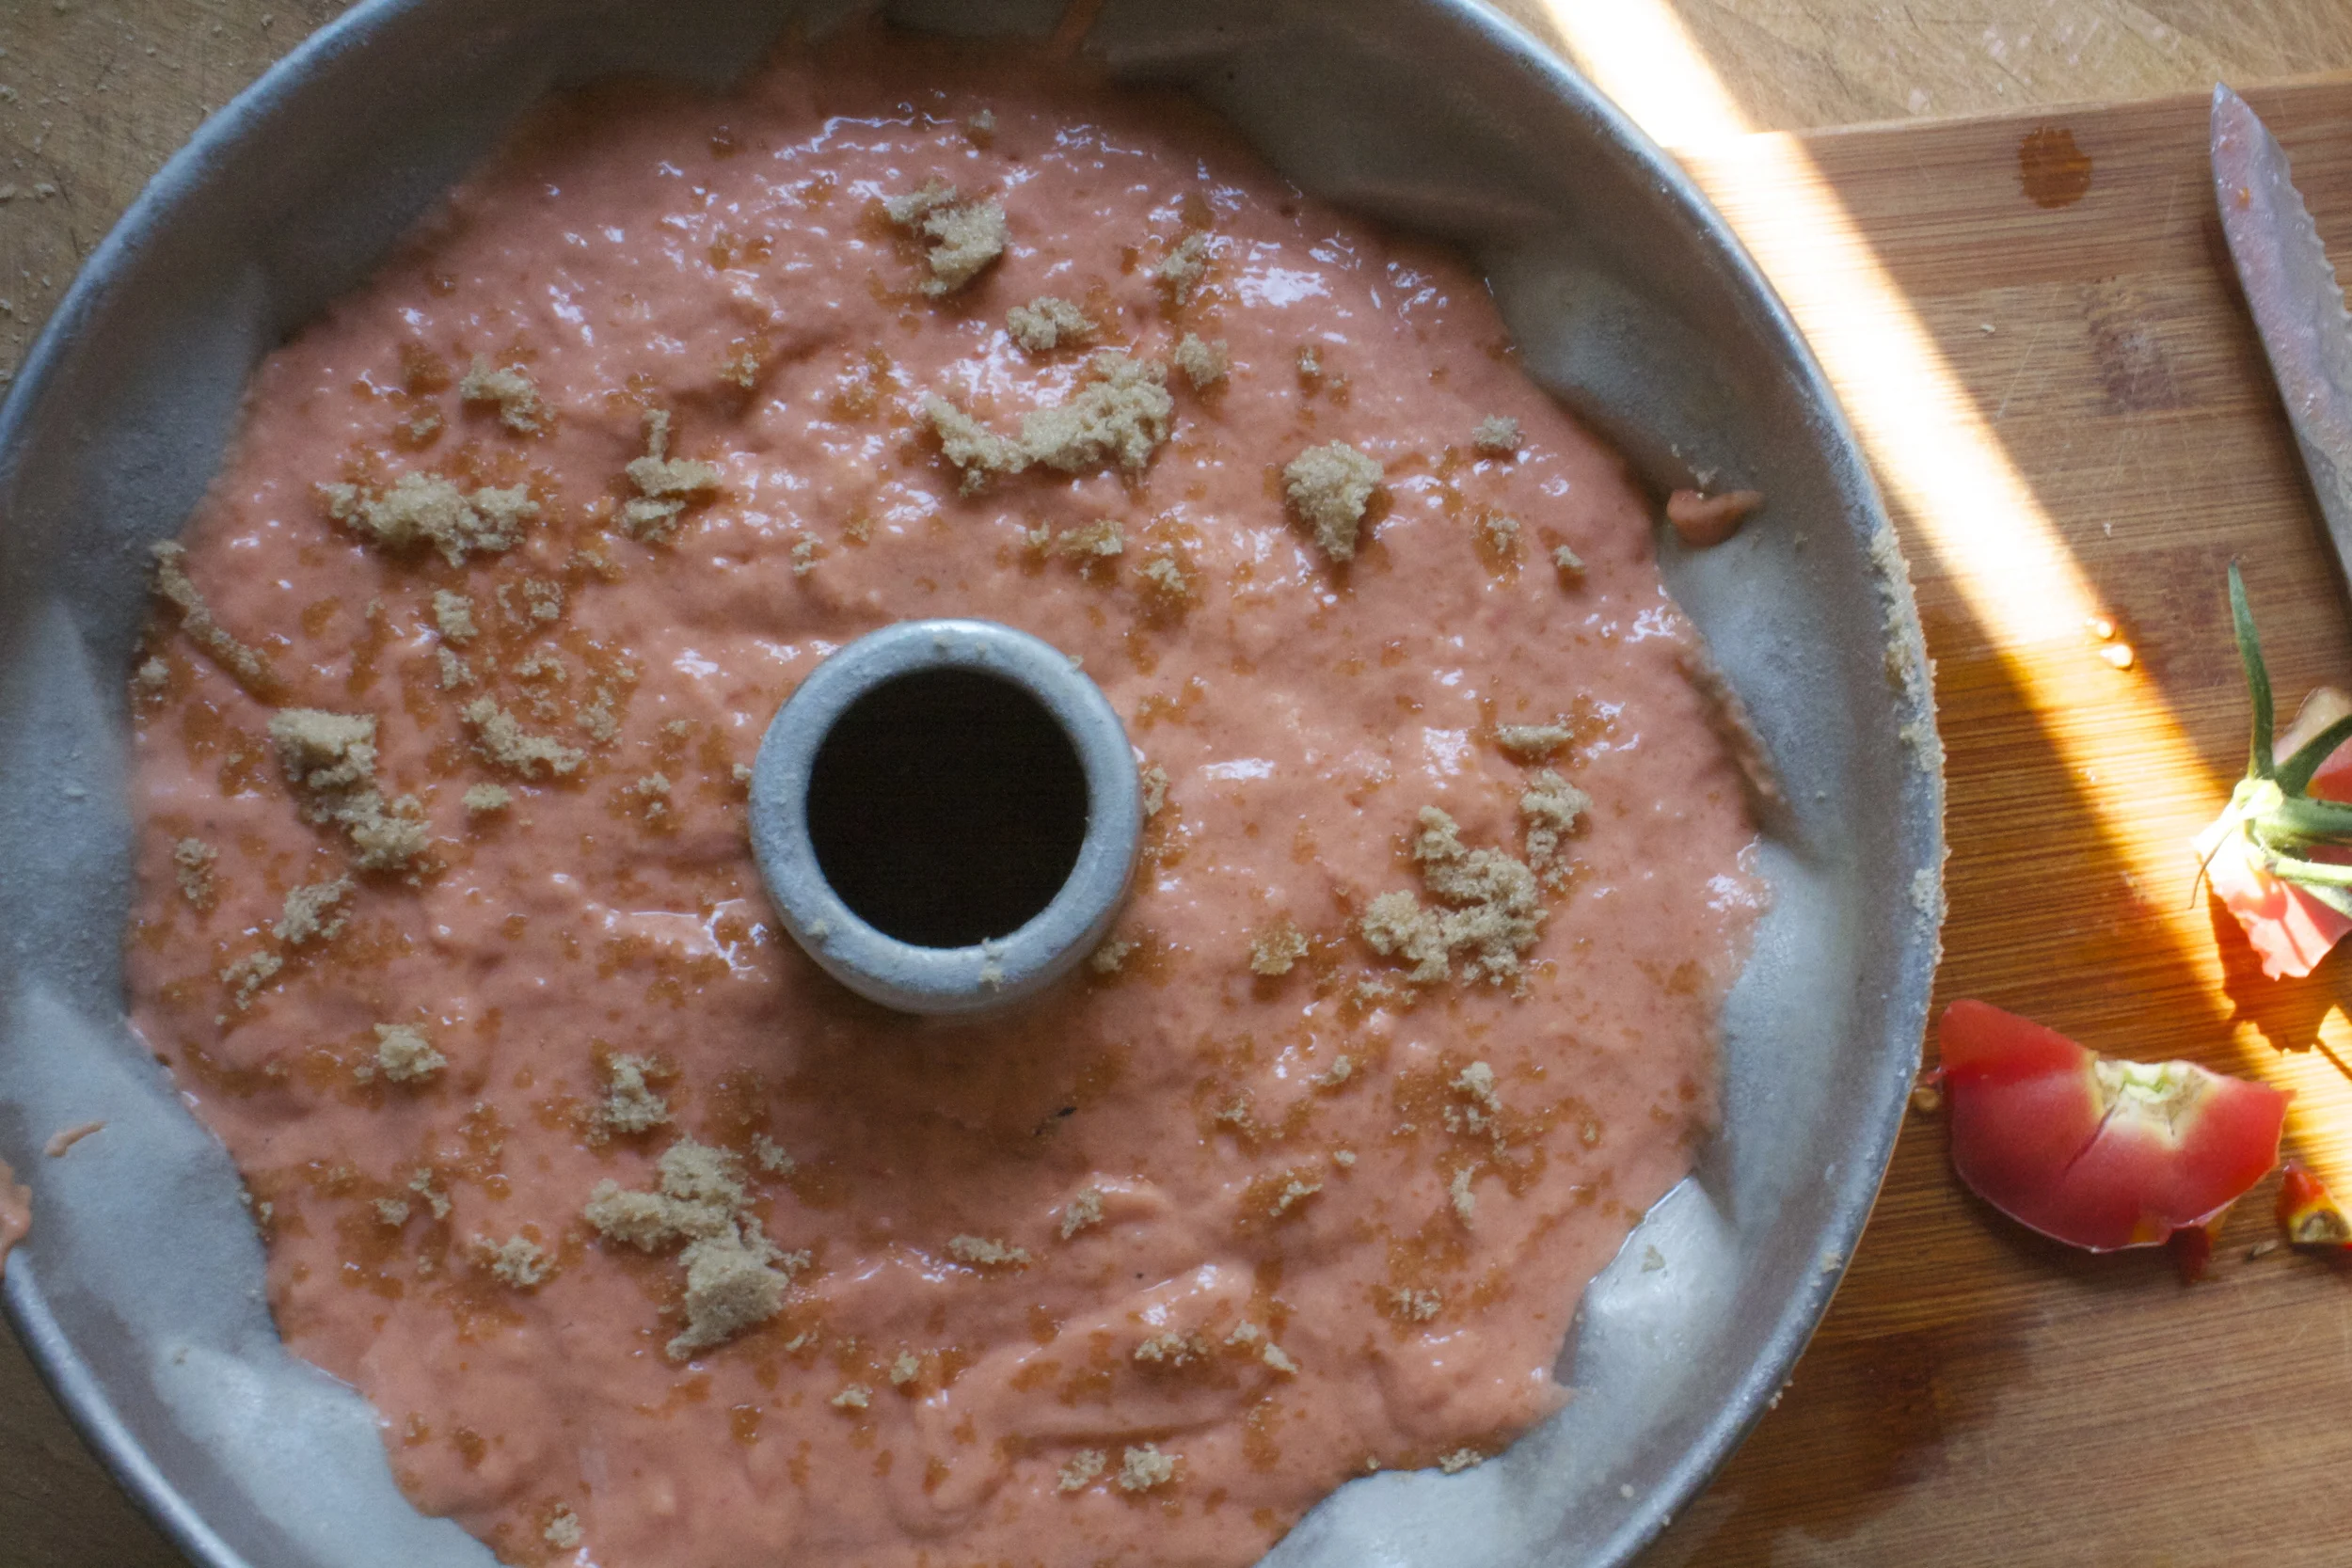
Pretty pink batter goes in a well greases bundt pan. I had got brown sugar everywhere while I was measuring it out and decided to just toss it on the cake as not to waste it…doesn’t hurt.
And now the batter goes into a preheated oven to bake .

A bit of time later you have yourself a cake.
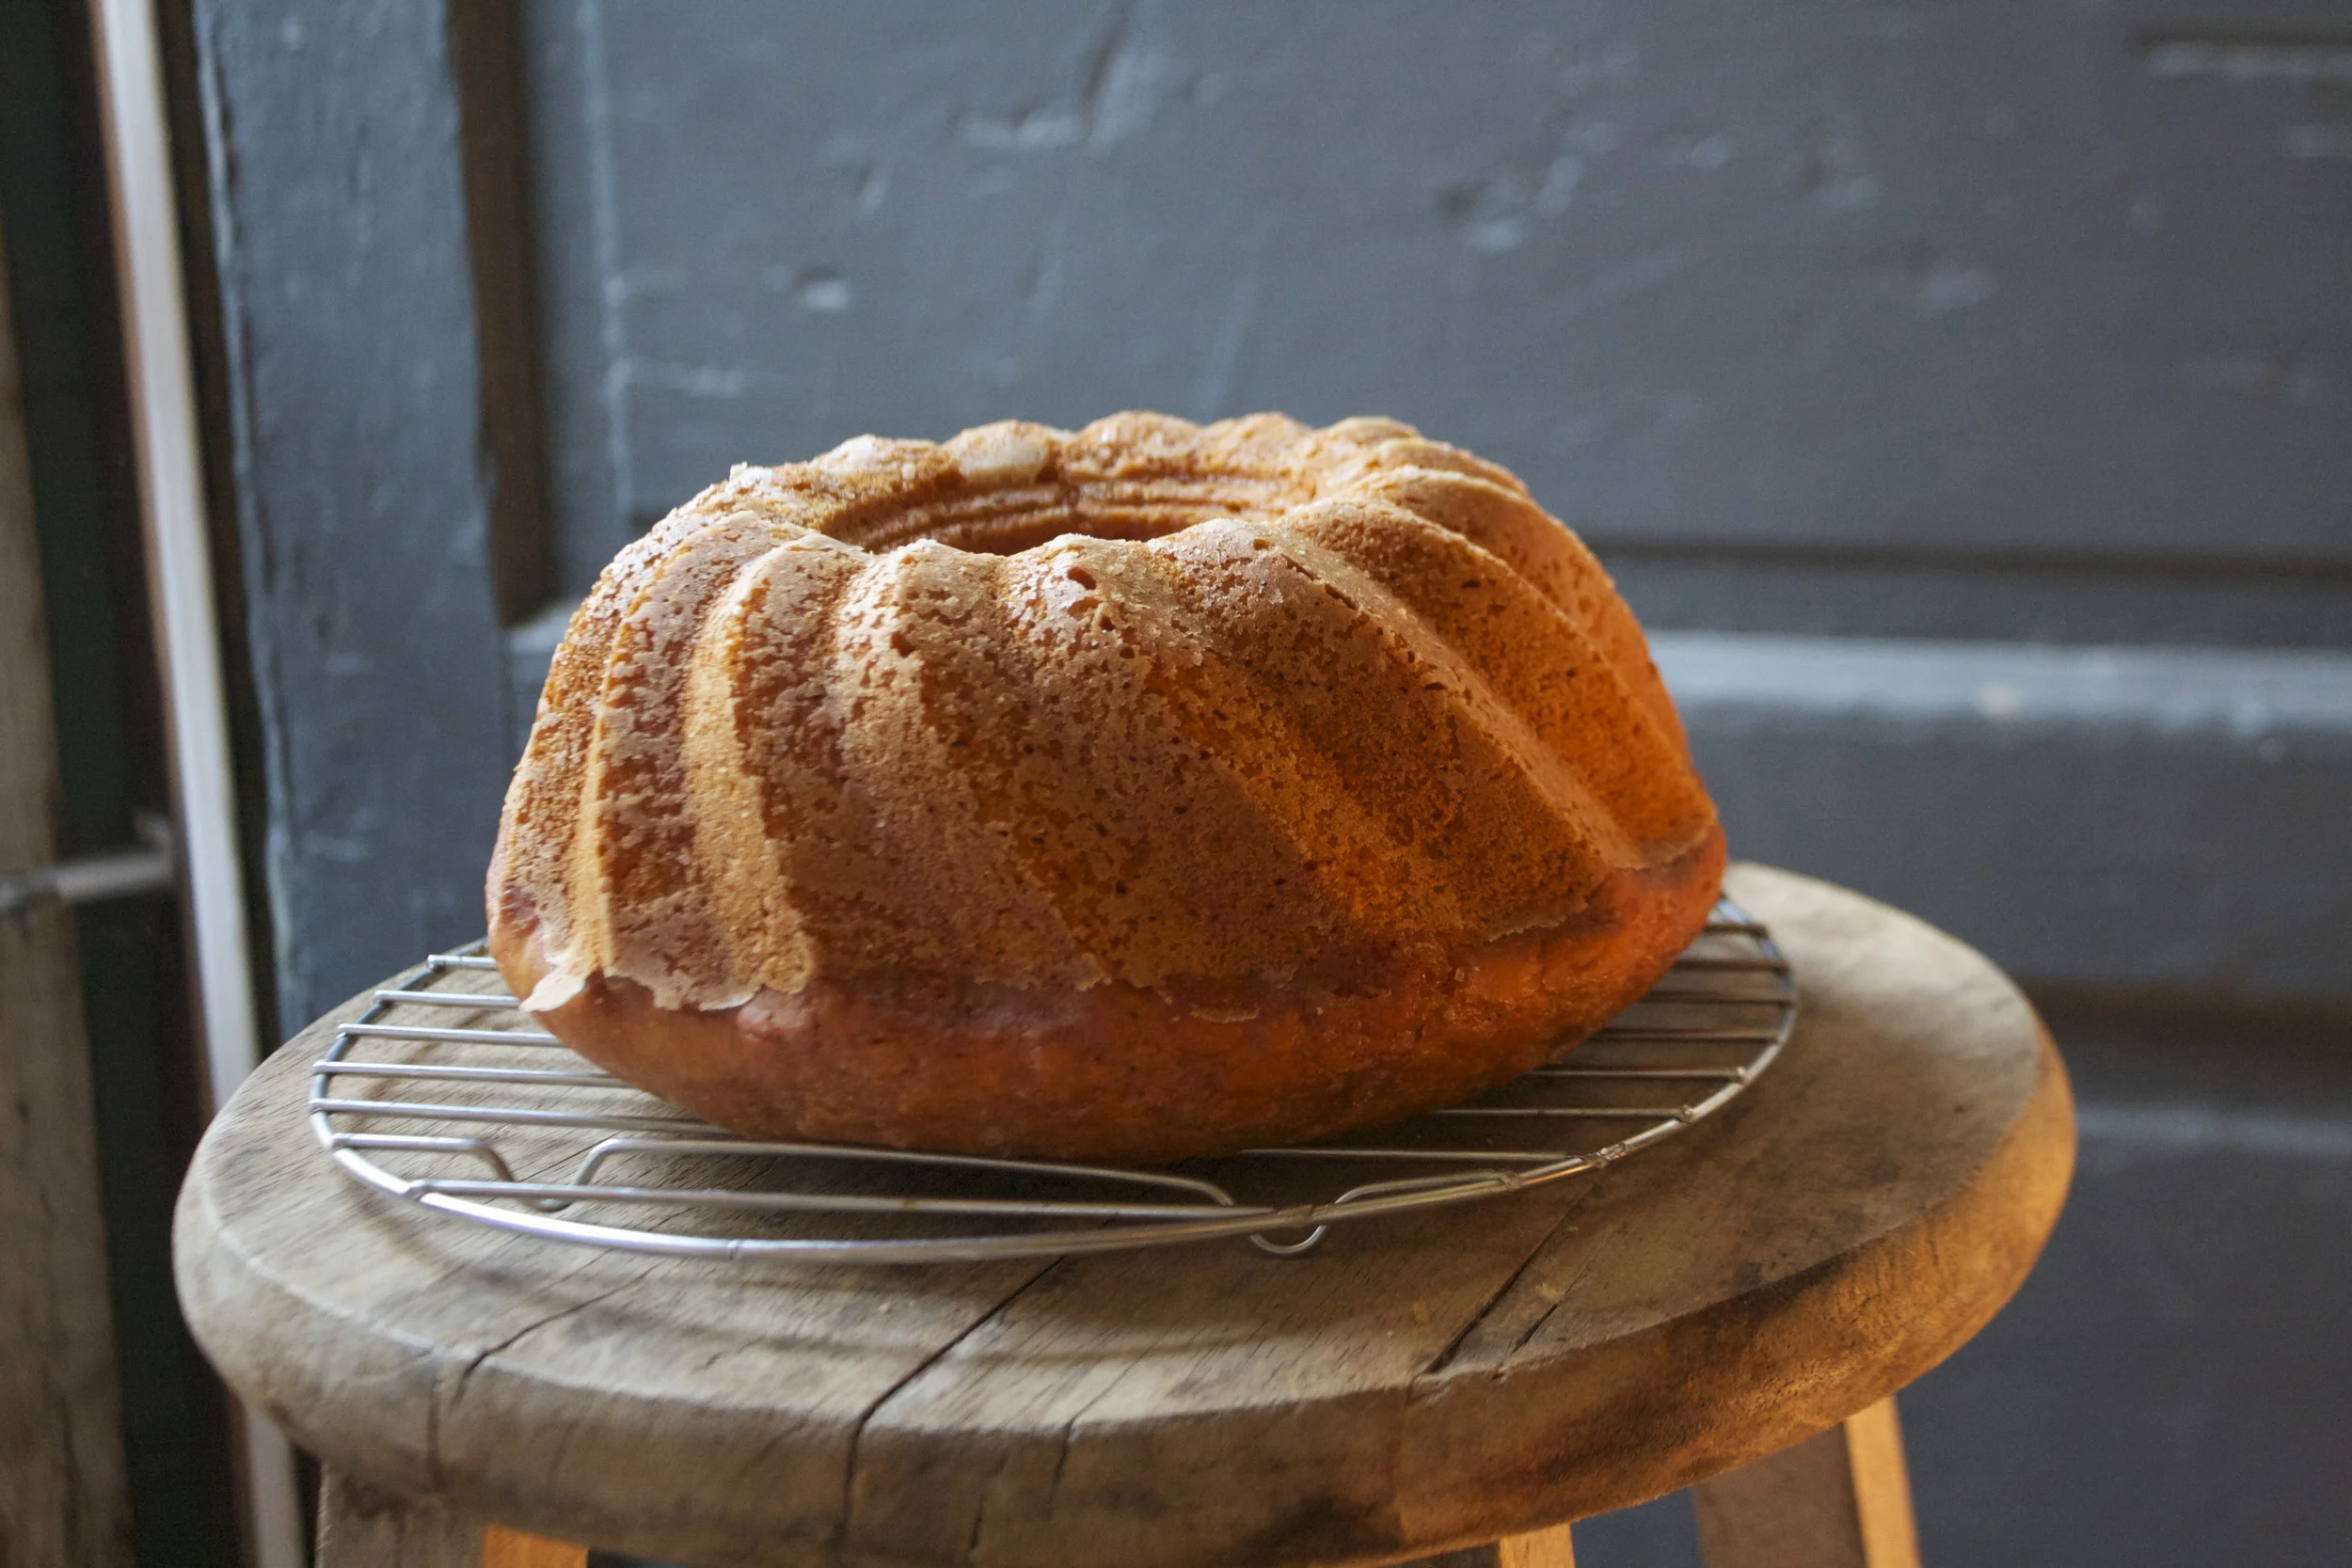
The scary part. Flip the pan and hope all that grease does it’s job and the cake pops out. Lucky me this one popped out like a champ.
One de-panned, let the cake cool for a bit before cutting into it.
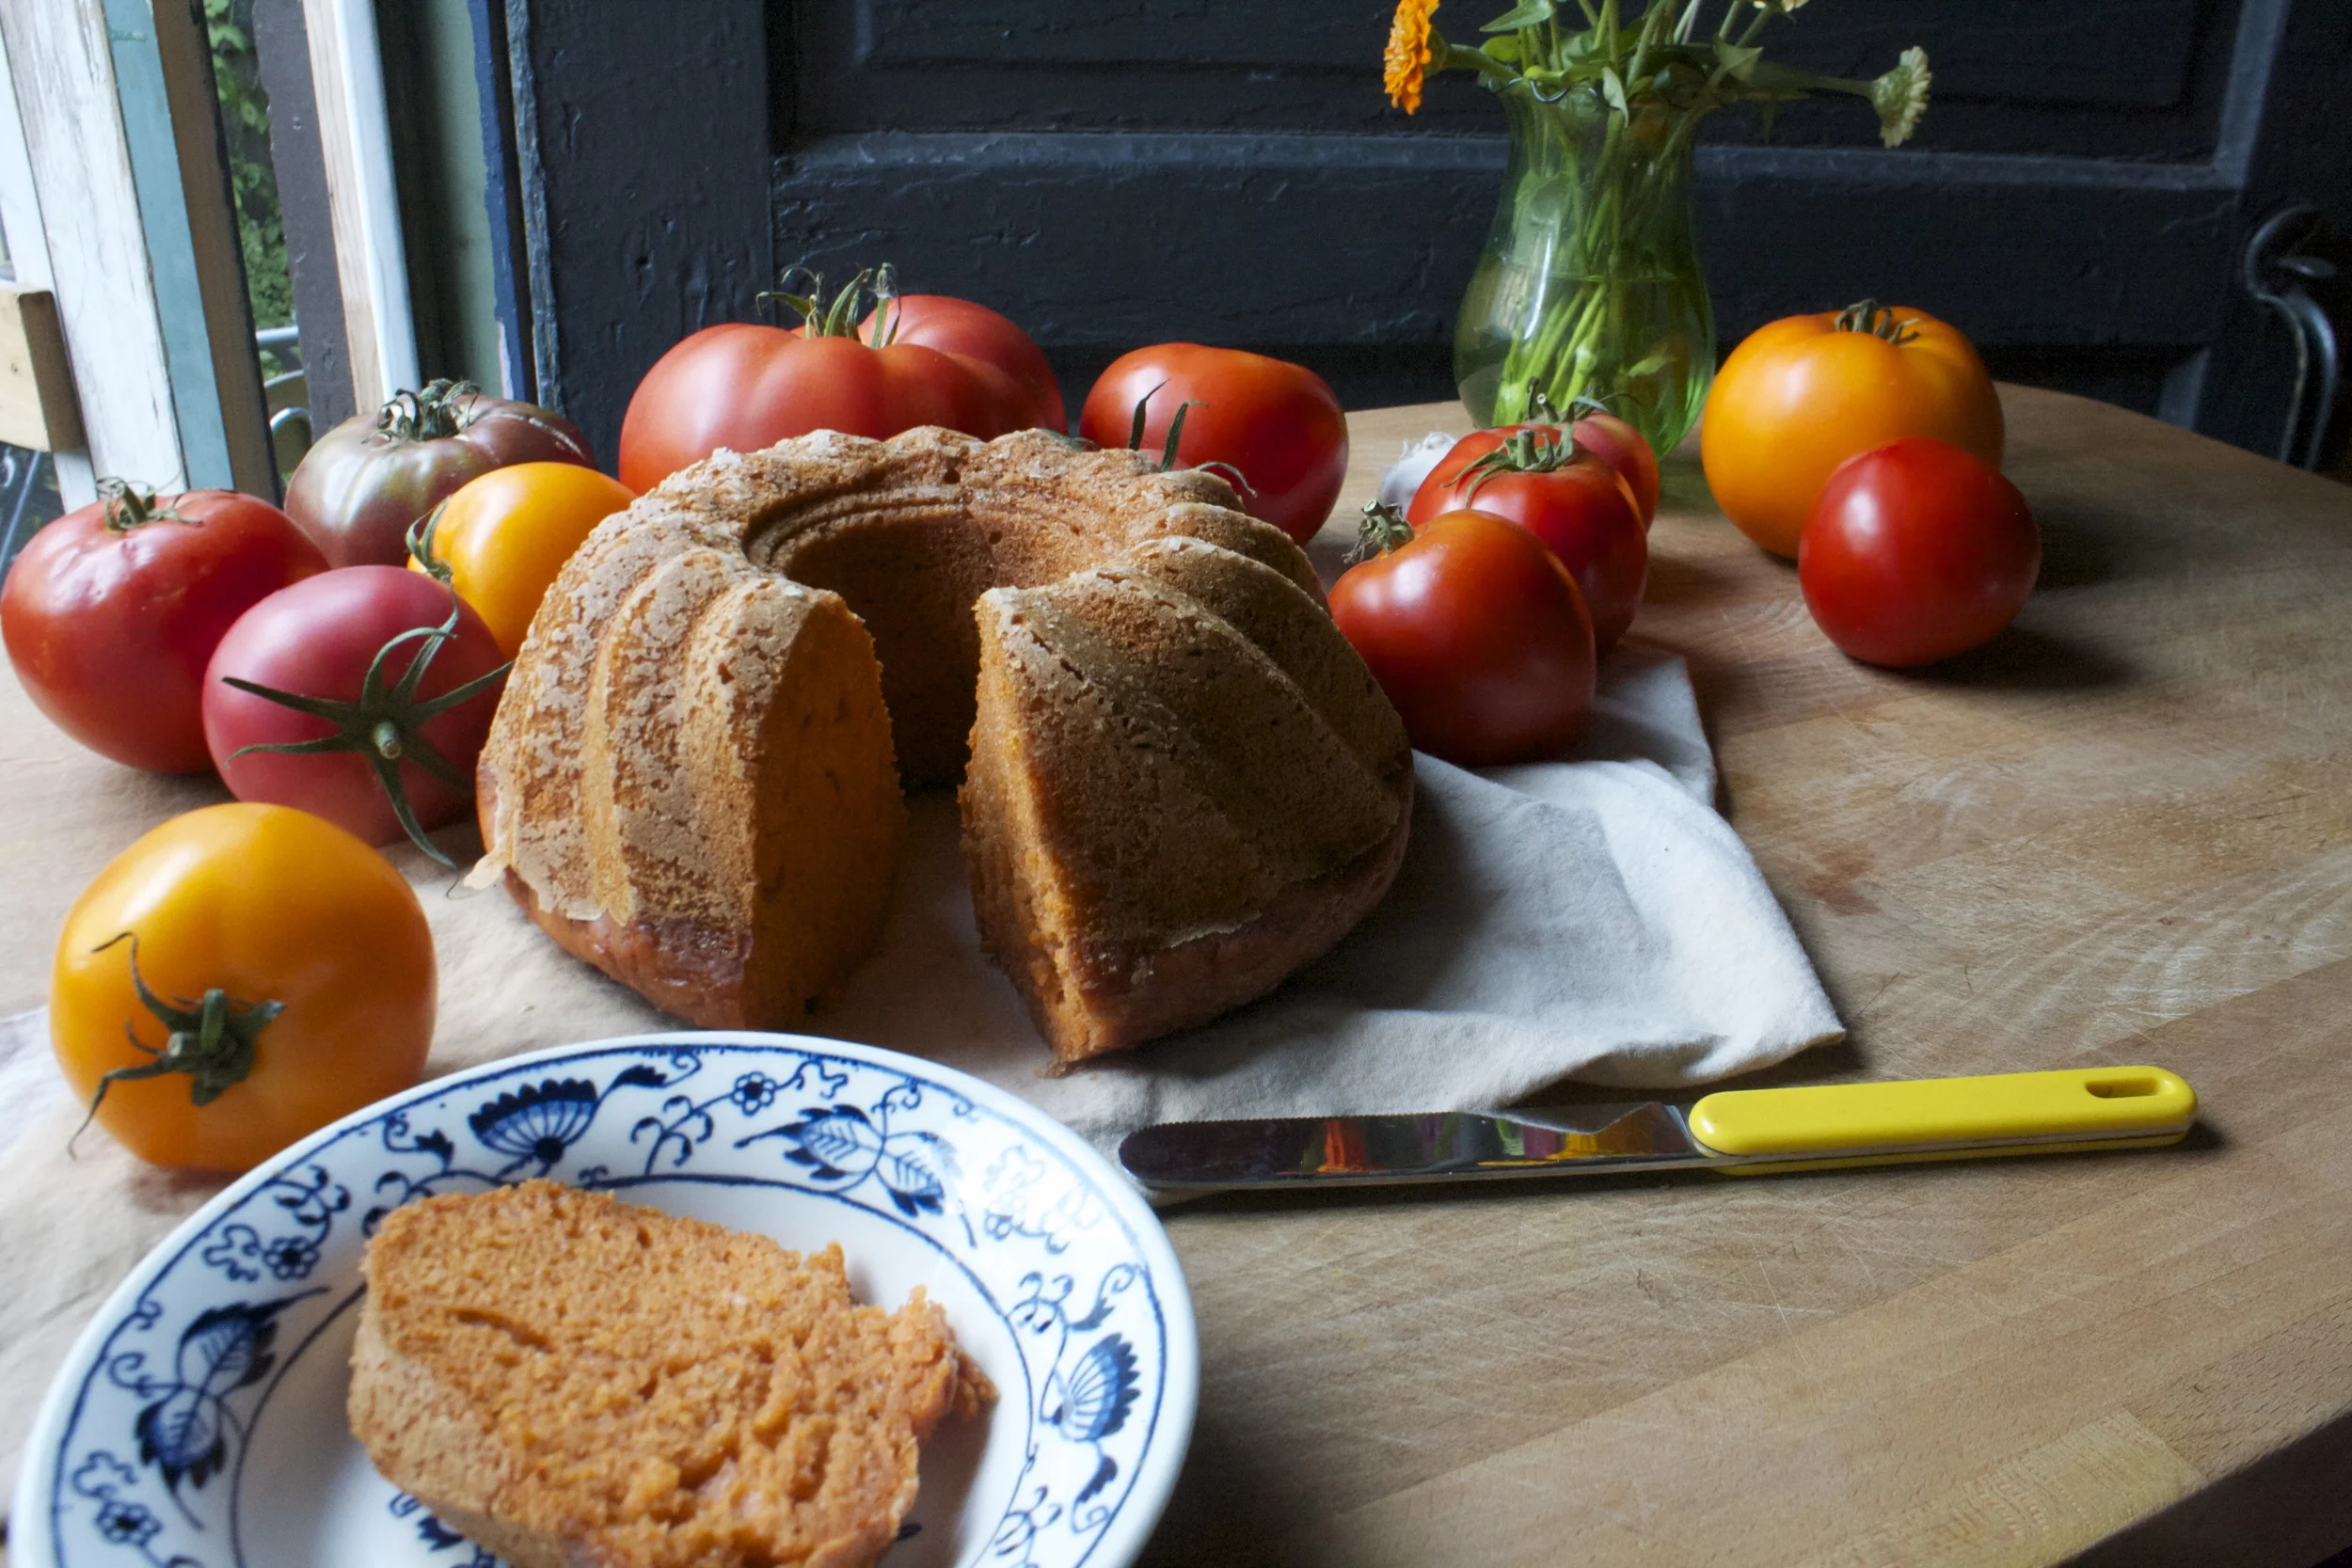
And now all you have left to do it eat it, so eat it.
Have a great weekend. Eat lots of tomatoes and make lots of cake.
-C
Makes one bundt cake
- 2 -1/3 cup all purpose flour
- 1 teaspoon baking soda
- 1 -1/2 teaspoon powder
- 1/2 teaspoon salt
- 2-3 large tomatoes (2 -1/2 cups after blended)
- 1/2 cup brown sugar (for a tad sweeter, add another 1/4 cup)
- 1/2 cup of any neutral flavored oil
- 1 teaspoon vanilla
- 1 tablespoon apple cider vinegar
Preheat oven to 350
Start by whisking together all the dry ingredients into a big bowl. Take tomatoes, remove core, chop into chunks, and place into a blender. Blend tomatoes until a smooth and frothy puree. Now add in the sugar, oil, vanilla, and apple cider vinegar and blend until incorporated. Pour wet mixture into dry and stir until combined.
Pour the cake batter into a greased (and floured if you want. I find it helps to make sure all the nooks are greases) and stick into preheated oven. Bake for 45-50 minutes until it’s a dark reddish golden brown and a tester (I use a fork) comes out clean when stabbed.
Remove from oven and let cool for a minute or two then invert cake, give the pan a few tap taps and hope that it comes out all nice and clean. (don’t worry if a piece gets stuck, you can just dust the top with some powdered sugar)
Let cake cool and when ready, cut a slice and eat it up. I was told no glaze, but I was going to make a simple lemon glaze (lemon juice and powdered sugar) for the top. The mr said it was perfect, but glaze would have been pretty.%u00a0 So glaze it up if you want.

My brain is buzzing with all sorts of happy fall feelings. Warm, fuzzy feelings %u00a0about sweaters, socks, and the smell of decomposing leaves. I think that we are %u00a0pretty much entering the fall season around here and I couldn’t be happier. (about the weather)
Fall means soup. Soup all the time. And yeah, I am a soup person all year round, but soup in the fall just so right and almost taste better because: one, you are not sweating profusely while making and eating it, Two, there is so much fantastic stuff coming from the farm and garden that the ingredients are just aces. And three,%u00a0pretty leaves and cozy cuddles on the couch make soup a magic treat.
Doesn’t that sound about right?
And this soup is one of my go to favorites. Especially this time of year when I have tomatoes coming out of my ears and peppers stuck into every available crevice in the fridge. (Oh what farm people problems I have) I take all of my tomatoes, pick out the best looking ones, stick those back on the tables, and use the leftover ones, the ones that are starting to maybe go a little or are not as pretty as the others. Then I do the same with the peppers, whichever ones are starting to go or looking a little sad, I grab those and use those as well. That’s another thing about soup, you can use the veggies that might not be up to snuff for other dishes. Soup is a good way to cut back on any food waste! Soup. Tastes so good and is combating food waste with ever bowl! But yes, you can use the prettiest of your produce too cause if you don’t use the pretty up, it will eventually turn into the not so pretty and mold stuff. Anyways..
Roasted red peppers and roasted tomatoes= (in a Mavin Gay voice) %u00a0Oh yeah!
Now lets just crank on the oven and make the soup!

The stuff. Tomatoes, peppers, onion, garlic, a lemon, salt pepper and olive oil. %u00a0
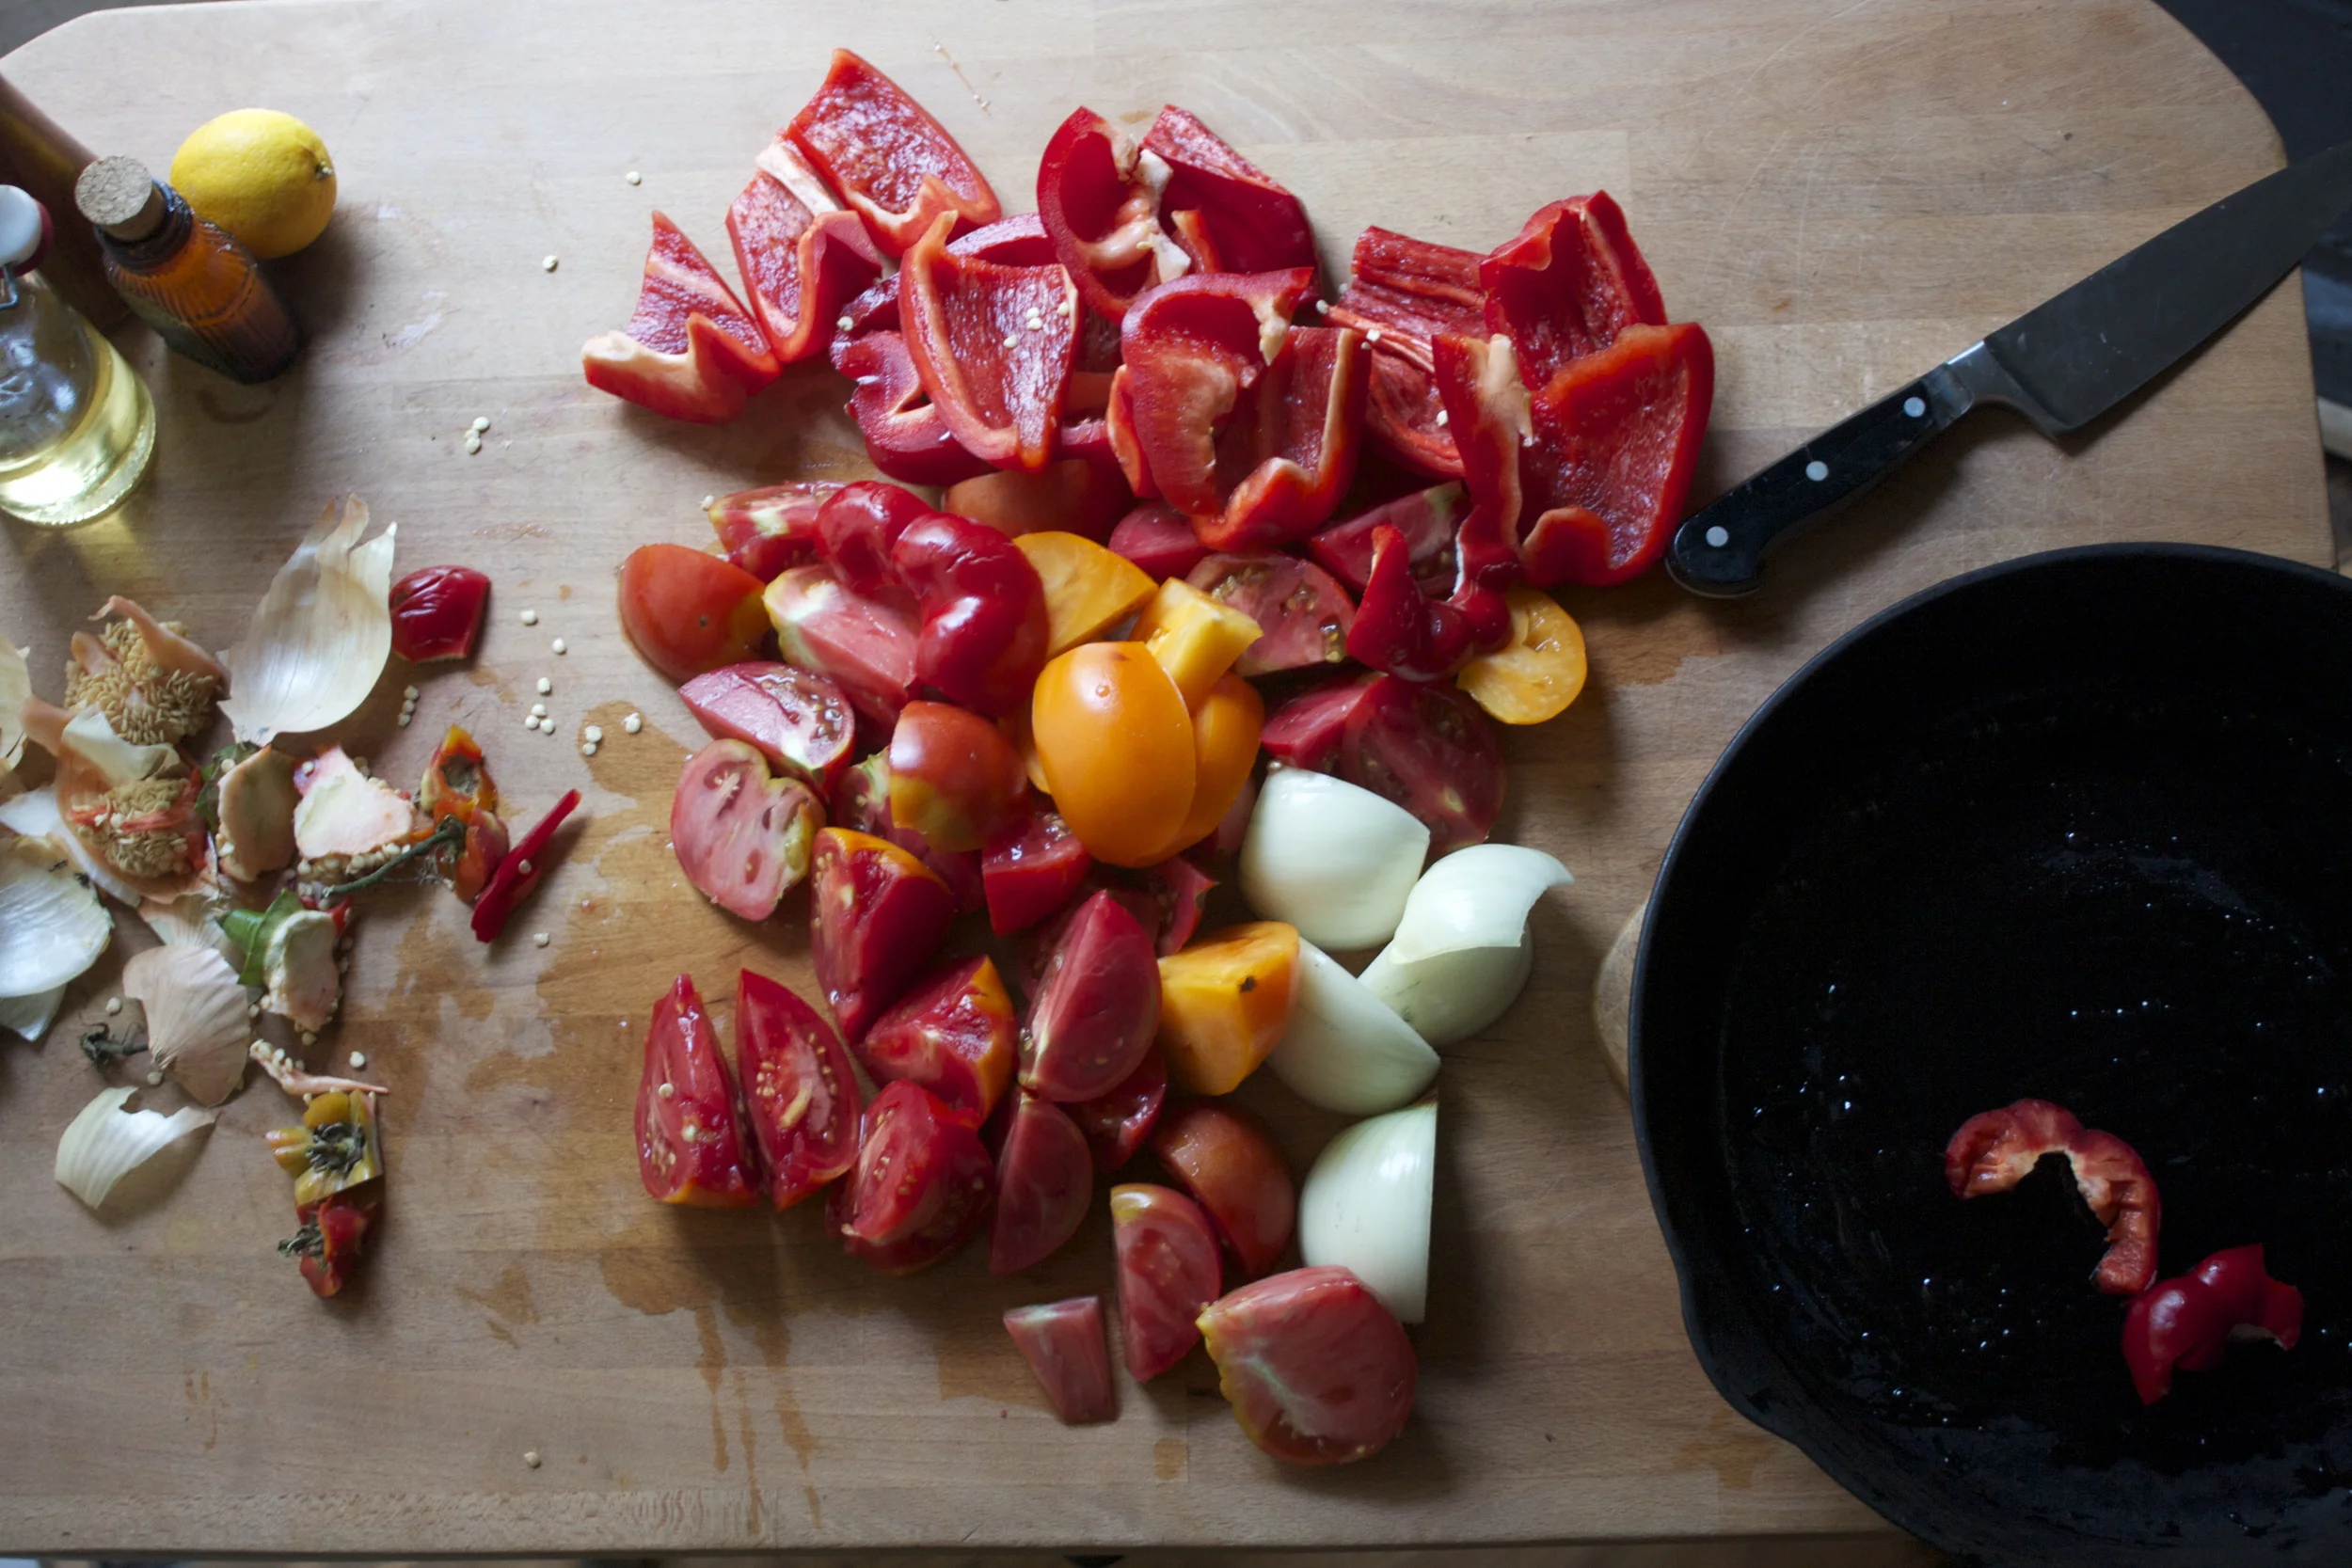
Take tomatoes, remove cores and chop into chunks. Remove stem and seeds from peppers and chop into a few chunks as well. Grab the onion and chop that up too.The garlic can go in as whole cloves.. no need for chunks.
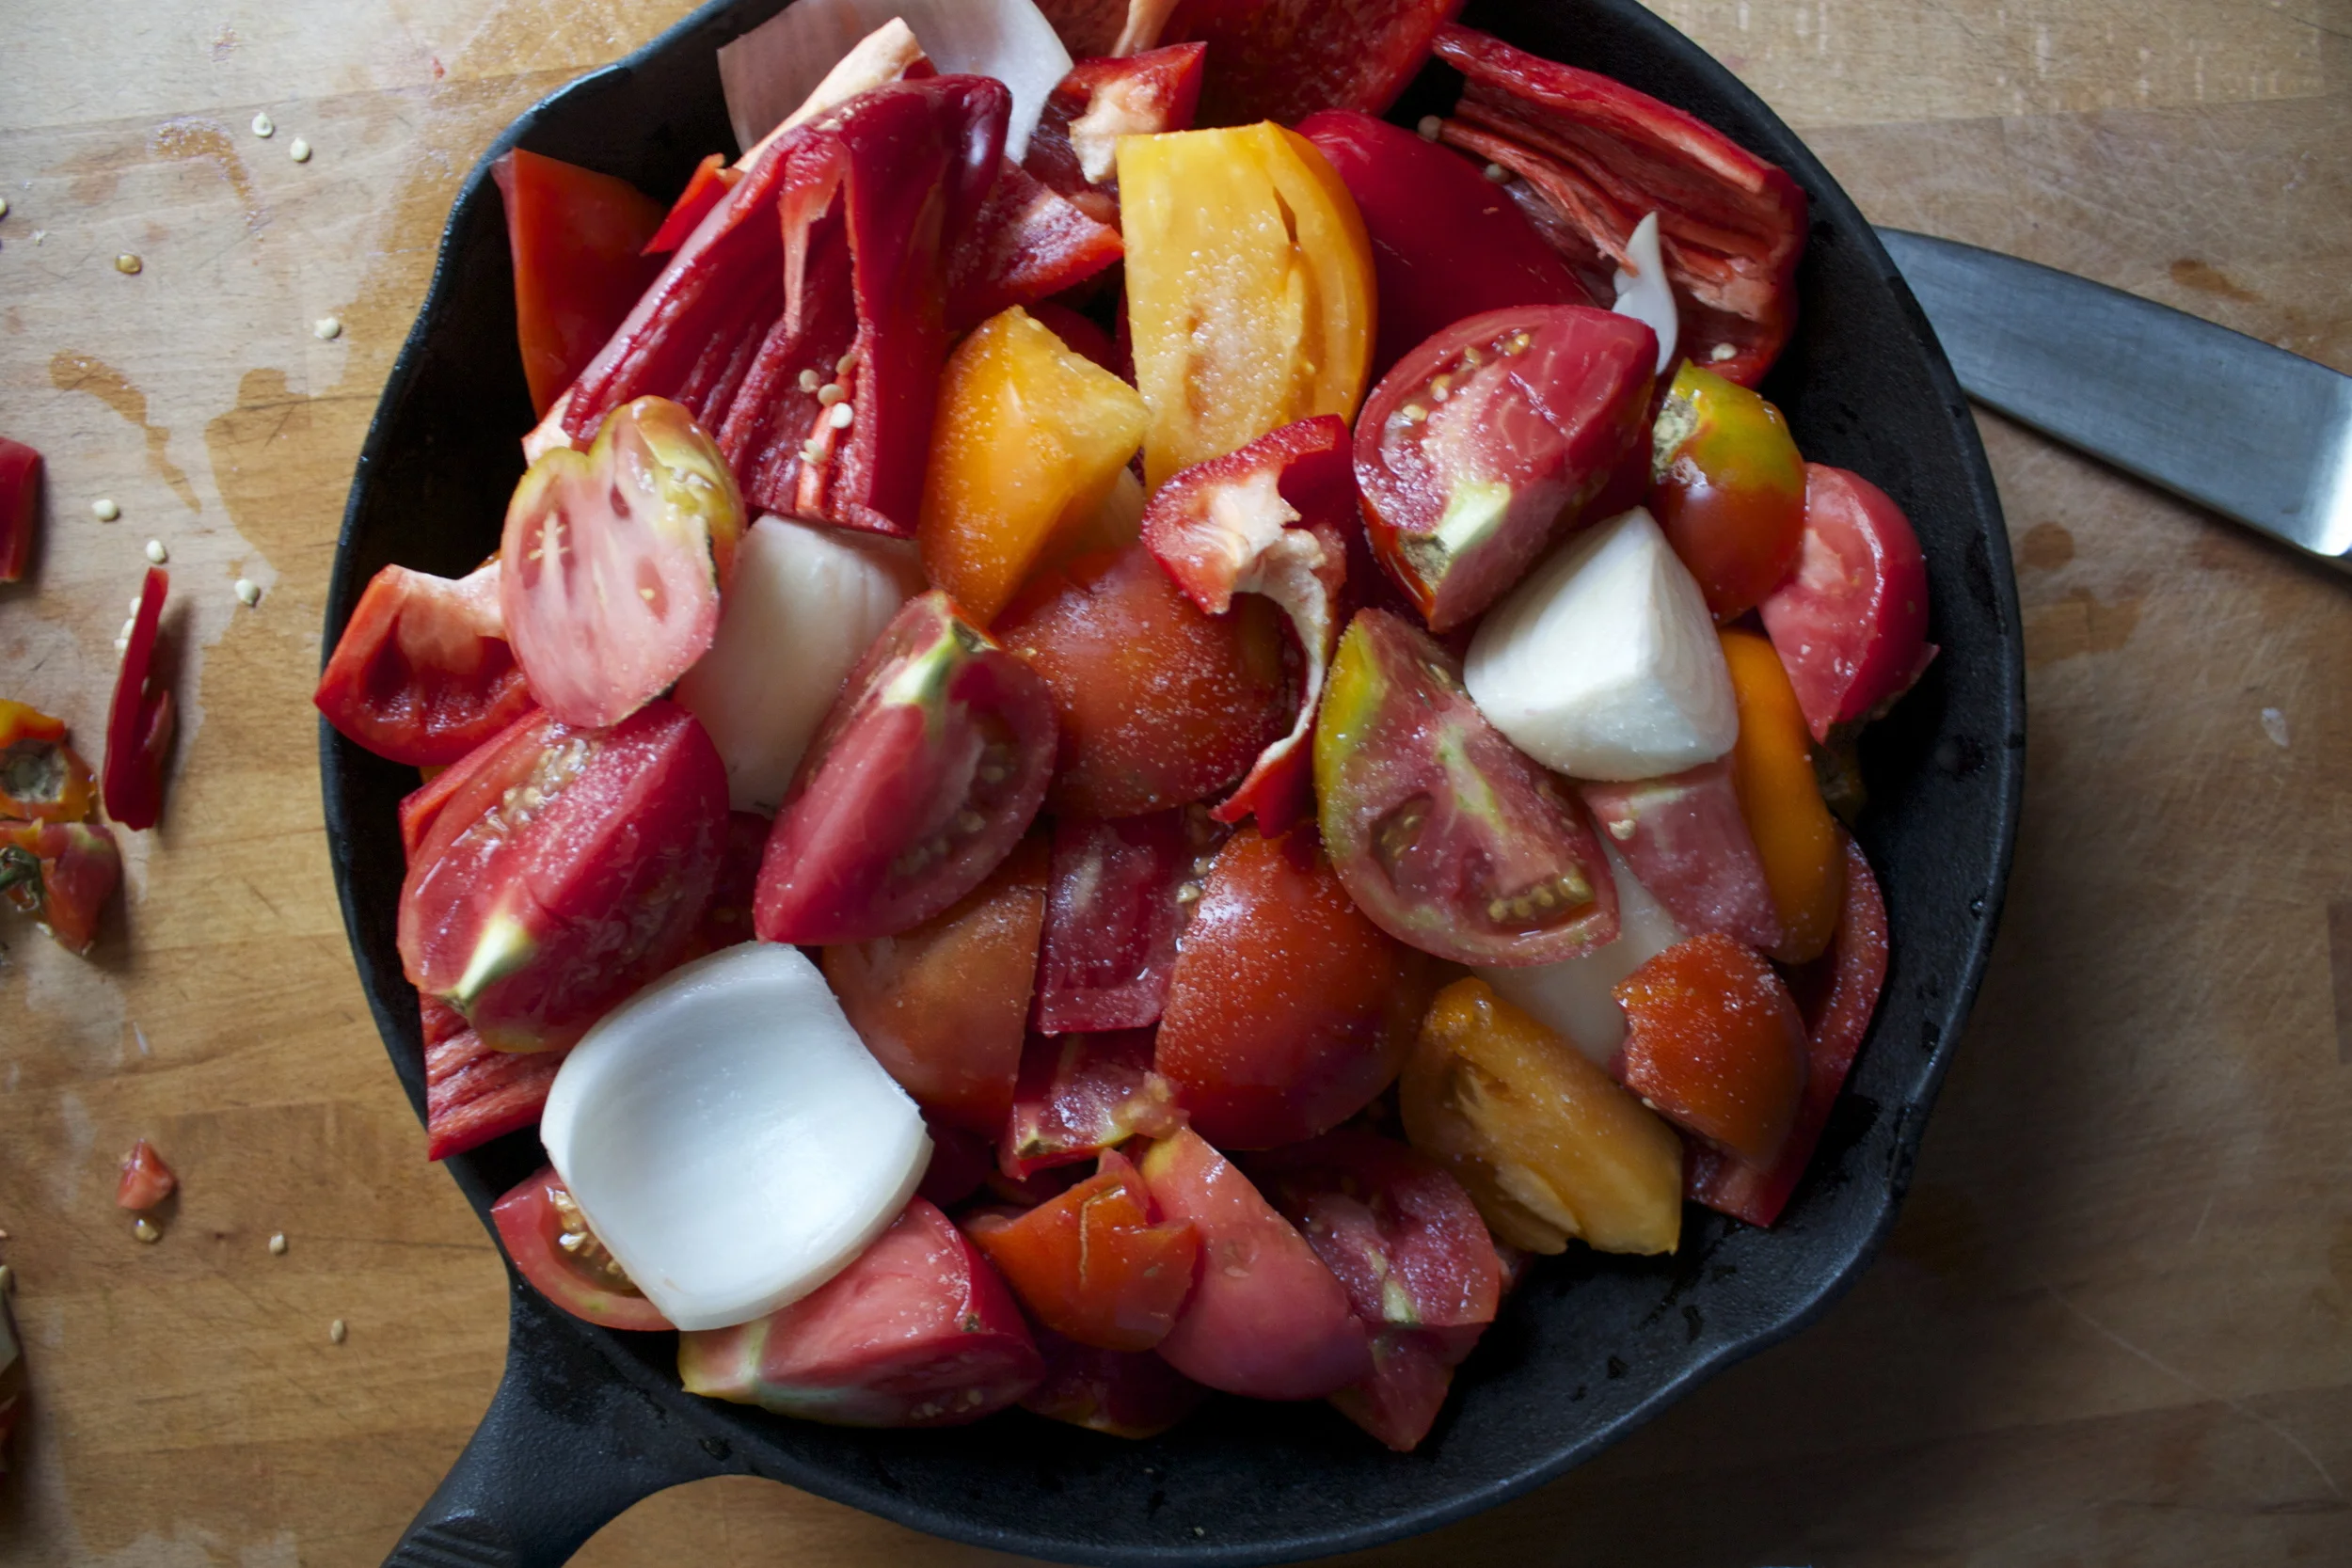
Dump it all into a well oiled skilled or dutch oven and sprinkle well with salt and pepper. Place into oven to roast away.
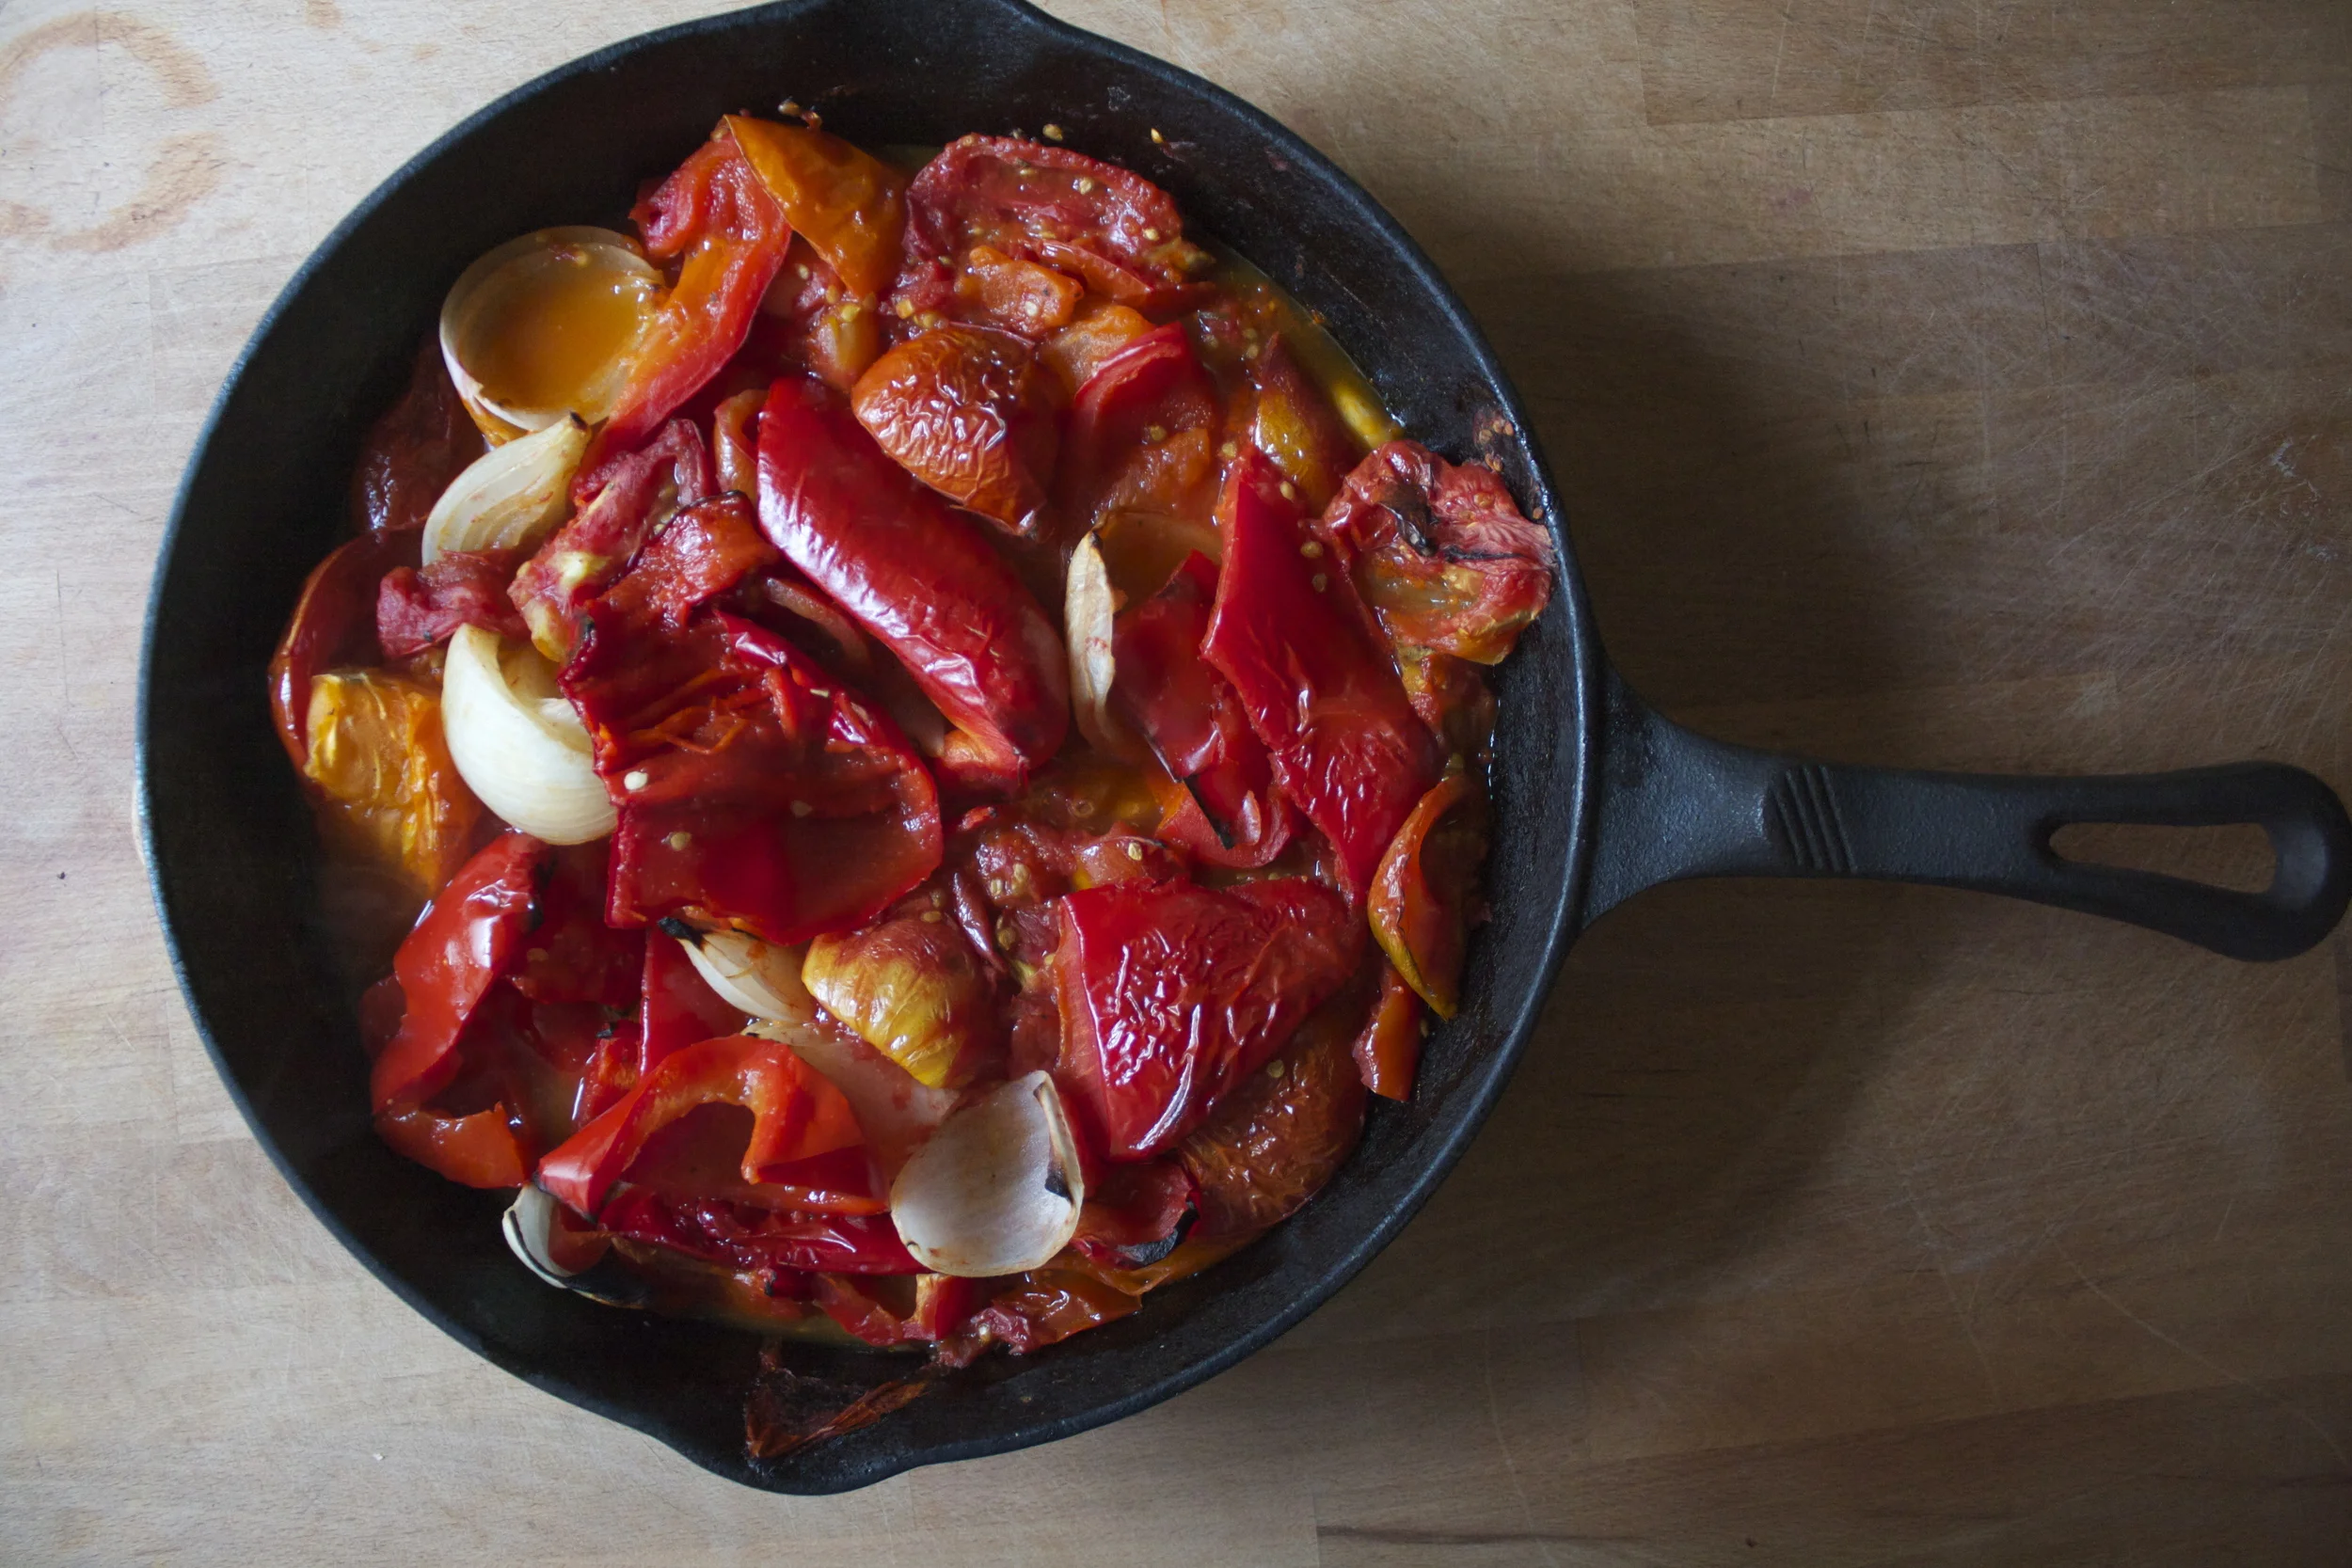
And when everything in the skillet is all roasted soft and falling apart, remove from oven.
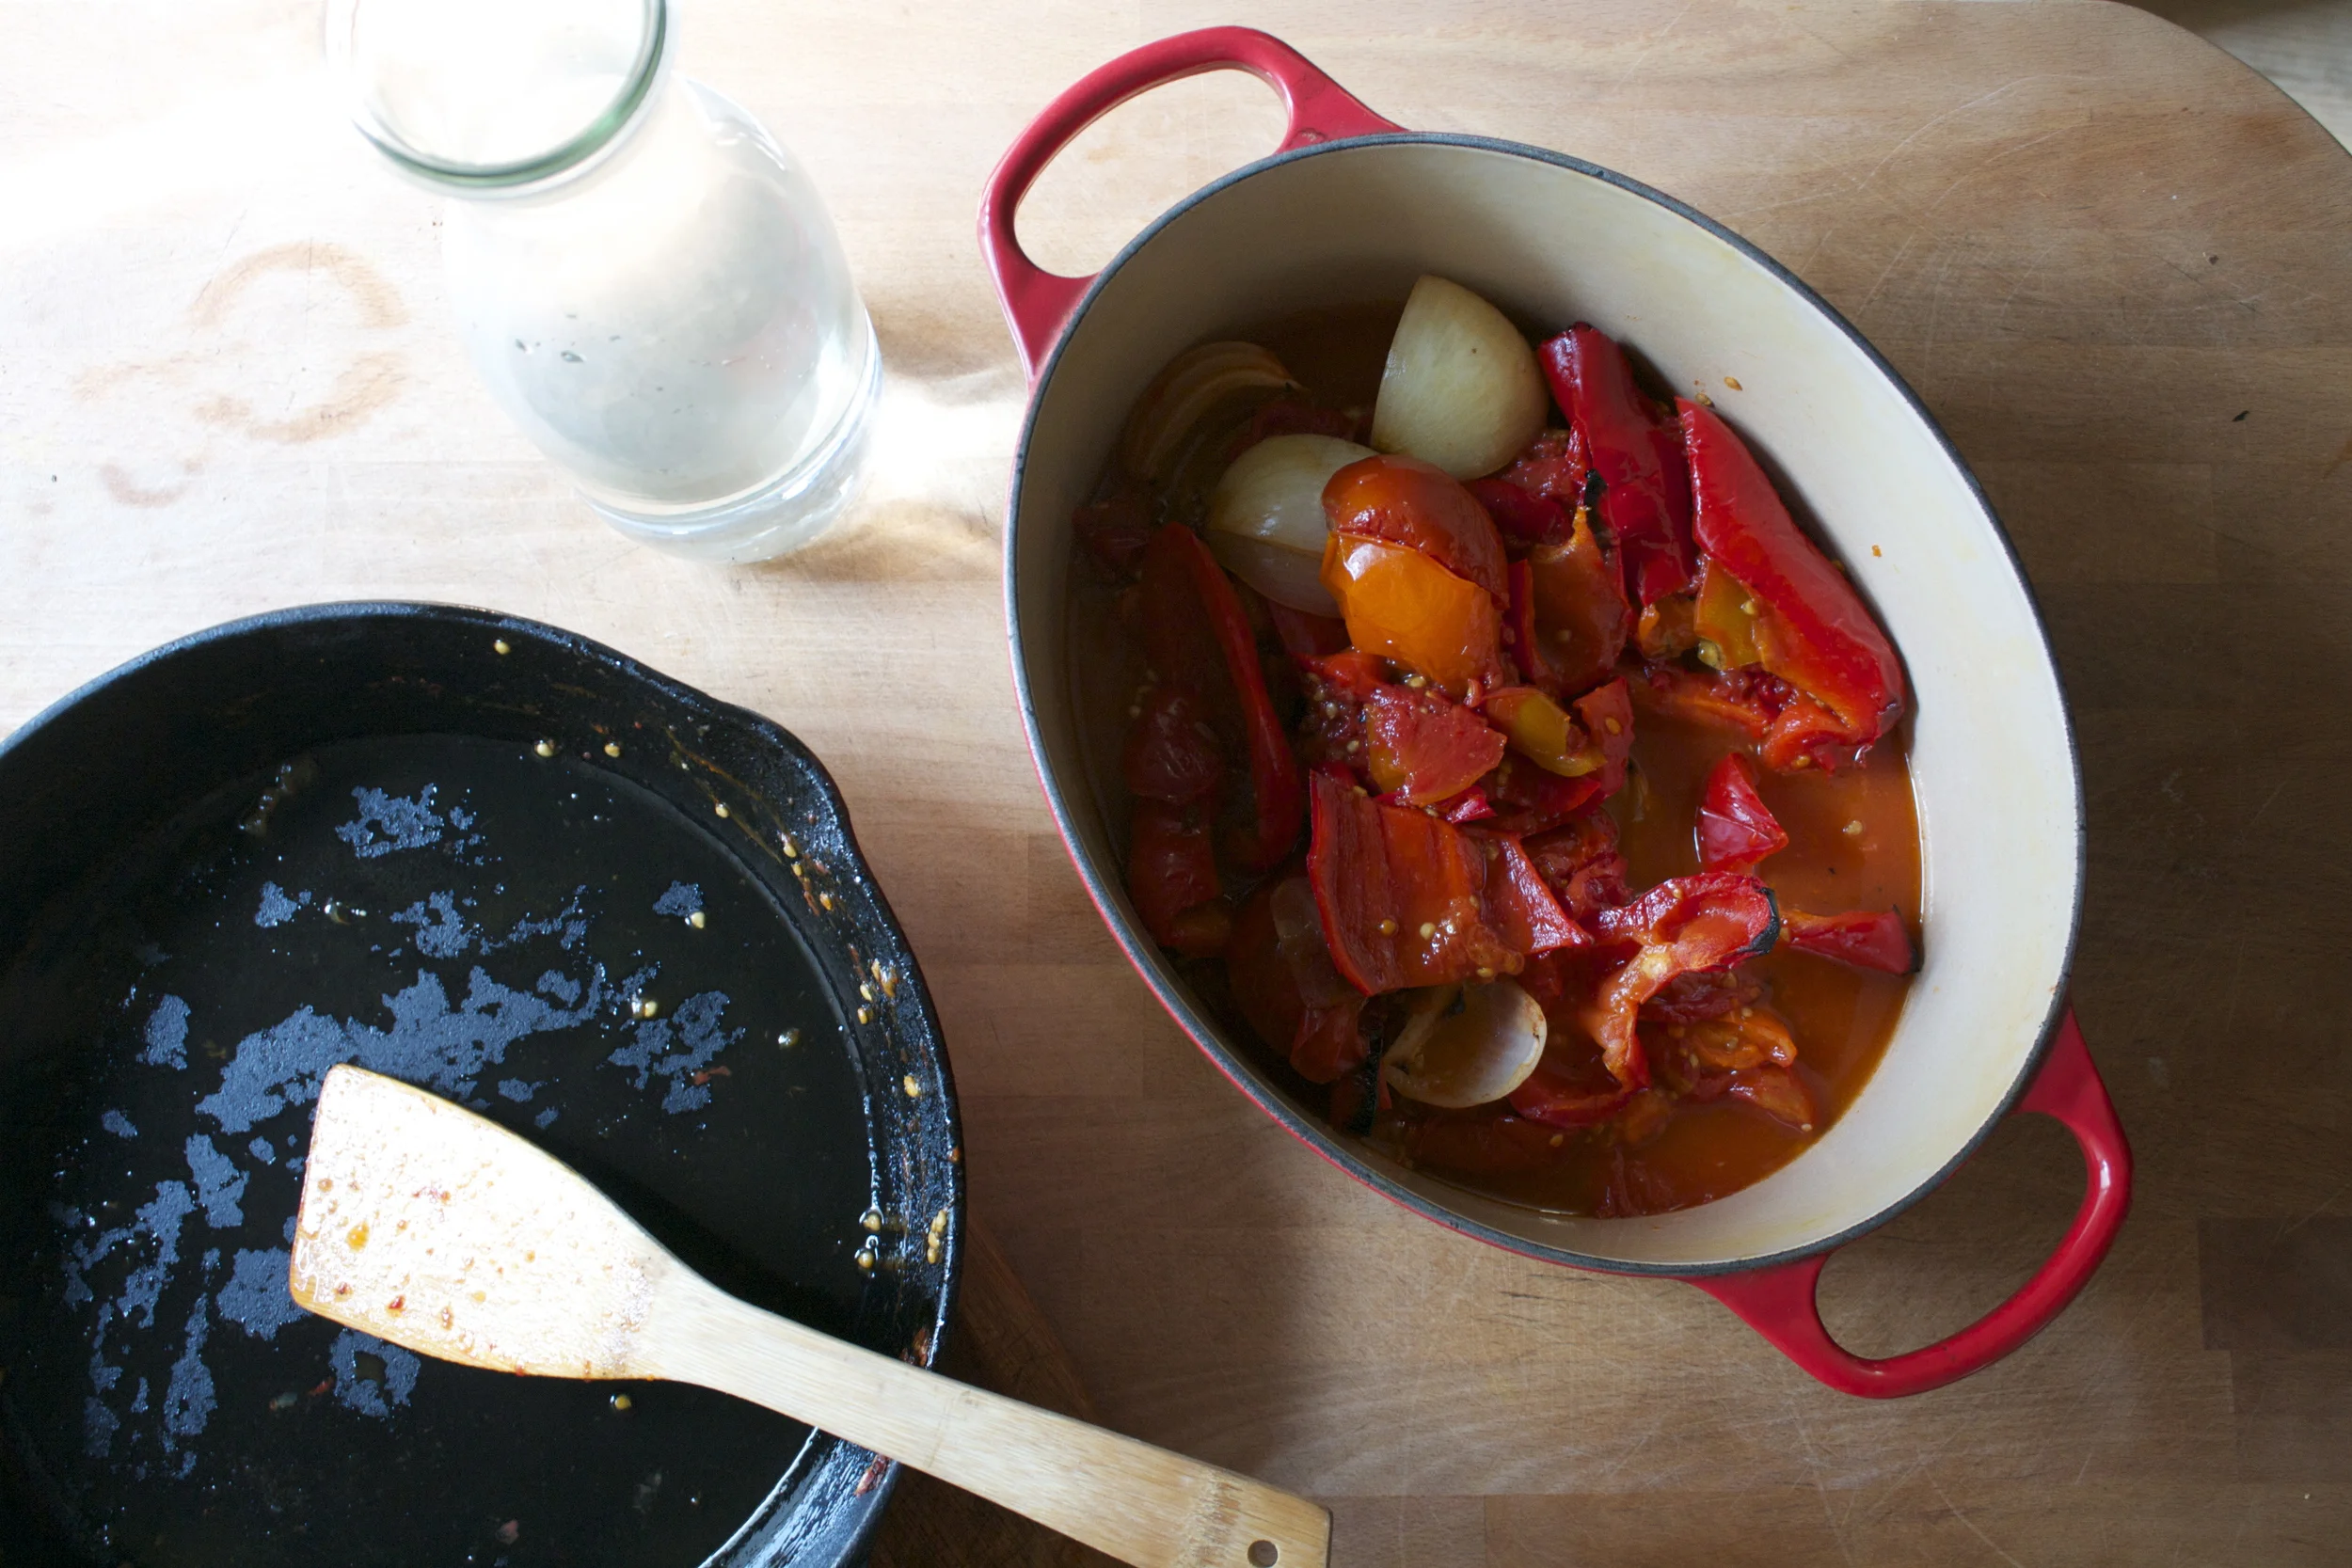
And dump the roasted stuff into a pot and add in a few cups of water.
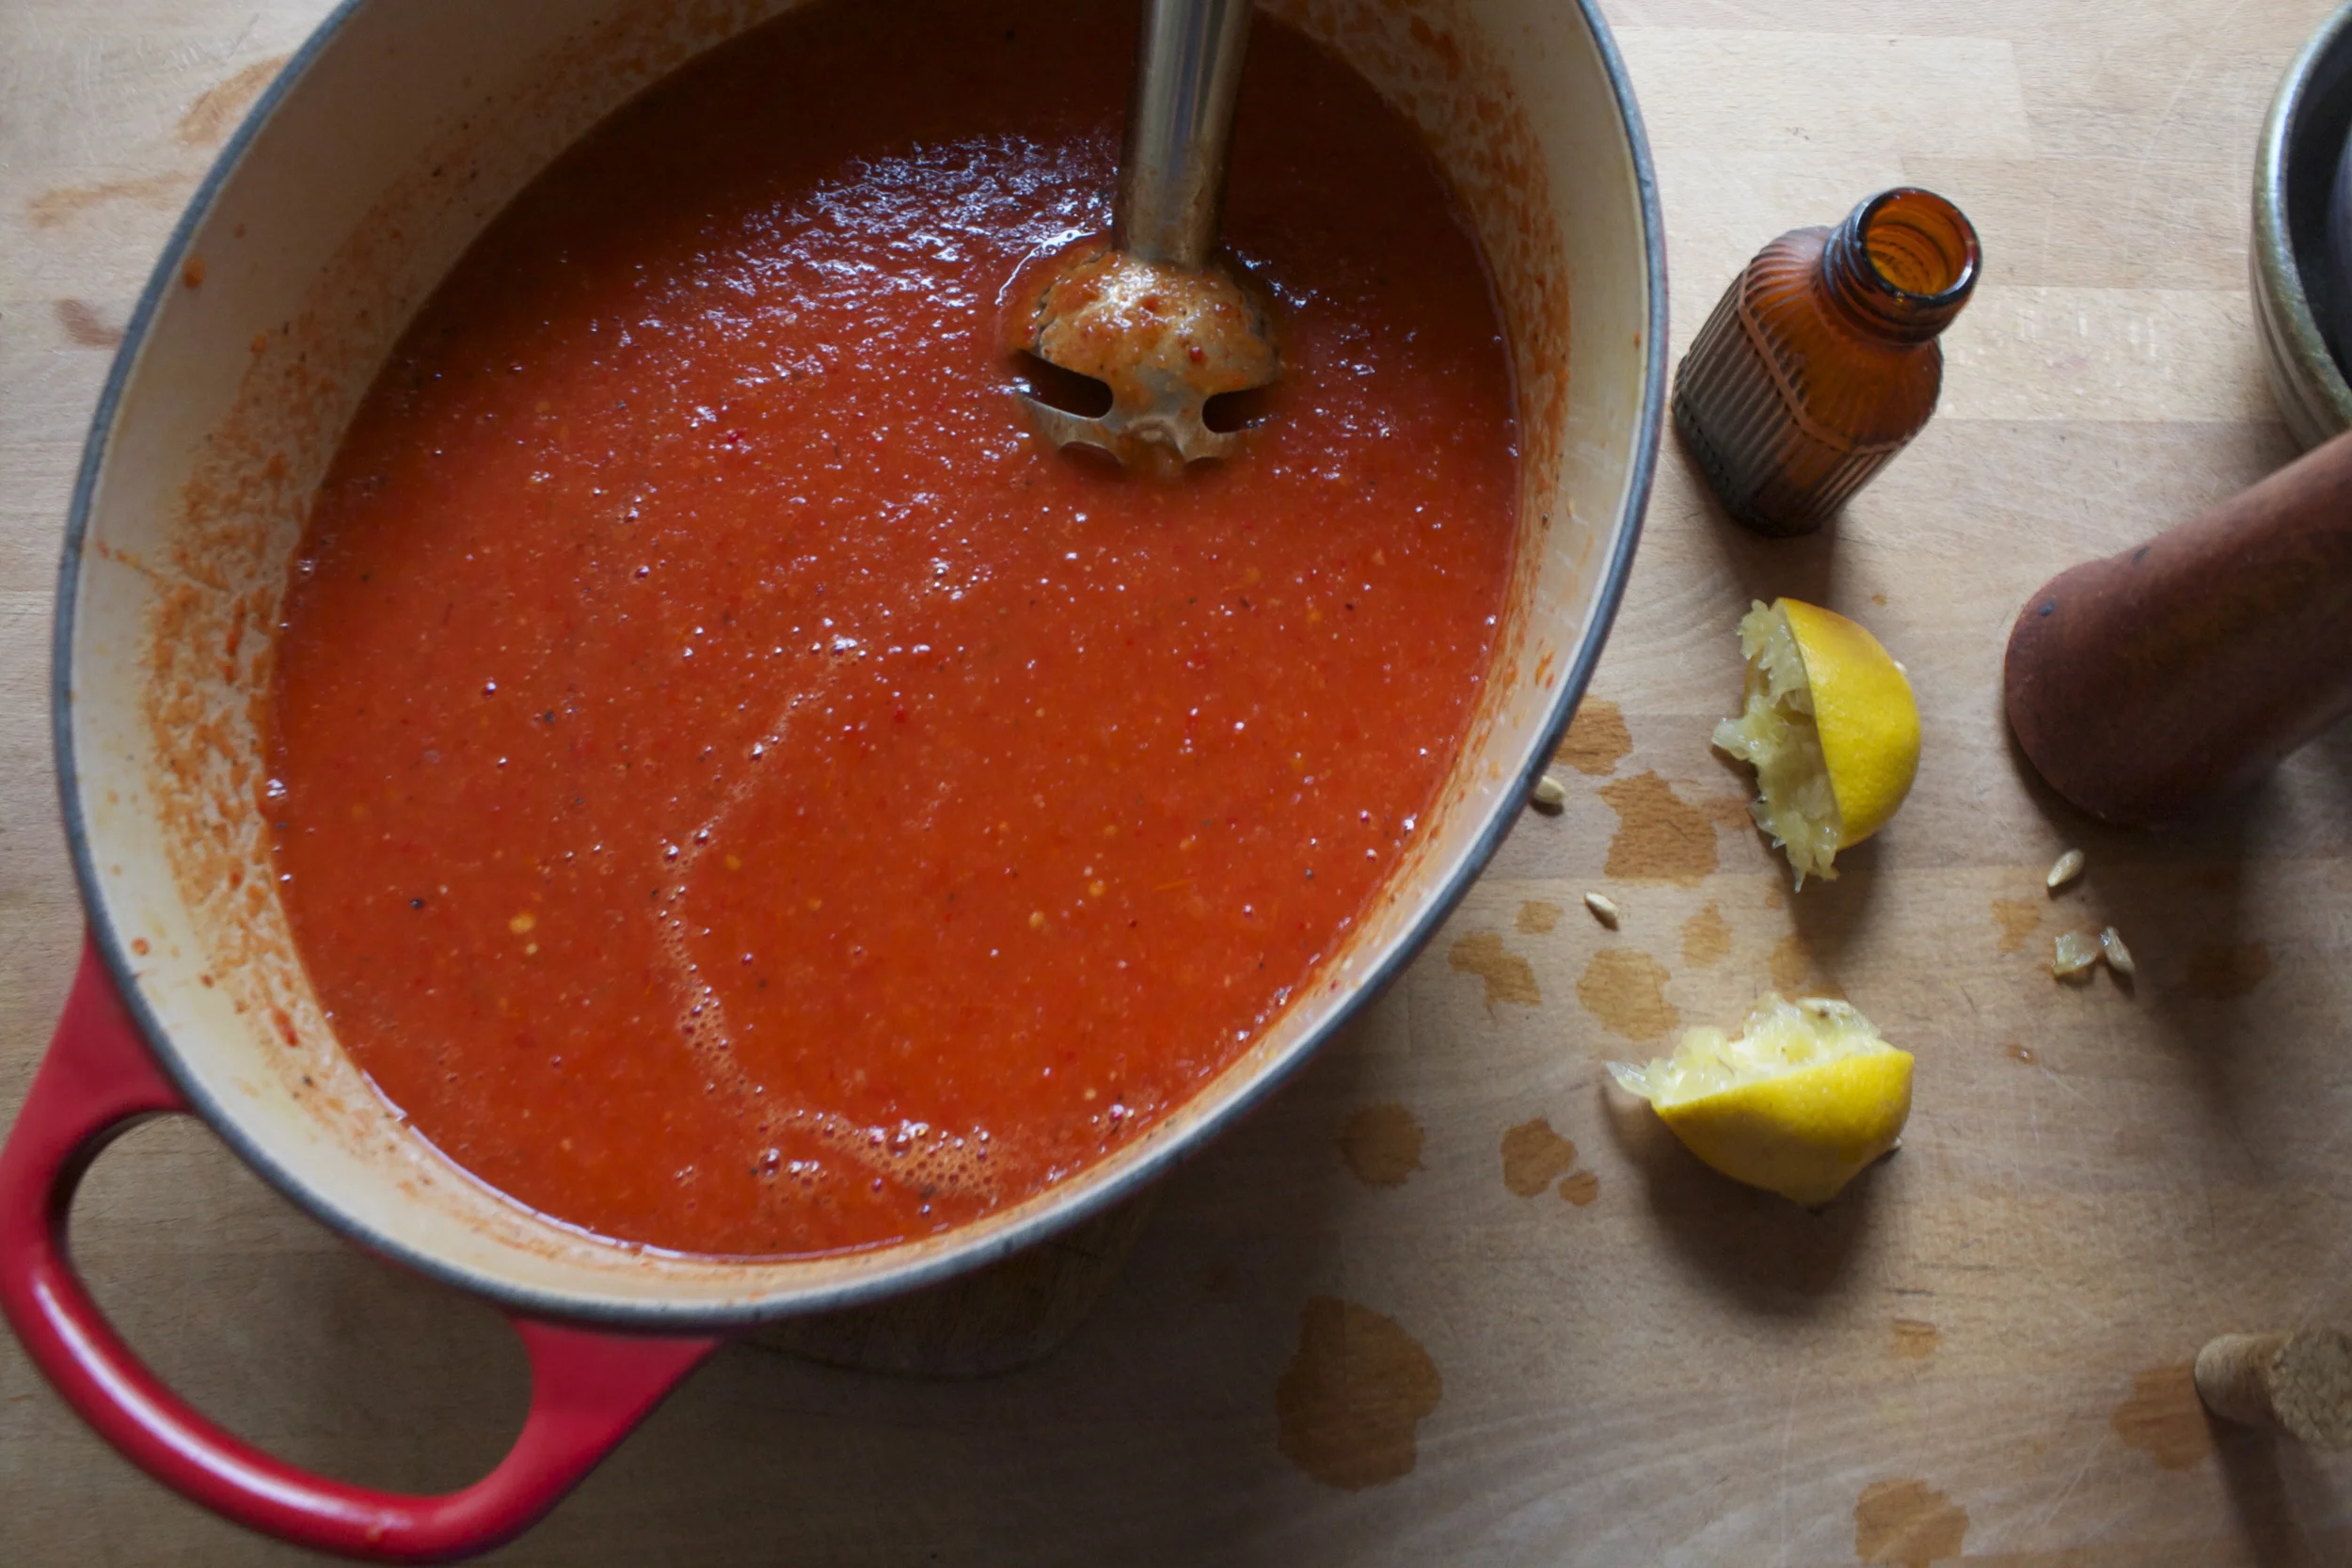
Squeeze in the juice of the lemon and using a hand blender, go to town. Belnd unit la nice creamy smooth. Now I let my soup simmer on the stover for a little longer, like 10-15 minutes, just for it to meld a little more, but really you could go for it right away, or even let it simmer for longer.
When you are ready, ladle into bowl, grab a spoon, maybe a book (soup and a book is my happy place) and eat you until your belly is happy.
Have a super awesome friday!!
-C
- 6-8 medium tomatoes
- 3-4 big red (yellow or orange work too) peppers
- 1 large onioon
- 1 head of garlic
- 1 lemon
- salt
- pepper
- olive oil.
- 2-3 cups water
Tunn oven on to 450
Core tomatoes and core and remove seeds from peppers. Cut into big chunks along with the onion and toss into a large well oiled oven safe skillet or dutch oven. Add in the cloves of garlic and season with salt and pepper. Stick into oven to roast %u00a0for about 45 minutes or until everything is all soft and bubbly and good.
Once everything is roasted all the way, remove from oven and transfer the veggies to a pot (unless already in a pot). Add in the juice of the lemon, about 2 cups of water (more if you want it a bit thinner) %u00a0and using a hand blender, blend until smooth and creamy. If you don’t have a hand blender, use a regular one.
Place soup in pot on medium low heat and simmer for 1at least 10 minutes (if you can wait, 1/2 is good)%u00a0or until ready to eat.
Serve with lots of %u00a0cracked pepper and a spoon and maybe something crunchy.

I probabaly have already told you, but August is for sure my favorite month of the year (well,one of my favorites)
There is bounties of bounties of fresh, sweet and colorful, oh so juicy, crispy crisp, just so f ing %u00a0amazing, produce exploding all over the place. I have probably gained like 75 thousand pounds in the past month due to all of the fruits and veggies that I have been consuming. I am starting to consider it a full time job just to keep up with the eating.
%u00a0Another reason why I love August so much is becauuse the days are still nice and warm, but the nights are starting to cool which means I get to make so much soup!!!!!.%u00a0
This soup is the freshest freshy soup yet. Everything is from the farm and or the garden (except the salt pepper, vinegar and oil), some picked within hours of me making this.
. I am a lucky/spolied veggie brat.
Anyways. This soup. The fresh tomato base gives it a sweet, slightly acidic kick.%u00a0So super creamy due to the lovely earthy stocks of the chard. Slightly spicy and earthy from the arugula* and chard green green. This soup…%u00a0it just tastes so fresh and clean, yet hearty and satisfying. A perfect soup for a mid August night, eating outside, watching the sun slide behind the mountains and the temperature dropping just enough that you might want a light sweater. Or you can just eat it from the pot in the kitchen while watching TV. It’s good eating anyway you want.%u00a0
*Here in America, it’s called arugula.%u00a0%u00a0Else where , it’s %u00a0called rocket. I wish we all called it rocket, although I do like the name arugula, but for like my first born child or maybe a pet goldfish. Anyway, rocket is arugula,%u00a0%u00a0or vice versa.
Soup time!.

The stuff. Some big %u00a0fresh tomatoes, a few stalks of chard, and a few handfuls of arugaula (aka rocket). A couple carrots, an onion, some garlic, salt and pepper and a bit of olive oil.. Oh, and I added some balsamic vinegar, which for some reason didn’t make it into the picture (sorry vinegar)
Start by removing the chard leaves from the stalks. Set aside leave with the arugula. Chop up the carrot, chard stems, onion and garlic and toss into a big pot with a drizzle of olive oil, a splash of water,%u00a0and a sprinkle of salt and pepper. Stir around and stick o nthe stove on medium heat for about 10 minutes until the veggies start to soften up.

Now chop up the tomatoes into chunks and toss those right into the pot with the other stuff. Add in a few cups water and a few glugs of balazmic vinegar. Bring everything to a boil and then turn heat to medium low and place a lid on pot and let cook at medium heat for another 20 ish minutes, or until the tomatoes are falling apart.

Now that everything is all cooked up, blend it up.


And now take the chard leaves and the aruglula and chop into little pieces%u2026.into the pot they go.

Mix it all up.. and take the blender to the soup again%u2026.if you want a smaller sized bite.

Soup Into bowls..Then into mouth.
Happy August!!
And hey hey hey.. Have the best weekend!
-C
- 4-5 large fresh tomatoes
- 4 large stalks of rainbow chard
- 2-3 big handfuls of arugula%u00a0
- 1 medium onion
- 1 large or 2 small carrots
- 4-5 garlic cloves
- 2-3glugs (about 2 tablespoons) balsamic vinegar%u00a0
- 3 cups water%u00a0
- olive oil
- salt and pepper
To start, remove stalks of chard from leaves and chop stalks, onion, carrot and garlic into chunks and place int a big pot with a drizzle of olive oil, a splash or water,%u00a0and spinkle of salt and pepper. Place on stove on medium low heat sand cooke the veggies down until starting to soften and garlic is becoming fragrant. While that cooking, remove core from tomatoes and dice them up. Toss into pot with the cooked down veggies with the vinegar and water. Place a lid on the pot and let cook for about 20-25 minutes or until the tomatoes are falling apart.%u00a0
When cooked, using with a hand blender or a normal blender, blend the soup until smooth. (if using blender, pour back into pot)
Now take the arugula and chard leaves and chop them into wee little picese and mix into soup. If you want to, blend the greens into the soup.. but not until smooth, unless thats what you want.%u00a0%u00a0Cook for another 5 minutes. Taste and season with more salt and pepper to taste.
Ladle into bowl and serve with lots of fresh cracked pepper, maybe a little balsamic drizzle or even some mustard (I at left overs with mustard and it rocked my world)
spoons work eel las eating utencils.


Yesterday I spent the entire day (ok maybe not the entire day), but a the better part of the afternoon defrosting my freezer. Sure, I do the occasional chip chop here and there, just enough from around the freezer door so it will close, but ever few months I notice that everything in the fridge is not staying cold and that the freezer is not freezing stuff. Thats when I know its for real time to defrost. So a few days ago when I noticed my bananas were turing to liquid in the freezer, I knew it what I had to do%u2026.Completely empty the fridge %u00a0and melt/hack away the 2-4 inches of ice build up that accumulated. It is such a freaking pain in the ass.So on this defrosting day, I took all the stuff from the freezer, stuck it in a cooler, and the rest of the stuff, which is basically all veggies, I just tossed on the table.%u00a0As I am hacking away with a metal spatual, a wooden spoon, and a constant rotation of pots of boiling water, I was thinking about dinner. I figured I might as well just eat up as much of the veggies as I could, you know, so I didn’t have to put them back in the fridge. And also, I was getting pretty annoyed because this particular defrosting session was taking way longer the anticipated, which made making dinner seem like another pain in the ass. %u00a0I figured I might as well just eat everything that is already out on the table, which pretty much narrowed down the “whats for dinner” conversations because it was already all over the place. And so dinner was a humongo salad for me, and for the mister, I made him a monster of a veggie sandwich. (my salad was exactly the same stuff as the sandwich, minus the bagel) Easy, fast, super duper yummy, pretty and piled so high with tons of veggies that the fridge is pretty much empty now.%u00a0
Look at the is beast. I don’t call it a monster sandwich for nothing.

The stuff included in this monster veggie sandwich..

Romaine lettuce, tomato, avocado for there is not real sandwich without them. Thinly sliced radishes, cucumber,a and onion for nice crispy crunch. Shredded beets, carrots, and purple cabbage to give %u00a0more crunch and a bit of sweetness. Then of course there needs to be something pickled, so I used banana peppers cause they are the SHIT!! And lastly some hummus for a nice creamy finish (plus a bit of protein) and yellow mustard because mustard on everything is just right. %u00a0Heres to a mountain if goodness that is no longer in the fridge! Served with a another mountain of roasted parsnips and carrots (more stuff from the fridge) and a tall glass of iced tea.
Lucky that today is farm share pick up cause the fridge is pretty much on empty.%u00a0
Yea it’s Thursday!!!!
-C
A Monster Veggie Sandwich
Note. This is just a guide.. Feel free to use whatever veggies you fancy.%u00a0
- Either a bagel, 2 slices of bread, or a big chunk of baguette (use a gluten free bread if you want or need too)
- Hummus- Homemade or store bought
- Mustard
- Something pickled like pickles, banana peppers , jalape%u00f1os or all three%u00a0
- Lettuce, spinach or some kind of leafy green
- Tomato
- Avocado
- Onion
- Radishes
- Cucumber
- Shredded Carrots
- Shredded Beets
- Shredded Cabbage
To assemble. Ready your bread.. Toast if you want, and stick it on a plate
On either side, smear the hummus and the mustard. %u00a0
Pick a side, start to stack by evenly disrupting veggies on top of veggies. Place the second piece of bread on top and %u00a0giving a little smooth to keep it together.
And go at it. Cut in half or don’t. Have a napkin or a long sleeve ready to wipe your face.
%u00a0 %u00a0 %u00a0 %u00a0And that’s how I know that this is a winner.%u00a0
 As an awesome aunt, when I have any of my nieces or nephews, %u00a0I feel the need to make something special for dinner, something that the kiddos might not get very often, but also keep it on he healthy side. I have 2 littles for the night which gives me the perfect opportunity for a trash food recipe. You know trash food, things like boxed mac and cheese, beefaroni in a can, or, in this case, sloppy joes.
Sloppy yes, trashy, not so much. These are made with beans and bulgur. No meat.
And I figured it is nice enough out that I can make the kiddos some messy food and then just bring them out back and hose them off%u2026 I mean, why not right?
 The stuff%u2026 We start with onion and green pepper, chopped into pieces. Black beans, bulgur, can crushed tomatoes. Chili powder, garlic powder, a bit o apple cider vinegar (which I forgot to picture) ,and some salt and pepper. Oh and cheese if you want%u2026 Plus a bun of some sort is necessary.
 %u00a0 %u00a0 %u00a0
 Toss the chopped onion and peppers into a deep skillet or pot with a drizzle of oil. Cook on medium heat until tender and toss in the spices. Give a stir.%u00a0Add in the beans, bulgur, and tomato, a splash of vinegar. Stir it all up, cover, and let simmer for about 15 minutes, or until the bulgur has absorbed the liquid and is nice and tender.
If you are a bun toaster%u2026 toast while waiting. If not, just get the buns ready %u00a0And Then dump a good heaping pile right onto a bun. Add some cheese, or not..and eat with wild abandonment, %u00a0making sure to get as much on your face as you get in you mouth.%u00a0
Fantastic Friday!! Live it up.%u00a0
-C
Black Bean and Bulgur Sloppy Joes%u00a0
- 2 cups or 1 can cooked black beans
- 1 16 oz can crushed tomatoes
- 1/2 cup bulgur
- 1/2 cup water
- 1 small onion
- 1 green pepper
- 1 teaspoon garlic powder%u00a0
- 1 teaspoon chili powder
- salt and pepper
- a splash of apple cider vinegar
- olive oil
- 4-6 burger or bulky buns
- cheese (optional)
Dice the onion and the pepper and toss with a drizzle of olive oil into a large skillet. Saut%u00e9 on medium heat until veggies become tender. Add in the spices, stir in and let cook for a minutes, then add in the beans, the tomato,water and the bugler. Cover skillet and let simmer until bugler becomes soft.
When the slop is ready, either toasted or not, scoop a generous portions onto buns. If so inclined, add some cheese.%u00a0
Eat with hands%u2026 Sloppy is good.
 Is it really for real April? Where has all the time gone and where the hell is the warm weather? It’s not funny anymore. I%u00a0am officially OVER winter!%u00a0 Ok, so now that I got that off my chest%u2026..
Last night the misters Dad came over for a long awaited dinner accompanied by talk of life goals and what her referred to as “narratives” or the story of our lives. Some deep shit to be talking about at dinner, especially with zero alcohol to be had.
Me, being so super awesome, was all up in taking charge in making the food. Except that %u00a0last night I didn’t have a bunch of time and honestly, much energy to be doing anything. %u00a0And sure, I could have just made a pot of spaghetti, but that just felt like cheeping out. So Polenta it was. And because I just made a hug pot of navy bean, those were going into the polenta too.
Beany polenta baked in the oven with a tomato sauce cooked on the stove. About 5 minutes of hands on time and an hour to cook it all. It’s the perfect meal to make when you have guests coming over. Fast prep, into the oven and on the stove, and then you have an hour to clean and make yourself presentable. See, I am a thinker. (I ended up skipping the making myself presentable part%u2026 I stayed in my gym clothes.. no need to impress family right?) Then after about and hour you end up with a hearty healthy pretty meal, all from scratch, that seems like you spent the afternoon cooking.%u00a0When in fact you spent the past hour vacuuming and watching Gilmore Girls.%u00a0
 The Stuff. Cornmeal, water, navy beans and parmesan for the polenta. Crushed tomatoes, garlic, dried basil, onion, carrot, zucchini, and summer squash for the sauce. Salt, pepper, and olive oil all around.
 Cornmeal and water go into a cast iron skillet (or any oven safe dish) with a pinch of salt and pepper. Give it a little mix and stick it into the oven at 400 degrees .
 Once the polenta is in%u00a0the oven, make the sauce. Chop up all the veggies and stick into a dutch oven or sauce pot with a pinch of salt, the basil and a good drizzle of olive oil. Stick on medium heat and let veggies cook down a bit. %u00a0When the veggies are tender, add in minced garlic, crushed tomatoes and another drizzle or oil. %u00a0Turn burner to lowest setting and simmer (giving it a stir every now and then) for about 45 minutes or until the polenta is done.%u00a0
 After about 30 minutes when the water had pretty much all cooked down, take the polenta out of the oven and stir in the beans, the parmesan, a tablespoon or two of olive oil and salt and pepper. Smooth top out and sprinkle with more pepper, parmesan and drizzle with a bit more oil. Stick back into oven for another 1/2 or until polenta %u00a0has formed a crust and no longer giggles when you wiggle the pan.
 Pull polntna from the oven and let sit for at least 1o minutes.
Two big spoons and a pile of plates. Have the people serve themselves!
Have a Happy Day!%u00a0
-C
Baked Navy Bean Polenta with Chunky Tomato Sauce
Serves 4 hungry people
For the Polenta
- 1 1/2 Cups Course Ground Corn Meal
- 4 Cups Water
- 3 Cups Prepared Navy Beans (Or just use to cans)
- 1/2 Cup Parmesan Cheese or Vegan Parmesan (Optional)
- 3 Tablespoons Olive Oil
- Salt and Pepper
For the Sauce
- One 28oz Can of Crushed Tomatoes
- 1 large Carrot
- 1 Small Onion
- 4 (or more ) Cloves Garlic
- 1 teaspoon Dried Basil
- 1 Small Zucchini
- 1 Small Summer Squash
- Olive Oil
- Salt and Pepper
Preheat oven to 400
In a large skillet, mix together the cornmeal and the water and add a good pinch of salt and pepper. Place into oven for about 30 minutes or until the polenta starts to congeal at the edge of the skillet nd most of the waster has cooked down.
Remove skillet from oven and with a whisk or wooden spoon, mix in the beans, the parmesan (if using) and 2-3 tablespoons of olive oil. Smooth out mixture, sprinkle with salt, pepper, parmesan and drizzle with olive oil. Stick back into oven for another 30 minutes or so. %u00a0Polenta is done when it no longer wiggles when you giggle the skillet.
For the sauce
Small dice the carrot and the onion and stick into a medium dutch oven oor sauce pan with a drizzle of olive oil. Place on medium heat and cook until the veggies are tender. Add in tomato, minced up garlic and basil. stir and let simmer on stove top for about 45 minutes. When you place the polenta back into the oven for the second bake, dice up zucchini and squash and add to sauce. Stir and keep on simmer until ready to serve.
Once the polenta has completely cooked, remove from oven and let sit for at least 5 minutes%u202610 is better to solidify.
Spoon big piles of polenta on a plate or in a bowl, top with a big heap of tomato sauce. Sprinkle with a little more parm %u00a0and maybe another dash of pepper .
Eat%u2026..Spoon or fork is recommeded.
Happy Food!
 You ever have one of those days where its %u00a09 am%u00a0and your ready to call it a day? . Yesterday was one of those day for me. Its spring vacation around here (more like an %u00a0arctic vacation) and I had volunteered my day to babysitting/ hanging out with 2 of my nephews, ages 11 and 13. (I know, I am the greatest sister). I had all of these great ideas and plans of things to do, but when it came down to it, they wanted to do nothing but play video games and not really listen to anything I said. I basically had to drag them outside to go for a walk we me and that’s all I could get them to do %u00a0My great little nephews, I love them so much, but yesterday they had their minds set on being little monsters.
I needed a drink. And I needed lunch. And so I was inspired to make this bloody mary tomato soup. Its got all the essentials to a great drink, the tomato, the spice, the zingy flavors, but warm and thick to eat as soup which was a perfect lift for a freezing cold dragging day. And no, I didn’t add the vodka to it because that would be irresponsible of me. %u00a0I am not about to serve up lunch soup to a couple %u00a0young boys with alcohol in it. I am not a dumb ass%u2026Save the vodka for when the kids go home!
 %u00a0What we have going here%u2026… Chopped up onion, celery, and carrot in a pot. Stick that pot on the stove for a few minutes on medium heat to start the cooking process. %u00a0While that happening get the other stuff ready. %u00a0A big can of diced tomatoes, hot sauce, worcestershire sauce*, %u00a0prepared horseradish*, celery salt, garlic powder, salt and pepper And last but not least a good squirt of yellow mustard. Now add it all to the pot and bring to a boil. Turn down to low and stick a lid on it.
*I used %u00a0the horseradish that is made with only horseradish and vinegar%u2026..You can use the other stuff that contains sugars and milk, but I don’t know how tastes. And the worcestershire sauce I used did not contain fish but be aware that a lot of the popular brands do, so if you care, check labels!
 After about 20 minutes the veggies should be soft and the flavors should all have melded together. Taste %u00a0soup as it is cooking and add any more spice that you want.
Now in goes the emulsifying stick of fun! (Or dump in a blender) Blend blend blend! %u00a0
 I stopped when I got to a smooth consistency with the littlest bit of texture.
And now the soup is now%u00a0ready for the bowls!
 And there it is%u2026served with a stock of celery and a wedge of lemon (I forgot to add them to the pictures!) %u00a0A bloody Mary to take the edge off%u00a0any drag of a cold weather day. And best part.. %u00a0 left over soup is great served chilled with a shot of vodka to loosen this Mary up!
Have a Happy Day!
-C
Bloody Mary Tomato Soup
The Stuff
Side note%u2026The spicier ingredients…hot sauce, horseradish, and worcestershire sauce are pretty flexible. My advice is to start with the lesser amounts of the ingredient and work your way up until you get to your happy soup place.
- 32 oz can of crushed or diced tomatoes
- 2 medium carrots
- 1 small onion
- 2 stalks or celery plus more for garnish
- 1-2 teaspoons horseradish
- 1-2 teaspoons worcestershire sauce
- 1-2 teaspoons hot sauce or %u00a0ground cayenne pepper
- 1 tablespoon yellow mustard%u00a0
- A lemon cut into wedges (To squeeze on as a garnish)
- 2 teaspoons celery salt
- 1 teaspoon garlic powder
- Salt and cracked pepper to taste
Dice up carrots, onion and celery and place in a large pot and cook on medium heat for about 5 minutes. Once the %u00a0veggies are slightly soft, add in the rest of the ingredients plus one tomato can %u00a0worth of water. Bring to boil, cover and turn heat down to low. Cook for another 15-20 minutes or until all the veggies are super soft and the flavor have all developed. %u00a0Add salt and pepper, taste and add any additional spicier spices that you want.
When happy with taste, either %u00a0in a blender or with a hand emulsifier, blend soup until smooth (or to your desired constancy)%u00a0Soup is now ready to serve.
Ladle or pour into bowls %u00a0and serve with a stalk of celery and maybe a wedge of lemon. Crackers or croutons are welcome too.
Eat with a Spoon
Soup left overs are great refrigerated and served cold.%u00a0Add a splash of vodka to make it fun.
%u00a0 %u00a0 %u00a0
  Before we get to the fries, I just want to mention that %u00a0yesterday was one of those fantastic winter days that reminds me why I love living in Vermont. %u00a0Pretty white snow everywhere, the sun was out, and 20 degrees without a gust of wind. The trash dog an I were even able to go for a little hike. %u00a0It was so nice and soooo sooo needed!%u00a0 Anyways, the other day as me, my sister and the mister where putting together %u00a0one more piece of Ikea furniture, (I am the master at Ikea assembling!) %u00a0a little runs into the room and presents the mister with a Dominos pizza. Yup, a whole pizza just for him. Why you might ask? Well I guess my sister was %u00a0delivered the wrong pizza and the place didn’t want it back and she didn’t want it, so she gave it to him.
A whole pizza to himself. I didn’t mind too much..he was just going to be eating it for lunch and dinner until it was%u00a0out of the fridge. But for dinner I did want him to eat something of the vegetable matter that didn’t come out of a box. I was going to make him a big salad, but then realized that would mean%u00a0sharing the last of the greens that I had for MY%u00a0dinner and I was not about to do that, so I made him parsnip and carrot fries instead. No biggy, just some slicing, a little tossing and a bit of time in the old oven. And I figured I might as well make a nice sauce for those fries because I be so very nice.
The biggest problem that I ran into when I made these fries was that I didn’t make enough, so you should probably make twice as many as you think you will eat. If you end up not eating them all (which you probably will), well then you now have a great start for a soup or a nice addition to a salad. Either way, you will eat them because they are amazing and addicting%u2026 and as healthy as can be!
 The carrots and the parsnips are all sliced up into big matchsticks and ready to be baked to crispy browned perfection. %u00a0I added the oil to the pan to toss the fries in and then sprinkled with a fair amount of salt and pepper. %u00a0If you don’t have and or want to use a cast iron pan, a baking sheet works just the same.
 %u00a0 %u00a0
 Oh saucy sauce stuff. Tomato puree, sriracha, and yellow mustard. Add a little bit of honey to lighten it up (can use brown sugar if keeping it vegan), a splash of apple cider vinegar and a couple minced cloves of garlic. Topped off with the smokey delightful spice of cumin. I cold eat this on everything%u2026and I kind of did.%u00a0
All mixed up in an oven safe dish, I stuck it into the oven for a about 8 minutes until it got a little bubbly, just to let all the flavors fuse together%u2026
 Fries are done, Sauce is ready. Served in super cute tea cups.(from now on I want to serve everything in tea cups.) A perfect side dish, snack, or even a light meal. %u00a0It lead the mister to ask the question…What pizza?%u00a0
Happy Day!
-C
Parsnip and Carrot Fries with Smokey Sriracha Sauce
The Stuff
For the Fries
- 2 large parsnips
- 2 large carrot
- salt and pepper
- 1 tablespoon oil
For the Sauce
- 1 tablespoon Sriracha
- 1 tablespoon mustard
- 2 tablespoon tomato puree (or 1 tablespoon tomato paste and 1 tablespoon water)
- 2 cloves or garlic
- 1 teaspoon honey or brown sugar
- 1 teaspoon cumin
- a splash of apple cider vinegar
- a pinch of salt
Preheat oven to 425.
Wash%u00a0and trim%u00a0carrots and parsnips and cut into large matchsticks%u00a0(any shape is good, just make them all uniform) Toss with oil and sprinkle with salt and pepper. Place on cast iron pan or baking sheet and stick in oven for 30 or so minutes, and rotating after about 20. The fries are done when %u00a0crispy and brown.
For the sauce. Mince garlic and add to all the sauce ingredients in an oven safe bowl. stick into oven for about 8 minutes until slightly bubbly and hot.
Dip fries in sauce
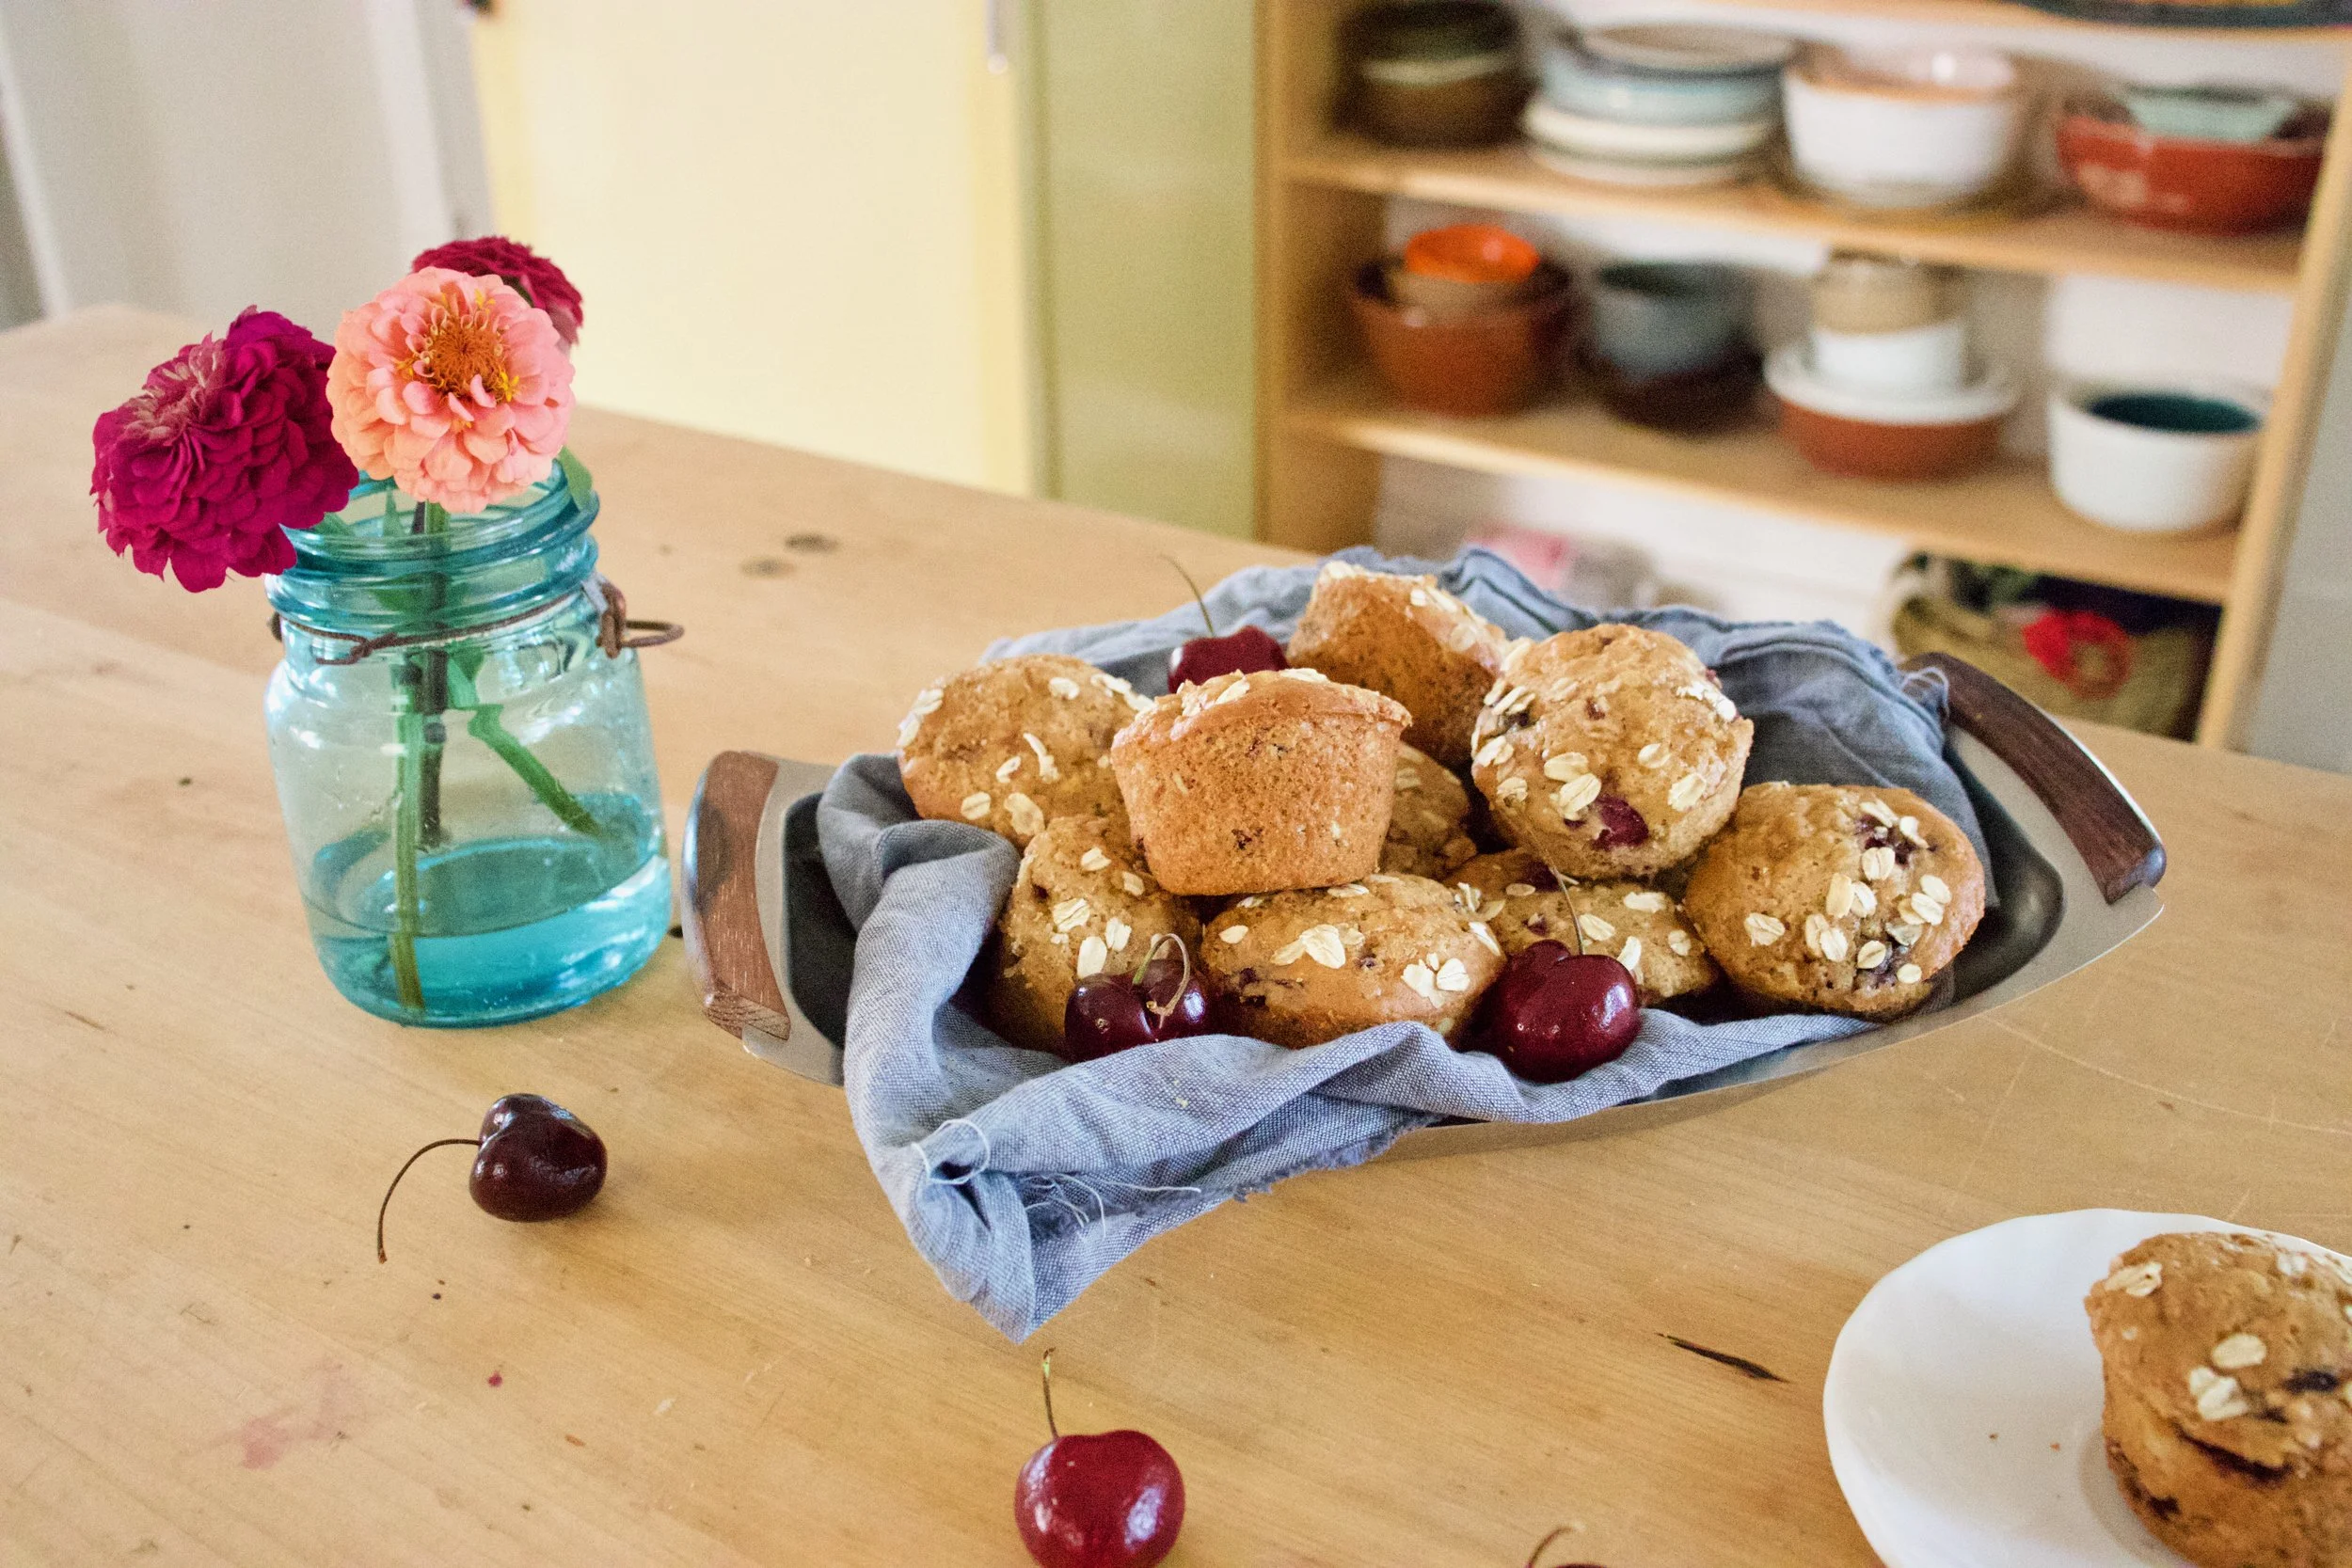


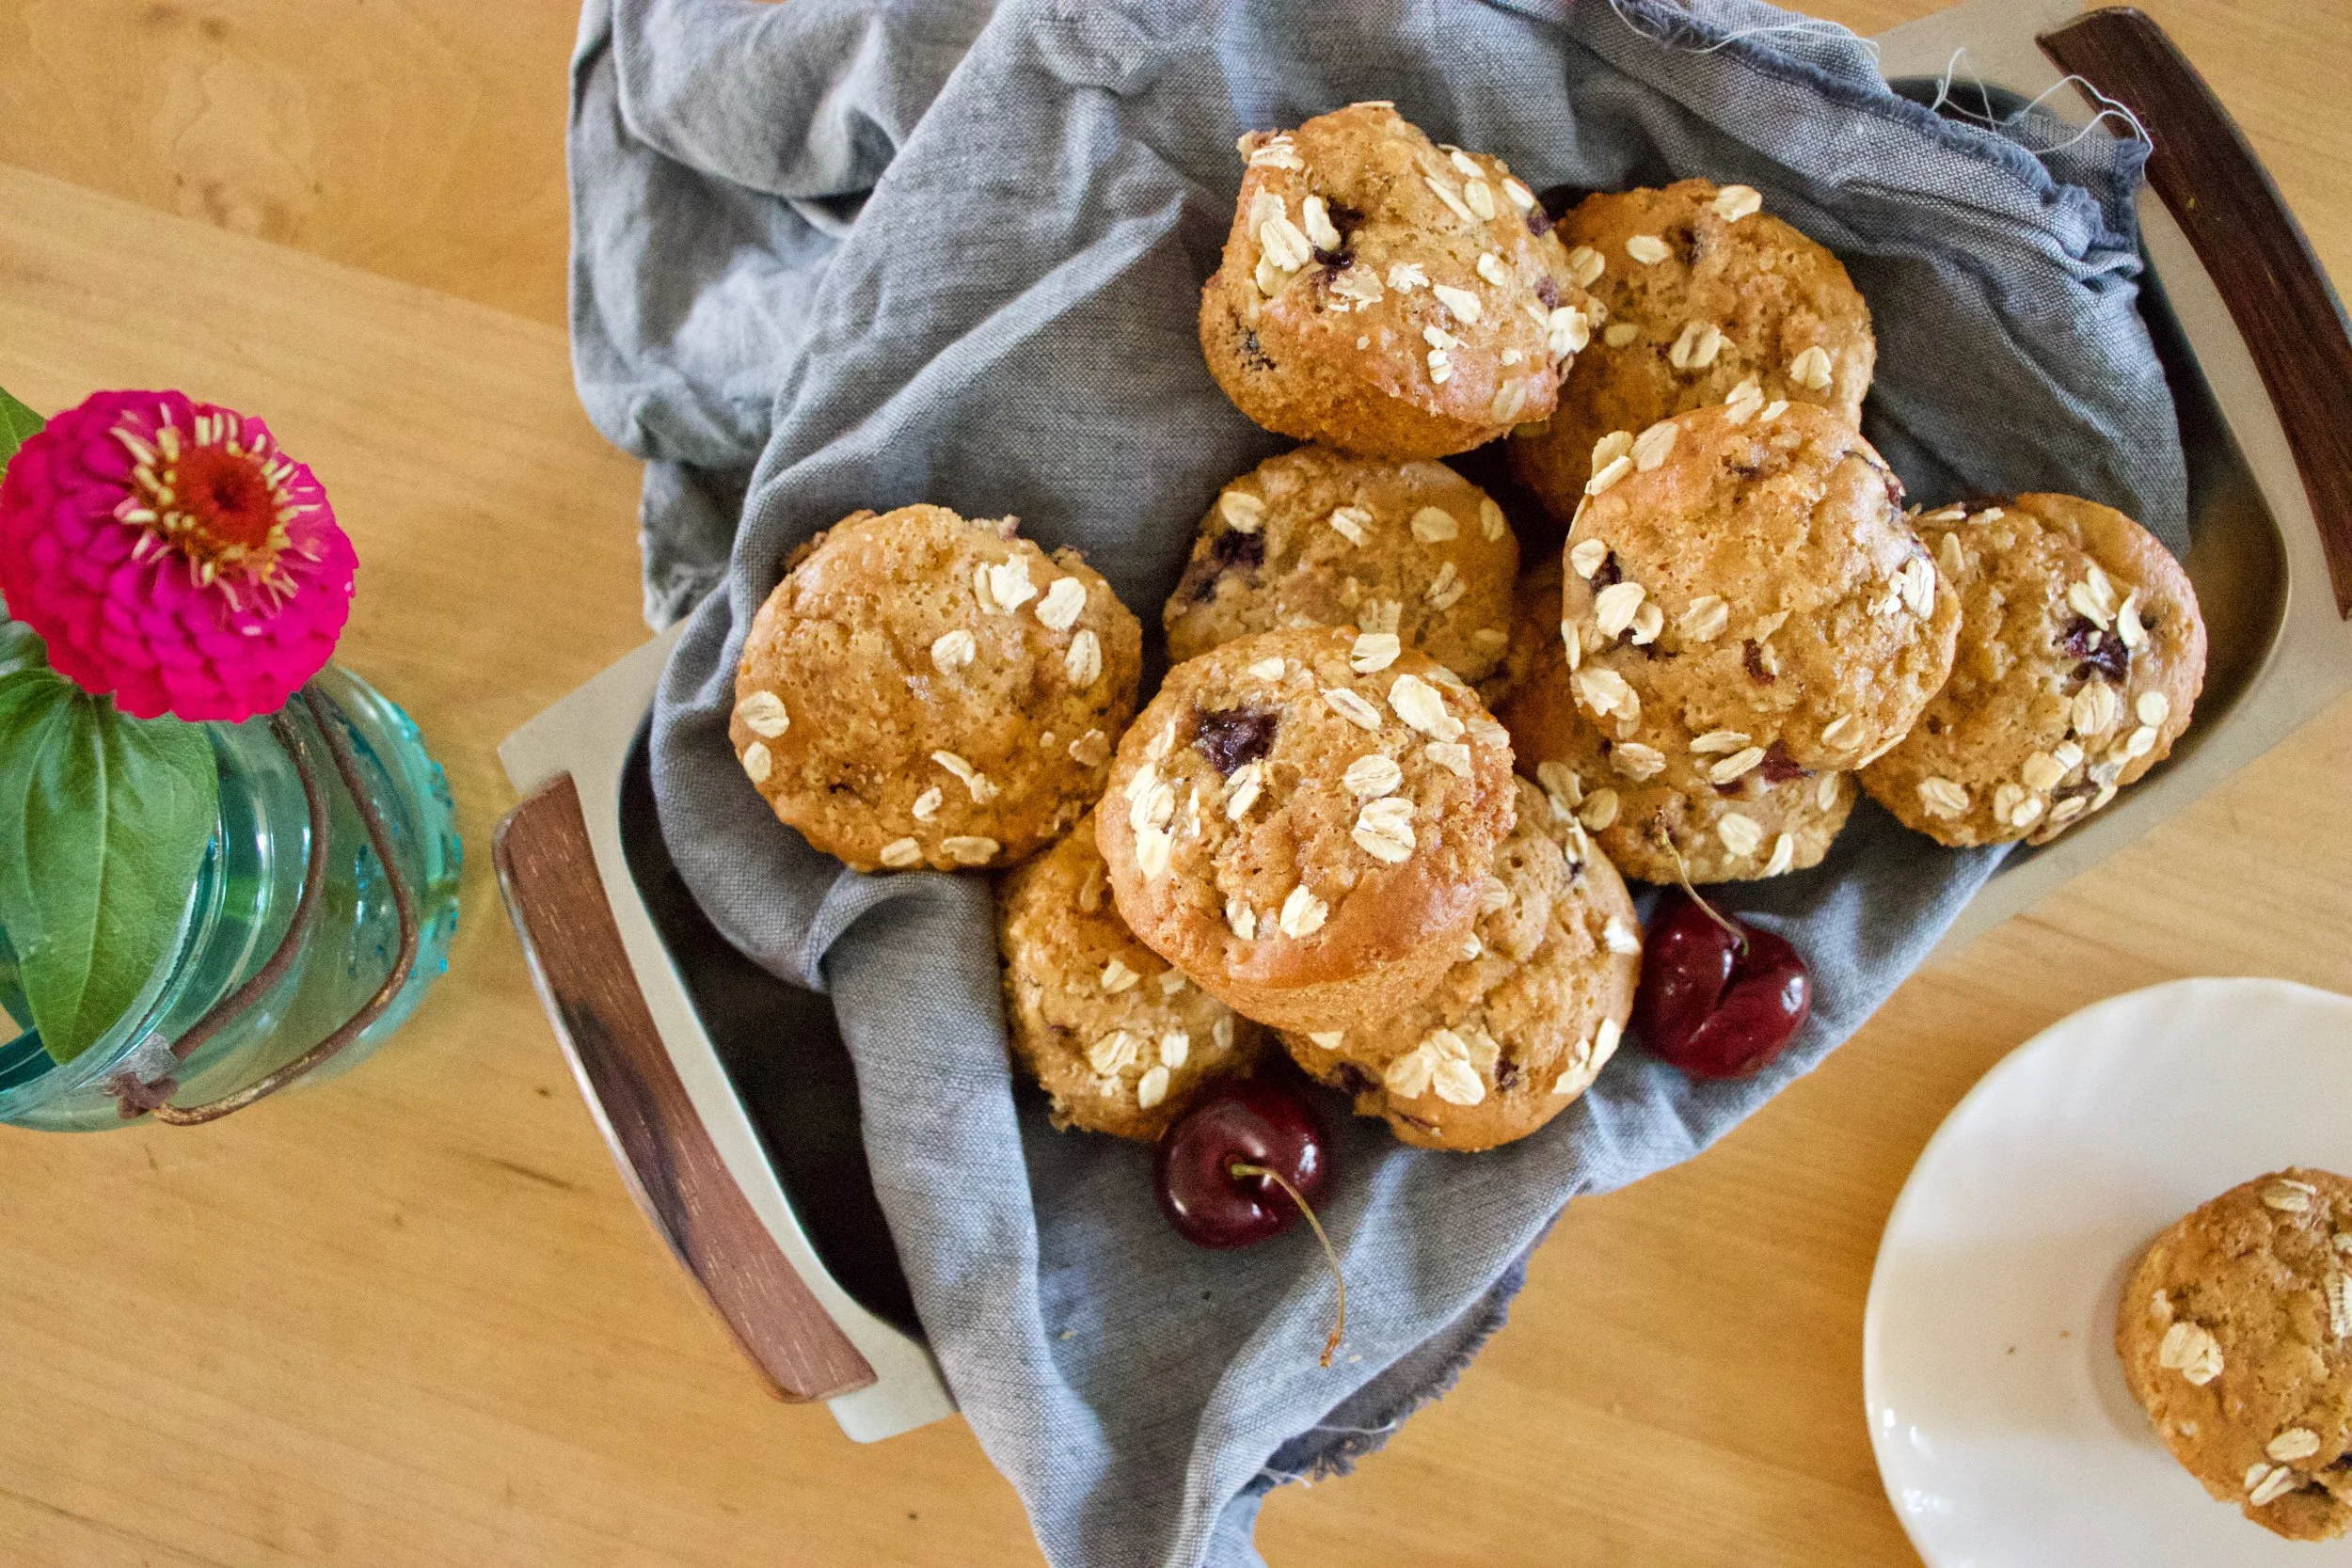

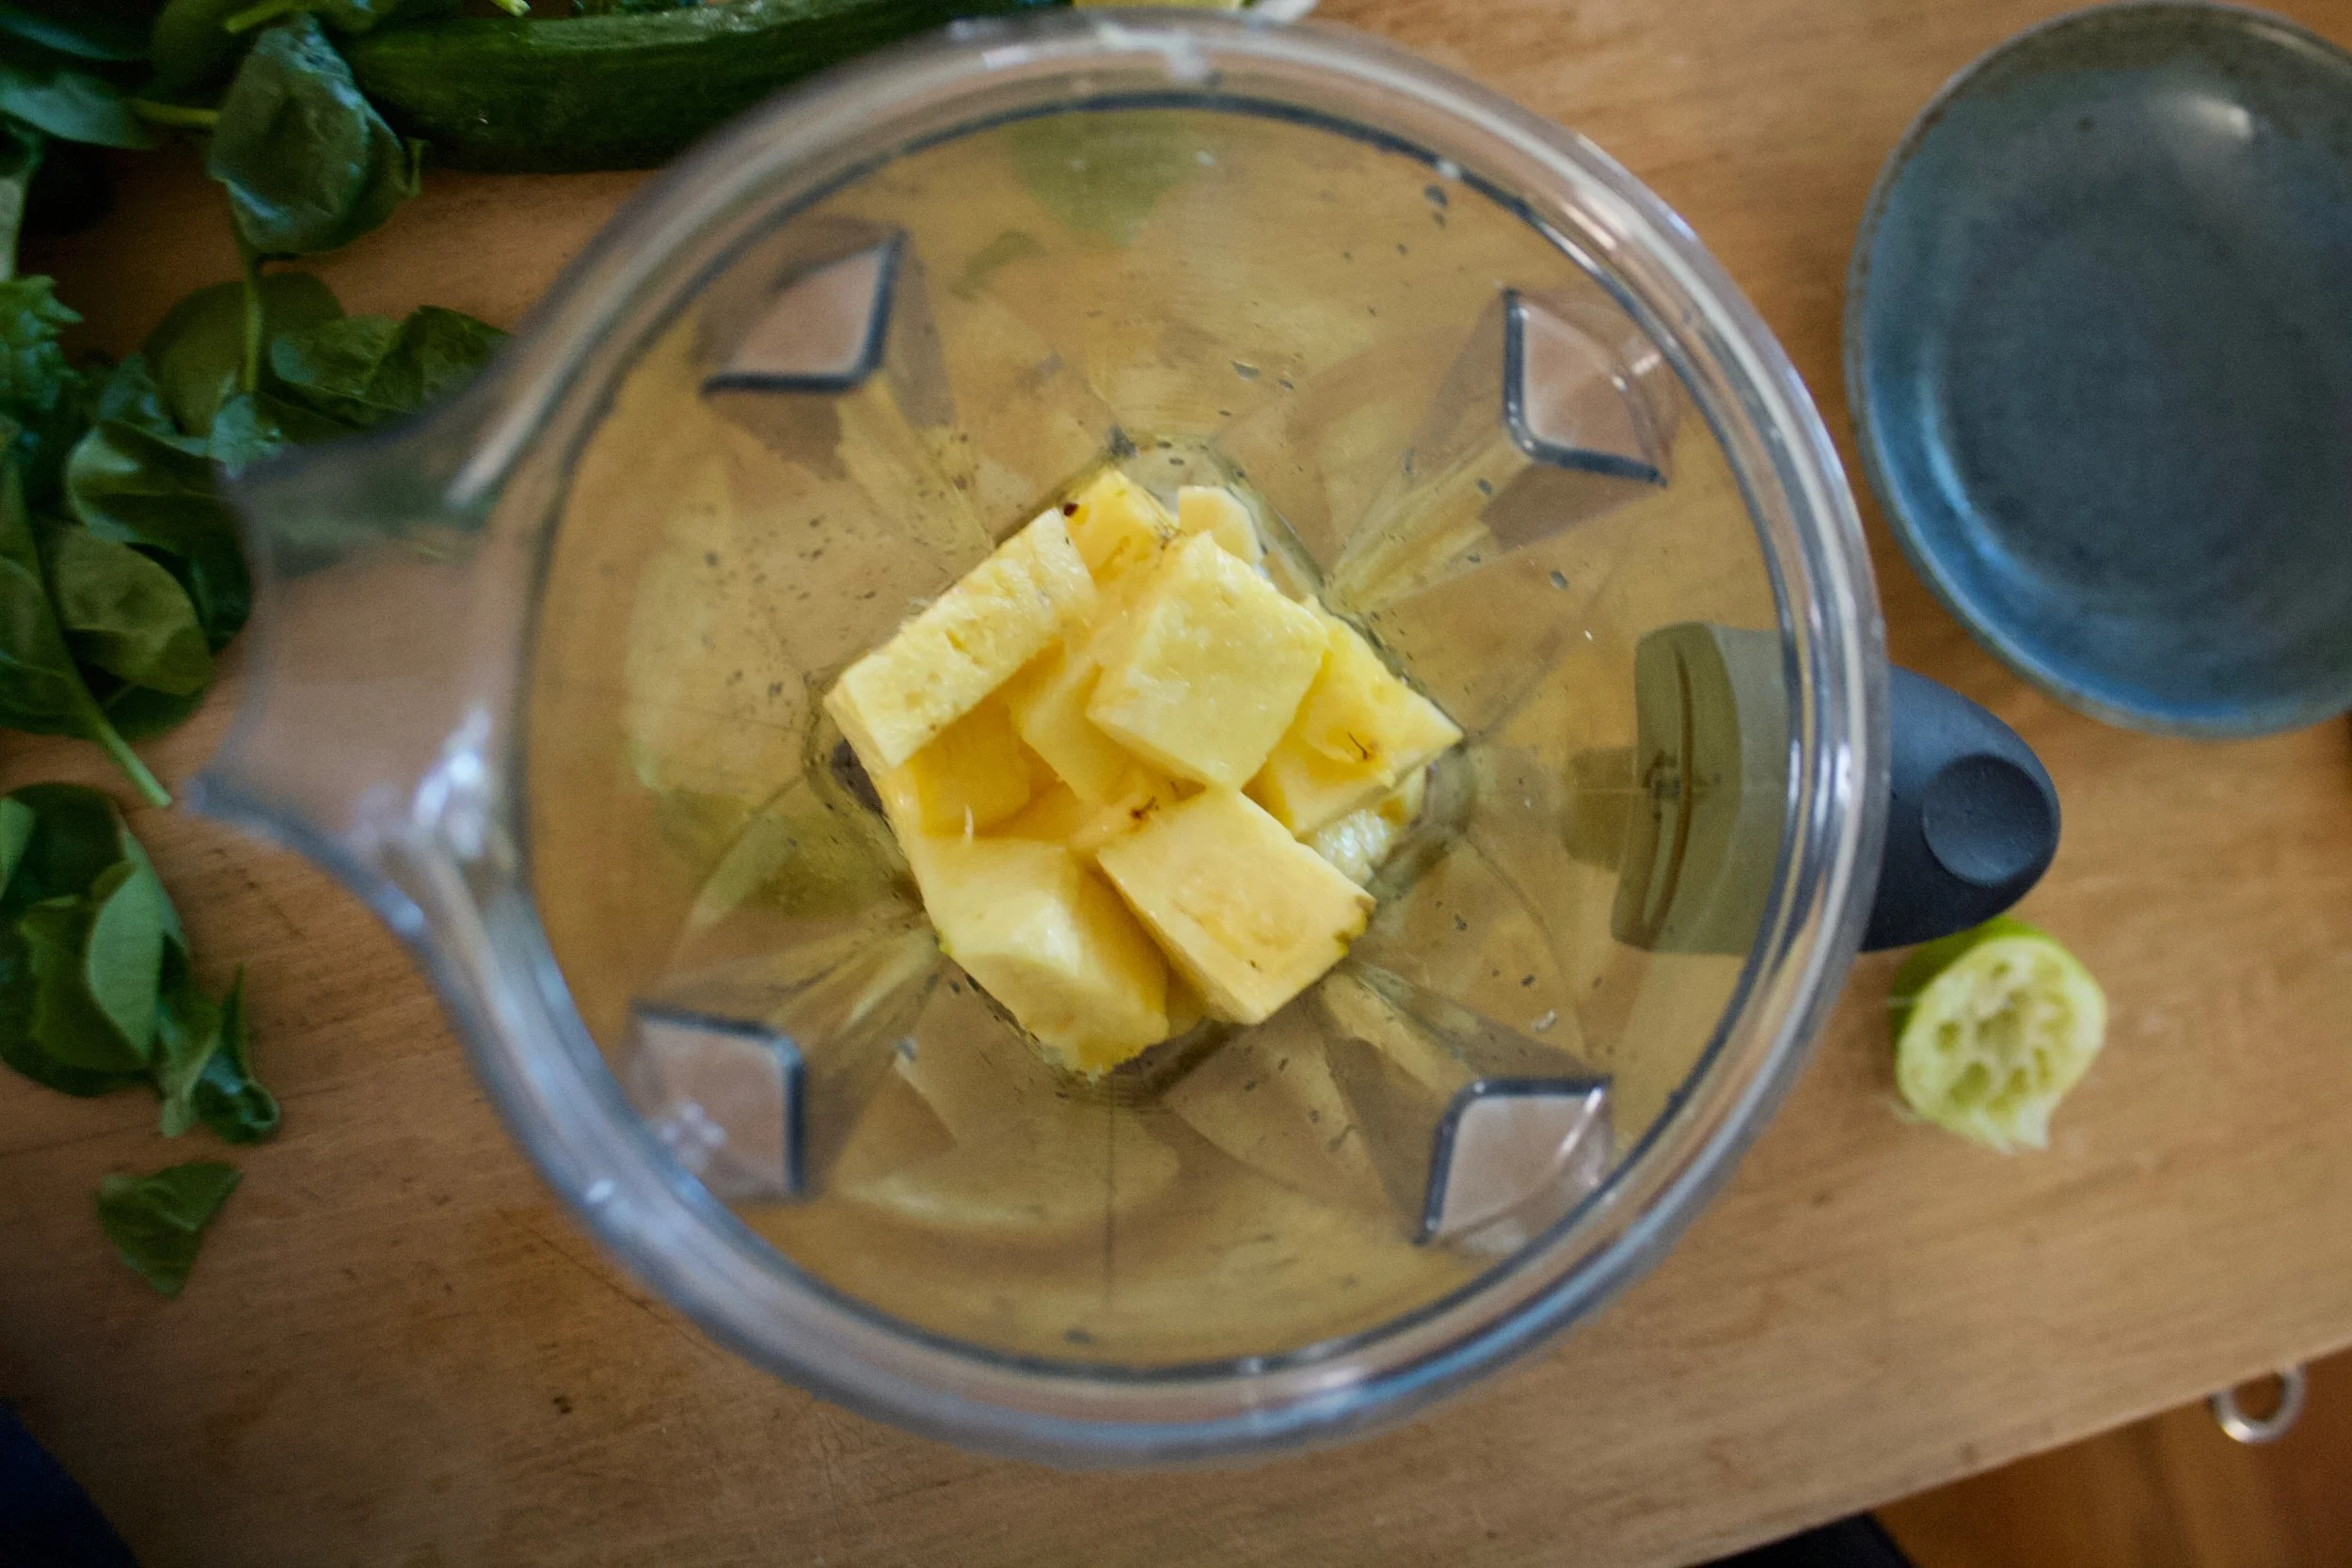
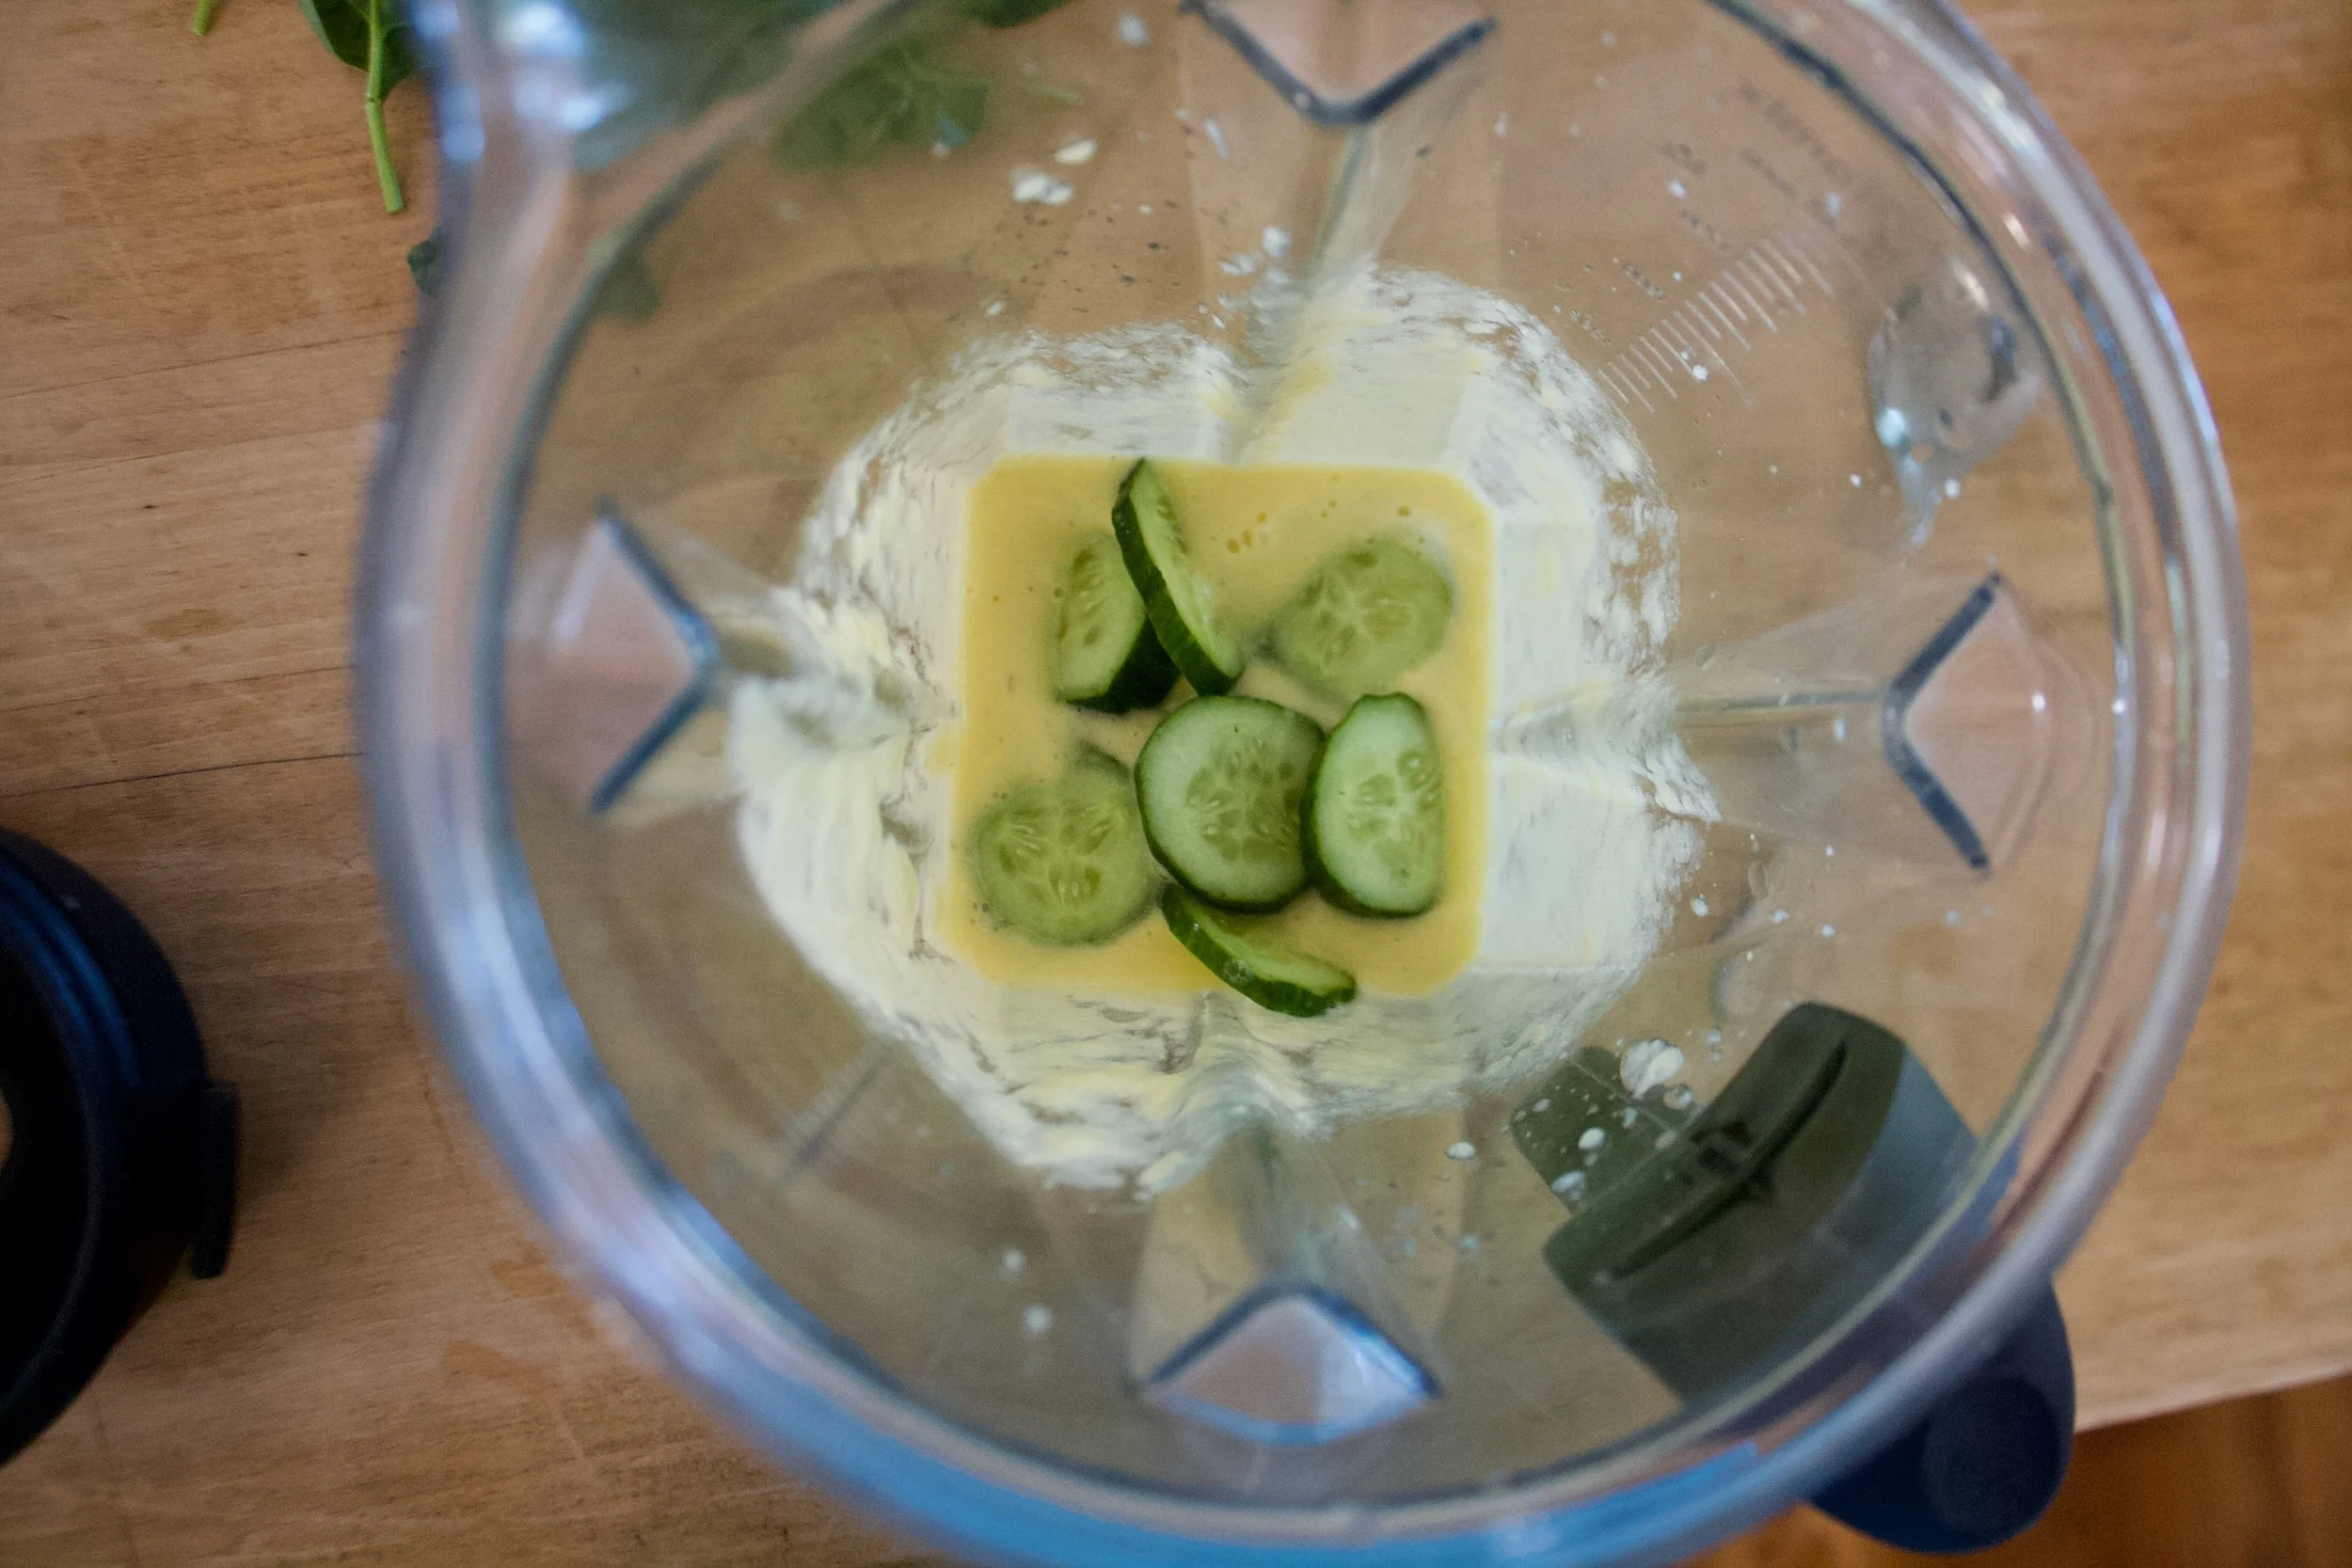


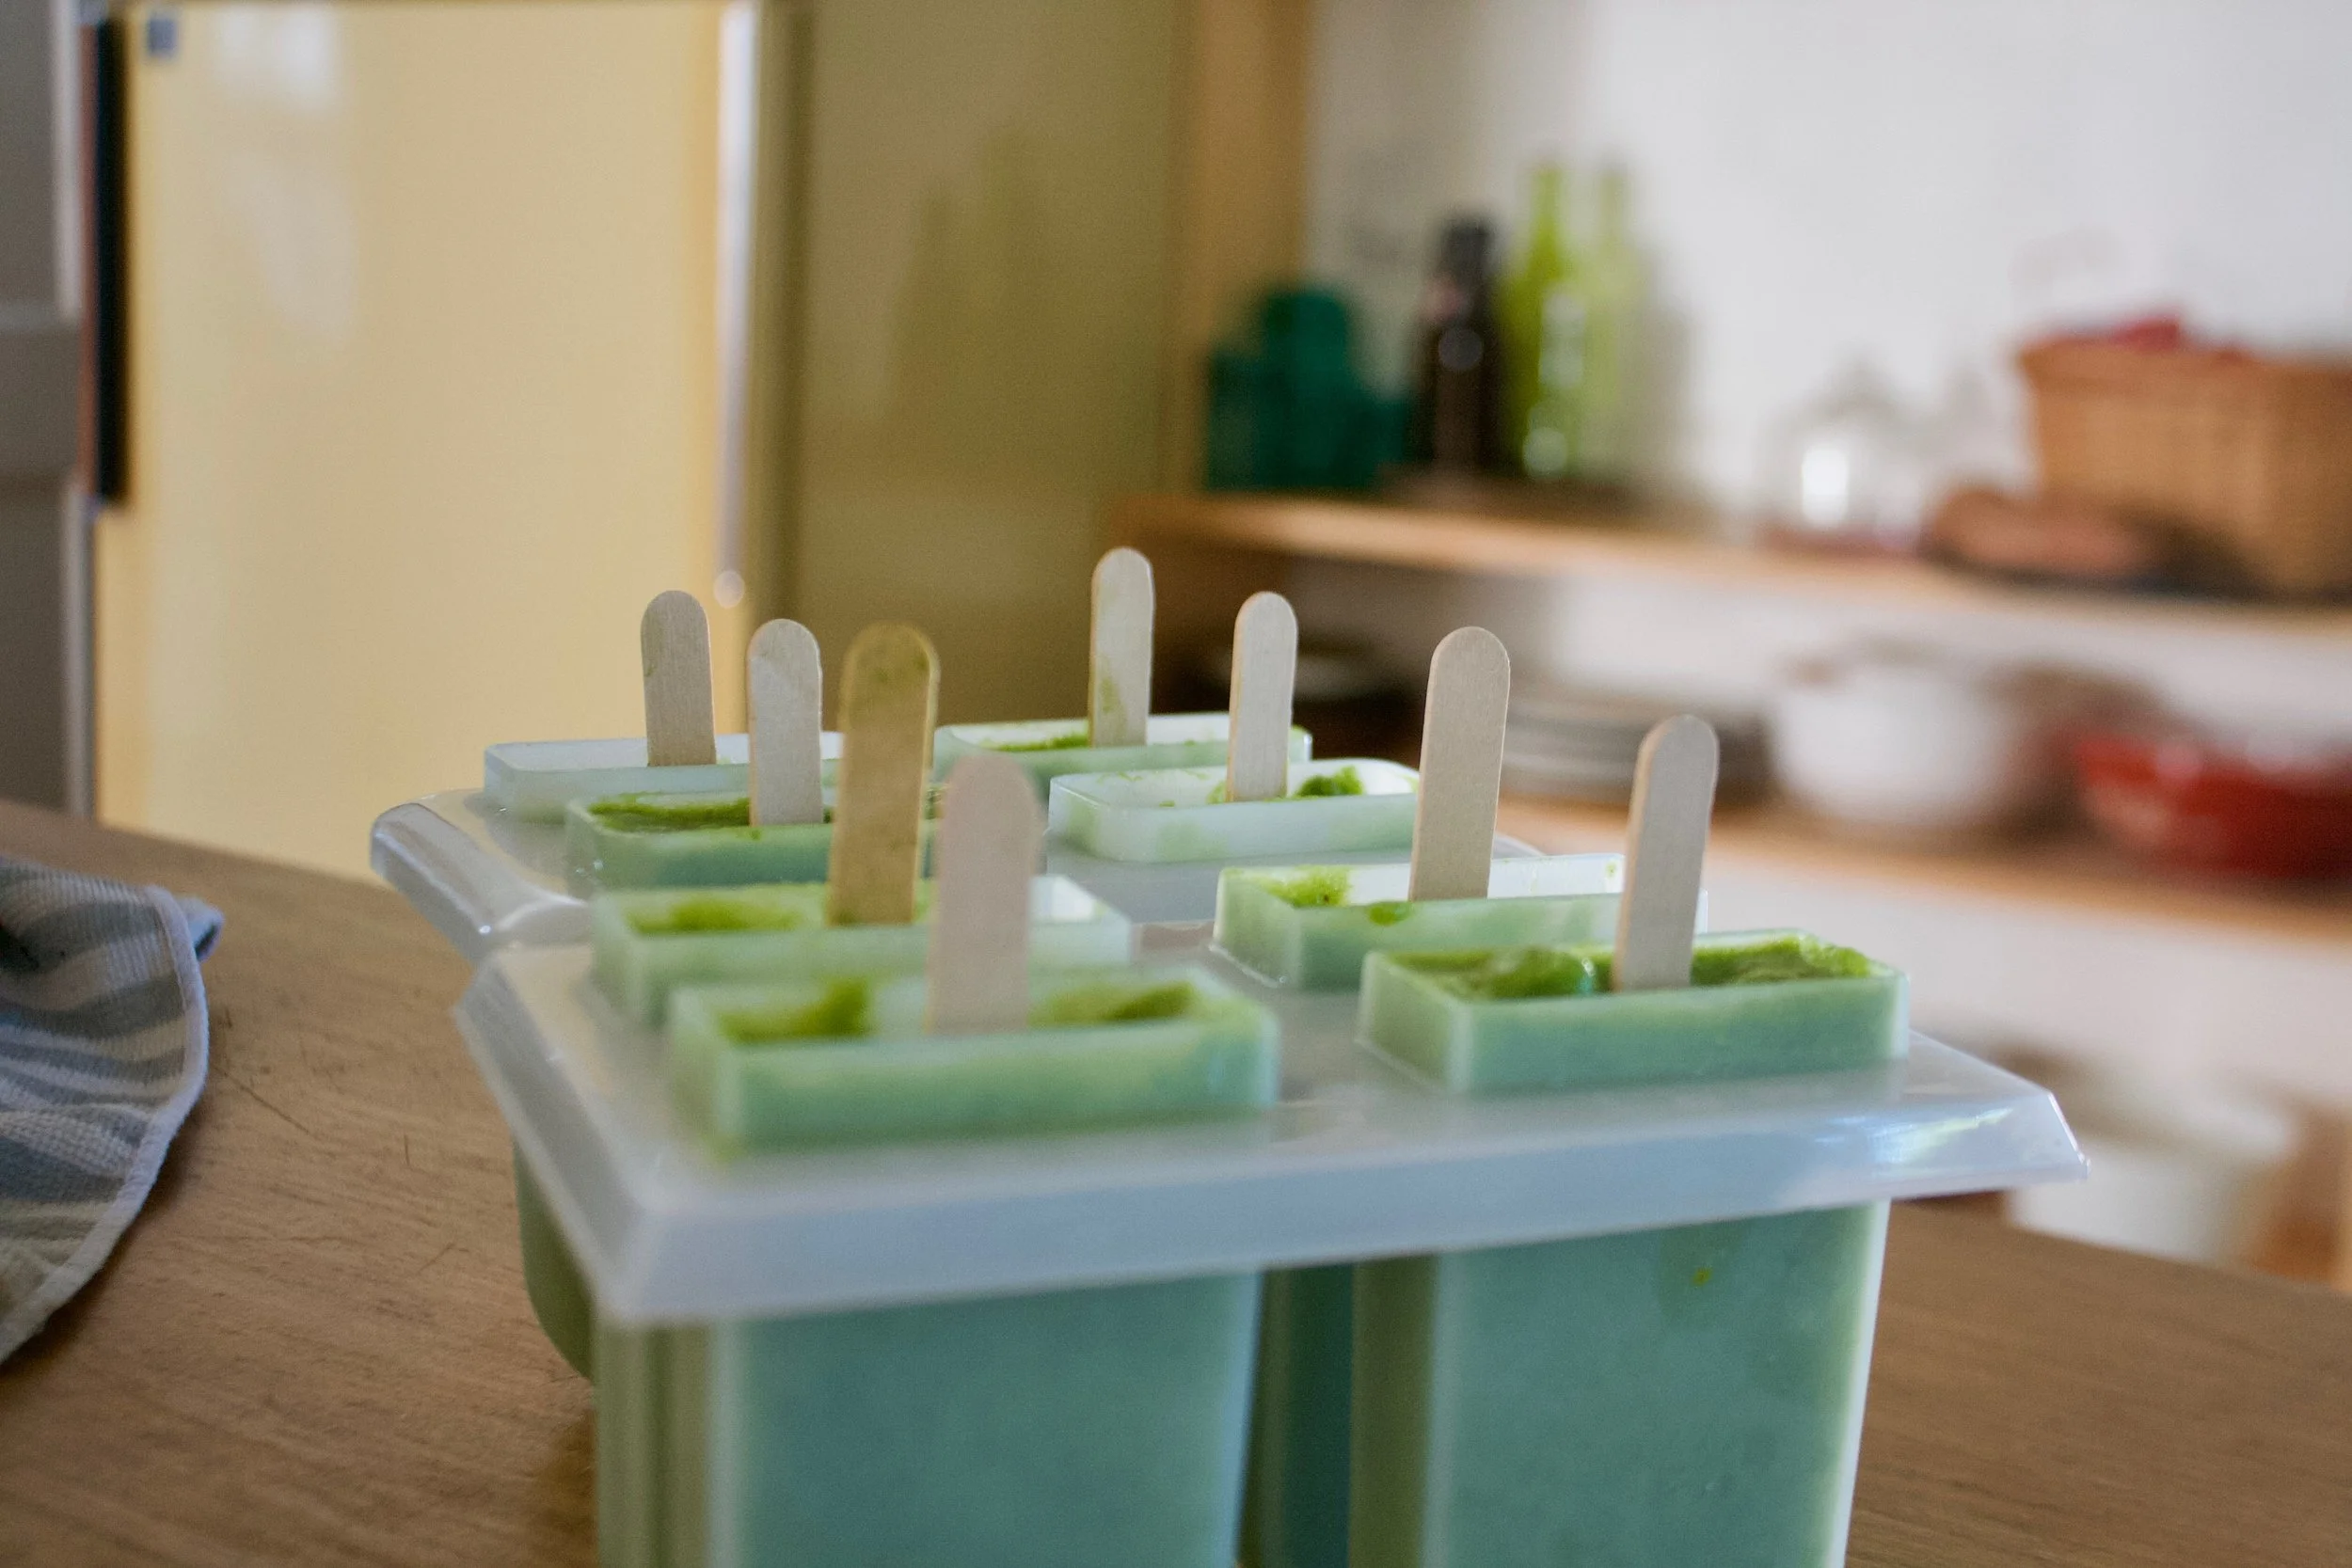


 Chomp Chomp Chomp… The sound I make as I eat this freaking fantastic crunchy granola. You know it’s good when the person sitting next to you is annoyed by the sound of you face while eating. I eat a lot of crunchy stuff. And I am pretty sure I annoy the mister a lot.
  The simplest of stuff. 1 smashed banana, a cup of pureed butternut squash, Vietnamese cinnamon*, honey, and old fashion oats. (and a dash of salt, not shown)
 Toss the cinnamon and salt with the oats. Mix together the banana, squash and the sweetener and combine with the oats until full incorporated.
  Dump the mixture on a parchment lined baking sheet and give it a little pat, you know, to settle all the bit and pieces together, all cozy and evenly spread out. Now stick into a preheated oven and after about 20 minutes, take out of oven and give the granola a toss, breaking apart any super big chunks or overly wet pieces. Put back into oven for another 20 minutes. (I like my granola super crispy crunchy so I cook it a little longer, like 30 more minutes)
 And when you are happy with the crunchiness of you granola, remove from oven and let cool, trying not to eat all of it while it sit’s on the counter looking all pretty and smelling like happiness.
  As the weather gets warmer and the days get longer, my food brain turns to fresh colorful simple spring food. (which is totally a thing). Spring food is a combination of the last of the winters hardy root veggies combined with the springs bounty of fresh greens and early growers. Spring food is the best!
 Dressing stuff. A nice and ripe avocado, the juice of a juicy lemon, a bit of garlic powder (raw garlic is nice too, but grate it super fine) and salt. Simple simple and sometimes simple can be the best.
 All stuff get mashed super mashed until smooth and scooped into a jar with a lid. Add about 1/4- 1/2 cup water (depending on how thick you like it) and shake that jar all around.
 A roasted beet and carrot, all sliced up
 Tossed onto a bed of tender baby spinach
 And topped with creamy avocado dressing. Fantastic, so pretty, and makes the day super springy!
 And I am home. The mister and I woke up at 2:15 am Friday morning to drive to Easton PA and spend the weekend with family, going to the Crayola crayon factory, wondering a grave yard, and hearing some fantastic stories about my family from the mouth of my 95 year old grandmother. (I’ll show some pictures and tell you some stuff later this week) Than we drove back late last night… I don’t know how I am even awake right now…I am sooooo much tired! But that’s how I work I guess. The coffee is almost ready, calling my name, telling me its totally cool to drink it all.
 My forsythia bush in from of one of my houses… Always the first one to bloom.
  This is how washer sleeps in the warmer months.. All feet in the air.
  I ate it all and it was good.
 Two pretty ladies
 Veggies Plants!!!!
  Oh do I love a good Sunday. The picture above was taken last Sunday and what a glorious day that was. The mister and I took the pup hiking and it was the most spectacular of days. Sunny, 30 degrees and no wind..I could’t have asked for better weather.
  Playing on the frozen lake. It was so freaking cold and windy, but we just had to do it!
 Two of my favorite people in the world.
 And I made brunch with 2 more of my favorites.
 My little brothers (can I say little if they are bigger then me?) came over and we all had dinner together while listening to music from when they were born. Nothing like a few 17 year olds to make a person feel old.
 Blooming daffodils. I love to watch my flowers open up, it’s just as good as the flower itself.



 How awesome will you be when you bring the most freaking amazing tortilla chips to the party this weekend? You will be like..”what, it ain’t no thang.. I am just good like that” Yes, yes you are.
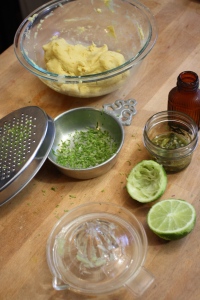
 Knead dough a few times just to make sure it’s completely uniformed and divide into 12-14 equal pieces. Place balls on a plate and cover with a wet paper towl to keep from drying out.
 My cast iron skillet is big enough to cook 2 -3 at a time, but doing one at a time is cool too. Preheat the skillet to medium heat. Cook each tortilla for about 2-3 minutes ( or until starting to brown) on each side.
  Half way there to chips!!!
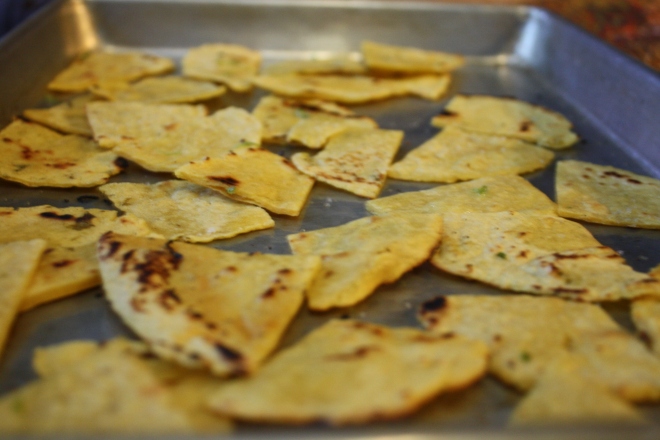 Placed all nice and cozy on a baking sheet. trying not to overlap. Into a 400 degree oven for about 20 minutes to complete the chip making process.. After about 15 minutes, check for doneness. When nice a crispy, remove from oven, squeeze lime juice all over and sprinkle with salt. I then stuck them back in the oven for a few more minutes just to dry the lime..
 After cooling down, take those chips and stick them in a bowl.


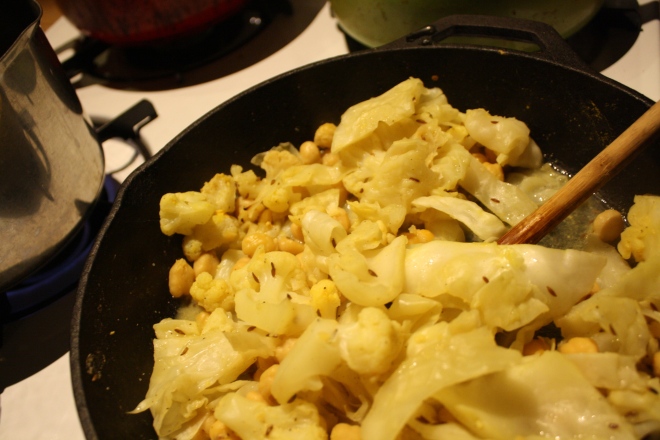


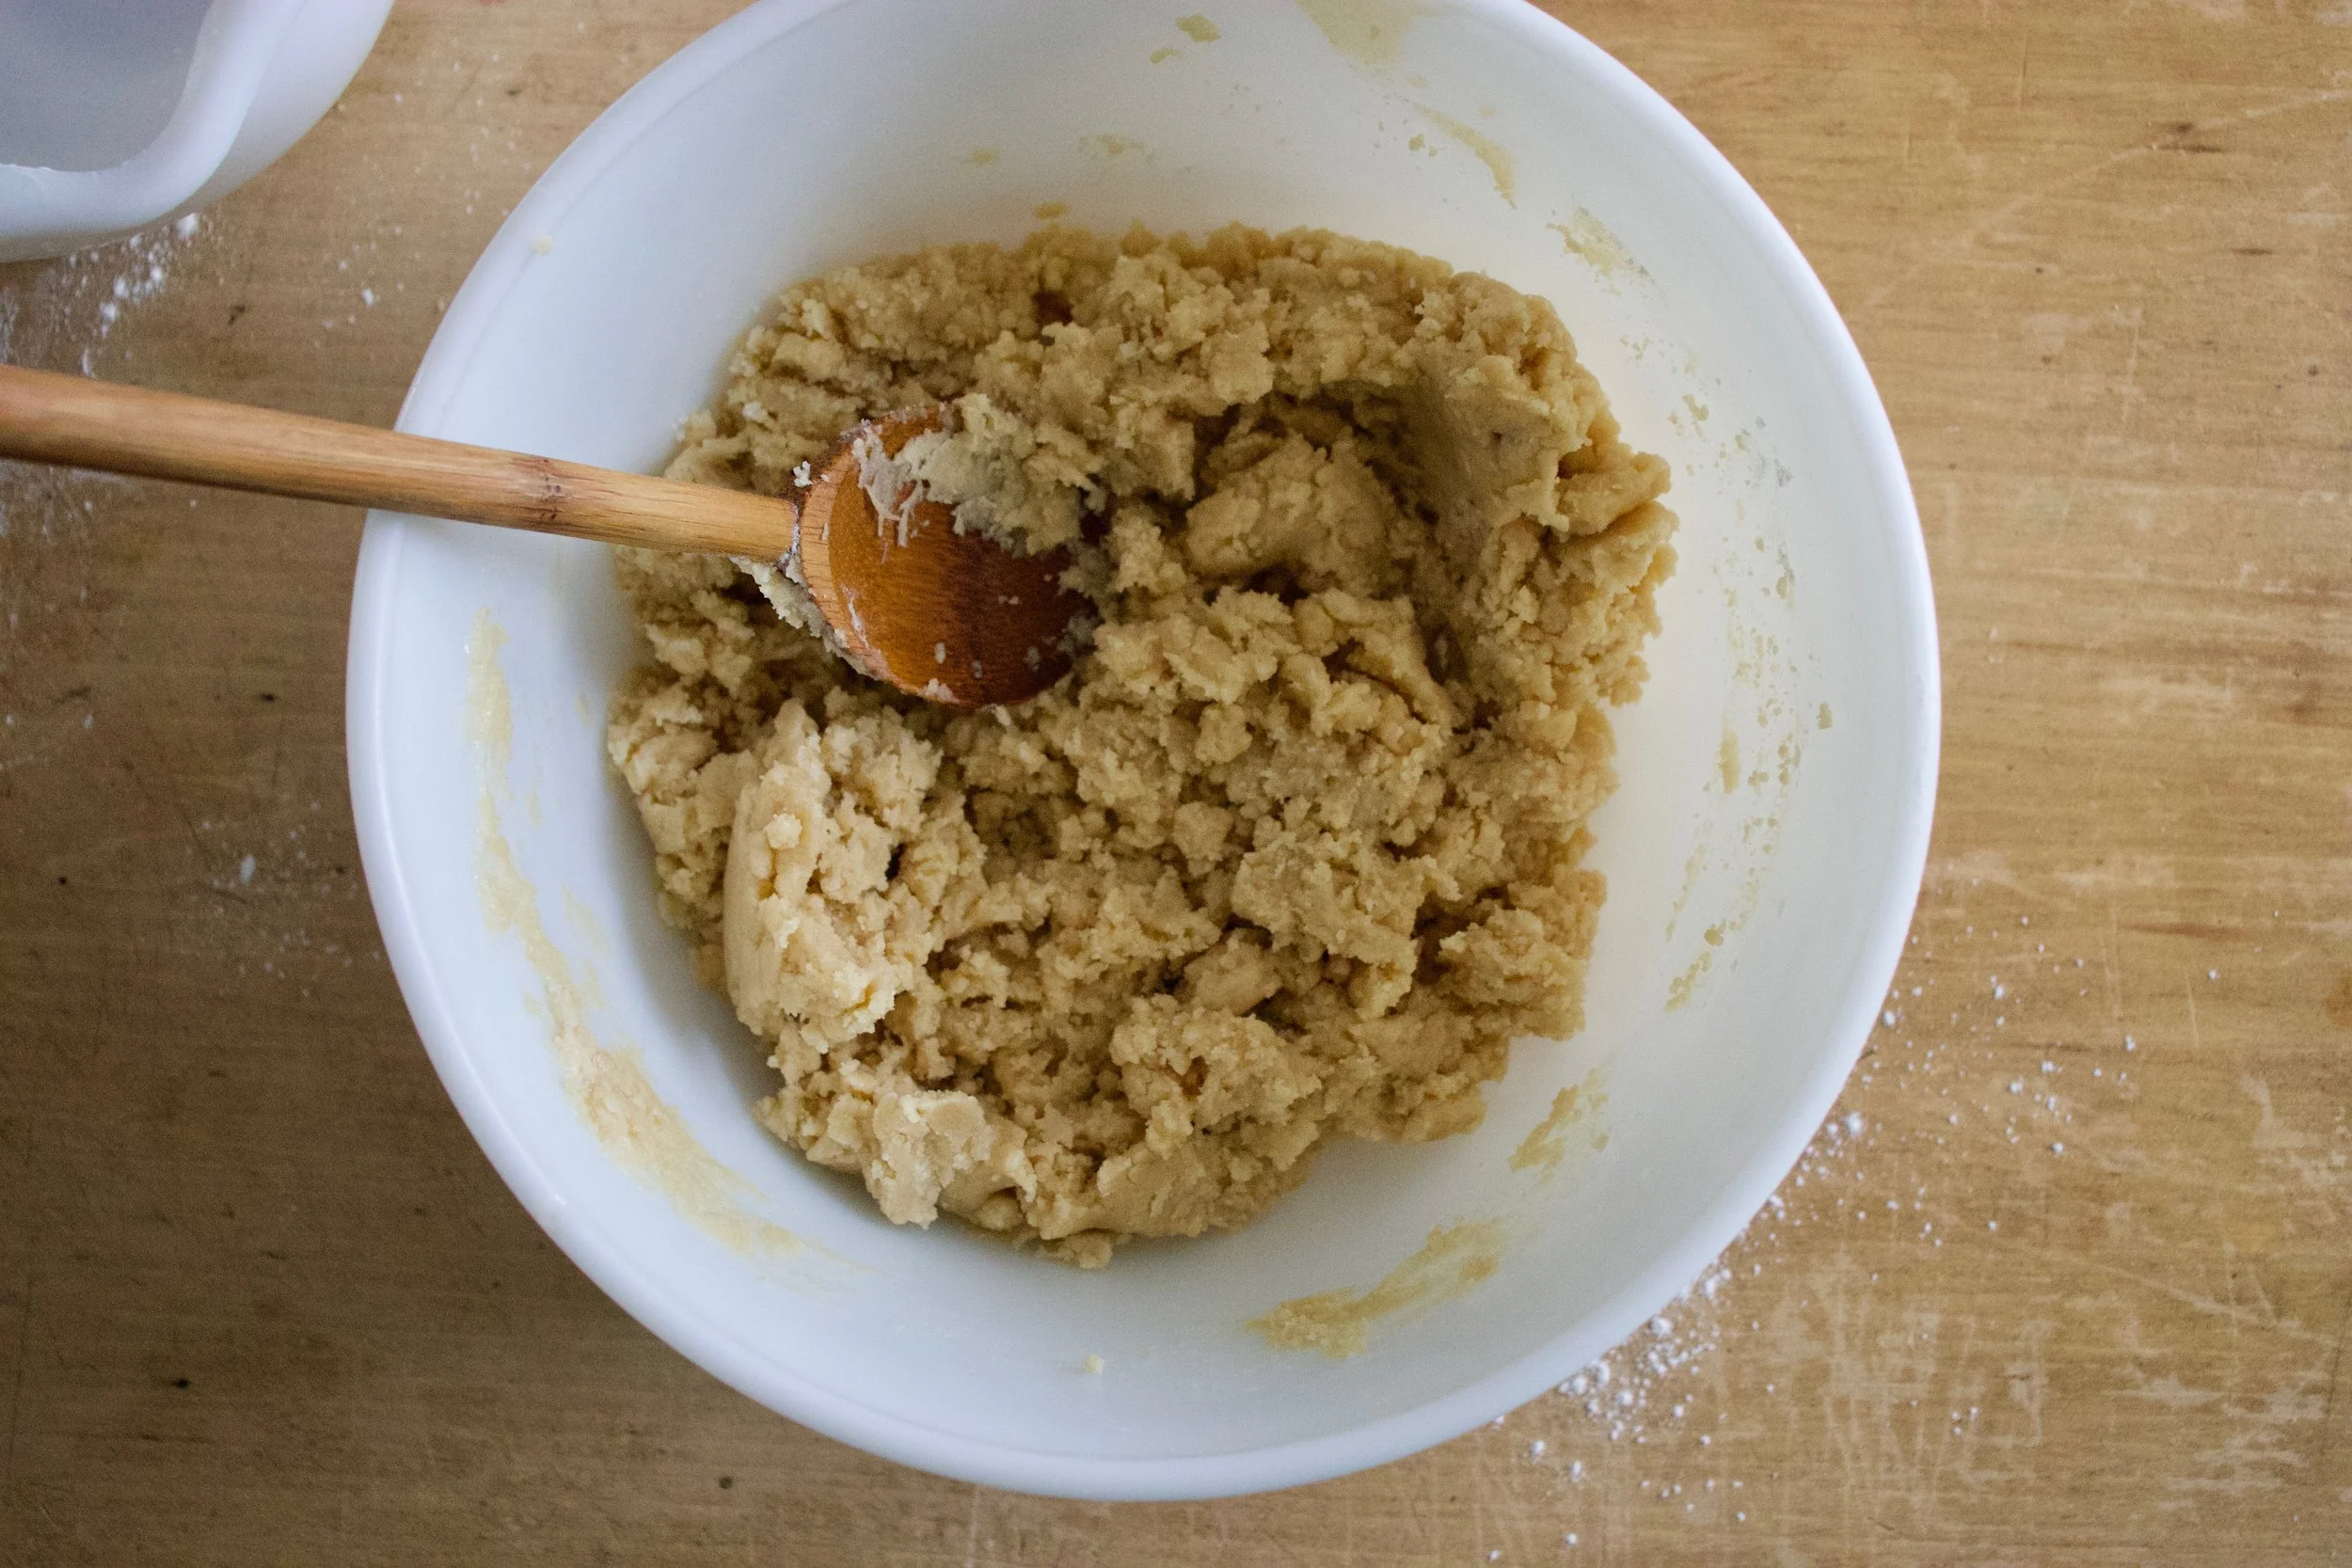
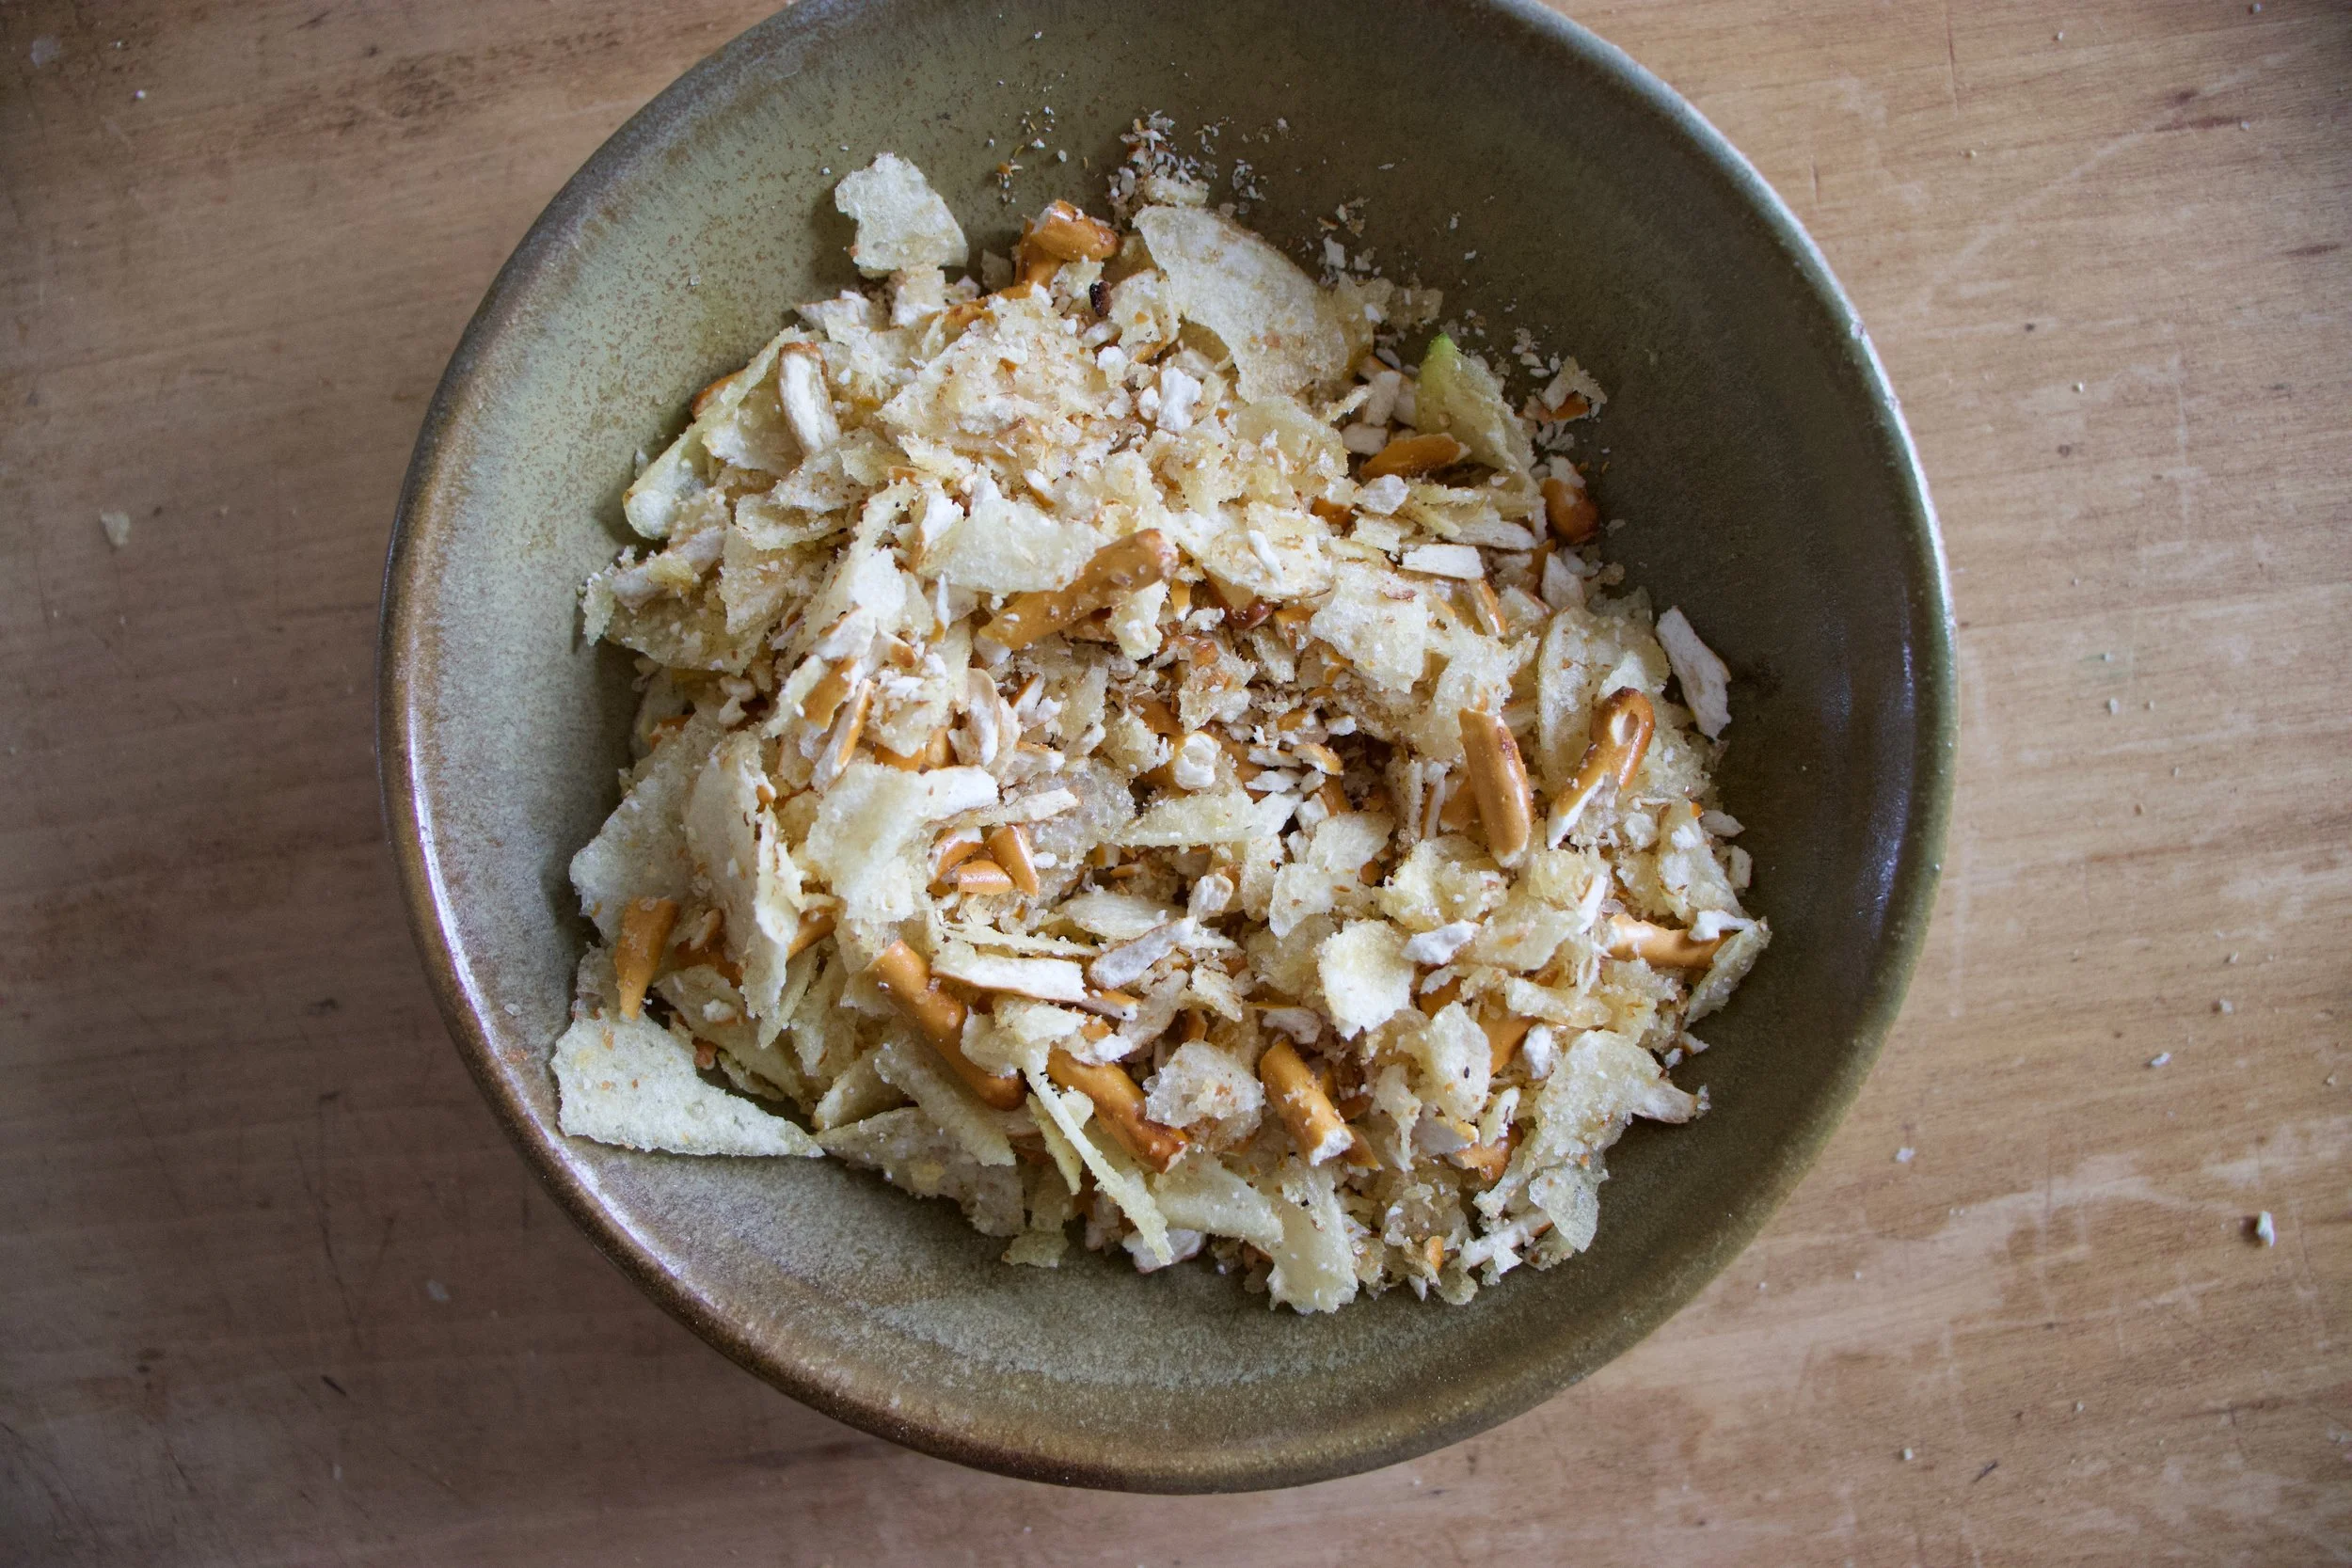

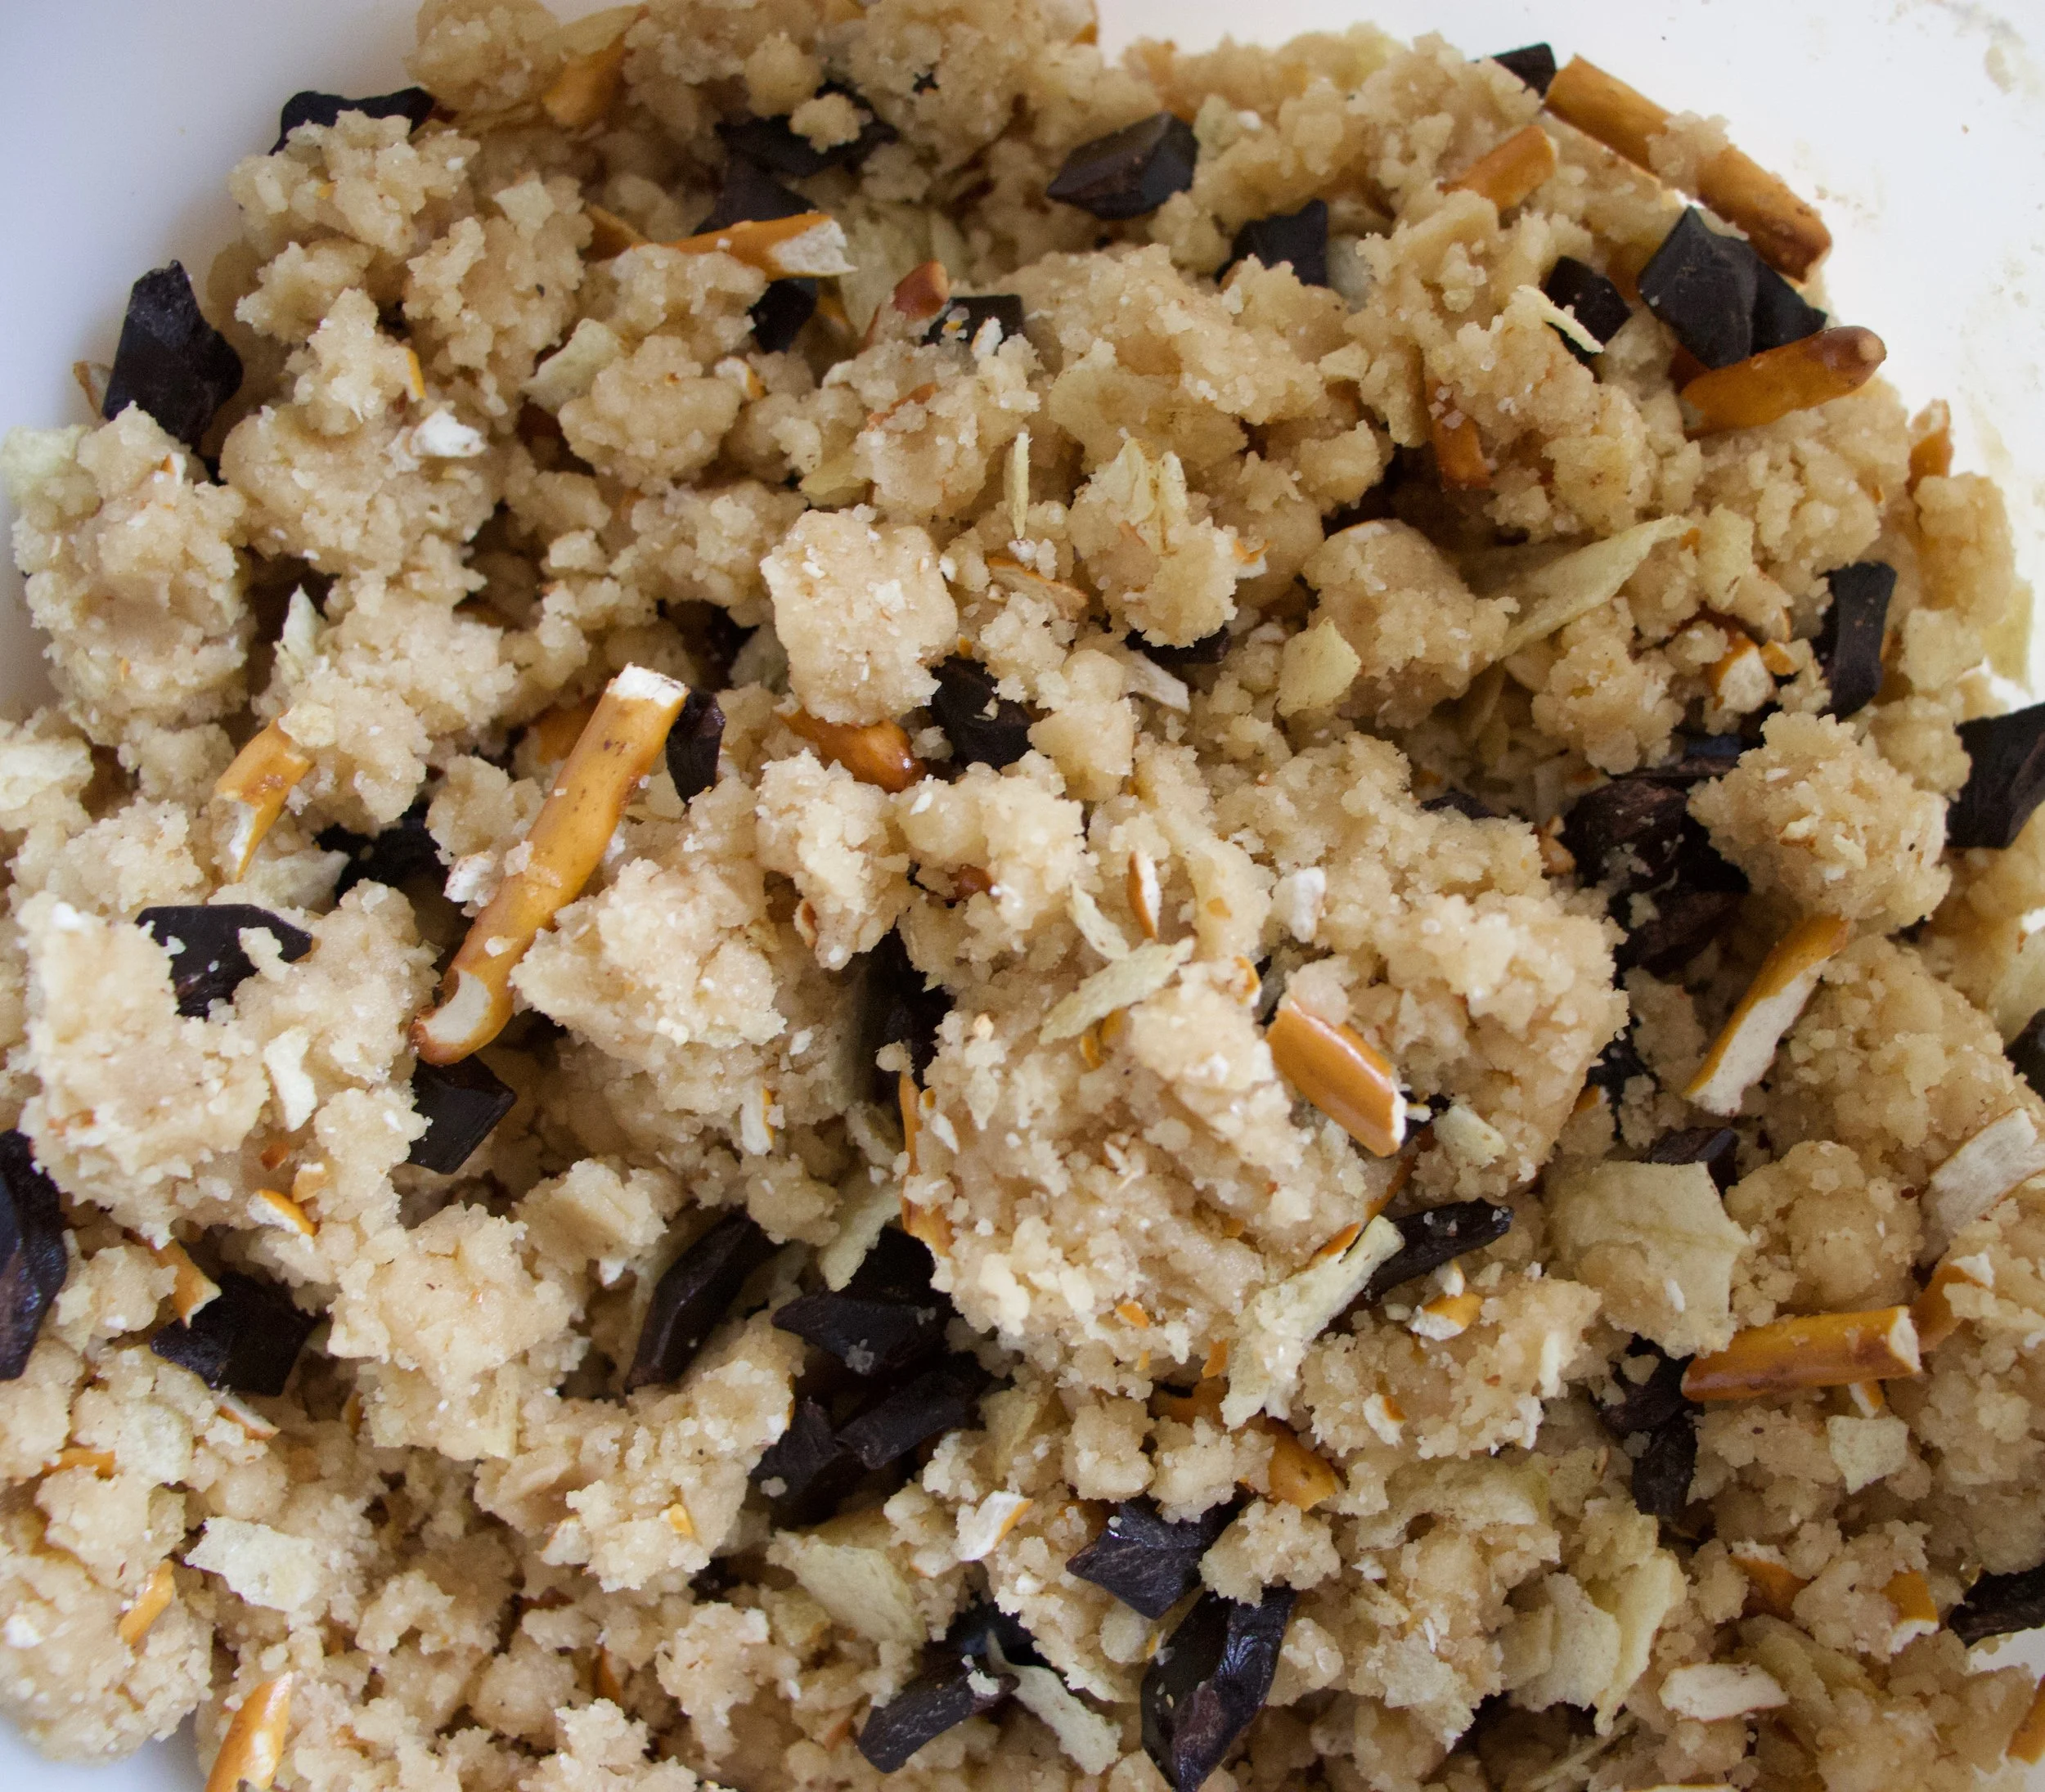
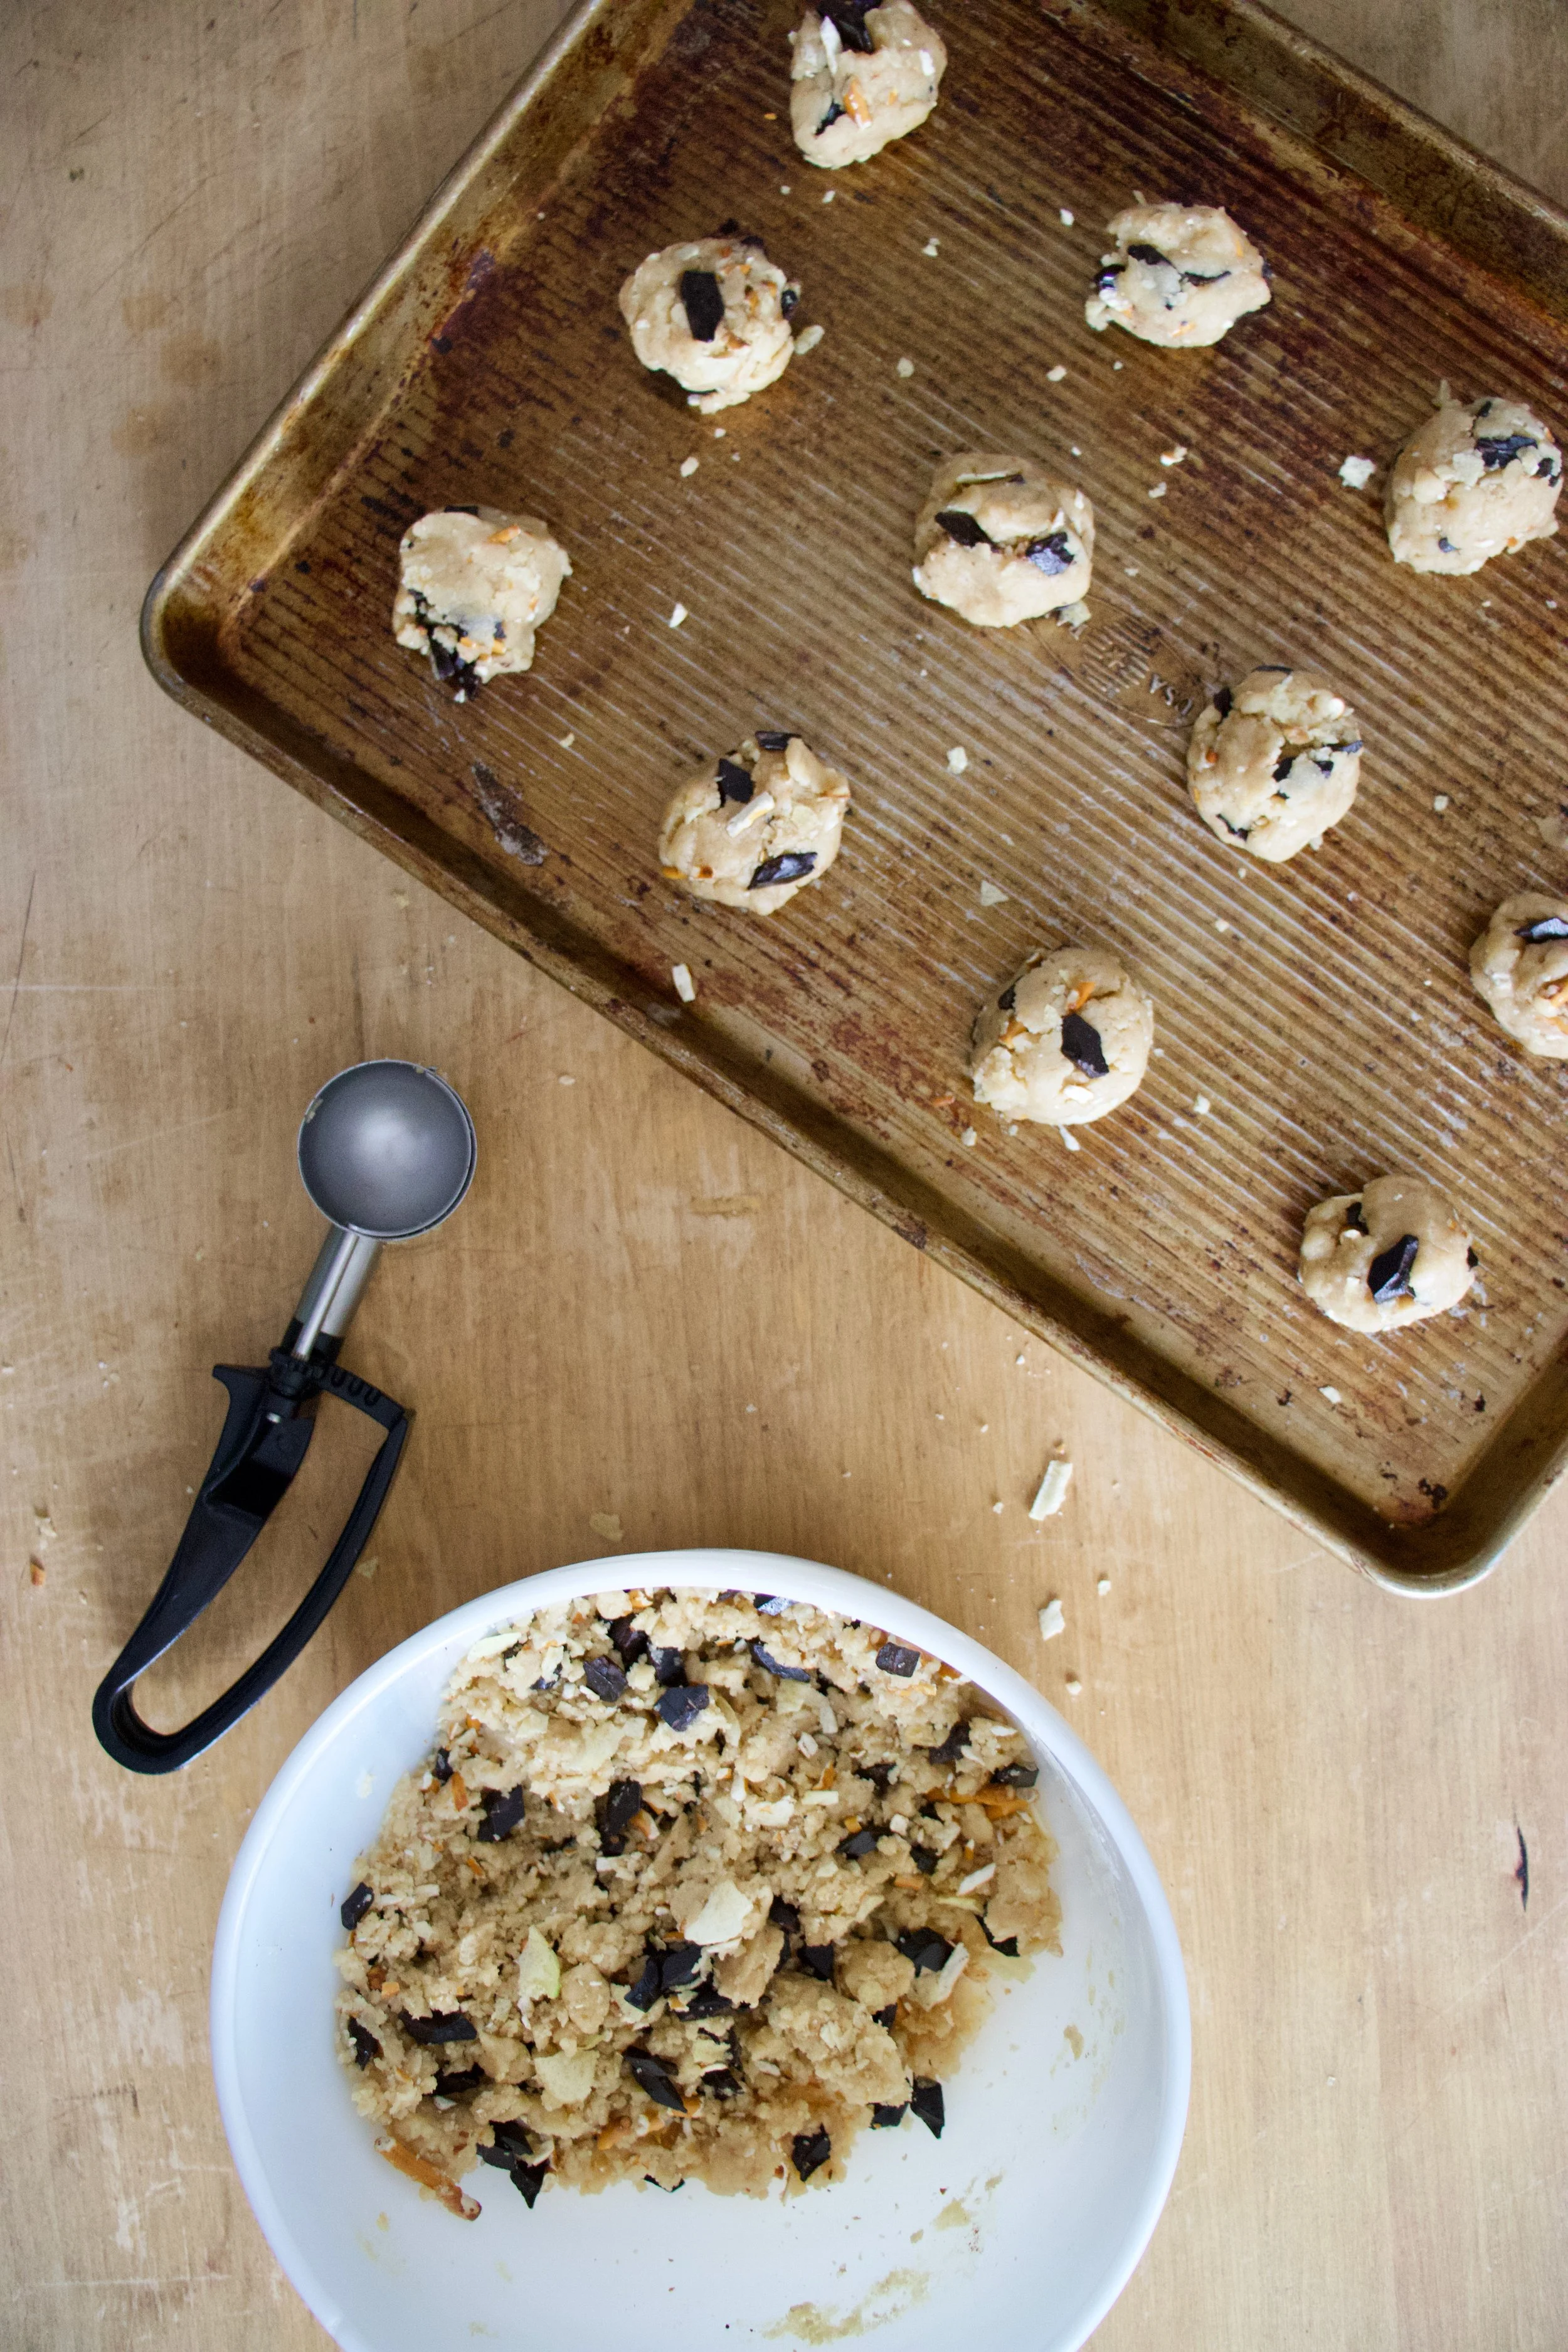

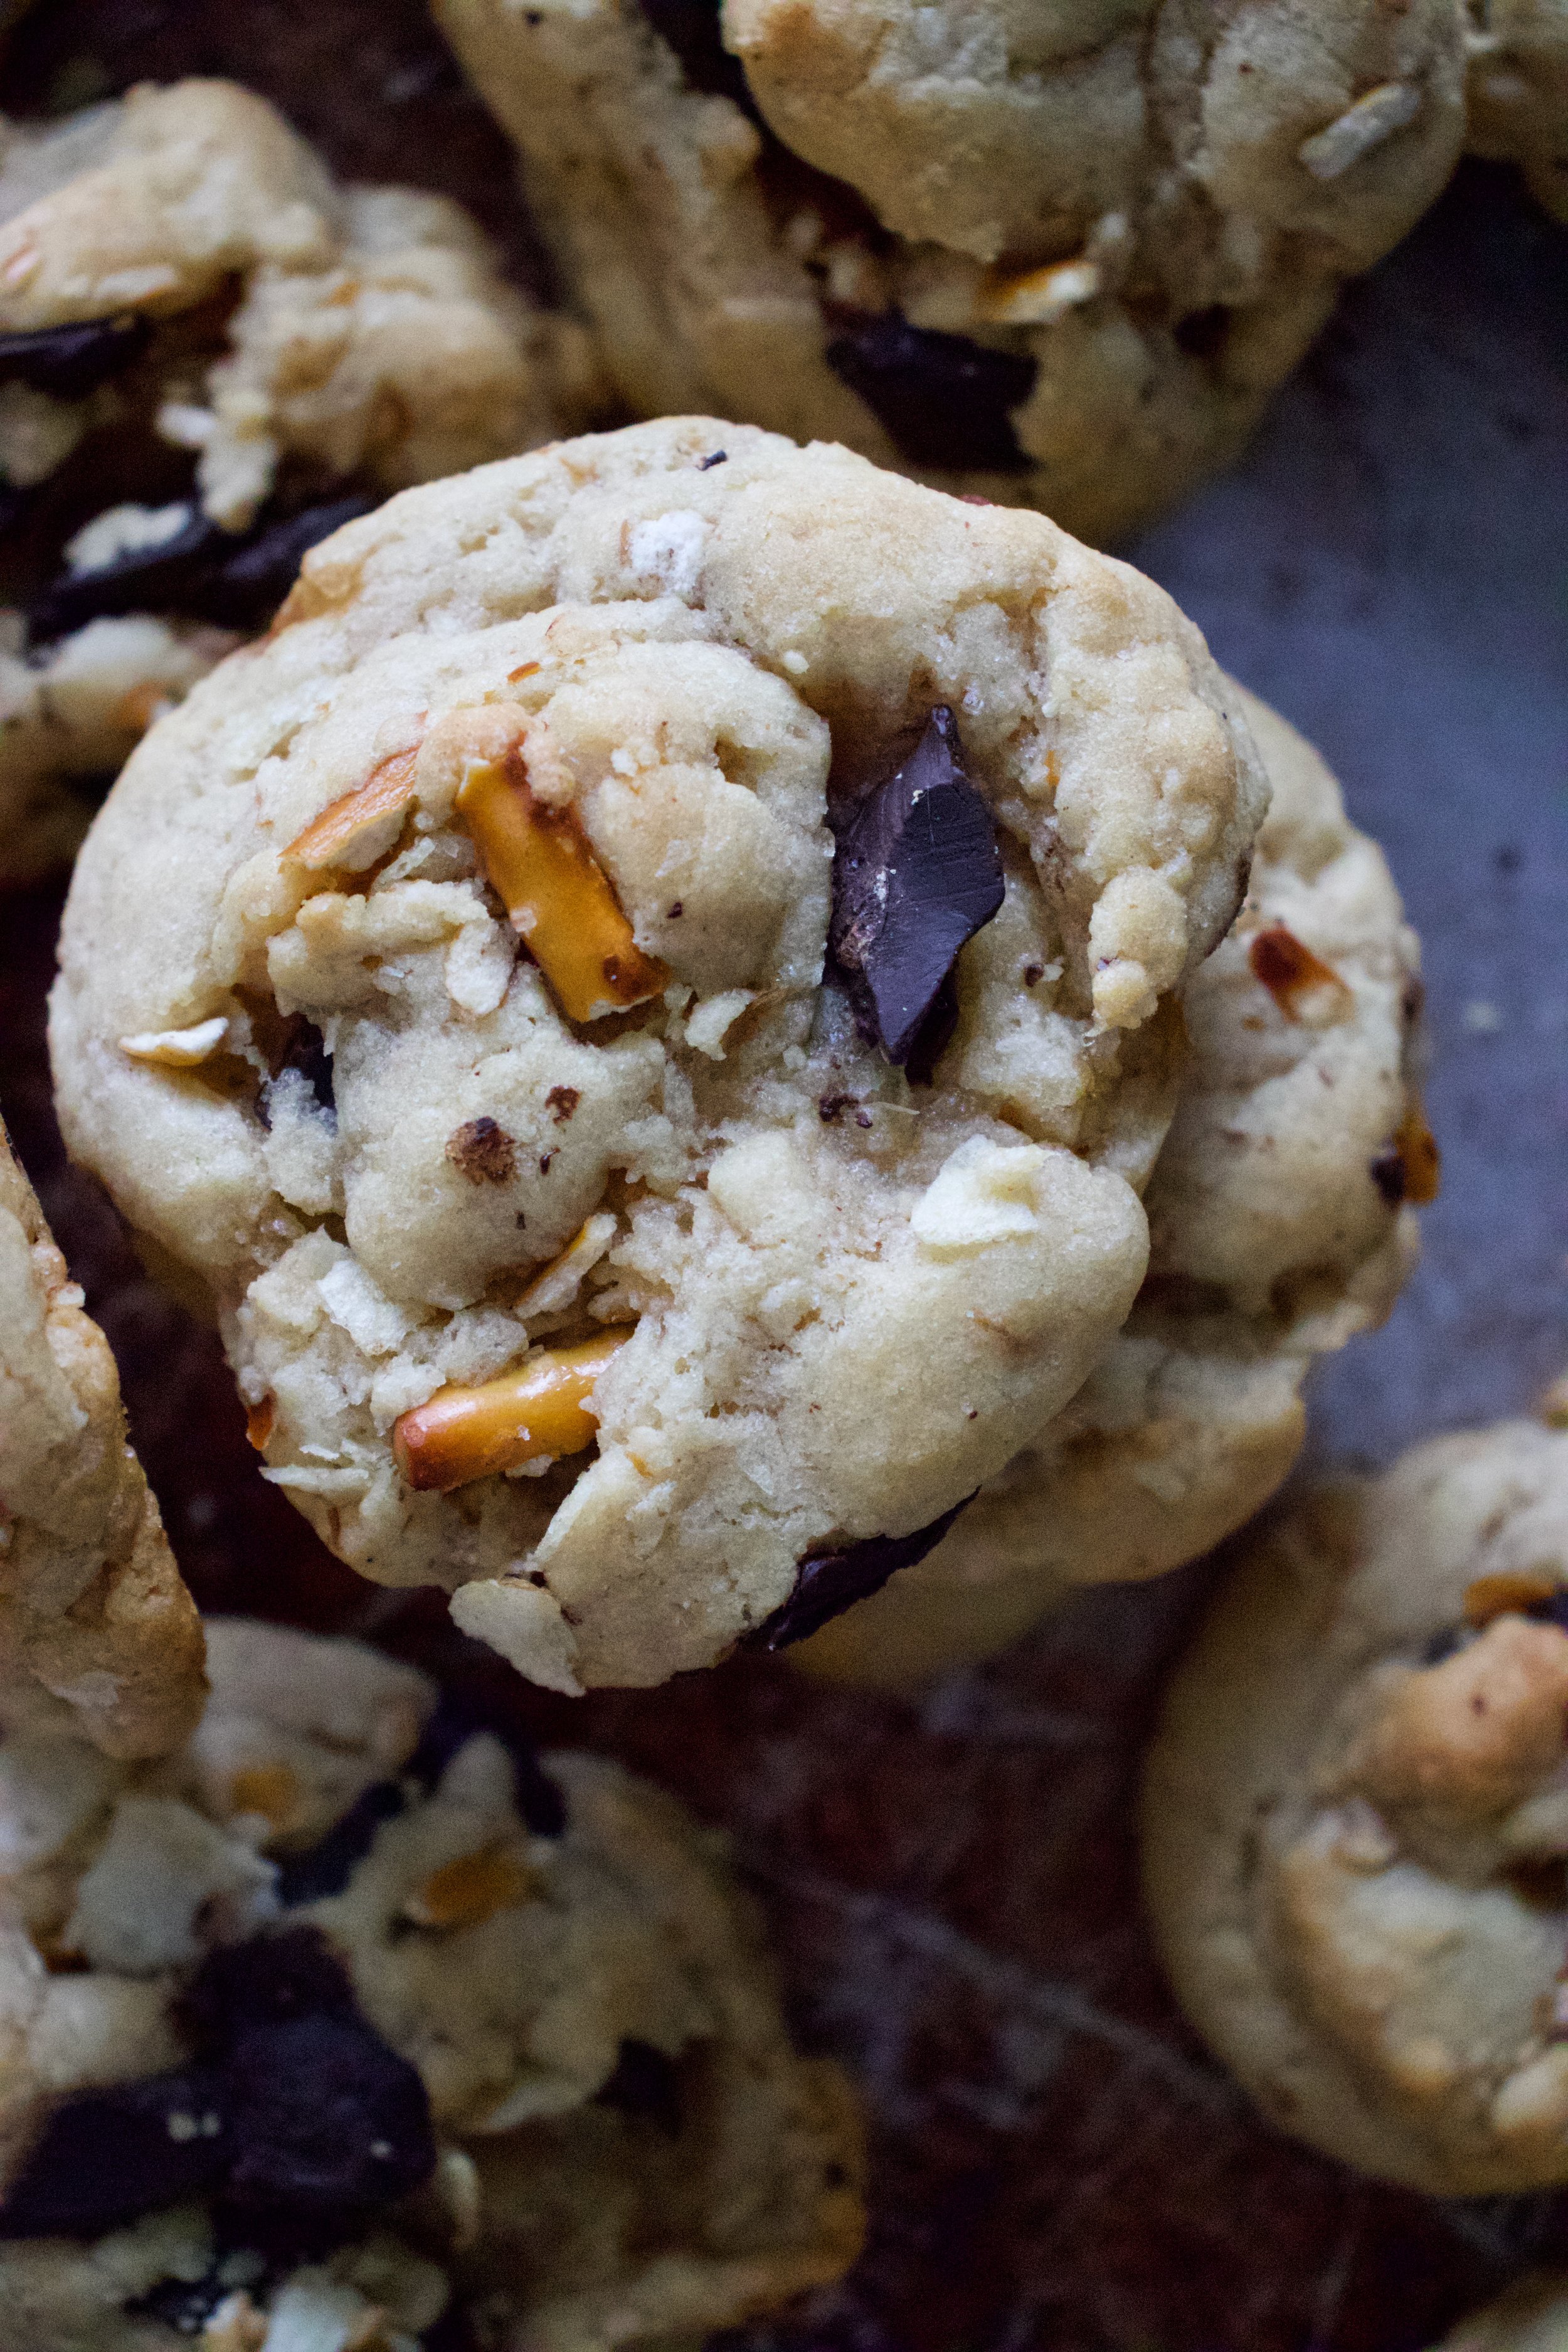

 Because it is cold outside. Because I had an hour to kill before I needed to leave the house and because I wanted to make a sweet treat for the mister (who had been dealing with frozen pipes all day) and for the little littles that I was going to hang out with.%u00a0 My original idea was to just make regular old snickerdoodles, but as %u00a0I was riffling around my tea drawer for a mid day tea (it’s usually coffee, but I am trying to cut back on drinking one thousand cups a day) I got hit with a little inspiration. Chai tea spiced snickerdoodles. Yes! a nice black chai, full of flavors or cinnamon, ginger, cardamon, allspice, and pepper. So many good time tastes. %u00a0And while I am at it, why not add some chocolate to that mix, because, well just because.
 The stuff%u2026Flour, salt, baking powder, cinnamon, and allspice. Cocoa powder, brown and white sugar. Veggie Oil %u00a0(you can use butter, or vegan butter instead for a chewier cookie) vanilla, a little vinegar and a nice cup of %u00a0chai tea… %u00a0Also a little bowl of cinnamon and sugar to doodle the cookies.
 %u00a0 %u00a0
  The sugars, oil, tea, vinegar, and vanilla go into a big bowl. Beat for a minute on medium, then add the rest of the stuff and beat some more until fully incorporated%u2026. Simple simple.%u00a0
 Aahhhh%u2026%u2026.pulled from the oven and placed on a rack to cool. Fluffy, chewy, pillowy soft and spicy cookies. Oh the smell of so good!
 Made extra large to make extra little littles happy. The best part? I made each little sing me a song for a second cookie%u2026 I am the greatest!
THE LOVELY CRAZY
November 12, 2019 by maximios • Blog
That right bitches .. %u00a0grape soda!!!!
uh-hum. Sorry. you are not bitches.%u00a0
But this grape soda is my bitch. It is SO GOOD! And that is coming from me, who is not a soda drinker. (Spoiler alert.. all it is is cooked down grapes and seltzer. (and a bit of lemon juice) But thats is)%u00a0So why soda? I guess it’s because I can’t make wine since %u00a0I don’t have the %u00a0knowledge and or the vineyard to make wine.%u00a0%u00a0But cooking down some grapes.. I can totally do that.%u00a0
Every once in a while I make something that I think is so freaking ingenious and fanatic that I am shocked that everyone and there mom doesn’t do it. This is one of those recipes. I mean, the mr was more at then thrilled when I handed him a glass, covered in condensation, with a cutie pink straw. %u00a0He took a long drink and gave a sweet little refreshing sigh. It was great and cute and make me happy cause I think it made his day.%u00a0%u00a0And I know that there are a %u00a0thousand and one other people out there that have been doing this for years and that there are probably a couple hundred recipes as well,%u00a0but I still consider myself a genius for making this. Great minds my friends.%u00a0
Anyway, this grape soda is super refreshing, perfectly sweet, and a great way to end the summer and greet the fall. Great for kids and parties,%u00a0%u00a0I think this is definially going to be making an appearance at a few of the littles birthday parties and maybe a few grown up people parties.(maybe %u00a0with a splash or two of booze..see you don’t need wine) over the next few weeks. Who needs wine when you got grape soda!
The stuff. Grapes, a lemon, and seltzer water.
Oh wants that?%u00a0%u00a0Is that drink jar suppose to be an empty? Nope. I forgot to fill it with the seltzer before I took the pictures.( I think I get a break cause yesterday was stupid hot and I was feeling a little woozy)%u00a0Let’s just pretend there is seltzer in there, ok. and also lets pretend there is water in this picute too, cause we need that as well.
Take your grapes, stems removed, and place in a pot with the lemon juice and water. Stick the pot on stove on medium heat and during to a boil. Then place a lid on it and turn heat down to low and simmer away, giving it a stir sand keeping you eye on it.
%u00a0Continue to cook until the grapes are pretty much all dissolved and the liquid has reduced about 1/2.
Let cool for a few minutes and strain the grapes through a fine mesh strainer, smooshing and scraping the grapes all around to extract as much liquid as you can.
The left over grape mush makes for a great little snack on some toast, in some yogurt, or with a spoon in your mouth.%u00a0
Oh so pretty grape juice concentrate. Stick it in the fridge to cool completely.%u00a0
After cooled, get it all ready for drinking. %u00a0Add a few tablespoons of the concentrate to a cup, add in some seltzer, maybe a few ice cubes and %u2026wa la!
Gape soda is the shits!
Happy Friday.. Enjoy the last weekend of summer!
-C
Makes about 5 drinks so feel free to double and or triple recipe if you are serving a lot of people
Remove stems from grapes and place into a pot with water and the lemon juice. Briong to boil then cover and turn heat to low. Cook for about 20 minutes to a 1/2 hour or until the grapes are complete mush and the liquid has reduced to about 1/2.%u00a0
Let cool enough hot handle and strain grape glop through a very fine mesh strainer, smooshing it around to extract as much liquid as you can. Refidgerate the juice, eat the left over mush.
Once cooled, pour about 3-4 tablespoon of the concentrate into a cup and add in about 1 cup of seltzer. Mix and enjoy.%u00a0
Using a straw is optional, but either way, drink with your mouth.
Citrus and ginger%u2026. Two of my favorite things, combined into one super refreshing, light and crisp, thirst quenching drink. Tasty and packed full of vitamin C from the citrus and blood warming, tummy healing ginger. Its kind of%u00a0a feel better elixir, a good for you drink, a sparkler pop. %u00a0A drink everyone can get into %u00a0 %u00a0 %u00a0 (the mister even liked it), And it has no added sugars or nasty coloring, it can’t get much better.
Feeling Happy, feeling crappy, or just plain feeling, this drink is a good for it all.
%u00a0
I made the ginger date simple syrup ahead of time.. All I did what chop 2 1/2 tablespoons fresh ginger and %u00a0about 3 tablespoons pitted dates and added to a pot with a cup of water. Simmered the stuff until the dates were mostly dissolved, about 15 minutes, took off the %u00a0heat and pureed it. I let it steep for another 5 minutes and strained%u2026.no biggy. %u00a0 This is a milder sweet simple syrup. If you like sweeter add more dates or even add a bit of honey%u2026 Do what tastes the best to you.
Juice the lime and blood orange%u2026..so much pretty!
I ended up with about 12 tablespoons of juice from a the lime and the orange.. If you need or want to, juice an additional orange and lime.%u00a0
Add 2-3 tablespoons of the fresh juice per 12oz glass and add about 2-3 tablespoons of the ginger date syrup%u2026(adjust amounts to you taste) Top off with cold plain seltzer water and maybe an ice-cube or two. ( I would have if I had thought to make ice)
Double thumbs up here!
Stay un-sick!
-C
Blood Orange Ginger Lime Sparkler Pop
Ingredients
For the ginger date syrup
In a small pot on low heat, add chopped dates and ginger to a cup of water. Simmer until dates %u00a0have mostly dissolved, about 15 minutes. remove from heat and puree with either %u00a0a blender to a hand emulsifier. Let steep for another 5 minutes and strain, reserving the pulp (add it to soup or salad dressing). Let completely cool.
To assemble drink, juice blood orange, and lime. Add about 3 tablespoons of the ginger syrup and 2-3 tablespoons of the citrus juice per 12 0z cup. Top with plain seltzer water, give it a light swirl with a spoon or straw and add ice cube if you want. Now have at it!
I found myself scouring the grocery store shelves trying to located the new labels%u2026 I even grocery store hop just to see if I can get my hands on these flavors%u2026
Found them! And yes, I bought 20. Coconut cream, %u00a0cranberry and clementine, and champagne strawberry are the best ones.
Thank you Polar Seltzer for selling happiness in a 1 liter bottle.