You ever have one of those days where its 9 am and your ready to call it a day? . Yesterday was one of those day for me. Its spring vacation around here (more like an arctic vacation) and I had volunteered my day to babysitting/ hanging out with 2 of my nephews, ages 11 and 13. (I know, I am the greatest sister). I had all of these great ideas and plans of things to do, but when it came down to it, they wanted to do nothing but play video games and not really listen to anything I said. I basically had to drag them outside to go for a walk we me and that’s all I could get them to do My great little nephews, I love them so much, but yesterday they had their minds set on being little monsters.
I needed a drink. And I needed lunch. And so I was inspired to make this bloody mary tomato soup. Its got all the essentials to a great drink, the tomato, the spice, the zingy flavors, but warm and thick to eat as soup which was a perfect lift for a freezing cold dragging day. And no, I didn’t add the vodka to it because that would be irresponsible of me. I am not about to serve up lunch soup to a couple young boys with alcohol in it. I am not a dumb ass…Save the vodka for when the kids go home!
What we have going here…… Chopped up onion, celery, and carrot in a pot. Stick that pot on the stove for a few minutes on medium heat to start the cooking process. While that happening get the other stuff ready. A big can of diced tomatoes, hot sauce, worcestershire sauce*, prepared horseradish*, celery salt, garlic powder, salt and pepper And last but not least a good squirt of yellow mustard. Now add it all to the pot and bring to a boil. Turn down to low and stick a lid on it.
*I used the horseradish that is made with only horseradish and vinegar…..You can use the other stuff that contains sugars and milk, but I don’t know how tastes. And the worcestershire sauce I used did not contain fish but be aware that a lot of the popular brands do, so if you care, check labels!
After about 20 minutes the veggies should be soft and the flavors should all have melded together. Taste soup as it is cooking and add any more spice that you want.
Now in goes the emulsifying stick of fun! (Or dump in a blender) Blend blend blend!
I stopped when I got to a smooth consistency with the littlest bit of texture.
And now the soup is now ready for the bowls!
And there it is…served with a stock of celery and a wedge of lemon (I forgot to add them to the pictures!) A bloody Mary to take the edge off any drag of a cold weather day. And best part.. left over soup is great served chilled with a shot of vodka to loosen this Mary up!
Have a Happy Day!
-C
Bloody Mary Tomato Soup
The Stuff
Side note…The spicier ingredients…hot sauce, horseradish, and worcestershire sauce are pretty flexible. My advice is to start with the lesser amounts of the ingredient and work your way up until you get to your happy soup place.
32 oz can of crushed or diced tomatoes
2 medium carrots
1 small onion
2 stalks or celery plus more for garnish
1-2 teaspoons horseradish
1-2 teaspoons worcestershire sauce
1-2 teaspoons hot sauce or ground cayenne pepper
1 tablespoon yellow mustard
A lemon cut into wedges (To squeeze on as a garnish)
2 teaspoons celery salt
1 teaspoon garlic powder
Salt and cracked pepper to taste
Dice up carrots, onion and celery and place in a large pot and cook on medium heat for about 5 minutes. Once the veggies are slightly soft, add in the rest of the ingredients plus one tomato can worth of water. Bring to boil, cover and turn heat down to low. Cook for another 15-20 minutes or until all the veggies are super soft and the flavor have all developed. Add salt and pepper, taste and add any additional spicier spices that you want.
When happy with taste, either in a blender or with a hand emulsifier, blend soup until smooth (or to your desired constancy) Soup is now ready to serve.
Ladle or pour into bowls and serve with a stalk of celery and maybe a wedge of lemon. Crackers or croutons are welcome too.
Eat with a Spoon
Soup left overs are great refrigerated and served cold. Add a splash of vodka to make it fun.
Because it is cold outside. Because I had an hour to kill before I needed to leave the house and because I wanted to make a sweet treat for the mister (who had been dealing with frozen pipes all day) and for the little littles that I was going to hang out with. My original idea was to just make regular old snickerdoodles, but as I was riffling around my tea drawer for a mid day tea (it’s usually coffee, but I am trying to cut back on drinking one thousand cups a day) I got hit with a little inspiration. Chai tea spiced snickerdoodles. Yes! a nice black chai, full of flavors or cinnamon, ginger, cardamon, allspice, and pepper. So many good time tastes. And while I am at it, why not add some chocolate to that mix, because, well just because.
Chai, chocolate, and sugar equals….Bada da da….. awesome Cookies! And who doesn’t want awesome cookies?
The stuff…Flour, salt, baking powder, cinnamon, and allspice. Cocoa powder, brown and white sugar. Veggie Oil (you can use butter, or vegan butter instead for a chewier cookie) vanilla, a little vinegar and a nice cup of chai tea… Also a little bowl of cinnamon and sugar to doodle the cookies.
The sugars, oil, tea, vinegar, and vanilla go into a big bowl. Beat for a minute on medium, then add the rest of the stuff and beat some more until fully incorporated…. Simple simple.
Preheat the oven to 375 and get the cookies all dressed up in a cinnamon sugar suit by taking globs of dough and kind of rolling it into ball (perfection is not necessary) Drop dough balls into the cinnamon sugar and toss around to fully coat. Place on cookie sheet and give a good smoosh to flatten the cookie balls out to about 1/2 inch thick. Now into the oven for about 9-11 minutes to bake.
Aahhhh…….pulled from the oven and placed on a rack to cool. Fluffy, chewy, pillowy soft and spicy cookies. Oh the smell of so good!Made extra large to make extra little littles happy. The best part? I made each little sing me a song for a second cookie… I am the greatest!
Heres to a Happy Hump Day!
-C
Chocolate Chai Snickerdoodles
The stuff-
2 cups all purpose flour
1/3 cup cocoa powder
2 teaspoons baking powder
1 teaspoon cinnamon
1 teaspoon salt
1/2 teaspoon allspice
Chai teabag steeped in 1 1/4 cups boiling water
1 cup brown sugar
1/4 cup white sugar
3/4 cups vegetable oil (can substitute butter or vegan butter for a more chewy cookie)
1 teaspoon vanilla
1 teaspoon apple cider vinegar
2 tablespoons each of cinnamon and white sugar to coat cookie balls in
Preheat oven to 375
In a cup, steep tea bag in 1 1/4 cups boiling water. Let tea steep for 10 minutes.
In Large bowl, add sugars, oil, vanilla, vinegar and steeped tea and beat on medium speed for about 2 minutes. Add the rest of the ingredients (besides cinnamon and sugar for coating) and beat on low until everything is fully incorporated.
Add the cinnamon and sugar to a small bowl and mix together. Take globs of dough and roughly formed ball then drop into cinnamon sugar and toss to coat. Place coated balls on cooke sheet and smoosh down so cookies are about 1/2 inch thick. Place in oven for about 9-11 minutes or until cookies are just barely cooked through. Remove and let cool on a wire rack.
My suggestion for sharing….If they want one, make them sing and dance for it!
One of the best things about winter is that I can have something in the oven at any time and not worry about how hot the house is going to get. I get to spend my free time (or my in between free minutes) baking up all the thing that I would not dare bake in the summer. (lots of bread and cakes) Yeah, I might complain a little about how cold it is outside (to my defense, -20 is kind of a bitch) but then I think of the super hot humid days that come during the summer and cringe. At least when its cold out I am able to get warm, (que oven) but when its super hot and humid, I just turn into something that border lines a wet towel and the rabbit animal… Not so pleasant. I much prefer cooler weather. So no big surprise….I made bread.. or focaccia to be exact. And now you should too because first off, you want to eat it, and secondly, you can probably whip this up faster then it would take to get all of you winter warmies on and leave the house. Don’t leave, just turn the oven on. The stuff, which isn’t a whole lot… Flour and salt. A mixture of honey, water, and yeast. And olive oil. Its pretty much my pizza dough recipe, tweaked with the addition of oil, less flour and no kneading. Mix together the wet and dry…I used my nifty dough whisk, but a wooden spoon or even your hand works. Mix mix mix. The dough should be really slack and sticky. And guess what.. no need to knead! Just make sure the dough is uniformly incorporated…hehe.. uniformly incorporated… sounds weird. Drizzle the dough (don’t worry about making it into a ball, a blob is good) with a little oil and place in a nice warm place topped with a towel to rise for about an hour or until dough has doubled in size. Once is has fully risen, drizzle 2 tablespoons oil in two 9 inch cake pans. Divide dough in half, and kind of smoosh dough into pans. Cover and let rise for another 20 minutes or so. When dough has finished its second rise, drizzle each with another tablespoon of oil and with your fingers, fill out the pan and indent the dough, kind of like playing a piano or tickling a puppy(?)….Then layer your toppings (if you want any) Start with any herbs, then the veggies. Then last, any cheese you got. I used thyme, cracked black pepper, tomato, onion, topped with parmesan cheese. And the other one is just plain old salt. Pulled from the oven when nice and golden brown..set on a wire rack to cool for a few minute and removed from the pans. The mister was practically salivating waiting for a slice… and he was so not disappointed. Crispy outside with soft airy insides… Everything a perfect focaccia should be. The one with the toppings was the favorite for the first night, but for a peanut butter and cheese panini for lunch the next day…plain is the way to go.. My suggestion, do what I did, jazz one up and leave one plain. And then make more if you need too because the forecast call for another week of below zero!!! Oh the things that I’ll get to make! (me being positive) Stay warm! -C
Focaccia with out without stuff
3 cups all-purpose flour
1 tablespoon salt plus 2 teaspoons for topping (can use more or less if you want)
2 teaspoons active yeast (or one package)
1 1/2 cups warm water
1 tablespoon honey (or sugar if vegan)
6 tablespoons olive oil
Optional toppings
Fresh cracked pepper
Thyme or any other spices
Thinly sliced tomato
Thinly sliced onion
Parmesan Cheese
Anything you want!
In a bowl or jar, mix honey (or sugar), yeast and warm water together and let sit for about 5 minutes or until yeast is activated and starts to foam In a large bowl, whisk together flour and 1 tablespoon of salt. With either a wooden spoon, dough whisk, or if you have one, a stand mixer with a dough hook, mix the yeast mixture with the flour. The dough is going to be really sticky so mixing might get a little gloppy, but keep at it until everything is full incorporated.. for about 3-5 minutes and don’t be afraid to use your hand… you can wash it off. Once mixed drizzle with oil and cover with a towel. Let rise for about an hour or until dough has dubbed in size. When dough has double, coat two 8 or 9 inch cake pans each with 2 tablespoons olive oil. Dump dough onto floured surface and cut in half. Take each half a place in pan. cover and let rise again for another 20ish minutes. preheat over to 400 degrees After second rise, lightly take your fingers and push down dough, making little indents all over the surface. Drizzle each with another tablespoon of olive oil and sprinkle each with a teaspoon of salt. If using spices or any other toppings, nows the time to layer them on. And do any cheese last! Place in oven and bake for about 30 minutes or until the tops are golden brown. When done, place on a wire rack and let cool a bit before removing from pans. Done!! To store, place in a paper bag.. best eaten within a few days!
It hasn’t stopped snowing, the temperature is dropping fast (it’s getting to the point the dog doesn’t even want to be outside) and the mister is busy hand shoveling three long driveways. So I figured that in between all the laundry folding, plant watering , and all around sitting on my butt that I am doing INSIDE, that I would be so super nice and crank the stove up and make my love some cookies.I love making cookies, especially when I have chores to do. I think part of it is that cookies are baked in batches which breaks up the chores and gives a sort of rhythm to things. Plus everything is nice when the house smells like cookies. I was going to make chocolate chocolate chocolate cookies, but realized that I didn’t have cocoa powder, so I went with fresh cranberries (I just scored a pound of organic cranberries for 89 cents!) coconut flakes and chocolate chips. Plus I wanted to make them oatmeal because the mister likes oatmeal and oatmeal makes the cookies a little more hardy. (We need hardy when the temperature dips below zero)The verdict….. chewy, soft, slightly sweet oatmeal, bittersweet chocolate, nutty floral coconut, and the zing and pop of the fresh cranberries. He told me to hide them… hide so he will stop eating them….. because they be amazing!
The base of this cookie….We are using regular old fashion oats and flour. Salt, baking soda and baking powder. Vanilla, chia seeds in hot water, coconut oil white and brown sugar…. You know, all the cookie stuff. Then all the goodness.. Chocolate chips, coconut flakes, and fresh cranberries. Goodness.Oh yeah, and they are vegan…if that matters to you.Warm the coconut oil and mix with the white and brown sugars. Then add the chia seeds soaked in hot water. Stir until nice and silky smooth.In goes some more stuff. I just dumped all the dry right on in that bowl and mixed it up nice and nice.Chopped the fresh cranberries into chunks… One at a time……Just kidding, I actually laid a cutting board on top of the cranberries, applied a little pressure and sliced through the cranberries.. Does that make sense? I hope so, because its is much easier and faster and the cranberries don’t all roll away.The chopped cranberries, coconut flakes and the chocolate chips go in to be mix all up. I used my hands to form the balls and gave each mound a little smoosh, but not completely flat. Then into a preheated 375 degree oven for about 13-15 minutes or until a nice golden brown.A cup of hot coffee and a plate of warm cookies… I am the nicest, right! (After his nice cookie rest I proceeded to do a little nagging, so the day evened out)So today is probably a great day for everyone to make cookies. It’s freezing out, its saturday and well, just cause. You might even be looking for a great recipe to make for that big party your going to.You should make these cookies. Have a Fantastic Weekend!!!-C
Preheat oven to 375To start, take the chia seed and soak them in the 4 tablespoon hot water for a few minutes. Then in a large bowl, mix together the white and brown sugar with warmed coconut oil. Add in the gelled chia seeds and vanilla and stir until silky and combined. (the warm chia seeds will help everything mix together nicely) Now mix in all the dry. I start with the oats, dump on flour, toss in the baking powder and soda and salt. Mix until fully combines. If the dough seems to dry, add in another tablespoon or two of hot water. Chop the fresh cranberries into halves or smaller and dump them, the coconut and chocolate chips into the bowl of dough and mix.Using a scoop, spoons, or your hands, make little balls and place on a cookie sheet, giving each ball a little smoosh. Into the oven for 13-15 minutes or until golden brown.Remove and cool on rack.Eat a few and hide the rest for later.
We have officially kicked off our summer camping adventures. And with camping comes all the greatness of all the things, including camping food.
Recently a friend asked me what it is that we do for camp food. So I told her. Camp food is basically aways the same and consists of a big pot of spiced warm lentils or split peas (both cook really fast and have lots of protein), a shredded summer squash in the summer, or pumpkin in the colder months, maybe fresh tomatoes or a bunch of kale to chop and mix in, and a side of cut up carrots, cucumbers, green beens or whatever else I have.. Then I’ll bring a hunk of bread for the mr to eat and me, usually a small head of cabbage to squirt mustard on and crunch into. (Always have the mustard on hand.) And I bring apples to snack on too, but that usually it. (Sometime I%u2019ll back a desert for the mr. If I am feeling nice.)
She was a little taken aback. Said when she (and basically everyone in the world, which I disagreed with) goes camping it is bags of chips, cookies, meat, and everything and anything that she (they) wanted. Basically that camp food was junk food and that she though we were weirdos. But cool weirdos so you know.
So our camp food%u2026 not like many others. But honestly it is everything that I want to eat and I love it so whatever whatever. As for the mr, he is happy with the food and when he is not, he brings along something else, but that rarely happens because my lentils be so good. HA!
But she got me thinking that I should have a few more snack options beside cut up carrots and apples. So that is why I made crackers. These chickpea chili lime, freaking amazing crackers. Because crackers are a very appropriate snack food, and these crackers in particular are even greater because they are made with the goodness of chickpea flour which is packed full of protein and is well received after a day of hiking or other fun outdoor camping activities. And how can you go wrong with chili lime? Well i%u2019ll tell you, you really can%u2019t
So the plan was to make a batch, eat a few, save the rest for this camping weekend. But guess what? I have to make another batch. They didn%u2019t make it. We ate them all. (not sorry) At least I know we will be liking our new camping snack addition well and right.
So if you like crackers, camping or elsewhere, you should really gives these a go. They will not disappoint.
Now to the crackers!
The stuff. Chickpea flour, chili powder, a lime, a little baking powder, olive oil, salt and pepper, and water.
Combine the flour, zest of the lime, half the chili powder and half the salt, and the baking powder and some pepper in a bowl. Mix until completely combined then add in the oil, water and the juice of the lime.
Mix until dough forms. It might feel a little sticky, if that is the case, just mix other tablespoon of chickpea flour.
Knead dough on a well chickpea floured surface for a good minute until the dough is a even consistency then let it sit for a few minutes to rest. Once rested, cut dough into 2-3 pieces because working smaller is easier.
Roll out your first piece of dough about 1/8 inch thick. (Again, make sure to really flour your work surface and rolling pin.) Mix salt and chili powder together and sprinkle on top. Cut out your crackers (squares are nice but triangles would be nice too) then poke each cracker with a fork.
Crackers on a baking sheet before baking and after baking looking all crackery and delicious. And yeah, they shrink a bit.
And lastly, cool the crackers on a cooling rack. They will crisp up a even more. Then it%u2019s all you.
Ready to eat whenever you make the move. You can pack them away for later or place these delicious crackers in a very pretty bowl and eat them away. Or both.
A cracker win!
-C
make 75 crackers
1 1/2 cups chick pea flour plus about 1/3 more for dusting and rolling
1/2 teaspoon baking powder
1 tablespoon olive oil
1/3 cup room temp water
1 teaspoon chili powder split in half
1 lime
1 teaspoon salt split in half
1/2 teaspoon fresh crackers pepper
Preheat oven to 350.
In a bowl combine the chick pea flour, baking soda, pepper, 1/2 teaspoon chili powder, and half a 1/2 teaspoon salt. Mix until evenly incorporated. Add in oil, the juice of the lime, and and water and mix until a dough forms. Dump dough onto counter and knead until completely uniform in texture. Add more flour if the dough is really sticky. Set dough aside for a few minutes to rest.
To make the crackers, really dust the counter with chickpea flour. Cut the dough into 2-3 pieces and roll1 piece out at a time to about an1/8 inch thin. Again, really flour the surface and rolling pin or else the dough will stick Once rolled, combine the remaining chili powder and salt and sprinkle the top with it. And then cut the crackers. Take a knife of bench scrapper or pizza cattier and cut the dough into inch long strips vertically, then diagonally. Poke each cracker with a fork then gently place them onto a baking sheet. Repeat with remaining dough.
Bake crackers for 15-20 minutes or until a nice deep golden brown. Remove from oven and let cool on a wire rack.
And then eat.
Store uneaten crackers in an airtight container for about a week.
You ever make dish, completely on the fly, just to use something up (I have a lot of ripe tomatoes) with no real expectation, just because… Then have it be one of the best freaking things that you have ever made? This salad is one of those things.. maybe not the best thing I have ever made, but definitely the best salad I have ever made…. this week.
A salad compiled of all things amazing, taking just a few minutes to make and is the perfect balance of uber fresh with baby spinach, raw kale, and crunchy quick pickled onions. Then adding a touch of warmth with the sweet and juicy seared tomatoes and big chunks of creamy avocado.
I mean, for reals. ……Best Salad Ever !!!! (this week)
Now let’s do this.
The Stuff. A big bowl of baby spinach and chopped up kale, a few sliced up roma tomatoes, some super thinly sliced red onion, half an avocado, red wine vinegar and salt and pepper. Before you do anything, place the sliced onions into bowl, sprinkle with a pinch of salt and add a few glugs of the red wine vinegar. You want the onions to sit in the vinegar for at least 5 minutes on the counter cause the longer they sit the more crispy pickly they get. (after eating onions like this, you will never want to eat them any other way) Lightly oil a skillet and preheat to a medium heat. Once the skillet is hot, sprinkle the tomato slices with salt and pepper and place tomatoes right on in, snugly, but not overlapping. Let cook for about 3-4 minutes, or until the bottoms start to brown. Flip and cook other side for another few minutes.Once the tomatoes are seared on both sides, remove them gently from skillet and toss them on top of the bowl of greens.
Take the pickled onions and toss those right on top, with any of the residual vinegar, add dice and scoop the half of avocado and toss that on in as well.And now eat the best salad ever (this week).
Make the day good!
-C
Skillet Seared Tomato and Quick Pickled Onion Salad
Serves 2 as a side, 1 for a hungry eater
2 large or 3 smaller roma tomatoes
1/2 of a red onion
2-3 tablespoons red wine vinegar
1 1/2 cups baby spinach
1 1/2 cups chopped kale
salt pepper
1/2 a ripe avocado
olive oil (to grease pan)
Thinly slice red onion and place in a bowl. Add vinegar into a and sprinkle with salt. Let sit on counter for at least 5 minutes, if not longer,
Slice tomatoes into 1/2 inch thick rounds and sprinkle with a pitch or salt and pepper. Lightly oil a skillet and preheat it on medium heat. Once the skillet is preheated, stick the tomatoes on it (watch out for splattering tomato juice) Cook first side for about 3 minutes or until the bottom has browned, then flip and do the same for other side.
One tomatoes are seared, place directly onto the greens. Now dump the pickled onions and residual vinegar on top. And dice up avocado and add that on top too.
Now eat your salad, fork or fingers…
And I know, ba-daaaamn. So good.
Hey there party people…It’s Sunday! Hopefully you all have some good plans for the day. Me, well I have a peanut butter and jelly lunch date at the park with some littles, a butt load of plants to stick into the ground, and hopefully drinking much to much coffee while basking in the glow of the very lovely world. (which has been on point all week with warm weather, sunny days, splashed with the perfect moments of rain) Everything is so green and lush and freshy, it’s hard to not to be full of happy and the feeling that anything is possible. It’s fantastical! Oh, and I got to give a shout out to my big sister for graduating from nursing school this week…Whoa HOO!!!!! (Does she realize she is from a family of hypochondriacs? Texting nurse Shannon……she is screwed.)
Summer here we come…It’s GO TIME!
Internet links from the week……
-Going to be making myself one of these this weekRail Road Totes.
-I could see doing somethinglike thiswith my family… If I didn’t kill them first.
-Interesting….What If Americans Ate Like South Africans And Vice Versa?
-I have felt like popping a few balls in my time.The Good Listener: Can I Deflate The Beach Balls At Concerts?
-My next project/living arrangement? (Hey, if we can live in a tiny room now, we can live in a tiny room on wheels)… The Vintage Nugget
-I can’ t believe this show was canceled, but thank the tv gods for Hulu….Hulu Saves The Mindy Project
-I am into all of these interiors atFrenchyfancy…..I wish I knew how to read french and wish I was that fancy.
A few pictures from the week….
The prettiest tree. LILACS!!!!!My yard these days..A wheel barrel full of strawberry plants. Pretty in purple
The mister and I harvested a frame of honey…So pretty
When something goes on sale at the grocery store, I tend to buy it. Being that it is Valentines Day this week, all the stores are having specials on all sorts of sexy things… and strawberries are one of them. Now I am not a huge fan of buying produce that is terribly out of season, but I can’t help myself…a good deal is a good deal and the strawberries were a super good deal. I was just going to make some sweet ass strawberry jam or maybe a lovely strawberry cake with them (and I probably still will), but these strawberries are actually super juicy and full of flavor, and it’s always nice to eat some full flavor freshy strawberries… especially soaked in balsamic vinegar. And yeah, I think that this salad is pretty sexy, so it makes for a perfect Valentines day dish.
A handful of ingredients and 5 minutes will get you to a fantastic salad experience.
A bowl of baby spinach, a few chopped up strawberries*, half a sliced avocado and a small handful of toasted almonds.. Oh, and don’t forget the balsamic vinegar….
*Note.. Strawberries are kind of heart shaped already so if you want, reserve a few slices to fancy up you salad presentation, but chop up the rest into smaller pieces.
Pour the vinegar on the strawberries and let sit for at least 5 minutes. (the longer the strawberries can sit with the vinegar, the better)
Pile it on.. thinly slice avocado.. rough chopped toasted almonds… It’s pretty much as easy as it can get.And last but not least, toss on the balsamic soaked strawberries and drizzle the remaining vinegar. (if you made hearts, place on top to make pretty) Sprinkle with a pitch of salt and pepper and pow! Fancy, sexy, delicious salad.
Not to shabby for 5 minutes and a handful of ingredients. Anyone (don’t feed to a person with nut allergies) would be so syked to be fed a salad like this… You yourself should be pretty excited to eat a salad like this. Heck, I am excited to eat a salad like this!
A love salad for everyone and everyday!
YAY for Thursday and Happy meal planning!!!!
-C
♥ Balsamic Strawberries on Spinach Almond Avocado Salad ♥
Ingredients for 1 large or 2 small salads
3-4 ripe strawberries
handful of roasted almonds (slivers or whole)
1/2 avocado
2 tablespoons Balsamic Vinegar
3 cups baby spinach
Pinch of salt and pepper
Dice strawberries into small pieces (reserve a few whole slices for heart shapes if you want) and toss in a small bowl with the balsamic vinegar. Let sit for at least 5 minutes. Rinse and dry spinach. Place in a bowl(s) and top with thinly sliced avocado, chopped almonds and balsamic soaked strawberries. Drizzle the residual vinegar on top and sprinkle with a pinch of salt and pepper.
I figured now is a good time to get this recipe out there before we get to far into spring and summer recipes because there is going to be a lot of banana ice cream filled recipe coming and I figured its a good idea to have the basic banana ice cream recipe ready for people to refer too. And because I made so much fantastic naner ice cream, I also made a cookies and cream naner ice cream for my sisters and the mister.
Comments that I got from my sisters and the mister when I made them this ice cream
-Sister one.”I give this my sister seal of approval.. It’s so good. The first dessert you have made that I liked! (not including all the other desserts that you have made that I liked)”
-Sister two- “Wow.. it looks like ice cream and feels like ice cream and tastes like ice cream.. You should make me this ice cream!” (I was confused too because I was pretty sure I just made her some)
-The mister- “I am so excited for my new fly fishing pole!”
Ok, so the naner ice cream isn’t new to the mister and he IS very much excited for his new fly fish pole. So excited that he forgot to tell me how amazing that I am and to thank me for making him a big bowl of yumminess. (It’s ok, I forgive him)
And yes, this is probably one of the easiest, most delicious, healthy and amazing frozen dessert that you will ever eat. You will probably find yourself buying mass amounts of bananas and stocking the freezer until things just start falling out. (which is also ok because it’s only bananas and you can’t have too many frozen bananas)
The stuff you need for this ice cream…. Nice and ripe bananas, peeled and then frozen* That’s it.
To make it, place frozen bananas into food processor and hit the on button. Process the crap out of the namers until nice and silky smooth.
*Note, the smaller the frozen chunks are , the faster and maybe a little easier for the blender to blend the naners into ice cream. So if you think of it, chop bananas into pieces before freezing or even after.
After all blended and smooth, either eat right away or scoop ice cream into a freezer safe container and stick in freezer. That’s the banana ice cream… And it is amazing and so so so so so addictive. I make a batch, think I am only going to eat a scoop, then find myself eating half of what I have made, but it’s ok cause it’s only bananas.
Now for the cookies and cream banana ice cream..One batch of banana ice cream, either freshly made, still in food processor or made ahead and placed in a food processor and given a good pulse to smooth it up.
Add cookies in, crushing a bit beforehand and pulse till combined. Now you have cookies and cream naner ice cream…. and everybody is happy.
Scoop into a cup, a bowl, a freezer safe container, or directly into your mouth. Be careful…. You can still get brain freeze from eating naner ice cream too fast!
Keep it real hump day drum bum!
-C
Basic Banana Ice Cream
Makes one batch. Good for 3-4 servings
4-5 ripe bananas peeled and frozen
Peel bananas and stick in a freezer bag or container and freeze. When bananas are completely frozen, break into pieces and stick into a food processor or blender and puree until silky smooth.
Eat right away or scoop into a freezer safe container for later.
Cookies and Cream Banana Ice Cream
1 batch banana ice cream
5-10 (depending on your cookie need) cream filled cookies like oreos or Trader Joe’s Joe Joe’s (These are gluten free)
In a food processor, blend banana ice cream with cookies.
Eat right away, with a utensil of choice in a container of choice.
When your sister drops off 50 lbs of beets, on top of the 50 lbs that you have to harvest that are growing in your garden, what do you do?
Well chips of course.
Yeah, chips. That%u2019s right. When I got home from camping on Monday and there was a humongous pile of beets sitting next to my front door, I am not going to lie, I was a little shocked. I mean there wasn’t just a few little ones. These beets were freaking huge, like the size of my arm, and so many. But pretty much right after my initial shock I knew what needed to be done. First, eat a few roasted, second, roast extra to freeze for later, and lastly, make a few bunches of chips.
Have you ever had beet chip? They are amazing. Crispy, crunchy, tasty as all heck. If you like beets, even in the slightest, you will love these. If you hate beets, well maybe don%u2019t? Either way, beet chips are the best chip. Wha’t%u2019s not to love? Pink, and chippy. Sweet, and salty. And then you add the fact that making beets into chips is a good way to get your veggies in and that you can eat a whole bowl full and feel zero guilt because you are just eating beets. Plus making beets into chips is a good way to use up any extra beets you might have laying around or that have been dropped off at your front door.
These chips, once they are made, will not last long. So when you do make them, know you will probably be making them again soon there after. Me, I have still have to harvest all my garden beets so beet chips are happening again soon. Real soon (like this afternoon!)
To the beets!
The stuff. Beets (these are Formanova beets but any variety works) salt and pepper ,and oil.
Ok so you need to cut these bad boys reallllllly thin. Like 1/15th a inch. So, what I am saying is, use a mandolin. If you don%u2019t have one, a knife will do, but you are going to have a hard time getting them as thin as you need to and all of them consistent so baking is going to be a little more tricky so maybe you should just go borrow or invest in a mandolin.
Grab baking sheets, oil, and salt and pepper. You can either dump the oil directly onto the pile of sliced beets and really toss to make sure each one has been coasted or do what I did which was I drizzled oil into my hands and rubbed each sliced beet between my oiled hands before placing on the sheet.
After you get them on there, single layered with no overlapping, sprinkle tops with a pinch of salt and pepper.
On the way into the oven.
After the oven. Baked for about 18 minutes. You really have to watch after the first 13 or so minutes to make sure you catch them at the perfect time. Crispy, but not burnt.
A side by side shot. Crazy shrinking will happen!
Oh man, so delicious. And so pretty!.
Let the chips cool before eating, you know, so you don%u2019t burn your tongue. Plus they crisp up a wee bit more.
Once cooled, pile them into bowl, and then eat them. And eat them all. They are only beets after all. And you won%u2019t be able to stop yourself anyway. Ha
-C
Makes enough for an evening of chip eating for 1-2 people
2 Large beets (think softball sized)
a tablespoon or two of oil (I used grape seed but really any would work)
salt and pepper
Note. Making these without cutting with a mandolin will be a pain in the ass. It can be done, but if you have a mandolin, use it.
Preheat oven to 350
With a mandolin, slice the beets about 1/15 inch thick. (No need to peel the beets unless you want to.) Once beets are all sliced, either drizzle them all with a tablespoon or so of oil and toss until all are coated. OR what I did and found worked really well was drizzled oil into my hands and rubbed each beet between my oiled hands as I was placing them on the baking sheets. Either way.
Now place oiled beets, single layered, without overlapping, on baking sheets. Sprinkle with a pinch of salt and pepper and place into oven. Bake for about 13 minutes without worrying then start to check every minute or so until the beets are a deep golden brown and crispy ,which will be between 15-20 minutes. Also, even though you cut them all the exact same thickness, some might crisp up faster so you should remove done chips as they happen. Once they are done, place on a rack to cool. And then do another batch. And not, they do crisp up a tiny bit more as they cool.
Once chips are cool and crisp, eat.
Store uneaten (how did you not eat them all?) chips in an air tight container. If you notice that they turned a bit chew, just place them back into oven while preheating oven to 300 then turn oven off and let sit in there for a few minutes.
We have officially kicked off our summer camping adventures. And with camping comes all the greatness of all the things, including camping food.
Recently a friend asked me what it is that we do for camp food. So I told her. Camp food is basically aways the same and consists of a big pot of spiced warm lentils or split peas (both cook really fast and have lots of protein), a shredded summer squash in the summer, or pumpkin in the colder months, maybe fresh tomatoes or a bunch of kale to chop and mix in, and a side of cut up carrots, cucumbers, green beens or whatever else I have.. Then I’ll bring a hunk of bread for the mr to eat and me, usually a small head of cabbage to squirt mustard on and crunch into. (Always have the mustard on hand.) And I bring apples to snack on too, but that usually it. (Sometime I%u2019ll back a desert for the mr. If I am feeling nice.)
She was a little taken aback. Said when she (and basically everyone in the world, which I disagreed with) goes camping it is bags of chips, cookies, meat, and everything and anything that she (they) wanted. Basically that camp food was junk food and that she though we were weirdos. But cool weirdos so you know.
So our camp food%u2026 not like many others. But honestly it is everything that I want to eat and I love it so whatever whatever. As for the mr, he is happy with the food and when he is not, he brings along something else, but that rarely happens because my lentils be so good. HA!
But she got me thinking that I should have a few more snack options beside cut up carrots and apples. So that is why I made crackers. These chickpea chili lime, freaking amazing crackers. Because crackers are a very appropriate snack food, and these crackers in particular are even greater because they are made with the goodness of chickpea flour which is packed full of protein and is well received after a day of hiking or other fun outdoor camping activities. And how can you go wrong with chili lime? Well i%u2019ll tell you, you really can%u2019t
So the plan was to make a batch, eat a few, save the rest for this camping weekend. But guess what? I have to make another batch. They didn%u2019t make it. We ate them all. (not sorry) At least I know we will be liking our new camping snack addition well and right.
So if you like crackers, camping or elsewhere, you should really gives these a go. They will not disappoint.
Now to the crackers!
The stuff. Chickpea flour, chili powder, a lime, a little baking powder, olive oil, salt and pepper, and water.
Combine the flour, zest of the lime, half the chili powder and half the salt, and the baking powder and some pepper in a bowl. Mix until completely combined then add in the oil, water and the juice of the lime.
Mix until dough forms. It might feel a little sticky, if that is the case, just mix other tablespoon of chickpea flour.
Knead dough on a well chickpea floured surface for a good minute until the dough is a even consistency then let it sit for a few minutes to rest. Once rested, cut dough into 2-3 pieces because working smaller is easier.
Roll out your first piece of dough about 1/8 inch thick. (Again, make sure to really flour your work surface and rolling pin.) Mix salt and chili powder together and sprinkle on top. Cut out your crackers (squares are nice but triangles would be nice too) then poke each cracker with a fork.
Crackers on a baking sheet before baking and after baking looking all crackery and delicious. And yeah, they shrink a bit.
And lastly, cool the crackers on a cooling rack. They will crisp up a even more. Then it%u2019s all you.
Ready to eat whenever you make the move. You can pack them away for later or place these delicious crackers in a very pretty bowl and eat them away. Or both.
A cracker win!
-C
make 75 crackers
1 1/2 cups chick pea flour plus about 1/3 more for dusting and rolling
1/2 teaspoon baking powder
1 tablespoon olive oil
1/3 cup room temp water
1 teaspoon chili powder split in half
1 lime
1 teaspoon salt split in half
1/2 teaspoon fresh crackers pepper
Preheat oven to 350.
In a bowl combine the chick pea flour, baking soda, pepper, 1/2 teaspoon chili powder, and half a 1/2 teaspoon salt. Mix until evenly incorporated. Add in oil, the juice of the lime, and and water and mix until a dough forms. Dump dough onto counter and knead until completely uniform in texture. Add more flour if the dough is really sticky. Set dough aside for a few minutes to rest.
To make the crackers, really dust the counter with chickpea flour. Cut the dough into 2-3 pieces and roll1 piece out at a time to about an1/8 inch thin. Again, really flour the surface and rolling pin or else the dough will stick Once rolled, combine the remaining chili powder and salt and sprinkle the top with it. And then cut the crackers. Take a knife of bench scrapper or pizza cattier and cut the dough into inch long strips vertically, then diagonally. Poke each cracker with a fork then gently place them onto a baking sheet. Repeat with remaining dough.
Bake crackers for 15-20 minutes or until a nice deep golden brown. Remove from oven and let cool on a wire rack.
And then eat.
Store uneaten crackers in an airtight container for about a week.
What with all the holiday and family get togethers we have had over here at my house the past few week, we have had quite a few bags of chips and pretzels left over. Always almost empty%u2026 Always dumped into the compost because I mean, I am not so keen on seeing bags of little bits of chips and pretzels in the pantry that I know will never get eaten. Plus it is not like I am saving carrots or grapes or anything I would eat, it%u2019s junk food. But still. I hate the food waste. That is why I made these cookies. To not waste food. And because we had people coming over to the house for dinner and I cannot not have something for dessert. That would be just wrong. And lastly because I am pretty sure that chips and pretzel pieces only make a plain chocolate chunk cookie into an amazing sweet and salty cookie that will just blow your mind.
And I was right. I made the cookies, I feed them to the mr, the sister, friends and all the littles and they just couldn%u2019t get enough.
Current thought. I am sitting here typing and have come to the conclusion that I should start a bakery that makes cookies out of people almost empty bags of chips, like a Cheeto dust cookie, or a peanut butter Funyun cookie or chocolate chocolate chip Dorito cookie.
Yes. this is a good idea. Oh man, I am a genius.
But back to theeese cookies. Start with these. I%u2019ll let you know when I open the storefront to Garbage Cookies (that is what I’ll call the place) You can stand in line for the peanut butter Funyun cookies. I have a feeling about that flavor. Until then%u2026
To the cookies!
The stuff. The small bowl has flour, baking powder and baking soda. The big bowl has brown and white sugar. Then you need oil, almond milk, vanilla, chocolate chunks, some pretzels and some plain salted potatoes chips.
Start with the wet. Mix the oil, the milk, and the vanilla into the sugars until completely smooth
Whisk together the dry stuff.
And mix until its a cookie dough. Now here is the thing, you need to stick the dough in the fridge for a couple hours and if you mix in the chips and pretzels now, well I think that might make them extrealemy soggy, so hold off. For now, cover dough and refrigerate for 2-4 hours.
When the time comes for baking, grab the mix ins and with whatever method you chose, crush the chips and pretzels into small bits. (avoid turning into a dust, you want bits)
All salty and crumbly and ready to go
Grab the dough from fridge and dump in the stuff that needs to go in (crushed chips and pretzels and chocolate chunks).
Scoop dough into balls and place on a baking sheet.
Into the oven and out they come all golden brown and smelling like yes and mmmmmm.
Get those cookies on a wire rack to cool and to free up the baking sheet to keep baking.
Look at this proud cookie. Chips, pretzels, and chocolate chunks all on display.
Now is when you get yourself a plate, pile it up high, and eat.
Remember, sharing is caring so maybe share a cookie or two. (but like you don%u2019t HAVE to)
Stay happy this weekend.
-C
makes about 2 dozen cookies
2 cup all purpose flour
1 teaspoon baking soda
1/2 teaspoon baking powder
1/2 cup packed brown sugar
1/2 cup white sugar
1/2 cup canola oil
1 teaspoon vanilla
6 tablespoons plant milk
1/2 cup crushed potato chip
1/2 cup crushed pretzels pieces
3/4 cup chocolate chunks or chips
In a large bowl, mix together the sugars, oil, milk, and vanilla until completely combined. In a separate bowl, whisk together the flour, baking powder and soda. Dump the dry into the wet and mix until the dough comes together. Gather the dough together in the bowl and cover with plastic and stick in the fridge to rest for at least 2 hour and up to a day.
When ready to bake, preheat oven to 350
Right before you take the dough from fridge, get your chocolate chunks, pretzels, and chips out. If the chips and pretzels are not already in little bits, place them in a bag (just use the chip bag if you have it) and smash with a heavy object until you turn the chips and pretzels into bits. Be carful that you don%u2019t turn it all into a dust, look for small bits. Pull dough from fridge and mix the stuff in. Scoop out balls of dough and place on baking sheets. Bake cookies in oven for 11-12 minutes or until lightly browed. Remove from oven and immediately transfer cookies to a wire rack to cool.
And now you eat.
Store uneaten cookie in a airtight container for up to a week or freeze them but I doubt you will have too. The cookies went fast.
It happens every year. SO MANY TOMATOES! This is not a complaint, just a fun fact. And so for the forseeable future, besides canning and freezing tomatoes at a rapid pace, I will also be sticking them into everything. Enter here a tomato cracker. But who wants just a tomato cracker? I( bet some would love just a tomato cracker) But a tomato basil cracker, well that is something people will want. And yes, I have a buttload of basil at he moment too.. I cook with what I got!
Tomato basil crackers. First off, I needed to make a road snack for the mr and cut up chunks of raw tomatoes would not have gone down well with him, so I figured what better way to use up some tomatoes then a cracker situation because why the hell not.%u00a0%u00a0I was a little hesitant to use fresh tomatoes and not cook them or roast the in anyway before using them in the crackers, but I glad I didn’t. The tomato flavor really shines through, pairs beautifully with the basil,%u00a0and you get to skip having to deal with cooking down the tomatoes, which makes them all the more easy to make.
So I made the crackers and gave a baggie to the mr to eat, which he did right then and there (with some sweet ass baba ganoush because yes)%u00a0then packed a big bag for the road trip.%u00a0Not only was the mr chowing down, but my sisters were gobbling them up too, even the one who is gluten free. %u00a0That is good cracker validation.%u00a0
If you have never made your own crackers and you are a cracker person, now is the time to start doing it. I don’t eat crackers personally, but the mr and every one around me really seem to be cracker people so a while back I started to make them at home, and once you make a homemade cracker, the store bought ones will just not be acceptable anymore. But they really are super easy so you really should be making them at home anyway.. No pressure though.
The stuff. Flour, olive oil, tomatoes, fresh basil, and sea salt.%u00a0
Chunks of fresh tomato go into blender and get blended up all nice and smooth. Add in basil and oil and pulse until basil turns to little specks.
Pour the blended mixture into the flour.
Mix with a spoon until you can’t mix anymore then dump onto the counter.
Keeping the counter nice and floured, knead dough for a minute until it all comes together into nice ball.
Working with half of the dough at a time, roll out one of the pieces %u00a0about 1/4-1/8 inch thick.%u00a0%u00a0(really flour counter and rolling pin)%u00a0
And cut into crackers.. Shapes are up to you, but inch to 2 inch squares are easies to cut.%u00a0
Place crackers onto backing sheet. Before oven time and after oven time.%u00a0%u00a0They shrink and puff up a little bit in the oven. That is what a cracker is suppose to do. (but if you don’t like that you can prevent it by piercing the crackers with a fork before they go into the oven)%u00a0
And that’s it. Simple, and delicious.%u00a0
Crackers are looking all pretty like I am about to have party or something. I even made baba ganoush to serve with them. Lucky mr, he got to have this cracker party all to himself. Ha (He did not eat all of these crackers at once, that would be crazy)%u00a0
-C
makes between 100 -125 crackers%u00a0
3 cups flour
2 large tomatoes %u00a0( equal to 1 1/4 cup of tomato puree )
1/3 cup fresh basil leaves%u00a0
4 tablespoons olive oil%u00a0
About 2 tablespoons sea salt%u00a0
Remove core from tomatoes and place into food processor or blender. Blend until smooth and measure out 1 1/4 cups of the puree. Any left overs rs can be used as food later on. Dump measured puree back into blender and add in the basil and oil and pulse until the basil is in little pieces but not completely blended in. %u00a0Add flour to a big bowl then pour in tomato mixture and mix until a dough forms. Dump out onto counter and knead for a minute or two until dough is uniform in texture.%u00a0
Preheat oven to 400 degrees
On a floured surface, divide dough in half as to make rolling it easier, and roll dough into a rectangle that is 1/4- 1/8 inch thick. It is important to make sure the rolling pin and counter are well floured to avoid the dough from sticking. Once rolled out, sprinkle with sea salt and lightly roll the dough once more to kind of press the salt in then cut with either pizza cutter or a cracker cutter, or a knife, into 1 1/2 inch squares. The edges are going to be wonky shaped and you can either except them as they are or re roll and recut. (Note. IF you want your crackers to late flat and not puff up while baking, stab the crackers with a fork before they go into oven to create air vents. But honestly, most people really like the puffed up cracker)%u00a0%u00a0Place cut crackers onto a baking sheet and stick into oven. Bake for 15 minutes, checking after 10, until the crackers are golden brown. %u00a0Don’t forget to roll and bake off the other half of the dough!
Once crackers look good, remove from oven and place onto cooling rack. They will get crisper as they cool.%u00a0
Eat as many as you want. Store extra crackers in a airtight container or bag.%u00a0
I have fond memories of young me skipping school and sitting in front of the tv with peanut butter,%u00a0a package of graham crackers, and a glass of milk to dunk the peanut butter cover crackers in,%u00a0watching myself some Martha Stewart. I also have some fond memories of the days in college I would skip class (obviously to finish a paper or something), and sit around eating graham crackers covered in peanut butter and nutella,%u00a0dipped in beer? Wait no, it was coffee.%u00a0(although….beer? Could be something there.)%u00a0%u00a0Apparently I liked to skip class and eat peanut butter graham crackers. But don’t blame the cracker for the bad behavior, blame the eater. And I didn’t do it all the time, only once in a while. (A girl needed to watch her some Martha or write a 20 page paper.)%u00a0
We had a BBQ this week and for some reason I though people want to eat s’mores at a BBQ. (I guess I got that confused with camping.) %u00a0I figured even though the days of skipping life and eating graham crackers has passed me by, that I needed to make the graham crackers for others to enjoy. And then I wondered why the heck no one ever makes graham crackers. They are by far the underrated crispy cookie (lets just call it what it is ) of the snack world.%u00a0%u00a0I think I might make it my new thing. I’ll make graham crackers for ever cookie swap situation, every event that requires a dessert, every time a snack is need,%u00a0until people realize what they are missing. I’ll bring the graham cracker into all it’s glory.%u00a0
These graham crackers were raved over by people who like graham crackers and were absolutely perfect for s’mores.%u00a0%u00a0A few of the littles that don’t like graham crackers did not care for them, but I guess you can’t make everyone happy. Tthey just wanted to eat the marshmallows.)%u00a0They are crispy and crackery, tiny bit smokey and sweet but not to sweet, and perfect for all your graham cracker needs.
The stuff. In one bowl there is graham flour, all purpose flour, baking soda and salt. The other bowl has brown sugar, honey and molasses. Also going to need vegan butter, vanilla, and a little bit of plant milk.%u00a0
The big bowl of sweet stuff get beaten together with the butter and vanilla until smooth, then the dry mixture and milk go in an beaten until just combined.%u00a0
. This is what graham cracker dough looks like.%u00a0Course %u00a0and chunky,%u00a0but done. Don’t beat it anymore, just use your hands to gather it tighter.%u00a0
Gather the dough into a ball then wrap %u00a0in plastic (or stick in a plastic bag)and smoosh flat and rectangular. Place in the fridge for at least 2 hours, if not overnight. IT needs the time firm up.%u00a0
After the dough has firmed up, its time to roll it out. Cut the dough in half (place the other half back in fridge until you are ready for it) and roll out on a very floured surface. The dough is sticky and %u00a0not super strong so go slow and make sure to keep the surface and the rolling pin floured so it doesn’t stick .
When it’s all rolled out, trim the sides even the cut %u00a0into into squares or rectangular (or any shape you want). I was going to measure and make them all the same size and then I was like, yeah, no. I just eyed it and made them kind of the same size. I don’t live in a world where I need perfect graham crackers.%u00a0
Gently transfer the crackers (%u00a0I used the bench scrapper to list them, but a spatula would be good too) on a parchment lined baking sheet. Run a %u00a0line the doesn’t cut all the way through in the middle of each cracker and then poke 6 (or how many you want) hole on each side. You can use a toothpick or a wooden skewer. I used a size 8 kitting needle.
Get all your crackers made and sprinkle the tops with a little graduated sugar. Pop into the preheated oven to bake for 15-20 minutes,%u00a0rotated around 10 to keep an even bake.%u00a0
Done. Golden brown graham cracker success.%u00a0
Cool the crackers on a wire rack.
And now you have yourself graham crackers for all your graham cracker needs.%u00a0
May I suggest a smear of peanut butter, maybe a glass of milk or coffee and some Martha Stewart on the tv?%u00a0
-C
Makes between 20-30 crackers depending on size
1 1/2 cups graham flour (unbolted whole wheat flour with the germ and bran)
1 1/4 cup all purpose flour%u00a0
1 teaspoon salt%u00a0
1 teaspoon baking soda
1/2 cup light brown sugar
1/4 cup honey (can sub %u00a0in golden syrup or brown rice syrup)
2 tablespoons molasses (not black strap)
1/2 cup vegan butter%u00a0
1 teaspoon vanilla%u00a0
1 tablespoon plant milk%u00a0
1 tablespoon white sugar
Stick the butter, brown sugar, honey, molasses , and vanilla %u00a0into a large bowl and beat with an electric beater until smooth, In a smaller bowl, whisk together the flours, salt, and baking soda. Dump the dry into the wet, add in the milk and beat on low until mixture just starts to come together,then use your hand and smoosh and knead the dough into a ball. Either wrap or place dough ball %u00a0in a plastic airtight bag, smoosh into a flat rectangular shape, and refrigerate for at least 2 hours, if not over night.
When you are ready to bake the crackers, preheat oven to 325 and line 2 large baking sheets with parchment paper.%u00a0
Cut dough in half and place one half back in fridge while working with the other half. Flour a surface and the rolling pin and roll dough our into a retangle about 1/8 inch thick. Trim sides ( a pizza cutter or dough scraper works really well here)%u00a0to make a sides straight (straight enough) and then cut into equal sizes pieces that are the size of your liking. (What it did was cut in half, then each half into thirds %u00a0vertically %u00a0then the whole thing in thirds hortiztally. I ended up with 18 pieces) %u00a0
Place the crackers on prepared baking sheet and take you cutting instruments and run a line along the middle of each cracker without cutting all the way through (if you cut all the way through, it should fuse back together in baking) Take a wooden skewer %u00a0and poke 6 holes into each side. Sprinkle with white sugar. Now grab the second half of the dough and do the same thing. And don’t forget to gather all the trimming and either roll into more crackers or just make one weird shaped blob cracker for taste testing.
Once all the crackers are prepared, stick into the oven to bake for 15- 20 minutes (15 for a softer cracker, 20 for a more crispy cracker)%u00a0, rotating after 10 minutes to insure even baking. Once the crackers are a nice %u00a0golden brown, remove and place on a wire rack to cool.
Eat the way you do.%u00a0
Store uneaten crackers in a airtight container for a up to a week.%u00a0Crackers can be frozen for later use.%u00a0
The mr has a soft spot for tortilla chips. He doesn’t get chips often, but when he does it is usually the super fried, super salty, in a plastic bag, tortilla chips. And I am ok with that because it is not often and the dude deserves chips when he wants them. But I hate how crappy they are for him, especially all the salt. So much salt that I can smell it in my mouth (yes, I said that right). So, as with everything else we eat in the house, I now make chips from scratch. (Slowly I have eliminated just about everything that is pre packaged and started making it myself.%u00a0I think it’s pretty much just the dried pasta and the mr’s yogurt and cheese that I haven’t gotten to.Yet.) This way he can eat his chips and I don’t have to sit there tasting the smell and thinking about the crap that he is eating.%u00a0%u00a0I know I say this a lot, but lets just take a minute here and acknowledge how I really am the best girlfriend ever.%u00a0
Ok, now about these chips. I have made plan tortilla chips a few times before and figured it was time for a twist.%u00a0%u00a0In come black beans. Why, because I was pretty sure beans were going to be awesome, and lo and behold, I was completely right. Adding the beans take little to no more effort then making the chips without, and bonus here, more fiber and protein and good stuff going into a chip. Then they are lightly oil, lightly salted, and eaten without any guilt because I made them and they are the best. Seriously, the mr thinks they are amazing and doesn’t miss those pre package ones a bit.%u00a0%u00a0And sure, they might take a little time and minimal effort, but really they are super easy and the time and effort to make them is probably no more then going into a store, waiting in line to pay, and driving home to eat your chips. You can have these chip made in that amount of time. So you might as well just make them.
To the chips.%u00a0
The stuff. Masa harnia, black beans, water, salt, and a little oil. There should be a lemon or lime here too, but I forgot to stick it into the picture. Oops.%u00a0
Pretty easy.%u00a0%u00a0Add the beans to a food processor and blend untill completely smooth. Add in the masa and pulse then gradually add in water until a dough forms. Stop and feel the dough. If it feels like play dough and comes together into ball easily, then you are good. If it is to wet, add a little more masa, to dry, more water.
Dump the dough onto the counter and form into a ball. Place the doguh into a bowl and cover with a damp closer for 15-30 minutes to let the dough rest.
After the rest, divide the dough into 12 pieces and roll into balls. Place the balls onto a damp cloth and cover while you are making the tortillas so they don’t dry out.%u00a0
To flatten those balls into tortillas.%u00a0%u00a0After doing this a bunch of times, I have a system that works the best for me.%u00a0%u00a0I use a large ziplock bag (the plastic is a little thicker and easier to deal with, plus I don’t use plastic wrap), a cutting board, and a rolling pin. Place a dough ball into the center of the bag then take the cutting board and press directly on top, placing all your weight onto it. It gets flat, but not flat enough so take the rolling pin and flatten some more. Then press the rolled out dough with the cutting board one last time. Carefuly remove from bag and place direrely onto a hot dry skillet.%u00a0
Cook each side 3-4 minutes or until it starts to get a few light brown spots. Once cooked, place on a plate or baking sheet. If I were just making tortillas, I would place then in between a kitchen towel to keep them warm, but because they are destined for chips and don’t care.%u00a0
Black bean corn tortillas.%u00a0Hey, you could stop here and make a taco or something if you need to. Feel free to use a tortilla or two before using the rest to make the into chips.%u00a0
So chips. Grab baking sheets, oil, salt, a knife, and the tortillas. Take a few of the tortillas and oil them. (The easiest way I found to do this is to rub oil on with my hands then rub the oil onto the tortillas.%u00a0)%u00a0Oil 3 at a time, stacked them on top of each other and cut into 8 triangles,%u00a0
Get as many of the triangles onto a baking sheet as you can, without overlapping. %u00a0Once all nice and tight, sprinkle the tops with salt and pop them into preheated oven.%u00a0
Pull the chips out of the oven when they are crispy and done (about 10 minutes)%u00a0then squeeze a little lemon juice all over the chips. Toss around and pop the pan back into the oven for another minute or two just so the juice doesn’t %u00a0leave the chips soggy.
Dump cooked chips %u00a0onto a wire rack to cool. Eat as you work, you deserve it.
Pile chips into a bowl, and serve with some salsa or guacamole or whatever you eat you chips with. %u00a0They are your chips.%u00a0
-C
Makes 98 chips, or like a good sized bag worth
2 cups masa harina%u00a0
1 cup cooked black beans in bean juice
1- 1 1/4%u00a0 cups warm water
couple teaspoons neutral oil (I used grape seed oil)
2-3 teaspoons salt
A lemon or lime
Beans go into a food processor and blended until completely smooth. Add in the masa and blend, slowly adding 3/4 cups water until a dough starts to forms. %u00a0Stop and check dough. It should feel like play dough and come together easilty onto a ball. If it feel wet, add in a couple of tablespoons more of the masa. If it is still too dry and crumbly, add in more water until it’s to the right consistnacey. Dump dough onto counter and form in a ball. Place dough in a bowl and cover with a damp towel and let sit for abut 15-30 minutes.
Preheat a skillet on medium high heat on stove.
Once dough has rested, divide into 12 pieces and roll into balls. Place balls onto a damp towel and cover when not working with them.%u00a0Grab a large ziplock bag, a cutting board, and a rolling pin. Take a dough ball and place in the center of the bag. Press down with the cutting board, placing all your weight on top. It got flat, but not flat enough. Continue to flatten out with the rolling pin until it is about %u00a01/8 inch thick. Press again one last time with the cutting board. Gently remove from bag and place directly onto the hot skillet. Cook each side for 3-4 minutes or until it %u00a0starts to get a few light brown spot. Place cooked tortilla on a baking sheet or in between a kitchen towel. Repeat until all 12 dough balls are cooked into tortillas.
Preheat oven to 375
Working in 3’s. dump a little oil onto your hand then lightly rub it all over the tortillas. Stack them on top of each other then cut into 8 wedged. Place wedges onto a baking sheet, get as many as you can onto sheet without any overlapping, then sprinkle with salt. to taste. If you have them, use multiple baking sheets.%u00a0%u00a0Place in oven for about 10-12 minutes or until the chips are crispy. Remove and sprinkle lemon juice all over the chips. Toss around and place back into oven for a minute or two just until lth lemon juice evaporates. Remove and dump chips onto a wire rack to cool.
Eat chips. Any left over can be placed into a airtight container or bag and will last about 3-4 days.%u00a0
Corn is the name of the game, and this game I won!
The mr doesn%u2019t much like to eat corn. But I do. And this time of year I get like 10 ears of corn every week from farm share, which is a lot of corn for one person to have to eat every week and sometimes I just can%u2019t do it. So every now and then I make something that I think the mr will tolerate, if not like, to get him to help me eat the stash of a hundred ears or corn that I have going on in the fridge.
These fritters helped me with that and I think with all the future corn that I will get from the farm. They are soooo good! The mr liked them! As for me, I couldn’t stop eating them and almost didn’t want to share because they we just so dang good. Sweet fresh corn, nutty and slightly chewy oats. Scallions. And that%u2019s pretty much it. So fresh and clean and yummy tasting. A summertime fritter situation that takes corn to a place where even the corn hater likes it.
Although who the hell hates corn? I know one person. One. And I live with him. Weirdo.
Anyway, to the fritters!
The stuff. Fresh sweet corn, old fashion rolled oats, and a few scallion. Also some ground flax seed, water, baking powder, salt and pepper, and a little oil.
Start with oats. Add most of what we need to a blender and blend until it becomes oat flour.
Then the corn. Remove the kernels from the cobs. Best way is to hold corn in a large bowl and cut downward. Don%u2019t want corn flying all over the place!
Add most of the corn you just cut off the cob to the blender with the oat flour, along with with flax and water. Blend until smooth.
Chop the scallions into thin and tiny pieces.
Now dump the contents of the blender into a bowl, add in the scallions, the baking powder, and the extra oats and corn. Mix it all up and then let the batter rest for a few minutes (like 10) so the oats have a chance to really absorb all the liquid.
And then to cook them. Heat a lightly oiled skillet to medium high heat. Once skillet is hot, drop scoops of batter into it. Cook for 3-4 minutes or until the bottom is a nice deep golden brown. Flip and cook the other side the same.
When fritters are done cooking, place them on a wire rack. So they don%u2019t get soggy.
And then serve them right away. I ate mine with fresh salsa. Definitely the way to go. So GOOD!
Now eat your corn.
-C
makes about 12 fritters
3 ears fresh corn ( about 1 1/2 cups of kernels)
1 1/2 cups rolled oats (gluten free if needed)
1/2 teaspoon baking powder
2-3 scallions
1 tablespoon flax meal
3 tablespoons water
salt and pepper
a little oil for skillet
Combine water and flax meal, mix and set aside.
Place 1 cup of oats into blender or food processor and blend for about a minutes or until the oats are a fine flour.
Grab corn and remove from cob. Best way to do this is to place corn vertically in a big bowl and cut downwards so the bowl catches all the kernels. Cut enough corn until you have about 1 1/2 cups of kernels. Also, garb scallions and chop into very small, thin pieces.
Add in a cup of the corn, the flax and water mixture, baking powder, and a pinch of salt and pepper. Pulse or blend until completely combined and the mixture is mostly smooth.. Dump mixture into a bowl and add in the remaining corn, chopped scallions, and oats and mix together. The mixture should not be runny, but also should not be dry enough to pack together. If the mixture seems too dry and tight, add in a tablespoon or two more or water. To wet, add in a small handful of oats.
Once batter is mixed, set aside for about 10 minutes to rest.
Grab skillet and place on medium high heat. Add a touch of oil to pan and make sure it evenly coats the bottom. Once pan is preheated, add scoops batter into pan (about 2 tablespoons each). Cook first side for about 3-4 minutes or until dark golden brown, then flip and cook the other sides for another 2-3 minutes until a dark golden brown. Remove from pan and either place on a wire rack or a plate. ( I recommend a wire rack just to keep them from getting soggy.)
Serve right away. Fresh salsa goes amazingly with them!
Any left overs can be stored in fridge and reheated in the oven.
When something goes on sale at the grocery store, I tend to buy it. Being that it is Valentines Day this week, all the stores are having specials on all sorts of sexy things… and strawberries are one of them. Now I am not a huge fan of buying produce that is terribly out of season, but I can’t help myself…a good deal is a good deal and the strawberries were a super good deal. I was just going to make some sweet ass strawberry jam or maybe a lovely strawberry cake with them (and I probably still will), but these strawberries are actually super juicy and full of flavor, and it’s always nice to eat some full flavor freshy strawberries… especially soaked in balsamic vinegar. And yeah, I think that this salad is pretty sexy, so it makes for a perfect Valentines day dish.
A handful of ingredients and 5 minutes will get you to a fantastic salad experience.
A bowl of baby spinach, a few chopped up strawberries*, half a sliced avocado and a small handful of toasted almonds.. Oh, and don’t forget the balsamic vinegar….
*Note.. Strawberries are kind of heart shaped already so if you want, reserve a few slices to fancy up you salad presentation, but chop up the rest into smaller pieces.
Pour the vinegar on the strawberries and let sit for at least 5 minutes. (the longer the strawberries can sit with the vinegar, the better)
Pile it on.. thinly slice avocado.. rough chopped toasted almonds… It’s pretty much as easy as it can get.And last but not least, toss on the balsamic soaked strawberries and drizzle the remaining vinegar. (if you made hearts, place on top to make pretty) Sprinkle with a pitch of salt and pepper and pow! Fancy, sexy, delicious salad.
Not to shabby for 5 minutes and a handful of ingredients. Anyone (don’t feed to a person with nut allergies) would be so syked to be fed a salad like this… You yourself should be pretty excited to eat a salad like this. Heck, I am excited to eat a salad like this!
A love salad for everyone and everyday!
YAY for Thursday and Happy meal planning!!!!
-C
♥ Balsamic Strawberries on Spinach Almond Avocado Salad ♥
Ingredients for 1 large or 2 small salads
3-4 ripe strawberries
handful of roasted almonds (slivers or whole)
1/2 avocado
2 tablespoons Balsamic Vinegar
3 cups baby spinach
Pinch of salt and pepper
Dice strawberries into small pieces (reserve a few whole slices for heart shapes if you want) and toss in a small bowl with the balsamic vinegar. Let sit for at least 5 minutes. Rinse and dry spinach. Place in a bowl(s) and top with thinly sliced avocado, chopped almonds and balsamic soaked strawberries. Drizzle the residual vinegar on top and sprinkle with a pinch of salt and pepper.
Before we left for the weekend, I was was trying my hardest to empty the fridge out of all food with the intention of leaning it empty so I could leave it open to defrost while were were gone. Unfortunately I was not able to make it happen. What I did make happen was emptying it almost completely so that when we got home, we had pretty much no food in the house, except for a few things that probably should be eaten. Plus one of the last things that I want to do after sitting in a car for 6 hours is go to the grocery store, or anywhere for that matter, so I was determined to make with what wet had in the fridge:
Carrots
half of a gigantic kohlrabi
soy milk
iced tea
bananas that needed to be frozen
strawberries
Perfect! A few carrots and half of a gigantic kohlrabi.. plus at the hotel we were staying at, there were fruit bowls in he lobby full apples. Every time I went past the apples (which was a lot) I grab one or two, so I have a few apples (I actually have a lot of apples now). All the things I need for a super awesome salad slaw. Apples with their nice sweet crispiness and kohlrabi with its cabbagey, crunchy earthiness, tossed together with some vinegar, some toasted walnuts and some carrots, I mean, so freaking good. And to make it a bit more of a meal, I made some lentils to go with it. But the best part was there was no need to leave the house!!
The stuff… A huge hunk of a bigger then my head kohlrabi (or 2 normal bulbs). A carrot, an apple, toasted walnuts, red wine vinegar, and some salt.
Pretty simple stuff going on here. Just peel and julienne the kohlrabi, carrot and apple. (no need to peel the carrot or apple unless you want too) and stick it all into a bowl. I used my mandolin, which is one of my favorite kitchen tools ever, but if you don’t have one, a box grater works too.Sprinkle with salt and a good glug glug of red wine vinegar. Chop up the walnuts (some big chunks and some very small pieces makes for good eating), toss it all together and, well that’s it. But wait…. let it sit for a few minutes before serving to really let the flavors draw out.And there we have it. Super fast, full of flavors and crunchy texture. A salad slaw after my own heart.
Serve it as it or add to a bed of greens, rice, or lentils… and make sure to save at least as little… cause its an awesome little pre-bed snack.
Happy Week!!
-C
Kohlrabi Apple Walnut Slaw
2 medium sized Kohlrabis
1 medium apple
1 small carrot
1/2 cup toasted walnuts
red wine vinegar
salt
In a large bowl, julienne kohlrabi (after peeled) apple and carrot. Sprinkle with salt, add in vinegar. Rough chop walnuts and toss the whole bit together. Let sit for at least 10 minutes, if not longer before serving. (A great salad to make ahead of time)
Eat as is, or toss onto a bed of greens, plate of rice or a bowl of lentils.
Any left overs only end up tasting better the next day.
Whenever my little sister comes over for dinner, I always end up making lentils in some form or another because she, like me, is awesome and loves a good lentil. It makes me so happy that she has such great taste in food and wants to eat what I make. It’s validation from a teenage girl which is the best kind of validation.
So last night when she came over after school for dinner and trash talk (she likes to verbally abuse Nick) we decided to make both of our favorites … Lentils AND sweet potatoes. How can you go wrong with that combo? Well I am telling you that you can’t. The rich creamy soft and slightly sweet sweet potato mixed up with the hearty, earthy, oh so fantastically tasty lentil. Add in a bit of kale and cheese if you wish and serve with salsa and guac… Whoa, it’s the best!!!
Such a great evening, I get to the cooking, the sister gets to the verbal abuse and the mister, begin the champ that he is, takes it and dishes it right back.
I am the greatest(coolest) sister.
Baked sweet potatoes, cooked lentils, chopped up kale and monetary jack cheese (Cheese is optional.. and make it vegan cheese if you want) And you don’t need then, but salsa and guacamole are the best toppings.. So you have them.
Cut the cooked potato in half lengthwise and scoop the flesh out into a bowl. With a fork, smooth the potato , sprinkle with salt and pepper and mix in lentils and kale.
Stuff the mixture back into the skins of the potato.
And add some cheese (The mister and the sister wanted lots of cheese, no cheese for me) and stick the potatoes into the oven and let bake for another 5 or so minutes or until the cheese is all melty or the top is nice and crispy.
Remove and plate… Serve with salsa and guacamole and maybe some corn chips.
I am the greatest sister
-C
Makes 2 serving
1 Large Sweet Potato
1 cup Prepared Lentils
1 cup Chopped Kale
1/2 cup Grated Monetary Jack Cheese (Vegan style or not)
Salsa (optional)
Guacamole(optional)
Place potato in oven at 400 degrees for 30-40 minutes or until soft a baked throughout.
While potato is baking, prepare lentils. 2 cups water to 1 cup lentils. Add water and lentil to pot, bring to a boil, add a sprinkle of salt, and reduce to simmer until lentils are tender.
When potato is cooked, remove potato and let cool for a few minutes. Cut in half lengthwise and scoop out most of the flesh out of the skins and place into a big bowl. WIth a fork, mash the potato a bit Add in the lentils and the kale, a sprinkle of salt and pepper, and mix to combine. Stuff the mixture back into the skins of the potatoes and top with cheese. (if using ) Place potatoes back into oven for 5-10 minutes until cheese is melty and bubbly or the top of the potato is a bit crispy. Remove from oven and serve on a plate with salsa and guacamole.
Had some littles over for dinner halloween dinner the other night %u00a0and I made them some mac n’ cheese.
Kinda, cause it wasn’t really cheese. Let me explain.%u00a0
These particular littles are tough. Getting them to eat things that are not pizza, hot dogs,%u00a0or some other crap is not always easy.(although they will always eat carrots)%u00a0So whenever they come over, I try to feed them a healthier version of something that I know that they like, %u00a0like tofu dogs or homemade whole wheat pizzas. So this night, I though I would give my vegan mac and cheese and try.%u00a0%u00a0I mean,what kid doesn’t like it? But what kind is the question. If you ask them, its got to be boxed Kraft mac and cheese.%u00a0I knew when I was making it that there was a great chance that I might have to make peanut butter banana sandwiches as well, but whatever These little littles need to stop being such picky crappy eaters and yeah. Even if that means I make them eat what why don’t like or that on the ride home I tell them that any pizza that is not home made will probably end up killing them)%u00a0So I try, and sometimes it works.%u00a0
So I made it, no cheese in sight and served it up.%u00a0The verdict…. The mr, he loved it. My sister (she came too) she was into it as well. One little ate almost an entire bowl, and the other, well he spit it out,%u00a0but he is more a hot dog guy then a mac and cheese guy so his opinion doesn’t count. So to conclude,%u00a0yes, this is a fantasic mac and cheese that just happened to be cheese less,%u00a0%u00a0full of veggies, and damn tasty!
And serving suggestion DON”T LET THE LITTLE KNOW IT”S NOT REAL CHEESE!!! They don’t need to know
To the mac!
The stuff. A small butternut squash, a potato, an onion, and a carrot. Also needed is nutritional yeast (the cheeze), garlic powder, olive oil, salt and pepper, and some water. And pasta.. don’t forget the pasta.%u00a0
Start with the onion and carrot in a big pot with some oil. Stick that on the stove and turn on the heat, and when that’s going, chop up the butternut sqauh and the potato and toss that into the pot too. Let the stuff cook for just a few minutes.
Pour in water (enough o submerge all the veggies) %u00a0and add in the garlic powder and some salt and pepper. Bring the water to a boil then turn heat down to medium and stick a lid on the pot.
Now is a good time to boil up your pasta situation (cook it the way the package says too)
When it’s done, strain it. And if it happens that it is done a little before the sauce, it’s cool, just drizzle it with a little oil so that the noodles don’t all stick together and set aside.
Back to the sauce. Once the pot of veggies is all tender and falling apart, take it off the stove.
And blend the crap out of it with your blending method of choice (a hand o a regular blender)
Oh, and mix in the nutrioanl yeast (can add it in at the blending stage%u2026 I just forgot too) and season with any more salt and pepper if needed.
Grap the cooked noodles,%u00a0dump them into the sauce and give a good mix.
Scoop into food eating vessels,(handled coffee mugs are great for the littles.. and cute)%u00a0Maybe sprinkle on some chopped green stuff(my people enjoyed the addition of chopped up kale) and serve right away!
half a small butternut squash (about 2 1/2 ish cups chopped)
1 medium white potato
1 medium yellow onion
1 large carrot
1/3 cup nutritional yeast
1 tablespoon garlic powder
salt and pepper to taste
olive oil
water
Chop up the onion and the carrot and stick into a large heavy bottom pot with a splash or two of olive oil and stick on the stove on medium heat.%u00a0While that’s %u00a0going on, chop up the butternut and potato into reasonable small chunks and toss that into the pot with the other stuff. Add in the garlic powder, season well with salt and pepper, and add enough water to full submerge the contents of the pot. Bring the water to a boil then reduce heat to medium and stick a cover on the pot.
While the veggies are boiling, boil the pasta up, slightly al denta (follow what the pasta people on the package tells you to do)
Once all the veggies in the pot are super tender, even falling apart (about 20 minutes) remove pot from heat and using your blending method of choice (hand or normal blender)%u00a0%u00a0blend everything together until smooth and creamy and then add in the nutritional yeast. Taste and if you think it needs it, add more salt and %u00a0pepper.%u00a0If you find that the sauce seems to thick, add in a splash or two of water.. to thin, stick back on stove and cook long to reduce.%u00a0
So you got you cooked pasta and you sauce. Mix it all together. And wa la%u2026 Mac N’ Cheeze
serve right away and eat it all. But any left overs can be refrigerated. Tastes great %u00a0the next day warmed in a skillet with a little oil.%u00a0
A simple little artsy craft project to get down with%u2026 apple printing. ALmost the same as potato print, except smells better and your apple comes with an interior fun shape to print with. And you have to use apple this time of year cause its apple season and there are apples everywhere!
I usually do things like this with a little or two, but at the time, I had no littles in my possession, so I went it did it all by my lonesome.%u00a0(which was actually a lot of fun)%u00a0I made myself big cup of hot coffee, put on some tunes, and zoned out and did a bunch of prints. It was a great little afternoon project that anyone, little or not so much, can do. And the best part about printing is%u2026 you can’t screw it up
And I know that this is going to be a cold dreary weekend%u2026 so this might just be the perfect indoor project to do!%u00a0
Things you are going to need..
apple(s).. And the apple that I use are fallen apples.. so I don’t feel bad about using them.
paper
a knife (or something sharp enough to cut the apple)
paint ( I used cheap-o acrylic paint, but any paint would work)
paint-brush
Cup of water (to rinse brush)
rag (to wipe hands)
Start by slicing your apple. If you cut in in half, you get the cool star shape in the middle, or just chop it into cool shaped pieces.%u00a0
Apply paint to the apple. I found that if I dipped the apple, then remove to much excess paint with a paint brush to work the best for me.. My suggestion is to play around with what works best for you.
Apple goes paint side down on paper%u2026 and that’s how it goes. Now repeat, either with the same shape, or use a new one. OR change up the color.. it’s all how you want to do it.%u00a0
If%u00a0
. I got a little excited with my fist print turned out a little chaotic(note print above)%u00a0but then I rained myself in.%u00a0
And did a few more simpler designs. %u00a0%u00a0
But do it anyway you want cause it’s going to look cool no matter what.
Have fun!
-C
%u00a0%u00a0 %u00a0%u00a0%u00a0I figured now is a good time to get this recipe out there before we get to far into spring and summer recipes because there is going to be a lot of banana ice cream filled recipe coming and I figured its a good idea to have the basic banana ice cream recipe ready for people to refer too.%u00a0 And because I made so much fantastic naner ice cream, I also made a cookies and cream naner ice cream for my sisters and the mister.
Comments that I got from my sisters and the mister when I made them this ice cream
-Sister one.”I give this my sister seal of approval.. It’s so good. %u00a0The first dessert you have made that I liked! (not including all the other desserts that you have made that I liked)”
-Sister two- “Wow.. it looks like ice cream and feels like ice cream and tastes like ice cream.. You should make me this ice cream!” (I was confused too because I was pretty sure I just made her some)
-The mister- “I am so excited for my new fly fishing pole!”
Ok, so the naner ice cream isn’t new to the mister and he IS very much excited for his new fly fish pole. So excited that he forgot to tell me how amazing that I am and to thank me for making him a big bowl of yumminess. (It’s ok, I forgive him)
And yes, this is probably one of the easiest, most delicious, healthy and amazing frozen dessert that you will ever eat. You will probably find yourself buying mass amounts of bananas and stocking the freezer until things just start falling out. (which is also ok because it’s only bananas and you can’t have too many frozen bananas)
%u00a0 %u00a0The stuff you need for this ice cream%u2026. Nice and ripe bananas, peeled and then frozen* That’s it.
To make it, place frozen bananas into food processor and hit the on button. Process the crap out of the namers until nice and silky smooth.%u00a0
*Note, the smaller the frozen chunks are , the faster and maybe a little easier for the blender to blend the naners into ice cream. So if you think of it, chop bananas into pieces before freezing or even after.
After all blended and smooth, either eat right away or scoop ice cream into a freezer safe container and stick in freezer. That’s the banana ice cream%u2026 %u00a0And it is amazing and so so so so so addictive. I make a batch, think I am only going to eat a scoop, then find myself eating half of what I have made, but it’s ok cause it’s only bananas.%u00a0
Now for the cookies and cream banana ice cream..One%u00a0batch of banana ice cream, either freshly made, still in food processor or made ahead and placed in a food processor and given a good pulse to smooth it up.
Add cookies in, crushing a bit beforehand and pulse till combined.%u00a0Now you have cookies and cream naner ice cream%u2026. and everybody is happy.
Scoop into a cup, a bowl, a freezer safe container, or directly into your mouth.%u00a0Be careful%u2026. You can still get brain freeze from eating naner ice cream too fast!
Keep it real hump day drum bum!
-C
Basic Banana Ice Cream
Makes one batch. Good for 3-4 servings
4-5 %u00a0ripe bananas peeled and frozen
Peel %u00a0bananas and stick in a freezer bag or container and freeze. When bananas are completely frozen, break into pieces and stick into a food processor or blender and puree until silky smooth.%u00a0
Eat right away or scoop into a freezer safe container for later.
Cookies and Cream Banana Ice Cream
1 batch banana ice cream
5-10 (depending on your cookie need) cream filled cookies like oreos or Trader Joe’s Joe Joe’s (These are gluten free)
In a food processor, blend banana ice cream with cookies.
Eat right away, with a utensil of choice in a container of choice.
Bowl licking is acceptable.%u00a0
I don’t know if I have bitched enough about it, but I only have one window in my living space. And as much as I love love love our little tiny loft, I am a person who needs the sun. So when I am home I spend a lot of time siting in front of the window.%u00a0 Over the past few weeks I have been doing a lot of watercolor painting in front of that window and somehow %u00a0between drawings of carrots and %u00a0vintage fans, I ended up making these marbled window stained glass hoops. And I am glade I did because these little watercolor gems really do make a big impact on my one source of sunlight. Even when the day is kind of gray and gloomy, having these in the window make the light seem brighter and happy.%u00a0
We can all use a bright happy window.
So this project is really easy and fast. I recommend that if you are going to go to the trouble (it’s really no trouble) of making one, you might as well make 2 or 5. I actually made a bunch (think Mothers day or Easter presents) and ended up only keeping a s couple. I am going to have to make a few more soon.
You will need-
Watercolors%u00a0
water
paintbrush
Sketch paper*
A pan or tray with a bit of water%u00a0
Embroidery Circles * (As many as you want to make)
*Notes
-I tried to use a few different types of paper and found that the sketch works the best. Watercolor paper was a bit to thick and printer paper just kept ripping.
-You can buy embroidery circles at any craft store and they usually have a good variety of sizes. Use the sizes that you like.
Take a piece(s) of paper a little bit bigger then the hoop you are working with and stick it into a pan or tray of water. Let it sit there for a few minutes until the paper is completely soaked.Take the wet paper and, oh so gently, crumple into a ball. This part can be a little tricky. You want to make as many creases as possible without ripping that paper. (I ripped a few pieces) I found that if I folded that paper a few time, then crumpled that it was less likely to rip.
Uncrumple the paper and lay it gently onto the inner part of the hoop. Now the fun part. Go to town with the watercolors. I used 2 colors per piece, but you could do 1 or 3, or more. When applying the color, use big gentle strokes and let the colors kind of meld together. Watch as all the crumple veins soak up the paint. Try using different dilutions of color. I applied some color on thinly and some on the thicker side. But really, you can’t go wrong, just keep applying paint until you are happy. I stopped a few times and held it up to%u00a0the window just to see what it looked like. When it looked good, I was done.
When you are happy with the colors, let the paper dry for a while on the hoop %u00a0until it is not longer super wet. I would say about an hour or so, but if you stick it near the heater, it might dry faster. (Just don’t stick it in the oven while you are making bread like I did with one.. It just ended up setting on fire. Oops)
Once its pretty much dry, take the outer ring of the hoop and gently place around the inner hoop and tighten. Being super careful, trim the extra paper from the back of the hoop.
Place your pieces in a window and watch them glow. %u00a0Yow now have a happy window.


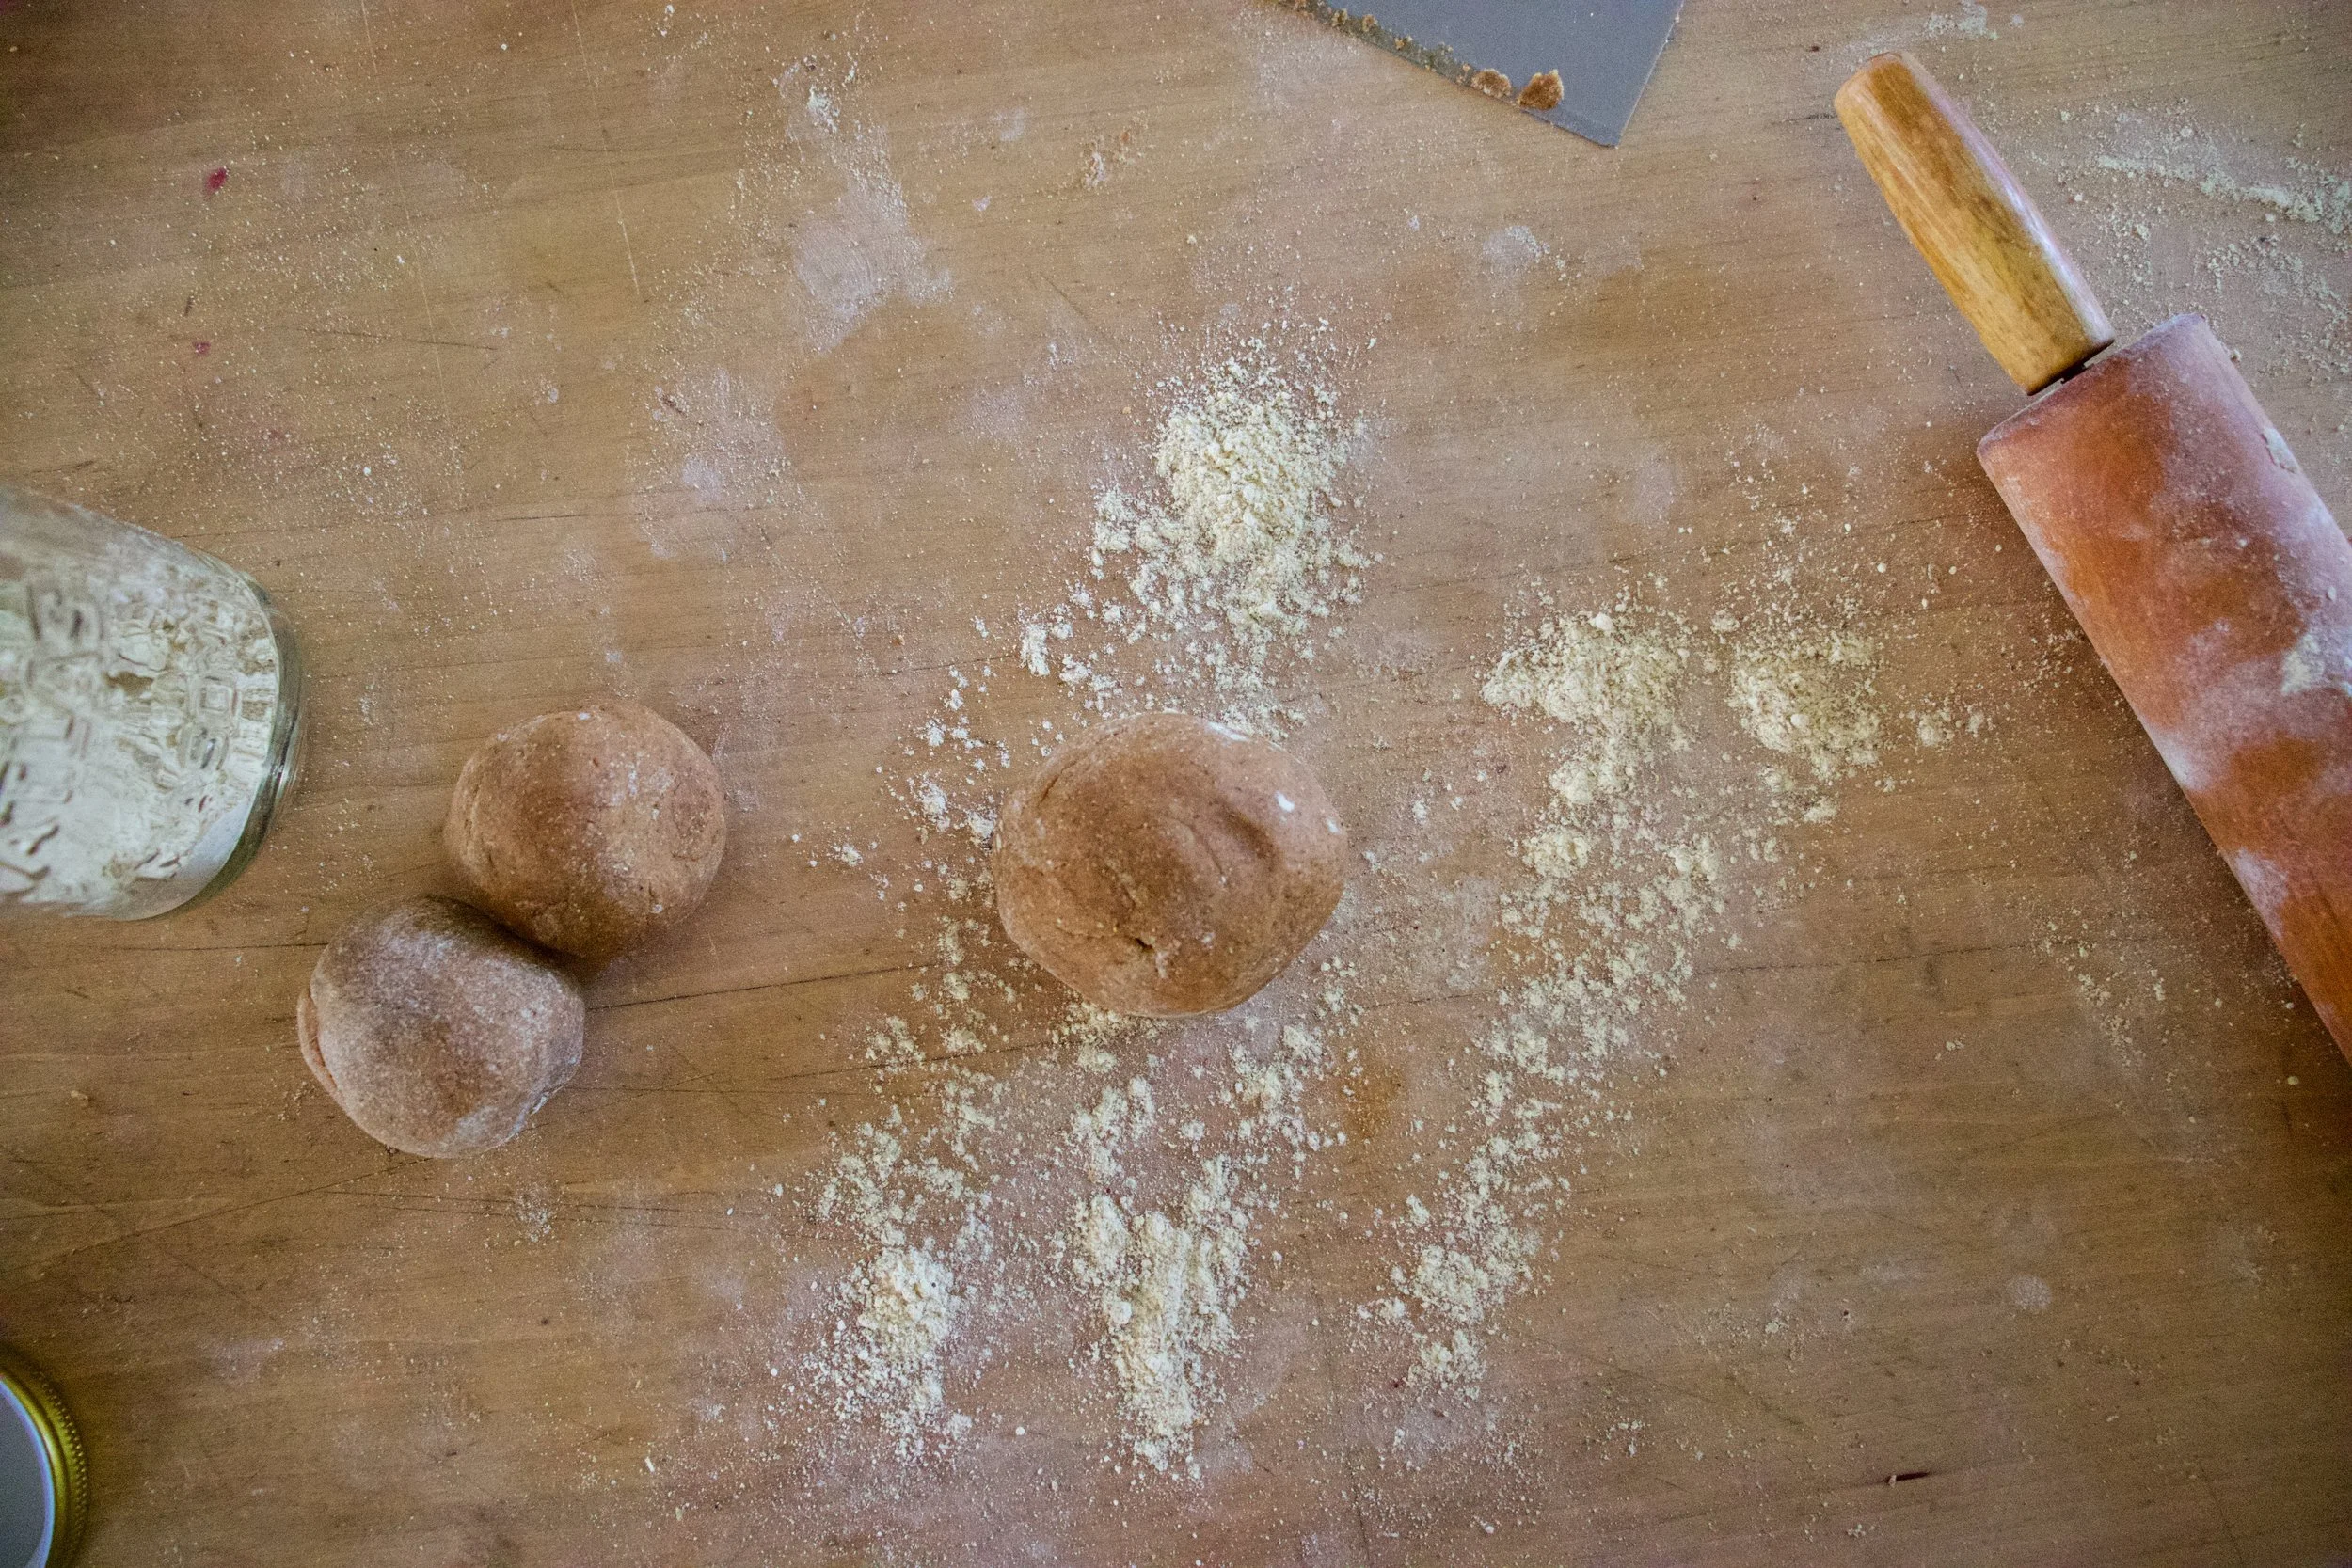


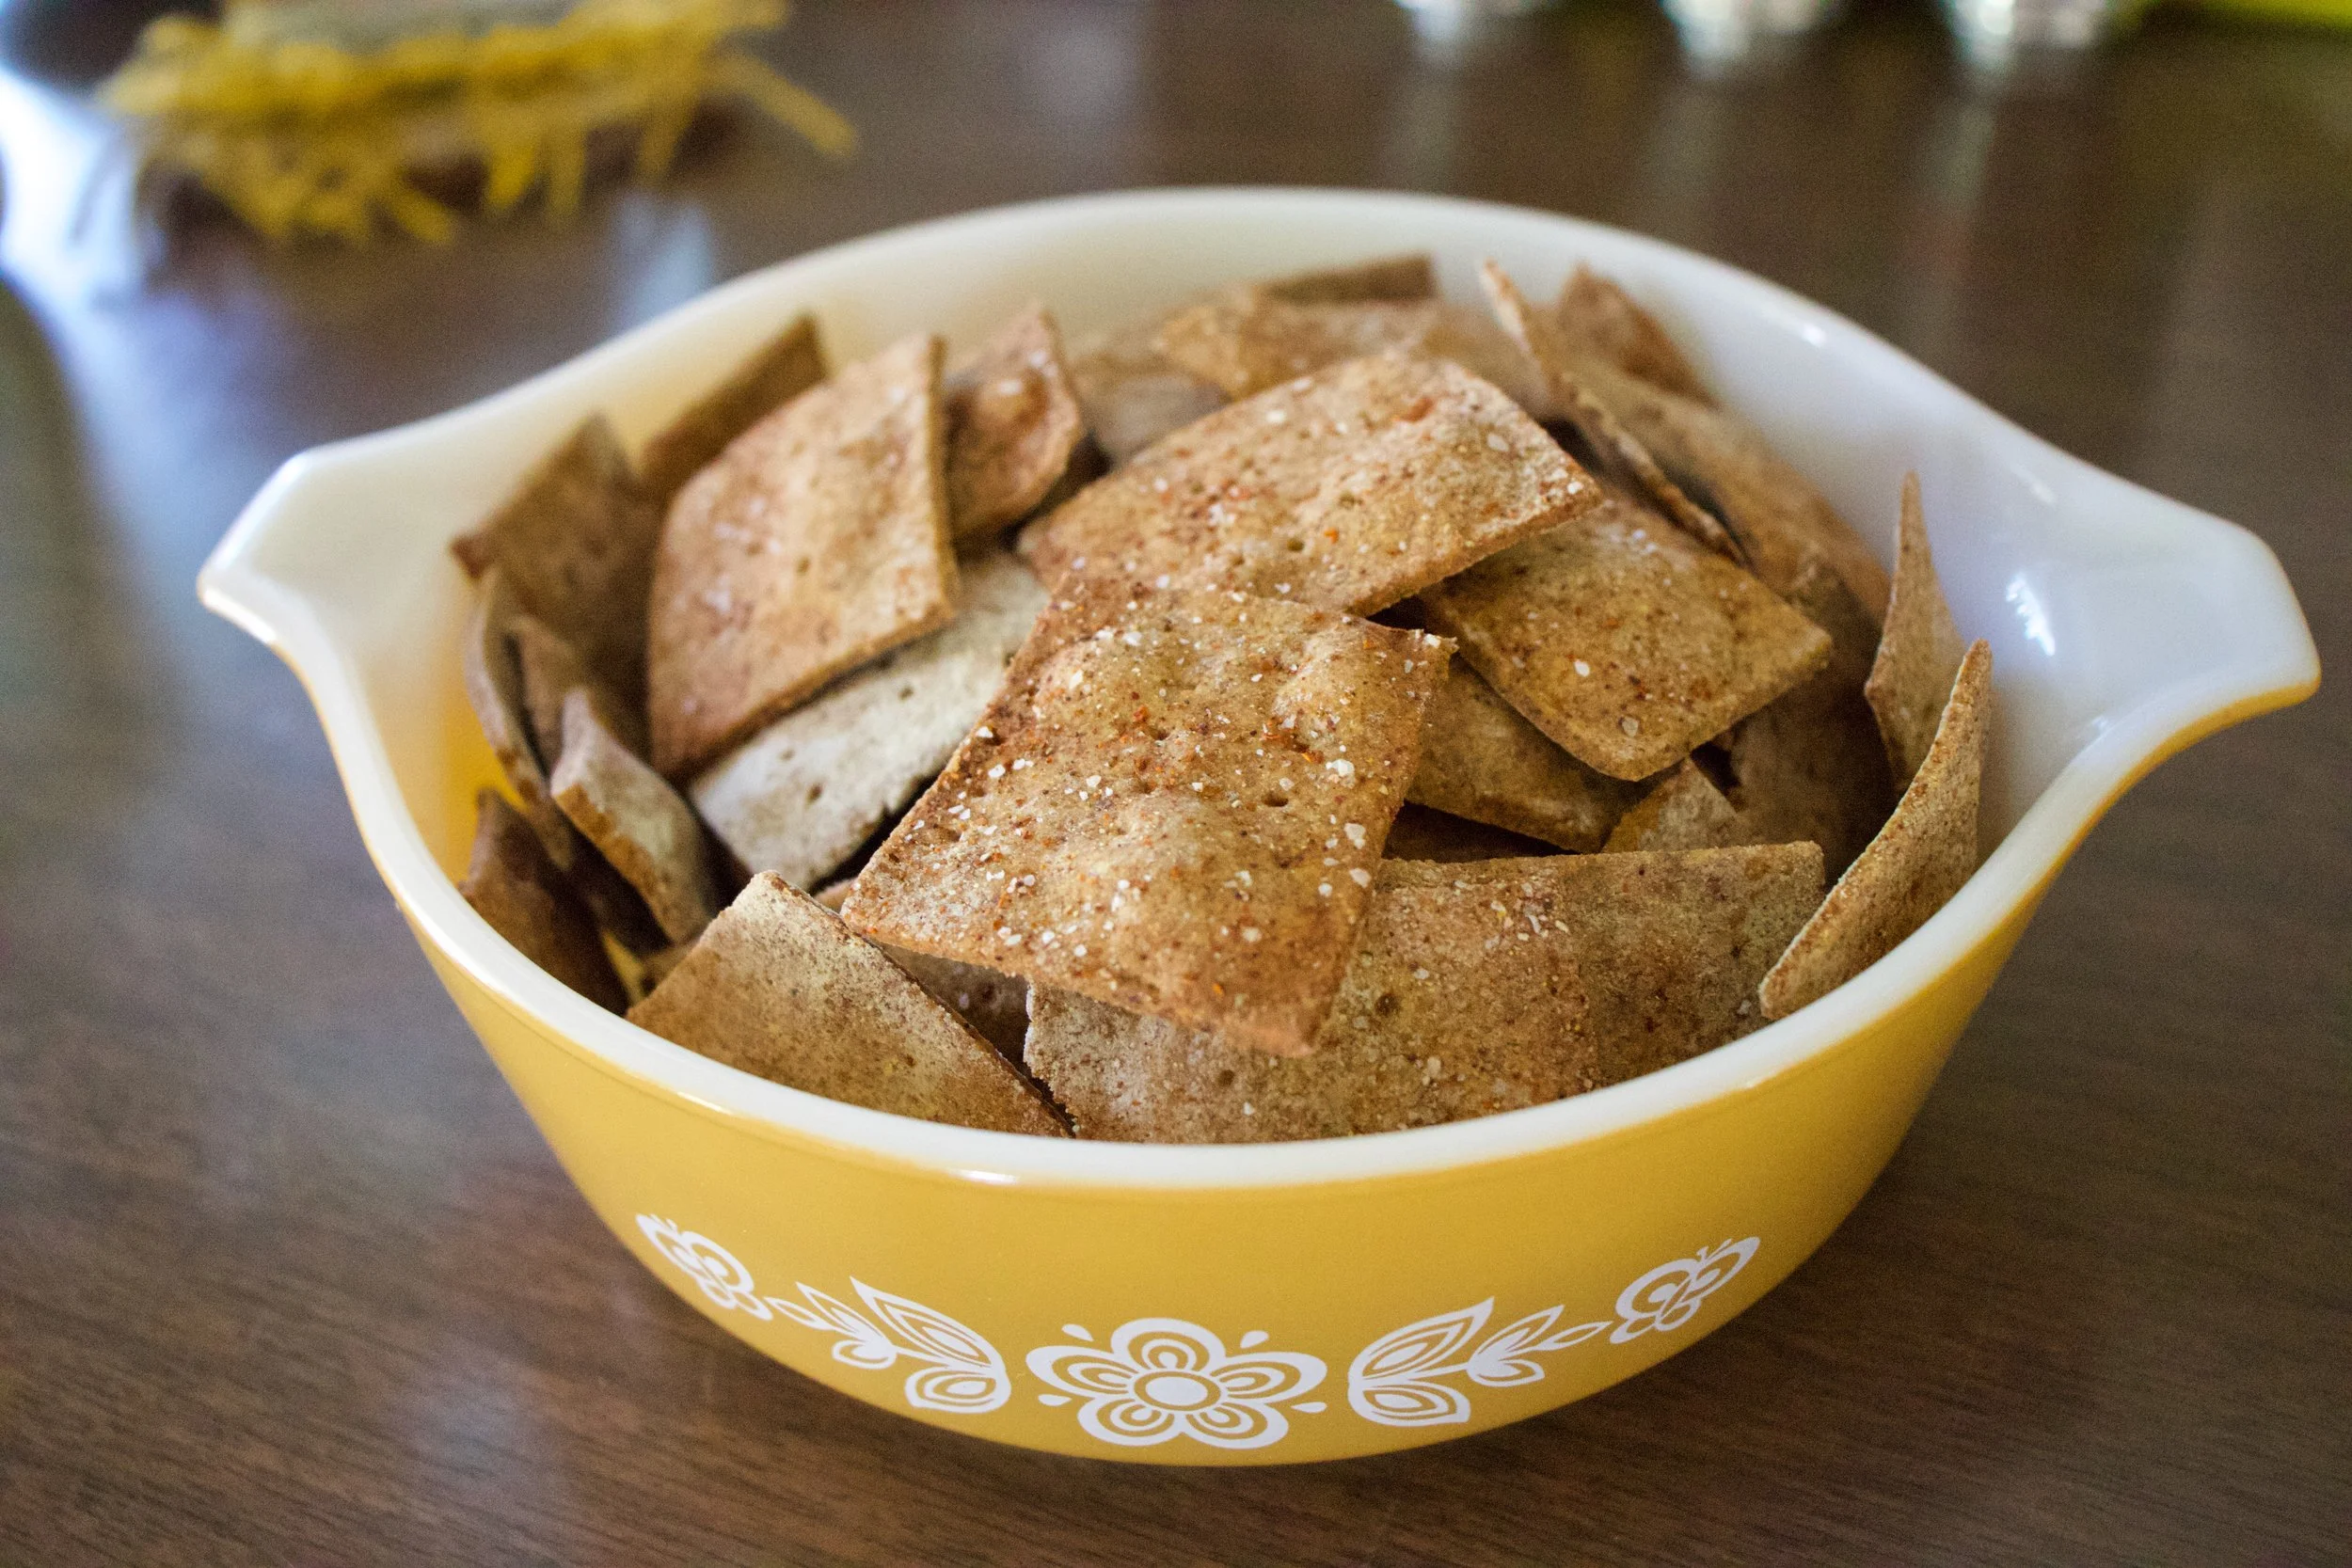


 When something goes on sale at the grocery store, I tend to buy it. Being that it is Valentines Day this week, all the stores are having specials on all sorts of sexy things… and strawberries are one of them. Now I am not a huge fan of buying produce that is terribly out of season, but I can’t help myself…a good deal is a good deal and the strawberries were a super good deal. I was just going to make some sweet ass strawberry jam or maybe a lovely strawberry cake with them (and I probably still will), but these strawberries are actually super juicy and full of flavor, and it’s always nice to eat some full flavor freshy strawberries… especially soaked in balsamic vinegar. And yeah, I think that this salad is pretty sexy, so it makes for a perfect Valentines day dish.
 A handful of ingredients and 5 minutes will get you to a fantastic salad experience.
 Pour the vinegar on the strawberries and let sit for at least 5 minutes. (the longer the strawberries can sit with the vinegar, the better)
 Pile it on.. thinly slice avocado.. rough chopped toasted almonds… It’s pretty much as easy as it can get.
 And last but not least, toss on the balsamic soaked strawberries and drizzle the remaining vinegar. (if you made hearts, place on top to make pretty) Sprinkle with a pitch of salt and pepper and pow! Fancy, sexy, delicious salad.
 I figured now is a good time to get this recipe out there before we get to far into spring and summer recipes because there is going to be a lot of banana ice cream filled recipe coming and I figured its a good idea to have the basic banana ice cream recipe ready for people to refer too. And because I made so much fantastic naner ice cream, I also made a cookies and cream naner ice cream for my sisters and the mister.
 The stuff you need for this ice cream…. Nice and ripe bananas, peeled and then frozen* That’s it.
 After all blended and smooth, either eat right away or scoop ice cream into a freezer safe container and stick in freezer. That’s the banana ice cream… And it is amazing and so so so so so addictive. I make a batch, think I am only going to eat a scoop, then find myself eating half of what I have made, but it’s ok cause it’s only bananas.
  One batch of banana ice cream, either freshly made, still in food processor or made ahead and placed in a food processor and given a good pulse to smooth it up.
 Now you have cookies and cream naner ice cream…. and everybody is happy.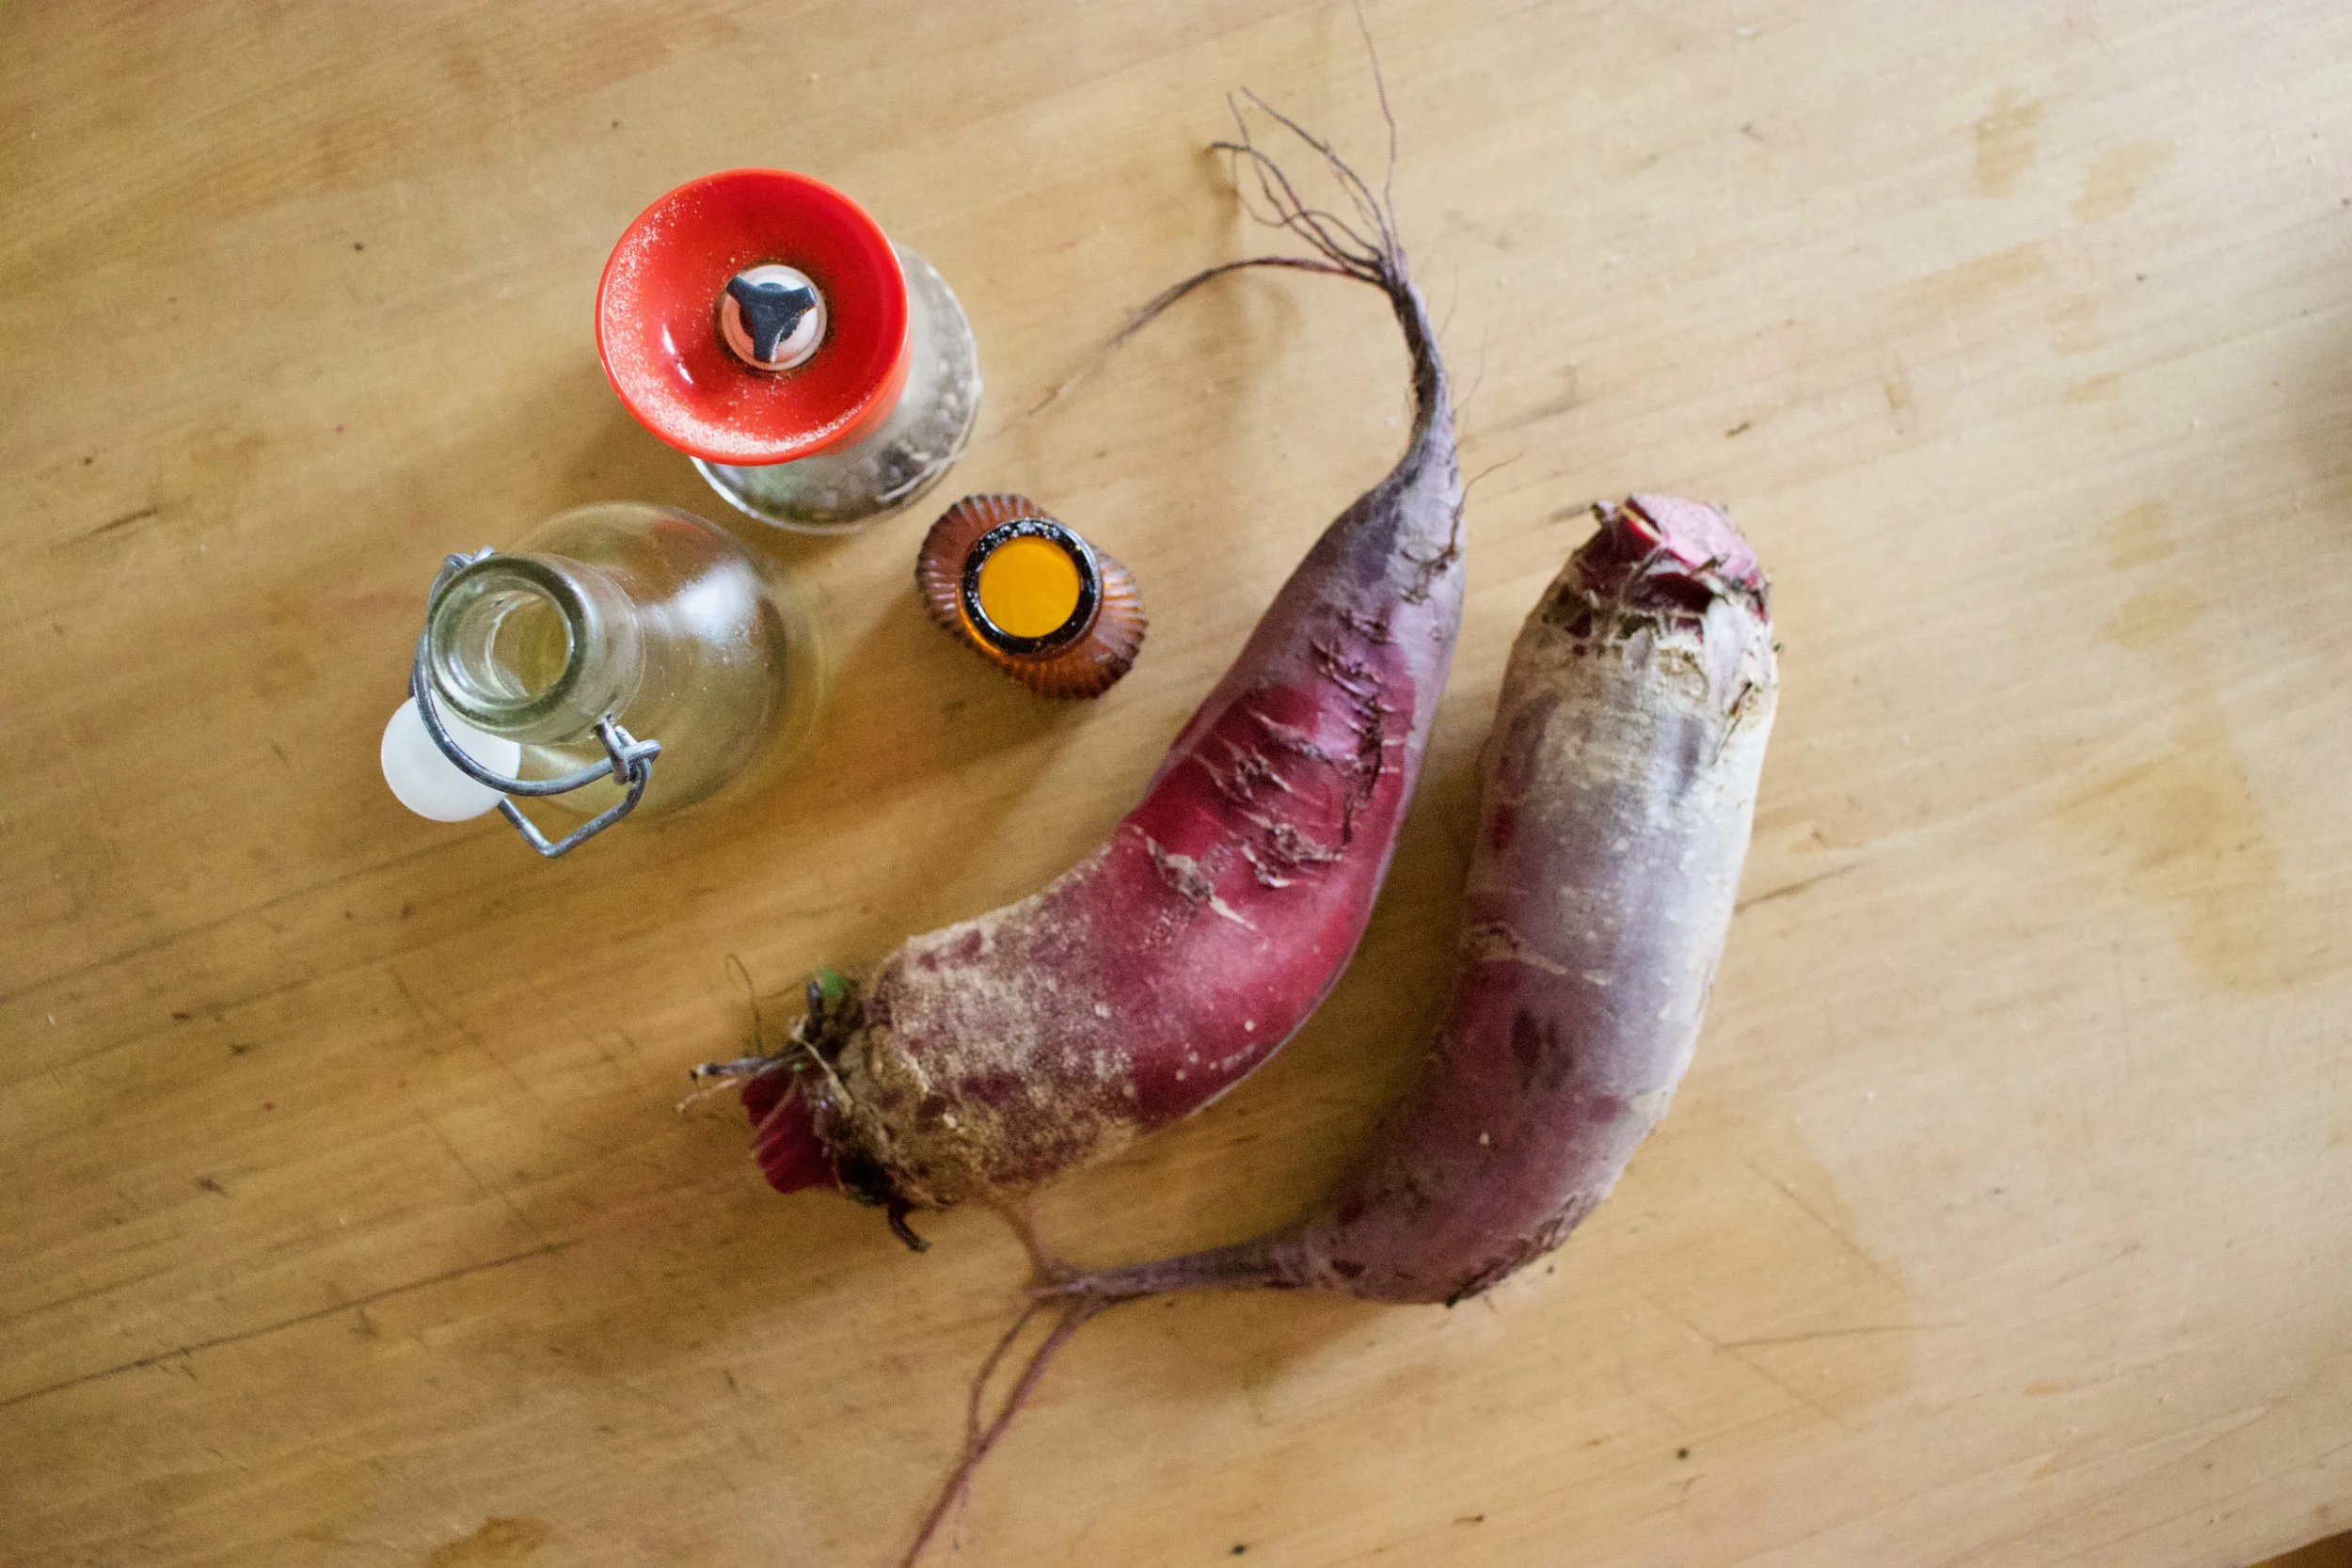
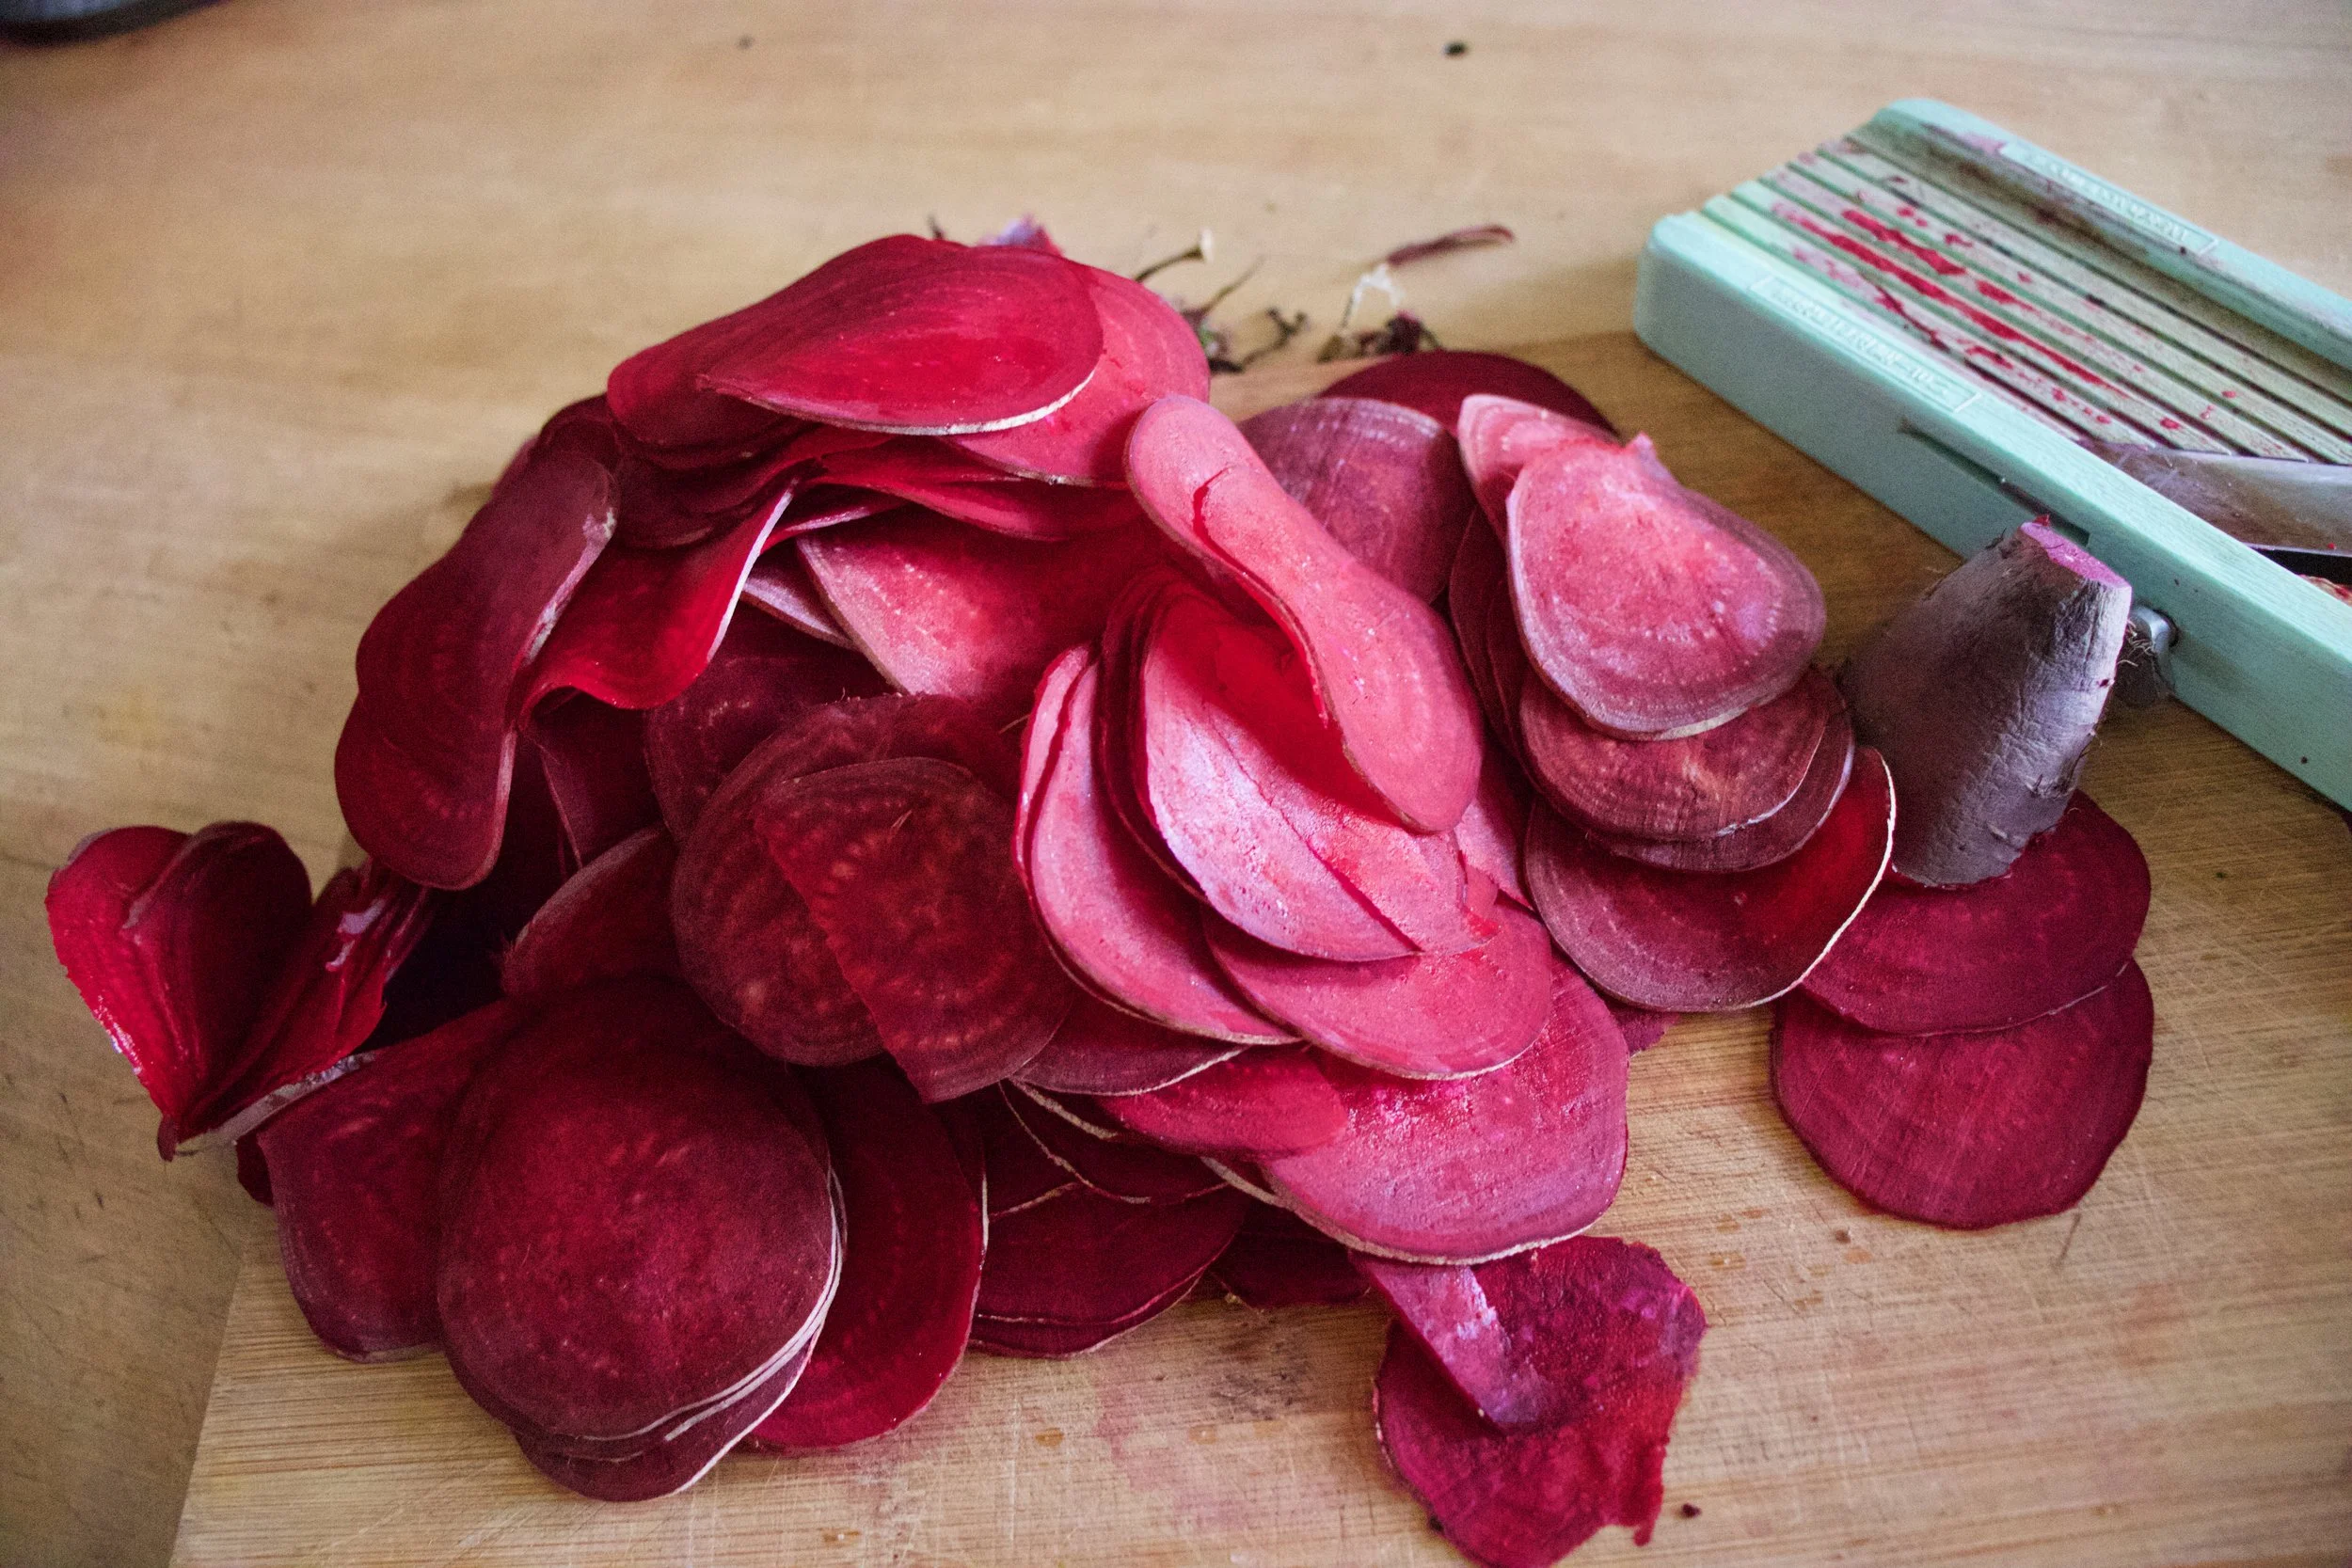
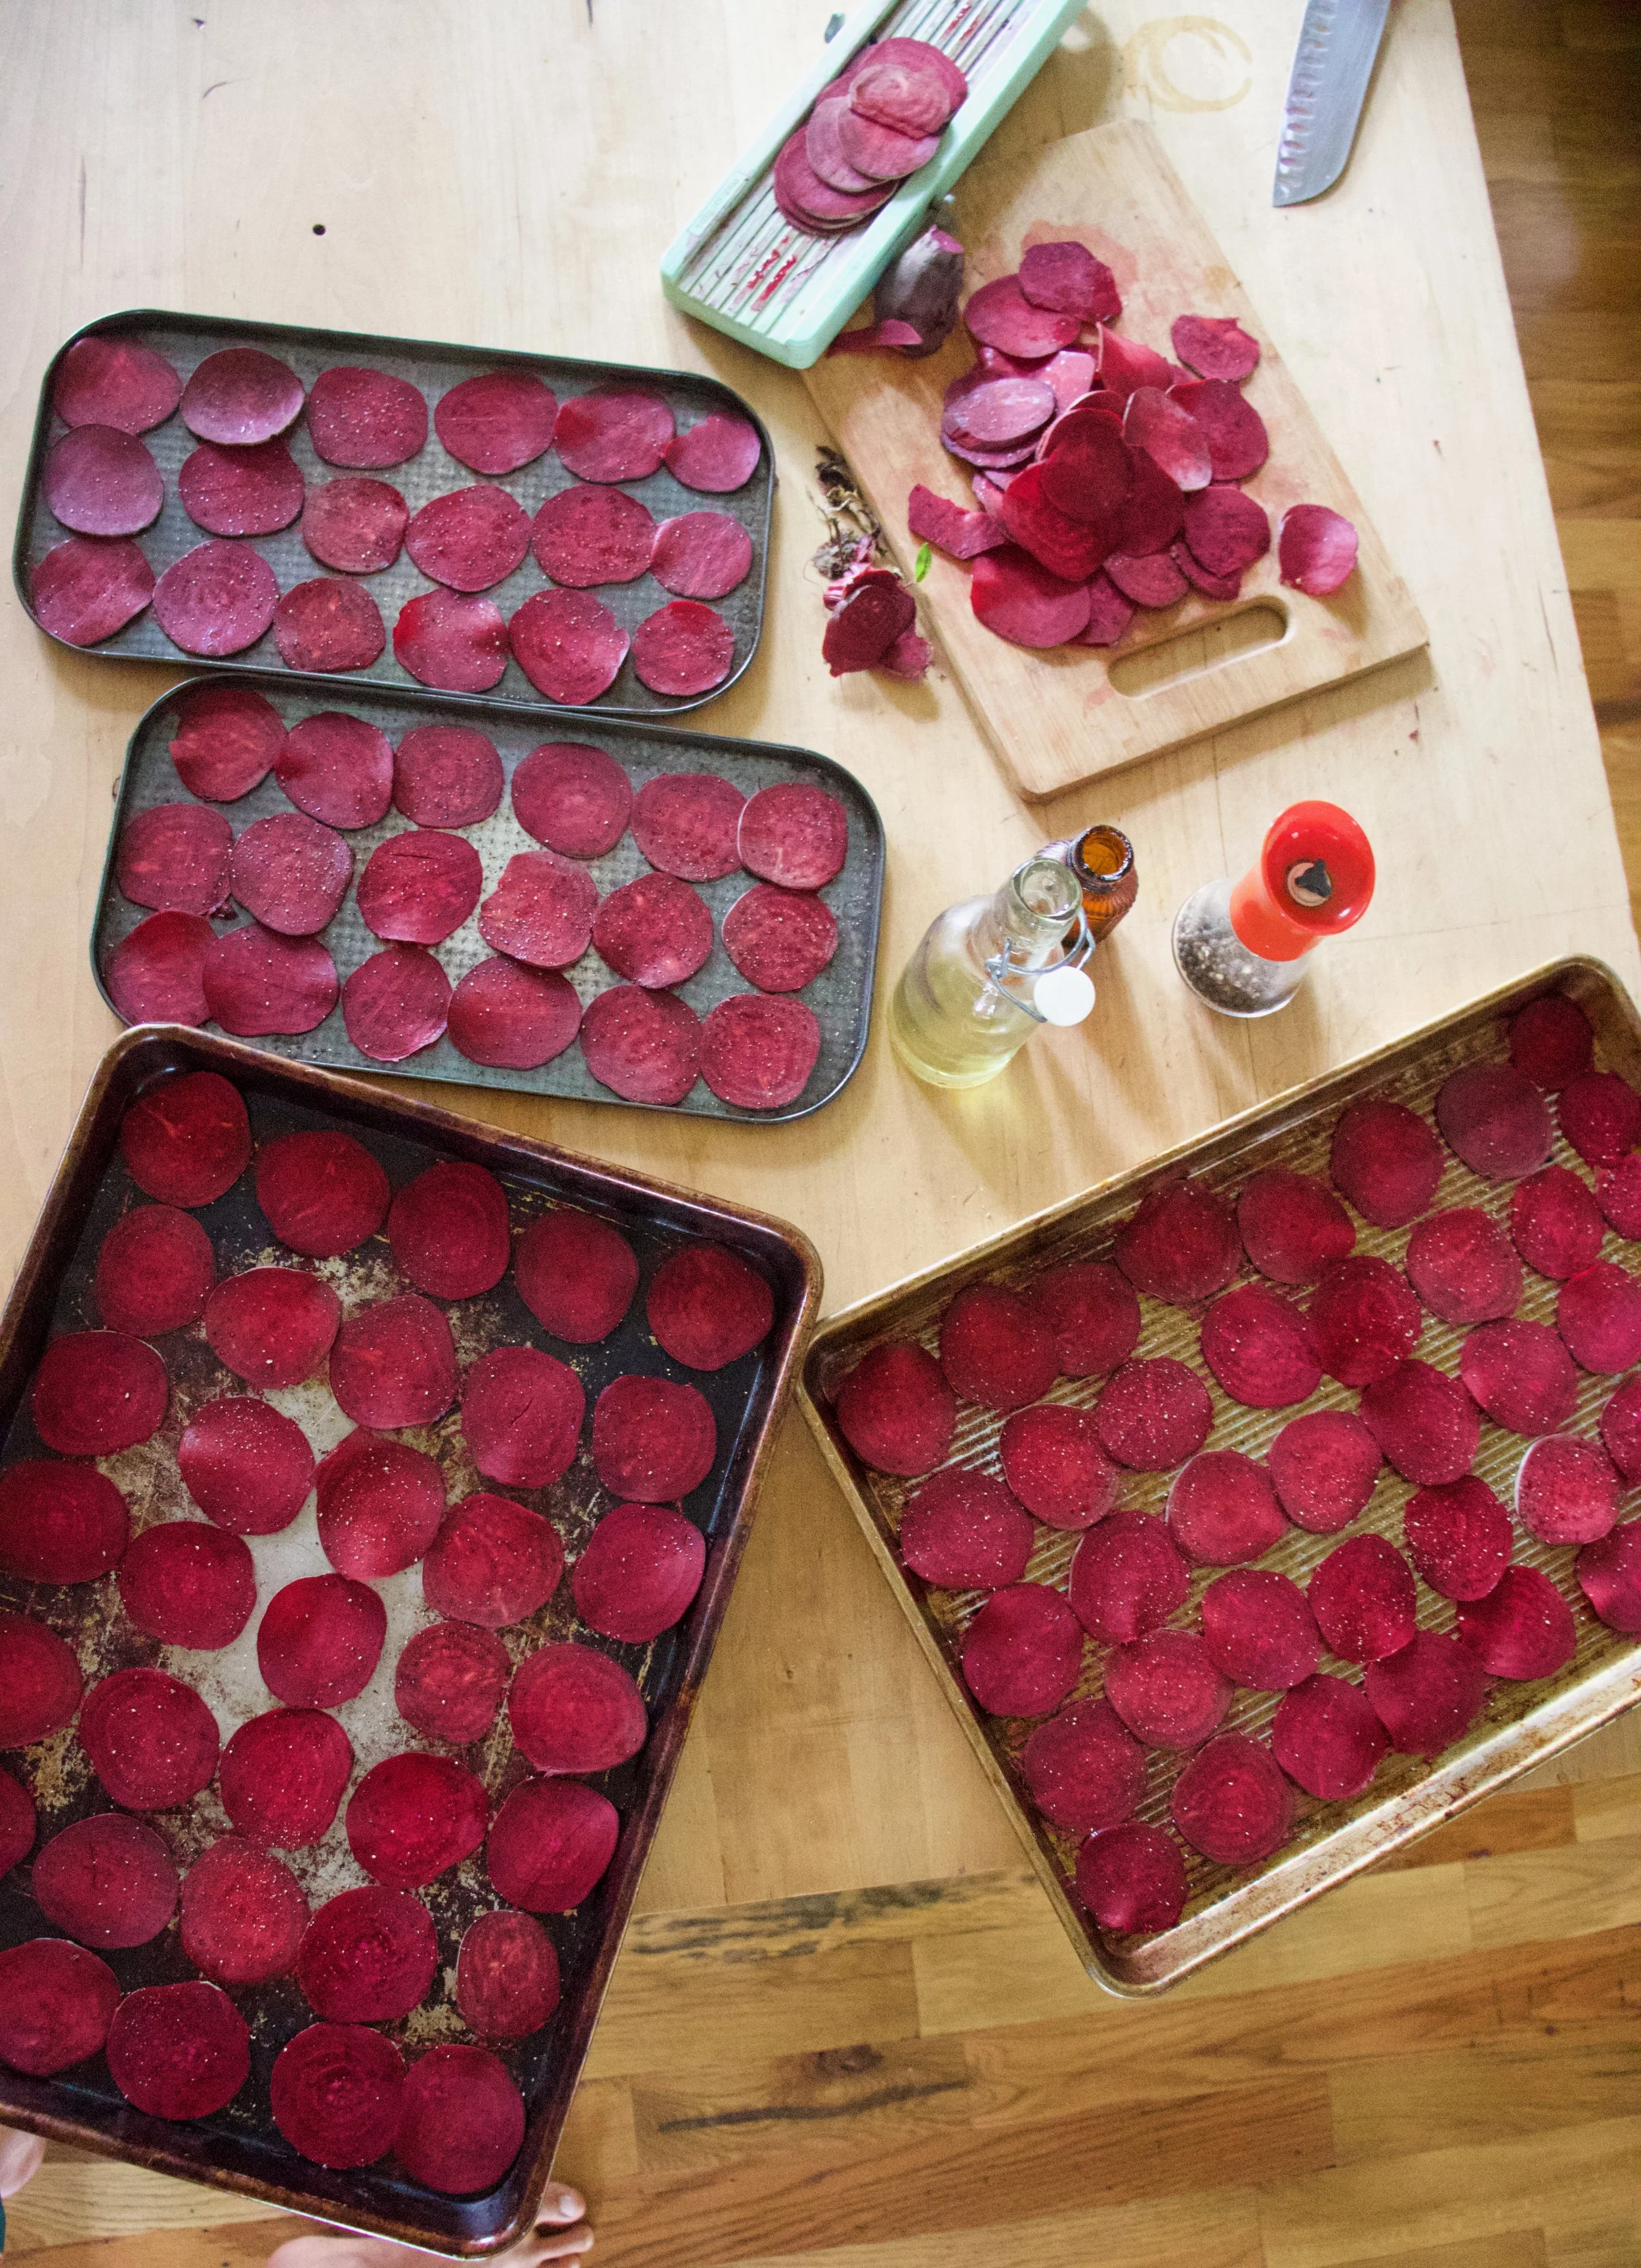
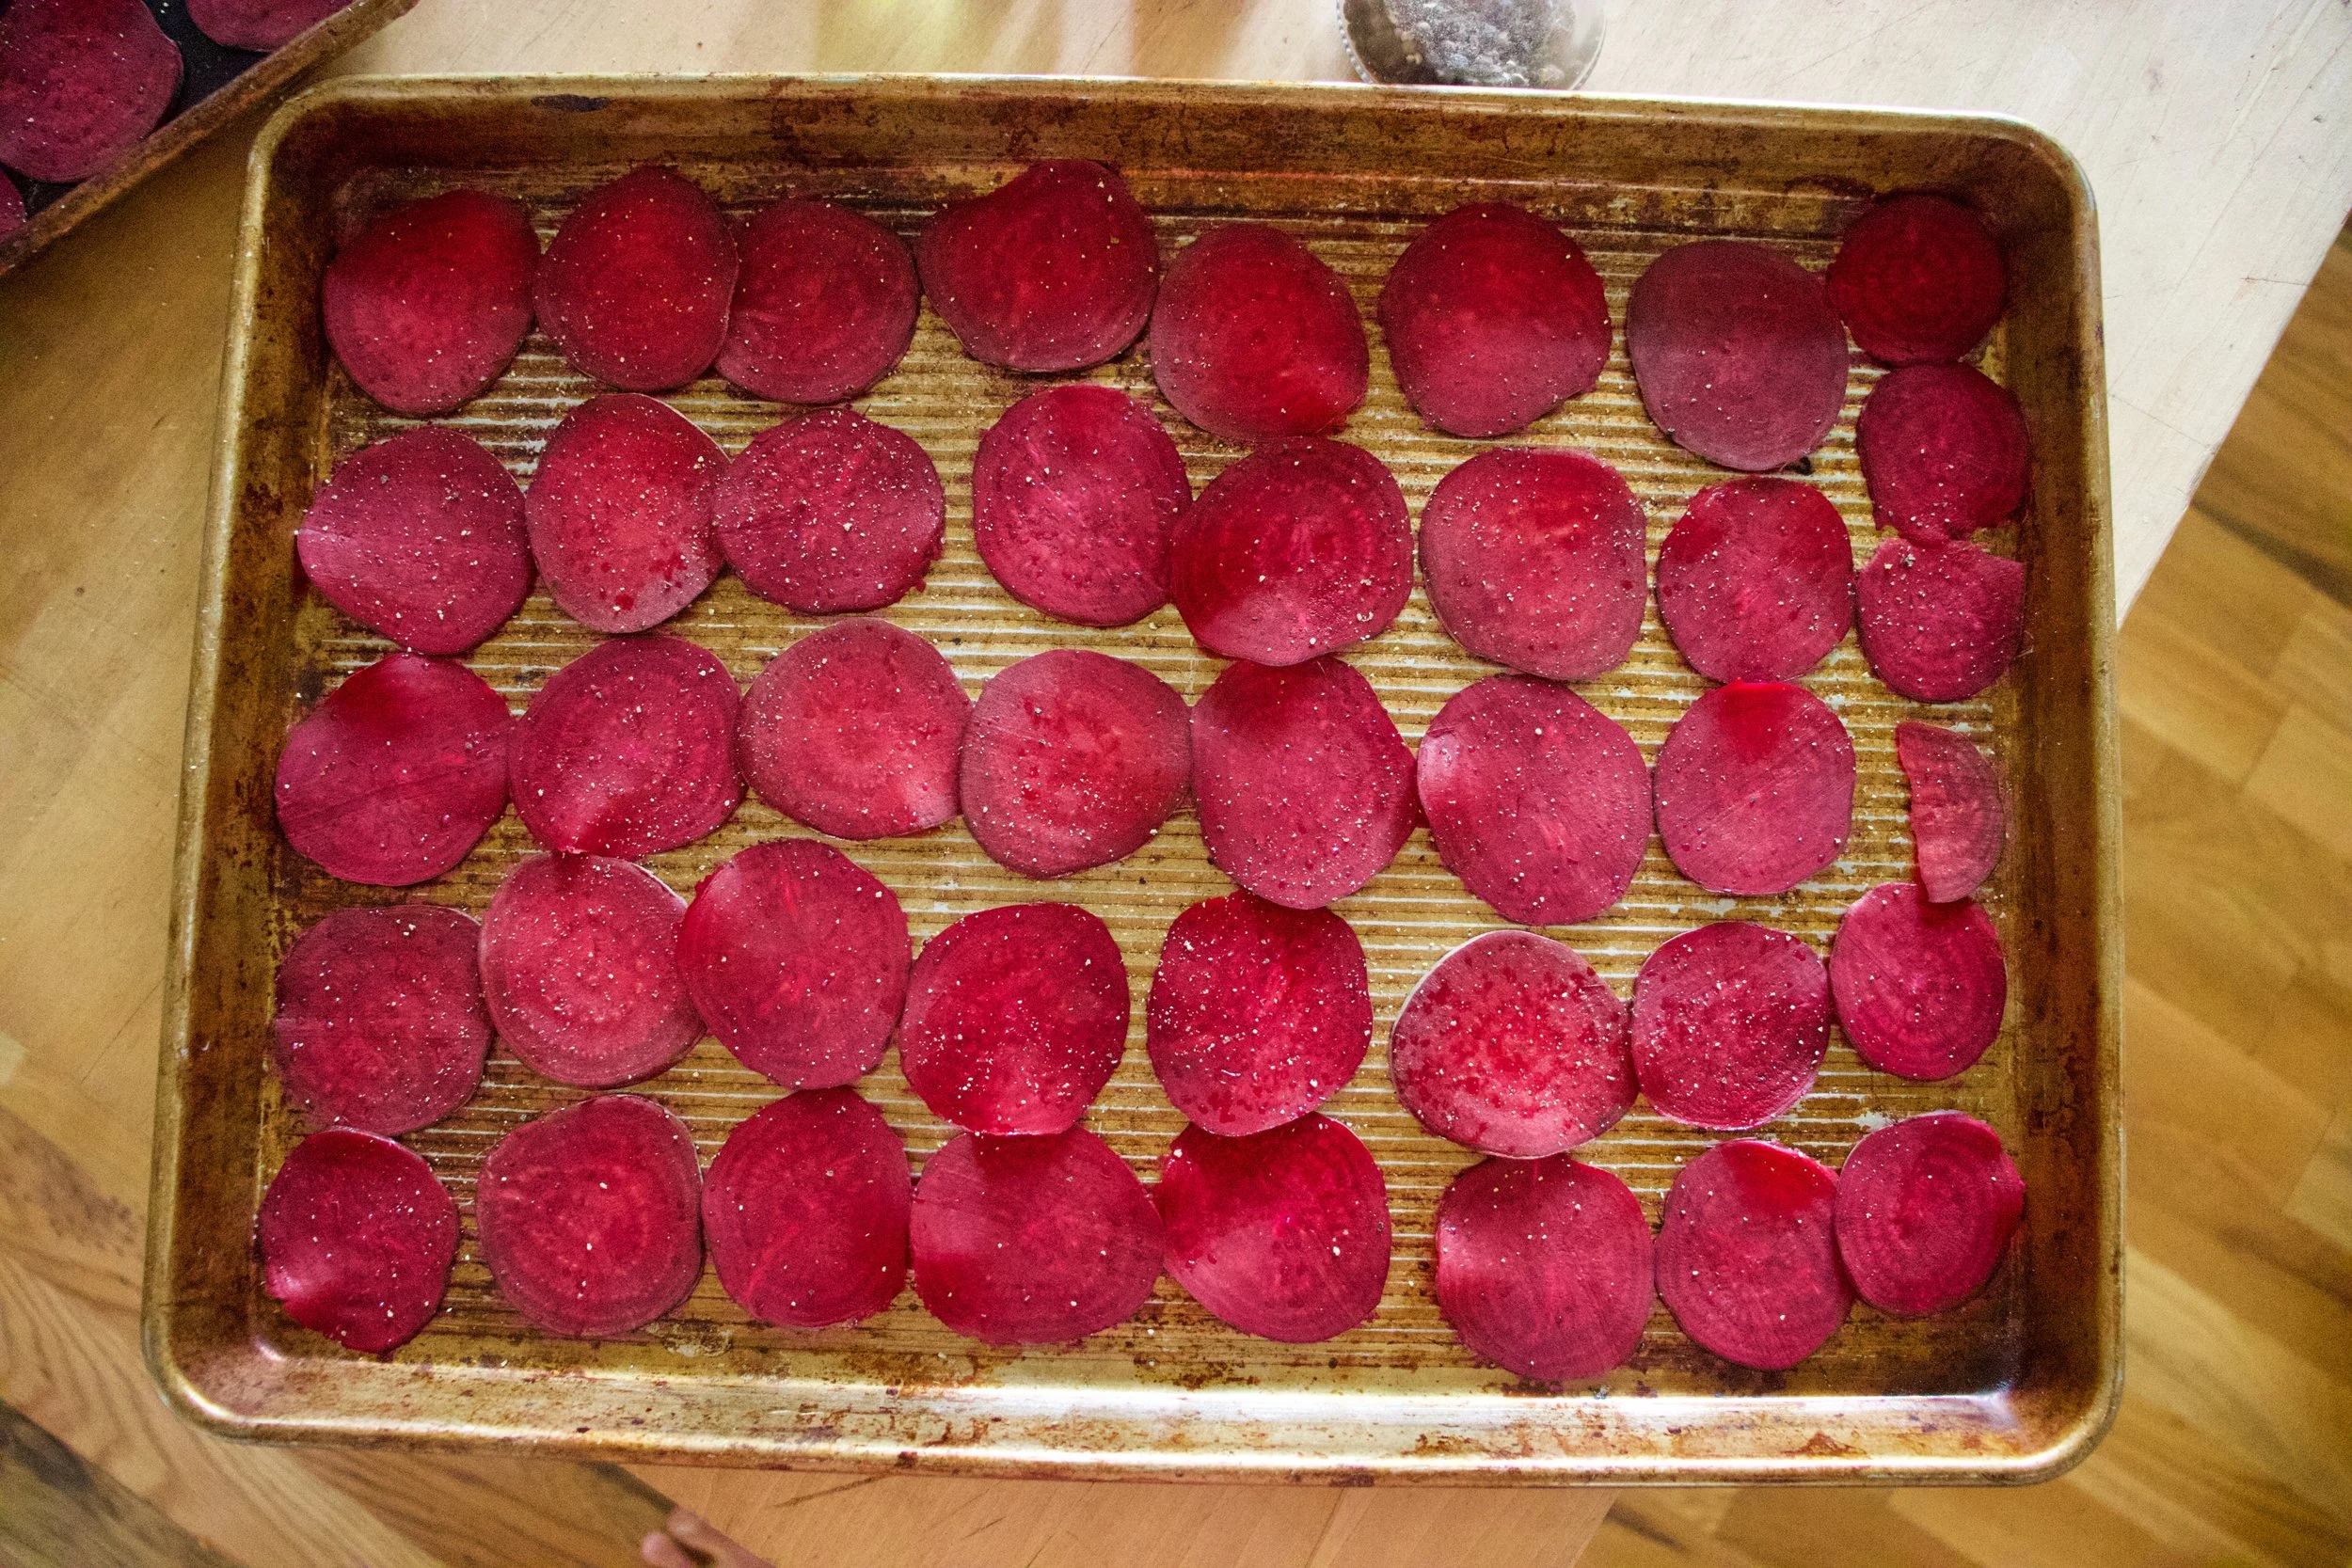
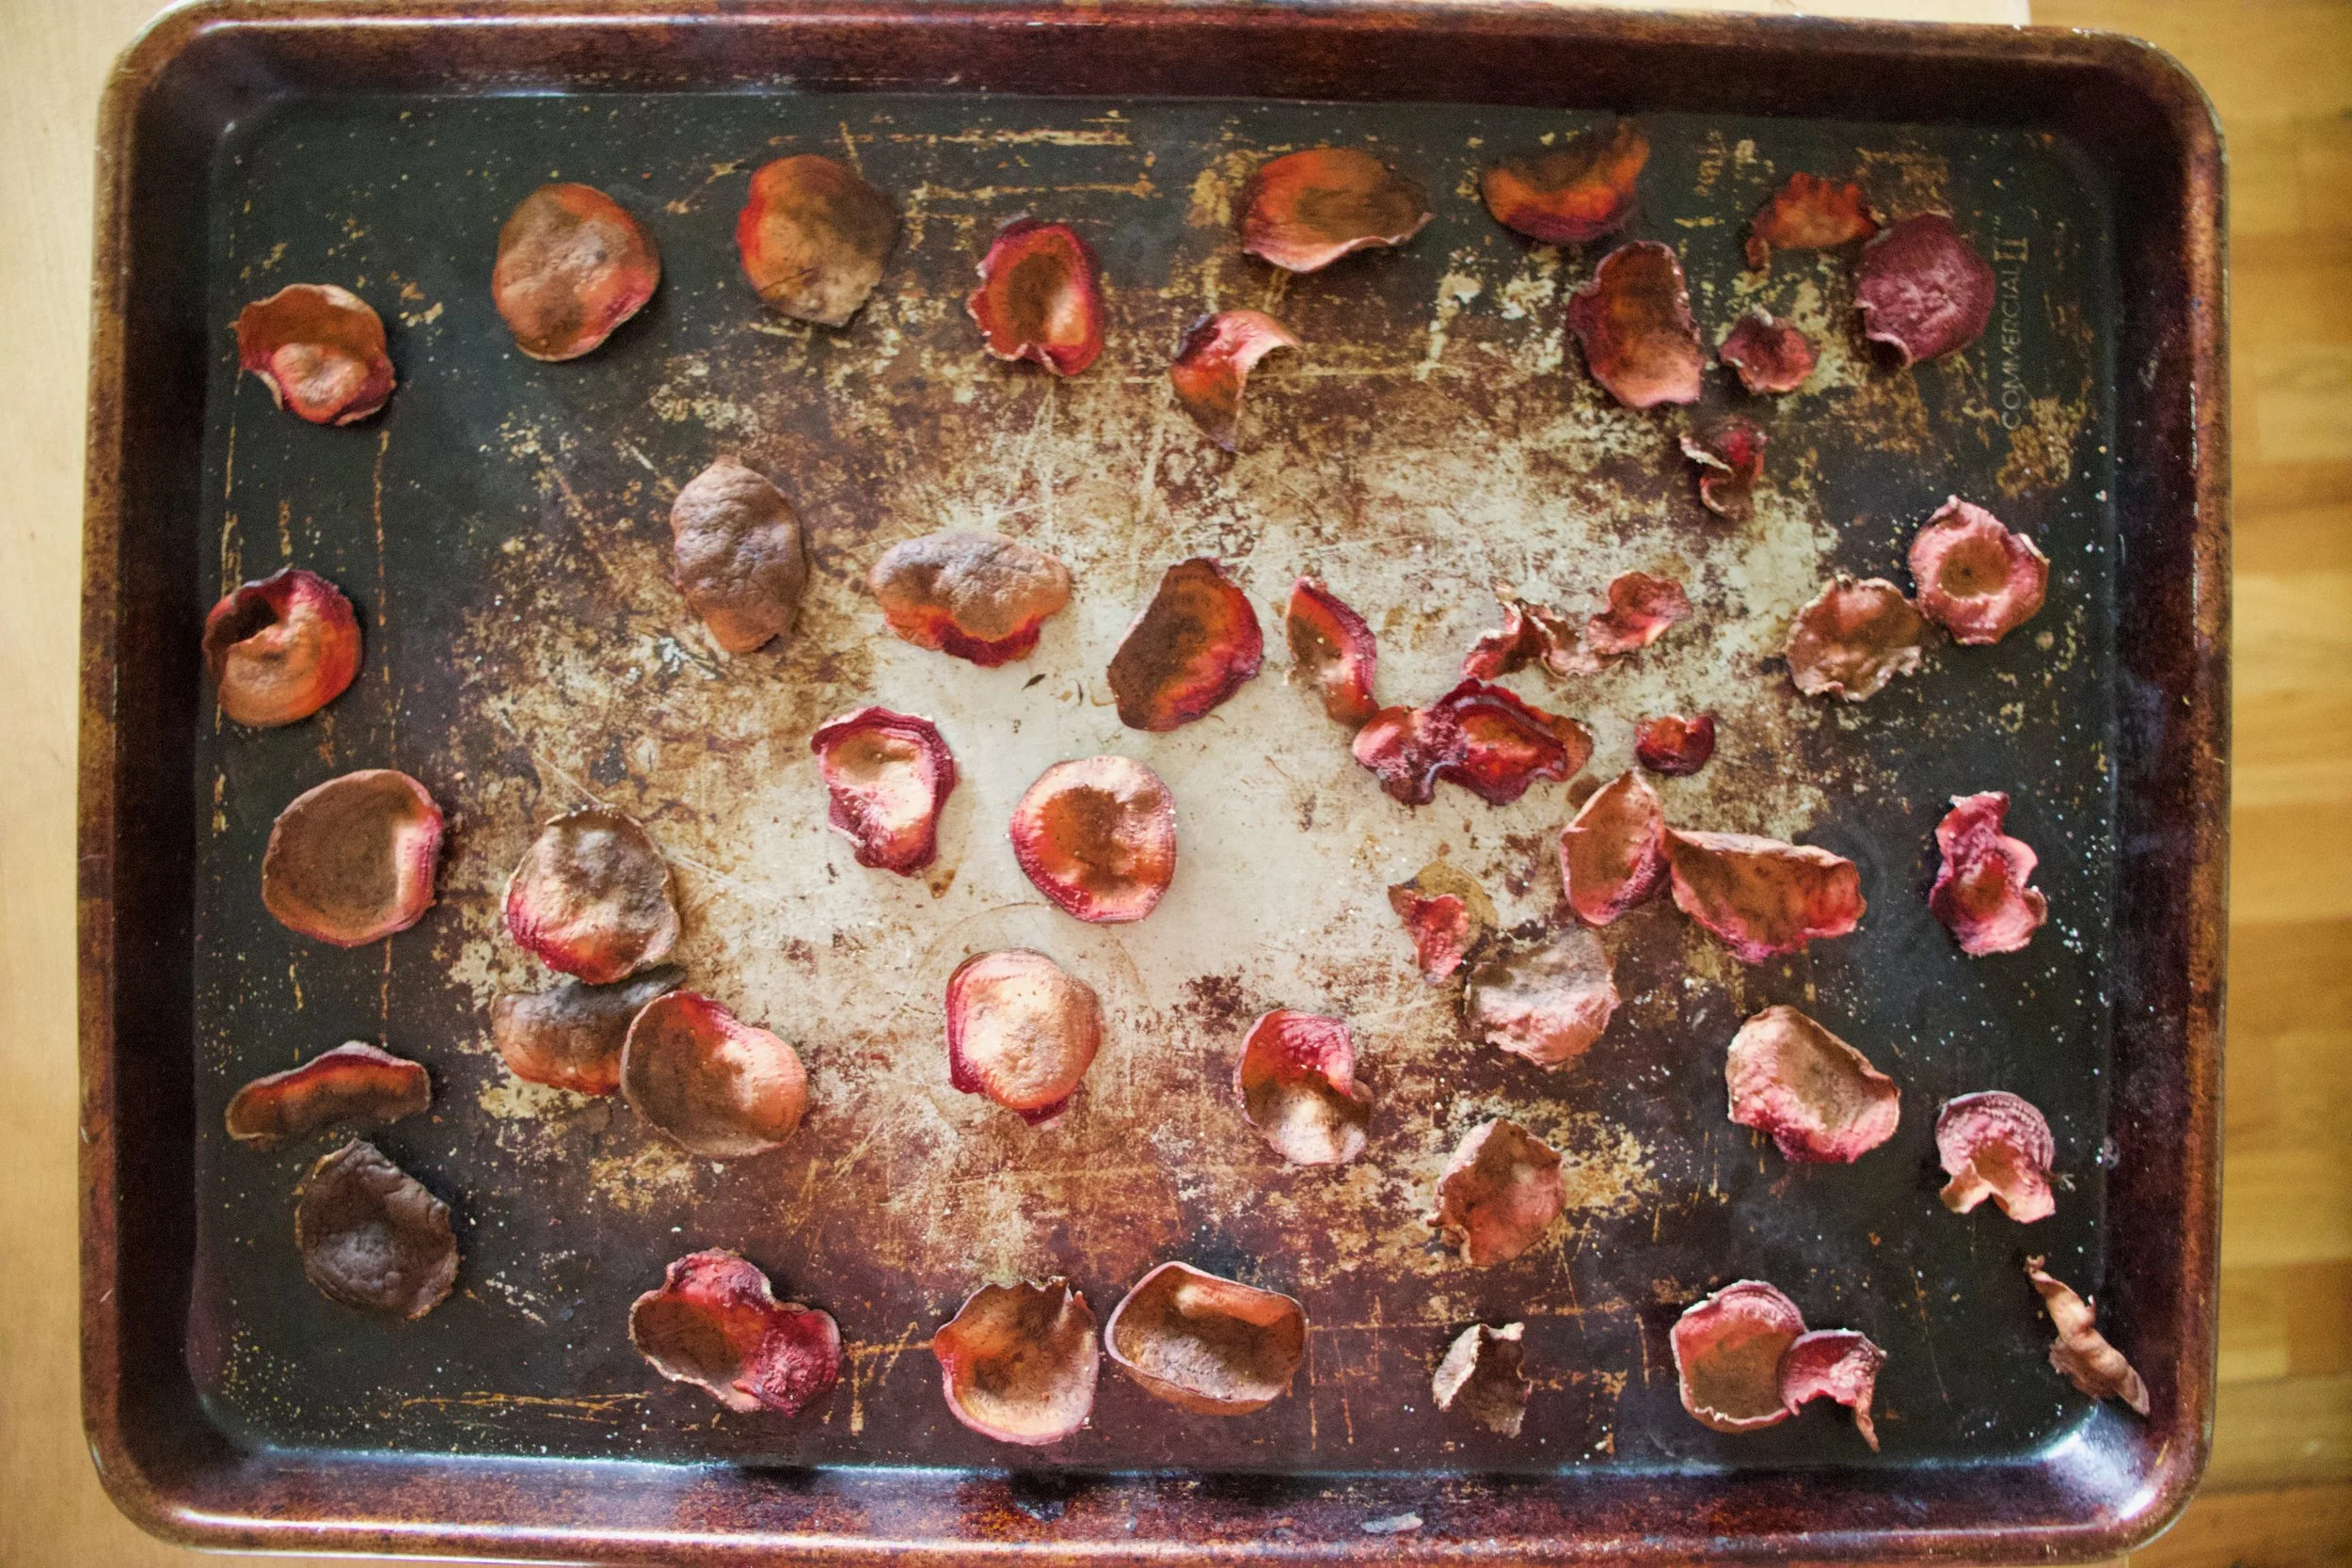

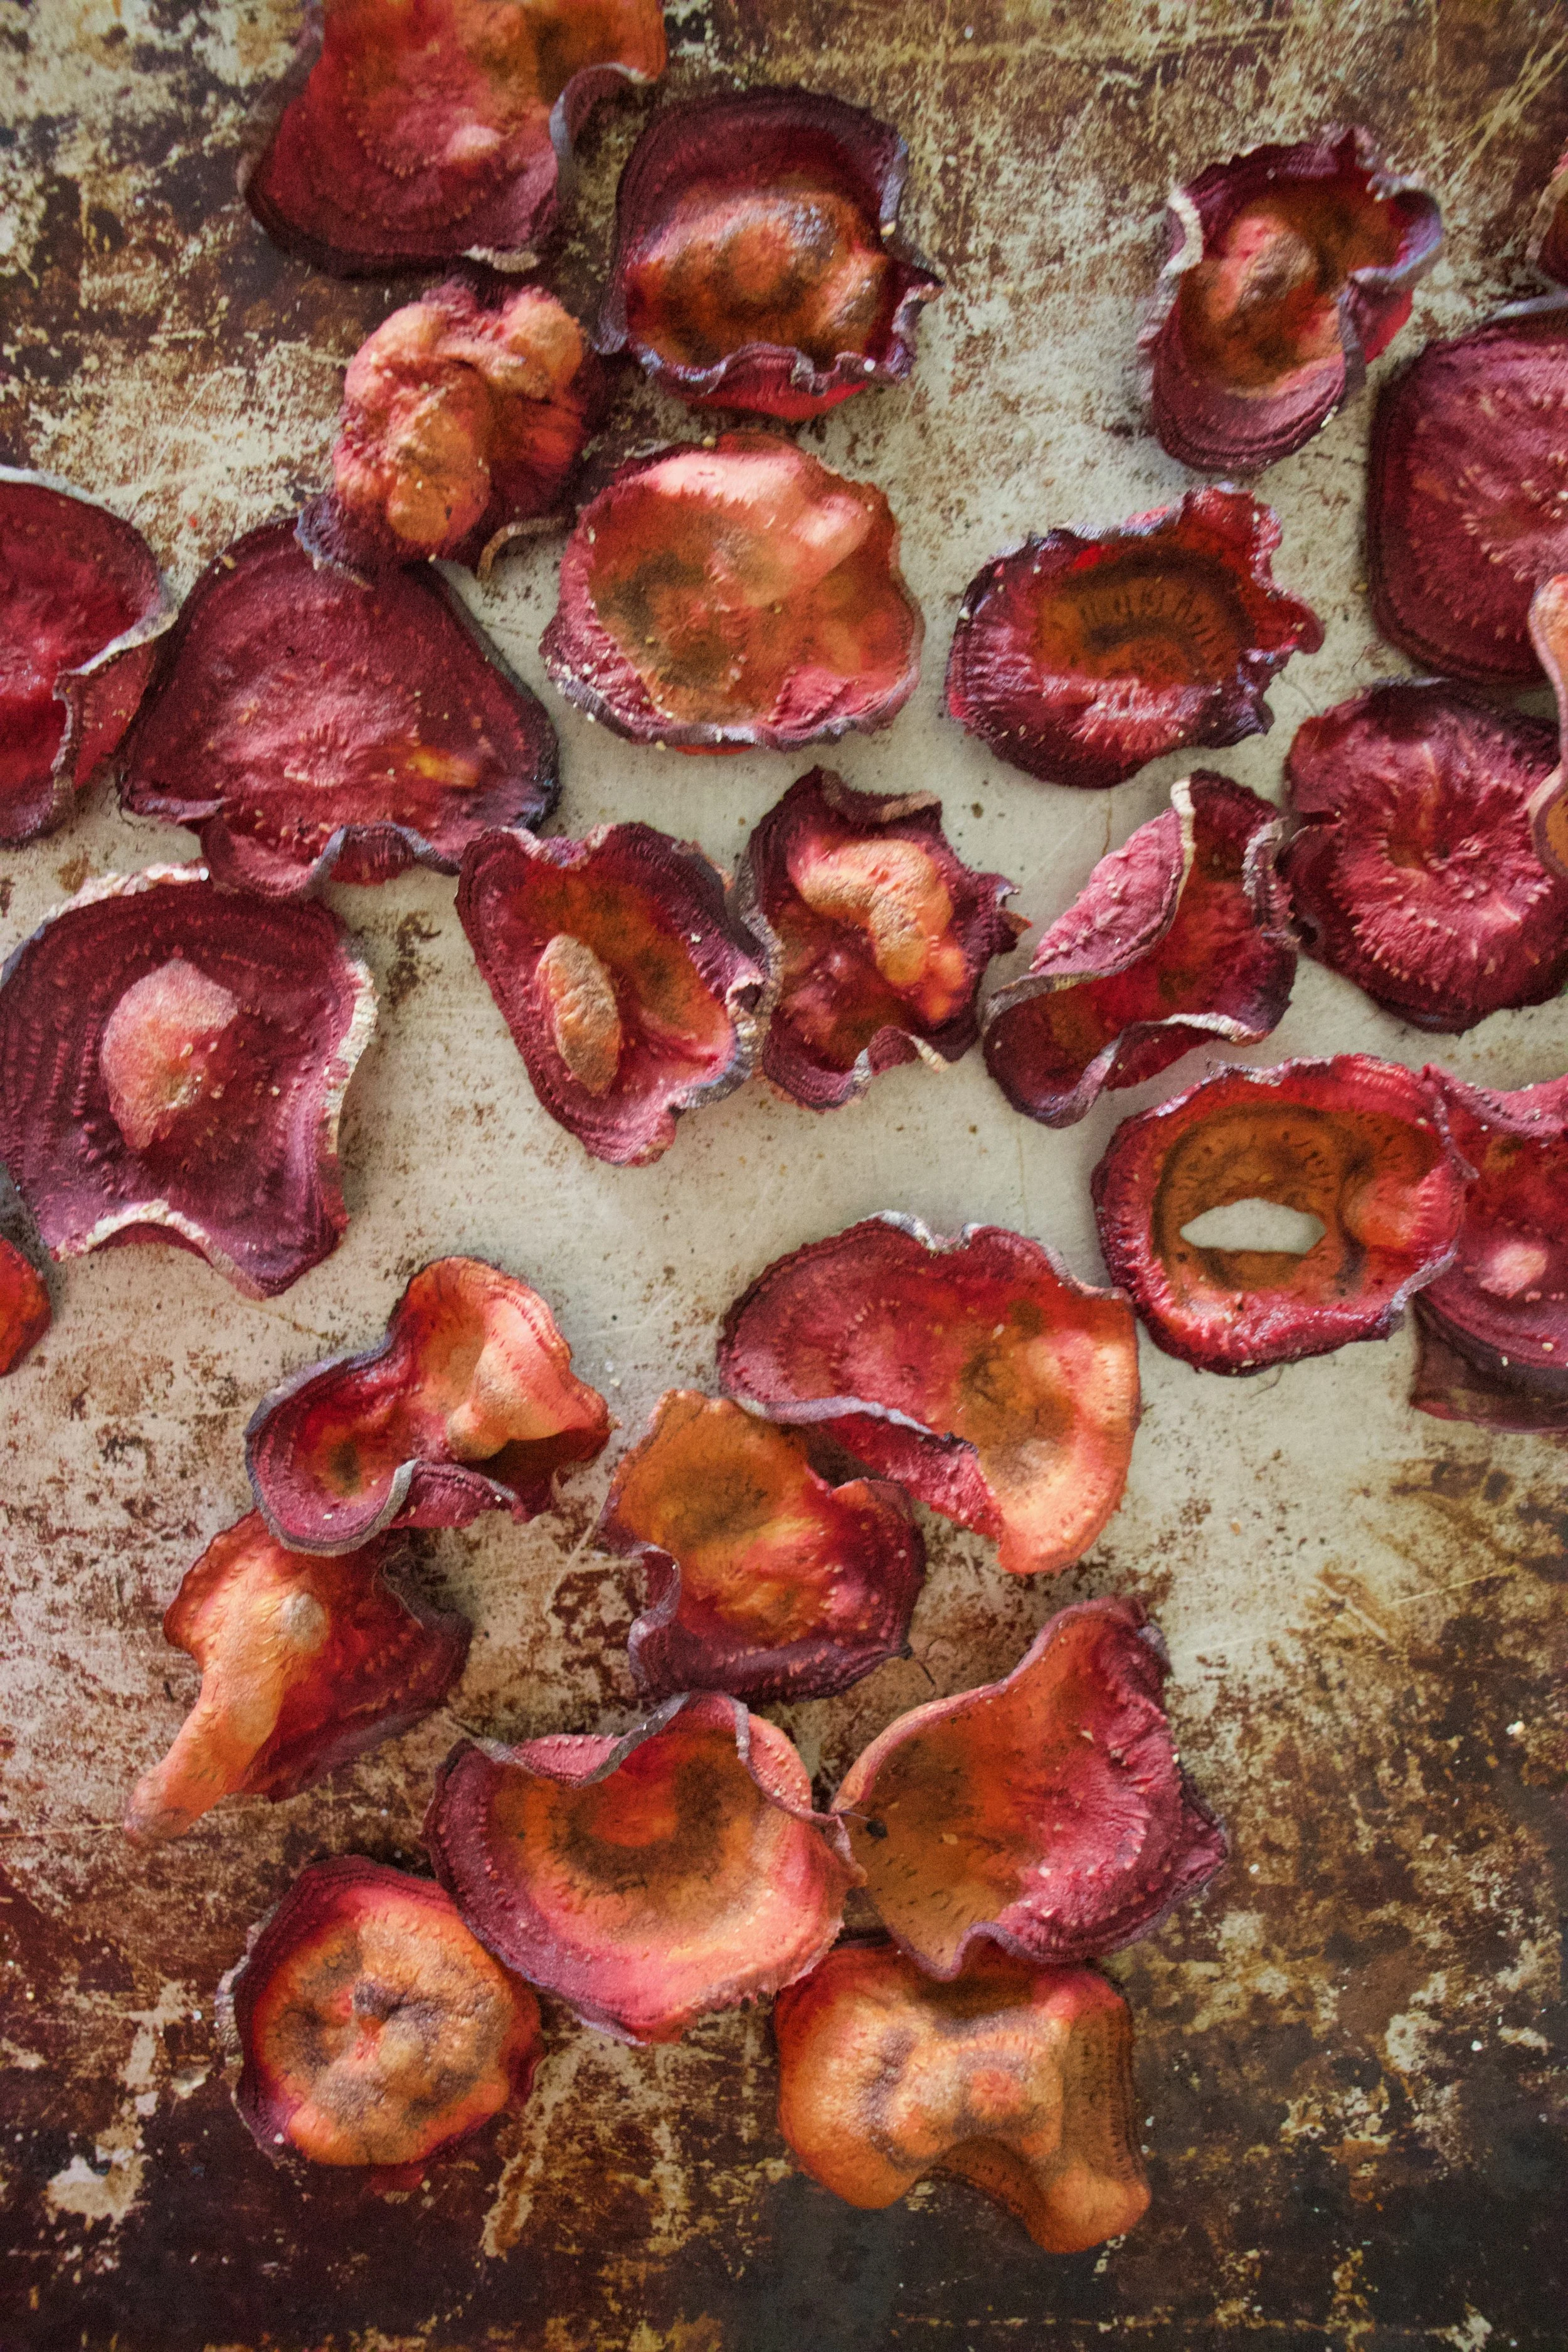
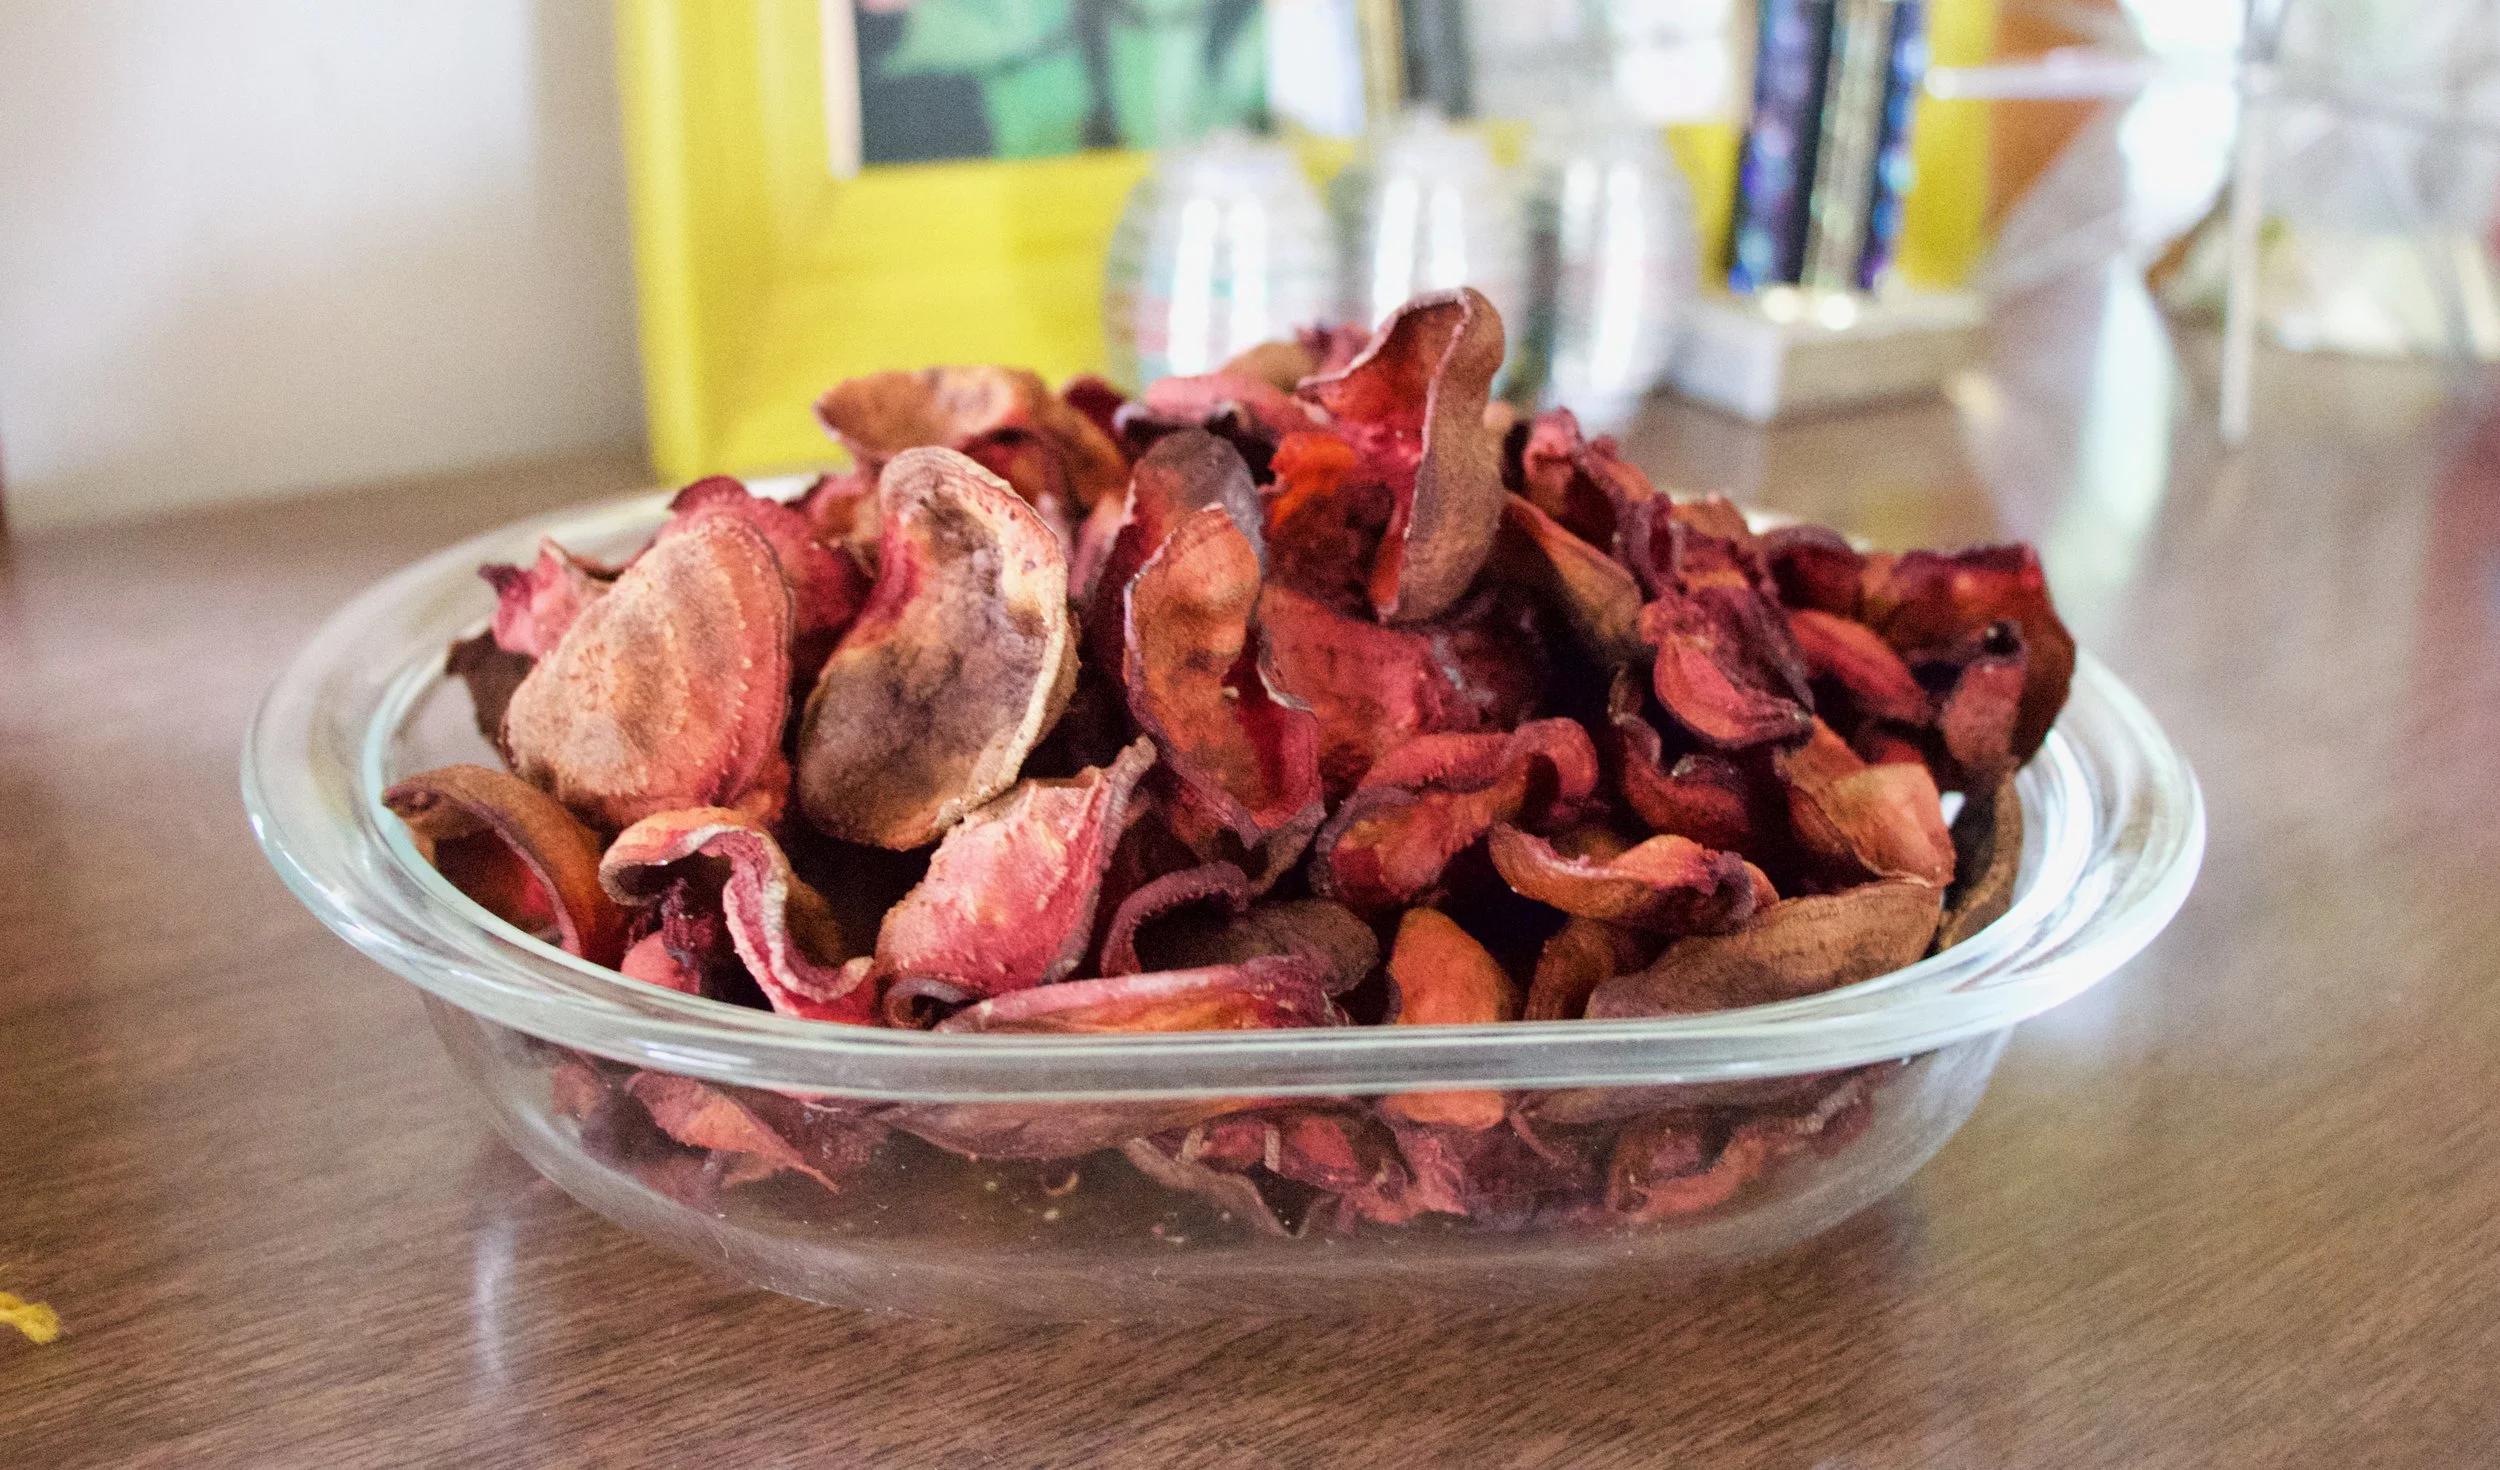


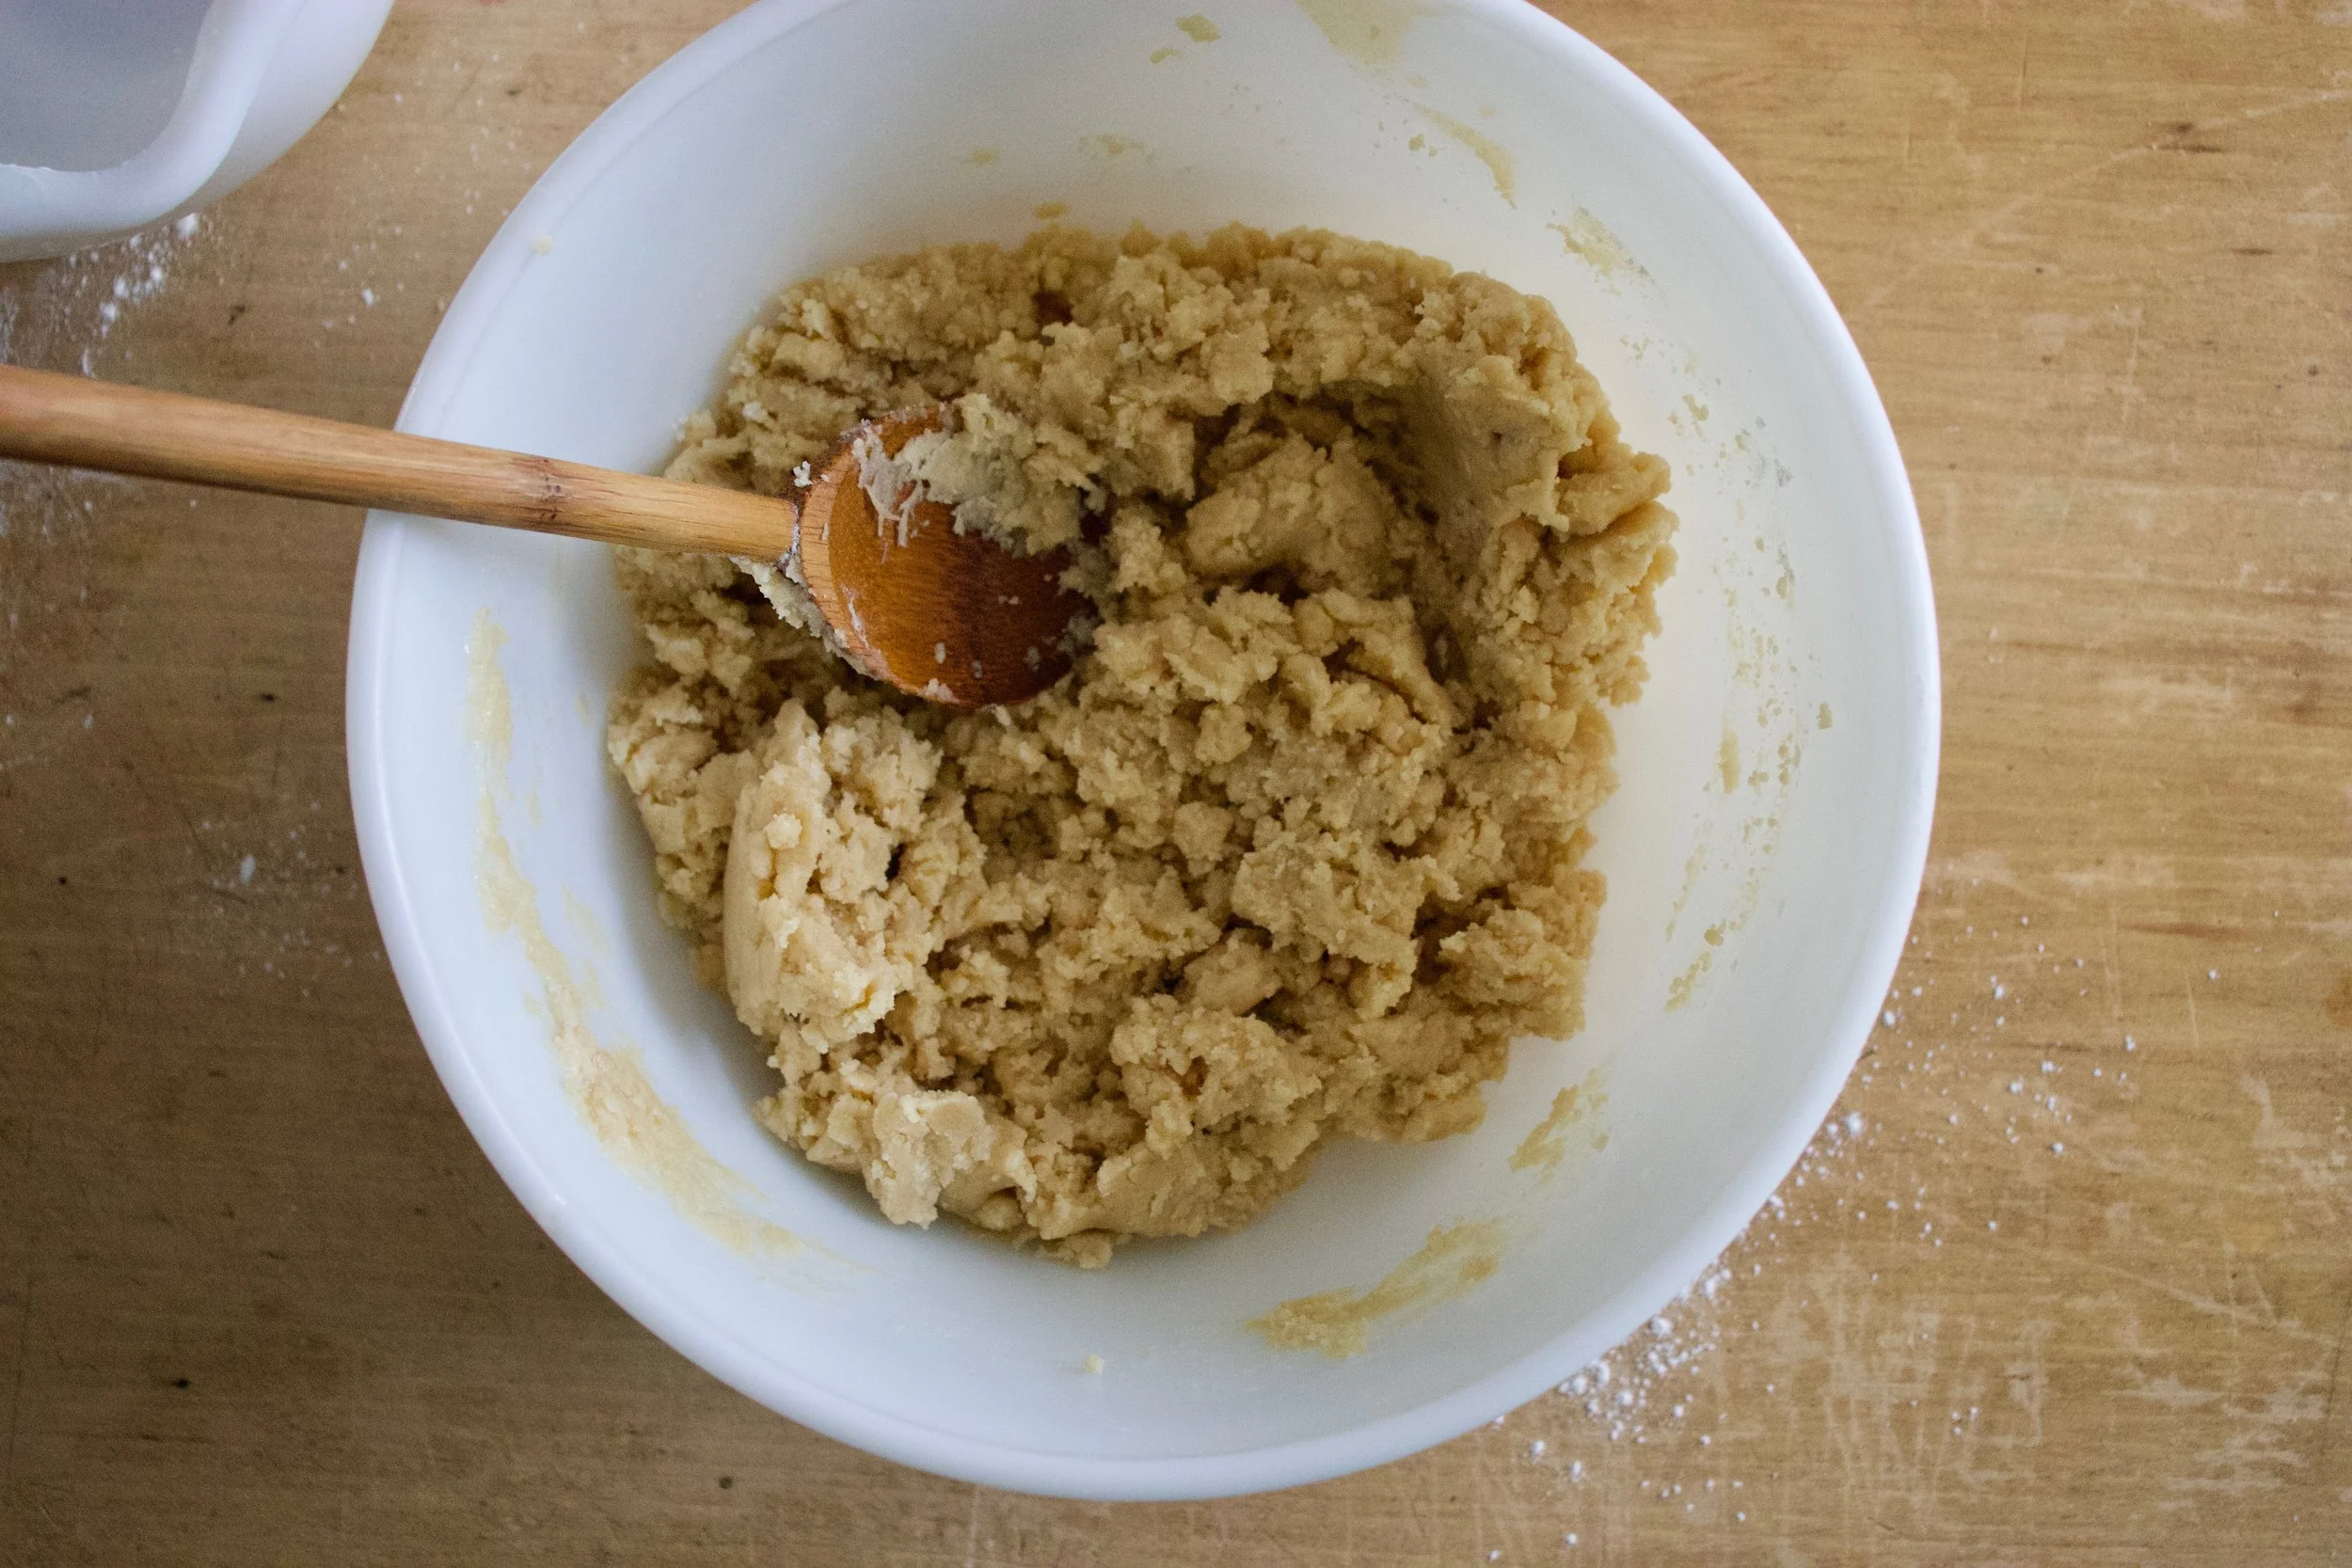
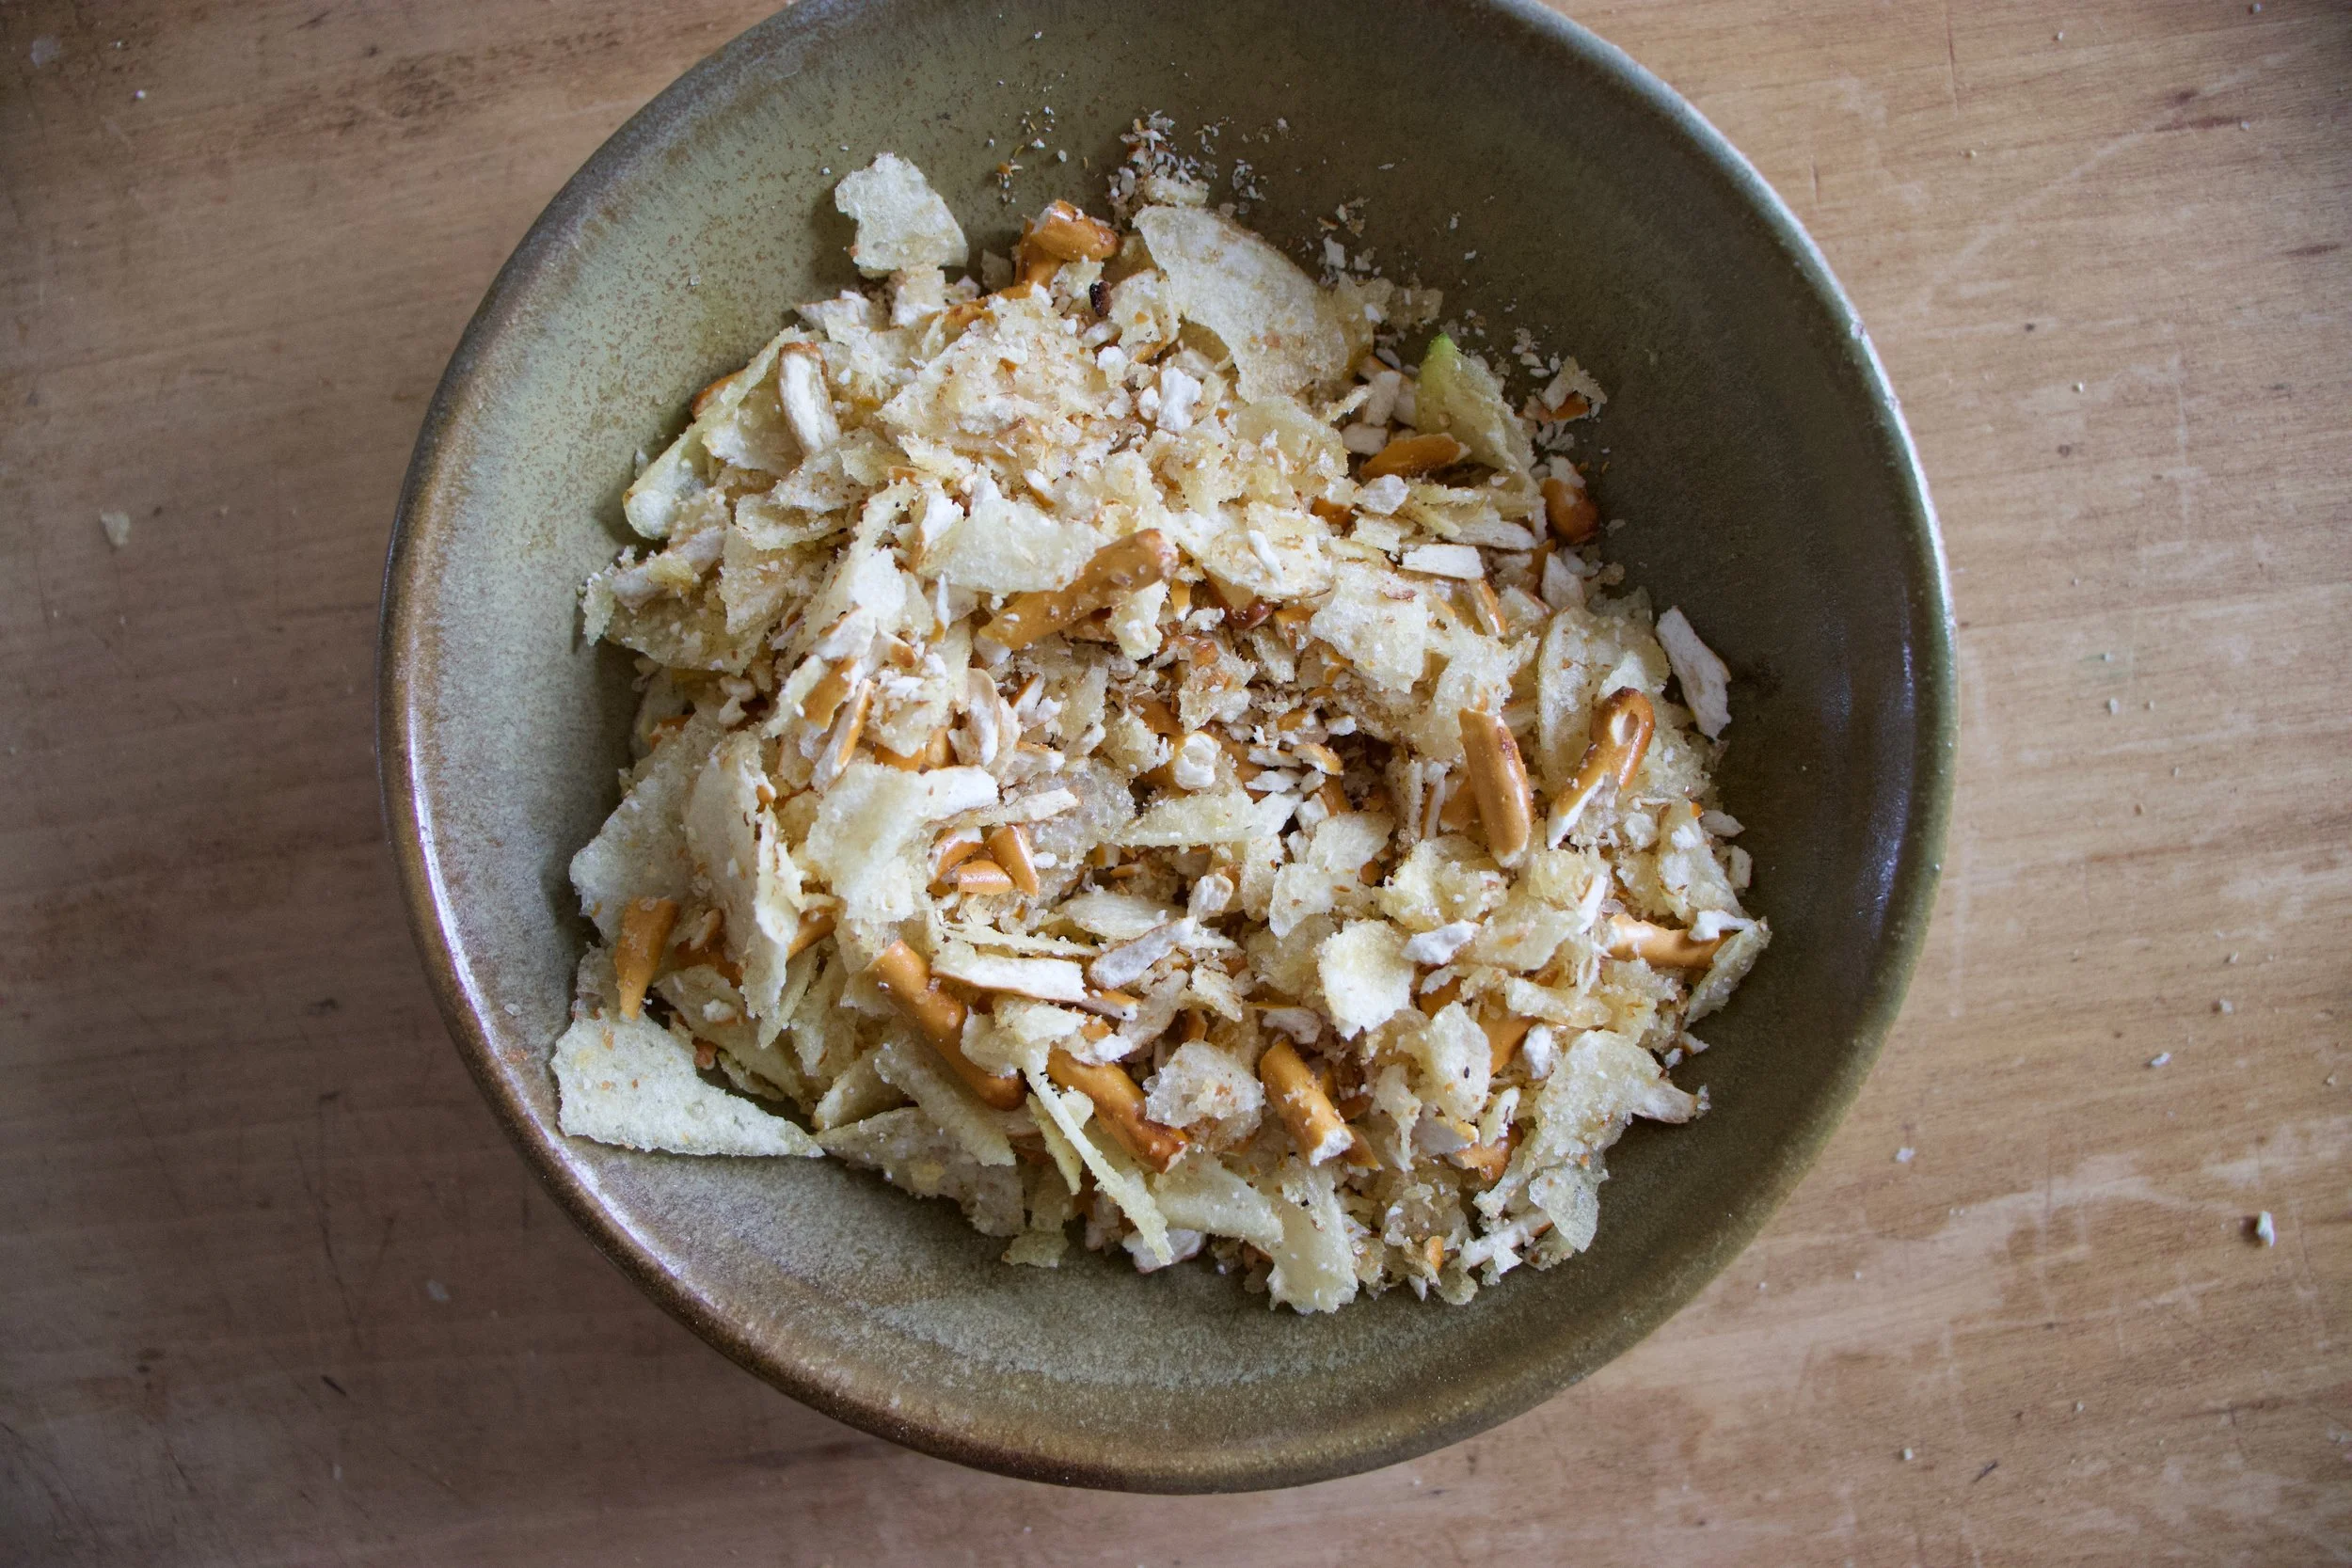

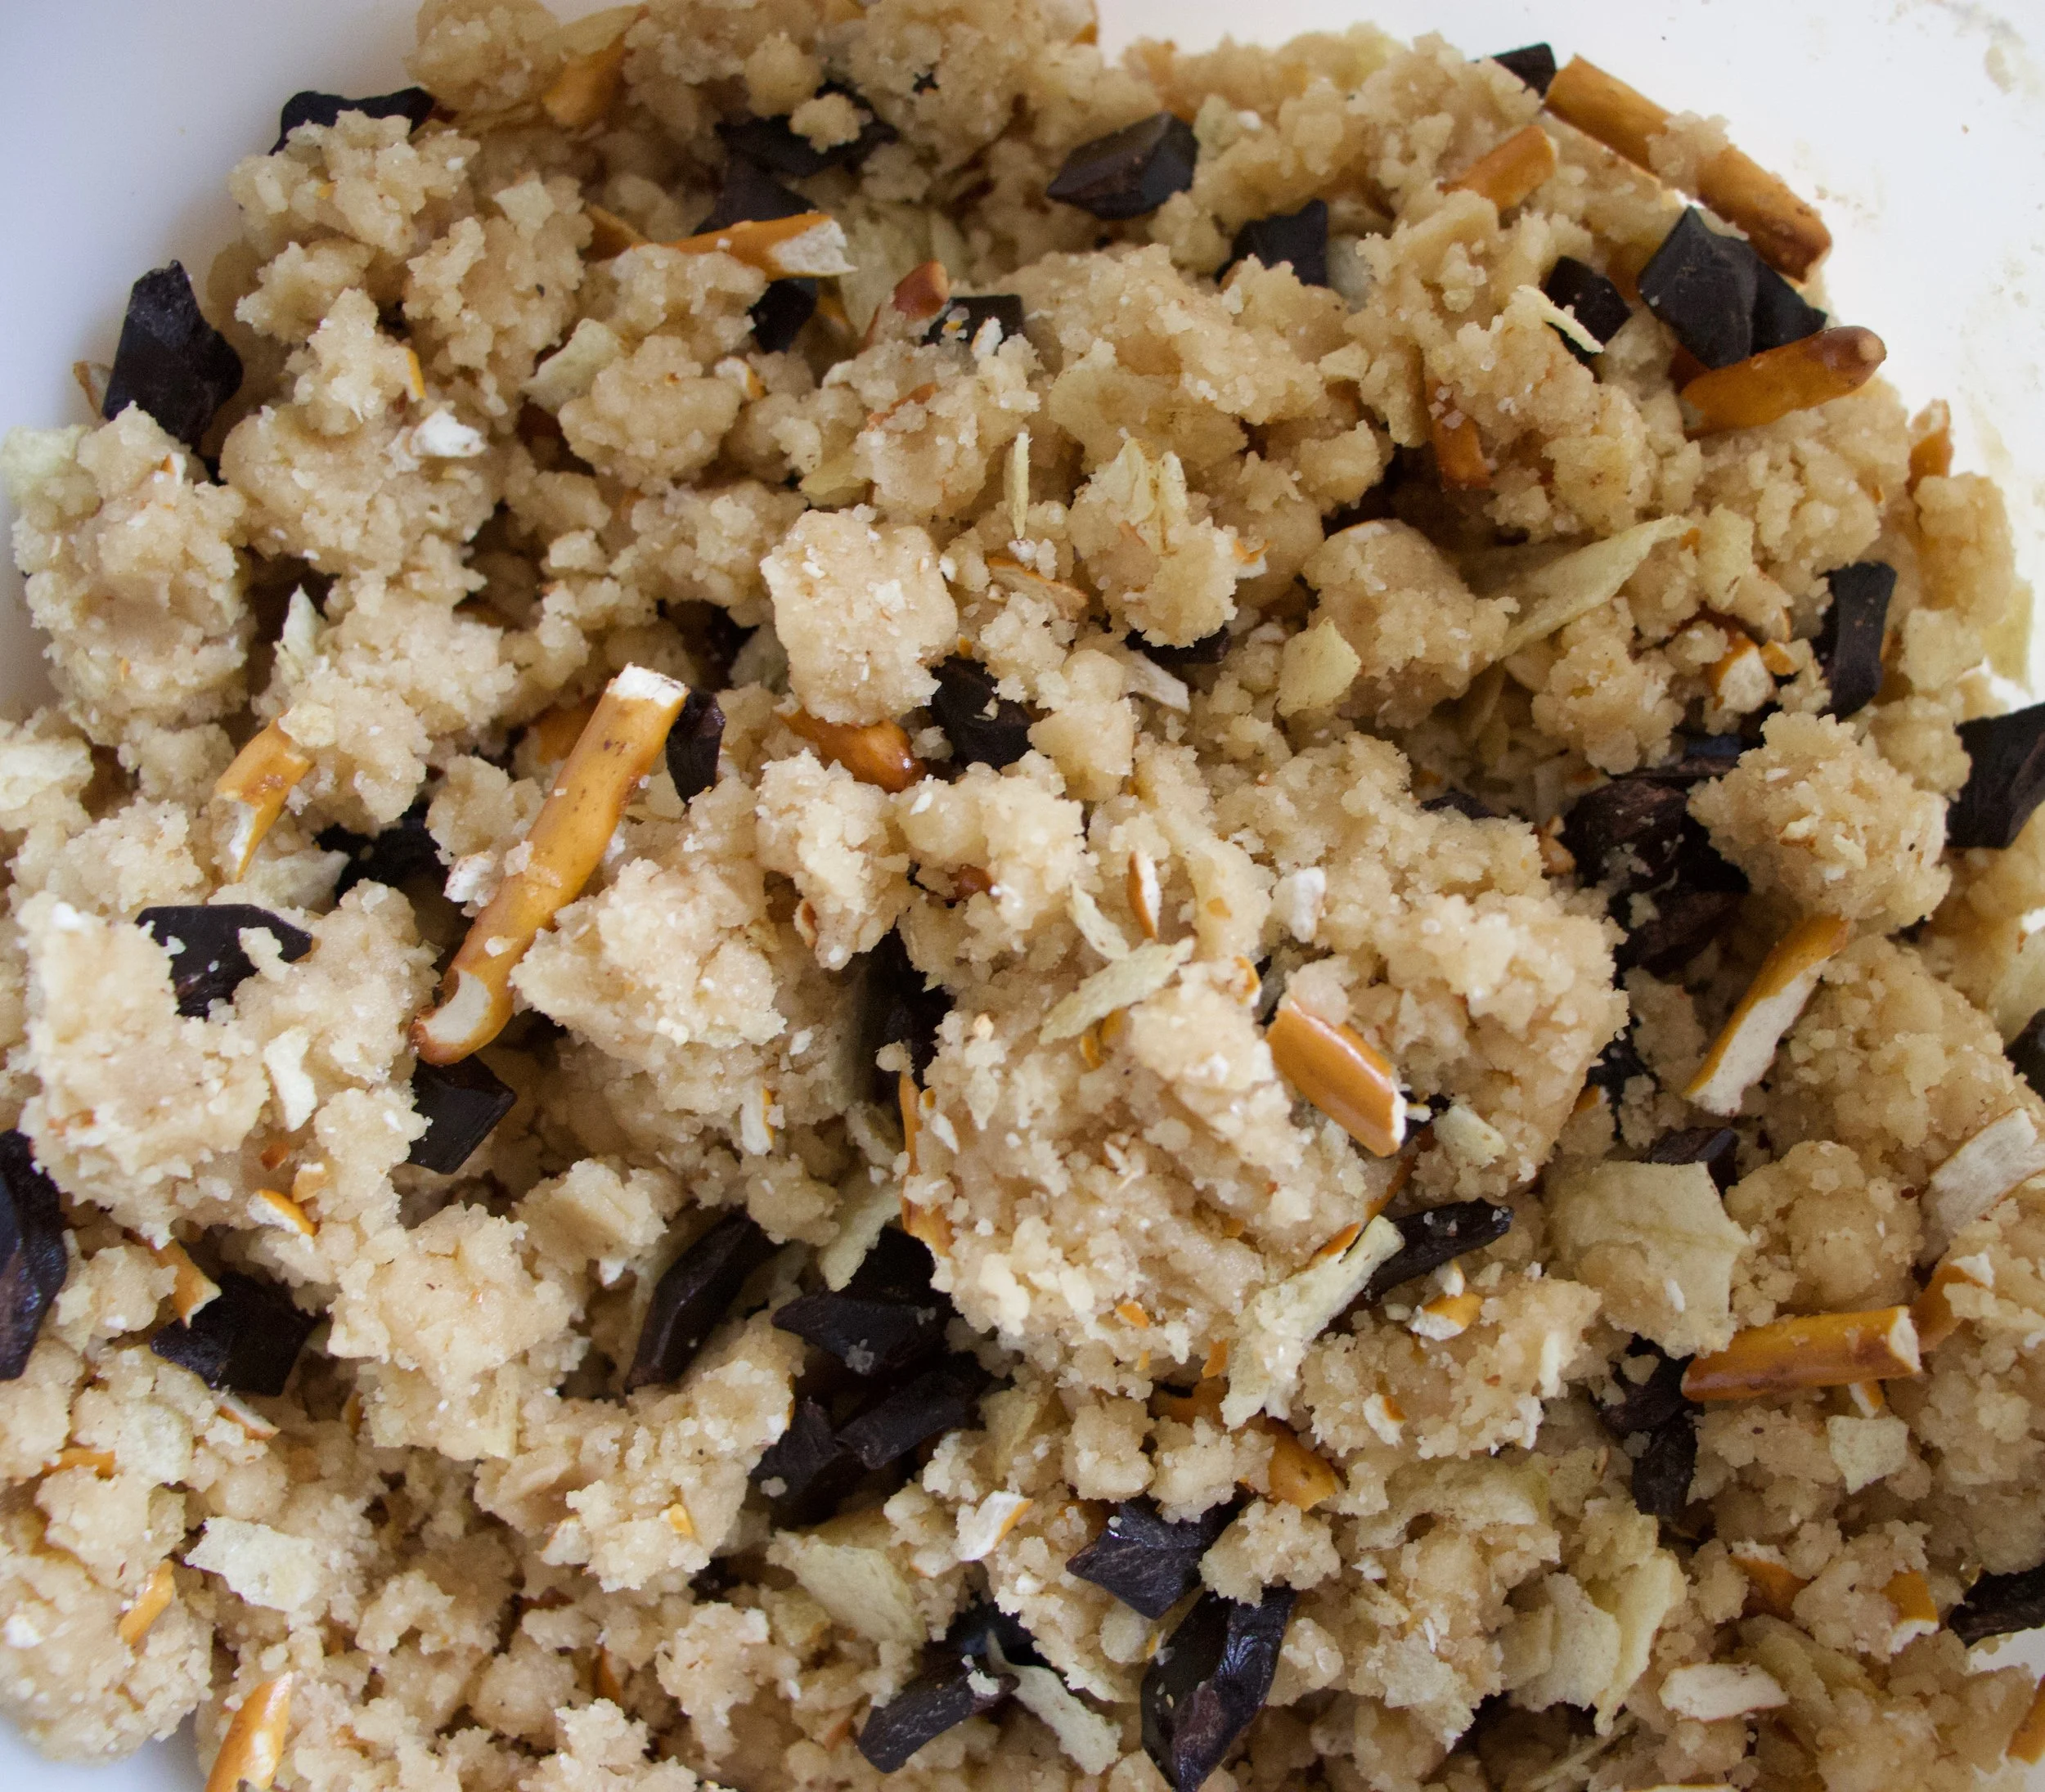
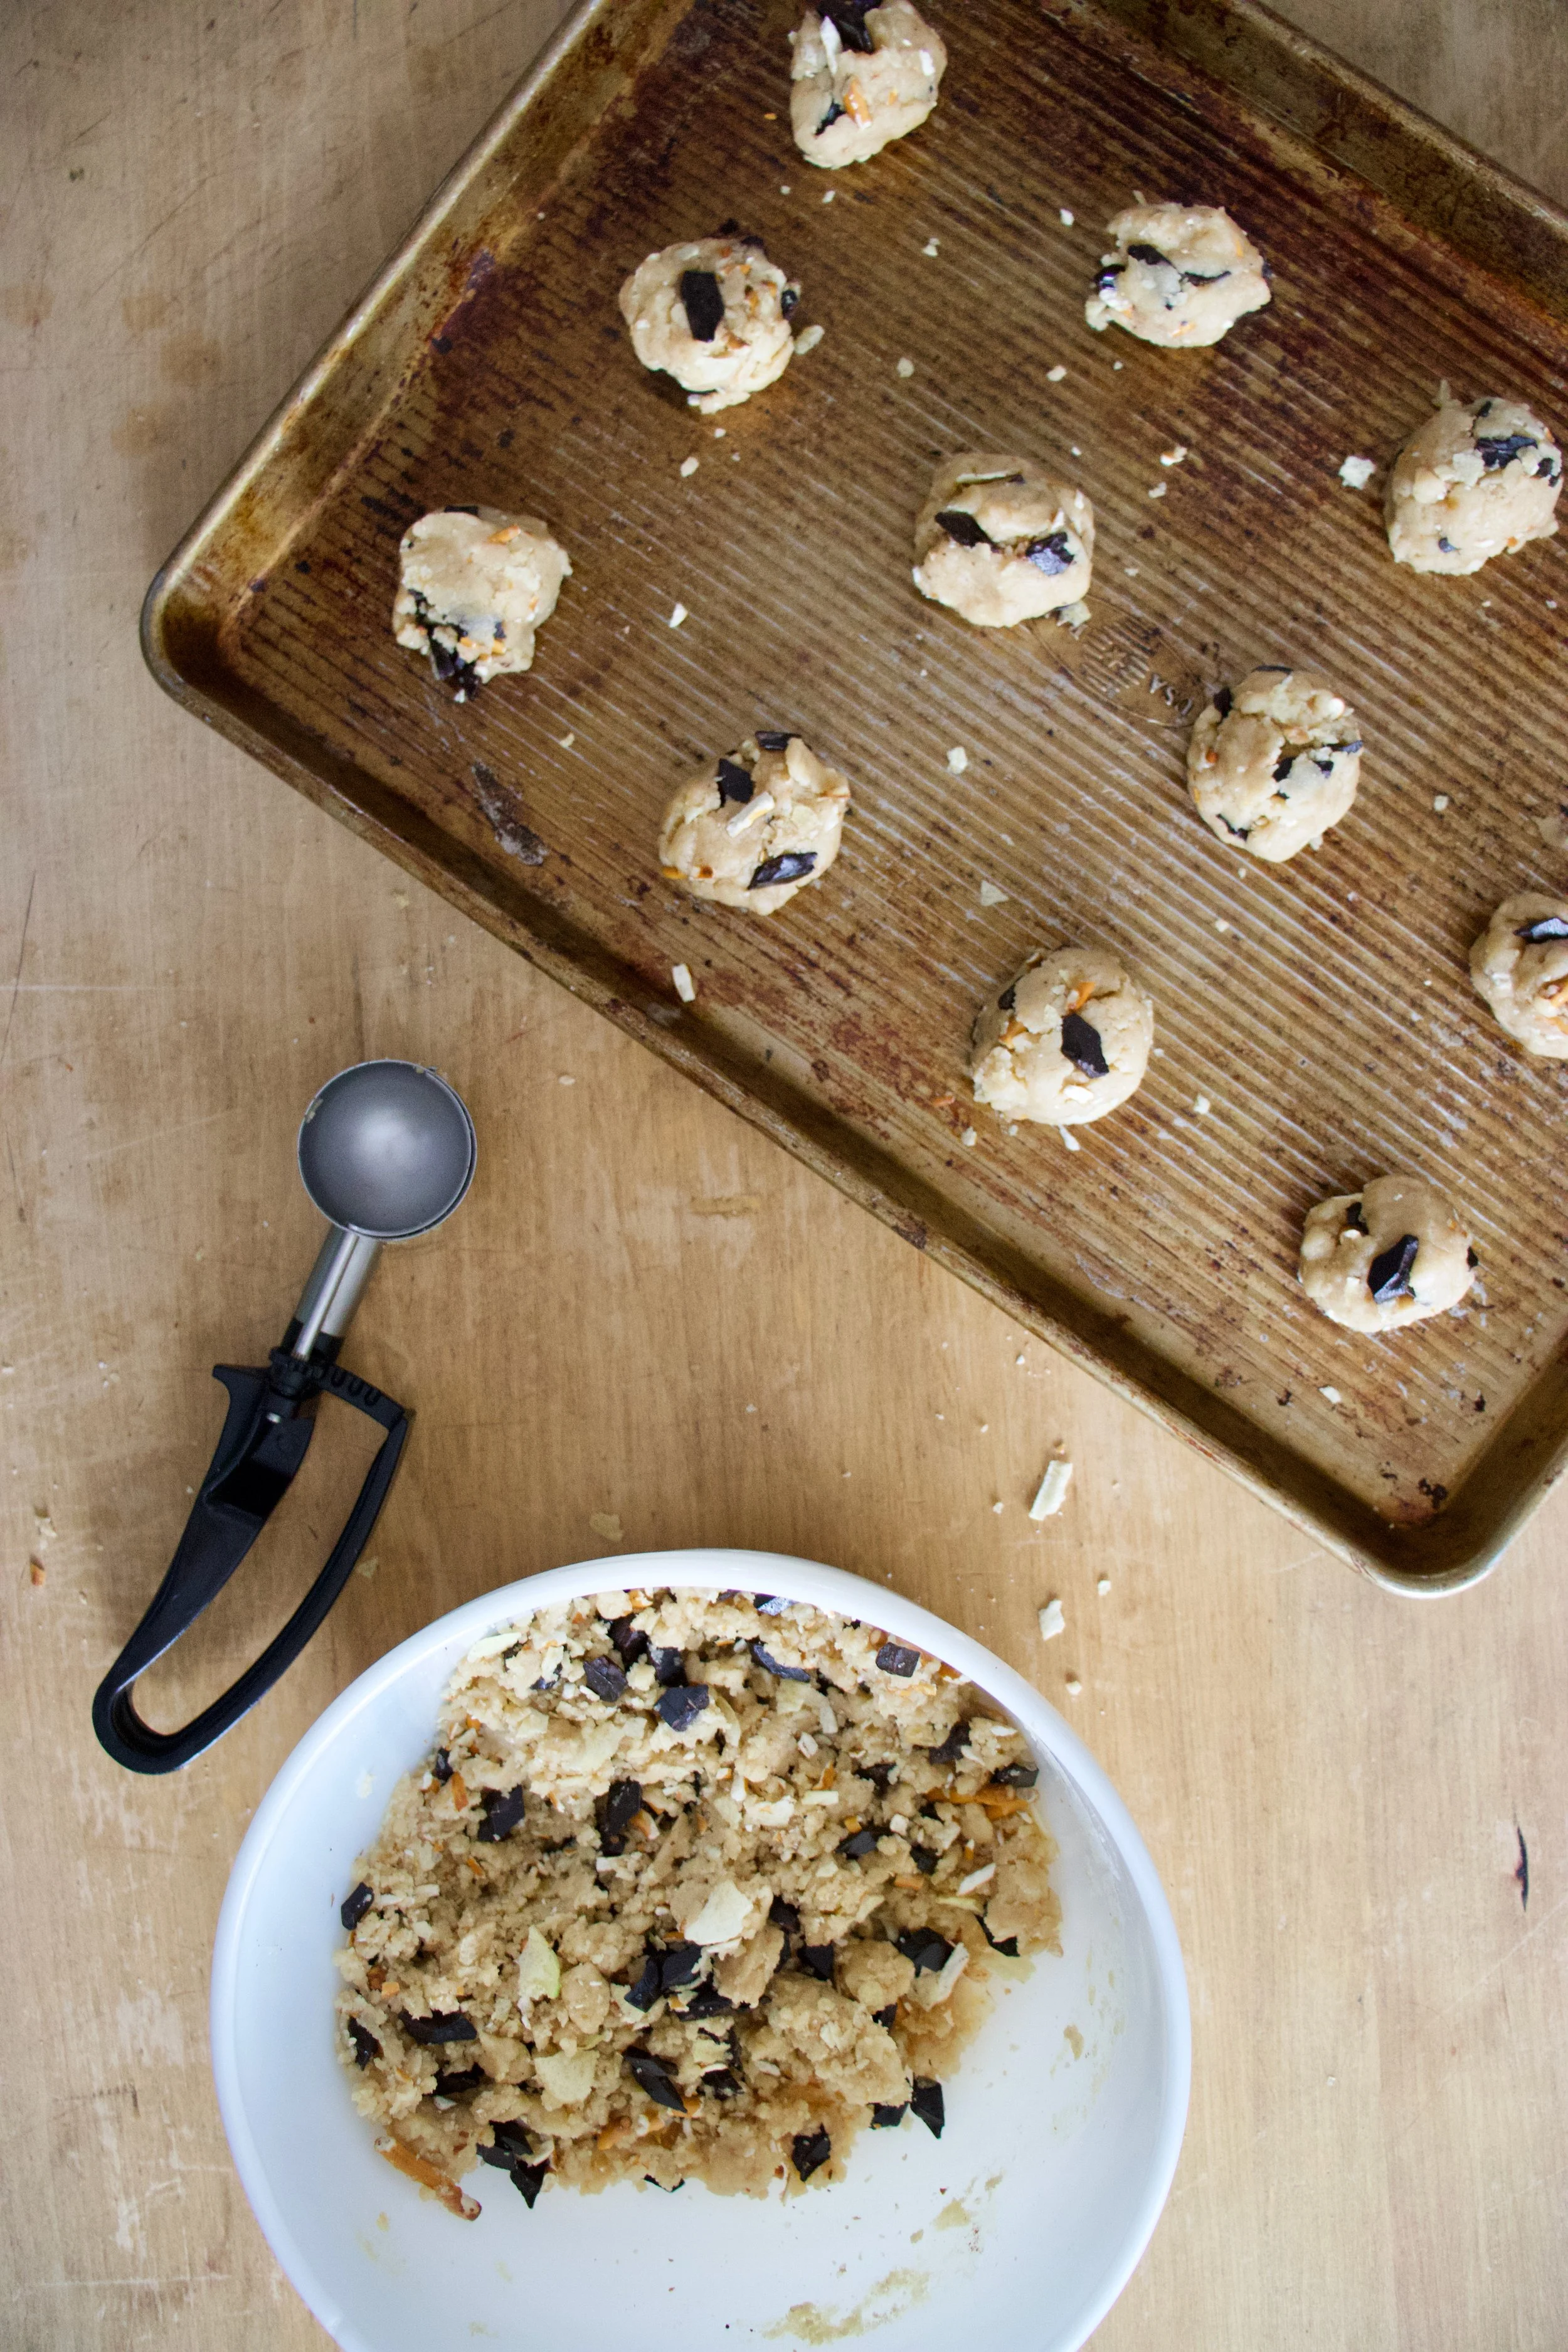
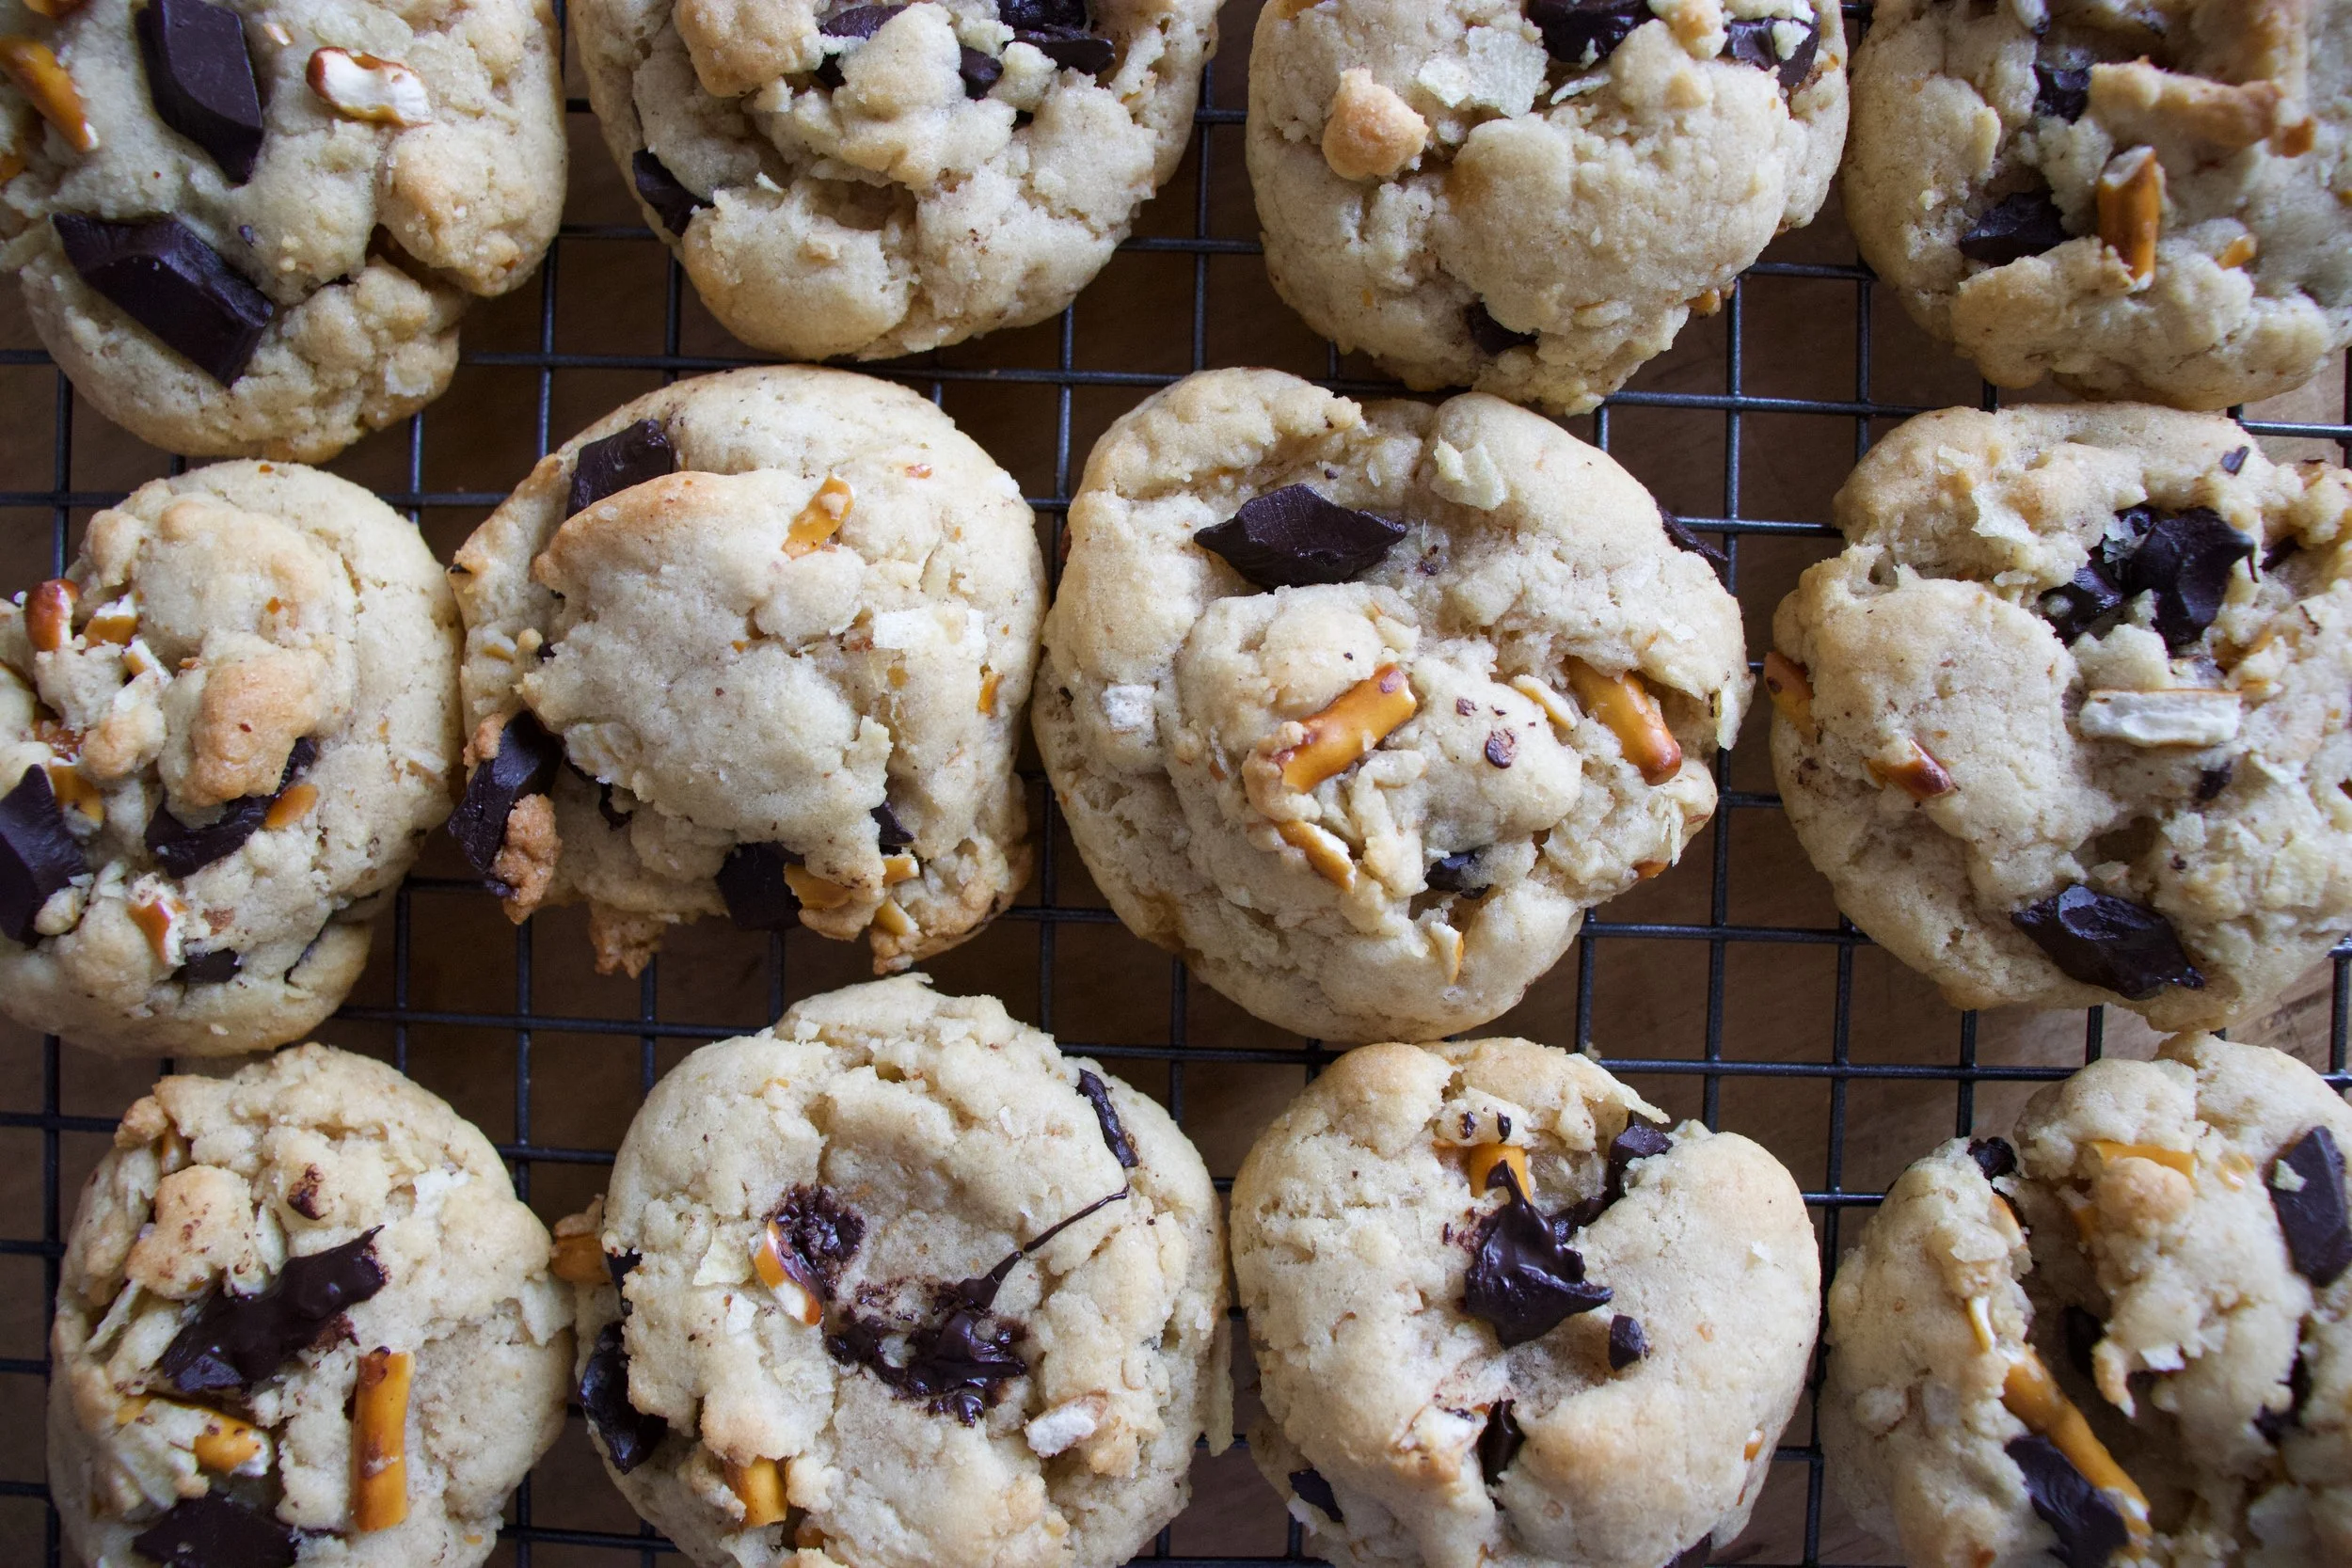
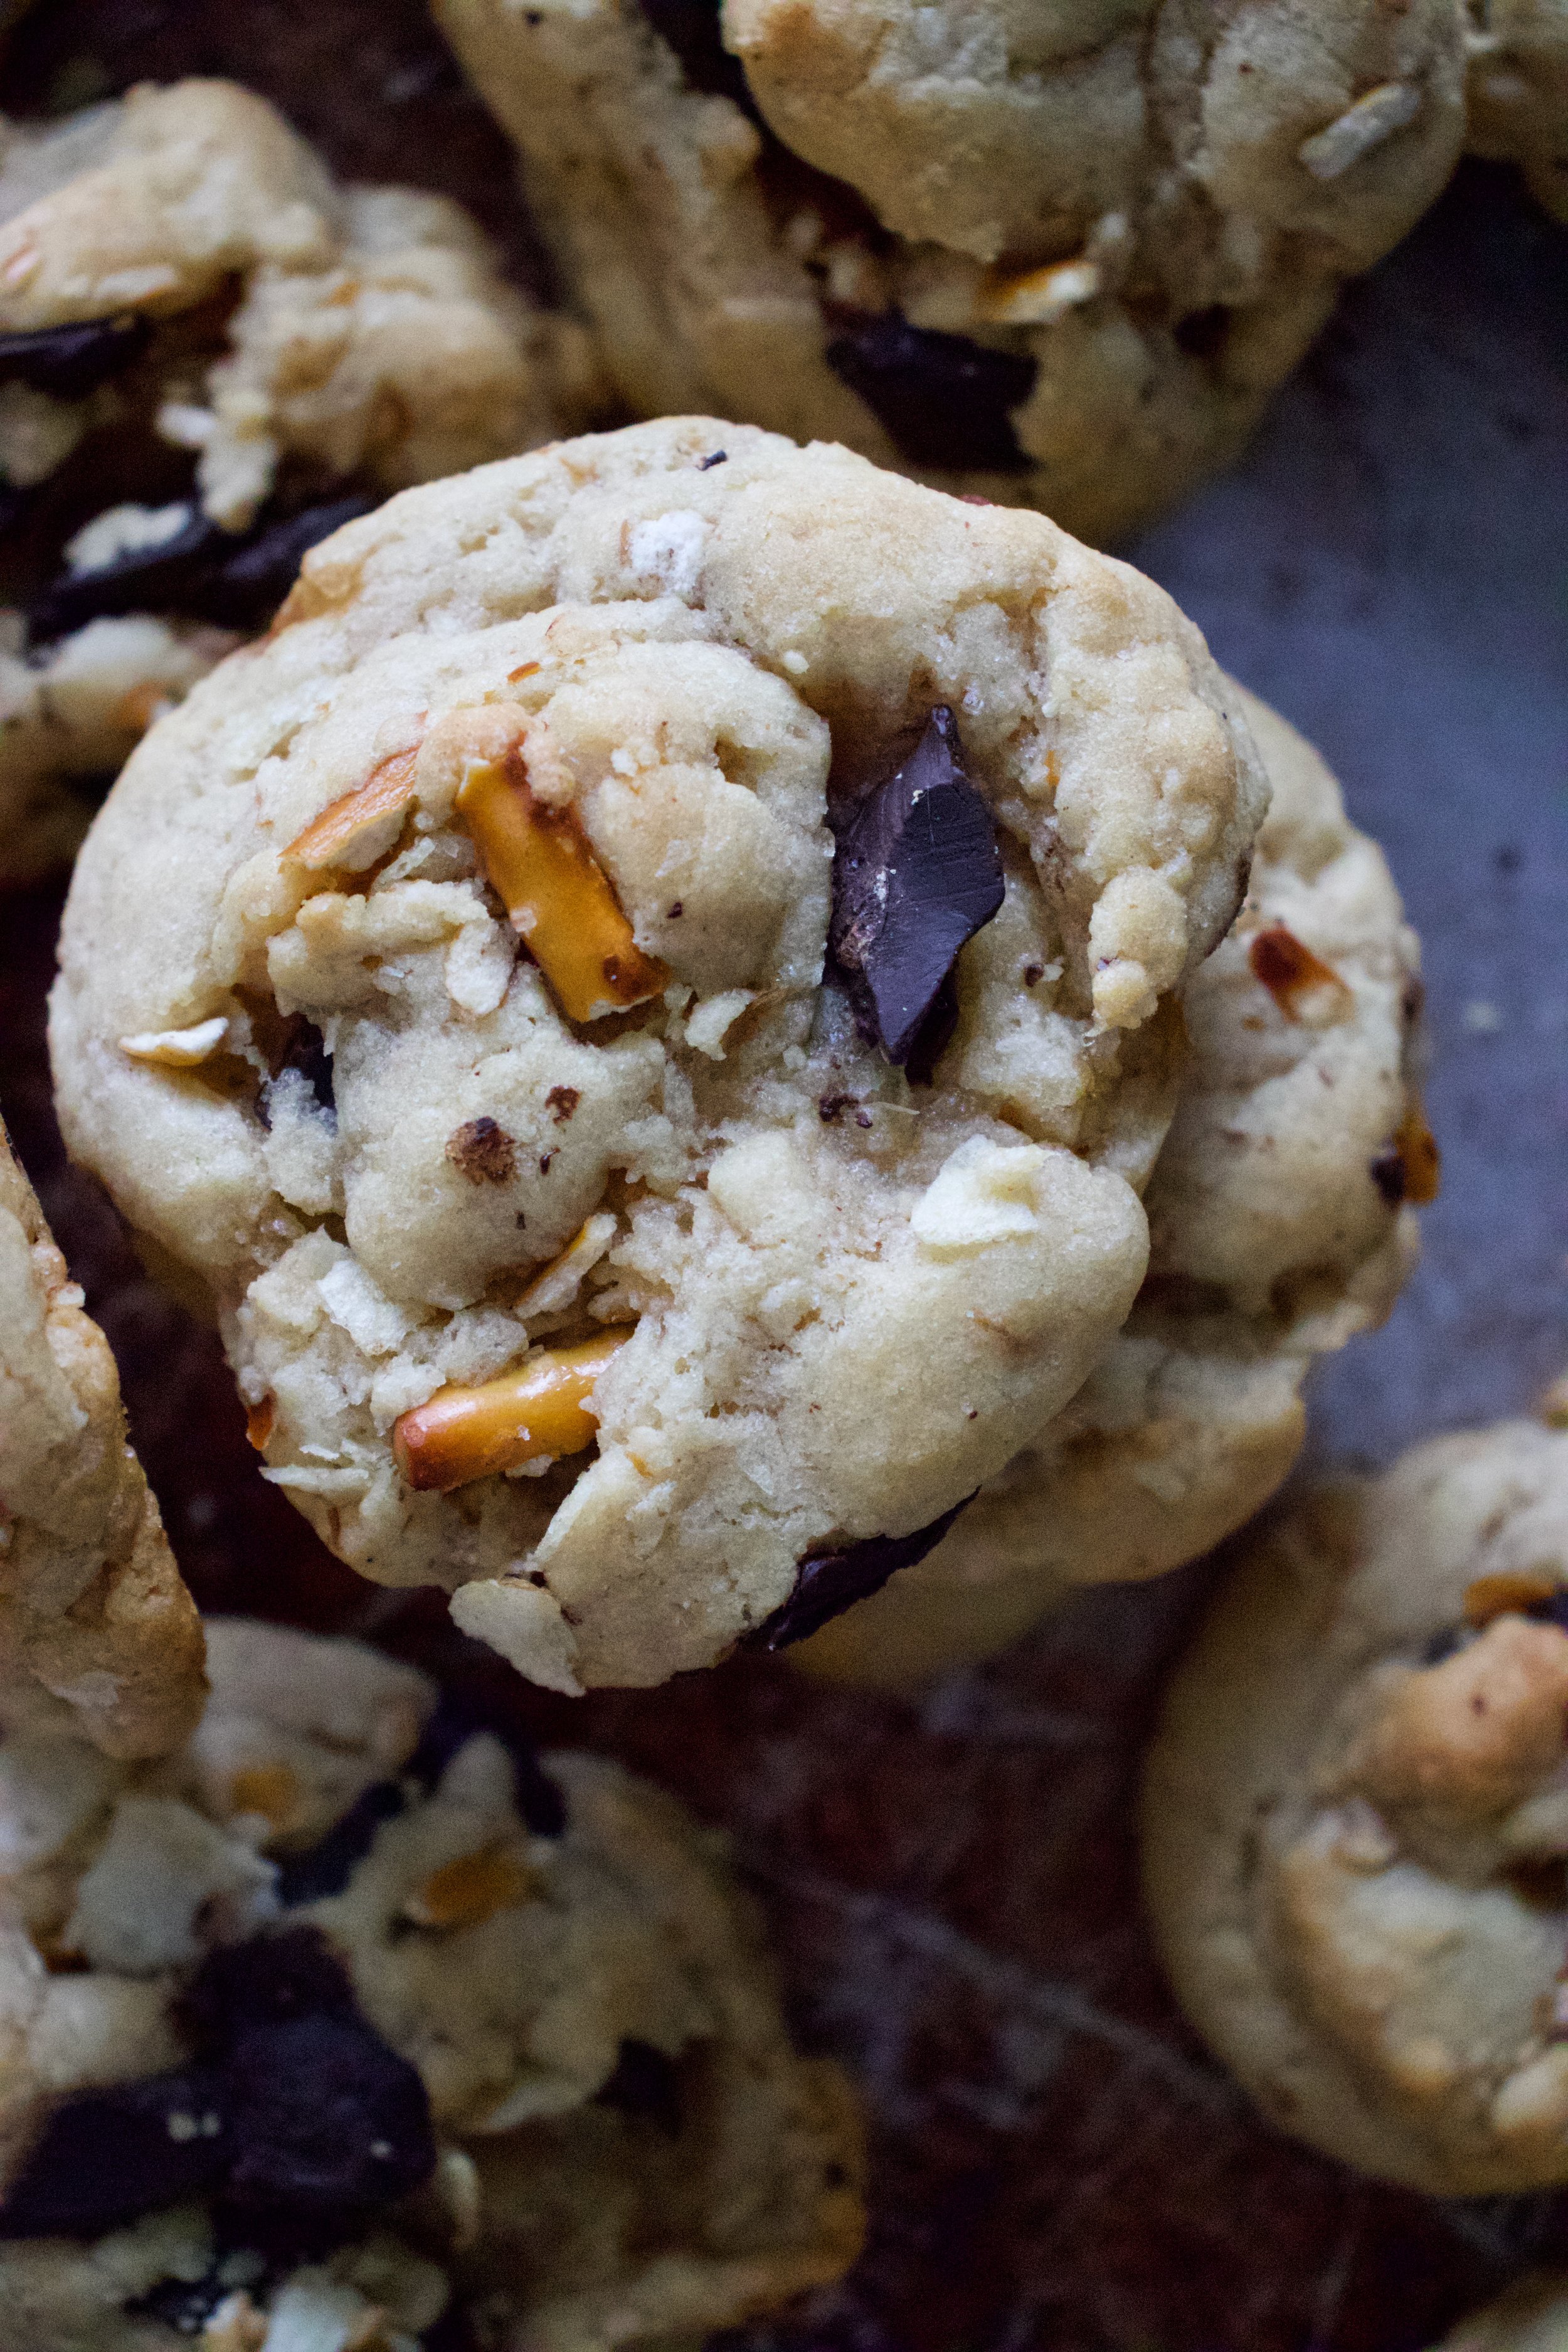

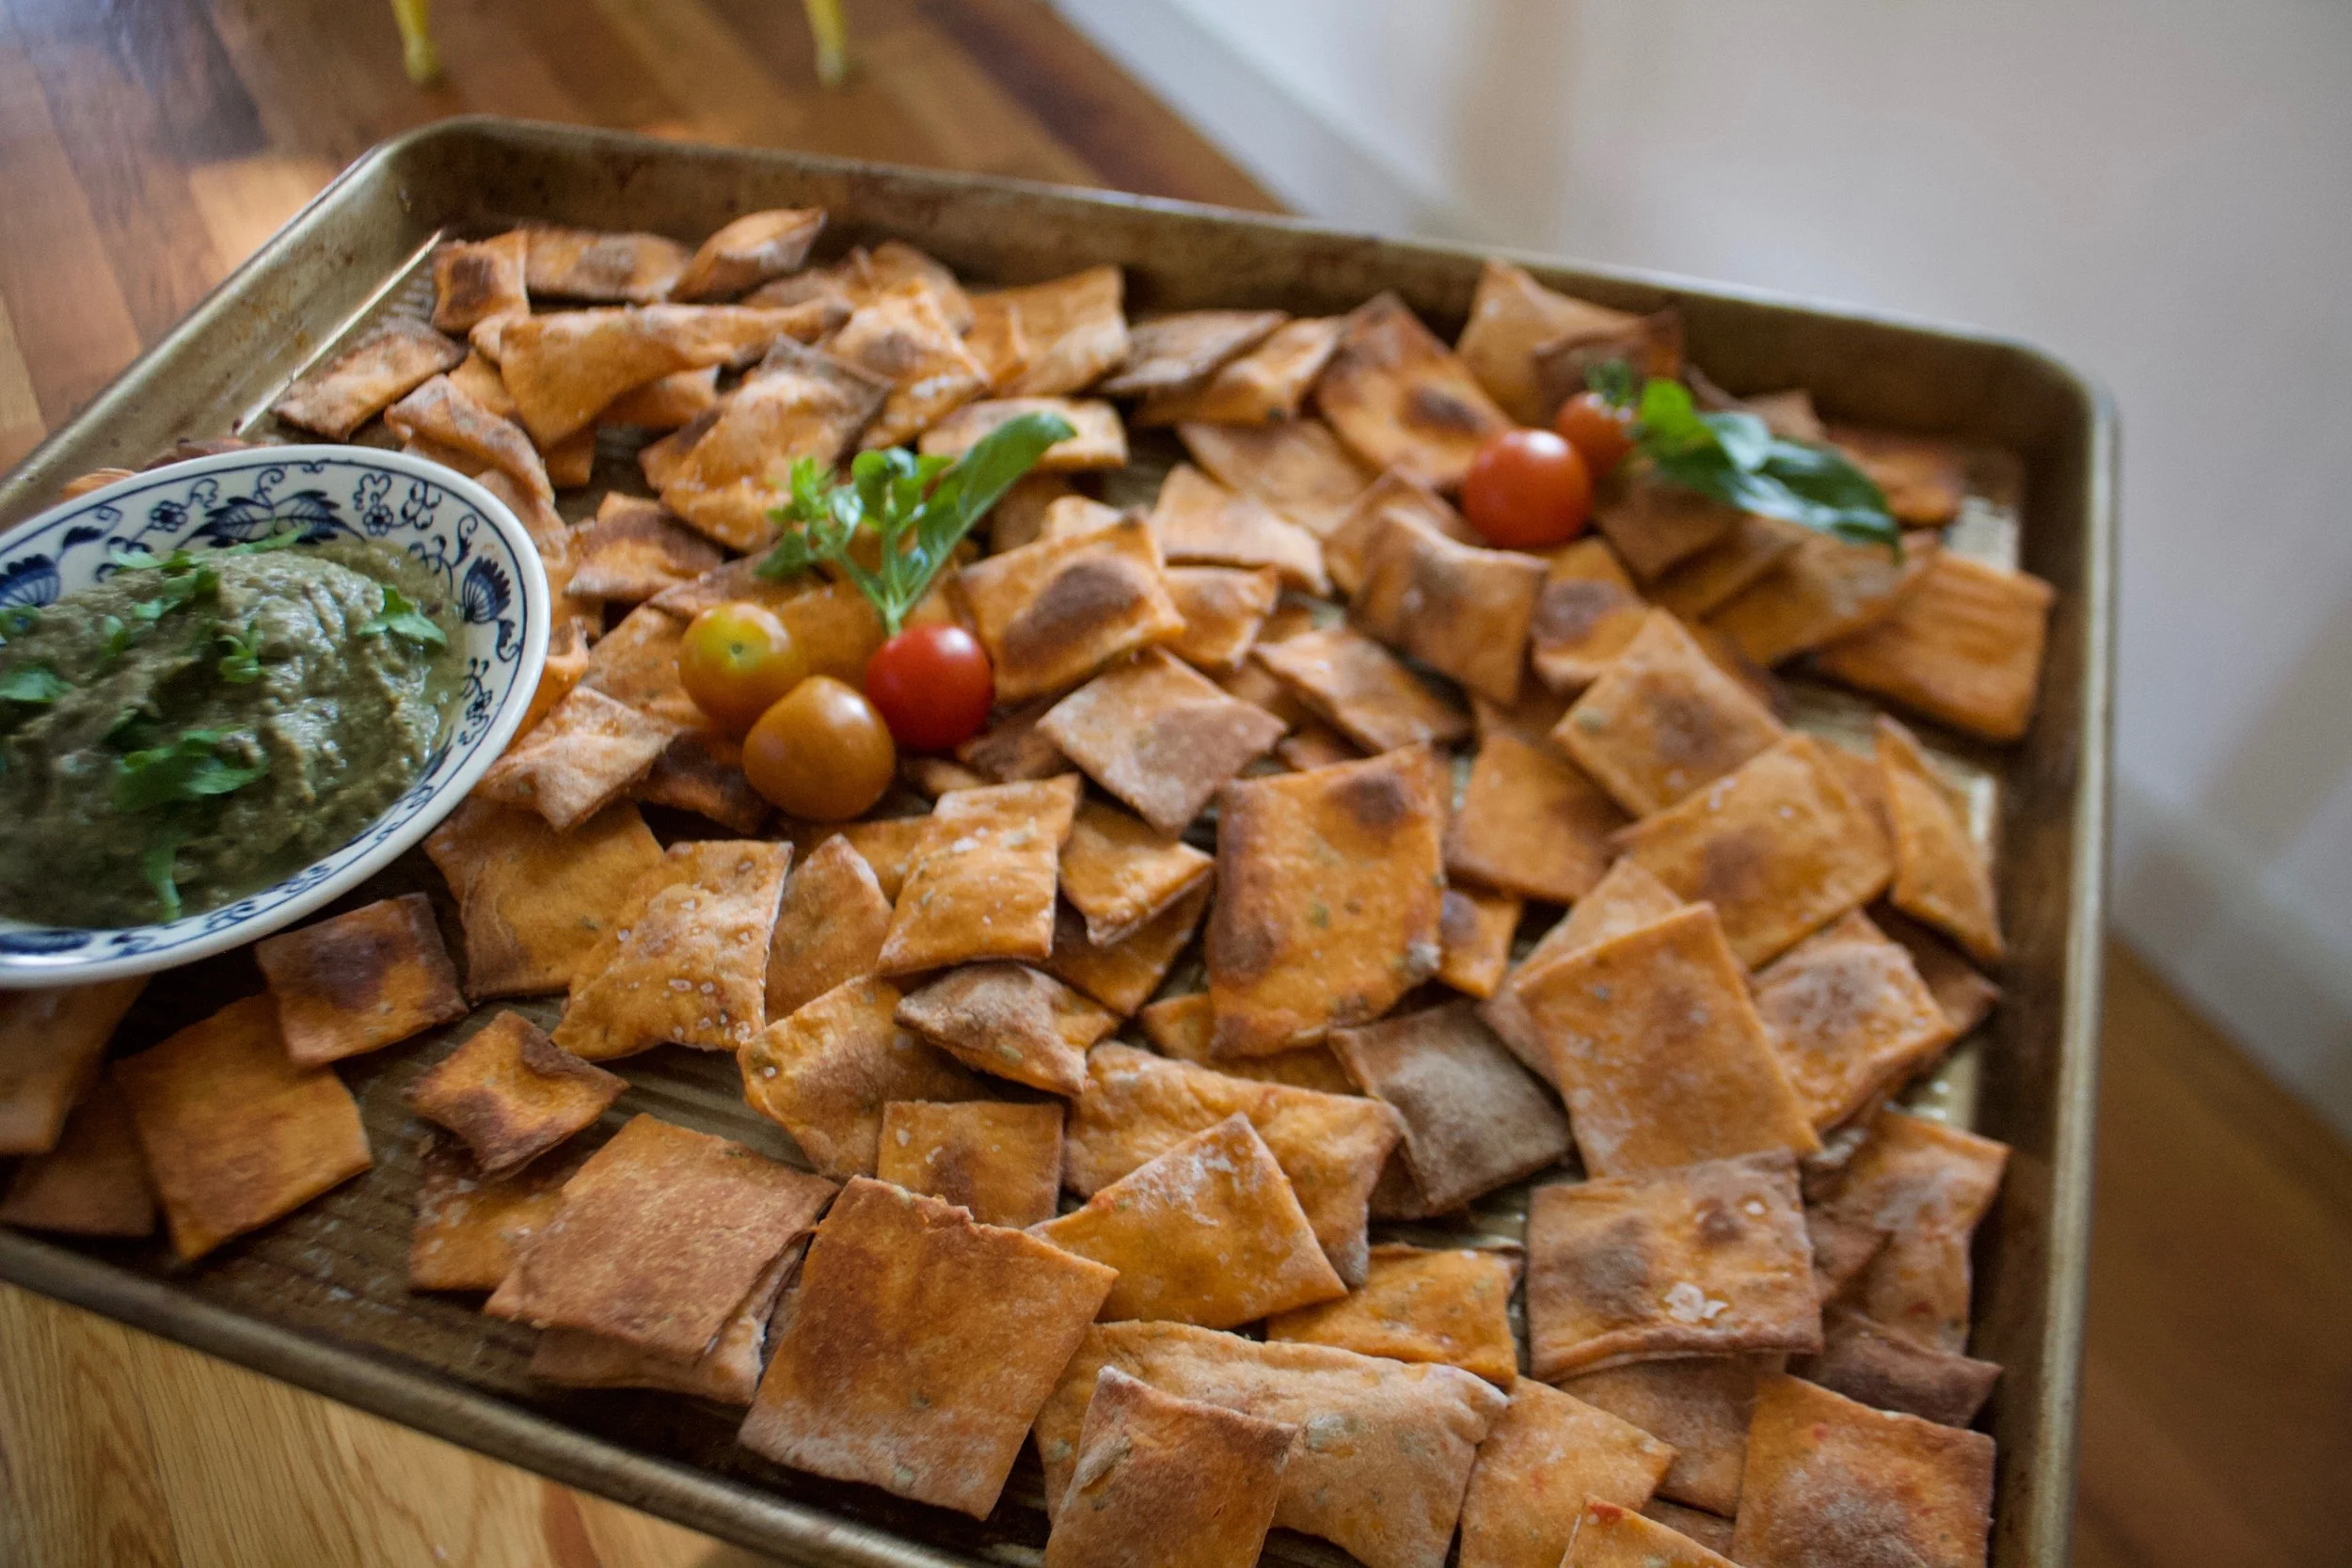

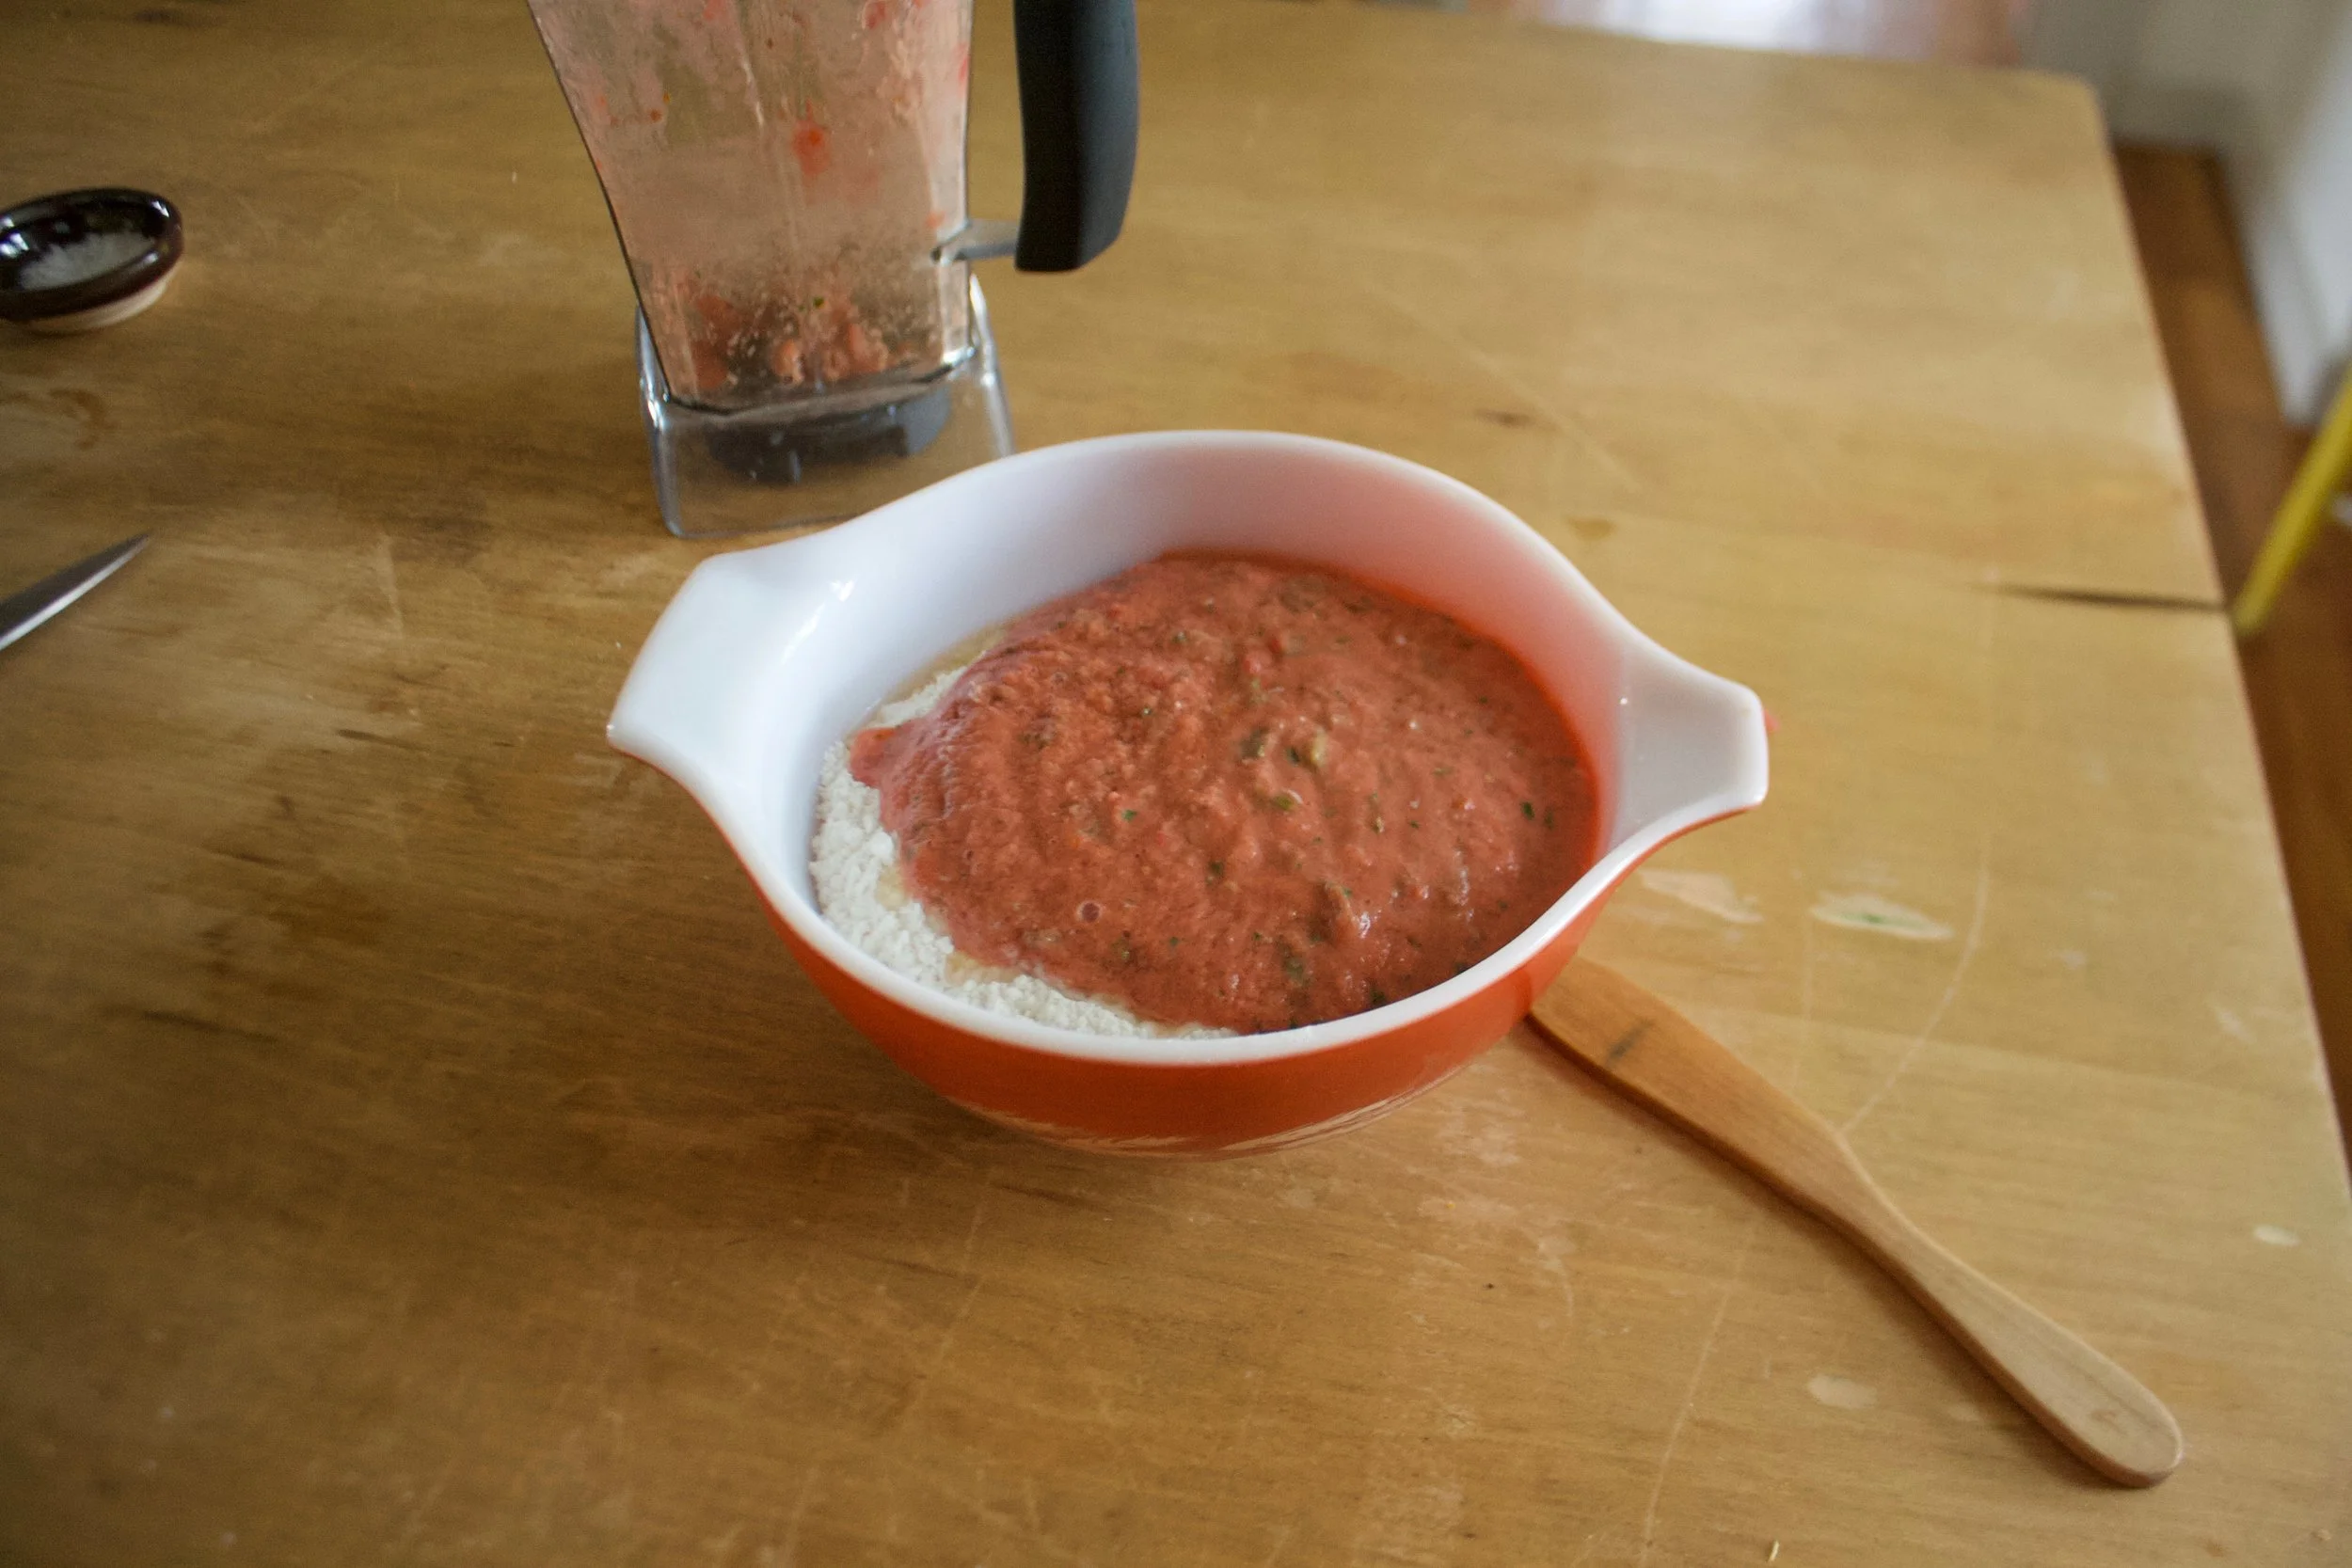
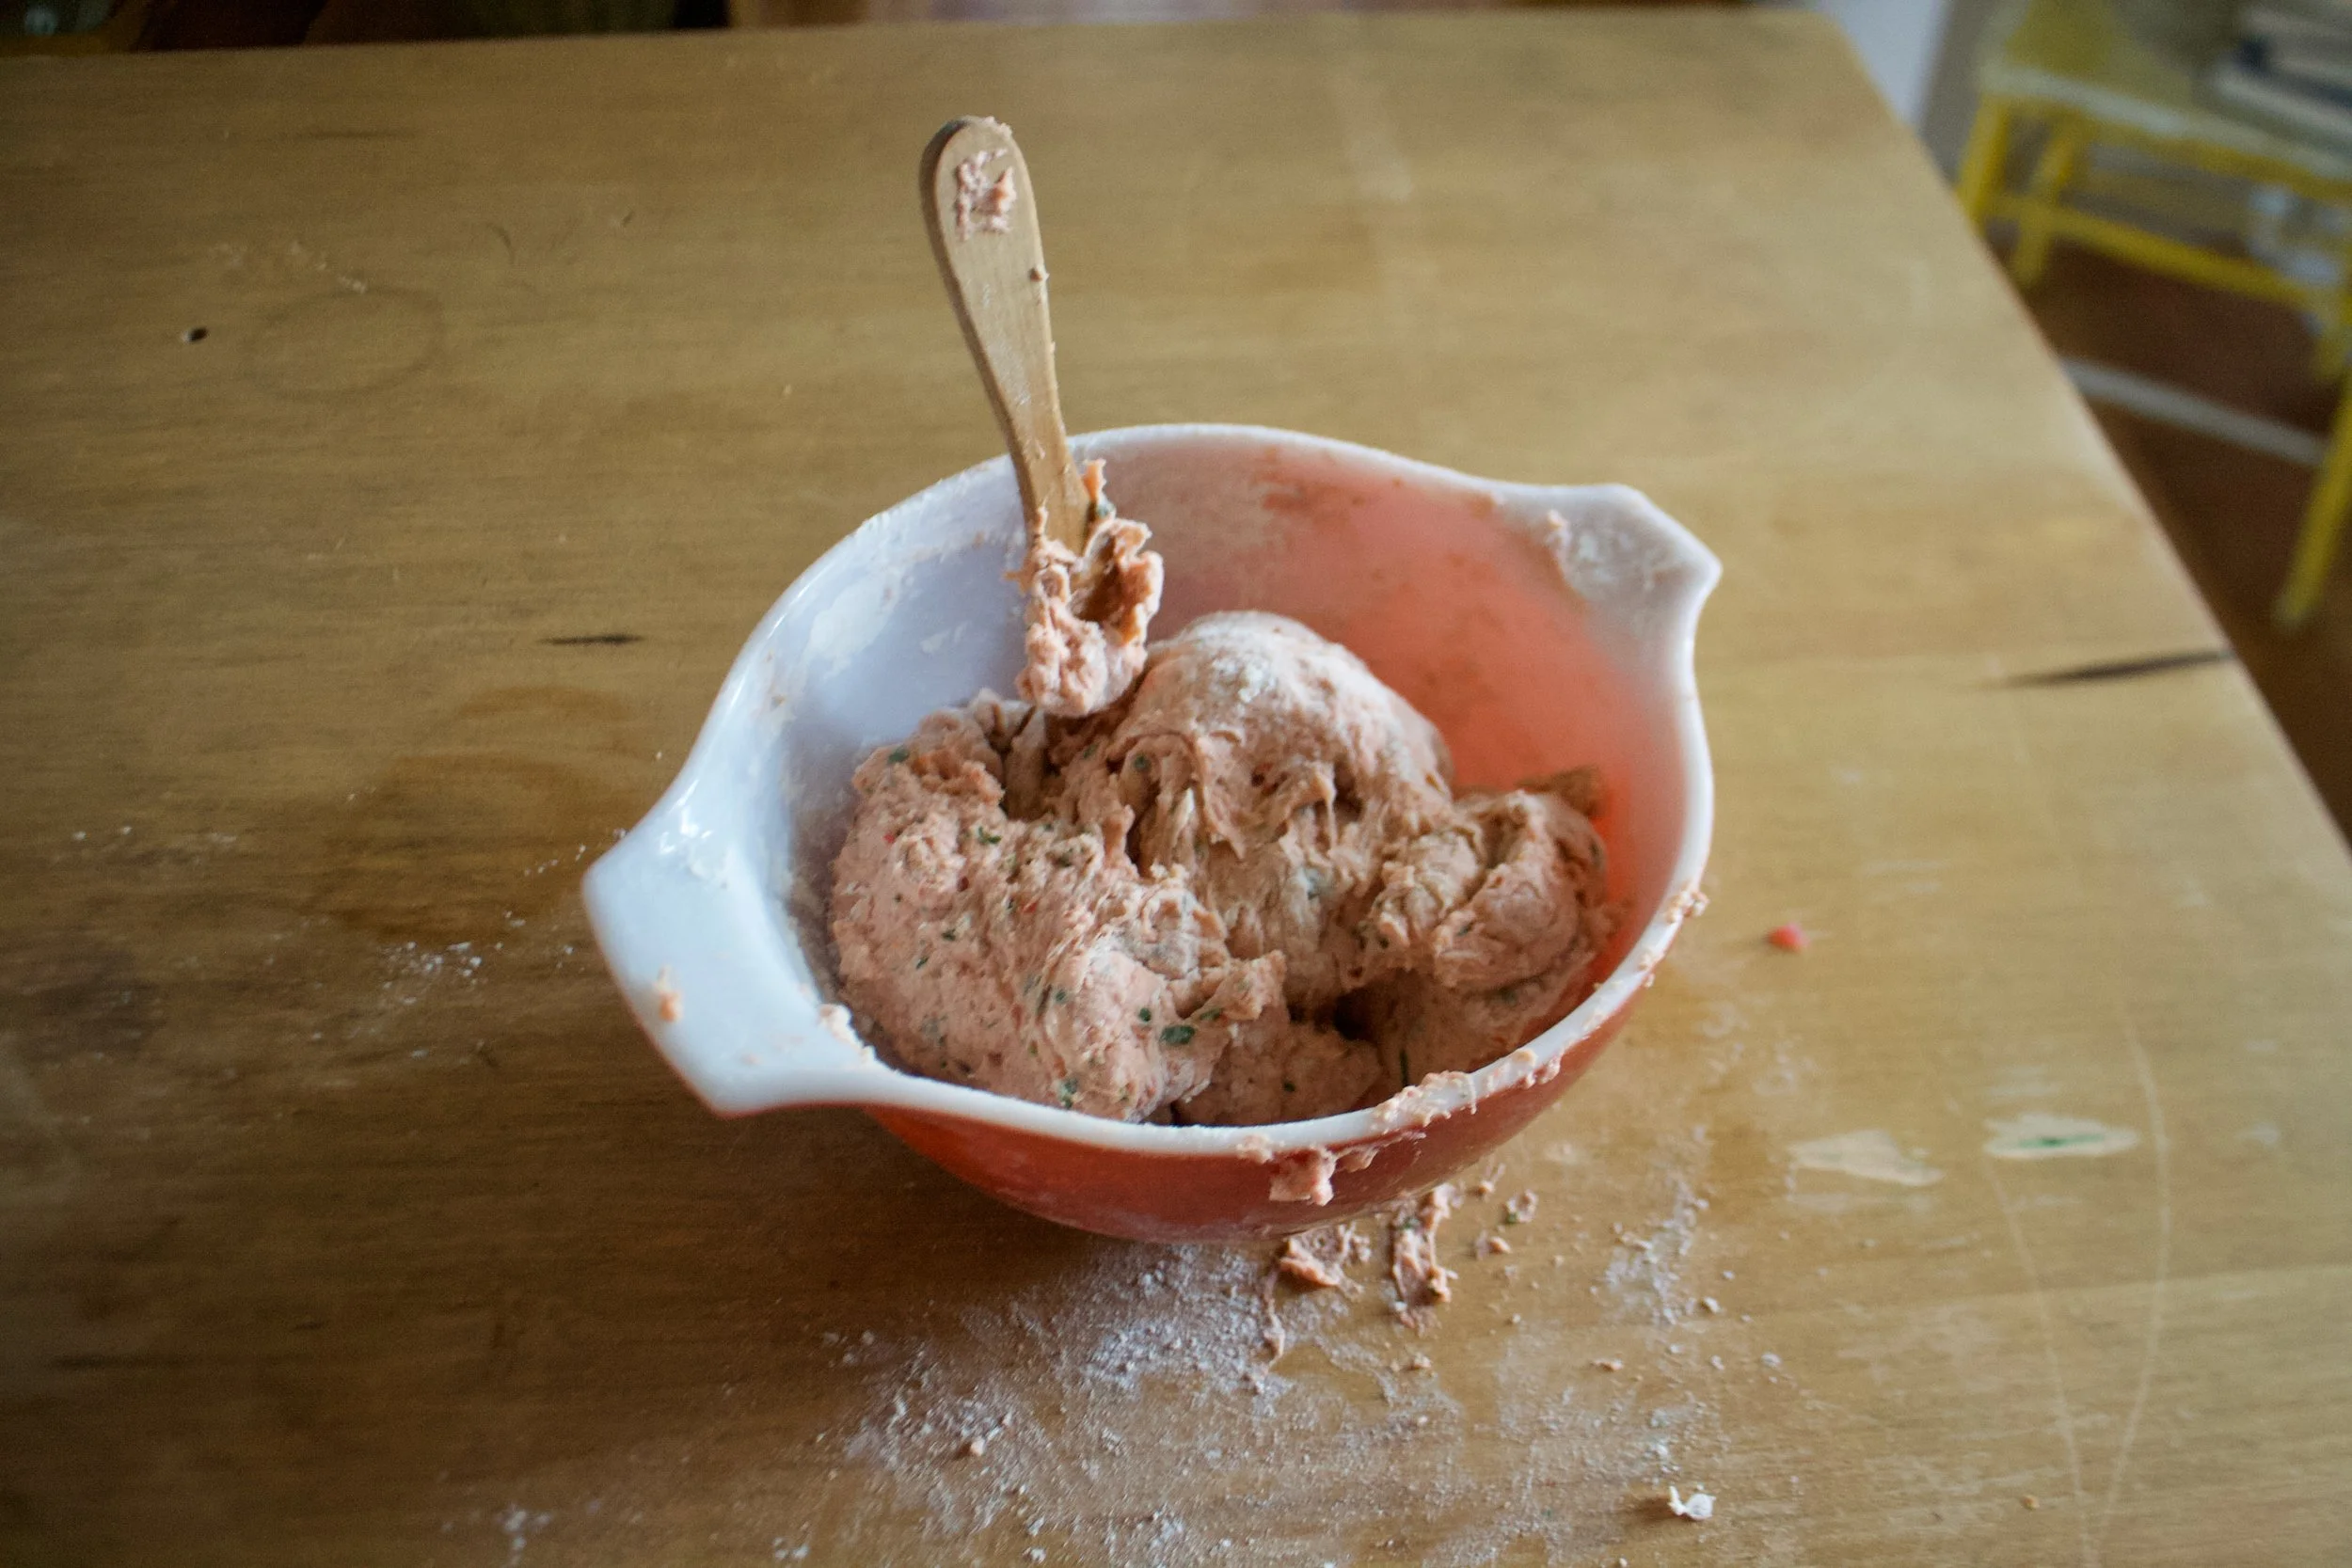


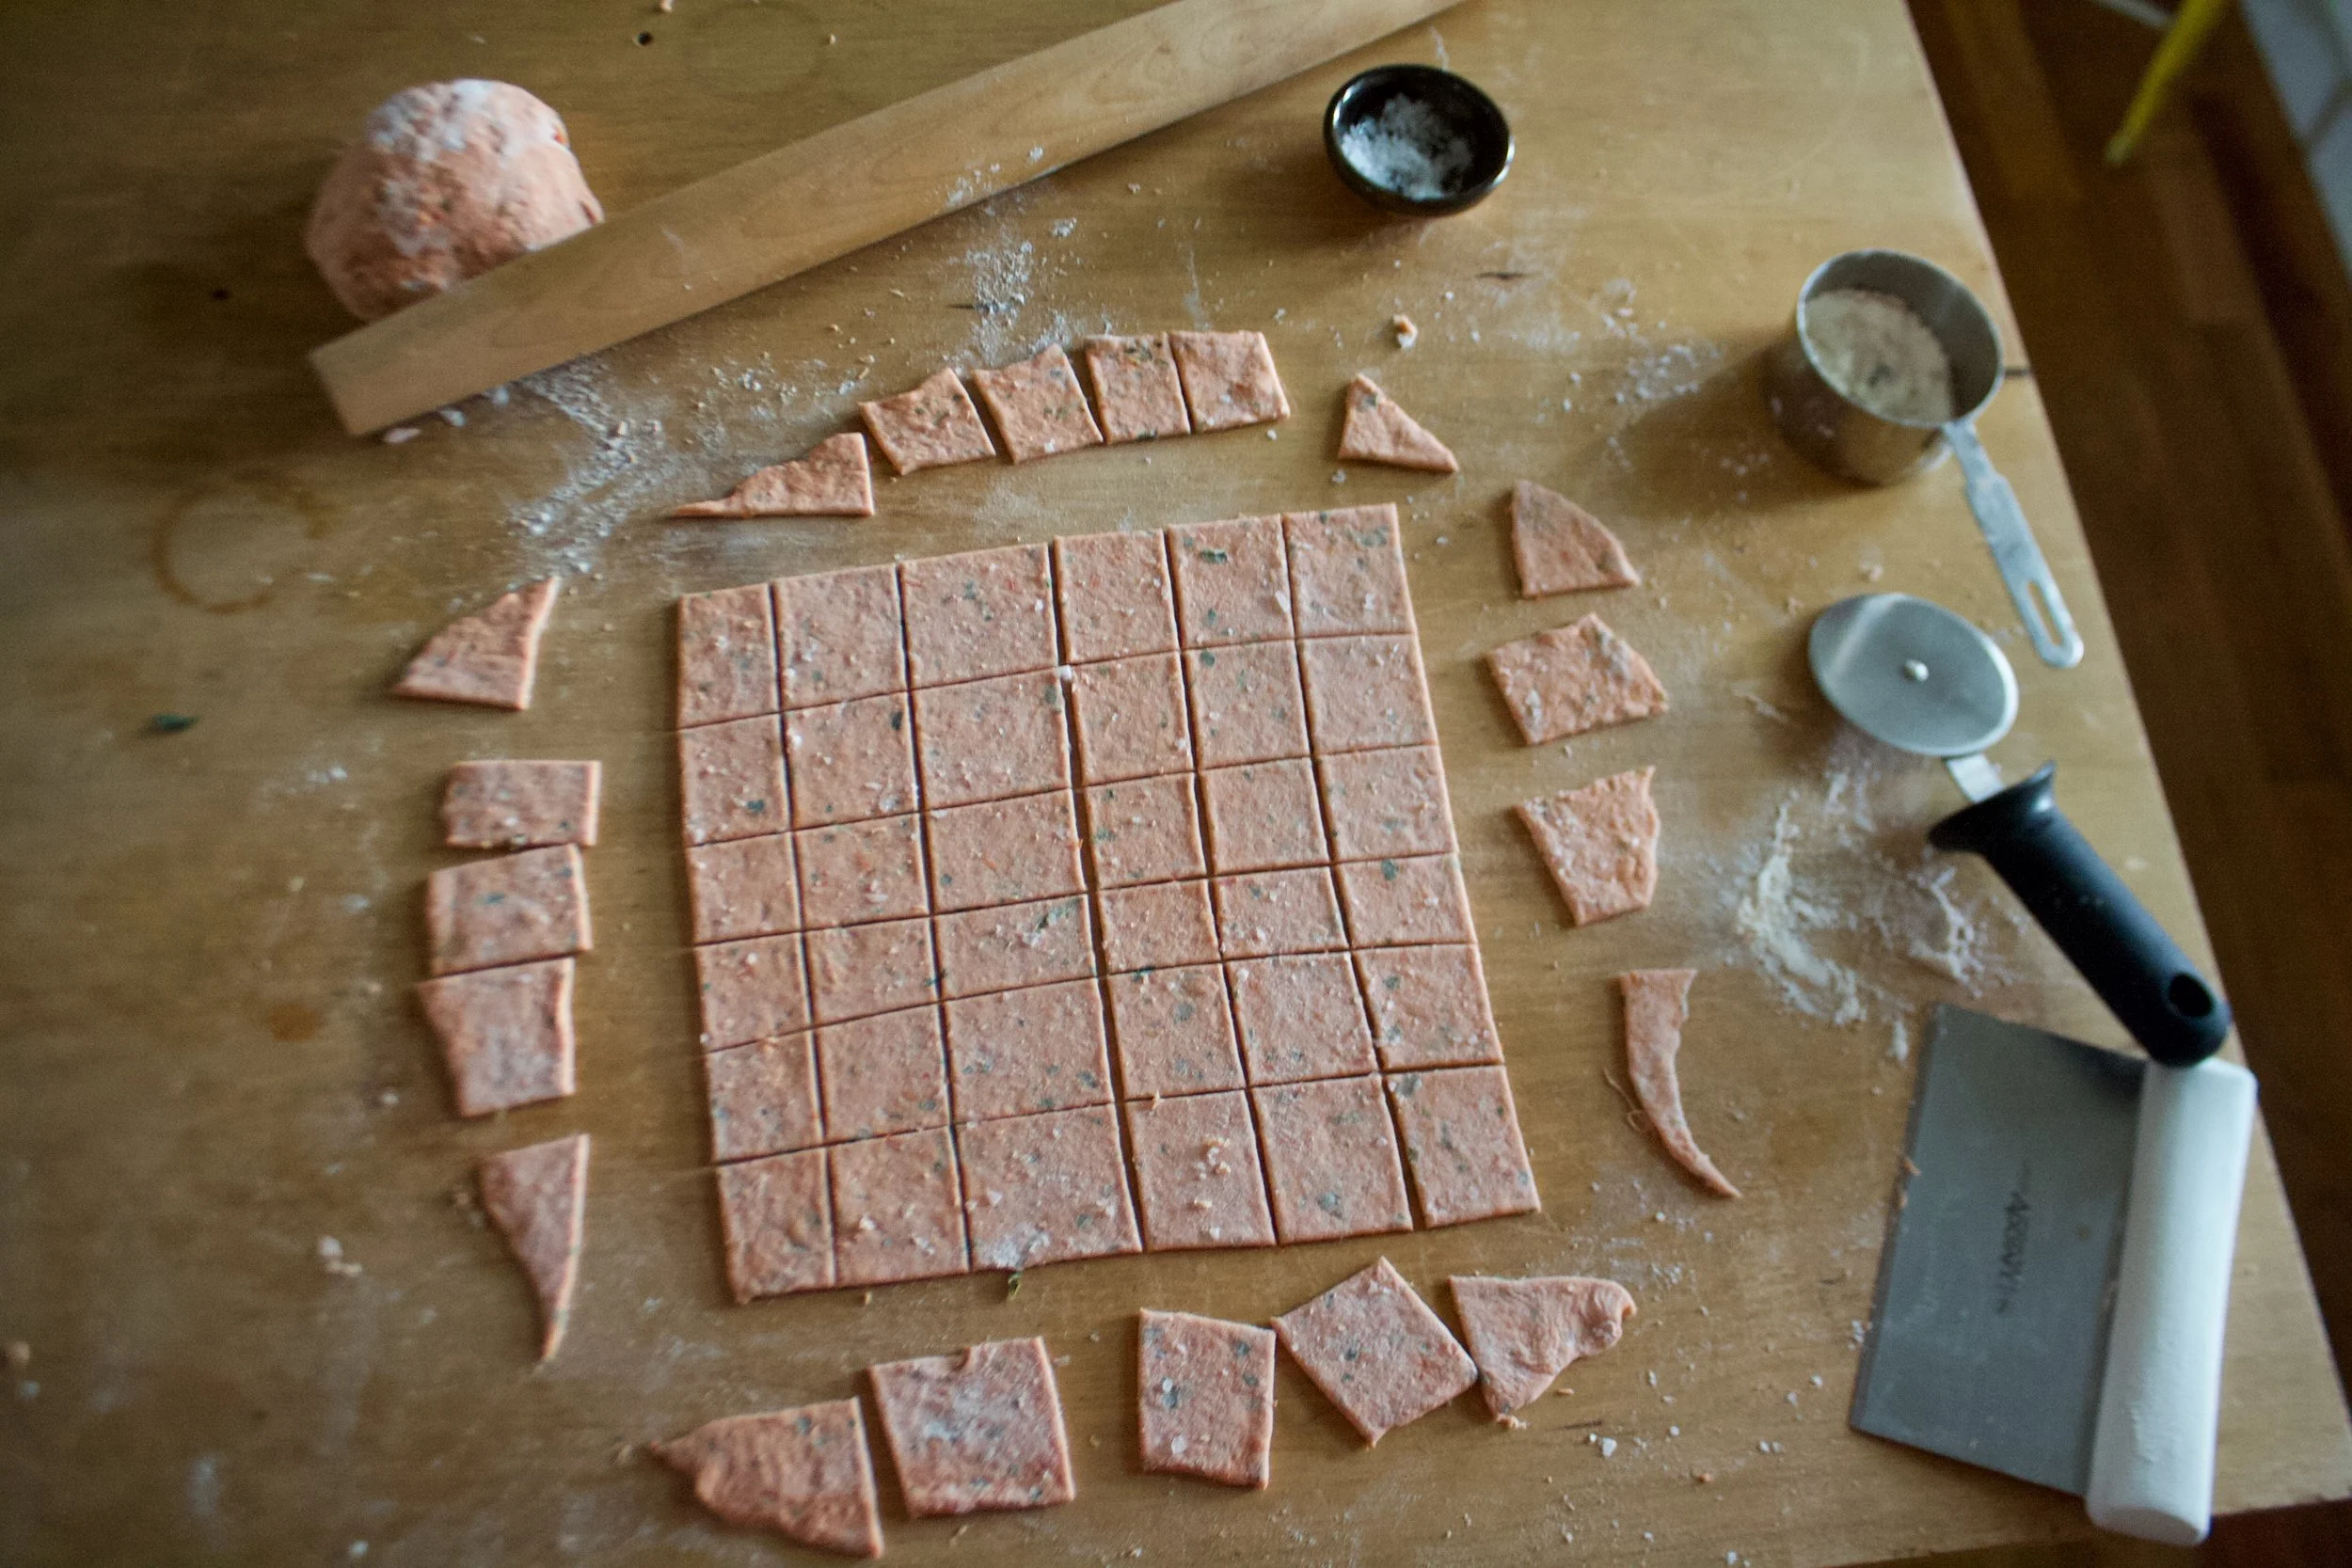
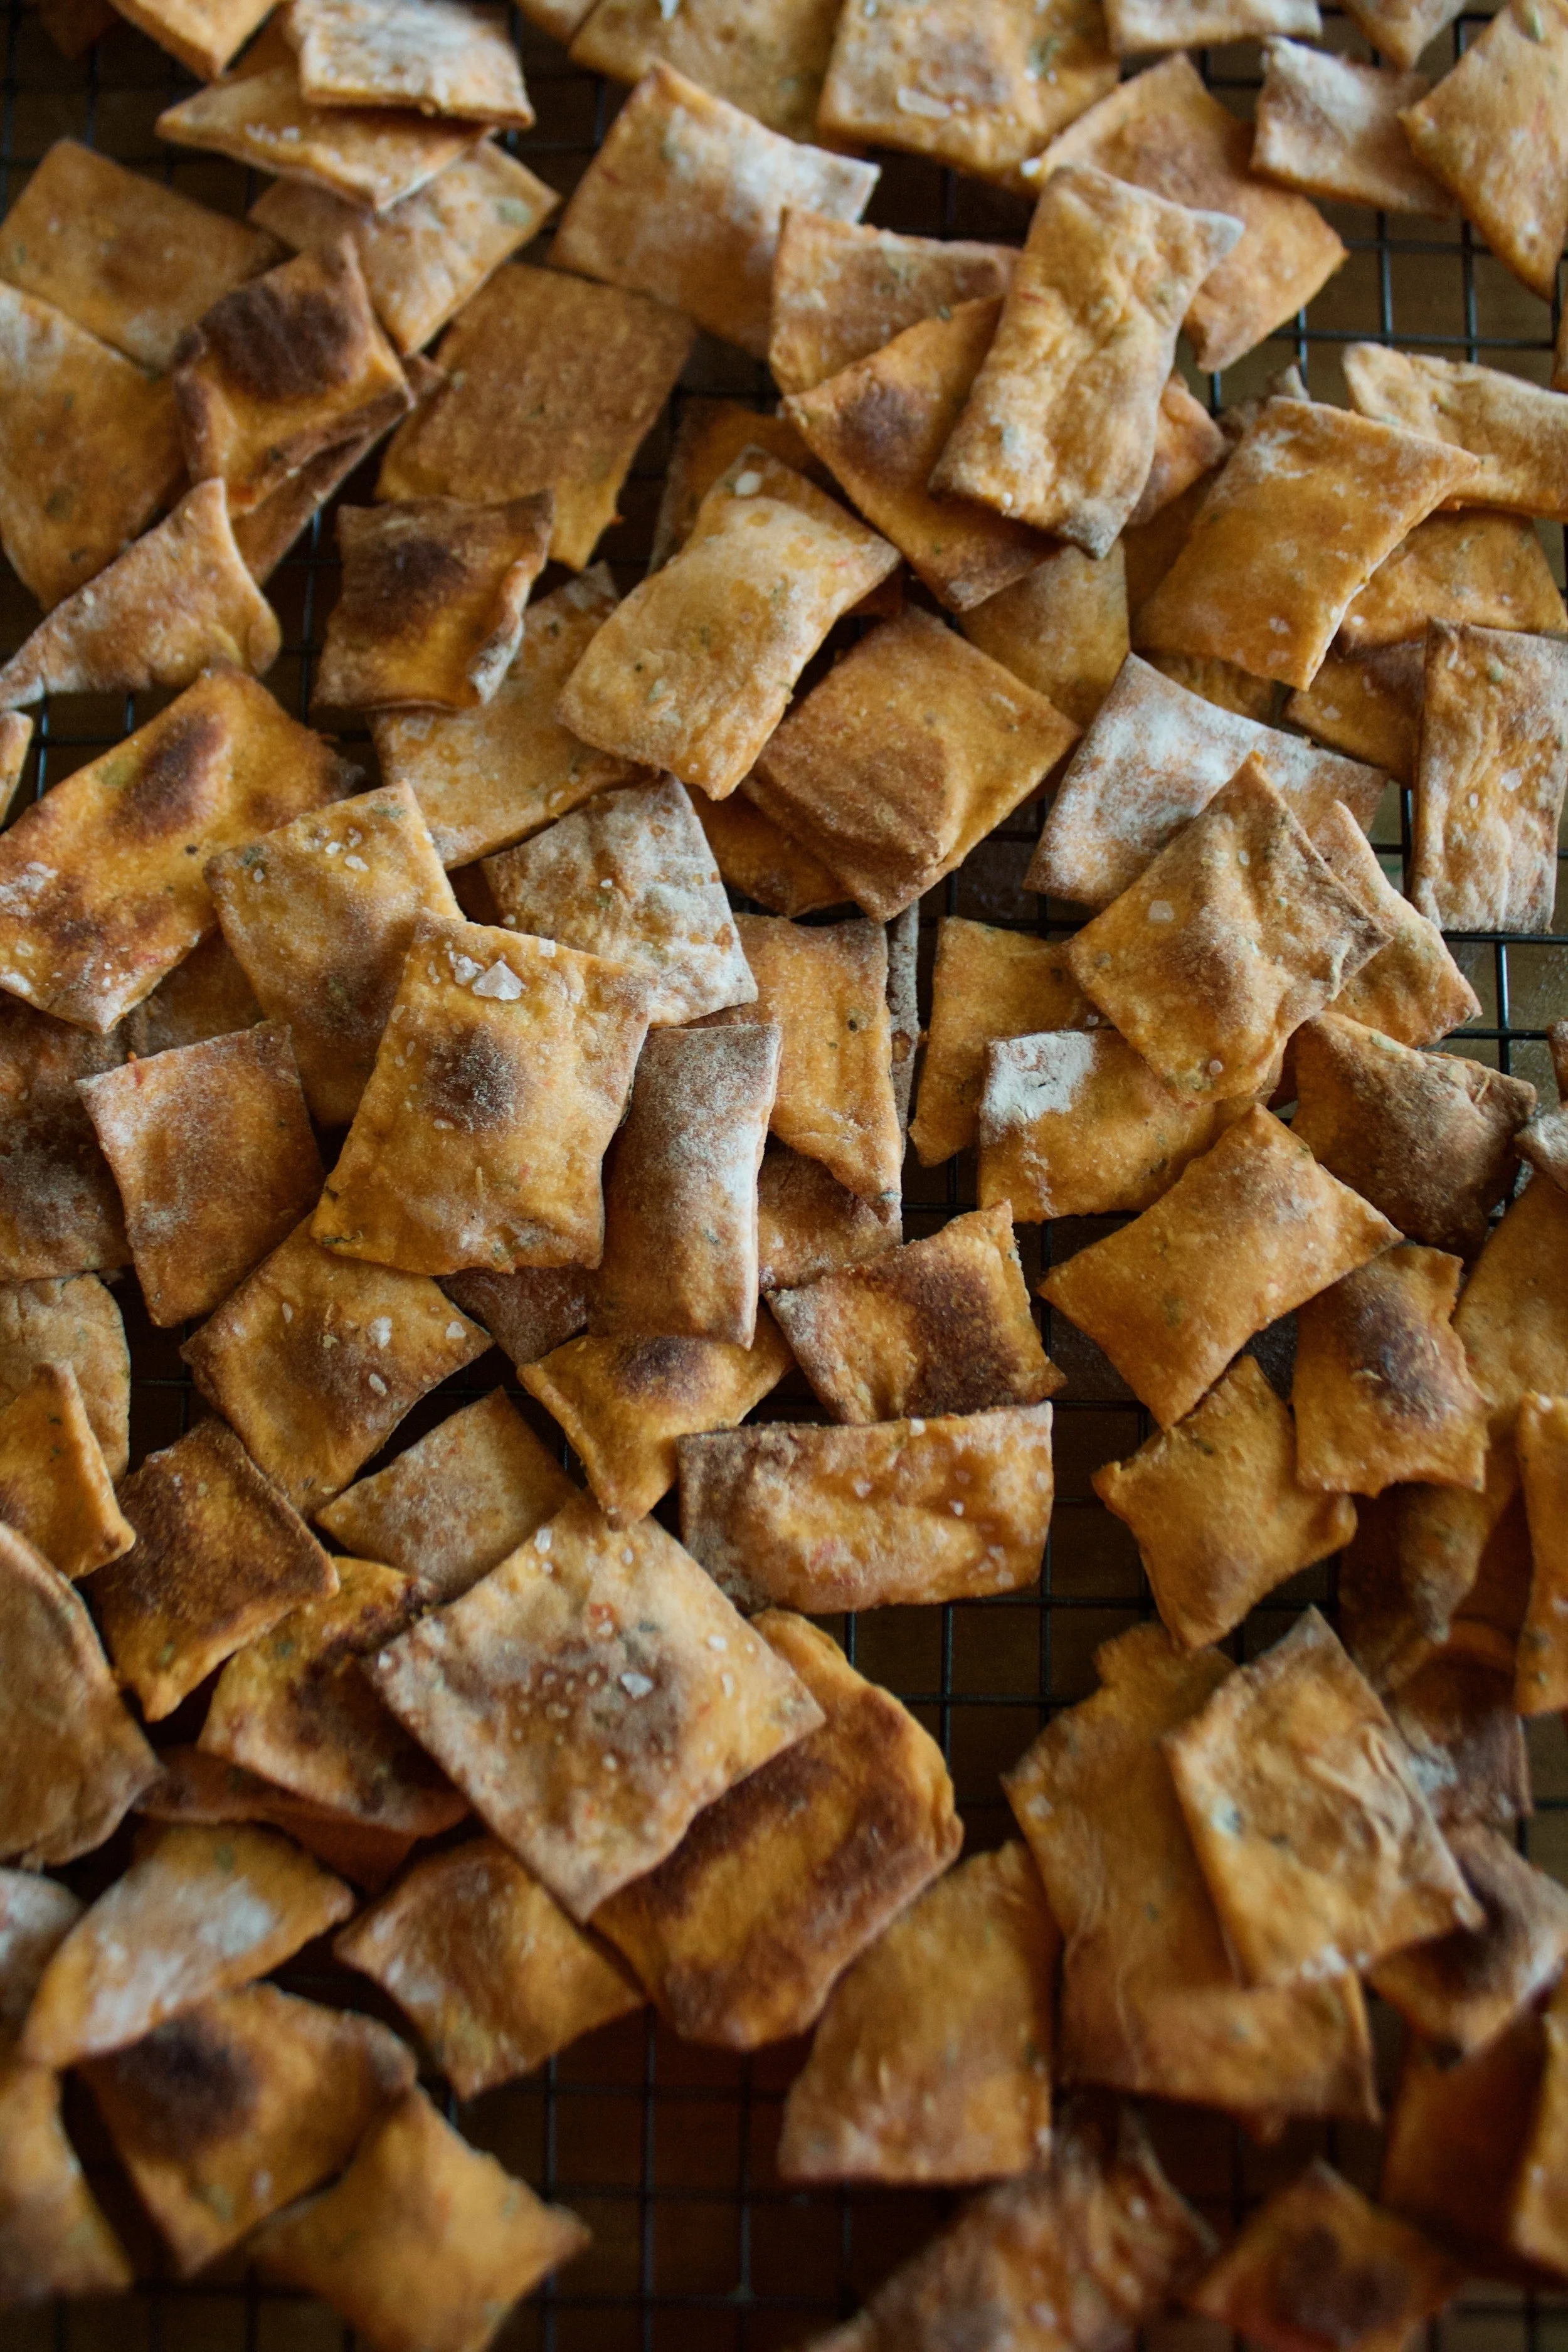
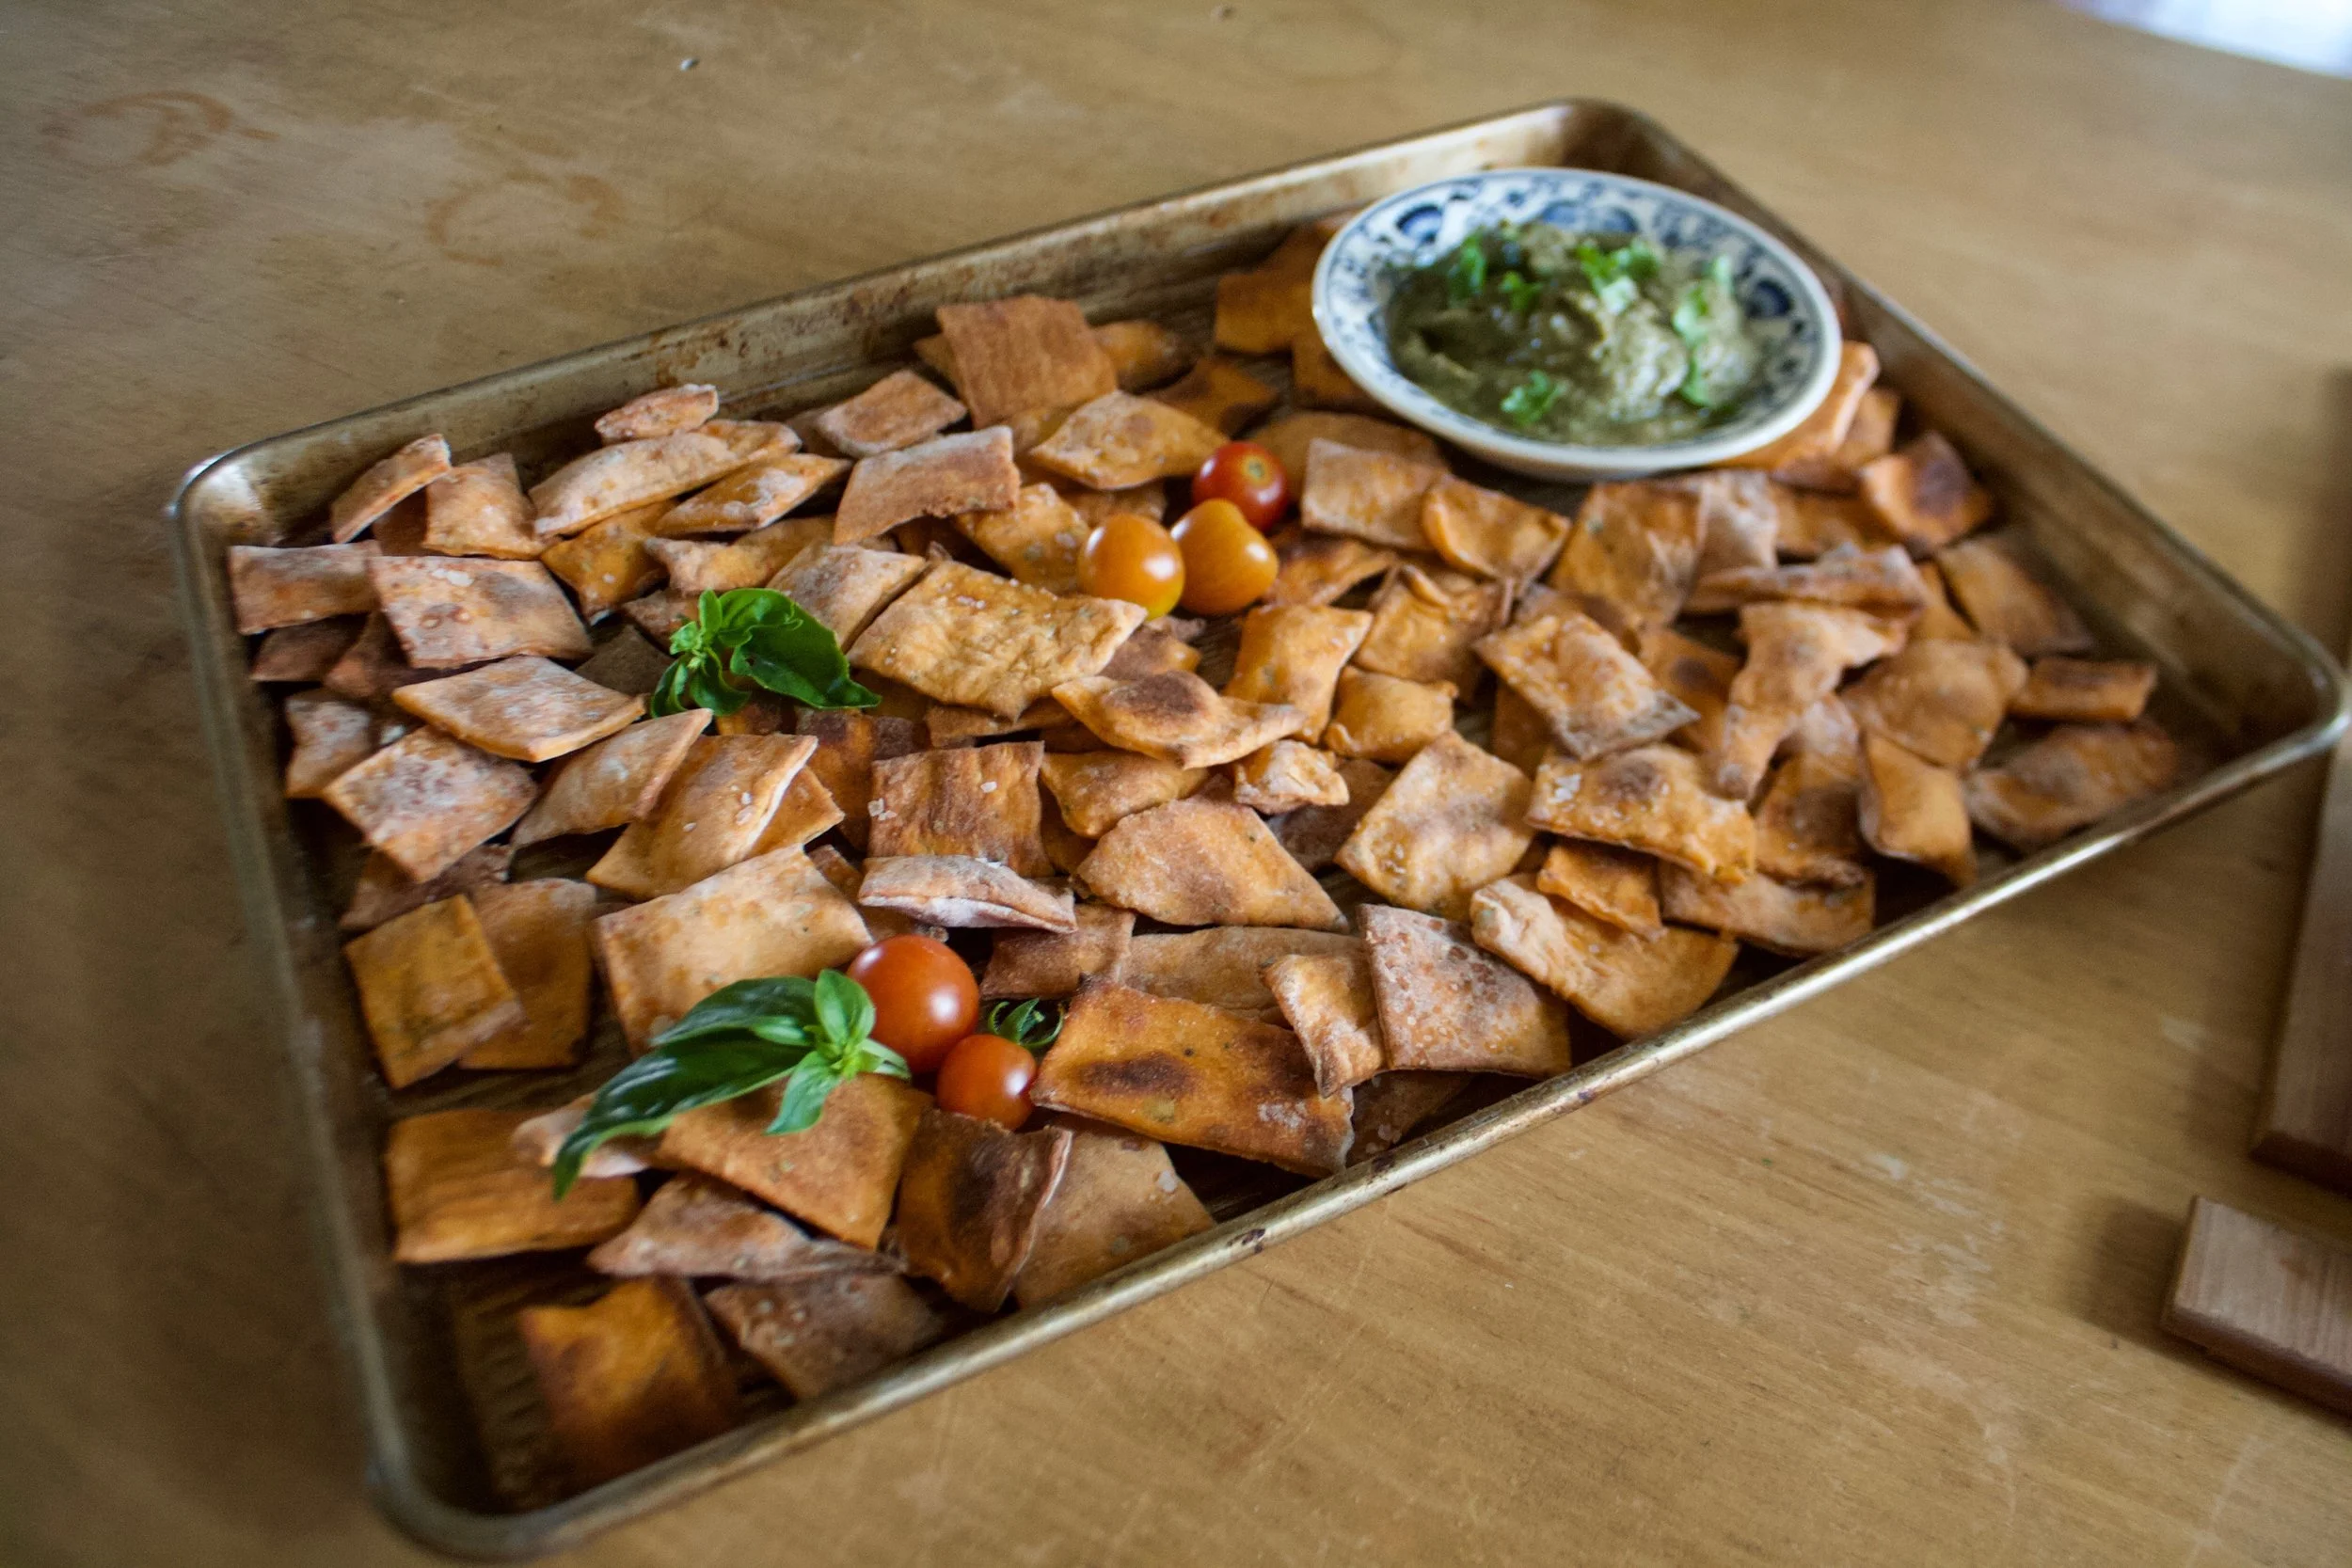


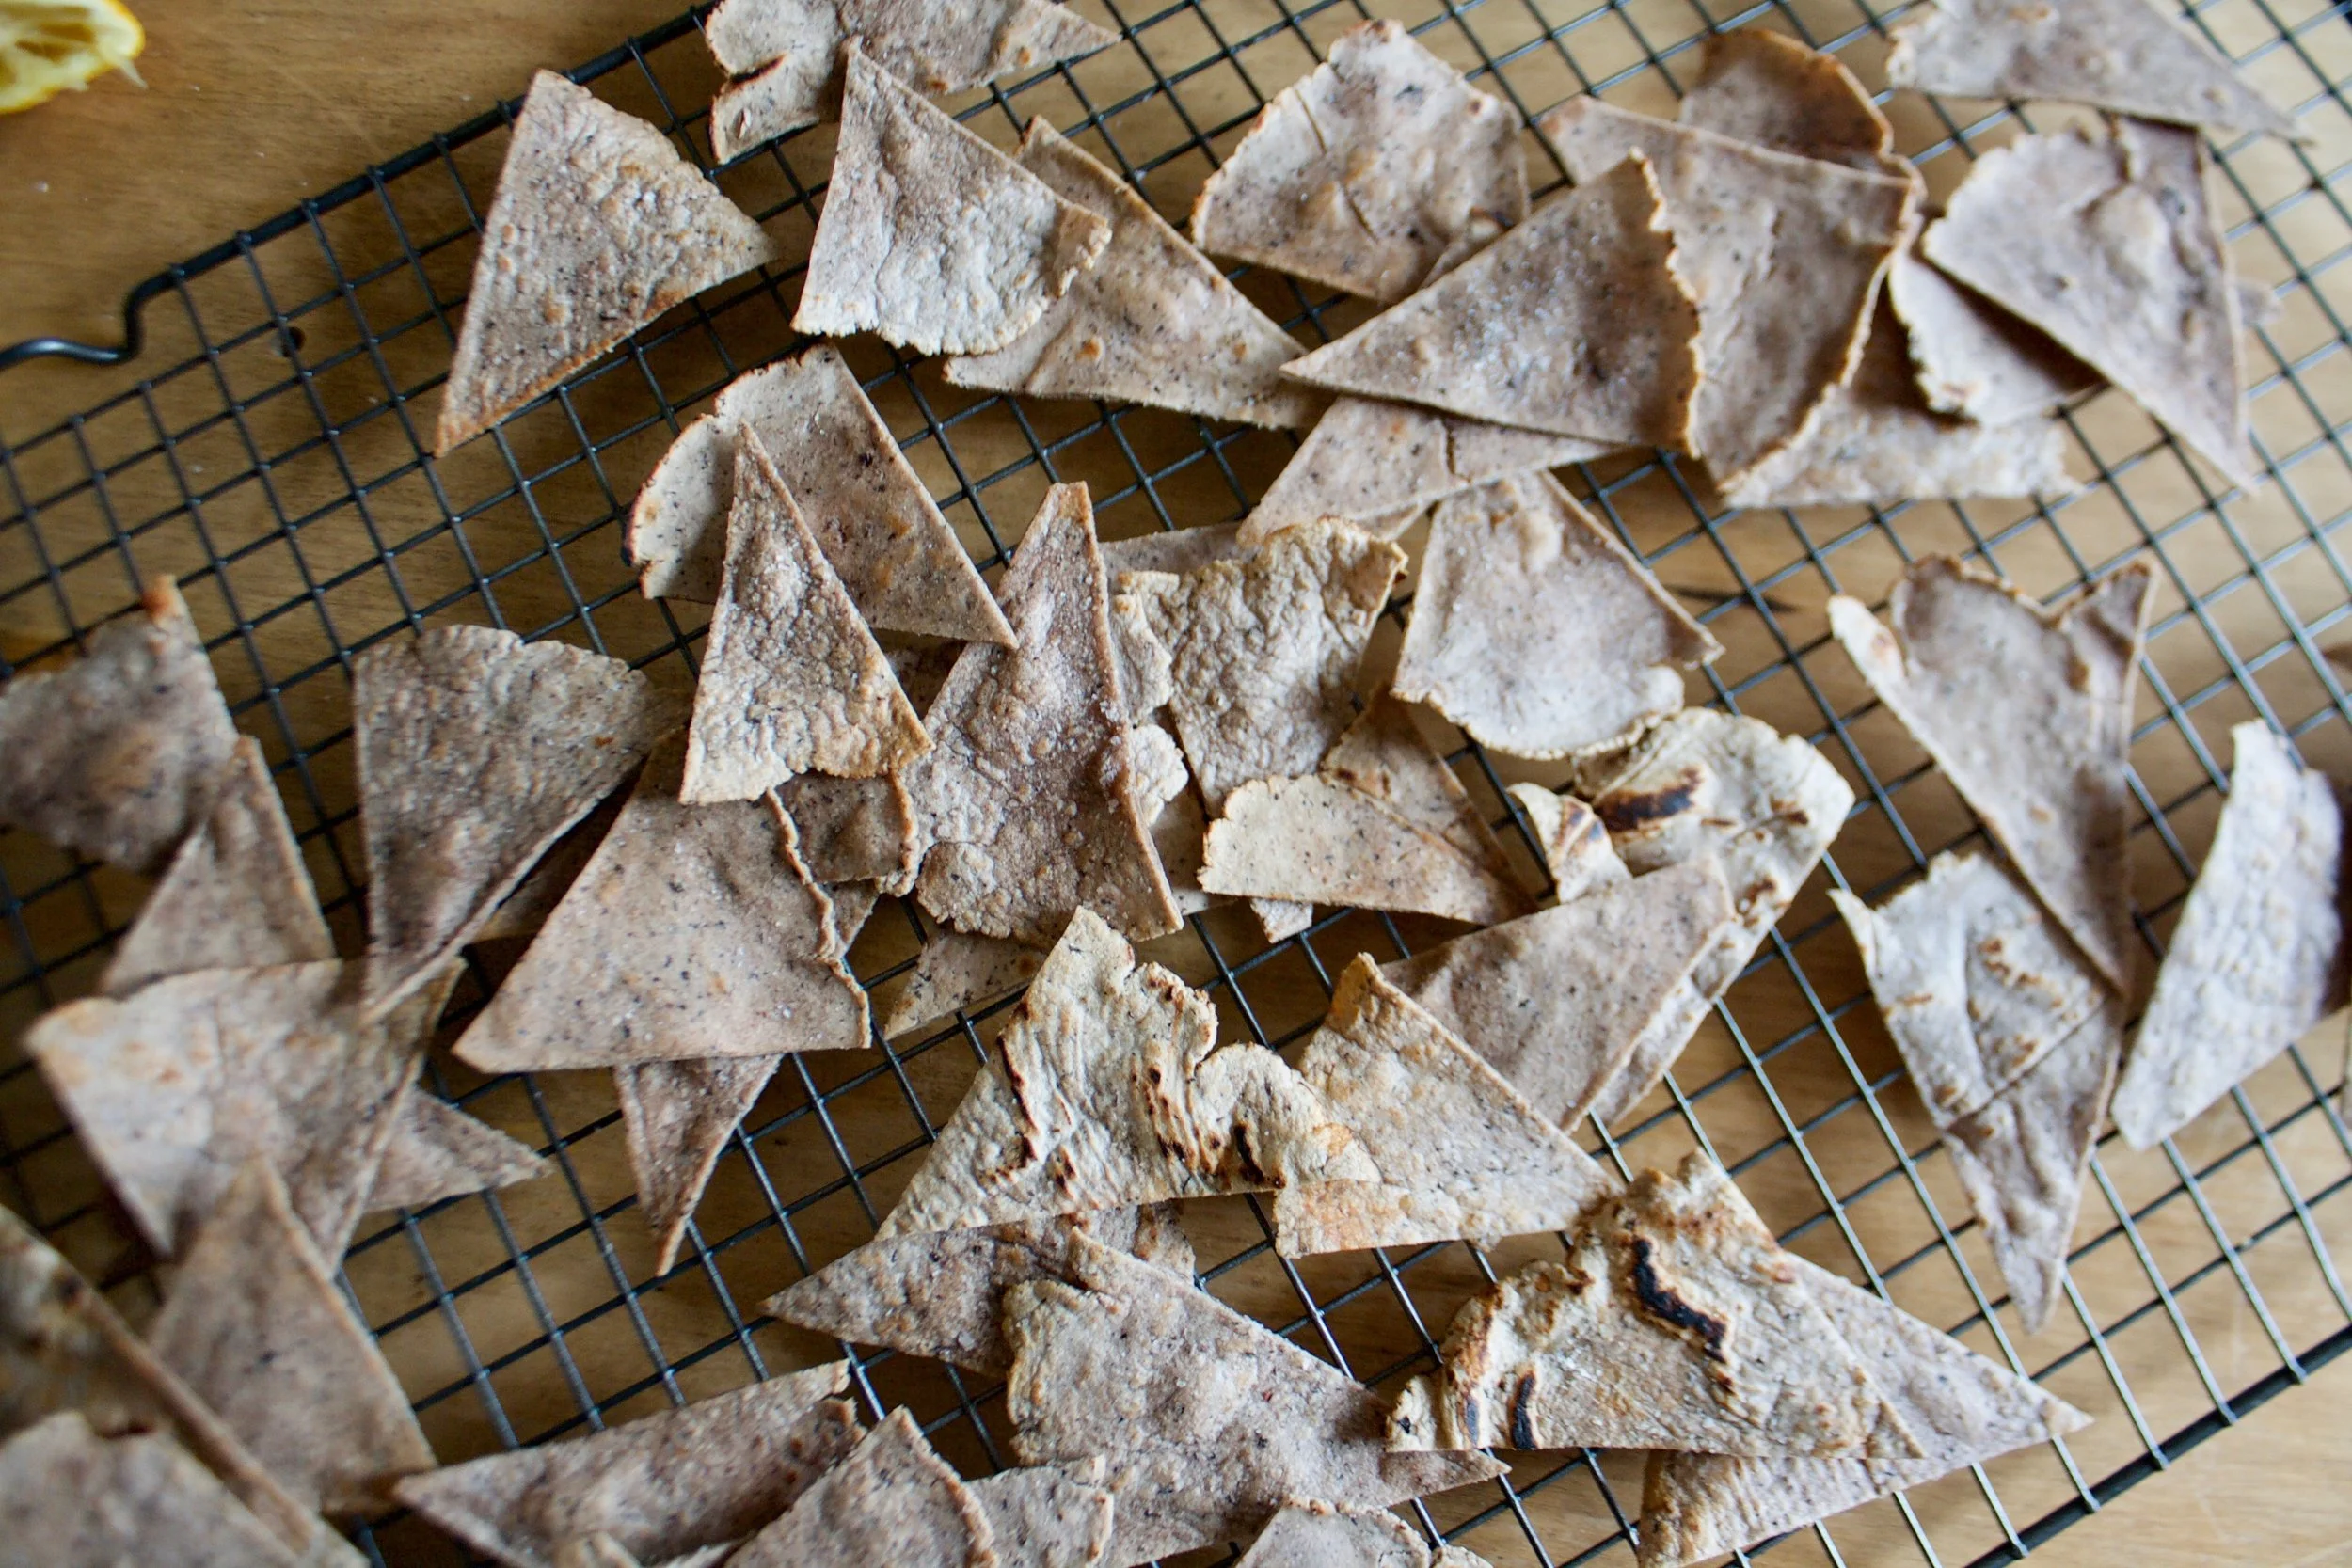
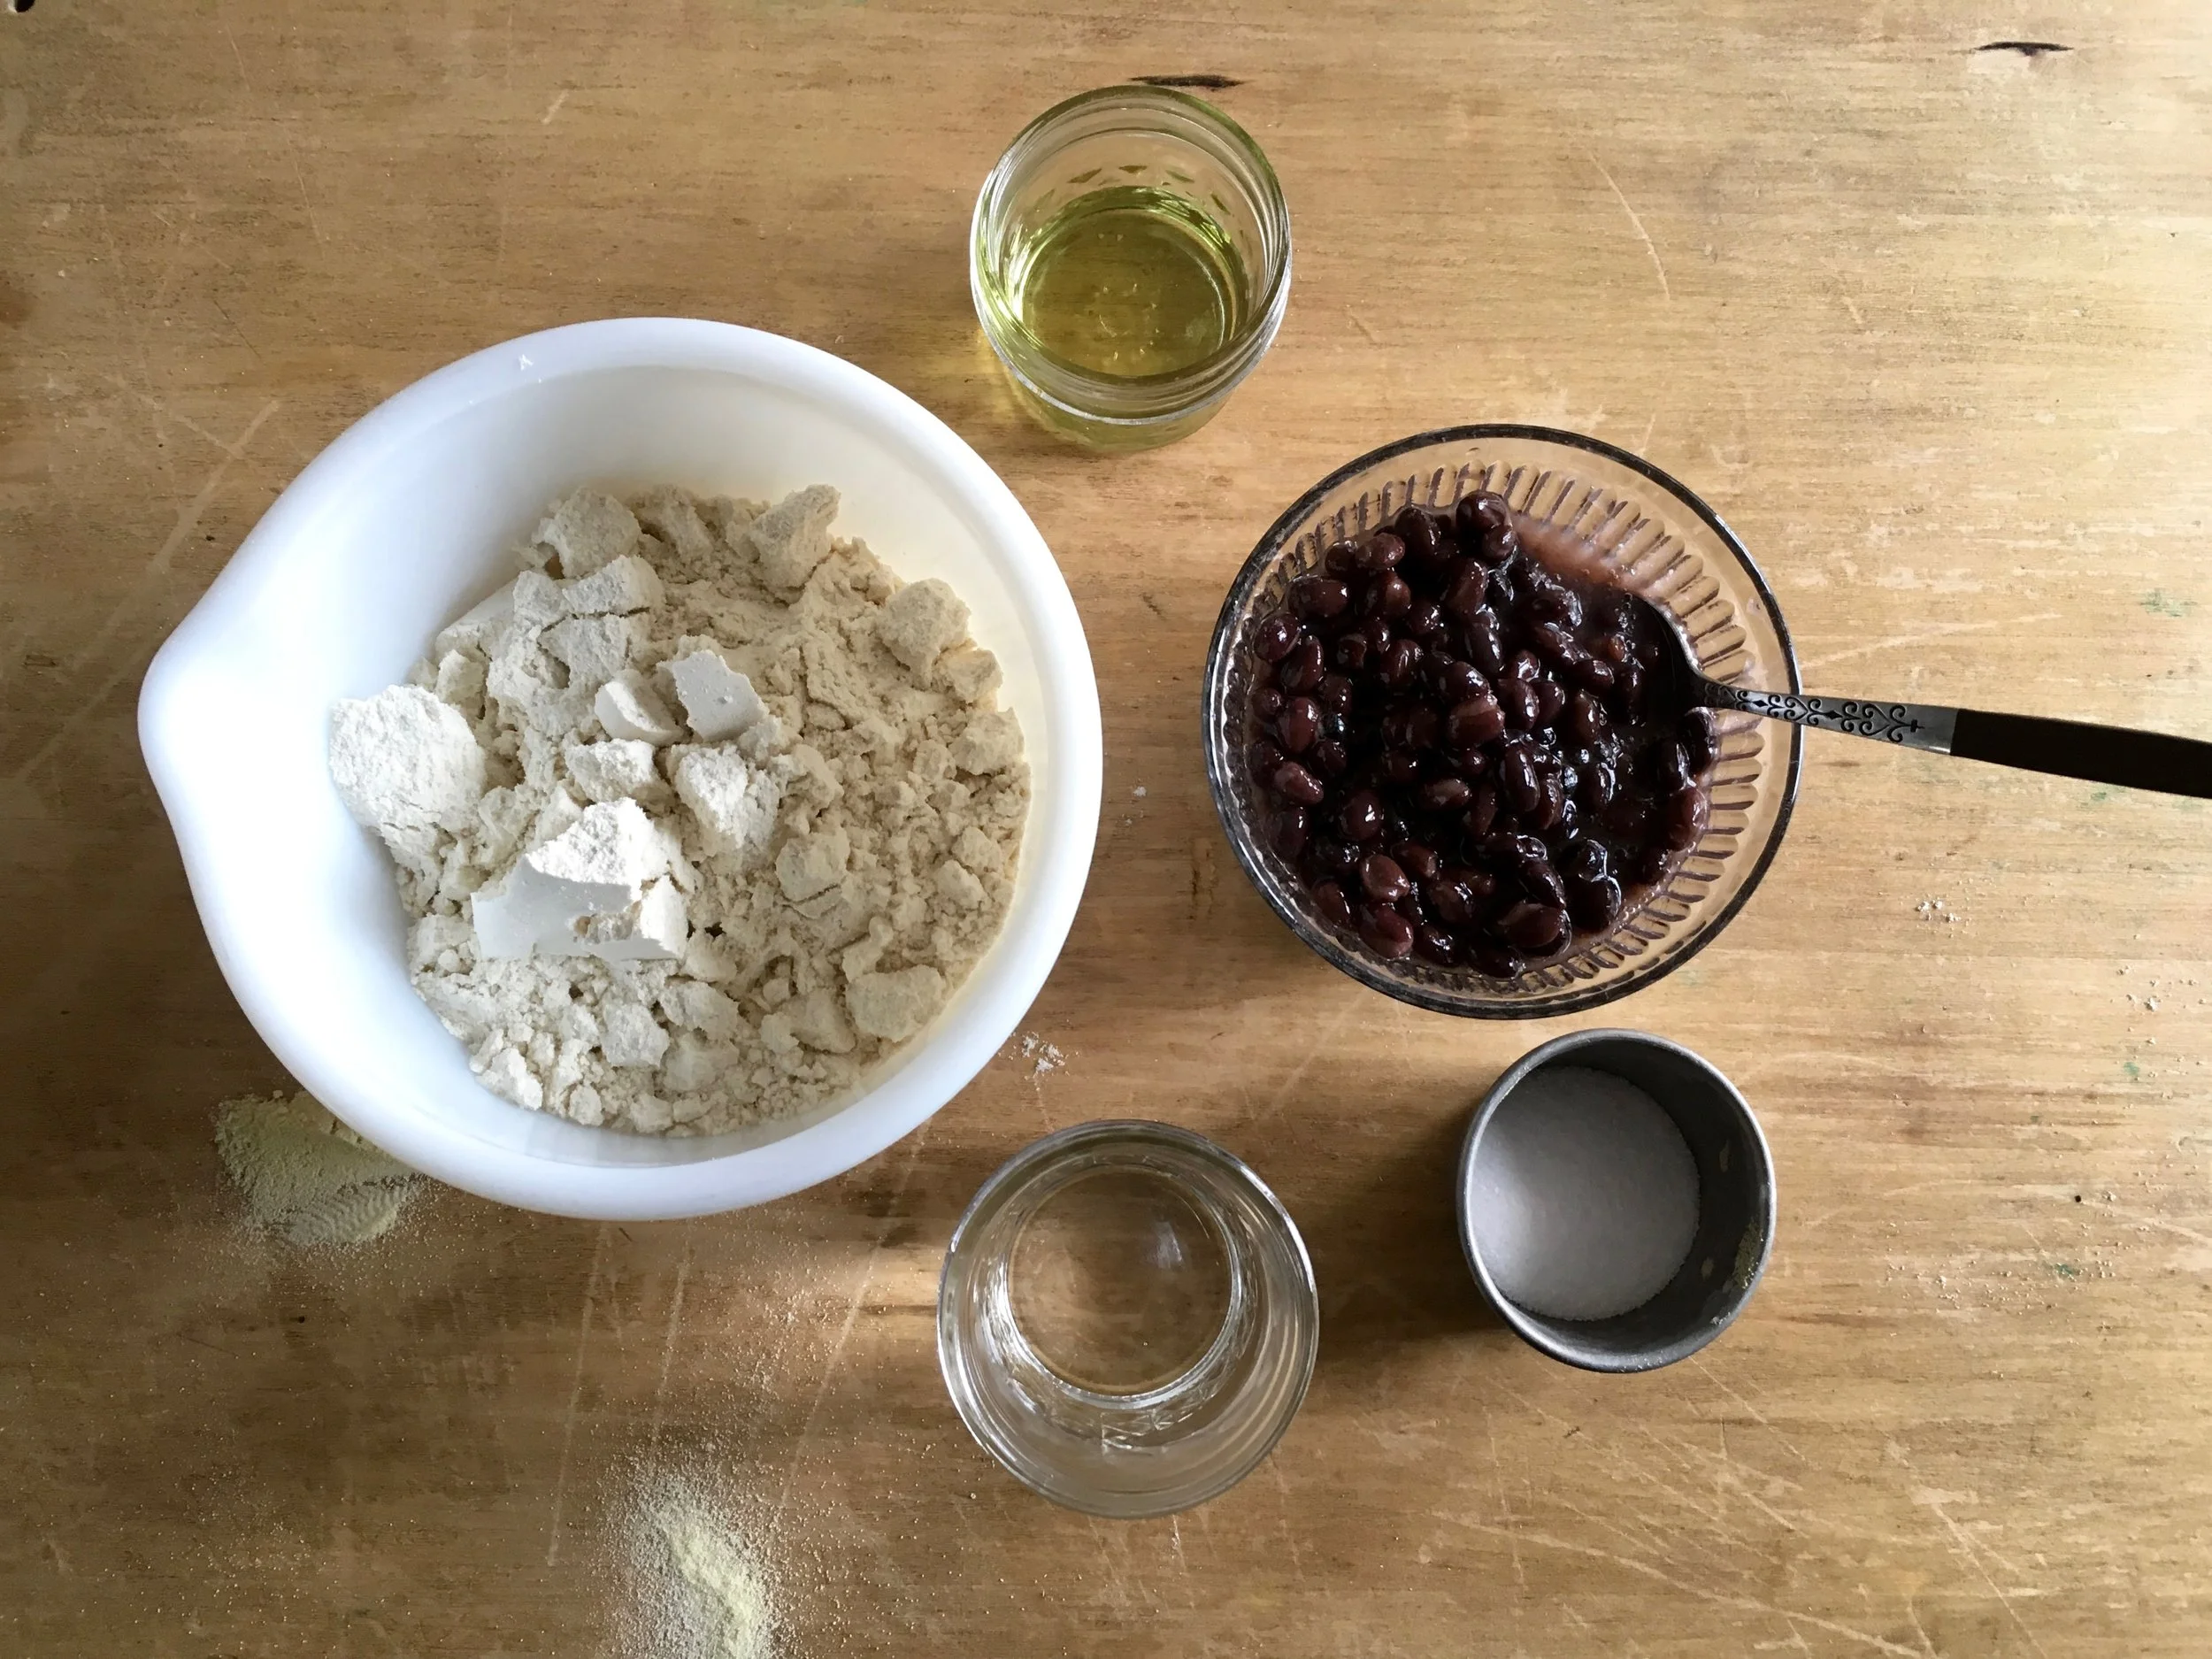
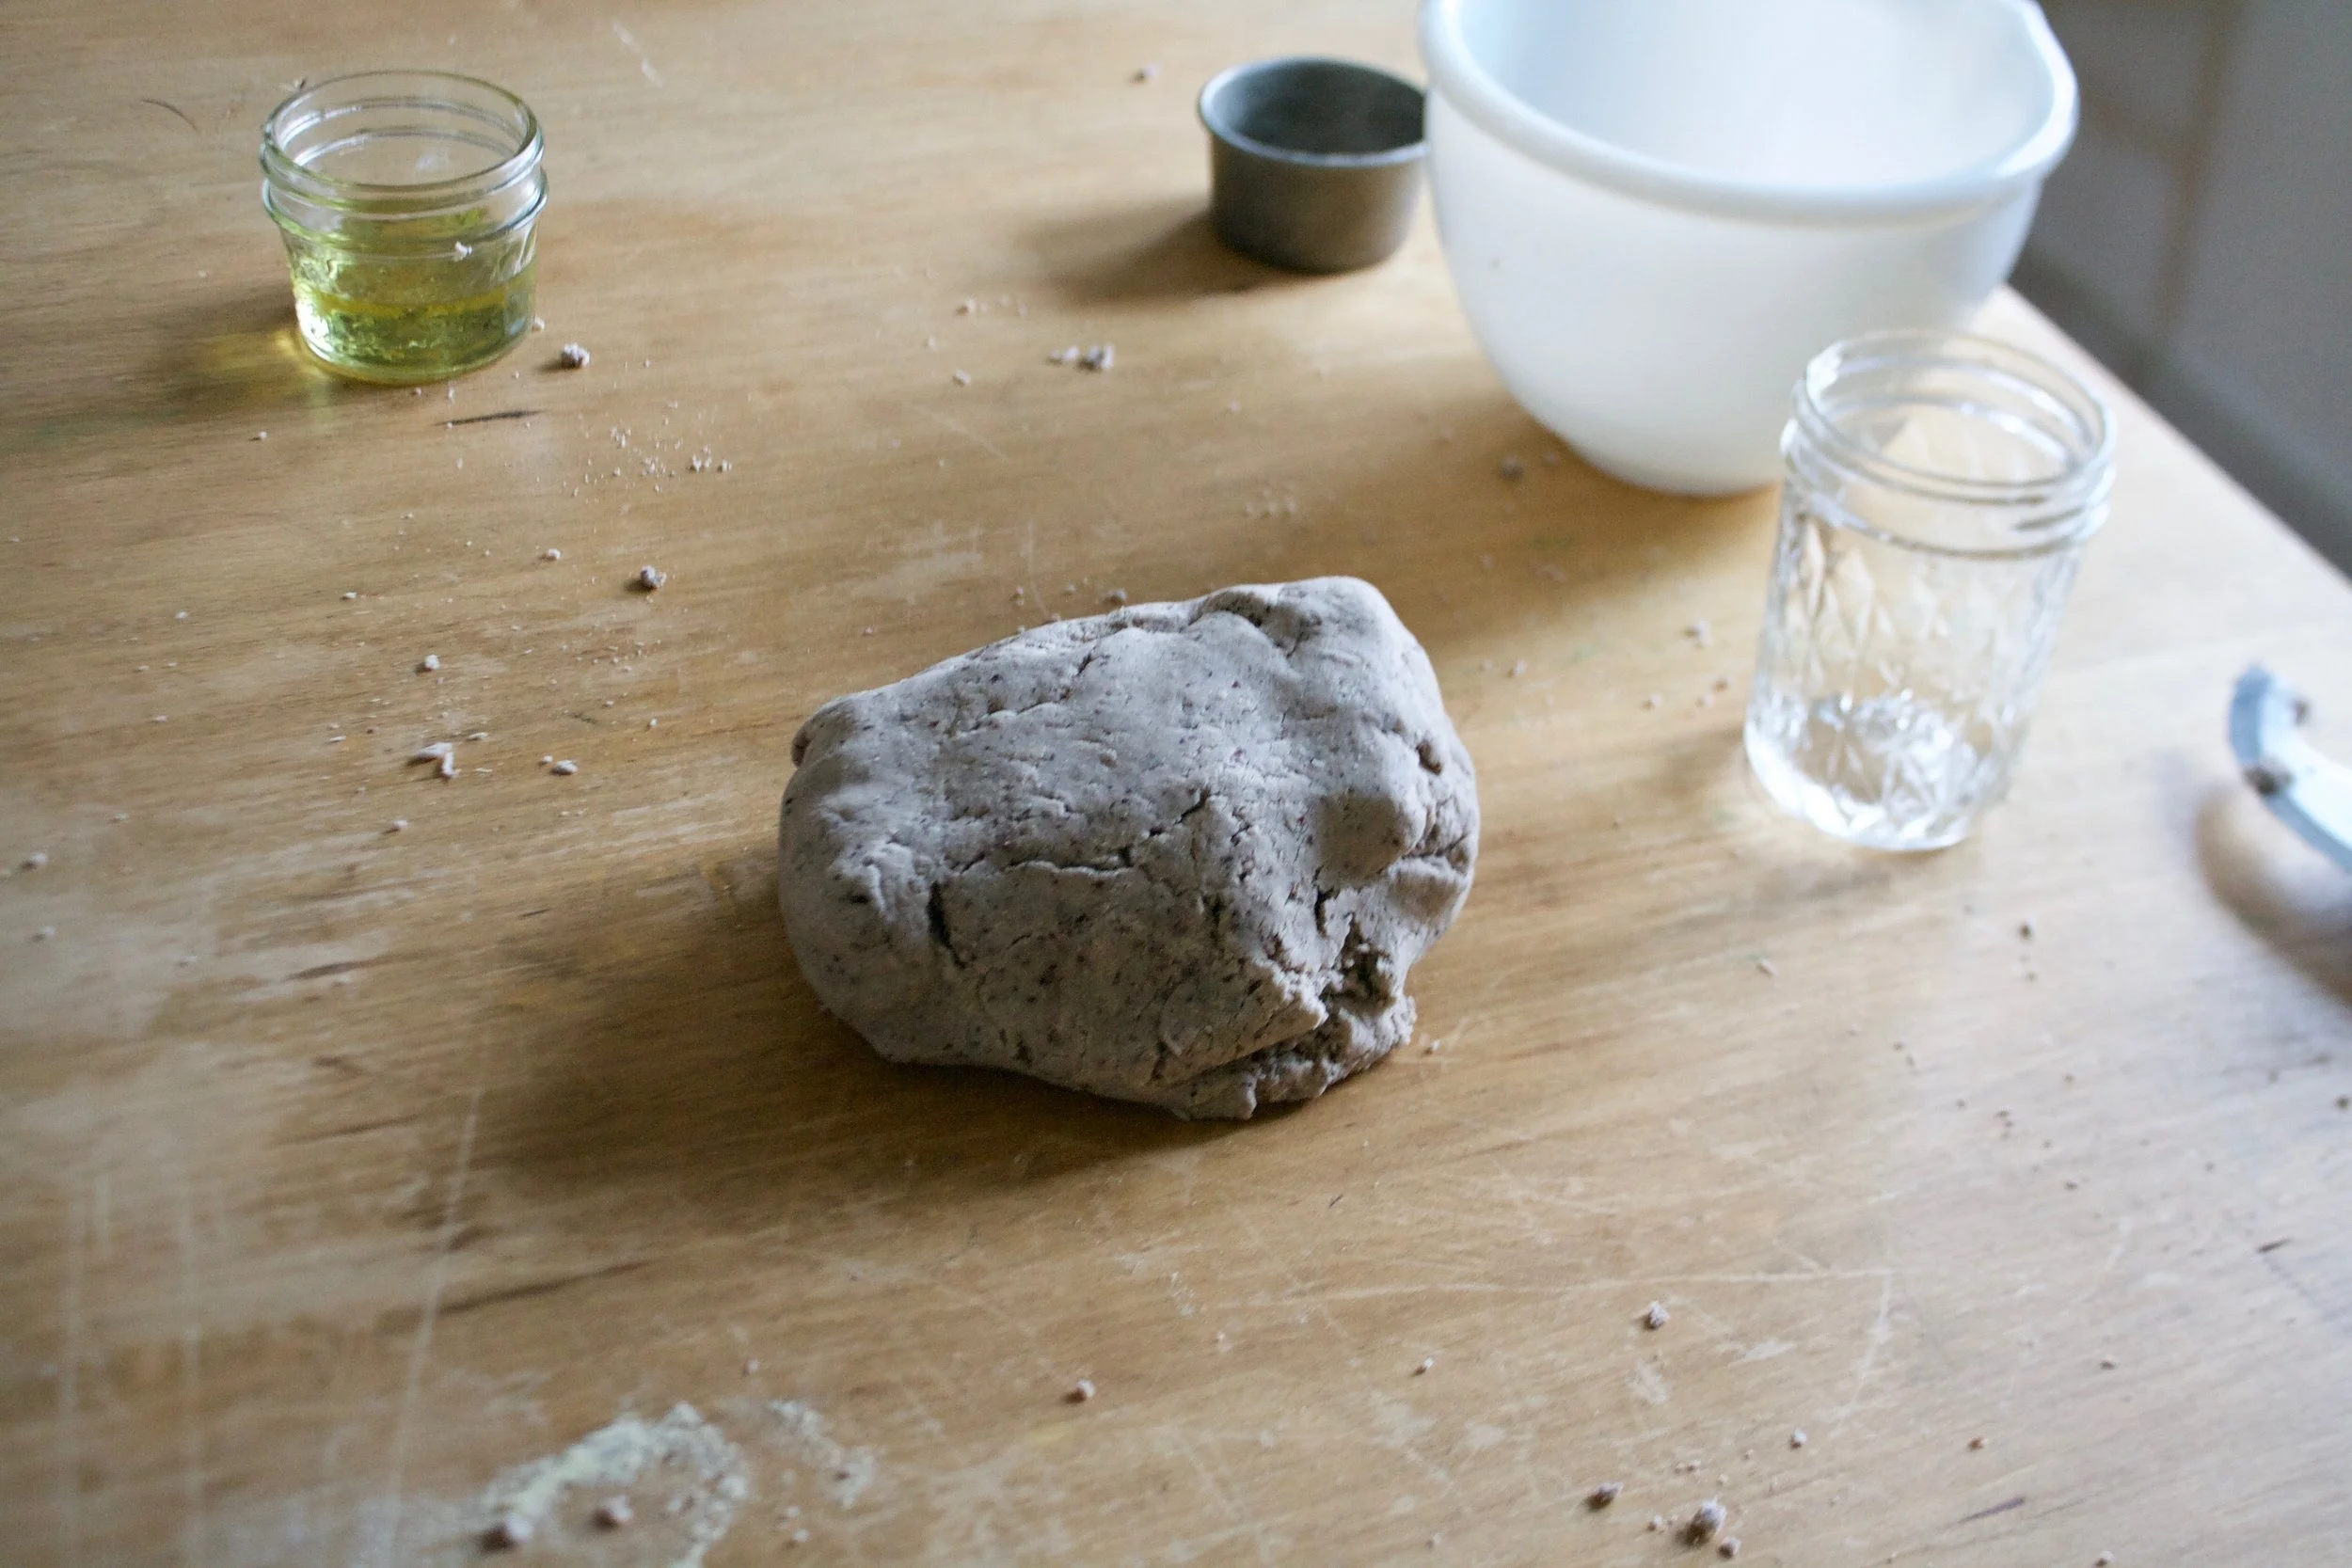
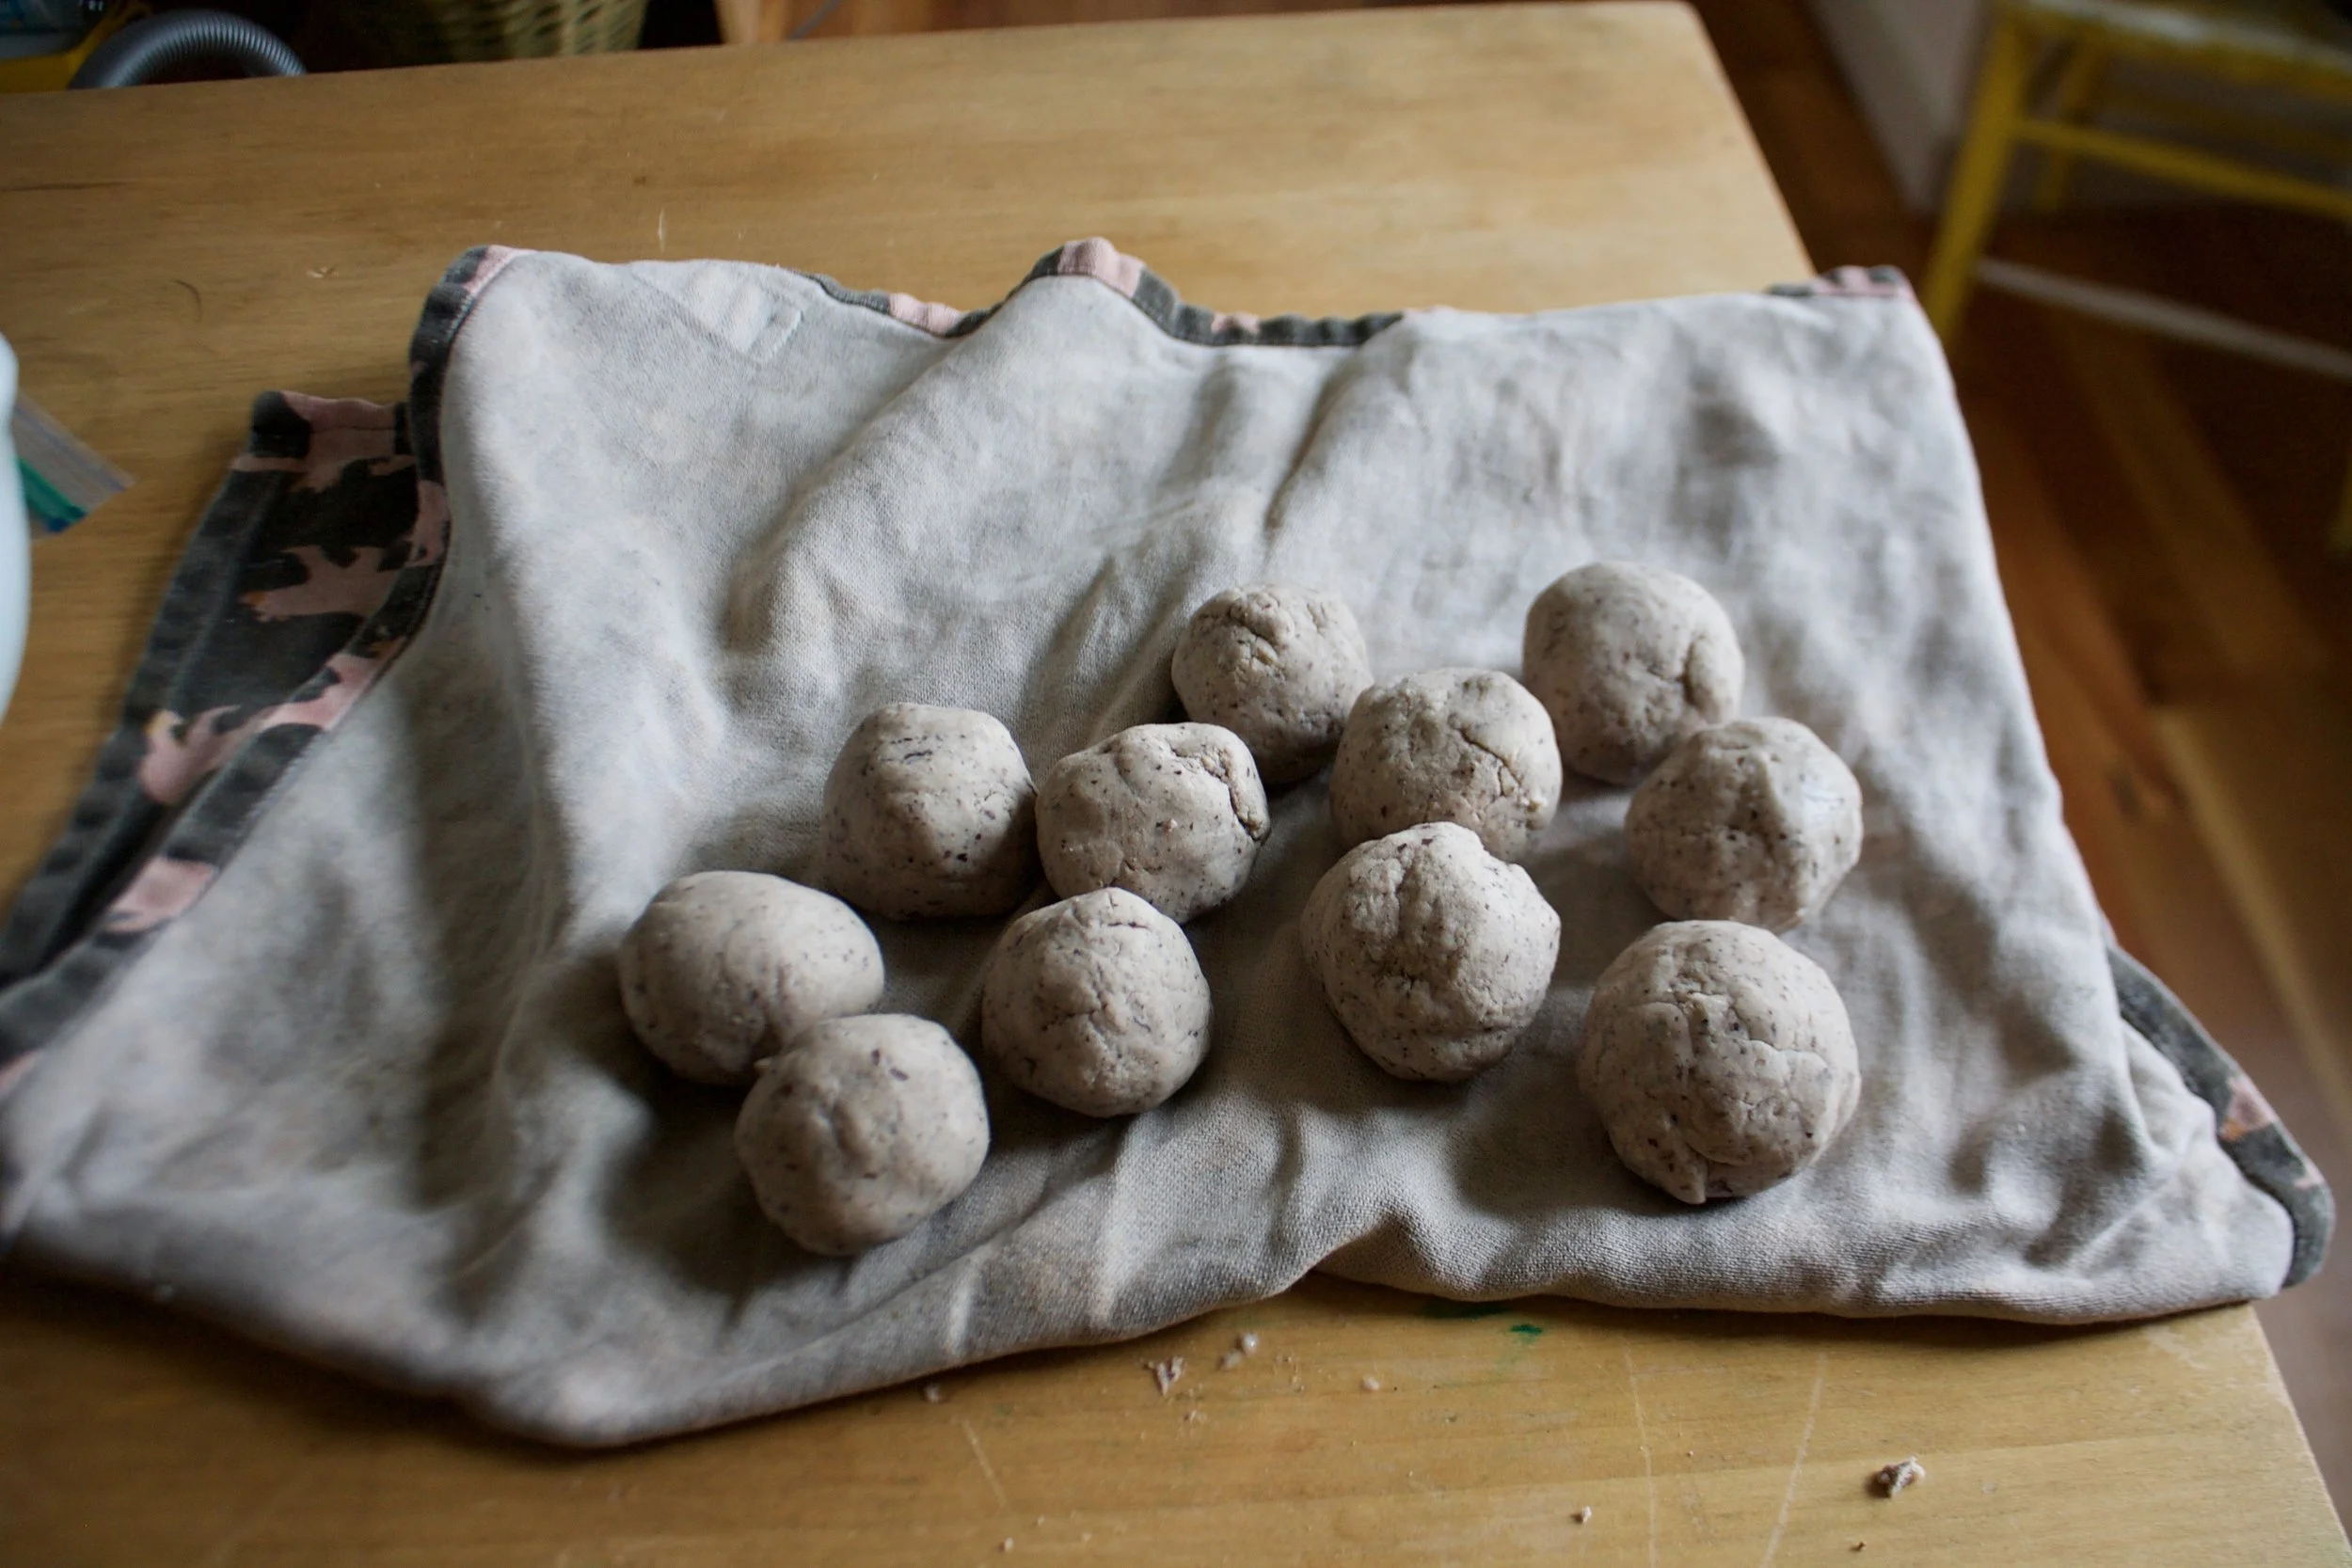
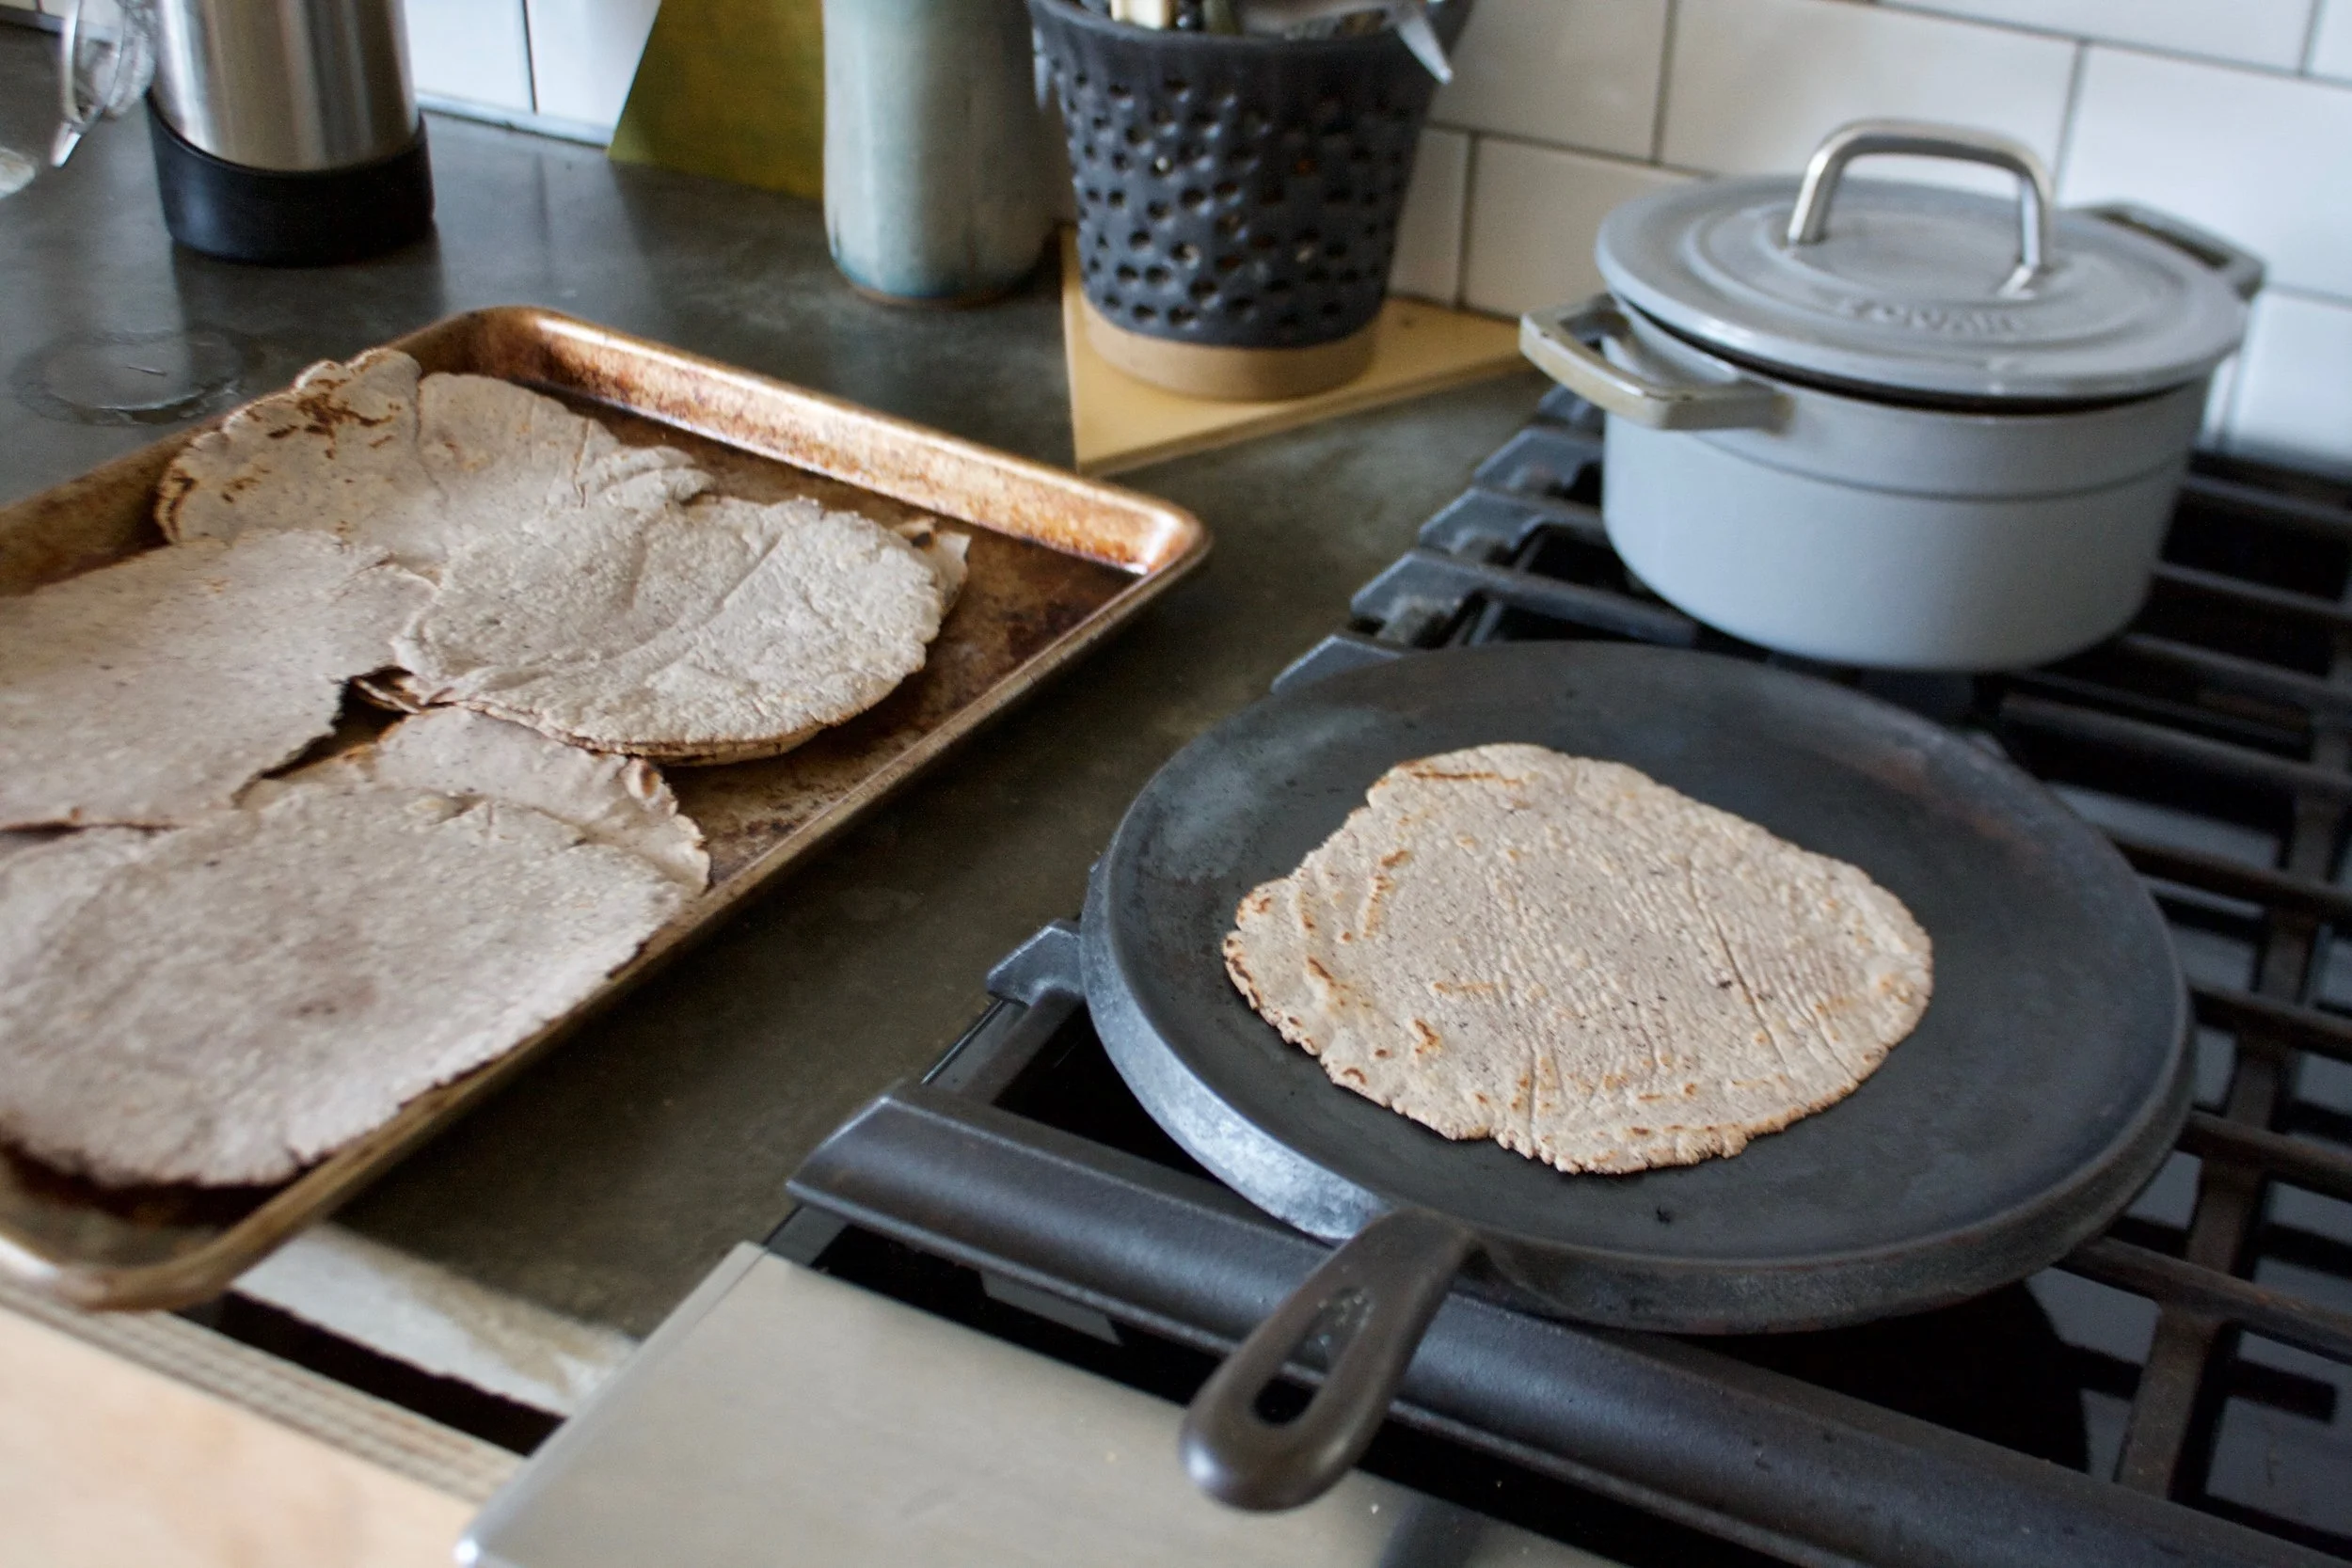


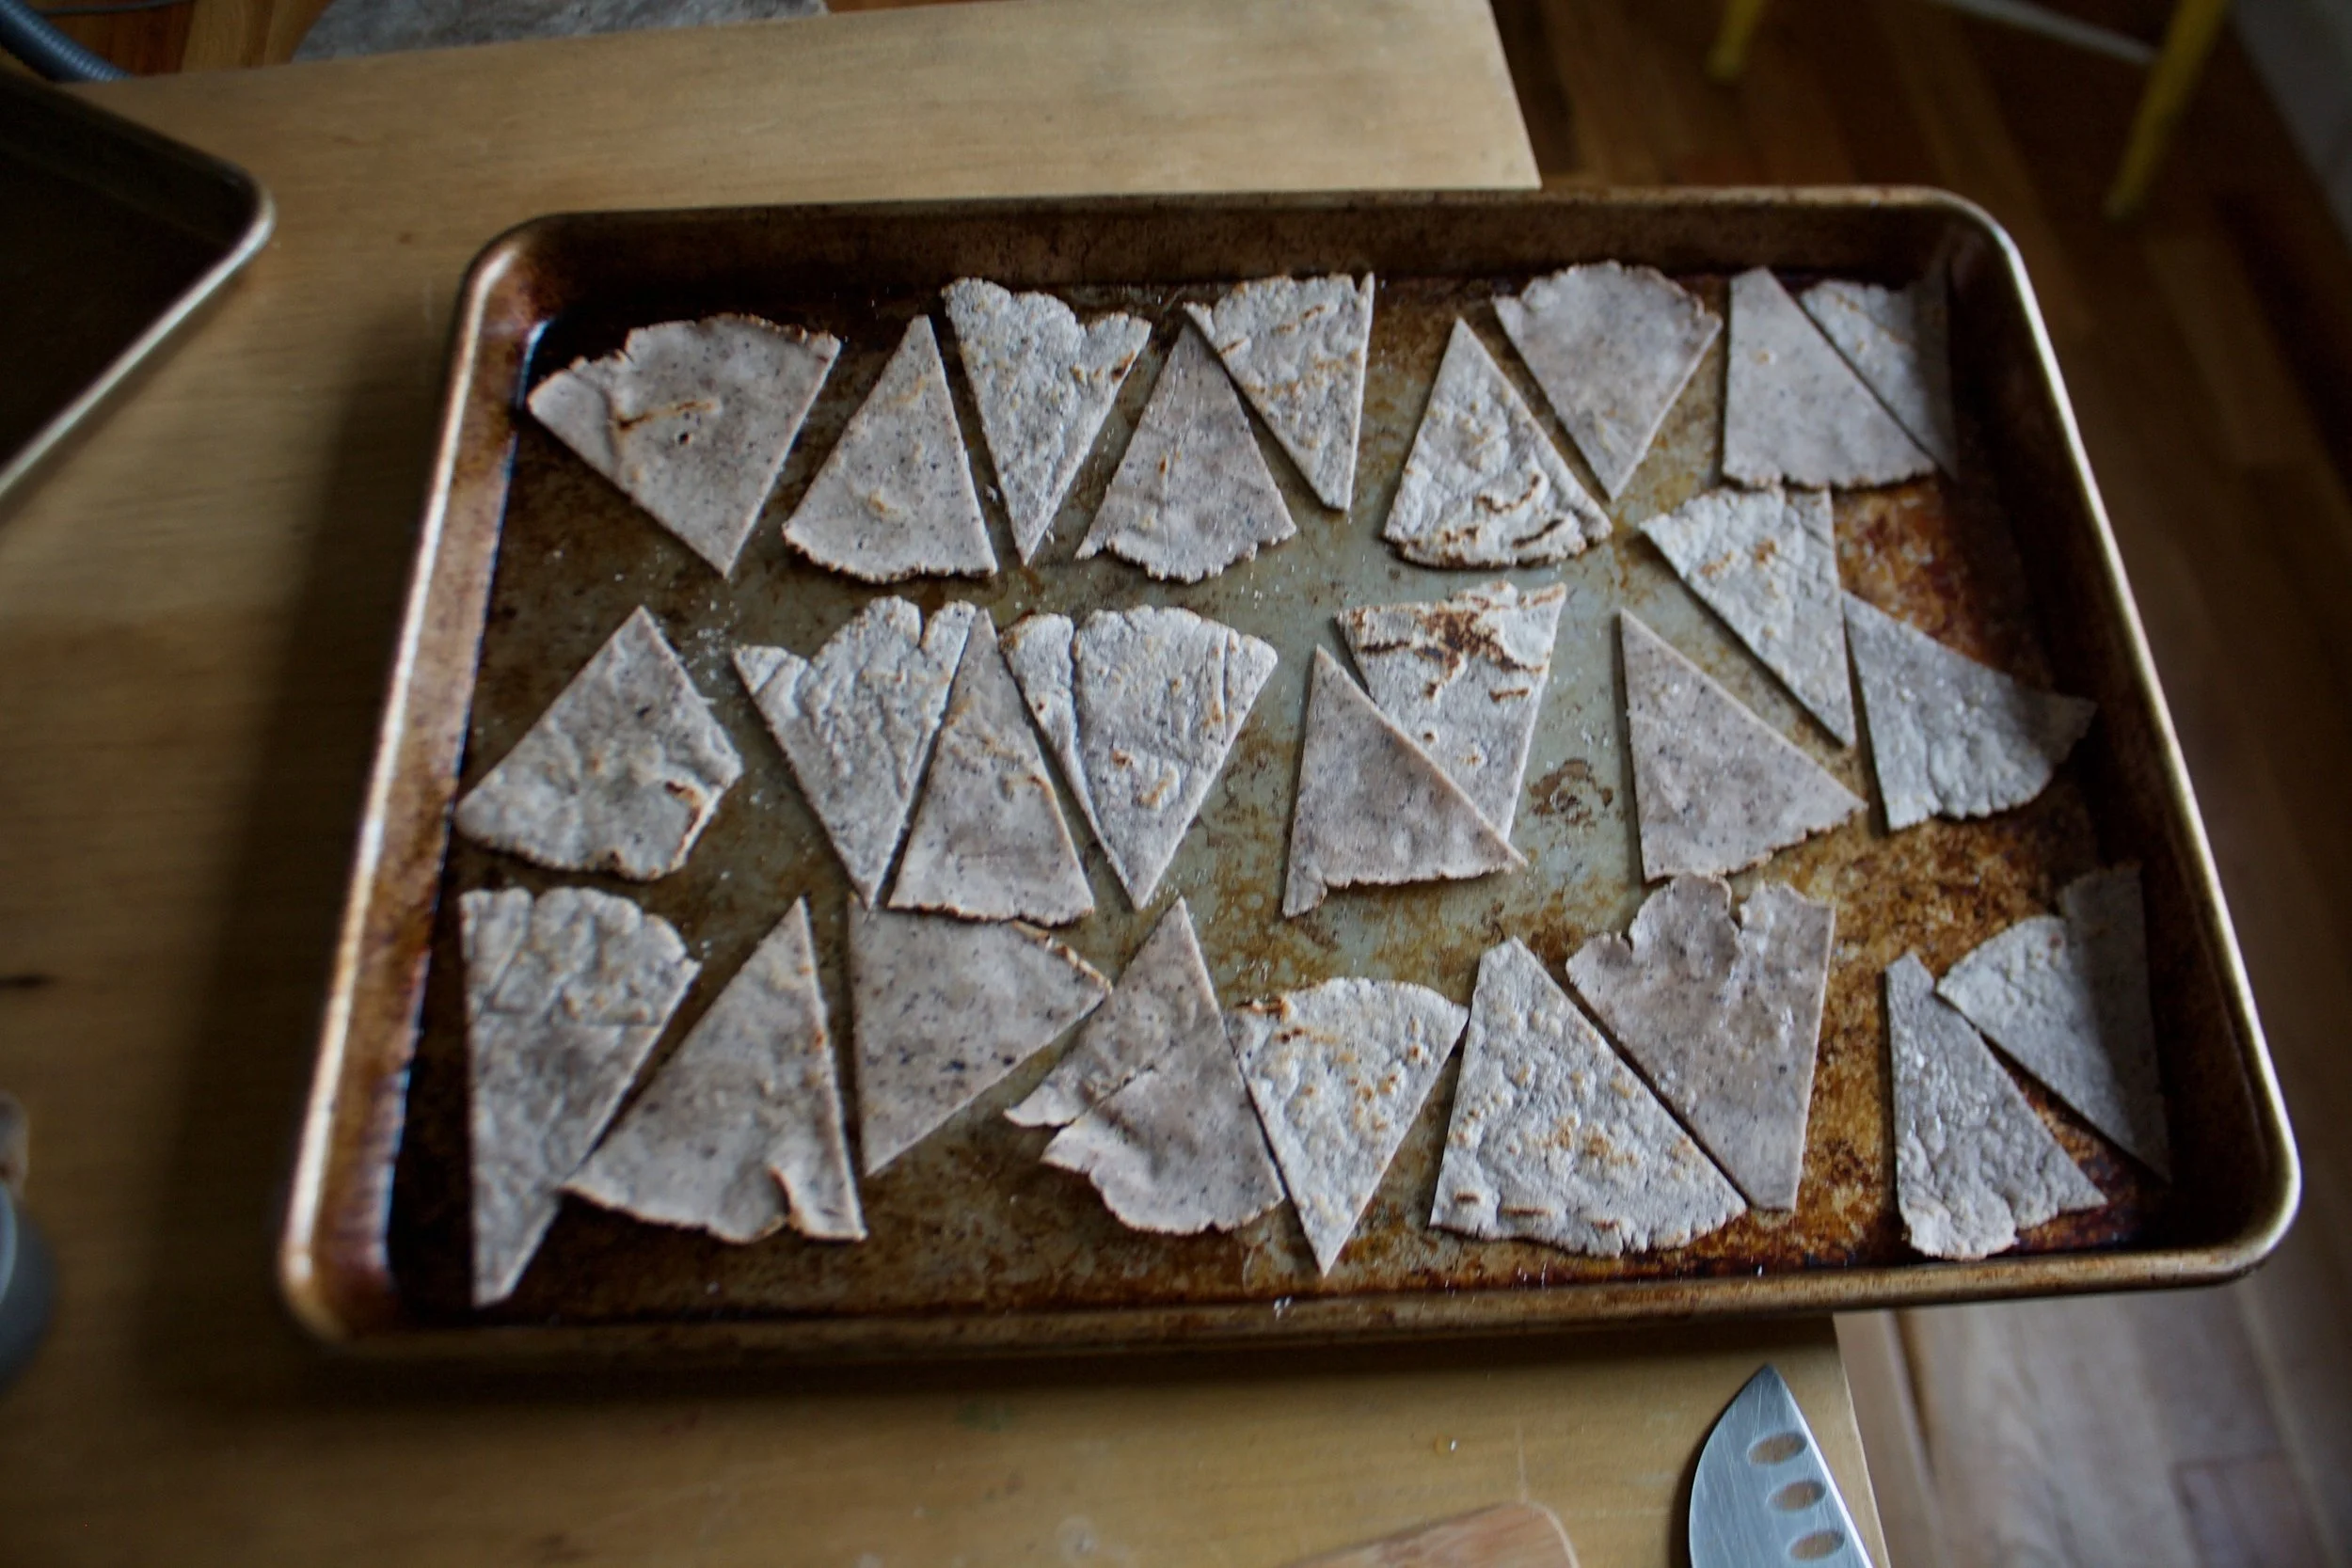


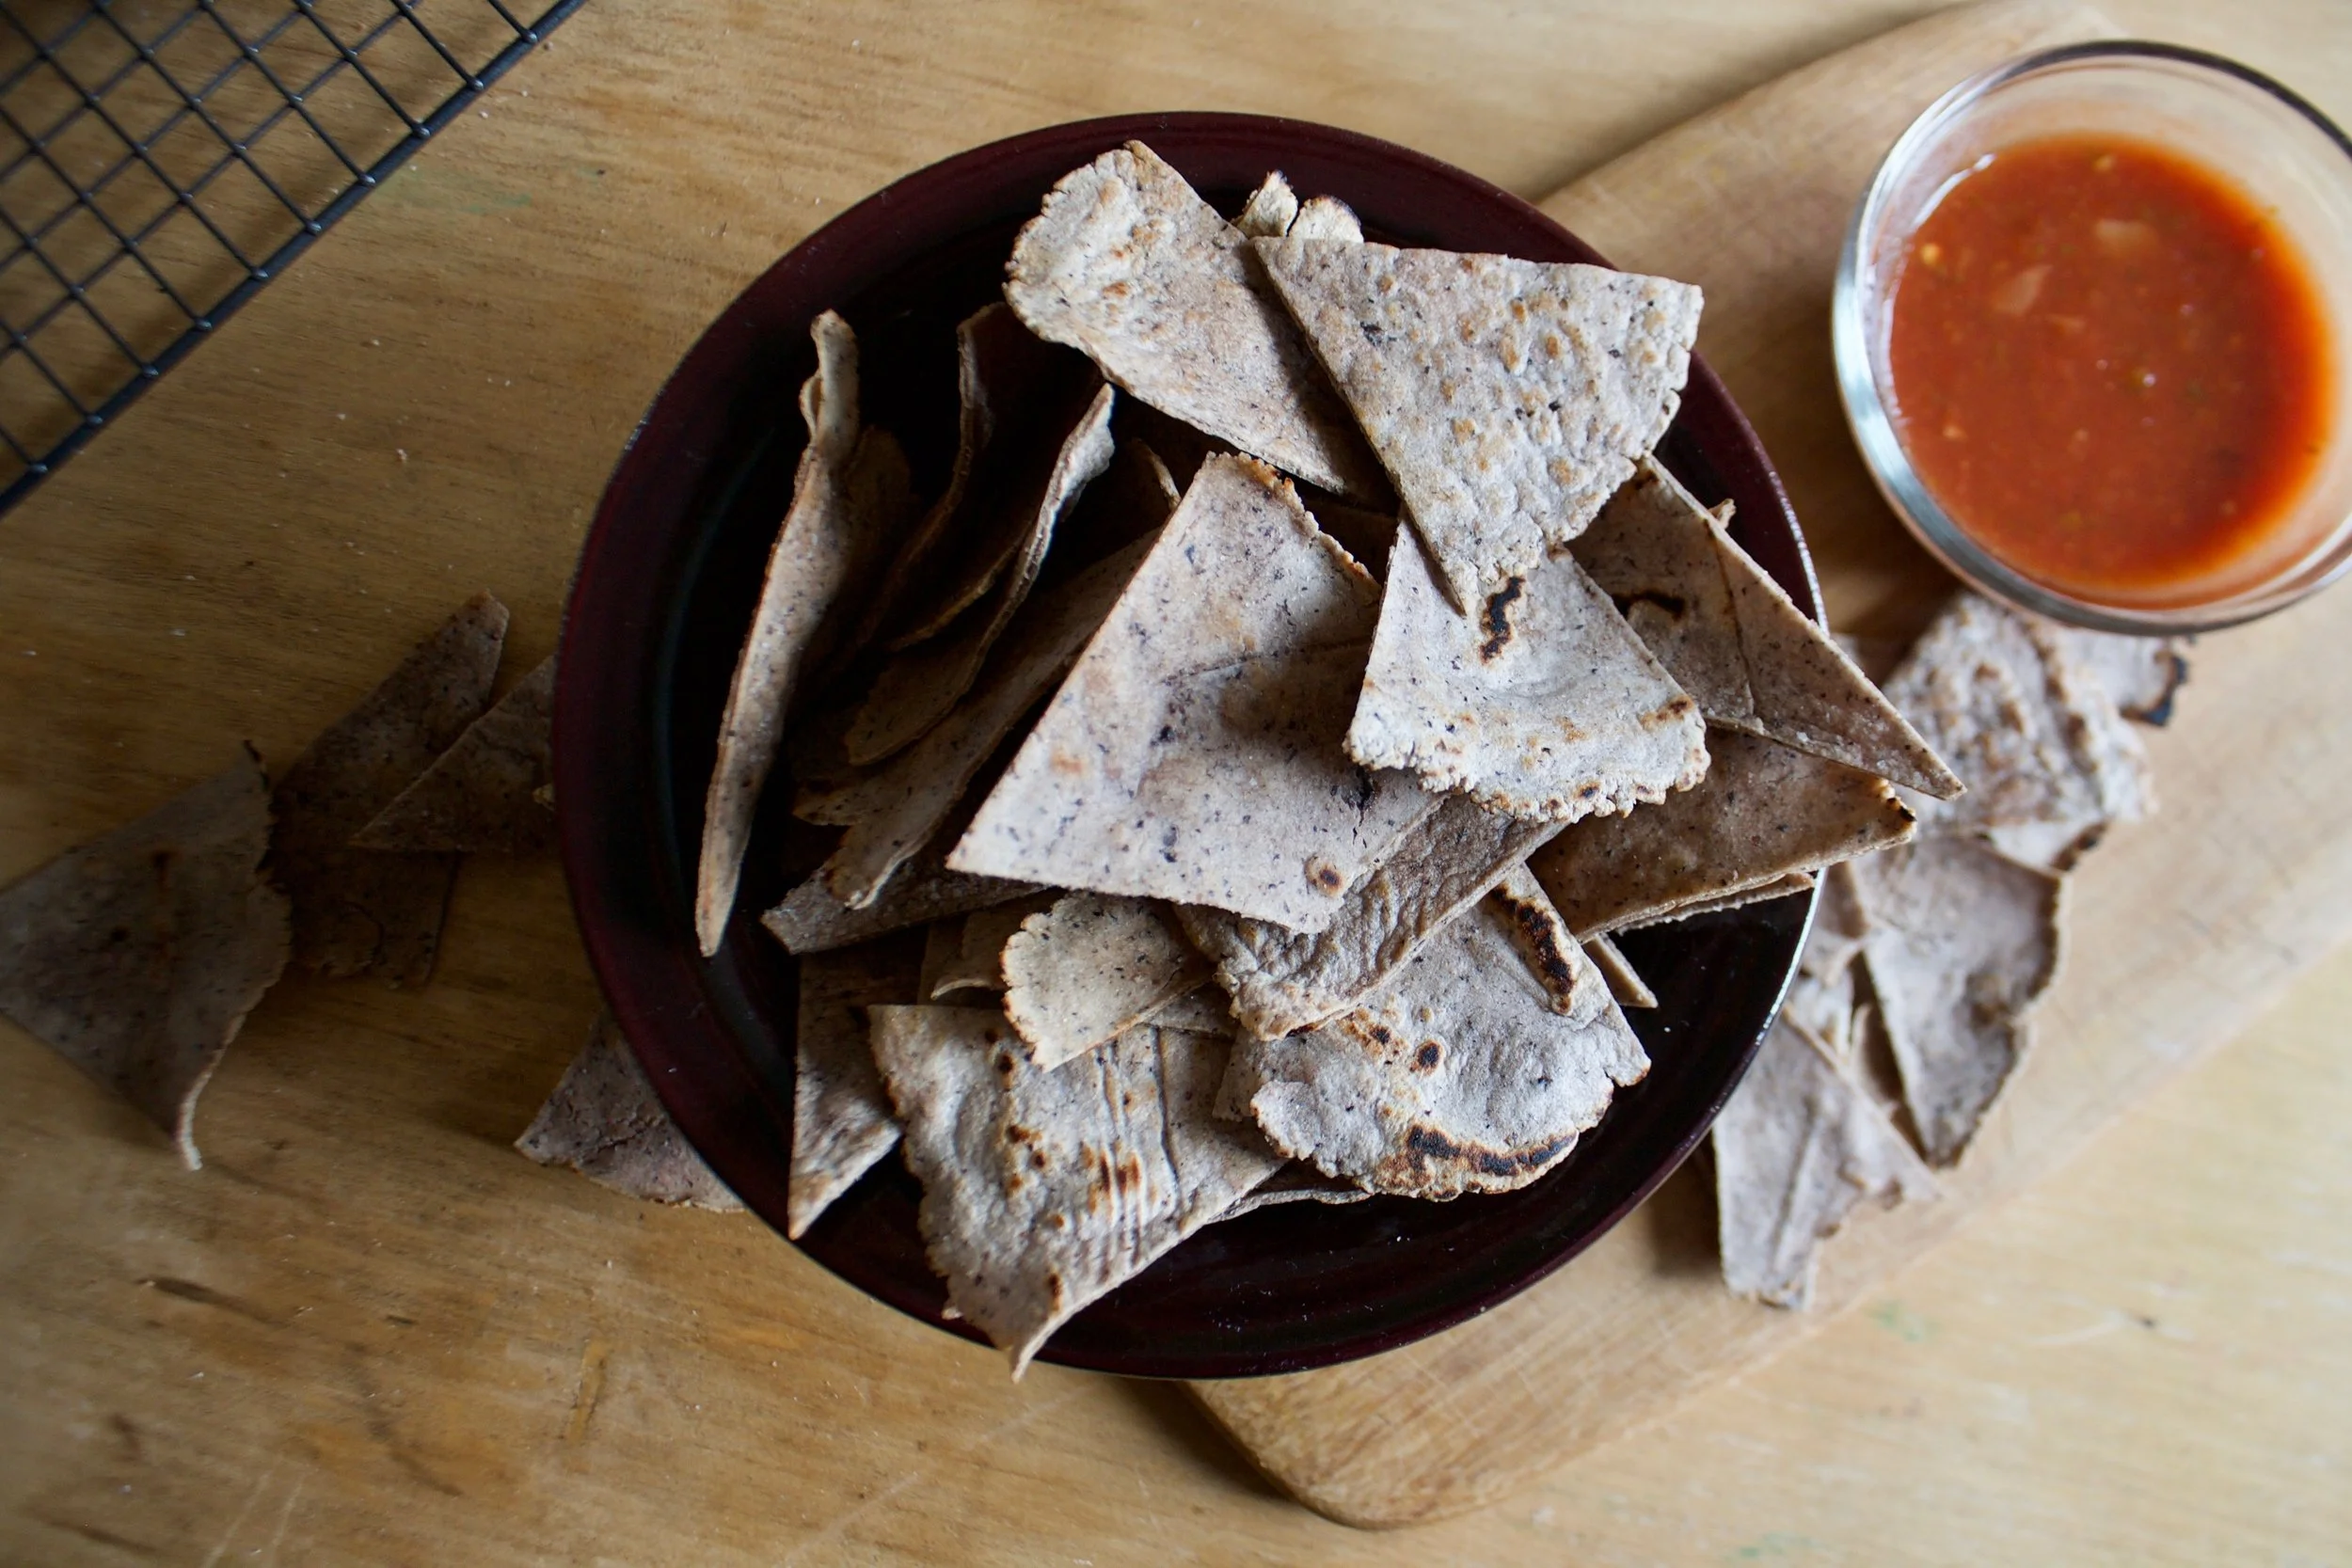

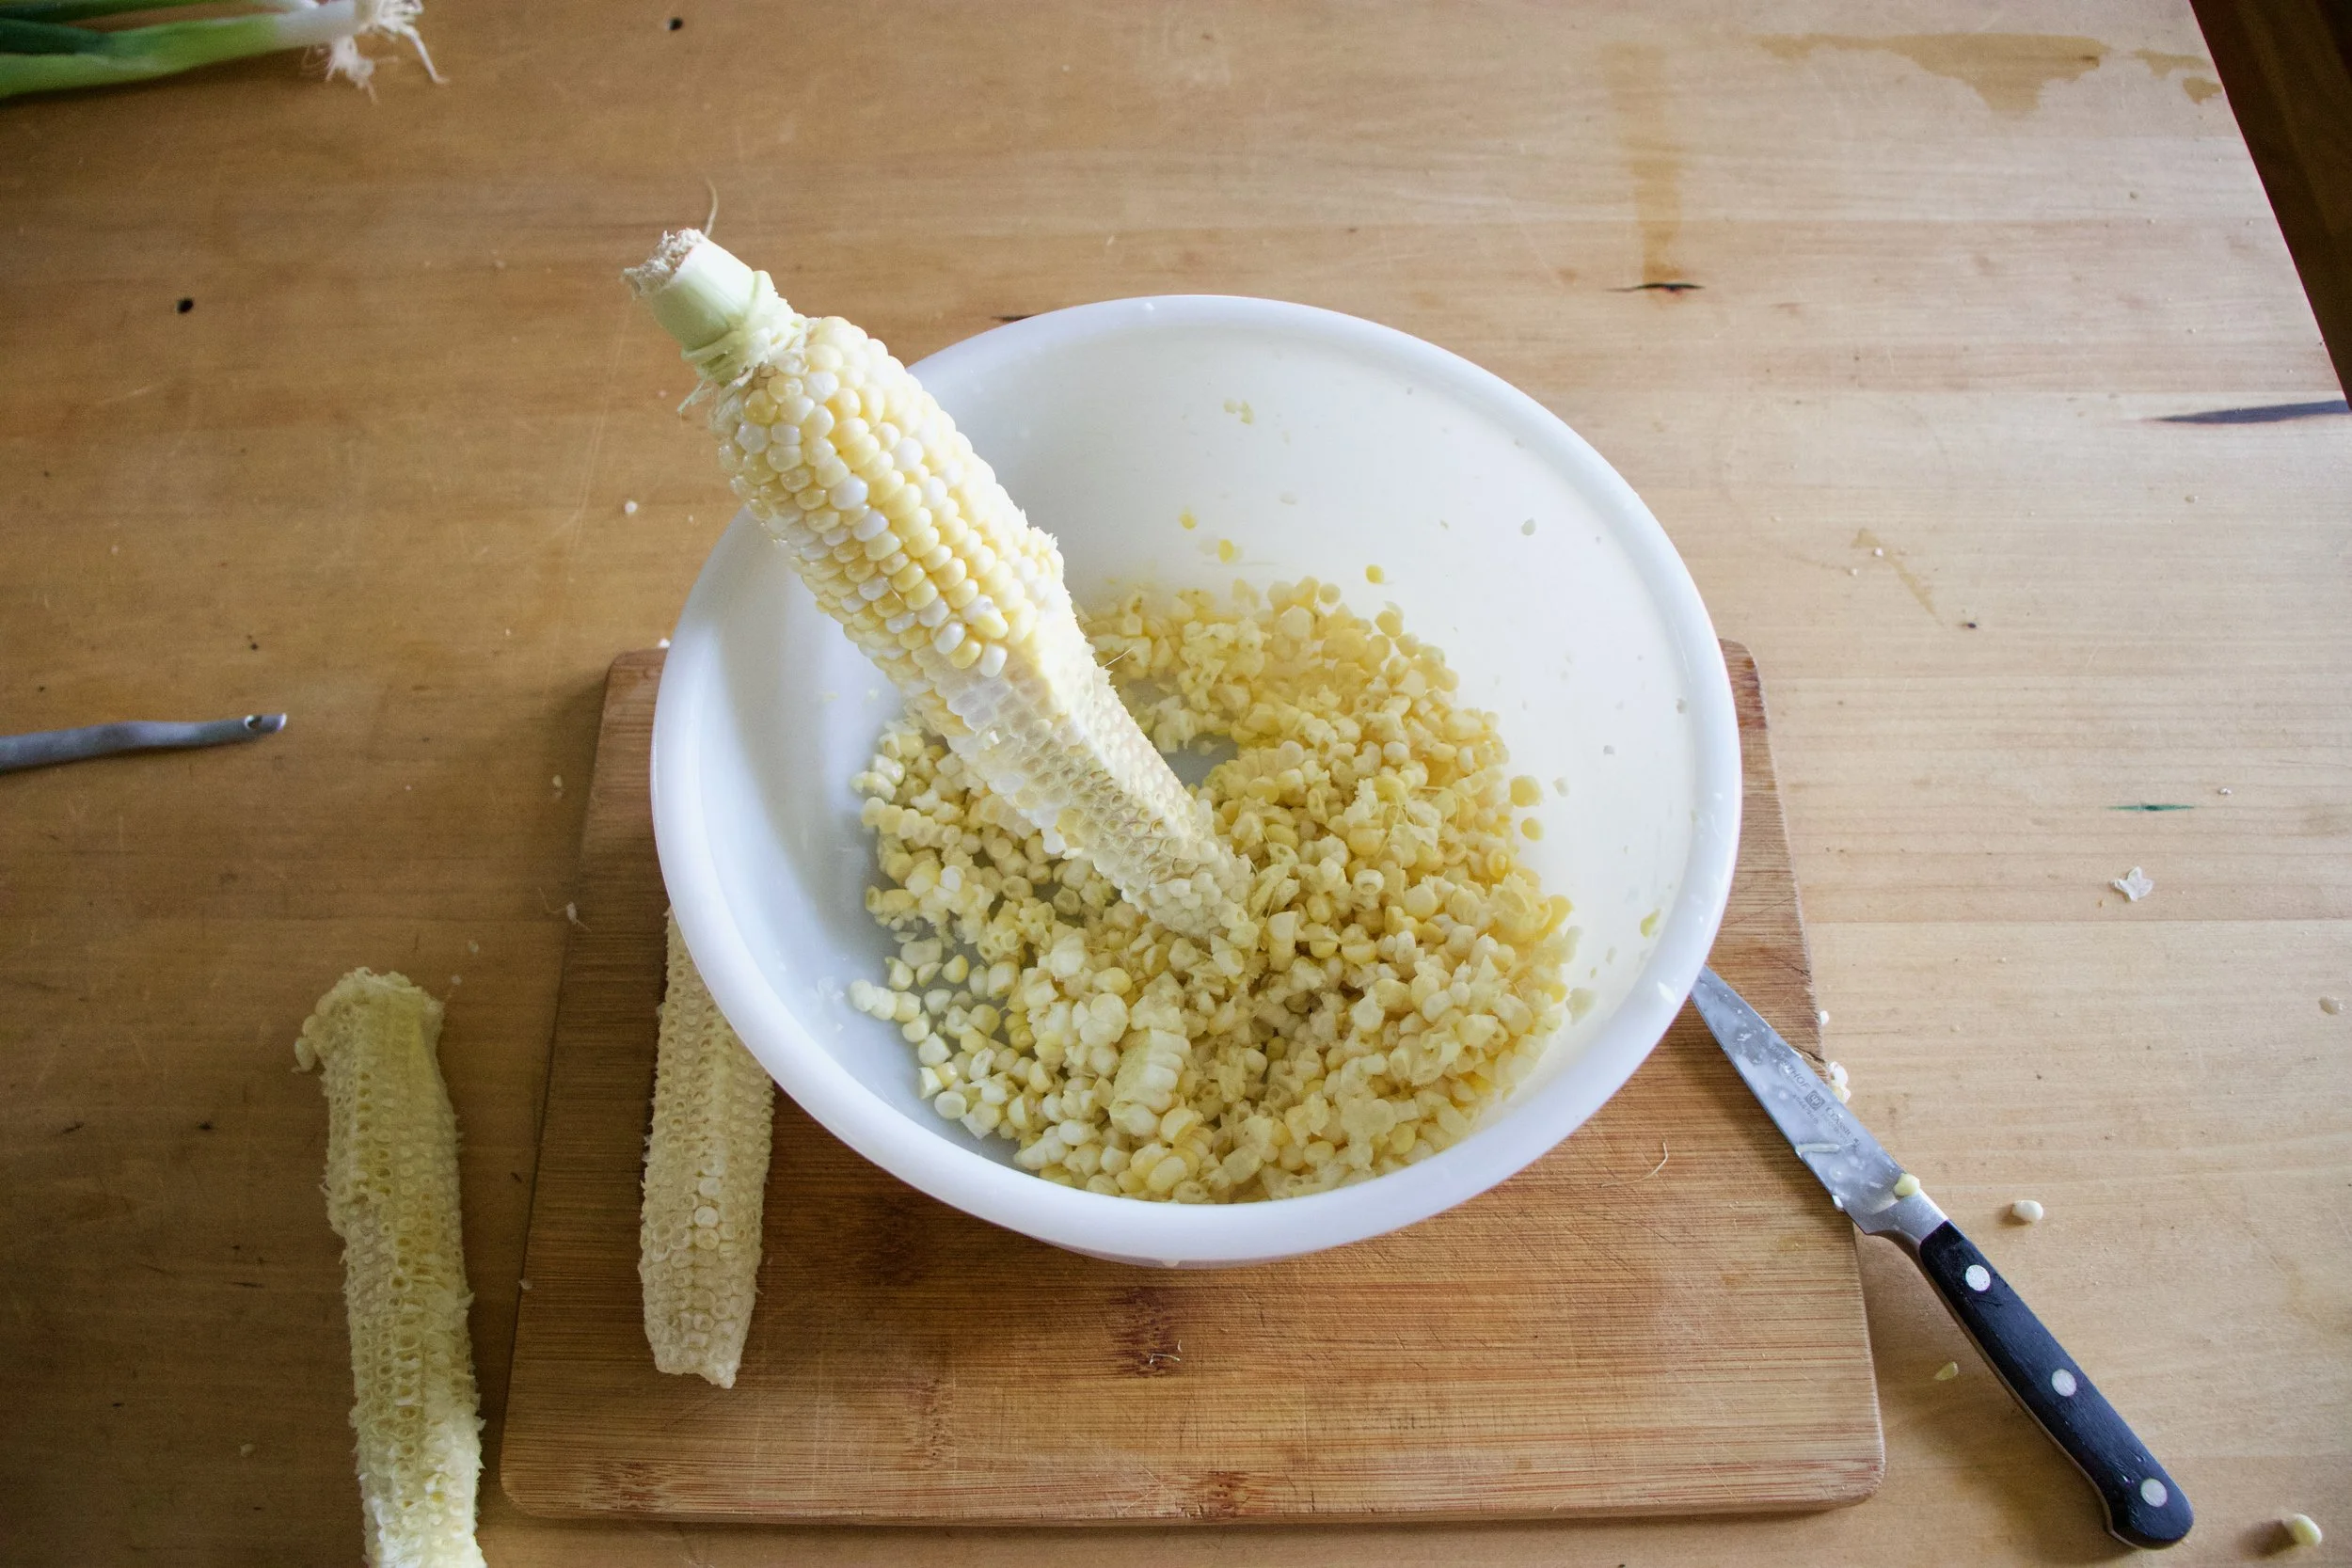
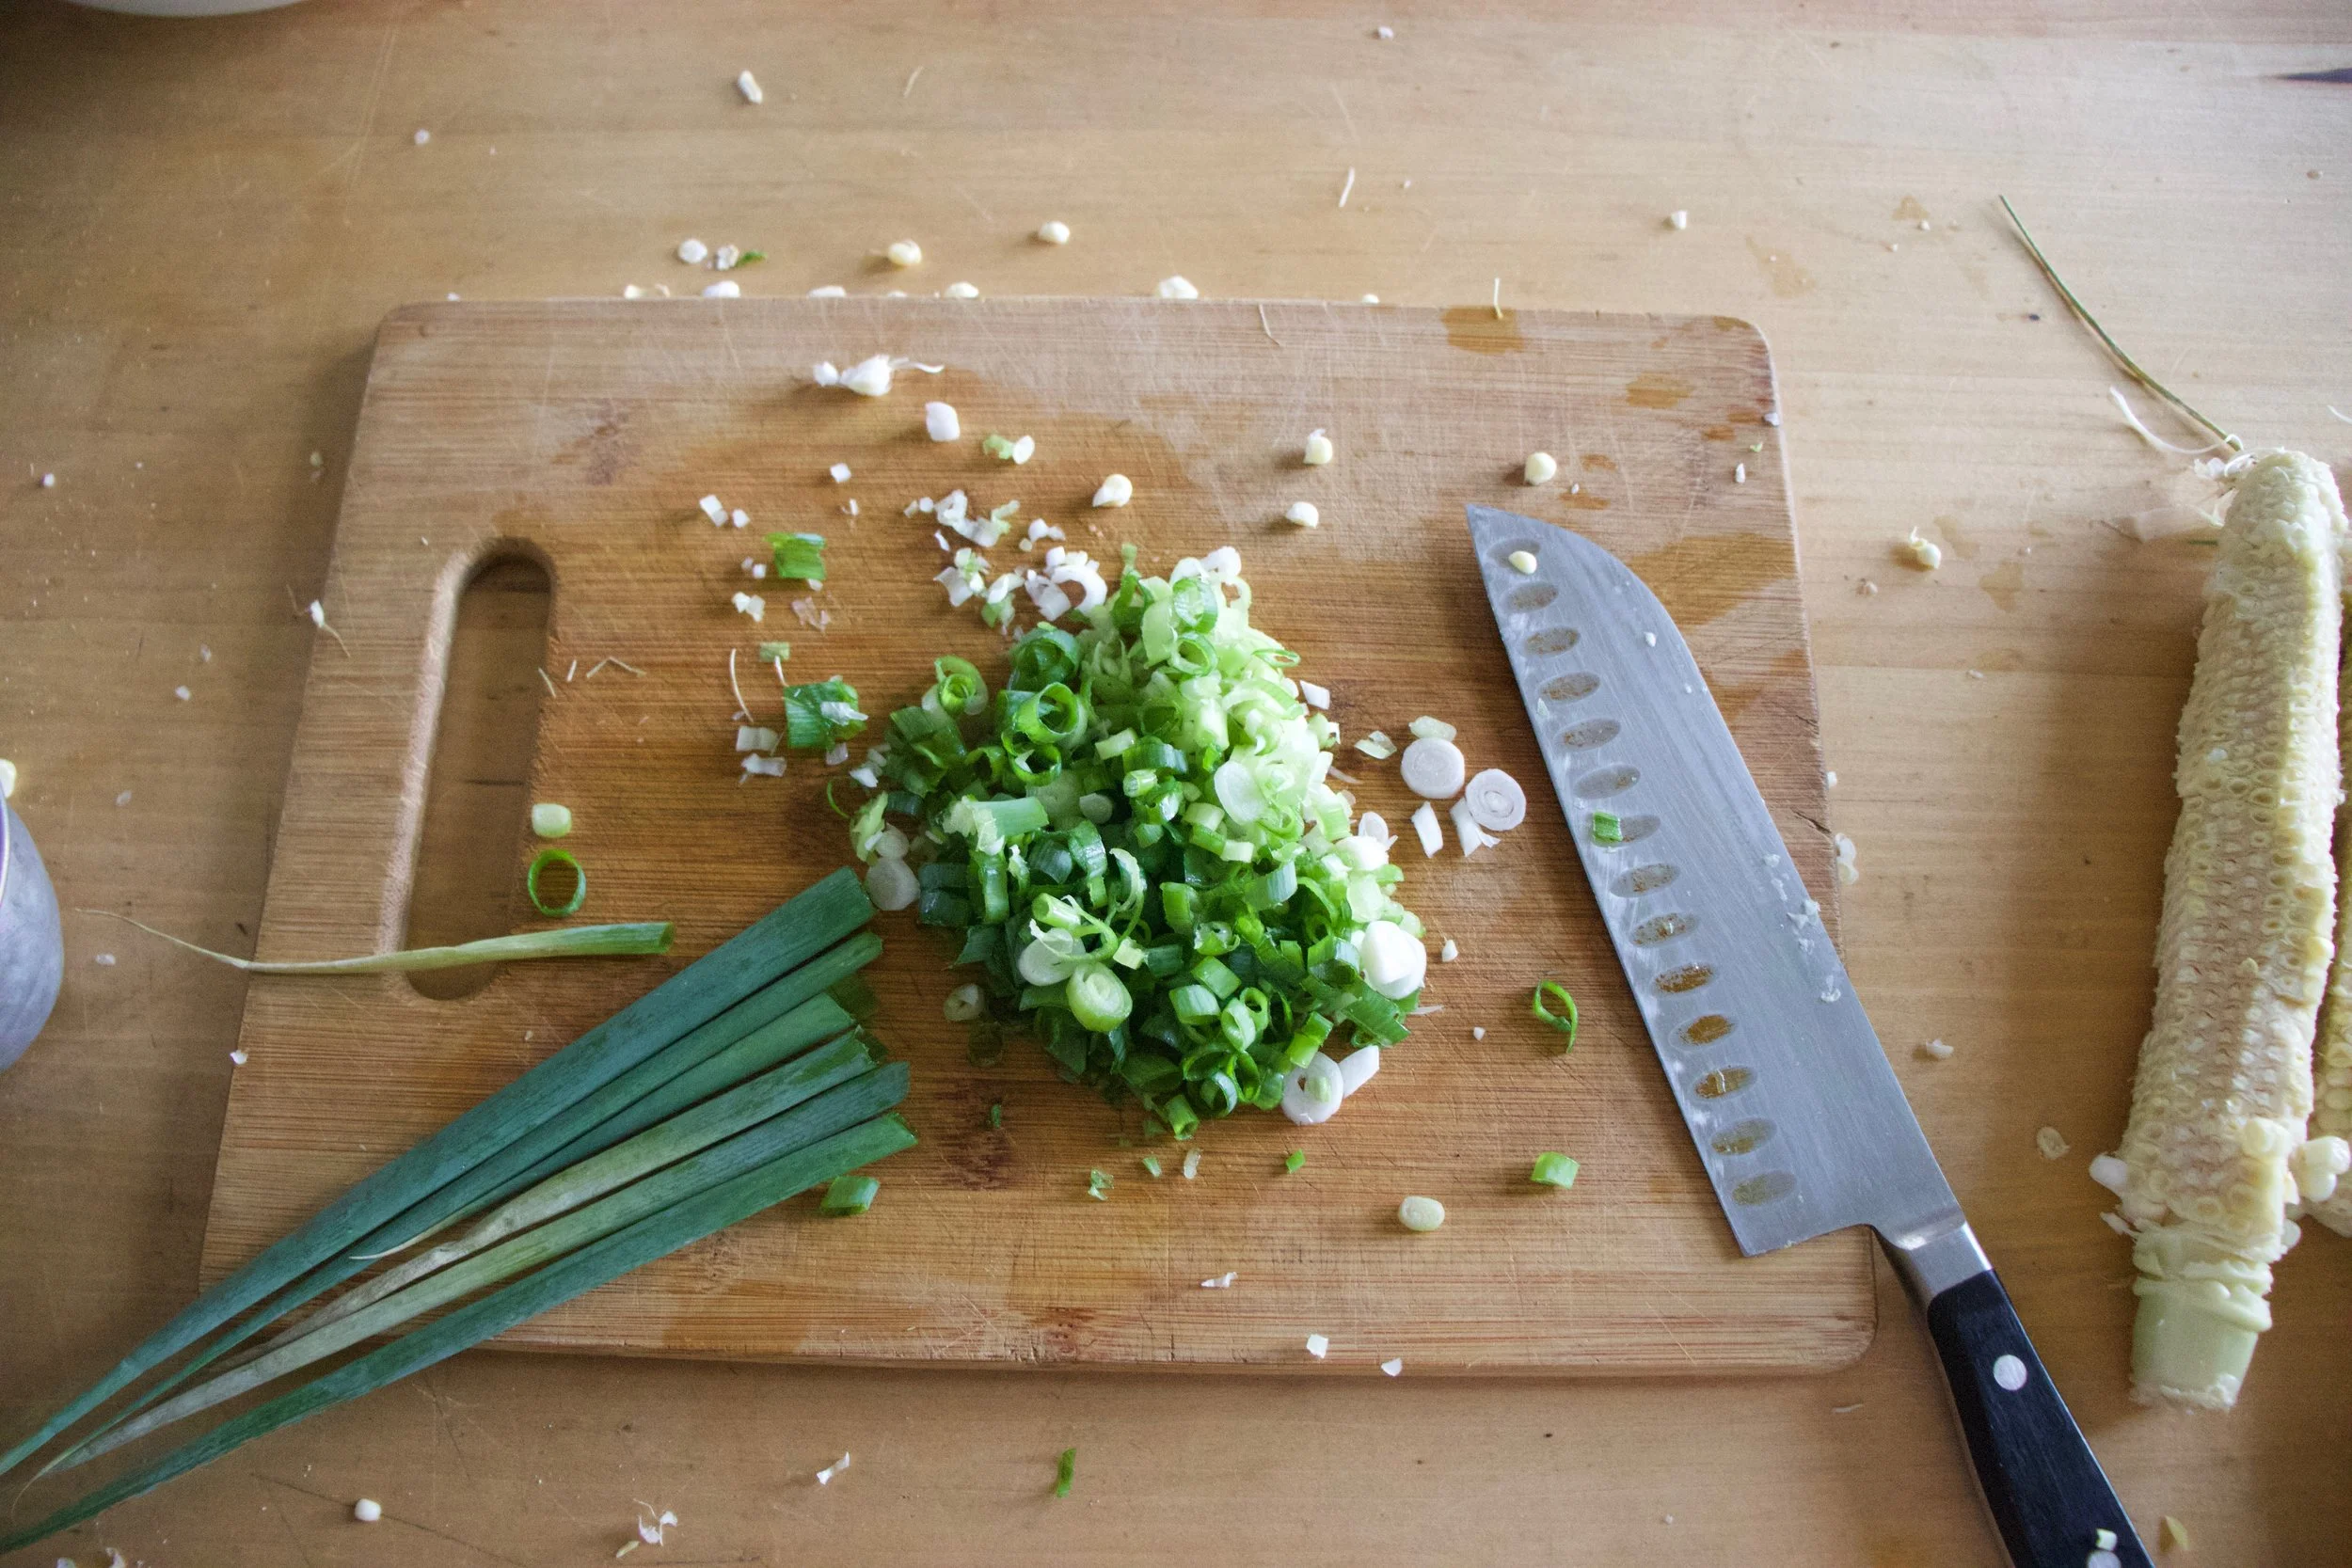


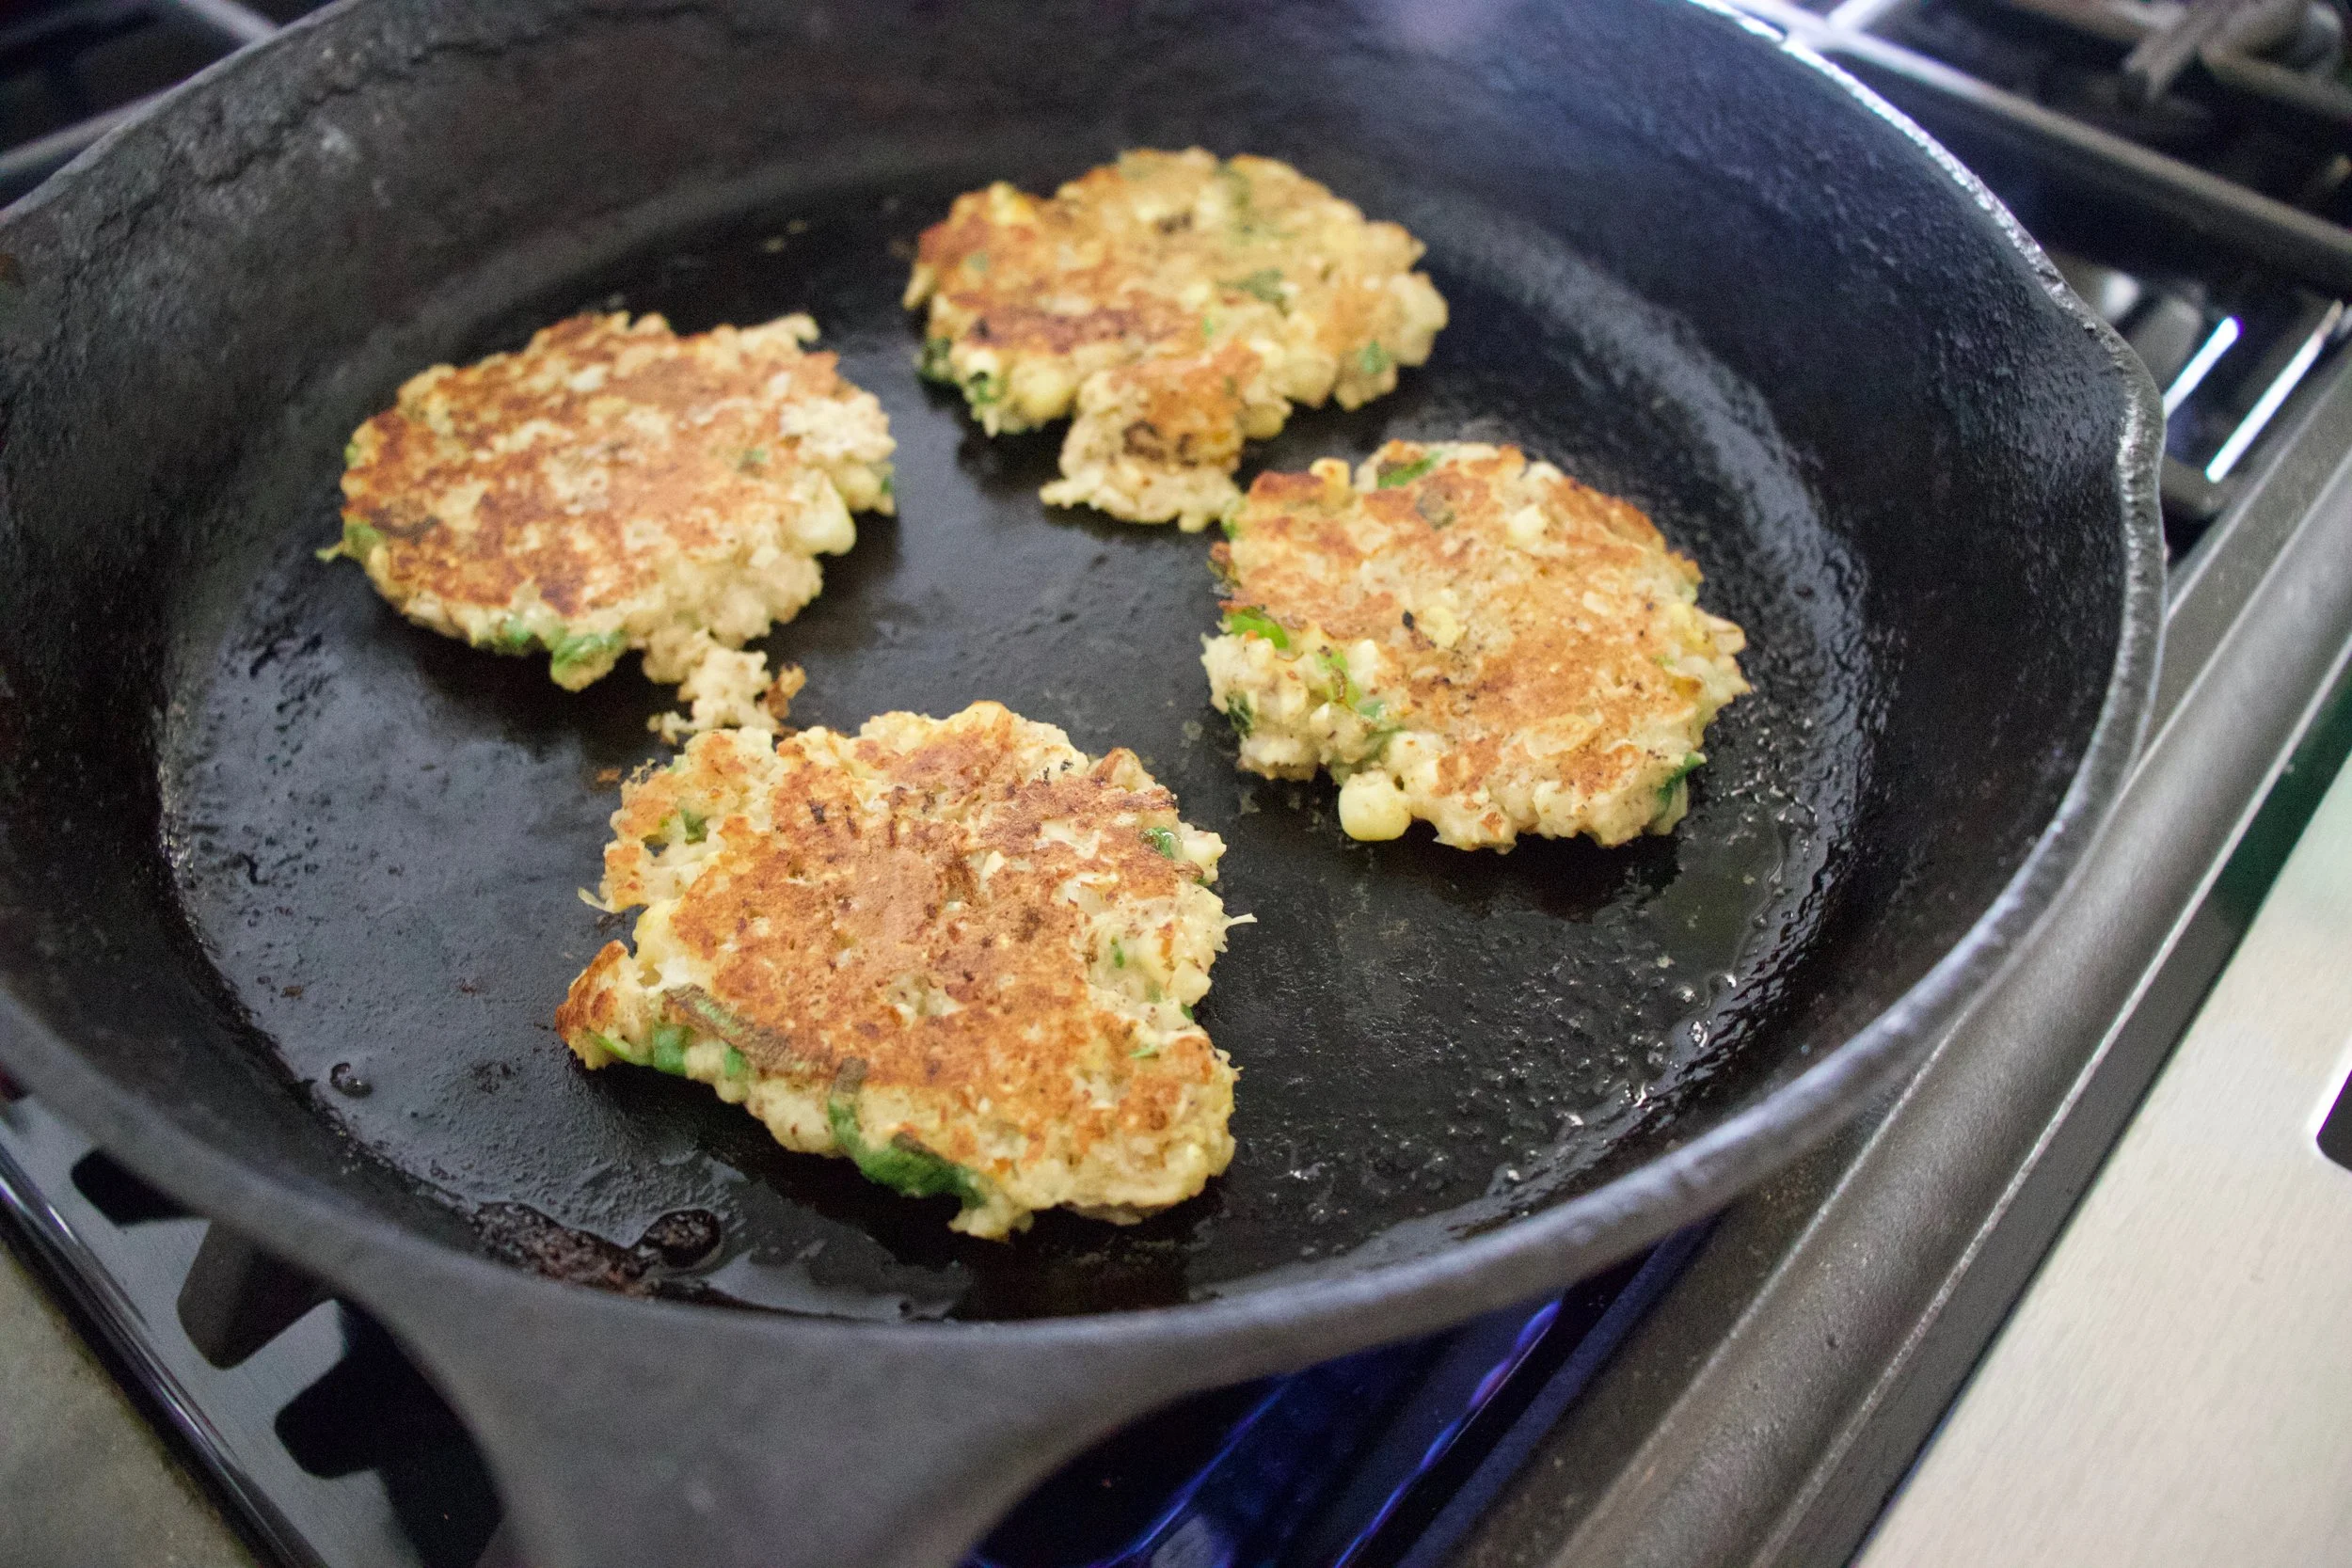
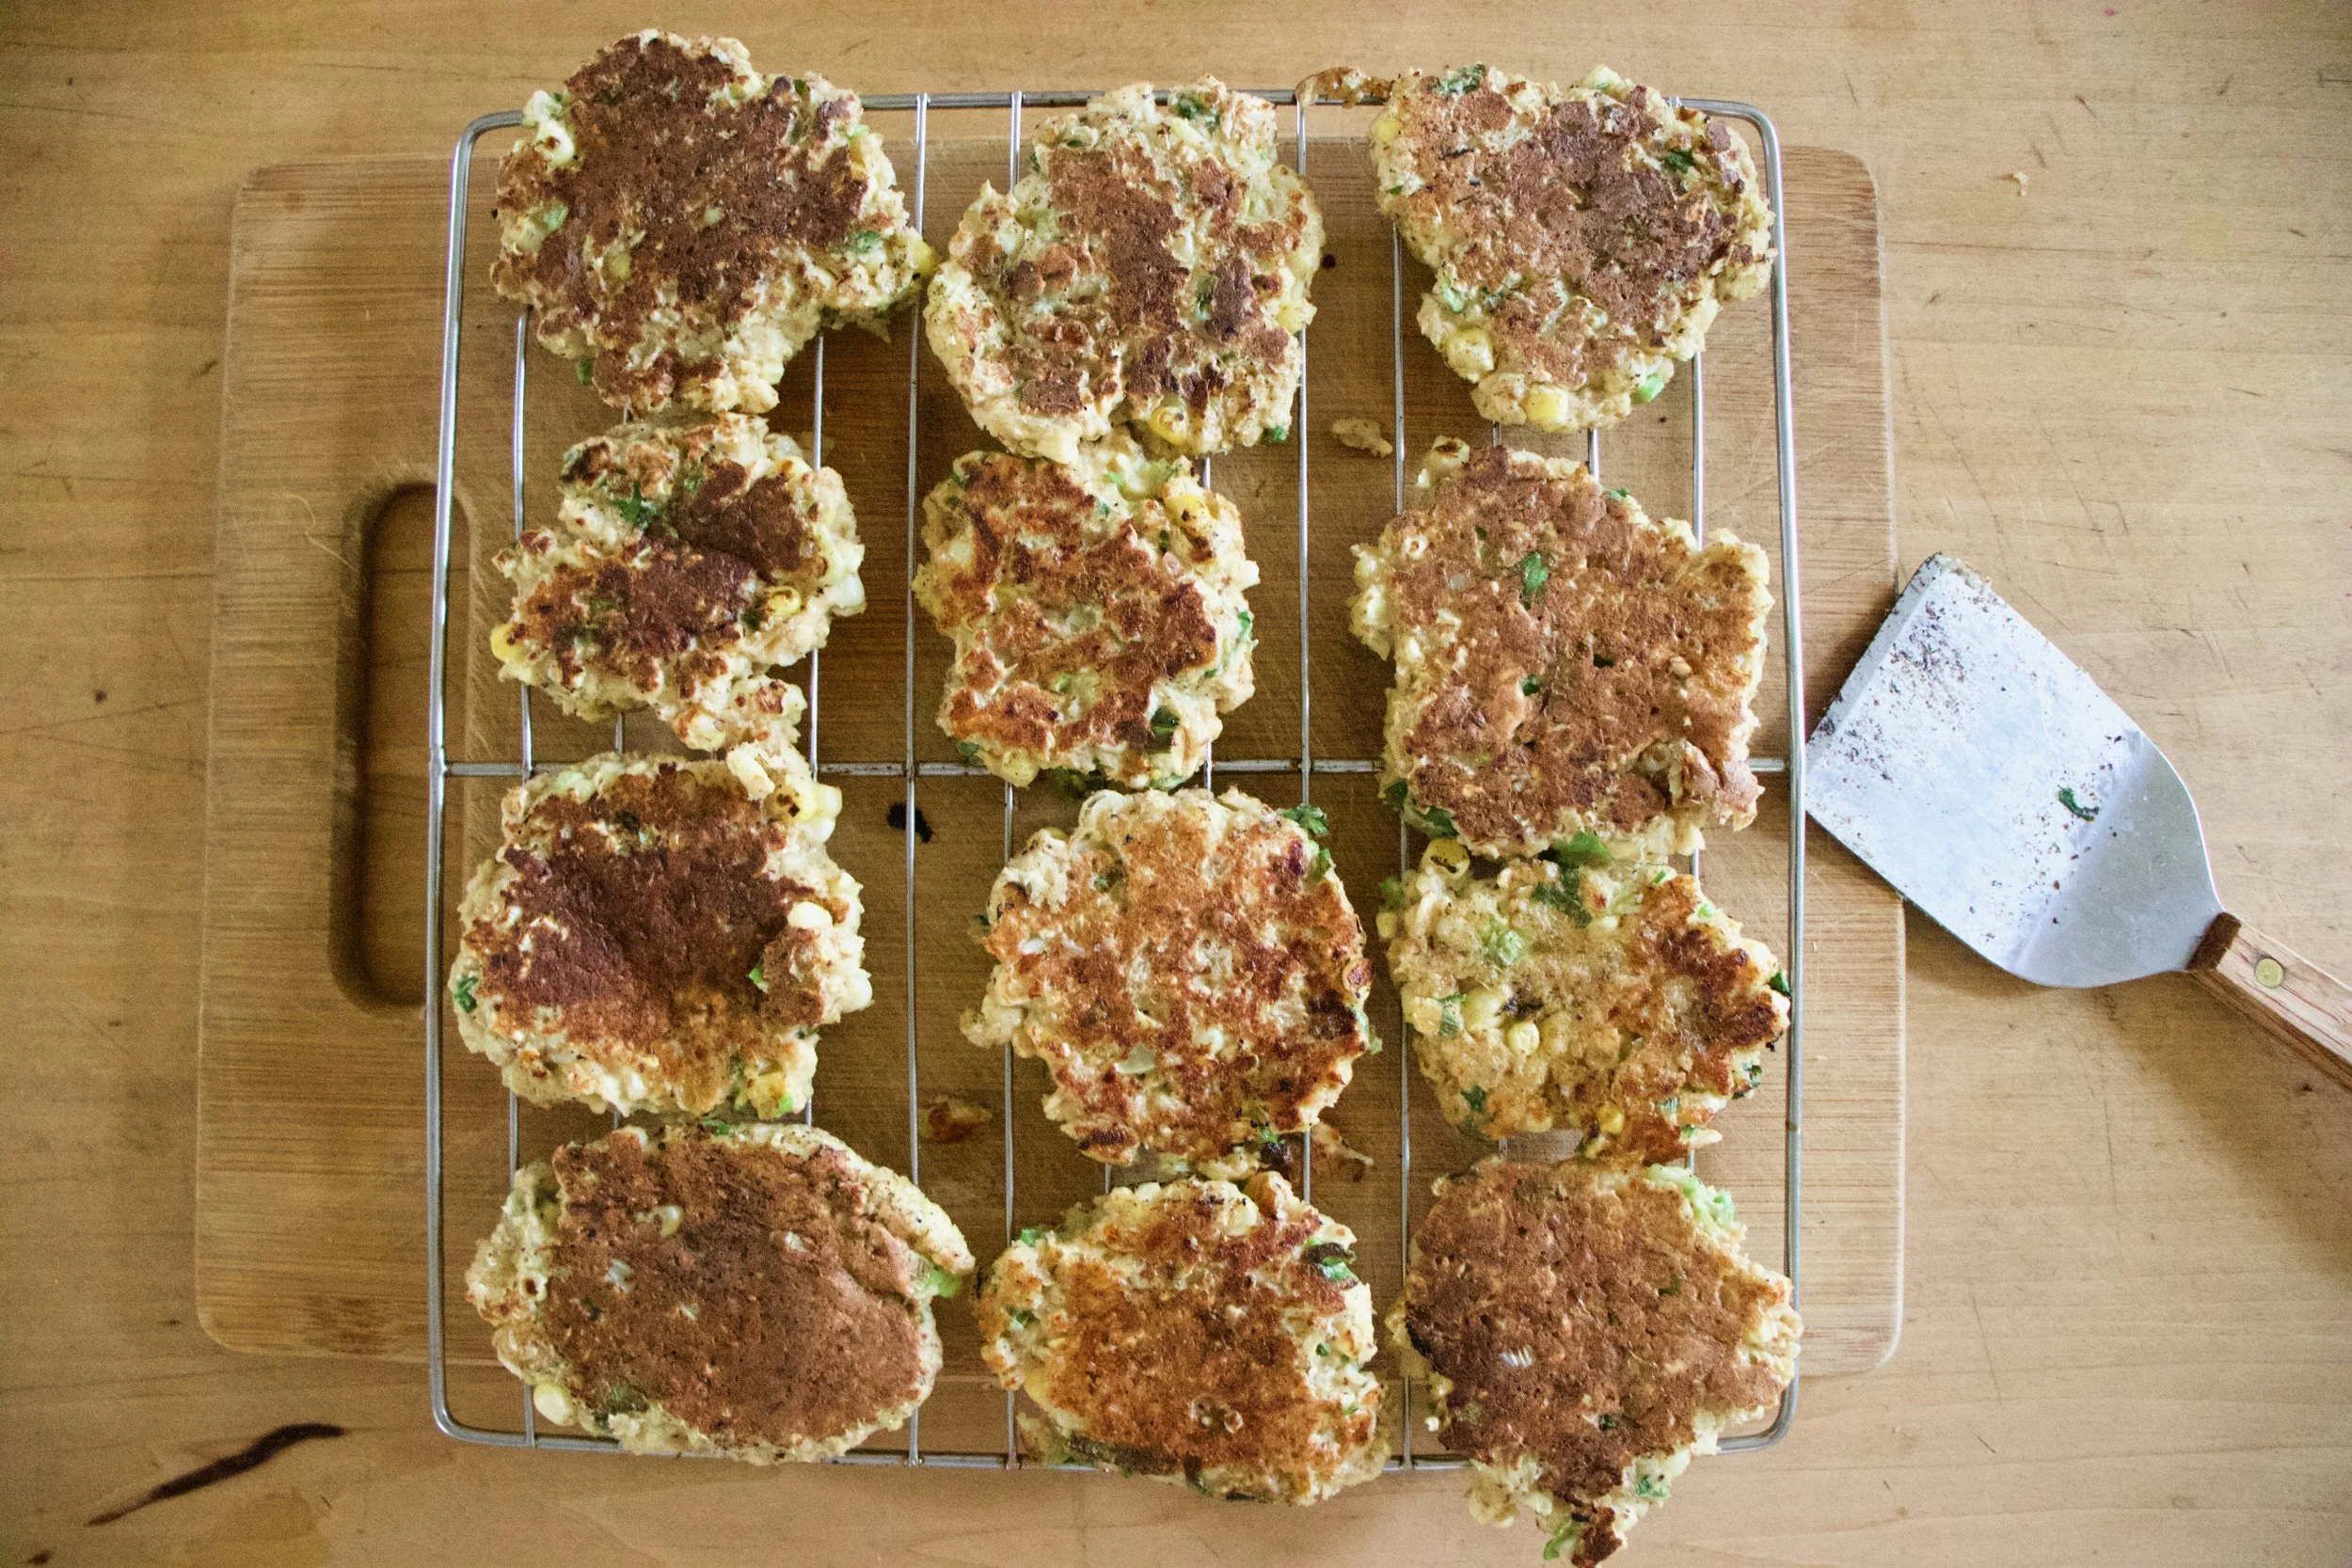

 Before we left for the weekend, I was was trying my hardest to empty the fridge out of all food with the intention of leaning it empty so I could leave it open to defrost while were were gone. Unfortunately I was not able to make it happen. What I did make happen was emptying it almost completely so that when we got home, we had pretty much no food in the house, except for a few things that probably should be eaten. Plus one of the last things that I want to do after sitting in a car for 6 hours is go to the grocery store, or anywhere for that matter, so I was determined to make with what wet had in the fridge:
 The stuff… A huge hunk of a bigger then my head kohlrabi (or 2 normal bulbs). A carrot, an apple, toasted walnuts, red wine vinegar, and some salt.
 Sprinkle with salt and a good glug glug of red wine vinegar. Chop up the walnuts (some big chunks and some very small pieces makes for good eating), toss it all together and, well that’s it. But wait…. let it sit for a few minutes before serving to really let the flavors draw out.
 And there we have it. Super fast, full of flavors and crunchy texture. A salad slaw after my own heart.


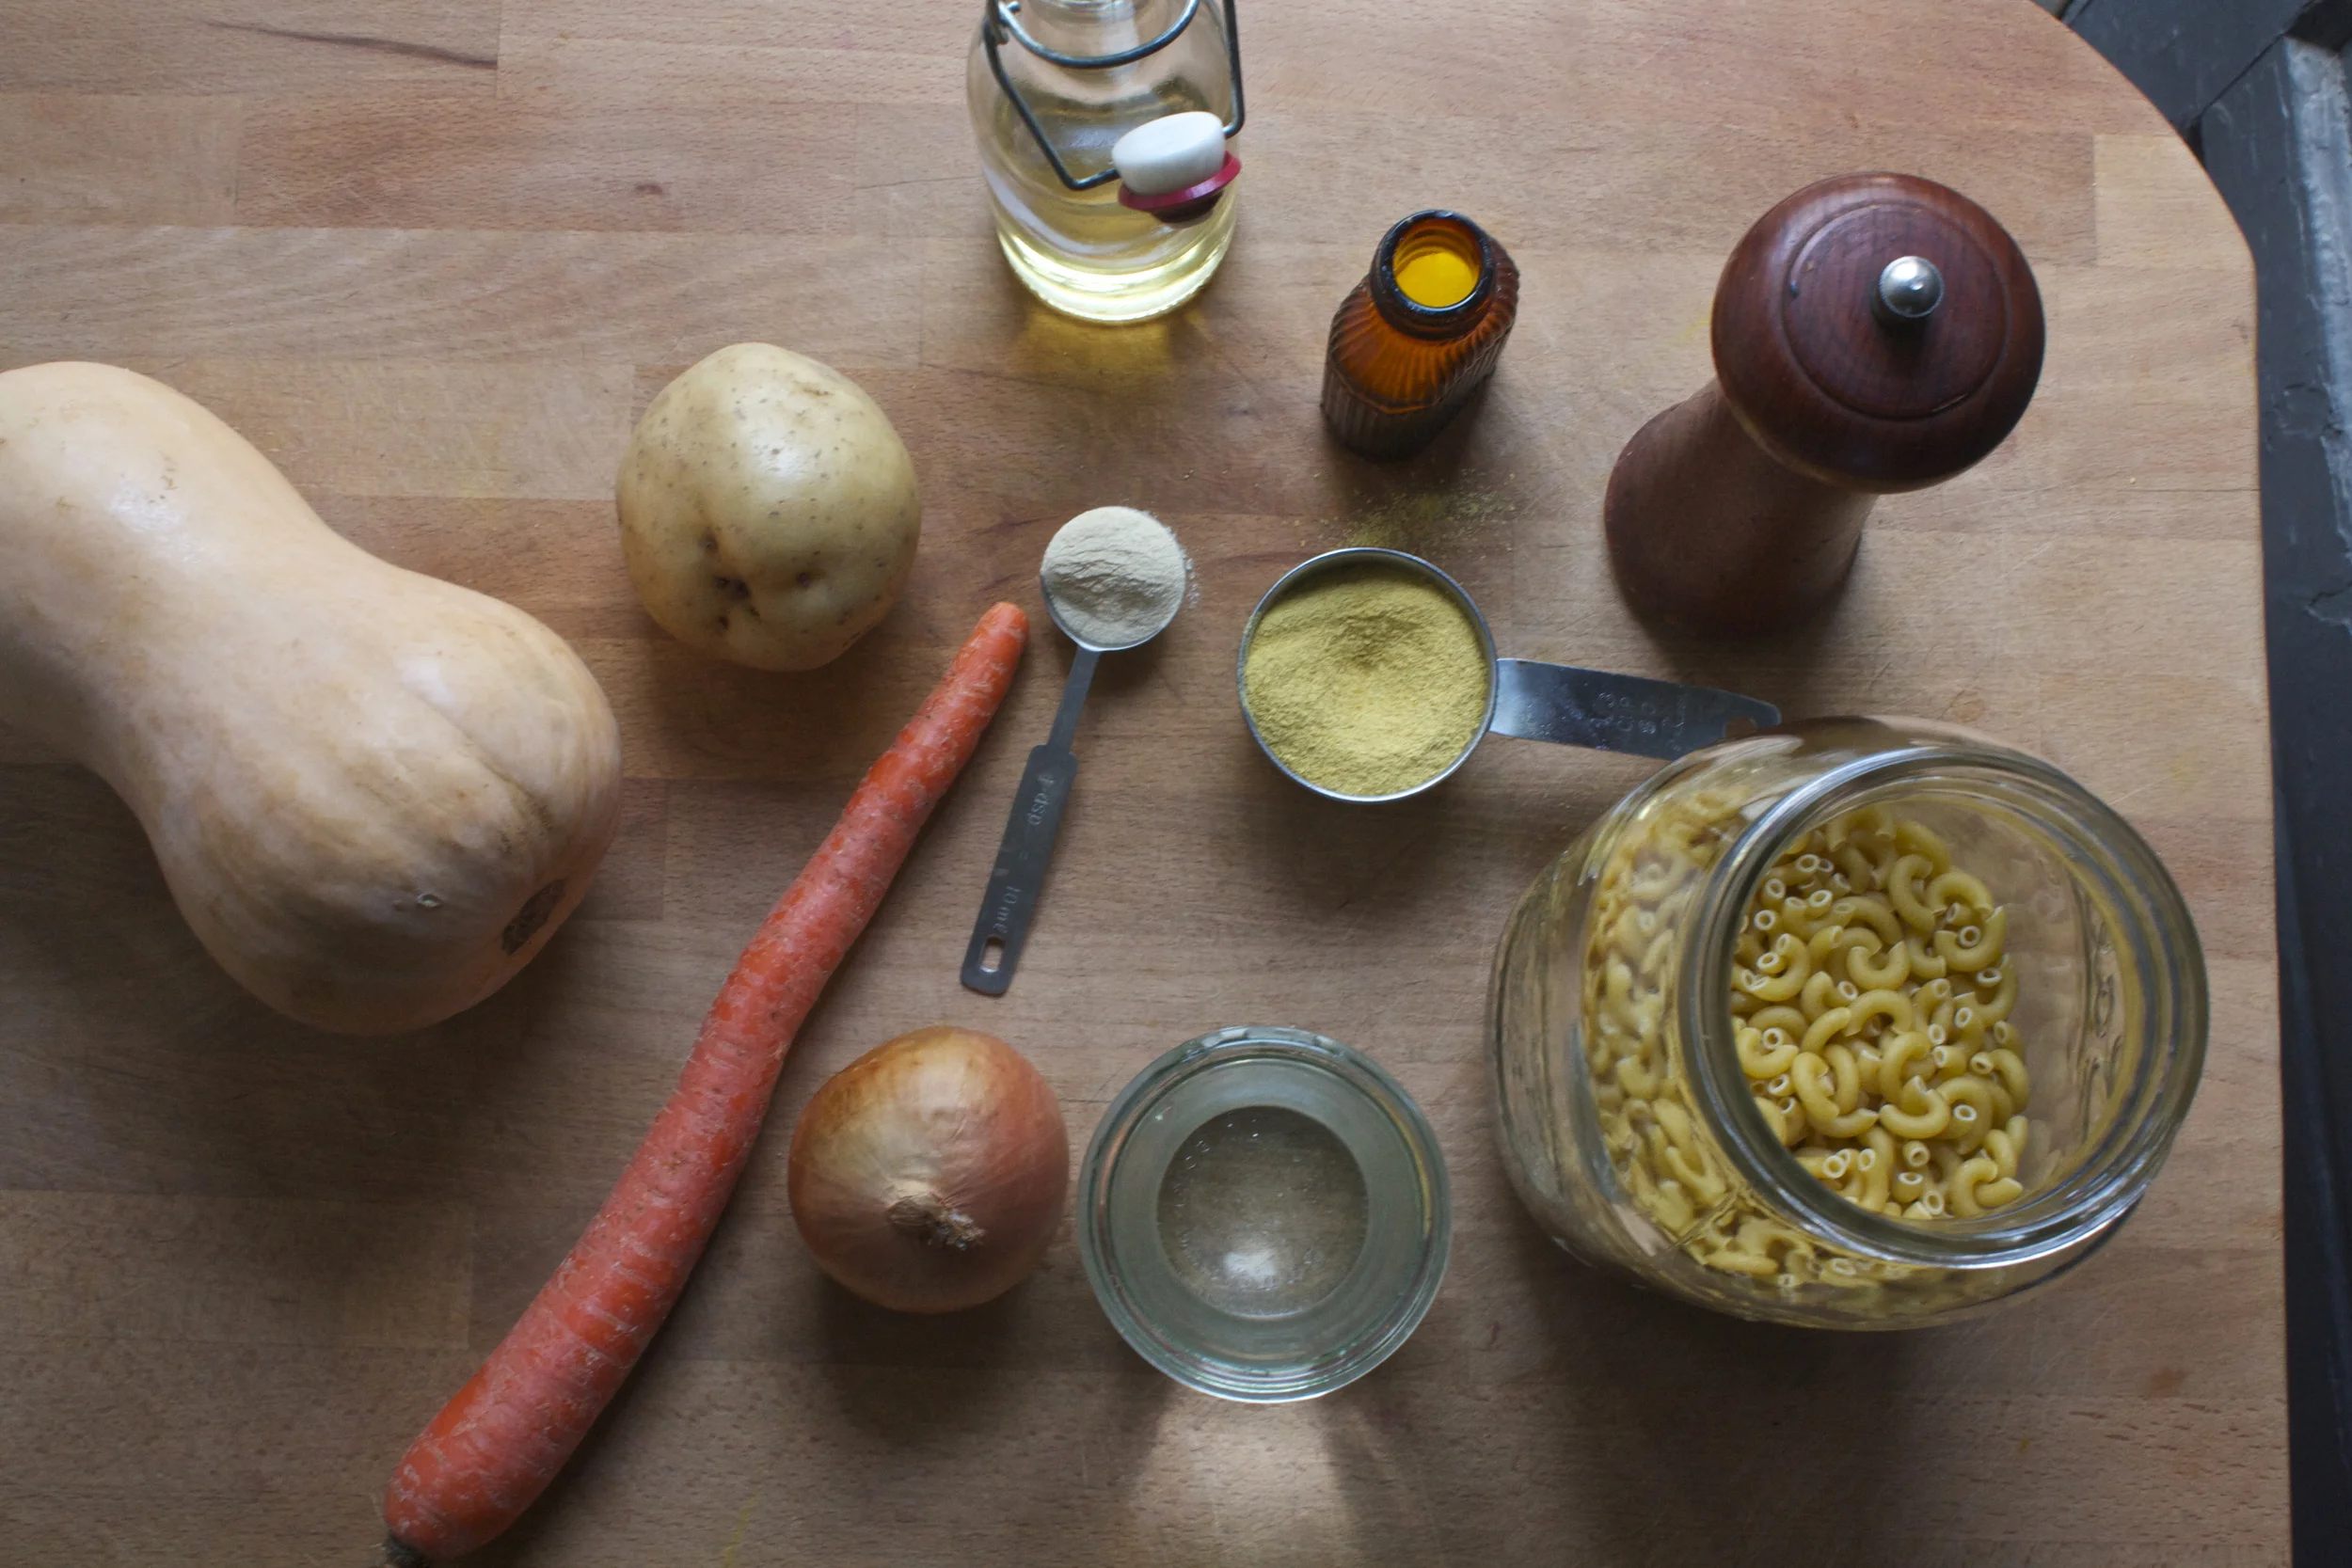

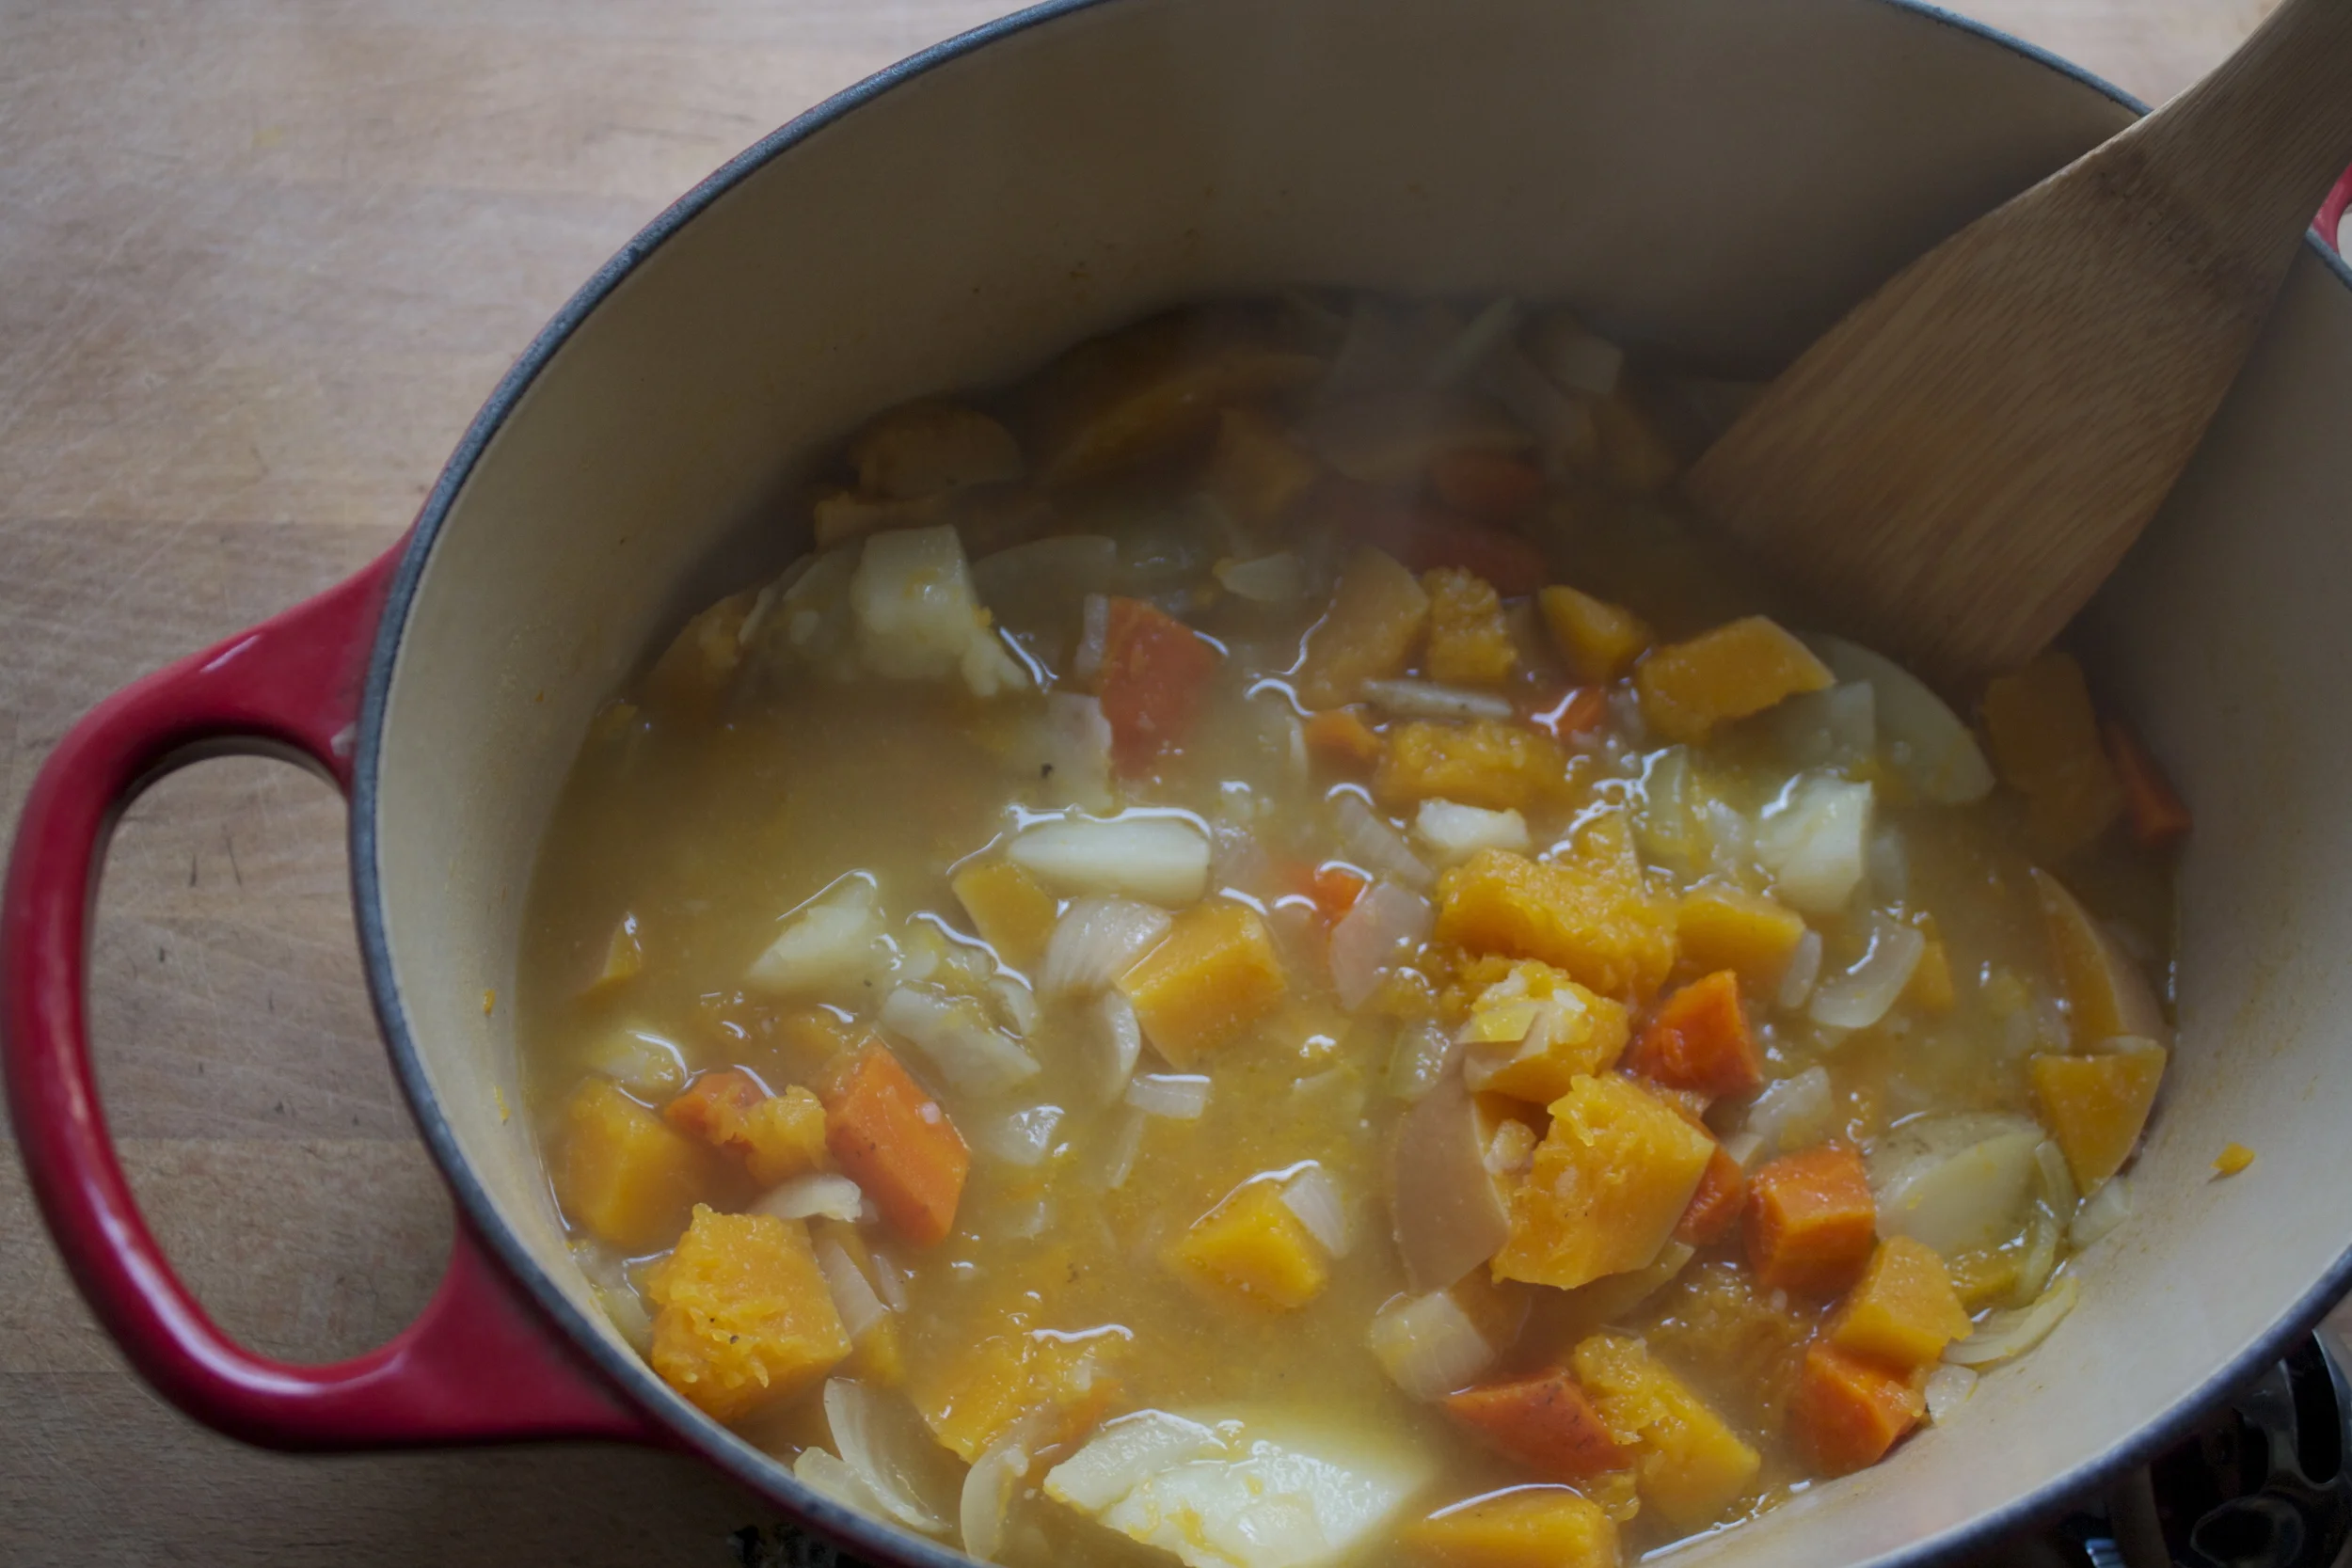
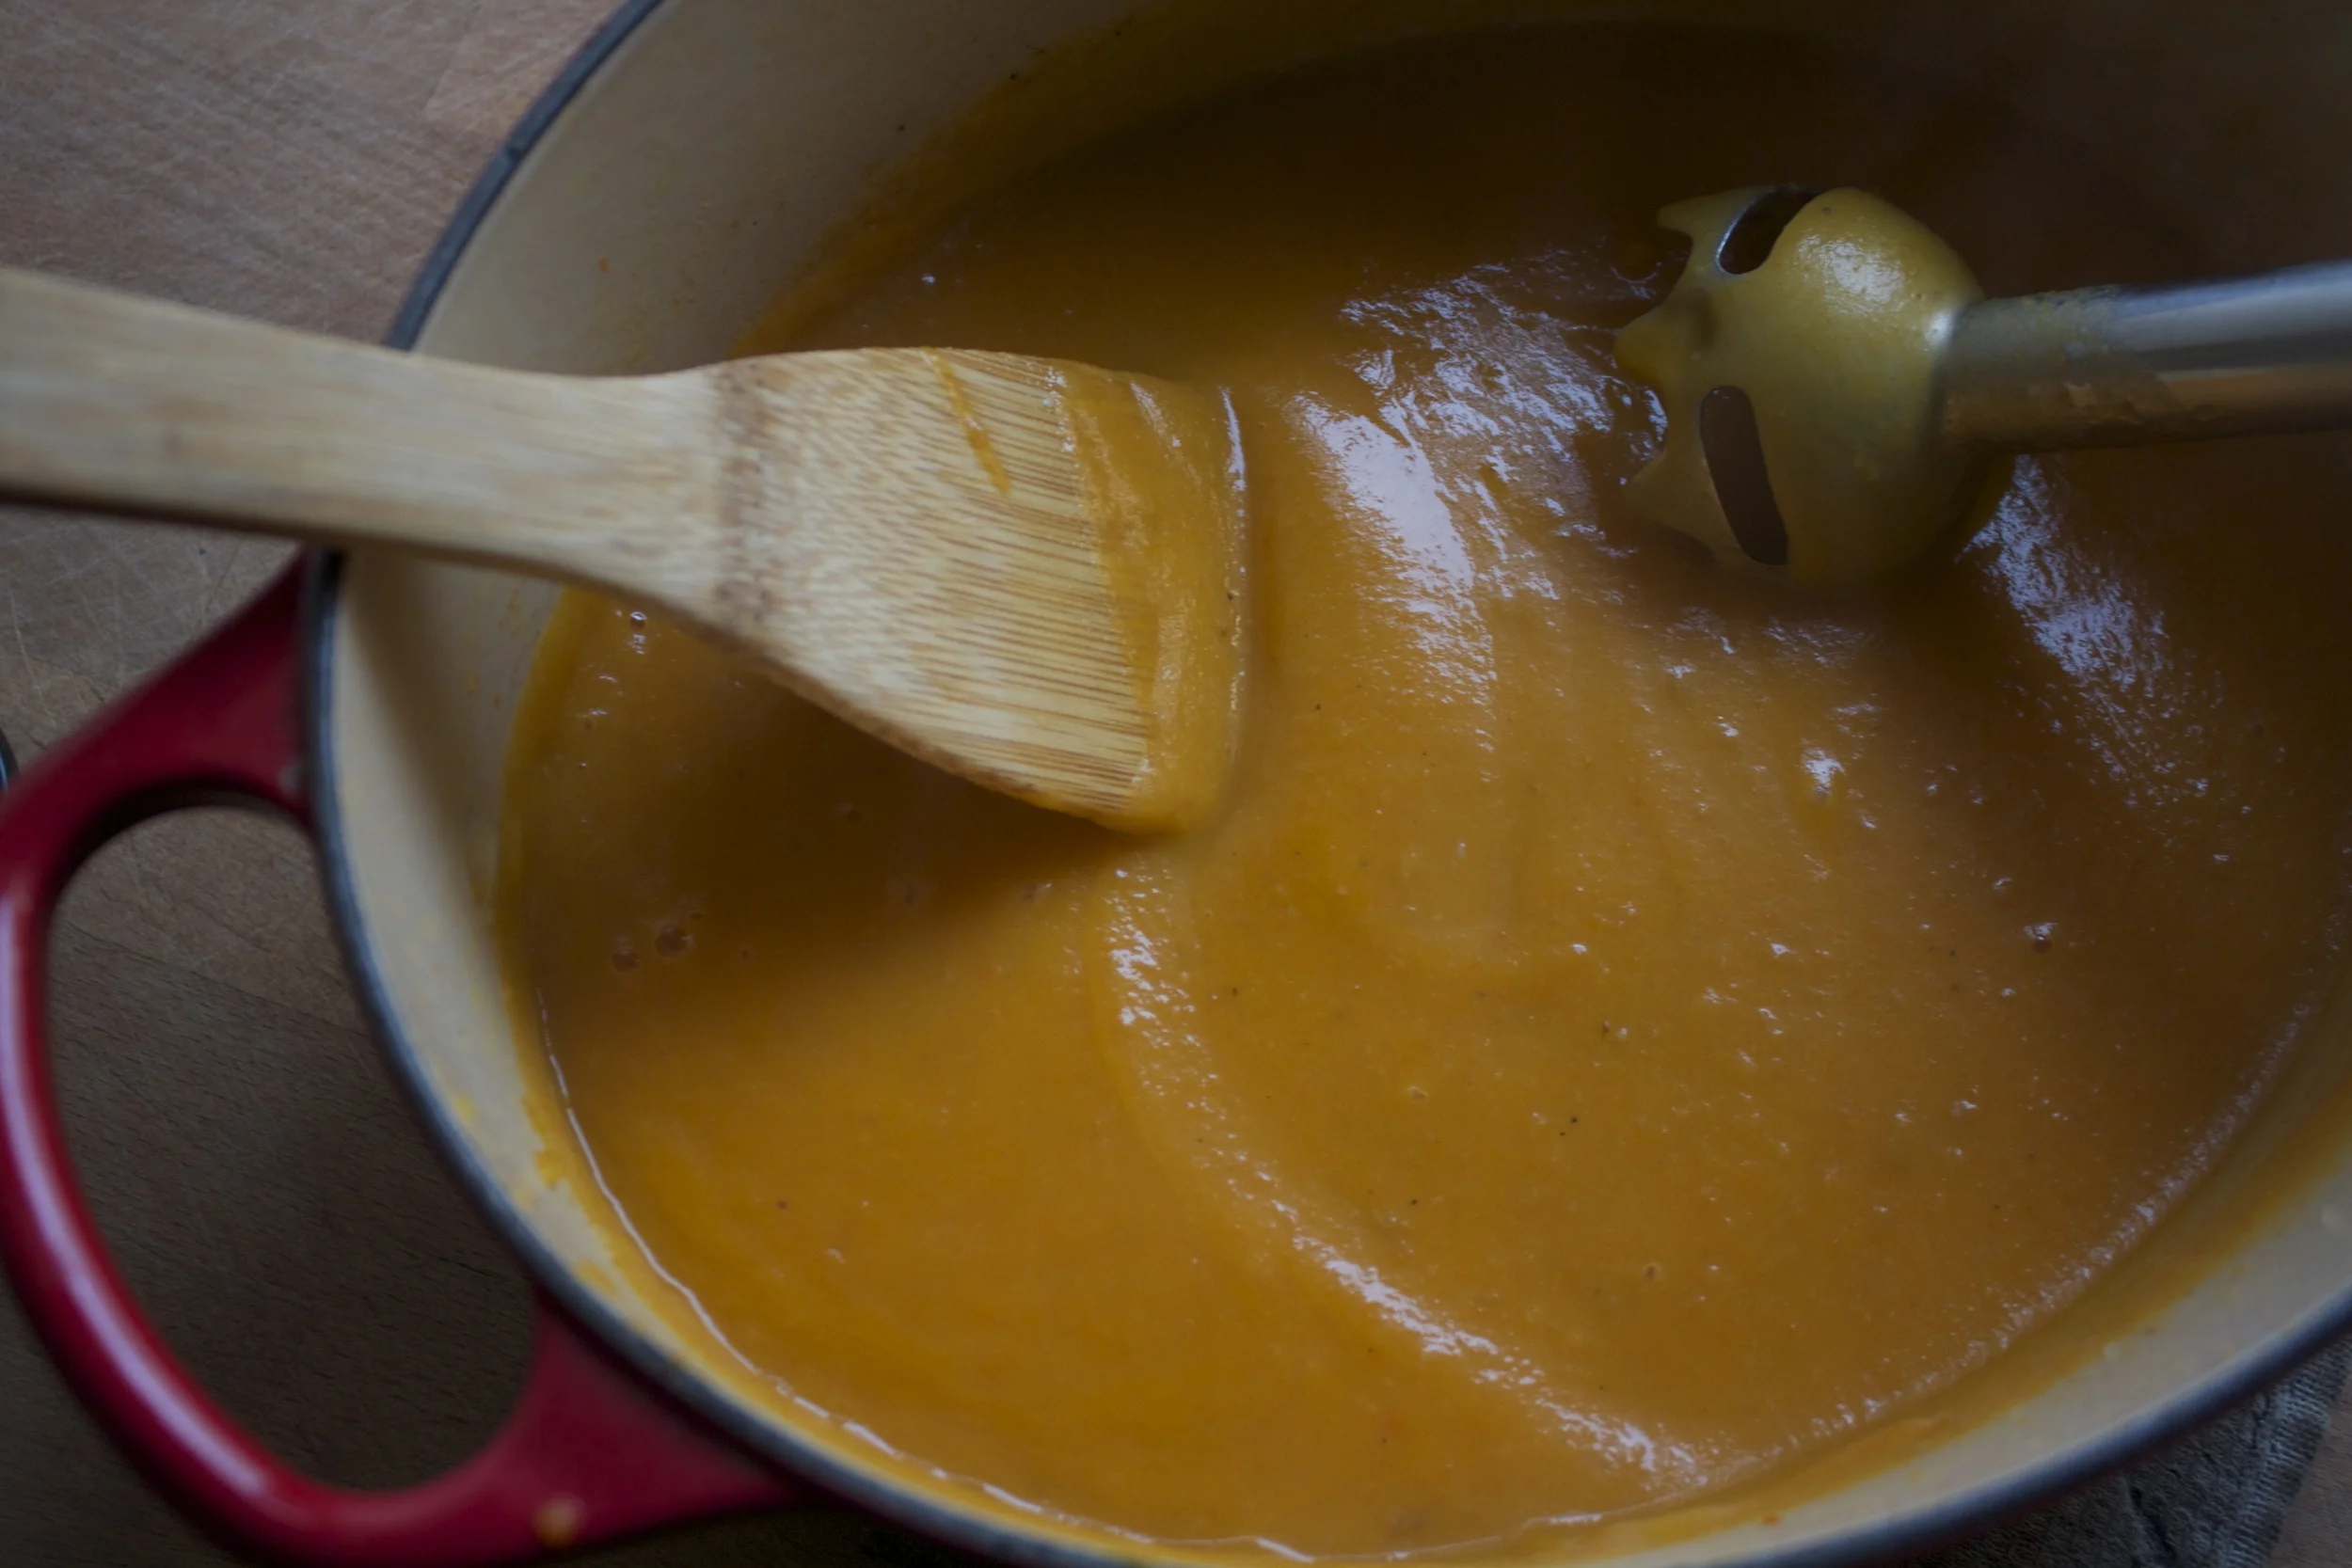
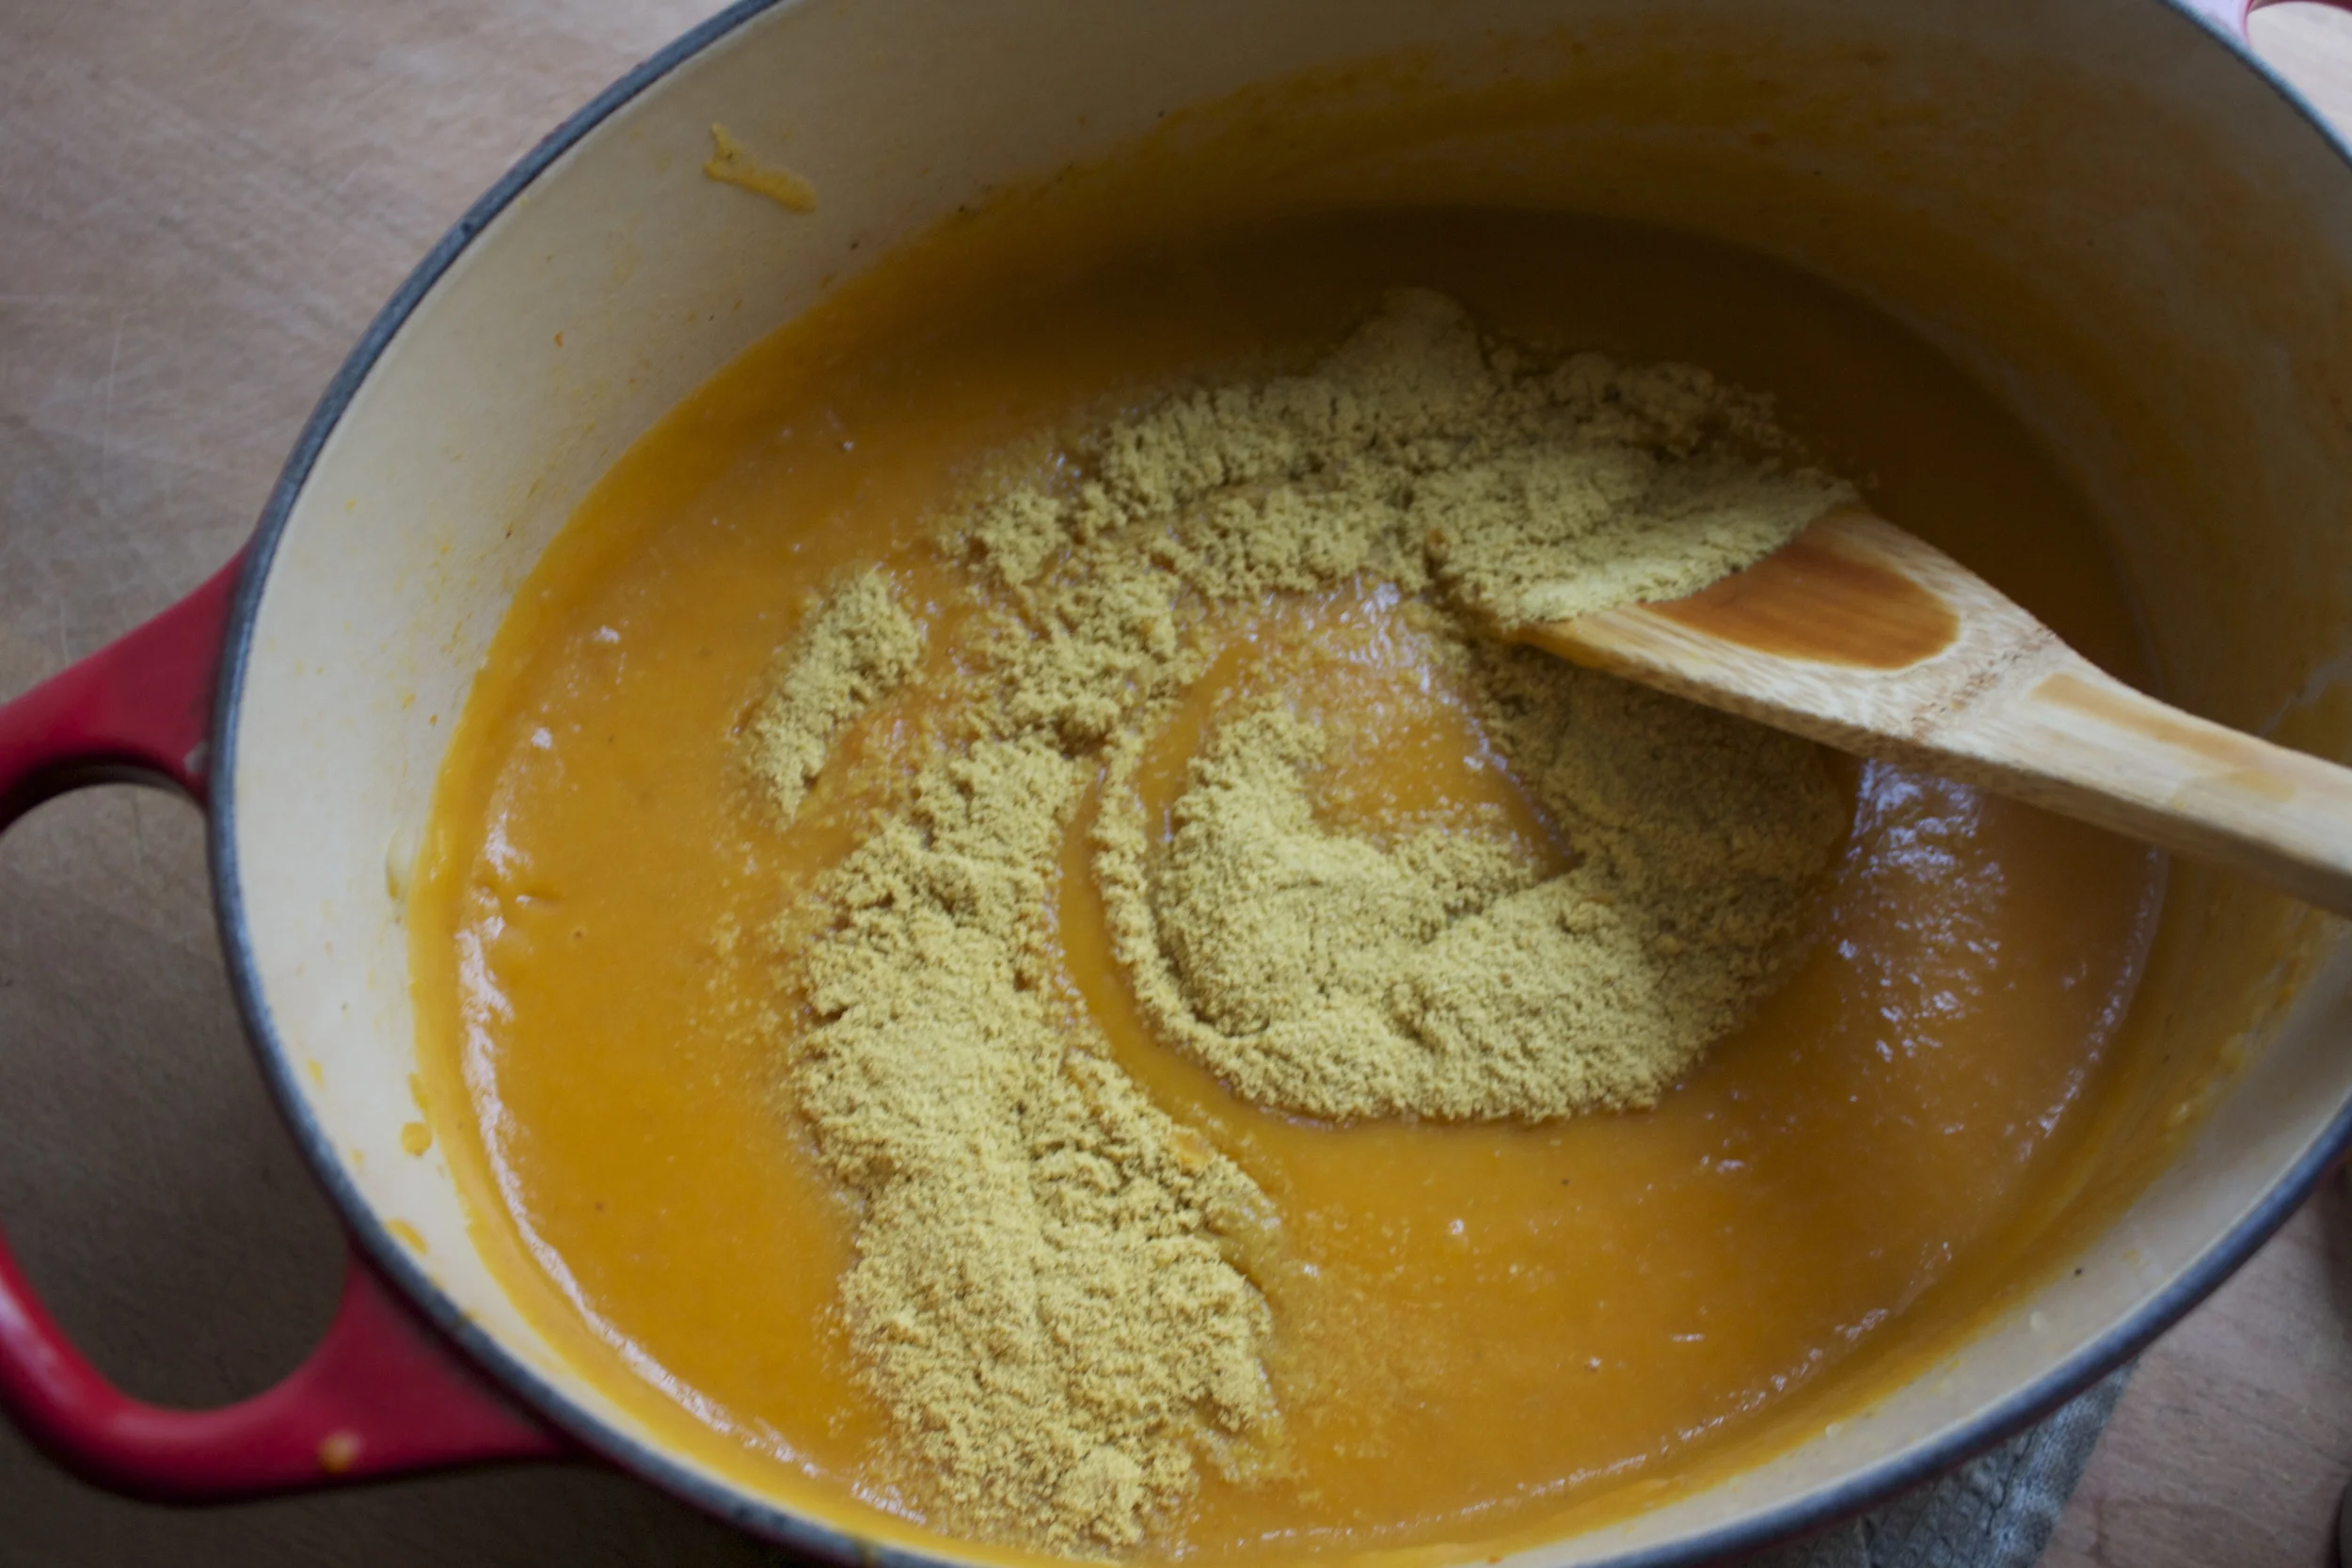
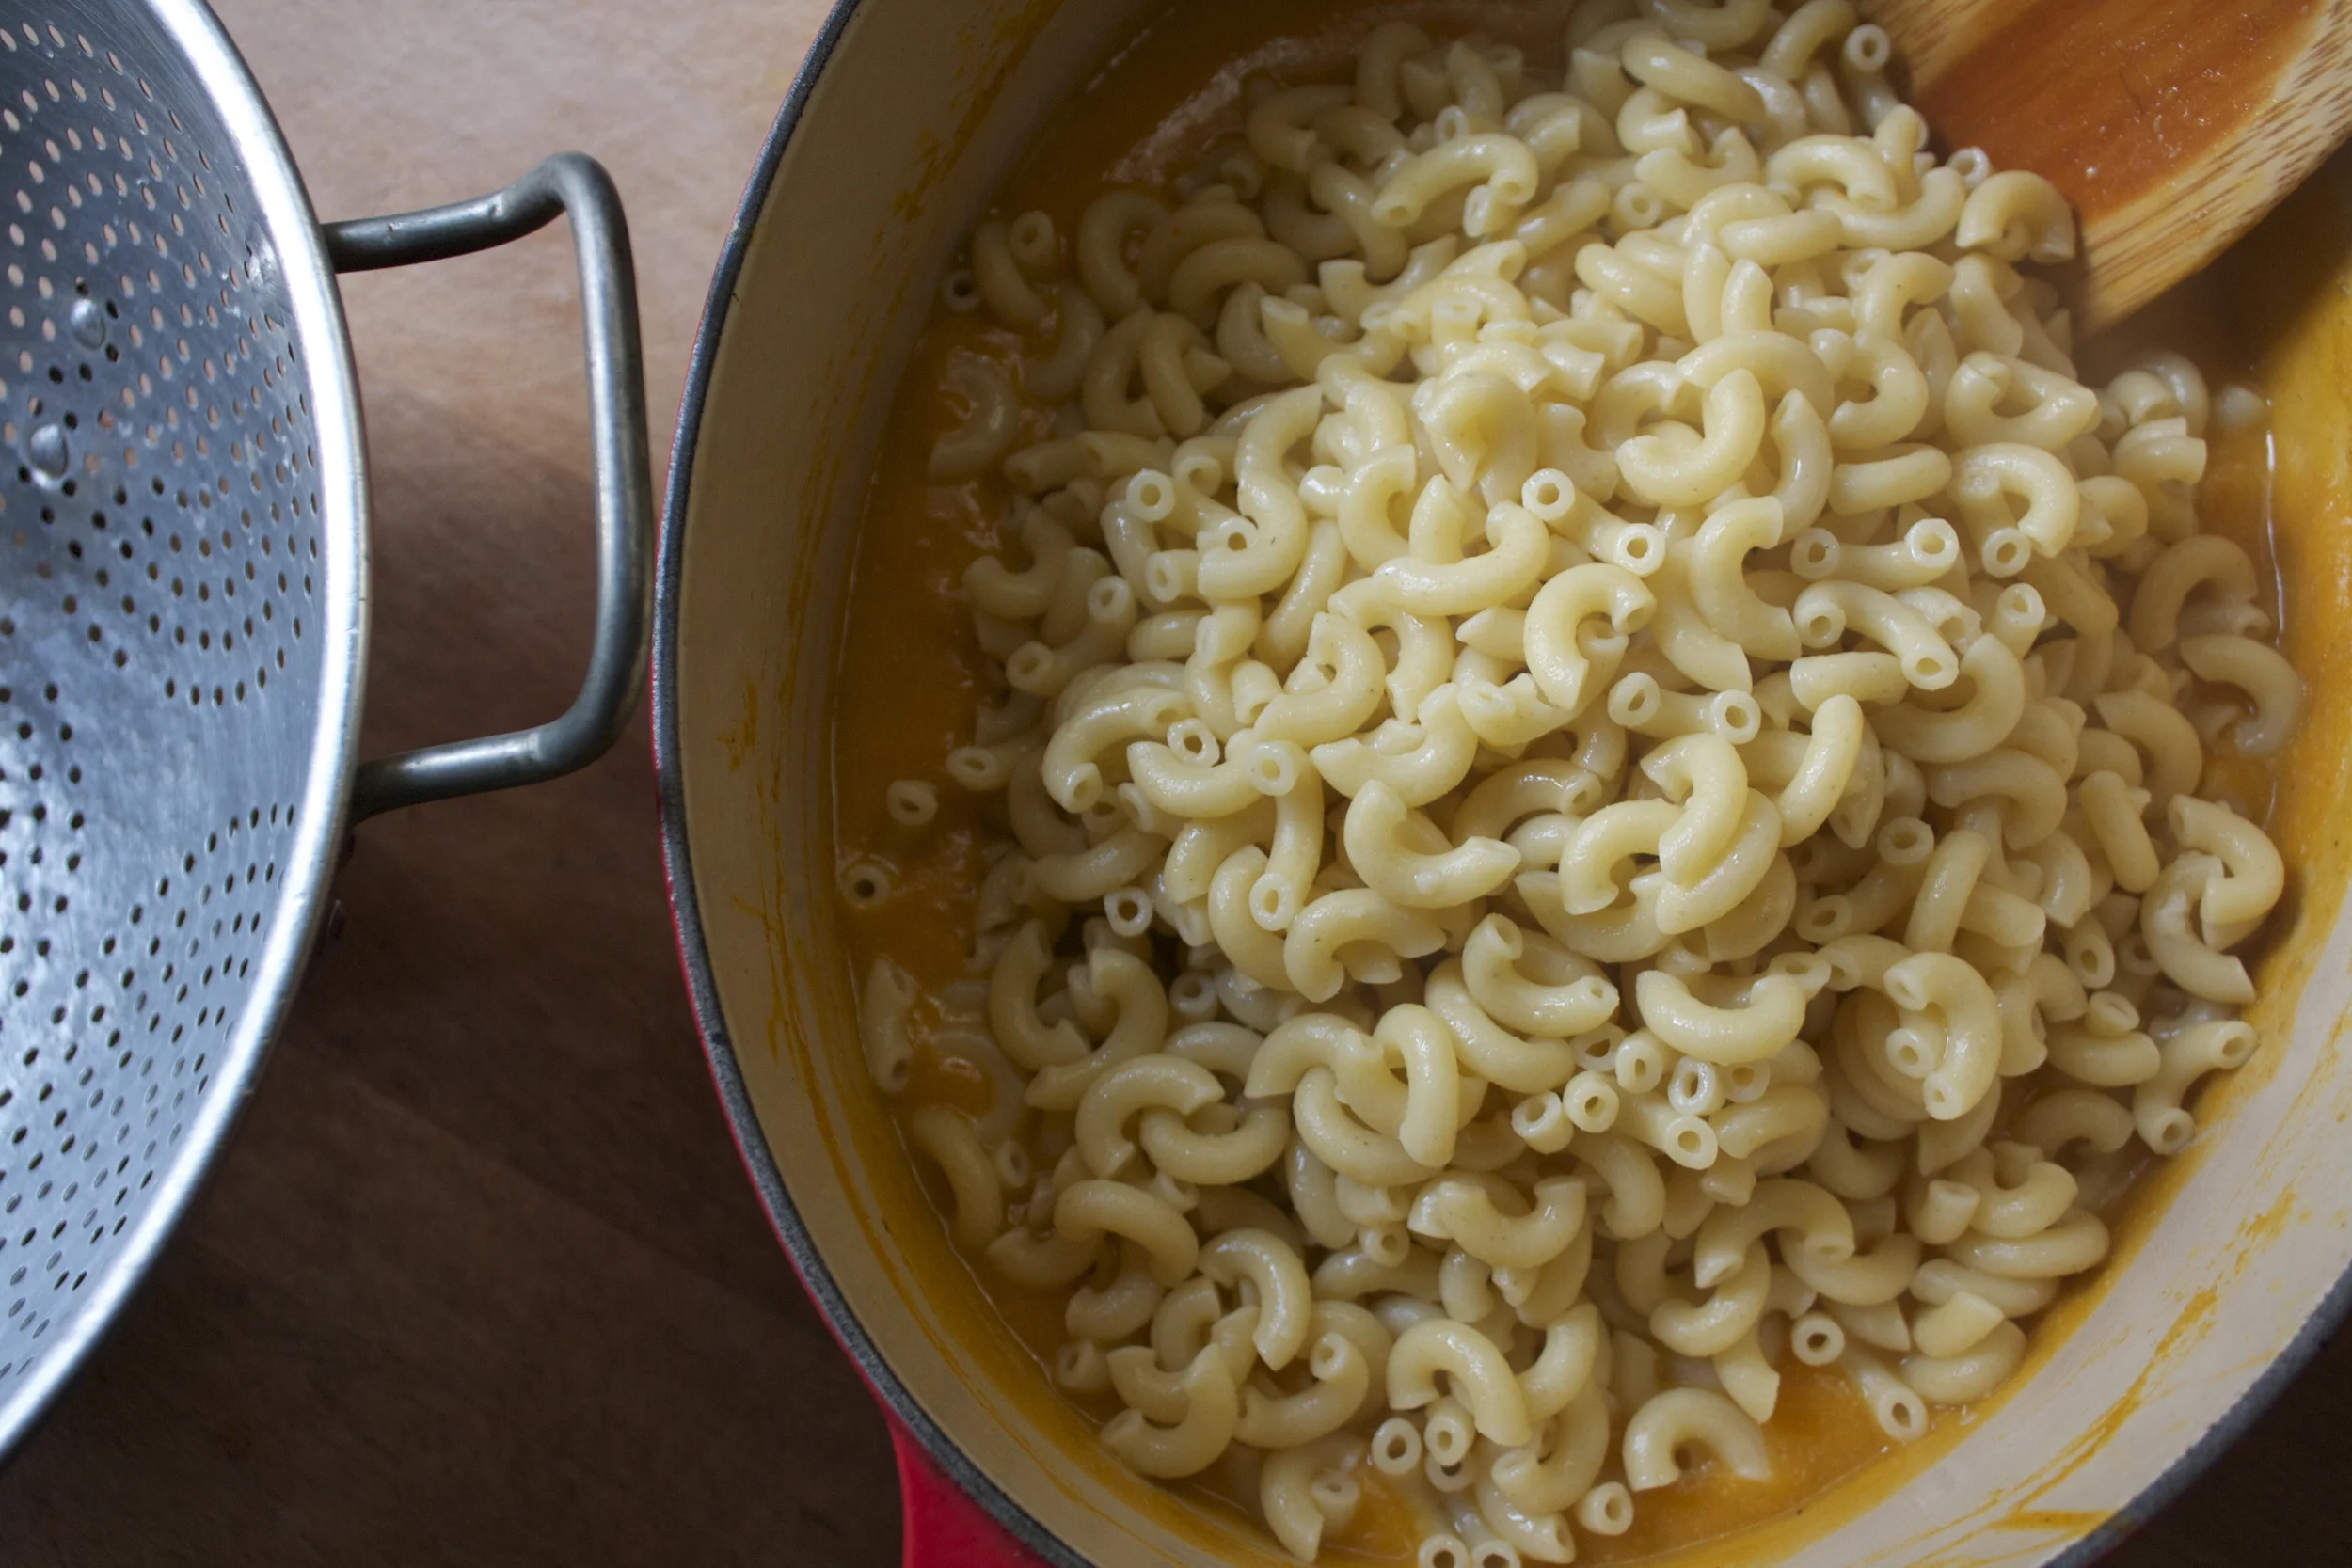
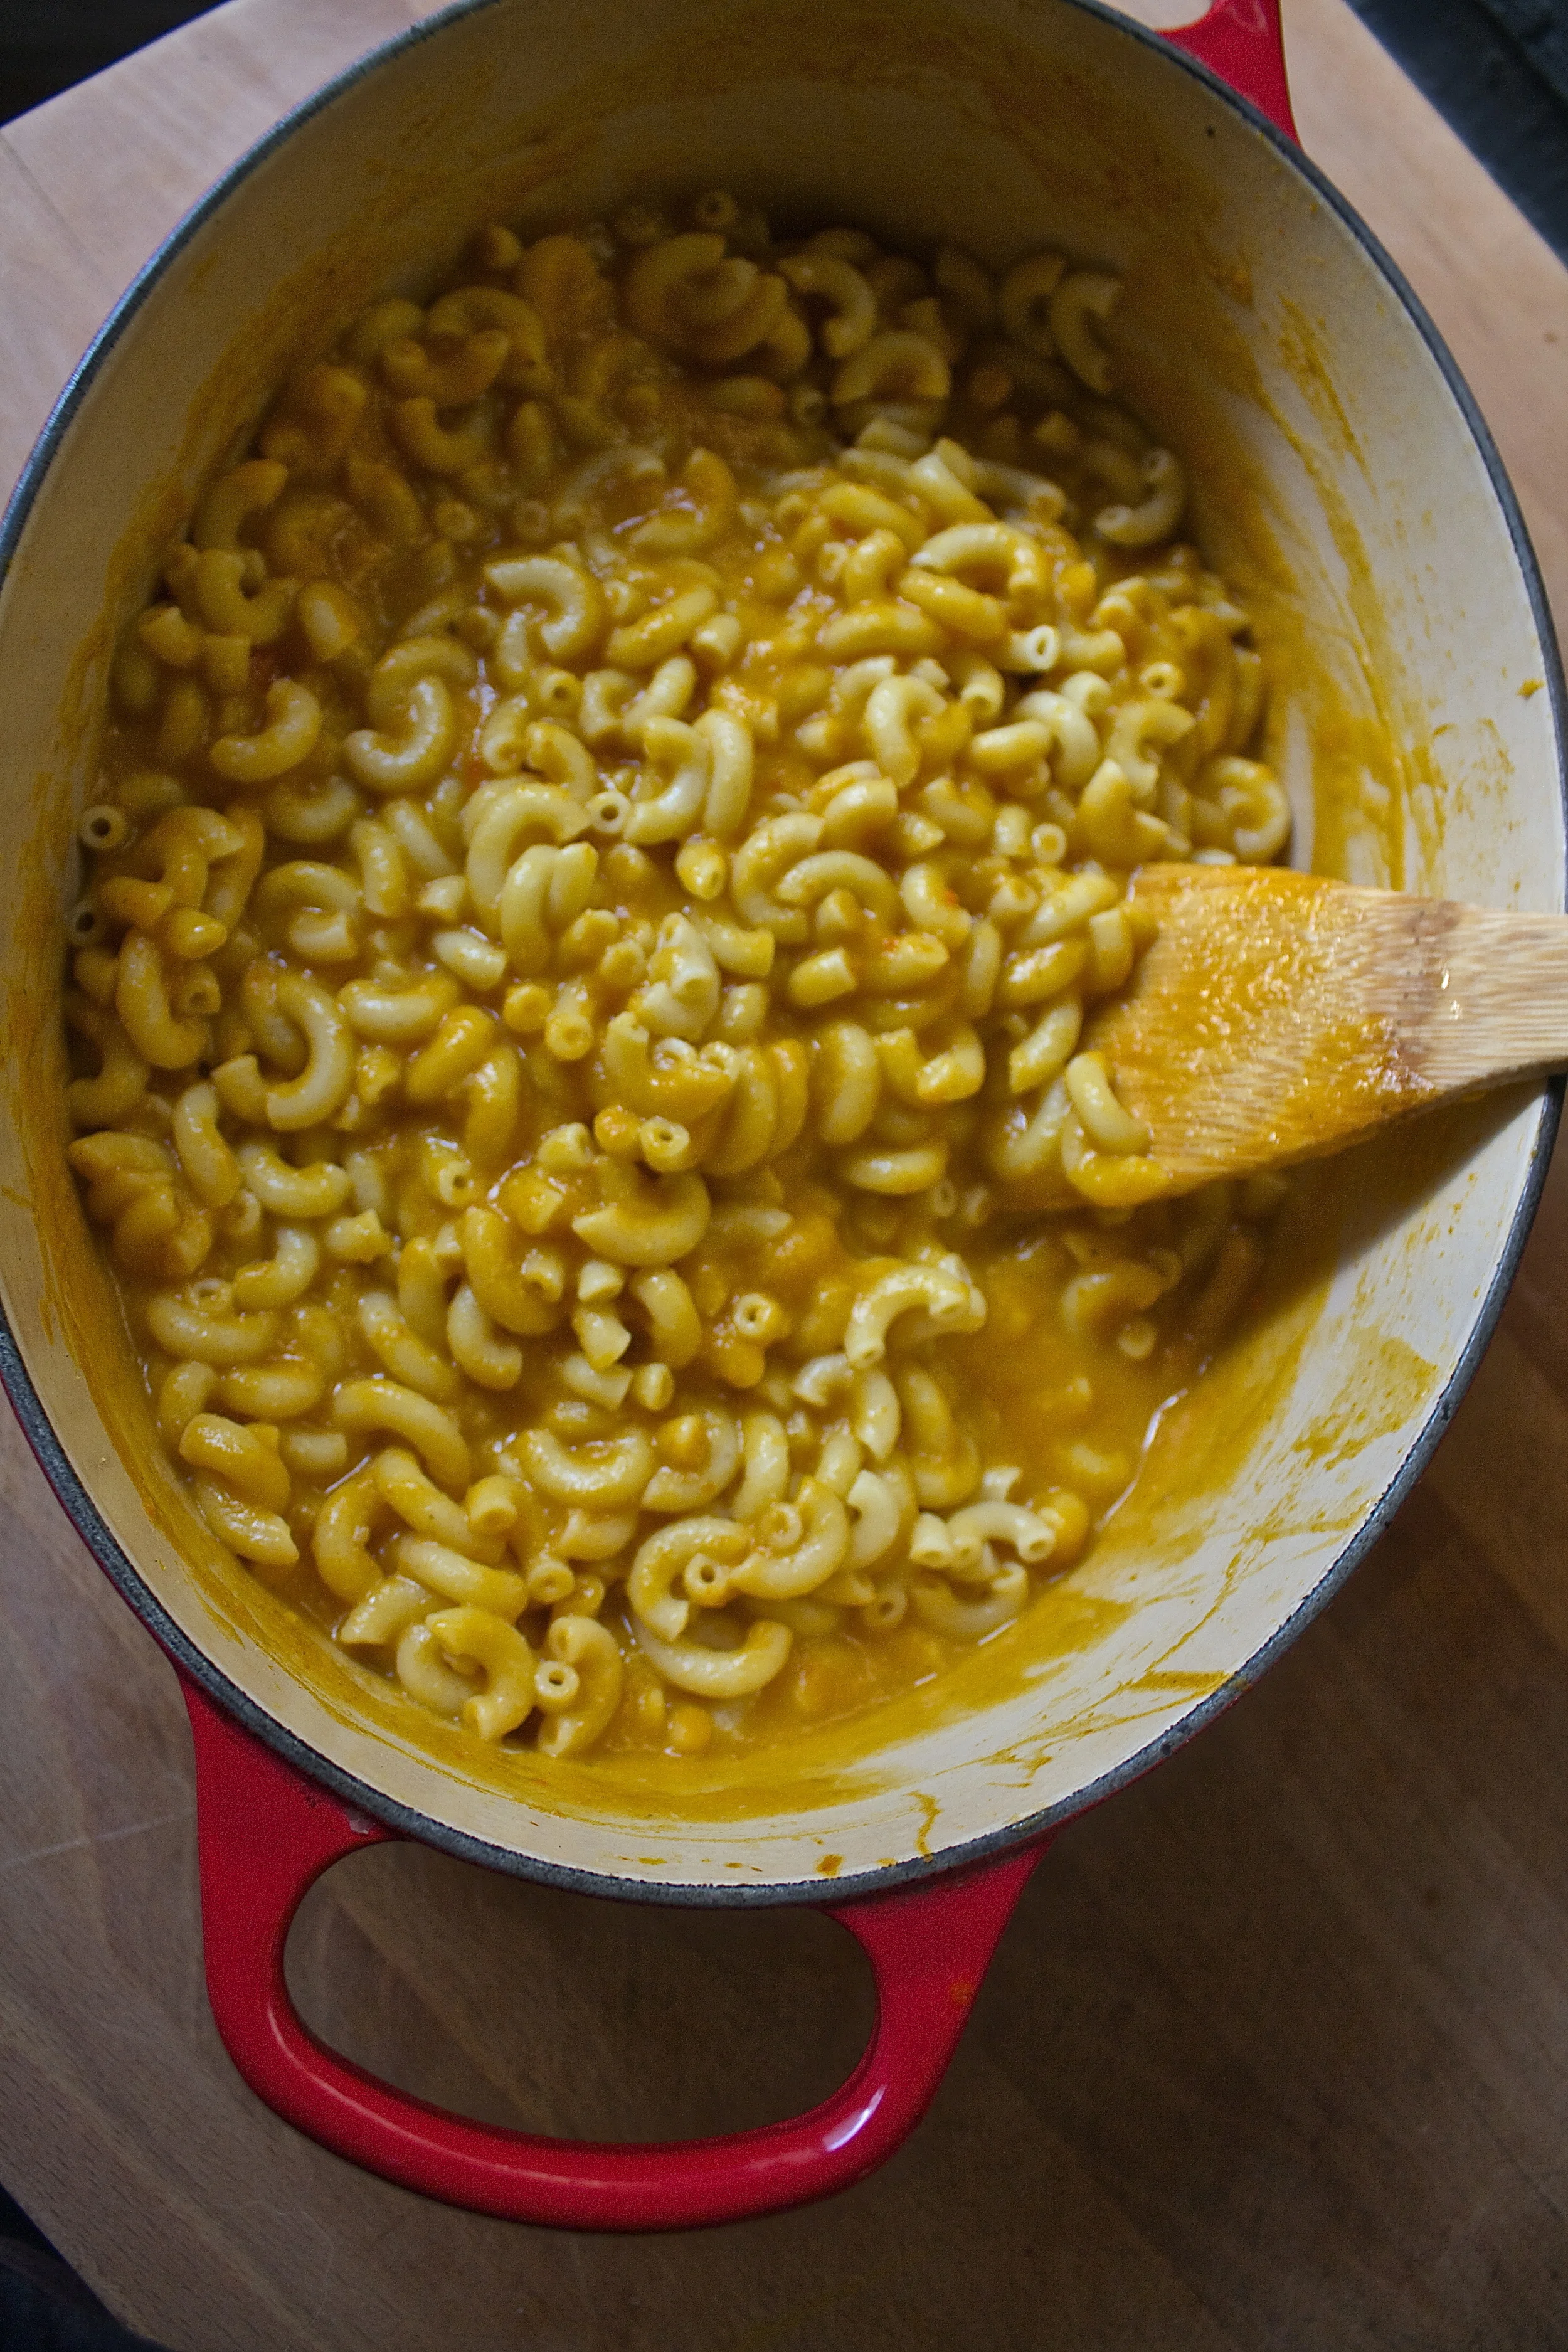
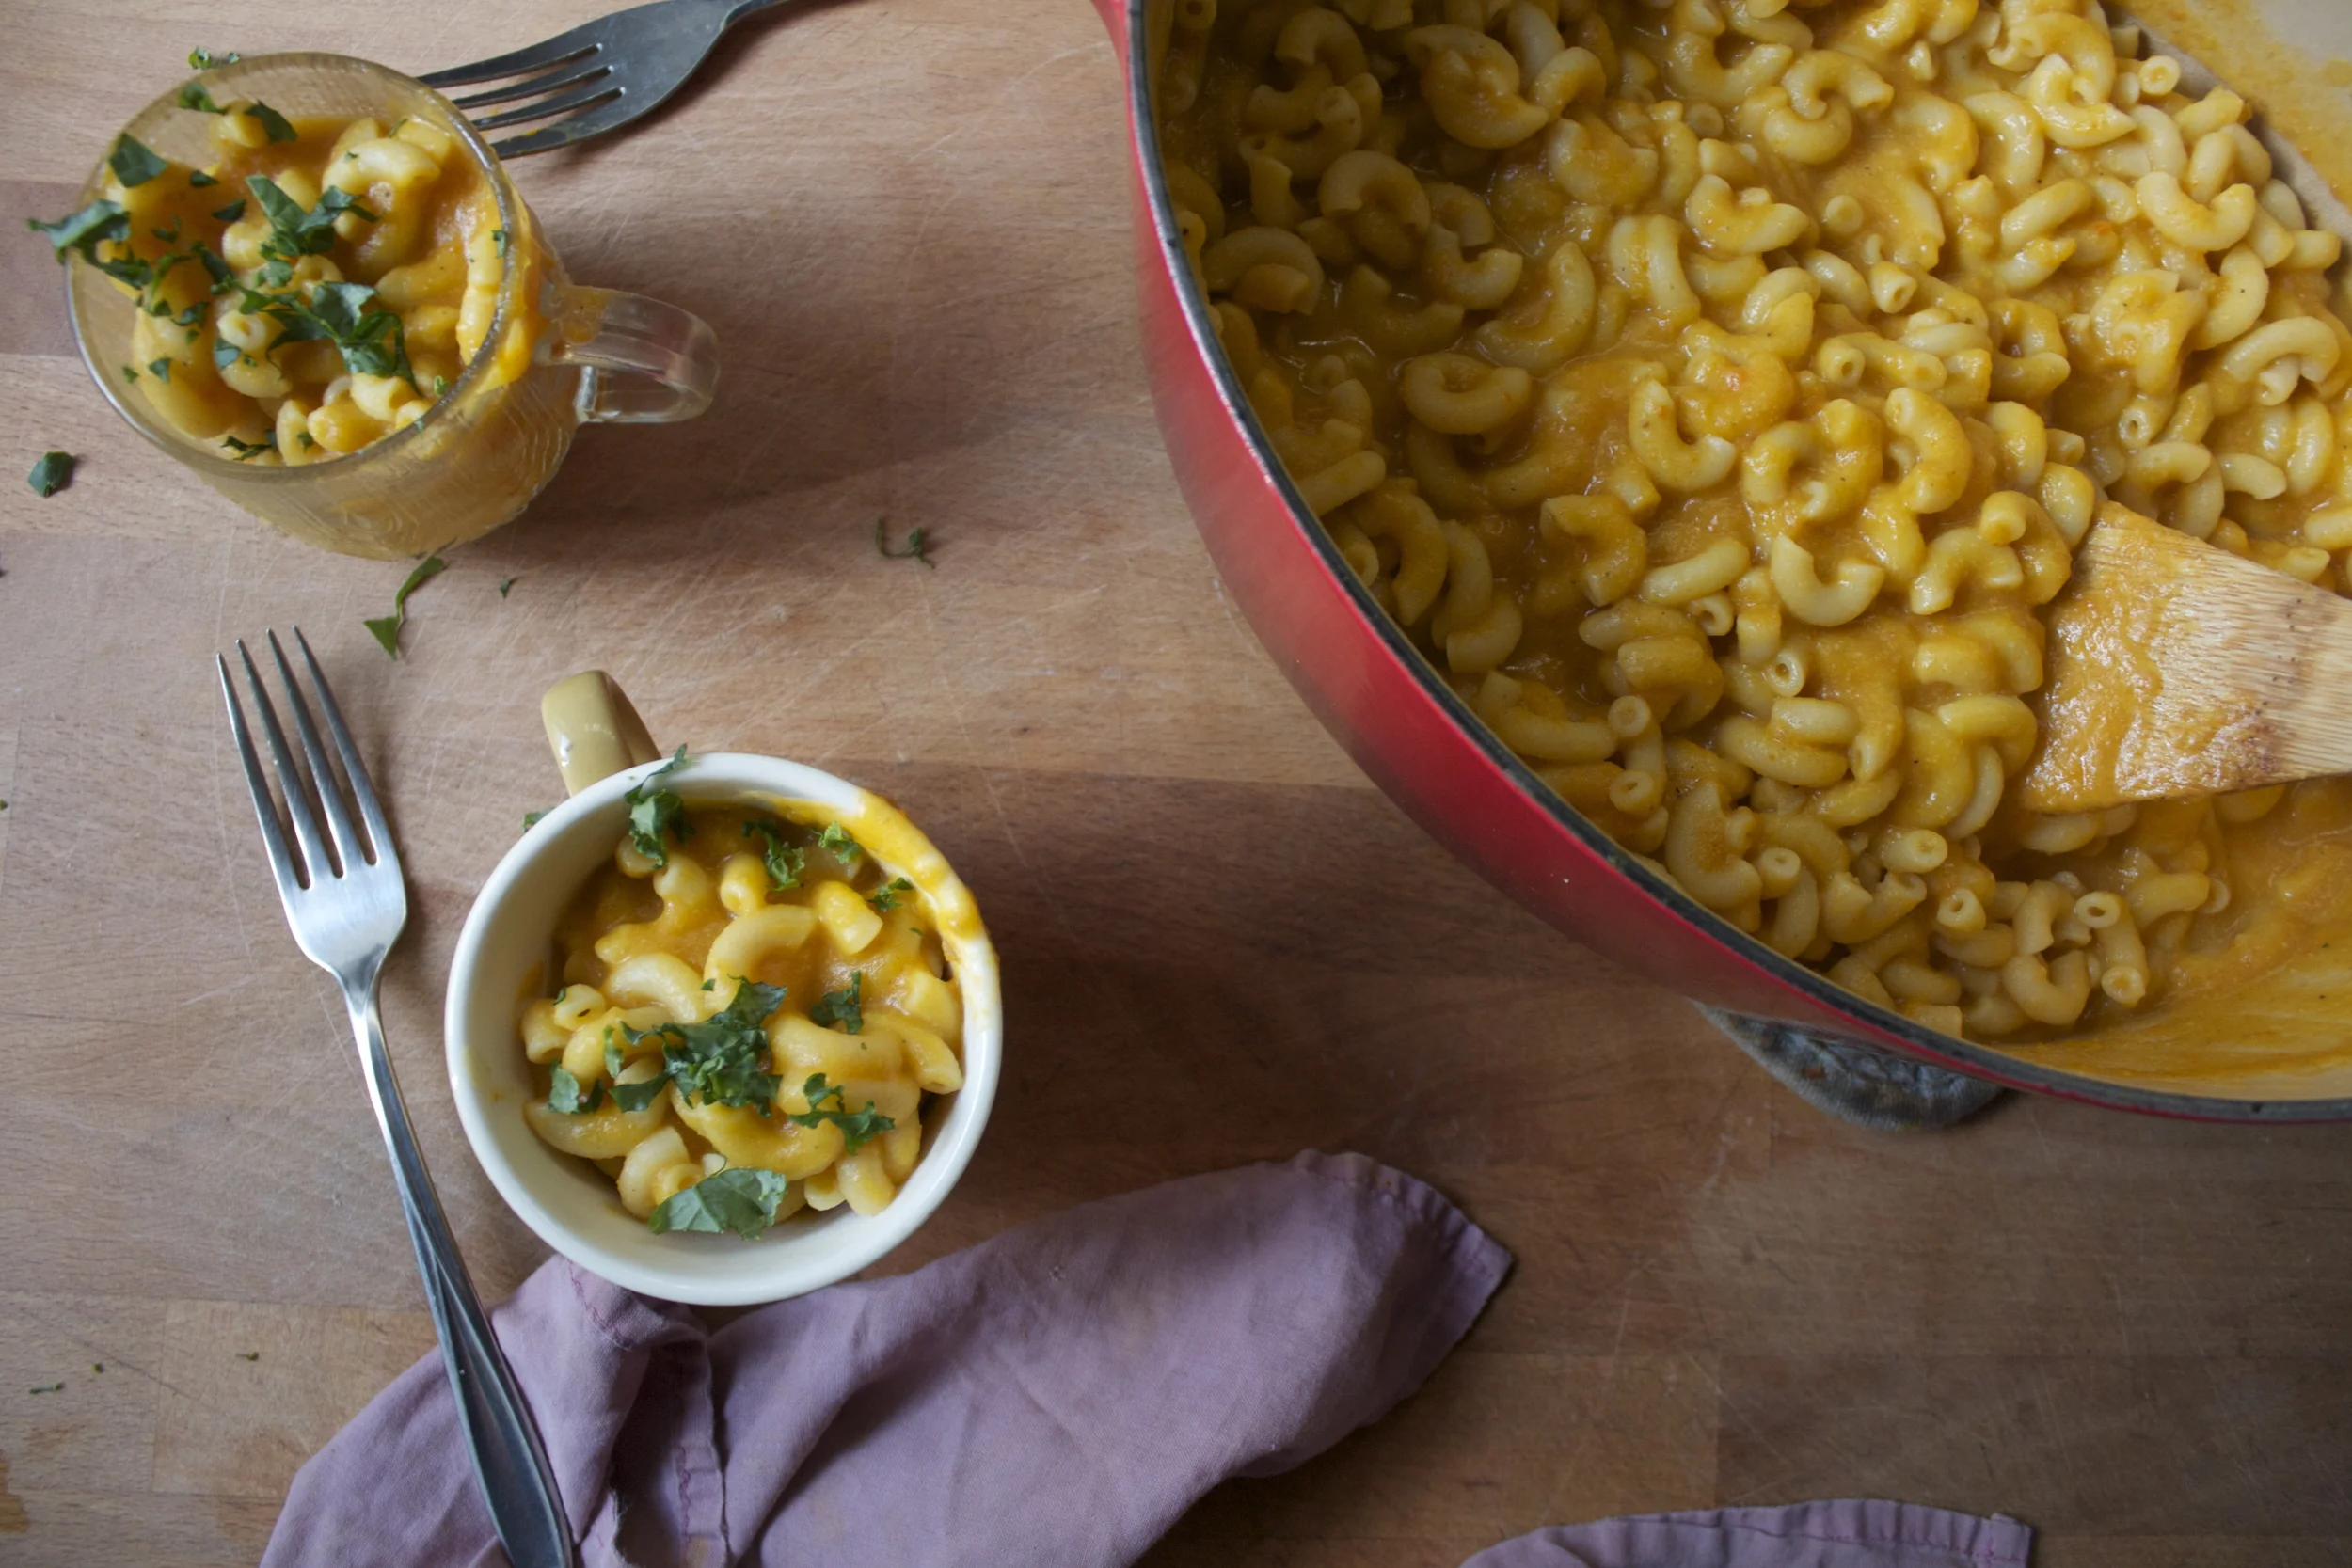

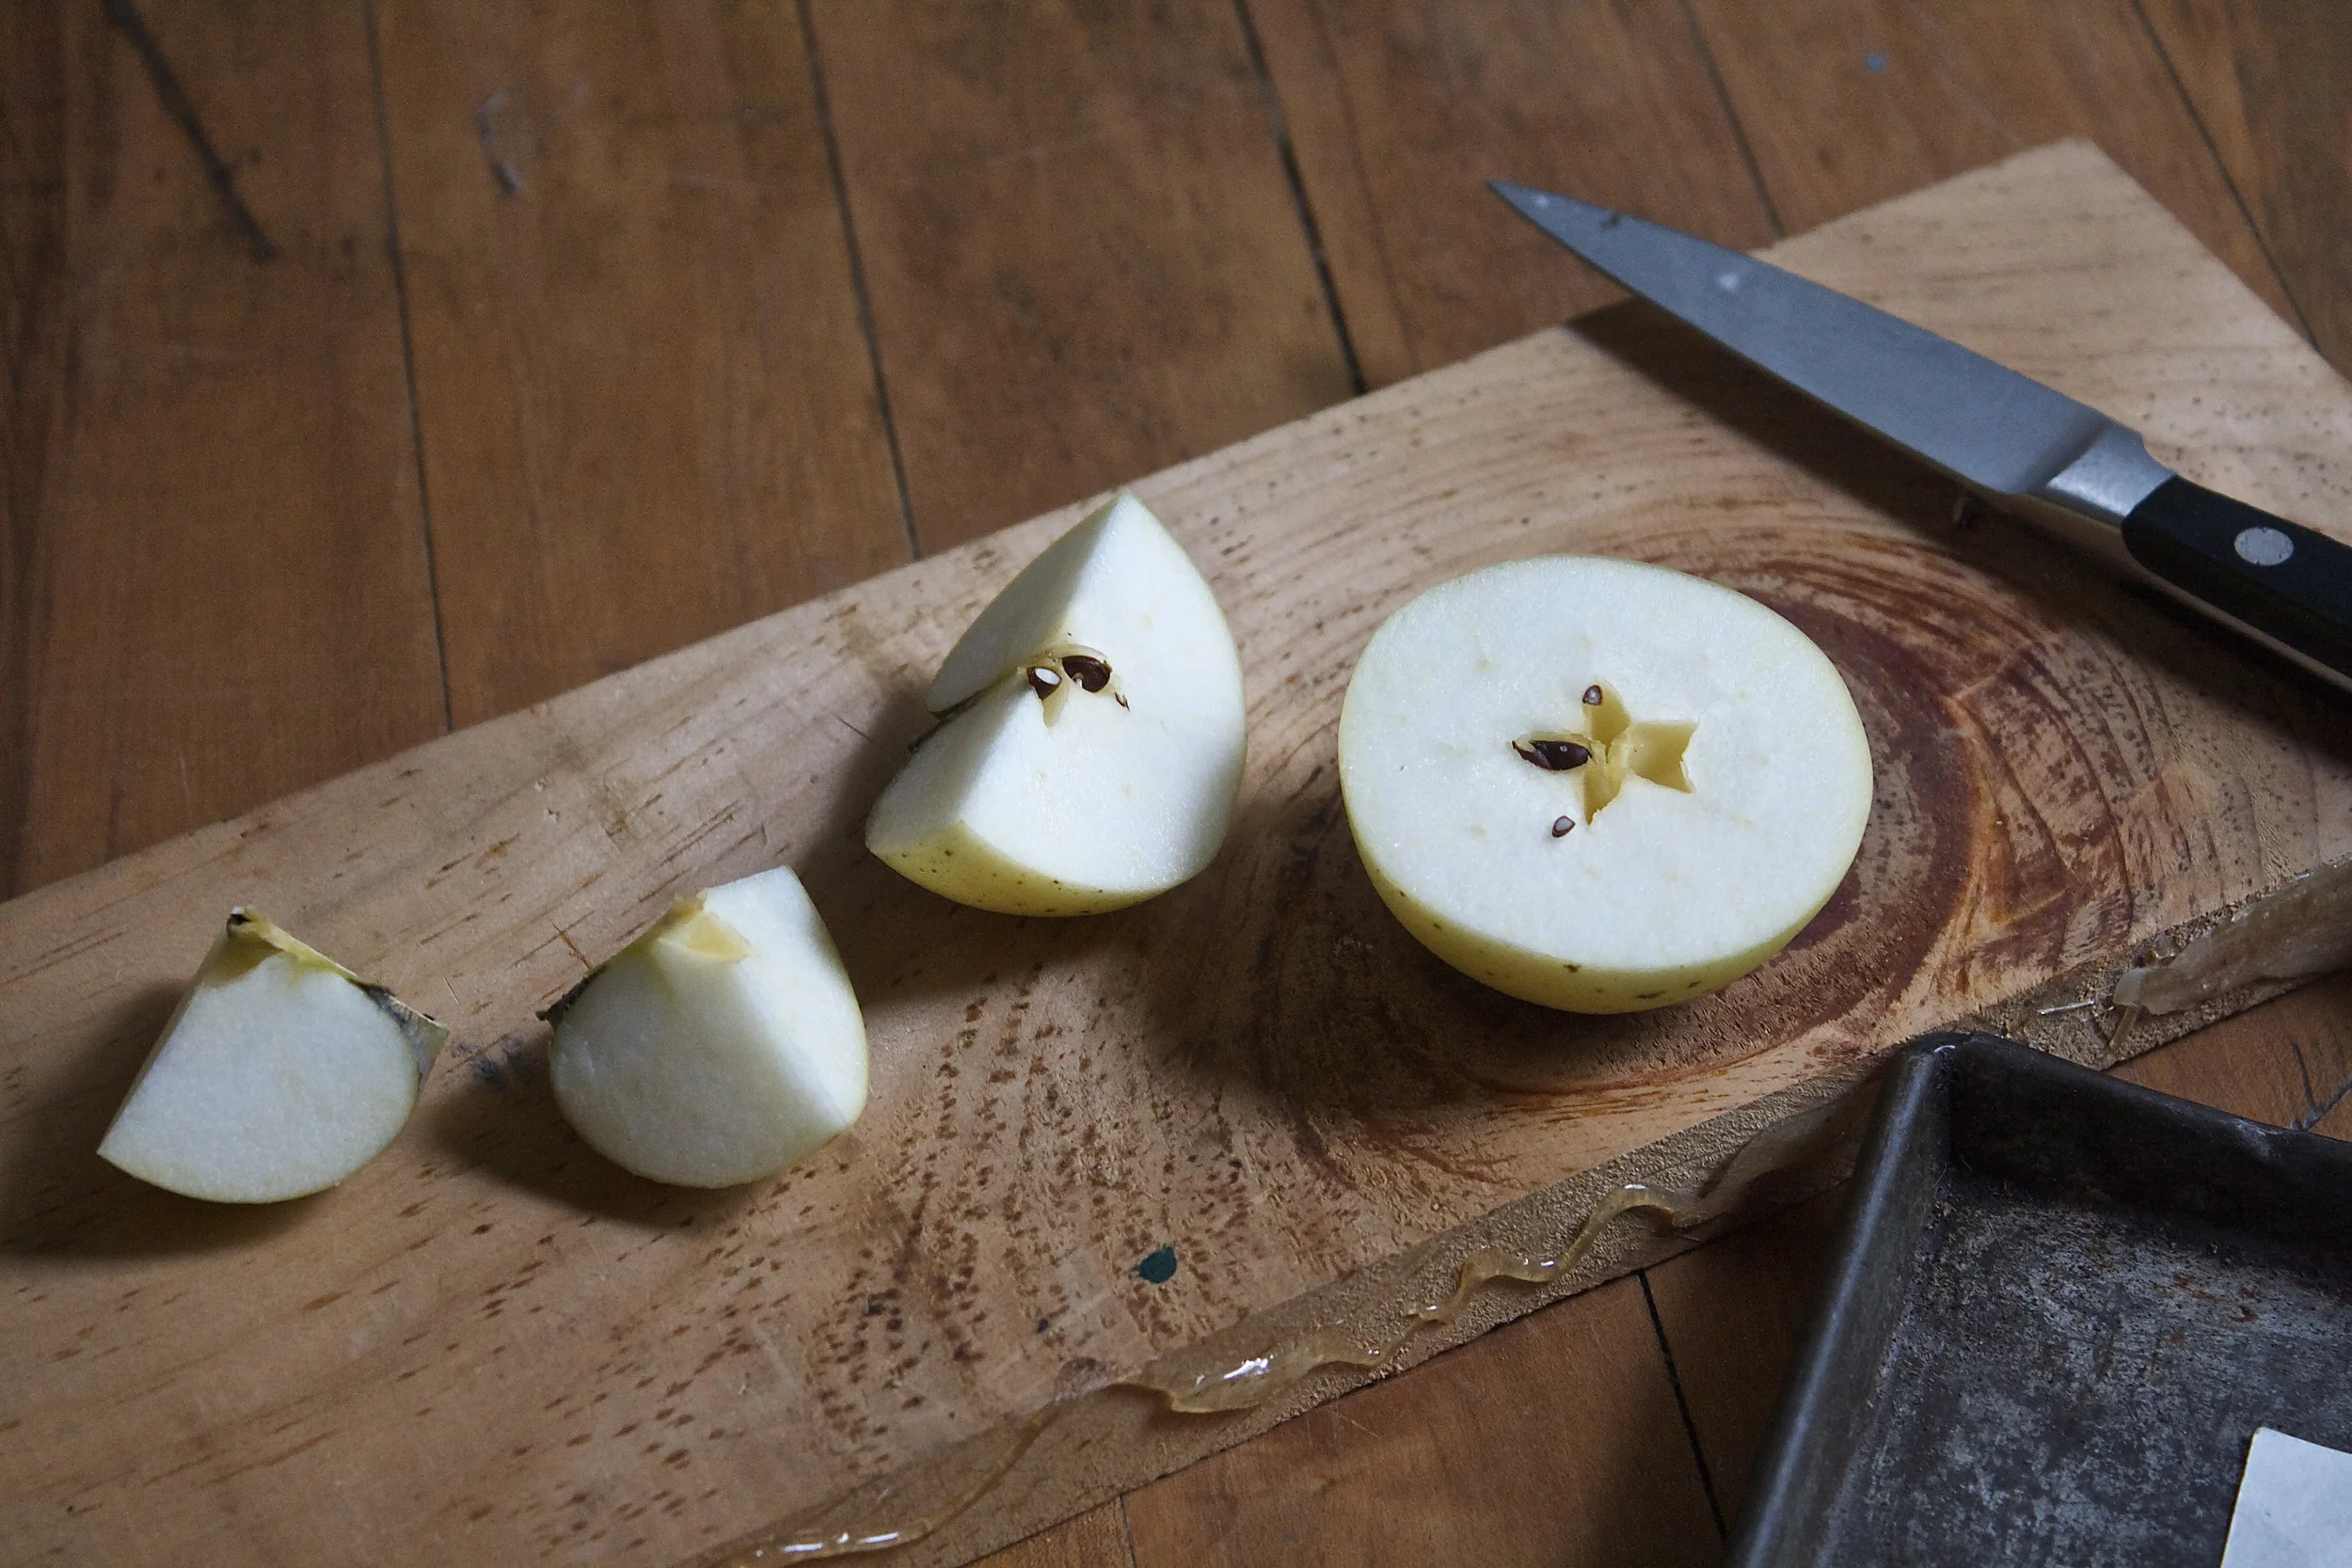
 I don’t know if I have bitched enough about it, but I only have one window in my living space. And as much as I love love love our little tiny loft, I am a person who needs the sun. So when I am home I spend a lot of time siting in front of the window.%u00a0 Over the past few weeks I have been doing a lot of watercolor painting in front of that window and somehow %u00a0between drawings of carrots and %u00a0vintage fans, I ended up making these marbled window stained glass hoops. And I am glade I did because these little watercolor gems really do make a big impact on my one source of sunlight. Even when the day is kind of gray and gloomy, having these in the window make the light seem brighter and happy.%u00a0
 So this project is really easy and fast. I recommend that if you are going to go to the trouble (it’s really no trouble) of making one, you might as well make 2 or 5. I actually made a bunch (think Mothers day or Easter presents) and ended up only keeping a s couple. I am going to have to make a few more soon.
 Take a piece(s) of paper a little bit bigger then the hoop you are working with and stick it into a pan or tray of water. Let it sit there for a few minutes until the paper is completely soaked.
 Take the wet paper and, oh so gently, crumple into a ball. This part can be a little tricky. You want to make as many creases as possible without ripping that paper. (I ripped a few pieces) I found that if I folded that paper a few time, then crumpled that it was less likely to rip.
 Uncrumple the paper and lay it gently onto the inner part of the hoop. Now the fun part. Go to town with the watercolors. I used 2 colors per piece, but you could do 1 or 3, or more. When applying the color, use big gentle strokes and let the colors kind of meld together. Watch as all the crumple veins soak up the paint. Try using different dilutions of color. I applied some color on thinly and some on the thicker side. But really, you can’t go wrong, just keep applying paint until you are happy. I stopped a few times and held it up to%u00a0the window just to see what it looked like. When it looked good, I was done.
 When you are happy with the colors, let the paper dry for a while on the hoop %u00a0until it is not longer super wet. I would say about an hour or so, but if you stick it near the heater, it might dry faster. (Just don’t stick it in the oven while you are making bread like I did with one.. It just ended up setting on fire. Oops)
THE LOVELY CRAZY
November 12, 2019 by maximios • Blog
I needed a drink. And I needed lunch. And so I was inspired to make this bloody mary tomato soup. Its got all the essentials to a great drink, the tomato, the spice, the zingy flavors, but warm and thick to eat as soup which was a perfect lift for a freezing cold dragging day. And no, I didn’t add the vodka to it because that would be irresponsible of me. I am not about to serve up lunch soup to a couple young boys with alcohol in it. I am not a dumb ass…Save the vodka for when the kids go home!
*I used the horseradish that is made with only horseradish and vinegar…..You can use the other stuff that contains sugars and milk, but I don’t know how tastes. And the worcestershire sauce I used did not contain fish but be aware that a lot of the popular brands do, so if you care, check labels!
Now in goes the emulsifying stick of fun! (Or dump in a blender) Blend blend blend!
And now the soup is now ready for the bowls!
Have a Happy Day!
-C
Bloody Mary Tomato Soup
The Stuff
Side note…The spicier ingredients…hot sauce, horseradish, and worcestershire sauce are pretty flexible. My advice is to start with the lesser amounts of the ingredient and work your way up until you get to your happy soup place.
Dice up carrots, onion and celery and place in a large pot and cook on medium heat for about 5 minutes. Once the veggies are slightly soft, add in the rest of the ingredients plus one tomato can worth of water. Bring to boil, cover and turn heat down to low. Cook for another 15-20 minutes or until all the veggies are super soft and the flavor have all developed. Add salt and pepper, taste and add any additional spicier spices that you want.
When happy with taste, either in a blender or with a hand emulsifier, blend soup until smooth (or to your desired constancy) Soup is now ready to serve.
Ladle or pour into bowls and serve with a stalk of celery and maybe a wedge of lemon. Crackers or croutons are welcome too.
Eat with a Spoon
Soup left overs are great refrigerated and served cold. Add a splash of vodka to make it fun.
Chai, chocolate, and sugar equals….Bada da da….. awesome Cookies! And who doesn’t want awesome cookies?
Preheat the oven to 375 and get the cookies all dressed up in a cinnamon sugar suit by taking globs of dough and kind of rolling it into ball (perfection is not necessary) Drop dough balls into the cinnamon sugar and toss around to fully coat. Place on cookie sheet and give a good smoosh to flatten the cookie balls out to about 1/2 inch thick. Now into the oven for about 9-11 minutes to bake.
Heres to a Happy Hump Day!
-C
Chocolate Chai Snickerdoodles
The stuff-
Preheat oven to 375
In a cup, steep tea bag in 1 1/4 cups boiling water. Let tea steep for 10 minutes.
In Large bowl, add sugars, oil, vanilla, vinegar and steeped tea and beat on medium speed for about 2 minutes. Add the rest of the ingredients (besides cinnamon and sugar for coating) and beat on low until everything is fully incorporated.
Add the cinnamon and sugar to a small bowl and mix together. Take globs of dough and roughly formed ball then drop into cinnamon sugar and toss to coat. Place coated balls on cooke sheet and smoosh down so cookies are about 1/2 inch thick. Place in oven for about 9-11 minutes or until cookies are just barely cooked through. Remove and let cool on a wire rack.
My suggestion for sharing….If they want one, make them sing and dance for it!
Focaccia with out without stuff
Optional toppings
In a bowl or jar, mix honey (or sugar), yeast and warm water together and let sit for about 5 minutes or until yeast is activated and starts to foam In a large bowl, whisk together flour and 1 tablespoon of salt. With either a wooden spoon, dough whisk, or if you have one, a stand mixer with a dough hook, mix the yeast mixture with the flour. The dough is going to be really sticky so mixing might get a little gloppy, but keep at it until everything is full incorporated.. for about 3-5 minutes and don’t be afraid to use your hand… you can wash it off. Once mixed drizzle with oil and cover with a towel. Let rise for about an hour or until dough has dubbed in size. When dough has double, coat two 8 or 9 inch cake pans each with 2 tablespoons olive oil. Dump dough onto floured surface and cut in half. Take each half a place in pan. cover and let rise again for another 20ish minutes. preheat over to 400 degrees After second rise, lightly take your fingers and push down dough, making little indents all over the surface. Drizzle each with another tablespoon of olive oil and sprinkle each with a teaspoon of salt. If using spices or any other toppings, nows the time to layer them on. And do any cheese last! Place in oven and bake for about 30 minutes or until the tops are golden brown. When done, place on a wire rack and let cool a bit before removing from pans. Done!! To store, place in a paper bag.. best eaten within a few days!
It hasn’t stopped snowing, the temperature is dropping fast (it’s getting to the point the dog doesn’t even want to be outside) and the mister is busy hand shoveling three long driveways. So I figured that in between all the laundry folding, plant watering , and all around sitting on my butt that I am doing INSIDE, that I would be so super nice and crank the stove up and make my love some cookies.I love making cookies, especially when I have chores to do. I think part of it is that cookies are baked in batches which breaks up the chores and gives a sort of rhythm to things. Plus everything is nice when the house smells like cookies. I was going to make chocolate chocolate chocolate cookies, but realized that I didn’t have cocoa powder, so I went with fresh cranberries (I just scored a pound of organic cranberries for 89 cents!) coconut flakes and chocolate chips. Plus I wanted to make them oatmeal because the mister likes oatmeal and oatmeal makes the cookies a little more hardy. (We need hardy when the temperature dips below zero)The verdict….. chewy, soft, slightly sweet oatmeal, bittersweet chocolate, nutty floral coconut, and the zing and pop of the fresh cranberries. He told me to hide them… hide so he will stop eating them….. because they be amazing!
The base of this cookie….We are using regular old fashion oats and flour. Salt, baking soda and baking powder. Vanilla, chia seeds in hot water, coconut oil white and brown sugar…. You know, all the cookie stuff. Then all the goodness.. Chocolate chips, coconut flakes, and fresh cranberries. Goodness.Oh yeah, and they are vegan…if that matters to you.Warm the coconut oil and mix with the white and brown sugars. Then add the chia seeds soaked in hot water. Stir until nice and silky smooth.In goes some more stuff. I just dumped all the dry right on in that bowl and mixed it up nice and nice.Chopped the fresh cranberries into chunks… One at a time……Just kidding, I actually laid a cutting board on top of the cranberries, applied a little pressure and sliced through the cranberries.. Does that make sense? I hope so, because its is much easier and faster and the cranberries don’t all roll away.The chopped cranberries, coconut flakes and the chocolate chips go in to be mix all up. I used my hands to form the balls and gave each mound a little smoosh, but not completely flat. Then into a preheated 375 degree oven for about 13-15 minutes or until a nice golden brown.A cup of hot coffee and a plate of warm cookies… I am the nicest, right! (After his nice cookie rest I proceeded to do a little nagging, so the day evened out)So today is probably a great day for everyone to make cookies. It’s freezing out, its saturday and well, just cause. You might even be looking for a great recipe to make for that big party your going to.You should make these cookies. Have a Fantastic Weekend!!!-C
Oatmeal Fresh Cranberry Coconut Chocolate Chip Coookies
Ingredients
Preheat oven to 375To start, take the chia seed and soak them in the 4 tablespoon hot water for a few minutes. Then in a large bowl, mix together the white and brown sugar with warmed coconut oil. Add in the gelled chia seeds and vanilla and stir until silky and combined. (the warm chia seeds will help everything mix together nicely) Now mix in all the dry. I start with the oats, dump on flour, toss in the baking powder and soda and salt. Mix until fully combines. If the dough seems to dry, add in another tablespoon or two of hot water. Chop the fresh cranberries into halves or smaller and dump them, the coconut and chocolate chips into the bowl of dough and mix.Using a scoop, spoons, or your hands, make little balls and place on a cookie sheet, giving each ball a little smoosh. Into the oven for 13-15 minutes or until golden brown.Remove and cool on rack.Eat a few and hide the rest for later.