Soup. No joke (although people make jokes about me), is eaten in my house, at lunch and sometime even at dinner. Every. Single. Day. There is just no going wrong with a big pot or veggies, spices, sometimes beans, sometime not. I make it in big batches, in small batches. Sometimes it%u2019s more a bisque, or a chili or a stew, or just a really really spicy broth. Whatever I have in the fridge or freezer, the stuff that might not be great eaten fresh, sad spinach%u2026. It all turns in soup.
Does that make me some kind of weird soup freak? Maybe, but I am ok with that. And to those who see me walking down the street and yell silly things about me having to get home to eat my soup (it happens more then you know) well, you know you are just jealous and secretly wish you were eating soup with my too. So %ud83d%ude1d.
Are you a soup person too? I mean, who isn%u2019t, especially right now that is is fall time and it%u2019s getting chilly and darker out and all we want to do is hibernate. Definitely a soup time if there was ever a specific time for soup. And this soup, made even more hardy and comforting with the addition on dumplings. I actually made it specifically for the mr because, well just because I love him and thought he would enjoy it. And well, he loved it because dumplings of course. Light and slightly chewy, soup thickening dumplings with hot and comforting soup. A perfect end to a day of him working outside in the cold.
So soup. Make it. Dumplings. Add those too. You will be a winner with food, and in life.
To the soup and dumplings!
The stuff. A few stalks of Swiss chard, a couple carrots and a few potatoes. An onion, dried navy beans, some cherry tomatoes. Then there is flour, with salt and baking powder, a little oil, plant based milk, and salt and pepper.
Veggie chopping time. Dice the potatoes, the onion, the carrots, and the stalks of the chard into small mouth sized pieces. Cut the cherry tomatoes in half and the chard leaves into small ribbons. Set the tomatoes and greens aside.
Dump the carrots, onion, chard stalks, and potatoes into a very large pot, add all the spices, a good pinch of salt, lots of black pepper, and a few splashed of water. Cook on medium high heat for 5-7 minutes to just kind of sweat the veggies a bit.
Add in beans and water. Bring pot to a boil then reduce heat to medium and let cook for about an hour. Just give it a stir once in a while.
After an hour check the beans. If they seem close to being done (almost squish in between fingers), then add in the tomatoes, the chard greens, and a few more cup of water. Keep on heat and start the dumpling batter.
Dumpling batter. Mix together the dry ingredients then add in the wet. Mix until combined.
Soup. All nice and looking just about done. The vegges are soft and tender, the beans are cooked. Check and season for salt now then get ready to drop dumplings.
Drop the dumplings. Tablespoons of batter go right into the soup. Thencook, with a lid slightly covering pot, for about 15 minutes.
Look at that. Soup with soft, fluffy, dumpling ready for consumption.
Now all you have to do it serve it up and eat it up.
Soup all day. Every day. Dumplings too!
-C
makes 4-6 servings
For the soup
1/2 cup dried small white beans
1 large onion
2 carrots
2 small red potatoes
3 Swiss chard leaves and stalks
handful of cherry tomatoes (about a cup or so)
1 teaspoon garlic powder
1 teaspoon dill
1 teaspoon thyme
1 teaspoon ginger
1 teaspoon marjoram
1 teaspoon ground mustard
1/2 teaspoon sage
1/2 red pepper flakes
12 cups water
salt and pepper to taste
For dumplings
1 cup all purpose flour
1 tablespoons oil
1 teaspoon baking powder
1/2 teaspoon salt
1 teaspoon black pepper
1/2 cup warm water or plant based milk
Couple quick notes. I use water but if you really want, use veggie stalk. I find stalk overpowers soup and makes it taste salty, even when it is low sodium. Plus water is there and free but again, use stalk if you want. Also, you can use just about any veggie that you like so if you want to replace chard with celery and spinach or throw some red peppers into the soup, go for it.
Start by small dicing the potatoes, the onion, the carrots, and the stalks of the chard. Dump it all into a large pot, along with all the spices and a good pinch of salt and pepper, and place on the stove on medium high heat with about 1/2 cup water and cook for a few minutes. Cut the cherry tomatoes in half and cut the chard leaves into small ribbons. Set aside.
Once the veggies and spices have had a few minutes on the stove, add in the dried beans and 10 cups of water. Bring the pot to a boil then reduce to a medium heat. Cook for about an hour, giving it a stir once in a while. After an hour, check beans for doneness but removing one or two and pinching between fingers. . They should be close to done by now. If they are still really heard, cook for another 20 minutes, if almost cooked through, toss in the tomatoes, the chard greens and the other 2 cups of water. Keep cooking.
In the meantime, make dumpling dough. Mix the dry together then add in the oil and milk. Mix until just combined. Set aside.
Once the soup is done (the veggies are all soft and tender, the beans are cooked through which should take a total of 1 1/2 hours), it%u2019s time to dumpling. Turn the soup up to a medium high heat and carefully drop tablespoons of the dumpling batter right into the soup. The batter will float. Once all the dumplings are in, half cover the pot and let the dumpling cook for 15 minutes or until the dumplings are big, light. and fluffy.
Remove pot from heat and serve and eat right away. Big bowls, Big spoons. Pinch more of salt if needed. Lots of pepper.
This summer has been weird. And when I say weird, I mean too stupid freaking hot and humid and it’s screwing up my life.%u00a0I think I have gone a month, maybe more, without making soup.%u00a0That is just not right. For as long as I can remember I have made soup, or at least eaten soup, just about everyday, even all summer long. But the terrible heat and humidity this year, I just have had no desire. It has been straight up shredded zucchini and whole tomatoes for some time now. I just don’t want to have any residual added heat to my life.%u00a0%u00a0But the other day, oh how lovely. I woke up with a chill, %u00a0enough that I needed to grab a long sleeve before leaving the house, and had the very strong urge to return home and get my soup on. And soup on I did!
For my first trip back into soup (oh how I missed soup!),%u00a0I went simple and used what I, and many, many people have ample supplies of right now.%u00a0Tomatoes. And beans because I wanted my soup to be thick and creamy and I had the beans so why the heck not.
This soup really requires very little and you get the most thick, delicious, creamy, tomatoey soup. Perfect to eat alone, but is fanatic with some crackers, or a hunk of crusty bread. And it uses a lot of tomatoes which is nice because I am (as are many of you.. My neighbor is bringing me HER tomatoes now too) trying to make a dent in the ever growing pile or these beauties on the counter. This soup dented it, until I went out to the garden a few minutes later. My pile is bigger then ever, which is fine because I am back on my soup game.%u00a0
The stuff. Lots of tomatoes, some white beans (I used navy, but any white bean would be good) a large onion, a carrot, salt and pepper, a lemon, some olive oil, and honey (optional).
First off, chop the carrot and onion into chunks.
Toss the chopped stuff into a big ol’ pot with a drizzle of olive oil and cook on a medium heat until nice and soft.%u00a0
While veggies are cooking, core and cut up all those tomatoes.%u00a0
When the veggies have cooked up a bit, add the tomatoes, the beans, and a sprinkle of salt and pepper to the pot and give it a good mix. Return to high heat, stirring even so often, until the tomatoes give off enough juiced to start boiling then turn heat down to medium and cook for a little while, like 1/2 an hour or 45 minutes.
Until it looks lit this. The tomatoes have all fallen apart and the beans, carrots and onions are mushy.%u00a0
Blended with the juice of the lemon and a sprinkle of pepper and more salt if needed.%u00a0
Now serve into a %u00a0bowls. Garnish with a drizzle of honey if you are feeling it. Sliced cherry tomatoes make for fancy garnish.%u00a0
Creamy tomato bean soup for everyone!
Hurray for soup!
-C
Makes about 1/2 gallon (enough to serve a crowed or enough to serve one for a few days and maybe freeze some for later)
10-12 large tomatoes%u00a0
2 1/2 cup or 1 can of cooked white beans (I used navy but any white bean will be good)
1 large onion
1 large carrot
I lemon
olive oil
salt and pepper
honey (optional)
Start by chopping the onion and carrot up into small chunks. Grab a large heavy bottom pot, drizzle a teaspoon or two of olive on the bottom then toss in the chopped veggies. Place the pot on a medium heat, stirring occasionally until the onion and carrot start to soften.%u00a0
While the veggies are cooking, core and cut up all the tomatoes. Once the veggies are soft, dump in all the tomatoes, along with the beans and all the liquid they are in. Sprinkle with salt and pepper and turn heat up to high, giving it a good stir until the tomatoes start to get super juicy then bring the pot to a boil. Once boiling, reduce heat to medium and cook for another half hour to 45 minutes, giving it a stir ever so often. %u00a0When the tomatoes have completely fallen apart and the carrot, onions, and beans are mushy, you know its done.%u00a0
Remove the pot from heat and dd in the juice of the lemon. Using a hand blender, blend until it’s a smooth creamy consistency. If you only have a counter belnder, let soup cool a little before handling and %u00a0be really freaking careful and blend a few cups at a time, making sure to have the blender lid on. Hot soup in the face is no fun.
Once soup is creamy and smooth, serve in bowls with a drizzle of honey (totally optional, but some people really like a touch of sweetness to their tomato soup) and more pepper to a taste. Garnish with thinly sliced cherry tomatoes if you are feeling fancy.%u00a0
Any extra soup can be refrigerated for up to a week. Can also be frozen.%u00a0
The idea of turning on the heat hasn’t really yet occurred to me. Sure I have been a little on the chilly side, but when I am cold my mind doesn’t think about turning on the house heat, it thinks I need more layers, a hot drink, and to bake a loaf of bread. That being said, after the littles came over and were complaining about how cold they were, I finally realized that yes, we don’t really need to be this cold. But I still didn’t turn the heat on. (I know, I am so mean.) We have one more week until the end of the month and then maybe I will switch it on. To keep the plant alive I suppose, and so I don’t turn into a popsicle too I guess.
This week started as usual, with hiking and camping. We hiked to some waterfalls that were gorgeous but the area we went to was packed with smelly (Cologne and perfume.. gross) tourist so it was a little annoying. But then we made out way up to Belvidere and set up camp outside my families cabin in the woods . That was amazing and fresh and happy. There was no going inside (locked up for the year) but the land there is the most amazing place and we just soaked up the good, hiked around some more, the mr fished, we ate, watched the sunset, had a fire, then crawled into the tent. Woke up, packed up, drove back to life and that was that.
The rest of the week was the week. It involved another trip to the dentist. Not to get my permanent crown, but to replace the temporary crown that I accidentally swallowed. Yup. So new temp crown (which already has a chip in it. No I do not eat rocks but jeez, what the heck?) until my real one goes in sometime next week. Gotta say, I am pretty sick of going to the dentist. What else? Oh, there was farm share pick up, the last summer share of the year. A little sad, but not too sad because winter share starts in a two weeks and I have a freezer fulled to the brim with food so I will survive. Oh, and the dirt pile form the mr digging under the house that was in the middle of the back yard is gone thanks to my smartly pants self. Our neighbors needed dirt for a project that they are doing around their house and instead of buying it, I had the idea that they could just take our pile, and they did! They got free dirt and we got rid of the dirt for free (we were going to rent a u Haul this week to move it all). So success was had with that and I feel all sorts of smug about it.
Any who. Friday, after spending the day loading kilns at the studio, we had the littles over for a pumpkin carving party. It tuned mostly into a throwing pumpkin seeds and guts at each other party, but it was a party involving pumpkins no less. The thing with the pumpkins that we get from the farm is that they are supper heavy and hearty and thick. Like 3 inches thick and a bitch to cut into, making it hard for the littles to actually cut. The mr and I did what we could do for the young ones but we let Barb do her own because she is old enough to almost cut a hand off. All in all the pumpkins were cut up enough and turned out great. I got most of the guts wiped up and collected the seeds to roast. Then we all lit pumpkin, walked some of the marshmallow sugar off, and the mr and I sent them to watch movies in the nook while he did whatever he did and I passed the f out. Woke up, fed them, and sent them all home. I spent the rest of my day running errands and cleaning seeds and pumpkin guts off the walls. For real. All over the house. I don’t know why I still get surprised when the littles managed to do the impossible when it comes to messes. When will I learn?
And it’s Sunday. And yes, we are suppose to go camping. The last hurrah of the camping season. But here is the thing. It is suppose to rain all day. So the question is..do we go anyway? I say yes but I am not so sure the mr is sold. What I am thinking is I am going to go the gym, the library, and maybe stop at the coop this morning and be home by lunch. If it is pouring, well we might rethink our plans, but a little misty rain, we can take it. Because I need this. Our last camp. I am already sad that the season is over. What I am hoping for is the weather to be wrong and that maybe we will only get a sprinkle or two and today will be the best camp ever. Wish us luck.
Weekly internet stuff.
–Hocus Pocus Sequel. Maybe I am being skeptical, but is it going suck? Maybe it’s best they just leave a good thing alone…. yeah right
-What do you think about this? I am kind of intrigued to tell the truth. Anything for a tree I guess. Halloween Trees Are Having a Moment—Here’s How to Pull Off the Decorating Trend at Home
–Dog People Live Longer. But Why? Dog people know why.
–What Happens to Your Body When You Take Naps Every Single Day? Naps for the win. Now I need actually start taking them more often.
-Cemeteries are always so pretty, even the ones that are tucked away, into the trees. I think I actually like those the best. Here are 7 cemeteries with views to die for.
–Science can do cool things.Artificial Leaf to Replace Petrol? Find Out How it Works!
–Brooklyn Townhouse in Pinks, Greens, and Grays. I am not usually one fore dark surroundings, but I am into this house for sure.
–Want to Reduce Your Waste? Do This First. Reduce. Reduce REDUCE!!!!!
–How I Got My Job: Making Custom Ceramics for Restaurants. A potters life
–Weed over booze. What Does It Mean to Be ‘Cali Sober’?
It is kind of hard to believe that it is October already. I thought I was ready, but I feel a little like I am falling behind. There is so much fall stuff to do and I need to do it all. Like hiking up all the mountains and then a lot of sitting in a pile of bright fall leaves, wrapped in blankets, wearing my coziest socks, drinking hot drinks, and reading/knitting/napping. All three at once, while the apple and pumpkin things bake and the little paper bats hanging from the ceiling sway in the breeze. Yeah, that sounds about right. And I am getting some of it done, just need to get more of it done. Especially the napping. Haha.
Last week, camping at Zack Woods Pond, was for sure, some of the best we ever have done. Before we got to the middle of nowhere that was camp, we stopped at a harvest festival and did some poking around. Found letters for all the games, a washing machine, and unicorns. Then we drove away some more and checked out a chunk of land that we want to buy but won’t because it is almost unaccessible in the best of times, so yeah no, not gonna work. But the search continues. After the land we headed to the place where we were camping but got a little lost. We had to go to a nearby state park to talk to the ranger and get a hand drawn map to find the place. Well hidden to say the least, but we found it and pretty sure not many other people know about it because we didn’t see a soul. It felt like we had the entire world to ourselves. And oh was it beautiful. The colors were starting to pop, the air was crisp and clean and brisk. The campsite was, well it was a small rock fire pit and trees. Perfection. After setting up the tent we took the kayaks out on the pond and paddled around in all the greatness that was there. Then we hiked around and the hung out by the fire because it was cold. Had dinner facing the pond and all the pretty trees, then the mr did a little sunset fishing. More campfire sitting and off to bed. As it got dark out a couple girls ended up having a fire or something that far away where we couldn’t see them, but we know it was a couple girls because they were very LOUD. And annoying, but they only stayed for an hour or so and their echoing mouths were gone and it was back to being the most silent night and back to sleep. Then the painful part. Waking up the next morning. 33 degrees was the number of the air. We didn’t complain but we did packed up really fast, jumped into the car, and blasted the heat. Cozy and warm and full of happy outdoor feelings. The best way to start a week.
Back home the days did their thing. Work, dealing with stupid stuff, me breaking everything. I dropped my camera and smashed the lens. My phone all of a sudden didn’t want to work right and the battery is now basically dead. The shower head decided to break mid shower and spray water all over the freaking place. I broke a chunk of finger off pugging clay at the studio. Then the stem of my pumpkin broke off right before I broke a flower pot. All not the worst individually, but goodness gracious, give me a freaking break.. Ah hahaha. Oh well. Shit break I guess.
Other then all that, there was a 14th birthday party for Alex. I found a new cute pyrex bowl for 50 cent which made me happy. I went down to the farm mid week and picked bags and bags of parsley to freeze for the winter. Then there was actual farm share with celeriac back in rotation! I worked at the studio (the chunk of my finger is still there), did another birthday party for Coco, who is now 3, and took the littles pumpkin picking with the mr and Barb as per our tradition. They got their jack o lantern pumpkins, I got me my pie pumpkins, and we found a garden snake. A game of tether ball and that was that. I came home after dropping them off and spent the day trying to warm up because it was freezing. And yeah I know,I could turn the heat on but no, not yet. I refuse to turn the heat on for at least 3 more weeks. November 1st. Until then, all the sweaters and socks will have to do to keep me warm.
Today we are doing it, camping at Branbury State Park, even though it miiiight rain. Hoping that it holds off until at least 830 tonight (we will be in the tent by then) or maybe even until we wake up in the morning and are on our way home? That would be great. We will see, and either way it will be good. And not going is not an option. There are only 2 more weekends of camping before everything closes up and it starts to snow. Yup, before it snows. That is happening and I don’t think I can convince the mr to set up the tent in the snow.
Links from the week from the internet of stuff.
-All the pretty colors! What Causes Leaves To Change Color?
-Got a garden? These are the Frost Tolerance of Vegetables. My tomatoes are caput but the chard is looking oh so fine.
–How Gen-Z Is Dealing With a Looming Climate Apocalypse. Yup, shits hitting the fan and everyone knows it,
-Kneadable erasers are the best and I guess work for more then there attended purpose. The best $1.50 I ever spent: a kneadable eraser
-Swetaer weather for sure, but what is sweater weather? What “Sweater Weather” Is
–The Female Founders Disrupting the Vagina Economy. Of course they are not.
-Philip Pullman and his dark materials. A new book. I an SO EXCITED, I might just buy it!!! ‘The Secret Commonwealth’
–How to charge your devices the right way. I have been doing it wrong for so long.
-I am good. Actually, even better then good. I change towels pretty much every day. Here’s How Often You Should Be IWashing Your Dish Towels, According to Microbiologists
As of right now, these are by far the best cookies I have ever made. Look at them. They are SO CUTE!. Worth all the effort, seeing that I do not own a ghost cookie cutter (although I think my version of ghosts are pretty fantastic) and had to hand cut out each cookie with a knife and a ghost cutout I made a few weeks back. They make me happy just looking at them. That right there is saying something. And I don%u2019t know about you and where you are, but it is getting pretty freaking cold out and I refuse to turn the heat on for a few more weeks so I do what I need to do to stay warm. If that means turning on the oven to bake cookies, then so be it. I have a feeling I am going to be making a few more batches of cookies before the months over. HA! (For reals though.)
These cookies are more or less a traditional sugar cookie with a chocolate ganache type filling, both with a hint of coconut flavor from the use of coconut oil. Something about the whole combination; the cookie, the coconutieness, and the chocolate that really had everyone (I gave them out a Barbs birthday party) praise my amazingness. I guess they are pretty freaking delicious.
Cute and delicious. Best kind of cookie!
And quick note. Yes these are ghosts but think of all the fun shaped sandwich cookies you could make. I am thinking moose shaped cookies next or maybe Christmas trees%u2026 Oh the possibilities!
Now, to the cookies!
The stuff. White sugar, coconut oil, flour, baking powder, salt, vanilla, almond milk, cocoa powder, and powdered sugar. For cookies and filling.
To make cookie dough. Beat toghetet the coconut oil with sugar and vanilla until smooth and fluffy. Add in all the dry ingredients and the almond milk and mix until a dough forms.
Wrap dough in plastic and squish tight. Place in fridge for an hour or up to a day.
After dough has had time in the fridge, grab it and roll it out on a lightly floured surface to about 1/4 inch thick.
Cut out cookie shapes. If you want to cut out eyes or a few different shapes, remember each cookie needs a top and bottom so even numbers folks.
Place cut out cookies on a baking sheet then into the oven they go.
Bakes and ghostly! Place them on a wire rack to cool and keep baking the rest of the cookies.
While cookies are cooling, make chocolate filling. Super soft, almost melted coconut oil goes in a bowl with vanilla and gets beaten together. Add in the cocoa powder, powdered sugar and pinch of salt and kept beating slowly anding in a bit of milk until the whole shebang comes together into chocolate filling awesomeness.
Once the cookies are completely cooled, fill them. The filling might have tightened up a bit so if it is not spreadable, pop into microwave for like 8 seconds to get it to move. Scoop or smear equal amounts of filling onto the bottoms of the cookies and top them off with their tops.
Done, and ready to eat.
Ghosts cookies for all your ghost fueled festivities.
-C
makes at least 16 sandwich cookies
For the cookies
2 1/4 cups all purpose flour
3/4 cup white sugar
1 teaspoon baking powder
1/2 teaspoon salt
1 teaspoon vanilla extact
2/3 cup soft coconut oil
5 tablespoons plant milk (I used almond)
For the filling
1 1/2- 2 cups powdered sugar
1/3 cup cocoa powder
4 tablespoons melted coconut oil
1/2 teaspoon vanilla extract
2-3 tablespoons plant milk
1/8 teaspoon salt
Preheat oven to 350
In a bowl beat together the white sugar with the coconut oil and vanilla extract. Add in the flour, baking powder, and salt and start to mix with a spoon or fork, adding in the milk as you go. Keep mixing until completely incorporated and turns to a ball of dough. Gather together into a ball and wrap in plastic. Pat flat and place into fridge for an hour or up to a day.
To cut out cookies. Roll fridgerated dough out on a floured surface to about 1/2 inch thick. Cut out shapes, making sure to have a top and bottom for each cookie. Gather left over dough into a ball and repeat until all the dough is used.
Place cookies on a baking sheet and bake for 13-15 minutes or until they are just starting to lightly brown around the edges. Remove from oven and place on a wire rack to cook.
For chocolate filling. Beat together the melted coconut oil with vanilla. Add in the lesser amount of powdered sugar, salt, and cocoa powder. Beat on low, adding in 2 tablespoons plant milk. Beat until mixture comes together into a thick but spreadable consistency. If it seems too thick, add more milk, too thin, a little more powdered sugar.
Cookie assembly. 2 cookies at a time. A top and bottom. Spread about a tablespoon of chocolate filling to bottom cookies and pop the top on.
Eat cookies. Store what is not eaten in a airtight container for up to a week, but these ghosts will definitely not last that long.
If you are a falafel fan, as I am, then this one is for you. Carrot ginger falafel. Oh yes. Warm and spicy and carroty and all the things that are good, packed into a chickpea ball of mouth sized proportions. When I thought of it it sounded good, When I made it and ate it, it was everything and more I could have asked for in a freaking fantastic falafel. As for the tahini cabbage slaw, I might just be making it in my house every dang day. Super easy, super tasty, goes with the falafel like whoa but is just as good eaten on it%u2019s own. Eaten together the pair make every inch of mouth space happy. A happy mouth space, what more can you ask for?
To the falafel!
The stuff. Cooked chickpeas, carrots, a piece of fresh ginger, tahini, soy sauce, cabbage, an onion, a few cloves of garlic, red wine vinegar, some cumin and red pepper flakes, a lemon, chickpea flour, salt and pepper, and oil.
Start off by chopping the carrots into small pieces. Then cut half of the onion into small pieces. Rough chop the garlic and the ginger as well. No need to peel ginger unless you really want to.
Place it all into food processor and pulse until a small crumble.
Carrot onion garlic ginger mixture.
Dump mixture into a skillet with a splash of water. Add in the cumin, chili flakes, and a good pinch of salt and pepper and cook on the stove for 5-8 minutes until the crumble softens and becomes fragrant.
Dump carrot ginger mixture back into food processor along with the chickpeas, chickpea flour, and the juice of the lemon. Puree until smooth.
Carrot ginger falafel mixture. Now stick it in the fridge. For a little while to a day, just to let it set up a bit.
And in the mean time you can make the slaw. Shred cabbage and cut up onion all nice and thin.
Dump tahini, soy, vinegar, and a few tablespoons warm water into bowl and mix until creamy and good.
Toss in that cabbage and onion. Now you have tahini cabbage slaw.
Now to cook falafel. Grab the batter, scoop into balls then smoosh into disks. Place in a light oiled skillet and brown each side a nice golden brown.
After browning, place on a baking sheet. Once all the falafel has been browned, place the baking sheet into the oven to finish up cooking. 20 minutes or so and you got yourself falafel.
Then eat it. Falafel topped with tahini cabbage slaw. That is how it%u2019s done, with or without wraps or pitas or whatever your want. Just as it is. Falafel, cabbage slaw, into mouth.
Good things friend.
-C
serves 3-4 people or makes 14-16 falafel balls
For the falafel
2 cups cooked chickpeas drained
3-4 carrots (around 2 cups diced)
1/2 of a red onion
2 inches fresh ginger
2-3 cloves garlic
1 teaspoon cumin
1/2 teaspoon chili flakes
1/3 cup chickpea flour (can sub in oat flour if needed)
juice of a small lemon
salt and pepper
For Tahini Cabbage Slaw
1/2 head red or green cabbage (about 3 cups shredded)
1/2 of a red onion
3 tablespoon tahini
1 tablespoon soy or liquid aminos
2 tablespoon red wine vinegar
a few tablespoons warm water
Grab carrots and red onion. Chop carrots into small chunks and cut onion in half. Cut one half into chunks. Place in food processor. Take the ginger and cut into small chunks (you don%u2019t need to peel it) and peel and slice garlic and cut into small pieces. Add that to the food processor. Pulse the mixture into a very small crumble then dump the mixture into a skillet with a splash of water. Add in the cumin, chili flakes, and a good pinch of salt and lots of pepper, and place on medium heat and cook for 5-8 minutes until soft and fragrant. Once cooked, scoop back into food processor along with the chickpeas, chickpea flour, and the juice of the lemon. Turn on and and puree until smooth, stopping when needed to scrap down the side. Then either dump mixture into a bowl or leave in the container you processed it in and place in fridge for 1/2 hour to a day.
When ready to cook, preheat oven to 400.
After letting the dough sit for a bit, remove from fridge. Grab skillet and lightly oil it and place on medium heat. Take a cookie scoop or just a spoon and scoop balls of falafel into your hand and roll them around so they are packed together. Smoosh then balls a little into disks and place into hot skillet. Let cook until bottom is golden brown then gently flip and cook the other side until browned. Place cooked falafel on a baking sheet. Once you have browned all the falafel, place into oven to bake for about 20 minutes or until the falafel has firmed up to your liking.
To make the tahini cabbage slaw. Shred cabbage and cut the remaining half of red onion into thin pieces. Place tahini, soy, vinegar, and 2 tablespoons warm water into a big bowl. Mix together until light and creamy. If the mixture seems to thick, add another tablespoon of warm water. When happy with consistency, add in the cabbage and onion and toss around until everything is coated.
Now when the slaw is made, the falafel is cooked, you eat it. Serve with warm pita or wraps or a bed of greens or nothing. Just slaw on top of falafel. And FYI, this whole shebang can be eaten hot or cold or anywhere in between.
Every now and then I make something for me. All for me. This is one of those dishes that was not destined to be shared with anyone. That I had no one else in mind to eat besides me. No worring about what anyone else with think. Just a simple little dish that I was craving and wanting.
So I made it and man, was it so freaking satisfying. Cooking for oneself is very much a gratifying experience.
Celeriac, or also know as celery root. Have you ever had it? If not, well duder, you need to. It is in my top 3 favorite vegetables and that is saying a lot. So anyway, celeriac, has a slight celery taste, but also kind of earthy and nutty. It pairs well with anything that a potato might, but also is amazing on it%u2019s own. Roasted, steamed, raw. Just really fantastic. And it is in season so get on it and go find yourself some.
And lentils. In my top 3 favorite foods. Made them crispy because pureed celeriac and crispy lentils just sounded right and I love me crispy things. Again, I was making this dish fo me so crispy was happening.
Together, the creamy, delicious pureed celeriac covered with a bunch of spiced, crispy lentil%u2026.Amazing. Eating it, I couldn%u2019t have been happier. I did myself one good with this one.
I might even have to make it to share someday.
Now to the celeriac and lentils!
The stuff. A bulb of celeriac, some cooked lentils, salt and pepper, chili powder, garlic powder. mustard powder, and oil. (oil is optional)
The celeriac. Ok, so most people peel it. I actually get weird looks from people when I tell them I don’t , but let me do me, you know. So anyway. Peel it if you want, or not, just cut it up into chunks.
Place cut up celeriac into a pot and cover with water. Place on stove on medium heat and cook until fork tender.
Lentils meet spices and get mix all together. Add a pinch of salt and lots of cracked pepper too.
Spread now spiced lentils onto a baking sheet, pop into oven, and bake until crispy. Easy peasy.
And to puree the celeriac. Strain any extra water into a cup. Season with a pinch of salt and pepper and grab the hand blender (or regular blender) and blend it, adding back in some of the strained water as needed, to get to a consistency that you like. Me, I liked it pretty smooth, but also with a little chunk. Heck, you could leave it really chunky or go all out completely smooth. Up to you. Also if you want a creamier texture, add in a teaspoon or so of the olive oil. That is a taste preference. I didn’t add oil this time, but I have before. It%u2019s good both ways.
And there you have it. Add the celeriac puree to a bowl, top with crispy lentils, and garnish with something green if you want.
Then eat it.
Not going to lie. After this picture was taken, I busted out the spicy mustard and covered everything with it. And it was amazing.
-C
serves 1 as a meal, or a few as a side dish
1 1/2 cups cooked green lentils
1 large celeriac bulb (soft ball sized)
1 teaspoon chili power
1/2 teaspoon ground mustard powder
1/2 teaspoon garlic powder
salt and pepper
olive oil (optional)
Grab celeriac and peel if you want, or just give it a really good wash. Cut into chunks and place into pot. Add enough water to just cover the celeriac and place on medium heat on the stove. Cook until fork tender.
In the mean time, mix all the spices and a good pinch of salt and lots of pepper together with the lentils. Dump them and spread them out onto a lightly oiled baking sheet. Place in oven and turn to 400 degrees (you can start cooking the lentils while the oven is preheating). Bake for about 20 minutes or until lentils are crispy.
Once the celeriac is tender, strain water into a cup and either with a hand blender or a regular blender, blend until smooth, adding in some of the poured off water as needed. You can puree as smoothly as you like or leave a few chunks.. Also, you might want to add in a teaspoon or so of olive oil for a slightly richer and creamier taste. Season to taste with salt and pepper.
Ehen the lentils are done, take them from oven. Place large amount (or all) of the celeriac puree to a bowl, cover with some (or all) of the crispy lentils and that is that. Eat away.
Serving suggestion%u2026. Mustard. Any kind. So good.
I love me some falafel. I love me some peppers. So I guess it is natural that I would want to stuff falafel inside of peppers and eat them all to my face right? I think so.
As we all already know, most of what I cook is depicted by whatever I get at farm share. And the past few weeks we have been getting a lot of peppers. I have been happily eating one or two a day, just as they are, but I figured it was time that I did something else with them. Now what is the first thing that comes to mind with peppers? Stuffed peppers of course. And there you have it, falafel stuffed peppers.
So I am not going to lie and say the mr ate them and swooned. He is not the biggest fan of peppers (I am starting to realize that he doesn%u2019t have all the right taste buds in his mouth. So sad for him.) so he dumped the falafel out of the pepper and ate it with most of the pickled onions, the tahini, and rice. That he really liked. Lucky me, I wanted his pepper anyway because roasted peppers are freaking fantastic amazing and whatever him. Me, as a pepper and falafel lover, I found these stuffed peppers to be everything that I wanted and needed and then some. Eaten pretty much right away warm, with pickled onion and covered in all the tahini, it was a very very satisfying meal. But also a left over stuffed pepper that was stuck in the fridge, eaten cold standing in front of said fridge, right before bed. That was something great as well. I might have even gone in for a second one%u2026%u2026
Anyway, a pepper stuffed with falafel is a good idea if you want food, like peppers, like falafel, and are cool. Just saying.
To the falafel stuffed peppers!
The stuff. A few sweet peppers, some cooked chickpeas, chickpea flour, an onion, a bunch of fresh cilantro and parsley, a few cloves of garlic, red wine vinegar, a little water, tahini, cumin, chili pepper flakes, and salt and pepper.
First, take the onion and cut in half. Take one half and cut into very thin slices, place in a bowl, sprinkle with a pinch of salt and toss with the vinegar and a few tablespoons of water. Set that bowl aside. The other half of onion just cut into a few smaller chunks.
To make falafel. Add the chunks of onion and garlic to food processor and pules a few times to start chopping it up. Add in the cilantro and parsley, the chickpeas and chickpea flour, the cumin and chili pepper flakes, and a good few pinches of salt and lots of pepper. Pulse until completely combined but still a bit chunky. OR pulse until smooth if you would rather it like that. It%u2019s up to you.
Grab peppers and cut each in half. Remove the ribs ad the seeds.
Take falafel mix and stuff it into peppers.
Place peppers onto a baking sheet and into the oven they go.
In the meantime while the peppers are cooking, toss the onions around in the brine a few times. Then right before you take the peppers from the oven, drain the brine from the onions into a jar with the tahini and mix until smooth. Add a splash of water to the mix if you need to loosen it up a bit more to make the consistency of the tahini drizzle-able.
And out they come when all roasted and crispy and my oh my, so good!
Now you eat. Garb a bowl, maybe a grain of some sort if you like (I made the mr rice), plop a pepper down, add some pickled onions and drizzle that tahini all over.
Eat.
-C
Makes 6 half peppers stuffed
3 medium sized sweet peppers
2 cups cooked and drained chickpeas (or one can)
1 large onion
1 bunch (about 1/2 cup packed) cilantro
1 bunch (about 1/2 cup packed parley
2-3 cloves garlic
2 teaspoons cumin
1 teaspoon chili peper flakes
1/3 cup chickpea flour or oat flour if you don%u2019t have chickpea
salt and pepper
1/4 cup tahini
a few tablespoons water
3 tablespoon red wine vinegar
Preheat oven to 425
Grab the onion and cut in half. Take one half and cut into very thin slices and place in a bowl. Spinkle with a pinch of salt and dump in the vinegar along with about 2 tablespoon water. Toss around until all the onion is coated and set aside.
Take remaining half onion and cut into big chunks. Toss into a food processor along with the garlic and pulse a few times until the onion is chopped up. Add in the cilantro, parsley, chickpeas, chickpea flour, cumin, chili pepper flakes, and a good pinch of salt and lots of pepper. Pulse the hole shebang until the mixture is combined, the herbs are incropeted, but there is a little chunk left. Or you could make it smooth if you wanted too. It%u2019s up to you.
Grab the peppers and cut them in half. Remove the ribs and seeds then take the falafel mixture and evenly distribute it between the peppers halves.
Place stuffed peppers on a baking sheet, falafel side up, and place into oven to bake for about 45 minutes. You want the falafel mix to have a chance to cook inside and out and to get nice and golden brown and crispy on top.
Right before the peppers are done, grab the onions and the tahini. Toss the onions one last time in the briny mix it%u2019s been sitting in, then drain that brine into the tahini. Mix around until smooth. The tahini should be at the consistency to drizzle so if it is still to thick, add in a splash of hot water to loosen it up.
Once peppers are cooked, remove fro oven. Place on a plate with or without some grain, toss on some pickled onion and drizzle tahini all over.
Eat.
Store left over peppers in a the fridge. To eat, just reheat or eat cold. I really enjoyed eating one cold.
Spit peas are one of my go to%u2019s when camping. Besides taking up no room at all to pack, they are also super easy to make. Plus they only take about an hour to cook, which is the perfect amount of time to prepare the rest of the food for a meal and sit and chill out before eating. Not to mention that they are damn freaking tasty, especially after a day frolicking through woods and paddling on water. I mean, who doesn%u2019t like split peas? (If you say you don%u2019t, you probably should try again because I bet you would like these)
Constnaly thinking of our next hiking, kayaking, and camping adventure has got me with split peas on the mind. Especially now that the nights are getting a little cooler. Knowing that I am gonna have a hearty, protein pack and filling meal after a day of activity is just the greatest.
And collard greens. A green that gets overlooked a lot. No super popular, well, not around these parts, which is crazy because they are SO good! They have a more pronounced flavor (in a good way) then most greens. More pungent and earthy, and slitghy salty, if that makes sense. And hold up better then any green when cooked making them perfect to toss into pots with things like spit peas . Plus they travel well. I can bring a bunch camping with me and not worry that if I leave them out for to long they will turn into slimy green mush. If it is really hot, sure they might wilt up a bit, but stick the stems in a little water, they will last all day fine. And that is all you need them to do.
So yeah, this dish is perfect for camping, but also perfect for not camping and just making at home too. Again, super easy, fast and is just a great tasting dish.
Split peas and collard greens. Topped off with mustardy cabbage slaw. Can%u2019t wait to make this again this weekend!
To the spit pas and collard greens!
The stuff. A bunch of collard greens, some split peas, an onion, a couple carrots, some cabbage, stone ground mustard, spices which include garlic, ginger, dill, thyme, and ground mustard. And salt and pepper. And you are gonna need water too.
Start by removing the stems from the leaves of the collards. Then small dice up the carrots, the onion and the stems. Grab the collard leaves, roll them up together, then slice then into thin ribbons.
All that stuff you just cut up now gets tossed into big pot, along with all the spices.
Add in the dried peas and water. Lots and lots of water. Bring pot to boil, then reduce heat to low and loosely cover pot. Cook foe 45-50 minutes or so.
While the peas and greens are cooking, shred up some cabbage.
Add a good dollop or two of some good stone ground or Dijon mustard and mix.
Cooked until the split peas are tender and starting to fall apart. Taste and season with salt and pepper.
And then you eat. A big bowl full of the slpit peas and greens, topped with some mustardy cabbage slaw.
This is good food. Really freaking good.
-C
serves 4-6 folks
2 cups dried split peas
8-9 cups water
1 large onion
2 carrots
1 bunch collard greens (about 6-7large leaves)
1 teaspoon garlic powder
1 teaspoon ginger powder
1 tablespoon dill
1 tablespoon thyme
1 teaspoon ground mustard
salt and pepper
2-3 tabespppms Dijon or stone ground mustard
1/2 head of cabbage (red and or green)
Start by removing the stems from the collards. Grab the carrots and onion and dice them up small, along with the stems. Then take the leaves of the greens and stack and roll them up together. Slice the roll into thin ribbons. Place all of it, carrots onions stems, and greens, into large pot, along with all the spices, (don%u2019t add any salt until the end) and stick o the stove. Add in the split peas and 8 cups of water. Bring pot to a boil, then reduce to low and place a loose lid on pot. Let cook for 45 minutes to an hour, or until the spit peas are tender and just about to fall apart. If you think you might need to add more water to cook the peas through, then add another cup.
Once cooked, season with salt pepper to taste.
For the cabbage slaw,which you can make right after your start the peas, just shred up cabbage and mix it together with the mustard and set aside.
And once the split peas and collard greens are all cooked, scoop into bowls, top with some of the cabbage slaw, and eat to your face.
We have officially kicked off our summer camping adventures. And with camping comes all the greatness of all the things, including camping food.
Recently a friend asked me what it is that we do for camp food. So I told her. Camp food is basically aways the same and consists of a big pot of spiced warm lentils or split peas (both cook really fast and have lots of protein), a shredded summer squash in the summer, or pumpkin in the colder months, maybe fresh tomatoes or a bunch of kale to chop and mix in, and a side of cut up carrots, cucumbers, green beens or whatever else I have.. Then I’ll bring a hunk of bread for the mr to eat and me, usually a small head of cabbage to squirt mustard on and crunch into. (Always have the mustard on hand.) And I bring apples to snack on too, but that usually it. (Sometime I%u2019ll back a desert for the mr. If I am feeling nice.)
She was a little taken aback. Said when she (and basically everyone in the world, which I disagreed with) goes camping it is bags of chips, cookies, meat, and everything and anything that she (they) wanted. Basically that camp food was junk food and that she though we were weirdos. But cool weirdos so you know.
So our camp food%u2026 not like many others. But honestly it is everything that I want to eat and I love it so whatever whatever. As for the mr, he is happy with the food and when he is not, he brings along something else, but that rarely happens because my lentils be so good. HA!
But she got me thinking that I should have a few more snack options beside cut up carrots and apples. So that is why I made crackers. These chickpea chili lime, freaking amazing crackers. Because crackers are a very appropriate snack food, and these crackers in particular are even greater because they are made with the goodness of chickpea flour which is packed full of protein and is well received after a day of hiking or other fun outdoor camping activities. And how can you go wrong with chili lime? Well i%u2019ll tell you, you really can%u2019t
So the plan was to make a batch, eat a few, save the rest for this camping weekend. But guess what? I have to make another batch. They didn%u2019t make it. We ate them all. (not sorry) At least I know we will be liking our new camping snack addition well and right.
So if you like crackers, camping or elsewhere, you should really gives these a go. They will not disappoint.
Now to the crackers!
The stuff. Chickpea flour, chili powder, a lime, a little baking powder, olive oil, salt and pepper, and water.
Combine the flour, zest of the lime, half the chili powder and half the salt, and the baking powder and some pepper in a bowl. Mix until completely combined then add in the oil, water and the juice of the lime.
Mix until dough forms. It might feel a little sticky, if that is the case, just mix other tablespoon of chickpea flour.
Knead dough on a well chickpea floured surface for a good minute until the dough is a even consistency then let it sit for a few minutes to rest. Once rested, cut dough into 2-3 pieces because working smaller is easier.
Roll out your first piece of dough about 1/8 inch thick. (Again, make sure to really flour your work surface and rolling pin.) Mix salt and chili powder together and sprinkle on top. Cut out your crackers (squares are nice but triangles would be nice too) then poke each cracker with a fork.
Crackers on a baking sheet before baking and after baking looking all crackery and delicious. And yeah, they shrink a bit.
And lastly, cool the crackers on a cooling rack. They will crisp up a even more. Then it%u2019s all you.
Ready to eat whenever you make the move. You can pack them away for later or place these delicious crackers in a very pretty bowl and eat them away. Or both.
A cracker win!
-C
make 75 crackers
1 1/2 cups chick pea flour plus about 1/3 more for dusting and rolling
1/2 teaspoon baking powder
1 tablespoon olive oil
1/3 cup room temp water
1 teaspoon chili powder split in half
1 lime
1 teaspoon salt split in half
1/2 teaspoon fresh crackers pepper
Preheat oven to 350.
In a bowl combine the chick pea flour, baking soda, pepper, 1/2 teaspoon chili powder, and half a 1/2 teaspoon salt. Mix until evenly incorporated. Add in oil, the juice of the lime, and and water and mix until a dough forms. Dump dough onto counter and knead until completely uniform in texture. Add more flour if the dough is really sticky. Set dough aside for a few minutes to rest.
To make the crackers, really dust the counter with chickpea flour. Cut the dough into 2-3 pieces and roll1 piece out at a time to about an1/8 inch thin. Again, really flour the surface and rolling pin or else the dough will stick Once rolled, combine the remaining chili powder and salt and sprinkle the top with it. And then cut the crackers. Take a knife of bench scrapper or pizza cattier and cut the dough into inch long strips vertically, then diagonally. Poke each cracker with a fork then gently place them onto a baking sheet. Repeat with remaining dough.
Bake crackers for 15-20 minutes or until a nice deep golden brown. Remove from oven and let cool on a wire rack.
And then eat.
Store uneaten crackers in an airtight container for about a week.
I am obsessed. For real. That might seem like a strong statement for a feeling about a food, but right now, it is truth. I spend more time then I want to admit thinking and drooling over Socca, which is, to those who do not know, the most basic chickpea flour pancake-y bread thing. Chickpea flour, water and salt. Cooked fast under the broiler in a screaming hot skillet. That is it. And it is amazing. Depending on how you make it, it can be creamy and soft or more cracker like with some crisp crunch to it. Either way, it is just so freaking good. Of course, what I am dreaming about regarding it is not just plan basic socca (which I have made 3 times in the past 3 days) but different flavored soccas (I have experimented with lot of seasoning, and they are all A+) with all sorts of different topping and using it in all sorts of different ways. But for now, I wanted to keep basic so we all know how good simplicity is. We will go from here.
There is no stopping me. There is no stopping the socca.
Now to my new favorite food, the socca.
Chickpea flour, salt and water. That is it. Mix it all up.
Batter all smooth and now in need of a rest. Half an hour or up to a day of rest is good.
Now to cook the socca. You need to use something oven safe like cast iron. The trick here is to preheat the skillet while you are preheating the oven. Crank oven to 450 with the skillet in oven and once the oven reaches temp, turn oven over to a high broil. Let the skillet get really hot for another minute or two then remove skillet from oven (carefully!!!) and give it a splash of oil. Don%u2019t preheat the skillet with oil in it or else it will start to smoke and get gross.
Now that you got a nice hot and oiled skillet, grab the rested batter and pour half of it in. Tilt skillet around to coat bottom then stick skillet back into oven under broiler and cook for 4-8minutes. ( It depends on your broilers strength and your preference for blisters)
Out from the broiler. Cooked and slightly blistered. I went easy on this one. The next one got a few more blisters.
2 soccas, one a little thicker then the other. One a little more blistered then the other. Both in my belly.
So many Soccas to come.
So. many. Soccas.
-C
makes two 10 inch soccas
1 cup chickpea flour
1 cup room temperature water
1/2 teaspoon salt
olive oil for pan
Mix chickpea flour, salt and water together into a bowl until smooth. Let mixture rest for at least half an hour or up to a day.
When ready to make the socca, preheat oven to 450 with a 10 inch oven safe skillet (I used cast iron but any oven safe dish would work) in oven.
Once oven reaches temp, turn oven over to broil and place skillet under it for a minute to really heat the skillet. Carefully, with oven mitts, remove hot skillet from oven and brush or pour a smidge of oil into the hot skillet to coat bottom. Pour in half the batter and tilt around until bottom is coated then place skillet back into oven under broiler and cook for 4 -8 minutes or until the socca starts to blister. (it kind of depends on your broiler so keep a close eye on it) Remove from oven and slip socca onto cutting board. Sprinkle with salt and pepper. Drizzle with olive oil if you like. Then all you do is cut and eat.
Left over socca can be stored in fridge and reheated in oven or toaster.
Note. IF you want a slightly thicker socca, use a 8 inch skillet. For a thiner, more cracker like socca, pour in 1/3 of the batter at a time (you will end up with 3 instead of 2)
Nothing here but a mere craving, the fact that I had a fresh head of cauliflower, and I really wanted tahini. TA DA. I made exactly what I wanted and it was so so sooooo good. Maple Cumin is one of those super A+++ taste pairings and anything roasted cover in tahini is basically going to be a win so I had no fear when making this dish that it was going to be anything but fanatic.
And of course I was right. It was so freaking good, like now I am going to make it again and again because I don%u2019t want make cauliflower any other way ever or at least until I get sick of it or of roasted vegetables. But that probably won%u2019t happen for a while.
So if you like cauliflower and tahini and amazingness, here, make this.
To the cauliflower
The stuff. A head of cauliflower, tahini, maple syrup, cumin powder, red wine vinegar, salt and pepper, and olive oil.
Break or cu the head of cauliflower up into florets and toss with a little oil, the maple and cumin, and a little salt and pepper.
Scatter on a baking sheet and stuff it into a hot oven.
Meanwhile mix tahini with vinegar, salt and pepper, and enough warm water to thin out.
Roasted all nice and crisp and delightful.
And now you gather up all that cauliflower and cover with all the tahini you want. Grab a bowl, or just eat off baking sheet, and get to it.
And there is no shame in eating a whole head of cauliflower because hey, its cauliflower.
-C
Makes a meal for one or a side for a few
a head of cauliflower
3 teaspoons cumin
2 tablespoons maple syrup
olive oil
3 tablespoons tahini
2 tablespoons red wine vinegar
2-3 tablespoons warm water
salt and pepper
Preheat oven to 450
Break or cut the cauliflower into medium sized florets. Place in a bowl and drizzle with a teaspoon or so olive oil and toss around. Drizzle in maple, add in the cumin, and a pinch of salt and pepper. Toss until coated then dump the cauliflower onto a baking sheet. Place in hot oven for 25-30 minutes or until roasted to your liking.
While that%u2019s roasting, mix up the tahini, vinegar, and a pinch of salt and pepper. Add in warm water until the mixture is a drizzlable consistency.
Once cauliflower is out of oven, cover with tahini.
Now eat.
There will be no left overs so don%u2019t worry about it.
Fritters are no joke. You can just about turn anything into a fritter and almost all of the time it will taste pretty good. Parsnips are no exception. Tasting the way parsnips do, straight up without any extra spices, these fritters will hit the spot if you are on the lookout for a fritter for your fritter seeking self.
And what if you are not sure you like parsnips or fritters for that matter. Stop right here. You probably do and just don%u2019t know it yet. I guess the only way you will really know is to make a batch. Then you can tell me all about how you love parsnips and will now be making fritters for every meal every day for the next week.
To the frittering.
The stuff. Parsnips (I only needed one because mine are humongous) a carrot, an onion,. some garlic powder. a little oat flour, a flax egg, and some olive oil. Also if you want to serve with avocado mash (which tastes great together), well grab one and a lemon too.
Start being shredding the parsnip, carrot, and half the onion into a big bow. Chop up the other half of onion into small bits. I do this because grating onion only turns the onion into a juice and I like the little bits if onion in my fritter.
Shredded and mixed. And pretty too.
Add in the garlic powder, a little salt and pepper, the flax egg, and the oat flour.
Mixed and ready for the cooking.
A medium hot frying pan with a little olive oil is what you need. Make medium sized flattish patties and cook until nice and golden brown.
Flip and cook the other side just the same.
Fritters are done and could be eaten now too, but I like to stick them on a baking sheet and into the oven for 10 minutes or so to really crisp them up.
If you want to serve with avocado, just mash half of one up with a pinch of salt and juice of lemon.
And that is that. Out of the oven, onto a plate, and into the mouth.
Enjoy
-C
makes about 9 fritters
1-3 parsnips, depending on size (about 2 1/2 cups shredded)
1 carrot
a medium sized onion
1/3 cup oat flour
1 flax egg (3 tablespoons warm water and 1 tablespoon ground flax seed)
1 teaspoon graduated or powdered garlic
salt and pepper
oil (any kind you like)
An avocado and a lemon (optional)
Preheat oven to 400
Shred the parsnips, carrot and half the onion into a large bowl. Mince the second half of onion and mix into the shredded. Add a pinch of salt and pepper, the flax egg, and the oat flour and mix until evenly incorporated. Grab a flying pan, add a little olive oil, and place on medium high heat. Once pan is hot, scoop about 1/4 cup of the mixture into pan, trying o keep it compacted. Let it cook for a few minutes then with a spatulaf gently tamp it down. Flip and let the other side cook until golden brown. Once they are cooked, they can be eaten, but I like to place them into the oven for about 10 minutes to cook and crisp up a little more.
Once done, serve anyway you like, but mashed up avocado with lemon is fantastic. Tahini would also rock.
Eat and if you by chance have any left over (but you wont) they can be placed in fridge and reheated later (or eaten cold)
I woke up this morning from a dream that I was in process of making those gummy toy things, Creepy Crawlers, but instead of them being made of rubber, I was making then out of cake. And in the dream the theme song for the commercial was playing while I was making these little insect cakes and now I have this weird dream feeling and have the stupid, but catchy theme song stuck in my head. What does this mean? Am I suppose to make a bunch of tiny little insect cakes? Or is it a cry from my child self craving bugs? I don’t know, but what I do know is that they should start selling those machines again. Bring back the creepy crawlers!
Feels like the past week was one long day. The mr and I spent a good amount of time outside doing all the outside work that needed to be done. More tree cutting, raking, picking up trash, getting rid of everything. Over the course of doing all this, I cut the shit out of my hands. All my fingers and my palms have cuts and scrapes and gashes and fuck do my hands hurt. Even worse is that after doing and getting all that, we started tiling that bathroom (!!!!) and tiling with cuts all over your hands sucks ass. The mortar just eats away at your skin. Plus I sliced my finger open on a razor while tiling so my hands are garbage and swollen and I will stop bitching now. But back to tile, the bathroom is so close to done. This time next week I will be able to pee downstairs again. It’s going to be fantastic.
Other then work all week, we have had the littles a lot again. Speaking of having songs stuck in my head, I have been letting the kids listen to whatever they want when they are here which is all the newest coolest music(and it’s driving me crazy). All week I have been haunted by the new Taylor Swift song. If I hear it for even a second, I get it stuck in my brain and there is will repeat over and over, especially while I am trying to sleep or relax. It has made me slightly crazy. I have now banned the listening of that song in my presence because it is just to much for me to a handle. But other then driving me crazy with crappy music, we have had some pretty good times. We saw a rainbow, talked about what to hand out to trick or treaters (there was talk of ketchup packets, back hair, and painted rocks) and the mr built death swing in the tree. When we are not busy, they sure do keep us busy. After having them over so much over the past few weeks, I found myself fantasizing about having a Rumba vacuum, which is crazy because I really do not want one. But maybe I do? I don’t know.(don’t tell the mr because he thinks he wants one) What I do know is that those kids are messy as shit and that every weekend my cleaning time has gotten a little longer because of the trail of Emerson drool and dirty feet has gotten worse. Maybe I should just wrap the baby in mop heads and have him crawl/clean. But wait, that won’t work either because just this past week we got that little gorilla to walk! 10 steps all on his very own, going after an Oreo cookie like a champ.
And then the farm. This past farm share was the last summer farm share pick up of the year. We got so much good goodies (sweet potatoes that are as big as my head and so much spinach) and I also realized that wearing my overalls down to the farm that people will mistake me as one of the framers (not the first time people mistake me as a farmer… these are life goals) But now the summer share is done and I am a little sad, but not really cause winter share starts in two weeks and I will be munching away on squash, roots, and greens for the months to come.
Then on Friday we had our pumpkin carving party.. The mr, Megan, Barb, Miley, Sophia, and Judah all carving away. I pre gutted by pumpkin make a cinnamon sugar seed snack and had it all nice and ready to carve. I got a single cut into it when I had to abandoned it to help all the littles carve theirs. Now the mr has his all nicely carved pumpkin on the porch and mine is just siting there, waiting to be carved. But carve I did. Then we made pizza, did cartwheels around the block at night, and watched Hocus Pocus while eating/ getting popcorn ALL OVER the house. (Rumba would have been great here)
I am excited for today. There is no way that I can bare tiling any more today (my hands hurt so much right now) so we are going to wait and finish tomorrow. No, today I am going to plant the trees we bought this week in the front yard. Two little eastern redbuds and then I am going to sit back and watch them grow. That and maybe repot some house plants. I think I just want to play in dirt all day. And finally carve my pumpkin. Sounds like a good plan to me.
Internet I looked at this week.
-Currently reading Nomadland and in it one of the woman talks about building her own Earthship. I started looking them up after that because I feel like I should be building one too.
–To Complain Is to Truly Be Alive. I know so very alive people!
-I don’t think it’s gonna happen in this house, but someday I want to have cool ass wall paper wall. DUTCH MASTERS WALLPAPERS
–Is This the Best Way to Wash an Apple?
-We are shopping for toilets again (How many times in my life am I going to have to say that). What do you think of a black toilet? Definitely not happening in my house, but just thought it was interesting that there are so many choices.
– I bet they listen to more rock and roll too.Frequent Pot Smokers Also Have More Sex, Says Extremely Chill Study
–Wake Up, Sleepy Ikea Shoppers! But I thought that Ikea WANTED people to take naps on the beds. Huh.
-I initially was ll, this is awesome and I want it, but after thinking about it fora little while, I don’t think I would feel comfortable sleeping on it. But it’s still cool. This Floating Tent Turns Bodies of Water Into a Campground
–Rooffee,’ the First Coffee for Dogs, Raises Plenty of Questions. My question is WHY THE FUCK?
–Burn, Mummify, Compost—Different Ways to Treat the Dead. The mr and I just head an interview with the author on NPR and found it very interesting. Now I am trying to figure out what I want to happen to my dead body…..
I don’t know what the hell I was just reamng about, but I woke up with Celine Dion “Thats the way it is” stuck in my head. I am pretty sure I haven’t heard that song in like 10 years so it had to have made it’s way out of my deep, deep subconscious. What does it mean? And why won’t it stop replaying in my awake head!
What a ear worm to have on a Sunday morning. I need to plug my headphones in and listen to something, anything. It’s driving me nuts!
The past week involved our last camp of the year. We went to Little River State Park (the last place open) in the pouring rain and crazy wind and did our thing. Set up camp, hiked, made food. All drenched and loving every second of it, even the rm, who was fighting off a pretty crappy head cold. One thing that I did not love was that I was trying to dry out my soaking wet hiking boots a bit by the fire and ended up melting them. Yup, they actually melted, but lucky the mr brought extra shoes so those got me through the rest of the time. Anyway, so that was it, no more camping (due to the fact that it gets dark at 4 now and everything is closed for the season). And yes, I am sad about it. Until next year I guess, or until I convince the mr that winter camping is a good thing.
The rest of week involved me breaking and swallowing half of the second temporary crown. This time I did not bother going back for a third because my new permanent gold one goes in this week so I am just dealing for the time being. Then there was Halloween, which by hat time in the week, I was starting feel icky and sick, but still good enough for Barb to come over for dinner, watch me hand out a few handfuls of candy and walk the block in the rain. That storm was crazy with some freaky rain. The downpours were so intense at times that I though our house was going to wash away.
Not much else. I worked the studio and cut my hand open again. There was no farm share this week so I have had to go to the grocery store more then I would have liked. I cleaned the back porch off and backed away most of the summer stuff, and I found a few pairs of wool socks hiding in my closet. That was really nice. We didn’t see the littles cause they were all busy being cool with their fiends and between the mr and I both feeling under the weather, we choose to not infect the masses. We thought it better to lay a little low because we are good, caring people. Ha.
Yesterday was an Ikea day. Paul and Barb both wanted to go, so go we did. Left early morning, got stuck in dumb stupid traffic, then got to Ikea just in time for everyone else in Montreal to get there too. I peed, they got hot dogs. They shopped, I shouted. I peed again, they checked out and loaded up on more hot dogs. And then home we went. Me and Barb basically sitting on top of each other because Paul bought a shelf that took up half the car but you know what, traffic did not suck, the boarder was fine, and all and all not a bad trip. Minus the smell of the hotdogs, it made me want to barf.
And then I came home, the mr ran to rescue one of our tenants, I made dinner, we went for a walk, then I went to bed. Still feeling off and was more then happy just to get underneath all the covers and sleep.
Today the mr and I are not camping, but we are going hiking, so there is that. And we plan on making soup for dinner and maybe…maybe, turning the heat on tonight if we are feeling extra cold. But probably not. We might just wait til it snows.
Some links to look at from the internet.
–Is A Diet That’s Healthy For Us Also Better For The Planet? Most Of The Time, Yes. Get on board people.
-On the drive to Ikea, we got into the conversation of seltzer because it’s always about seltzer. Is Seltzer Bad for You?
–This map shows how food travels from farms to your home. Some things really travel so far, it’s kind of crazy. Let us all try to eat more local, yes?
–Why do people hate vegans? Why indeed.
-Keep your brain alive and healthy. 5 Daily Habits That Negatively Affect the Brain and Should Be Stopped Before the Damage Becomes Irreversible
–How Jane Fonda Convinces Her Famous Friends to Get Arrested. I would get arrested with Jane Fonda. Hell, I Would do just about anything with Jane Fonda.
-Bulk all the way, but done right. The Problem With America’s Bulk Food Bins
-Thank you Dutch science people for making the world embrace Brussel sprouts. From Culinary Dud To Stud: How Dutch Plant Breeders Built Our Brussels Sprouts Boom
-Yes please! MAKE MINE AN A-FRAME.
–I Tried the Wim Hof Method to Find Happiness Through Suffering . I don’t know, I could see this working for me. Huh.
Have you ever have lice as an adult? Wait hold on, let%u2019s back up. No I don%u2019t have lice, but I a few years ago I did and whoa that was some shit. (Thats what happens when you hang with littles all the time.) This week my head starting itching like crazy so there was a minute when I thought I might have gotten them again. But I have had it checked, a few times, and it is just dry skin. From all the hats. Because it has been pretty chilly and I have been cold. So no lice, just hats and cold weather making my head itch. Phew!
Anyway, week was up and down. Started off with camping which was amazing. The drive alone down there (Cooliadge State Park) was freaking fantastic. The peak of foliage and oh boy was it peak. And then when we got to the campground, we went on a nice long hike in the most vibrant world of colors. That was a A+ hike fore sure. Then back to the campground to make fire, eat food, cuddle cause it was super duper cold (got to 33) and crawl into the tent for the night. Woke up, very cold, jumped in o the car and hit the road. Back to town we came.
Then another week of stuff. Life stuff. Not fun stuff. Very very stressful stuff. But stuff that needed dealing and is still being dealt with. Mostly the mr, but when the mr is ain%u2019t happy, ain%u2019t nobody happy (HAHA!) so it was kind of another pretty stressful week. And so that is life.
But the good is still good. I don%u2019t have lice, the world is gorgeous, we had a chilly rainy day which are some of my favorite days. I picked up second to last farm share and heavy stocked up on squash and starting knitting a new hat. I made the cutest cookie ever and went to the dentist which actually sucked but is always good to go and be responsible about dental health. Made an ice cream cake and dinner for Barb for her birthday at my moms for her family party (HAPPY BIRTHDAY!) The lady turned 20 and I can’t even. Then I made her birthday pancakes on her actual birthday and we went grocery shopping so she could run up and down the isles with the mr collecting all the packages of batteries. Because she is now 20 and needs batteries? Yeah, we will just say that was it. And napped. I took a nap this week and it was amazing. I don%u2019t think I nap enough.
Other then that, the week just flew by. Dealing with the stuff, hanging with the people, doing the work thing.
Now its Sunday and yes, we are doing it, camping. Second to last, if not the last time. Depends on if we get that rain next weekend that the weather people say we are suppose to get. So we are making tonight really count. Going to some land on a mountain out in the middle of no where. We are so in need of this, to get the heck away for the night. And it is going to be beautiful and amazing and we have a great hike planned out and there is not cell service. Winter jacket, hats and mittens, and all the blankets we can fit into the are. I am excited.
Interent links from the week.
-You can now live like Barbie. Oh freaking jeez. Barbie Malibu Dreamhouse!
–Am I Drinking Too Much Seltzer Water? Good question, one I hear all the time.
–Jesus Shoes. For real? For real.
-I want these toilets. I get these toilets. 10 Easy Pieces: Designer Toilets. Tankless toilet..what a dream!.
–Eat, Drink And Be Wary: Ex-CIA Officer Reveals How Eateries Are Key To Spycraft. Totally makes sense.
-Currently in the middle of reading this book. It is so good. Only problem is that I started reading it a few days ago and it is due back at the library in 2 days (I forgot I had it out). It is 550+ pages long and I am not sure I am going to be able to finish it before it is due back. Might have to occur some late fees for this one.
-Coffee without the beans. The day has come. Inside the Seattle Company Plotting Lab-Made %u2018Coffee%u2019 Without Beans
-Another reason to read. Reading Before Bed Might Make You Healthier and Happier
–What Does Sunny D Taste Like? My dad used to buy it when we were kids and all I can remember it tasting like was shit. I think it actually made me throw up once. I was way more a Hi-C girl.
–6.6 lb bucket of tahini%u2026.It%u2019s in my shopping cart.
Pictures from the week
Vermont in the fall is like living in a world that is on fire%u2026 not literally, but the trees, all the colors. It’s freaking crazy amazing and no matter how many years I have lived here (all my life) I still am in awe of of the beautifulness of it all.
Being the good %u00a0Vermonters that we are, the mr and I have taken to the road a couple times for some leaf pepping.%u00a0%u00a0We pack a picnic lunch, a few layers of clothes, %u00a0get in the car and fallow the color. The music goes on(or NPR), a little bit of heat blowing from the dash, and settle in for an adventure.%u00a0I bring my camera and he brings his fishing pole (just in case) Sometime we find a nice hiking trail, or sometimes we stay in the car cause it’s pouring rain and freezing out.%u00a0We always stop somewhere and get ourselves big hot cups of coffee and maybe stop at a quaint antique store (or salvation army) along the way. We also like to find our dream homes in the cuties little towns nestled in the valleys between the mountains all on fire. (someday!) It’s just so much lovely and nice. I can never get enough.%u00a0
Ah Vermont%u2026 I love you.%u00a0
So needless to say, I have taken a crap-load of pictures over the past couple weeks. I figured I would share a few of my favorites.
Enjoy, and if you live where the trees turn, go watch.. it’s freaking fantastic!
When I was a kid, every once in a while my mom would buy those Entenmann%u2019s marbled loaf cakes, (she still might) and I loved them. Chocolate and vanilla swirled into every slice. Super moist and rich with the soft, fluffy top. I would cut a big slice, toast it, then smother it in peanut butter.
Now when I see these cakes, well honesty, I think they kind of look sad. A cake such as a marbled cake, should not be squashed into a box, stacked away on some display case. No cake should have to deal with that. Cakes should be made then oohed and awed at from the comforts of home, only boxed if 100% necessary like in the case of bringing to a friend or giving as a present. Basically, what I am saying is don%u2019t buy pre-made cakes friends, make the cake at home yourself. The cake will like you better for it.
Anyway, I just was thinking about those cakes and my childhood in general and it made me want to make a quick cake all marbled because of the nostalgia and also, I mean, marbled cakes are pretty pretty and why the heck not. And because it is pumpkin season I had to go with pumpkin and chocolate instead of vanilla and chocolate because we all know it was the right thing to do.
Pumpkin spices, rich chocolate. Two flavors in one bite. Who could complain? I don%u2019t think my 10 year old self would have. I think she would have eaten the whole damn loaf (toasted with peanut butter of course).
Nw to the chocolate and pumpkin loaf cake..
The stuff. Flour, baking soda, baking powder, salt, pumpkin puree, brown sugar, white sugar, oil, almond milk, cocoa powder, pumpkin pie spices, coffee, and apple cider vinegar.
Quick and easy. Oil and sugars get a good mix in a big bowl then in goes the pumpkin puree. Mix that in with the milk and apple cider vinegar. Ina separate bowl, mix the flour baking soda and powder and salt. Mix the dry into the wet.
Split the mix in half (eye ball it) and add the spice mix to one bowl and the cocoa and coffee to the other. Mix them until the new ingredients are incorporated. You will then have a chocolate batter and pumpkin spice batter.
Grease a loaf pan then layer dollops of each of the batters into the pan until both batters are gone.
Before the oven and after of the oven.
Place cooked loaf on a wire rack to cool. Really. It needs it. Just wait a least 15 minutes, you can do it.
And then you cut into the load, marvel at the marble, and then eat it.
Two flavors, one mouth.
-C
makes 1 loaf
2 cups all purpose flour
1/3 cup cocoa powder
1 1/2 cups pumpkin puree
1/2 cup white sugar
1/3 cup brown sugar
1/3 cup neutral flavored oil
1 tablespoon apple cider vinegar
1/4 cup plant milk
2 tablespoon coffee (or water if you don%u2019t have coffee)
1 teaspoon baking soda
1 1/2 teaspoon baking powder
1/2 teaspoon salt
1 heaping tablespoon pumpkin pie spice or 2 teaspoon cinnamon 1/4 teaspoon each ginger, nutmeg, allspice, and clove
Preheat oven to 350
In a large bowl, mix together the white and brown sugar with the oil until combined and there are no chunks of sugar. Add in the pumpkin puree and the milk and vinegar and mix until incorporated. In a separate bowl, mix together the flour, baking powder, baking soda, and salt. Add the dry mixture to the wet and gently mix until just combined. Scoop half of the batter (eye ball it) into other bowl. Add the pumpkin pie spices to one bowl and fold it into batter until incorporated. Add the cocoa and coffee to the other batter and fold it in until incorporated.
Interchange scooping the batters into greased loaf pan. One, then the other, to create the marbled effect, until both batters are gone. Place pan into oven and bake for 55-60 minutes or until a tester comes out clean.
Remove pan from oven and pop bread out and place on a wire rack to cool.
Cut a slices, eat, be happy.
Store bread in airtight container for 3-4 days at room temperature or just slice it up and freeze pieces.
It is kind of hard to believe that it is October already. I thought I was ready, but I feel a little like I am falling behind. There is so much fall stuff to do and I need to do it all. Like hiking up all the mountains and then a lot of sitting in a pile of bright fall leaves, wrapped in blankets, wearing my coziest socks, drinking hot drinks, and reading/knitting/napping. All three at once, while the apple and pumpkin things bake and the little paper bats hanging from the ceiling sway in the breeze. Yeah, that sounds about right. And I am getting some of it done, just need to get more of it done. Especially the napping. Haha.
Last week, camping at Zack Woods Pond, was for sure, some of the best we ever have done. Before we got to the middle of nowhere that was camp, we stopped at a harvest festival and did some poking around. Found letters for all the games, a washing machine, and unicorns. Then we drove away some more and checked out a chunk of land that we want to buy but won’t because it is almost unaccessible in the best of times, so yeah no, not gonna work. But the search continues. After the land we headed to the place where we were camping but got a little lost. We had to go to a nearby state park to talk to the ranger and get a hand drawn map to find the place. Well hidden to say the least, but we found it and pretty sure not many other people know about it because we didn’t see a soul. It felt like we had the entire world to ourselves. And oh was it beautiful. The colors were starting to pop, the air was crisp and clean and brisk. The campsite was, well it was a small rock fire pit and trees. Perfection. After setting up the tent we took the kayaks out on the pond and paddled around in all the greatness that was there. Then we hiked around and the hung out by the fire because it was cold. Had dinner facing the pond and all the pretty trees, then the mr did a little sunset fishing. More campfire sitting and off to bed. As it got dark out a couple girls ended up having a fire or something that far away where we couldn’t see them, but we know it was a couple girls because they were very LOUD. And annoying, but they only stayed for an hour or so and their echoing mouths were gone and it was back to being the most silent night and back to sleep. Then the painful part. Waking up the next morning. 33 degrees was the number of the air. We didn’t complain but we did packed up really fast, jumped into the car, and blasted the heat. Cozy and warm and full of happy outdoor feelings. The best way to start a week.
Back home the days did their thing. Work, dealing with stupid stuff, me breaking everything. I dropped my camera and smashed the lens. My phone all of a sudden didn’t want to work right and the battery is now basically dead. The shower head decided to break mid shower and spray water all over the freaking place. I broke a chunk of finger off pugging clay at the studio. Then the stem of my pumpkin broke off right before I broke a flower pot. All not the worst individually, but goodness gracious, give me a freaking break.. Ah hahaha. Oh well. Shit break I guess.
Other then all that, there was a 14th birthday party for Alex. I found a new cute pyrex bowl for 50 cent which made me happy. I went down to the farm mid week and picked bags and bags of parsley to freeze for the winter. Then there was actual farm share with celeriac back in rotation! I worked at the studio (the chunk of my finger is still there), did another birthday party for Coco, who is now 3, and took the littles pumpkin picking with the mr and Barb as per our tradition. They got their jack o lantern pumpkins, I got me my pie pumpkins, and we found a garden snake. A game of tether ball and that was that. I came home after dropping them off and spent the day trying to warm up because it was freezing. And yeah I know,I could turn the heat on but no, not yet. I refuse to turn the heat on for at least 3 more weeks. November 1st. Until then, all the sweaters and socks will have to do to keep me warm.
Today we are doing it, camping at Branbury State Park, even though it miiiight rain. Hoping that it holds off until at least 830 tonight (we will be in the tent by then) or maybe even until we wake up in the morning and are on our way home? That would be great. We will see, and either way it will be good. And not going is not an option. There are only 2 more weekends of camping before everything closes up and it starts to snow. Yup, before it snows. That is happening and I don’t think I can convince the mr to set up the tent in the snow.
Links from the week from the internet of stuff.
-All the pretty colors! What Causes Leaves To Change Color?
-Got a garden? These are the Frost Tolerance of Vegetables. My tomatoes are caput but the chard is looking oh so fine.
–How Gen-Z Is Dealing With a Looming Climate Apocalypse. Yup, shits hitting the fan and everyone knows it,
-Kneadable erasers are the best and I guess work for more then there attended purpose. The best $1.50 I ever spent: a kneadable eraser
-Swetaer weather for sure, but what is sweater weather? What “Sweater Weather” Is
–The Female Founders Disrupting the Vagina Economy. Of course they are not.
-Philip Pullman and his dark materials. A new book. I an SO EXCITED, I might just buy it!!! ‘The Secret Commonwealth’
–How to charge your devices the right way. I have been doing it wrong for so long.
-I am good. Actually, even better then good. I change towels pretty much every day. Here’s How Often You Should Be IWashing Your Dish Towels, According to Microbiologists

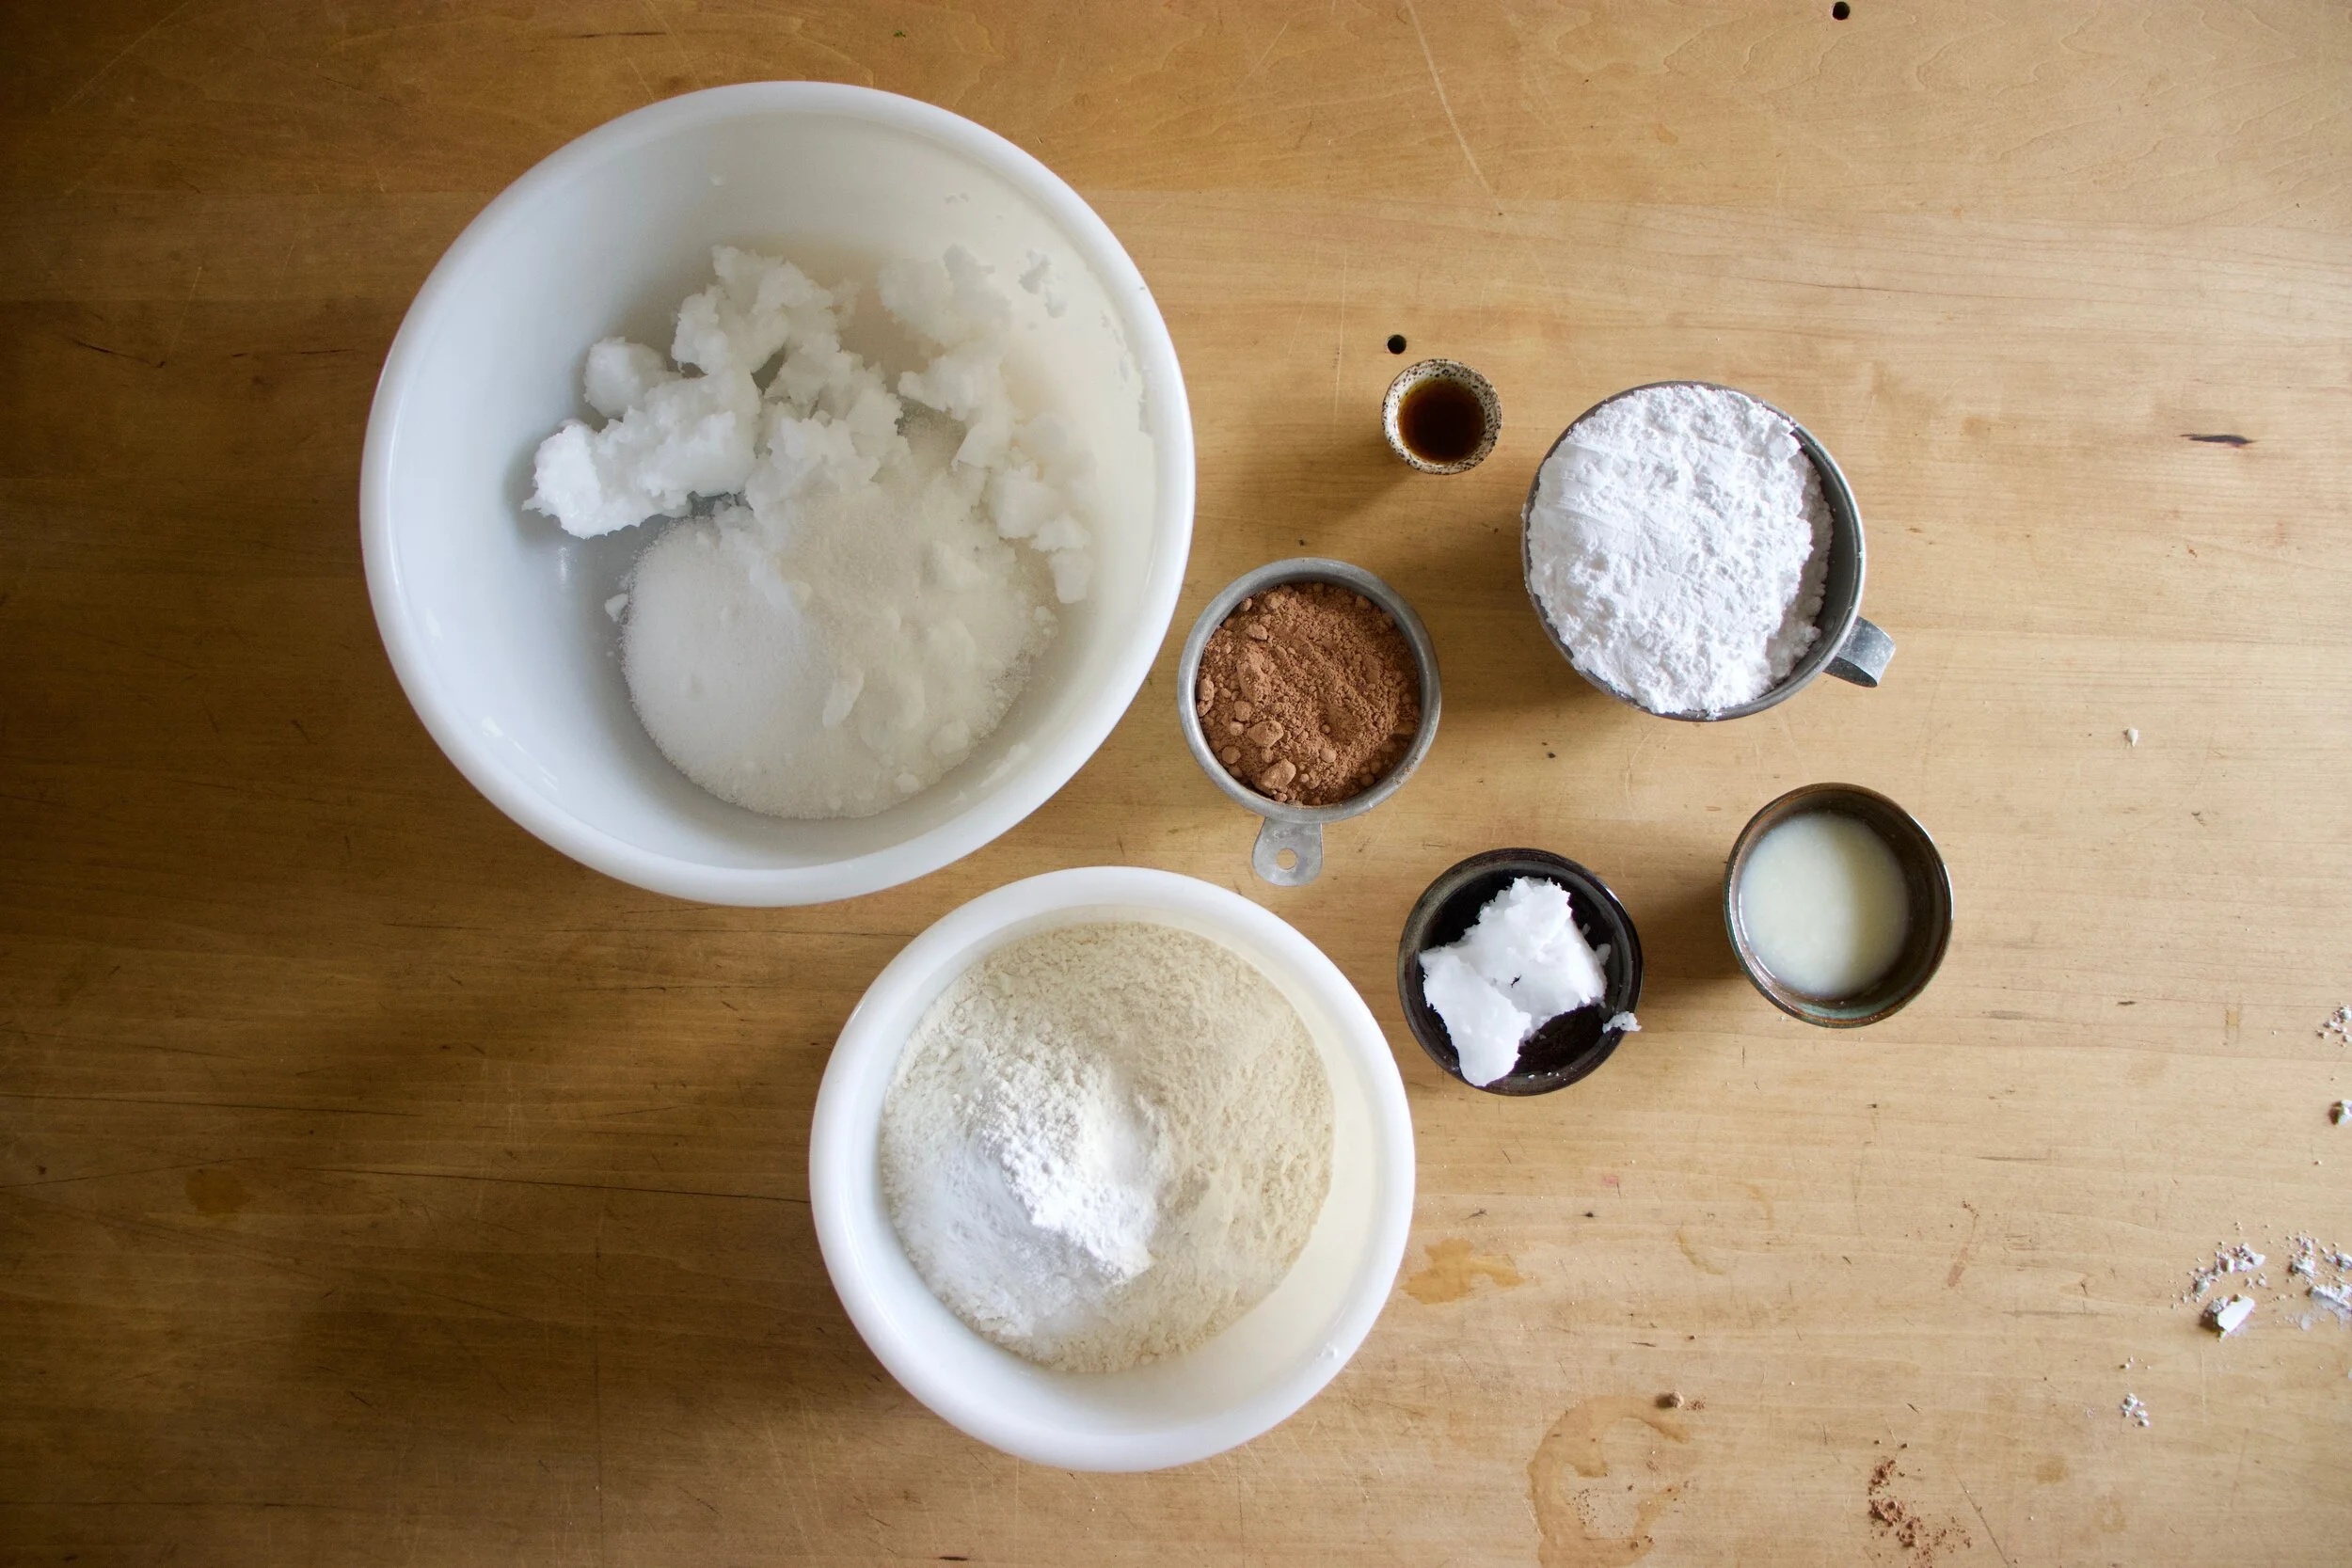
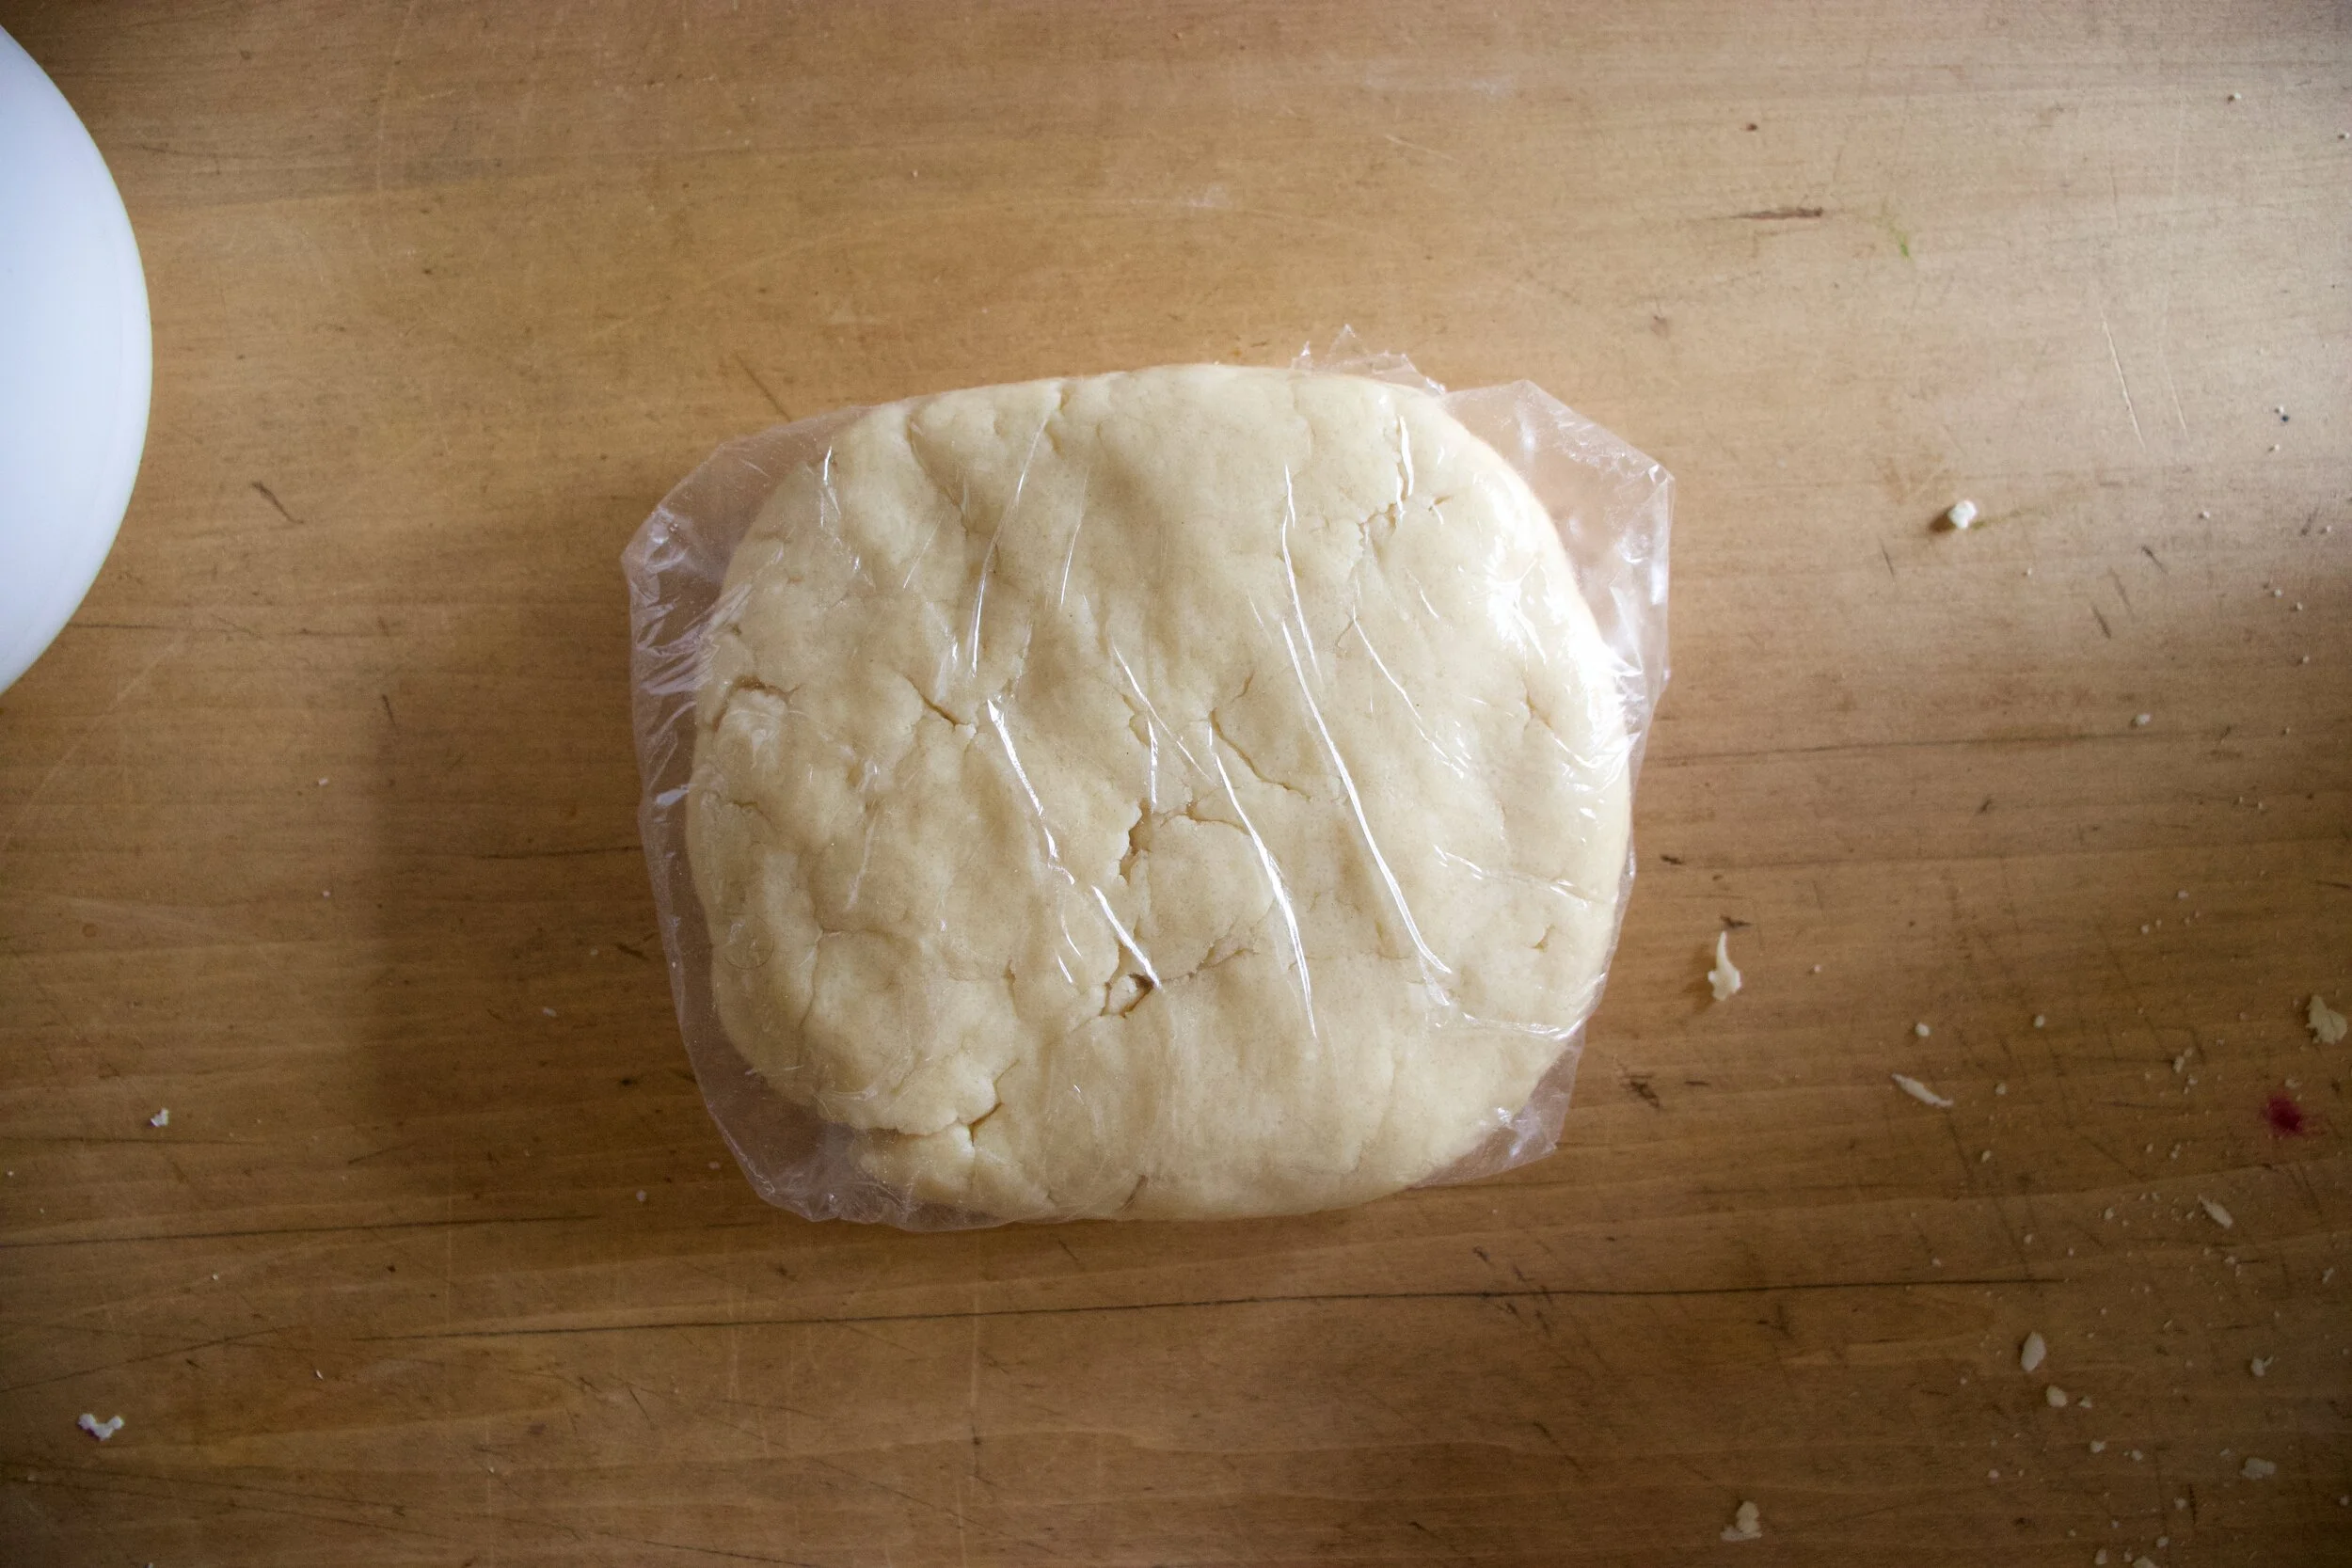
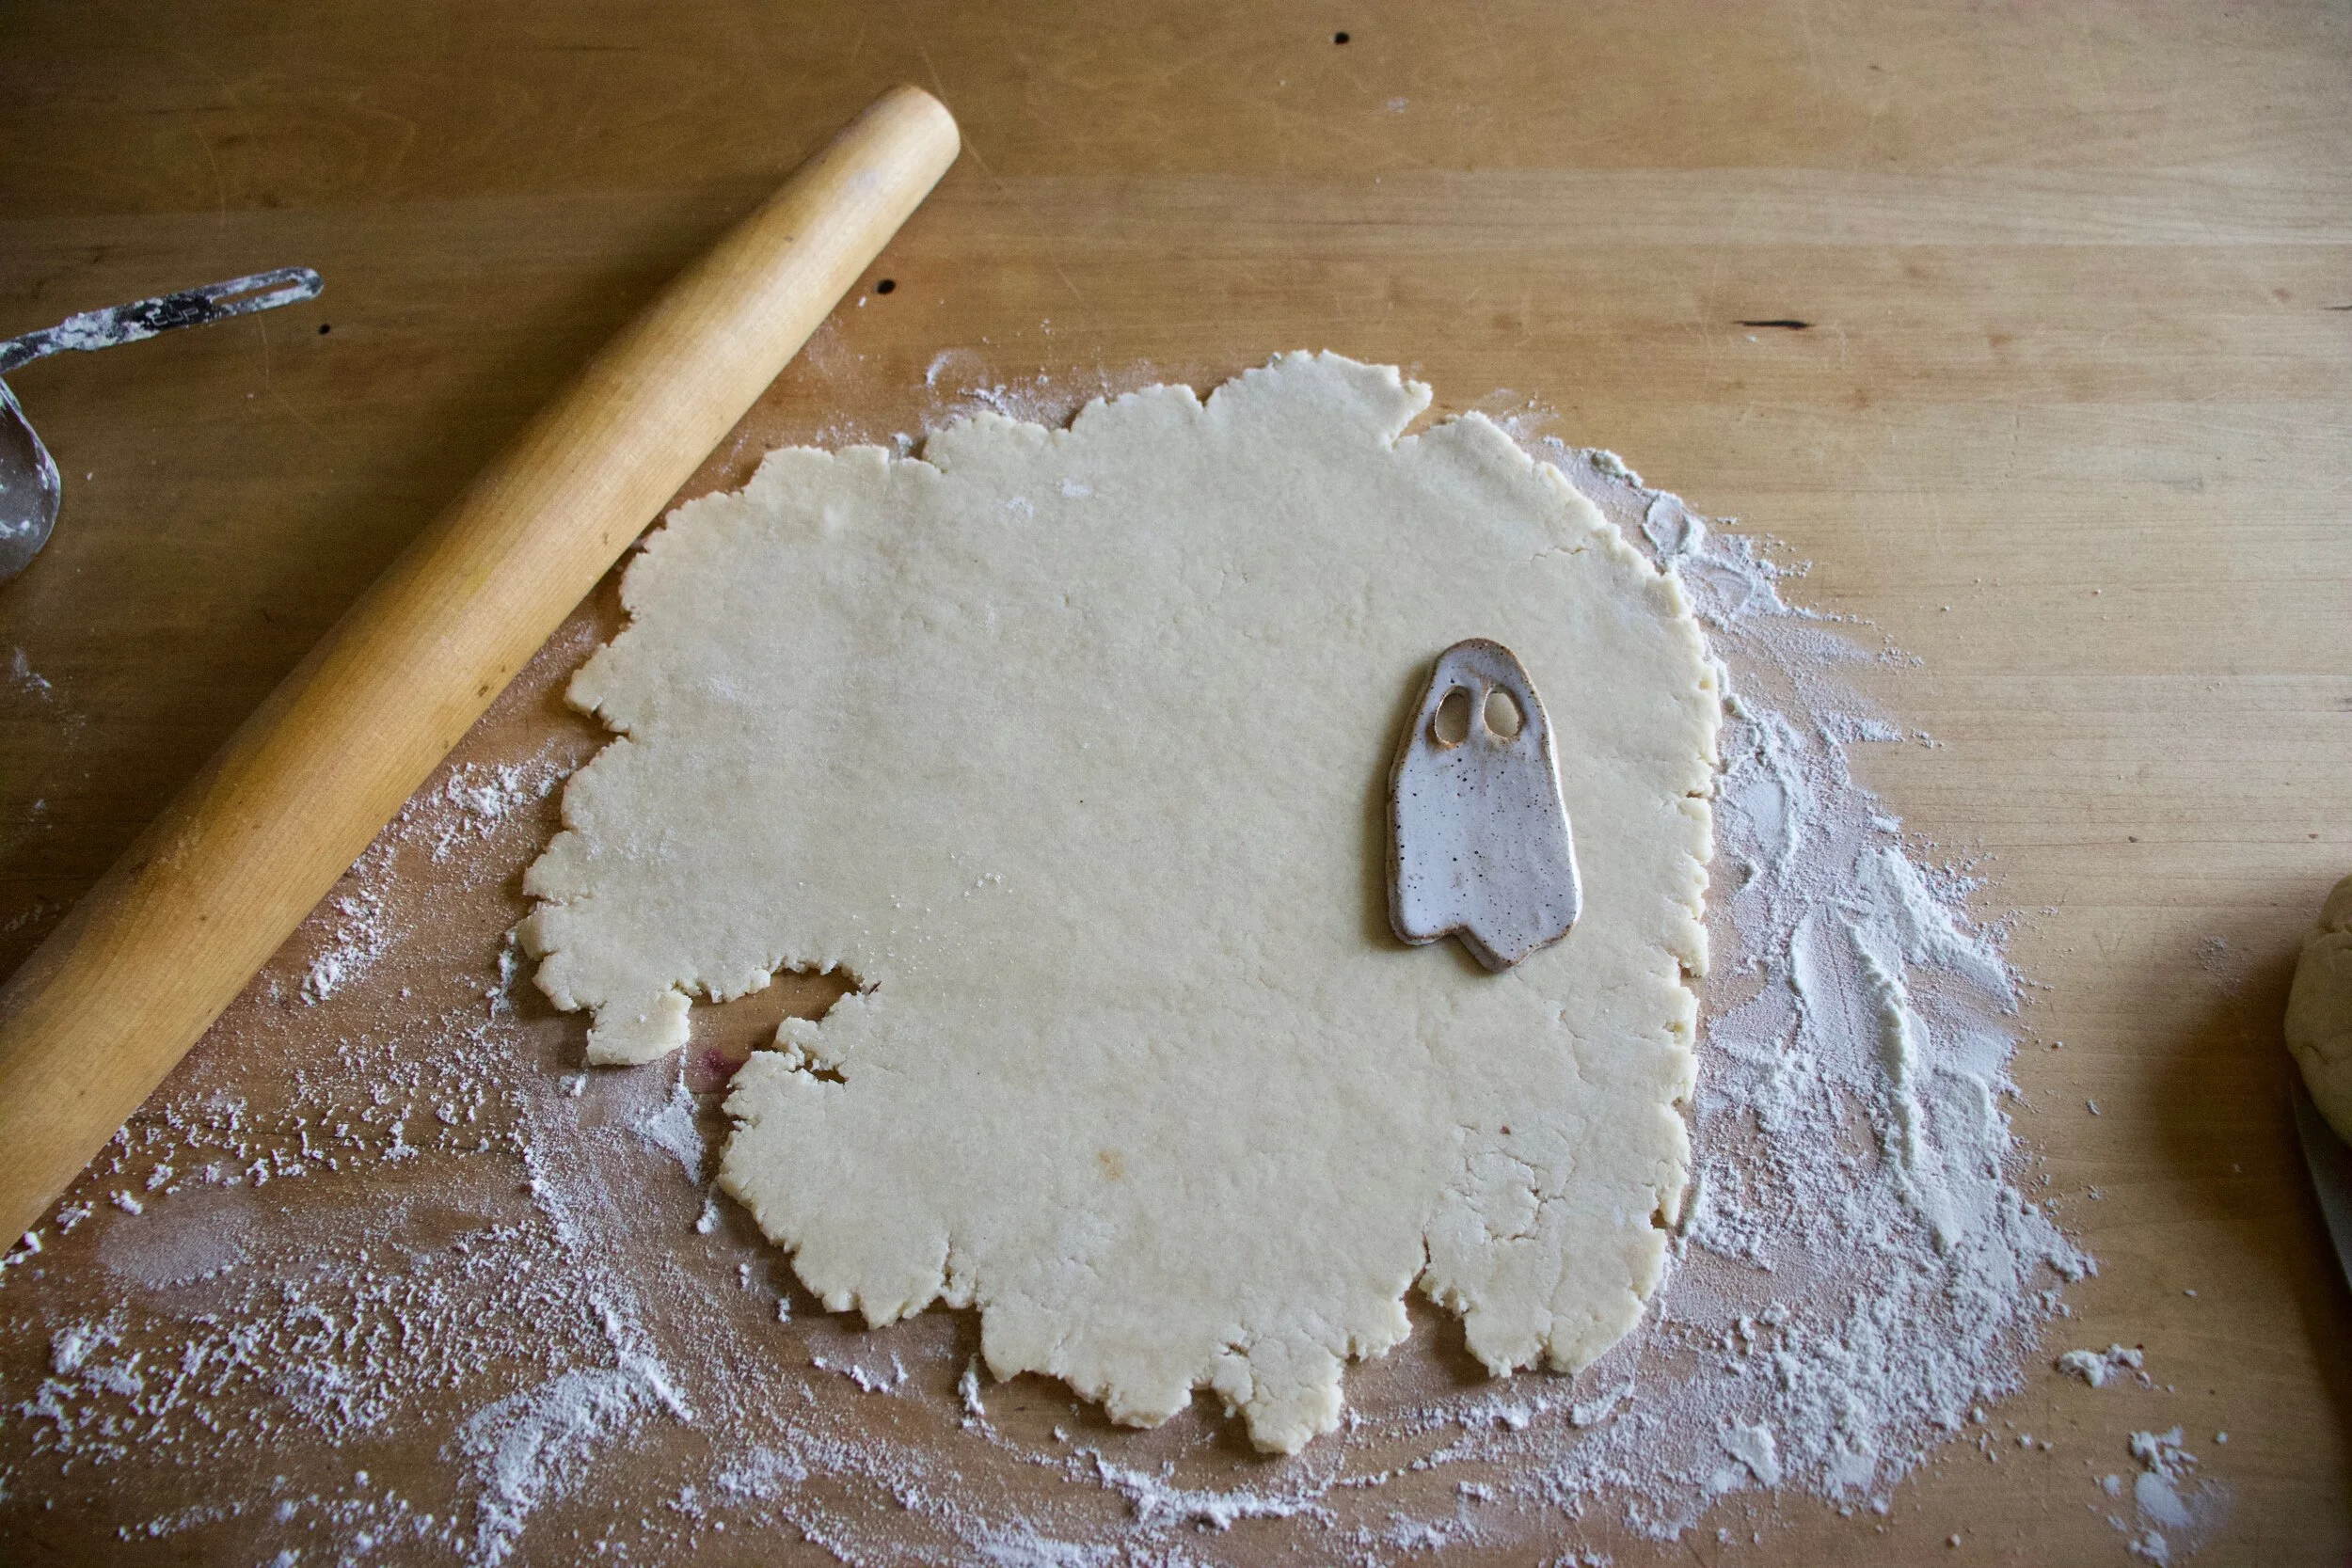
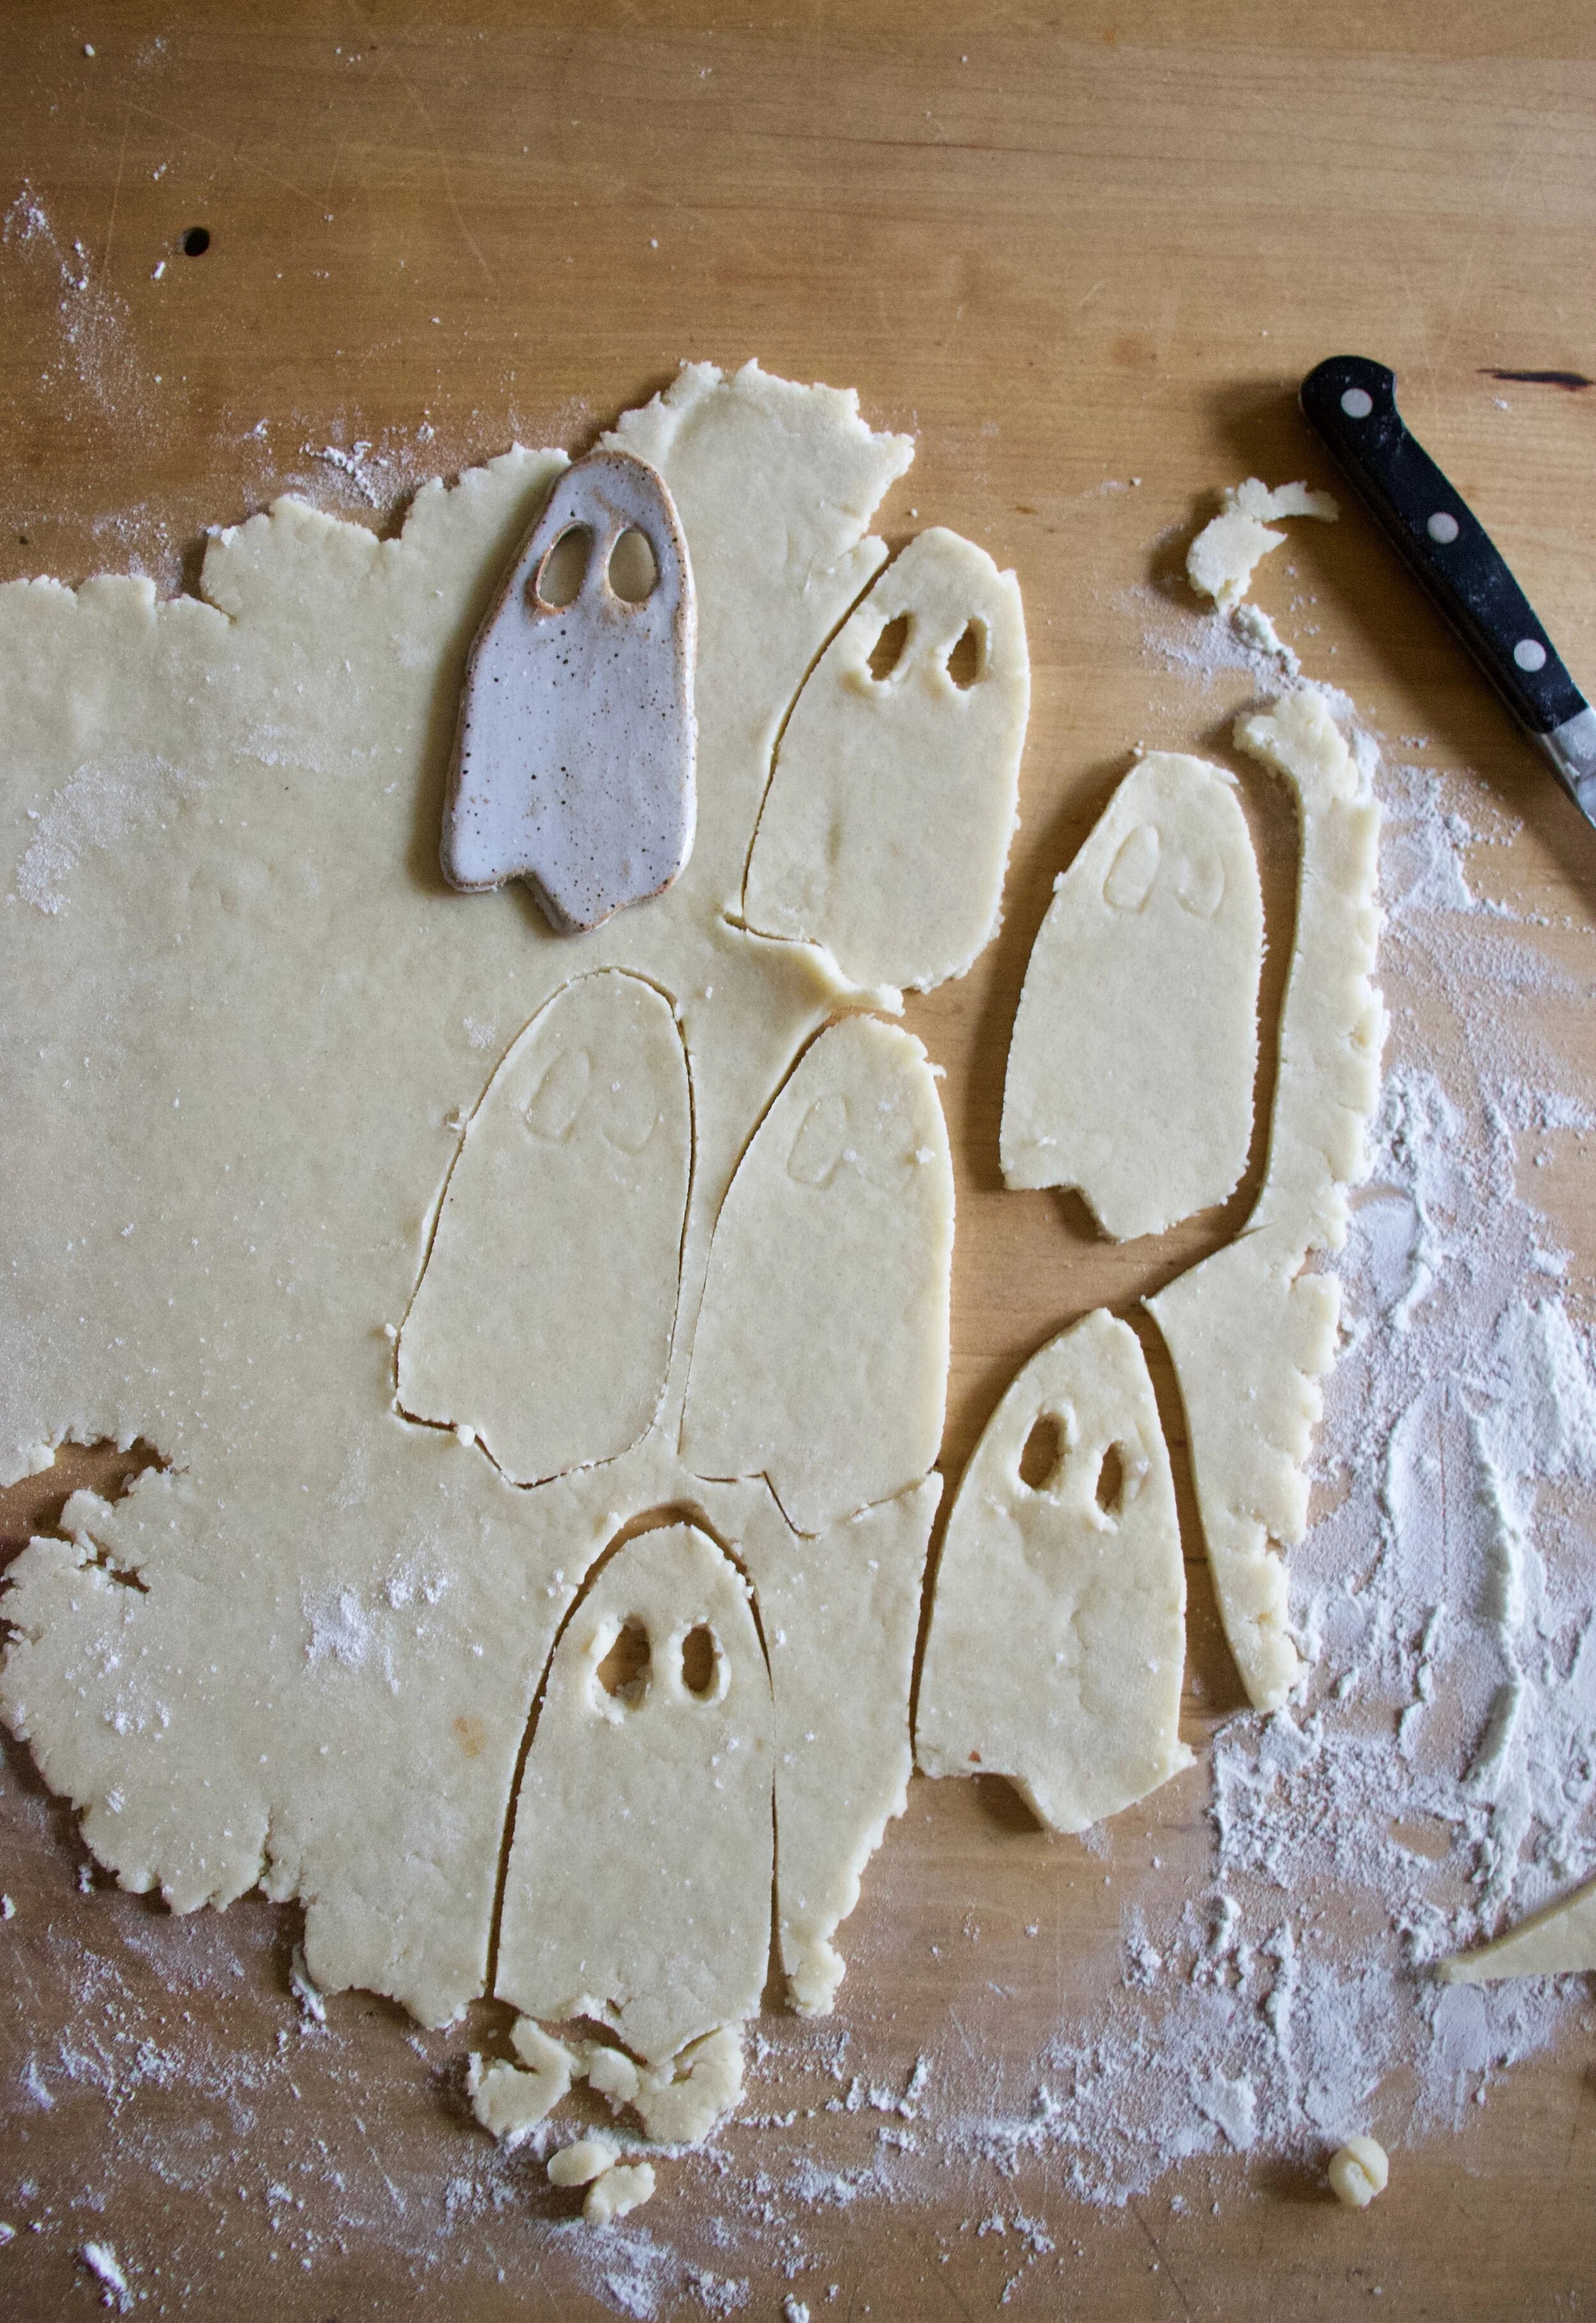
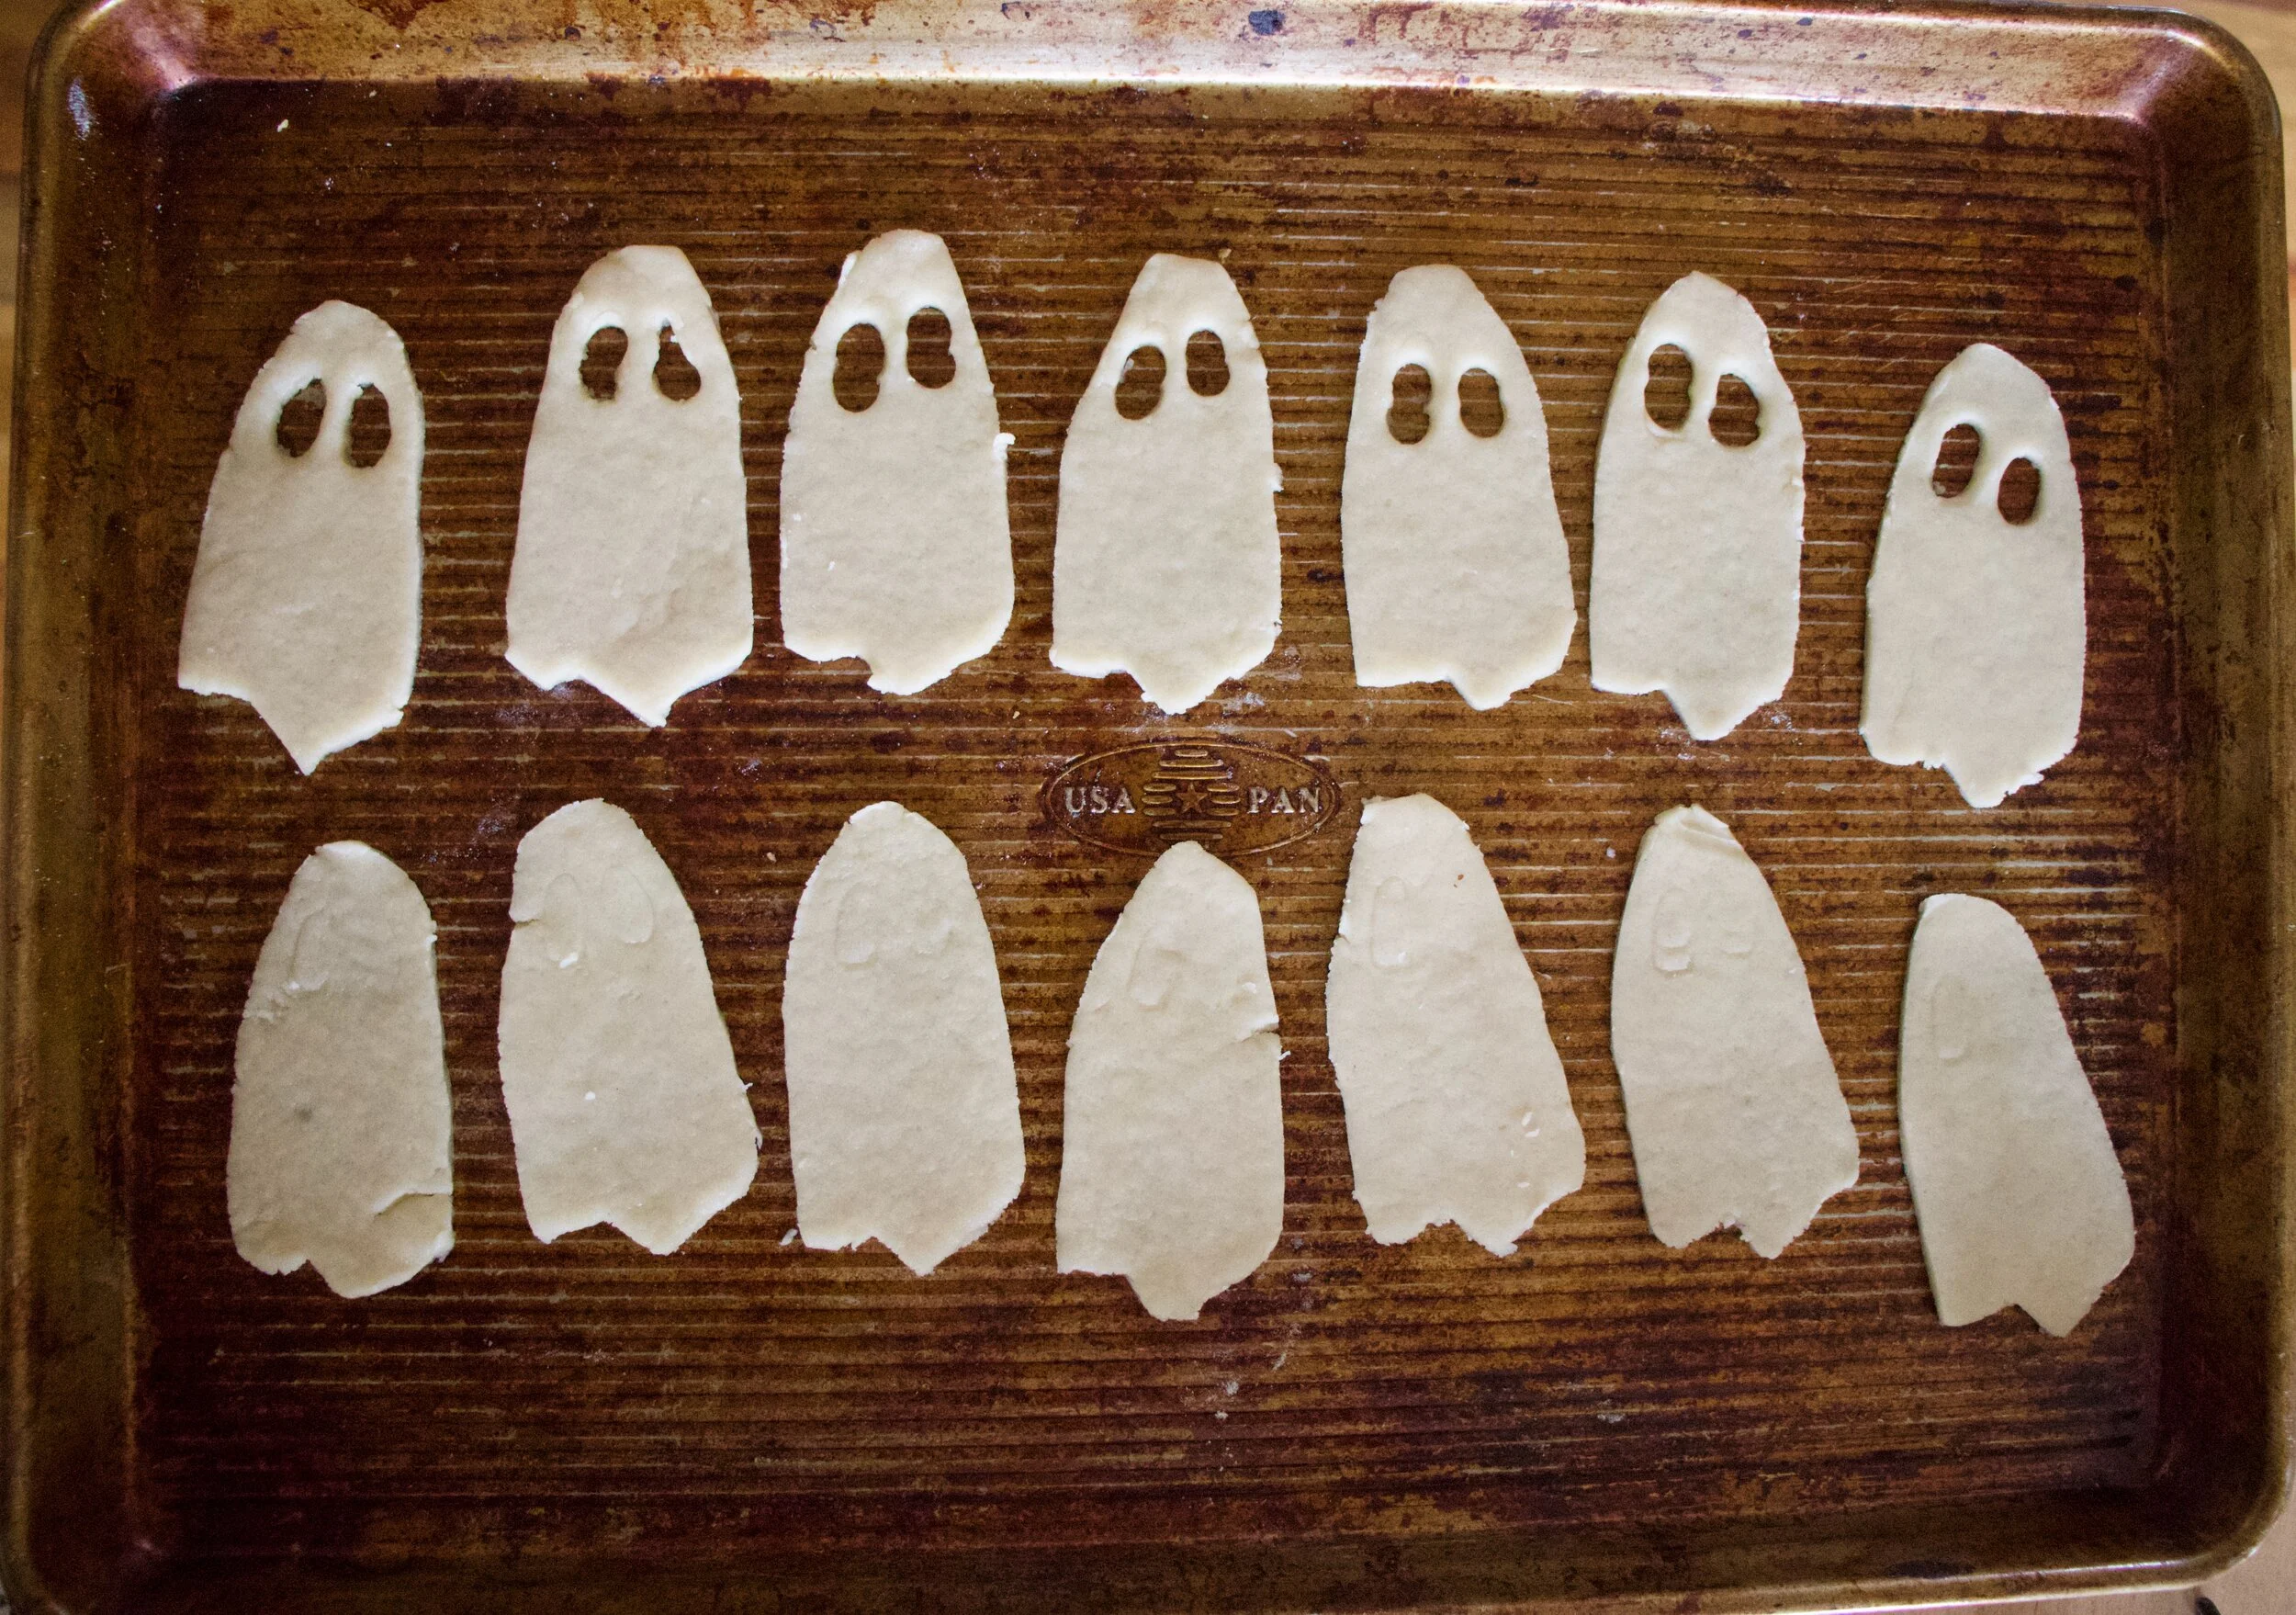
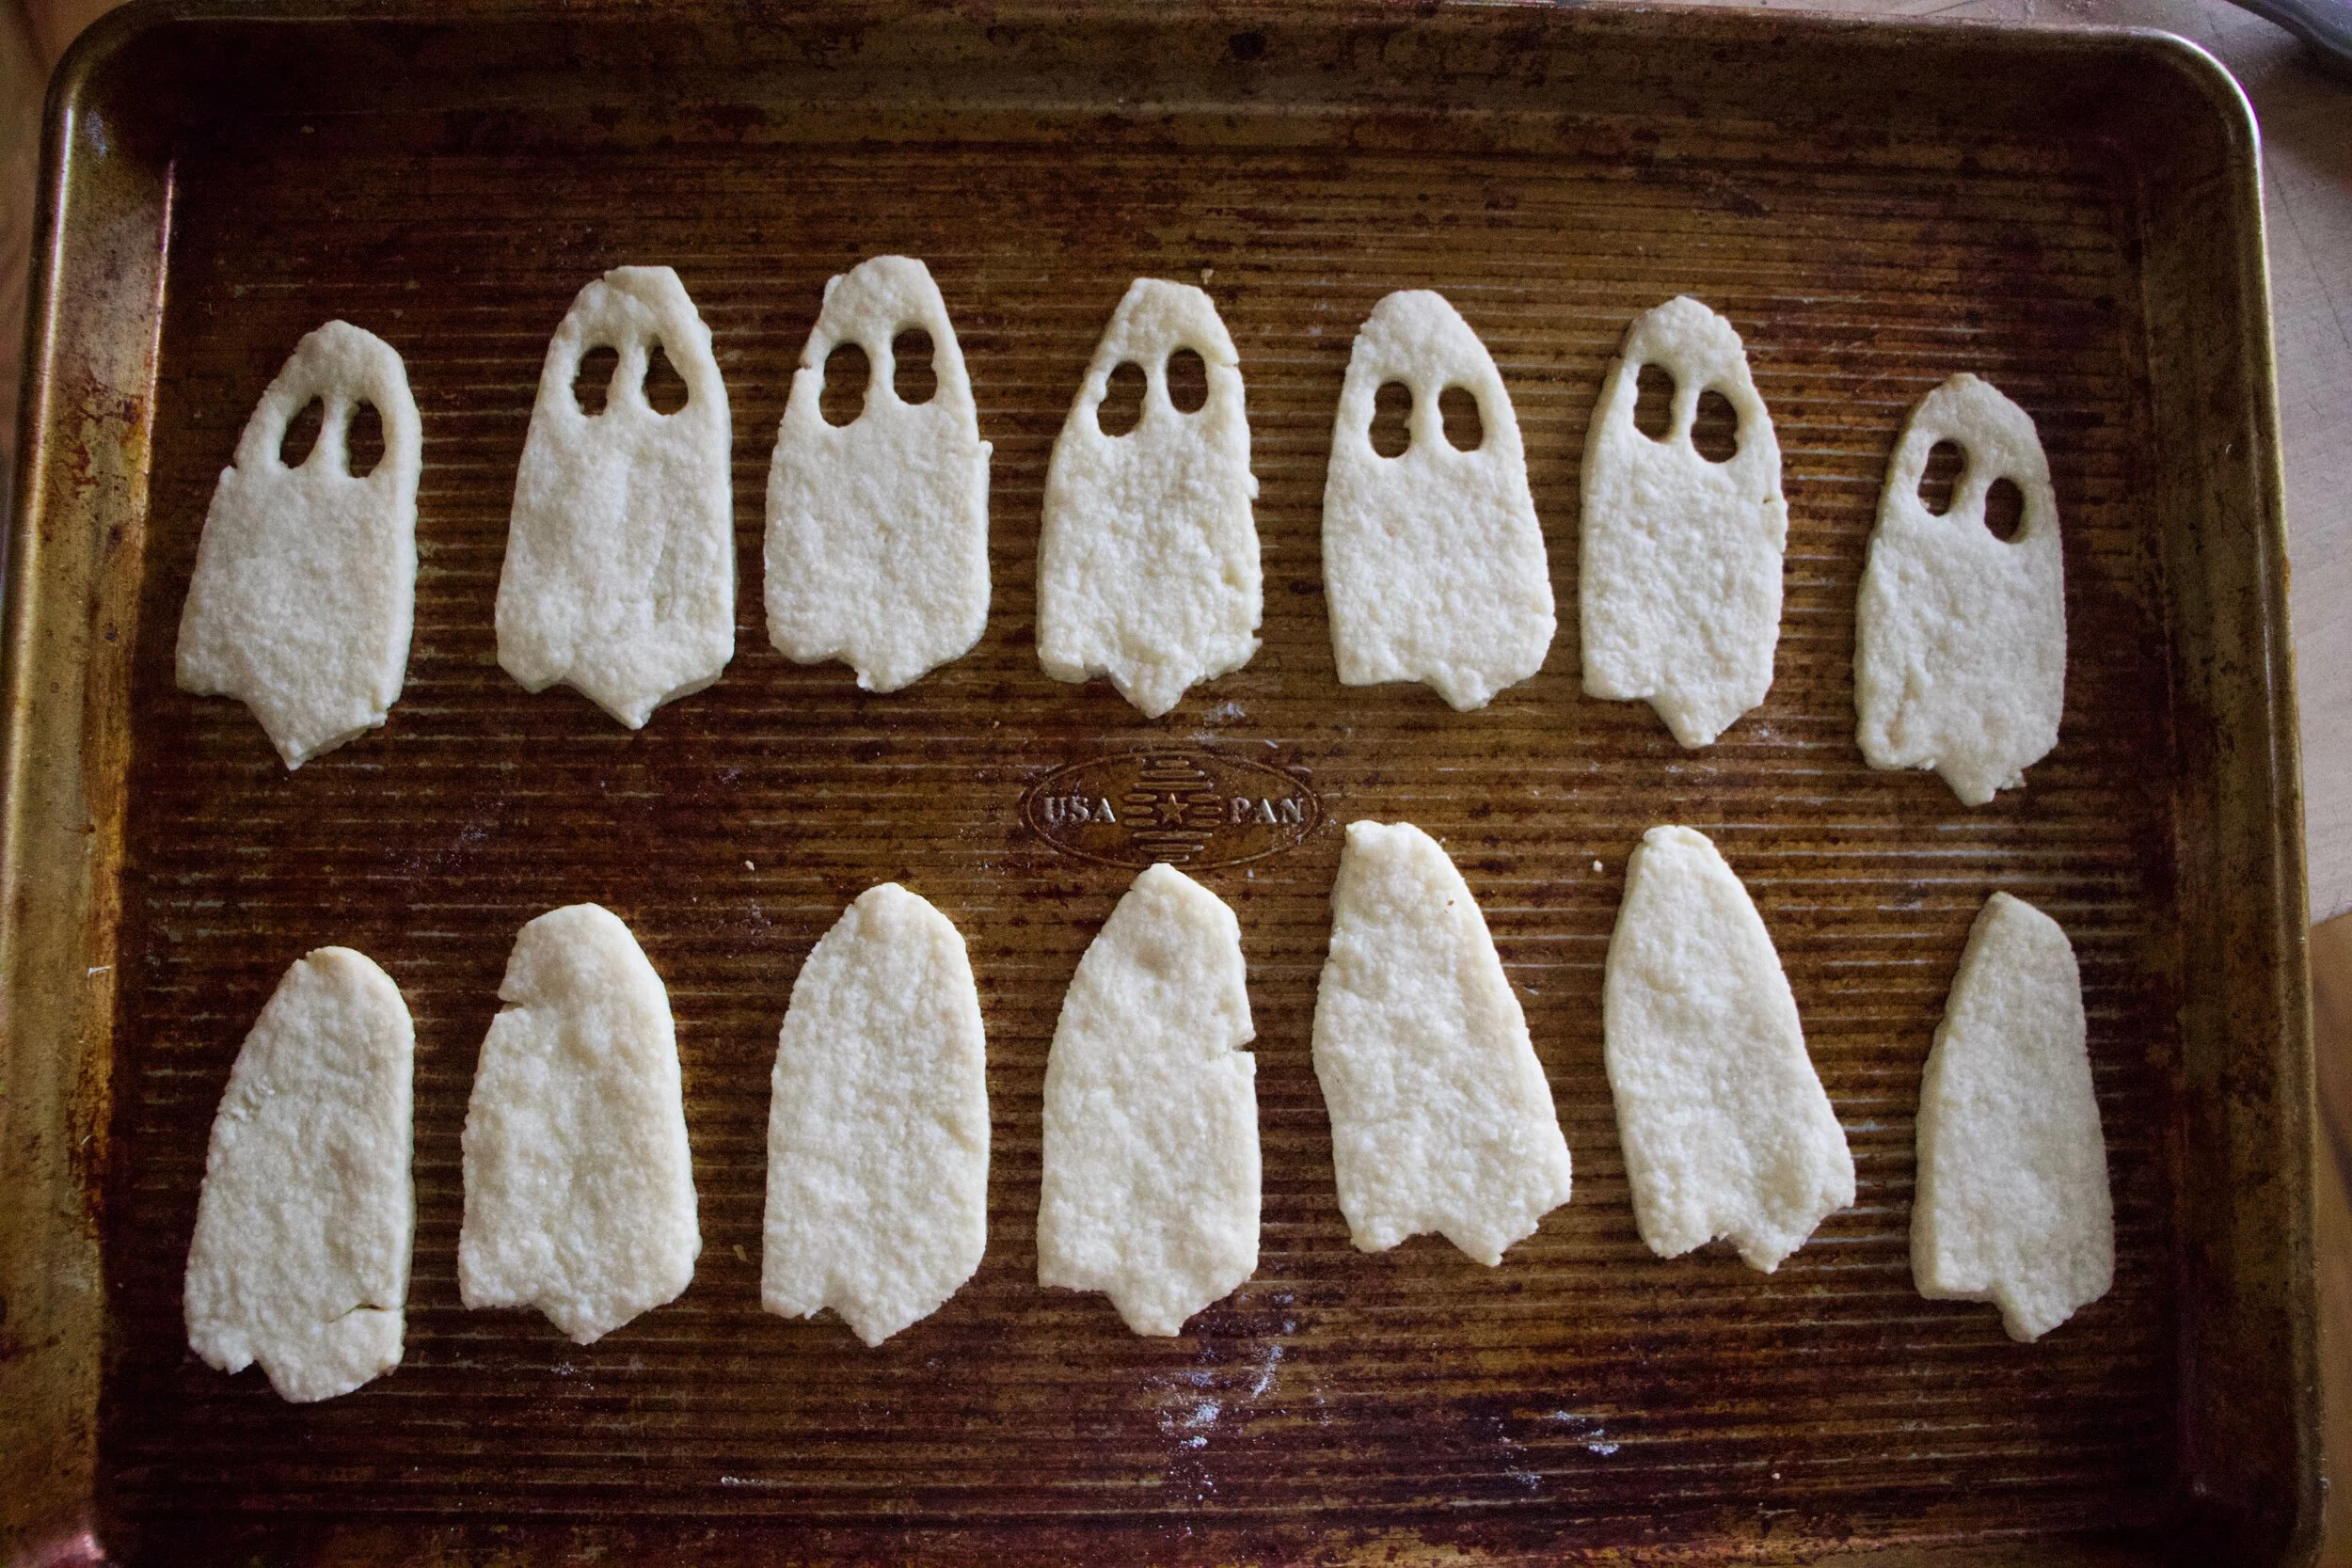
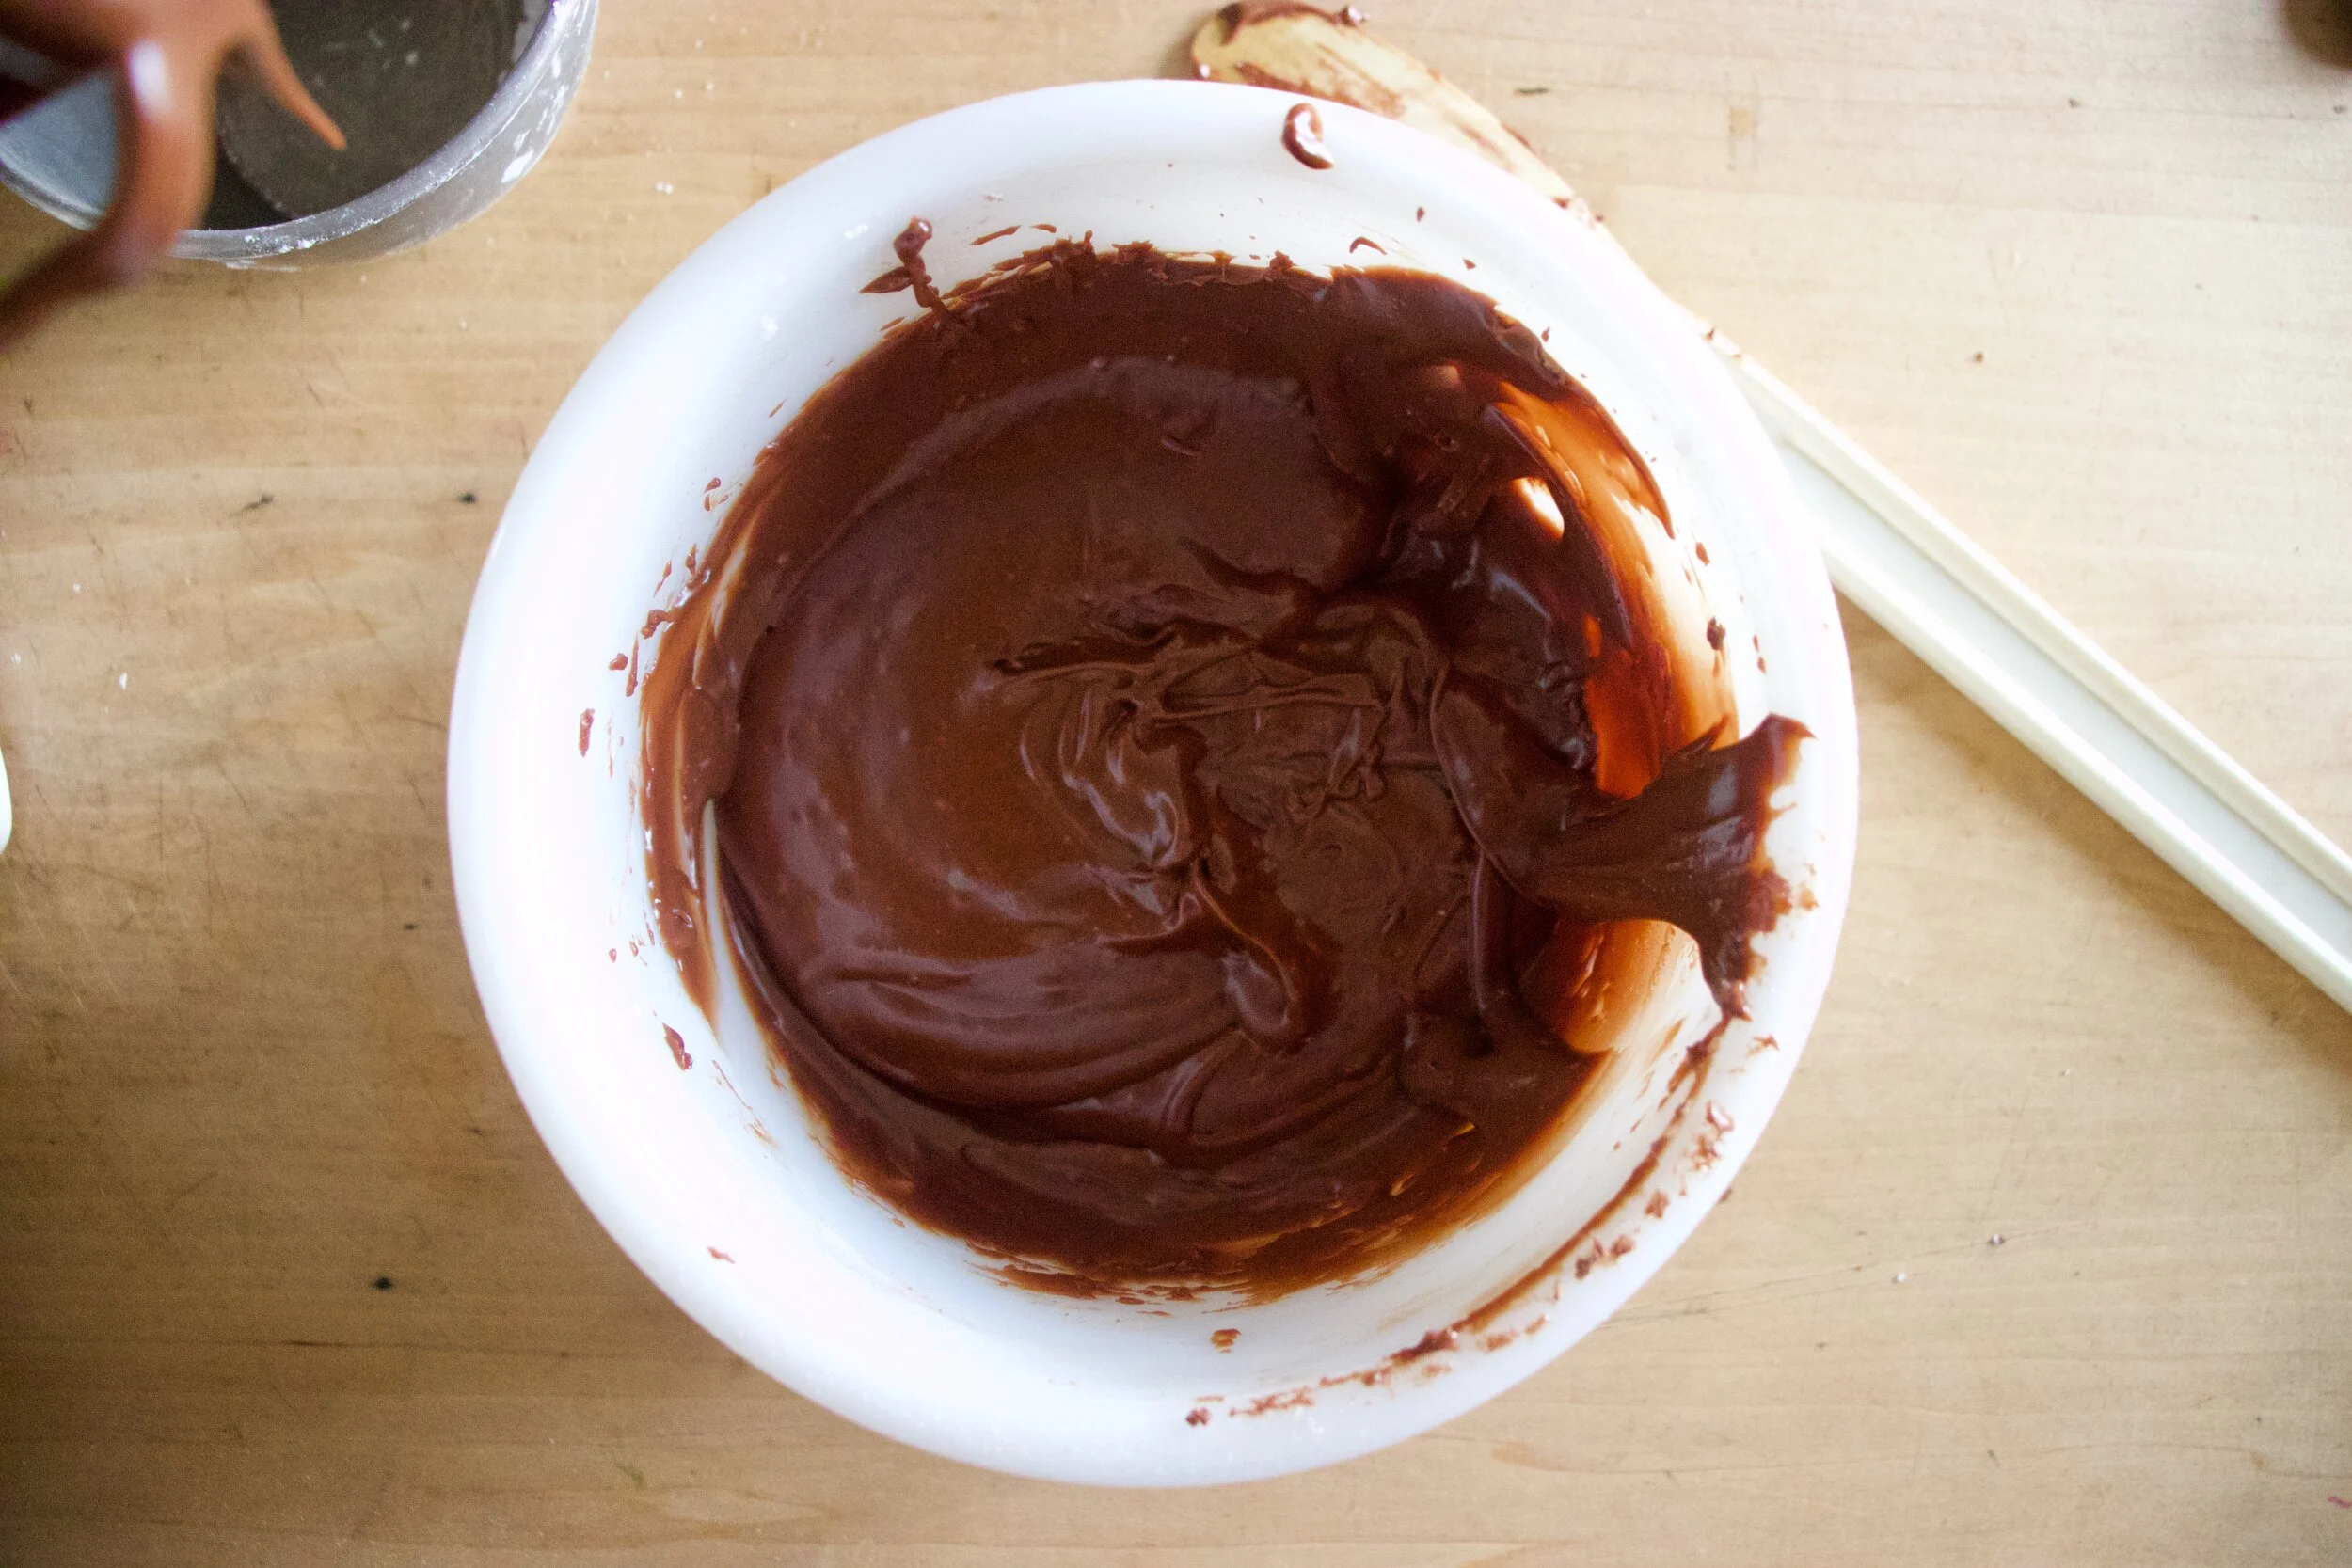


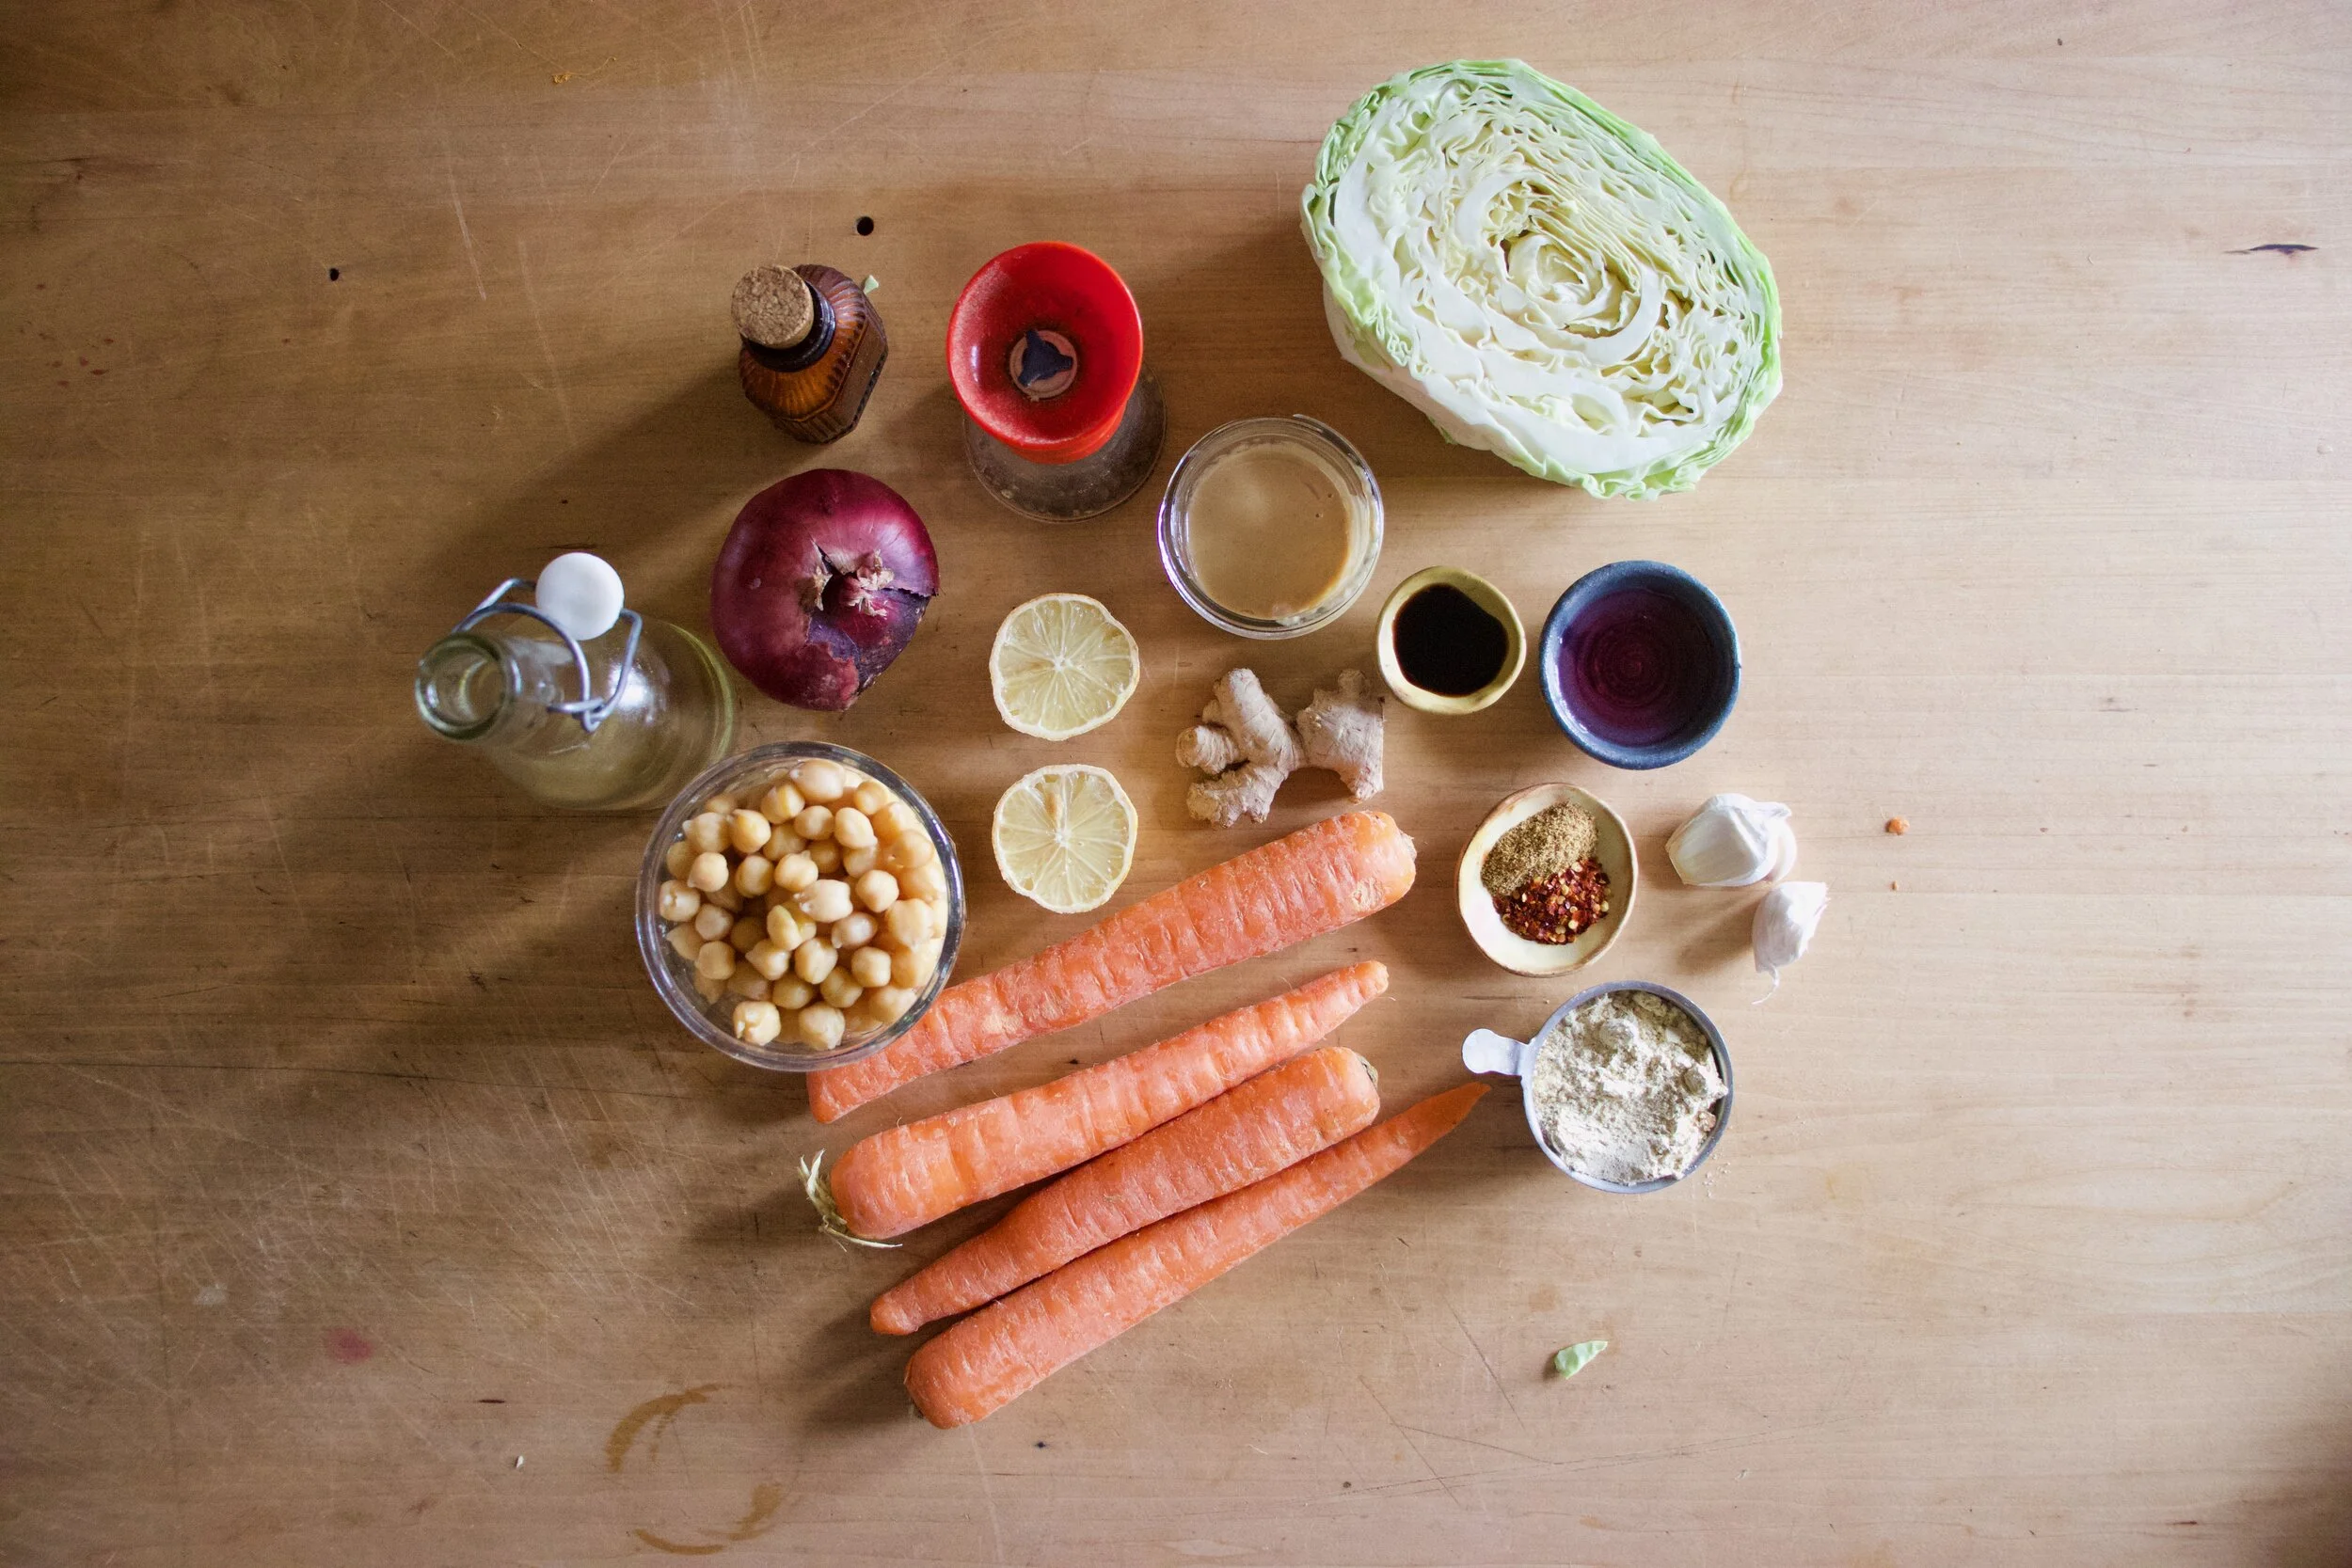
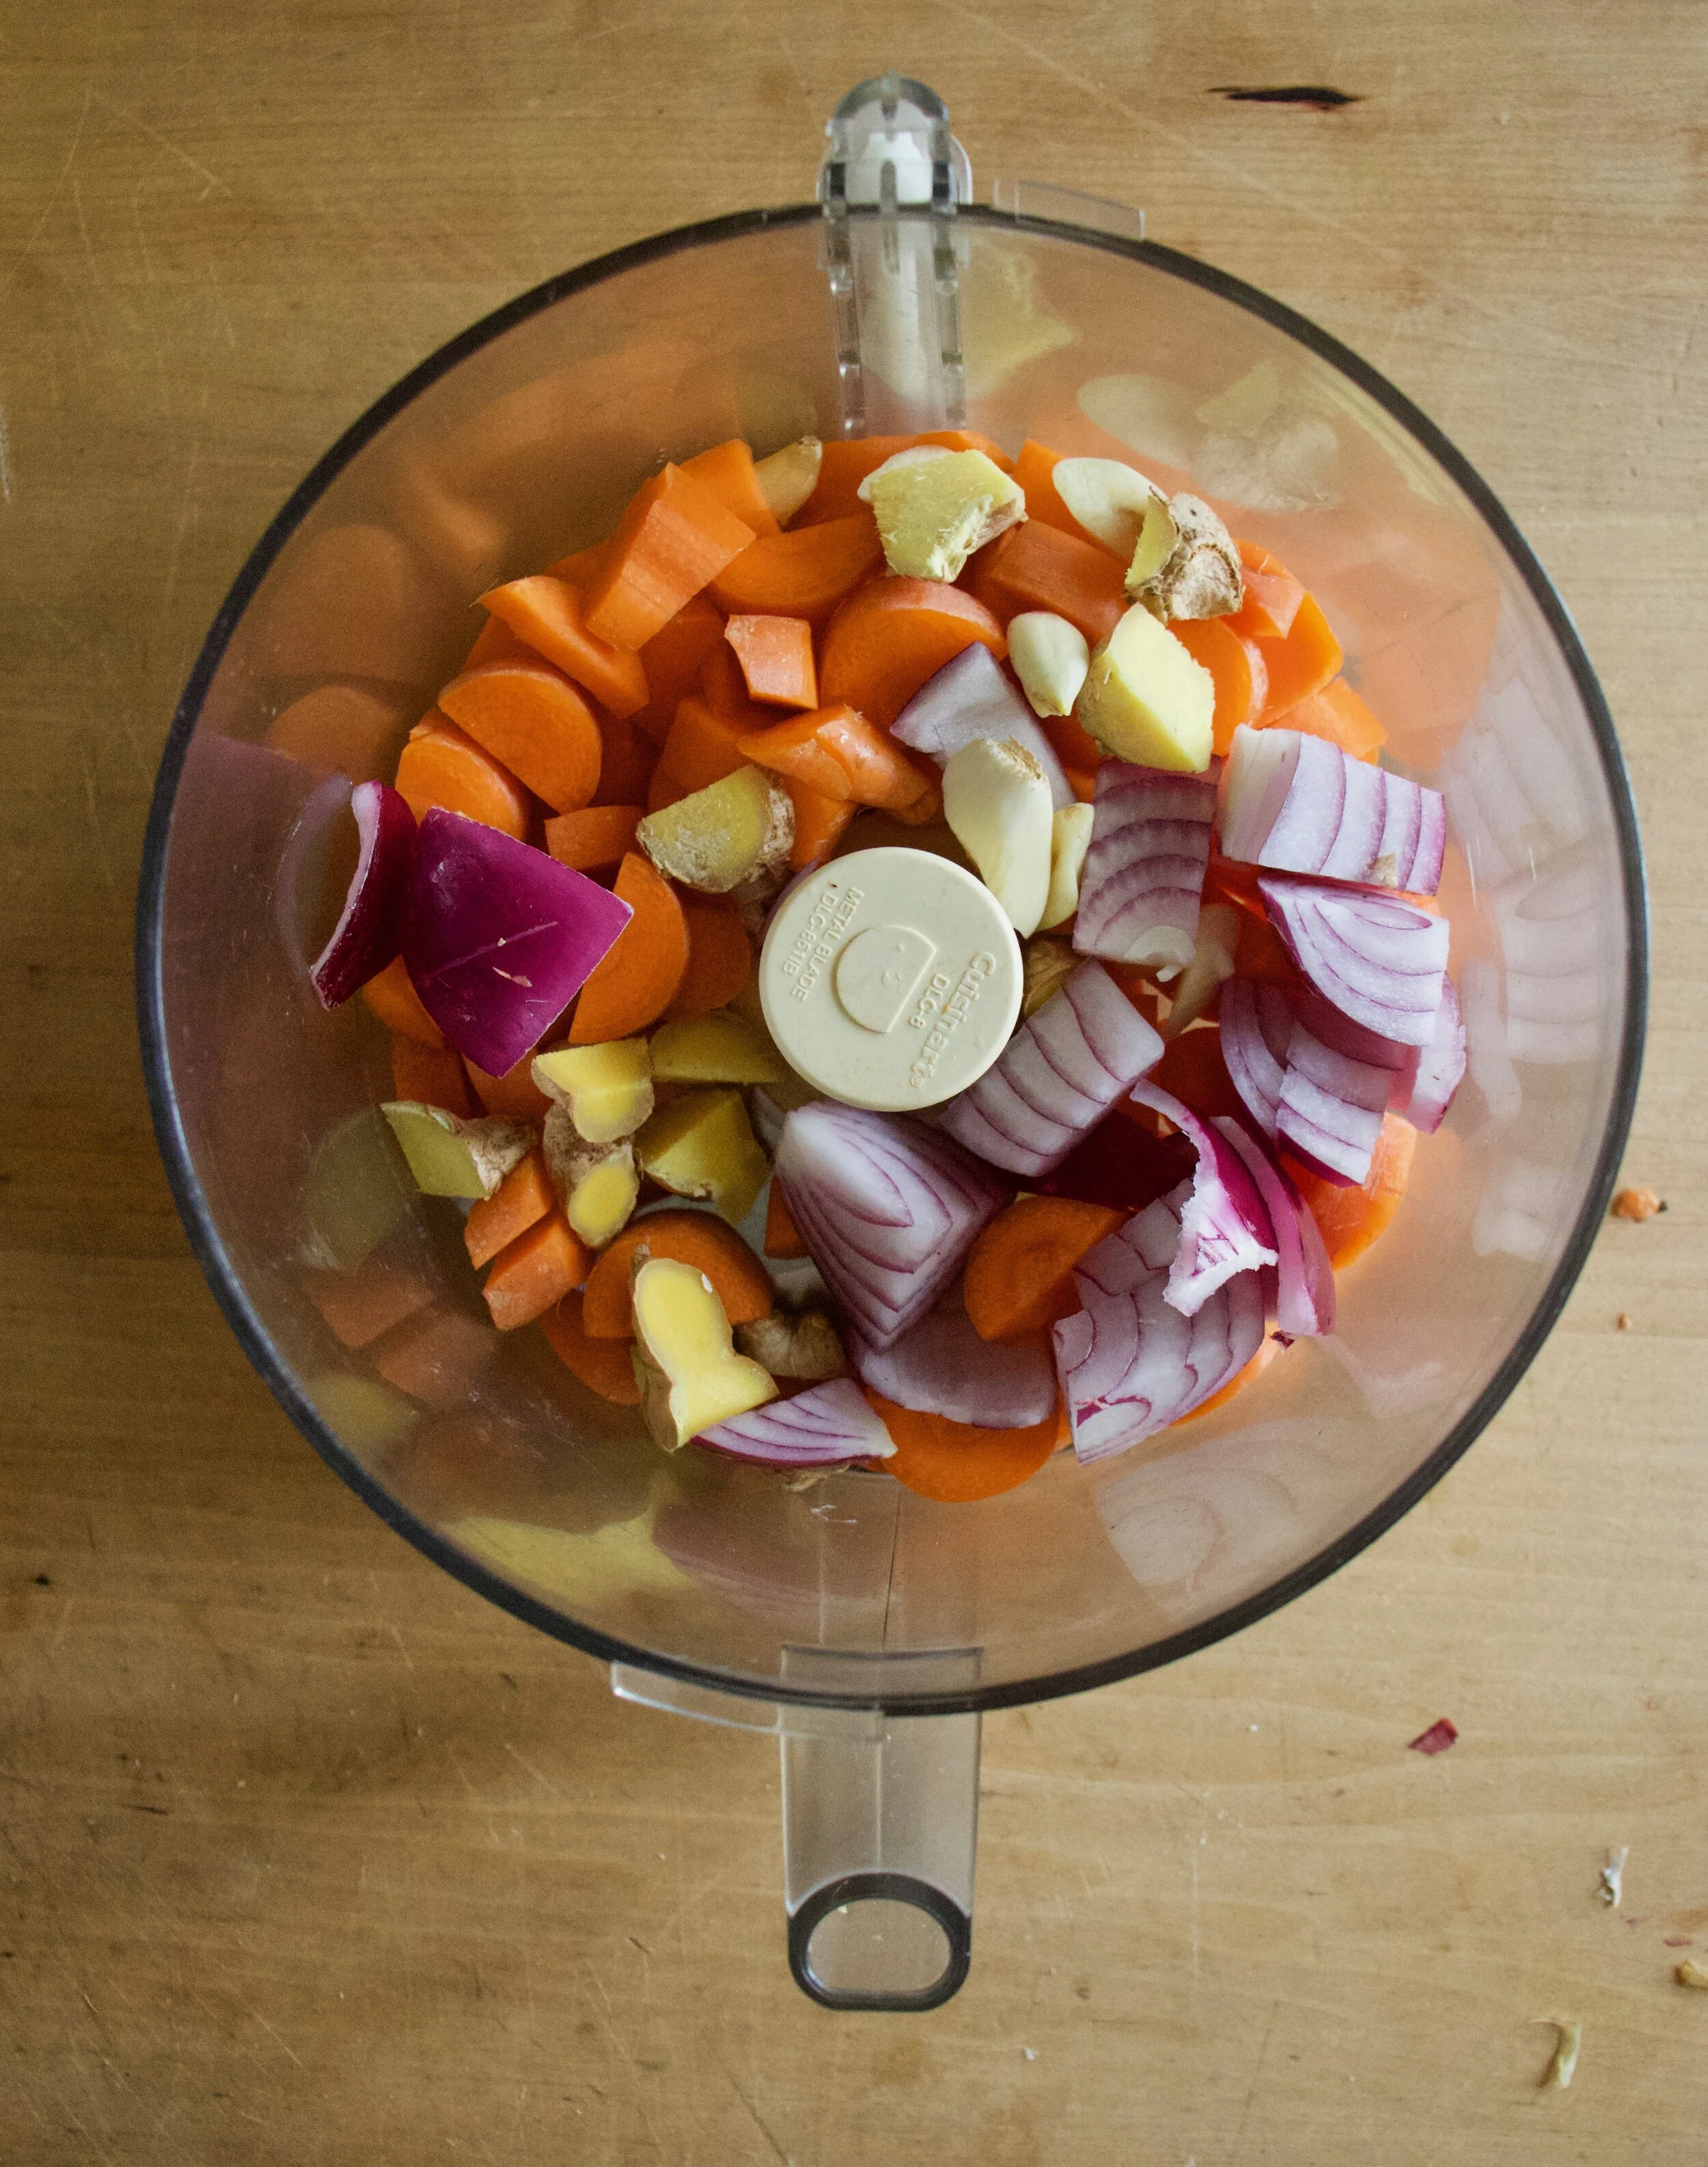
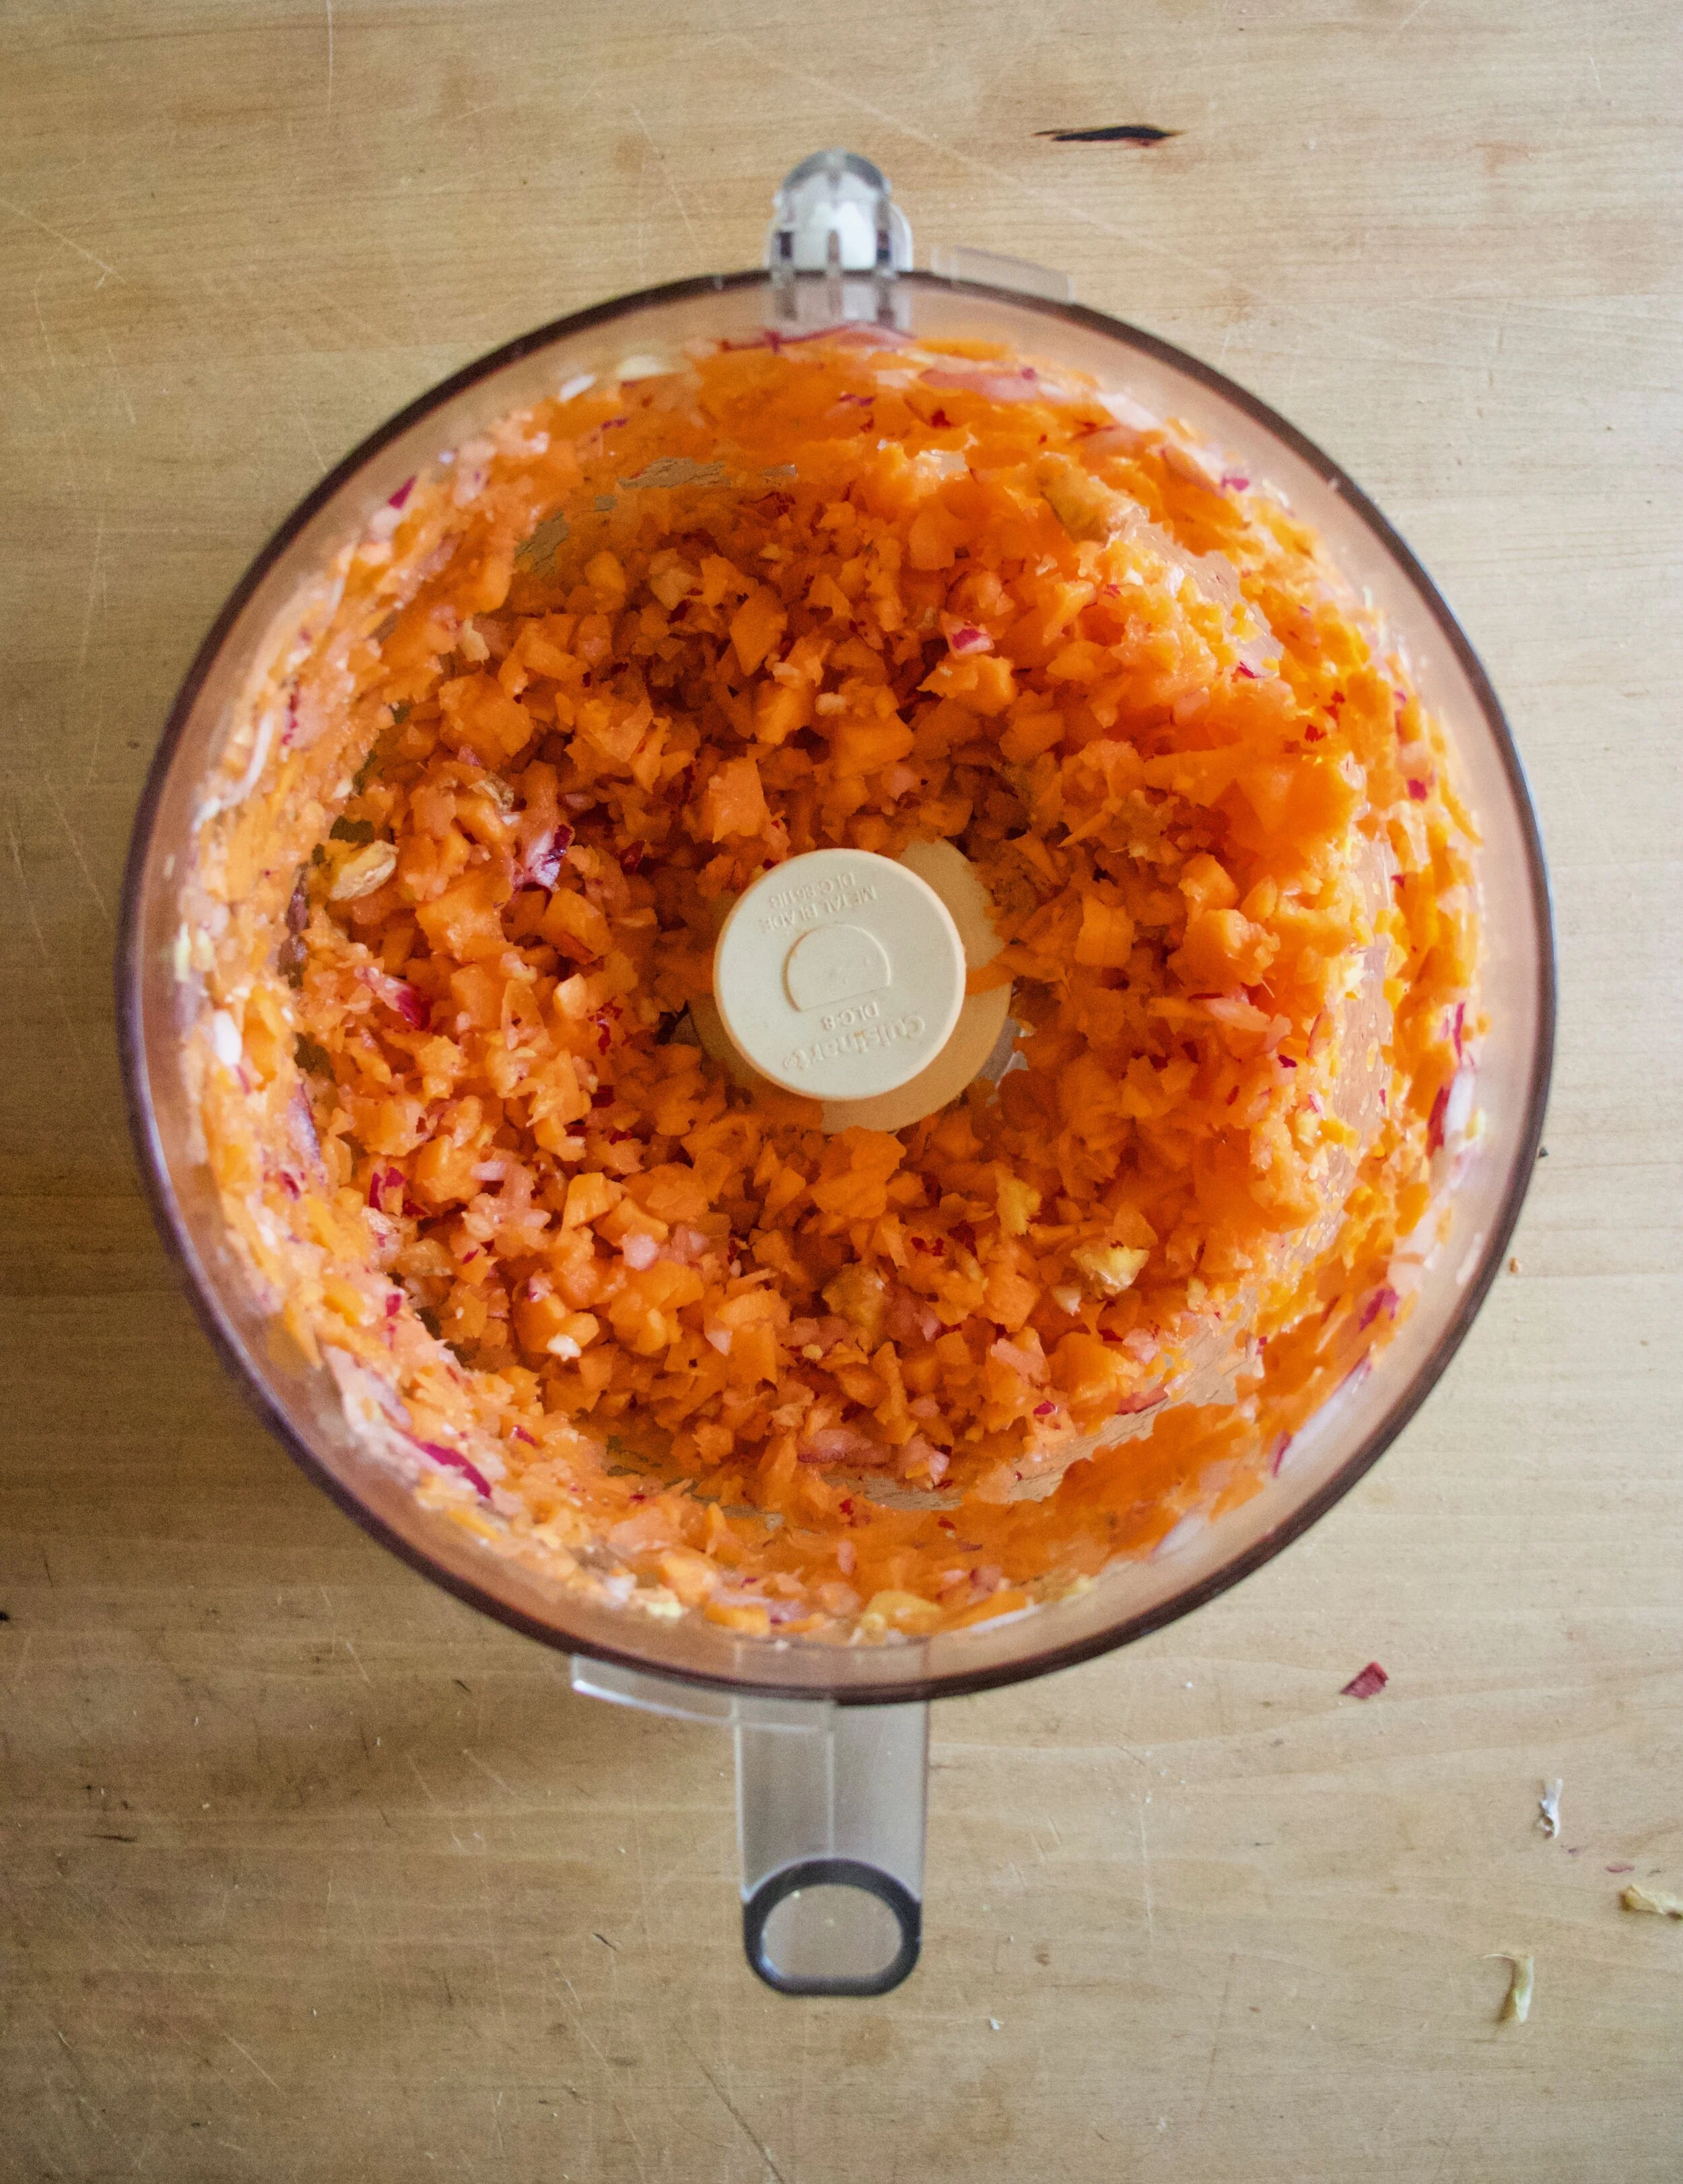
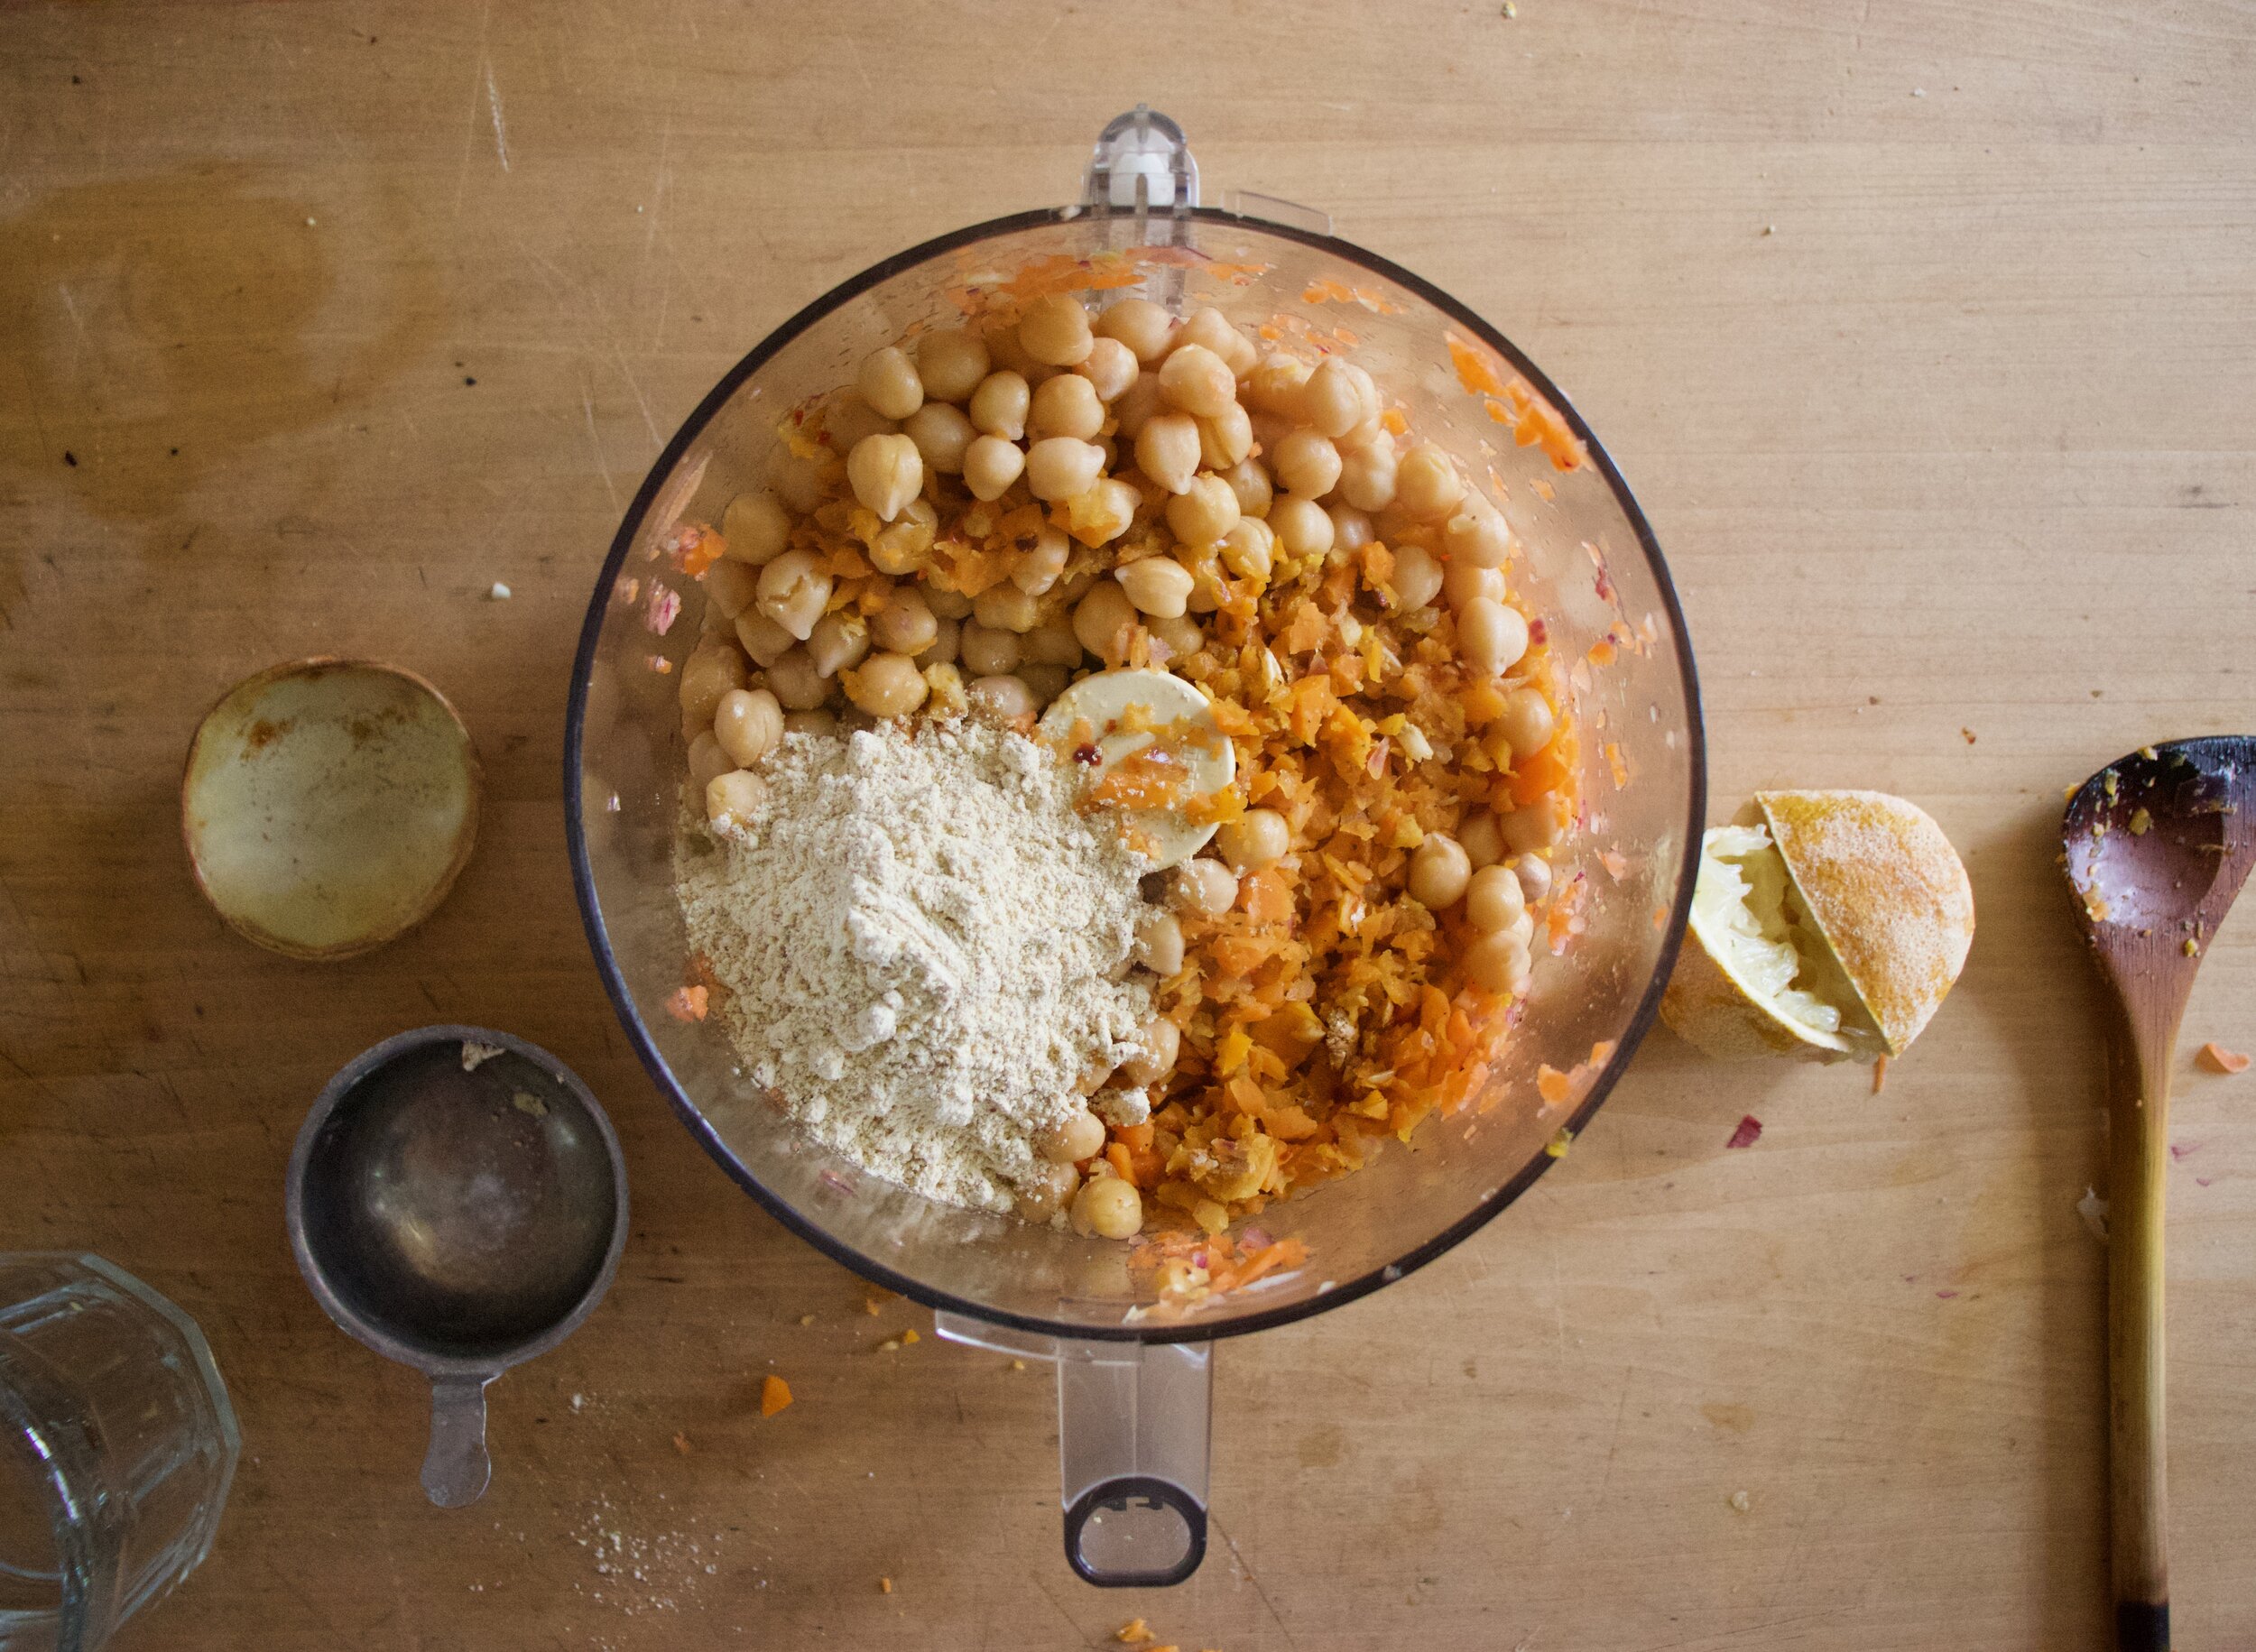
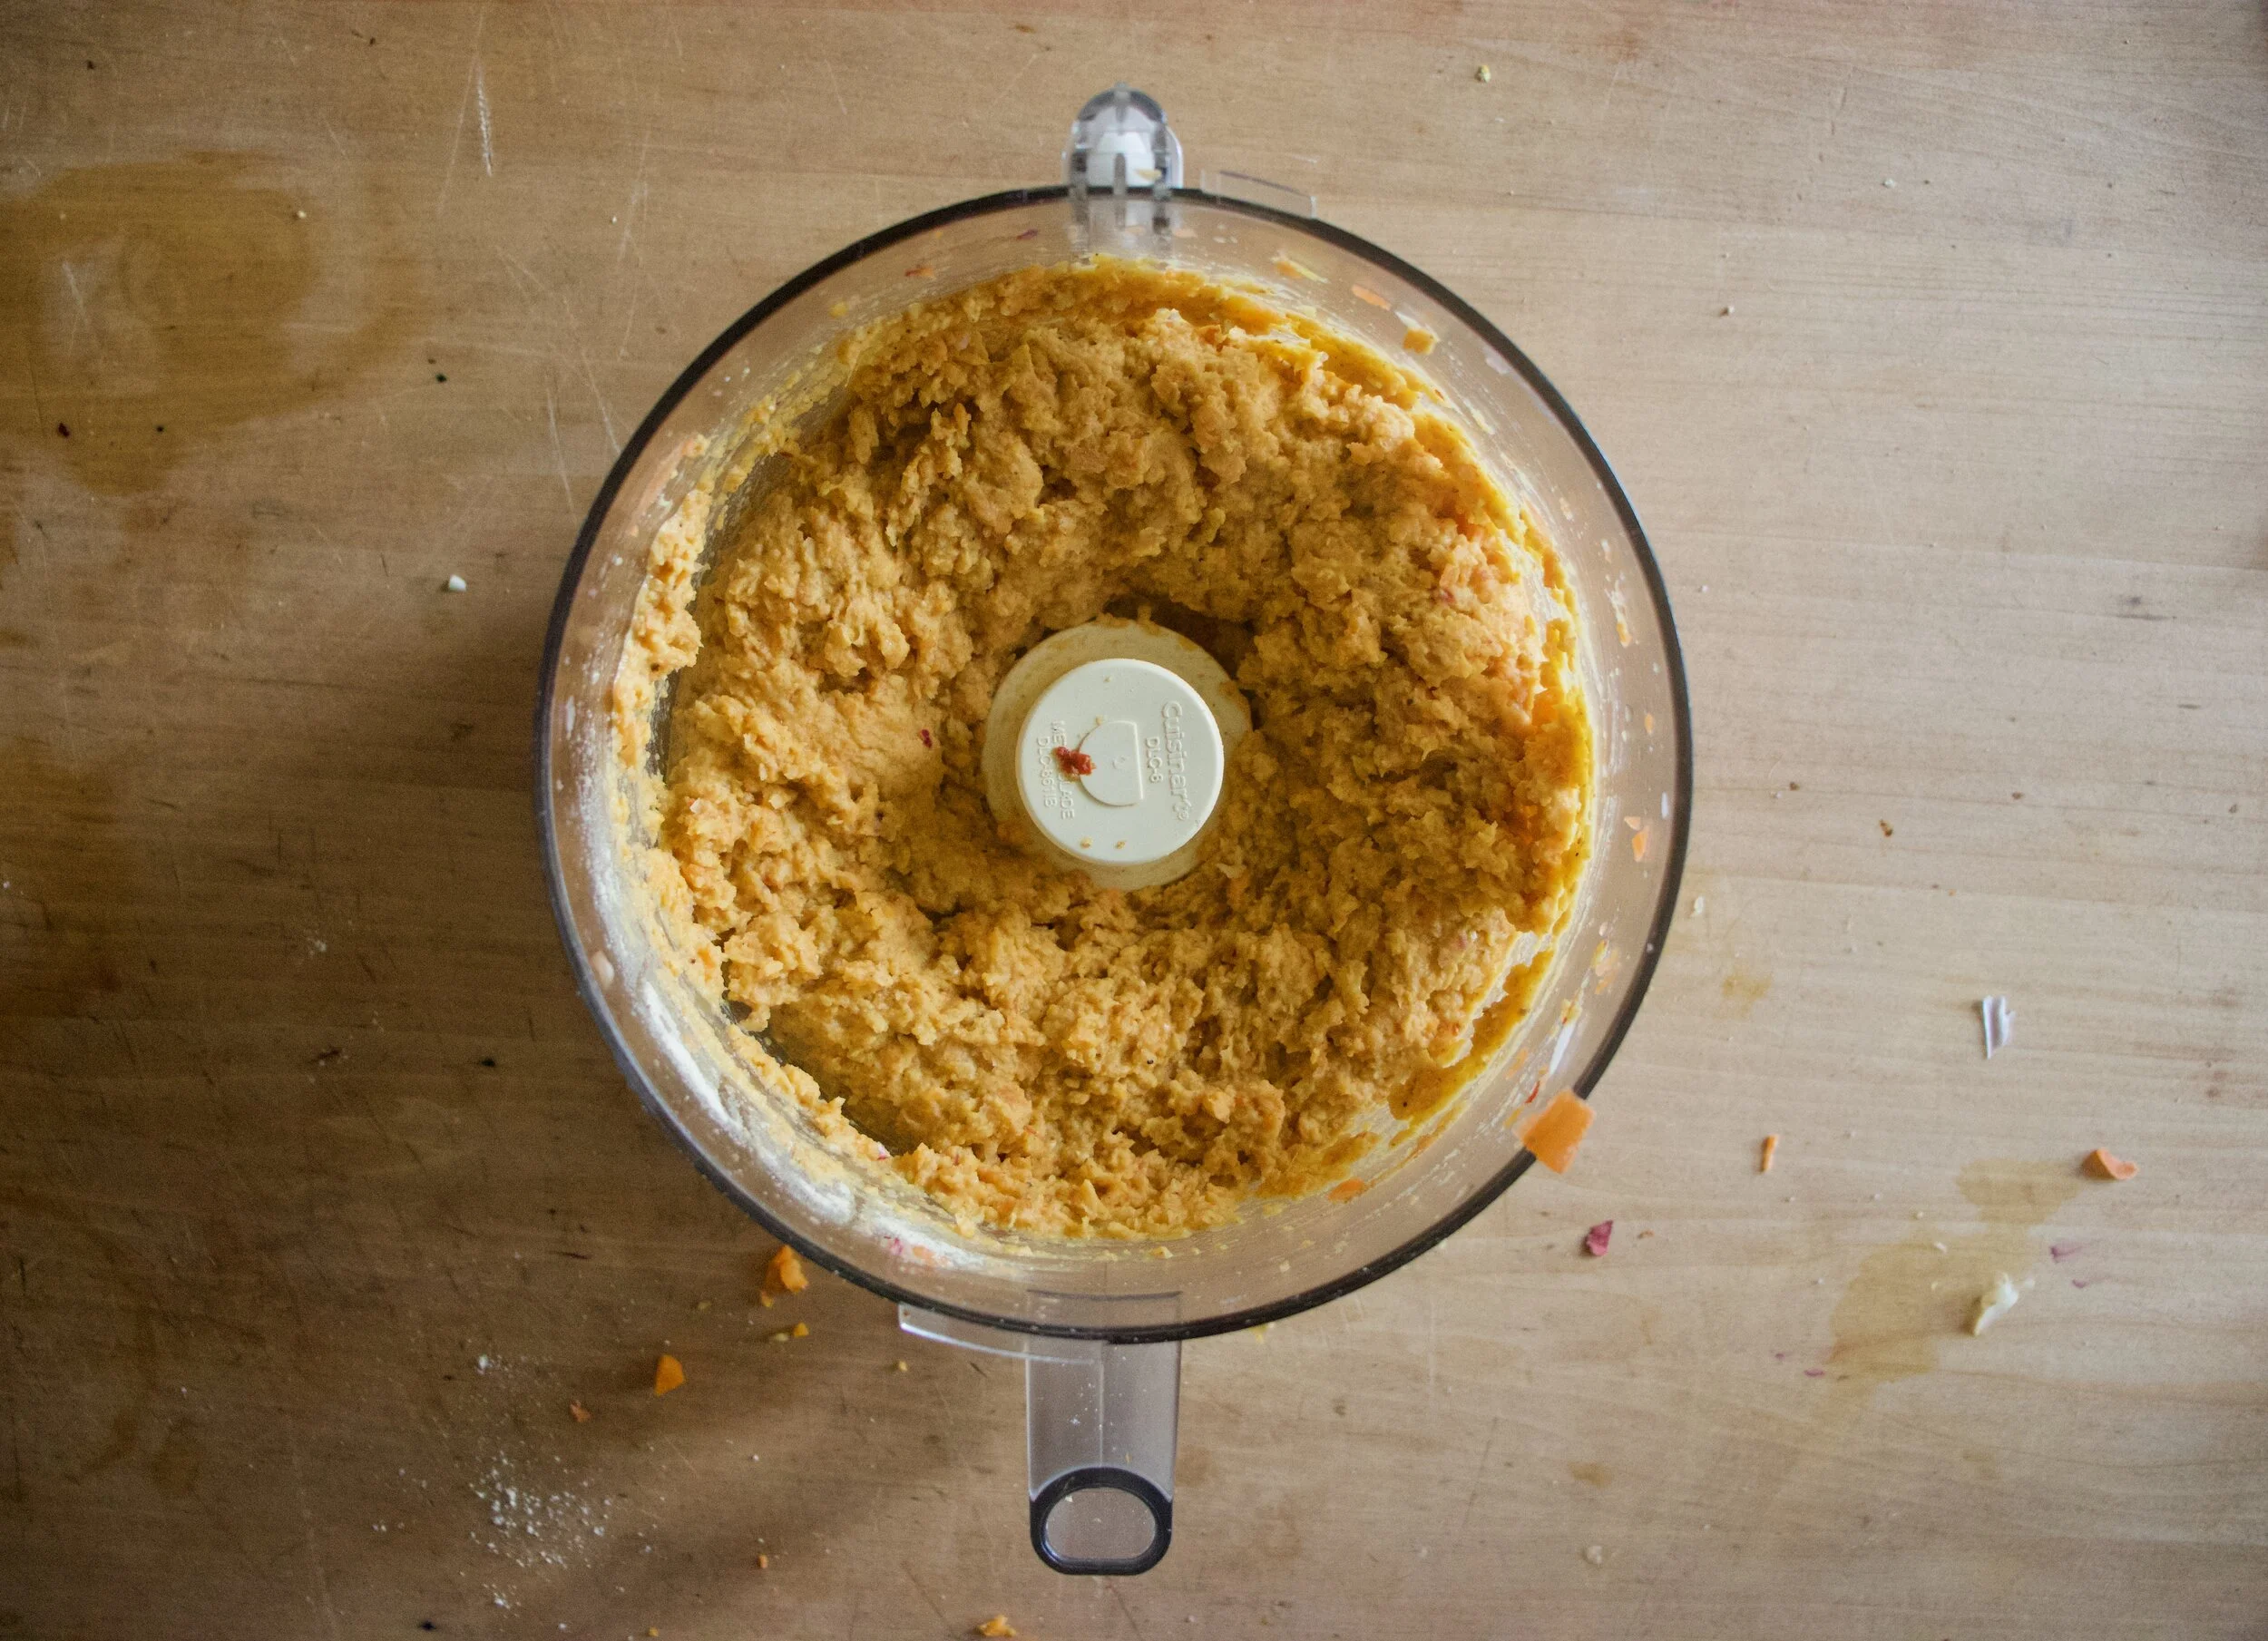
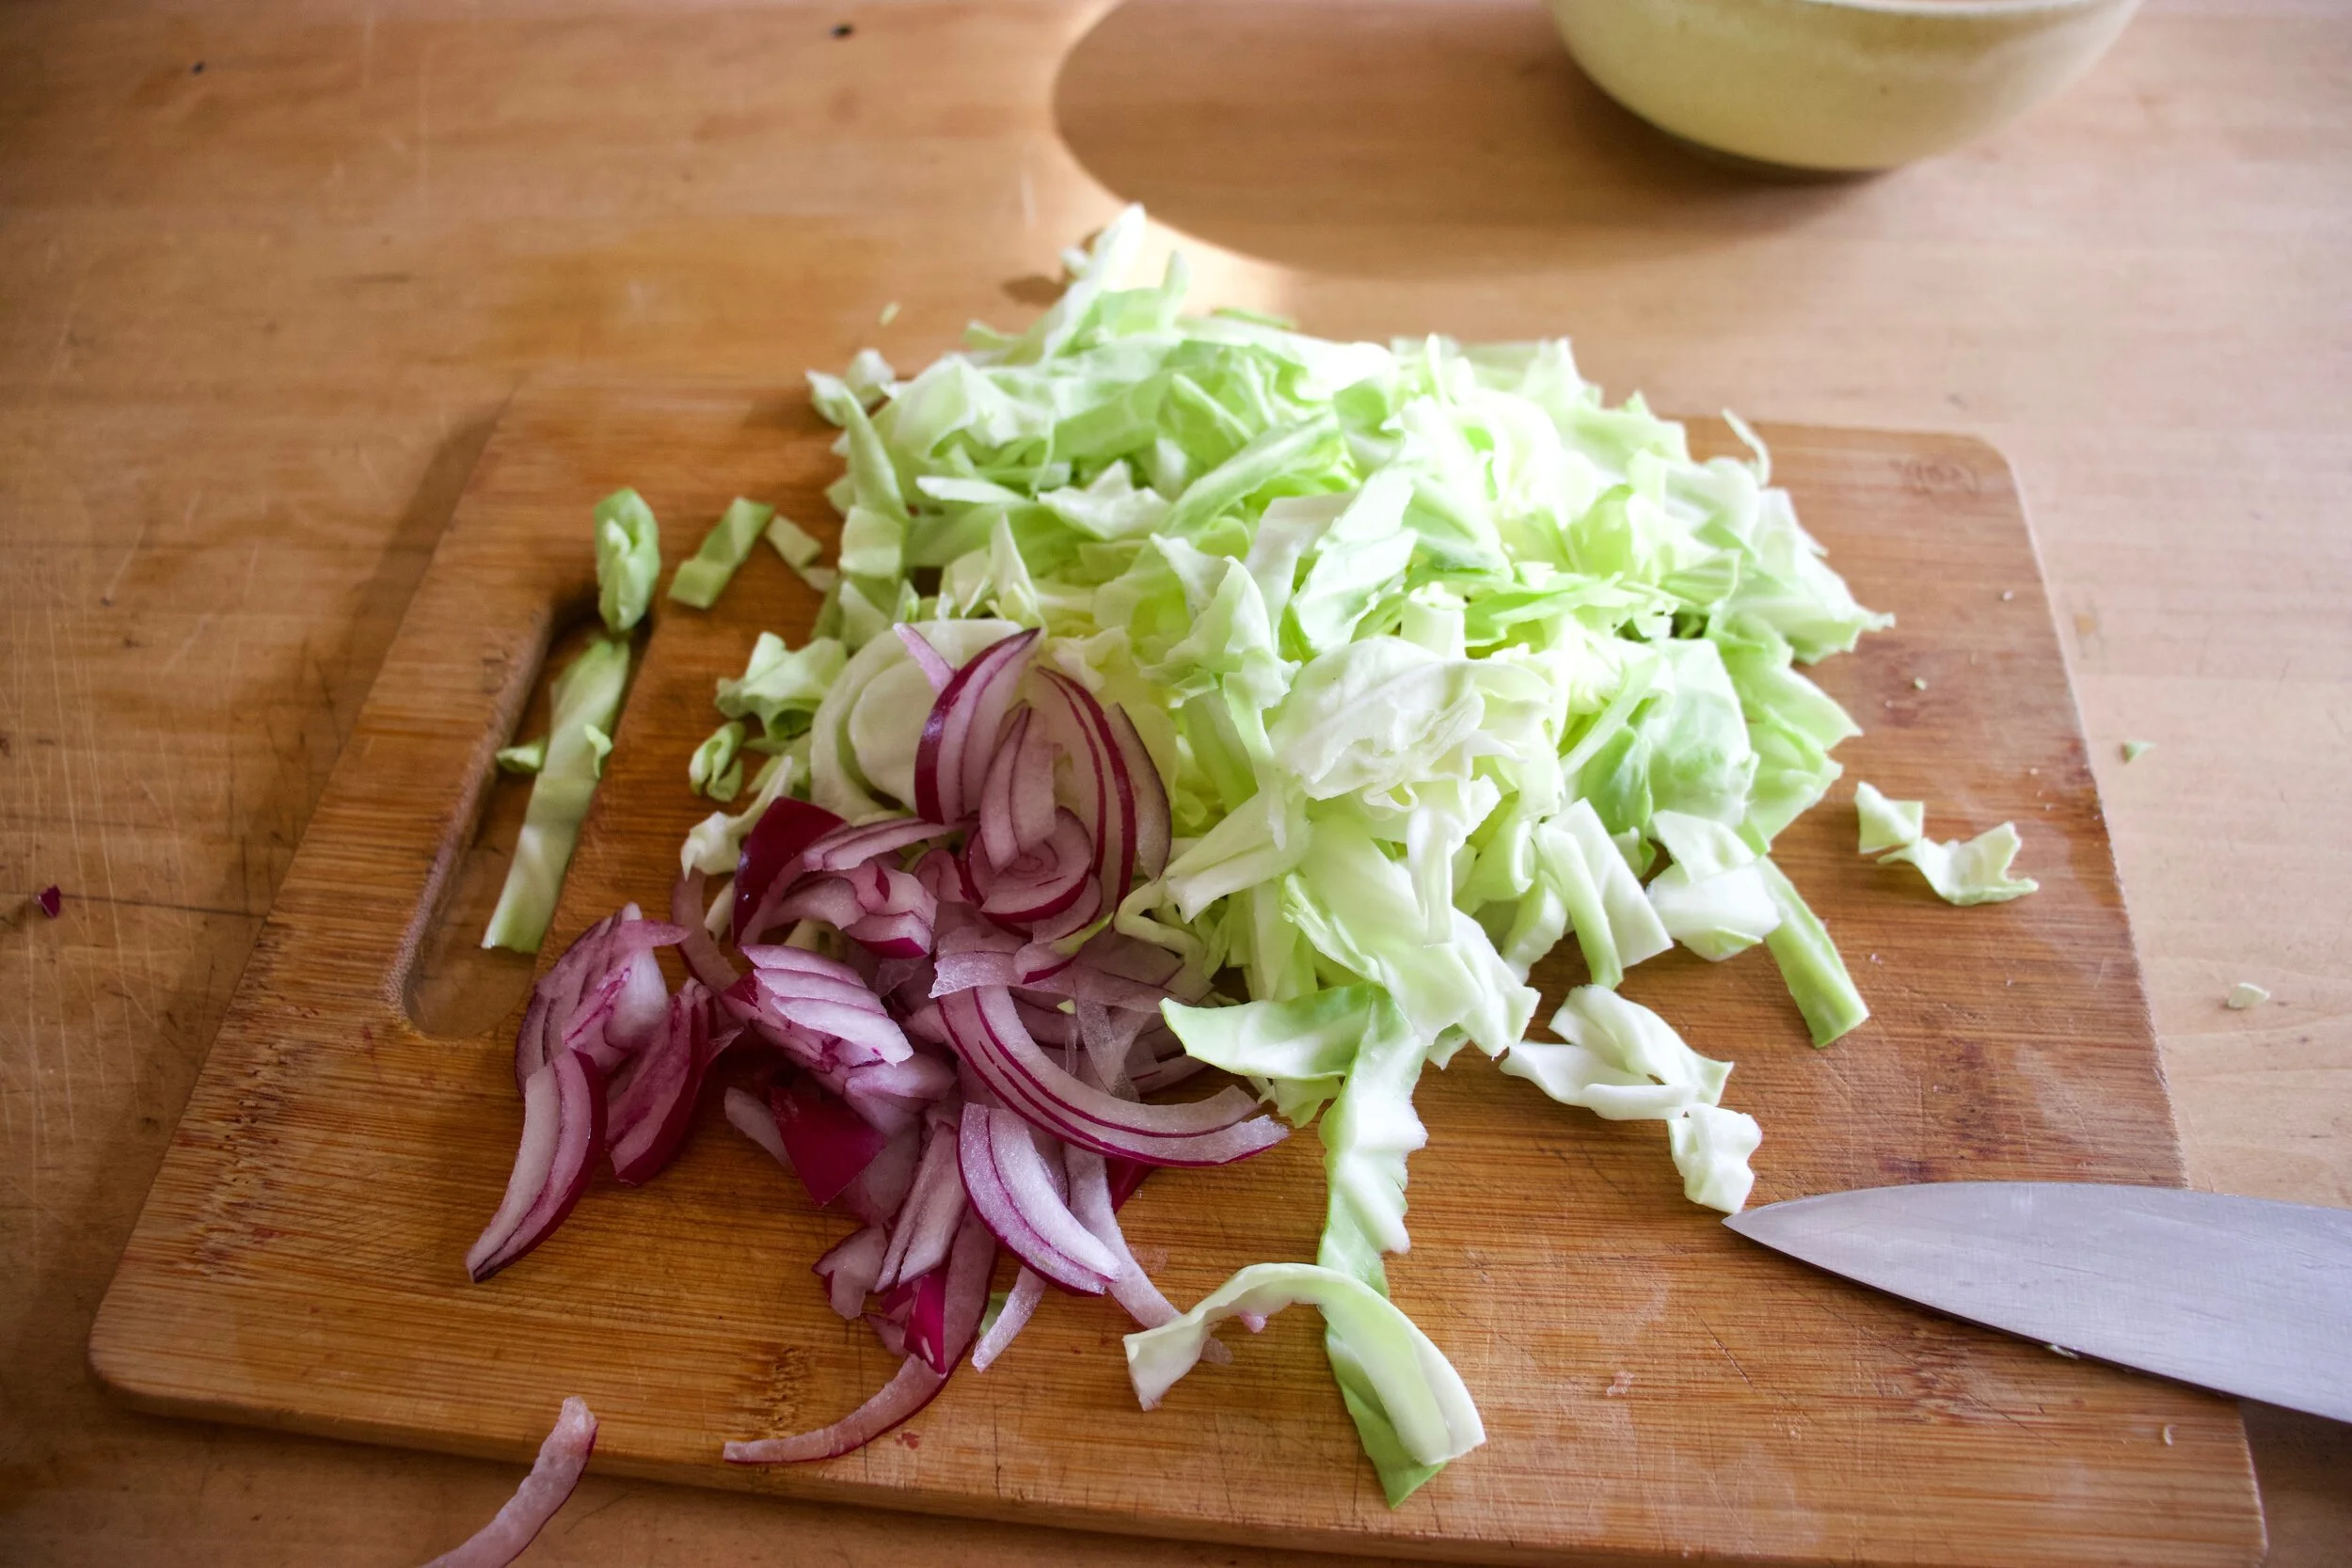
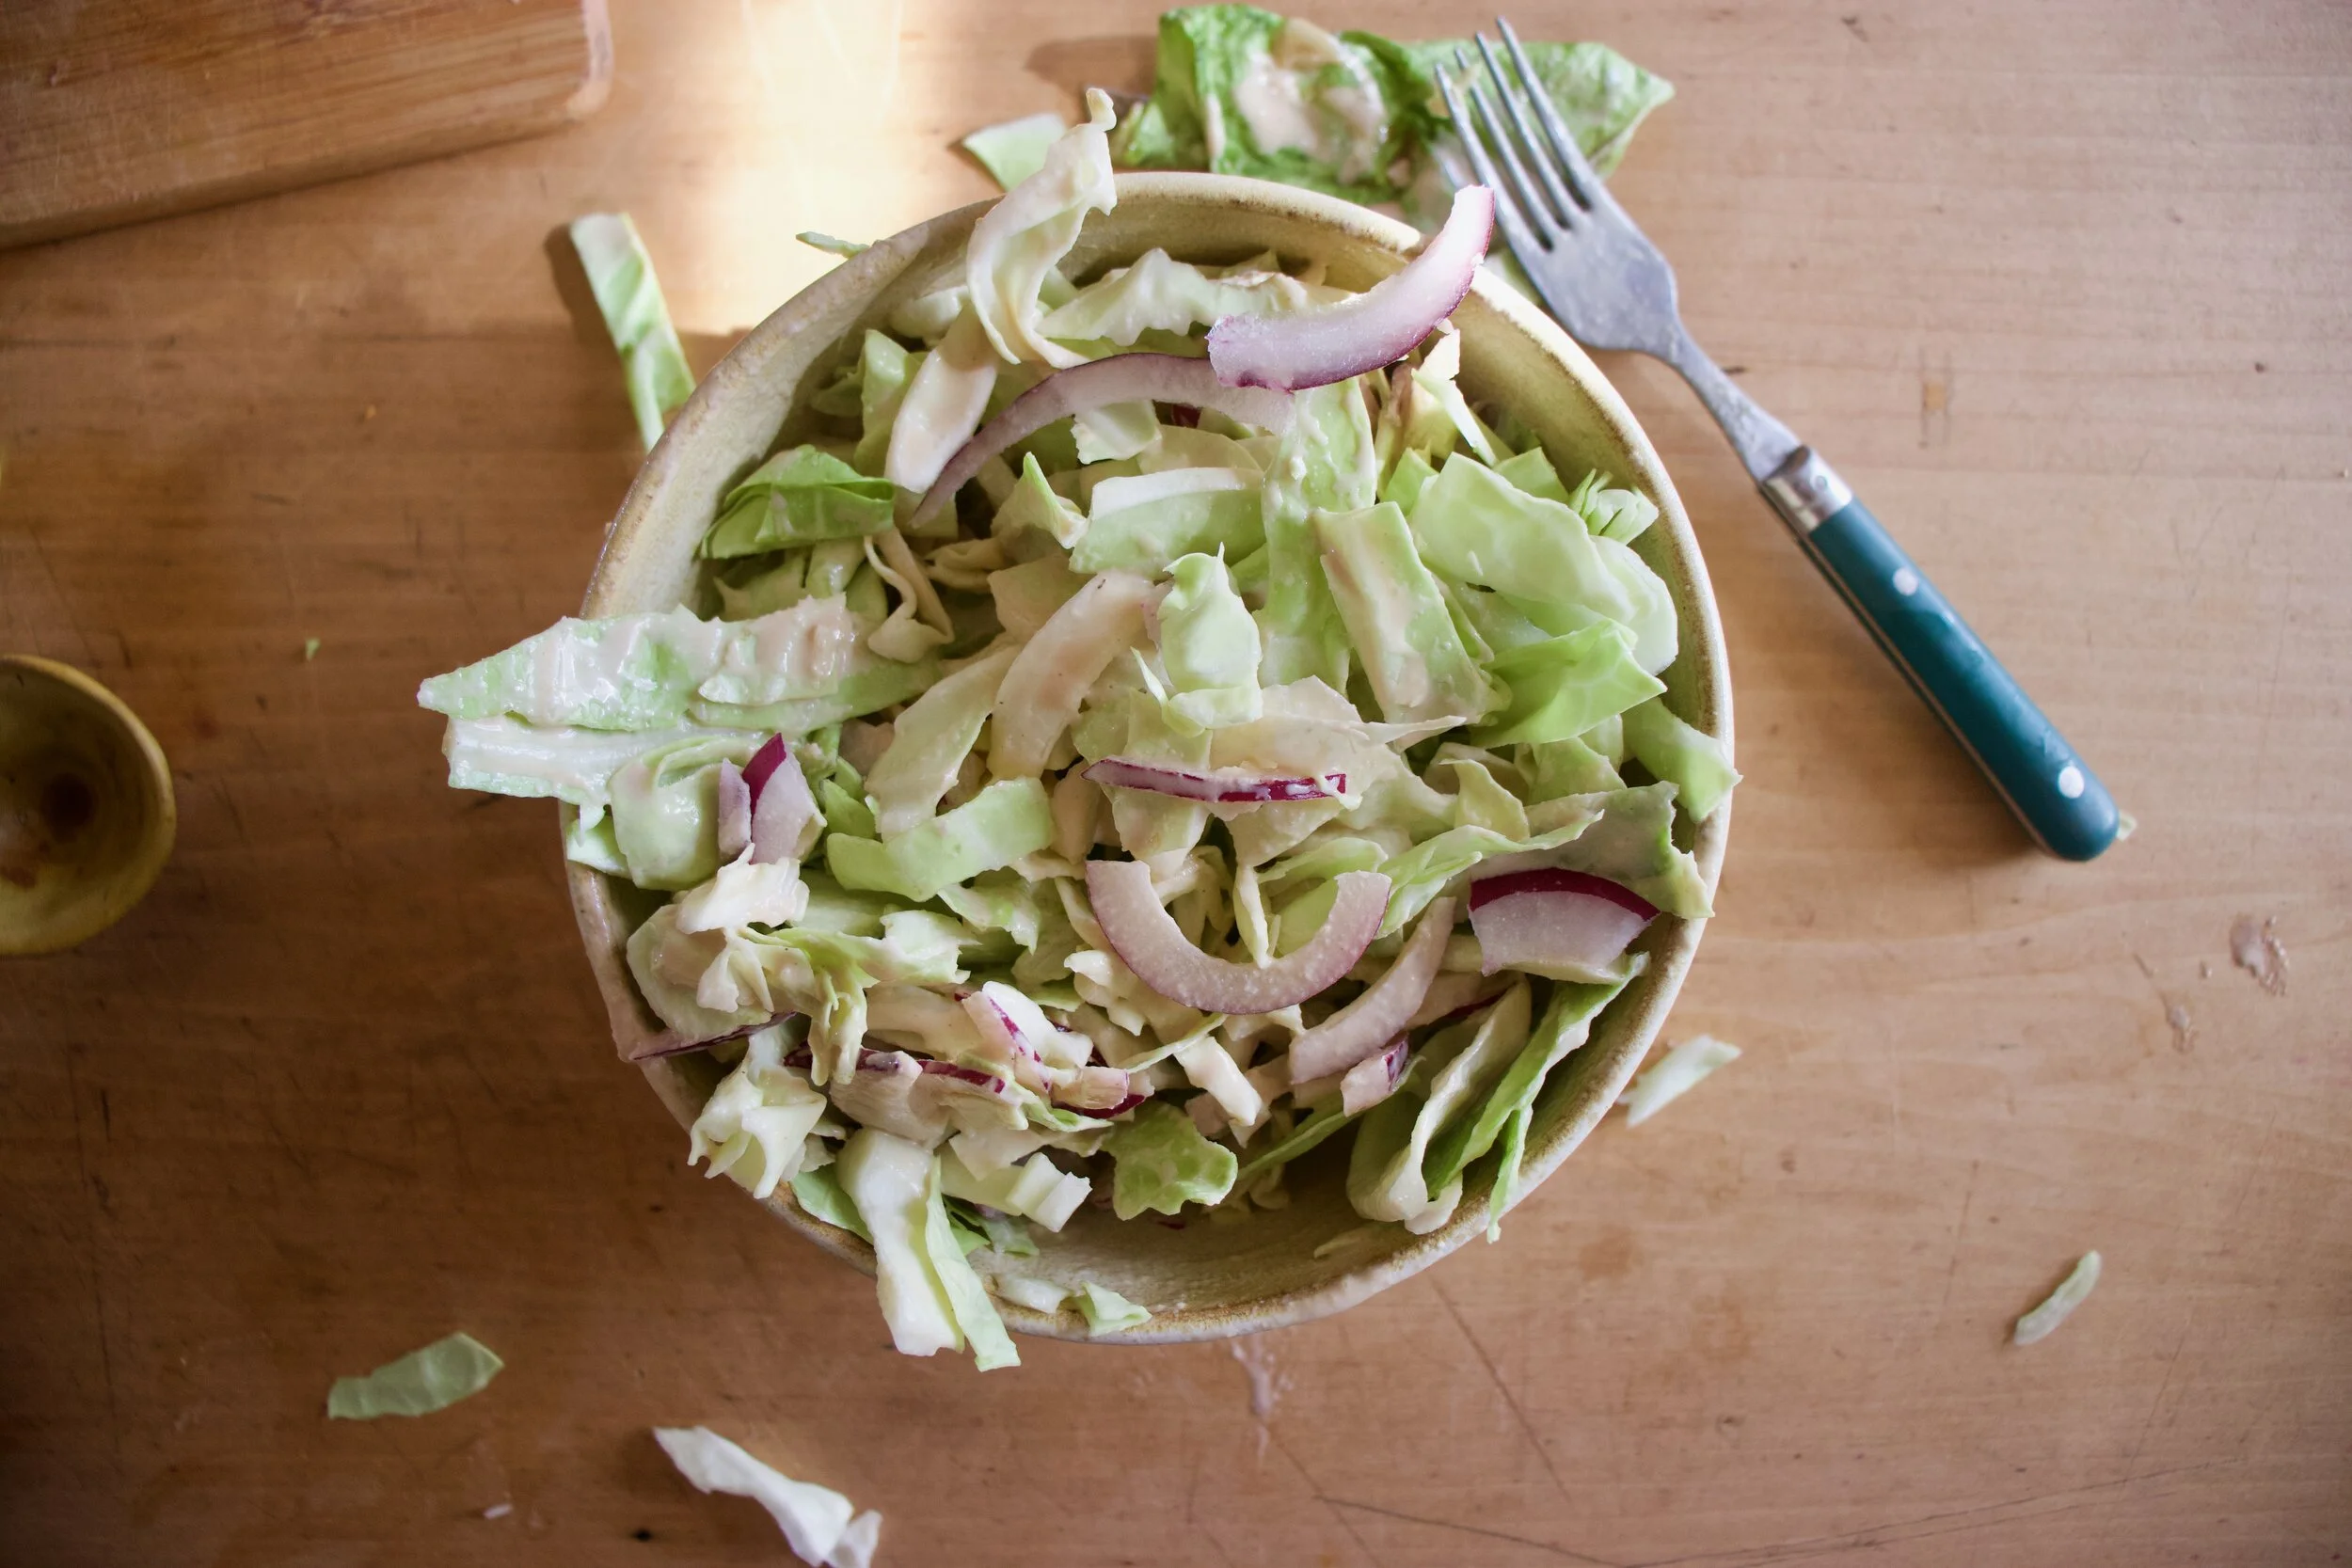


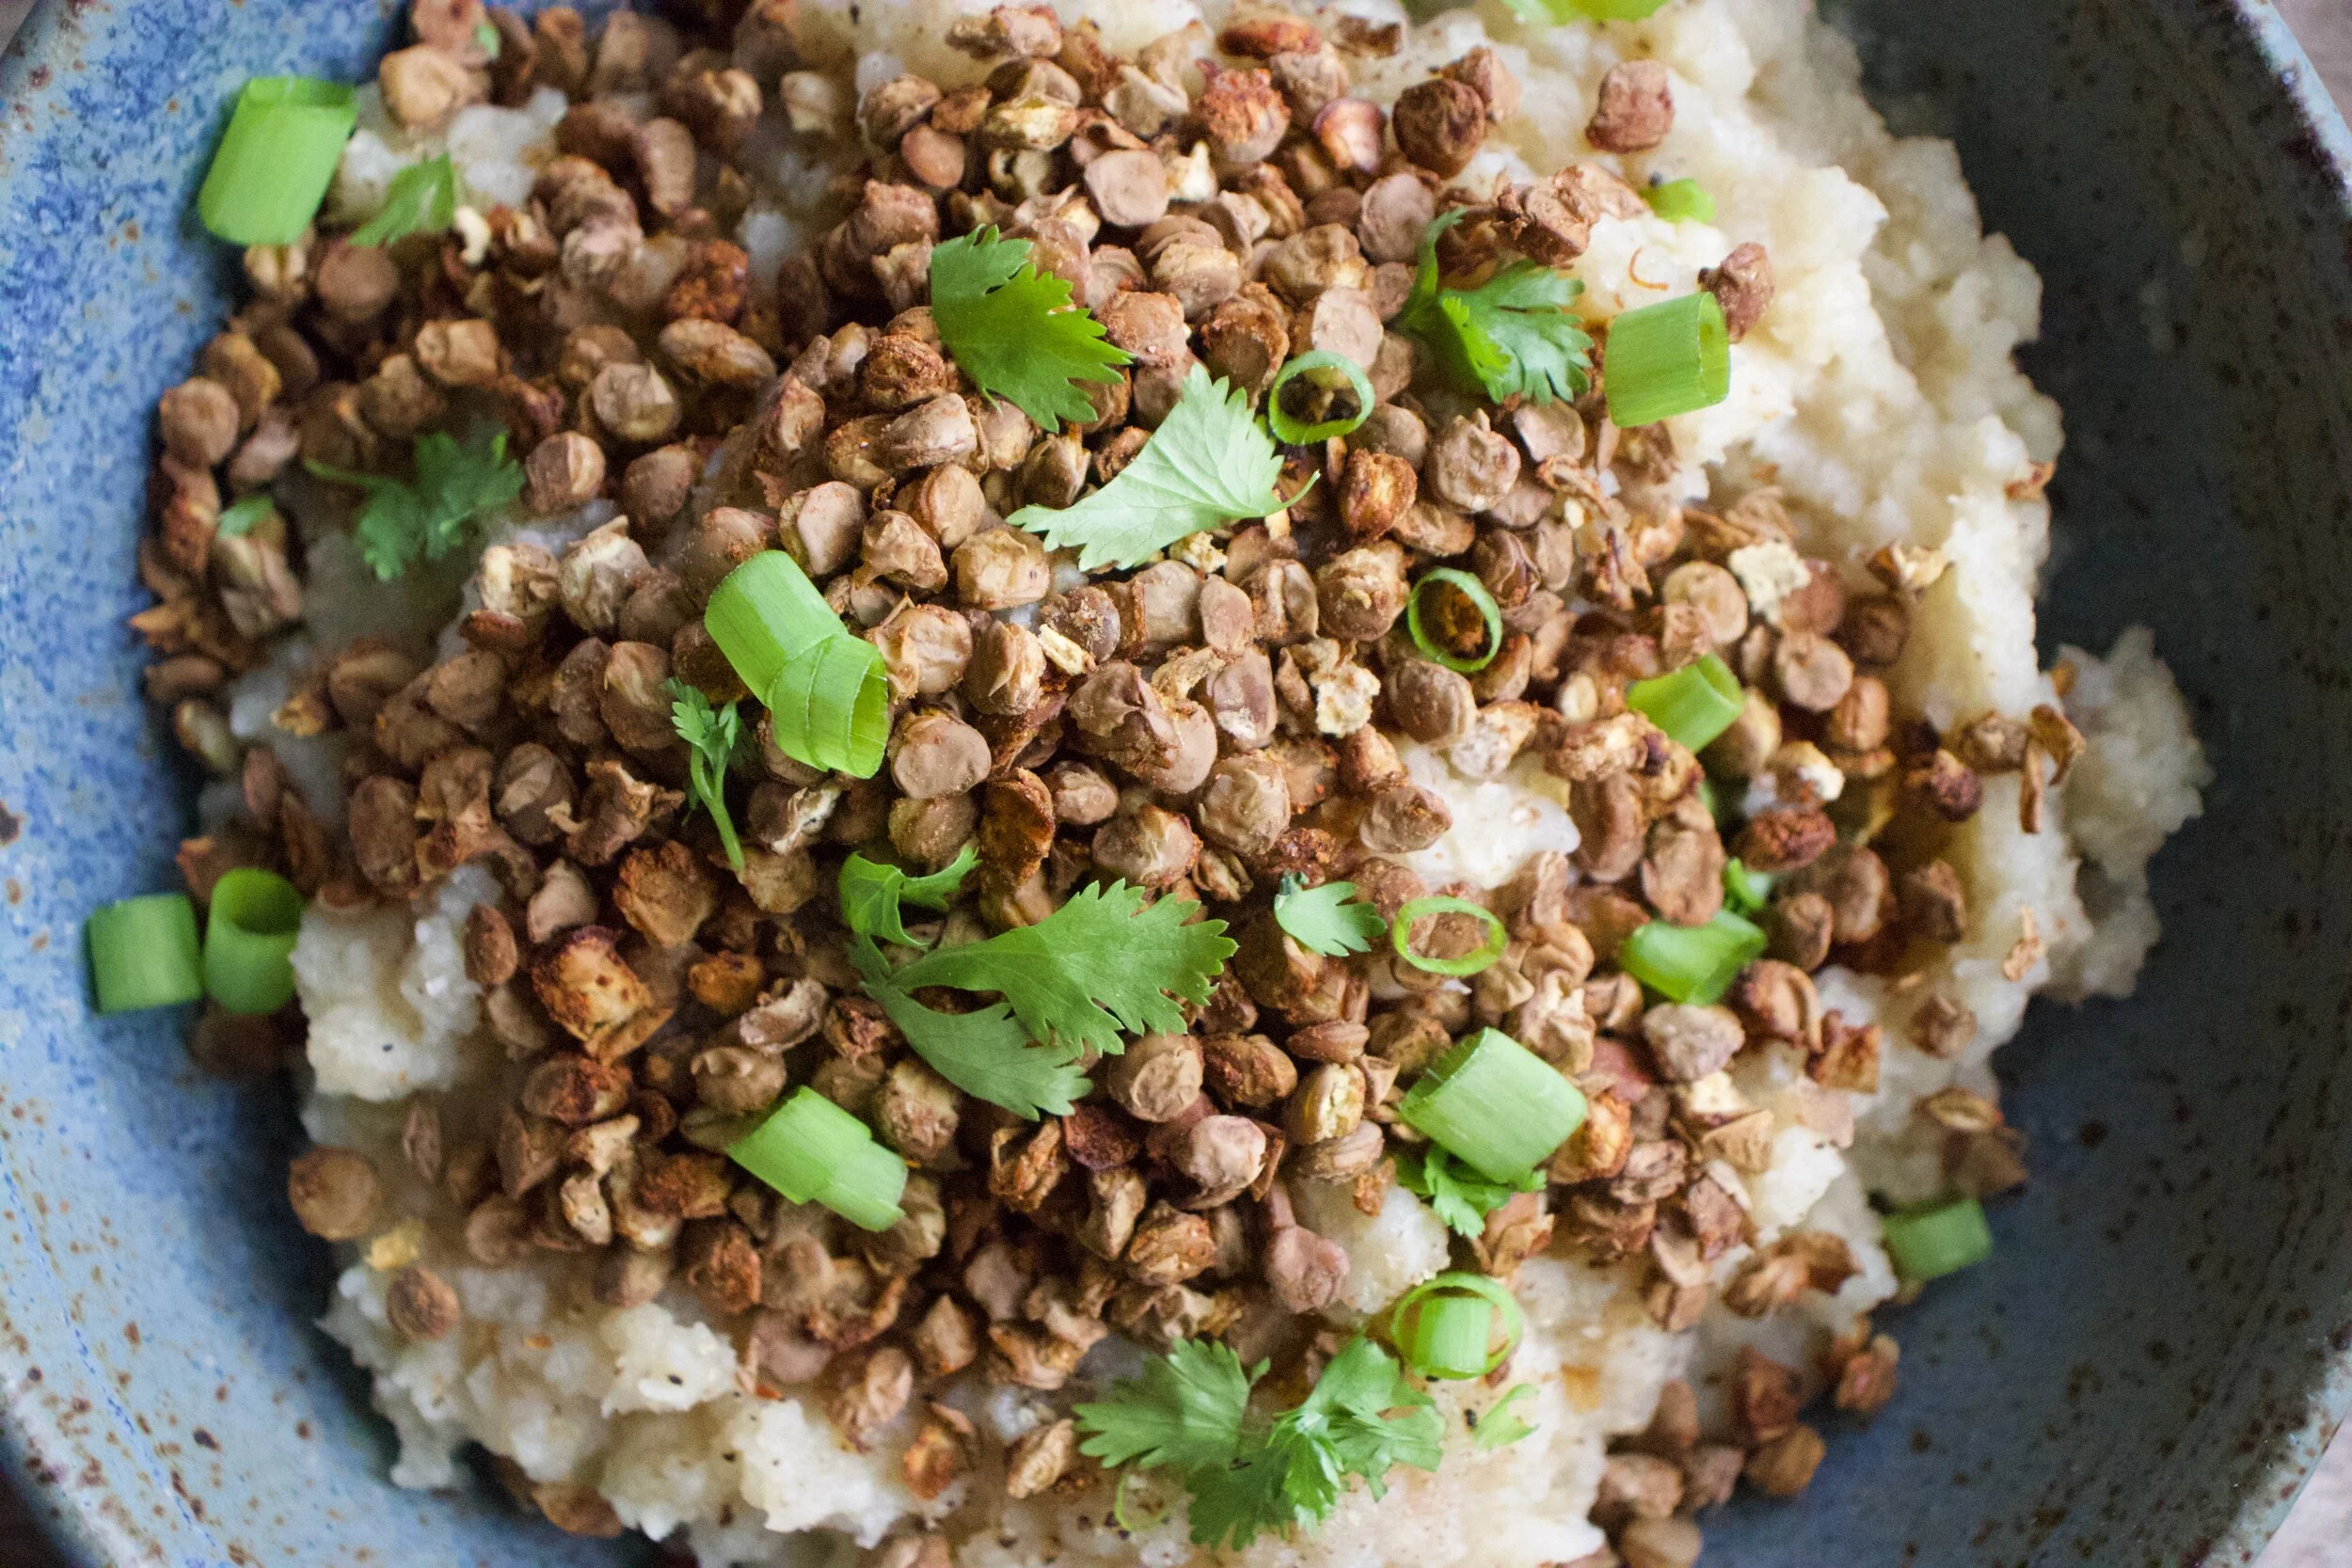
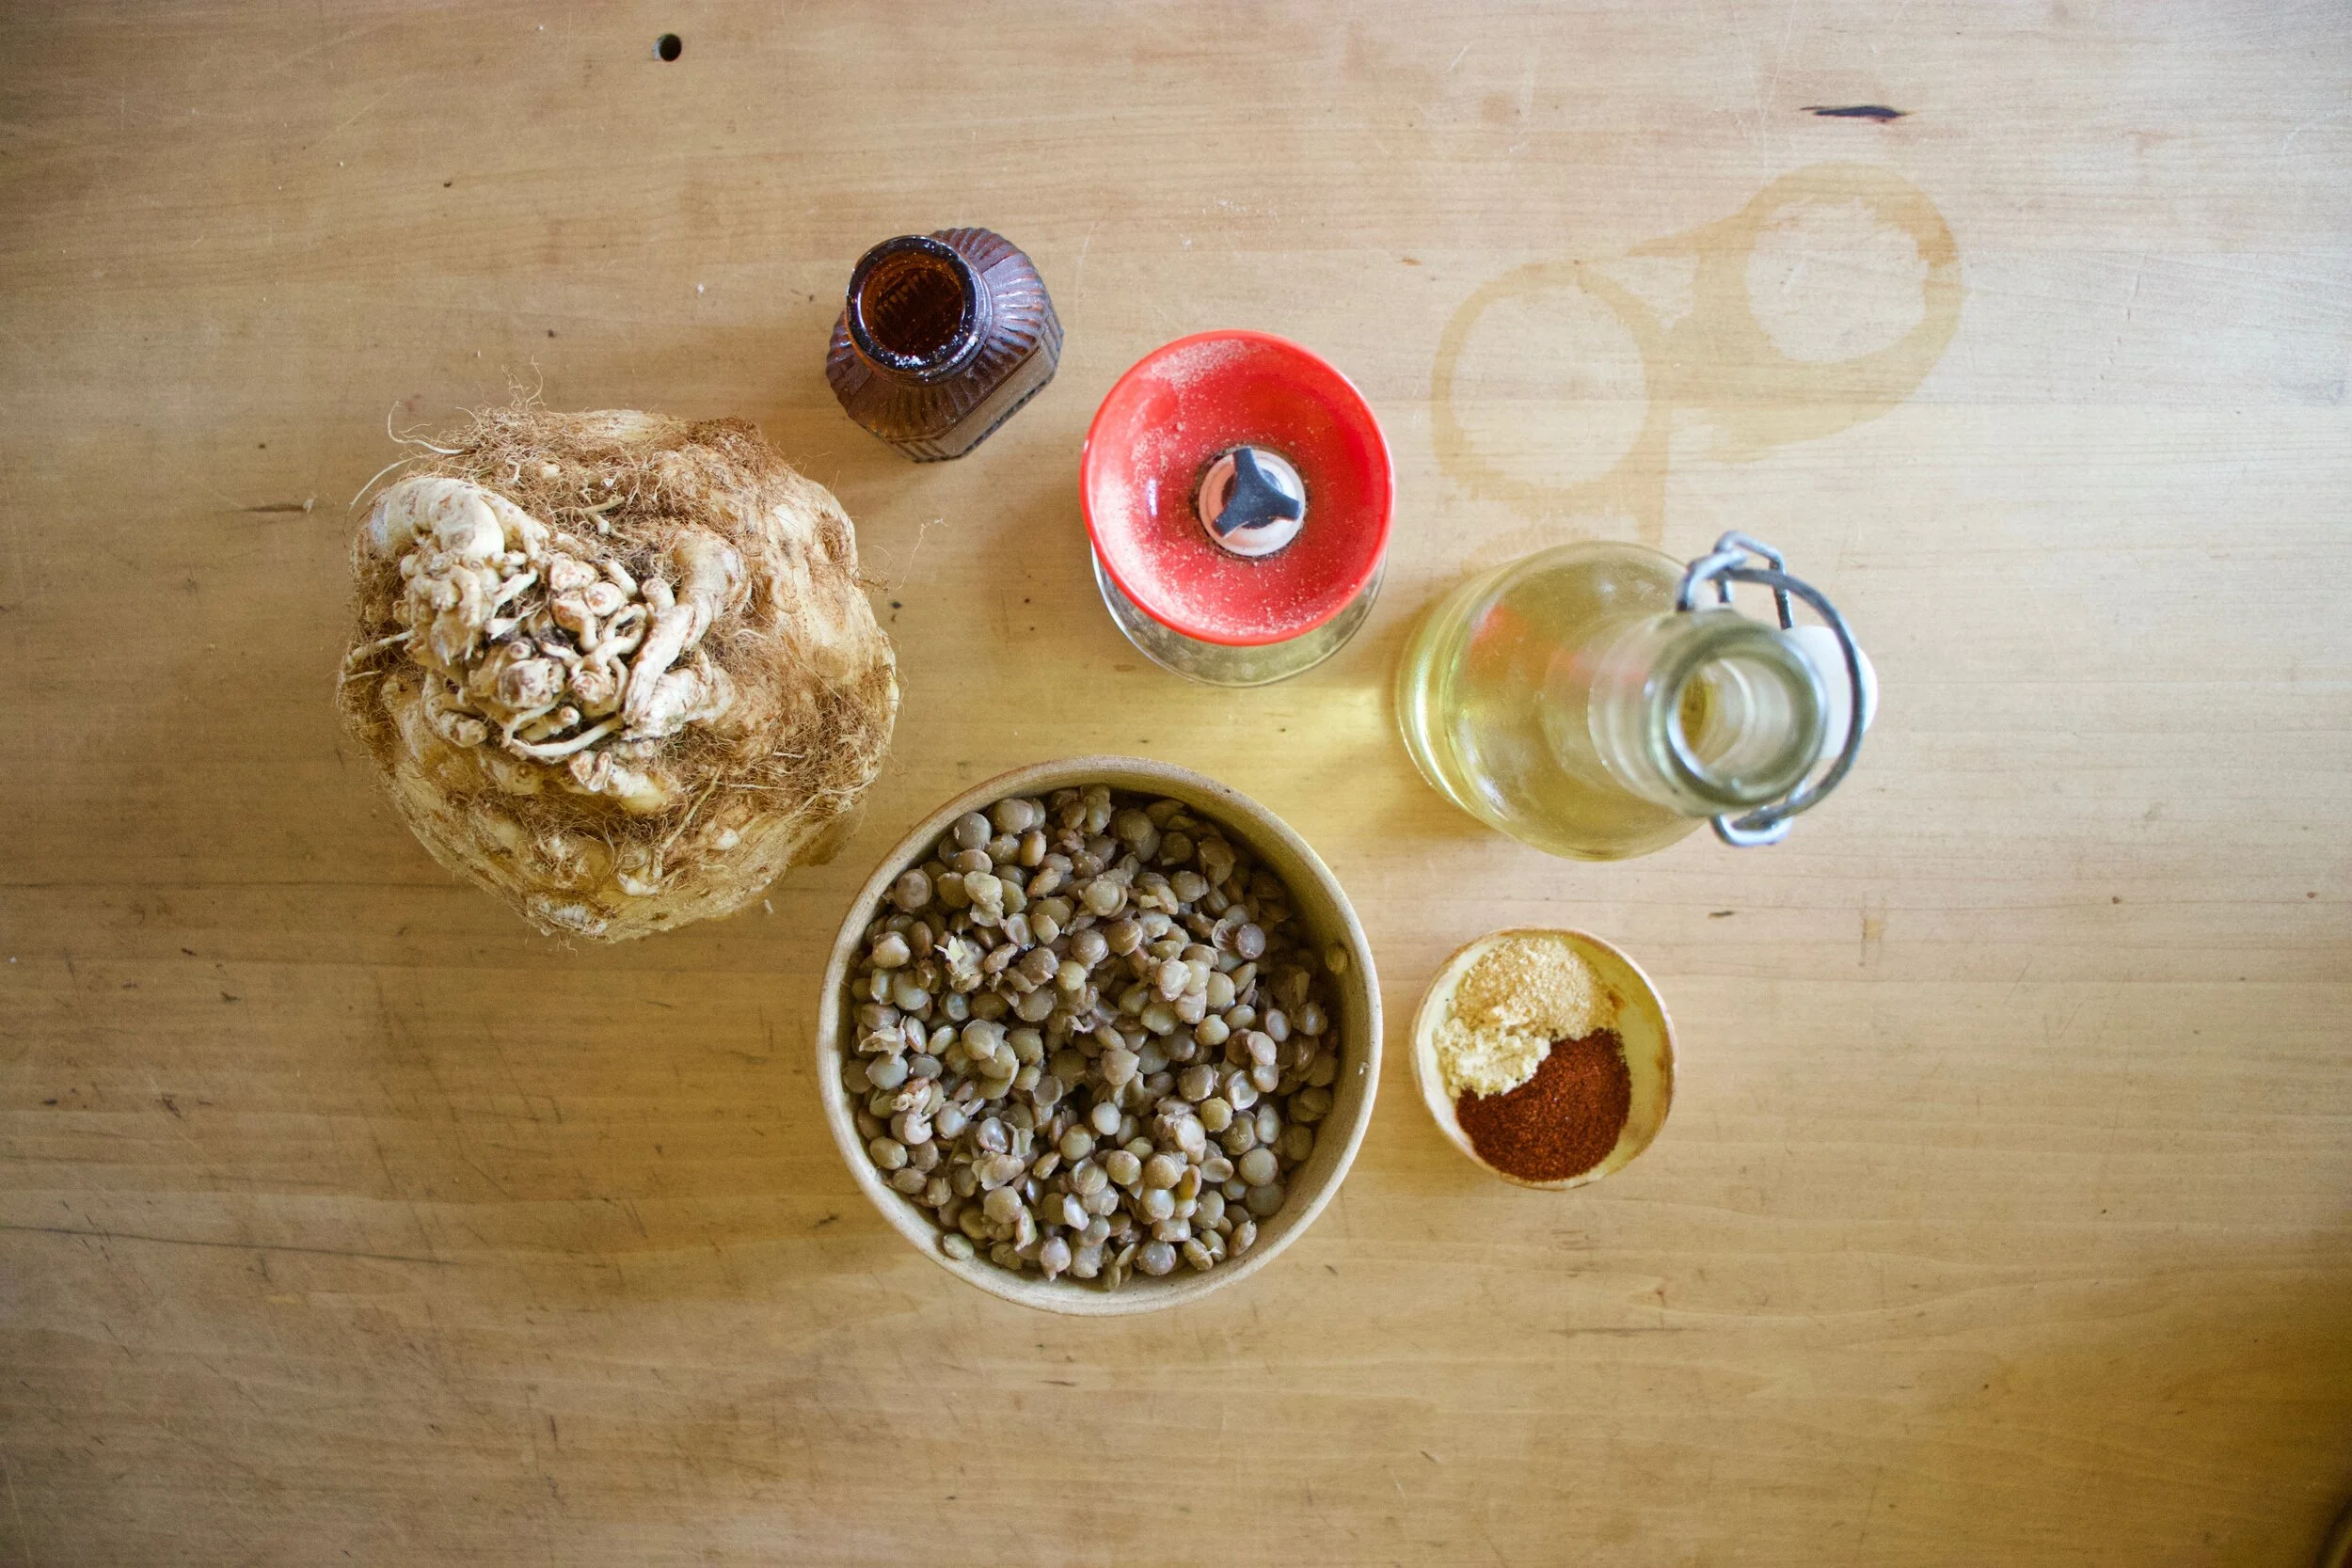
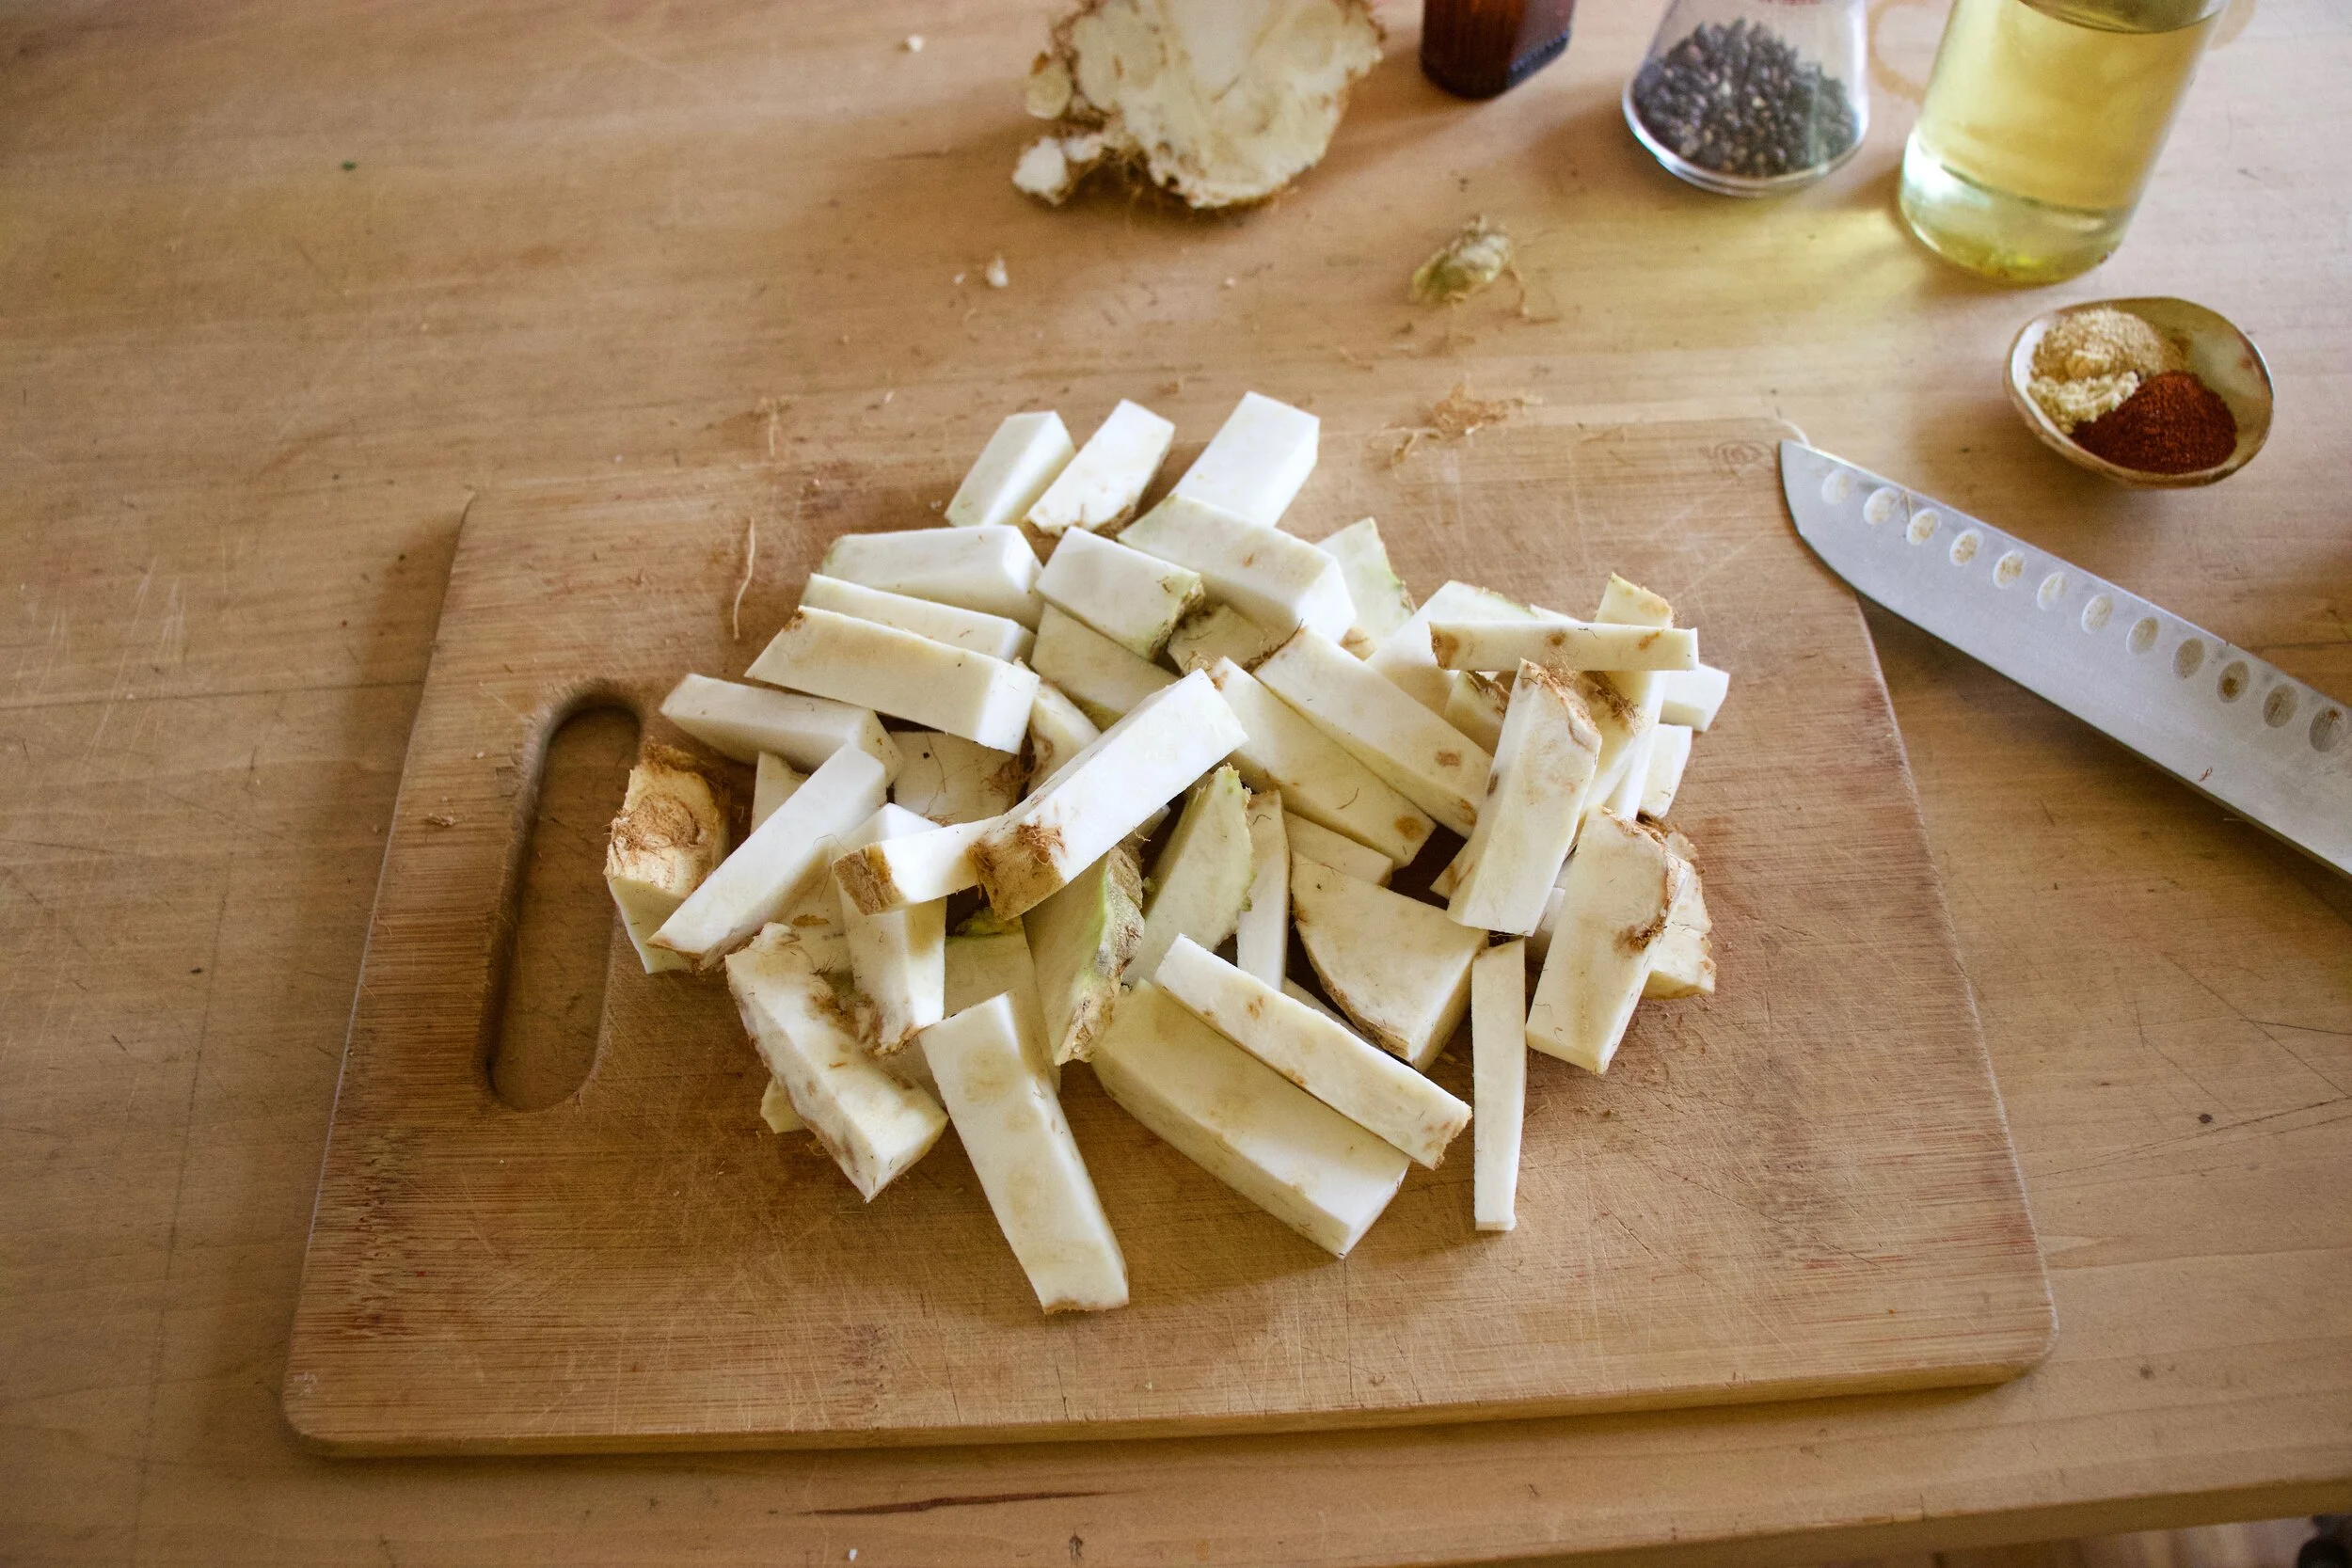
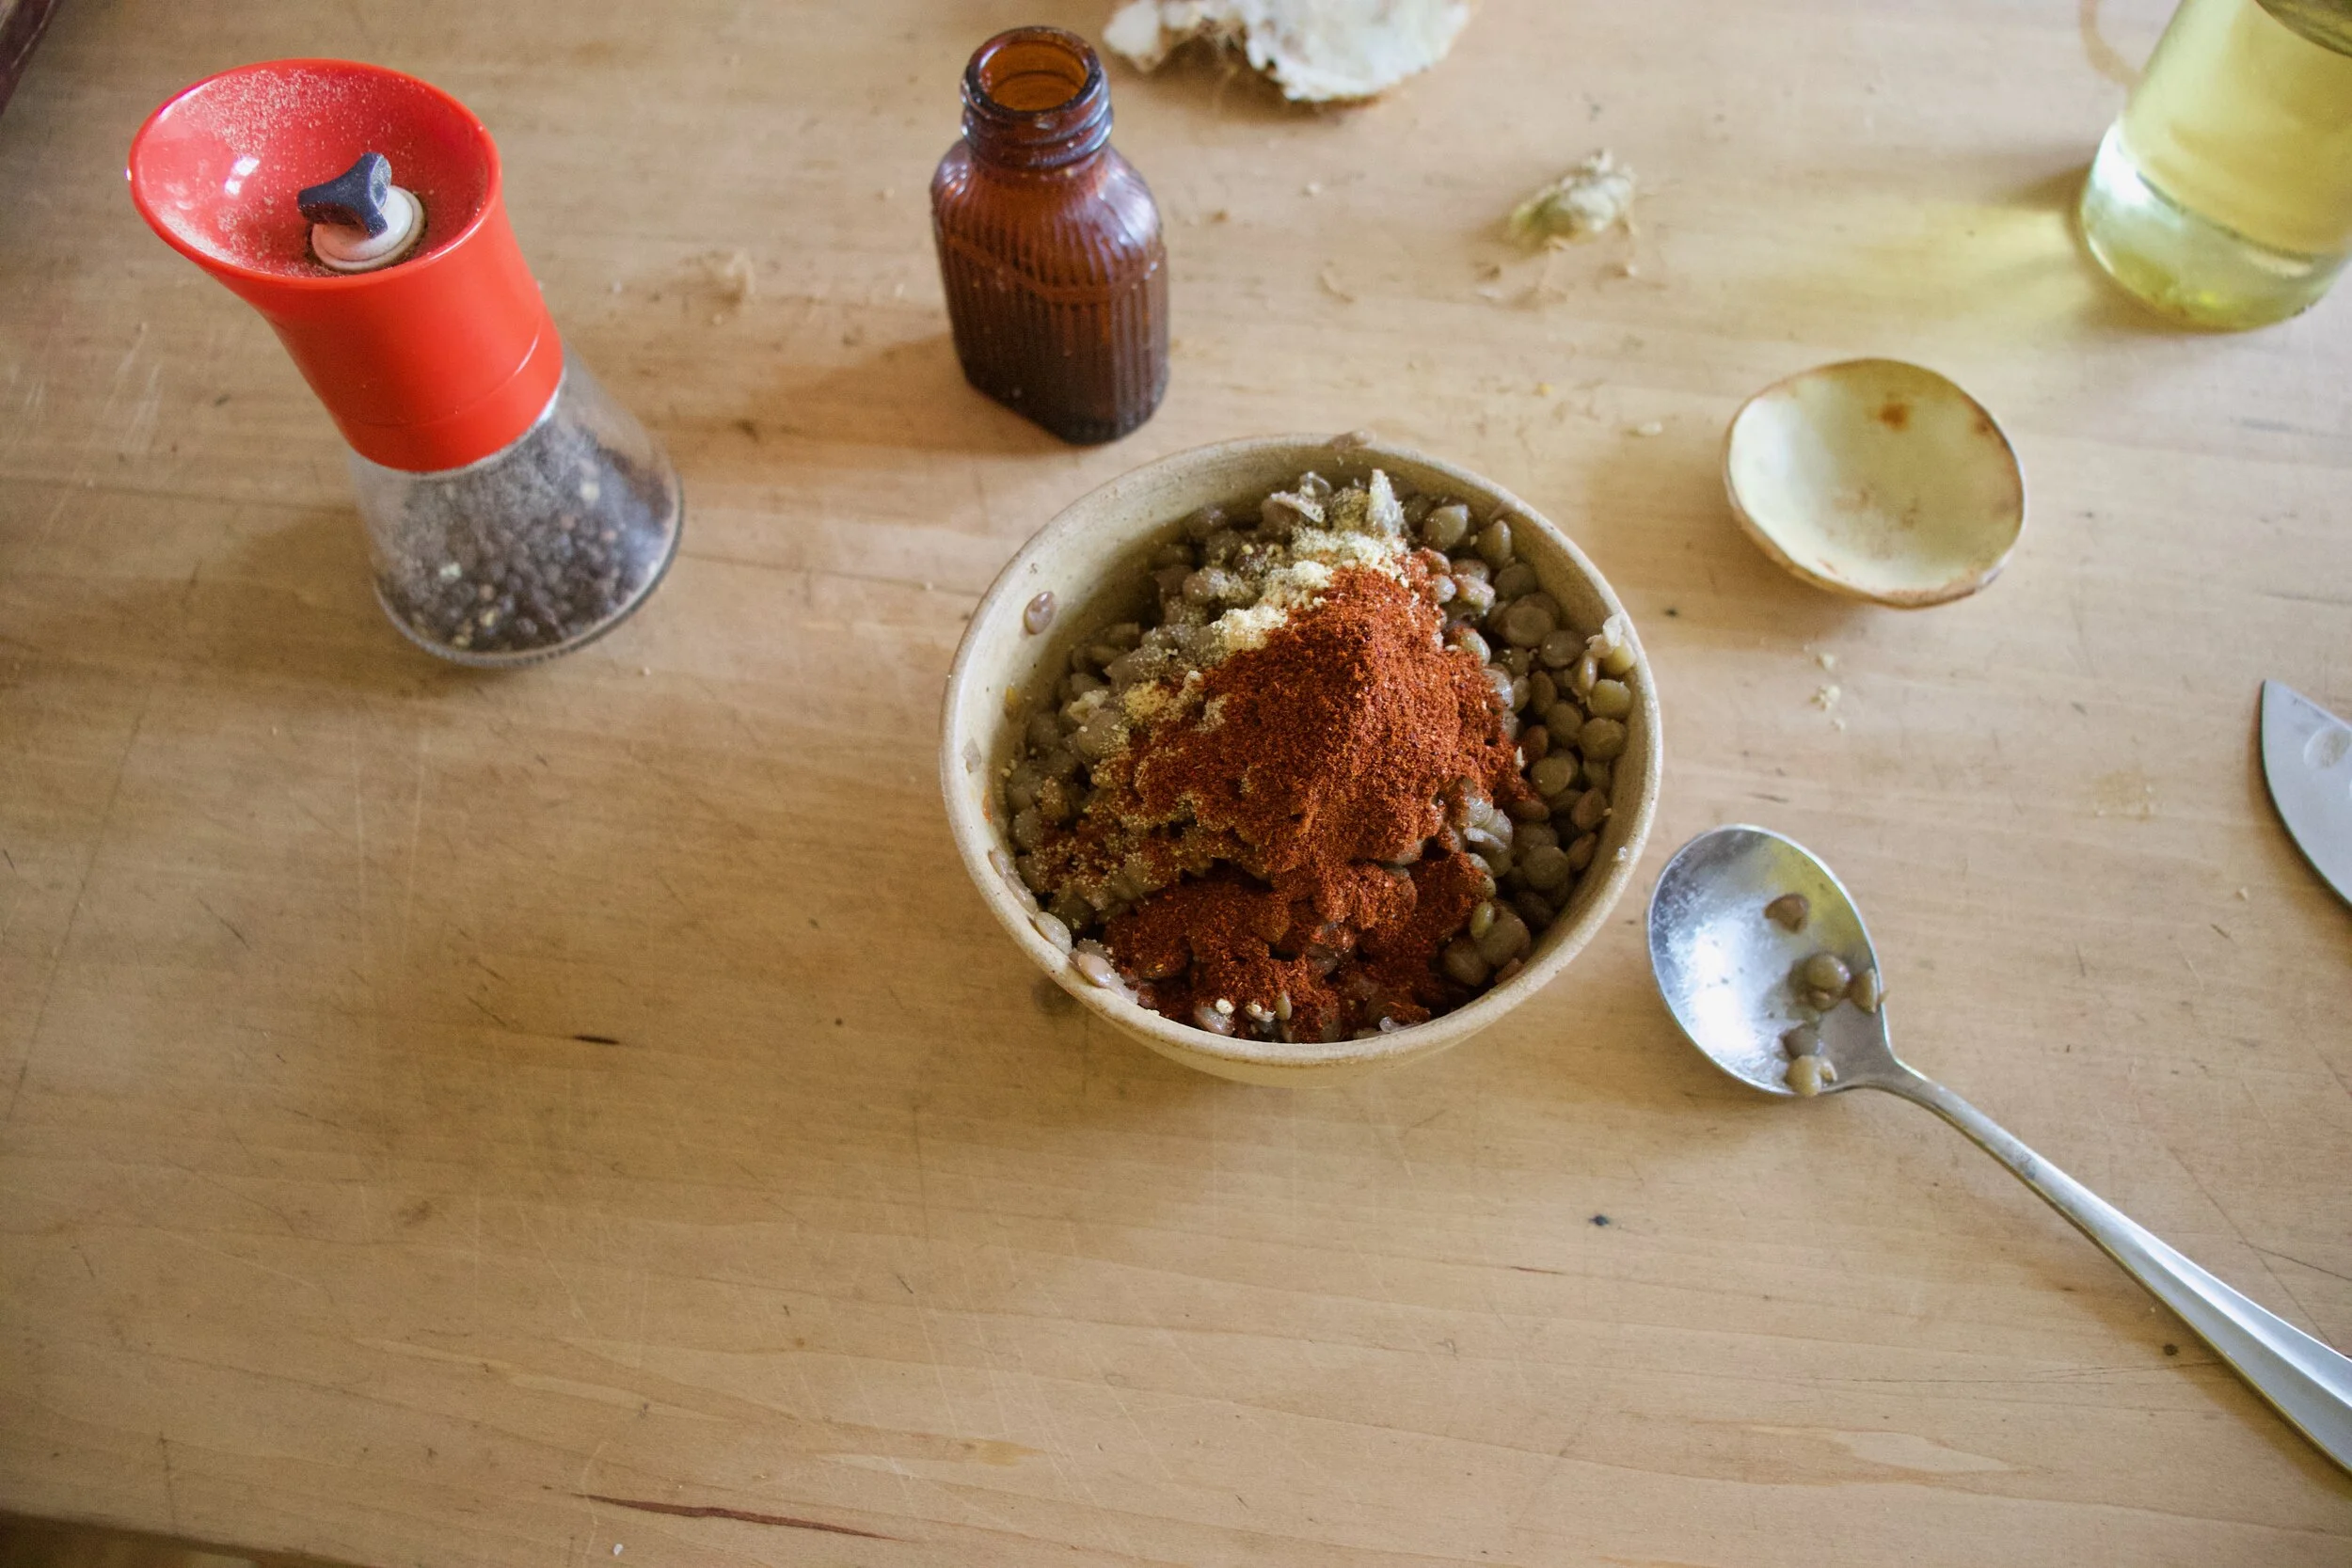


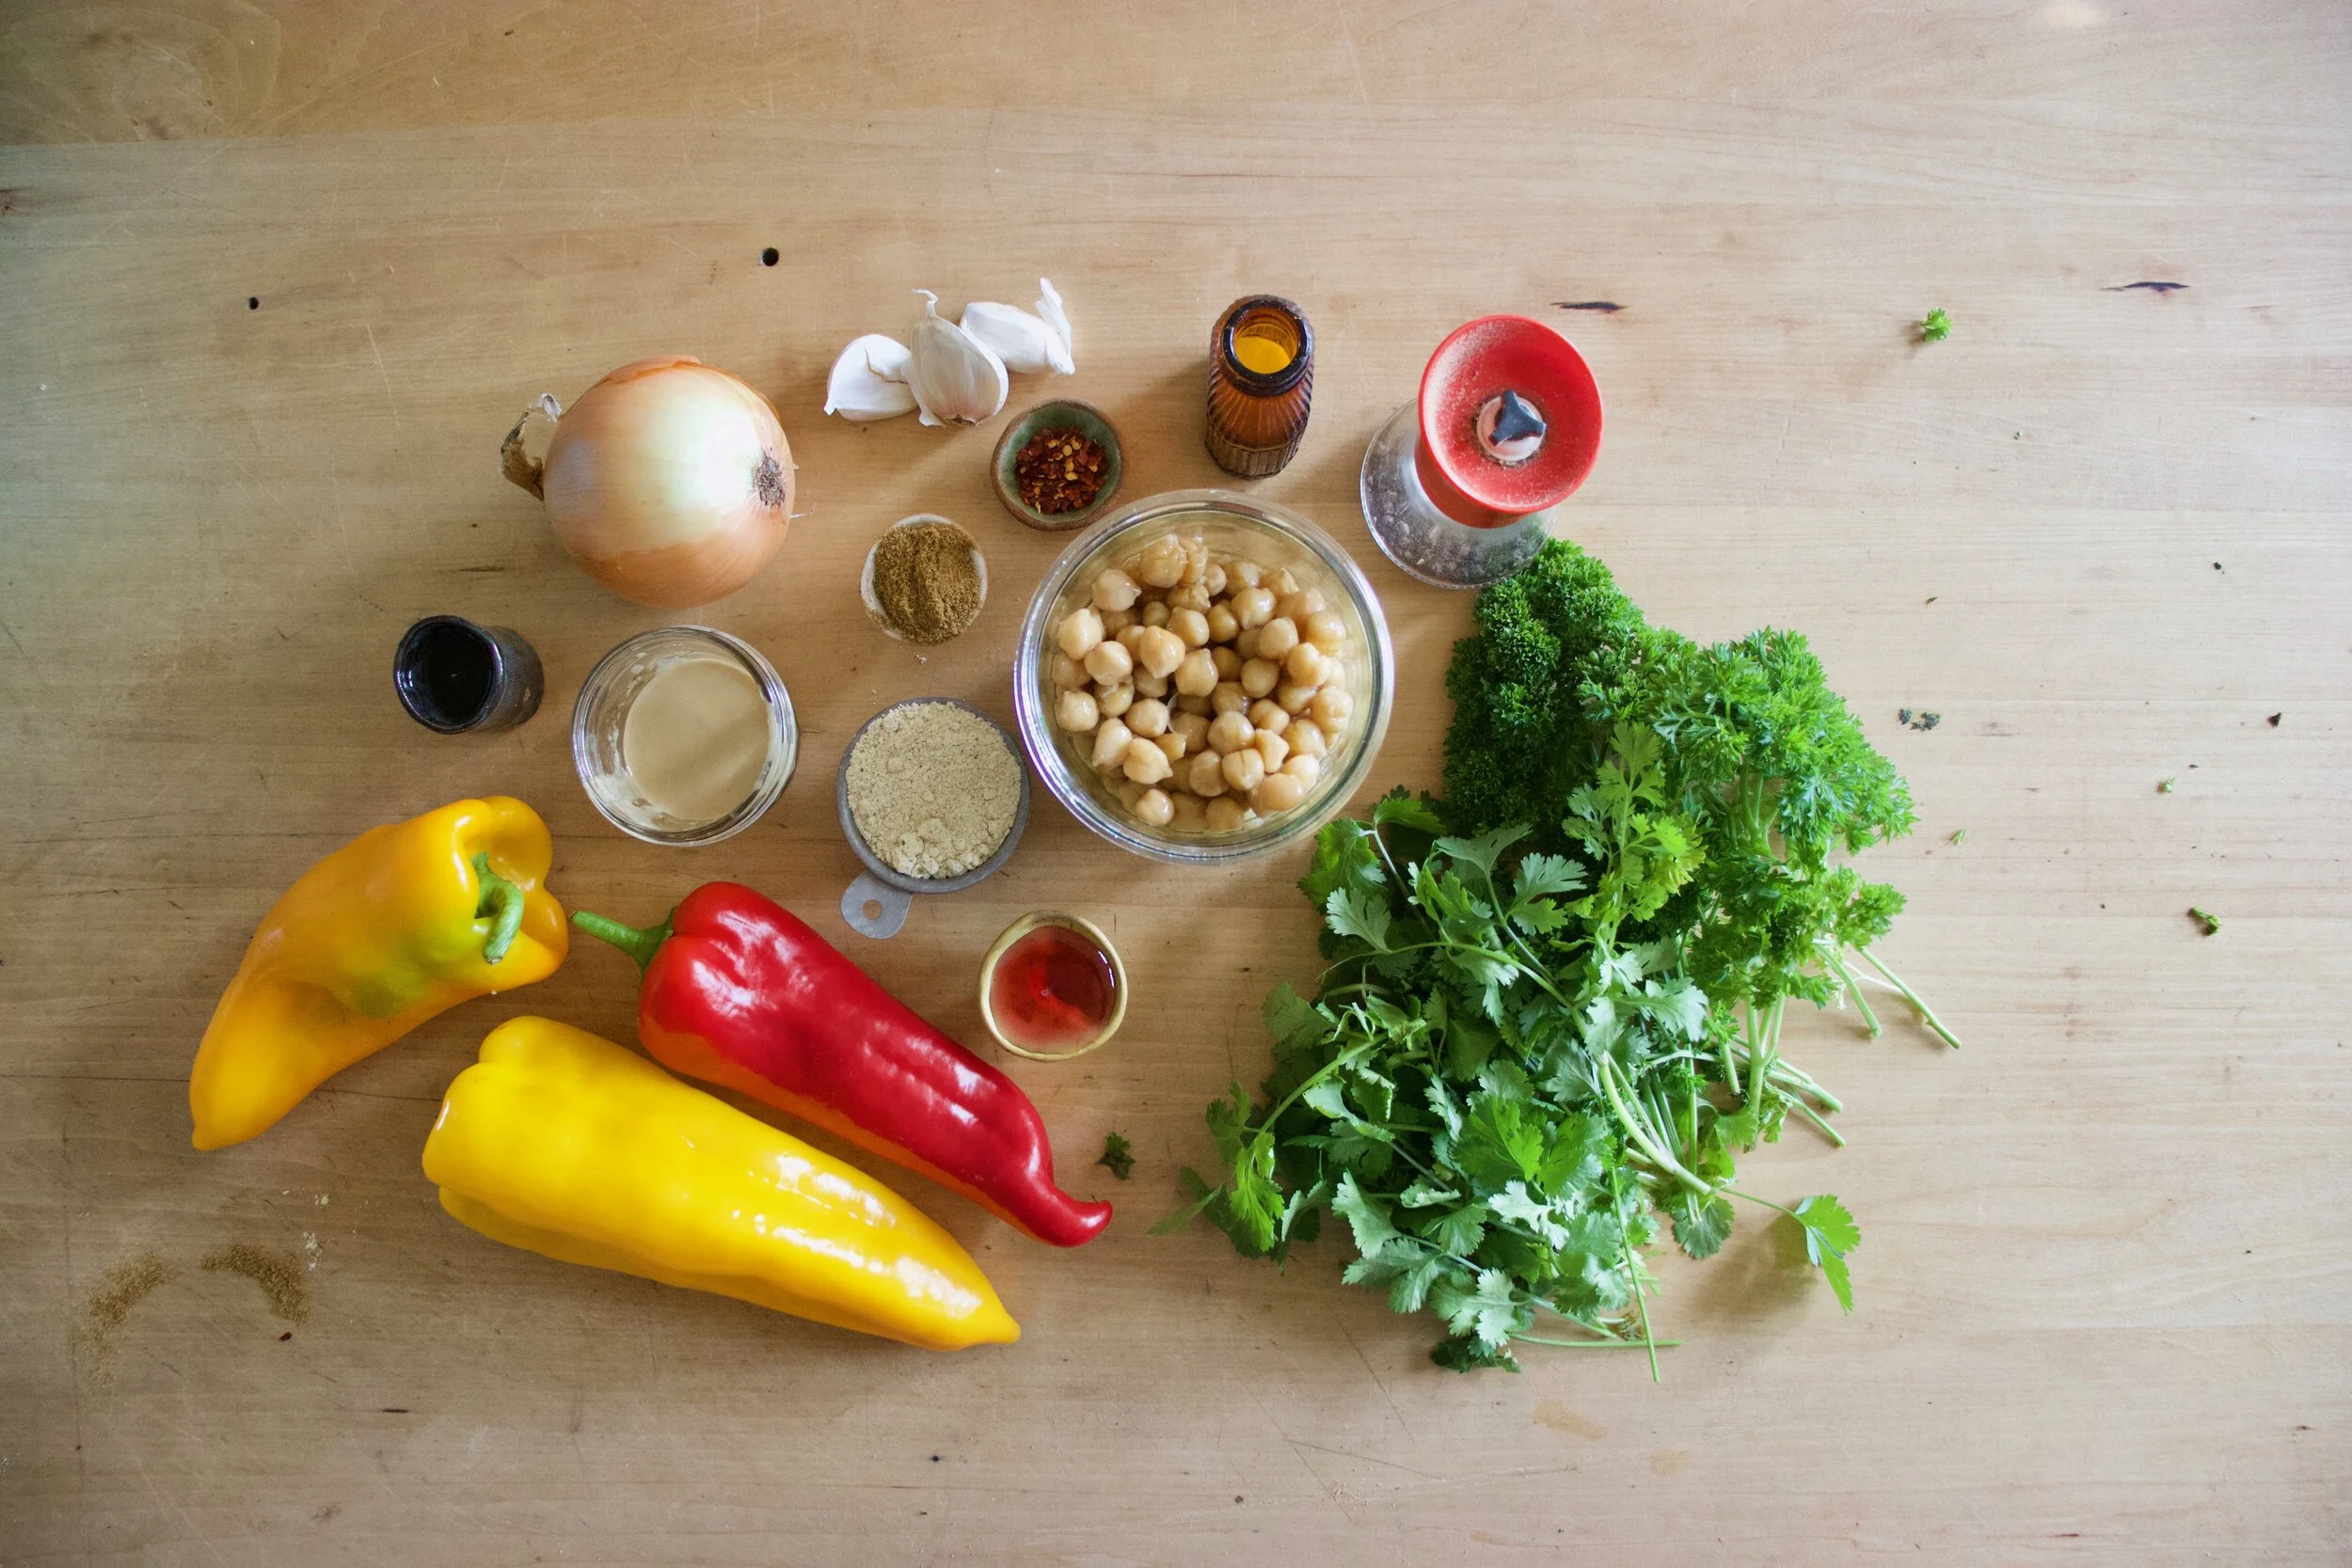
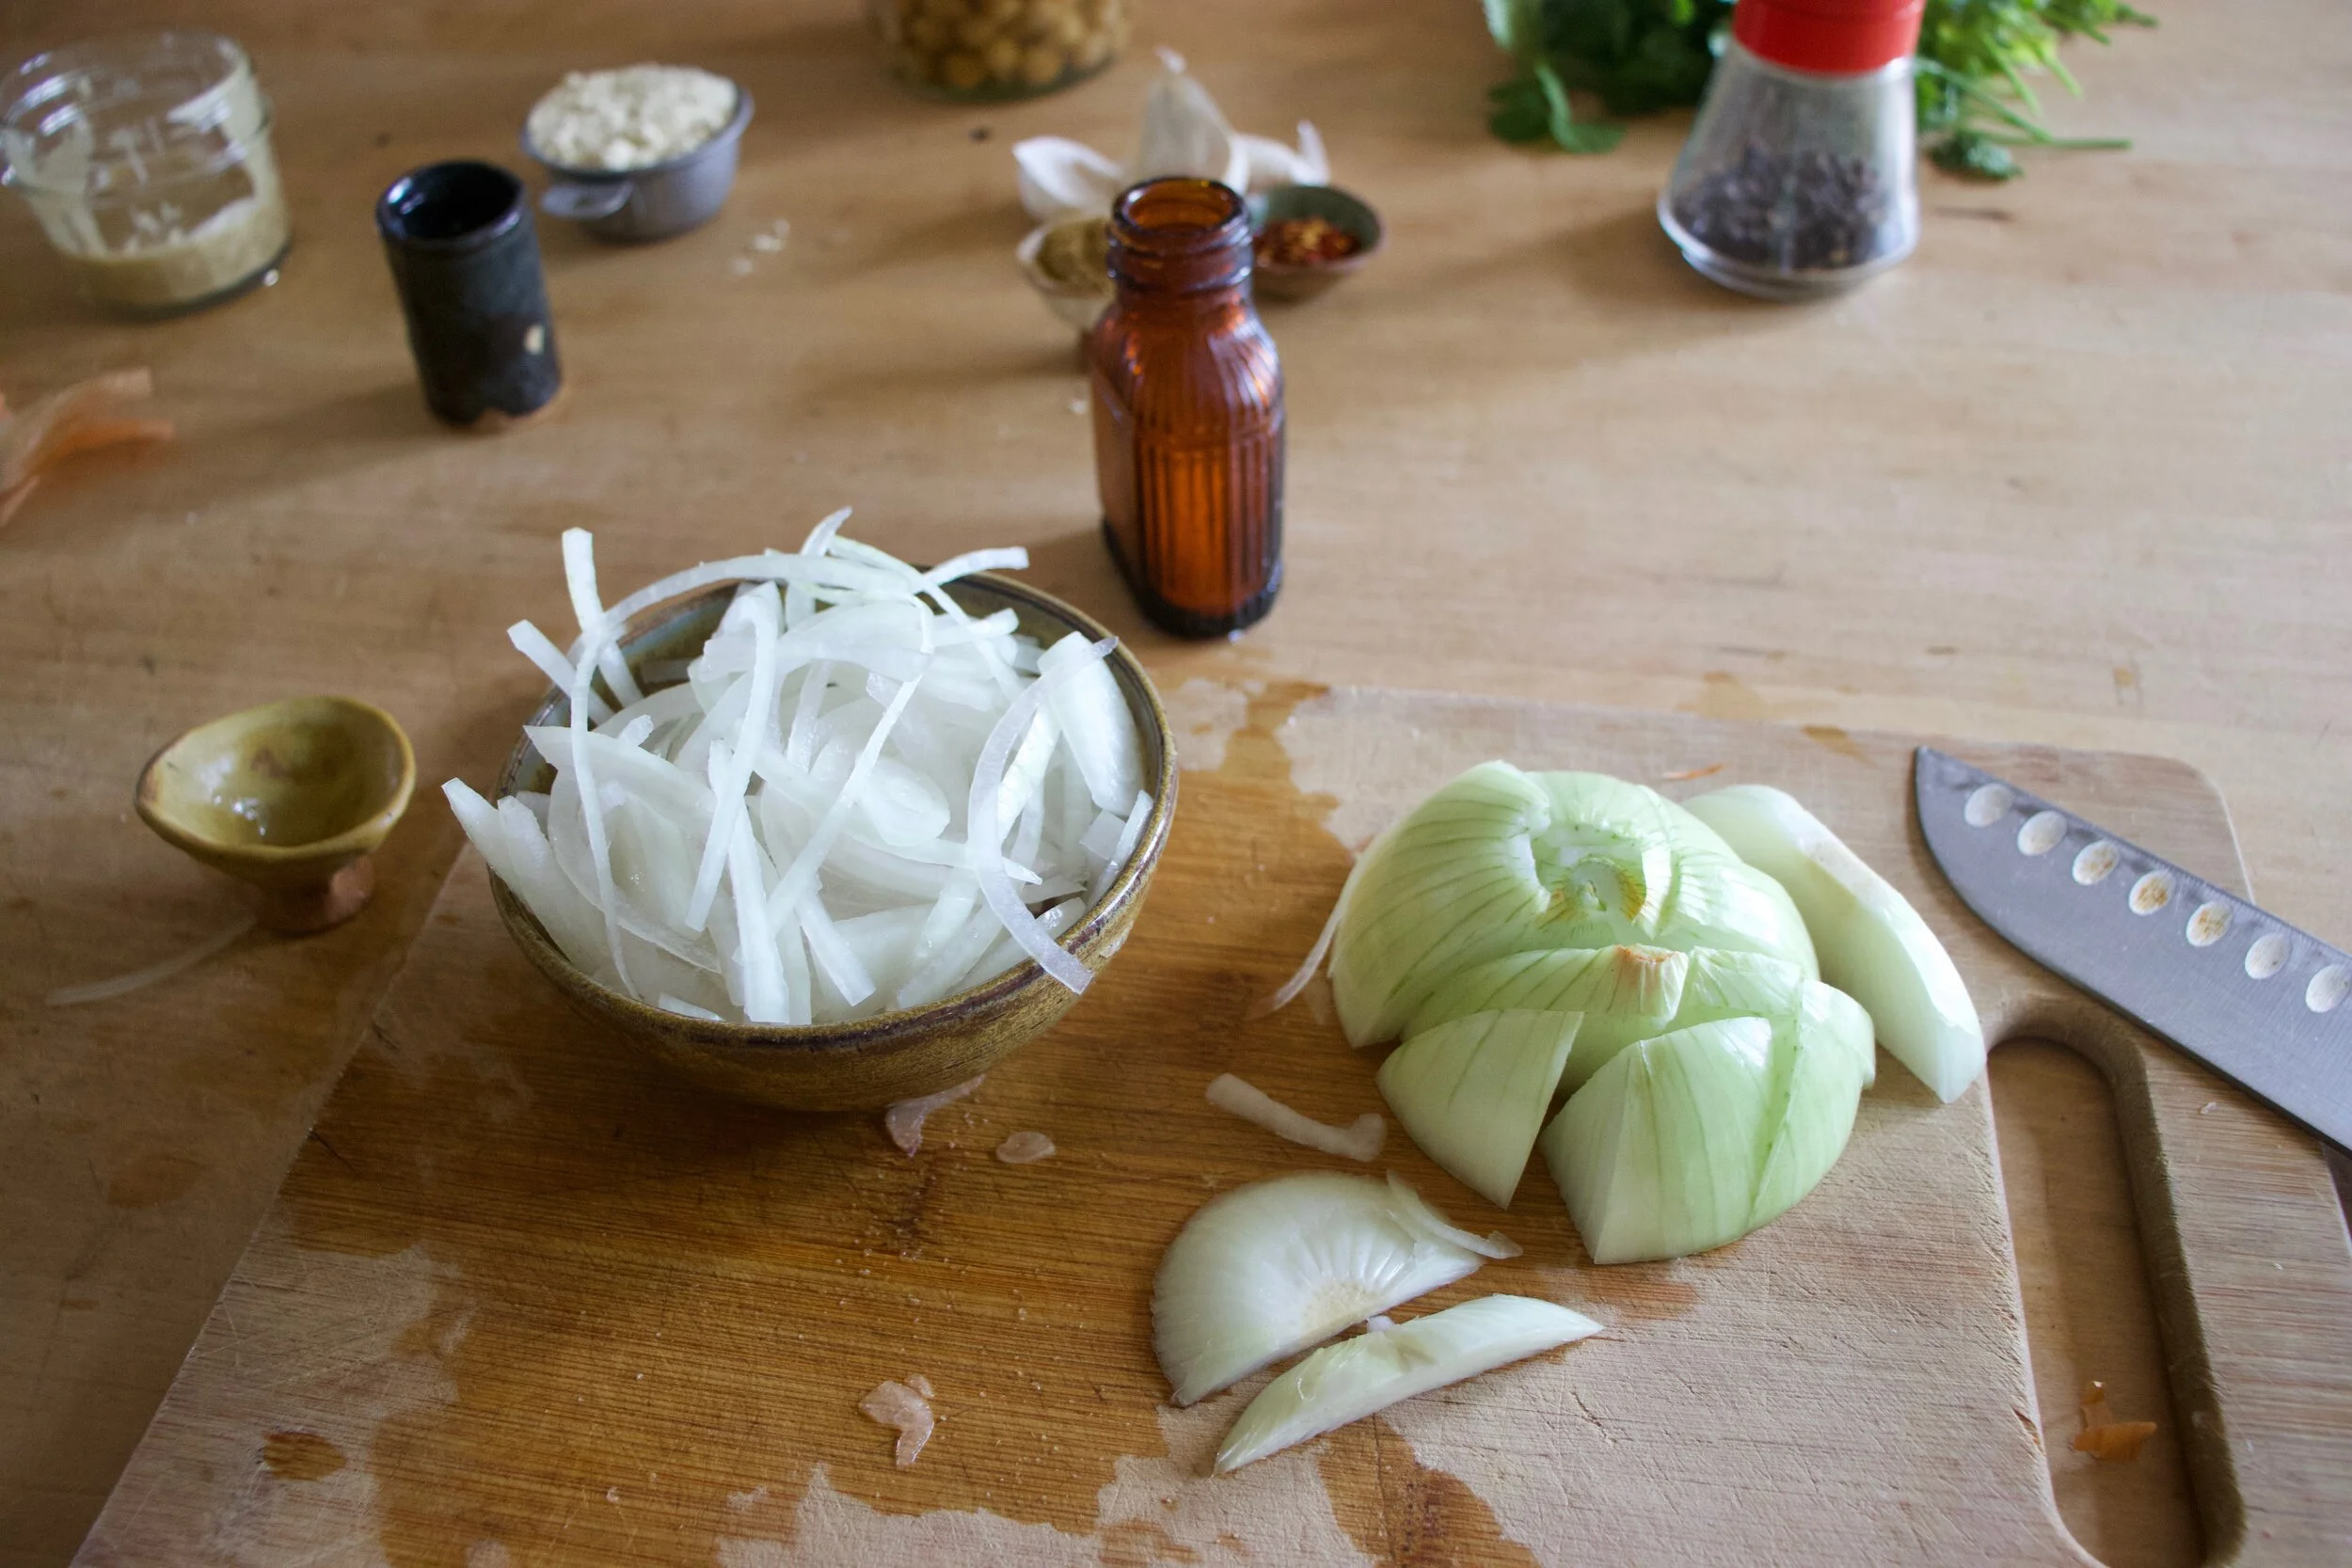



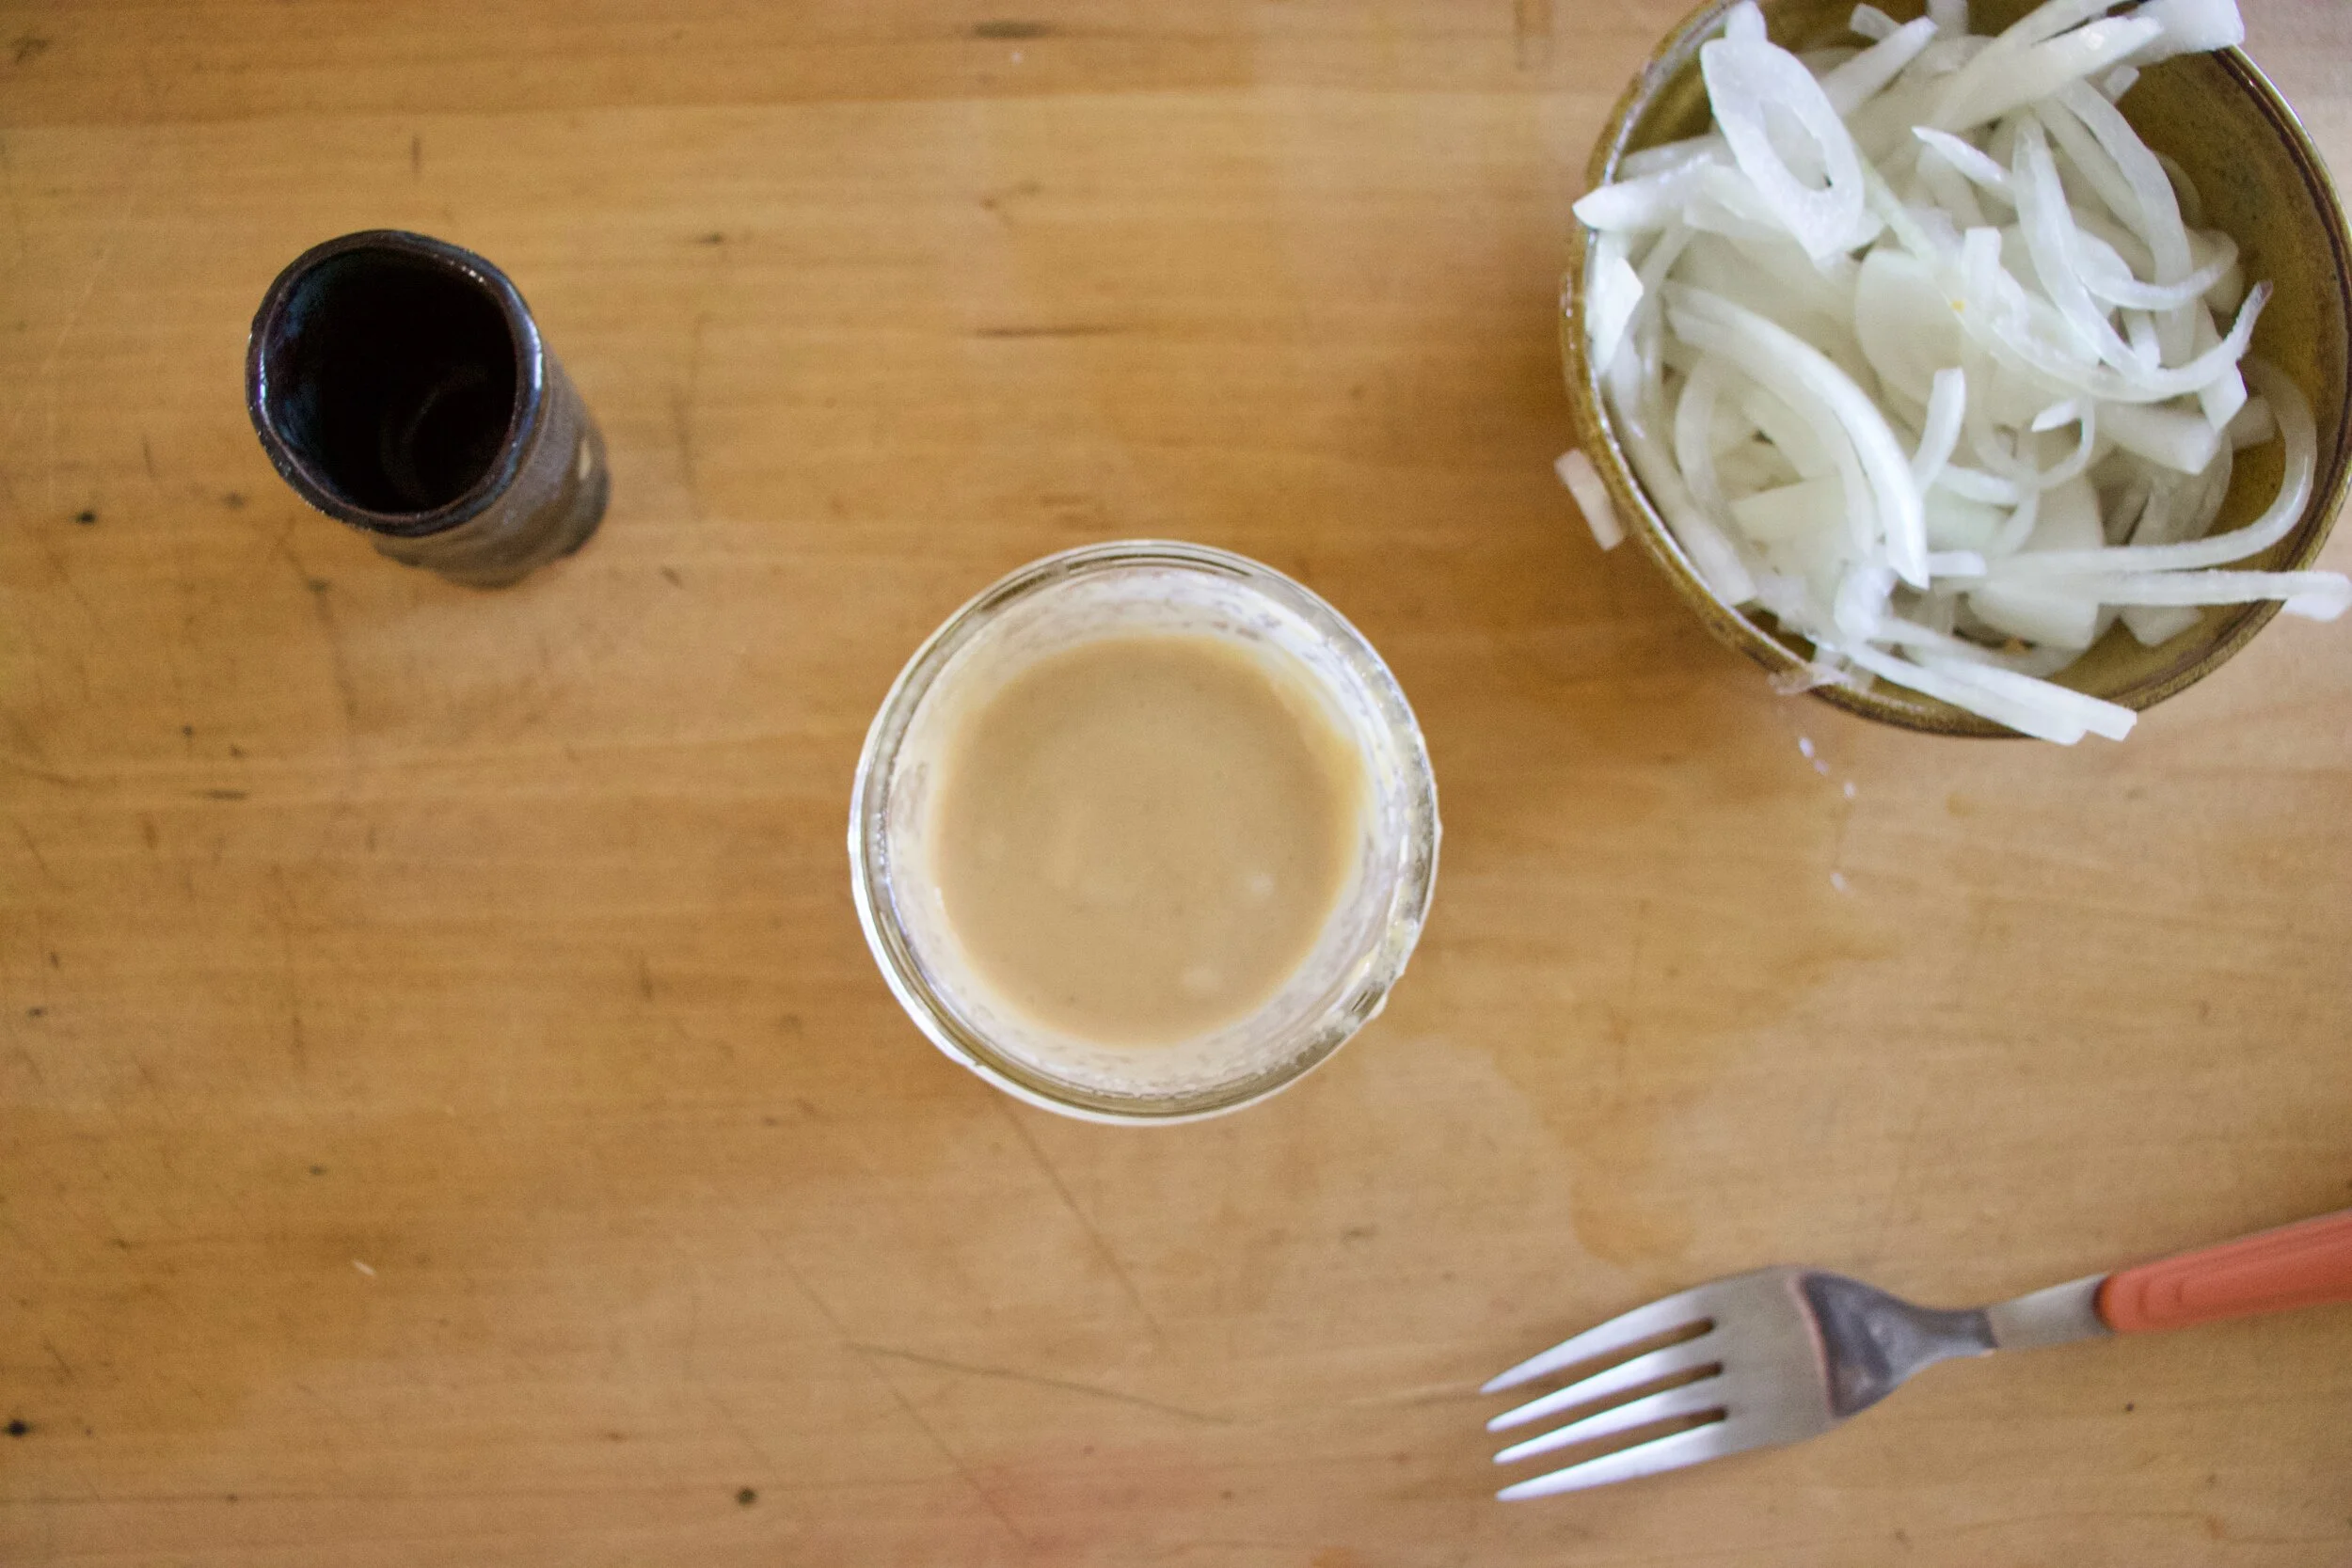
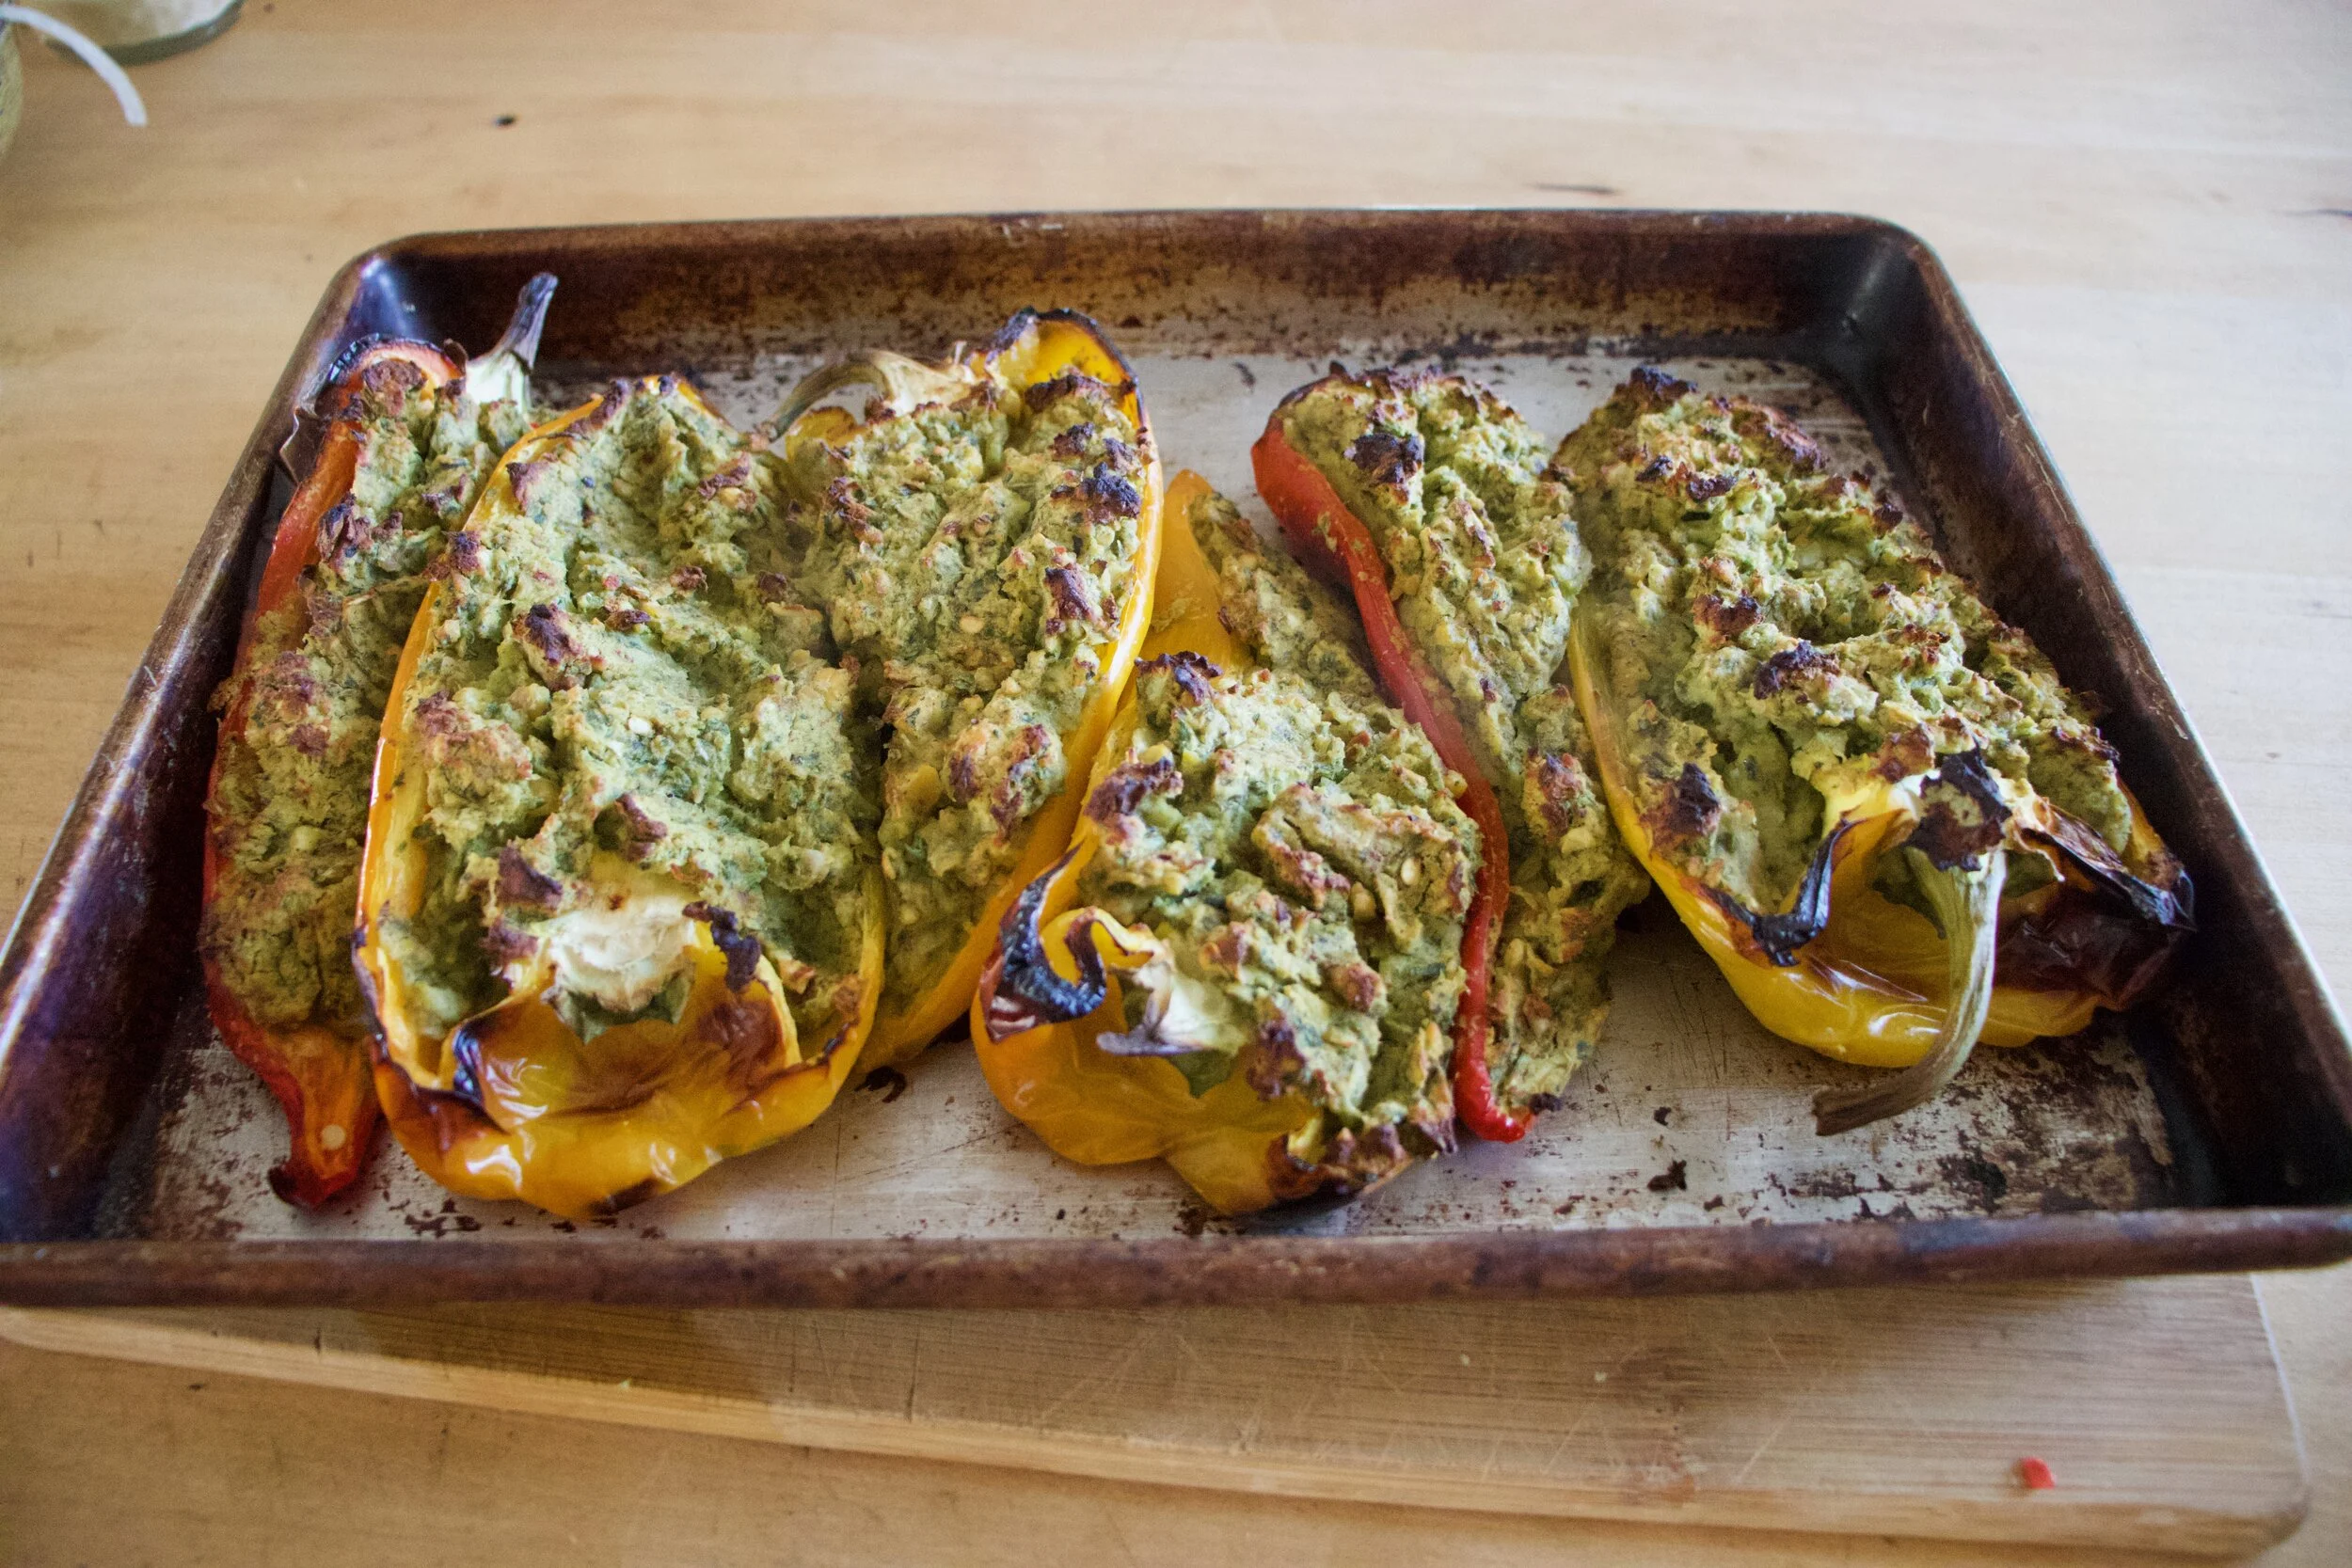
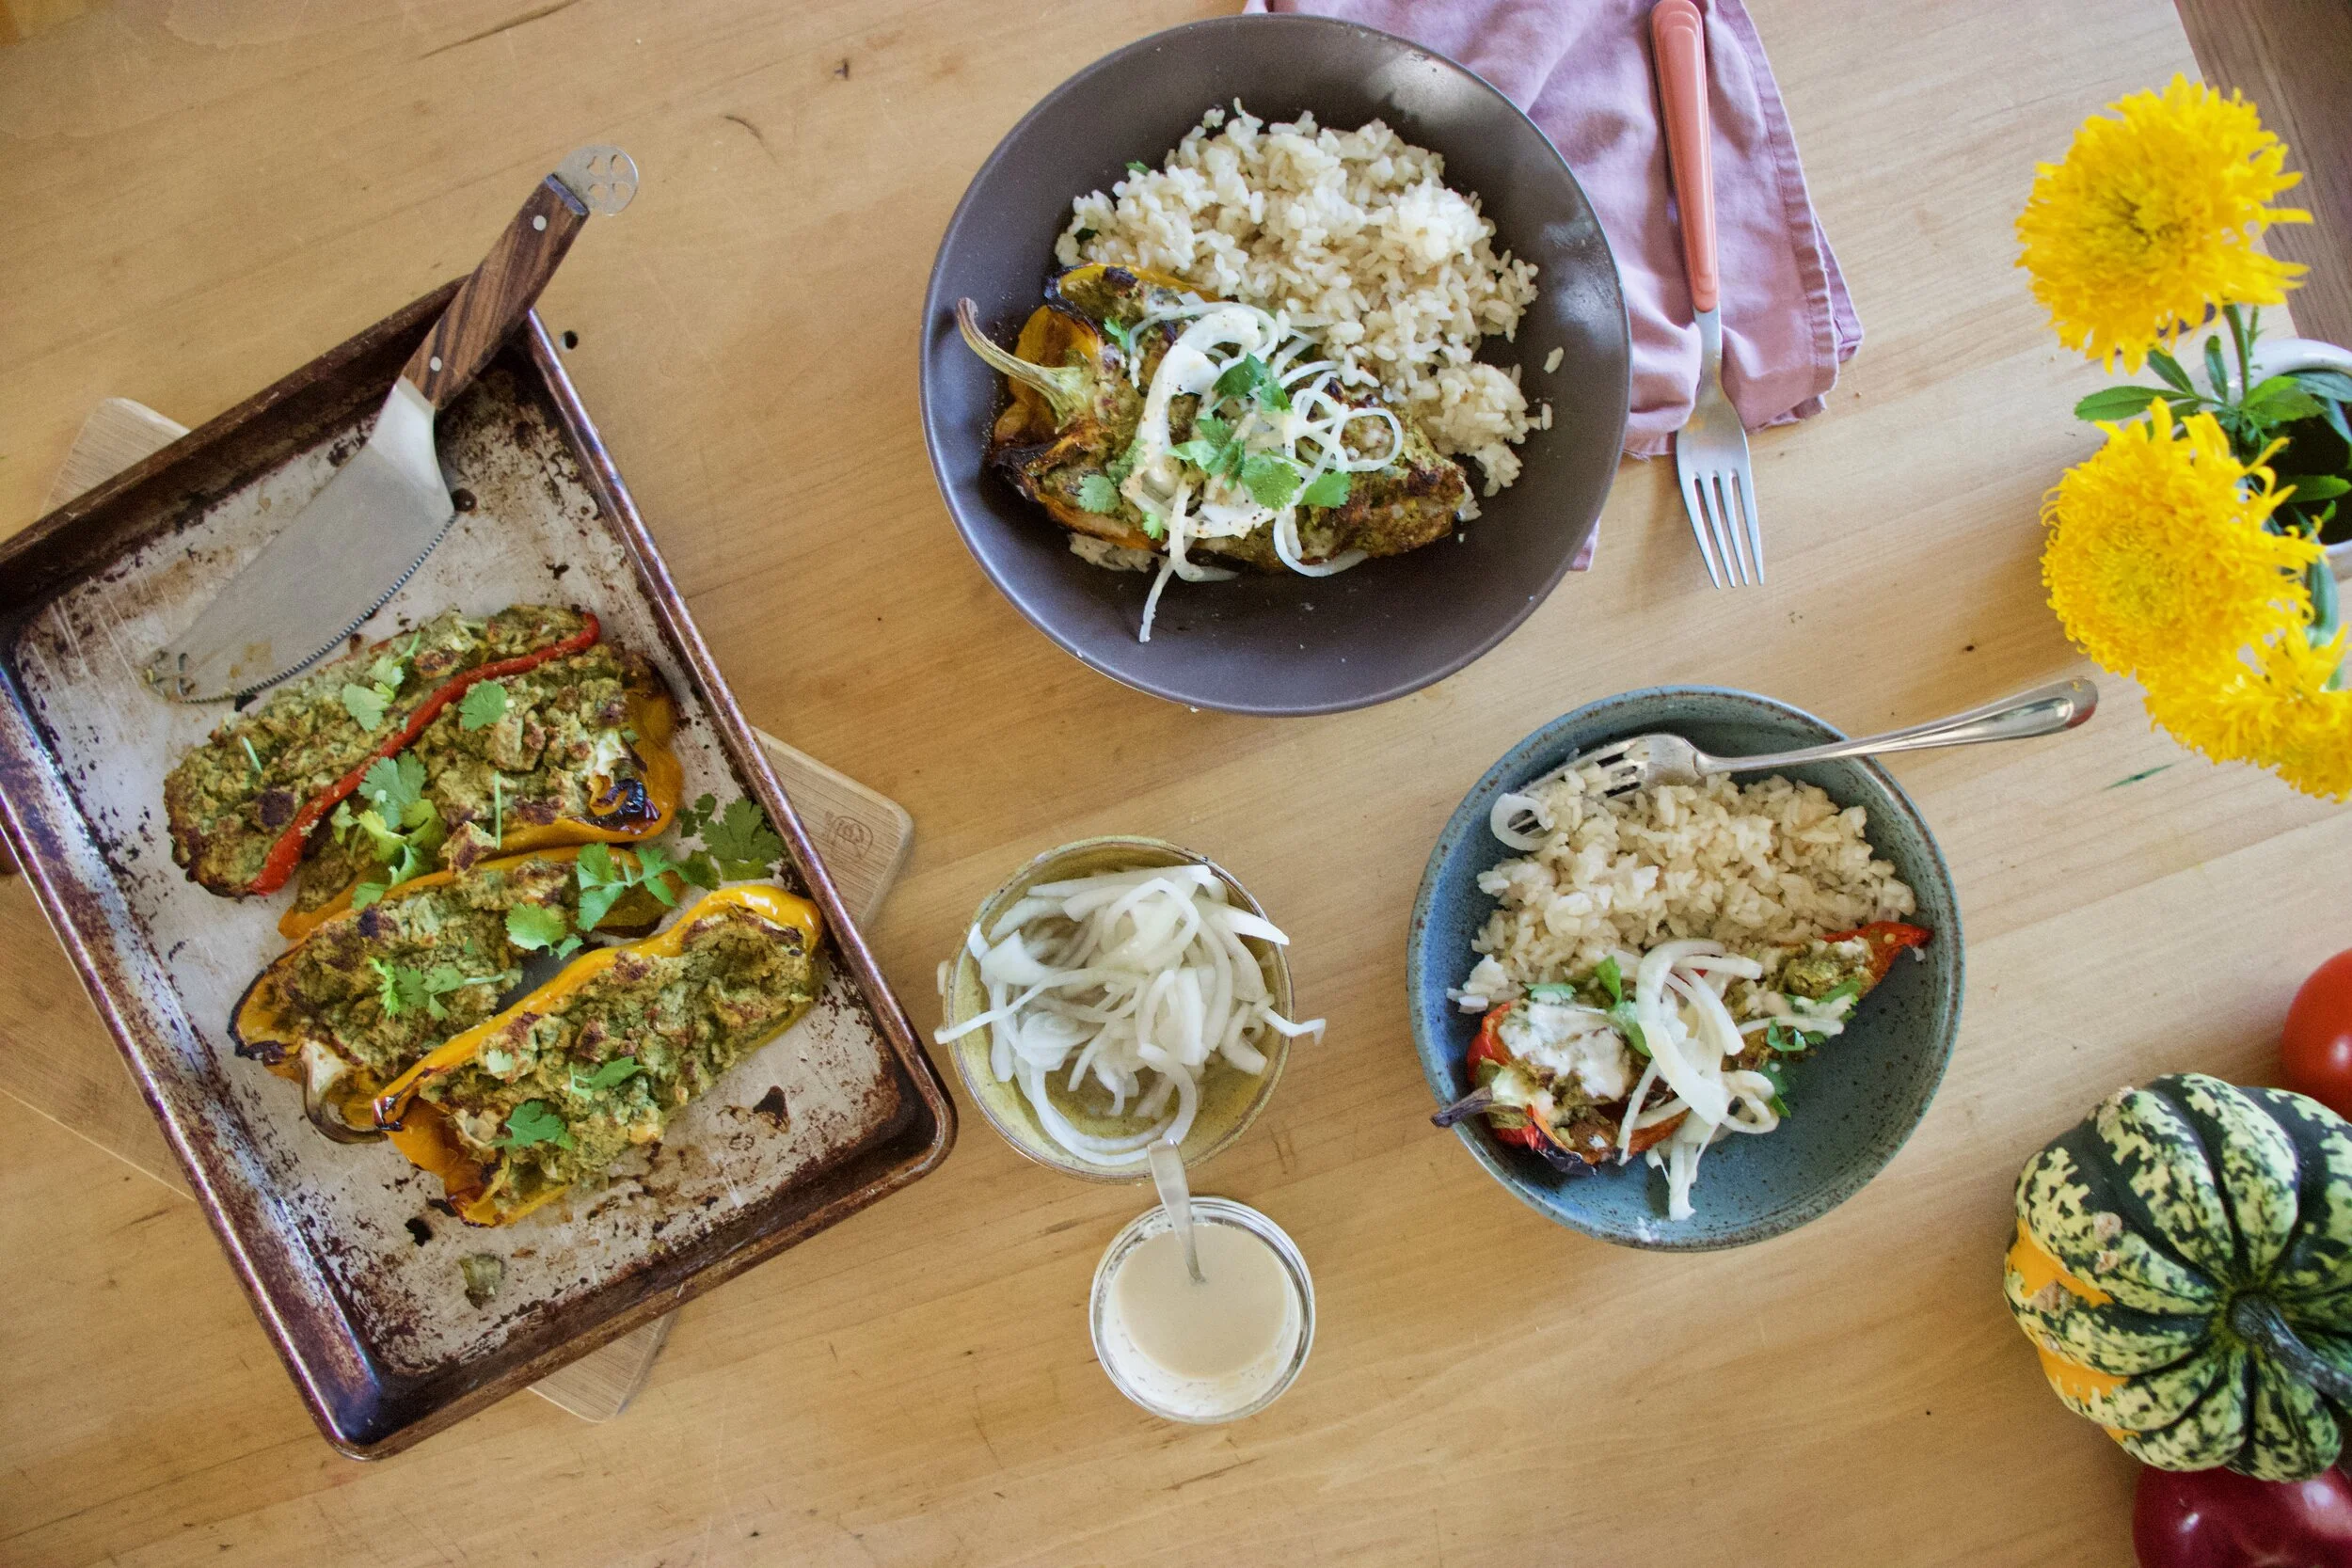
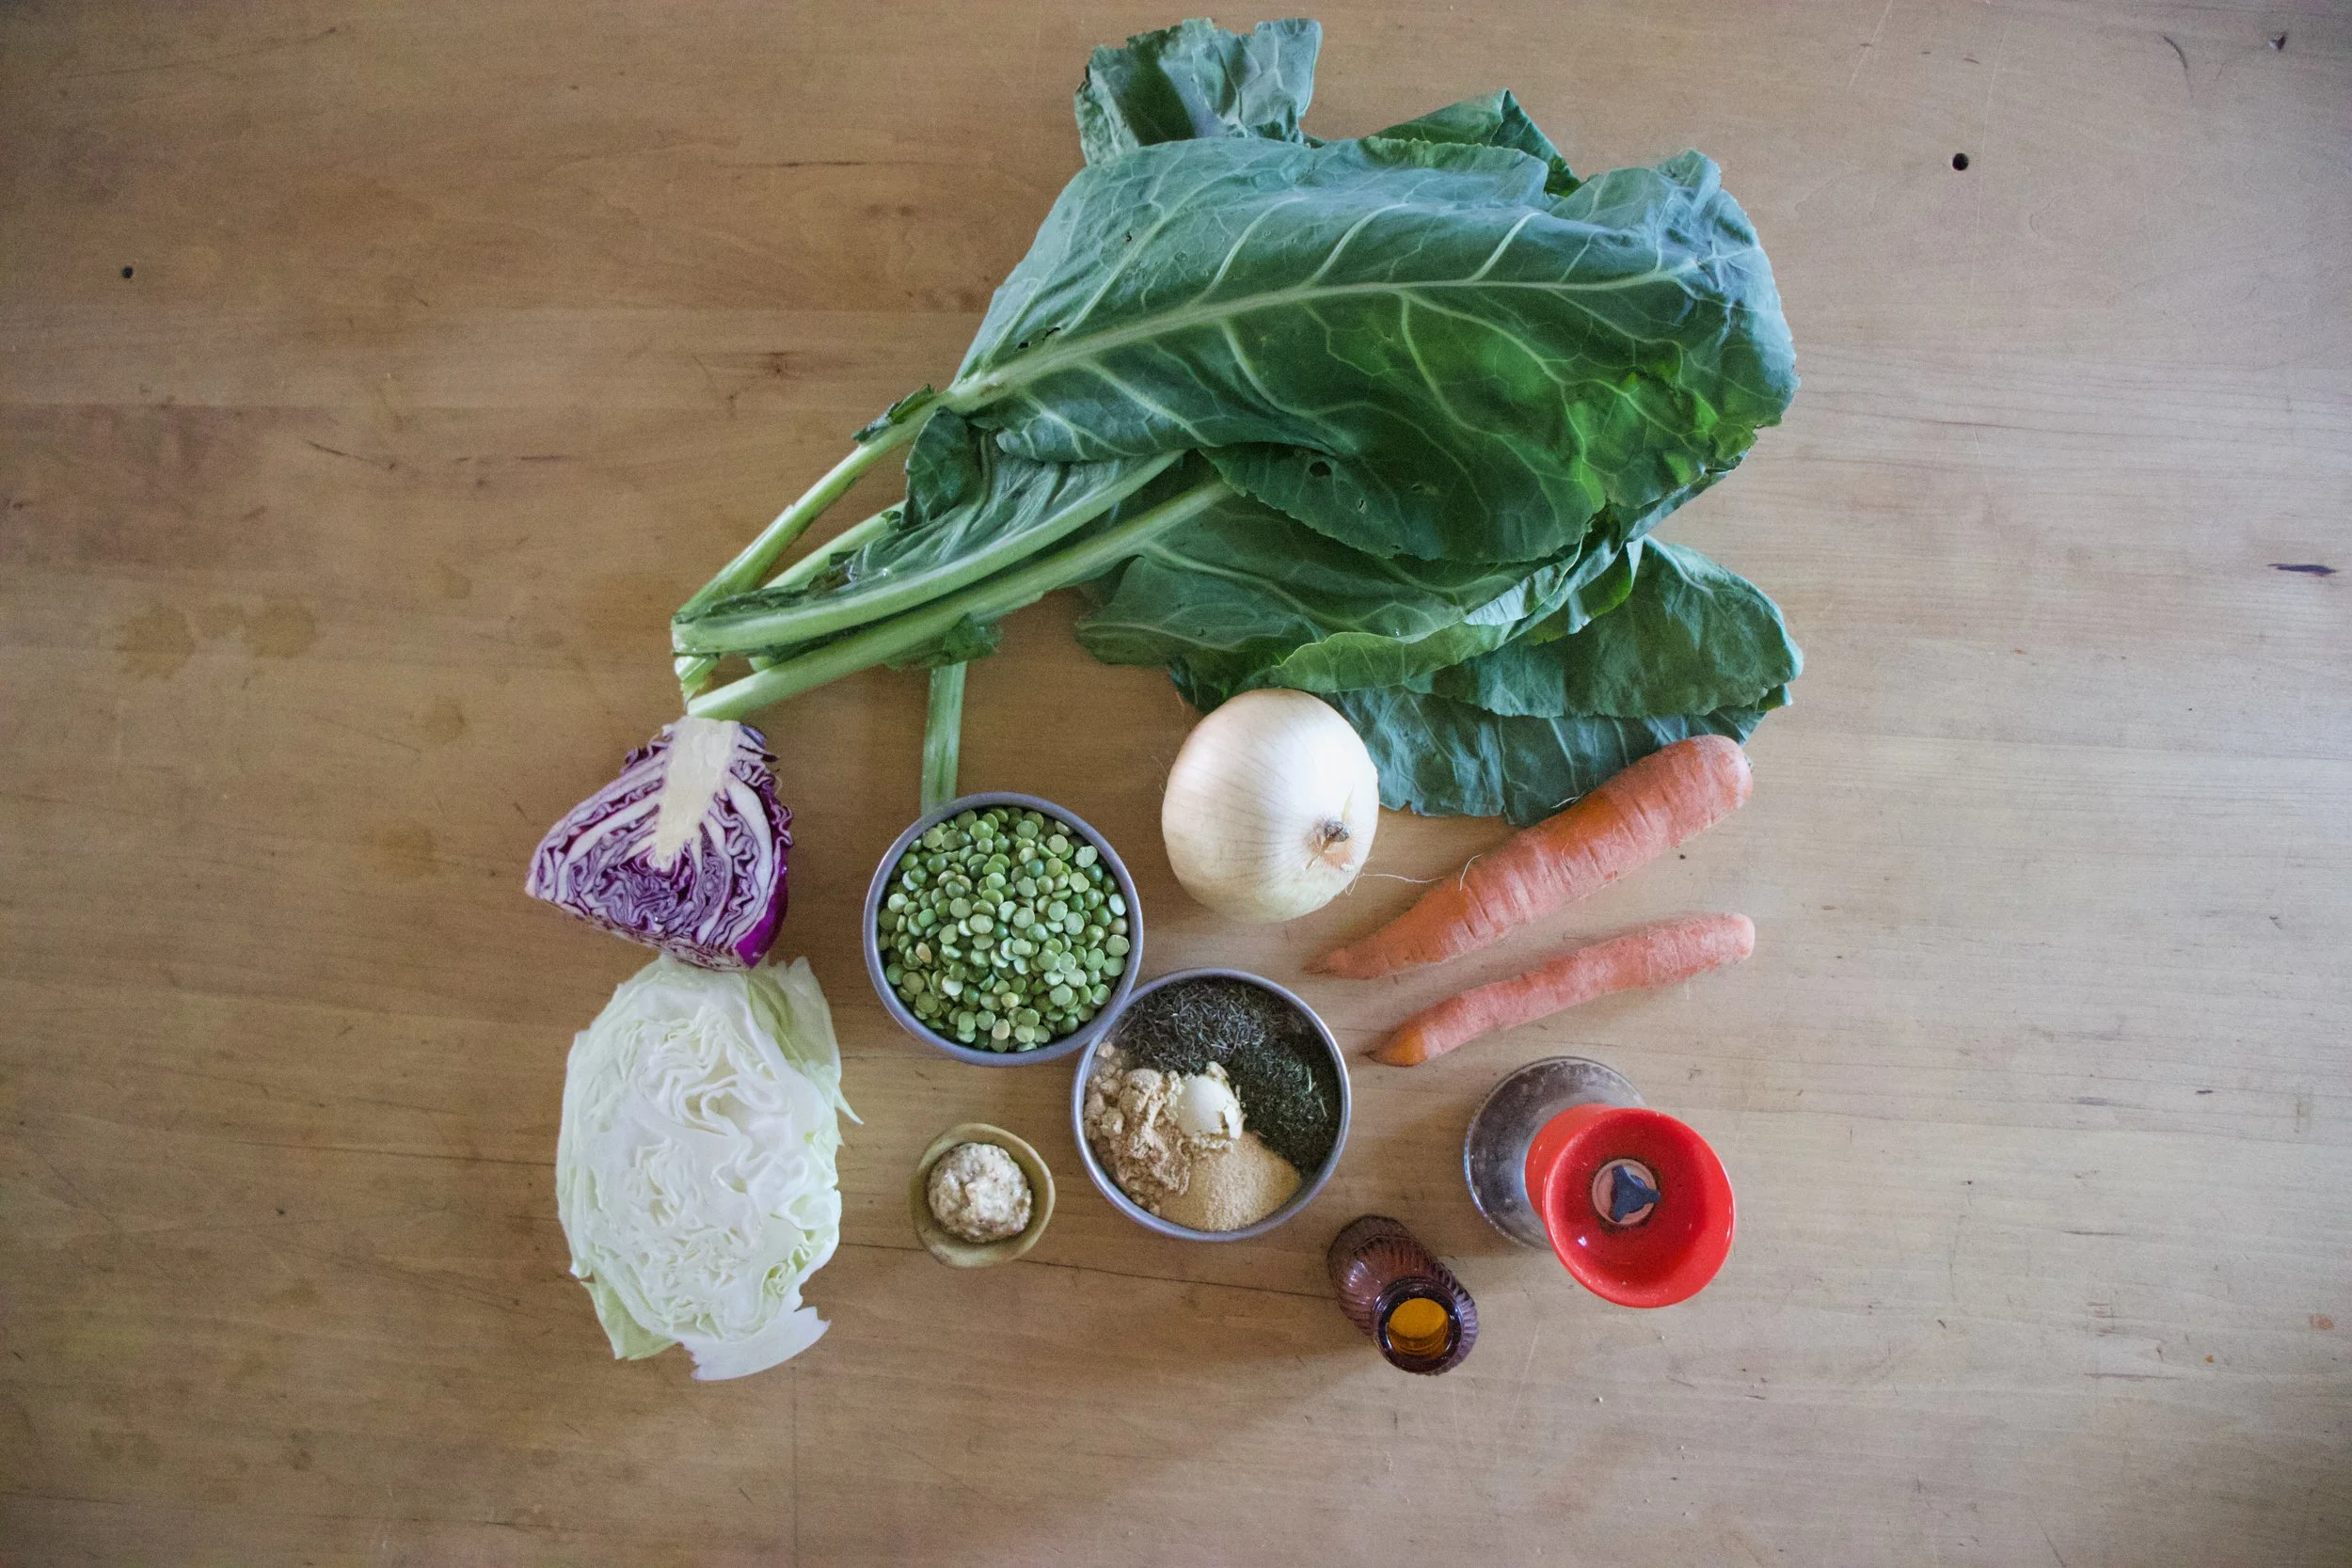


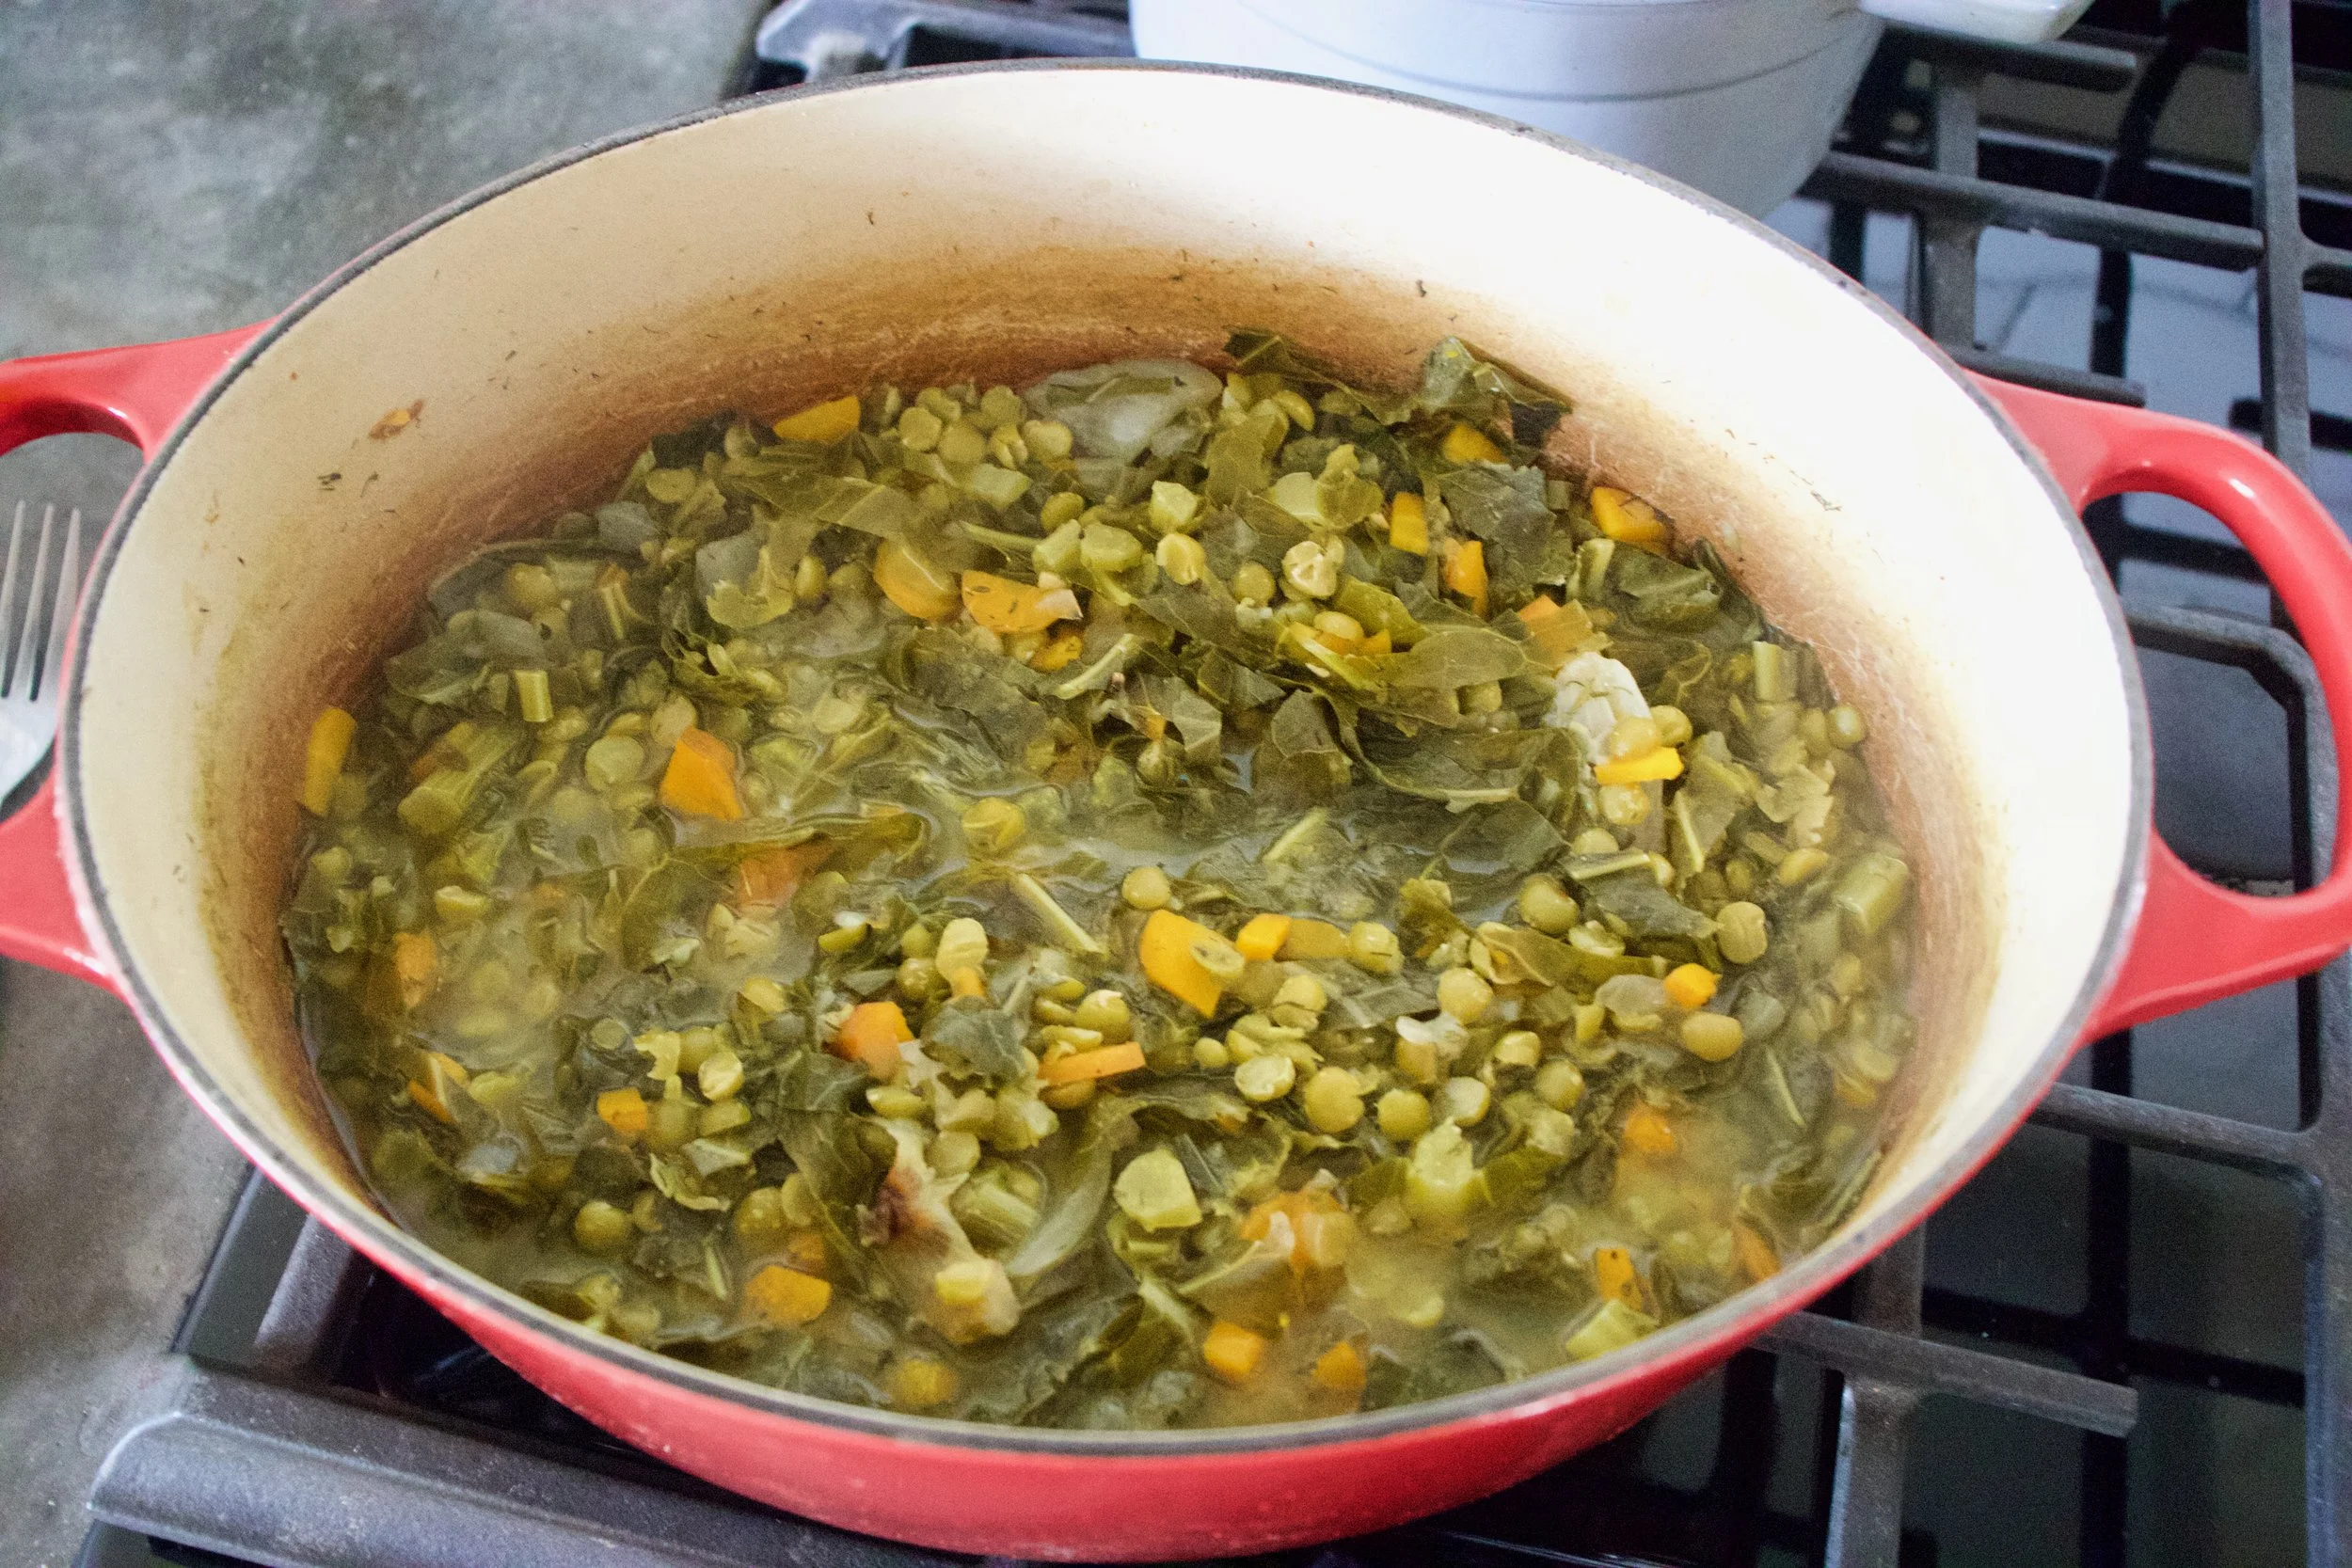


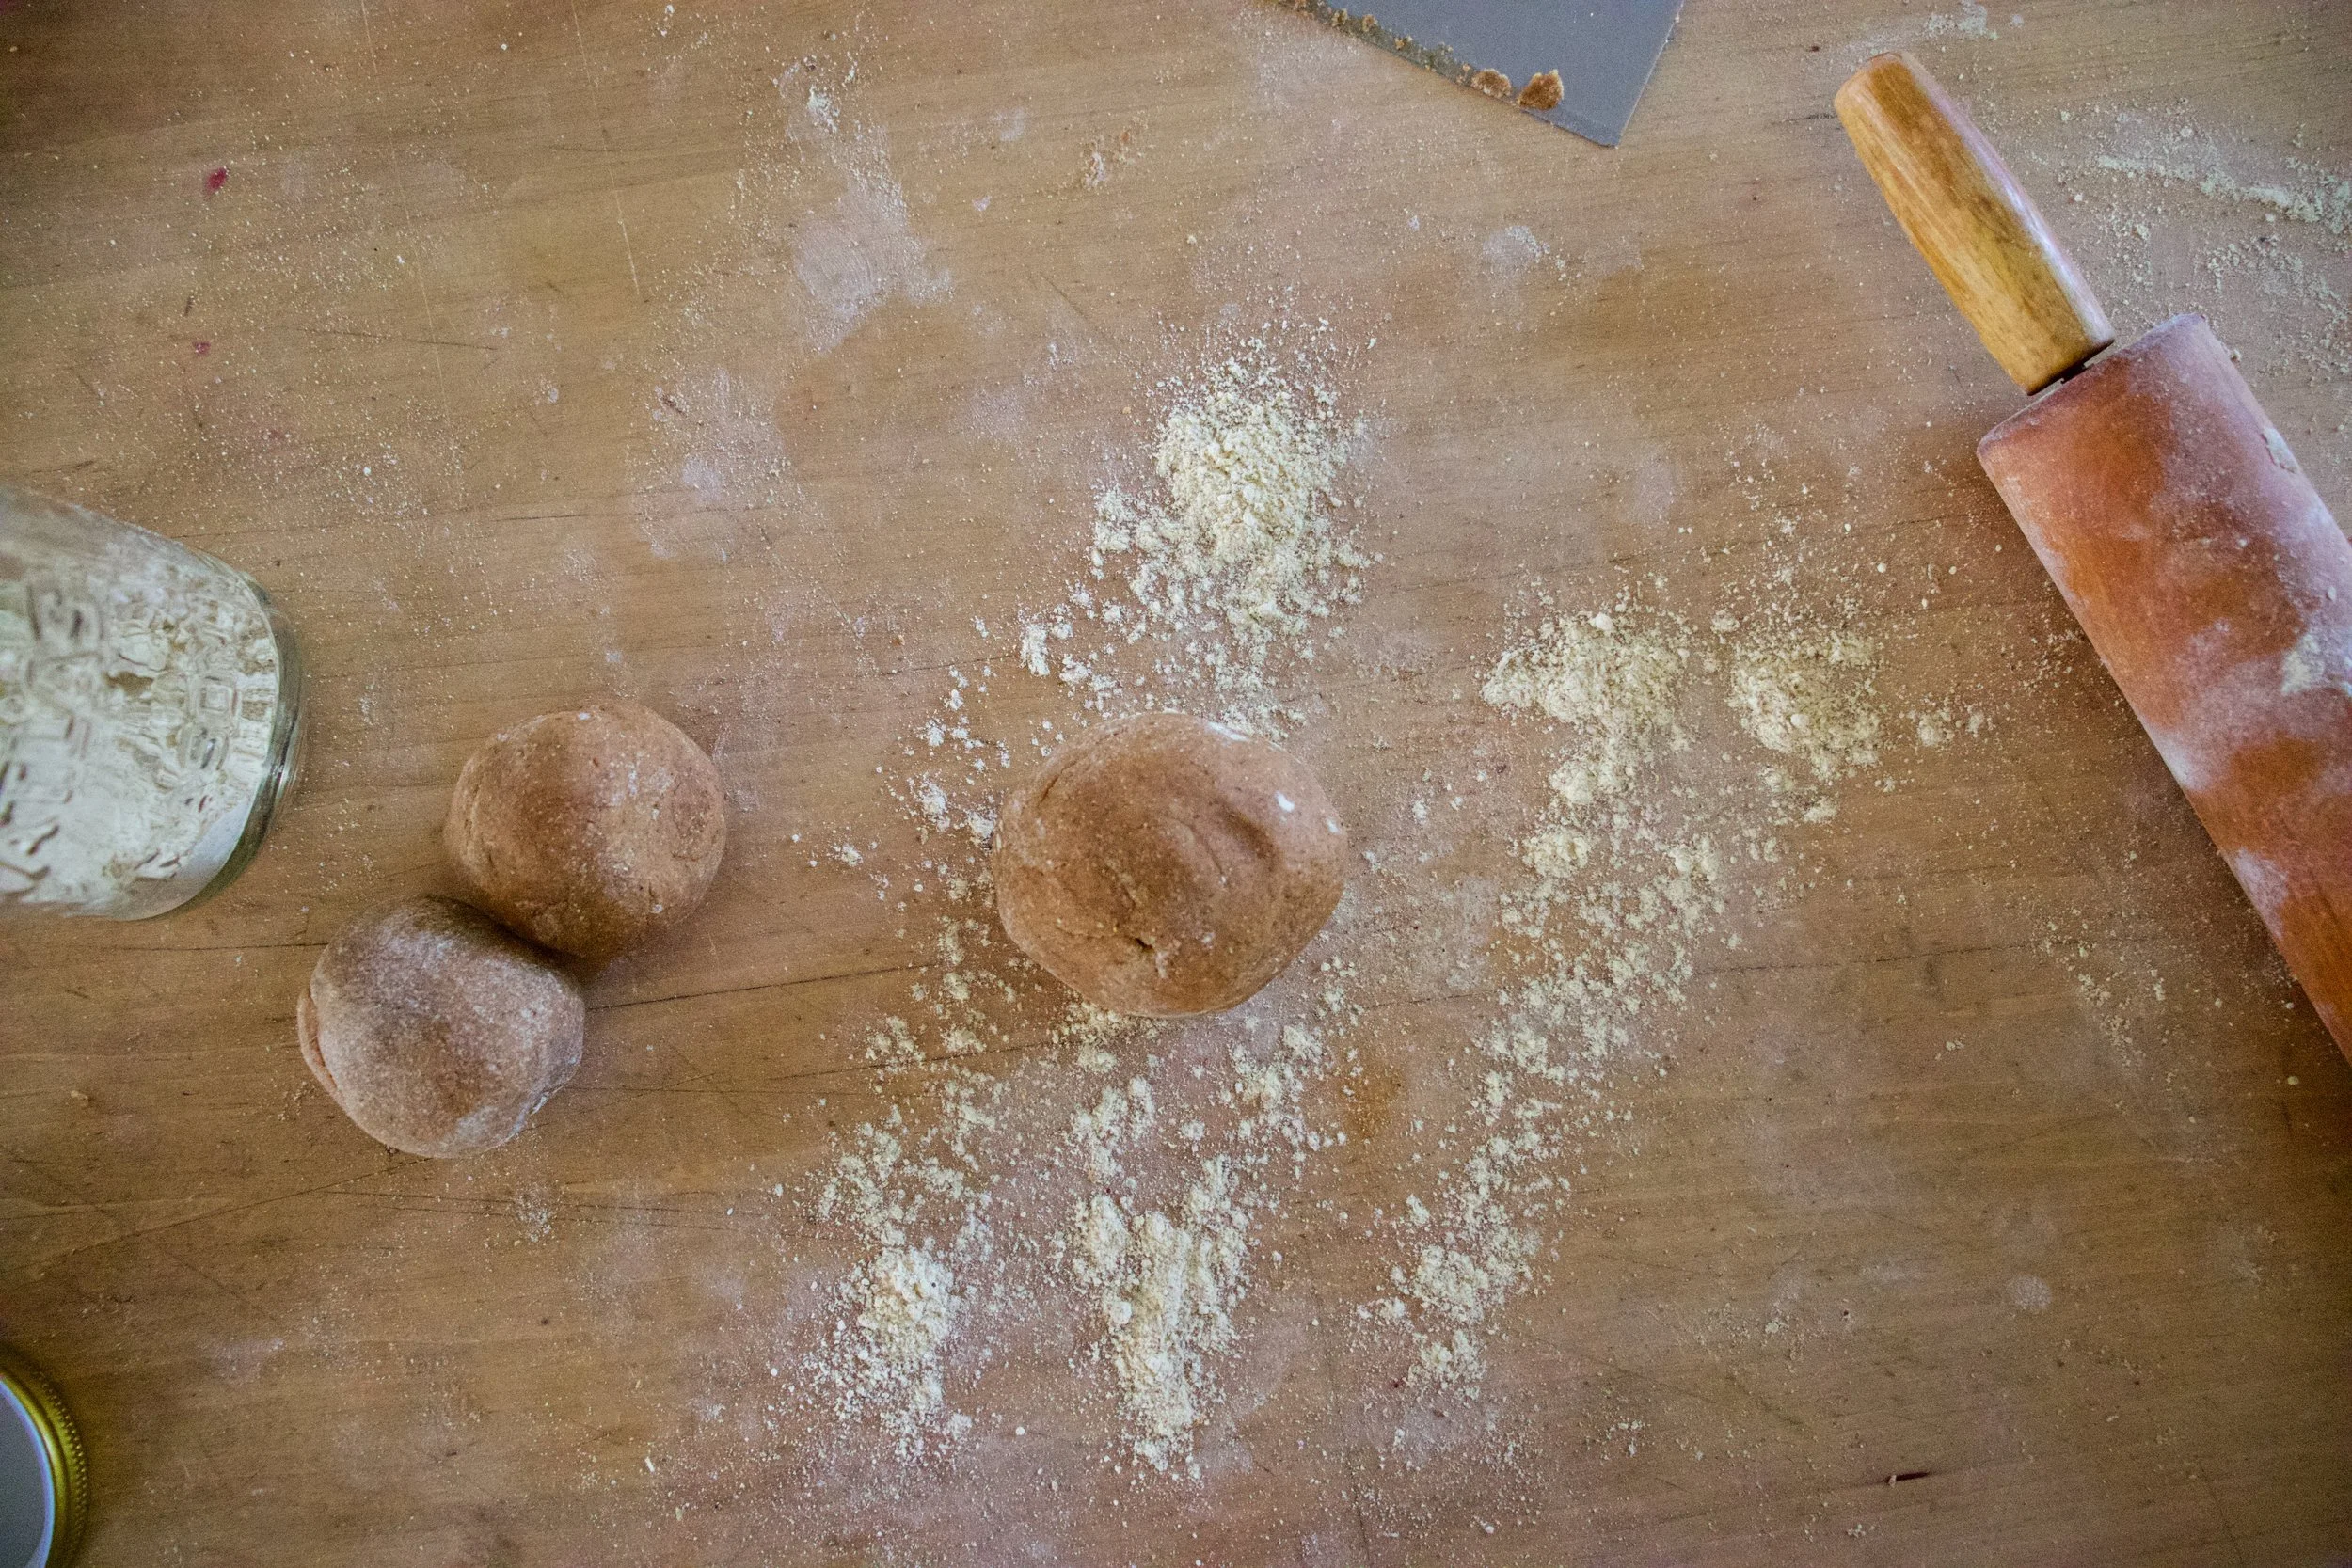


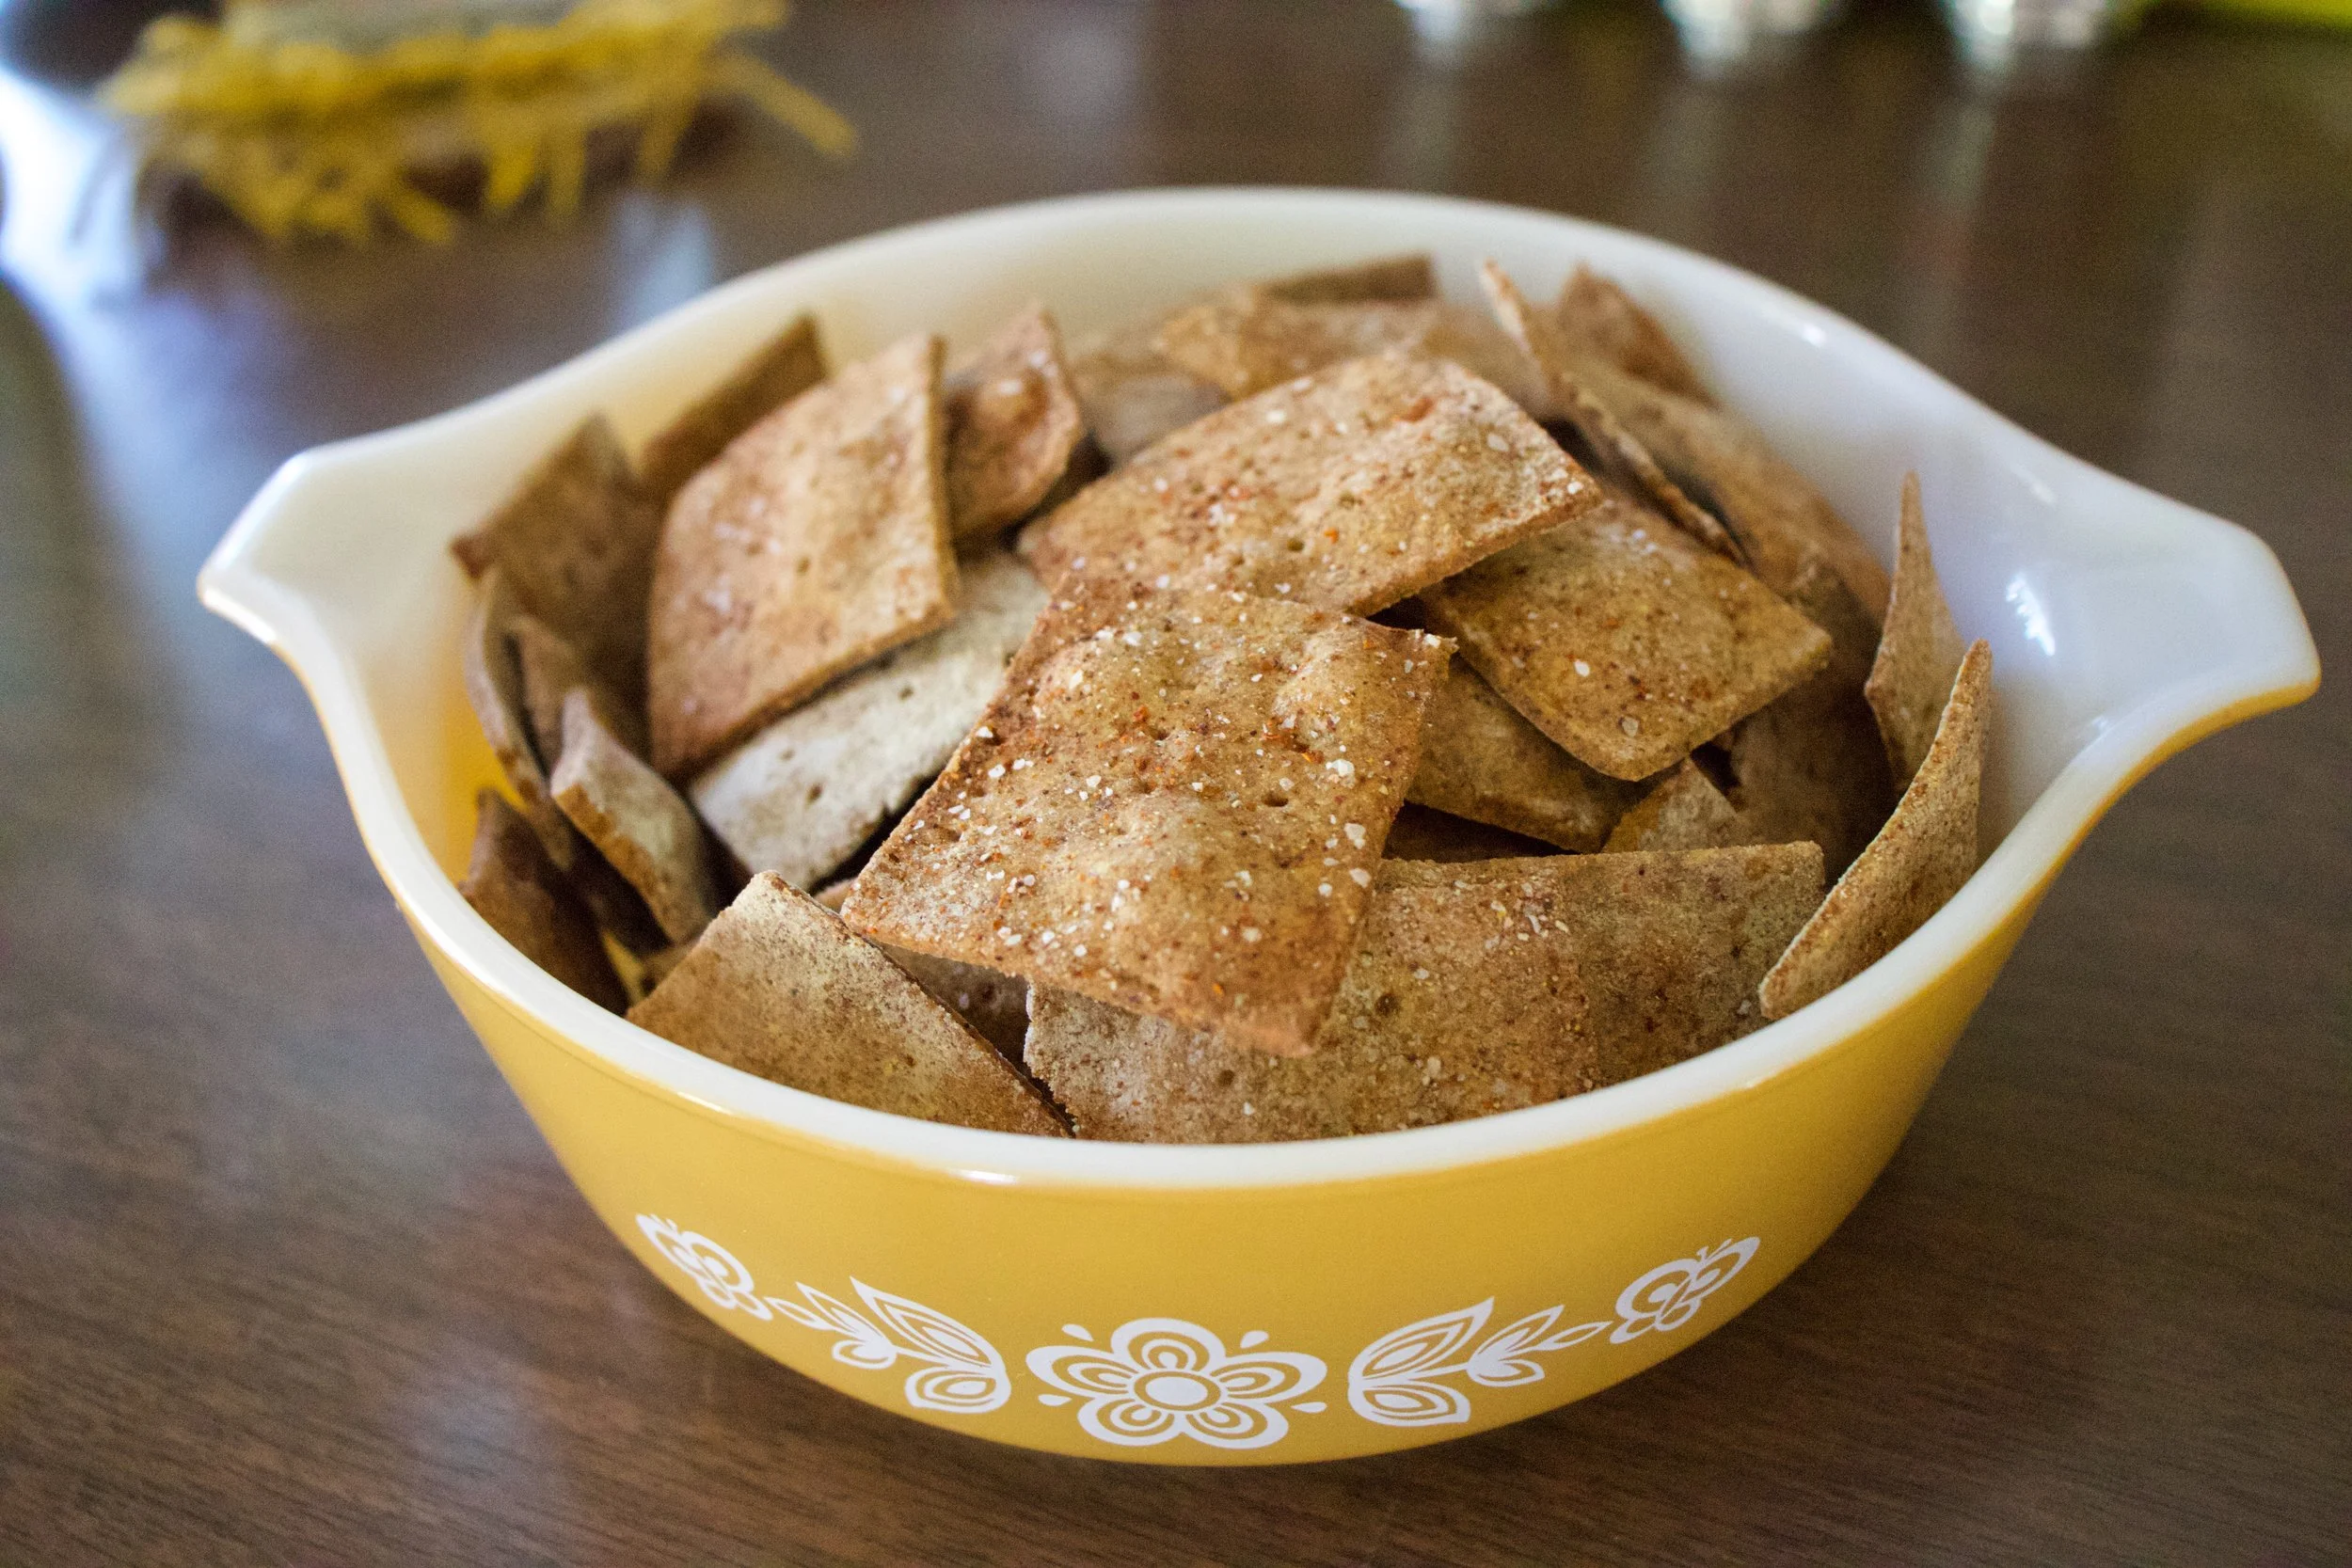
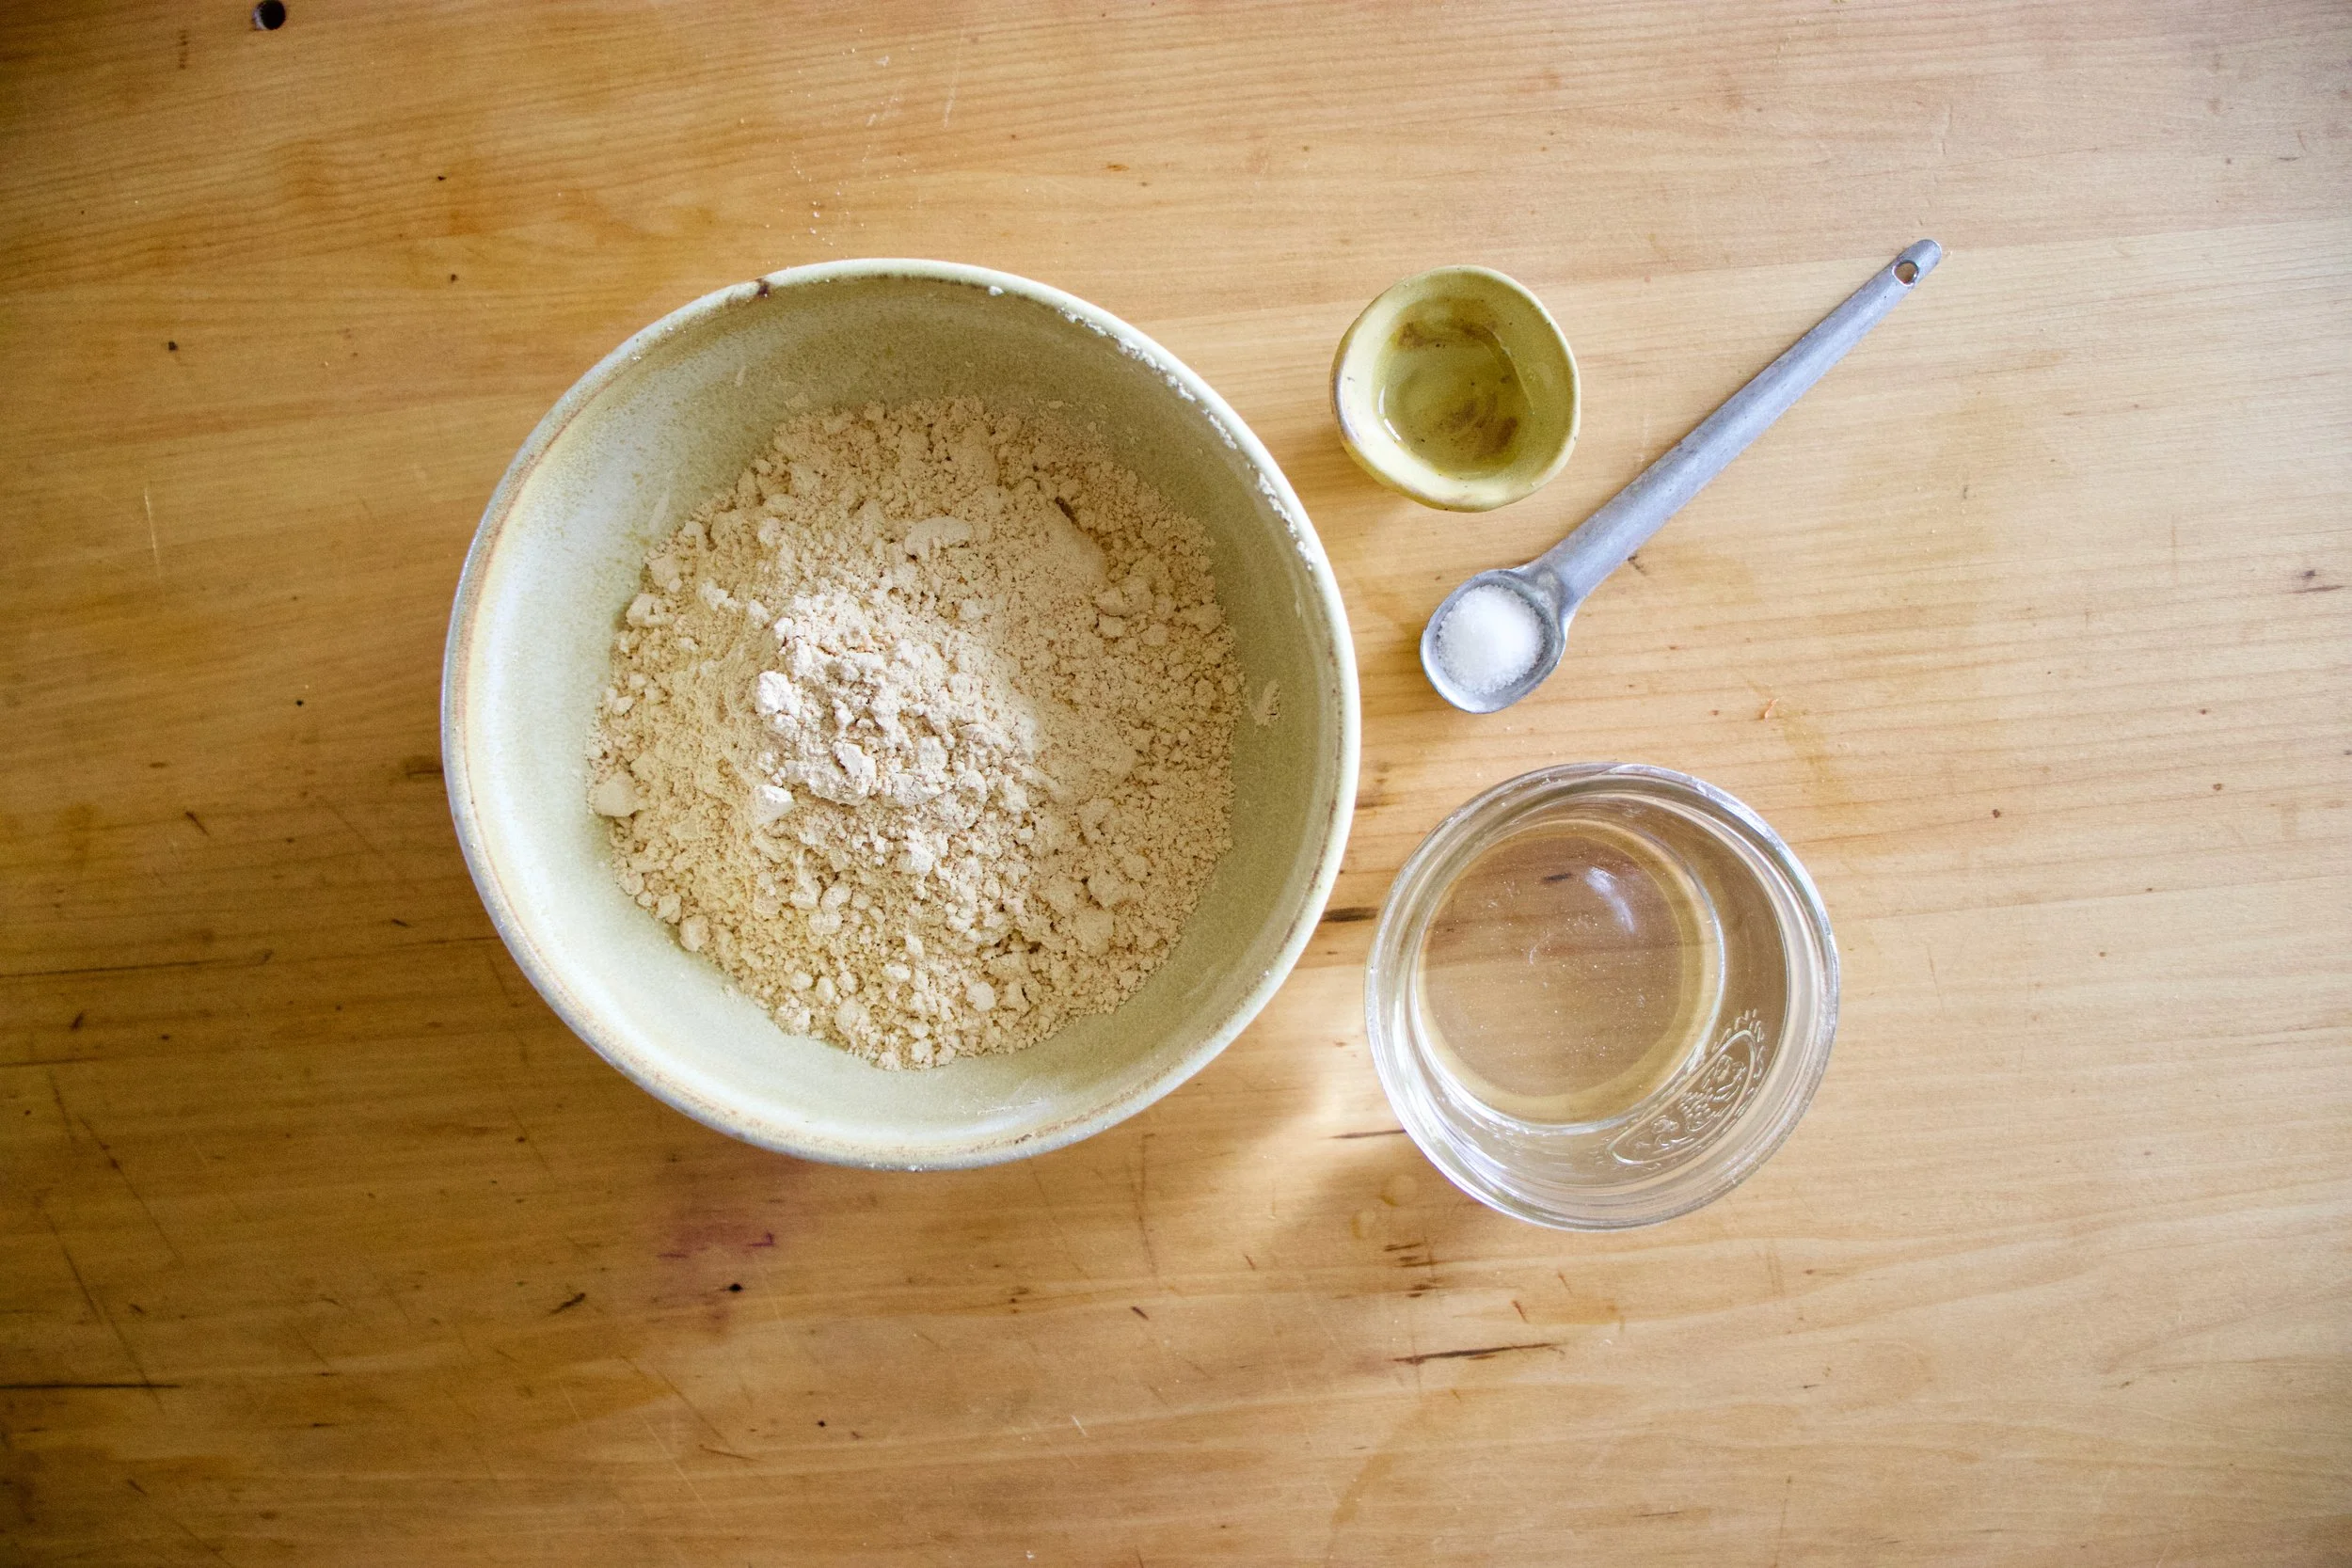

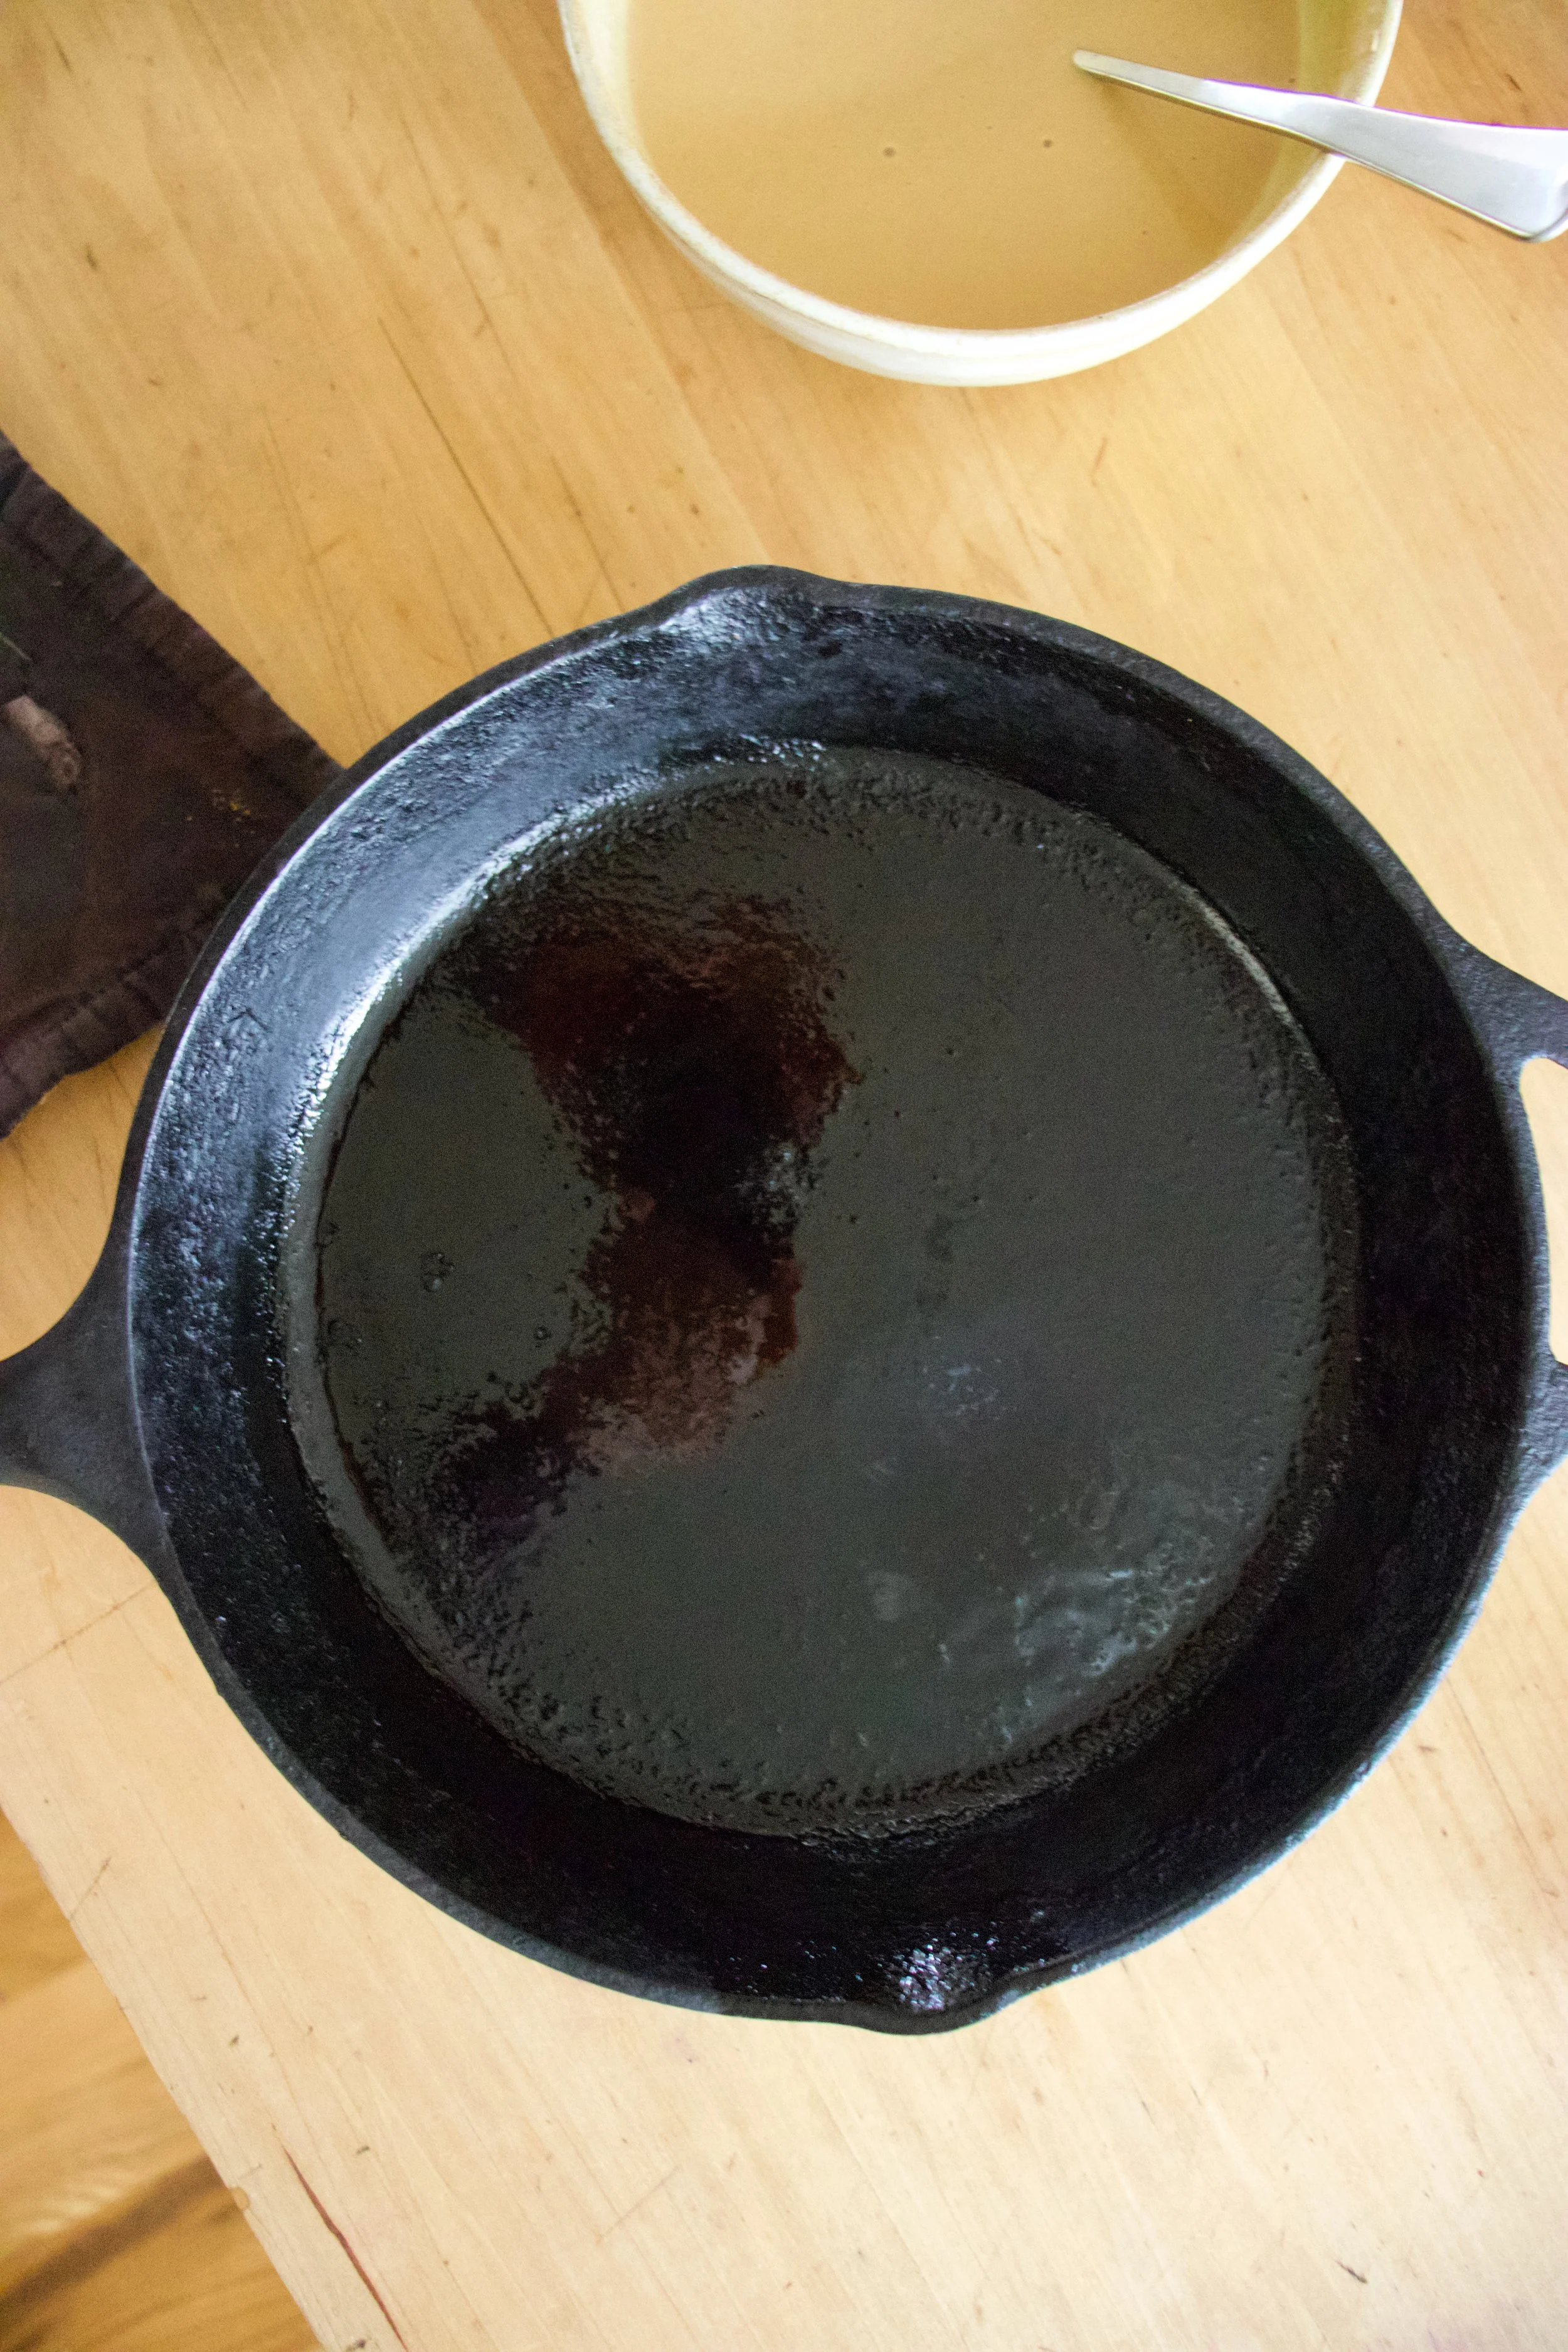
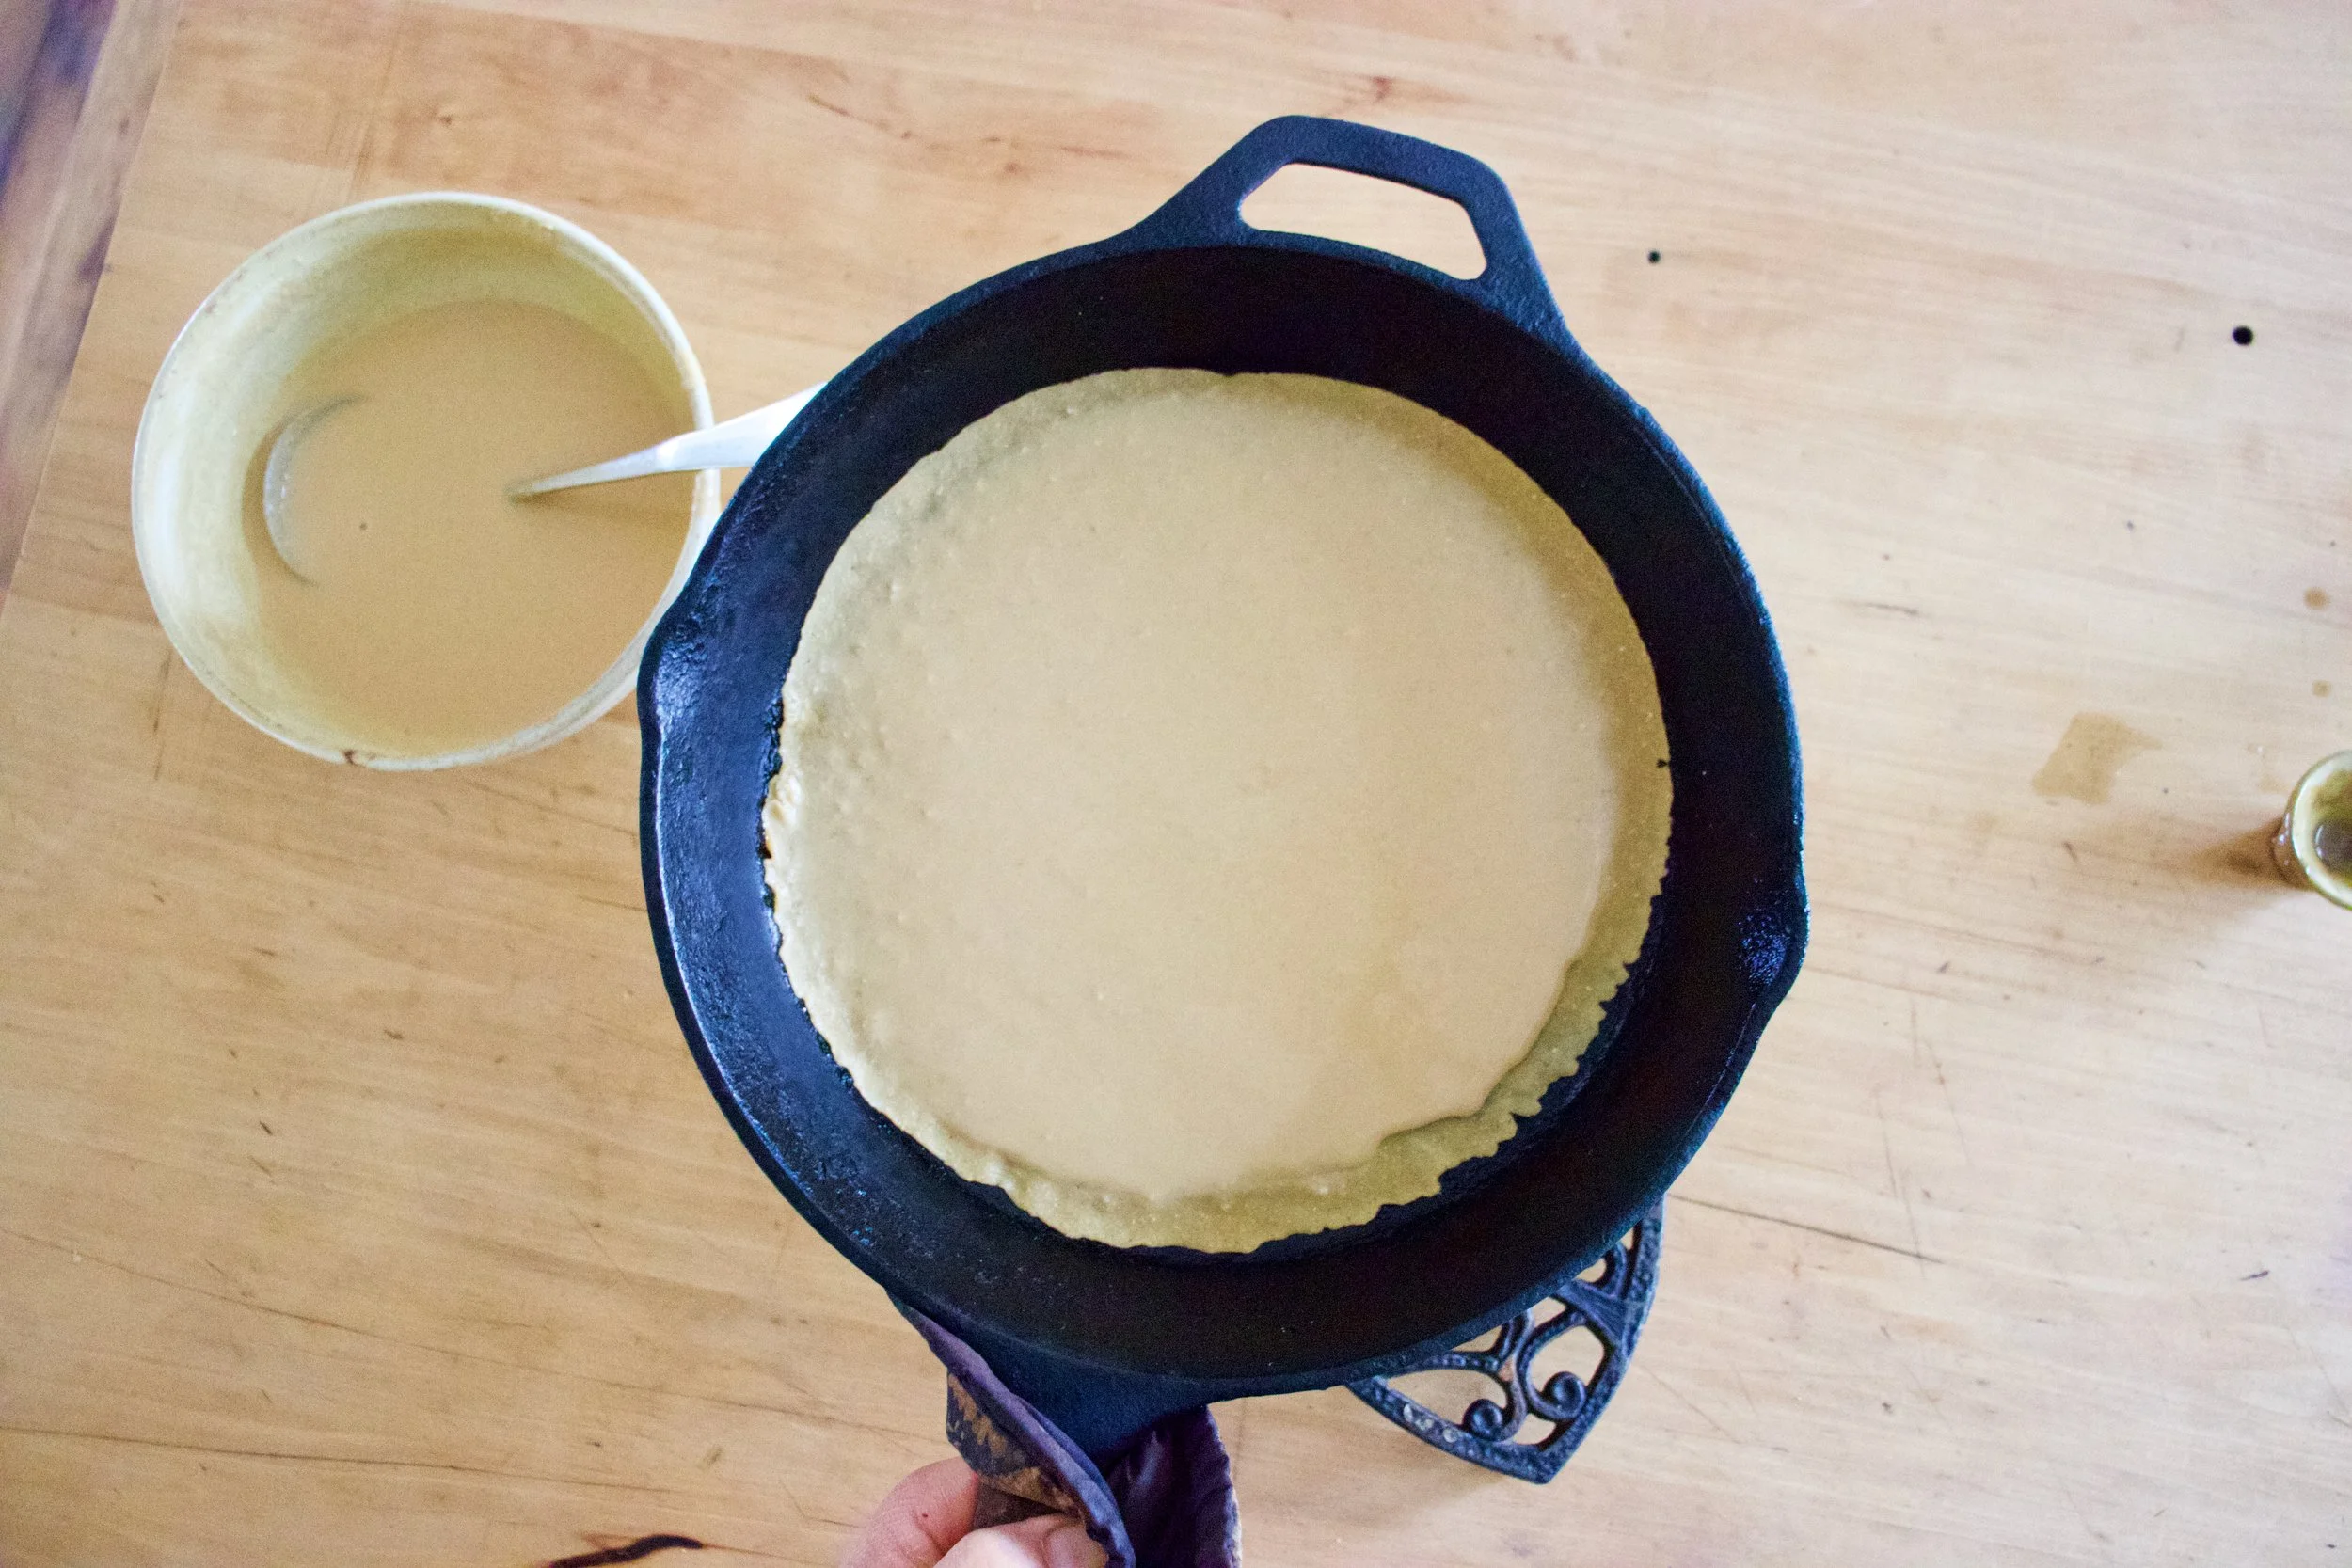
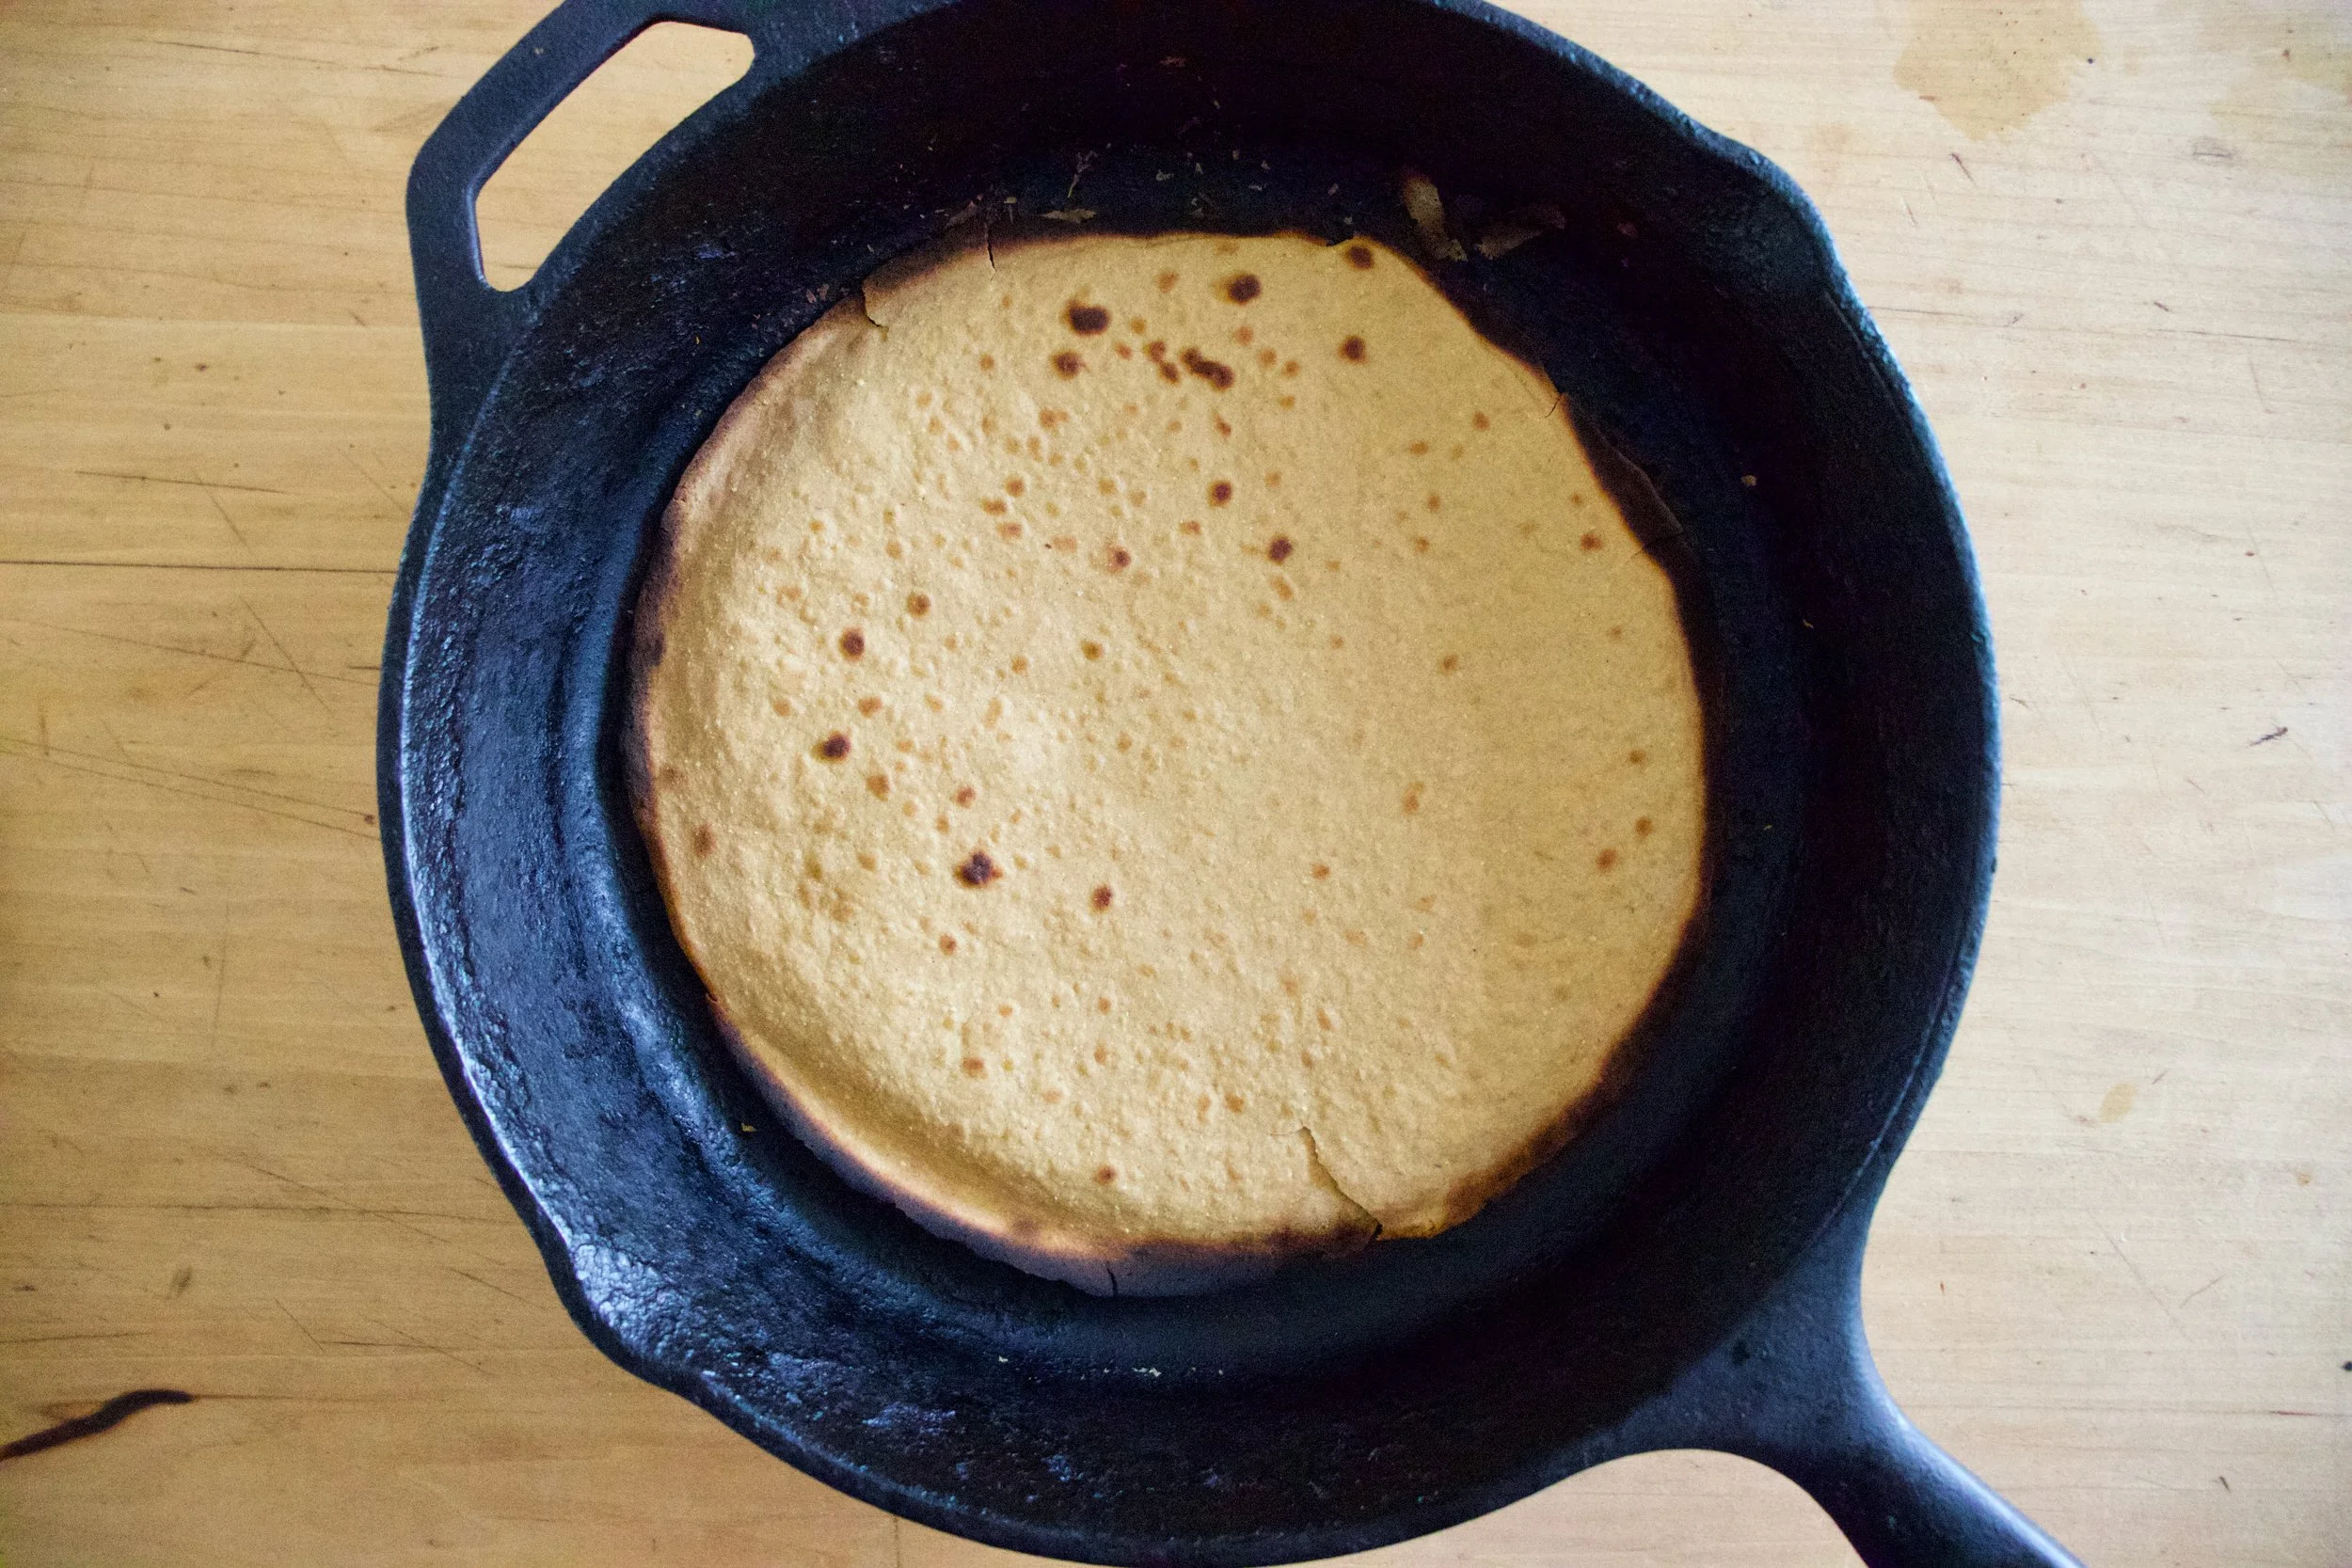
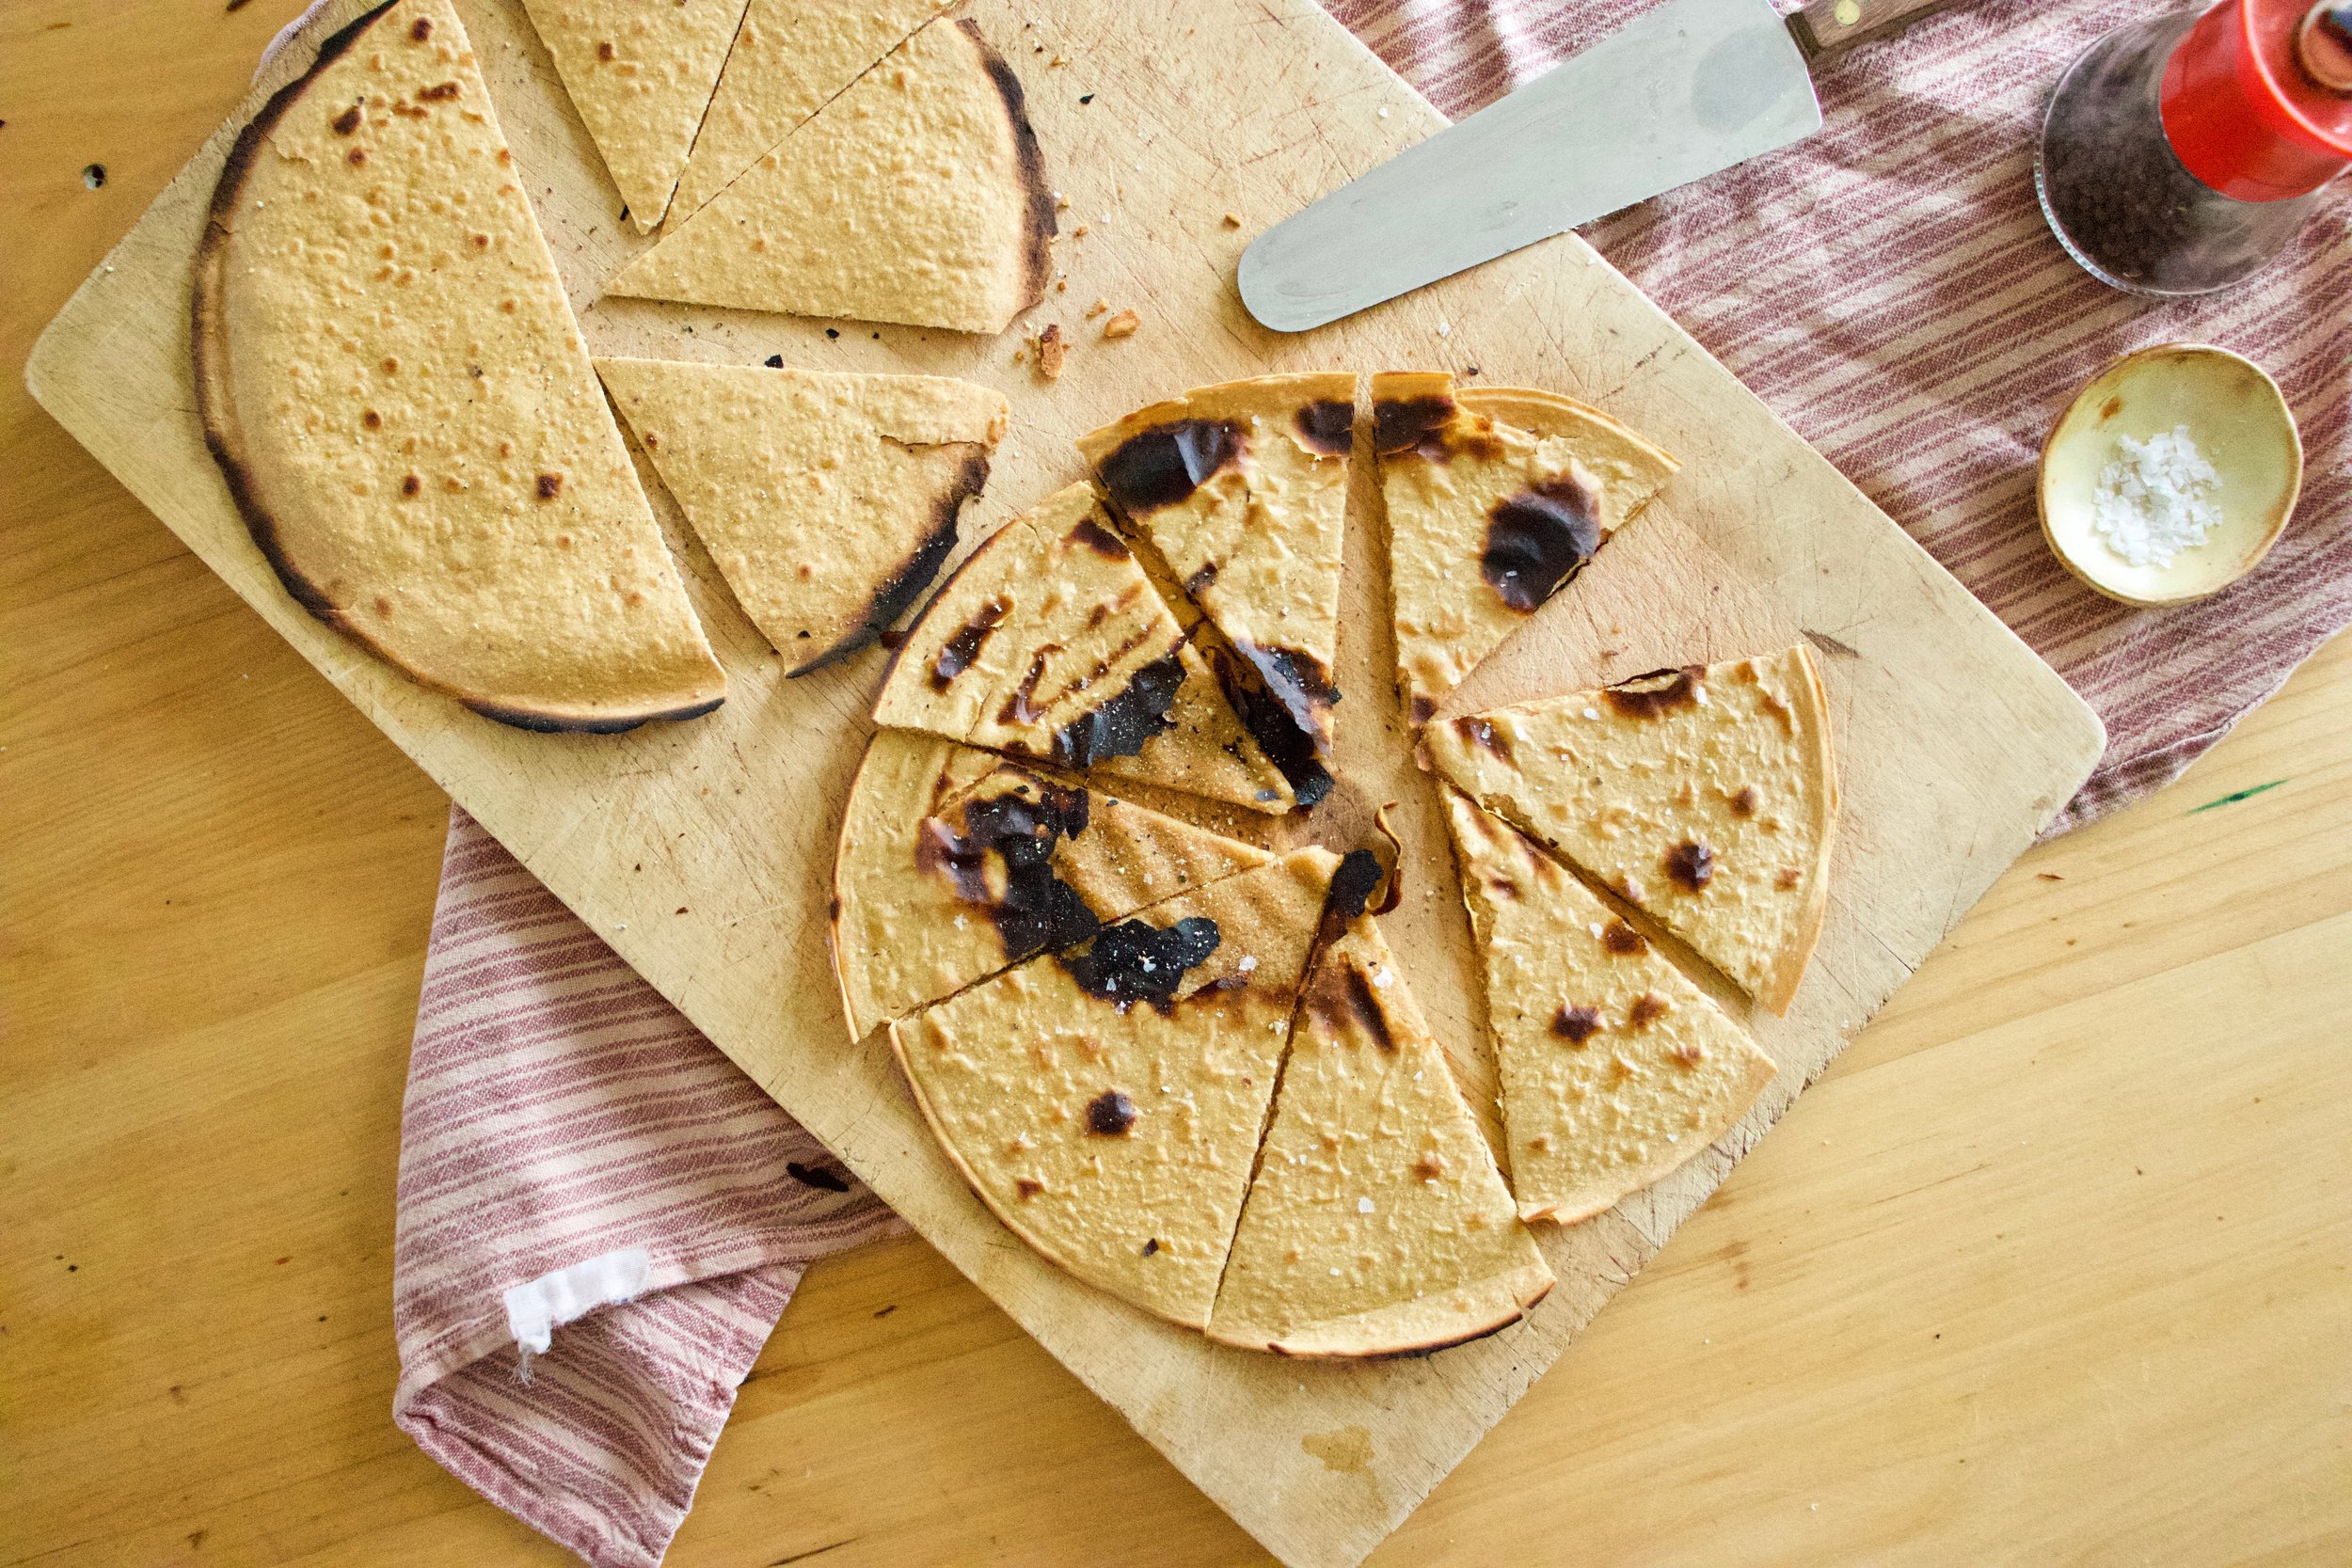
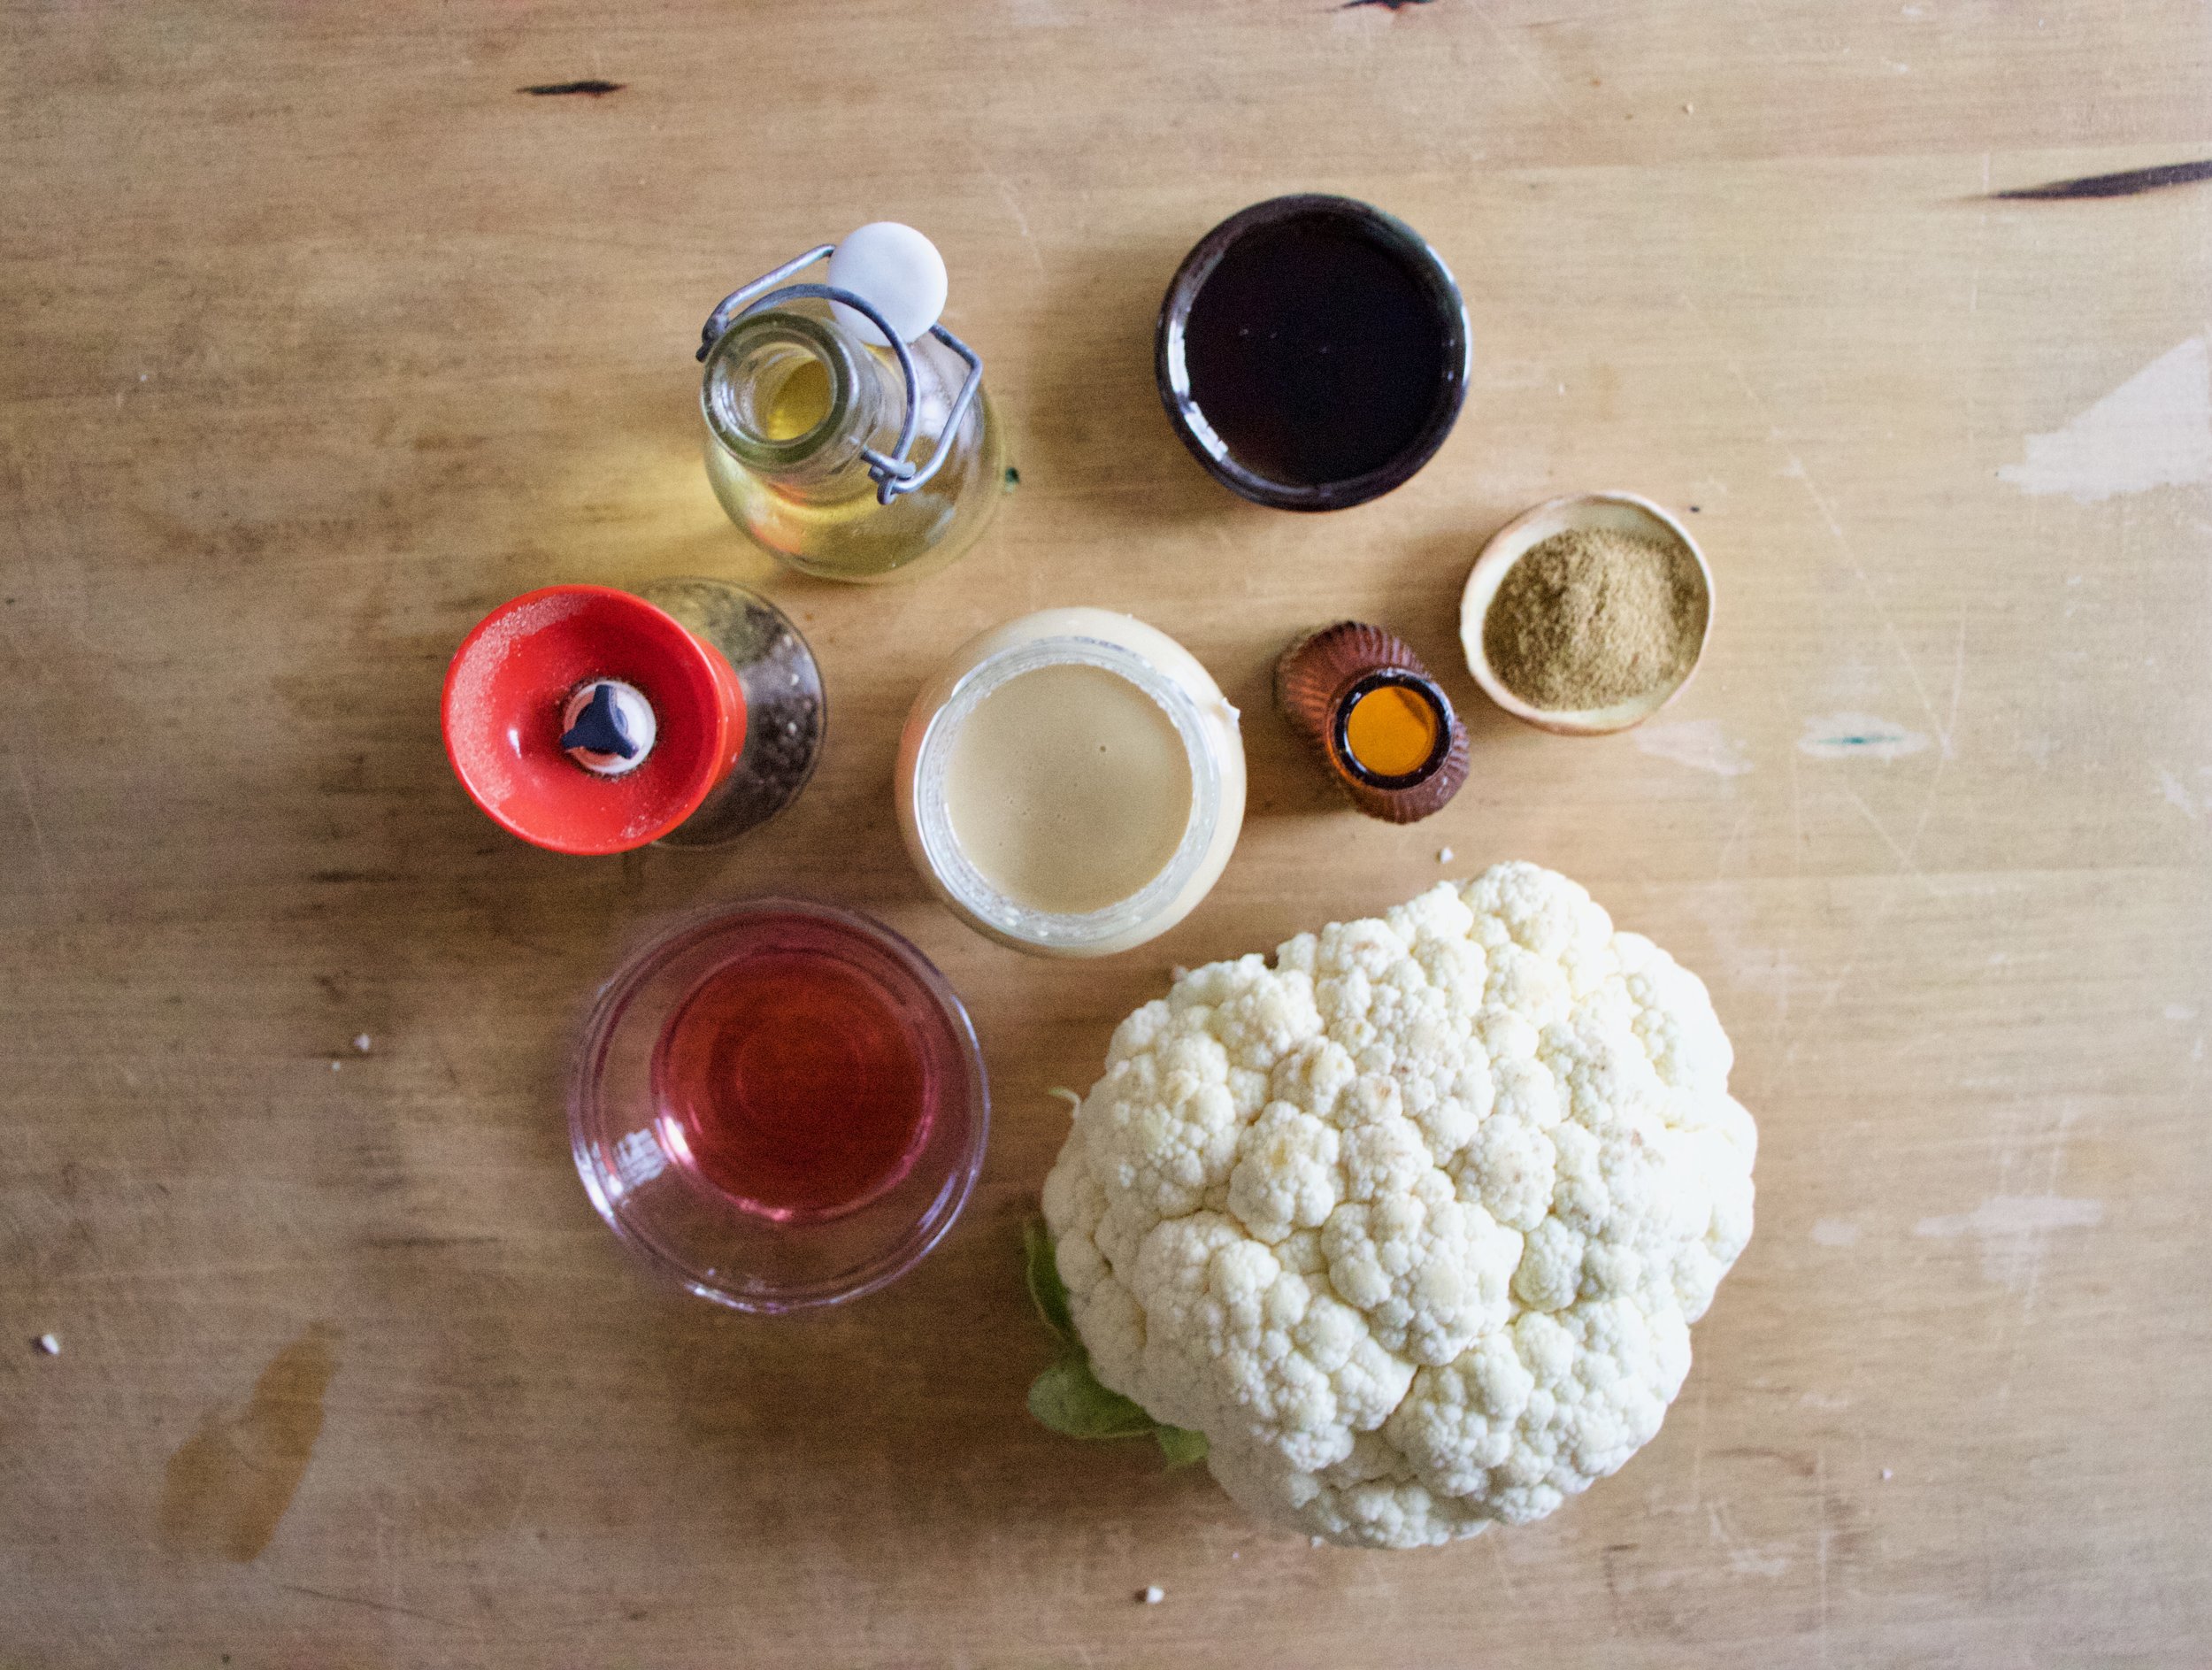


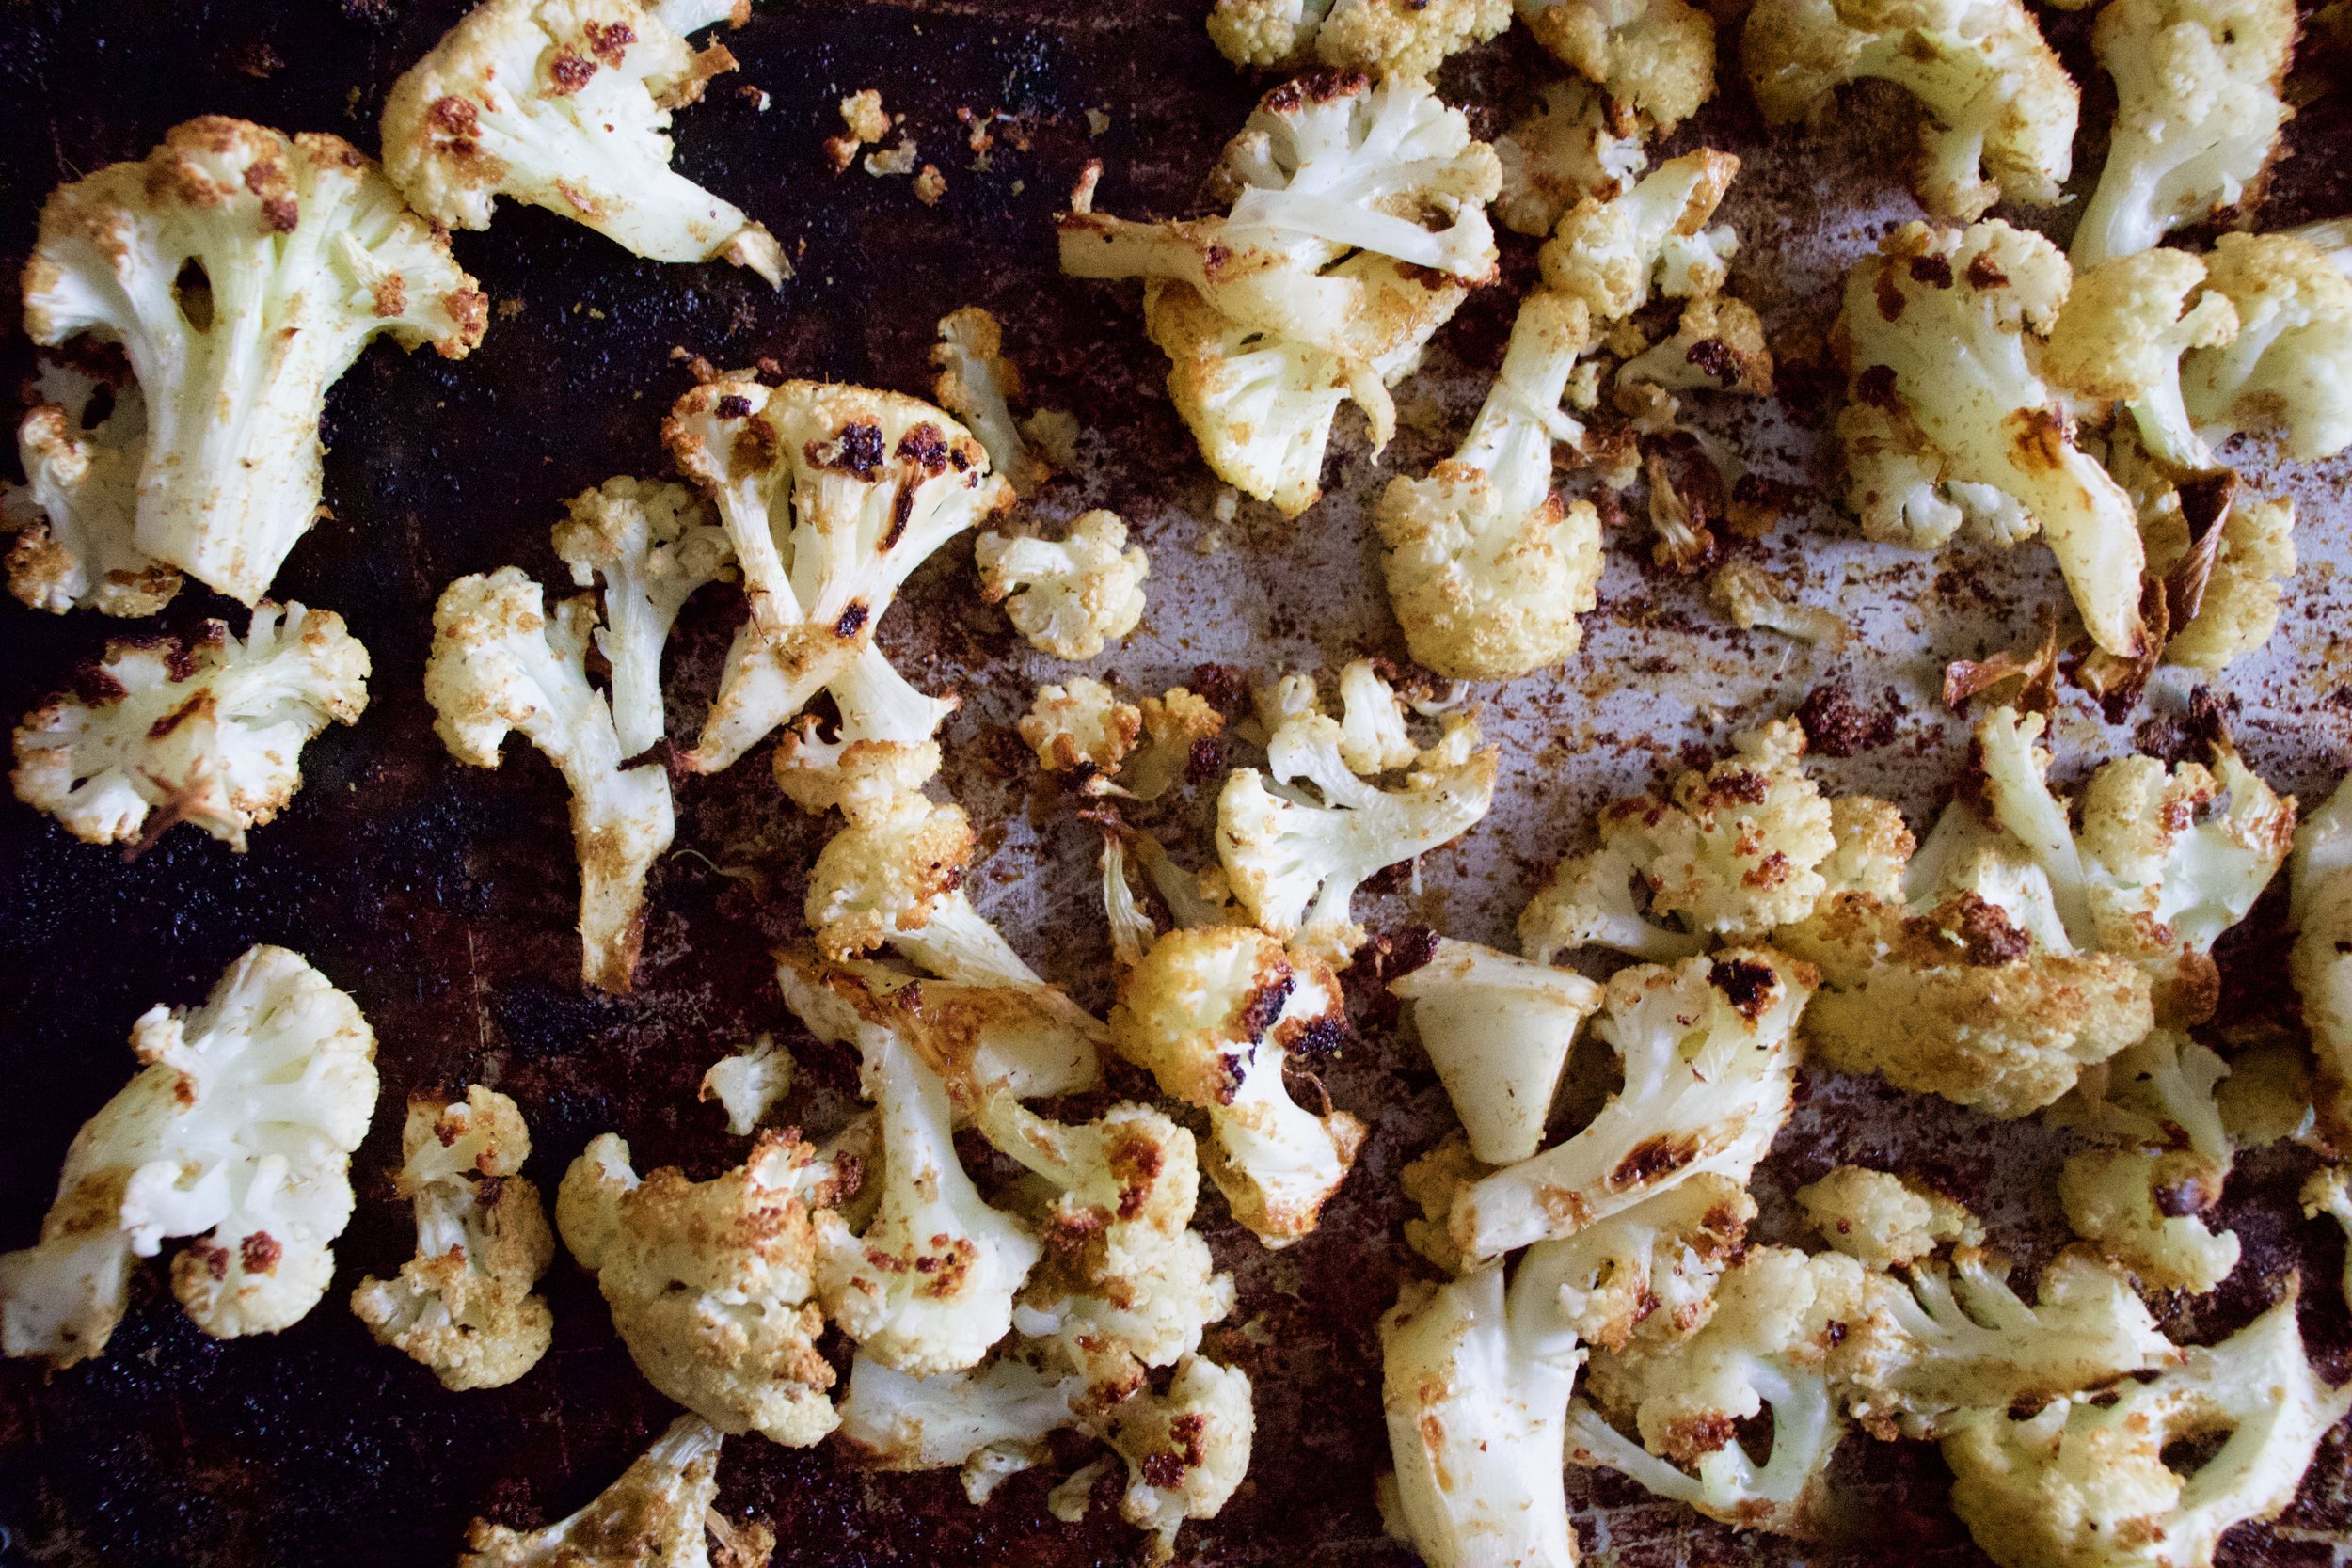
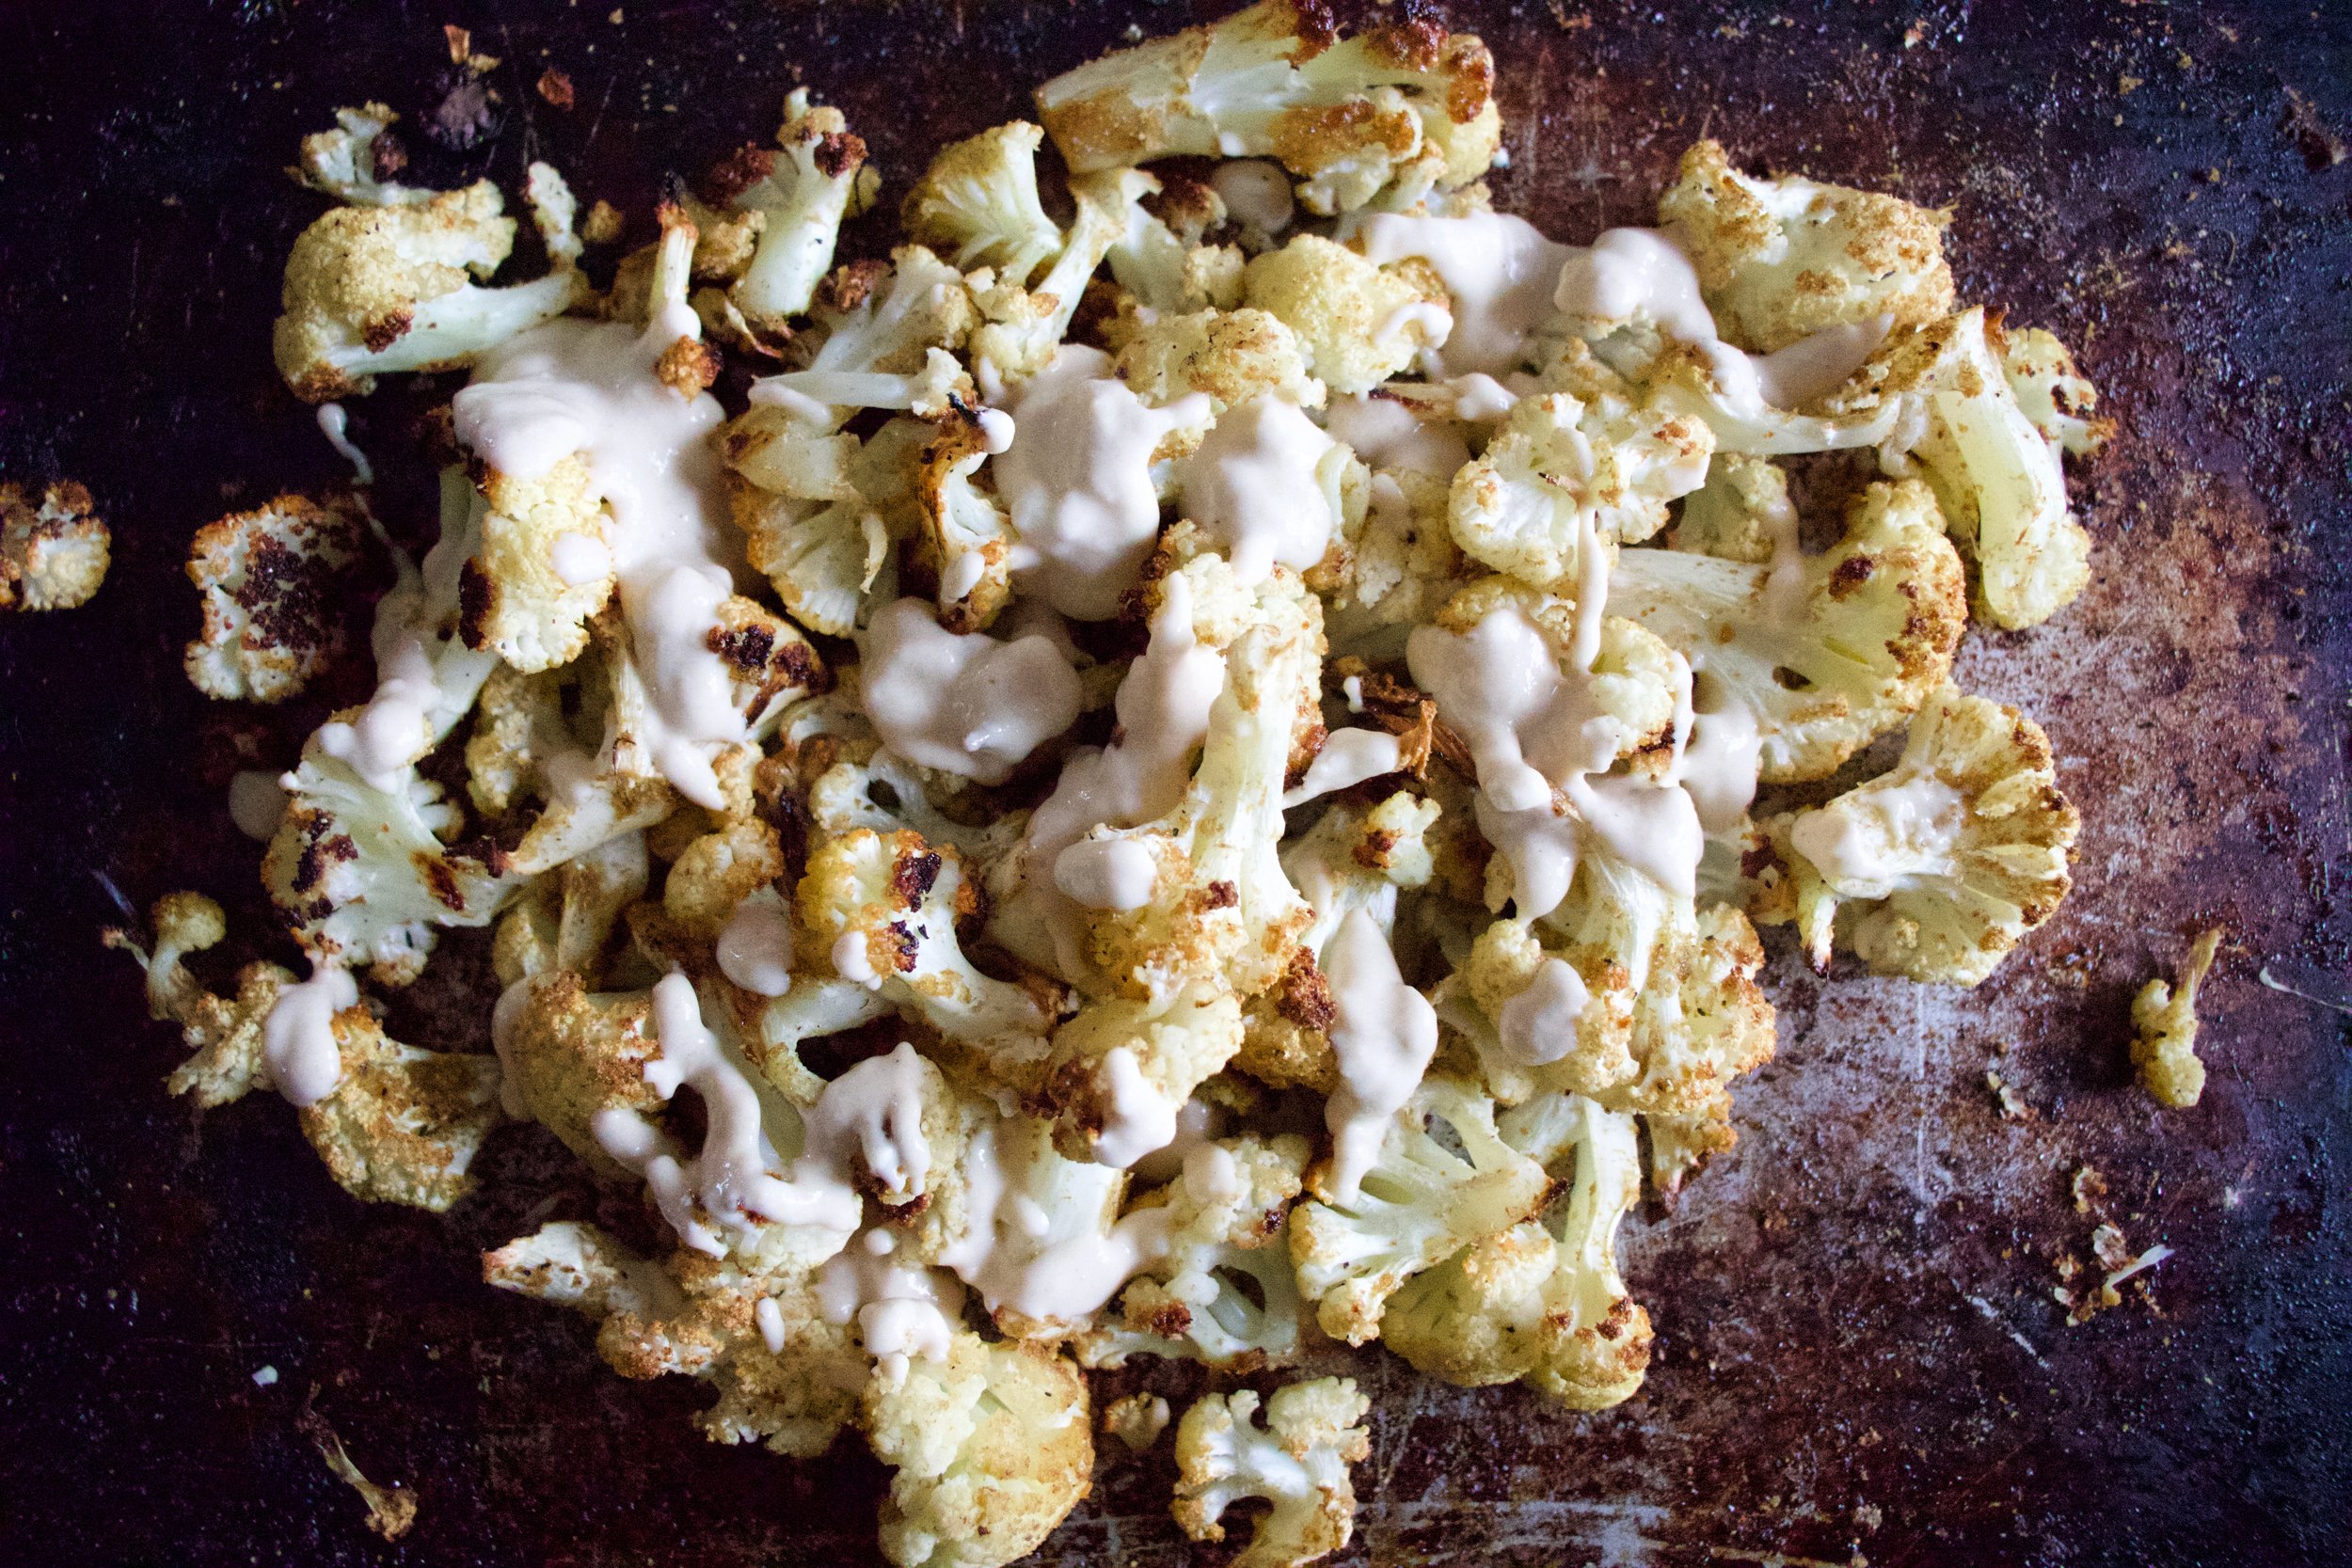


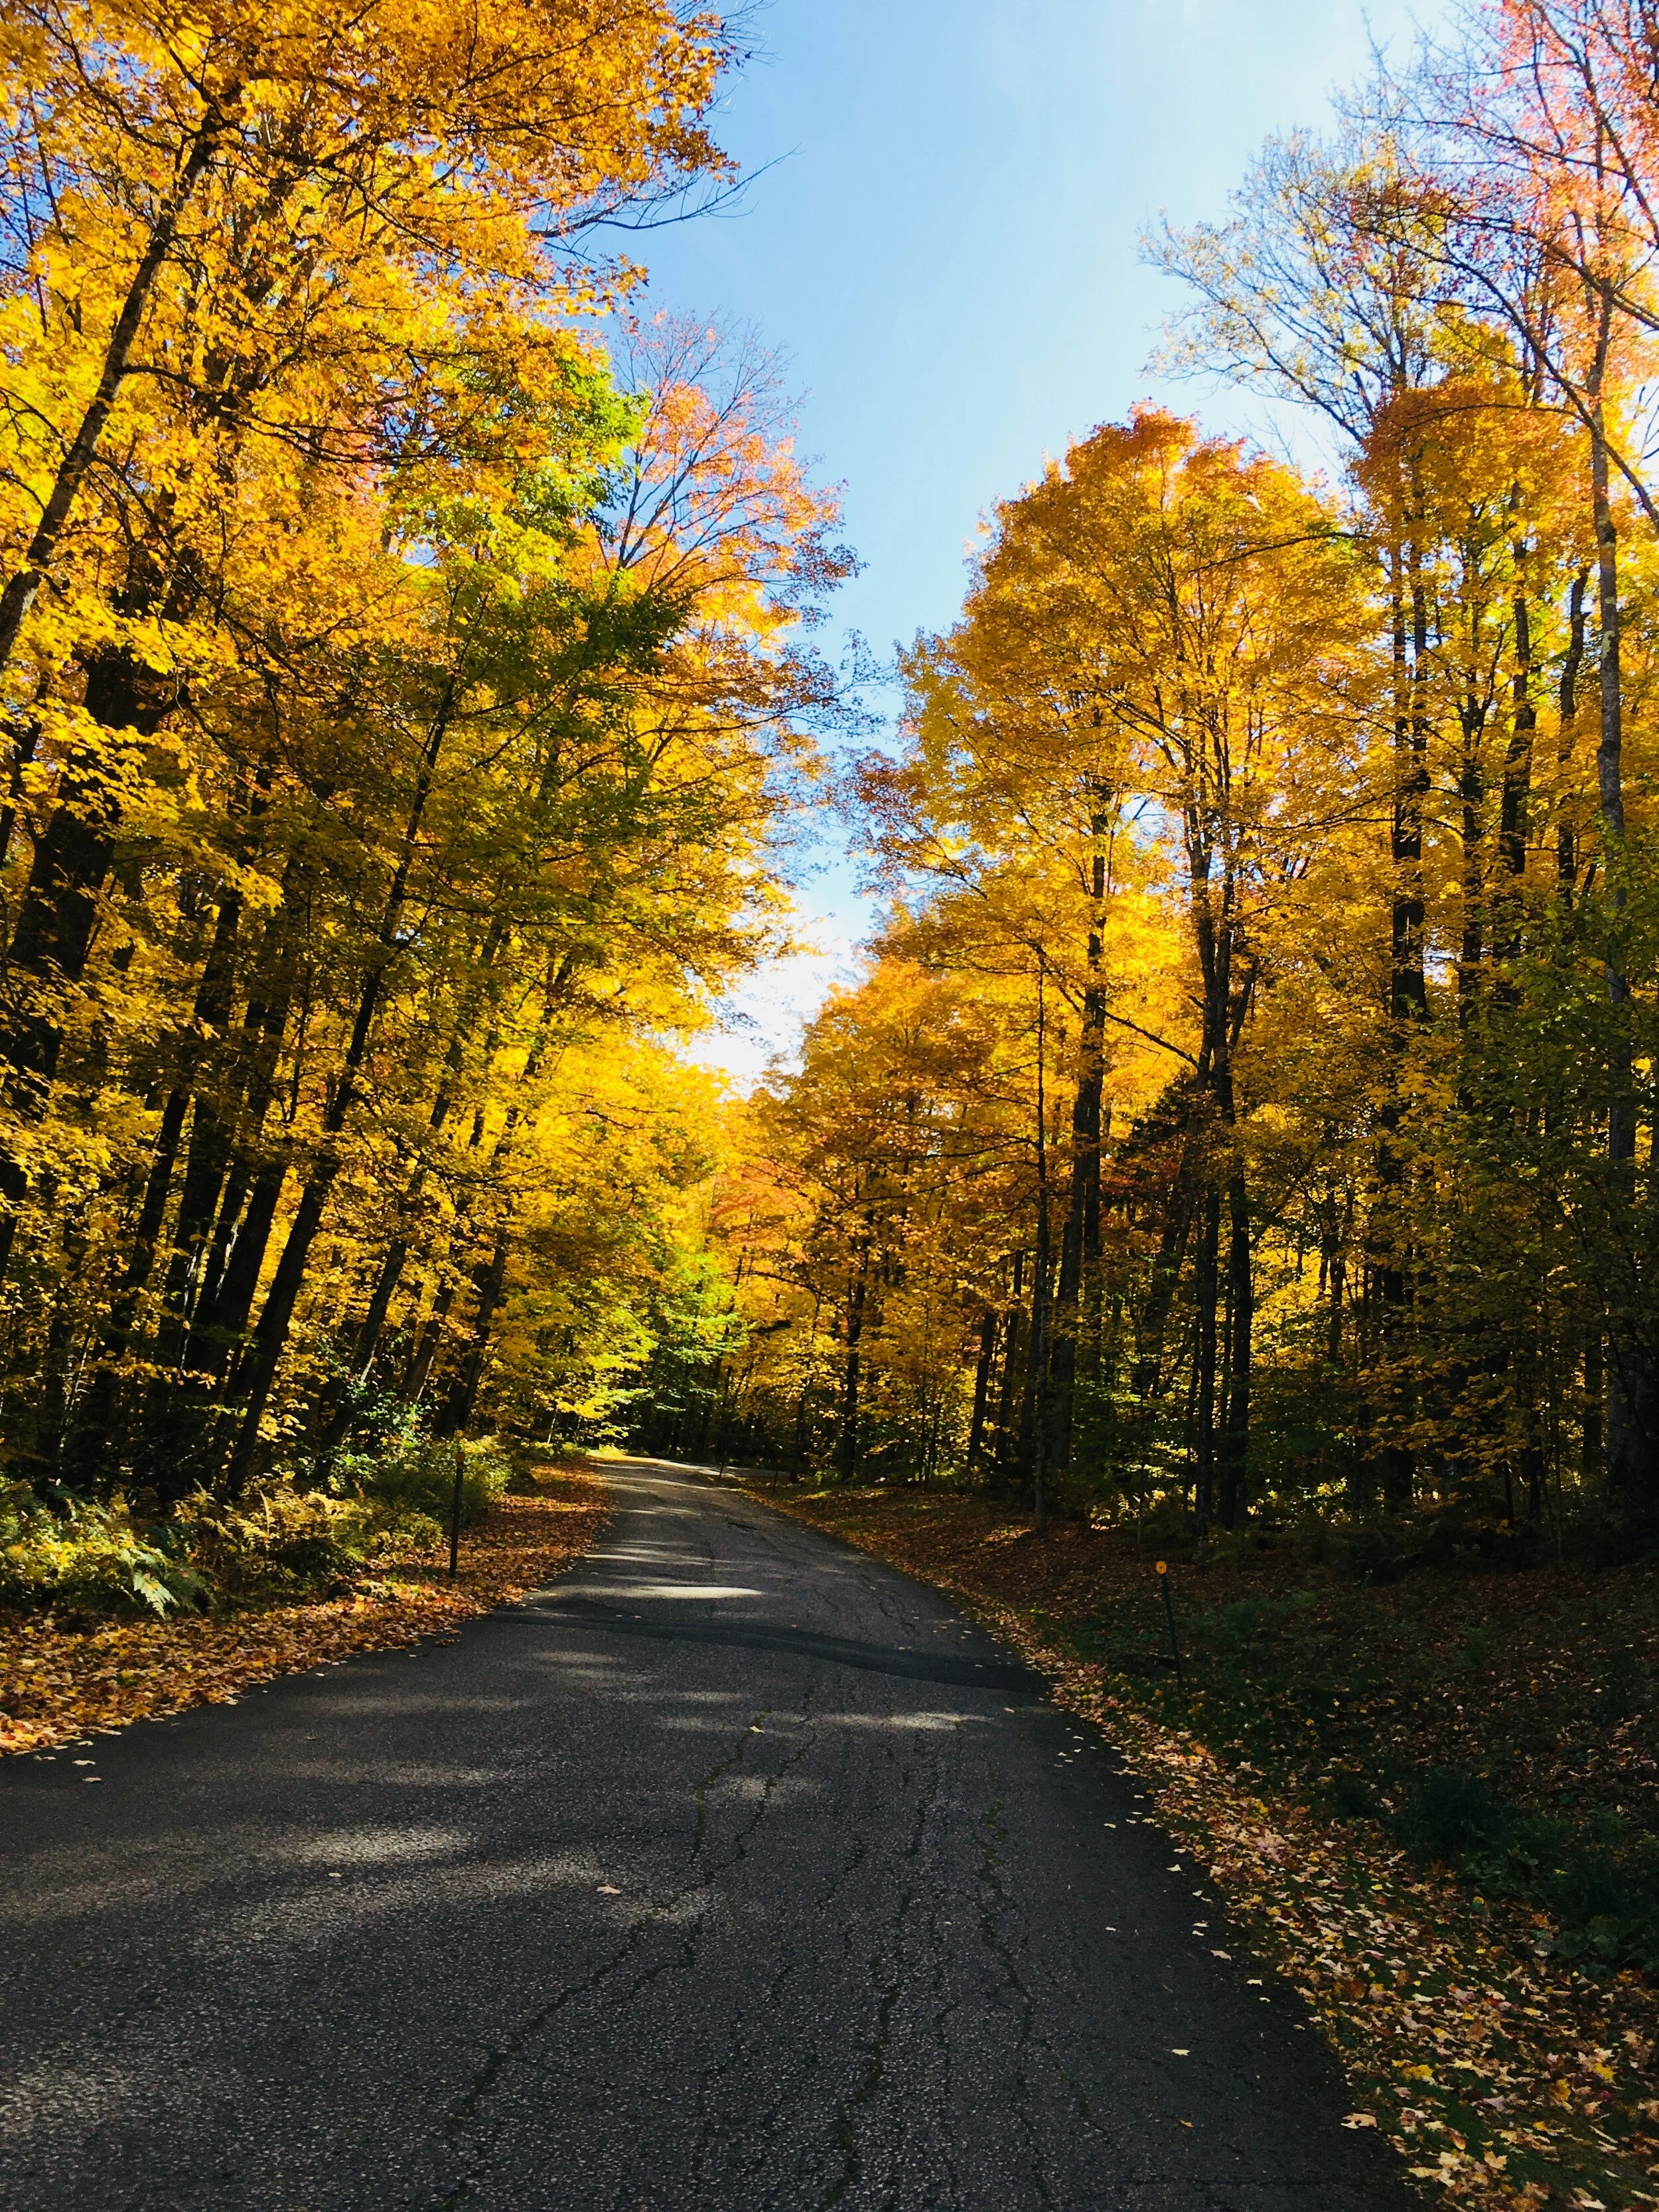
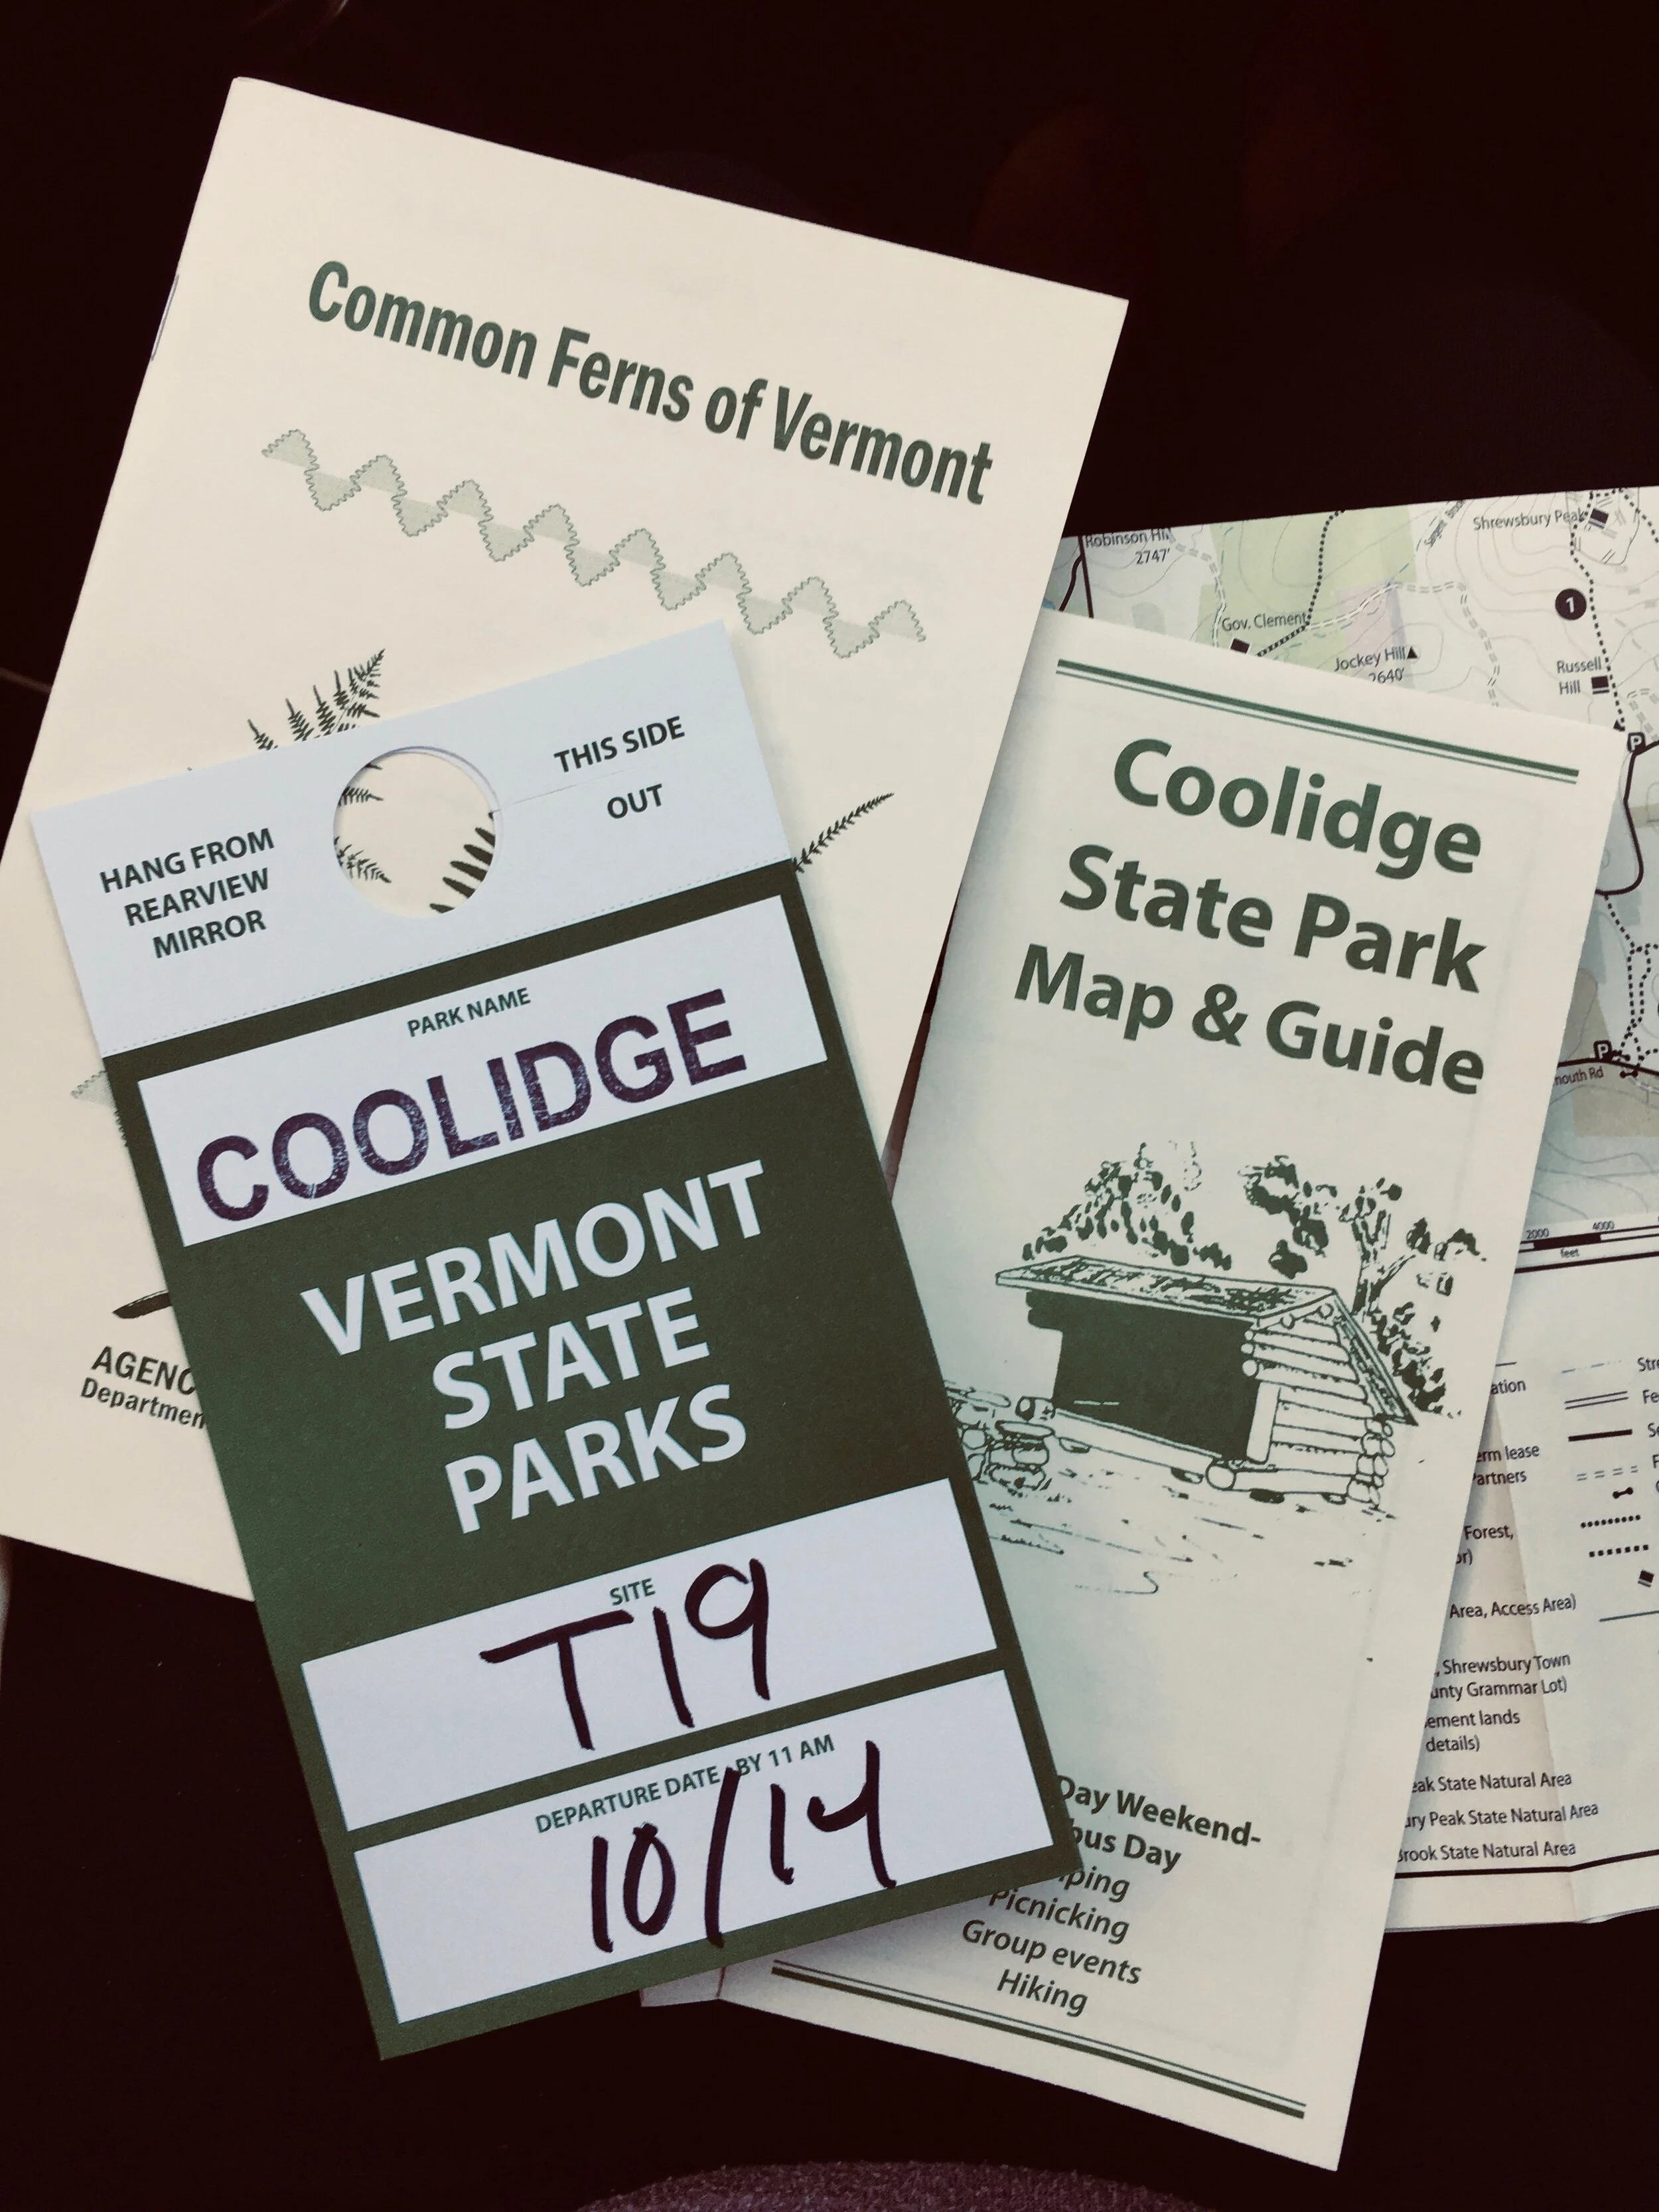
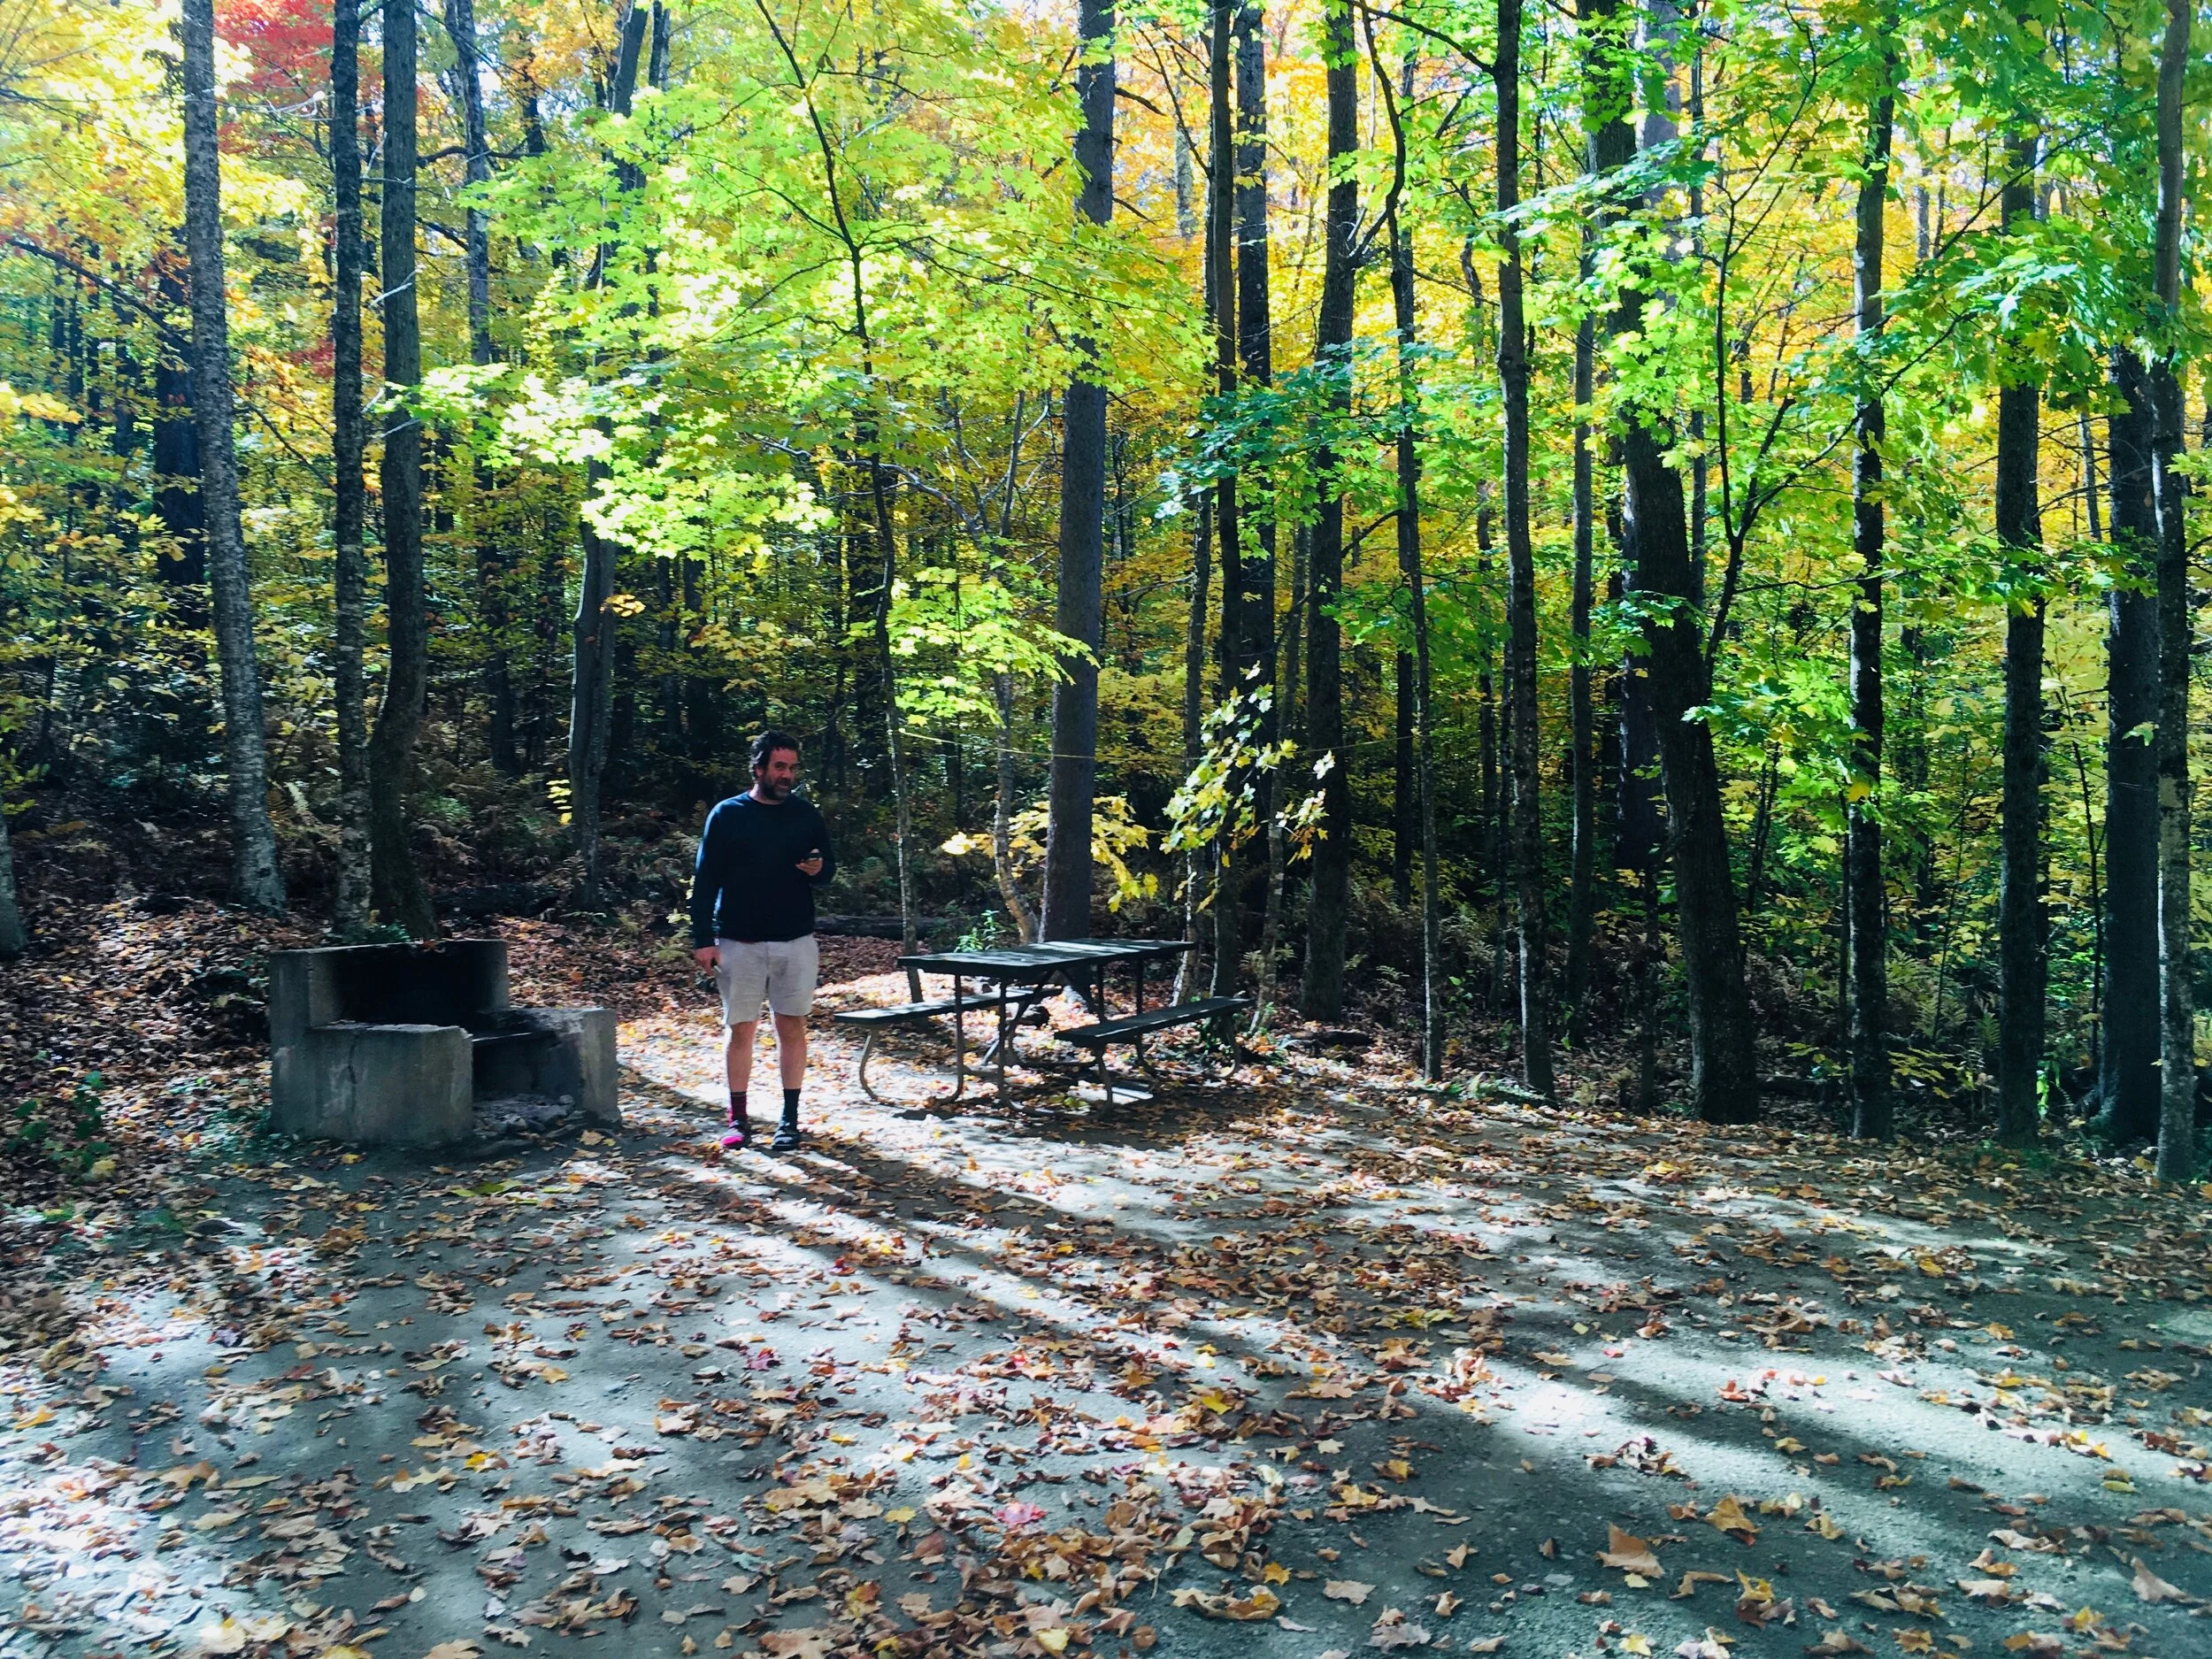
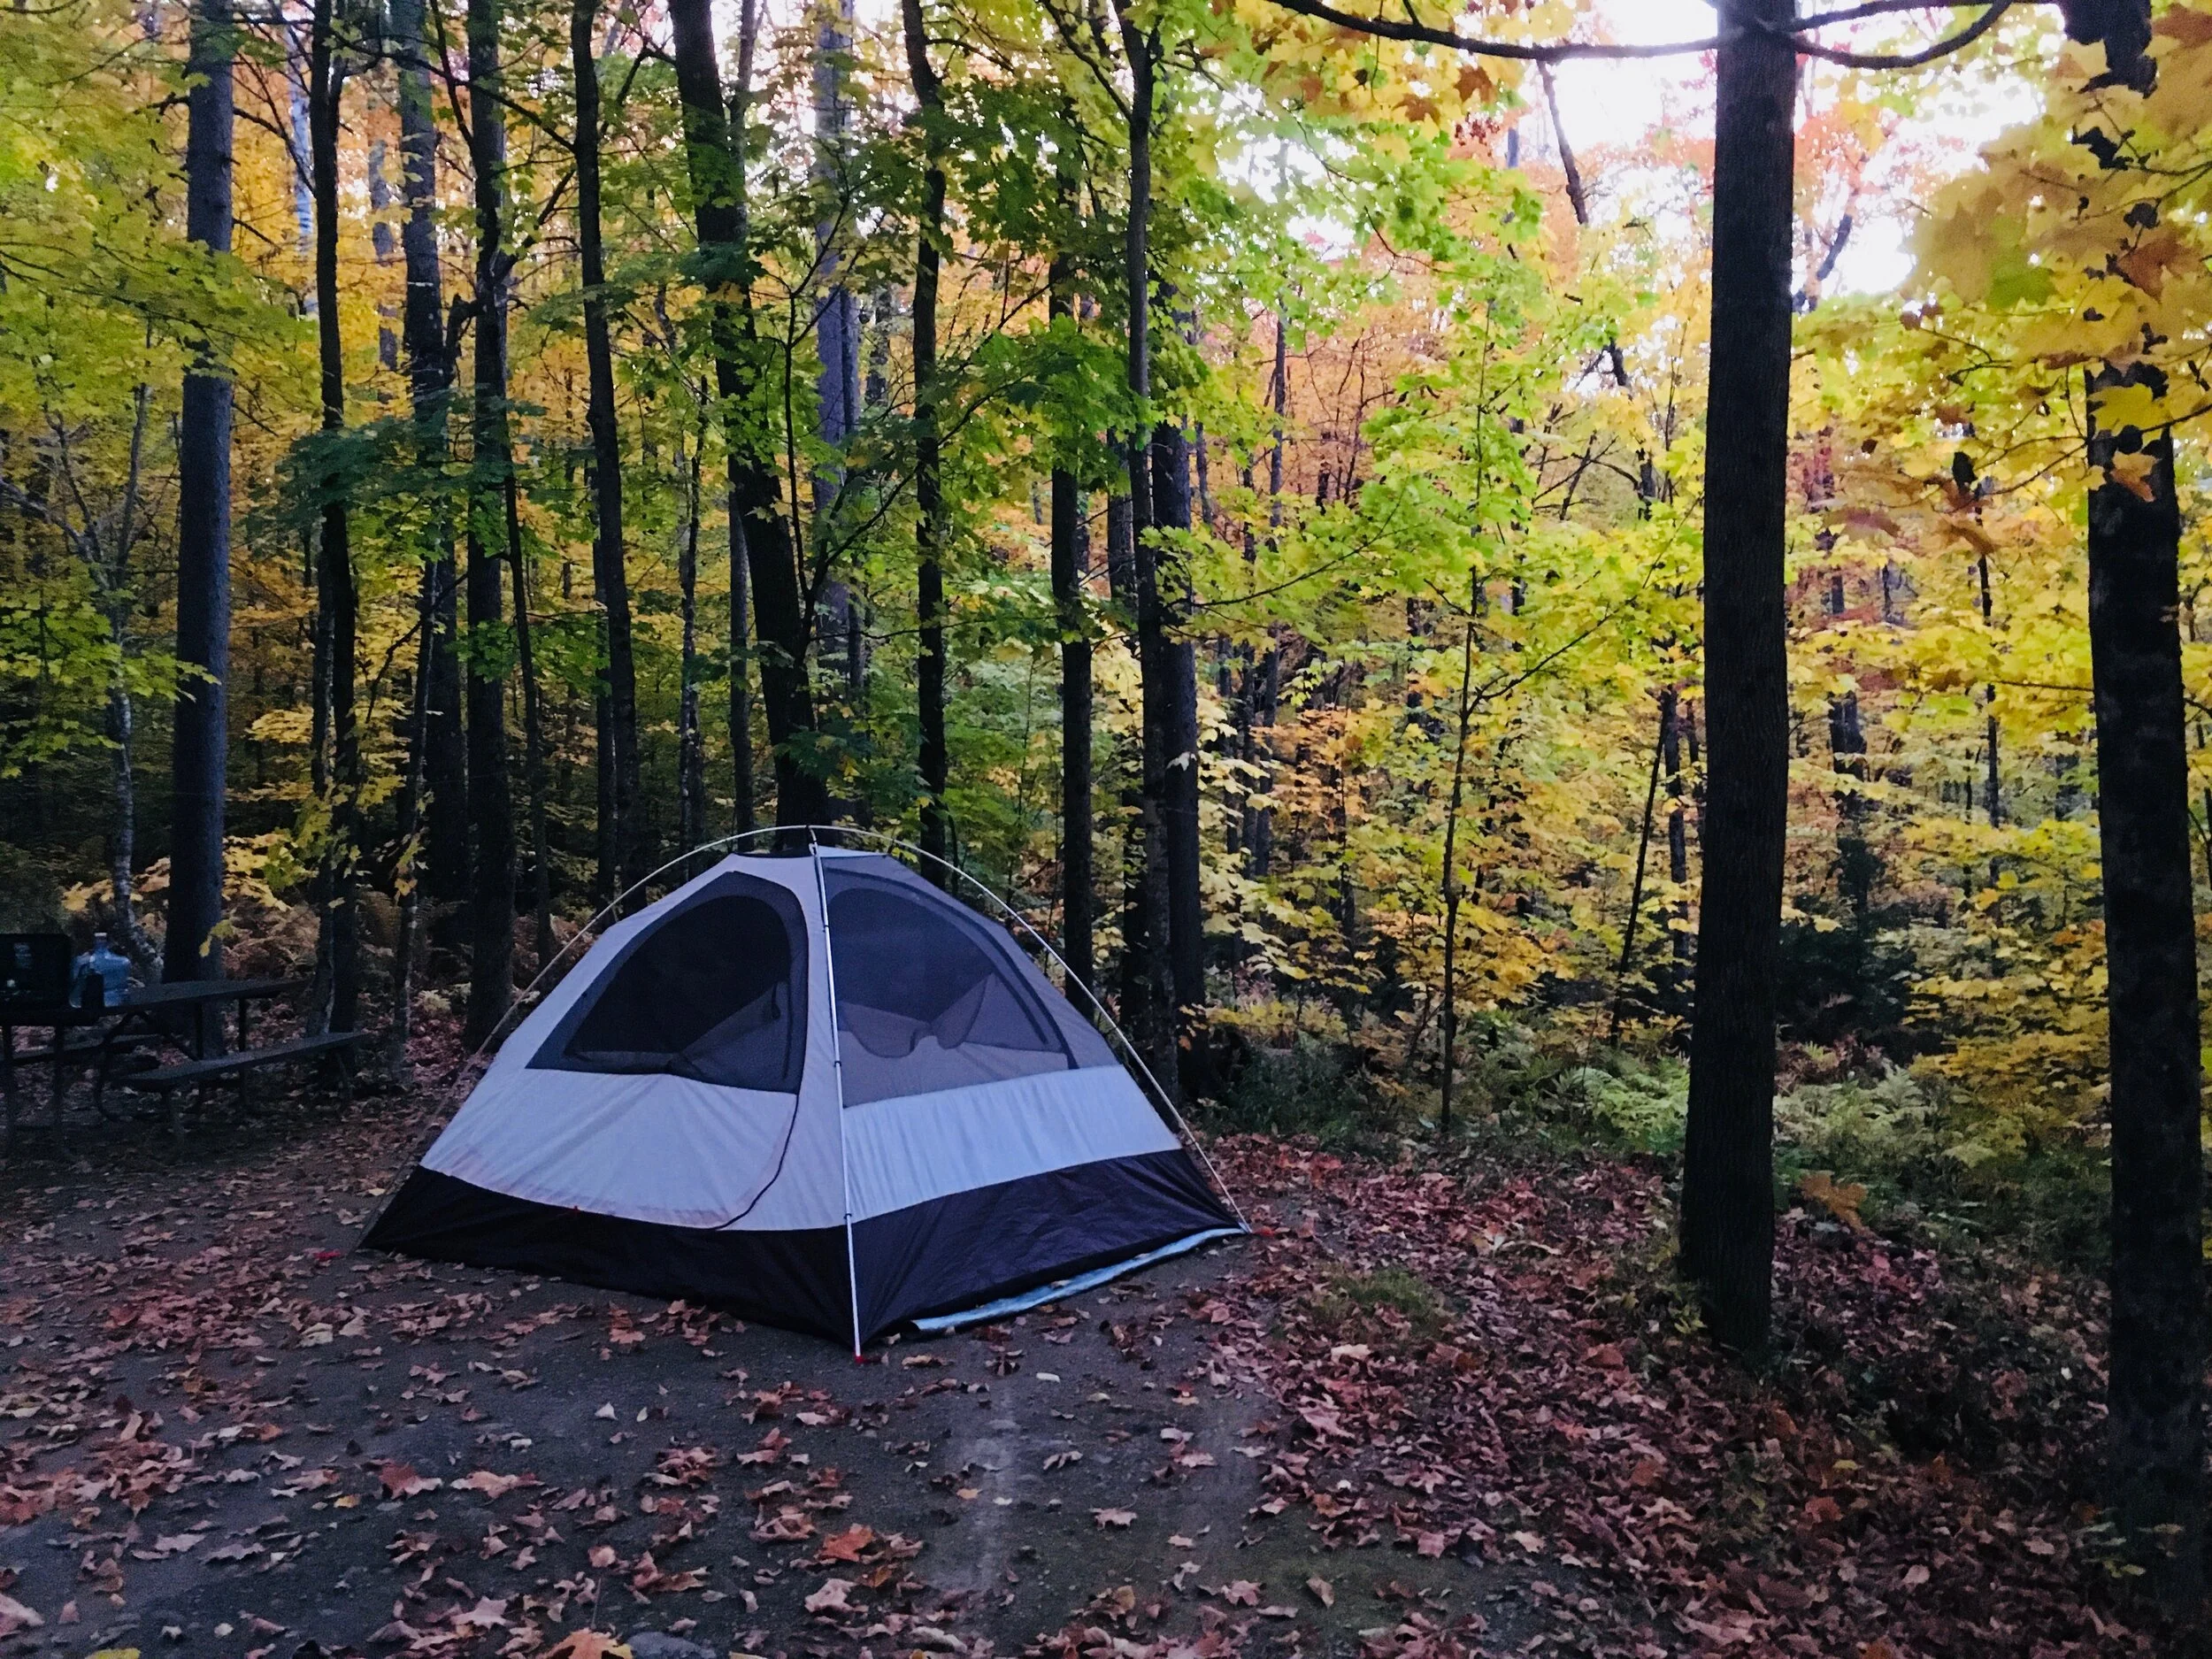



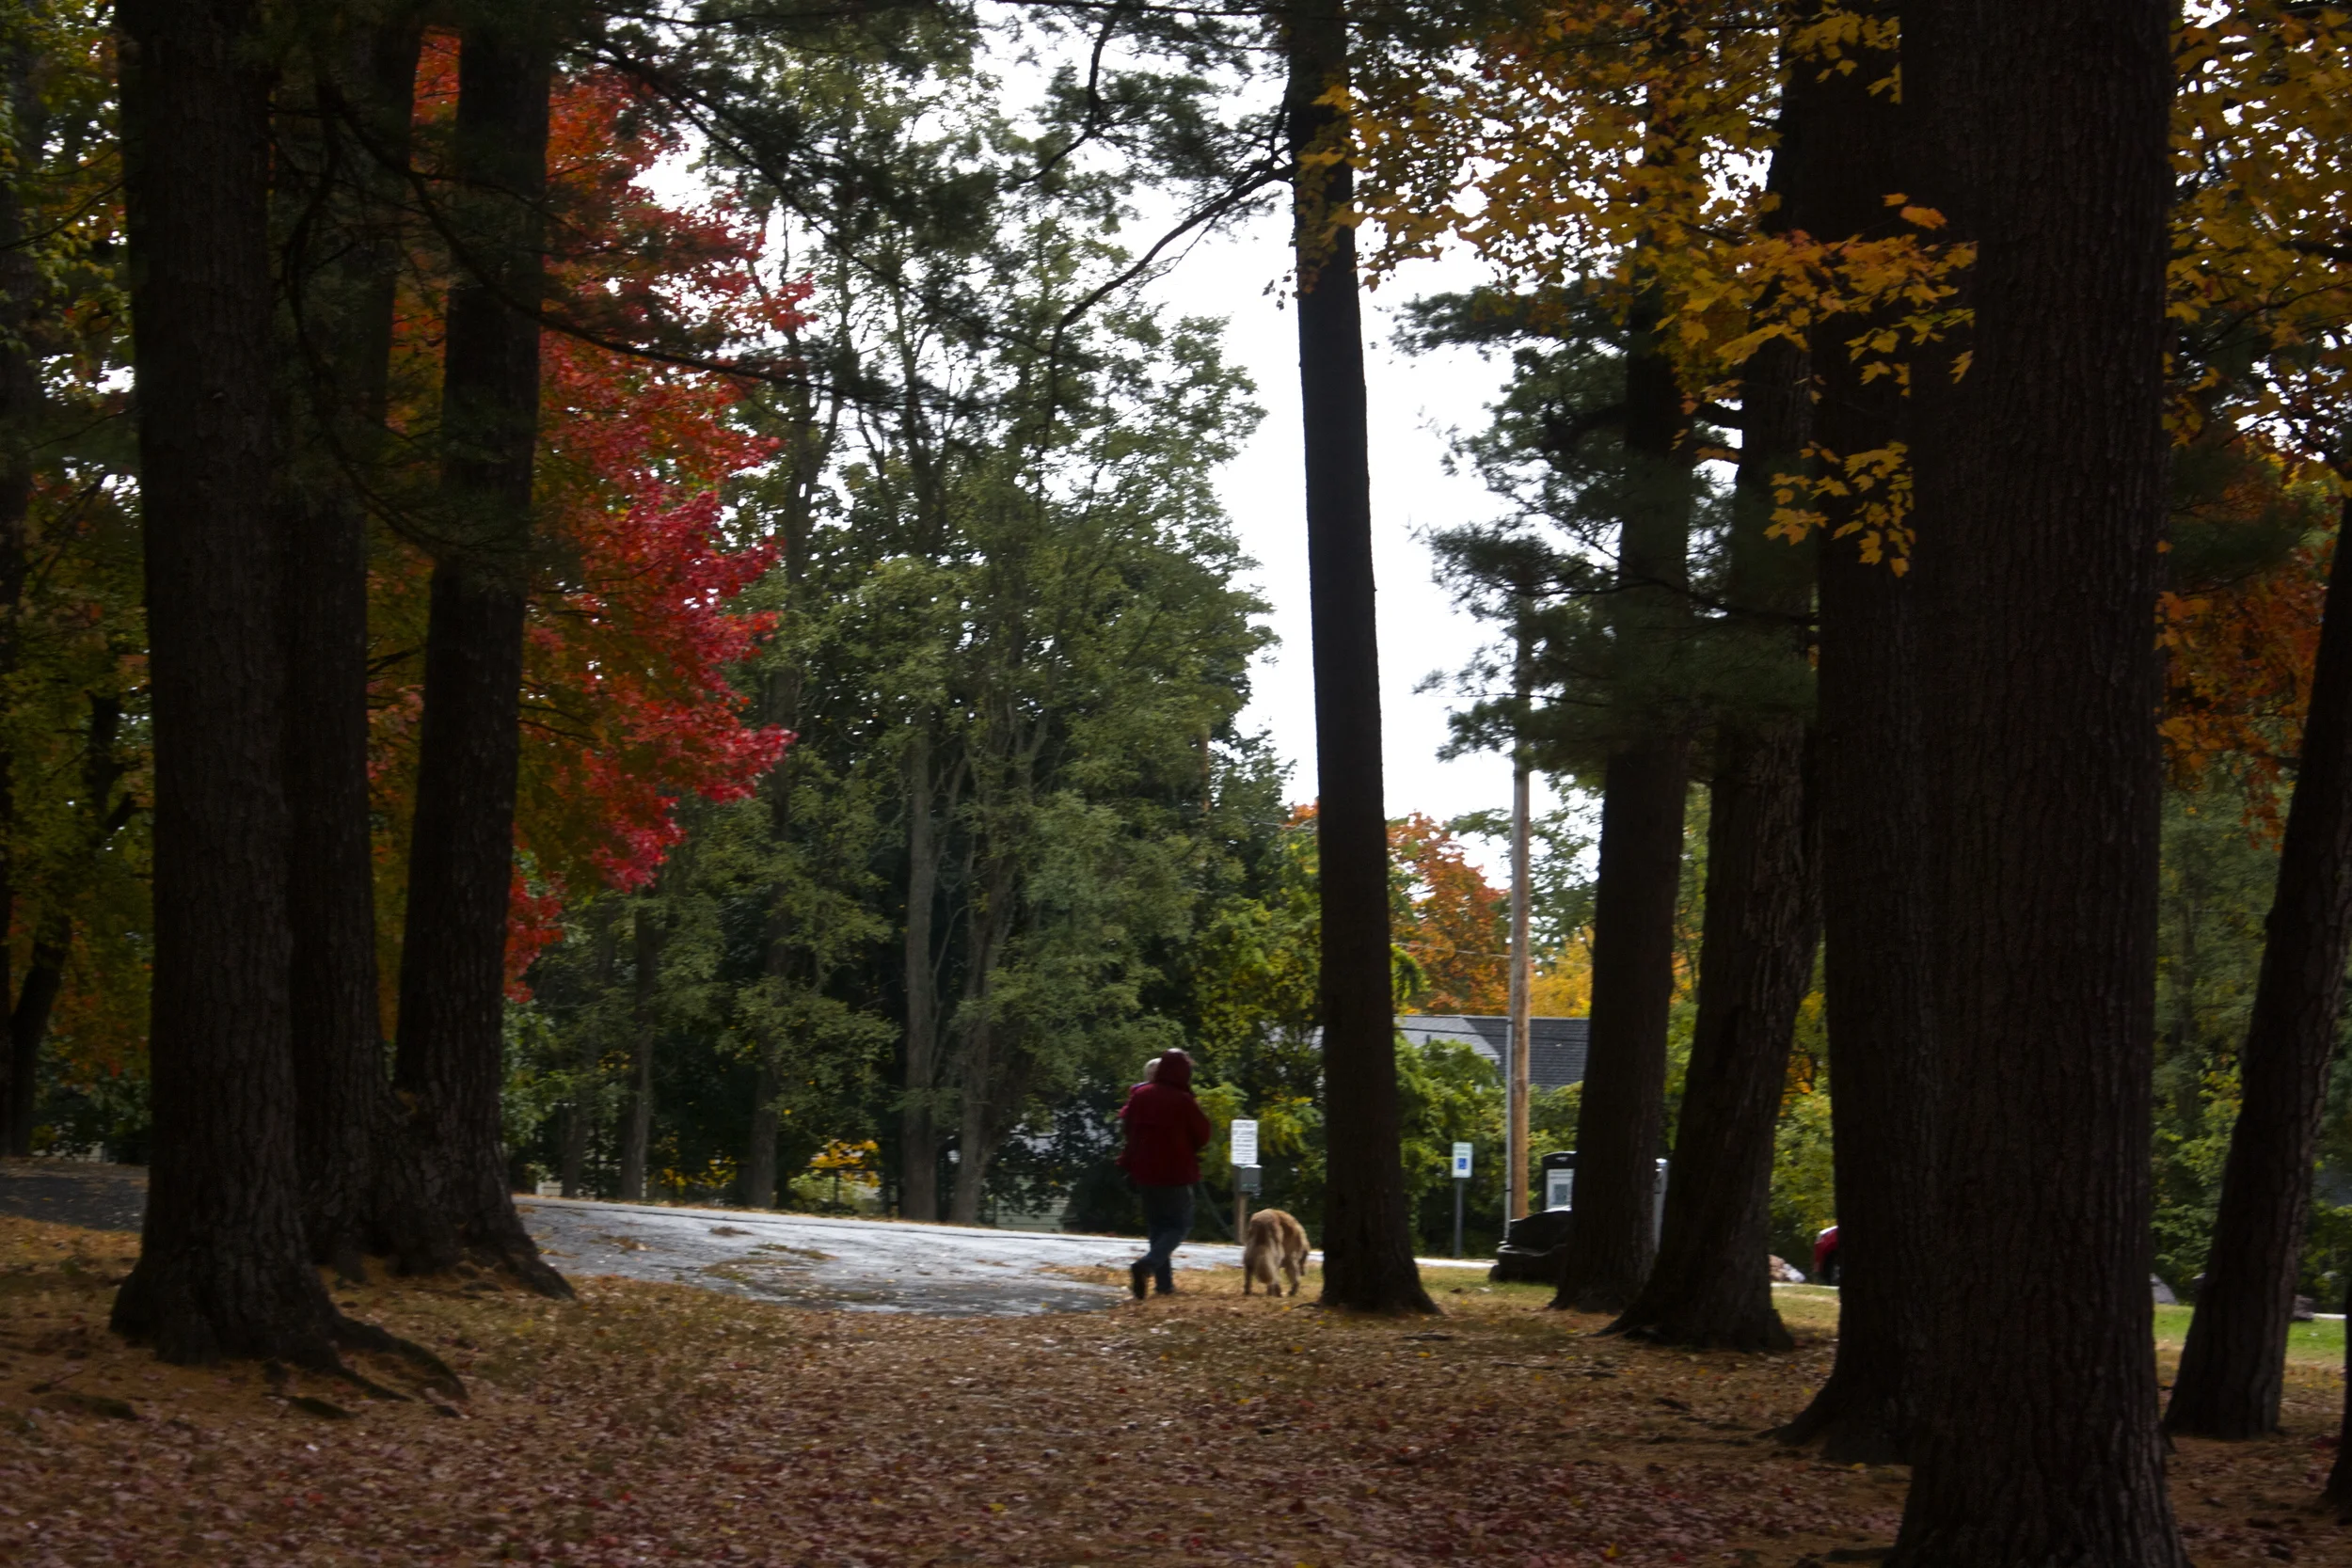

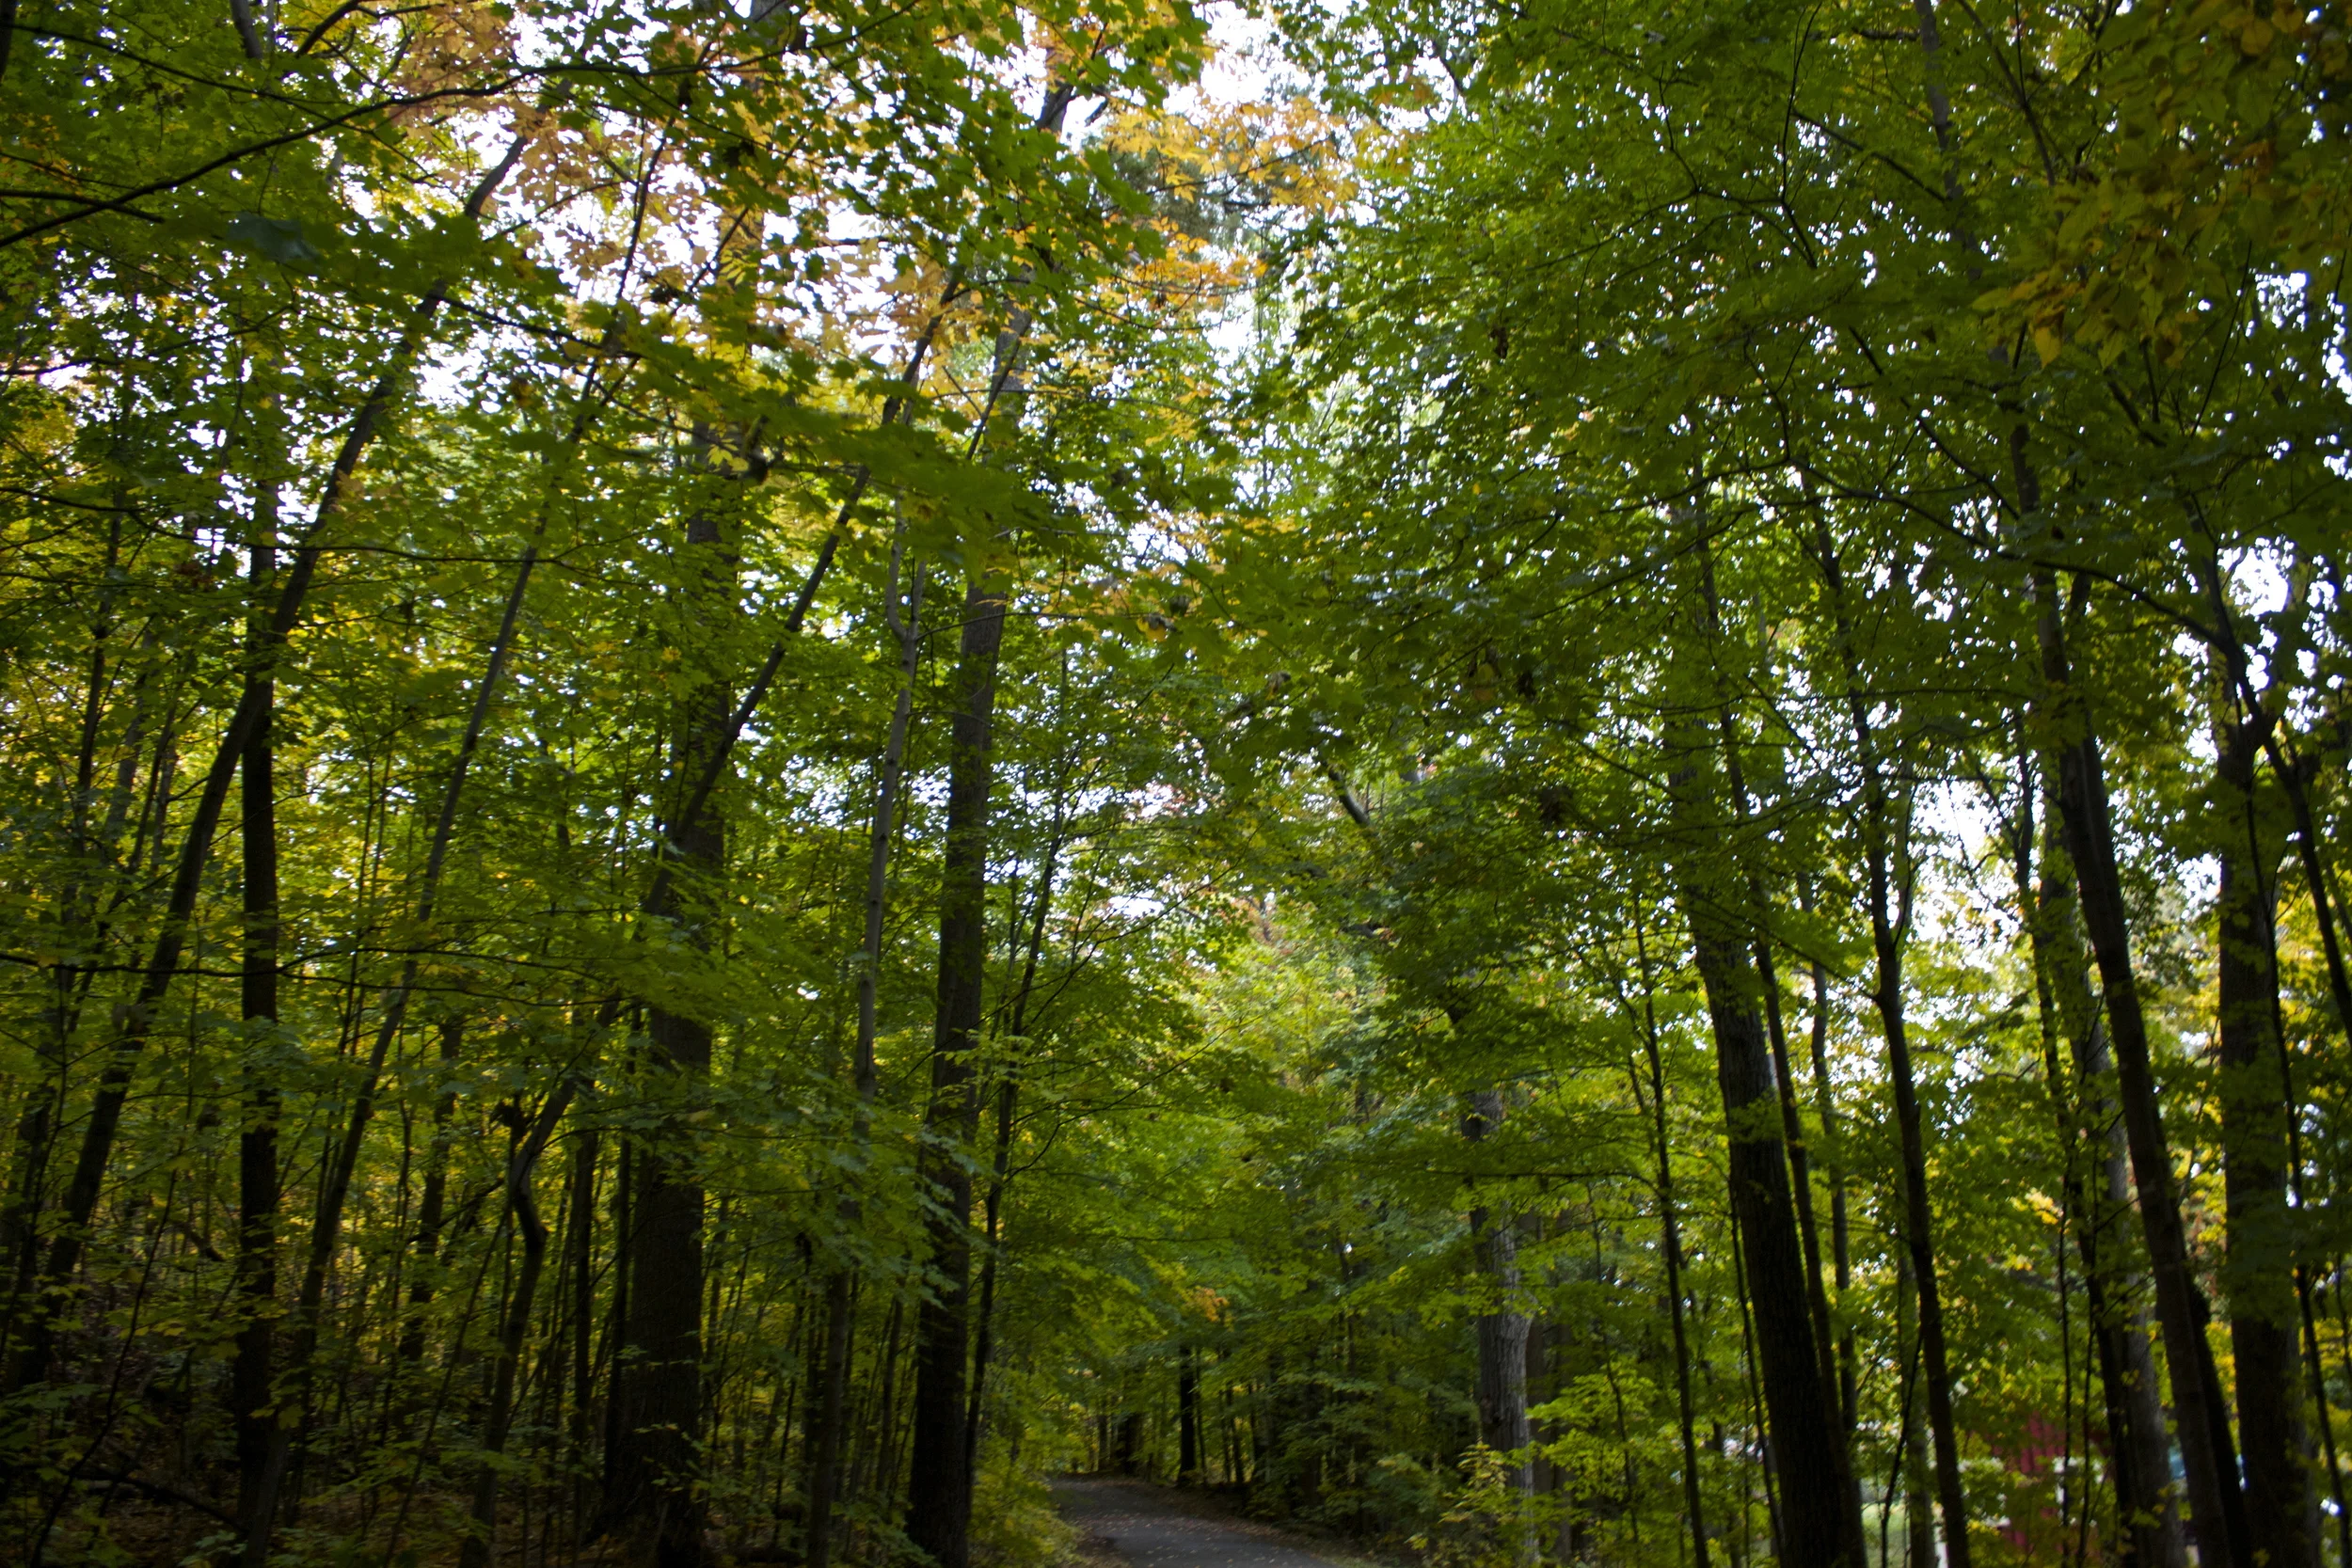
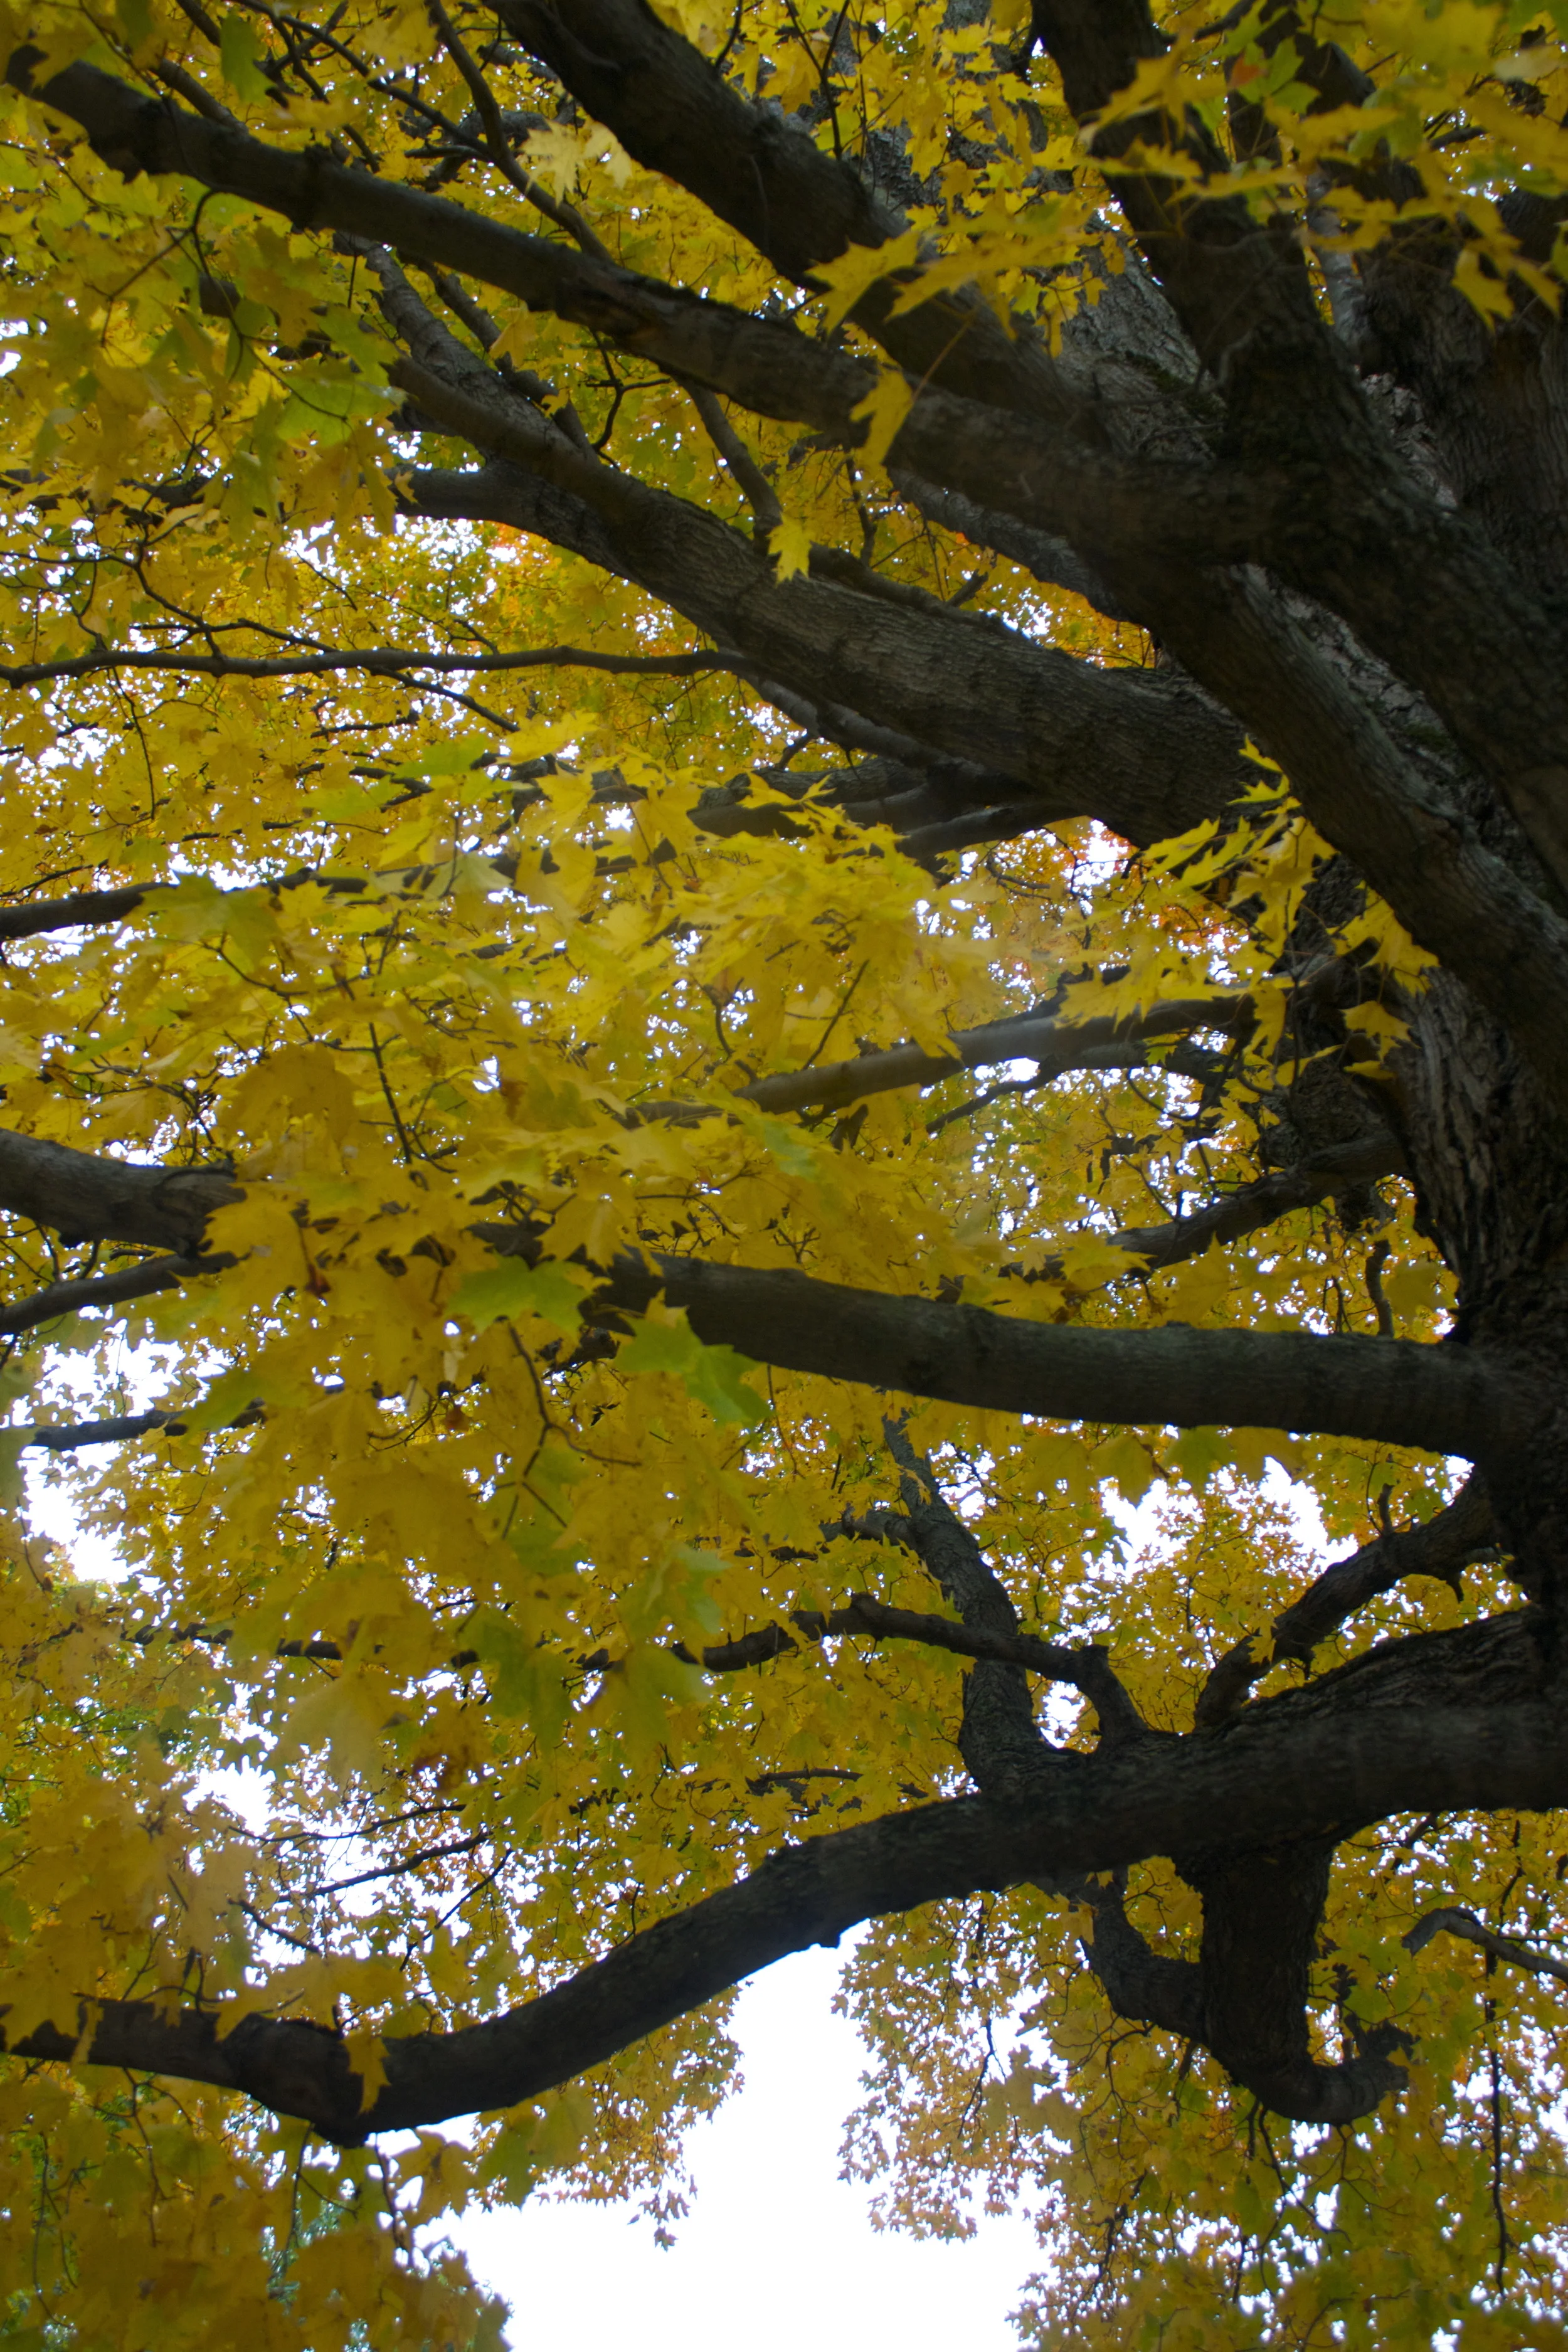
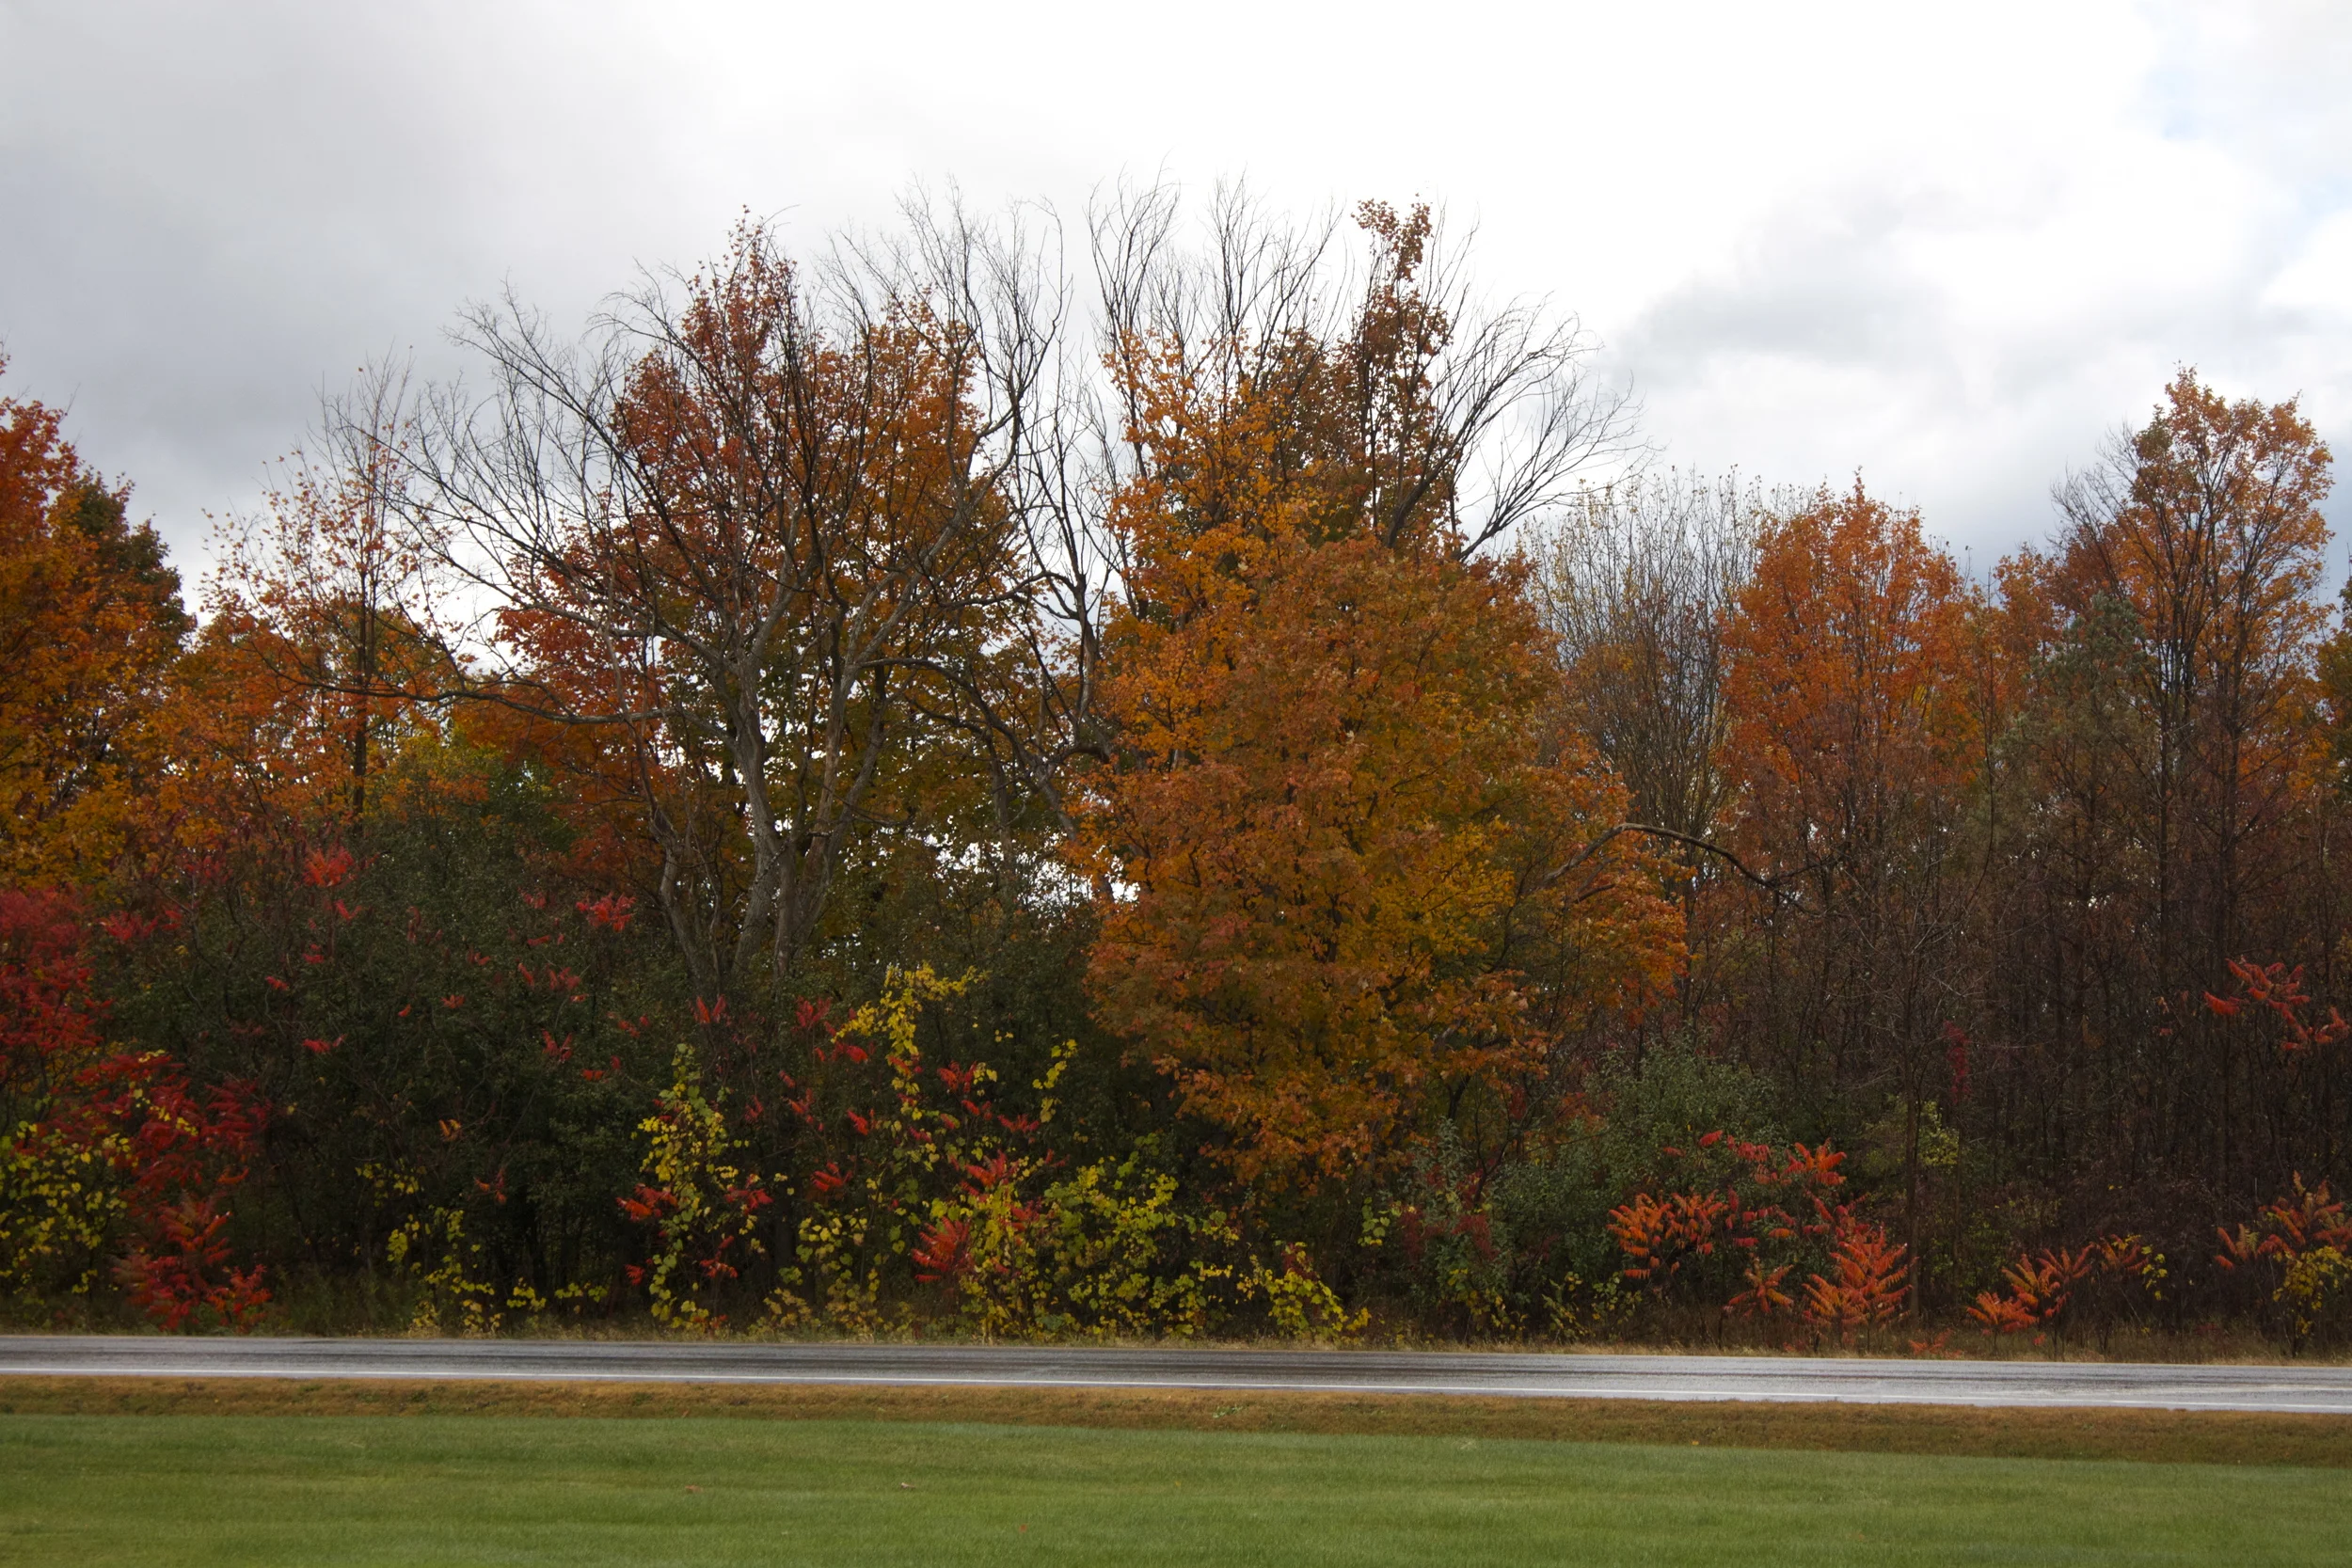
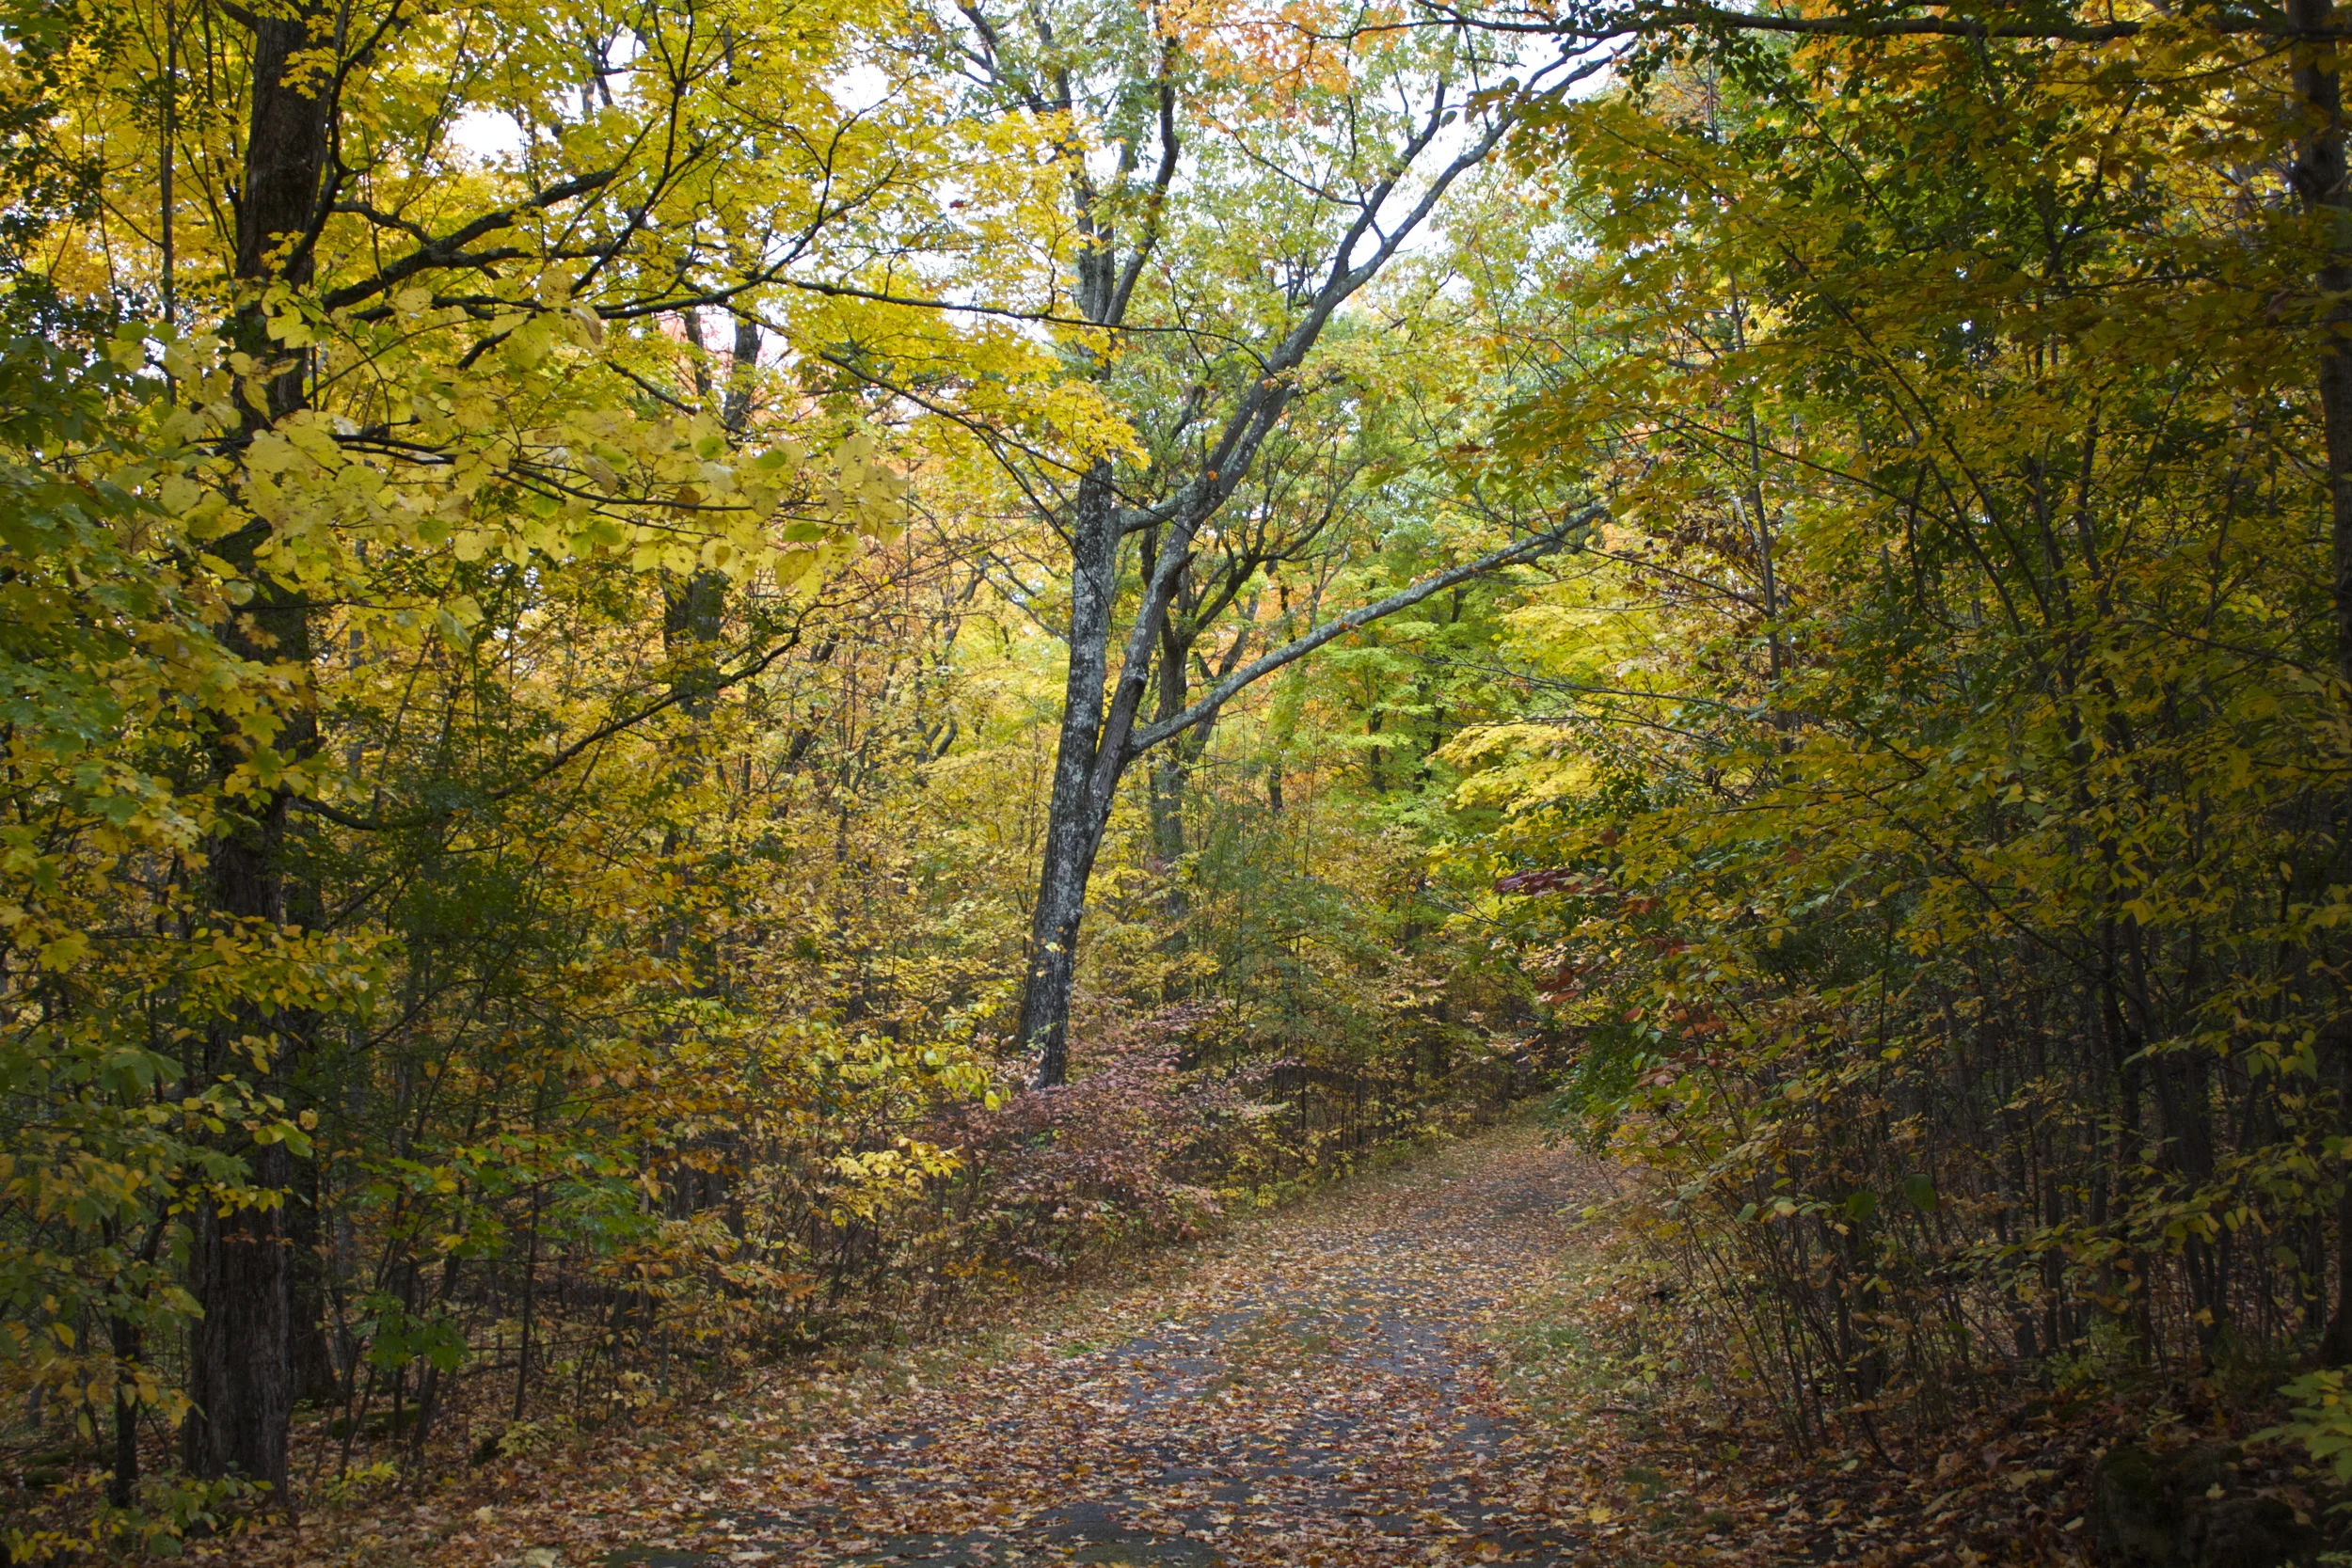
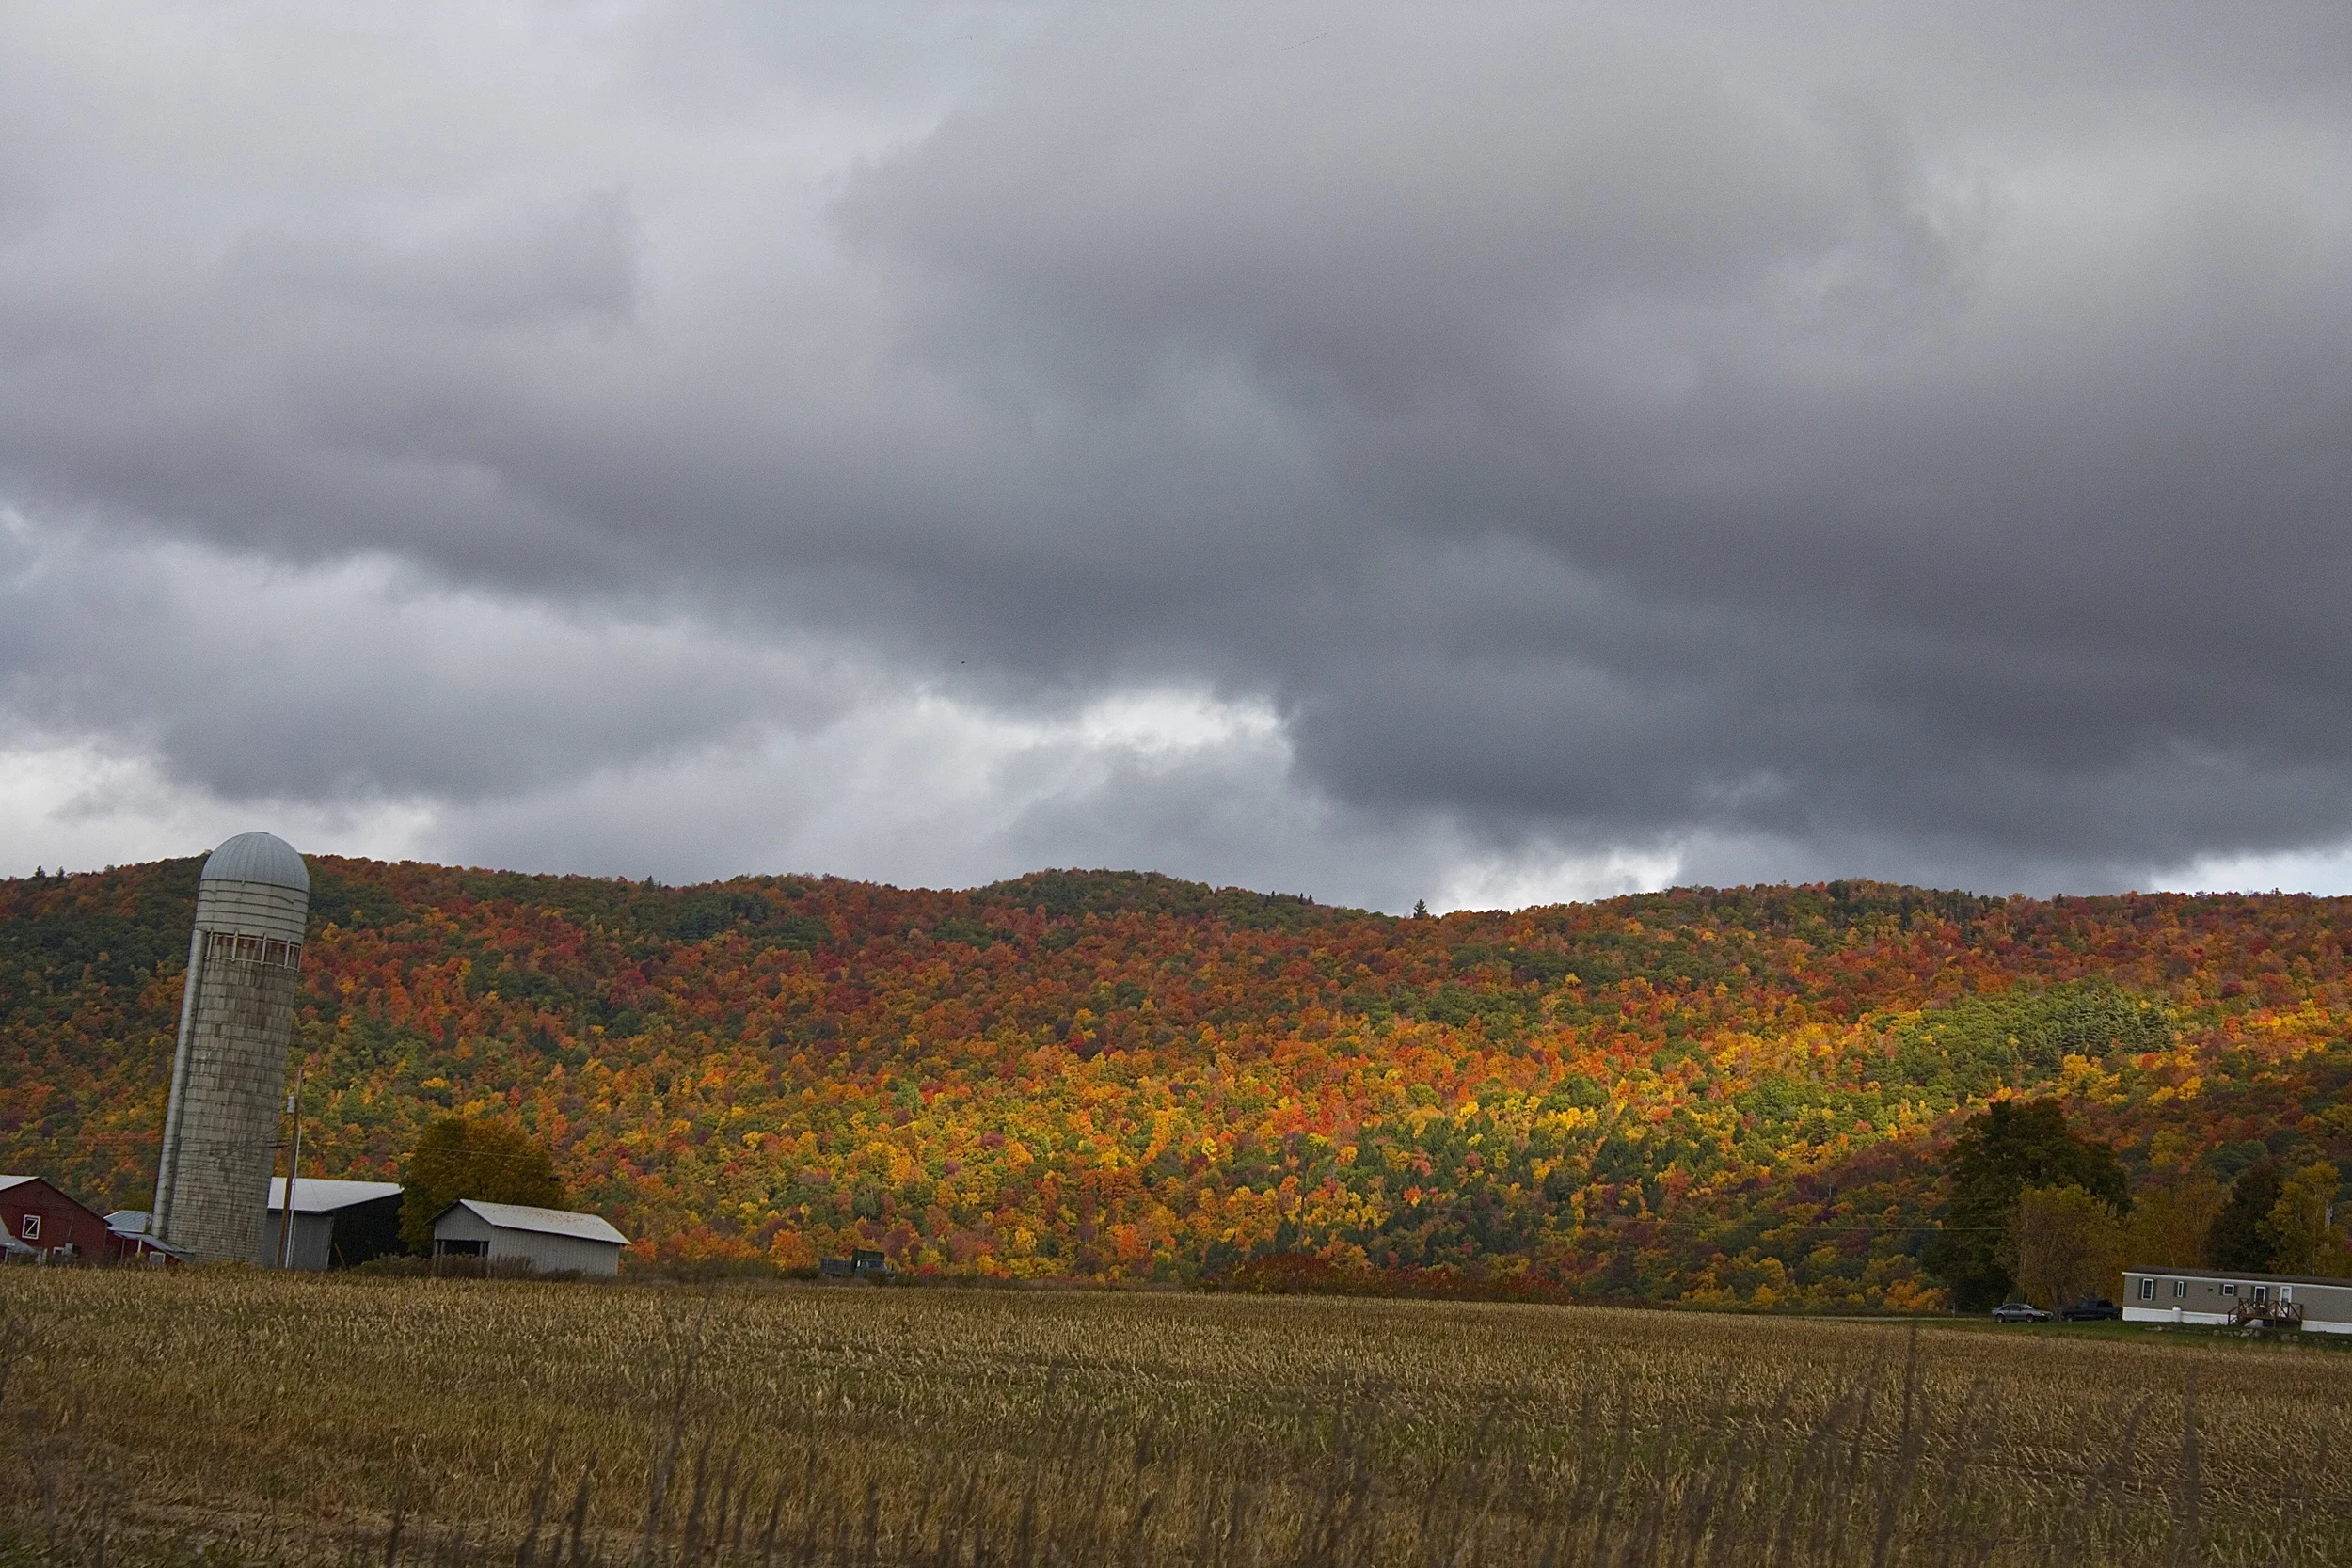



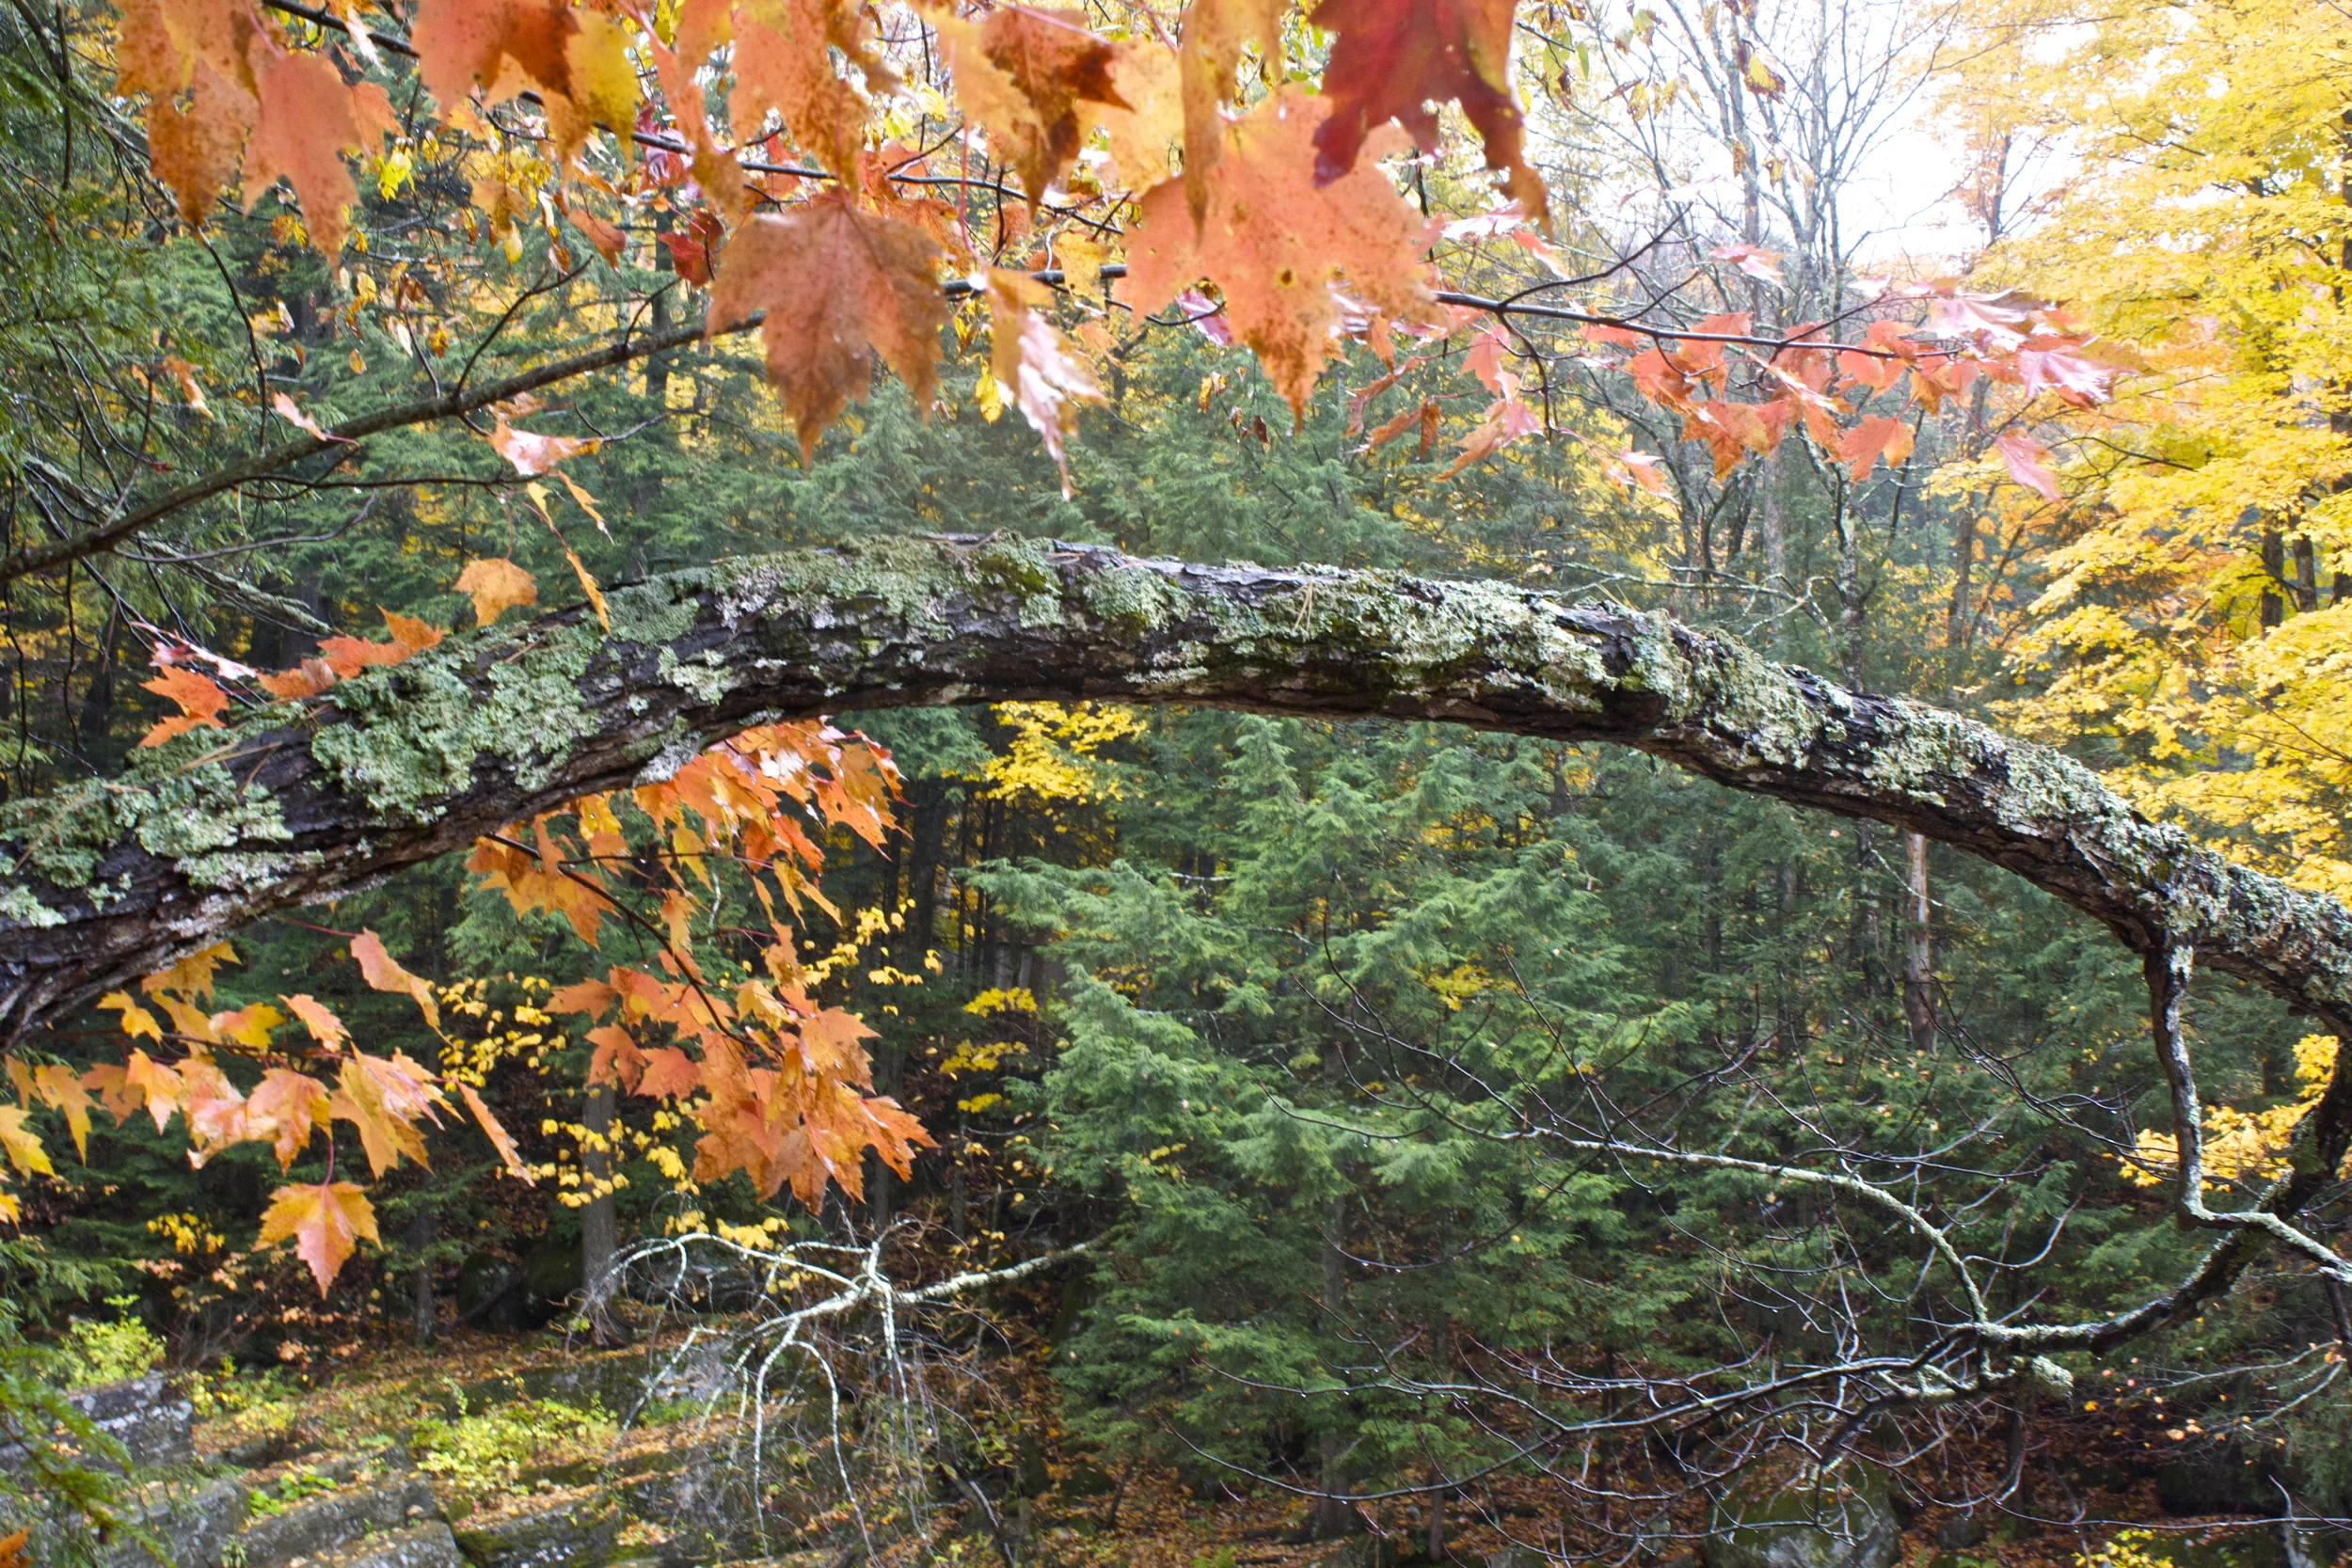

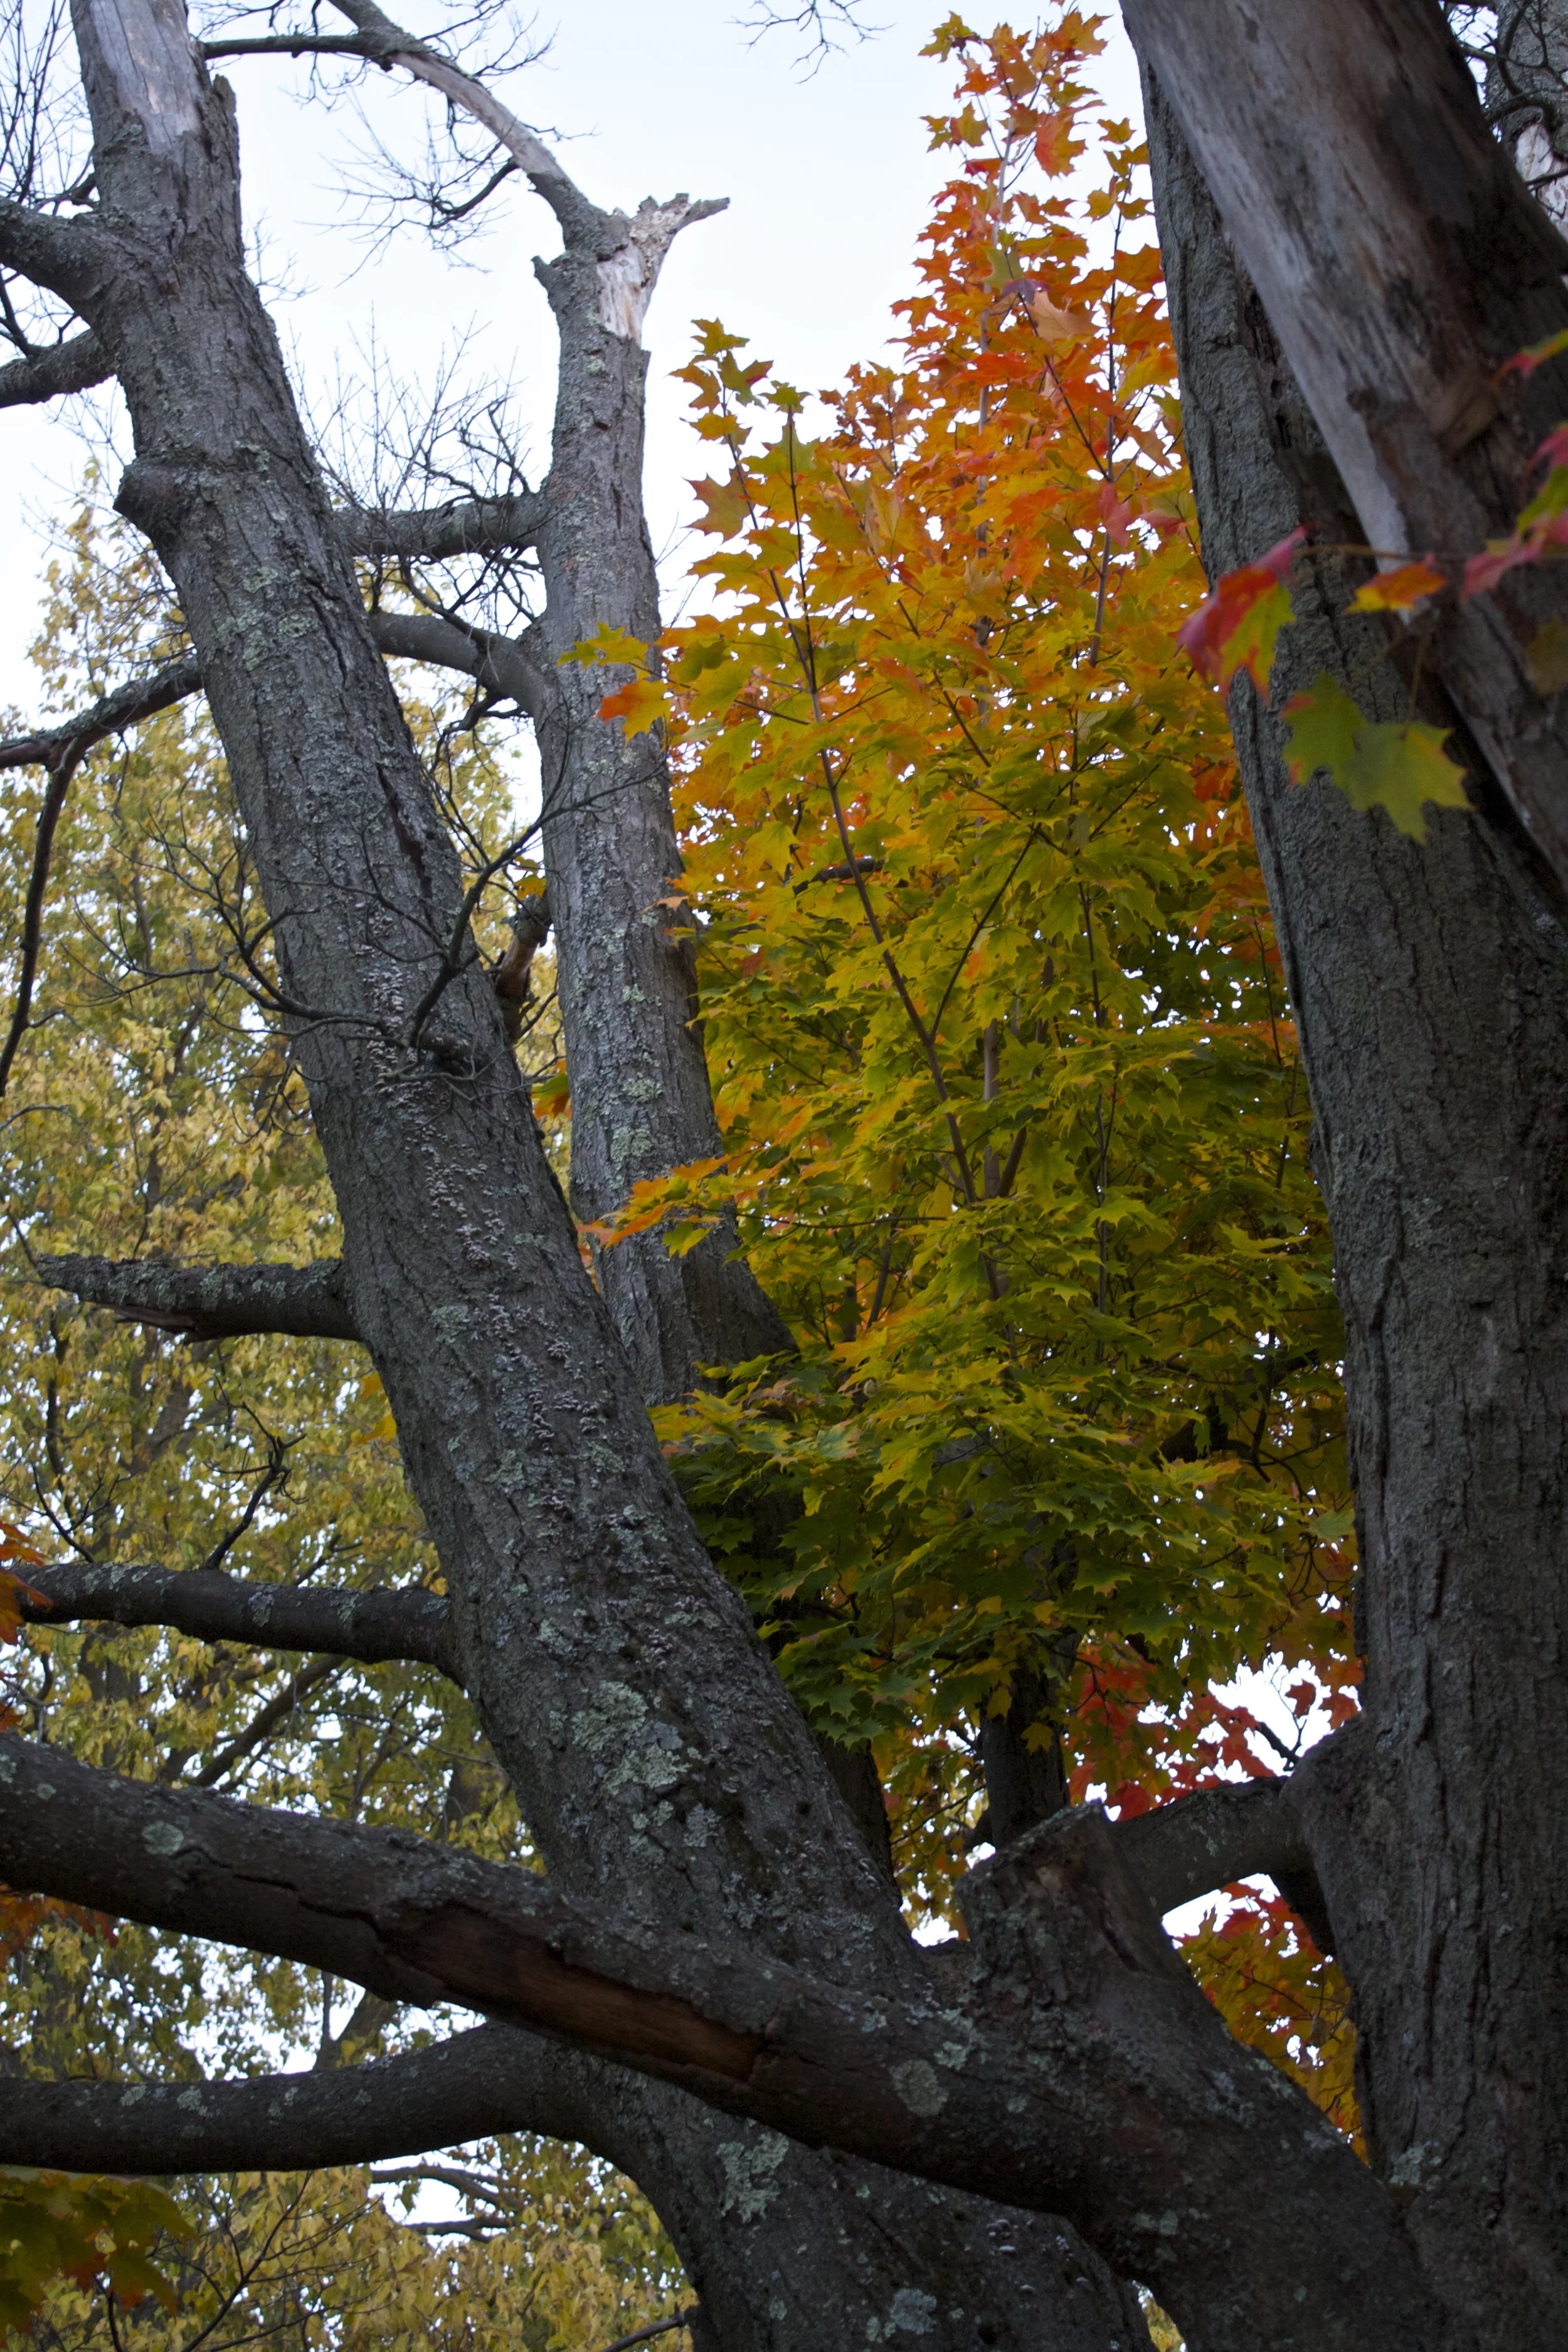





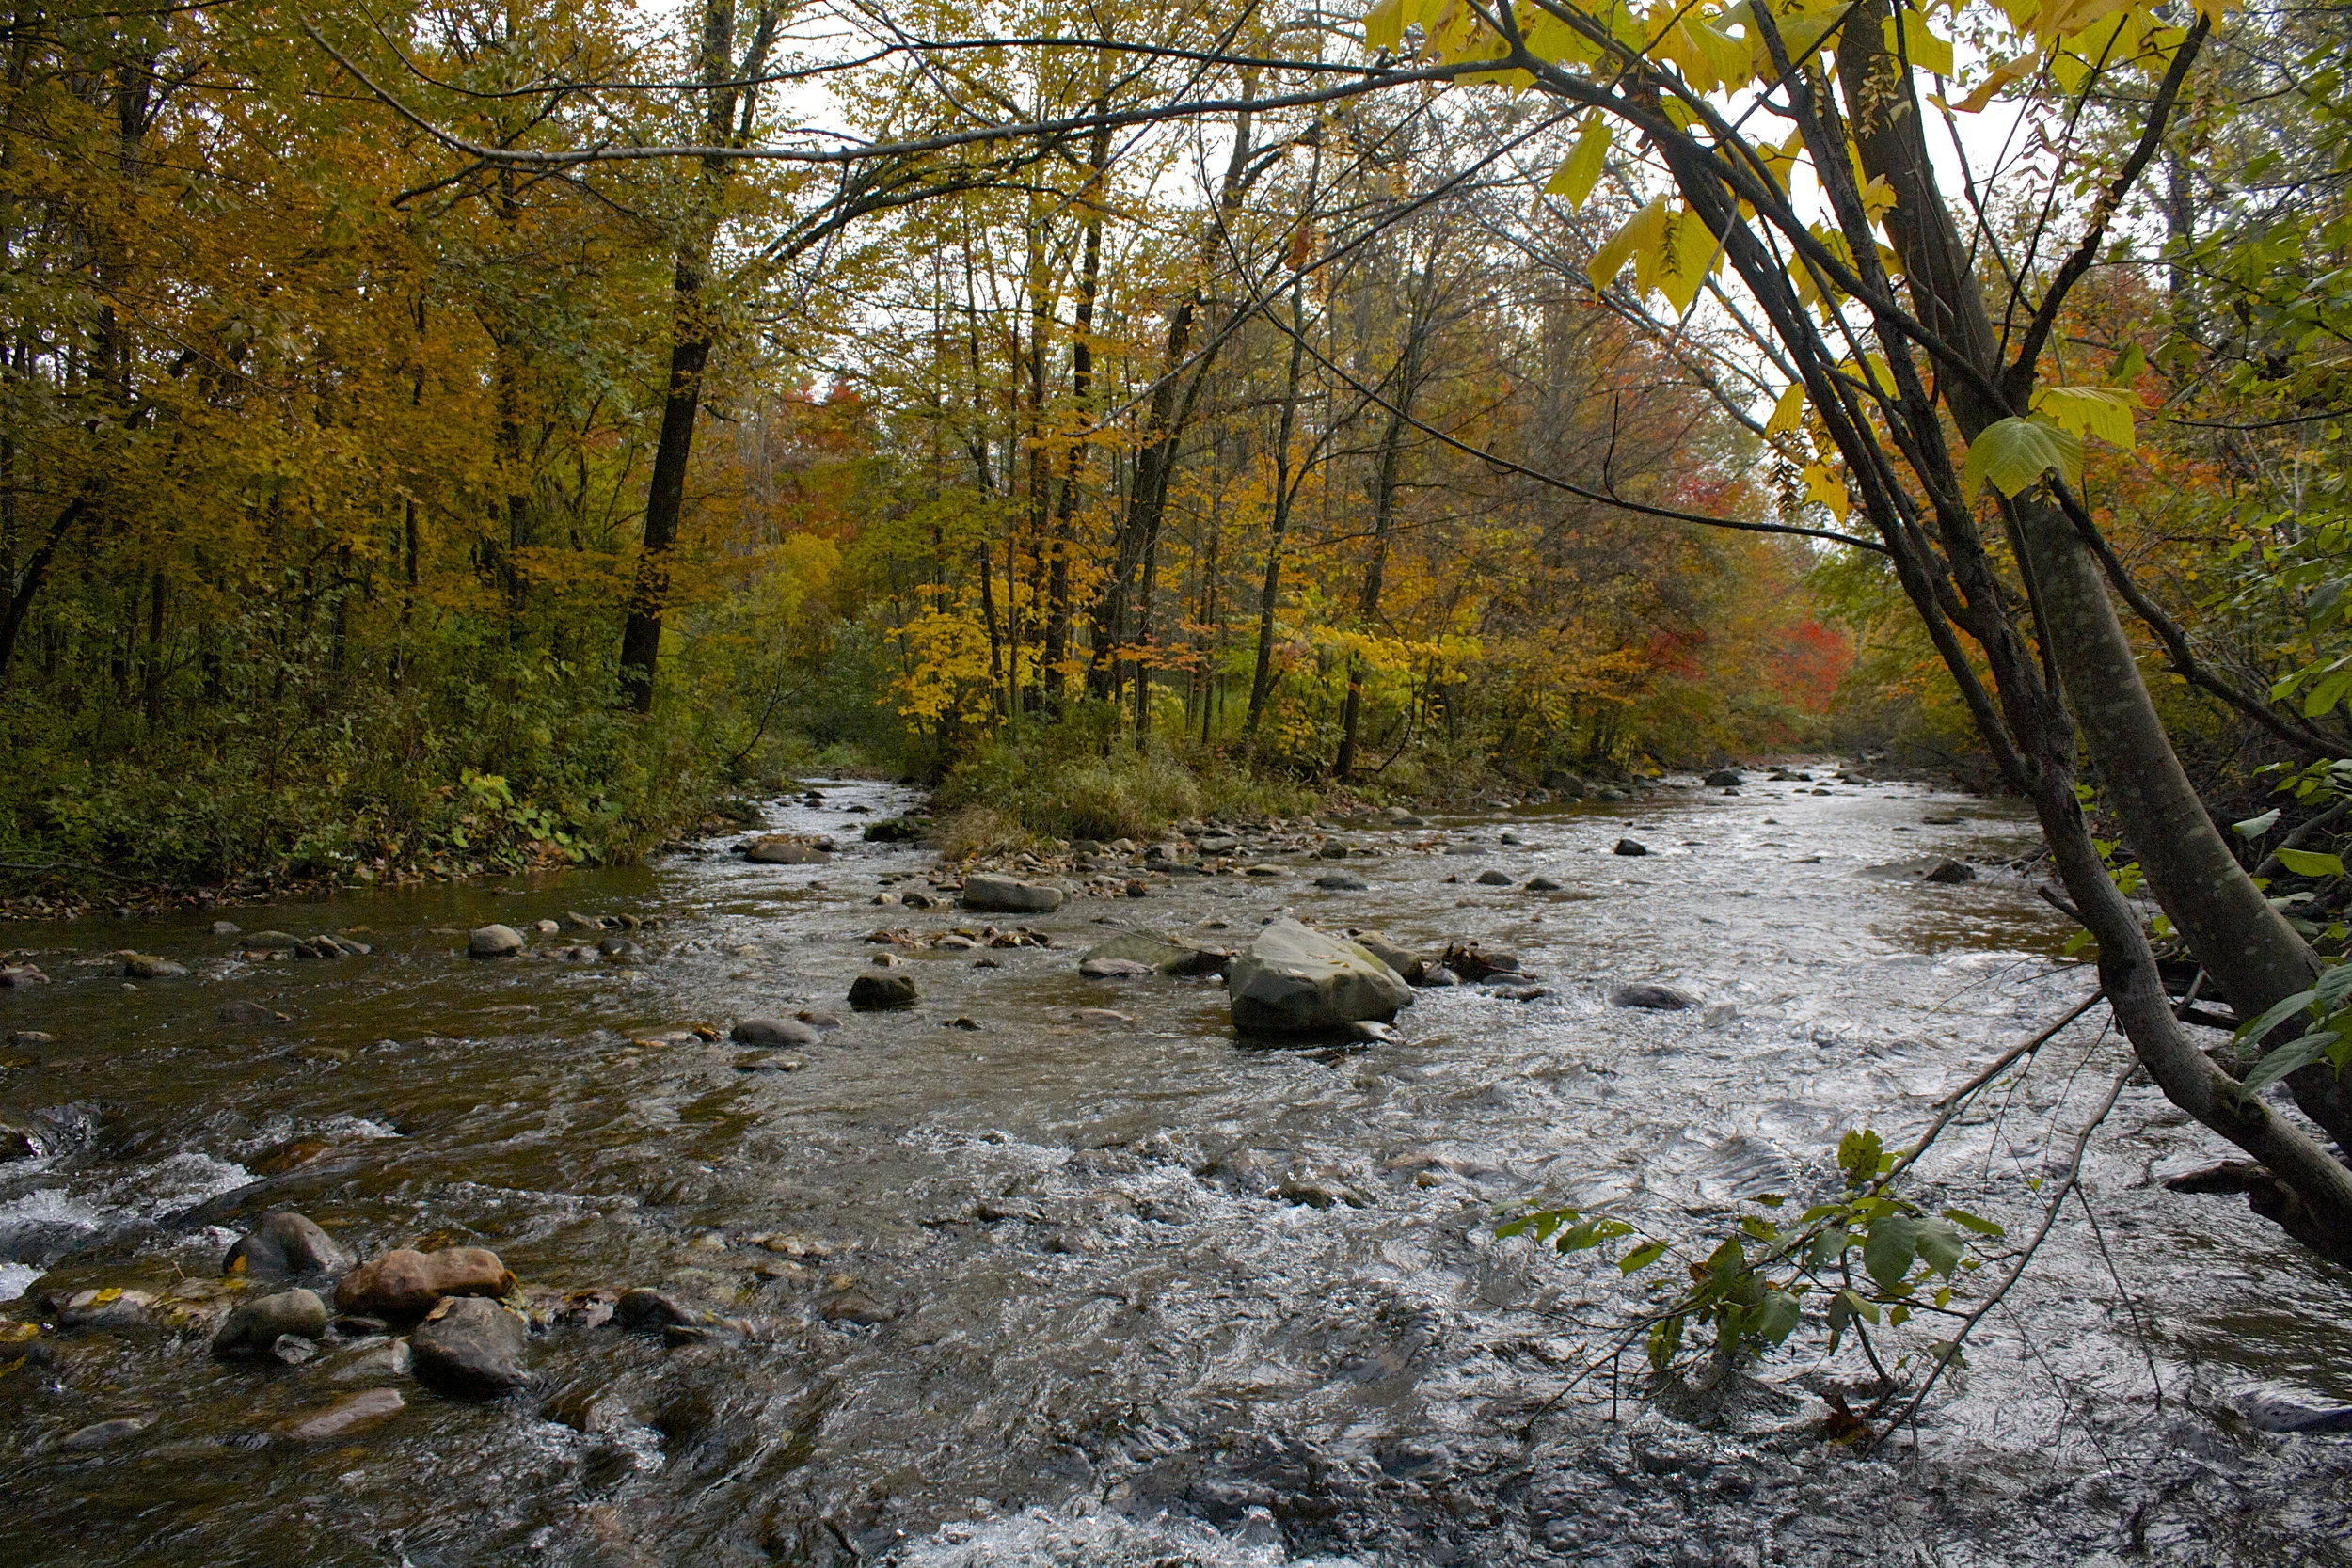

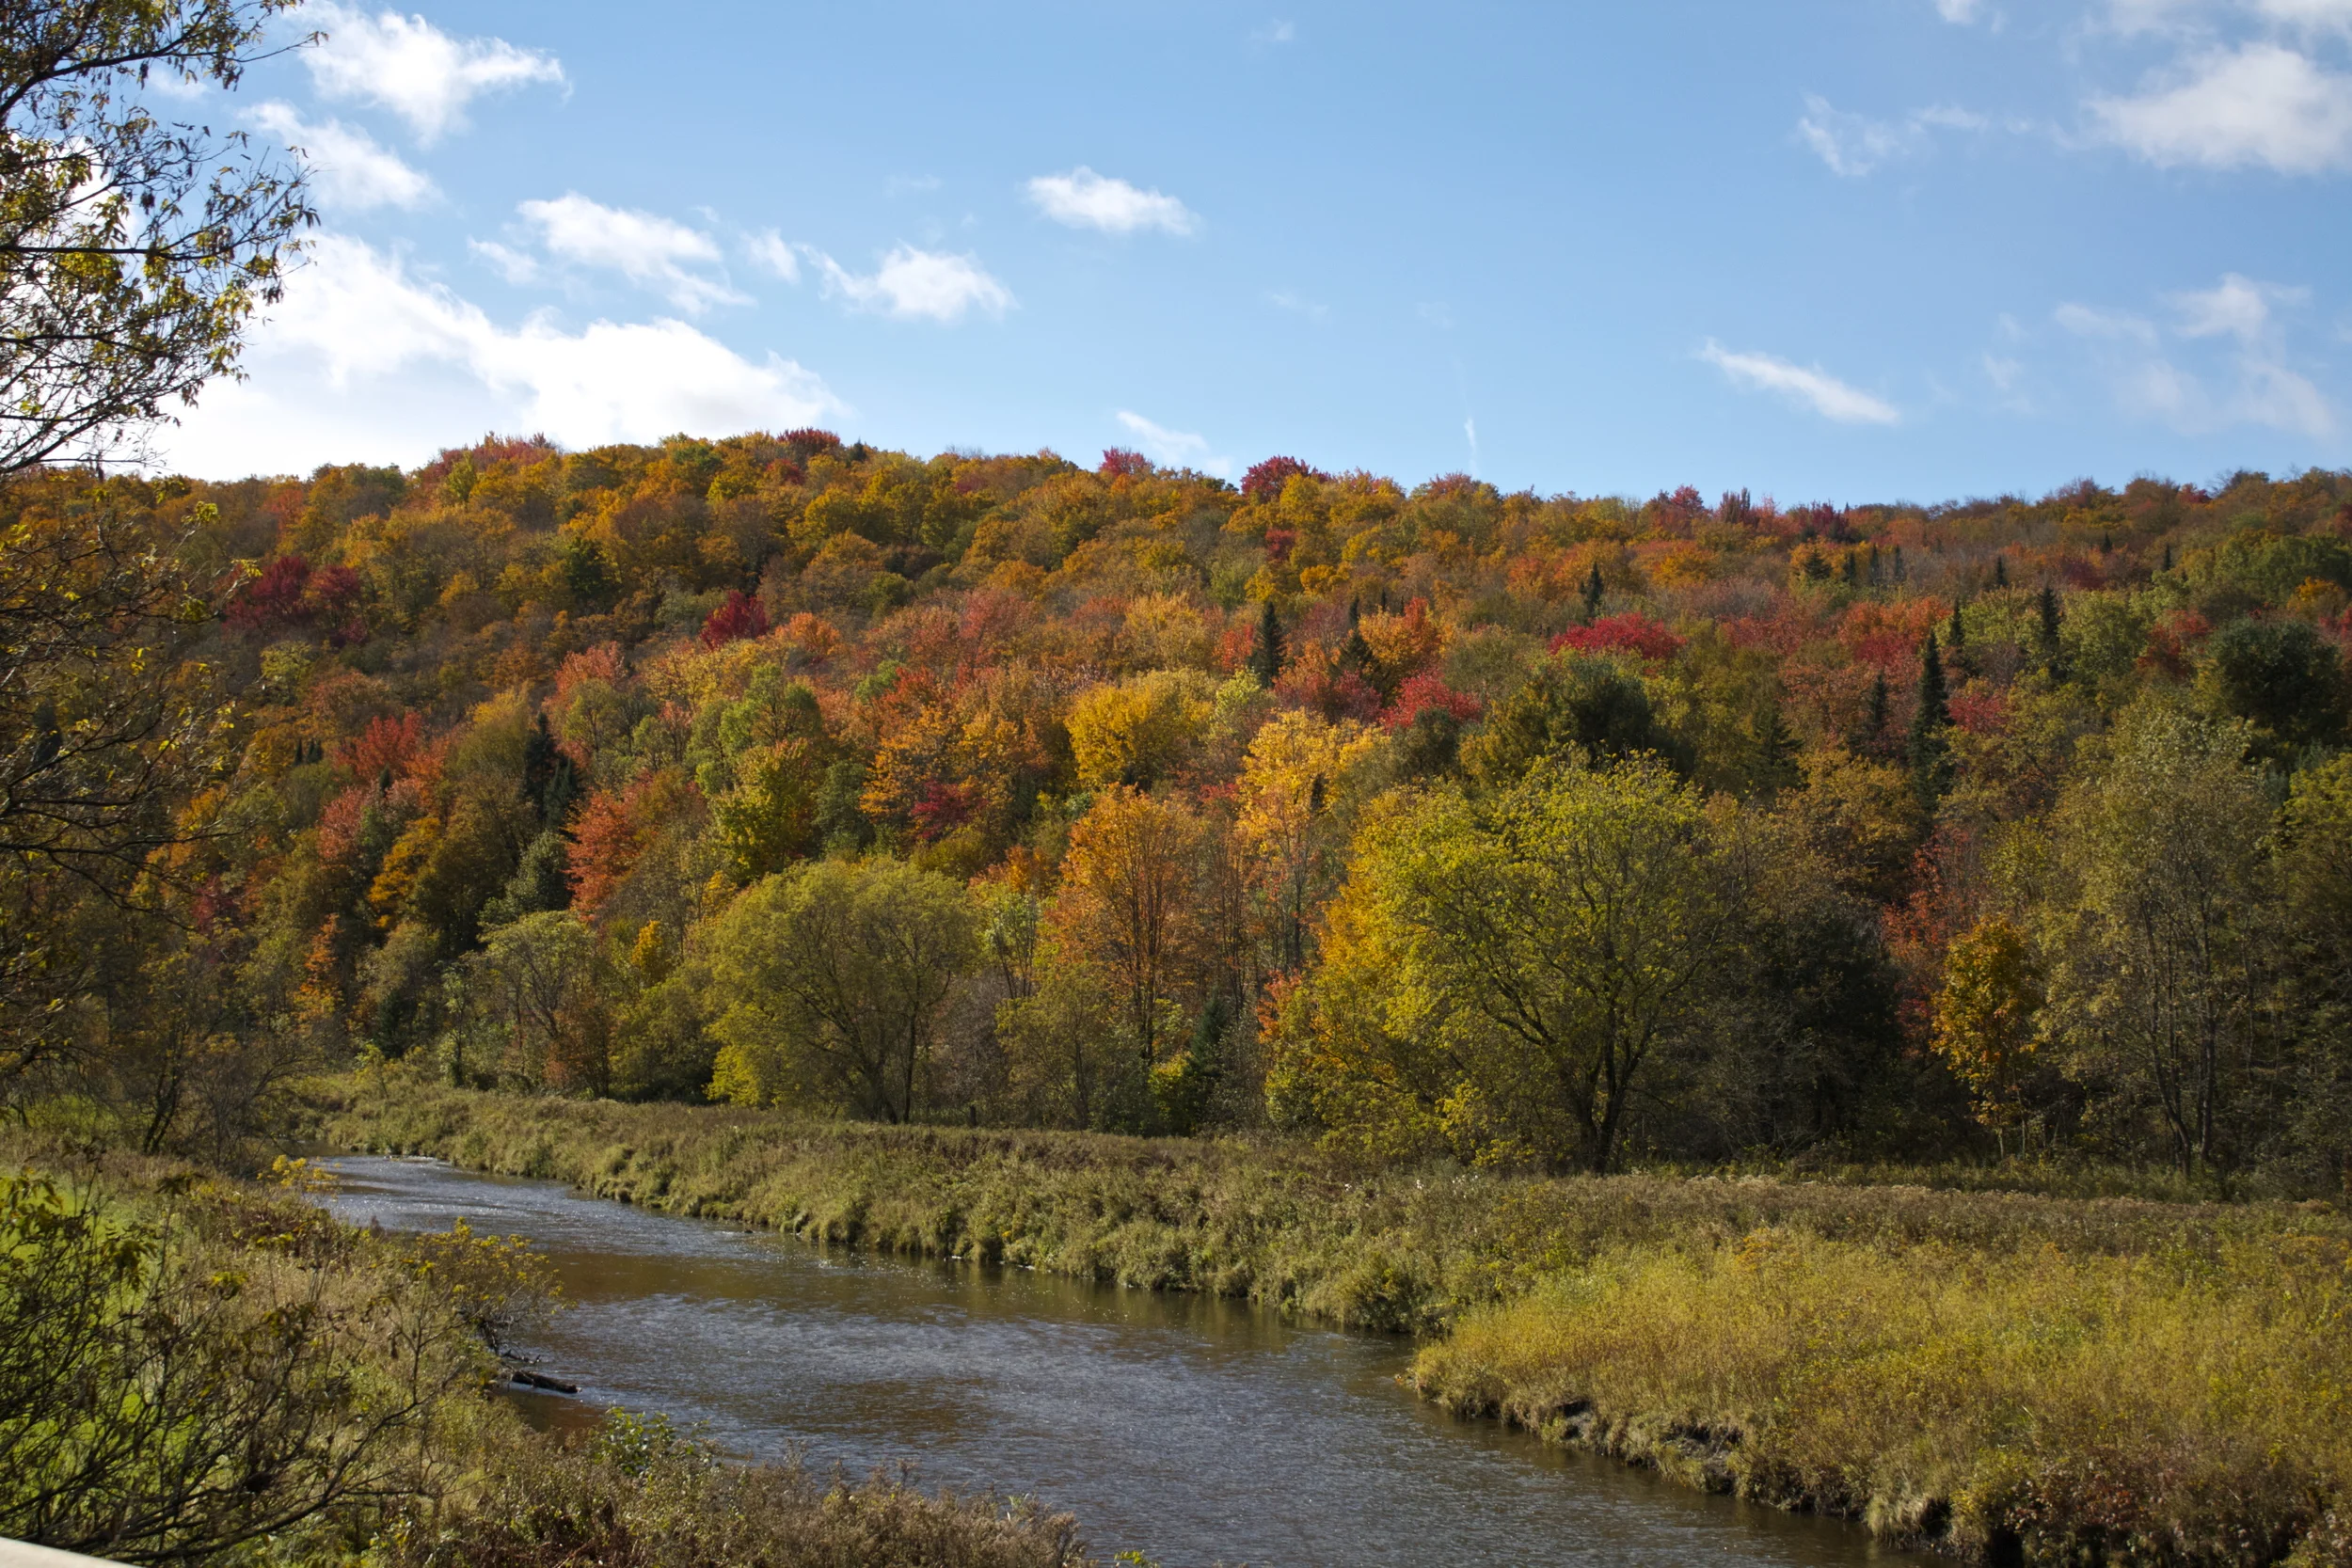
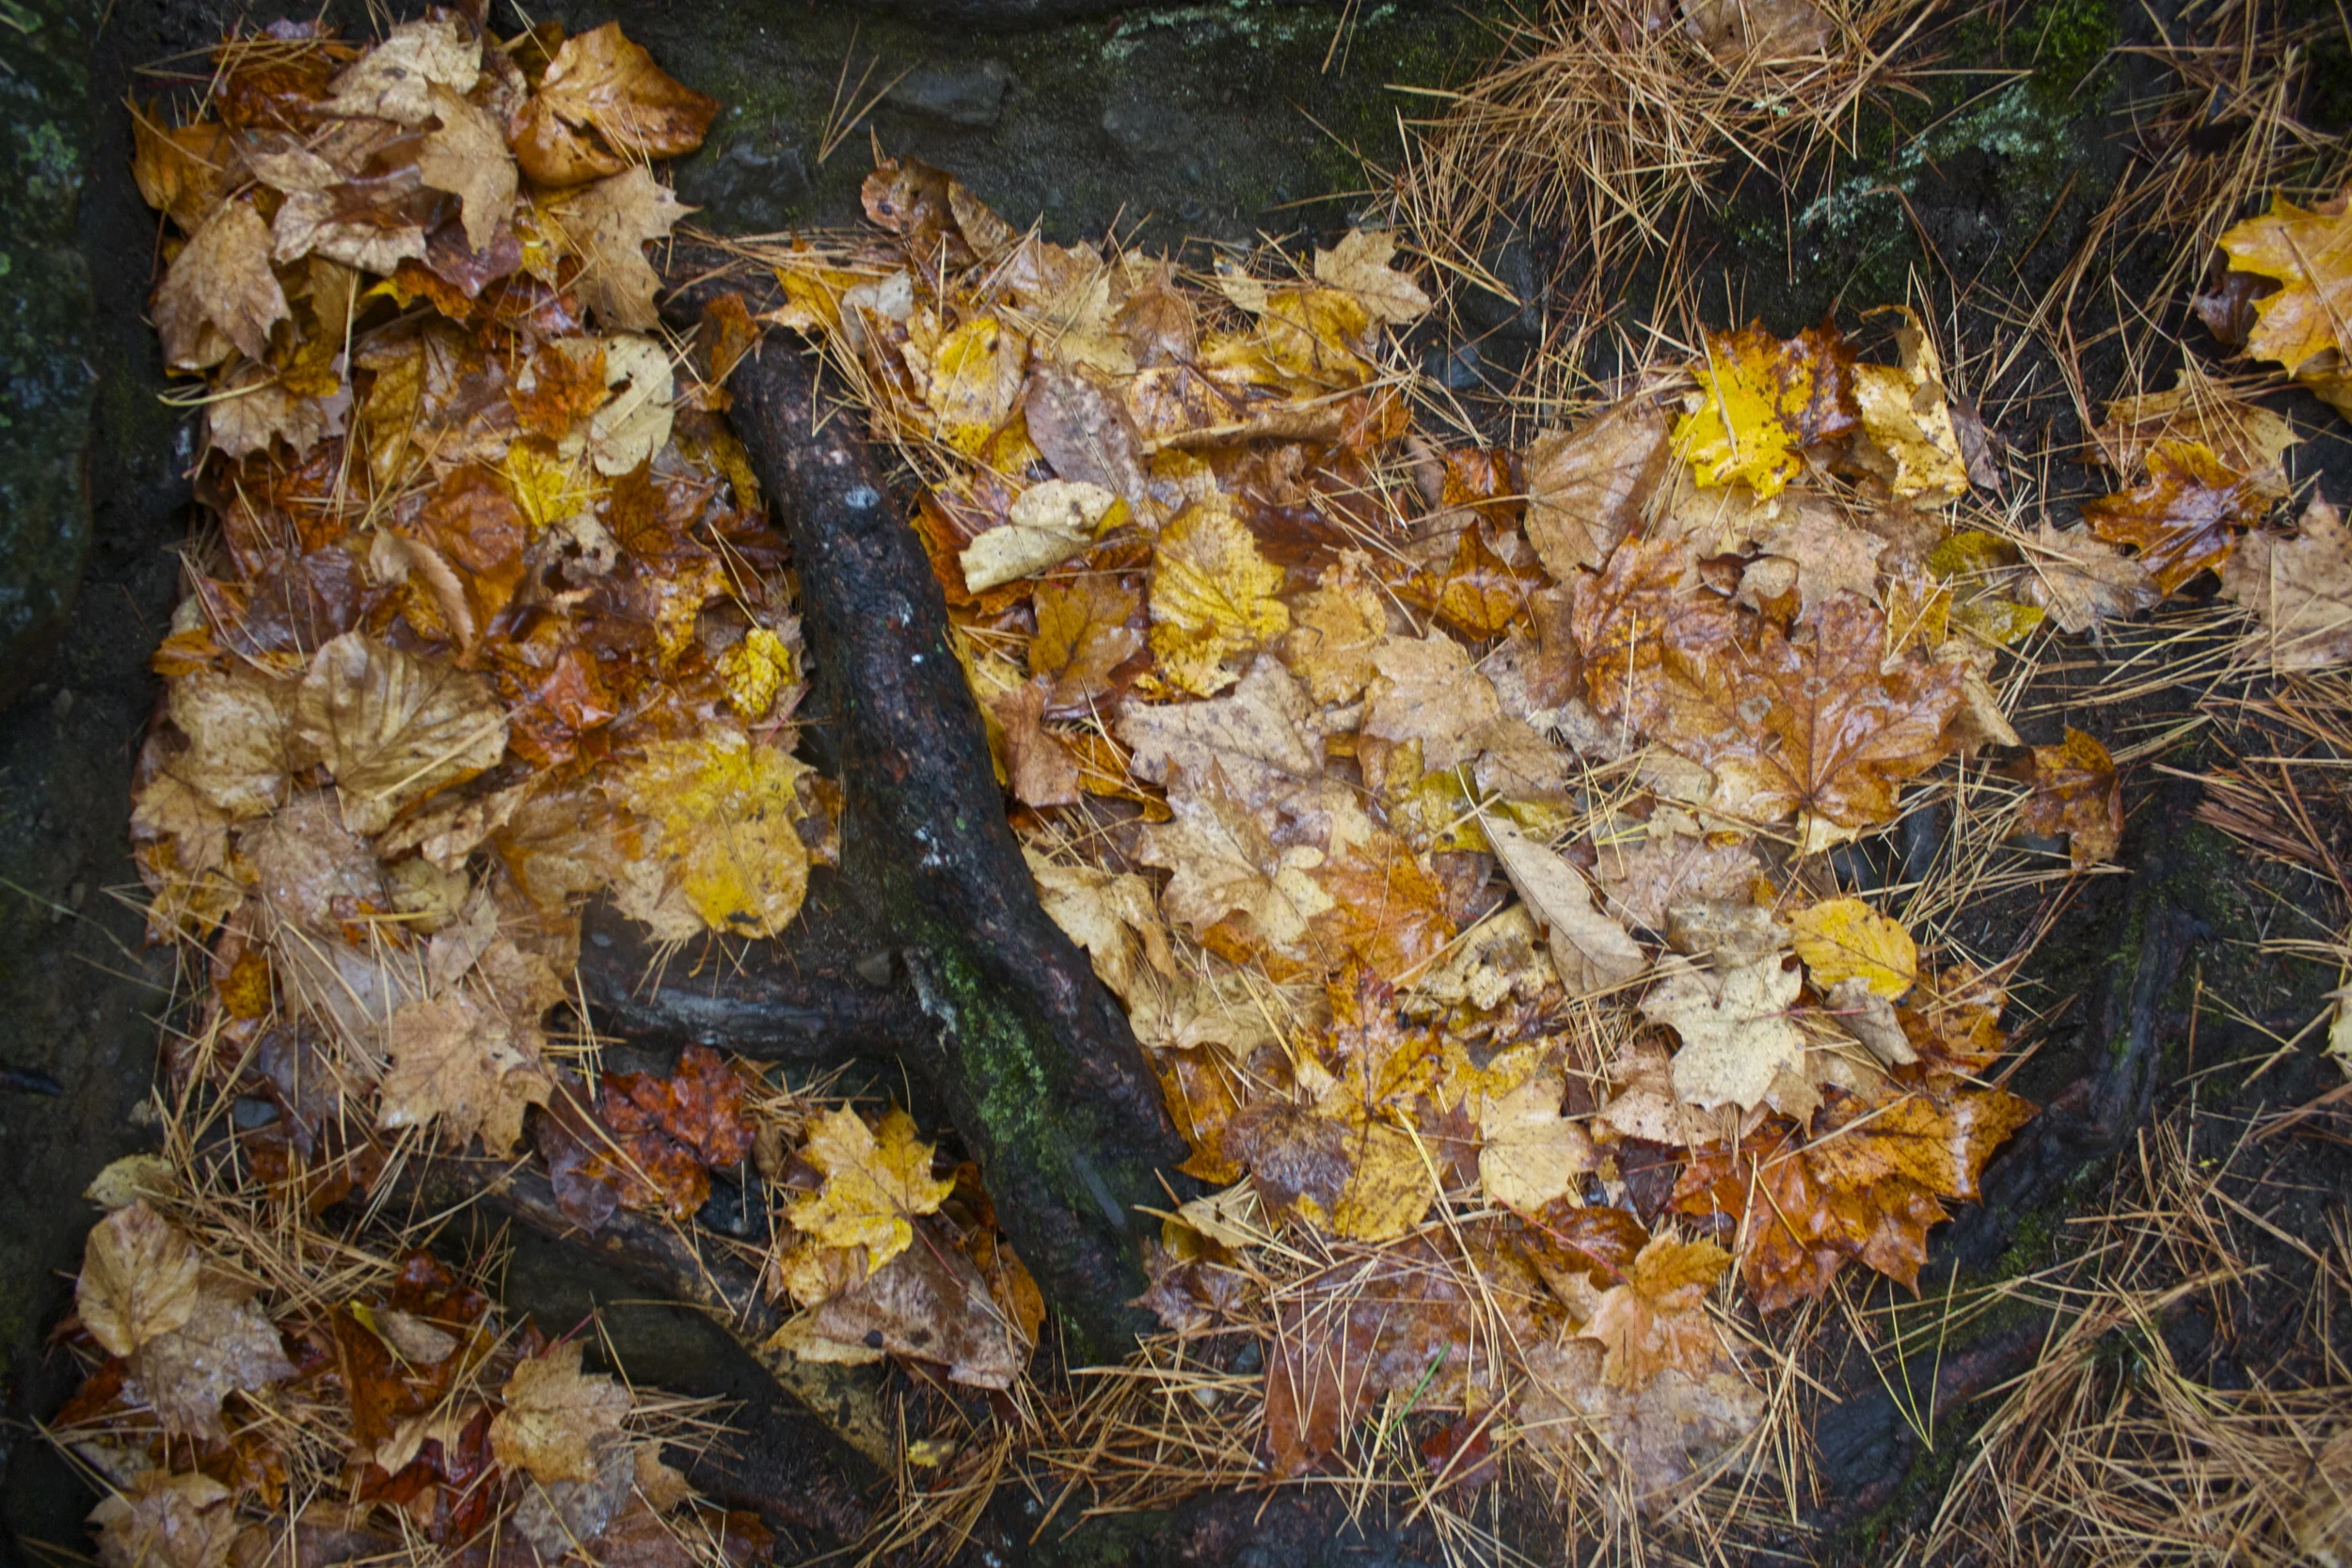


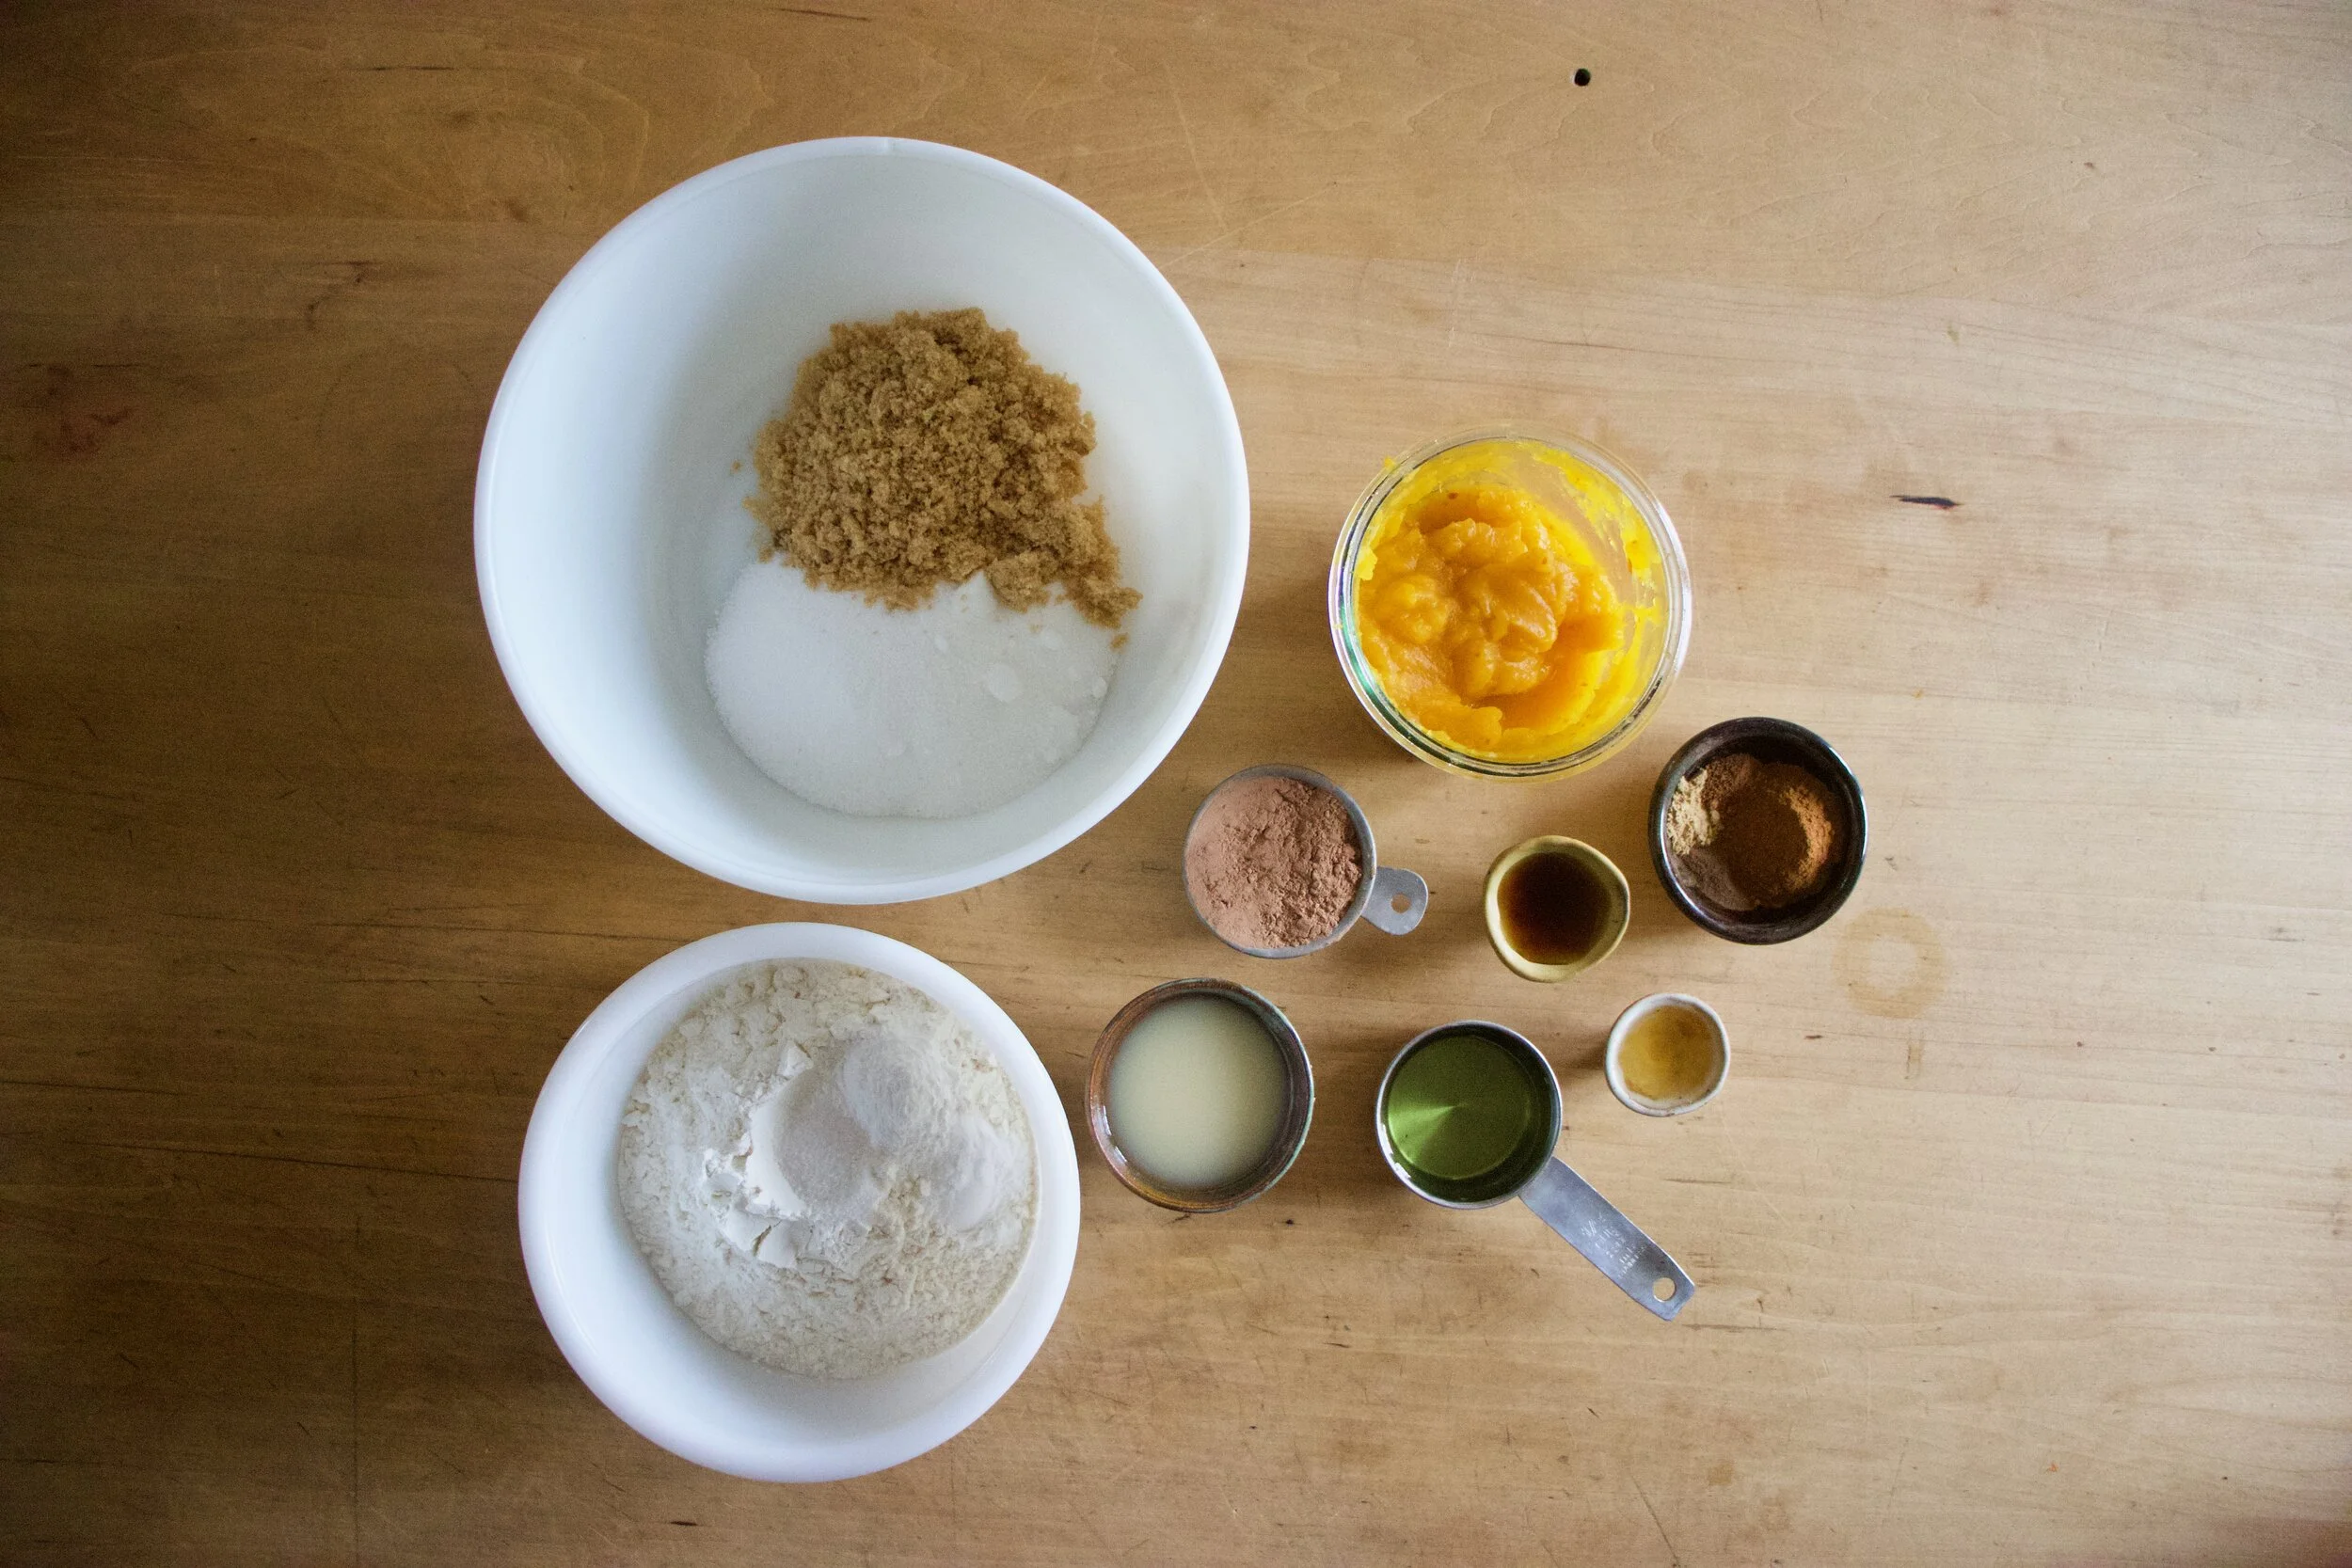
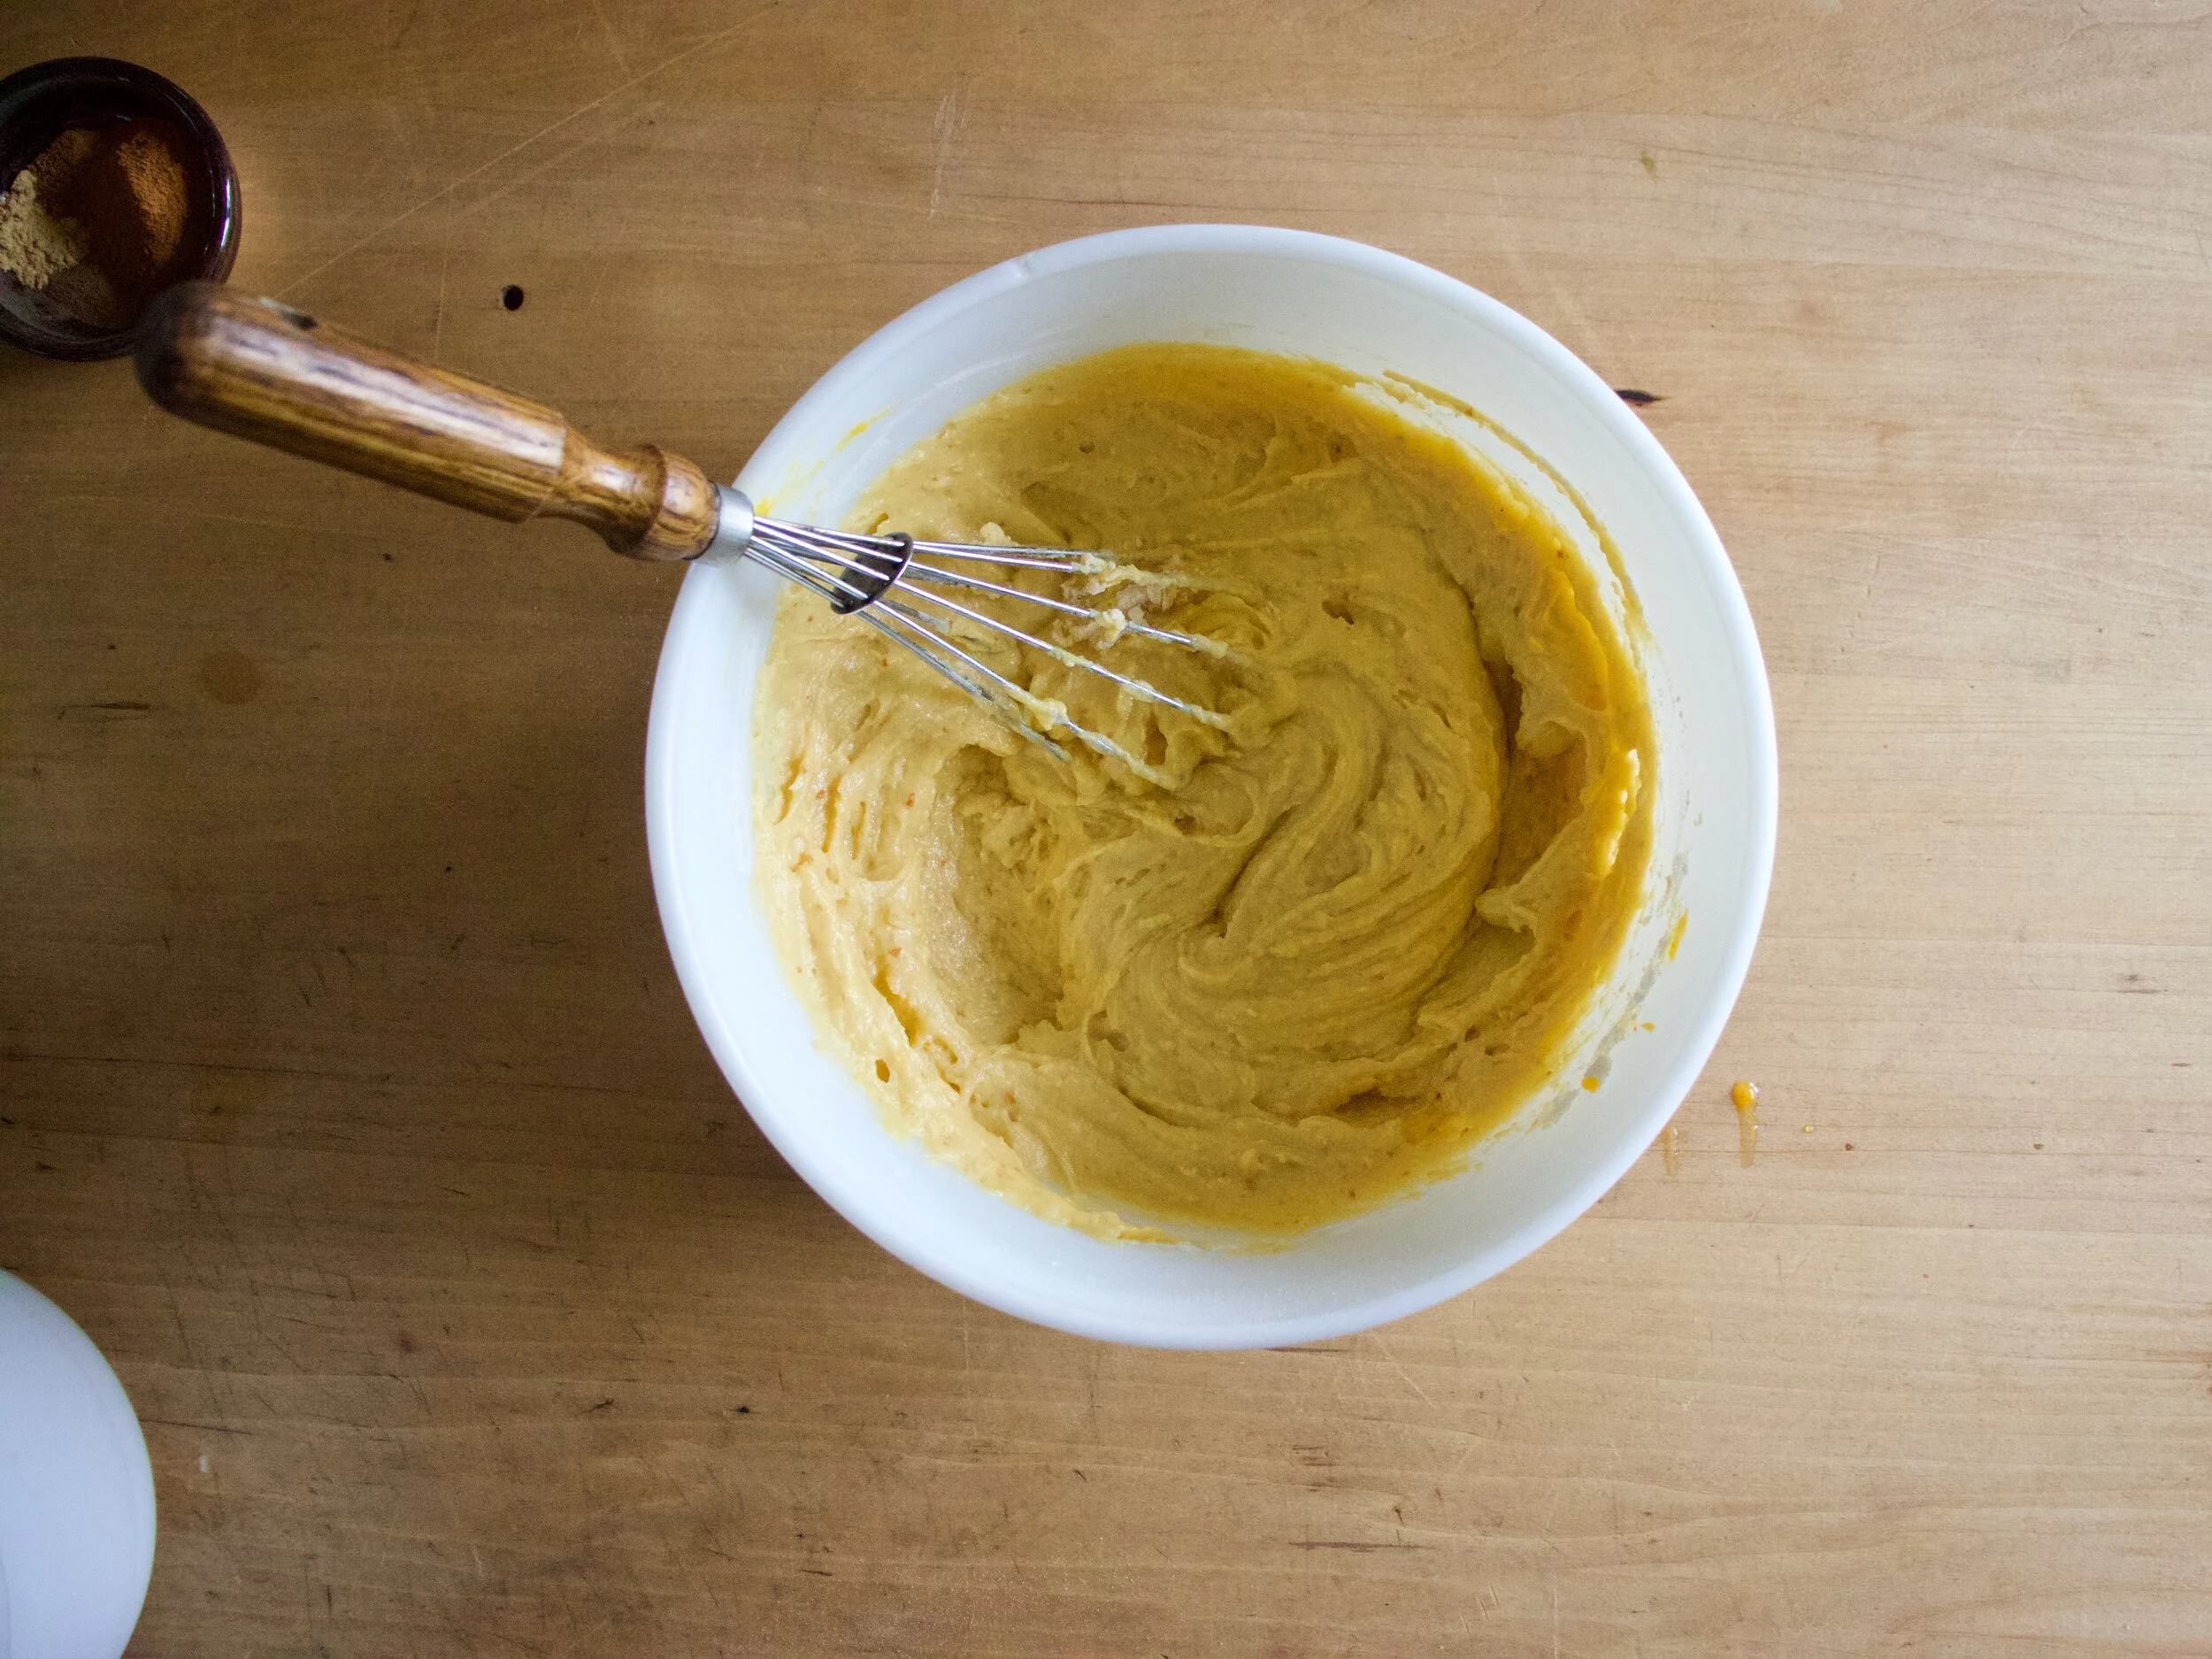
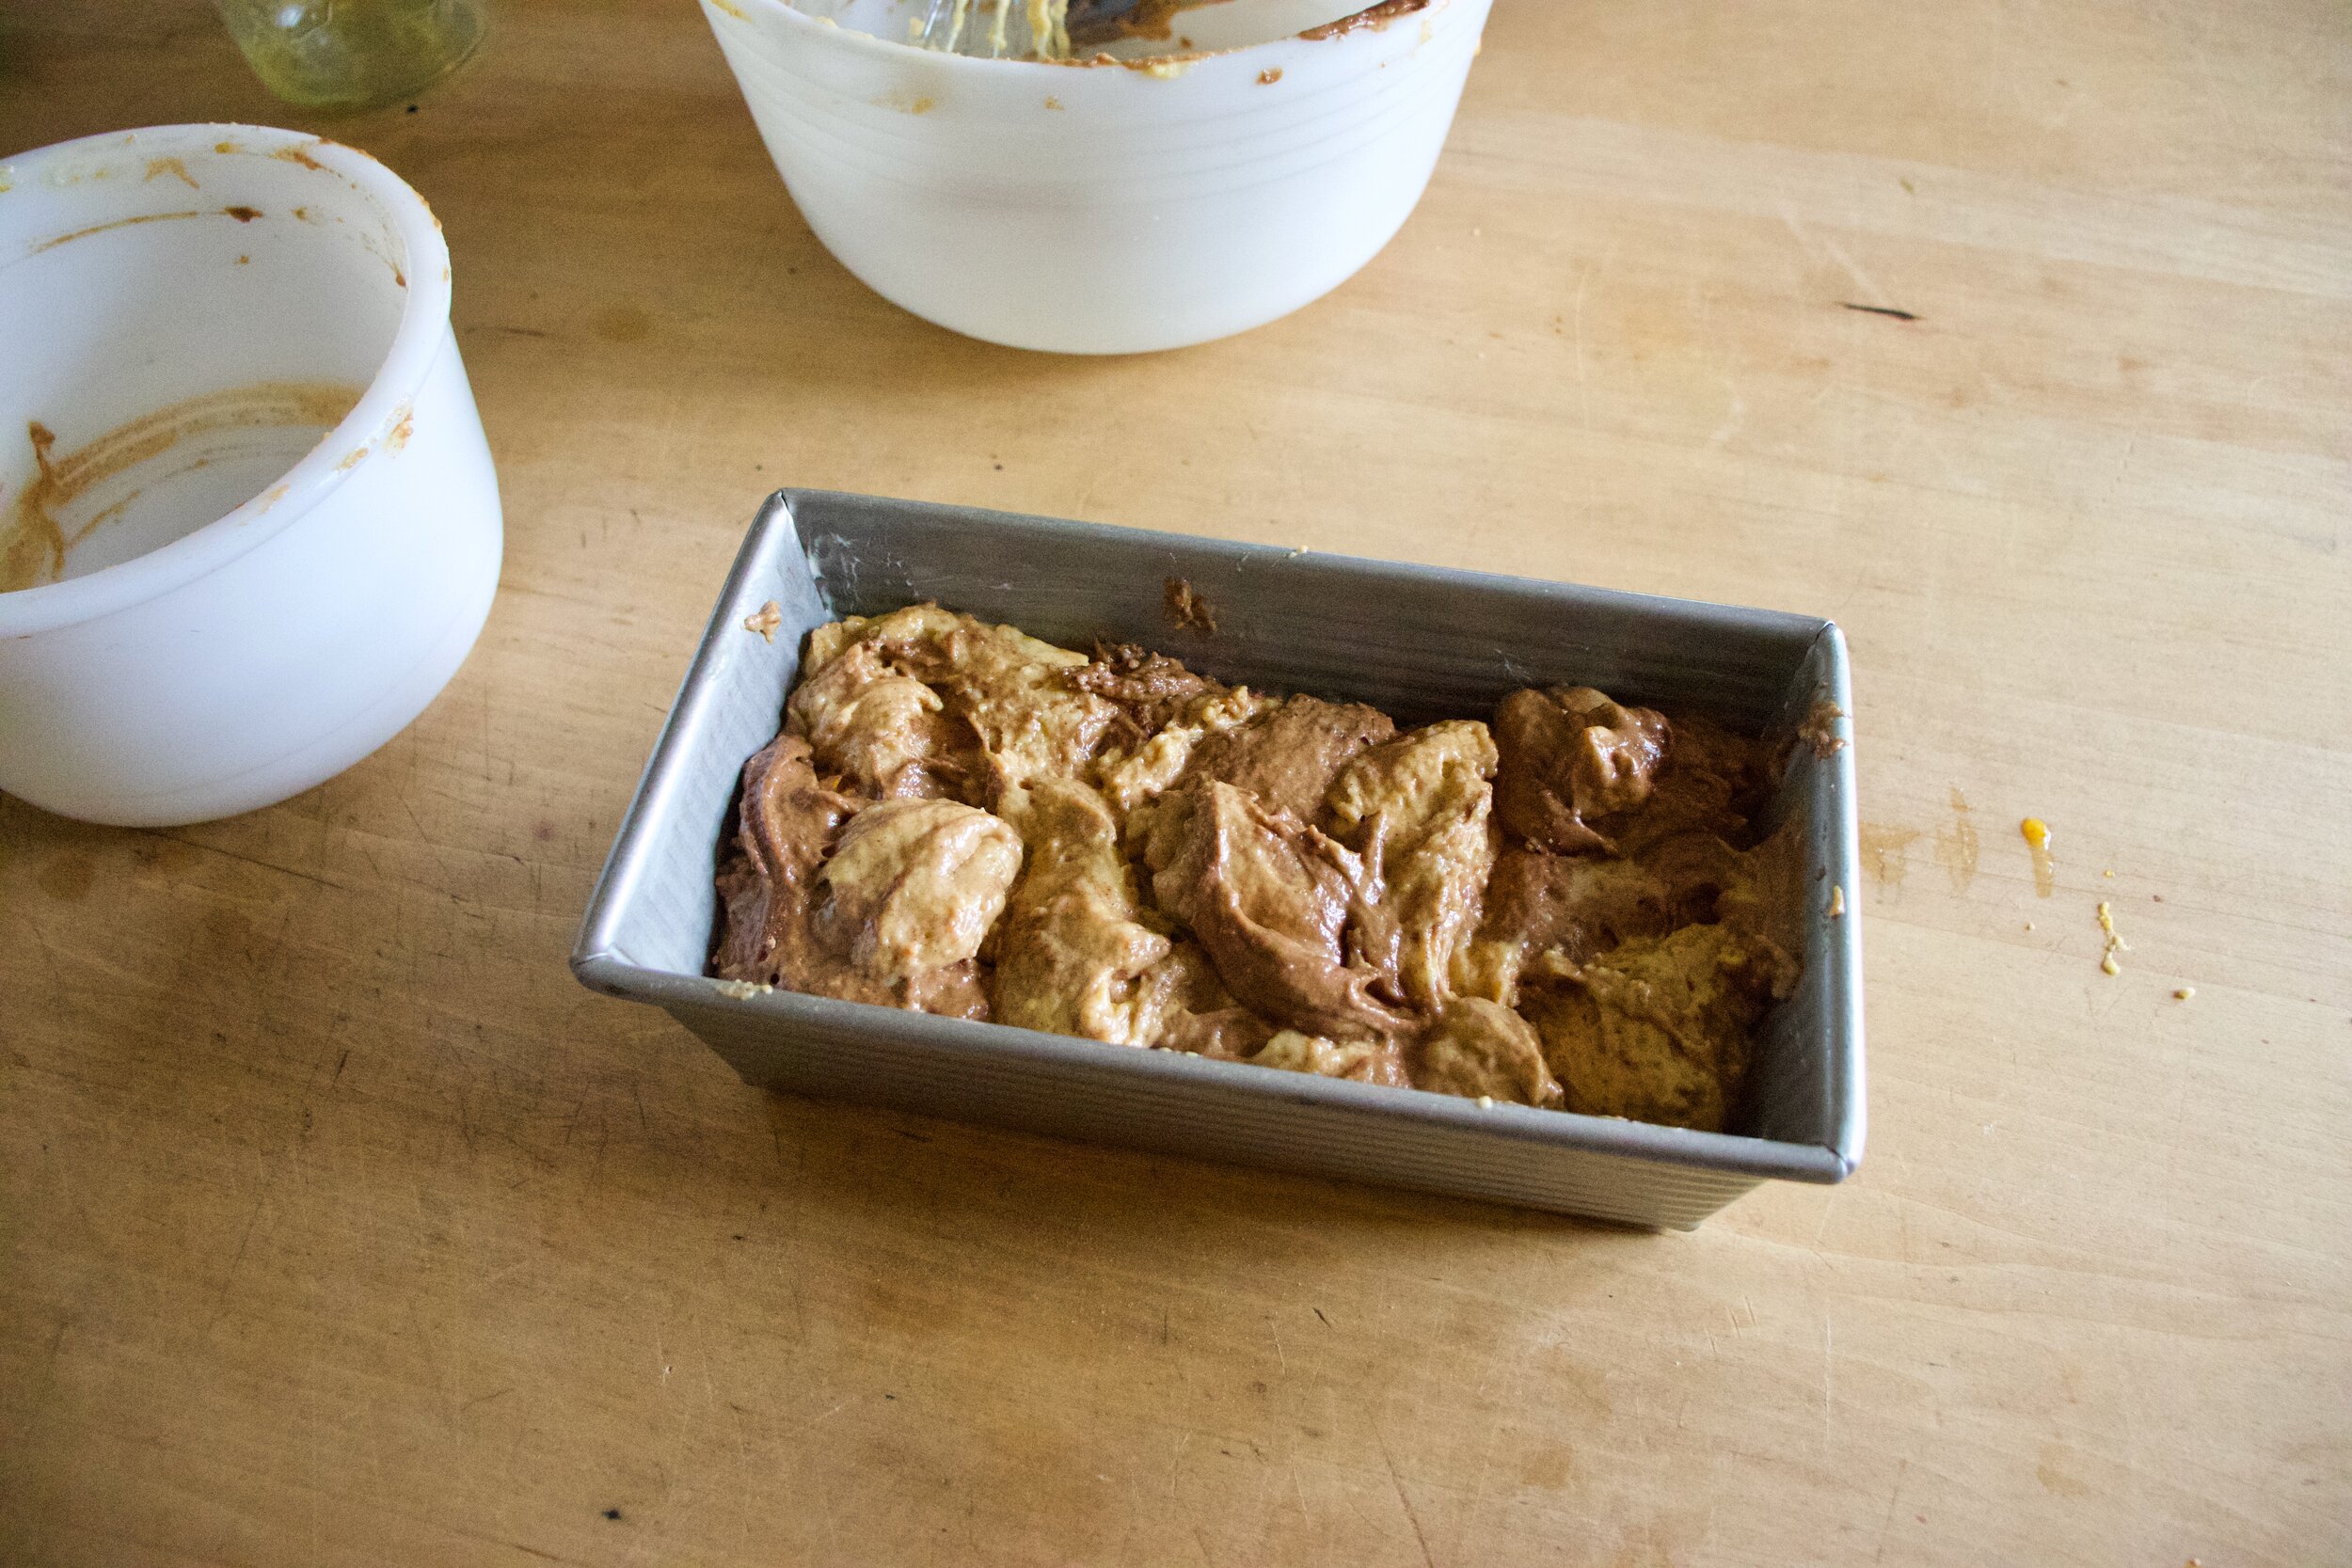

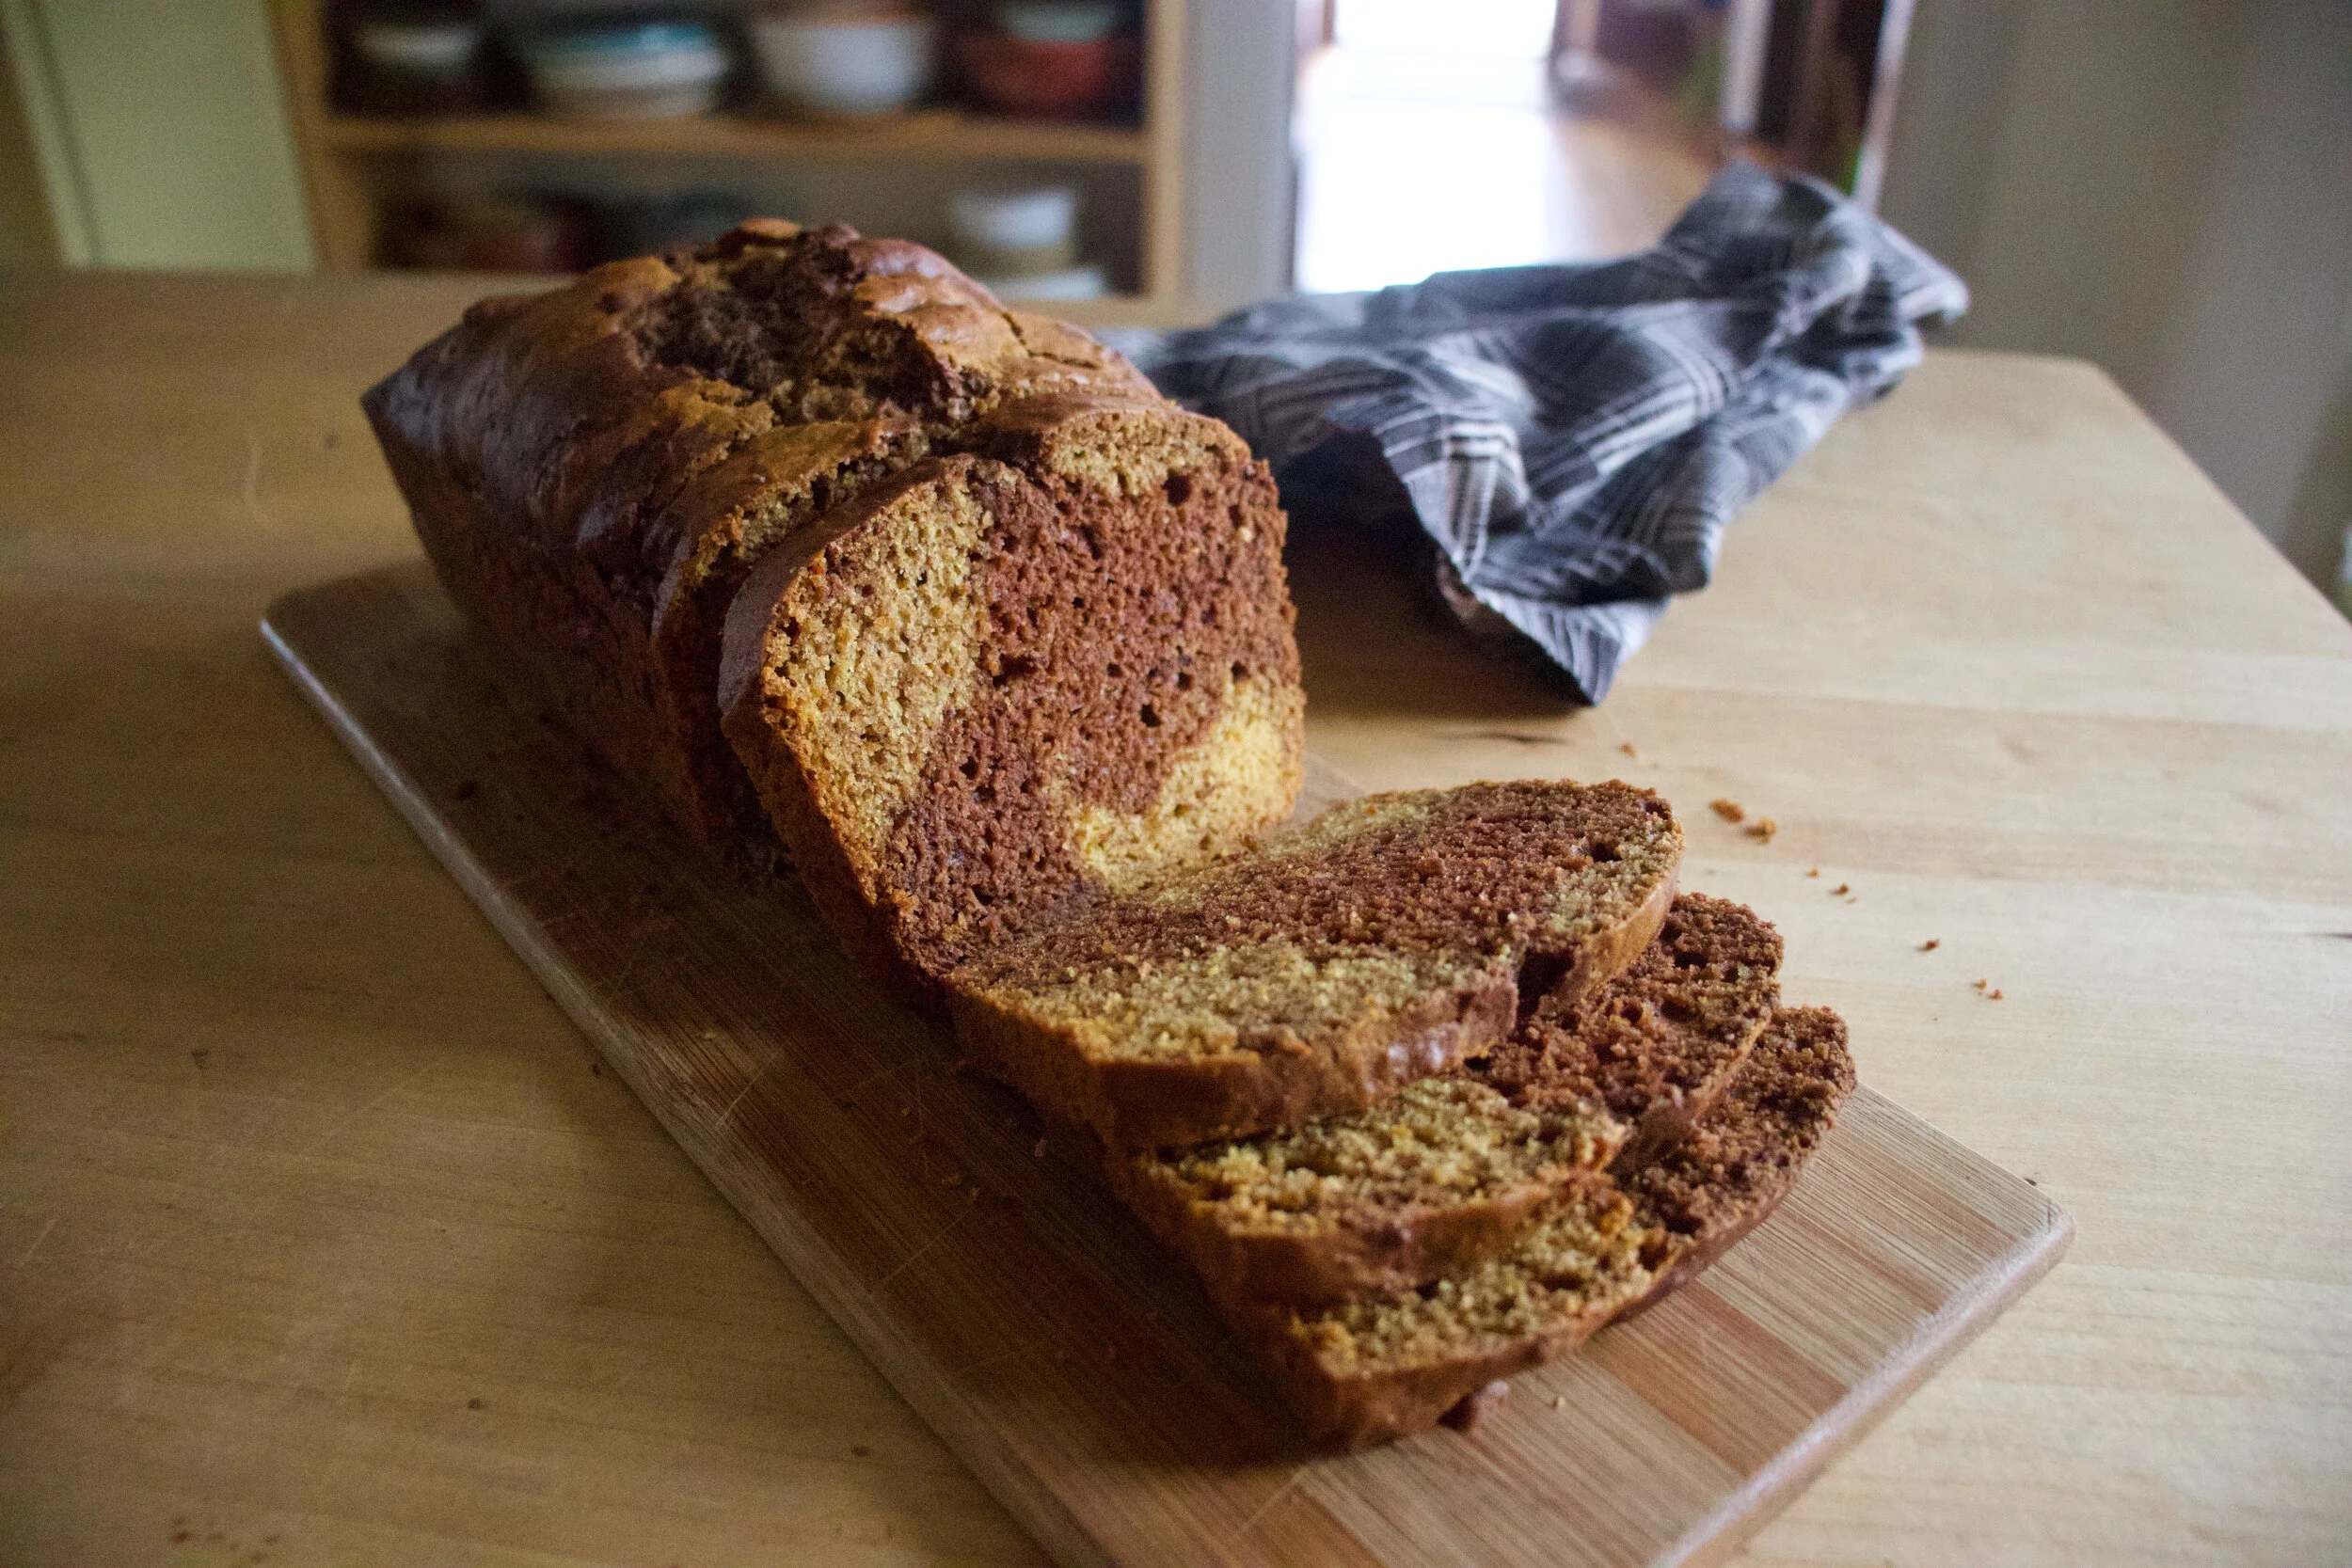
THE LOVELY CRAZY
November 8, 2019 by maximios • Blog
Soup. No joke (although people make jokes about me), is eaten in my house, at lunch and sometime even at dinner. Every. Single. Day. There is just no going wrong with a big pot or veggies, spices, sometimes beans, sometime not. I make it in big batches, in small batches. Sometimes it%u2019s more a bisque, or a chili or a stew, or just a really really spicy broth. Whatever I have in the fridge or freezer, the stuff that might not be great eaten fresh, sad spinach%u2026. It all turns in soup.
Does that make me some kind of weird soup freak? Maybe, but I am ok with that. And to those who see me walking down the street and yell silly things about me having to get home to eat my soup (it happens more then you know) well, you know you are just jealous and secretly wish you were eating soup with my too. So %ud83d%ude1d.
Are you a soup person too? I mean, who isn%u2019t, especially right now that is is fall time and it%u2019s getting chilly and darker out and all we want to do is hibernate. Definitely a soup time if there was ever a specific time for soup. And this soup, made even more hardy and comforting with the addition on dumplings. I actually made it specifically for the mr because, well just because I love him and thought he would enjoy it. And well, he loved it because dumplings of course. Light and slightly chewy, soup thickening dumplings with hot and comforting soup. A perfect end to a day of him working outside in the cold.
So soup. Make it. Dumplings. Add those too. You will be a winner with food, and in life.
To the soup and dumplings!
The stuff. A few stalks of Swiss chard, a couple carrots and a few potatoes. An onion, dried navy beans, some cherry tomatoes. Then there is flour, with salt and baking powder, a little oil, plant based milk, and salt and pepper.
Veggie chopping time. Dice the potatoes, the onion, the carrots, and the stalks of the chard into small mouth sized pieces. Cut the cherry tomatoes in half and the chard leaves into small ribbons. Set the tomatoes and greens aside.
Dump the carrots, onion, chard stalks, and potatoes into a very large pot, add all the spices, a good pinch of salt, lots of black pepper, and a few splashed of water. Cook on medium high heat for 5-7 minutes to just kind of sweat the veggies a bit.
Add in beans and water. Bring pot to a boil then reduce heat to medium and let cook for about an hour. Just give it a stir once in a while.
After an hour check the beans. If they seem close to being done (almost squish in between fingers), then add in the tomatoes, the chard greens, and a few more cup of water. Keep on heat and start the dumpling batter.
Dumpling batter. Mix together the dry ingredients then add in the wet. Mix until combined.
Soup. All nice and looking just about done. The vegges are soft and tender, the beans are cooked. Check and season for salt now then get ready to drop dumplings.
Drop the dumplings. Tablespoons of batter go right into the soup. Thencook, with a lid slightly covering pot, for about 15 minutes.
Look at that. Soup with soft, fluffy, dumpling ready for consumption.
Now all you have to do it serve it up and eat it up.
Soup all day. Every day. Dumplings too!
-C
makes 4-6 servings
For the soup
1/2 cup dried small white beans
1 large onion
2 carrots
2 small red potatoes
3 Swiss chard leaves and stalks
handful of cherry tomatoes (about a cup or so)
1 teaspoon garlic powder
1 teaspoon dill
1 teaspoon thyme
1 teaspoon ginger
1 teaspoon marjoram
1 teaspoon ground mustard
1/2 teaspoon sage
1/2 red pepper flakes
12 cups water
salt and pepper to taste
For dumplings
1 cup all purpose flour
1 tablespoons oil
1 teaspoon baking powder
1/2 teaspoon salt
1 teaspoon black pepper
1/2 cup warm water or plant based milk
Couple quick notes. I use water but if you really want, use veggie stalk. I find stalk overpowers soup and makes it taste salty, even when it is low sodium. Plus water is there and free but again, use stalk if you want. Also, you can use just about any veggie that you like so if you want to replace chard with celery and spinach or throw some red peppers into the soup, go for it.
Start by small dicing the potatoes, the onion, the carrots, and the stalks of the chard. Dump it all into a large pot, along with all the spices and a good pinch of salt and pepper, and place on the stove on medium high heat with about 1/2 cup water and cook for a few minutes. Cut the cherry tomatoes in half and cut the chard leaves into small ribbons. Set aside.
Once the veggies and spices have had a few minutes on the stove, add in the dried beans and 10 cups of water. Bring the pot to a boil then reduce to a medium heat. Cook for about an hour, giving it a stir once in a while. After an hour, check beans for doneness but removing one or two and pinching between fingers. . They should be close to done by now. If they are still really heard, cook for another 20 minutes, if almost cooked through, toss in the tomatoes, the chard greens and the other 2 cups of water. Keep cooking.
In the meantime, make dumpling dough. Mix the dry together then add in the oil and milk. Mix until just combined. Set aside.
Once the soup is done (the veggies are all soft and tender, the beans are cooked through which should take a total of 1 1/2 hours), it%u2019s time to dumpling. Turn the soup up to a medium high heat and carefully drop tablespoons of the dumpling batter right into the soup. The batter will float. Once all the dumplings are in, half cover the pot and let the dumpling cook for 15 minutes or until the dumplings are big, light. and fluffy.
Remove pot from heat and serve and eat right away. Big bowls, Big spoons. Pinch more of salt if needed. Lots of pepper.
This summer has been weird. And when I say weird, I mean too stupid freaking hot and humid and it’s screwing up my life.%u00a0I think I have gone a month, maybe more, without making soup.%u00a0That is just not right. For as long as I can remember I have made soup, or at least eaten soup, just about everyday, even all summer long. But the terrible heat and humidity this year, I just have had no desire. It has been straight up shredded zucchini and whole tomatoes for some time now. I just don’t want to have any residual added heat to my life.%u00a0%u00a0But the other day, oh how lovely. I woke up with a chill, %u00a0enough that I needed to grab a long sleeve before leaving the house, and had the very strong urge to return home and get my soup on. And soup on I did!
For my first trip back into soup (oh how I missed soup!),%u00a0I went simple and used what I, and many, many people have ample supplies of right now.%u00a0Tomatoes. And beans because I wanted my soup to be thick and creamy and I had the beans so why the heck not.
This soup really requires very little and you get the most thick, delicious, creamy, tomatoey soup. Perfect to eat alone, but is fanatic with some crackers, or a hunk of crusty bread. And it uses a lot of tomatoes which is nice because I am (as are many of you.. My neighbor is bringing me HER tomatoes now too) trying to make a dent in the ever growing pile or these beauties on the counter. This soup dented it, until I went out to the garden a few minutes later. My pile is bigger then ever, which is fine because I am back on my soup game.%u00a0
The stuff. Lots of tomatoes, some white beans (I used navy, but any white bean would be good) a large onion, a carrot, salt and pepper, a lemon, some olive oil, and honey (optional).
First off, chop the carrot and onion into chunks.
Toss the chopped stuff into a big ol’ pot with a drizzle of olive oil and cook on a medium heat until nice and soft.%u00a0
While veggies are cooking, core and cut up all those tomatoes.%u00a0
When the veggies have cooked up a bit, add the tomatoes, the beans, and a sprinkle of salt and pepper to the pot and give it a good mix. Return to high heat, stirring even so often, until the tomatoes give off enough juiced to start boiling then turn heat down to medium and cook for a little while, like 1/2 an hour or 45 minutes.
Until it looks lit this. The tomatoes have all fallen apart and the beans, carrots and onions are mushy.%u00a0
Blended with the juice of the lemon and a sprinkle of pepper and more salt if needed.%u00a0
Now serve into a %u00a0bowls. Garnish with a drizzle of honey if you are feeling it. Sliced cherry tomatoes make for fancy garnish.%u00a0
Creamy tomato bean soup for everyone!
Hurray for soup!
-C
Makes about 1/2 gallon (enough to serve a crowed or enough to serve one for a few days and maybe freeze some for later)
Start by chopping the onion and carrot up into small chunks. Grab a large heavy bottom pot, drizzle a teaspoon or two of olive on the bottom then toss in the chopped veggies. Place the pot on a medium heat, stirring occasionally until the onion and carrot start to soften.%u00a0
While the veggies are cooking, core and cut up all the tomatoes. Once the veggies are soft, dump in all the tomatoes, along with the beans and all the liquid they are in. Sprinkle with salt and pepper and turn heat up to high, giving it a good stir until the tomatoes start to get super juicy then bring the pot to a boil. Once boiling, reduce heat to medium and cook for another half hour to 45 minutes, giving it a stir ever so often. %u00a0When the tomatoes have completely fallen apart and the carrot, onions, and beans are mushy, you know its done.%u00a0
Remove the pot from heat and dd in the juice of the lemon. Using a hand blender, blend until it’s a smooth creamy consistency. If you only have a counter belnder, let soup cool a little before handling and %u00a0be really freaking careful and blend a few cups at a time, making sure to have the blender lid on. Hot soup in the face is no fun.
Once soup is creamy and smooth, serve in bowls with a drizzle of honey (totally optional, but some people really like a touch of sweetness to their tomato soup) and more pepper to a taste. Garnish with thinly sliced cherry tomatoes if you are feeling fancy.%u00a0
Any extra soup can be refrigerated for up to a week. Can also be frozen.%u00a0