
THE LOVELY CRAZY
Soup. No joke (although people make jokes about me), is eaten in my house, at lunch and sometime even at dinner. Every. Single. Day. There is just no going wrong with a big pot or veggies, spices, sometimes beans, sometime not. I make it in big batches, in small batches. Sometimes it%u2019s more a bisque, or a chili or a stew, or just a really really spicy broth. Whatever I have in the fridge or freezer, the stuff that might not be great eaten fresh, sad spinach%u2026. It all turns in soup.
Does that make me some kind of weird soup freak? Maybe, but I am ok with that. And to those who see me walking down the street and yell silly things about me having to get home to eat my soup (it happens more then you know) well, you know you are just jealous and secretly wish you were eating soup with my too. So %ud83d%ude1d.
Are you a soup person too? I mean, who isn%u2019t, especially right now that is is fall time and it%u2019s getting chilly and darker out and all we want to do is hibernate. Definitely a soup time if there was ever a specific time for soup. And this soup, made even more hardy and comforting with the addition on dumplings. I actually made it specifically for the mr because, well just because I love him and thought he would enjoy it. And well, he loved it because dumplings of course. Light and slightly chewy, soup thickening dumplings with hot and comforting soup. A perfect end to a day of him working outside in the cold.
So soup. Make it. Dumplings. Add those too. You will be a winner with food, and in life.
To the soup and dumplings!

The stuff. A few stalks of Swiss chard, a couple carrots and a few potatoes. An onion, dried navy beans, some cherry tomatoes. Then there is flour, with salt and baking powder, a little oil, plant based milk, and salt and pepper.
Veggie chopping time. Dice the potatoes, the onion, the carrots, and the stalks of the chard into small mouth sized pieces. Cut the cherry tomatoes in half and the chard leaves into small ribbons. Set the tomatoes and greens aside.

Dump the carrots, onion, chard stalks, and potatoes into a very large pot, add all the spices, a good pinch of salt, lots of black pepper, and a few splashed of water. Cook on medium high heat for 5-7 minutes to just kind of sweat the veggies a bit.
Add in beans and water. Bring pot to a boil then reduce heat to medium and let cook for about an hour. Just give it a stir once in a while.

After an hour check the beans. If they seem close to being done (almost squish in between fingers), then add in the tomatoes, the chard greens, and a few more cup of water. Keep on heat and start the dumpling batter.
Dumpling batter. Mix together the dry ingredients then add in the wet. Mix until combined.

Soup. All nice and looking just about done. The vegges are soft and tender, the beans are cooked. Check and season for salt now then get ready to drop dumplings.
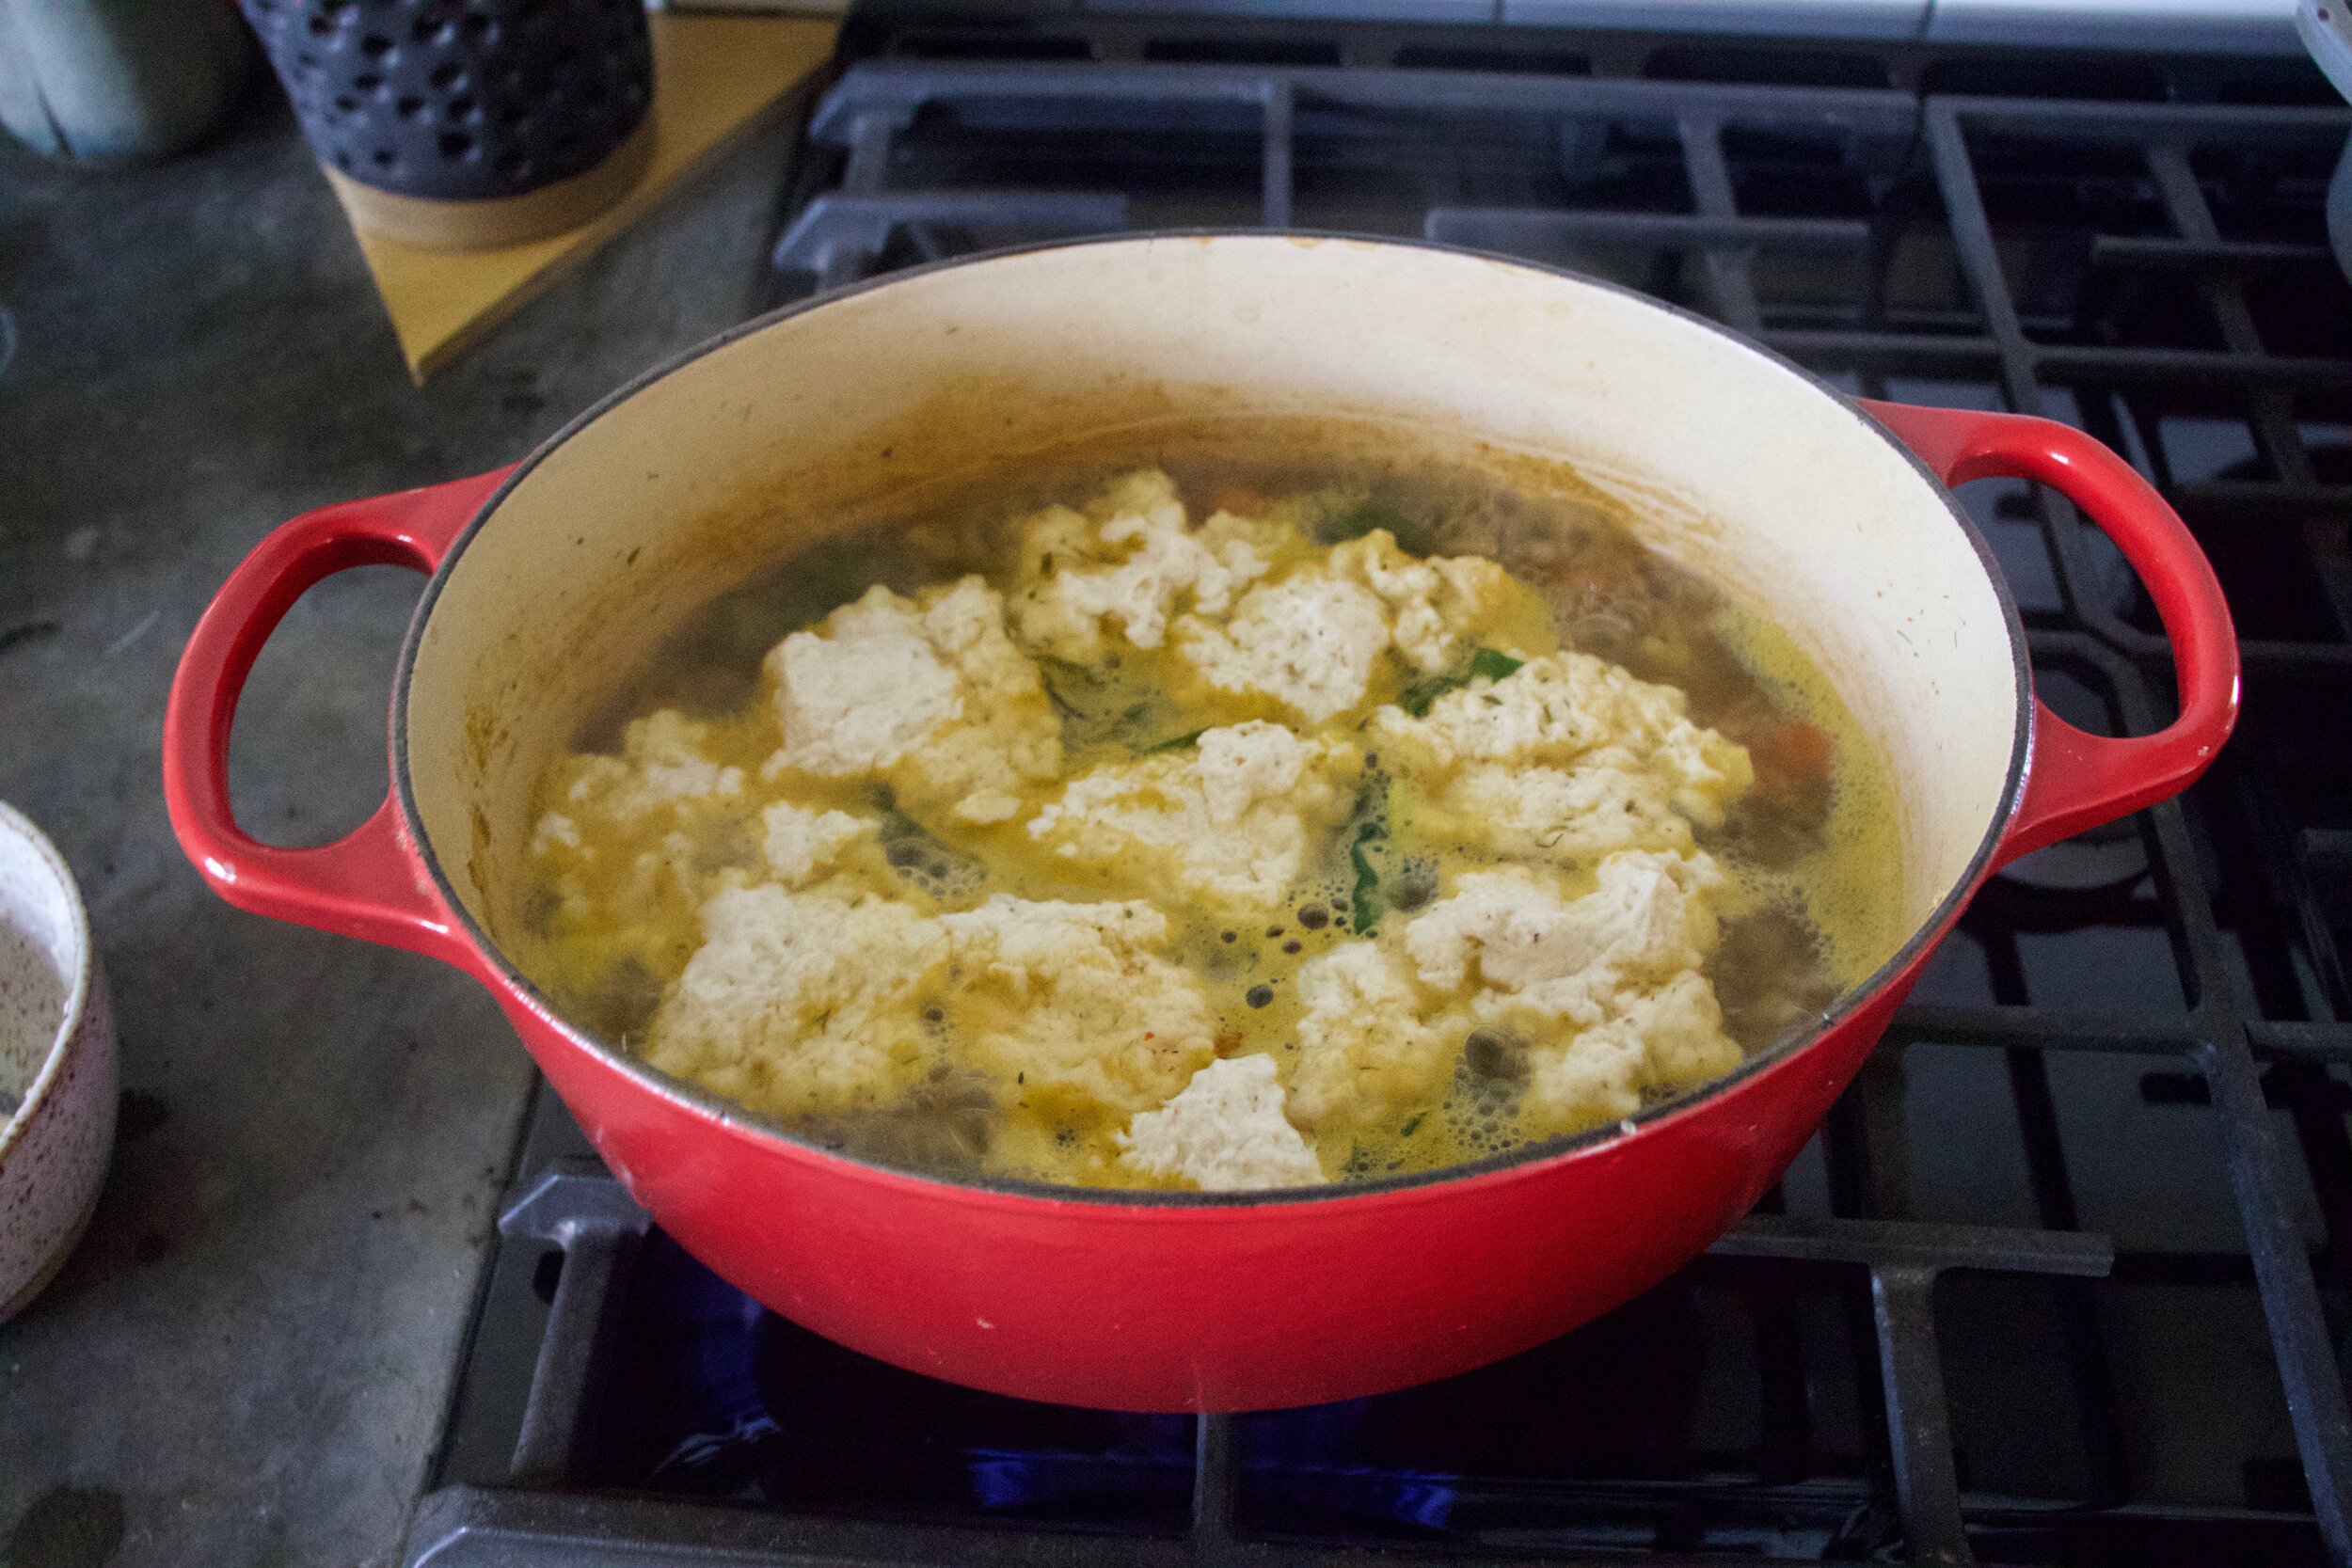
Drop the dumplings. Tablespoons of batter go right into the soup. Thencook, with a lid slightly covering pot, for about 15 minutes.

Look at that. Soup with soft, fluffy, dumpling ready for consumption.

Now all you have to do it serve it up and eat it up.
Soup all day. Every day. Dumplings too!
-C
makes 4-6 servings
-
For the soup
-
1/2 cup dried small white beans
-
1 large onion
-
2 carrots
-
2 small red potatoes
-
3 Swiss chard leaves and stalks
-
handful of cherry tomatoes (about a cup or so)
-
1 teaspoon garlic powder
-
1 teaspoon dill
-
1 teaspoon thyme
-
1 teaspoon ginger
-
1 teaspoon marjoram
-
1 teaspoon ground mustard
-
1/2 teaspoon sage
-
1/2 red pepper flakes
-
12 cups water
-
salt and pepper to taste
-
For dumplings
-
1 cup all purpose flour
-
1 tablespoons oil
-
1 teaspoon baking powder
-
1/2 teaspoon salt
-
1 teaspoon black pepper
-
1/2 cup warm water or plant based milk
Couple quick notes. I use water but if you really want, use veggie stalk. I find stalk overpowers soup and makes it taste salty, even when it is low sodium. Plus water is there and free but again, use stalk if you want. Also, you can use just about any veggie that you like so if you want to replace chard with celery and spinach or throw some red peppers into the soup, go for it.
Start by small dicing the potatoes, the onion, the carrots, and the stalks of the chard. Dump it all into a large pot, along with all the spices and a good pinch of salt and pepper, and place on the stove on medium high heat with about 1/2 cup water and cook for a few minutes. Cut the cherry tomatoes in half and cut the chard leaves into small ribbons. Set aside.
Once the veggies and spices have had a few minutes on the stove, add in the dried beans and 10 cups of water. Bring the pot to a boil then reduce to a medium heat. Cook for about an hour, giving it a stir once in a while. After an hour, check beans for doneness but removing one or two and pinching between fingers. . They should be close to done by now. If they are still really heard, cook for another 20 minutes, if almost cooked through, toss in the tomatoes, the chard greens and the other 2 cups of water. Keep cooking.
In the meantime, make dumpling dough. Mix the dry together then add in the oil and milk. Mix until just combined. Set aside.
Once the soup is done (the veggies are all soft and tender, the beans are cooked through which should take a total of 1 1/2 hours), it%u2019s time to dumpling. Turn the soup up to a medium high heat and carefully drop tablespoons of the dumpling batter right into the soup. The batter will float. Once all the dumplings are in, half cover the pot and let the dumpling cook for 15 minutes or until the dumplings are big, light. and fluffy.
Remove pot from heat and serve and eat right away. Big bowls, Big spoons. Pinch more of salt if needed. Lots of pepper.
 The bounty of spring is upon us. Asparagus is everywhere and I have been embracing it.. smelly pee and all.%u00a0 And along with all my spring veggies and smells, %u00a0I have grabbing for more springy spices. I go through seasonal spice kicks, like cinnamon and ginger in the fall, curries and chills in the winter. And for spring, I am big on sumac. If you haven’t heard of it or tasted it, it kind of taste like a tangy salty lemon..without actually having any salt. And its a really pretty, a bright red, almost purple color. I use it on a lot of things, especially veggies and bean dishes, sometimes as a lemon replacer, but mostly to add another level of tangy flavor.%u00a0It’s fantastic, really great for all those springy time dishes. Nice and bright!
%u00a0This dish is perfect made and eaten right away, but it’s one of those dishes that tastes even better the day after. Also it’s good and safe to serve room temperature. (think lunch box or a picnic!) And did I mention healthy? Protein packed quinoa and the lean green asparagus, I mean come on. You won’t feel an ounce of guilt for eating a hugmongo bowl of this stuff because you should, so it’s totally ok.
Eat away!%u00a0
 The stuff of the stuff. Quinoa and asparagus for the base. Sumac, lemon, garlic, onion, salt and pepper and a little splash of oil for the dressing.%u00a0
Note. Sumac is not always the easiest spice to find. I know that its available online (what isn’t) and that some health food store or herbal apothecaries carry it, but i have ye tot see it at a conventional supermarket. And once you find it, buy a good amount cause you will also fall in love with it and use it on everything.%u00a0
 %u00a0 %u00a0 %u00a0
 Start by making the dressing. You want to have it sit for at least 10 minutes. It will be perfect by the time the quinoa is done. Mince the garlic, dice the onion and juice the lemon. Stick it all into a jar with the sumac, a pinch of salt and pepper and about a teaspoons worth of olive oil. Stick a lid on the jar and shake shake shake. and let it sit.
Now you should make the quinoa.. Water and quinoa go into pot, high heat until boiling, %u00a0topped with a lid and set to simmer for about 15 minutes.%u00a0
 When the quinoa is simmering, cook up the asparagus. Add a drizzle of oil, to a pan and a few splashes of water. Place trimmed and chopped asparagus to pan and sprinkle with salt. Cook on medium heat for about 8 minutes, or until cooked but still has a nice crunch to it. Take off heat and add the dressing to pan. %u00a0Let it sit and marinate for a few minutes.
 When the quinoa is tender, fluff with a fork and add to the skillet with the asparagus and dressing. Toss around to make sure all the quinoa gets dressed. Take a taste.. does it need a little salt and pepper? Add a pinch if it does.
 Pile into a bowl, add a bit of cracked pepper.. and eat.
Or%u2026 Idea! Make this dish and pack it into a jar. Maybe grab a baguette and some hummus os some other %u00a0tasty foods and take yourself and a friend out for a picnic.%u00a0
So much good .
Keep it real yo
-C
Quinoa and Asparagus with Sumac Dressing
serves 3-4 %u00a0as a side dish or 2 as a main meal.%u00a0
- 1 cup quinoa
- 2 cups water
- 8-10 asparagus%u00a0
- olive oil
For the Dressing
- 1 tablespoon sumac
- 1/2 small red onion
- 2-3 cloves garlic
- Juice of 1 jumbo lemon or 2 small lemons
- 2 teaspoons olive oil
- salt and pepper
Start but making the dressing. Mince the garlic and finely dice the onion. Place in a %u00a0jar with the sumac, the juice of the lemon, a pinch of salt and pepper, and a little splash of oil. Top the jar and shake the crap out of it for a minute. Let sit and meld. (This dressing can be made ahead of time and is fantastic on all sorts of everything)
In a large pot, add water, quinoa and a spindle of salt. Bring to a boil, cover , and reduce heat to simmer. Let cook for about 15 minutes or until water has completely absorbed. %u00a0When the quinoa gets going, trim the woody parts of the asparagus and chop the remain asparagus into inch long pieces. Toss into a lightly oiled skillet with a few splashes of water, sprinkle with salt and put on medium heat for about 8 minutes, or until asparagus is cooked, but still crispy. Take off heat and add the sumac dressing. Once the quinoa is done, fluff it with a fork and toss it with the sumac dressed asparagus. Scoop into a bowl, add some cracked pepper. Bring food to face and eat.%u00a0
Any leftover? This dish is fantastic serves cold or at room temperature.
 HOORAY FOR SPRING!!!!!!!
Yesterday The mister and I went for a walk, a long walk. I was wearing a sweater, a light jacket and I %u00a0left the mittens and hat at home. There was sunshine, huge puddles and mud. Birds were chirping. It was amazing.
After our nice long walk, we got home and I needed to start dinner. It was a little later than I usually so I wanted fast and easy %u00a0I usually always have pesto in my fridge (I had to make some, but it only takes 5 minutes)%u00a0because when it’s in there, I can whip up a big awesome meal in the time it takes to boil some pasta or quinoa or smear on toast or toss with potatoes. It really can be used on everything and can be made out of just about anything. Kale and walnuts are just one of so many fantastic combos. And frozen ravioli is always in the freezer too. I %u00a0used just plain cheese, but use whatever kind you like.
Together, pesto and ravioli, well that’s a quick, easy, and tasty meal, perfect for a spring evening, %u00a0And yea, there will be left over pesto from this recipe%u2026 just stick it in the fridge or freezer%u2026.you will be glad you have it.
 %u00a0 %u00a0%u00a0
 %u00a0 %u00a0Pesto stuff. Kale, walnuts, parmesan cheese(nutritional yeast to keep it vegan), garlic, lemon, olive oil, and salt and pepper.
A few little pre steps before the blending.. Toast the walnuts. Just toss onto a dry skillet and stick on medium heat for about 5 minutes or until they start to become n%u00e9e and fragrant. Remove from skillet and add in a bit of water. Add in chopped or ripped kale and cover to let the kale tenderize, but only for about 2 minutes. (you want the kale to still be crispy and fresh tasting) %u00a0Drain water and add kale, garlic, toasted walnuts, cheese %u00a0and the juice of the lemon into a food processor. Turn on and slowly add in olive oil until you get to a nice paste, adding more oil to get to your desired consistency. Oh and don’t forget to salt and pepper to taste!
 %u00a0
 Straight up frozen ravioli goes onto an oiled baking sheet.(make sure that non are overlapping) Place into an oven at 400 degrees for about 15-18 minutes, flipping after 10. If you want to add mushroom and a few more walnuts, just toss them onto the ravioli when you are flipping over the ravioli.%u00a0
When the ravioli is nice and brown and crispy, remove from oven and dump the ravioli and the mushrooms into a bowl. Add a big old scoop of the freshly made pesto and toss around.%u00a0
 Look at this%u2026 fresh, crunchy, light and happy. Kinda like a spring day.
I am the best lady, making the mister a pretty yummy dinner.%u00a0
Have a great Tuesday!
-C
Kale Pesto and Baked Ravioli
- 4-5 cups chopped Kale
- 1/2 cup Parmesan Cheese ( Nutritional Yeast %u00a0to make it vegan)
- 1/2 cup Walnuts
- 1/4-1/2 cup Olive Oil
- 4-5 Cloves Garlic
- 1 Lemon
- Salt and Pepper
- 1 bag of frozen ravioli(use vegan or gluten-free if you want)
- 3-4 mushrooms
Note..There will be plenty of left over pesto%u2026 Just fridge or freeze it
Place walnuts in a skillet and toast on medium heat for about 3-5 minutes or until the nuts become fragrant. In the same skillet, add enough water %u00a0to cover bottom and add in all the kale. Place a lid on it and let kale wilt on medium heat for about a minutes or 2, Take off heat. Add walnuts. garlic, cheese, salt and pepper, and juice of lemon to a food processor. Blend. Now add in the kale and blend, slowly adding olive oil until a thick paste forms. You can add as much oil as you want to make it as thick or thin as you like.
Preheat oven to 400
Place frozen ravioli on an oiled baking sheet, making sure none are overlapping. Place into oven for about 15-18 minutes, removing after 8 minutes to flip. When you take the ravioli out to flip, slice up the mushrooms and grab a few more walnuts and toss onto baking sheet with the ravioli. %u00a0When the ravioli’s%u00a0are nicely browned and toasty, remove (mushrooms and walnuts too) and place into bowl. Add a big scoop of pesto and toss to mix.
Serve and eat.. fork is optional.
Note..Add a thin layer to the top of any left over pesto to keep it fresh and from turning black%u00a0
 You ever have one of those days where its %u00a09 am%u00a0and your ready to call it a day? . Yesterday was one of those day for me. Its spring vacation around here (more like an %u00a0arctic vacation) and I had volunteered my day to babysitting/ hanging out with 2 of my nephews, ages 11 and 13. (I know, I am the greatest sister). I had all of these great ideas and plans of things to do, but when it came down to it, they wanted to do nothing but play video games and not really listen to anything I said. I basically had to drag them outside to go for a walk we me and that’s all I could get them to do %u00a0My great little nephews, I love them so much, but yesterday they had their minds set on being little monsters.
I needed a drink. And I needed lunch. And so I was inspired to make this bloody mary tomato soup. Its got all the essentials to a great drink, the tomato, the spice, the zingy flavors, but warm and thick to eat as soup which was a perfect lift for a freezing cold dragging day. And no, I didn’t add the vodka to it because that would be irresponsible of me. %u00a0I am not about to serve up lunch soup to a couple %u00a0young boys with alcohol in it. I am not a dumb ass%u2026Save the vodka for when the kids go home!
 %u00a0What we have going here%u2026… Chopped up onion, celery, and carrot in a pot. Stick that pot on the stove for a few minutes on medium heat to start the cooking process. %u00a0While that happening get the other stuff ready. %u00a0A big can of diced tomatoes, hot sauce, worcestershire sauce*, %u00a0prepared horseradish*, celery salt, garlic powder, salt and pepper And last but not least a good squirt of yellow mustard. Now add it all to the pot and bring to a boil. Turn down to low and stick a lid on it.
*I used %u00a0the horseradish that is made with only horseradish and vinegar%u2026..You can use the other stuff that contains sugars and milk, but I don’t know how tastes. And the worcestershire sauce I used did not contain fish but be aware that a lot of the popular brands do, so if you care, check labels!
 After about 20 minutes the veggies should be soft and the flavors should all have melded together. Taste %u00a0soup as it is cooking and add any more spice that you want.
Now in goes the emulsifying stick of fun! (Or dump in a blender) Blend blend blend! %u00a0
 I stopped when I got to a smooth consistency with the littlest bit of texture.
And now the soup is now%u00a0ready for the bowls!
 And there it is%u2026served with a stock of celery and a wedge of lemon (I forgot to add them to the pictures!) %u00a0A bloody Mary to take the edge off%u00a0any drag of a cold weather day. And best part.. %u00a0 left over soup is great served chilled with a shot of vodka to loosen this Mary up!
Have a Happy Day!
-C
Bloody Mary Tomato Soup
The Stuff
Side note%u2026The spicier ingredients…hot sauce, horseradish, and worcestershire sauce are pretty flexible. My advice is to start with the lesser amounts of the ingredient and work your way up until you get to your happy soup place.
- 32 oz can of crushed or diced tomatoes
- 2 medium carrots
- 1 small onion
- 2 stalks or celery plus more for garnish
- 1-2 teaspoons horseradish
- 1-2 teaspoons worcestershire sauce
- 1-2 teaspoons hot sauce or %u00a0ground cayenne pepper
- 1 tablespoon yellow mustard%u00a0
- A lemon cut into wedges (To squeeze on as a garnish)
- 2 teaspoons celery salt
- 1 teaspoon garlic powder
- Salt and cracked pepper to taste
Dice up carrots, onion and celery and place in a large pot and cook on medium heat for about 5 minutes. Once the %u00a0veggies are slightly soft, add in the rest of the ingredients plus one tomato can %u00a0worth of water. Bring to boil, cover and turn heat down to low. Cook for another 15-20 minutes or until all the veggies are super soft and the flavor have all developed. %u00a0Add salt and pepper, taste and add any additional spicier spices that you want.
When happy with taste, either %u00a0in a blender or with a hand emulsifier, blend soup until smooth (or to your desired constancy)%u00a0Soup is now ready to serve.
Ladle or pour into bowls %u00a0and serve with a stalk of celery and maybe a wedge of lemon. Crackers or croutons are welcome too.
Eat with a Spoon
Soup left overs are great refrigerated and served cold.%u00a0Add a splash of vodka to make it fun.
%u00a0 %u00a0 %u00a0
  Before we get to the fries, I just want to mention that %u00a0yesterday was one of those fantastic winter days that reminds me why I love living in Vermont. %u00a0Pretty white snow everywhere, the sun was out, and 20 degrees without a gust of wind. The trash dog an I were even able to go for a little hike. %u00a0It was so nice and soooo sooo needed!%u00a0 Anyways, the other day as me, my sister and the mister where putting together %u00a0one more piece of Ikea furniture, (I am the master at Ikea assembling!) %u00a0a little runs into the room and presents the mister with a Dominos pizza. Yup, a whole pizza just for him. Why you might ask? Well I guess my sister was %u00a0delivered the wrong pizza and the place didn’t want it back and she didn’t want it, so she gave it to him.
A whole pizza to himself. I didn’t mind too much..he was just going to be eating it for lunch and dinner until it was%u00a0out of the fridge. But for dinner I did want him to eat something of the vegetable matter that didn’t come out of a box. I was going to make him a big salad, but then realized that would mean%u00a0sharing the last of the greens that I had for MY%u00a0dinner and I was not about to do that, so I made him parsnip and carrot fries instead. No biggy, just some slicing, a little tossing and a bit of time in the old oven. And I figured I might as well make a nice sauce for those fries because I be so very nice.
The biggest problem that I ran into when I made these fries was that I didn’t make enough, so you should probably make twice as many as you think you will eat. If you end up not eating them all (which you probably will), well then you now have a great start for a soup or a nice addition to a salad. Either way, you will eat them because they are amazing and addicting%u2026 and as healthy as can be!
 The carrots and the parsnips are all sliced up into big matchsticks and ready to be baked to crispy browned perfection. %u00a0I added the oil to the pan to toss the fries in and then sprinkled with a fair amount of salt and pepper. %u00a0If you don’t have and or want to use a cast iron pan, a baking sheet works just the same.
 %u00a0 %u00a0
 Oh saucy sauce stuff. Tomato puree, sriracha, and yellow mustard. Add a little bit of honey to lighten it up (can use brown sugar if keeping it vegan), a splash of apple cider vinegar and a couple minced cloves of garlic. Topped off with the smokey delightful spice of cumin. I cold eat this on everything%u2026and I kind of did.%u00a0
All mixed up in an oven safe dish, I stuck it into the oven for a about 8 minutes until it got a little bubbly, just to let all the flavors fuse together%u2026
 Fries are done, Sauce is ready. Served in super cute tea cups.(from now on I want to serve everything in tea cups.) A perfect side dish, snack, or even a light meal. %u00a0It lead the mister to ask the question…What pizza?%u00a0
Happy Day!
-C
Parsnip and Carrot Fries with Smokey Sriracha Sauce
The Stuff
For the Fries
- 2 large parsnips
- 2 large carrot
- salt and pepper
- 1 tablespoon oil
For the Sauce
- 1 tablespoon Sriracha
- 1 tablespoon mustard
- 2 tablespoon tomato puree (or 1 tablespoon tomato paste and 1 tablespoon water)
- 2 cloves or garlic
- 1 teaspoon honey or brown sugar
- 1 teaspoon cumin
- a splash of apple cider vinegar
- a pinch of salt
Preheat oven to 425.
Wash%u00a0and trim%u00a0carrots and parsnips and cut into large matchsticks%u00a0(any shape is good, just make them all uniform) Toss with oil and sprinkle with salt and pepper. Place on cast iron pan or baking sheet and stick in oven for 30 or so minutes, and rotating after about 20. The fries are done when %u00a0crispy and brown.
For the sauce. Mince garlic and add to all the sauce ingredients in an oven safe bowl. stick into oven for about 8 minutes until slightly bubbly and hot.
Dip fries in sauce
 %u00a0 %u00a0 %u00a0

First off.. Happy Saturday %u00a0and Happy Valantines Day!
Once again, it is so F-ing cold out and I don’t want to leave my house! And because of the cold we%u00a0decided to forgoing the traditional V day hike(kinda sad) but instead are going to just hang at home and watch movies. (which is actually kind of nice because now I get to stay all frumpy and warm , hanging out in my baggy old sweats and oversized sweater (so sexy right?) %u00a0
Anyways.. %u00a0being all cozy usually entails something warm and yummy to drink. Neither of us are really big on hot chocolate, (plus we don’t have the stuff to make it) and sure we could crack open the fancy bottle of wine we bought for dinner (4.99 Trader Joes Special!!!!) or we can save that and I can whip up something a little spicy sweet.
Warm winter lemonade!! We are both big on lemon in everything and I just bought a bunch of sweet meyers lemons, so I think it’s meant to be.
Sweet, a little spicy, and warning%u2026.Perfect for a day of cuddling on the couch or for something to warm you after being outside. Great for anyone who wants a little something tasty that isn’t chocolate or booze, even good for those that might be feeling a little under the weather. %u00a0Kids and adults alike%u2026. this winter lemonade works for it all. %u00a0
So whip some up and stay warm!
And have a fantastic day!!!
-C
Warm Winter %u00a0Lemonade %u00a0
Serves 2
- 1 Meyer lemon (can use regular lemon too)
- 3 cups water
- 2 tablespoon of honey (use sweetener of choice if vegan)
- A few sprinkles of cinnamon(optional but recommended!)
Slice lemon and place into a pot with water, cover, and bring to a boil. Once boiling, remove from heat and let sit for a minute or two. Transfer to a blender (or use a emulsifier) and blend until frothy. %u00a0Place a tablespoon of the honey or whatever sweeter into each cup. (add more if you like) Strain lemon mixture in equal amounts into mugs. Stir and sprinkle with cinnamon.
If you don’t want to use the blender method, you can juice 1 lemon, split into two mugs , add sweetener and top with hot water.. Don’t forget the cinnamon!%u00a0

%u00a0It’s Friday!!! And what does that mean? Pizza Pizza!!!!But not just Fridays%u2026pizza happens more times then not in our house%u2026It’s the misters favorite food and for real, he could eat it everyday, all day.%u2026He is kind of made of the stuff. As for me, well I don’t mind making it for him because it’s easy. And because I am making it, it doesn’t have 8 million calories, 9 million grams of fat and have 10 million milligrams of sodium like takeout of frozen. %u00a0My pizzas are for the most part pretty freaking heathy. It really depends on how its topped. Like take this one.. Homemade pesto, good quaility cheese, (you can use vegan or low fat)%u00a0chickpeas and tomatoes. Not to shabby. And really, it isn’t any more complicated then calling the take-out place or unwrapping the frozen plastic disk from the box. All you need is some good dough (I guess you could use store bought) and some good quality toppings%u2026 and you’re there%u2026Pizza in your face.
For this pizza I used the skillet cooking method. This crust is one of %u00a0the misters favorites. It is a basic pizza dough but cooked on the stove in a skillet. It’s almost like a pita bread, but not. And I like to make it this way because its really fast (once the dough is made) and I can even make up a few crusts to have on hand for later.
Fast, healthy, and tasty%u2026..Why not eat pizza every day?%u00a0

Not too many ingredients here. 3 cups of all purpose flour or 2 cups all purpose and 1 cup white whole wheat. A teaspoon salt, a teaspoon honey (use sugar if vegan), yeast and warm water%u2026%u00a0
Start with the dough. %u00a0Add honey or sugar to yeast and warm water and let sit to active, which should take about 5 minutes.
%u00a0Mix together the salt and flour(s) and add the foamy yeast mixture. Mix until it all comes together and dump out onto a floured surface. (if the dough seems to dry add a splash of water..if way to wet, add a little flour) Give the dough a good 2-3 minute knead session, adding flour as needed to keep the dough from sticking. Form a nice ball, place back into bowl and drizzle with oil. Cover bowl with a towel and stick in warm place to rise for about an hour or until it has doubled in size.

When dough has doubled, dump back onto a floured surface and divide into 4 equal sized balls (or as many balls at whatever size you want)
Now you have a few choices here. You can either cook up all the dough now if you need it, or freeze dough balls for future use. If you think you are going to make pizza again within the next few days, it can be refrigerated, or you could also blind bake the dough and freeze or fridragerate that and have pre baked crusts all ready to go. So many options%u2026 just do whatever works for you.%u00a0

To make the dough in a skillet, oil the bottom of a 15 inch skillet, turn burner on to high and let preheat until the oil is sizzling. Roll dough out to roughly the size of the skillet and when it has preheated, place dough on in there and let cook for about 3-5 minutes, or until the dough starts to bubble and the bottom has started to brown. Turn burner down to medium and flip. Cook this side for another 3-5 minutes.
If you want oven crust, just roll out and place on a baking sheet and bake with topping on at 475 degrees for about 20 minutes


Now the crust is ready for the toppings!!
Preheat the oven to 450 degrees.%u00a0
Smear the pesto (for this pie, I used the last of my homemade pesto from last summer%u2026sad face) Mince garlic and distribute evenly on top of that. Then do the cheese, followed by the tomato slices and chick peas. Sprinkle with a bit of salt, cracked pepper and some parmesan cheese.%u00a0
Stick into oven for 10 or so minutes or until the chesse is nice and bubbly and the crust os crispy and brown.


And that is pizza. A super duper, yummy, healthy, not too fatty or overly salty%u2026 %u00a0can be eaten breakfast lunch or dinner time, pretty, satisfying, pizza. %u00a0
Make it for yourself, for you lover, for a friend. Make it in the shape of a heart or an elephant. Give you kid(s) a ball of dough and have them make their own%u2026 I know%u2026 such a good idea.%u00a0
Everyday, all day.. Happy Friday and Happy Pizza
Stay warm!
-C
For the dough ..Makes about four 10 inch pizza doughs or three 12 -14 inch doughs. This is also the same recipe I use for all of my pizzas (skillet and oven)
- 3 cups of all purpose flour or %u00a02 cups all purpose and 1 cup white whole wheat
- 2 1/4 teaspoons of yeast or 1 packet
- 1 teaspoon of honey or sugar
- 1 teaspoon salt
- 1 1/2 cups warm water
The Pizza Toppings (for a 15 inch crust..adjust amounts to your need or liking)
- 1/4 cup of pesto
- 1 large %u00a0roma tomato thinly sliced
- a few cloves of garlic minced
- 1/1 cup of prepare chick peas.. rinsed and drained
- 1/2- 3/4 cup of cheddar cheese (or any kind you like..use vegan cheese if you want too)
- salt, pepper, and parmeasan (optional) to sprinkle on top
To start, place honey, yeast and water into a jar or bowl and let sit to active until mixture starts to foam. Mix together flour and salt into a large bowl and add in yeast mixture. Stir until combined and dump onto a well floured surface. Knead dough for a a few minutes and form into a ball. Place back into bowl, drizzle with oil and top with a towel. Place somewhere warm to rise for an hour, or until dough has doubled in size.
When dough is done rising, dump back onto floured surface and divide into 4-8 equal sized balls.( 4 balls make %u00a015 inch pizza%u2026 8 balls are good for individual size pizzas) Place whatever dough you are not going to use into a closable plastic bag and either stick in fridge(if using within a few days) or freeze for future use.
Place skillet on high heat on stove and drizzle with oil. Also, preheat oven to 450 degrees. Roll out you dough and when the skillet is has gotten really hot, place dough right on in. Let cook for about 3-5 minutes or unit the cough has started to form bubbles and the bottom has started to brown. Turn heat down to low and cook other side for another 3-5 minutes or until browned.%u00a0
Now pizzafy it.. Add on the toppings. Smear with pesto, add minced garlic, then evenly sprinkle cheese. Top with the chick peas and the sliced tomatoes. A sprinkle of salt and pepper and a dusting of grated parmesan%u2026%u2026Right into the oven for about 10 minutes to melt it all together%u2026..
Pizza Pizza!!!

 %u00a0
  %u00a0 I have been meaning do a post on seltzer and syrups for a while now and this one is perfect%u2026 Everyone around me has been getting sick and I am trying my hardest to not get anything.%u00a0
Citrus and ginger%u2026. Two of my favorite things, combined into one super refreshing, light and crisp, thirst quenching drink. Tasty and packed full of vitamin C from the citrus and blood warming, tummy healing ginger. Its kind of%u00a0a feel better elixir, a good for you drink, a sparkler pop. %u00a0A drink everyone can get into %u00a0 %u00a0 %u00a0 (the mister even liked it), And it has no added sugars or nasty coloring, it can’t get much better.
Feeling Happy, feeling crappy, or just plain feeling, this drink is a good for it all.
%u00a0
I made the ginger date simple syrup ahead of time.. All I did what chop 2 1/2 tablespoons fresh ginger and %u00a0about 3 tablespoons pitted dates and added to a pot with a cup of water. Simmered the stuff until the dates were mostly dissolved, about 15 minutes, took off the %u00a0heat and pureed it. I let it steep for another 5 minutes and strained%u2026.no biggy. %u00a0 This is a milder sweet simple syrup. If you like sweeter add more dates or even add a bit of honey%u2026 Do what tastes the best to you.

Juice the lime and blood orange%u2026..so much pretty!
I ended up with about 12 tablespoons of juice from a the lime and the orange.. If you need or want to, juice an additional orange and lime.%u00a0

Add 2-3 tablespoons of the fresh juice per 12oz glass and add about 2-3 tablespoons of the ginger date syrup%u2026(adjust amounts to you taste) Top off with cold plain seltzer water and maybe an ice-cube or two. ( I would have if I had thought to make ice)
 So lovely%u2026. so nice.%u00a0I really got into these flavors. This drink has the ability to make you feel warm and cozy while being cold and fresh. It makes me happy.
Double thumbs up here!
Stay un-sick!
-C
Blood Orange Ginger Lime Sparkler Pop
Ingredients
- 2 1/2 tablespoons fresh chopped ginger
- 3 tablespoons chopped dates (more if you want sweeter)
- 1 cup water
- 1 lime
- 1 blood orange
- Plain Seltzer water
- Ice (optional)
For the ginger date syrup
In a small pot on low heat, add chopped dates and ginger to a cup of water. Simmer until dates %u00a0have mostly dissolved, about 15 minutes. remove from heat and puree with either %u00a0a blender to a hand emulsifier. Let steep for another 5 minutes and strain, reserving the pulp (add it to soup or salad dressing). Let completely cool.
To assemble drink, juice blood orange, and lime. Add about 3 tablespoons of the ginger syrup and 2-3 tablespoons of the citrus juice per 12 0z cup. Top with plain seltzer water, give it a light swirl with a spoon or straw and add ice cube if you want. Now have at it!
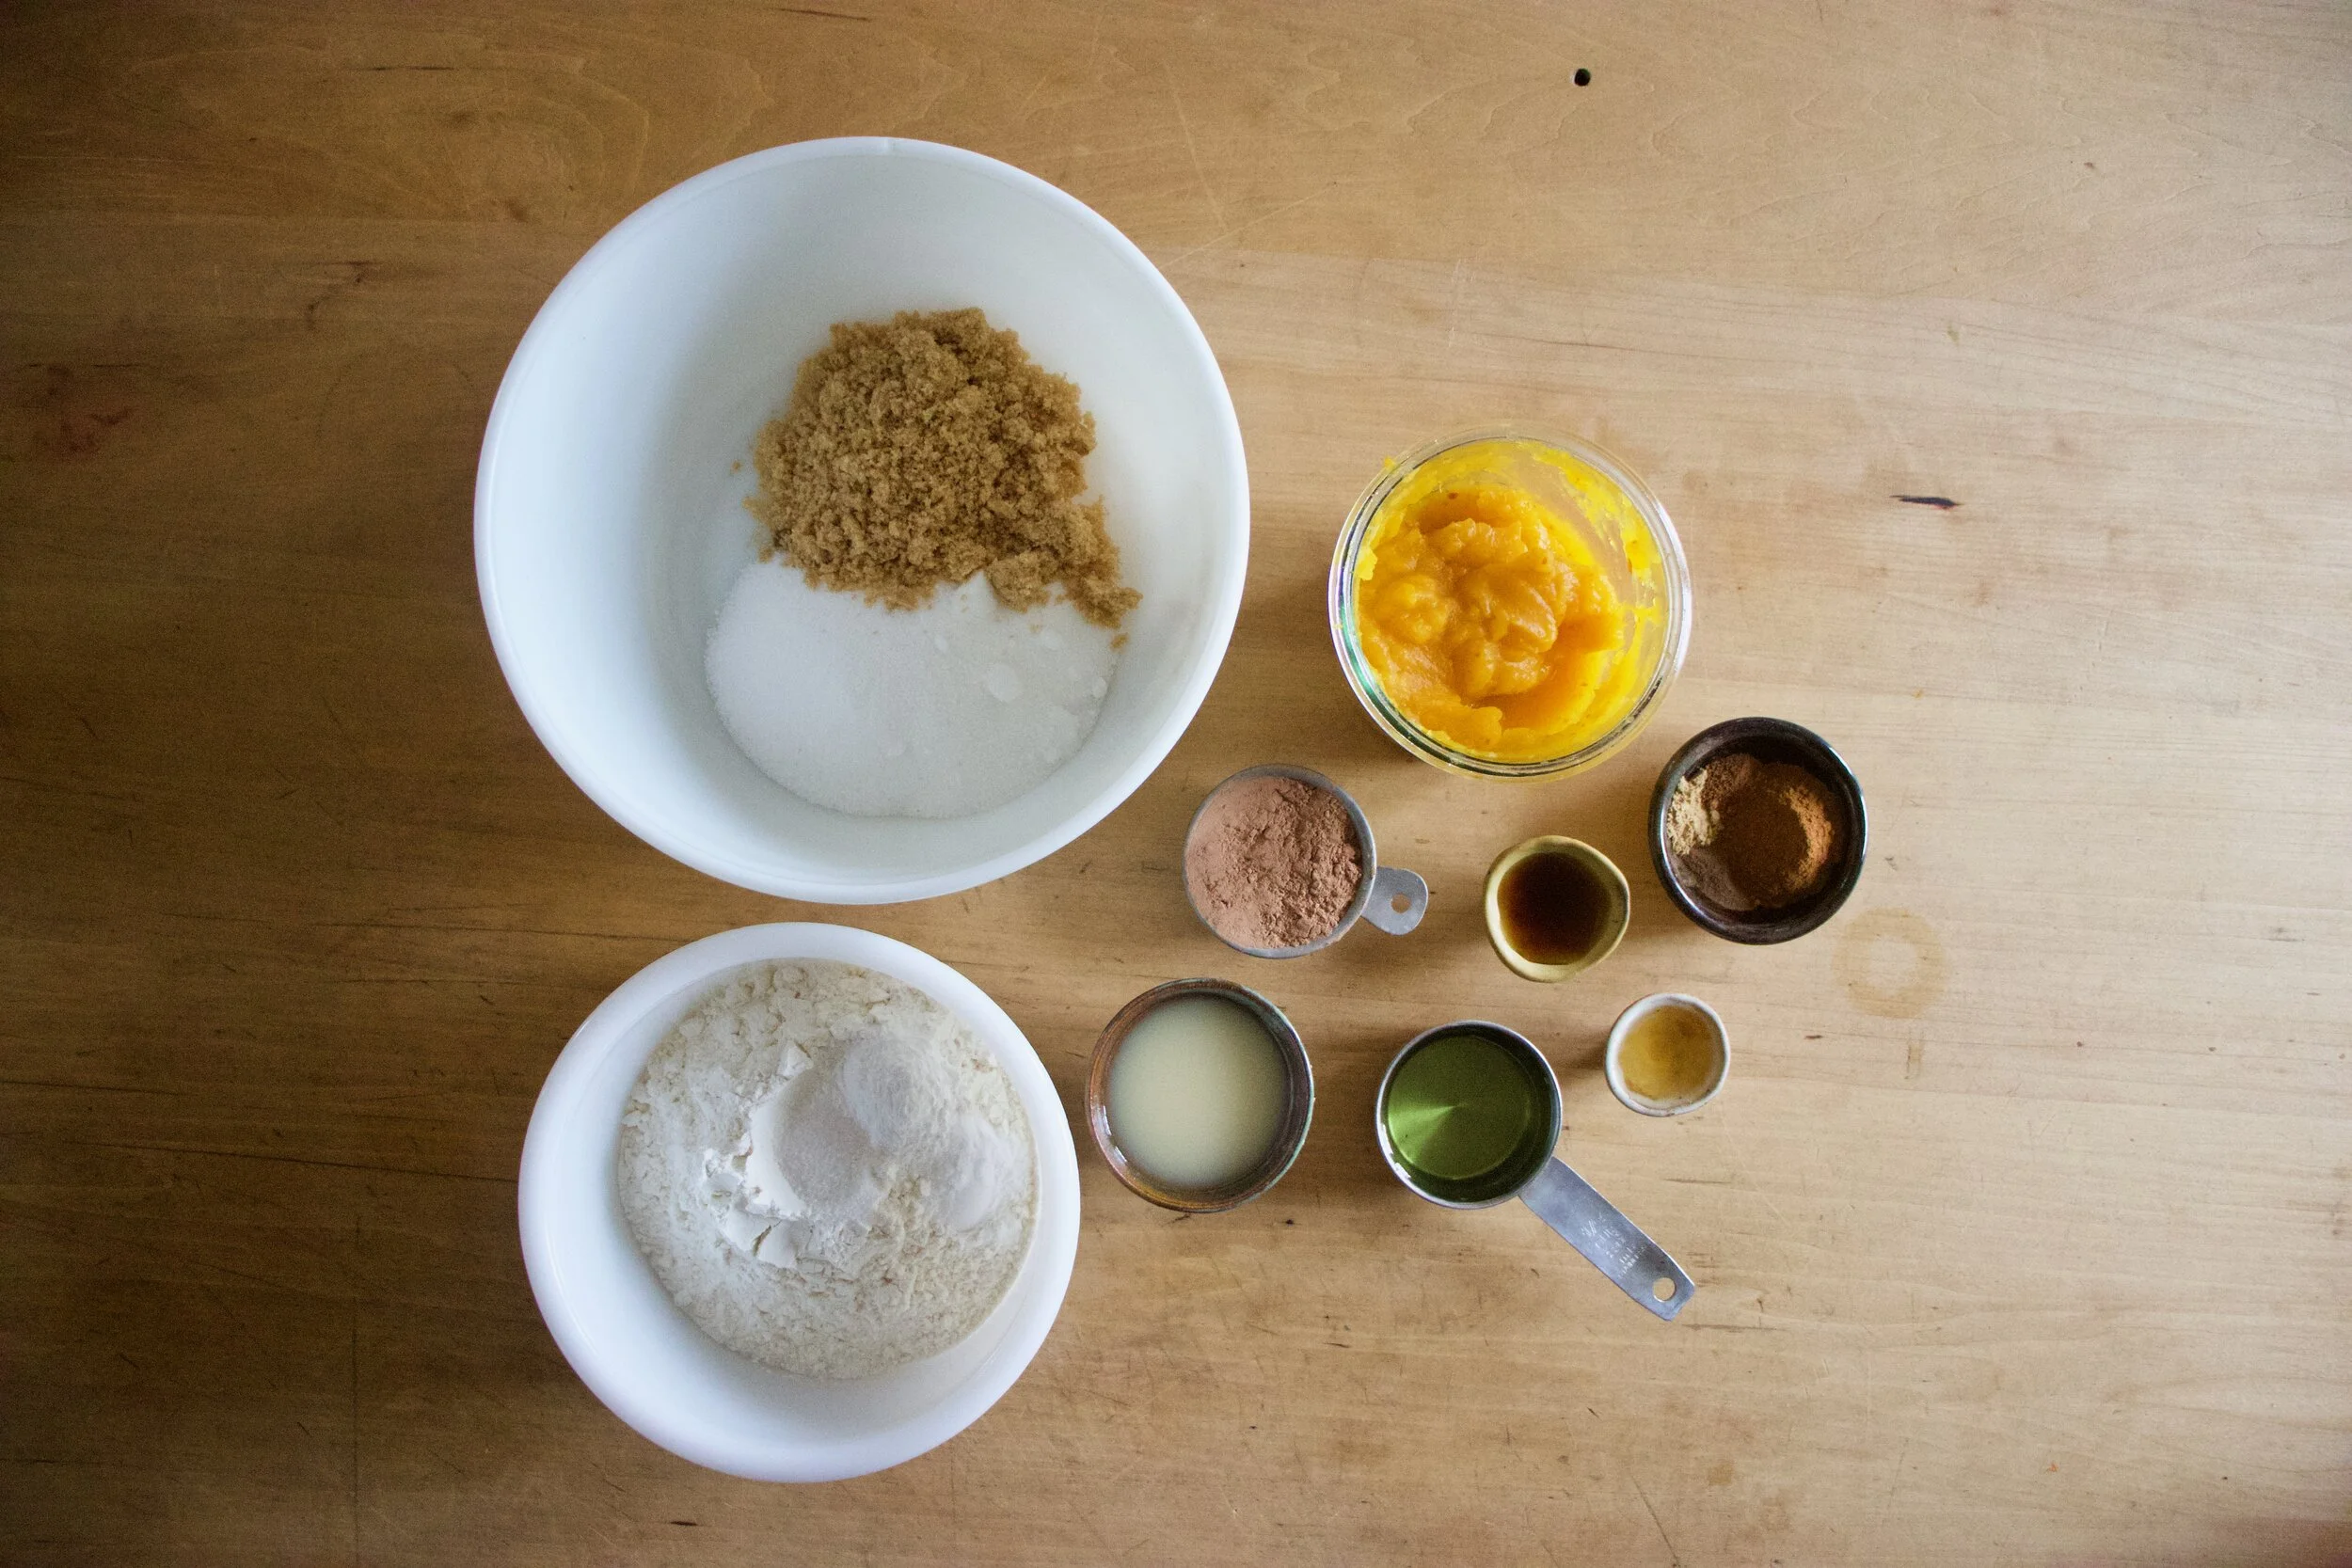
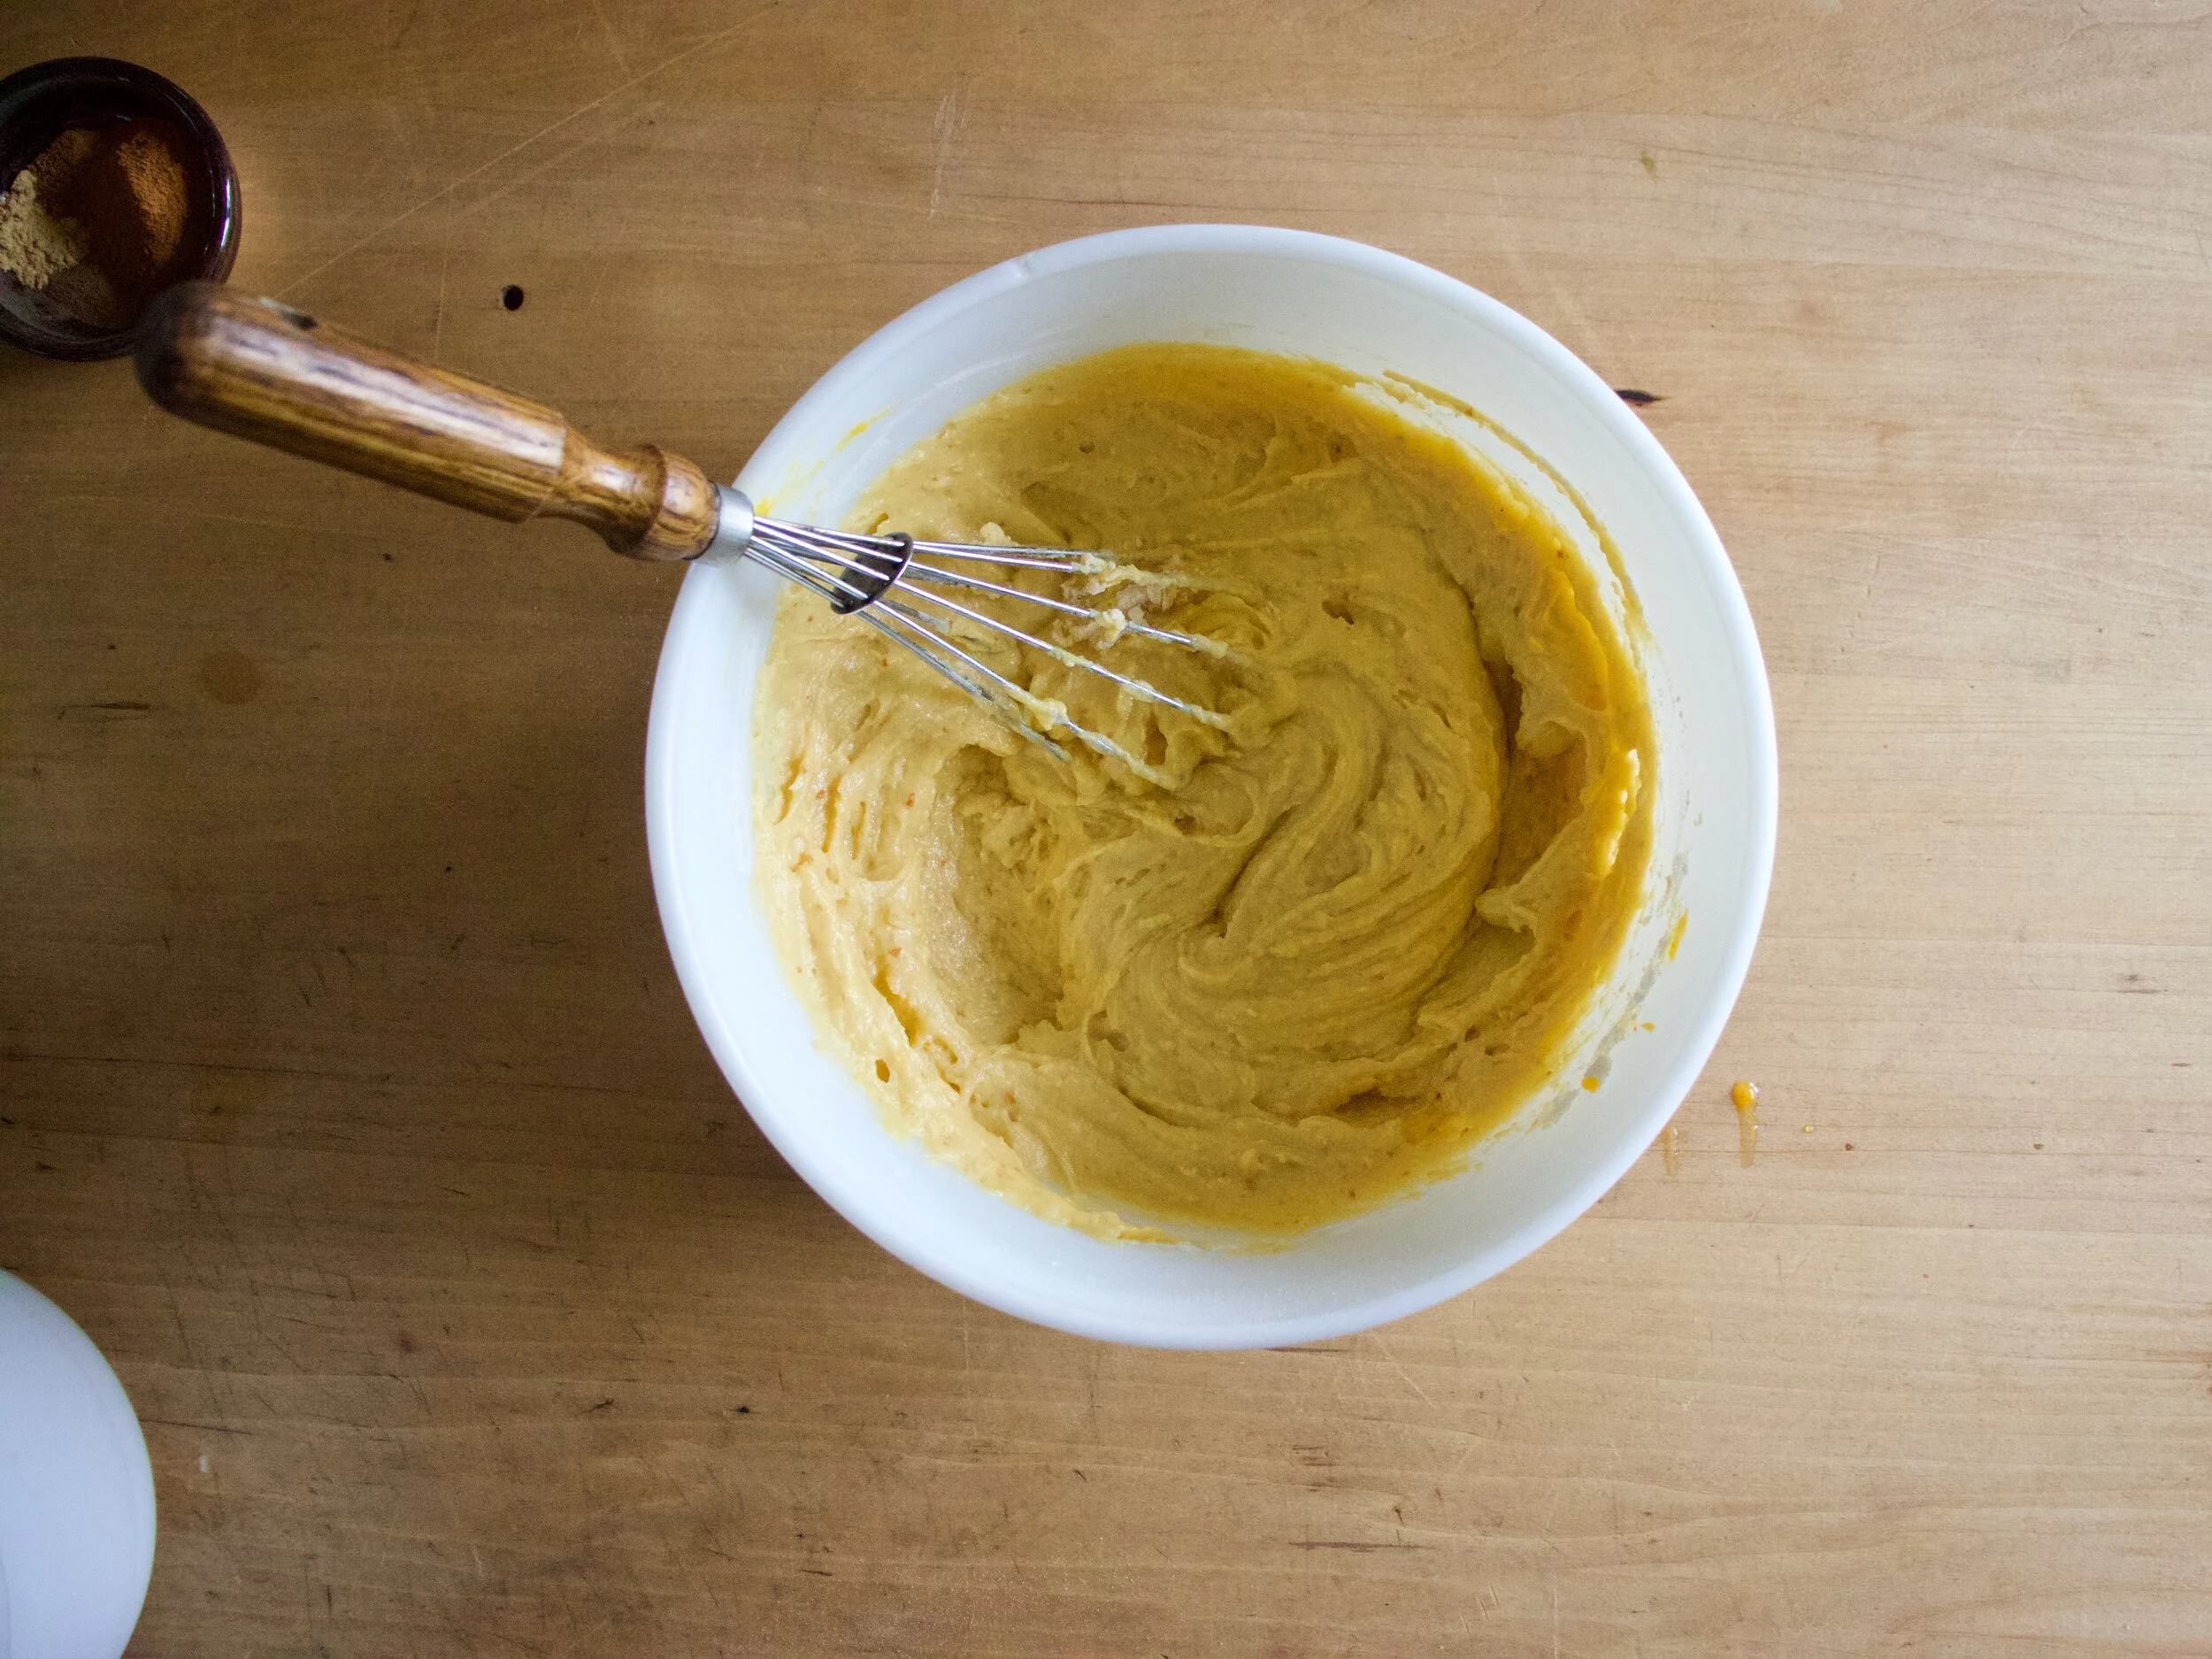
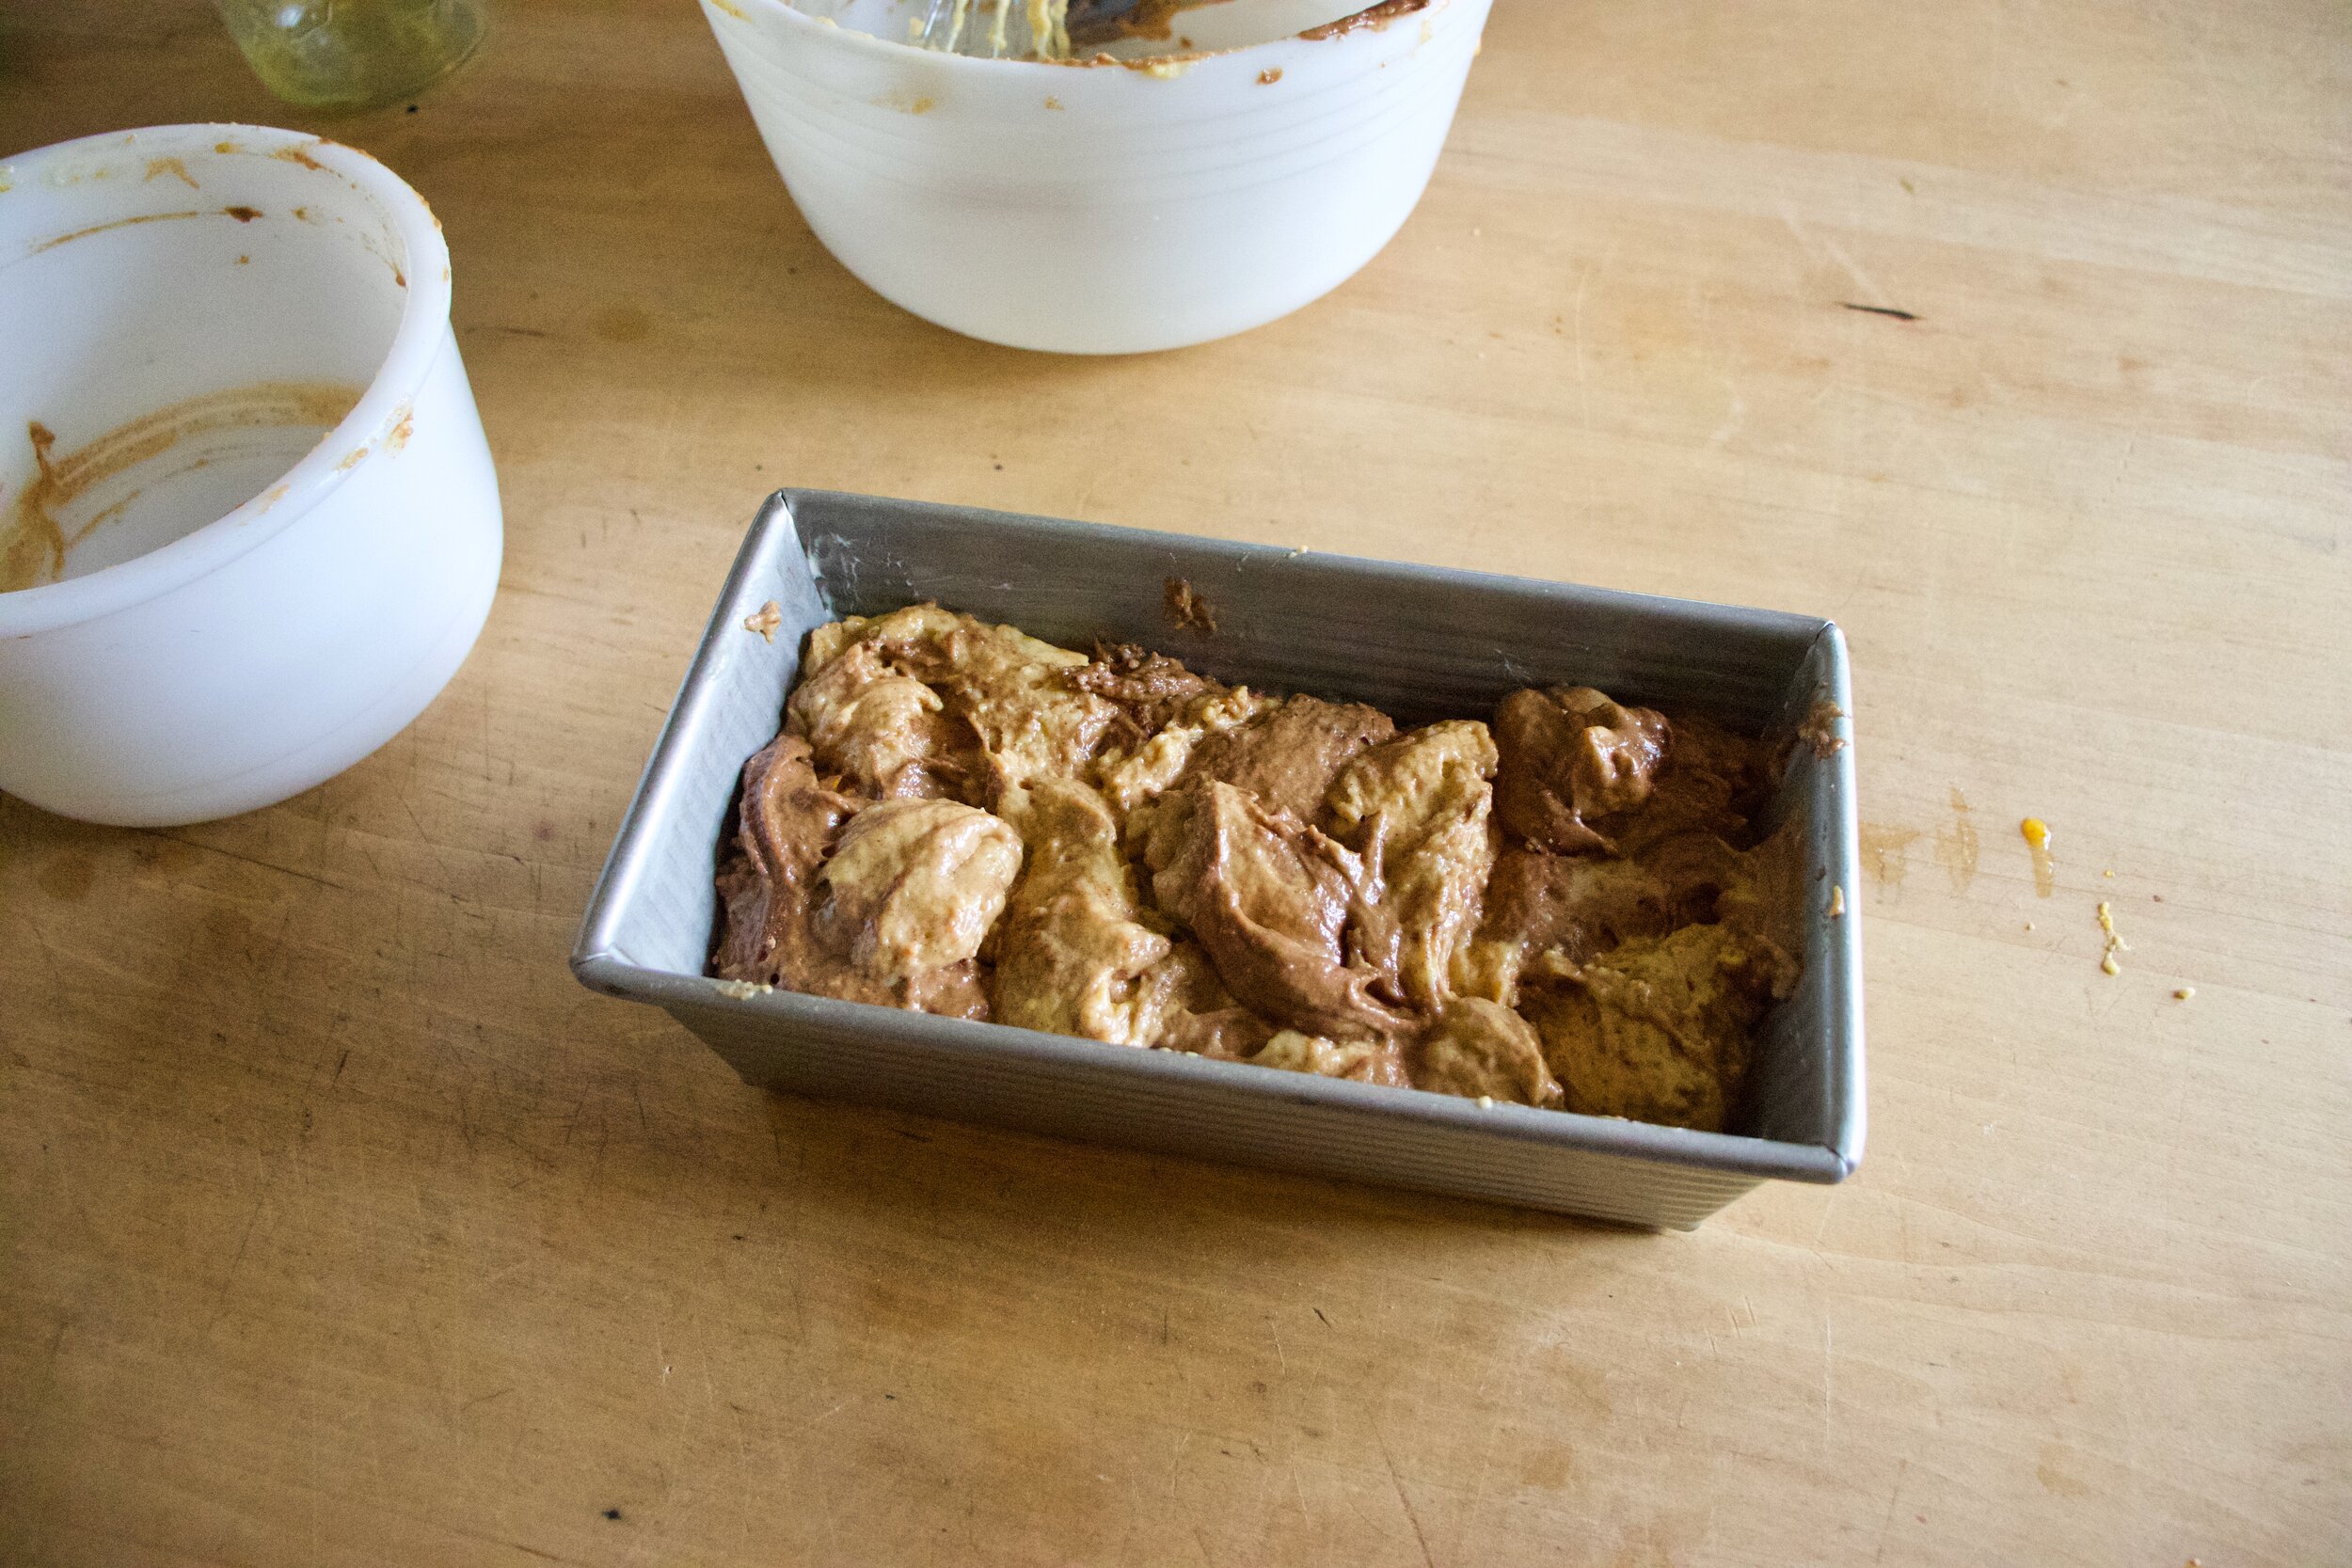



































































































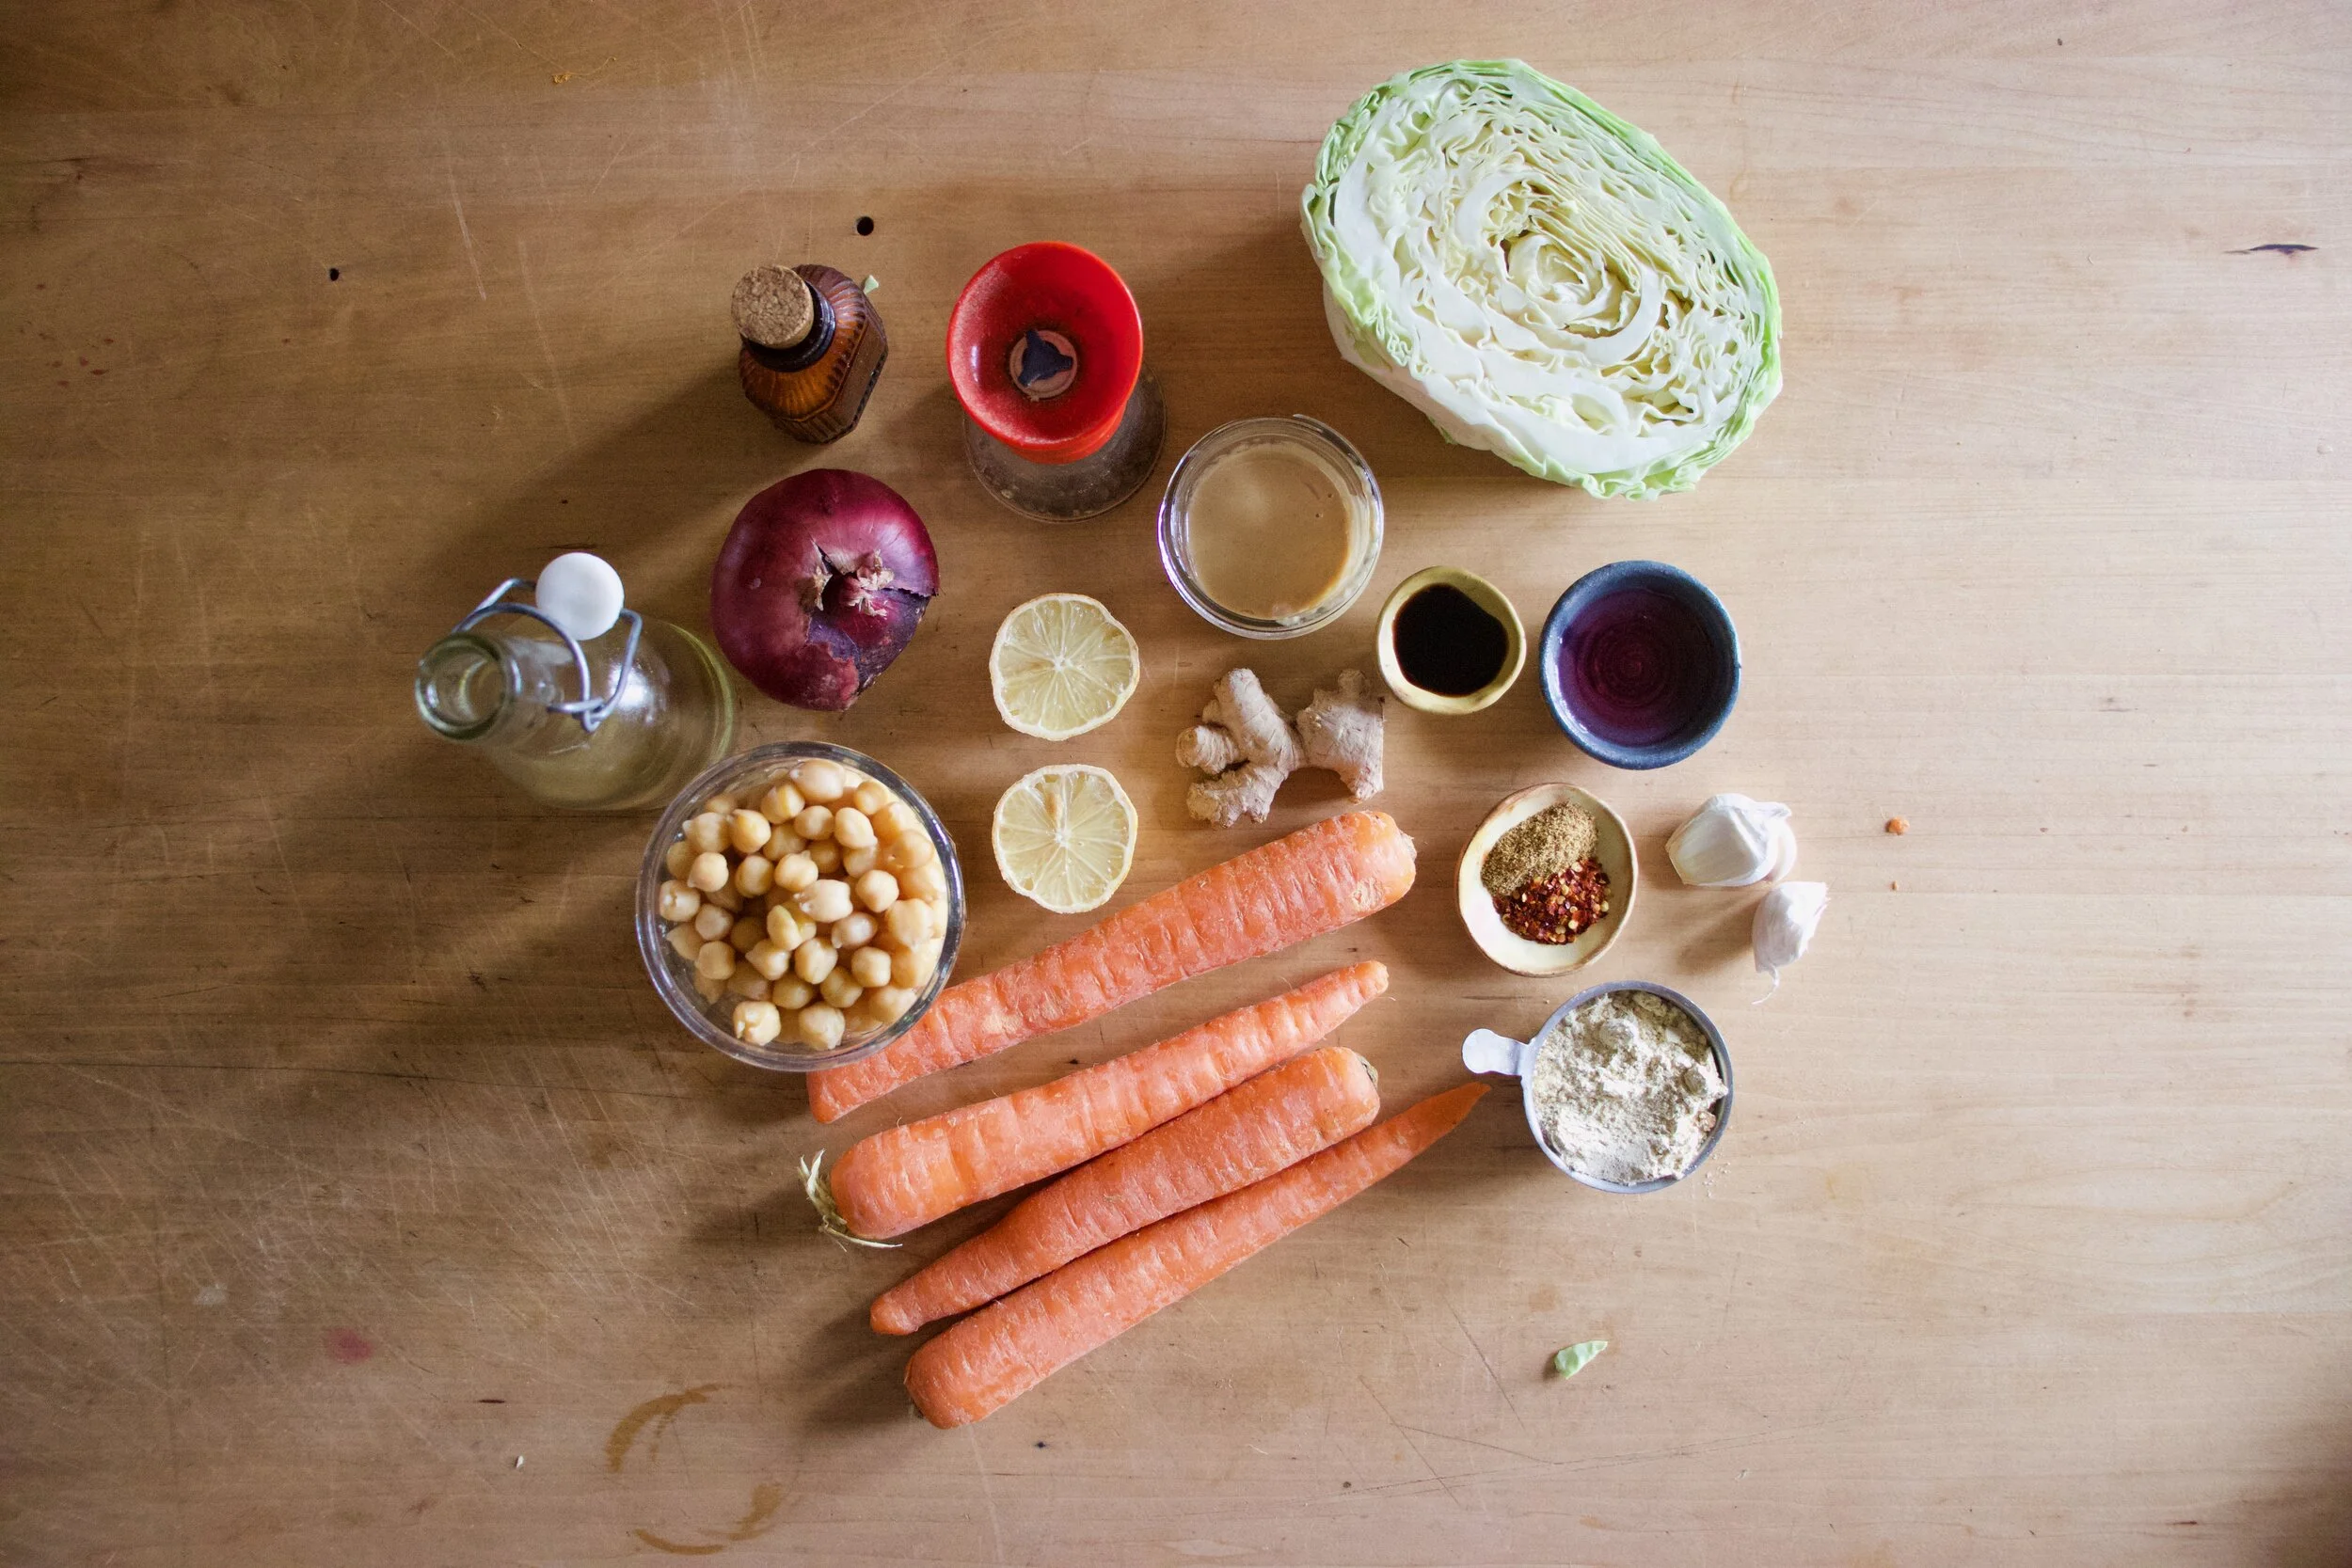
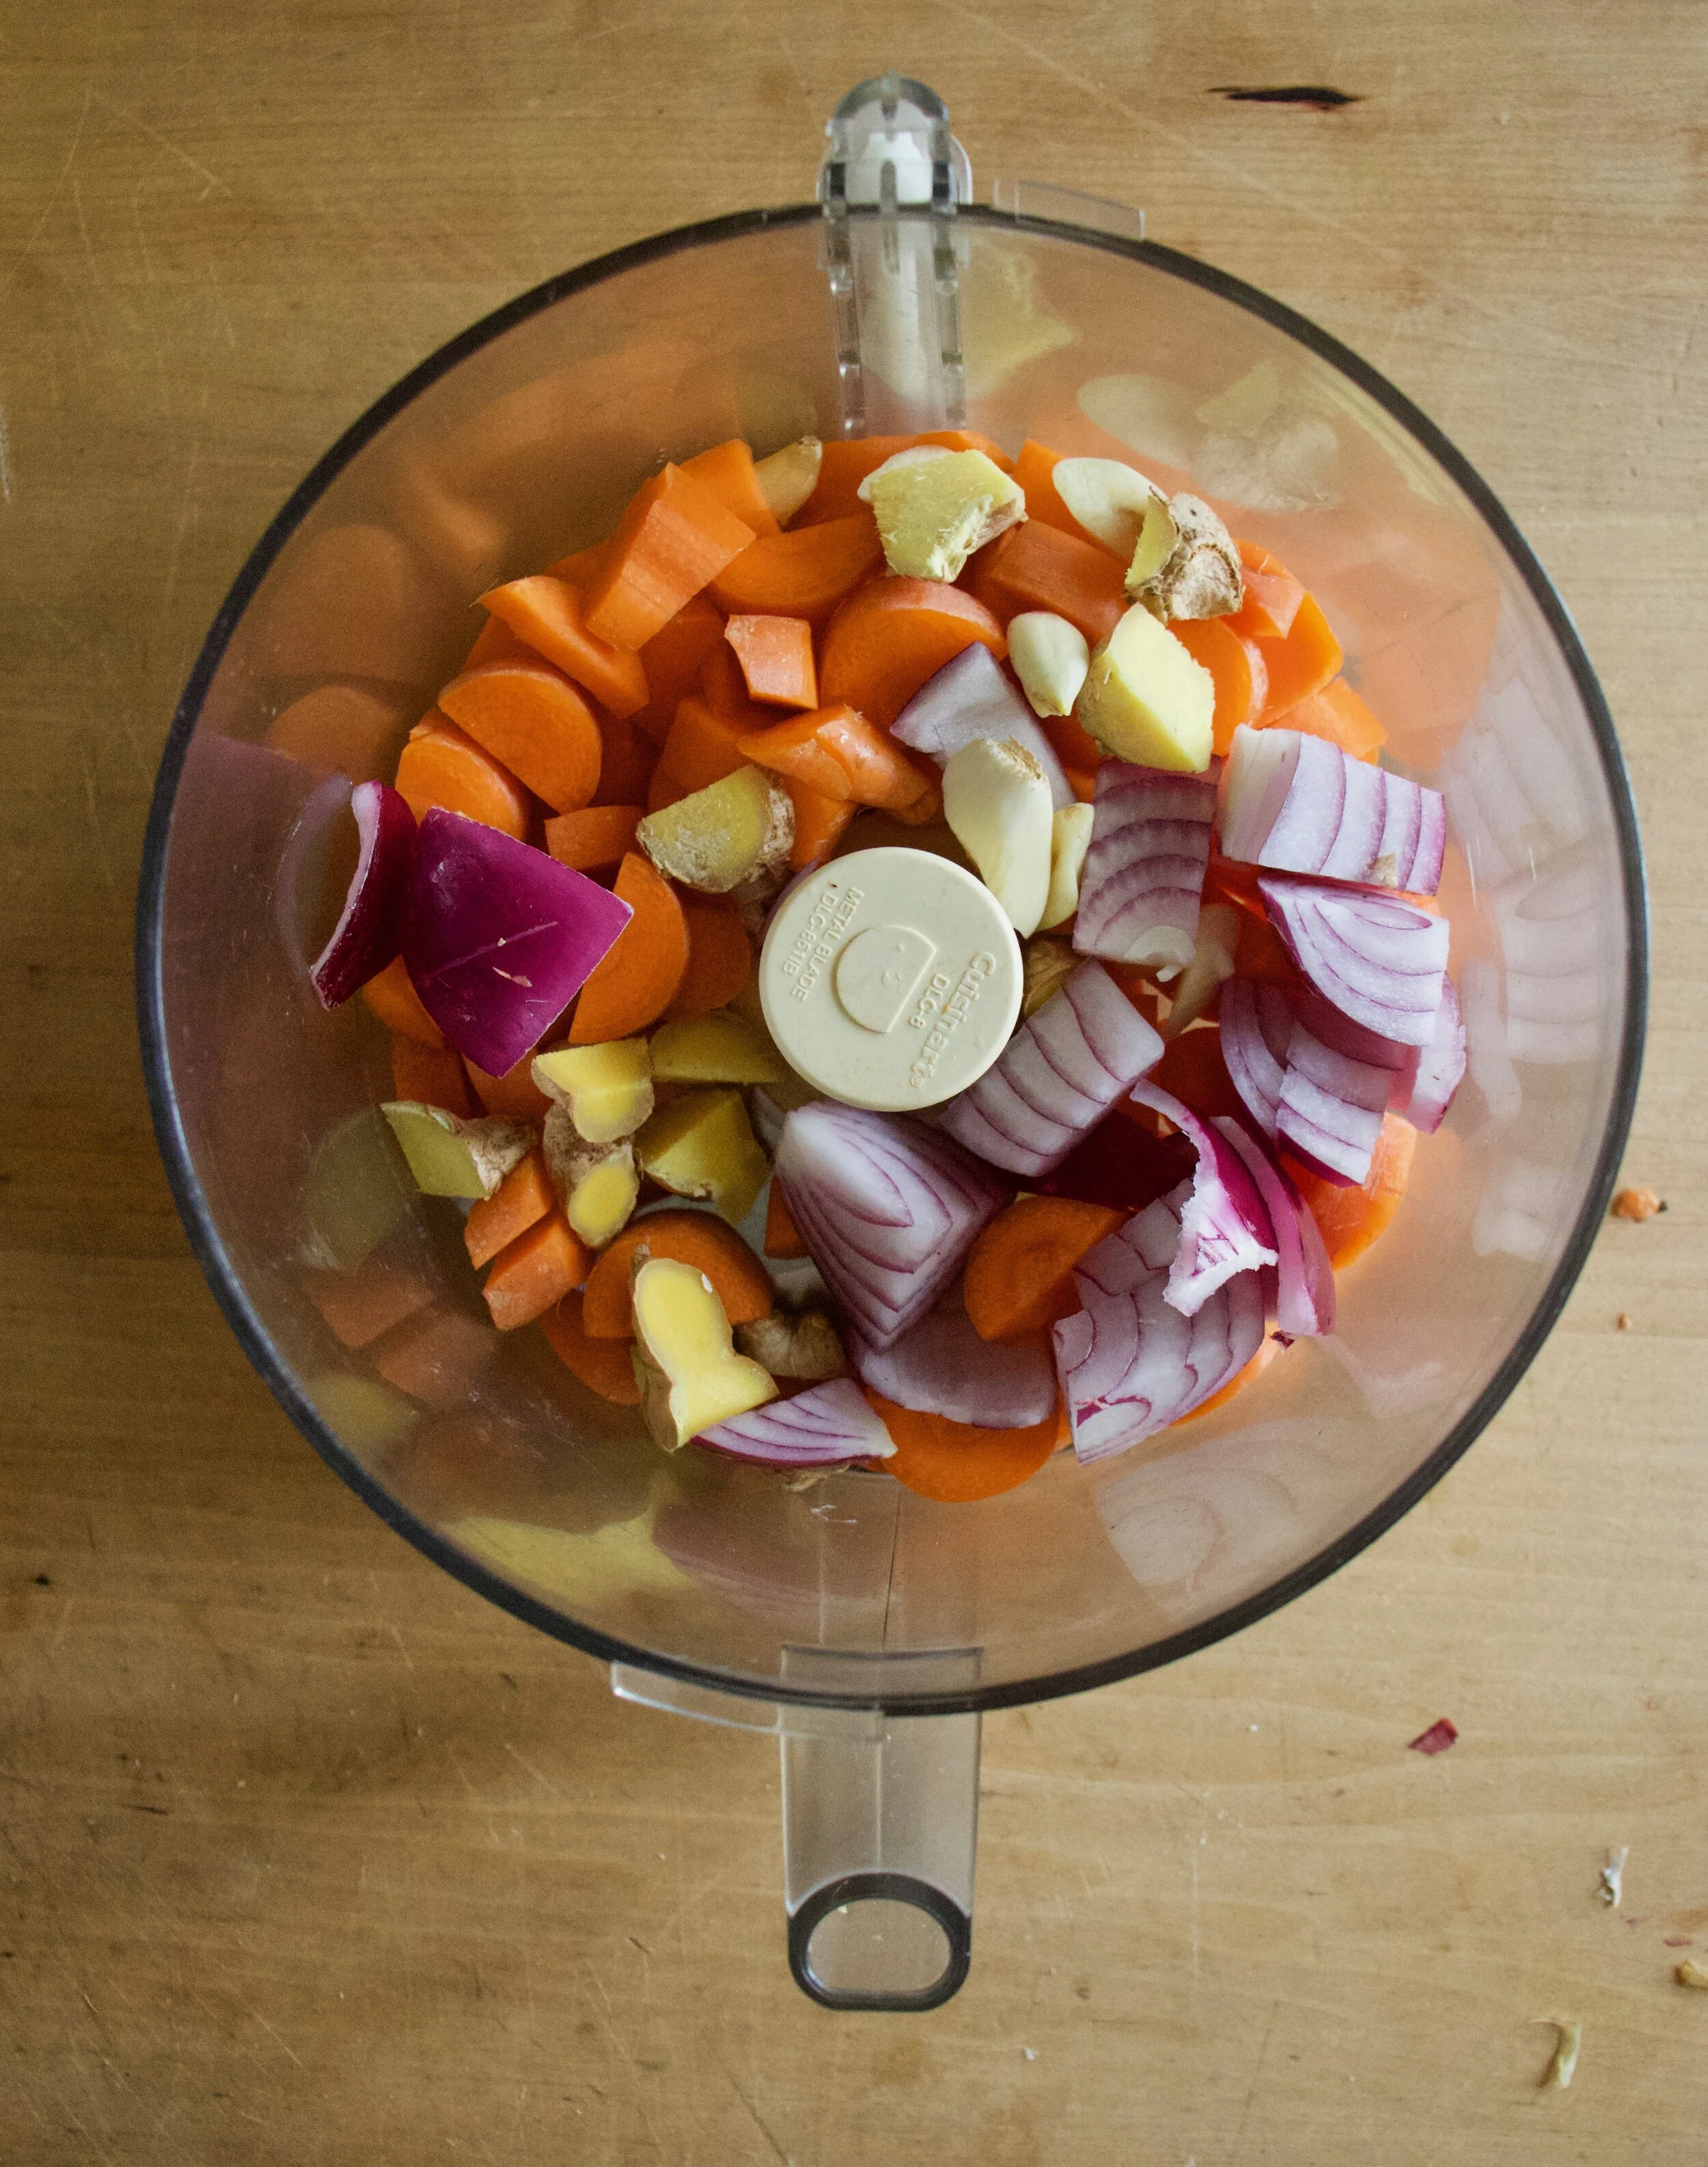
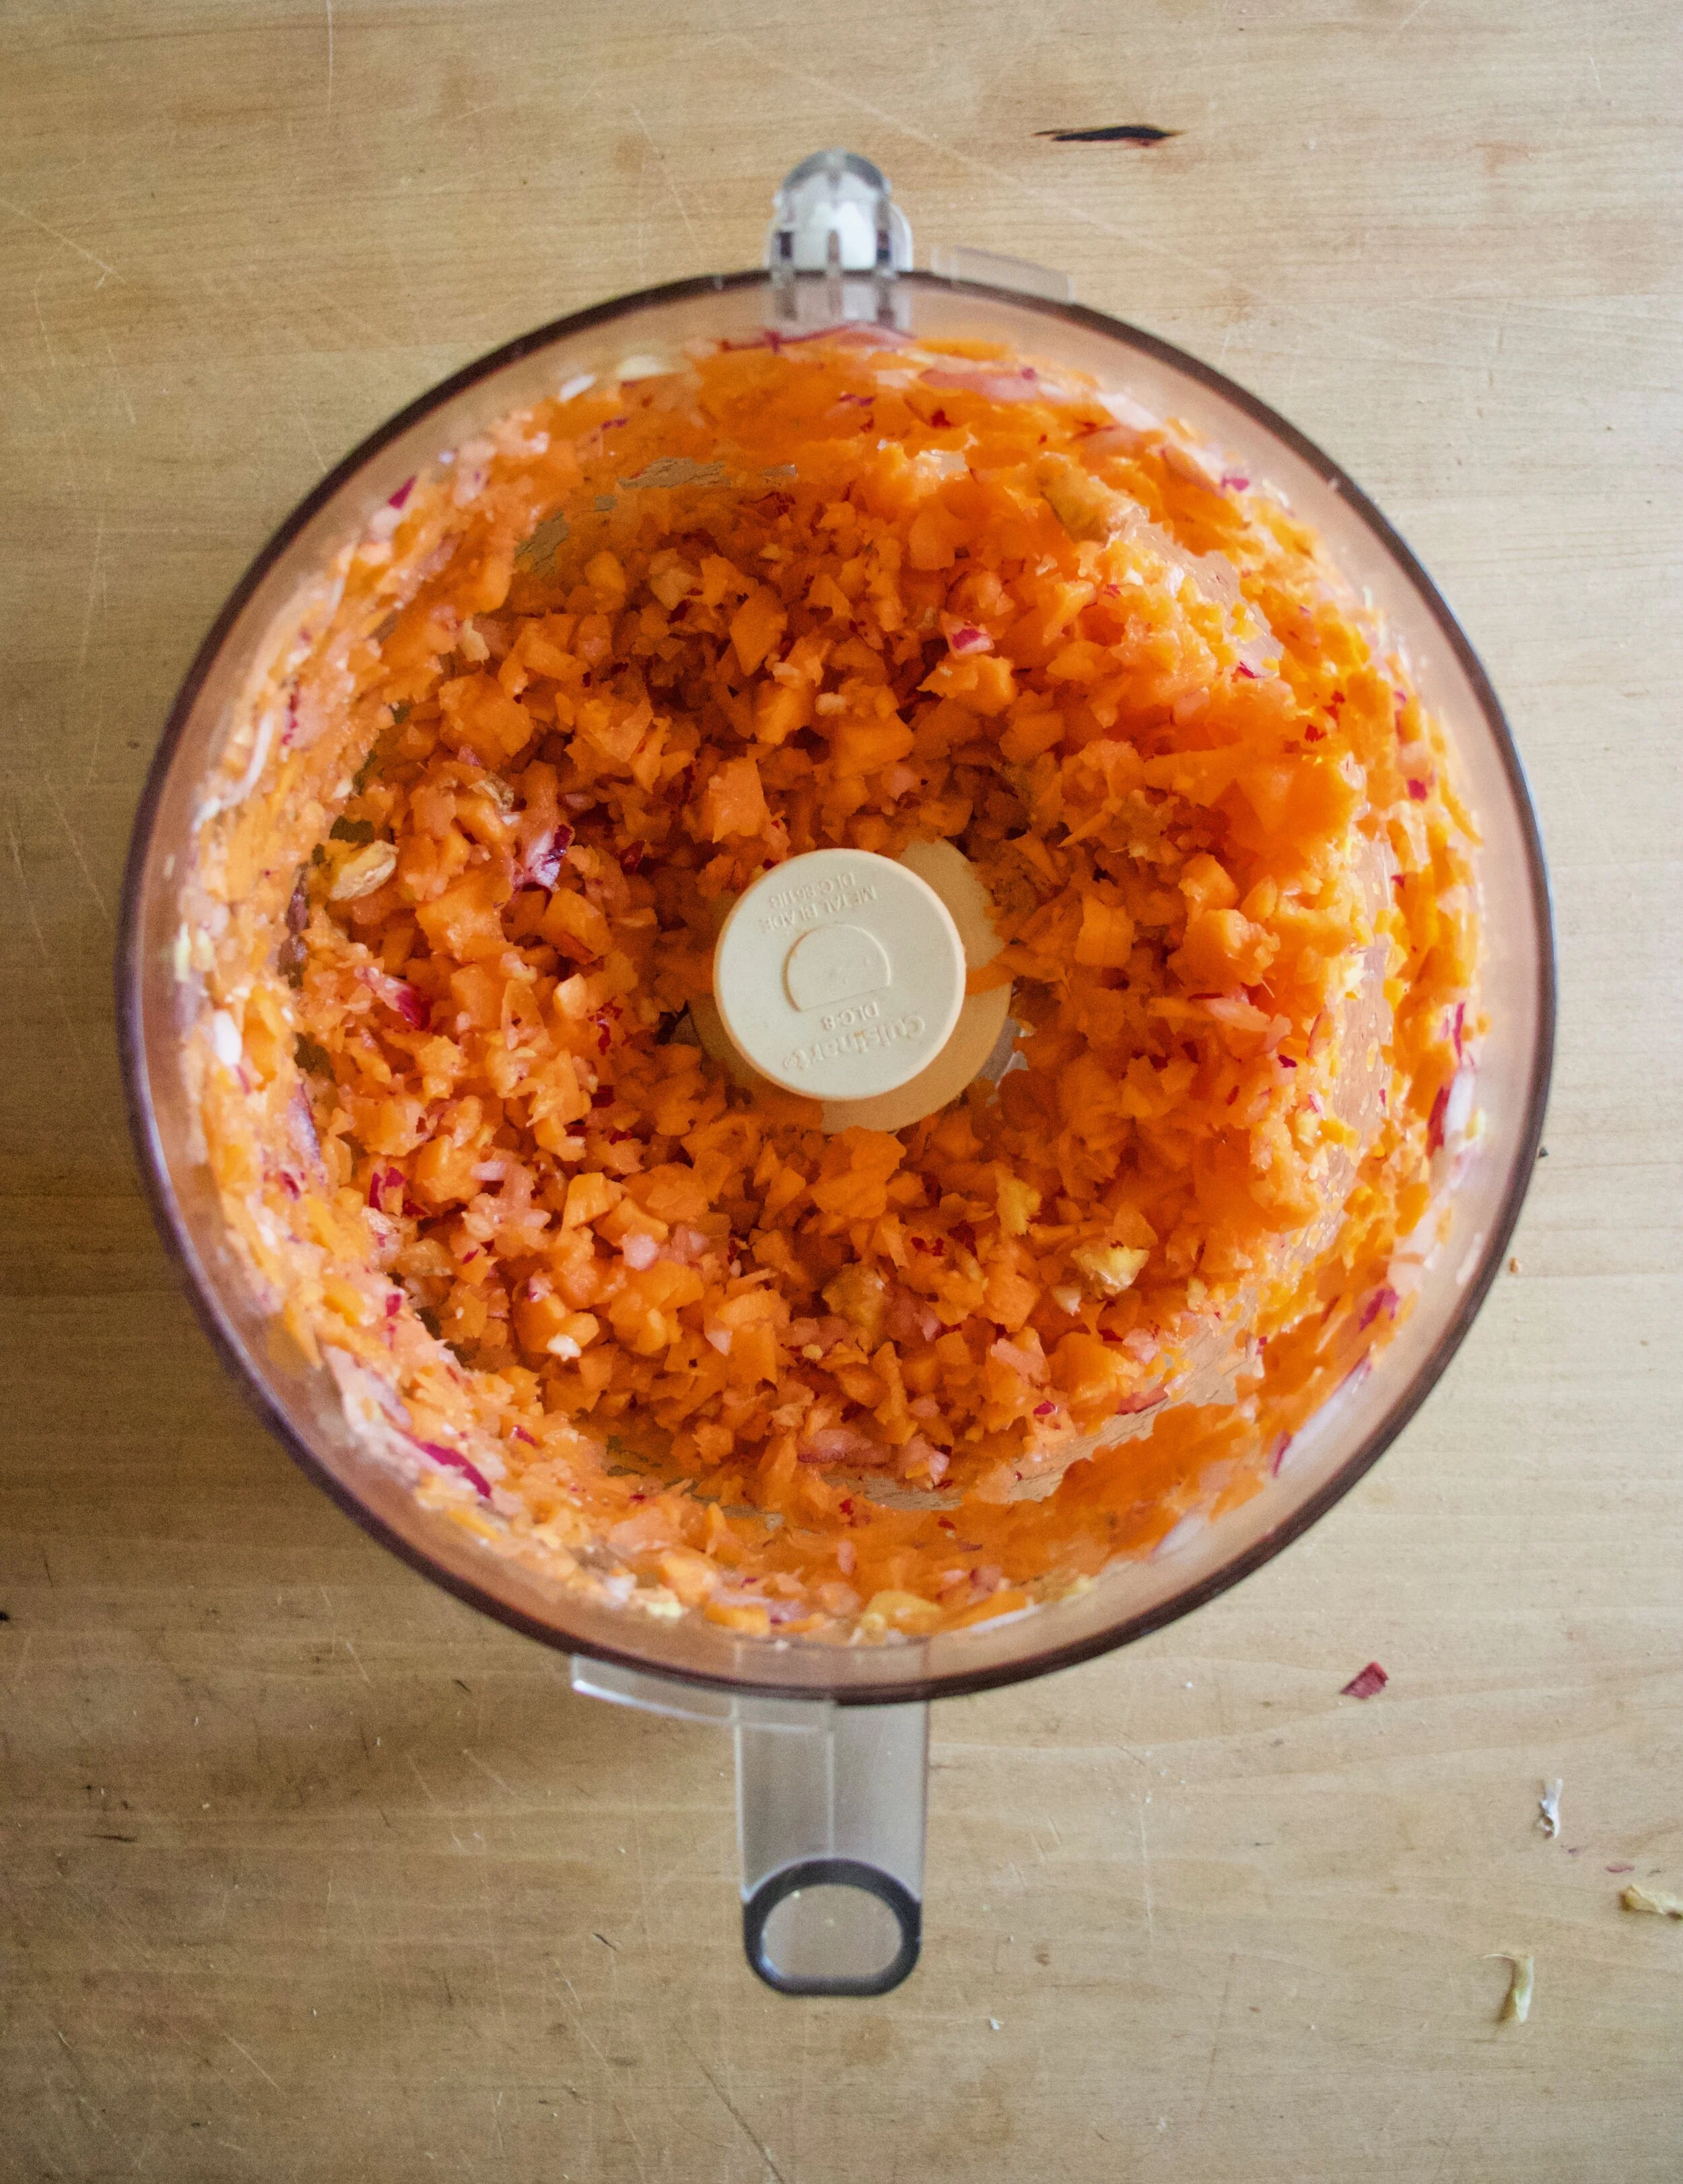
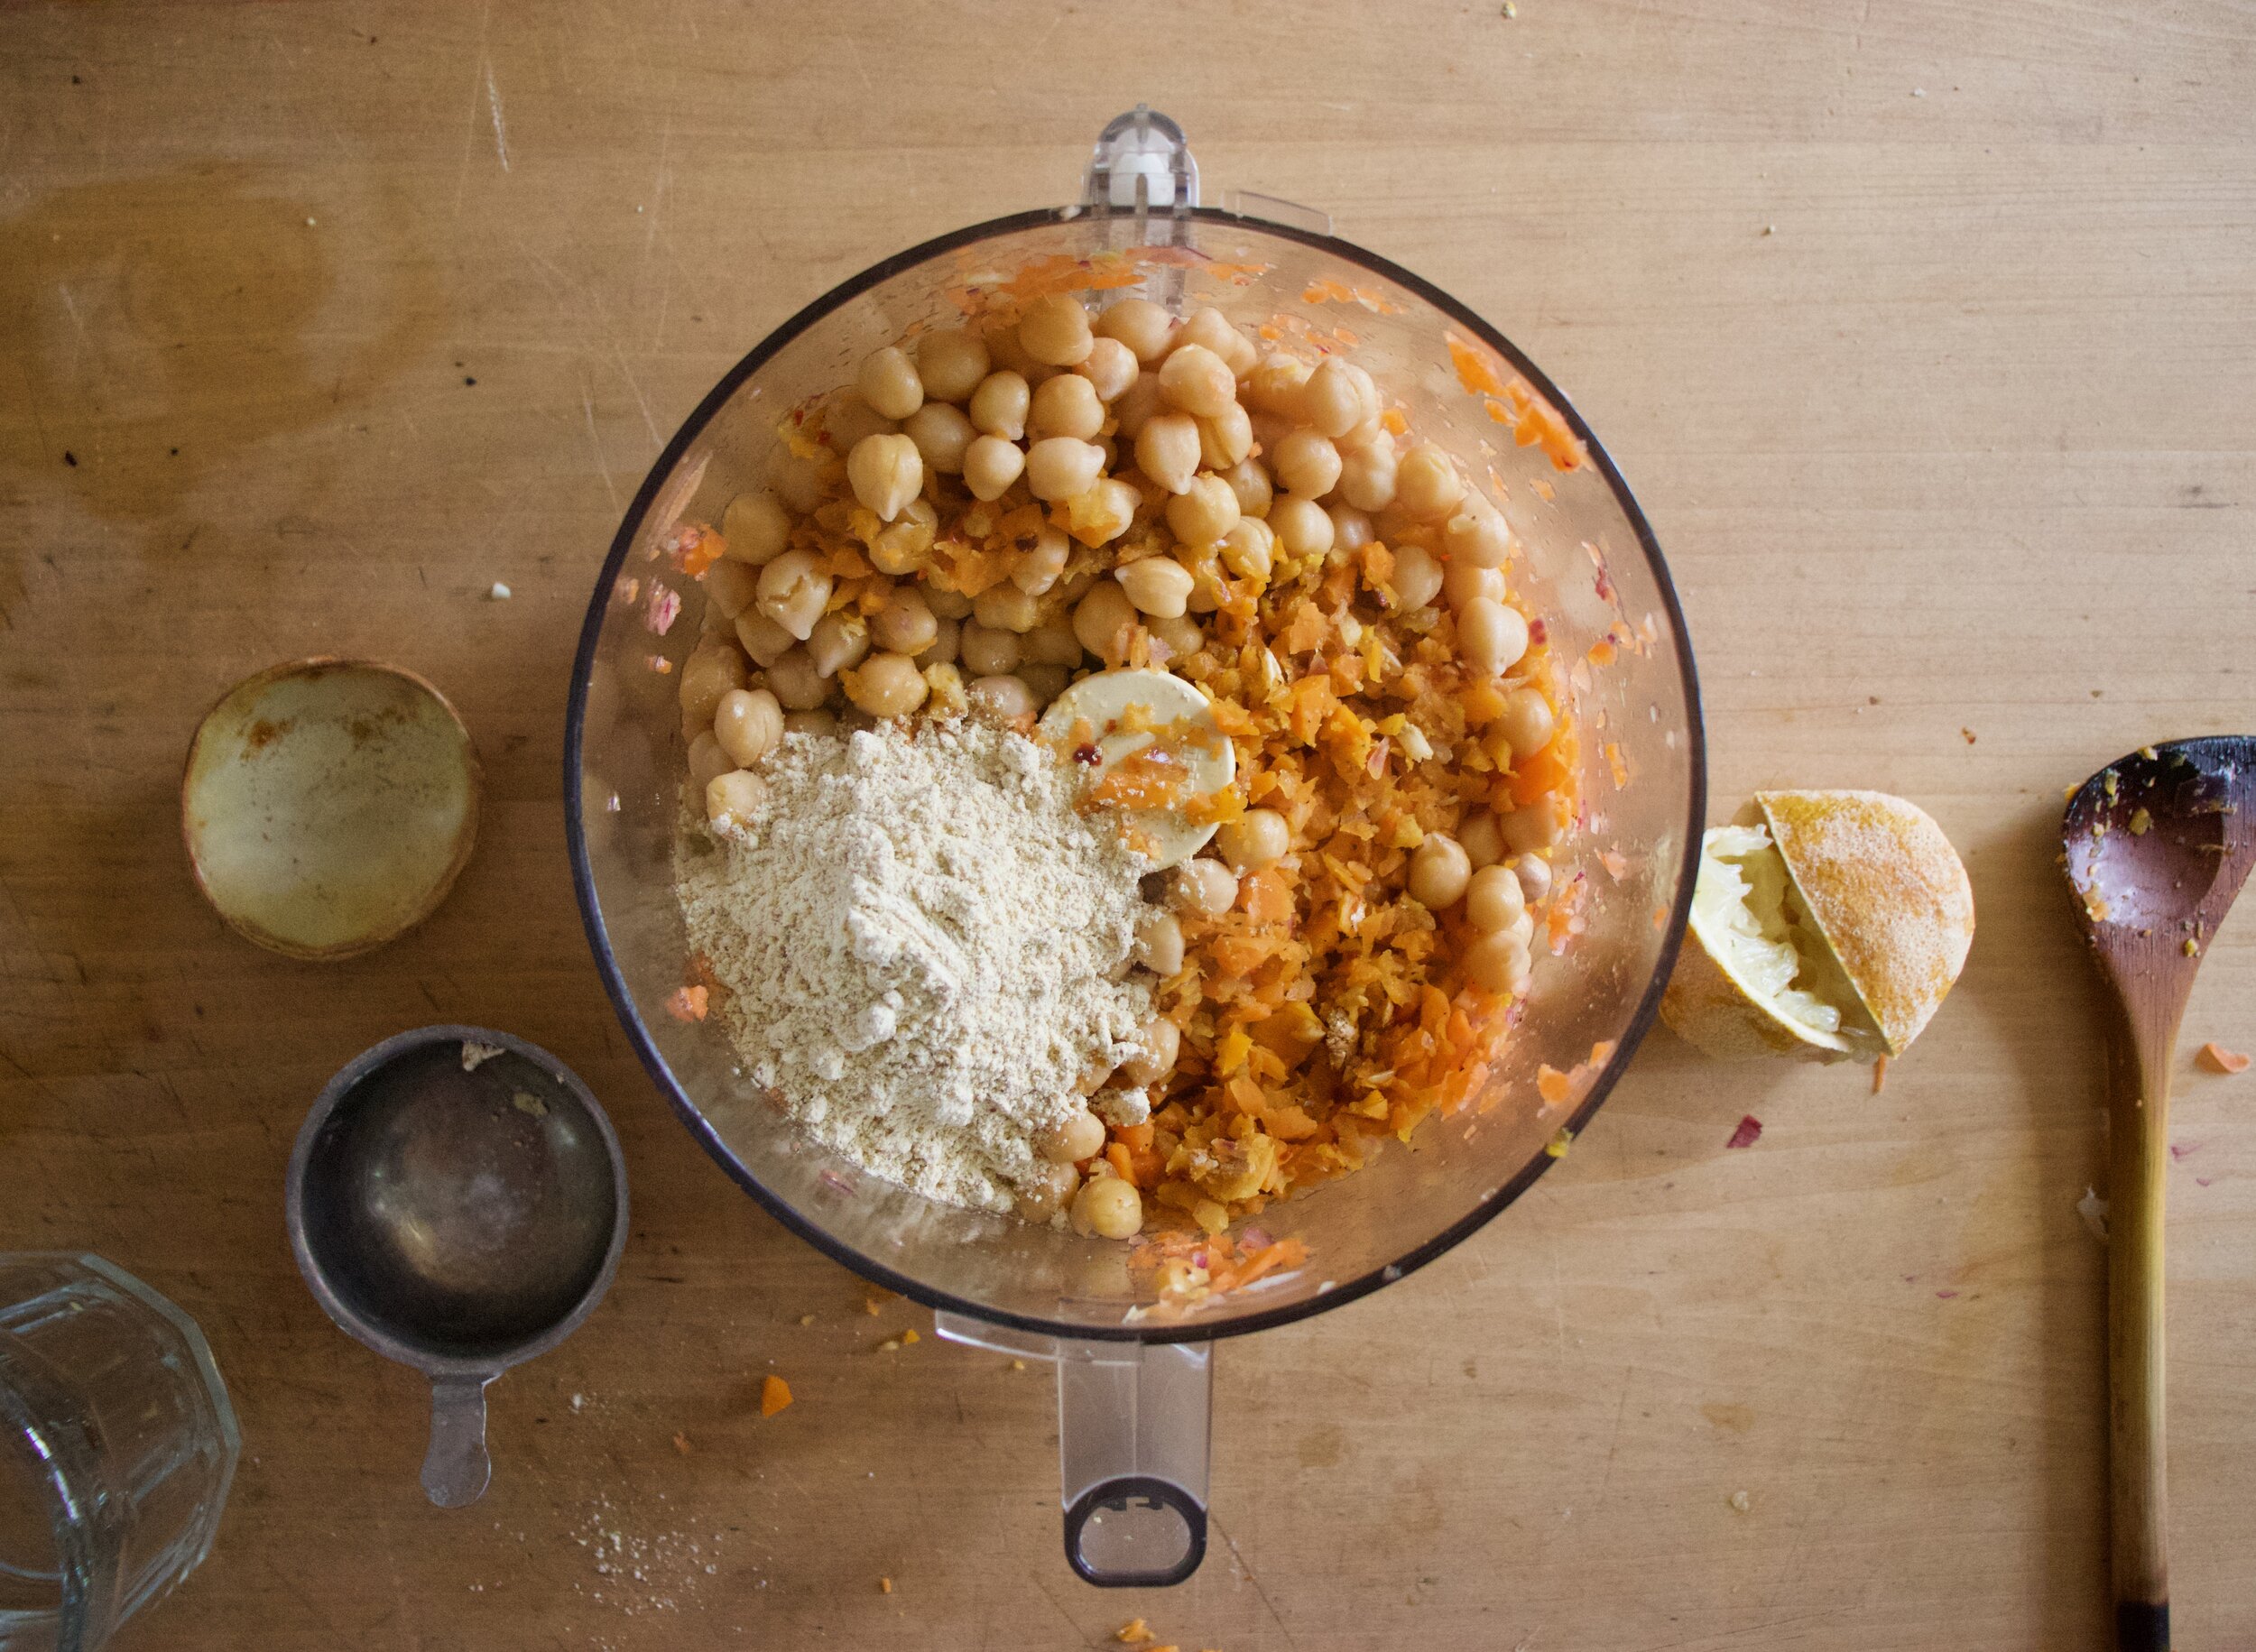
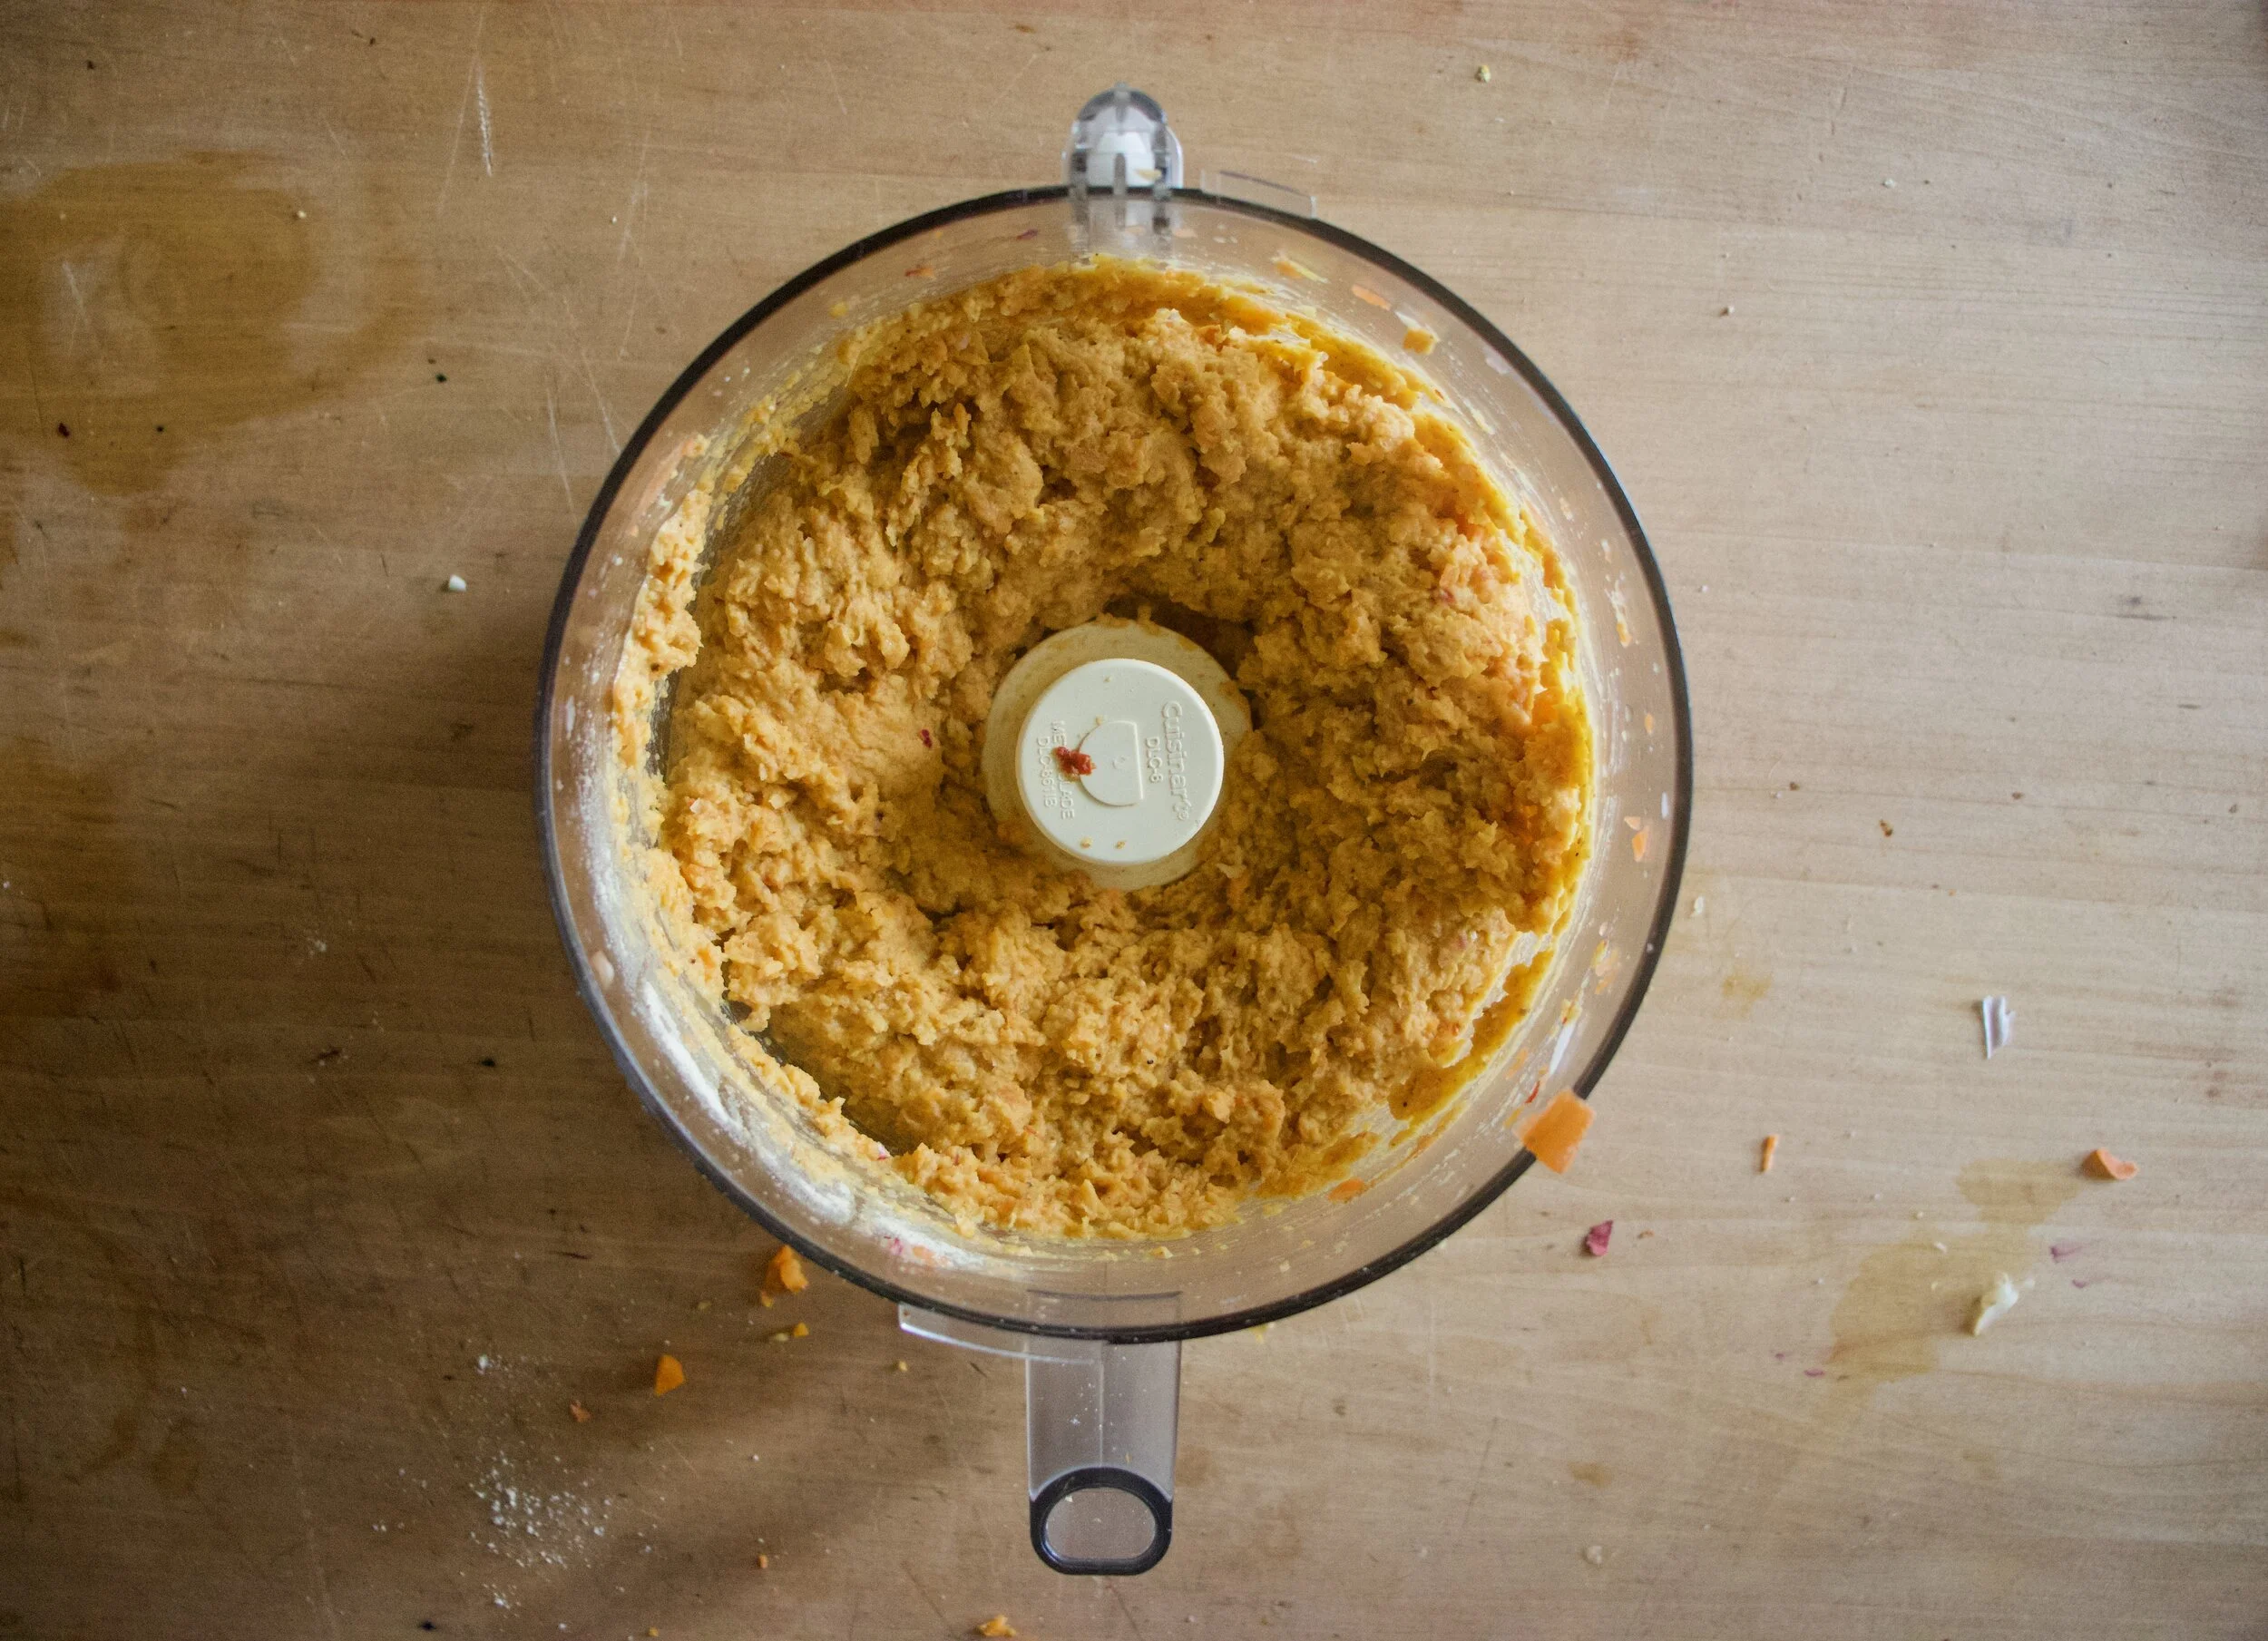






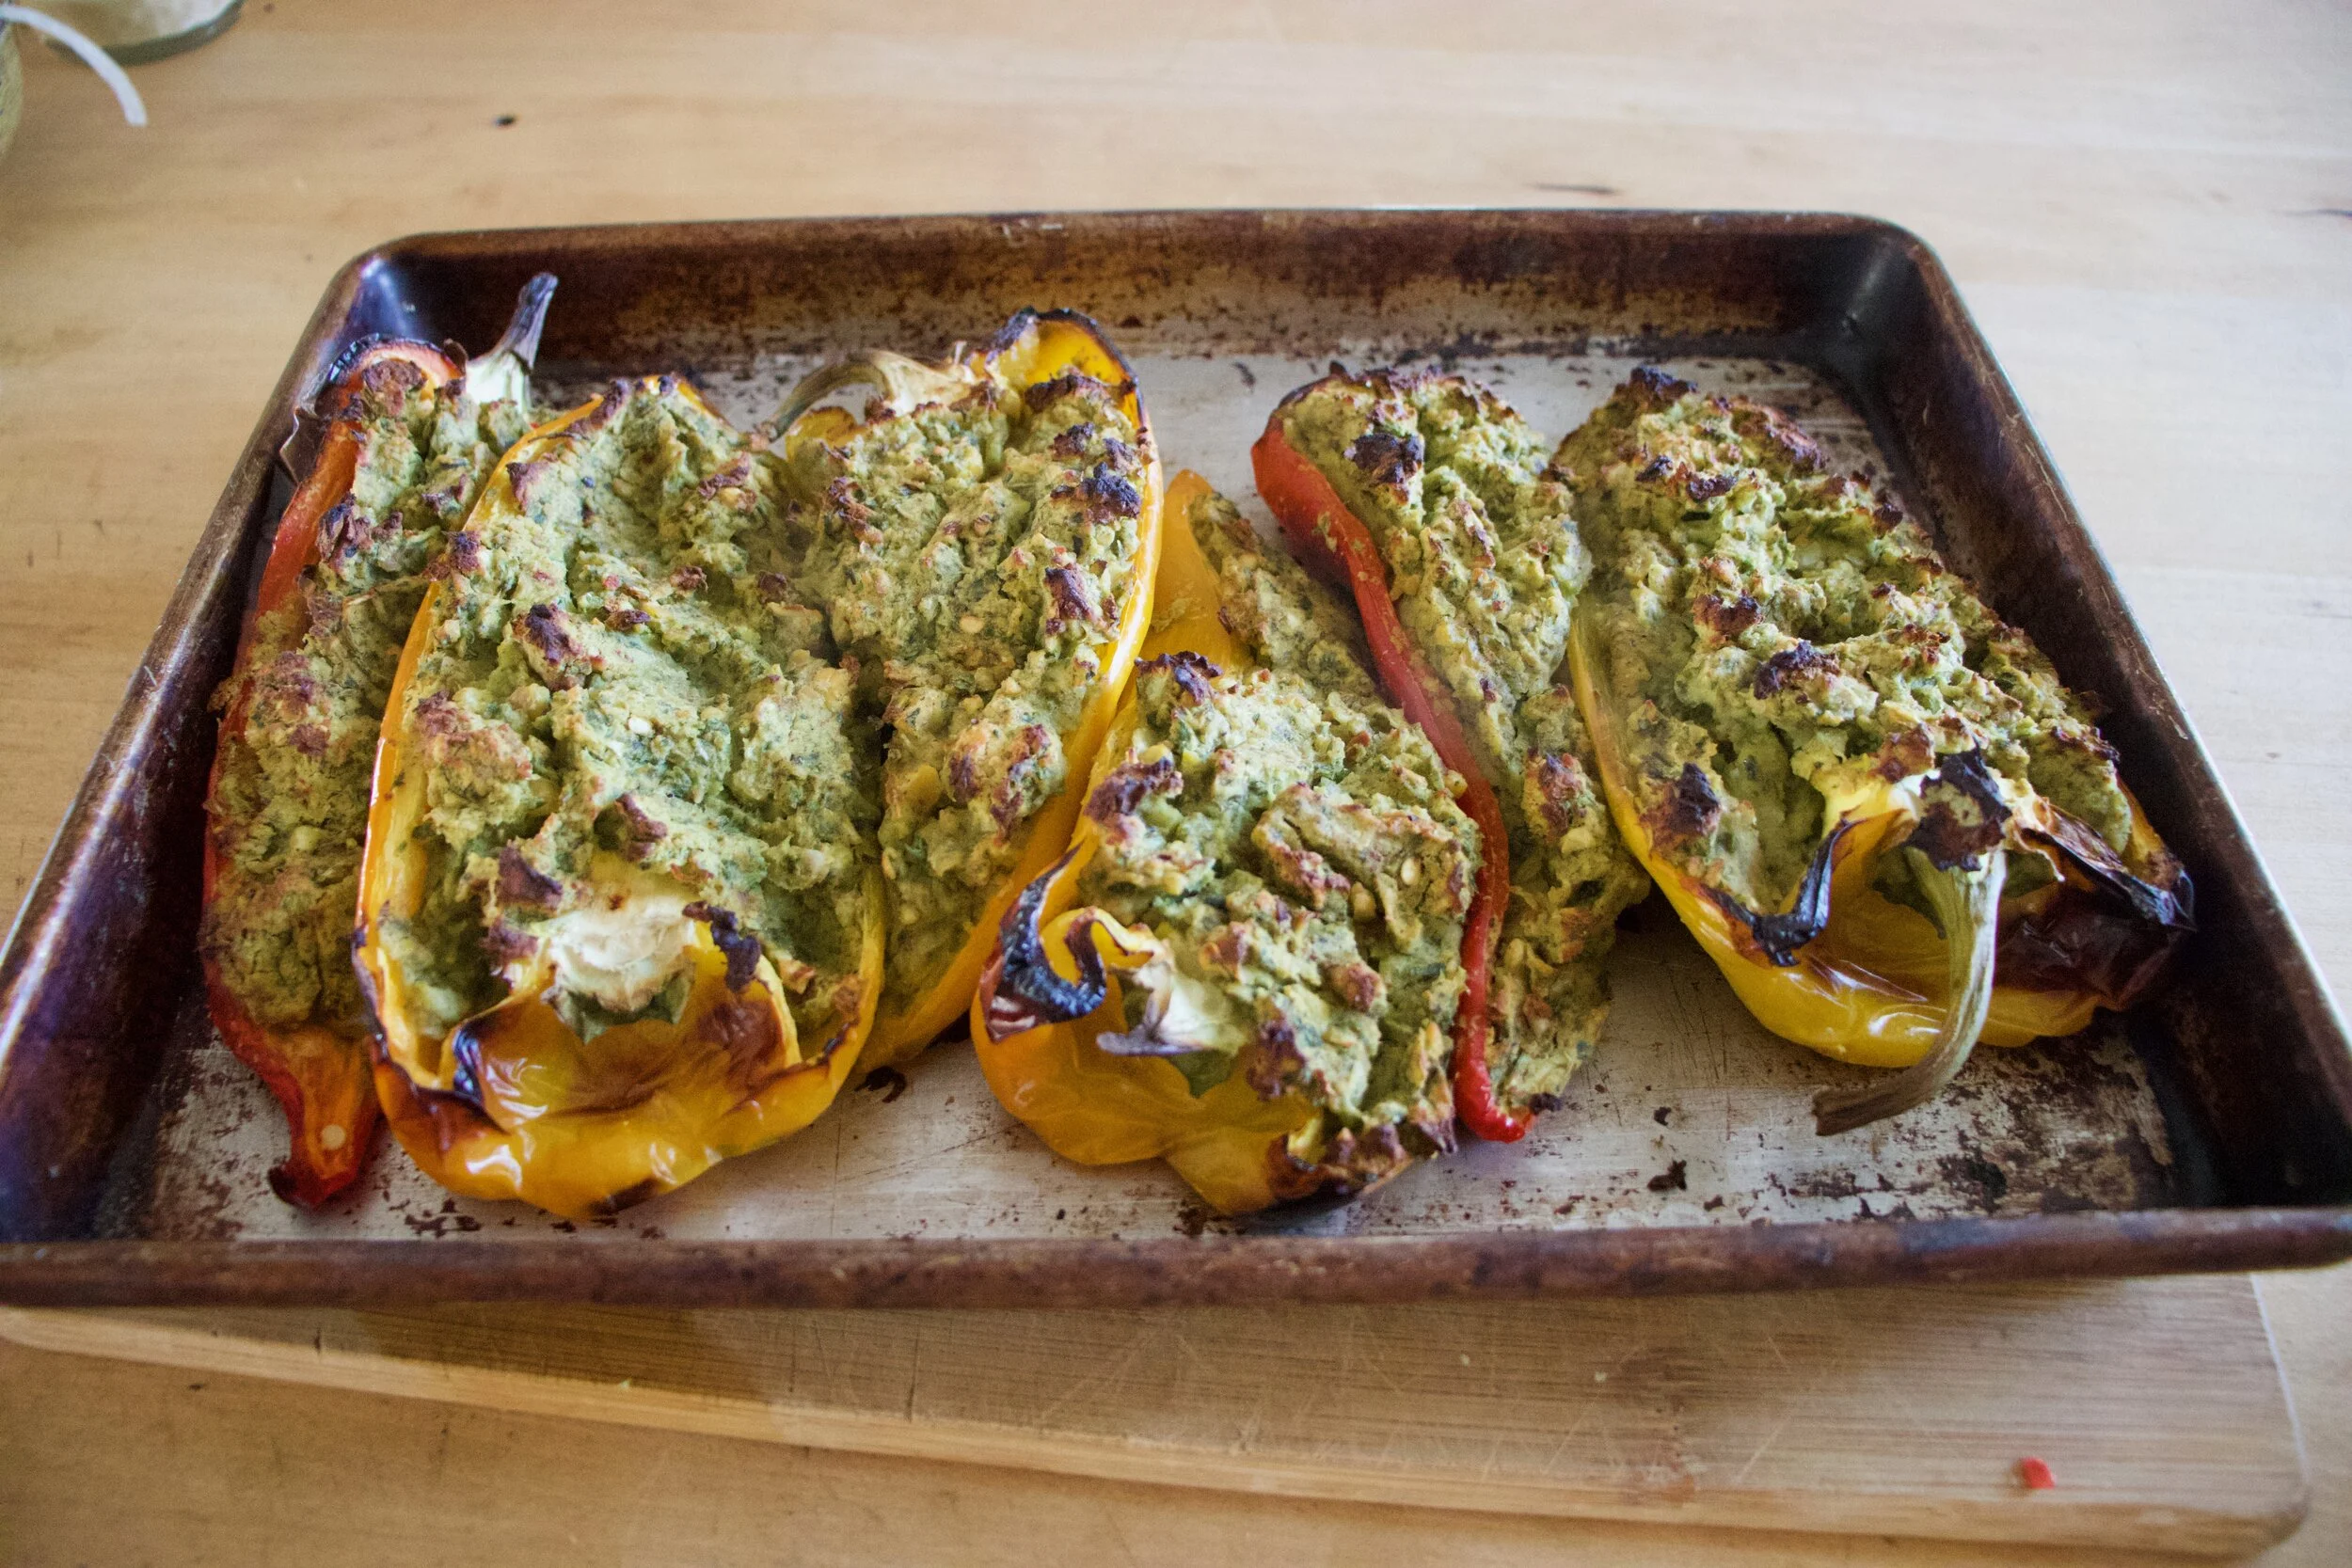
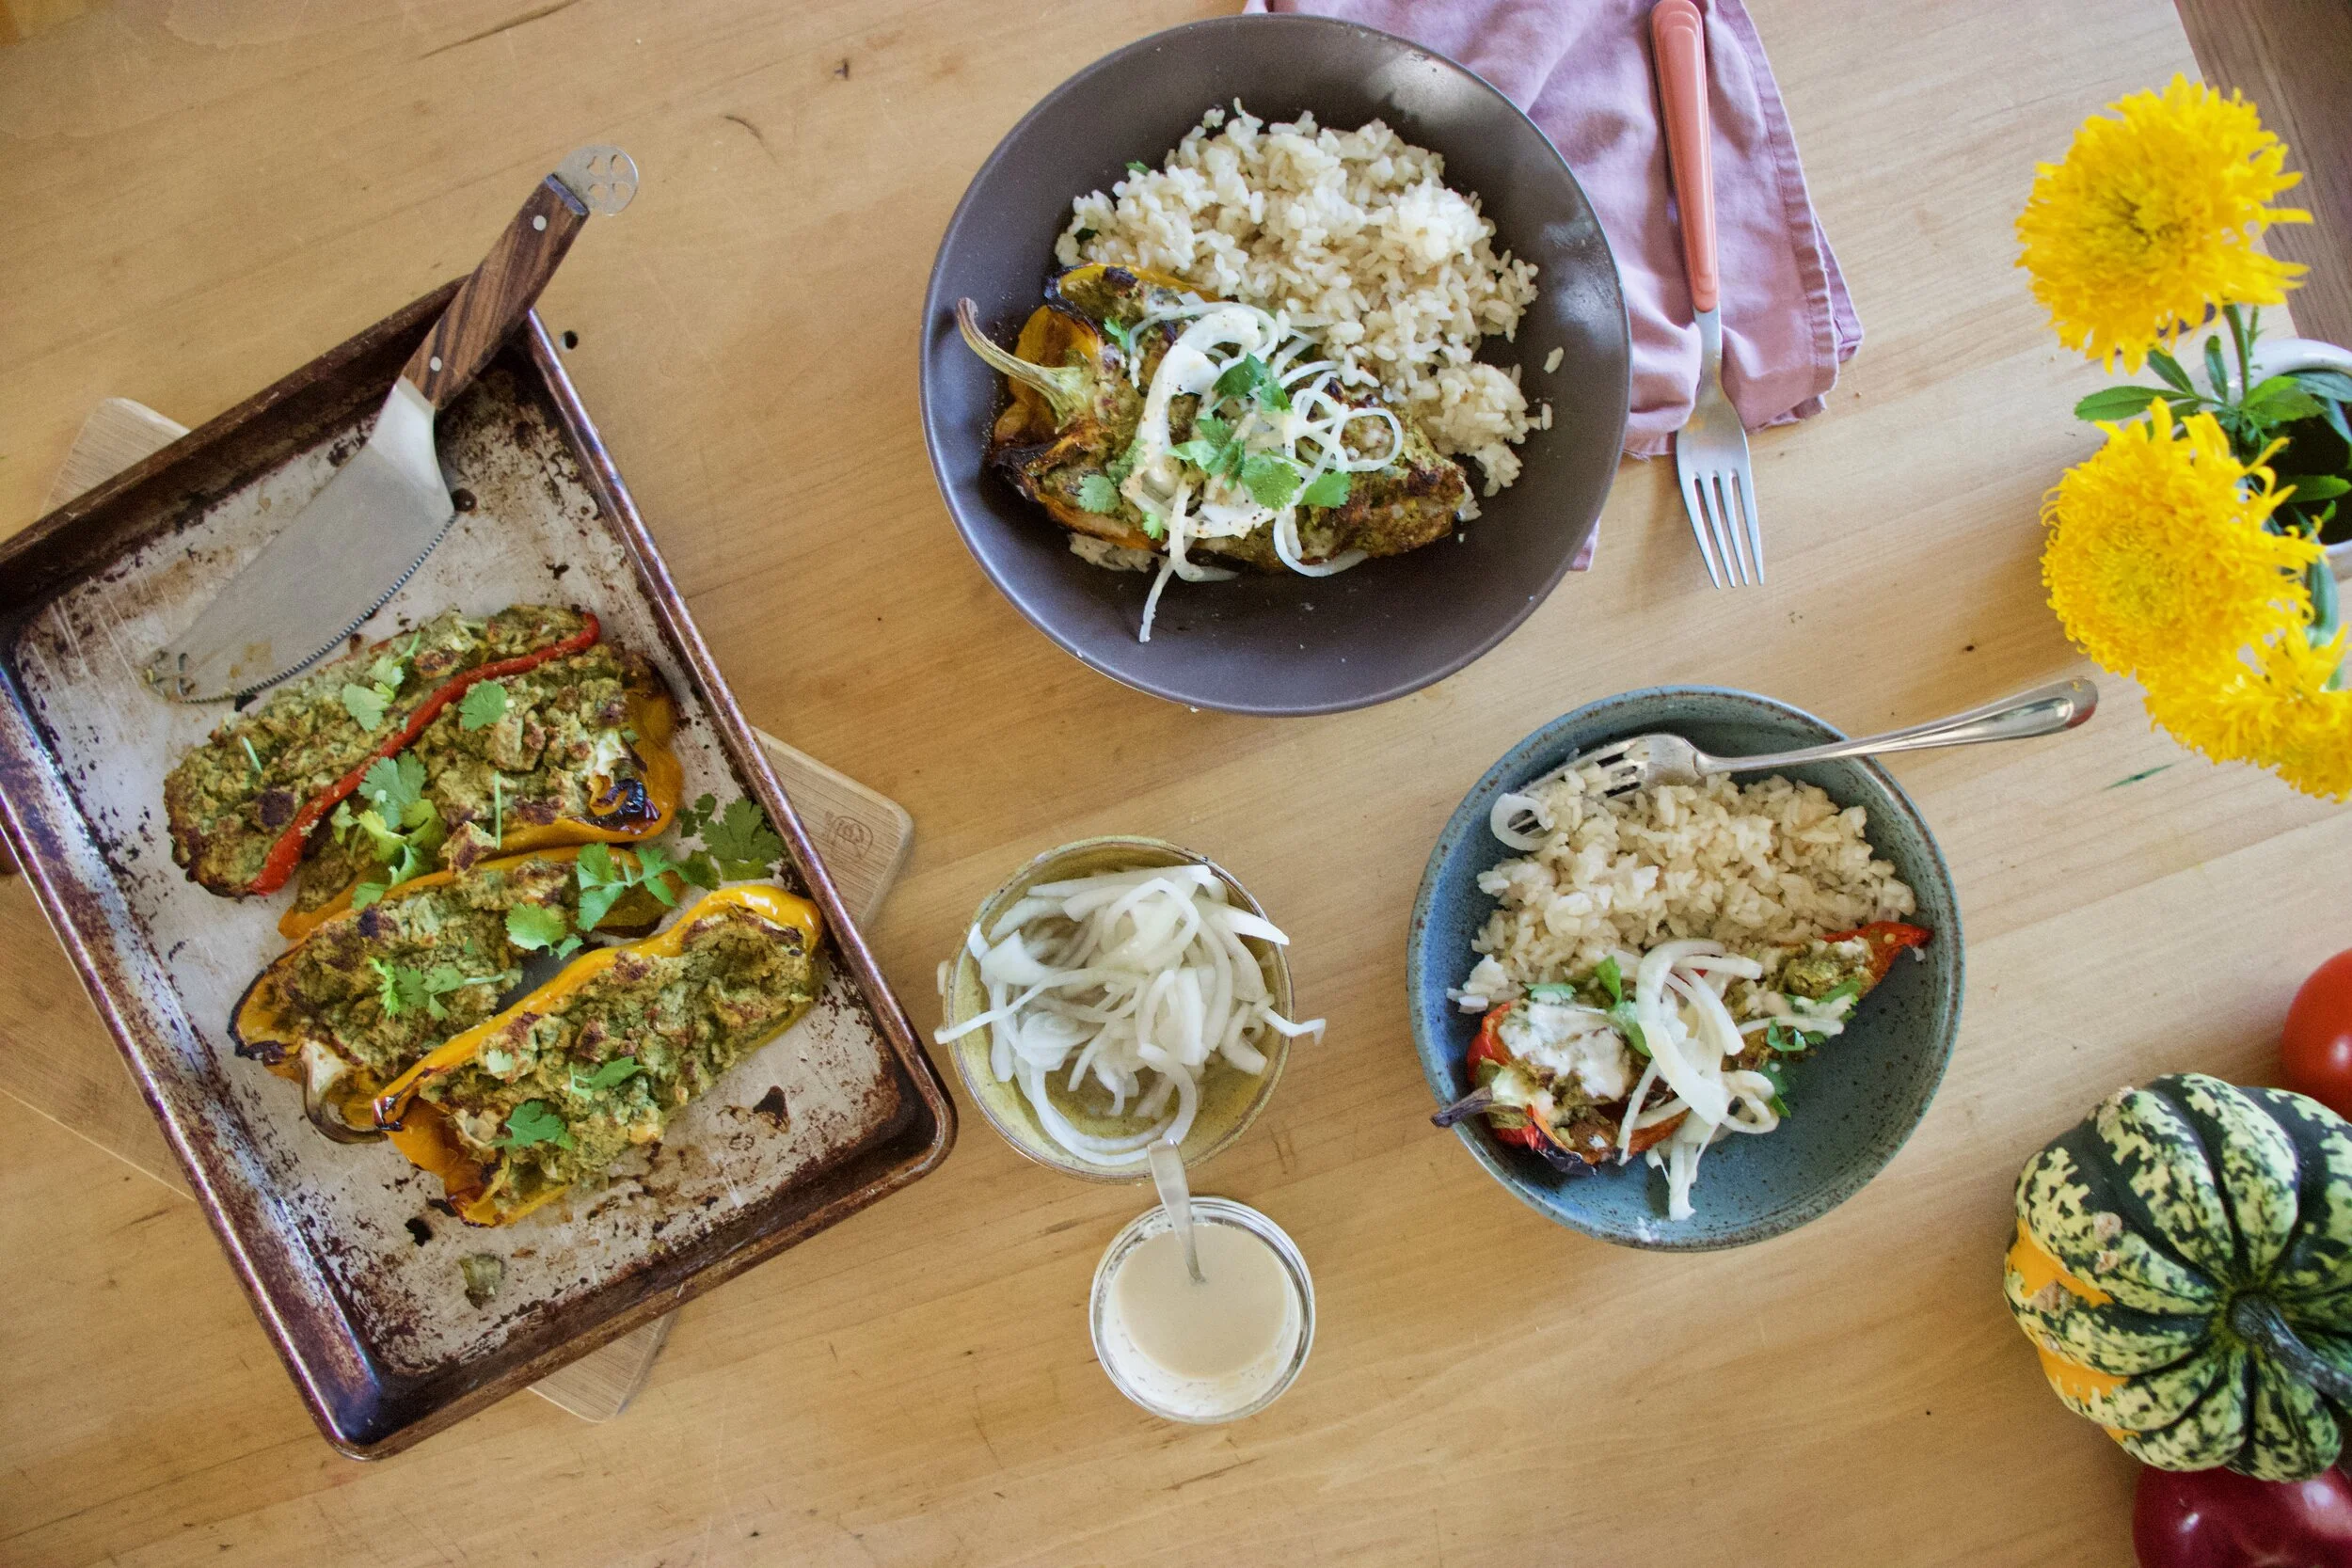
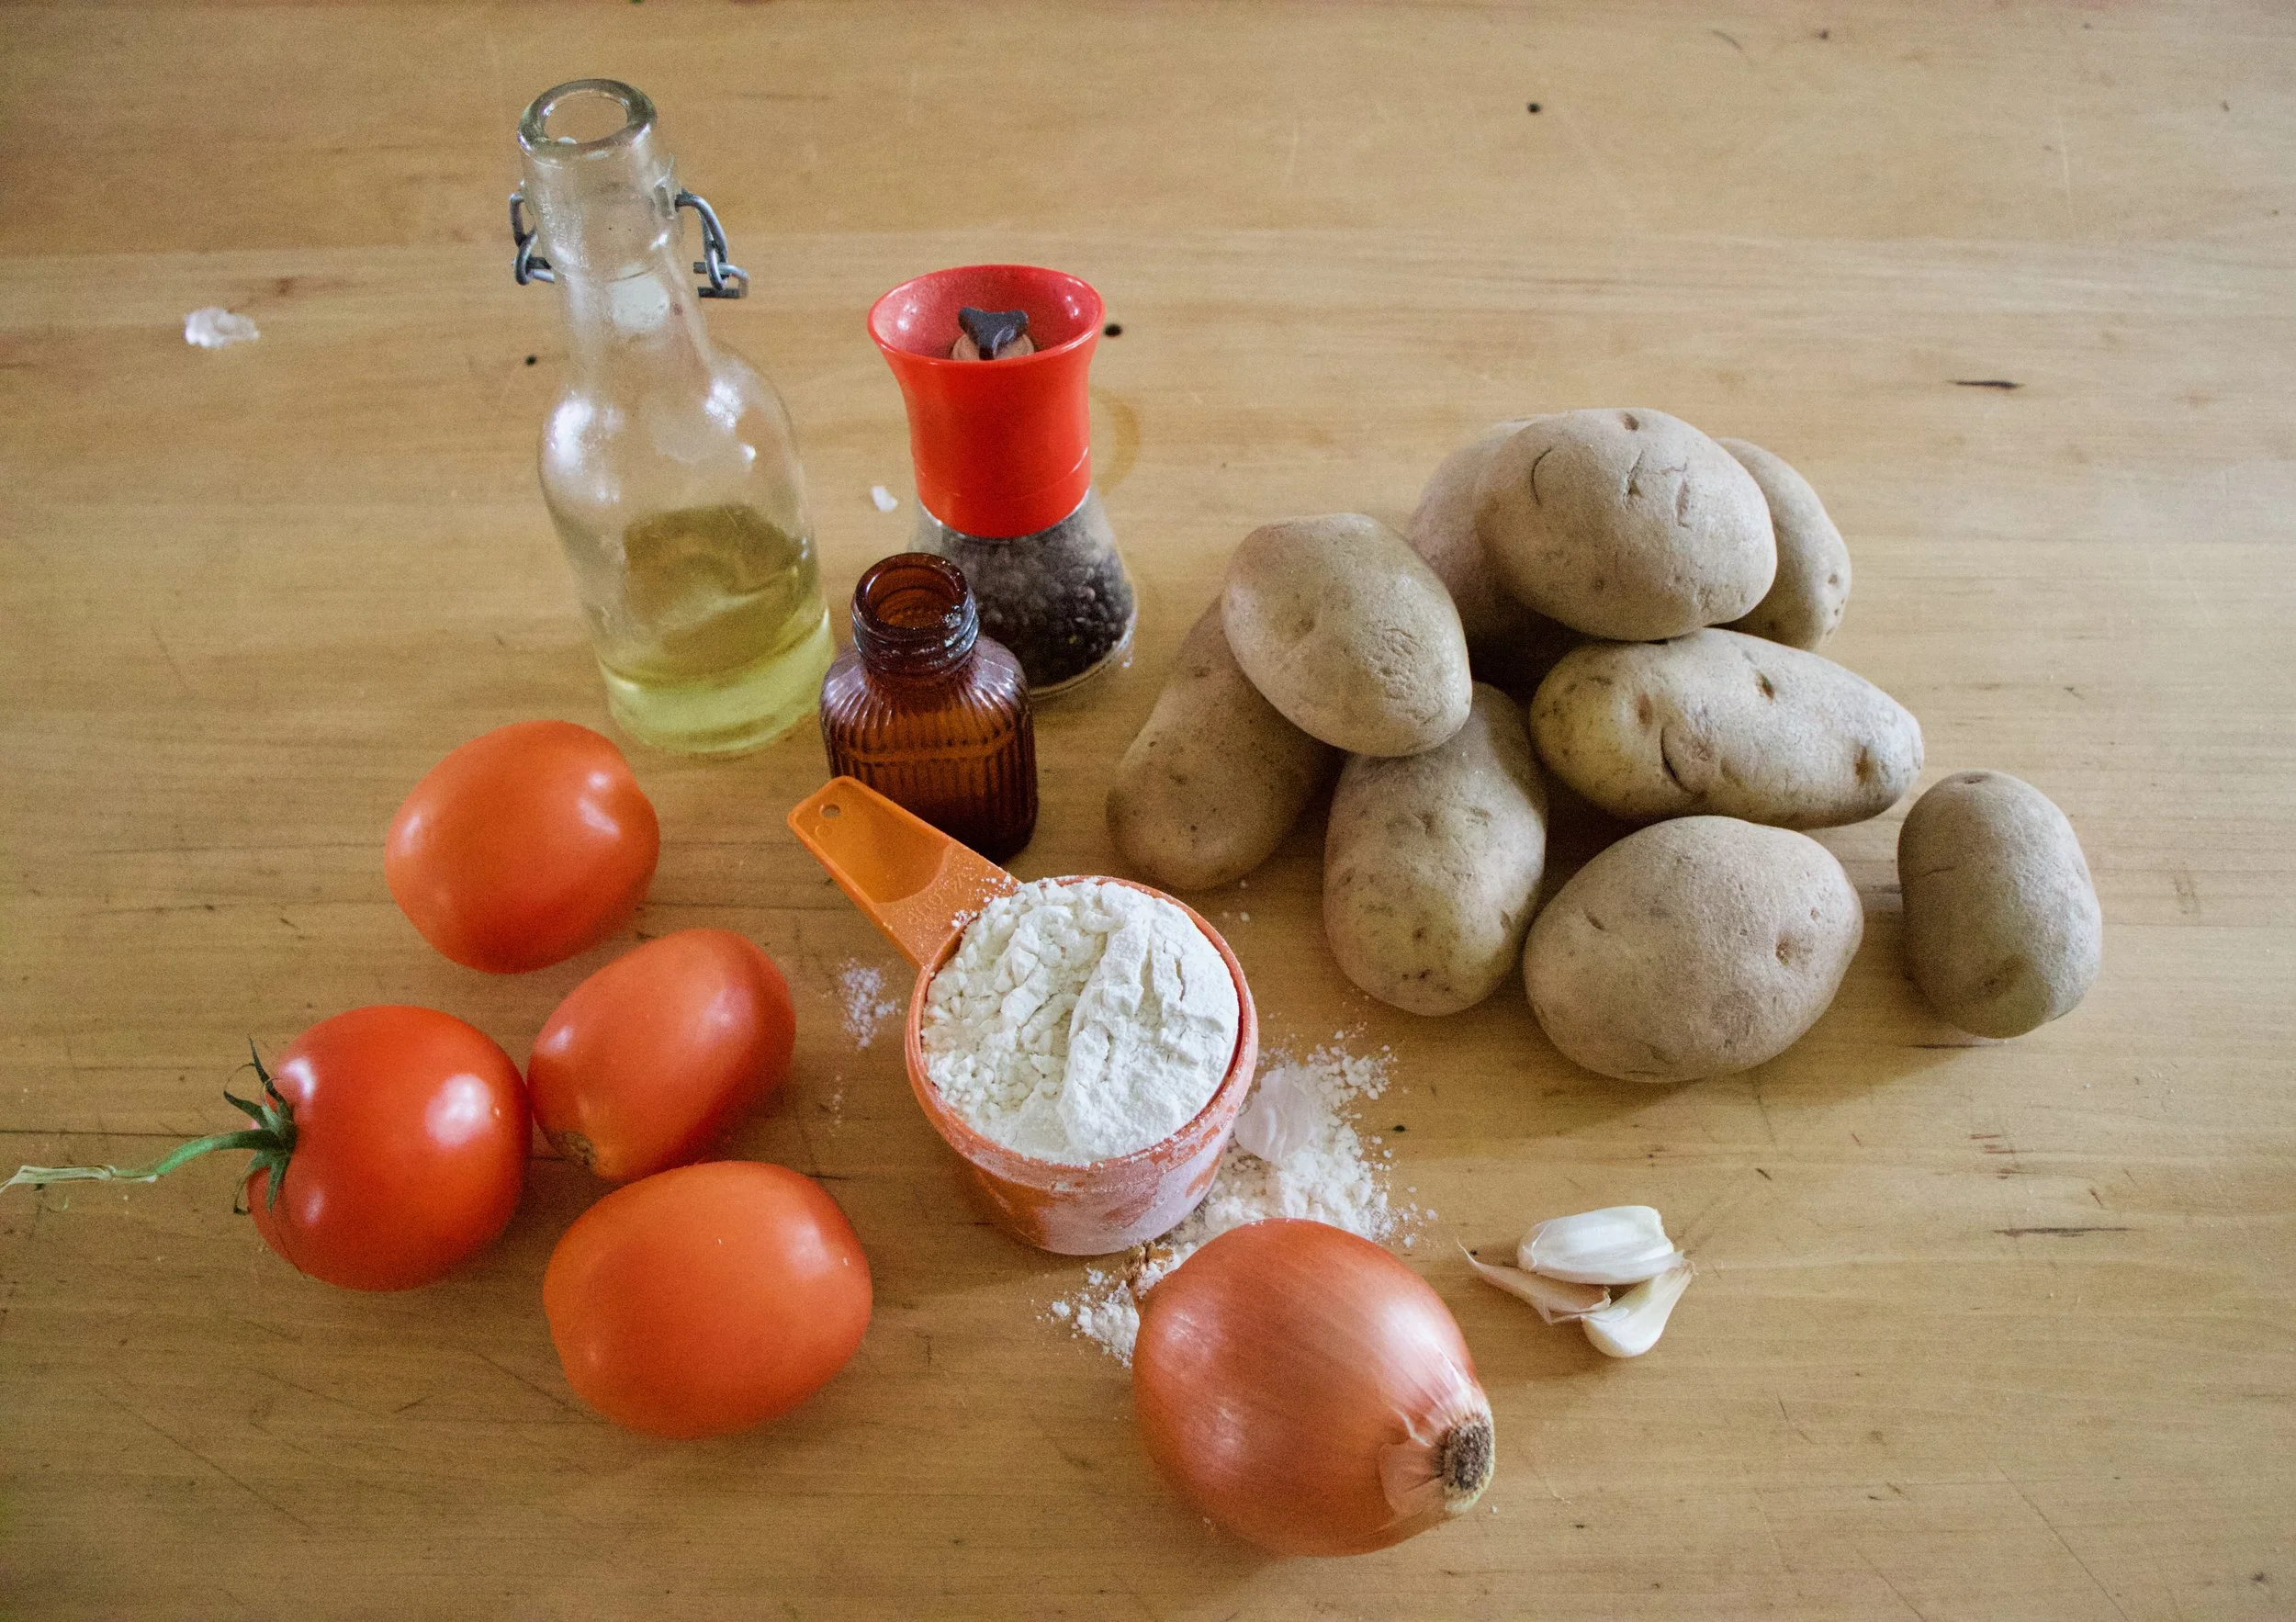


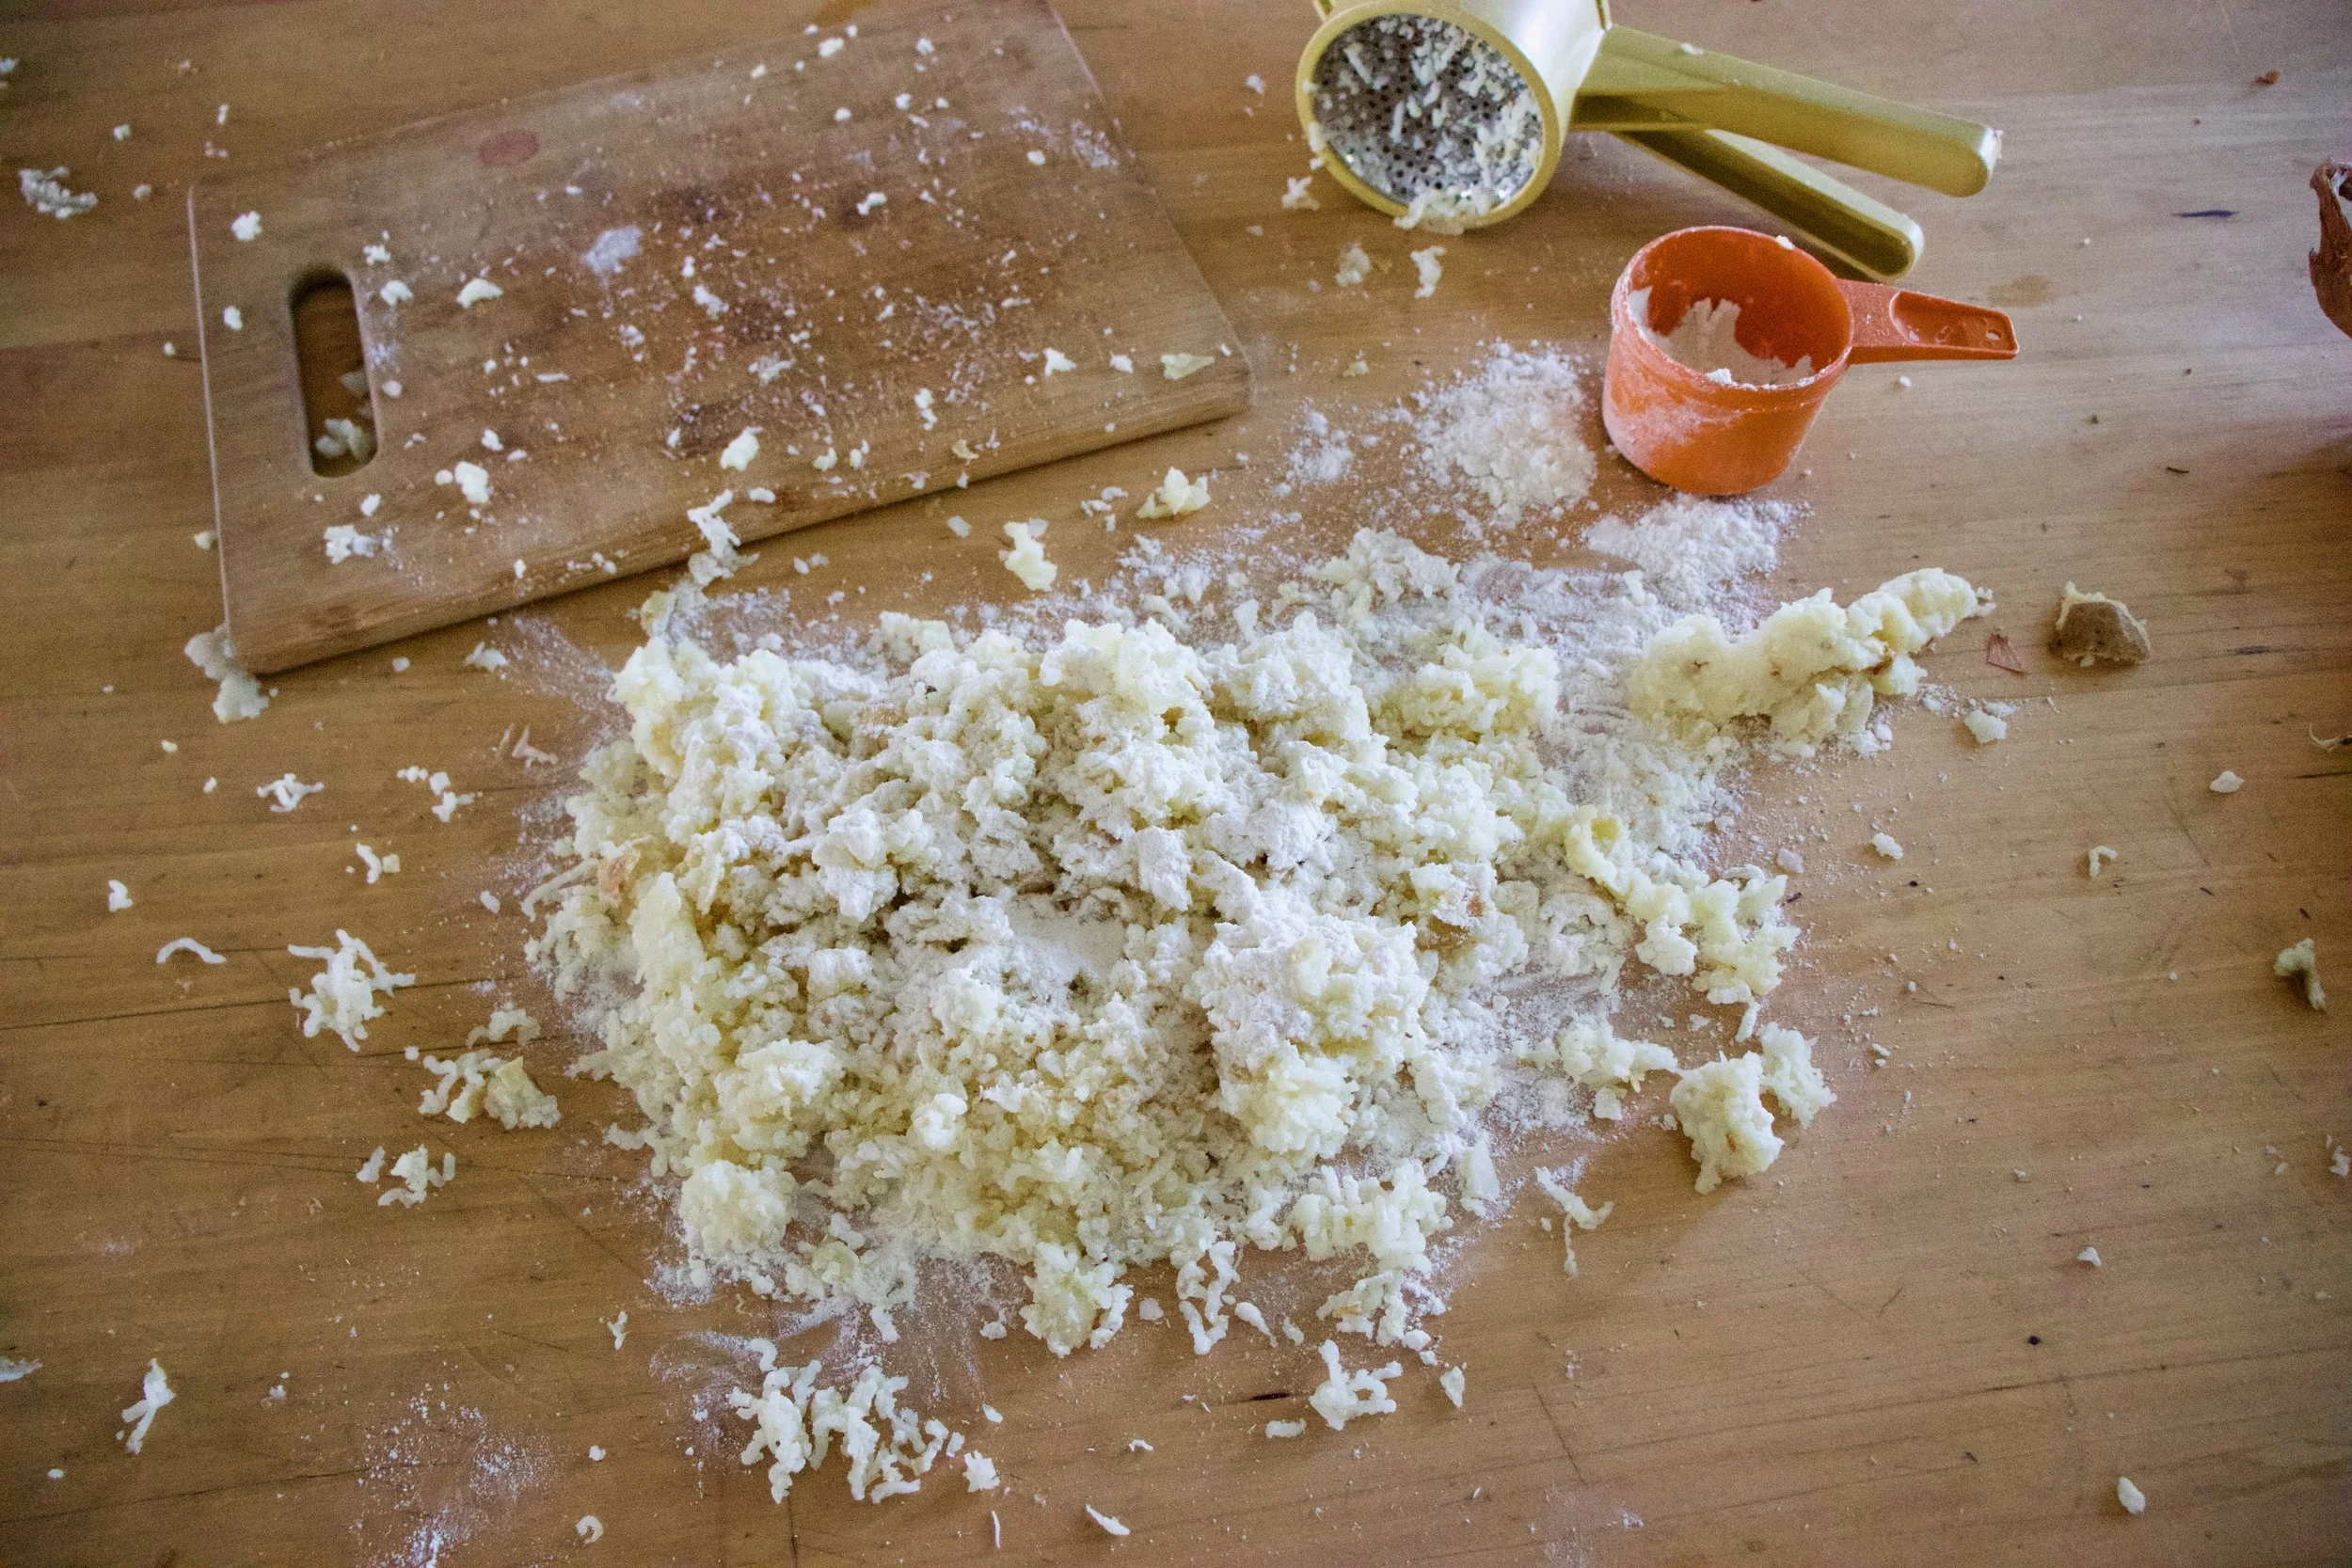
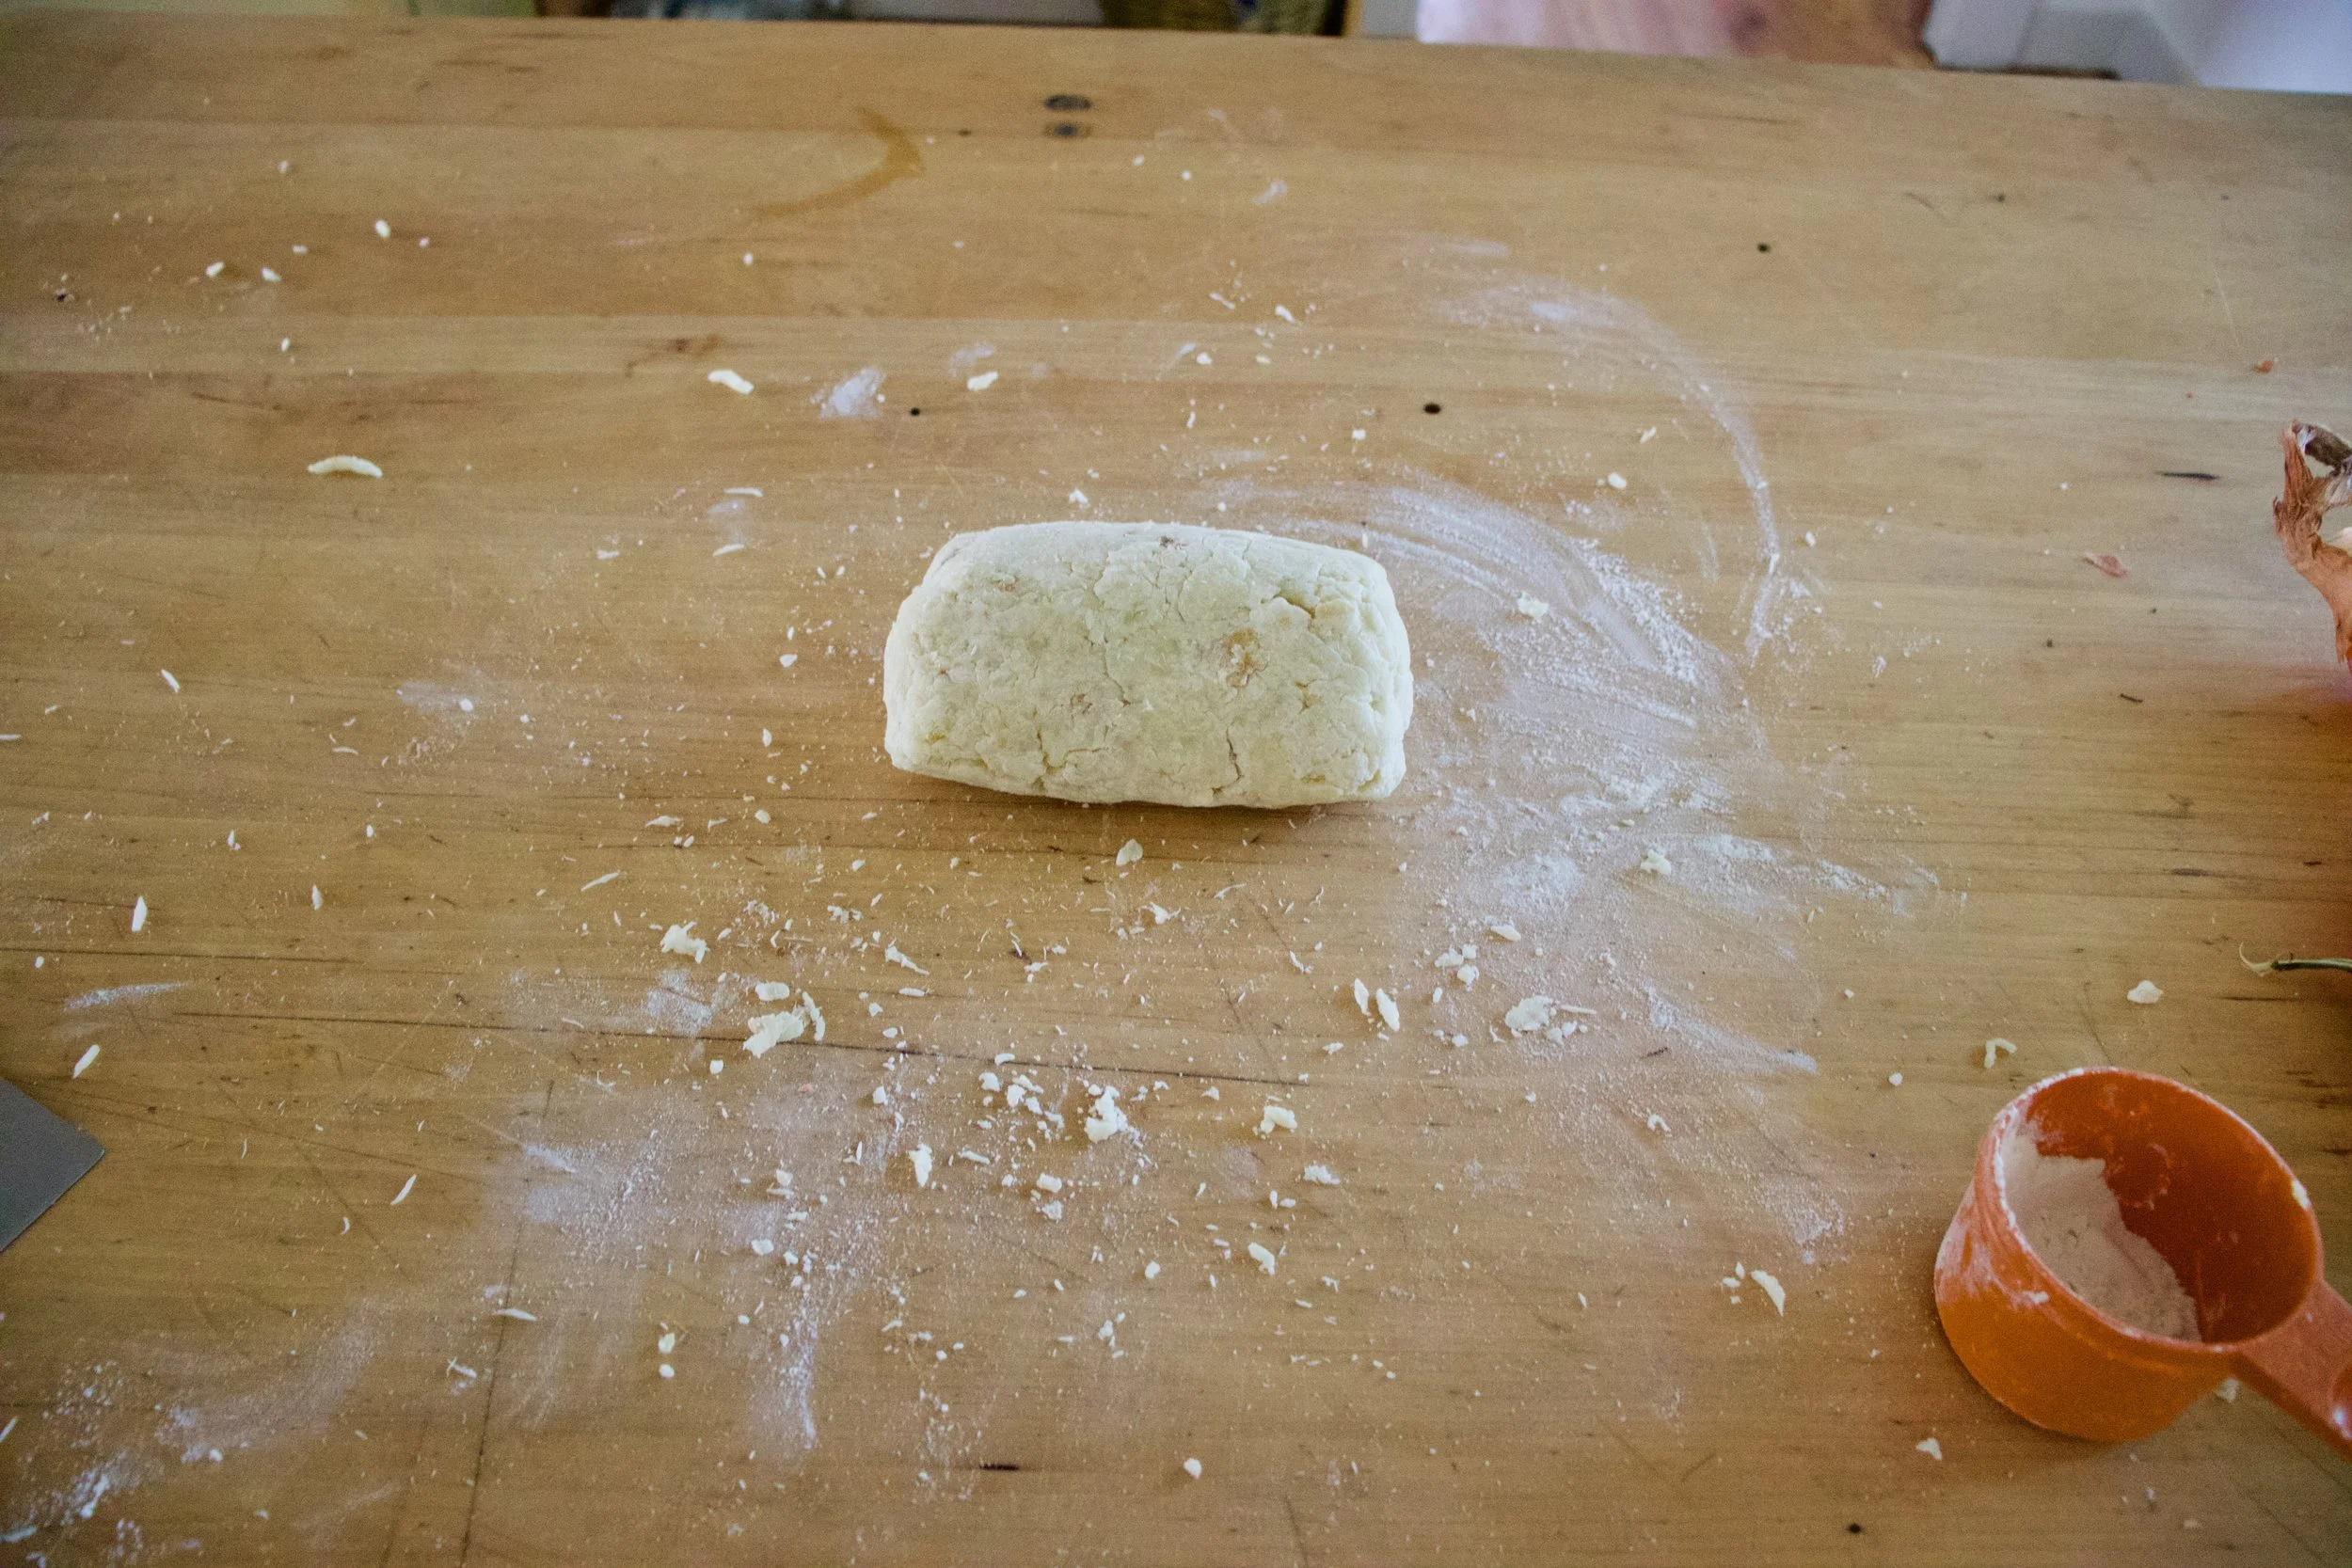


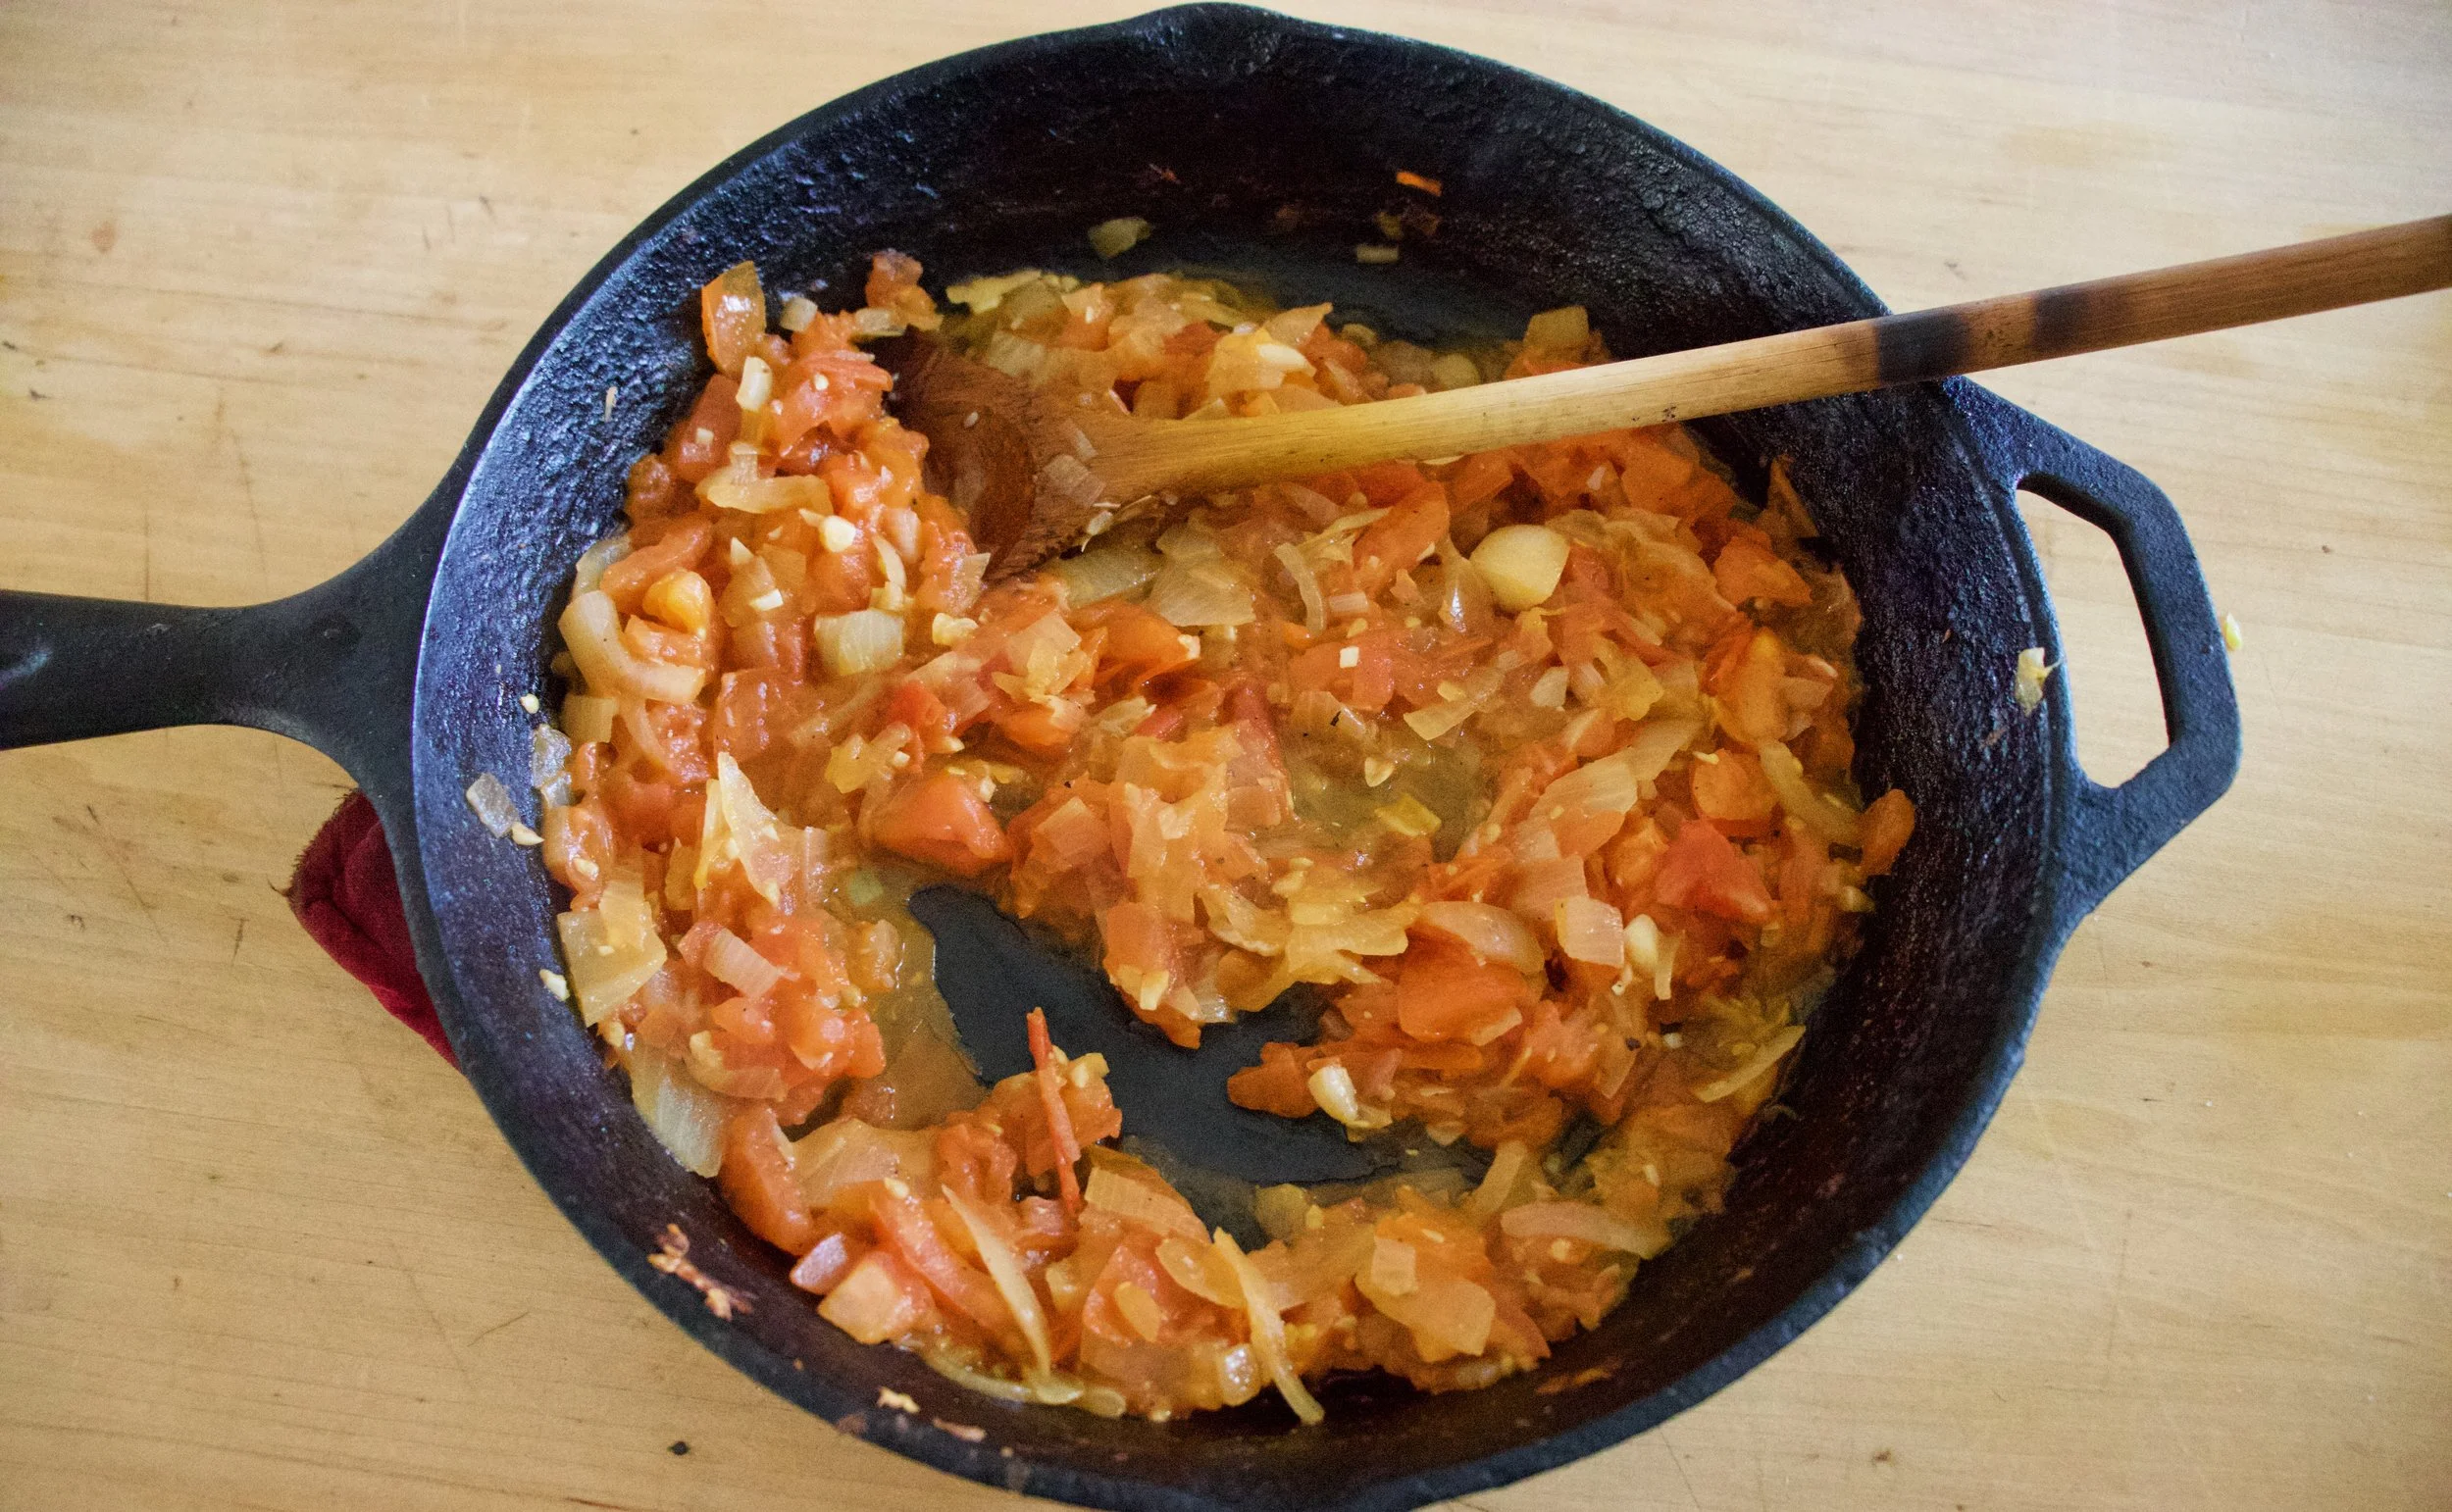
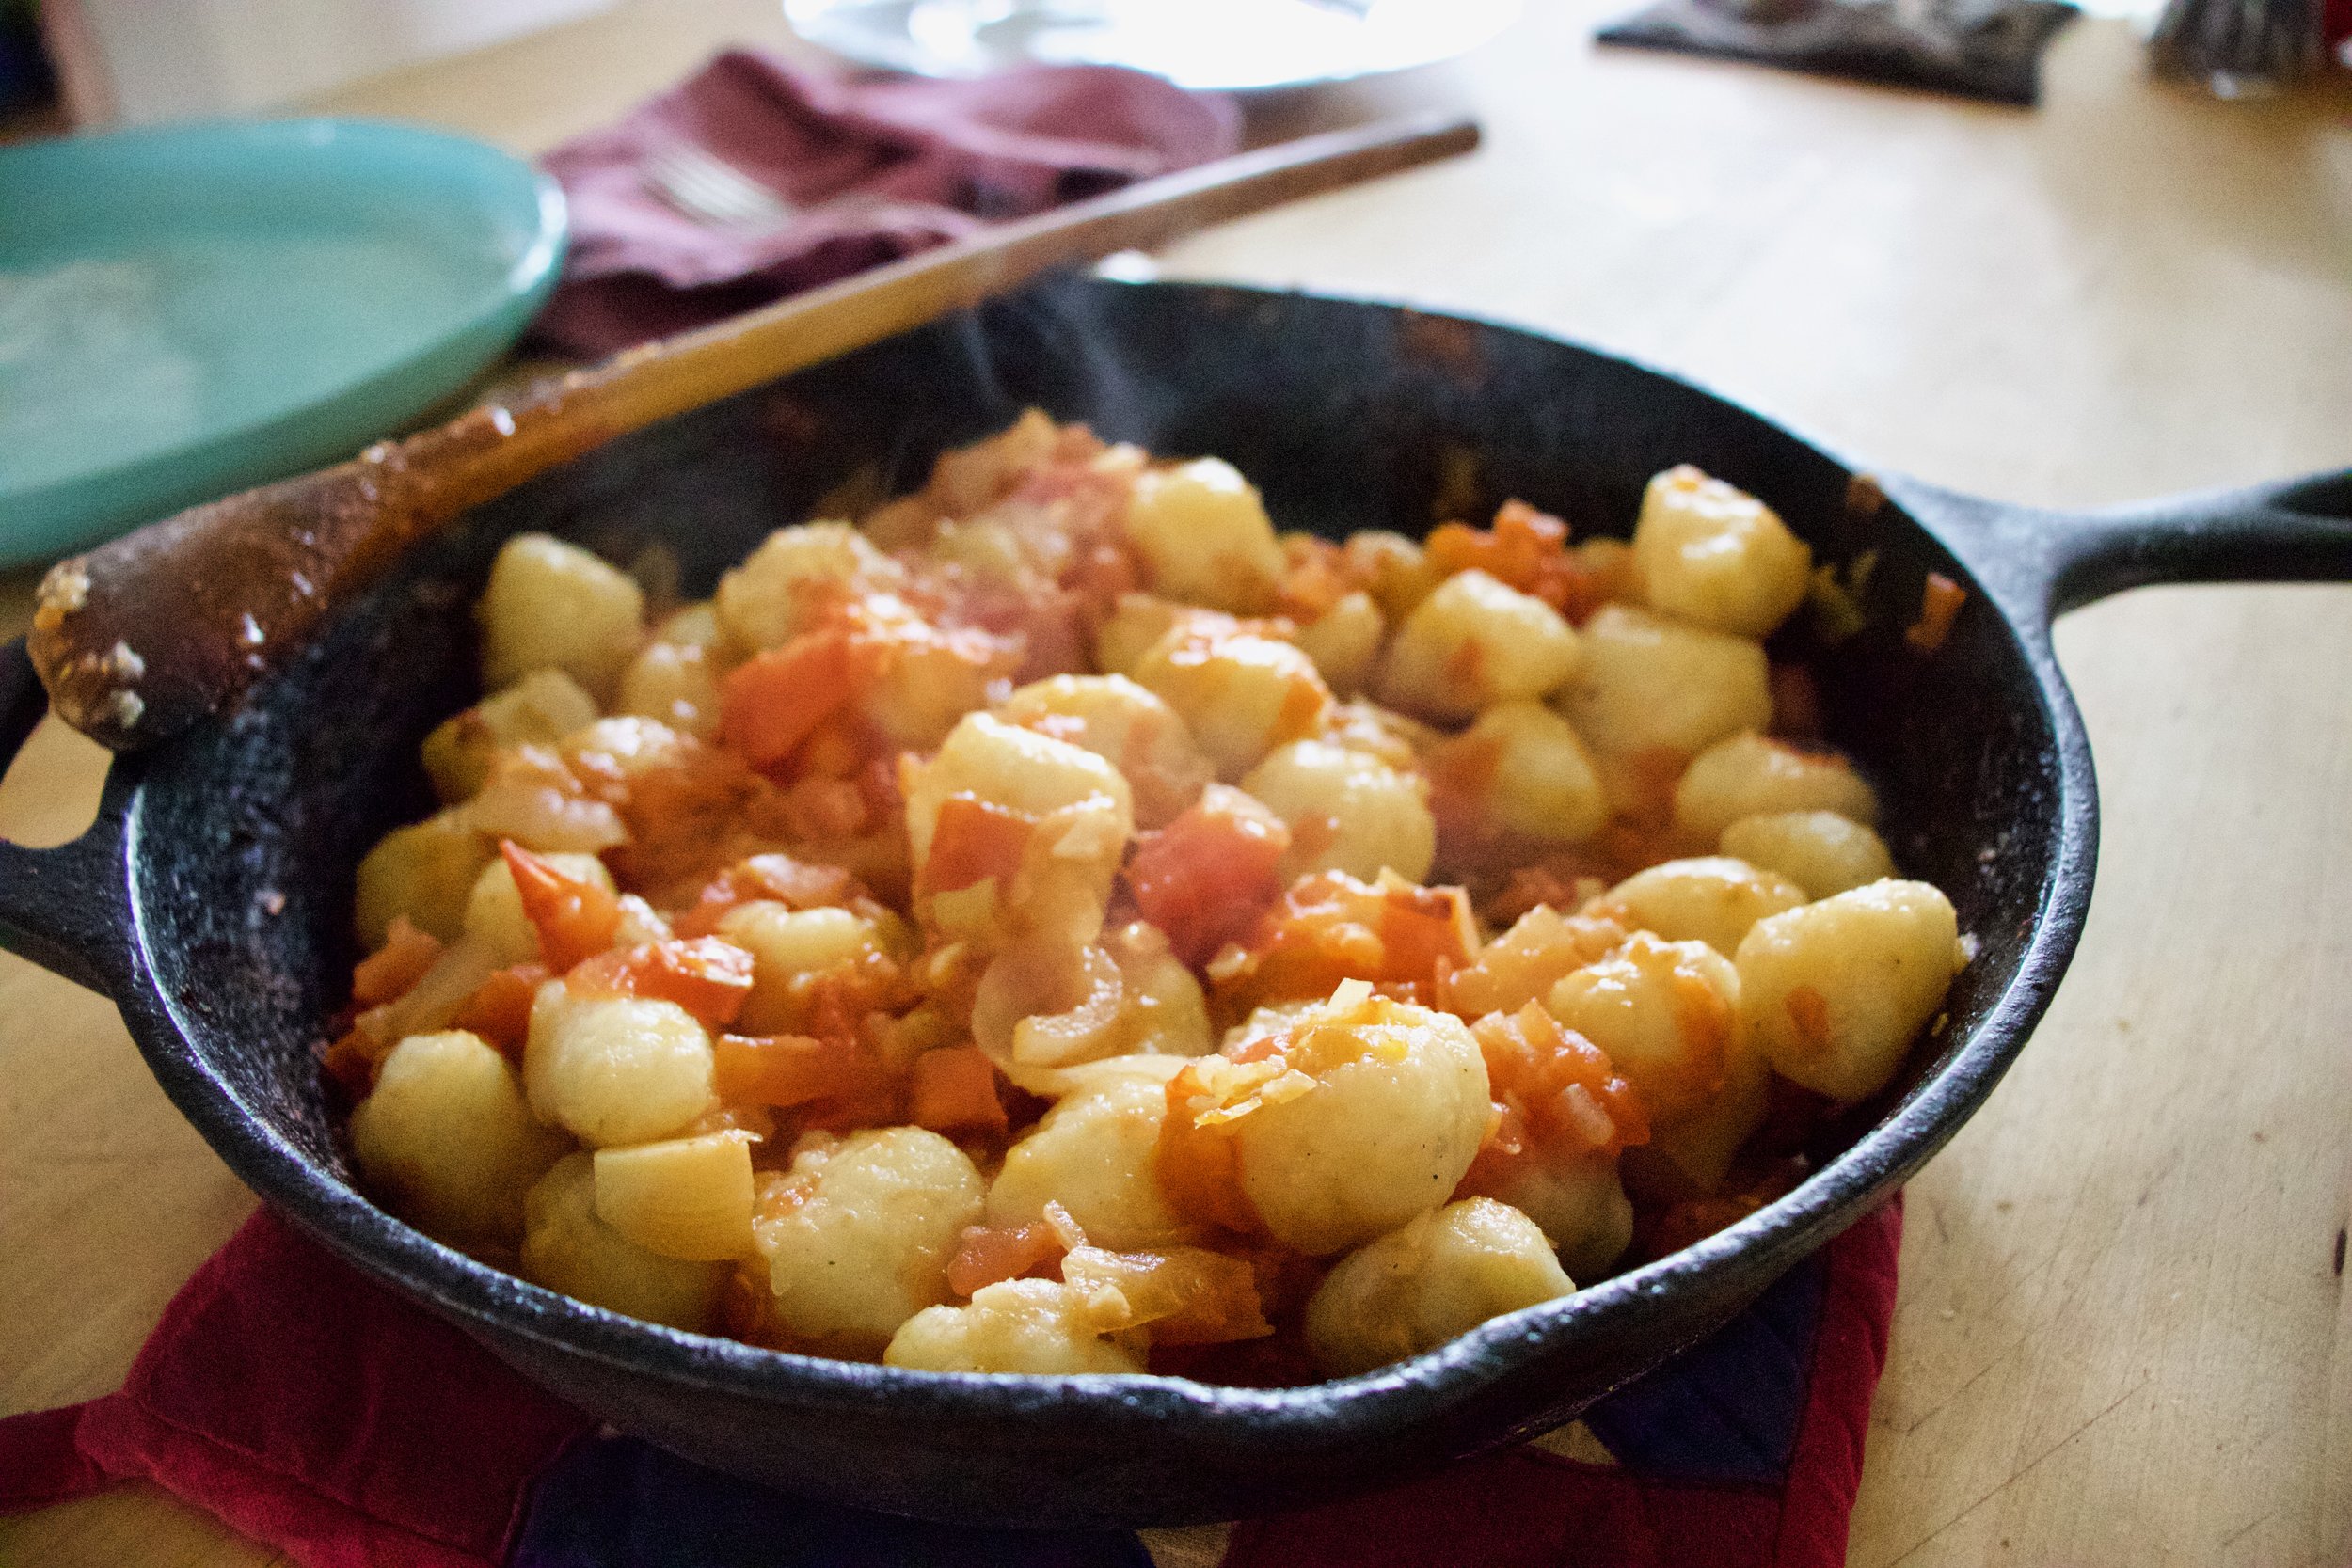


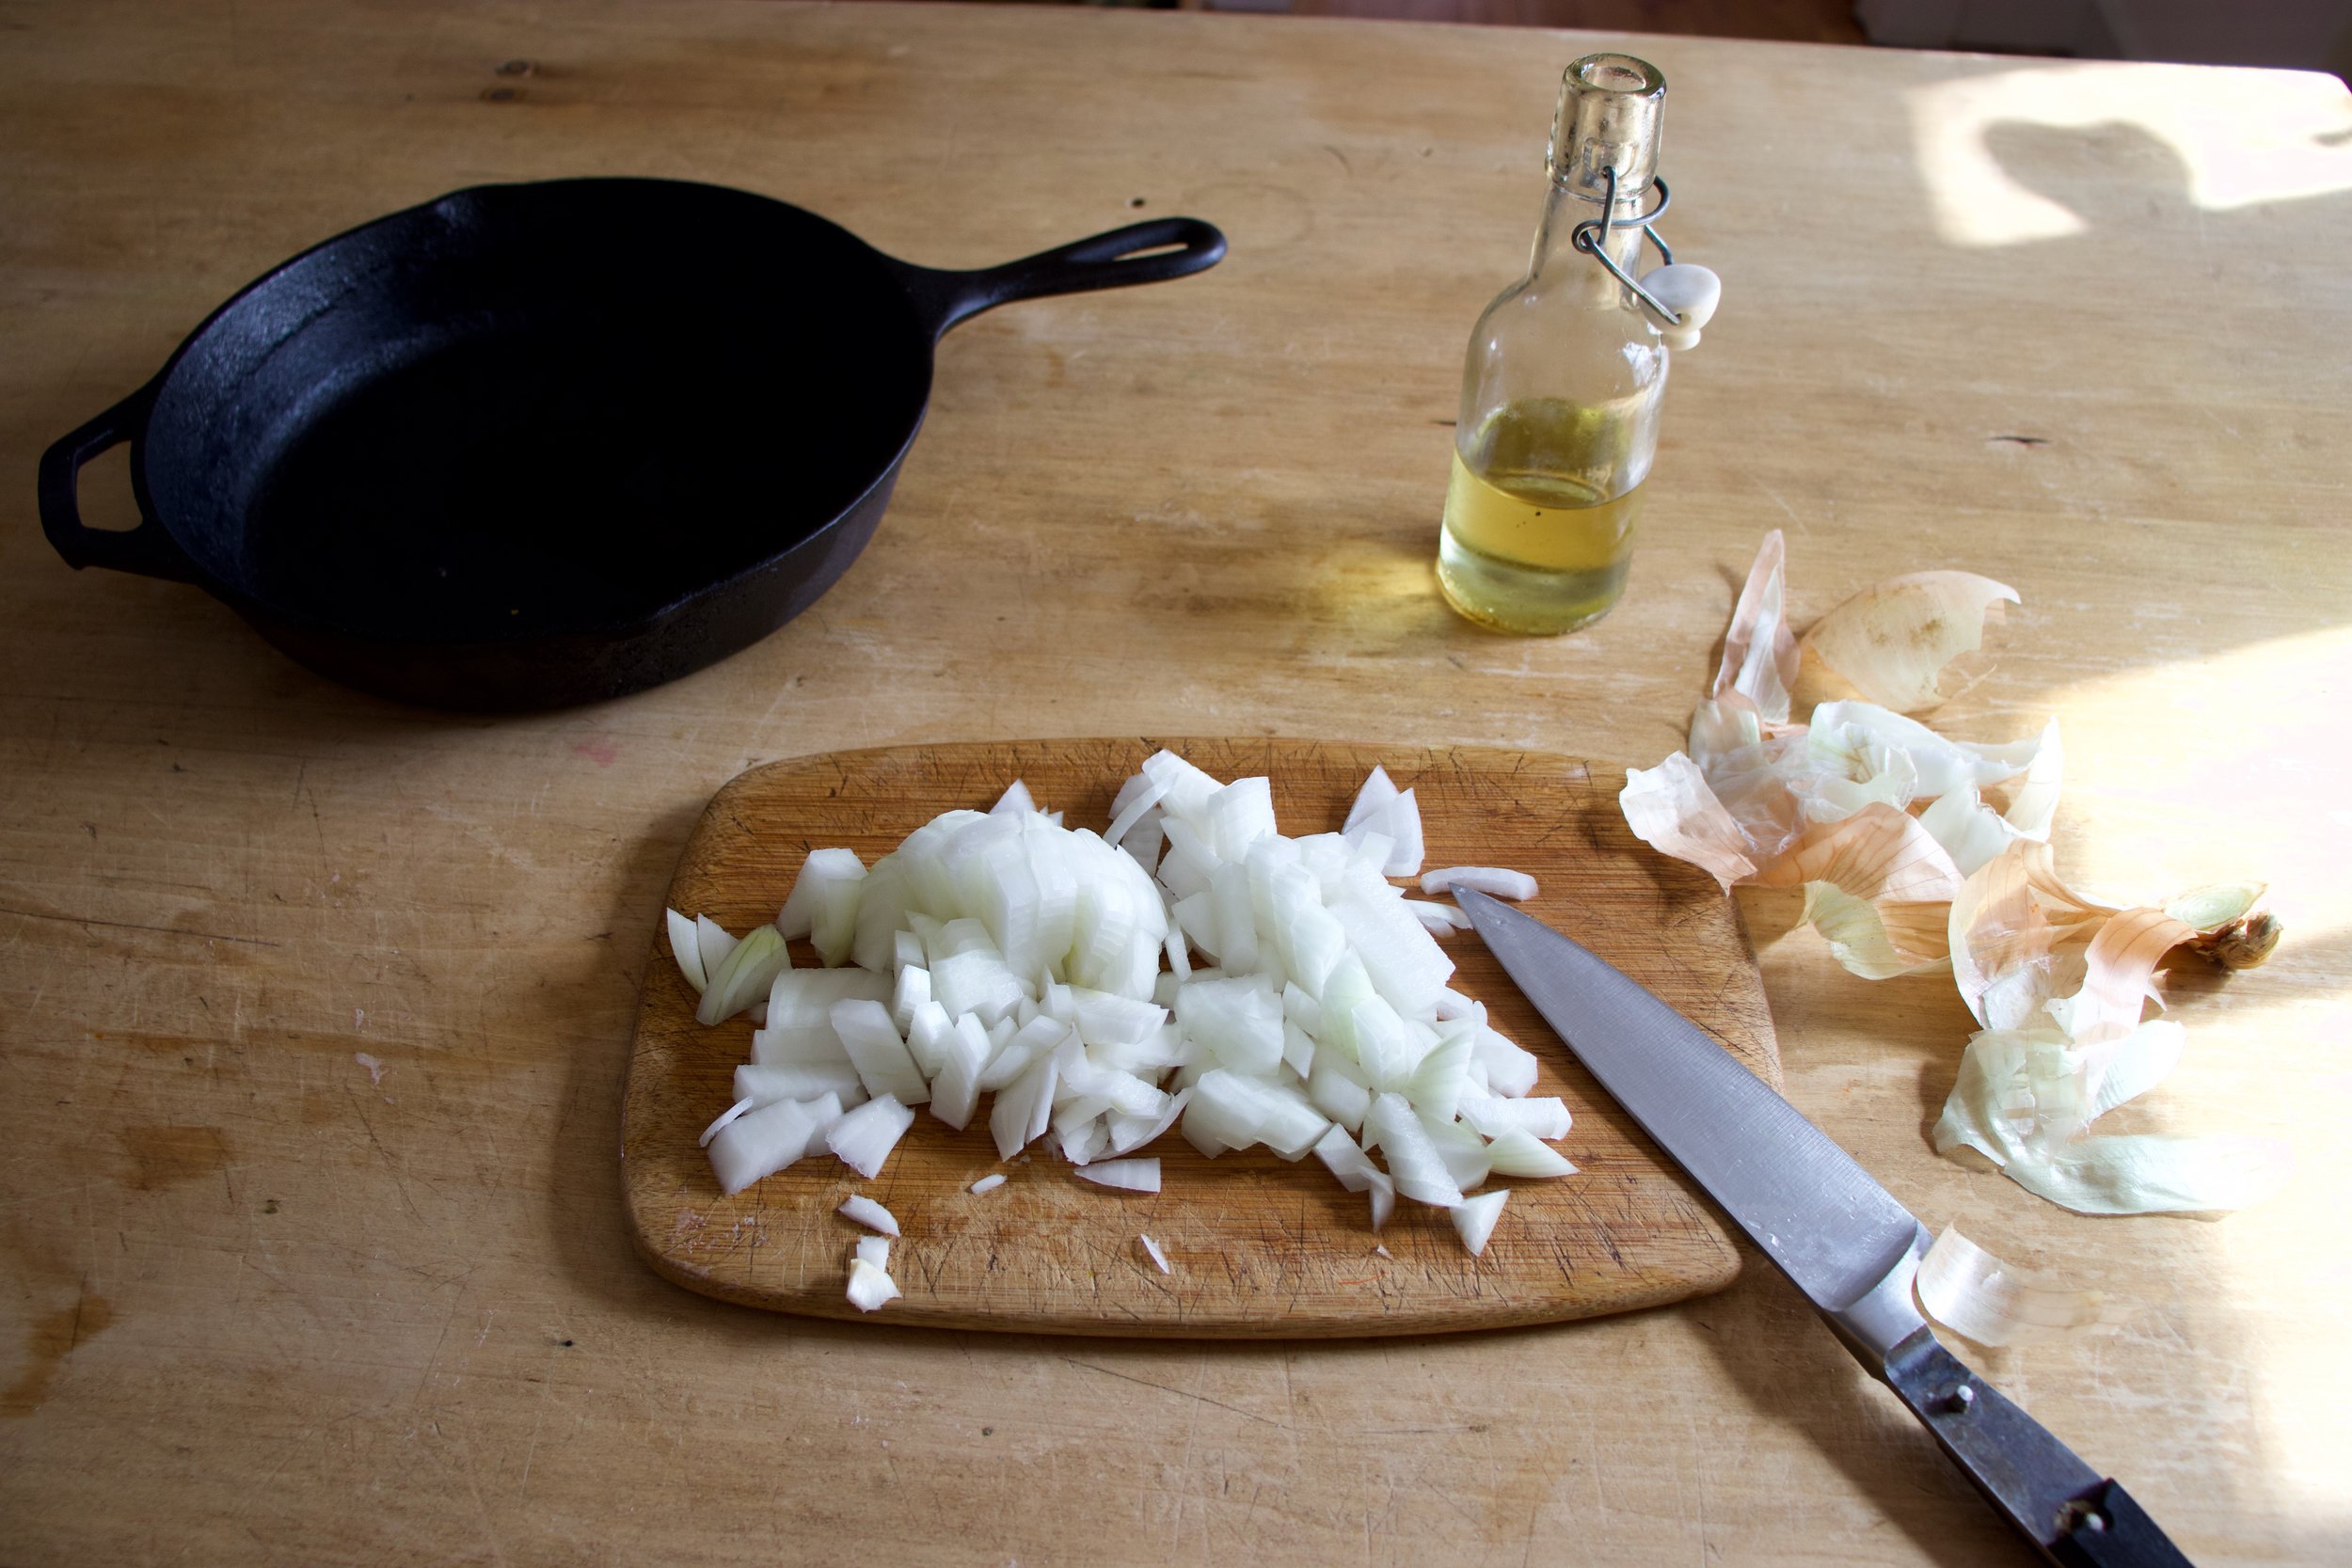
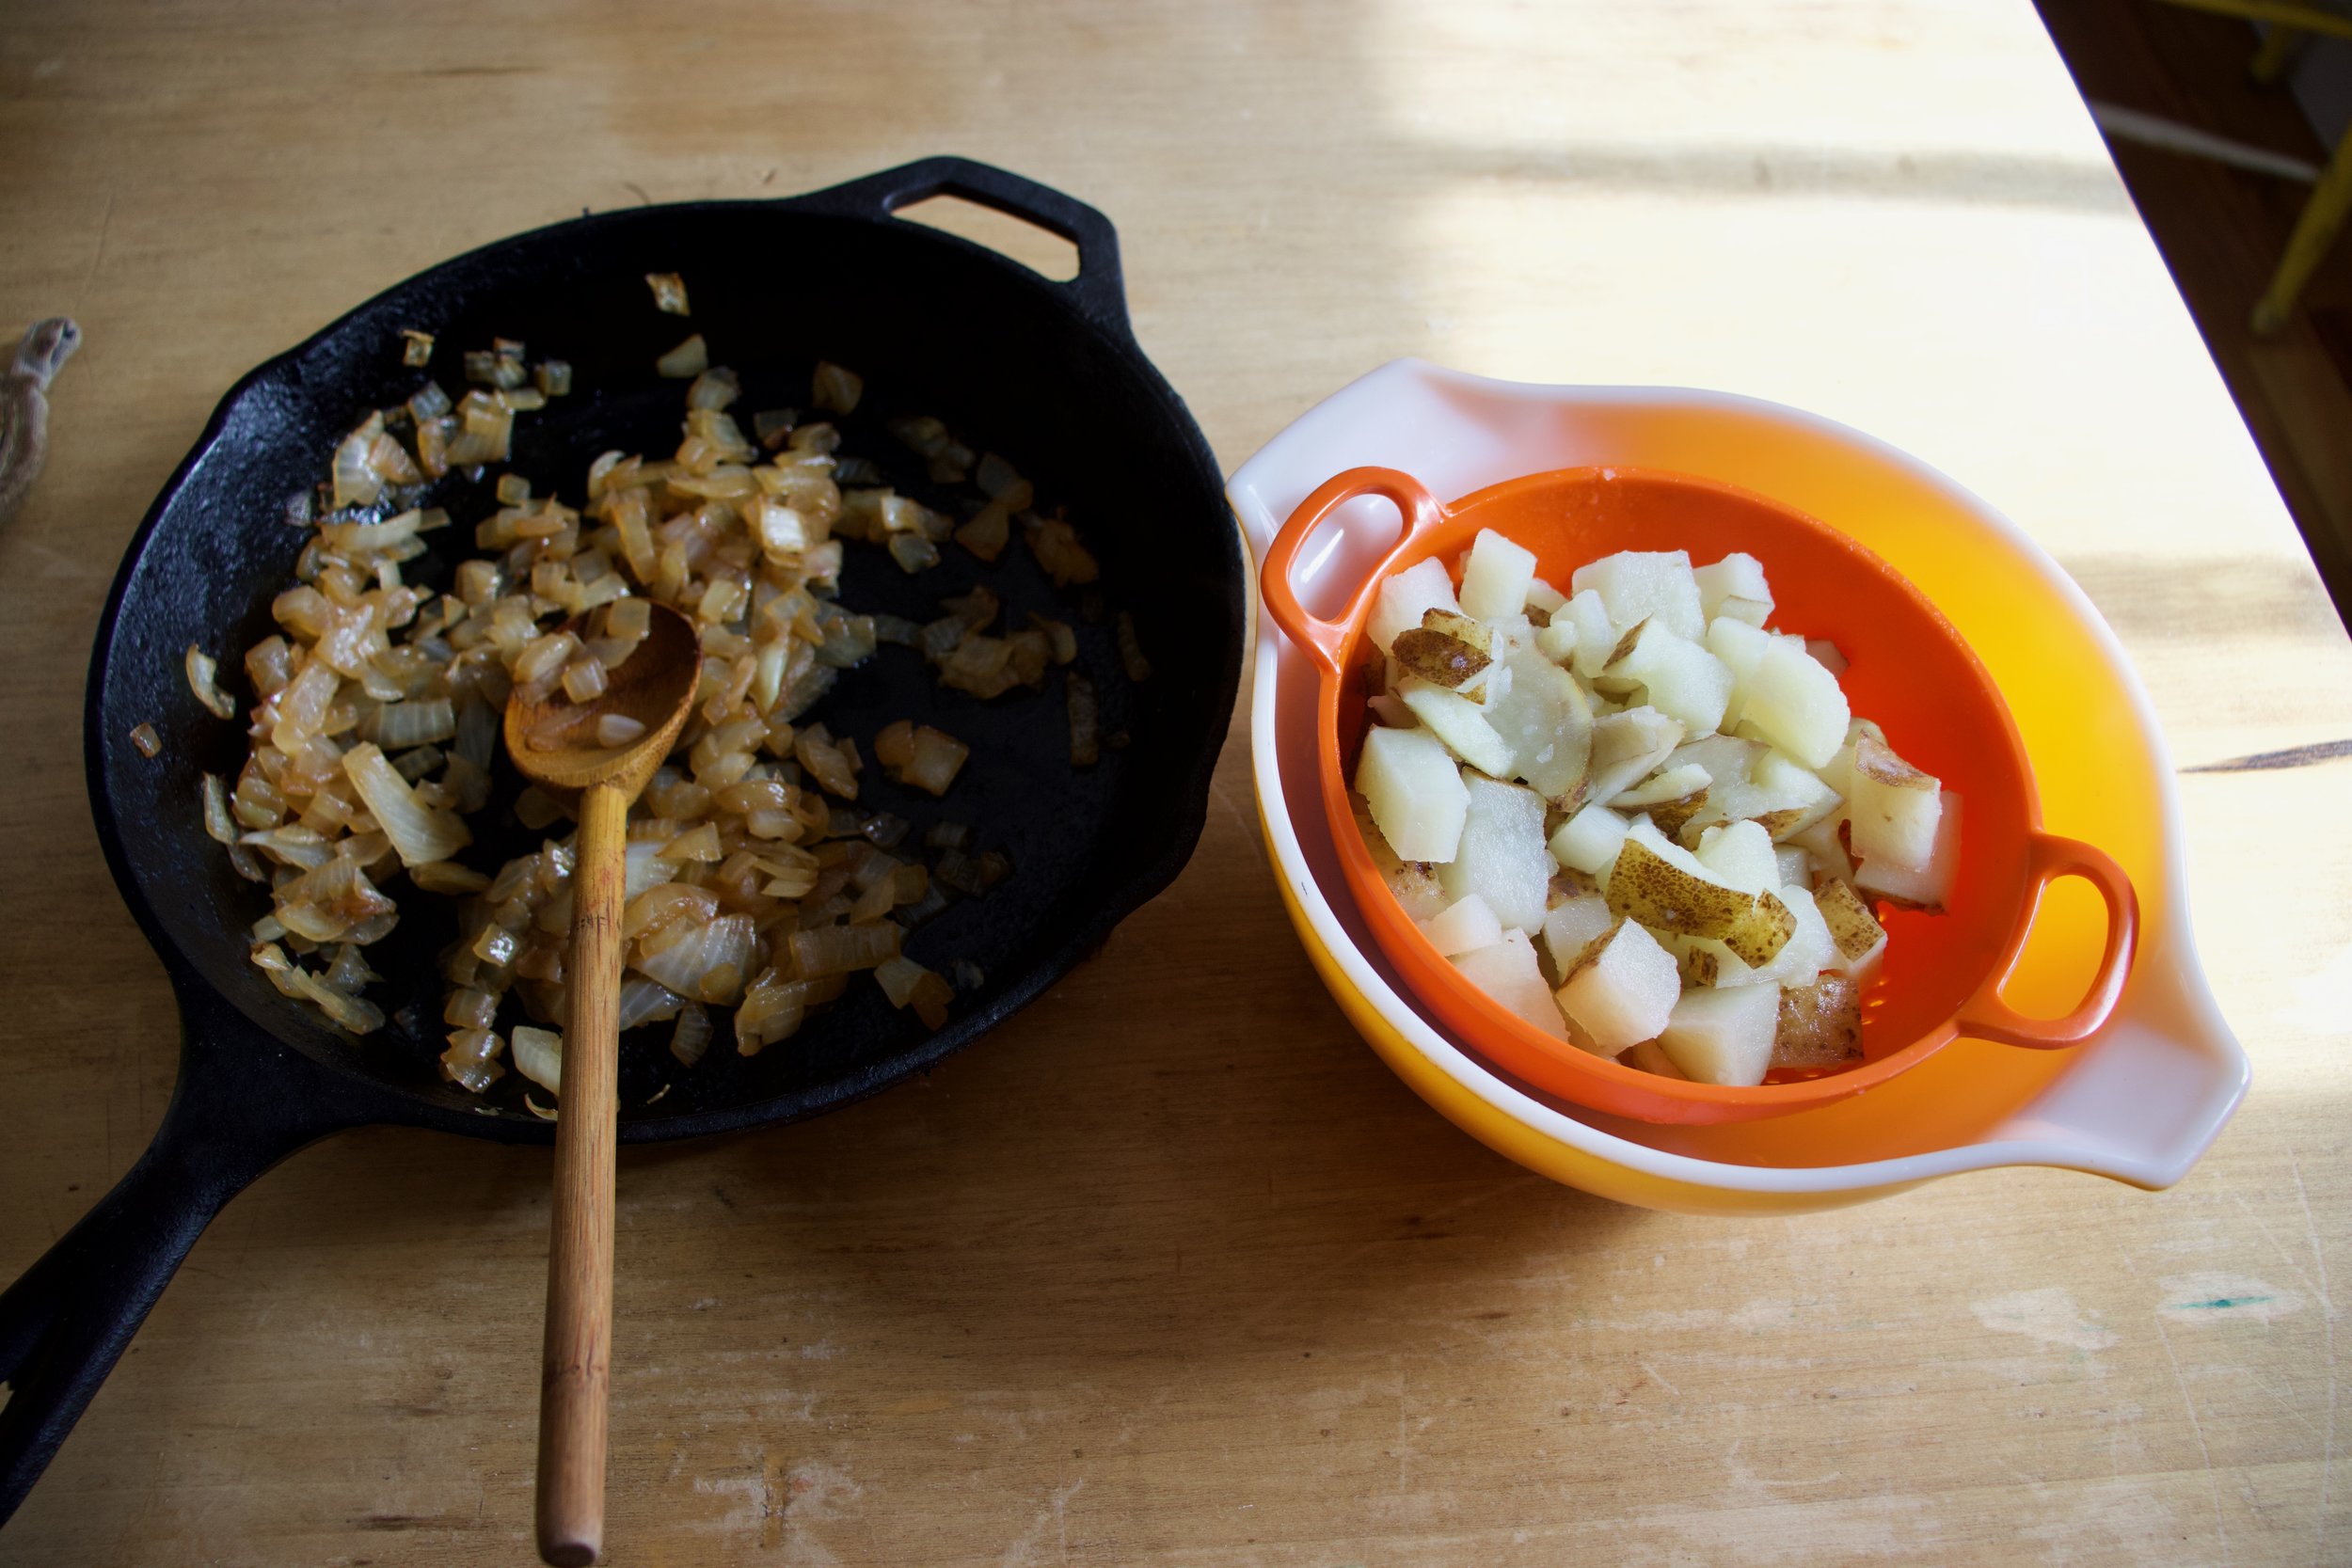
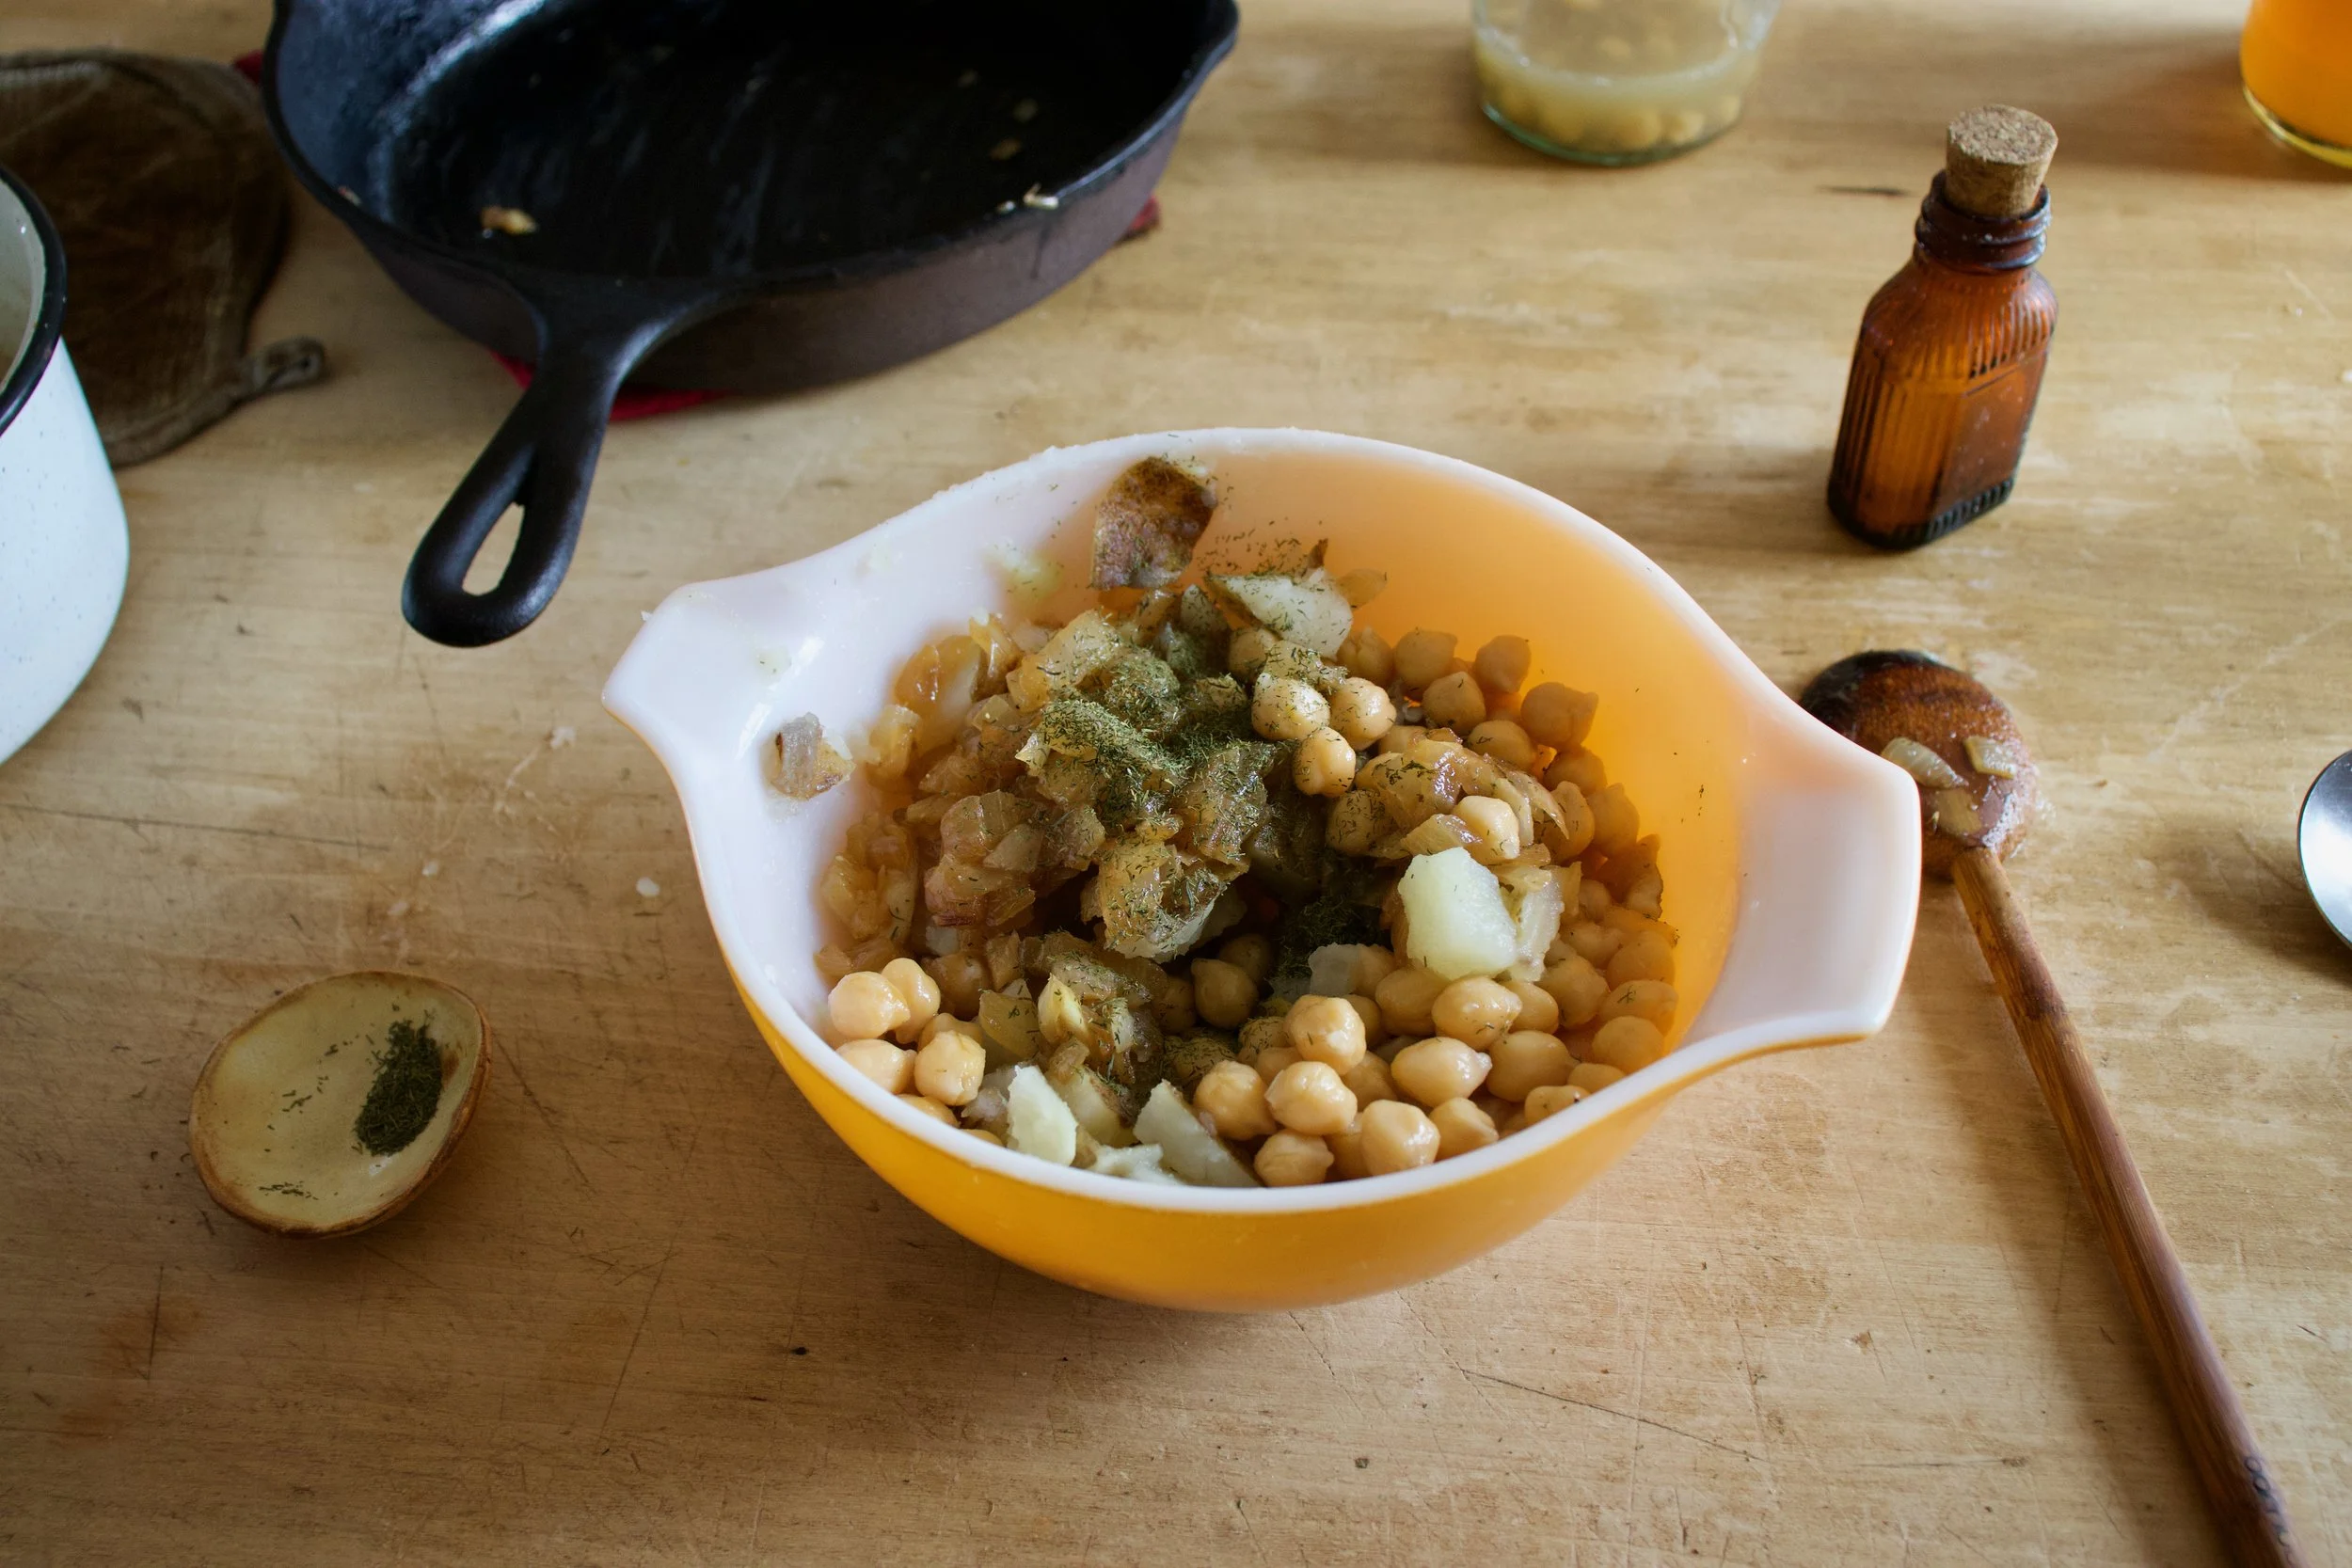
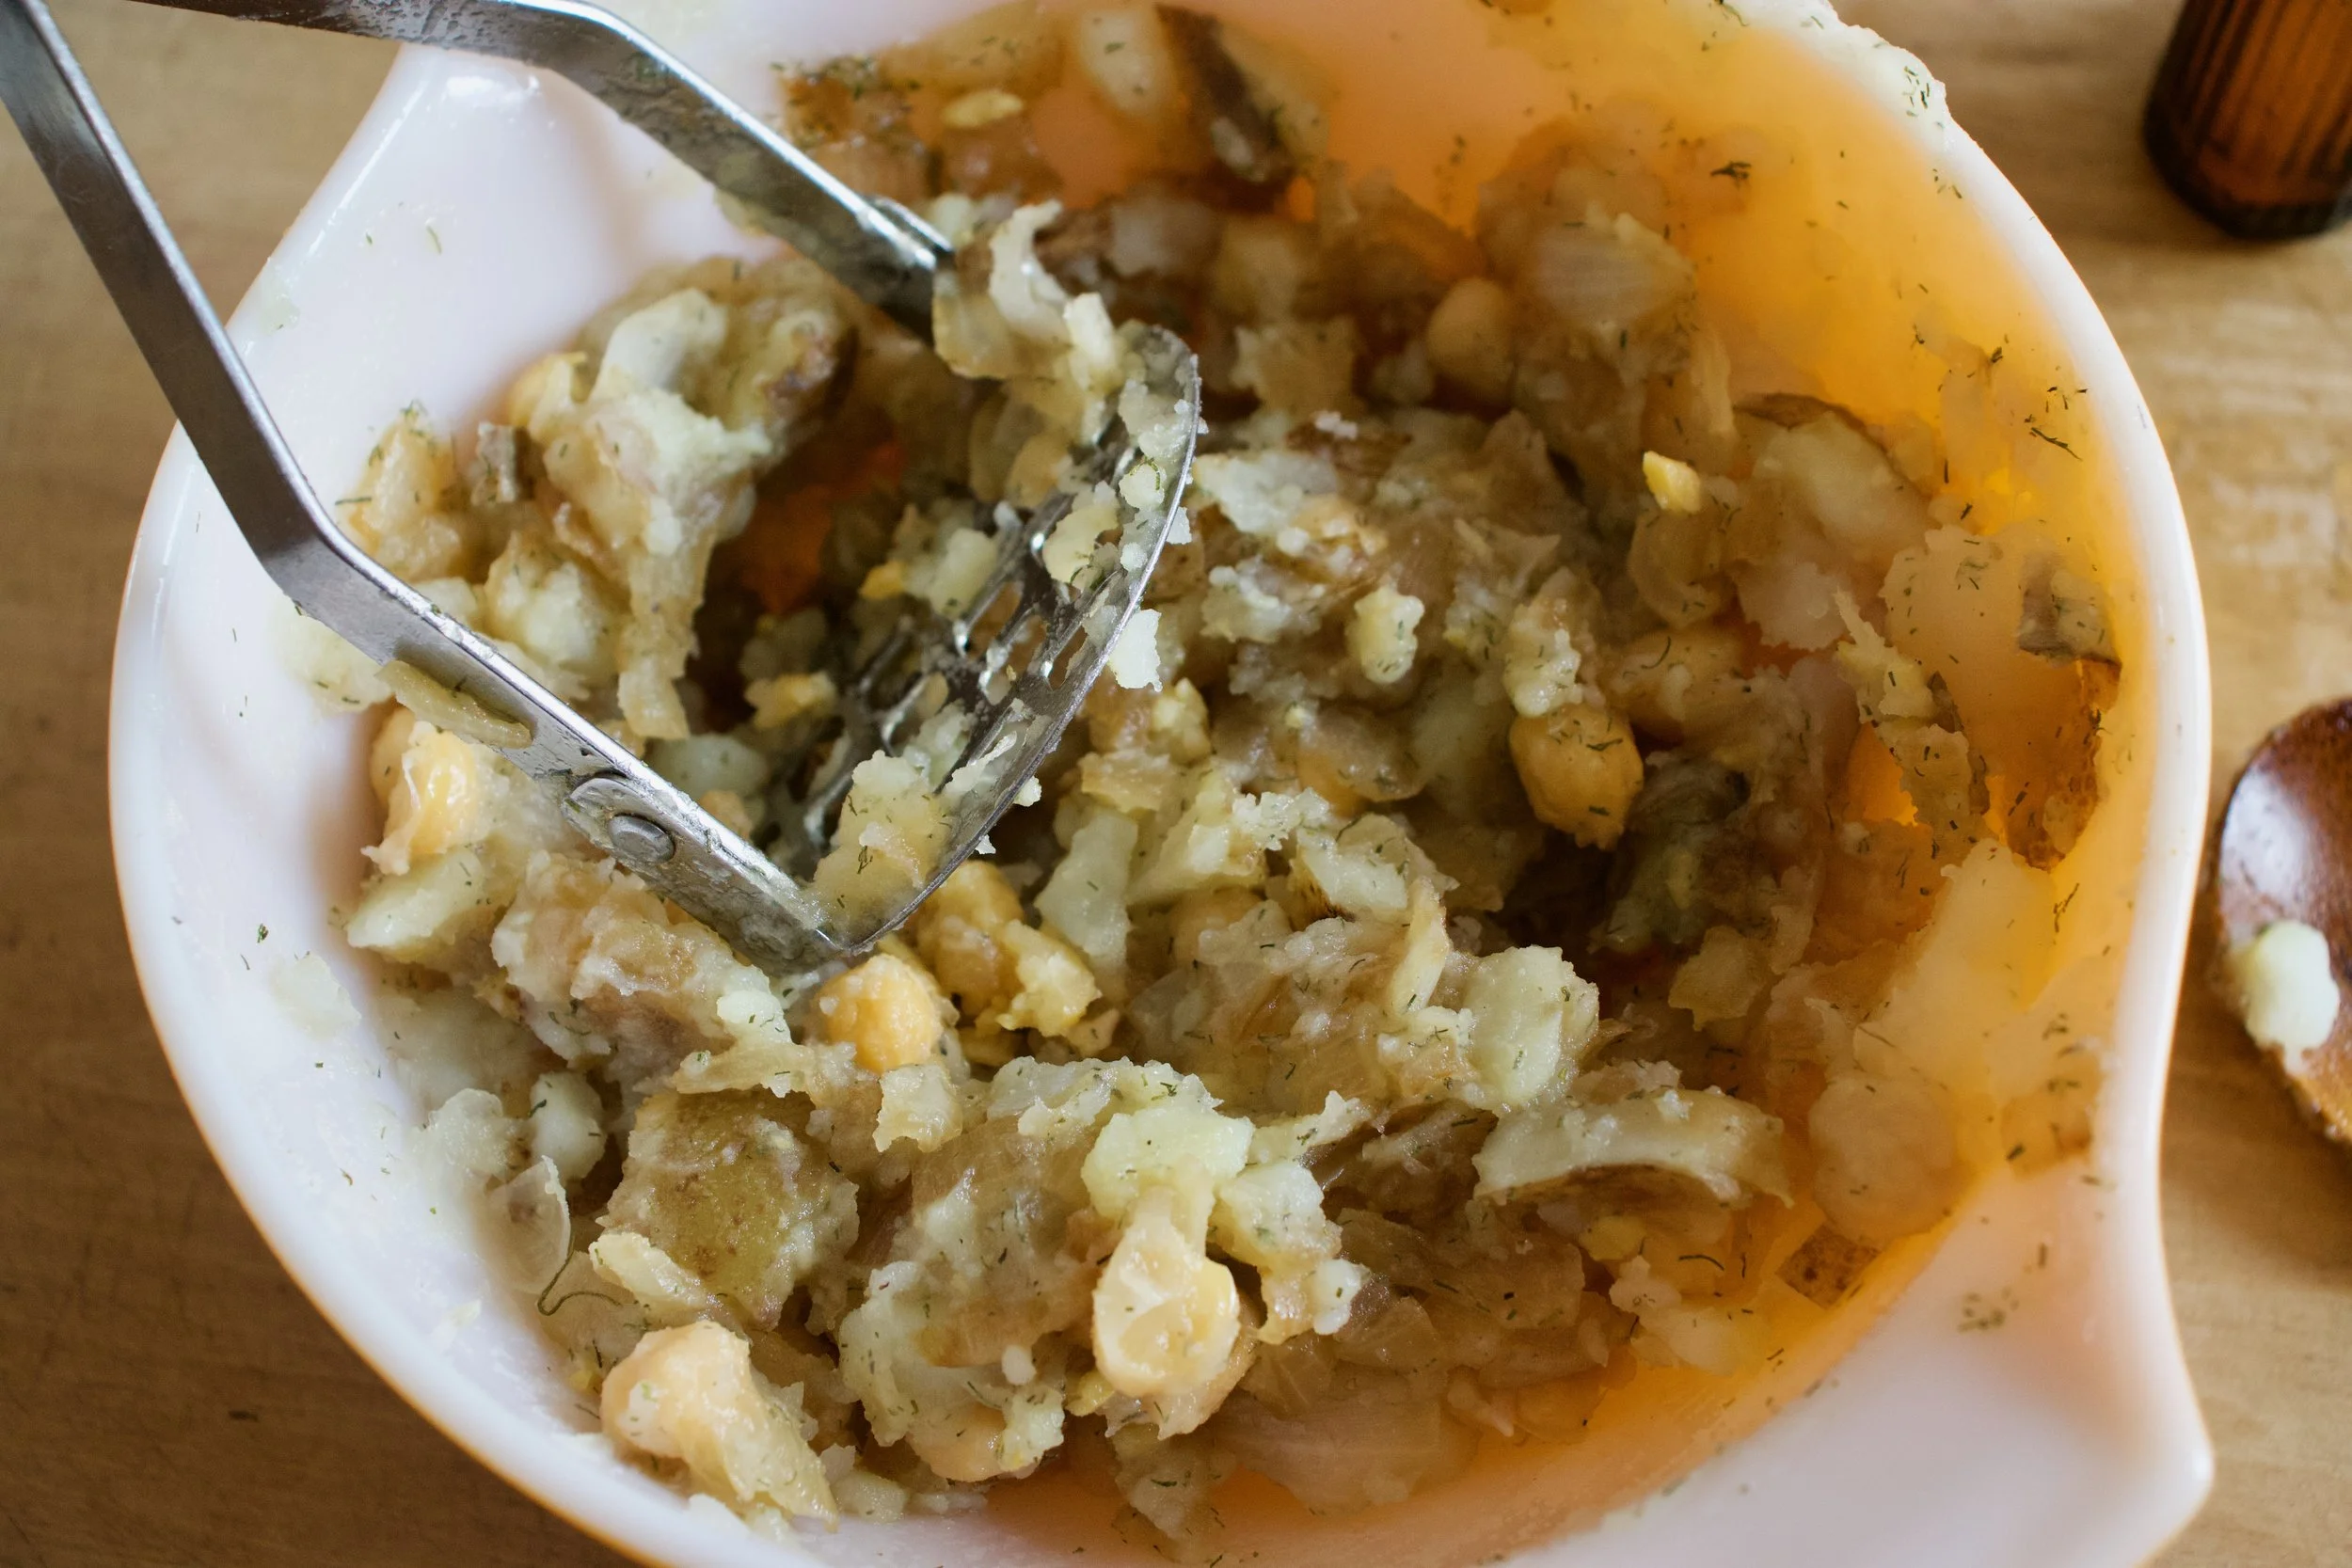


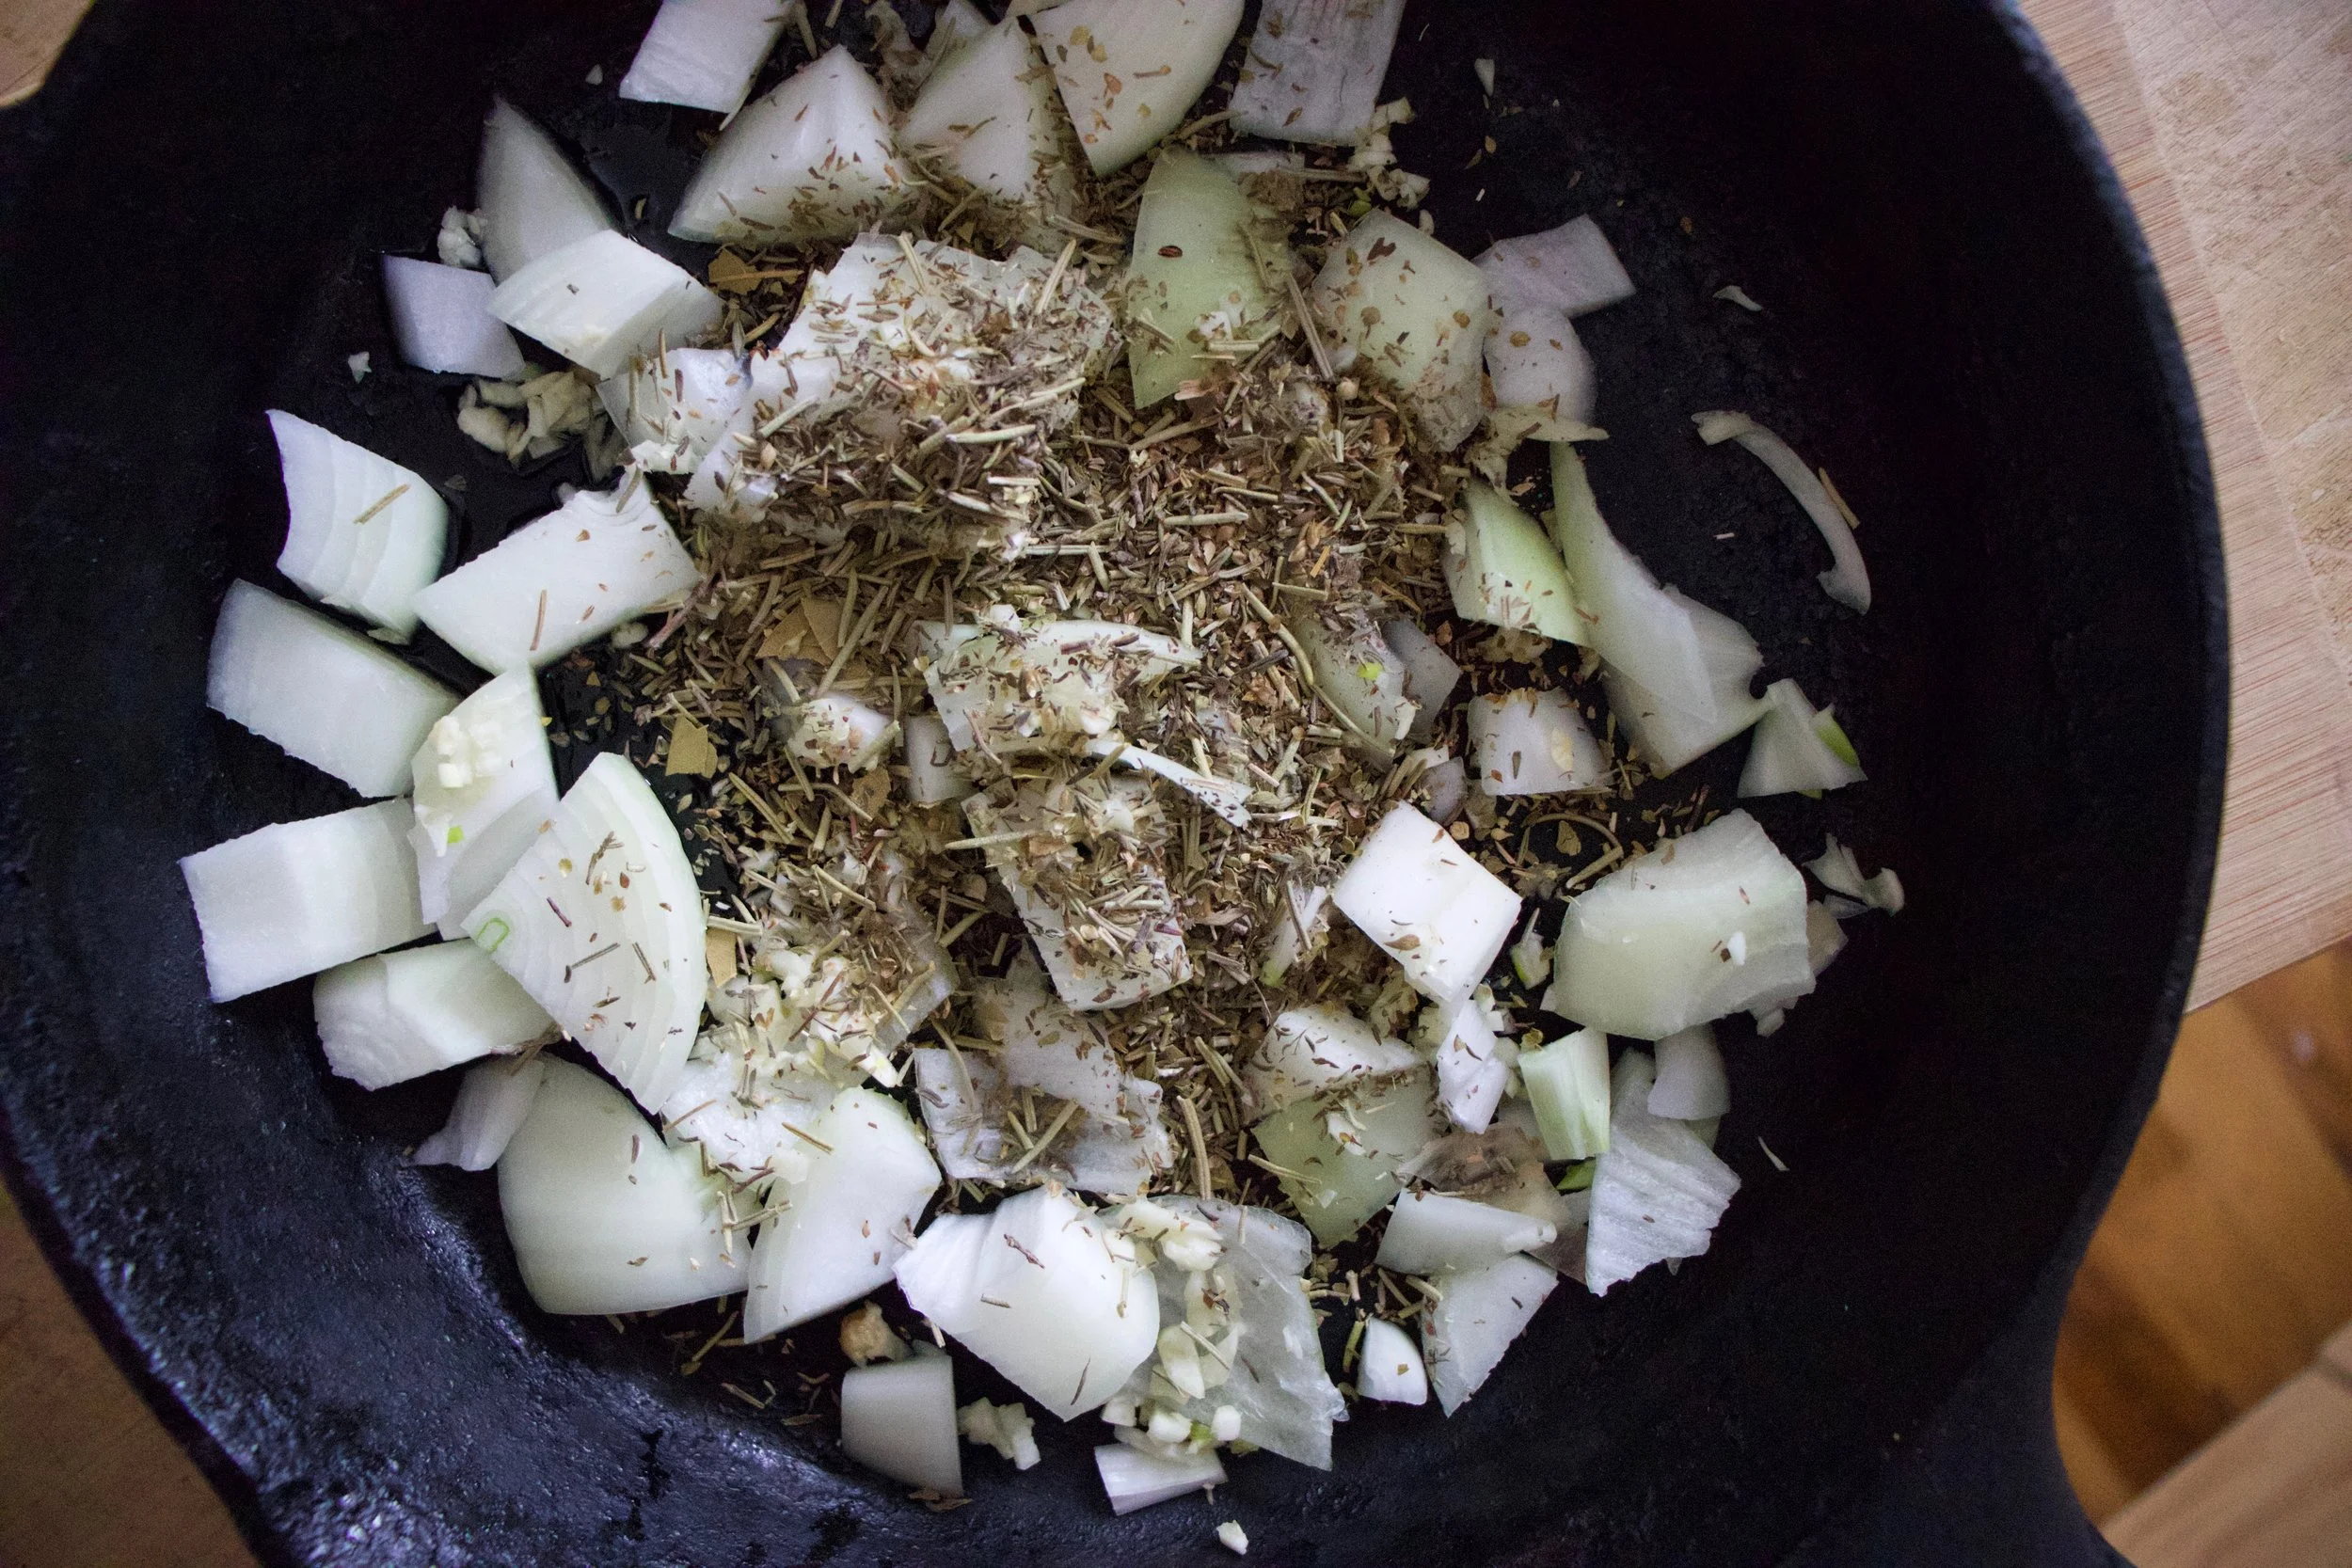
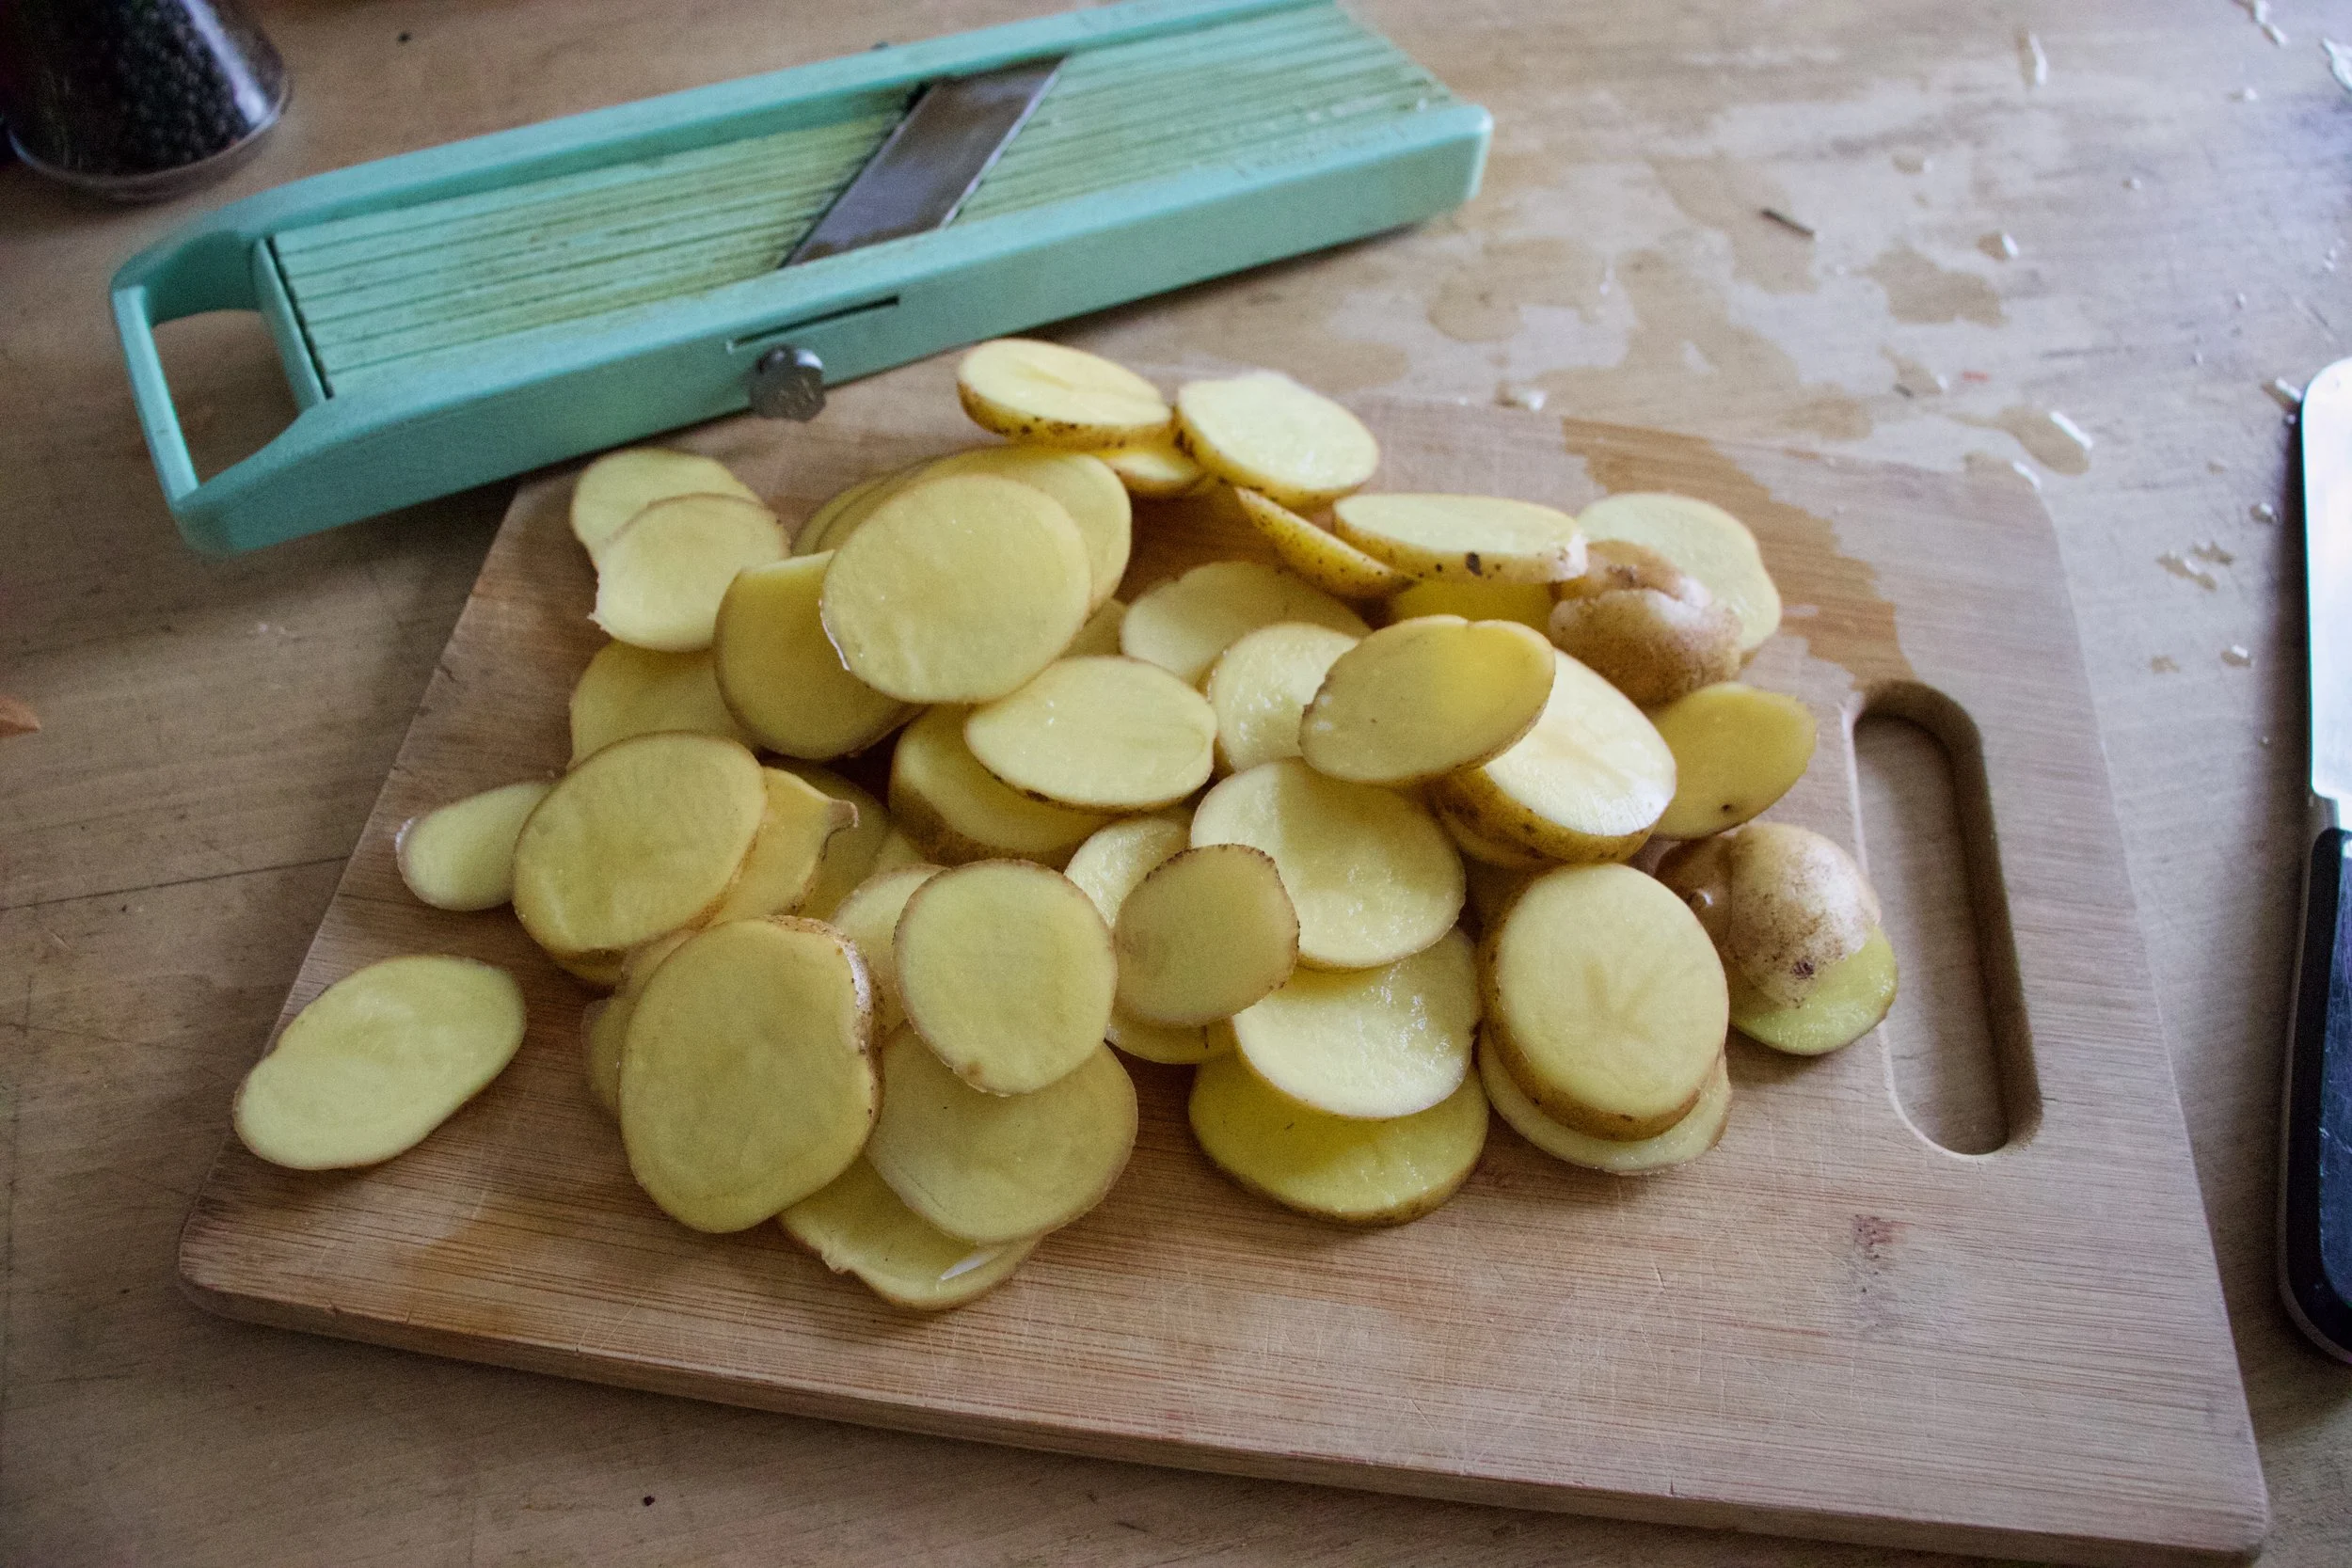
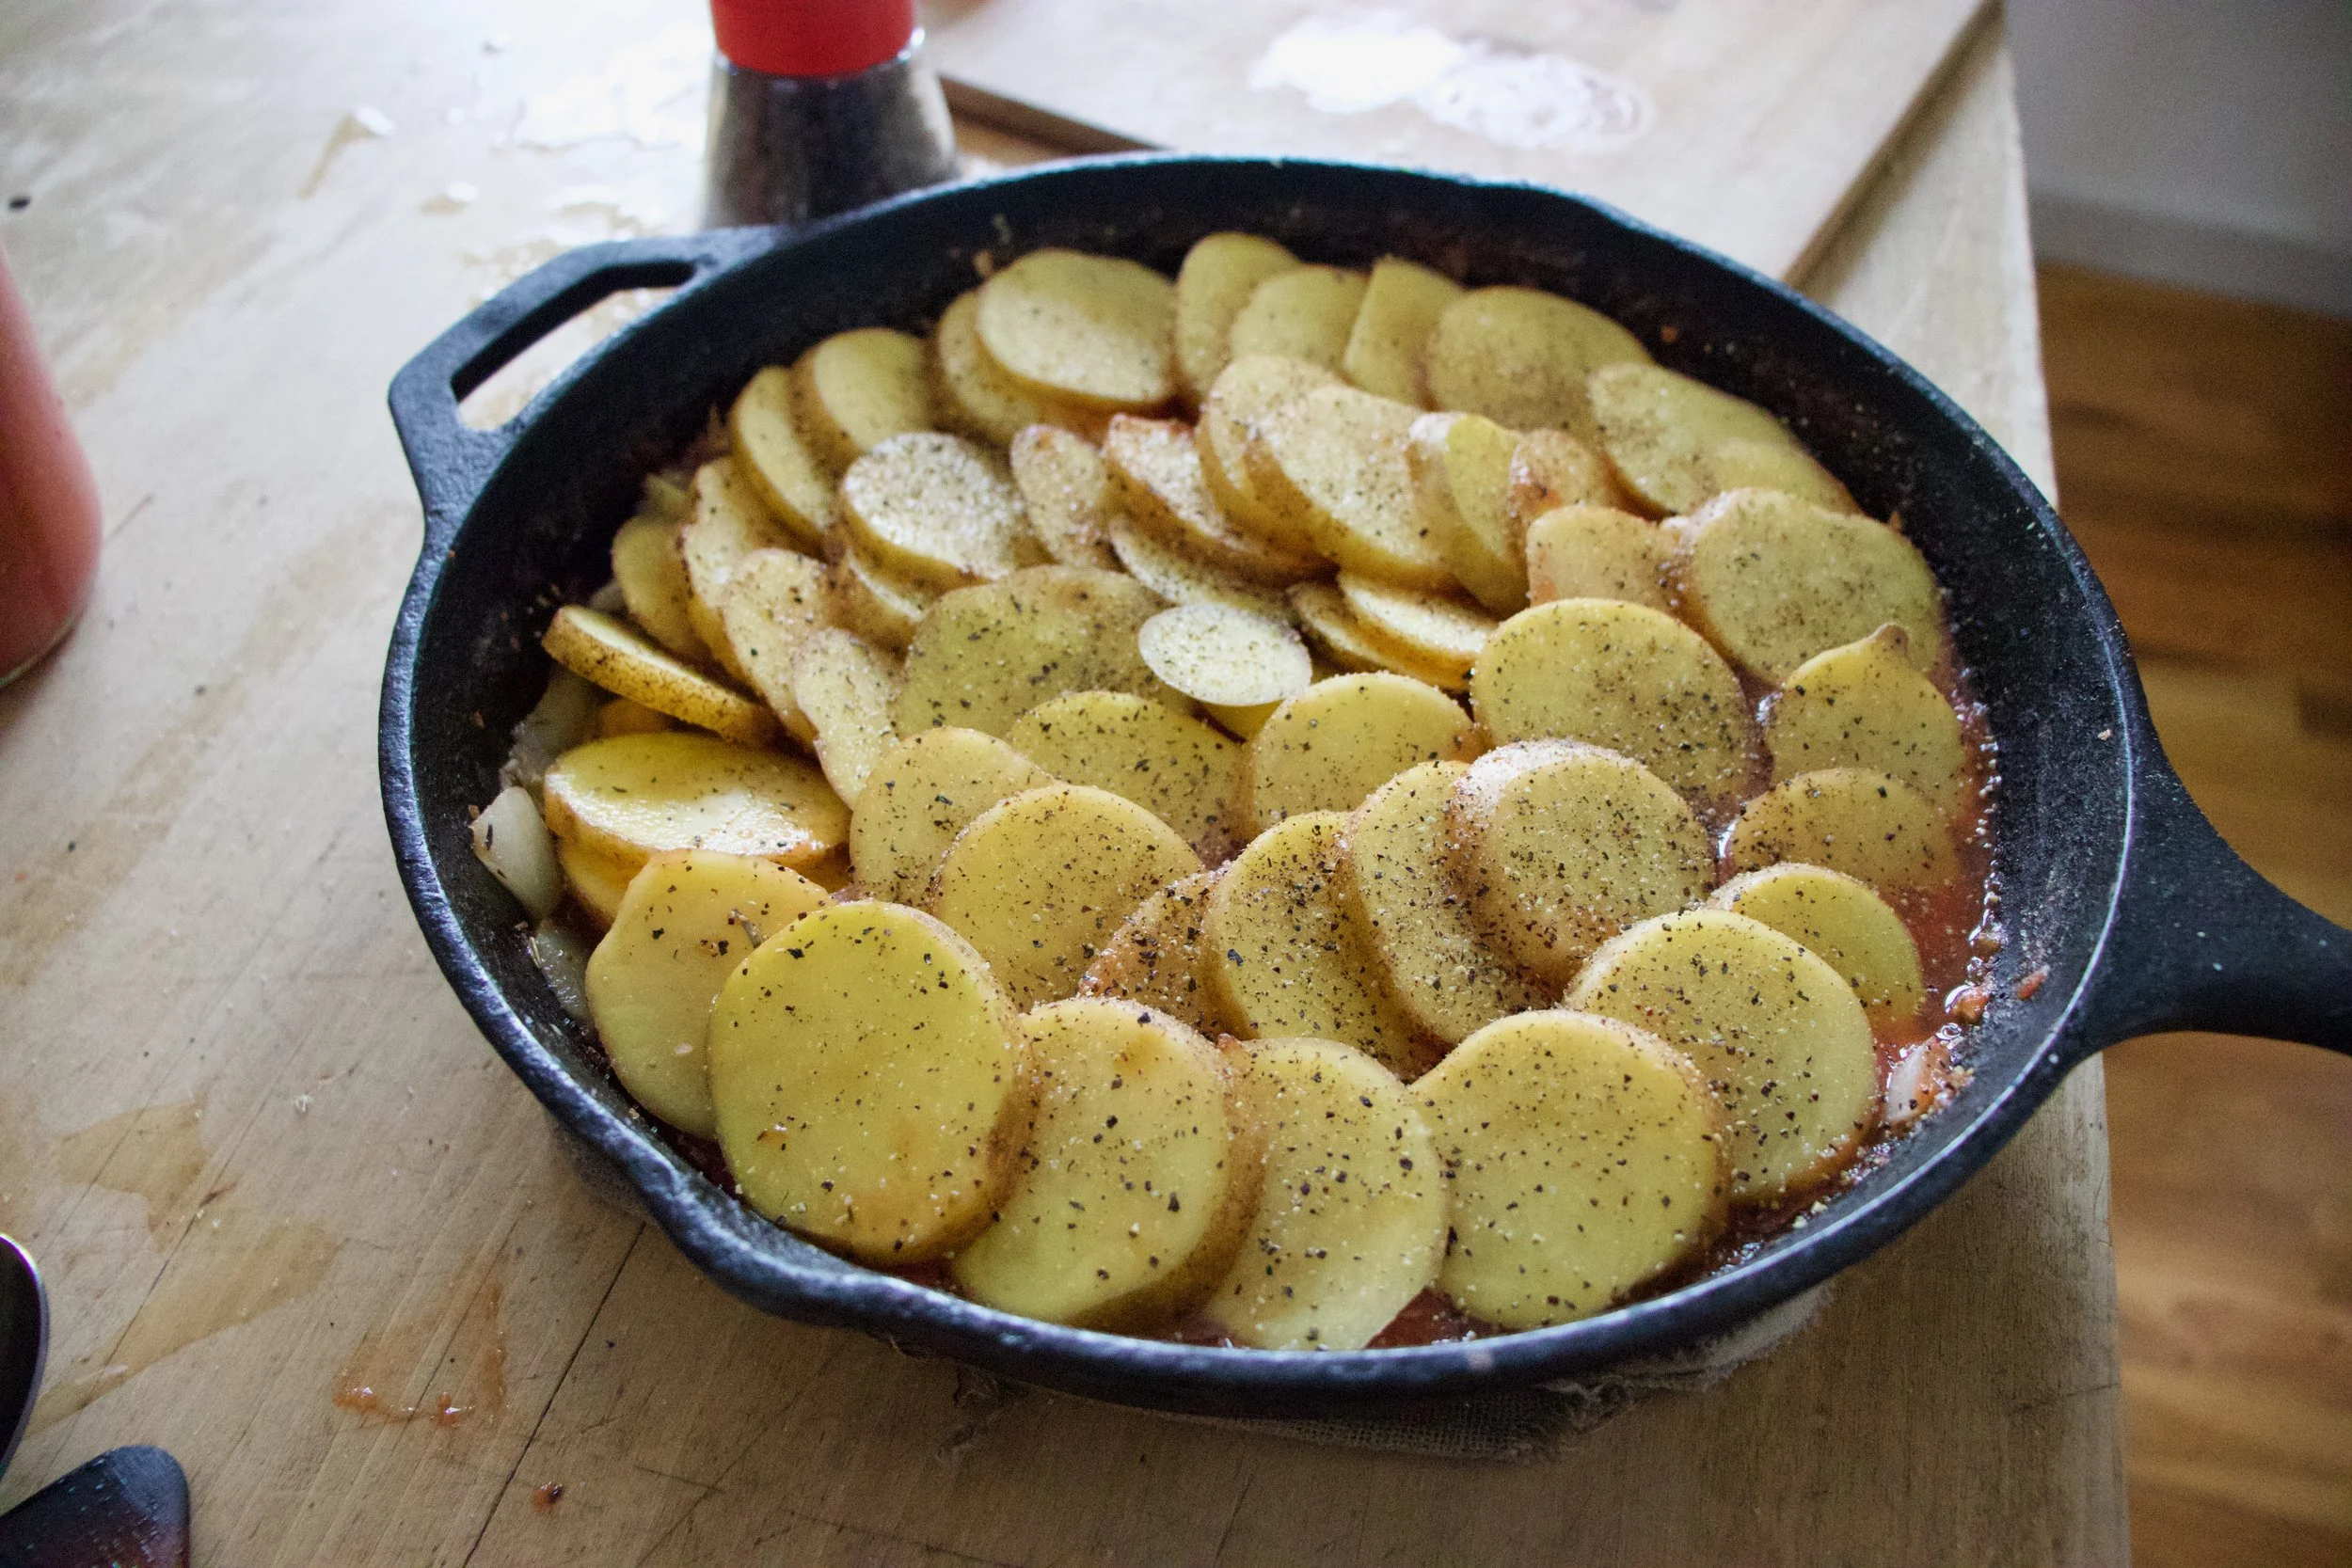
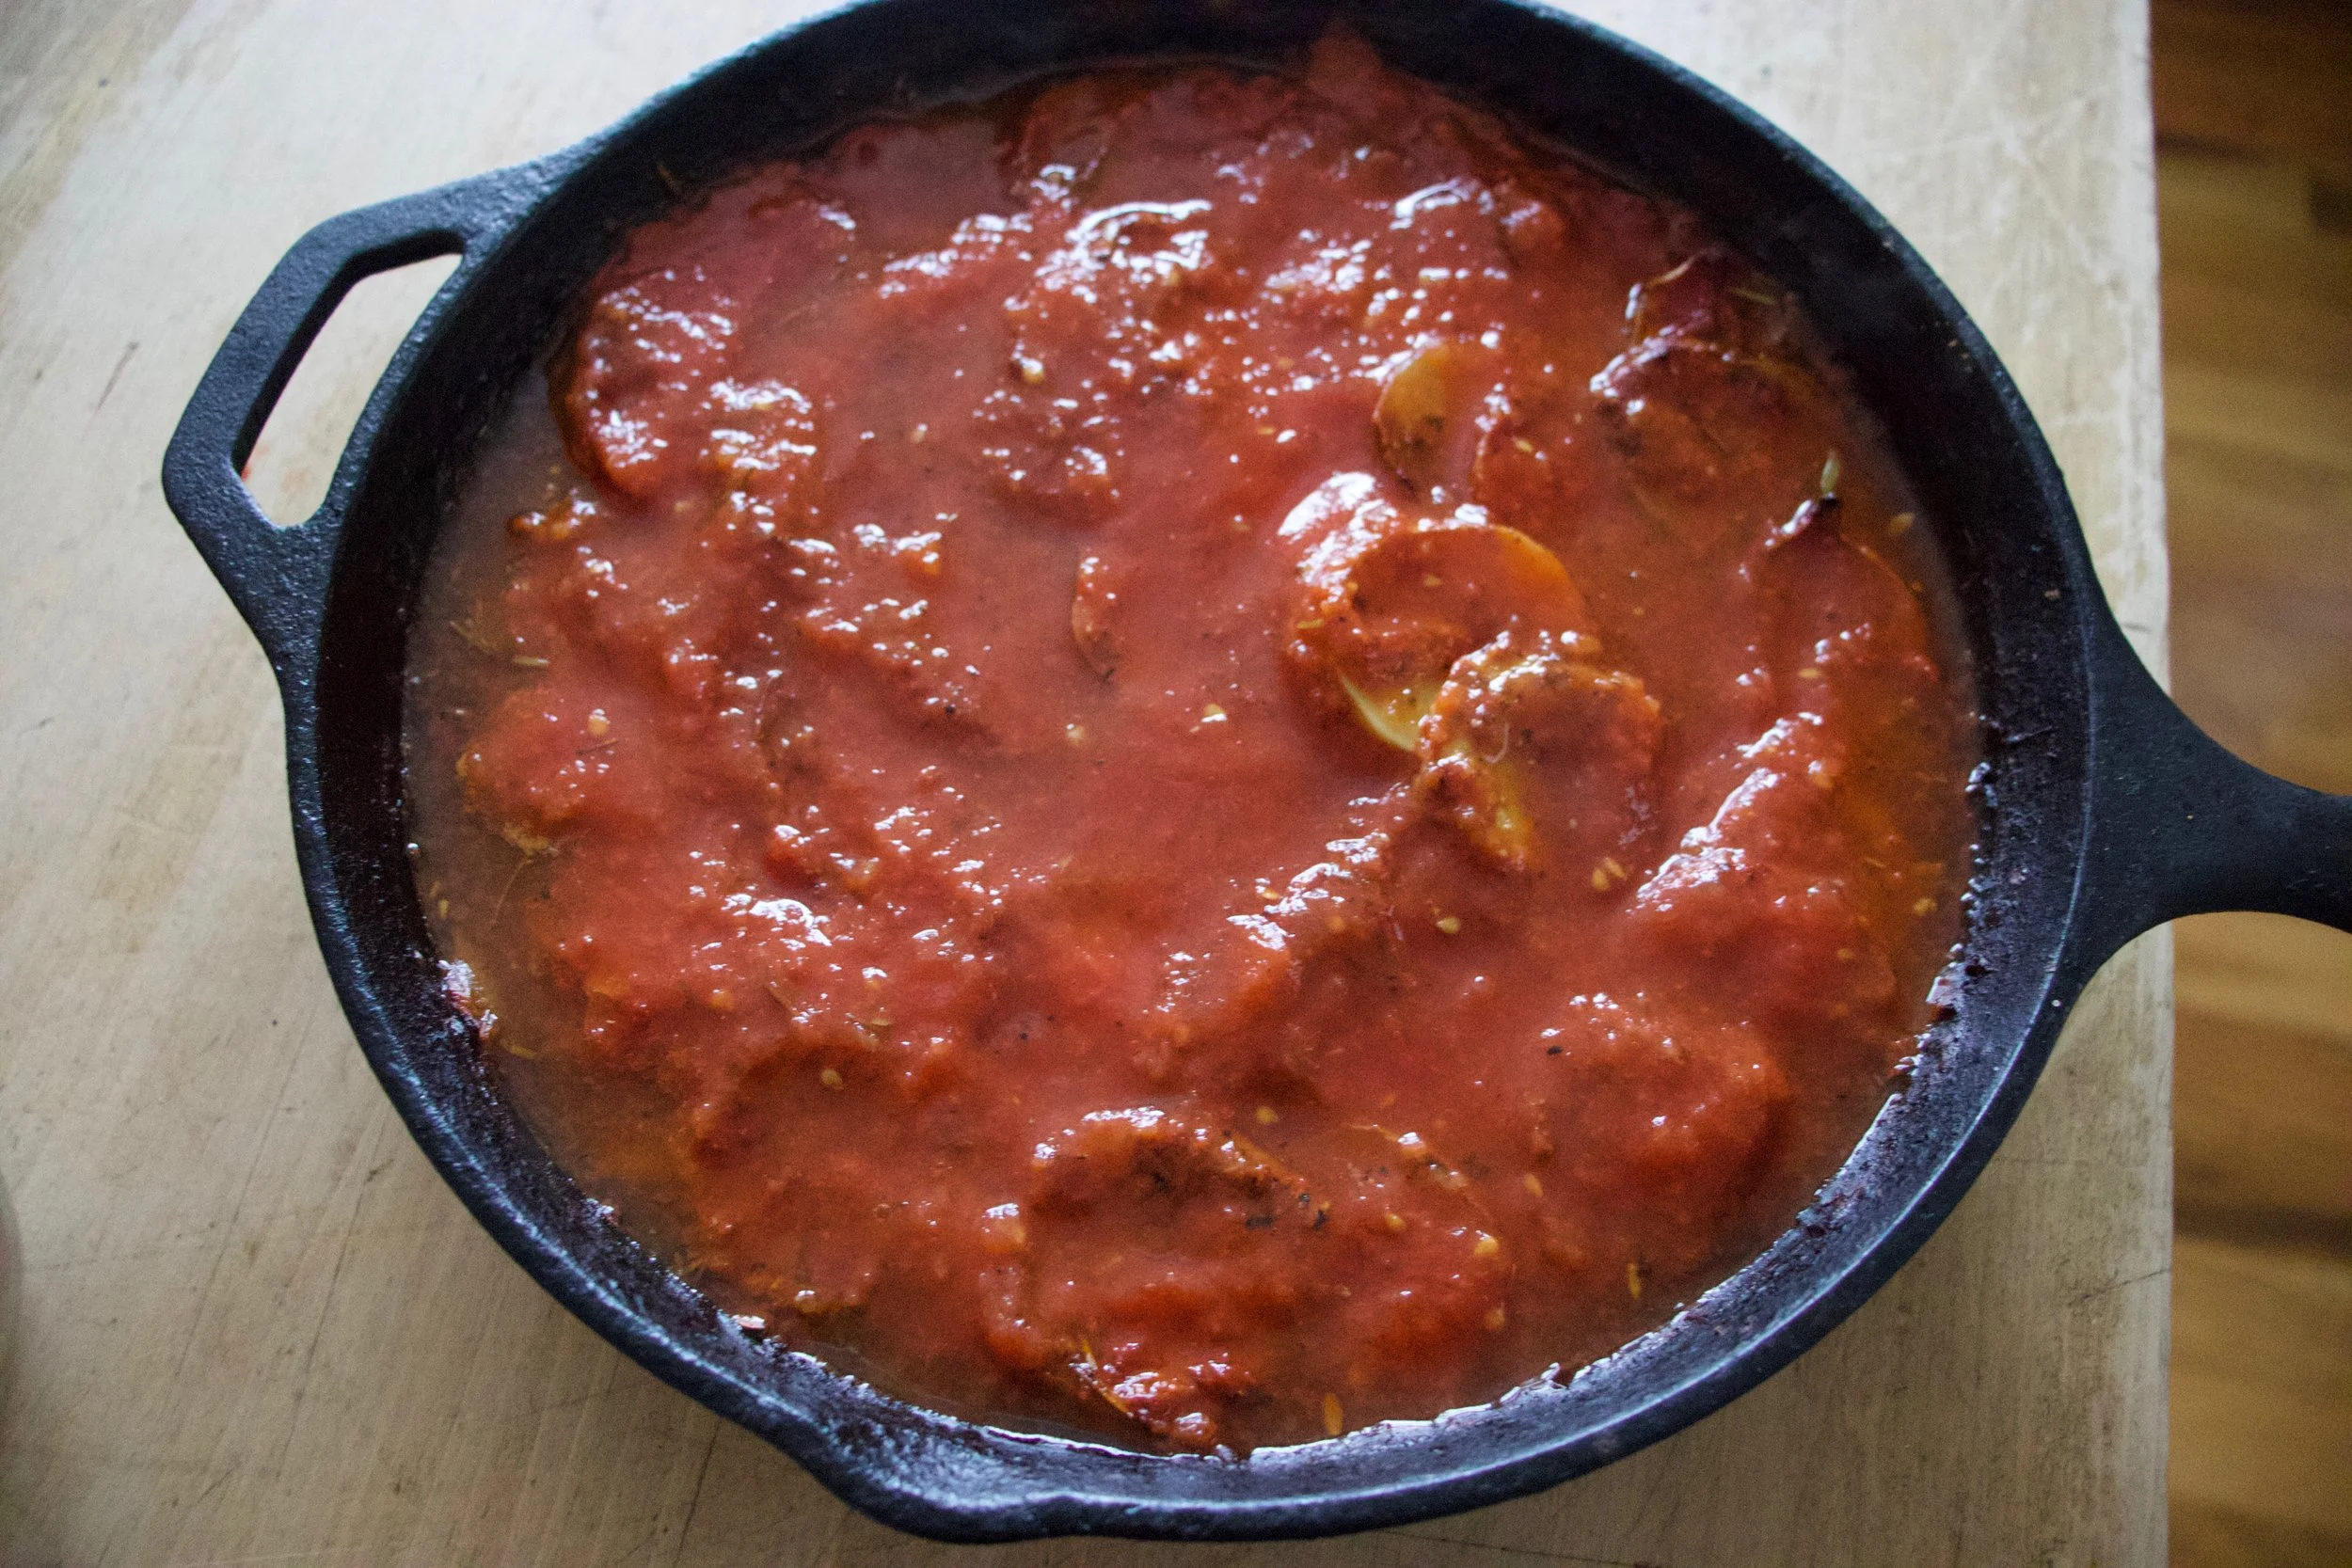
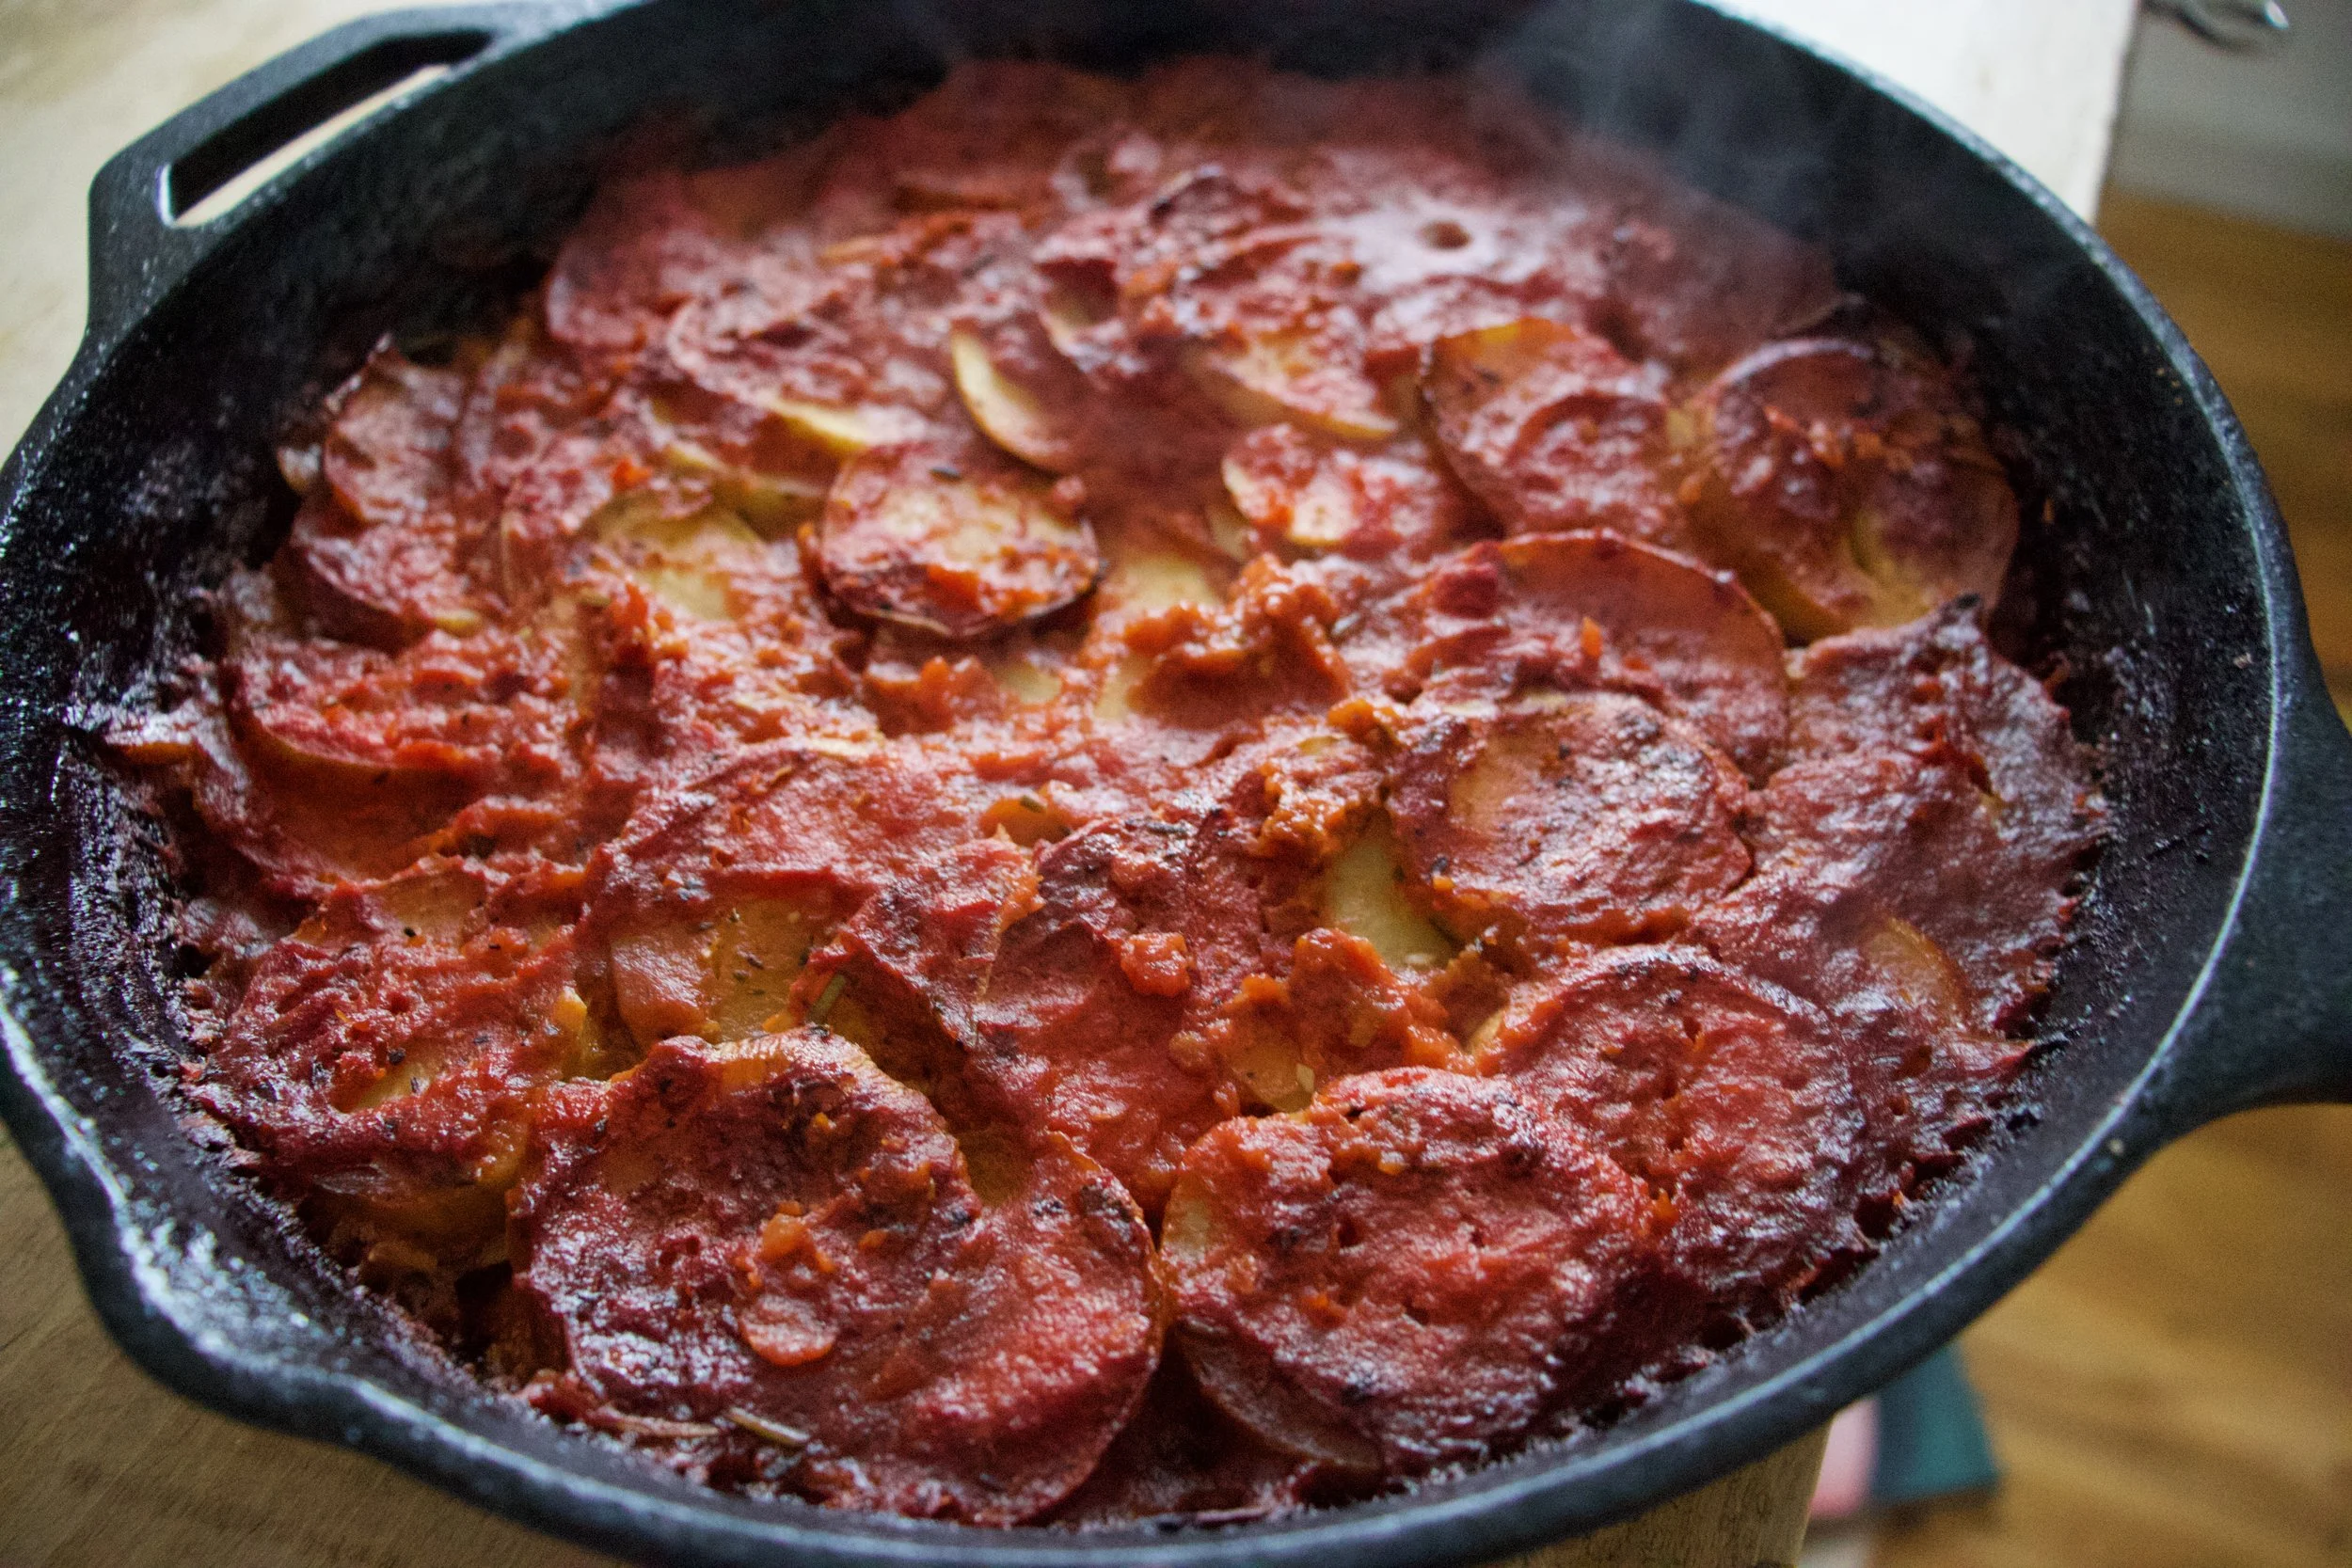

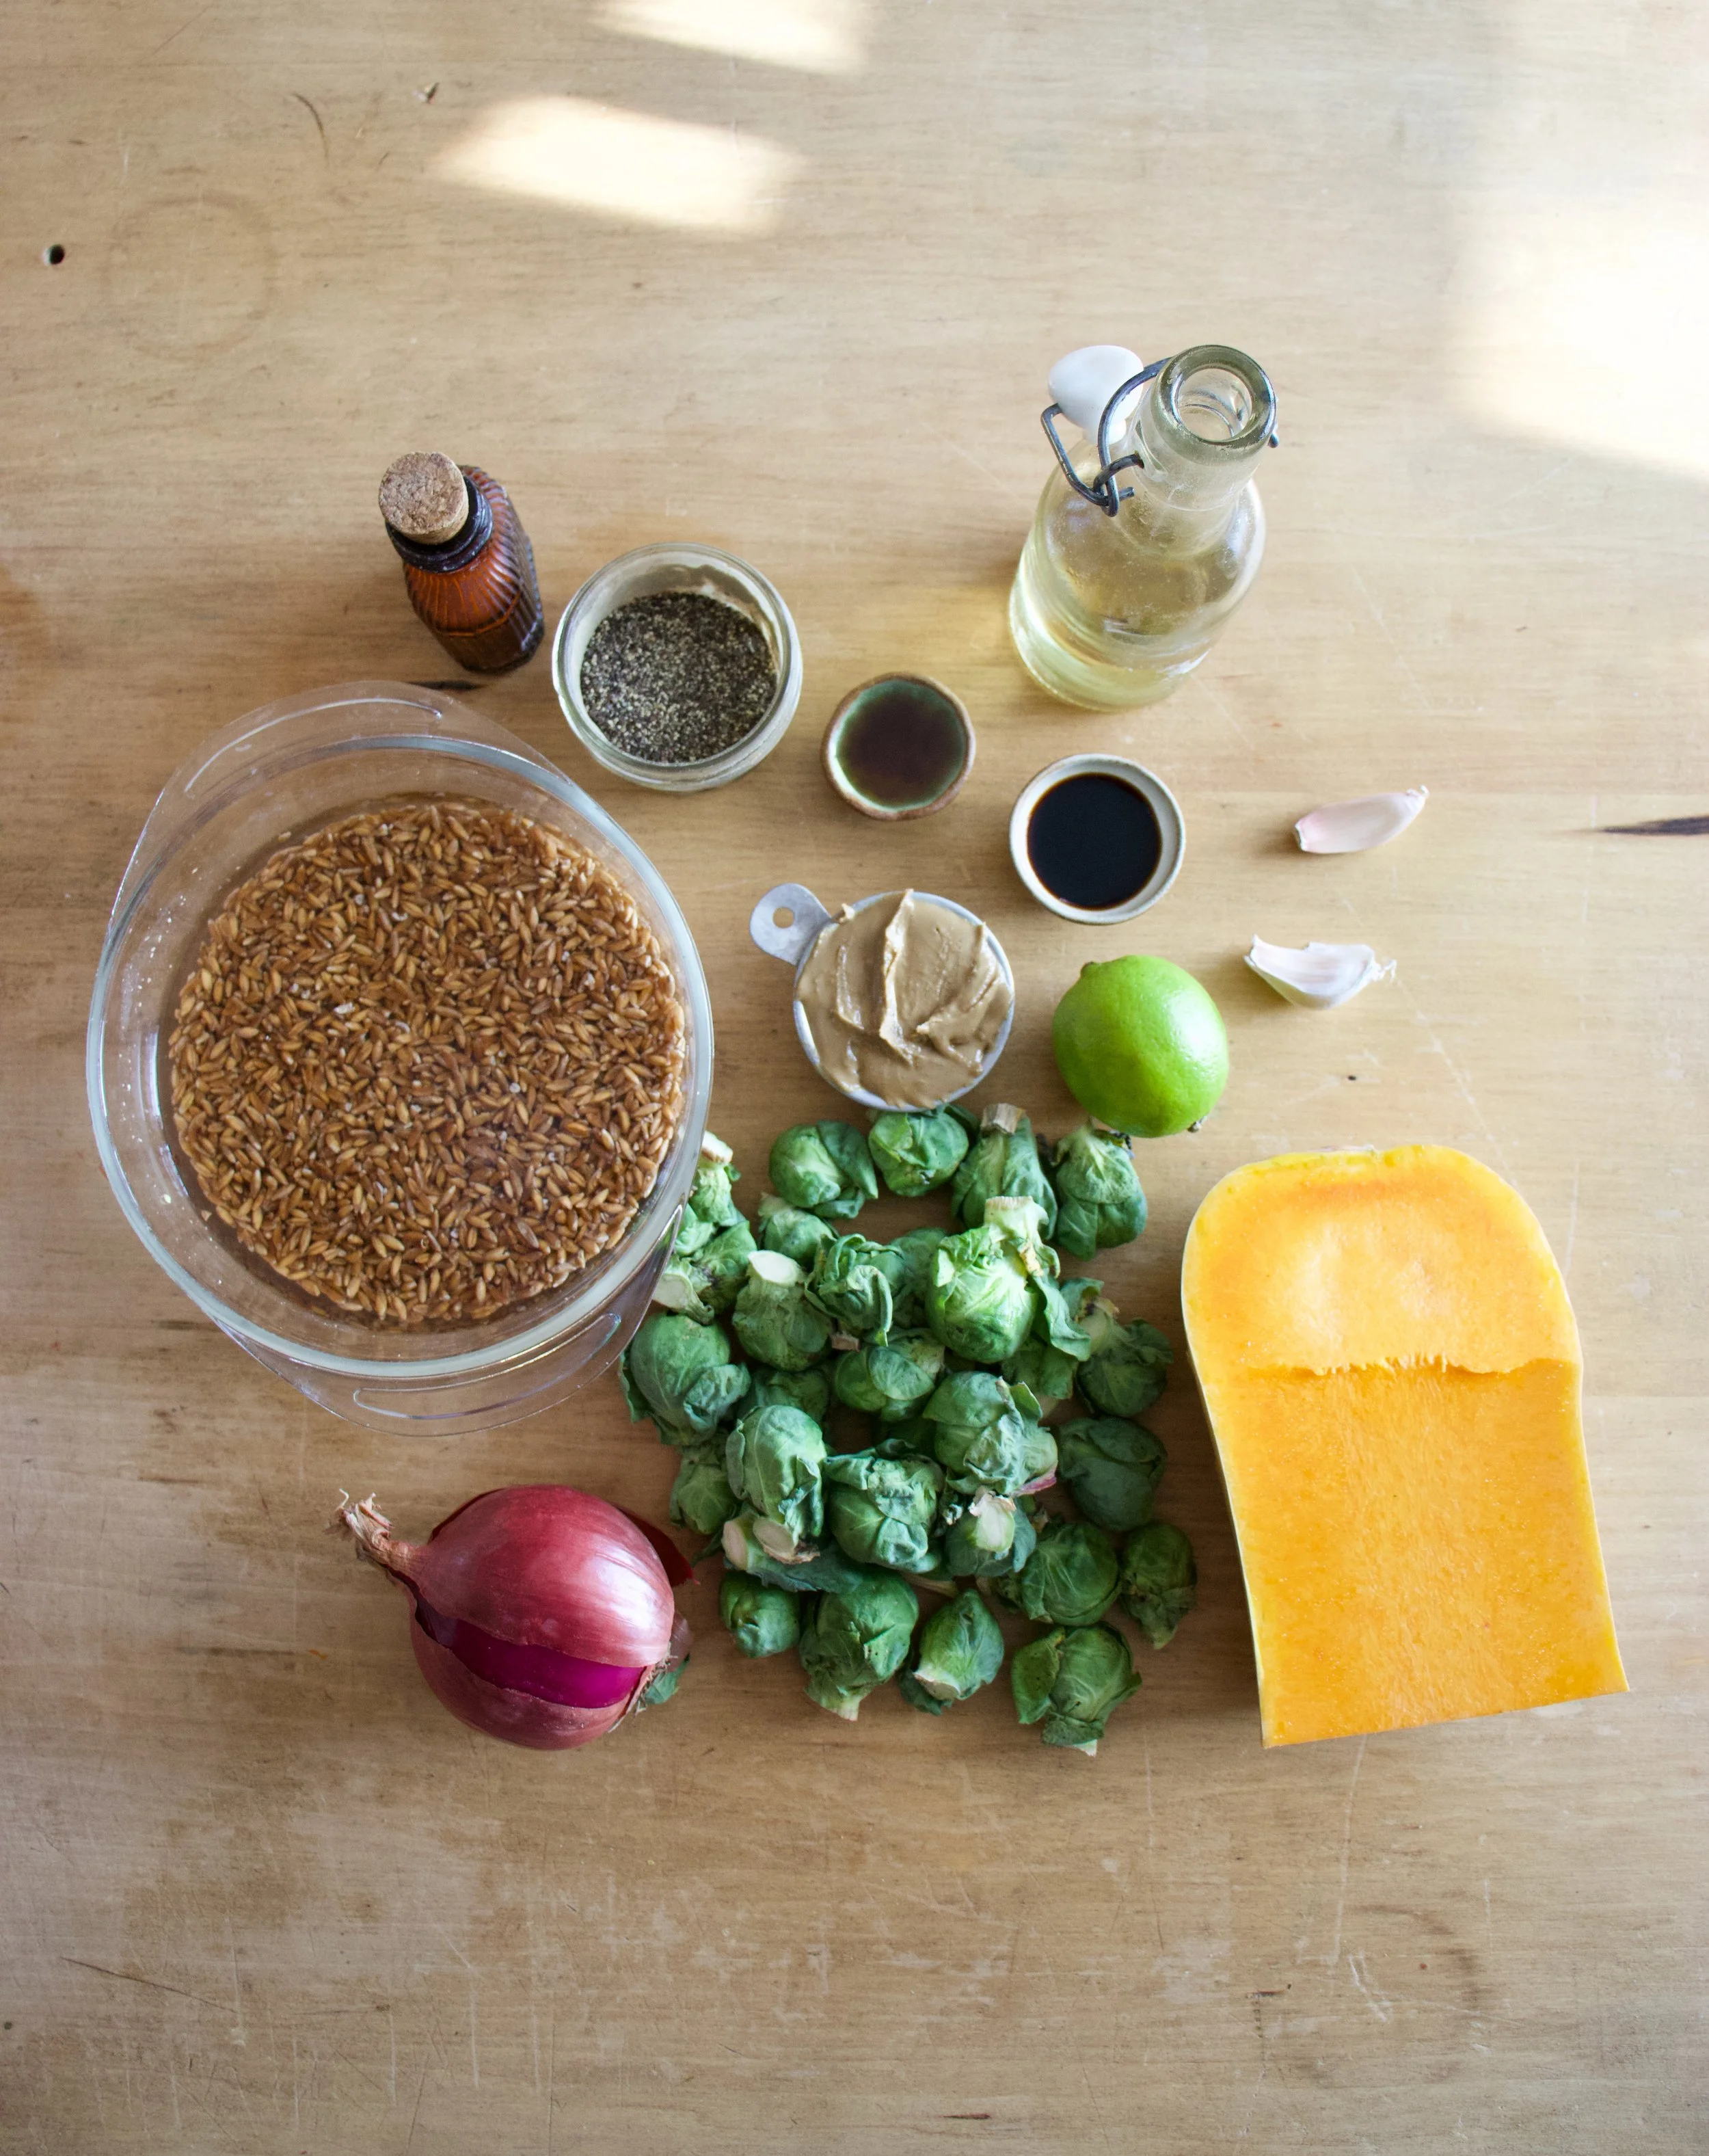
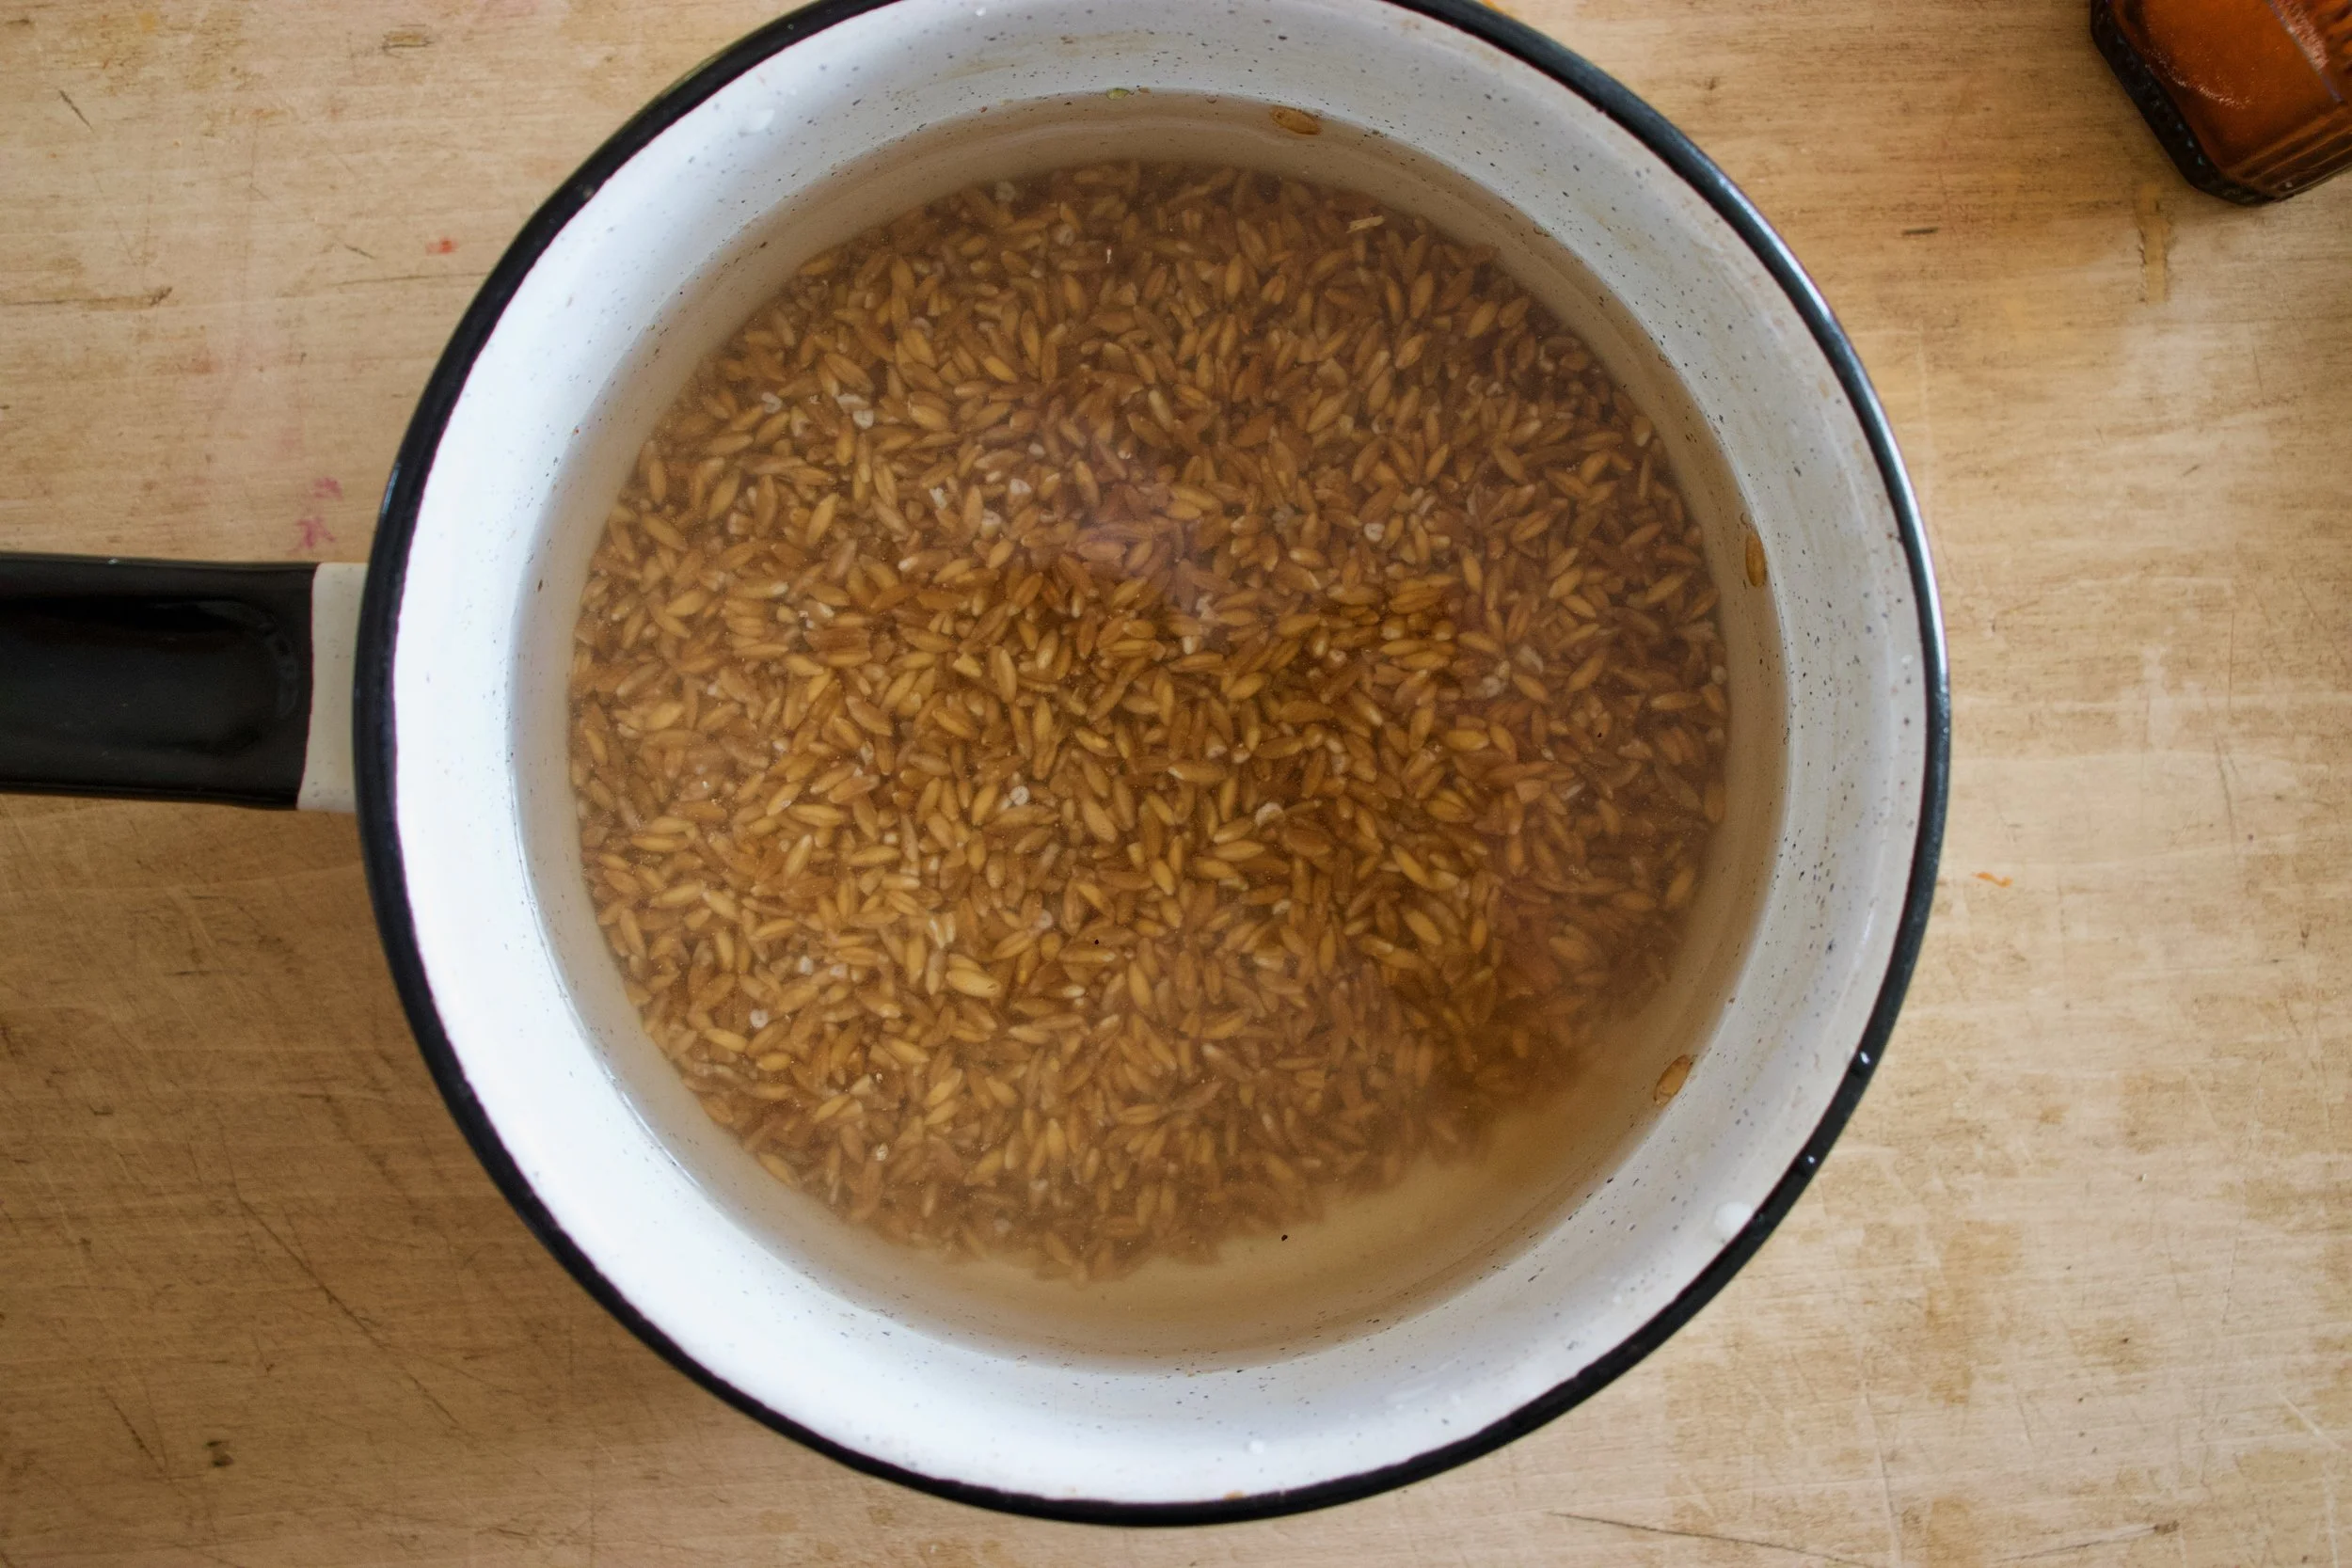
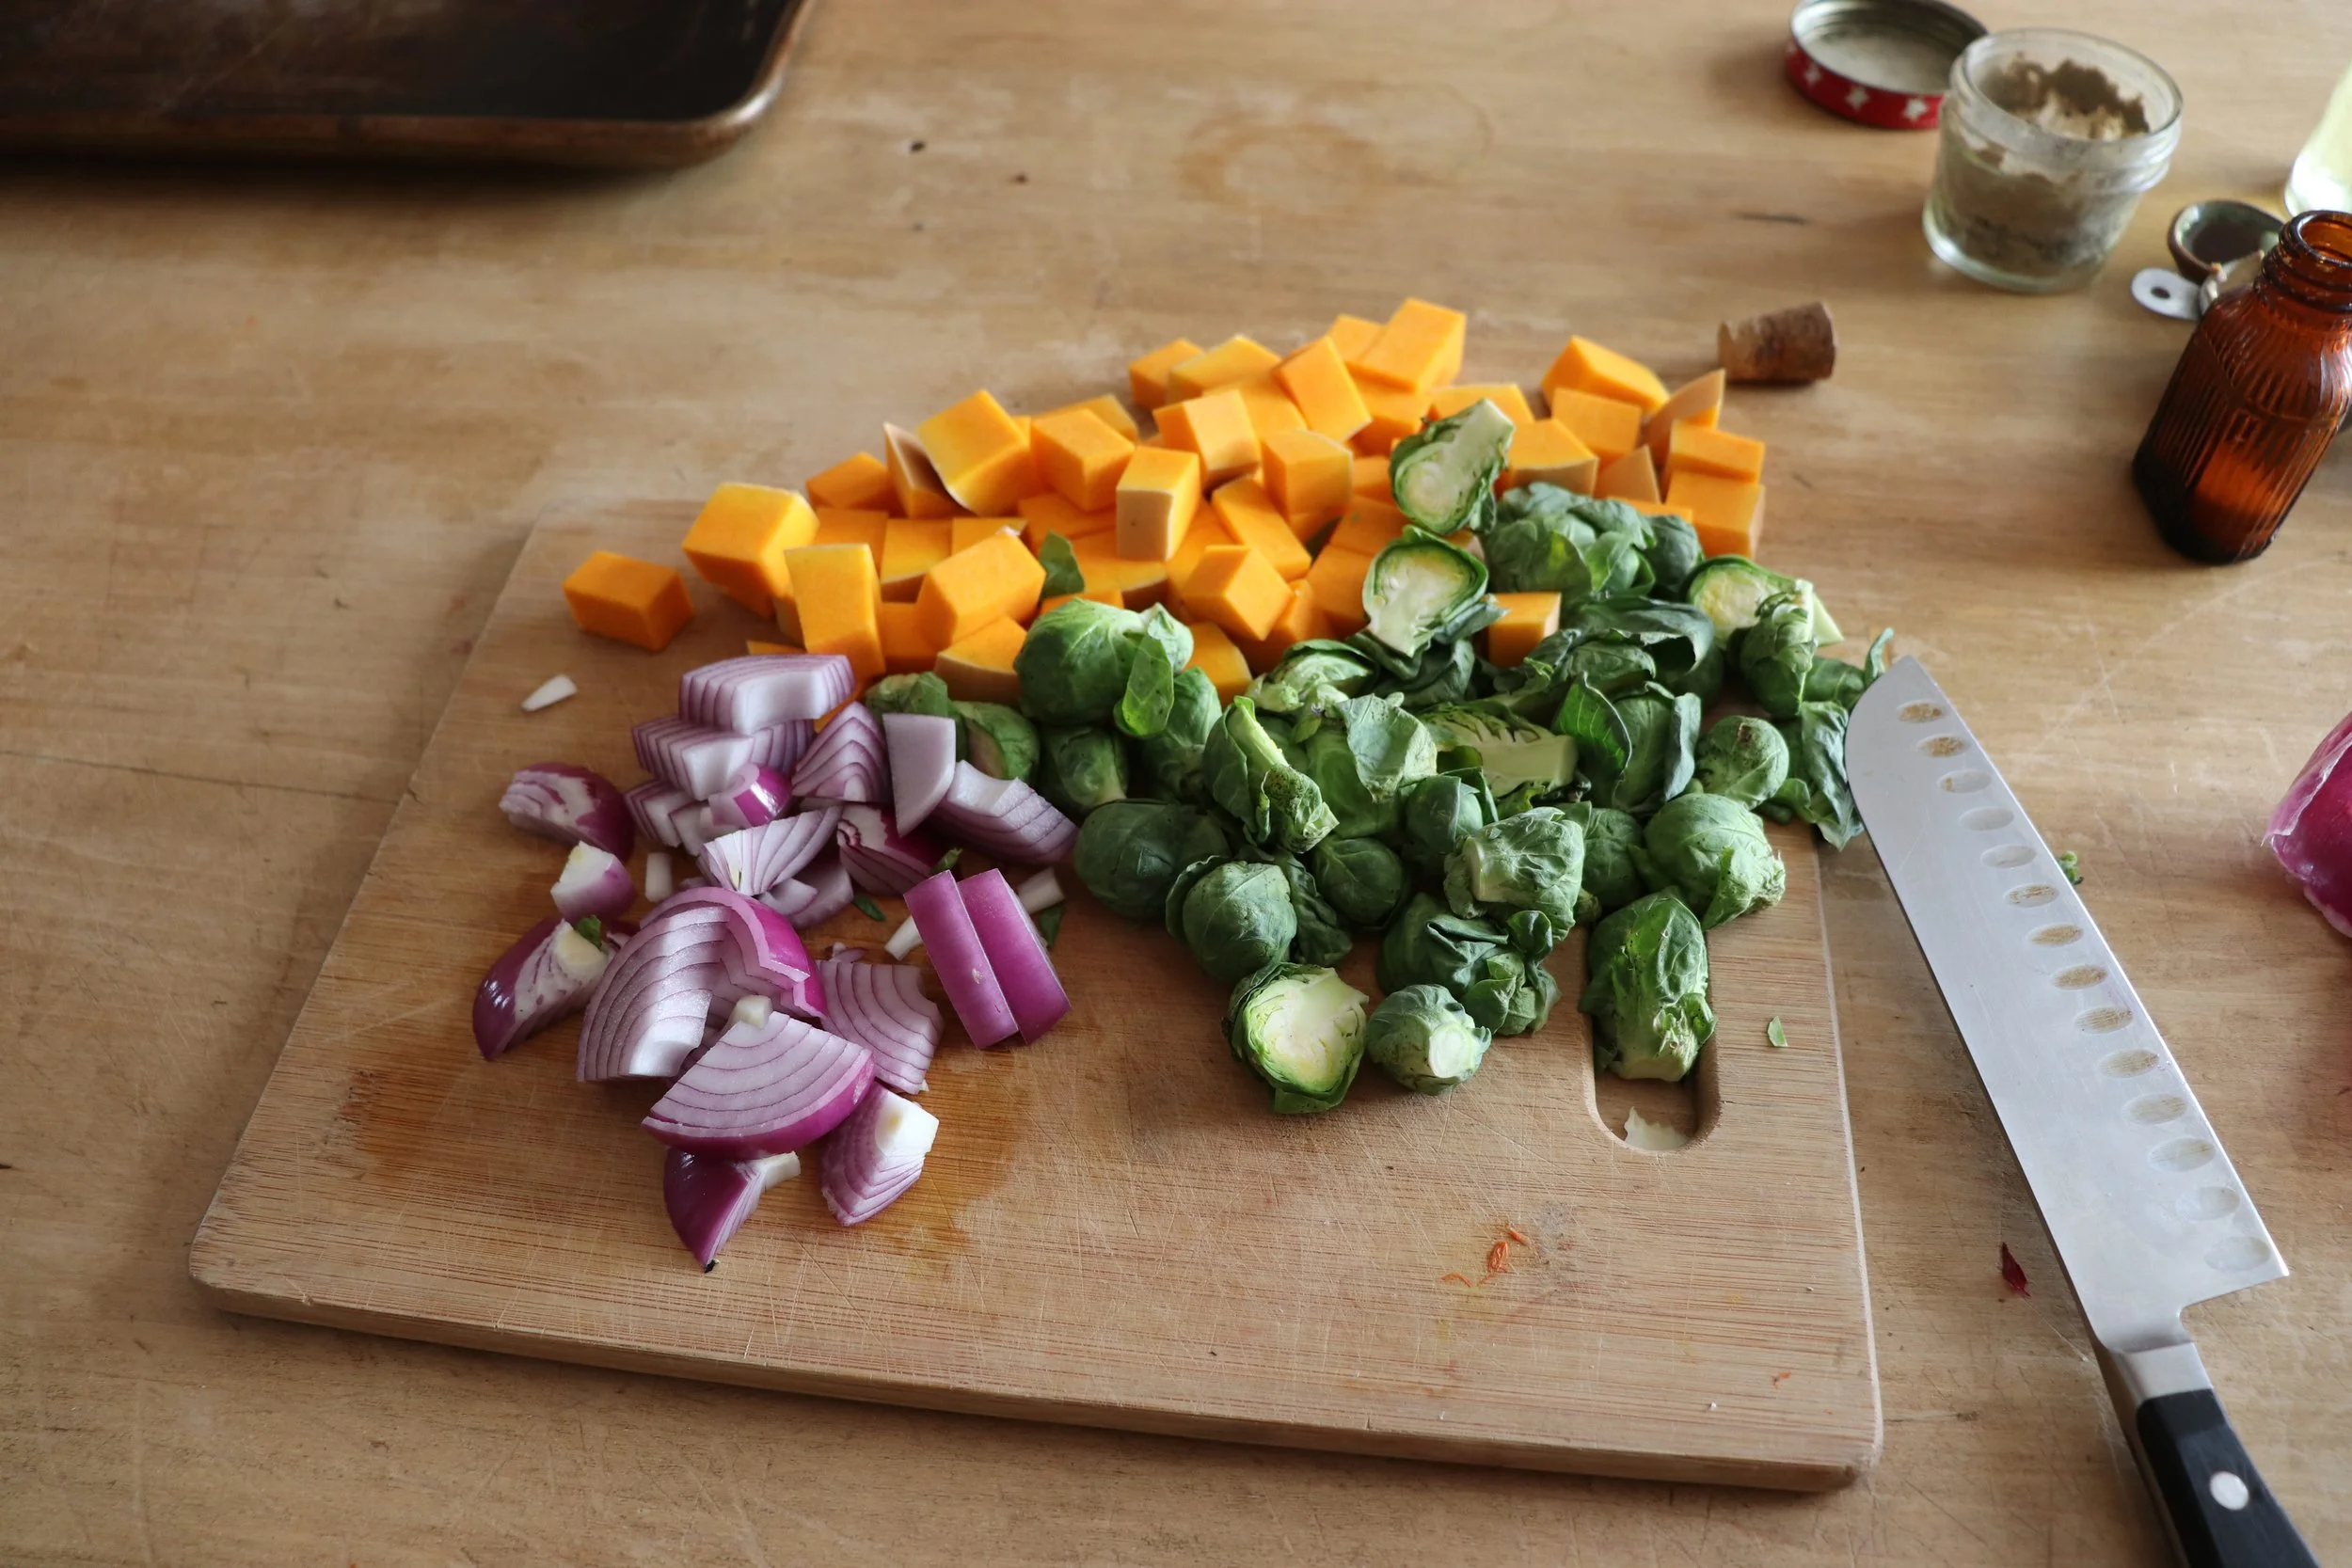



 %u00a0Being that it was St. Patricks day this week and lots of folks buy up a good amount of cabbage, I figured that this is a good time to get people to try one of my most favorite of favorite meals%u2026..Beet bean and cabbage steaks. I love to play around with food, how to pair textures and colors plus tastes while trying to make whatever I am making healthy and balanced. This is one of my fav creations. And sure, %u00a0this may seem like a somewhat weird combo, maybe a little like a extremely hippy dippy vegan fake meat thing, and you might be kind of right, but screw if it doesn’t taste like A-mazing. First off, notice how freaking dang pretty this thing is. The roasted beets bring a earthy hearty flavor but also pack a huge punch of color, especially when blended together with the ever so sweet white bean, which %u00a0brings a nice mellow taste and a great serving of protein. (Beets and beans are meant for each other). Spread that %u00a0brightly colored, tasty mixture onto of a huge slab of one of my favorites, roasted cabbage with all its crunch and cabbagy flavor and you got yourself a hearty healthy meal of deliciousness. %u00a0
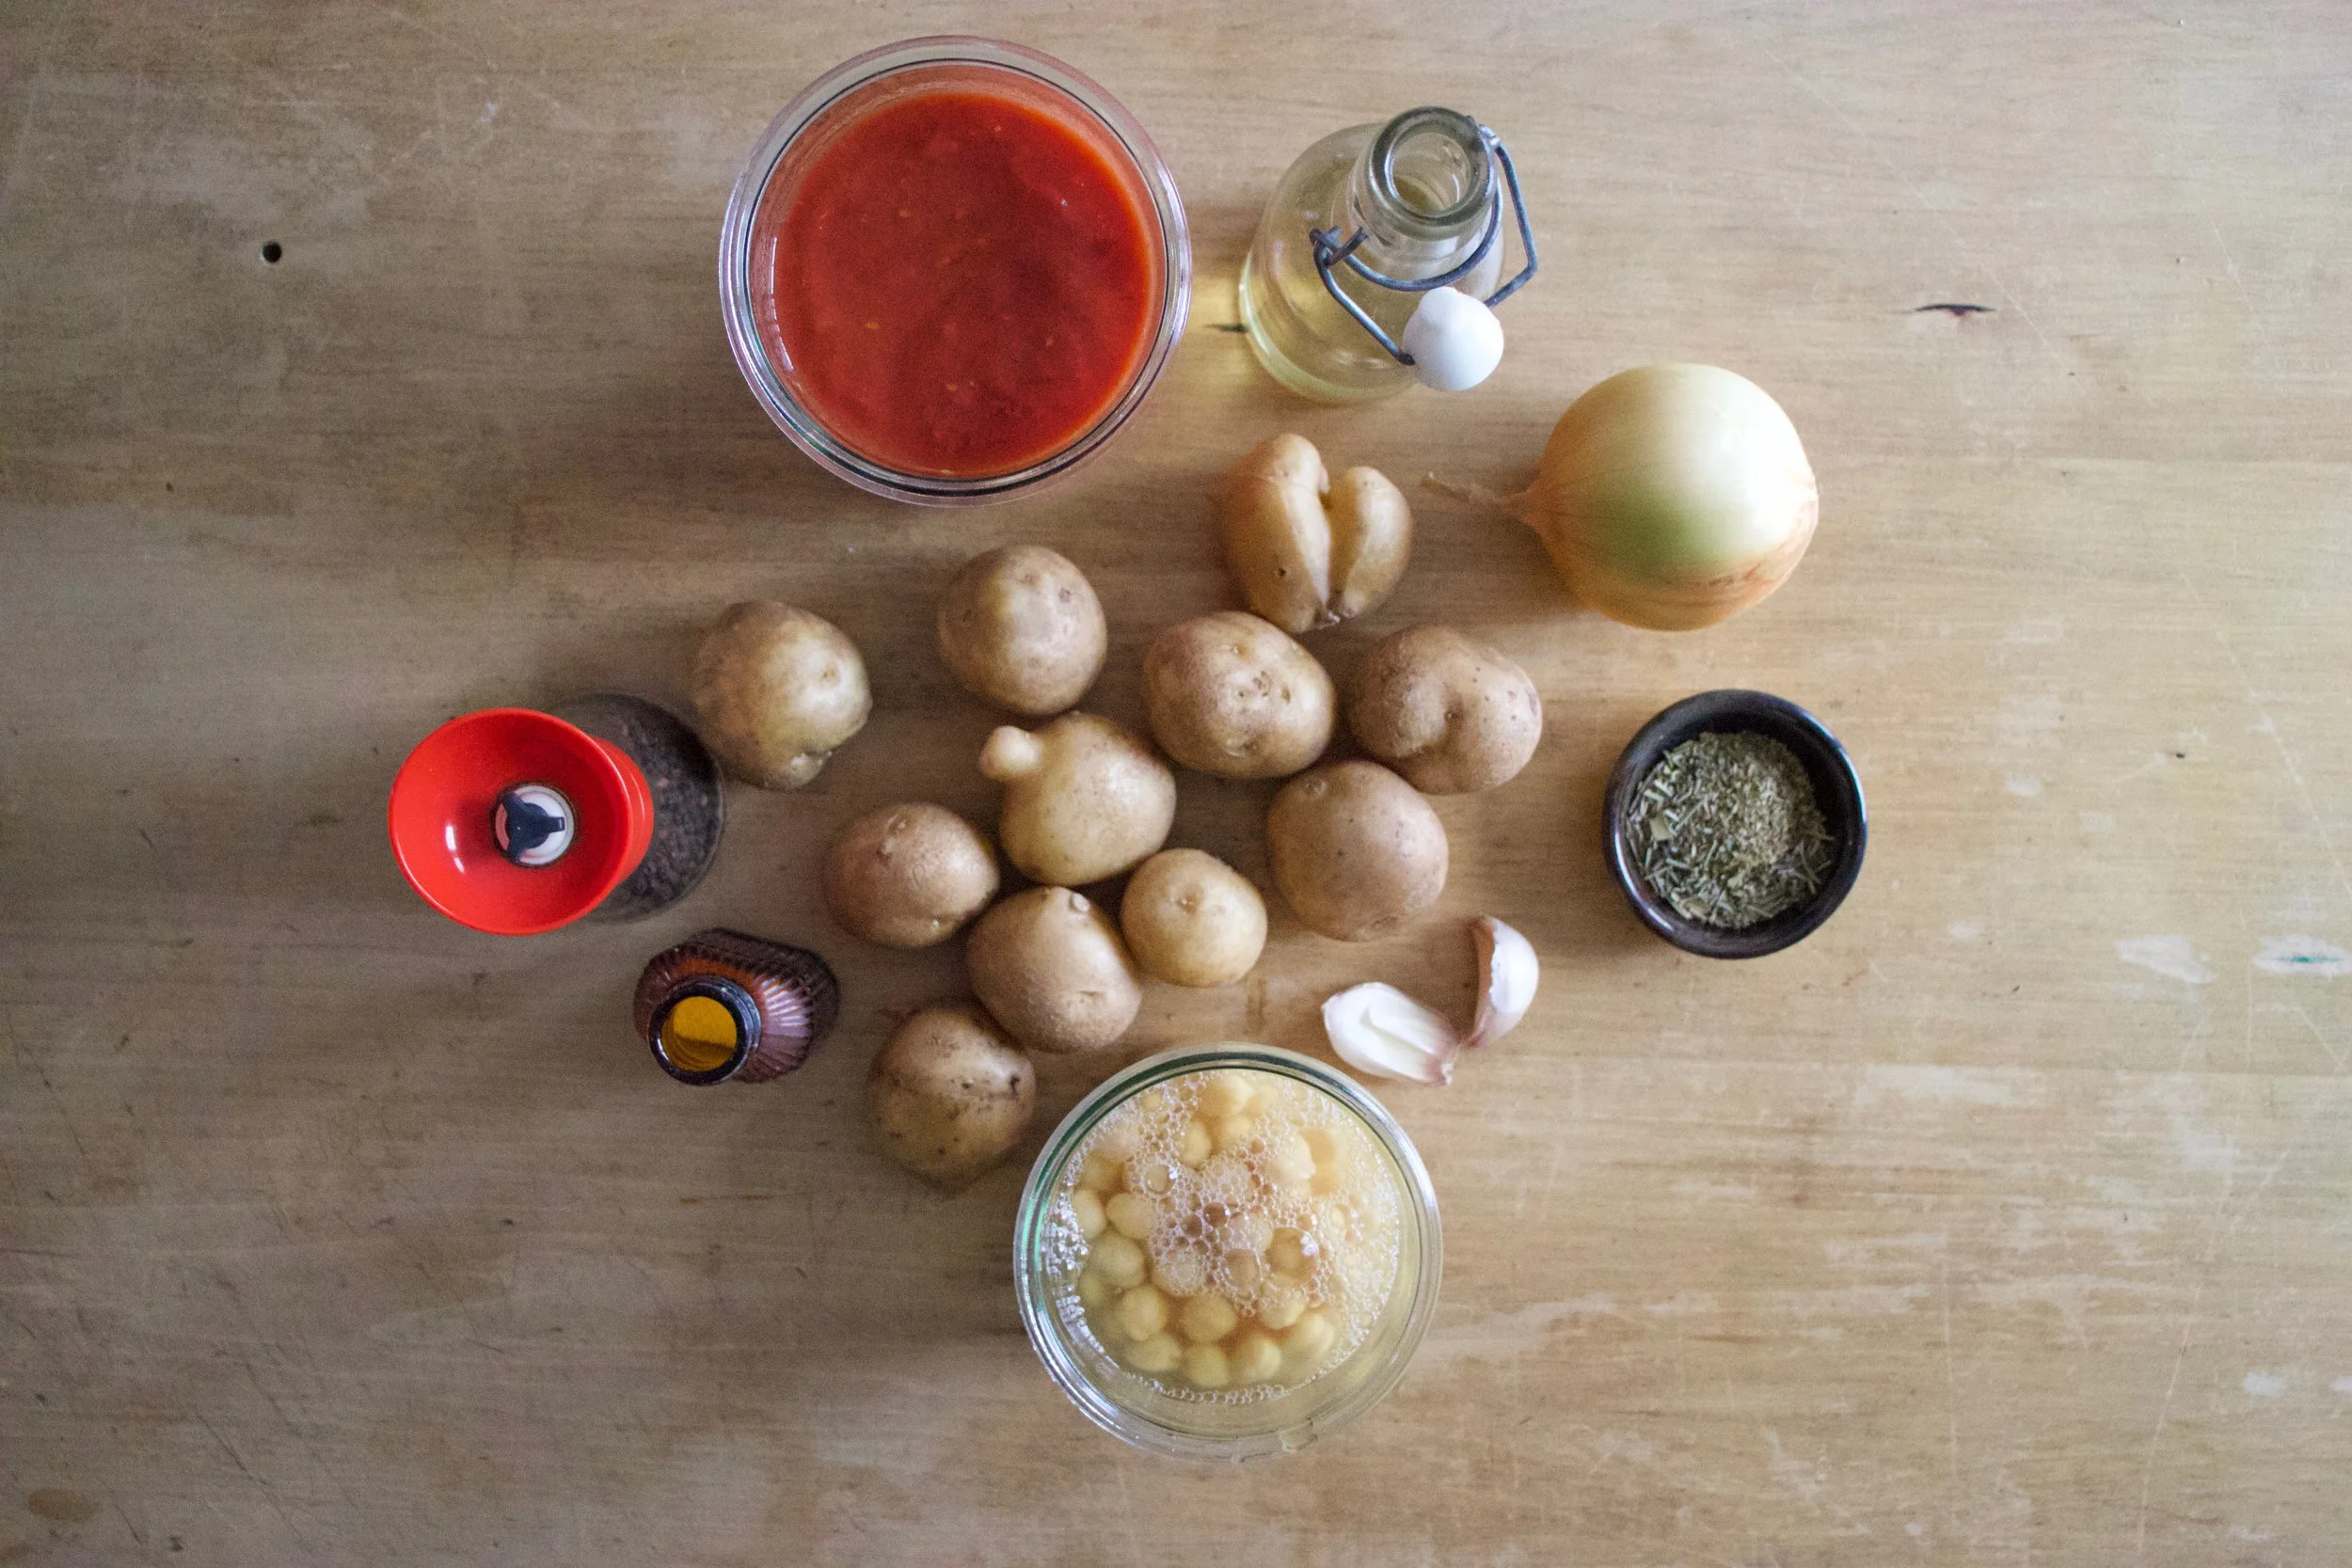
 Cabbage, white beans, and beets. There is a lemon involved, but it didn’t make it into the picture.
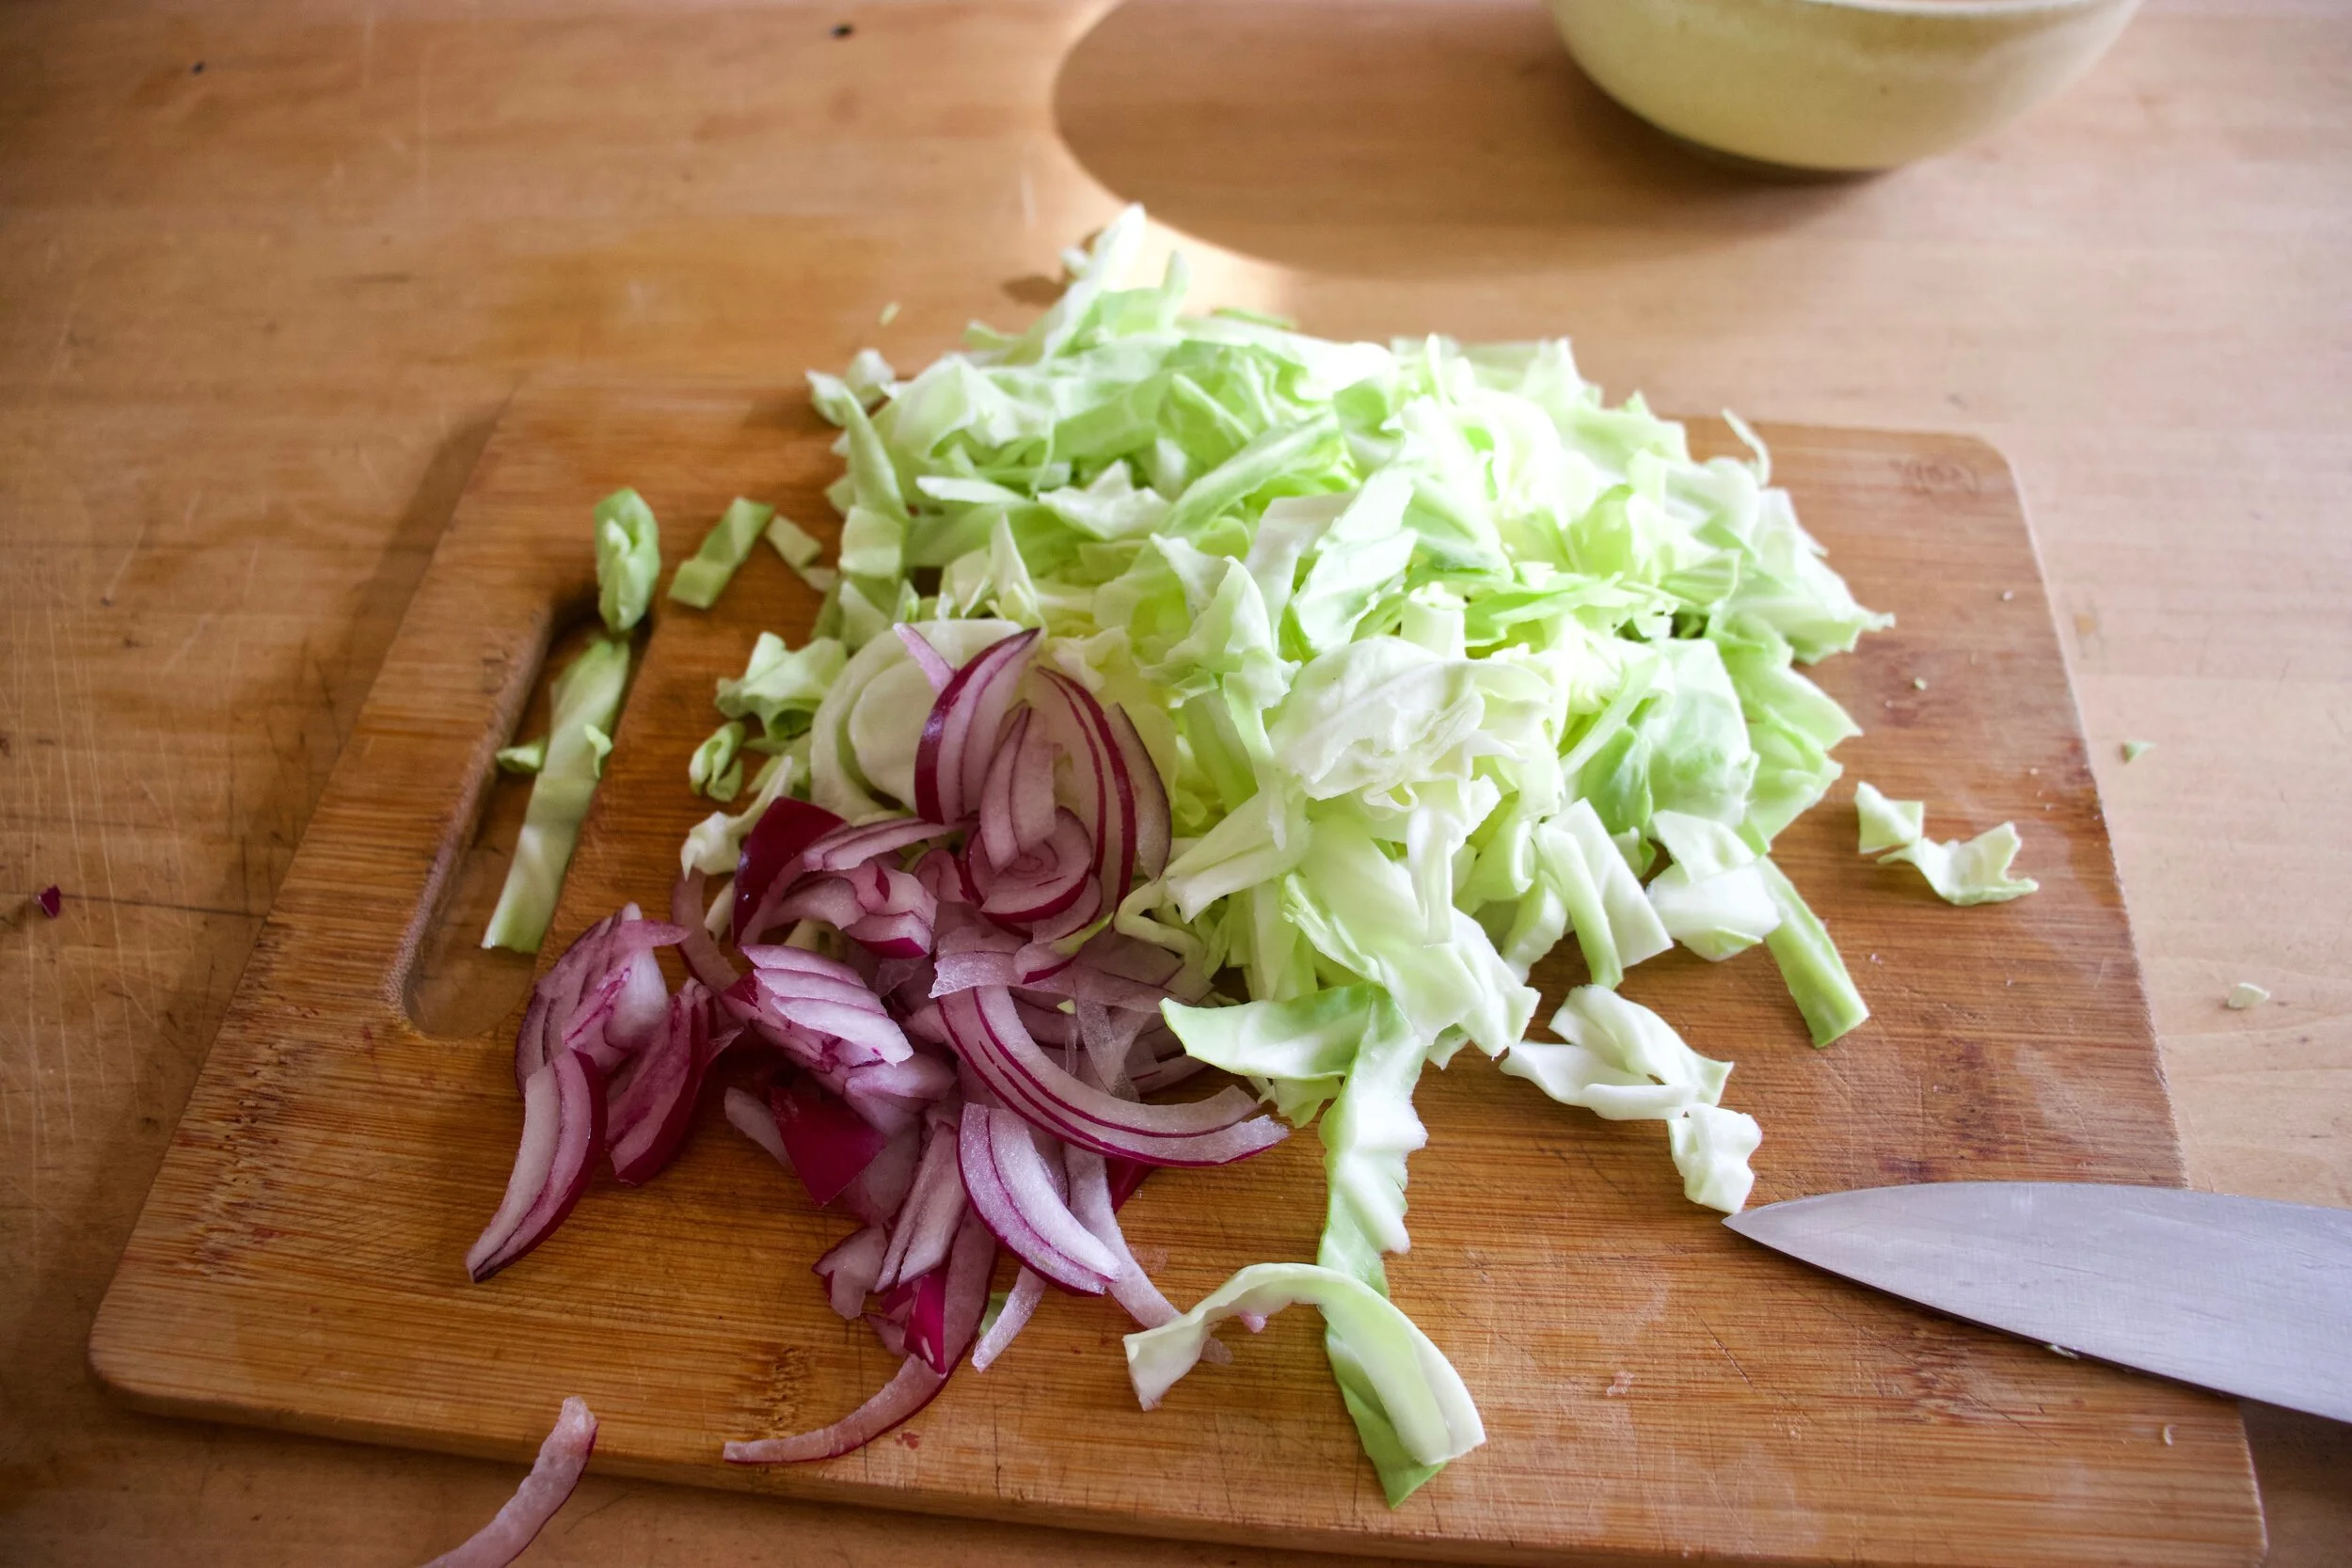
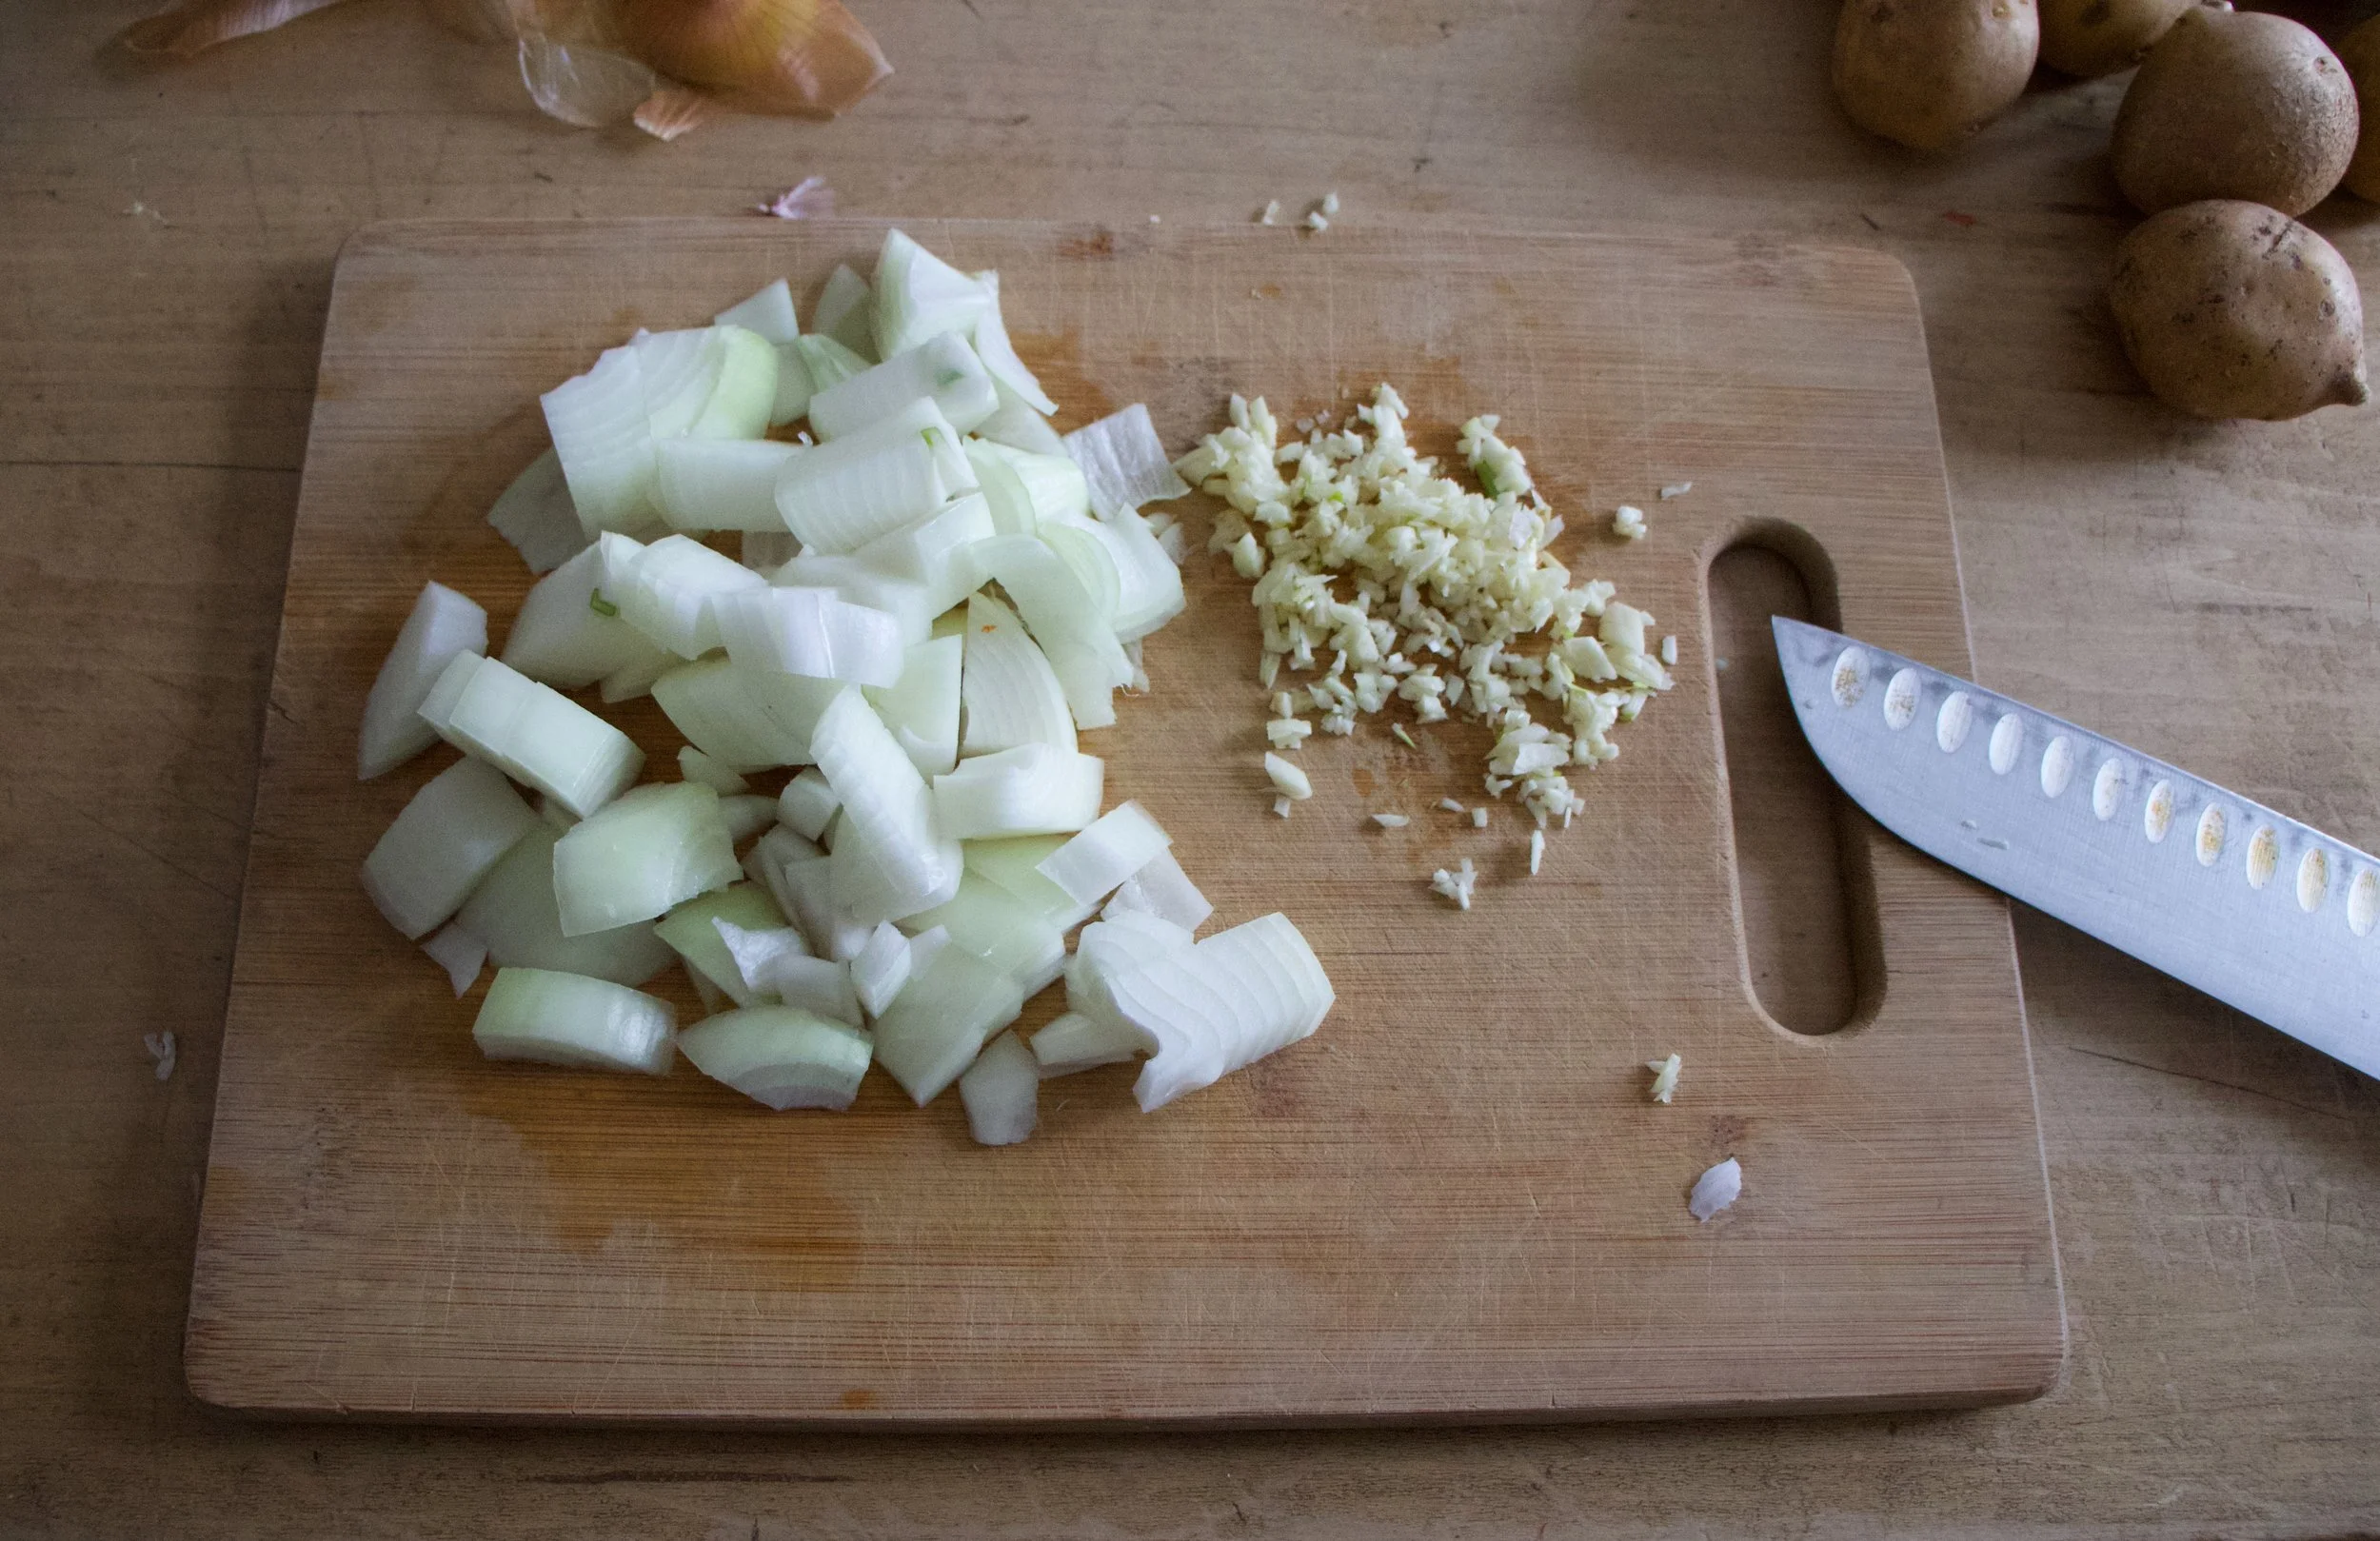
 Cabbage is cut into inch thick slabs%u2026 I like to us the inter most part of a cabbage head cause I like the core. But use any cut that you want. %u00a02 beets are chopped into chunkers and both the cabbage and the beets are placed on a lightly oiled baking sheets, seasoned with salt and pepper, %u00a0and stuck into the oven for 20-25 minutes at 400 degrees.
 Once the beets are tender and the cabbage is cooked to a nice withered golden pretty, take out of the oven, but leave the oven on. %u00a0Leave the cabbage on the pan but throw the beets into a blender or a big bowl if using a hand blender %u00a0with the white beans
 %u00a0 %u00a0%u00a0
 Beans and beets get pureed together. Add the juice of 1/2 a lemon (or the whole lemon, depending on your taste) and a pinch of salt and pepper. With a big spoon or spatula, scoop equal amounts of the bean/beet mixture on top of the cabbage steaks and spread around. Sprinkle with cracked pepper and place back into oven for another 5-10 minutes. (You could totally skip the second bake, but I like my cabbage well done and crispy)
 Oh ho boy%u2026 And with a good squirt of mustard to finish off%u2026%u00a0I could eat this all day, everyday%u00a0
 %u00a0%u00a0There is irish soda bread in your future. I can see it. A nice hardy hunk slathered in butter and honey, crumbs all over the place.%u00a0 So all you have to do know is make it.%u00a0
 White whole wheat flour and all purpose flour mixed together. Salt baking soda and buttermilk. That’s it.
 All the dry whisked together and in goes the buttermilk. Mix together until dough starts to form then dump onto a floured surface. %u00a0Handling dough as little as possible, knead into ball.
 Place on a baking sheet and dust with flour. Take a sharp knife and cut %u00a0an X through the top about 1/2 inch deep.


 WOO WHOA!! MARDI GRAS! I wish I was down in New Orleans today celebrating%u2026 and soaking up some warmth and sunshine, catching beads, maybe even %u00a0taking my shirt off(?!!?)%u00a0
 %u00a0 %u00a0%u00a0
 Beans are in a pot filled with water unit beans are completely sumerged. Add in the onion, jalape%u00f1o, tomato paste and cajun seasoning. Bring to a boil then cover with a lid and simmer for about 45 minutes%u2026.. %u00a0After about a half hour, start up the rice. Water in pot with rice, bring to a boil, cover and simmer for 15-20 minutes.%u00a0
 The rice is done and fluffed with at fork. The beans are cooked with just the tiniest bit of bite, bathing in a thick spicy tomatoey sauce. The chunks of onion and jalape%u00f1o have broken down and are hiding in every bite%u2026. Oh so good!
 Bringing a little spice and %u00a0nice to this crazy cold winter day or any fun festivities you may have planned. %u00a0
 I need a good snack.. Something healthy, hardy, fast, and of course, something tasty.
 Whenever me and the mister get invited / show up for dinner at someone’s house, I like to bring at least one thing to contribute to the meal. First, because I am nice like that. Secondly, because I get to make food for other people besides Nick and get new feedback on recipes. (Sometimes I think he tells me things taste amazing when they might not) And thirdly, its nice to mess up someone else’s kitchen besides my own. So last night we went to my sisters and %u00a0I made a salad. %u00a0A very easy and virtually mess free salad%u2026%u2026.I still made a mess (I cleaned it up myself!)
 %u00a0%u00a0
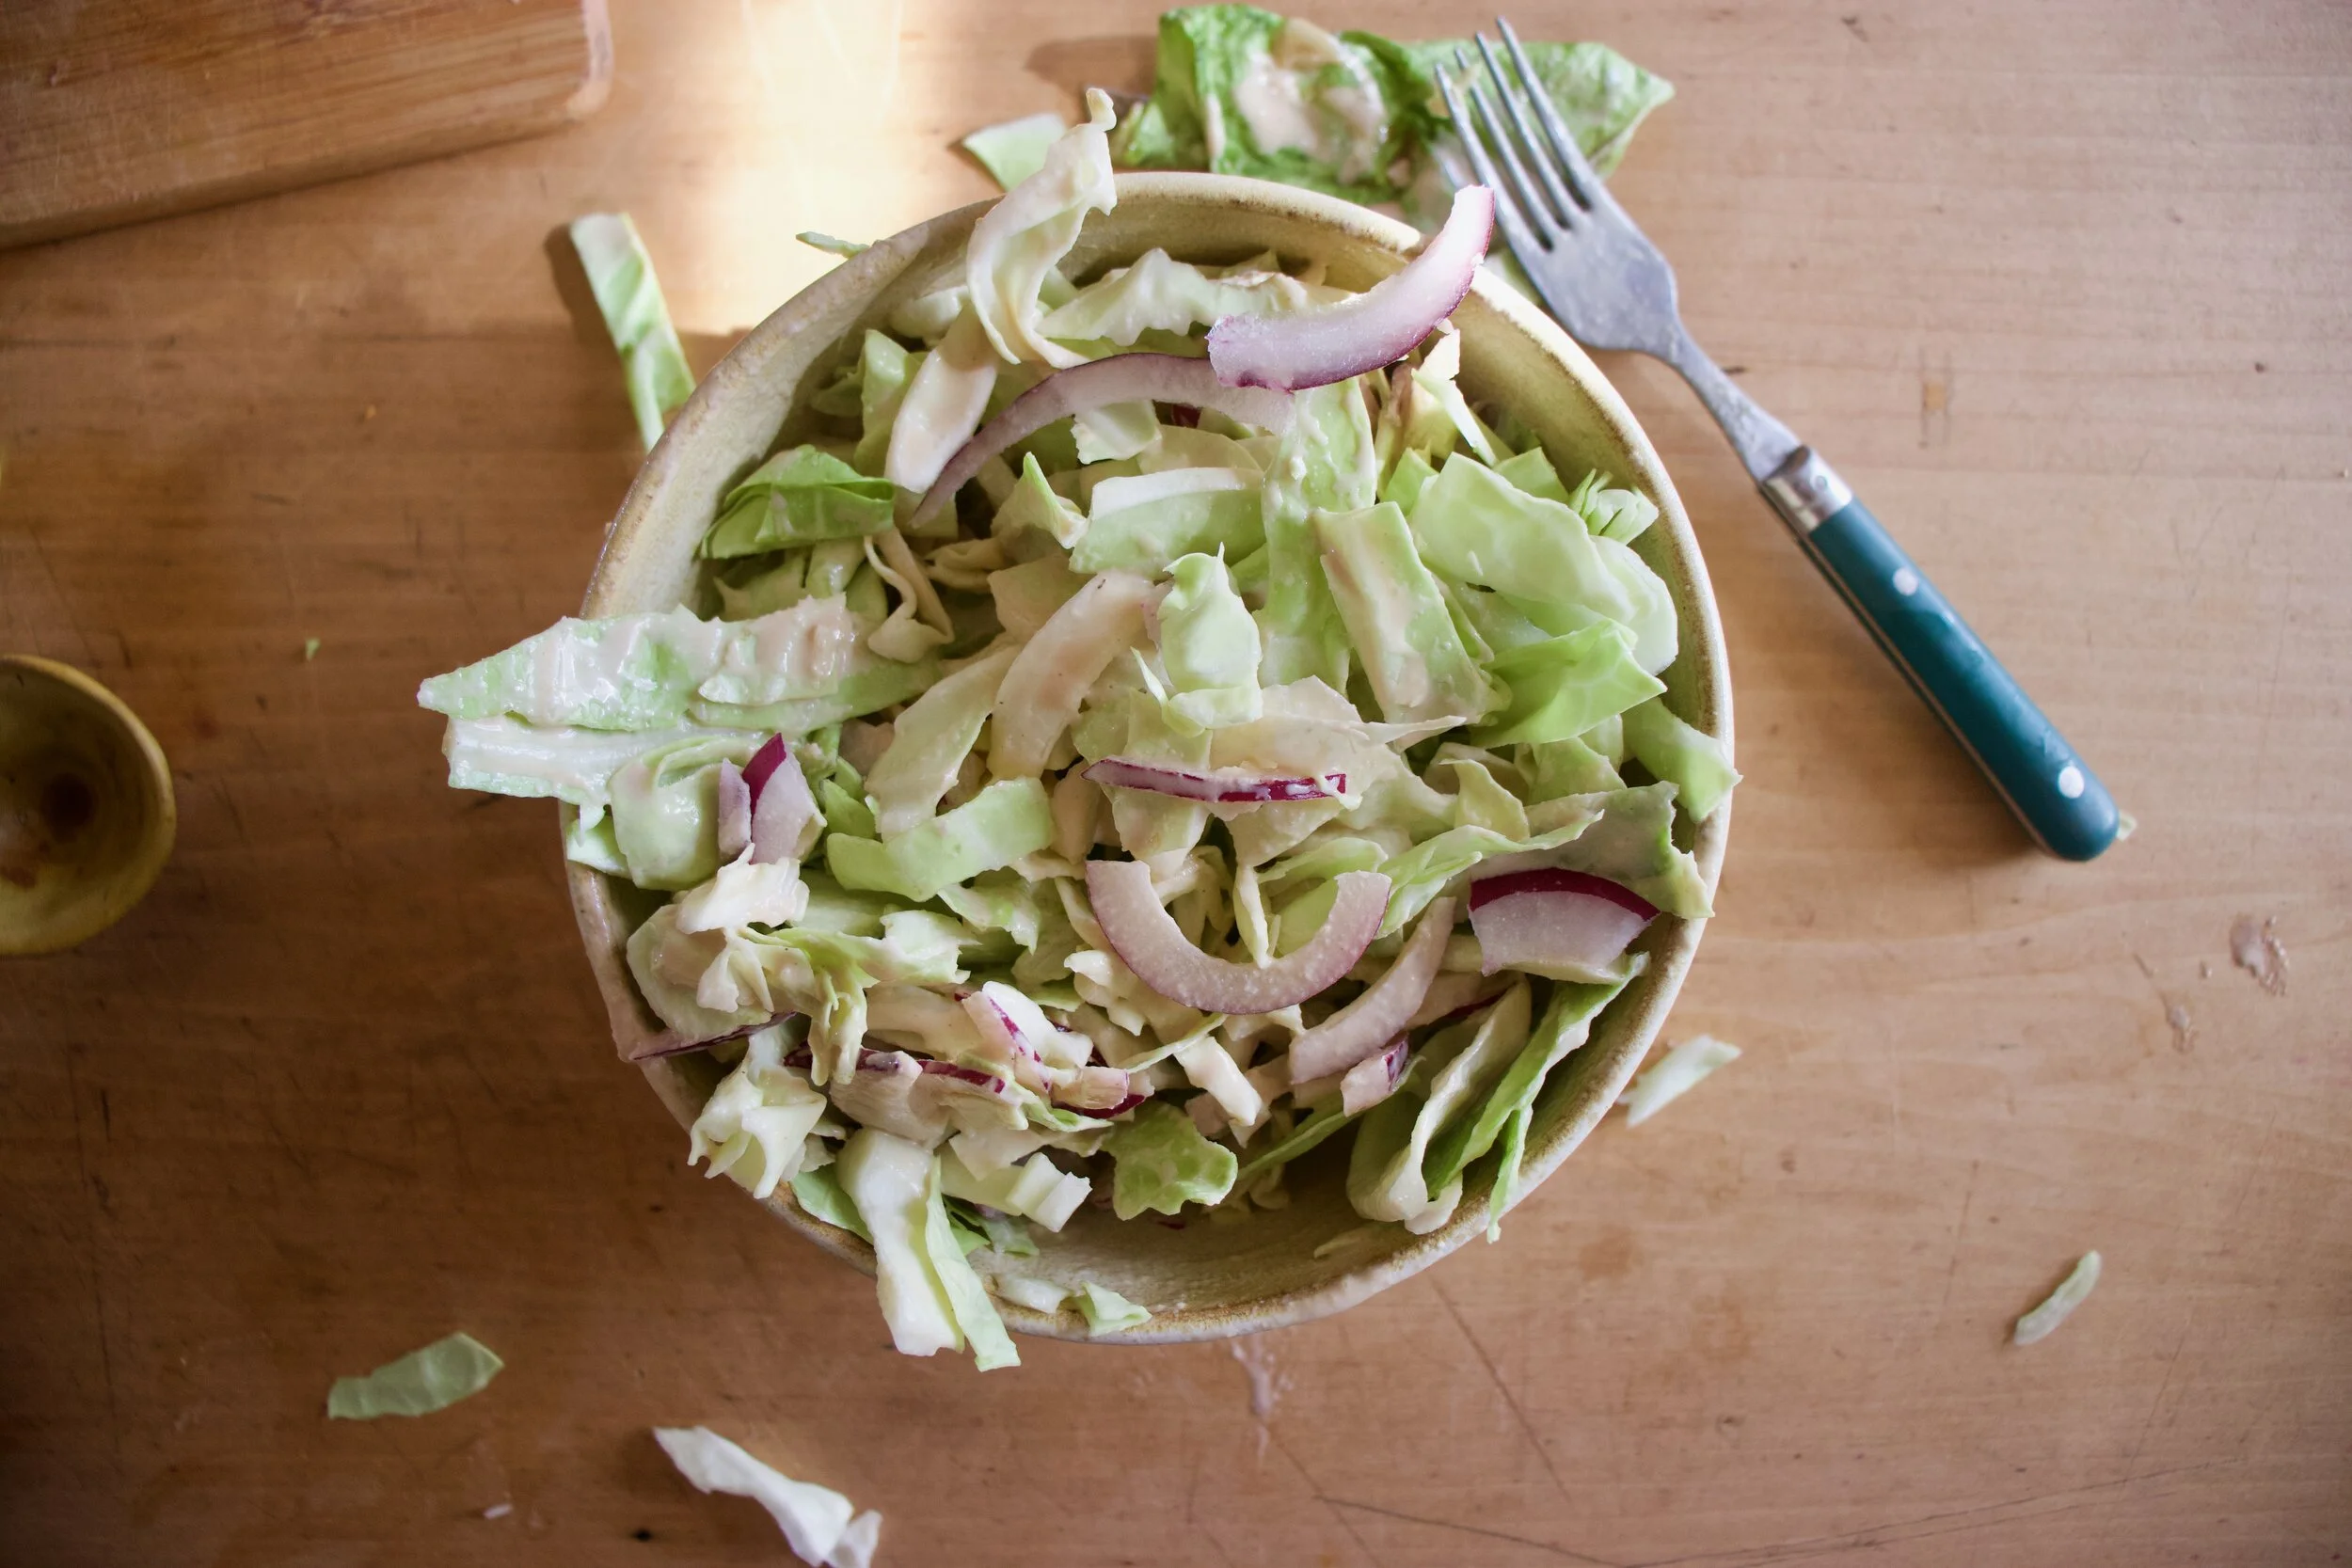
 %u00a0Start with the%u00a0%u00a0base layer of kale%u2026 then first goes the sliced onion. (Make sure it’s thinly sliced or else it will be to overpowering)
 %u00a0%u00a0Add thinly sliced oranges%u2026oh boy, your half way there!!!
 Top with thinly sliced avocado, a sprinkle of salt and drizzle with lime juice. I also served with an extra wedge of lime, there is never too much lime.














































































































































































































THE LOVELY CRAZY
November 8, 2019 by maximios • Blog
As of right now, these are by far the best cookies I have ever made. Look at them. They are SO CUTE!. Worth all the effort, seeing that I do not own a ghost cookie cutter (although I think my version of ghosts are pretty fantastic) and had to hand cut out each cookie with a knife and a ghost cutout I made a few weeks back. They make me happy just looking at them. That right there is saying something. And I don%u2019t know about you and where you are, but it is getting pretty freaking cold out and I refuse to turn the heat on for a few more weeks so I do what I need to do to stay warm. If that means turning on the oven to bake cookies, then so be it. I have a feeling I am going to be making a few more batches of cookies before the months over. HA! (For reals though.)
These cookies are more or less a traditional sugar cookie with a chocolate ganache type filling, both with a hint of coconut flavor from the use of coconut oil. Something about the whole combination; the cookie, the coconutieness, and the chocolate that really had everyone (I gave them out a Barbs birthday party) praise my amazingness. I guess they are pretty freaking delicious.
Cute and delicious. Best kind of cookie!
And quick note. Yes these are ghosts but think of all the fun shaped sandwich cookies you could make. I am thinking moose shaped cookies next or maybe Christmas trees%u2026 Oh the possibilities!
Now, to the cookies!
The stuff. White sugar, coconut oil, flour, baking powder, salt, vanilla, almond milk, cocoa powder, and powdered sugar. For cookies and filling.
To make cookie dough. Beat toghetet the coconut oil with sugar and vanilla until smooth and fluffy. Add in all the dry ingredients and the almond milk and mix until a dough forms.
Wrap dough in plastic and squish tight. Place in fridge for an hour or up to a day.
After dough has had time in the fridge, grab it and roll it out on a lightly floured surface to about 1/4 inch thick.
Cut out cookie shapes. If you want to cut out eyes or a few different shapes, remember each cookie needs a top and bottom so even numbers folks.
Place cut out cookies on a baking sheet then into the oven they go.
Bakes and ghostly! Place them on a wire rack to cool and keep baking the rest of the cookies.
While cookies are cooling, make chocolate filling. Super soft, almost melted coconut oil goes in a bowl with vanilla and gets beaten together. Add in the cocoa powder, powdered sugar and pinch of salt and kept beating slowly anding in a bit of milk until the whole shebang comes together into chocolate filling awesomeness.
Once the cookies are completely cooled, fill them. The filling might have tightened up a bit so if it is not spreadable, pop into microwave for like 8 seconds to get it to move. Scoop or smear equal amounts of filling onto the bottoms of the cookies and top them off with their tops.
Done, and ready to eat.
Ghosts cookies for all your ghost fueled festivities.
-C
makes at least 16 sandwich cookies
For the cookies
2 1/4 cups all purpose flour
3/4 cup white sugar
1 teaspoon baking powder
1/2 teaspoon salt
1 teaspoon vanilla extact
2/3 cup soft coconut oil
5 tablespoons plant milk (I used almond)
For the filling
1 1/2- 2 cups powdered sugar
1/3 cup cocoa powder
4 tablespoons melted coconut oil
1/2 teaspoon vanilla extract
2-3 tablespoons plant milk
1/8 teaspoon salt
Preheat oven to 350
In a bowl beat together the white sugar with the coconut oil and vanilla extract. Add in the flour, baking powder, and salt and start to mix with a spoon or fork, adding in the milk as you go. Keep mixing until completely incorporated and turns to a ball of dough. Gather together into a ball and wrap in plastic. Pat flat and place into fridge for an hour or up to a day.
To cut out cookies. Roll fridgerated dough out on a floured surface to about 1/2 inch thick. Cut out shapes, making sure to have a top and bottom for each cookie. Gather left over dough into a ball and repeat until all the dough is used.
Place cookies on a baking sheet and bake for 13-15 minutes or until they are just starting to lightly brown around the edges. Remove from oven and place on a wire rack to cook.
For chocolate filling. Beat together the melted coconut oil with vanilla. Add in the lesser amount of powdered sugar, salt, and cocoa powder. Beat on low, adding in 2 tablespoons plant milk. Beat until mixture comes together into a thick but spreadable consistency. If it seems too thick, add more milk, too thin, a little more powdered sugar.
Cookie assembly. 2 cookies at a time. A top and bottom. Spread about a tablespoon of chocolate filling to bottom cookies and pop the top on.
Eat cookies. Store what is not eaten in a airtight container for up to a week, but these ghosts will definitely not last that long.