
THE LOVELY CRAZY
Not only is it the first week of summer, it’s also popsicle week! Billy over at the sweet ass blog Wit and Vinegar hosts a little (actually quite large) bloggers party that share all sorts of fun and fantastic popsicle recipes and presents that list to the world. There are popsicle flavors up the wazoo…Pretty stinkin cool right.
So my contribution to the world of popsicle eaters is one of my all time favorites (maybe the absolute best one yet).. Carrot Ginger Orange.
For those who know me, this flavor combination should come as no surprise. Carrots are my thing. I eat them all day, every day. Sure I eat a shit ton of other stuff, but always carrots. Carrots are in my breakfast,lunch, and dinner. If I need a snack, I grab a carrot. There is just something so satisfying not to mention so easy about carrots. Eaten alone, with mustard or hummus, or dipped in peanut butter of cinnamon..Carrots can do just about anything. I mean I eat so many carrots that no shit, my skin is a slight tint of orange (seriously for reals. Something about an abundance of carotene) Crazy I know, but what can I say. I really like carrots. %u00a0%u00a0%u00a0%u00a0%u00a0%u00a0%u00a0 (that’s what I say when people ask me why I am glowing orange)
So naturally the carrot made it’s way into my popscile mold. And now it’s for real. Carrots really can do anything.
Another win for carrots everywhere.
And popsicles.. Just in time for that hot as shit weekend we are about to have.
GO POPSICLES CO!

The stuff. Carrots, an orange, some fresh ginger, and some water. Simple simple and no, I didn’t forget the sweetener… these pops have no need (although if you want, go ahead and add a smidge or splash of something sweet)
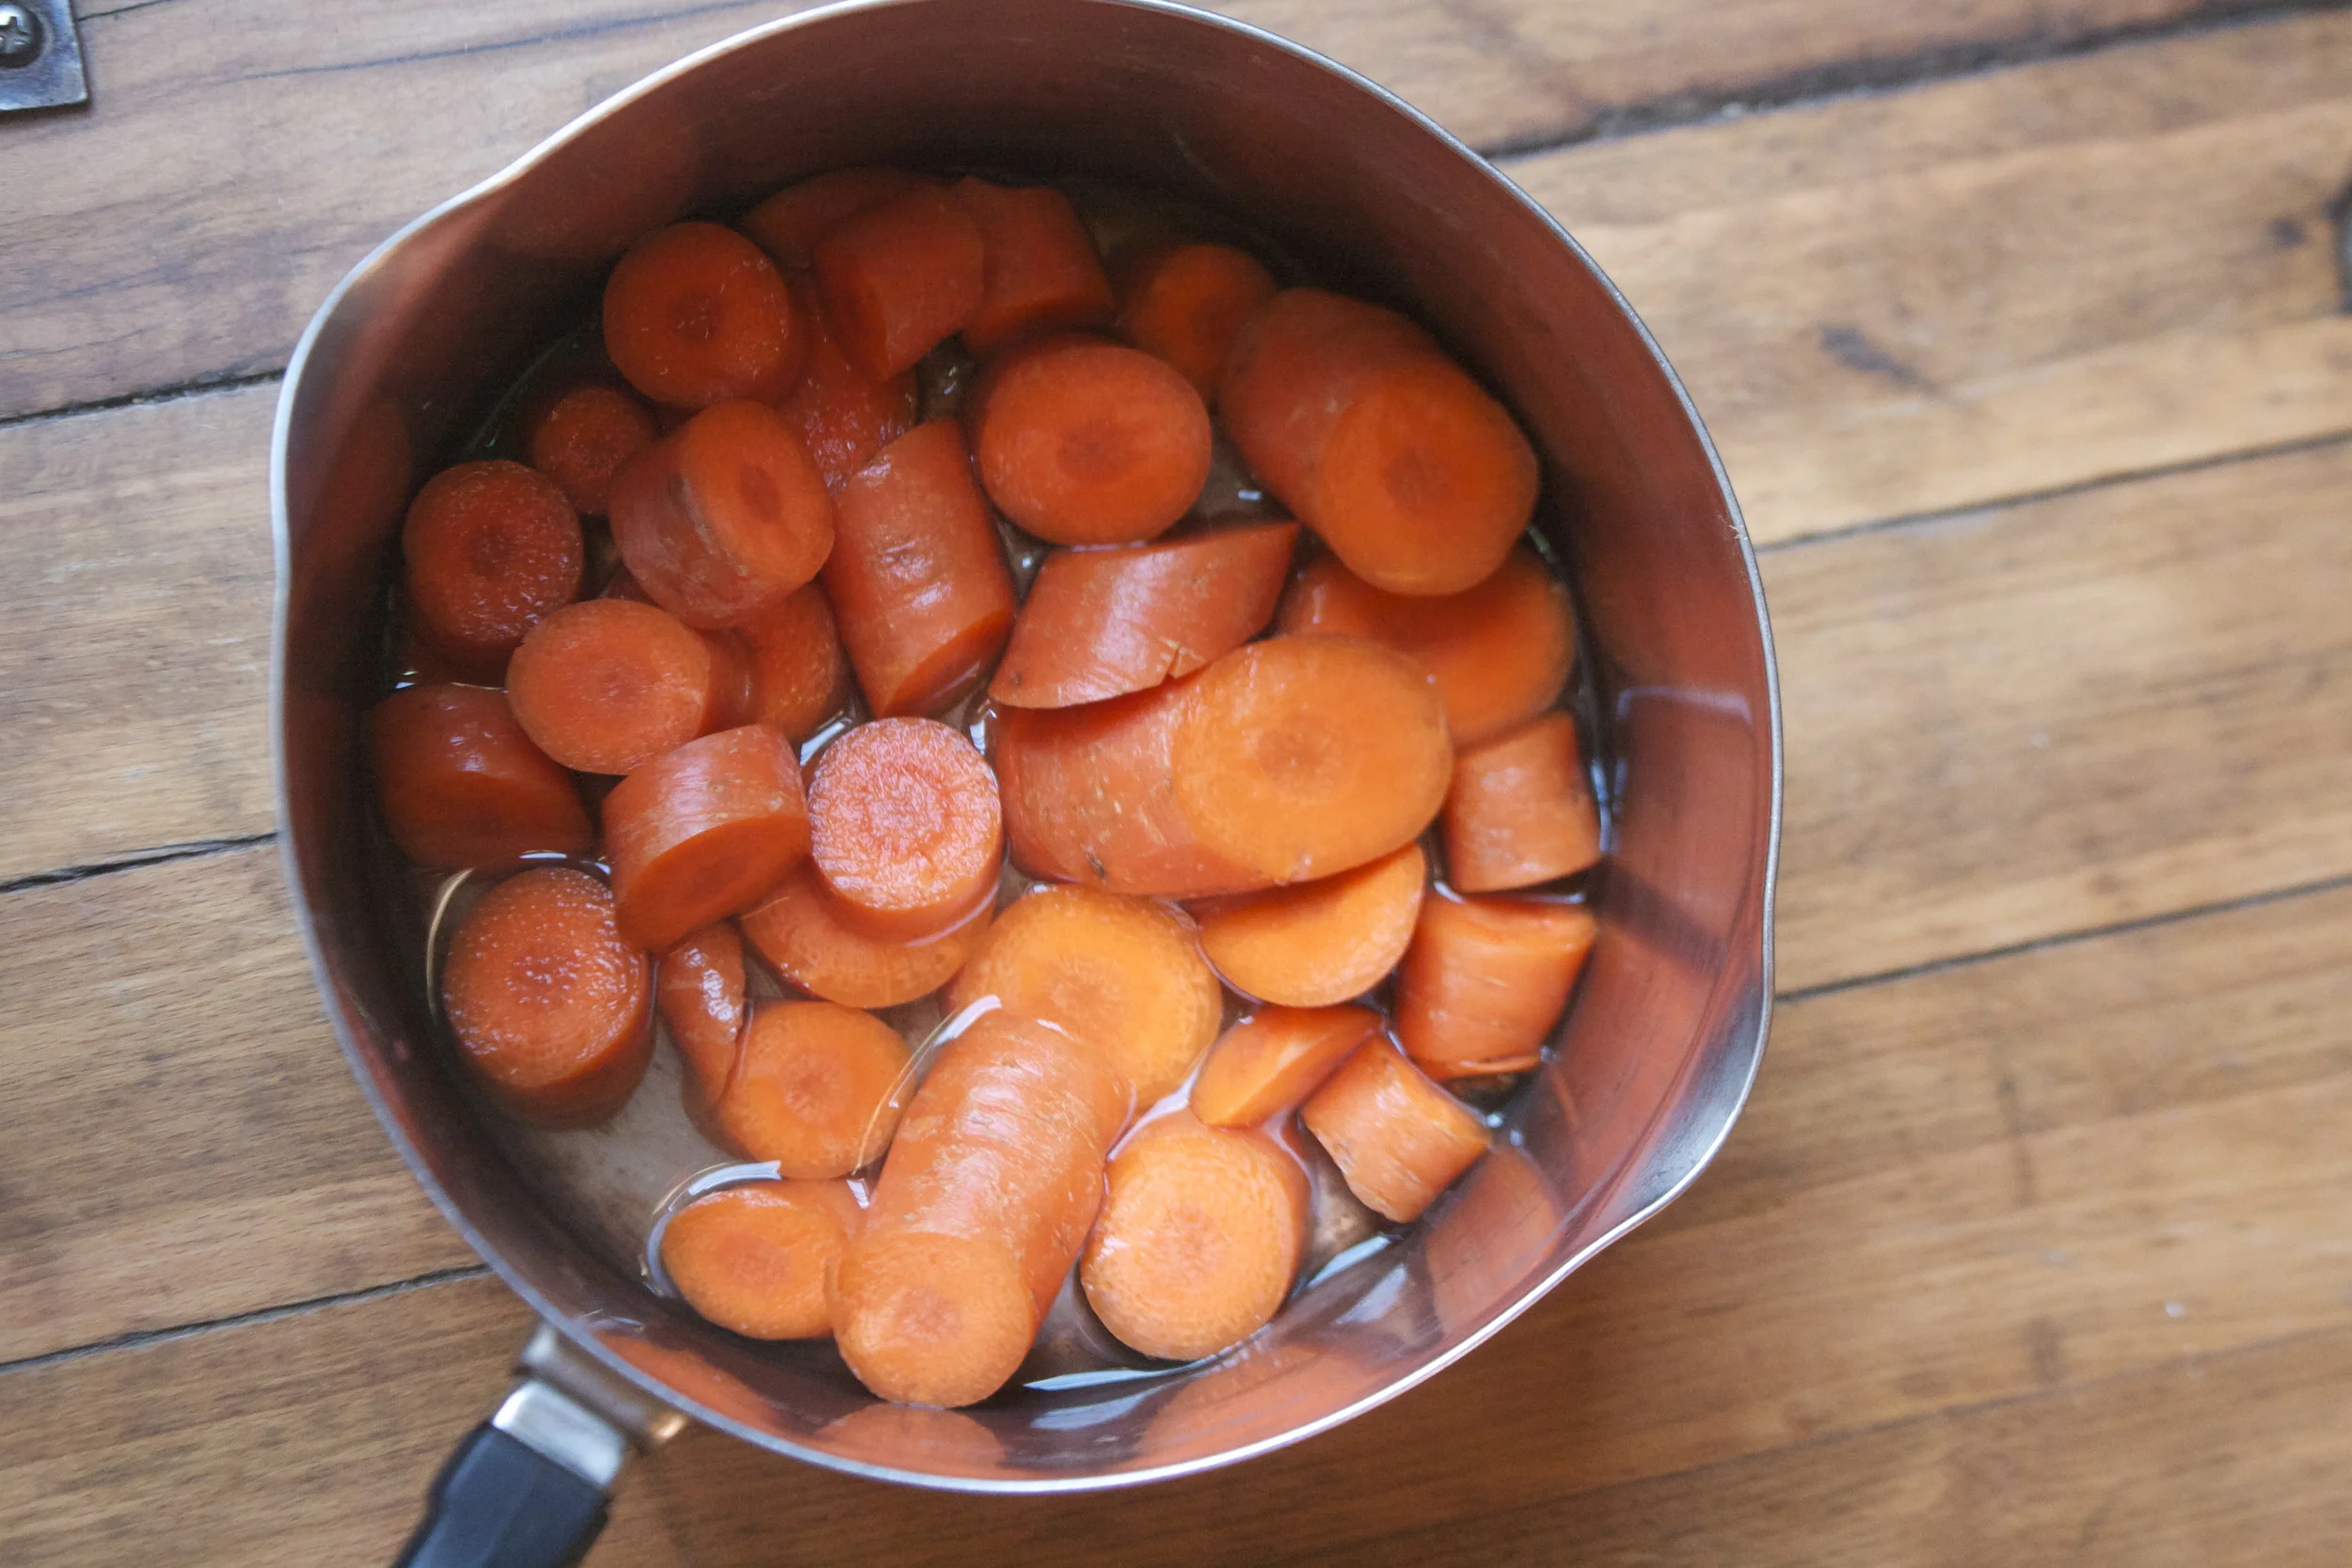
Start by chopping up the carrots and sticking them into a pot with some water. Not a lot, just enough that it almost cover the carrots, and stick that pot onto the stove, cover and cook on medium heat until tender. Make sure to check that the water doesn’t completely evaporate or you will have burnt carrots which taste just fine, but not as a sweet popsicle
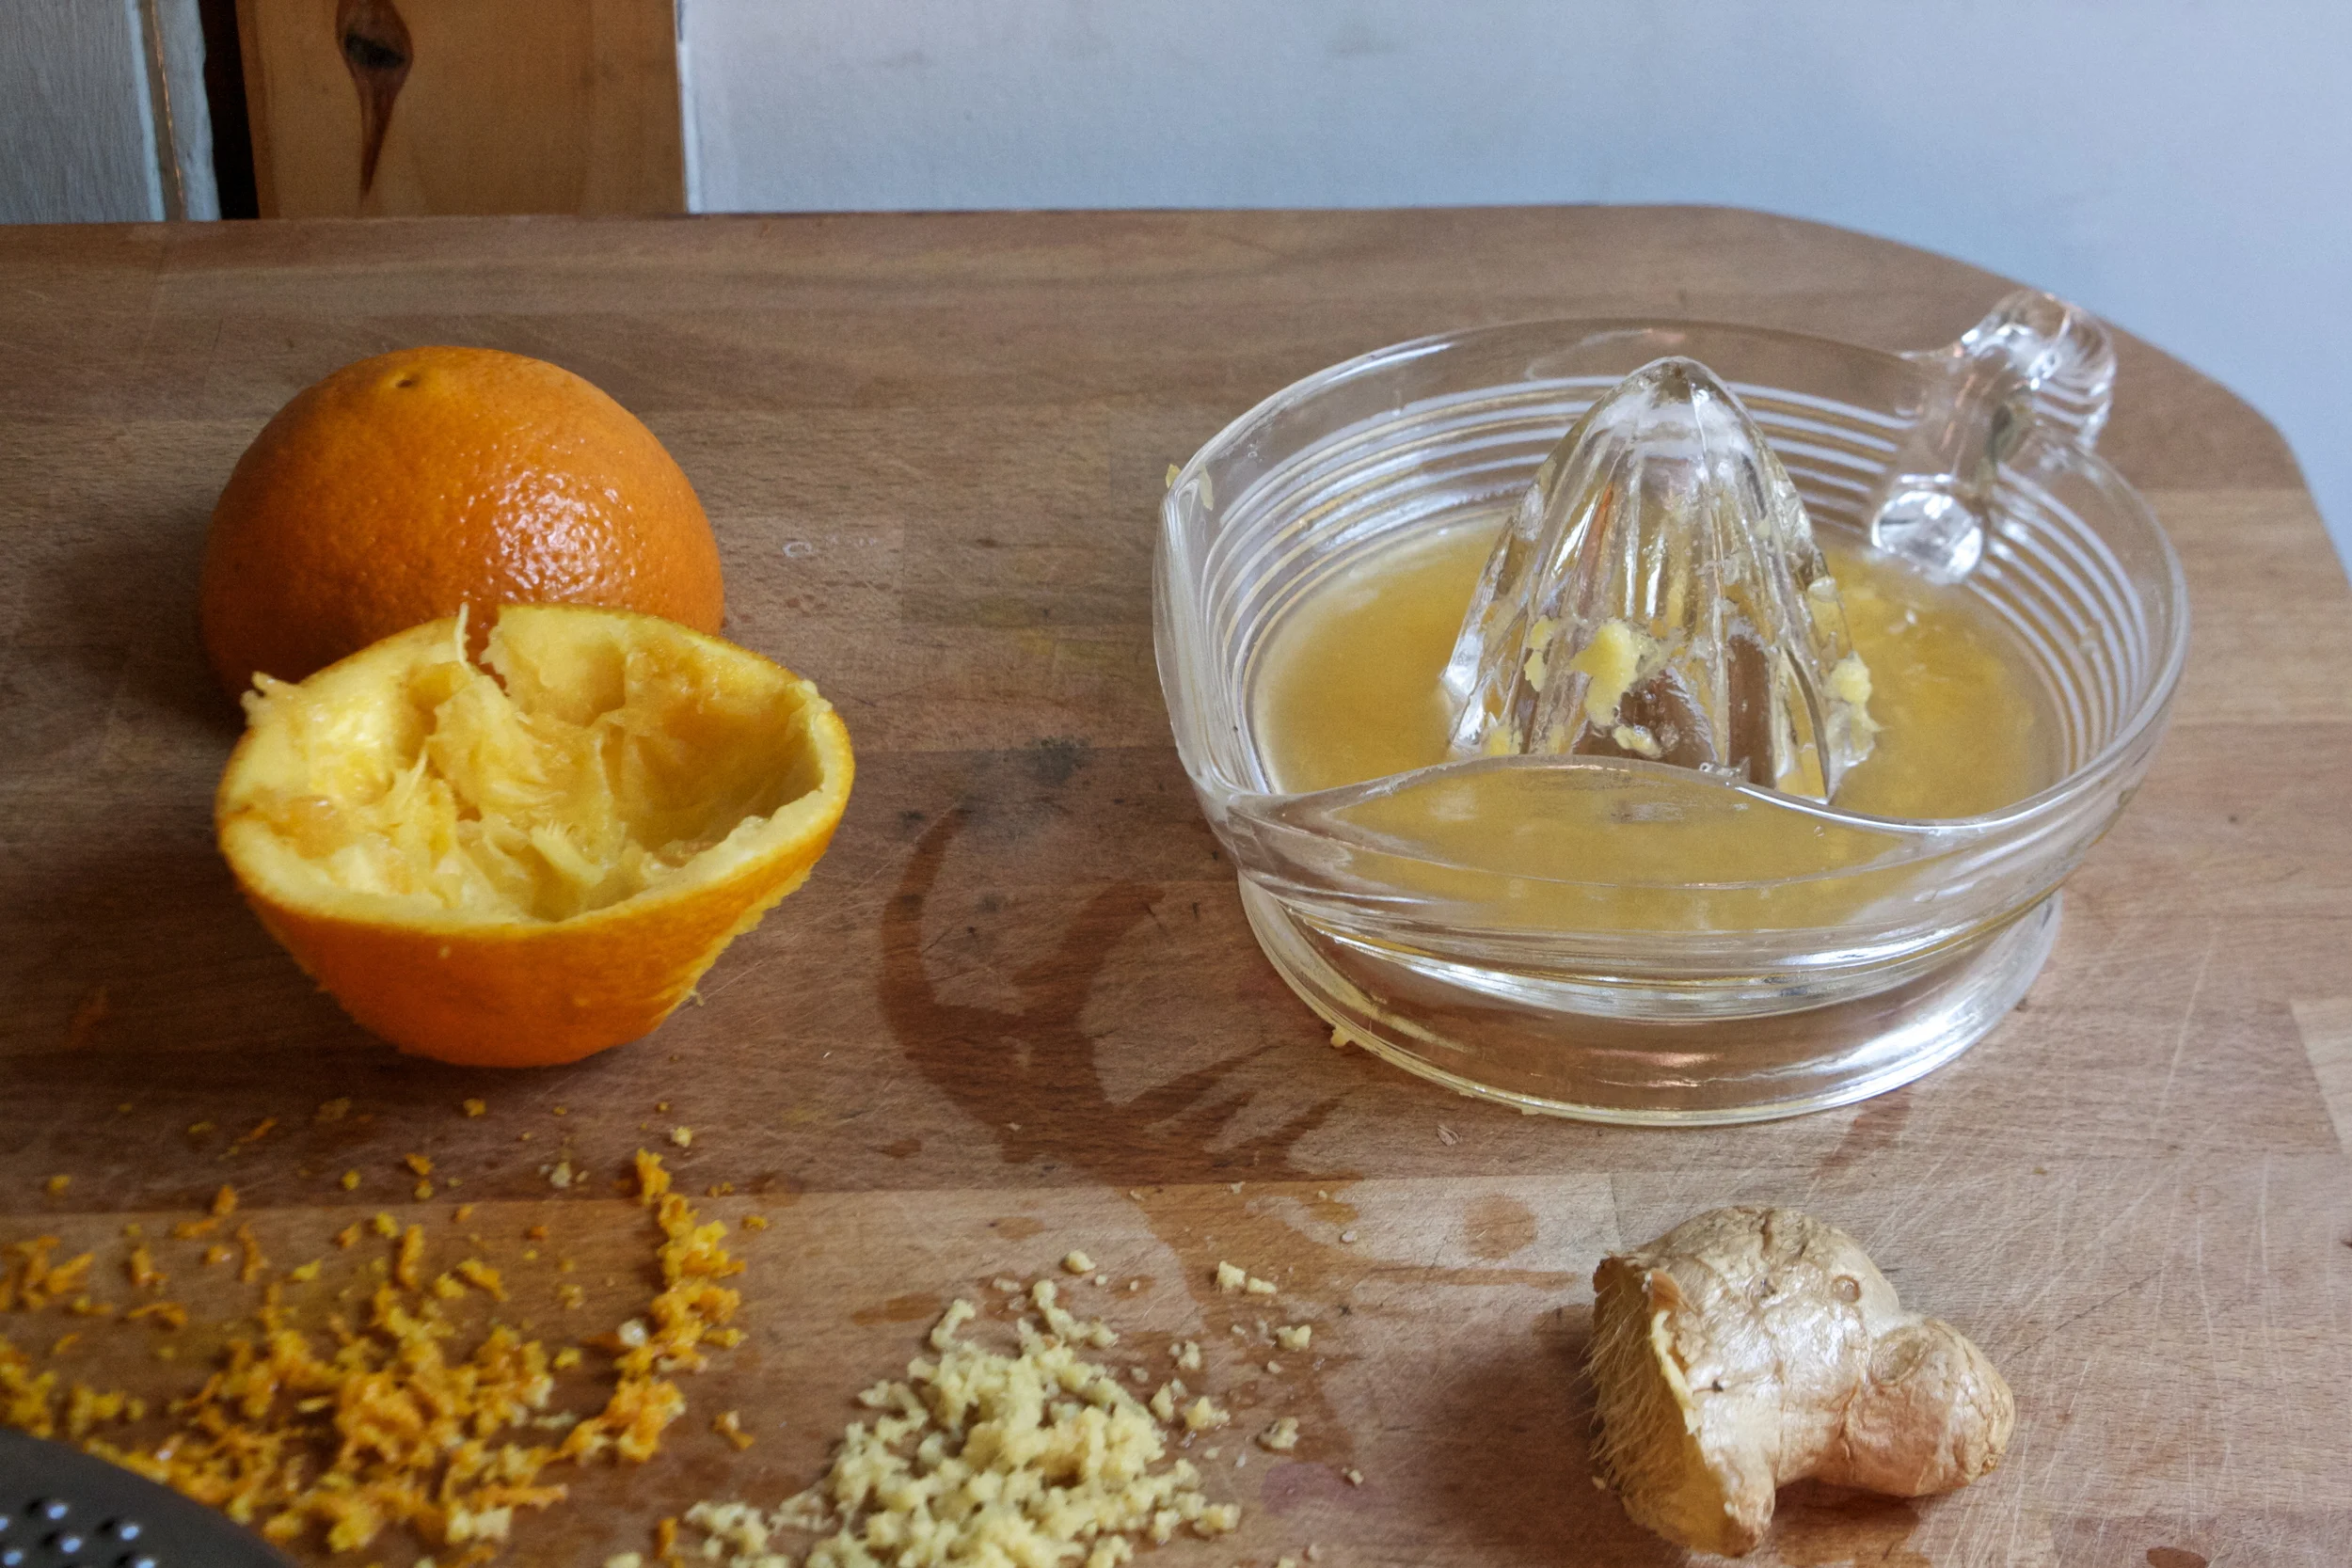
While the carrots are tenderizing, zest the orange then juice it and grate up some fresh ginger.
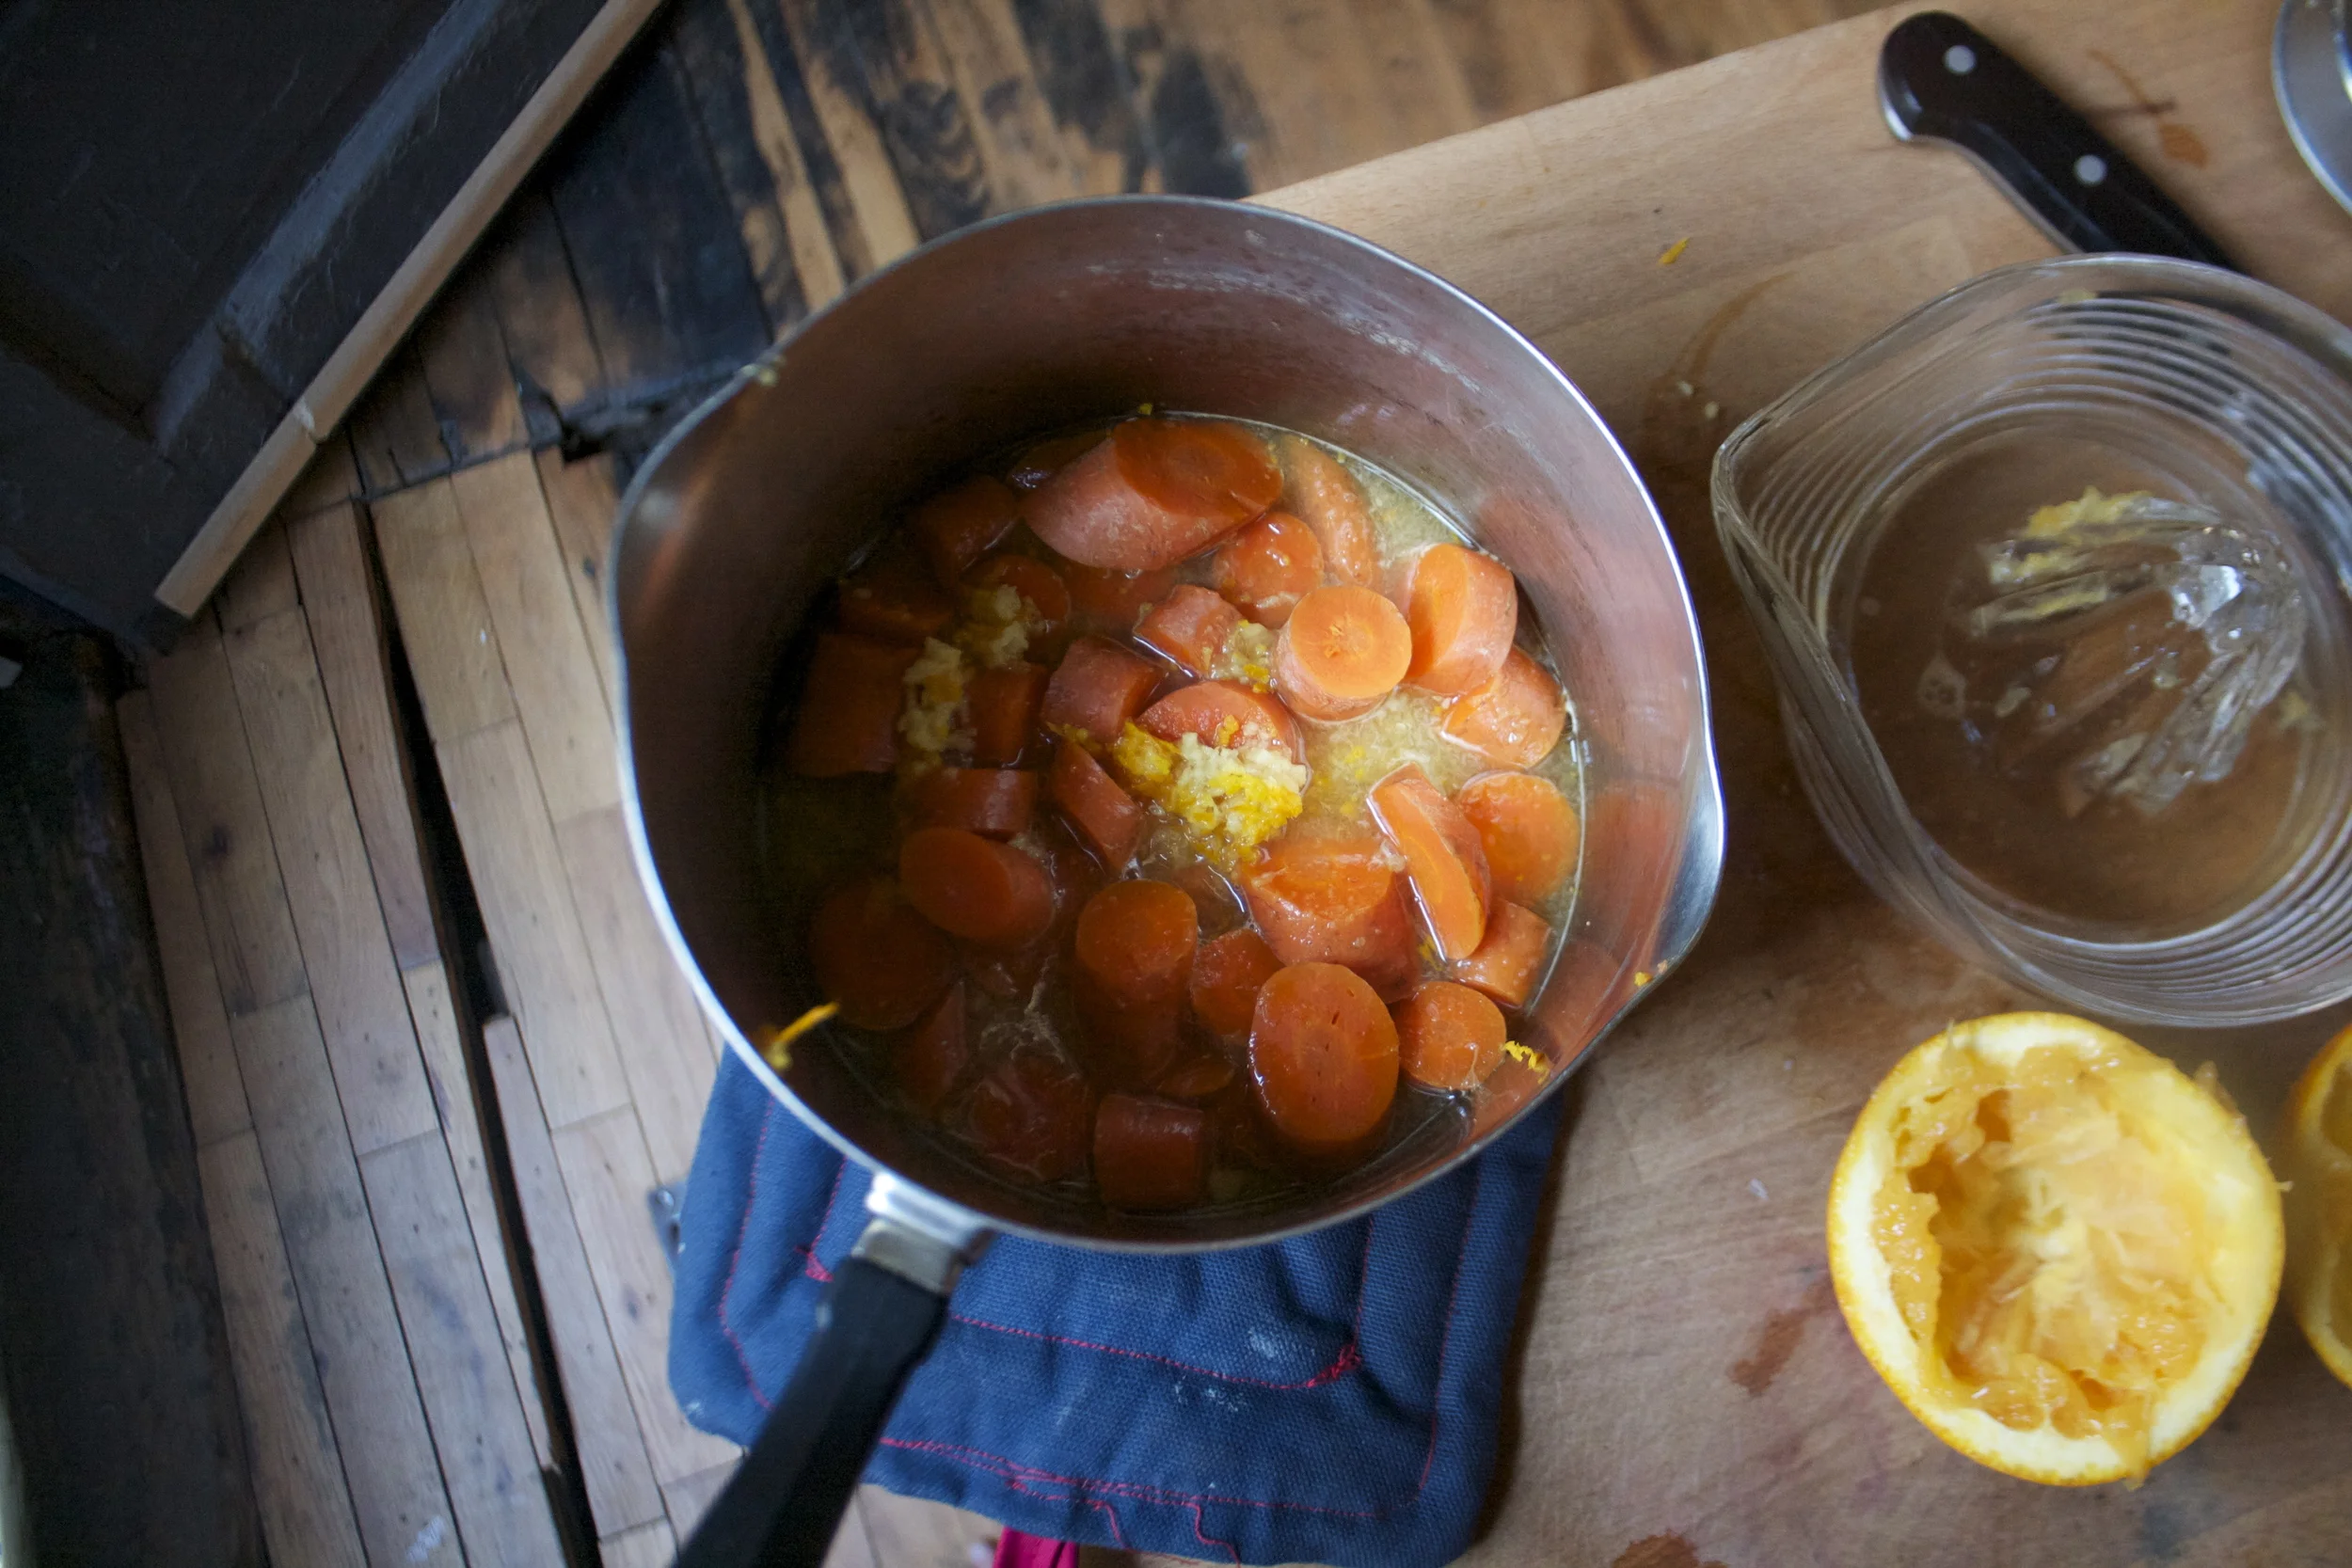
Once the carrots are fork tender, dump in the juice, the zest, and the ginger. Stick pot back on heat for just a few more minutes to meld the flavor together.
Dump the contents of the pot into the blender and blend blend blend until smooth.

Grab your mold and pour blended mixture into it.. Because the mixture is thick, you don’t have to wait to stick the sticks in so go ahead and do that now.
And into the freezer they go!
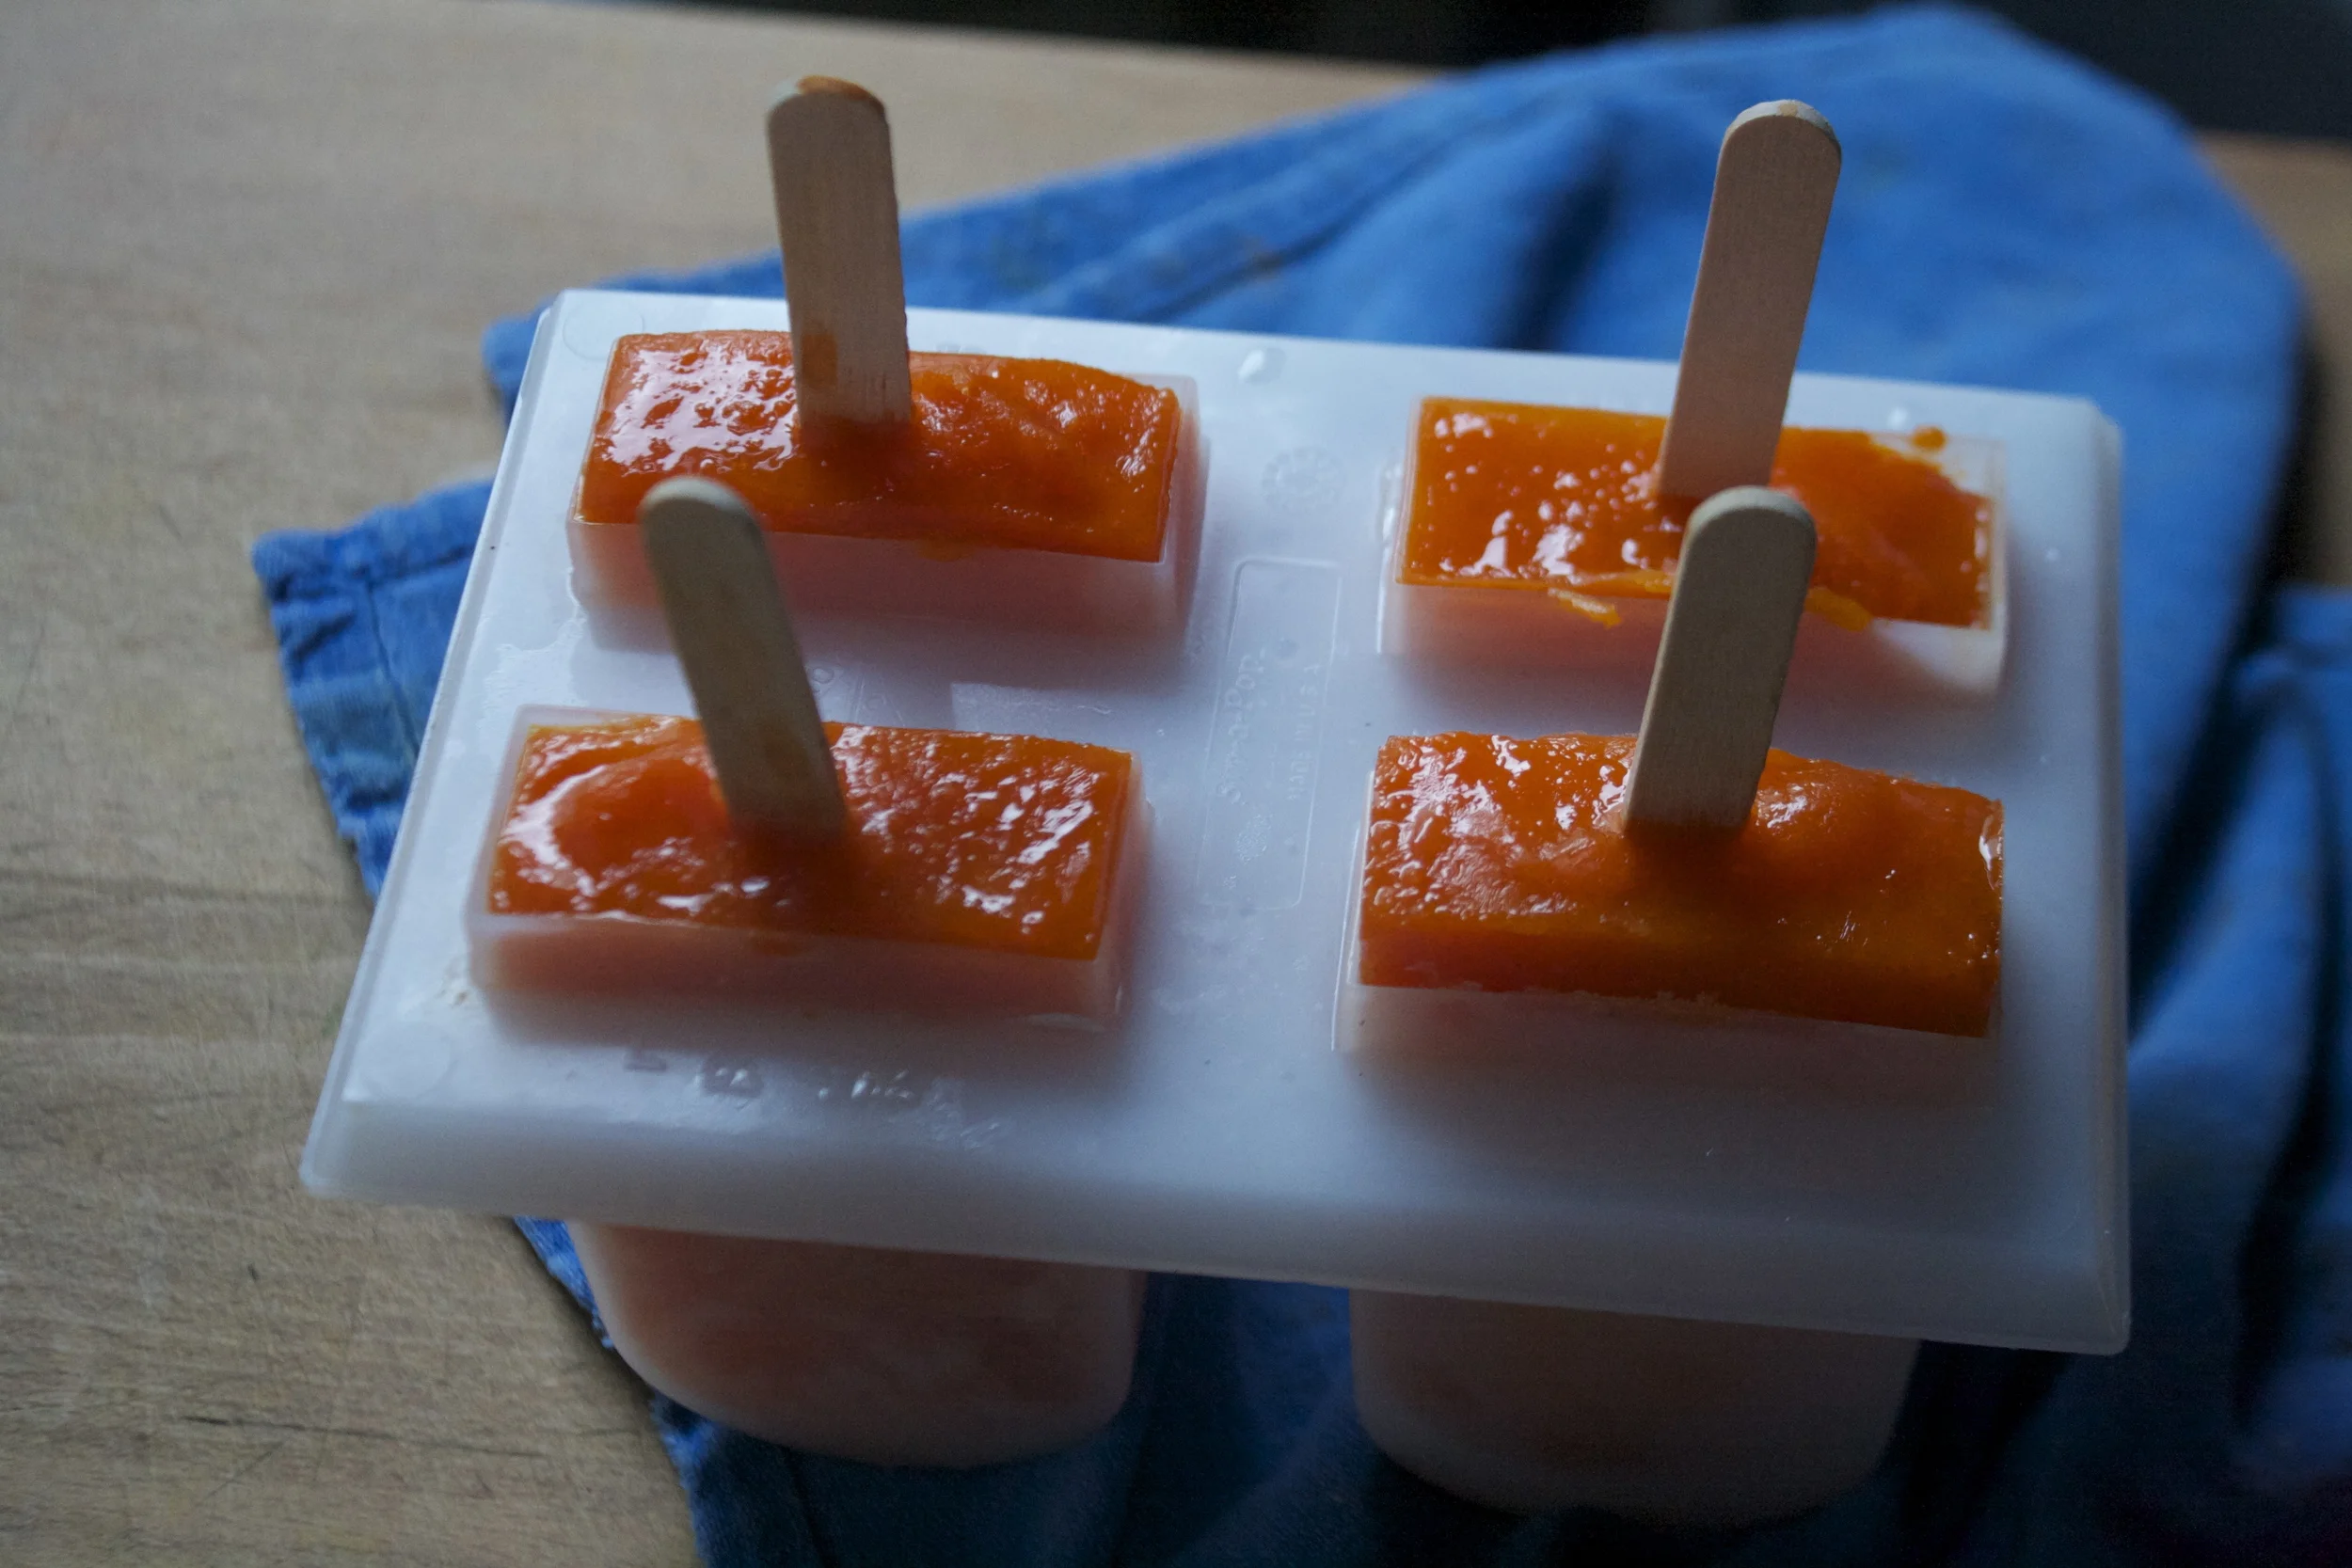
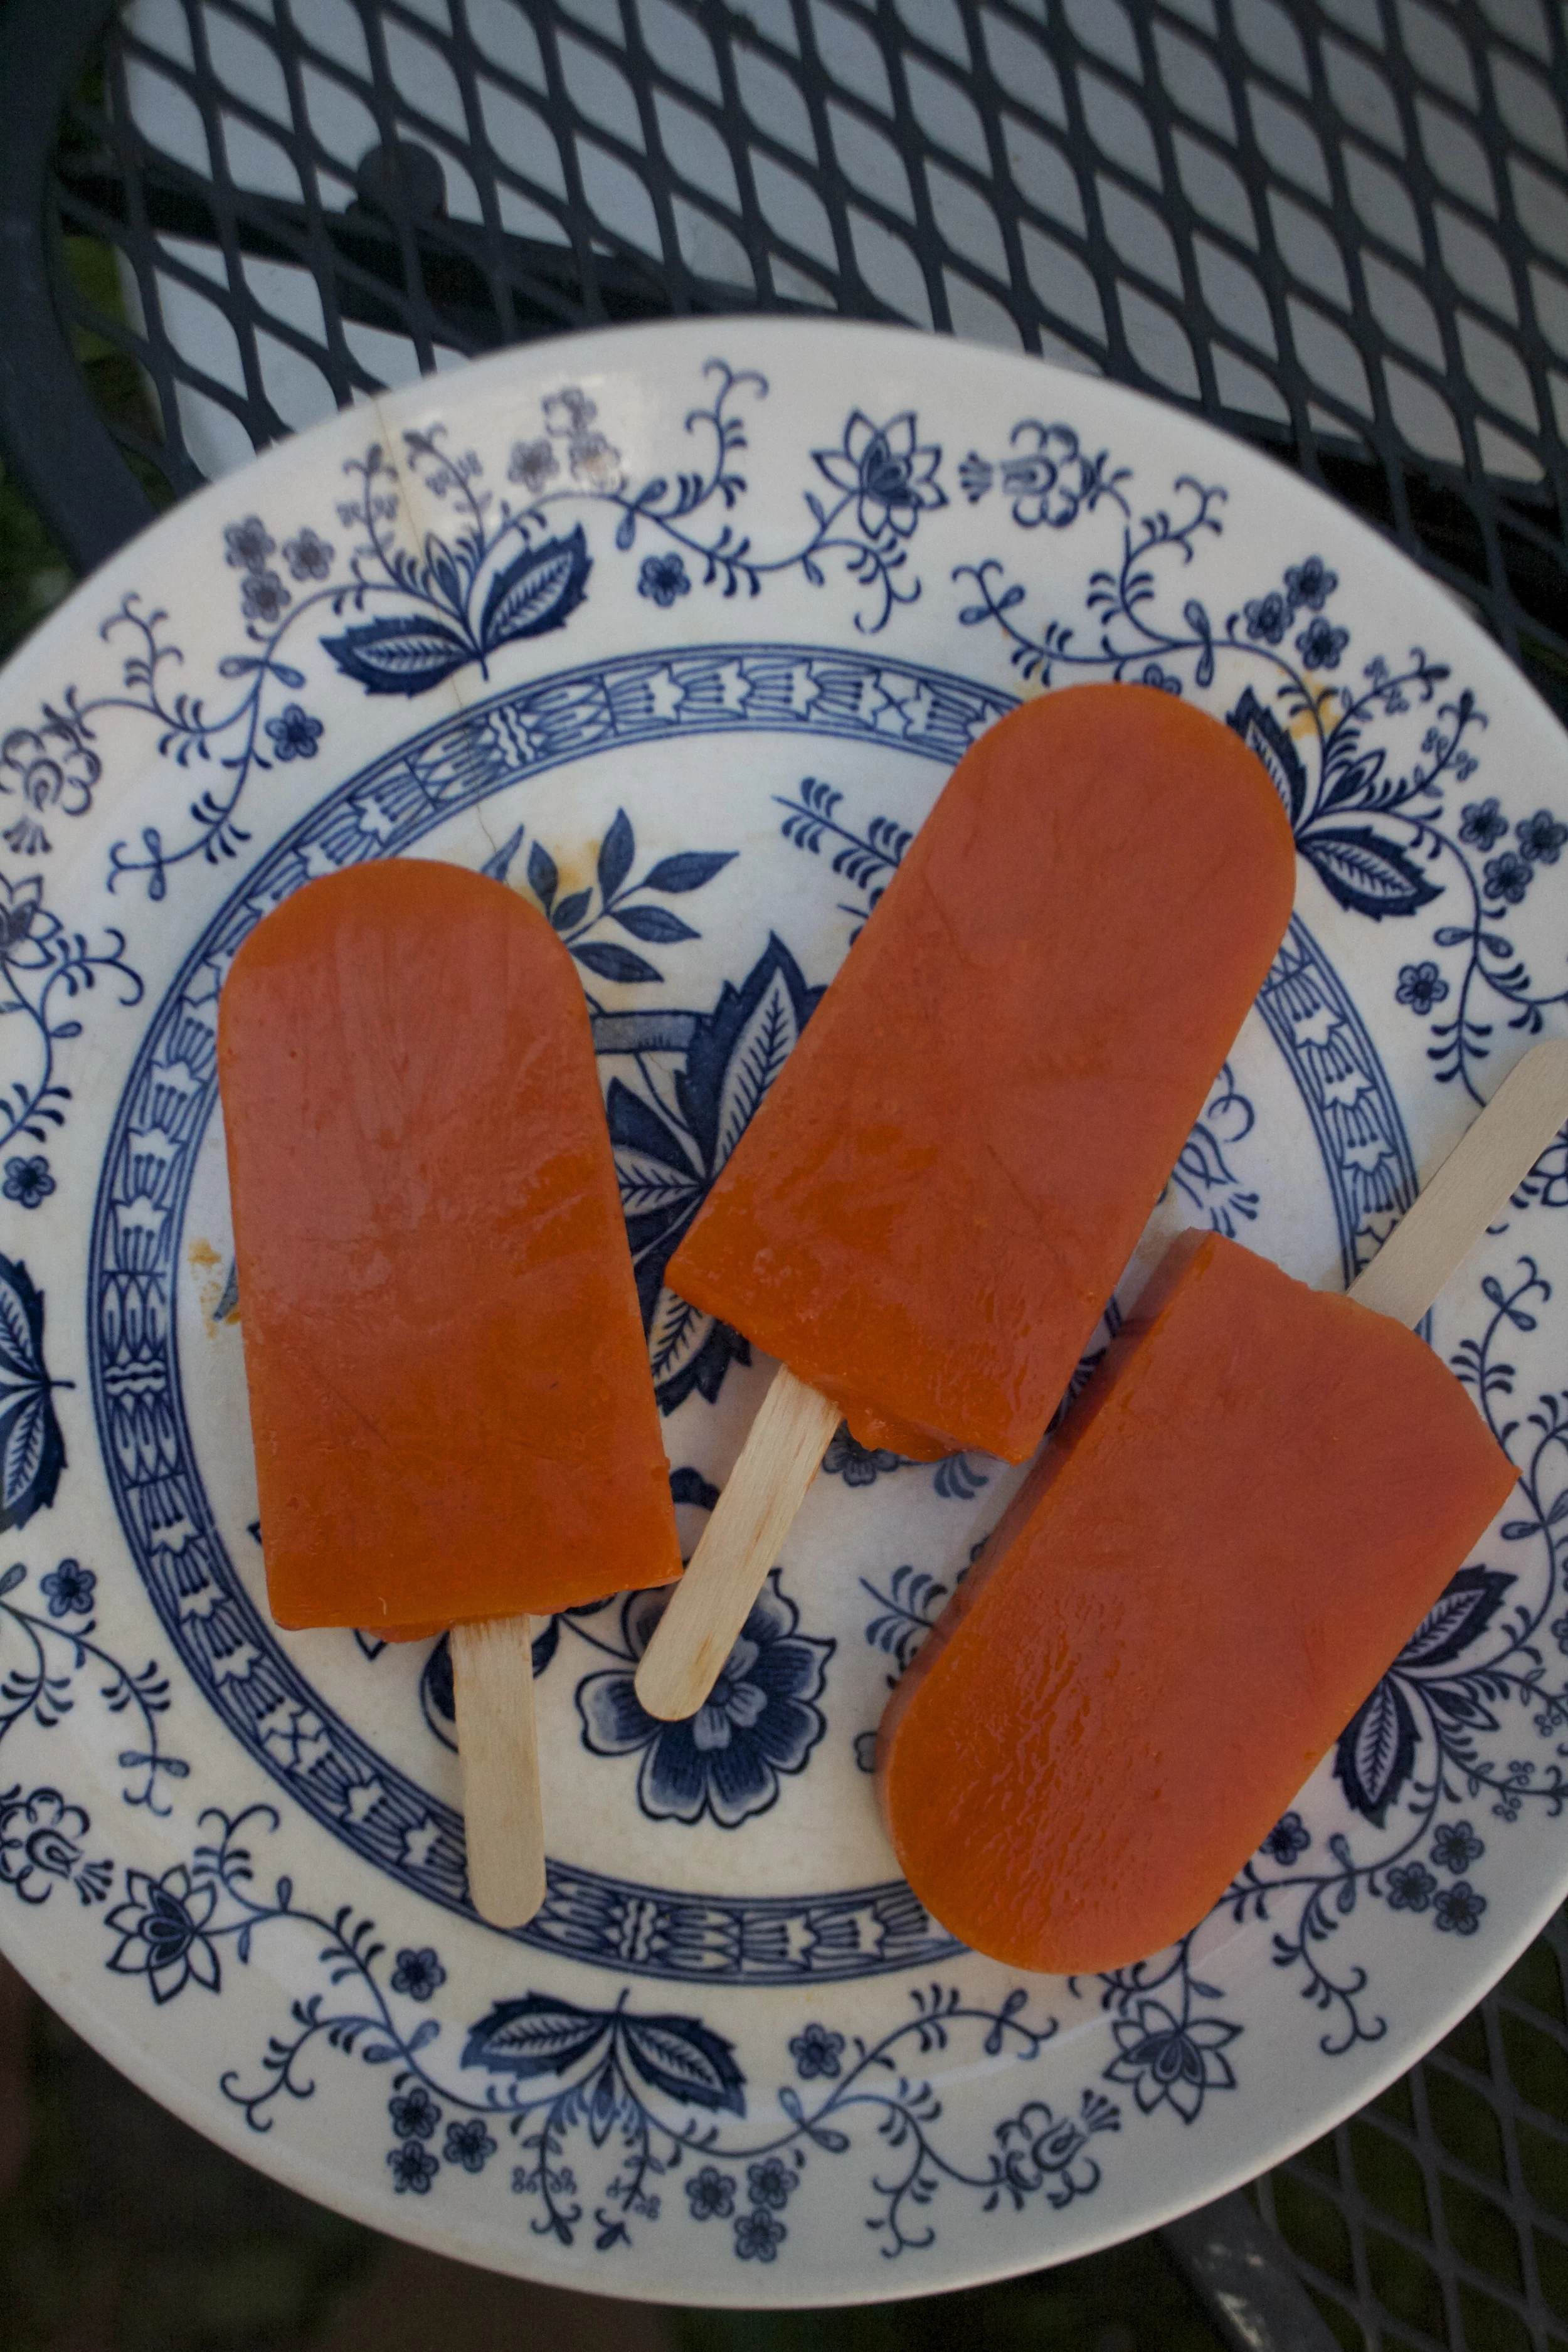
Serious popsicle goodness right there.
Happy Popsicle Week. Go ahead and make them all!
-C
Makes about four or five 3.5 oz popsicles
- 3 medium sized carrots
- 1 orange (zest and juice)
- 1-2 teaspoons fresh ginger
- water
Note. I did not use and sweetener and did not miss it but if you really think you need it, add a little bit of honey or sugar. But really, they are sweet enough so maybe give them a chance without it.
Start by chopping the carrots up into coins and stick them into a pot with enough water to just about cover the carrots. Stick on stove on medium heat and place a lid on the pot. Cook carrots until tender.
While that’s happening, zest and juice orange and grate up the fresh ginger. (I used 1 teaspoon of ginger at first, but after I blended it, I decided that I wanted a little more so I added another teaspoon)%u00a0 Once the carrots are soft, dump in all the juice, zest and ginger. keep on heat for a few more minutes to let the flavors all meld together.
%u00a0And now dump the pot of carrot goods into the blender and blend the crap out of it until smooth. (add in a splash or two of water if needed. Taste your puree and if you want more ginger, add it it.( can also decide now if you want any sweetener..
Now pour the mixture into you popsicle molds and follow the mold directions on how to use it (add popsicle sticks and stick it in the freezer)
Freeze until frozen.
Remove from freezer and let sit until pops slip from mold.
Eat until gone.
Make more popsicle.

%u00a0%u00a0You ever make dish, completely on the fly, just to use something up (I have a lot of ripe tomatoes) with no real expectation, just because%u2026 Then have it be one of the best freaking things that you have ever made?%u00a0This salad is one of those things.. maybe not the best thing I have ever made, but definitely the best salad I have ever made%u2026. this week.
A salad compiled of all things amazing, taking just a few minutes to make and is the perfect balance of uber fresh with baby spinach, raw kale, and crunchy quick pickled onions. Then adding a touch of warmth with the sweet and juicy seared tomatoes and big chunks of creamy avocado.
I mean, for reals. %u2026…Best Salad Ever !!!! (this week)
Now let’s do this.


%u00a0The Stuff. A big bowl of baby spinach and chopped up kale, a few sliced up roma tomatoes, some super thinly sliced red onion, half an avocado, red wine vinegar and salt and pepper.%u00a0%u00a0Before you do anything, place the sliced onions into bowl, sprinkle with a pinch of salt and add a few glugs of the red wine vinegar. You want the onions to sit in the vinegar for at least 5 minutes on the counter cause the longer they sit the more crispy pickly they get. (after eating onions like this, you will never want to eat them any other way)%u00a0Lightly oil a skillet and preheat to a medium heat. Once the skillet is hot, sprinkle the tomato slices with salt and pepper and %u00a0place tomatoes right on in, snugly, but not overlapping. Let cook for about 3-4 minutes, or until the bottoms start to brown. Flip and cook other side for another few minutes.Once the tomatoes are seared on both sides, remove them gently from skillet and toss them on top of the bowl of greens.

Take the pickled onions and toss those right on top, with any of the residual vinegar, add dice and scoop the half of avocado and toss that on in as well.And now eat the best salad ever (this week).
Make the day good!
-C
Skillet Seared Tomato and Quick Pickled Onion Salad
Serves 2 as a side, 1 for a hungry eater
- 2 large or 3 smaller roma tomatoes
- 1/2 of a red onion
- 2-3 tablespoons red wine vinegar
- 1 1/2 cups baby spinach
- 1 1/2 cups chopped kale
- salt pepper
- 1/2 a ripe avocado%u00a0
- olive oil (to grease pan)
Thinly slice red onion and place in a bowl. %u00a0Add vinegar into a and sprinkle with salt. Let sit on counter for at least 5 minutes, if not longer,
Slice tomatoes into 1/2 inch thick rounds and sprinkle with a pitch or salt and pepper. %u00a0Lightly oil a skillet and preheat it on medium heat. Once the skillet is preheated, stick the tomatoes on it (watch out for splattering tomato juice) Cook first side for about 3 minutes or until the bottom has browned, then flip and do the same for other side.%u00a0
One tomatoes are seared, place directly onto the greens. Now dump the pickled onions and residual vinegar on top. And %u00a0dice up %u00a0avocado and add that on top too.%u00a0
Now eat your salad, fork or fingers%u2026 %u00a0
And I know, ba-daaaamn. So good.
%u00a0 %u00a0 %u00a0%u00a0
 %u00a0I figured now is a good time to get this recipe out there before we get to far into spring and summer recipes because there is going to be a lot of banana ice cream filled recipe coming and I figured its a good idea to have the basic banana ice cream recipe ready for people to refer too.%u00a0 And because I made so much fantastic naner ice cream, I also made a cookies and cream naner ice cream for my sisters and the mister.
Comments that I got from my sisters and the mister when I made them this ice cream
-Sister one.”I give this my sister seal of approval.. It’s so good. %u00a0The first dessert you have made that I liked! (not including all the other desserts that you have made that I liked)”
-Sister two- “Wow.. it looks like ice cream and feels like ice cream and tastes like ice cream.. You should make me this ice cream!” (I was confused too because I was pretty sure I just made her some)
-The mister- “I am so excited for my new fly fishing pole!”
Ok, so the naner ice cream isn’t new to the mister and he IS very much excited for his new fly fish pole. So excited that he forgot to tell me how amazing that I am and to thank me for making him a big bowl of yumminess. (It’s ok, I forgive him)
And yes, this is probably one of the easiest, most delicious, healthy and amazing frozen dessert that you will ever eat. You will probably find yourself buying mass amounts of bananas and stocking the freezer until things just start falling out. (which is also ok because it’s only bananas and you can’t have too many frozen bananas)
 %u00a0 %u00a0
 The stuff you need for this ice cream%u2026. Nice and ripe bananas, peeled and then frozen* That’s it.
To make it, place frozen bananas into food processor and hit the on button. Process the crap out of the namers until nice and silky smooth.%u00a0
*Note, the smaller the frozen chunks are , the faster and maybe a little easier for the blender to blend the naners into ice cream. So if you think of it, chop bananas into pieces before freezing or even after.
 After all blended and smooth, either eat right away or scoop ice cream into a freezer safe container and stick in freezer. That’s the banana ice cream%u2026 %u00a0And it is amazing and so so so so so addictive. I make a batch, think I am only going to eat a scoop, then find myself eating half of what I have made, but it’s ok cause it’s only bananas.%u00a0
Now for the cookies and cream banana ice cream.. One%u00a0batch of banana ice cream, either freshly made, still in food processor or made ahead and placed in a food processor and given a good pulse to smooth it up.
Add cookies in, crushing a bit beforehand and pulse till combined.%u00a0 Now you have cookies and cream naner ice cream%u2026. and everybody is happy.
Scoop into a cup, a bowl, a freezer safe container, or directly into your mouth.%u00a0Be careful%u2026. You can still get brain freeze from eating naner ice cream too fast!
Keep it real hump day drum bum!
-C
Basic Banana Ice Cream
Makes one batch. Good for 3-4 servings
- 4-5 %u00a0ripe bananas peeled and frozen
Peel %u00a0bananas and stick in a freezer bag or container and freeze. When bananas are completely frozen, break into pieces and stick into a food processor or blender and puree until silky smooth.%u00a0
Eat right away or scoop into a freezer safe container for later.
Cookies and Cream Banana Ice Cream
- 1 batch banana ice cream
- 5-10 (depending on your cookie need) cream filled cookies like oreos or Trader Joe’s Joe Joe’s (These are gluten free)
In a food processor, blend banana ice cream with cookies.
Eat right away, with a utensil of choice in a container of choice.
Bowl licking is acceptable.%u00a0
 Before we left for the weekend, I was was trying my hardest to empty the fridge out of all food with the intention of leaning it empty so I could leave it open to defrost while were were gone. Unfortunately I was not able to make it happen. What I did make happen was emptying it almost completely so that when we got home, we had pretty much no food in the house, except for a few things that probably should be eaten. %u00a0Plus one of the last things that I want to do after sitting in a car for 6 hours is go to the grocery store, or anywhere for that matter, so I was determined to make with what wet had in the fridge:
- Carrots
- half of a gigantic kohlrabi
- soy milk
- iced tea
- bananas that needed to be frozen
- strawberries
Perfect! %u00a0A few carrots and half of a gigantic kohlrabi.. plus at the hotel we were staying at, there were fruit bowls in he lobby full apples. Every time I went past the apples (which was a lot) I grab one or two, so I have a few apples (I actually have a lot of apples now). All the things I need for a super awesome salad slaw. Apples with their %u00a0nice sweet crispiness and kohlrabi with its cabbagey, crunchy earthiness, tossed together with some vinegar, some toasted walnuts and some carrots, I mean, so freaking good. And to make it a bit more of a meal, I made some lentils to go with it. But the best part was there was no need to leave the house!!
%u00a0 %u00a0 %u00a0%u00a0
 The stuff%u2026 A huge hunk of a bigger then my head kohlrabi (or 2 normal bulbs). A carrot, an apple, toasted walnuts, red wine vinegar, and some salt.
Pretty simple stuff going on here. Just peel and julienne the kohlrabi, carrot and apple. (no need to peel the carrot or apple unless you want too) and stick it all into a bowl. %u00a0I used my mandolin, which is one of my favorite kitchen tools ever, but if you don’t have one, a box grater works too. Sprinkle with salt and a good glug glug of red wine vinegar. Chop up the walnuts (some big chunks and some very small pieces makes for good eating), toss it all together and, well that’s it. But wait%u2026. let it sit for a few minutes before serving to really let the flavors draw out.
 And there we have it. Super fast, full of flavors and crunchy texture. A salad slaw after my own heart.
Serve it as it or add to a bed of greens, rice, or lentils%u2026 and make sure to save at least as little%u2026 cause its an awesome little pre-bed snack.
Happy Week!!
-C
Kohlrabi Apple Walnut Slaw
- 2 medium sized Kohlrabis%u00a0
- 1 medium apple %u00a0%u00a0
- 1 small carrot
- 1/2 cup toasted walnuts
- red wine vinegar
- salt
In a large bowl, julienne kohlrabi (after peeled) apple and carrot. Sprinkle with salt, add in vinegar. Rough chop walnuts and toss the whole bit together. Let sit for at least 10 minutes, if not longer before serving. (A great salad to make ahead of time)
Eat as is, or toss onto a bed of greens, plate of rice or a bowl of lentils.
Any left overs only end up tasting better the next day.
 I can’t stop eating these. They are like little balls of crack and I am an addict.
Frozen peanut butter grapes%u2026 I mean, I just can’t stop.
So you say you have never frozen your grapes? Well you should. It’s the only way I like to eat them anymore. %u00a0I was never a huge grape fan, but one day long ago, I discovered the wonder that is the frozen grape and it is amazing, Now whenever grapes are on sale at the grocery store, I buy way to many and end up filling our tiny little freezer with jars and bowls of grapes. %u00a0Then whenever the mister goes to grab the bag of %u00a0frozen peas for his sore back or knees, there is almost always a frozen grape avalanche. Why I don’t put a lid on those containers is even a mystery to me. %u00a0Oh, now I remember.. I want easy access.Oopen the freezer, grab a few grapes, and go on my way%u2026 not having a lid to take off makes the process a little easier.
Then one day, the frozen grape game turned into something else, something a little more decadent and even more addicting. Where it came from, I do not know. Maybe it’s some subconscious throwback to a childhood full of peanut butter and grape jelly sandwiches, or maybe it’s just that fact that I think peanut butter can pretty much go with anything. But no matter why, I started dipping those frozen grapes into peanut butter and never looked back. And now when I have grapes, it’s all I want to eat.
I am warning you now, once you start making these, watch out, because before you know it, you will develop a frozen grape addiction too. And littles.. they are as easily %u00a0addicted to these as well. I have seen kids that hate grapes go totally bonkers for these. %u00a0Just so you know.
 The stuff %u00a0you will need.%u00a0Washed and drained fresh grapes (green or red. I usually use red but the green were half the price and the red ones didn’t taste very grapie*) Creamy peanut butter, skewers, and a little bit of cinnamon or cocoa powder (optional)
*Note. When you are the store, try %u00a0before you buy. You know what I mean, eat a few while shopping aground. I say this because not all grape are created equal. Some taste way better than others. I have bought grapes before that didn’t taste like anything or that have really tough skins, and those just piss me off, so eating a few will guarantee that your money is being well spent and that the grapes won’t disappoint you.
Ok, so now let’s make these bad boys.
Simple simple. Two grapes per skewer (or toothpick) Lay on a wax paper covered dish or pan and stick them in the freezer until frozen.  When the grapes are frozen, melt peanut butter. Take a big glob and stick in a tall skinny cup or bowl and stick in the microwave or heat in a sauce pan and then transfer to a tall skinny vessel. %u00a0Take frozen skewed grapes and, one skewer at a time, dip in the peanut butter. Cover with as much or as little of the peanut butter as you want and place on wax paper. If you are feeling feisty, add a sprinkle or cinnamon or even a dash of cocoa powder. Or, this may seem a little crazy, but garlic powder is so F*ing good.(it’s worth at least giving it a try) When all grapes are dipped, place back into freezer for another 10 minutes or so to let the peanut butter set up a bit.
 Whenever your ready%u2026 Eat. And be so happy. And always keep a back stock of frozen grapes in the freezer. They are the best.
Keep it realz.
-C
Peanut Butter Freezer Grapes
the quantity is up to you, but I recommend making a shit ton!
- Creamy Peanut butter (I use organic creamy from Trader Joes, or natural skippy)
- Green or Red Grapes
- Cinnamon and or cocoa powder (Optional)
- Toothpicks or skewers
Wash grapes and skewer 2 grapes onto a stick. Place on a flat surface and stick into the freezer until frozen, which usually takes about an hour.
Once grapes are frozen, stick a big glob of peanut butter into a tall skinny vessel (Like a juice cup or a 4%u00a0oz ball jar) and warm to a liquid constancy in the microwave (about 30-45 seconds) or if you don’t have a microwave, stick in a sauce pan, warm on stove, and pour into a glass (what I do)
Remove frozen grapes from freezer and dip into melted peanut butter. Place on a wax paper line tray or pan and sprinkle with cinnamon and or cocoa powder, or not, or a few (whatever you want) and stick back into freezer for another 10 minutes.
Eat as many as you want%u2026 Make so many because you will become addicted!
 %u00a0This week was good. %u00a0Two days in a row the front door was open, the window was open and the heater was off, which pretty much made me that happiest person in the world. My spring cleaning brain has kicked in and I want to clean everything (even the walls). I even spent a good part of an afternoon moving and rearranging furniture. (The house ended up basically the same as when I started) And one of the best parts of the week%u2026.most of the snow melted! I am getting super hyped to start raking, cleaning, planting and weeding and and just getting really dirty! Oh how I love the spring!
Here are a few internet things from the week
-%u00a0Ancient Grains are new again%u00a0About time!
-%u00a0This article about the chemistry of cookies is a good one%u2026.
– Oooohh pretty. %u00a0String art
-How to Do Fishtail or Herringbone Braids Step by Step%u00a0 I need to start doing something with my hair besides a really sloppy pony tail that I don’t take out for days on end.%u00a0
-I think I want to make this Honeycomb shelves.
And %u00a0some real life happy%u00a0 Oh Intervale Community Farm..I love you. I picked up my farm share and was especially pumped %u00a0for another gigantic kohlrabi and some locally grown, locally milled wheat flour.
%u00a0 %u00a0The trees, they are a budding
 %u00a0The perfect ripeness, destined for naner ice-cream!
 My sister and I took this little for a sled ride through the wood where there was snow (but it was 45 degrees!) The hike ended up with me %u00a0pulling her through a field of mud. It was fantastic.%u00a0
 One year ago today. Dinner with my favorite people.%u00a0
Hope your weeks was awesome and warm..Spring is just about here to stay!
Have a great week!
-C
 Oh do I love a good Sunday. The picture above was taken last Sunday and what a glorious day that was. The mister and I took the pup hiking and it was the most spectacular of days. Sunny, 30 degrees and no wind..I could’t have asked for better weather. %u00a0
The rest of the week turned out alright. The weather went back to hell again and I was a little frantic and super busy, but all in all, good. I accomplished some things %u00a0that needed to be done and got to spend time with just about everyone in my family. The highlight%u00a0was when my sister slept over and we finally watched the Fault in our Stars while eating lots of food, cuddled together on the couch. (movie was good, but book was better. Books are always better) We then woke up early the next day and we (the mister too) %u00a0journeyed across state lines to the closest Target where we purchased some hand soap, %u00a02 seltzer waters and 2 jars of baby food. (I needed the jars) On our way out, the lady experienced her first ever taco from the taco bell in the food court before heading back to Vt. We spent the car ride singing terrible pop songs and eating the babyhood (Blueberries and sweet potato, and yes, they are tasty) We then came back tom my house, listened to more awesome music while she did her homework and I played on the computer and made dinner. %u00a0It was the best.%u00a0
Heres a few of this weeks happy bits from the internet.%u00a0
– I will be making these wire baskets%u00a0this week. I need storage and I love a good wire basket.
-I have been ending %u00a0up on this website every night..Making plans
-I need this shirt!!! Feel free to buy it for me!
-Throw Back Song!%u2026 And yes, I was sure I was going to be Mrs. Zac Hanson when I was 11.%u00a0
-My sister sent me this link,%u00a0Wool and the Gang.%u00a0So cool.
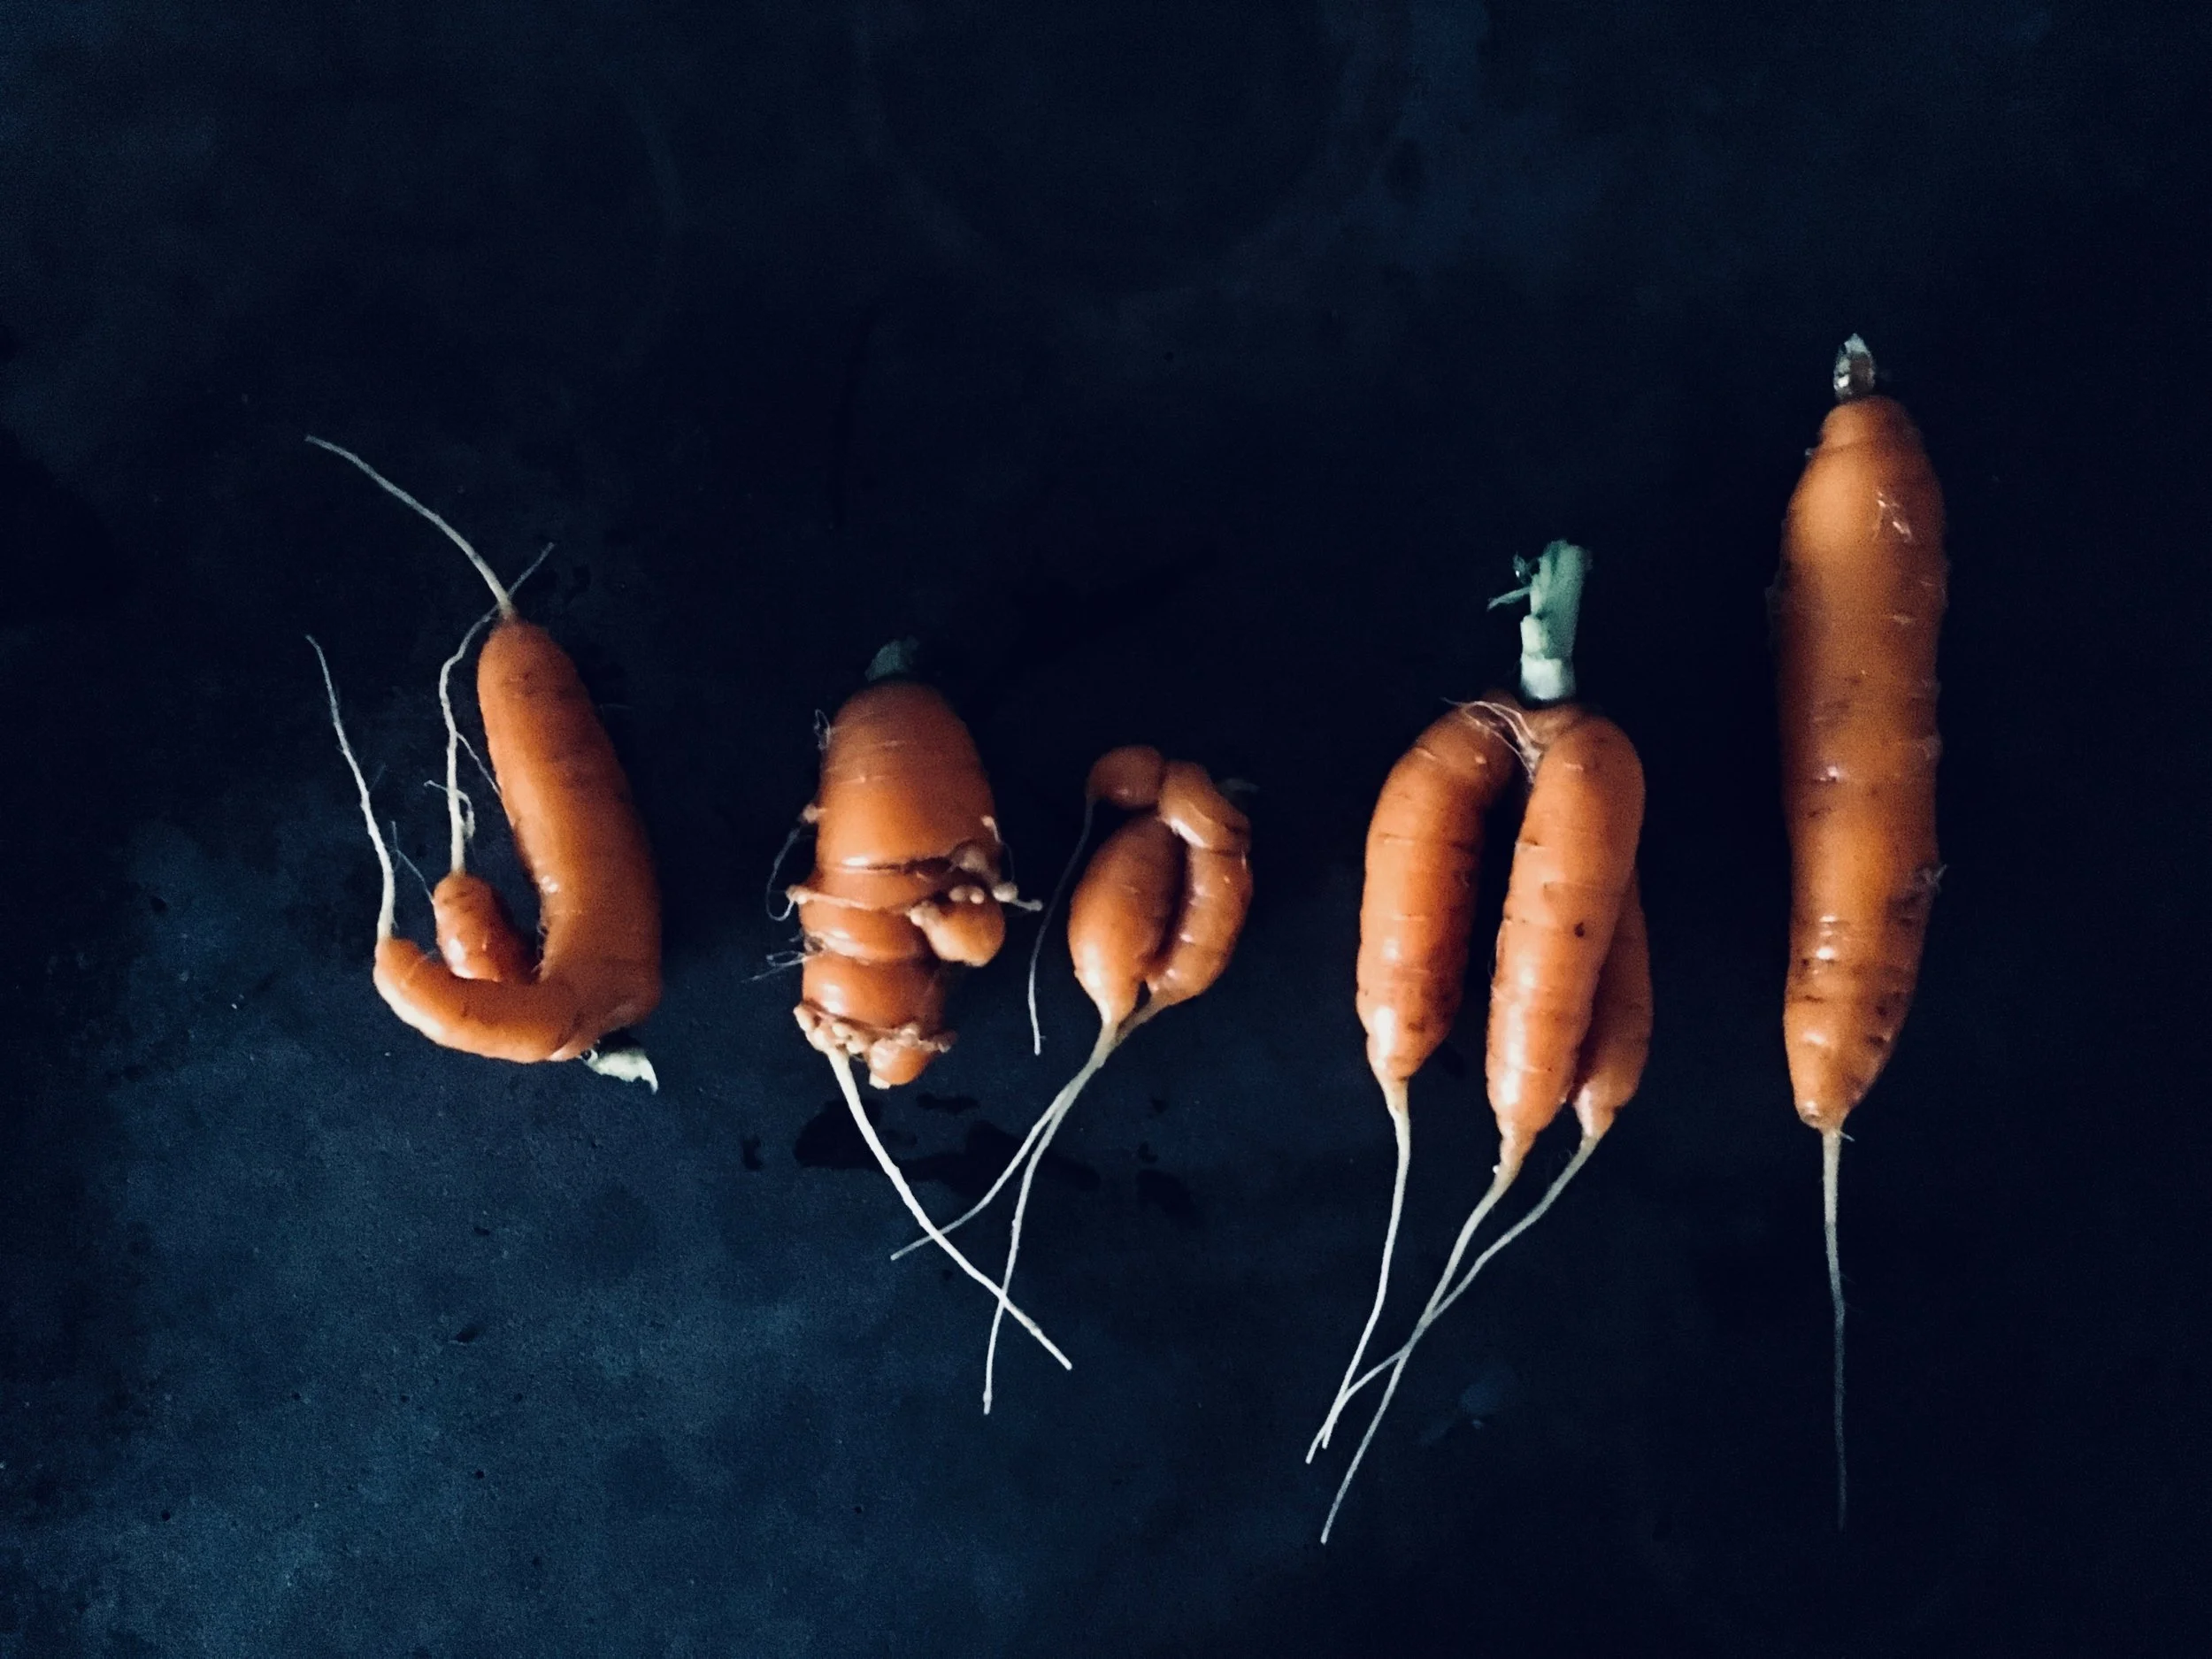
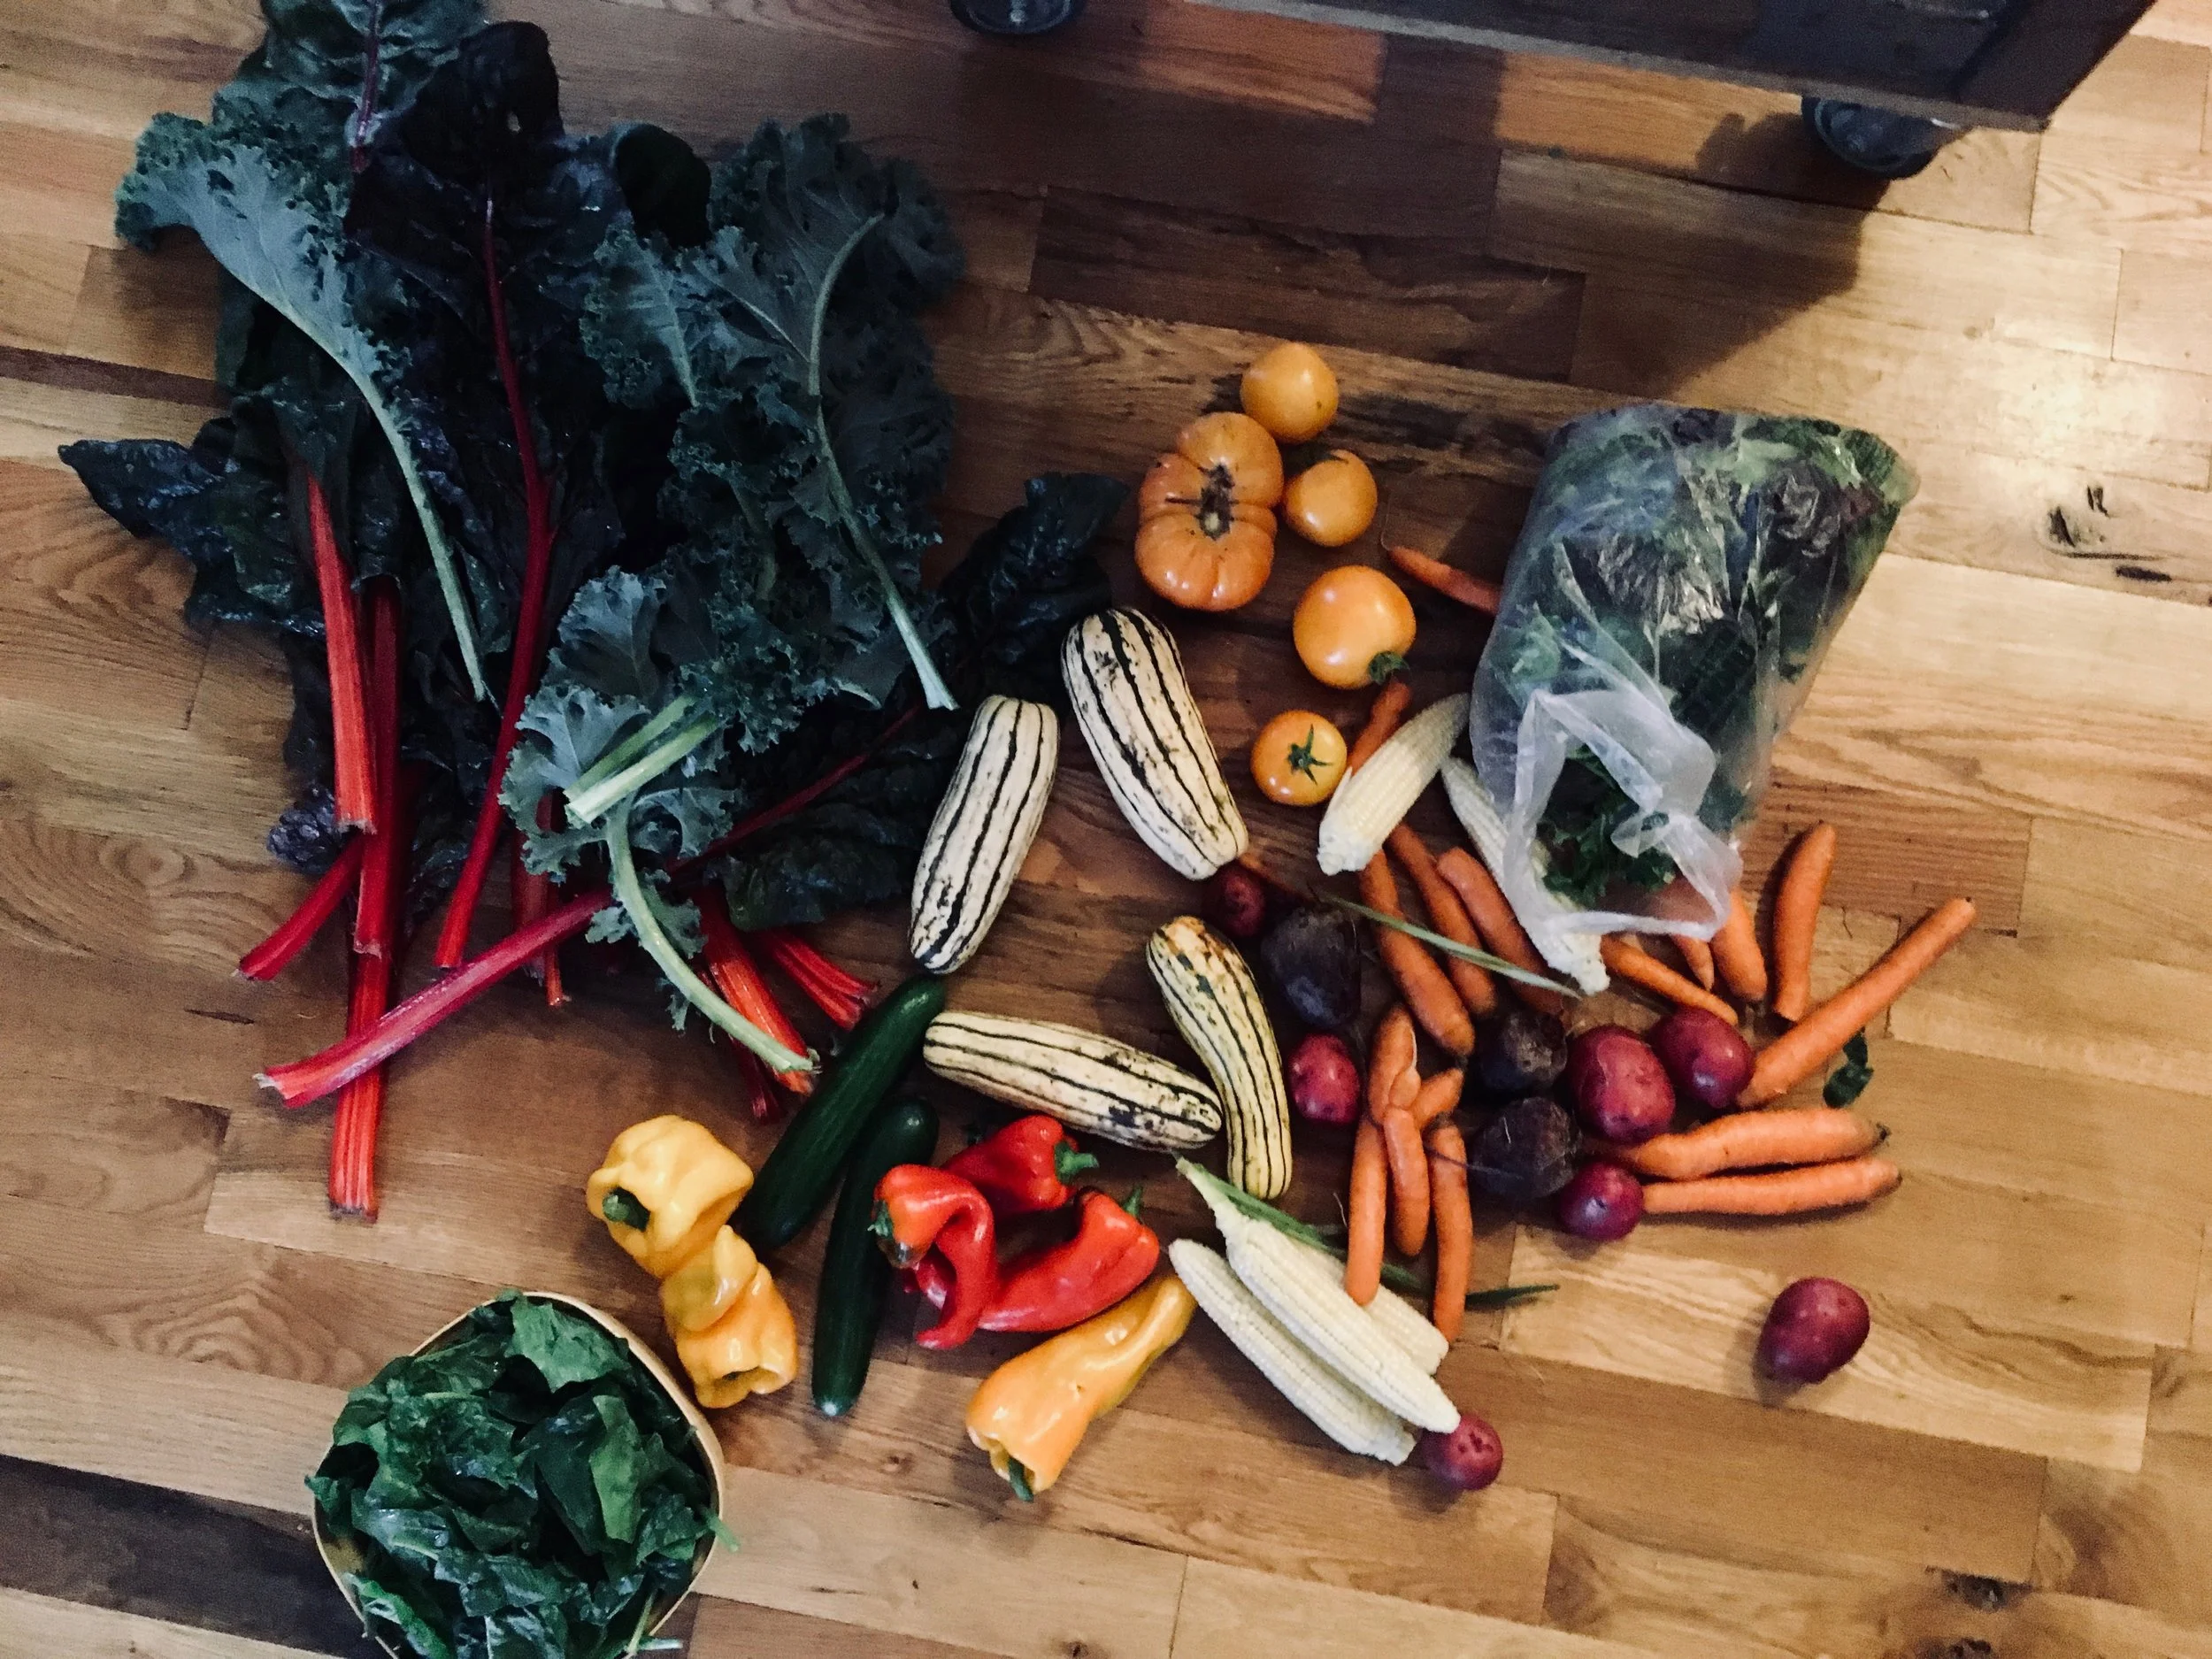
-These pictures made me laugh. I end up with veggies like this all the time.
And here are a few pictures of my real life happy%u2026..
 Playing on the frozen lake. It was so freaking cold and windy, but we just had to do it!

Beach stairs. Hopefully soon they will be a little less icy and maybe even lead to some sand and not waist high drifts of snow.
 %u00a0Two of my favorite people in the world.
 And I made brunch with 2 more of my favorites.
 My little brothers (can I say little if they are bigger then me?) came over and we all had dinner together while listening to music from when they were born. Nothing like a few 17 year olds to make a person feel old.
 Blooming daffodils. I love to watch my flowers open up, it’s just as good as the flower itself.%u00a0
Have the best first week of March ever!!!
-C
 Another week in the Siberian Express (and another catchy name for weather) %u00a0The lake is completely frozen over and the snow piles are getting bigger then ever%u2026 We are in the dead of the winter, which means it an only get better from here.
Yes cold, but not a bad week. I have been getting our stuff together to start the ever daunting task of filing our taxes (blaaahhhhh), and the lovely mister has spent his week pretty much dealing with everyone’s frozen pipes (poor guy), but we have managed to fit in a little fun. Dinner with sisters. A day with a little that included a lunch date of clementines and mustard. We even went to a high school play that my littlest sister was in. (She was so freaking awesome!) Plus, this week I have really noticed the longer amounts of daylight happening. (I can’t wait for daylight savings) %u00a0I can feel it in my inner most parts of myself..that its going to be spring soon!!! I just need to keep from freezing to death for a few more weeks.
Here is some fun internet stuff %u00a0I have found this week.
- Ever wonder how mushrooms grow? Take a look inside a mushroom house.
- These%u00a0Stuffed pets%u00a0are pretty funny. If I were to bring home a stuffed animal that looked like the trash dog, he would almost certainly love it for about a week, but the moment he feels like he is not getting the adequate amount of attention, would stand in front of me and slowly tear it apart. (because that’s what he does)
- I want to make this Marbled paper%u2026 But am going to wait until I can do it outside, so maybe in like a few months
And a few bits from the real world
 This little is rocking out to some sweet tunes%u2026.We started out listening to Beck and ended up listening to Elmo. I guess that happens sometimes.%u00a0
 Can I buy then all? I am a plant hoarder%u2026 and can never get enough. I took this picture, walked away to contemplate about weather or not to buy the purple one, went back and someone else had grabbed it. Bummer,%u2026So instead I bought some fresh daffodils, YAY!
 %u00a0Romanesco. A cross between cauliflower, broccoli, cabbage, brussels sprouts, and a space ship. %u00a0Pretty Pretty!

It took this guy about 5 minutes to cross over this bridge. The stick in this mouth was too long and would get stuck between the two railings. It %u00a0was some funny shit.%u00a0
 Of things to come!!!%u00a0
Have a fantastically lovely week..It’s the last one of February!%u00a0
-C


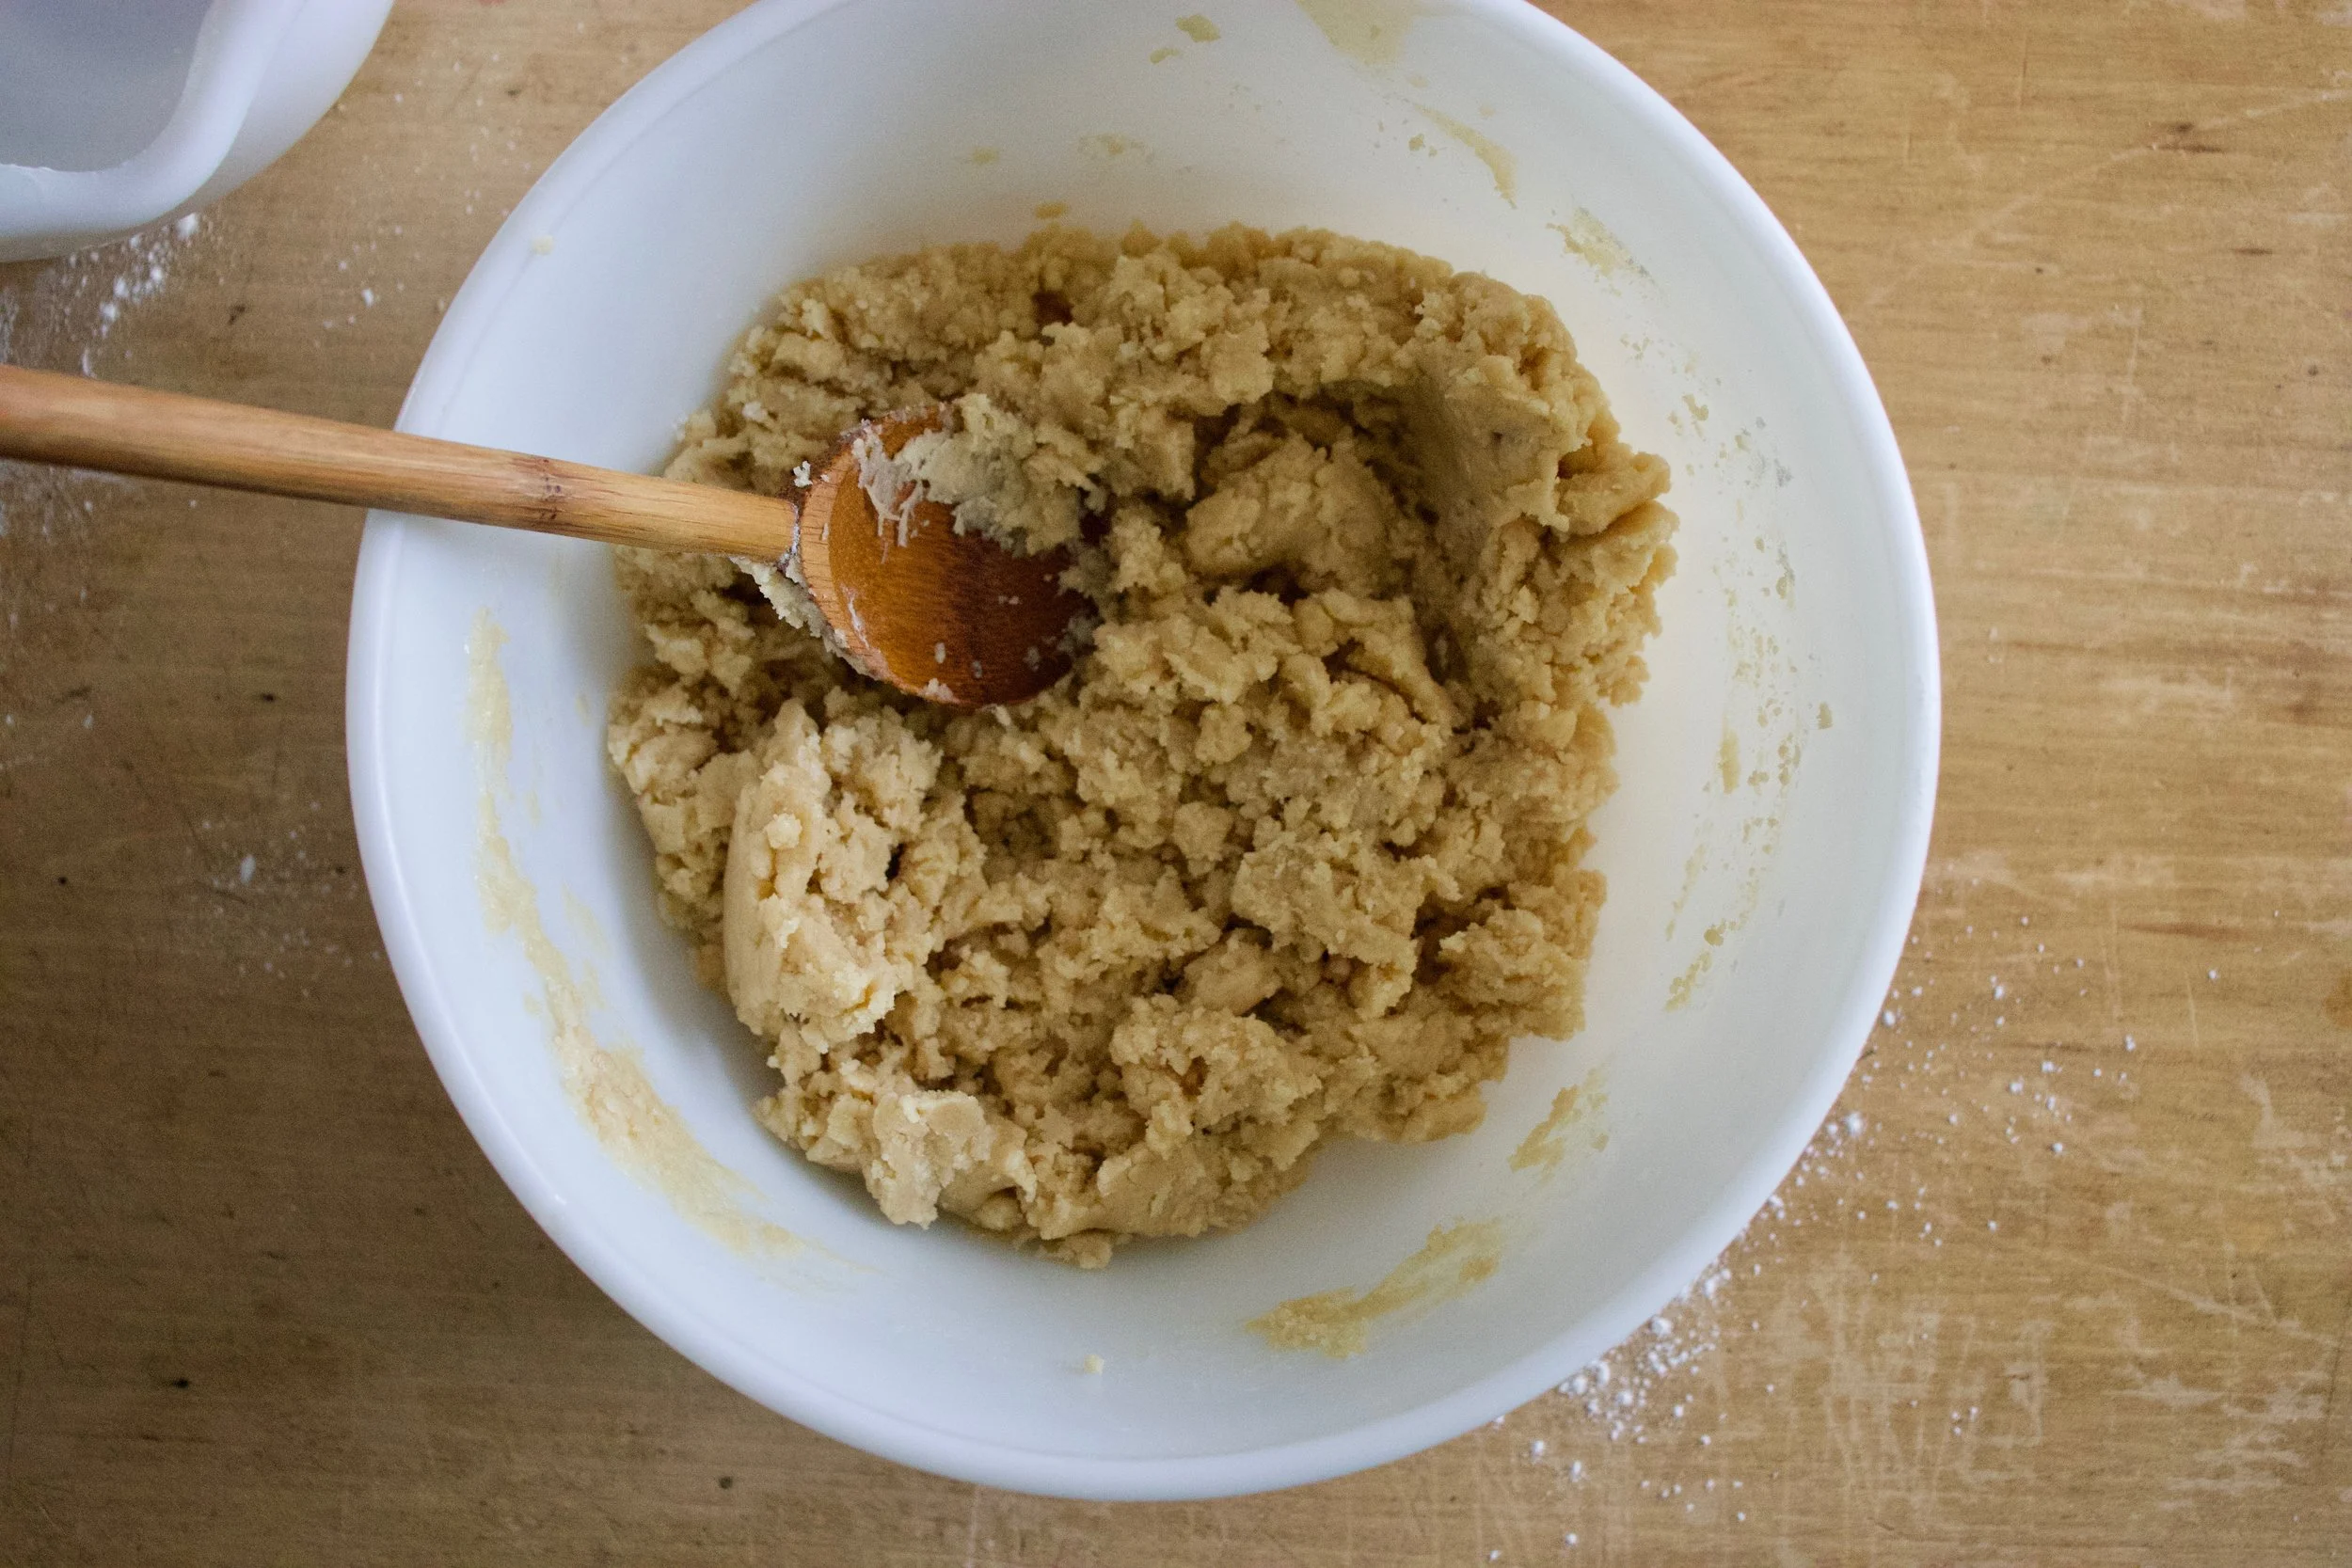
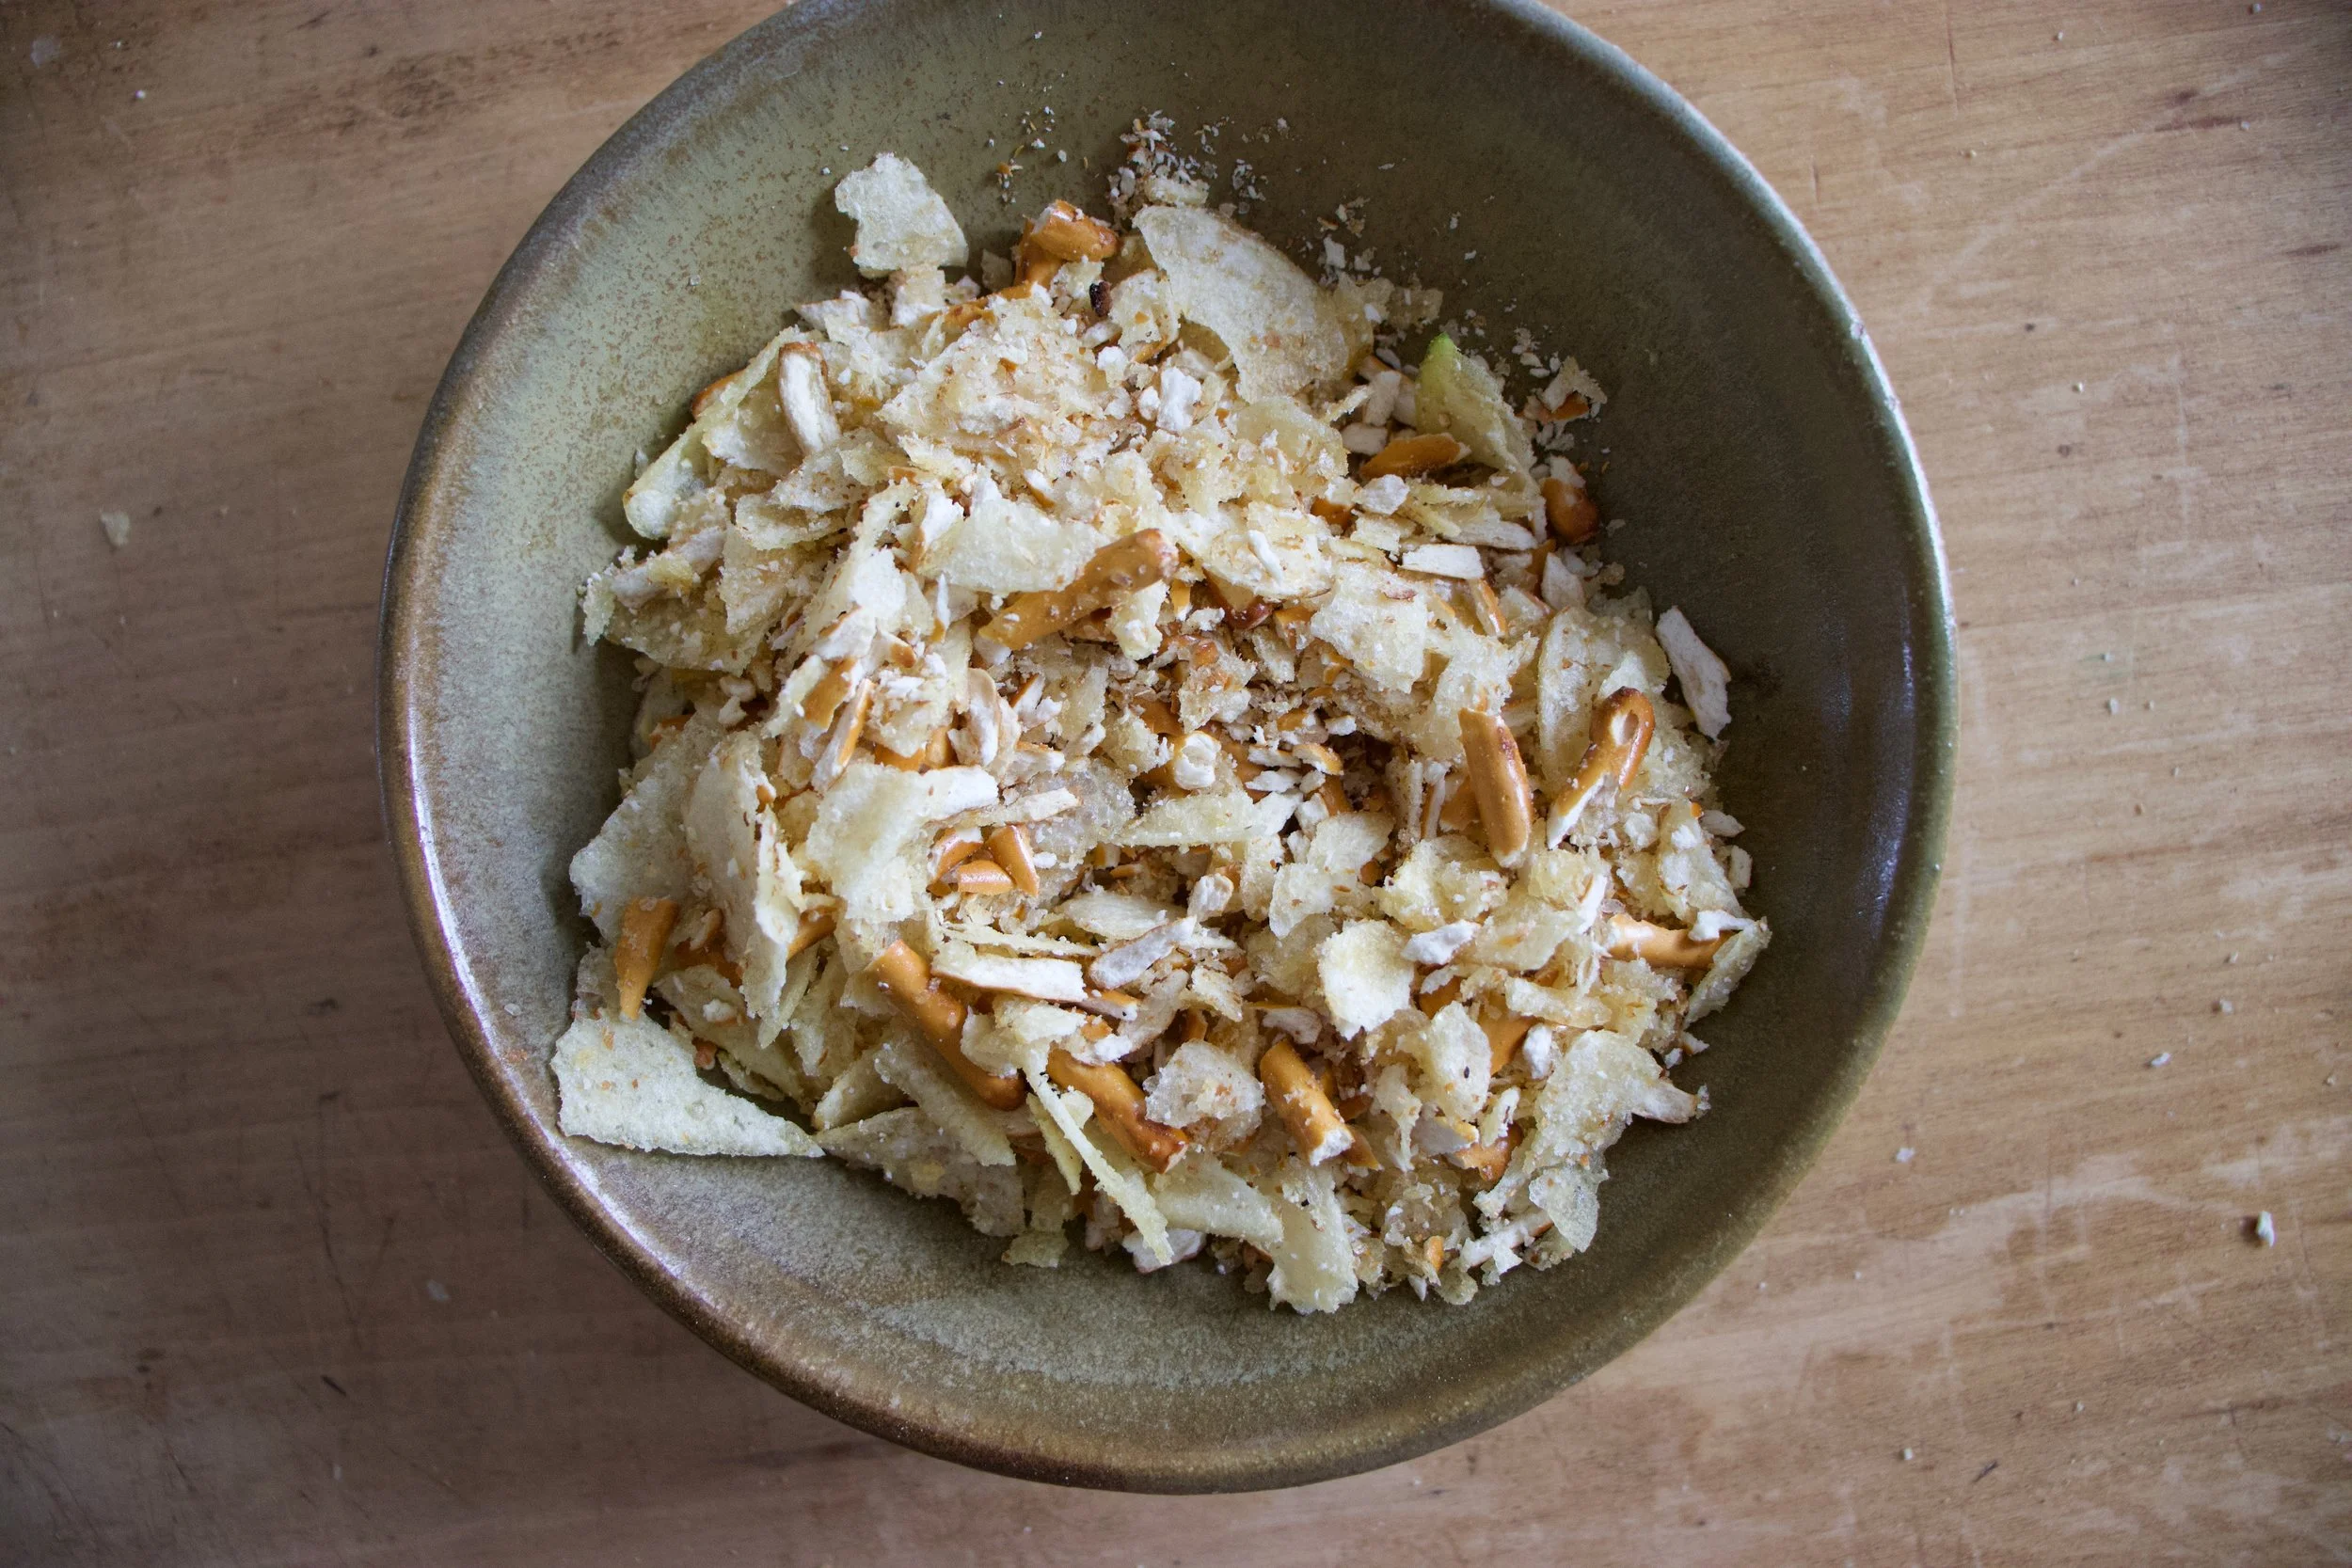

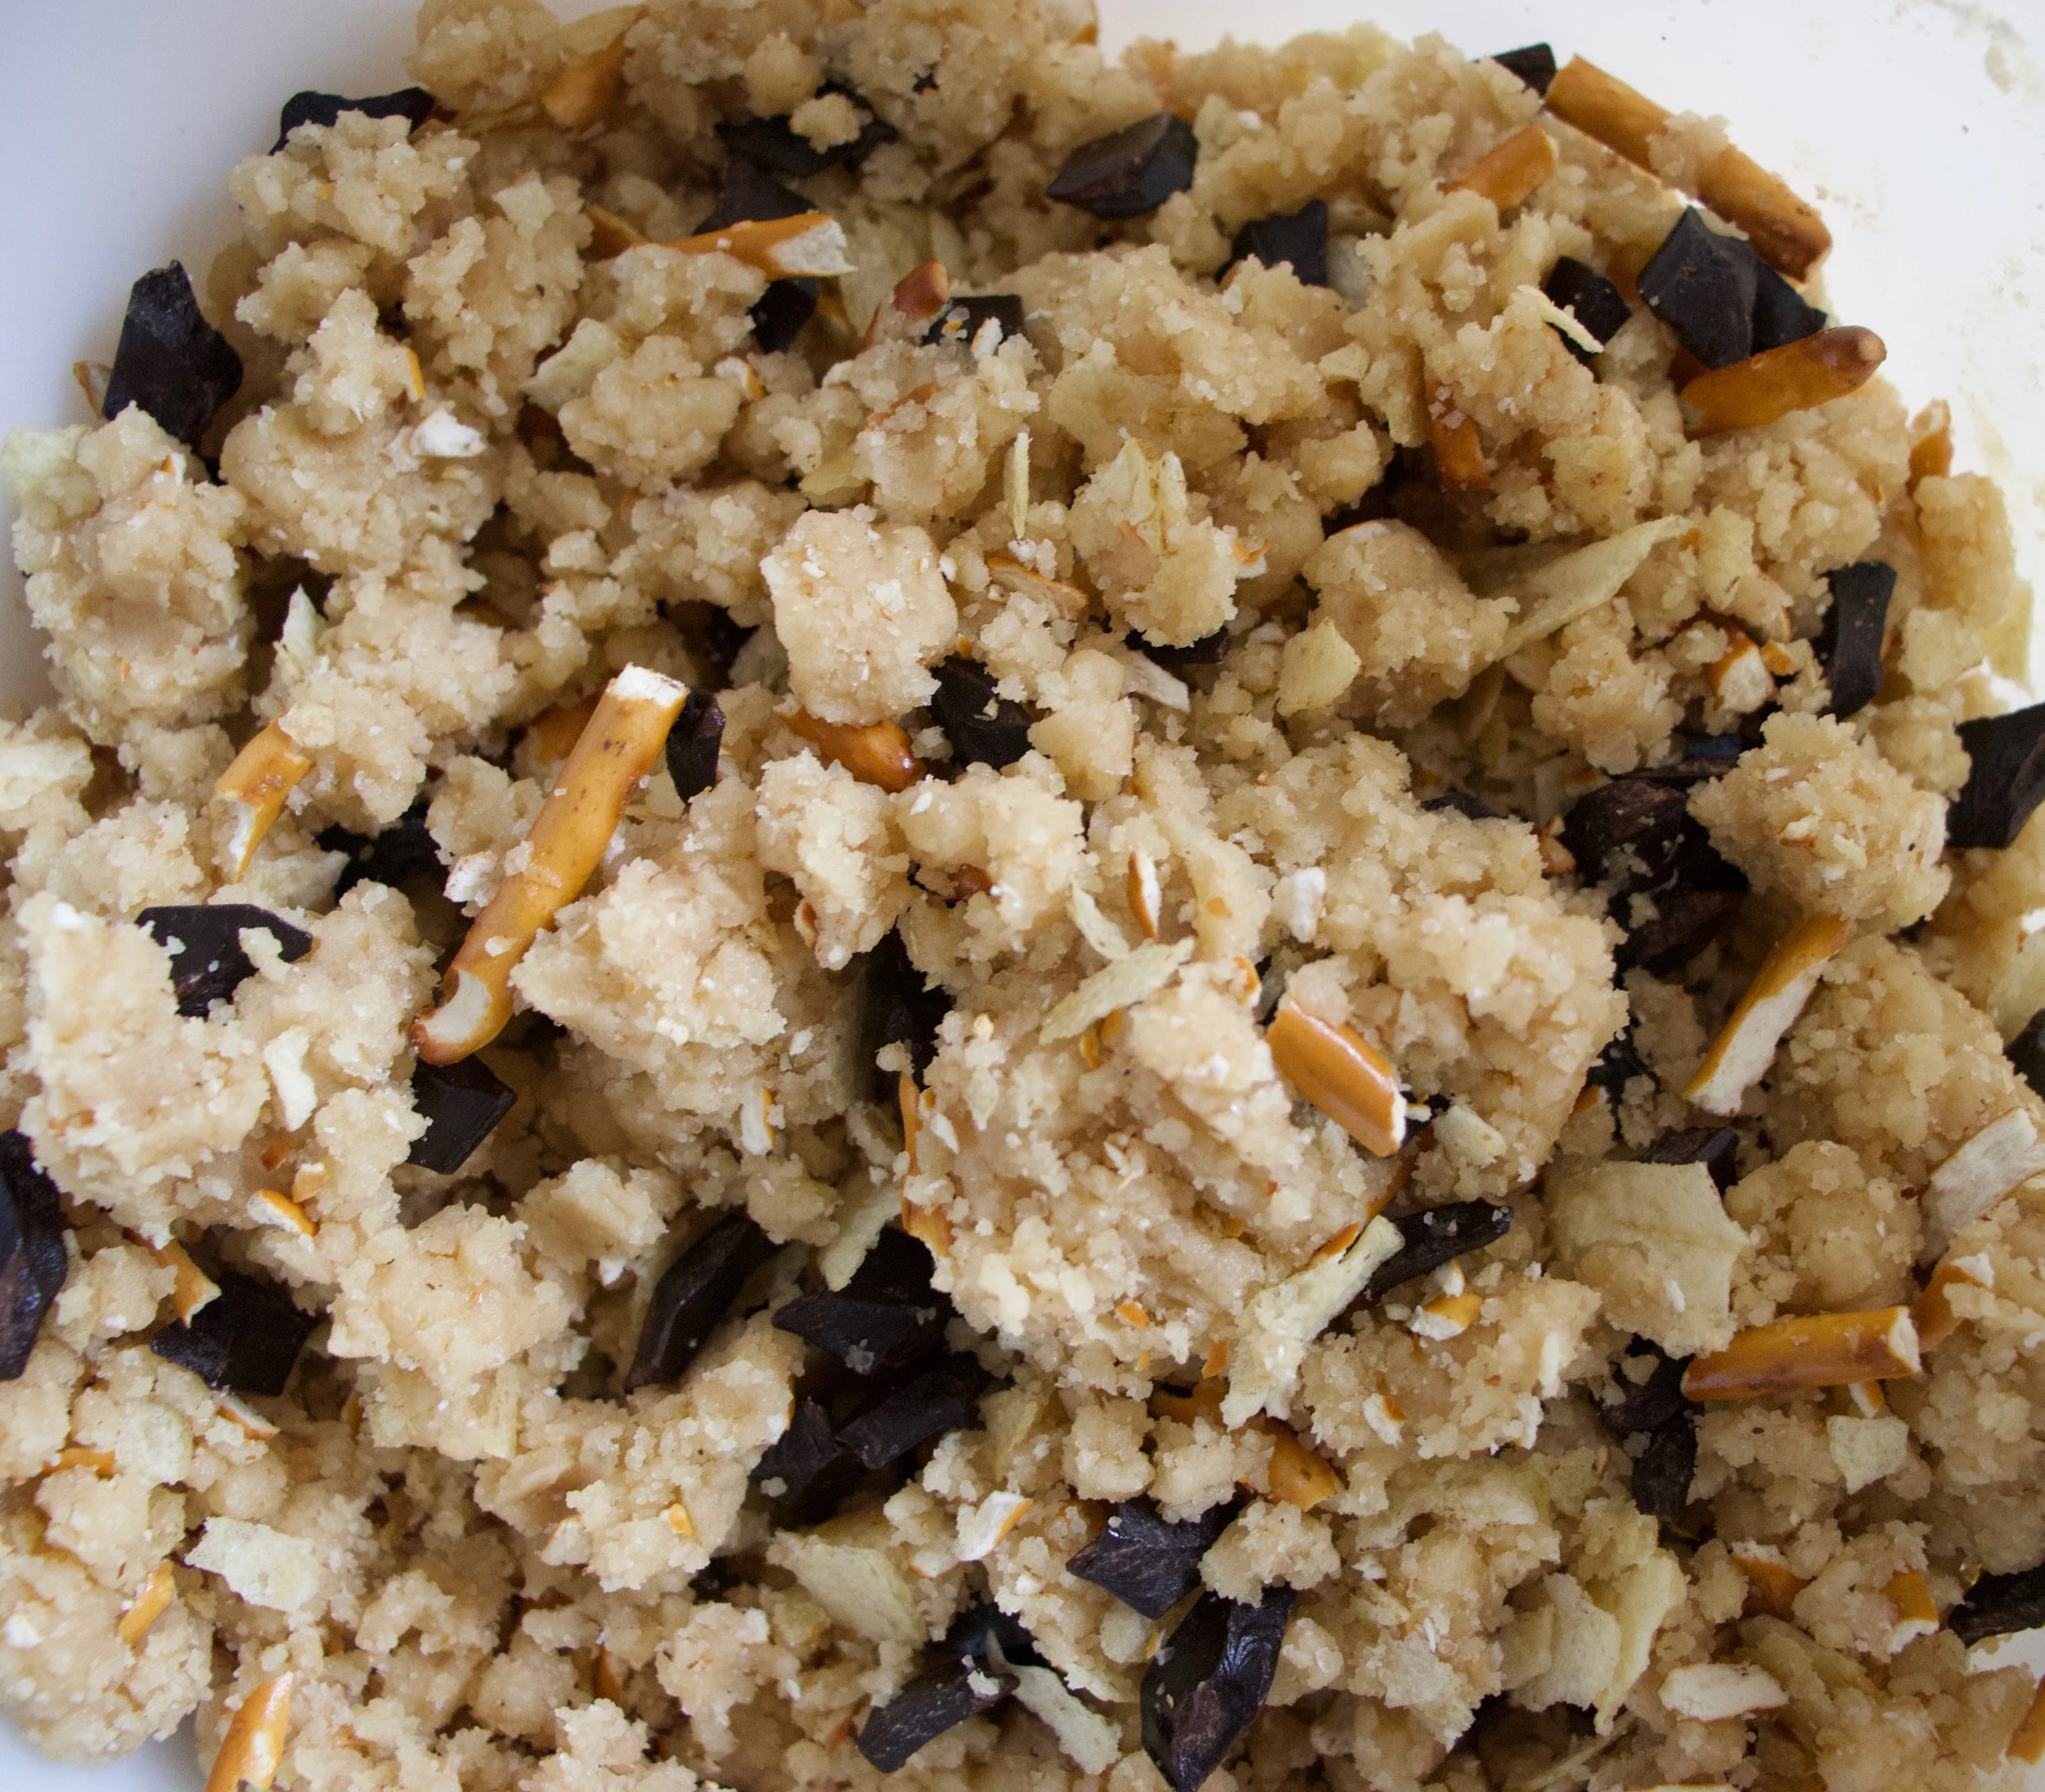



































































































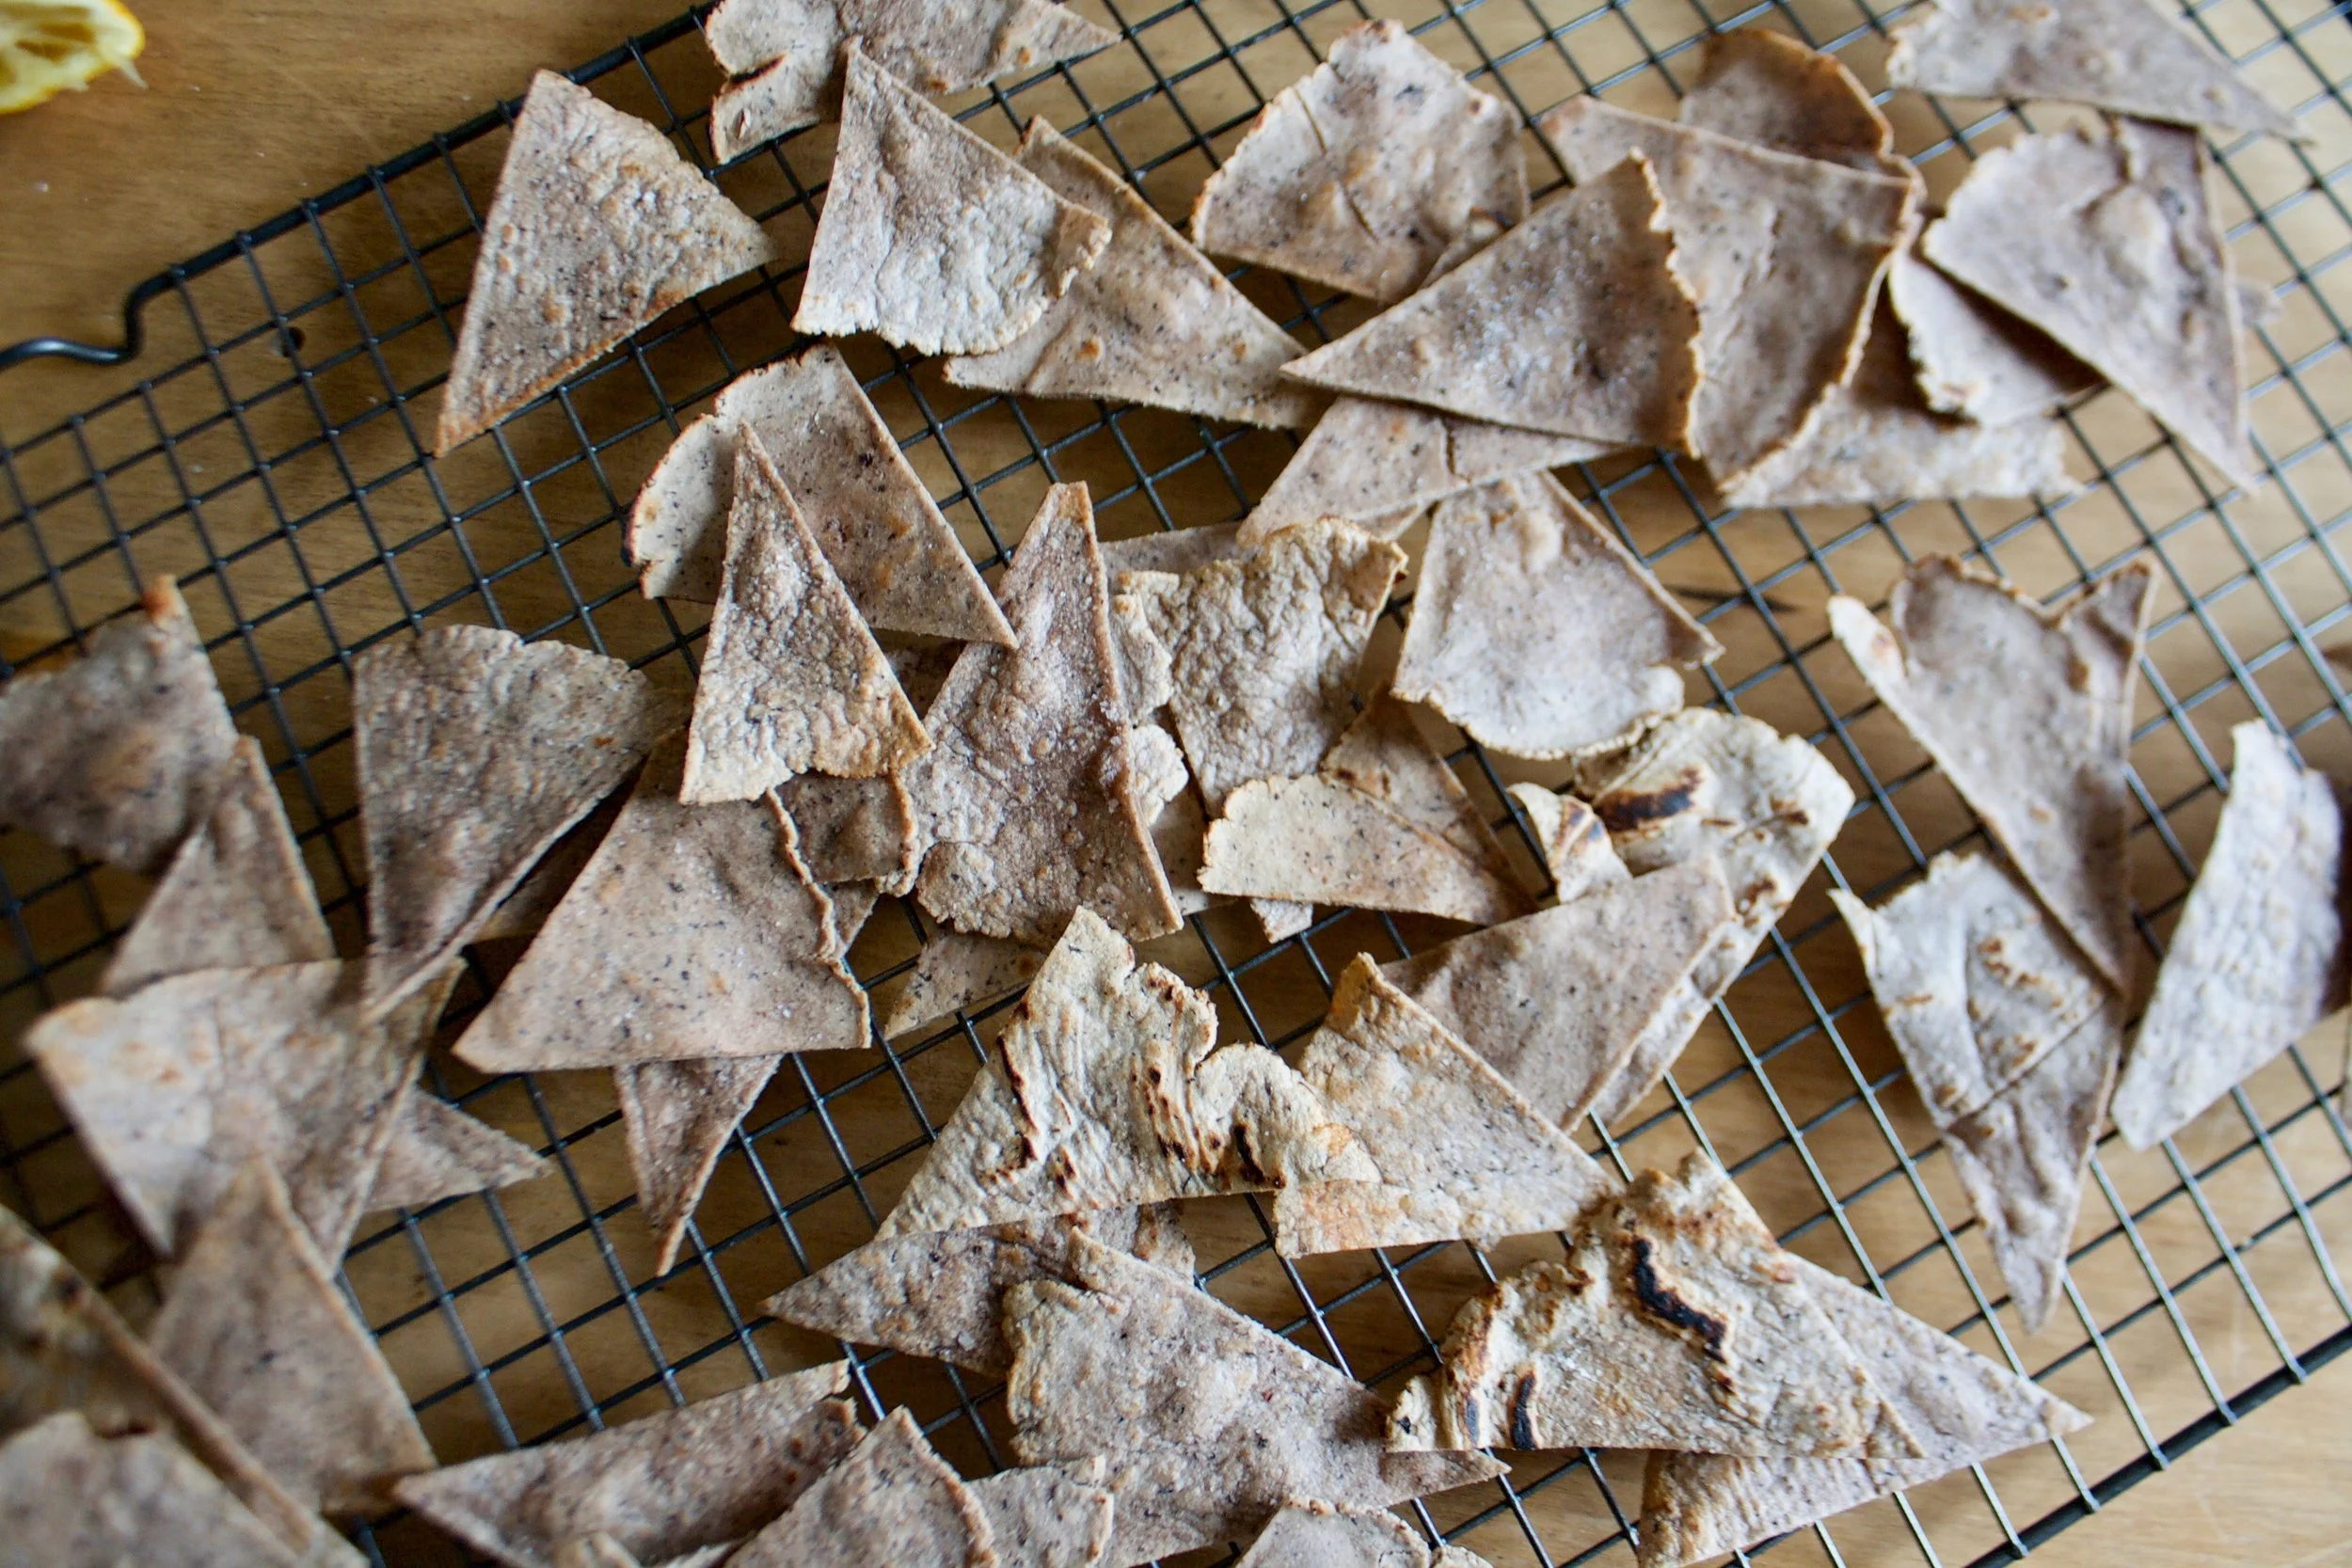
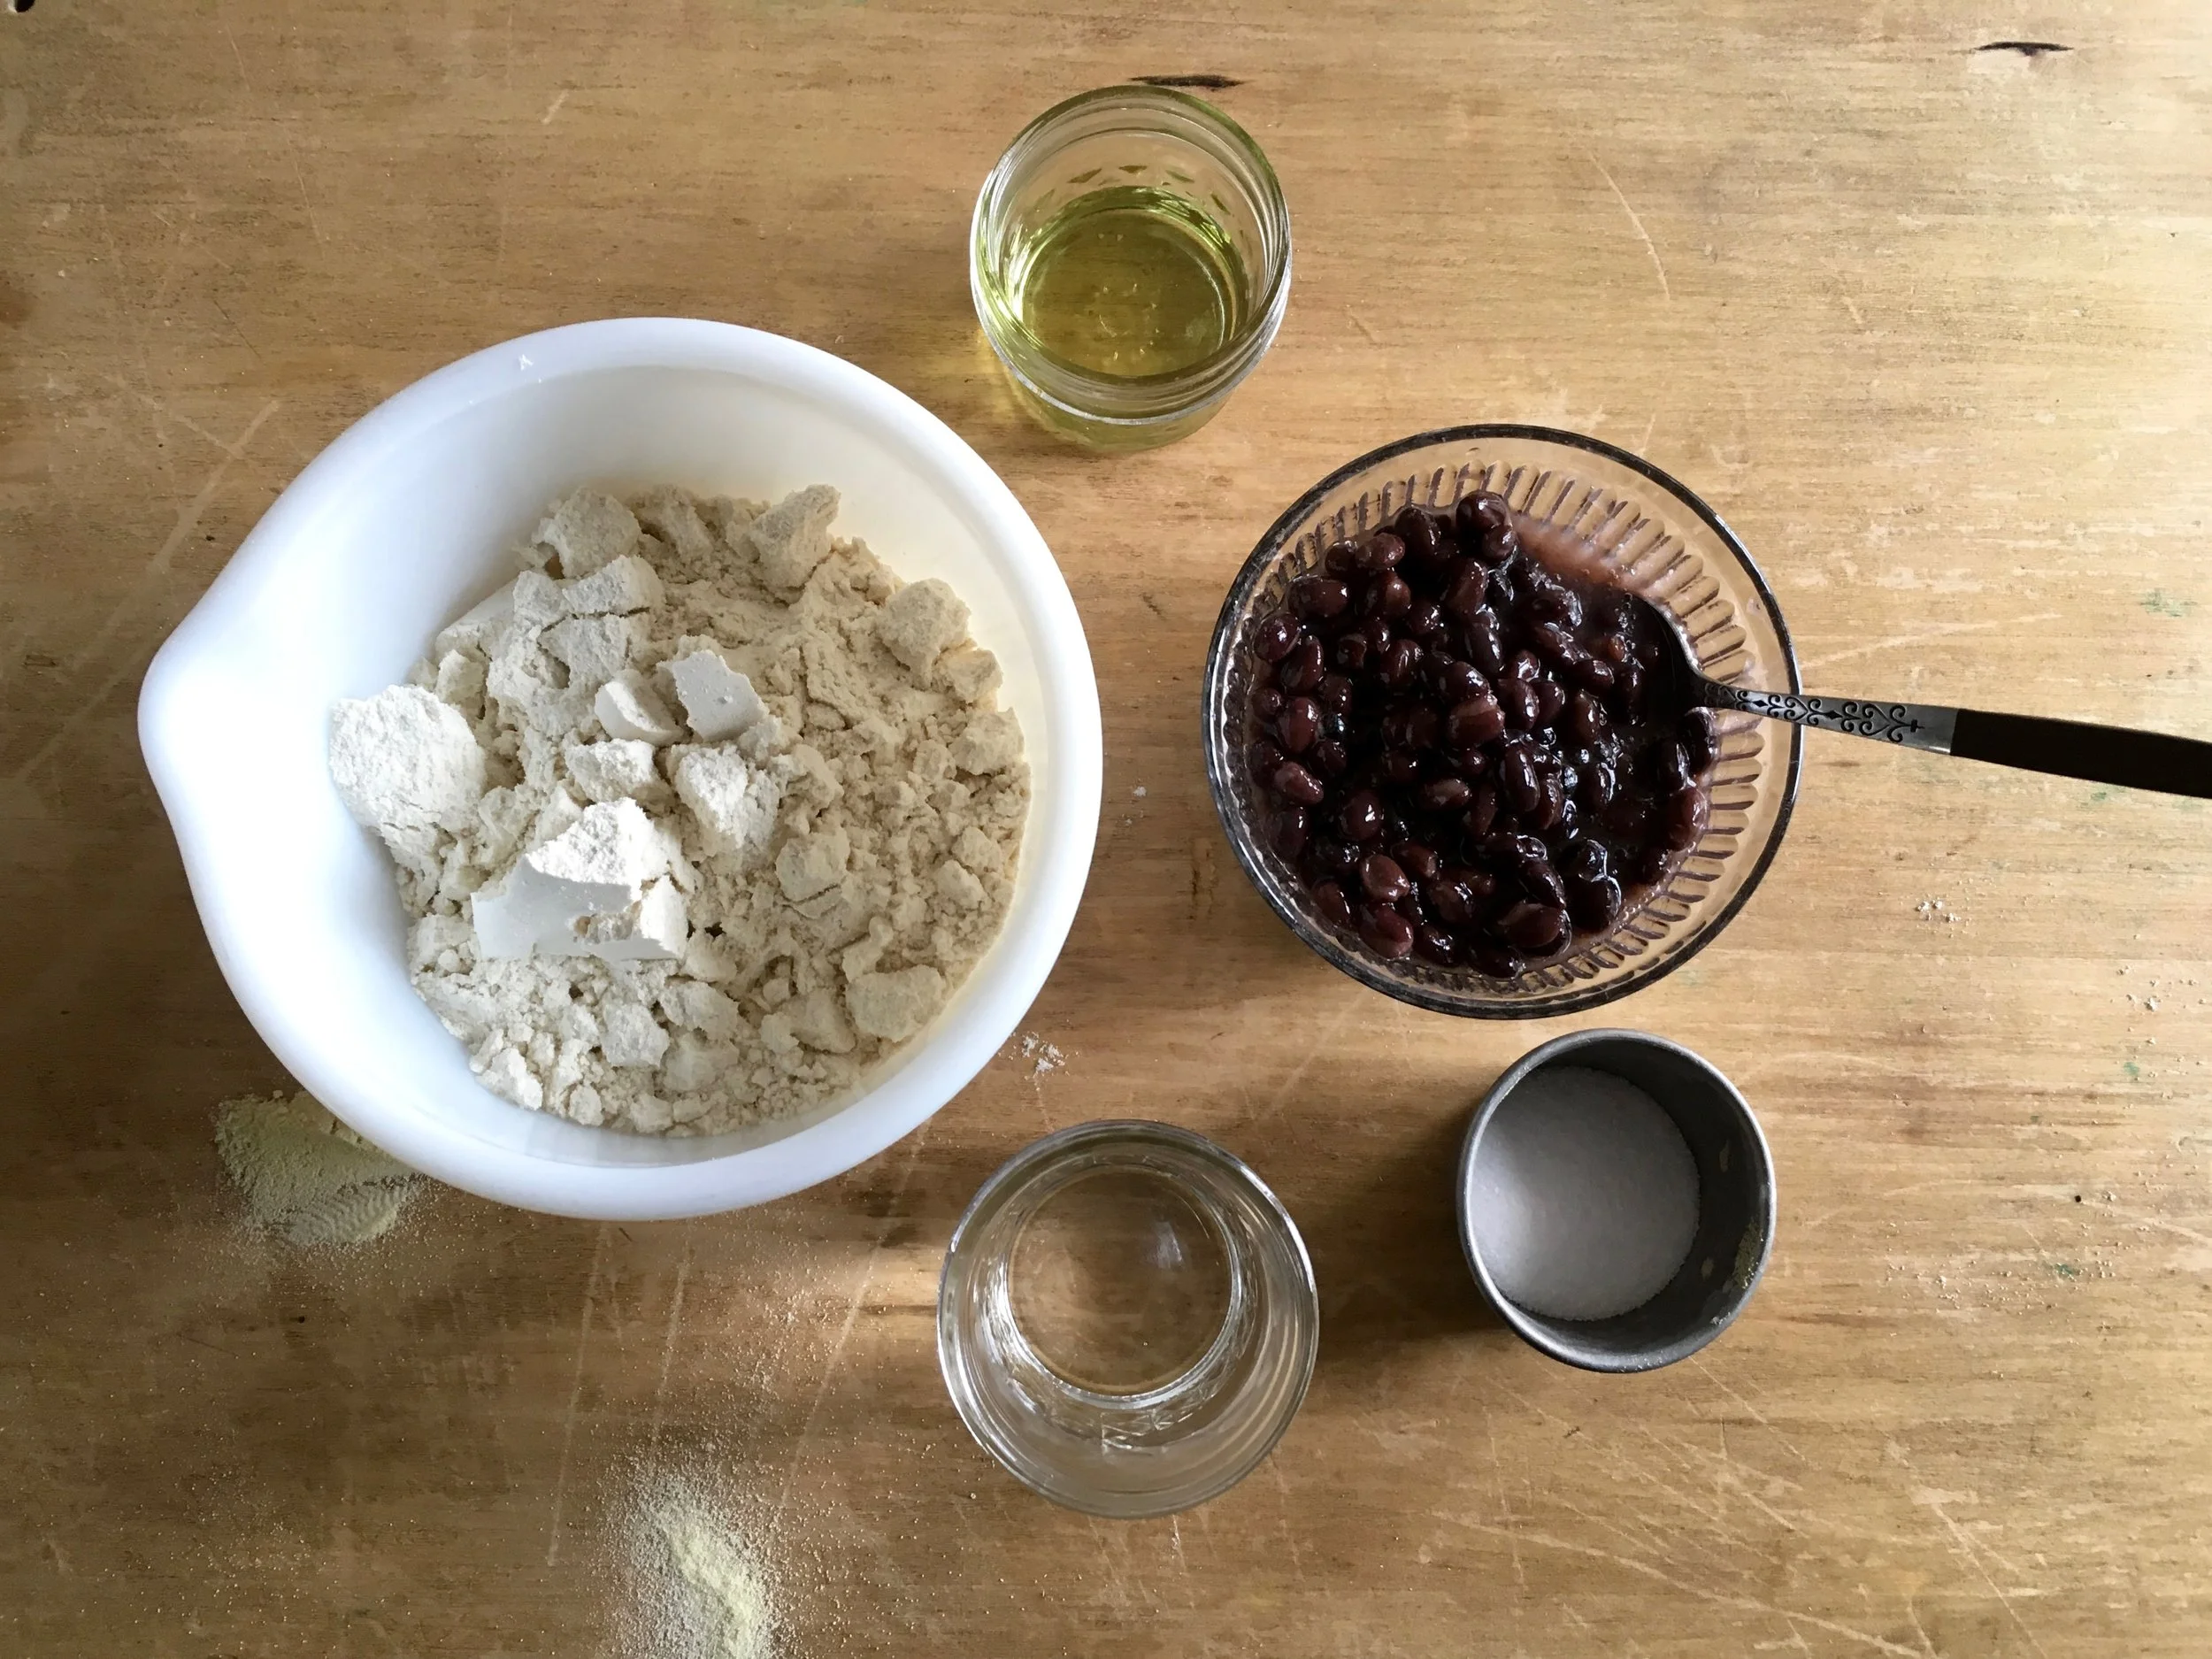




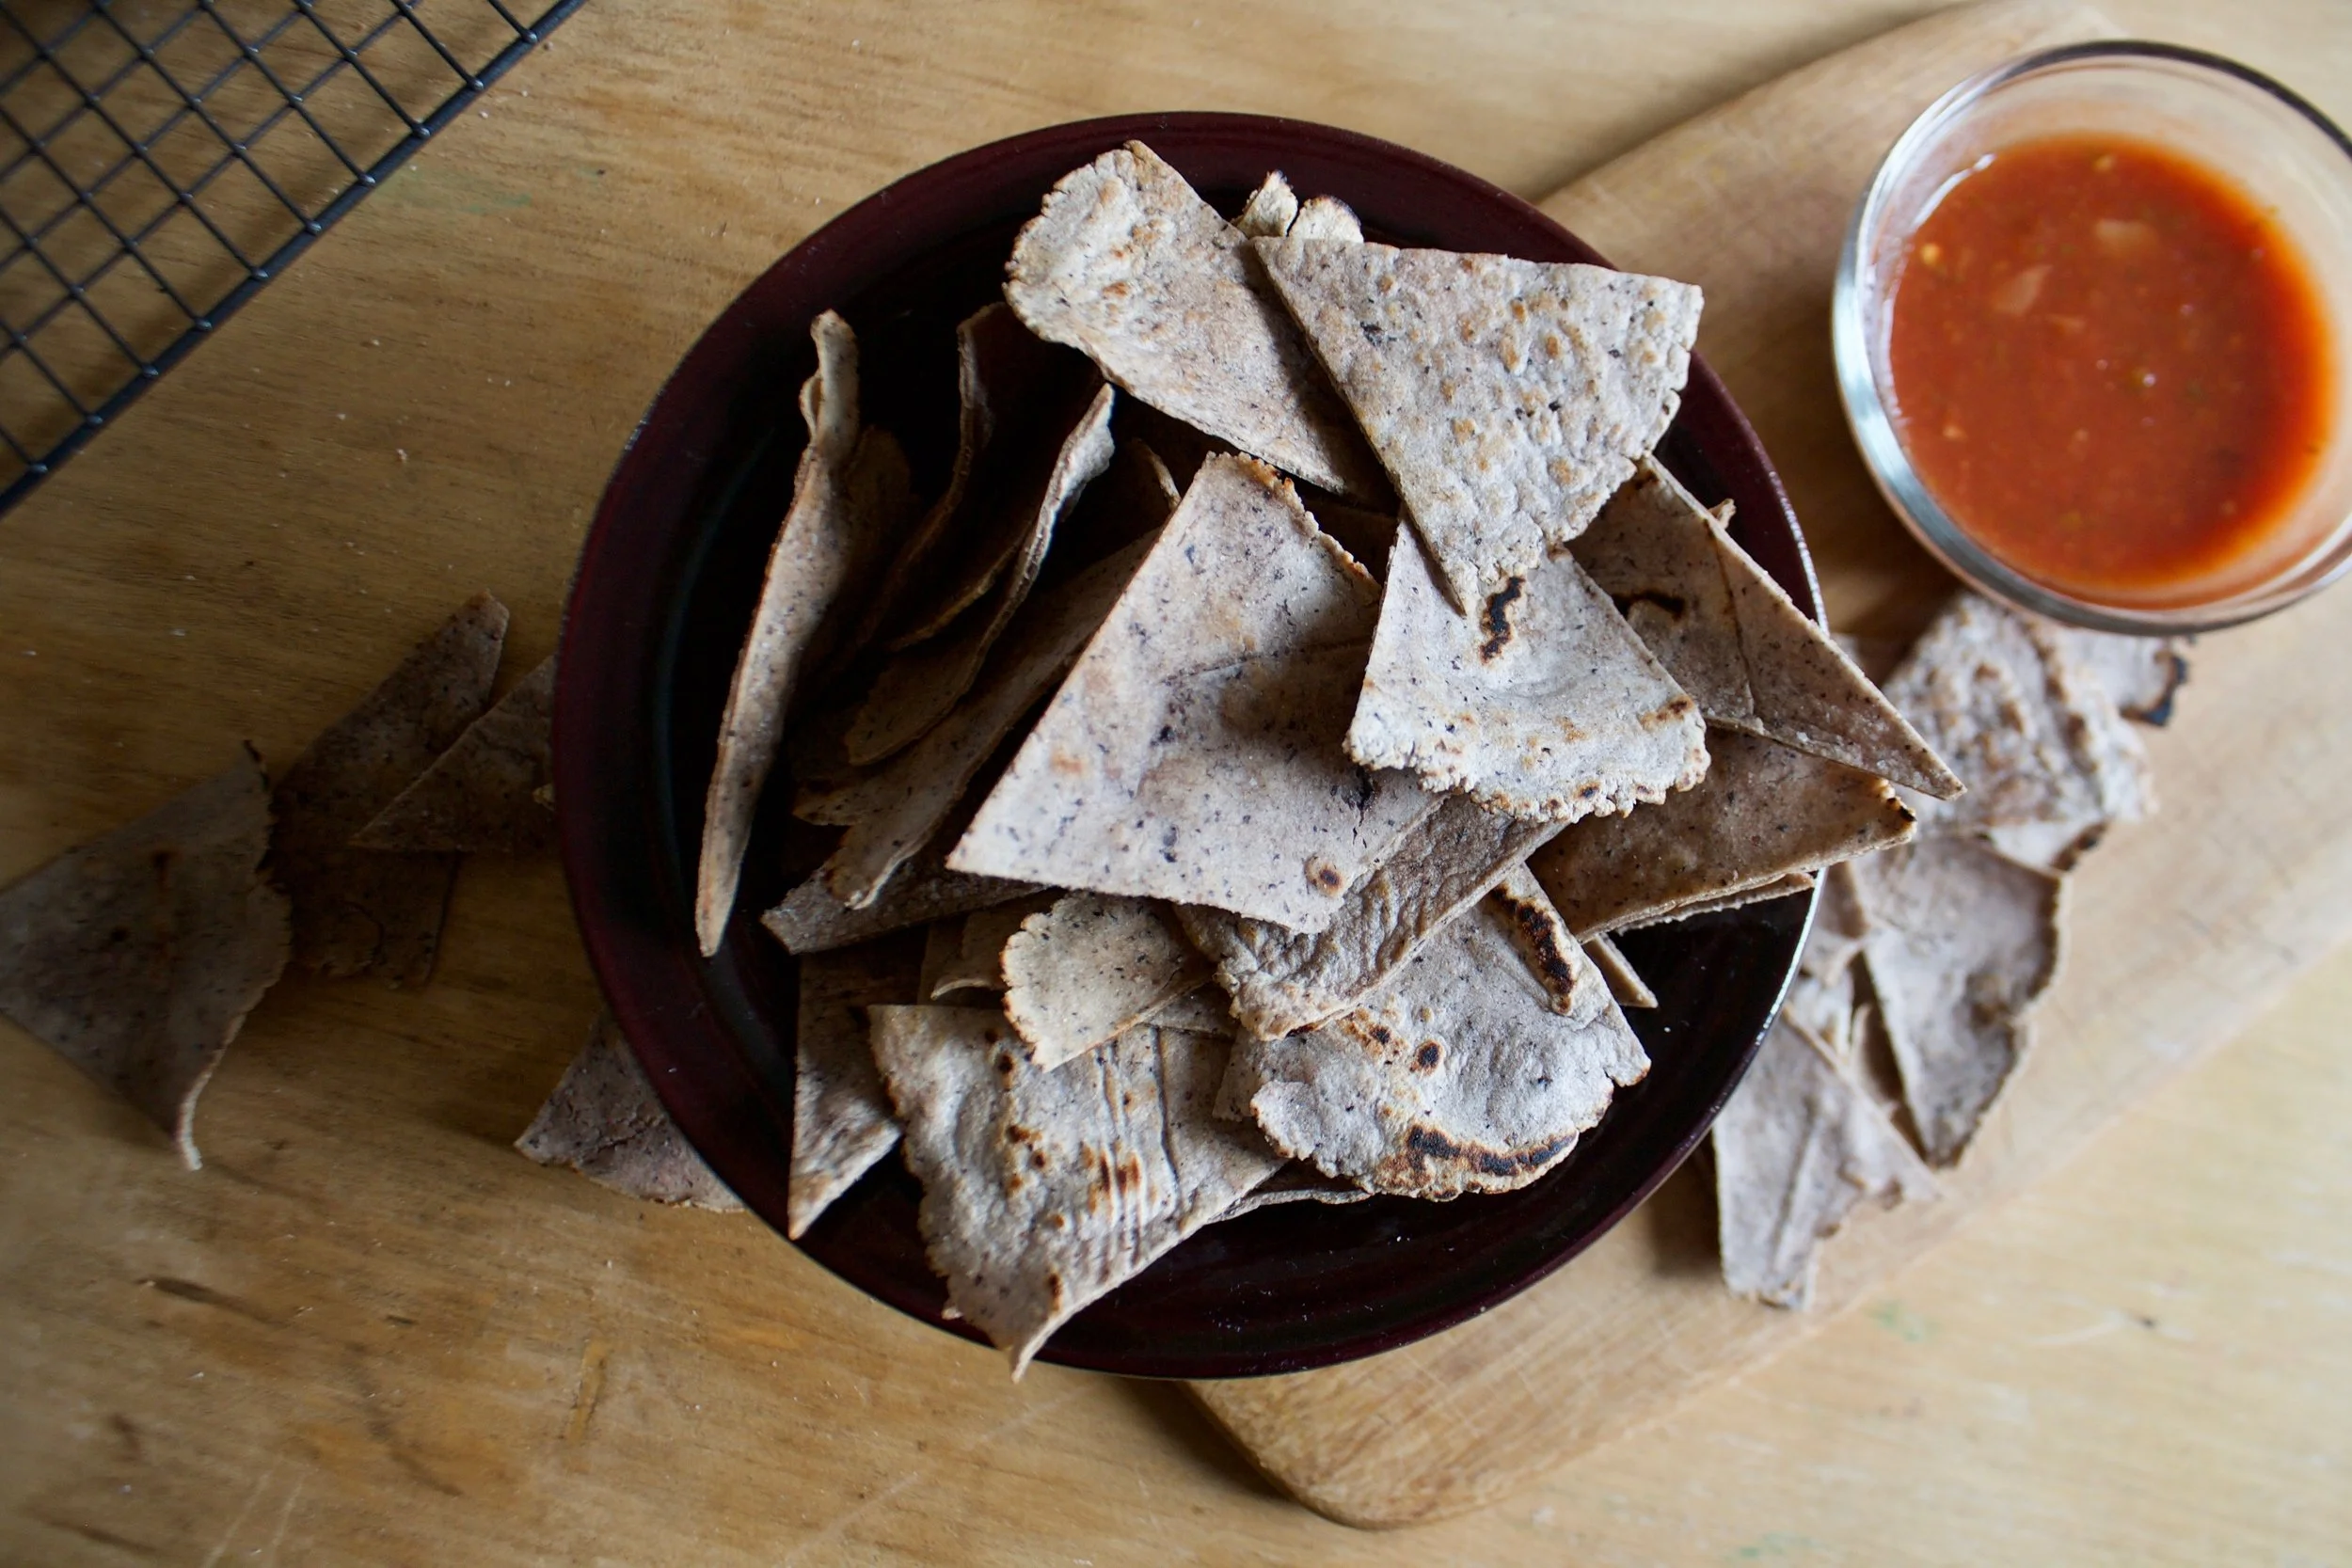
 I was informed yesterday that if I was going to make tortilla chips, that I better make some sweet ass dips to go with them. %u00a0I kind of agree%u2026 tortilla chips need dip%u2026 or better yet, two dips. Queso and guacamole. It’s what needed to be done, and so I did it.
 %u00a0 %u00a0 %u00a0
 %u00a0
 Perfect…
 To think that both of these dips took about 10 minutes total to make. (I had pre baked the cauliflower and sweet potato) %u00a0And for real, I would spend much more time if I had too because both of these dips are so freaking good, I%u00a0definitely will be making these on the regular.
 %u00a0How awesome will you be when you bring the most freaking amazing tortilla chips to the party this weekend? You will be like..”what, it ain’t no thang.. I am just good like that” Yes, yes you are.
 %u00a0 %u00a0 %u00a0
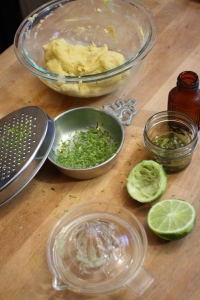
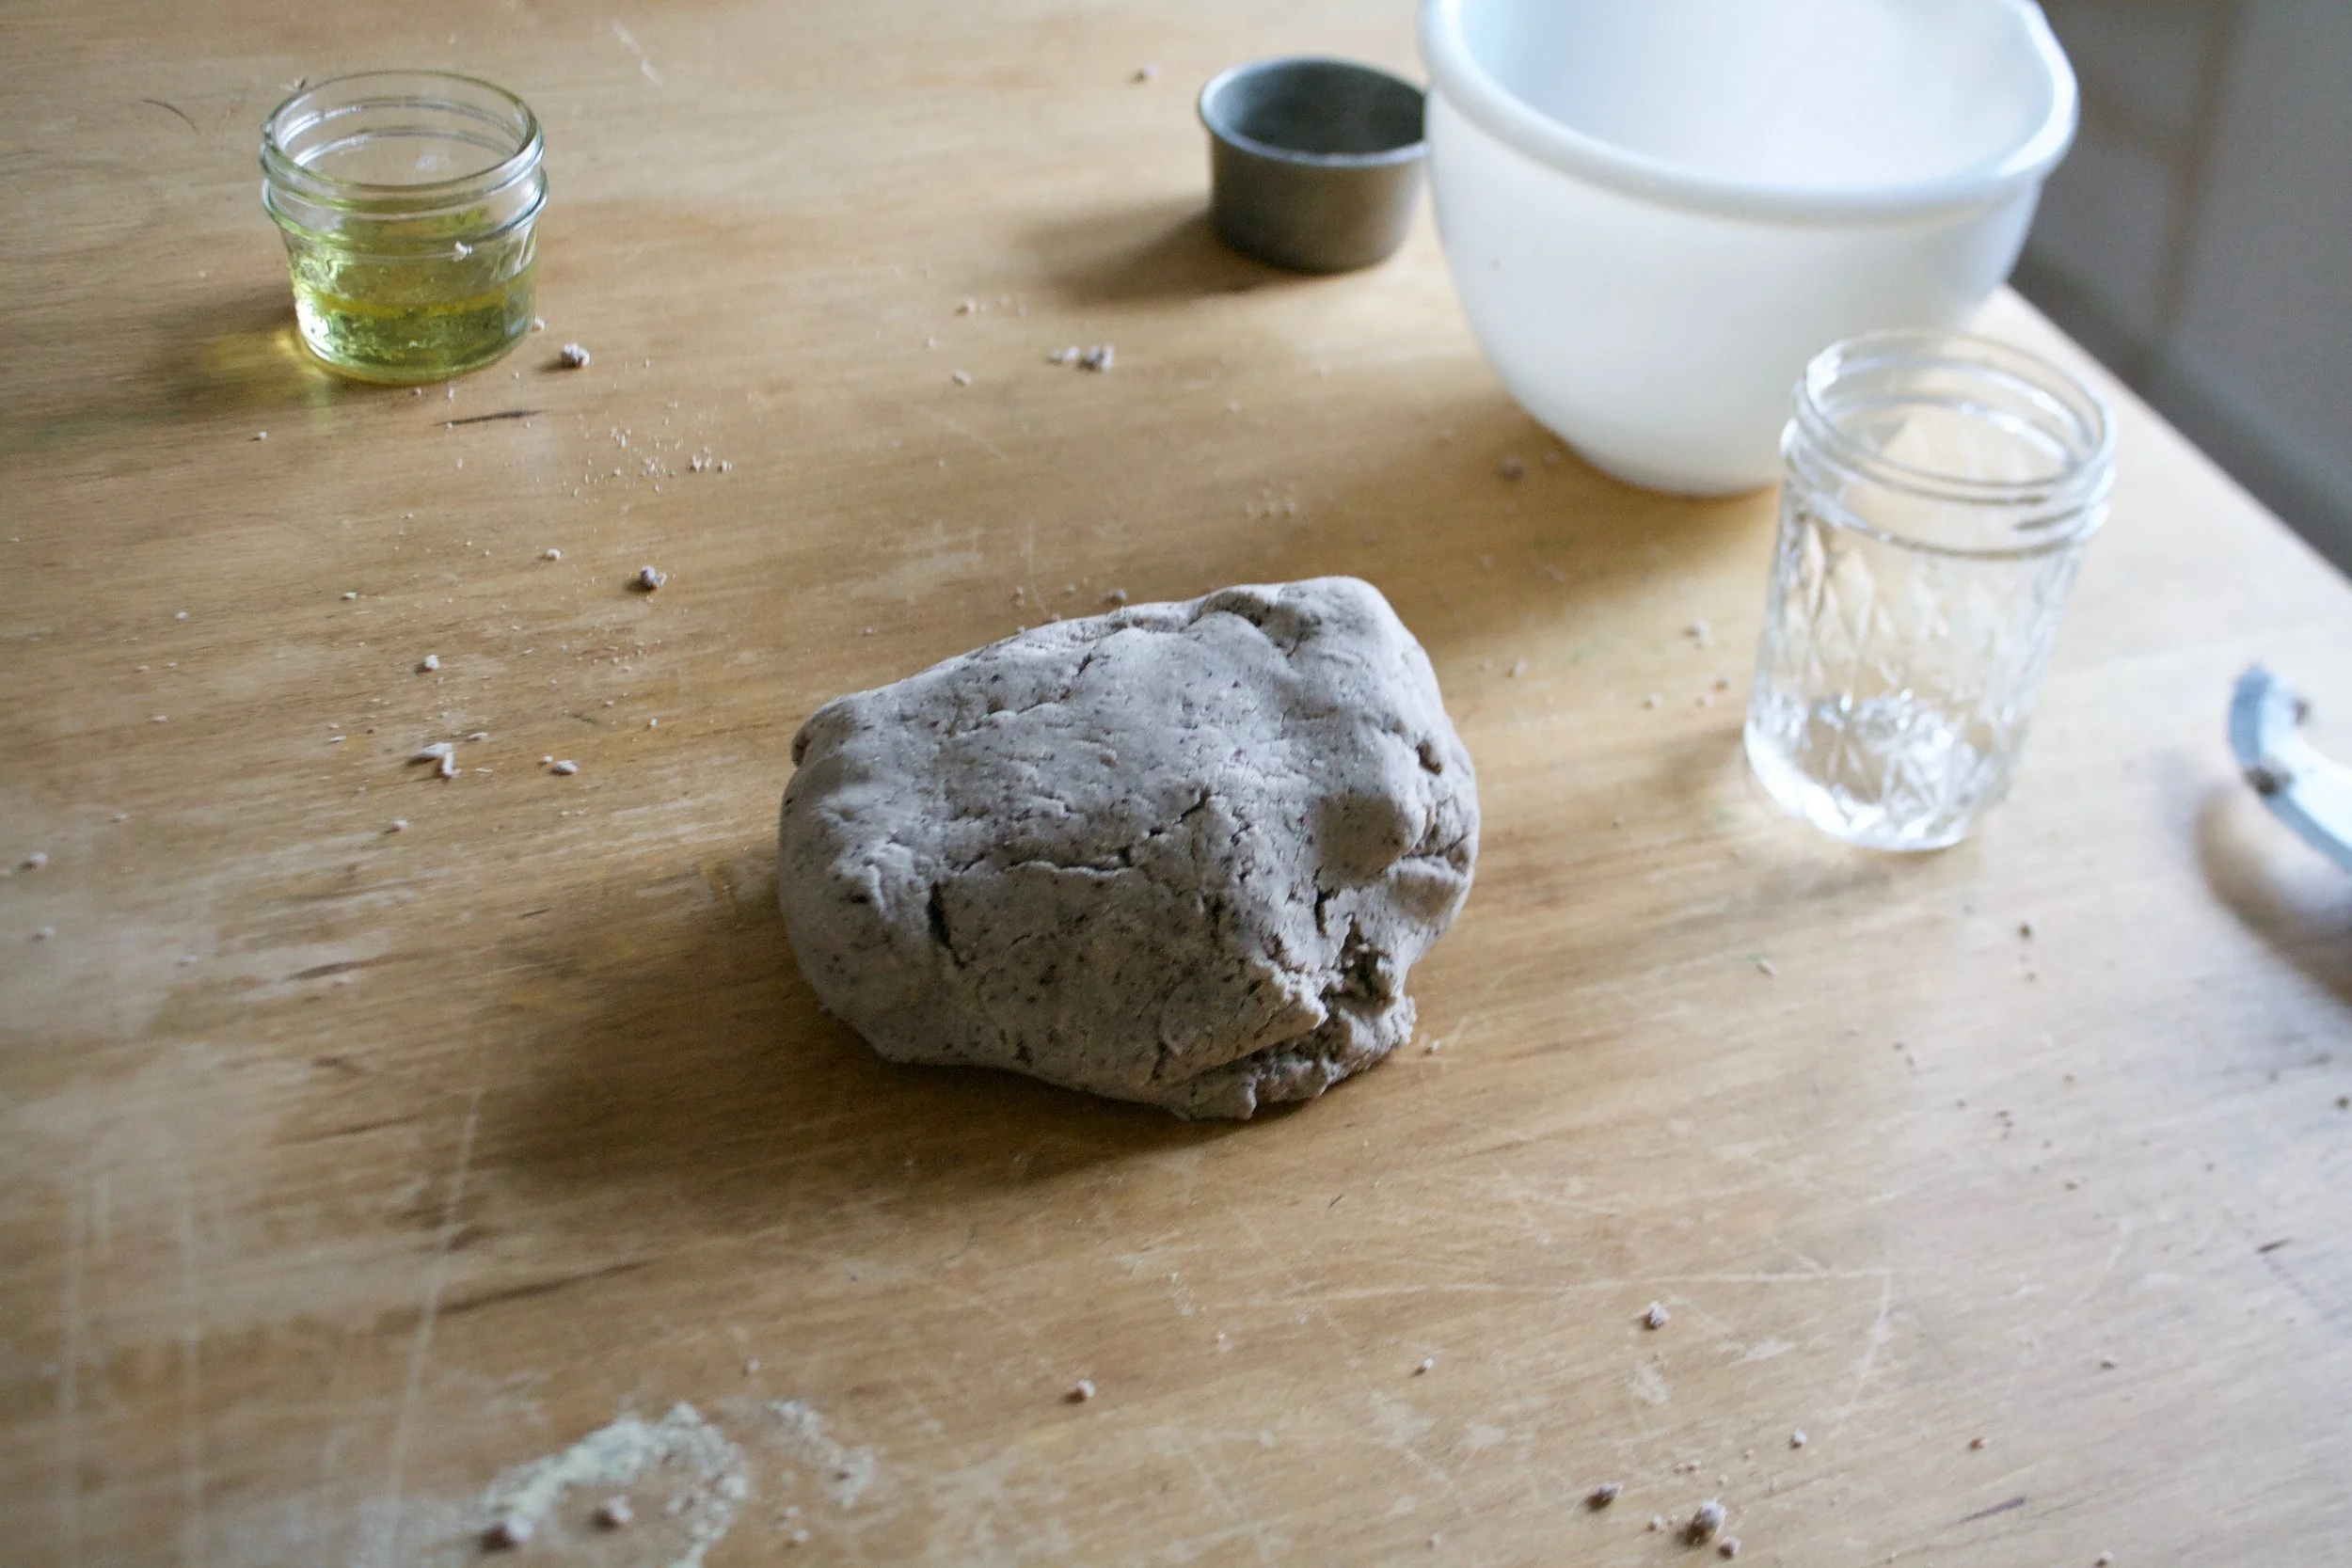
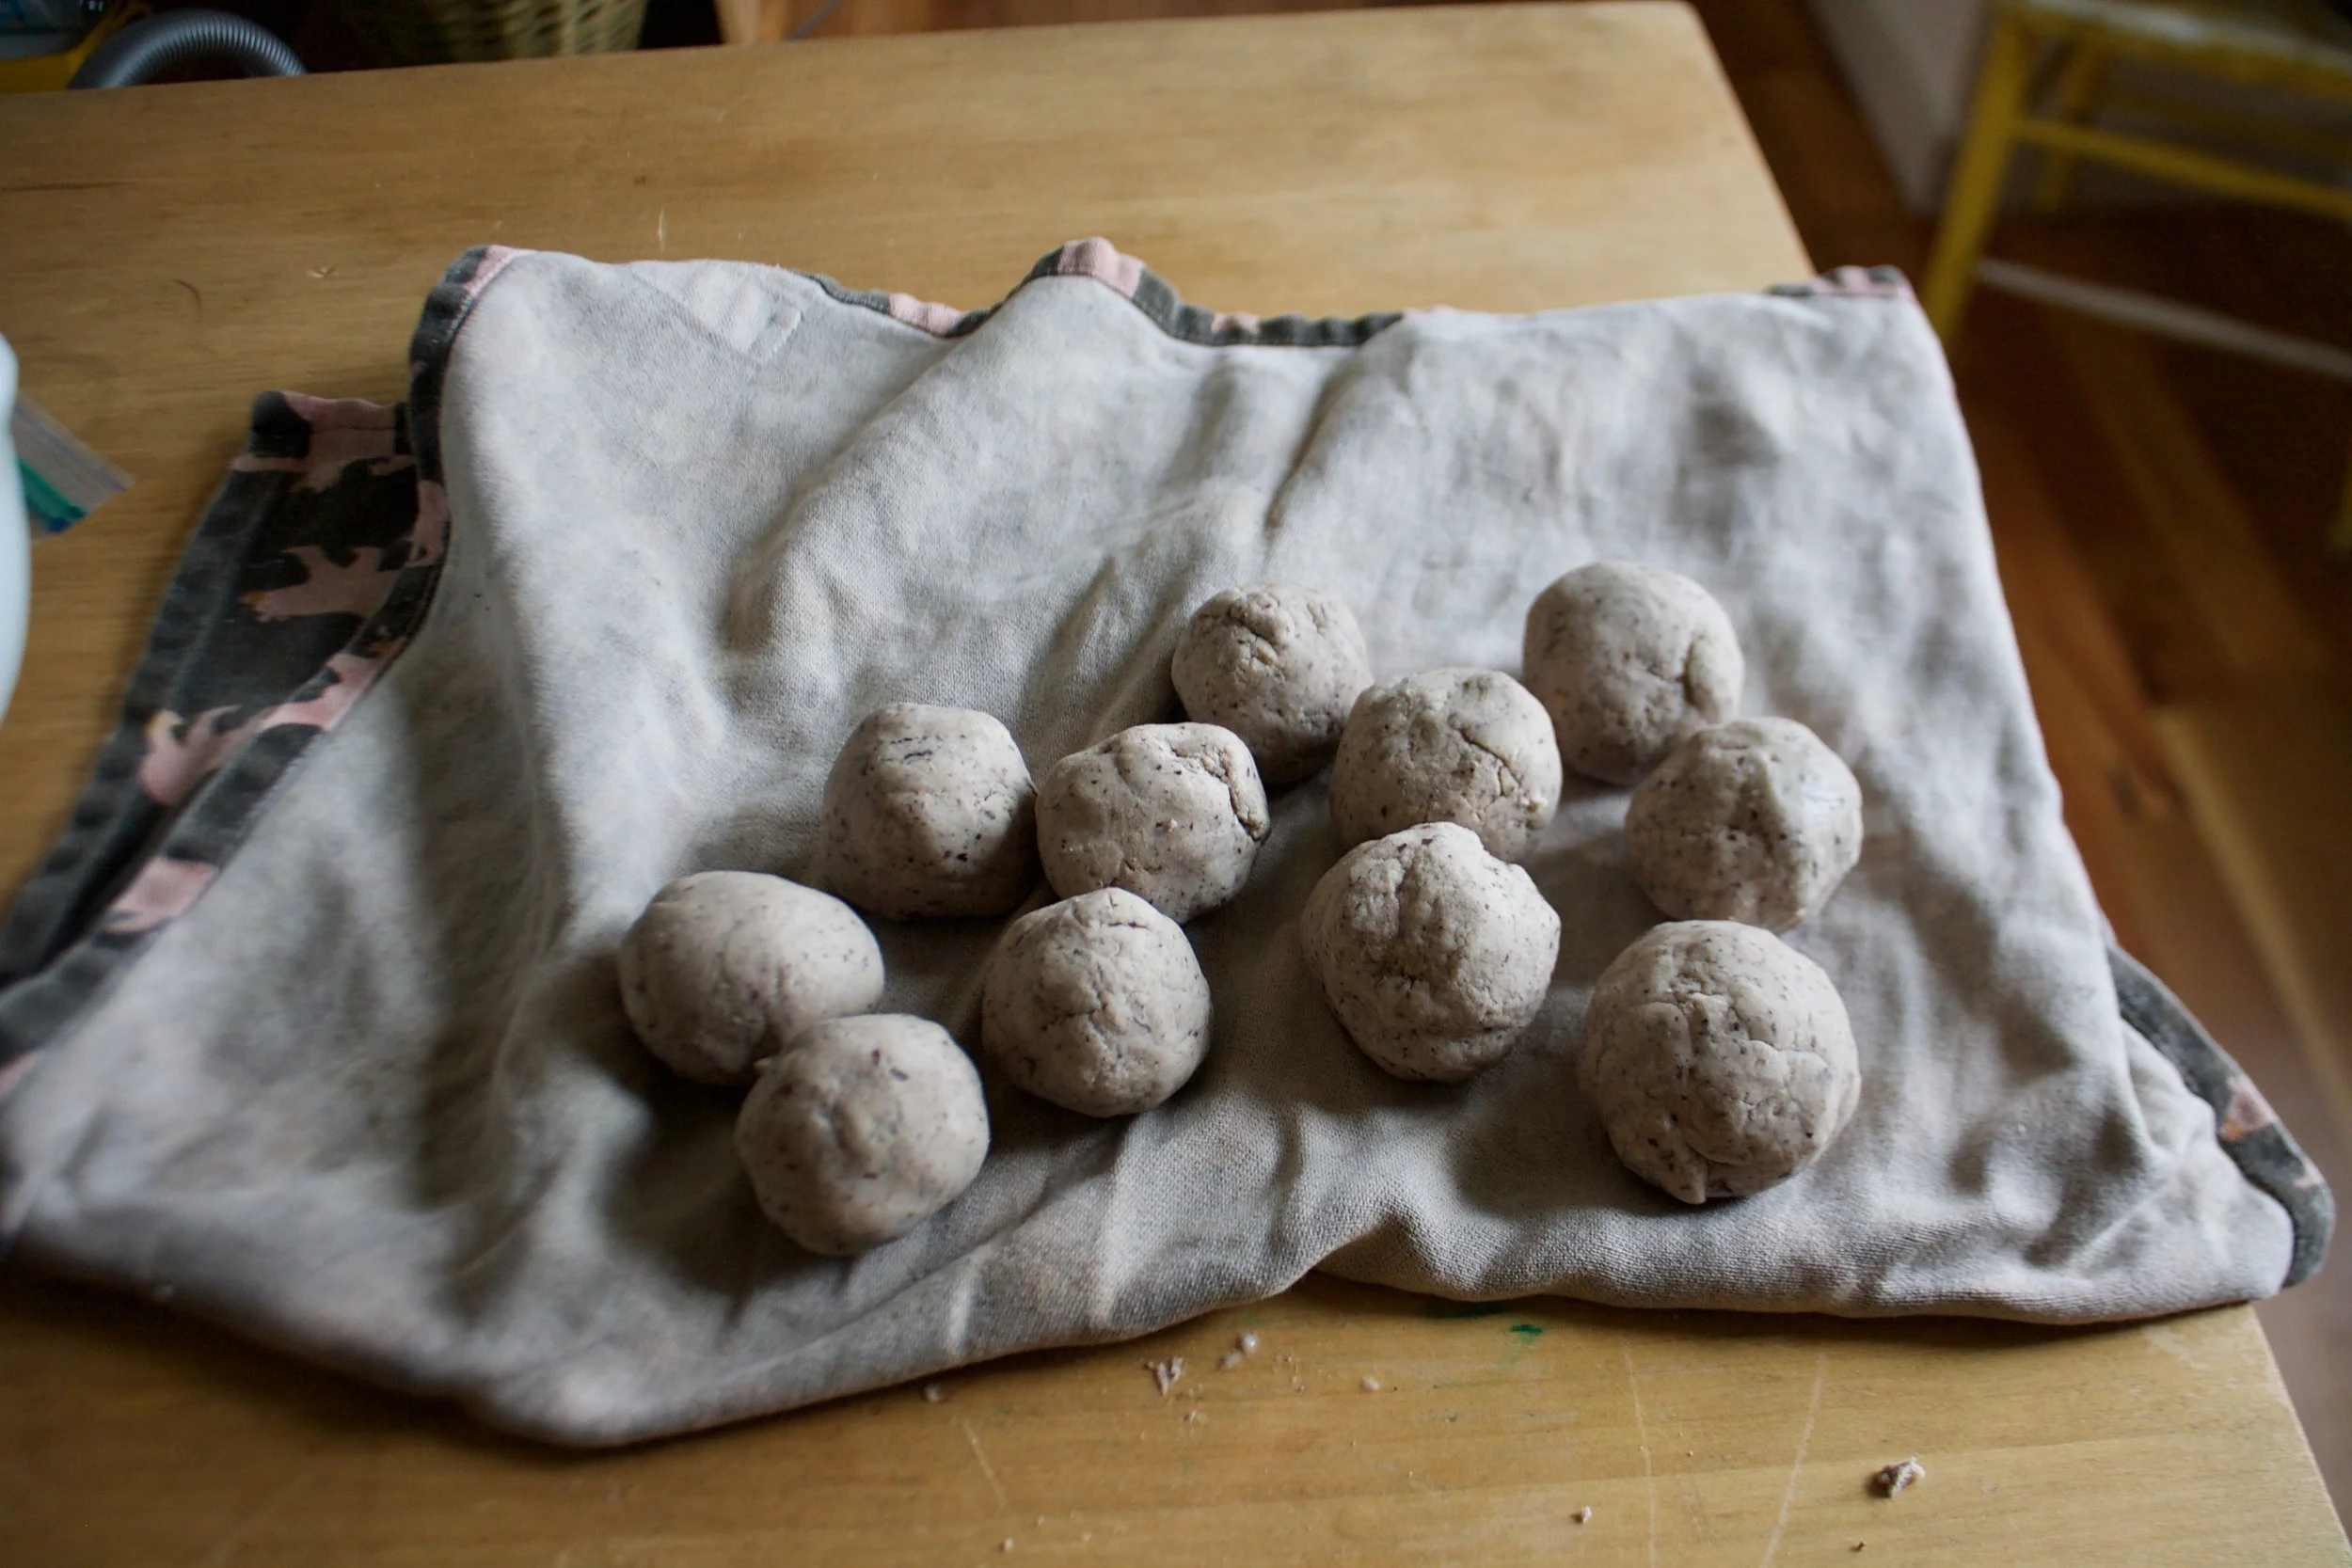
 Knead dough a few times just to make sure it’s completely uniformed and divide %u00a0into 12-14 equal pieces. Place balls on a plate and cover with a wet paper towl to keep from drying out.
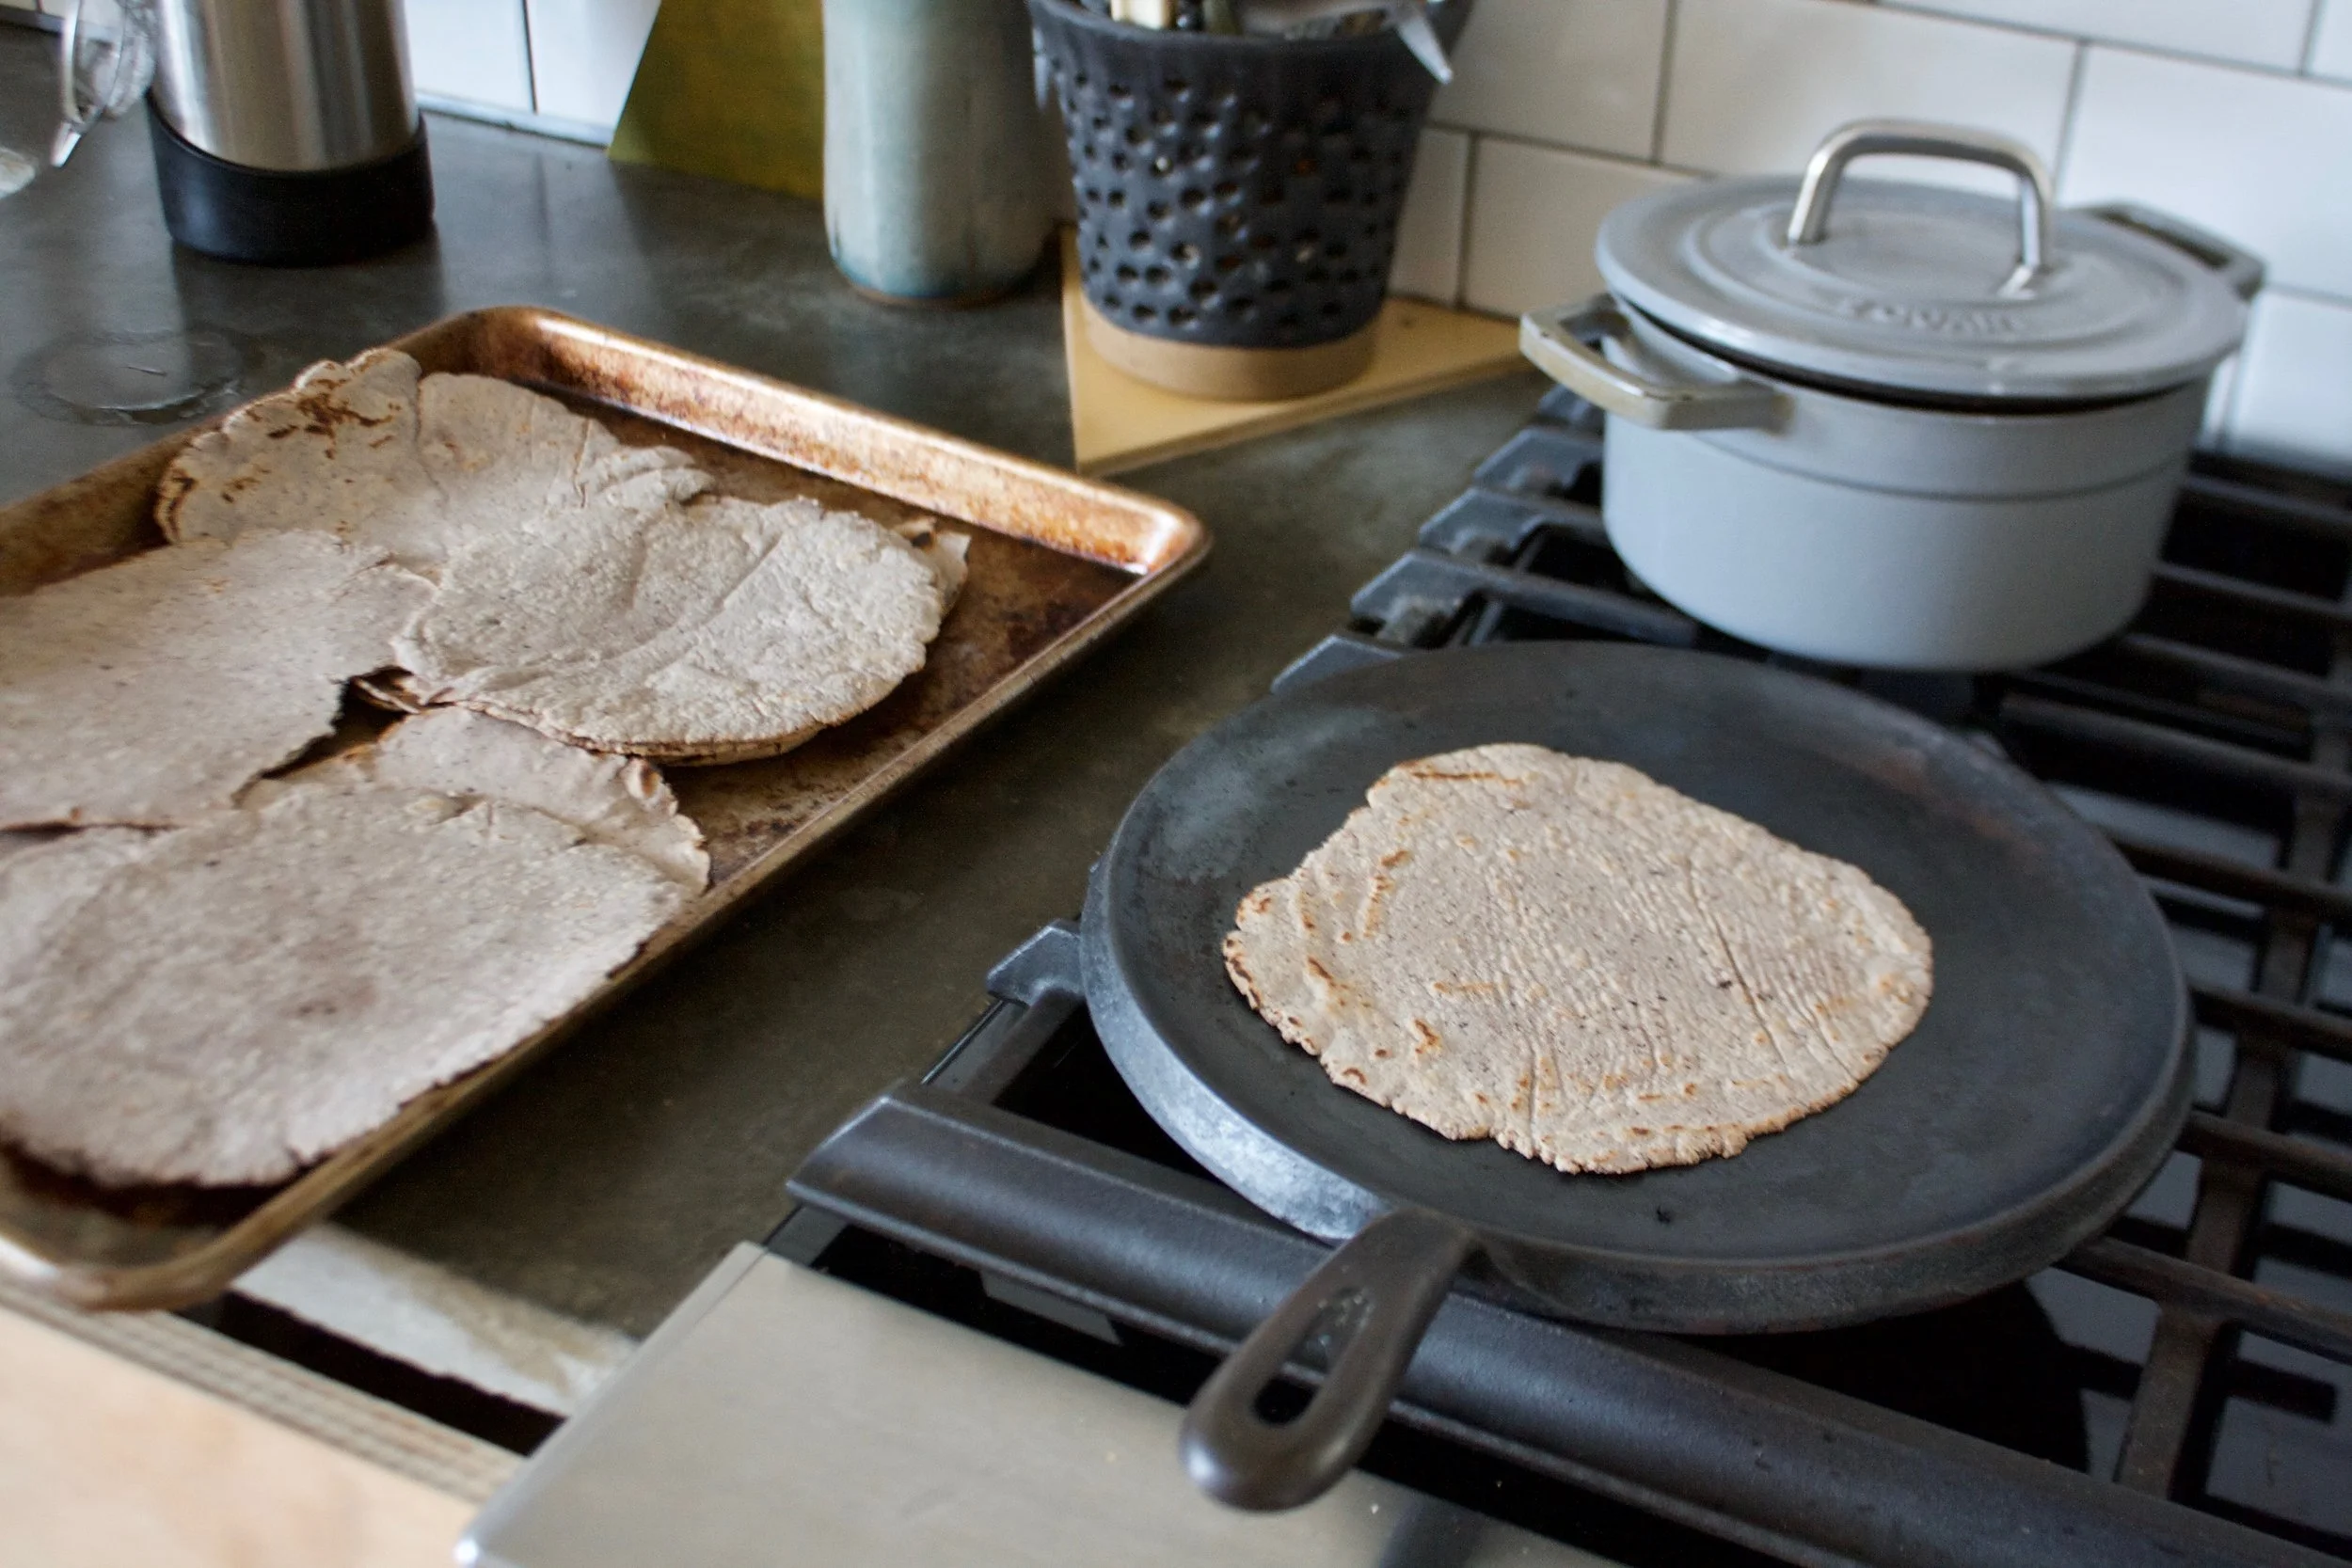
 My%u00a0cast iron skillet is big enough to cook 2 -3 at a time, but doing one at a time is cool too. Preheat the skillet to medium heat. Cook each tortilla for about 2-3 minutes ( or until starting to brown) on each side.
 Half way there to chips!!!
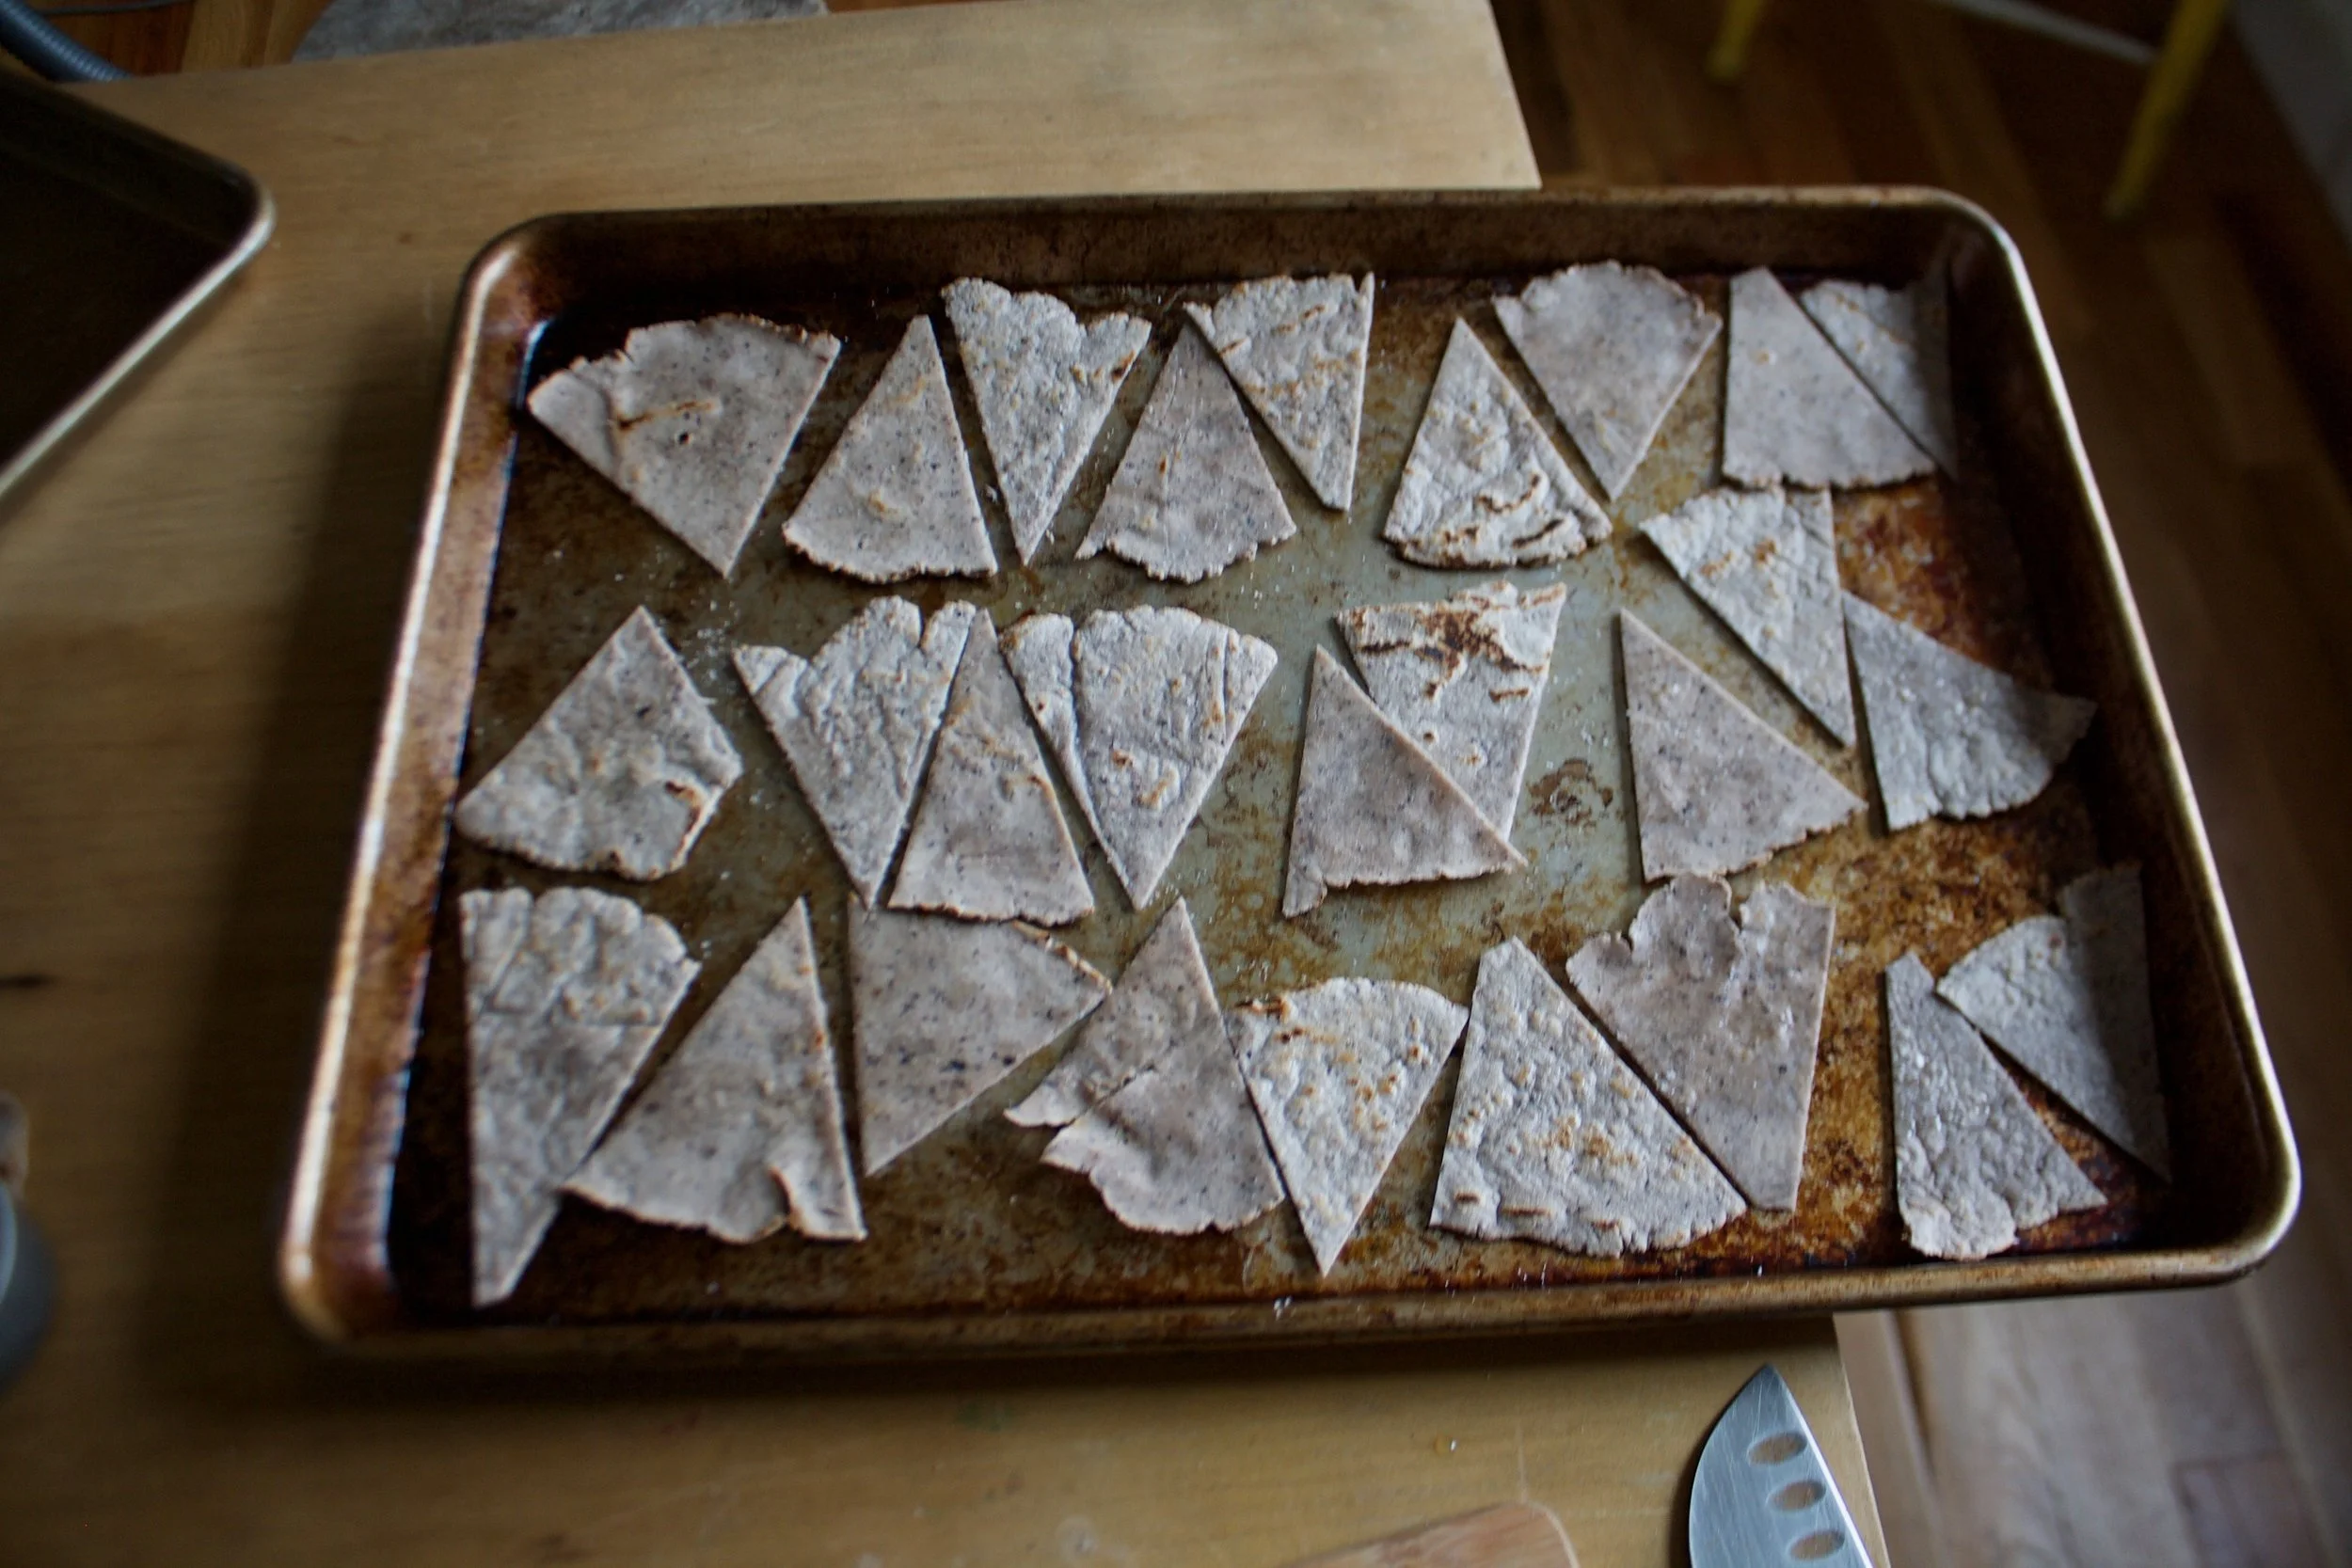
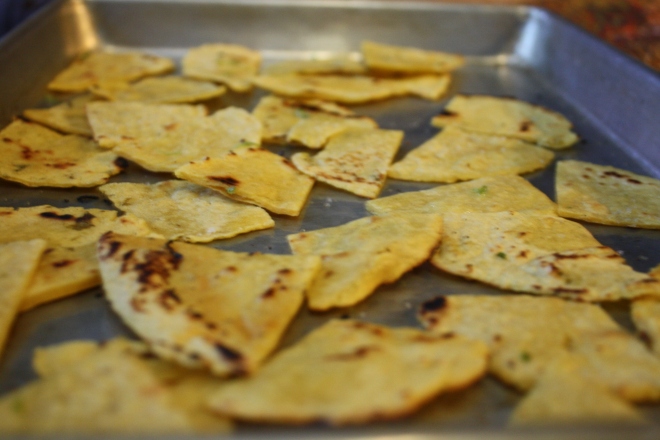 Placed all nice and cozy on a baking sheet. trying not to overlap. Into a 400 degree oven for about 20 minutes to complete the chip making process.. After about 15 minutes, check for doneness. When nice a crispy, remove from oven, squeeze %u00a0lime juice all over and sprinkle with salt. I then stuck them back in the oven for a few more minutes just to dry the lime..
 After cooling down, take those chips and stick them in a bowl.%u00a0


THE LOVELY CRAZY
October 15, 2019 by maximios • Blog
Pesto is one of those things that I am constantly making, and not just the kind most people think of with basil and nuts, I pesto everything..peppers, greens, carrots, squash. And yea, I used this post to make a pesto pasta dish, but pesto has so many other fantastic uses. Like as a sandwich or wrap spread or a dip for veggies and crackers. I have used it as a soup base, a pizza sauce, on roasted potatoes and marinated tofu with pestos. It can also be thinned down and used as a salad dressing. See, so many uses.
And this pea pesto is no exception. It has such a great light, almost fruity, super bright taste. I mean, it’s peas so it taste just like peas but somehow even better. It really works in my mouth. I could eat a bowl of this stuff and be happy.
Whatever you plan on using it for, make the pesto. You will be thanking me later.
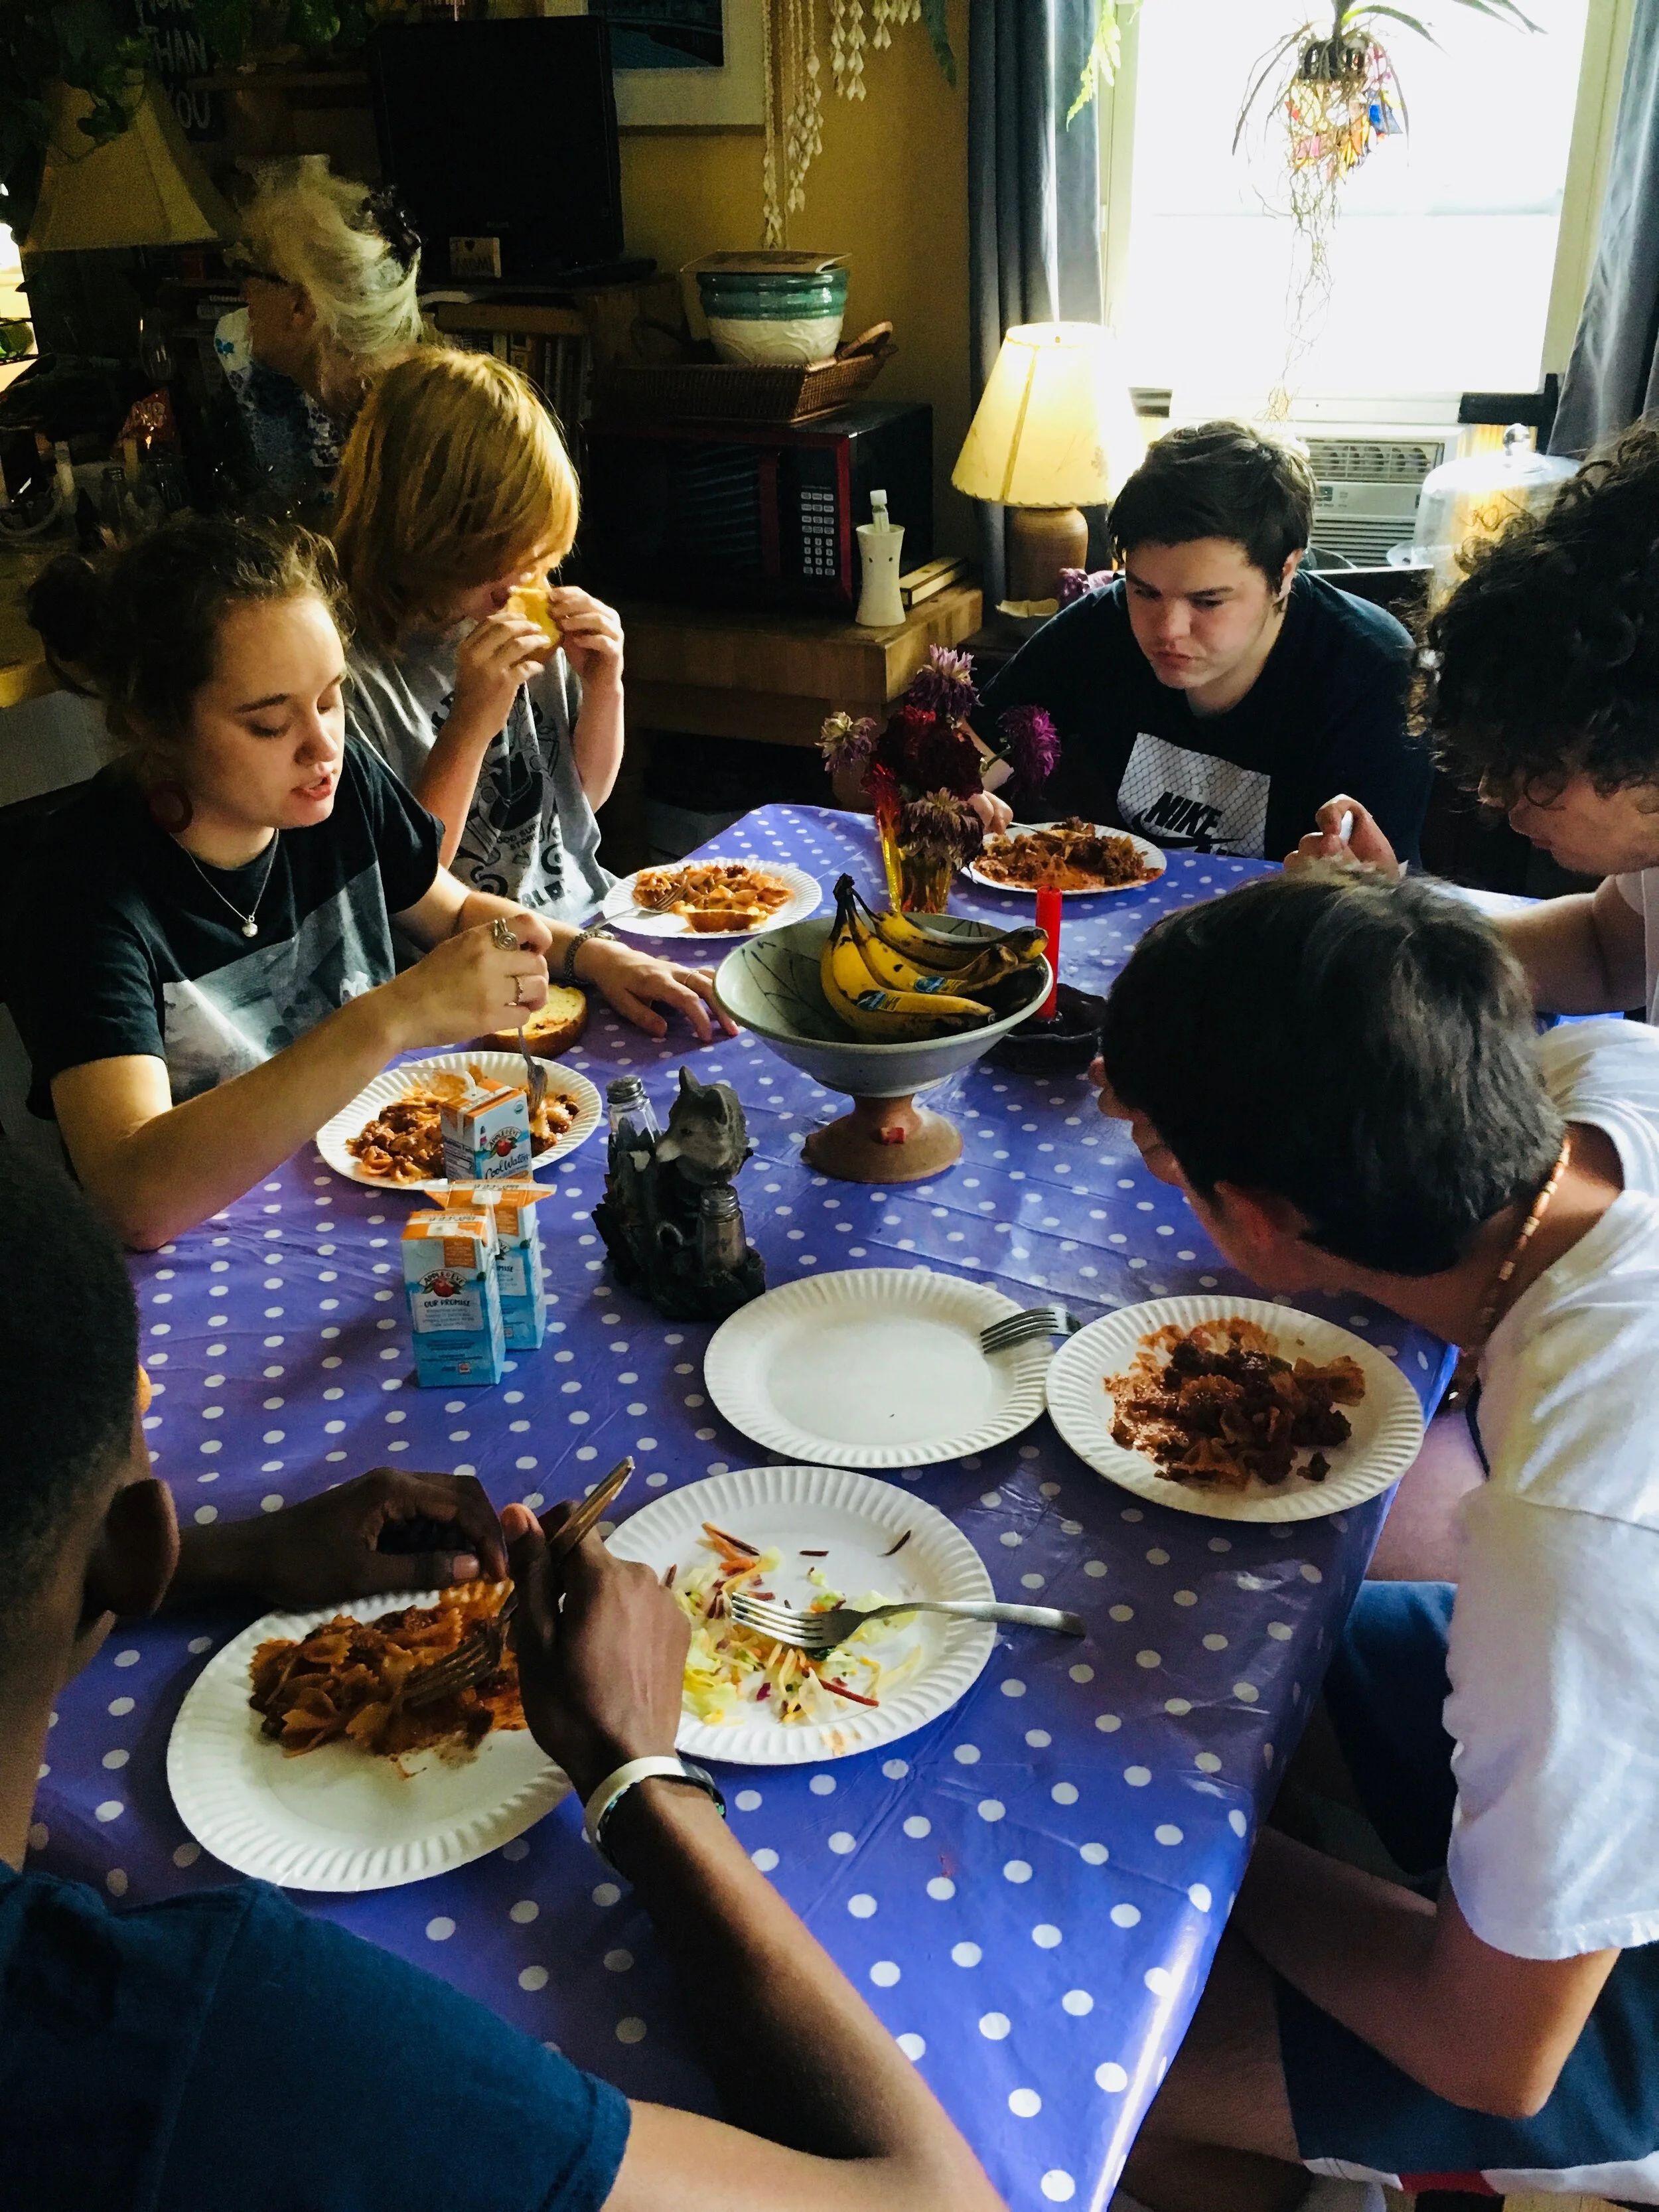
Oh my, so green, so good. I first made it without cheese and scooped a little out for me. It was perfect. Like the most brilliant bright pea flavor ever. It made me happy. After I added in the cheese, the mister said it tasted even better…. so cheese or not, it’s going to be good! The pesto is made, and it only took about 2 seconds, now boil up the pasta. If you were a thinker, you could start the pasta and make the pesto while its boiling. (I wasn’t being a thinker) I used bow ties cause they are super cute, but use whatever pasta you’re feeling. Shells or the ones that look like little brains would be good options.
Once the pasta is cooked, strain, reserving about 1/4 cup of the water. Add that bit of water back to the pot, add in the pesto, give a stir and dump pasta back into the pot. Toss in a handful of peas, maybe sprinkle some cheese and give it a good crack of some pepper.
Oh you want to thank me for this…
Hey, not a problem….not a problem at all.
-C
Makes enough pesto to coat a pound of cooked pasta and have some left over for sandwiches or to spread on crackers.
Place peas, (remove a handful and set aside to toss into the pasta) garlic, the juice of the lemon, olive oil and the parmesan (if you are using) into a food processor. Blend until smooth. Taste and salt as needed.
Pasta… Boil per instructions on box. Strain pastas but save about a 1/4 cup of starchy water. Toss pasta, starchy water and pesto together, adding in the handful or more of the whole peas. Sprinkle with more parmesan and or cracked pepper ,if wanted, and serve in big bowls.
Use a fork. Eat, smile and be happy.