
THE LOVELY CRAZY
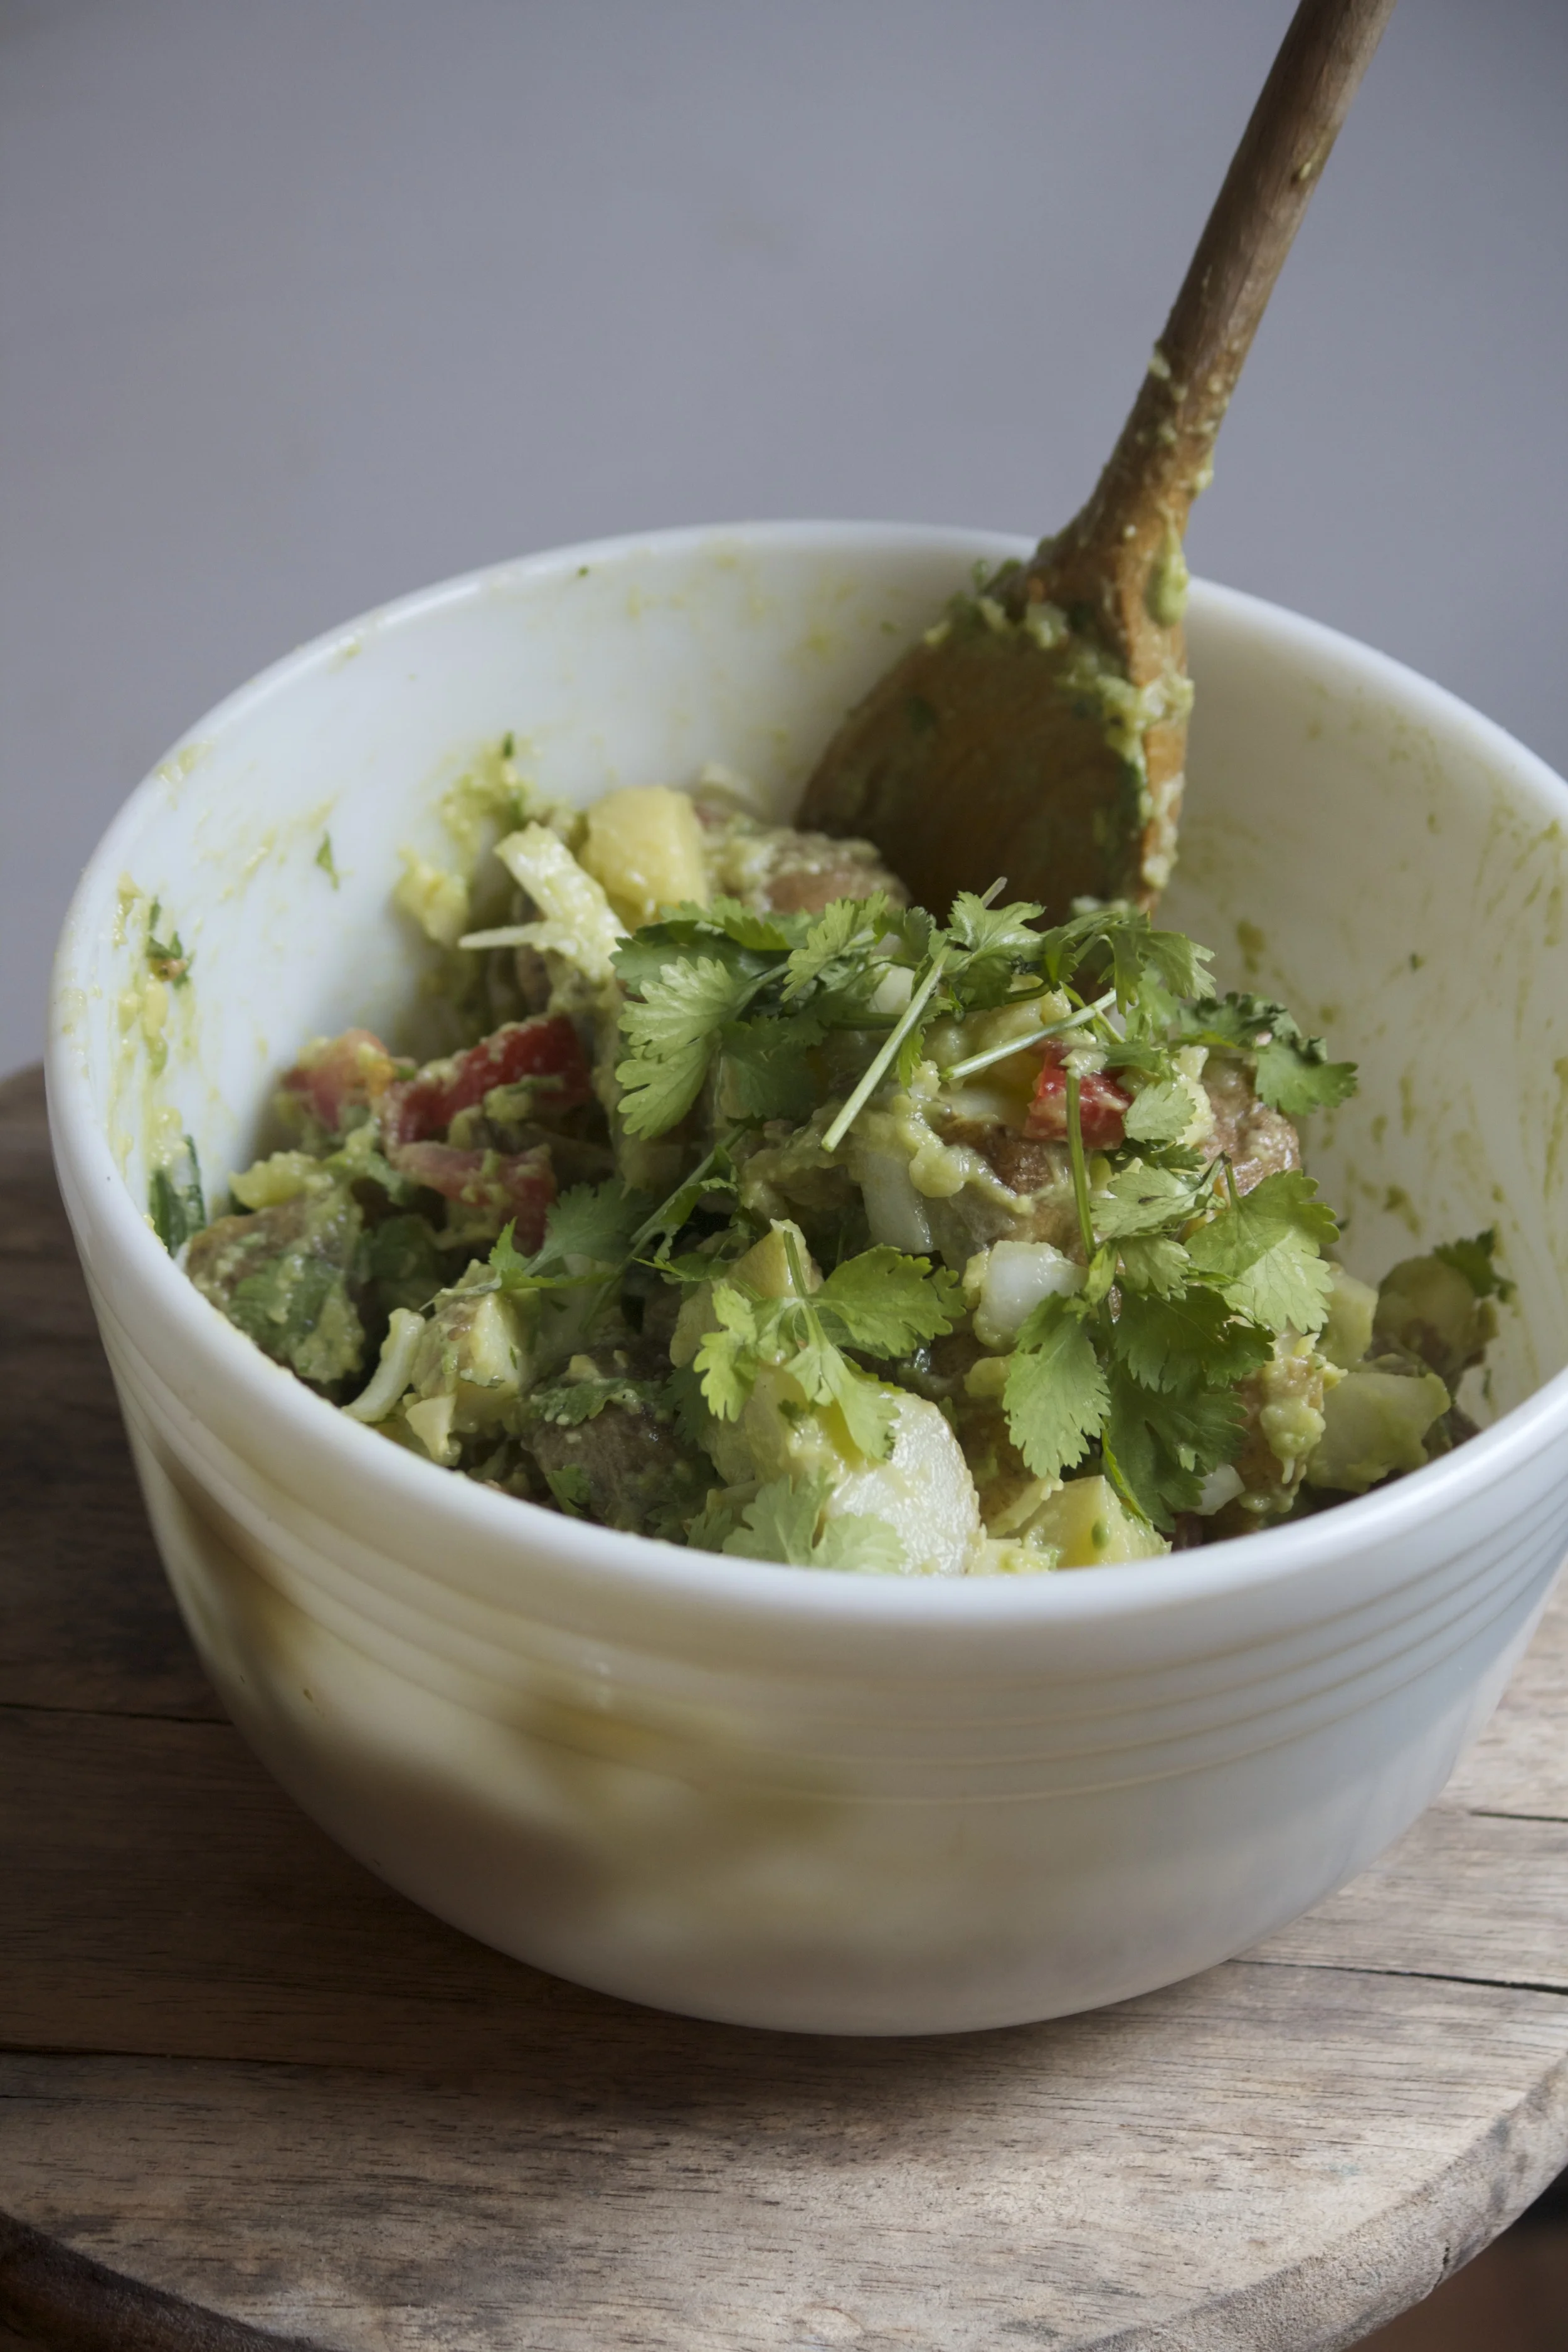
IF you like potatoes and guacamole (probably%u00a0even if you think you don’t like potatoes or guacamole)%u00a0then%u00a0oh boy, do I have a treat for you.%u00a0
Guacamole Potato%u00a0Salad.. Only the best potatoes salad you will ever put in your mouth. %u00a0
I tried to make this a few weeks back and ended up not getting to my potatoes in time to use, so I had to put the salad on hold. But this weekend I was ready. The grill was prepped, the corn was husked, and the poatoes were boiled. Then it happened, I made the best potato salad ever. It changed the way I feel about potato salad. (I have never really been a huge fan)%u00a0Sure, I love potatoes, but in the past I have experiences to many%u00a0overly dressed, really heavy, and overall,%u00a0some pretty crappy paotao salads. This salad, well it is%u00a0the exact opposite.%u00a0This salad is all summer. Bright and light, so full of flavor, but not overly heavy and gross. I mean, its potatoes covered in guacamole%u2026 How can that not be amazing.%u00a0I am now a potato salad fan (for life!).%u00a0
So my suggestion for you. Have a cook out, invite your friends, grill up some veggies or whatever%u00a0and make a humongous batch (you will need a humongous batch) of this potato salad. Sit back and watch (while you are eating) and see peoples faces light up with joy and happiness. You will be number one. The hostess%u00a0with thte mostest. People will fall at your feet%u2026%u00a0
or not. (But probably)
So here, take a look, and make.. Your day, week,%u00a0life will be better for this.

The stuff; Potatoes, avocados, mini onions, and tomatoes. Pickled Jalape%u00f1os (with juice) garlic, and the juice from a%u00a0lemon And lastly,a%u00a0big bunch of cilantro, and salt.%u00a0
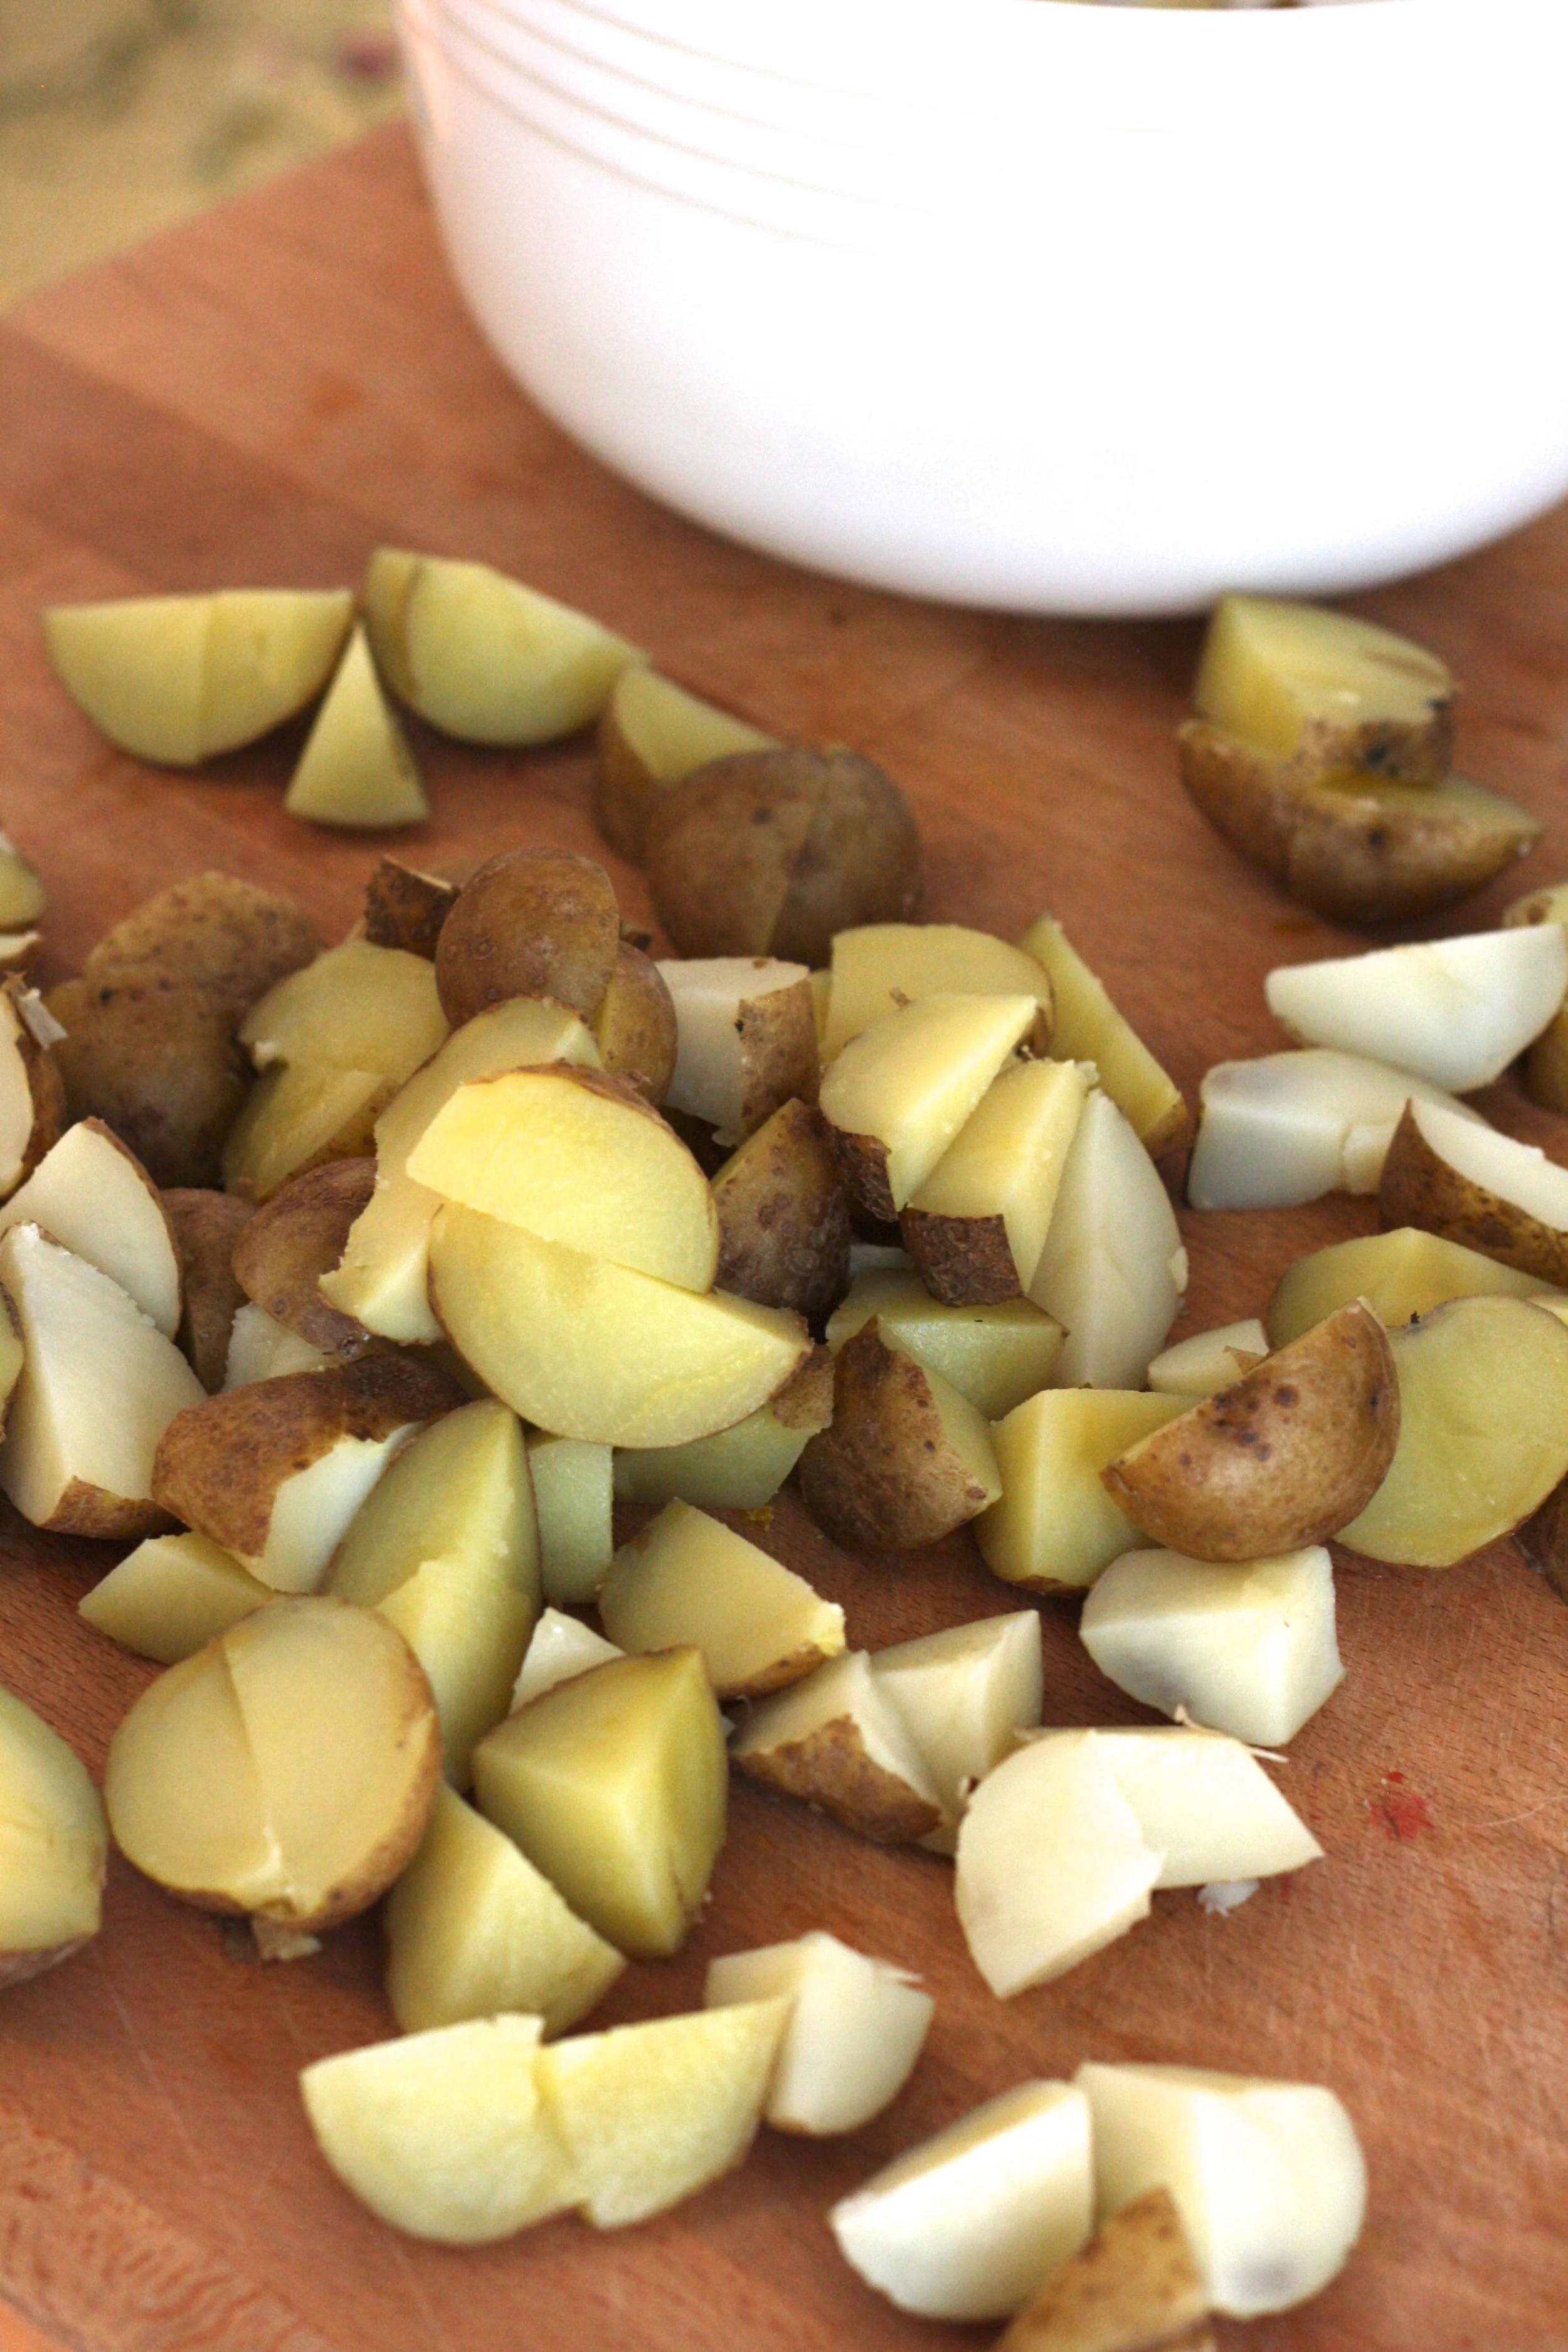
First things first,%u00a0boil the potatoes. Stick in a pot of cold water with a palmful of salt. Bring to a boil then turn down to a medium heat and stick a lid on the pot. Cook until fork%u00a0pierces easily through %u00a0then strain from water and let cool. When%u00a0cooled, but still slightly warm, dice them up into mouth sized pieced. Place potatoes back into pot and drizzle a few glugs of the pickled jalape%u00f1o juice over them. Place in fridge to complete cool.

While the potatoes are cooling down, mix up the quad dressing.%u00a0In a large bowl, take the avoado fruit and mash and%u00a0smoosh %u00a0until relatively smooth and mix in minced garlic , lemon juice,%u00a0and a sprinkle of salt.%u00a0
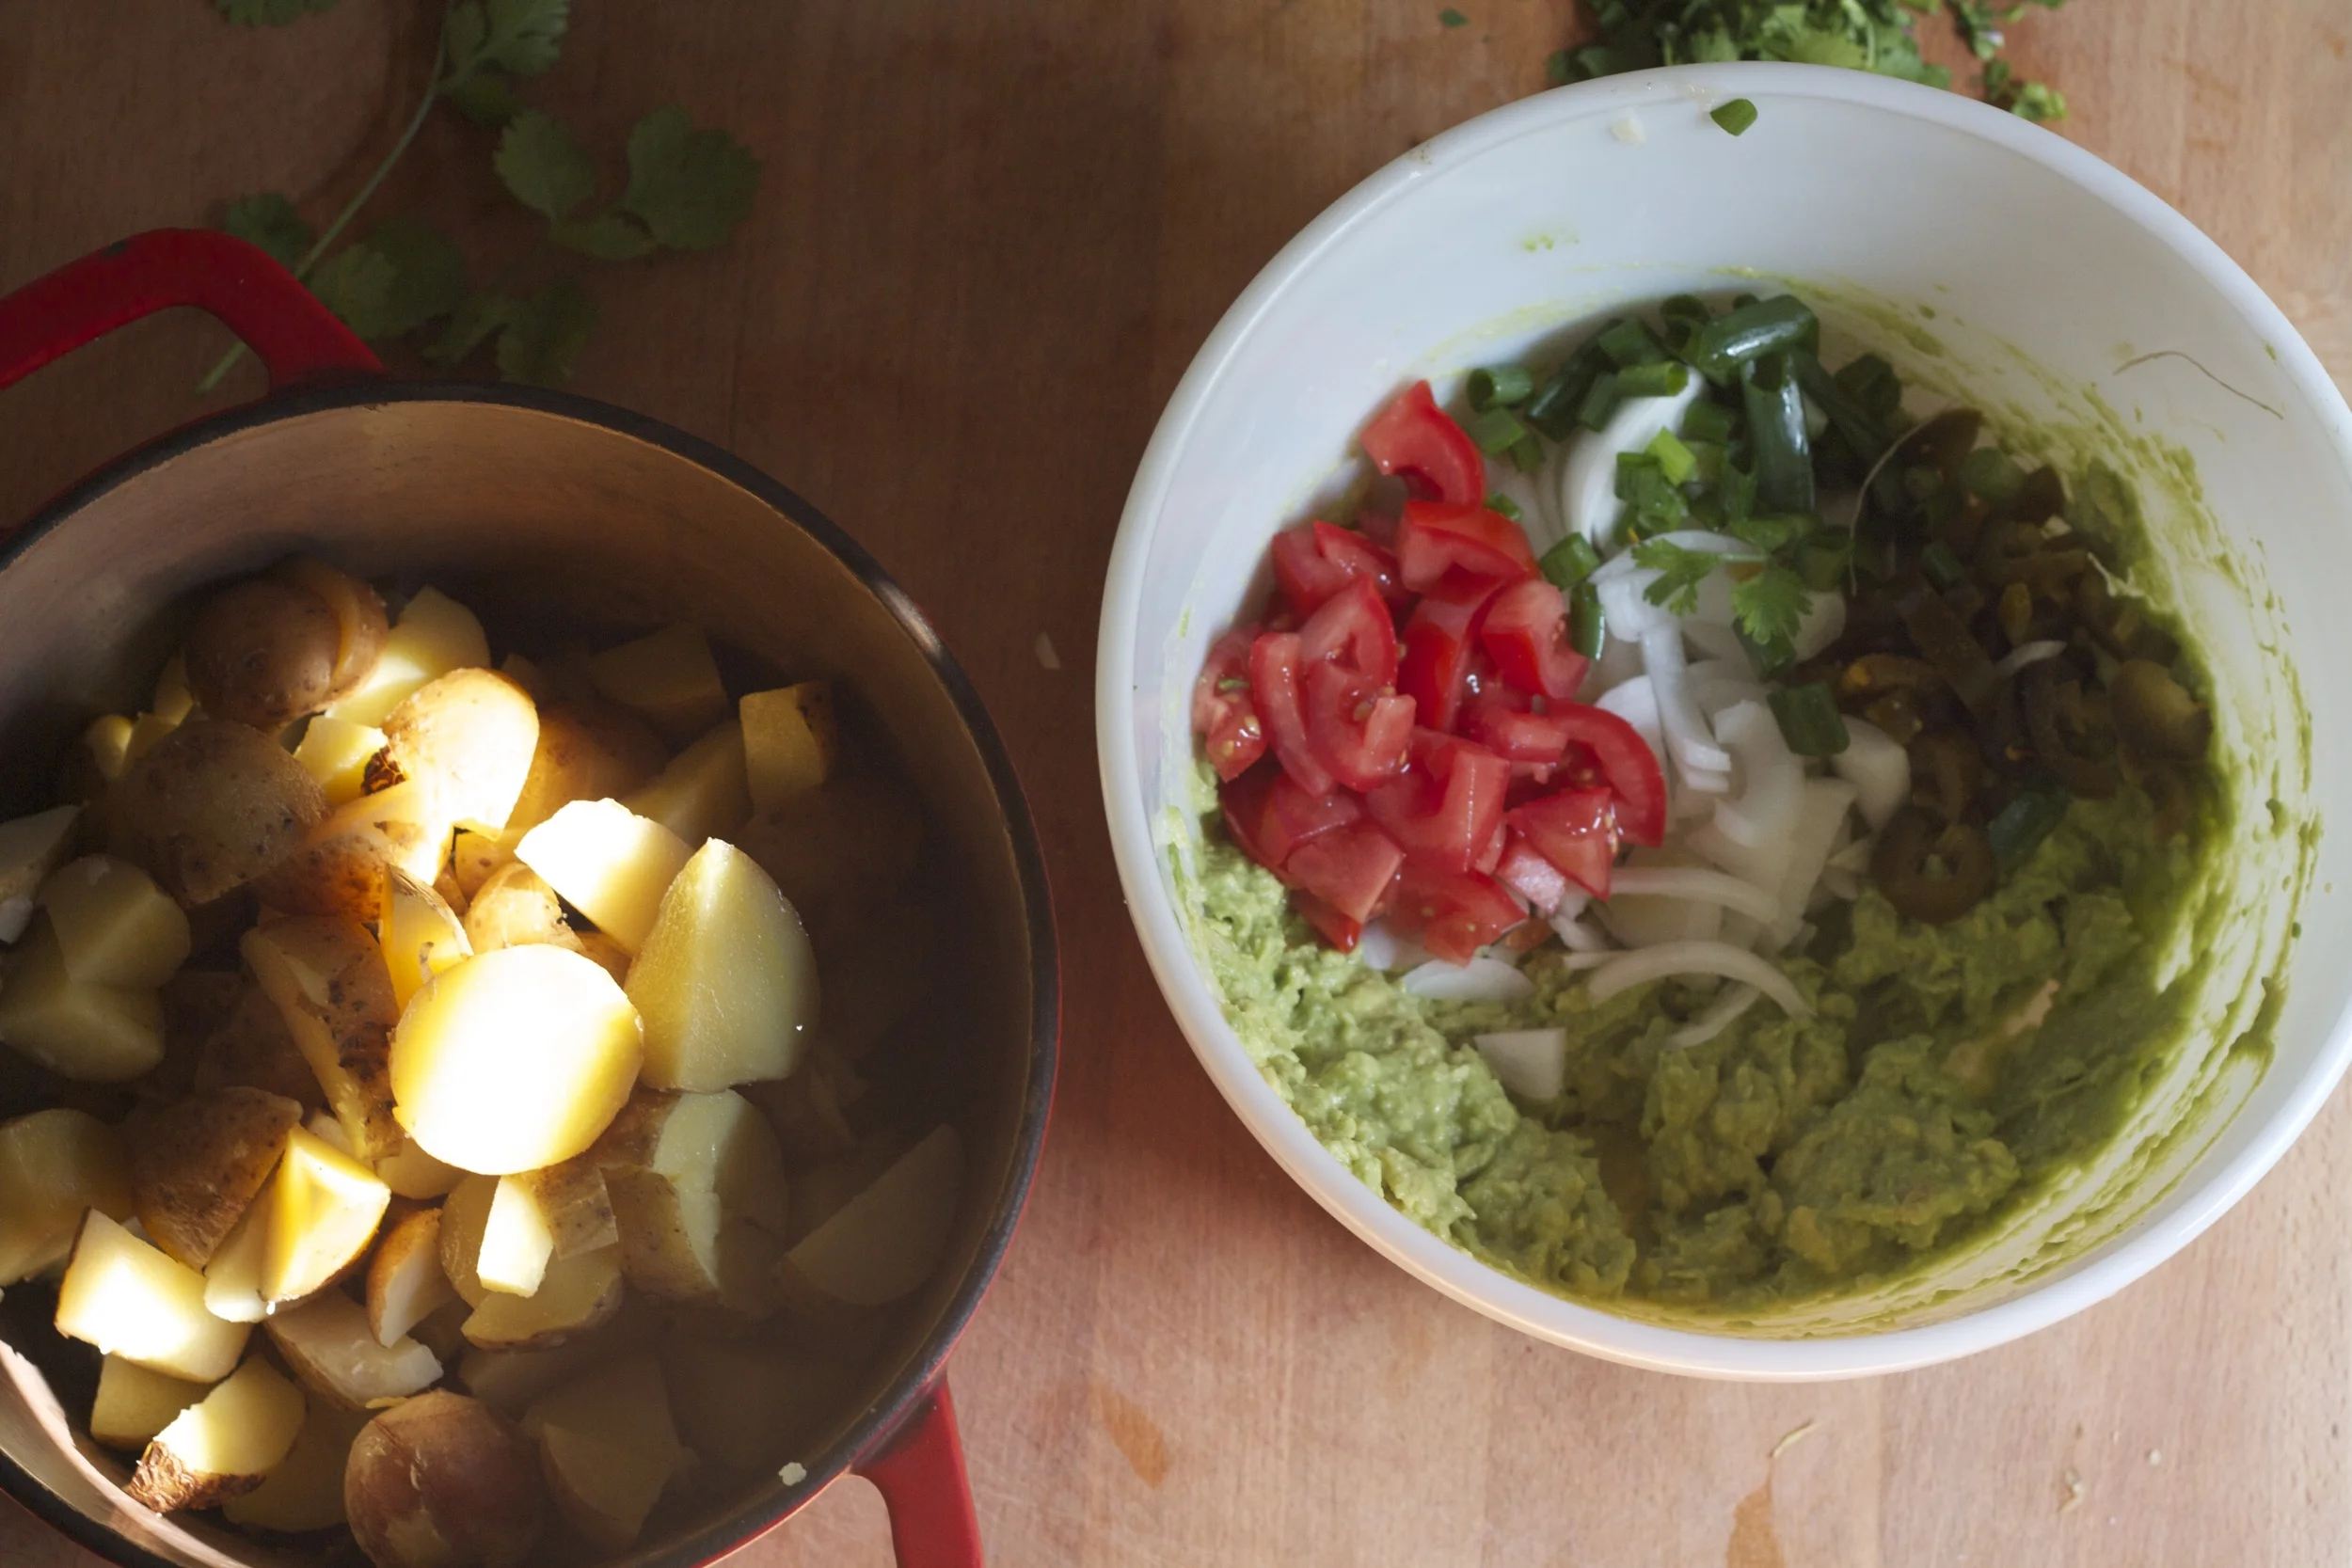
Dice up the onion, jalape%u00f1os, tomatoes and add to the mashed avocado and mix that%u00a0all up%u2026and try not to eat it all before the potatoes get in.

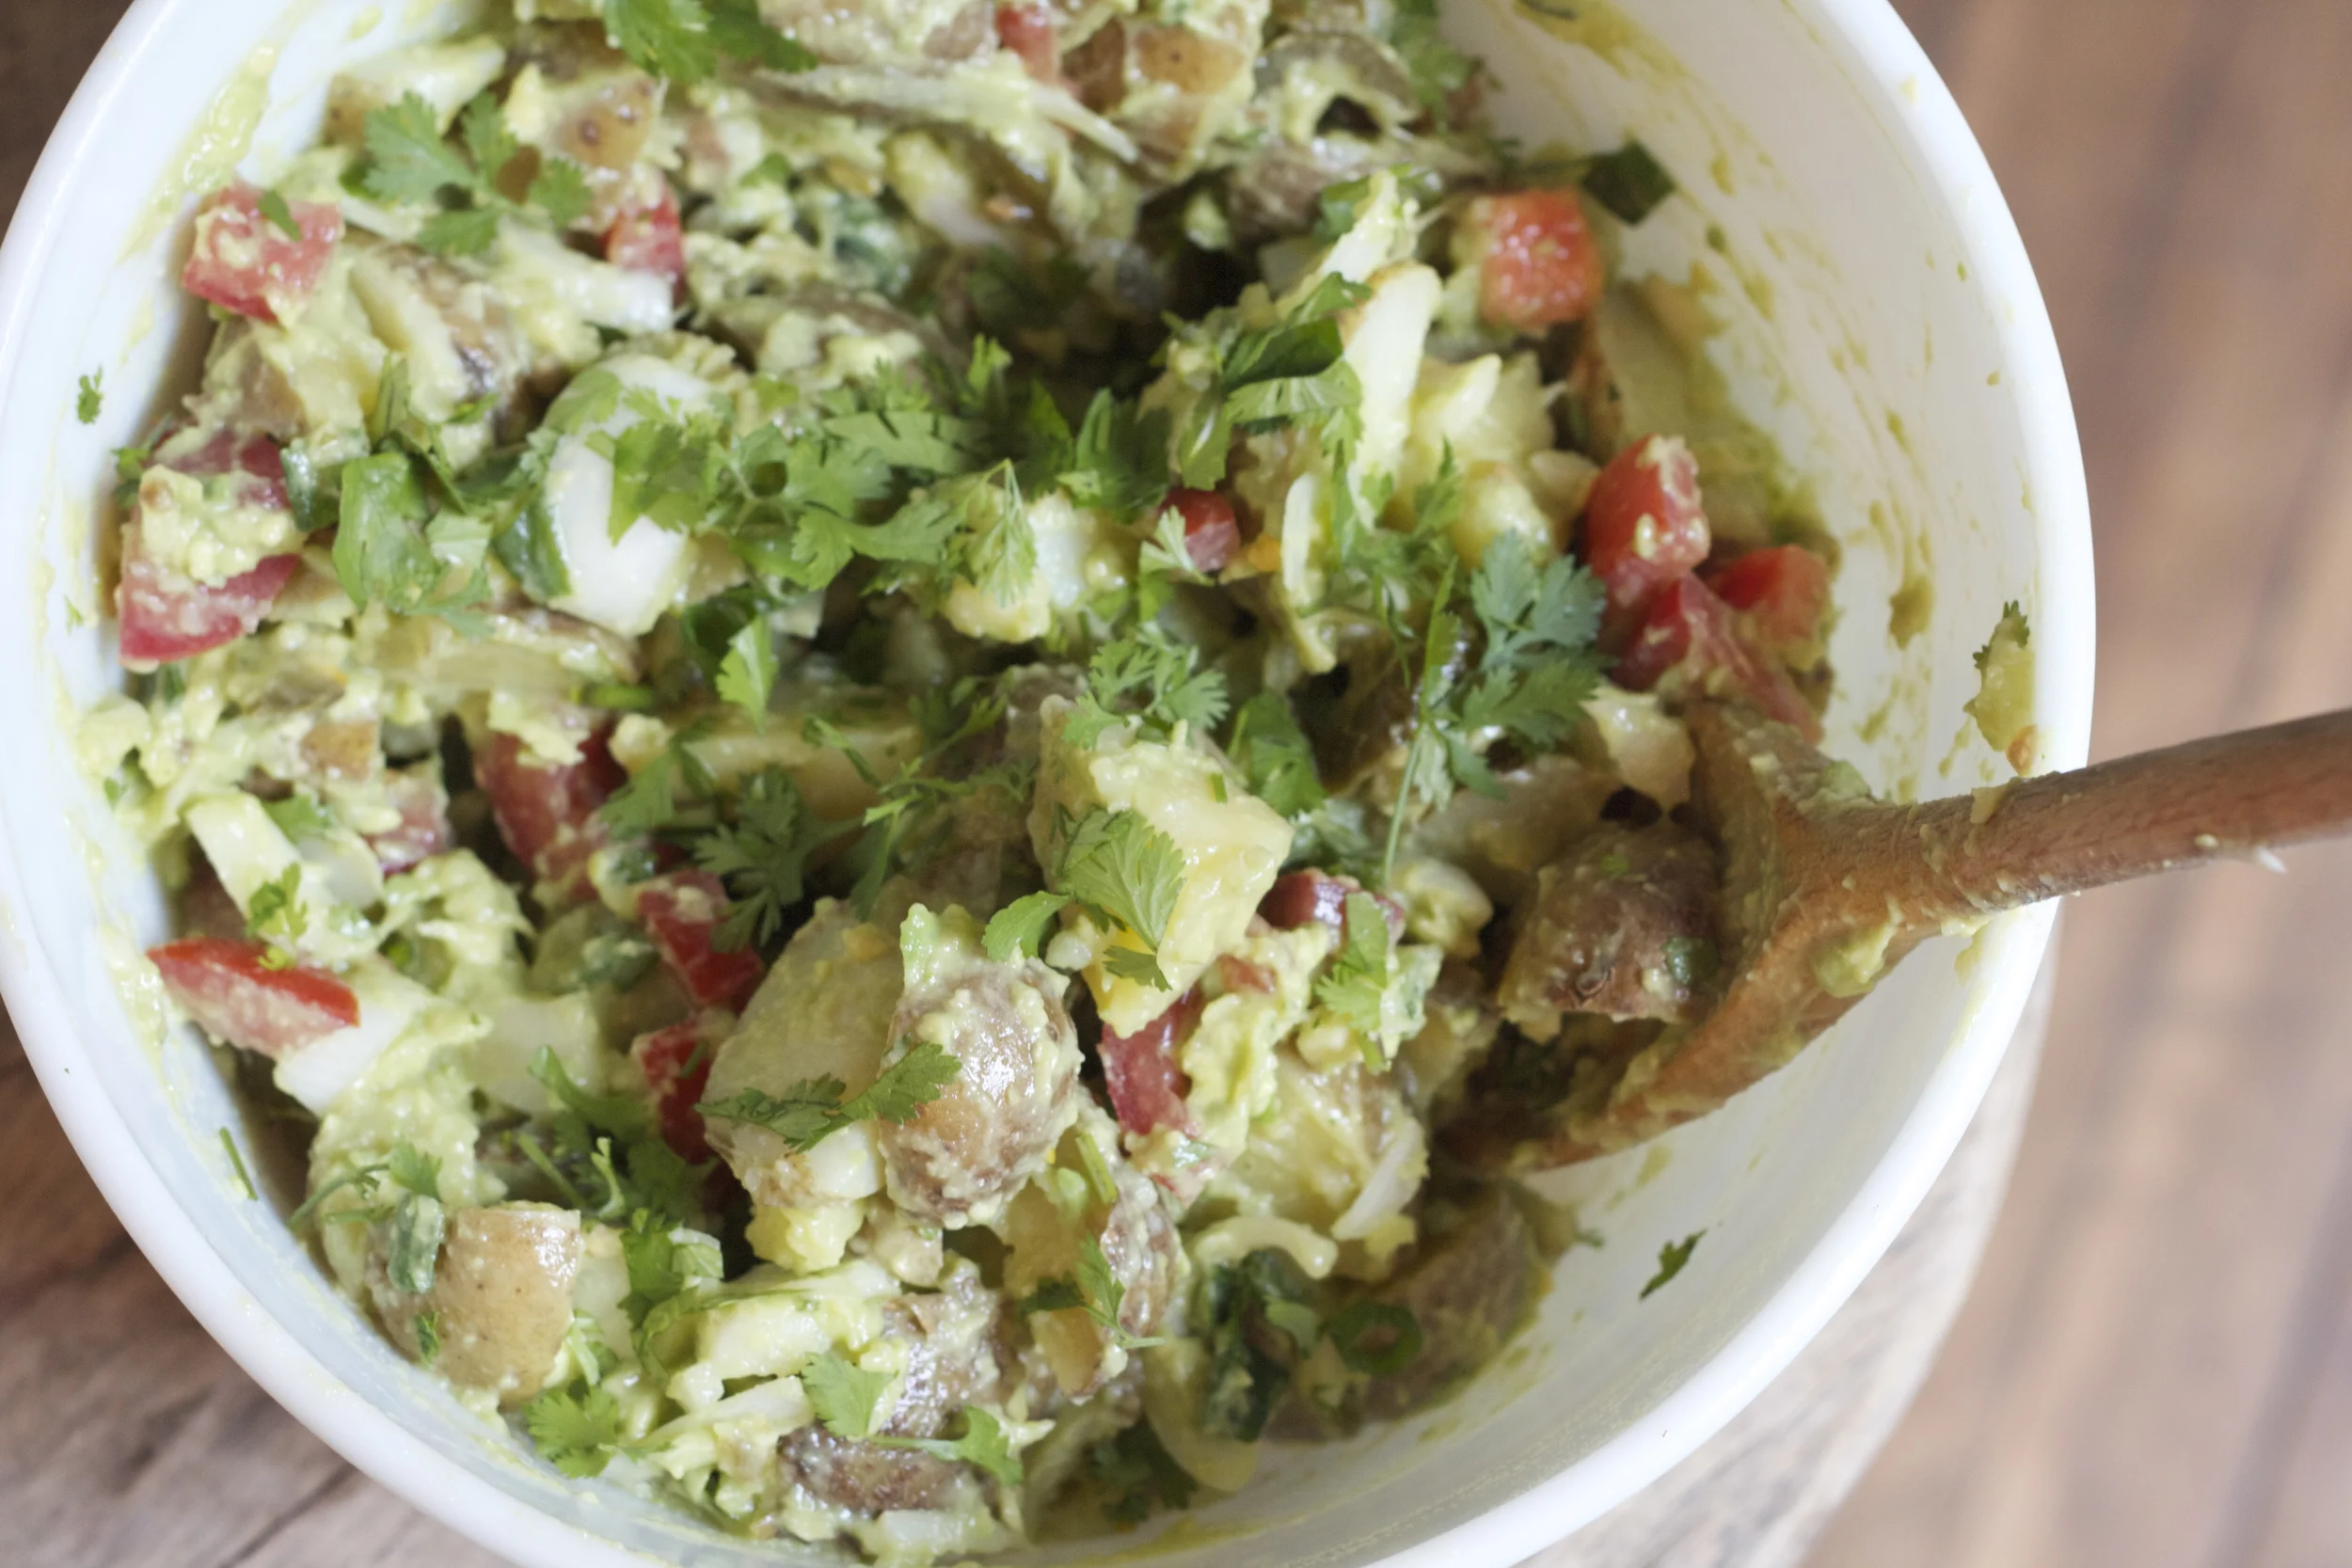
add in lots of chopped up cilantro

Nothing compares..%u00a0
Have a great day and get to planning you next cookout!
Later!
-C
- 3 lb. of potatoes of a small waxy variety (like red%u00a0or new potatoes)
- 1 1/2- 2 whole avocados
- 2 small Roma tomatoes or q large
- 2 mini onions with greens or 1 regular white onion
- handful (or more) of pickled jalape%u00f1os and the juice
- juice of 1 lemon
- a bunch of fresh cilantro%u00a0
- 3 cloves garlic
- salt and pepper
Wash potatoes and stick in a big pot with cold water and a good palmful of salt.%u00a0%u00a0Bring to a boil then turn heat downy to a a medium heat, stick a lid on it%u00a0%u00a0and cook potatoes until a fork can pierce through.%u00a0%u00a0Strain from water and let cool enough to handle. Once cooled, cut potatoes into mouth sized pieces, place back into bowl, and drizzle with a few teaspoons of pickled jalape%u00f1o juice. Stick the potatoes in the fridge and let completely cool.%u00a0
While those are getting cold, make the guacamole dressing. In a big bowl, place the avocados (pits and rind removed of course) and smash and smoosh until a smooth constancy. Add in a pinch of salt, mince the garlic and toss that in, %u00a0and add%u00a0the juice of the lemon. Now dice up the garlic, onion, tomatoes and jalapenos and gentile fold it all in to the avocado mash.
Once the potatoes are cool, roughly chop the cilantro and%u00a0%u00a0add %u00a0that and the potatoes into the guacamole and mix around until everthig is all coated. Top with some more cilantro.
Eat as a side, a meal, a snack, or dessert
a fork pierced nicely but a large wooden spoon works too.
Lasts for 3-4 days in the fridge.

Guess what guys %u2026.I got myself a sick vintage waffle/ griddle iron. I couldn’t be more thrilled!!!%u00a0I found this thing at the local recycled goods store the other day, along with a very beautiful old white pyrex mixing bowl. It was one of my best thrift store scores! (Checking out the inventory and the condition of all the old things that day, I would say an old lady had just died and all her perfectly keep, mint condition kitchen stuff had just been donated. %u00a0But it’s cool, cause I get the feeling that she was at least 90, with a big loving family, and was happy until the day she died. And I am sure she would be pleased that I have taken over the waffle maker. Thanks old lady!)
%u00a0And now I am pretty sure that %u00a0everything I make for the next week will be cooked on said waffle/griddle. I am serious, I already have a list of things to try and cook on it; cookies, biscuits, granola bars, potatoes, fruit, some type of pasta situations%u2026. the list of possibilities is endless and I bet that at least 1/2 of these things will be totally awesome and amazing.
But first thing first. I need to make dinner.
So waffles for dinner!!%u00a0

Note. These waffles are completely 100% fantastic for any meal you want to make them for. They consist of nothing more then beans, a shit ton of veggies, and just a bit of cornmeal. But don’t let that fool you because they are super packed full of so much flavor, have a really soft tender inside, with a nice crispy outside and are so super pretty. They are wonderful!%u00a0The stuff. First, we got a big old pile of shredded up veggies which include; carrot, beet, sweet potato, onion, parsnip, celeriac, and a little bit of kale. %u00a0A we got a bowl of rinsed and strained white beans, a little bit of cornmeal and salt, pepper, and garlic powder.%u00a0

The makings of something amazing!Before you do anything. get your waffle iron out and preheat it.%u00a0

While thats going on, take you beans, %u00a0add 3/4 cup water and puree until smooth with whatever blending device want to like to use. (I used my hand blender%u2026less to clean)Now collect all the shredded veggies and dump into a big bowl with the bean puree, the spices and the cornmeal. Mix until combined. The batter should be thick, but not dry. If its seems to wet, add more corn meal, or too dry, add a little more water.

Note how my batter turned a magical pink%u2026 I love beets, they make everything pretty! And check out that bowl!When your waffle iron is preheated, oil it if needed (if your not sure, add a little oil just to really make sure your waffles don’t stick) and take appropriate size spoonfuls of the batter and stick on iron. Close it and wait%u2026..My iron has a little light that turns on when the waffles are done cooking, so I waited patiently (ok iI did open it a few time) until light tuned on and removed the perfectly cooked waffles.

Did I mention how awesome my new/old vintage iron is?
SO AWESOME!!
I made a little gaucamole and gave the mister and little bowl of plain Greek yogurt with lemon juice, but feel free to top, drizzle, or dump whatever you want onto these beauties%u2026%u00a0
Happy waffle Wednesday!!!
-C
Veggie Bean Wonder Waffles
Makes 8-10 waffles (in my iron) feeds 2-3 peeps
- 1 small carrot shredded
- 1 small parsnip shredded
- 1/2 a small celeriac root
- 1 small beet shredded
- 2 kale leaves chopped into tiny bits
- 1/2 an onion, shredded
- 1/2 a small sweet potato shredded
- 1/2 cup cornmeal
- 2 cups(or 1 can) cooked, rinsed and strained white beans
- 2 teaspoons garlic powder
- teaspoon each salt and pepper
- oil for iron(if needed)
Note on veggies%u2026 I used what I had in the fridge and shredded, it came to about 3 cups. If you don’t have these specific veggies or only want to use a few.. go for it. Just make sure to have 3 cups of whatever veggies you use.
Take you beans and blend them up with whatever device you would like to use. Once creamy, add to a bowl with the rest of the ingredients. Stir until combined.
Once the waffle iron is preheated, oil it( if needed) and place the recommended amount of batter right on it there. Close and cook until golden brown and waffly.
Serve on a plate with topping of your choice, A few suggestions.. Guacamole, salsa, hummus, mustard, greek yogurt%u2026 anything that tastes good to you.
Eat as breakfast, lunch or dinner…
Fork into face

Whenever my little sister comes over for dinner, I always end up making lentils in some form or another because she, like me, is awesome and loves a good lentil. It makes me so happy that she has such great taste in food and wants to eat what I make. %u00a0It’s validation from a teenage girl which is the best kind of validation.%u00a0
So last night when she came over after school for dinner and trash talk (she likes to verbally abuse Nick) %u00a0we decided %u00a0to make both of our favorites %u2026 Lentils AND sweet potatoes. How can you go wrong with that combo? Well I am telling you that you can’t. The rich creamy soft and slightly sweet sweet potato mixed up with the hearty, earthy, oh so fantastically tasty lentil. Add in a bit of kale and cheese if you wish and serve with salsa and guac… Whoa, it’s the best!!!
Such a great evening, I get to the cooking, the sister gets to the verbal abuse and the mister, begin the champ that he is, takes it and dishes it right back.%u00a0
I am the greatest(coolest)%u00a0sister.%u00a0

Baked sweet potatoes, cooked lentils, chopped up kale and monetary jack cheese (Cheese is optional.. and make it vegan cheese if you want) And you don’t need then, but salsa and guacamole are the best toppings.. So you have them.%u00a0


Cut the cooked potato in half lengthwise and scoop the flesh out into a bowl. With a fork, smooth%u00a0the potato , sprinkle with salt and pepper and mix in lentils and kale.

Stuff the mixture back into the skins of the potato.

And add some cheese (The mister and the sister wanted lots of cheese, no cheese for me) and stick the potatoes into the oven and let bake for another 5 or so minutes or until the cheese is all melty or the top is nice and crispy.%u00a0

Remove and plate%u2026 Serve with salsa and guacamole and maybe some corn chips. %u00a0
I am the greatest sister
-C
Makes 2 serving
- 1 Large Sweet Potato
- 1 cup Prepared Lentils
- 1 cup Chopped Kale
- 1/2 cup Grated Monetary Jack Cheese (Vegan style or not)%u00a0
- Salsa (optional)
- Guacamole(optional)
Place potato in oven at 400 degrees for 30-40 minutes or until soft a baked throughout.
While potato is baking, prepare lentils. %u00a02 cups water to 1 cup lentils. Add water and lentil to pot, bring to a boil, add a sprinkle of salt, and reduce to simmer until lentils are tender.%u00a0
When potato is cooked, remove potato %u00a0and let cool for a few minutes.%u00a0Cut in half lengthwise and scoop out most of the flesh out of the skins and place into a big bowl. WIth a fork, mash the potato a bit %u00a0Add in the lentils and the kale, a sprinkle of salt and pepper, and mix to combine. Stuff the mixture back into the skins of the potatoes and top with cheese. (if using ) Place potatoes back into oven for 5-10 minutes until cheese is melty and bubbly or the top of the potato is a bit crispy. Remove from oven and serve on a plate with salsa and guacamole.
Eat and be happy.%u00a0
 I was informed yesterday that if I was going to make tortilla chips, that I better make some sweet ass dips to go with them. %u00a0I kind of agree%u2026 tortilla chips need dip%u2026 or better yet, two dips. Queso and guacamole. It’s what needed to be done, and so I did it.
Guacamole is amazing%u2026 anything avocado is amazing%u2026this guacamole is amazing. White bean guacamole is amazing. And not that we really care, but this guac is half the fat then straight up guacamole. %u00a0Plus it’s packed full of protein making it a kind of super duper, must eat all of it, kind of dip. %u00a0And sweet potato anything will make me happy. %u00a0Making queso dip with sweet potato and cauliflower is probably one of my best food combos so far. (after eating a butt load, I felt like I was a genius and made an amazing discovery) Again, not that we need it to be, but this is also a fat-free, vegan, gluten-free, super healthy, packed full of B12,%u00a0%u00a0fiber and nutrients, dip for all kind of dip.%u2026. just another reason why you cannot feel bad when you finish off half a batch before you get a chance to stick it in a serving bowl. (I might have done that)
%u00a0Here is what you need for a good time:
%u2212These tortilla chips%u00a0%u2026.Check.
%u2212Some %u00a0Chopped Veggies (I want the veggies)%u2026..Check
%u2212Cauliflower Sweet Potato Queso.%u2026Check.
%u2212White Bean Guacamole%u2026Check.%u00a0
You are now ready for it. It being this party, that party, the Super Bowl, or a Wednesday afternoon. %u00a0
%u00a0 %u00a0 %u00a0 %u00a0
 %u00a0
To the left we have the makings for the cauliflower sweet potato queso.. Steamed cauliflower, a baked sweet potato, nutritional yeast, garlic, and chopped up red onion, red bell pepper and jalape%u00f1o. To make all you need to do it take the chopped peppers, onion, and garlic and saut%u00e9 for a few minutes just to slightly soften and bring out flavors. While that’s going on, take the steamed cauliflower and sweet potato(skin off..but eat it, or save it for soup or feed it to the dog) and puree together with a blender or food processor. Add in nutritional yeast, about a tablespoon or two of hot water and, salt and pepper to taste. Blend for about 5 minutes until super creamy smooth. Add in saut%u00e9ed stuff and pulse just enough to incorporated the veggies but not complete blend in. %u00a0Stick in a bowl.
To the right we have white bean guacamole stuff. %u00a0Two cups (or one can) rinsed white beans, one ripe avocado, a lime, a few cloves of garlic,(I also added a bit of garlic powered%u2026I like my garlic) and some chopped up red onion and tomato. %u00a0Place beans, garlic, avocado and lime juice in a blender or food processor and blend until smooth. Add salt to taste and toss in the chopped tomato and onion. Blend for sec to mix that in%u2026Stick in a bowl%u00a0
 Perfect…
 To think that both of these dips took about 10 minutes total to make. (I had pre baked the cauliflower and sweet potato) %u00a0And for real, I would spend much more time if I had too because both of these dips are so freaking good, I%u00a0definitely will be making these on the regular.
So there , dips for those sweet ass chips or whatever you want to dip or them spread them on.%u00a0
And he guys%u2026It’s FRIDAY! Have a fantastic day!
-C
White Bean Guacamole%u00a0
- 2 cups white beans (or 1 can) rinsed and drained
- 1 ripe avocado
- 3 cloves garlic
- 1 lime
- 1/4 %u00a0small red onion
- 1 small tomato
- 1-2 teaspoons salt
Finley chop onion and tomato. Set aside. Place the beans, avocado, garlic, garlic powder, 1 teaspoon salt and the juice from one lime into a blender or food processor and blend until smooth. Add a splash of water if needed to help keep things moving. Taste and add more salt if needed. When smooth, add %u00a0the onion and tomato and pulse a few times to mix in. Scoop into a serving dish and finish with a squeeze of lime and a bit of chopped onion and tomato.%u00a0
Cauliflower Sweet Potato Queso
- 1 1/2 cups pre cooked steamed or roasted cauliflower
- 1 medium pre baked sweet potato
- 1/2 cup nutritional yeast
- 1-2 tablespoons hot water
- 1/2 a small red pepper
- 1/4 small red onion
- 1 jalape%u00f1o
- 3 cloves garlic
- salt and pepper
Finely dice the red pepper, jalape%u00f1o, onion and garlic and saut%u00e9 in a skillet for a few minutes until slightly soften and fragrant. Take the pre-cooked cauliflower, sweet potato (skin removed), and nutritional yeast and place in a blender or food processor. Blend for about 5 minutes until creamy and smooth. Add in a tablespoon %u00a0of water %u00a0to keep things moving. When completely smooth, add in saut%u00e9ed veggies and pulse a few times to combine. Scoop into a serving dish. If your feeling it, %u00a0top with scallions and cracked pepper.
Serve dips with chips, veggies or anything you want. Also make great spreads for sandwiches and crackers too!
 Pomeamole!! %u00a0That’s what I want to call it, so that’s what it is. Guacamole with the addition of tiny little pearls of sweet and tangy juice.. I mean, come one, it can’t get much better. This is what happens when avocados are on super sale, I buy a lot%u2026and then eat a lot%u2026.and then eat some more. %u00a0I start to get a little crafty and, wa la.. add pomegranate seeds. I also inflict anyone eating around me with avocado, even if they believe that they don’t like it because that’s not possible. I know this because there was a time where I believed that I didn’t like avocados%u2026 and that’s just crazy. I remember the very moment I realized I was wrong. It was the first food Nick ever made for me. I was working at a pottery studio and wasn’t able to leave because of a raku firing %u00a0and I was starving. My love saved me with a sandwich, and it was the best I had ever eaten. %u00a0A sandwich that contained hummus, greens, sun-dried tomatoes, and yup, big slices of avocado. That sandwich change my life. I knew from that moment on%u2026. %u00a0I loved avocados%u2026%u2026oh and that I loved Nick too. I know, we are so cute that you want to barf. Well go ahead, just do it before you eat the pomeamole.
 It’s all pretty simple…One very tasty ripe avocado, about 1/2 cup of pomegranate seeds, %u00a0a little chopped onion, a bit of chopped tomato, %u00a0a lemon, a few cloves of garlic and a pinch of salt. %u00a0It’s what dreams are made of.
 Mash it all together minus the pomegranate seeds%u2026 As smooth or as chunky as you like it%u2026.
 Fold in 1/2 the seeds
 And top with the rest! And another squeeze of lemon%u2026 just like that. You can eat this magic with anything you want; %u00a0chippers, rice cakes, tacos, toast, or even top a kale salad with a big scoop. %u2026..we at it with carrots and broccoli. SO GOOD!
Pomeamole! (Pomegranate Guacamole)
Ingredients
- 1 ripe avocado
- 1/2 a small red or sweet onion
- 1/2 a small tomato
- 2-3 cloves of garlic
- salt
- %u00a0a lemon or lime
Pit and scoop avocado into a medium bowl and smash until desired consistency. Finely chop onion, garlic and tomato and mix together with avocado and half the juice of the lemon. Fold in most the pomegranate seed. Top with the rest and the squeeze the other half of lemon on top.
Serve with food, or just eat with a spoon.
Hooray for on-sale avocados!!%u00a0
-C























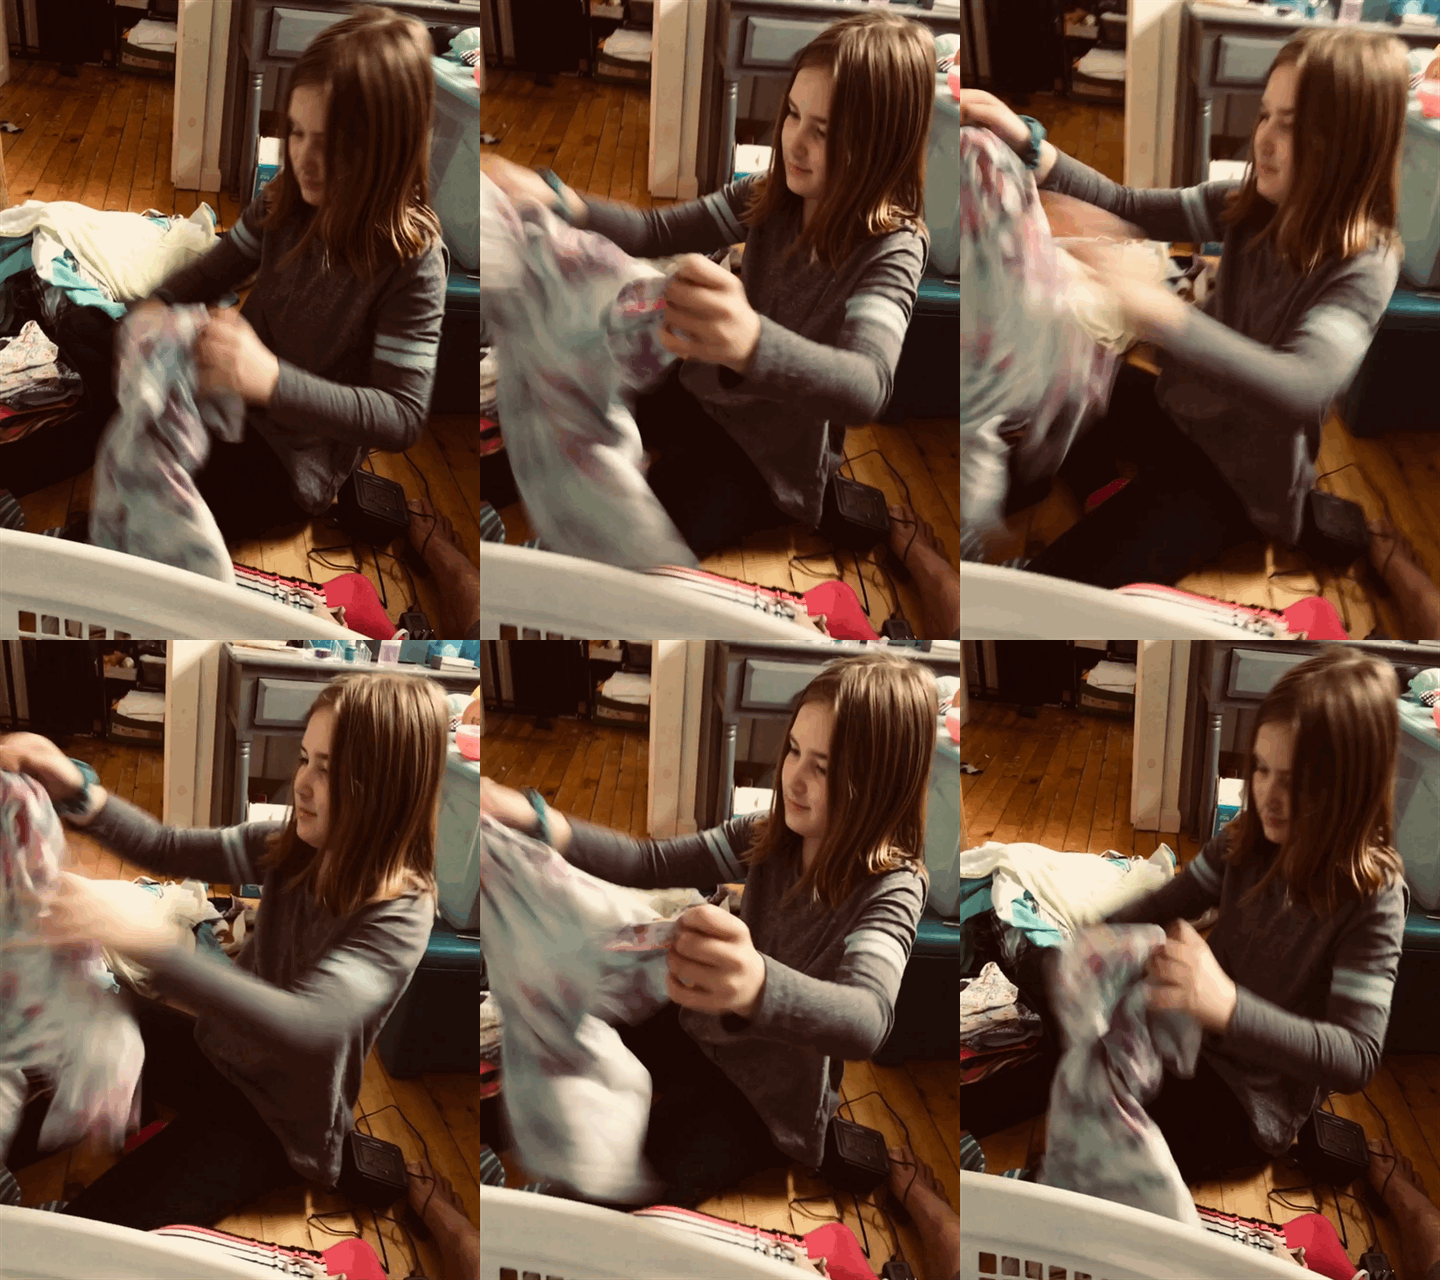















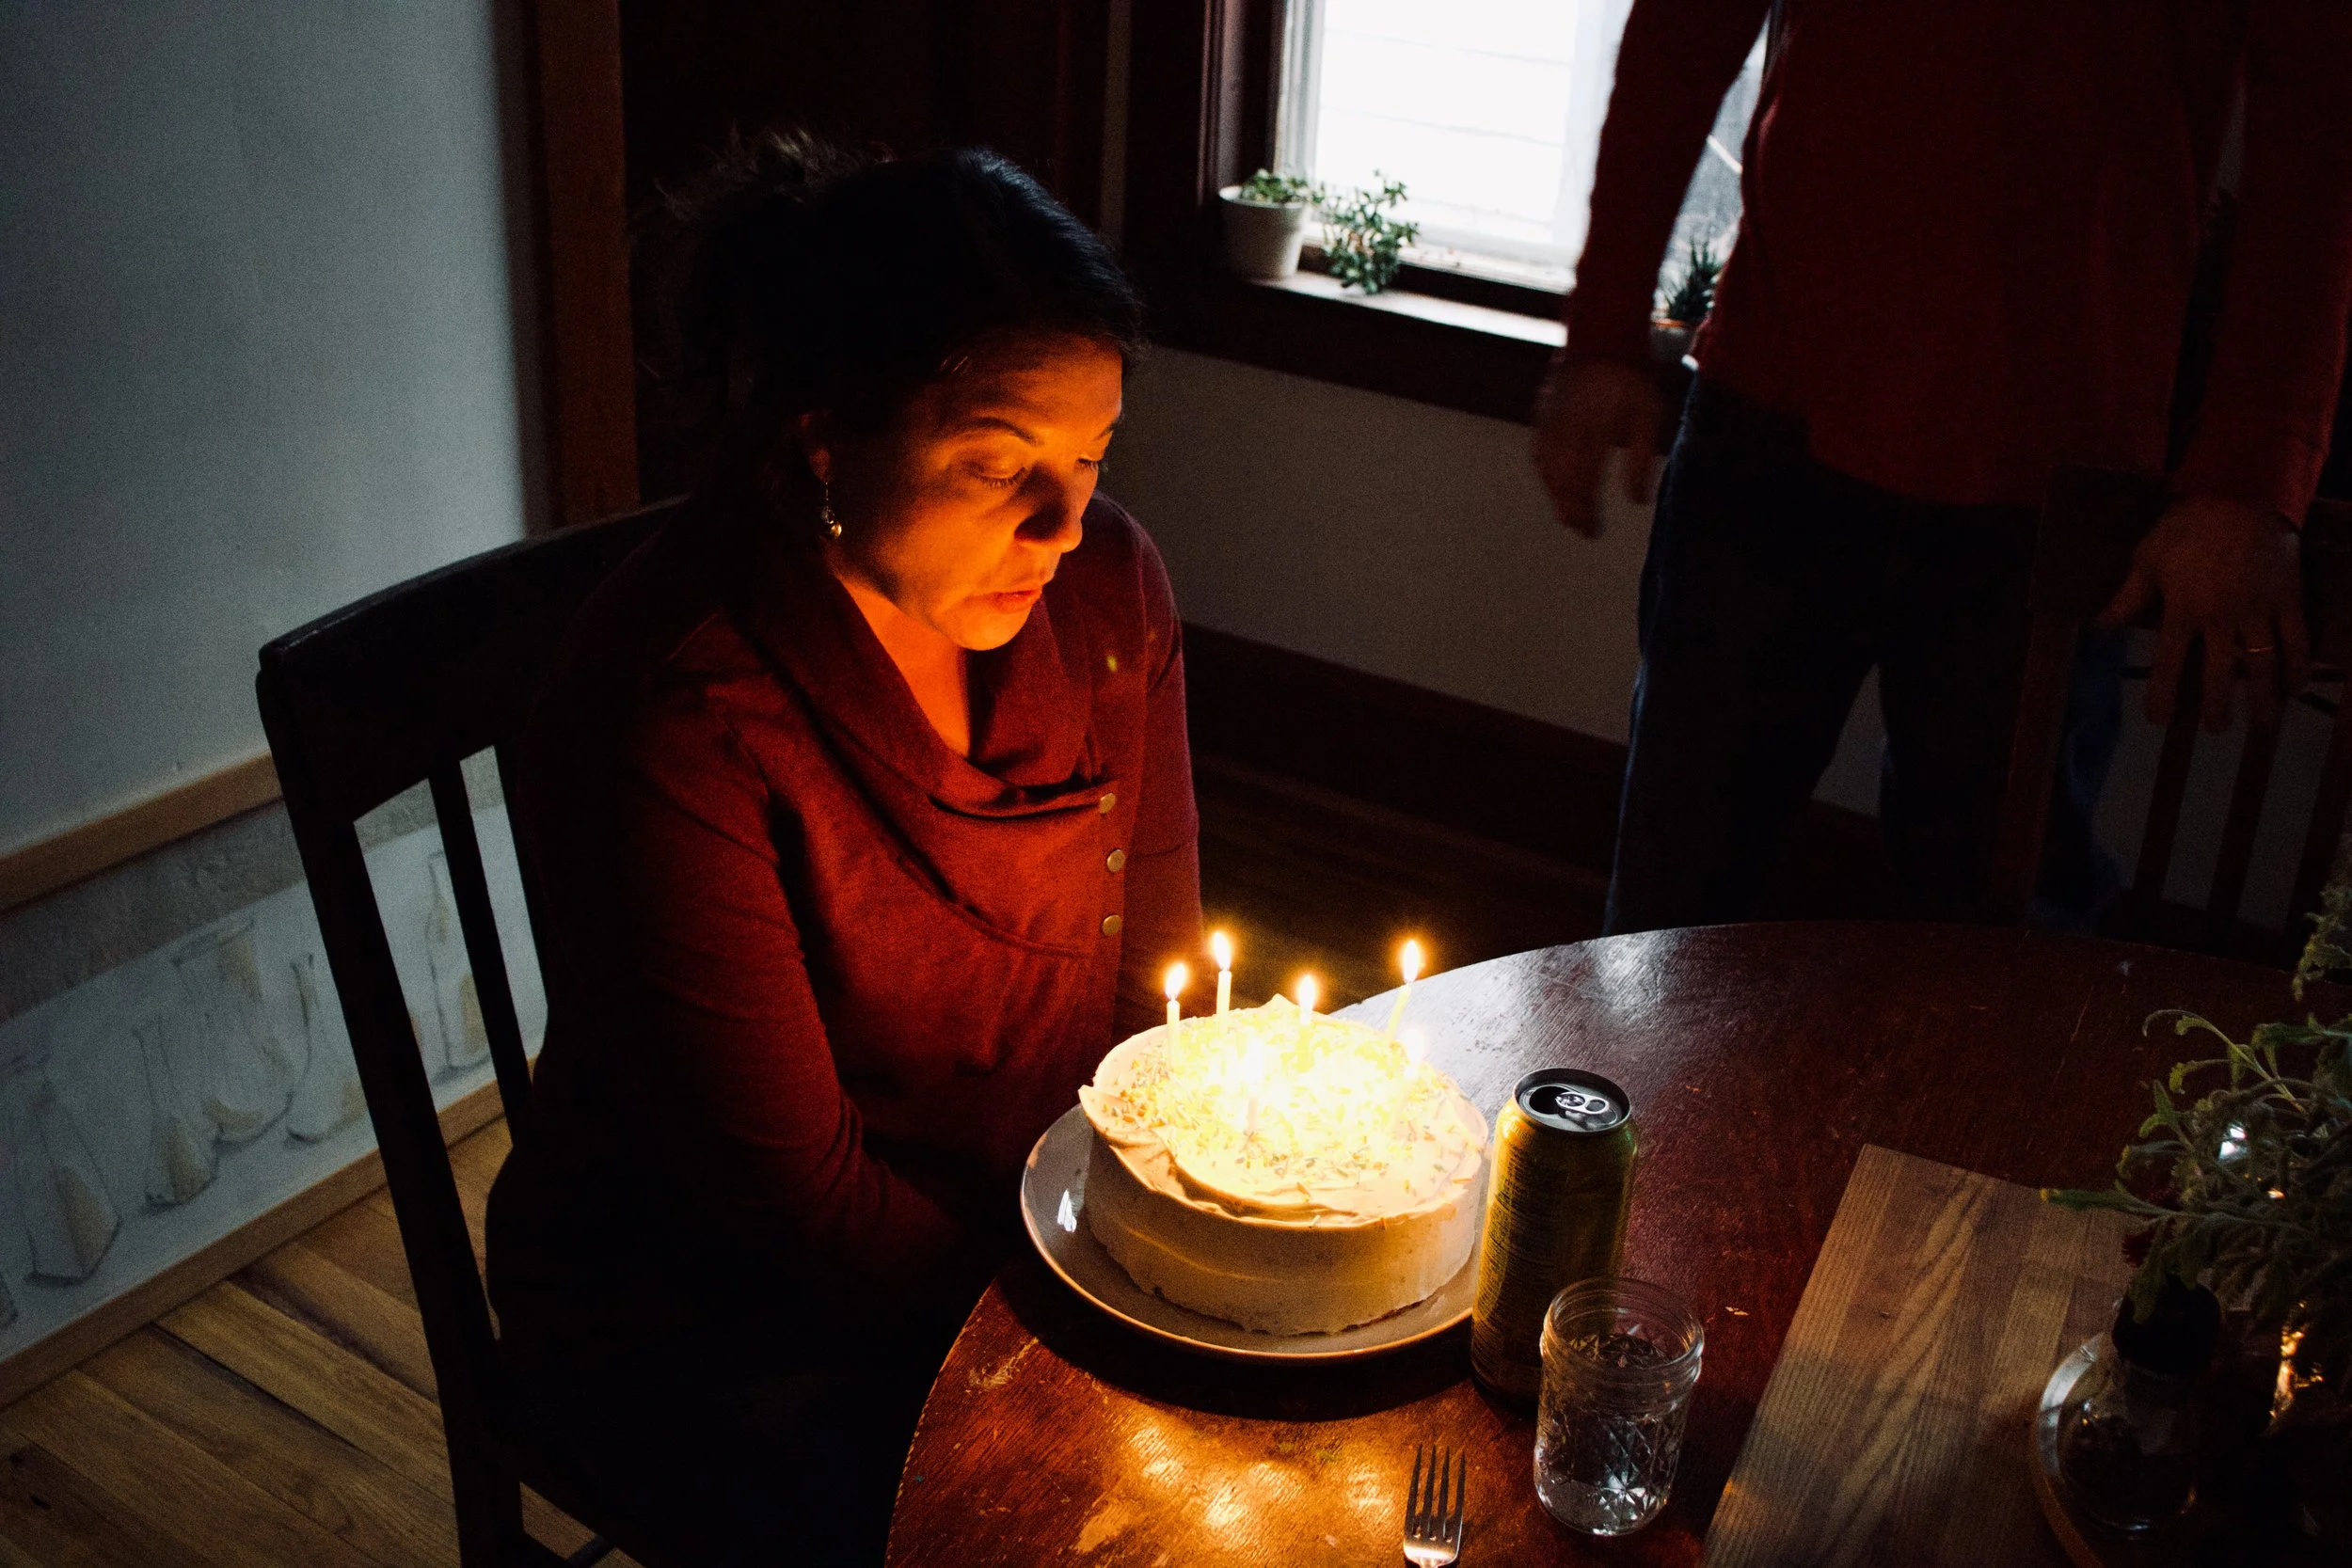








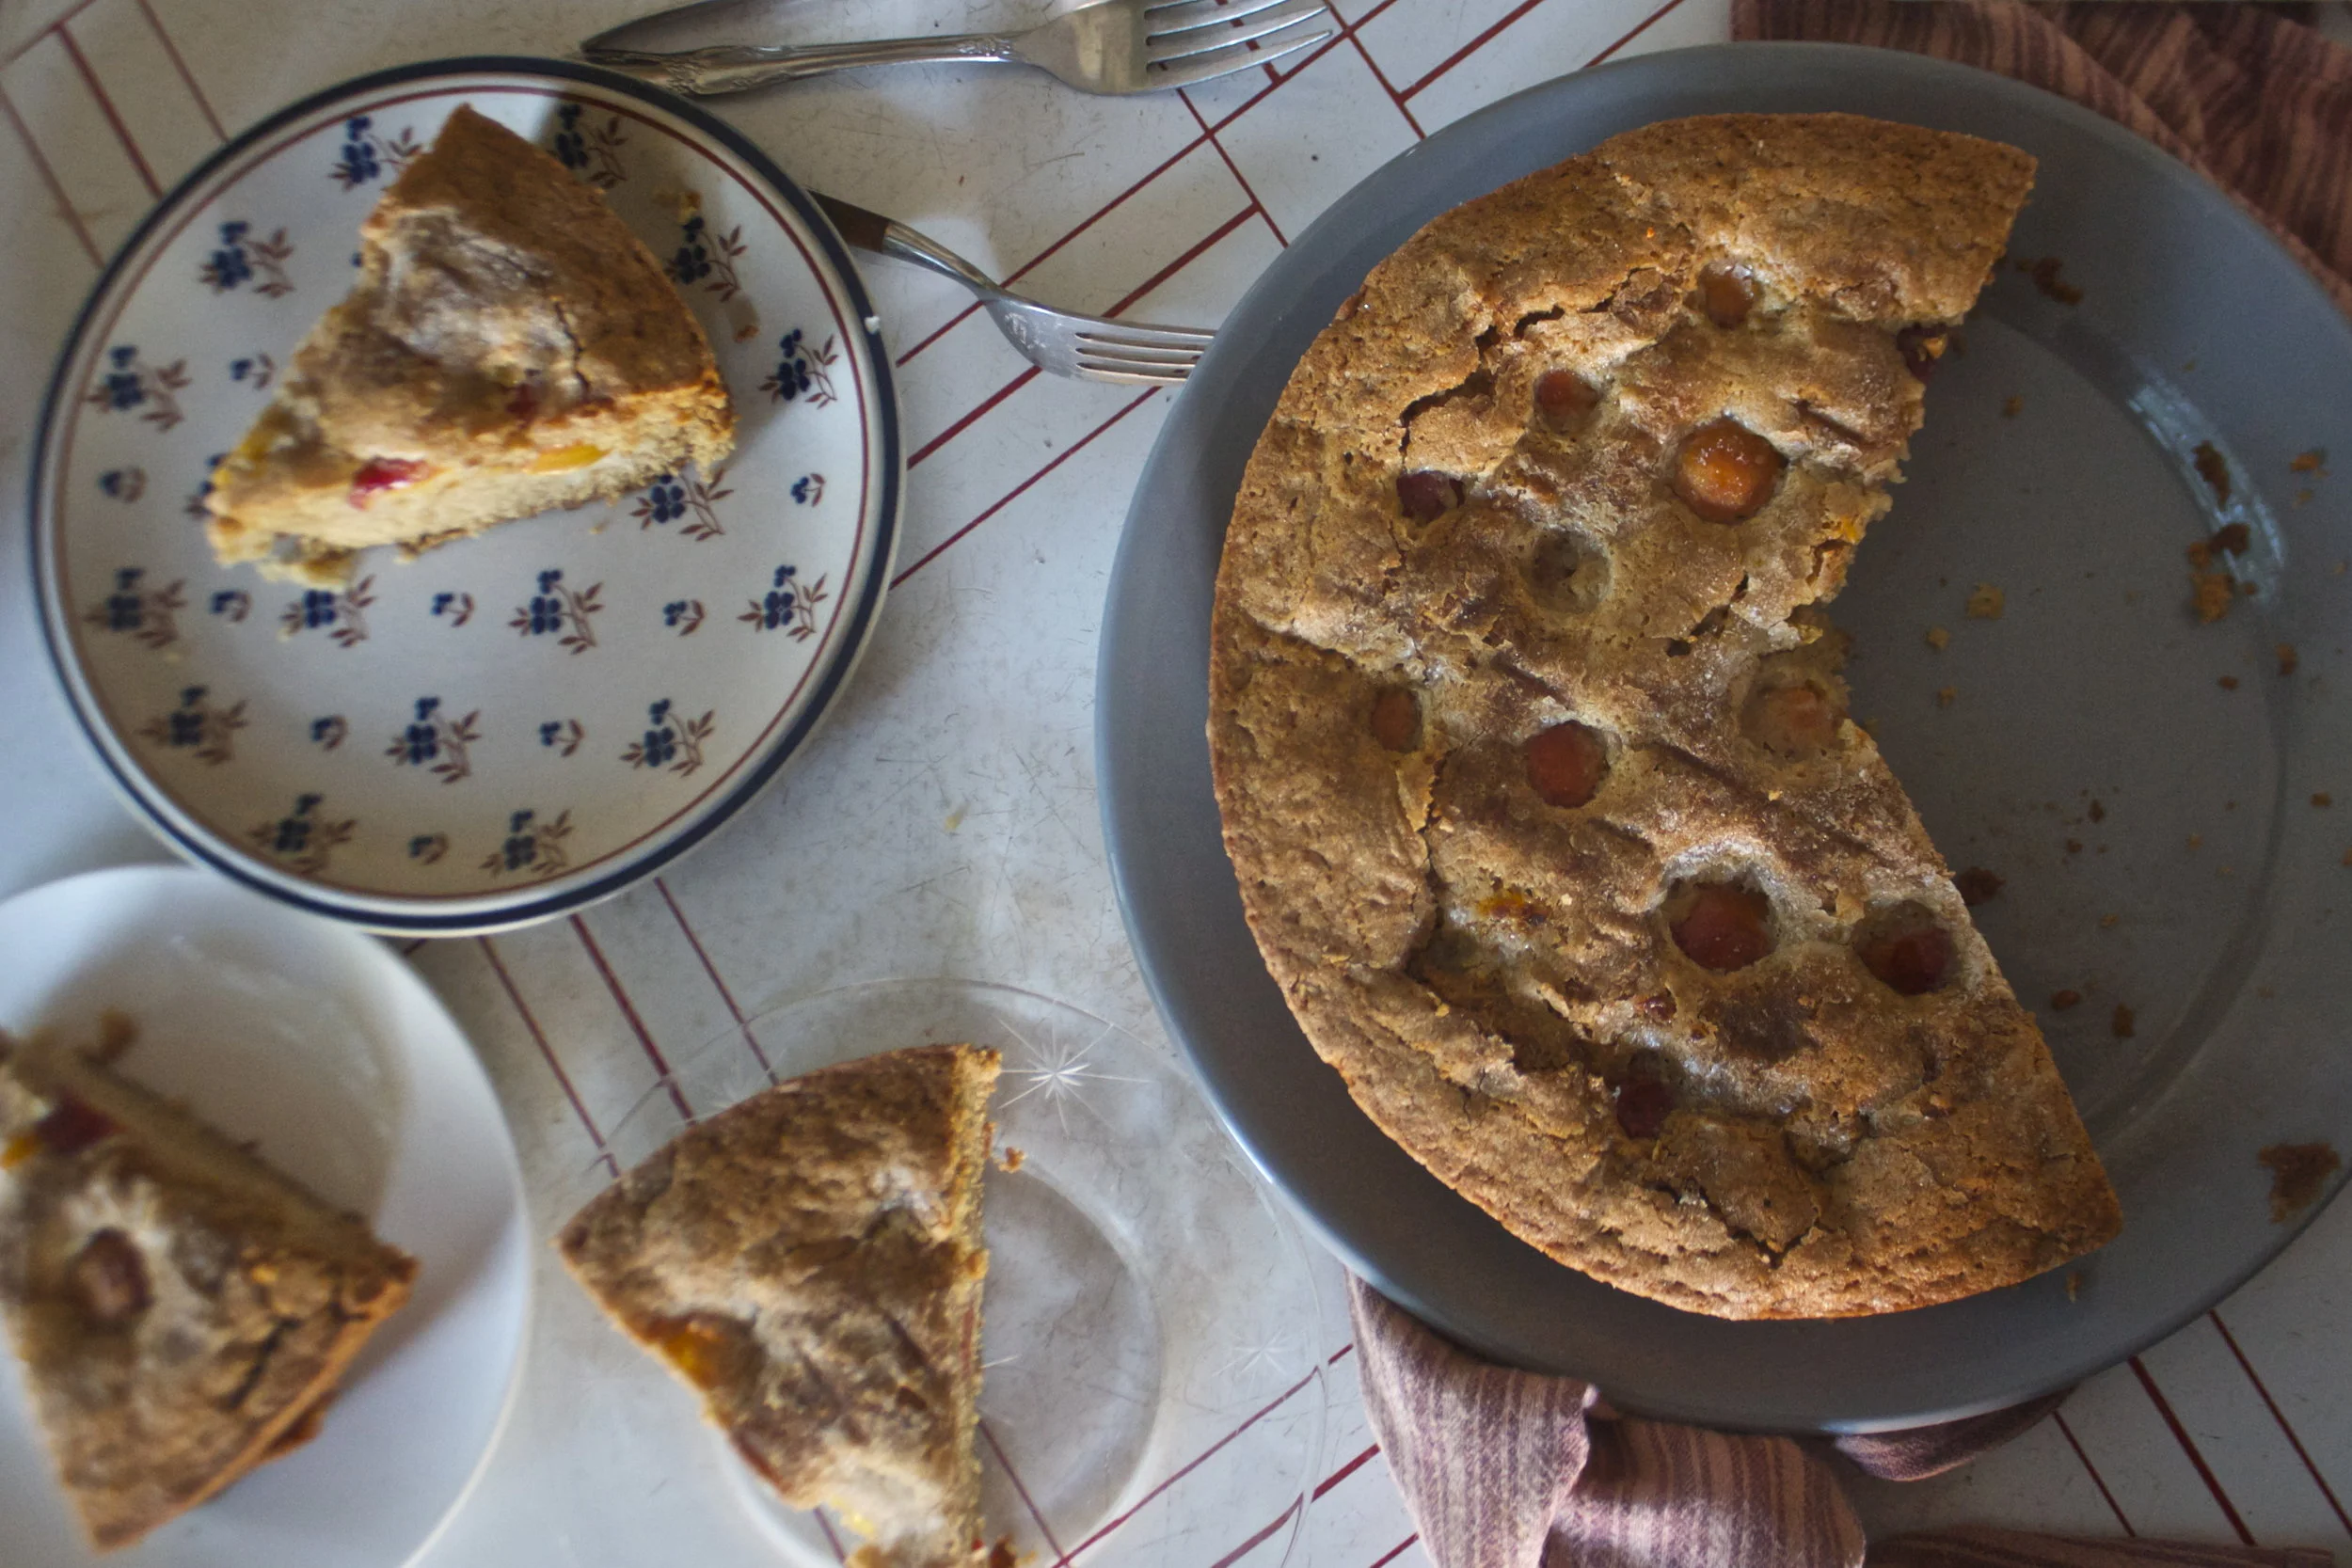


 Whenever me and the mister get invited / show up for dinner at someone’s house, I like to bring at least one thing to contribute to the meal. First, because I am nice like that. Secondly, because I get to make food for other people besides Nick and get new feedback on recipes. (Sometimes I think he tells me things taste amazing when they might not) And thirdly, its nice to mess up someone else’s kitchen besides my own. So last night we went to my sisters and I made a salad. A very easy and virtually mess free salad…….I still made a mess (I cleaned it up myself!)
 Start with the base layer of kale… then first goes the sliced onion. (Make sure it’s thinly sliced or else it will be to overpowering)
 Add thinly sliced oranges…oh boy, your half way there!!!
 Top with thinly sliced avocado, a sprinkle of salt and drizzle with lime juice. I also served with an extra wedge of lime, there is never too much lime.


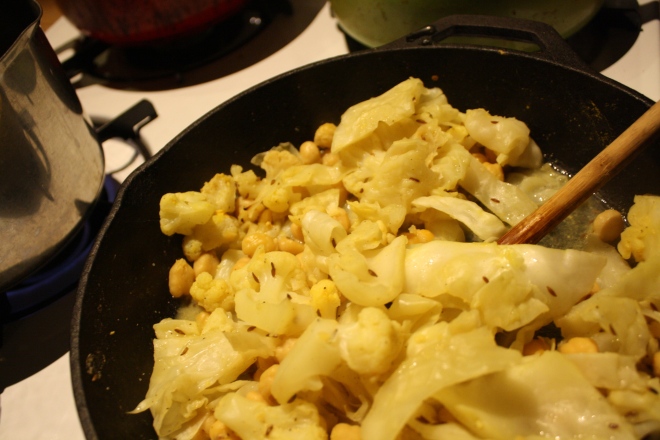


 Peas scream spring to me. The bright green color with that nice bright fresh taste….. kind of like a fresh spring day. Ah spring, so lovely, so nice, so hasn’t made its way here yet. So I guess I am left to eat my spring. And what better way to highlight those lovely spring tastes? A fantastic pesto my friends, and it can be made lickidy split.
 Pesto Stuff. We got the peas, garlic, lemon, oil, cheese if you please, and salt.
  Take a handful of peas and set aside for later. Juice the lemon and take that and the rest of the stuff and stick in a food processor and puree until smooth.
  The pesto is made, and it only took about 2 seconds, now boil up the pasta. If you were a thinker, you could start the pasta and make the pesto while its boiling. (I wasn’t being a thinker) I used bow ties cause they are super cute, but use whatever pasta you’re feeling. Shells or the ones that look like little brains would be good options.
 Into a bowl and served with a fork to eat it with. A super green fresh springy meal of happiness. And all under 15 minutes in the kitchen.
 I love mustard, and when I say love, I mean LOVE. I eat it on anything and everything. And not just small quaintites, I buy jumbo sized containers of the stuff because I go through it so fast. Over the past few years I even started taking down others with my mustard eating obsession. Sisters, brothers, even some of the littles are now mustard eating feens. One of my little nieces is now just as bad as me. I don’t think I have seen her eat a single meal without a side of mustard. Her favorite snack, clementines and mustard, although sometimes she skips the clementines and just goes in with her fingers. Oh so good. I think that child could possible be mine. And yes, it’s mostly the yellow grocery store variety of mustard being consumed, but yellow mustard is just the tip of the ice berg. There is a whole world of flavors, textures and colors when it comes to the humble mustard seed. Whole grain mustard, to me, is one of the best and easiest to adapt to any persons specific taste. You can make it plan or add in just about any spice, vinegar, even a little sweetness that you might like. One of my favorite variations of this mustard is to skip the vinegar and use picked jalapeño juice. Aah, my mouth is watering just thinking about it.
 Yellow mustard seeds, brown mustard seeds, apple cider vinegar and salt. The most basic ingredients.
 In a large jar, combine the mustard seed , twice as much vinegar and a pinch of salt. Cover and let sit for on the counter overnight until the seeds have soften and look almost like caviar.
  Now blend those seeds. You might want to add another splash or two of vinegar to help blend and to thin out a bit. Chose how creamy or seeded you like you mustard. I like to make it creamy but seedy so I blend it half way to creamy.
 You have got mustard! Make sure you have a good snack ready to eat with it.. My go to is carrots. I could eat this all day long.
  There is irish soda bread in your future. I can see it. A nice hardy hunk slathered in butter and honey, crumbs all over the place. So all you have to do know is make it.
  White whole wheat flour and all purpose flour mixed together. Salt baking soda and buttermilk. That’s it.
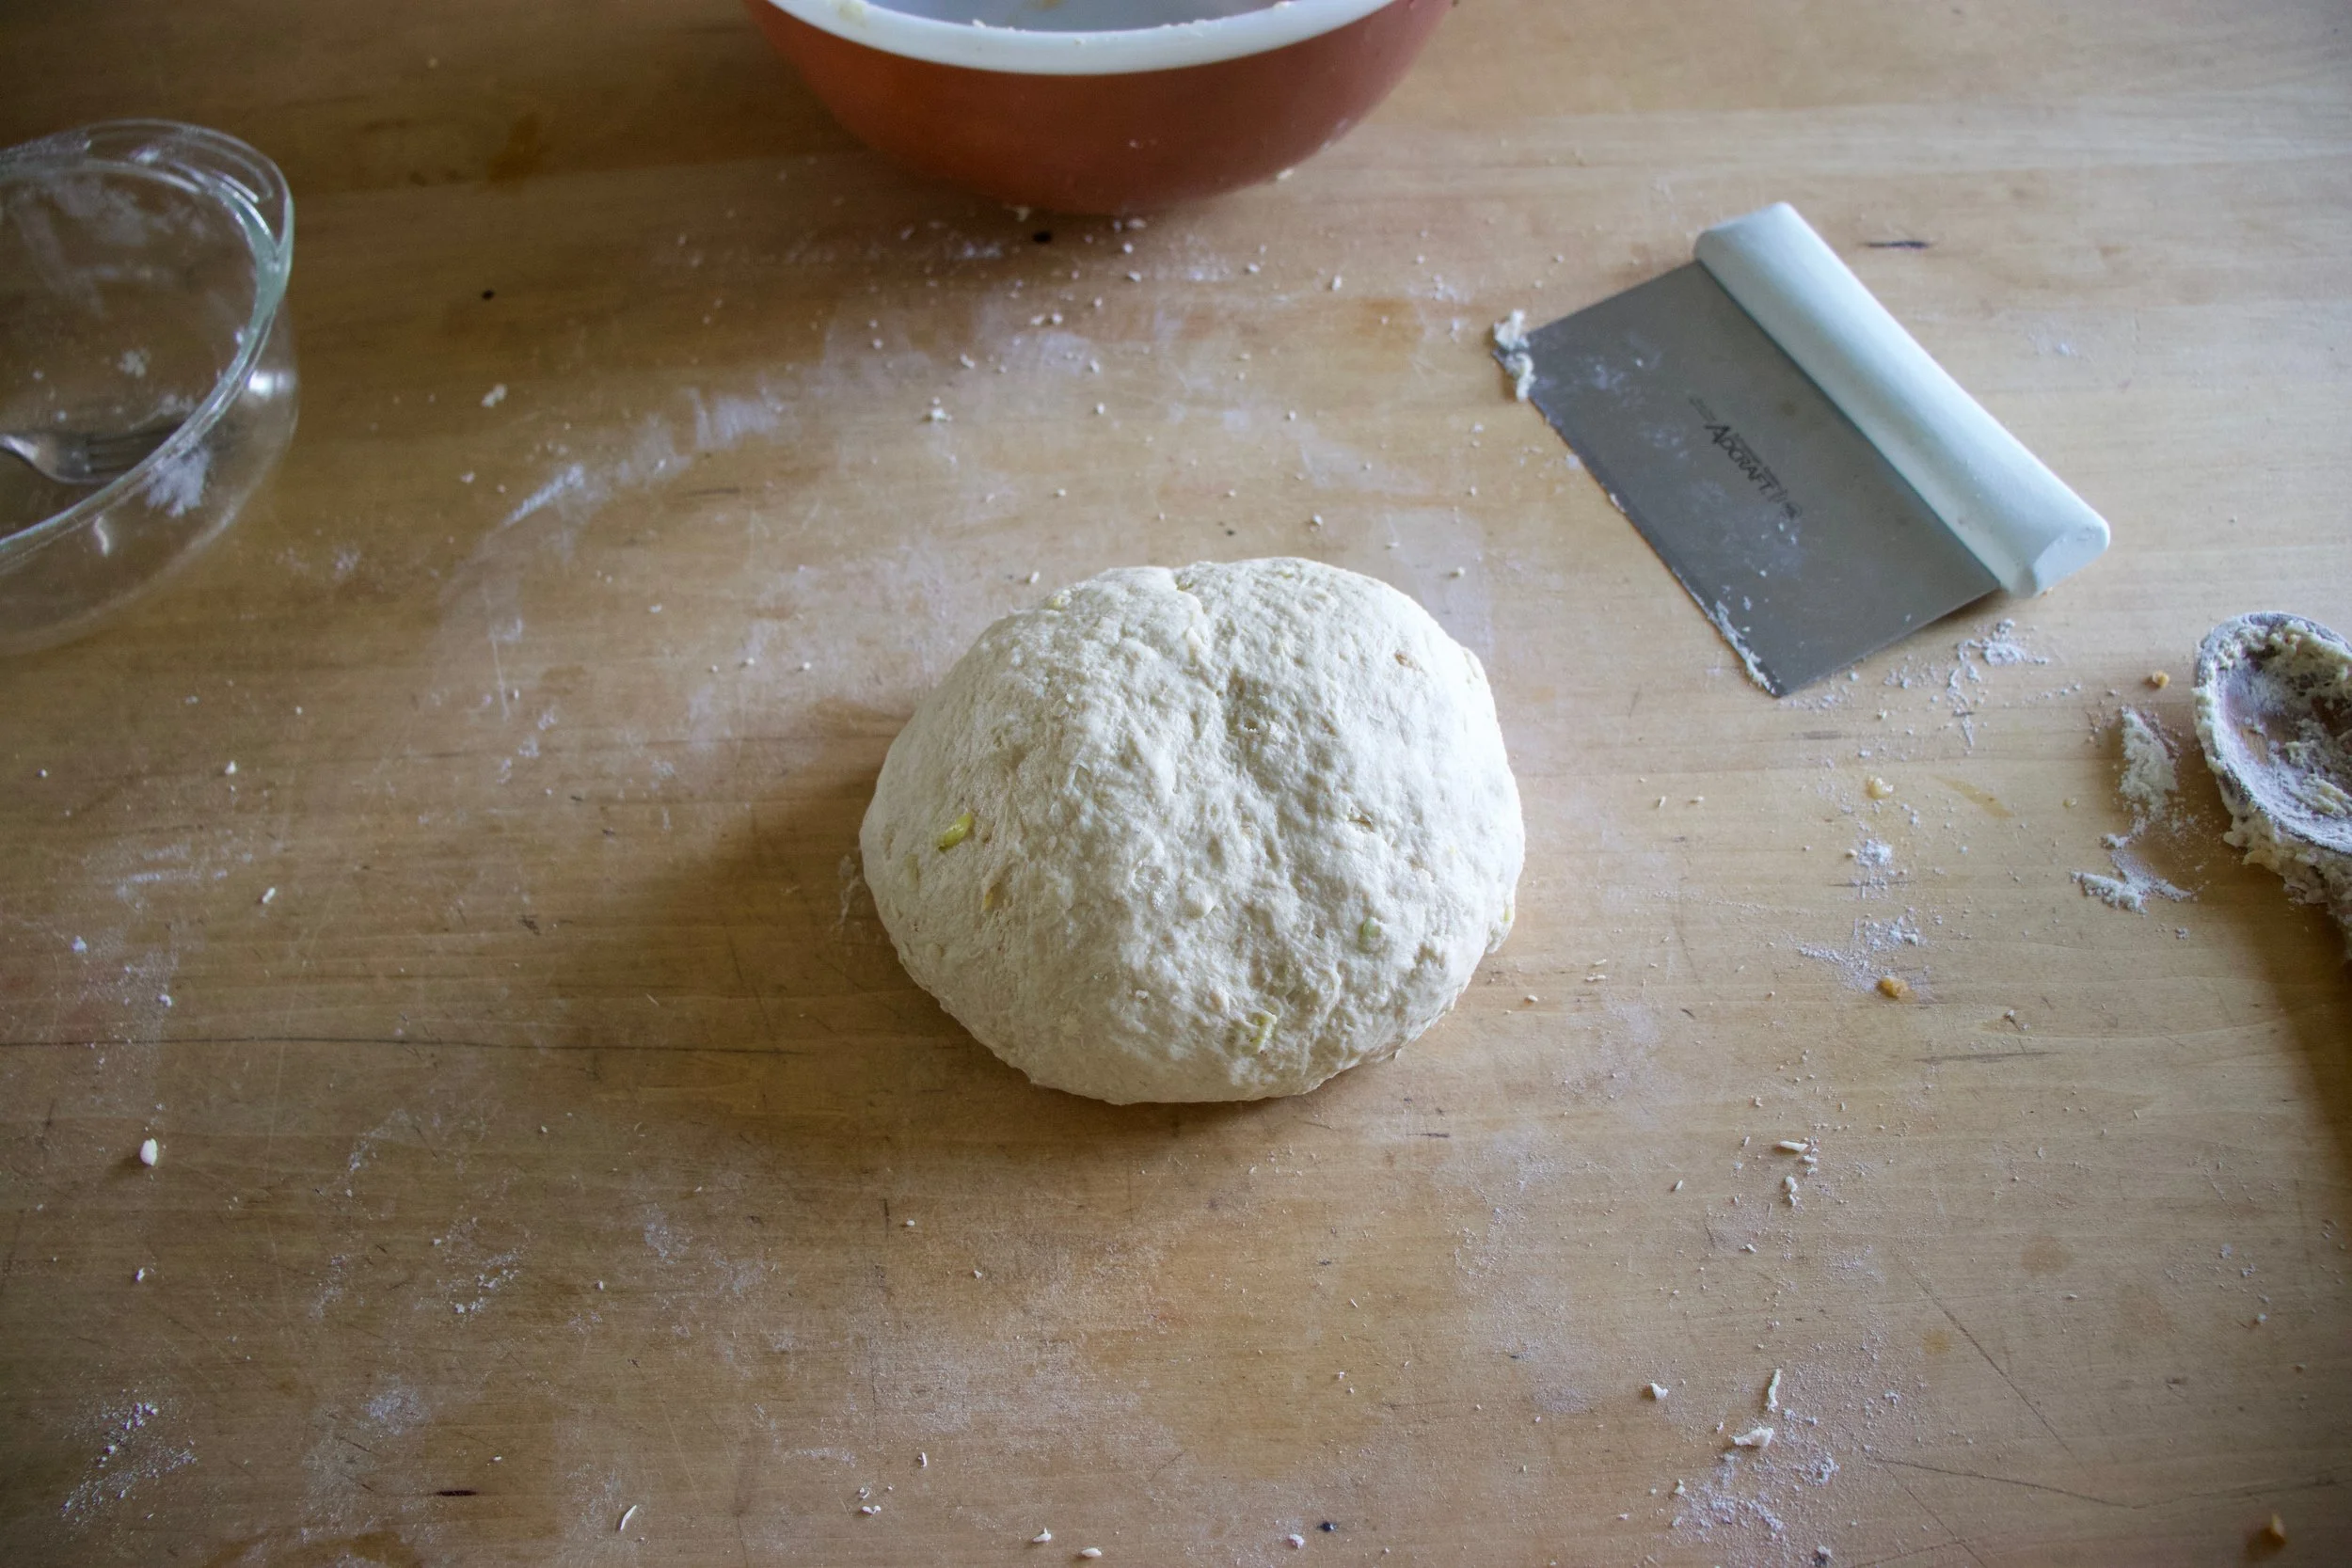
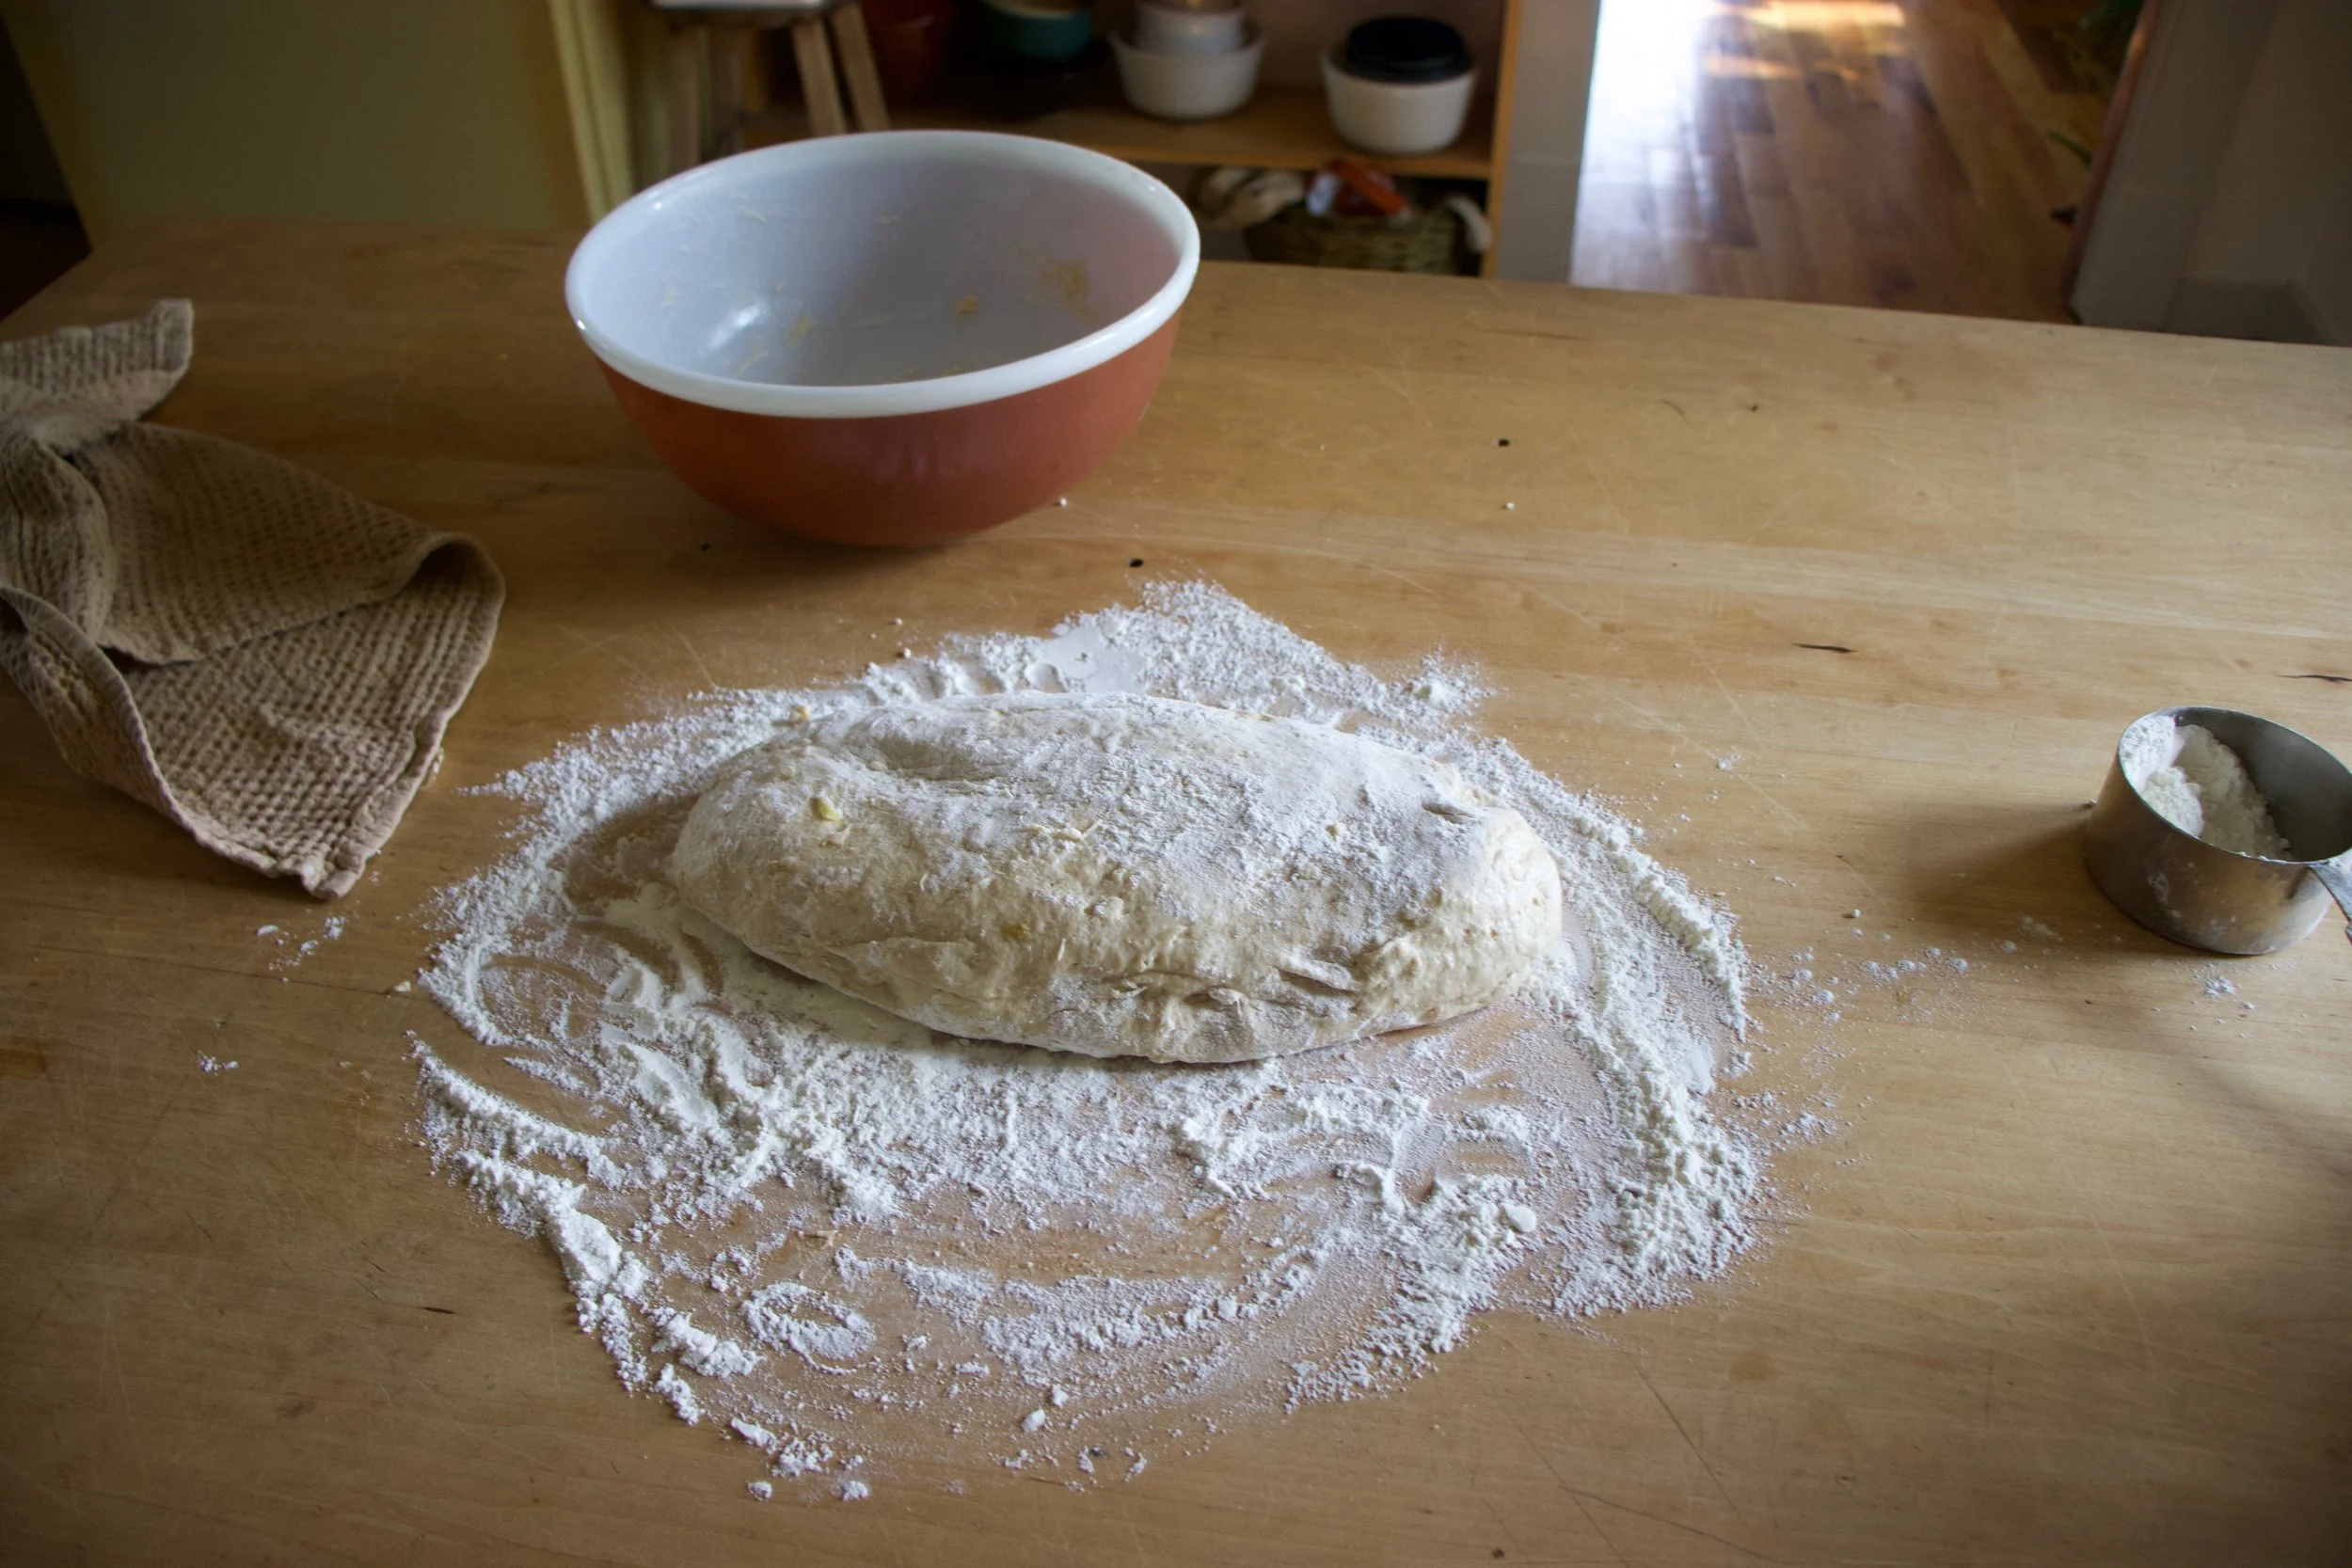
 All the dry whisked together and in goes the buttermilk. Mix together until dough starts to form then dump onto a floured surface. Handling dough as little as possible, knead into ball.
 Place on a baking sheet and dust with flour. Take a sharp knife and cut an X through the top about 1/2 inch deep.
 Happy Friday!
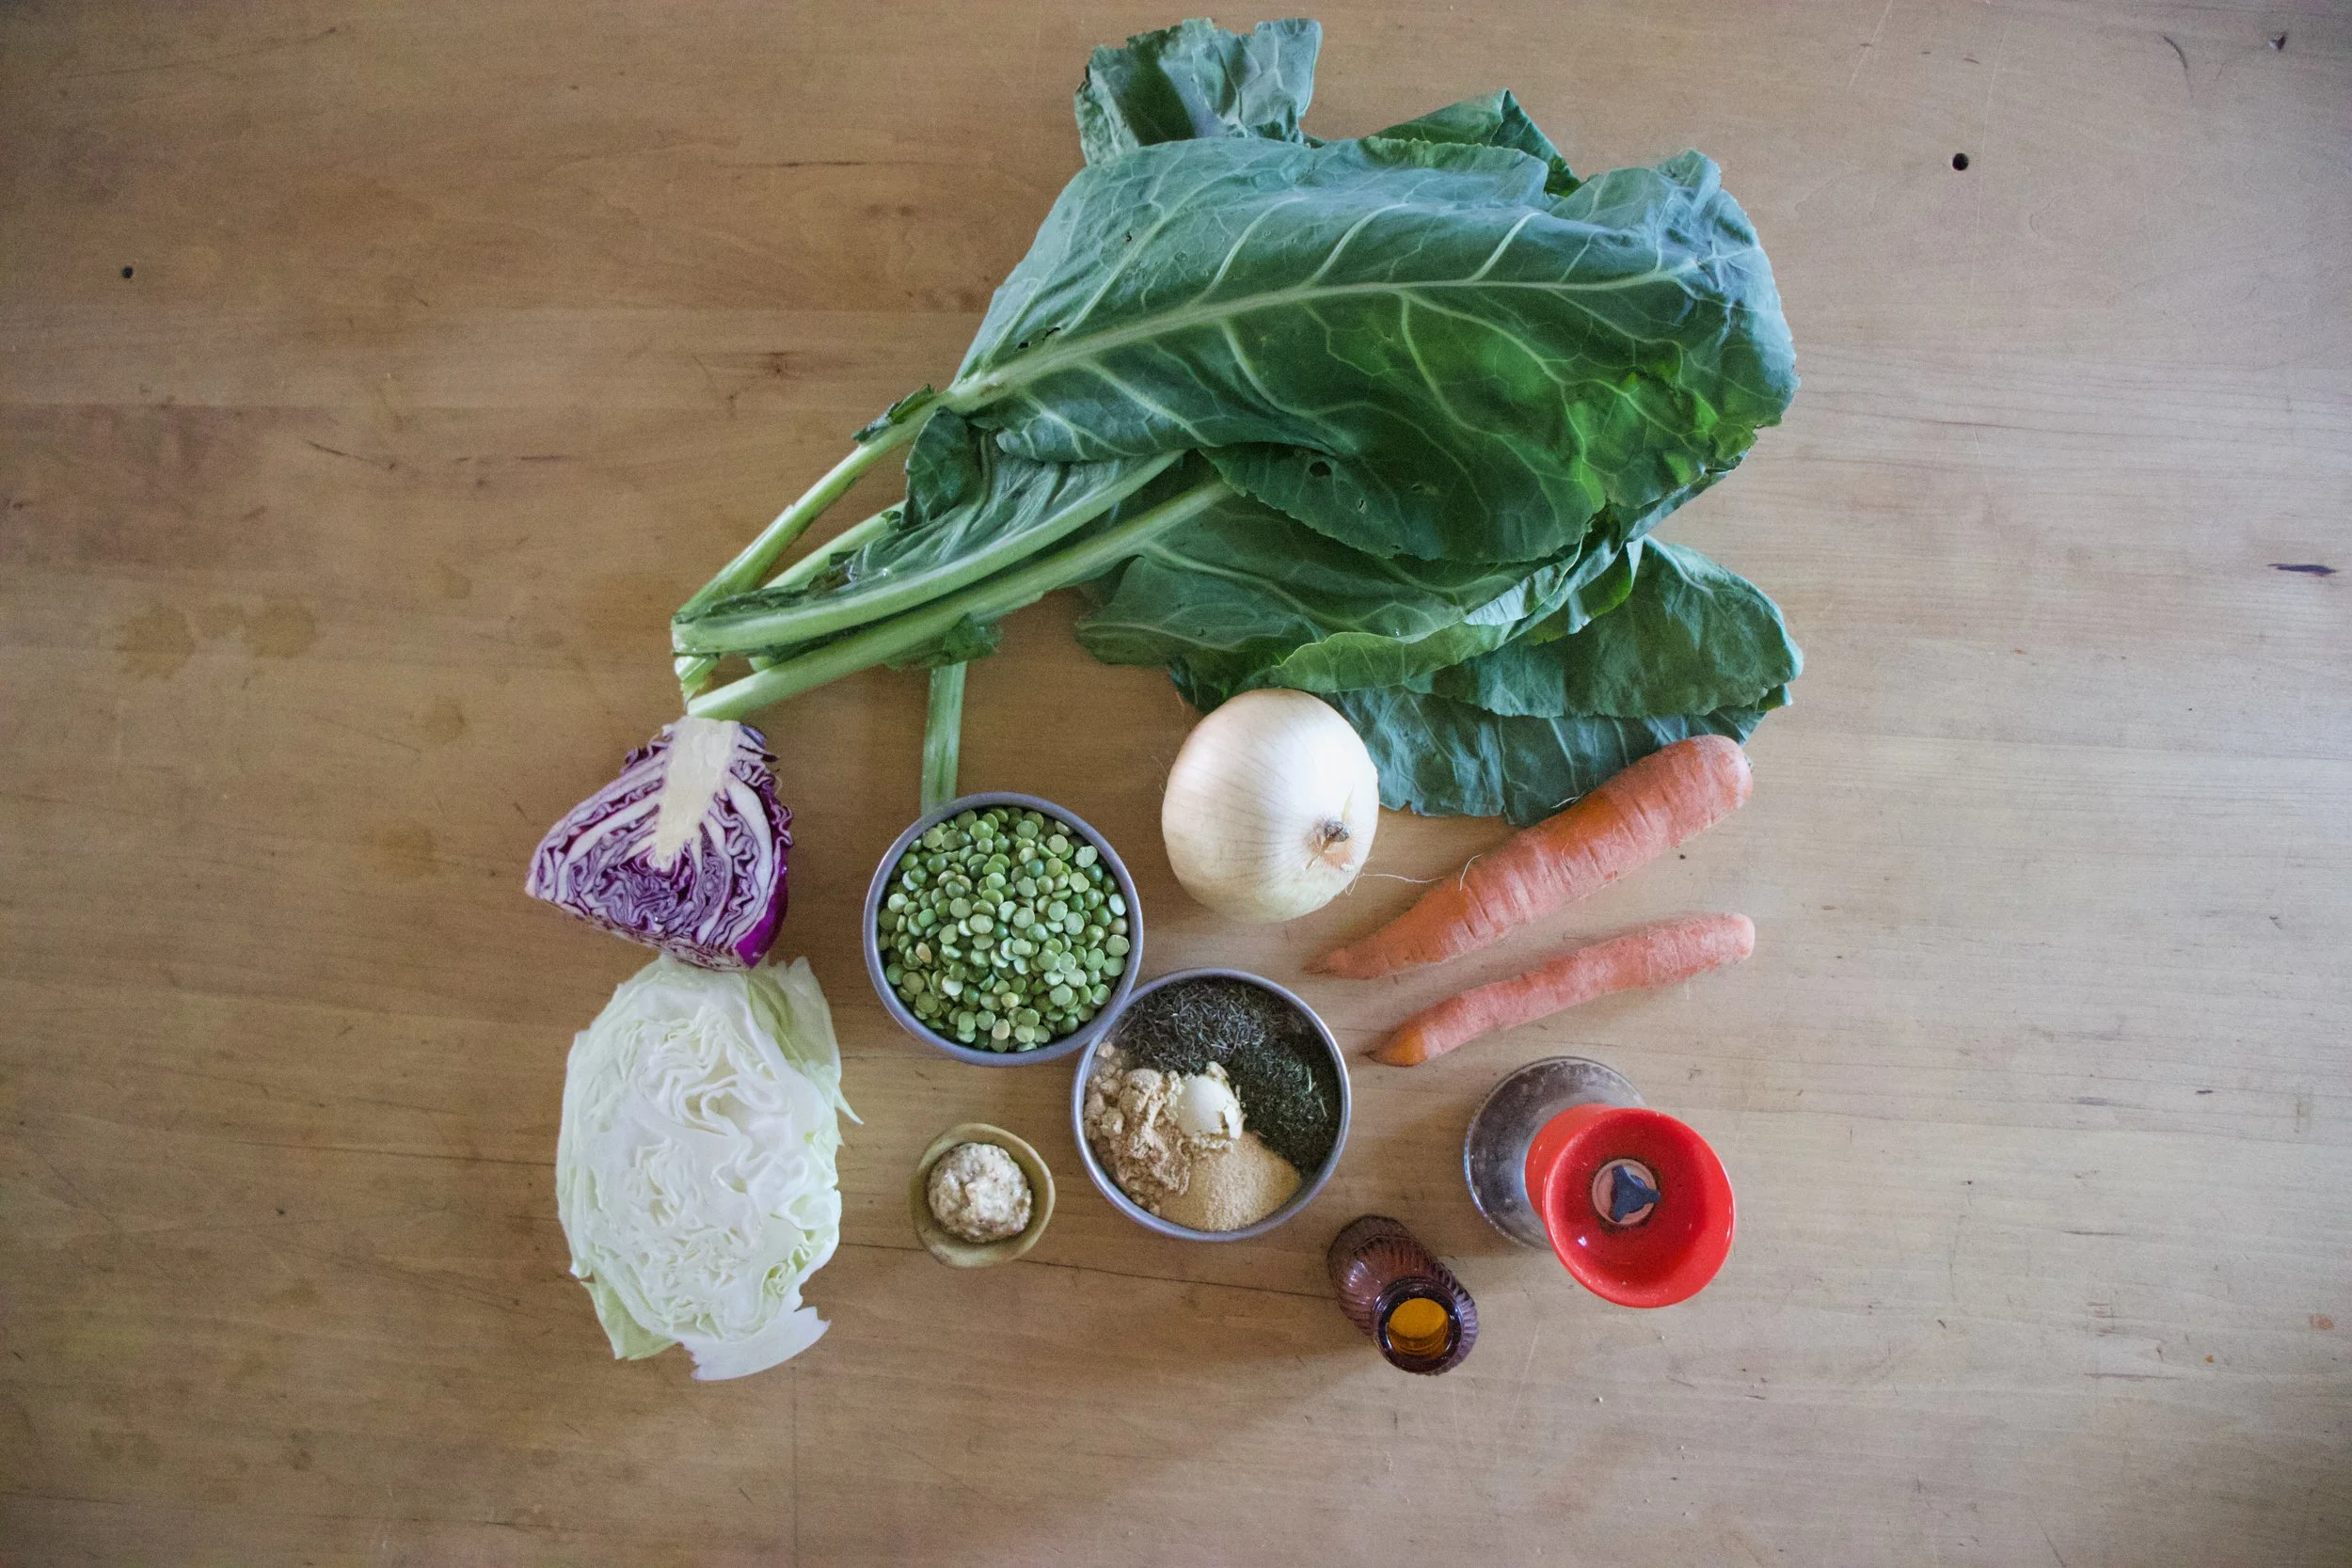
 The Stuff. A medium sized butternut squash, seeded and diced (no need to peel, but go for it if you want) About a pound of broccoli, (fresh or frozen) and a few shallots. Salt, pepper and a few cups of water.
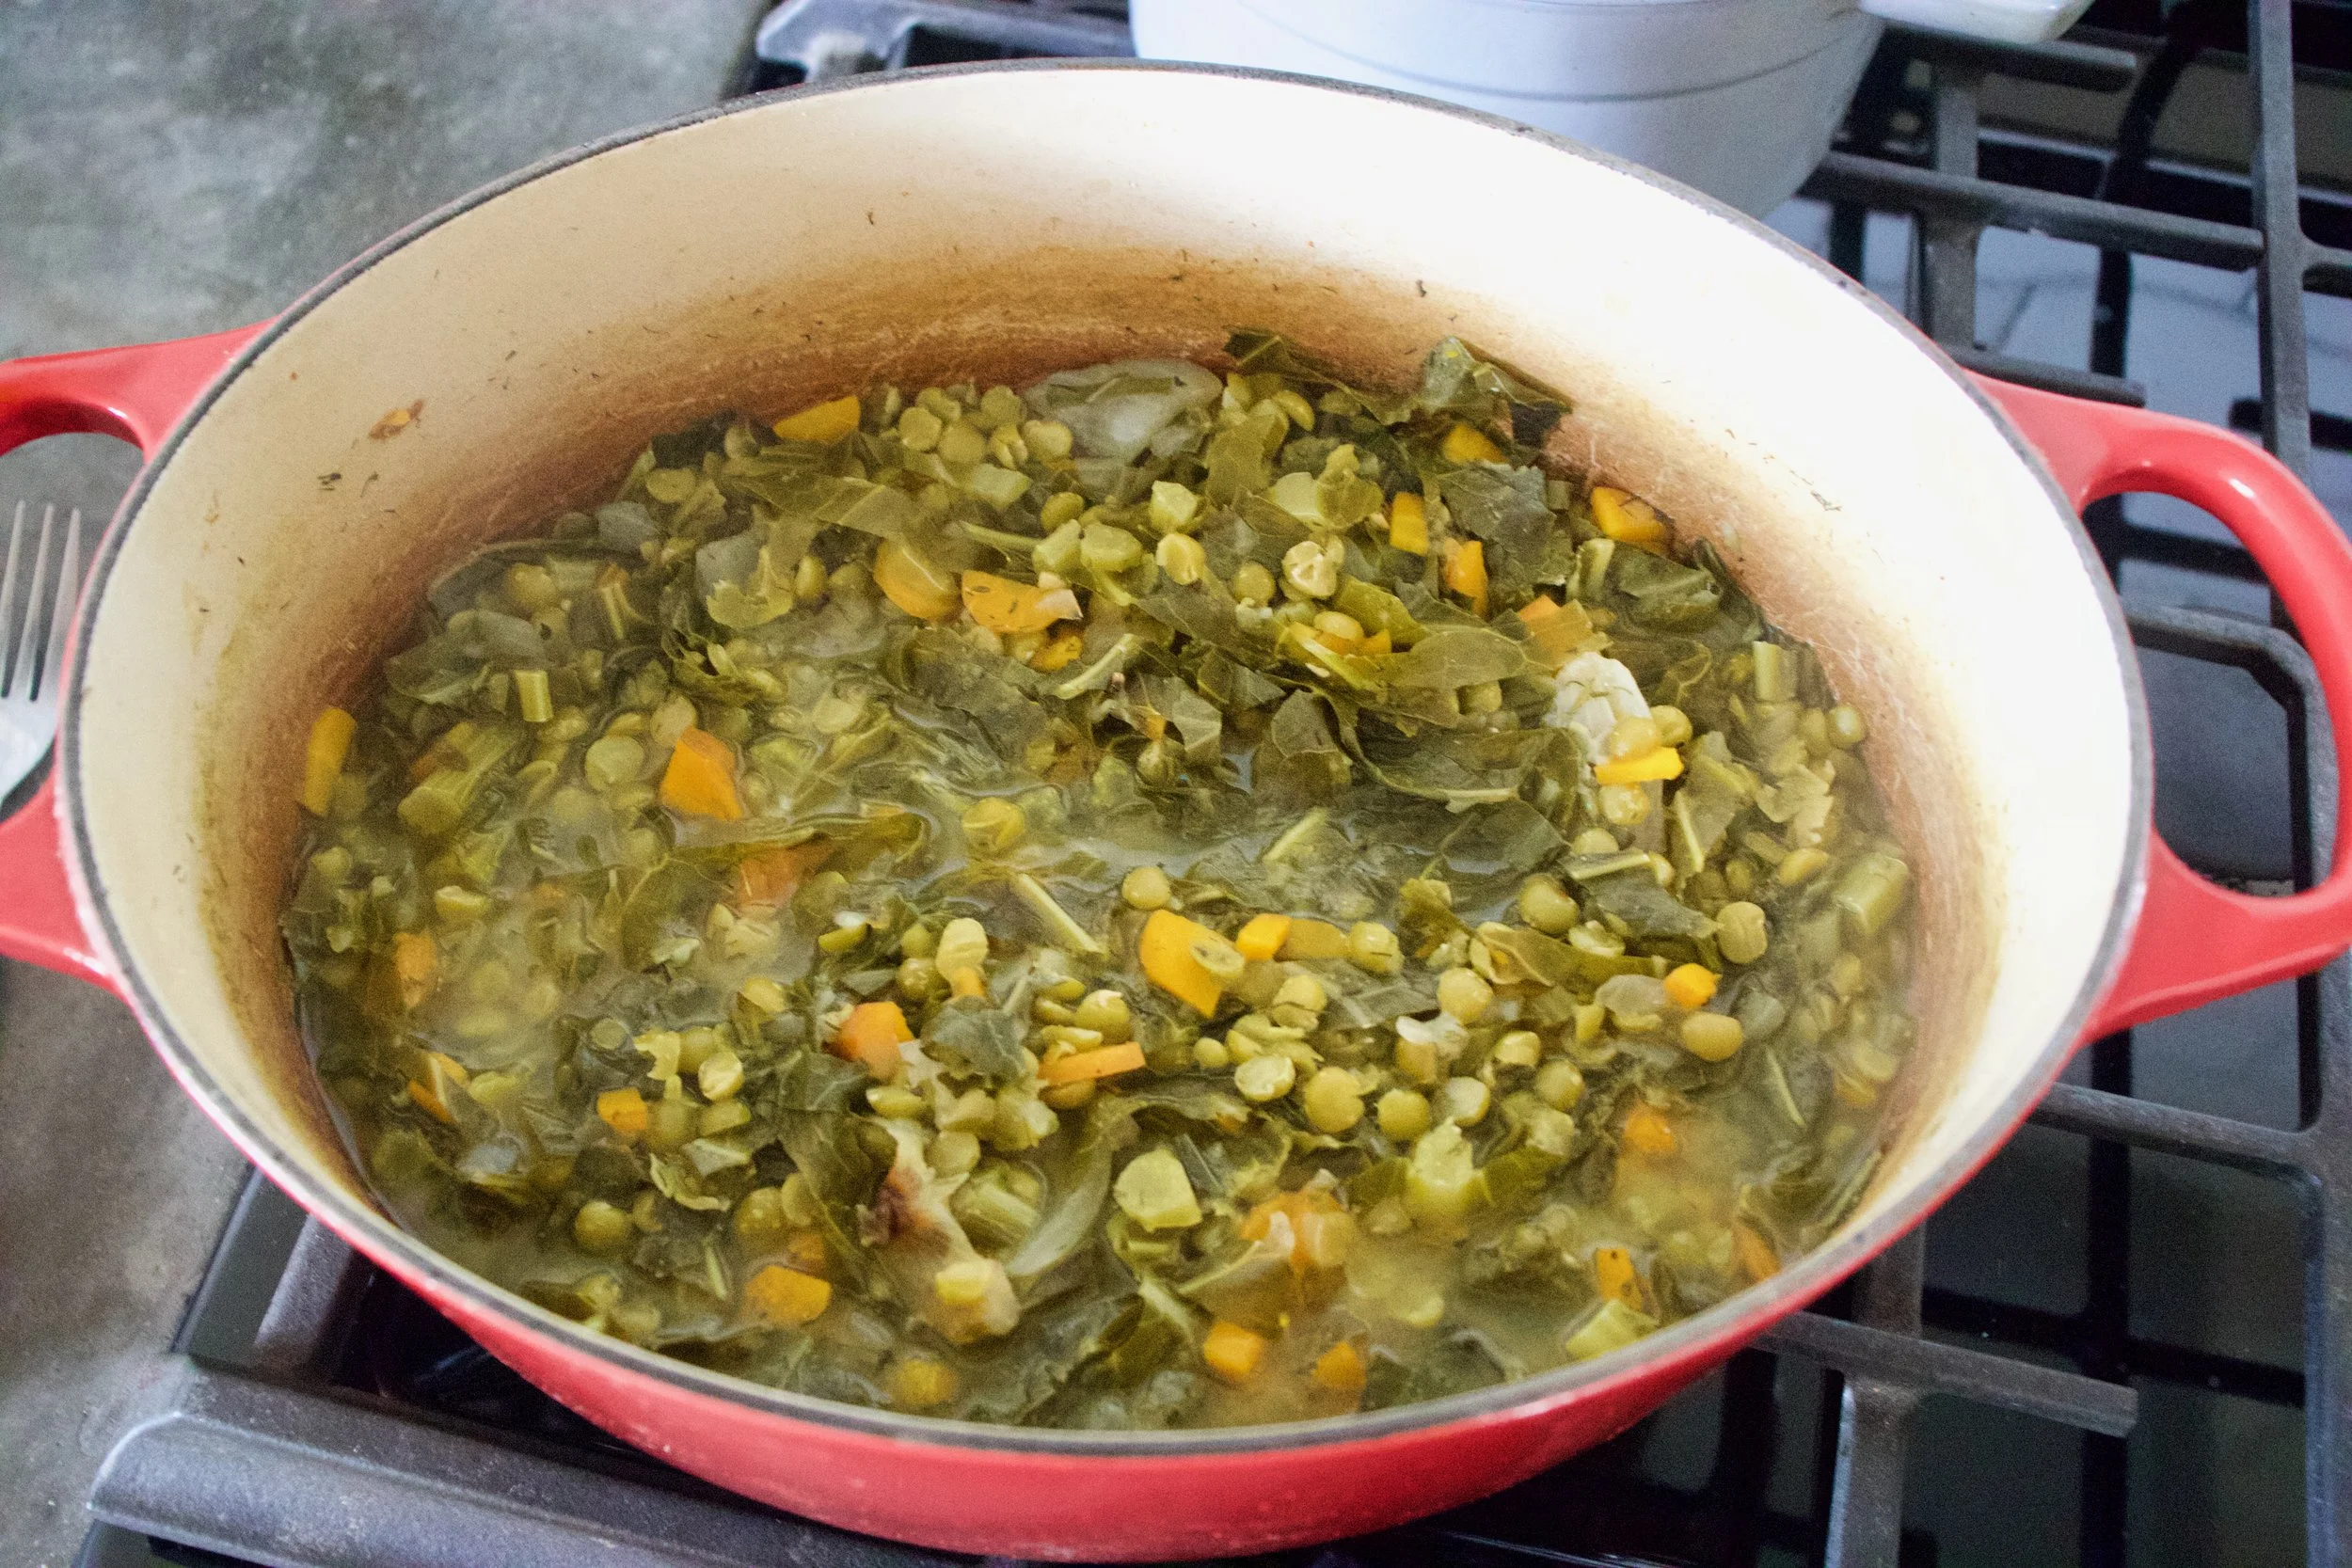
 The chopped squash and broccoli go into a big pot with about 2-3 cups of water. Add about a tablespoon of salt and pepper. Lid up the pot and place on medium low heat for about a half hour, or unitl squash and broccoli is fork tender. Now blend together with either a emulsion stick blender or place in a blender for 3-5 minutes until completely smooth. Add enough water to keep things moving. Add more water if you want a thinner soup, less for a thicker soup. Season with more salt and pepper to taste. Once blended, place back in pot on simmer until ready to serve.
  Finish off with a drizzle of balsamic vinegar and top with the sautéed shallots.

 Before we get to the fries, I just want to mention that yesterday was one of those fantastic winter days that reminds me why I love living in Vermont. Pretty white snow everywhere, the sun was out, and 20 degrees without a gust of wind. The trash dog an I were even able to go for a little hike. It was so nice and soooo sooo needed! Anyways, the other day as me, my sister and the mister where putting together one more piece of Ikea furniture, (I am the master at Ikea assembling!) a little runs into the room and presents the mister with a Dominos pizza. Yup, a whole pizza just for him. Why you might ask? Well I guess my sister was delivered the wrong pizza and the place didn’t want it back and she didn’t want it, so she gave it to him.
 The carrots and the parsnips are all sliced up into big matchsticks and ready to be baked to crispy browned perfection. I added the oil to the pan to toss the fries in and then sprinkled with a fair amount of salt and pepper. If you don’t have and or want to use a cast iron pan, a baking sheet works just the same.
 Oh saucy sauce stuff. Tomato puree, sriracha, and yellow mustard. Add a little bit of honey to lighten it up (can use brown sugar if keeping it vegan), a splash of apple cider vinegar and a couple minced cloves of garlic. Topped off with the smokey delightful spice of cumin. I cold eat this on everything…and I kind of did.
  Fries are done, Sauce is ready. Served in super cute tea cups.(from now on I want to serve everything in tea cups.) A perfect side dish, snack, or even a light meal. It lead the mister to ask the question…What pizza?
  One of the best things about winter is that I can have something in the oven at any time and not worry about how hot the house is going to get. I get to spend my free time (or my in between free minutes) baking up all the thing that I would not dare bake in the summer. (lots of bread and cakes) Yeah, I might complain a little about how cold it is outside (to my defense, -20 is kind of a bitch) but then I think of the super hot humid days that come during the summer and cringe. At least when its cold out I am able to get warm, (que oven) but when its super hot and humid, I just turn into something that border lines a wet towel and the rabbit animal… Not so pleasant. I much prefer cooler weather. So no big surprise….I made bread.. or focaccia to be exact. And now you should too because first off, you want to eat it, and secondly, you can probably whip this up faster then it would take to get all of you winter warmies on and leave the house. Don’t leave, just turn the oven on.
  The stuff, which isn’t a whole lot… Flour and salt. A mixture of honey, water, and yeast. And olive oil. Its pretty much my pizza dough recipe, tweaked with the addition of oil, less flour and no kneading.
  Mix together the wet and dry…I used my nifty dough whisk, but a wooden spoon or even your hand works. Mix mix mix. The dough should be really slack and sticky. And guess what.. no need to knead! Just make sure the dough is uniformly incorporated…hehe.. uniformly incorporated… sounds weird.
 Drizzle the dough (don’t worry about making it into a ball, a blob is good) with a little oil and place in a nice warm place topped with a towel to rise for about an hour or until dough has doubled in size. Once is has fully risen, drizzle 2 tablespoons oil in two 9 inch cake pans. Divide dough in half, and kind of smoosh dough into pans. Cover and let rise for another 20 minutes or so.
  When dough has finished its second rise, drizzle each with another tablespoon of oil and with your fingers, fill out the pan and indent the dough, kind of like playing a piano or tickling a puppy(?)….Then layer your toppings (if you want any) Start with any herbs, then the veggies. Then last, any cheese you got. I used thyme, cracked black pepper, tomato, onion, topped with parmesan cheese. And the other one is just plain old salt.
  Pulled from the oven when nice and golden brown..set on a wire rack to cool for a few minute and removed from the pans.
  The mister was practically salivating waiting for a slice… and he was so not disappointed. Crispy outside with soft airy insides… Everything a perfect focaccia should be. The one with the toppings was the favorite for the first night, but for a peanut butter and cheese panini for lunch the next day…plain is the way to go.. My suggestion, do what I did, jazz one up and leave one plain. And then make more if you need too because the forecast call for another week of below zero!!! Oh the things that I’ll get to make! (me being positive) Stay warm! -C
 How awesome will you be when you bring the most freaking amazing tortilla chips to the party this weekend? You will be like..”what, it ain’t no thang.. I am just good like that” Yes, yes you are.
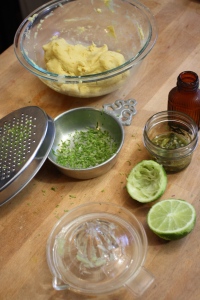
 Knead dough a few times just to make sure it’s completely uniformed and divide into 12-14 equal pieces. Place balls on a plate and cover with a wet paper towl to keep from drying out.
 My cast iron skillet is big enough to cook 2 -3 at a time, but doing one at a time is cool too. Preheat the skillet to medium heat. Cook each tortilla for about 2-3 minutes ( or until starting to brown) on each side.
  Half way there to chips!!!
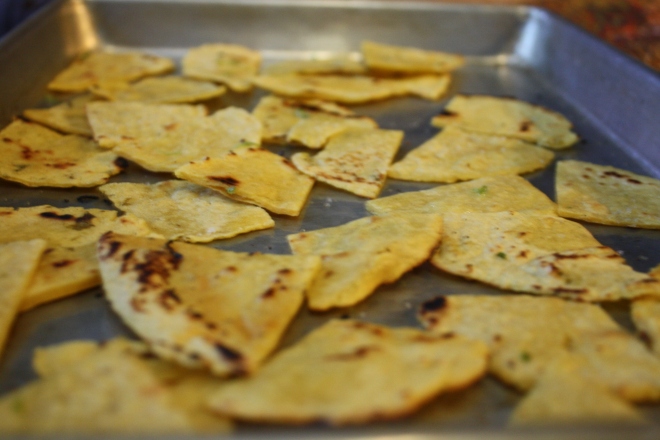 Placed all nice and cozy on a baking sheet. trying not to overlap. Into a 400 degree oven for about 20 minutes to complete the chip making process.. After about 15 minutes, check for doneness. When nice a crispy, remove from oven, squeeze lime juice all over and sprinkle with salt. I then stuck them back in the oven for a few more minutes just to dry the lime..
 After cooling down, take those chips and stick them in a bowl.
Monday Happy — The Lovely Crazy
October 15, 2019 by maximios • Blog
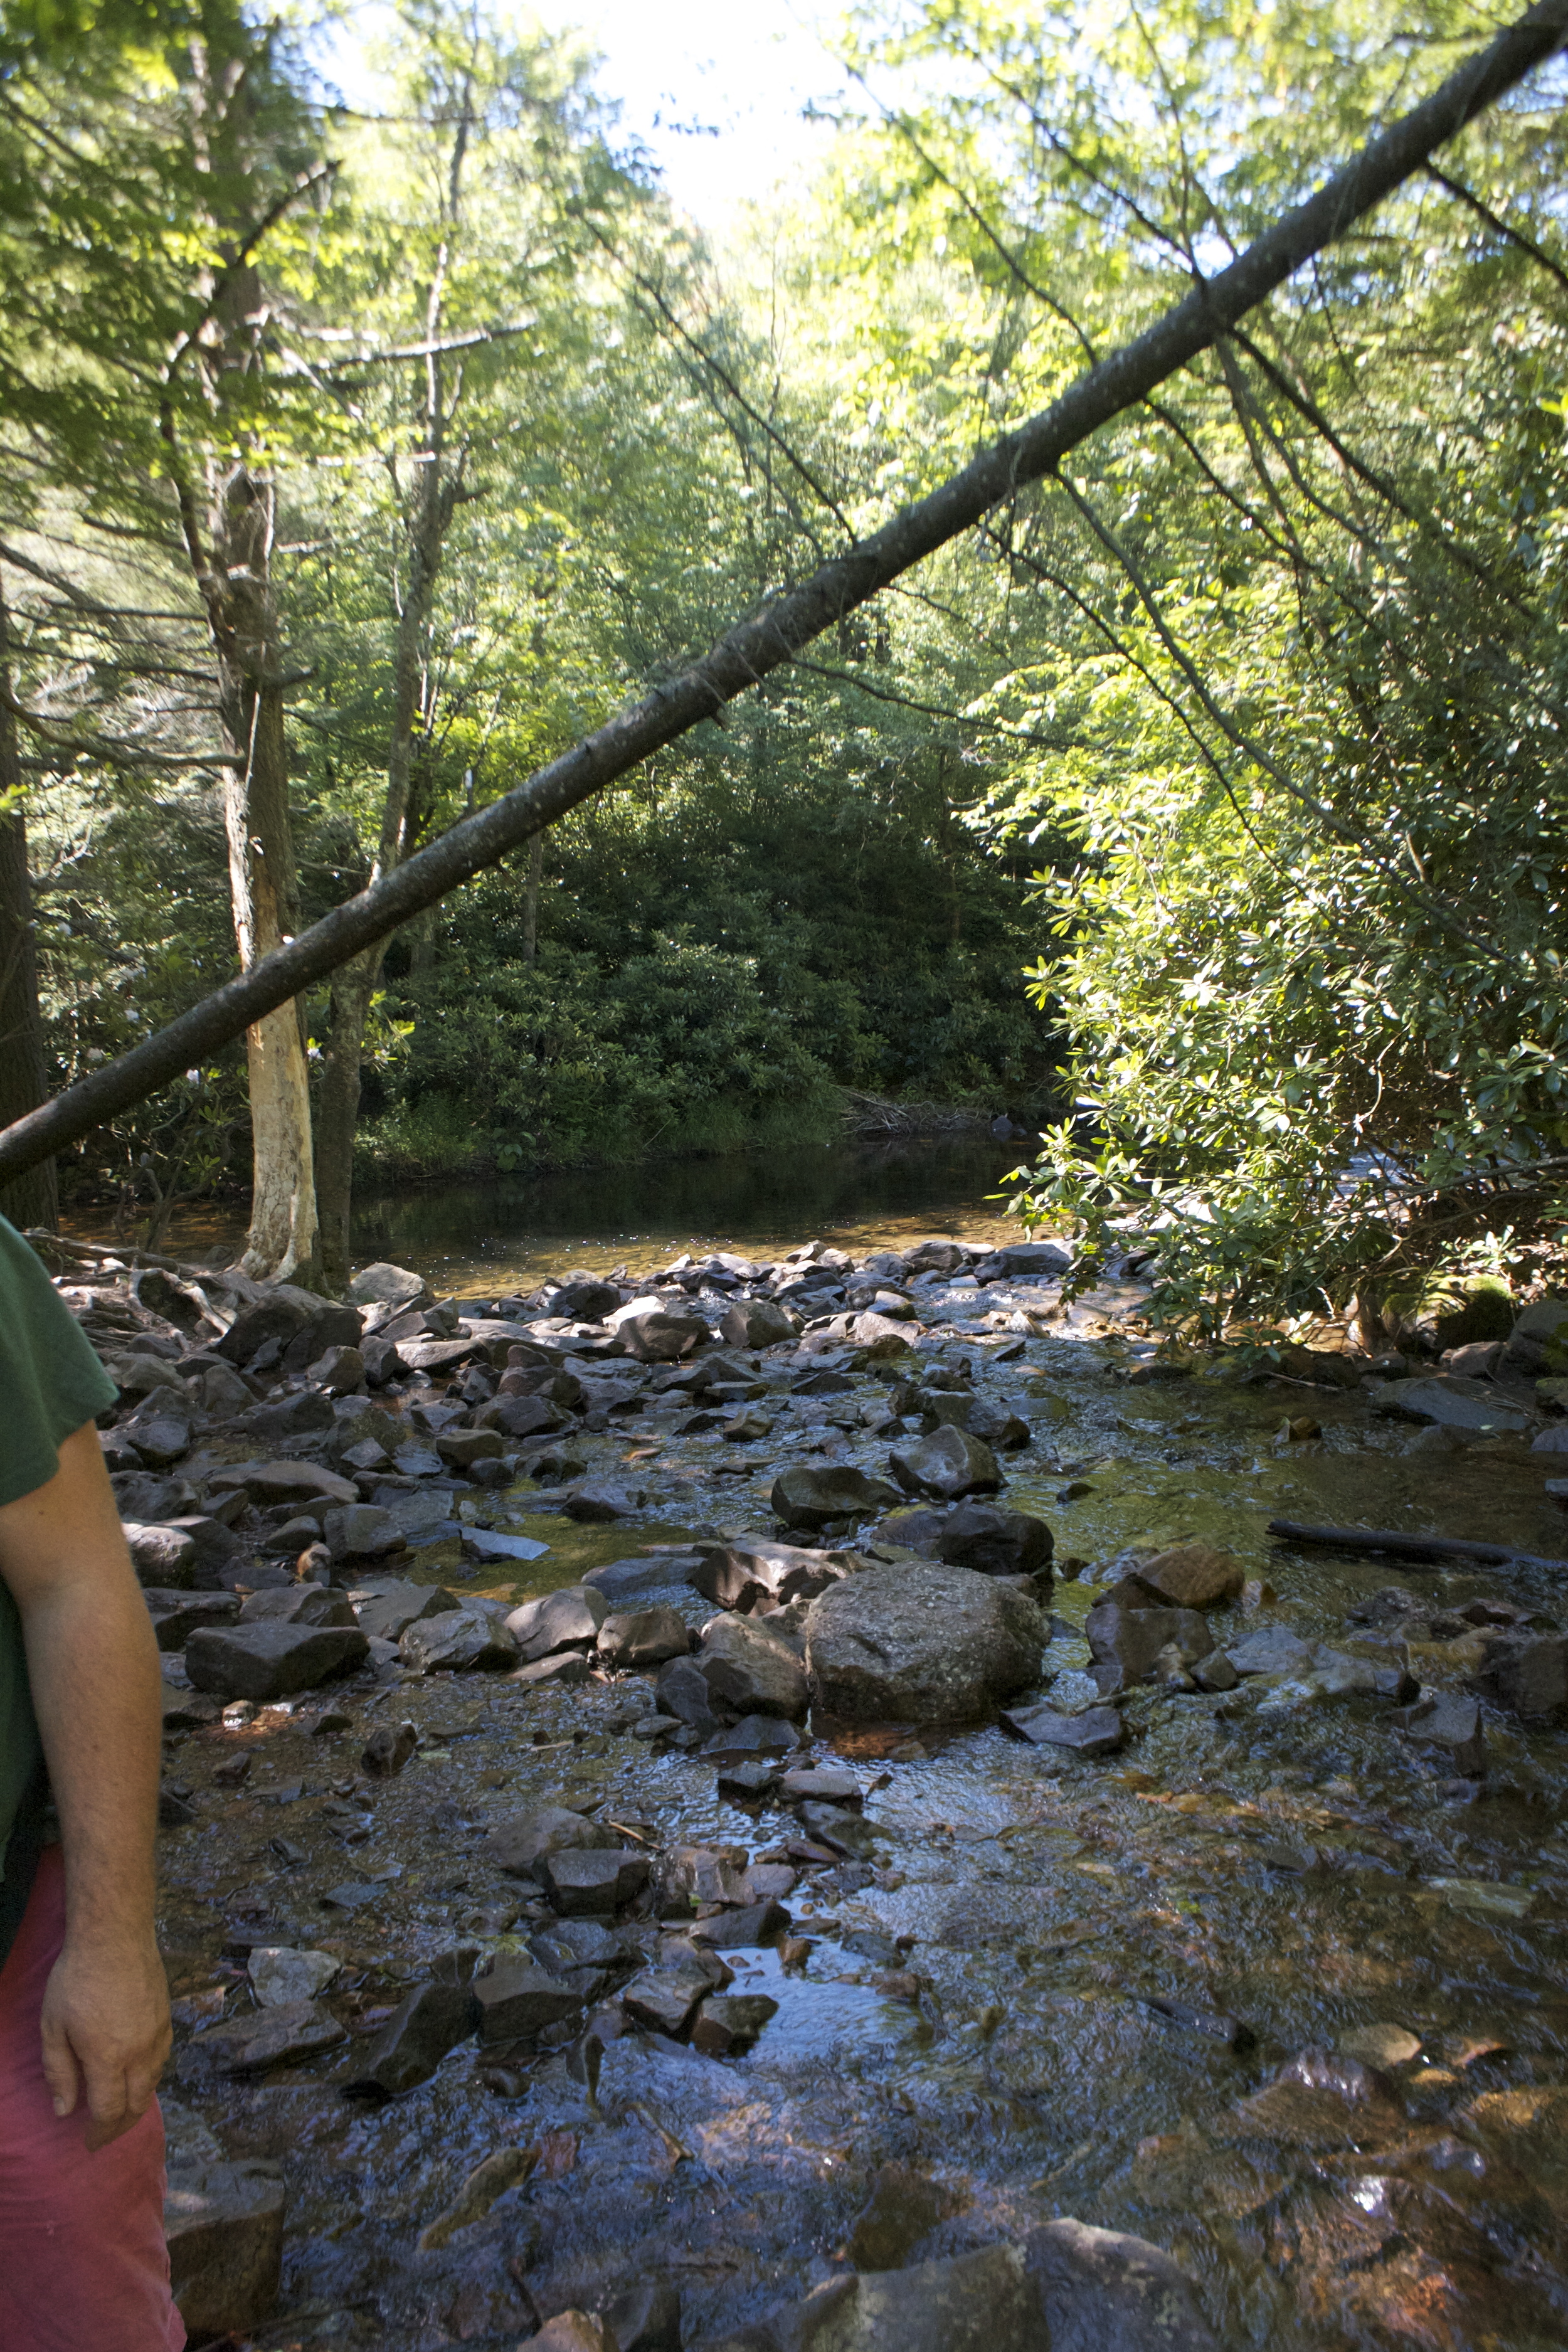
Basically we just got back from a long camping weekend and I am dead tired. In between all the hiking, meandering, and not sleeping due to my pointy bones and a mr that snores but is snoring especially loud these days (allergies), I am ready to bed myself. But it was a blast. Now all I need is a shower, a good night sleep, and to check on the garden, then I will be ready to get back out there. I love me the great outdoors!
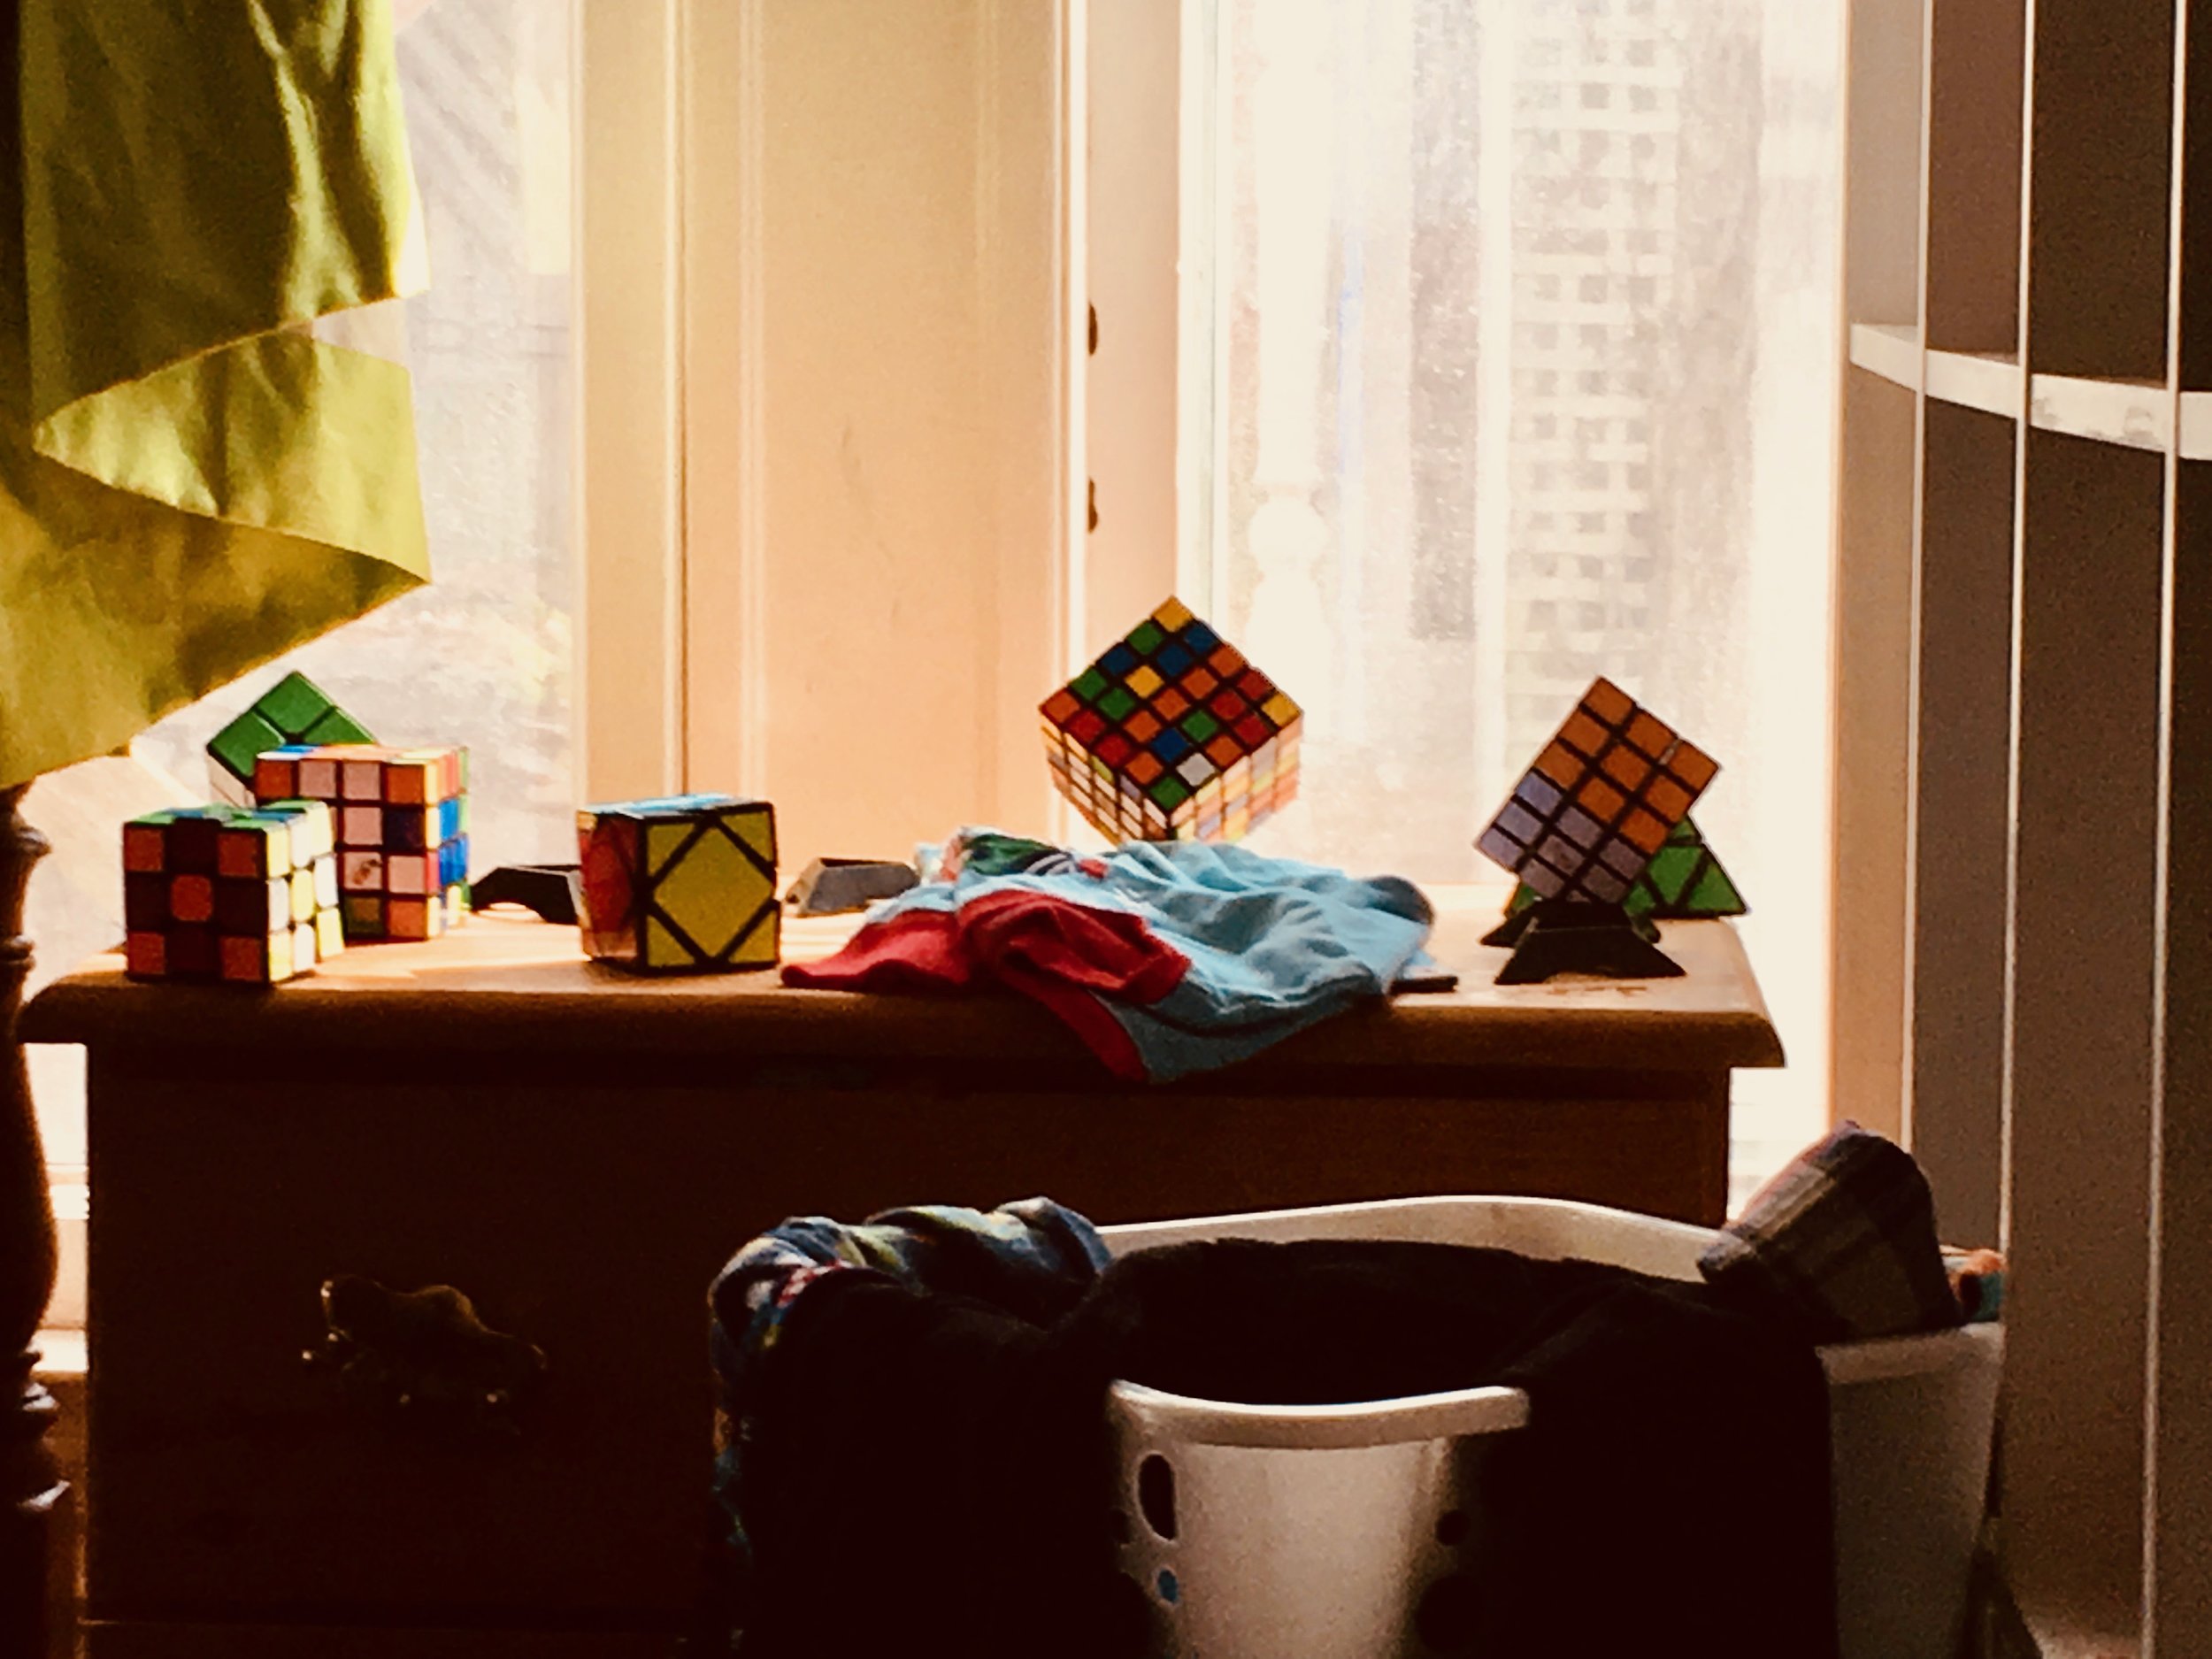
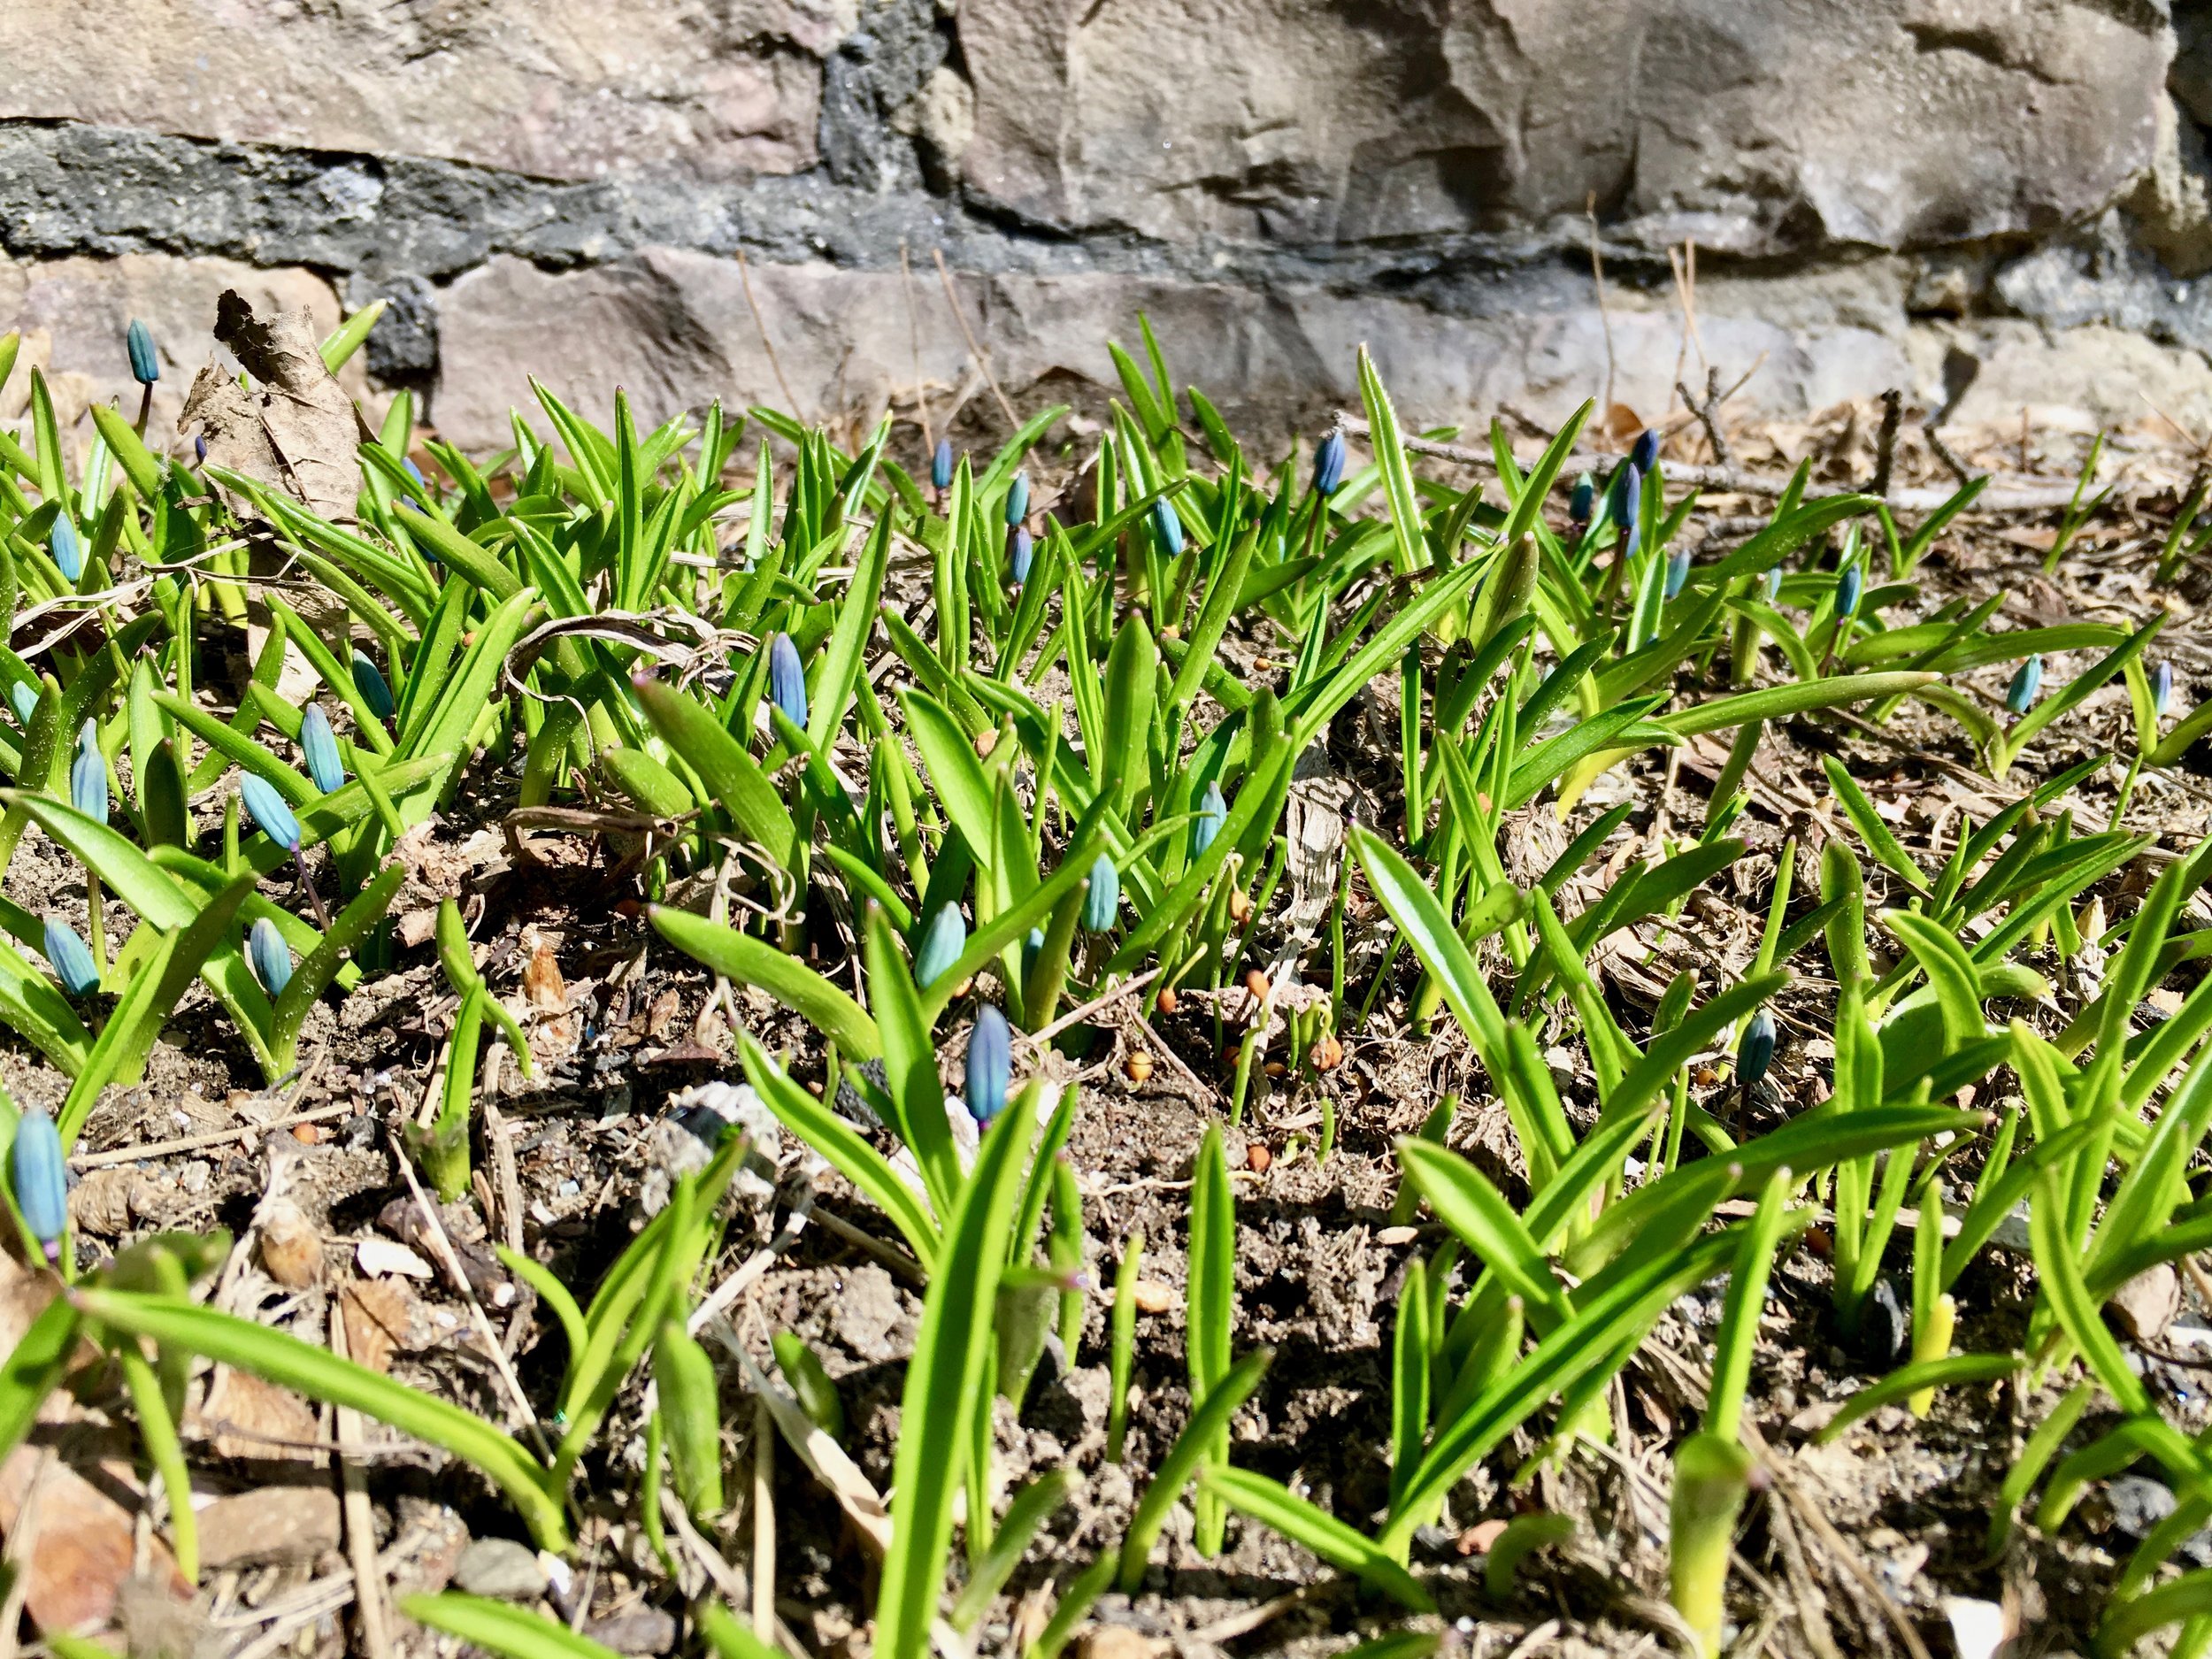
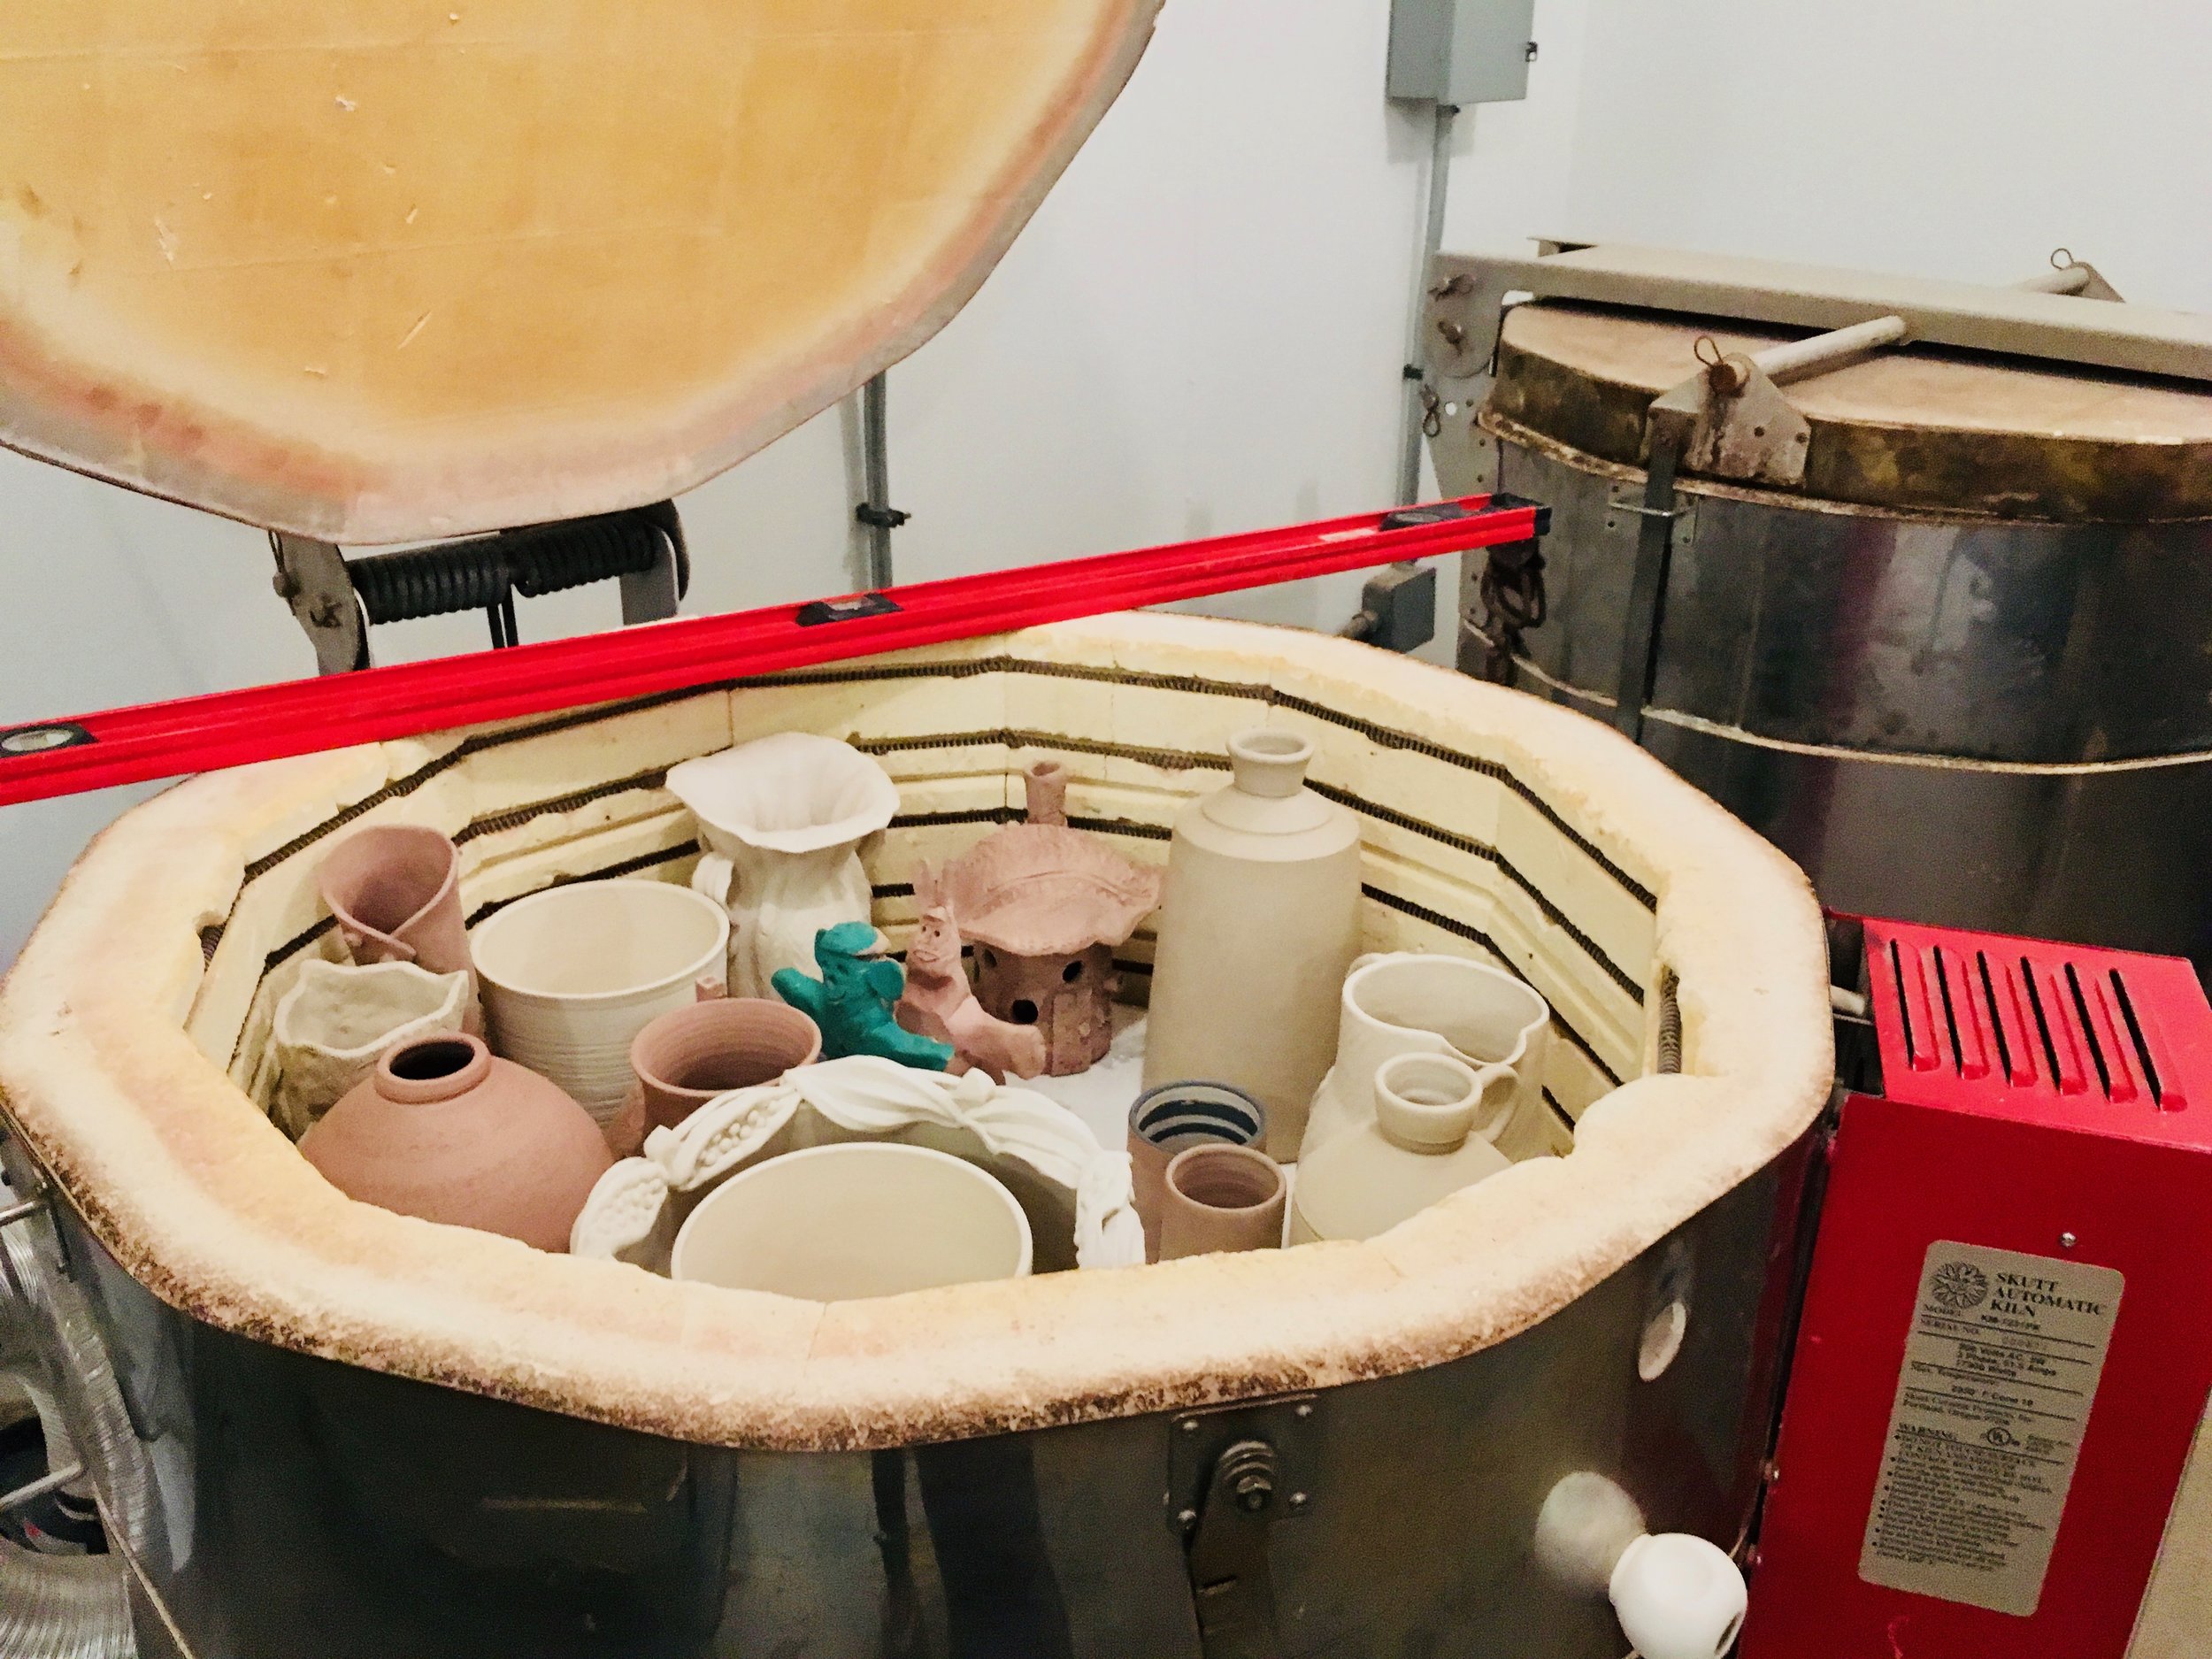
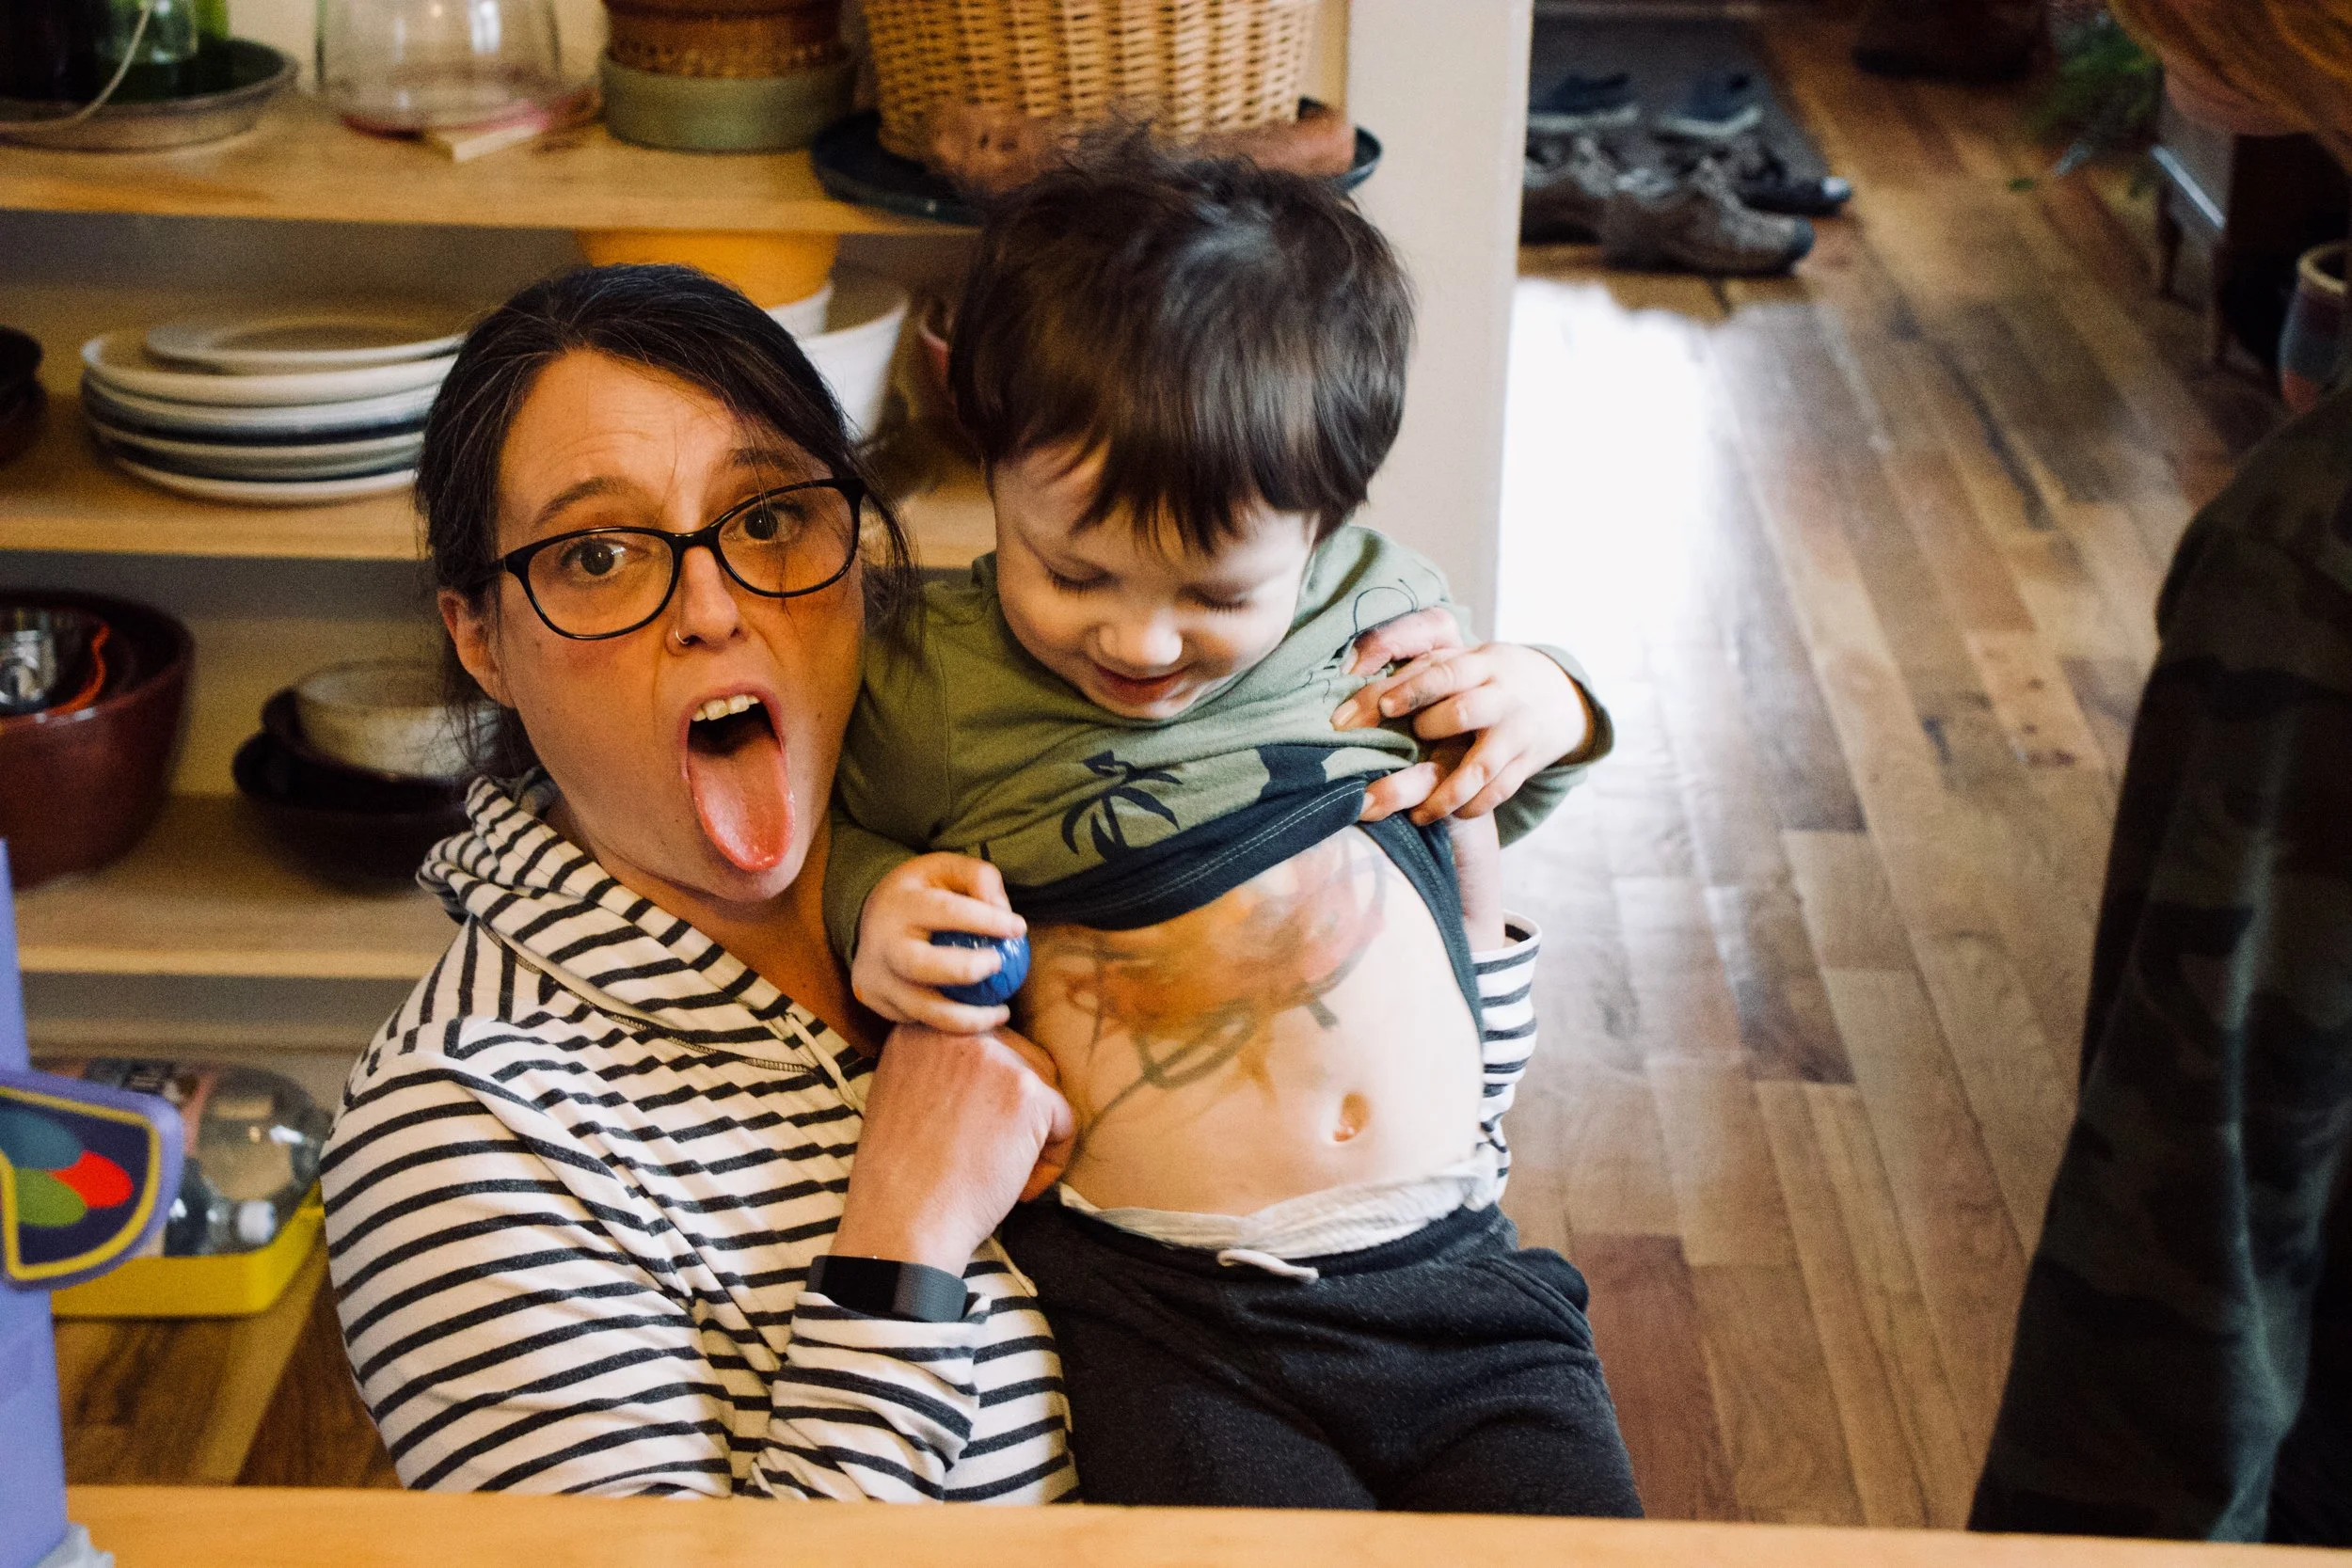
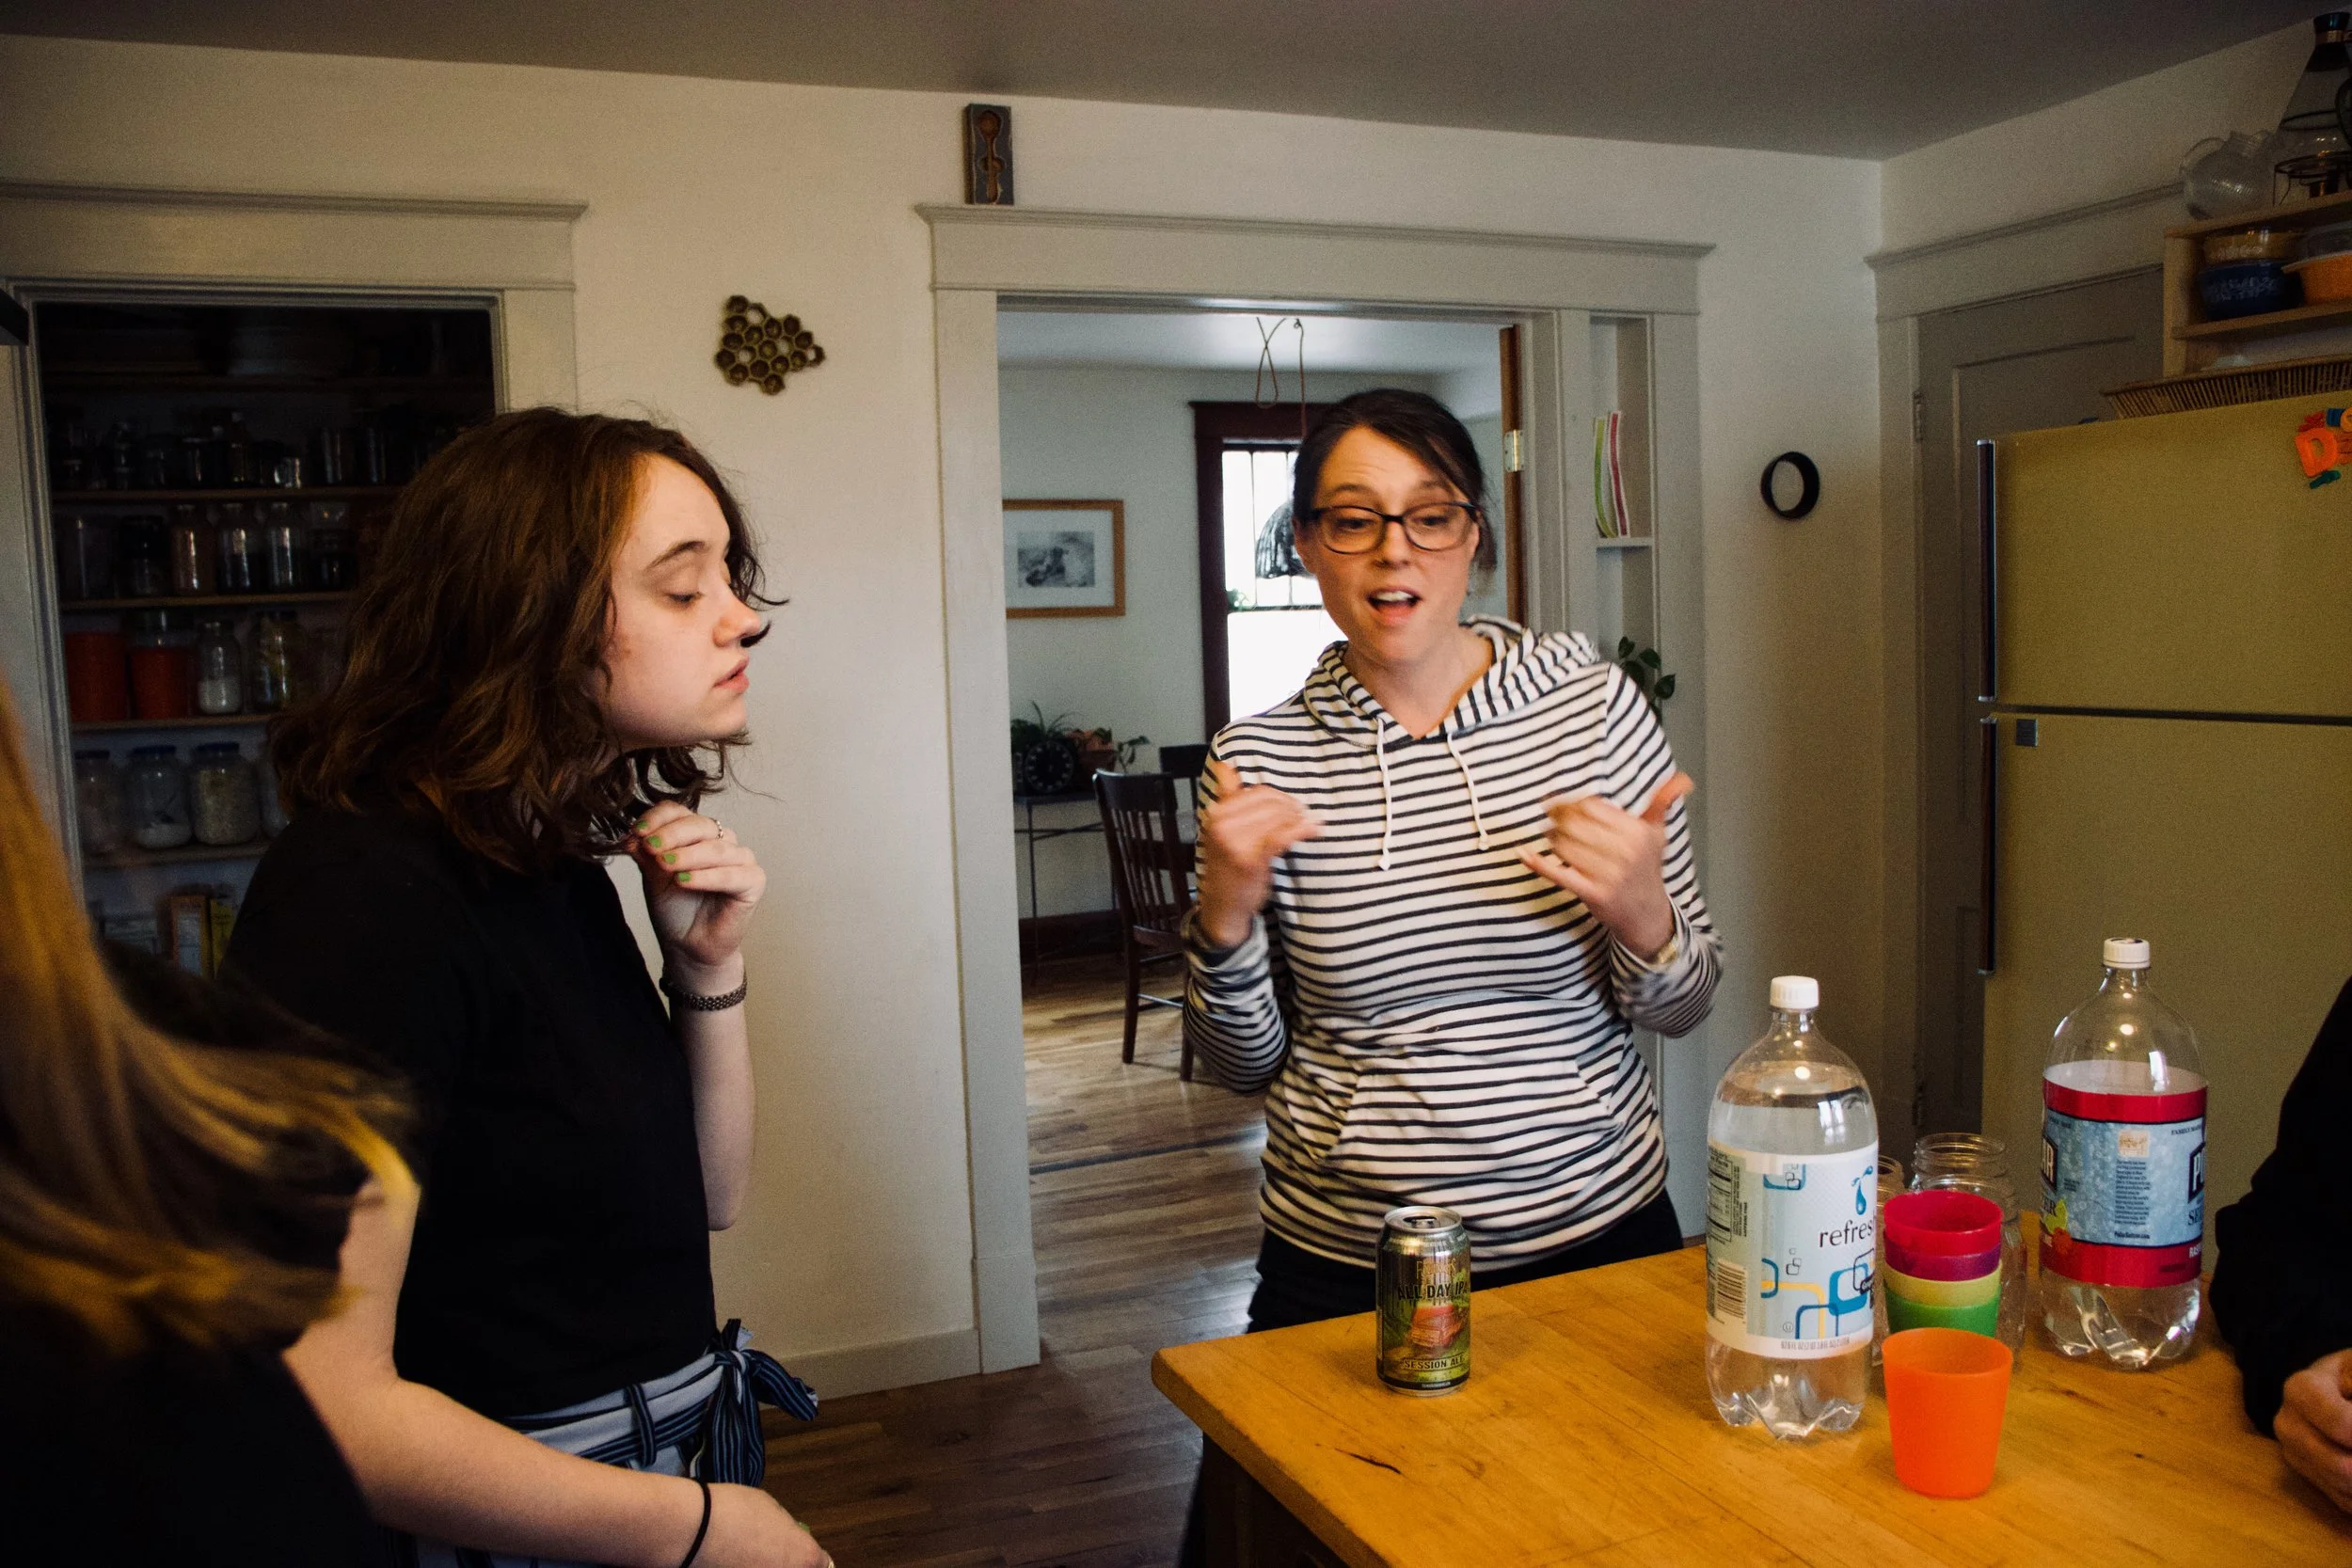
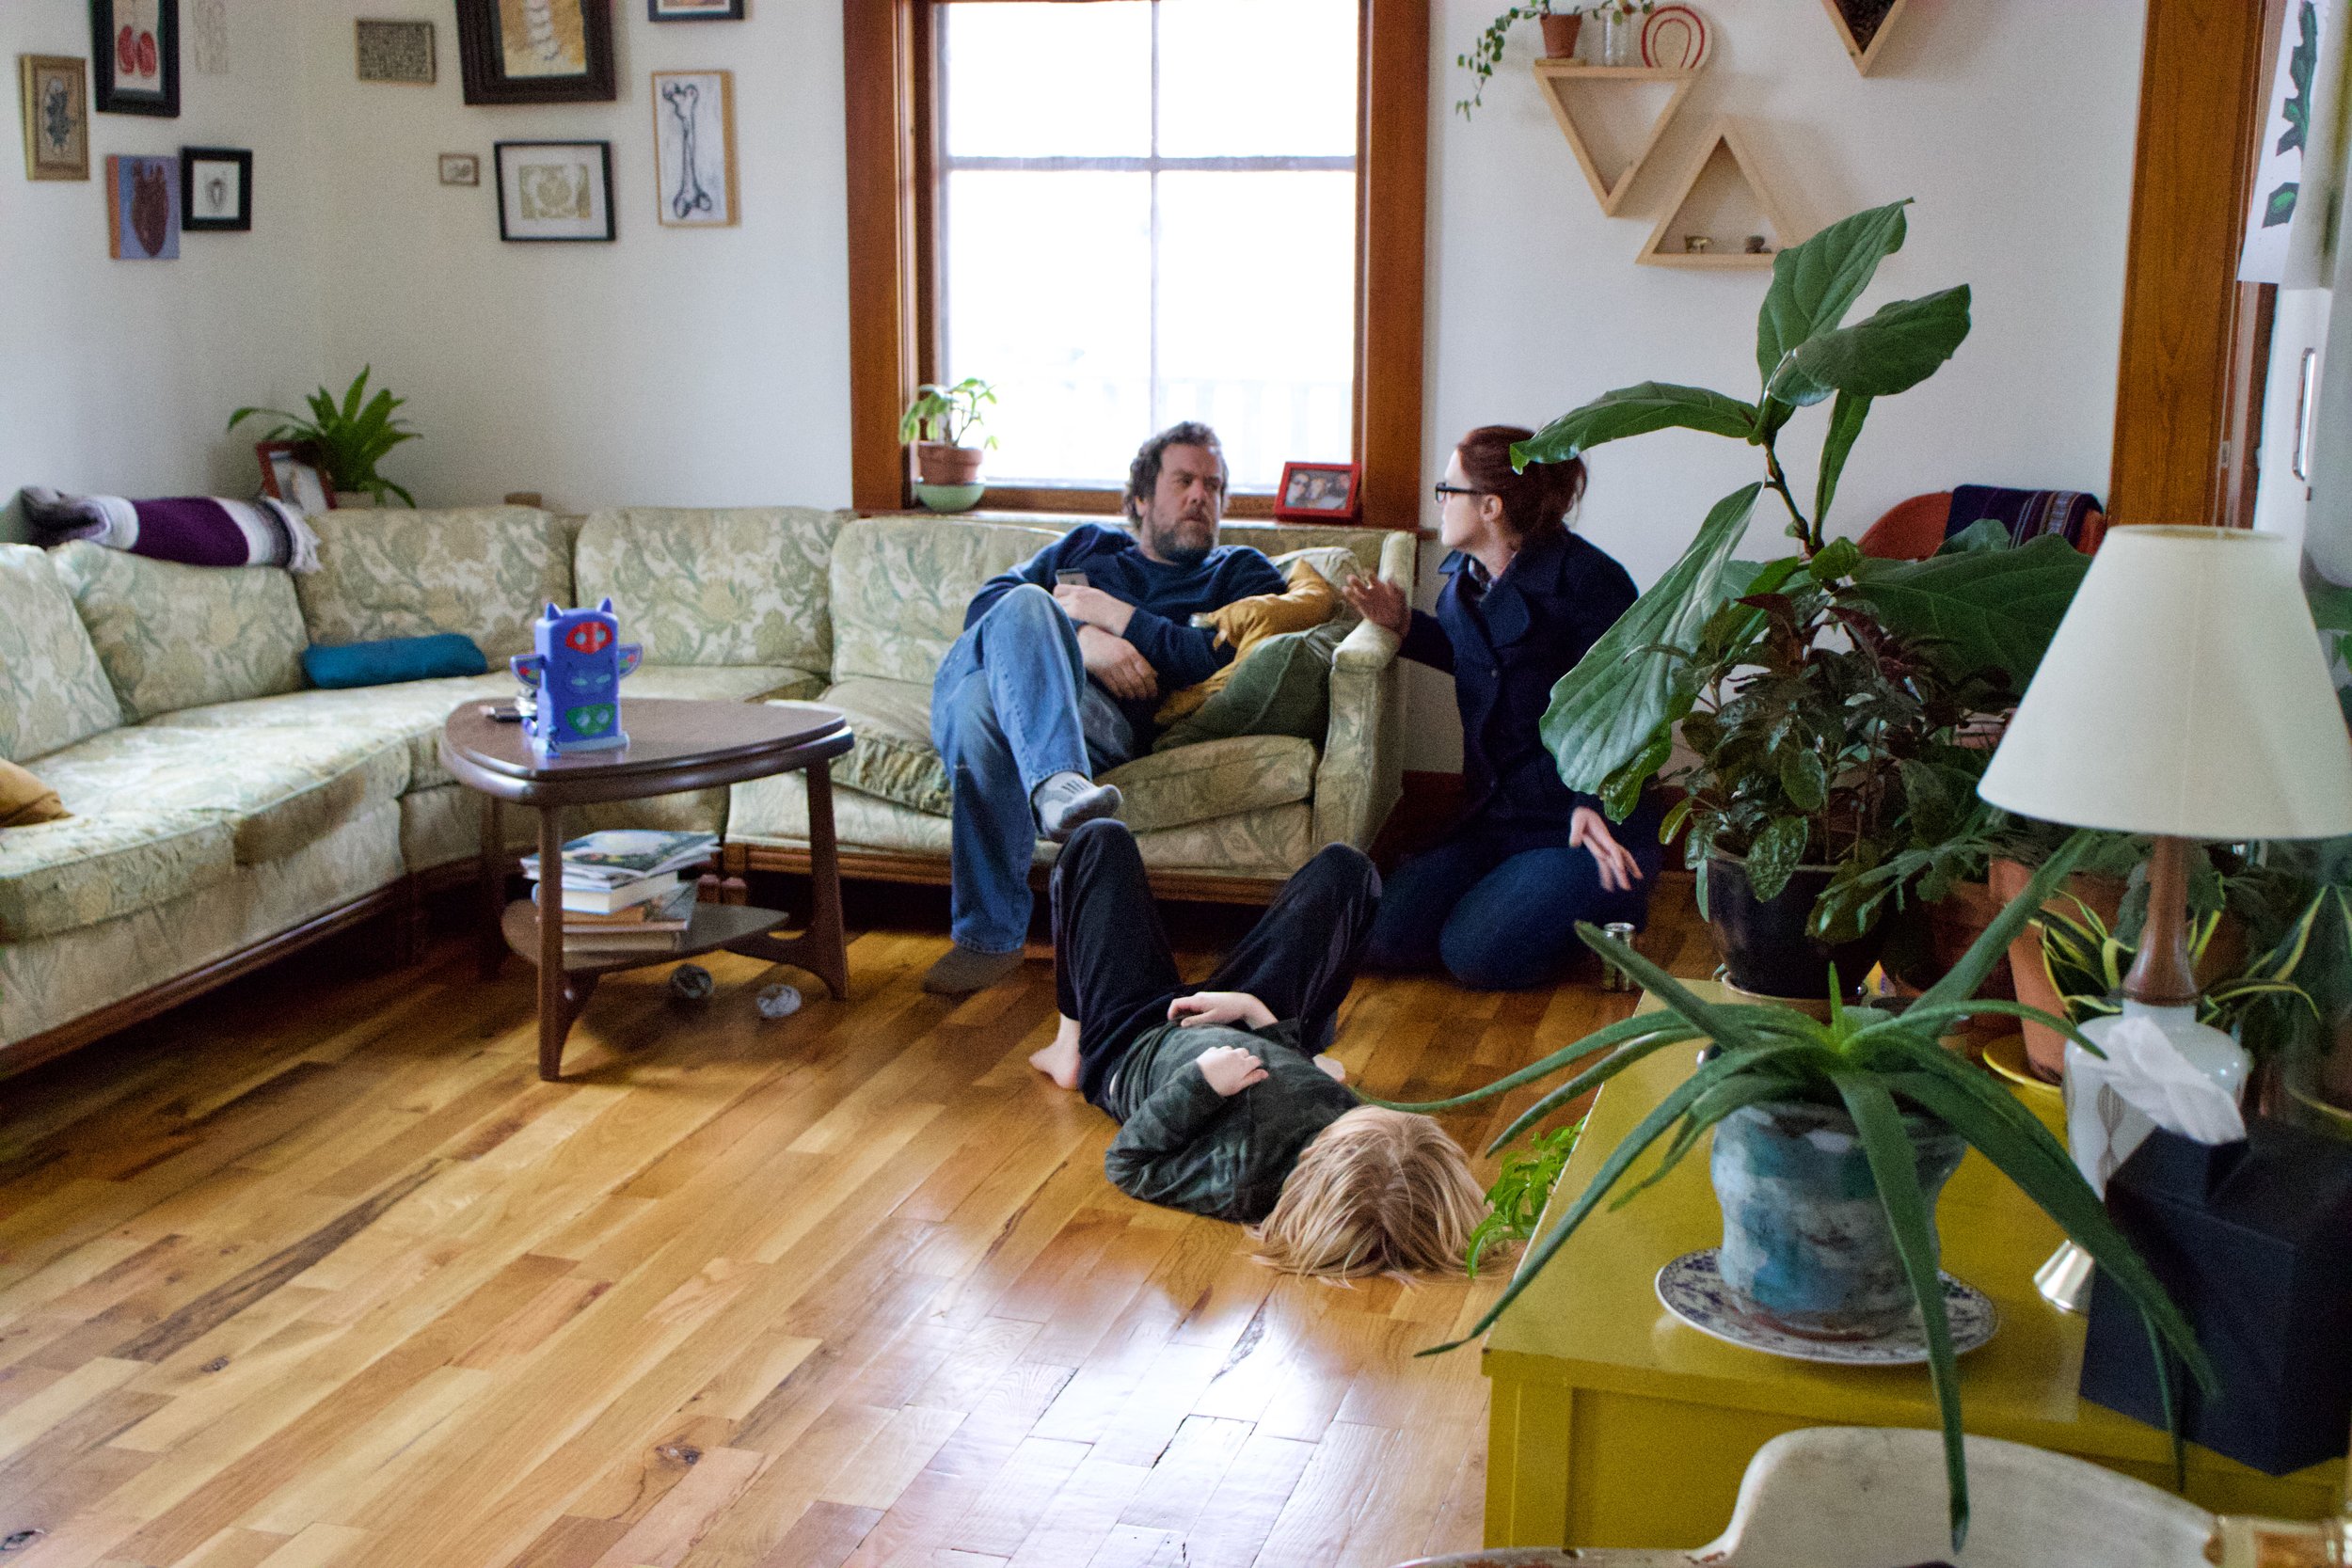
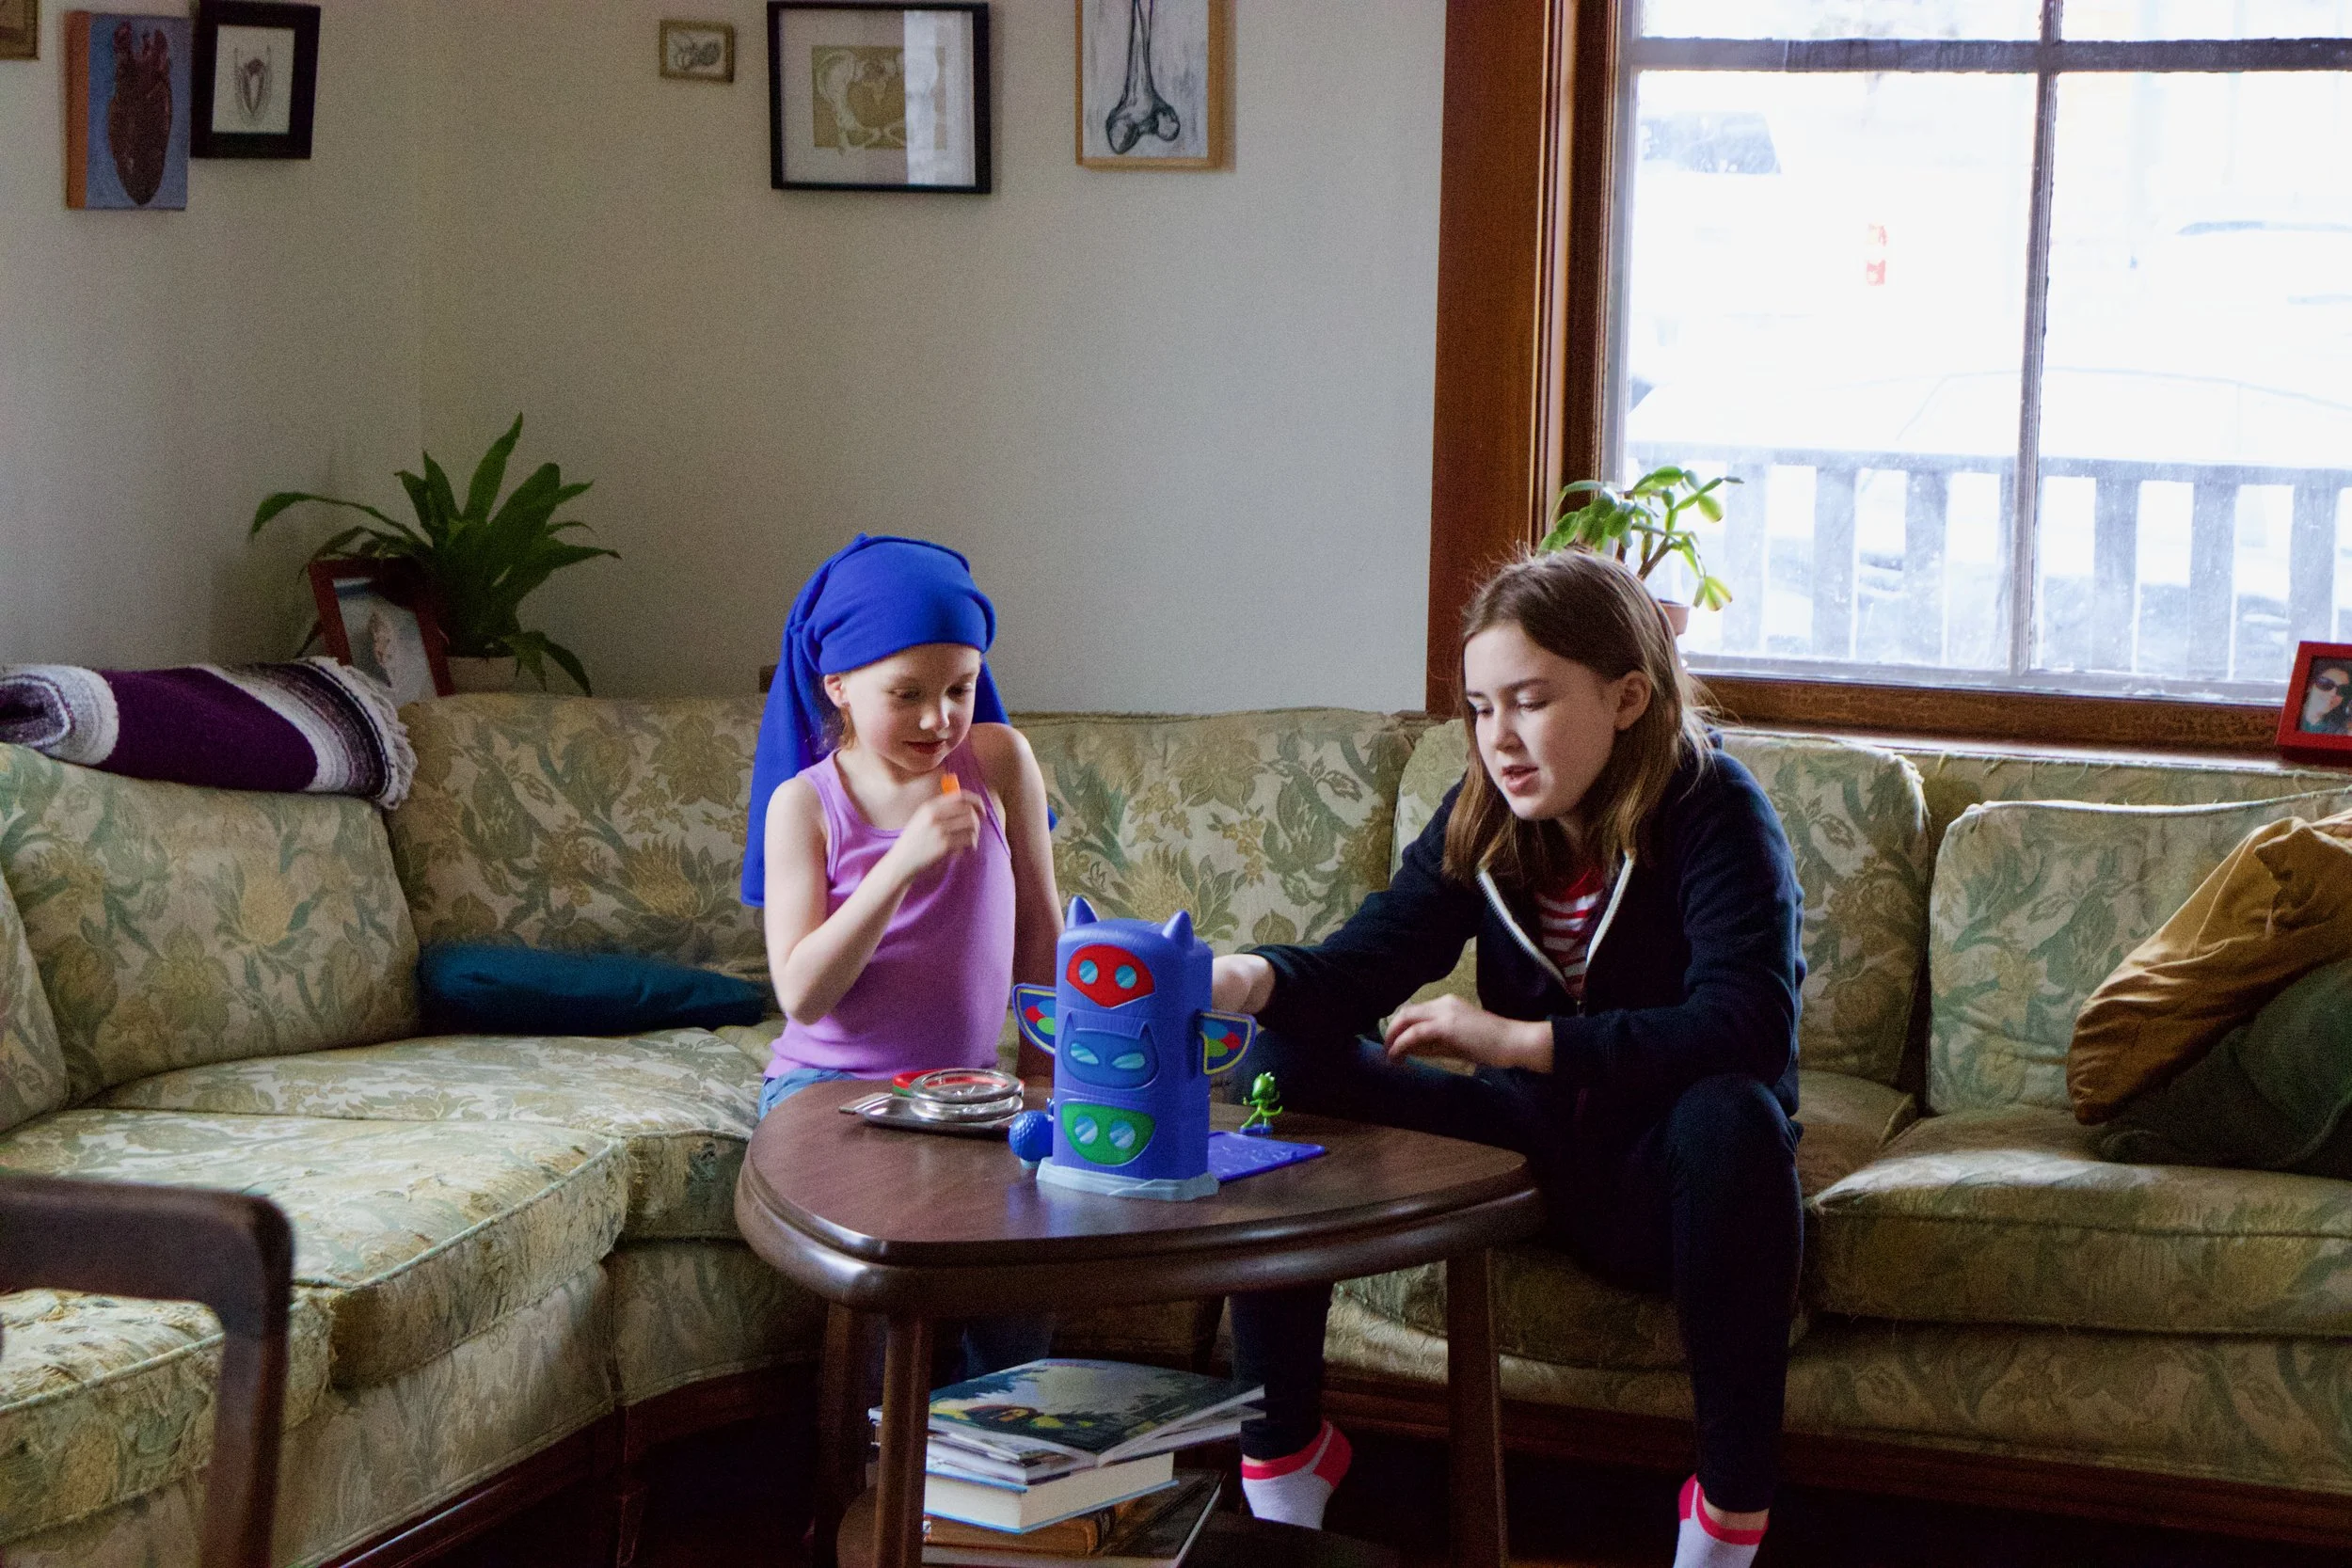
Being shit ass tired, I am giving myself a pass on accounting caompetley for last week. Basically is was crazy, the mr was crazy, I was crazy. We didn%u2019t go camping. The bar top is in an looking oh so fine. We had food with people. I loaded kilns, the mr worked all over town, we watched my skyscraper sunflower grow even bigger, and baked cupcakes with the littles. That was the gist of it, I think. Basically, just look at the pictures because that is how I remember what I did. HA. (for real) As for this past weekend camping pictures, I get to those later.
And since it%u2019s already Monday, we are already back at it. I got bills bills bill and lots of paperwork to get through today. There is food to process, dentist appointments to go to, art work that needs to be hung for art hop, on top of an apartment floor we need to remove carpet from, sand, and urethane by the end of the week. So yeah, gonna get on that. But first I nap!
The pictures from the week.