I think that my favorite thing abut summer is probably the food. Yeah, no, definitely all the food. If it weren’t for all the delicious amazing things that grow during these summer months, I would probably hate summer. %u00a0Well, I mean, not hate it because summer is nice when it it nice, but lately it has not been so nice and so I am trying to make myself feel better by finding all the good things that I like about summer. Summer trees, summer flowers, the smell of fresh cut grass, river rocks, summer sandals, summer… well that’s what I got right now. But summer produce, that is the best and what keeps me happy when I am extremely over heated and over sunned and just want a blast of cold air accompanied by some dark clouds, a sweater and the smell of decomposing leaves. Obviously I am being a little crank butt, and I actually do usually like me some summertime, I am just over this summer. To hot, to humid, to dry. I am ready to move on.%u00a0
But back to the good parts of summer that I am not over.%u00a0The food.%u00a0The corn is flowing steadily (I am getting on average 10 pieces of corn a week from the farm. That is a lot of corn for 2 people, one of which says he doesn’t like corn), the kale is growing in super abundance in the garden, and it’s is for sure blueberry season. When we %u00a0have those three things and we toss in a avocado, as little onion, and lots of lime juice ,%u00a0BAM,%u00a0another super fantastic summertime eating time, reason that summer can be a ok. Makes %u00a0all the heat a little worth it.%u00a0
I am telling you, this is my new favorite food combination. Blueberries are magical (I think so anyway) and really add the perfect little sweetness, tartness, and texture to this salad. Crisping up the kale and corn elevates the deliciousness, and avocado always is welcome is any salad situation. This is one of those salads that you will make for yourself and then immediately want to make for someone you like because it is so good you want to share. OR you just want to make it for yourself again because you could share or you could just eat more of it yourself. It’s ok either way, you do you.%u00a0
The stuff. A cob of fresh corn. some fresh blueberries, a bunch of dinosaur kale, a lime, an avocado, a piece of a sweet onion, sea salt, pepper, and a little oil.%u00a0
First off preheat the oven then cut the corn off the cob.
Then deal with the kale. Each leaf needs just the slightest bit of oil. The easiest way to do this is to dump a little oil into your hands and grab each piece of kale and rub your oily hands all over the kale.
After the kale is oiled, chop it into chunks. First place the corn on a baking sheet then add the kale on top. Placet it into the oven to get all crispy… The kale will might get crispy before the corn, which is fine because you can remove the kale then pop the corn back into the oven for a few more minutes to keep cooking if you want. Or you might just want to call it cooked, it’s your call.%u00a0
I popped the corn back into the oven to get a little more color. I like a real crispy corn.%u00a0
Cut up some onion and avocado into chunks.%u00a0
And time to compile. Kale, onions, corn, avocado, blueberries, and lime juice. And don’t or get a sprinkle of sea salt and pepper.%u00a0
Toss it all around and be delighted.%u00a0
Just look at that salad. Who wouldn’t want to eat that?%u00a0
Heres to summer salads….The reason I can barely stand the heat!
-C
makes one salad
10 or so large Lacinato (Dinosaur) Kale leaves
1 fresh cob of corn
%u00a01/2 of an avocado
1/2 cup fresh blueberries
1/4 of a sweet onion (about 1/4 cup diced)
1 lime
teaspoon olive oil
sea salt and pepper %u00a0
Preheat oven to 350
Cut the corn off the con and place on a lightly oiled baking sheet. Take a little oil and rub into hands then grab the kale leaves ans rub oil all over them. Once oiled, rough chop into medium sized pieces (don’t chop small, it will shrink a lot in the oven). Place chopped kale on top of corn and stick into hot oven. Bake until the kale is crispy, about 12-15 minutes.. What closely after 10 minutes to prevent burning.
Remove the kale from the baking sheet and place in a large bowl. The corn will be cooked, but if you want to make it a little crispier , just toss it back into the oven for a few minutes. %u00a0Once corn is to your liking, remove from pan and toss into two with the kale.
Small dice up some onion and dice up half of the avocado. Toss into the bowl with the kale and corn. And the blueberries, add those in. Sprinkle the whole shebang with a little sea salt and pepper and squeeze the juice of at least half of a lime all over (use the whole lie if you want) Give it all one last toss and that is it.%u00a0
Eat your new favorite salad. Think about making it for all your favorite friends and family and how impressed they will be because this is one of those impressive salads. T
I got my first few ears or corn from the farm share this week which is exciting because I wait until we get corn from the farm to eat it. I figure that we get so much from the farm that there is no freaking way I am going to buy it and plus I know that that corn was picked a few hours before I got it. If you are going to eat corn, it needs to be fresh (life lesson).
Have I told you that the mr hates corn? I am pretty sure I have. I also have a theory that he really doesn’t hate it so I just go ahead and make food with corn in it. Then he eats it, likes it, and I am all like” AHA, you like corn be-otch! I win!” (not sure what I win). But then the next time I mention we have fresh corn and how would he like it he is all like, I hate corn.%u00a0 It’s a game we keep on playing.%u00a0
So I got fresh corn, lots of tomatoes, and the kale is growing strong out back. I figured I would give the mr a break from all the zucchini for the night and make he a nice warm summer salad with the corn that he “hates”.
The mr ate it all and didn’t even mention corn so now I am thinking that he just hates the word corn and if I don’t say the word then there will be no problem. HA HA, I am a genius.
The stuff. A tomato, a ear of corn, some kale, a little balsamic vinegar, oil, and salt and pepper.
Chop the tomato and remove the corn from the cob.
Toss into an oven safe skillet with a drizzle of oil and a pinch of salt.
Now stick it into the oven
After about 10 minutes the tomato has fallen apart and the corn is all nice and tender.
While the skillet is still hot the vinegar goes in and the (chopped) kale goes in. Mix it all around until the kale wilts. And be careful, the pan is hot.
Dump it into a bowl, sprinkle with pepper, grab a fork, and you are on.
Happy eating.
-C
makes a salad for one or two small side salads
1 medium tasty tomato
1 ear of corn
like 4-5 good sized kale leaves
2-3 tablespoons balsamic vinegar
%u00a0oil of choice (i used avocado oil)
salt and pepper
You can cook this in or on the stove. I did it in the stove because I was baking anyway
Preheat oven to 425
Remove corn from cob and chop tomato into medium sized chunks. Toss into a oven safe skillet with a drizzle of oil and a little pinch of salt. Stick in oven and cook until the corn is tender and the tomatoes have fallen apart, about 10 minutes. Remove from oven and mix in vinegar. Chop kale into mouth sized pieces and toss into hot skillet. Mix around until kale starts to wilt. And it’s done. Serve with a pinch of pepper.
As I sit here writing this, mind you typing is not a terribly labor intestive activity, I am drip drip dripping sweat%u2026 It’s just not right.
%u00a0And today will be as hot as shit fuck. But its support to get so much better tomorrow. So that’s it, not more complaining. Everything is all good.
Now lets talk about this salad. This is such a fresh, clean, and full flavor salad made of just a few simple ingredients,%u00a0the star being the fennel.%u00a0%u00a0Almost licorice-y and sweet, yet still has a crisp earthiness, it pairs so well with onion and kale and dressed with just lemon juice.%u00a0Simple, easy, and very much satisfying. Kind of the perfect salad to make when you don’t want to make anything because the world is a sauna and nothing hurts you soul more then to think of turning on the oven.(full disclosure.%u00a0Stove burn does go on for a few minutes.. but only a few)
Maybe you have never had fennel or think you don’t like it, Well if you haven’t had it, you must, and if you think you don’t like it, you should try it again.%u00a0Up until recently, I kind of discarded fennel as a mah veggie. I didn’t hate it, but I never really cared for it, and I definitely did not seek it out. But this past year, for some odd reason (I blame/thank old age) I have really gotten into the yummy bulb. I have even gone out of my way to find it.%u00a0%u00a0And last week I was much excited when I went to farm share pick up and found that there was crate of fennel.%u00a0Woo HOO!%u00a0
Sweet fennel+hot weather and no desire to move = Fennel onion carrot salad
The stuff. A bulb of fennel (this was a big one so I use half of it),a medium onion , a big carrot, a bunch of kale, salt, pepper, a little olive oil and a lemon (I ended up using 2 smallish lemons)
Take you fennel and either with a mandolin or a knife, thinly slice the bulb. Do the same with the onion.
Toss the sliced fennel and onion into a lightly oiled skillet and sprinkle with a dash of salt. Place on medium low heat and cook jjust until the veggies are soften and starting to brown.
Chop the kale into pieces small enough to fit into your mouth and julienne or shred the carrot.
Compile the stuff. Juice the lemon.%u00a0Kale into a bowl, dump most tot the lemon juice on that and sprinkle with salt and mix around (I used my hands).%u00a0Dump the saut%u00e9ed fennel onion onto of that and top with the carrot and the rest of the juice.%u00a0
TA DA! Now that’s some pretty.
And toss it all around. I like to add a few thinly slices of raw fennel and lots of fresh cracked pepper.
Share with a friend. Or not. (a not for me)
Happy hump de dump day. Stay cool friends!
-C
Makes a big salad for one, or a few smaller sized side salads.%u00a0
1 small or half of a large bulb of fennel
i medium white or hello onion
1 large carrot
a bunch of kale (like 3-4 cups chopped)
1 large juicy lemon (or two small lemons)
With either a mandolin or using a knife, slice up the fennel and onion super thin. Toss into a lightly oiled skillet, sprinkle with salt,%u00a0and stick on the stove on medium low heat. Stir and let cook down for 5-8 minutes or until the fennel and onion have soften and are starting to brown.
While thats cooking, chop up the kale into small pieces and julienne or shred the carrot.%u00a0
Place kale into bowl, juice the lemon and drizzle most of the juice all over the kale and give it a good mix. Dump on the cooked fennel onion and top with the carrots and a the rest of the lemon juice.. Sprinkle with salt and pepper to taste and give it a good toss. Top with a few fresh shaving of fennel.
Share with a friend, or eat it all to your self.
It seems that everywhere I turn this week, there corn. So much so that its coming out of my ears%u2026..get it.. ears! (yes I am that lame)%u00a0
Yup, its now%u00a0officially (but%u00a0unofficially) summer and that means 2 things, well 3 things. First, we eat corn. Secondly, It%u2019s hot out, and get so hot in our little tiny loft that having the oven on is like torture so I%u00a0avoid it at all costs. And lastly, I seem to always have less time(or forget) to make dinner %u00a0cause,%u00a0you know, I am%u00a0outside running%u00a0around with my head cut off.%u00a0
The solution to the last two%u2026..Quesadillas.%u00a0
I probably make the mister quesadillas at least 5 time a week. They are just so easy to make (takes about 8 minutes) are full of some kind of veggie situation and lots of cheese (which is the misters favorite food group). You can make one, for a quick lunch, or very easily make 10 to feed a few people for a easy dinner. (everyone likes a quesadilla!). And even%u00a0though I cooked these%u00a0particular ones inside, quesadillas are great made outside on the grill. They just make so much sense.%u00a0
And so it goes.
Summertime + corn = Charred corn and kale quesadillas.
The Stuff. Freshy freshy corn on the cob. A few flour tortillas, a bunch of chopped kale and some shredded cheese. (I used pepper jack)
With a sharp knife, cut the corn off the cob. I find using a deep bowl works best to catch corn, and you could even invert another little bowl inside to rest the cob for easier cutting (I skipped extra bowl.. once less dish to wash)
While you are cutting the corn, preheat a large pan on medium high heat.%u00a0
Once the pan is hot, toss the corn kernels right on into it and sprinkle with salt and pepper %u00a0Let cook for a minutes or two, then give it a stir and cook for another minute.%u00a0
After about 4 minutes the corn turns bright yellow and starts to char. %u00a0Remove pan from heat and toss in the chopped up kale.
And compile the quesadilla. Tortilla, grated cheese, corn and kale, more cheese if you please, and top with anther tortilla. %u00a0Place assembled quesadilla into the pan and place on medium heat. Cook both sides until brown and cheese is ooey gooey.
Remove from pan and cut into triangles (or any shape you want)%u00a0
Serve right away. Can be eaten on a napkin, plate, or directly off the counter.%u00a0
Not needed, but it would be nice of you to serve with a little avocado, salsa, or sour cream.%u00a0
Happy Tuesday!
-C
Makes two 8 inch quesadillas
Four 8 inch flour tortillas (use gluten free if needed)
2 ears of fresh corn
3-4 larges kale leaves
1 cup* shredded pepper jack cheese (use vegan cheese if needed)
*Note. Use more cheese if you want%u00a0
Preheat a large pan %u00a0on medium high. While the pan is heating up, cut the corn from the cob. Once pan is hot, toss corn kernels into hot skillet and sprinkle with a pinch of salt and pepper. Give corn a stir after a few minutes. Once the kernels start to turn bright yellow and get a little charred, remove pan from heat. Chop up kale into little pieces and toss into pan with the corn while the pan is still hot. Mix around and let the kale wilt a bit from the residual heat.%u00a0
Ready your tortilla. Place half the cheese onto totilla, add on half of the corn and kale mixture, sprinkle with a bit more cheese and top with another tortilla. Place onto now empty pan and heat up quesadilla until brown on both sides and chesse is melty. Remove from skillet and cut into triangle. Repeat for the second quesadilla.
Serve right away with or without some guacamole, salsa, or sour cream.
plates are not required.%u00a0
Guess what guys %u2026.I got myself a sick vintage waffle/ griddle iron. I couldn’t be more thrilled!!!%u00a0I found this thing at the local recycled goods store the other day, along with a very beautiful old white pyrex mixing bowl. It was one of my best thrift store scores! (Checking out the inventory and the condition of all the old things that day, I would say an old lady had just died and all her perfectly keep, mint condition kitchen stuff had just been donated. %u00a0But it’s cool, cause I get the feeling that she was at least 90, with a big loving family, and was happy until the day she died. And I am sure she would be pleased that I have taken over the waffle maker. Thanks old lady!)
%u00a0And now I am pretty sure that %u00a0everything I make for the next week will be cooked on said waffle/griddle. I am serious, I already have a list of things to try and cook on it; cookies, biscuits, granola bars, potatoes, fruit, some type of pasta situations%u2026. the list of possibilities is endless and I bet that at least 1/2 of these things will be totally awesome and amazing.
But first thing first. I need to make dinner.
So waffles for dinner!!%u00a0
Note. These waffles are completely 100% fantastic for any meal you want to make them for. They consist of nothing more then beans, a shit ton of veggies, and just a bit of cornmeal. But don’t let that fool you because they are super packed full of so much flavor, have a really soft tender inside, with a nice crispy outside and are so super pretty. They are wonderful!%u00a0The stuff. First, we got a big old pile of shredded up veggies which include; carrot, beet, sweet potato, onion, parsnip, celeriac, and a little bit of kale. %u00a0A we got a bowl of rinsed and strained white beans, a little bit of cornmeal and salt, pepper, and garlic powder.%u00a0
The makings of something amazing!Before you do anything. get your waffle iron out and preheat it.%u00a0
While thats going on, take you beans, %u00a0add 3/4 cup water and puree until smooth with whatever blending device want to like to use. (I used my hand blender%u2026less to clean)Now collect all the shredded veggies and dump into a big bowl with the bean puree, the spices and the cornmeal. Mix until combined. The batter should be thick, but not dry. If its seems to wet, add more corn meal, or too dry, add a little more water.
Note how my batter turned a magical pink%u2026 I love beets, they make everything pretty! And check out that bowl!When your waffle iron is preheated, oil it if needed (if your not sure, add a little oil just to really make sure your waffles don’t stick) and take appropriate size spoonfuls of the batter and stick on iron. Close it and wait%u2026..My iron has a little light that turns on when the waffles are done cooking, so I waited patiently (ok iI did open it a few time) until light tuned on and removed the perfectly cooked waffles.
Did I mention how awesome my new/old vintage iron is?
SO AWESOME!!
I made a little gaucamole and gave the mister and little bowl of plain Greek yogurt with lemon juice, but feel free to top, drizzle, or dump whatever you want onto these beauties%u2026%u00a0
Happy waffle Wednesday!!!
-C
Veggie Bean Wonder Waffles
Makes 8-10 waffles (in my iron) feeds 2-3 peeps
1 small carrot shredded
1 small parsnip shredded
1/2 a small celeriac root
1 small beet shredded
2 kale leaves chopped into tiny bits
1/2 an onion, shredded
1/2 a small sweet potato shredded
1/2 cup cornmeal
2 cups(or 1 can) cooked, rinsed and strained white beans
2 teaspoons garlic powder
teaspoon each salt and pepper
oil for iron(if needed)
Note on veggies%u2026 I used what I had in the fridge and shredded, it came to about 3 cups. If you don’t have these specific veggies or only want to use a few.. go for it. Just make sure to have 3 cups of whatever veggies you use.
Take you beans and blend them up with whatever device you would like to use. Once creamy, add to a bowl with the rest of the ingredients. Stir until combined.
Once the waffle iron is preheated, oil it( if needed) and place the recommended amount of batter right on it there. Close and cook until golden brown and waffly.
Serve on a plate with topping of your choice, A few suggestions.. Guacamole, salsa, hummus, mustard, greek yogurt%u2026 anything that tastes good to you.
Eat as breakfast, lunch or dinner…
Fork into face
%u00a0%u00a0You ever make dish, completely on the fly, just to use something up (I have a lot of ripe tomatoes) with no real expectation, just because%u2026 Then have it be one of the best freaking things that you have ever made?%u00a0This salad is one of those things.. maybe not the best thing I have ever made, but definitely the best salad I have ever made%u2026. this week.
A salad compiled of all things amazing, taking just a few minutes to make and is the perfect balance of uber fresh with baby spinach, raw kale, and crunchy quick pickled onions. Then adding a touch of warmth with the sweet and juicy seared tomatoes and big chunks of creamy avocado.
I mean, for reals. %u2026…Best Salad Ever !!!! (this week)
Now let’s do this.
%u00a0The Stuff. A big bowl of baby spinach and chopped up kale, a few sliced up roma tomatoes, some super thinly sliced red onion, half an avocado, red wine vinegar and salt and pepper.%u00a0%u00a0Before you do anything, place the sliced onions into bowl, sprinkle with a pinch of salt and add a few glugs of the red wine vinegar. You want the onions to sit in the vinegar for at least 5 minutes on the counter cause the longer they sit the more crispy pickly they get. (after eating onions like this, you will never want to eat them any other way)%u00a0Lightly oil a skillet and preheat to a medium heat. Once the skillet is hot, sprinkle the tomato slices with salt and pepper and %u00a0place tomatoes right on in, snugly, but not overlapping. Let cook for about 3-4 minutes, or until the bottoms start to brown. Flip and cook other side for another few minutes.Once the tomatoes are seared on both sides, remove them gently from skillet and toss them on top of the bowl of greens.
Take the pickled onions and toss those right on top, with any of the residual vinegar, add dice and scoop the half of avocado and toss that on in as well.And now eat the best salad ever (this week).
Make the day good!
-C
Skillet Seared Tomato and Quick Pickled Onion Salad
Serves 2 as a side, 1 for a hungry eater
2 large or 3 smaller roma tomatoes
1/2 of a red onion
2-3 tablespoons red wine vinegar
1 1/2 cups baby spinach
1 1/2 cups chopped kale
salt pepper
1/2 a ripe avocado%u00a0
olive oil (to grease pan)
Thinly slice red onion and place in a bowl. %u00a0Add vinegar into a and sprinkle with salt. Let sit on counter for at least 5 minutes, if not longer,
Slice tomatoes into 1/2 inch thick rounds and sprinkle with a pitch or salt and pepper. %u00a0Lightly oil a skillet and preheat it on medium heat. Once the skillet is preheated, stick the tomatoes on it (watch out for splattering tomato juice) Cook first side for about 3 minutes or until the bottom has browned, then flip and do the same for other side.%u00a0
One tomatoes are seared, place directly onto the greens. Now dump the pickled onions and residual vinegar on top. And %u00a0dice up %u00a0avocado and add that on top too.%u00a0
Now eat your salad, fork or fingers%u2026 %u00a0
And I know, ba-daaaamn. So good.
Last week pineapples were on sale everywhere%u2026%u2026So I bought 5. Don’t judge%u00a0
And I bet I am not the only one that got overly excited at $1.50 pineapple and bough themselves a few. We will just call ourselves opportunists. %u00a0Now we have plenty of pineapples and don’t have to pay %u00a0the $4 a piece prices. (Justification) %u00a0
But if you don’t have a pineapple laying around, you must go get one. (Maybe if your lucky, there might still be some sales going on) because you must make this salad. I am on a mission to make everyone I know eat it because, for lake of a better way to say it%u2026%u2026.It will rock your world.
Dill and pineapple are a serious match made in heaven. Pineapple, with its sweet, tangy, citrusness %u00a0and dill with it’s super fresh earthiness. Mixed together with a few other helpers to create a fresh, clean, chunky, tangy, over the top, flavor. I could stop right there, but toss in a handful of lentils, some creamy avocado and a bed of kale%u2026It’s like the best spring time, celebration on you tongue, happiness in you tummy, kind of salad.
A salad that will make you smile. (and maybe buy %u00a05 pineapples)%u00a0
%u00a0Stuff for the goodness. We got the kale, some avocado because all salads should have avocado and some cooked lentils because, well, all salads should have lentils (or beans or nuts.. so you could totally something else) Then a few sprigs of fresh dill, a clove of garlic, red wine vinegar, salt and a bowl of chunked up pineapple.%u00a0The pineapple, dill, garlic, red wine vinegar, a splash of water and a pinch of salt get blended in a blender or whatever blending device you use. Go as smooth or chunky as you like, I recommend going smooth, but leaving a little chunk, like half blended.
The prep is done, now compile. %u00a0Kale in bowl, top with lentils,. Toss on avocado chunks, and, last but not least, the blended pineapple dill mixture.So good%u2026%u2026So so good.
Happy Friday!!
-C
So Good Pineapple Dill Kale Salad
Serves Two
3 cups washed and chopped Kale
1/2 a avocado, diced
1 cup fresh pineapple chunks
1-2 springs fresh dill
1 tablespoon Red Wine Vinegar
Salt%u00a0
1/2 cup cooked lentils%u00a0(or any bean or nut will do)
Note. No fresh dill? You can use dried, just sub in 1 teaspoon for the fresh and after blending with the pineapple, let sit a little longer to really let the flavors meld together.%u00a0
Place pineapple, dill, pinch of salt, vinegar and garlic into a blender or whatever you own that blends and blend stuff together, leaving it a little chunky. Let sit for 5-10 minutes.
Kale goes into a bowl and add the lentils and diced avocado. Pour the blended pineapple on. Toss around.%u00a0
Now eat.
Whenever my little sister comes over for dinner, I always end up making lentils in some form or another because she, like me, is awesome and loves a good lentil. It makes me so happy that she has such great taste in food and wants to eat what I make. %u00a0It’s validation from a teenage girl which is the best kind of validation.%u00a0
So last night when she came over after school for dinner and trash talk (she likes to verbally abuse Nick) %u00a0we decided %u00a0to make both of our favorites %u2026 Lentils AND sweet potatoes. How can you go wrong with that combo? Well I am telling you that you can’t. The rich creamy soft and slightly sweet sweet potato mixed up with the hearty, earthy, oh so fantastically tasty lentil. Add in a bit of kale and cheese if you wish and serve with salsa and guac… Whoa, it’s the best!!!
Such a great evening, I get to the cooking, the sister gets to the verbal abuse and the mister, begin the champ that he is, takes it and dishes it right back.%u00a0
I am the greatest(coolest)%u00a0sister.%u00a0
Baked sweet potatoes, cooked lentils, chopped up kale and monetary jack cheese (Cheese is optional.. and make it vegan cheese if you want) And you don’t need then, but salsa and guacamole are the best toppings.. So you have them.%u00a0
Cut the cooked potato in half lengthwise and scoop the flesh out into a bowl. With a fork, smooth%u00a0the potato , sprinkle with salt and pepper and mix in lentils and kale.
Stuff the mixture back into the skins of the potato.
And add some cheese (The mister and the sister wanted lots of cheese, no cheese for me) and stick the potatoes into the oven and let bake for another 5 or so minutes or until the cheese is all melty or the top is nice and crispy.%u00a0
Remove and plate%u2026 Serve with salsa and guacamole and maybe some corn chips. %u00a0
I am the greatest sister
-C
Makes 2 serving
1 Large Sweet Potato
1 cup Prepared Lentils
1 cup Chopped Kale
1/2 cup Grated Monetary Jack Cheese (Vegan style or not)%u00a0
Salsa (optional)
Guacamole(optional)
Place potato in oven at 400 degrees for 30-40 minutes or until soft a baked throughout.
While potato is baking, prepare lentils. %u00a02 cups water to 1 cup lentils. Add water and lentil to pot, bring to a boil, add a sprinkle of salt, and reduce to simmer until lentils are tender.%u00a0
When potato is cooked, remove potato %u00a0and let cool for a few minutes.%u00a0Cut in half lengthwise and scoop out most of the flesh out of the skins and place into a big bowl. WIth a fork, mash the potato a bit %u00a0Add in the lentils and the kale, a sprinkle of salt and pepper, and mix to combine. Stuff the mixture back into the skins of the potatoes and top with cheese. (if using ) Place potatoes back into oven for 5-10 minutes until cheese is melty and bubbly or the top of the potato is a bit crispy. Remove from oven and serve on a plate with salsa and guacamole.
There are just some things in life that are always right, like puppies, rainbows, human decency,%u00a0or the smell of %u00a0springtime flowers. And tacos. Tacos are always right. Seriously, have you ever meet someone that doesn’t enjoy a taco of some sort, of some variety? Everyone has a taco, that is a fact. (Even if you skip the tortilla and go straight for all the fillings like me.)
And if you are like me, lentils and butternut squash are always right too. So are all the veggies and %u00a0the avocado.%u00a0Together all this goodness makes for one amazingly fantastical, very right taco.%u00a0
We all need a little bit rightness in our lives right now. Why not start with dinner.%u00a0
The stuff. You got to get lenitls, butternut squash, cumin, chili pepper, salt and pepper, and olive oil. Also kale,%u00a0red onion, cabbage, avocados, a jalape%u00f1o,%u00a0limes, and garlic. And you need something to stick it all in, so flour or corn tortillas.%u00a0
Start with making the veggie slaw. Basic here, just chop up the kale, onion, and cabbage into small thin pieces.
All that veggie goodness goes right into a bowl with a sprinkle of salt and the juice of a lime. Give it a good toss to coast it all and set aside to do it’s magic. The longer it sits, the better it gets.
Now to roast the squash. %u00a0Dice it into small mouth sized pieces. I usually don’t peel, but most people do and the mr has been avoiding he peel when he eats the squash so I peeled it (and roasted it and ate it myself)%u00a0
Toss the squash in a drizzle of olive oil and the cumin and chili powder and a little salt and pepper.%u00a0
Raw squash goes into a preheated skillet (or baking sheet) and roasted until browned and tender.%u00a0
Squash meets lentils and it is good. So so good.%u00a0
And don’t forget the jalape%u00f1o mousse.%u00a0. Dice the jalapeo and the garlic and toss into a blender (or jar to use an emulsion blender) with the avocado, juice of a lime, a sprinkle of salt, %u00a0and a little bit of water.
A pillowy cloud of green goodness.%u00a0
You got all the stuff,%u00a0you know what to do.
Fact. Tacos = happiness.%u00a0Now get on it.%u00a0
-C
make about 6 tacos%u00a0
1 1/2 cups cooked french lentils
1/2 of a small butternut squash (about 3 cups cubed)
1 tablespoon cumin
1 teaspoon chili powder%u00a0
salt and pepper
olive oil
2-3 large kale leaves
1/4 head of cabbage
small red onion
2 limes
1 large or 2 tiny avocados%u00a0
2-4 tablespoons water cup
1 jalapeno
2 cloves garlic
6 small %u00a0flour or corn tortillas%u00a0
Grab the kale, cabbage, and red onion and thinly slice and dice into small pieces. Place into bowl, sprinkle with 1/2 teaspoon salt and add in the juice of a lime. Give it all a good mix around and set aside.%u00a0
Preheat oven to 450. %u00a0Place your cast iron skillet or baking sheet in oven while preheating.
Take squash, peel the skin off (if you want) and cut into cubes about an inch big. Place in a bowl and toss with a little olive oil and the cumin and chili powder. Sprinkle a little salt and pepper in and toss it all around. When the oven is preheated, carefully remove the pan and dump the squash in it. Evenly disperse the squash then place the pan back into the oven and roast squash until browned and tender, which takes about 25 minutes.%u00a0
When the squash is done, remove and dump into a big bowl along with the lentils.
While the squash is roasting you can go ahead and make the avocado mousse. Scoop avocado fruit into a bowl %u00a0or blender and add in the jalape%u00f1o (seeds and ribs removed) and the garlic. Add in the juice of a lime and 2 tablespoons water. Blend until smooth. Add in more water to thin out to desired consitancey.%u00a0
Now you have everything ready to taco. Grab your tortillas and heat them up if want and start to pile it all on. Lentil squash mixture, a good handful of the veggie slaw, topped with a dollop or two of the avocado mousse. Now you got yourself a taco and it’s ready for your face.%u00a0
I am spicing up my snack time these day, going an extra step and actually preparing a little something rather then just eating a pound of carrots. Yes yes, a pound of carrots is a great snack, but there are so many other fantastic veggies awaiting my belly and I can only accommodate %u00a0so much at once. So today the carrots had to wait, it’s time for the parsnips.%u00a0
After I made this and was eating it with all smiles and glee, I had the mr take a taste to see what he thought. What I learned is that If you do not like parsnips then you will not like this dish. But if you are awesome and do like parsnips, well then you will like this. But I guess if you like parsnips but don’t like cranberries then you might actually not like this either.
So what I guess I am saying is if you like parsnips and cranberries, you will freaking love this. And this, these cranberry roasted parsnips, are great as a snack or as %u00a0a fantastic accompaniment to any meal that you will be serving anytime soon. It’s quick and easy and delivers in all sorts of good ways, if you like cranberries and parsnips.%u00a0
The stuff. Parsnip. fresh (or frozen) cranberries, a little maple syrup, olive oil, and salt and pepper.%u00a0
Keeping it simple and just chopping the parsnip up into mouth sized pieces. If you are a peeler, go ahead and peel those parsnips first. Me, never a peeler.%u00a0
A little trick I have learned when roasting veggies is to roast them in a really hot cast iron pan. What I usually do is preheat the oven and while I am doing that I preheat the pan on the stove top. It gets hot fast and the veggies roast better when tossed into a hot pan. You can also preheat whatever dish you are using in the oven while it preheating. Whatever works for you.%u00a0
So parsnips Into a cast iron pan (or any oven safe dish)%u00a0tossed with just a touch of olive oil and salt and pepper.%u00a0
Parsnips cook pretty fast so after about 15 minutes check for doneness. Once they are for tender and browning, toss the cranberries into the pan and keeping roasting.
Once the cranberries are all roasted and bursted and nice, remove the pan from the oven and immediately drizzle with a touch of maple (just a touch or else it will be too sweet)%u00a0
There you go. Simple, fast, and oh so delicious.%u00a0
Have an awesome weekend!%u00a0%ud83e%udd4b%ud83e%udd3e%ud83c%udffb%u200d%u2640%ufe0f%ud83c%udf84%u2603%ufe0f (interrupt those any way you see fit)
-C
serves about 4 as a side dish %u00a0or makes for 2 good snack bowls
3-4 large %u00a0parsnips (but really as many as you want)
1 cup fresh or frozen cranberries
1 teaspoon to 1 tablespoon maple syrup (the more the sweeter it will be)
olive oil
salt and pepper
Preheat oven to 425
Grab whatever pan or oven safe dish you are using and %u00a0preheat either place it in the oven while its preheating of if you can place it on the stove, get it really hot on a high flame.
Grab your parsnips and chop into about an inch sized pieces (or a good size that will fit into you mouth. Feel free to peel the parsnips first if you want to. Once the oven and pan are preheated, drizzle the parsnips with a tiny bit of olive oil and toss with salt and pepper. Place onto really hot pan and stick into oven. %u00a0Roast for about 15-20 minutes or until the parsnips are golden brown and fork tender. Remove form oven and toss in the cranberries. Place back into oven for about another 10 minutes or until the cranberries start to burst and get soft. Remove again and drizzle with a teaspoon of maple syrup (or more if you like it sweeter)%u00a0
Serve right away.%u00a0
This weekend was pretty fantastic. I got a lot of little things done around the house that needed to be done and spent half of that time hanging out in my pjs. (Pjs can be working loathes too) And all the while I was doing stuff, I was making these rolls. (I am nothing if not a great multi-tasker) That’s my favorite kind of weekend.. Baking, while doing house chores. and maybe watching tv or listening to music. (or NPR.. but saying that makes me sound so old).%u00a0I am like a little old house wife (I am close) and it makes me feel like I have achieved greatness!
And baking bread is the best. I love making bread. I %u00a0love the act of mixing and kneading the dough. The waiting and anticipation of the dough rising.The smells of good bread baking. It’s a very cathartic experience, and it also results in some very tasty bread that,%u00a0in my house, get’s eaten at an alarming speed (fresh bread doesn’t last long with the mr) But don’t let all that time waiting around scare you away from making bread, cause when you take out the time spent letting dough rise, bread really takes about 8 minutes to make. And people who make fresh bread are always the coolest people.%u00a0
So these rolls. These rolls are soft and fluffy and tender,, slight sweet, slightly spicy, and all over freaking fantastic.%u00a0I mean, it’s parsnip and pepper so what can go wrong with that?. The mr ate a good few pretty much as soon as I pulled them out of the oven(again..fresh bread doesn’t last long)%u00a0and when I brought the rest over to my sisters house, those were devoured as well. Even the littles were super into them. %u00a0And I now that it’s a few weeks away but%u2026. Thanksgiving is only a few weeks away!!! It’s creepy up oh so fast (as usual) and I am not going to let it get the best of me this year. And now that I got my roll game down for the big day (or 3.. there are 3 Thanksgivings that we are attending), I can move onto more pressing things.. like al the pies.(I’ll be sharing some pies with you soon)
The stuff. %u00a0We gots some flour, salt, cracked pepper and a really big parsnip. Also have water, yeast, sugar and some melting earth balance .%u00a0
To start, chop up the parsnip into small chunks and stick them into a pot with enough water to fully semerge the chunks. Place on stove and bring to a boil then turn heat to medium high and let the parsnips cook.
Once the parsnip are fork tender, strain the water (reserving 3/4 cup of that water)%u00a0and puree the parsnip until smooth.
Take %u00a0that parsnip water and (once cooled a bit) place in bowl with the sugar and the yeast and mix it all around. Let sit for a few minutes until the yeast is visibly active.
Now dump the parsnip puree and melted butter into with the yeast and mix it all up
Salt, pepper, and flour mixed into a bowl
The yeast and parsnip mixture goes into the flour.%u00a0
And mix until it looks kind like this. When it’s no longer mixable with the spoon, dump dough out onto lightly floured surface and knead, adding a little bit of flout to the work surface when needed to prevent it from sticking..
And keep kneading unitl dough is all nice and smooth and pretty.
Dough then goes into a lightly oiled bowl %u00a0and is covered with a towl and let to sit for about an hour until the dough doubles in size.%u00a0
When the dough has doubled, dump onto the counter and cut into 12 equalish sized balls. (my balls were not equal)
The balls then go into a %u00a0large, lightly oiled pan. Let those sit for some more time,covered with a towel,%u00a0unit the dough %u00a0doubles again and the balls are all touching each other. They are ready to bake.. but right before you place them in the oven, brush the tops with a little melted earth balance.
And into the oven they go!!!
And when the rolls are all golden brown and smelling so nice,%u00a0remove from oven. Brush tops with some more melted earth balance and sprinkle with salt and more pepper.
Serve up to people you like
Have a n awesome day!
-C
Makes 12-16 rolls (depending on the size you make them)
3 3-1/2 cups all purpose flour
2 big parsnips (need 3/4 cups mashed parsnip)
3/4 cups parsnip water (the water you boil the parsnips in)
2 teaspoons yeast
2 teaspoons cane sugar
2 teaspoon salt
1 tablespoon cracked pepper (more if you like pepper)
4 tablespoons melted earth balance or butter (2 for the dough- 2 to melt on top)
To start, chop parnsips into chunks and place into a pot full of water. Bring to boil and cook until the parsnips are fork tender. Remove parsnips from water and measure out 3/4 cups of the water and set aside Take cooked parnsips and stick in a blender and puree until smooth. Measure out 3/4 cups of the puree.(any left eat as a snack)
Let both the puree and water cool enough that %u00a0you can stick a finger in it and its not to hot (or a thermometer that says its below 110.. your call).
Once cooled, stick the water, sugar, and yeast into a bowl, mix around, and let yeast activate. When yeast is foamy and clearly noted that it is not dead, dump in the parsnip mash, 2 tablespoons melted earth balance,and mix together. And then for the flour. Mix in the salt and pepper to the flour mix in the parsnip yeast mixture until a dough forms. The dough should be a little sticky, but still workable. If the dough seems to wet, add in another 1/4 cup flour at a time, just till it is bot overly sticky.%u00a0
Dump dough onto a floured surface and knead for about 5 minutes, or until the dough starts to look glossy and ihas an elastic quality to it.%u00a0
Stick dough into a greased bowl, over with a towel, and place in a warm place for about an hour, or until the dough has doubled in size. Once doubles, dump dough out onto counter and using a dough cutter or serrated knife, cut the dough into 12 -16 equal pieces Take each piece and roll into a ball and place into a greased 9×12 baking pan. Once all balls are in, cover with towel and let the dough rise %u00a0until the balls are doubled in size and are toughing each other,for another 30 minutes or so. Preheat the oven to 350. Once the rolls are double again, right before you stick them into the oven, brush tops with melted earth balance
Place rolls into preheated oven and baked for about 25 minutes or until the tops are golden brown.%u00a0
Remove and right away, brush on any remaining earth balance to the tops and sprinkle with salt and pepper.
Serve right away!%u00a0
Best eaten the day the are made.. but will last a few days in an air tight container.%u00a0
My winter farm share is coming to an end this week. One more pick and then a three week stretch until the summer share starts%u2026 WHAT AM I GOING TO DO!!! Stock up as much as I can is what.
I have been strategic about the roots and veggies that I have chosen to bring home the past few weeks.(My farm lets you pick what you want) %u00a0I know what I can buy at the store, things like carrots and potatoes, so I have been passing those up, but the roots like beets and celeriac%u2026 I have been bringing home baskets of those and hoarding them in the fridge and basement in preparation for the laps in farm fresh food and knowing that if I want to by these at the store it s going to coast me a million dollars %u00a0a pound. (a for real million dollars)
Yup, lots of roots around here, especially celeriac root which is fantastic.%u00a0I am kind of obsessed with celeriac, with its fibrous, knobby exterior, soft but almost meaty texture inside, and a flavor that %u00a0is close to celery but so much better. %u00a0I don’t know why it has taken me so long to do a posting featuring this amazing root vegetable %u00a0(I eat it almost every day)
So here, an amazingly tasty, hearty but not heavy, celeriac recipe. %u00a0Perfect for spring and the change into summer%u2026. Mustard roasted celeriac with an fanatic split peas gravy that will have you licking you bowl clean.
%u00a0The stuff%u2026.For the split pea gravy we have a carrot, a parsnip and a large onion chopped into small chunks. %u00a0Salt, thyme, a bay leaf and of course the split peas. Then there is the celeriac root* sliced into 1/2 inch thick rounds and some plain old yellow mustard .
*Note. I don’t peel my celeriac root. I really enjoy the fibrous exterior but realize that some don’t(The mister does not like it) so peel it if you want.%u00a0
Toss the chopped parsnip, carrot, onion and the spices into a pot on medium heat and let veggies sweat a few minutes until tender. %u00a0Add in the split peas and enough water to cover everything. %u00a0Turn pot on high and bring to a boil, then cover and turn to low. Make sure to give the pot a good stir ever few minutes and add more water if needed%u00a0
While the gravy is cooking, %u00a0take the celeriac rounds and brush each side with yellow mustard, sprinkle with pepper, and place on a baking sheet. Stick into the oven to roast for about 25 minutes, flipping the rounds after about 10 minutes.
Once the peas have soften, remove the bay leaf and puree until smooth and oh so creamy. Taste and add more salt and pepper if needed. If you find that the gravy seems to thick, just add in more water until it’s the consistency that you want.%u00a0The gravy is made, the celeriac is roasted%u2026 now we are ready to eat!!%u00a0Stick the celeriac on a plate and dump good amount of that gravy right on top. Feel free to add a bed of spinach, or a grain or anything you want, because why not, and also some chopped tomatoes for a little acid and prettiness.
Serve with the fanciest knife and fork you can find. Extra yellow mustard and sriracha sauce are great condiments to have close by.
Happy Tuesday!
-C
Mustard Roasted Celeriac with Split Pea Gravy
2 medium celeriac roots
6 tablespoons mustard
1 large carrot
1 medium parsnip
1 large yellow onion
2/3 cup split peas
2-3 cups water%u00a0
1 bay leaf
2 teaspoons thyme or italian spice mix
salt and pepper
spinach (optional)
diced tomatoes(optional)
Preheat oven to 400 degrees
Small dice the carrot, parsnip and onion and throw into a large pot. Spinkle with salt and pepper, add in the thyme and bay leaf and add a splash of water. Stick on stove on medium heat and stir. Let cook until the veggies become soft and fragrant. Now add in the split peas and 2 cups of water. Bring to a boil then cover and turn heat down to medium low. Let cook until the split peas become tender (about 25 minutes) string on occasion and adding more water if the peas are not completely summered while cooking.
Once the peas are tender, let cool for a few minutes, remove bay leaf, and either dump into a blender or blend with an immersion blender until nice and creamy. If gravy seems to thick, add in more water.%u00a0
Scrub or peel celeriac roots and slice them into 1/2 inch think rounds. Place on a baking sheet and brush mustard on both sides and spindle with pepper. Stick into oven for about 10 minutes, flip, then back into the oven for another 15 or so minutes, or unit the celeriac is tender.
When the celeriac is done remove from oven and %u00a0stick a few rounds on a bed of spinach (or not, or any kind of grain or green you like) Top with a hearty helping of the gravy and toss on some chopped up tomatoes.
It is exactly that time of year. Apples galore, cool days in need of a little extra warm, meaning a warm oven is welcome, if not needed. It%u2019s the best time of year, or at least one of them.
And so I bake bread. Sometimes just a roll, and sometime a loaf, almost everyday. I love bread baking because, well just because. Plus it%u2019s what people want to eat and will always eat because I guess bread=love. Makes sense to me.
This bread was made from a small dip in the 2 gallons of applesauce I made the night before. (We had sooooo many apples). The mr isn%u2019t the biggest fan of applesauce, says he would rather eat a fresh apple. I kind of get it, but dude, warm, chunky, slightly cinnamon-y applesauce%u2026 I mean, that is happiness right there. Right? Anyway, I am trying not to eat all the applesauce to my face by myself at once (it has been a challenge) and plus I needed to make the mr some bread, so I figured what the hell. I%u2019ll just use applesauce as my liquid in the bread. And so I did and that is that and now that mr really like applesacue (when it is baked into bread)
This bread is a basic sandwich type bread. The apple taste is there but not overwhelming so it can be used for sandwiches of all kinds, toast, just eating with a smear od something, or not. Just a overall good loaf of bread with a little extra from the apple. And braided because I was feeling classy. It%u2019s amazing what at little braiding of bread dough can do for your self esteem. Made me feel like I was the coolest person in the world. Haha!
Now to the bread.
The stuff. A few apples, regular all purpose and white whole wheat flour, salt, applesauce, maple syrup, yeast, and warm water.
Applesauce, shredded apple, maple, yeast, and a little water get mix up and let to sit for a few minutes to activate yeast. Then the salt gets mixed in, along with all the flour. Stir until dough forms. Dough should be slightly sticky, ut not wet. IF wet, add a handful more flour. To dry, add more water.
Dump the dough onto a floured surface, cover your hands in flour, and knead dough for about 5 or so minutes, adding more flour as needed to keep dough from sticking, until the dough is a nice and cohesive texture.
Nice looking dough. Now roll dough into a ball.
Place dough in a clean wet or oiled bowl and cover with a damp cloth for one to one and a half hours or until dough doubles in size.
Dump dough onto floured surface.
Cut dough into 3 equal pieces and roll out into long longs.
Braid logs together. You can stop here bake it this way or%u2026
After placing it on a parchment lined baking sheet, tuck the ends of the braids underneath each other and make it like this. Either way. And once you have the dough on the baking sheet, brush a little water or plant milk on top and let dough rest for 15 minutes of so while the oven preheats.
Before oven and after oven. Classy, right?
Then for shin and soft crust, rub warm loaf with some plant butter.
And for the hard part. Let it cool before slicing it. Ok sure, a little warm is fine, but wait at least 20 minutes (an hour would be best) and then eat you some bread.
Eat you some bread. That%u2019s a t-shirt right there.
Happy Fall friends!
-C
makes pretty one loaf
2 cups all purpose flour
1 1/2 cups white whole wheat flour plus more for kneading
1 cup unsweetened room temperature applesauce
1 large or 2 small apples ( about 2/3 cup shredded apple)
1/4- 1/2 cup warm water
1 tablespoon maple syrup or honey
2 teaspoons active yeast
1 teaspoon salt
1 tablespoon or so plant milk or water
1 tablespoon plant based butter (optional for rubbing on finished bread)
Grab the apples and shred them until you have 2/3 cup shredded apple. In a large bowl, mix together the applesauce, shredded apples, yeast, 1/4 cup warm water, and sweetener.and let yeast activate for a few minutes. Add in salt, the all purpose flour and the 1 1/2 cups white wheat flour. Stir together until dough forms. The dough should be a little bit sticky so if the dough seems to dry, add in 1/4 cup more warm water. If it seems really wet, add in a handful more flour.
Dump dough out onto a well floured surface and knead for about 5 minutes adding a little bit of flour to the counter as needed to prevent it from sticking. Once dough is cohesive in texture, roll into a ball and place into a clean wet or oiled bowl. Cover with a damp towel and allow the dough to double in size. Should take between an hour and an hour and a half.
Once dough doubles in size preheat oven to 400
Dump risen dough back onto a well flour counter. Cut the dough into 3 equal sizes and roll each piece into long logs about 20 inches or so long. Place each roll next to each other and braid. Grab a baking sheet and line with a piece of parchment paper. Sprinkle with a bit of flour and place braided dough onto sheet, either as a braid or if you want, like I did, wrap the braid around itself into a rounded braid situation. Tuck ends into each other and under the loaf. Brush the top gently with a little plant milk or water and let rest for about another 15 minutes or so.
After the rest, place dough into preheated oven. Bake for 35-45 minutes (Less if left long braid, more if wrapped braid) or until the top is a deep golden brown and when tapped on the bottom, it sounds hollow. Also can use an insta read thermometer and check temperature. You want it to reach 190 degrees.
Once bread is baked, remove from oven. If you want the top to stay a little crispy, don%u2019t do anything but let it cool. For a softer, shinny crust, rub the top while it is still warm with some plant based butter.
Let bread cool completely before cutting.
Then eat it like you would eat bread. Any and every way.
Store cooled loaf in a airtight bag on counter for 2-3 days but if not eating that fast, slice and place into freezer. That way you can pull out individual pieces and toast as you want.
Sunday was the first, and probably the biggest Thanksgivings we are going to this week. It was my family, which consists of my mom, 8 siblings (plus a few spouses) and 9 little%u2019s. A small little house bursting at the seems with a bunch of shit heads. There was a pumpkin pie food fight, secret Santa%u2019s name picking that had to be redone 3 times (because we cant count) and much to much time devoted to sister selfies.%u00a0 It was a blast.
%u00a0And my mom always requests everyone to bring something to diner so I of course wanted to contribute a pie.%u00a0One pie, something that would appeal to as many of those crazies with dietary restrictions as possible, that was a not gross, but still not full of crap, and that people would want to eat. So I went with an apple and acorn squash pie that happen to be vegan, gluten free, and a little on the less sweet side. (Look at me trying to be all nice an accommodating)
%u00a0But guess what. My mom, well she bought 5 other freaking pies from the farm stand to supplement my pie. And yeah, when the time came for dessert my pie got a few nibbles, and I was told that it was fantastic, but they all went for the super sugary, full on butter and fat, custard pies%u2026 Dietary restrictions thrown aside. And I am ok with that because my pie got divided up between a few of the ladies and they ended up easting it for breakfast. So my pie turned out to be the day after thanksgiving breakfast pie. And that might even be better then being the night of pie cause everyone knows that left over pie eaten for breakfast is the best kind of pie!
So if you are looking for a good pie that is great the day of Thanksgiving and be good for breakfast the next day, this is the pie for you.
The stuff. Apples, an acorn squash (only going to need half), some old fashion oats, earth balance, brown sugar and a lemon. Also need a little bit of cinnamon, ginger, and salt. oh, and a bit of water.
Oats, earth balance, some sugar, a pinch of salt and a bit of cinnamon all go into a food processor to blend.%u00a0While its blending, add in a tablespoon or two of water to help all the stuff come together. %u00a0Once it starts to pull away from the sides, turn off and call it ready.%u00a0
remove about 1/2 a cup of the crumb and set aside for topping and dump the rest into a pie plate. Press into the dish until it looks like a pie crust.
Stick into the oven to pre bake.%u00a0
The crust is in the oven and the apples and the squash are not going to cut themselves up so you are going to have to do it. And personal preference here, peel the stuff or don’t (I wouldn’t usually but I know the people eating %u00a0the pie and they are peeled people) So remove all seed and stems and slice both the apple and squash intto 1/2 inch slices. Cut the squash into pieces that are similar to the apple,%u00a0
Earth balance into the skillet first then topped with all the chopped stuff, the spices and some sugar and stick it on the stove to cook down. You want to get the pan hot with a medium high heat then turn it down to a low heat, stirring and them placing a lid on the stuff until the squash and apples are slightly tender (not falling apart)%u00a0and the sugar has caramelized.
And note.. If you notice that the sugar is caralized before the squash and apples are tender, just add in a splash of water and mix around to prevent the sugar from burning.
Filling all ready to go, just add in the juice of the lemon here.
The left over crust crumble, some more earth balance, cinnamon, oats and sugar get mix together to make a little crumble to sprinkle on top.%u00a0
And now all there is left to do is to put it all togehert. Filling goes into pre-baked crust.
And gets topped with the crumble.%u00a0
Into the oven it goes (give it about 45-50 minutes to bake)
And pulled out when the top is all golden brown and smelling pretty.
Left to cool for a few minutes, then sliced into thinck pieces and shared all around!
Now thats a pie that’s meant for breakfast!
-C
Apple Acorn Squash Pie with an Oat Crust%u00a0
Makes 1 pie
The Crust%u00a0
3 cups %u00a0old fashion oats
2 tablesppon brown sugar
4 tabelsoons earth balance
1 teaspoon cinnamon
1-2 tablespoons water
Filling
1/2 %u00a0acorn squash (about 3 cups chopped)
4-5 %u00a0apples (any kind will do)
1 tablespoon cinnamon
1/2 teaspoon ginger
1 lemon
4 tablespoons earth balance
6 tablespoons brown sugar
Crumb topping
1/2 crumb that is set aside
1/2 cup old fashion oats
2 tablespoon earth balance
1 teaspoon cinnamon
3-5 tablespoon brown sugar (more if you like it sweeter)
Start by making the crust. This crust is going to be prebaked so preheat the oven to 375.
Stick the oats, some super soft or even melted earth balance, brown sugar, a pinch of salt and cinnamon, and a splash of water into a food processer and pulse until a fine crumbly crumb is made. Remove about 1/2 %u00a0cup of the crumb and dump the rest into a pie plate. Press into the dish evenly and once you are happy with the looks of the crust, stick it into the oven. Bake for about 20 minutes or until the crust is just starting to brown.
While crust is prebaking, peel (if you want),%u00a0core and slice apples into %u00bd inch pieces. Now grab the squash while you are at it and cut it in half, remove seeds, peel (if you want) and slice into %u00bd inch pieces (make them about the same size as the apple pieces.) Get yourself a big skillet and add in the earth balance, all the chopped up apples and squash, the spices and the sugar and stick on the stove one medium high heat. When the skillet is nice and hot, the butter all melted and the sugar is starting to melt, turn heat down to medium low, stick a lid on the pan, and cook for a few more minutes (like 7 minutes) until the squash and apples are slightly fork tender , but not falling apart. If the sugar starts to caramelizes before the stuff is tender, add in a splash or two of water to stop the sugar from burning.%u00a0Remove from heat, add in the juice of the lemon,%u00a0and set aside.
%u00a0And for the crumble. Just add all the crumble ingredients together and mix around (I used my fingers).
So crust is pre-baked, filling is precooked, and crumble is ready. So now all you need to do is put it together.
Dump the filling into the crust and then top with the crumble. Stick the pie into the oven and bake for about 45-50 minutes or until the filling is fork tender and the crumble on top is nice and golden brown.
Remove from oven and let cool for at least 5 minutes (15 minutes is even better), and serve it on up!
A simple little artsy craft project to get down with%u2026 apple printing. ALmost the same as potato print, except smells better and your apple comes with an interior fun shape to print with. And you have to use apple this time of year cause its apple season and there are apples everywhere!
I usually do things like this with a little or two, but at the time, I had no littles in my possession, so I went it did it all by my lonesome.%u00a0(which was actually a lot of fun)%u00a0I made myself big cup of hot coffee, put on some tunes, and zoned out and did a bunch of prints. It was a great little afternoon project that anyone, little or not so much, can do. And the best part about printing is%u2026 you can’t screw it up
And I know that this is going to be a cold dreary weekend%u2026 so this might just be the perfect indoor project to do!%u00a0
Things you are going to need..
apple(s).. And the apple that I use are fallen apples.. so I don’t feel bad about using them.
paper
a knife (or something sharp enough to cut the apple)
paint ( I used cheap-o acrylic paint, but any paint would work)
paint-brush
Cup of water (to rinse brush)
rag (to wipe hands)
Start by slicing your apple. If you cut in in half, you get the cool star shape in the middle, or just chop it into cool shaped pieces.%u00a0
Apply paint to the apple. I found that if I dipped the apple, then remove to much excess paint with a paint brush to work the best for me.. My suggestion is to play around with what works best for you.
Apple goes paint side down on paper%u2026 and that’s how it goes. Now repeat, either with the same shape, or use a new one. OR change up the color.. it’s all how you want to do it.%u00a0
If%u00a0
. I got a little excited with my fist print turned out a little chaotic(note print above)%u00a0but then I rained myself in.%u00a0
And did a few more simpler designs. %u00a0%u00a0
But do it anyway you want cause it’s going to look cool no matter what.
Have fun!
-C
Fall is all up in here!. The air is so nice and crisp and the leaves are changing to the prettiest colors.%u00a0I gots my pumpkins, an abundance of apples and squashes (our table is forverver overflowing with some type of squash) and am wearing all of my favorite sweaters.%u00a0
I am a happy lady here!
And this happy lady just wants to sit on her butt and knit.
But first, dinner. And my thought are. “What to do that doesn’t include doing much of anything (especially dishes) and maybe even has the oven on for a little extra warmth?” See here, I am a thinker. I knew I %u00a0had a single pie dough in the freezer (you should always have a pie dough in the freezer), a table full of the loveliest produce. So this happened. And the mr ate it, and he was all like “Whoa”.%u00a0 And I was like,”yeah dude, I know.”
A Ssuper fall galette.. and I still had time for my knitting and my butt.%u00a0
Like Whoa!
The stuff. A single crust pie dough, a butternut squash, an onion, and a honey crisp apple.(there are 2 shown, but I only needed on1)%u00a0%u00a0Also going to need a tiny bit if olive oil and a pinch of salt
Preheat oven to 375.
Roll your chilled dough out %u00a0on a lightly floured surface and place onto a large baking sheet. Stick it in the fridge to rest for a few minutes.
And slice them up into 1/4 inch-ish thick srounds.
Time to compile%u2026 A layer of overlapping squash. (Make sure to leave inch-ish boarder)%u00a0%u00a0Then a layer of the apples, and lastly the onion, which I think looks so pretty as ringlets, but you could keep in rounds if you wanted.%u00a0
Fold the sides and pinching dough to keep it secure. Drizzle the top, and the crust, with a tiny bit of olive oil and sprinkle with a picnh of salt.
Now into the oven it goes!
And %u00a0after about 45 minutes when the dust is perfectly golden and the stuff inside is nice and tender. Remove (turn off the oven) and let cool
And there you have it.. A ode to fall in flavors and colors..
Have a great day%u2026 Eat lots of fall food!
-C
1 single pie dough (recipe here)
1 small butternut squash
1 medium sweet onion
1 large honey crisp apple
olive oil
salt
Preheat oven to 375.
Roll out chilled pie dough %u00a0on a lightly floured surface to about a 12-14 inch round (ish) and place on a large baking sheet and stick in the fridge.
Grab the squash and cut the neck off the bottom.%u00a0Save the bottom for later (maybe soup?)%u00a0and slice up the neck into 1/4 inch thick rounds. %u00a0Now take the onion and apple and slice those into 1/4 inch thick rounds too. (the seeds and the stem will just fall our.. but if they don’t, just poke them out with a knife)
Grab the dough from fridge and start to layer. First a layer of squash, leaving around an 1.5 inch boarder. You want the pieces to overlap,but don’t double layer. Next the apples go on top of the squash, again overlapping. Finally the onion. I liked the look of the individual ringlets%u2026 but you can do thick rounds if you want.%u00a0Fold over the sides of the dough, pinching it in wherever it needs to be pinch until all the stuff is snug. Drizzle with a tiny bit of olive oil %u00a0and rub a little oil on the outside crust as well. Sprinkle with a pinch of salt and stick into oven.
Bake for about 45 minutes or until crust is a nice light golden brown and the stuff inside is tender.
Remove, let cool for a few minutes and eat your heart out.
I am a firm believe in the healing power of food. Whenever anyone (that I like) gets some sort of medical percedure, I like to bring them something home cooked, weather it be dinner or a baked good,%u00a0%u00a0you know, so they don’t have to worry about starving to death. ( no one I have ever visited was ever starving)%u00a0Food helps you heal and food makes you happy so bringing a healing person some food only makes sense to me.%u00a0So when the mr’s aunt recently had part of her knee drilled out, cleaned out and stuffed with human cadaver bone marrow (%u00a0pretty cool))%u00a0%u00a0I baked her,%u00a0her husband, and her kiddos some muffins.
Why muffins? Well I was thinking soup or a casserole, but the mr suggests I do a baked good instead. I was going to go with a cake, but then that can get kind of annoying and troublesome with a couple of kids. Cupcakes are to cheesy and don’t send the right message of get well, (cupcakes say, run around.. sugar high!), a pie would have been nice, but I am not sure if the kids like pie. Then there are muffins.. muffins are perfect. Not terribly packed full of sugars and crap. A little more hearty, can be eaten as a snack, a dessert, or a quick breakfast, and keep for a good while. %u00a0I made them apple cause I gots a shit ton of apple and peanut butter cause protein is good and it just makes sense.%u00a0
Apple+peanut butter are BFF’s and really, what human doesn’t like peanut butter?%u00a0
So his aunt and family got the muffins, and the mr only got 1. I think he was really disappointed that I didn’t save him another one or make more. %u00a0
Oh well. I guess I can make them again, if he is lucky.%u00a0
And I feel like I should say get we’ll soon Sarrh, but this last is a badass and is already doing great,so I will just say,%u00a0Hi Sarah, looking good!
Now to the muffins!
The stuff. Dry ingredients are flour, baking packing soda cinnamon and salt. Then we have applesauce, breon sugar, oil, vanilla extract and vinegar.%u00a0For the streusel…. peanut butter, brown sugar, flour, salt and earth balance. (you could use butter if you want)
The streusel stuff goes into a bowl and gets mixed until it turns into a crumbly, soft dough and set aside.
Whisk together the flour, baking soda, cinnamon and salt in one bowl, then in another bowl, mix together he applesauce, oil, vanilla, %u00a0sugar and lastly, the vinegar.%u00a0
Fold the wet into the dry, mixing just enough until incorporated. And remember%u2026.DON”T OVERMIX!
Now scoop batter into muffin pans. Use liners, or not%u2026 I usually don’t but figured that lined muffins travel and keep a little better%u2026 plus I just found a bunch when I was cleaning out a kitchen drawer.
Streusel top those muffins!
A view from the side%u2026 Use it all, don’t be shy, the crumble is there to be eaten%u2026 Oh, and lesson learned by me.%u00a0Next time I make these I will give the streusel a little pat into each muffin, to really secure it to the tops.%u00a0So yeah, you should do that.
Now into the ove they go!
Pull out to cool when the streusel is browned, the muffins are poofed, and a tester poked comes out clean.
The smell alone will make your mouth water and you tummy growl.%u00a0
A muffin win!
Happy Friday!%u00a0%u00a0Do lots of fun fall stuff this weekend!
-C
Makes 12 muffins
%u00a0Muffin Stuff
2 1/4 cups all-purpose flour
2 teaspoons baking soda
1 teaspoon salt
1 teaspoons ground cinnamon
2 cups applesauce*%u00a0(recipe here)
2/3 cups brown sugar
1/2 cup oil
2 tablespoons apple-cider vinegar
1 teaspoon pure vanilla extract
Peanut Butter Streusel Stuff
1/2 cup flour
1/3 cup peanut butter
3 tablespoon %u00a0brown sugar
2 tablespoons %u00a0earth balance
* IF you are using homemade applesauce (you should!) A little chunky is good. Just make sure that there are no huge chunks. Also, if you applesauce is really thick, just add a bit of water to think it would. It doesn’t have to be pourable, but it should have a bit of water content to it.%u00a0
Turn oven on to 350 and either grease or line a 12 hole muffin pan
In a bowl, combine all of the streusel stuff unit it becomes a kind of crumbly dough and set aside.
In a large bowl, whisk together the flour, baking soda, salt, and cinnamon. In a separate bowl, mix together the applesauce,, brown sugar, oil, vanilla,, and vinegar. Pour the wet into the dry and fold in until %u00a0just fully incorporated, br careful to not over mix the batter.
Scoop equal amounts of batter into you muffin tin. Grab the streusel l topping and evenly distipute that all over the muffins, giving the topping a soft pat to make sure it stays put while baking.%u00a0
Place muffins in oven and bake for about 30 ish minutes, or unlit the streusel is browning, the muffins are poofy and a test comes out clean.
Remove from oven, pop muffins from tin, and let cool on a rack.
Serve as soon as you want. A glass of milk (plan, nut or cow) or a big old cup of joe goes really well with this muffin situation.%u00a0
Guess what guys ….I got myself a sick vintage waffle/ griddle iron. I couldn’t be more thrilled!!! I found this thing at the local recycled goods store the other day, along with a very beautiful old white pyrex mixing bowl. It was one of my best thrift store scores! (Checking out the inventory and the condition of all the old things that day, I would say an old lady had just died and all her perfectly keep, mint condition kitchen stuff had just been donated. But it’s cool, cause I get the feeling that she was at least 90, with a big loving family, and was happy until the day she died. And I am sure she would be pleased that I have taken over the waffle maker. Thanks old lady!)
And now I am pretty sure that everything I make for the next week will be cooked on said waffle/griddle. I am serious, I already have a list of things to try and cook on it; cookies, biscuits, granola bars, potatoes, fruit, some type of pasta situations…. the list of possibilities is endless and I bet that at least 1/2 of these things will be totally awesome and amazing.
But first thing first. I need to make dinner.
So waffles for dinner!!
Note. These waffles are completely 100% fantastic for any meal you want to make them for. They consist of nothing more then beans, a shit ton of veggies, and just a bit of cornmeal. But don’t let that fool you because they are super packed full of so much flavor, have a really soft tender inside, with a nice crispy outside and are so super pretty. They are wonderful! The stuff. First, we got a big old pile of shredded up veggies which include; carrot, beet, sweet potato, onion, parsnip, celeriac, and a little bit of kale. A we got a bowl of rinsed and strained white beans, a little bit of cornmeal and salt, pepper, and garlic powder.
The makings of something amazing!Before you do anything. get your waffle iron out and preheat it.
While thats going on, take you beans, add 3/4 cup water and puree until smooth with whatever blending device want to like to use. (I used my hand blender…less to clean)Now collect all the shredded veggies and dump into a big bowl with the bean puree, the spices and the cornmeal. Mix until combined. The batter should be thick, but not dry. If its seems to wet, add more corn meal, or too dry, add a little more water.
Note how my batter turned a magical pink… I love beets, they make everything pretty! And check out that bowl!When your waffle iron is preheated, oil it if needed (if your not sure, add a little oil just to really make sure your waffles don’t stick) and take appropriate size spoonfuls of the batter and stick on iron. Close it and wait…..My iron has a little light that turns on when the waffles are done cooking, so I waited patiently (ok iI did open it a few time) until light tuned on and removed the perfectly cooked waffles.
Did I mention how awesome my new/old vintage iron is?
SO AWESOME!!
I made a little gaucamole and gave the mister and little bowl of plain Greek yogurt with lemon juice, but feel free to top, drizzle, or dump whatever you want onto these beauties…
Happy waffle Wednesday!!!
-C
Veggie Bean Wonder Waffles
Makes 8-10 waffles (in my iron) feeds 2-3 peeps
1 small carrot shredded
1 small parsnip shredded
1/2 a small celeriac root
1 small beet shredded
2 kale leaves chopped into tiny bits
1/2 an onion, shredded
1/2 a small sweet potato shredded
1/2 cup cornmeal
2 cups(or 1 can) cooked, rinsed and strained white beans
2 teaspoons garlic powder
teaspoon each salt and pepper
oil for iron(if needed)
Note on veggies… I used what I had in the fridge and shredded, it came to about 3 cups. If you don’t have these specific veggies or only want to use a few.. go for it. Just make sure to have 3 cups of whatever veggies you use.
Take you beans and blend them up with whatever device you would like to use. Once creamy, add to a bowl with the rest of the ingredients. Stir until combined.
Once the waffle iron is preheated, oil it( if needed) and place the recommended amount of batter right on it there. Close and cook until golden brown and waffly.
Serve on a plate with topping of your choice, A few suggestions.. Guacamole, salsa, hummus, mustard, greek yogurt… anything that tastes good to you.
I am finally getting to the point in the kitchen that I have stuff for food other then lentils and carrots. Slowly I am restocking all the food and spices that I have let myself run out of when we started the moving out process. It has been a great purge, especially for all of my spices, which I have (or had) so many of and some where maybe not as fresh as they should be. Slowly I have been dumping those not so fresh spices into the crock pot with beans and replacing with freshy fresh ones.
The other day I did a spice run at the coop. Bulk spices are the way to go but sometime I can get a little out of hand. A pinch of this, a cup of that. I want them all, but I was pretty good. Just a few for now, and nothing to crazy.%u00a0 One that I did get was dill, lots and lot of freshly dried dill (I might have gone a little overboard with the amount I bought. I guess I was worried I might run out of dill, but its ok, I will for sure use it.). What to do with dill? Well toss pretty much anything with some dill and vinegar and you got yourself a dill pickle of sorts which is great.%u00a0 I just so happen to have a pickle craving and not a pickle in the house so me and my abundance of dill went and pickled potatoes to make french fries. And I must say, these fries are freaking amazing.%u00a0 Everything fantastic about dill pickles and french fries all in one. Baked because I don’t fry things, and not at all french. These fries are just what I needed to hit my dill pickle craving and use up some of my abundance of dill.
Here’s to the pickle fries. Mouth puckering goodness!
The stuff. A few russet potatoes and some vinegar. Salt, pepper, garlic powder, onion powder, and dill are the spices to use. And olive oil, which is not pictured but necessary.
First off, cut up the potatoes into fries. Cutthe potato in half, then cut that half in half, then each half of half into strips… easy easy. Toss the now fries into a big bowl of cold water as you go. (It removes some of the starch so your fries are not soggy)
Stain the starchy water from the bowl then dump the vinegar in with the potatoes, tossing as you go. And now you wait. Stick the potatoes into the fridge for about 1/2 hour to an hour, tossing the them around ever 10 minutes or so. (the longer they are in there, the more vinegar they will absorb)
Now preheat. Strain the vinegar out of bowl, drizzle potatoes with olive oil and toss until evenly coasted then sprinkle on the spices.
Pretty potatoes, looking good enough to eat(but don’t eat raw potatoes, that is gross and will make you sick)
Single layer on a baking sheet, ready for the oven.
Baked until golden crispy and nice. Didn’t even wait for a plate, just some mustard and off we go.
Dill pickle french fries. So good.
Bye
-C
should serve 2 people
3 Russet Potatoes
1/4 cup white vinegar
2 teaspoons dill
1 tablespoon salt
1 teaspoon onion powder
1 teaspoon garlic powder
i teaspoon pepper
2-3 tablespoons olive oil
Rinse potatoes then cut lengthwise into 4 equal pieces. Then cut each slice into long strips about 1/2 inch . Place the cut potato into a bowl of cold water and toss them around to remove a bit of the starch. Drain the water then dump the vinegar onto the potato and toss around. Let sit for 30- 60 minutes in the fridge, tossing ever 10 minutes or so.
Preheat oven to 400.
Once the oven is hot, pour off the vinegar from the potatoes (can be reserved for cleaning) Drizzle the potatoes with olive oil, making sure they are evenly coated, then mix all the spices together and sprinkle all over potatoes. Place coated fries single layer on a baking sheet and into the oven they go. Bake for about 45 minutes flipping after about 25. Fries are done when they are golden brown and crispy.
Serve with ketchup, mustard or whatever you like on fries or pickles.
This past weekend%u00a0was the annual Stem family reunion and I had signed up to bring%u00a0a dessert to the circus,%u00a0(circus being an event with lots of my family) %u00a0I went out of my way to get the nieces, sweetest, most delicoius peaches and%u00a0%u00a0was planning%u00a0on making them%u00a0into some type of epic peachy peach cake,%u00a0but being that the weekend turned into a shit storm, I didn’t get a chance to make that epic peach cake. So come Sunday morning, a few hours before we were suppose%u00a0to leave for the reunion,%u00a0I was deesertless.%u00a0
So I did what anyone that has a bunch of the fruit, little time, and doesn’t want to make a big mess should do.%u00a0I made a crisp. %u00a0
And it was good. Gooey sweet and %u00a0cardamon%u00a0spiced%u00a0peaches under a slightly sweet, oatie topping. A perfect dessert for a late summer afternoon. Served warm or at room tepature, add a little whipped cream or ice cream and a cup of coffee. Dessert time is perfect. And any left over makes for a fantastic breakfast treat%u2026.or just make it%u00a0for breakfast, it’s totally a breakfast food too.%u00a0
%u00a0I am almost glad that I didn’t get a chance to make that cake.(although I really wanted to make a cake, just for shits and giggles) I’ll just make one later. But until then.
To%u00a0the crisp!
The Stuff. %u00a0Peaches of course and some old fashion rolled oats and a pinch of salt%u00a0mixed with gluten free flour*. Some earth balance*, honey*, cardamon and cinnamon and a tiny bit or arrowroot powder%u00a0
Notes.. You can totally use regular all purpose flour in place of gluten free. Also can sub regular butter for the%u00a0earth balance and use maple syrup instead of honey..%u00a0
In a bowl, mix/mush%u00a0 together the oats, flour, honey, half the cardamon%u00a0and cinnamon,%u00a0and earth balance.%u00a0The mixture is going to be a little gloppy and wet, but that’s how%u00a0you want it to be.
Toss the other half of the spices into the peaches with a bit of arrowroot powder or corn starch and mix all around.%u00a0
If you peaches are not super yummy sweet, you can always drizzle in a little extra honey or maple%u00a0here too.
Now place the peaches in a well greased oven safe skillet.
Distribute%u00a0the topping all over.%u00a0
And into the oven it goes..
After about 45 minutes, check for doneness.%u00a0When top is all golden brown and nice%u2026 you are there!
. Ooey gooey peaches%u00a0underneath all that golden crispy goodness%u2026.
Nailed it!
Have great day you guys! Crisp away!
-C
For the filling
4-5 Large ripe, but firm peaches
1 tablespoon corn or arrowroot starch
1%u00a0%u00a0teaspoon cardamon
1/2%u00a0teaspoon cinnamon
tablespoon honey or maple (optional if peaches are not really sweet)
For the topping
1/3%u00a0earth balance or butter plus 1 tablespoon
1 1/2 %u00a0cup old fashion rolled oats
1/2%u00a0cup gluten free flour or all purpose flour
1 teaspoon cardomon
1/2 teaspoon cinnamon
1/2%u00a0%u00a0cup honey or maple
dash of salt
Preheat oven to 350
Slice peaches in half, remove pits, and cut into pieces and toss into a bowl with the cinnamon, cardamon%u00a0and starch, In a large oven save skillet, smear or melt%u00a01 tablespoon earth balance and cover bottom and sides of skillet.%u00a0Add in the peach mixture.%u00a0In a large mixing bowl, (using your hands if you don’t mind), mix%u00a0together oats, flour, salt, spices, earth balance and honey. until a combined.%u00a0Evenly%u00a0disptuipt to the top of the peaches. Now place skillet into oven to bake. When the top golden brown and all crispy, remove from oven. Let cool for a few minutes and serve.
Some type of creamy situation %u00a0like ice cream or whipped coconut cream would be extra nice here%u2026but not necessary%u00a0.%u00a0
Kind of a spur of the moment cake situation. I was in the middle of doing some paper work and remembered that I had made plans with the littles to go bike shopping and do dinner. Usually when they come over for dinner I don%u2019t make a point to have a dessert (they are happy with a handful of chocolate chips if I have nothing) but I felt the need to have something special. I mean, bike shopping, that%u2019s a big deal and they were so excited so I wanted to have a little celebration cake thing. A, YIPPIE YOU GOT BIKES! cake. It just seemed like the right thing to do.
So I made cake. I running a little short on time (yet I still had time to take pictures%u2026.) so I went with my trusty one bowl, super easy chocolate cake. (This is everyone in my families favorite cake). Peanut butter frosting because it was right in from of me and really, it was for Coco the fat baby. He basically eats nothing but peanut butter these days. And of course because peanut butter and chocolate together are never going out of style. I cooked the cake in a loaf pan because I was just feeling loafy I guess. But This cake could totally be cooked into a cake round or square if you wanted to.
And that was that. I made that cake, they got the bikes (YEA!!!!, although I told them both that they sucked because they walked into a store and picked out bikes in less then an hour. I on the other hand have been bike shopping for more then a month and still haven%u2019t made a decision.) We then came back here to my house, biked around for a while, then ate cake (after dinner of course.)
Anyways. This cake. Rich, dense, chocolatey peanut butter goodness. Has been described as the best cake ever and like a Reese peanut butter cup. If you are into any of that, well this is the cake for you.
To the cake.
The stuff for the cake.. Flour, baking soda, salt, cocoa powder, oil, coffee, vanilla. brown sugar, and apple cider vinegar. And the stuff for the frosting. Peanut butter, butter, powdered sugar, and almond milk.
In a big bowl, whisk together the dry stuff, pinching and breaking apart any big clumps of cocoa or sugar. Then just dump in the wet.
Whisked until glossy and smooth. A perfectly perfect chocolate cake batter.
Pour batter into a greased and lined loaf pan and into the oven it goes. 50-60 minutes or so or until a tester poked in the middle comes out clean. Then pop the cake right on out. Remove cake from tin and let cool on a wire rack.
While cake is cooling, make frosting. Beat together powdered sugar, peanut butter, butter, and milk.
Fully beaten. Ready to frost a cake.
Once cake is cooled, cut in half down the middle, length wise. Then frosting the middle. (Make sure it is cooled in the middle before frosting. If it is still warm, let it cool)
Pop the top back on and frost the rest.
And don%u2019t forget the sprinkles. Went with chocolate and gold because. But you do you and use whatever sprinkles you want.
And then you eat the cake.
I ended up stick it in the freezer to hide for a while%u2026 I guess this cake cold or slightly frozen is just about the best thing ever. The littles damn near ripped my arm off trying to get seconds.
-C
makes 1 loaf cake
For the Cake
1 3/4 cup all purpose flour
1 cup packed light brown sugar
1/3 cup cocoa powder
1 teaspoon baking soda
1/2 teaspoon salt
1/2 cup neutral oil
1 1/2 cups warm coffee
1 teaspoon vanilla
1 tablespoon apple cider vinegar
For frosting
3/4 cup minus 2 tablespoons peanut butter
2 tablespoons vegan butter
1/4 cup plant based milk
1 1/2 cups powdered sugar
Preheat oven to 350 and grease and line a loaf pan.
In a large bowl mix together the flour, baking soda, salt, cocoa powder, and brown sugar. Break apart any big clumps of sugar or cocoa with your fingers. When that%u2019s mixed, dump in the wet and whisk together until just fully incorporated. Pour batter into the greased pan and stick into oven.
Bake for 55- 60 minutes or until a tester poked into the middle comes out clean.
Once cooked, remove from oven and carefully remove from pan. Place on a wire rack to cool.
While cake is cooling, make the frosting. Just beat together the butter, peanut butter, and milk until nice and creamy. If you find your frosting be too thin, add in more powdered sugar, too thick, a splash more milk.
When it is cooled, cut the loaf in half length wise. Make sure the inside is complete cooled as well. I totally stuck my cake in the freezer for little bit to speed up the cooling process%u2026..
When the cake is cut and completely cooled, frost it. Spread a little less then half the frosting on the bottom layer, stick top back on, and finish the frosting. Cover with sprinkles (if you want) and then that is it.
Serve room temperature or what my people really like is served slightly frozen, which is great because I just cut the cake up and froze individual pieces making for a perfect quick dessert.
Besides the usual hubbub of life around here, a few things really stick out to me from last week. First off, at the beginning of the week we FINALLY BOUGHT A VAN!!! It was amazing. A big white astro van. Original big boat like seats. The three door trunk that was everything. Ashrtays in the back seat (yes they did) . Its was perfect. Perfect for work, for travel, perfect for life. But notice I say “it was”. Well guess what? We also RETURNED A VAN!!!! Yup. We bought it, brought it home, and as soon as we got home, the brakes went out. Oh, ok we thought. Let’s bring it to our mechanic and see what he says. Turns out the mechanic that we bought it from was a little shady and sold us a lemon. Not only were the bakes rotten, but there was a bunch of other hidden issues. So yeah. no more van. We were, and still are a bit crushed, but it could have been worse right? We could have been flying down the interstate when the brakes gave out and that would have been much much worse.
Enough about the van. A good thing this week is Erin and I went and got bikes for the littles. It was awesome. They were so excited and cute and it was just so good. We walked into the bike shop, picked out bikes, test rode bikes, and bought bikes, all within an hour. Yeah I might have told them they suck because they were able to just go get a bike and I have been bike shopping for over a month and have spent hours at the bike shop, but whatever. And so we brought the bike back to my house, I made dinner, and they biked around the neighborhood. At first Judah was having really hard time because he had never ridden a grip brake, shifting bike, but after a little lesson from the mr, the kid was off. Only stopped to tell us that his nuts hurt. (Good to know kid).
And last but but not least, maybe the worst part of life at the moment. The MOTHERFUCKING MOSQUITOS. Those fuckers be feasting on me like what. It’s nasty disgusting, and all sorts of terrible. All of a sudden there are millions and billions and you can barely even walk out of the house before they start to swarm. I have received no less then one thousand bites this week, and that is me trying not to get bitten. (Yes I am exaggerating, but seriously.) I don’t even know what to do anymore. It is so bad that when you walk from the house to the car you are probably going to get bitten in the face at least once if not a bunch of times. It is all sorts of wrong and I just can’t even. I lay awake at night trying not to itch off all my skin because of all the bites. And they are not normal mosquitos bites, these bits itch and almost hurt for days. Gardening.. please. I am out there in all my socks, pants, jackets, and hoods. Still they attack my face and hands. Hopefully this is the worst of it and any day now all the bats will come and eat them aaaaaalllllll!!!!!I(I might start importing bats to my house) That or I am going to turn myself into an electric bug zapper. How? Not sure yet. I’ll let you know if I figure it out.
Anyway. That is mostly the gist of the week. Some downs, some ups, but all and all not horrible. The weather alone folks. Let talk about that for a minute. How freaking fantastic has it been? I am loving it. Little sun here and there, Some rain showers, a few thunderstorms. Not cold, not hot. Pretty much perfect in my eyes. And the world. So much pretty! The trees. I mean, can you not say spring foliage might be even better then fall? The trees are just so vibrant in greens, whites and purples. It is good. We are good.
Now for today. I am leaving the house much too early to go read and drink coffee in the car, waiting for the gym to open. Why you may ask would I do that. Well if I want to go to the gym, I need to get inside the perimeter of the Vermont City Marathon. The course starts right around there so the roads will be blocked off with thousands of people running for a few hours this morning. Sure I could skip gym and run around here, but I would rather not have to run in full body armor. (DAMN the MOSQUITOES AAAGHHHH!!!!) And really, I don’t mind. I can even sit on the steps at the gym that overlook the lake. It actually will be kind of nice. After that, I’ll come home, grab the mr, and we will head up to Belvidere for some family time. Cousins are in the state so we, and the other sisters, are going up for lunch. Let’s just hope the mosquitoes are not as bad up there. I can’t take it.
Interent for the taking.
-I have always considered the use by date a suggestion. I think the simple wording change will make a big difference. To Reduce Food Waste, FDA Urges ‘Best If Used By’ Date Labels. And really, who says the best isn’t yet to come? HA
-Erin has the right idea, to buy THESE in bulk. I am seriously considering getting at least one set. I can’t take the MOTHERF$%#ERS anymore!
-This feels heavy. Finding purpose is a somewhat fluid concept, don’t you think? Either way, this makes a lot of sense. What’s Your Purpose? Finding A Sense Of Meaning In Life Is Linked To Health
-My dad sent me this link. It’s a little video of his life goal, to be a extreme mountain bike nanny. (my dad is a weirdo.)
–GLAMOUR CAMPER SPF 50+ ALL NATURAL SUNSCREEN WITH ALL NATURAL BUG DETERRENT & GLITTER. And Glitter. Need I say more?
-I love old charts and pictures from textbooks. These are particularly fantastic. Cross-Sections of Geological Formations and Views of the Cosmos Bring the World to Life in 19th Century Educational Charts
–What Is A Moonbow? And now on my life bucket list of things I need to see.
Happy New Year! Hope you are all waking up to sunshine in your strut, happiness in you mouth, and kindness in your soul.
So much has happened in the past few weeks. Holidays full of family, friends, birthdays (Happy to Cam, Anthony, and Judah) and all around craziness. My phone got run over by a car(still works!!!),we finally changed the summer tires to snows (thanks Justin!) and Only has now officially moved in behind the couch and is enjoying the life of an indoor cat. We are getting so close with house, so so close.%u00a0 I know a few weeks ago I told you we about the counter top and how excited I was to un-mold it. Well what I don’t think I told you was that we un-molded it and it was fantastic. Then, trying to remove the sink mold from the middle with a hammer, I cracked it! AAAGGGHHHH. That was suck a bitch if a day. But we took it it stride and just made another one. And that one, that one is even better and amazing and is all nice and perfectly perfect. Once we did that we threw up a tile wall, hood vent, light fixtures and all sorts of little things that I can’t remember.%u00a0 Last night we slid the stove into place and fired it up for the first time! It was really stinky and great and I made the mr a pizza for all of his excellent work bringing me fire. It was so freaking satisfying to use an oven and feel slightly normal again. Now all we need to do is finish the cabinets, find a faucet that doesn’t suck, hook up the sink, and a bunch of other stuff and we will be all set. But the oven works so the coming weeks are going to be full of so much oven food so watch out! (i can’t wait to start posting more recipes!!!!)
On top of all the life stuff, I have been sicko all week, and so has the mr. Actually, he has been sick for two weeks and then lovingly gave me his ick. And it sucks. I am tired and snotty and sore and cranks. I have been eating large quantities of raw garlic, swiging apple cider vinegar, and drinking turmeric tea all day. (so I don’t smell the greatest) I bought elderberries to make some syrup a little while back but left them at the loft and we let my dad stay there this week so I didn’t want to go ransack the place looking for them. He is gone now so I’ll go find them and make us a wellness potion. We will be tops soon!
So 2017. You got any resolutions or plans? Me, no resolutions, just to keep on living with intention, kindness and love and to continue to pursue my goals. We have plans for some travels (cross country awesomeness part 2), plans for some life stuff, so we got things. But basically I am just looking forward to making this year good,%u00a0 and to be better with where I place my camera. (I can never seem to find it when I want to take pictures)%u00a0
Sunday. With today, I am going to relax and recoup. Drink my fluids (tea and coffee)%u00a0 take my naps, and wash the sheets (everyone should start a new year with clean sheets!)
Internet links to click if you like.
-Happiness vs meaning…How about some of both.%u00a0 In 2017, Pursue Meaning Instead of Happiness.
–15 of Carrie Fisher%u2019s Best, Most Honest Feminist Quotes.
-I already charge my cellphone on the machines at the gym, but it it floated , well that would be swell.%u00a0Floating Gym In Paris Uses Human Energy To Sail Down The Seine River
–A Short Catalog of Foods Discontinued in 2016
-Life is bigger then all of us. As A Rough Year Ends, We Turn To The Cosmos For Some Perspective
–Cross stitching awesomeness
– Maybe 2017 will be the year that I wear pretty things. I really like this dress.
–The Best Things We Read and Ate This Year
-I really want to go back to Iceland.(maybe we will this summer?!) 15+ Iceland Photos You Won%u2019t Believe Are From This Planet
-There is sugar in everything. How Much Sugar Can You Avoid Today?

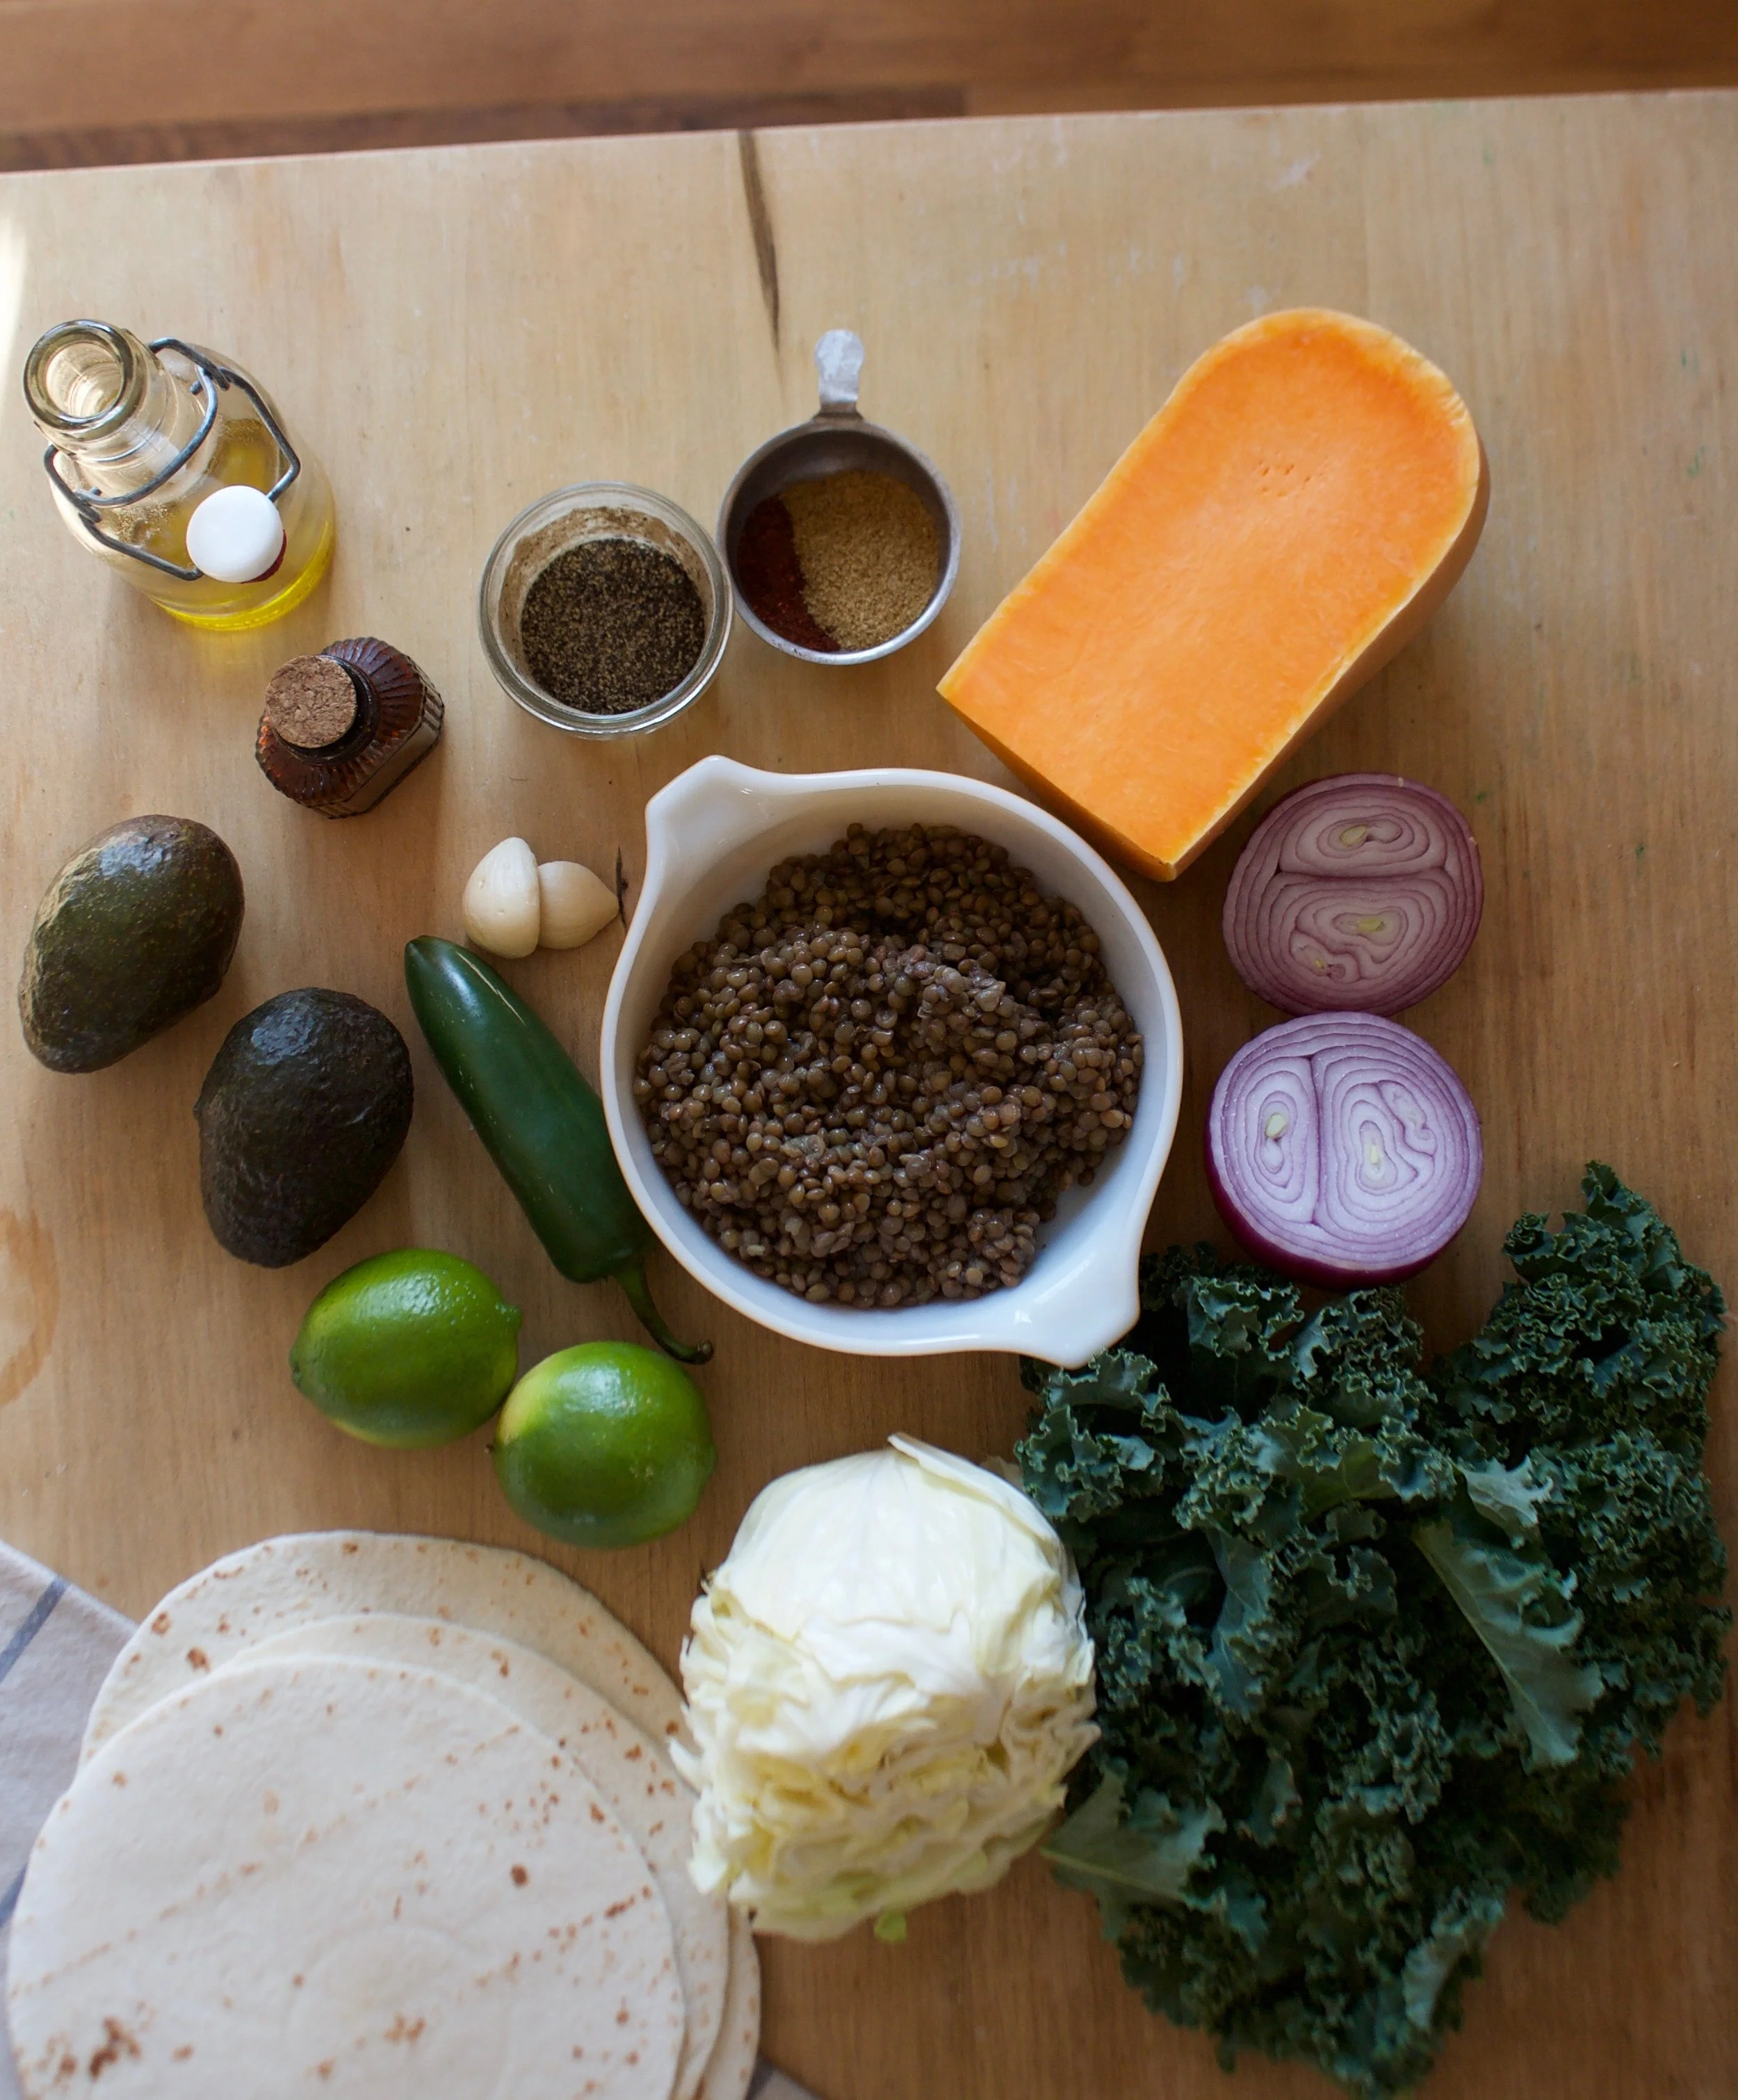

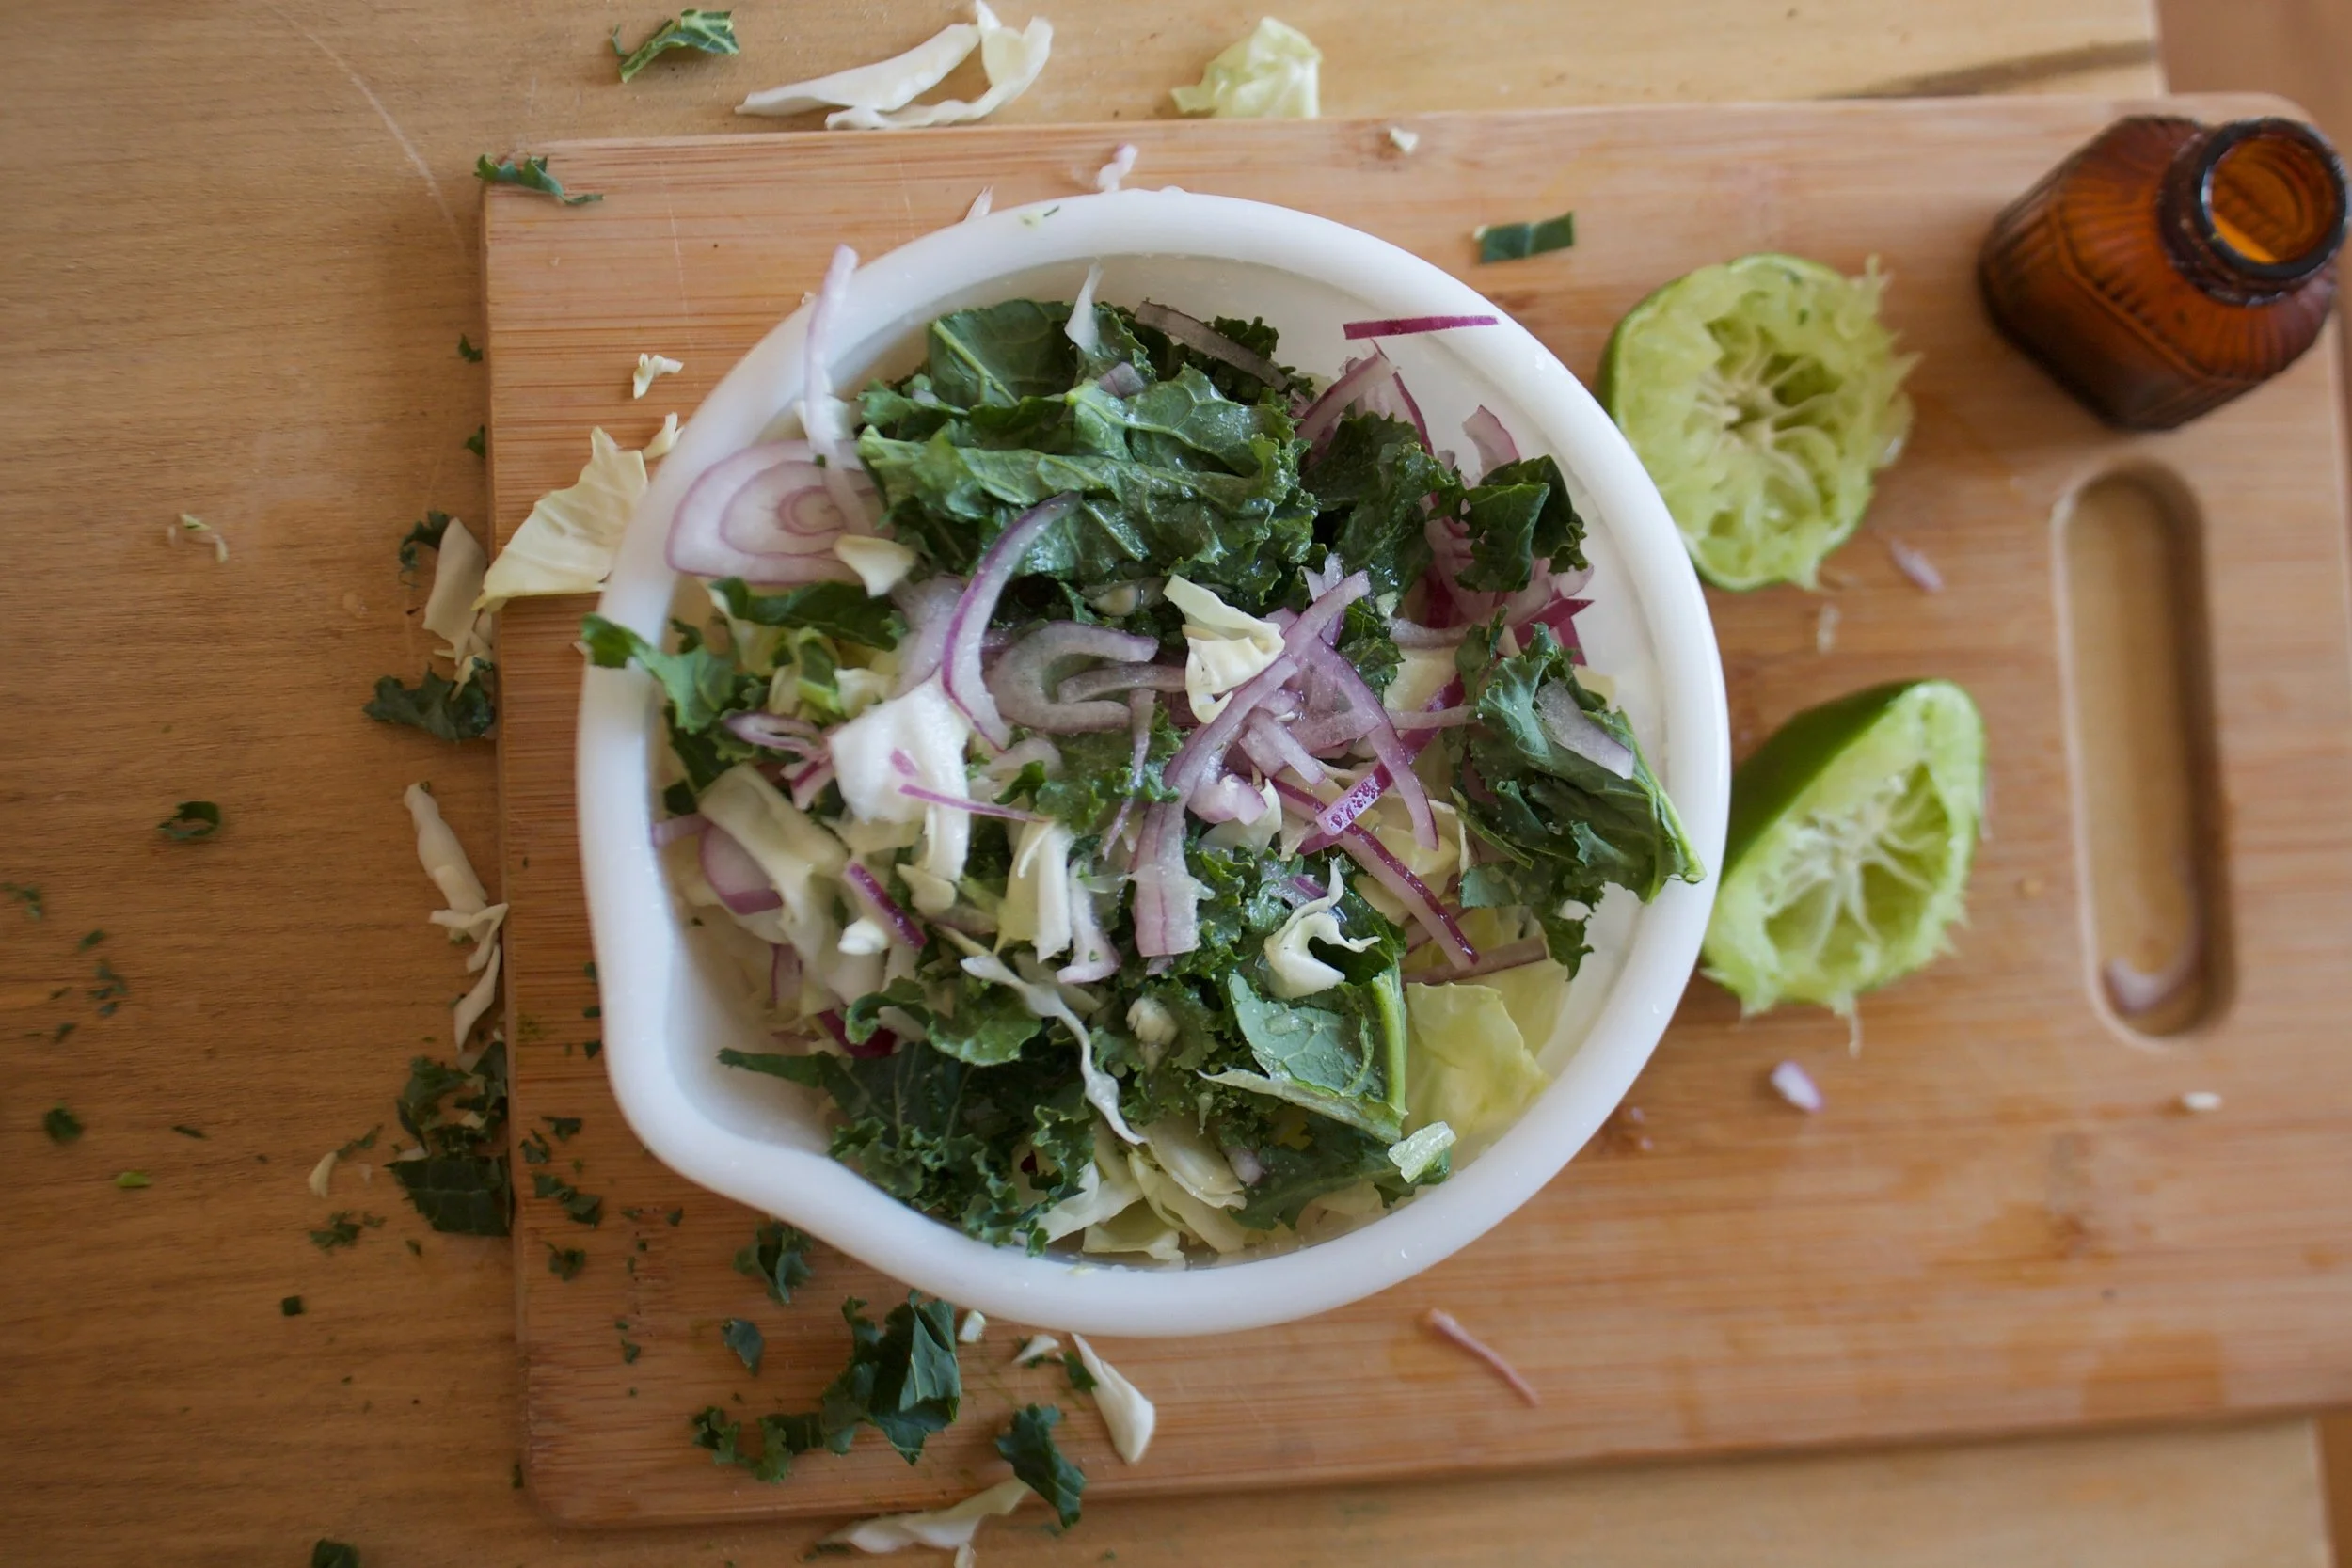
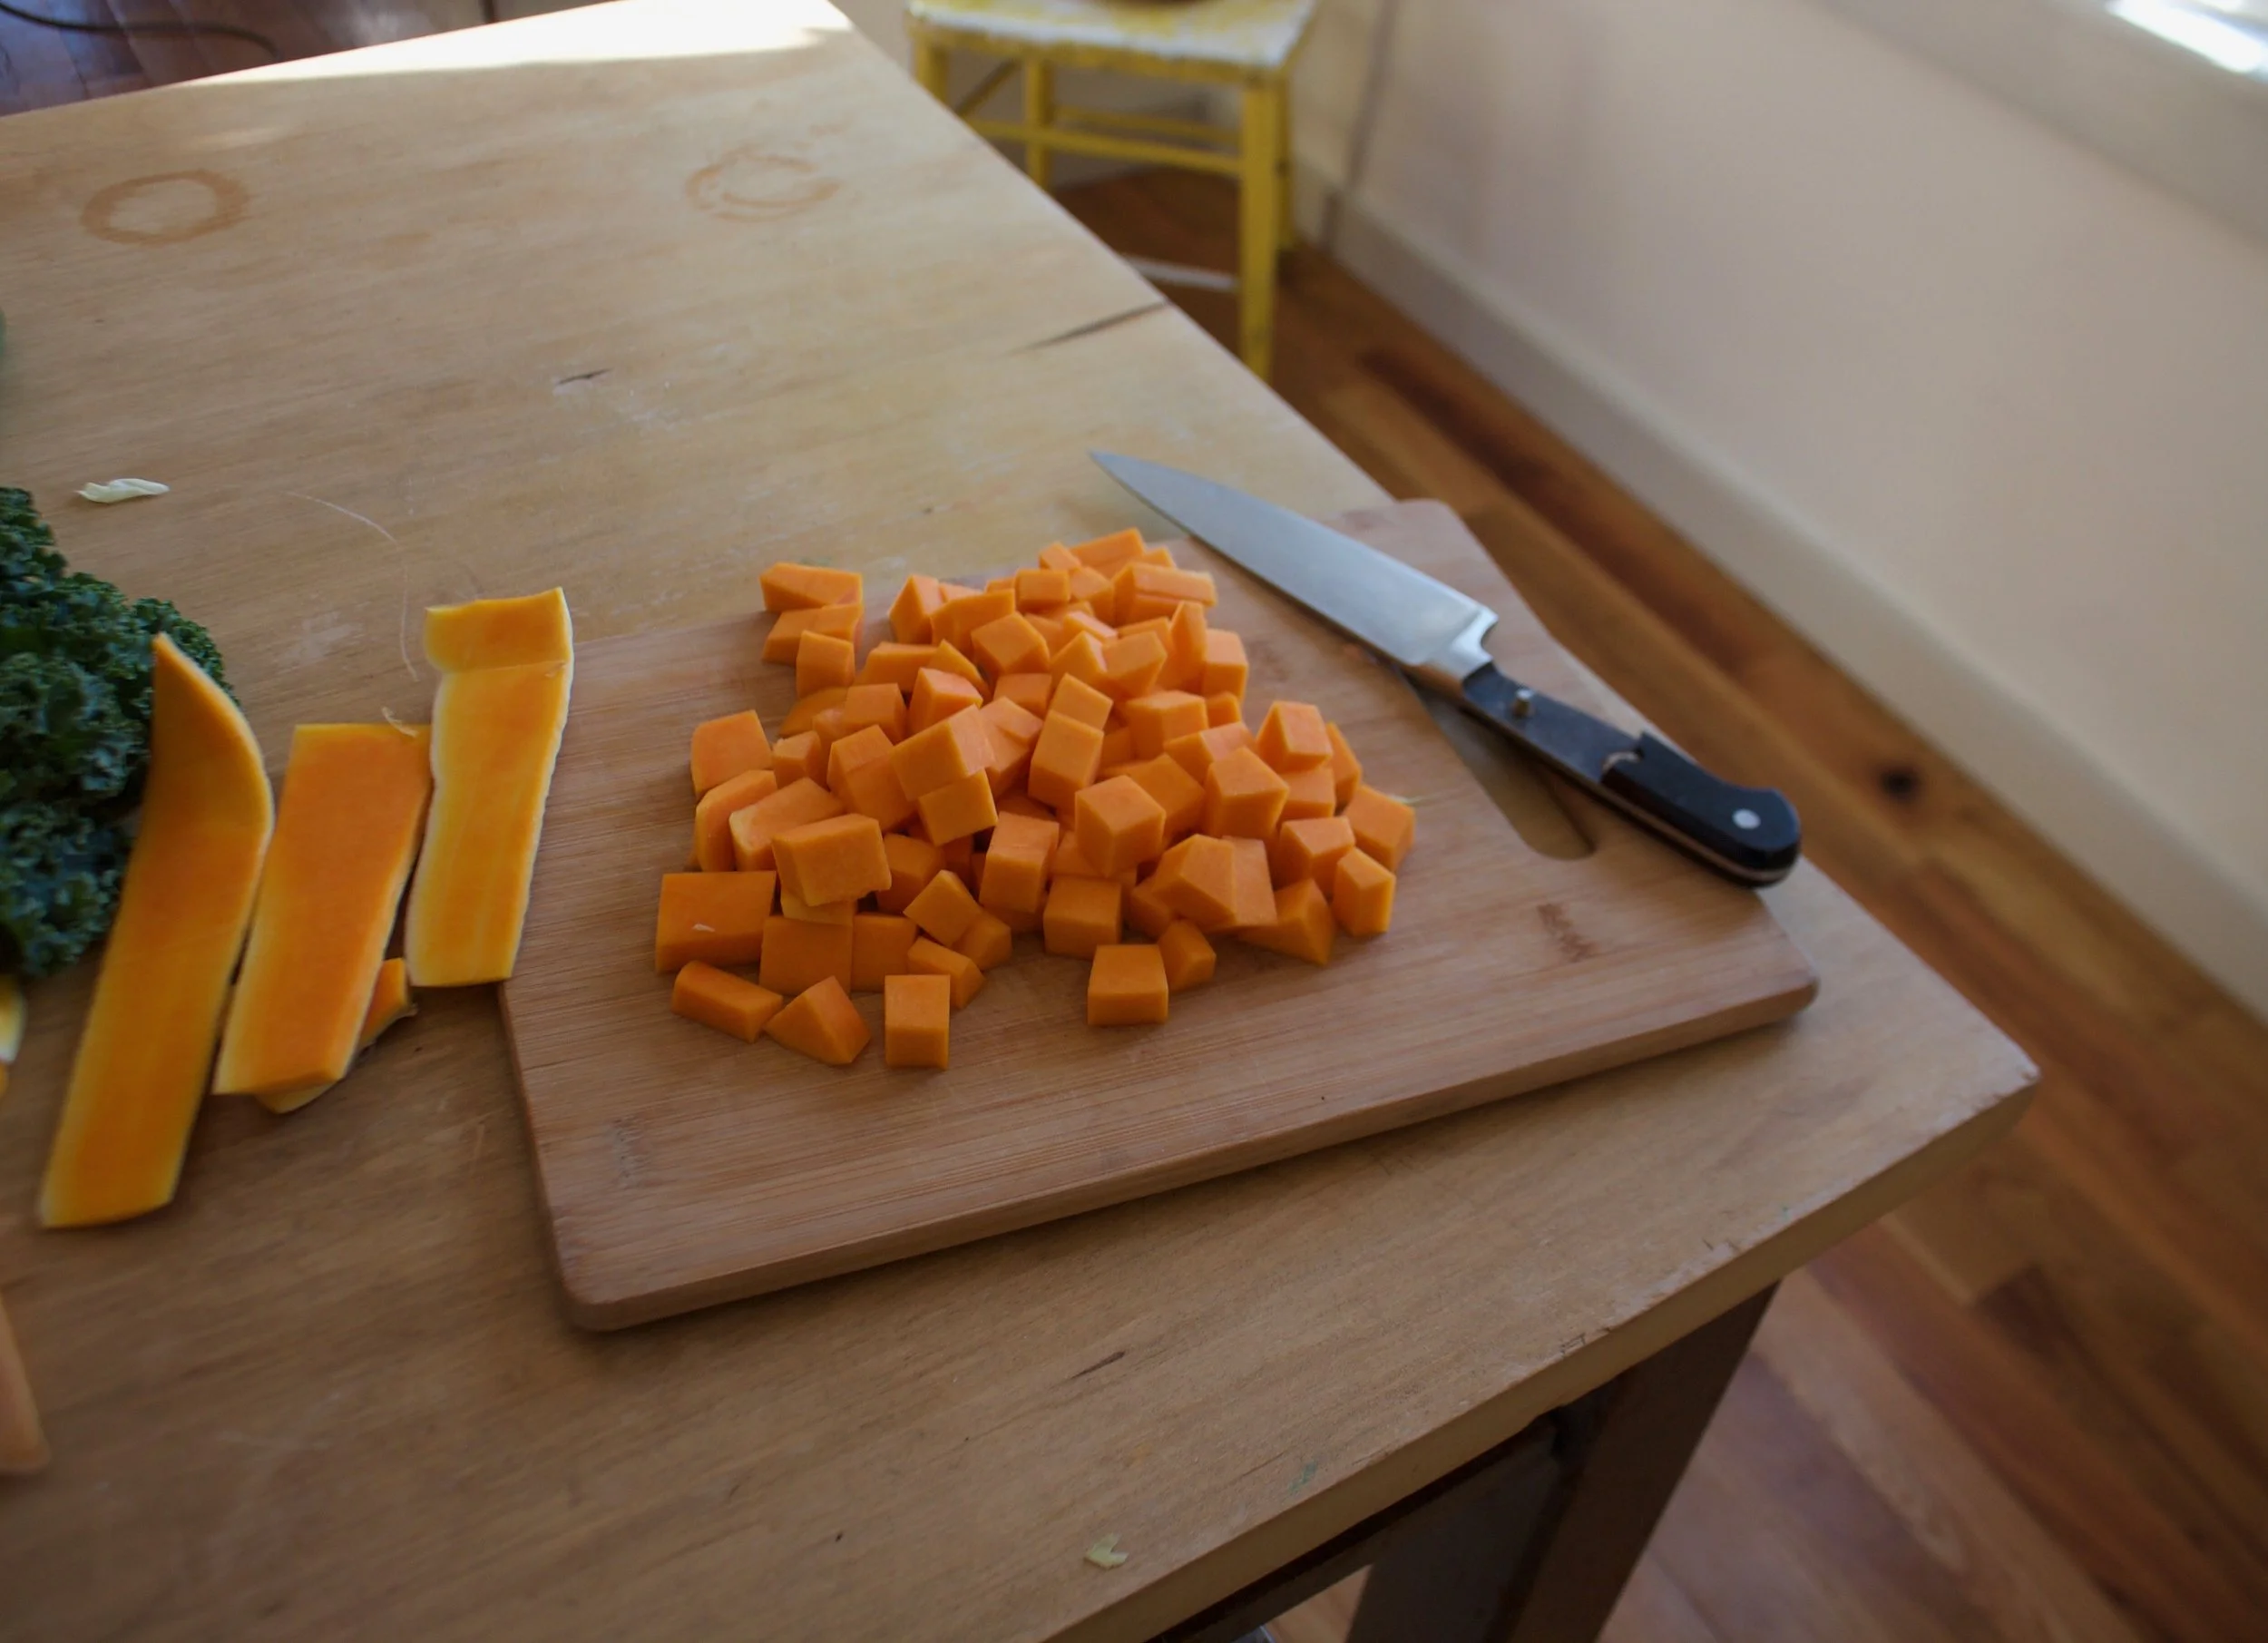
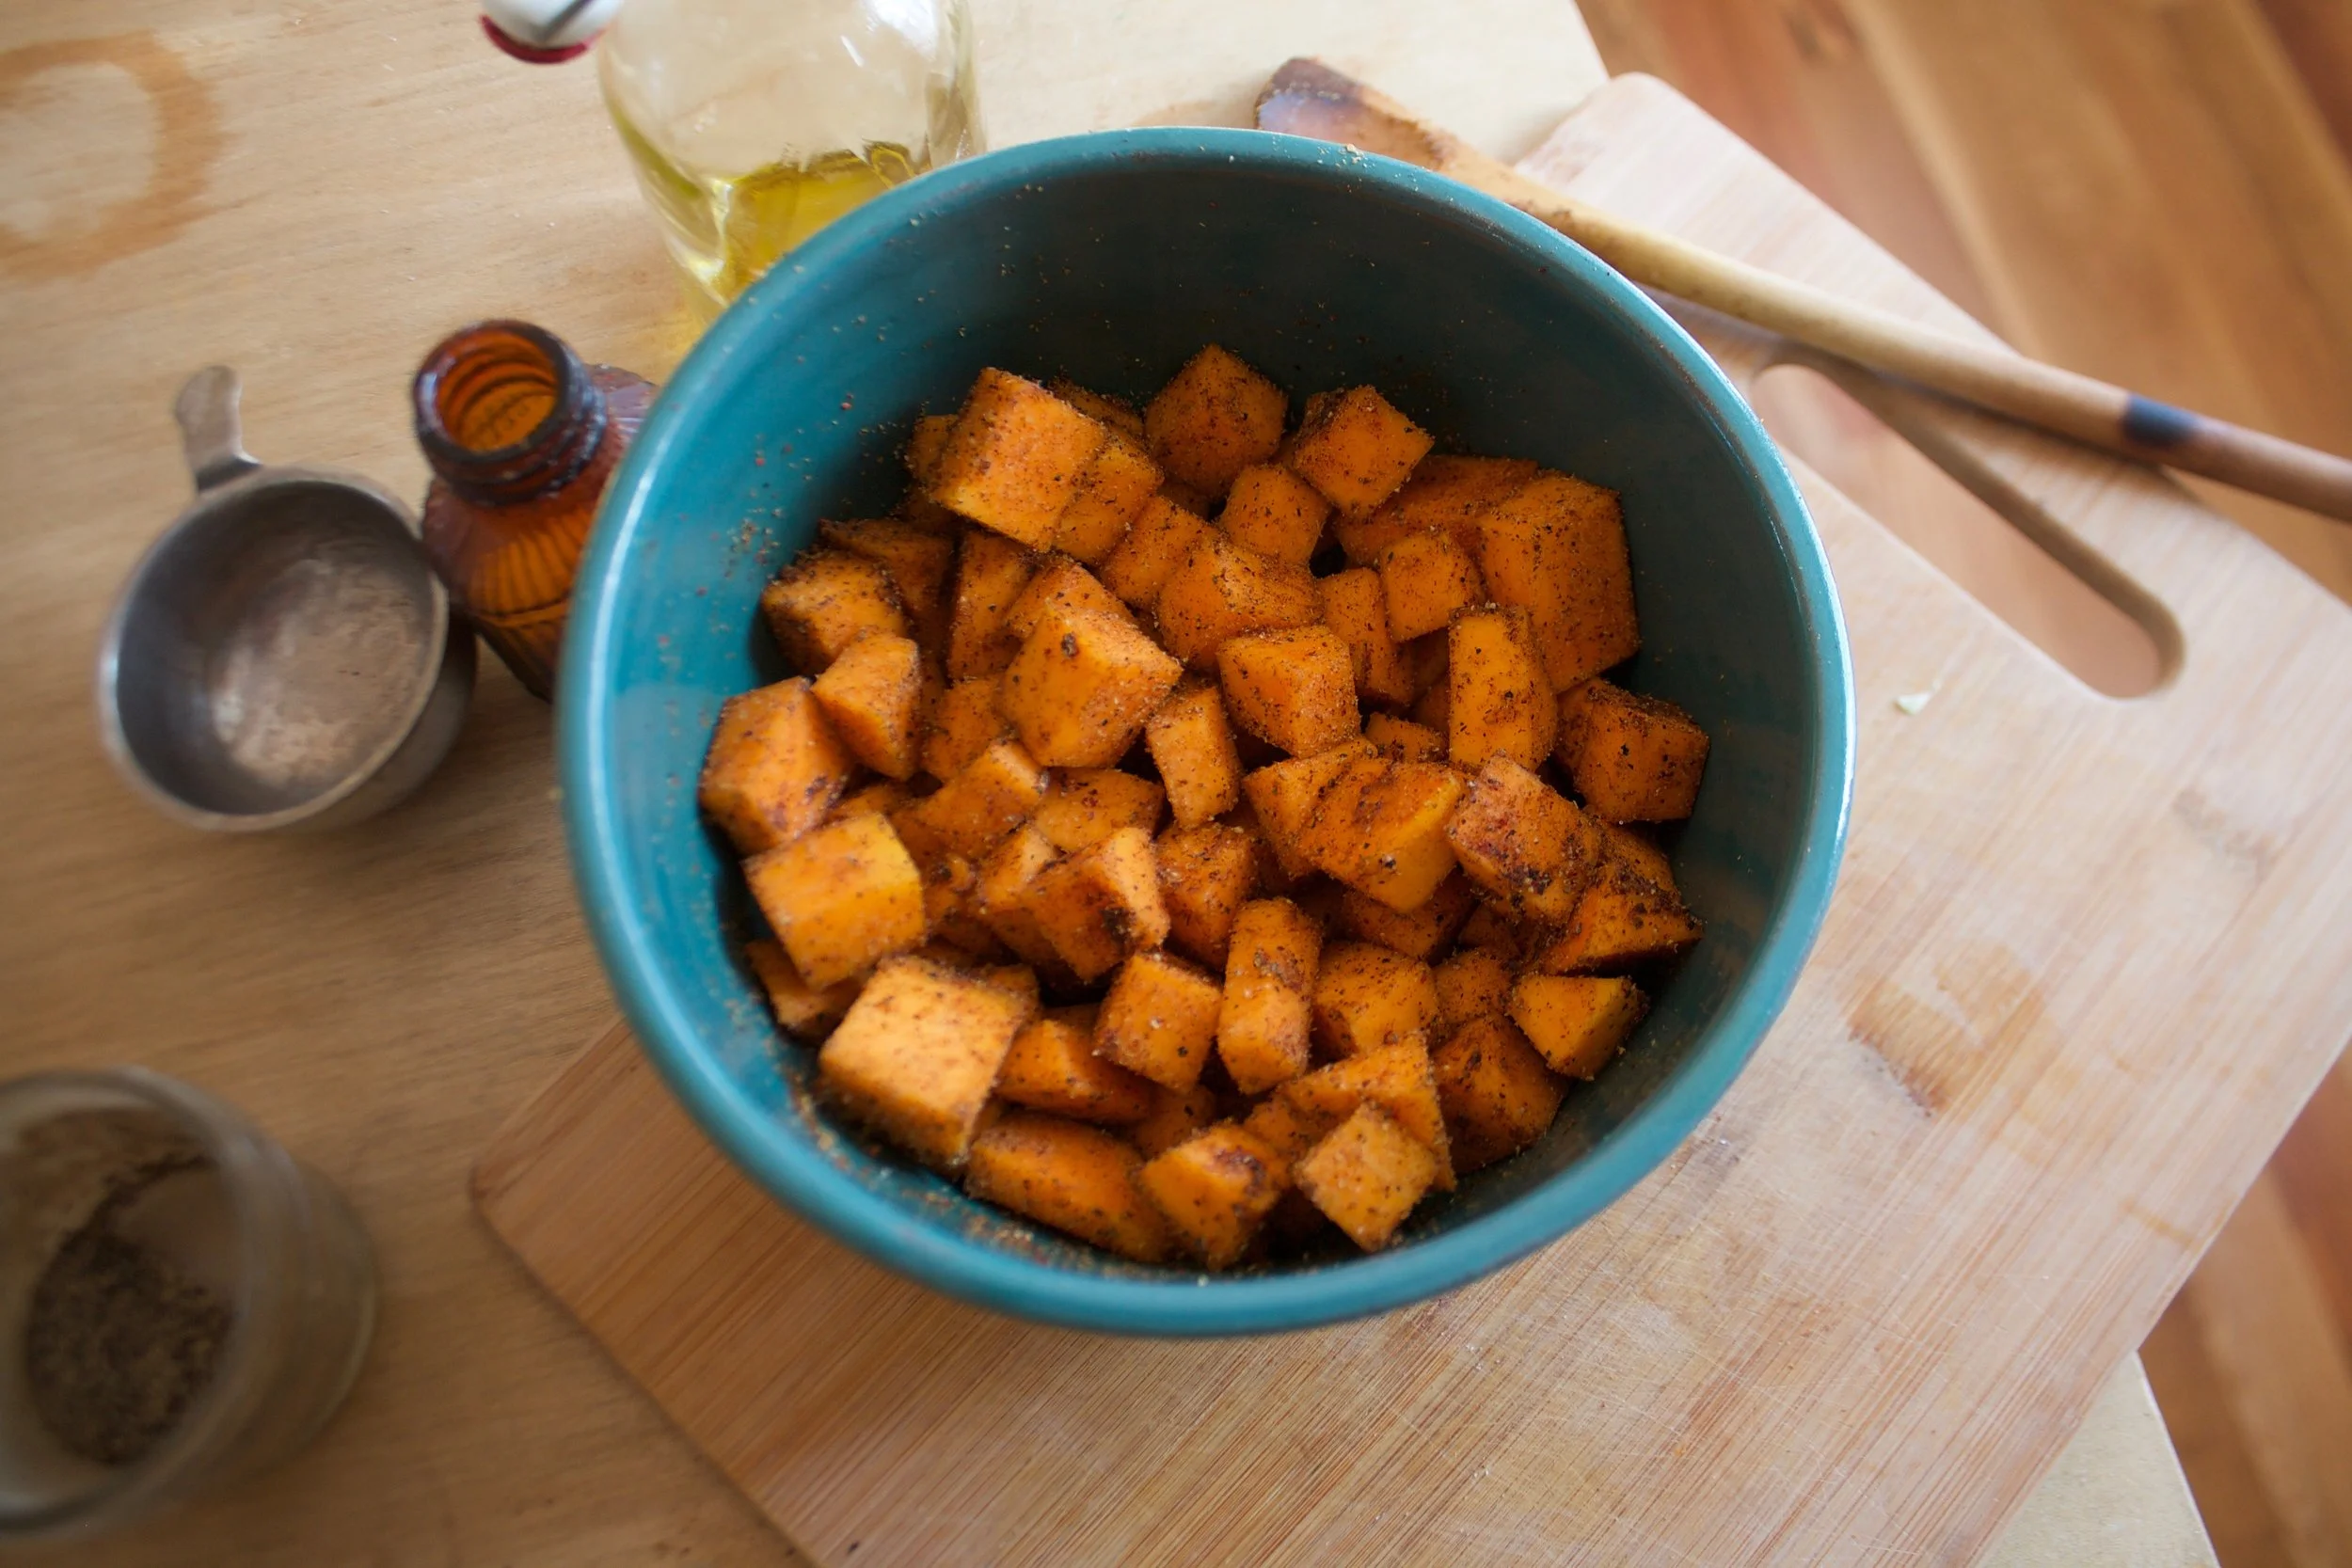
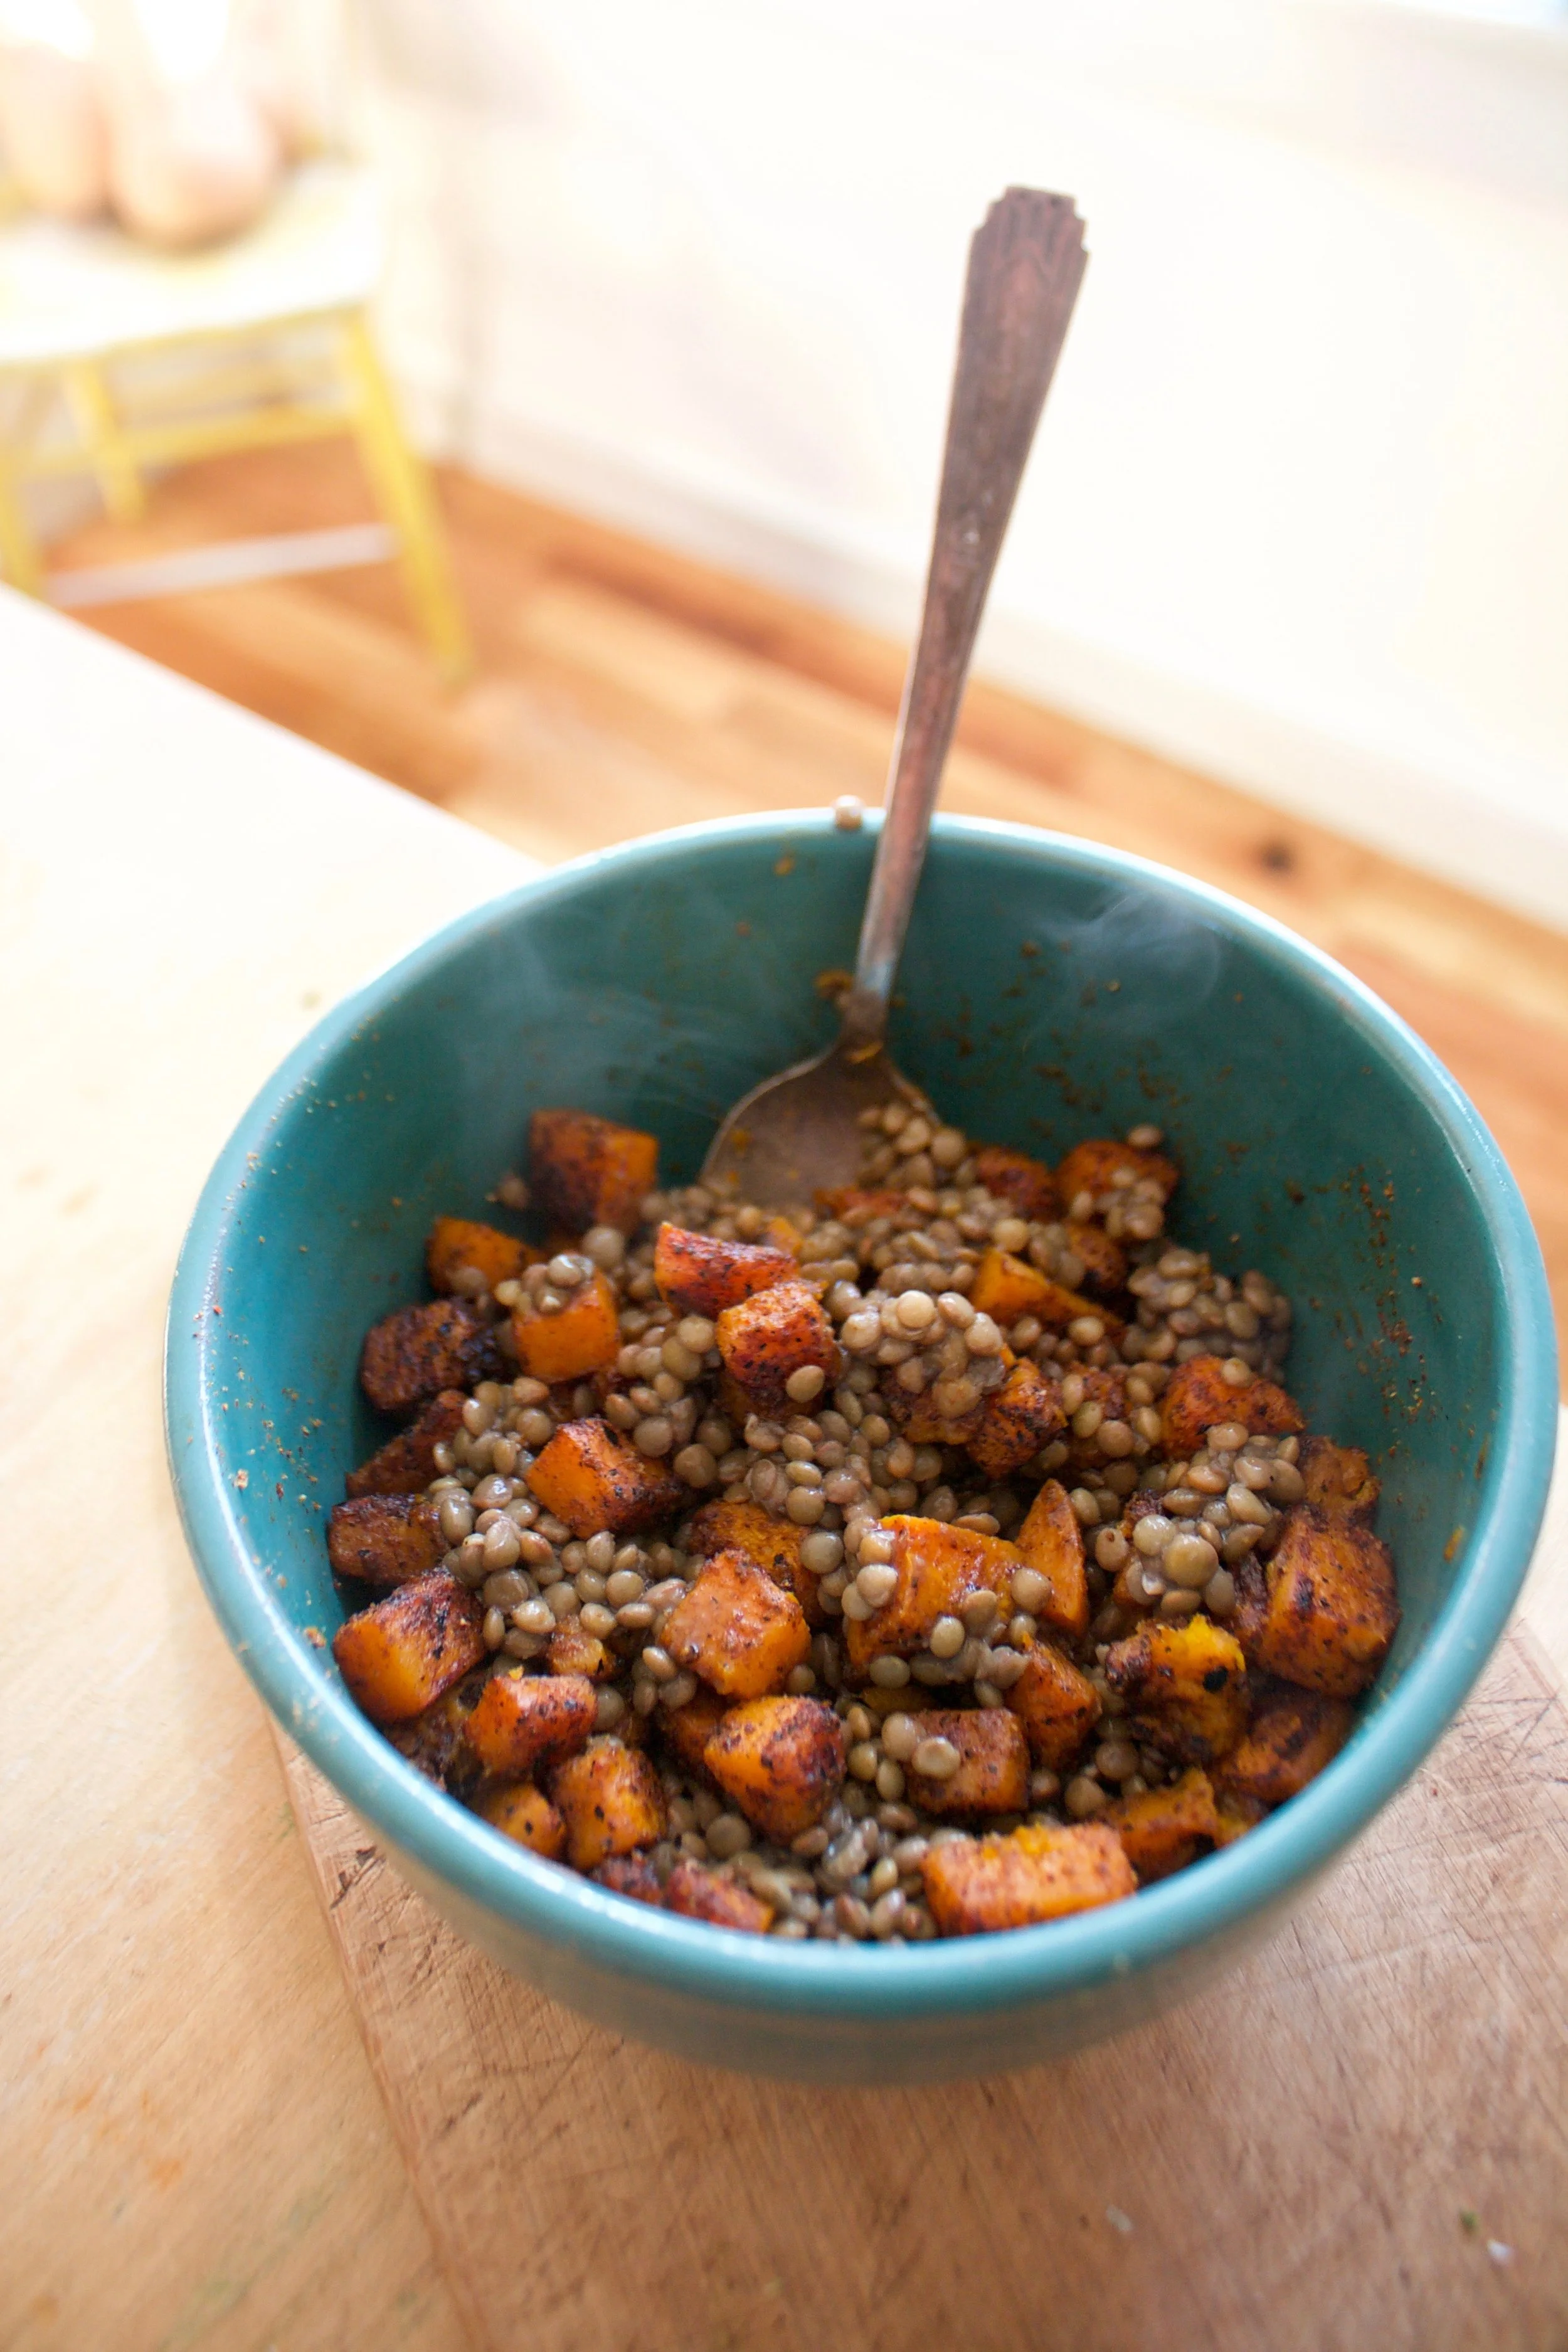


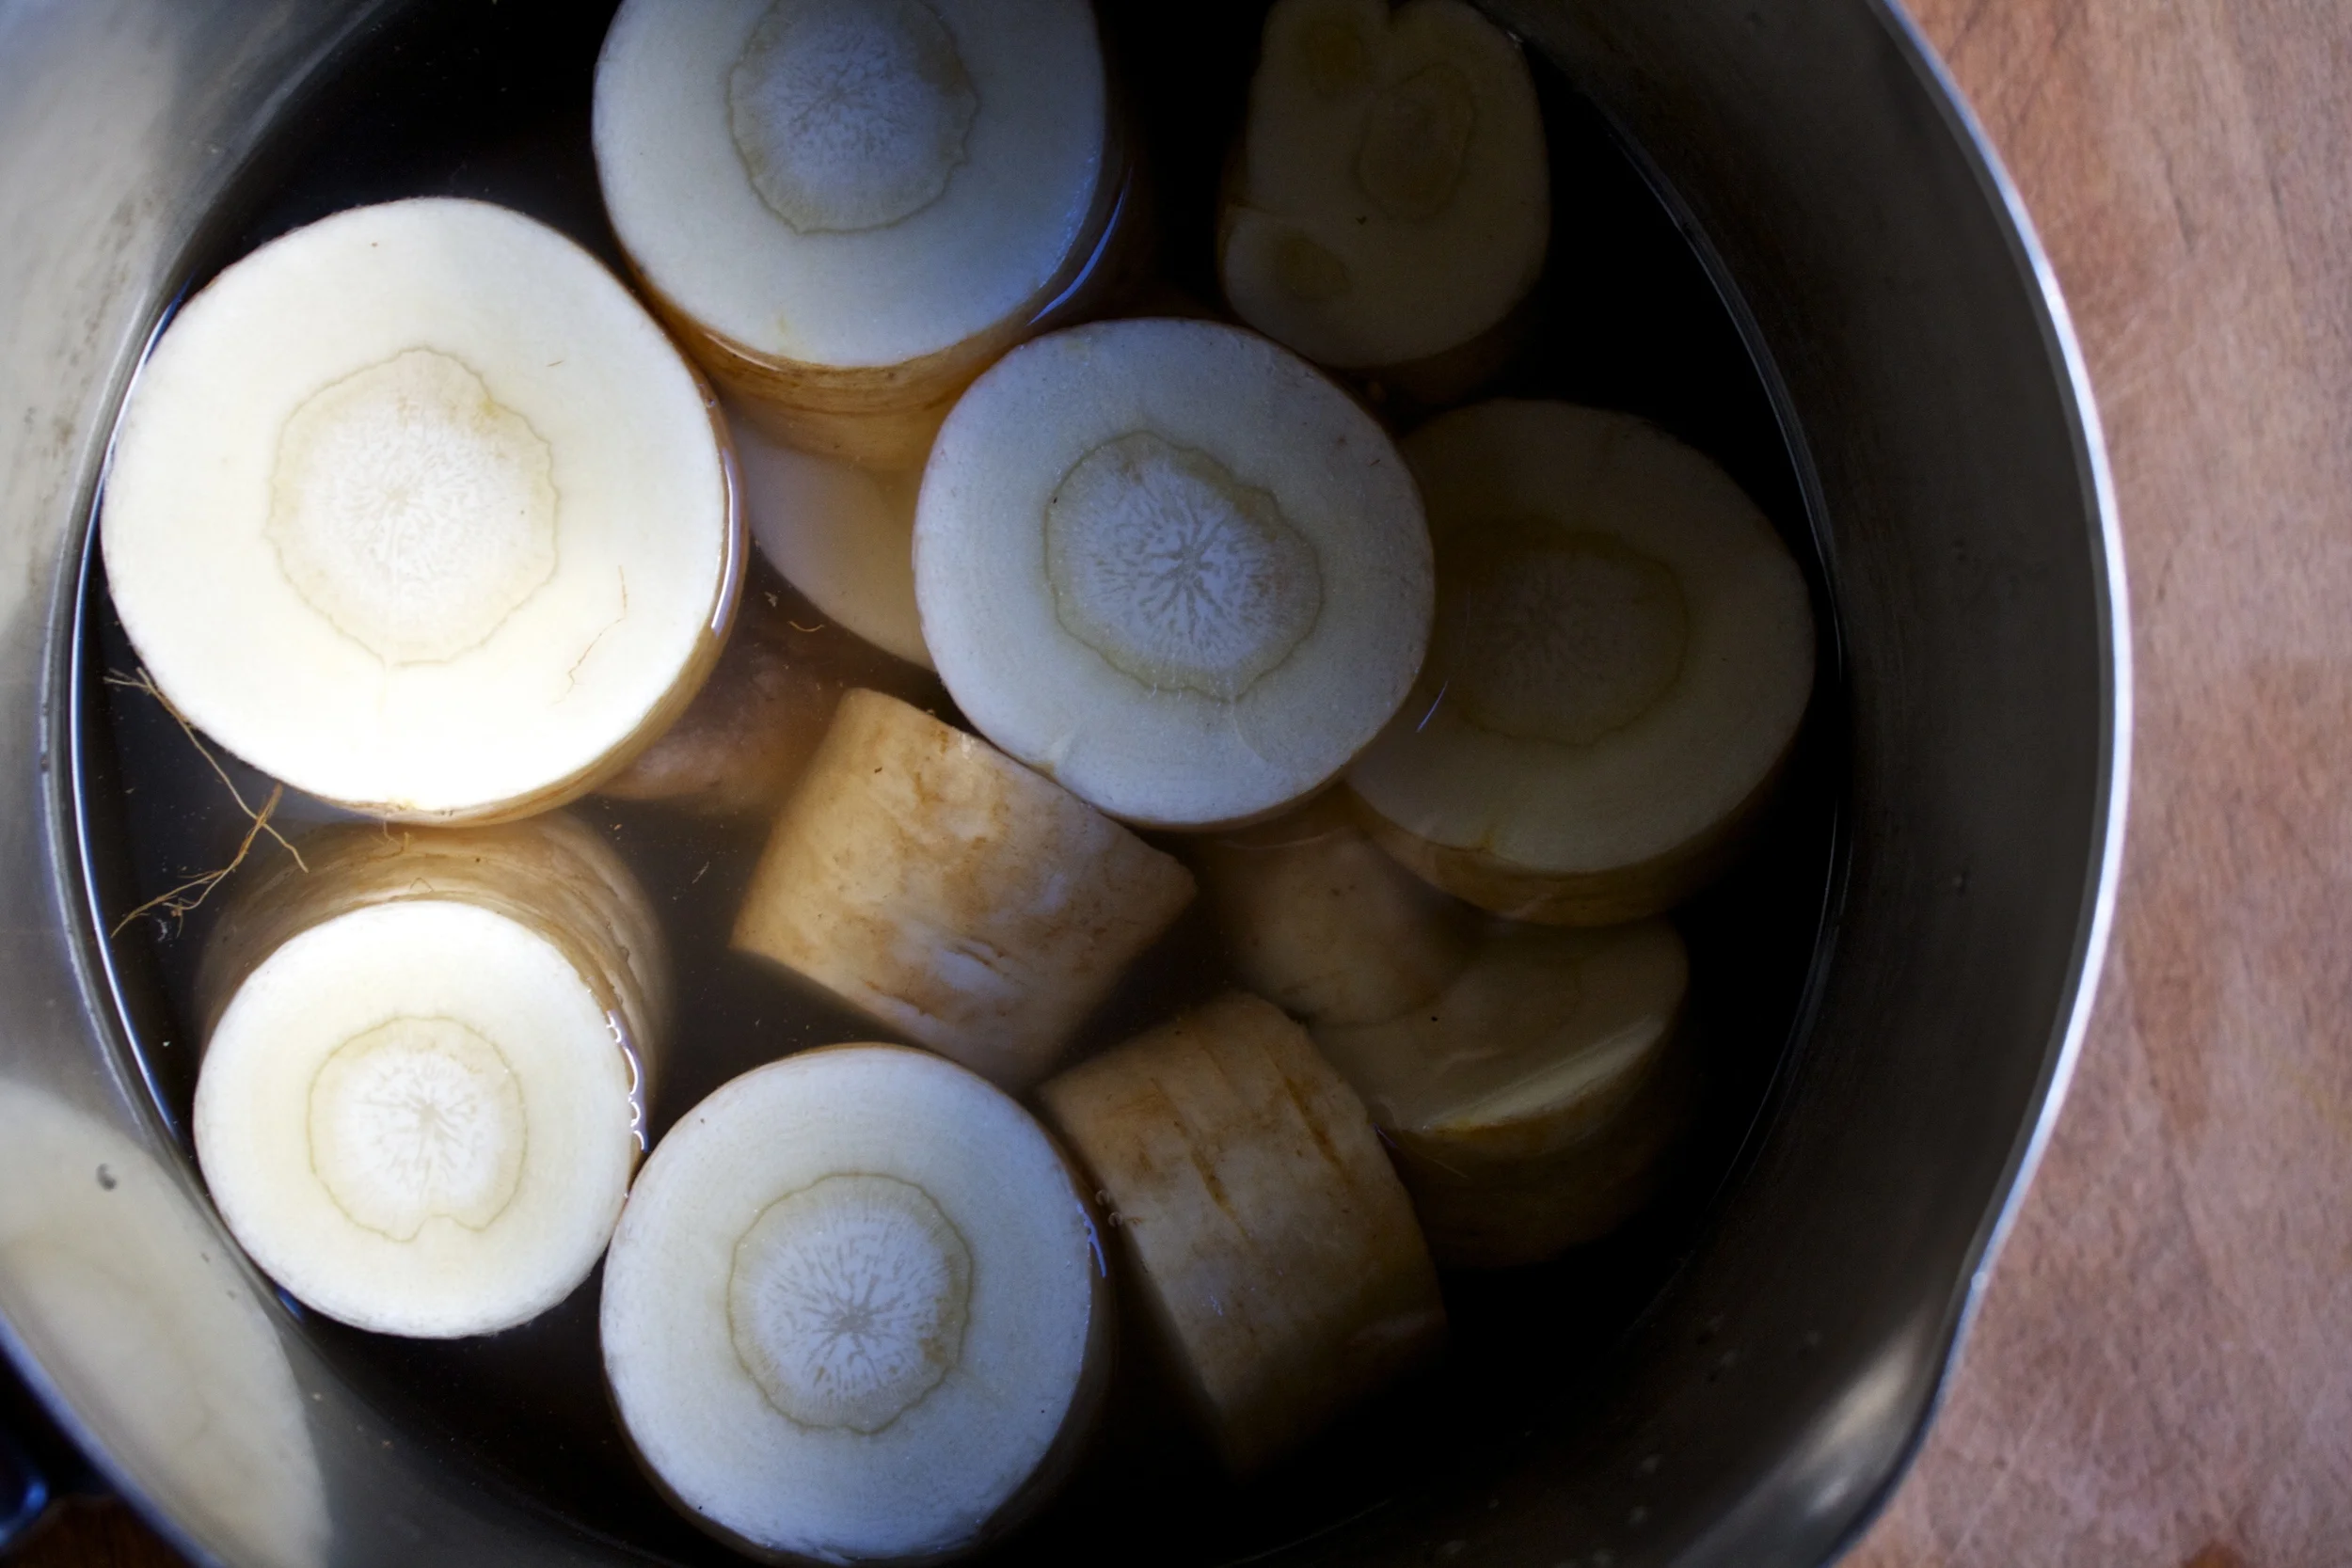
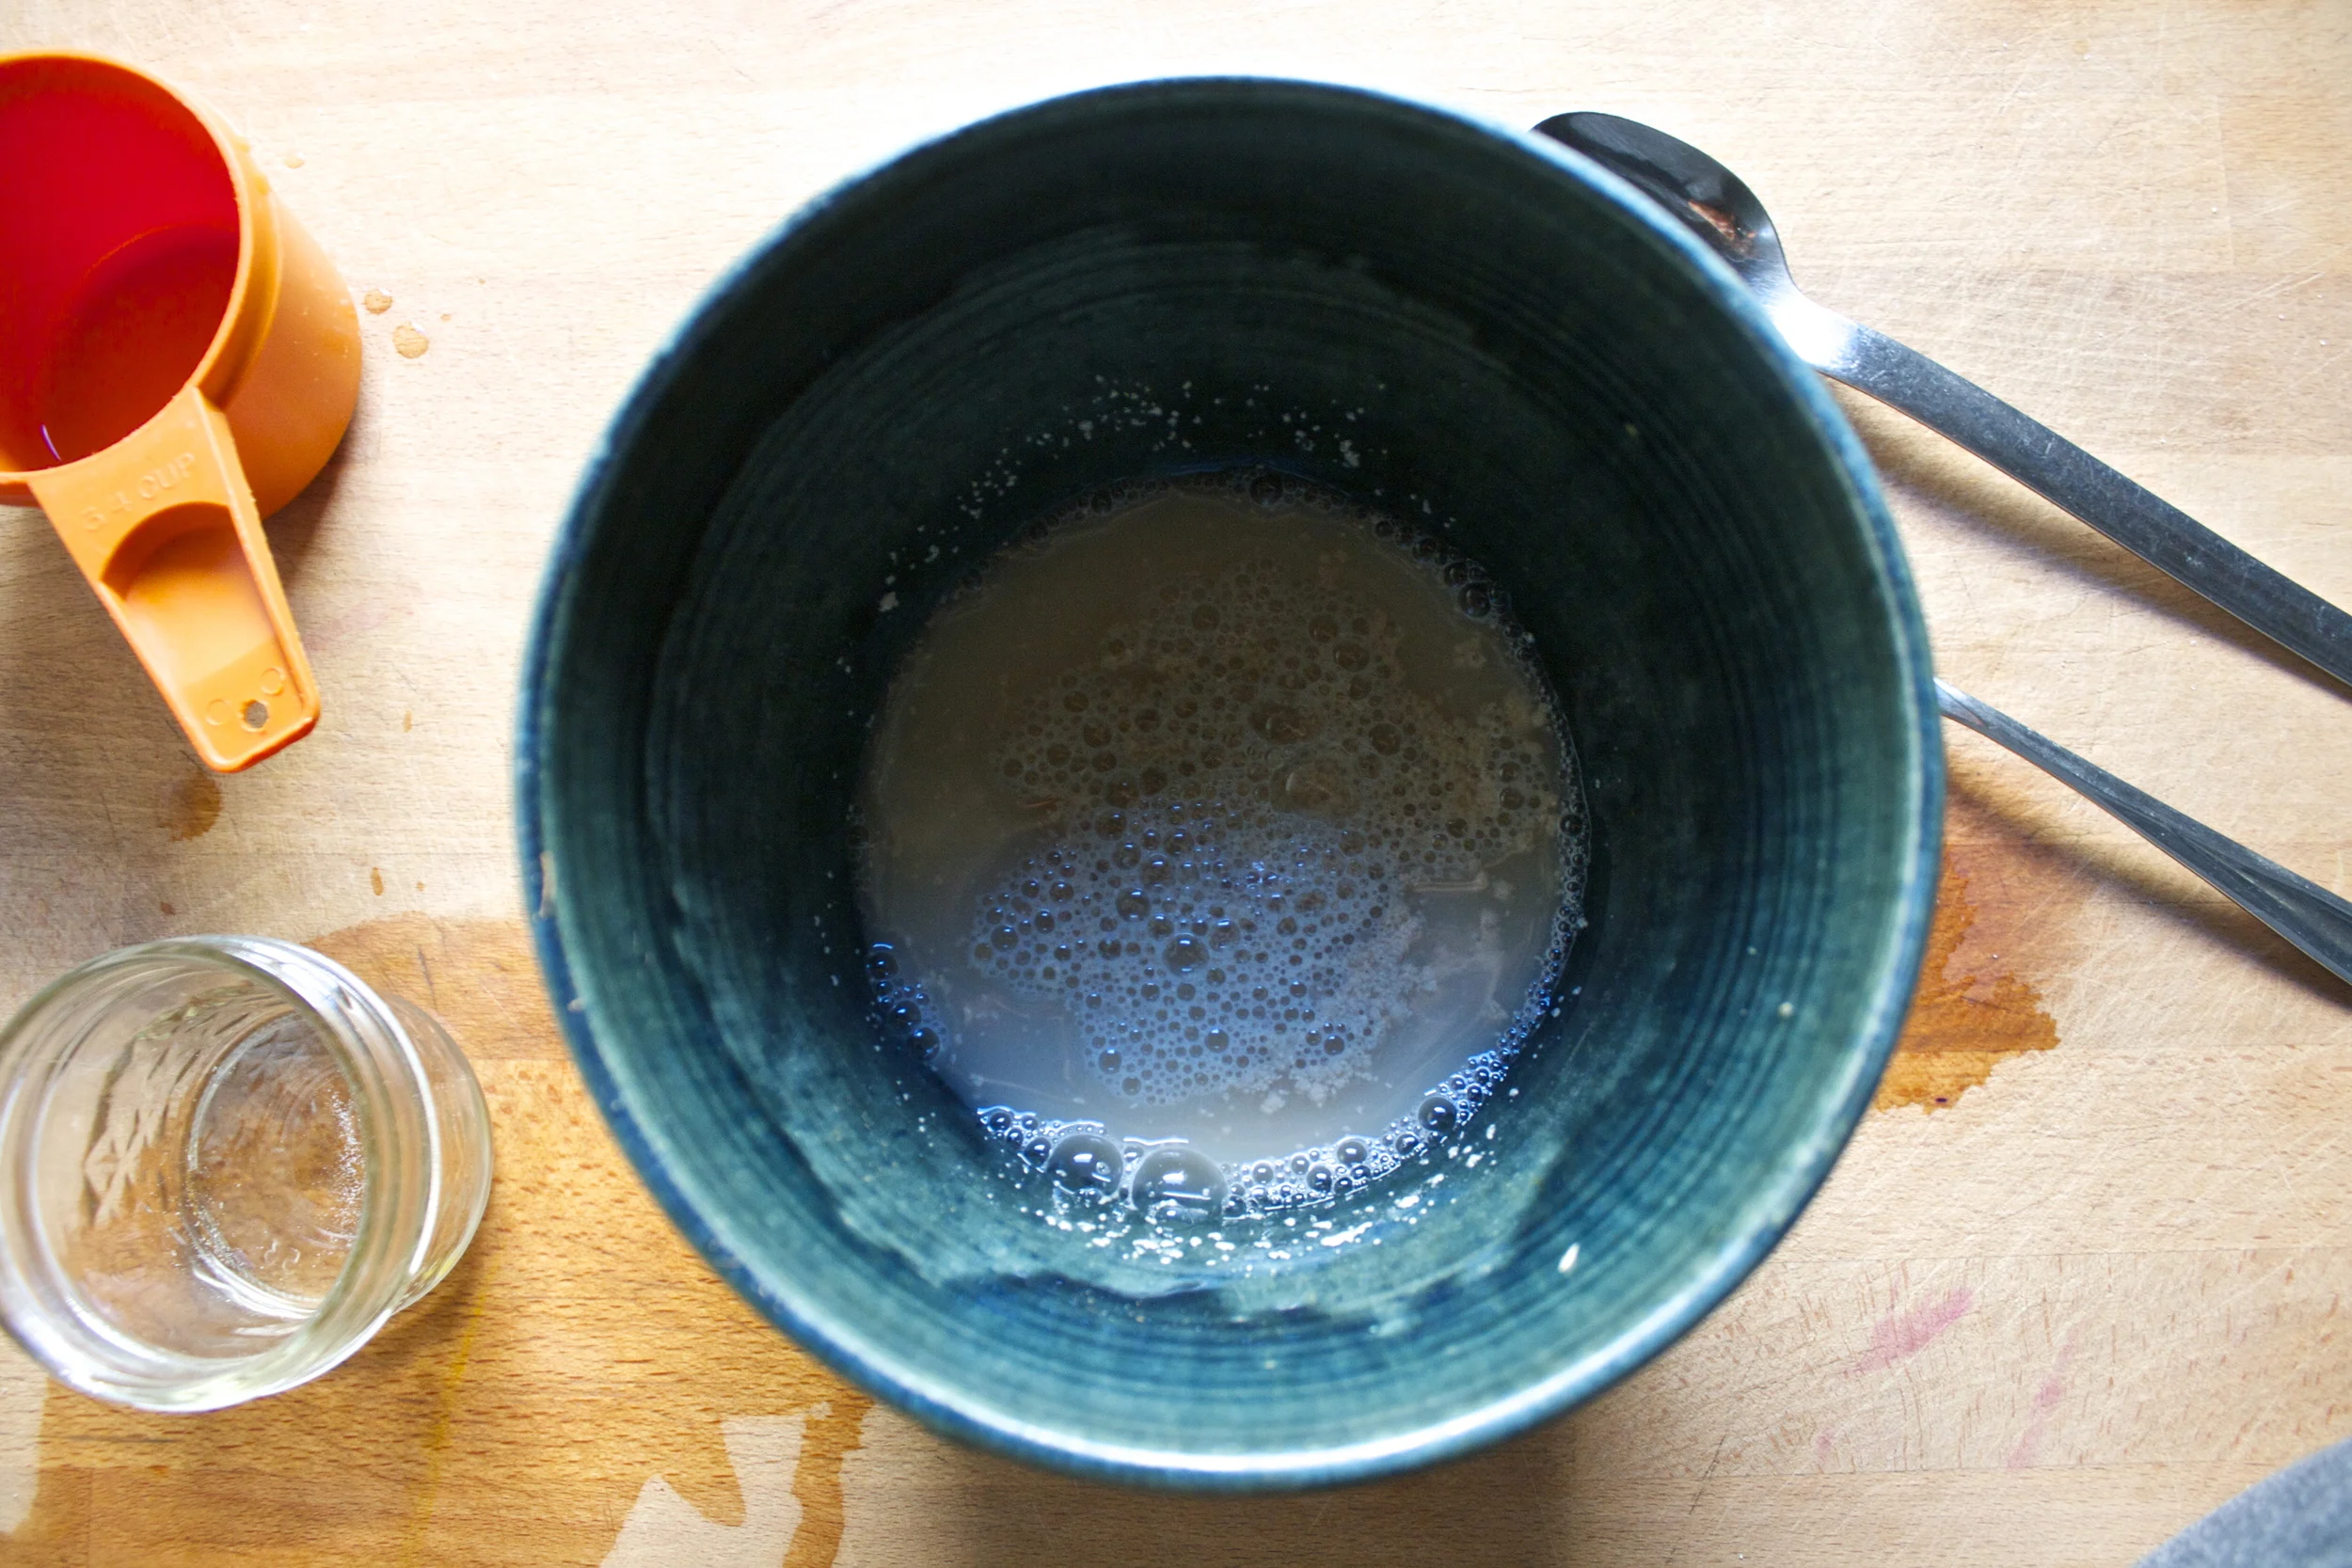
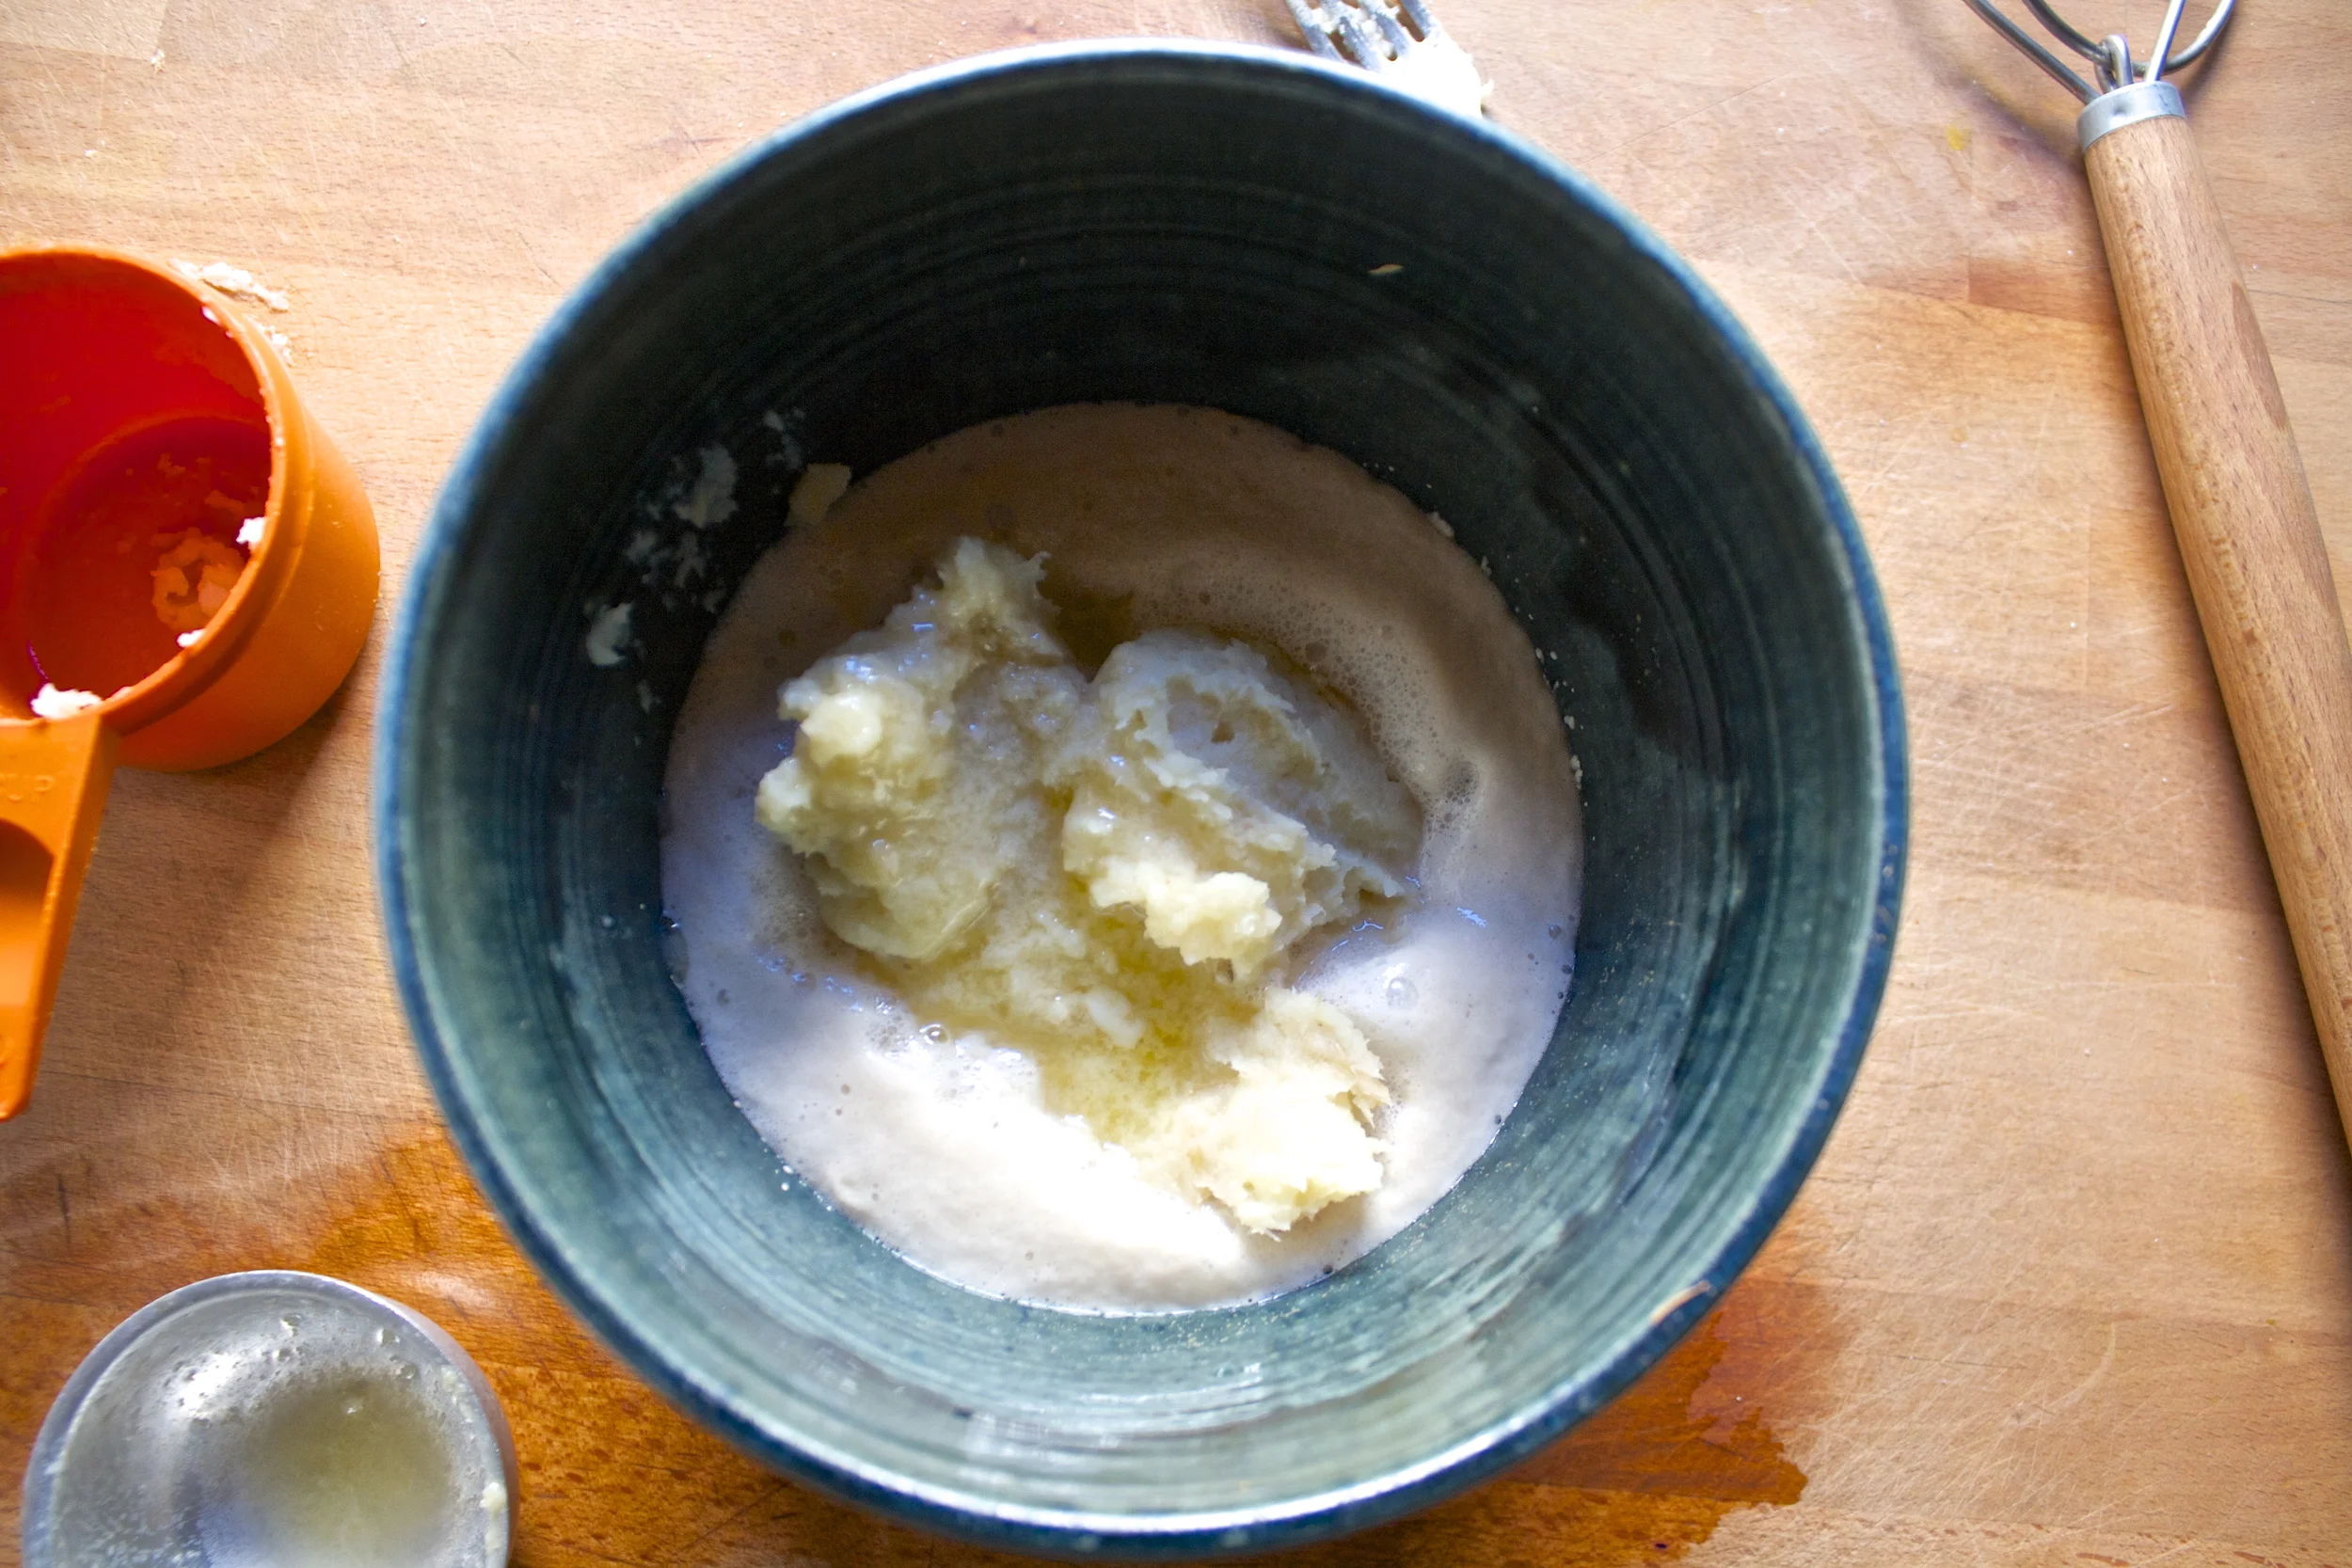
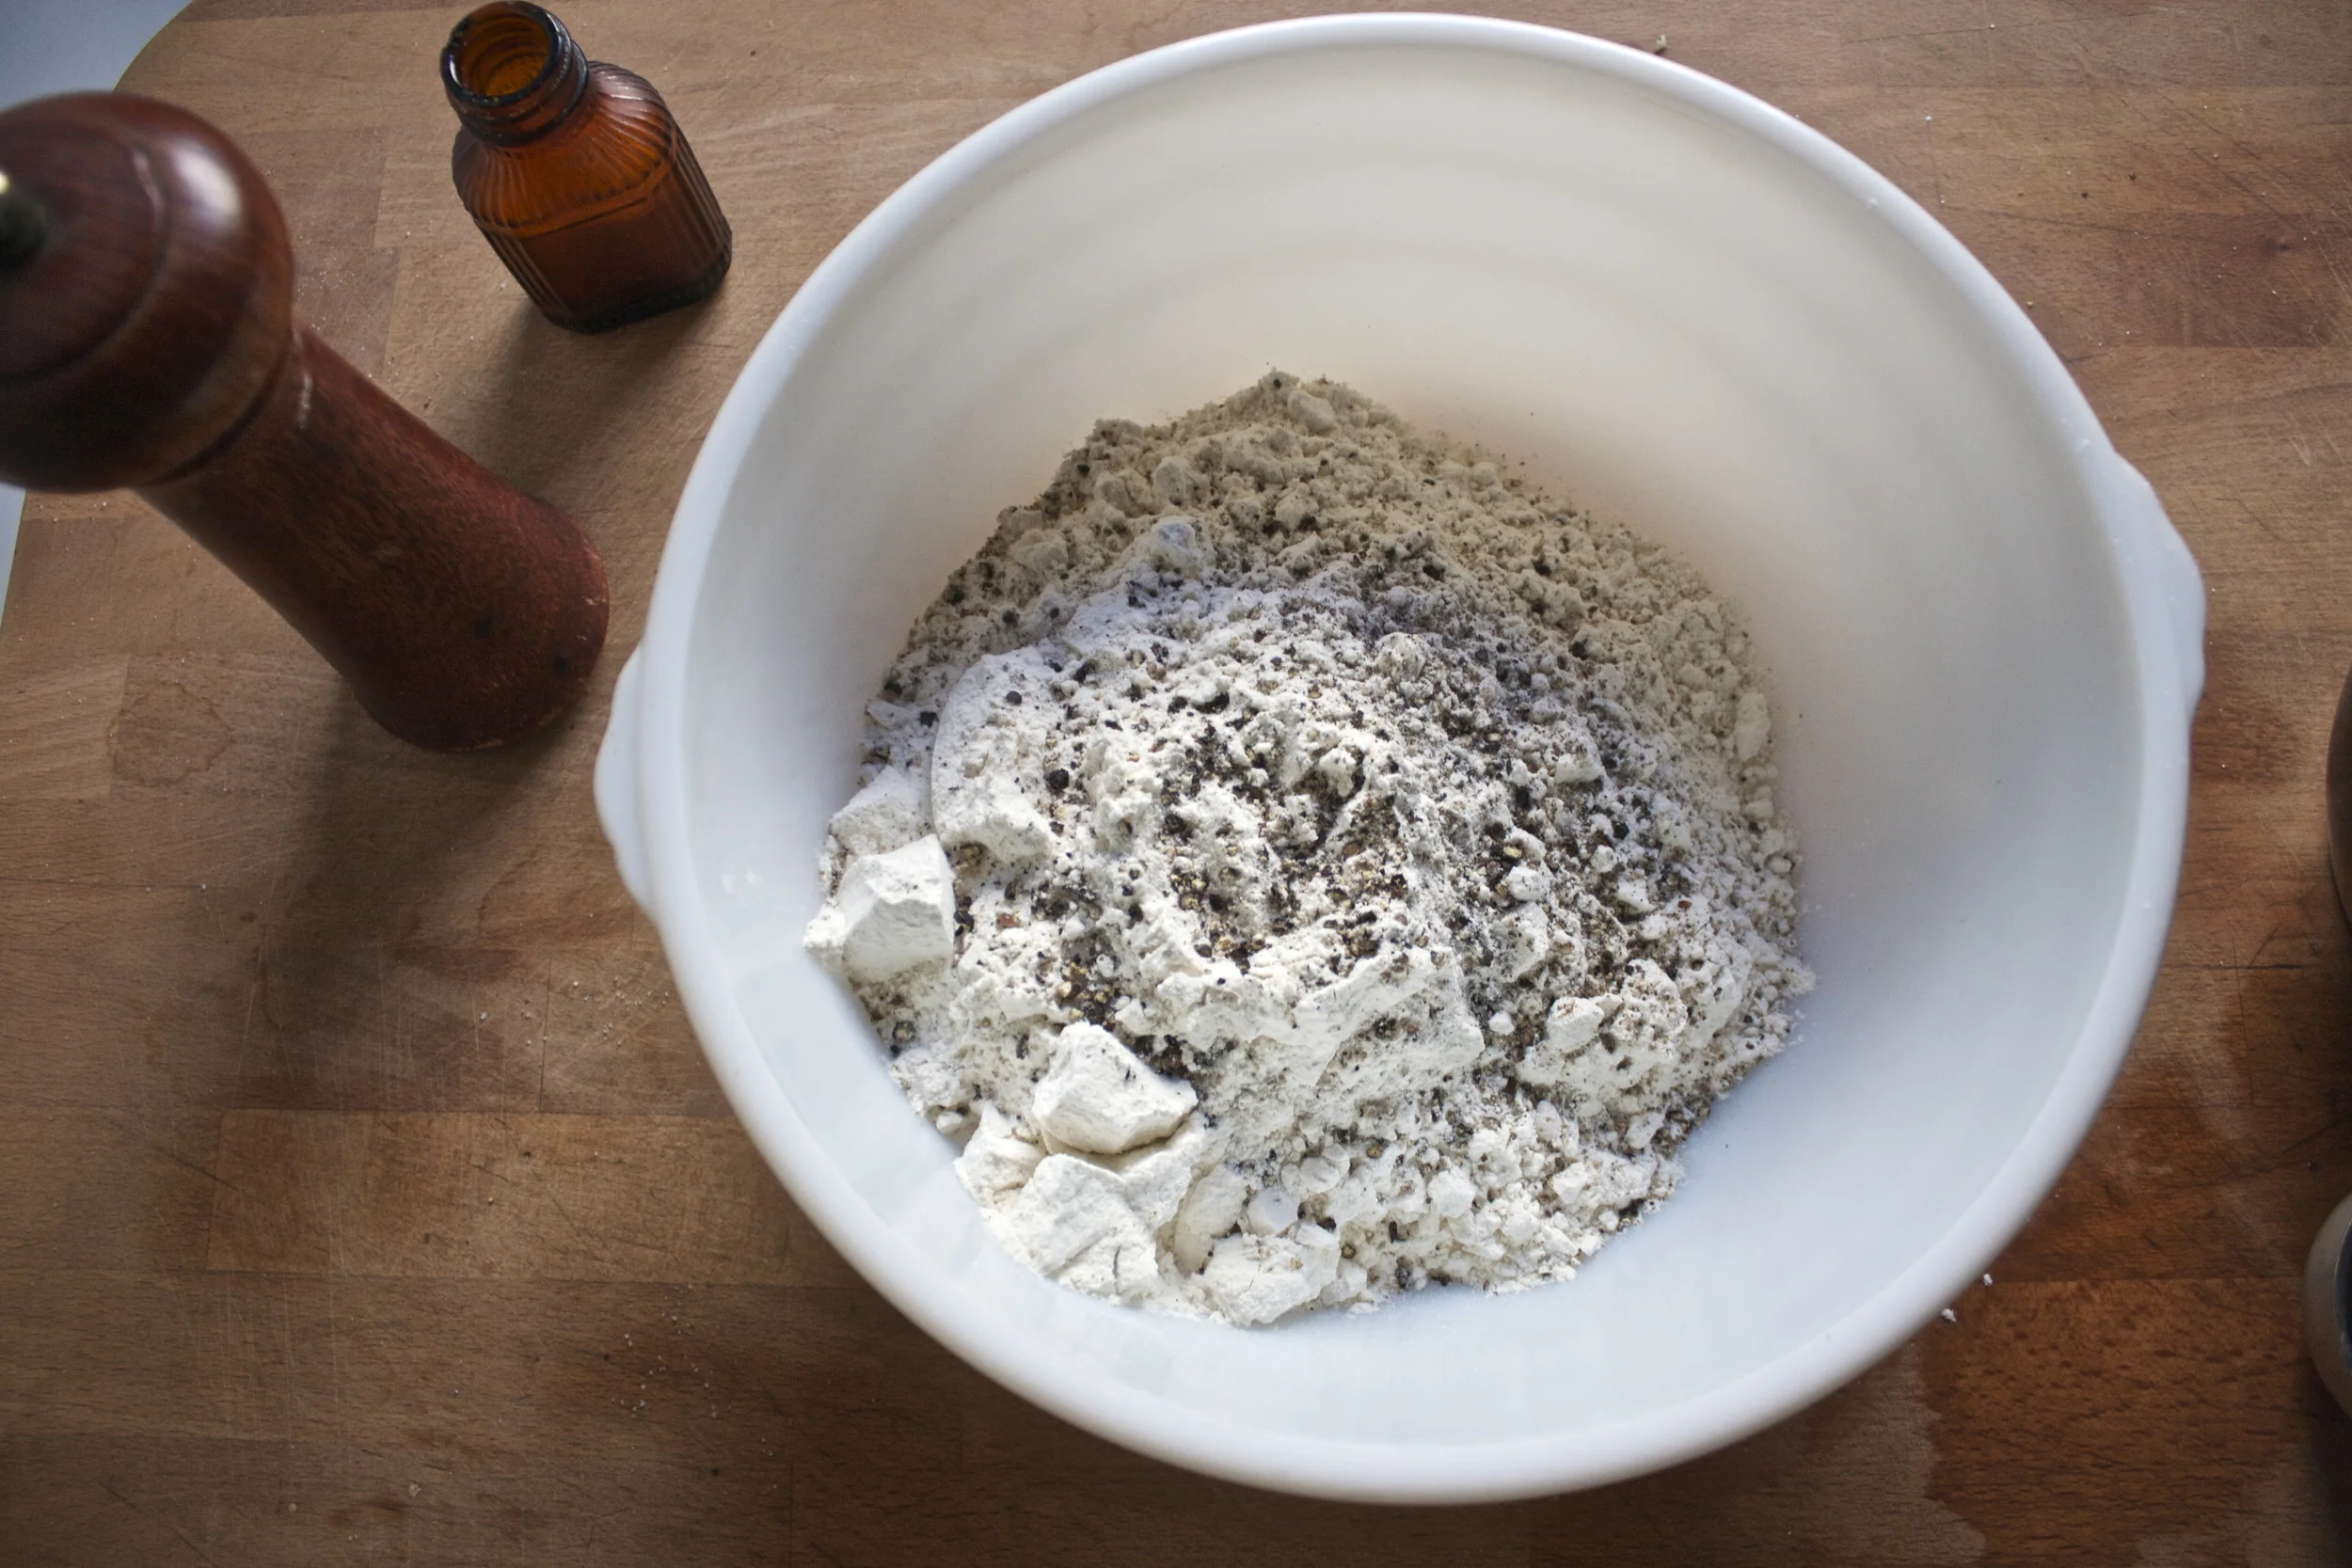


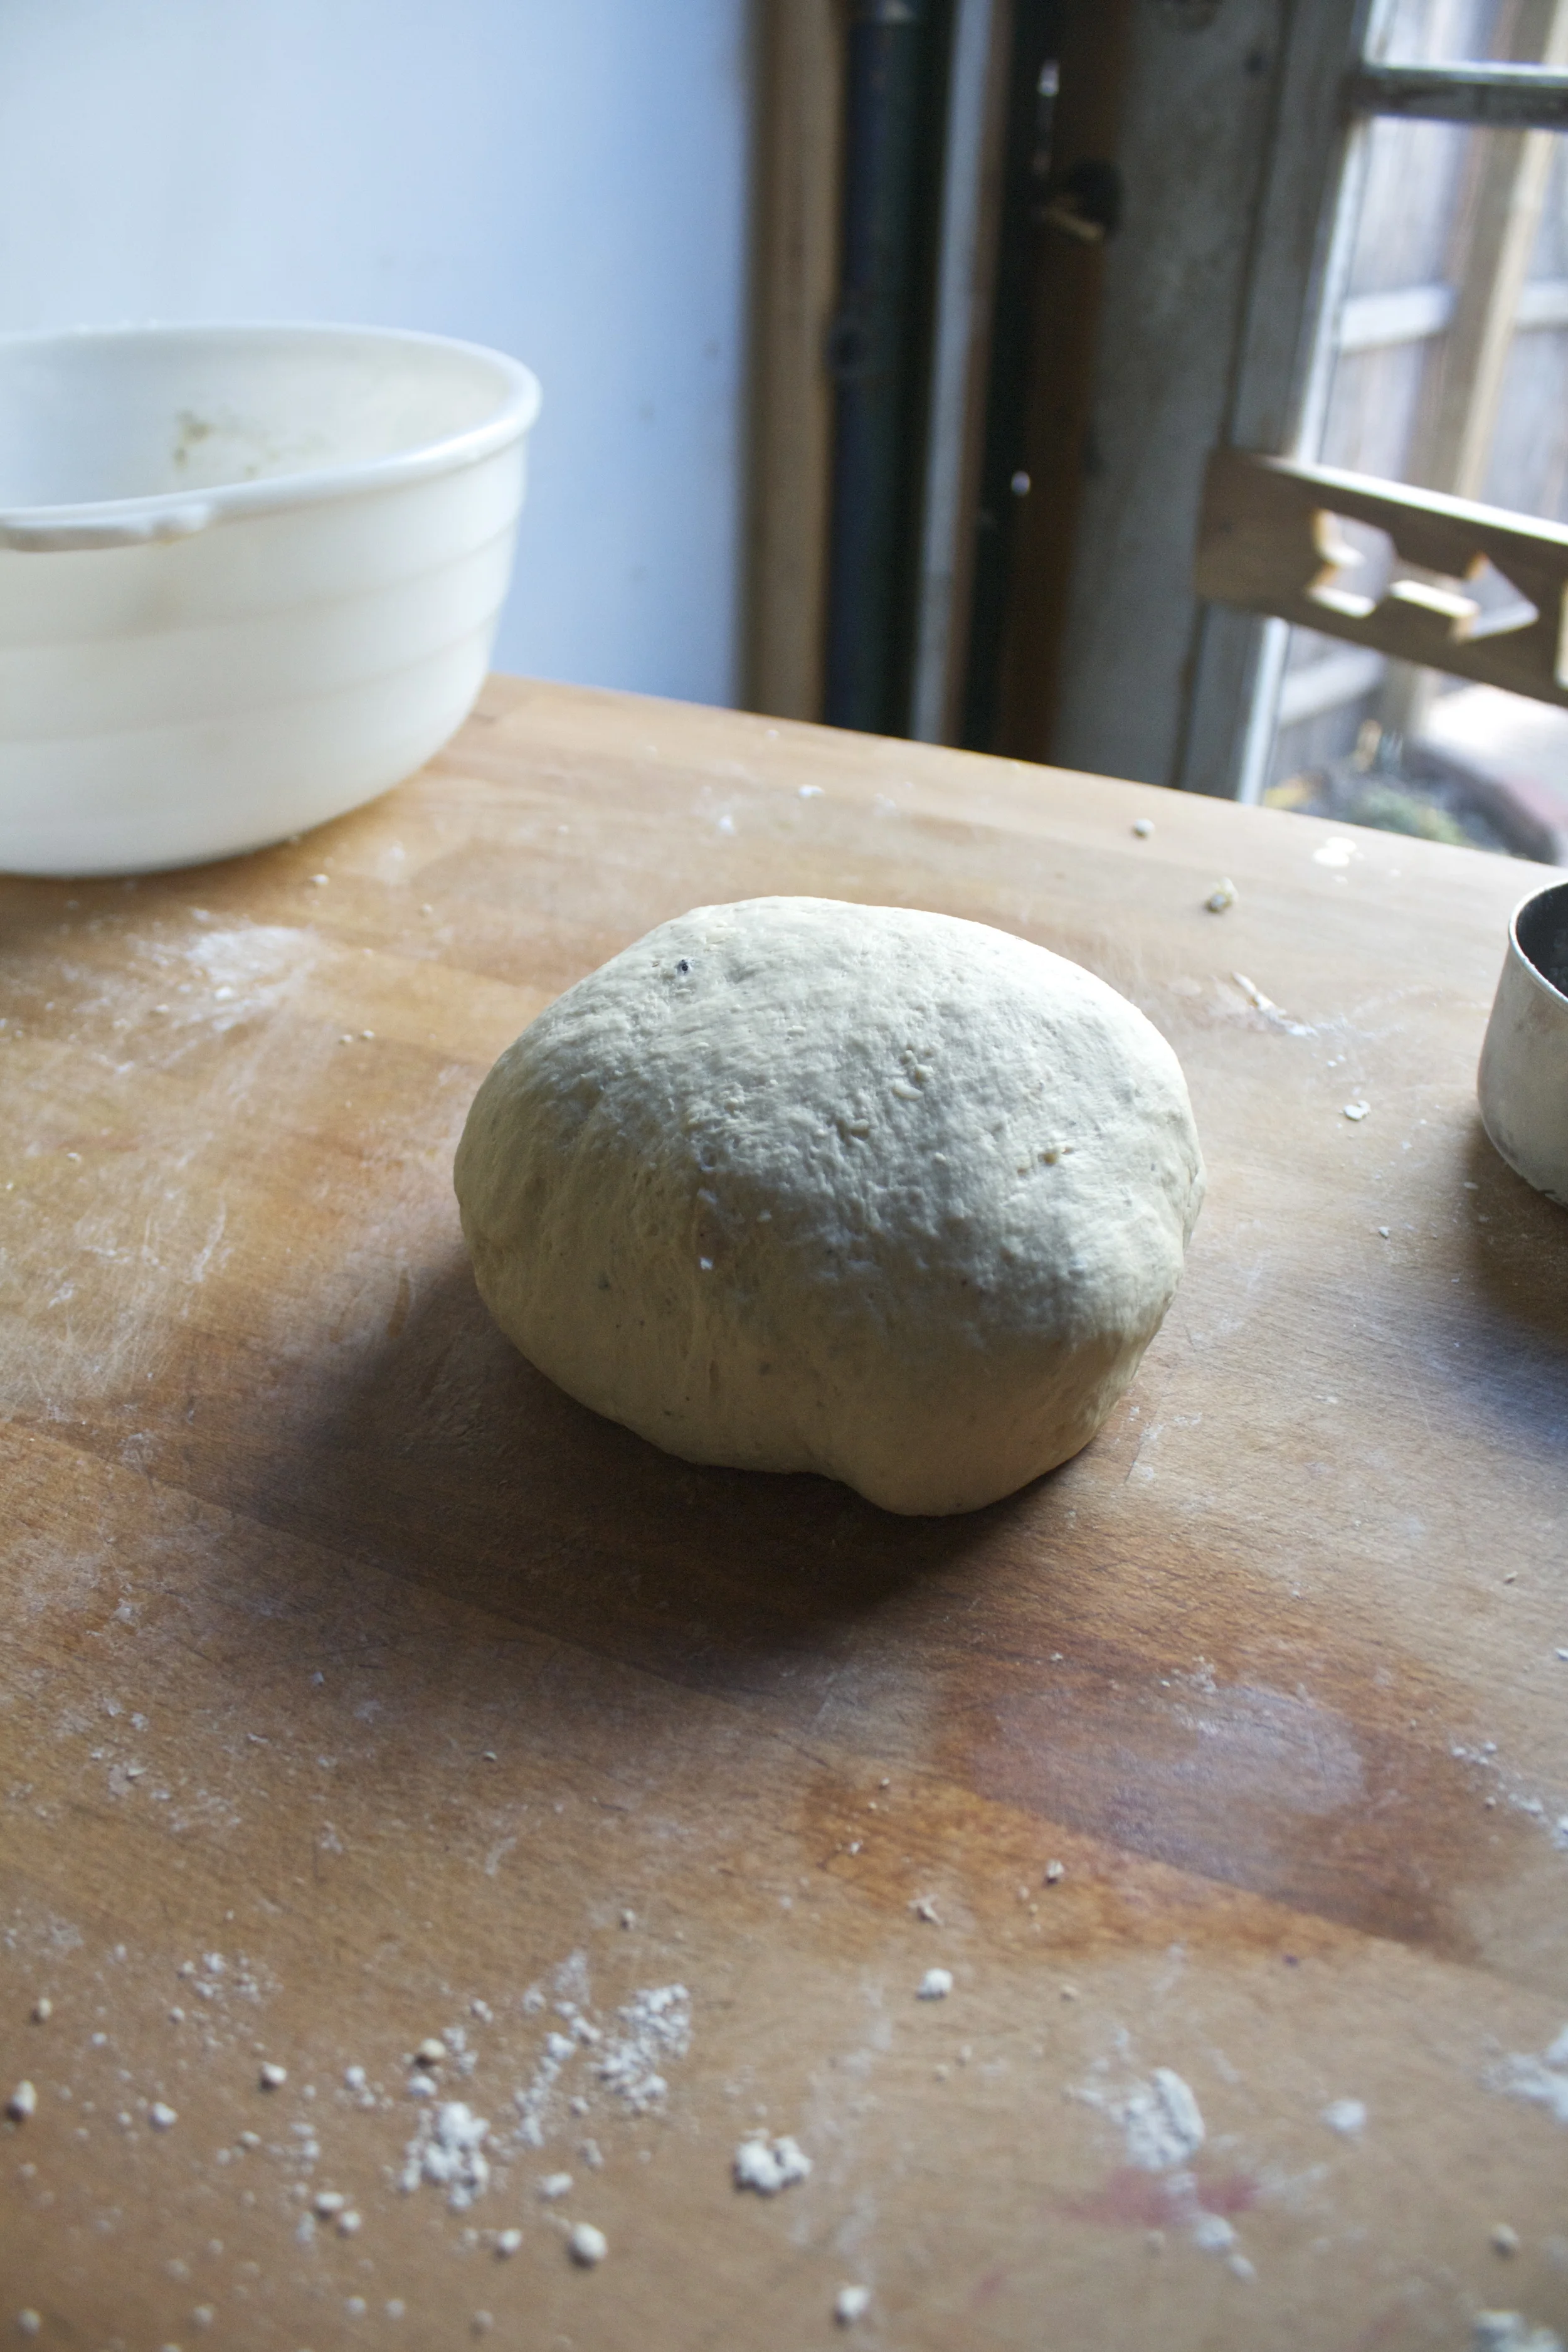

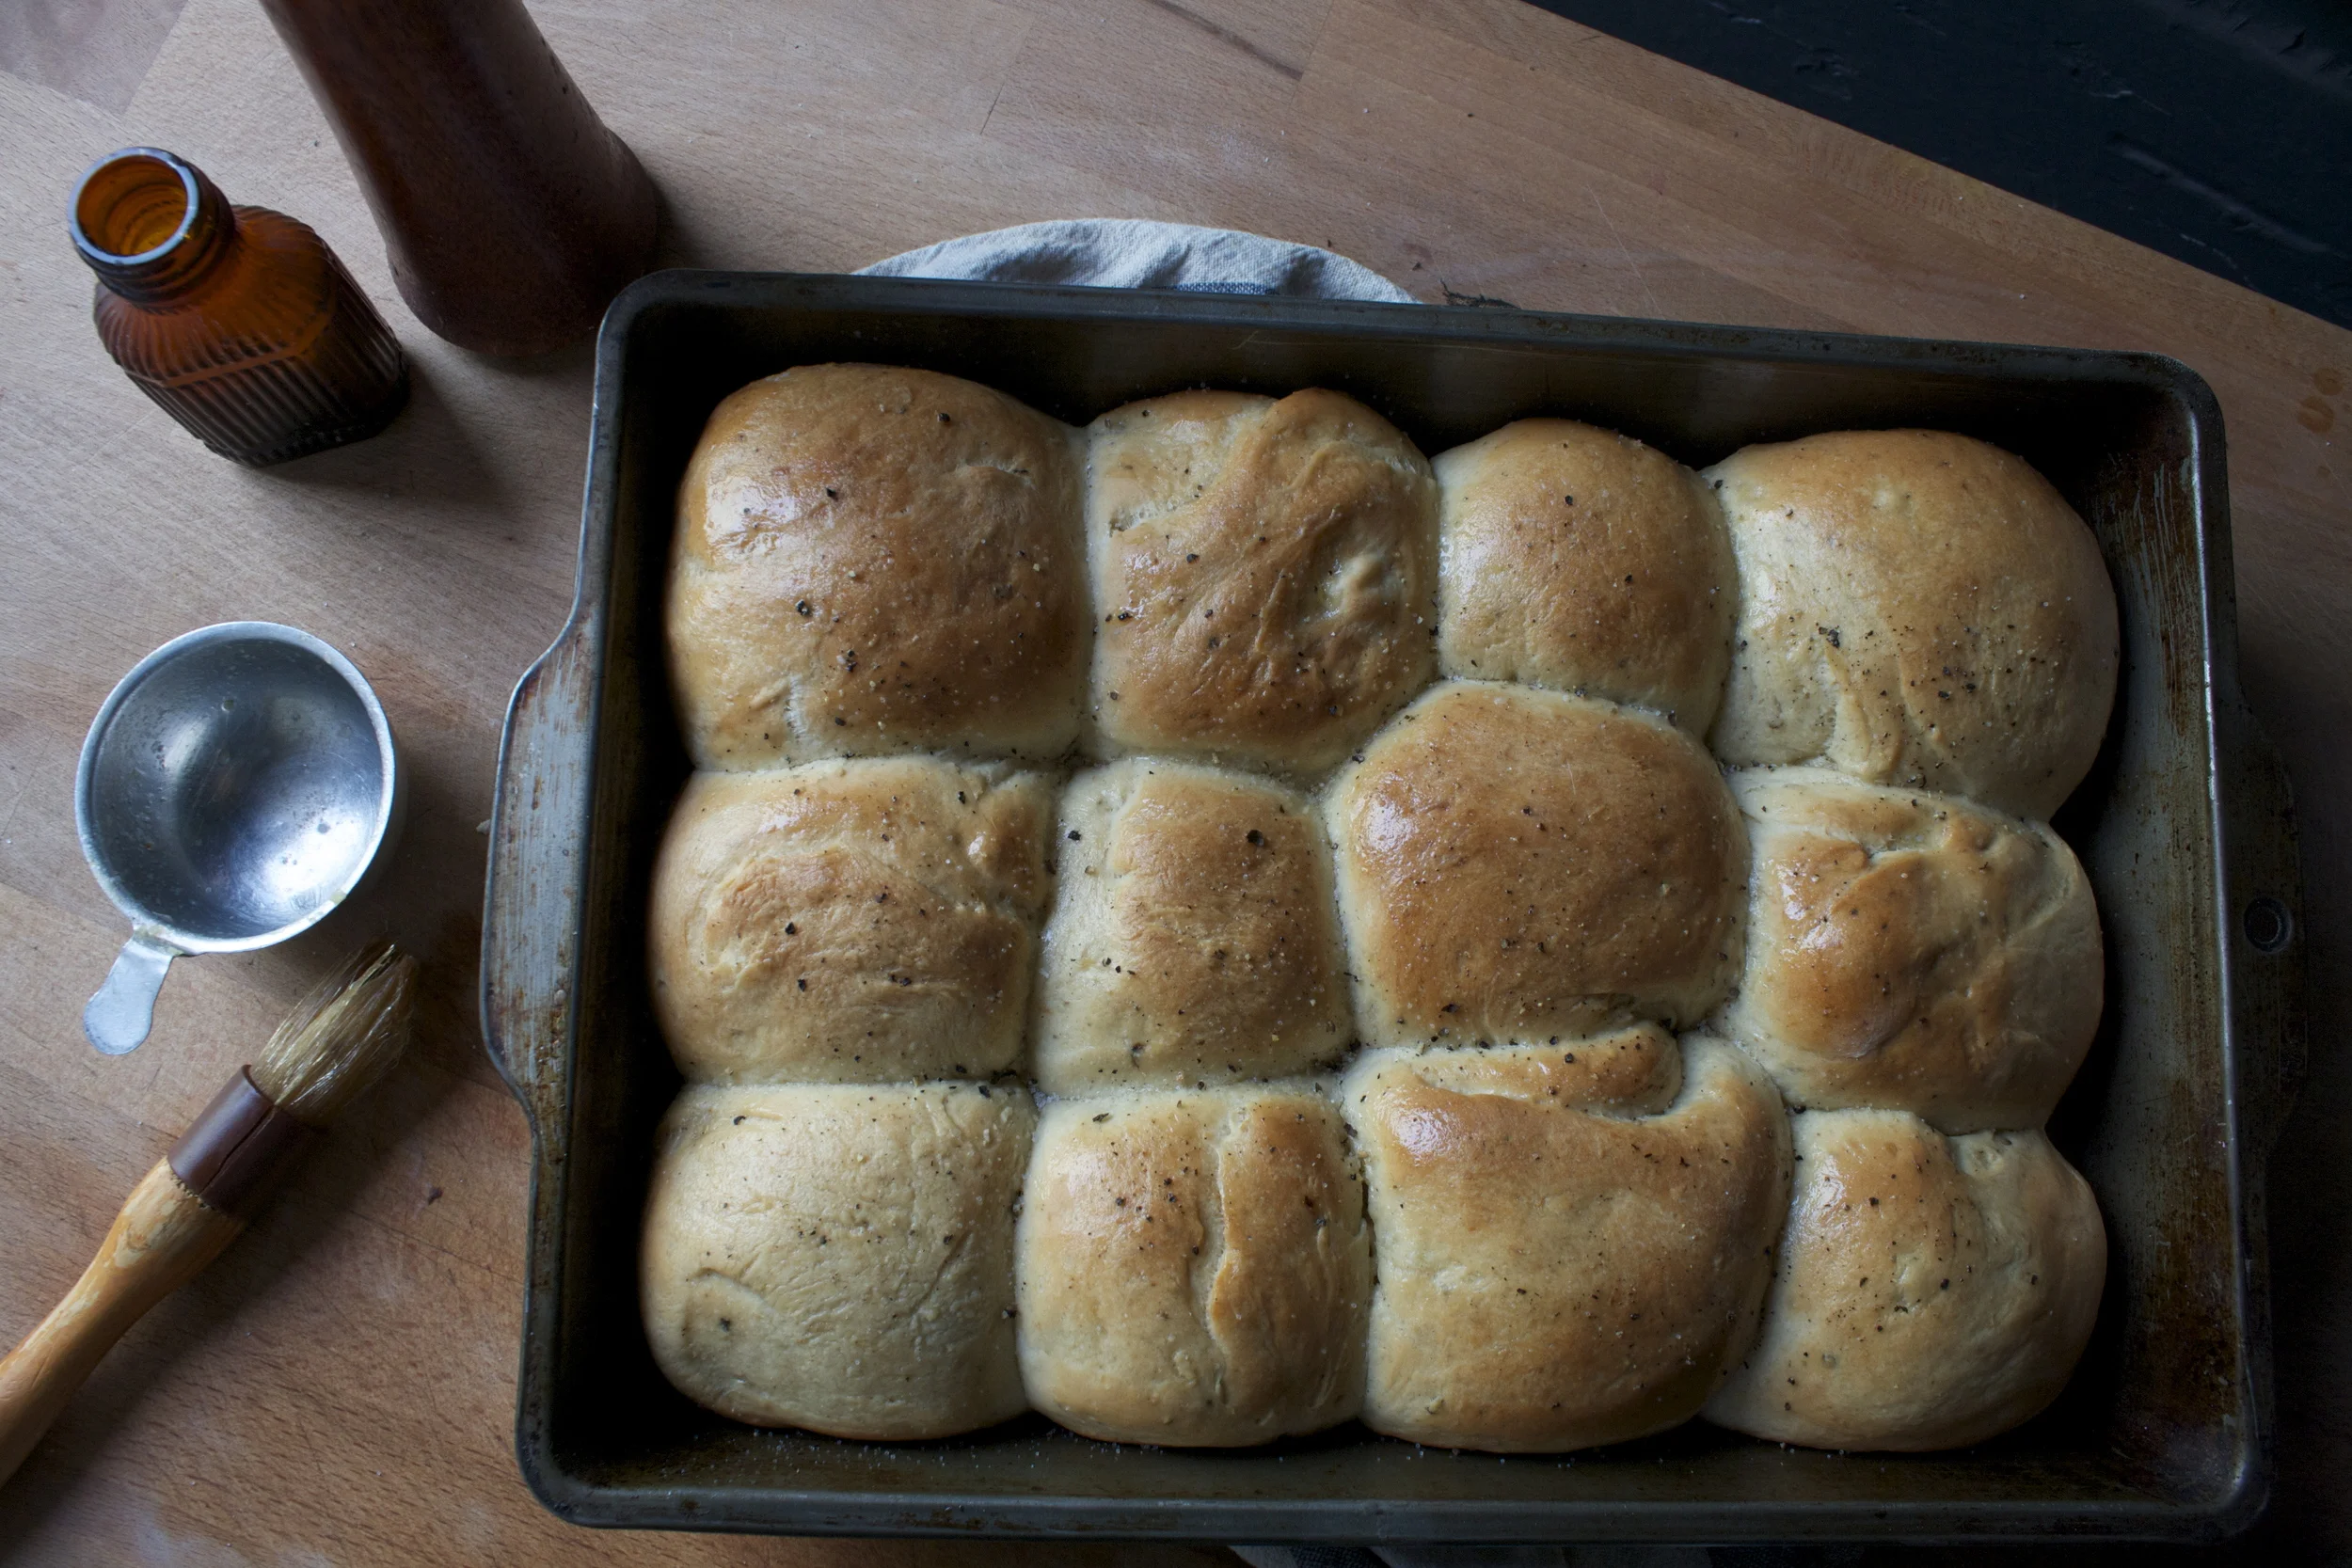
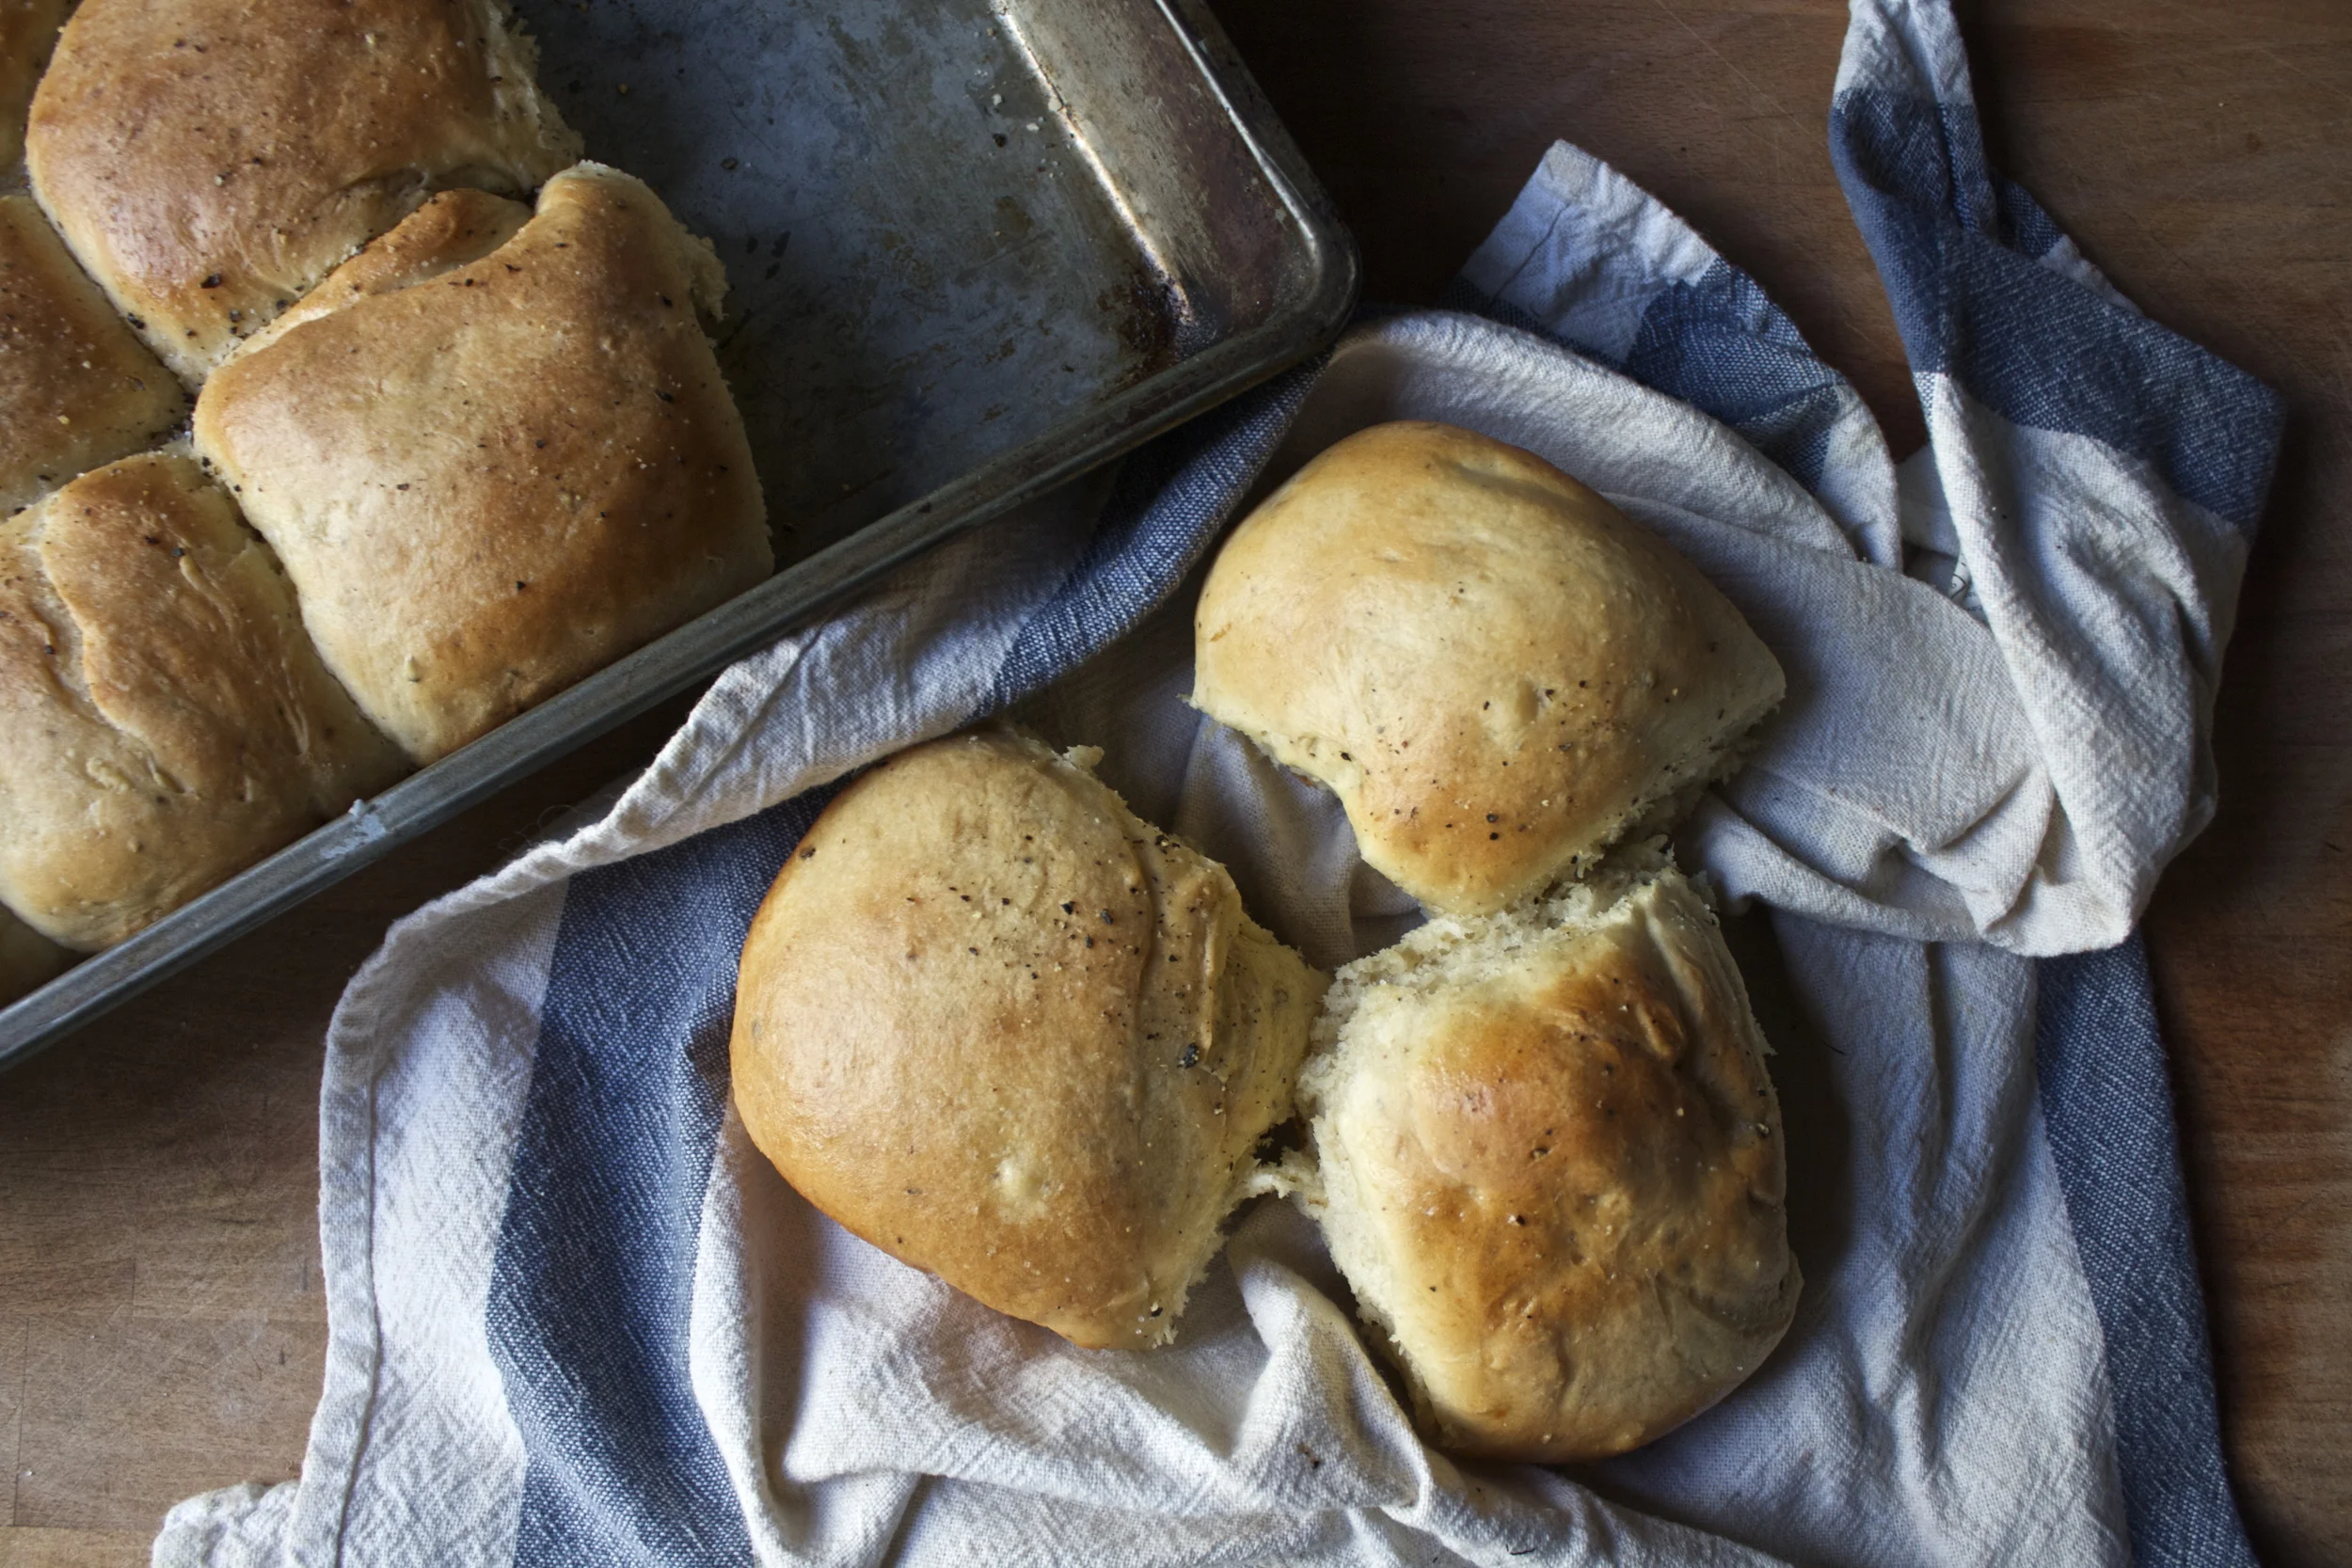
 My winter farm share is coming to an end this week. One more pick and then a three week stretch until the summer share starts%u2026 WHAT AM I GOING TO DO!!! Stock up as much as I can is what.
 %u00a0The stuff%u2026.For the split pea gravy we have a carrot, a parsnip and a large onion chopped into small chunks. %u00a0Salt, thyme, a bay leaf and of course the split peas. Then there is the celeriac root* sliced into 1/2 inch thick rounds and some plain old yellow mustard .
 Toss the chopped parsnip, carrot, onion and the spices into a pot on medium heat and let veggies sweat a few minutes until tender. %u00a0Add in the split peas and enough water to cover everything. %u00a0Turn pot on high and bring to a boil, then cover and turn to low. Make sure to give the pot a good stir ever few minutes and add more water if needed%u00a0
 Once the peas have soften, remove the bay leaf and puree until smooth and oh so creamy. Taste and add more salt and pepper if needed. If you find that the gravy seems to thick, just add in more water until it’s the consistency that you want.%u00a0
 The gravy is made, the celeriac is roasted%u2026 now we are ready to eat!!%u00a0
 Stick the celeriac on a plate and dump good amount of that gravy right on top. Feel free to add a bed of spinach, or a grain or anything you want, because why not, and also some chopped tomatoes for a little acid and prettiness.

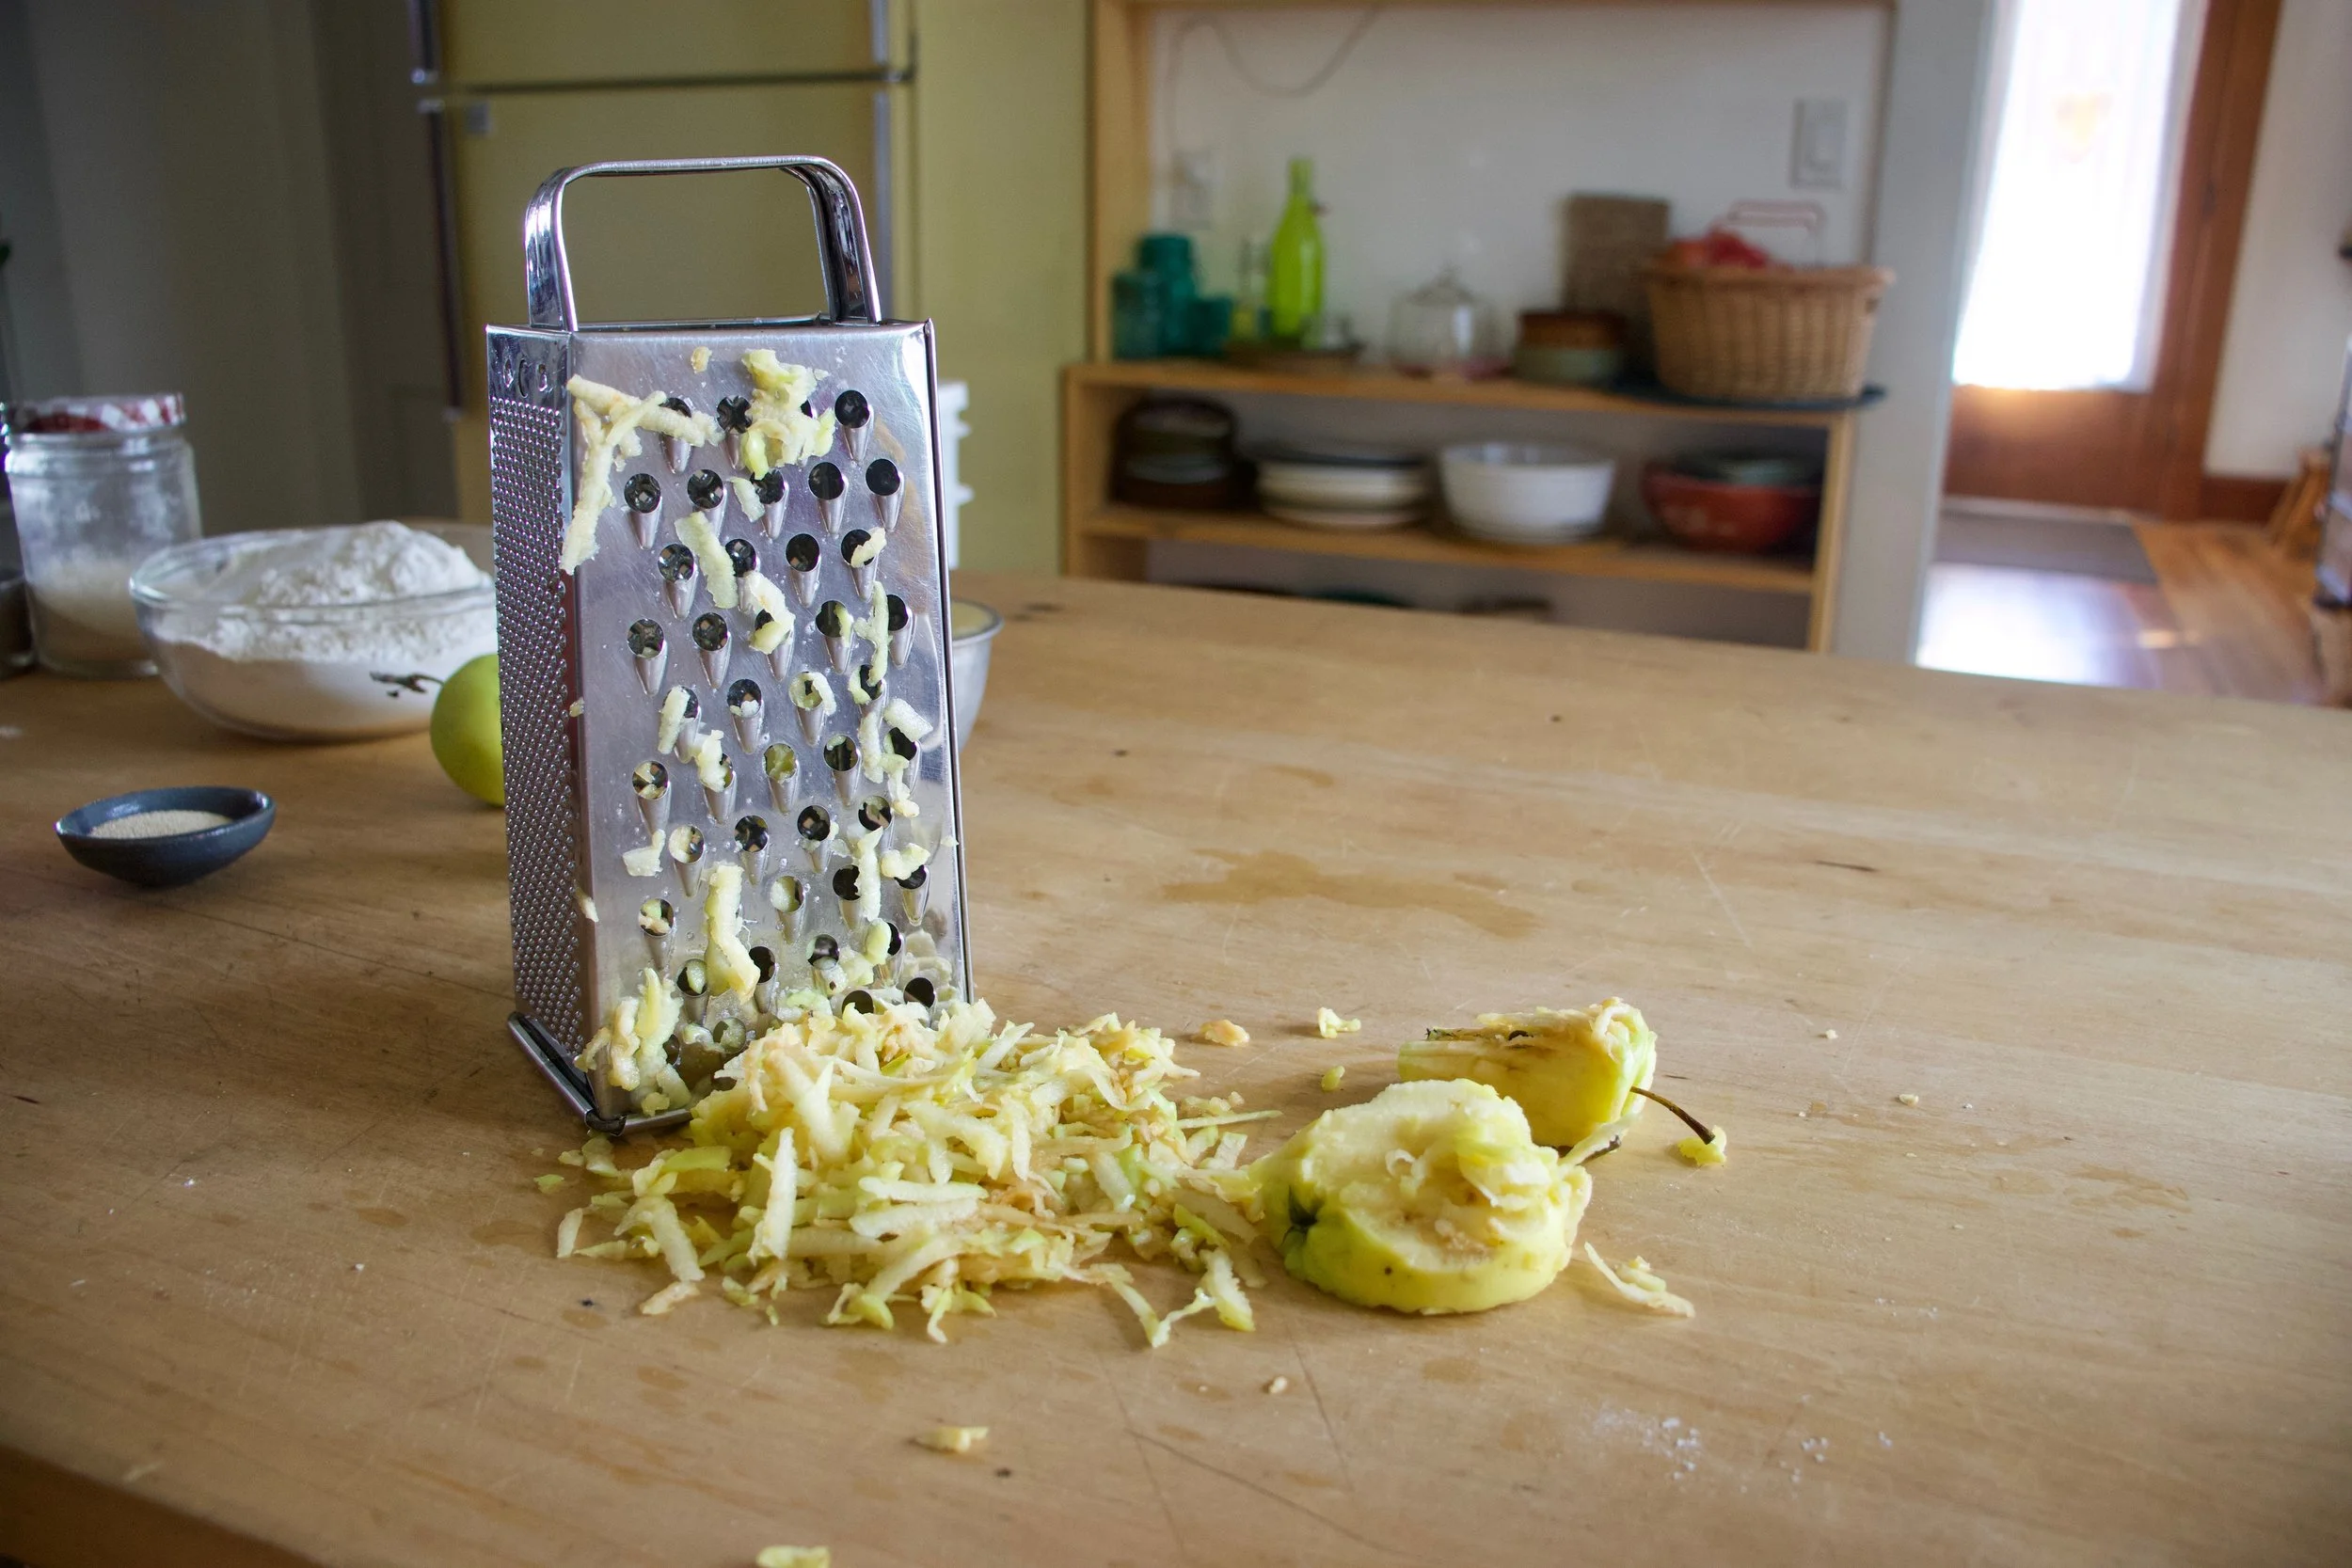
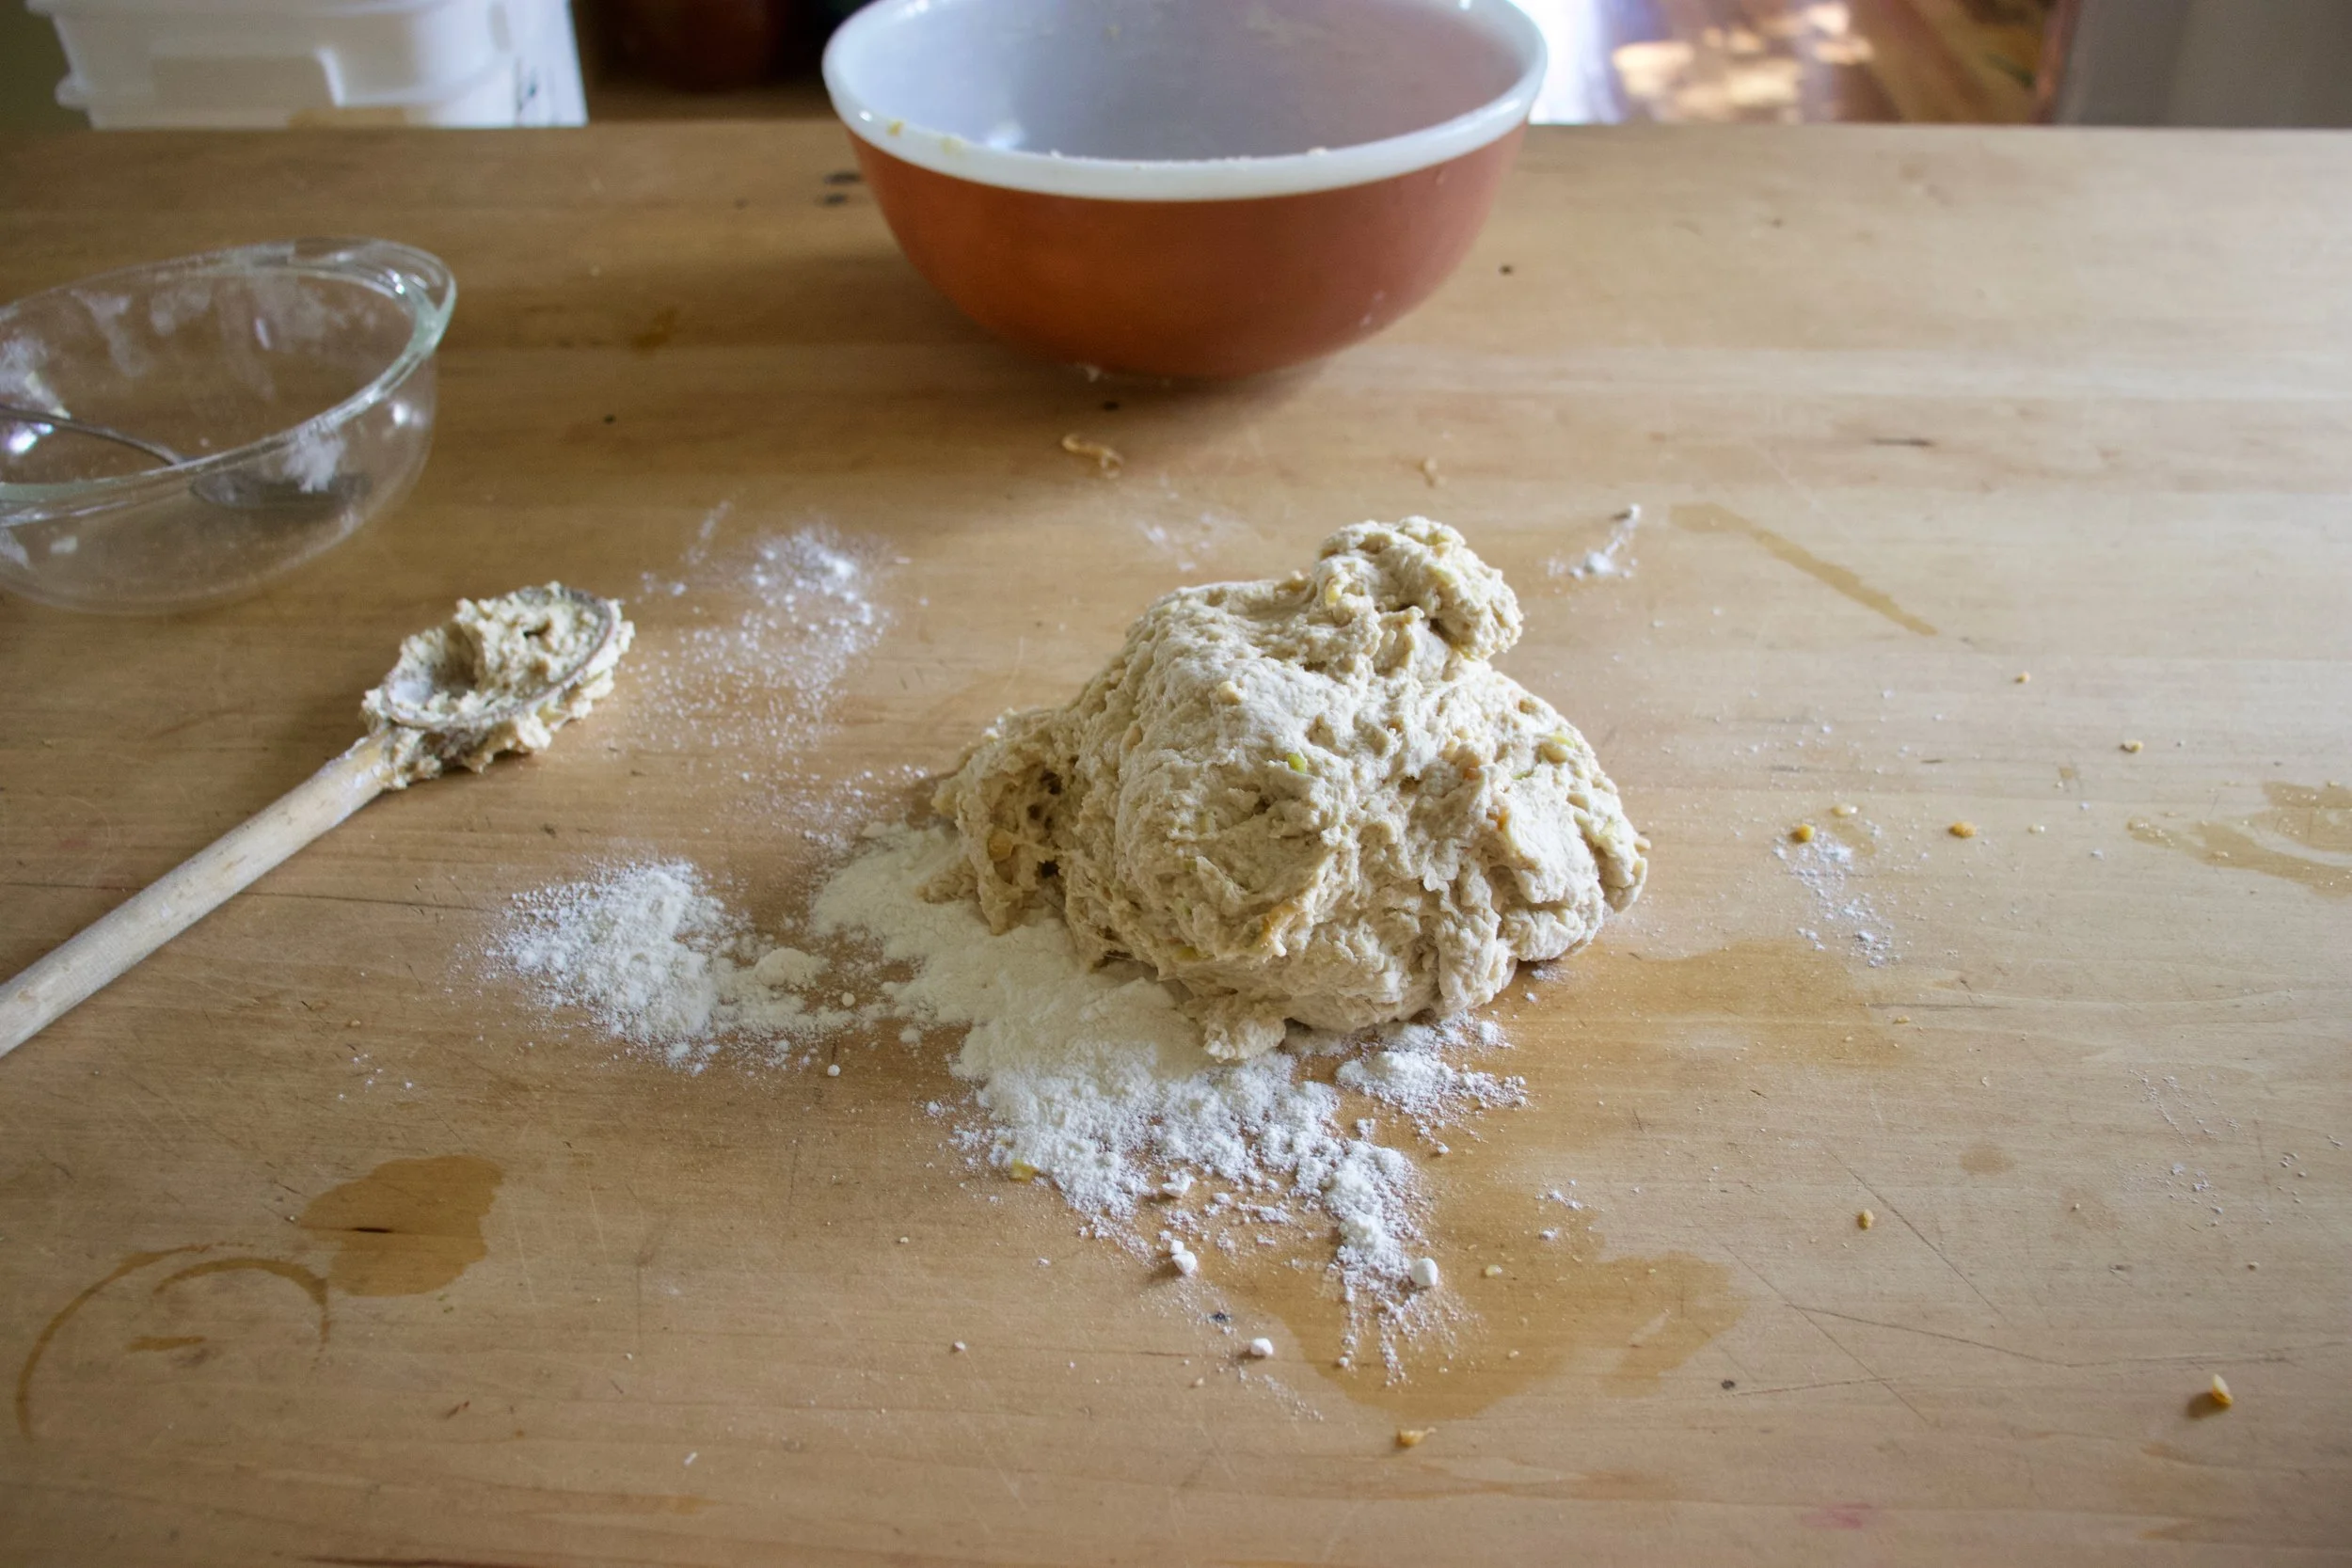
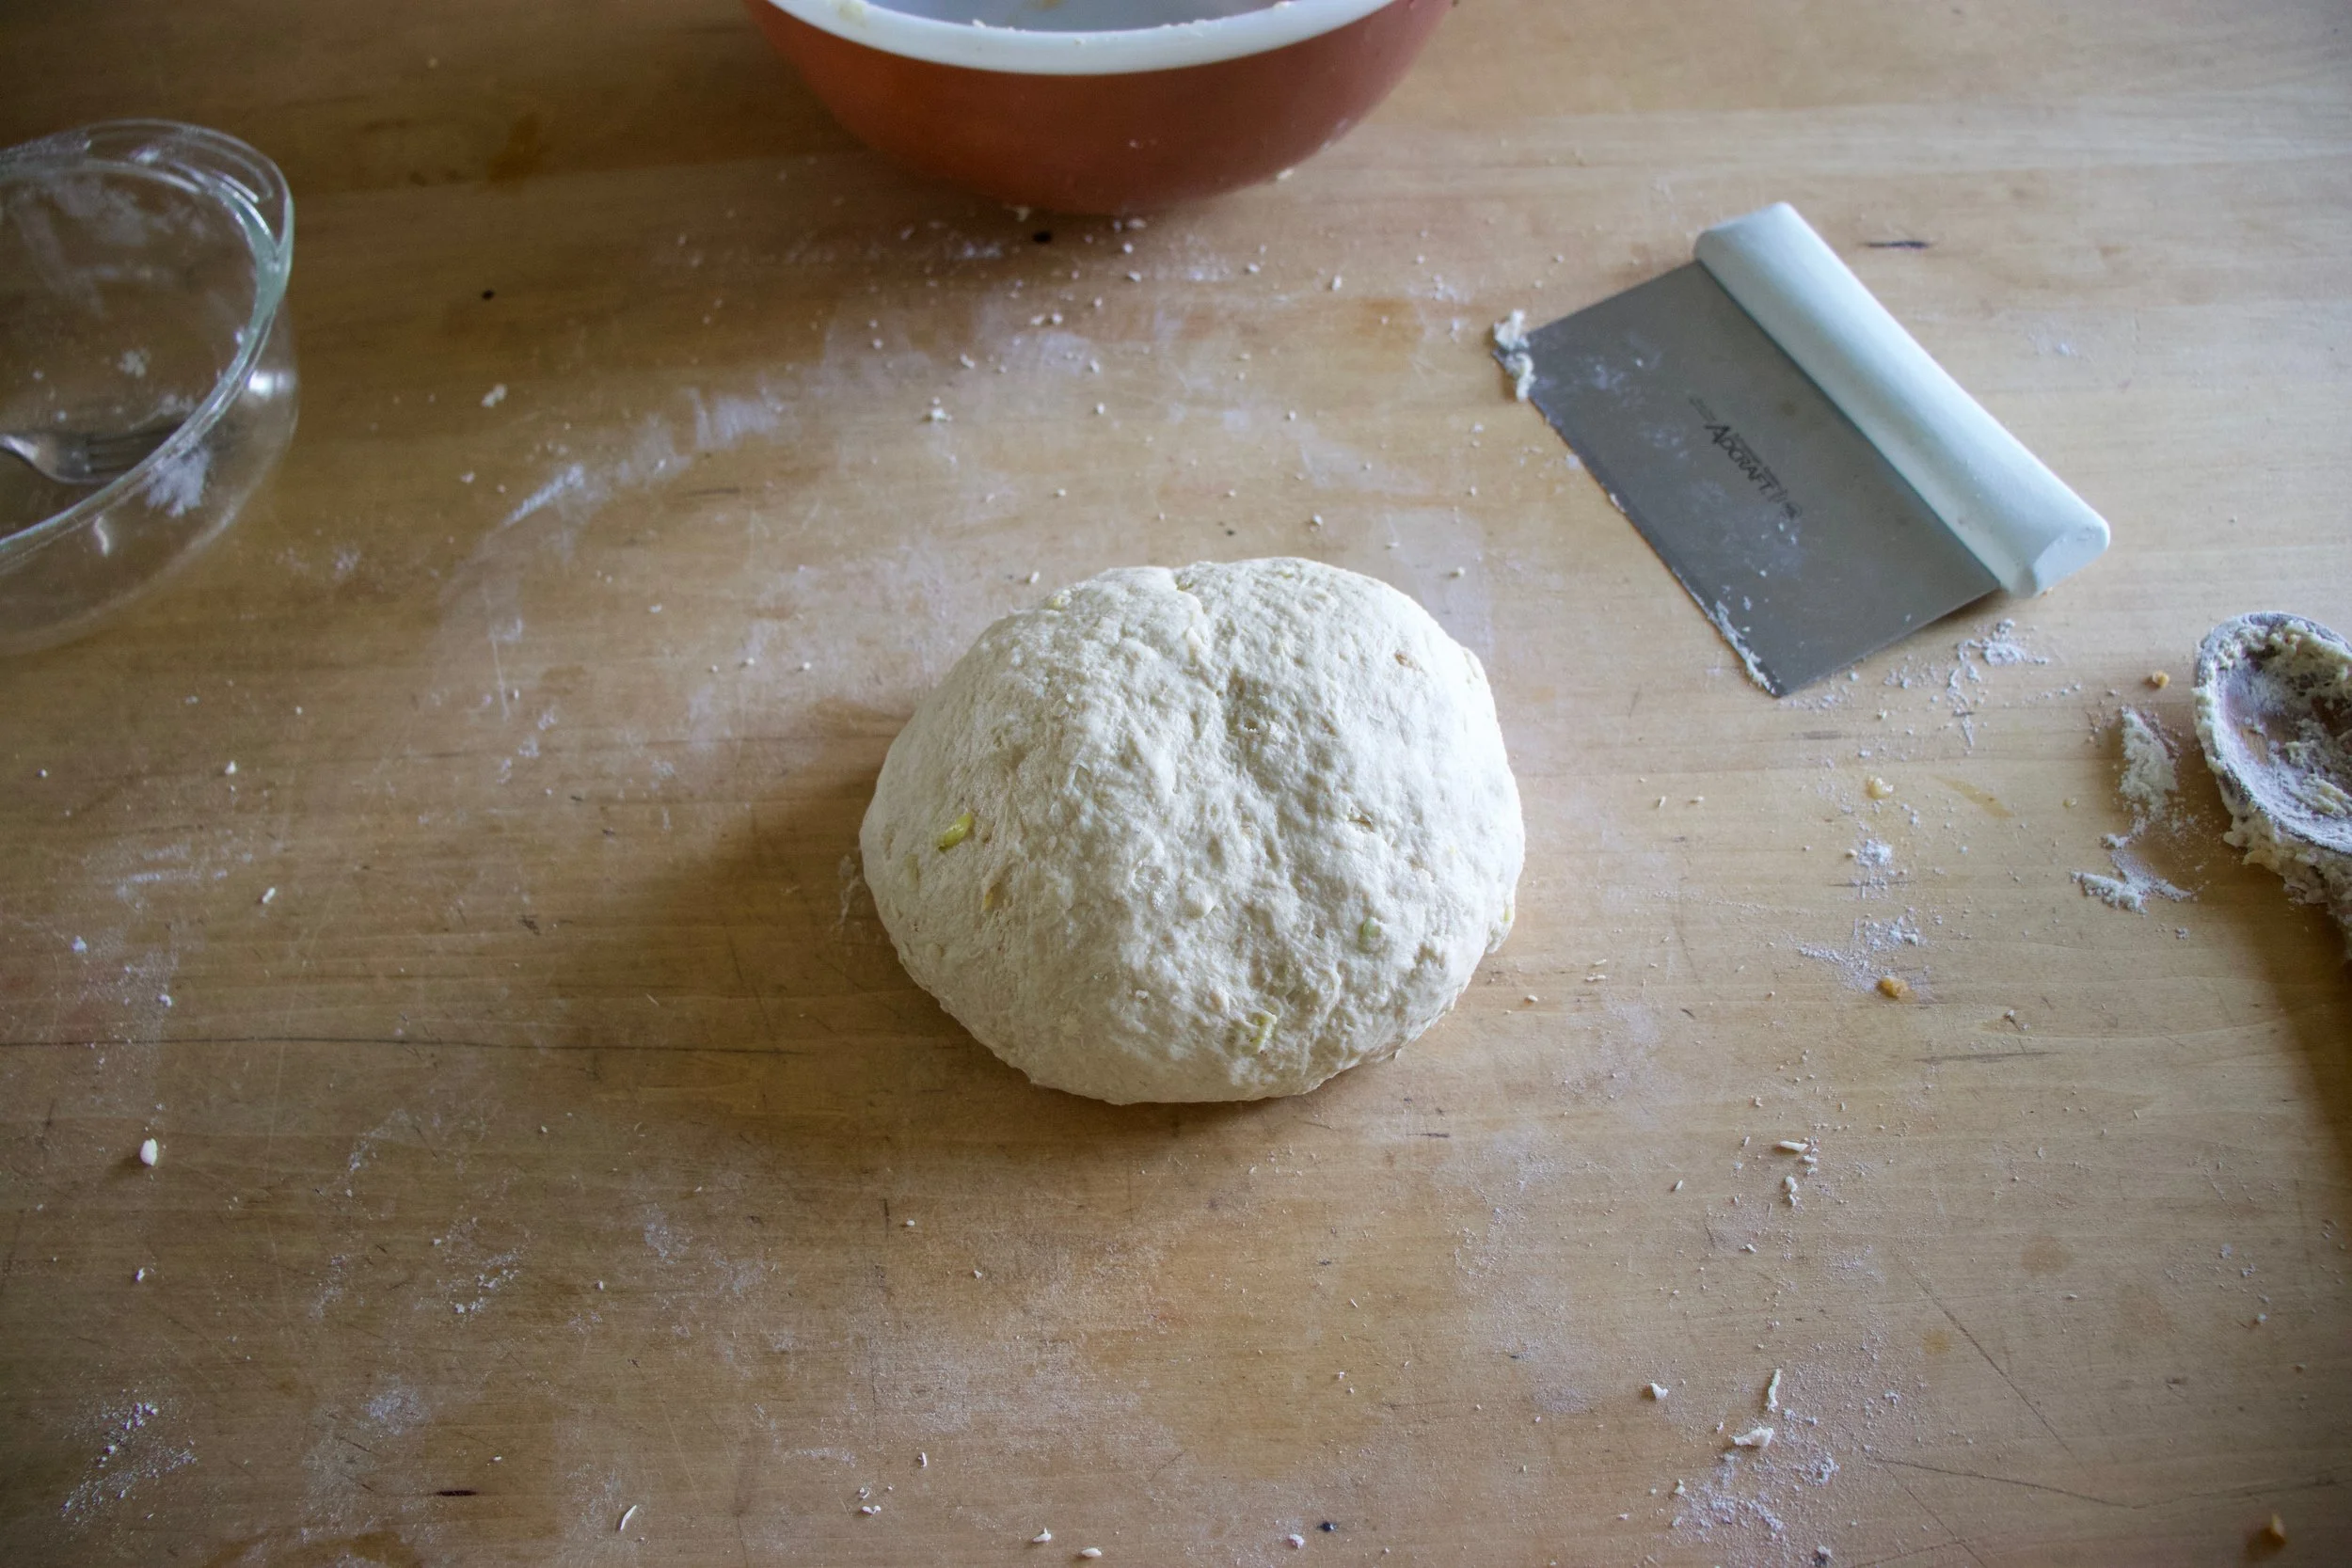
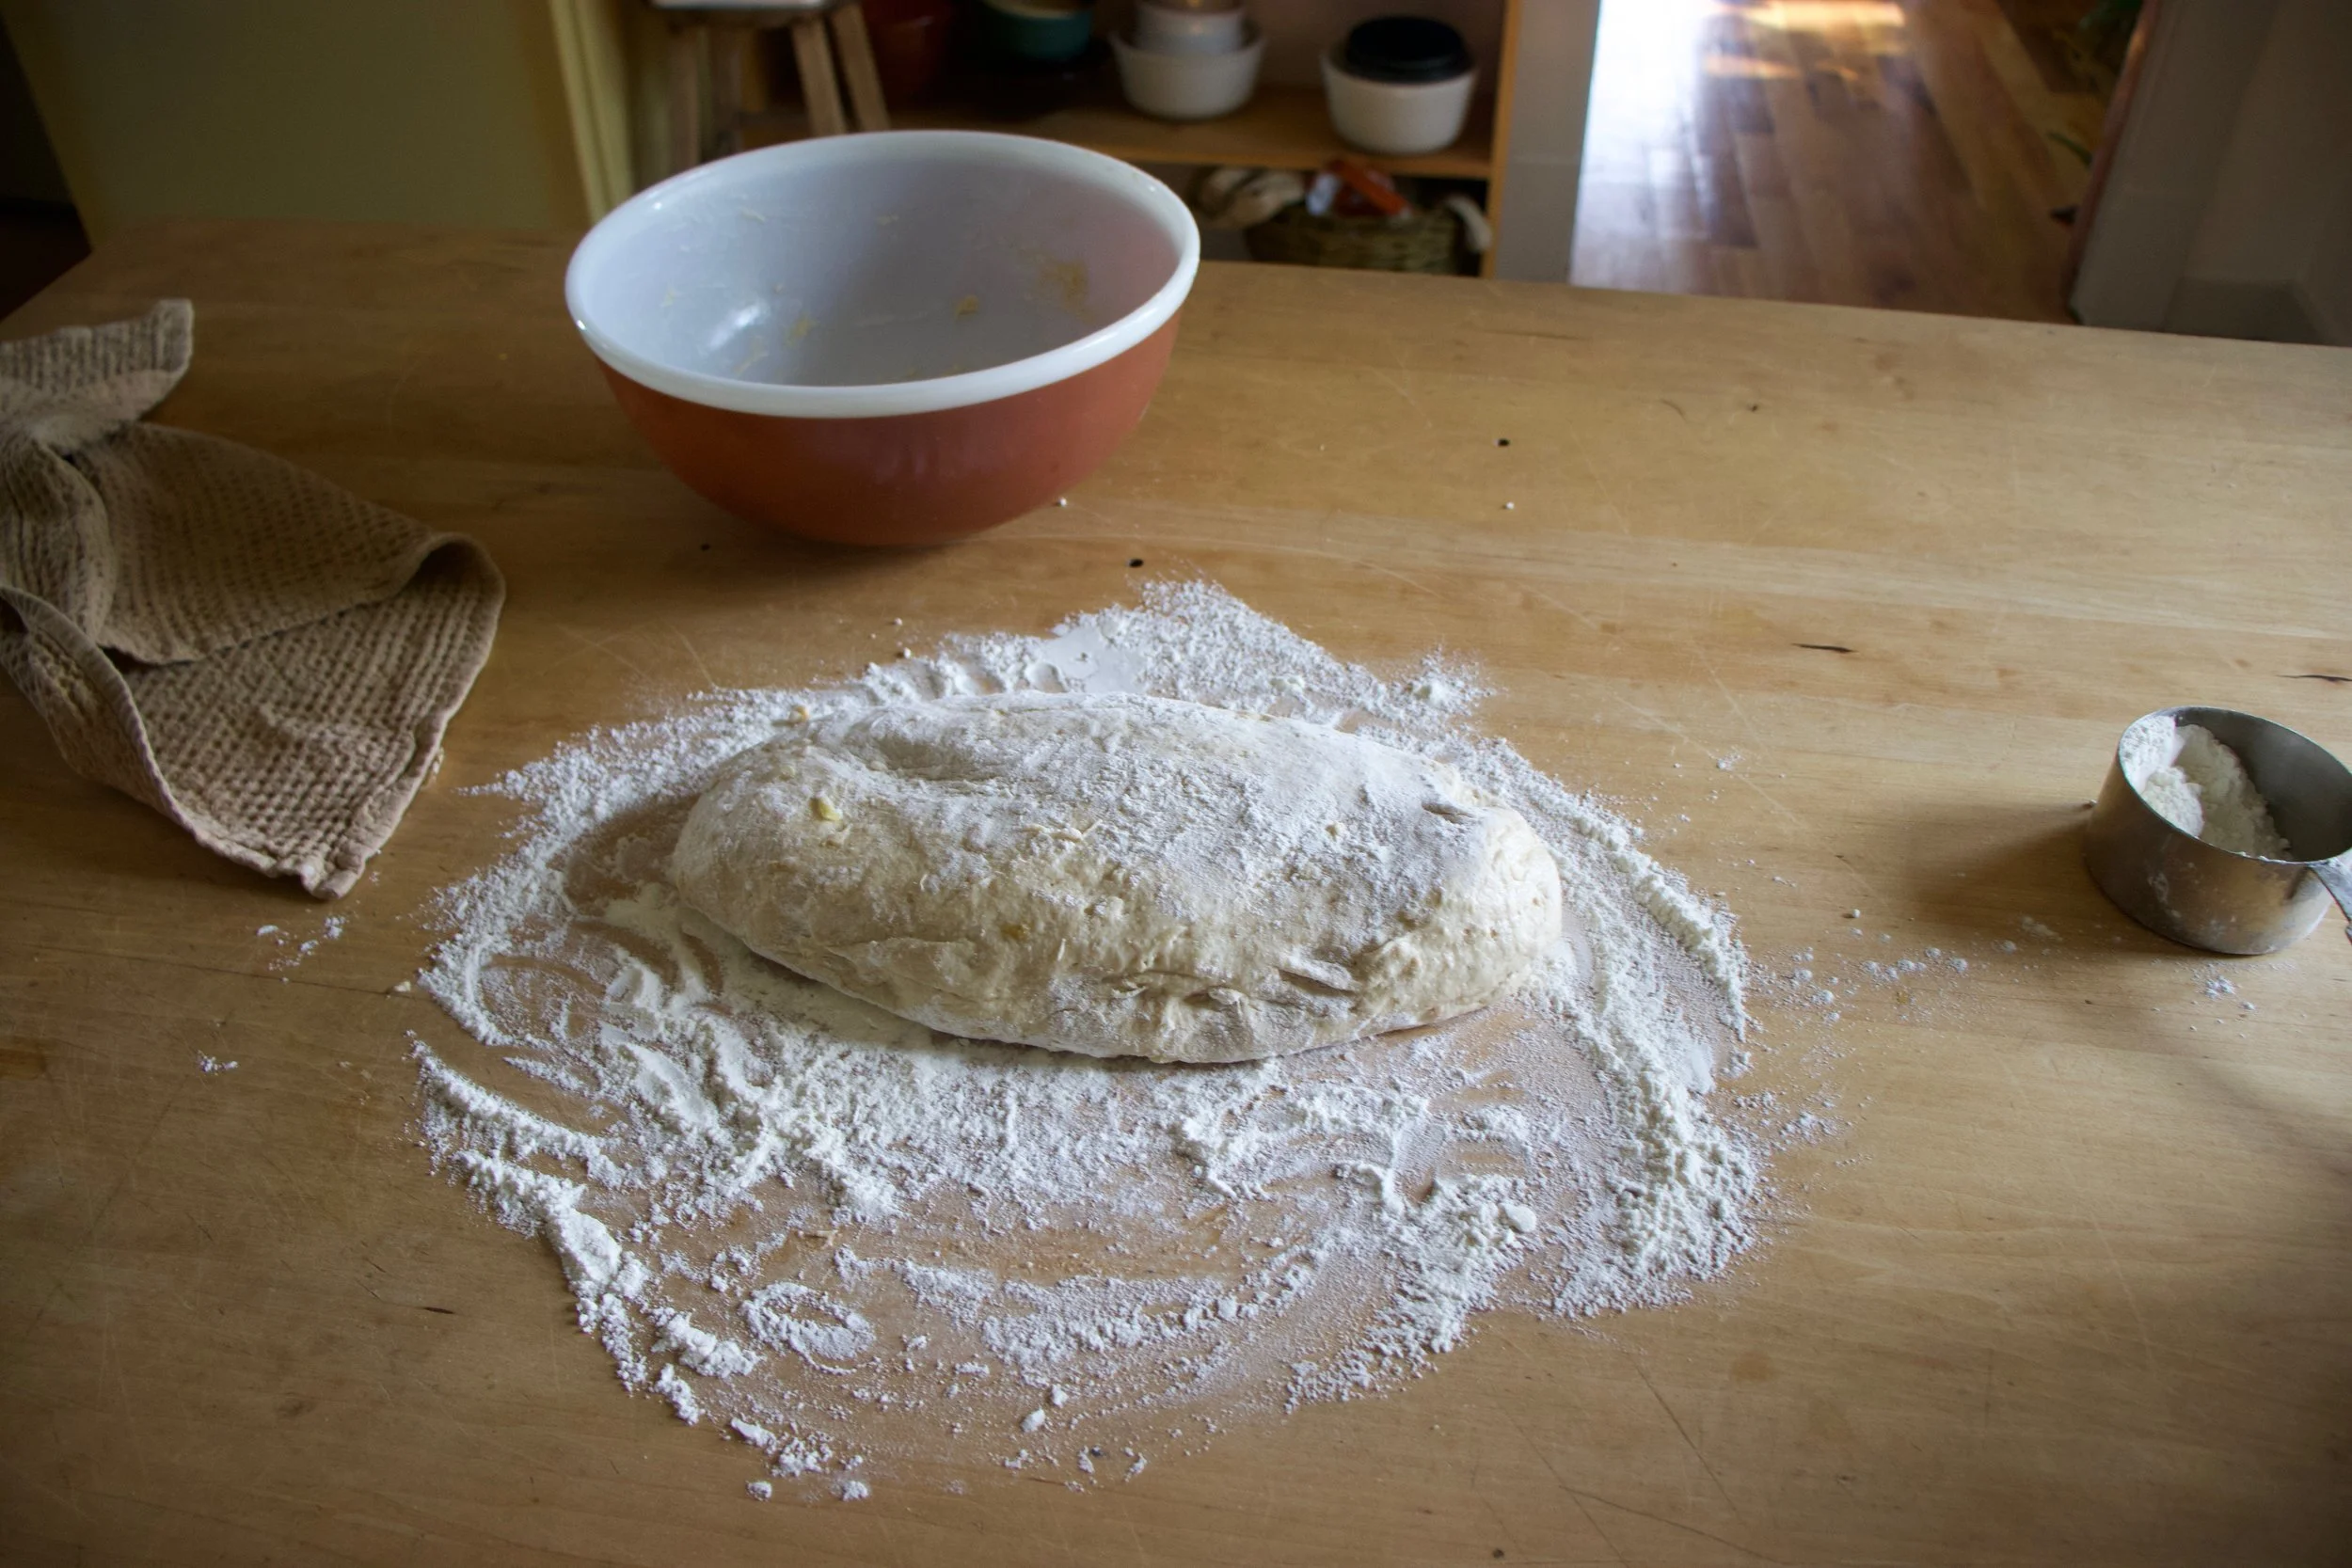

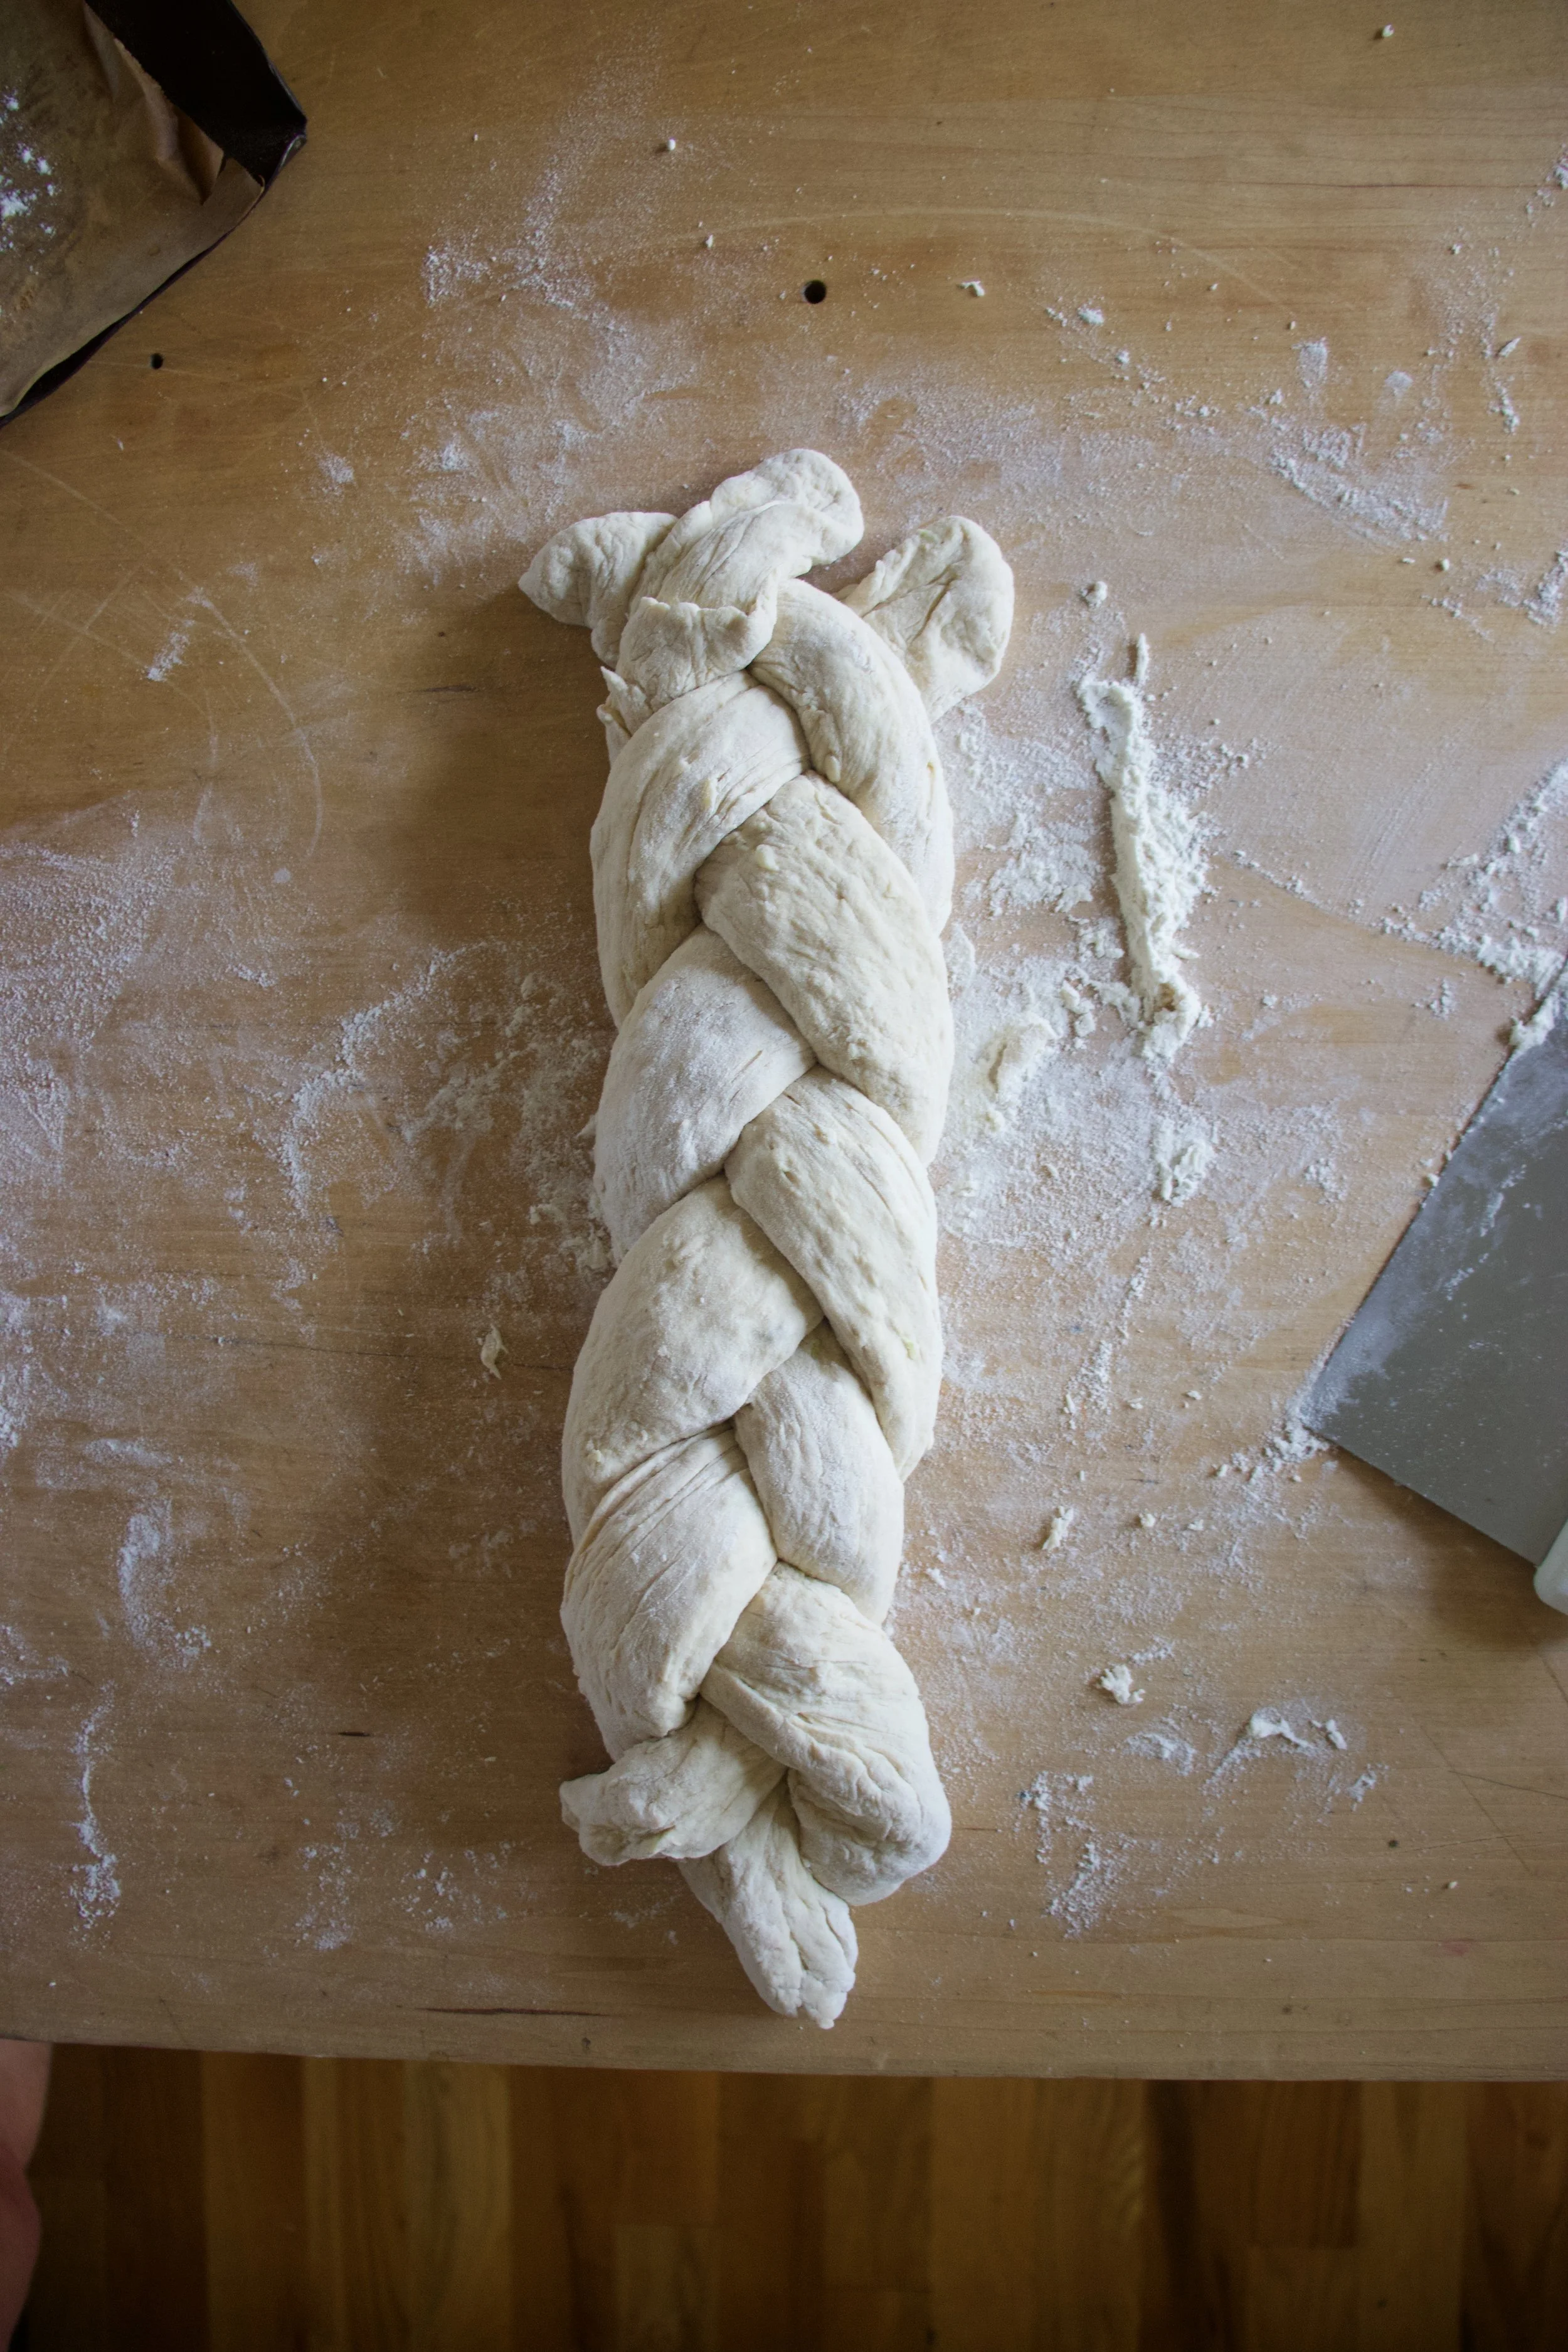

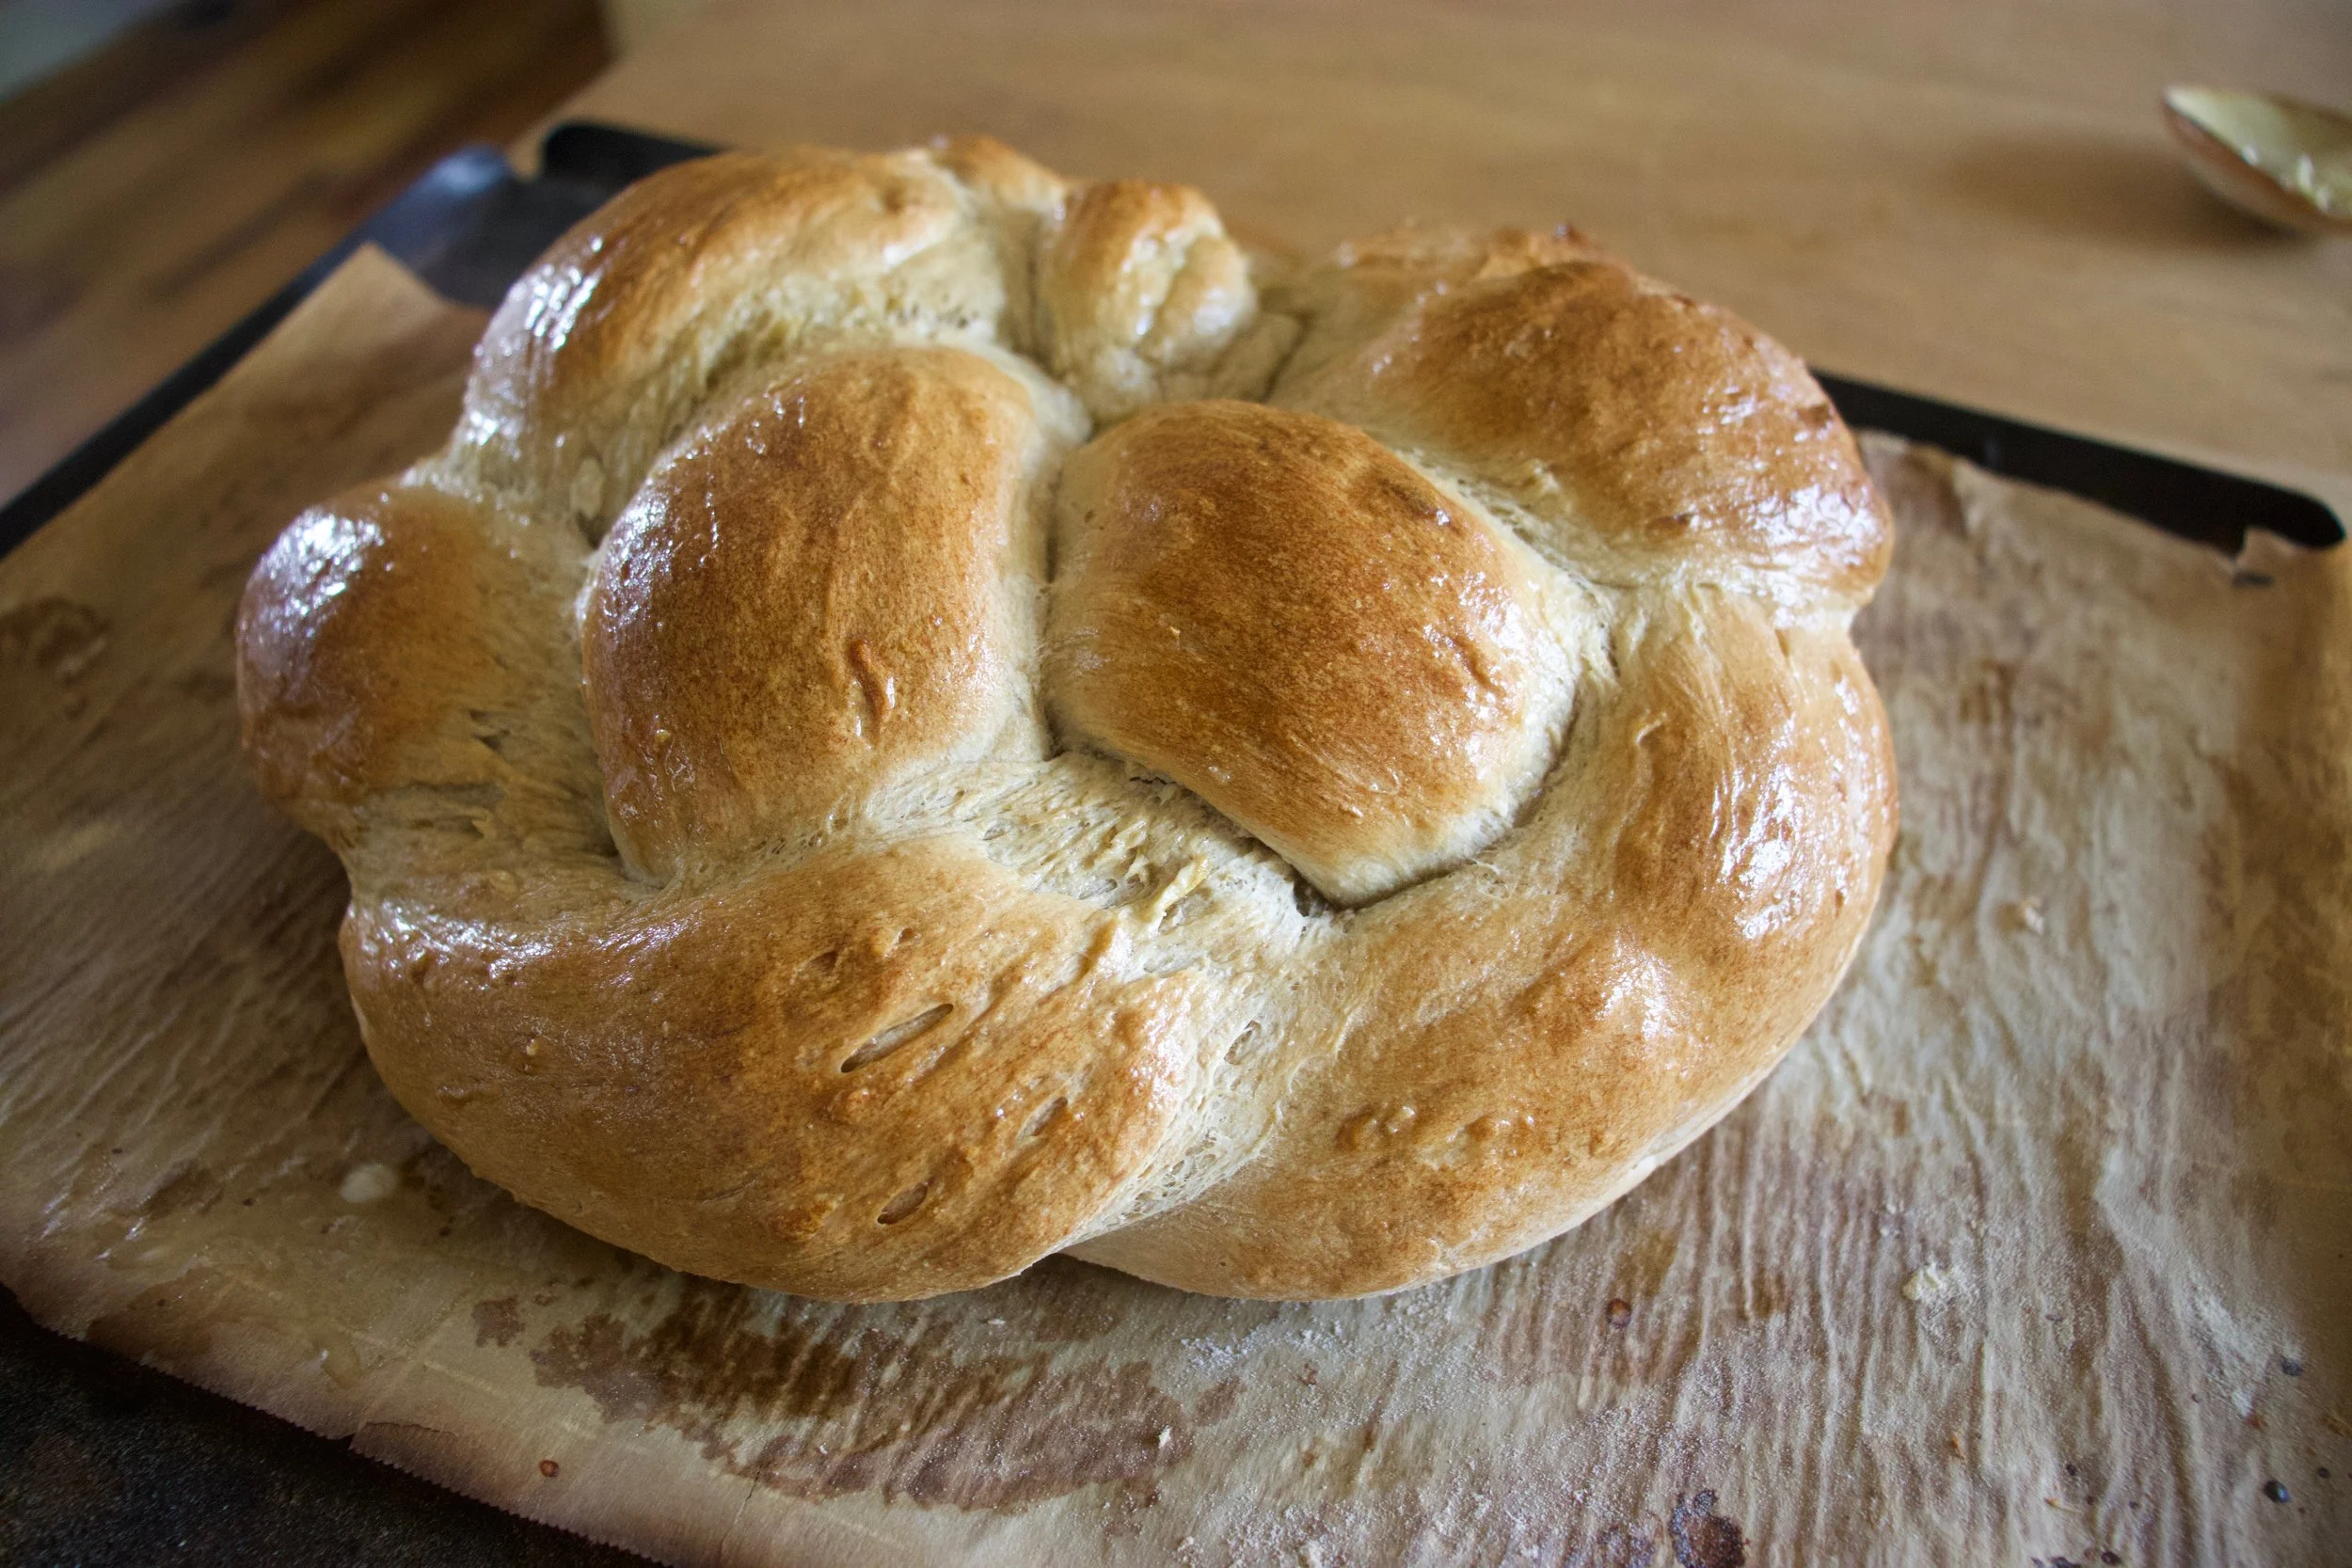

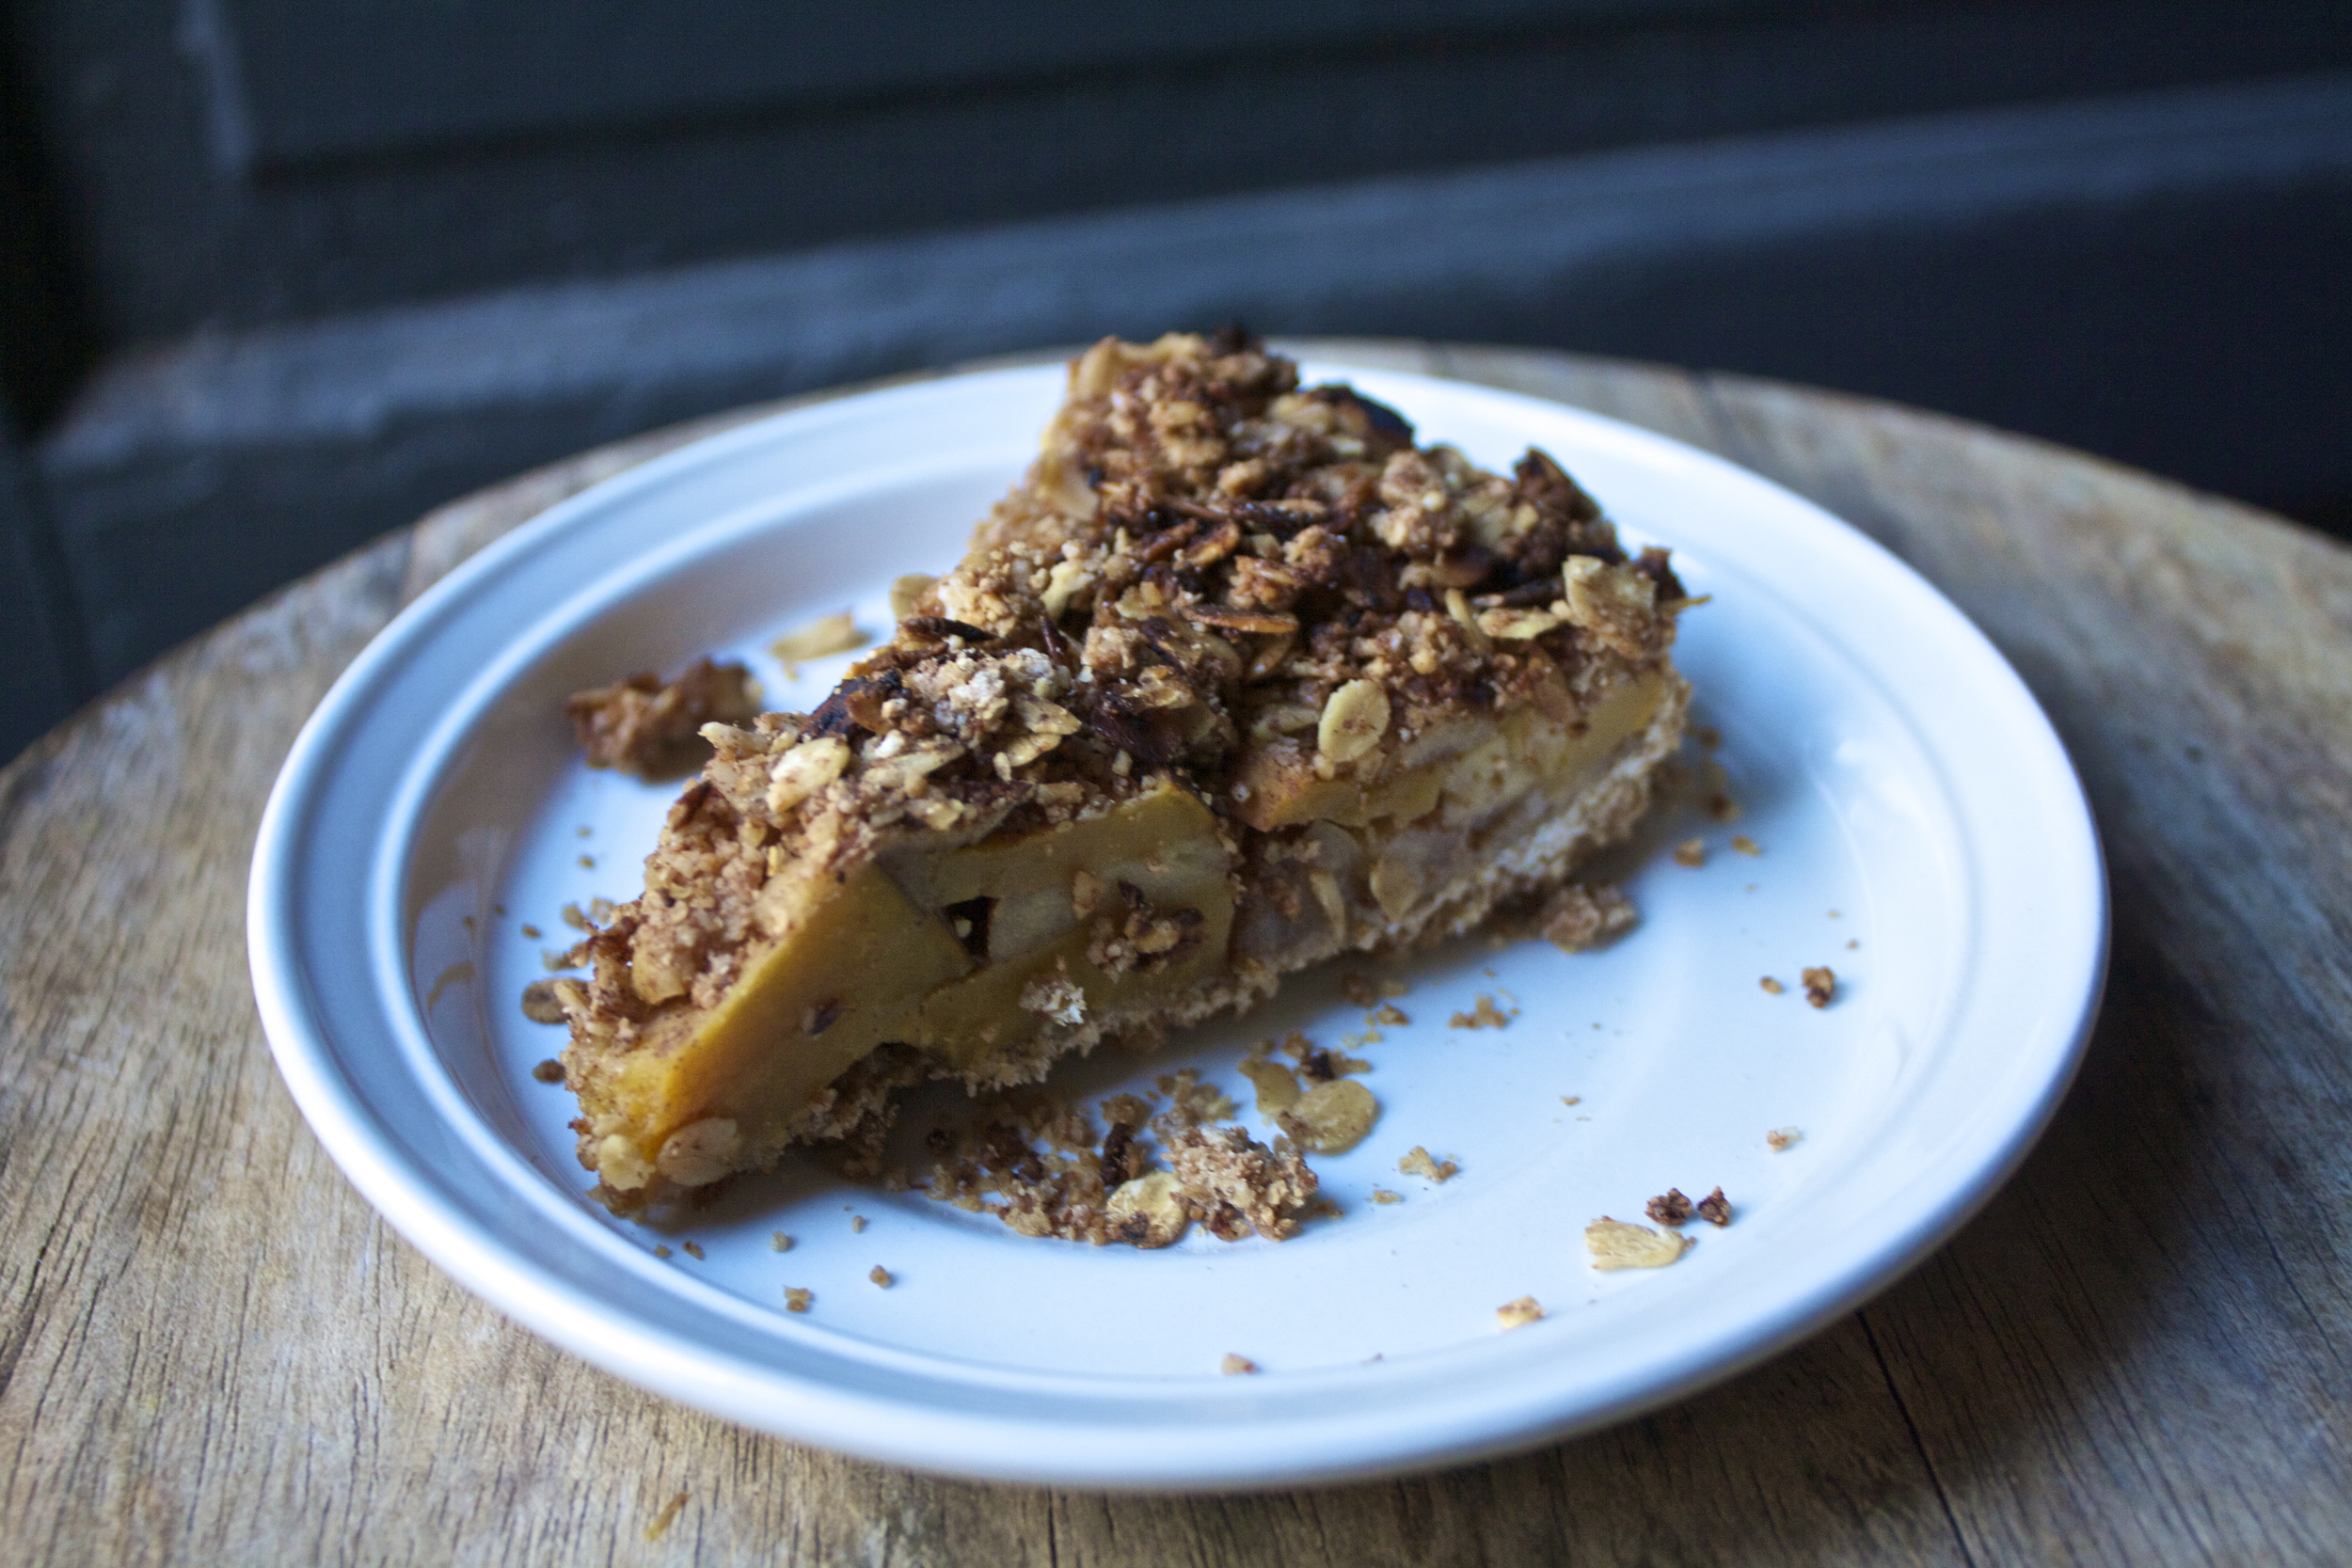
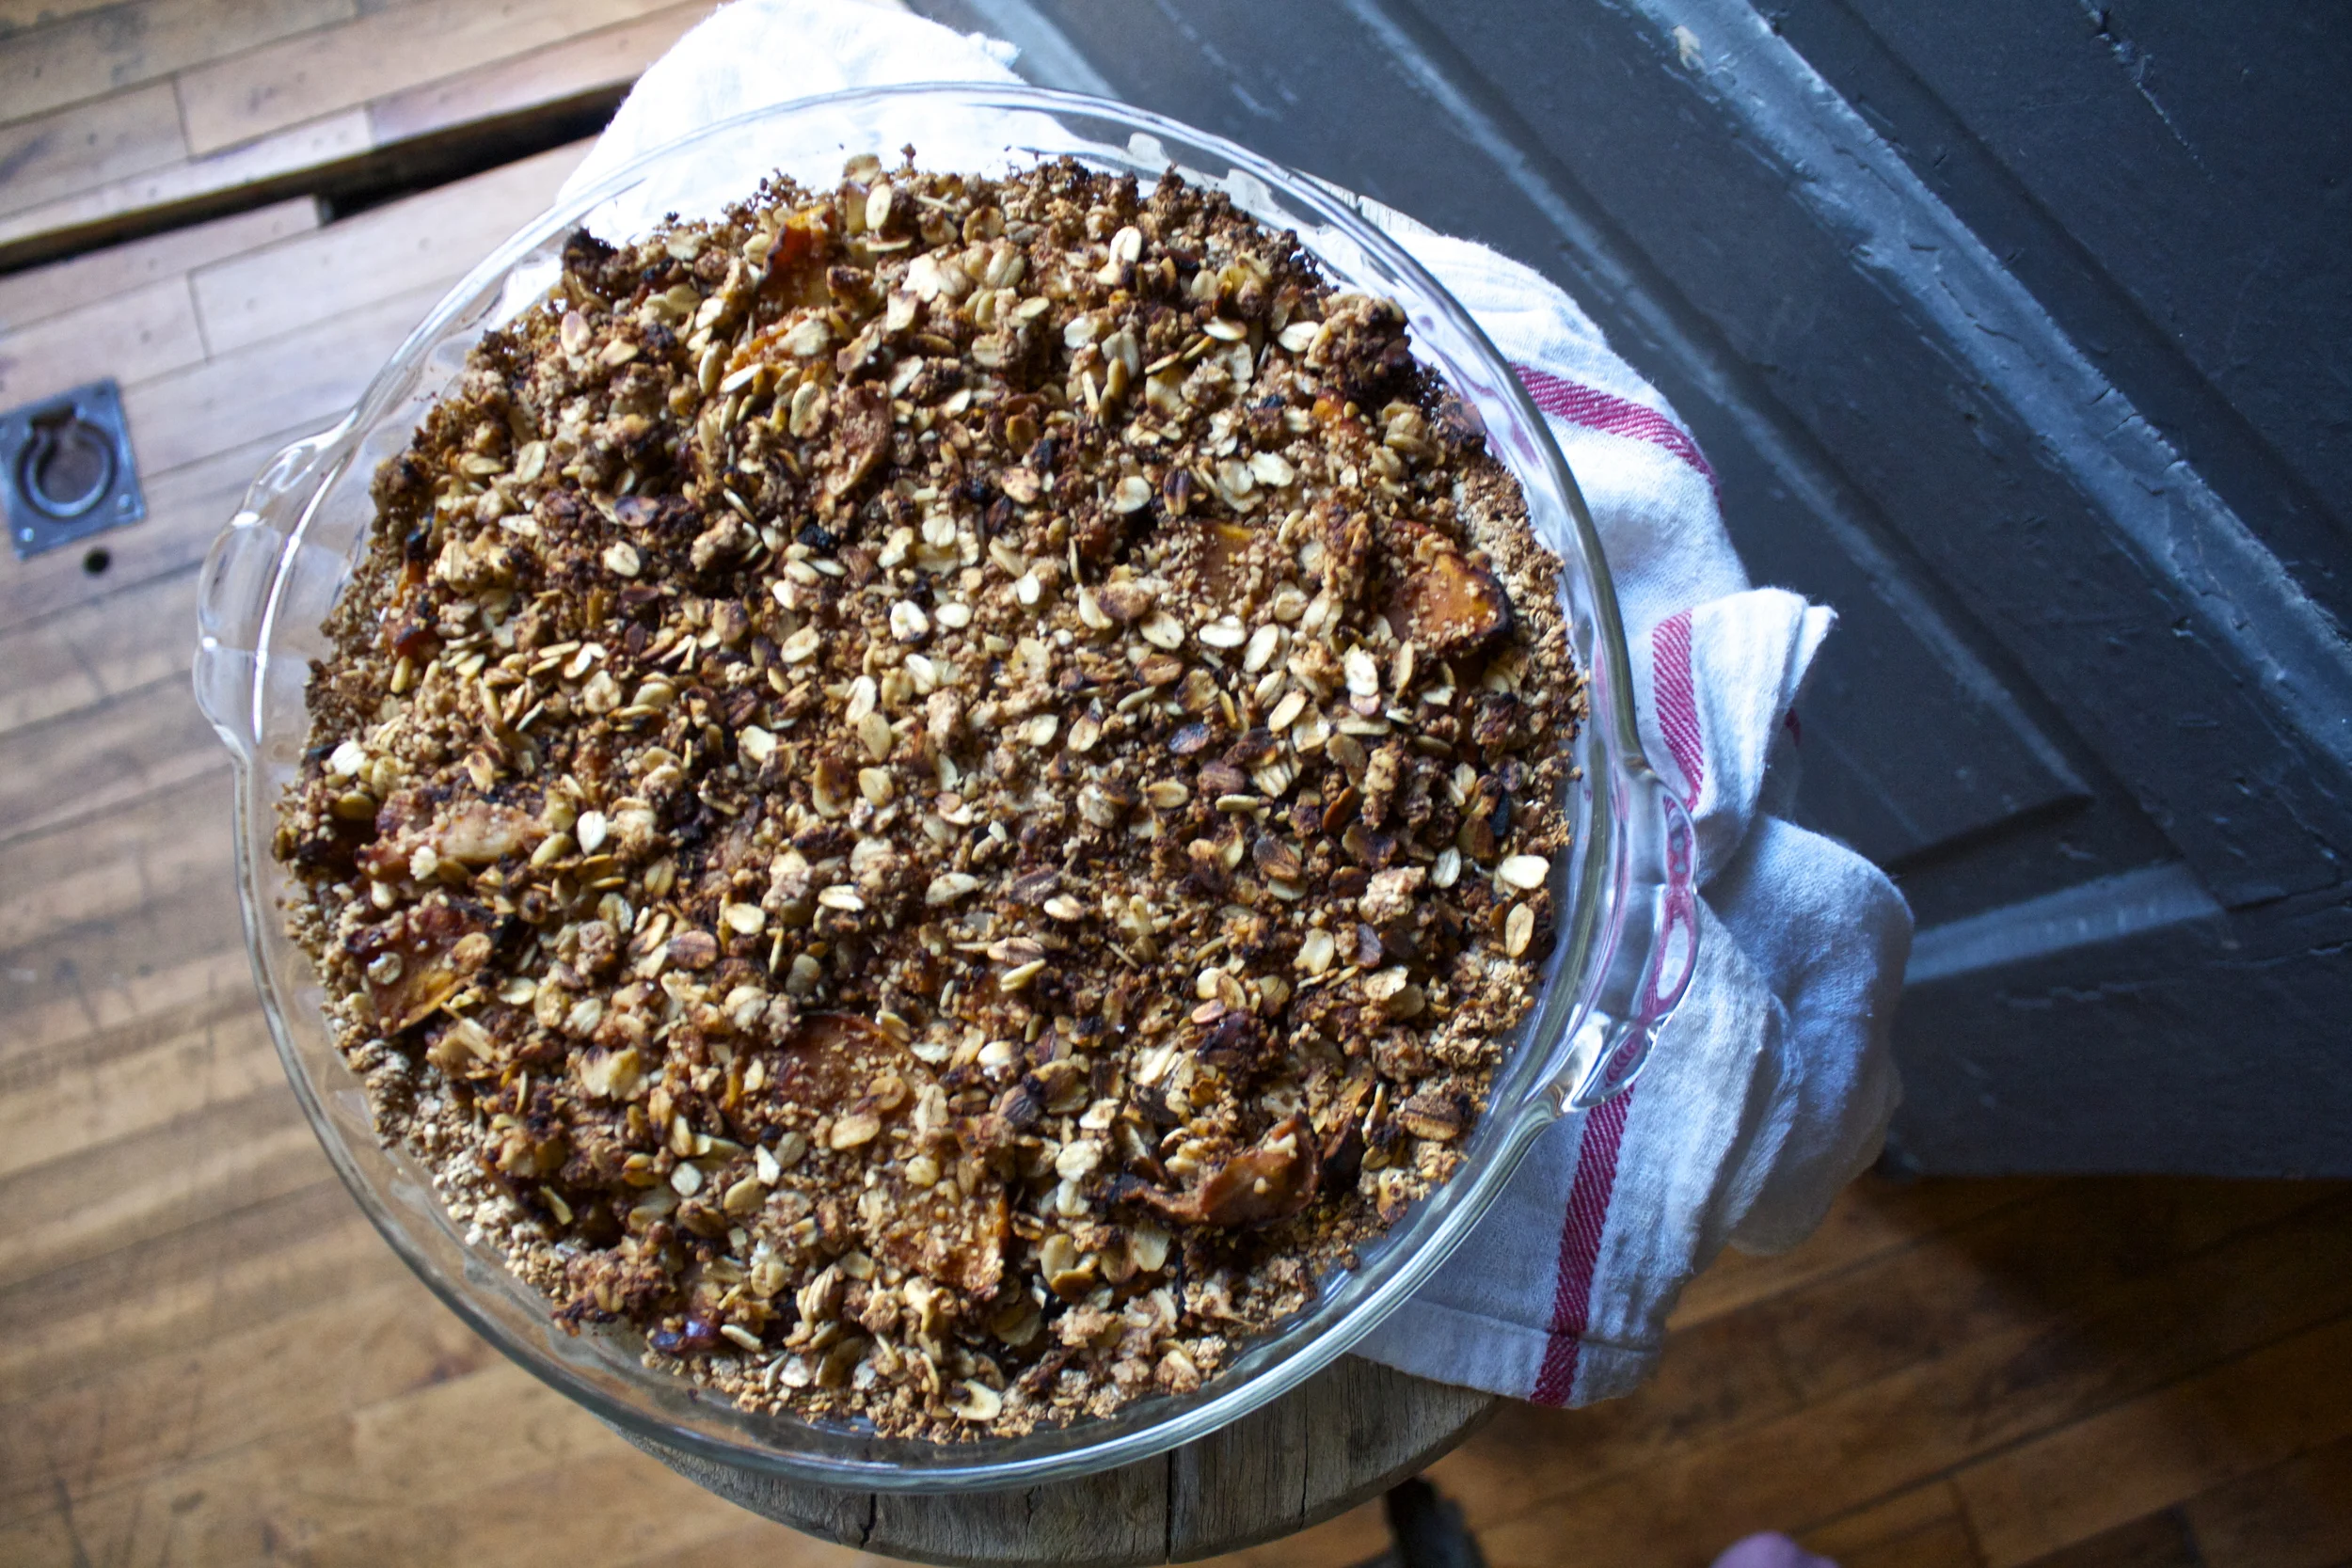
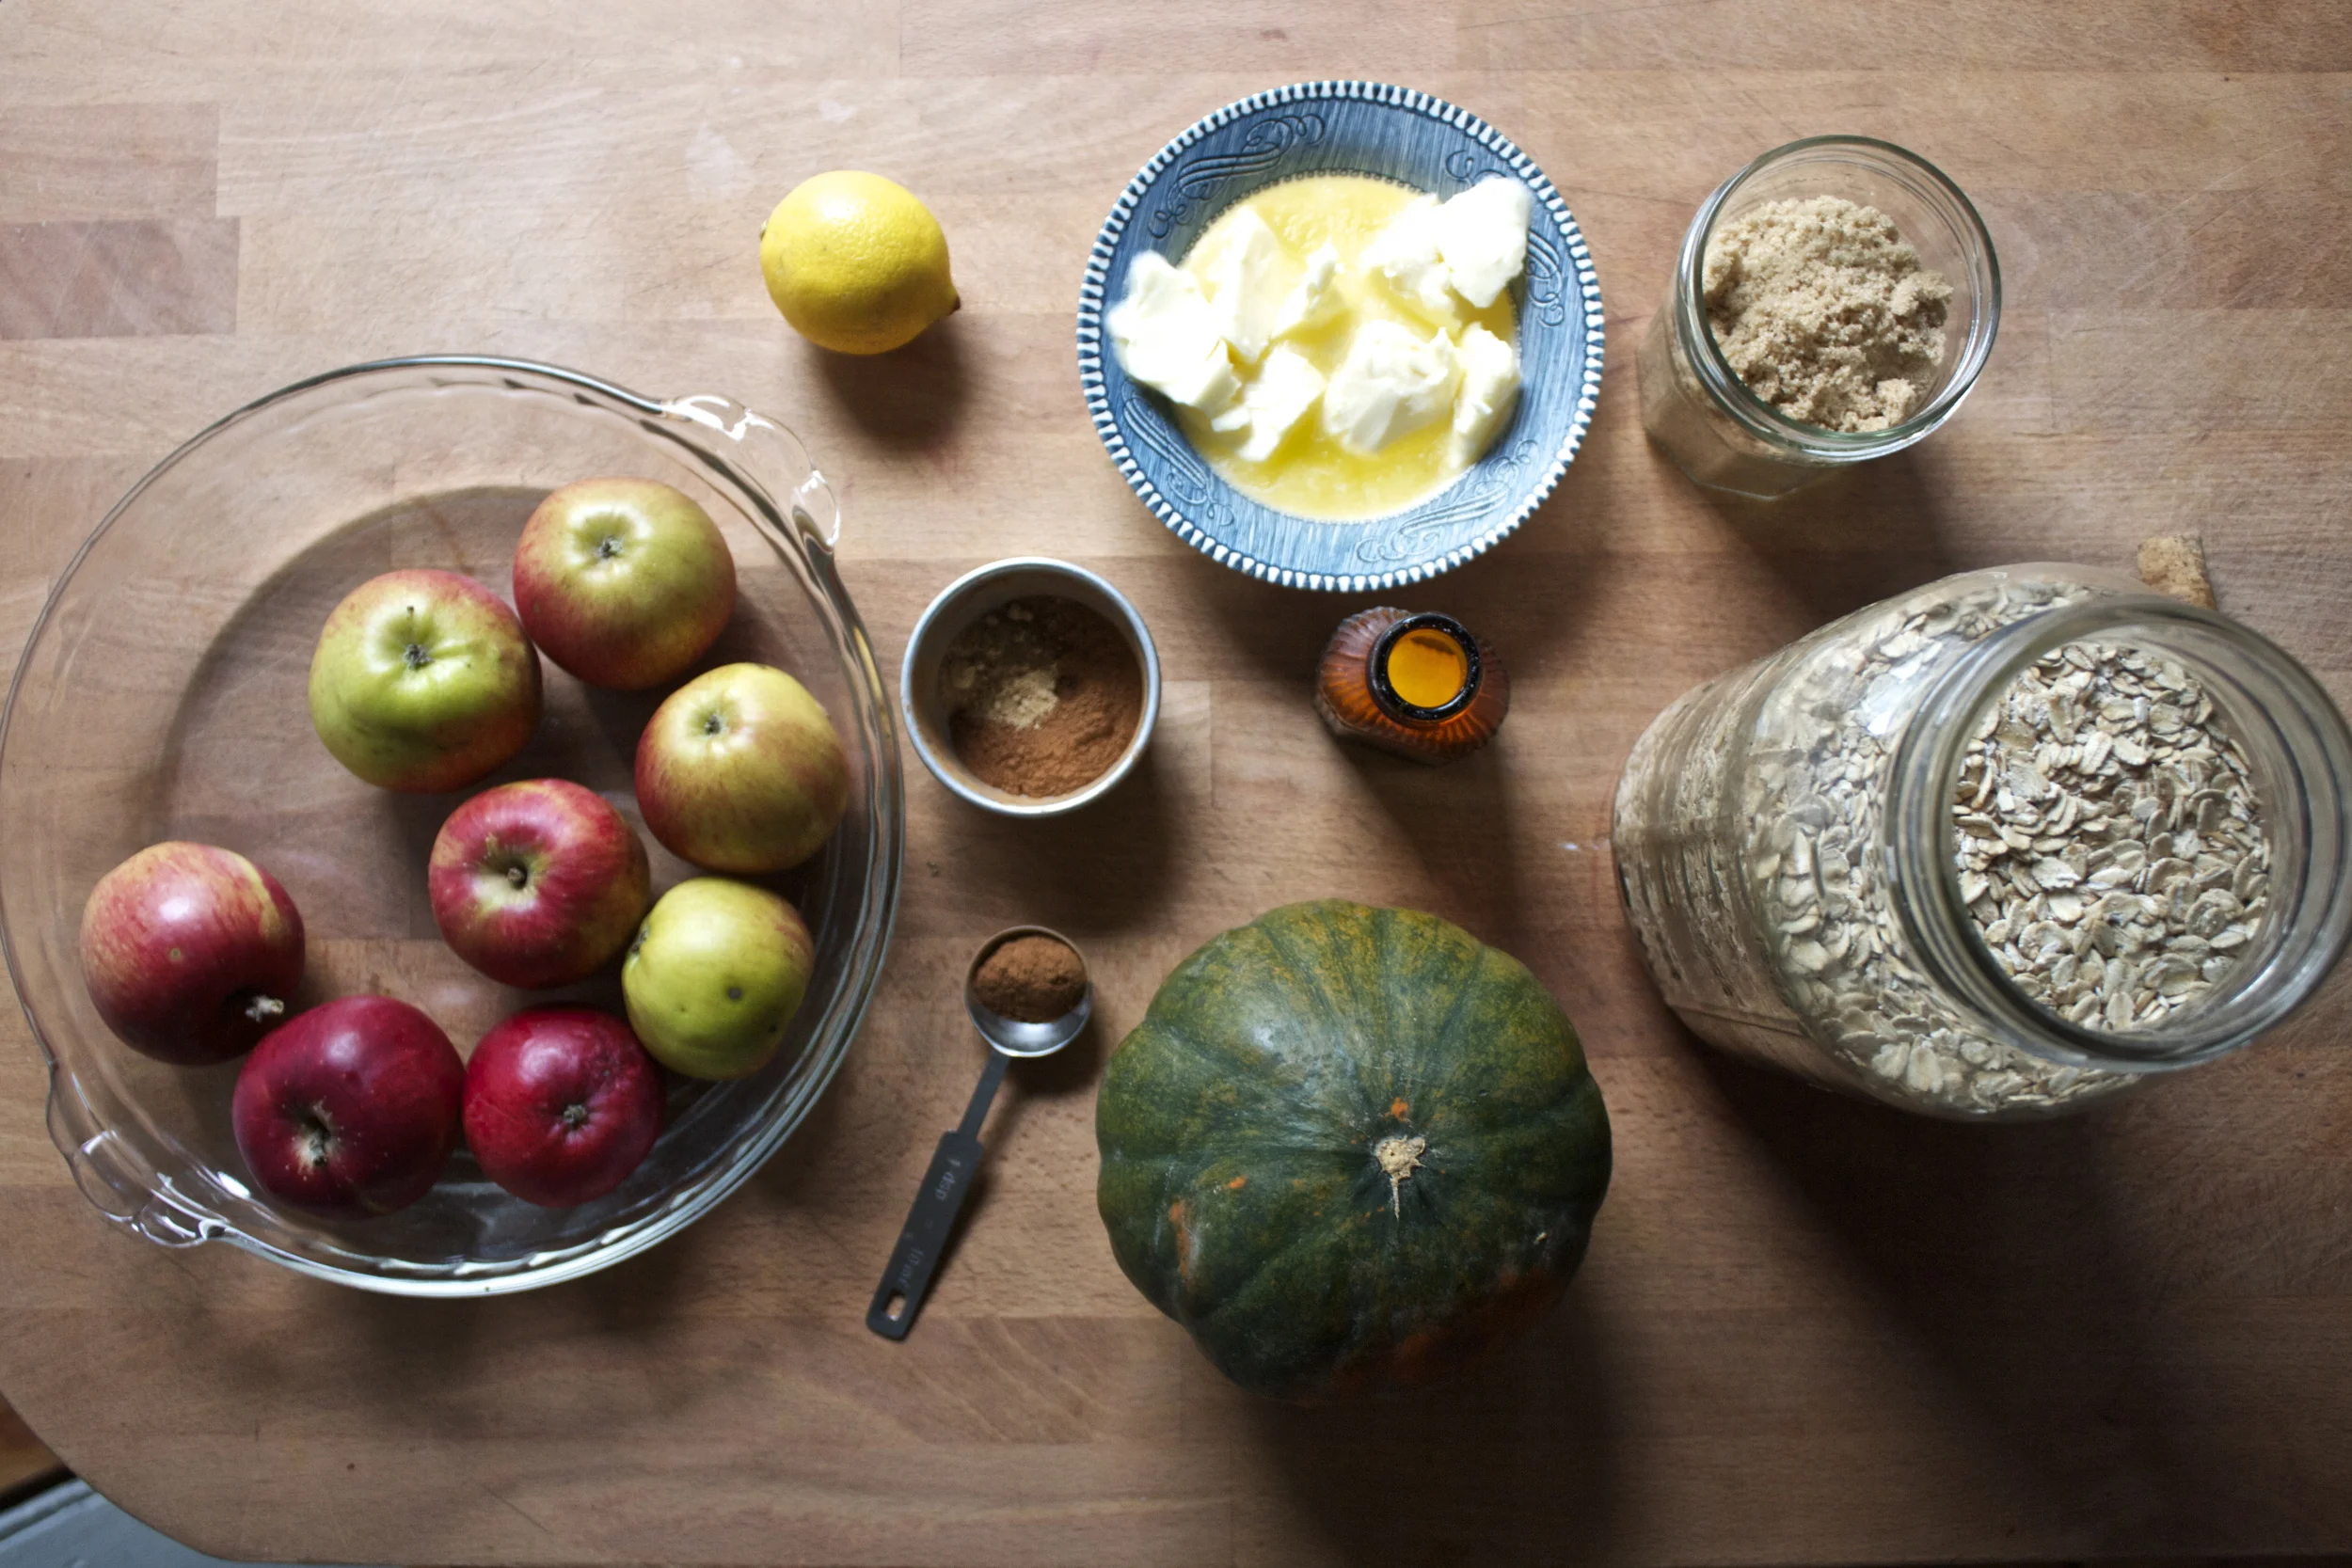
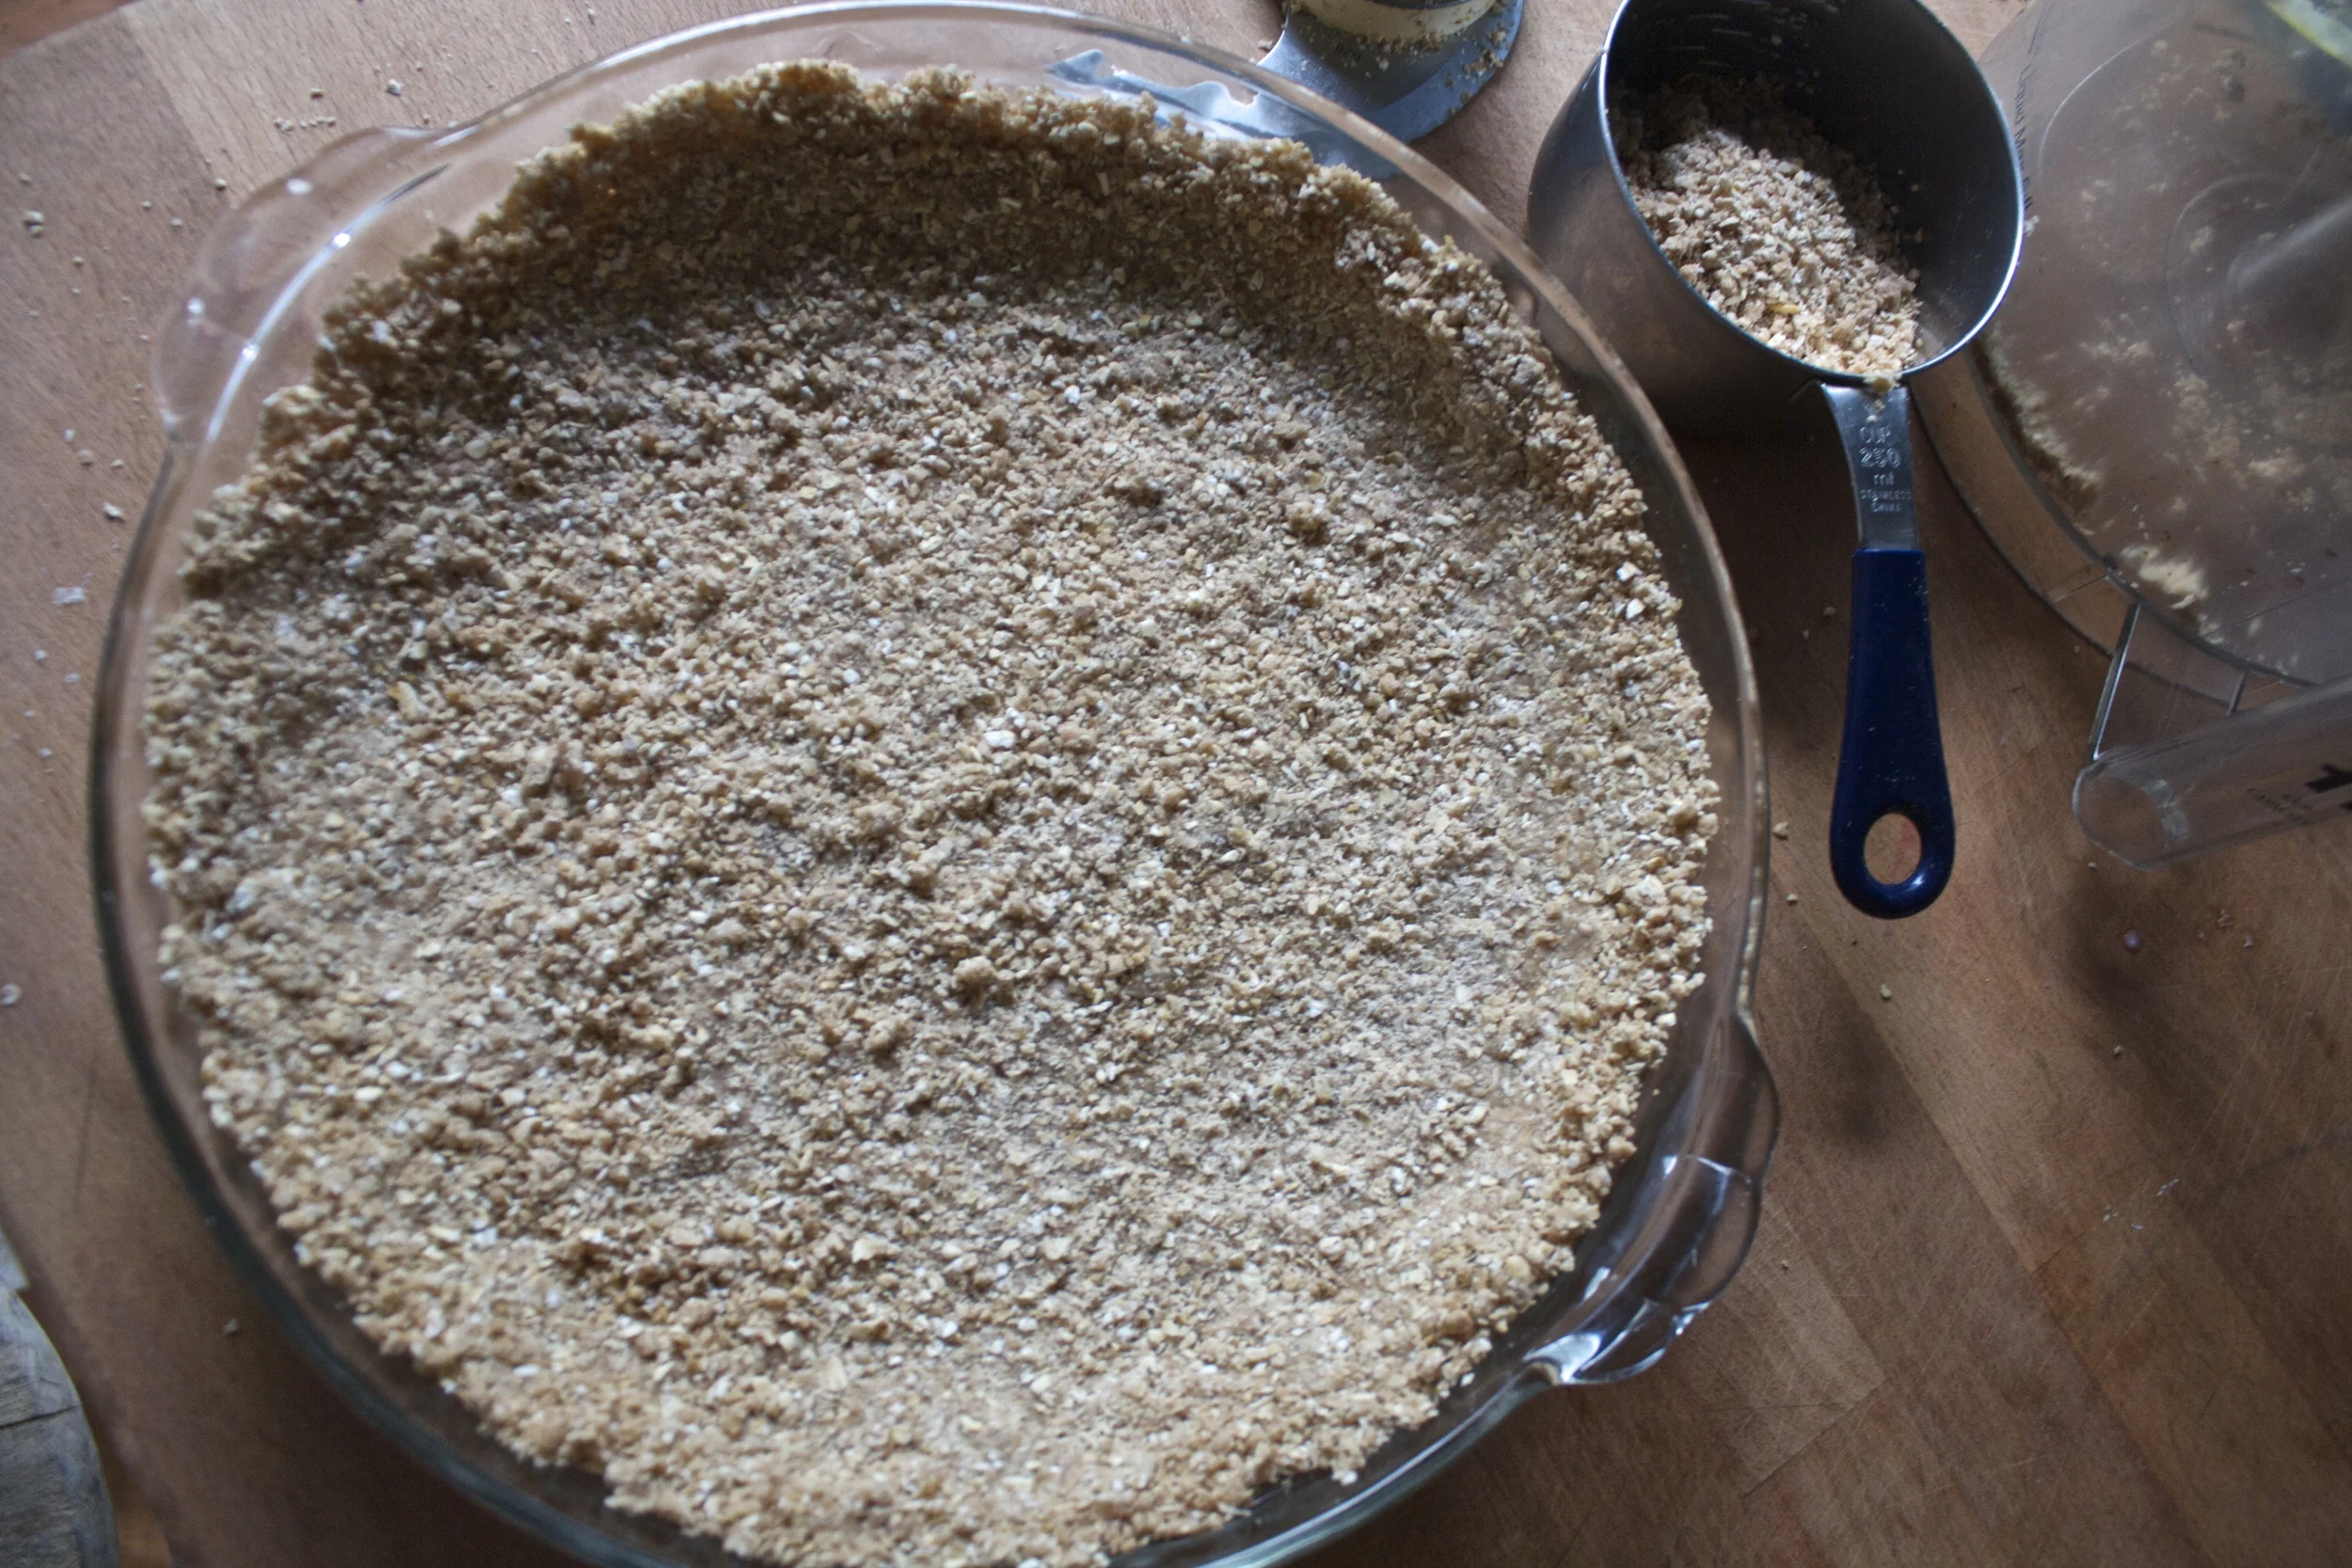
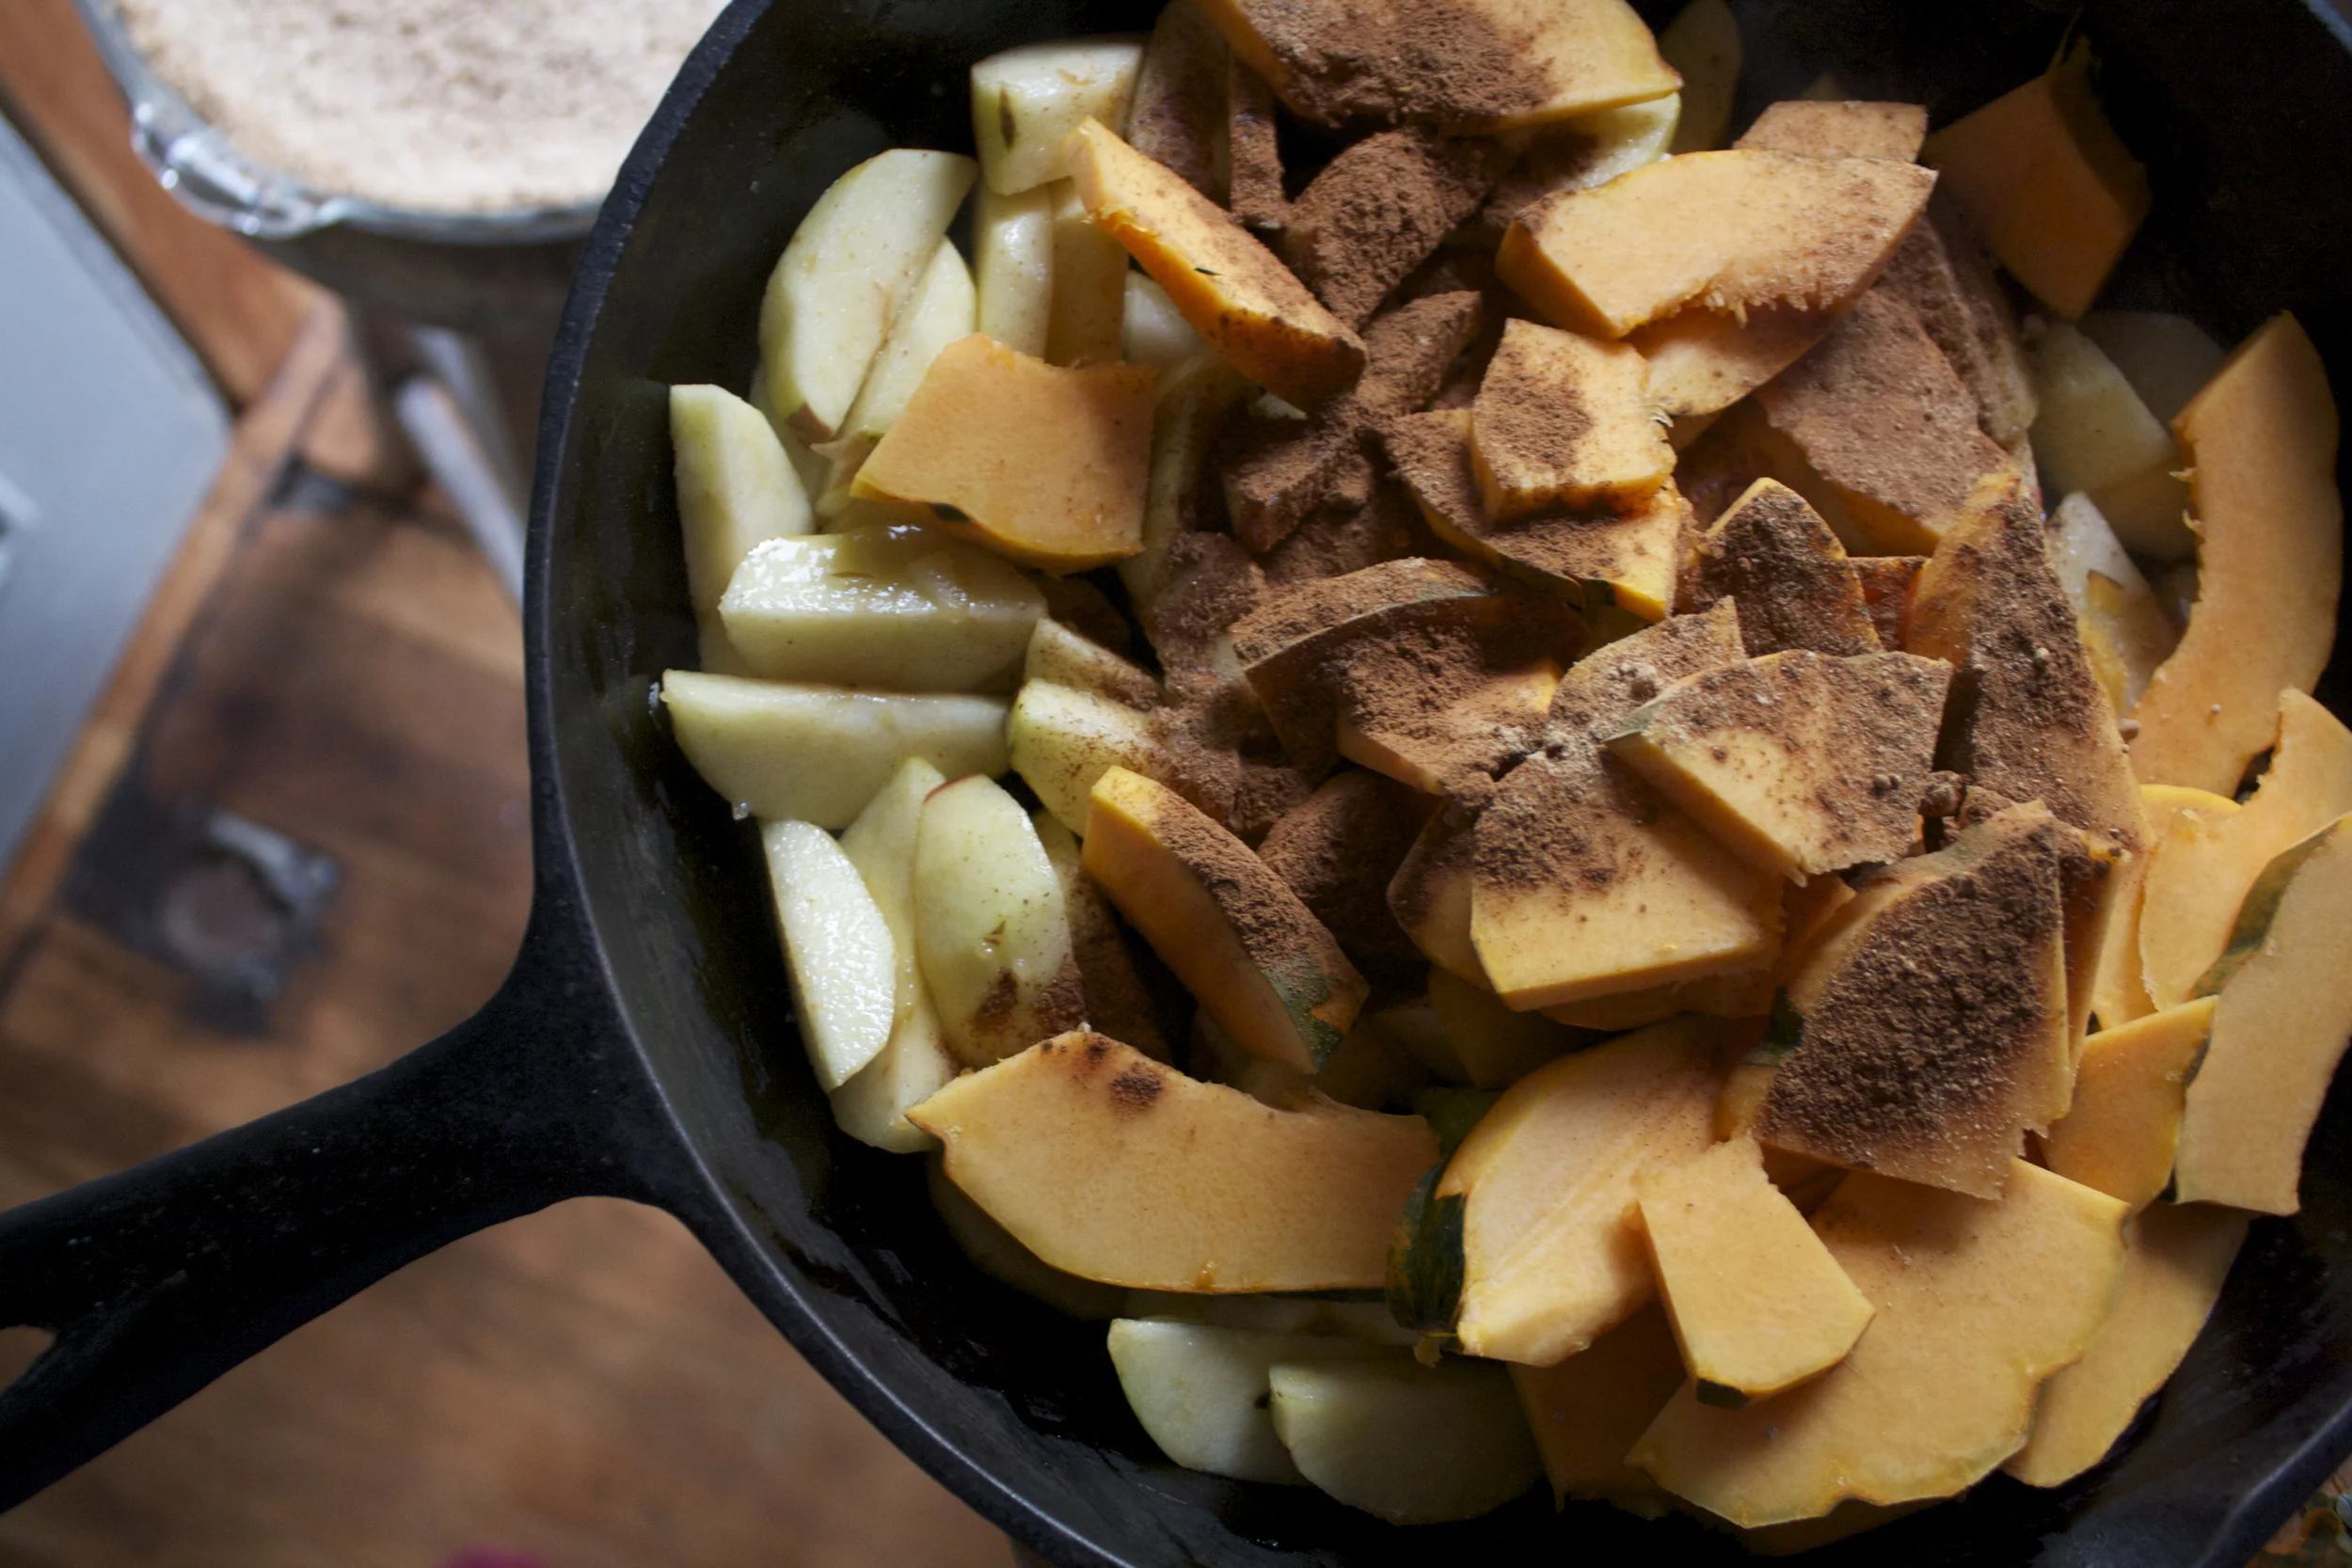
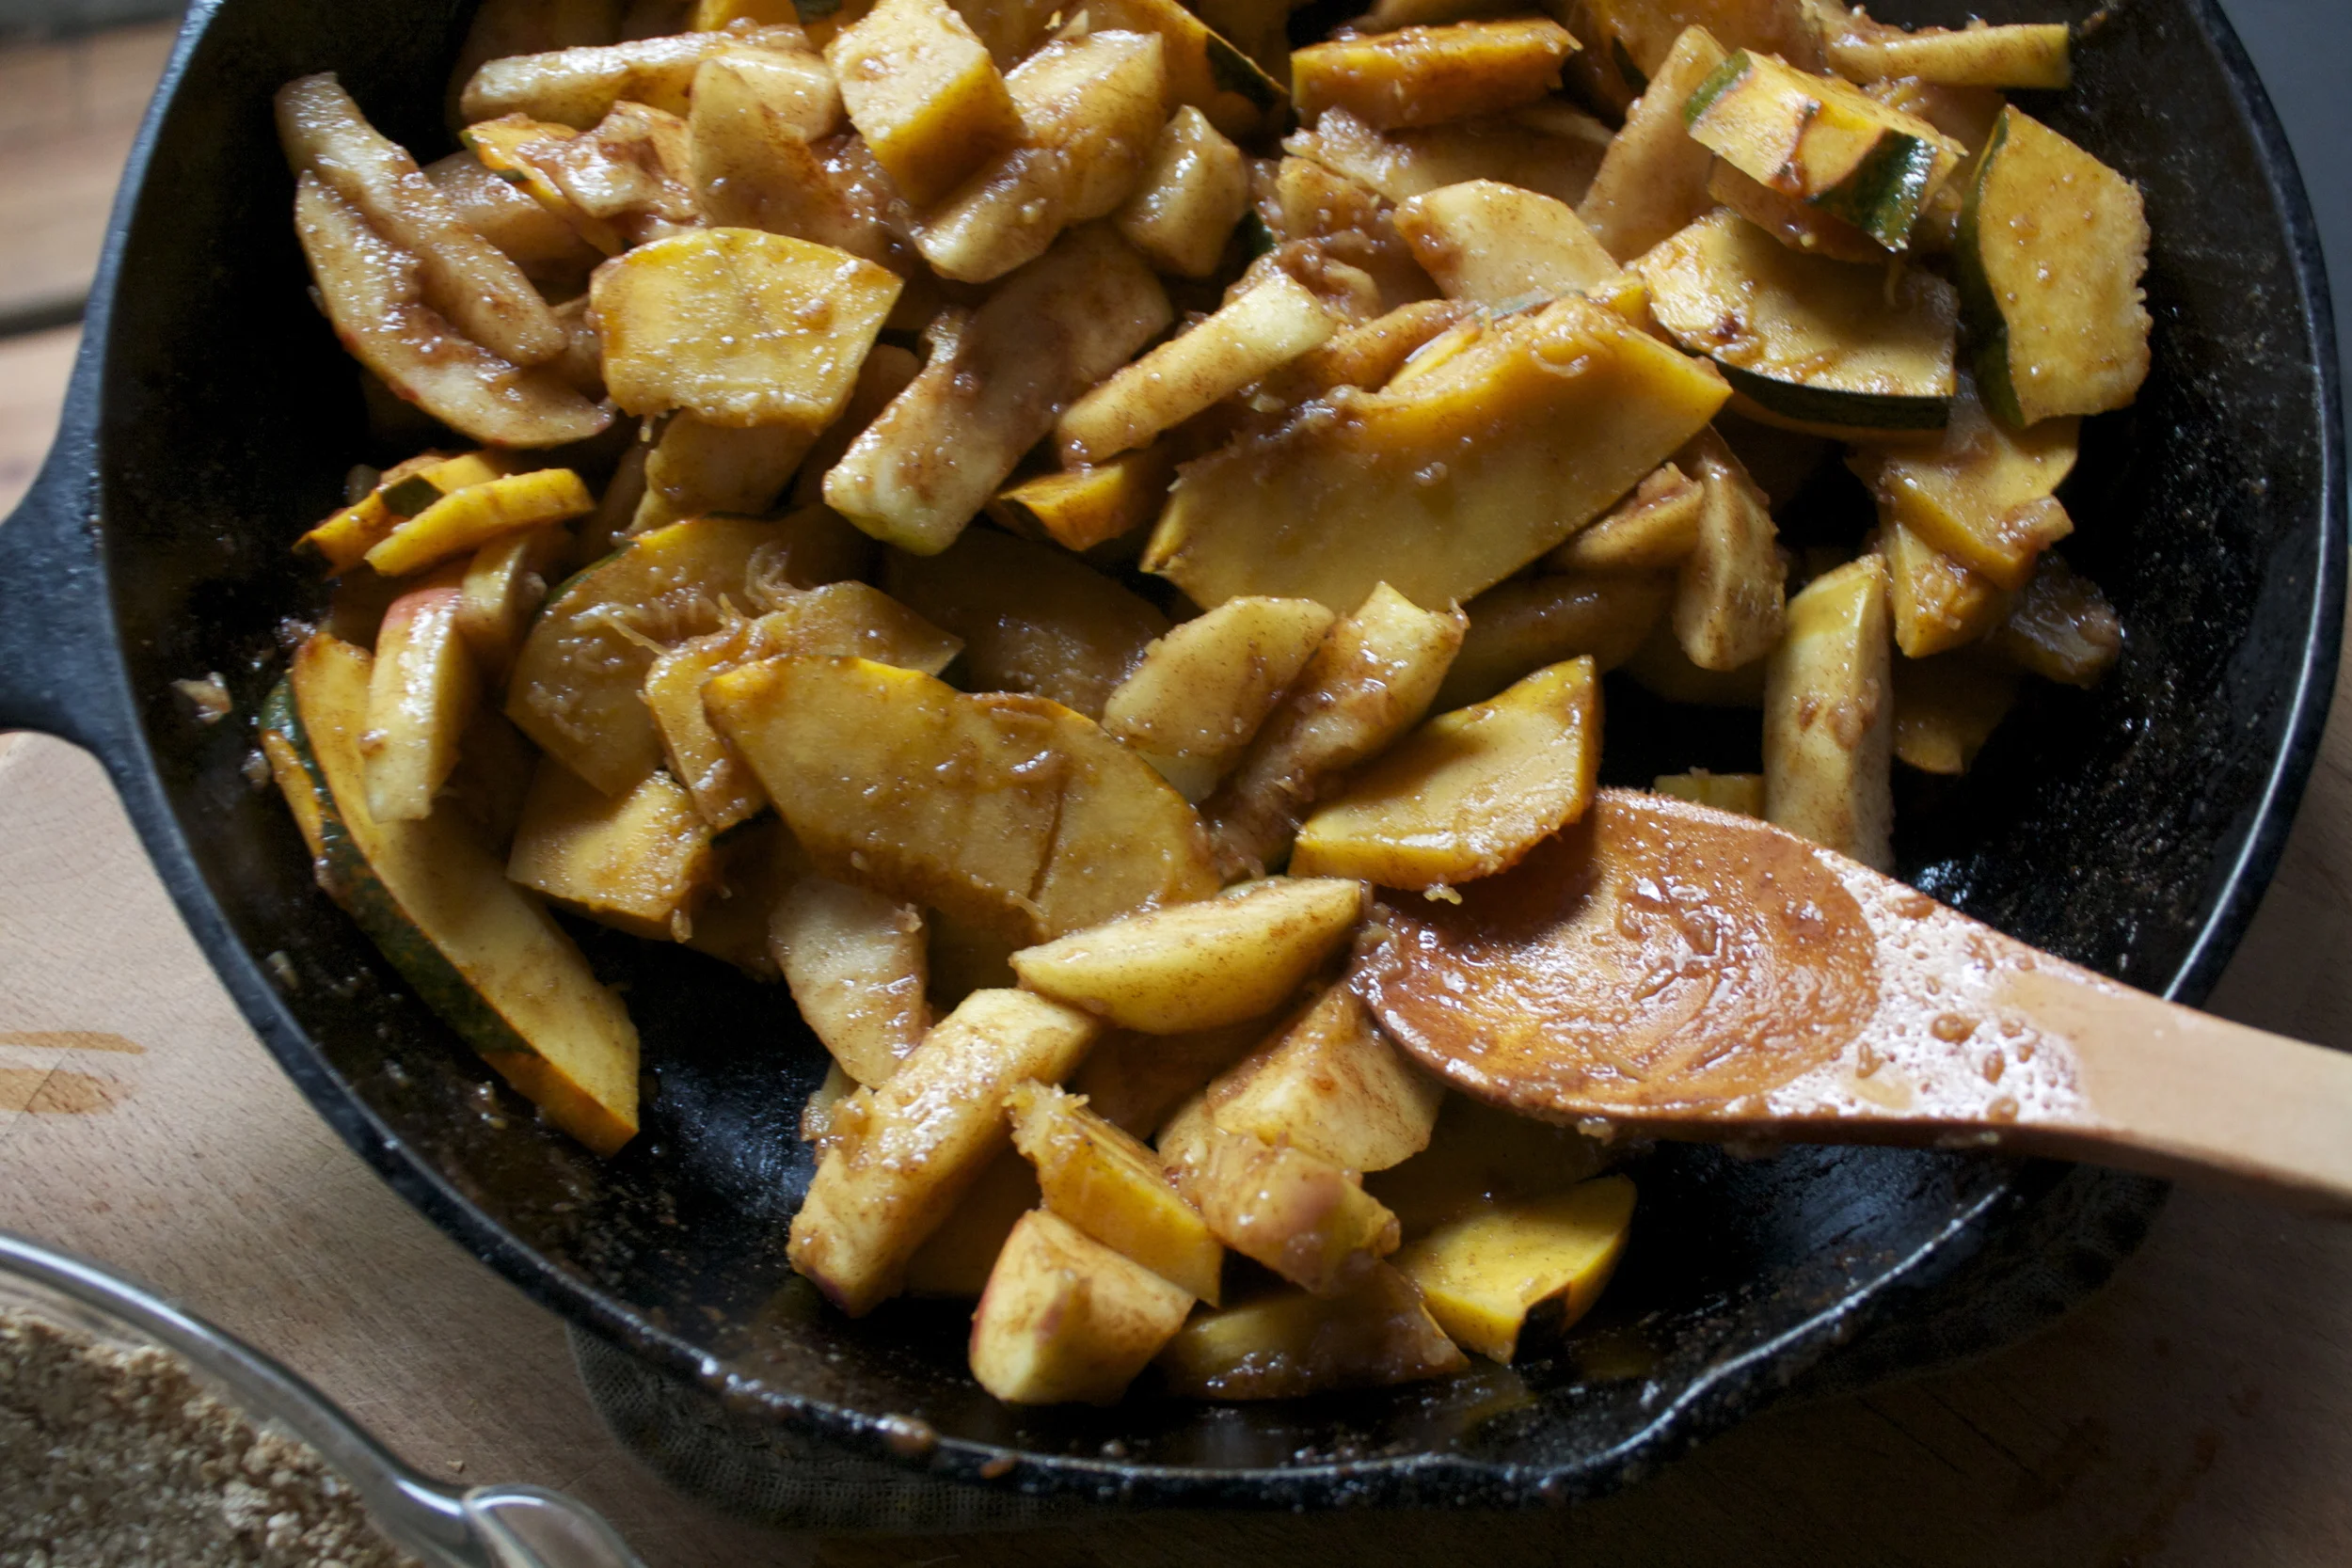
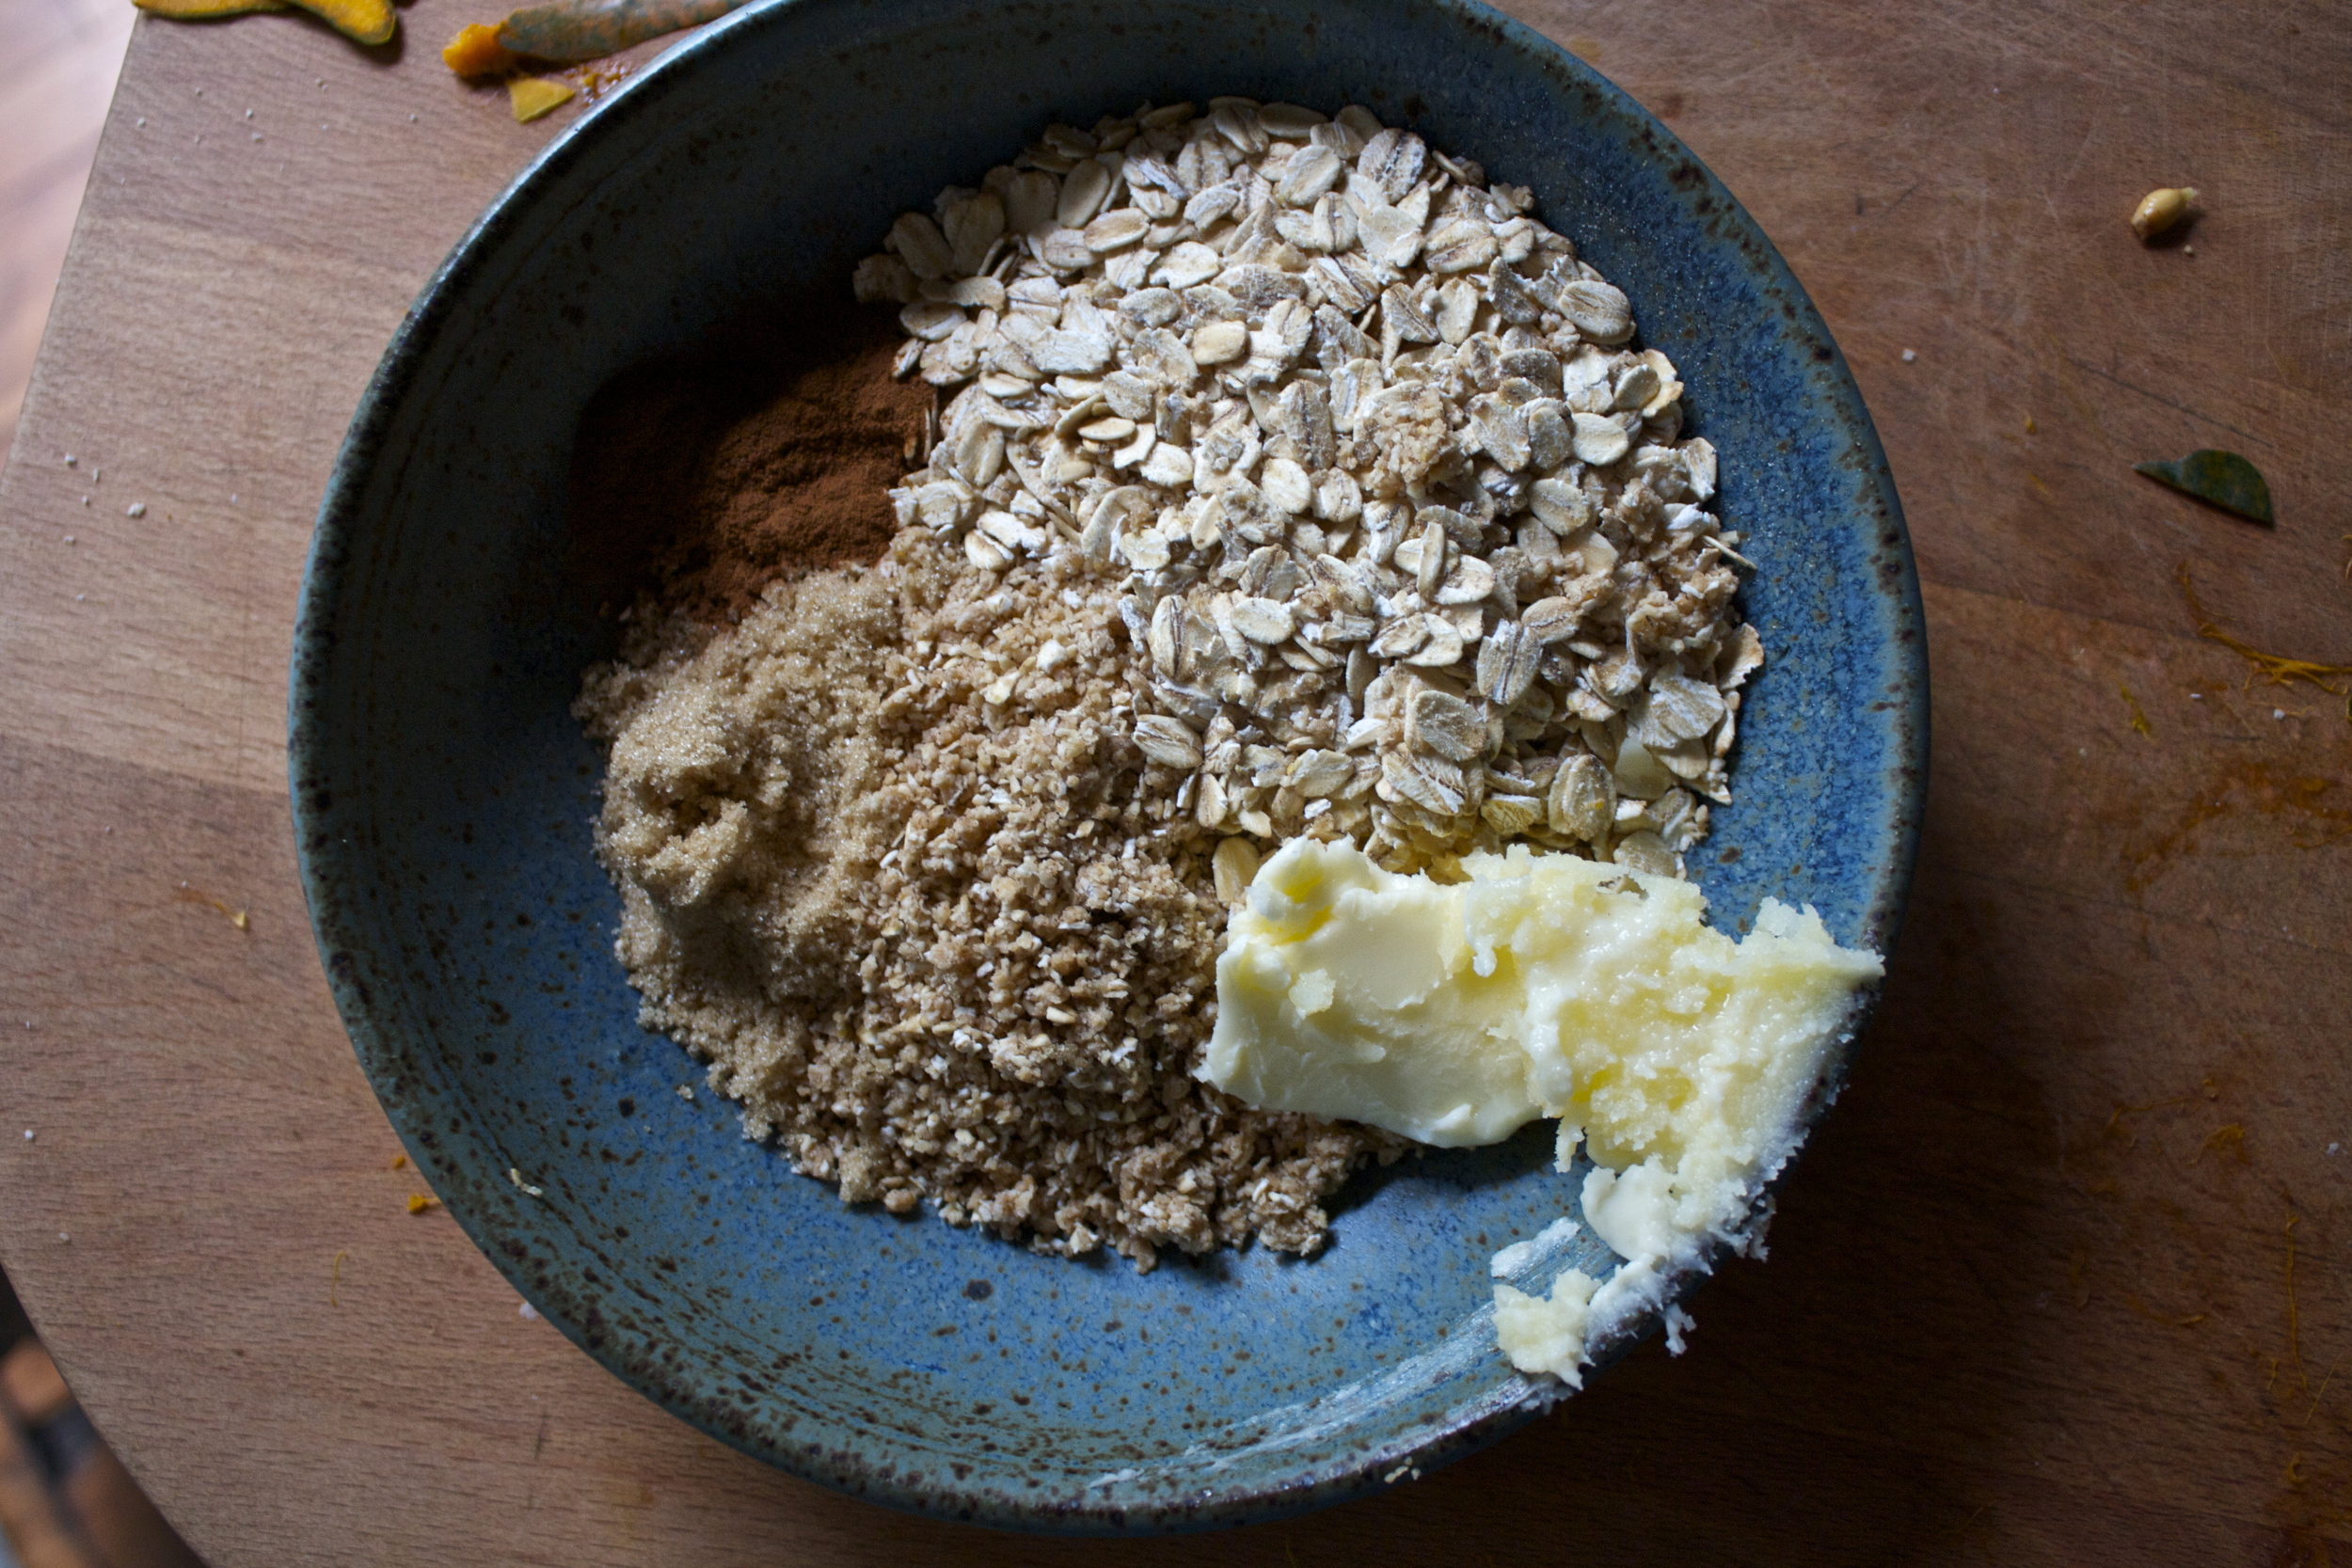


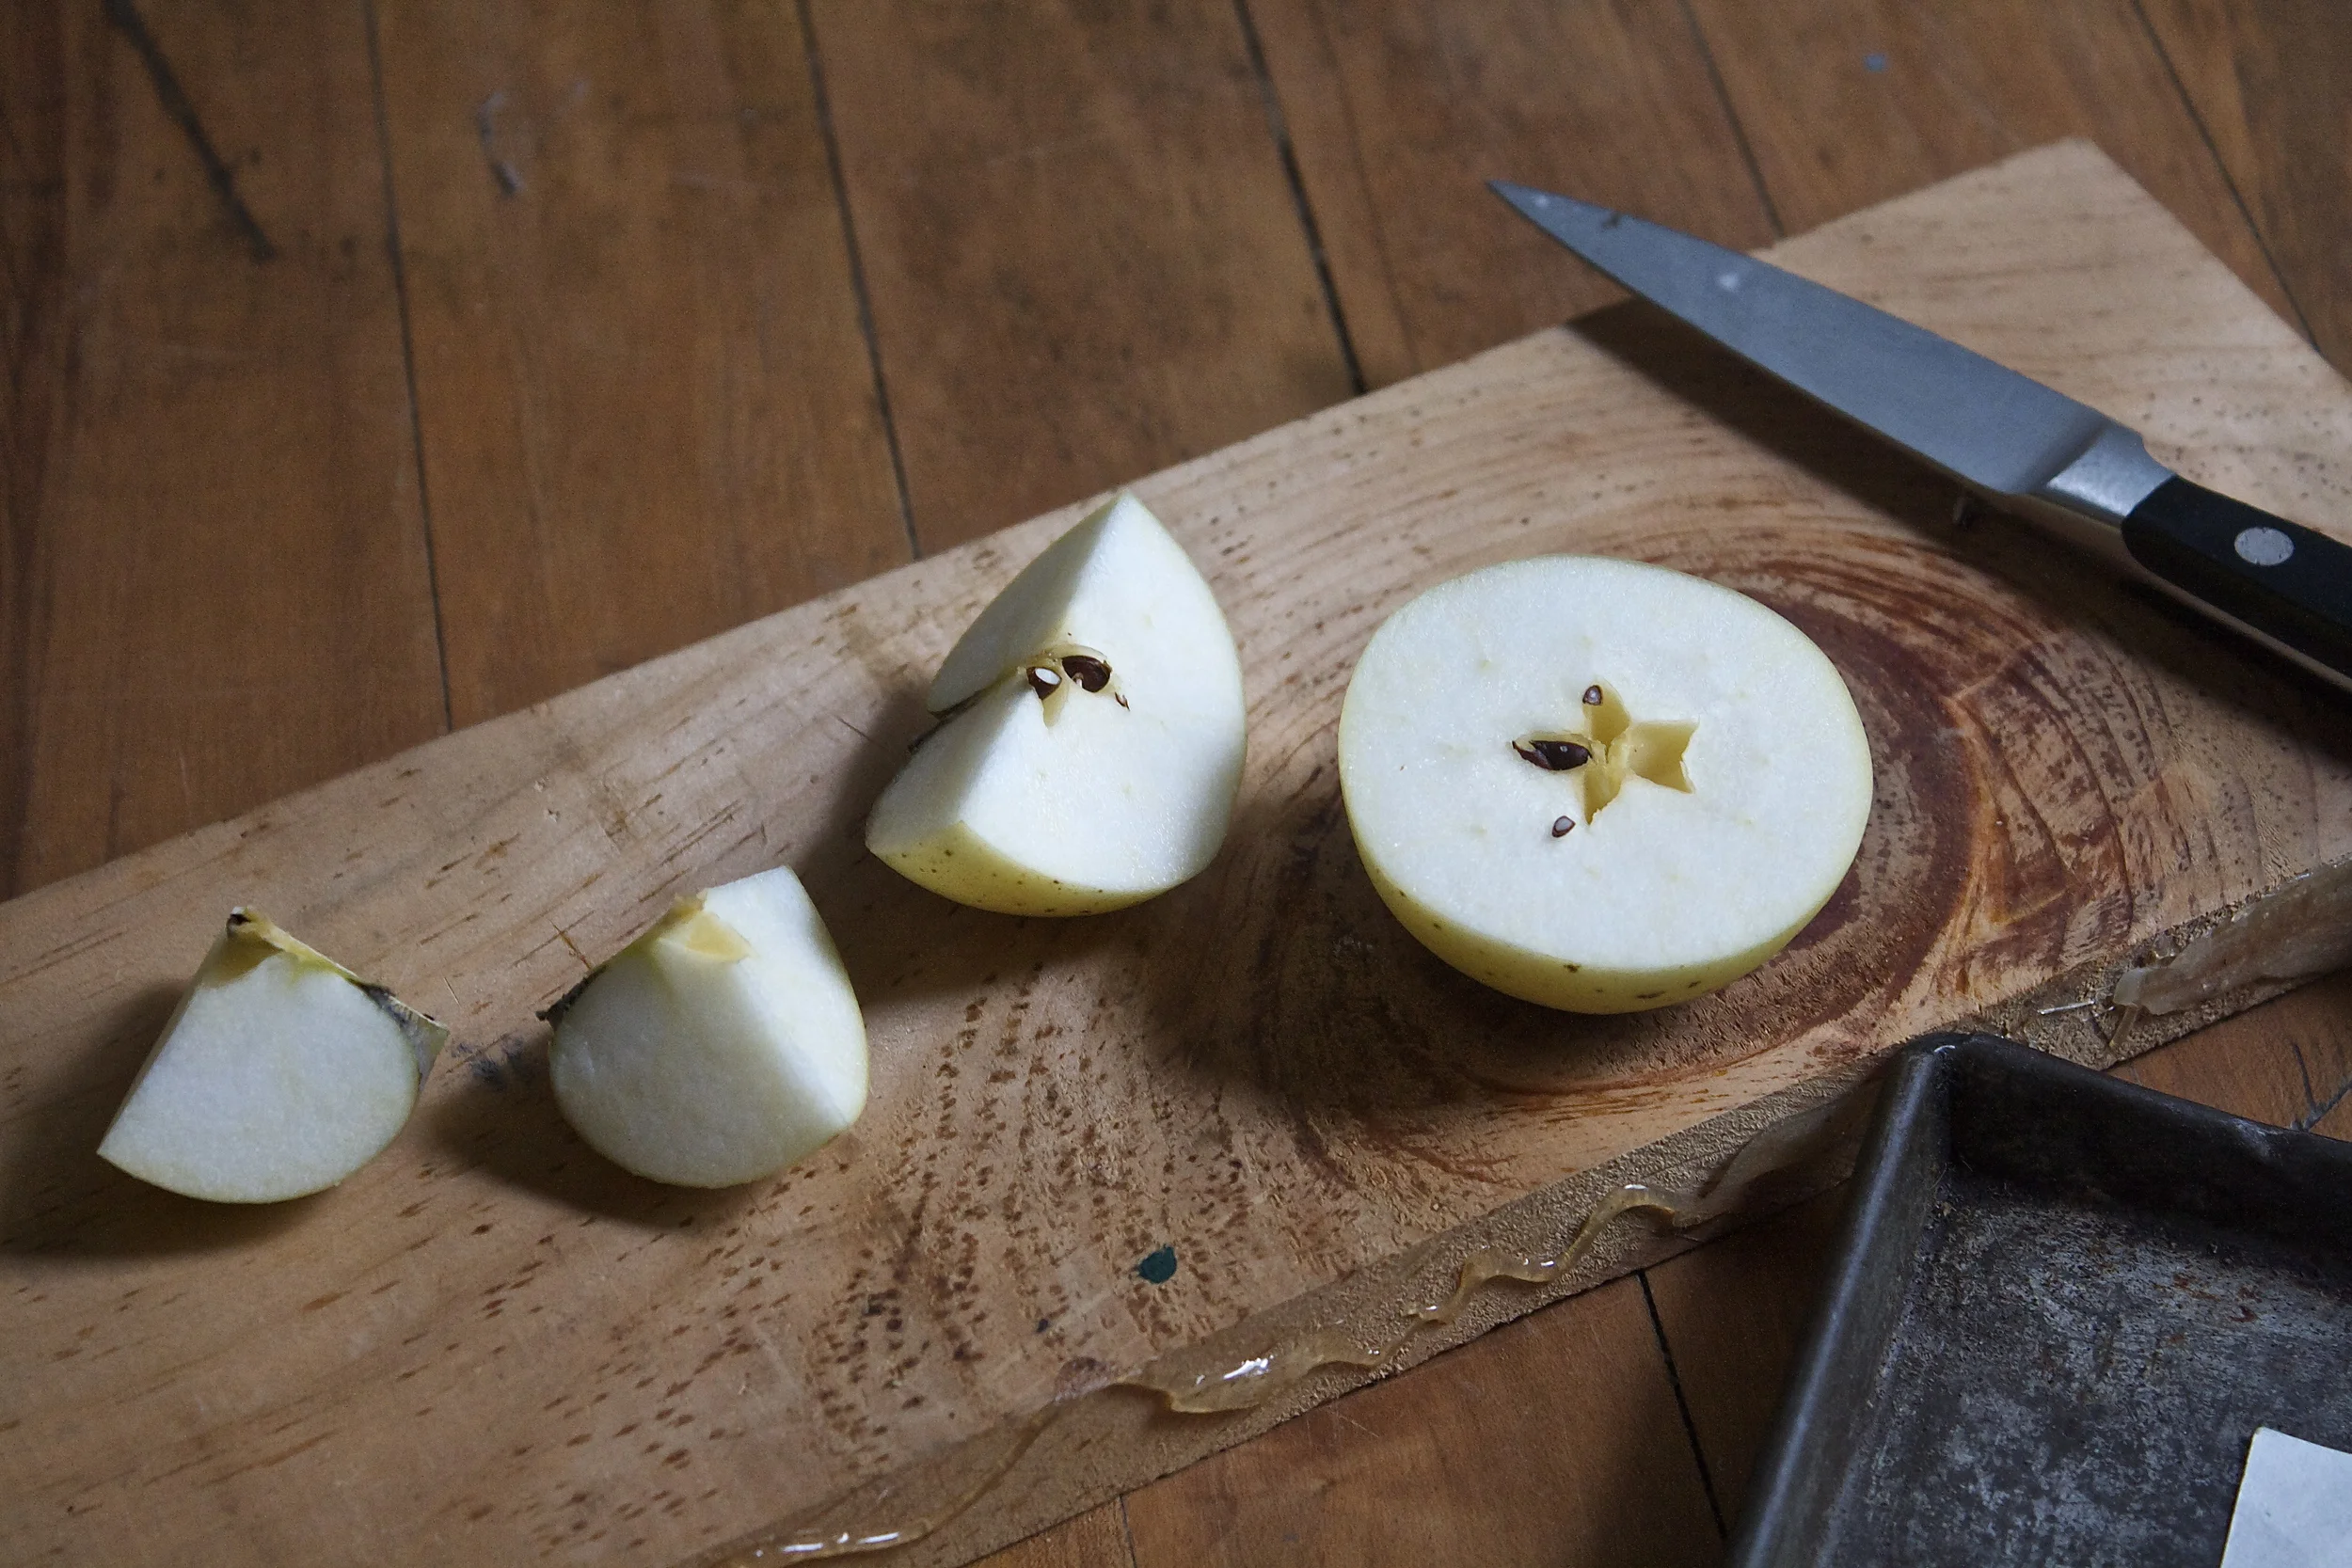
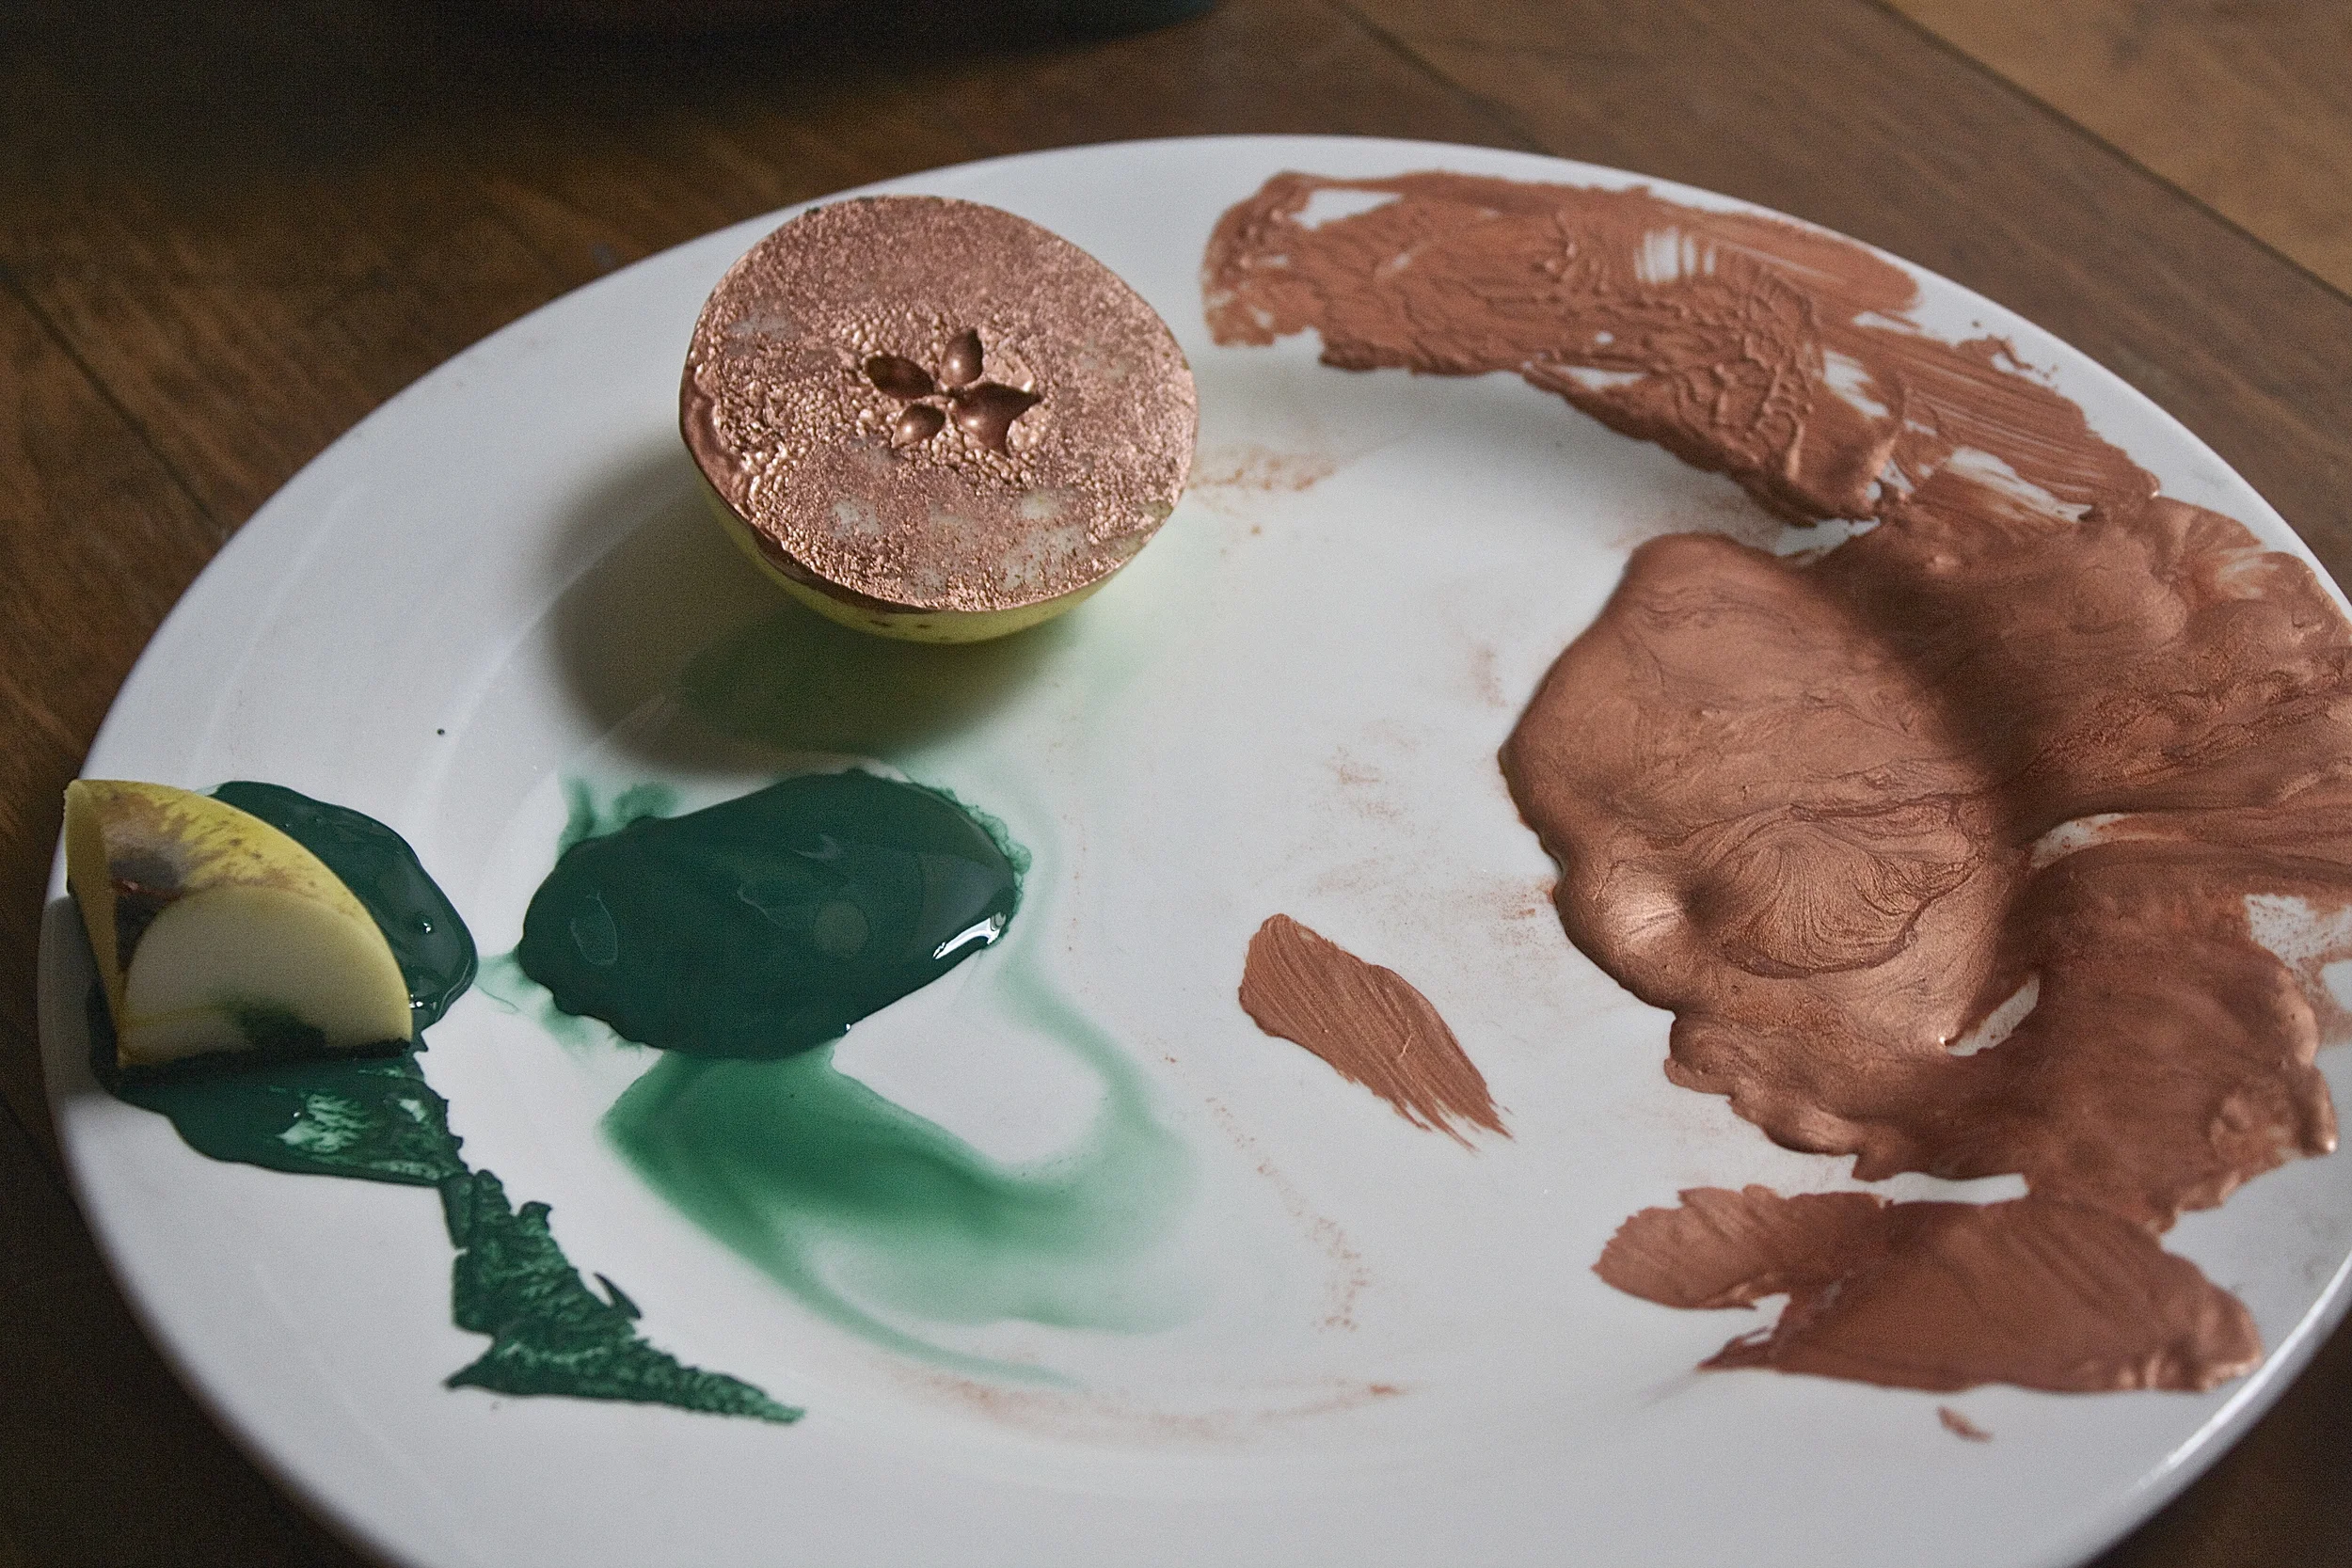
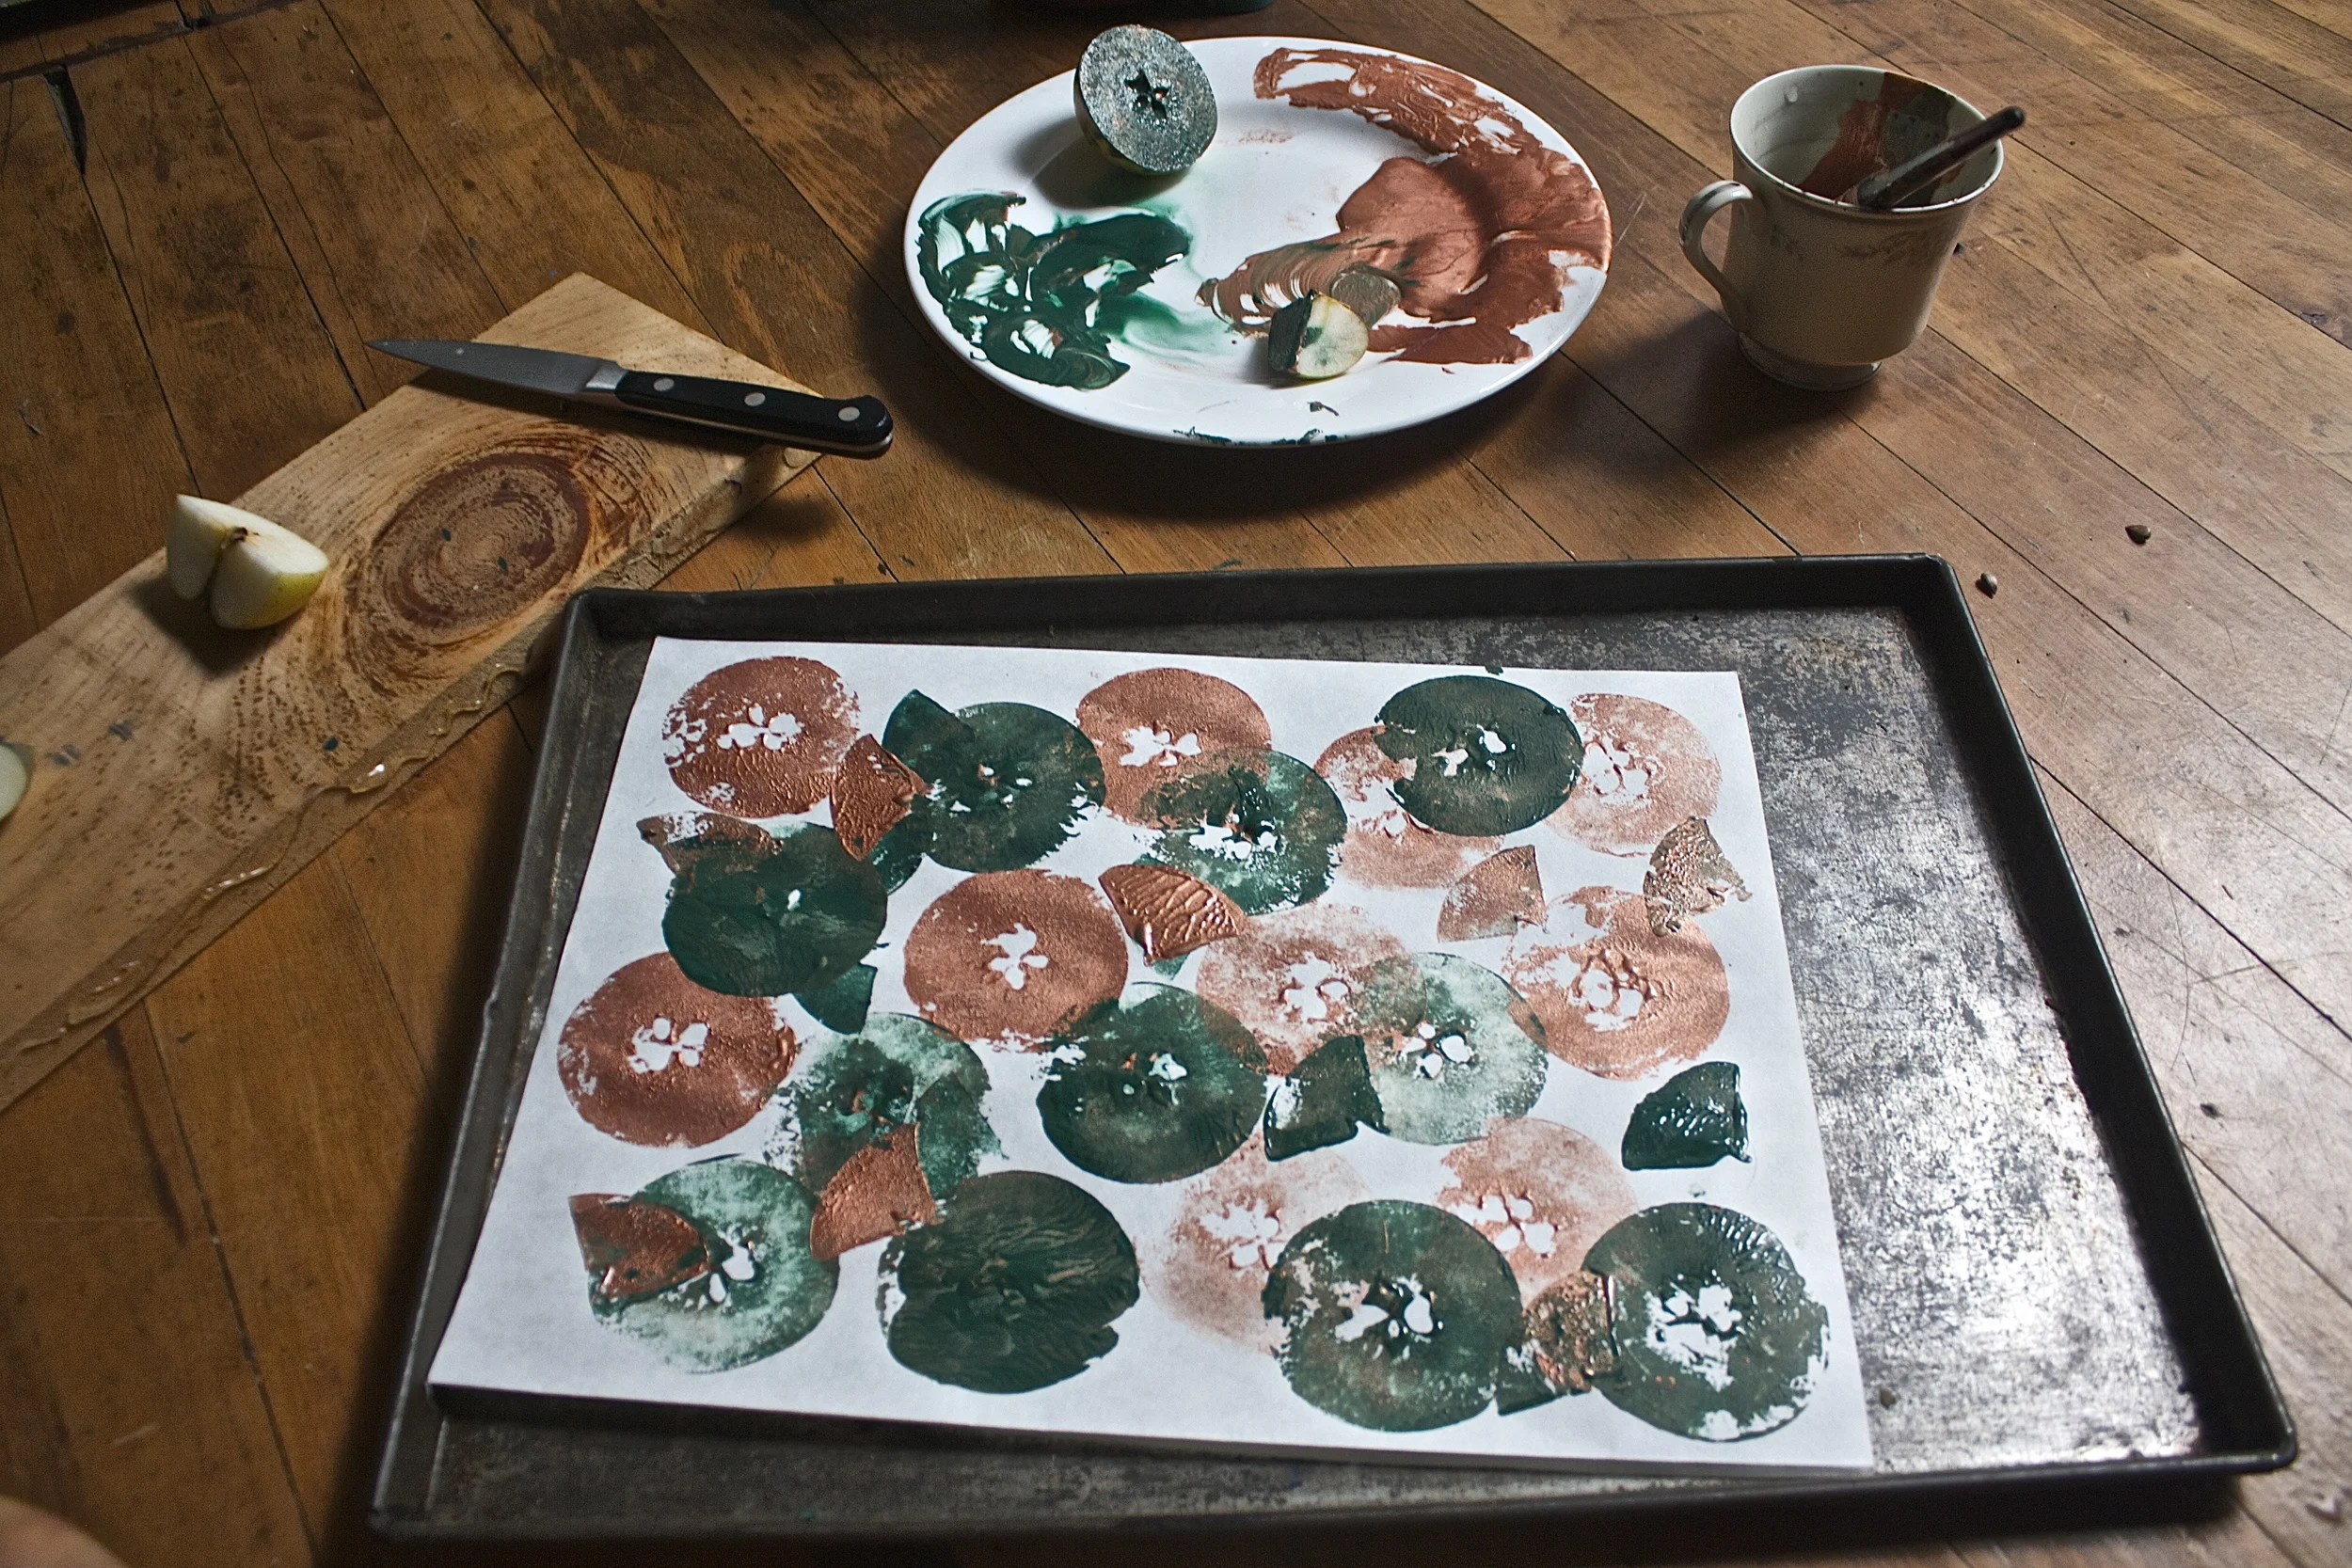
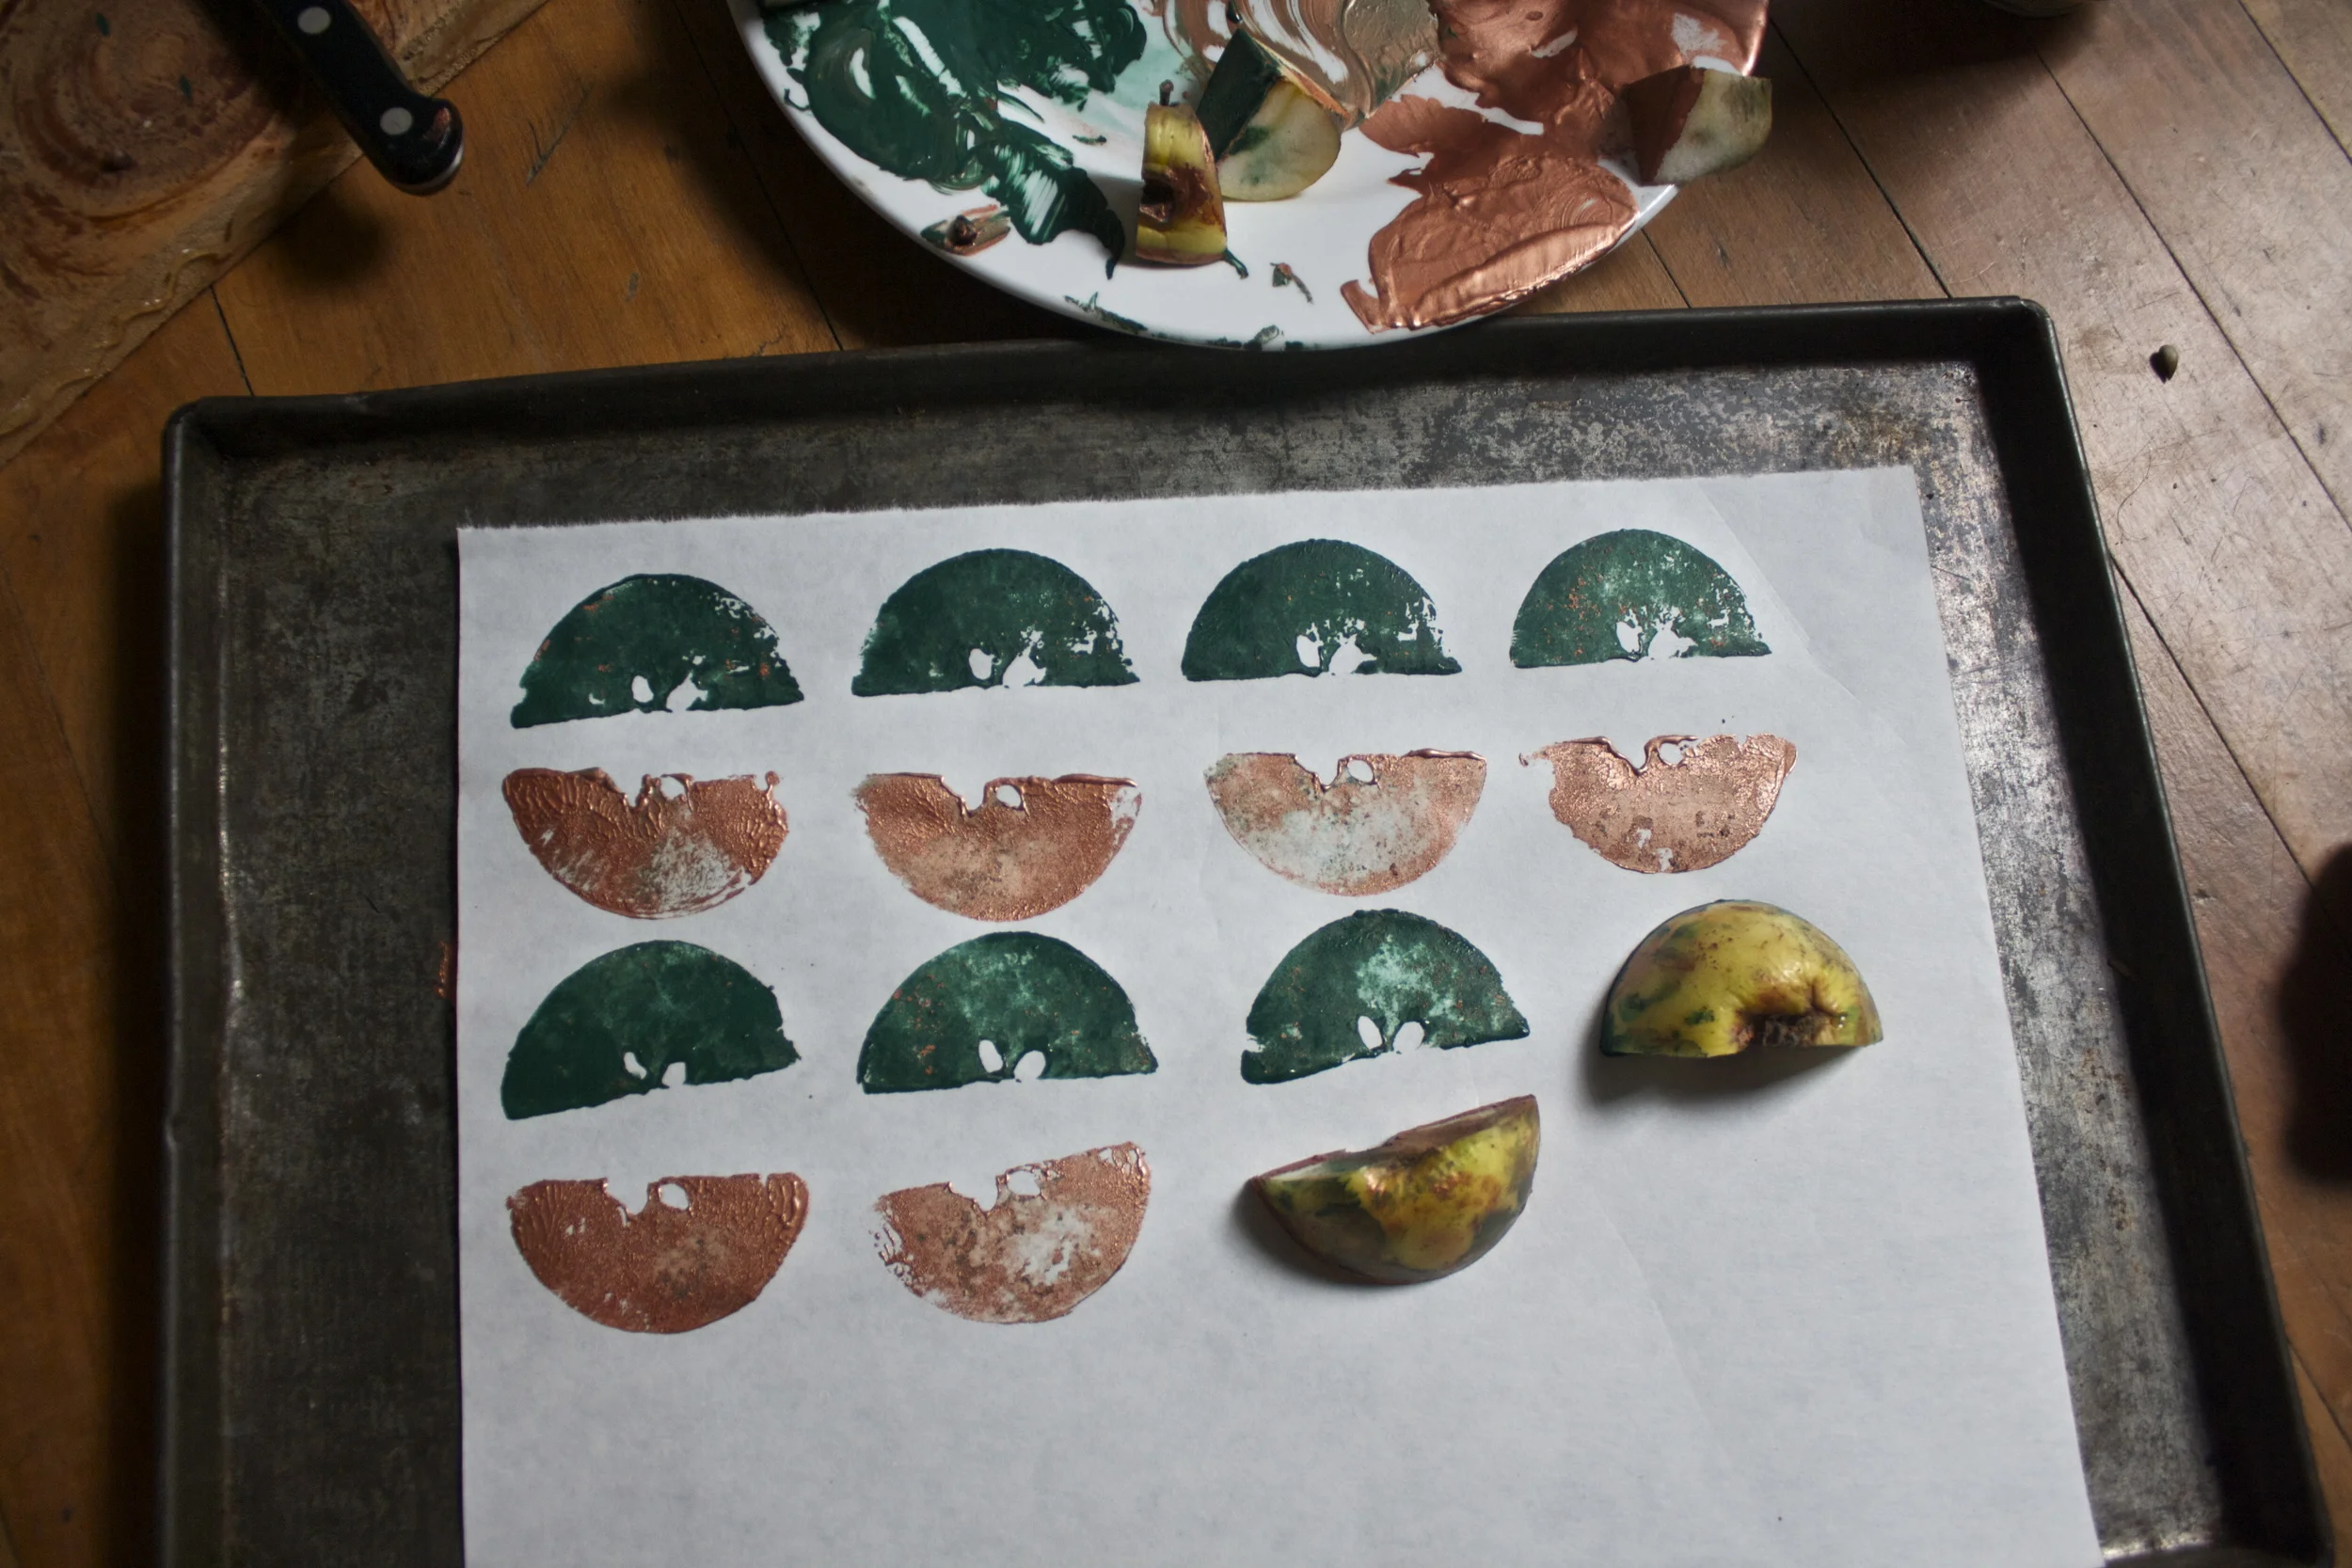
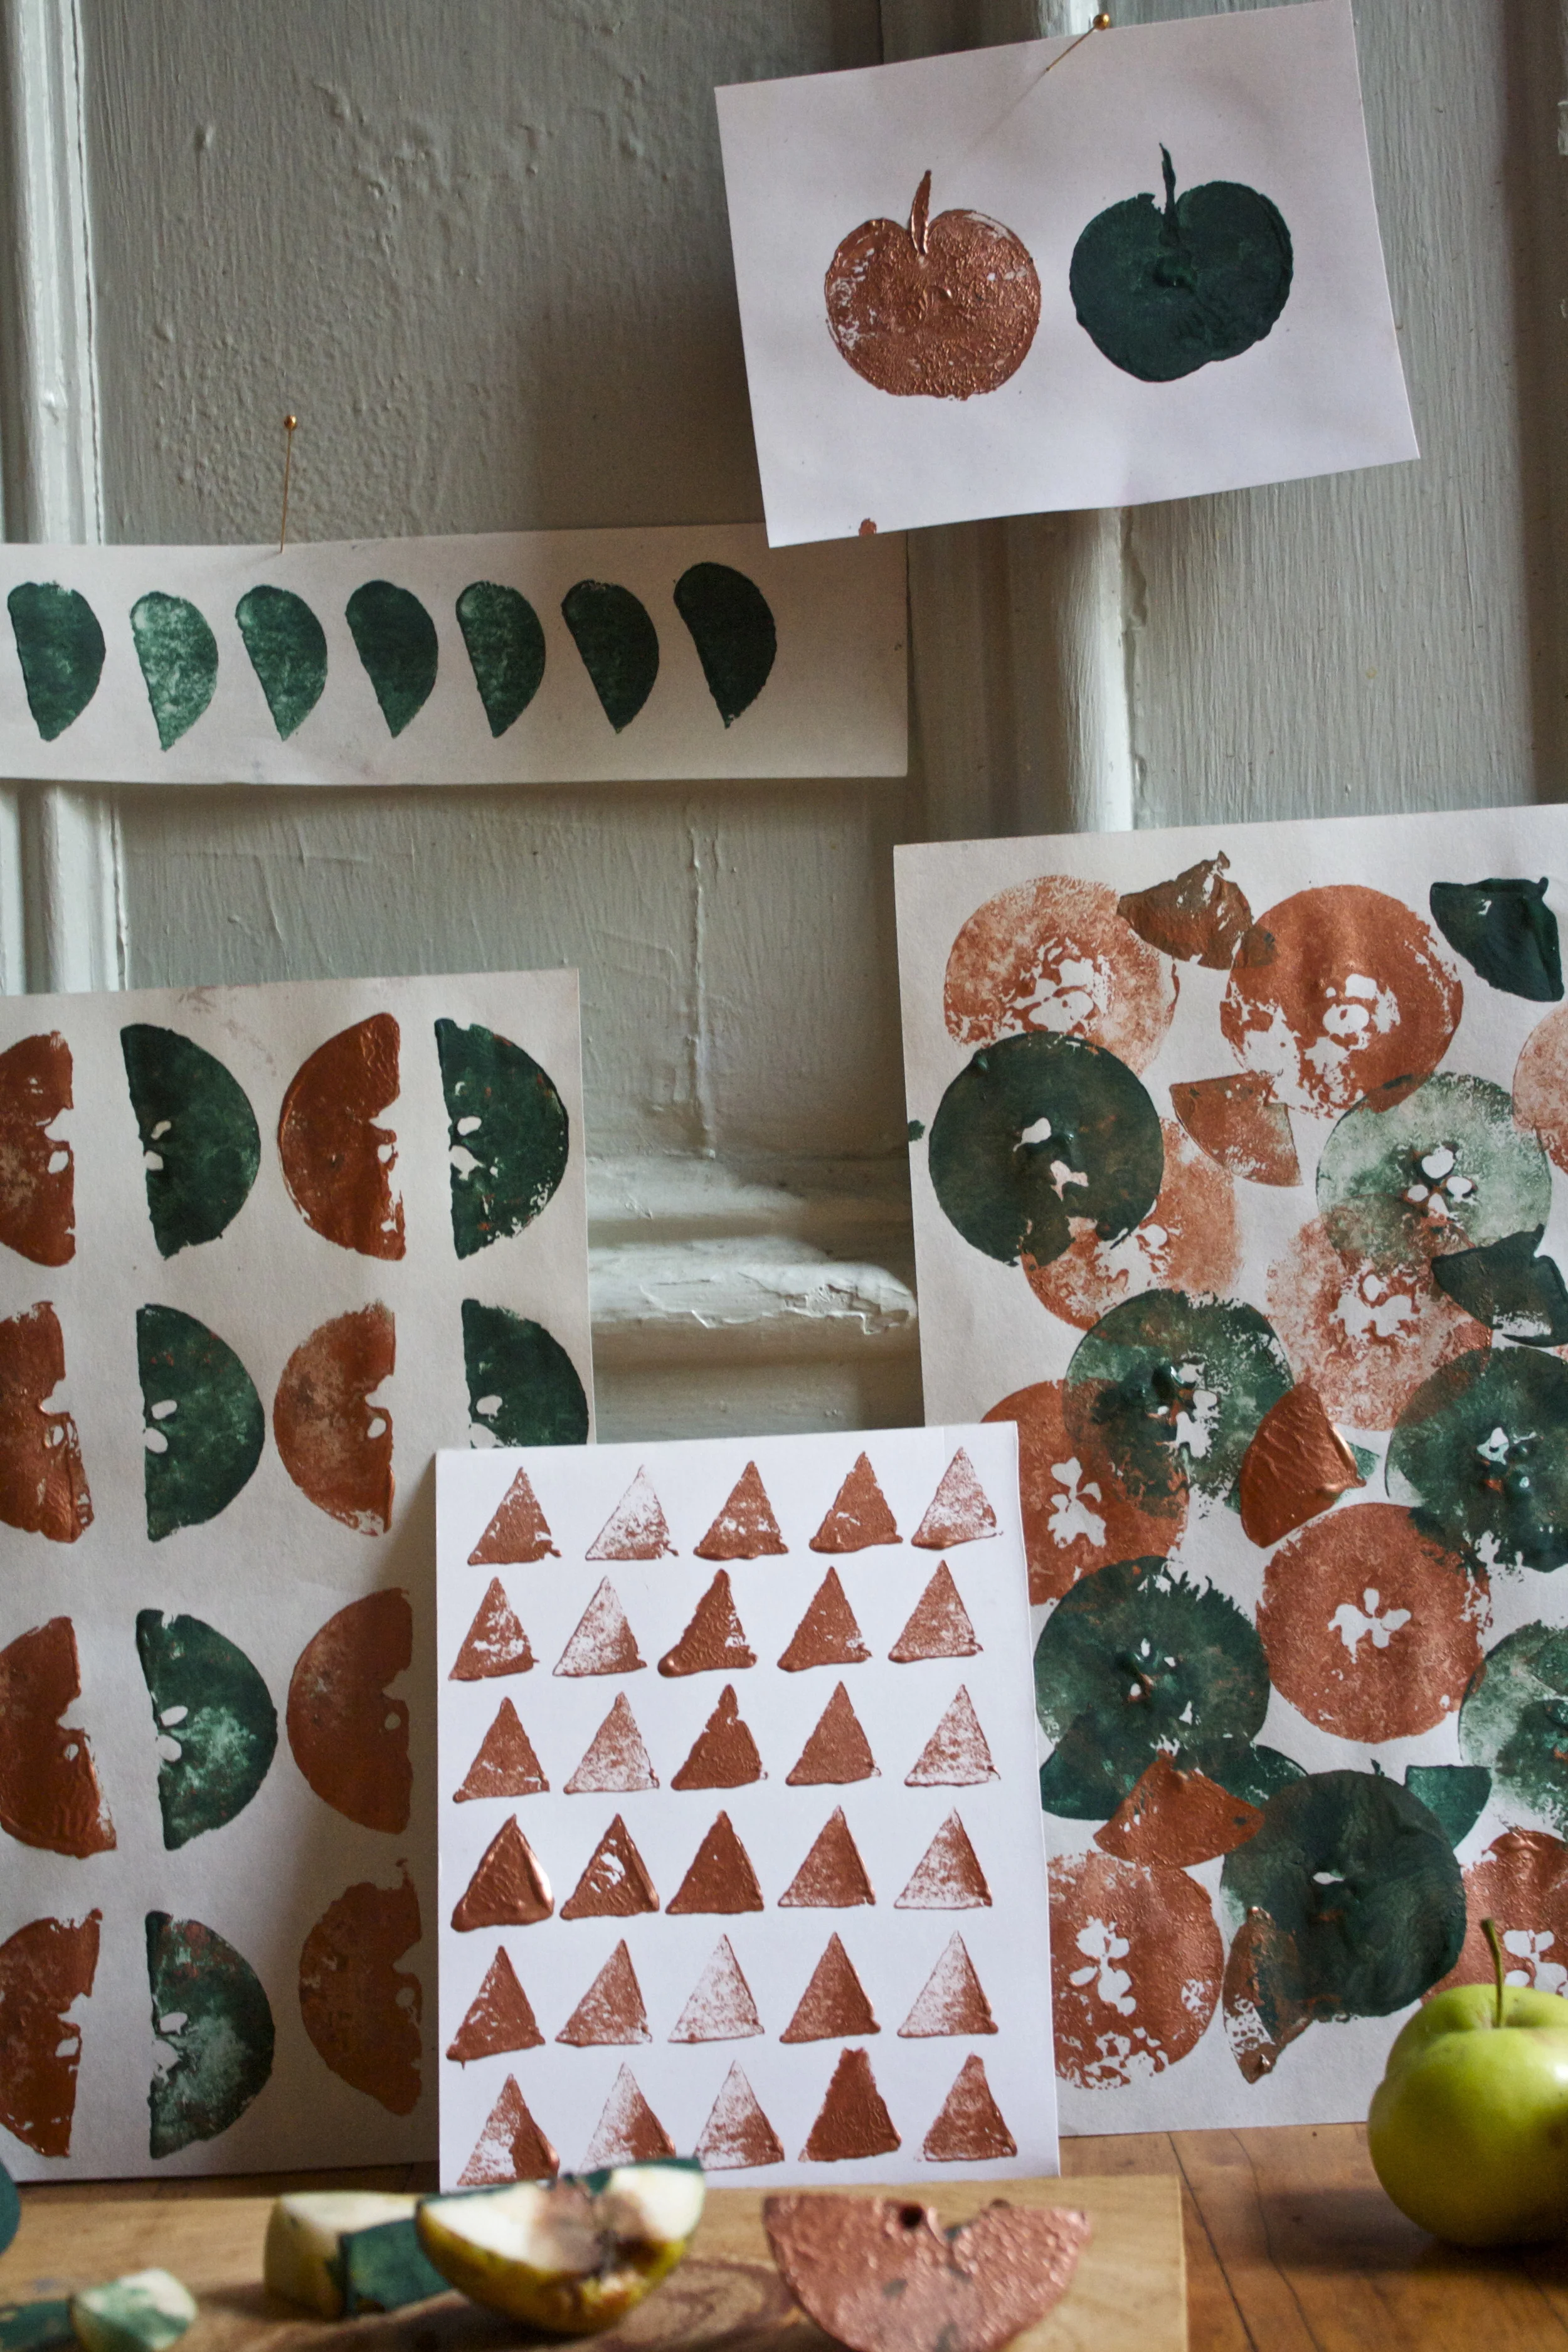

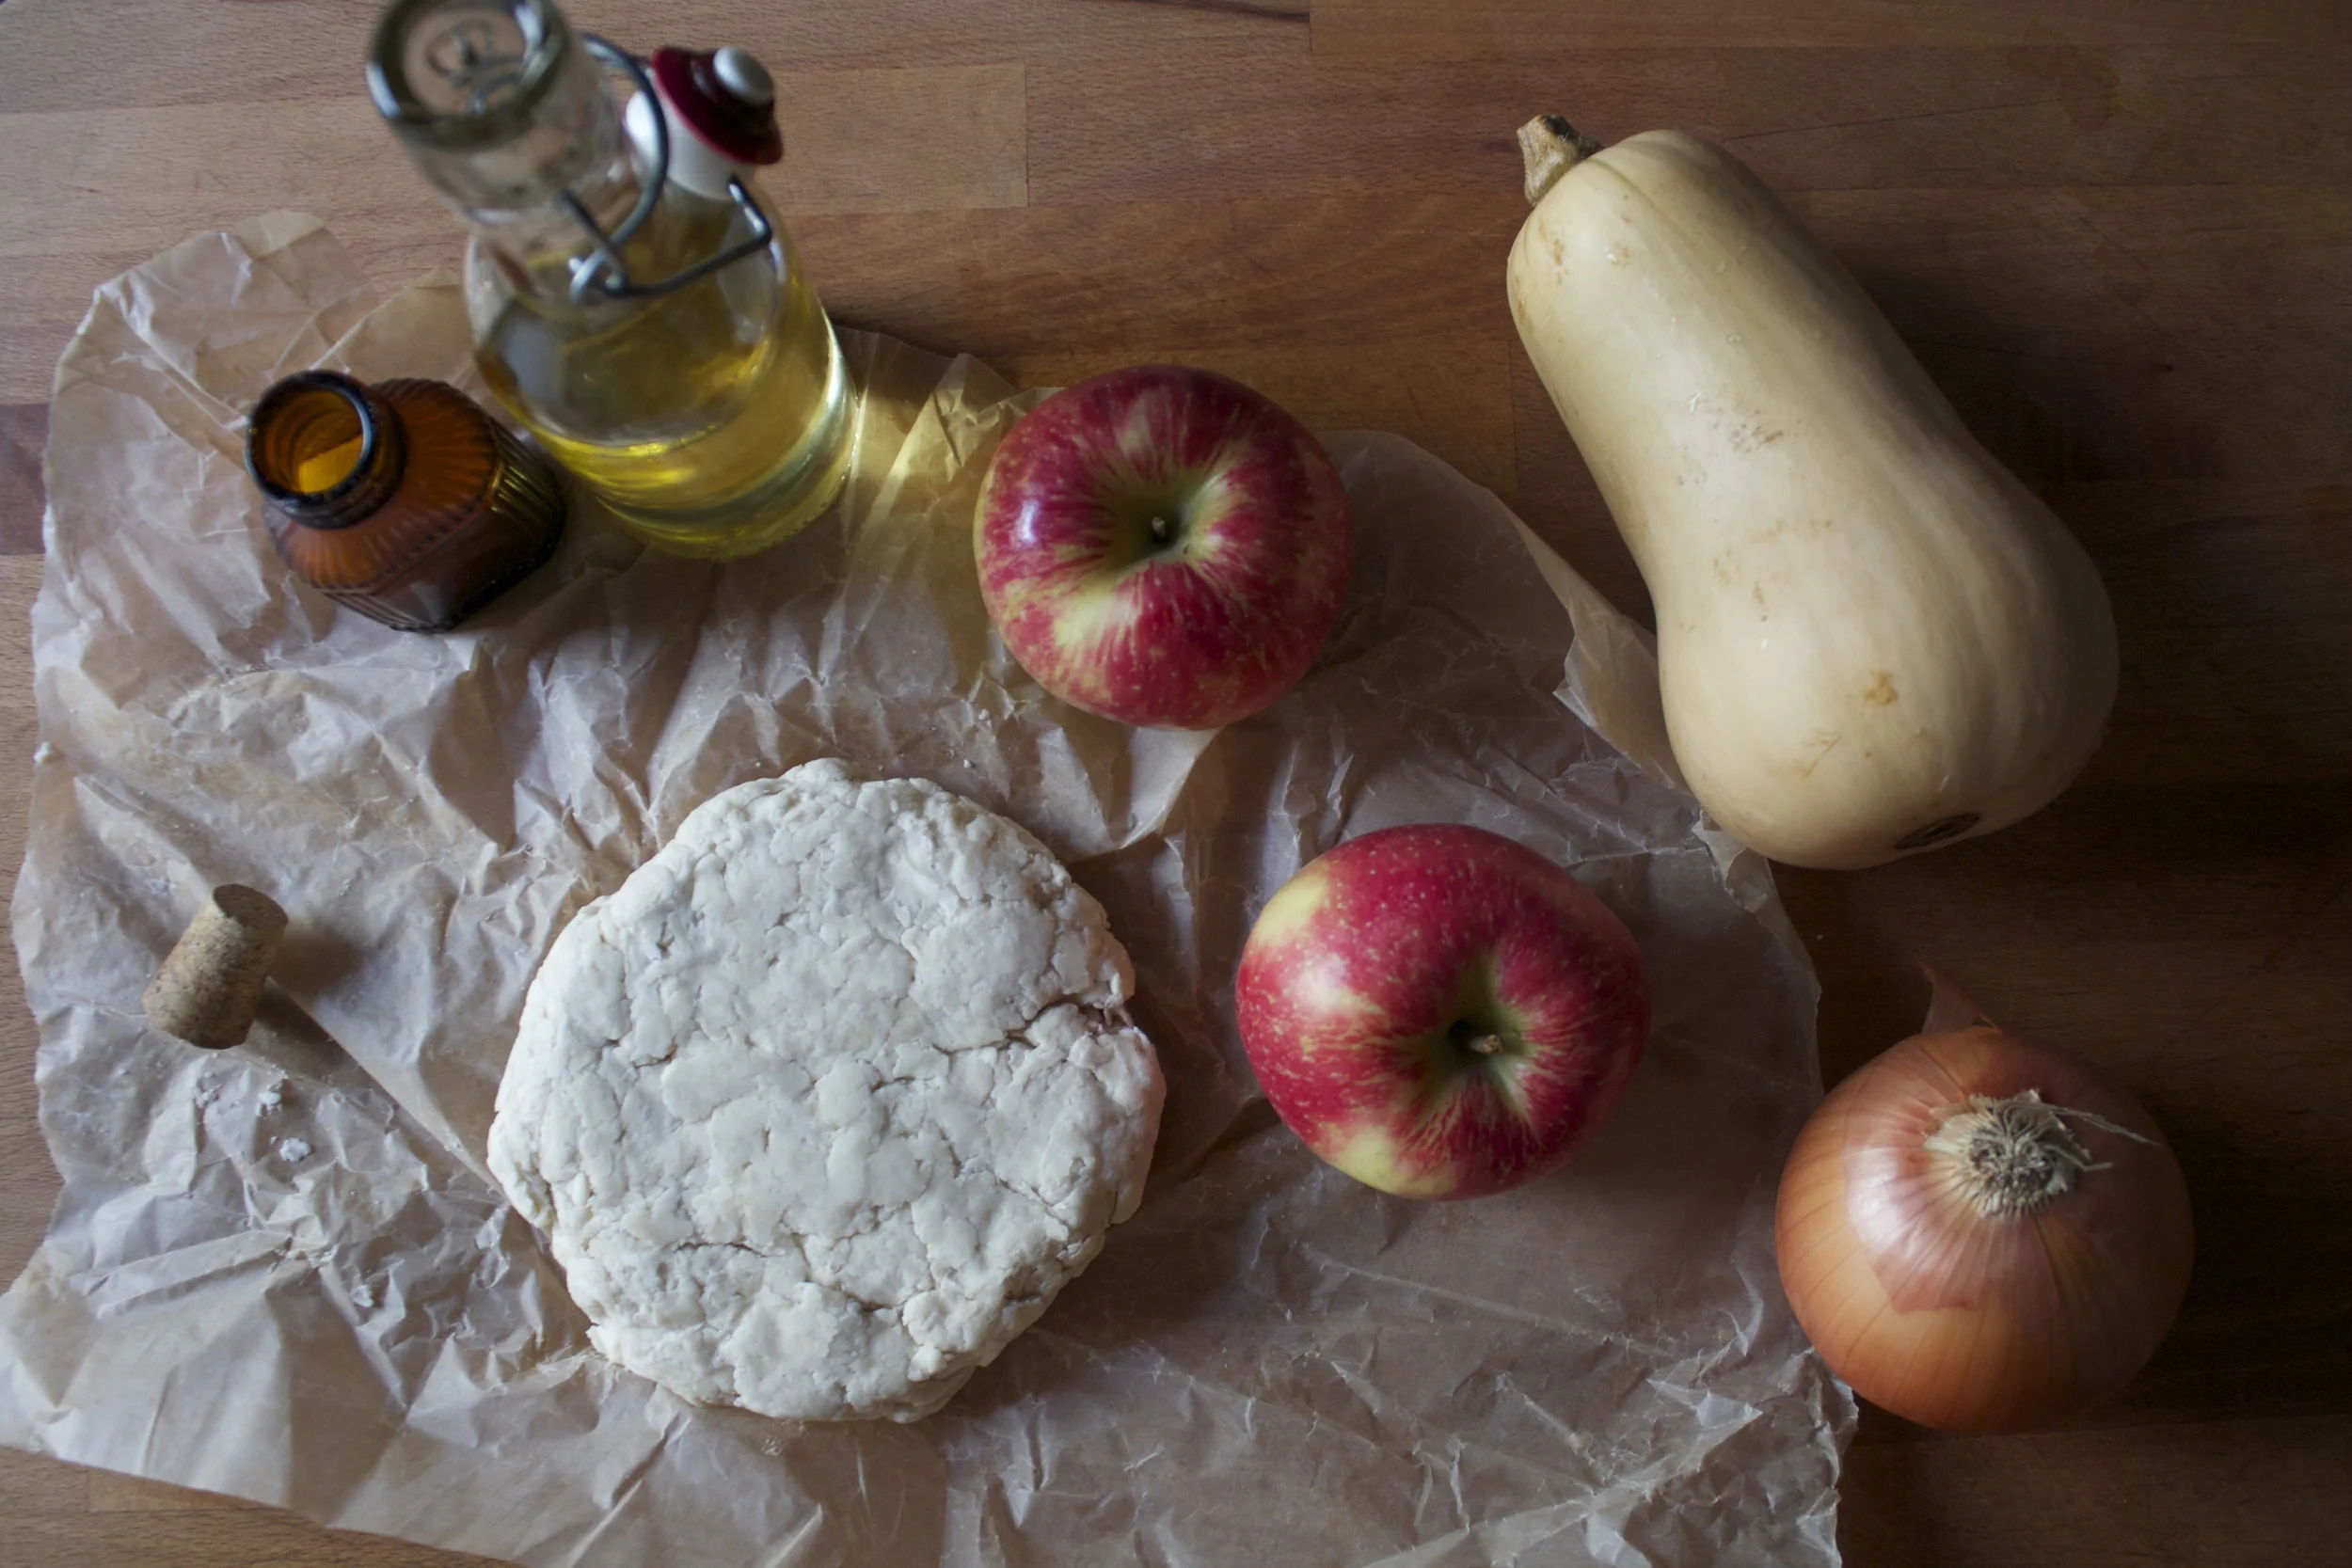
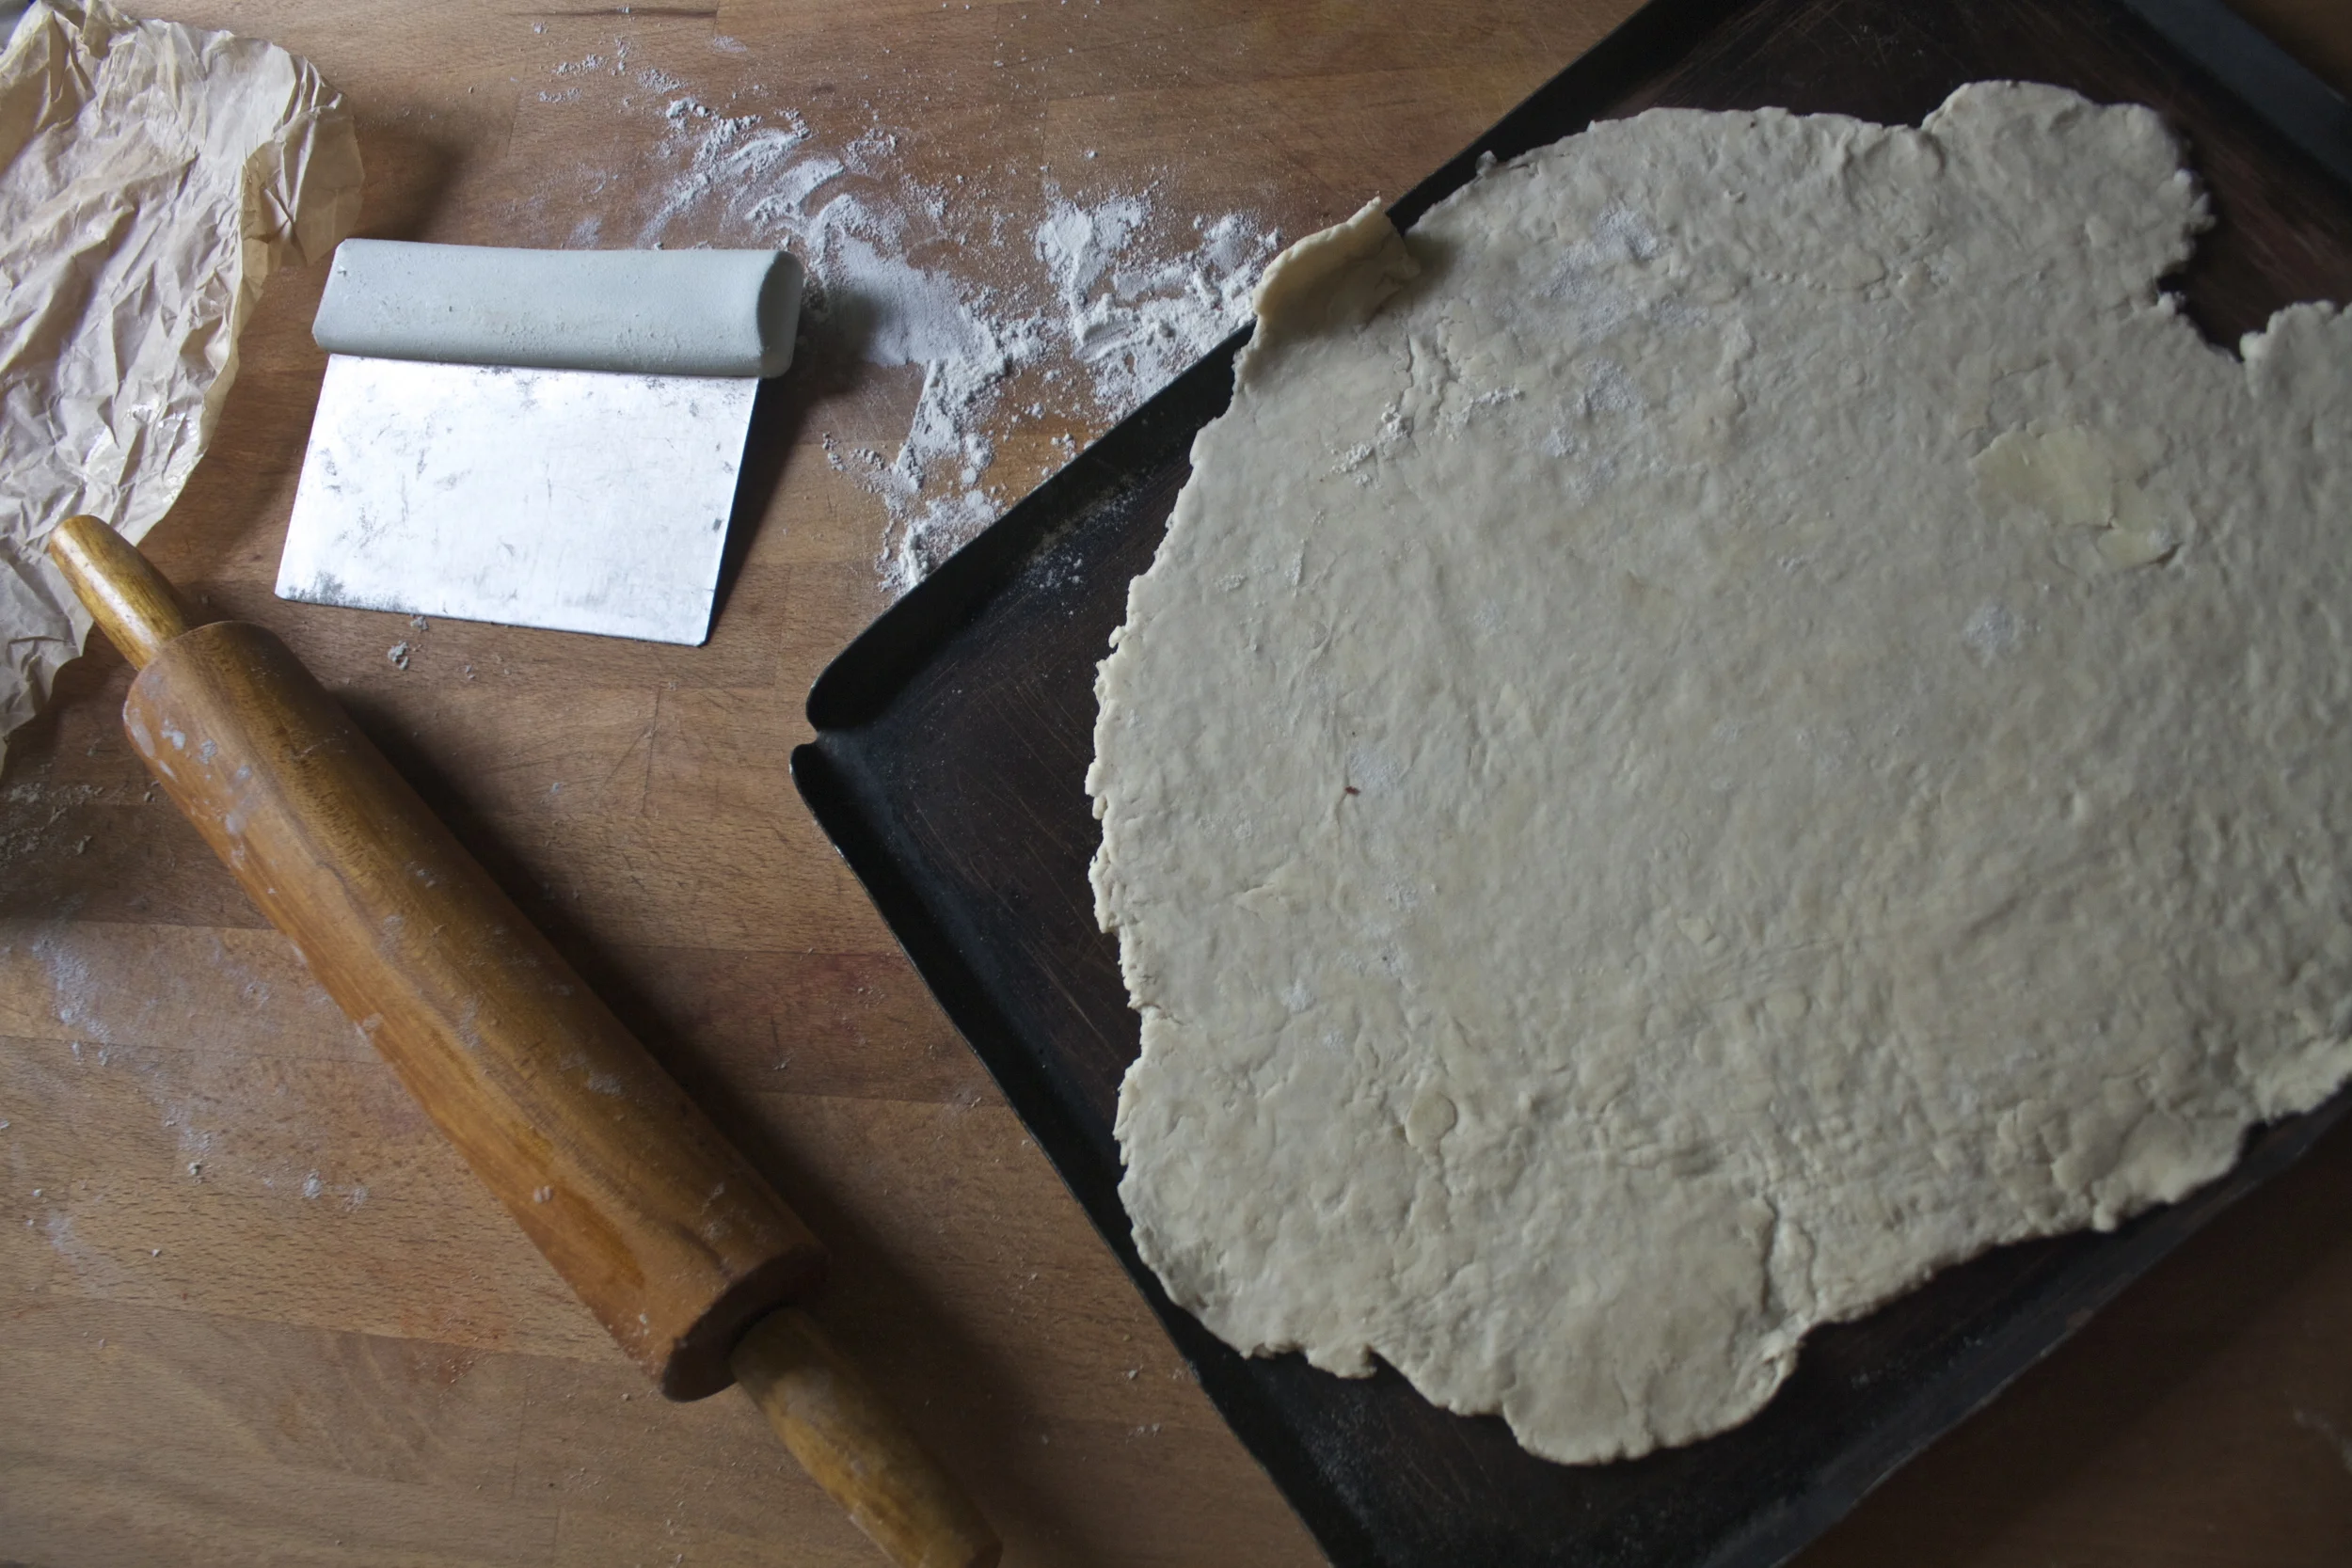
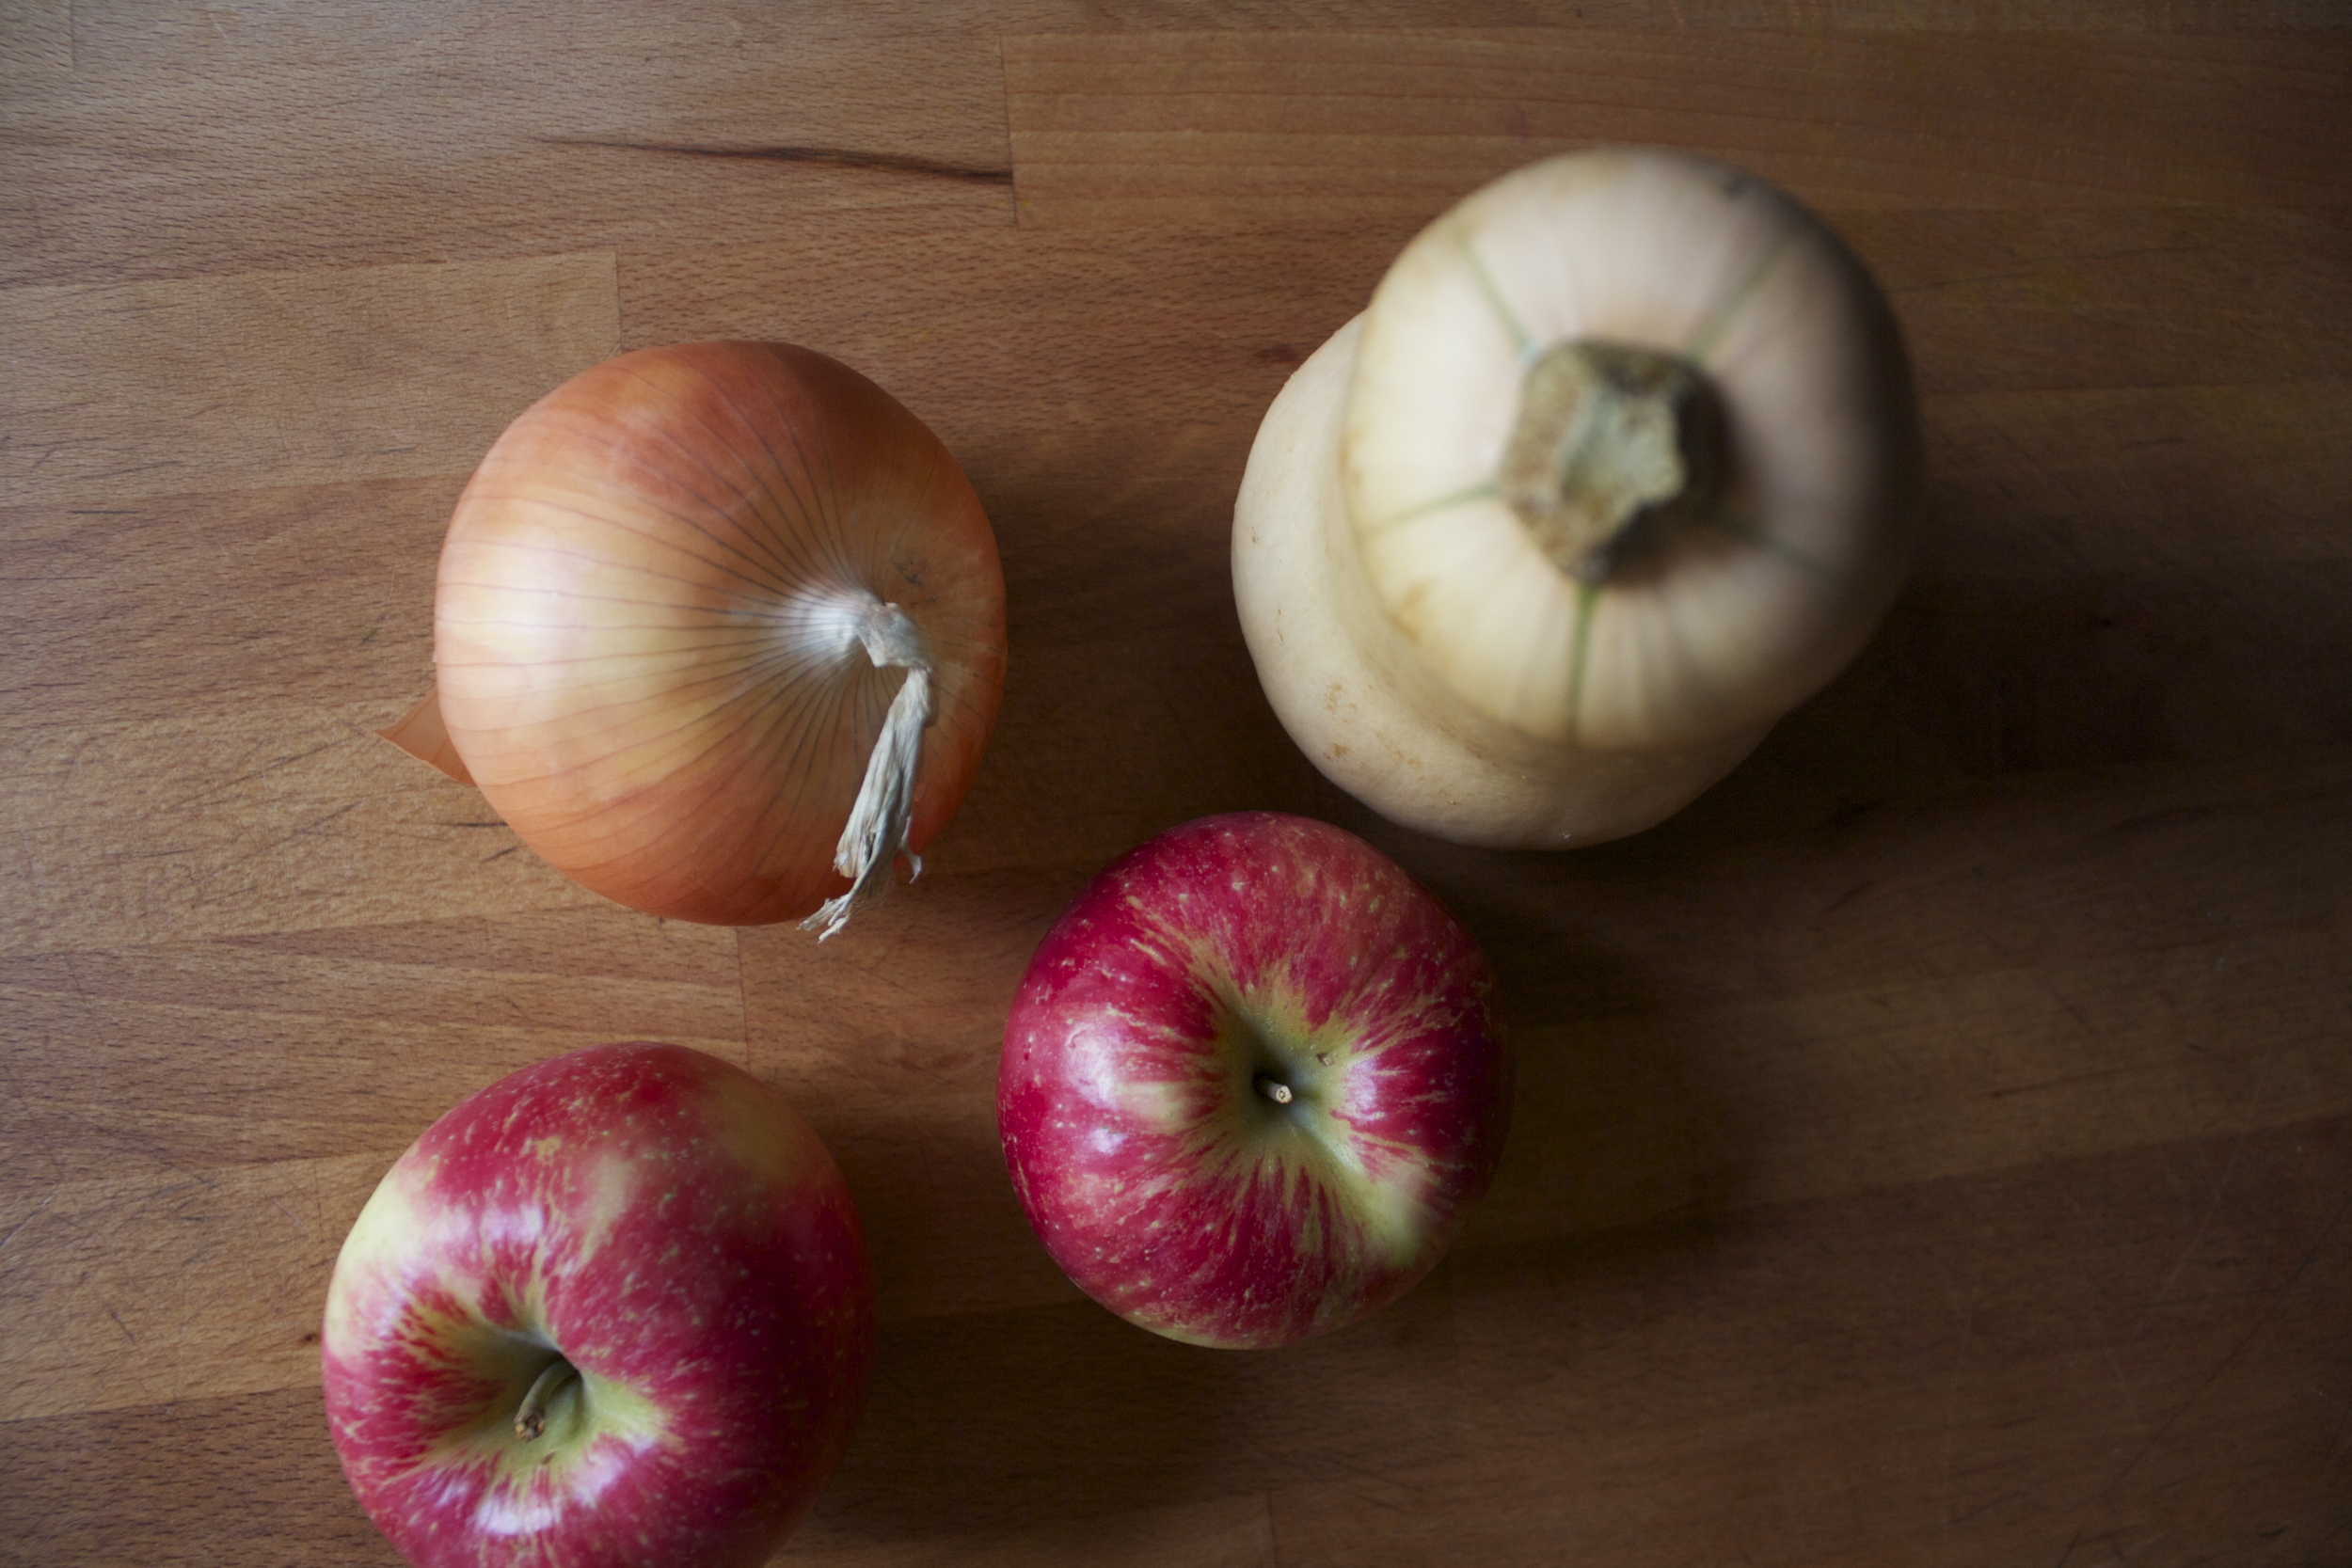
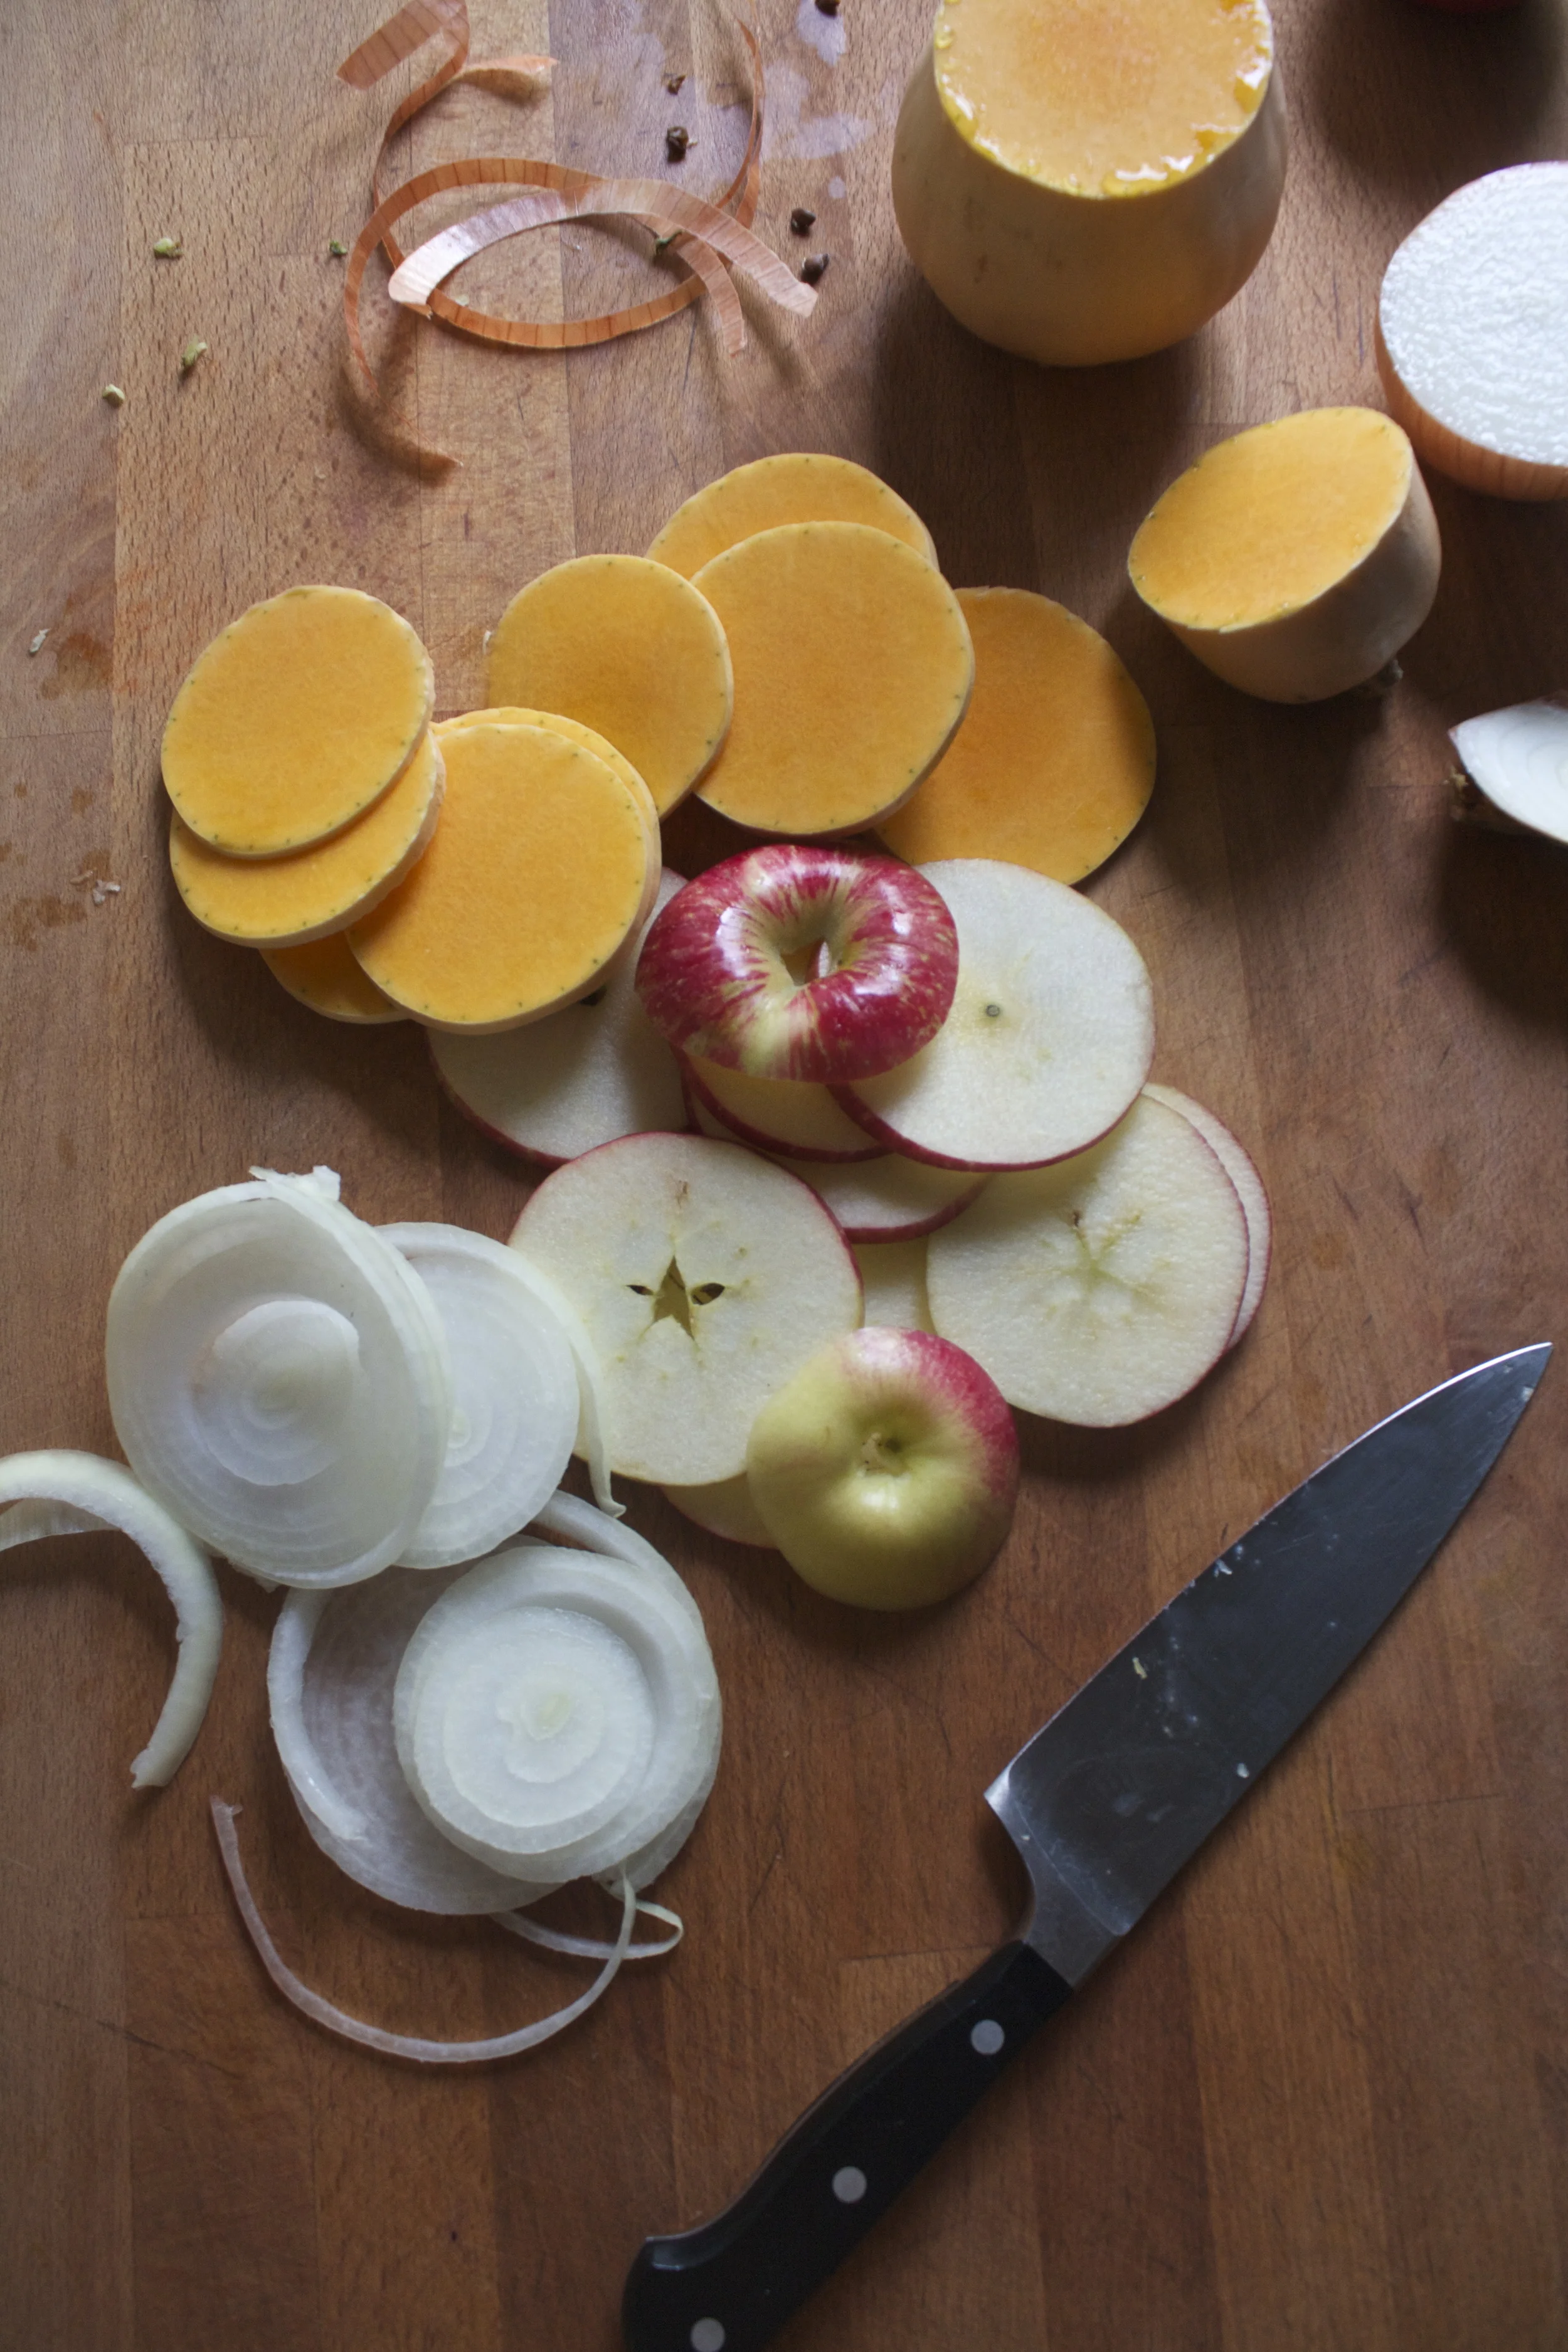
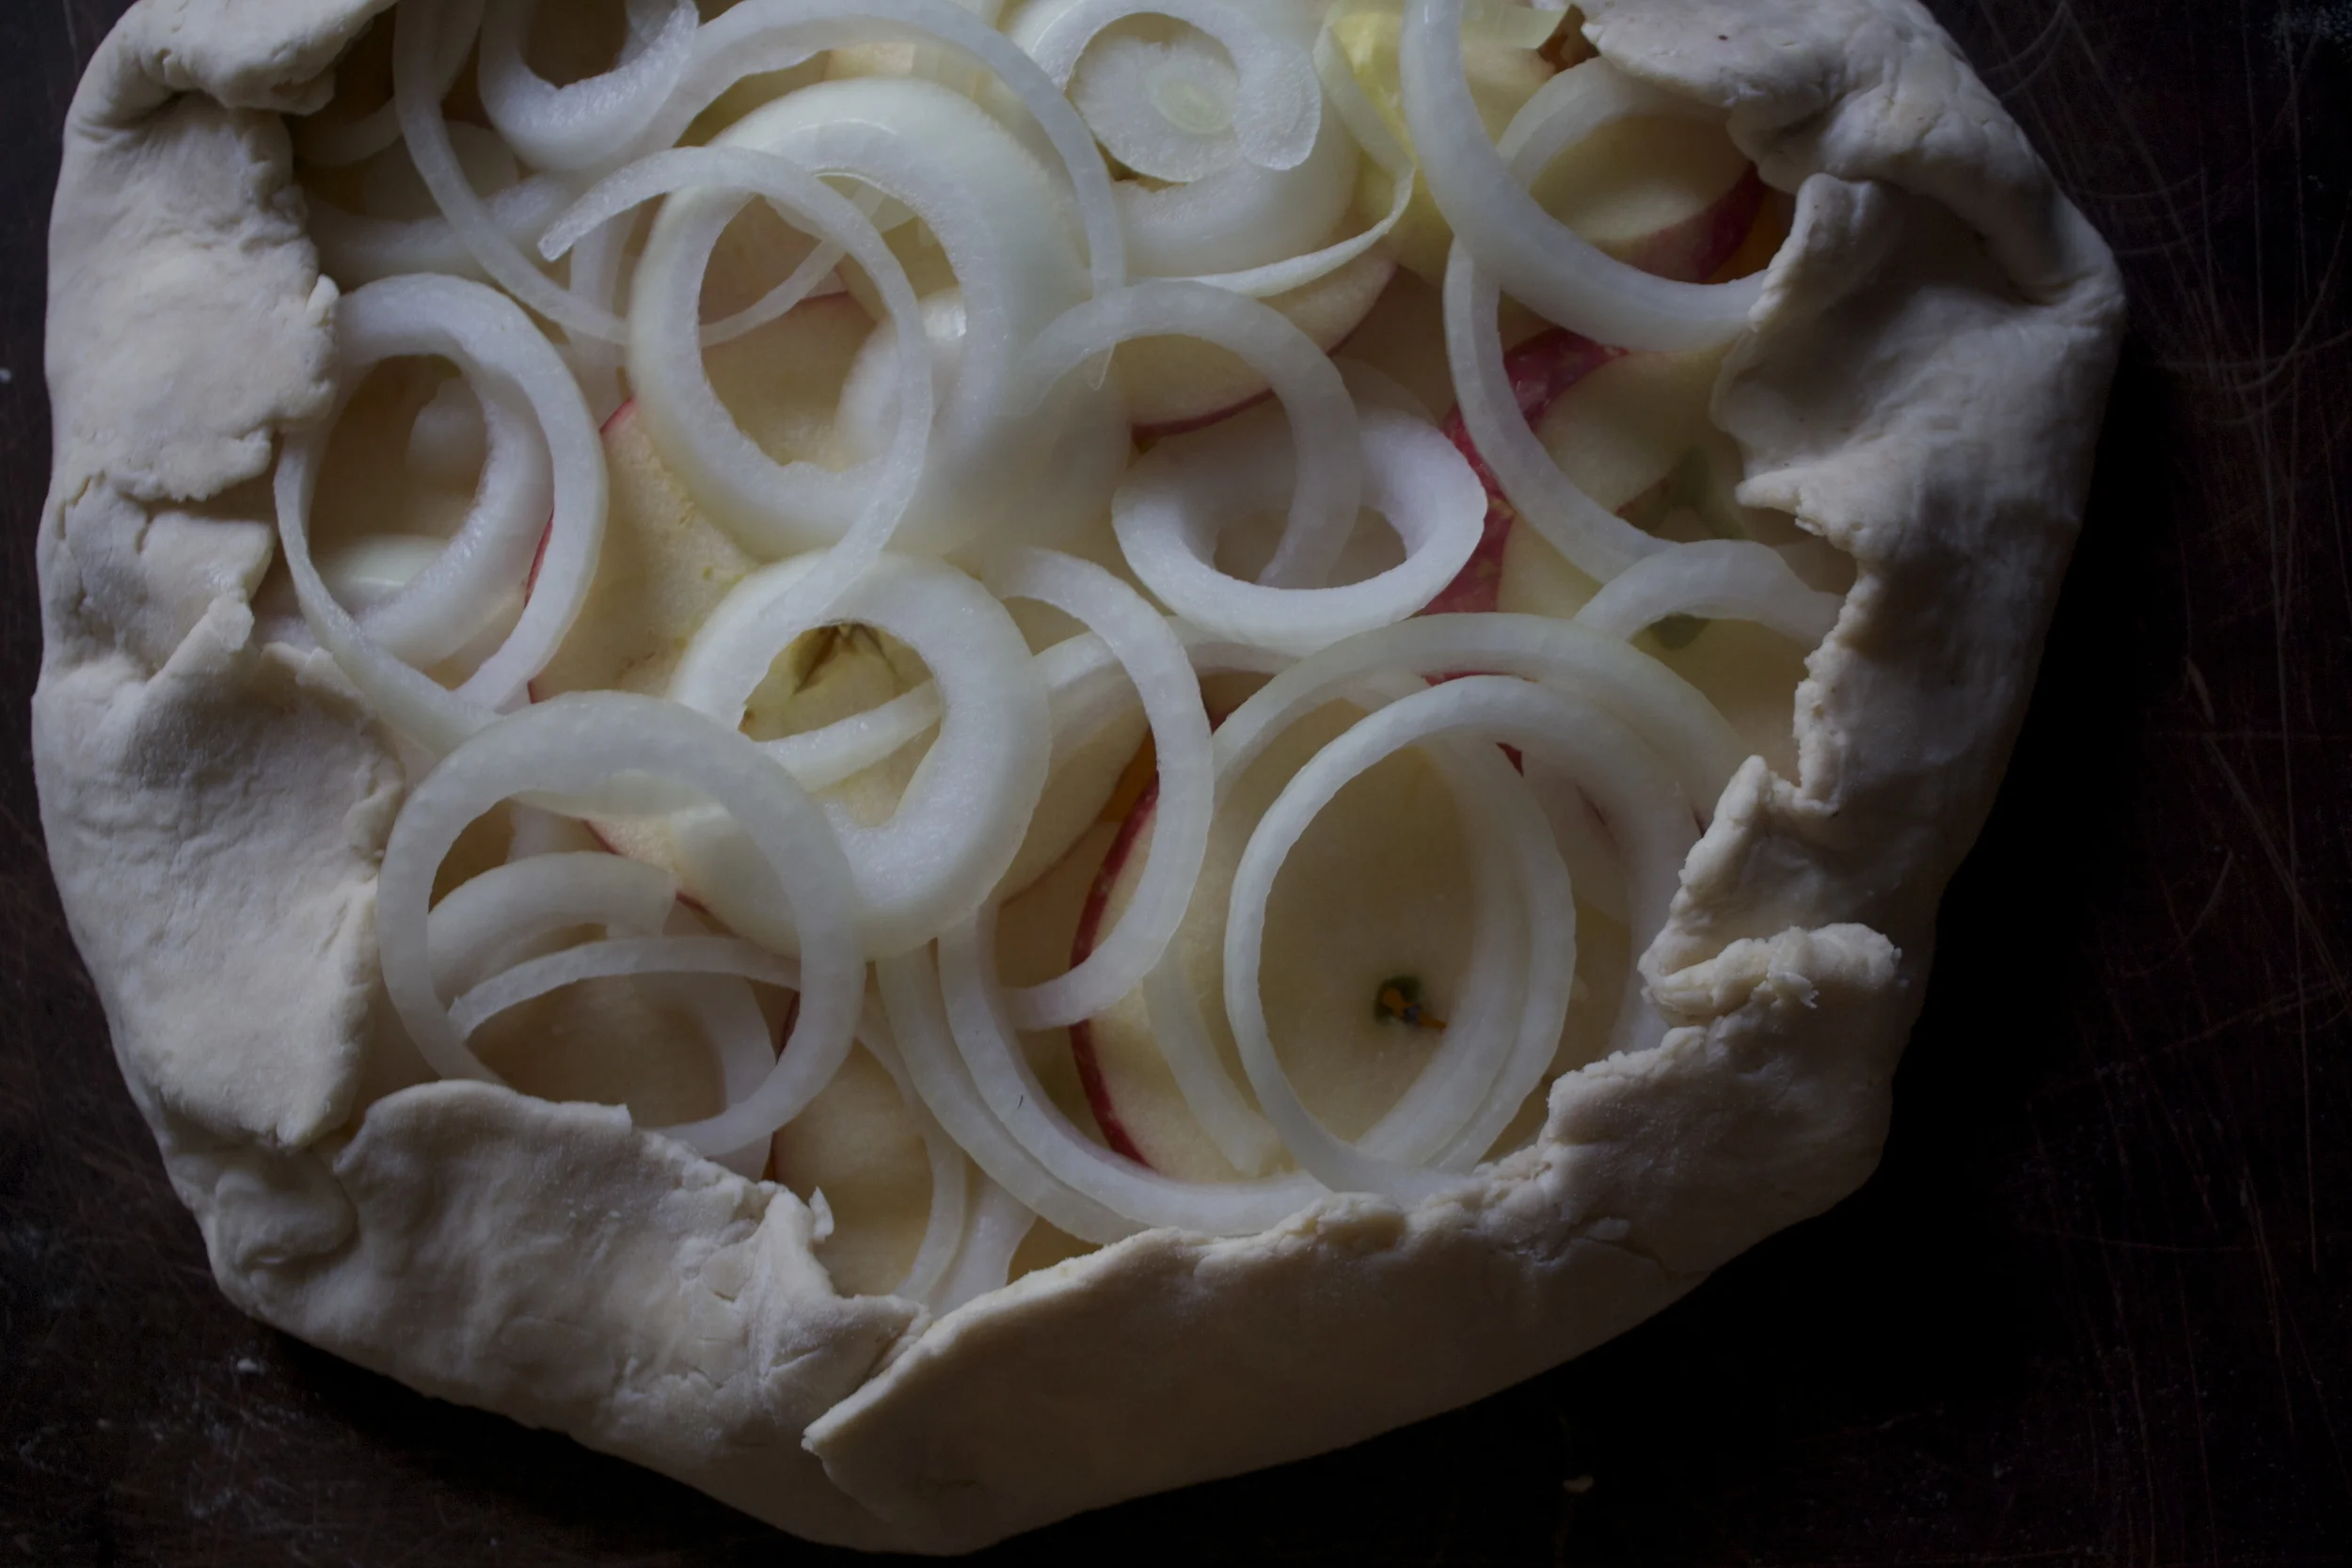
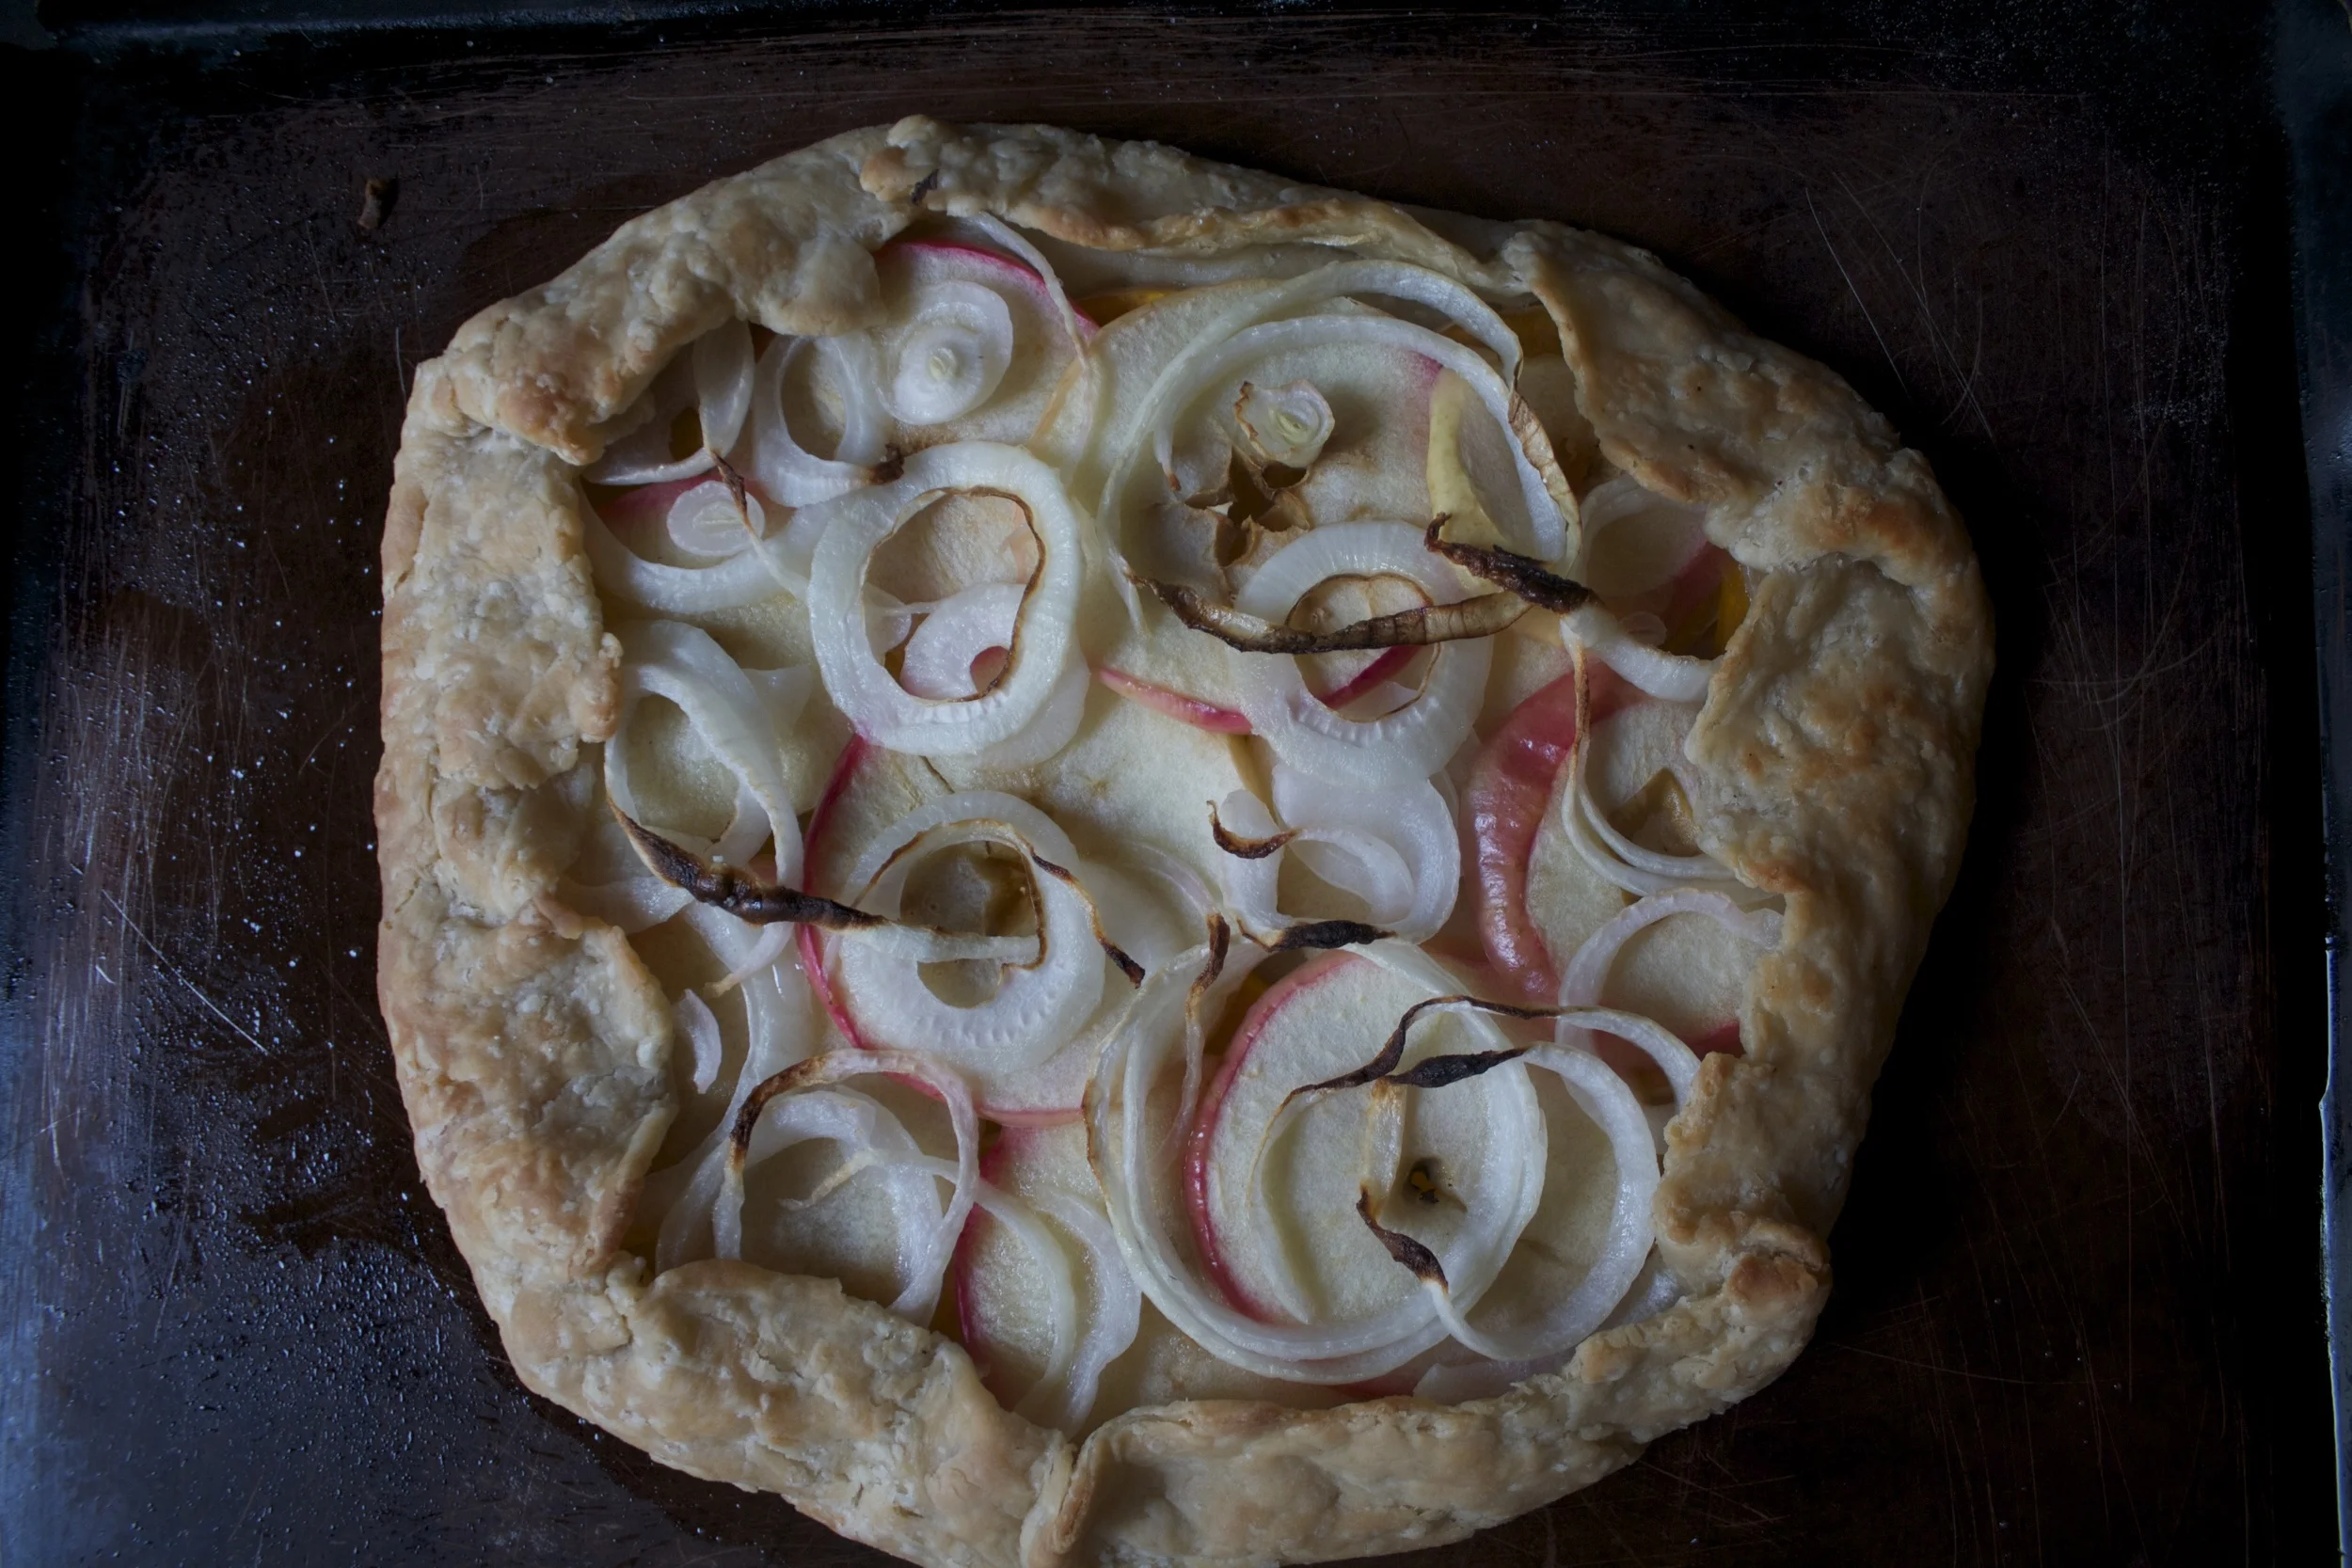
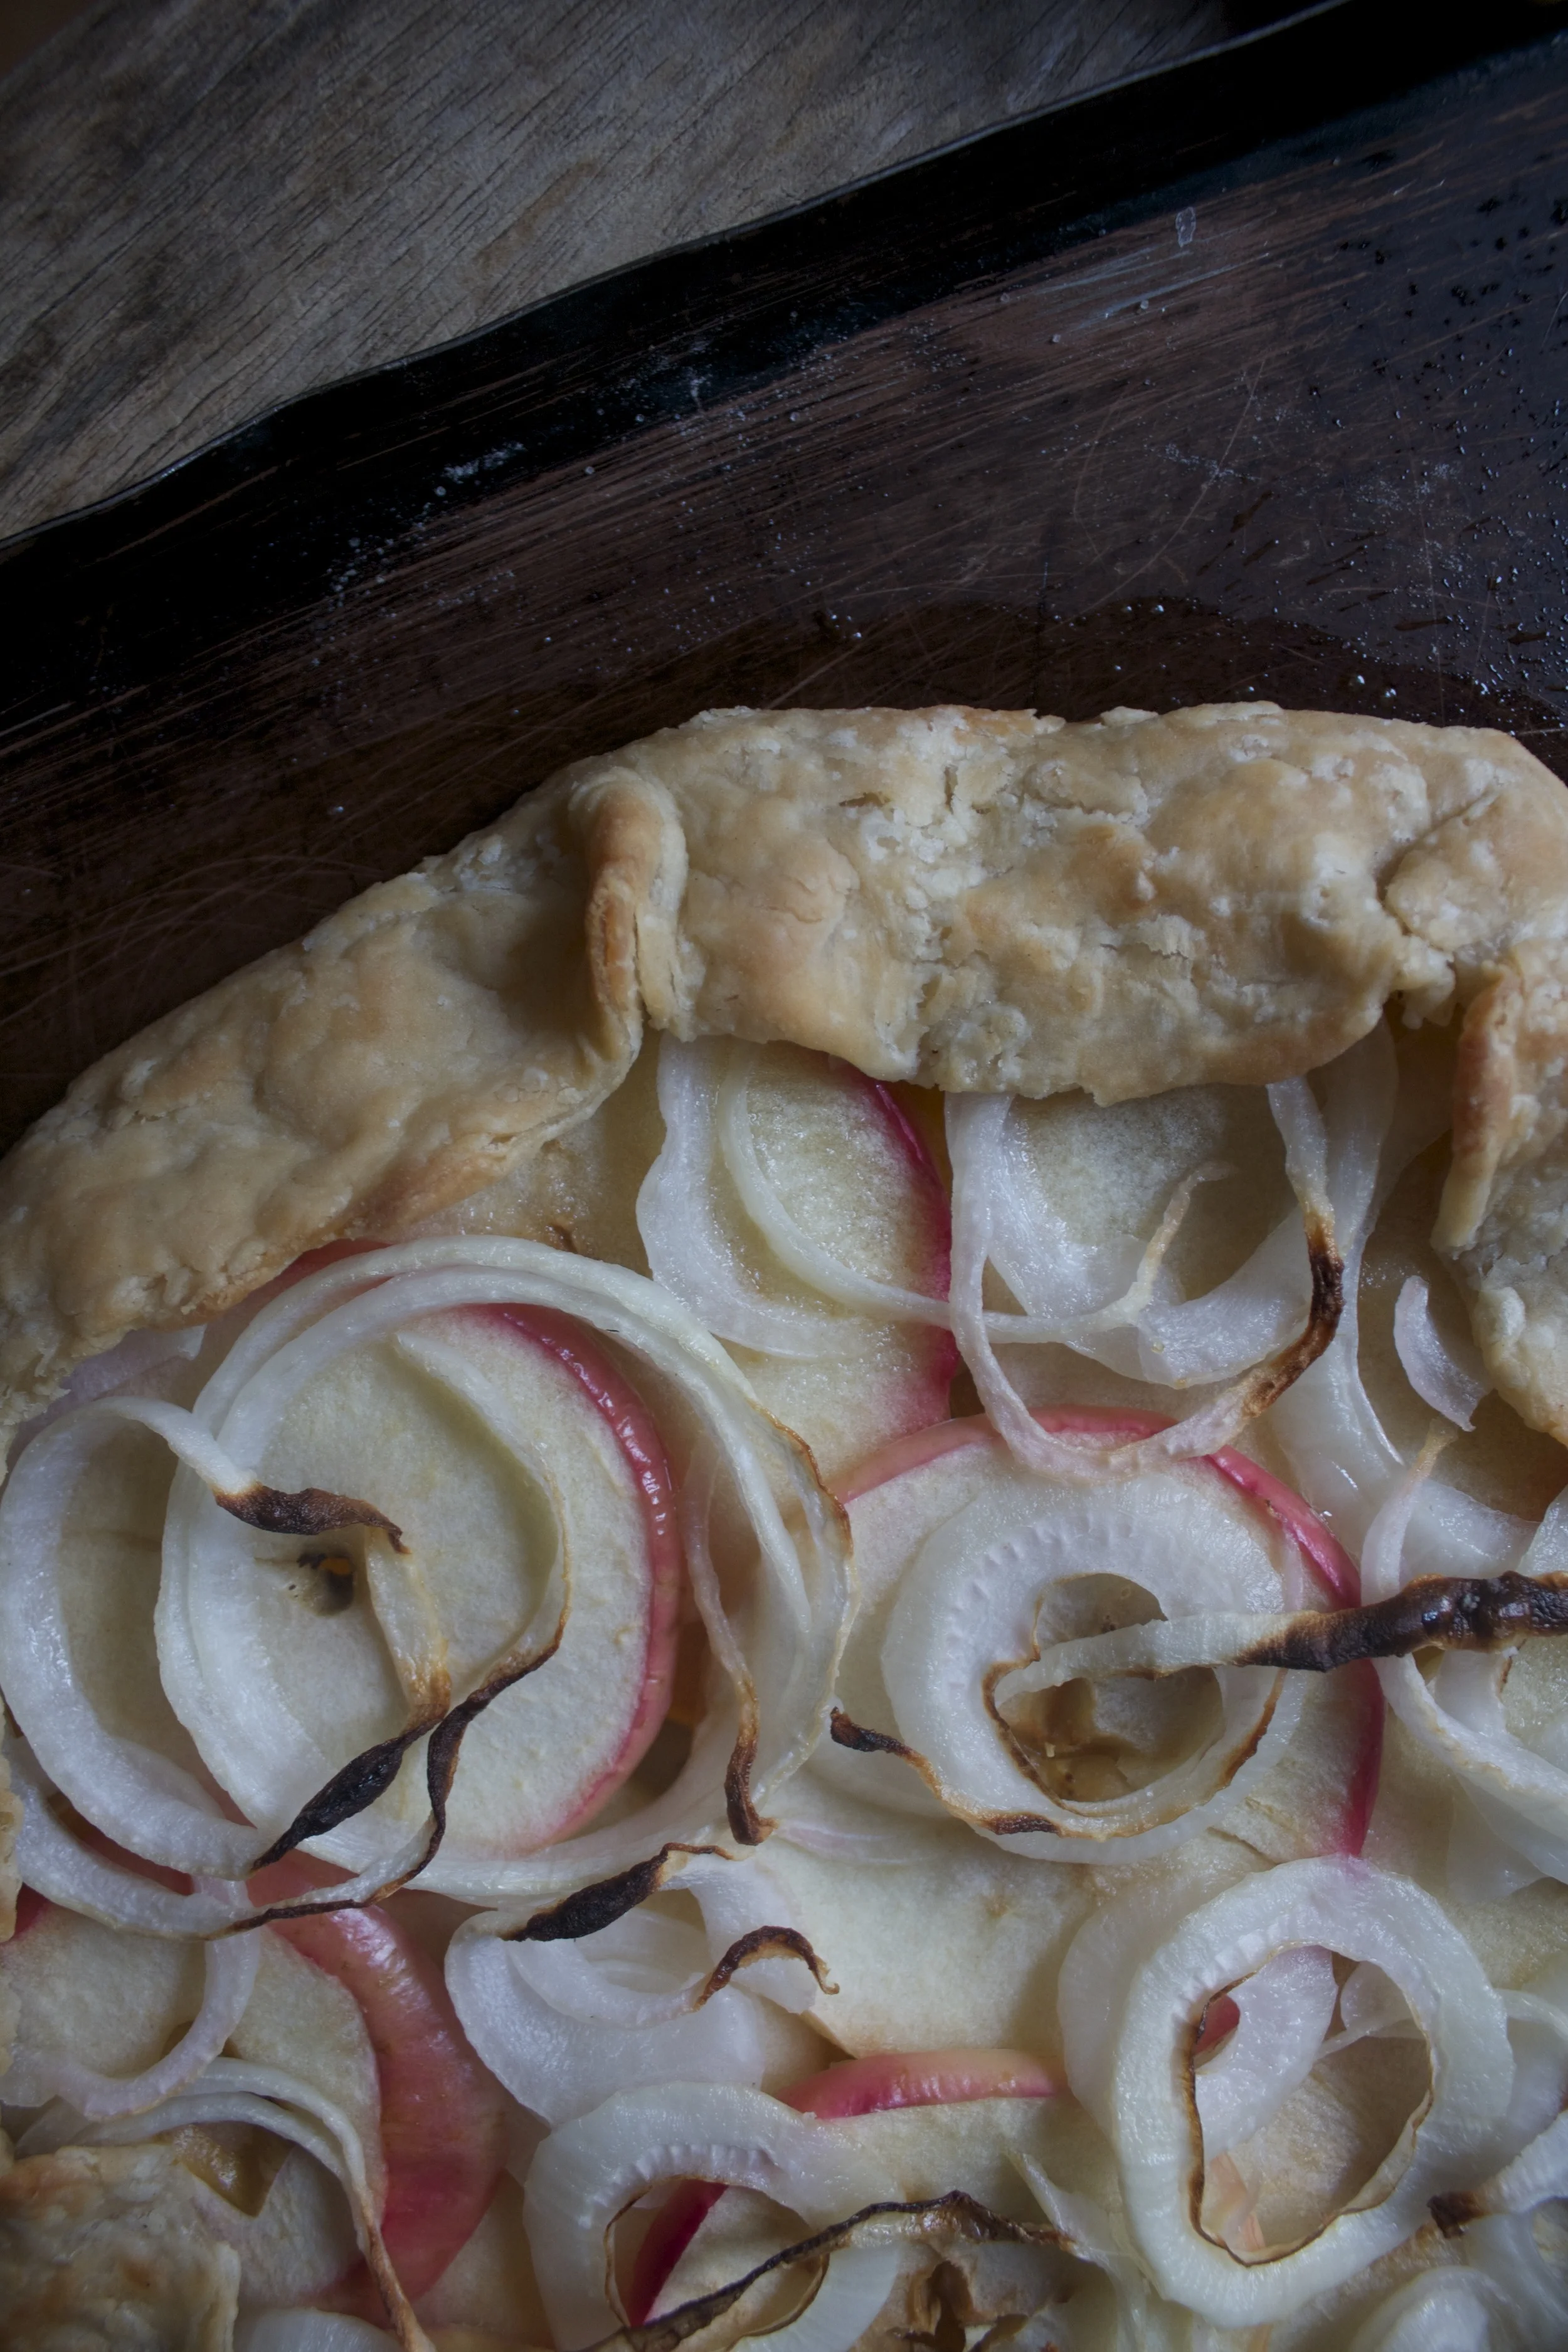


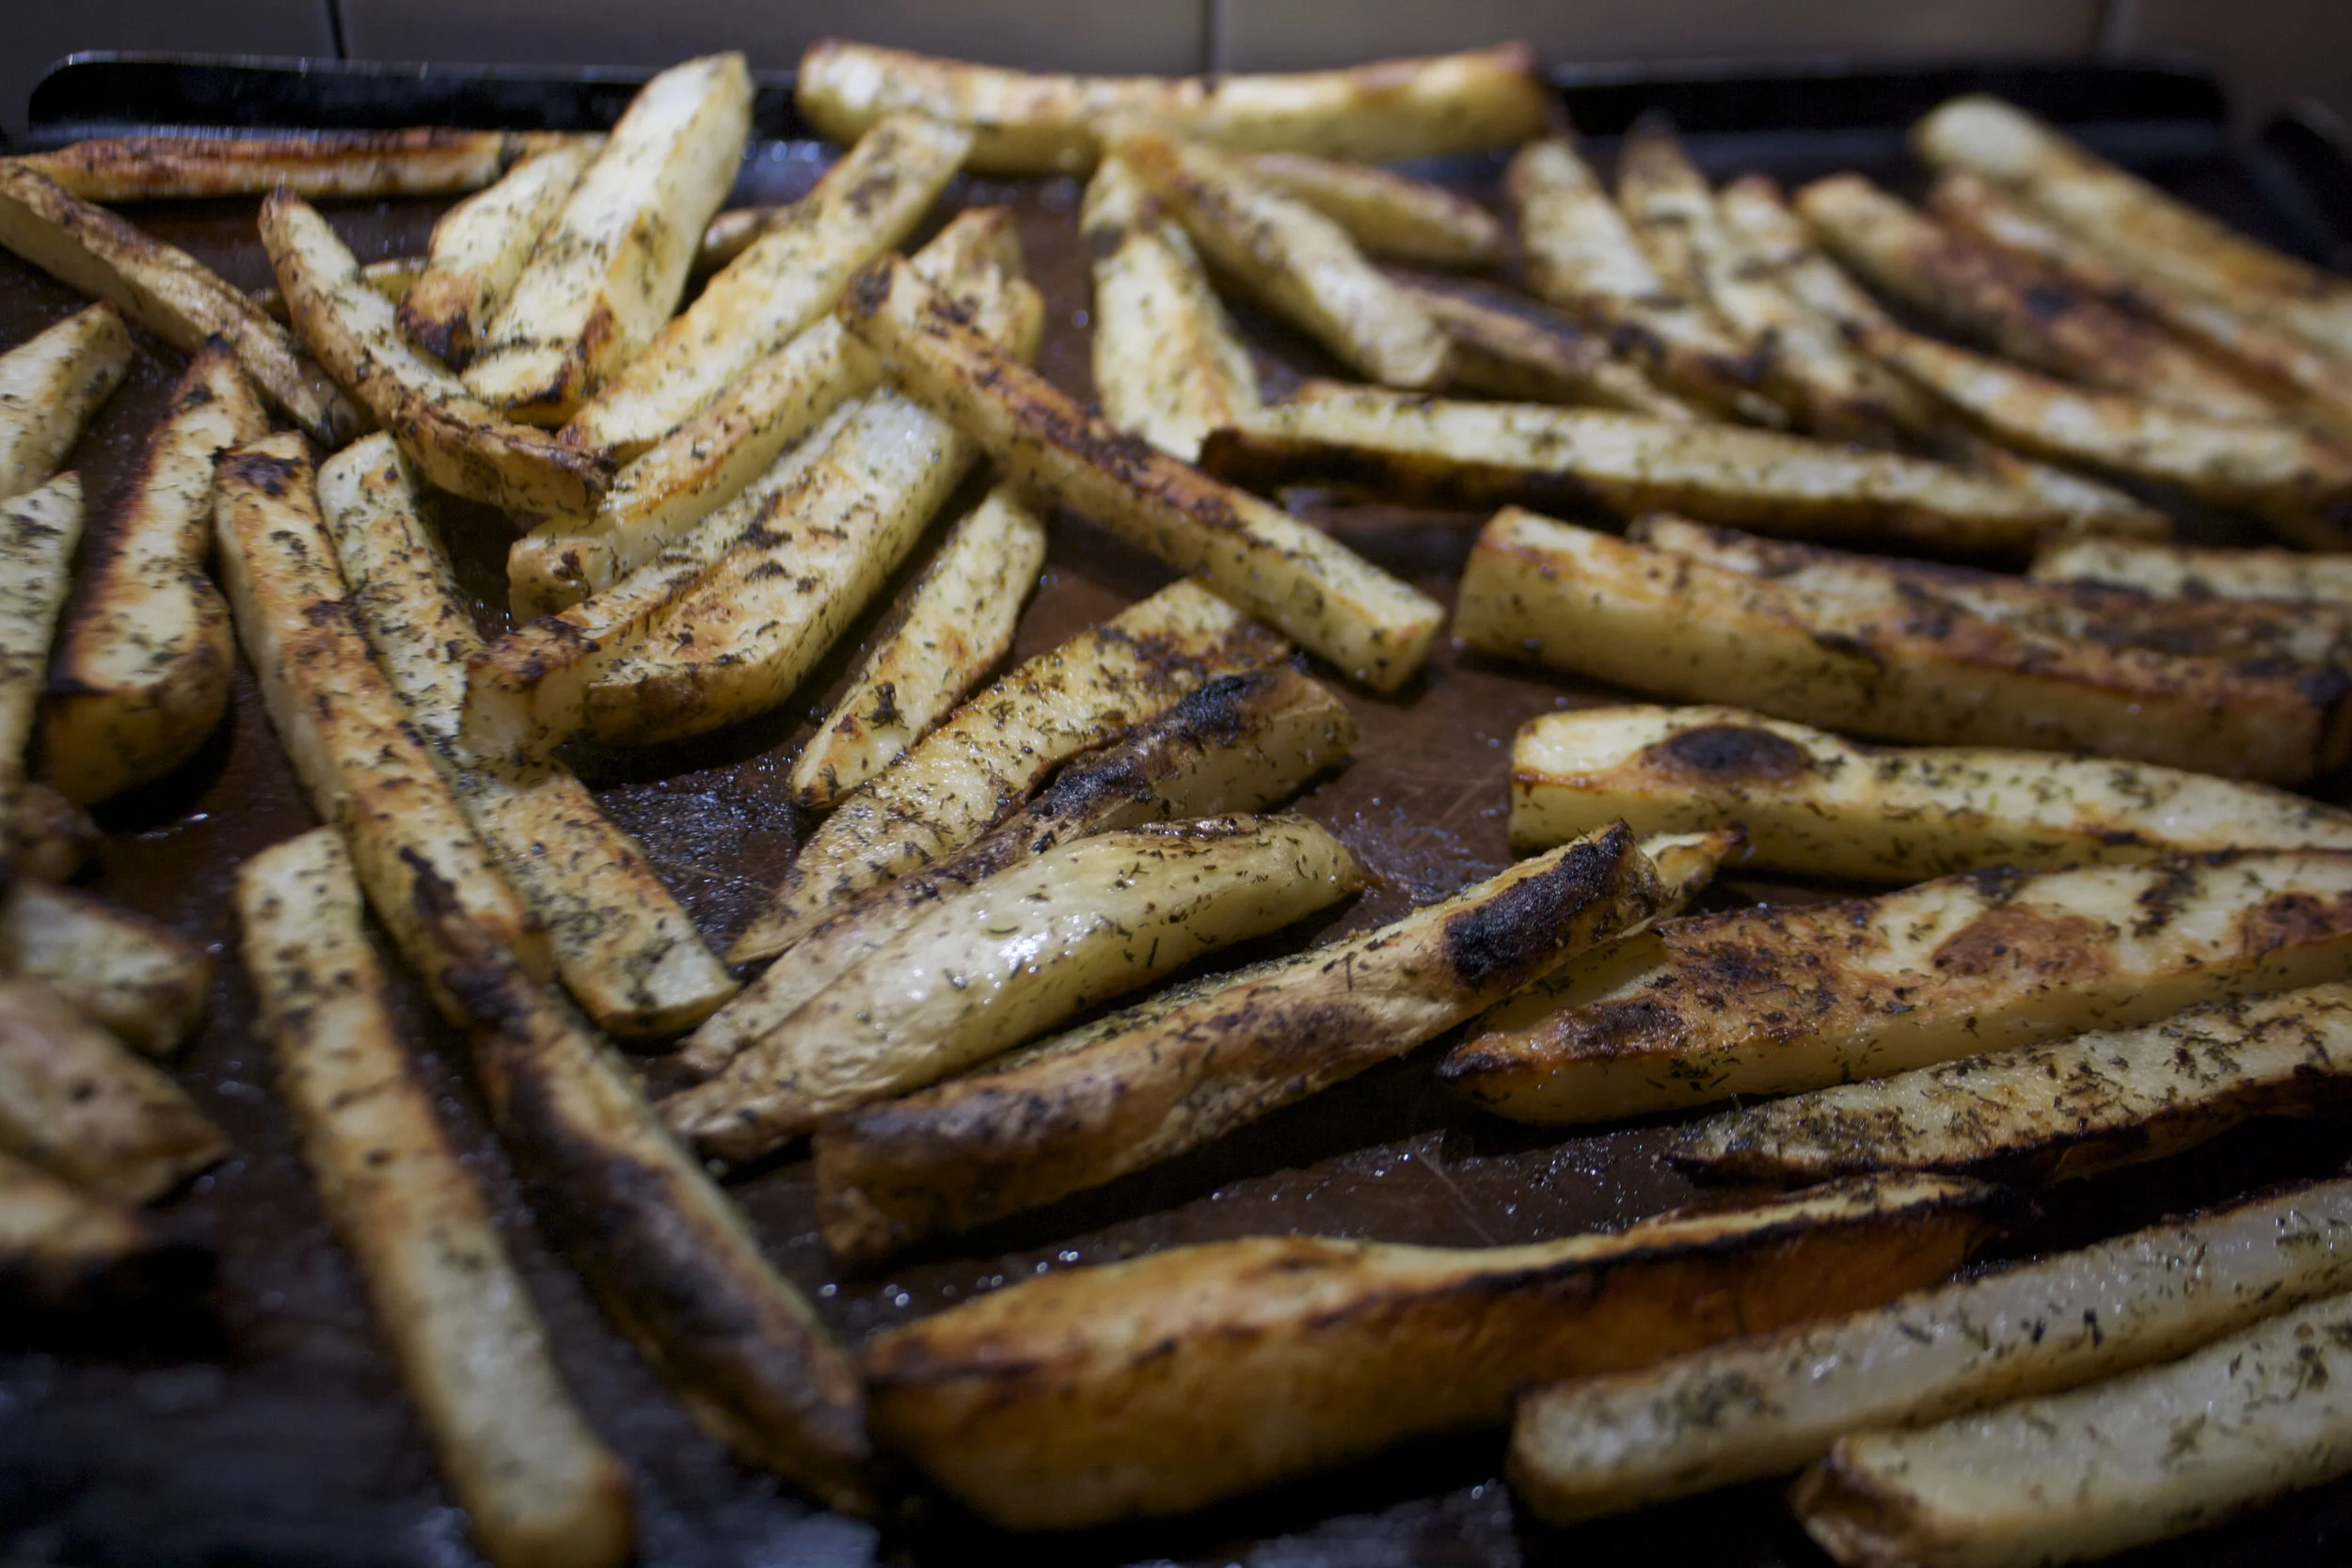


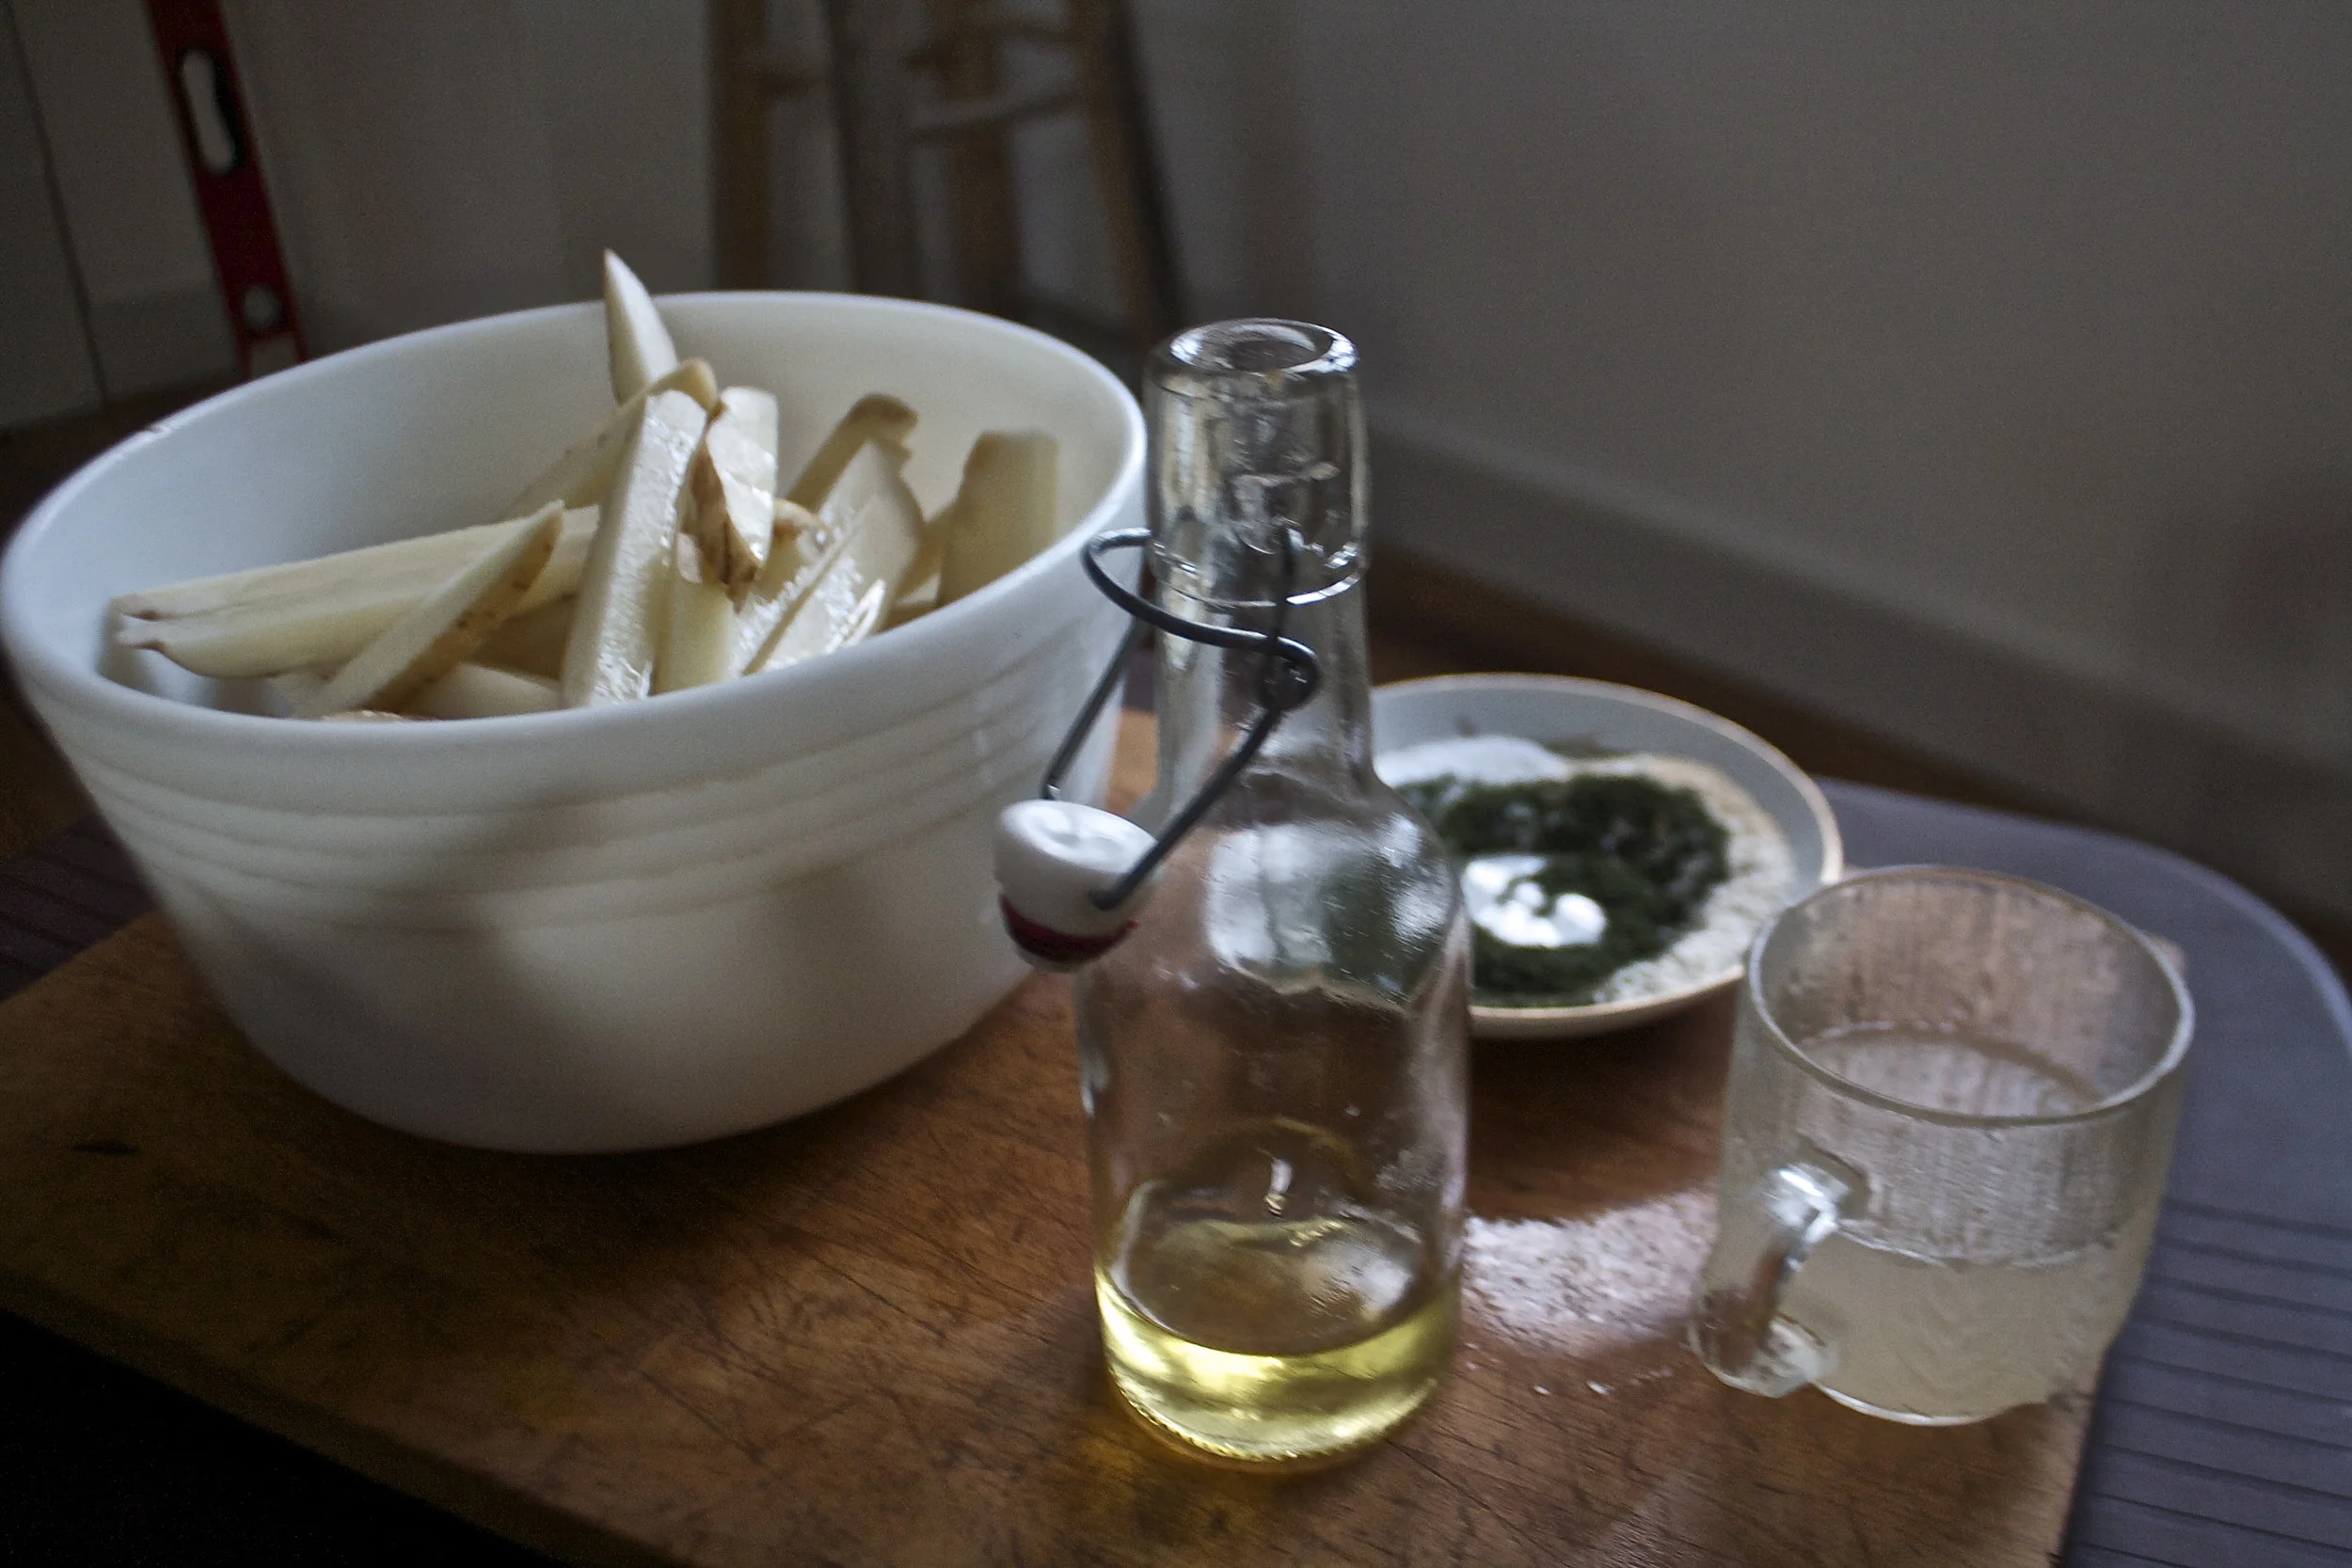
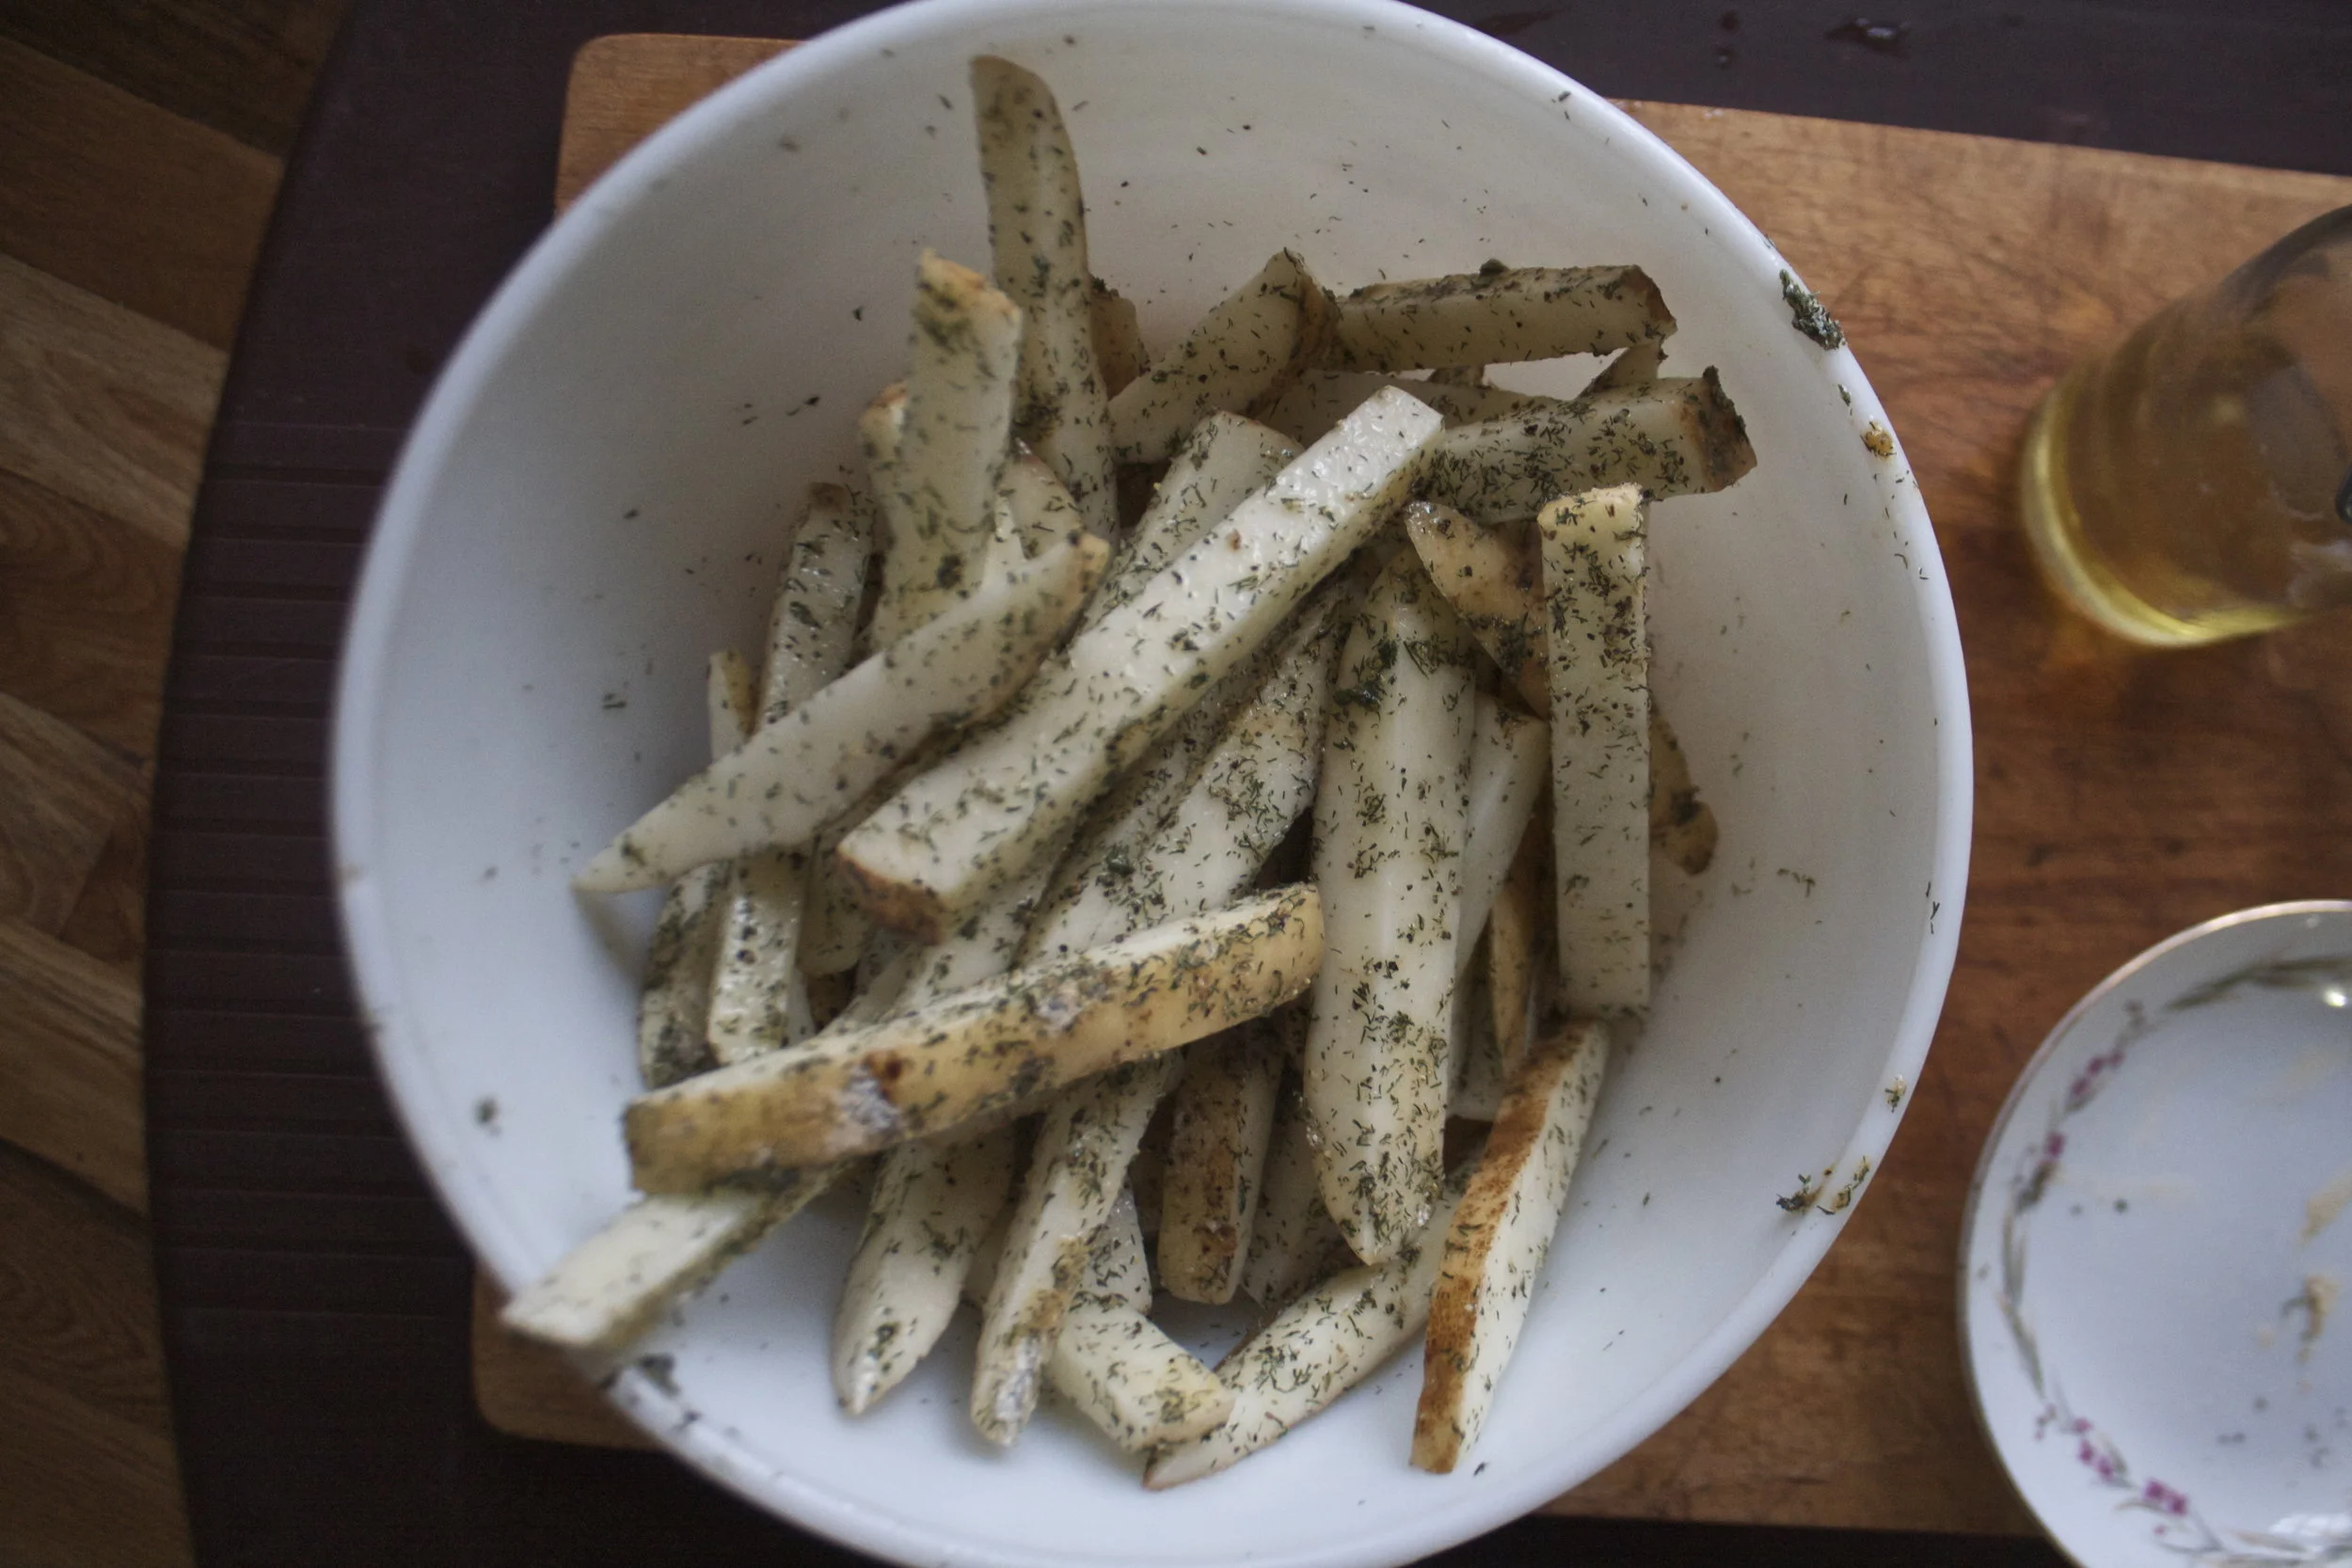
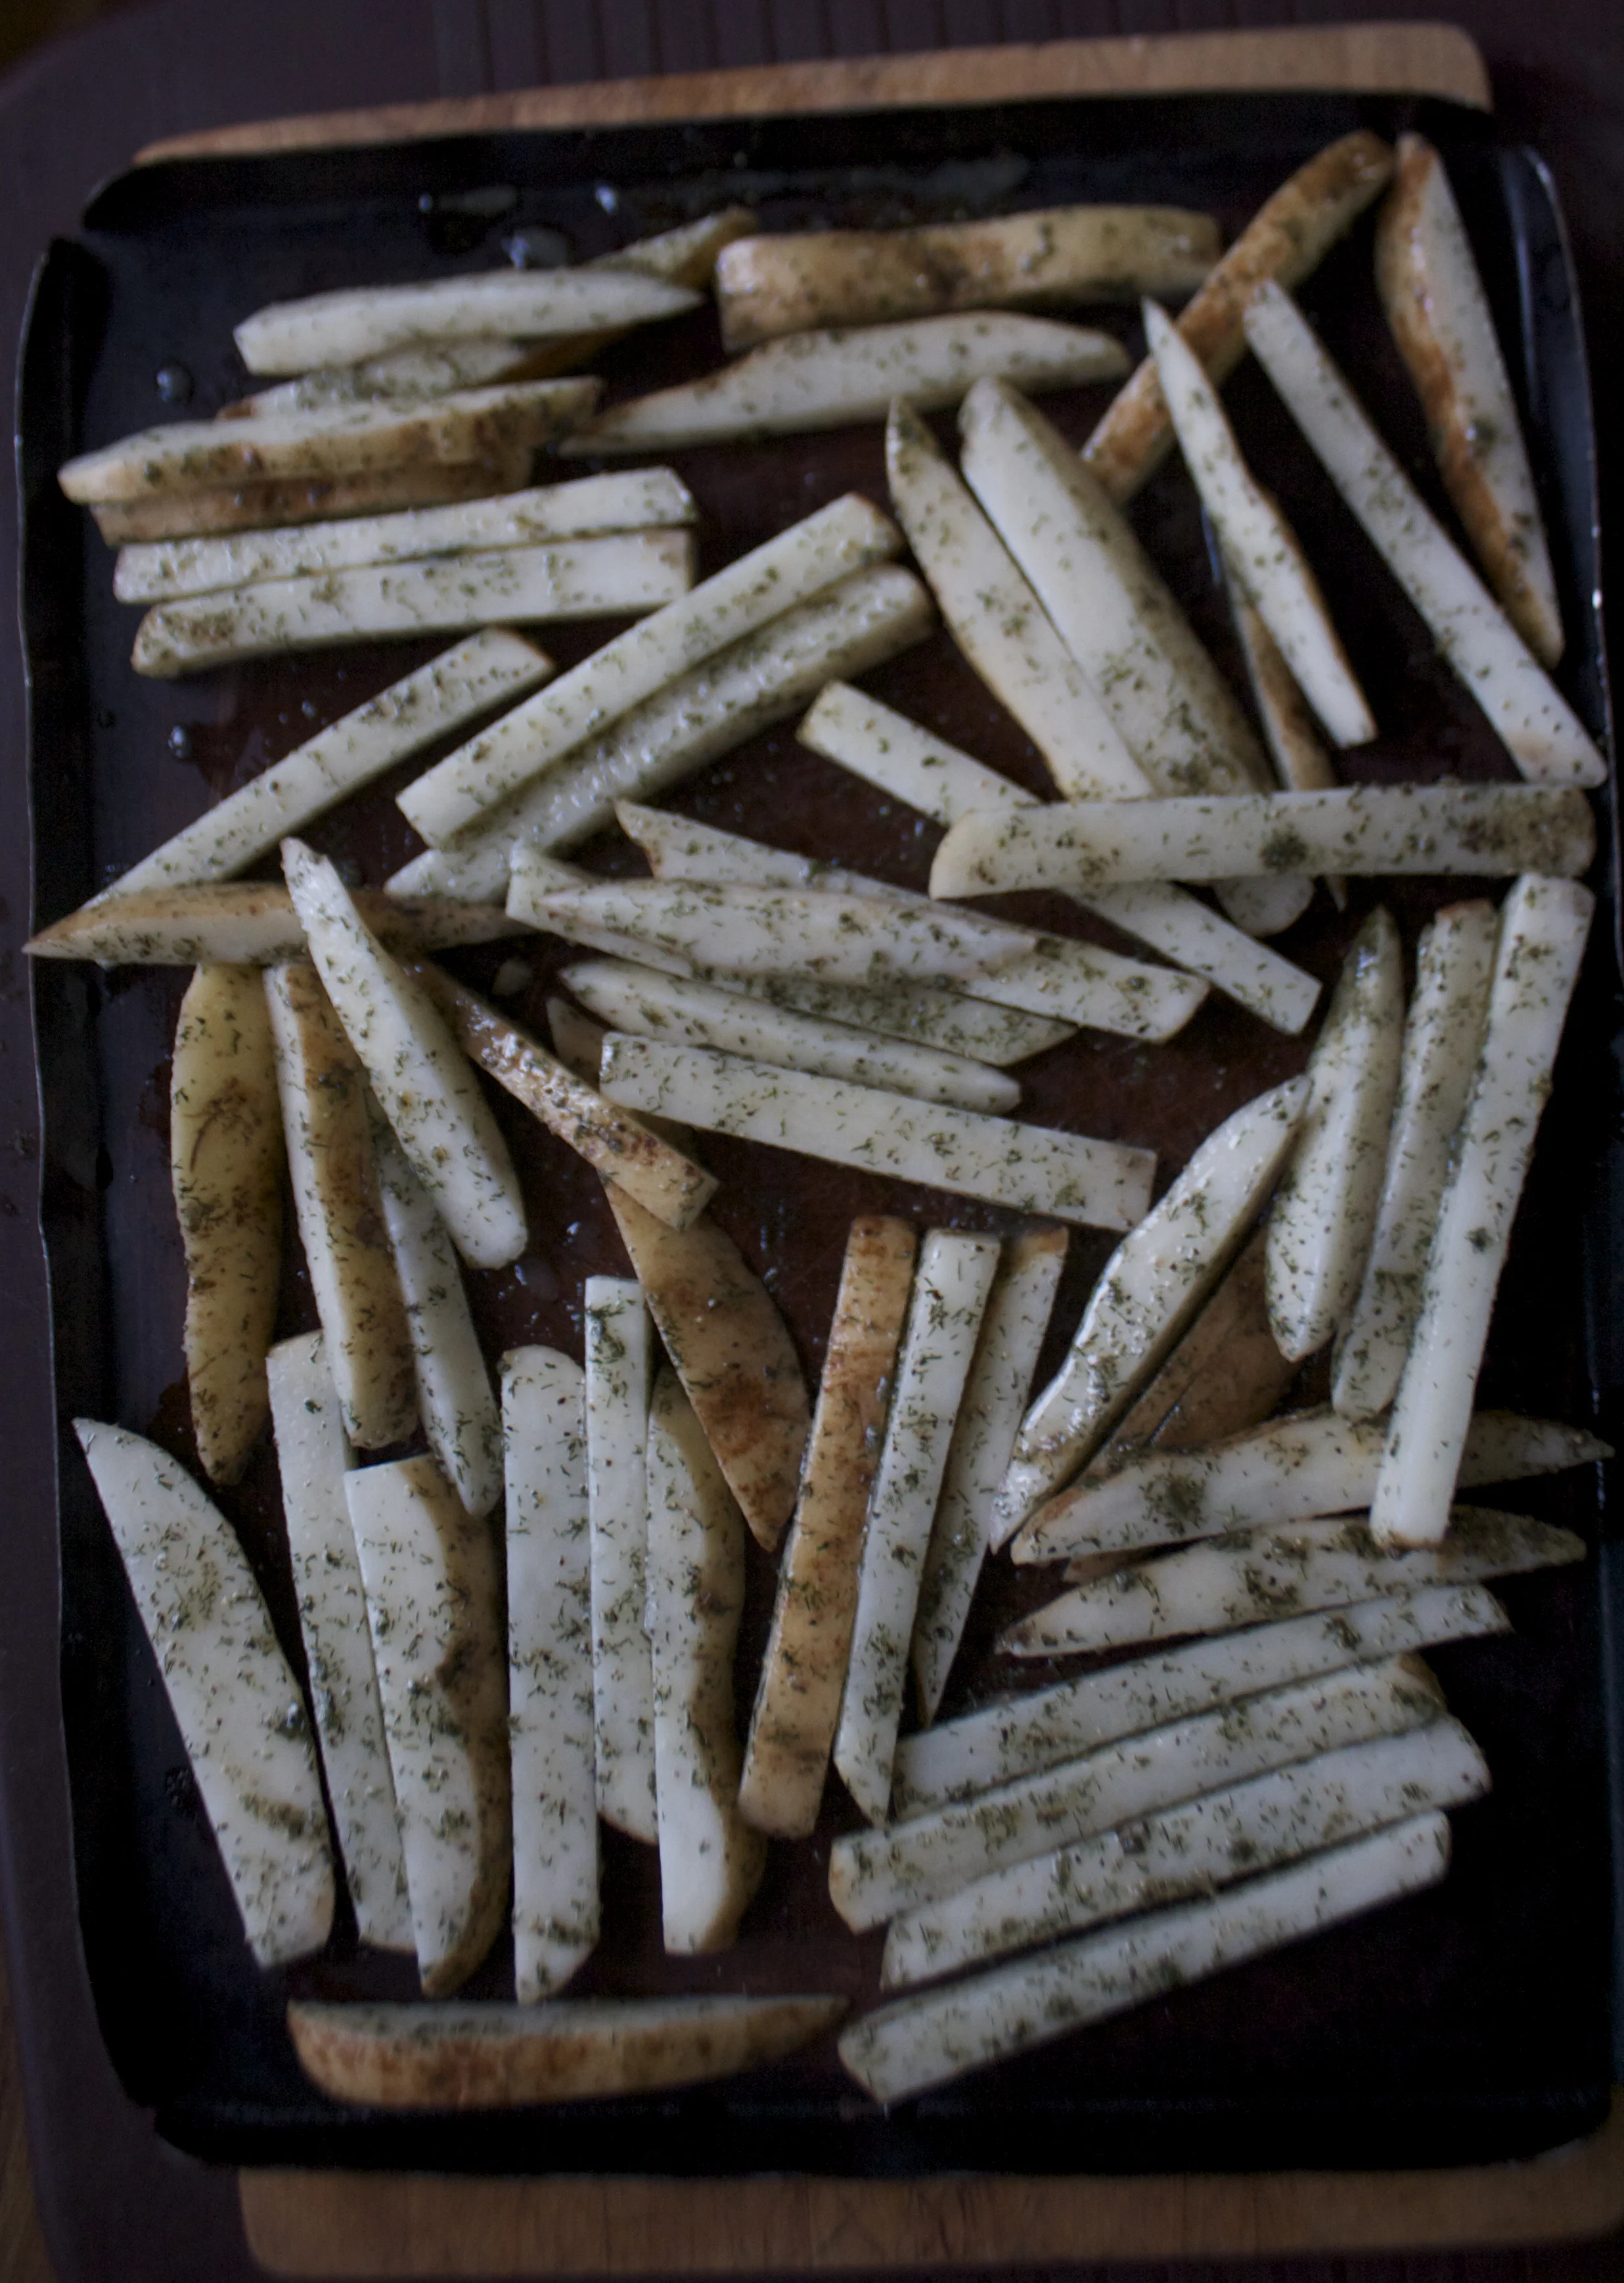
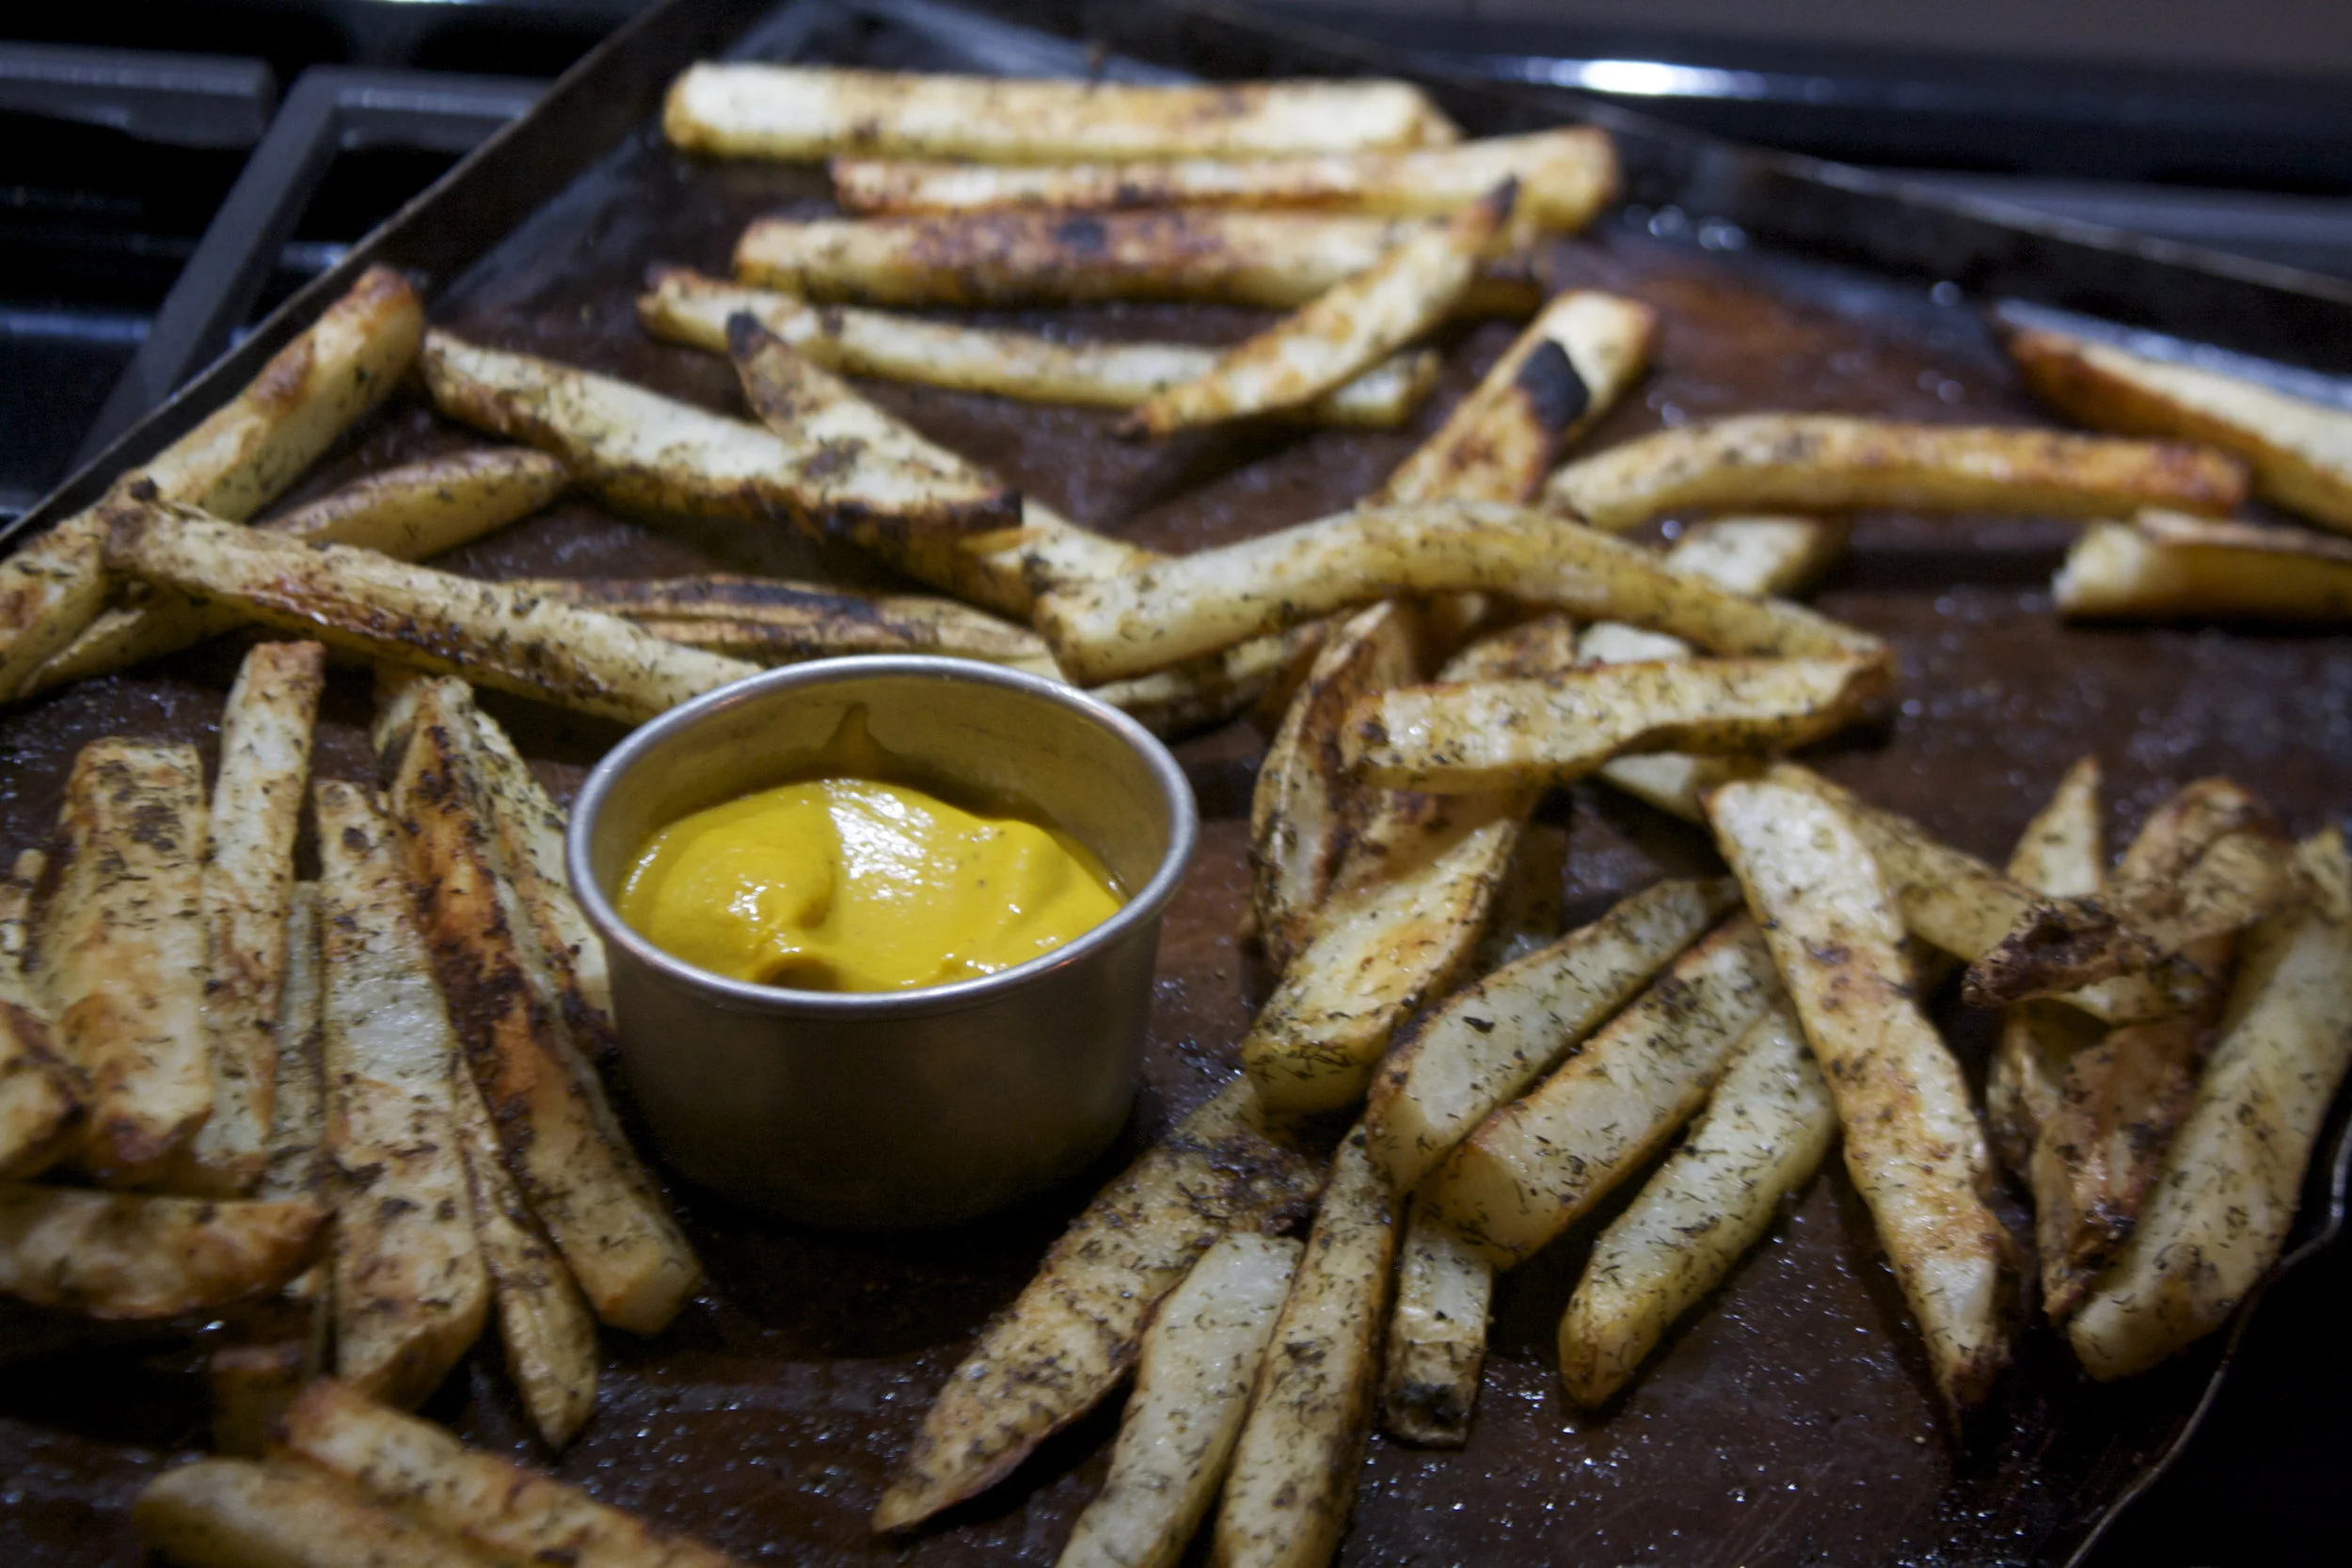

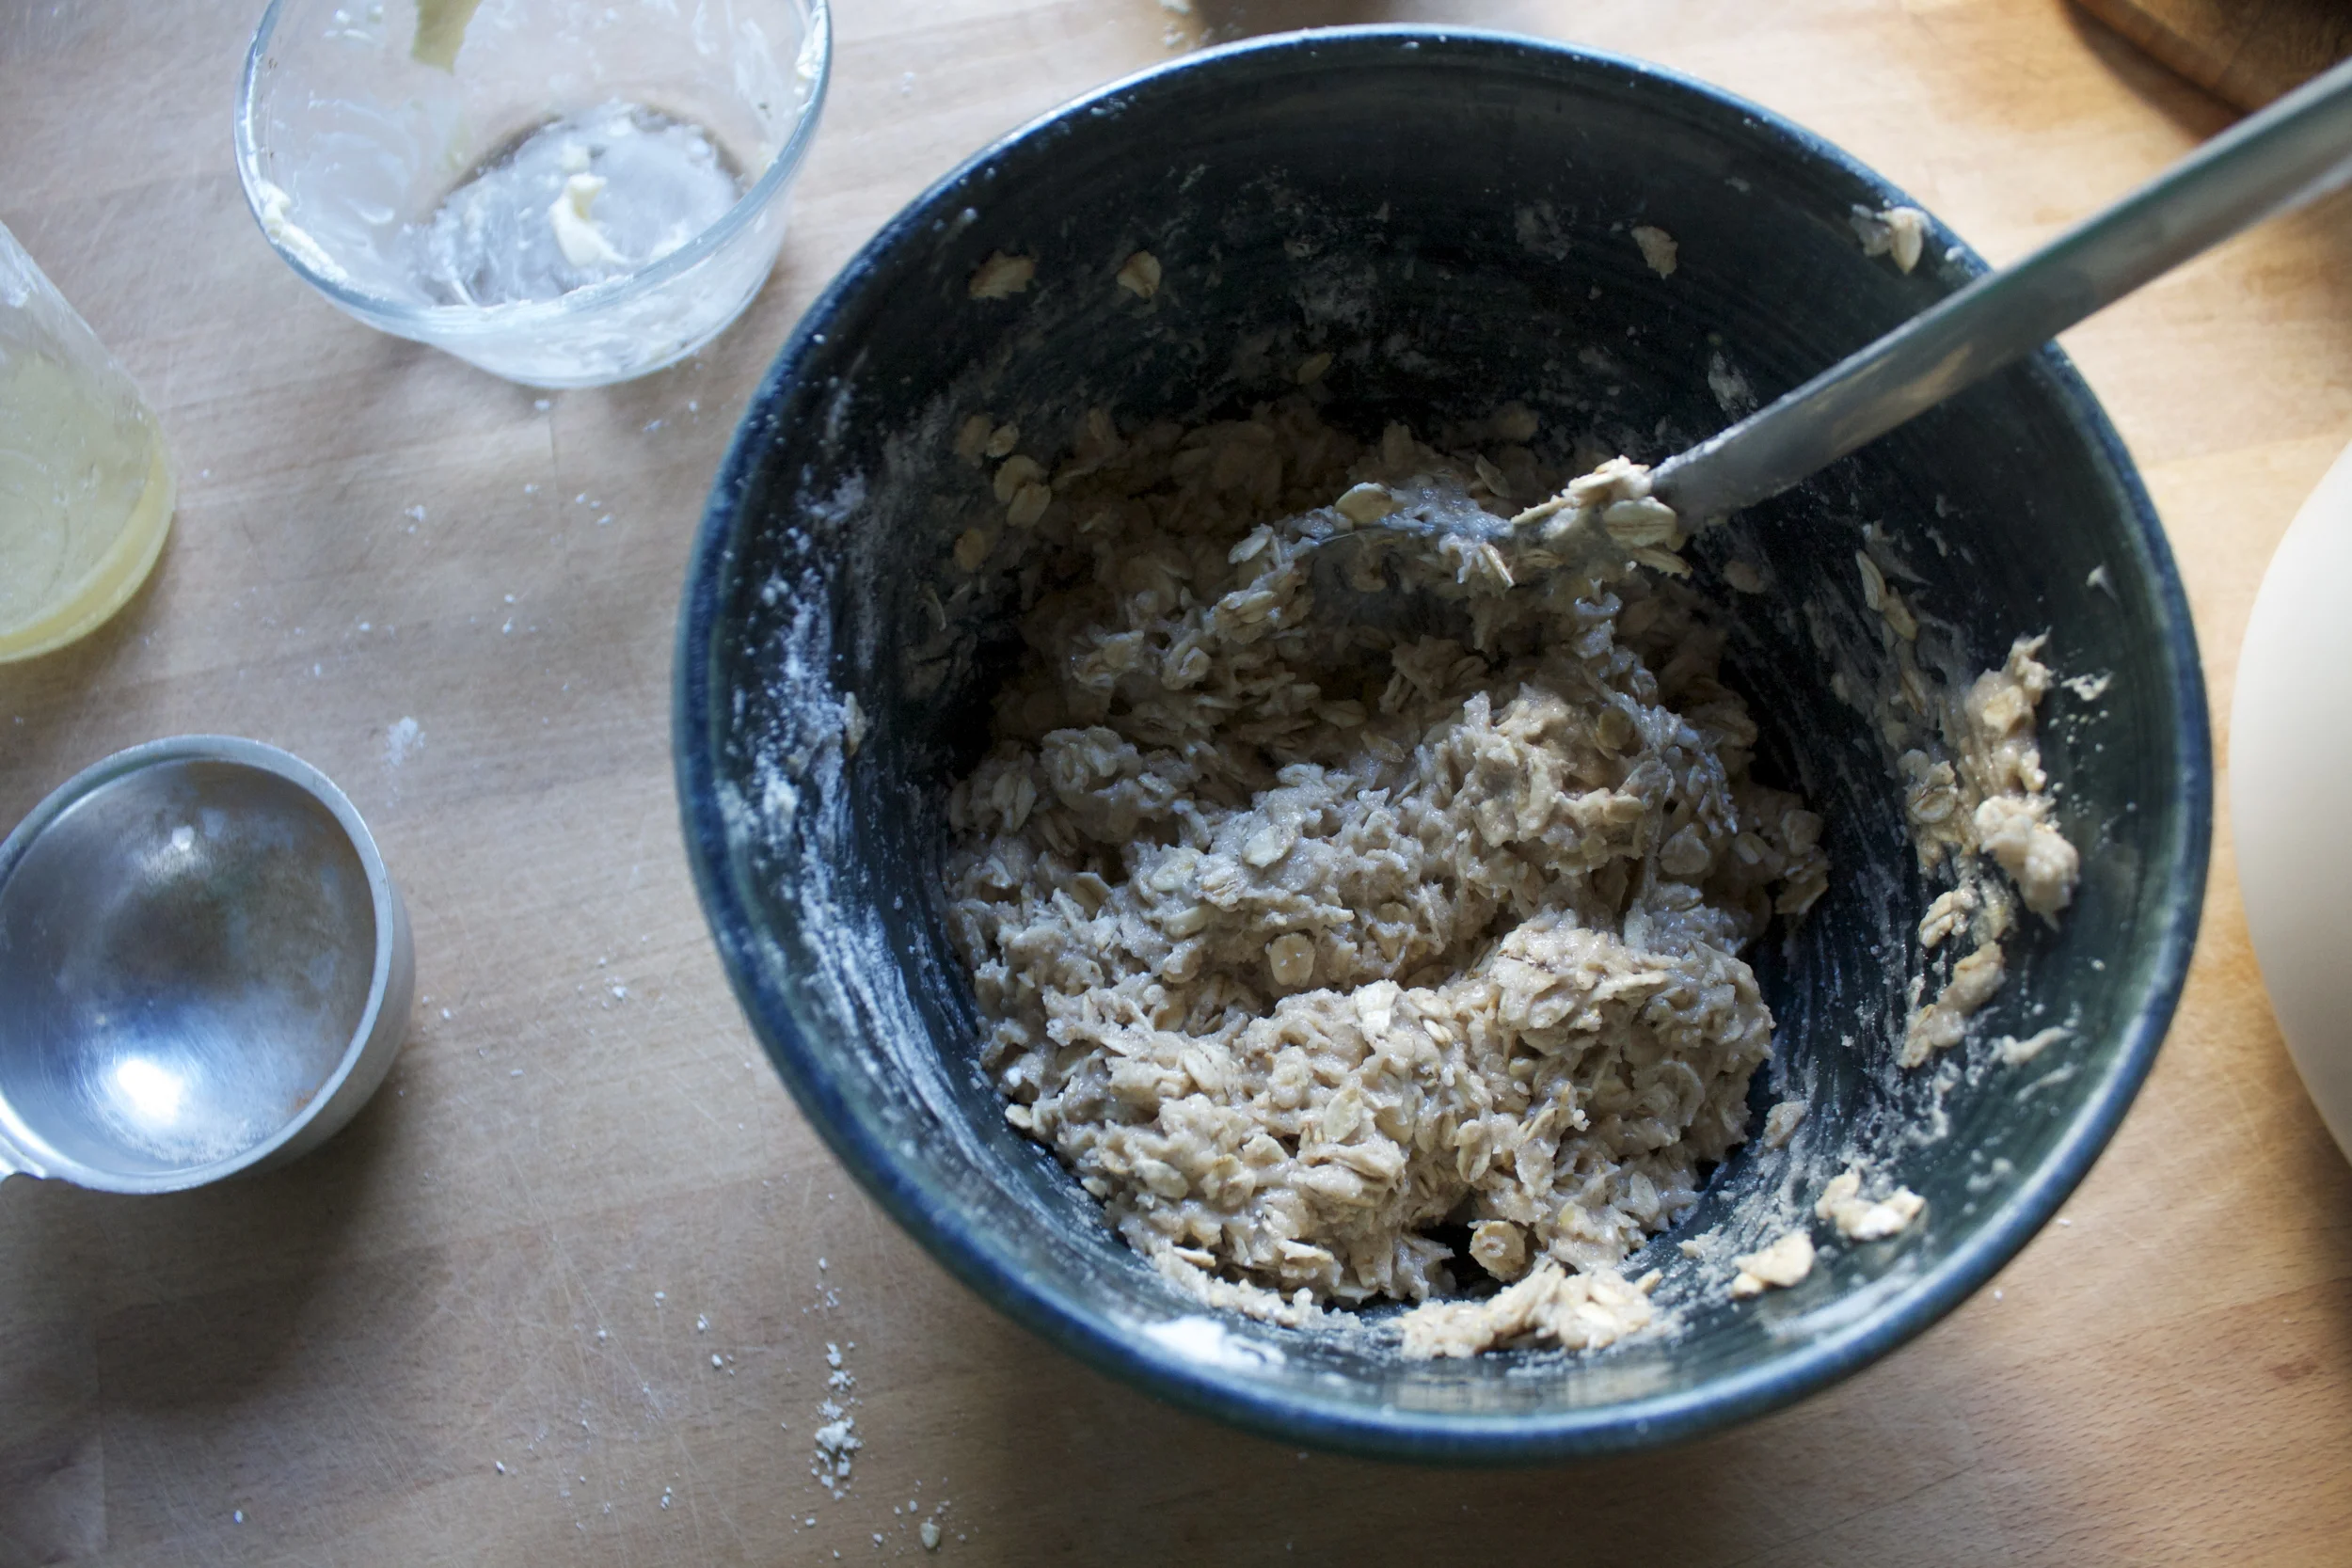
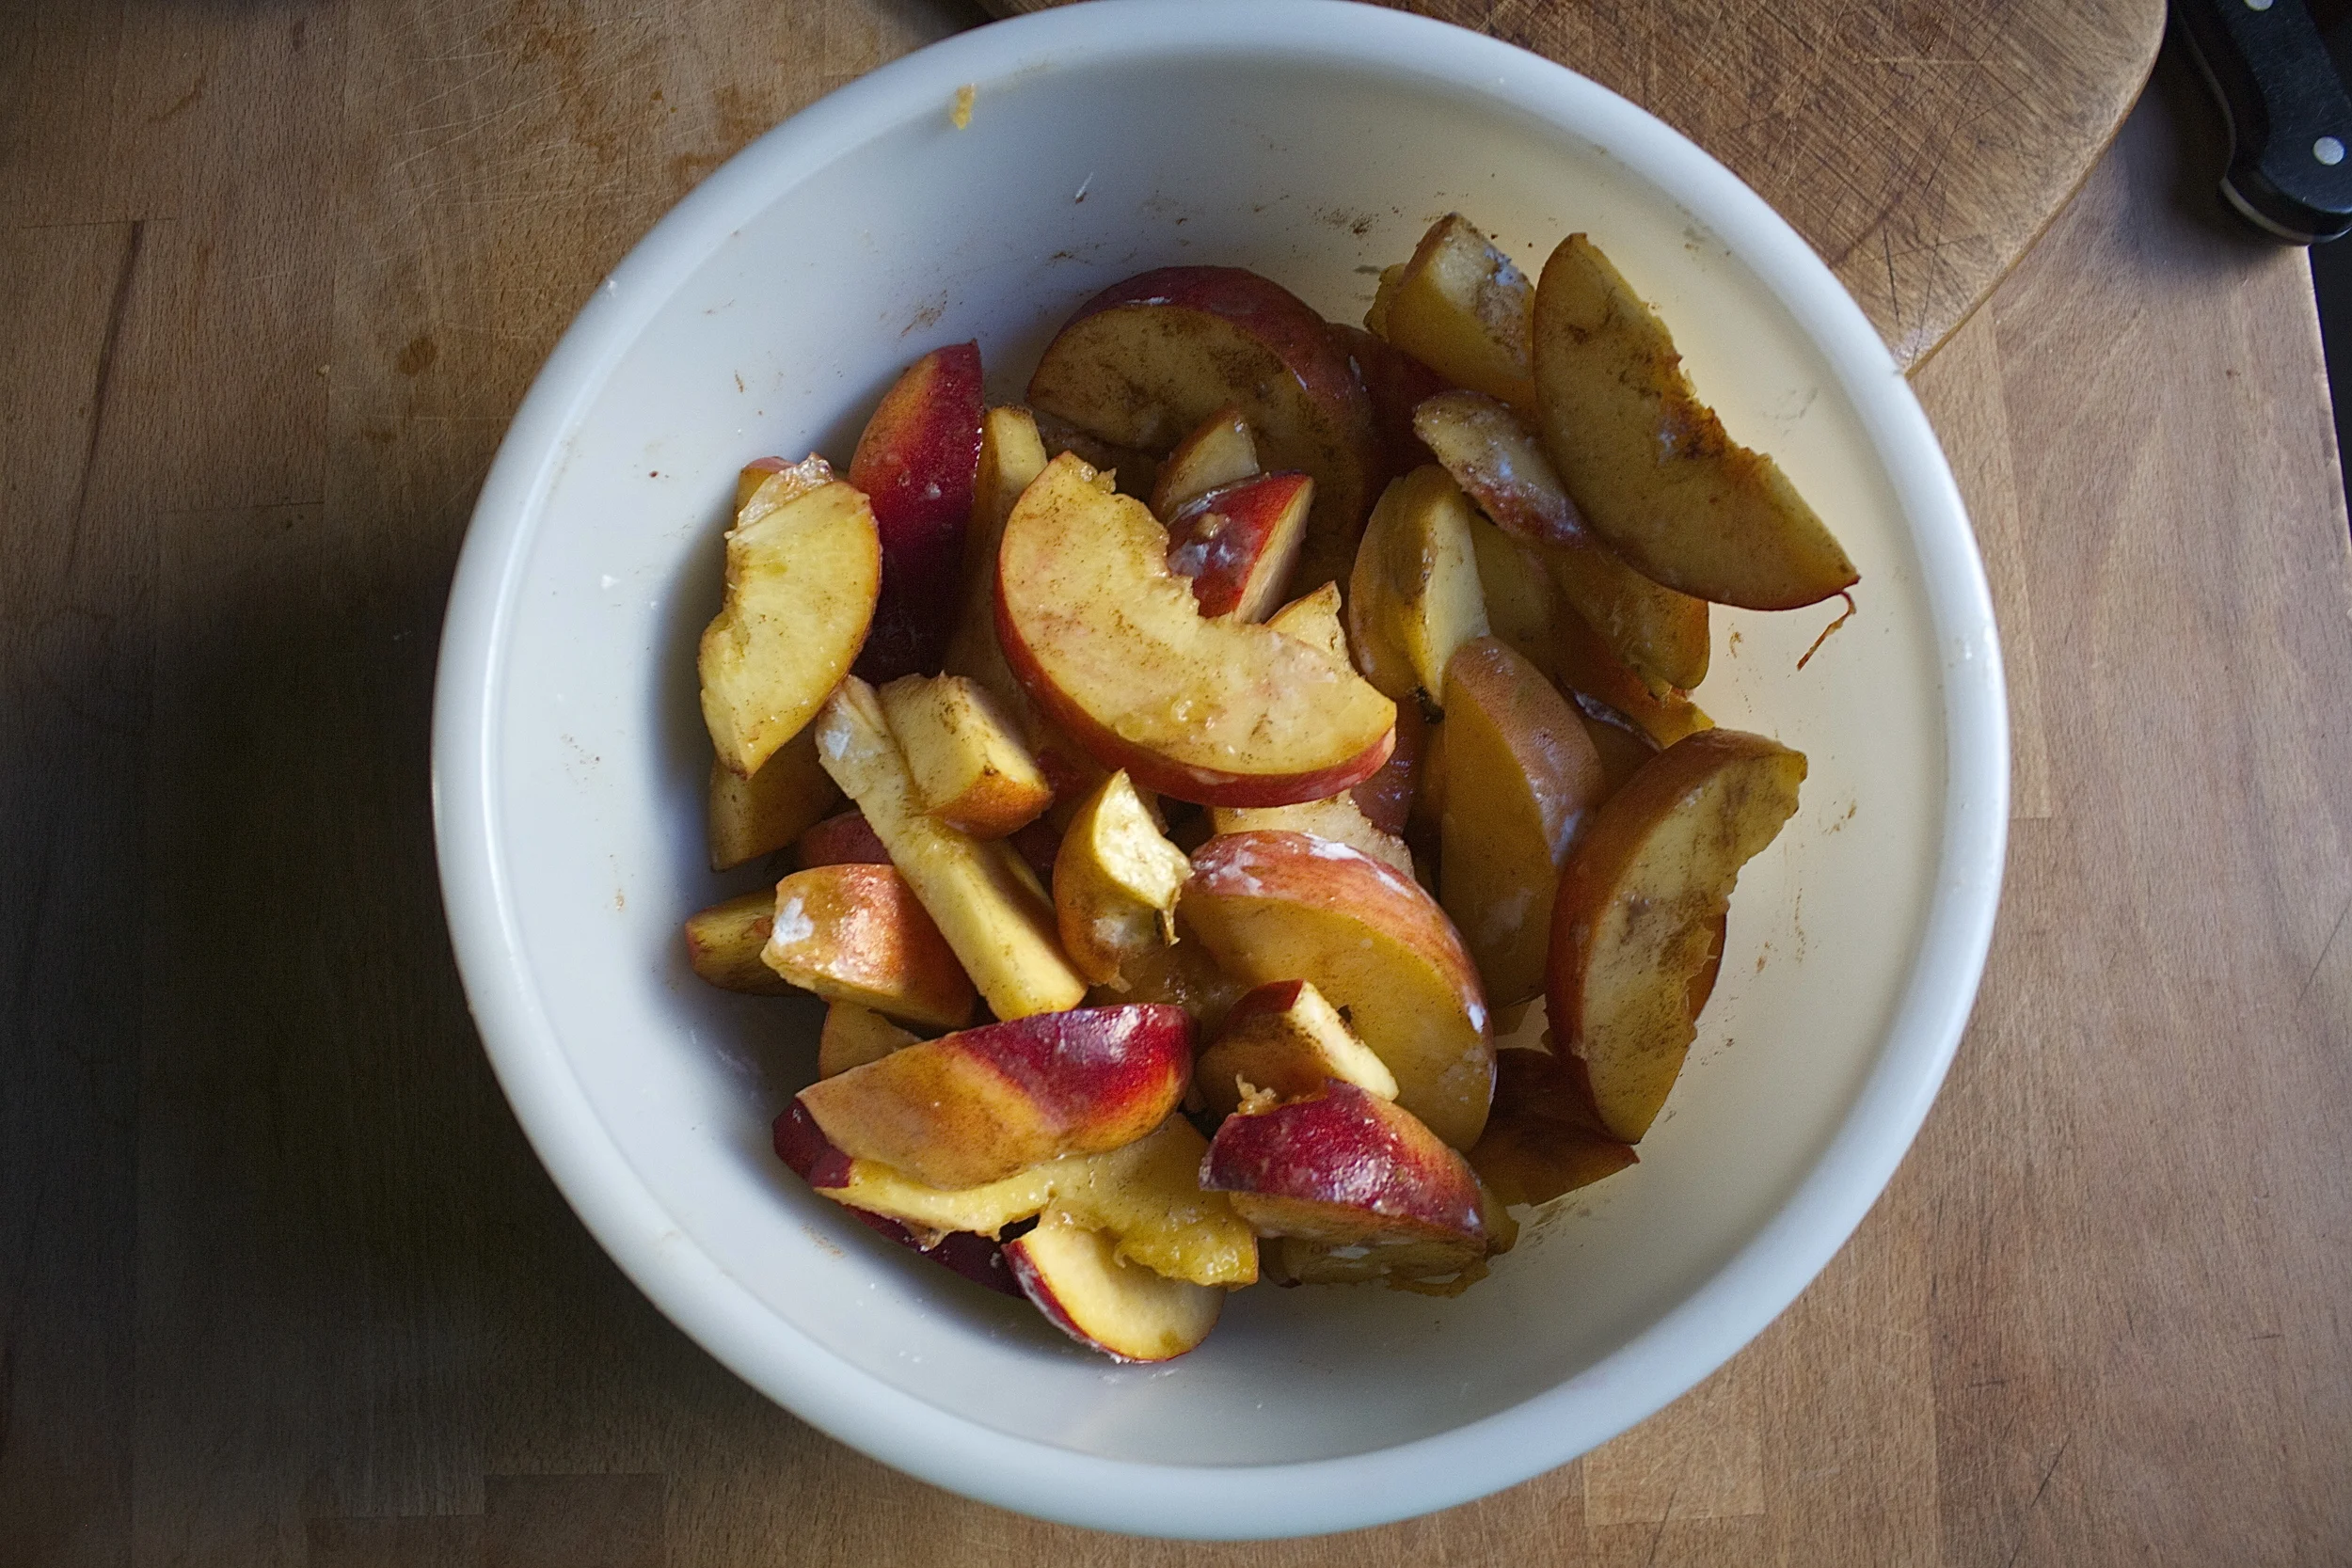

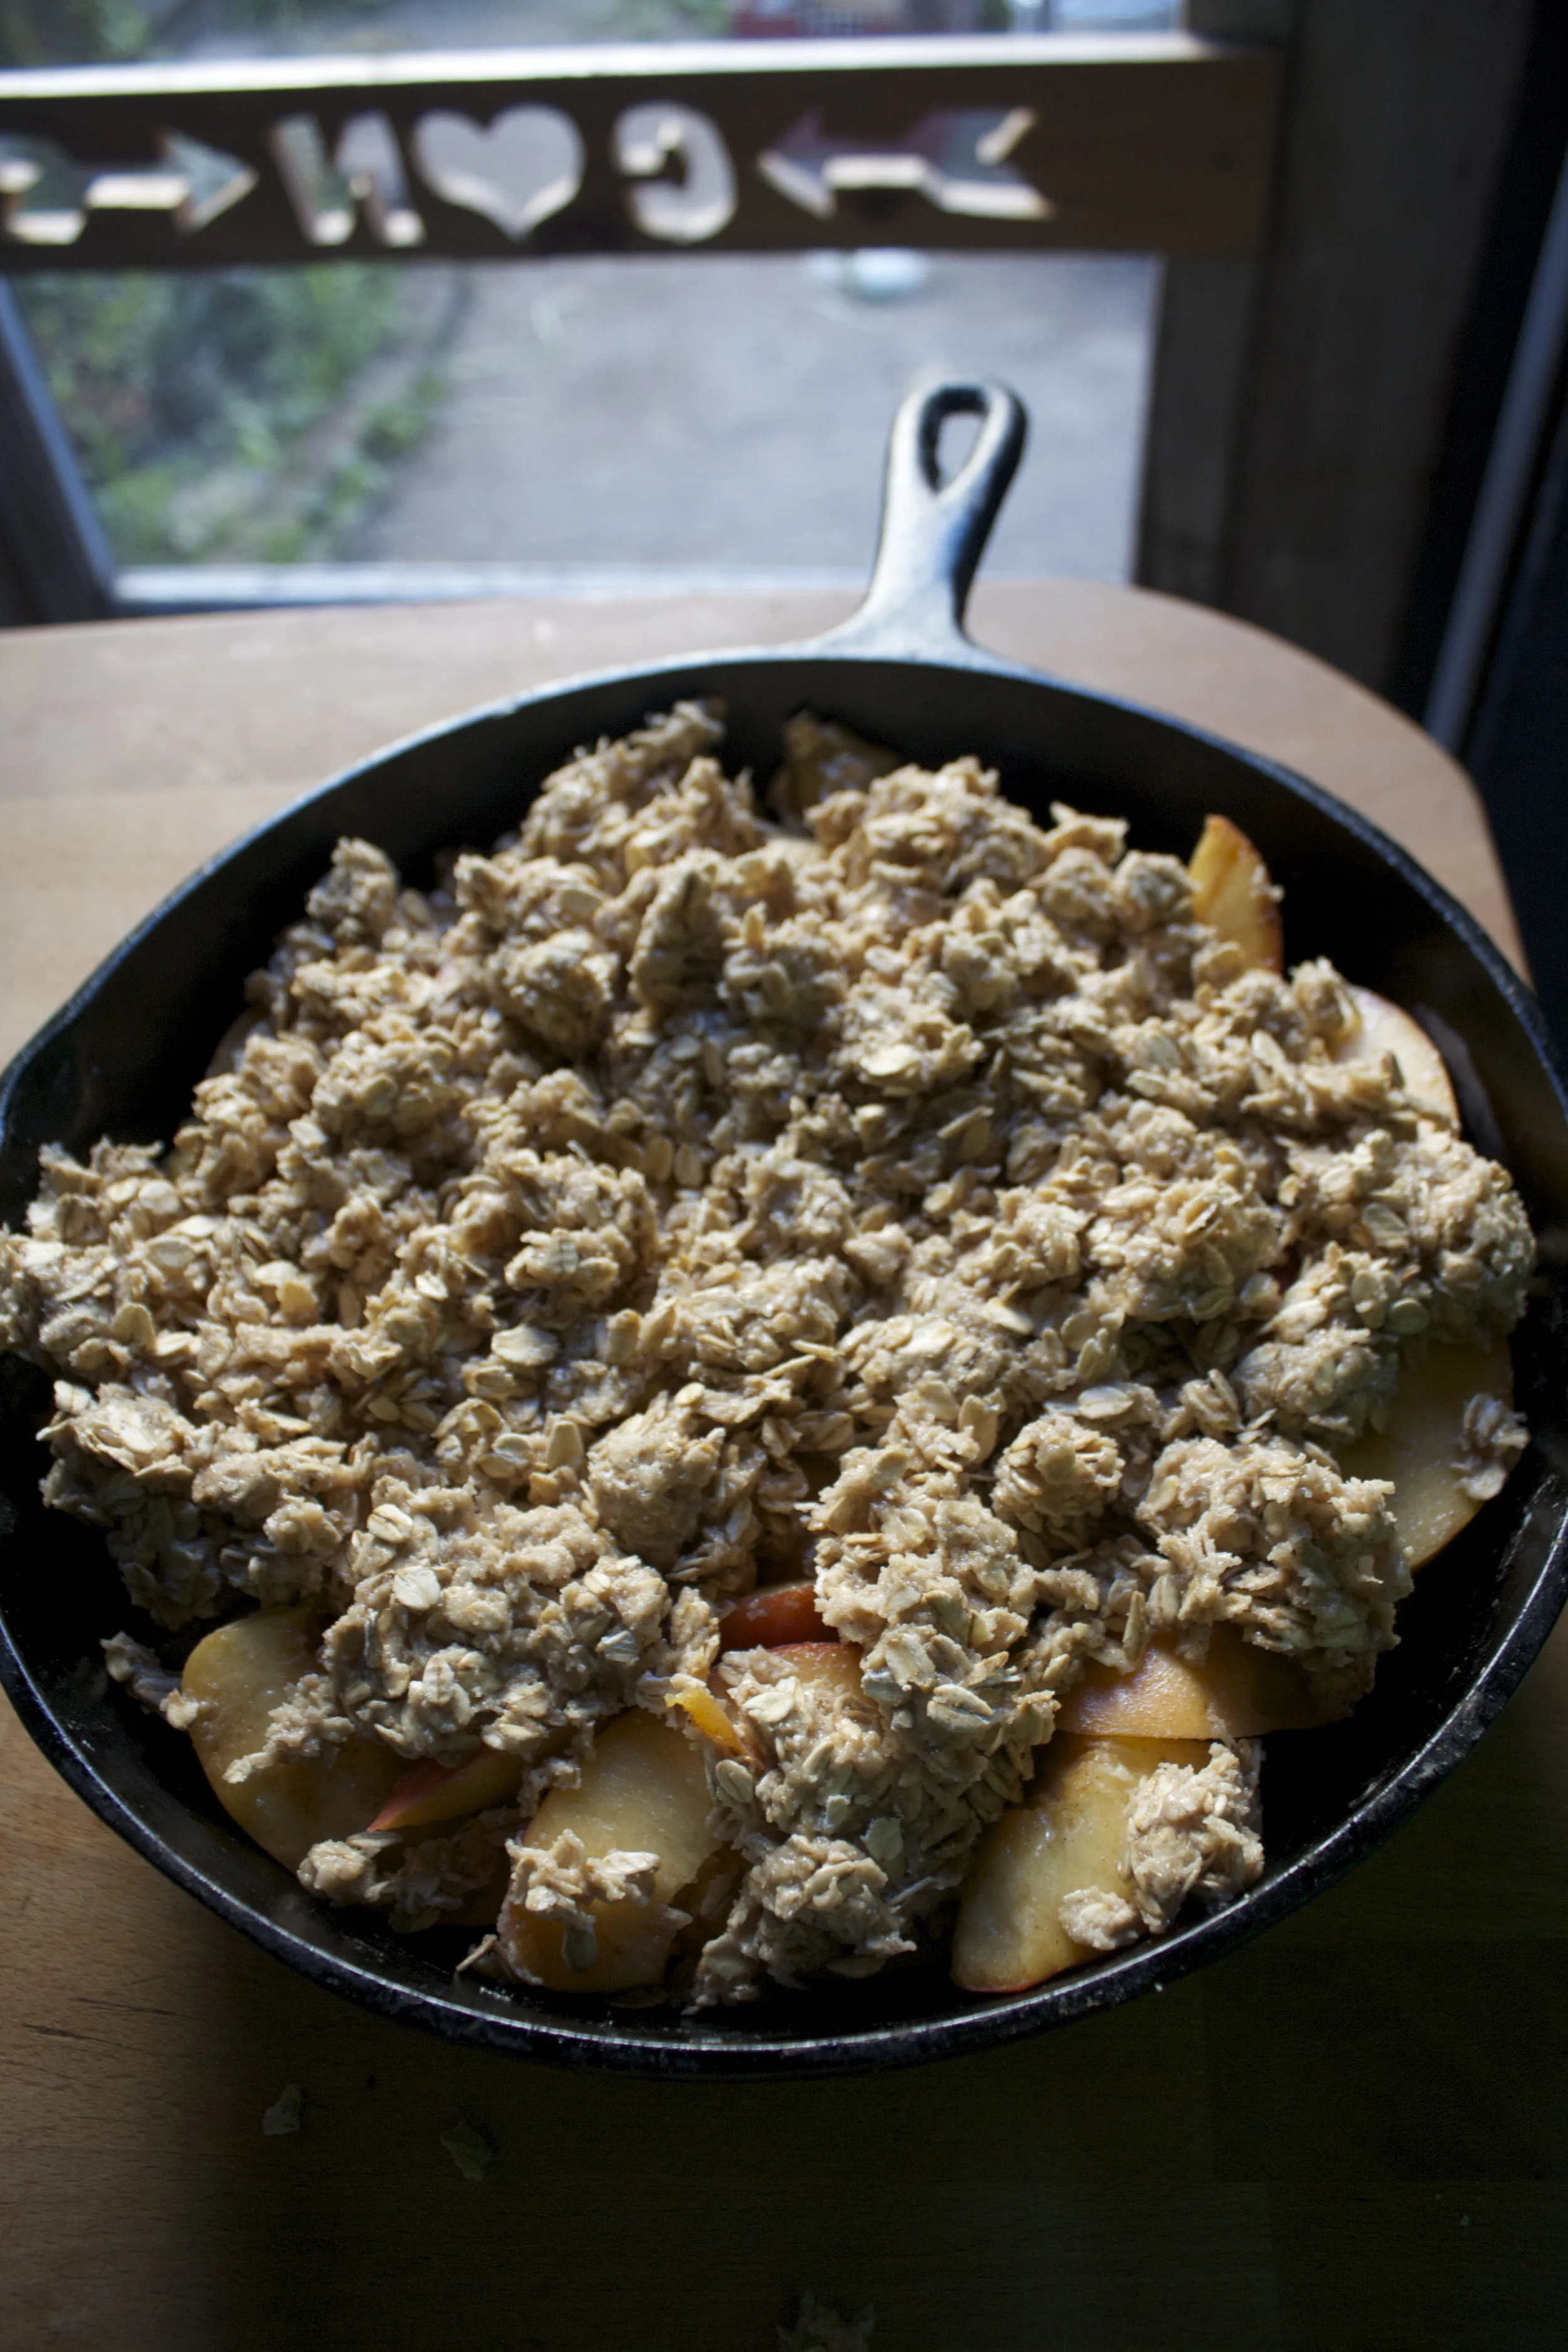


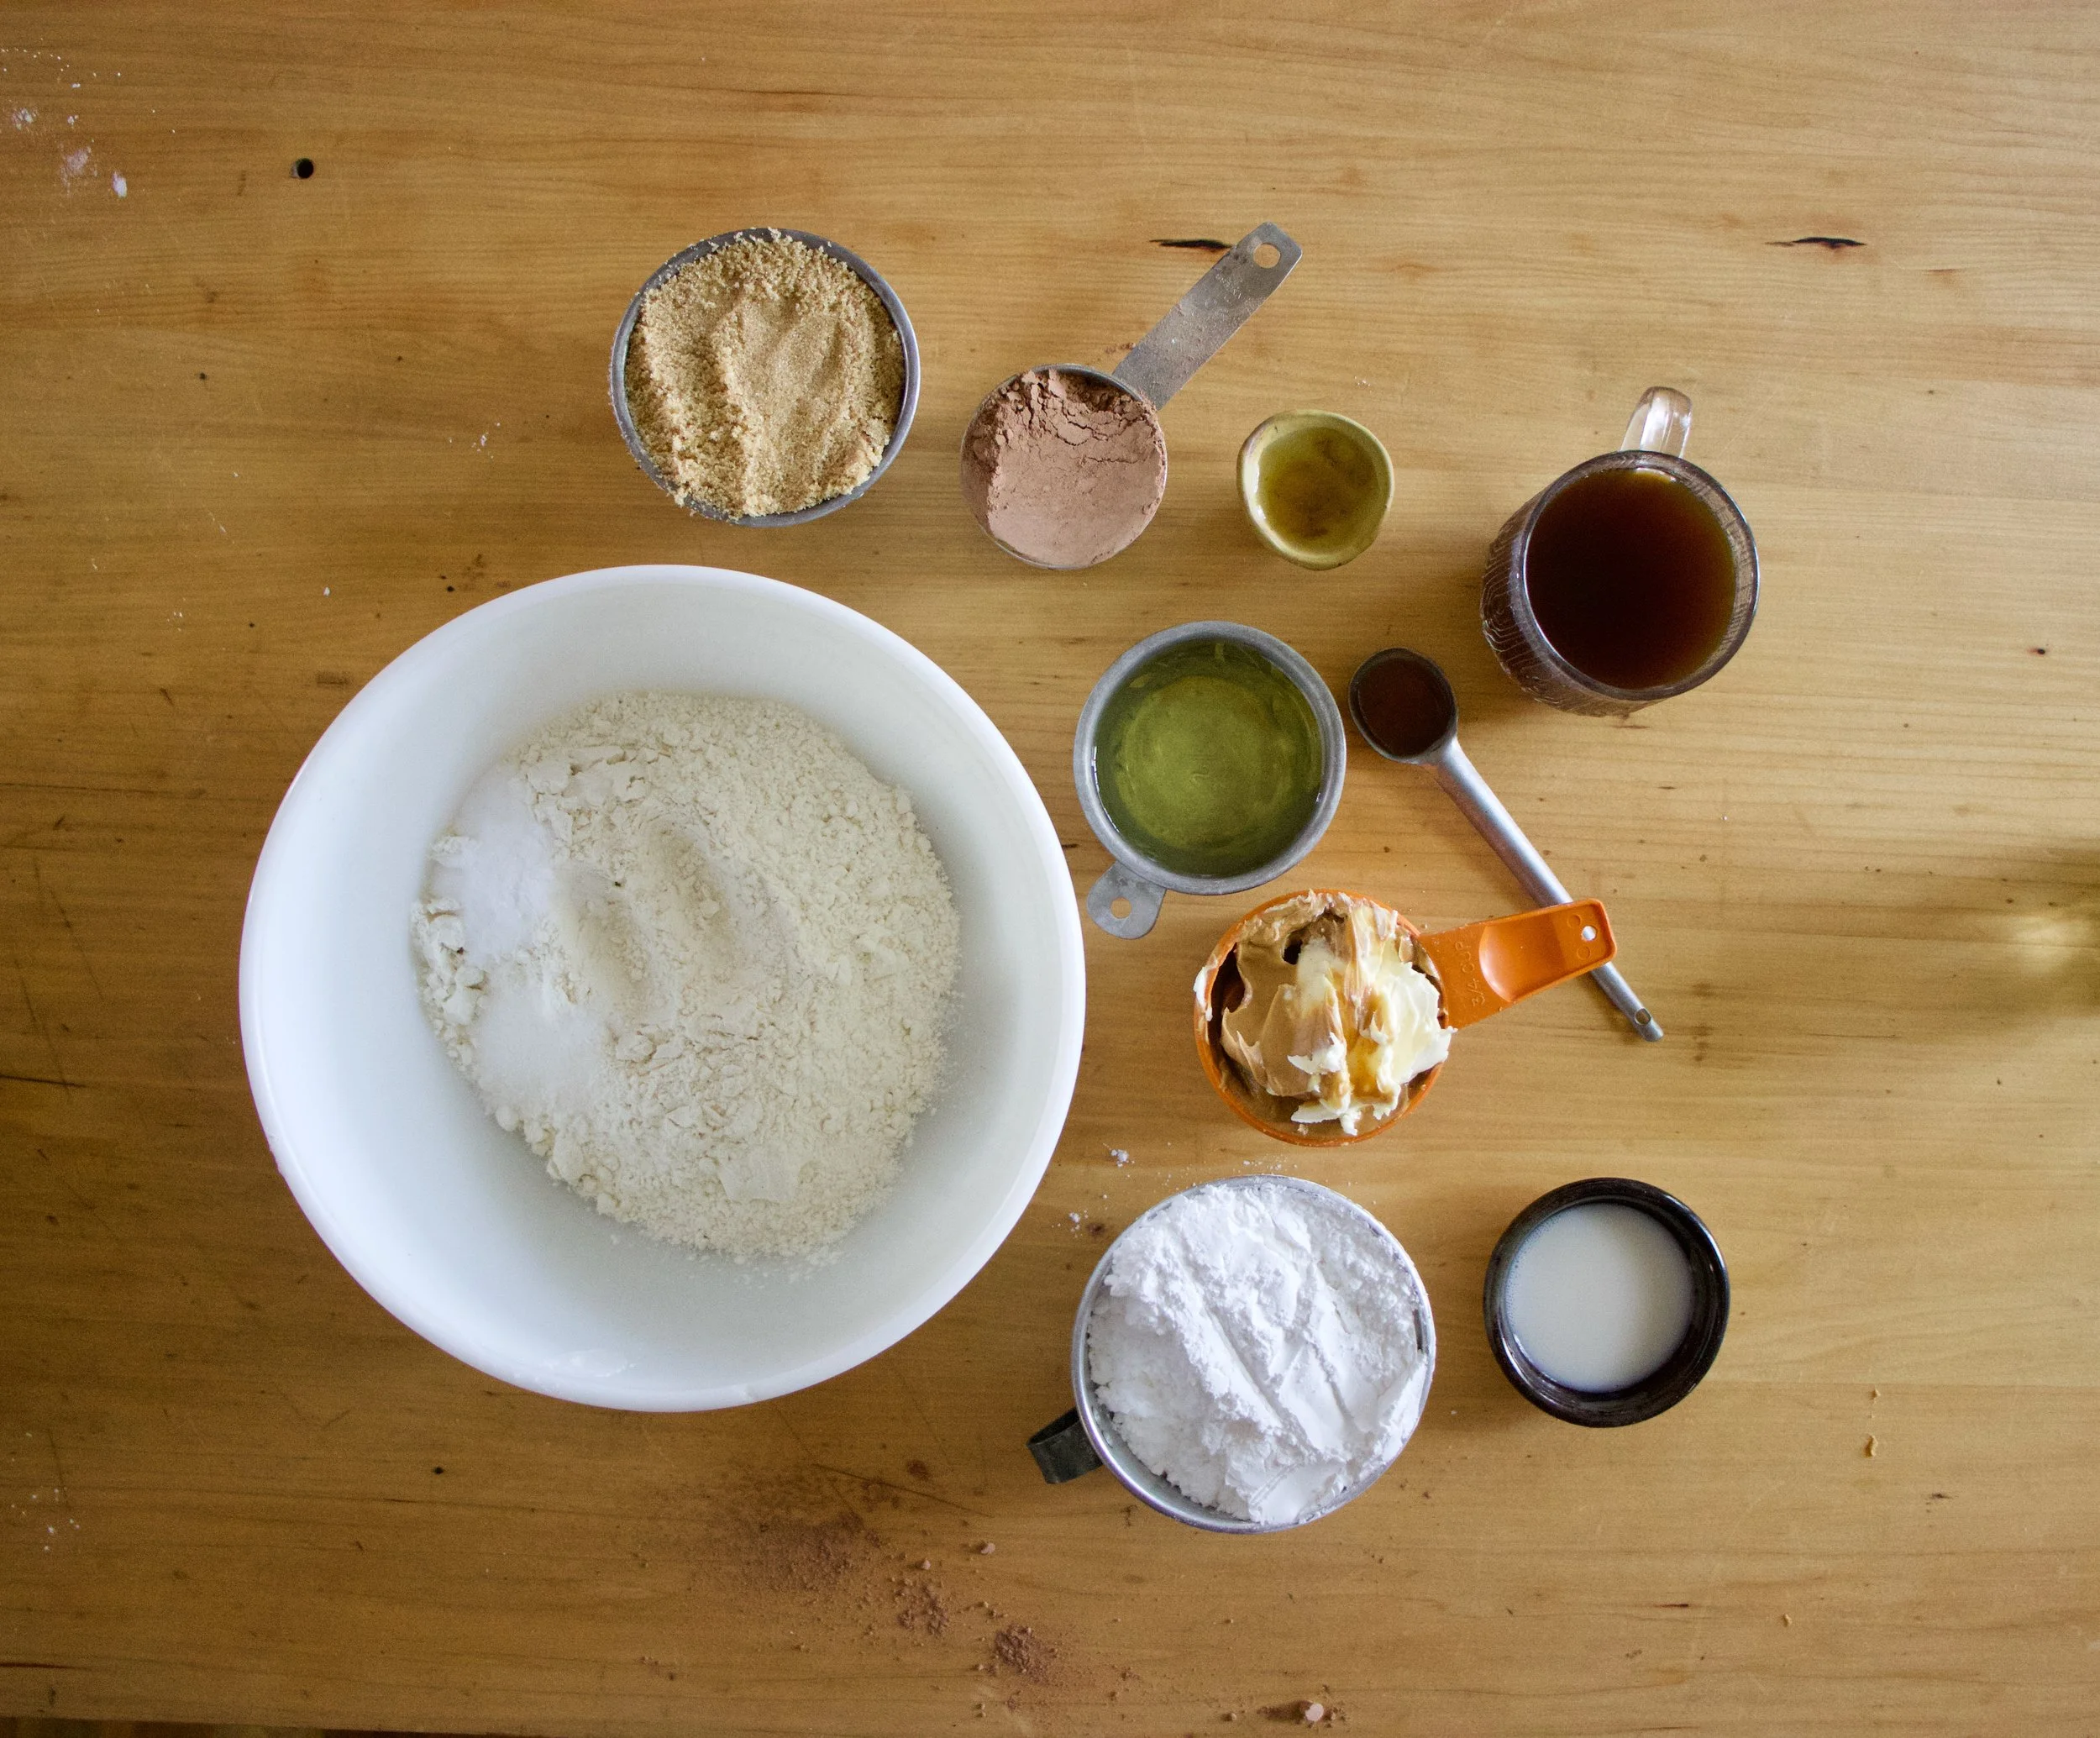


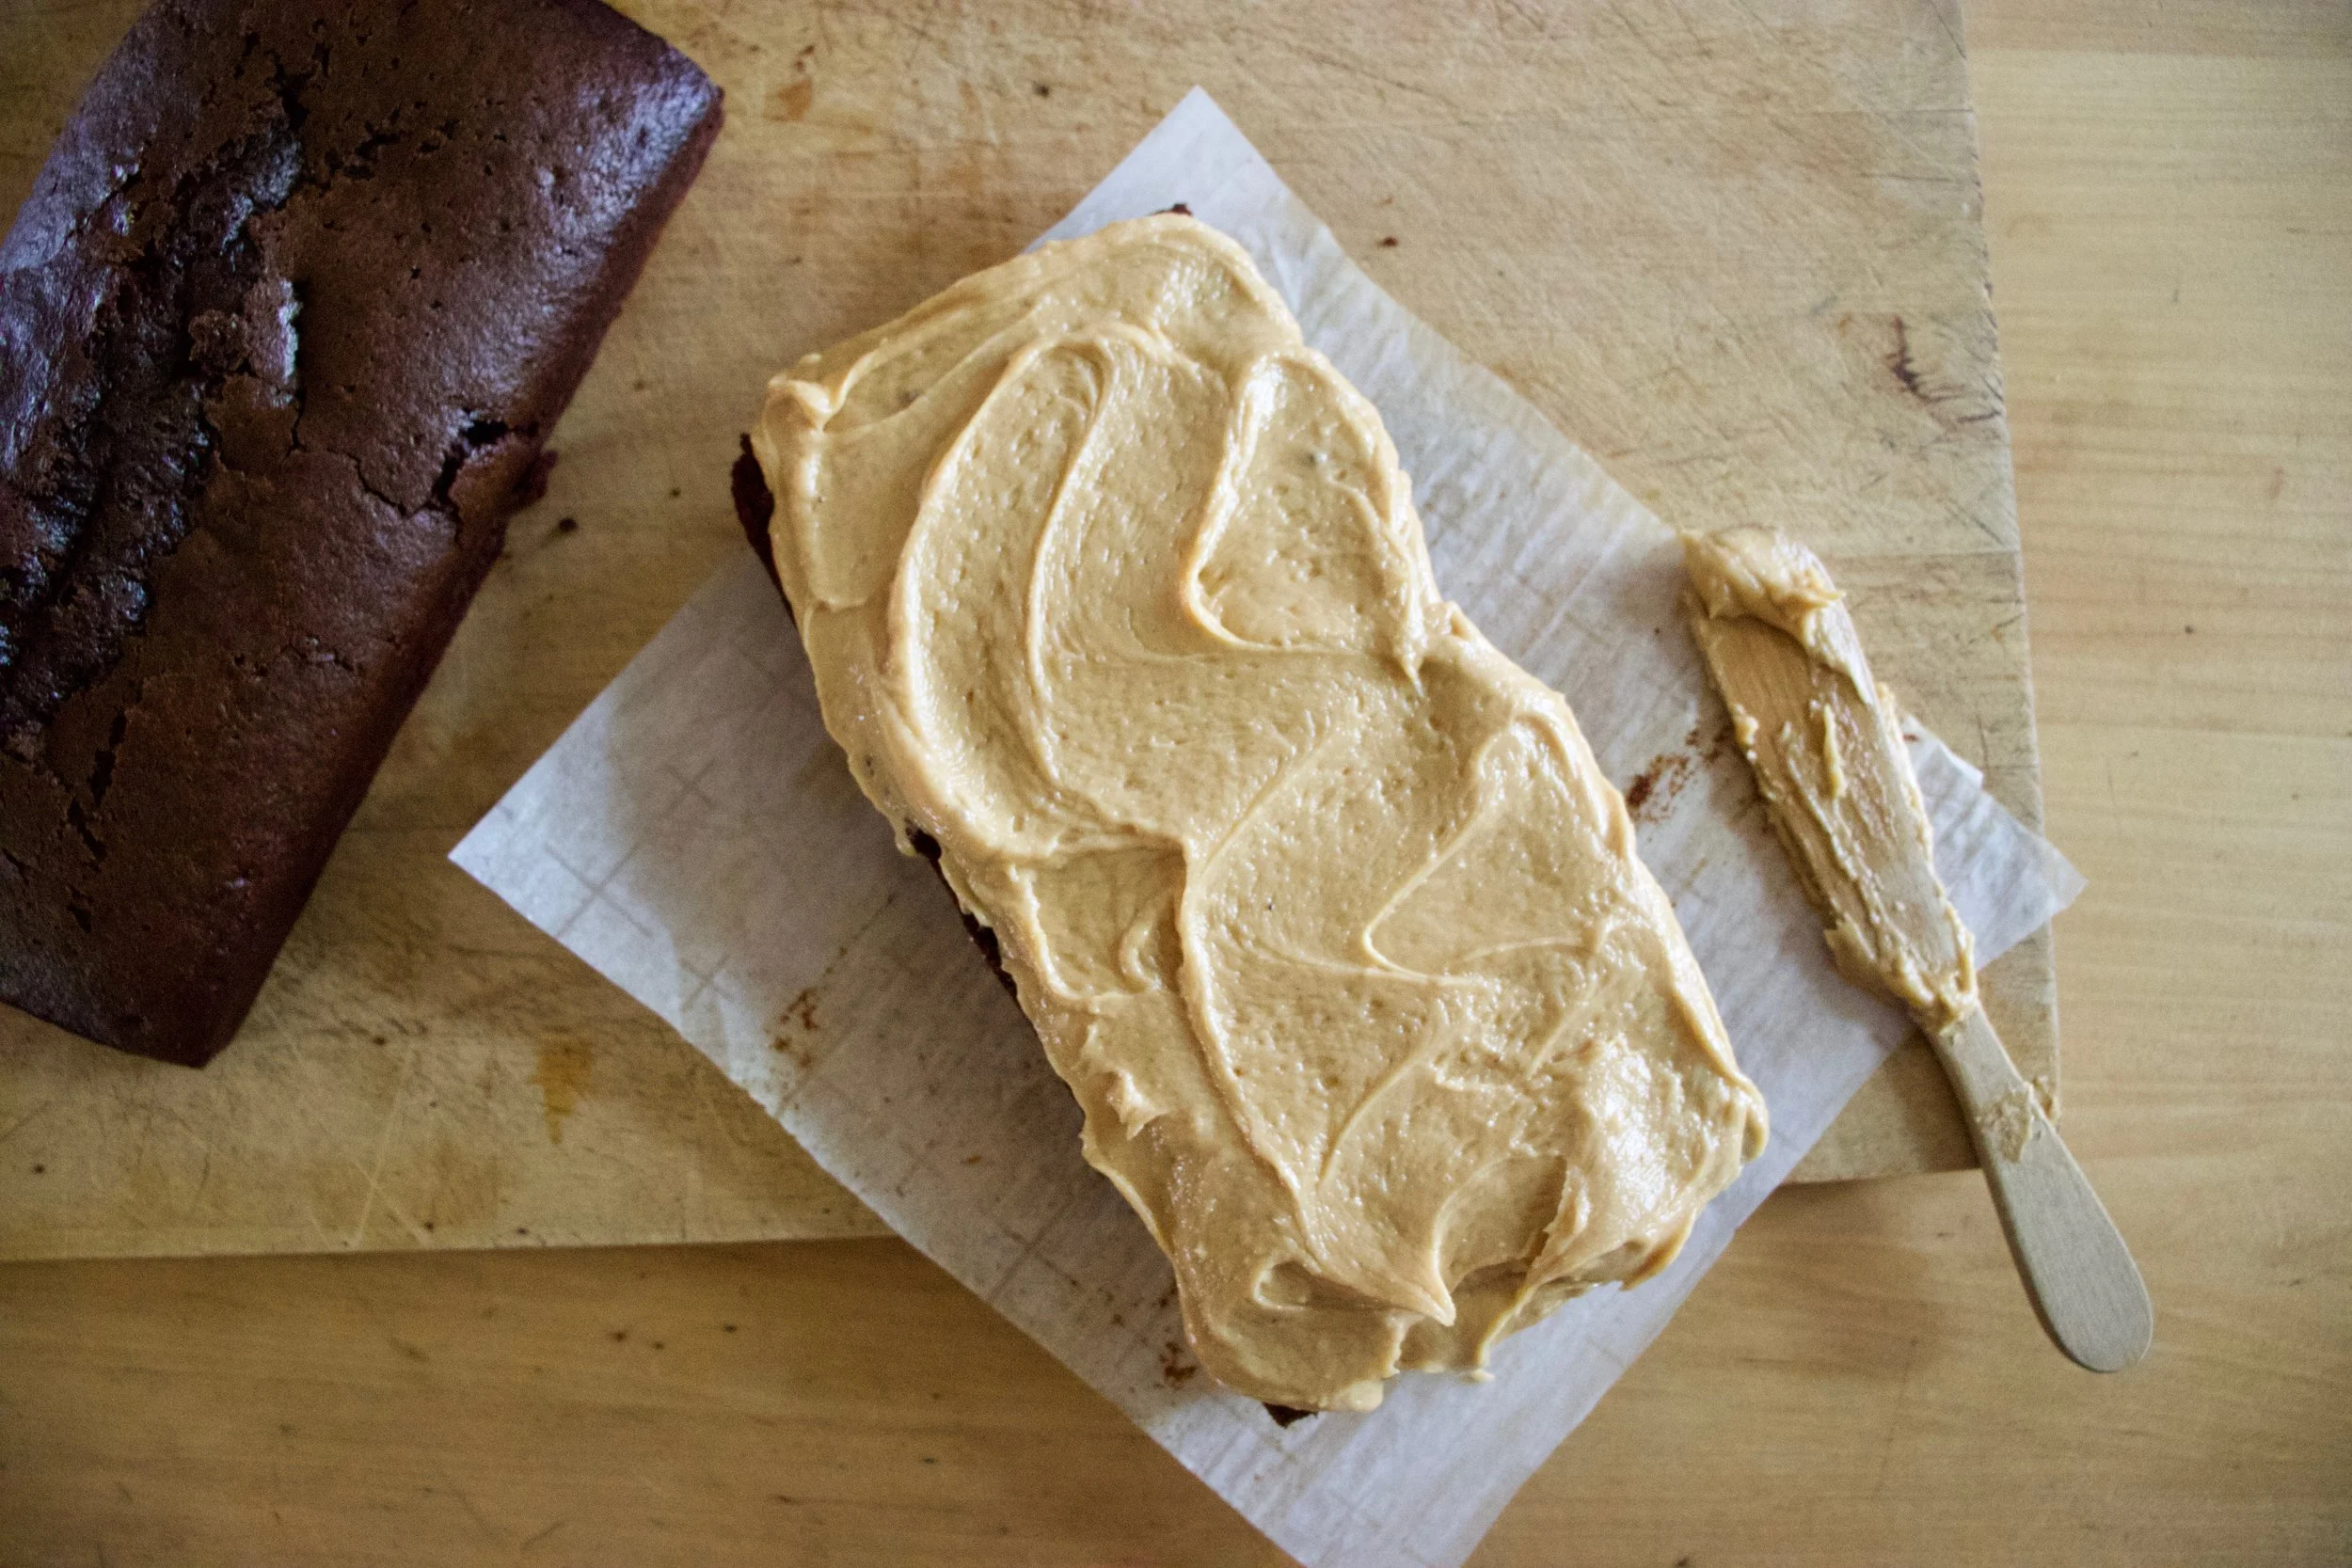

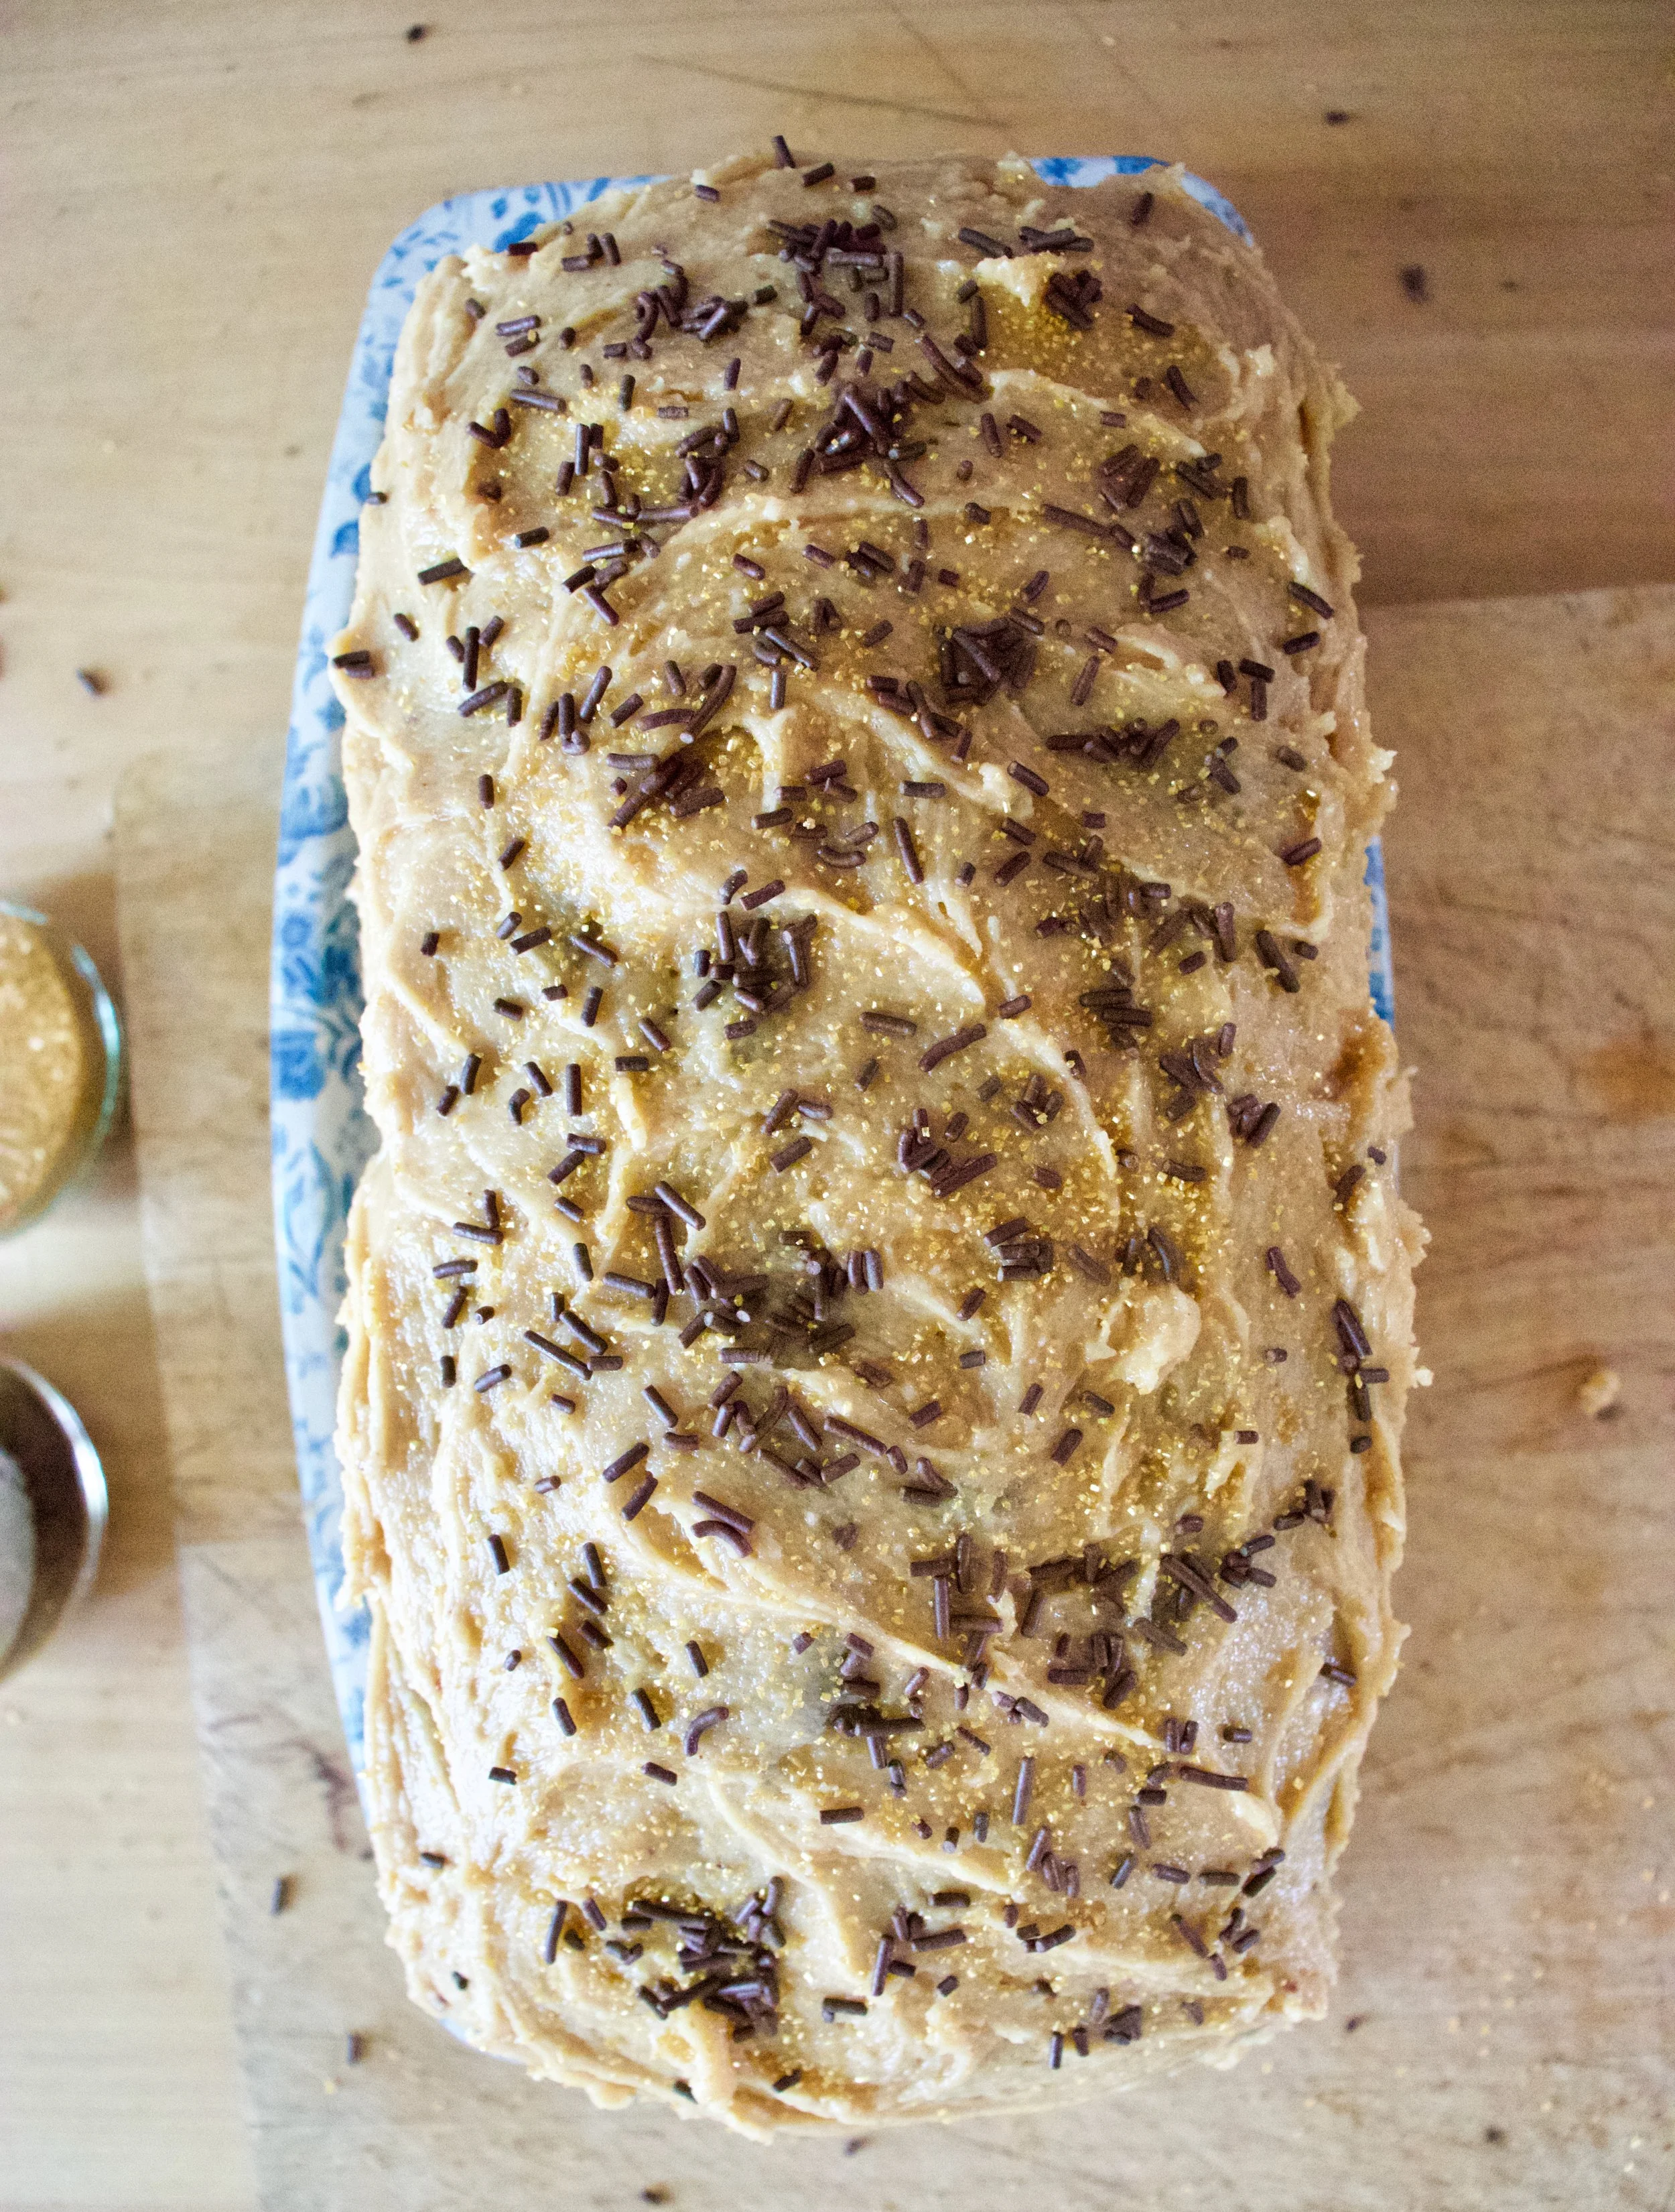
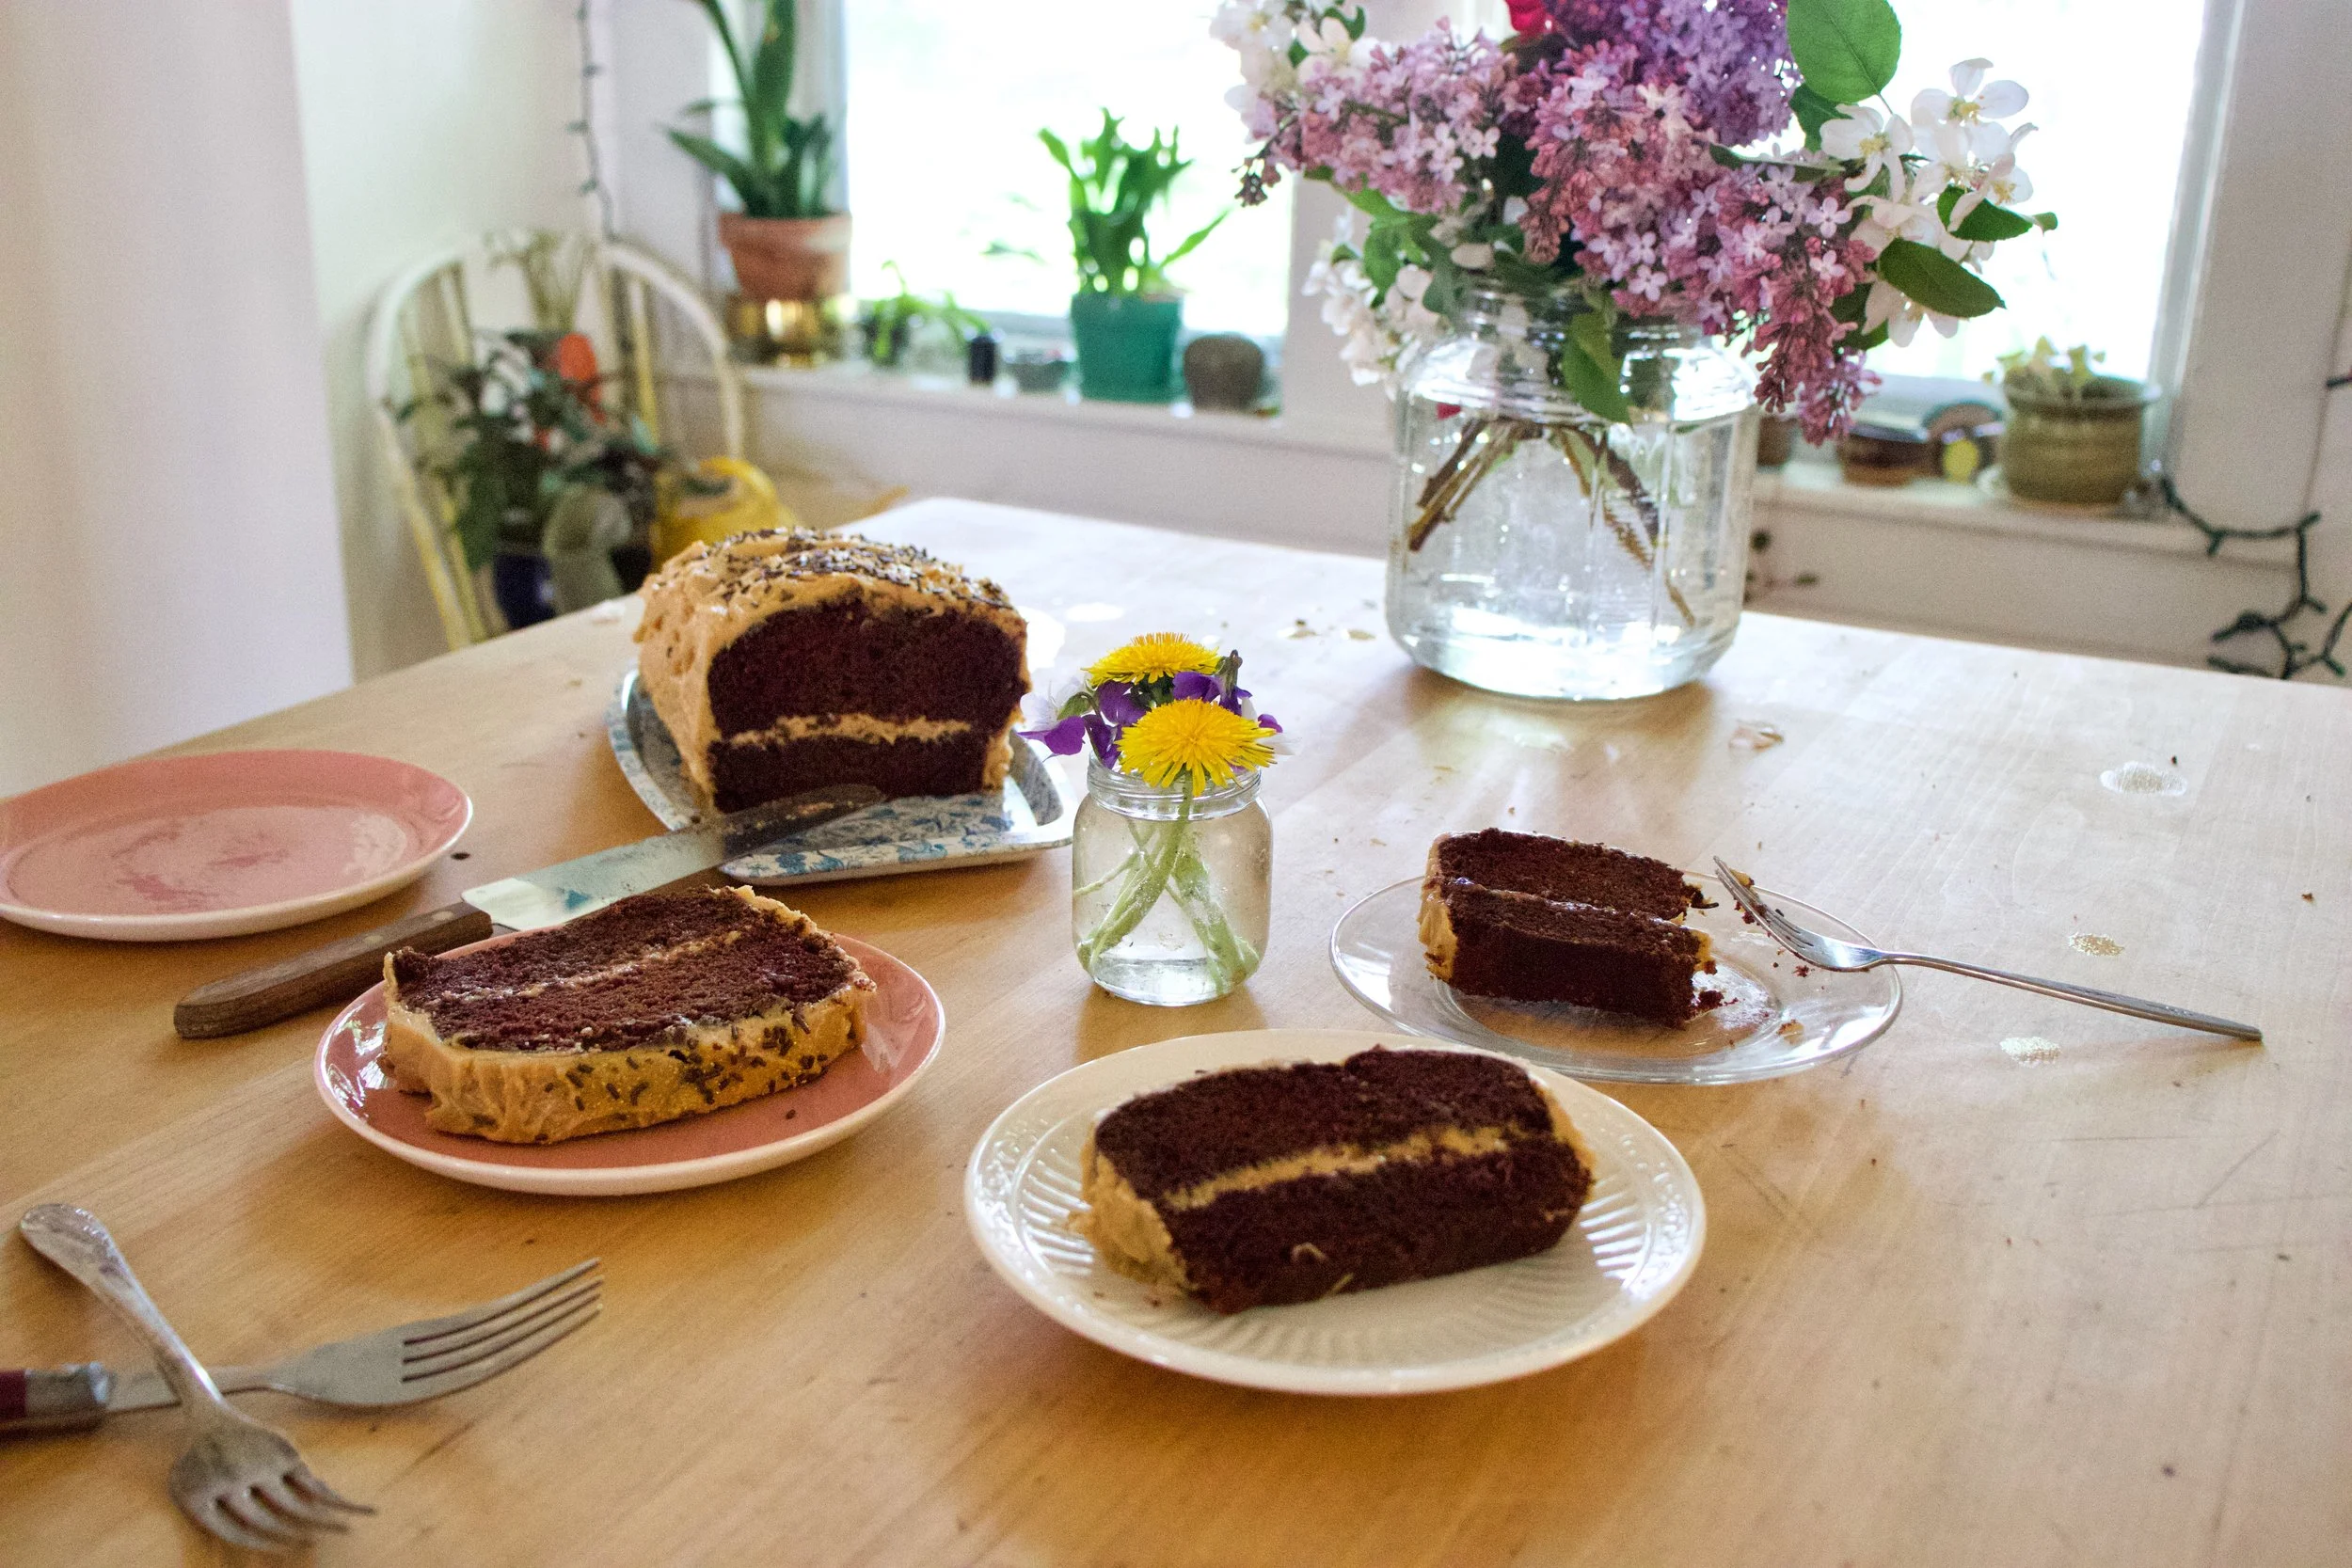








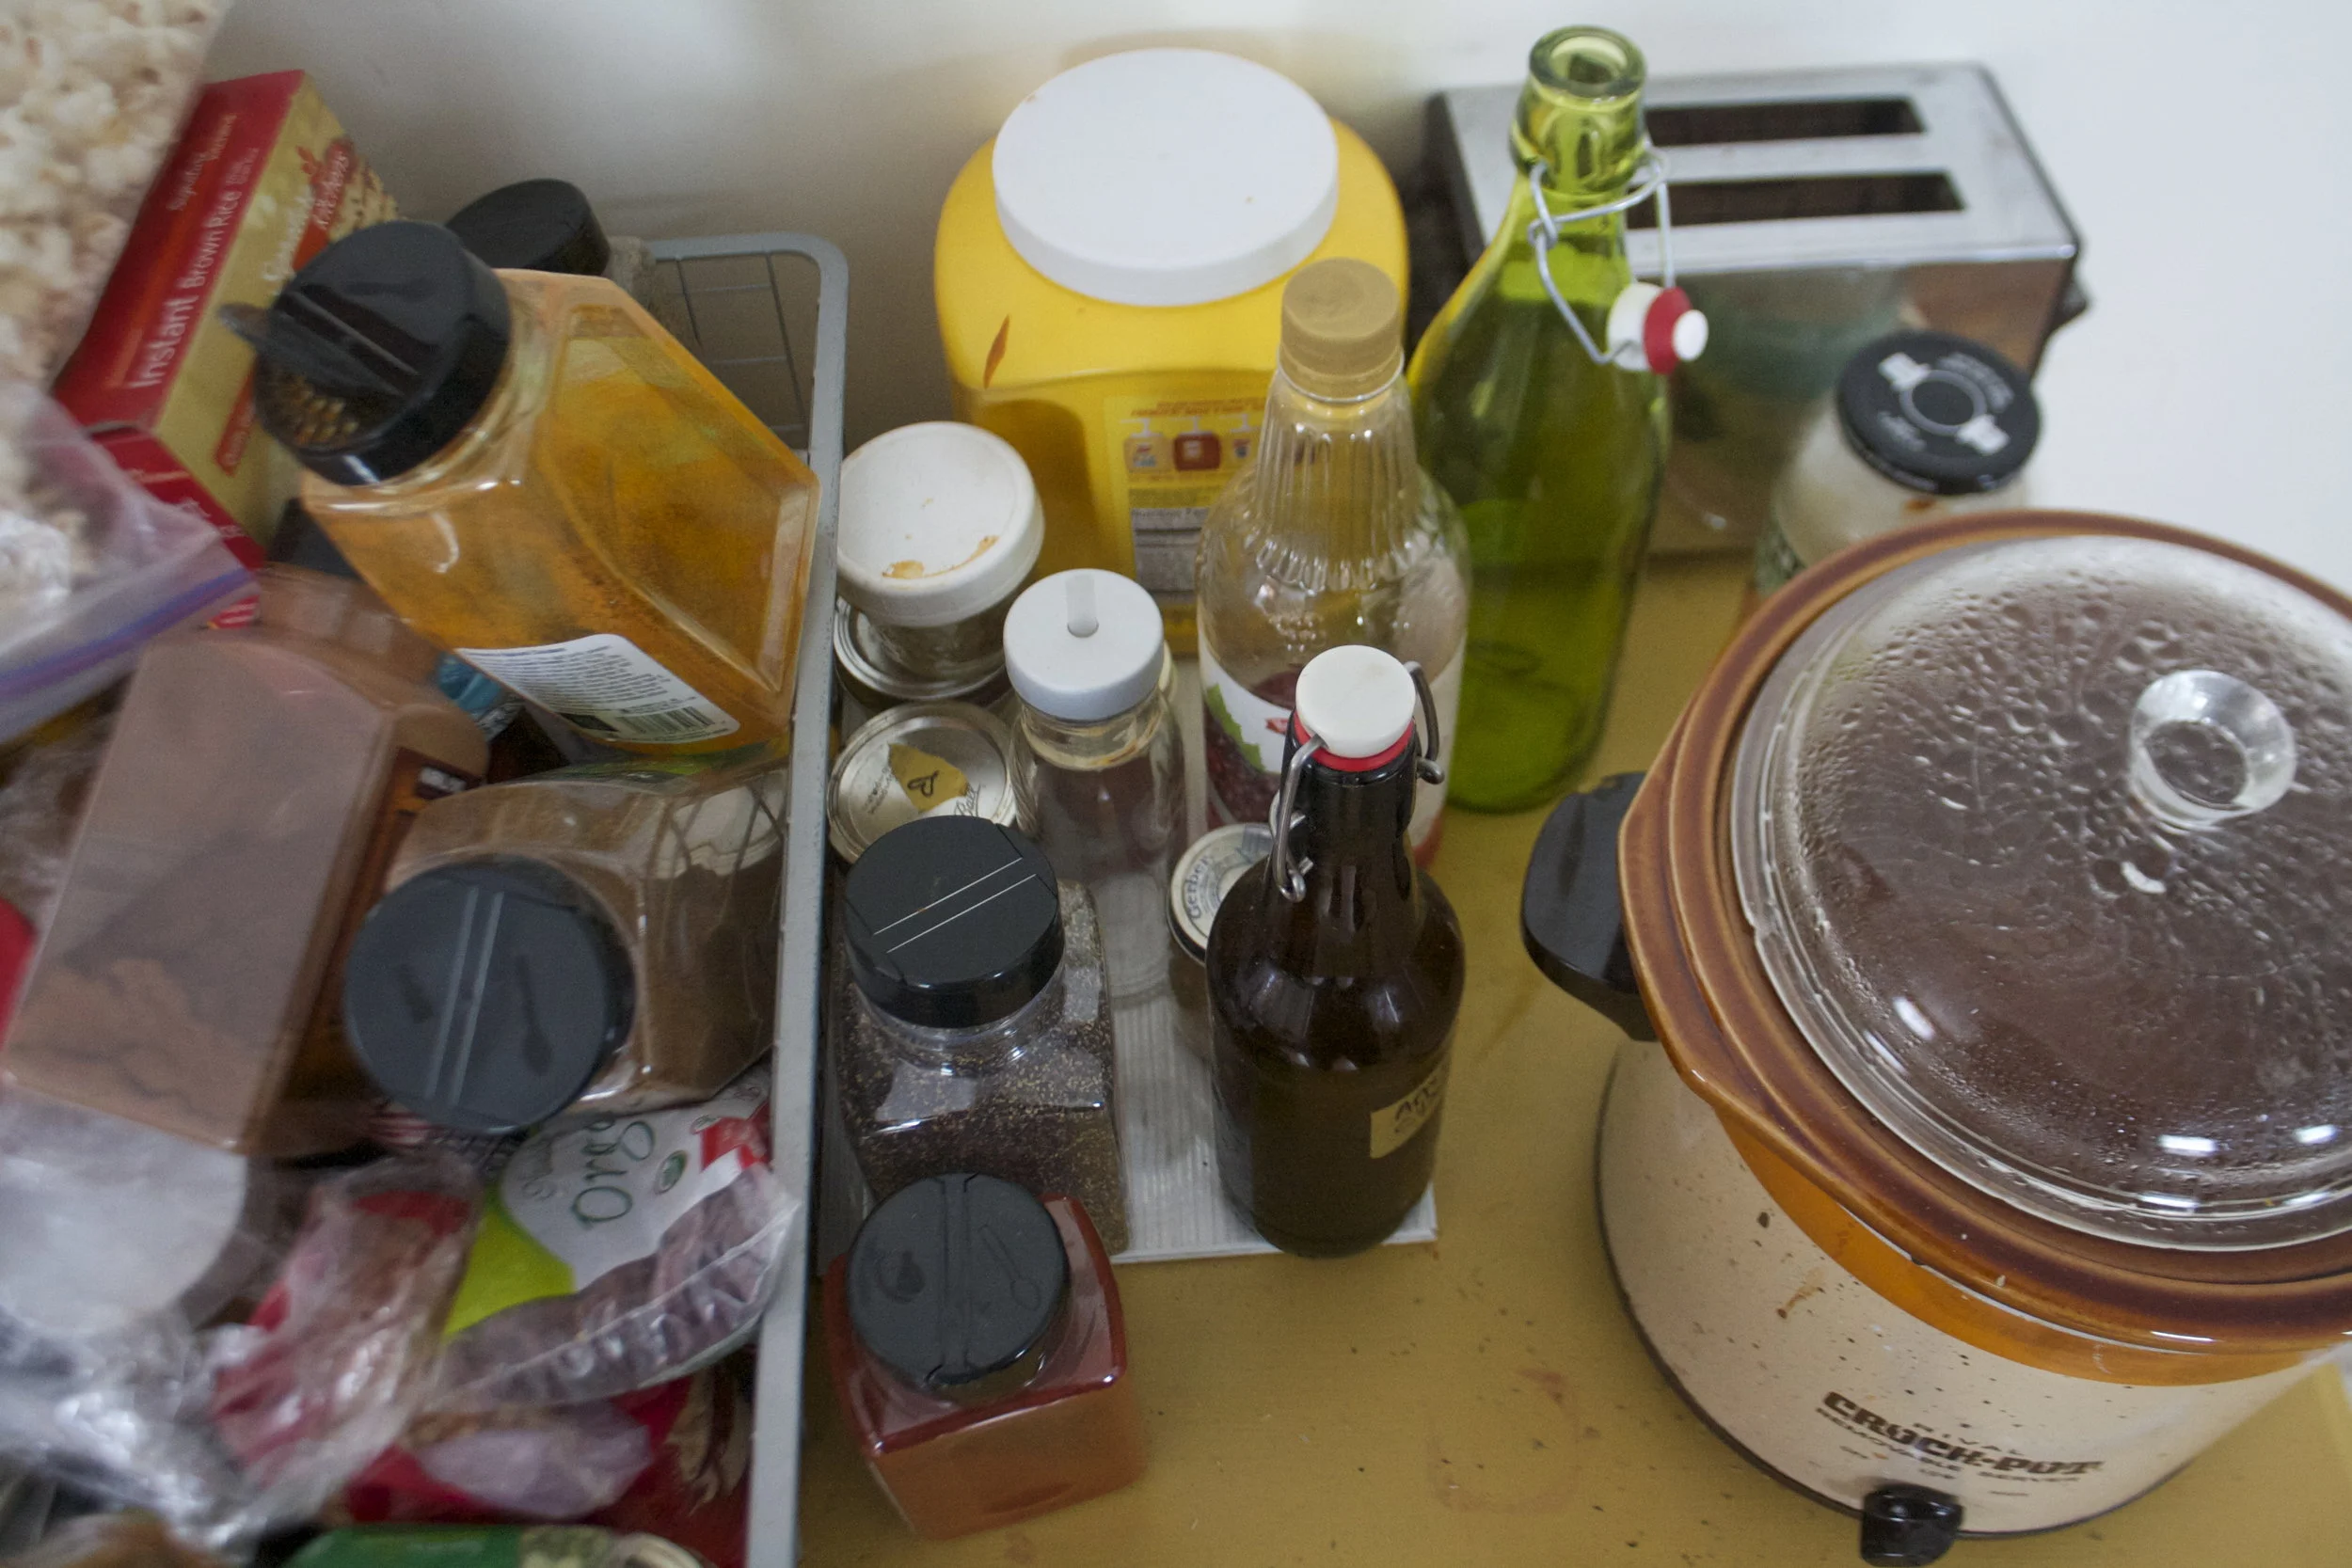
THE LOVELY CRAZY
October 15, 2019 by maximios • Blog
I think that my favorite thing abut summer is probably the food. Yeah, no, definitely all the food. If it weren’t for all the delicious amazing things that grow during these summer months, I would probably hate summer. %u00a0Well, I mean, not hate it because summer is nice when it it nice, but lately it has not been so nice and so I am trying to make myself feel better by finding all the good things that I like about summer. Summer trees, summer flowers, the smell of fresh cut grass, river rocks, summer sandals, summer… well that’s what I got right now. But summer produce, that is the best and what keeps me happy when I am extremely over heated and over sunned and just want a blast of cold air accompanied by some dark clouds, a sweater and the smell of decomposing leaves. Obviously I am being a little crank butt, and I actually do usually like me some summertime, I am just over this summer. To hot, to humid, to dry. I am ready to move on.%u00a0
But back to the good parts of summer that I am not over.%u00a0The food.%u00a0The corn is flowing steadily (I am getting on average 10 pieces of corn a week from the farm. That is a lot of corn for 2 people, one of which says he doesn’t like corn), the kale is growing in super abundance in the garden, and it’s is for sure blueberry season. When we %u00a0have those three things and we toss in a avocado, as little onion, and lots of lime juice ,%u00a0BAM,%u00a0another super fantastic summertime eating time, reason that summer can be a ok. Makes %u00a0all the heat a little worth it.%u00a0
I am telling you, this is my new favorite food combination. Blueberries are magical (I think so anyway) and really add the perfect little sweetness, tartness, and texture to this salad. Crisping up the kale and corn elevates the deliciousness, and avocado always is welcome is any salad situation. This is one of those salads that you will make for yourself and then immediately want to make for someone you like because it is so good you want to share. OR you just want to make it for yourself again because you could share or you could just eat more of it yourself. It’s ok either way, you do you.%u00a0
The stuff. A cob of fresh corn. some fresh blueberries, a bunch of dinosaur kale, a lime, an avocado, a piece of a sweet onion, sea salt, pepper, and a little oil.%u00a0
First off preheat the oven then cut the corn off the cob.
Then deal with the kale. Each leaf needs just the slightest bit of oil. The easiest way to do this is to dump a little oil into your hands and grab each piece of kale and rub your oily hands all over the kale.
After the kale is oiled, chop it into chunks. First place the corn on a baking sheet then add the kale on top. Placet it into the oven to get all crispy… The kale will might get crispy before the corn, which is fine because you can remove the kale then pop the corn back into the oven for a few more minutes to keep cooking if you want. Or you might just want to call it cooked, it’s your call.%u00a0
I popped the corn back into the oven to get a little more color. I like a real crispy corn.%u00a0
Cut up some onion and avocado into chunks.%u00a0
And time to compile. Kale, onions, corn, avocado, blueberries, and lime juice. And don’t or get a sprinkle of sea salt and pepper.%u00a0
Toss it all around and be delighted.%u00a0
Just look at that salad. Who wouldn’t want to eat that?%u00a0
Heres to summer salads….The reason I can barely stand the heat!
-C
makes one salad
Preheat oven to 350
Cut the corn off the con and place on a lightly oiled baking sheet. Take a little oil and rub into hands then grab the kale leaves ans rub oil all over them. Once oiled, rough chop into medium sized pieces (don’t chop small, it will shrink a lot in the oven). Place chopped kale on top of corn and stick into hot oven. Bake until the kale is crispy, about 12-15 minutes.. What closely after 10 minutes to prevent burning.
Remove the kale from the baking sheet and place in a large bowl. The corn will be cooked, but if you want to make it a little crispier , just toss it back into the oven for a few minutes. %u00a0Once corn is to your liking, remove from pan and toss into two with the kale.
Small dice up some onion and dice up half of the avocado. Toss into the bowl with the kale and corn. And the blueberries, add those in. Sprinkle the whole shebang with a little sea salt and pepper and squeeze the juice of at least half of a lime all over (use the whole lie if you want) Give it all one last toss and that is it.%u00a0
Eat your new favorite salad. Think about making it for all your favorite friends and family and how impressed they will be because this is one of those impressive salads. T
I got my first few ears or corn from the farm share this week which is exciting because I wait until we get corn from the farm to eat it. I figure that we get so much from the farm that there is no freaking way I am going to buy it and plus I know that that corn was picked a few hours before I got it. If you are going to eat corn, it needs to be fresh (life lesson).
Have I told you that the mr hates corn? I am pretty sure I have. I also have a theory that he really doesn’t hate it so I just go ahead and make food with corn in it. Then he eats it, likes it, and I am all like” AHA, you like corn be-otch! I win!” (not sure what I win). But then the next time I mention we have fresh corn and how would he like it he is all like, I hate corn.%u00a0 It’s a game we keep on playing.%u00a0
So I got fresh corn, lots of tomatoes, and the kale is growing strong out back. I figured I would give the mr a break from all the zucchini for the night and make he a nice warm summer salad with the corn that he “hates”.
The mr ate it all and didn’t even mention corn so now I am thinking that he just hates the word corn and if I don’t say the word then there will be no problem. HA HA, I am a genius.
The stuff. A tomato, a ear of corn, some kale, a little balsamic vinegar, oil, and salt and pepper.
Chop the tomato and remove the corn from the cob.
Toss into an oven safe skillet with a drizzle of oil and a pinch of salt.
Now stick it into the oven
After about 10 minutes the tomato has fallen apart and the corn is all nice and tender.
While the skillet is still hot the vinegar goes in and the (chopped) kale goes in. Mix it all around until the kale wilts. And be careful, the pan is hot.
Dump it into a bowl, sprinkle with pepper, grab a fork, and you are on.
Happy eating.
-C
makes a salad for one or two small side salads
You can cook this in or on the stove. I did it in the stove because I was baking anyway
Preheat oven to 425
Remove corn from cob and chop tomato into medium sized chunks. Toss into a oven safe skillet with a drizzle of oil and a little pinch of salt. Stick in oven and cook until the corn is tender and the tomatoes have fallen apart, about 10 minutes. Remove from oven and mix in vinegar. Chop kale into mouth sized pieces and toss into hot skillet. Mix around until kale starts to wilt. And it’s done. Serve with a pinch of pepper.
As I sit here writing this, mind you typing is not a terribly labor intestive activity, I am drip drip dripping sweat%u2026 It’s just not right.
%u00a0And today will be as hot as shit fuck. But its support to get so much better tomorrow. So that’s it, not more complaining. Everything is all good.
Now lets talk about this salad. This is such a fresh, clean, and full flavor salad made of just a few simple ingredients,%u00a0the star being the fennel.%u00a0%u00a0Almost licorice-y and sweet, yet still has a crisp earthiness, it pairs so well with onion and kale and dressed with just lemon juice.%u00a0Simple, easy, and very much satisfying. Kind of the perfect salad to make when you don’t want to make anything because the world is a sauna and nothing hurts you soul more then to think of turning on the oven.(full disclosure.%u00a0Stove burn does go on for a few minutes.. but only a few)
Maybe you have never had fennel or think you don’t like it, Well if you haven’t had it, you must, and if you think you don’t like it, you should try it again.%u00a0Up until recently, I kind of discarded fennel as a mah veggie. I didn’t hate it, but I never really cared for it, and I definitely did not seek it out. But this past year, for some odd reason (I blame/thank old age) I have really gotten into the yummy bulb. I have even gone out of my way to find it.%u00a0%u00a0And last week I was much excited when I went to farm share pick up and found that there was crate of fennel.%u00a0Woo HOO!%u00a0
Sweet fennel+hot weather and no desire to move = Fennel onion carrot salad
The stuff. A bulb of fennel (this was a big one so I use half of it),a medium onion , a big carrot, a bunch of kale, salt, pepper, a little olive oil and a lemon (I ended up using 2 smallish lemons)
Take you fennel and either with a mandolin or a knife, thinly slice the bulb. Do the same with the onion.
Toss the sliced fennel and onion into a lightly oiled skillet and sprinkle with a dash of salt. Place on medium low heat and cook jjust until the veggies are soften and starting to brown.
Chop the kale into pieces small enough to fit into your mouth and julienne or shred the carrot.
Compile the stuff. Juice the lemon.%u00a0Kale into a bowl, dump most tot the lemon juice on that and sprinkle with salt and mix around (I used my hands).%u00a0Dump the saut%u00e9ed fennel onion onto of that and top with the carrot and the rest of the juice.%u00a0
TA DA! Now that’s some pretty.
And toss it all around. I like to add a few thinly slices of raw fennel and lots of fresh cracked pepper.
Share with a friend. Or not. (a not for me)
Happy hump de dump day. Stay cool friends!
-C
Makes a big salad for one, or a few smaller sized side salads.%u00a0
With either a mandolin or using a knife, slice up the fennel and onion super thin. Toss into a lightly oiled skillet, sprinkle with salt,%u00a0and stick on the stove on medium low heat. Stir and let cook down for 5-8 minutes or until the fennel and onion have soften and are starting to brown.
While thats cooking, chop up the kale into small pieces and julienne or shred the carrot.%u00a0
Place kale into bowl, juice the lemon and drizzle most of the juice all over the kale and give it a good mix. Dump on the cooked fennel onion and top with the carrots and a the rest of the lemon juice.. Sprinkle with salt and pepper to taste and give it a good toss. Top with a few fresh shaving of fennel.
Share with a friend, or eat it all to your self.
It seems that everywhere I turn this week, there corn. So much so that its coming out of my ears%u2026..get it.. ears! (yes I am that lame)%u00a0
Yup, its now%u00a0officially (but%u00a0unofficially) summer and that means 2 things, well 3 things. First, we eat corn. Secondly, It%u2019s hot out, and get so hot in our little tiny loft that having the oven on is like torture so I%u00a0avoid it at all costs. And lastly, I seem to always have less time(or forget) to make dinner %u00a0cause,%u00a0you know, I am%u00a0outside running%u00a0around with my head cut off.%u00a0
The solution to the last two%u2026..Quesadillas.%u00a0
I probably make the mister quesadillas at least 5 time a week. They are just so easy to make (takes about 8 minutes) are full of some kind of veggie situation and lots of cheese (which is the misters favorite food group). You can make one, for a quick lunch, or very easily make 10 to feed a few people for a easy dinner. (everyone likes a quesadilla!). And even%u00a0though I cooked these%u00a0particular ones inside, quesadillas are great made outside on the grill. They just make so much sense.%u00a0
And so it goes.
Summertime + corn = Charred corn and kale quesadillas.
The Stuff. Freshy freshy corn on the cob. A few flour tortillas, a bunch of chopped kale and some shredded cheese. (I used pepper jack)
With a sharp knife, cut the corn off the cob. I find using a deep bowl works best to catch corn, and you could even invert another little bowl inside to rest the cob for easier cutting (I skipped extra bowl.. once less dish to wash)
While you are cutting the corn, preheat a large pan on medium high heat.%u00a0
Once the pan is hot, toss the corn kernels right on into it and sprinkle with salt and pepper %u00a0Let cook for a minutes or two, then give it a stir and cook for another minute.%u00a0
After about 4 minutes the corn turns bright yellow and starts to char. %u00a0Remove pan from heat and toss in the chopped up kale.
And compile the quesadilla. Tortilla, grated cheese, corn and kale, more cheese if you please, and top with anther tortilla. %u00a0Place assembled quesadilla into the pan and place on medium heat. Cook both sides until brown and cheese is ooey gooey.
Remove from pan and cut into triangles (or any shape you want)%u00a0
Serve right away. Can be eaten on a napkin, plate, or directly off the counter.%u00a0
Not needed, but it would be nice of you to serve with a little avocado, salsa, or sour cream.%u00a0
Happy Tuesday!
-C
Makes two 8 inch quesadillas
*Note. Use more cheese if you want%u00a0
Preheat a large pan %u00a0on medium high. While the pan is heating up, cut the corn from the cob. Once pan is hot, toss corn kernels into hot skillet and sprinkle with a pinch of salt and pepper. Give corn a stir after a few minutes. Once the kernels start to turn bright yellow and get a little charred, remove pan from heat. Chop up kale into little pieces and toss into pan with the corn while the pan is still hot. Mix around and let the kale wilt a bit from the residual heat.%u00a0
Ready your tortilla. Place half the cheese onto totilla, add on half of the corn and kale mixture, sprinkle with a bit more cheese and top with another tortilla. Place onto now empty pan and heat up quesadilla until brown on both sides and chesse is melty. Remove from skillet and cut into triangle. Repeat for the second quesadilla.
Serve right away with or without some guacamole, salsa, or sour cream.
plates are not required.%u00a0
Guess what guys %u2026.I got myself a sick vintage waffle/ griddle iron. I couldn’t be more thrilled!!!%u00a0I found this thing at the local recycled goods store the other day, along with a very beautiful old white pyrex mixing bowl. It was one of my best thrift store scores! (Checking out the inventory and the condition of all the old things that day, I would say an old lady had just died and all her perfectly keep, mint condition kitchen stuff had just been donated. %u00a0But it’s cool, cause I get the feeling that she was at least 90, with a big loving family, and was happy until the day she died. And I am sure she would be pleased that I have taken over the waffle maker. Thanks old lady!)
%u00a0And now I am pretty sure that %u00a0everything I make for the next week will be cooked on said waffle/griddle. I am serious, I already have a list of things to try and cook on it; cookies, biscuits, granola bars, potatoes, fruit, some type of pasta situations%u2026. the list of possibilities is endless and I bet that at least 1/2 of these things will be totally awesome and amazing.
But first thing first. I need to make dinner.
So waffles for dinner!!%u00a0
Note. These waffles are completely 100% fantastic for any meal you want to make them for. They consist of nothing more then beans, a shit ton of veggies, and just a bit of cornmeal. But don’t let that fool you because they are super packed full of so much flavor, have a really soft tender inside, with a nice crispy outside and are so super pretty. They are wonderful!%u00a0The stuff. First, we got a big old pile of shredded up veggies which include; carrot, beet, sweet potato, onion, parsnip, celeriac, and a little bit of kale. %u00a0A we got a bowl of rinsed and strained white beans, a little bit of cornmeal and salt, pepper, and garlic powder.%u00a0
The makings of something amazing!Before you do anything. get your waffle iron out and preheat it.%u00a0
While thats going on, take you beans, %u00a0add 3/4 cup water and puree until smooth with whatever blending device want to like to use. (I used my hand blender%u2026less to clean)Now collect all the shredded veggies and dump into a big bowl with the bean puree, the spices and the cornmeal. Mix until combined. The batter should be thick, but not dry. If its seems to wet, add more corn meal, or too dry, add a little more water.
Note how my batter turned a magical pink%u2026 I love beets, they make everything pretty! And check out that bowl!When your waffle iron is preheated, oil it if needed (if your not sure, add a little oil just to really make sure your waffles don’t stick) and take appropriate size spoonfuls of the batter and stick on iron. Close it and wait%u2026..My iron has a little light that turns on when the waffles are done cooking, so I waited patiently (ok iI did open it a few time) until light tuned on and removed the perfectly cooked waffles.
Did I mention how awesome my new/old vintage iron is?
SO AWESOME!!
I made a little gaucamole and gave the mister and little bowl of plain Greek yogurt with lemon juice, but feel free to top, drizzle, or dump whatever you want onto these beauties%u2026%u00a0
Happy waffle Wednesday!!!
-C
Veggie Bean Wonder Waffles
Makes 8-10 waffles (in my iron) feeds 2-3 peeps
Note on veggies%u2026 I used what I had in the fridge and shredded, it came to about 3 cups. If you don’t have these specific veggies or only want to use a few.. go for it. Just make sure to have 3 cups of whatever veggies you use.
Take you beans and blend them up with whatever device you would like to use. Once creamy, add to a bowl with the rest of the ingredients. Stir until combined.
Once the waffle iron is preheated, oil it( if needed) and place the recommended amount of batter right on it there. Close and cook until golden brown and waffly.
Serve on a plate with topping of your choice, A few suggestions.. Guacamole, salsa, hummus, mustard, greek yogurt%u2026 anything that tastes good to you.
Eat as breakfast, lunch or dinner…
Fork into face
%u00a0%u00a0You ever make dish, completely on the fly, just to use something up (I have a lot of ripe tomatoes) with no real expectation, just because%u2026 Then have it be one of the best freaking things that you have ever made?%u00a0This salad is one of those things.. maybe not the best thing I have ever made, but definitely the best salad I have ever made%u2026. this week.
A salad compiled of all things amazing, taking just a few minutes to make and is the perfect balance of uber fresh with baby spinach, raw kale, and crunchy quick pickled onions. Then adding a touch of warmth with the sweet and juicy seared tomatoes and big chunks of creamy avocado.
I mean, for reals. %u2026…Best Salad Ever !!!! (this week)
Now let’s do this.
%u00a0The Stuff. A big bowl of baby spinach and chopped up kale, a few sliced up roma tomatoes, some super thinly sliced red onion, half an avocado, red wine vinegar and salt and pepper.%u00a0%u00a0Before you do anything, place the sliced onions into bowl, sprinkle with a pinch of salt and add a few glugs of the red wine vinegar. You want the onions to sit in the vinegar for at least 5 minutes on the counter cause the longer they sit the more crispy pickly they get. (after eating onions like this, you will never want to eat them any other way)%u00a0Lightly oil a skillet and preheat to a medium heat. Once the skillet is hot, sprinkle the tomato slices with salt and pepper and %u00a0place tomatoes right on in, snugly, but not overlapping. Let cook for about 3-4 minutes, or until the bottoms start to brown. Flip and cook other side for another few minutes.Once the tomatoes are seared on both sides, remove them gently from skillet and toss them on top of the bowl of greens.
Take the pickled onions and toss those right on top, with any of the residual vinegar, add dice and scoop the half of avocado and toss that on in as well.And now eat the best salad ever (this week).
Make the day good!
-C
Skillet Seared Tomato and Quick Pickled Onion Salad
Serves 2 as a side, 1 for a hungry eater
Thinly slice red onion and place in a bowl. %u00a0Add vinegar into a and sprinkle with salt. Let sit on counter for at least 5 minutes, if not longer,
Slice tomatoes into 1/2 inch thick rounds and sprinkle with a pitch or salt and pepper. %u00a0Lightly oil a skillet and preheat it on medium heat. Once the skillet is preheated, stick the tomatoes on it (watch out for splattering tomato juice) Cook first side for about 3 minutes or until the bottom has browned, then flip and do the same for other side.%u00a0
One tomatoes are seared, place directly onto the greens. Now dump the pickled onions and residual vinegar on top. And %u00a0dice up %u00a0avocado and add that on top too.%u00a0
Now eat your salad, fork or fingers%u2026 %u00a0
And I know, ba-daaaamn. So good.
And I bet I am not the only one that got overly excited at $1.50 pineapple and bough themselves a few. We will just call ourselves opportunists. %u00a0Now we have plenty of pineapples and don’t have to pay %u00a0the $4 a piece prices. (Justification) %u00a0
But if you don’t have a pineapple laying around, you must go get one. (Maybe if your lucky, there might still be some sales going on) because you must make this salad. I am on a mission to make everyone I know eat it because, for lake of a better way to say it%u2026%u2026.It will rock your world.
Dill and pineapple are a serious match made in heaven. Pineapple, with its sweet, tangy, citrusness %u00a0and dill with it’s super fresh earthiness. Mixed together with a few other helpers to create a fresh, clean, chunky, tangy, over the top, flavor. I could stop right there, but toss in a handful of lentils, some creamy avocado and a bed of kale%u2026It’s like the best spring time, celebration on you tongue, happiness in you tummy, kind of salad.
A salad that will make you smile. (and maybe buy %u00a05 pineapples)%u00a0
The prep is done, now compile. %u00a0Kale in bowl, top with lentils,. Toss on avocado chunks, and, last but not least, the blended pineapple dill mixture. So good%u2026%u2026So so good.
Happy Friday!!
-C
So Good Pineapple Dill Kale Salad
Serves Two
Note. No fresh dill? You can use dried, just sub in 1 teaspoon for the fresh and after blending with the pineapple, let sit a little longer to really let the flavors meld together.%u00a0
Place pineapple, dill, pinch of salt, vinegar and garlic into a blender or whatever you own that blends and blend stuff together, leaving it a little chunky. Let sit for 5-10 minutes.
Kale goes into a bowl and add the lentils and diced avocado. Pour the blended pineapple on. Toss around.%u00a0
Now eat.
Whenever my little sister comes over for dinner, I always end up making lentils in some form or another because she, like me, is awesome and loves a good lentil. It makes me so happy that she has such great taste in food and wants to eat what I make. %u00a0It’s validation from a teenage girl which is the best kind of validation.%u00a0
So last night when she came over after school for dinner and trash talk (she likes to verbally abuse Nick) %u00a0we decided %u00a0to make both of our favorites %u2026 Lentils AND sweet potatoes. How can you go wrong with that combo? Well I am telling you that you can’t. The rich creamy soft and slightly sweet sweet potato mixed up with the hearty, earthy, oh so fantastically tasty lentil. Add in a bit of kale and cheese if you wish and serve with salsa and guac… Whoa, it’s the best!!!
Such a great evening, I get to the cooking, the sister gets to the verbal abuse and the mister, begin the champ that he is, takes it and dishes it right back.%u00a0
I am the greatest(coolest)%u00a0sister.%u00a0
Baked sweet potatoes, cooked lentils, chopped up kale and monetary jack cheese (Cheese is optional.. and make it vegan cheese if you want) And you don’t need then, but salsa and guacamole are the best toppings.. So you have them.%u00a0
Cut the cooked potato in half lengthwise and scoop the flesh out into a bowl. With a fork, smooth%u00a0the potato , sprinkle with salt and pepper and mix in lentils and kale.
Stuff the mixture back into the skins of the potato.
And add some cheese (The mister and the sister wanted lots of cheese, no cheese for me) and stick the potatoes into the oven and let bake for another 5 or so minutes or until the cheese is all melty or the top is nice and crispy.%u00a0
Remove and plate%u2026 Serve with salsa and guacamole and maybe some corn chips. %u00a0
I am the greatest sister
-C
Makes 2 serving
Place potato in oven at 400 degrees for 30-40 minutes or until soft a baked throughout.
While potato is baking, prepare lentils. %u00a02 cups water to 1 cup lentils. Add water and lentil to pot, bring to a boil, add a sprinkle of salt, and reduce to simmer until lentils are tender.%u00a0
When potato is cooked, remove potato %u00a0and let cool for a few minutes.%u00a0Cut in half lengthwise and scoop out most of the flesh out of the skins and place into a big bowl. WIth a fork, mash the potato a bit %u00a0Add in the lentils and the kale, a sprinkle of salt and pepper, and mix to combine. Stuff the mixture back into the skins of the potatoes and top with cheese. (if using ) Place potatoes back into oven for 5-10 minutes until cheese is melty and bubbly or the top of the potato is a bit crispy. Remove from oven and serve on a plate with salsa and guacamole.
Eat and be happy.%u00a0