I’ve gone on a complete split pea binge. I have been making it (or reheating it if I have left overs) every day for the last two weeks, no joke. (This lady needs her protein) I get home, grab what ever veggies I see first in the fridge, a few jars of some spices, the giant jar of dried peas, and make quick work of lunch. Chop chop, dump, splash, stir. I am a soup (stews and bisques too) master. Soup for lunch. Right in all ways and just needs to happen.
Sometimes I’ll make soup and it’s just good soup.%u00a0 Sometimes it will end up being really good .This soup, well this soup is really freaking awesome and is my new go to for split peas. Thick and creamy, mildly sweet from the parsnips and ginger, but mellow at the same time. Add a little or a lot of pepper (lots of pepper here) and you got yourself perfection.
Soup that warms you up from the inside out and leaves you happy and full.
Split pea for life!
The stuff. Dried split peas, parsnips, a carrot, and onion, some Italian seasoning, ground ginger, bay leaves, and salt and pepper. Also need water.
Chop the veggies. Smaller chunks are good, but don’t worry to much, it’s all getting blended up anyway.
Now toss all those veggies into a big heavy bottom pot and mix in all the spices. Stick o stove with a splash of water and turn up the heat to give the veggies and spices a few minutes alone to active all the goodness.
Once the smell hits you nose and the veggies look like they need some water, dump in the split peas and add enough water to completely cover everything plus a few extra inches. Bring the pot to a boil then turn down to low, stick a lid on pot, and let cook. Check an stir every 10 minutes or so. If it starts to look dry, add in another few cups of water.
Peas are soft, veggies are cooked and now soup is almost ready to go.
Just blend it until smooth. Take liberty hear and smooth it as much or as little as you like. Also if you want to thin it out, just add more water. Want to thicken it up, just cook for a little while longer. ( spit pea is so easy).
And that is it.
You know what to do from here.
Soup time!
Stay warm and have a great weekend.
-C
makes a large pot of soup that will feed 4-6
1 pound dried split peas
1 medium yellow onion
1 large carrot
1 pound (about 4-5) parsnips
2 tablespoons Italian seasoning*
2 teaspoons ground ginger
2 bay leaves
salt and pepper
water
*Note. Italian seasoning is pretty basic and you probably have it, but if not you can make your own by mixing equal parts thyme, oregano, basil, and rosemary.
Start by rough chopping all the veggies and placing them in a large heavy bottom pot. Mix in the spices and bay leaves. Stick on the stove with a splash of water and cook for a few minutes to let the spices ans veggies heat up and smell all nice. Add in peas and enough water to completely cover everything in the pot plus a few inches. Bring to a boil, them turn heat to low, cover pot, and let cook for about 1/2 hour-45 minutes, checking and stir ever 10 minutes. If the soup seems to get too dry, just add in a few extra cups of water.
Once the veggies and peas are soft, turn heat off and using the blending device of your choice, blend until smooth. Season with salt and pepper to taste and eat hot but watch your tongue.
No it is not weird or gross or anything. I wouldn’t do that to you. These popsicles are down right deeee-lightful. Rich and creamy and sweet. Both the creamy coconut and the toasted coconut pair perfectly with the sweet corn flavor. They truly are delicious and I think that if you give them a try, you will think so too. And really, now that it is like almost summer, who doesn’t have a little extra corn laying around. So you might as well just make a batch.
And then you will thank me for introducing you to the goodness that is a toasted coconut and corn popsicle. Heck, the mr even ate one and he (still, after I have proven him wrong on a many occasions) says he hates corn. So if a corn hater likes these, imagine what a corn lover will think. HAHA. Corn lover.
To the popsicles!
The stuff. Corn, full fat coconut milk, shredded coconut, and maple syrup.
First, remove corn from cob and place on a baking sheet. Bake in oven for 10-ish minutes until corn is cooked and all nice and sweet.
And don%u2019t forget to toast the coconut. A few minutes in the oven is all it needs.
Now to blend. Corn and coconut milk go in first to blend until nice and smooth. Then add in the maple and coconut and blend until just combined. That will leave a little coconut texture. If you want it smooth, well just blend until completely smooth. Do what feels right to you.
Thick, rich and creamy popsicle mixture.
Now pour it into the molds and stick into the freezer. You could probably stick the sticks in now or wait a little while for the mixture to set a bit, but just don%u2019t forget to get sticks in those popsicles before they completely freeze. That would suck.
Pop those lovelies out of the molds and there you go.
The anticipation is over. Eat a popsicle
-C
makes 4 average sized popsicles
2 ears corn (about a cup of corn kernels)
1 cup full fat coconut milk (the canned stuff)
1/4 cup shredded unsweetened coconut
2- 4 tablespoons maple syrup
Note. If you have left over cooked corn, just use that. You don%u2019t need to recook it so skip the cooking corn step.
Preheat oven to 400
Remove corn kernels from cob and place on a baking sheet pretty evenly. Pop into the oven for 10 minutes of so or until the corn is cooked through and nice and sweet.
Remove corn and dump it into blender and set aside to cool for a few minutes. Place the coconut onto the baking sheet and pop into the oven for 3-4 minutes to just lightly toast. When the coconut is toasted, remove from oven.
Grab the blender with the corn and pot in the coconut milk. Blend until smooth. Add in the maple (start with 2 tablespoons and work your way up to the sweetness you like) and the toasted coconut. Blend quickly just to combine for a slightly more textures popsicle or blend completely smooth if you would rather a smoother popsicle.
Pour mixture into popsicles molds and place into freezer. After the mixture sets up (about an hour) pop sticks into molds. Continue to freeze until completely frozen. Usually 4-6 hours.
And then when it is popsicle time, remove popsicles from molds and eat them.
Kind of a spur of the moment cake situation. I was in the middle of doing some paper work and remembered that I had made plans with the littles to go bike shopping and do dinner. Usually when they come over for dinner I don%u2019t make a point to have a dessert (they are happy with a handful of chocolate chips if I have nothing) but I felt the need to have something special. I mean, bike shopping, that%u2019s a big deal and they were so excited so I wanted to have a little celebration cake thing. A, YIPPIE YOU GOT BIKES! cake. It just seemed like the right thing to do.
So I made cake. I running a little short on time (yet I still had time to take pictures%u2026.) so I went with my trusty one bowl, super easy chocolate cake. (This is everyone in my families favorite cake). Peanut butter frosting because it was right in from of me and really, it was for Coco the fat baby. He basically eats nothing but peanut butter these days. And of course because peanut butter and chocolate together are never going out of style. I cooked the cake in a loaf pan because I was just feeling loafy I guess. But This cake could totally be cooked into a cake round or square if you wanted to.
And that was that. I made that cake, they got the bikes (YEA!!!!, although I told them both that they sucked because they walked into a store and picked out bikes in less then an hour. I on the other hand have been bike shopping for more then a month and still haven%u2019t made a decision.) We then came back here to my house, biked around for a while, then ate cake (after dinner of course.)
Anyways. This cake. Rich, dense, chocolatey peanut butter goodness. Has been described as the best cake ever and like a Reese peanut butter cup. If you are into any of that, well this is the cake for you.
To the cake.
The stuff for the cake.. Flour, baking soda, salt, cocoa powder, oil, coffee, vanilla. brown sugar, and apple cider vinegar. And the stuff for the frosting. Peanut butter, butter, powdered sugar, and almond milk.
In a big bowl, whisk together the dry stuff, pinching and breaking apart any big clumps of cocoa or sugar. Then just dump in the wet.
Whisked until glossy and smooth. A perfectly perfect chocolate cake batter.
Pour batter into a greased and lined loaf pan and into the oven it goes. 50-60 minutes or so or until a tester poked in the middle comes out clean. Then pop the cake right on out. Remove cake from tin and let cool on a wire rack.
While cake is cooling, make frosting. Beat together powdered sugar, peanut butter, butter, and milk.
Fully beaten. Ready to frost a cake.
Once cake is cooled, cut in half down the middle, length wise. Then frosting the middle. (Make sure it is cooled in the middle before frosting. If it is still warm, let it cool)
Pop the top back on and frost the rest.
And don%u2019t forget the sprinkles. Went with chocolate and gold because. But you do you and use whatever sprinkles you want.
And then you eat the cake.
I ended up stick it in the freezer to hide for a while%u2026 I guess this cake cold or slightly frozen is just about the best thing ever. The littles damn near ripped my arm off trying to get seconds.
-C
makes 1 loaf cake
For the Cake
1 3/4 cup all purpose flour
1 cup packed light brown sugar
1/3 cup cocoa powder
1 teaspoon baking soda
1/2 teaspoon salt
1/2 cup neutral oil
1 1/2 cups warm coffee
1 teaspoon vanilla
1 tablespoon apple cider vinegar
For frosting
3/4 cup minus 2 tablespoons peanut butter
2 tablespoons vegan butter
1/4 cup plant based milk
1 1/2 cups powdered sugar
Preheat oven to 350 and grease and line a loaf pan.
In a large bowl mix together the flour, baking soda, salt, cocoa powder, and brown sugar. Break apart any big clumps of sugar or cocoa with your fingers. When that%u2019s mixed, dump in the wet and whisk together until just fully incorporated. Pour batter into the greased pan and stick into oven.
Bake for 55- 60 minutes or until a tester poked into the middle comes out clean.
Once cooked, remove from oven and carefully remove from pan. Place on a wire rack to cool.
While cake is cooling, make the frosting. Just beat together the butter, peanut butter, and milk until nice and creamy. If you find your frosting be too thin, add in more powdered sugar, too thick, a splash more milk.
When it is cooled, cut the loaf in half length wise. Make sure the inside is complete cooled as well. I totally stuck my cake in the freezer for little bit to speed up the cooling process%u2026..
When the cake is cut and completely cooled, frost it. Spread a little less then half the frosting on the bottom layer, stick top back on, and finish the frosting. Cover with sprinkles (if you want) and then that is it.
Serve room temperature or what my people really like is served slightly frozen, which is great because I just cut the cake up and froze individual pieces making for a perfect quick dessert.
It was the perfect Sunday. Cold, snow covered, cozy and quite. Everything a Sunday should be. (now its warm ,rainy and chaotic. Poop) The perfect day spent reading, drawing, drinking way to much coffee and putzing around. And baking a loaf of bread.. chocolate bread. If everyday was like this………
Chocolate bread? Well yeah, it is the holiday season after all and I figured that it would make something that would last all week and can is multi -purpose.(breakfast or dinner) I could have made more cookies, but I am airing on the side of not feeding the mr sugar bombs for breakfast these days. But this chocolate bread. He can eat it whenever he wants. It’s basically just a loaf of bread (I made it with whole wheat for extra goodness) with a tuch of sweetness ans a lot of chocolate flavor. It makes agreat breakfast toast, a hearty snack, or would be great for some type of french toast situation. Or maybeyou want to make some chocolate bread pudding, or woy are going to be making chili and want something to serve it with. (I was thinking a black bean chili would pair really nicely). There are no rules here. The mr, he has been eating it with peanut butter banana or mashed avocado. Its nothing to complicated, just chocolaty bread.
So of you are around this week, maybe spending some time at home, I think you should make bread.%u00a0 It’s really easy, not much in terms of mess and who doesn’t love the smell of baking bread? And bonus.. IF you have any friends or family visiting, or if you are visiting them, why not impress them with a freshly baked loaf of bread, You will be the coolest.
The stuff. White whole wheat flour, cocoa powder, salt, soy milk, coffee, yeast and turbinado sugar.
The sugar and yeast get whisked together with the soy milk and coffee and left for a few minutes to make sure its active (or if you know your yeast is good, then just get on with it.)
Flour, cocoa powder, and the salt get a good whisk together as well.%u00a0
Then dumped into the yeast mixture.
Mix until the dough starts to come together, then dump it onto a lightly floured surface and start. Gather together with your hands ans start to knead.
Keep kneading (about 5 minutes or so) until the dough is a cohesive texture, slightly glossy, %u00a0ball of goodness.
Place the dough back into the bowl and drizzle and rub down with a oil (use a neutral flavor) Place a damp towel over the top and stick in a warm place to rise and double in size, which should take between an hour,, hour and a half, (depending on how warm you place is)
Once it has doubled, push down dough, shape into a loaf shape, and place in a greased load pan. Rub a little more oil on the top, cover with plastic this time (a towel will absorb the moisture from the dough), and place back into the place to rise again.
And once the dough starts to crest the pan and has double again,(another 30 minutes) it’s tie to bake. Stick the dough into a preheated oven and bake away.%u00a0 Optional step but yoi should do it. Stick a pan with about an inch of water on the bottom of the oven when you stick the dough in. It makes the crust a little crustier and pretty. and keep the bread a but more moist.
And once the bread is done (45-50 minutes, with a internal temp of 190) remove from the oven and let cool(for at least 15 minutes.. (you can do it!)
Sliced to your preferred thickness, eaten as is or slathered with some peanut butter. Save some for the morning for french toast or strawberry jam toast.
The possibilities are endless.
Enjoy you day.
-C
Makes one loaf
3 cups white whole wheat bread flour (plus a little more if needed)
1/2 cup natural cocoa powder
1 cup soy milk
2/3 cup warm coffee
1/3 cup turbinado sugar (can use cane sugar)
2 1/4 teaspoon yeast
1 teaspoon salt
Note. If you want to make 2 loaves (why not right) just double everything except the yeast. Still only use the 2 1/4 teaspoons.
In a large bowl, whisk together the soy, sugar, and the yeast, then add in the coffee last. (just to make sure the coffee isn’t to hot that it kills the yeast) In a separate bowl, whisk together the flour, cocoa powder and salt. Once you are sure the yeast is active, dump the dry into the wet and mix with together until the dough starts to form. If the dough seems to wet, add in another tablespoon or two of flour. Dump onto a slightly floured counter and knead until a cohesive texture that is somewhat smooth a glossy. Place dough back into bowl, drizzle and rub with oil, then place a damp towel over the bowl ans stick it in a warm place. Let the dough rise until it has doubled in size, which should take about 1- 1 1/2 (depending ho warm the spot) Once doubles, dump onto counter and push down. Shape into a loaf and place into a greased loaf pan. Rub a little more oil on top and cover with plastic. Let the dough rise for about another 30 minutes or until the dough is cresting the brim of the pan.%u00a0
Preheat the oven to 400
When dough is done it’s second rise, place a pan with about an inch of water into the oven on he lowest rack. Place dough in oven on the middle rack. Turn heat down to 375 and bake between 45-50 minutes or until the dough is golden brown and sounds hollow when tapped on. (also can check for temperature of 190 with a instant read thermometer)
When done, remove from pan ans let cool completely (or at least 20 minutes) before cutting.
When cooled, cut into slices and do what you will (straight up or covered in peanut butter…..)
Store uneaten bread in a air tight bag for about 3 days or just cut it all up and stick slices in the freezer and grab pieces as you need them. Either toast or lest thaw to room temp.
It happens every year. SO MANY TOMATOES! This is not a complaint, just a fun fact. And so for the forseeable future, besides canning and freezing tomatoes at a rapid pace, I will also be sticking them into everything. Enter here a tomato cracker. But who wants just a tomato cracker? I( bet some would love just a tomato cracker) But a tomato basil cracker, well that is something people will want. And yes, I have a buttload of basil at he moment too.. I cook with what I got!
Tomato basil crackers. First off, I needed to make a road snack for the mr and cut up chunks of raw tomatoes would not have gone down well with him, so I figured what better way to use up some tomatoes then a cracker situation because why the hell not.%u00a0%u00a0I was a little hesitant to use fresh tomatoes and not cook them or roast the in anyway before using them in the crackers, but I glad I didn’t. The tomato flavor really shines through, pairs beautifully with the basil,%u00a0and you get to skip having to deal with cooking down the tomatoes, which makes them all the more easy to make.
So I made the crackers and gave a baggie to the mr to eat, which he did right then and there (with some sweet ass baba ganoush because yes)%u00a0then packed a big bag for the road trip.%u00a0Not only was the mr chowing down, but my sisters were gobbling them up too, even the one who is gluten free. %u00a0That is good cracker validation.%u00a0
If you have never made your own crackers and you are a cracker person, now is the time to start doing it. I don’t eat crackers personally, but the mr and every one around me really seem to be cracker people so a while back I started to make them at home, and once you make a homemade cracker, the store bought ones will just not be acceptable anymore. But they really are super easy so you really should be making them at home anyway.. No pressure though.
The stuff. Flour, olive oil, tomatoes, fresh basil, and sea salt.%u00a0
Chunks of fresh tomato go into blender and get blended up all nice and smooth. Add in basil and oil and pulse until basil turns to little specks.
Pour the blended mixture into the flour.
Mix with a spoon until you can’t mix anymore then dump onto the counter.
Keeping the counter nice and floured, knead dough for a minute until it all comes together into nice ball.
Working with half of the dough at a time, roll out one of the pieces %u00a0about 1/4-1/8 inch thick.%u00a0%u00a0(really flour counter and rolling pin)%u00a0
And cut into crackers.. Shapes are up to you, but inch to 2 inch squares are easies to cut.%u00a0
Place crackers onto backing sheet. Before oven time and after oven time.%u00a0%u00a0They shrink and puff up a little bit in the oven. That is what a cracker is suppose to do. (but if you don’t like that you can prevent it by piercing the crackers with a fork before they go into the oven)%u00a0
And that’s it. Simple, and delicious.%u00a0
Crackers are looking all pretty like I am about to have party or something. I even made baba ganoush to serve with them. Lucky mr, he got to have this cracker party all to himself. Ha (He did not eat all of these crackers at once, that would be crazy)%u00a0
-C
makes between 100 -125 crackers%u00a0
3 cups flour
2 large tomatoes %u00a0( equal to 1 1/4 cup of tomato puree )
1/3 cup fresh basil leaves%u00a0
4 tablespoons olive oil%u00a0
About 2 tablespoons sea salt%u00a0
Remove core from tomatoes and place into food processor or blender. Blend until smooth and measure out 1 1/4 cups of the puree. Any left overs rs can be used as food later on. Dump measured puree back into blender and add in the basil and oil and pulse until the basil is in little pieces but not completely blended in. %u00a0Add flour to a big bowl then pour in tomato mixture and mix until a dough forms. Dump out onto counter and knead for a minute or two until dough is uniform in texture.%u00a0
Preheat oven to 400 degrees
On a floured surface, divide dough in half as to make rolling it easier, and roll dough into a rectangle that is 1/4- 1/8 inch thick. It is important to make sure the rolling pin and counter are well floured to avoid the dough from sticking. Once rolled out, sprinkle with sea salt and lightly roll the dough once more to kind of press the salt in then cut with either pizza cutter or a cracker cutter, or a knife, into 1 1/2 inch squares. The edges are going to be wonky shaped and you can either except them as they are or re roll and recut. (Note. IF you want your crackers to late flat and not puff up while baking, stab the crackers with a fork before they go into oven to create air vents. But honestly, most people really like the puffed up cracker)%u00a0%u00a0Place cut crackers onto a baking sheet and stick into oven. Bake for 15 minutes, checking after 10, until the crackers are golden brown. %u00a0Don’t forget to roll and bake off the other half of the dough!
Once crackers look good, remove from oven and place onto cooling rack. They will get crisper as they cool.%u00a0
Eat as many as you want. Store extra crackers in a airtight container or bag.%u00a0
I have fond memories of young me skipping school and sitting in front of the tv with peanut butter,%u00a0a package of graham crackers, and a glass of milk to dunk the peanut butter cover crackers in,%u00a0watching myself some Martha Stewart. I also have some fond memories of the days in college I would skip class (obviously to finish a paper or something), and sit around eating graham crackers covered in peanut butter and nutella,%u00a0dipped in beer? Wait no, it was coffee.%u00a0(although….beer? Could be something there.)%u00a0%u00a0Apparently I liked to skip class and eat peanut butter graham crackers. But don’t blame the cracker for the bad behavior, blame the eater. And I didn’t do it all the time, only once in a while. (A girl needed to watch her some Martha or write a 20 page paper.)%u00a0
We had a BBQ this week and for some reason I though people want to eat s’mores at a BBQ. (I guess I got that confused with camping.) %u00a0I figured even though the days of skipping life and eating graham crackers has passed me by, that I needed to make the graham crackers for others to enjoy. And then I wondered why the heck no one ever makes graham crackers. They are by far the underrated crispy cookie (lets just call it what it is ) of the snack world.%u00a0%u00a0I think I might make it my new thing. I’ll make graham crackers for ever cookie swap situation, every event that requires a dessert, every time a snack is need,%u00a0until people realize what they are missing. I’ll bring the graham cracker into all it’s glory.%u00a0
These graham crackers were raved over by people who like graham crackers and were absolutely perfect for s’mores.%u00a0%u00a0A few of the littles that don’t like graham crackers did not care for them, but I guess you can’t make everyone happy. Tthey just wanted to eat the marshmallows.)%u00a0They are crispy and crackery, tiny bit smokey and sweet but not to sweet, and perfect for all your graham cracker needs.
The stuff. In one bowl there is graham flour, all purpose flour, baking soda and salt. The other bowl has brown sugar, honey and molasses. Also going to need vegan butter, vanilla, and a little bit of plant milk.%u00a0
The big bowl of sweet stuff get beaten together with the butter and vanilla until smooth, then the dry mixture and milk go in an beaten until just combined.%u00a0
. This is what graham cracker dough looks like.%u00a0Course %u00a0and chunky,%u00a0but done. Don’t beat it anymore, just use your hands to gather it tighter.%u00a0
Gather the dough into a ball then wrap %u00a0in plastic (or stick in a plastic bag)and smoosh flat and rectangular. Place in the fridge for at least 2 hours, if not overnight. IT needs the time firm up.%u00a0
After the dough has firmed up, its time to roll it out. Cut the dough in half (place the other half back in fridge until you are ready for it) and roll out on a very floured surface. The dough is sticky and %u00a0not super strong so go slow and make sure to keep the surface and the rolling pin floured so it doesn’t stick .
When it’s all rolled out, trim the sides even the cut %u00a0into into squares or rectangular (or any shape you want). I was going to measure and make them all the same size and then I was like, yeah, no. I just eyed it and made them kind of the same size. I don’t live in a world where I need perfect graham crackers.%u00a0
Gently transfer the crackers (%u00a0I used the bench scrapper to list them, but a spatula would be good too) on a parchment lined baking sheet. Run a %u00a0line the doesn’t cut all the way through in the middle of each cracker and then poke 6 (or how many you want) hole on each side. You can use a toothpick or a wooden skewer. I used a size 8 kitting needle.
Get all your crackers made and sprinkle the tops with a little graduated sugar. Pop into the preheated oven to bake for 15-20 minutes,%u00a0rotated around 10 to keep an even bake.%u00a0
Done. Golden brown graham cracker success.%u00a0
Cool the crackers on a wire rack.
And now you have yourself graham crackers for all your graham cracker needs.%u00a0
May I suggest a smear of peanut butter, maybe a glass of milk or coffee and some Martha Stewart on the tv?%u00a0
-C
Makes between 20-30 crackers depending on size
1 1/2 cups graham flour (unbolted whole wheat flour with the germ and bran)
1 1/4 cup all purpose flour%u00a0
1 teaspoon salt%u00a0
1 teaspoon baking soda
1/2 cup light brown sugar
1/4 cup honey (can sub %u00a0in golden syrup or brown rice syrup)
2 tablespoons molasses (not black strap)
1/2 cup vegan butter%u00a0
1 teaspoon vanilla%u00a0
1 tablespoon plant milk%u00a0
1 tablespoon white sugar
Stick the butter, brown sugar, honey, molasses , and vanilla %u00a0into a large bowl and beat with an electric beater until smooth, In a smaller bowl, whisk together the flours, salt, and baking soda. Dump the dry into the wet, add in the milk and beat on low until mixture just starts to come together,then use your hand and smoosh and knead the dough into a ball. Either wrap or place dough ball %u00a0in a plastic airtight bag, smoosh into a flat rectangular shape, and refrigerate for at least 2 hours, if not over night.
When you are ready to bake the crackers, preheat oven to 325 and line 2 large baking sheets with parchment paper.%u00a0
Cut dough in half and place one half back in fridge while working with the other half. Flour a surface and the rolling pin and roll dough our into a retangle about 1/8 inch thick. Trim sides ( a pizza cutter or dough scraper works really well here)%u00a0to make a sides straight (straight enough) and then cut into equal sizes pieces that are the size of your liking. (What it did was cut in half, then each half into thirds %u00a0vertically %u00a0then the whole thing in thirds hortiztally. I ended up with 18 pieces) %u00a0
Place the crackers on prepared baking sheet and take you cutting instruments and run a line along the middle of each cracker without cutting all the way through (if you cut all the way through, it should fuse back together in baking) Take a wooden skewer %u00a0and poke 6 holes into each side. Sprinkle with white sugar. Now grab the second half of the dough and do the same thing. And don’t forget to gather all the trimming and either roll into more crackers or just make one weird shaped blob cracker for taste testing.
Once all the crackers are prepared, stick into the oven to bake for 15- 20 minutes (15 for a softer cracker, 20 for a more crispy cracker)%u00a0, rotating after 10 minutes to insure even baking. Once the crackers are a nice %u00a0golden brown, remove and place on a wire rack to cool.
Eat the way you do.%u00a0
Store uneaten crackers in a airtight container for a up to a week.%u00a0Crackers can be frozen for later use.%u00a0
The mr has a thing for crackers, like if I were to name his top five foods, crackers would probably be in the top three. So I try to be a nice girly friend and make him some crackers ever now and then. (He says my crackers are the best) I usually make plain or dill pickle ones for him , but last time I asked if there was any other kind he wanted me to make. He named off a bunch of weird shit but also few good ideas and one was carrot. Sounds about right.
A couple of days ago I was feeling like the mr needed some crackers. I figured it was a good time as any to try out carrot crackers because Easter,bunnies, carrots.. You can see where I am going with this right?%u00a0 Plus I have like 20 pounds of carrots in the fridge so yeah.
Full disclosure. The mr, he really like the crackers so that’s good and what counts.%u00a0 Alex, my 12 year old nephew said they tasted like cat food. But he knows nothing.
The stuff. White whole wheat flour, carrots, salt, olive oil , and water.
Chop up carrots and place into a pot with water. Onto a medium heat to steam away and get all tender.
Once cooked the carrots get blended.
The carrot puree along with the oil get mixed into the flour and salt. The mixture then gets lightly kneaded into a uniform ball and .Let to rest in the bowl for about 5 minutes.
Roll the dough out to about 1/8 inch thick.
Cutting the shape is a personal choice. I went with triangle because they kind of look like carrots?.. But any shape will do. After you cut them up, take a fork and pierce each cracker a few times to avoid air pockets while they are cooking.
Onto a baking sheet. No need to leave as much space as I did, they don’t expand any.%u00a0 Once you sheet is full, give those crackers a nice sprinkle of salt and get them into the hot oven and cook to cook. 15-18 minutes should do the trick.
And then you pull them from the oven and let them cool.
Now you got yourself some cracker.
-C
1 cup chopped carrot (about 1 1/2 carrots)
1 1/2 cups white whole wheat flour
1 cup water
3 tablespoons olive oil
2 teaspoons salt plus more for sprinkling
Place chopped carrots and water into a pot with a lid and place on a medium heat. Cook until the carrots are tender. When they are, puree them with the blender of your choice. You should end up with a cup of puree but if you end up with a little less, add water to make a cup. Too much and you can just eat the extra.%u00a0 Add the oil to the puree and mix
In a medium bowl mix flour with the salt. Add in the wet and mix until a dough forms. Dump onto counter and knead into a uniform ball. Place dough back into bowl to rest for a few minutes.
Preheat oven to 350
Place dough on a lightly floured surface. Roll out to about 1/8 inch thick then cut into whatever shape you want to eat your crackers in. Take a fork and stab a few holes into each cracker if you want to avoid air pockets (the mr likes the air pockets)%u00a0 then sprinkle the crackers with salt. Place on a baking sheet. You don’t want them touching but can be packed closely.. Into the oven for 15-18 minutes or until the bottoms are golden brown and have a slight crisp when broken. Remove and let cool..
Now Eat. With peanut butter, jelly, cheese or chocolate. This crackers are good for anything you eat with crackers.
Left over crackers can be stored in a airtight bag or container and will last for a week or so. If they start to get a little stale, just pop them back into the oven for a few minutes.
The mr is a saltines fanatic. I personally don’t get it, but he really, truly loves a good fresh package of those salty crispy crackers, and loves to make a little cracker crumb mess. (I think it does it to drive me crazy)
%u00a0The other night during a particularly crumby saltine cracker snack, he declared that the saltine people (who are these people?) must come out with flavored saltines. I then continued to burst his bubble and told him I am pretty sure the saltine people have, in fact, come out with flavors, but he was skeptical and did not believe my words. Whatever dude.
But then I got to thinking, “why the hell haven’t I made flavored saltine crackers yet?” So make flavored crackers I did. I know that the mr is really into dill pickled chips (beause I can smell the when he eats them) and I have been buying these mammoth jars of pickles from the Costco superstore (I love pickles but more then that I need the gigantic jars). so I had me a shit ton of pickle juice. It was meant to be.
The first time I made the crackers, I did a really small batch and wasn’t expecting anything amazing, just going for a decent whatever cracker. But no, the few that I managed to make, the mr went nuts for. He told me they were the best fucking cracker that he has ever had and I now have to make them for him all the time, and that it is now a birthday tradition (it was his birthday). He said they were the prefect dilly-ness, the pefrect texture and just the right amount of salt. Perfection.
Well that made me happy so instead of waiting for his next birthday, I just made a big batch. Again, more proof that I am the best girlfriend ever!
The stuff. Flour, dill pickle juice, olive oil and some dried dill and salt.
Flour into a bowl gets drizzled with olive oil and mix around with a fork.
%u00a0Then in goes the pickles juice , same deal, mix together with a fork until the mixture forms a dough. (almost resembling a pie dough)
Place dough down on counter. Let it sit there for a few minutes to give it time to rest.
After the rest, roll the dough out as thinly as you can (try for about an 1/8 inch).
I found that when I slightly damped the counter that the dough was easier to roll. It might be because I have wood counter top so this may or may not work for you, but is worth a try.
And with a knife or dough cutter (or fancy cracker cutting tool), trim off sides (if you want) and cut into 2 inch squares.
Note. IF you want to, poke a couple little wholes into the tops of the crackers. Doing so will prevent the crackers from poofing up (I was told the poof is good)
And place the crackers on a baking sheet, brush tops with the pickle juice, then sprinkle with chopped dill and a tiny bit of salt.
Stick into the preheated oven.
Bakeuntil they start to turn a light golden brown and arepoofing up a little (go ahead and grab one now for quality control)
These crackers be cracking. And wouldn’t you know it, they are already all gone. Next time I make them I am going to have to hide them.
Have a great weekend!
-C
Makes about fifty 2×2 crackers
1 cup all purpose flour
6-8 tablespoons pickle juice
3 tablespoon olive oil
finishing salt to taste
tablespoon chopped dried dill
Preheat oven to 350
Place flour into a shallow bowl and drizzle the olive oil in. Mix around with a fork. Grab pickle juice and drizzle in 6 tablespoons of the juice and mix with the fork until a dough forms. Add in another tablespoon or two if the dough needs more moisture to come together.
Form dough into a ball and let rest on the counter for a few minutes (good time to wash the dirty dishes)
After the rest, take the dough and roll it out to about 1/8 inch or as thinly as you can. Weirdly enough, I found that I was able to roll my dough out better when I damped my counter. The dough didn’t slide around and it still lifted up easily with a spatula.. but do what works for you.
Once you have rolled the dough, trim sides to clean lines and cut into 2×2 inch squares (you can cut into any shape and or size you like) Any trimming reform into a ball, roll out, and make a few more. (If you want a more authentic looking cracker, you can poke little whole into them. Doing this also make the crackers not poof up when bakes)
Place crackers on a lightly colored (or parchment lined) baking sheet. Brush each cracker top with a little pickle juice and sprinkle the tops with salt and dill. Place in the oven to bake for about 12 minutes or until the crackers have poofed up and are turning slightly brown.
Remove from oven, let cool completely and either eat right away or place in a air tight container for later.
Big. Ass. Yawn. Because we need it, or at least I do.
The week started off with nice, calm sister time, the lake, and happy little littles. Then shit got crazy. From dealing with appliances (still haven’t settled on a stove yet) to having to wear a stupid respirator all day everyday because I cannot deal with the off gases that come from polyurethane and now have dry skin blotches on my face, to running around painting prepping, sanding stairs… We are just plan pooped out. Now we just need to plow through the house to get it done and moved in. It’s getting so close I can almost imagine it. And then we can get a little bit of our life back. That will be great. We did manage to attend the two weeks early double birthday party for So and Justin because get this, it’s really sad, they are going to be in Disney Land for their actual birthdays, and so we party now for them.%u00a0 What kinda bummed me out was that I didn’t get to make the birthday cake.(I always make So’s birthday cakes..the best birthday cakes) My sister being so nice, didn’t want to ask to make it me because we are so busy so she ended up buying a cake from costco. It was crazy and huge and no one could eat a whole slice. All I had to say was maybe next year don’t go to Disney Land and I will make the cake.
And now it’s the week of Thanksgiving. Are you guys ready for the holidays? I wish I could say that I was but I am not, really really not.%u00a0 Plus it’s looking more and more like we have no idea what we are doing. Food? There isn’t much in the house. (I am running dangerously low on dried beans and I already ate through most of my farm share and there isn’t another pick up for a week and a half) I have not a single thing planned or pre-made, and we are not even sure where we are going yet. But hey, we got a couple days to figure it out right? As for food, well I just have to suck it up and do that major grocery shop that needs being done and get to some of the good stuff before all of it is picked through by the early prepared holiday shoppers. I will buy lots of beans and all the carrots.
As for today, well we gots a few weather sensitive things to do, like picking up all the piles of wood out in front of the house so it doesn’t look like a dump and piling scrap metal into the work car before it get covered in snow .( I am so excited about snow!!) Also need to give the cat a stern talking to about hanging out in the road because apparently after 11 years of being an outdoor cat, he now decided that is where all the cool cats hang. And my favorite thing on my to do list today is….dig all the slivers out of my hands. Oh so much fun. At least I will be drinking all the coffee that I could possibly want and eating beans and carrots.%u00a0 Maybe I will bake a pie too. (hahaha, but maybe)
Some of what the Internet has had this week.
-Duh. An Overlooked Weapon Against the Flu Is Also the Most Effective One
–Cool shadow art.
-I freeze my veggies in the summer and fall (my freezer is stuffed with tomatoes and peppers) anduse them all winter long. Are Frozen Fruits and Vegetables as Nutritious as Fresh?
–Grapefruit and Salt. Yum.
-I have been feeling this so bad. To Relieve Post-Election Stress, Bake And Bake Again
–The Electric Kool-Aid Acid Cure
-I guess they are all sold out, but maybe will get more in stock later. I wanted to get the mr the country clubber set.%u00a0 So f-ing awesome.
-I really love this, like a lot. A Collaborative Duo Pokes Fun at Plein Air Painting Through Photographic Series
-Not gonna lie, the super chipper all the time people, well they tire me out. If You%u2019re Annoyed by Overly Cheerful People, You%u2019ll Like This Study
The official, unofficial, last weekend of summer. A little sad, but not really, cause I am super pumped for fall. I have my sweaters unpacked, my knitting started,%u00a0and am looking forward to eating nothing but apples and pumpkins for a while. I am ready.
Now to get through the next few days of close to 90 degree weather.%u00a0(Globaly warming… you suck!)
This past week of summer has been great. We have managed to get a lot of work crap done, but also had time to do a little river hopping, have a sleep over with a few littles, and go to a family gathering. The mr,%u00a0being the most bestest guy, even hand mowed out little yard so we can actually sit outside without being surrounded by 3 ft tall weeds and hay. He is so nice. We did get a chance to pick a few apples from our community garden (not sure of the variety, but they are so good!) and we played on one of the coolest,most dangerous, playgrounds around here. All in all, not a bad way to leave the summer behind.
And now it’s Sunday and I am feeling good. Going to sit around and read, knit, garden, and drink so much coffee. And best part?%u00a0Tomorrow is Labor Day! Three day WEEKEND!!! so I will probably make tonight a party night and stay up past 9:30 (yes, I am an old lady) and %u00a0binge watch the rest of season 1 of Playing House (fucking fantastic show) before it goes away and I don’t get a chance.
Lofty goals, but I think I can manage.%u00a0
So how about you? Is this a three day weekend for you as well? Hopefully so and hopefully you are spending it doing you, and having fun, relaxing and remembering not to labor or at least not labor to hard.
Some internet stuff for you to peruse if you want.%u00a0
–Another dream home/studio/camper. Why don’t I live here?
-Because I am support to live here! (This is the pretty much perfect in every way)
-Got 230K? If you do, you can buy a whole Spanish Village
-An oh so lovely home
–Writing in trees looks cool, but not something I would want to of by hand.
-Inspiration from 5 Super Organized Garages%u2026 If only
-Are you a stinky farter? Check these out! (hahaha)
-Which Hogwarts House Do You Belong In? Your Cooking Style Will Tell.%u00a0I am a Ravenclaw%u00a0
-So I don’t have a baby or one on the way, but when/if I ever do, I want this for baby.
-Why Are We Drawn To Heirloom Fruits And Veggies?%u00a0
-A carrot cake that tastes like carrot.%u00a0Because it should.
And some pictures from the past week.
Happy Weekend.. Hope your able to enjoy a long one!
Here’s one for the cabbage lovers our there, maybe even the haters as well. (I don’t understand those people, cabbage is king in my stomach).%u00a0I really believe that a good bit of cabbage can really change a persons perspective on the humble cruciferous vegetable, maybe even the world. To far? Maybe but what I always say is, “When in doubt try it out!” Either way, this bit of cabbage is vey very good good.%u00a0%u00a0
A quick little warm up in a skillet with some sesame soy flavor and crunch and you got yourself a A plus little salad. It hits all the right notes for when a) its winter and fresh greens are more sparse (which it currently is and they currently are) b)%u00a0its cold out (again currently because it’s winter) and c) when you only have a head of cabbage in the fridge (was the case but I have sense remedied that).%u00a0
Chop it, toss, it, eat it. Quick and easy good food. Get on it.
The stuff. Cabbage (I used savoy but you can use any cabbage you want) soy sauce, toasted sesame oil, olive oil, and a lemon. The lemon is optional, but a little acid is alway welcome in my mouth.%u00a0
Chop the cabbage. Unless %u00a0you are making this for more then 2 people, you probably only need half a head. However much you use, chop in up into 1-2 inch peices. You could %u00a0also shreds it if you want, but I like the bigger pieces.%u00a0
Toss the cabbage into a hot skillet that has been drizzled with a little olive oil and toss the soy sauce in with it too.%u00a0
Cook on medium high heat until the cabbage has slightly soften.%u00a0
While the skillet is still hot, drizzle in a touch of toasted sesame oil and a good amount of sesame seeds. Give it a toss. Taste and add more toasted sesame oil if you want.
Pile it Into a bowl and that’s that. Serve with a wedge of lemon or lime if you like the addition of the acid.%u00a0
-C
serves 1-2 people
1/2 of a head of cabbage (green savoy, or red work)
1 tablespoon soy or tamari%u00a0
1/2-1 teaspoon toasted sesame oil
1 tablespoon olive oil%u00a0
sesame seeds
lemon or lime (optional)
Preheat a large skillet to medium high with the olive oil. While its getting hot, chop the cabbage into 1- 2 inch pieces. When the skillet is hot, dump the cabbage in and toss around with the soy sauce. Let cook for 4-5 minutes, giving it a toss a few times, until the cabbage starts to soften. Depending on your preference you can stop cooking it now, or keep cooking until it reaches you preferred doneness. (I like it with a little crunch so I cook it for 5-6 minutes) Once it’s done but the skillet is still hot, drizzle in the toasted sesame oil and toss in the sesame seeds. Taste for flavor and add more toasted sesame oil if needed.%u00a0
Serve right away although cold left overs are also fantastic. A wedge of lemon or lime is a well received addition.%u00a0
There is something about purple cabbage that makes me feel like I need to share it. It sounds weird , especially because I eat about a head of cabbage a day, but that is green cabbage. I barely buy purple cabbage because it cost twice as much and I really like green , but at farm share when you get to pick what color you want, I alway pick the purple. ( Side note. I used to call it red cabbage but have since stopped because it is very clearly purple and calling red just doesn’t make any sense)%u00a0
I also feel the need to do something a little more the chopping it up and eating it raw. So I make a little fancy. pretty, almond crunchy mustard type thing because that’s what I was feeling and I figure the mr would like it too. Note that I ended up using half a green and half %u00a0the purple because color is nice and also I ended up eating the other half of the purple before I could share it. But I caught myself before eating it all to may face and was proud of myself for thinking of others.%u00a0%u00a0
This dish is good, really really good.%u00a0. It has roasted cabbage which is alway great, but slathered with maple mustard and crunchy almonds.. it’s just freaking fantastic in all the ways. It also happens to be super easy to prepare and with minimal ingredients.%u00a0It makes for a great side dish, a main dish, and is great for sharing during the holidays that are just around the corner. Or if you are like me, not sharing and eating all afternoon long. (I did save some for the m for dinner because I am so nice)%u00a0
The stuff. Cabbage, red or green or a bit of both, stone ground mustard, maple syrup, almonds and pepper.
Easy peasy. Cut the cabbages about an 3/4 inch thick and lay them on a baking sheet. Pop it into the oven once it’s preheated.
While thats going on, mix some maple with the mustard and chop up the almonds.
After about 25 minutes, pull the cabbage out and flip them. Cover the top with maple mustard and sprinkle on the almonds. Stick the cabbage back into the oven and bake another 10-15 minutes, or until it’s roasted to your taste preference (I like it really roasted)%u00a0
Just look how pretty it is.%u00a0
Serves from a baking sheet but would look so lovely on a nice plater, you know, if you want to be extra classy.%u00a0
This cabbage situation is all of it.%u00a0
Have a great weekend and hope the Thanksgiving planning goes smoothly.%u00a0
-C
Makes about 6-8 slabs
1 head of cabbage (red or green or half of both)
1/4 cup stone ground mustard
2 tablespoon maple syrup%u00a0
1/3 cup raw almonds%u00a0
pepper to taste.%u00a0
Preheat oven to 425
Slice cabbage into thick slabs about 3/4 inch thick. Try to get them roughly the same thickness so they roast evenly. %u00a0Lay the cabbage on a baking sheet, not overlapping, and stick into the oven once it’s preheated. Bake for 25 minutes or until the bottoms of the cabbage are crispy.
While cabbage is roasting, mix mustard and maple %u00a0together and roughly chop the almonds. %u00a0
After %u00a0the 25 minutes, grab the cabbage from the oven and flip each piece. Cover the tops with the maple mustard and sprinkle on chopped almonds. Place back into the oven for another 10-15 minutes %u00a0and roast until the cabbage is as crispy as you like it.
Remove from oven, sprinkle with good pepper,%u00a0and serve. Extra maple muastd is welcomed to some. Any left over (but there won’t be any) is great eaten cold before bed %u00a0or tossed onto a salad for lunch the next day.%u00a0
I walk into the house,%u00a0 have about 45 minutes to wash up my paint covered body, make dinner, eat dinner, clean up, and get back out the door. That has been the way of things around here lately. Lots to do, very little time. I miss hanging out in my kitchen all day, making bread and cakes and dishes that take some time. But soon, so soon I will have a nice new big kitchen to hang in and make all the crap I want!. Until then, what I have been cooking (o not cooking) has been things that I can whip up fast and with what I always have in my house. (there is always carrots and always tahini, and always hot sauce)
This is my new go to for the really busy night. Crispy, crunchy carrots covered inspicy nuttiness of sriracha and tahini. For sure some pretty freaky tasty stuff.%u00a0 Easy as hell to make,%u00a0 keeps nicely (if you make a big batch and save some for later) and takes all of 2-4 minutes toss together Can be eaten as a side dish (goes really well with lentils and rice) or as a big salad all to your face.
What more can you ask for?
The stuff. A few (like 4 or five) big carrots, a hunk of cabbage, anda few scallions. Also need tahini, Braggs amnios or soy sauce red wine vinegar, sriracha, a couple cloves or garlic, and pepper. Not shown but I used sesame seeds (if you don’t have them, no biggy)
Mince garlic super fine and toss into a big bowl with tahini, sriracha, vinegar, and liquid aminos or soy. Mix it all up.
Half where there. Now is a good time to taste the sauce. You might find that you want a little more vinegar or more sriracha. Add more of whatever to please your mouth.
Julianne the carrots and finely slice the cabbage.
Into the bowl it all goes. And cut up those scallions and get those into the bowl two.
Toss it all around Then sprinkle with sesame seeds if you have them and lots of cracked pepper.
See, super easy.
Now eat it.
-C
makes enough for one to eat alone or 2 as a side
4-5 large carrots
chunk of cabbage
a few scallions (green and white part)
2 tablespoons tahini
1 tablespoon red wine vinegar
1 tablespoon soy or Braggs liquid aminos
2 tablespoons sriracha
1-2 cloves garlic
pepper
sesame seeds (optional)
Finely mince garlic and toss into a large bowl with the tahini, sriracha, vinegar, and braggs or say, Mix it all together. Taste and adjust any of the ingredients to you liking (add more sriracha or tahini if you want). Grab carrots ans julianne (you could also just shred) and finely slice up cabbage. Toss into bowl with sauce. Chop up scallions, the white and green part) and those go into bowl too. Toss it all around in sauce until everything is all coated then sprinkle with sesame seeds and top with lots or pepper.
Eat and enjoy.
Yesterday we had a few pieces of really log ass metal roofing delivered to the new house so we can finish the little side parts of the roof off. The funny thing is we ended up with way more wood then metal. The roofing is super light and flexible so it has to be strapped to a super long wooden structure. And it was perfect. The mr and I have pretty much finished the fence except for the gate from the driveway which sucks because we still can’t bring Washer over to play without it ans we pretty much fenced the yard in for him. But the long ass wooded palette things.. IT was perfect. Well a perfect for now solution. A Already constructed tall and long (too long, we had to cut it down) wooded wall that is now our temporary gate.What a score! And now the pup can spend all day long laying around outside and not getting into any neighborhood fights with the other dogs. And look at us making use of all the scraps. We are so awesome.
Ok, so besides our awesomeness and the new temp gate, let talk about this greenest freaking soup that there ever was. It is probably the best green soup that I have ever tasted. (I know,%u00a0 I have habit of proclaiming all of my soups as the best soup ever, mostly because they are.) It’s one of those soups that is super fast and so simple to make and is perfect for all the spring and summer time eating that will be going on. Eaten hot or cold and out of a bowl or a drank out of a glass. A soup for any time, any place. The mr even liked it and he says he doesn’t like peas. (but he so does). Who doesn’t like the best soup ever?
Now here is how to make it.
The stuff. A big bowl of fresh spinach and a bowl of peas (fresh or frozen.. mine were frozen) Also need an onion, a carrot, a few cloves or garlic, water, olive oil, and salt and pepper.
First thing first. Get the onion and carrot all nice and chopped up and tossed into a big pot with a drizzle of olive oil, a little splash of water,and salt and pepper. Stick that pot on the stove on medium high heat and start to cook cook.
Soften and yummy carrots and onion. I am not exactly sure if my carrots turned the onion orange or if my pot because it is so stained with turmeric that it turns everything yellow. Keep the pot on low heat and mince and stir in the garlic.
And for magic. The pot is sill on low and you are going to pile all the fresh spinach right on in to the pot. Add a few splashes of water and a lid and let it cook for a few minutes. And when you go back and remove the lid..Ca bang ! All the spinach is gone (not really, it just wilted).
It’s time for the peas and water to be added.The blender comes out and the soup gets blended until super smooth.
So green, so good.. This soup is all ready to go. But here is the thing, you can eat it at any temperature and it will be amazing so if you want to heat it up a little more, go for it. Cold soup shooters, just stick it in the fridge for a while and wait until its chilled. Or both. I ate a bowl warm then had cold soup for dessert.
And to finish, you must serve with fresh lemon and if you have it, a pretty little mint plant. I love the flavor of a little fresh mint added, but not all do. So mint if you like( it really is so good) but lemon in a must!
Enjoy all the green things!
-C
serves 3-4
2 cup peas (fresh or frozen.. I used frozen)
3 packed cups fresh spinach
a few sprigs of fresh mint (optional)
3 cups water
1 small onion
a carrot
3 cloves garlic
1 lemon
olive oil
salt and pepper
Small chop onion and carrot and toss into a big heavy bottom pot with a drizzle of olive oil and salt and pepper. Stick on stove on medium heat and cook until it becomes soft and fragrant. Now mince garlic and add that it too. Stir and cook for another minute or two then add in all the spinach and a splash of water. Place o lid on pot and let until cook until spinach is all wilted. (give it a stir to get it all cooked down). Once wilted, add the peas and the water. Stir all together and let simmer for a few minutes then remove from heat. Now blend the crap out of it until silky smooth.(use your blending device of choice).
And it’s done. You can either serve right away as a hot soup or sick it in the fridge and serve cold! Just remember that you need to serve it with cracked pepper, a squeeze of fresh lemon and some chopped up fresh mint(mint it optional but so good)
Eat with a spoon or forget the spoon and slurp out a a cup like the cool kids.
I was cleaning out the fridge and found that I had a good few really ripe avocados that were in need of eating ASAP. (I bought like 8 at once… super sale!) My first thought was I wish I could freeze these and save them for later. Then I thought well why the heck don’t I freeze them. So that’s what I did. I pureed them up, added a little lemon juice and stuck a jar of tangy green creamy goodness into the freezer and all throughout the week found myself standing in front of the fridge with a spoon scraping at the jar of avocado. It was so good. I even added a little fruit to it toward the end. Avocado and fruit = oh hell yes.
And now that is is officially spring we should be eating popsicles (right?!). I figured you guys are cool enough that I would share my new found love of frozen avocados and you would be down with it.
I know, some might think that plain old frozen avocado doesn’t sound amazing, but when you add a little sweetness and swirl it around with super sweet and creamy mango. Trust me, it’s freaking amazing. The flavors go perfectly together, and the texture, it’s almost like ice cream… SO GOOD! Anyway, I know that it might not be the perfect spring weather as of today, but the beauty of these is that you make them, freeze them and leave them until the perfect moment. Say a good long day of raking up all the cat poop that the neighbors cat has left in all your spring flower beds, or picking up all the recycling that has blow into the bushes all winter long. Maybe a day of cleaning out the closet or dusting the ceilings. Make these popsicles now and treat yourself to one after doing some kind of crappy spring chores, its what you need to do.. Or better yet, bribe a little with a popsicle to do your spring cleaning….. Yeah, I might just do that.
Or just make them and eat them… no spring chores required.
The stuff. A nice ripe mango and a nice ripe avocado. A bit of lemon juice (from half a lemon),%u00a0 a little maple syrup, and a some water.
Scoop the avocado into a jar and cut up the mango ans stick into a jar…..
Splash a little water into each jar and blend them up. (I used my hand blender. but use the blending device of your choice) Add the maple syrup to the avocado.. as much as you need, and if your mango is not super sweet, you can add a little to that too.
Scoop the avocado puree into the mango and gently swirl it around
Now pour/scoop the mixture into your popsicle molds. And because mine was thick enough, I was able to stick the wood sticks without them sinking.
Noe get them quick into the freezer
A good few hours (I didn’t even check until the next day but I bet 4-5 hours in a good freezer will do) the popsicles are nowposicles!!!!!
Pop them out of the mold (a few minutes on the counter and or a quick rinse under warm water) and do what needs to be done.
So creamy sweet and refreshing… This is a happy spring popsicle for sure.
Have a great day!
-C
Makes four 4oz popsicles
1 ripe avocado
1 ripe mango
1/2 a lemon or lime
1-2 tablespoons maple syrup (or any sweetener of you liking)
about 1/2 cup of water
Note.sIF your mango is not super sweet you might want to add a little maple syrup to thatto that as well. And depending on the actual size of your mango and avocado, you might find yourself with a little extra fruit puree…. so maybe an extra popsicle can be made or you can just eat it now.
Scoop avocado into a jar and cut and dice mango and place in a separate jar. Add maple to the avocado (and the mango if you want) and about 1/4 cup of water to each.%u00a0 With a hand blender, blend each until smooth ( or use a regular blender) Once both are blended, dump one into the other and gently swirl around. Pour mixture into popsicle molds, add the sticks and stick into the freeze. Keep freezing until frozen which should take at least 4-5 hours.
And once frozen, pop out of molds (run mold under warm water or just leave on counter for a few minutes) and eat them like it hot!
Tuesday tater tot time!
Sometimes you just want a tater tot. So what are you to do about it? Well I fought off the feeling for far too long (why? I do not know) and finally gave in got my shit together, got some potatoes, and made the tots. And then I was happy.
What was taking me so long?%u00a0 Tater tots are freaking good.
These are nothing like those tots that were served in the lunch room cafeteria that we all know and loved. No these are sooooo much better, and probably (definitely ) way way healthier too cause they are baked, not fried. And to make’em even better, after making the tater tot tower you’re ready to eat, you can eat them up with whatever dippy type thing you can think of. Sure you could go with straight up ketchup (me, not a fan) or you could go nuts and make a big bowl of guacamole, grab the mustard and the hot sauce, and do that. Tater tots go so well with all sorts of stuff. (I was even thinking peanut butter but stopped myself for the time being)
. Next time I make them, I am so going to make a tater tot castle!
Tots away!
The stuff. Potatoes (duh), an onion, garlic powder, olive oil, and salt and pepper.
First thing to do is boil the potatoes…just a bit. Cut each potato into 4 wedges and stick into a big pot full of cold water, salted water. Stick pot on the stove ans bring to a boil, then turn heat down a little and continue to cook the potatoes until they are just barely for tender. Strain from the water and set aside to cool.
Once the potatoes have cooled off enough where you can handle them, grab a grate and grate them all up, along with the onion. ME, trying to use the least amount of dishes possible, I just grated it all onto the baking sheet that I was using to bake the tots off…. Worked like a charm. And once your taters and onion are grated, sprinkle in the garlic powder, a good amount of salt ans pepper ans drizzle it all with a little bit of olive oil. Mix it all around (I used my hands but a fork would work) and if you are using the baking sheet , just push the mound to one side.
And start forming the taters into tots…. Just grab a handful and squeeze it together into a tot shape.
Note. Have a dish towel close by to wipe your hands when they get to starchy… the tots stick together better when made with dry hands.
Tots ready for the oven. Bakes for 30-35 minutes at 400.. Flip after about 20 minutes.
Golden brown, all crispy an tot like. Ready for your eating pleasure.
Plate them up, serve with your favorite condiments (try guacamole , mustard and hot sauce) and eat them. Eat them all.
-C
serves 3
2 big russet potatoes
1 sweet yellow onion
1 tablespoon or so garlic powder
olive oil
salt and pepper
Slice the potatoes lengthwise into quarters and place into a pot of cold, salted water, making sure the potatoes are completely submerged.%u00a0 Bring the potatoes to a boil then turn heat to medium and keep boiling until the potatoes are just barely fork tender., like 8-10 minutes. Drain the potatoes and let them cool.
Preheat oven to 400
Once cooled, grate the potato, along with the onion into a bowl or onto a baking sheet. Sprinkle with the garlic powder, add a good amount of salt ans pepper and drizzle with olive oil. Toss around until its evenly coated then start forming the mixture into tots. Place the tots on a baking sheet and once all the tots are formed ans ready to go, stick into the oven. Bake for about 20 minutes, remove, flip them over, then continue to bake for another 10-15 until they are all nice and golden brown.
Remove from oven, grab your favorite condiments and eat right away.
Yesterday was kind of a shit show as far as the weather was concerned.%u00a0 I woke up early to a lovely light blanket of snow, the temperature hovering around 32 degrees. The air was nice and crisp, the sky was a light grayish blue. The neighborhood was quite. I walked the pup and then took off for the morning. It was so nice.
How that changed fast. Walking home a few hours later I was a hot , drenched, cold and damp mess. All that snow turned into slush and gigantic puddles and it was raining a good steady soaking rain. And I had to walk my butt home. So that was great.
But you know what these weather make me think of… Spring!!!! Yes, warmer, slushy, mushy weather. Mud all over the house and a wet smelly dog All the things that should not be happening right now but are. And now I have the springtime feels hard.
With things all springy, I was thinking of spring veggies and just wanting something bright and pretty and tasty. Peas! Peas are a good spring veggie, and where there is peas, there carrots. (or should be)%u00a0 But not plain, run of the mill peas and carrots. First off I got the prettiest colorful purple, white, and orange carrots because I needed some color. Right there that made me super happy, Then instead of just steaming them with some peas, I did roast those carrots to bring out all the sweet juicy flavors. Then those pea. Not really in season yet, so I went with frozen (I love frozen peas)%u00a0 and made the brightest, most amazing creamy pea sauce infused with garlic lemon, and dill. (all spring time flavors)
The results… I love roasted carrots so no surprise there but the creamy peas…KA-POW amazing!!!! My mouth has never been so happy to eat peas. and it really loves peas. Fresh, clean, tangy…I made, I ate, I though about them all night. And of spring and all the peas and carrots I am going to plant…and eat.
The stuff. The prettiest bright and colorful carrots and some green as can be frozen peas. Dill, garlic, and lemon to add to the peas and some olive oil, salt and pepper to roast up the carrots.
Chop up the carrots and tossed with salt and pepper and a drizzle of oil. And onto a baking sheet and into the oven to roast.
Dump those peas into a pot with water, garlic, and the dill. Stick the pot on the stove ans bring to a boil for a few minutes then remove from the heat.
You see that? It’s amazing . Its gets blended until smooth and seasoned with salt, pepper, and the juice if half a lemon.%u00a0 Give it a taste but don’t eat it all. (I almost ate it all) and pour into a nice little cup or jar and wait for the carrots.
Oh roasted lovely colored carrots.. So good all on your own.
But slathered with this pea sauce…. Always and forever. I am in love.. could eat all day every day.
I wish my stomach was big enough to eat all the peas and carrots….. All!
Lots of spring thoughts… It’s going to be official soon.
Have a great day. Stay dry!
-C
serves 2-3
1 lb carrots (I used a variety of colored carrots but plain old orange carrots are always fantastic too!)
2 cups frozen peas
3/4 cup water
1-2 cloves garlic
2 tablespoon dill
1/2 a lemon
olive oil
salt and pepper
preheat oven to 450
Cut carrots into quarter and in half (can cut in any size and shape you want)%u00a0 Place the carrots on a baking sheet and drizzle with a wee bit of olive oil. Sprinkle with salt and pepper and toss it all around. Stick the carrots into the oven to roast.
Now grab those peas and stick them into a pot with the water, the dill, and the garlic. Stick on the stove and bring to a boil. Let boil for 2-3 minutes, then remove from heat. Either with a hand held blender or a regular blender…. blend until smooth. Add in the juice of half a lemon, season with salt and pepper, and then try not to eat it all before the carrots are roasted.
Once carrots are tender and browned and yummy looking (about 30 minutes) remove from oven and slather on the pea sauce.
Eat right away….. Make more tomorrow.
My little sister came over last night for a homework and dinner night. I love these nights because when she comes over she spends a good amount of time poking and harassing the mr while I get left alone to cook dinner.%u00a0 But then always at some point during the evening,usually after feeding them dinner,%u00a0 they both turn on me and start to poke at me. They are brats like that. But what I also like is I can sometimes help her a bit with the homework. (like last night,… girl did a bit of procrastination.Good thing I am awesome and maybe a little bit of a hard ass. She got it done with a bit of help and it all ended happily ever after) Maybe cause I am an old lady now, but I like the feeling of using my brain for things that I no longer think about. I makes me feel smart again (kinda) SO we get together and eat and do homework and make fun of each other… Good times. I love hanging out with my sister.
Ok, so this pudding, its one of my favorites.. I could probably live off of sweet potatoes in all shapes and forms.. A long while back I started making this pudding and got the sister hooked on it as well. So whenever she comes over for dinner I make it for us. And we eat it and exclaim how, “OMG this is so freaking good” and eat, then lick our bowls clean. And it’s so easy and simple to make. Basically just sweet potato. So amazing.%u00a0 The mr, he likes it, but doesn’t share the same enthusiasm as we do….But he is not a teenage girl and her sister so yeah. who really knows.But Anyone out there with a spare sweet potato.. make this pudding. It will change your life in all the right ways!
Your welcome very much.
The stuff. A sweet potato, a couple of dates, ans some cinnamon. That’s all you need!
Simple as can be. Bake the sweet potato until soft.%u00a0 Remove the skin (I then eat the skin, but if you don’t like it, the dog also loves potato skins) and stick it onto a food processor with the dates (make sure to remove the pits) and blend together. I usually add in a few a few splashes of water while I am blending just to think it out a tiny bit. But that is a preference I will leave up to you.
Add in the cinnamon and blend some more until so nice and silky smooth.
%u00a0 And a note here. You can omit the cinnamon if you like, the pudding is amazing without it but you could even use more spices like ginger and allspice or added a little splash of vanilla. OR.. Add a scoop of some nut butter… so good.
Once the you have spiced your pudding, scoop it out into jars, bowls, whatever and how much ever you want (1 large sweet potato is good for 2-3 servings)
Oh whats this.. Coconut cream!!!! And yes, hand beaten like a boss!
You have the pudding, a the whipped coconut cream. Big spoonful of that right on top.
Sprinkled with another pinch of cinnamon and some chopped up walnuts…
Pudding so good and so easy it will knock%u00a0 your socks off!
Have a great weekend!
-C
Serves 1- 3
1 large sweet potato
1-2 pitted dates (If I am making the pudding for myself I sometimes skip the dates)
1 tablespoon Vietnamese cinnamon
Optional. A pinch of ground ginger or allspice. Pumpkin pie spice or a splash of vanilla. A scoop of nut butter or even a handful of nuts. Chocolate chips or creamy nutella. Berries. And whipped coconut cream or some yogurt to top with. So many possibilities.
Bake sweet potato until tender. This can be done a ahead of time or you can use up left over sweet potatoes from dinner….
Remove the skin from the potato and place into a food processor or blender with the dates and the cinnamon or whatever spices you want to use. Blend until smooth. Can add in a few splashes of water to thing out a bit.
Once smooth, scoop out into serving sizes or just into one big jar to eat all to yourself. Top with coconut cream and chopped nuts or nothing.
Eat with spoon, like bowl clean.. And can be eaten without shame for breakfast, lunch, dinner or snack.
Salad season is here. Green salads, fruit salads, potato salads, and grain salads. All the salads and we are not mad about it.
This is a good grain salad using millet, which I am sightly surprised to hear that a lot of people have never had. Millet is kind of like quinoa, but not. I cooks fluffy and looks kind of the same, and is gluten free like quinoa. I think the biggest difference is that millet is slightly softer and tastes a bit more nutty. It also is really good at absorbing liquid flavors.
But who are we to compare. The main thing is that it is nutritious and delicious so we will eat it.
Back to the salad. This is one of those grain salads that is good cooked and served warm but only gets better with a little age (like an hour or a day) in the fridge. Served hot or cold or room tempature, and is hearty enough to be meal like but is also a fantastic addition as a side to any of you meal plans. Like maybe a BBQ? Whatever the occasion, or non occasion, this is just a really good grain salad situation and I think you will be pleased, smiling all smiles while eating it.
To the millet salad.
The stuff. Millet, a couple handful of greens, a few mushrooms, an onion, dijon mustard, a little maple syrup, red wine vinegar, a lemon, a couple cloves or garlic, some toasted sunflower seeds, and salt and pepper.
Start by giving the millet a little toast, just enough to really up the nutty flavor and make it that much more yummy. It only takes a few minutes in a skillet on medium heat. Not an entirely necessary step, but you should do it.
Toasted millet goes into pot with water. Bring pot to a boil and then turn to the lowest simmer and cover.
While millet is cooking, get to the mushrooms and onions. Chop the onion thin and small and the mushrooms thin and small as well. Place them into the skillet with a drizzle of oil and place on medium heat. Mix around every now and then and cook until the mushrooms and onions are soft and a nice golden brown.
And make the vinaigrette. Minced garlic, mustard, vinegar, the juice of the lemon, and maple syrup get put into one place.
Mixed and now all is one.
Millet. Cooked and fluffed and ready to go.
Cooked mushrooms and onions go into the pot, along with the greens, the sunflower seed, and the vinaigrette. This step can be right away or you can wait a little while for things to cool as to not wilt the greens. Up tp you.
Mixed with love and hunger.
Even if you are making it ahead of time, just do yourself a favor. Grab a bowl, grab a fork, and get down on it.
-C
Seves 4-6
3/4 cup uncooked millet
2 cups water
1 sweet onion
3-4 big button mushrooms
Large handful or two of bitter greens like arugula, spinach or a mixture.
2 tablespoon brown or dijon mustard
2 tablespoon red wine vinegar
1 teaspoon maple syrup
2 cloves garlic
salt and pepper
handful toasted sunflower seeds
To start, toast millet. Dump the uncooked millet into a pan and place on a medium heat tt for about 5 minutes or until you start hearing the millet crackle.This gives the millet a slightly more nutty flavor but you can skip this step if you don%u2019t care.
Dump millet and water into medium pot. Place on high heat until water starts to boil then tun heat down to simmer and over. After about 15 or 20 minutes, when most of the water is gone, turn pot completely off. Let sit, covered for another 10ish minutes then take a fork and fluff it.
While the millet is cooking, cook the veggies. Grab the onion and slice it up into thin pieces. Clean off the mushrooms and chop them into small thin pieces too. Place the chopped stuff into the skillet with a drizzle of olive oil and a pinch of salt and place on a medium heat. Stir occasionally and cook for about 15 minutes or until the onion and mushroom are a nice dark, golden brown.
And make the mustard vinaigrette. Mince garlic and place into a jar or bowl with the vinegar, the mustard, the maple, and the juice of the lemon. Mix and set aside.
Once the millet is cooked, the mushrooms and onions are cooked, and the vinaigrette is made, all you have left to do is mix everything together. You can do this while things are slightly warm which will wilt the greens a bit, o let them cool so the greens stay fresh. Up to you. (I like the greens fresh)
Finally, dump cooked mushrooms and onions into pot with cooked millet. Add in the greens and sunflower seeds and drizzle the vinegertte all over. Toss around until fully mixed. Sprinkle with lots of fresh cracked pepper.
Then eat. Or place in a container to bring to the BBQ.
I feel like this salad is kind of a summery salad, or better yet, a salad that highlights all the best of what summer has to bring. All the fresh tender dill that is still growing (but not for long) , all the brightly colored and amazing veggies that are being harvested and are nearing the end (bye fresh cucumbers.) This salad might just be my little last hurrah of summer cooking before it is all root veggies and dried herbs and hot and hearty food. And not going to lie and say that I am sad to see summer go because I am so so ready for it to be over, but I will miss all the fresh fresh produce. And I will especially miss all the fresh dill because fresh dill is seriously the best.
Eat up what is left of summer now before it%u2019s too late!
The stuff. Quinoa, a bunch of dill, a cucumber, a pepper, an onion, and some cherry tomatoes. Also a clove of garlic, some salt and pepper, and red wine vinegar.
Mince the garlic, chop the onion, mince the pepper and the cucumber, half the tomatoes, and last but noblest, rough chop the dill.
All that goodness goes into. big bow, along with a sprinkle of salt and pepper, and the vinegar Tossed around and left to meld.
Uncooked quinoa with water turns to cooked quinoa
Quinoa meets the bowl of veggies
And after a good mix, viola!
You got yourself a yummers fresh dill and veggie quinoa salad.
-C
serves 3-5 as a side or 2 as a meal
1 cup uncooked quinoa
2 cups water
I bunch fresh dill (like a 1/3 cup chopped%u2026 But use as much as you want)
1/2 a small red onion
1 clove garlic
1 small Persian cucumer
1/2 of a sweet red or yellow pepper
handful or two of cherry tomatoes
4 tablespoons red wine vinegar
salt and pepper to taste
Start by cooking the quinoa. Place the water and the uncooked quinoa into a medium sized pot. Place on high heat until sorts to boil, then reduce heat to a simmer and place lid on the pot. Let cook for about 15 minutes, checking at 10 minutes, to see if all the water has absorbed. When it has, remove from heat and let sit for a few more minutes then fluff with a fork.
While the quinoa id cooking, mince the garlic and chop all the veggies into small little pieces. Place into a big bowl. Chop up the fresh dill and toss into bowl too, along with the vinegar and a good sprinkle of salt and pepper. Mix it all around and let sit on the counter for a little so the veggies get nice and vinegary. Once quinoa is cooked and fluffed, dump into the bowl and mix around. Season with more salt and pepper if needed. Eat warm or refrigerate and eat cold. It%u2019s defiantly one of those salads that taste great right away but tastes even better the next day.
I am one of those people that hangs out for far to long in the grocery store, mostly in the bulk section, looking al all the types of rice, and grains, and beans, and seeds, admiring the variety and colors and also wishing I was one of those people that had an extra $25 to drop on a pound of pistachios.%u00a0%u00a0(Them were some pricey pistachios fo sho.) I take my time, peruse the bins, maybe take a little taste or two, %u00a0and go for what I need. And maybe if something is on sale, get a little of that too. Things that usually make the list are spices,%u00a0oats, beans, maybe rice or quinoa, flours, and seeds. Pumpkin seeds were on sale so those were the seeds of choice and I also got some barely because when I was starting at all the grains,%u00a0it dawned on me that I don’t know many people that eat barley, or even care about it, which is a shame because it is awesome. It might not be trendy like farro or freekeh, but it is just as good, and damn if it is not a hell of a lot cheaper.%u00a0
With the barley and pumpkins seed in hand, I had the start of a salad. So I grabbed some oats, a few spices, some beans and ran away from the builk section, past the nuts before things got bad and I either a) got kicked out for eating my weight in cashews and almonds,%u00a0pretending to just need a taste, or b) paid the $25 for a pound of pistachios that I might not eat because I would need to save them for something really special because they cost $25 a pound. Then I grabbed veggies, walked around the wellness section for good measure, did another lap around the store just in case I forgot something, then finally made my way out of the store only to realize when I got home that I forgot something. (I always forget something)%u00a0
But I had all I needed for a barley salad situation so things went well. This is a fantastic salad. It’s quick and easy and tasty and good. Barley, tahini, veggies and pumpkin seeds… It’s all you need for a just right dinner, or a fantastic side to any meal. Or as a snack at anytime. Bring it to a BBQ, a graduation party, or a pot luck. it will get eaten, and if by chance you end up with a little left over, bring it on home and eat it for breakfast. It will still be just as good.%u00a0%u00a0
The stuff. Pearled barley, tahini, pumpkin seeds and garlic. And some red wine vinegar, salt and pepper, kale, a carrot, some cauliflower, a lemon, a red onion, and a cucumber. (you are not going to need the full amount of all these veggies)%u00a0
First off, cook the barley. The barley and water go into a pot, brought to a boil, then left on low %u00a0to cook until tender. Once cooked, strain away excess water
While barley is cooking (or is cooked) chop up the veggies into mouth sized pieces. I used half the cucumber, half the onion, some of the cauliflower, all the kale, and all the carrot. It’s not an exact measurement, you just want a good amount to toss into the salad.%u00a0
Barley in bowl, topped with the veggies and pumpkin seeds…. The pretty before the mix. You don’t need to add it like this, I just did it cause it looks good.
And the tahini sauce. Mince garlic and add to a jar or bowl with the juice of the lemon, vinegar, a pinch of salt and pepper and give it a really good mix.
Creamy, zippy, oh so good.%u00a0
Drizzle and toss the dressing with the barley and veggies.
And that’s that. Now you are ready for eating.%u00a0
Enjoy wherever this salad takes you.%u00a0
-C
If eaten as a meal, serves 2-3. As a side dish, serves 6-8
1 cup pearl barley%u00a0
3 cups water
1/4 cup tahini%u00a0
1 large lemon%u00a0
3 tablespoons red wine vinegar
2 cloves garlic
salt and pepper
1/2 of a cucumber%u00a0
1 small carrot
2 large kale leaves
1/2 of a red onion
1 cup of cauliflower florets%u00a0
1/4 cup toasted pumpkin seeds
Note. The vegetable amount and type is more of a preference. You could use all cucumber and onion or add %u00a0broccoli and pepper, just make sure to have a least 3 good cups of some chopped up color.%u00a0
Place barley and water into a pot and bring to a boil. Turn heat down to low and continue to cook until barley is tender, but not mushy, which should take about 45 minutes. Once cooked, strain excess water.
While the barley is cooking, chop all the veggies into small mouth sized pieces.%u00a0%u00a0And make the tahini sauce. Mince garlic and place in a bowl or jar. Add in tahini, the juice of the lemon, and the vinegar. Mix well until smooth then season with salt and pepper to taste. %u00a0
When barley is cooked and drained, let cool for a few minutes then place in a big bowl. Add in all the veggies and the toasted pumpkin seeds, then drizzle with the tahini sauce and toss all around. Season with salt and pepper to taste..%u00a0
Now eat still warm, or later at room renature, or place in fridge for it to get cold. It can be a filling meal or a great side dish.%u00a0It’s good all ways, any way.
Another note. This salad is great for parties and BBQ’s and can be made a day or two ahead. If you do make ahead, hold off on mixing the pumpkin seeds and the tahini sauce with the rest of the salad until you are about to serve it.%u00a0
Let%u2019s talk about how soup is the perfect food. It can be light and fresh, hearty and deep, chunky or smooth. You can eat it with a spoon, or somtime a fork if warranted, or just drink it from a mug. It%u2019s usually a one pot meal, a small pot for one, a big pot for many. Make a pot of soup and eat some now and save some for later. It freezes amazingly well. Got a few extra sad carrots and wilted greens? Toss them into a pot with whatever you have on hand, maybe those veggies scraps and you got yourself a meal. Want something more filling, just add in some grains. Feeling sick, warm soup will make it all better. Feeling fresh and springy, well soup is there for you too. Seriously soup, you can do anything. If I could, I would marry you. %u2665%ufe0f
This soup is one of this velvety smooth, light but rich, delicious beyond delicious soups. A fresh spring time soup. Not to hearty or heavily spiced. Super rich and creamy and flavorful. Bright ass green which makes it amazing in itself, but then with a nice tangy sumac tahini swirl on top, well it is just about the most perfect soup. I made to share, which I did, (and everyone licked their bowls clean) but then hoarded the little bit left over and ate it cold for a late afternoon snack. That is another thing about soup, you can eat is cold and it is still amazing.
Tasty and delicious, and nutritious. This soup does it all.
To the soup!
The stuff. Peas, chopped broccoli, and chopped cauliflower which are all frozen and slightly thawed. You can totally use fresh here too, but I just so happen to have it frozen so you might as well save the fresh stuff for fresh eating. Also have a big yellow onion, a few cloves garlic, some tahini, a lemon, sumac, and salt and pepper. You need water which I did not picture here.
A pot, some water and a roughly chopped onion and the garlic start off this soup. Bring the pot to a boil, then turn to medium and let the onion and garlic cook until very tender. I have been making a lot of soups starting with this step lately. Boiling the onion and garlic until tender and fragrant really make for a super flavorful and clean soup base. Or soup in itself.
Now add in the broccoli and cauliflower to the pot and cook until tender.
Mid soup cooking time is a good time to make the sumac tahini sauce for the swirl. Basics here, just mix the tahini, the sumac, a pinch of salt and pepper, the juice of the lemon and a tablespoon of warm water together until smooth.
Last but not least, the peas. Add them in and they just need a few minutes to cook through.
And then it all gets blended to become this green creamy goodness.
Ladle into bowls, grab the sumac tahini sauce and swirl it on in. A tablespoon or so is good. And don%u2019t forget a little more pepper and another pinch of sumac for good measure.
Just appreciate for a moment. That is one good looking bowl of soup. And it taste even better then it looks.
-C
Makes about 4 serving
1 1/2 cups fresh or frozen peas
1 1/2 cup chopped fresh or frozen cauliflower
1 1/2 cup chopped fresh or frozen broccoli
1 large onion
3-4 cloves garlic
4-5 cups water
Salt and pepper
1 teaspoon sumac
2 tablespoons tahini
2-4 tablespoons warm water
Start by removing the papery skin from the onion and chop into a few big chunks. Remove the skin from garlic too. Place into pot with 4 cups water. Turn heat on high and bring to a boil then turn heat to medium and let onion are garlic cook until tender which should take about 15-20 minutes
Once the onion is cooked, add in the broccoli and cauliflower. Turn heat back to high and bring to a boil again then turn back down to medium heat. Keep cooking until tender (another 15 minutes or so) then add in the peas. Keep on heat until peas are cooked through then remove the pot from heat and either transfer to a blender or use a immusrian blender to blend the soup until smooth. Add a little more water if needed to get to the right consistency to blend right. Or if you want a thinner soup.
For the tahini sumac swirl just mix the tahini and sumac together along with the juice of the lemon, two tablespoon warm water and a pinch of salt. Mix together until smooth. If the mixture is to thick, add another tablespoon of water.
To serve. Ladle or pour soup into bowls and drizzle and swirl the tahini sumac on top. Sprinkle with pepper and a pinch more sumac and you are good to go.
10 years ago, or maybe even longer, the mr and I planted 2 little blackberry canes in the way way back yard of our first house. Nothing big and we were not expecting much, which was good because for the years we lived there after that, nothing really happened with them beside becoming bigger and more thorny.
And then we moved and I kind of forgot about them.
But the other day while the mr was over there (we still own the building and have a barn that the mr works out of) he told me to go check out the bushes. Holy shit, those suckers are humongous, viscous as all hell, and were dripping (literally) with big, fat, juicy blackberries. So many in fact that I could barely pick them off before they all started to just fall off. I filled up two big containers, after eating like 2 pounds at least, and could have gotten more but I had no where else to stick them. Plus I was covered in gashed from the thorns. So I left the rest for another day.
I asked what the mr wanted me to make with the berries (in between eating big handfuls of the berries) and he asked for scones. So scones it was. Easy enough but I felt that I needed to add a little something something to spice it up a bit and that is why I added the black pepper. And because I like pepper and berried together and figured everyone will too. And let me tell you, so far they do, like really really do.
I mean who wouldn%u2019t like a sweet and spicy scone made with hand picked berries from berry bushes long ago planted with love that grew into monsters with thorns the size of knives that nearly killed me?
No one wouldn%u2019t. Everyone wants a scone.
And don%u2019t worry if you don%u2019t have killer blackberry bushes in which to harvest berries from. You can buy them too. Just won%u2019t be as special is all. HA.
To the scones.
The stuff. Flour, baking powder, baking soda, and salt are in the big bowl. Then there is coconut oil, almond milk, sugar, vanilla, and apple cider vinegar. And course ground black pepper and blackberries that I froze. You need to use frozen berries or else you will have yourself a hot mess.
Easy peasy. Dump pepper and sugar into the bowl with the rest of the dy and mix well. Dump in the solid coconut oil and cut it in like you would butter, until it is crumbly. Add in the milk, vinegar, and vanilla and gently mix until most the dough starts to come together, then add in in frozen berries.
Dump the dough onto a lightly flour surface. Yes, the dough is barely sticking together but that is alright, just smash and pat it until it sticks and comes together. Once together, pat it down into a round disk about an inch thick. Just know, as you are working it, the berries are gonna start to break apart which is totally fine, but your hands will turn purple.
Flatten and cut. Just about scones now, but not quite.
Place scones on a baking sheet and brush the tops with a little milk then lighty sprinkle more sugar and black pepper on the tops and then pop them into a hot oven.
Bakes and lovely and cooling ever so slightly..
Grab a plate, something hot to drink, and more berries because you can never have to many berries.
And eat. Still warm and all sorts of good.
Blackberry black pepper scone. Now you have them and everyone will want them. But know, there is no shame in hiding what you don%u2019t not want to share.
-C
makes 8-12 scones (depending how big you cut them)
2 1/2 cups all purpose flour
1/3 cup white sugar plus a tablespoon more for dusting tops
2 teaspoons baking powder
1/2 teaspoon baking soda
1 1/2 teaspoons course ground black pepper plus a little more for dusting tops
1/2 teaspoon salt
1/2 cup solid coconut oil
1 teaspoon vanilla
1 hefty cup frozen blackberries
1 tablespoon apple cider vinegar
3/4 cup cold plant milk plus about a tablespoon more for brushing on top
Preheat oven to 375
In a large bowl mix together the flour, baking powder and soda, salt, sugar, and pepper until well combined. Dump in the solid coconut oil and using a fork or pastry cutter, cut it into the dry until the mixture becomes crumbly. You do not want to fully incorporate the oil. Now dump in the cold milk, the vanilla, and the vinegar and gently mix until a dough starts to form. Dump in the blackberries and continue to gently mix until the dough just start to stick together.
Dump dough onto a lightly flour surface and gently squish, mush, and part the dough until it forms a ball. The berries will start to break apart and that is ok. Then flatten the dough into a disk that is about an inch thick. Take a knife of dough cutter and cut in half, then those halves into half, and then those halves in half. (8 pieces) You can even cut a few smaller if you want.
Place cut scones on a baking sheet and brush the tops with remaining milk then sprinkle tops with sugar and a little more pepper
Bake for 30 minutes or until golden brown. Once baked, remove from oven and place on a wire rack to cool.
Eat, warm of room temperature. Just don%u2019t wait too long.
Store left overs in airtight container at room temperature for 2 day, 3-5 in fridge, or freeze individual scones for months. Just pop them back into a hot oven for 10 or so minutes to reheat.
I recently found my old cast iron muffin pan hiding in the basement over at the loft. I totally forgot I had it and was very much happy to find it not covered in rust and still looking all nice and basically ready for use. Not even the seasoning and non stickness that I worked hard to produce on it was messed up, which is amazing because I also found another cast iron pan that I left down there and it did not fair as well. It had a little rust and was grimy. Fine by me, I didn%u2019t even want that pan anyway.
And that is basically why I made muffins. Because I wanted to use my muffin pan again.
These muffins. First off, muffins are muffins and are not meant to be a pain in the ass to make. This muffins are not, unless you think pitting cherries is a pain. For that I am sorry, but that is a small price to pay for a tasty ass muffin situation. Secondly, these muffins are well worth the tiny effort it takes to pit cherries because you end up with cherry muffins, and that alone should be enough of a reason. And the fact that they are damn tasty. The mr, who eats everything but never says too much about whatever is going into his mouth, texted me at 630 in the morning while I was at the gym just to tell me how amazing he thought they were%u2026.
Amazing at 630 am. That%u2019a validation.
Now go get yourself some cherries and make some muffins. And it is ok if you don%u2019t have a super sweet cast iron muffin pan. Most don%u2019t. But you are still cool, don%u2019t worry.
To the muffins!
The stuff. In the bowl is flour, rolled oats, baking soda and powder, salt and cinnamon. Also have cherries, brown sugar, almond milk, canola oil, apple cider vinegar, vanilla extract, and a lemon.
Hardest part of the whole shebang%u2026 pitting the cherries. Not my favorite thing to do, but definitely not the worst.
Do it any way you see fit, but I just cut them in half and kind of wedge the pit out with my thumb.
Once all the pits are removed, chop those sherries up into small pieces.
Then make the batter. Mix the dry together with the sugar and the zest of the lemon. Just make sure there are not huge clumps of the sugar in the mixture. Then add in all the wet and gently mix until combined. And then fold in the cherries.
Fill up well grease muffin pans with the batter then sprinkle a little brown sugar and a few oats on top.
Pop those soon to be muffins into a hot oven.
Remove the muffins from pan and let cool on a wire rack.
Cherry oat muffins. You are good.
-C
makes 11-12 muffins
1 1/2 cup all purpose flour
2/3 cup of old fashion rolled oats (plus 2 tablespoons to sprinkle tops with)
1/2 teaspoon baking soda
1 1/2 teaspoon baking powder
1/2 teaspoon salt
1/2 cup brown sugar (plus 2 tablespoons to sprinkle tops with)
1/2 teaspoon cinnamon
A lemon (juice and zest)
1 teaspoon vanilla
1 tablespoon apple cider vinegar
1 cup plant based milk
1/3 cup canola oil
Preheat oven to 350
First thing first, remove steams and pits from cherries. Do it any way that you want, but I find just cutting them in half and kind of popping the pit out with my thumb works best for me. Anyway, once the pits are remove, chop cherries up into small pieces.
Place flour, oats, baking powder and soda, salt, cinnamon, brown sugar, and zest of lemon into a big bowl. Mix together until completely incorporated. Make sure there are not huge clumps of brown sugar, if there are, break them up with your fingers. Add in the milk, oil, vanilla, vinegar, and juice of half a lemon. Gently mix until just incorporated. Now fold in chopped cherries.
Evenly scoop the batter into a well greased muffin tin. (There is enough batter for12 normal sized muffins.) Sprinkle the tops with the extra brown sugar and oats then pop the pan Ito the oven. Bake for 28-32 minutes or until the tops of the muffins are a nice golden brown and a taster poked into one of the muffins comes out clean.
When fully baked, remove muffins from oven and pop them out of the pan. Let cool on a wire rack but feel free to eat one or two warm.
Store any extra in an airtight container on counter for a day or two but in the fridge for about a week. Individual muffins can be wrapped and frozen for a good long will too.
I love pomegranates but barely ever buy them because they are usually really expensive. A few weeks ago I was pleasantly surprised to find that that the grocery store was selling them at a reasonable price so I bought one. Duh. Anyway, that was a few weeks ago and I have had the pomegranate chillin in the fridge, just waiting for the perfect time to bust open and retrieve all the bright pink jewel like seeds. But I also kind of forgot about it. It was hiding behind a giant rutabaga. When I finally grabbed the rutabaga for some soup, the pomegranate reviled itself again. It was time, it needed to be eaten. And me being me, I can%u2019t not share right? So I asked the mr what he wanted me to bake. He said muffins, and that is how I came to pomegranate orange and poppyseed muffins. Look at me, poster child for sharing good things. I should get a gold star!.
Anyway, these muffins came out awesome. First, they smell so good because anything baked smells good but the orange really shines and the smell is still lingering in my hair. Secondly, people really were into them. The mr said they were amazing when I finally let him eat one (two actually because I made them mini) and when I brought them over to Megans house for dinner, my Dad at one, then two, then three.. ..He stopped at 5, and this was after dinner. When a guy eats 5 muffins and is not a muffin man, you take it as a good sign.
Do yourself a solid this cold ass weekend and bake something. These muffins are a good place to start.
To the muffins!
The stuff. Flour, baking soda and powder, and salt in a bowl. Poppy seeds, an orange, a pomegranate, sugar, oil, vanilla extract, and a little apple cider vinegar.
First, remove arils from the pomegranate. Cut the fruit in half, hold the cut side face down in your hand and place over a large bowl. Take a wooden spoon and wack the outside of the fruit and the seeds will just fall out. And yes , the juice stains so watch out.
Next, whisk together all the dry ingredients and add in the sugar, poppyseeds and the zest of the orange. Whisk again to combine.
And then add in the oil, milk, vanilla, and the juice of the orange.
Mix until just combined. Don%u2019t over mix or the muffins will get gummy.
Last but not least, fold in the pomegranate arils.
Such a pretty muffin batter.
Scoop batter into well greased muffin tins and pop into a preheated oven.
Orange and crimson and golden brown goodness.
Out of tins and onto a rack to cool
And now you eat.
Stay warm this weekend and bake some muffins.
-C
makes 24 mini muffins or 12 regular muffins
2 cups all purpose flour
2 teaspoon baking powder
1 teaspoon baking soda
1 teaspoon salt
1/2 cup white sugar
1/3 cup canola oil
1 teaspoon vanilla
1 tablespoon apple cider vinegar
1 cup soy or plant based milk
1 orange
1/4 cup poppyseeds
1 cup pomegranate arils
Note. To easily remove arils (the seeds) from a pomegranate, cut it in half, hold the cut side down in the palm of your hand over a large bowl and wack the outside of the fruit with a wooden spoon. The arils will fall right out into the bowl.
Preheat oven to 350
In a large bowl, whisk together the flour, baking soda, baking powder, salt, and sugar. Zest the orange into the bowl and add in the poppyseed and whisk. Next add in the oil, juice of the orange (about 1/4 cup) the milk, and the vanilla. Mix until just combined. Fold in pomegranate seeds.
Scoop batter into well greased muffin pans and place in oven to bake until golden brown and a tester stuck into the muffins comes out clean, which should take about 15 minutes (22 fish if normal sized)
Once baked, pull form oven and pop from pans. Place on a wire rack to cool.
Eat at your leisure.
What is any good holiday season without some sort of gingerbread? Am I right, or am I right? I am right. The smell alone smacks a smile on my face. Spicy and sweet and all sorts of comforting. If smells could be objects, the smell of gingerbread would be a warm soft blanket that you can curl up next to a fire, with hot beverages and a good book. Yup, that is exactly what gingerbread smells like.
Gingerbread cookies were an option for all the gingerbread goodness but right now there is a heavy influx of people making cookies of the gingerbread variety so I figured I should do something a little different and honestly, a heck of a lot easier and faster. Plus scones are a way more expectable breakfast food then cookies (who am I kidding, cookies are a completely expectable for breakfast) and I was looking for a good breakfast treat to feed the mr this week because its his birthday week and I wanted a little something special for him for breakfast. I know, I am just so great.
Anyway, these scones fit the holiday gingerbread bill. I mixed them up, added the chocolate chips for a little extra something, then tossed them into the oven and bathed in the smell as they were baking. Pulled them from the oven, poured some coffee, and set out a delightful afternoon snack for the mr, right after he was finished laying on the freezing ground trying to fix the tire on the truck. I think he really appreciated the smell of a warm blanket. And he really enjoyed the scones too. All birthday week long.
So what are you doing this weekend? I think probably making scones. Yeah, do that.
Here we go.
The stuff. In the bowl there is flour, old fashion oats, baking soda and baking powder, and salt. Also need the spices of ginger, cinnamon, clove, and black pepper. Molasses, brown sugar, vegan butter, soy milk, and chocolate chips finish of the list.
In the bowl add in all the spices and the brownl sugar. Mix until completely combined and there are no brown sugar lumps. Drop in the cold butter and cut it in with a fork. You don%u2019t want it blended, you want the butter in little bits.
You want it to look like this. Crumbly.
Toss in the chocolate chip.
Dump the molasses into the milk and mix until combined. Doing this helps minimize the amount of mixing you do which will help make sure your scones are not tuff. So don%u2019t not do this.
Pour the molasses milk into the mixture
With a fork, lightly fold and mix batter until it just starts to come together.
Dump dough out onto a lightly flour surface and gather together with your hands.
Flatten into a big disk and cut into 8 equal wedges. Or as equal as you want to make them%u2026 you could even make a few more wedges if you want more. You do you.
Place the scones onto a baking sheet. Brush a little milk on each then sprinkle the tops with a little brown sugar and some oats.
Pop them into preheated oven and let bake.
Gold brown and ready for the world.
After letting them cool for a bit on a wire rack, stack onto a plate and feed them to your people. And yourself of course.
Chocolate chip oatmeal gingerbread scone and a cup of coffee. A perfection in all the ways.
Enjoy the weekend. It will be great, especially if you make some of these scones.
-C
Makes 8 scones
2 cups all purpose flour
1/2 cup old fashion oats plus 1/4 cup to sprinkle on top
1 1/2 teaspoons baking powder
1/2 teaspoon baking soda
1 teaspoon salt
2 teaspoons ground ginger
2 teaspoon cinnamon
1/2 teaspoon fresh ground pepper
1/4 teaspoon cloves
1/3 cup packed light brown sugar plus 2 tablespoons more to sprinkle on top
2 tablespoons molasses
1/2 cup cold vegan butter
2/3 cup soy or your favorite plant milk
2/3 cup semi sweet chocolate chips
Preheat oven to 375
In a large bowl, whisk together the flour, oats, baking powder and soda, salt, all the spices, and the brown sugar. Make sure there are no big lumps of brown sugar in the mixture. Once dry mixture is all mixed up, cut in (do not blend in) the cold vegan butter until the mixture looks crumbly. Toss in the chocolate chips.
Grab your measure out milk and mix in the molasses until completely mixed together. Dump the mixture into the bowl of dry and lightly mix with a fork until a dough forms. Dump out the dough onto a lightly floured surface and bring it all together with your hands .Flatten dough out into a circle about and inch thick them with a knife or dough scraper, cut into 8 even sized wedges. Place scones onto a baking sheet and lightly brush a little milk onto the tops.. Mix together the extra oats and brown sugar and sprinkle on the tops. Place into preheated oven and bake for 25-28 minutes, or until nice and golden brown. Once baked, remove and place on a wire rack to cool.
Eat. Store left over scones in an airtight container at room temperature for 3-4 days. Individual scones freeze well.
Who doesn’t like a good bun, right? %u00a0And just because this is where my mind wonders, peachy sweet buns. Doesn’t that sound like a pick up line or something you say to your significant other. Like, “Oh hey peachy sweet buns, you are looking good. Woo hoo”…….. Anyway, this is not about anyones peachy sweet buns, it it about actually sweet buns so u-hum, yeah.%u00a0
I am not trying to float my own boat here, but I am really really good at making buns, and you know what, I bet that you are too. They may seem a little intimidating, but really, it’s quite easy. I think what throws some people off is the yeasted dough and having to knead and waiting for the dough to rise,%u00a0but don’t let that stop you from sweet sweet buns. They are no harder to make then a boxed cake (maybe a little harder) and the results are by far more amazing and delightful (we don’t use the word delightful enough around here) then any old box or pre-made thing will ever be. Ever. Freshly made buns are what is right in this world.
If you are awesome and decide to make buns like any good person with a baking itch or a need for some sweet bun goodness does, make them peachy because its peach season and how can a peach bun not be that much more amazing? %u00a0Just think. Soft sweet dough, jammy cinnamon peaches, covered in a sweet lemony glaze……
Go on now, go and get yourself some peachy sweet buns.
The stuff. Flour and salt in the bowl, melted earth balance, brown sugar, yeast, warm soy milk, cane sugar, cinnamon, powdered sugar, a couple of lemons, and af course, peaches.
Warm (not hot) soy milk, yeast, cane sugar, an melted (but again, not hot) earth balance go into a big bowl and get whisked around. Then add in the flour and salt ans mix around until you just can’t.
Time to knead. Dump the dough ad all the little bits onto a flour surface. Gather it all together and knead away, for about 5-8 minutes, or until the dough looks like….
This. Nice and soft and glossy. %u00a0Lightly grease the bowl ans stick the dough back into it, covered with a towel, and set for about 1 hour to rise and double in size.%u00a0
As soon as the dough is set ti rise, start on your peach filling. Chop up enough peaches that you have about 2 1/2 cups of chunks.
Brown sugar and peach chunks go into a pot and stuck on a medium heat until they start to bubble then set to a low simmer for about 20 minutes or until the peaches all break apart and reduce by half.
Add in the cinnamon and stir.. Peachy goodness. Now quick and stick that shit in the fridge or freezer to cool down.
BOOM. Dough did what it’s job and doubled. Time o make the buns.%u00a0
Place the dough on a lightly floured surface and roll our into a rectangle of sorts that is about 1/2 an inch thick%u00a0
Cover the surface with all the peachy jammy goodness, and sprinkle on the remaining finely chopped peaches.
And roll, as tightly as you can, without squeezing all the filling out. I roll towards me, but roll away from you if it is easier. %u00a0It might get a little sloppy… it’s ok, just lick your fingers and keep going.%u00a0
Rolled and cut into 12 pieces.
Place the rolls carefully onto a grease and parchment lined baking 9×13 baking dish. In my picture I used a baking pan, which was not what I wanted to do, but I wasn’t thinking properly and so that’s what I did. Something with sides is preferable, but the baking pan did the job so really, your call.%u00a0
When you place the buns in the dish, place them toughen a bit, it helps then bake up high instead of out. %u00a0And any remaining go on jam that spilled out can get scraped right on top of the buns,%u00a0if you didn’t already eat it.
Now into the preheated oven these %u00a0babies go.
Look at those beauts. And they smell. A-MAZ-ING!!%u00a0
Right away get that glaze made. Powdered sugar, lemon zest, ans lemon juice. Super easy, just add the zest and juice to sugar and mix until smooth and glaze.%u00a0
Pour glaze over warm buns. Make sure to hit them all or someone is going to be pissed they didn’t get enough glaze…..%u00a0
Then it’s really just up to you whether you wait for coffee or tea or not, but really, just eat right away. There should be very little time between newly glazed buns and a bun in your face.
Enjoy the peaches!
-C
Makes 12 Buns
For the Dough%u00a0
3 1/2 cups all purposes flour
1/4 %u00a0cup cane sugar
1 cup warm soy milk
2 teaspoon or 1 packet yeast
4 tablespoons melted vegan butter%u00a0
1 teaspoon salt
For the Filling%u00a0
3-4 good sized ripe peaches (about 3 cups chopped peaches)
3/4 cup brown sugar
1 tablespoon cinnamon
Juice of half a lemon
For the Glaze
1 lemons
1 1/2 cup powered sugar
In a large bowl mix together the yeast,%u00a0warm (not hot) soy milk,%u00a0sugar, and melted but cooled butter. Now add in %u00a0the salt and the flour. Mix until it’s too hard to mix then dump it all onto a lightly floured surface and knead for 7-10 minutes until the dough is %u00a0soft, elastic-y,%u00a0and smooth. Place dough back into a clean lightly greased bowl and drape with a damp towel. Let dough rise for about 1 to 1.5 hours or until it has doubled in size.
While the dough is rising, chop the peaches up until you have about 3 cups.%u00a0Place 2 1/2 cups of the %u00a0peaches into a medium sized pot with the brown sugar and lemon juice and stick on medium heat. Set the rest aside. Cook for about 20 minutes, stirring and mashing with a wooden spoon every few minutes,%u00a0until mixture has become thick and reduced by about 1/2. Remove from heat, stir in cinnamon,%u00a0%u00a0and place in fridge to cool.%u00a0
Once thee dough has doubled, dump onto a flour surface and roll our into a retacnge that is about 1/2 inch thick %u00a0Grab your peach mixture and spread the mixture evenly over the dough. Evenly distribute %u00a0the remaining chopped peaches over jam. %u00a0And then it’s the to roll.
Start from the long side and start to roll toward the other end, keeping it as tight as possible without squeezing out all the filling. %u00a0Once rolled, slice into 12 even sized buns.
Place on a lightly greased and parchment lined 9×13 inch baking sheet or pan and let rest and rest for another20 minutes or so. OR if you want to wait to bake them off,%u00a0cover them with plastic and set into the fridge for up to 24 hours. When you are ready to bake, remove from fridge and let the buns set on counter to come to room temperature before baking.%u00a0
Preheat oven to 350.
Place rolls into oven. Bake for 30-35 minutes or until all the buns have gotten a nice golden brown on top, and if you want to take the internal temp, that the temp has reached 190.%u00a0
Once the buns are done %u00a0baking, mix together the zest and juice of the lemon and powdered sugar. If the glaze seems to thick, add more juice or water, to think, add more sugar. Pour glaze all over warm (but not hot) buns.
And now all you need to do is serve up those buns right away, nice and warned.
Any left overs should be stored in the fridge for 3-4 days but should definitely be warmed up in the microwave for a minute or two before serving. They also freeze well too.%u00a0
The day started off with rhubarb soup and ended in cinnamon walnut rhubarb bread. The bread was a star,%u00a0the soup, not so much, which sucked because I was so excited and so sure it was going be fantastic. Tomatoes, rhubarb, and fresh ginger.%u00a0Doesn’t that sound good? I still have hopes for the combination, but the batch I made was way way to acidic and thick and spicy because I added so much fresh ginger to it that it made the mr’s eye water and my nose run a little. So yeah, the soup needed work, but I was not going to end my day of rhubarb cooking with a fail. Also I felt like I owed it to the mr to make him something that he found edible. He really did not like the soup.
I knew the mr wanted (or at least he hinted at) pie but I had no time for pie. I already spent the morning making not so good soup and I had shit I needed to do. Pie would just take a little to long.%u00a0Quick bread was more in my time frame. A few minutes to chop and mix,%u00a0toss it into the oven for a while. and done.%u00a0%u00a0I had time to cleaned up, run to the post office and bank (I should probably tell you not to leave your oven on when you are not in the house, but I do, but only for short periods of time. And don’t tell the mr. He will kill me) and come back to the house not on fire and fresh cinnamon walnut rhubarb bread. I felt redemption,%u00a0even this it was not pie. The mr didn’t complain, not one bit.%u00a0
And by the way, the soup made it’s way into a different batch of soup that had other stuff in it and it WAS fantastic.%u00a0
The stuff. Rhubarb and walnuts and a bowl with flour, baking soda, baking powder, cinnamon, and salt. Also have coconut oil, brown sugar, soy milk, and a little dish or more brown sugar, cinnamon, and coconut oil for the topping.%u00a0
Chop rhubarb and walnuts into small pieces, not tiny pieces, but not big ones either.%u00a0
Mix the brown sugar and coconut oil into dry mixture, then add in the milk and vinegar and mix until just incorporated (don’t over mix).
Don’t forget to mix in the rhubarb and walnut pieces.%u00a0
Pour batter into a greased pan and then its %u00a0time for the cinnamon sugar topping. (cinnamon+sugar+coconut oil=rainbows?)
Cinnamon sugar topping %u00a0gets crumbled on and I found a few stray walnuts so I tossed those on top too. %u00a0
Now it’s time for the oven.
Look at that, fresh from the oven. So handsome.%u00a0%u00a0Pop it out of the tin and get it onto a wire rack to cool.%u00a0
And when it’s cooled a little and you are ready to take a seat, you slice and eat.
-C
makes one loaf
2 1/4 cup all purpose flour
3/4 cups brown sugar%u00a0
1 teaspoon baking soda
1 teaspoon baking powder
1 teaspoon salt
1 tablespoon cinnamon
1 cup soy or another plant milk
1/2 cup coconut oil (melted and cooled)
1 tablespoon apple cider vinegar
3 stalks rhubarb (2 cups chopped)
1/2 cup walnuts
Cinnamon Sugar Topping
1 tablespoon melted coconut oil
2 tablespoons brown sugar
1 hefty tablespoon cinnamon%u00a0
Preheat oven to 350
Chop rhubarb into small 1/2 inch pieces. If your walnuts are whole, chop those up into small pieces as well.
In a large bowl, combine the flour, salt, baking soda, baking powder, and cinnamon. Mix together then add in the brown sugar and %u00a0the melted coconut oil and mix. Then add in the say milk %u00a0and apple cider vinegar and mix until all is incorporated. %u00a0Stir in the chopped rhubarbd and walnuts.
Pour batter into a well greases bread pan. For the cinnamon topping, just add the cinnamon and brown sugar to the melted coconut oil and mix. %u00a0Crumble the mixture on top of the bread. if you have a few more walnuts, you can toss those on top too.%u00a0Pop bread into preheated oven.
Bake for 60 -70 minutes %u00a0or until a tester stuck into the middle comes out clean.
Remove from pan and let cool on wire rack. When ready, cut and eat.
Bread lasts 3 day in airtight container on counter, a few days longer in the fridge. %u00a0Freezes well.%u00a0
Banana bread never goes out of style. It is a clsasic, everyday, everybody type of food. Have a slice for dessert, maybe drizzled with some chocolate, definitely.%u00a0%u00a0How about for a grab and go breakfast, sure sure.. A chunk slathered in peanut butter for snack time or anytime, well %u00a0isn’t that’s why you make it?%u00a0 And who doesn’t always have a banana bowl in the kitchen? A banana bowl that is always full of bananas because the banana just always makes it’s way home. They seem to pile up, even when I don’t mean for them to. And I know I am not the only one. I see it all the time. A fruit bowl in the kitchen with a least a couple of really really ripe bananas, waiting for that moment when you know there is no freaking way anyone in their right mind would eat those banana because gross. That’s when you have it, the perfect banana for some banana bread, or in this case, banana muffins. %u00a0
Here I went muffin style because I had already made a loaf of banana bread earlier in the week and because I wanted to send half of the muffins to the boys at the front desk at the gym. (They give me coffee, I give them muffins) And also, muffins cook a lot faster then bread so if you are a little low on time, muffins are the way to go. But if you would rather bread, you can make it bread. Bananas are there for you and are not fussy.%u00a0
The stuff. Ripe bananas, poppy seeds, brown sugar, oil, and apple cider vinegar. Also have flour, cinnamon, baking soda, baking powder, and a little salt in the bowl.%u00a0
Mash the bananas in a bowl, like really mash them up until it turns to a sugar banana slop.%u00a0Then add in the oil and the vinegar and mix together.
Dump in the dry and the poppy seeds and mix it all up until combined but then stop. Don’t over mix the batter or else you will get tuff muffins.%u00a0
Scoop into well greased muffin pans and pop them into the preheated oven to bake.%u00a0
Done! And in only took like 20 minutes appose to an hour if I made banana bread.%u00a0
And here is when you grab a coffee, a muffin, and have yourself a moment.
Stay good.
-C
makes 12-14 muffins
2 cups flour
1 teaspoon baking soda
1 teaspoon baking powder%u00a0
1 teaspoon salt
1 tablespoon cinnamon%u00a0
1/4 cup poppy seeds
2/3 cups packed %u00a0brown sugar
1/2 cup neutral flavored oil
4 really ripe bananas (they need to be really ripe of the mixture will be to dry)
1 tablespoon apple cider vinegar%u00a0
Preheat oven to 350
In a large bowl,%u00a0mash the bananas with the sugar until the mixture turns wet and sloppy, but there are still a few little chunks of banana.%u00a0%u00a0Mix in the oil and vinegar. In a separate bowl mix the %u00a0flour, cinnamon , baking powder and soda, salt, and poppy seeds together. Dump the dry into the wet and mix until all is combined but then stop. Don’t over mix batter.%u00a0
Scoop mixture into well greased muffin tins and place into oven once it has preheated.%u00a0Bake the muffins for about 20- 22 minutes or until nicely browned and a tester stuck into the middle of one comes out clean.
Remove from oven and let sit in tin for a few minutes until it cools down. Remove the muffins from the tin and let completely cool on a wire rack.%u00a0
Eat whenever and how many you want, store the rest in an air tight container for a couple of days or wrap a few and %u00a0freeze.%u00a0


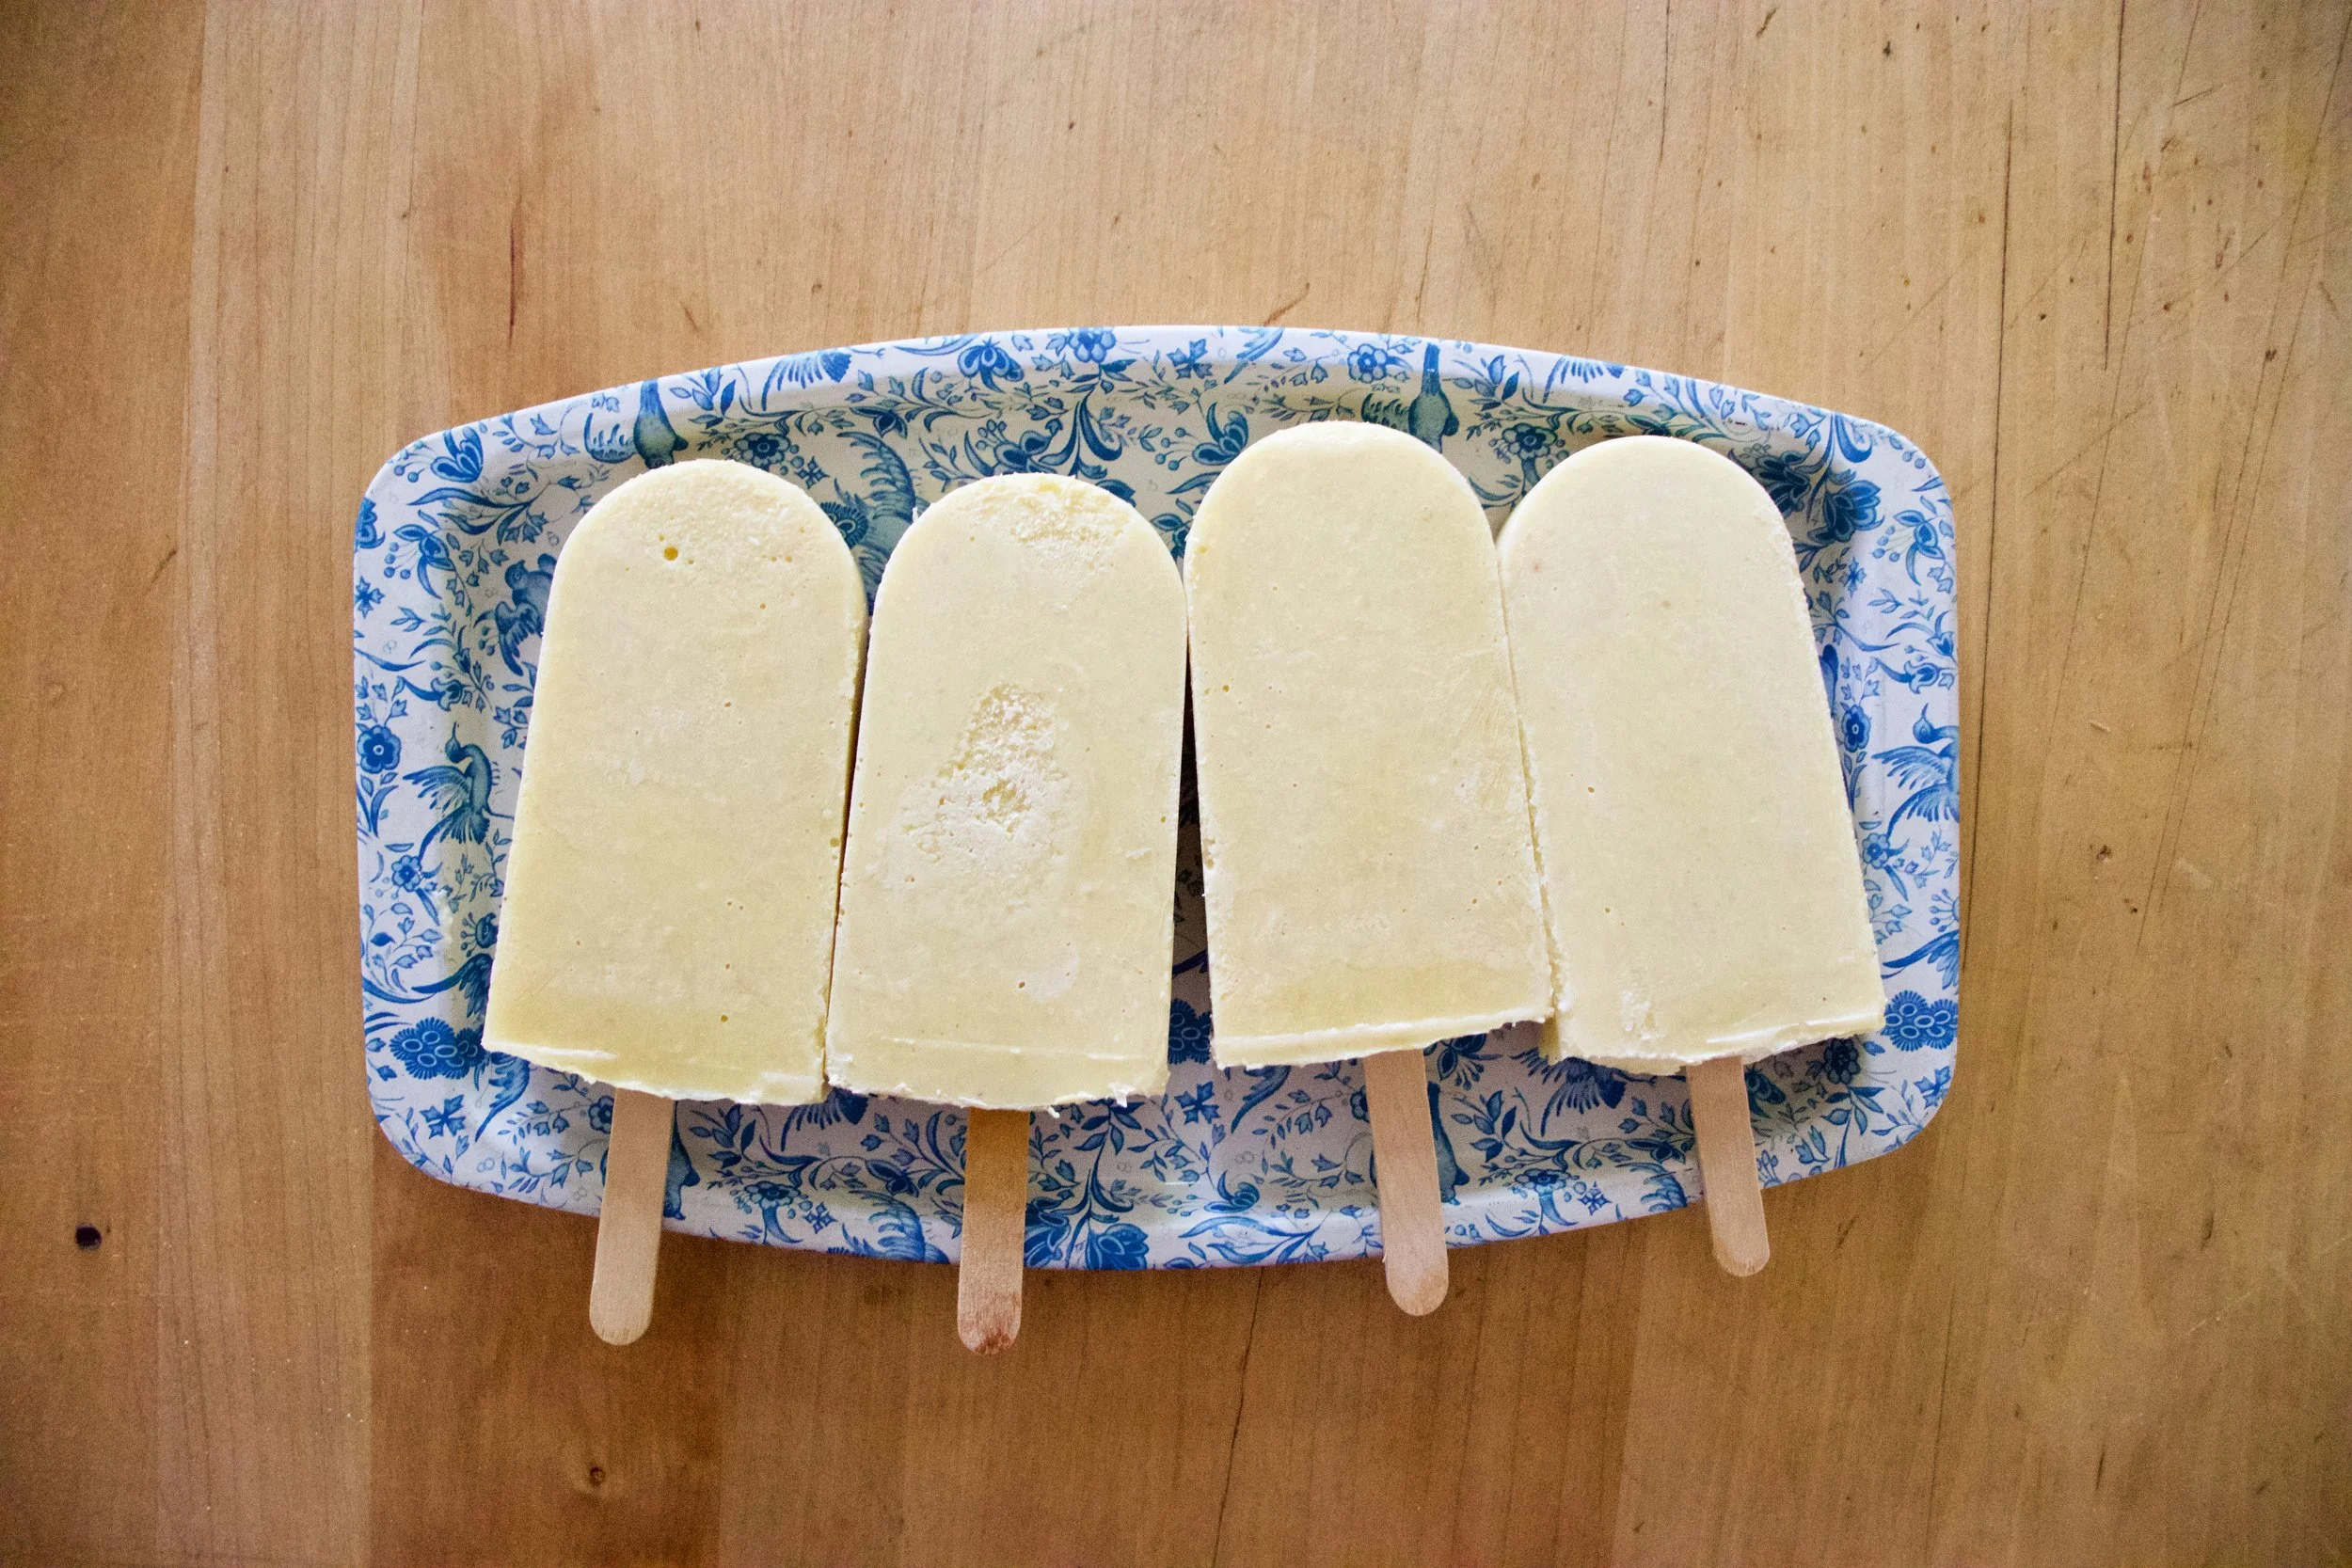

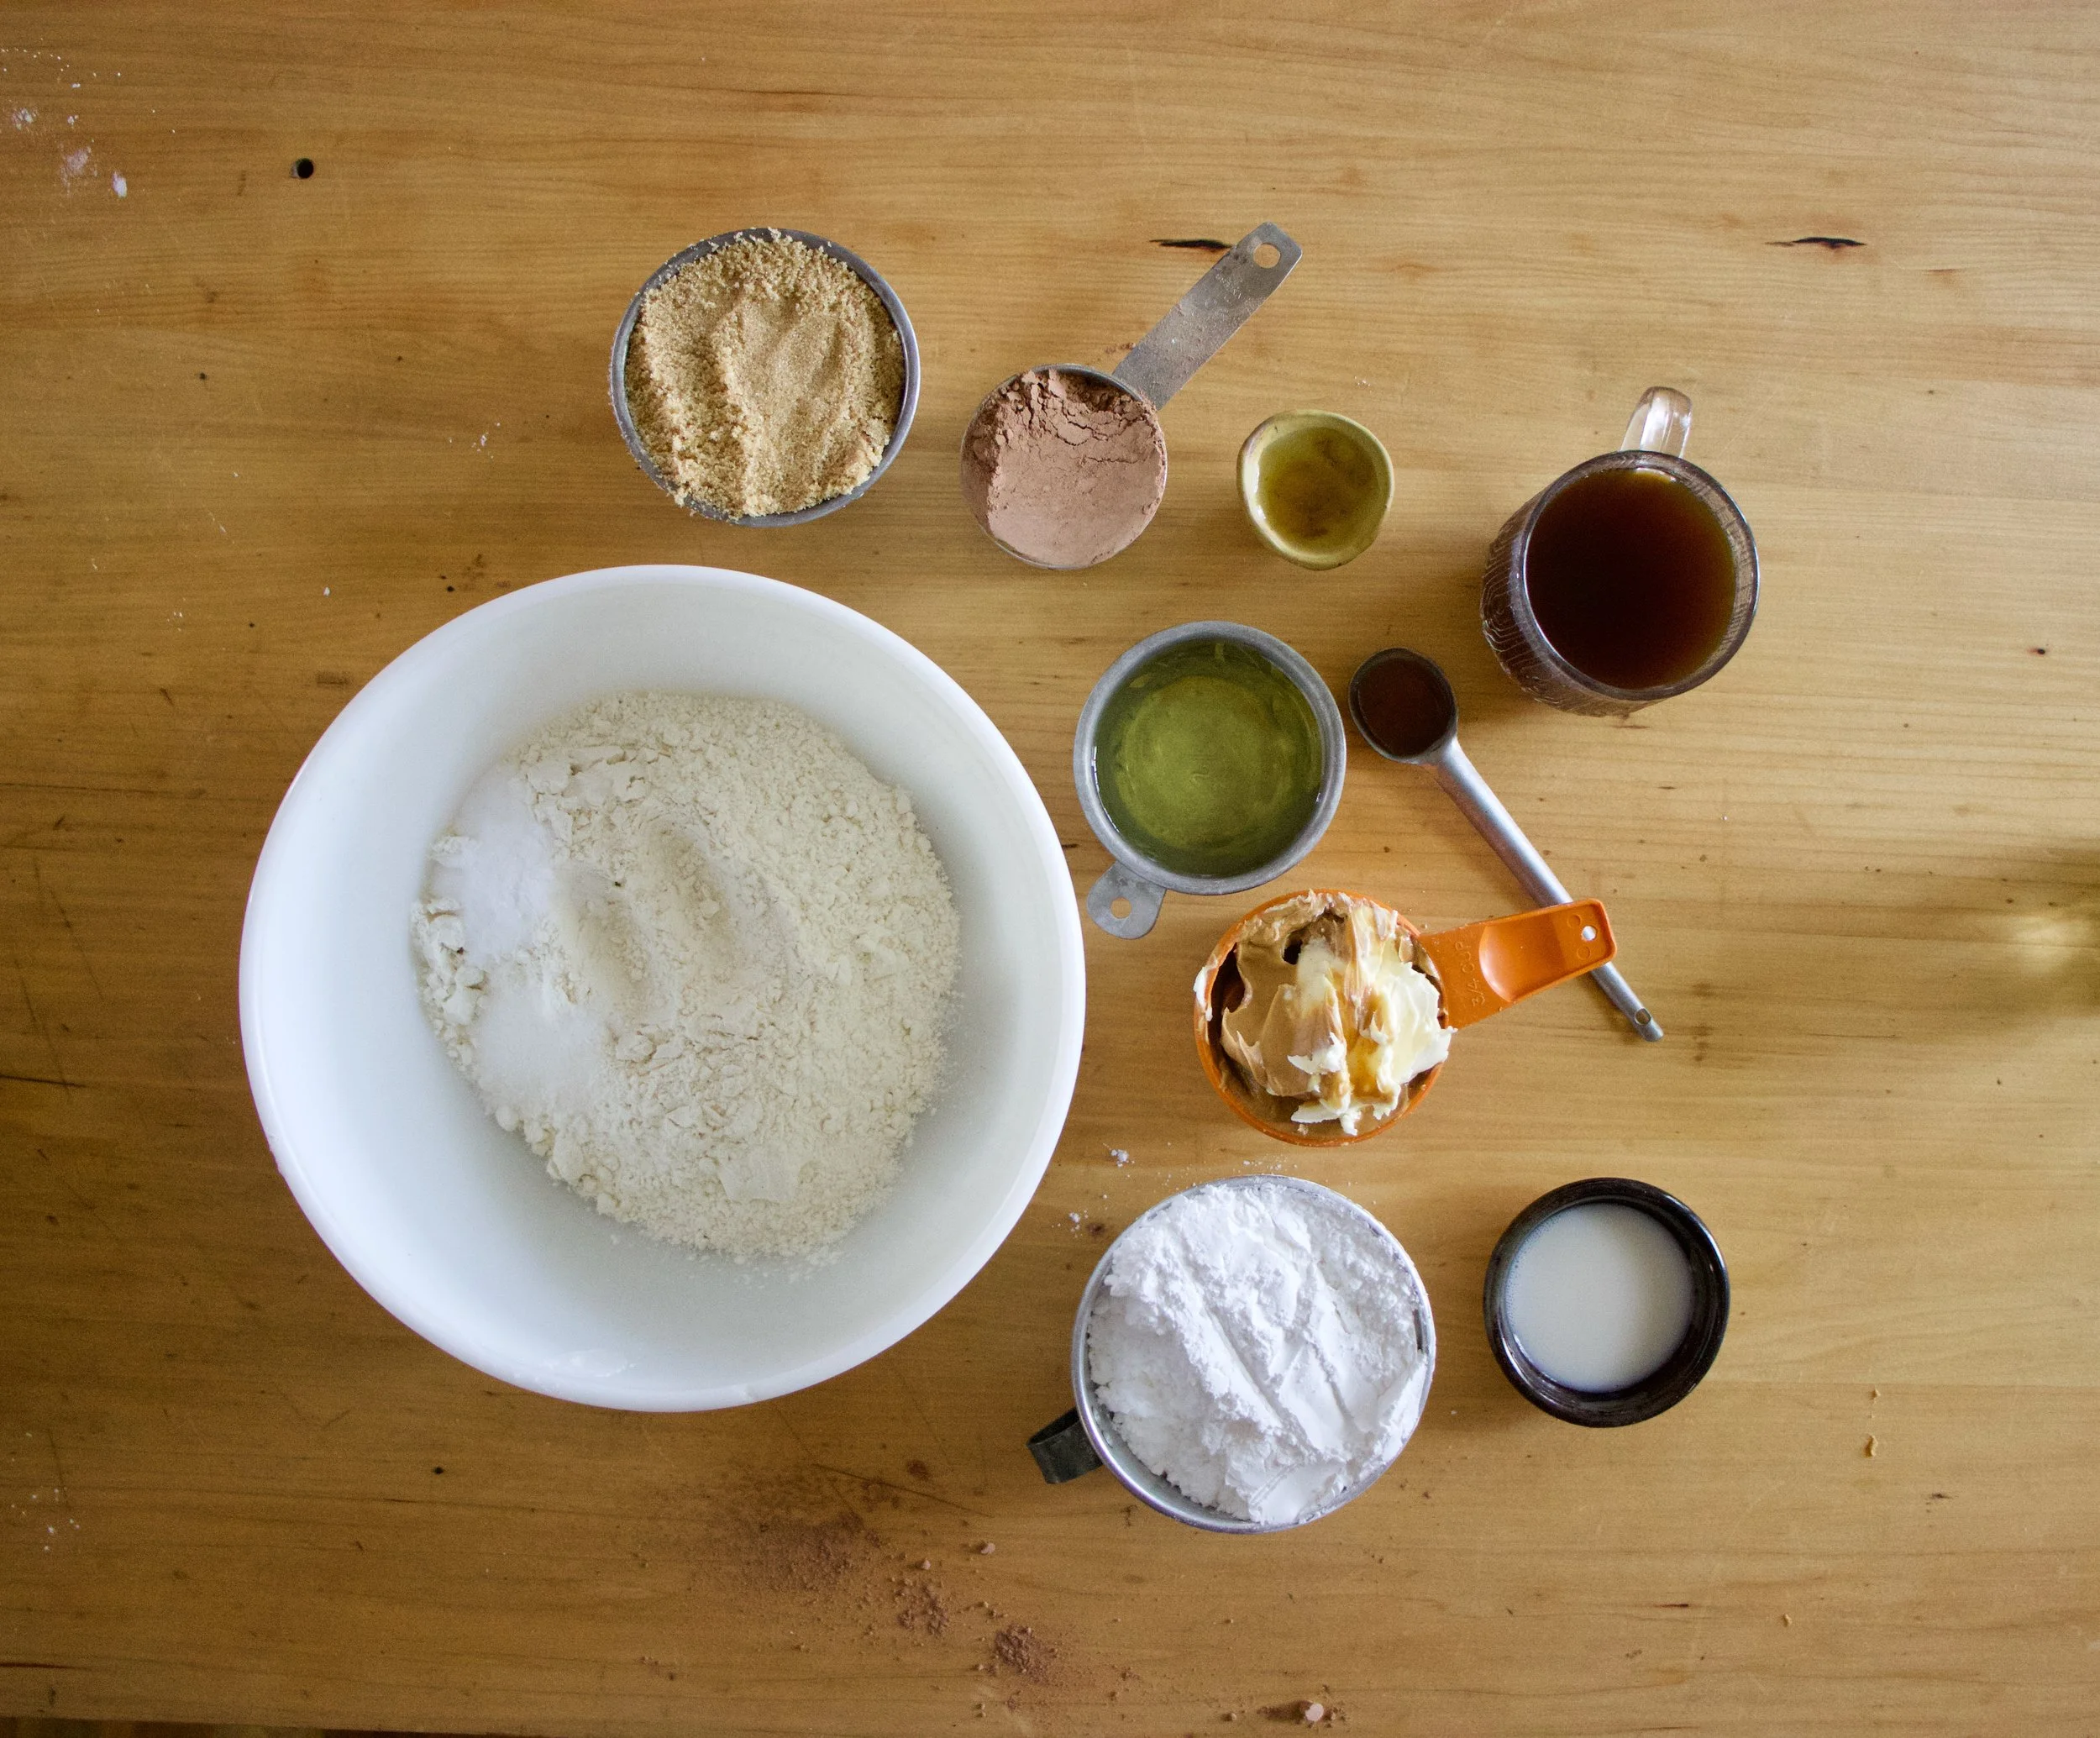


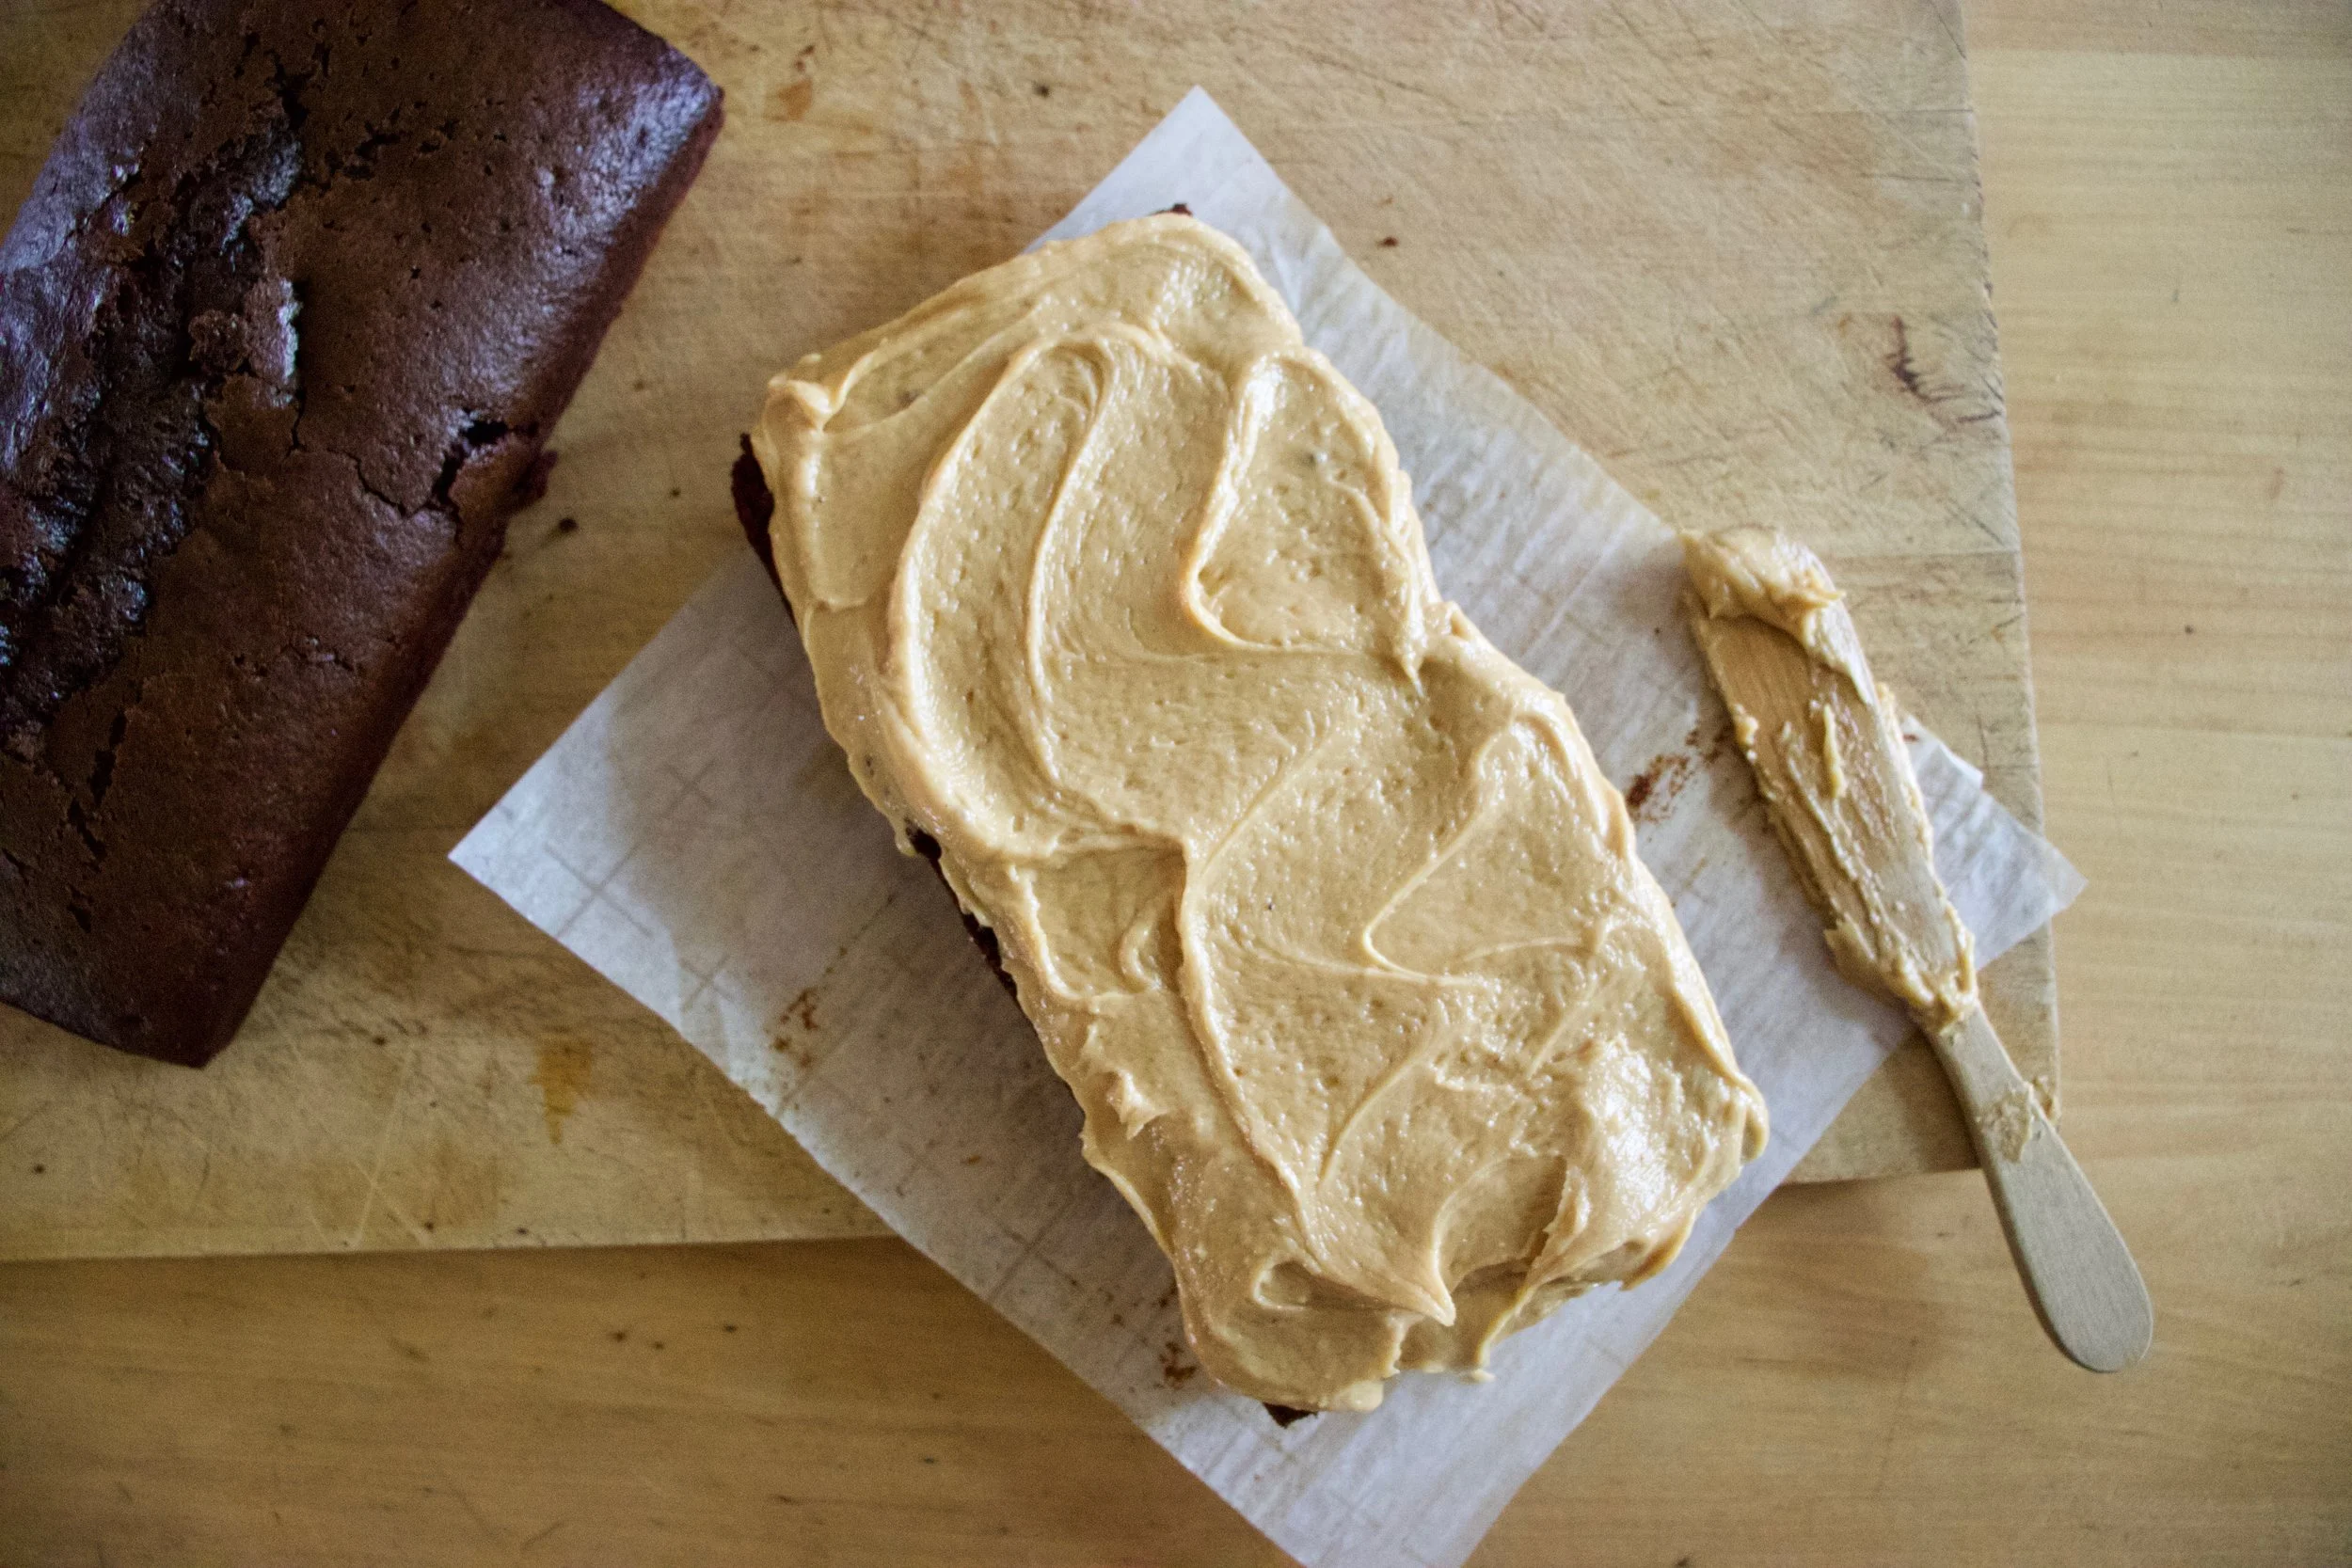

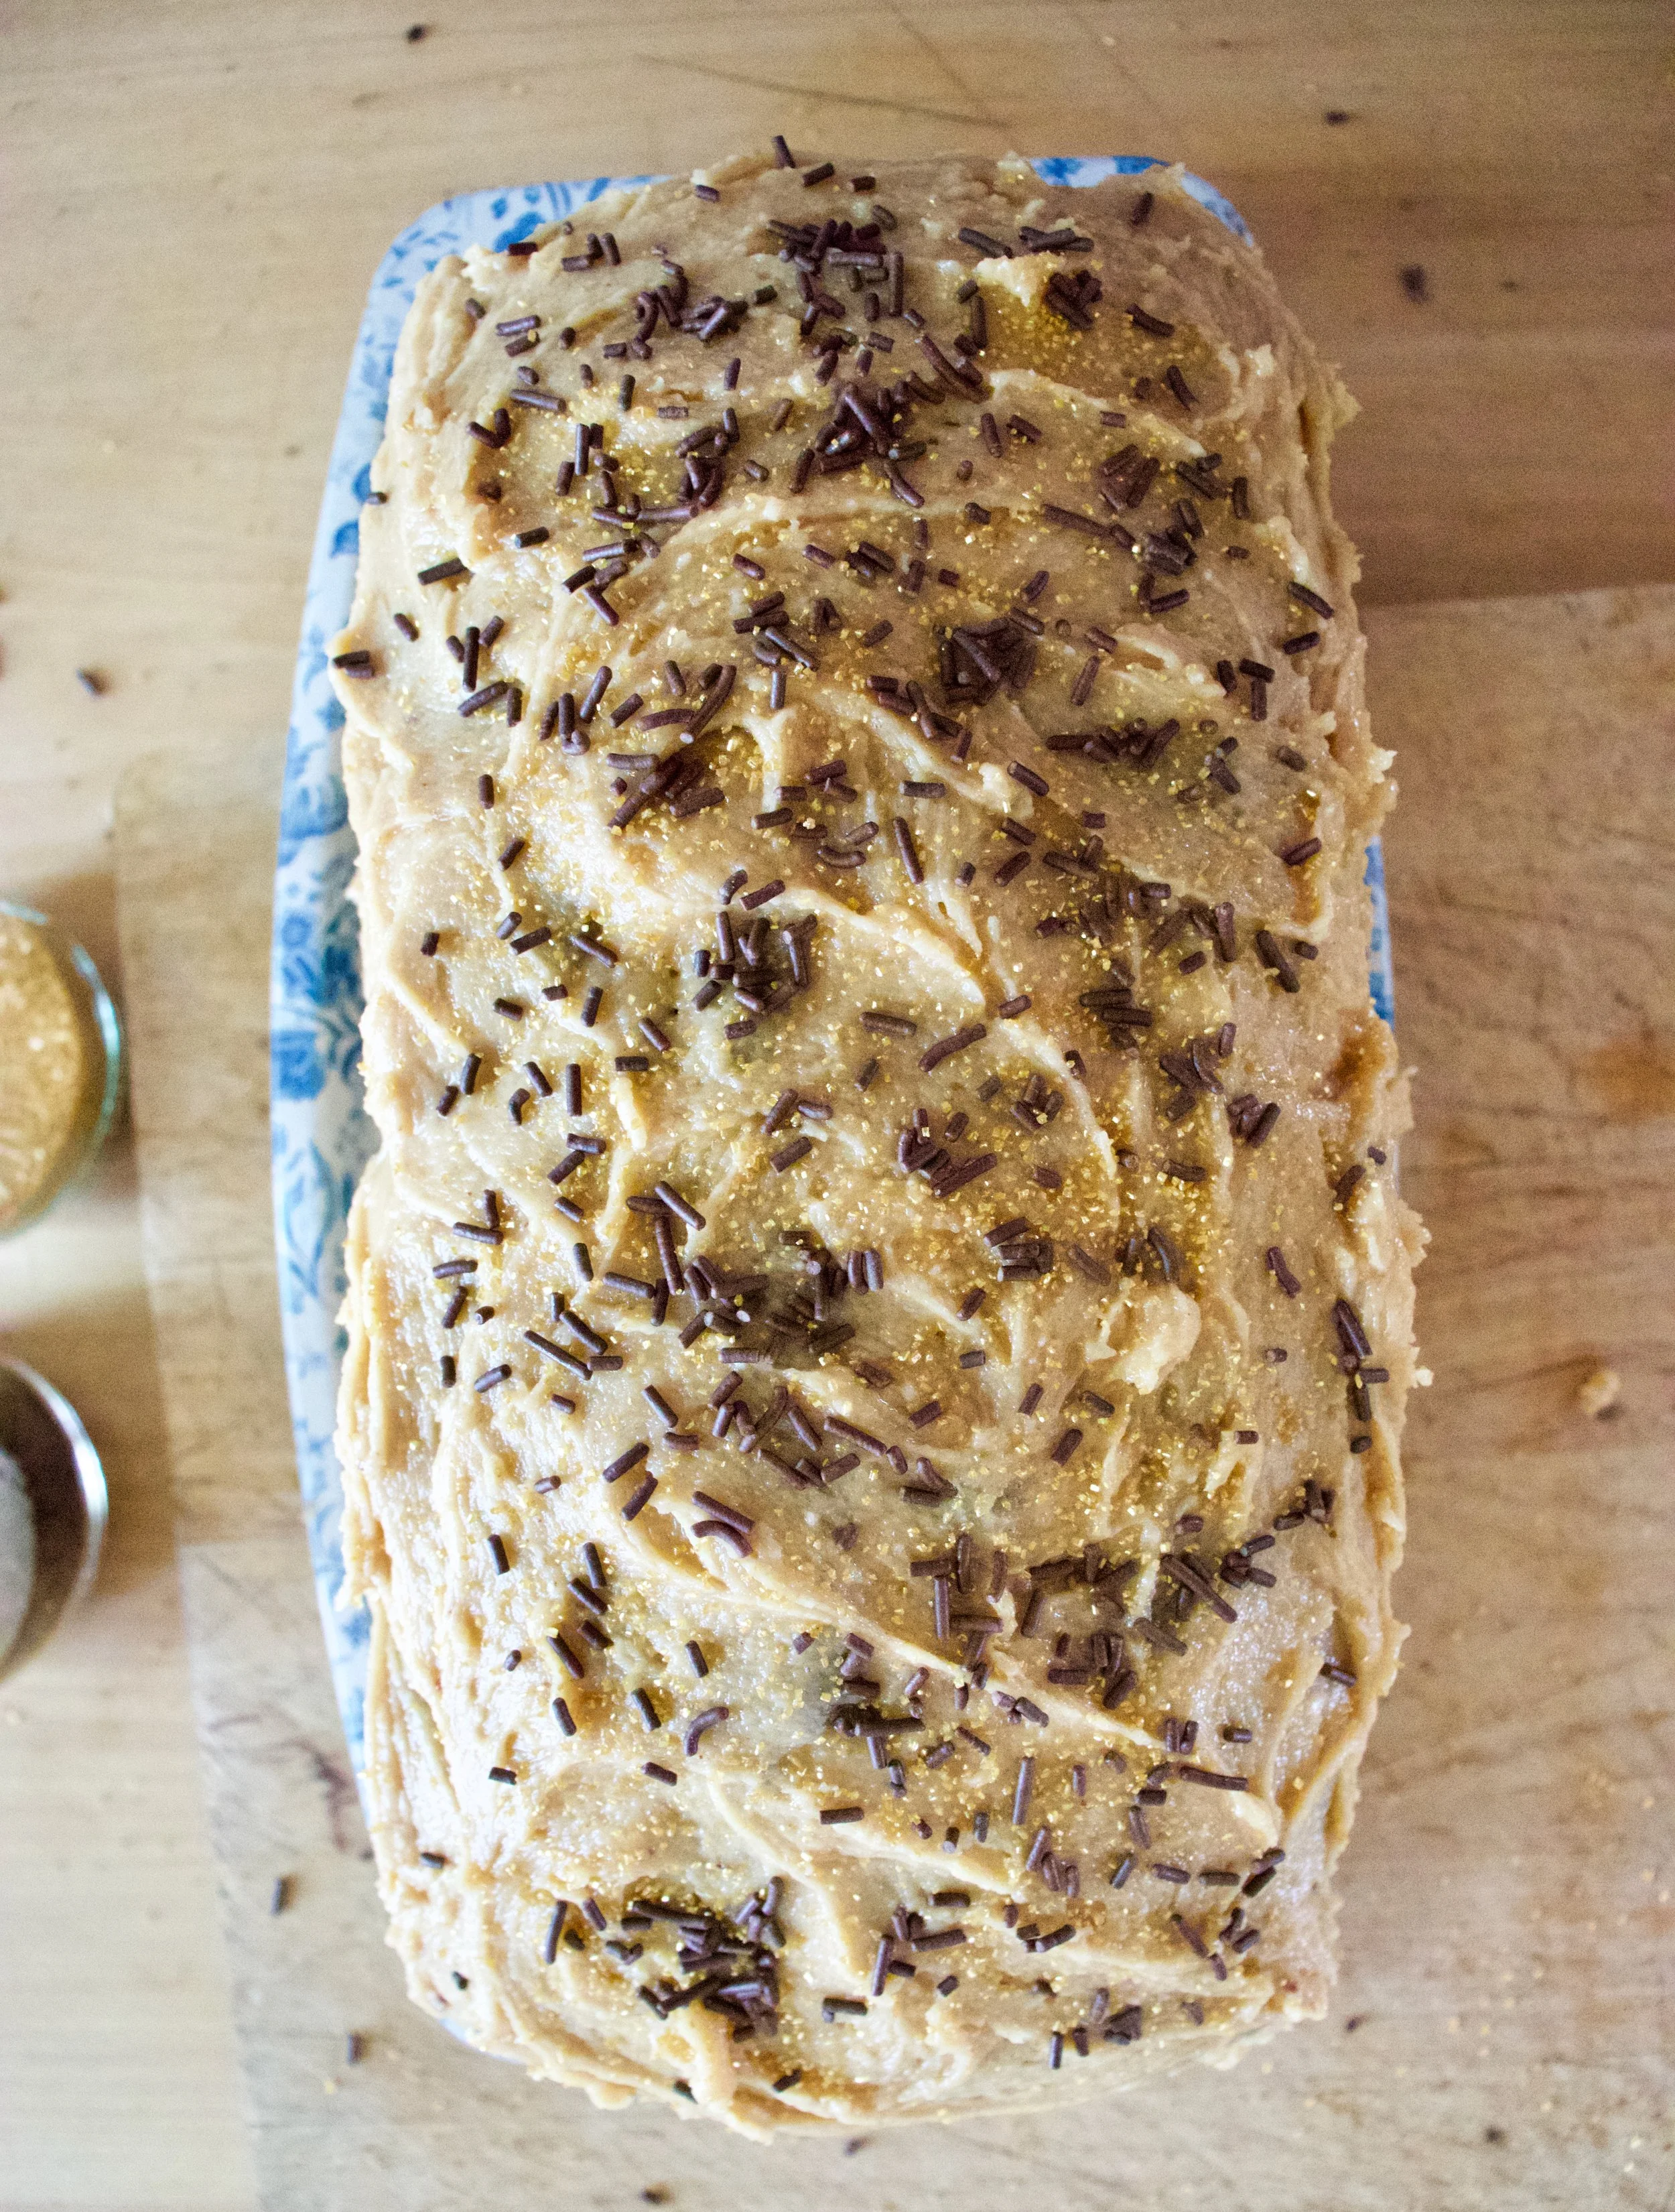
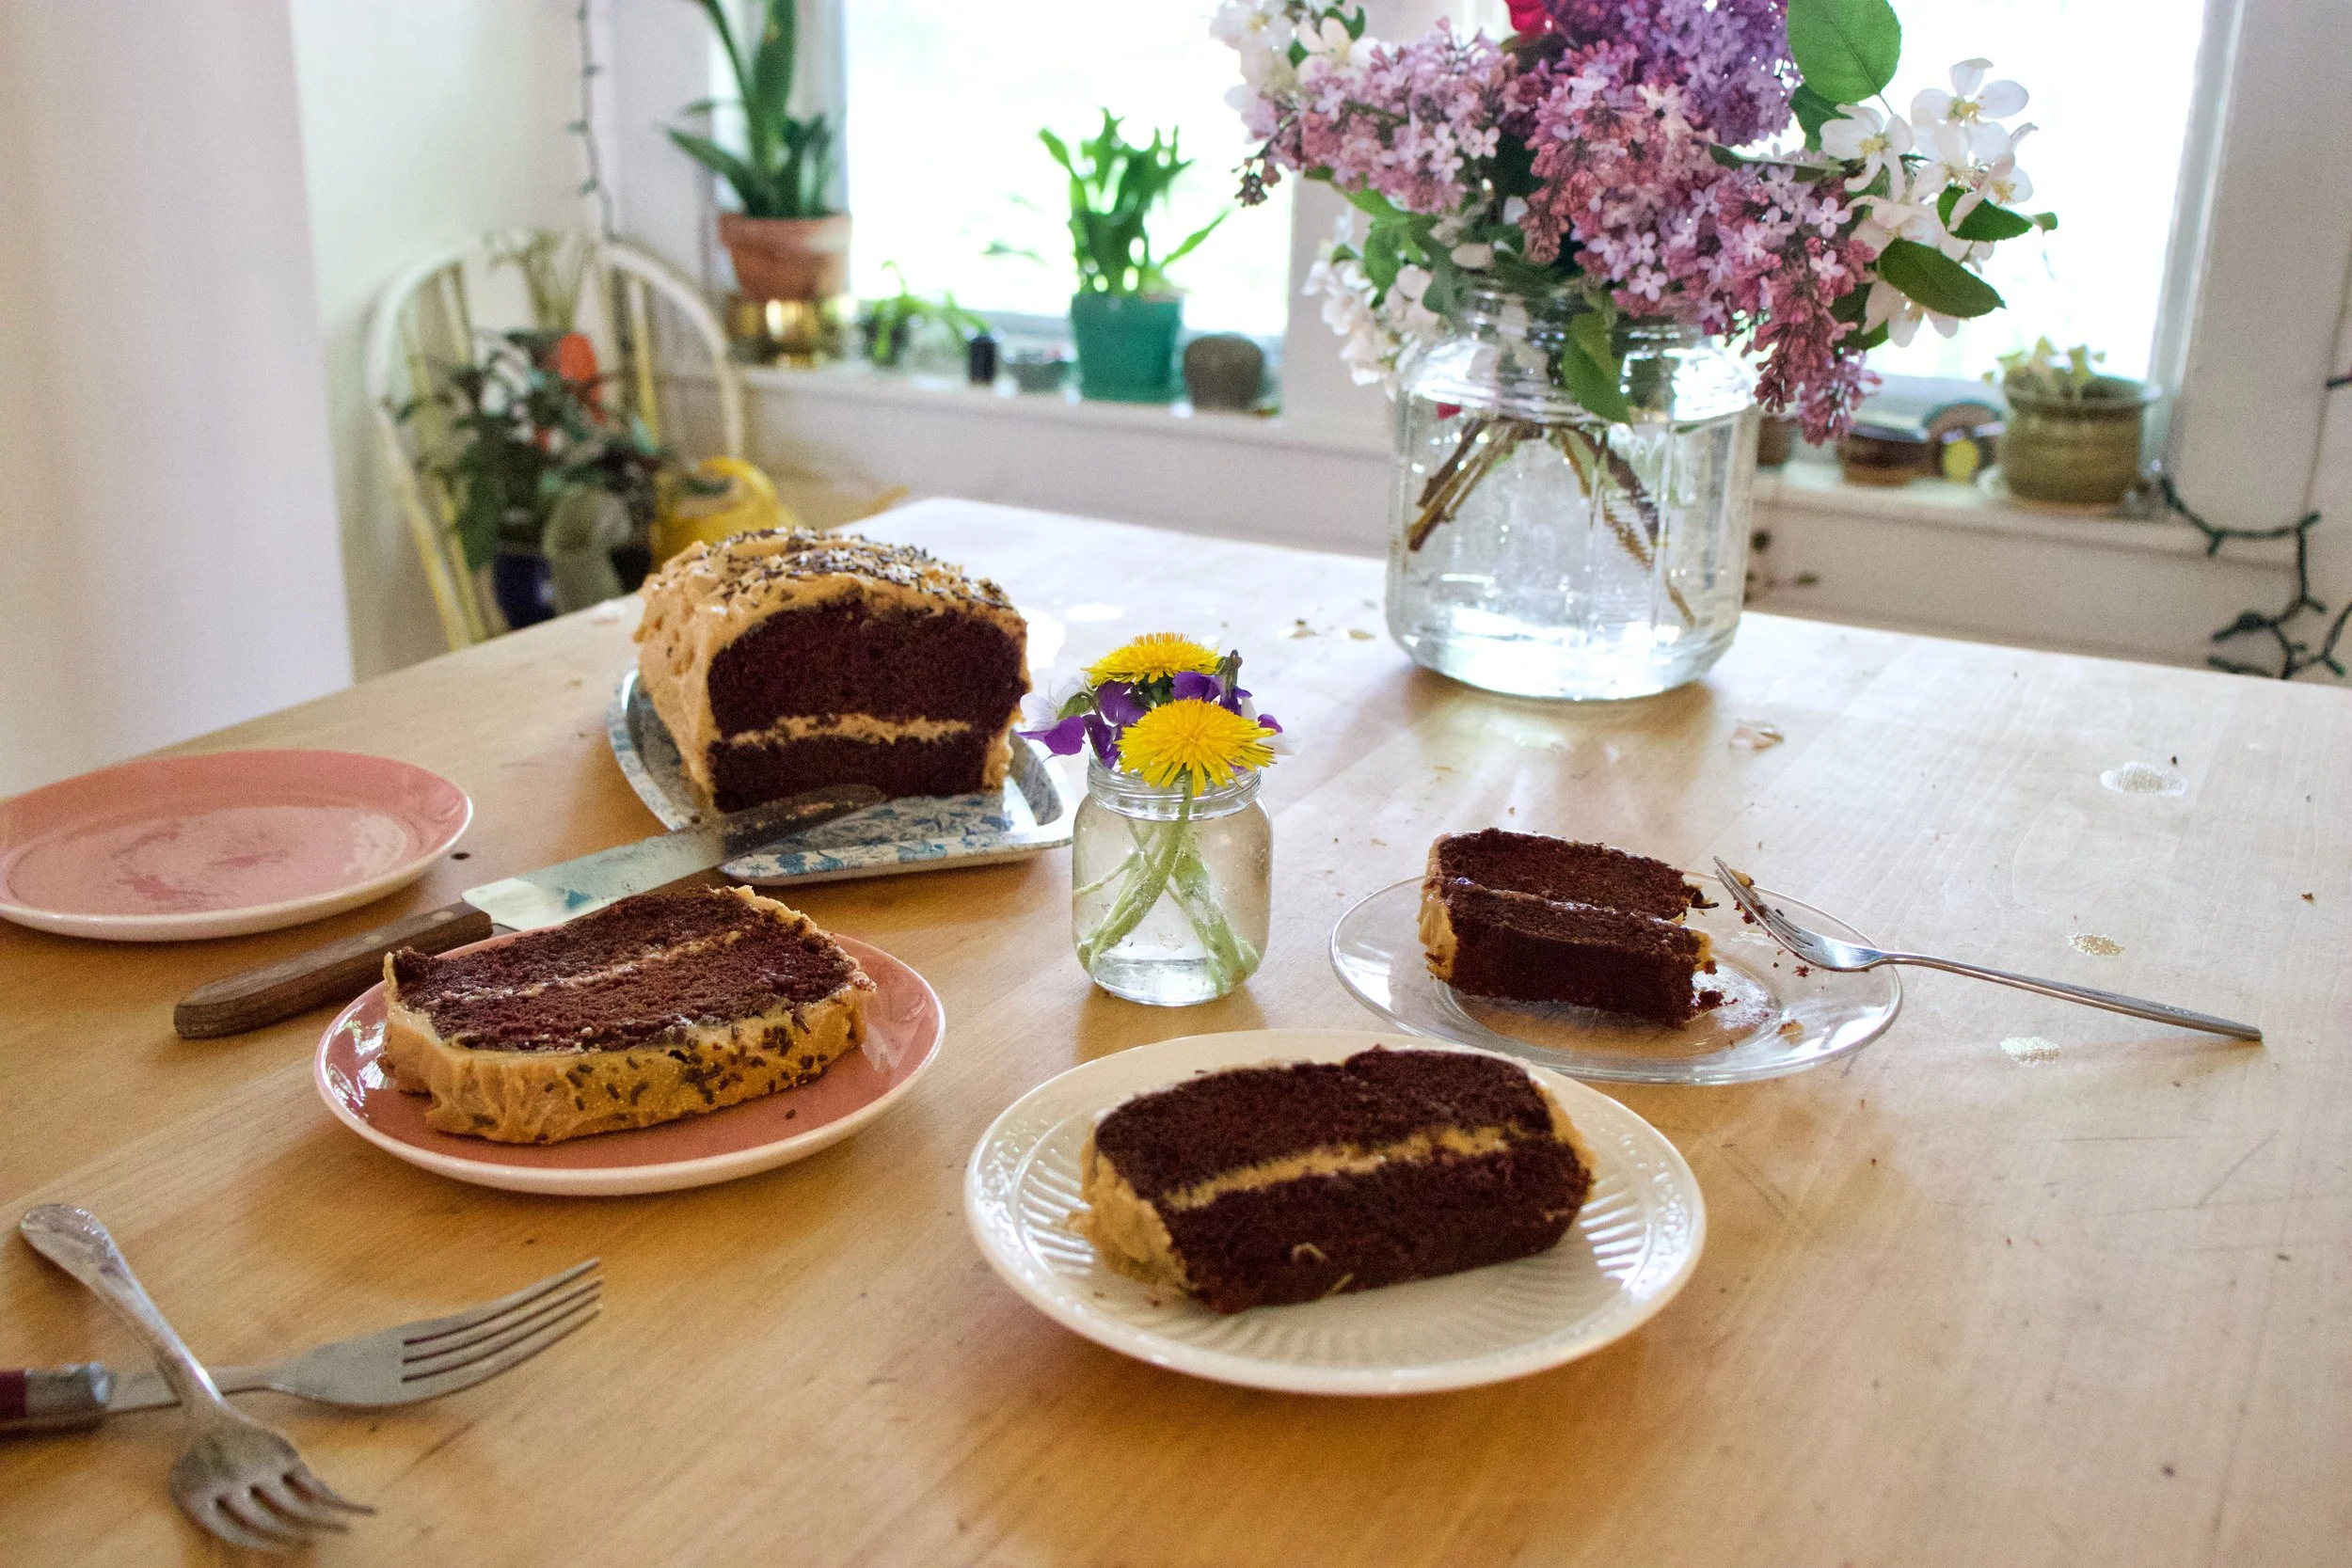
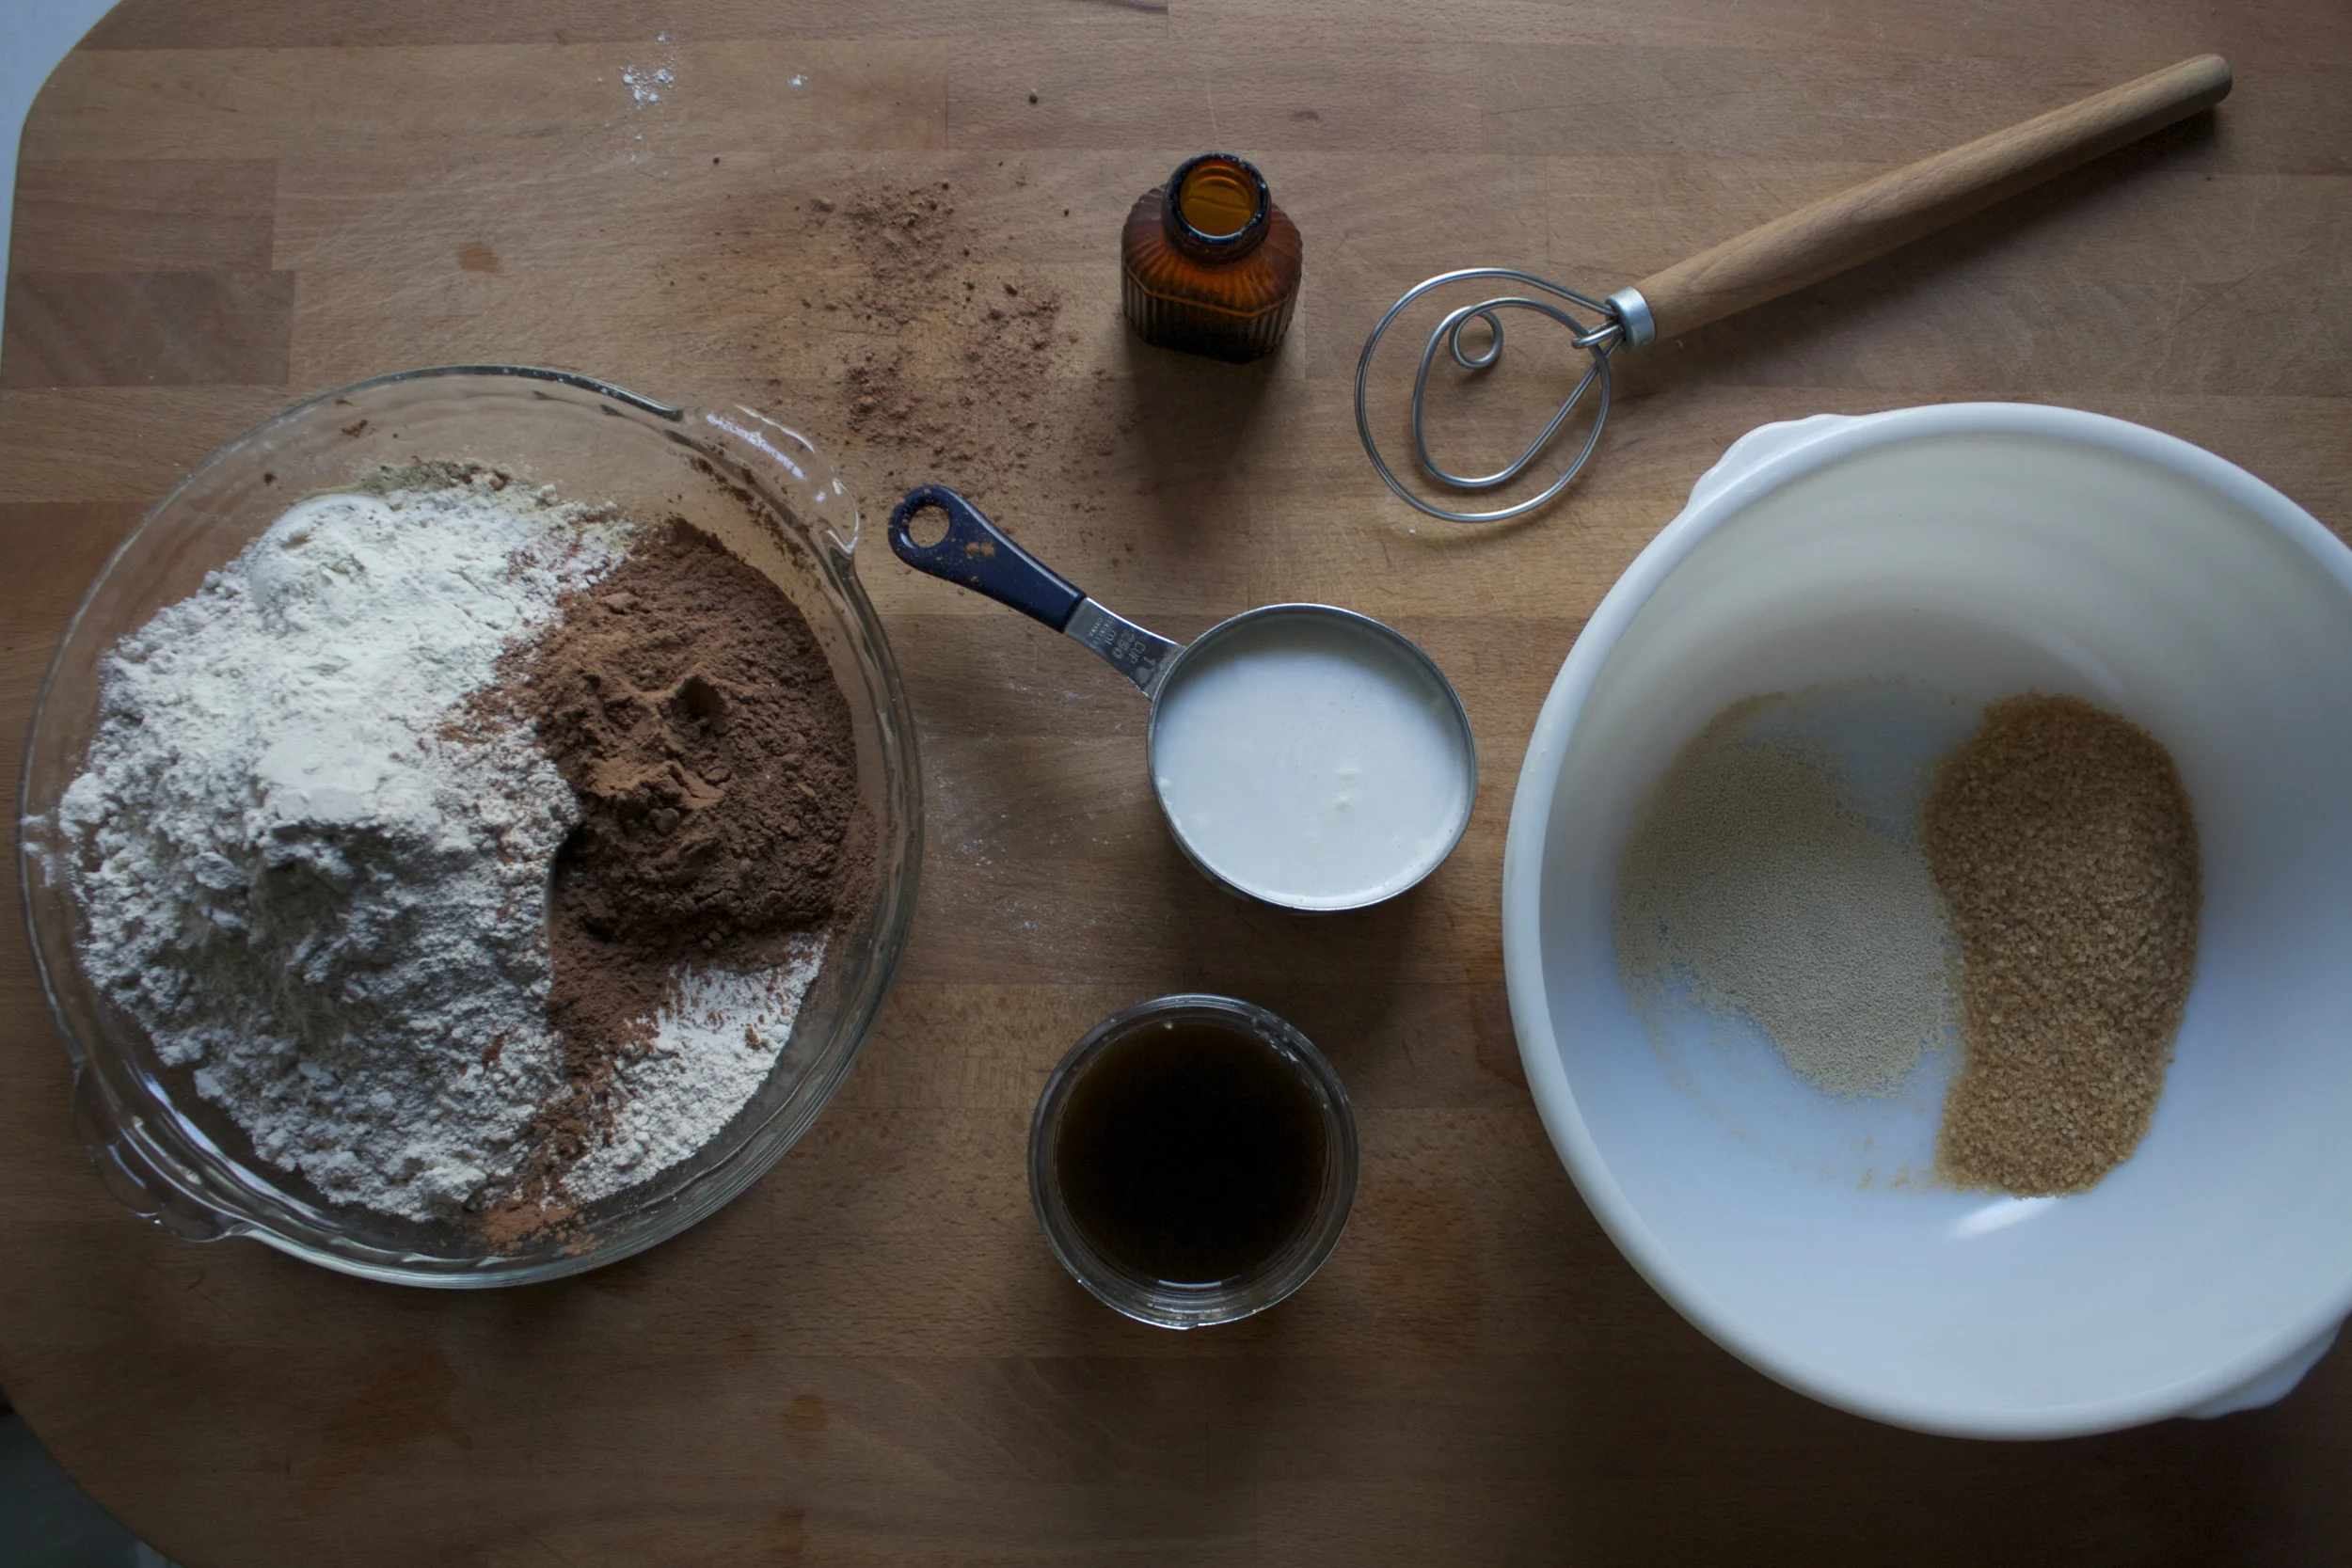
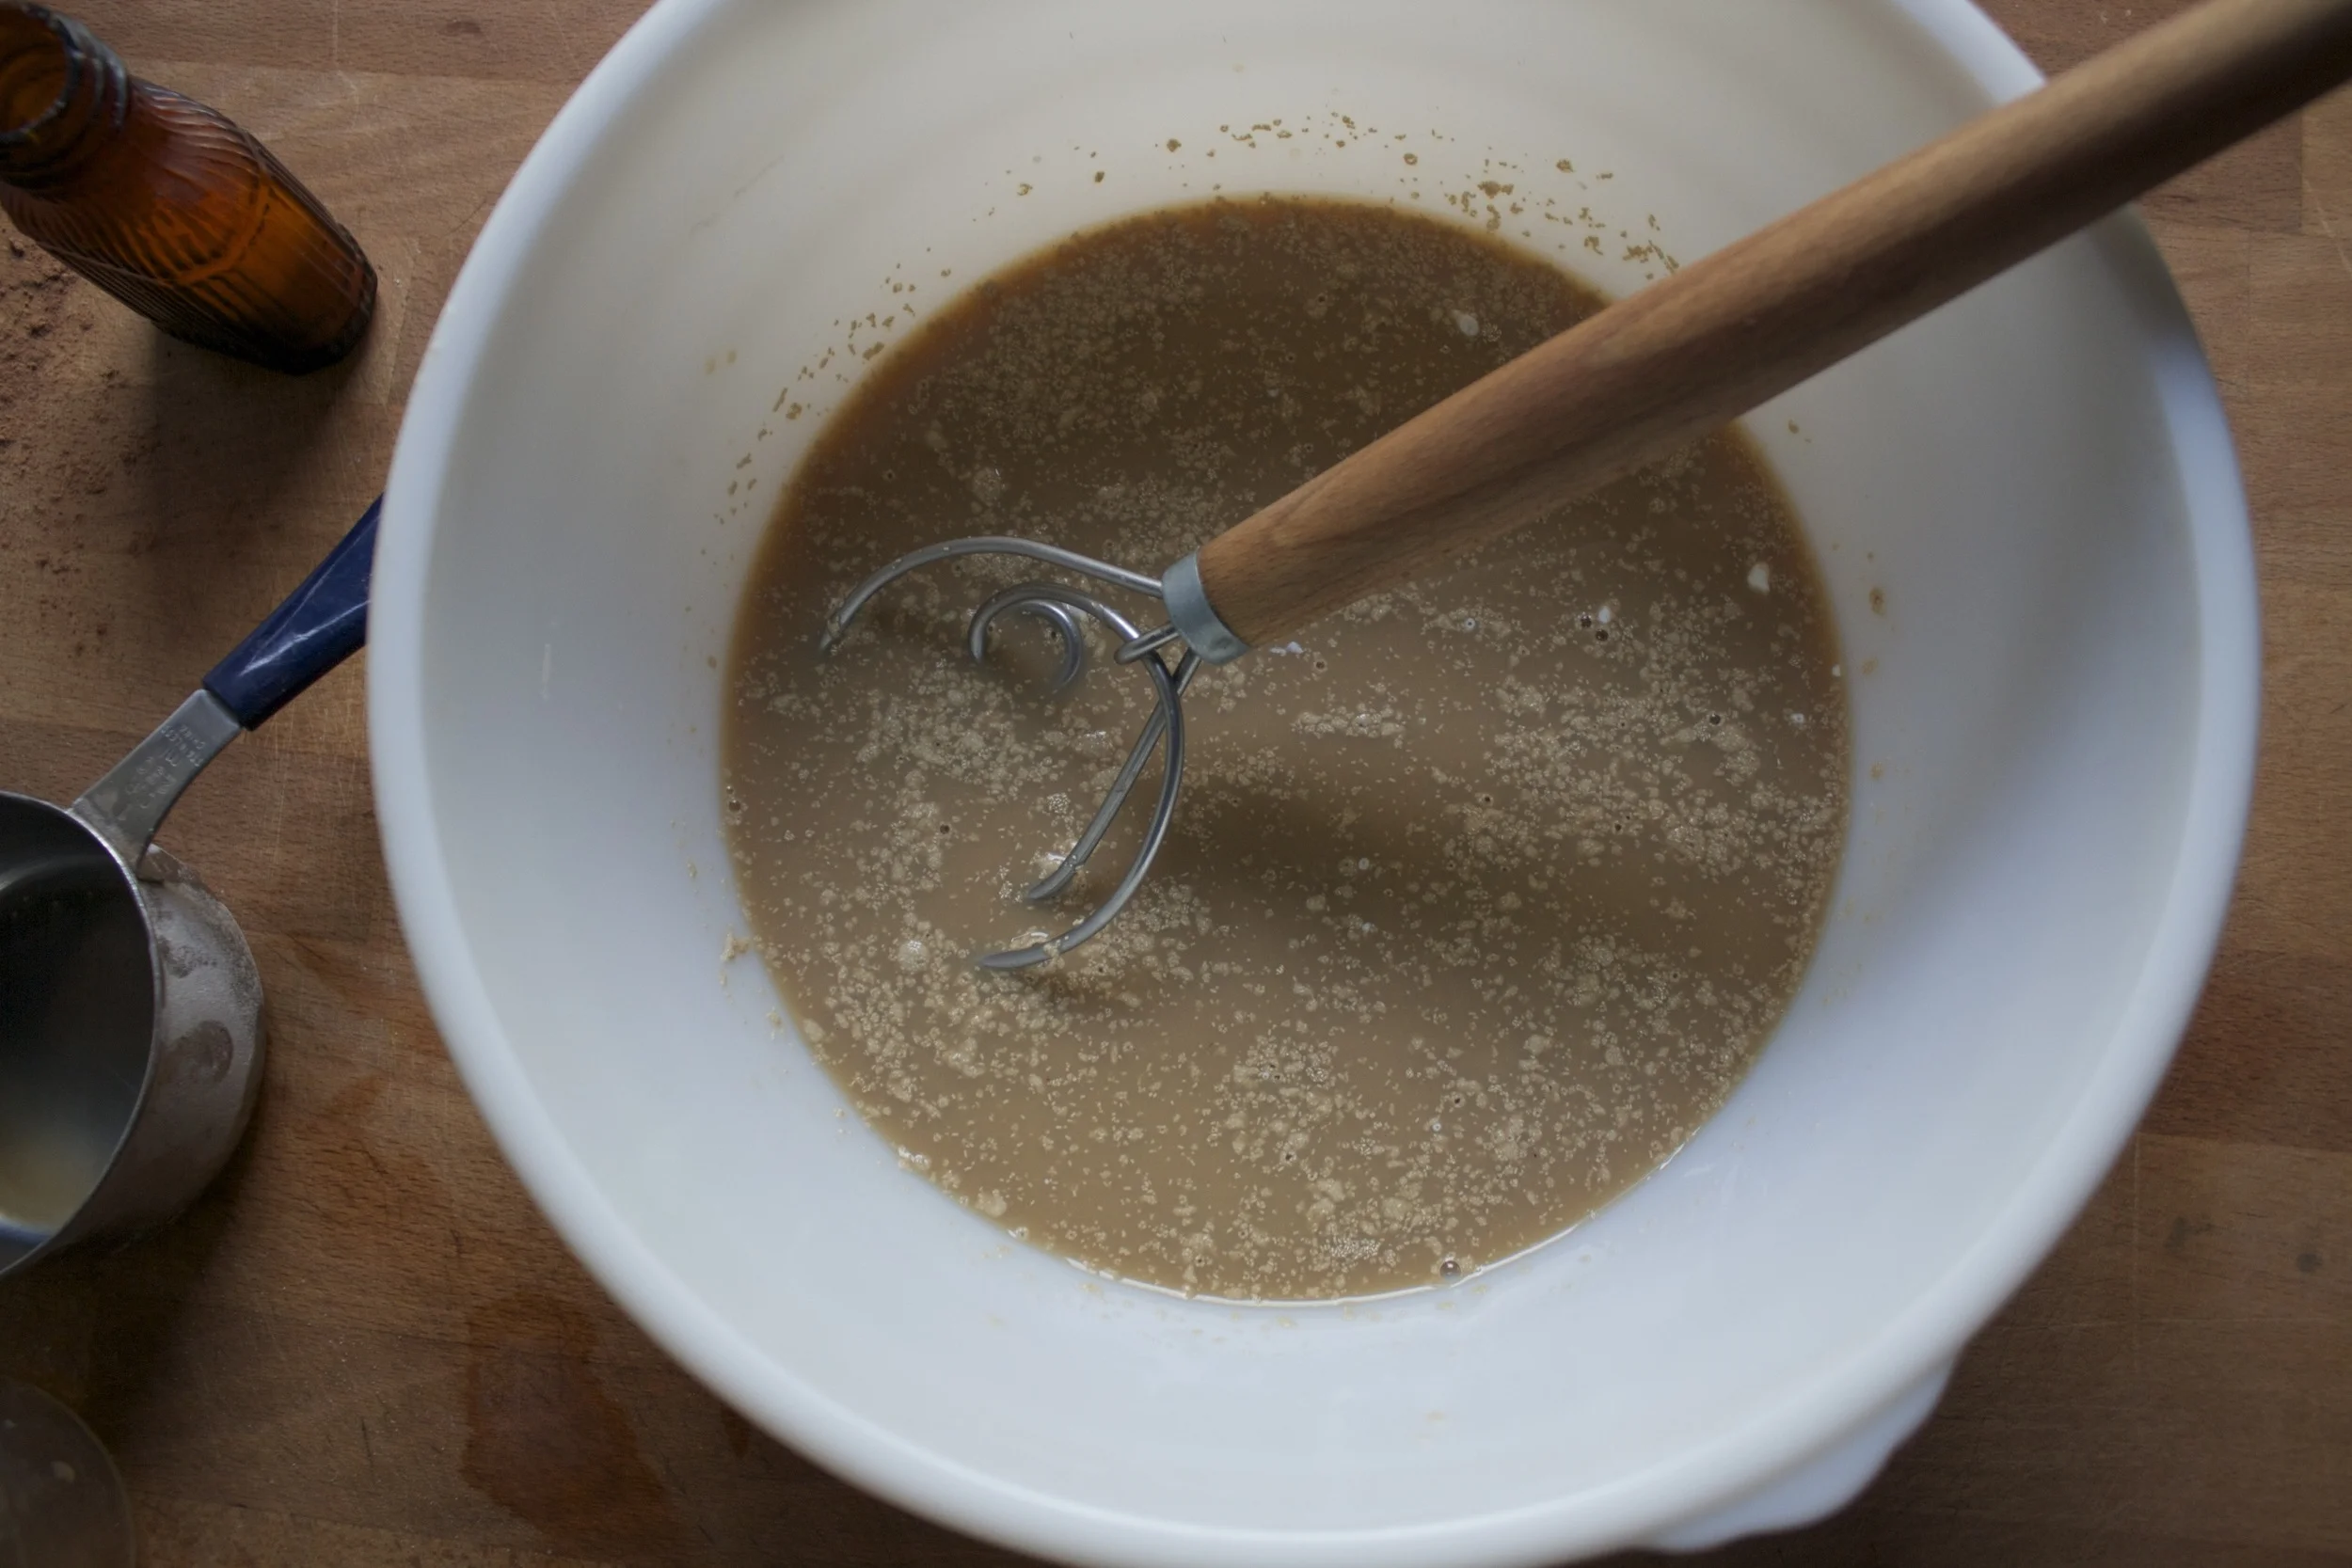


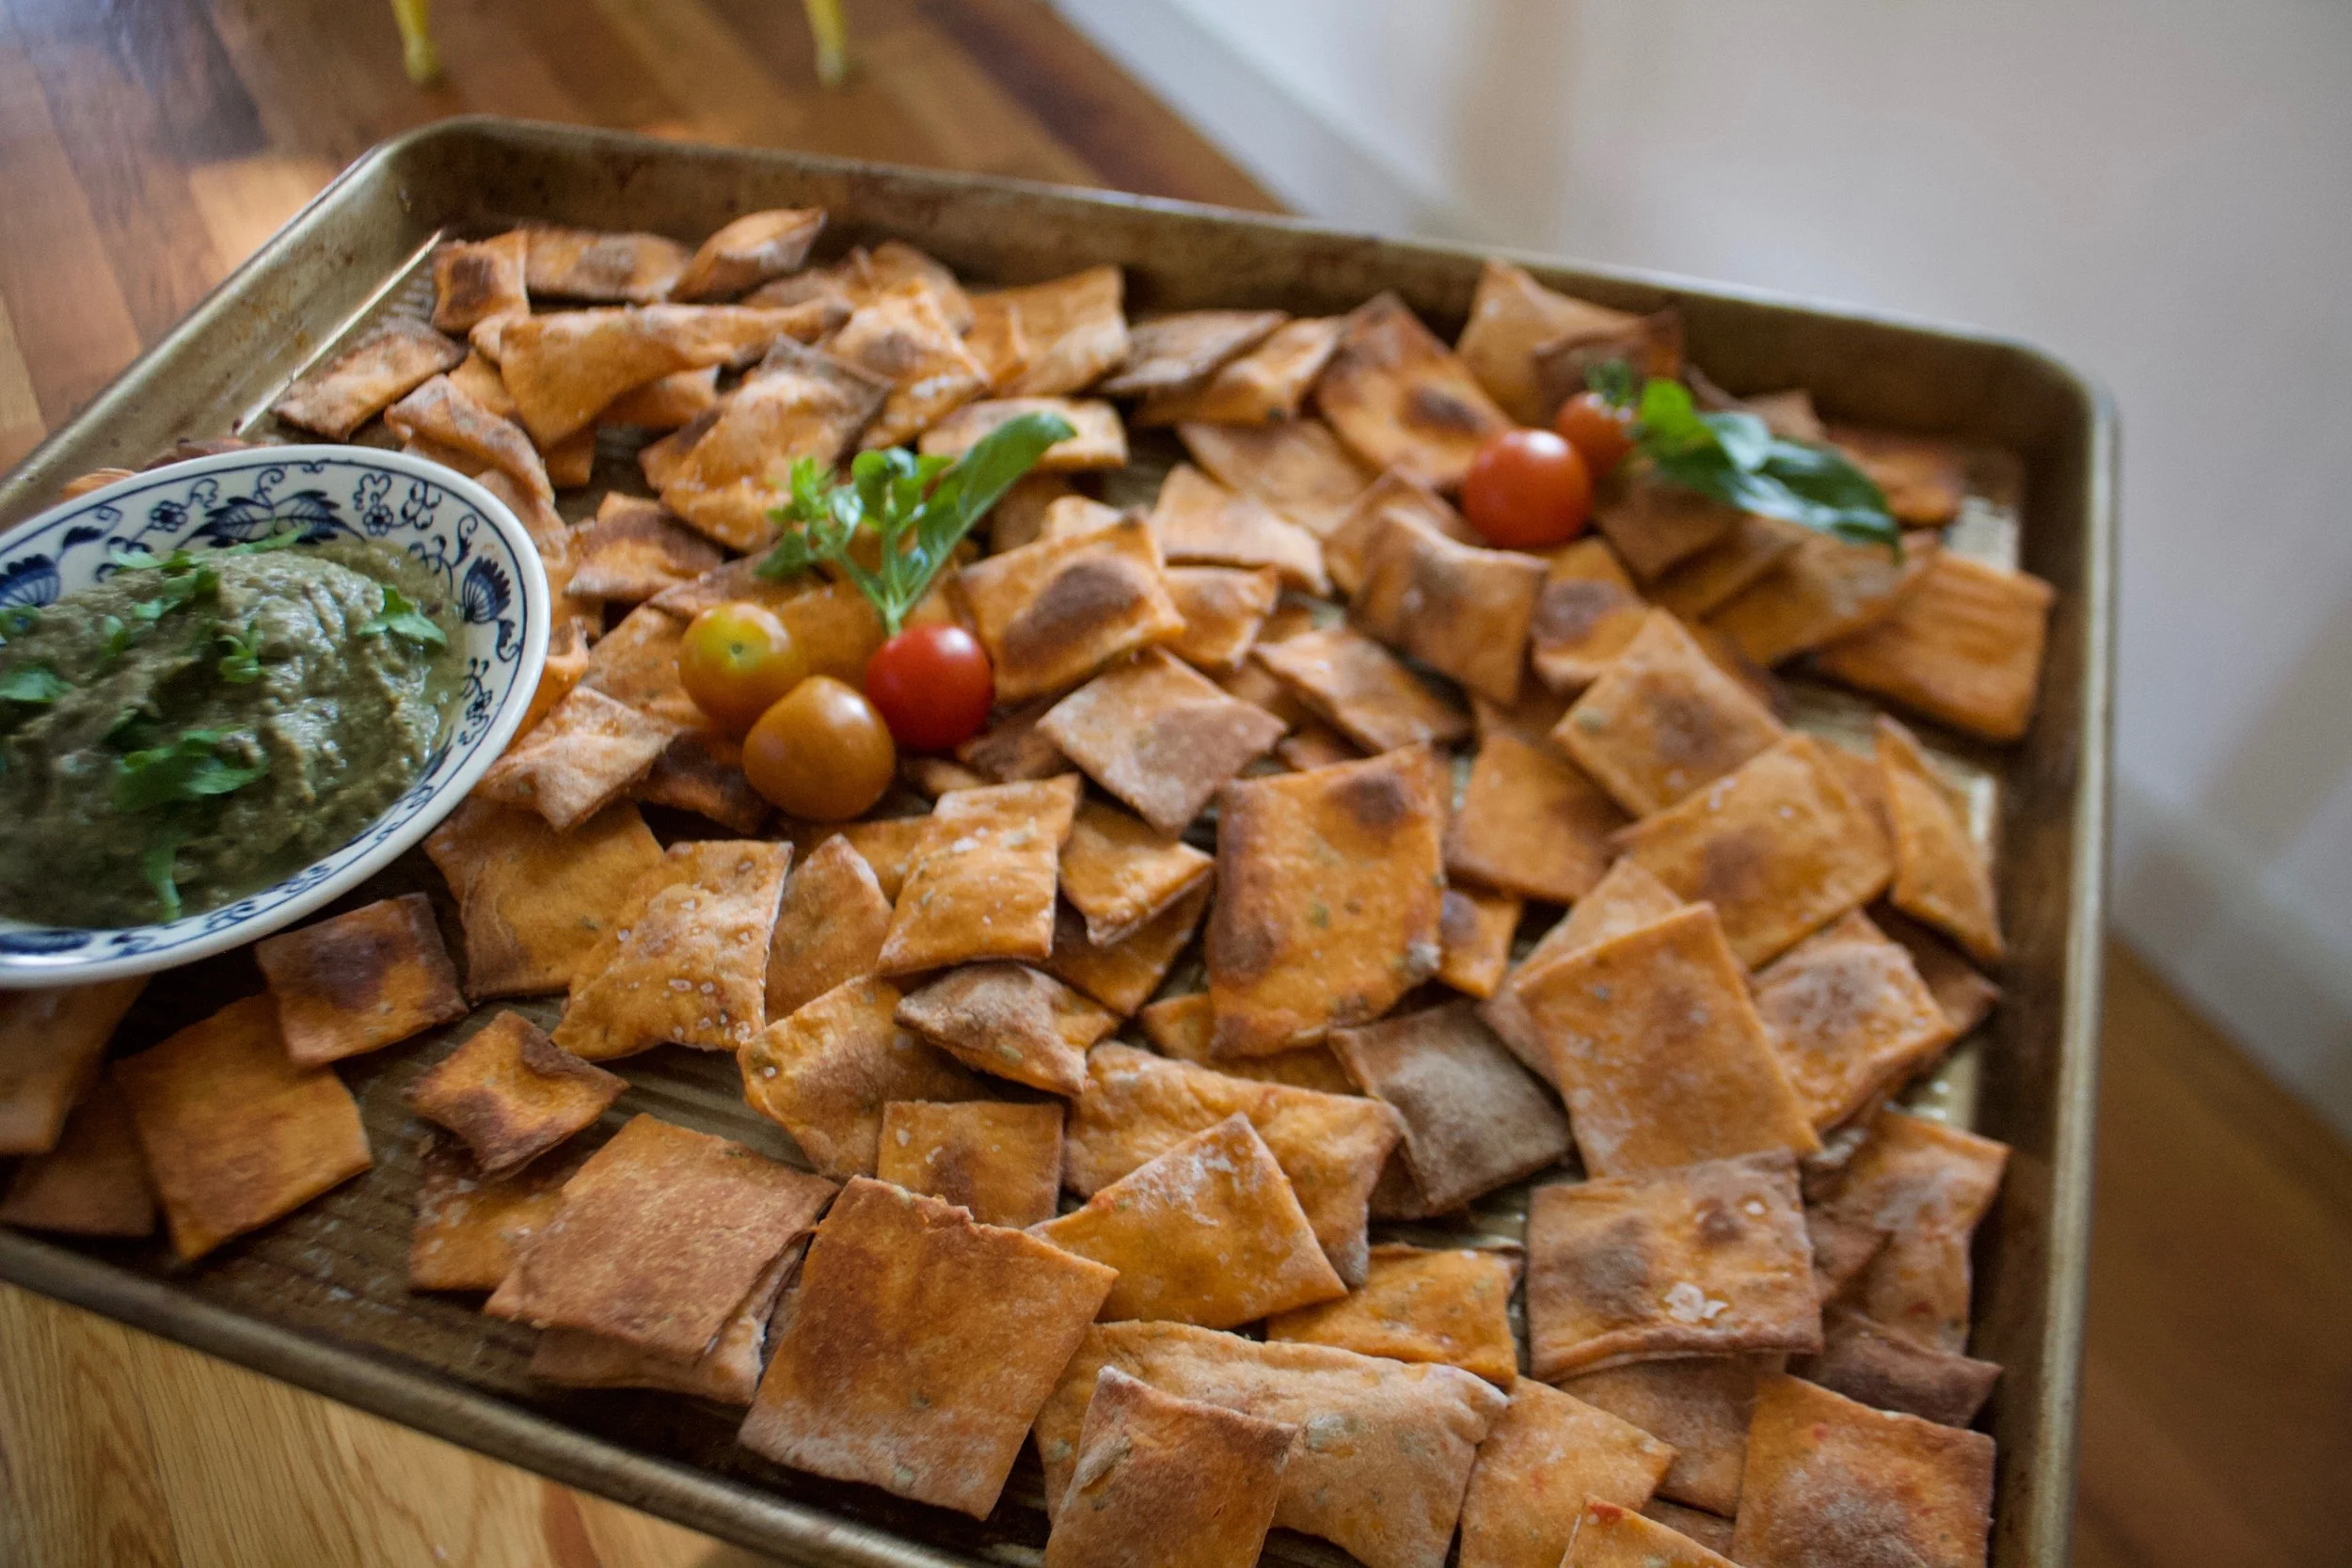

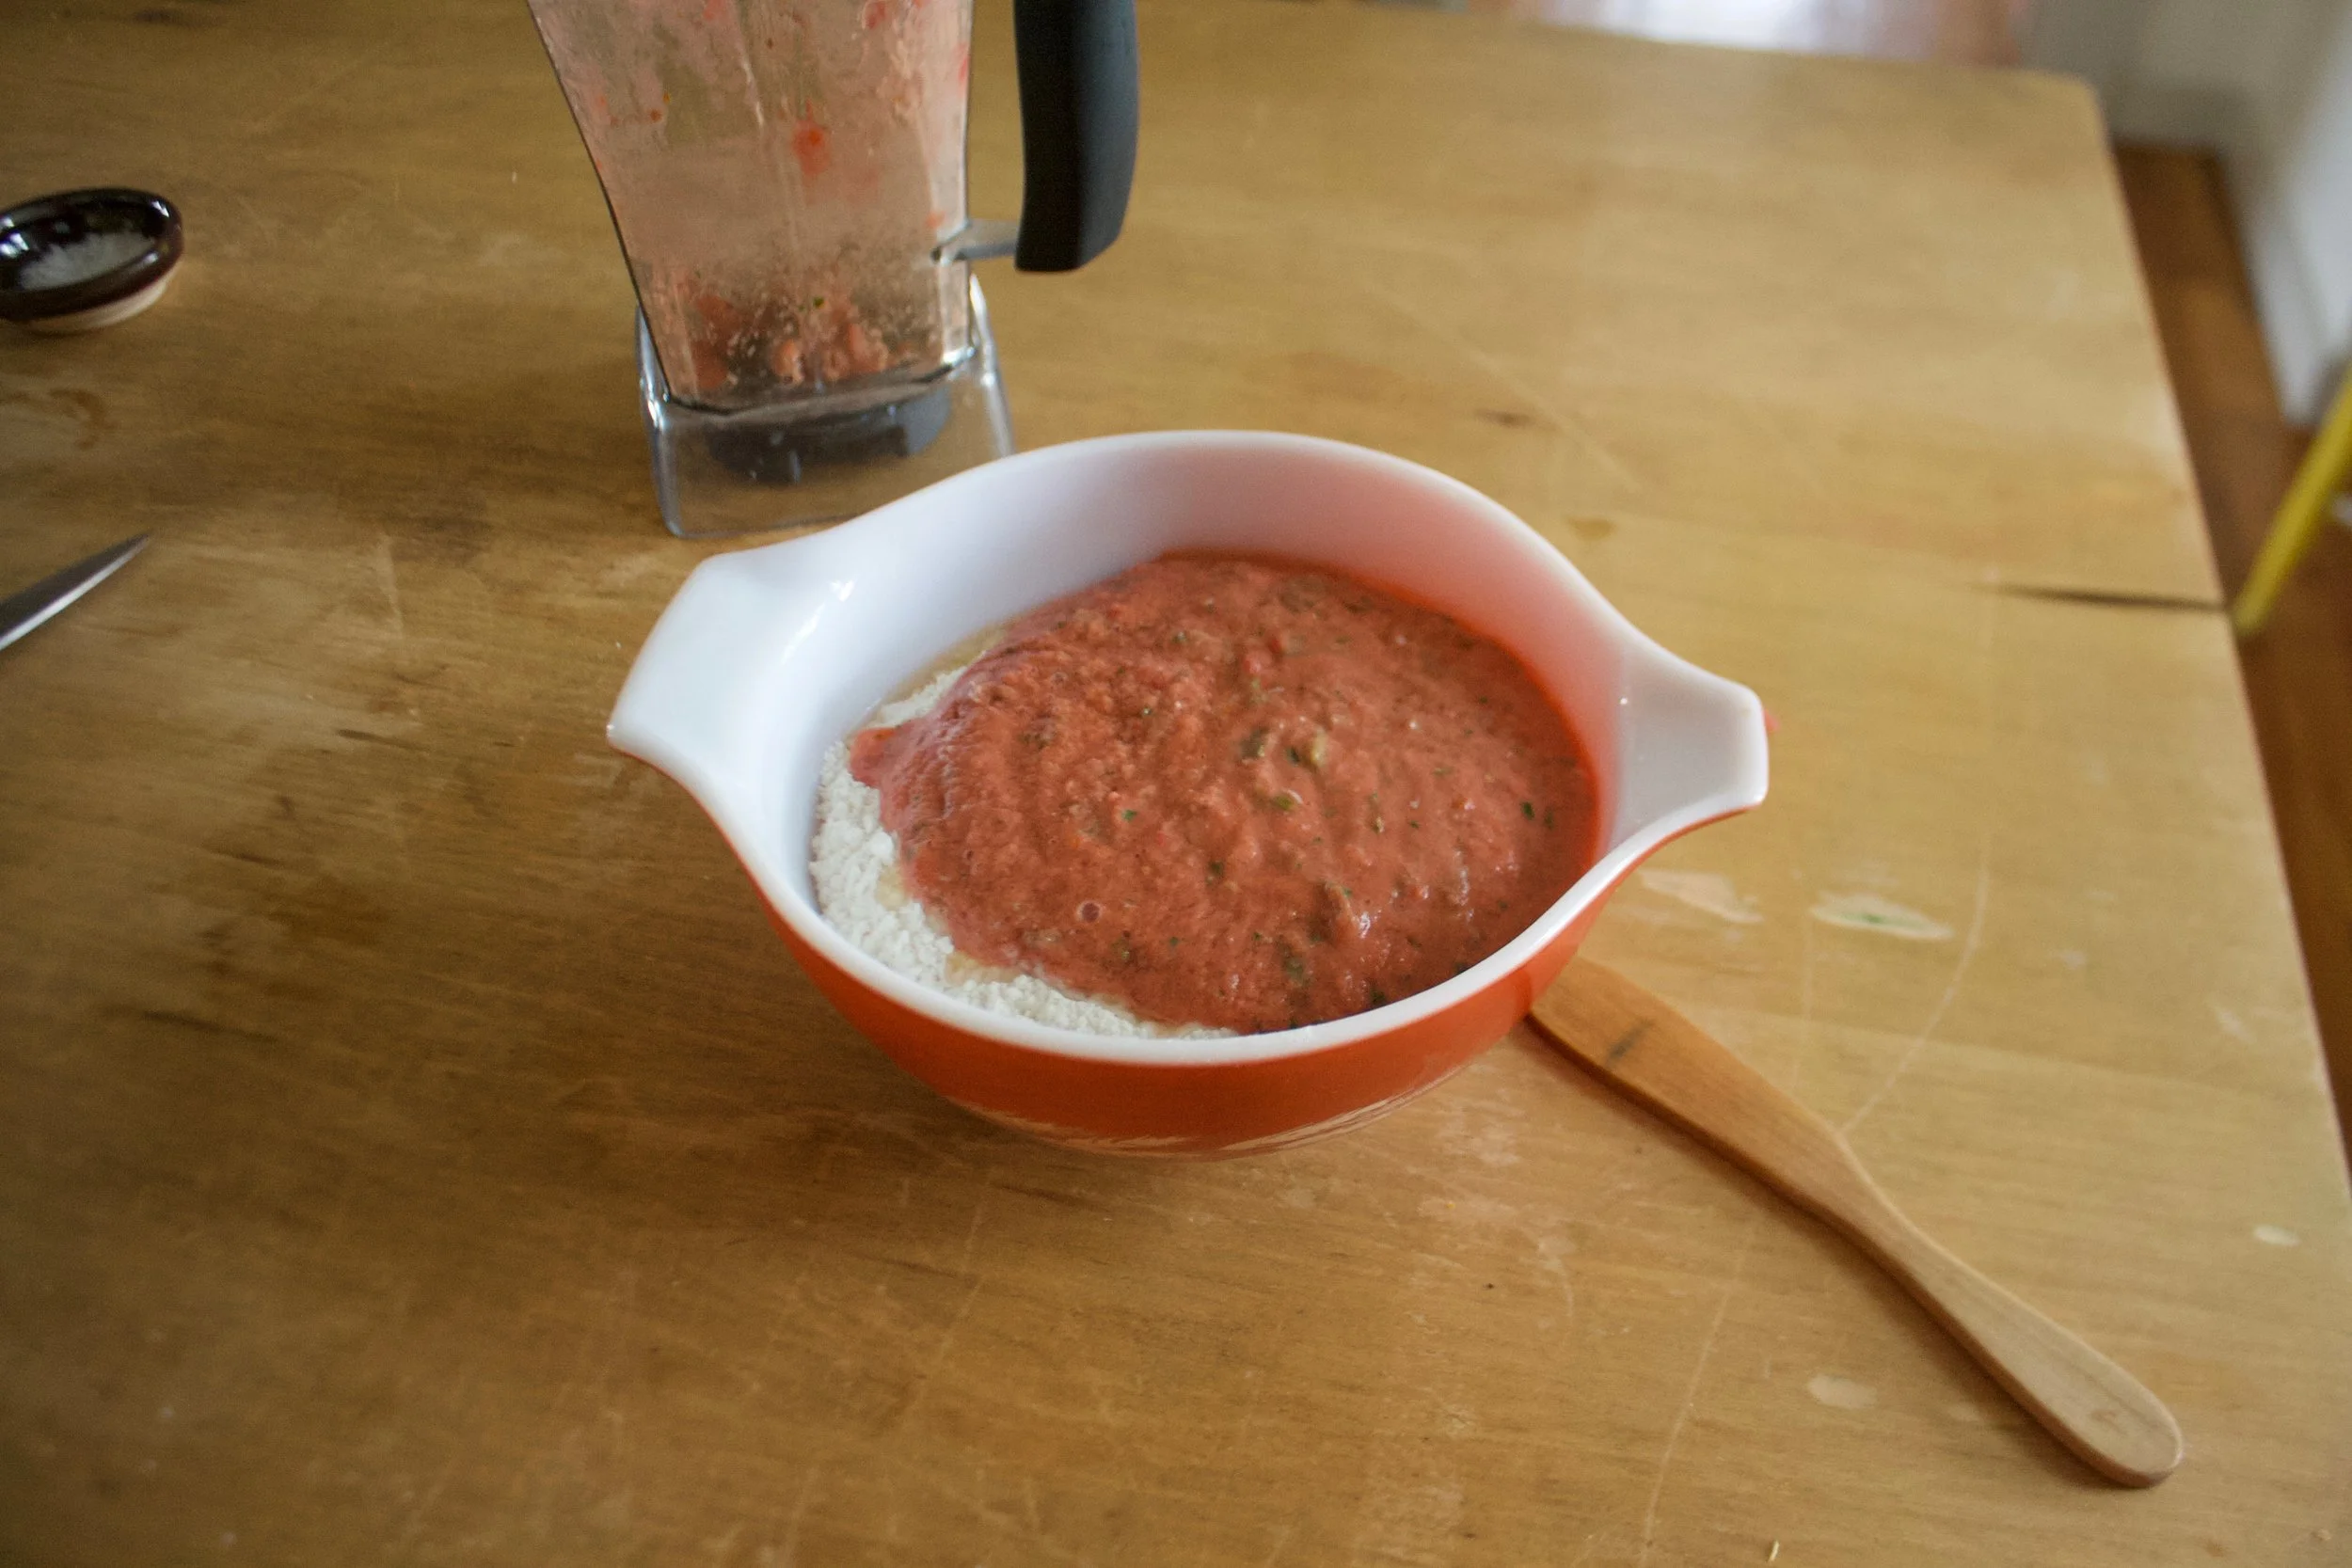
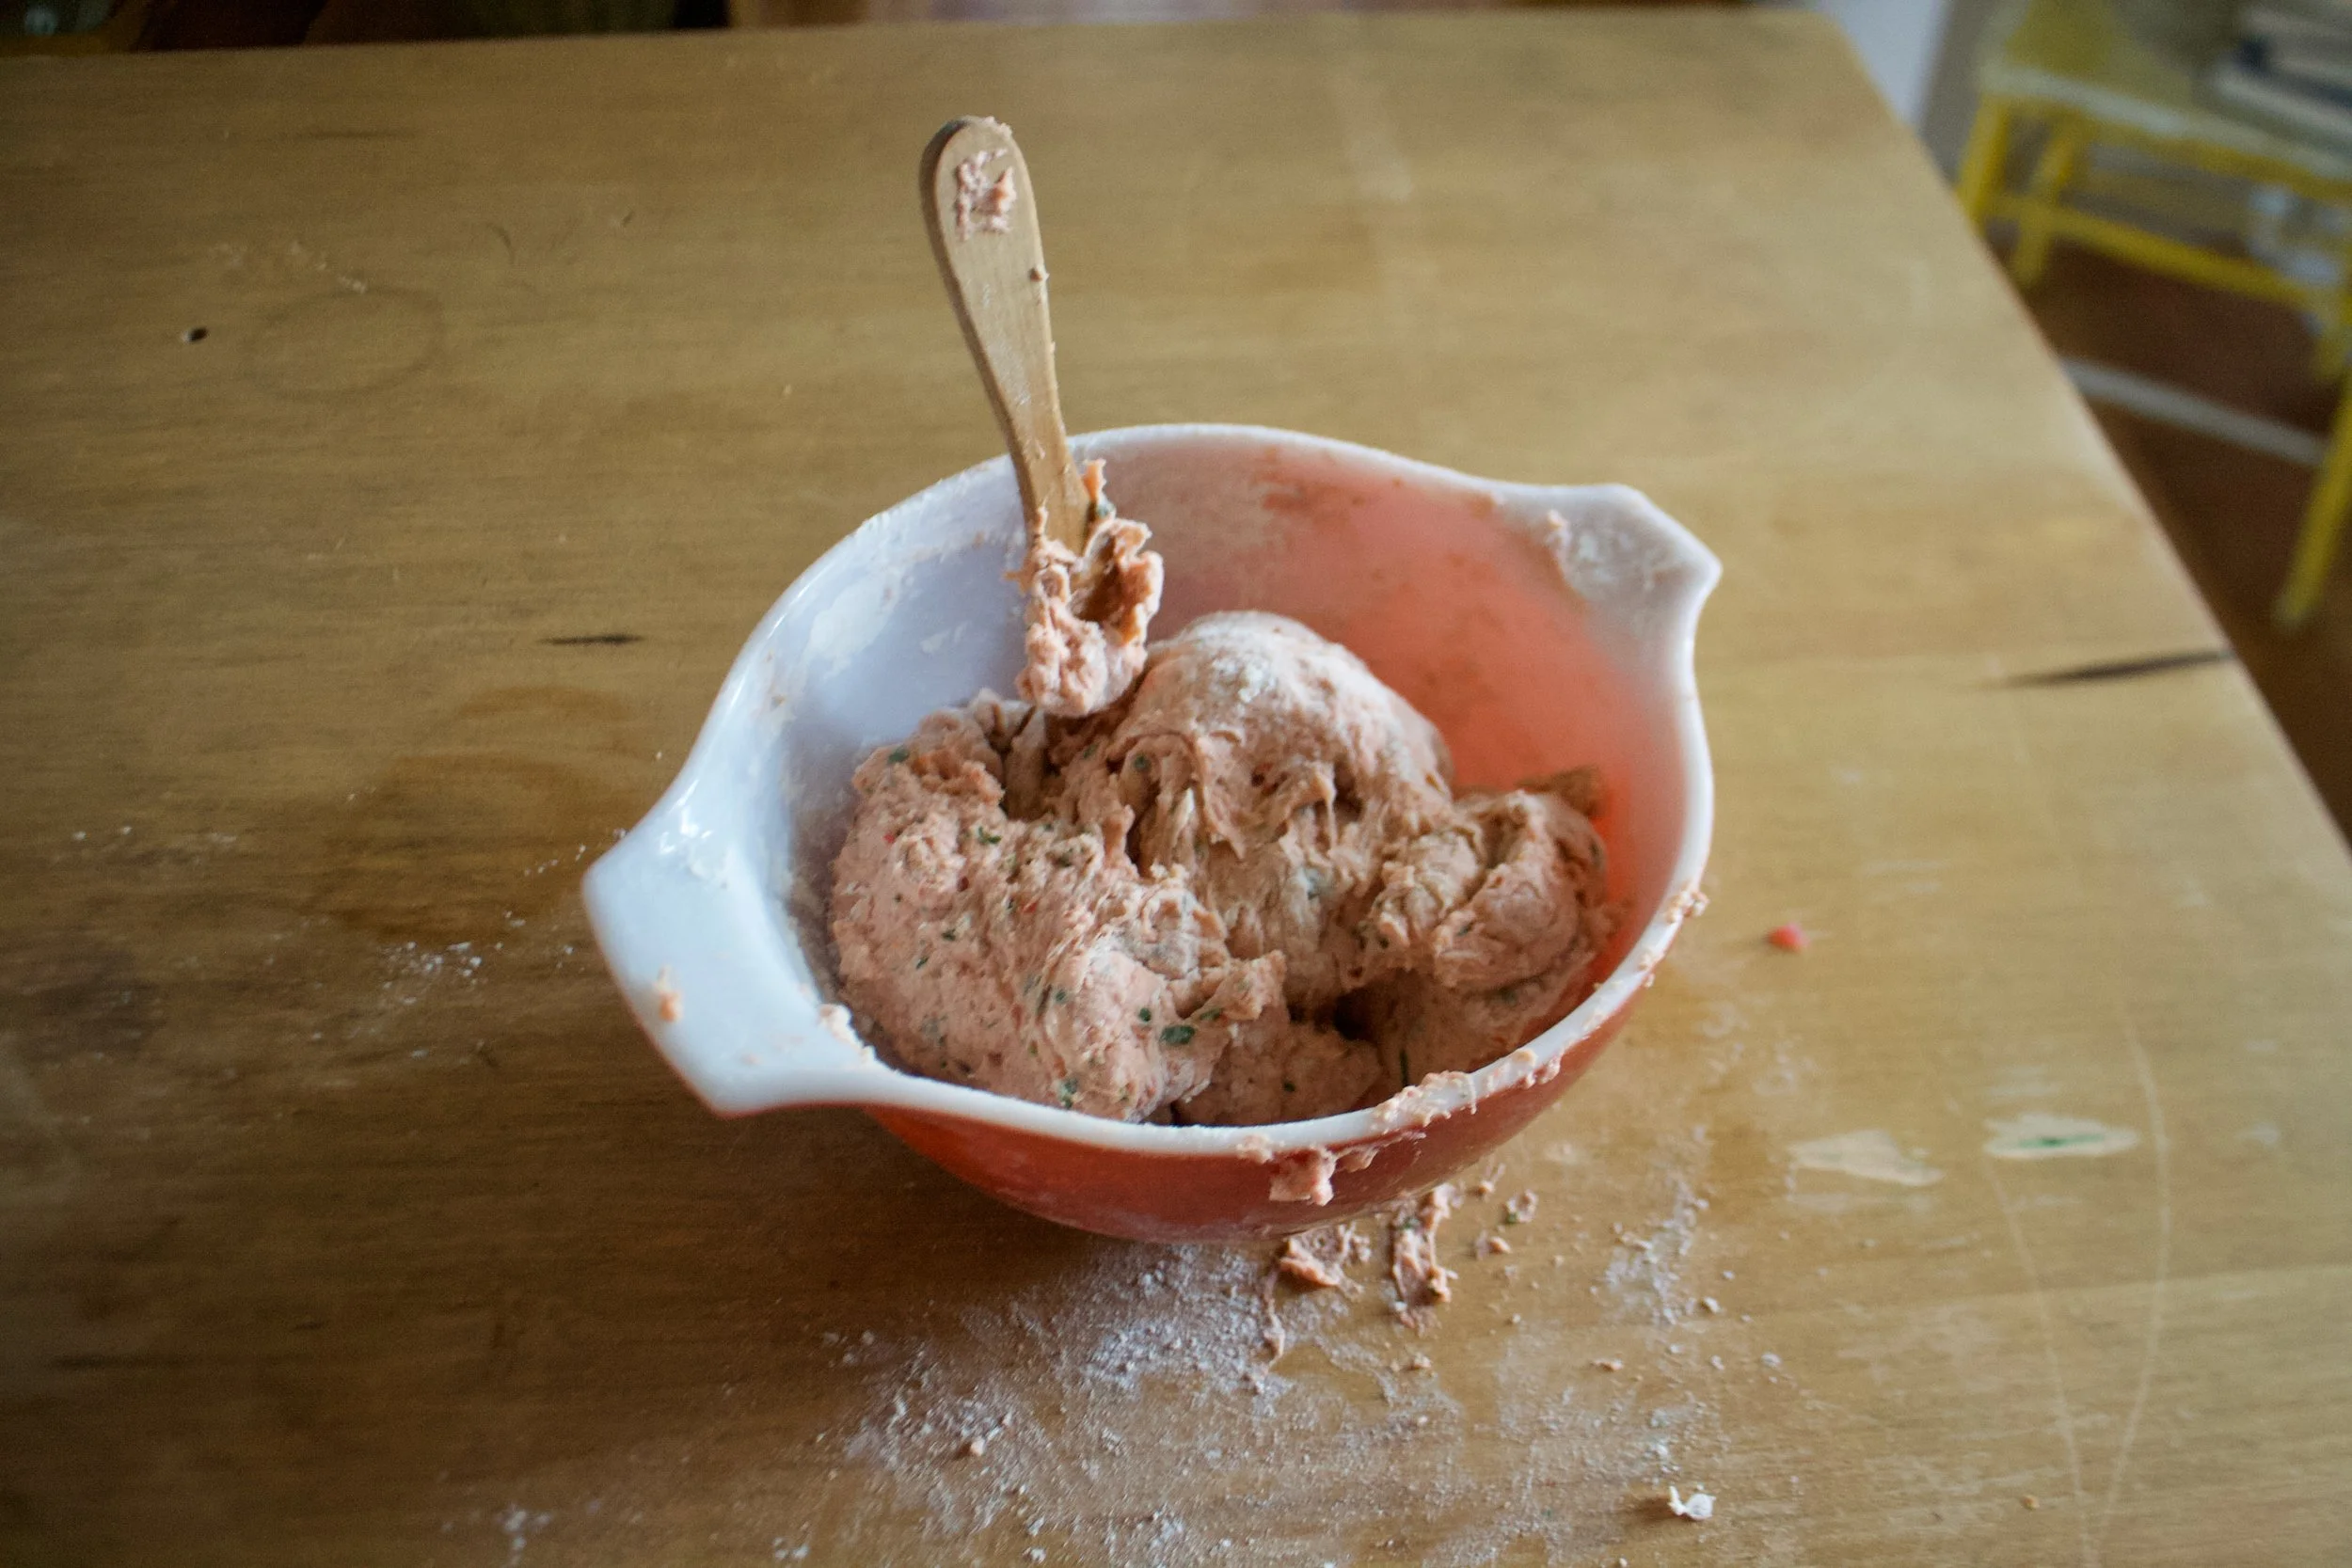


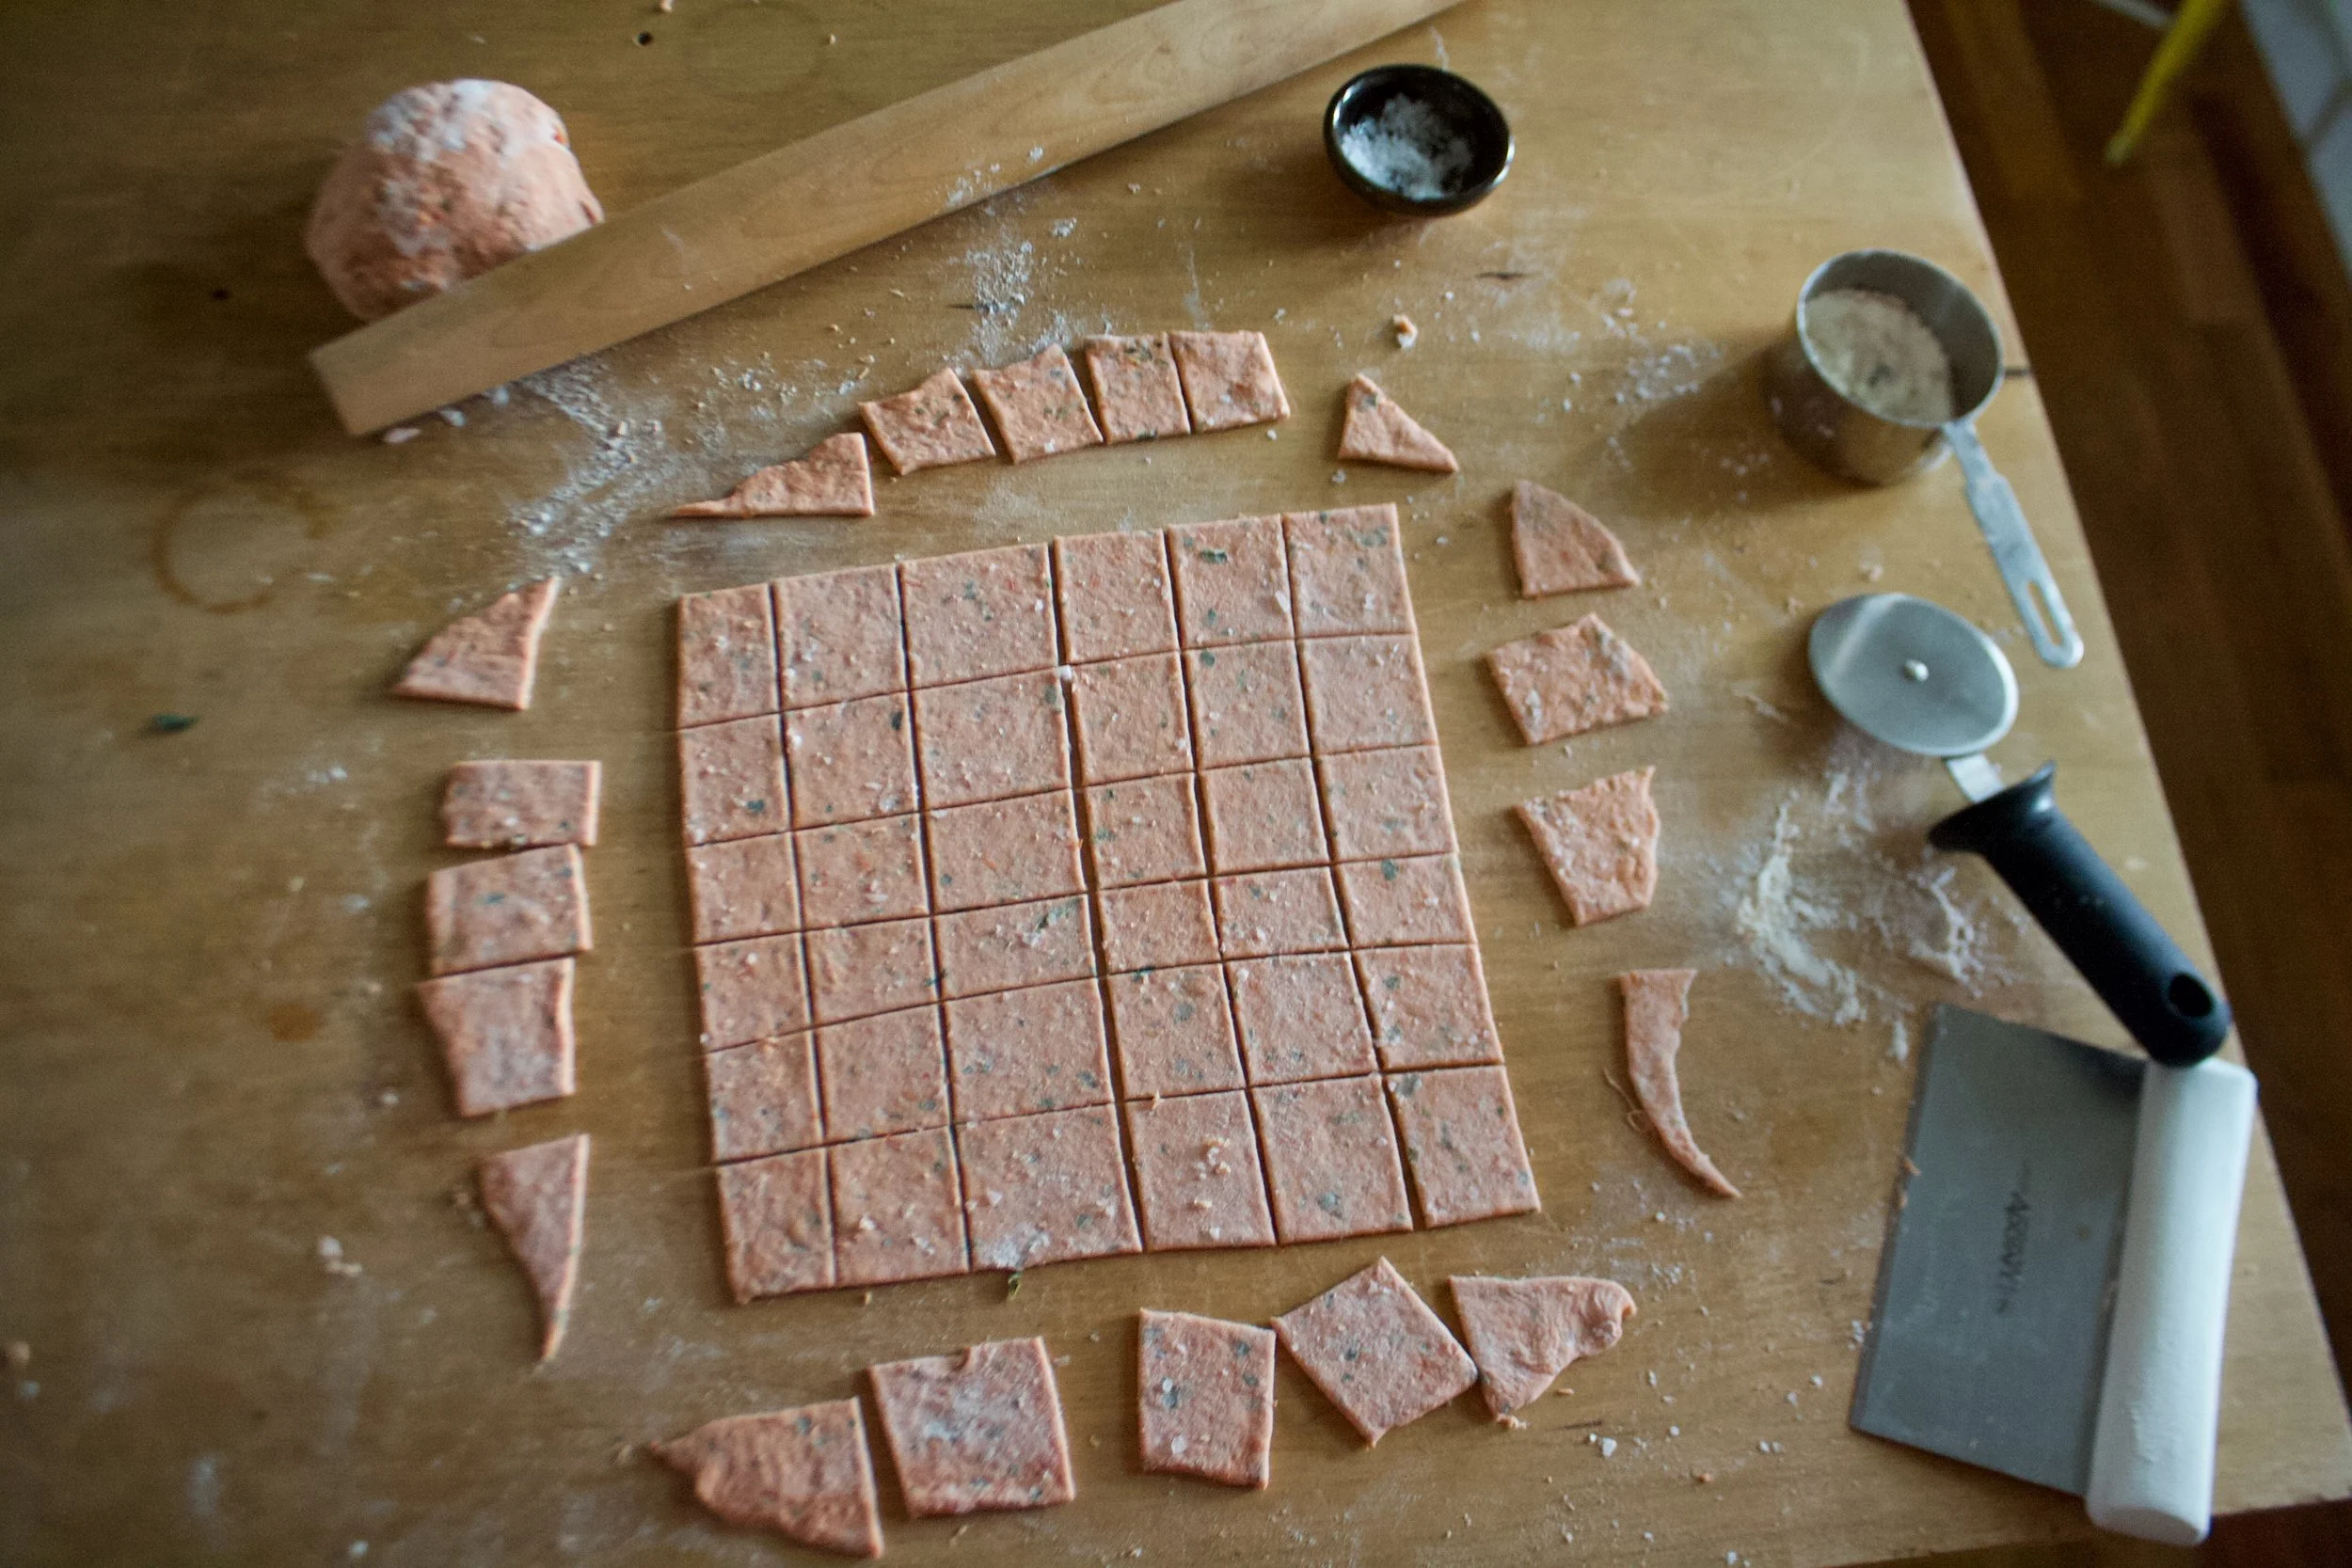
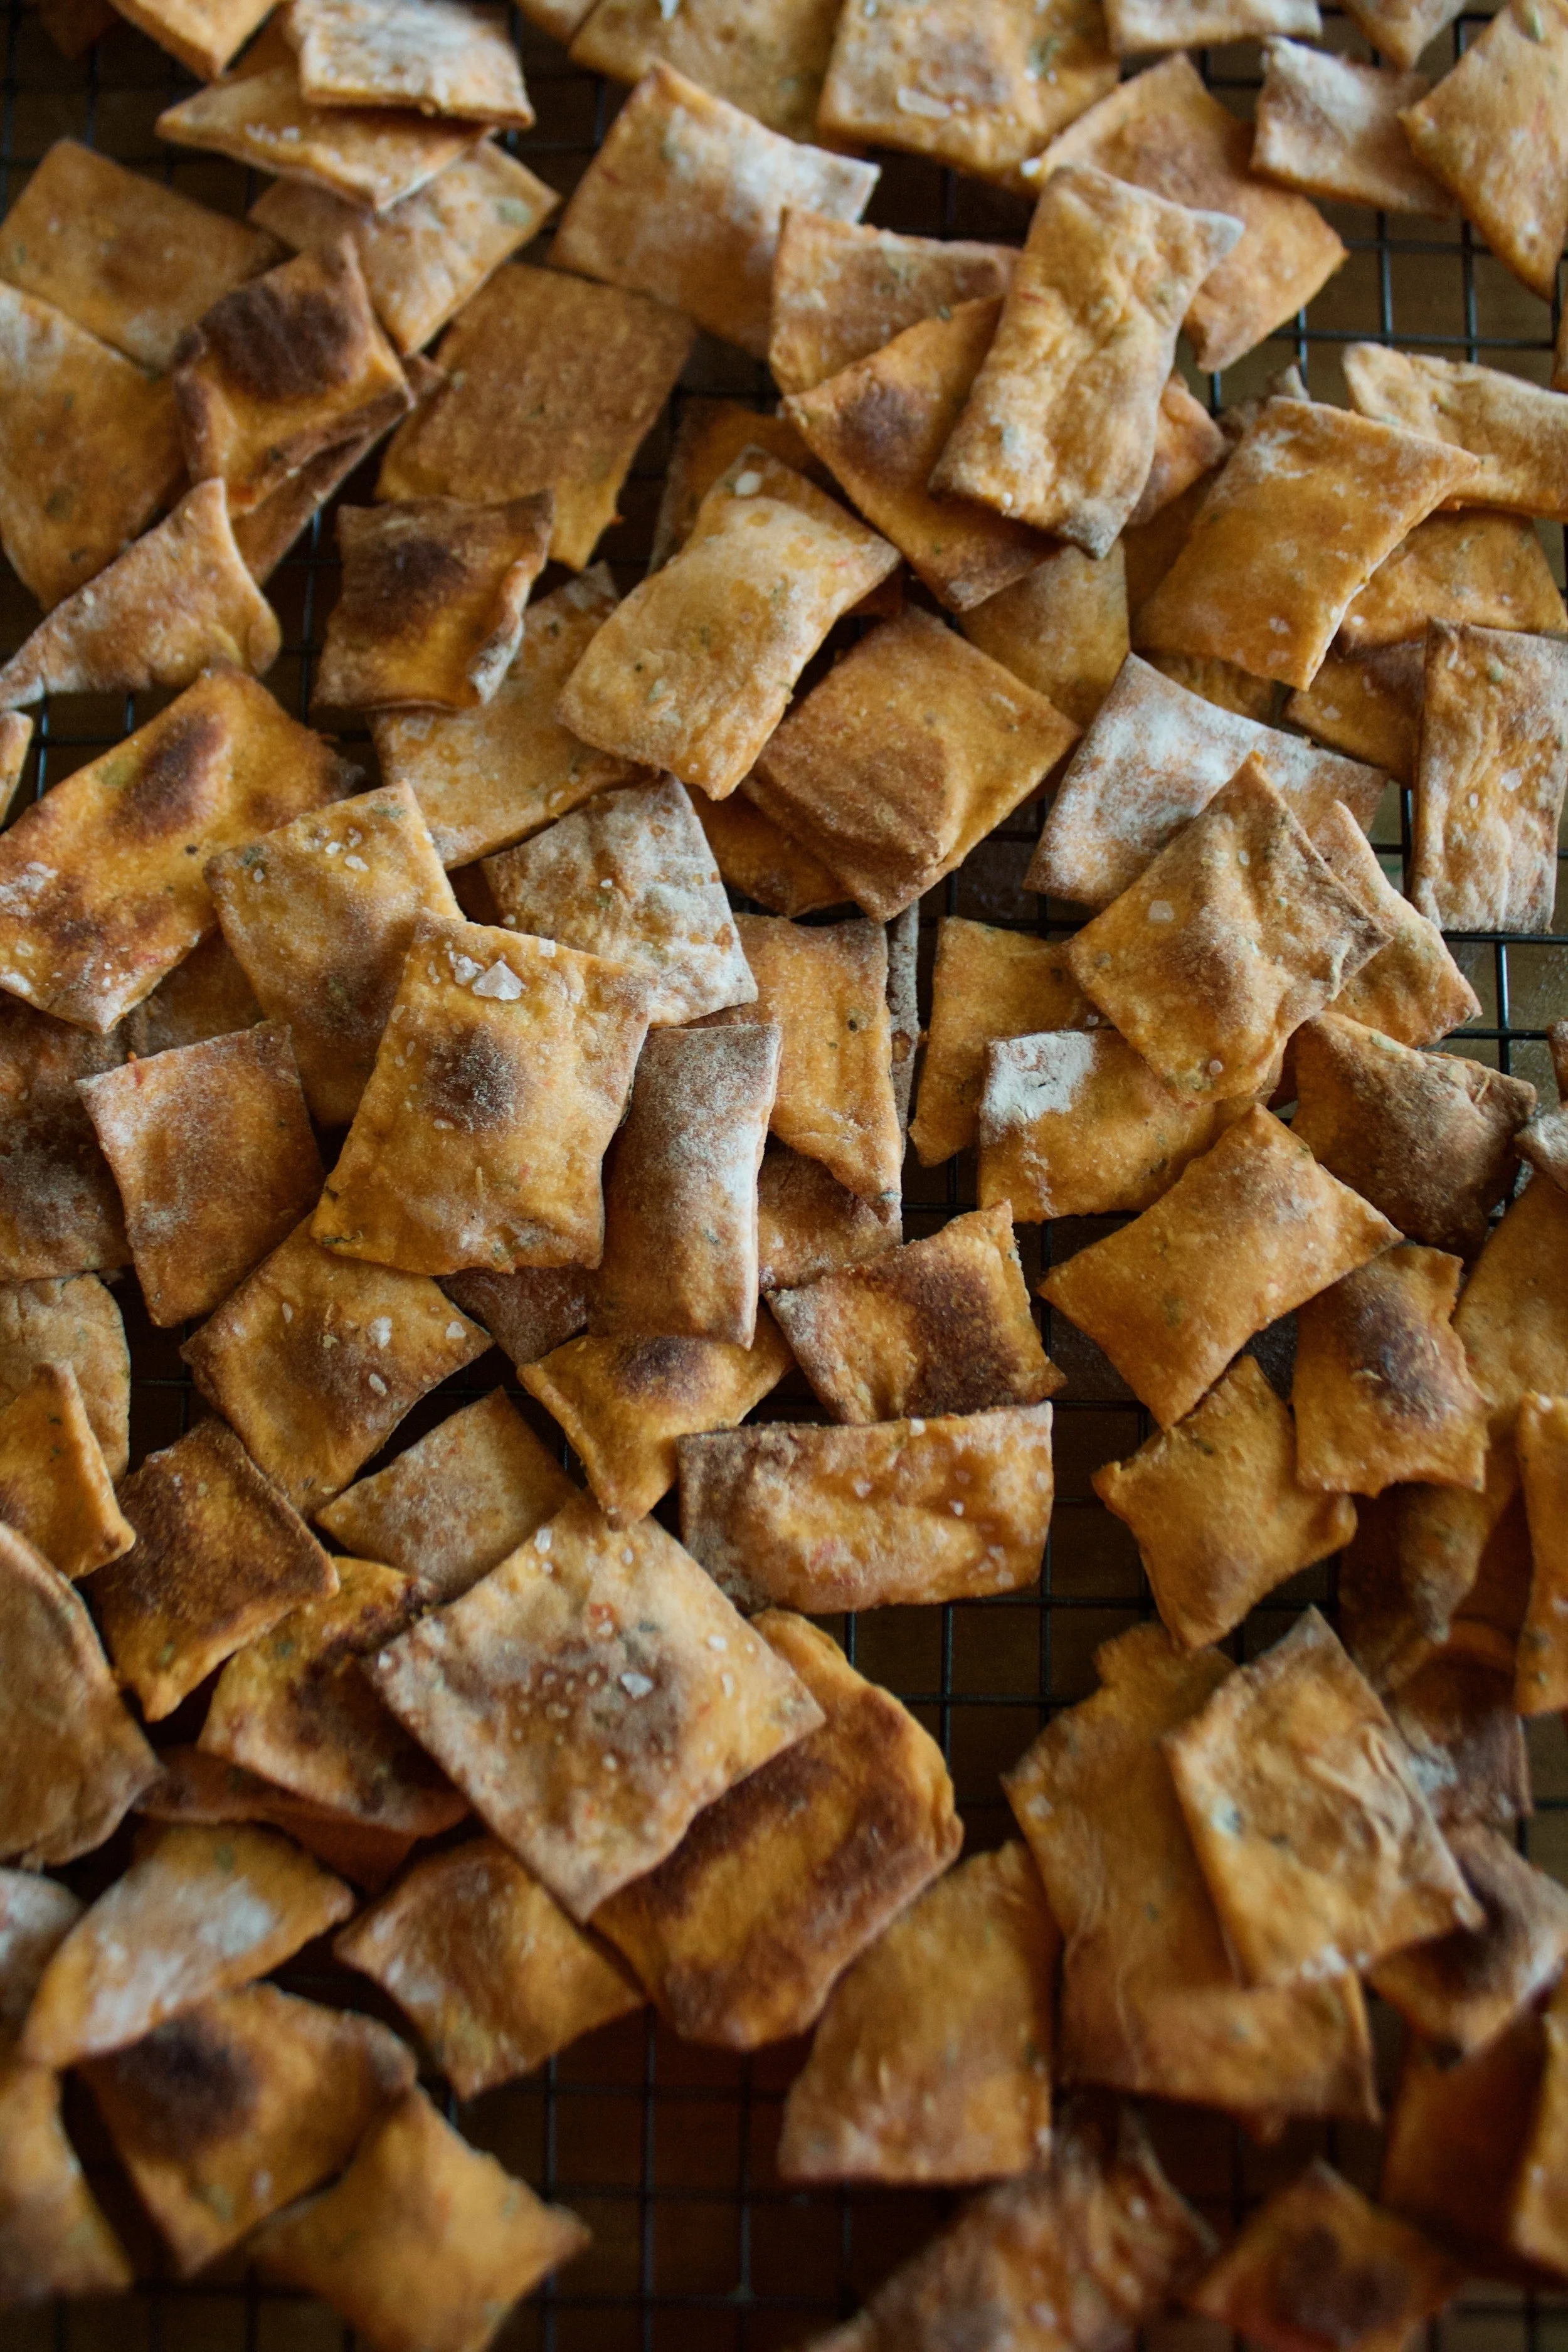
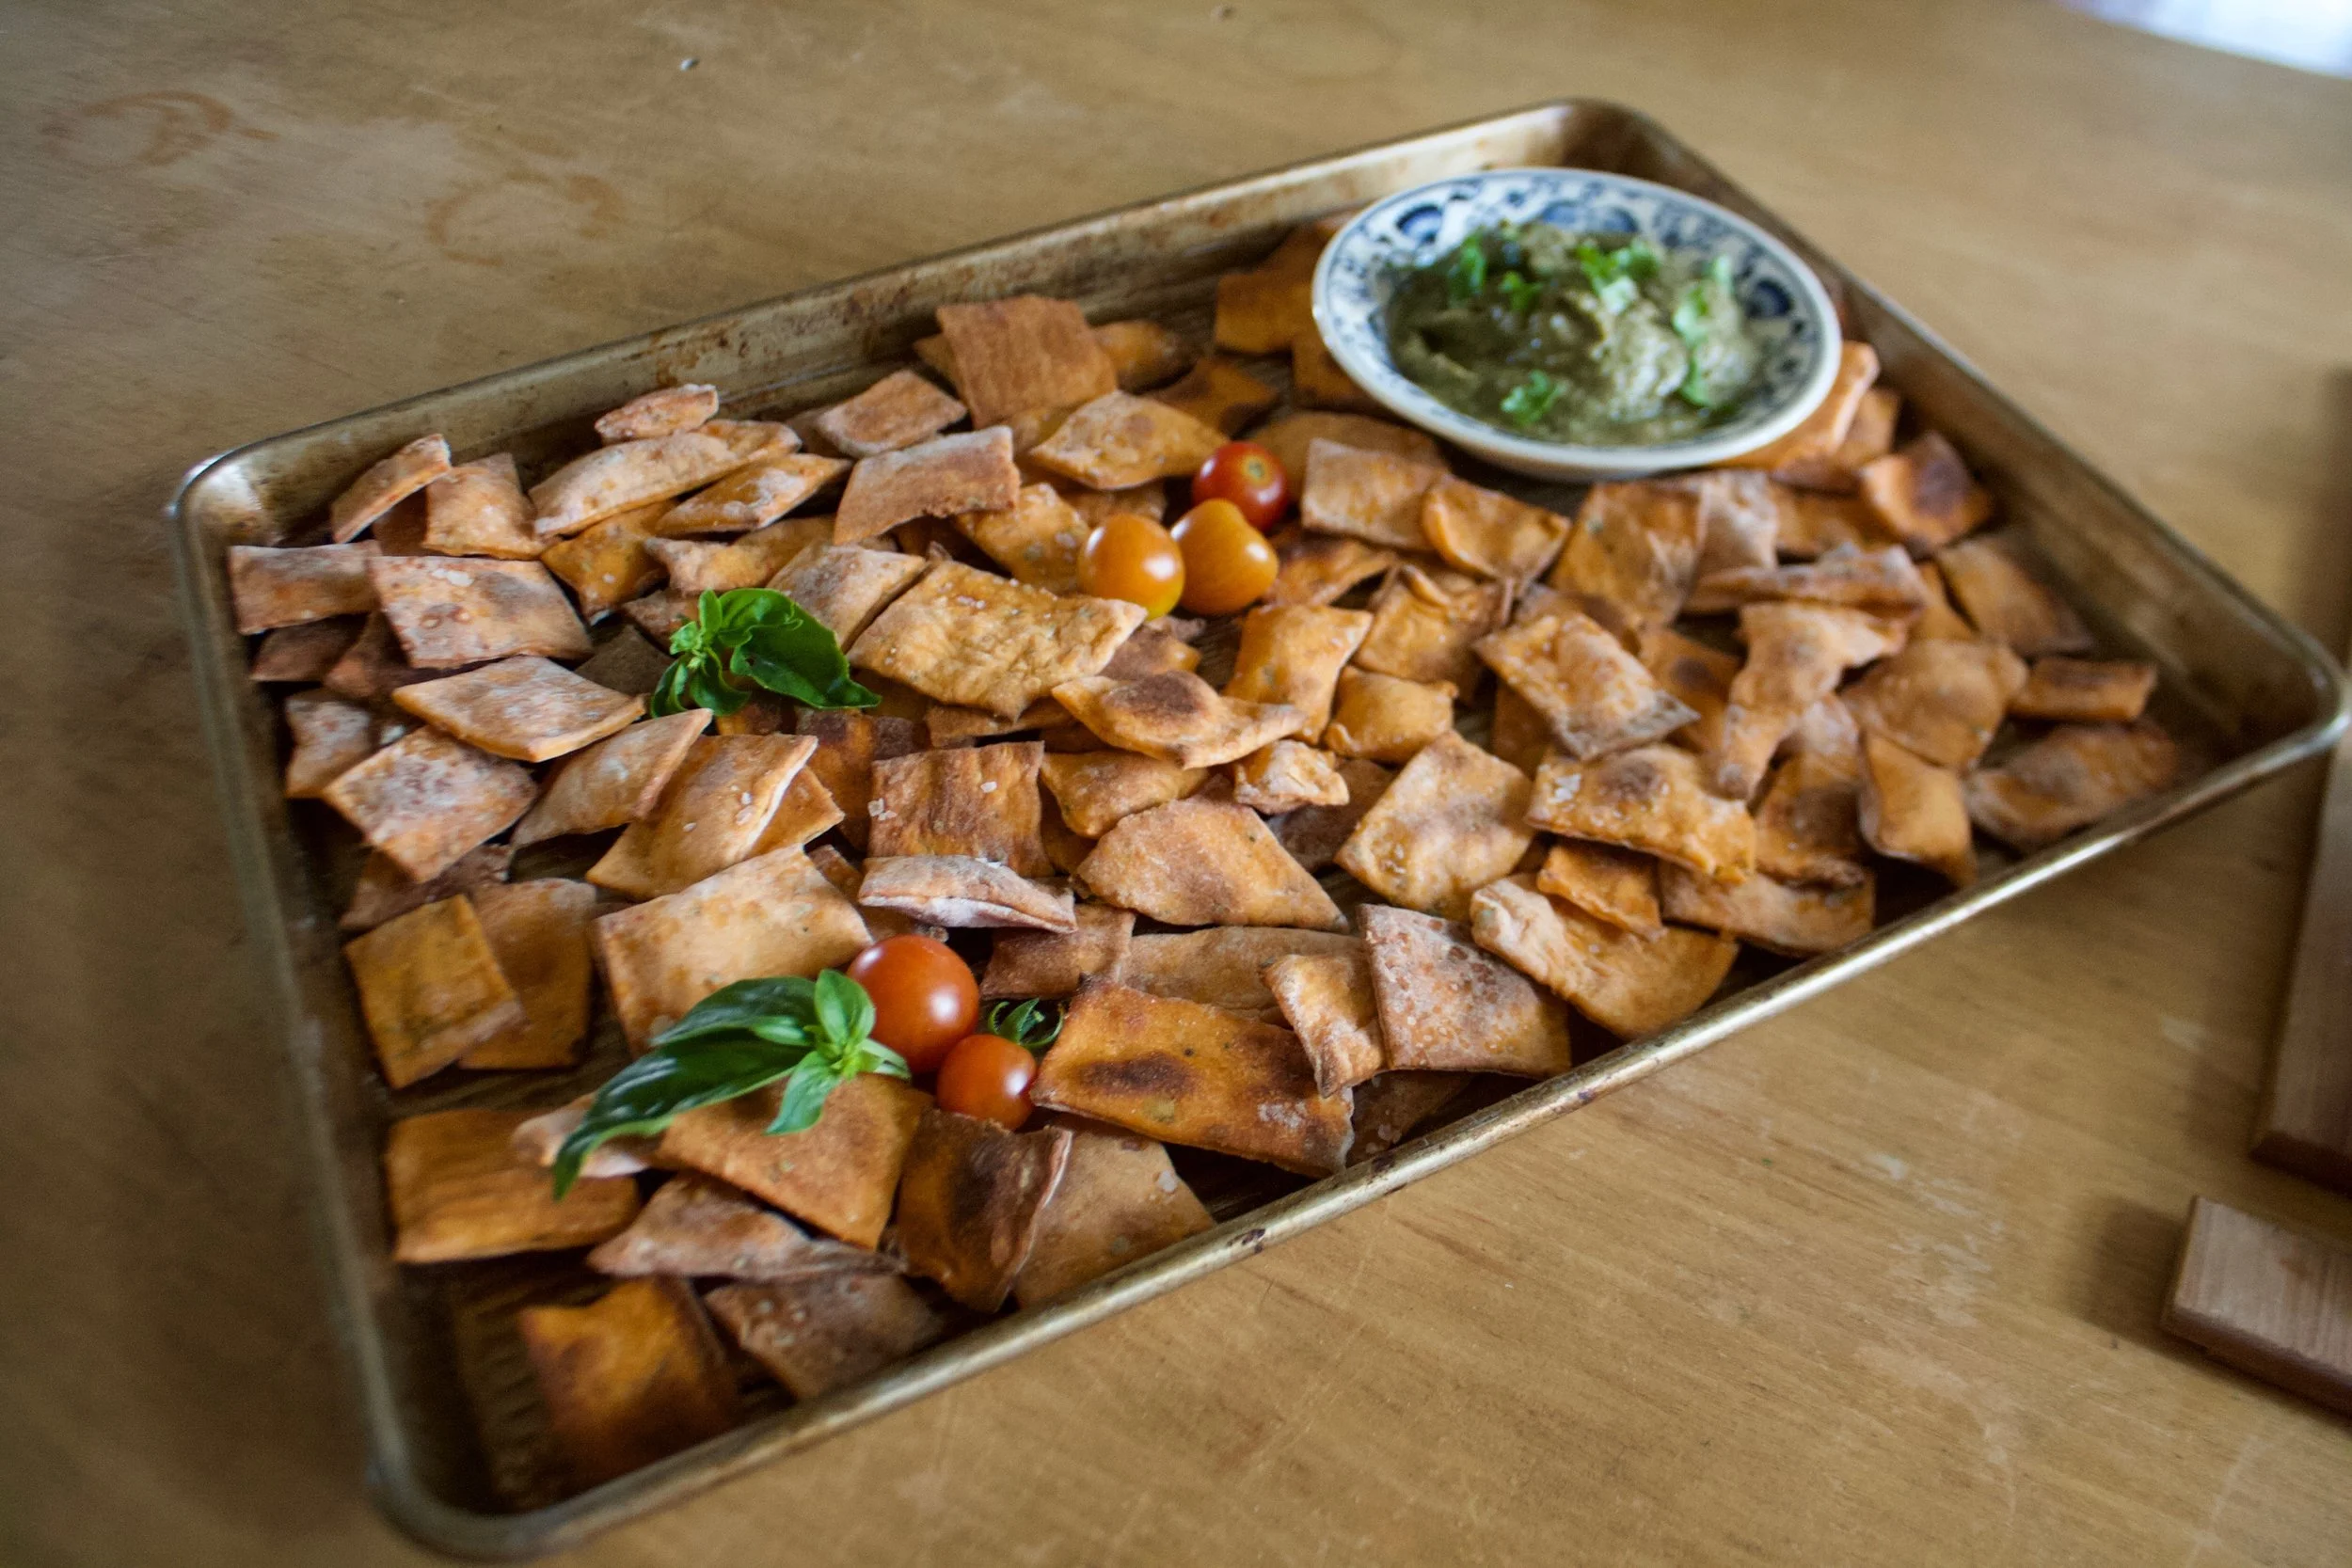


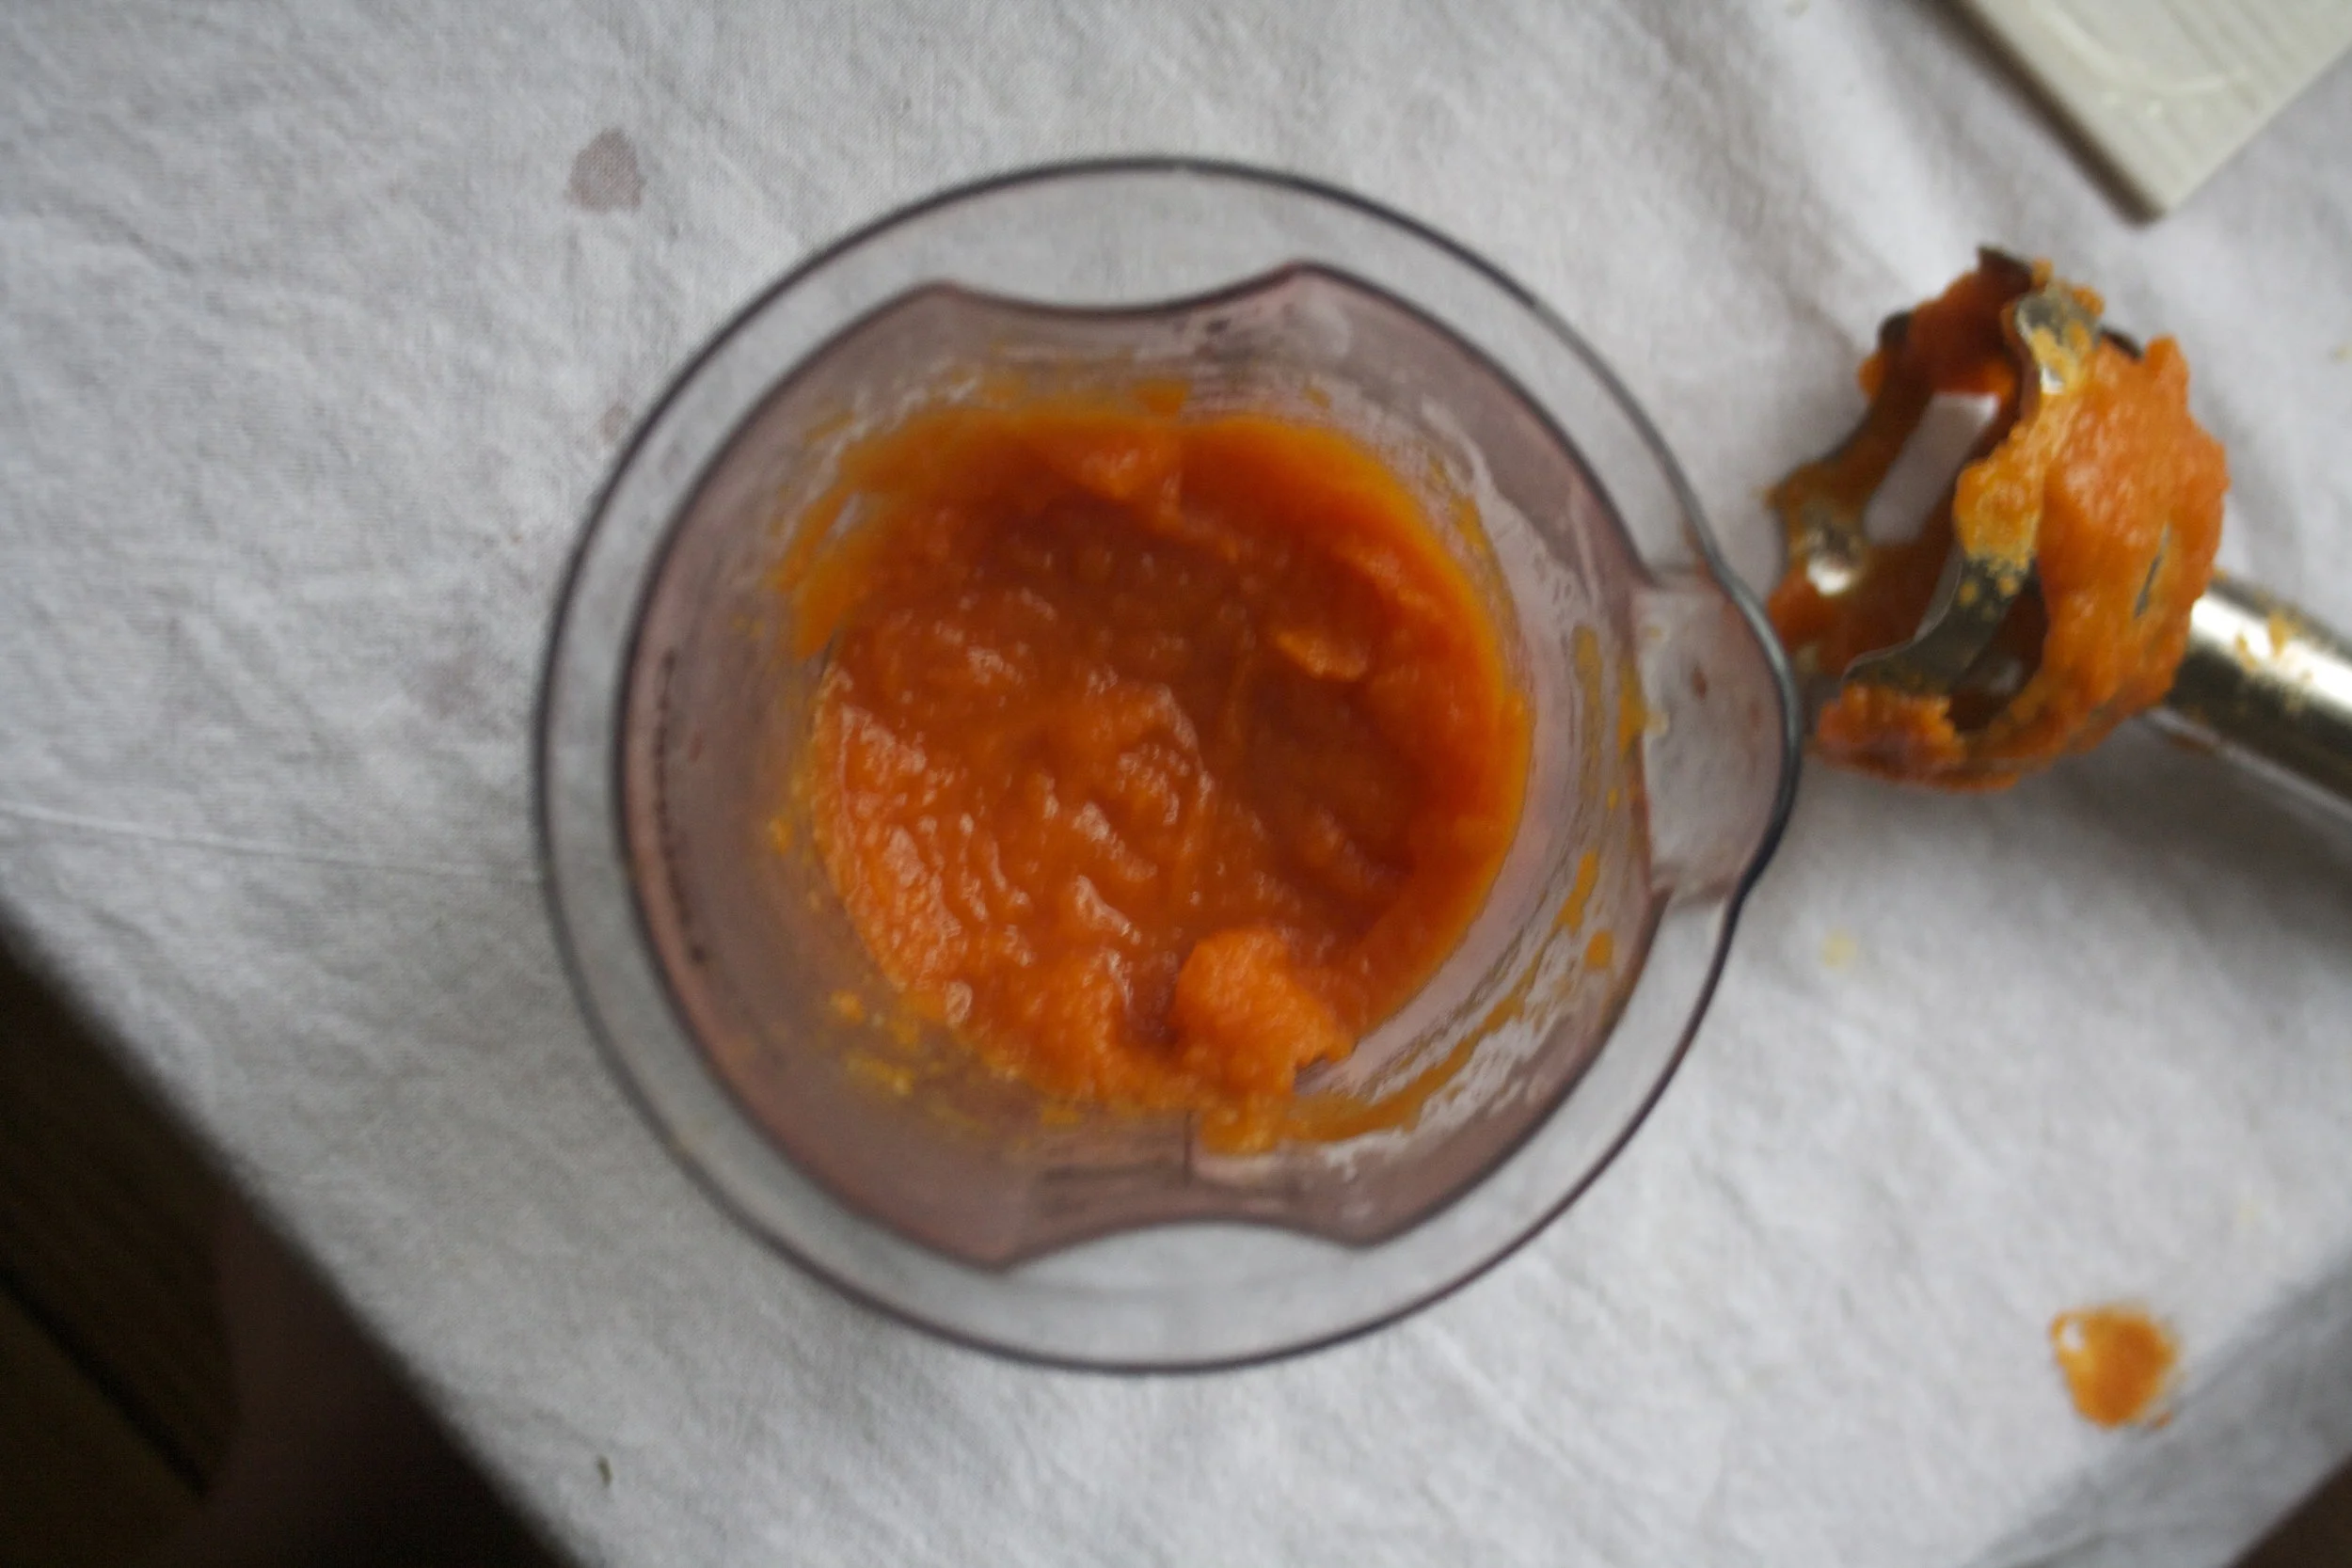
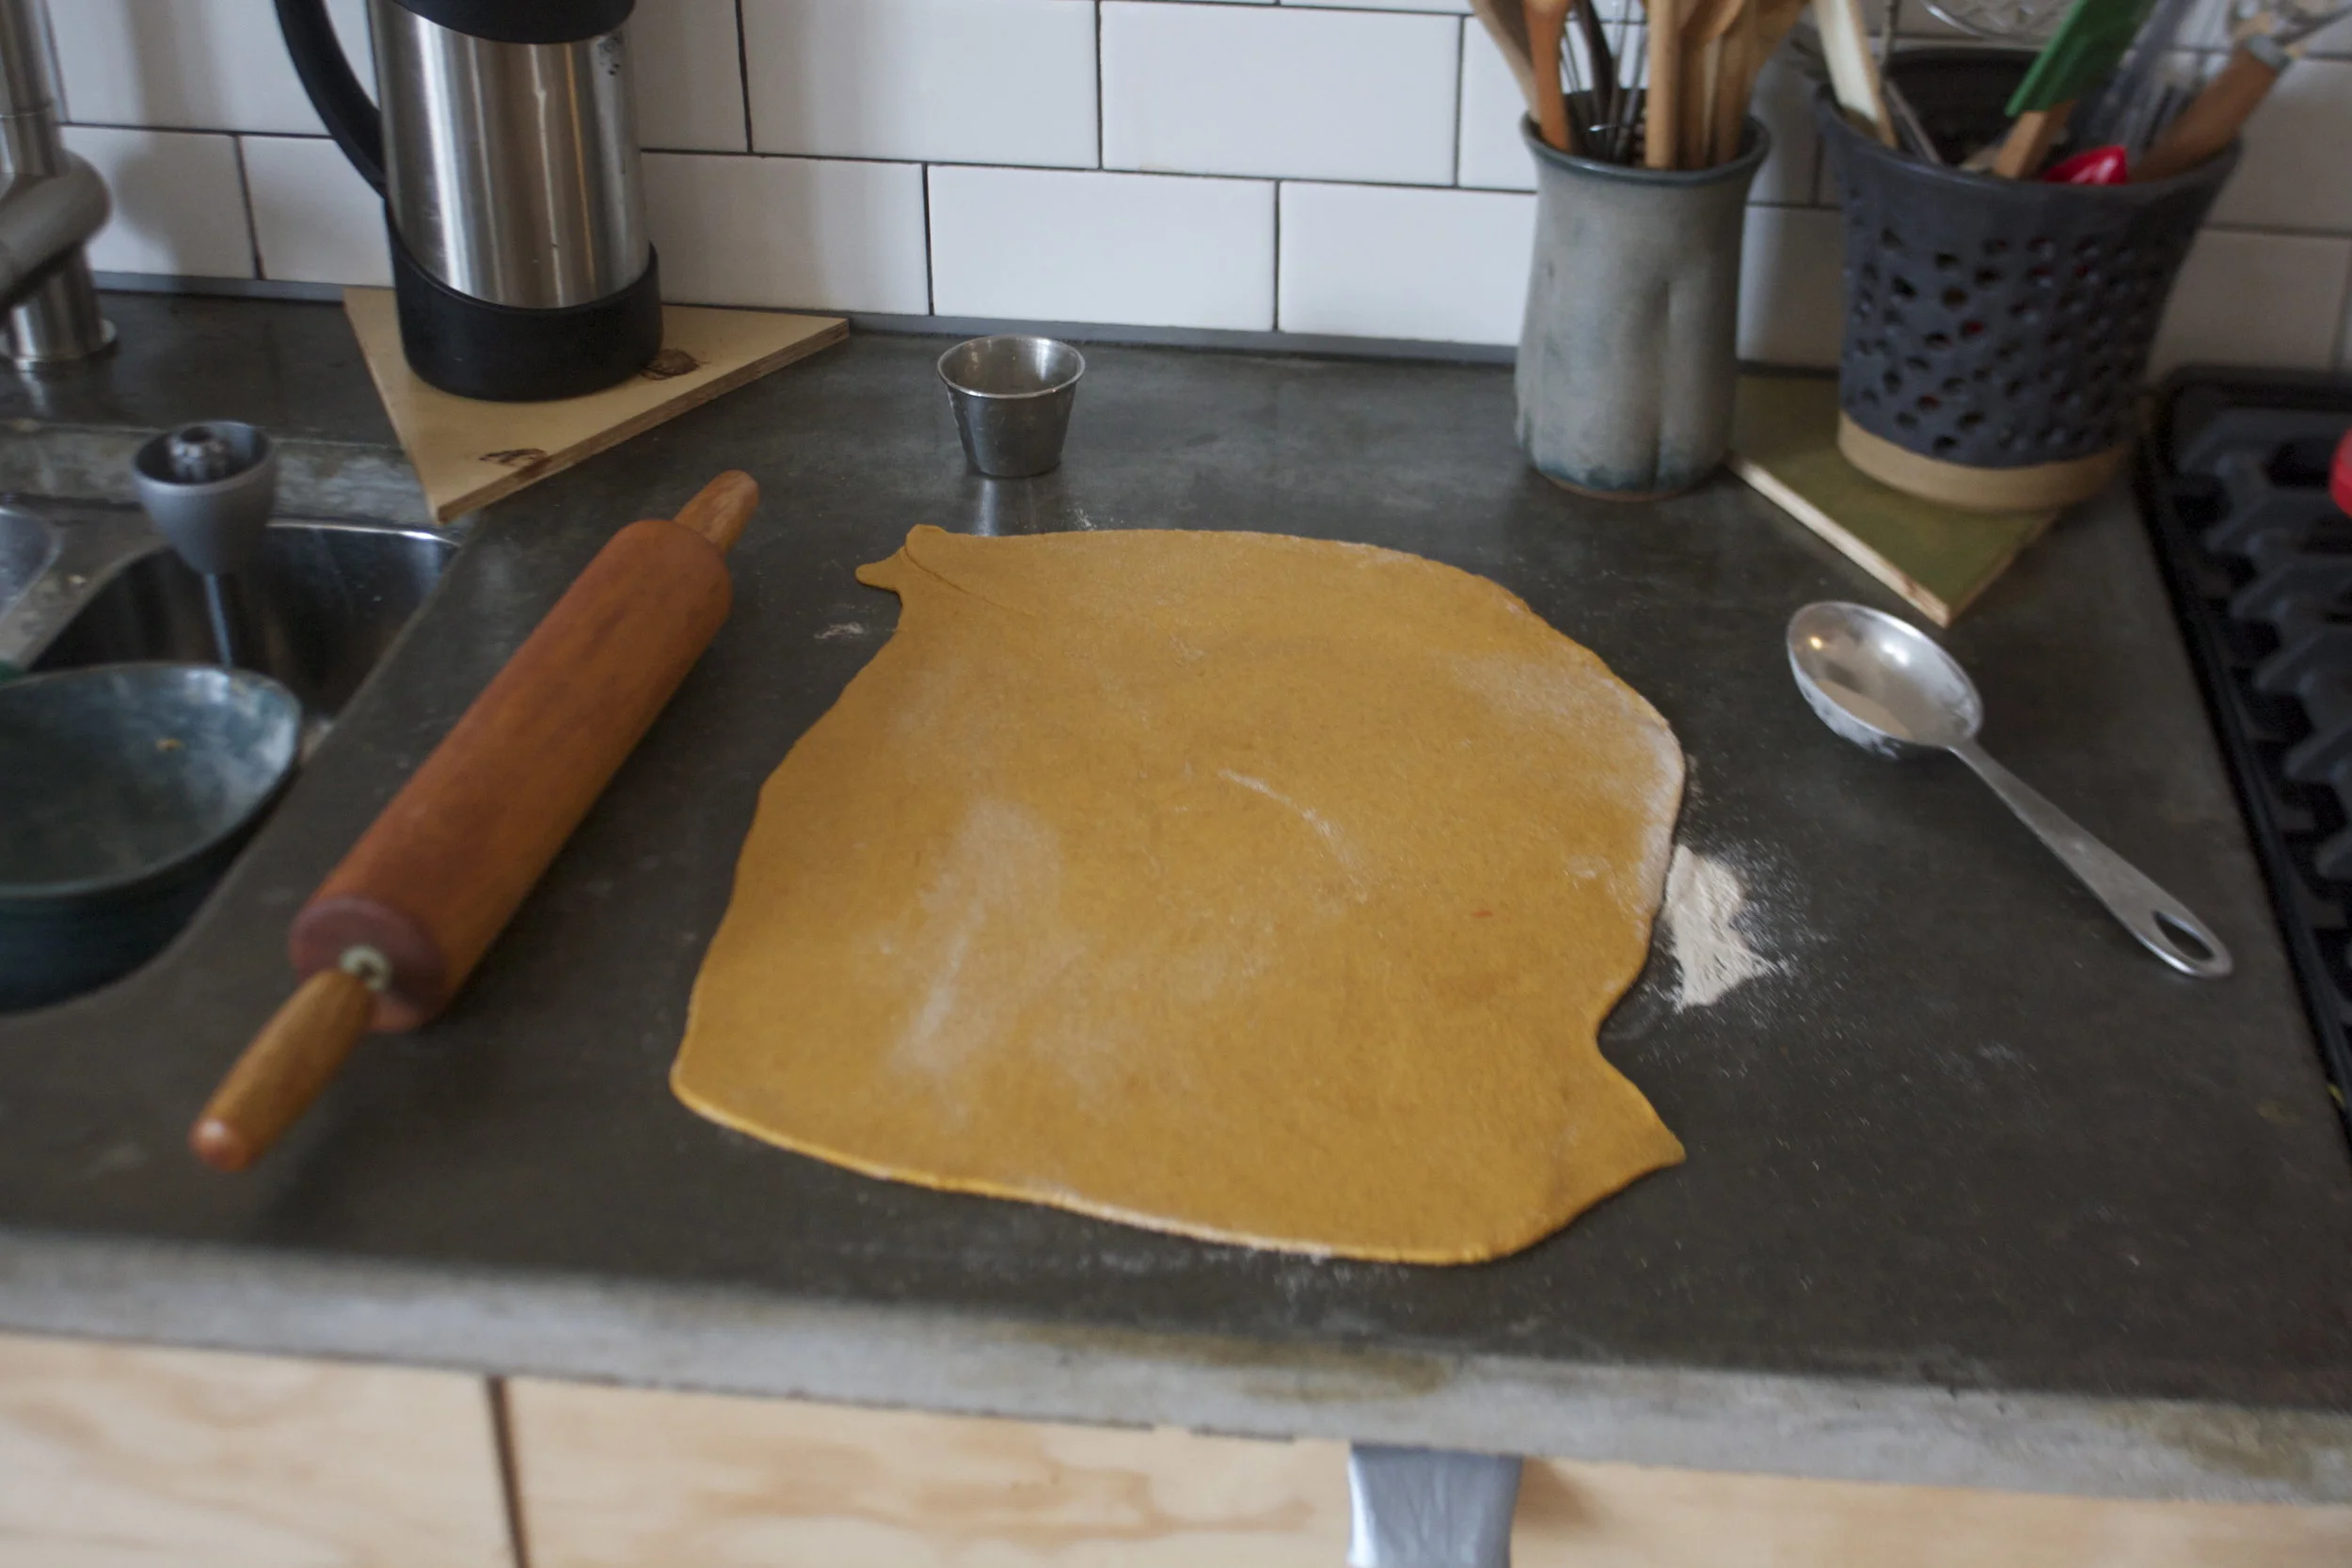
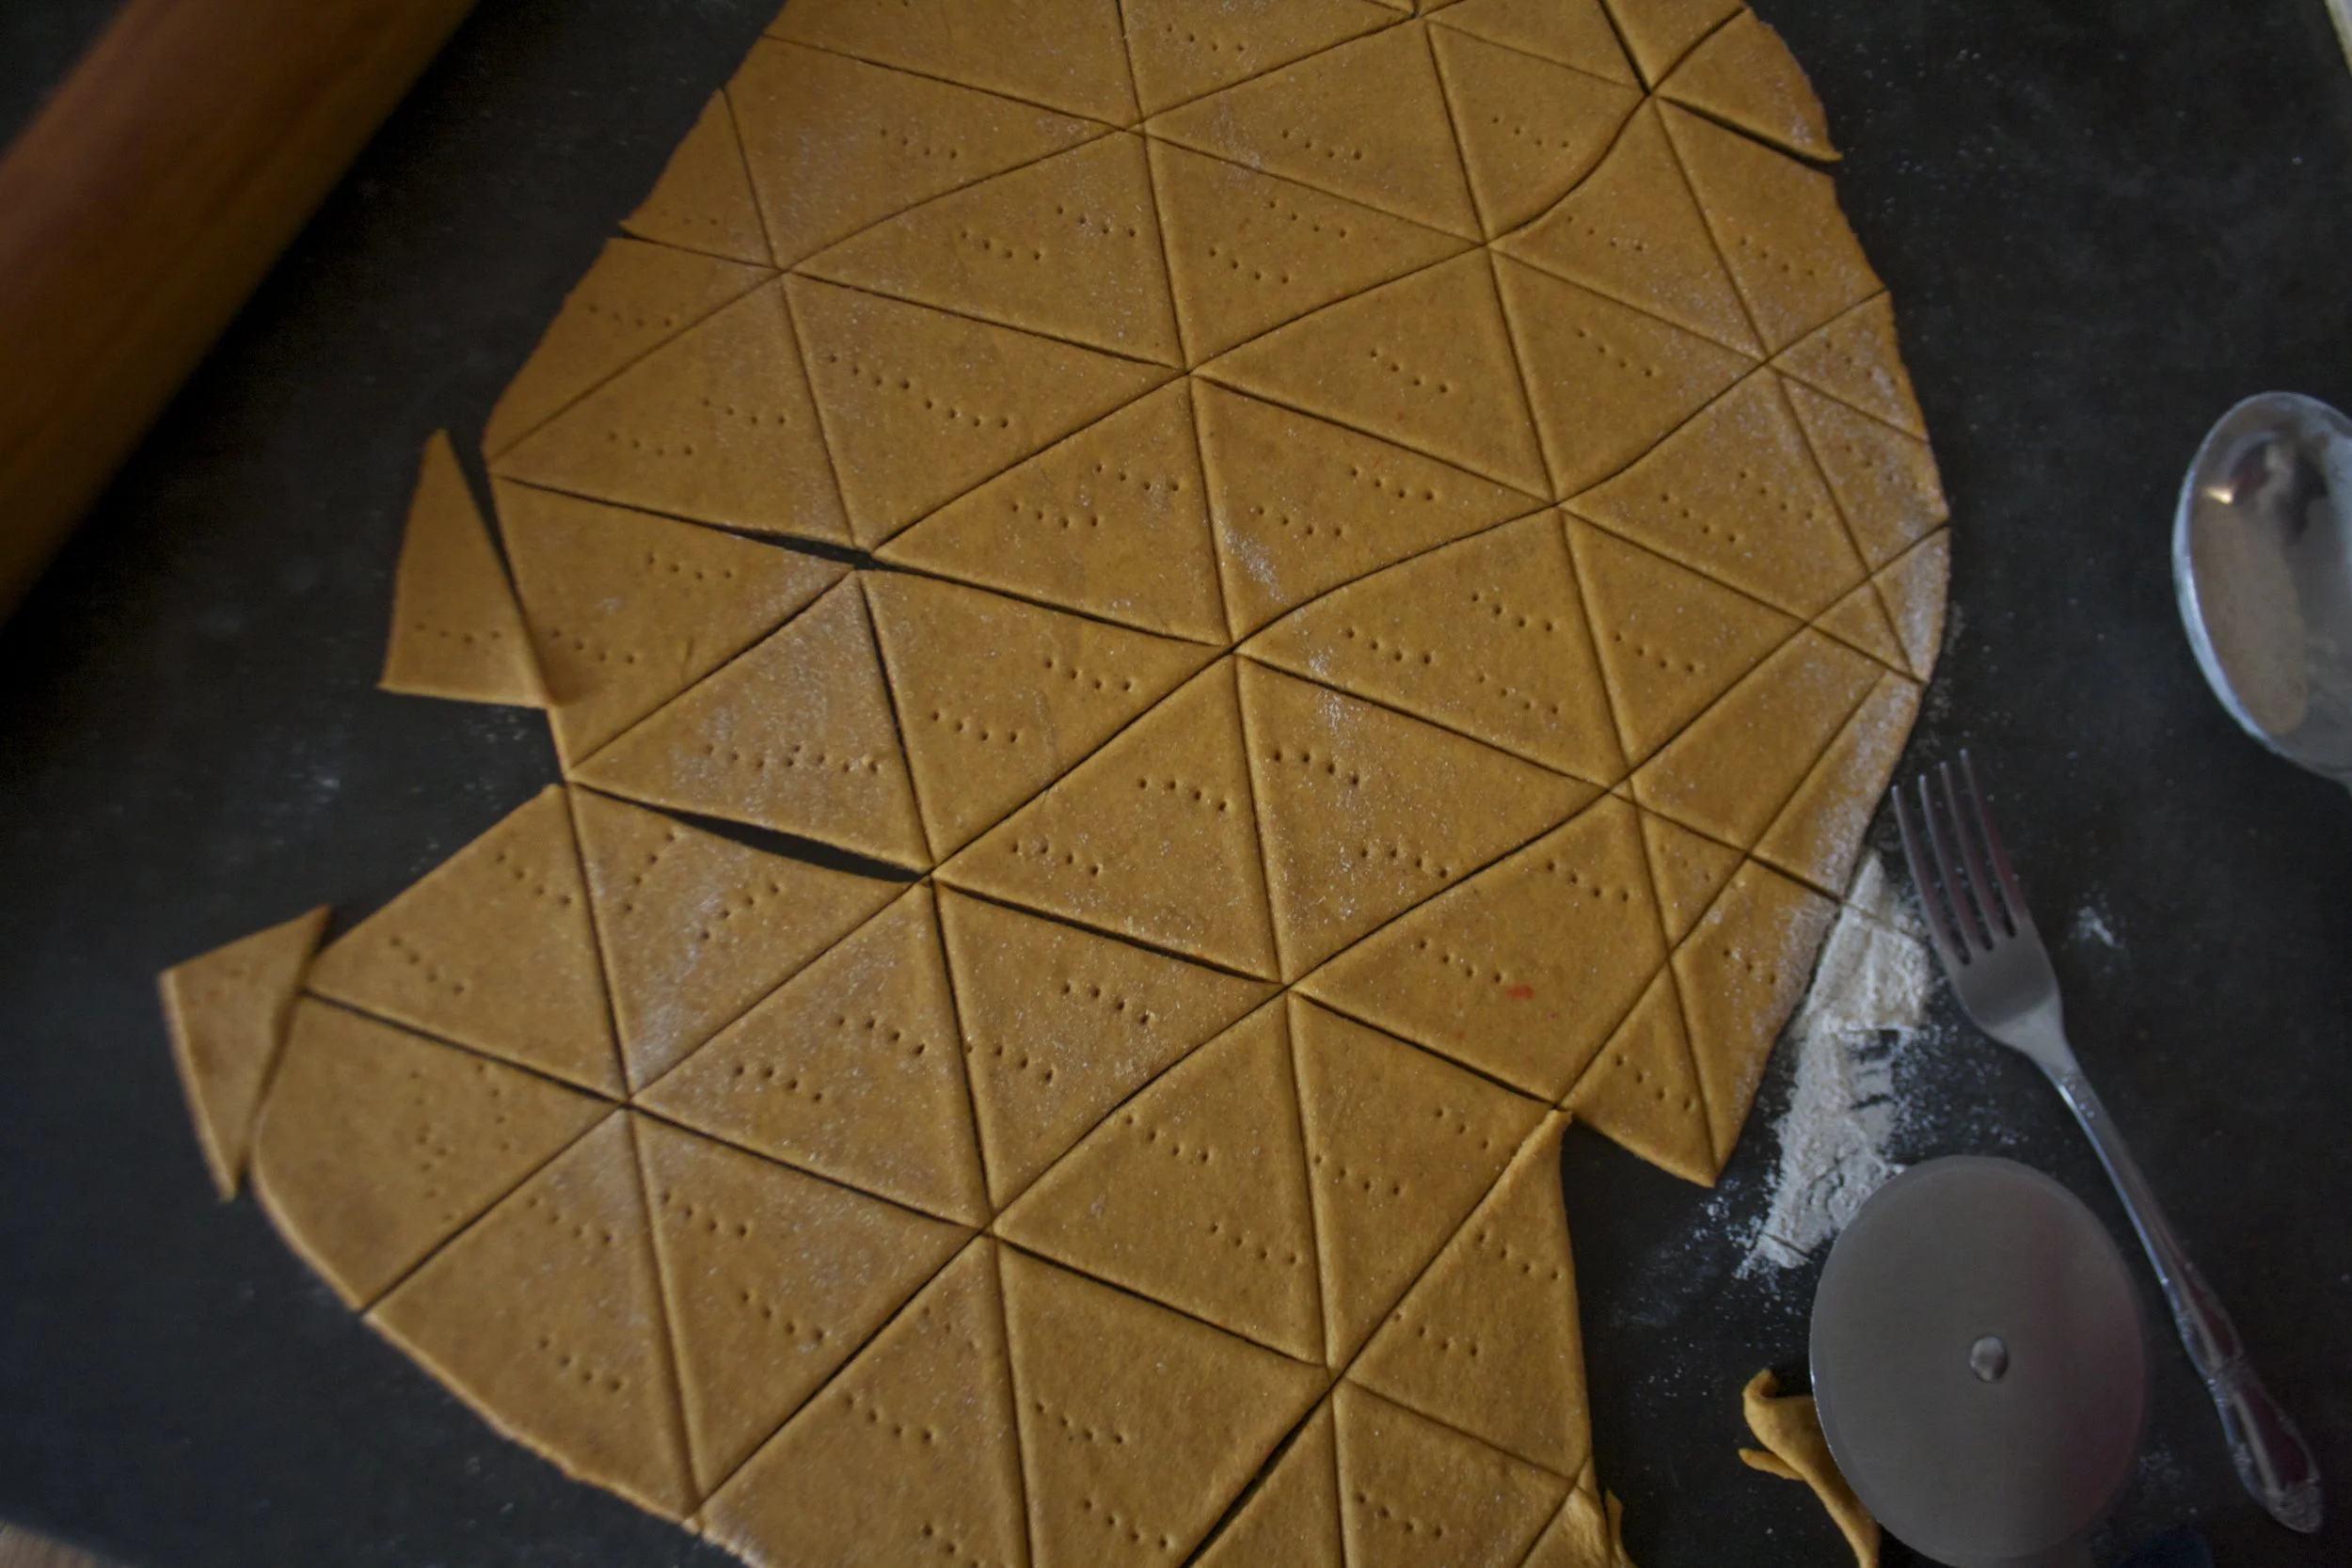
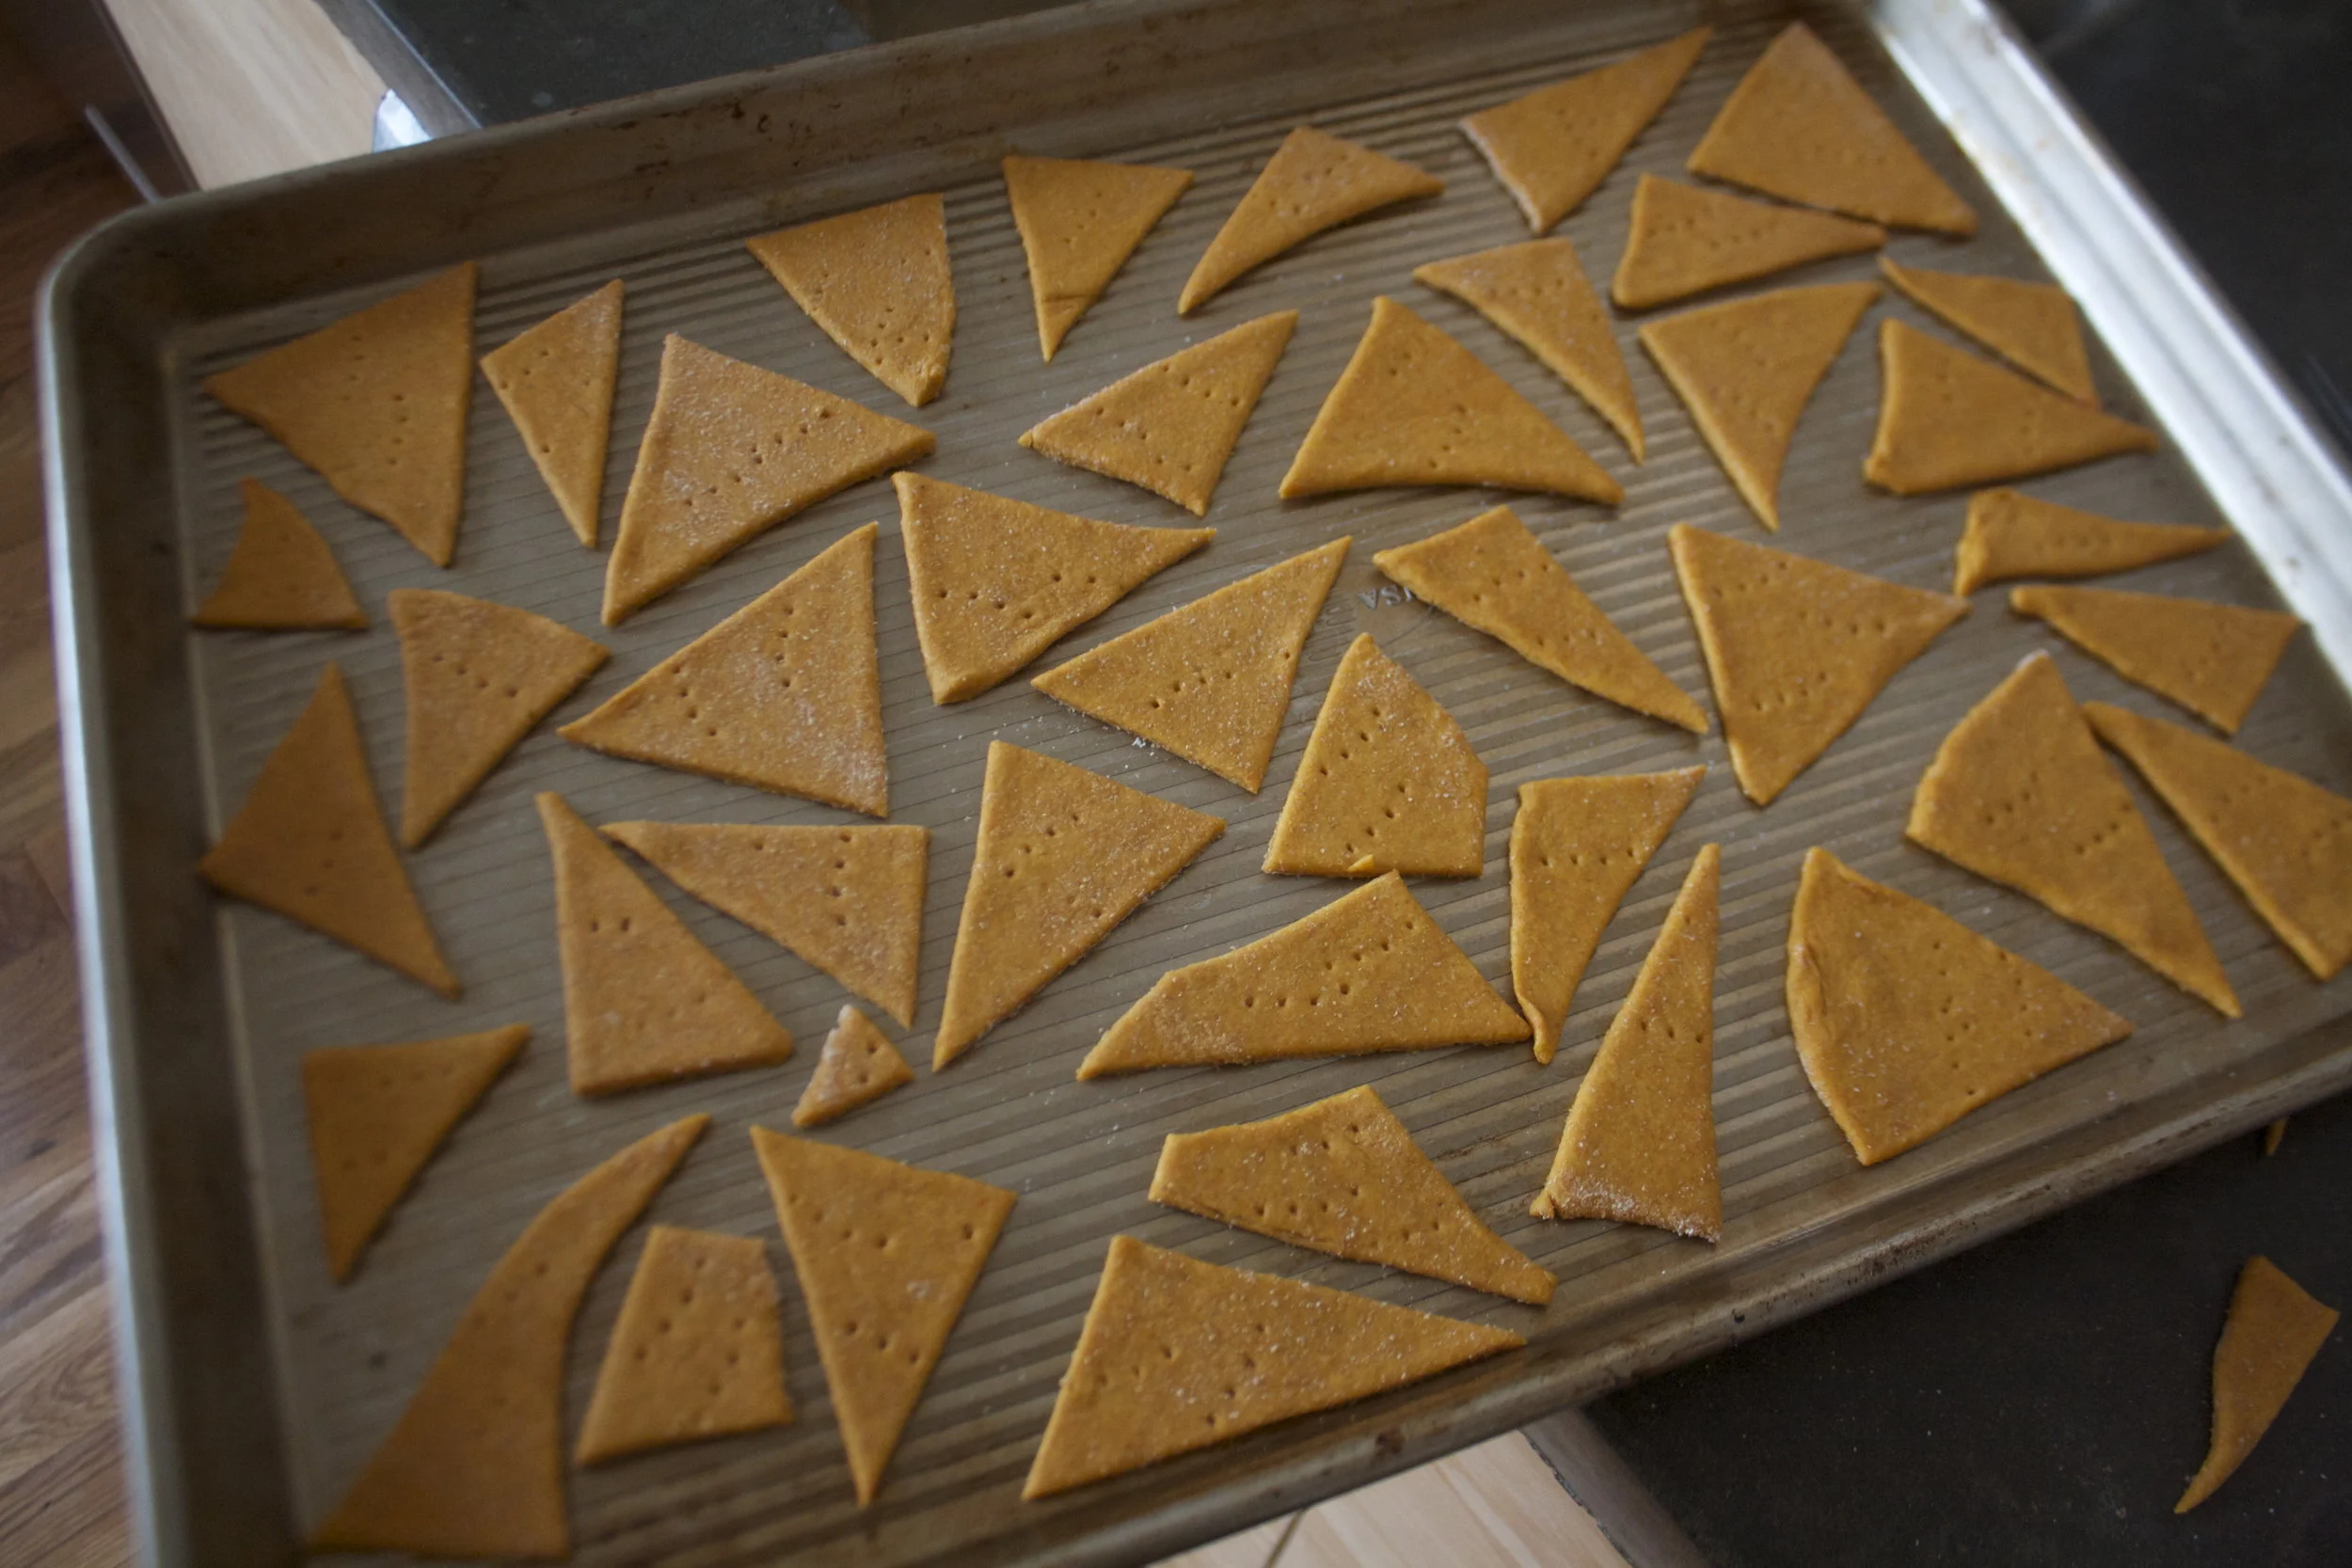
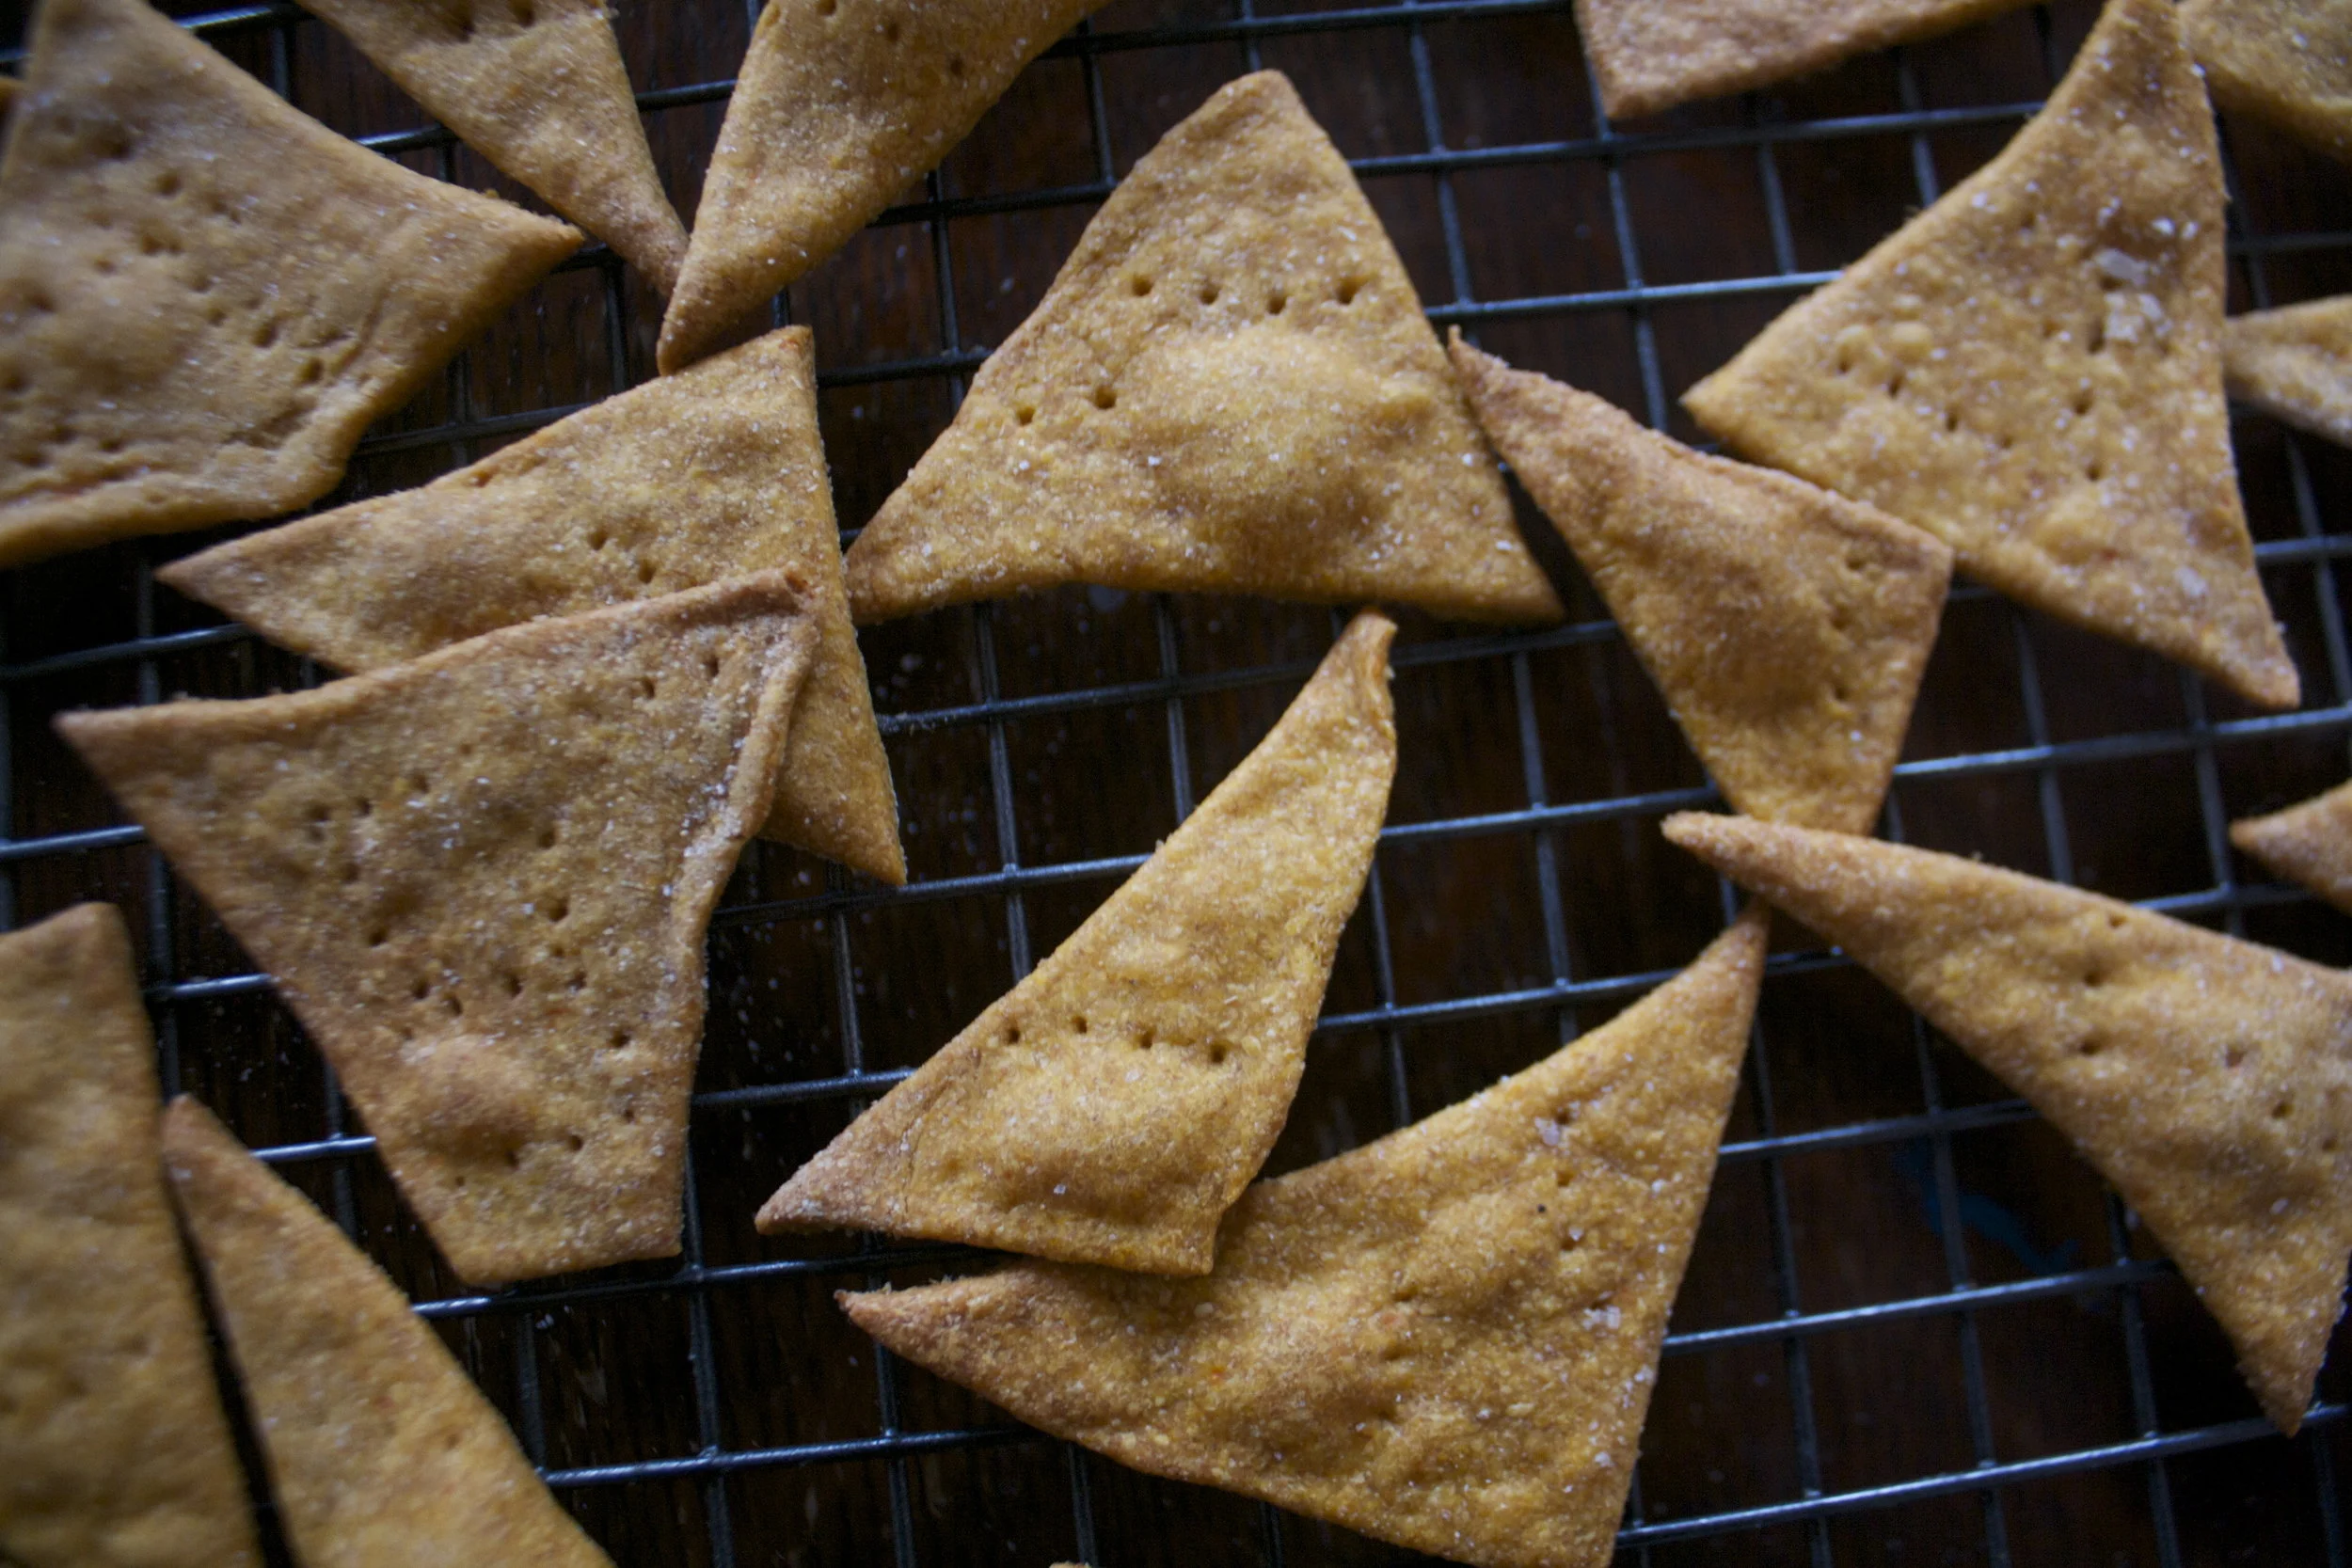
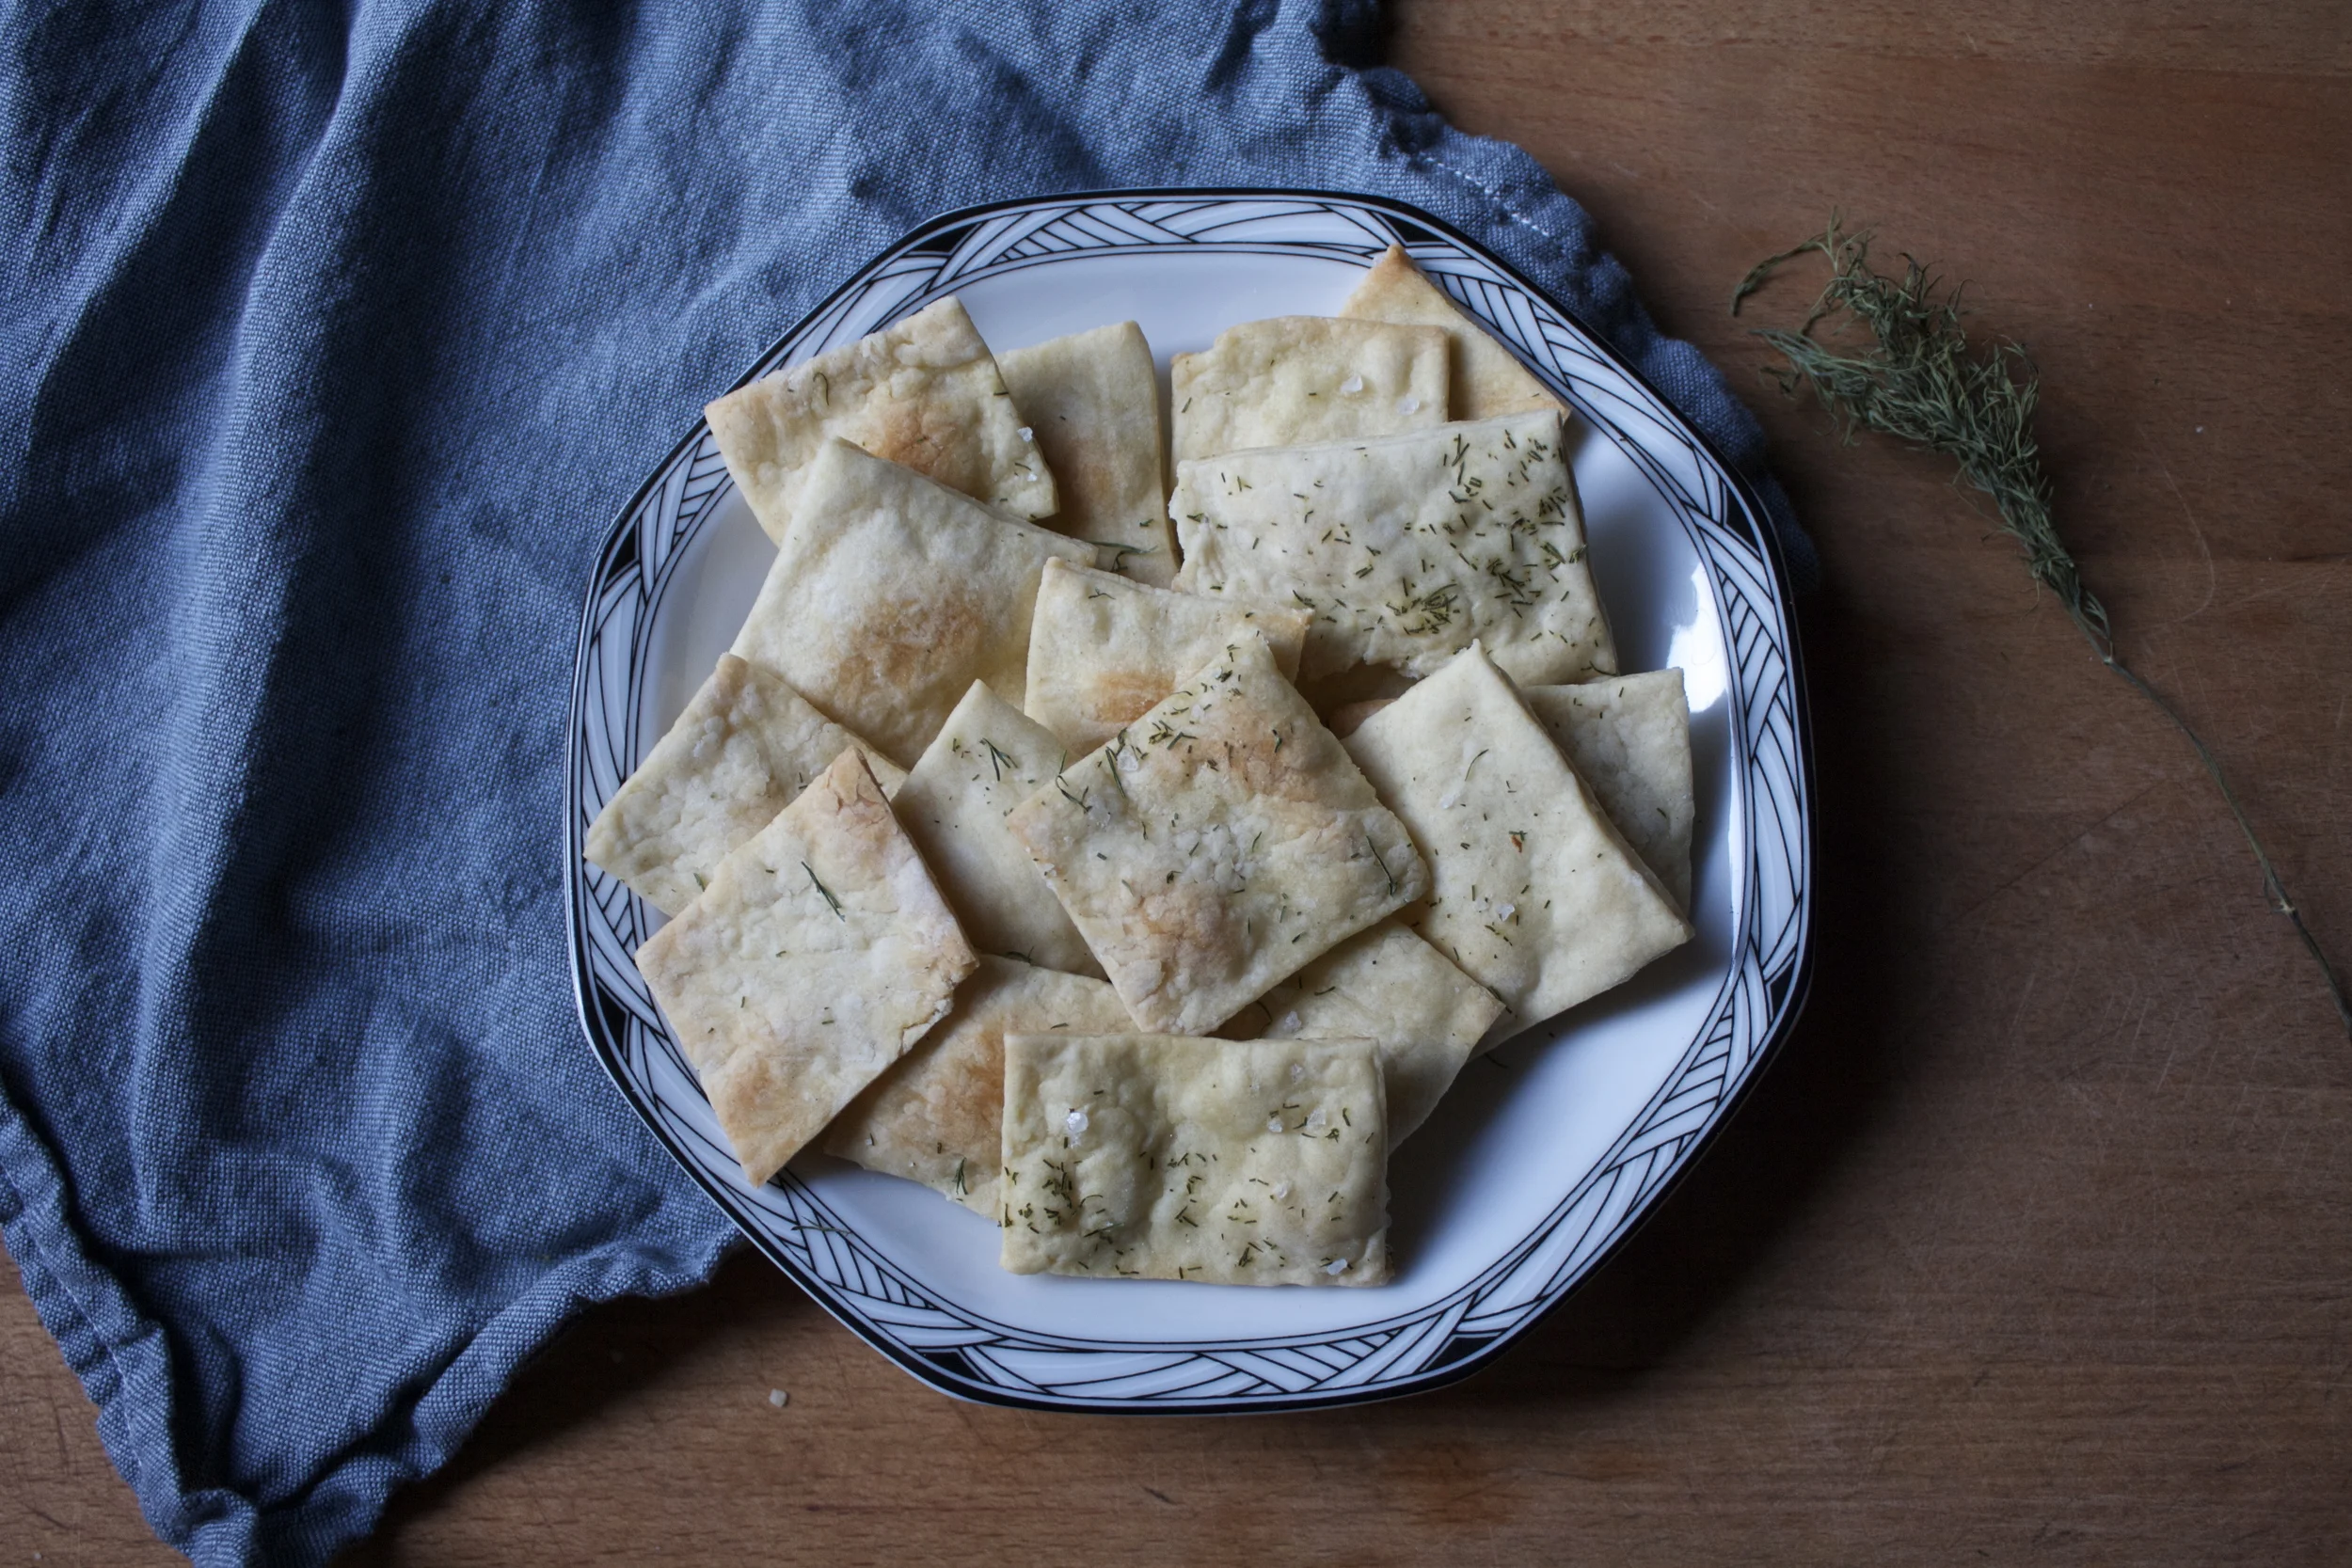
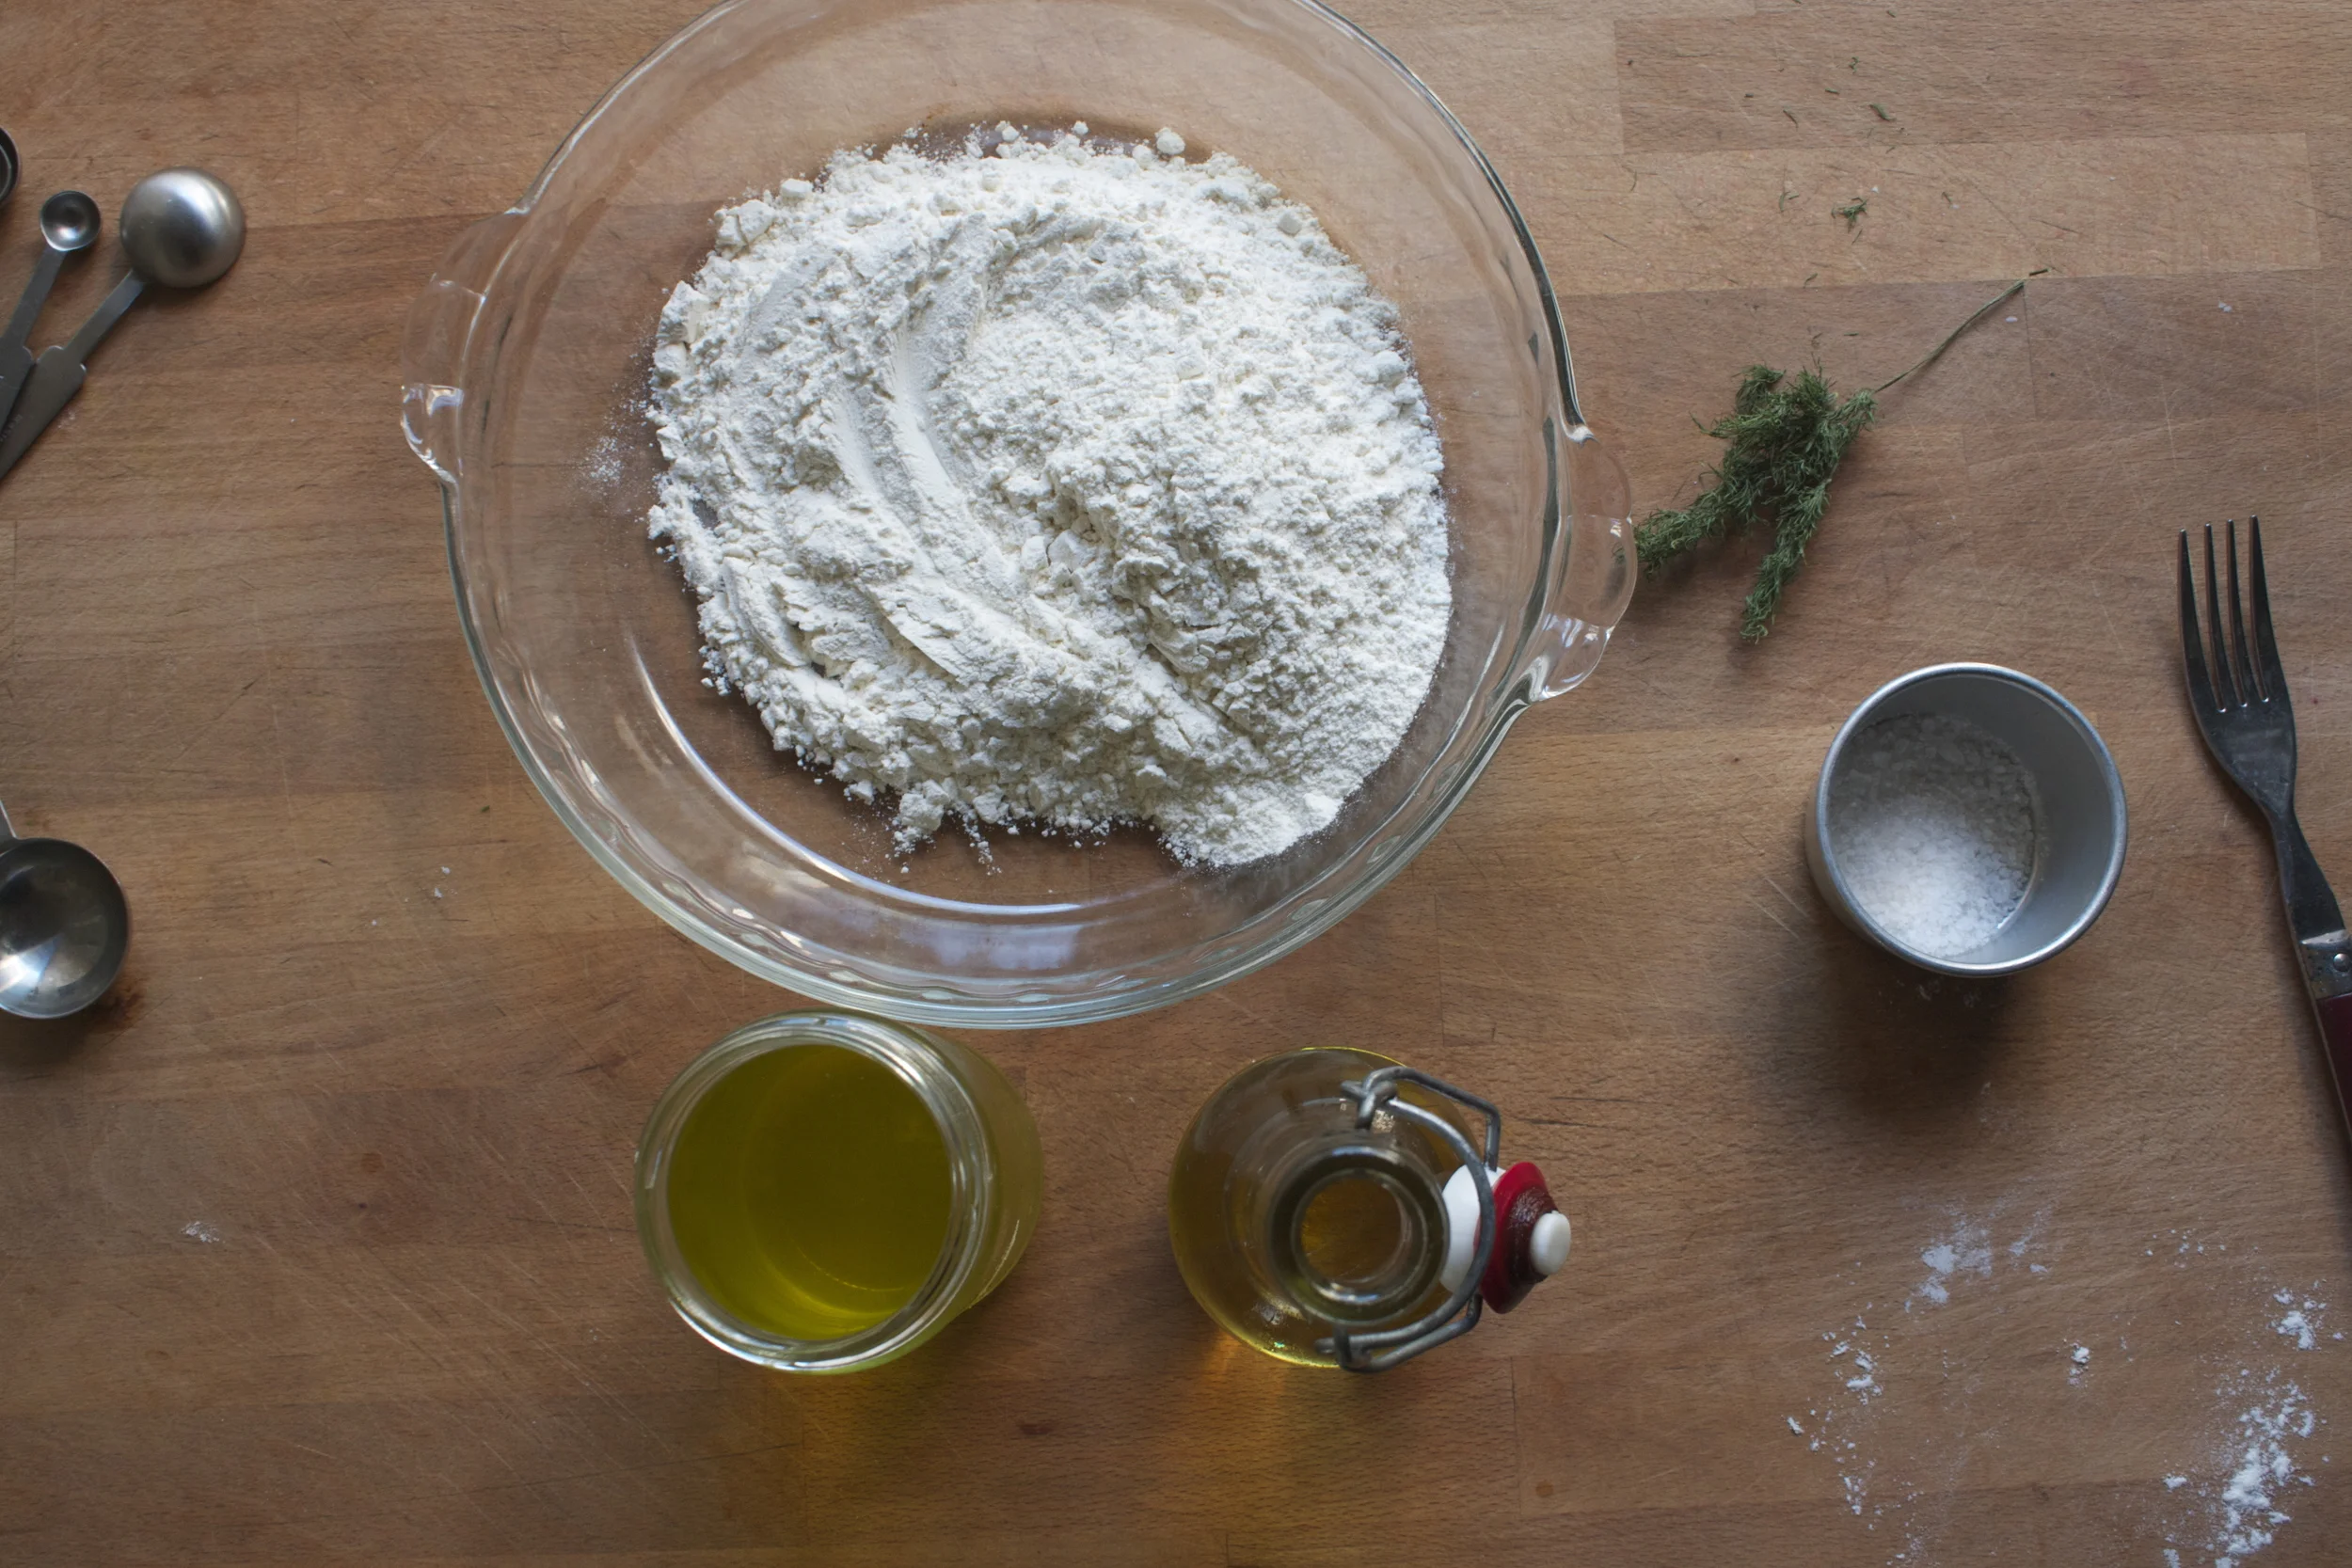

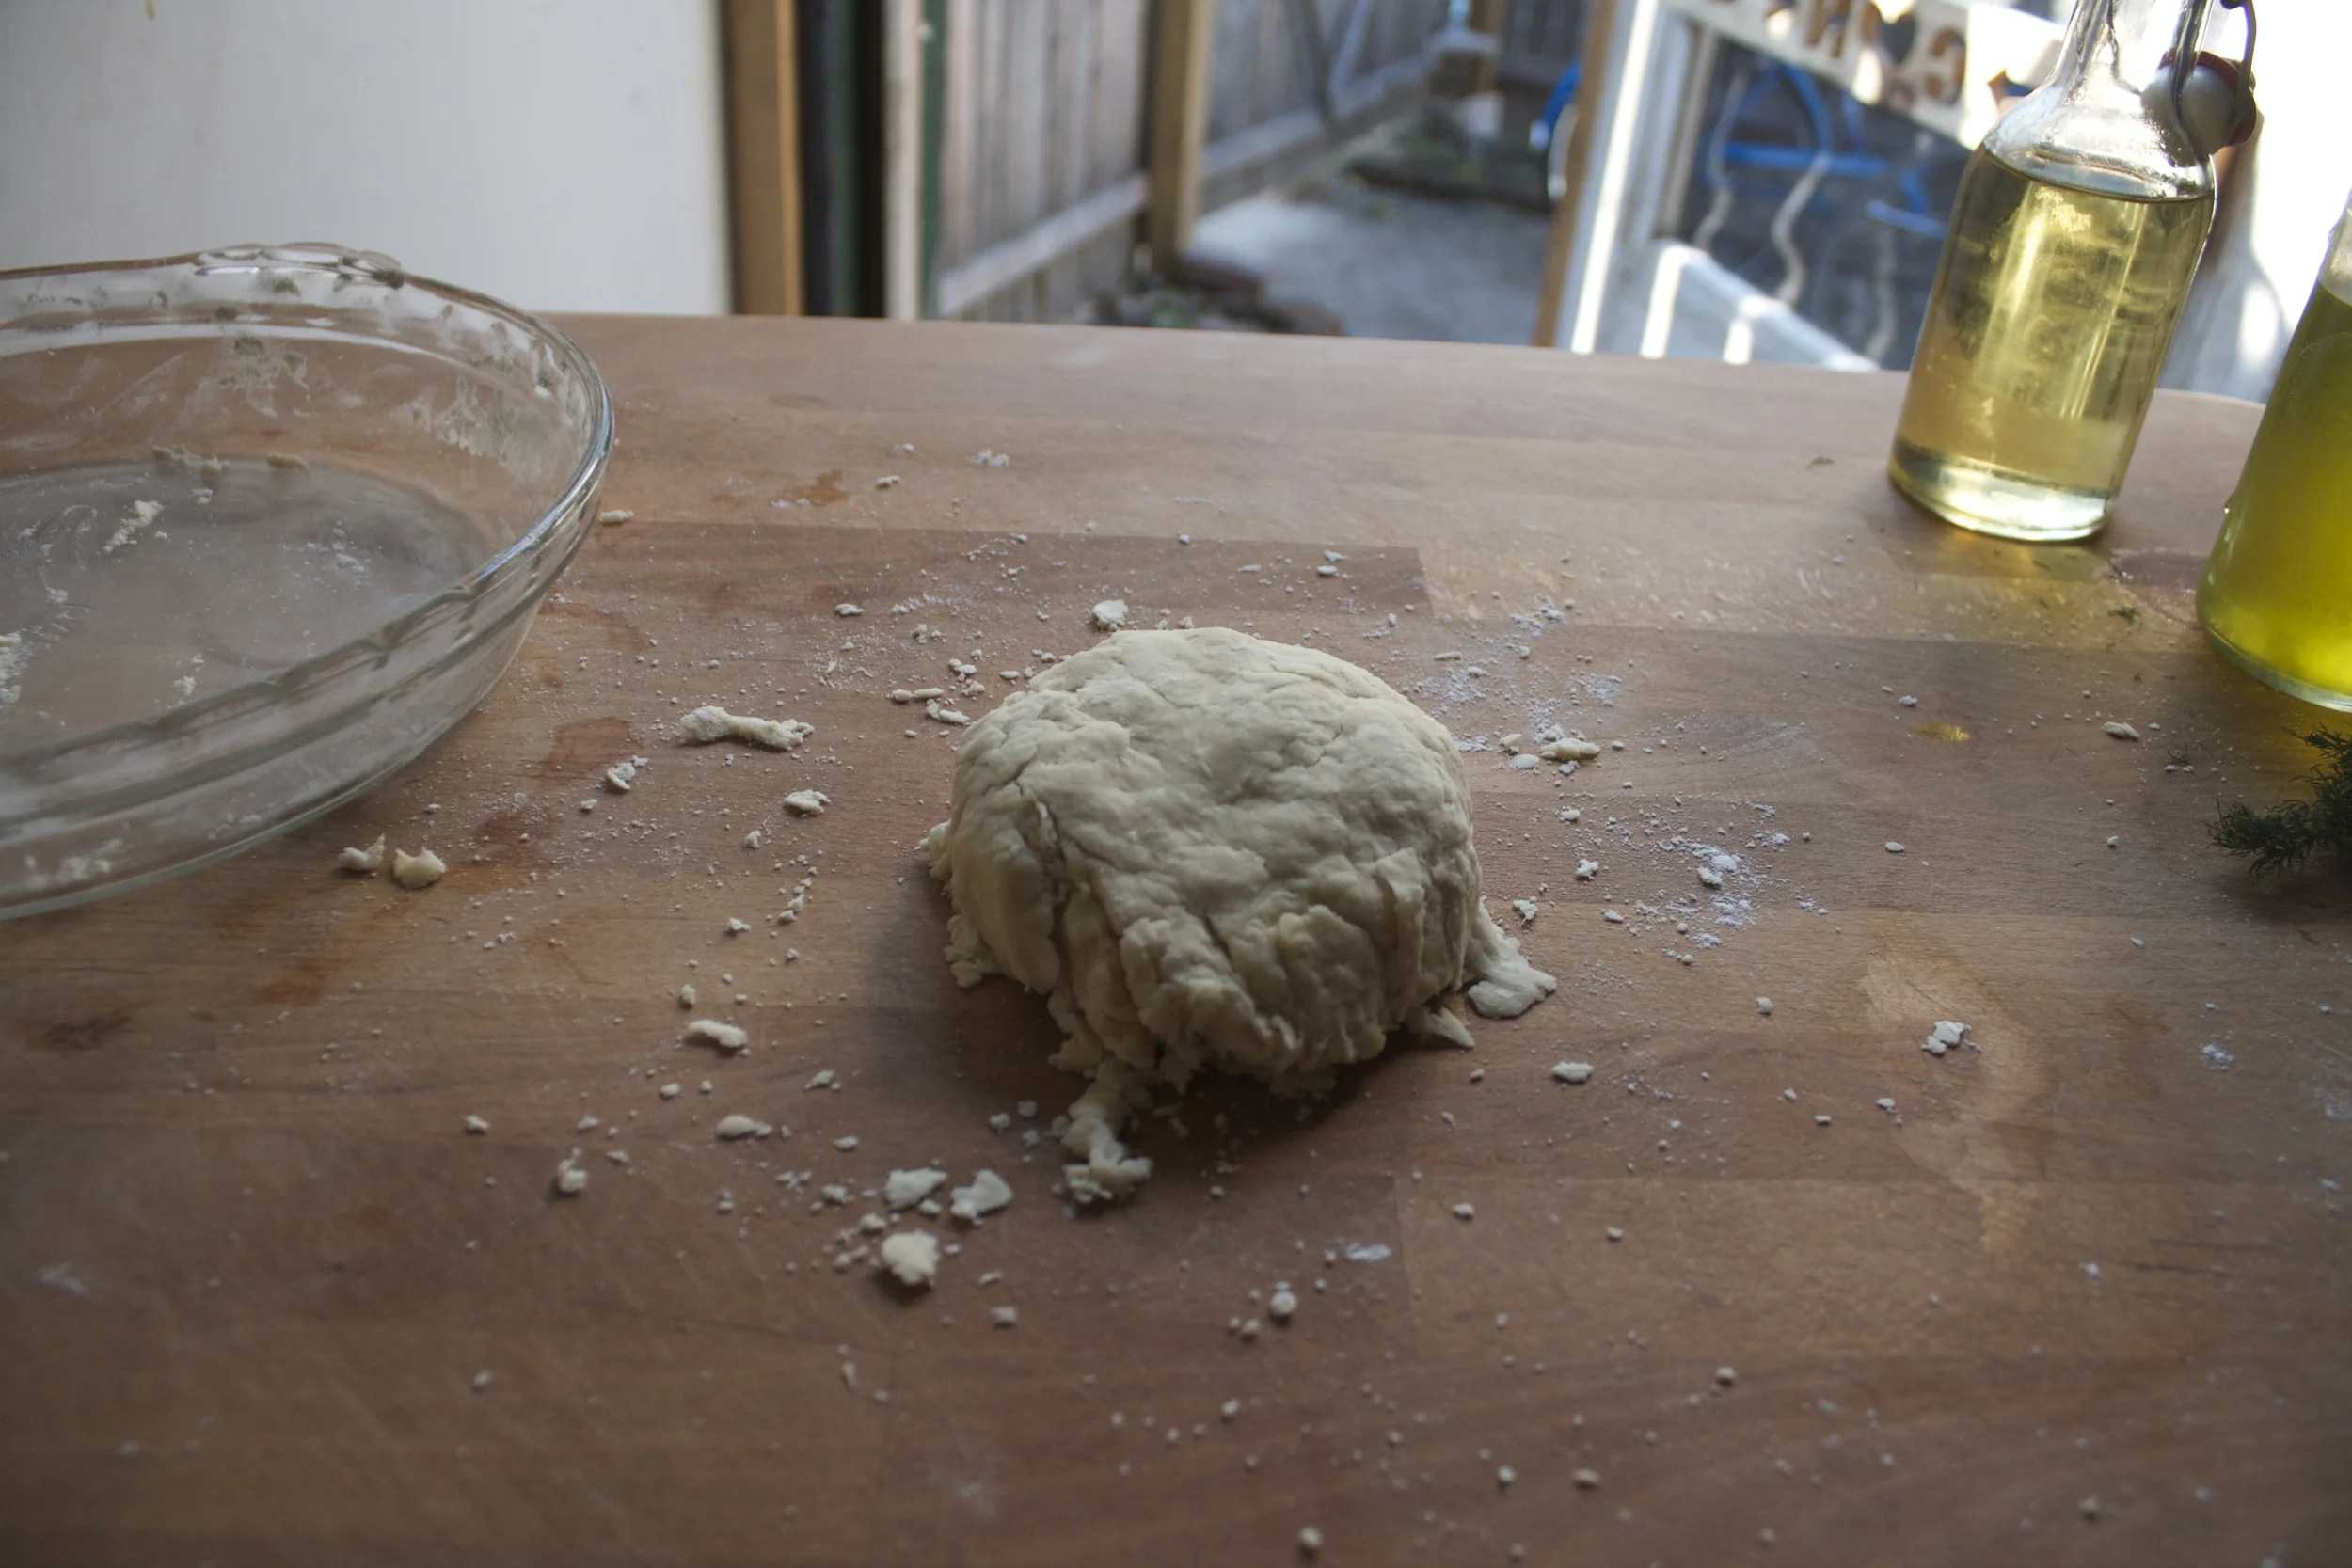

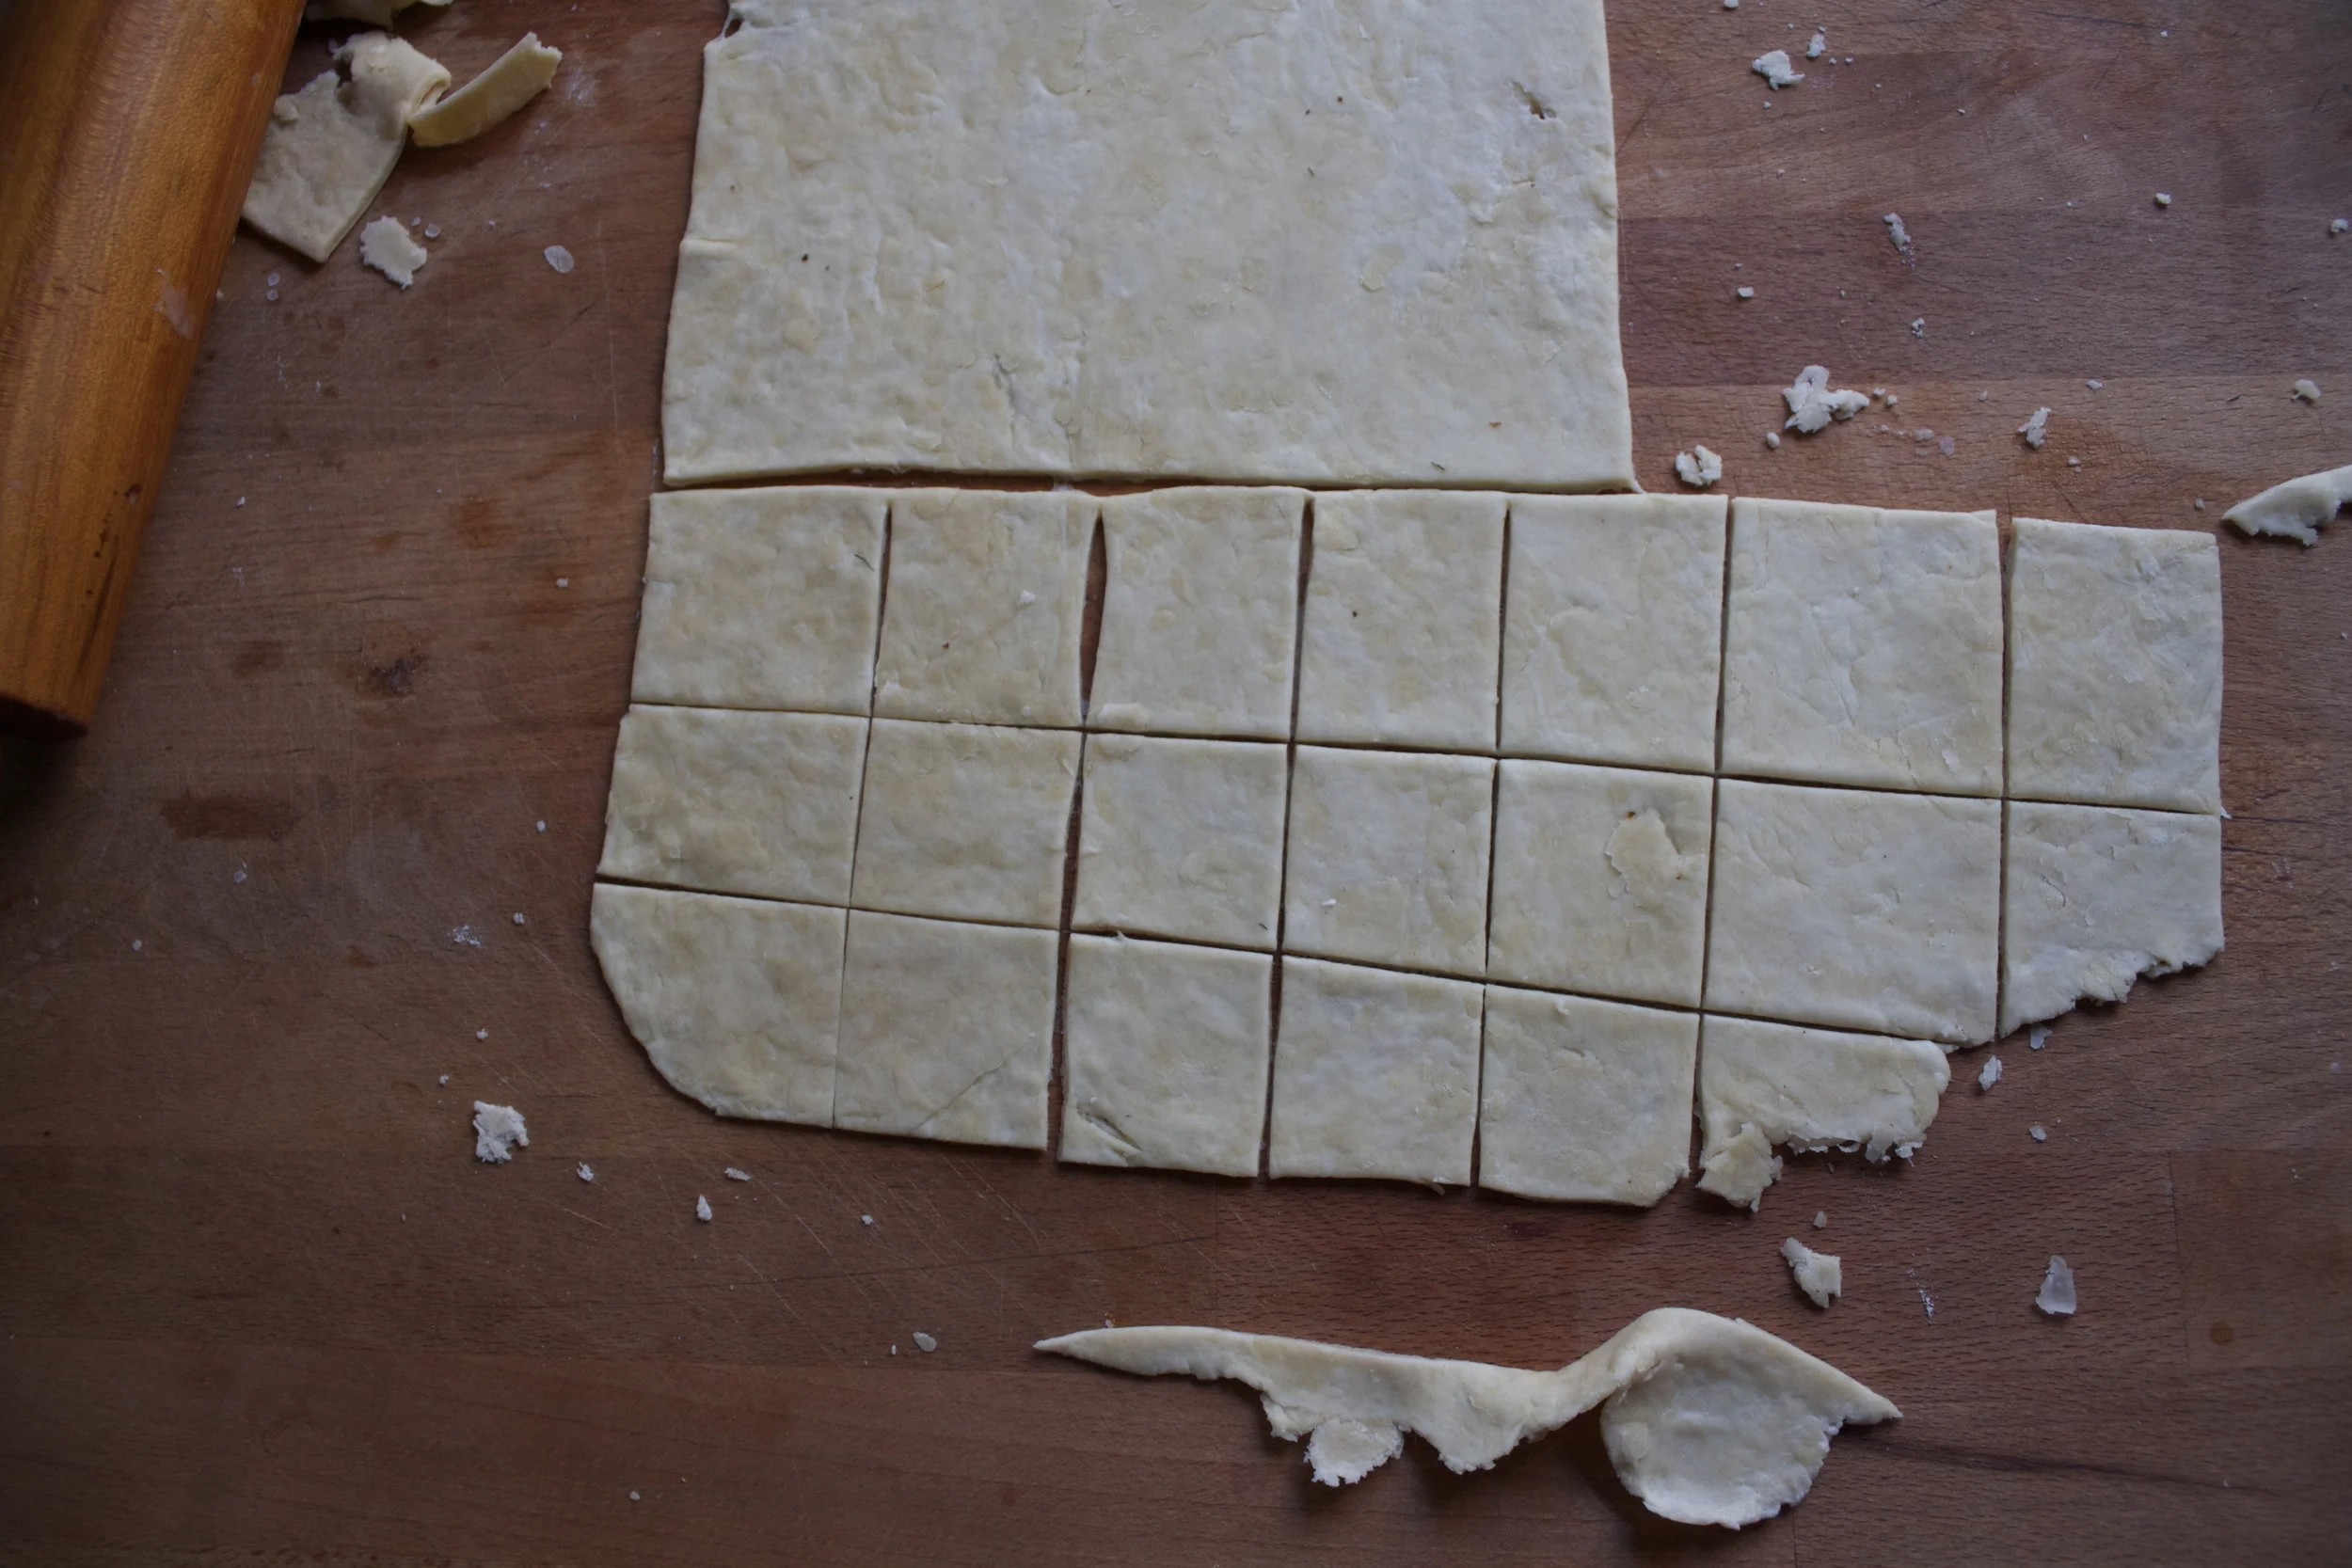
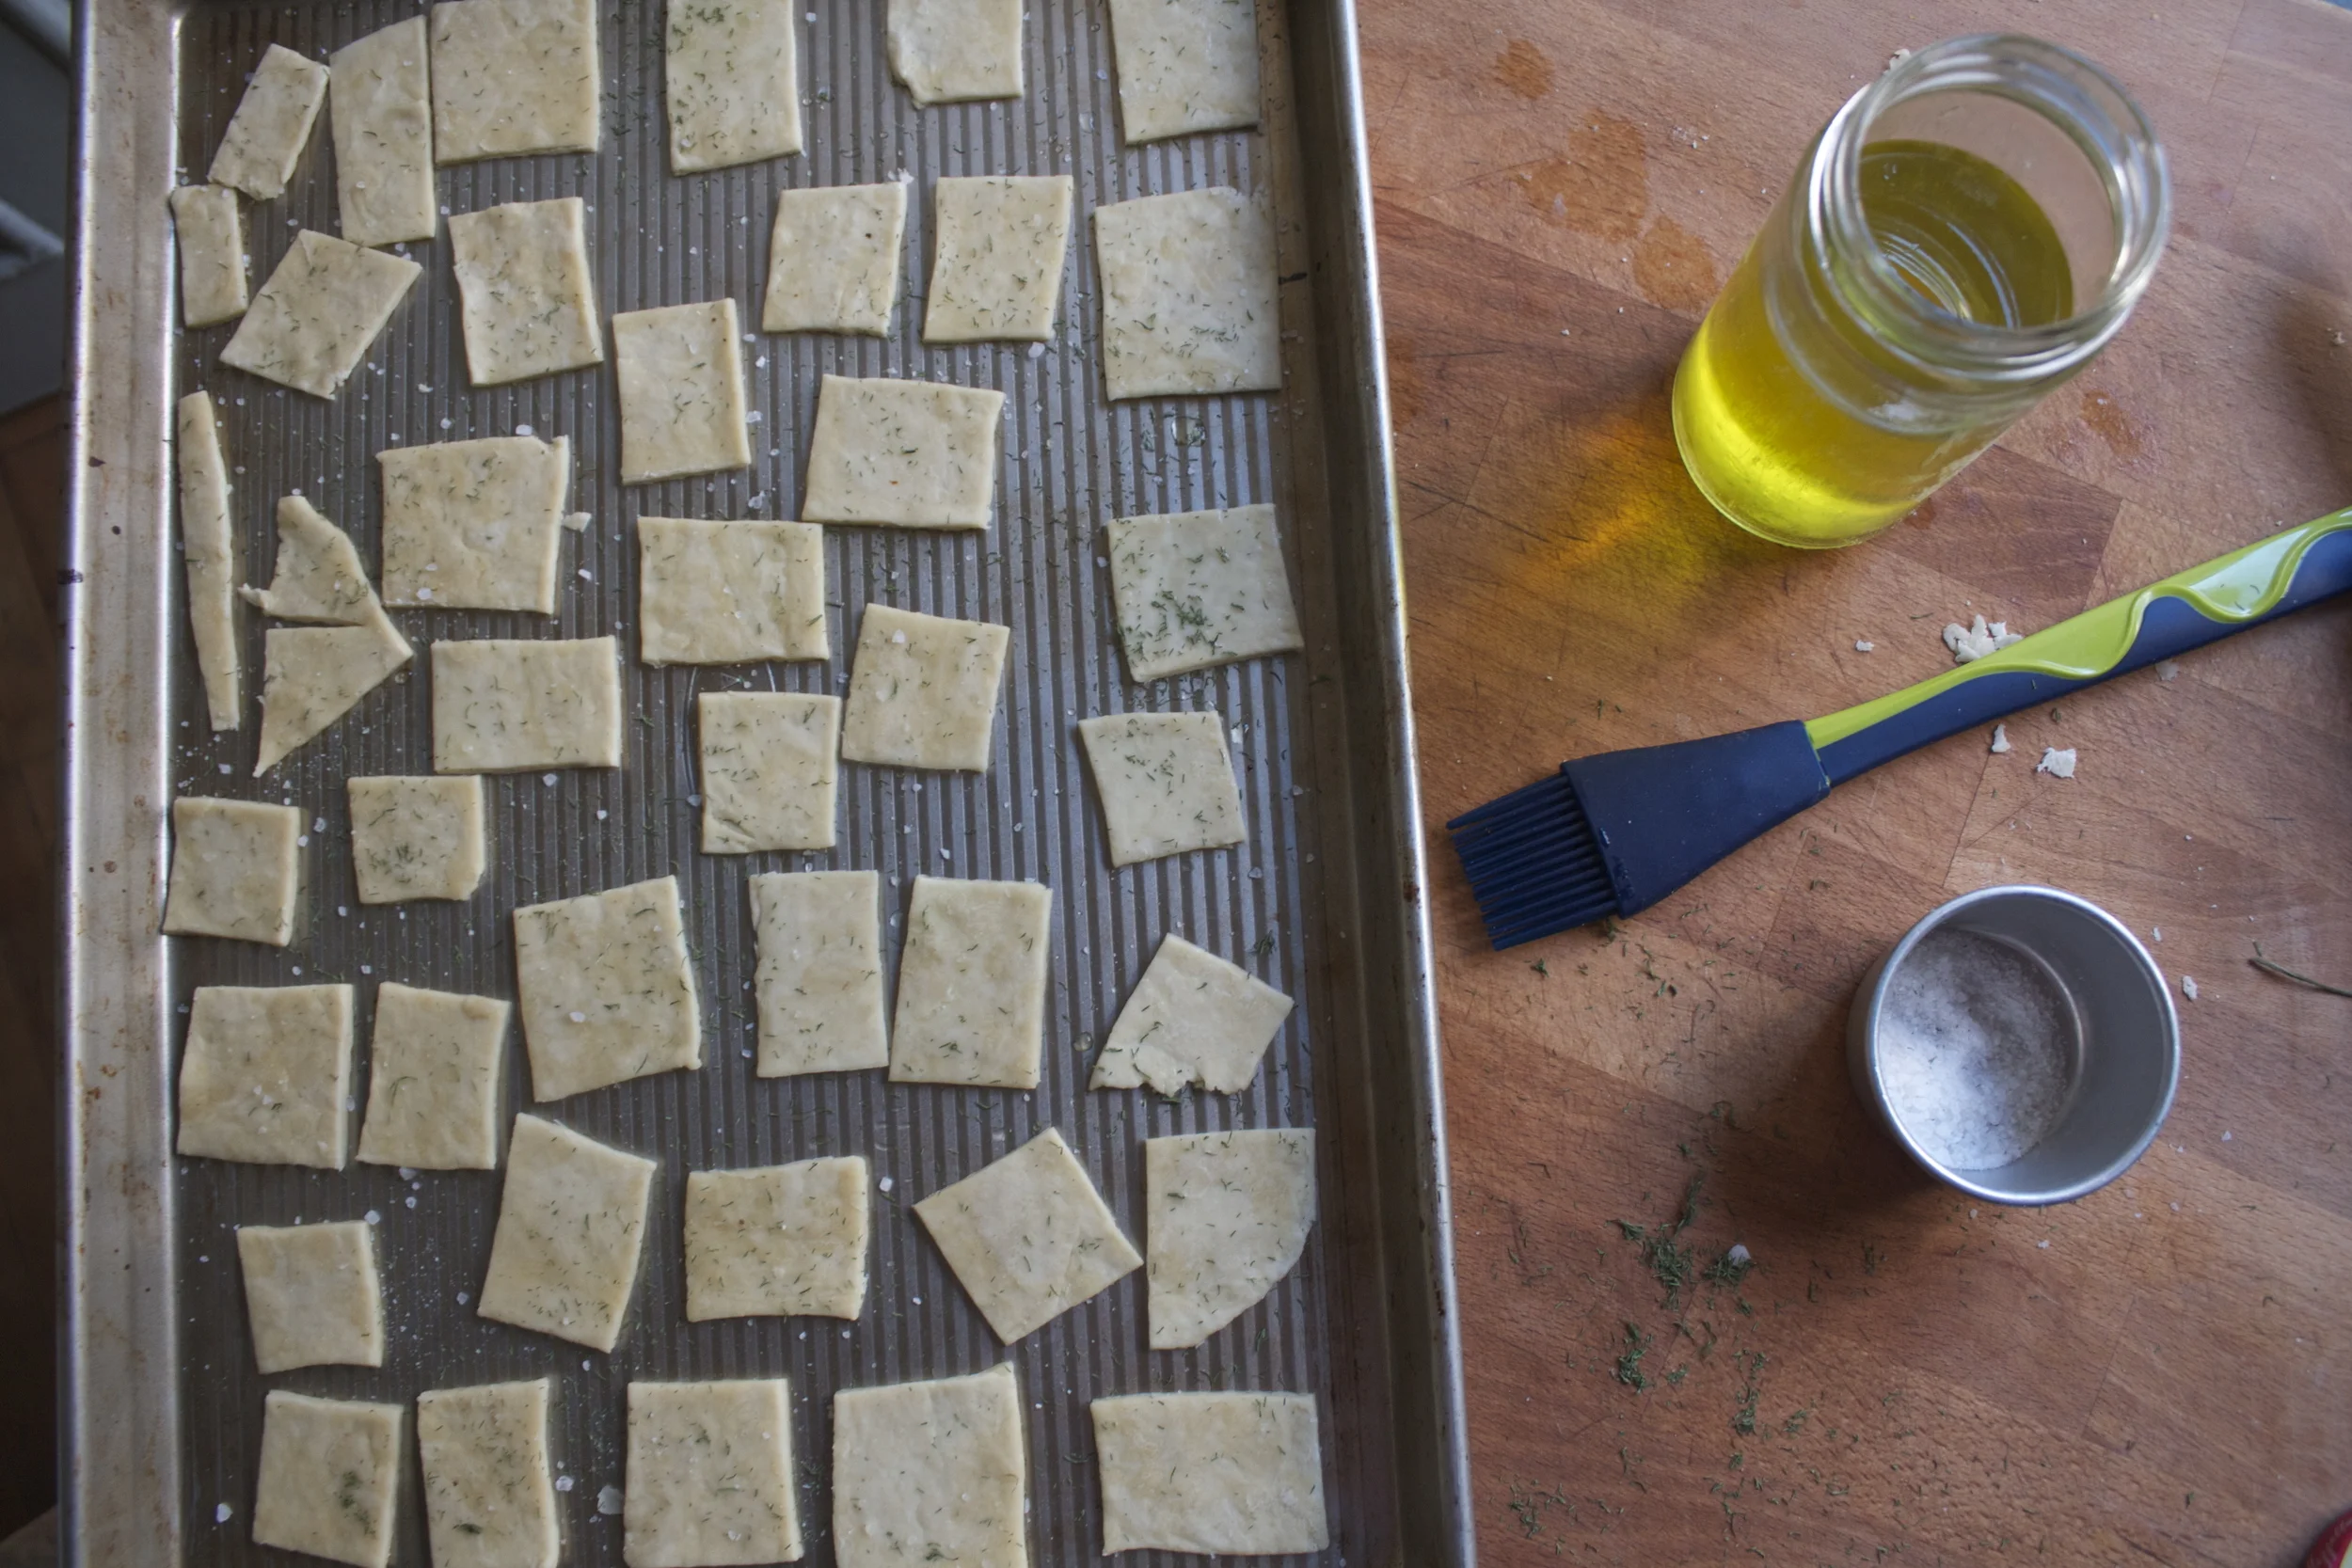
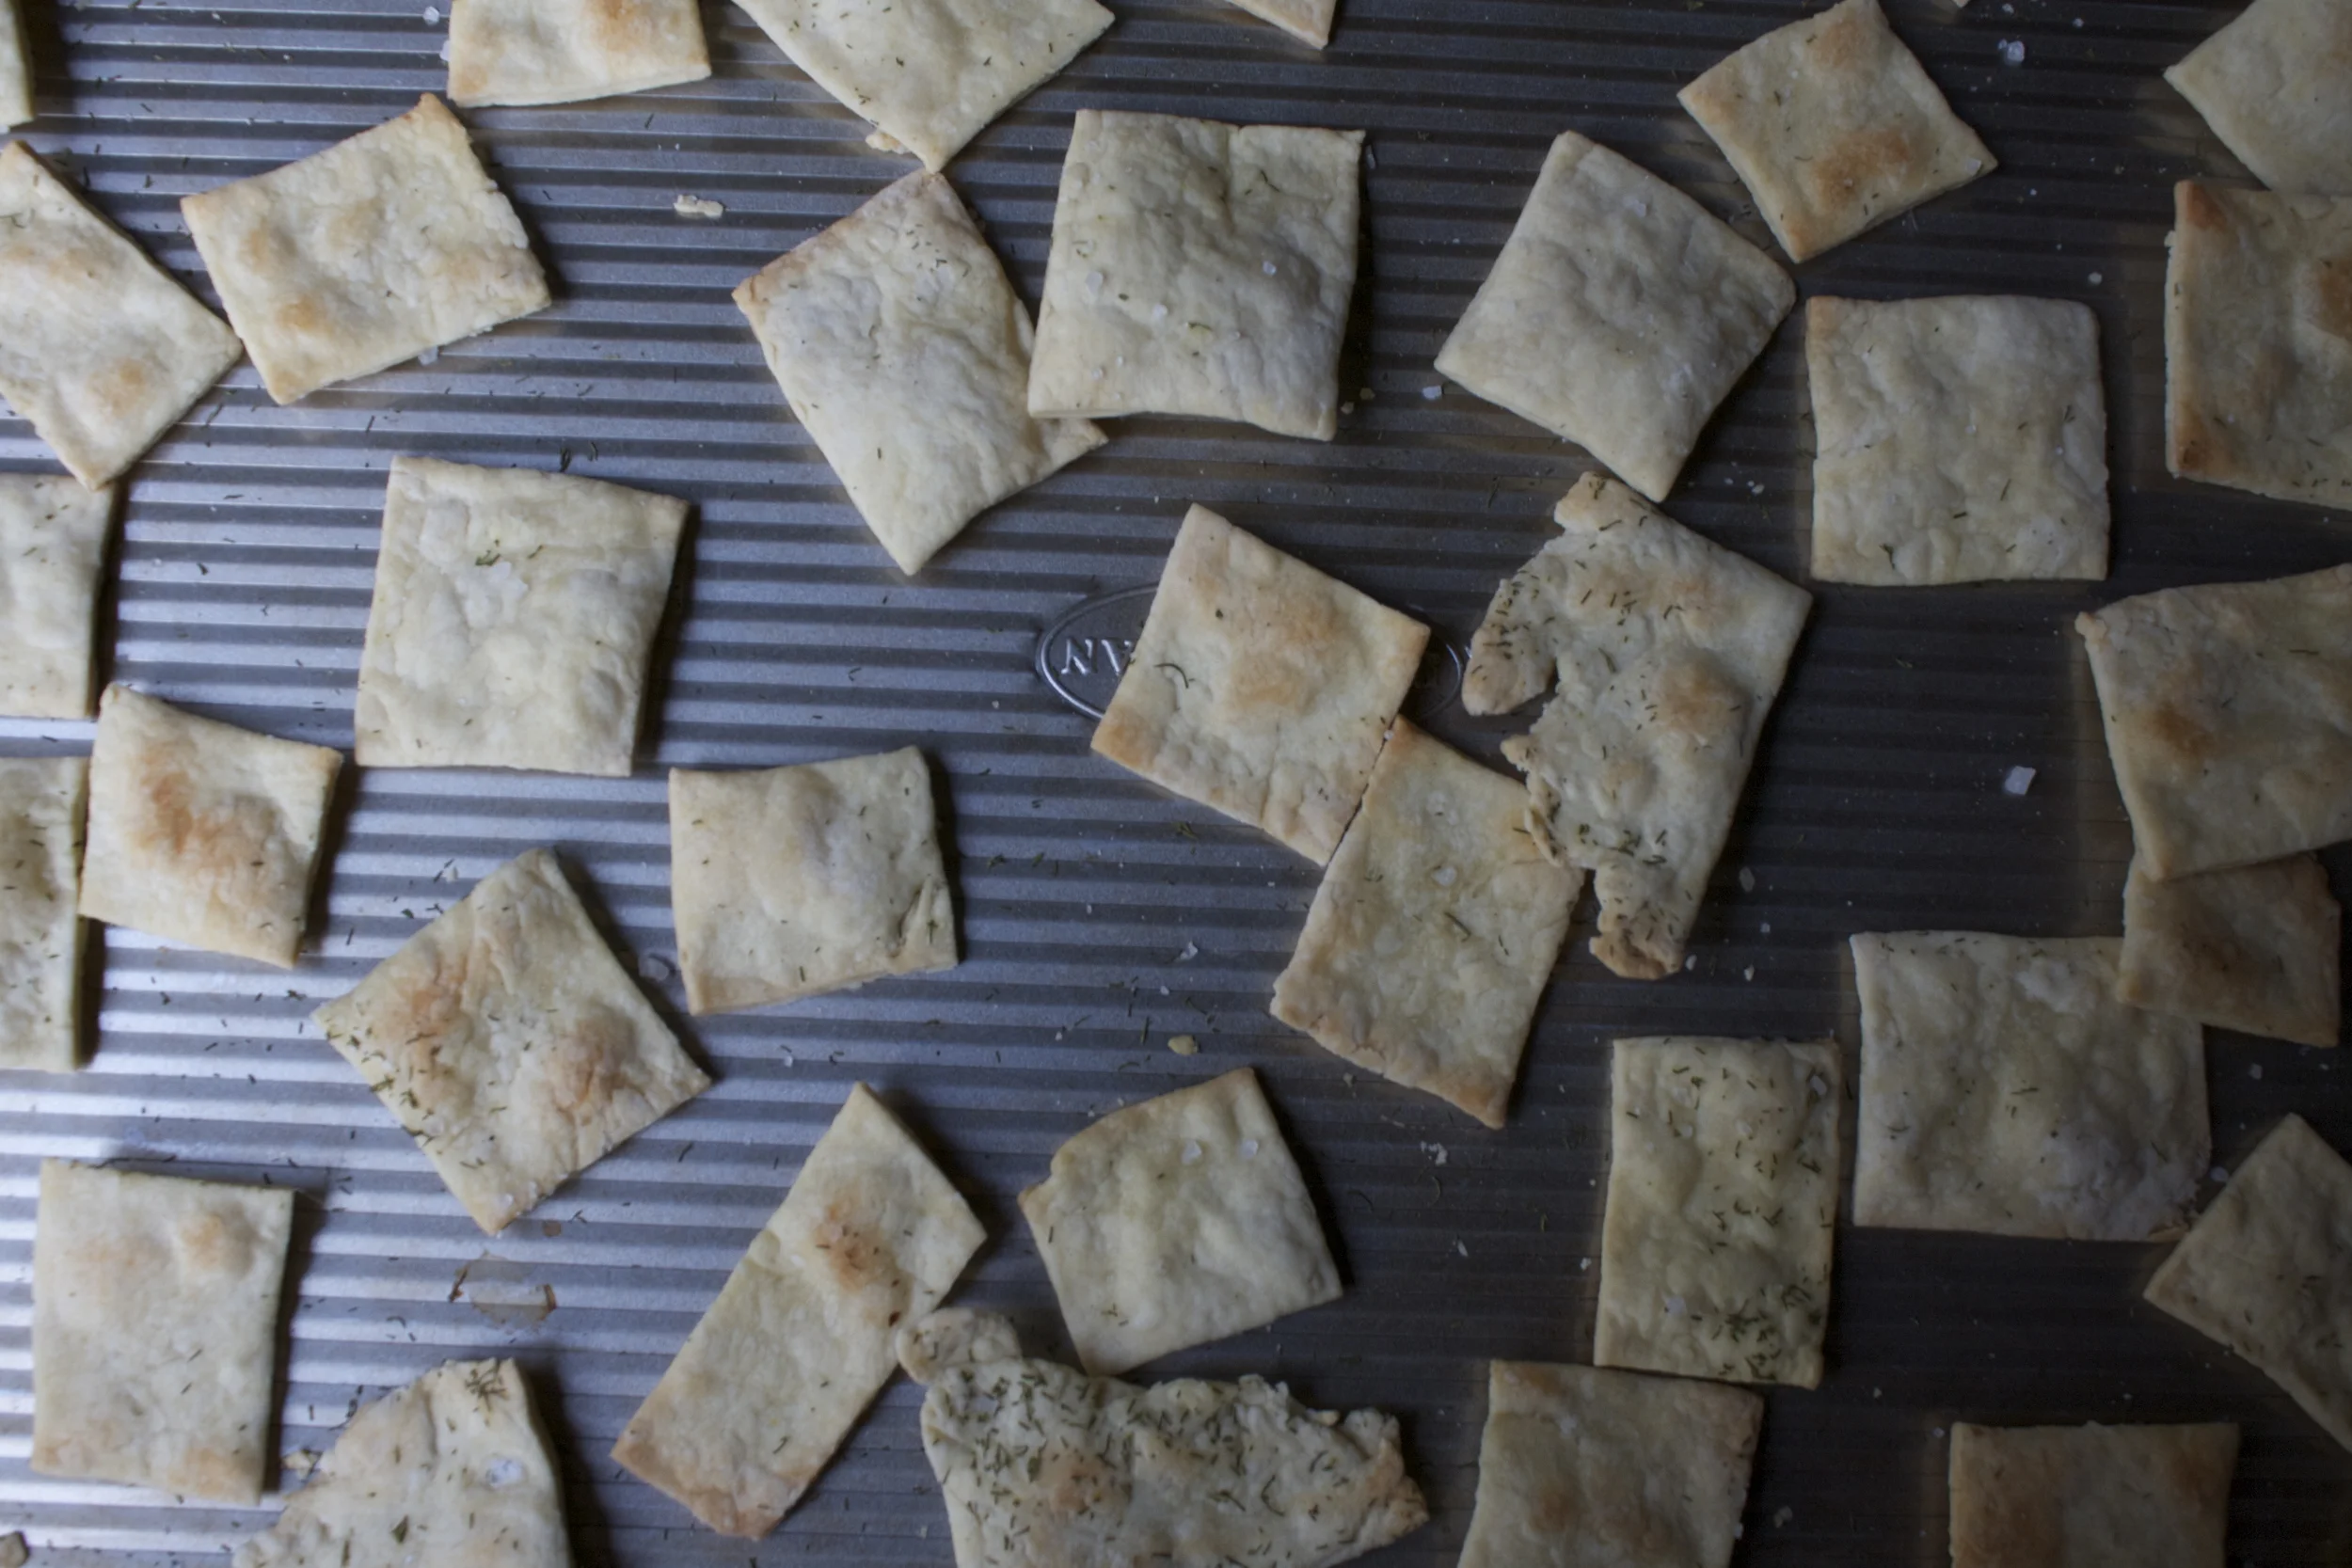






















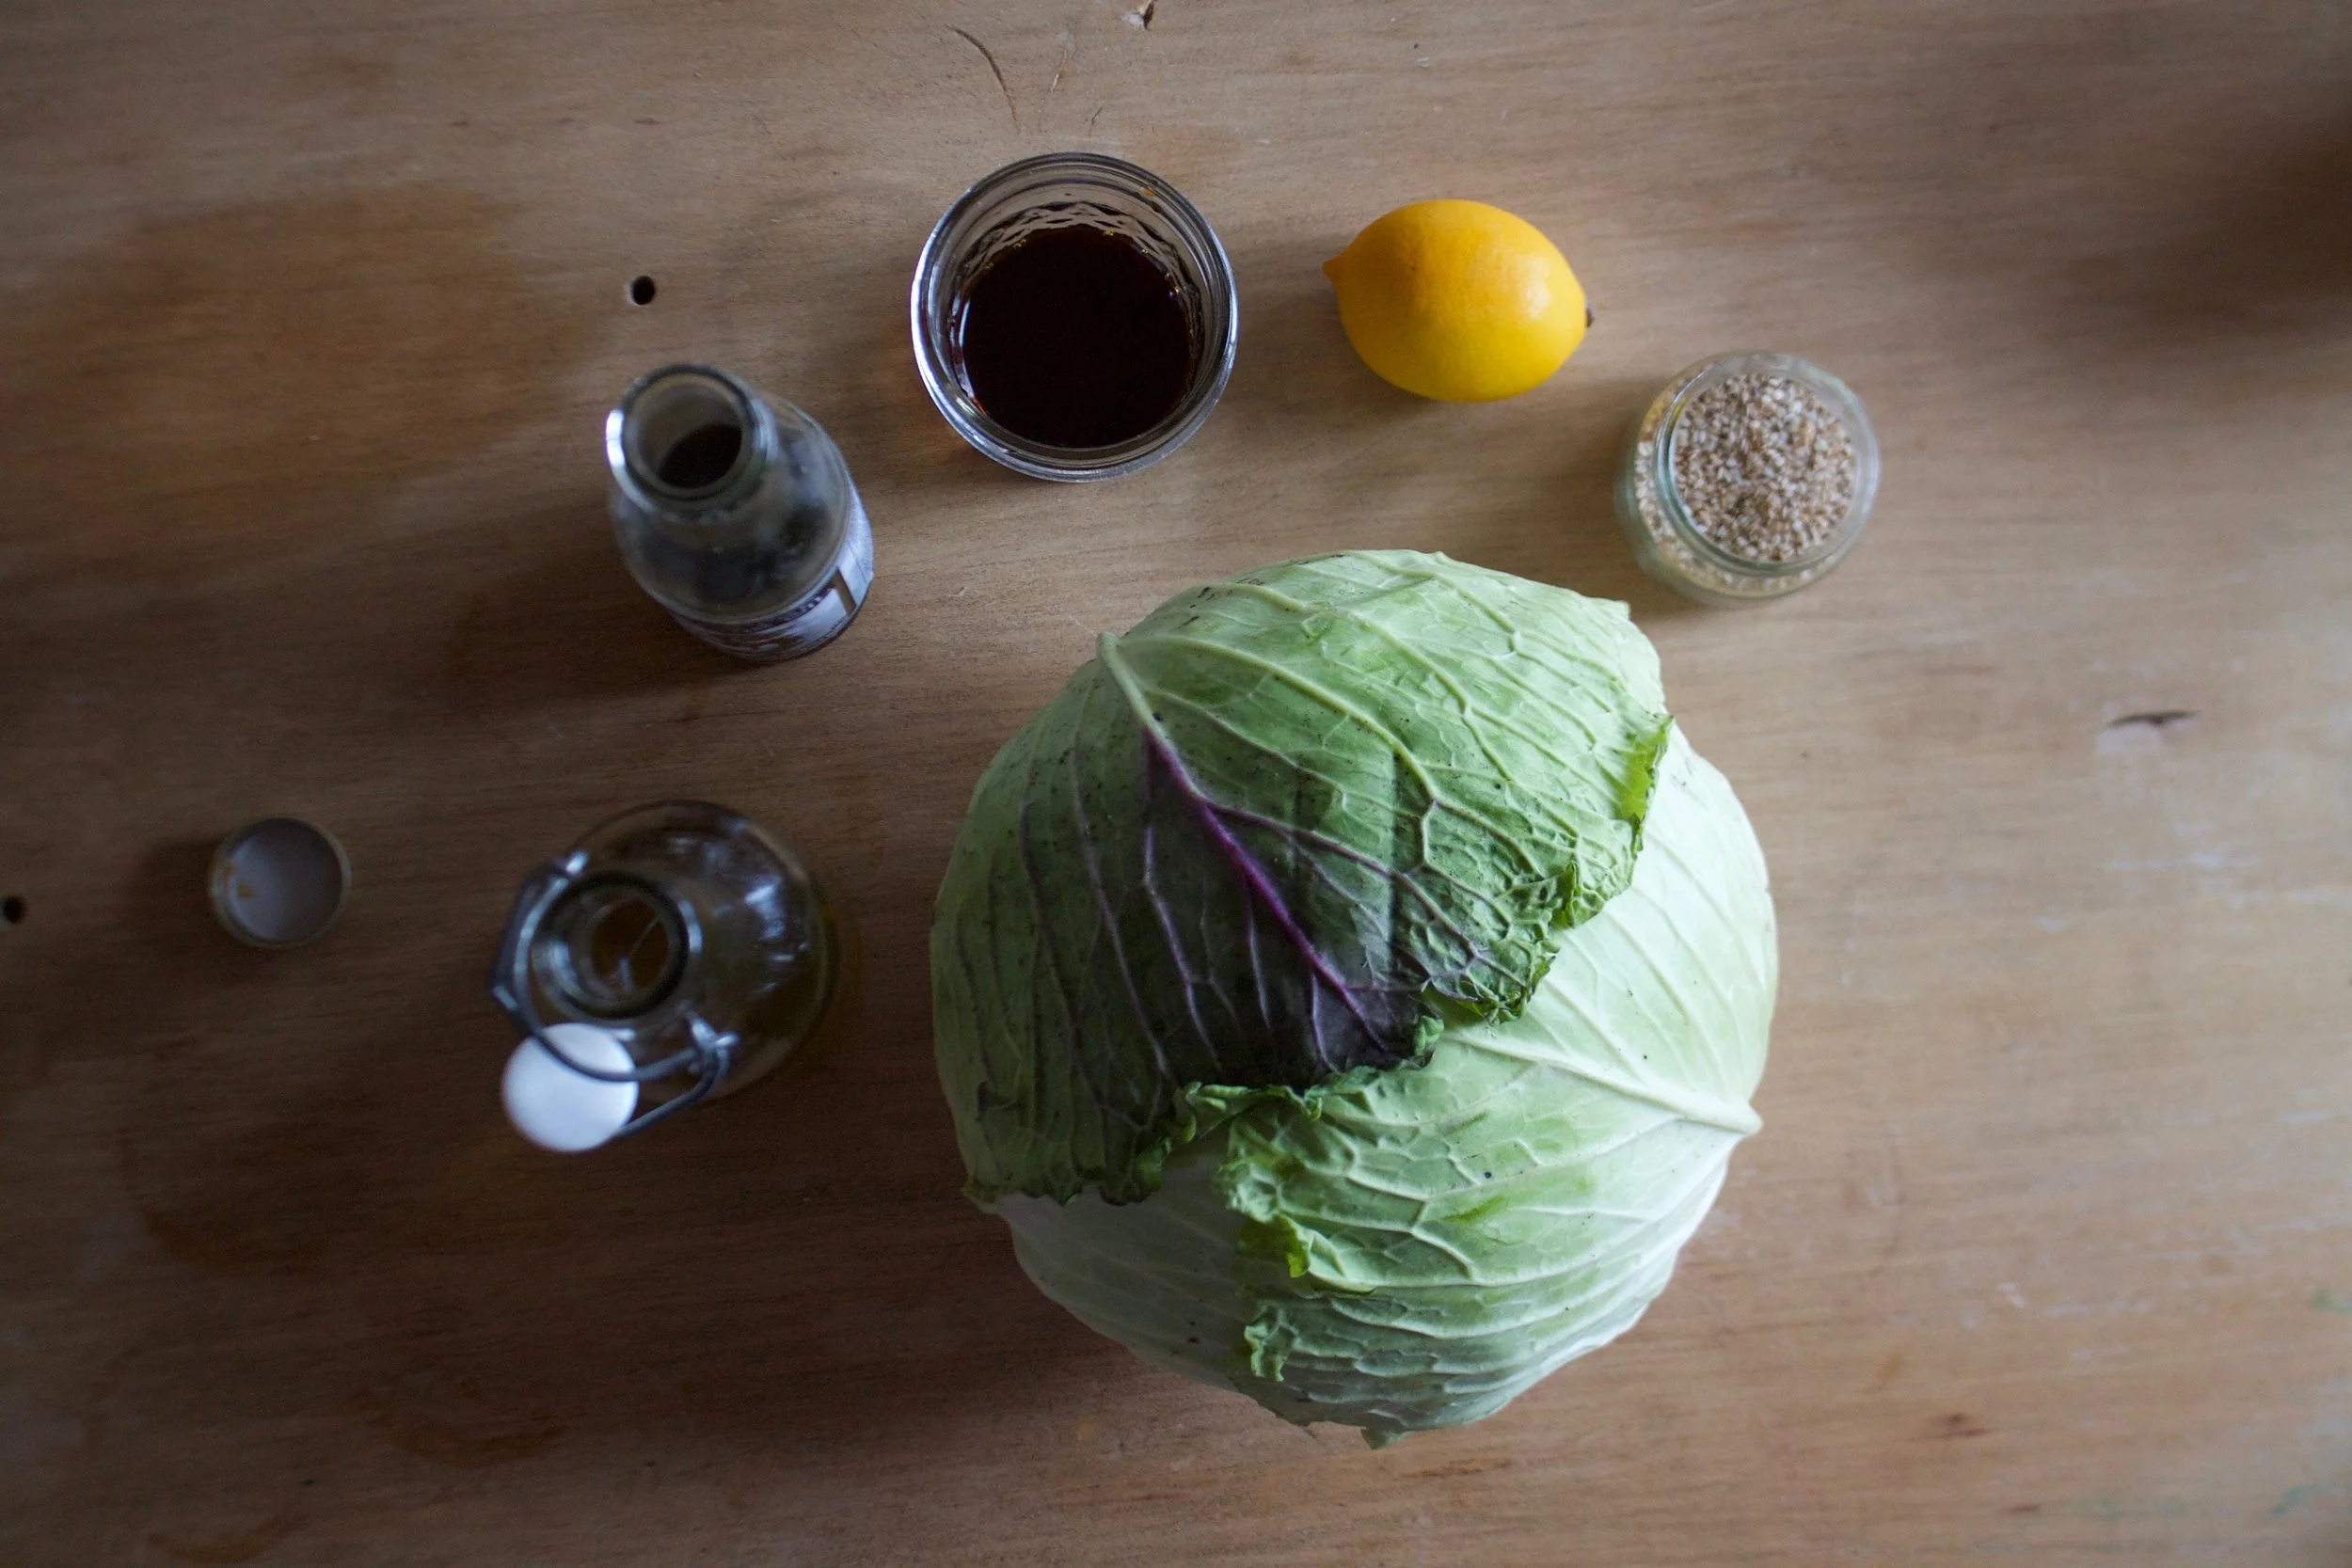
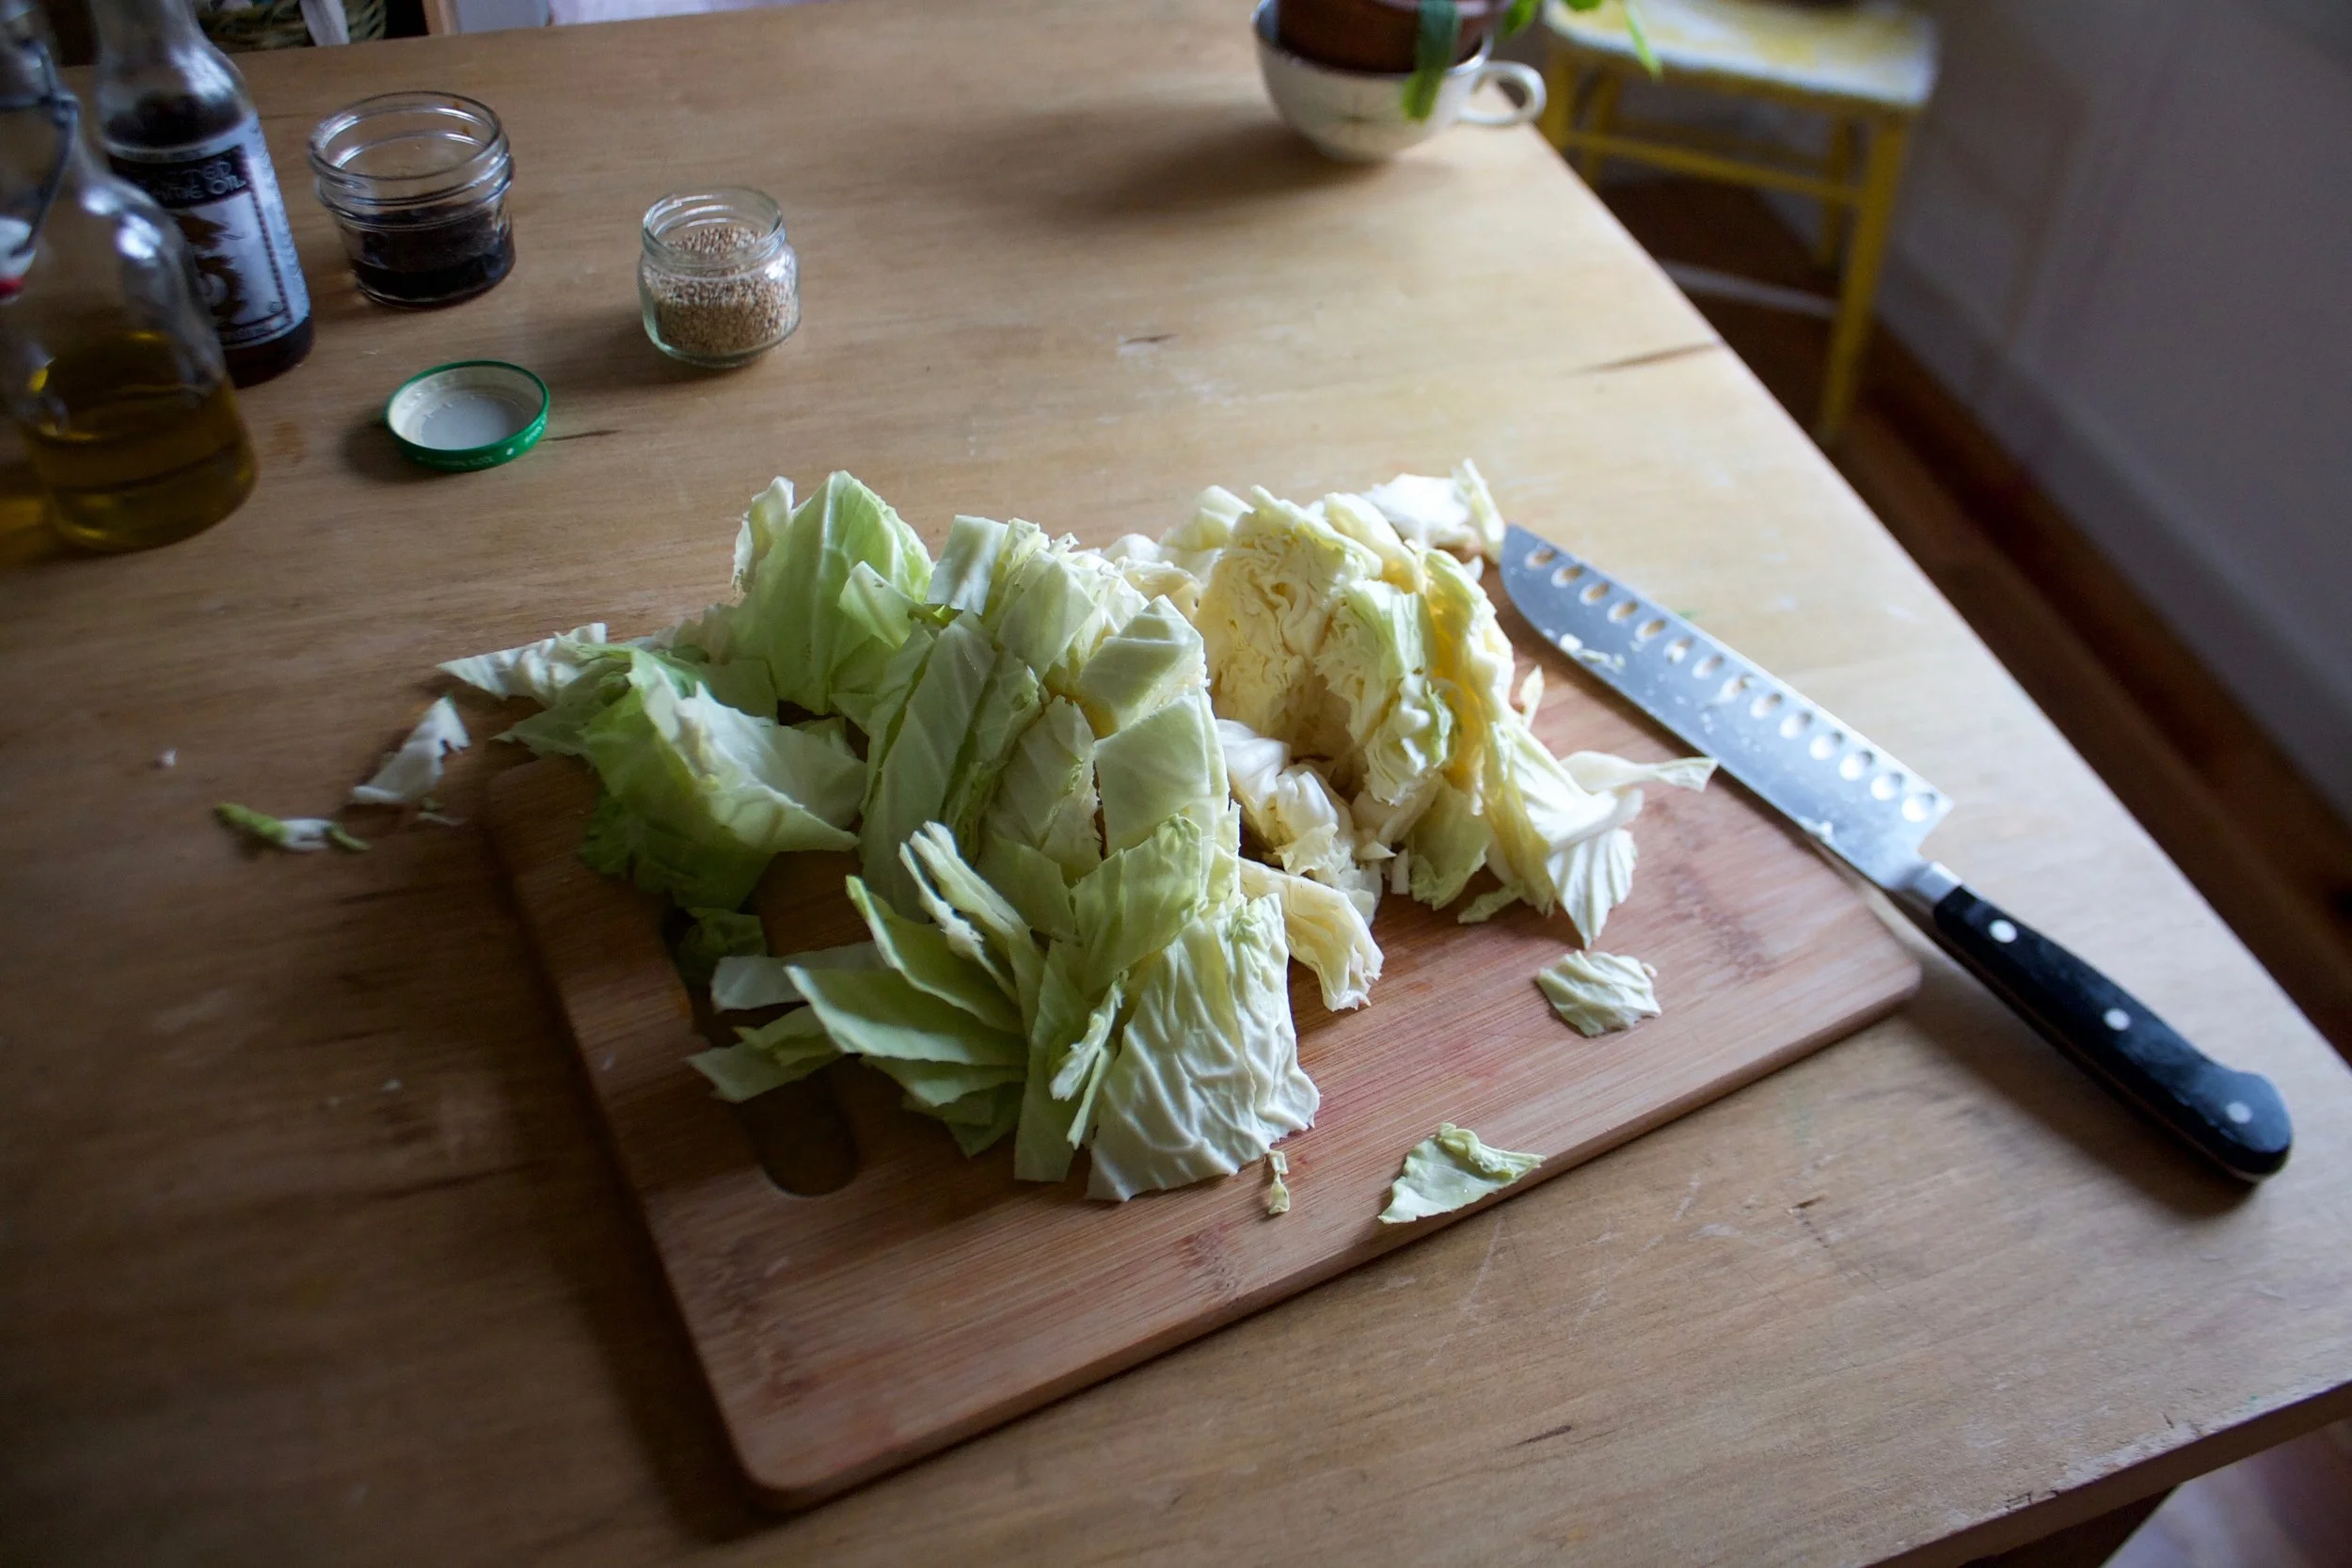
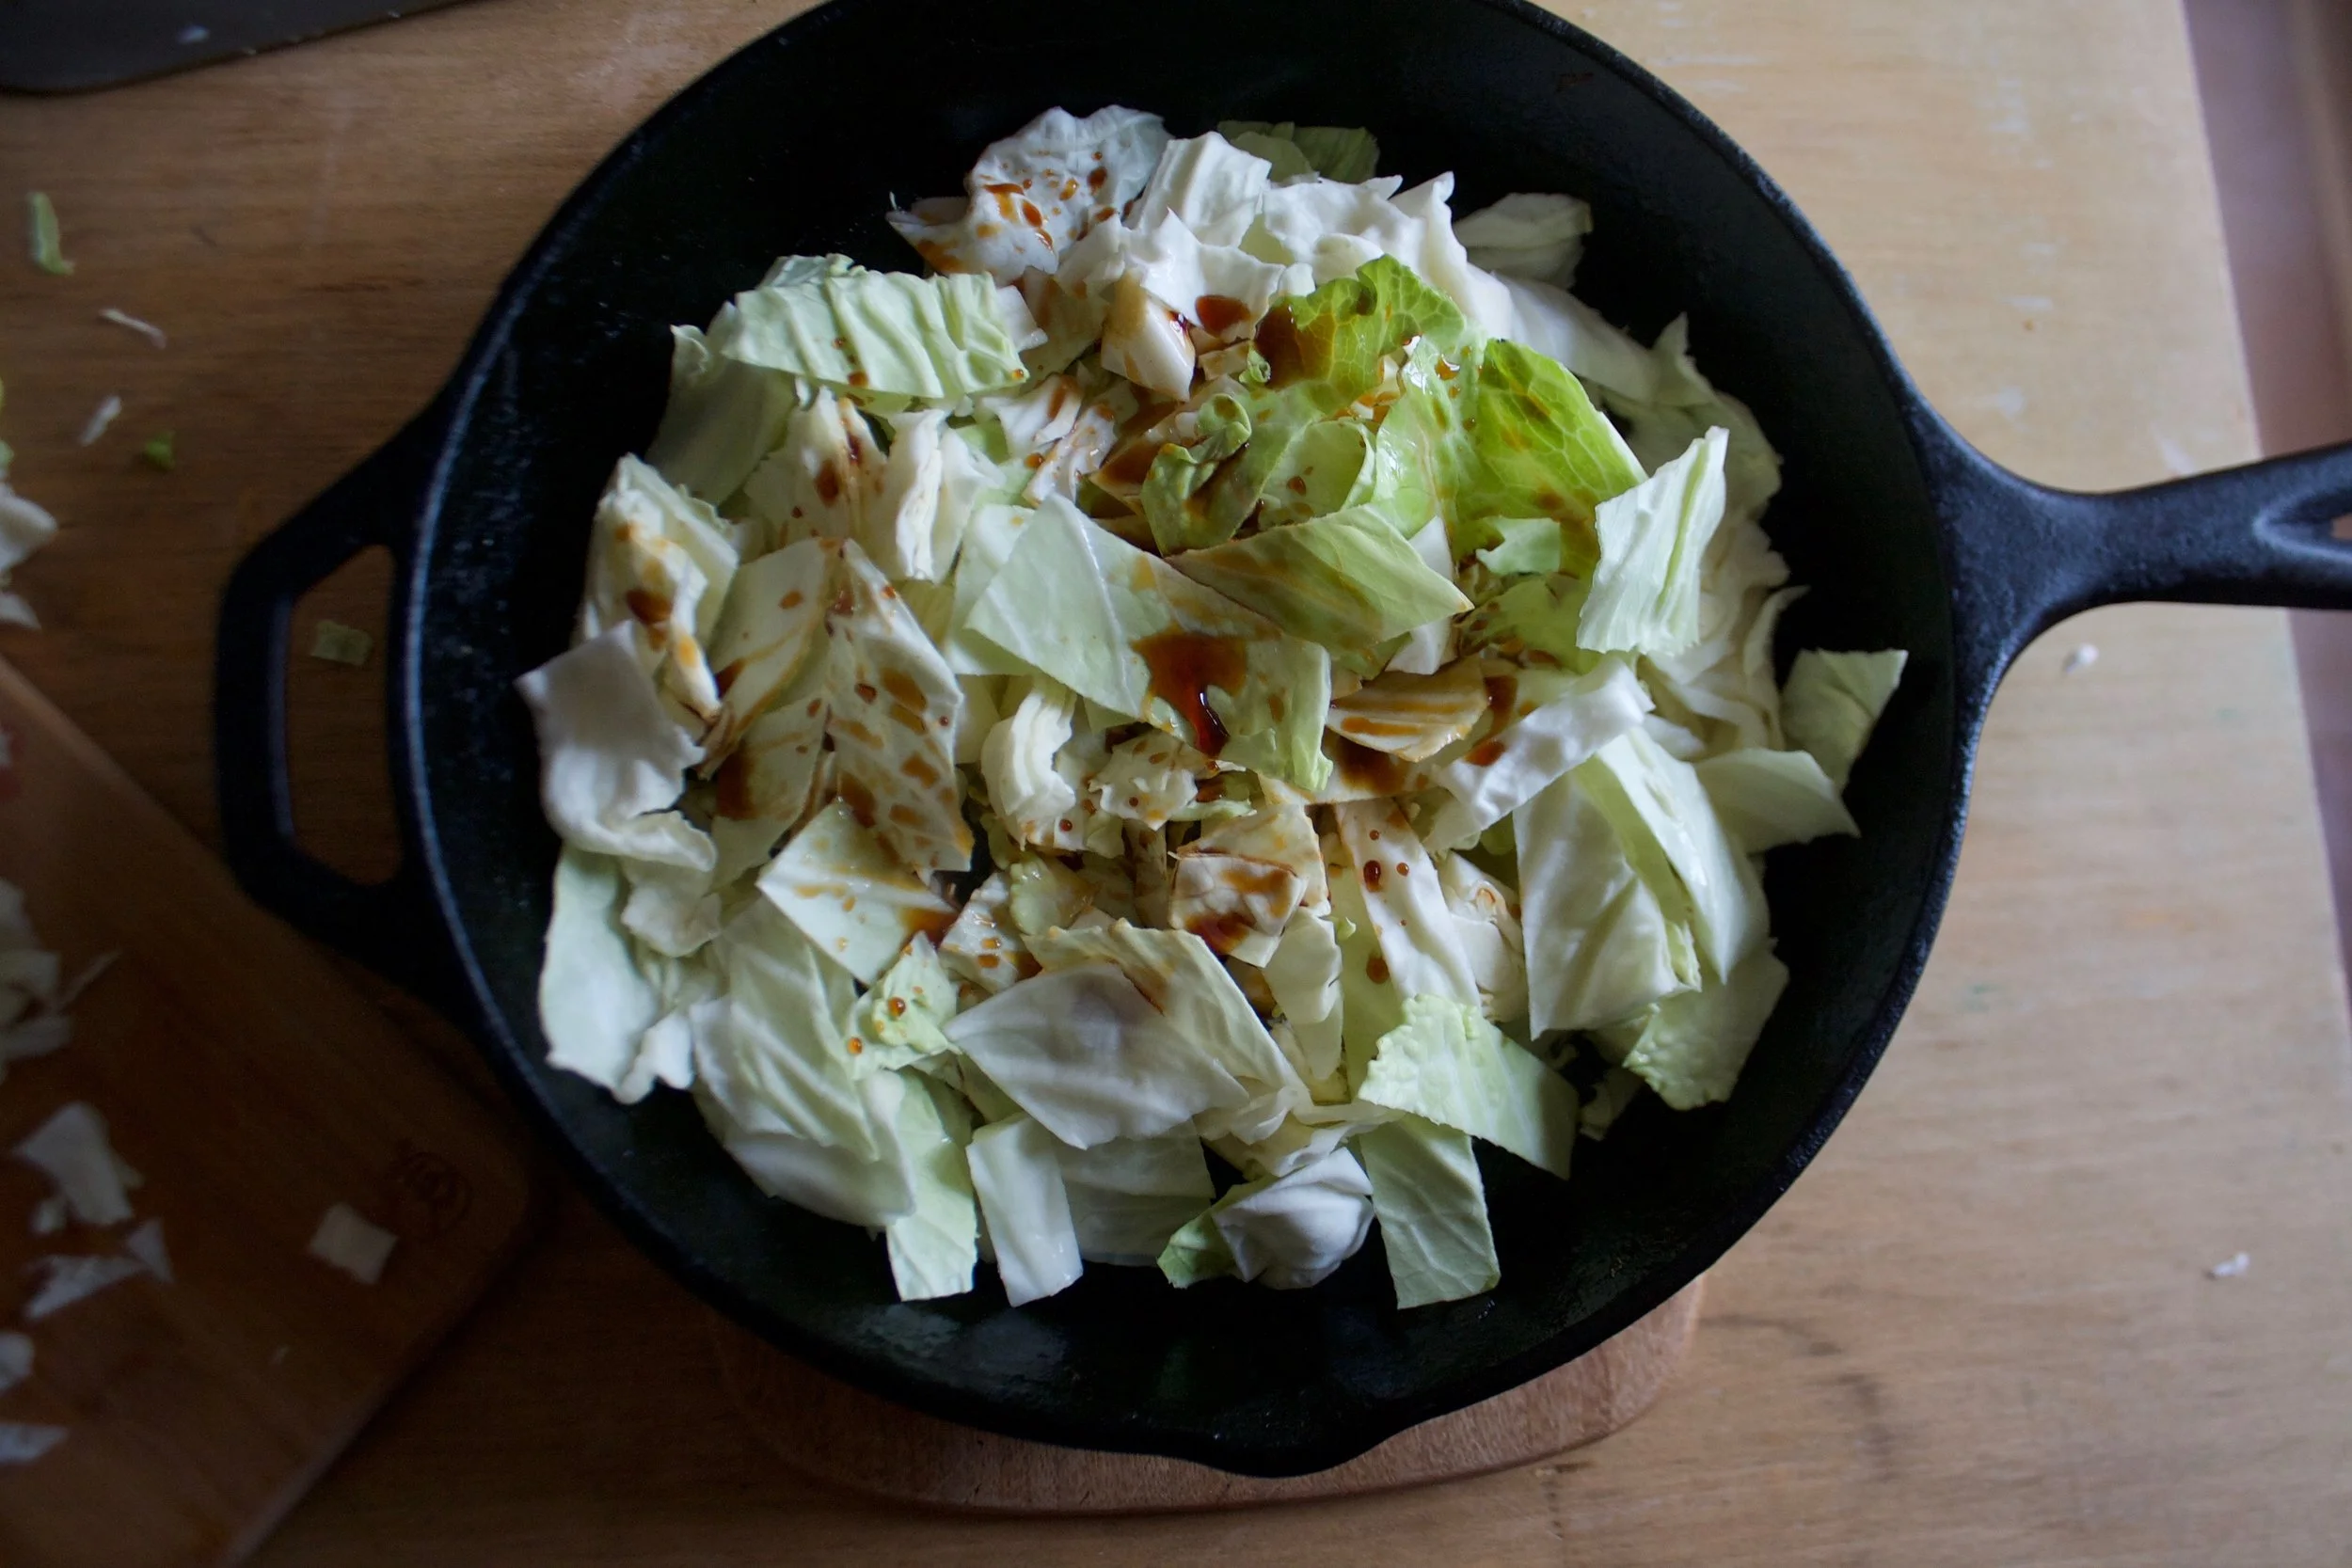
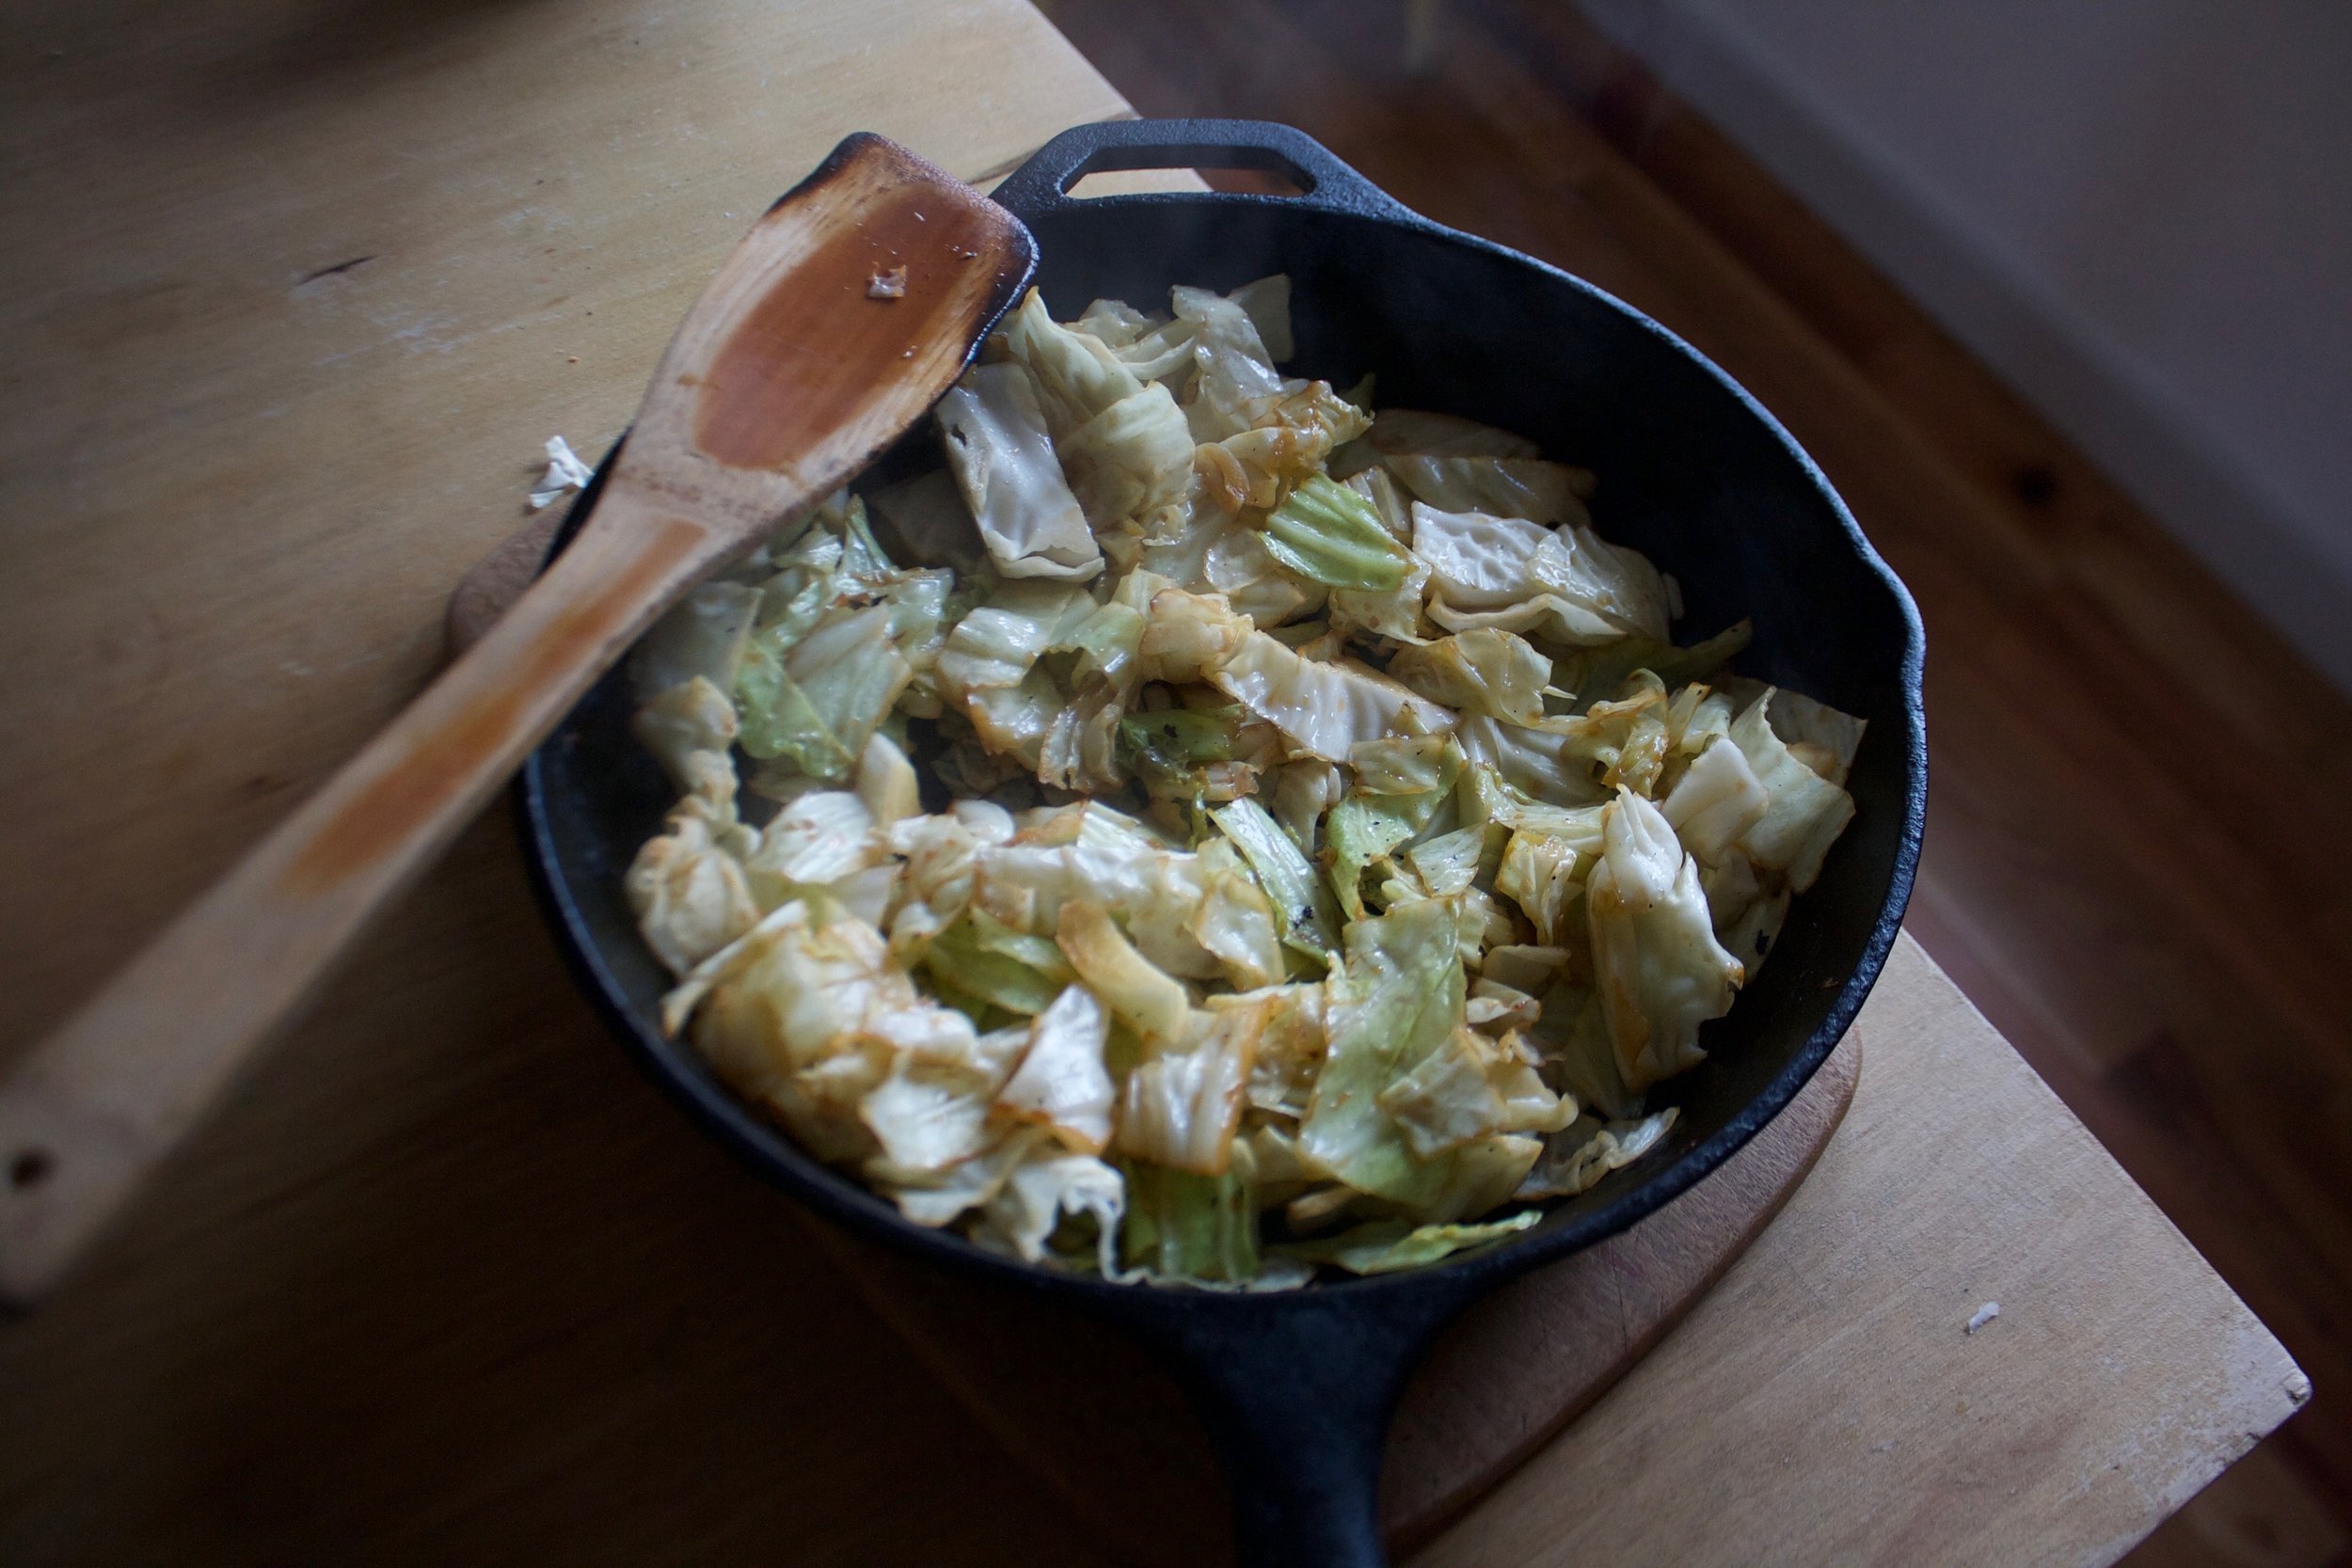
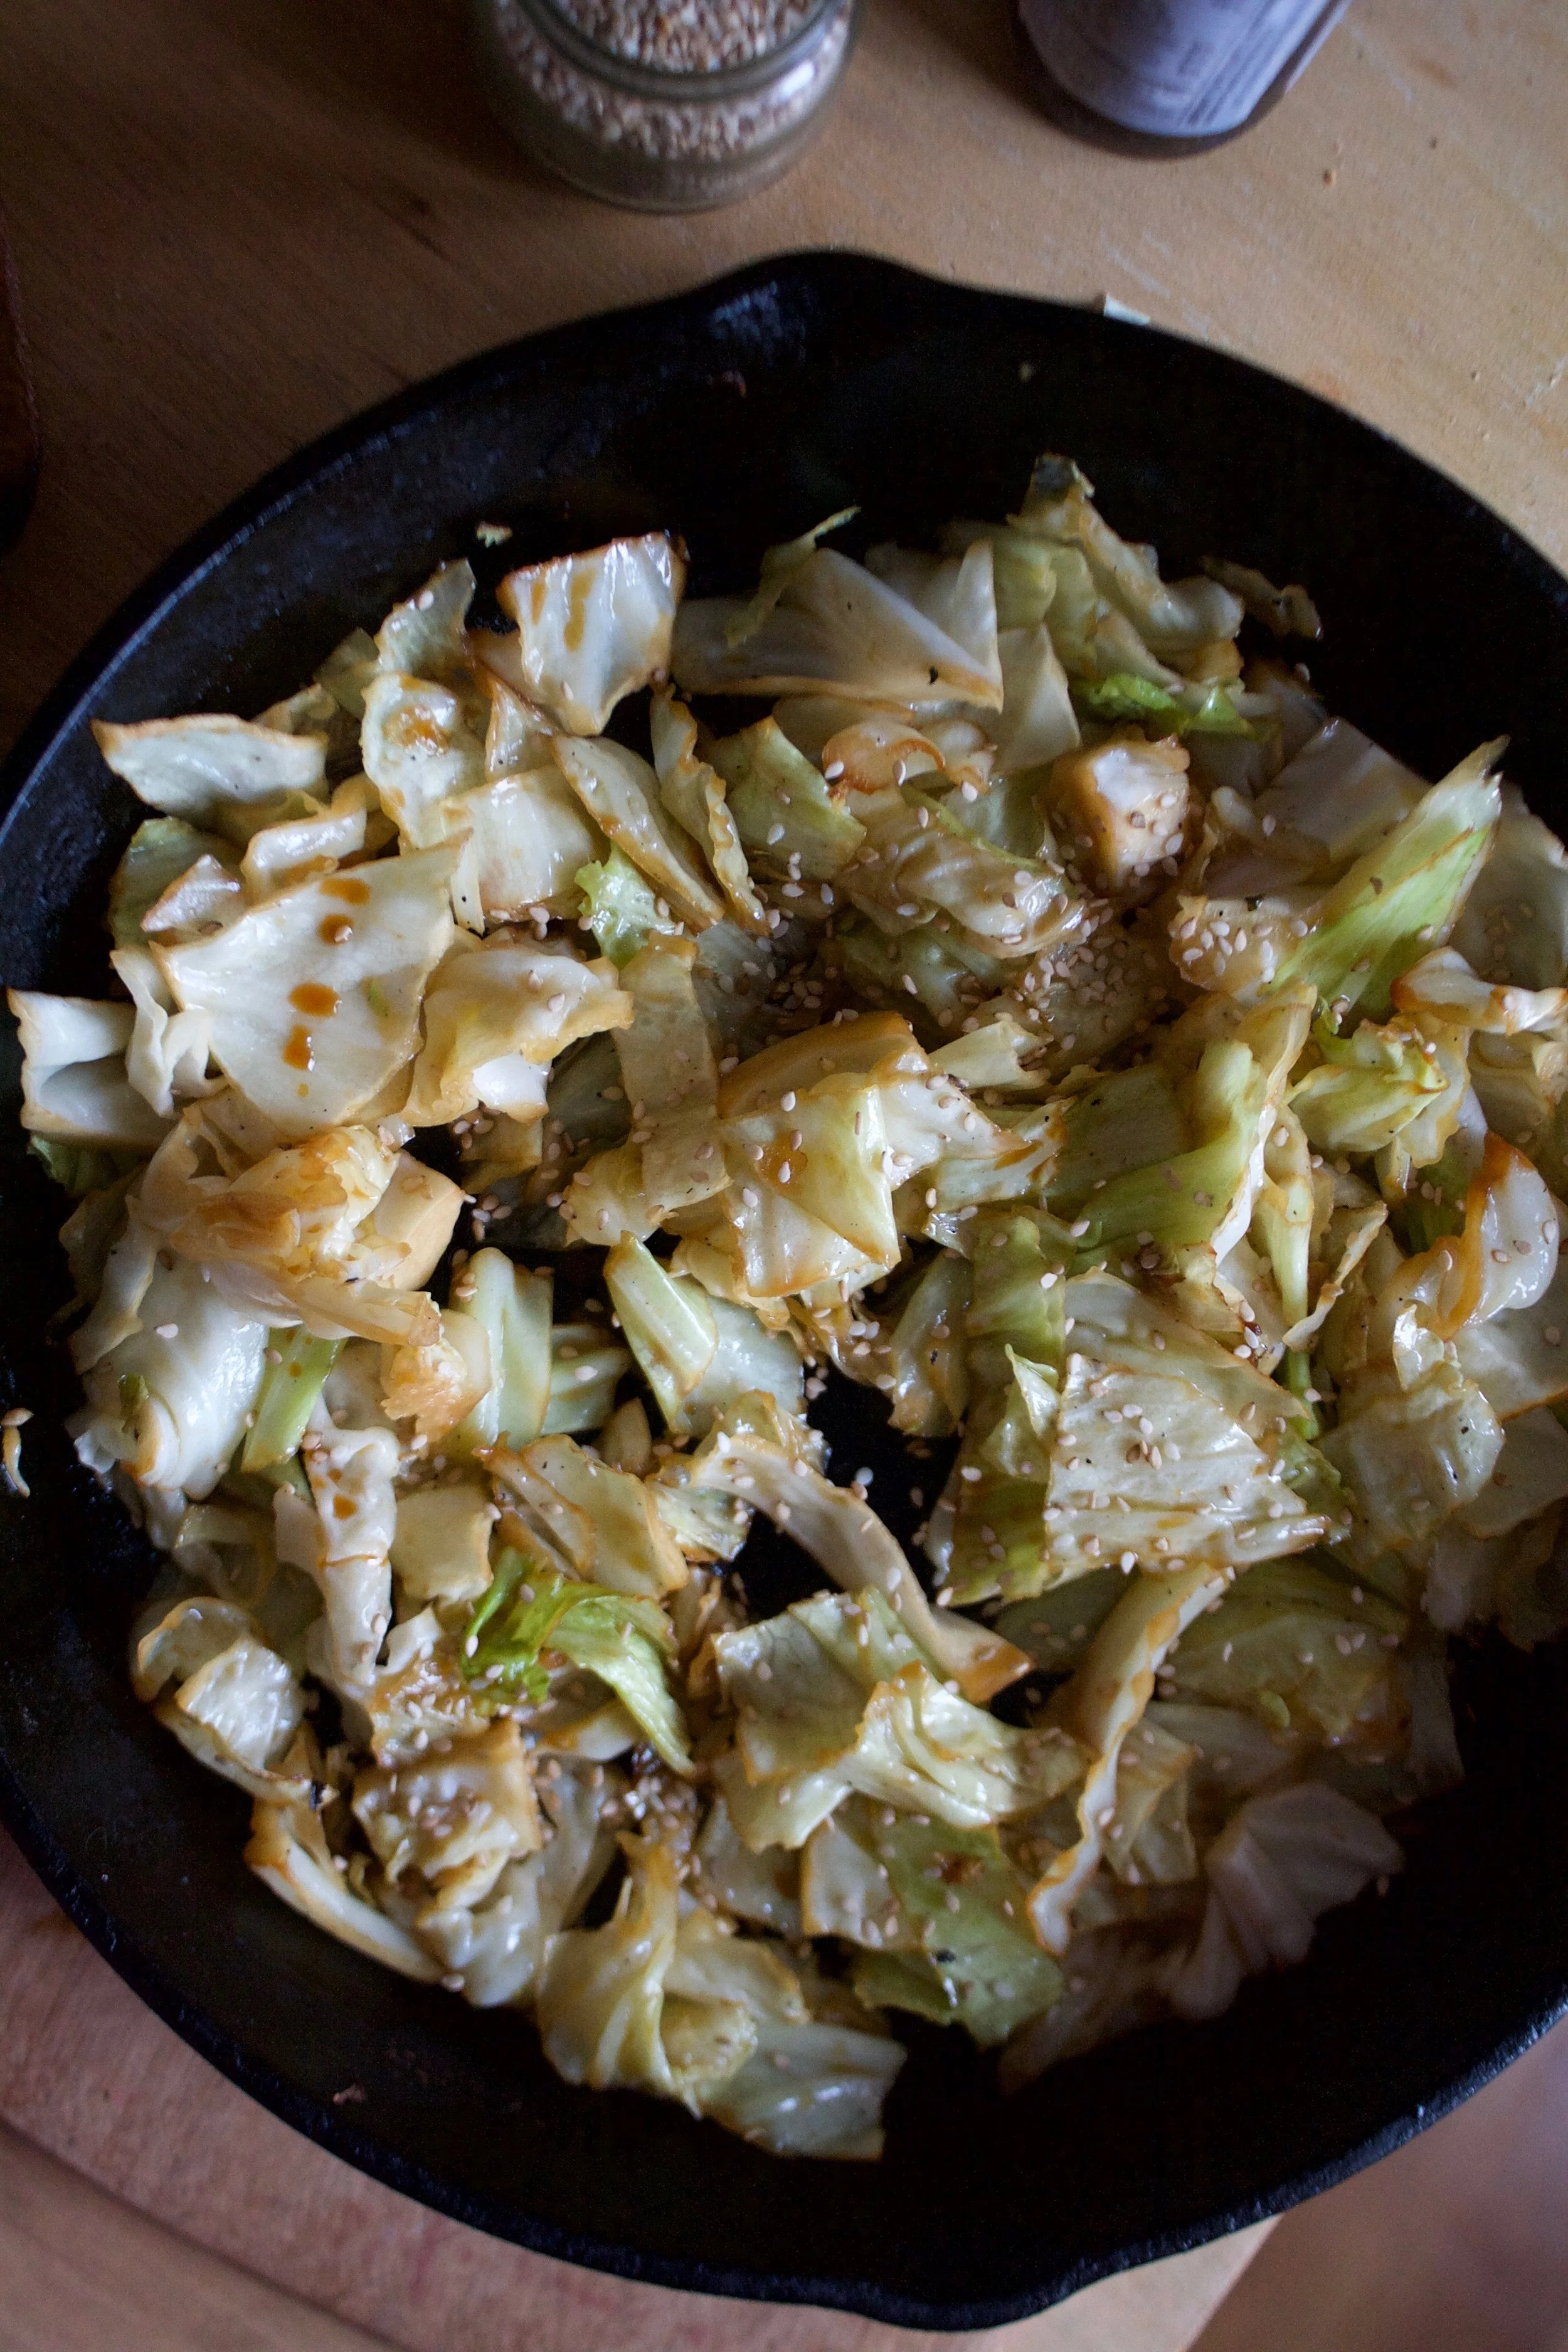
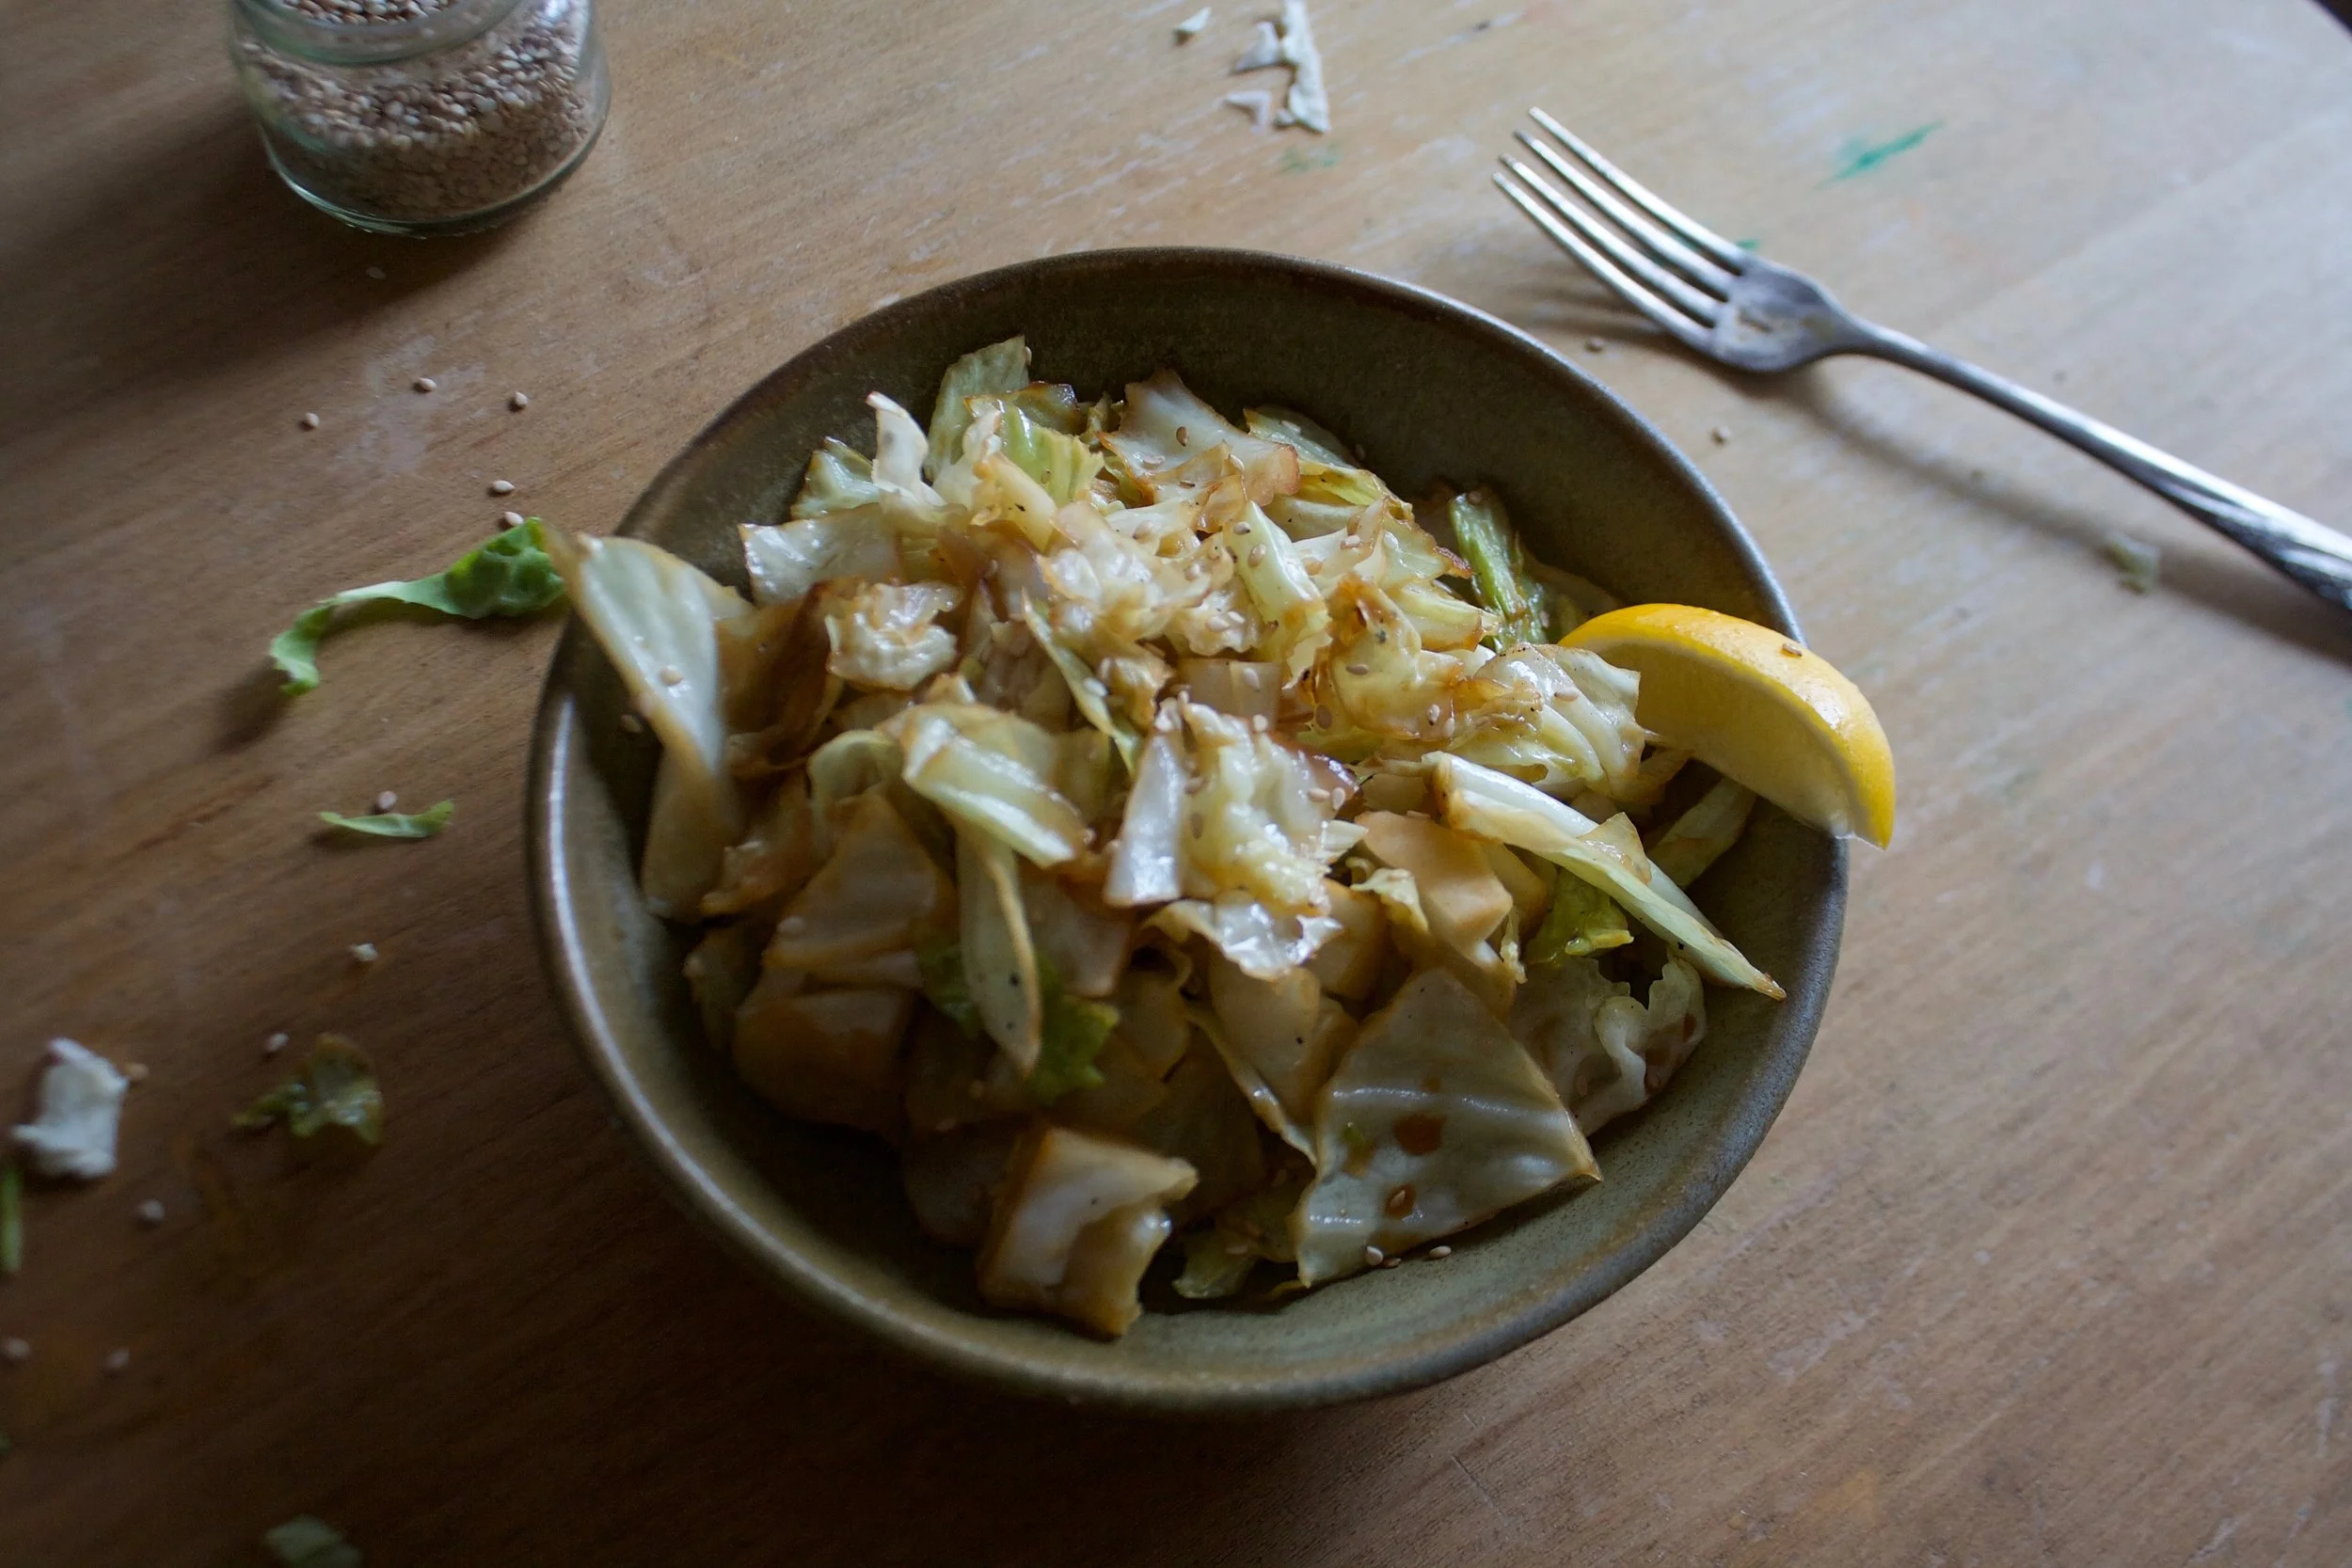


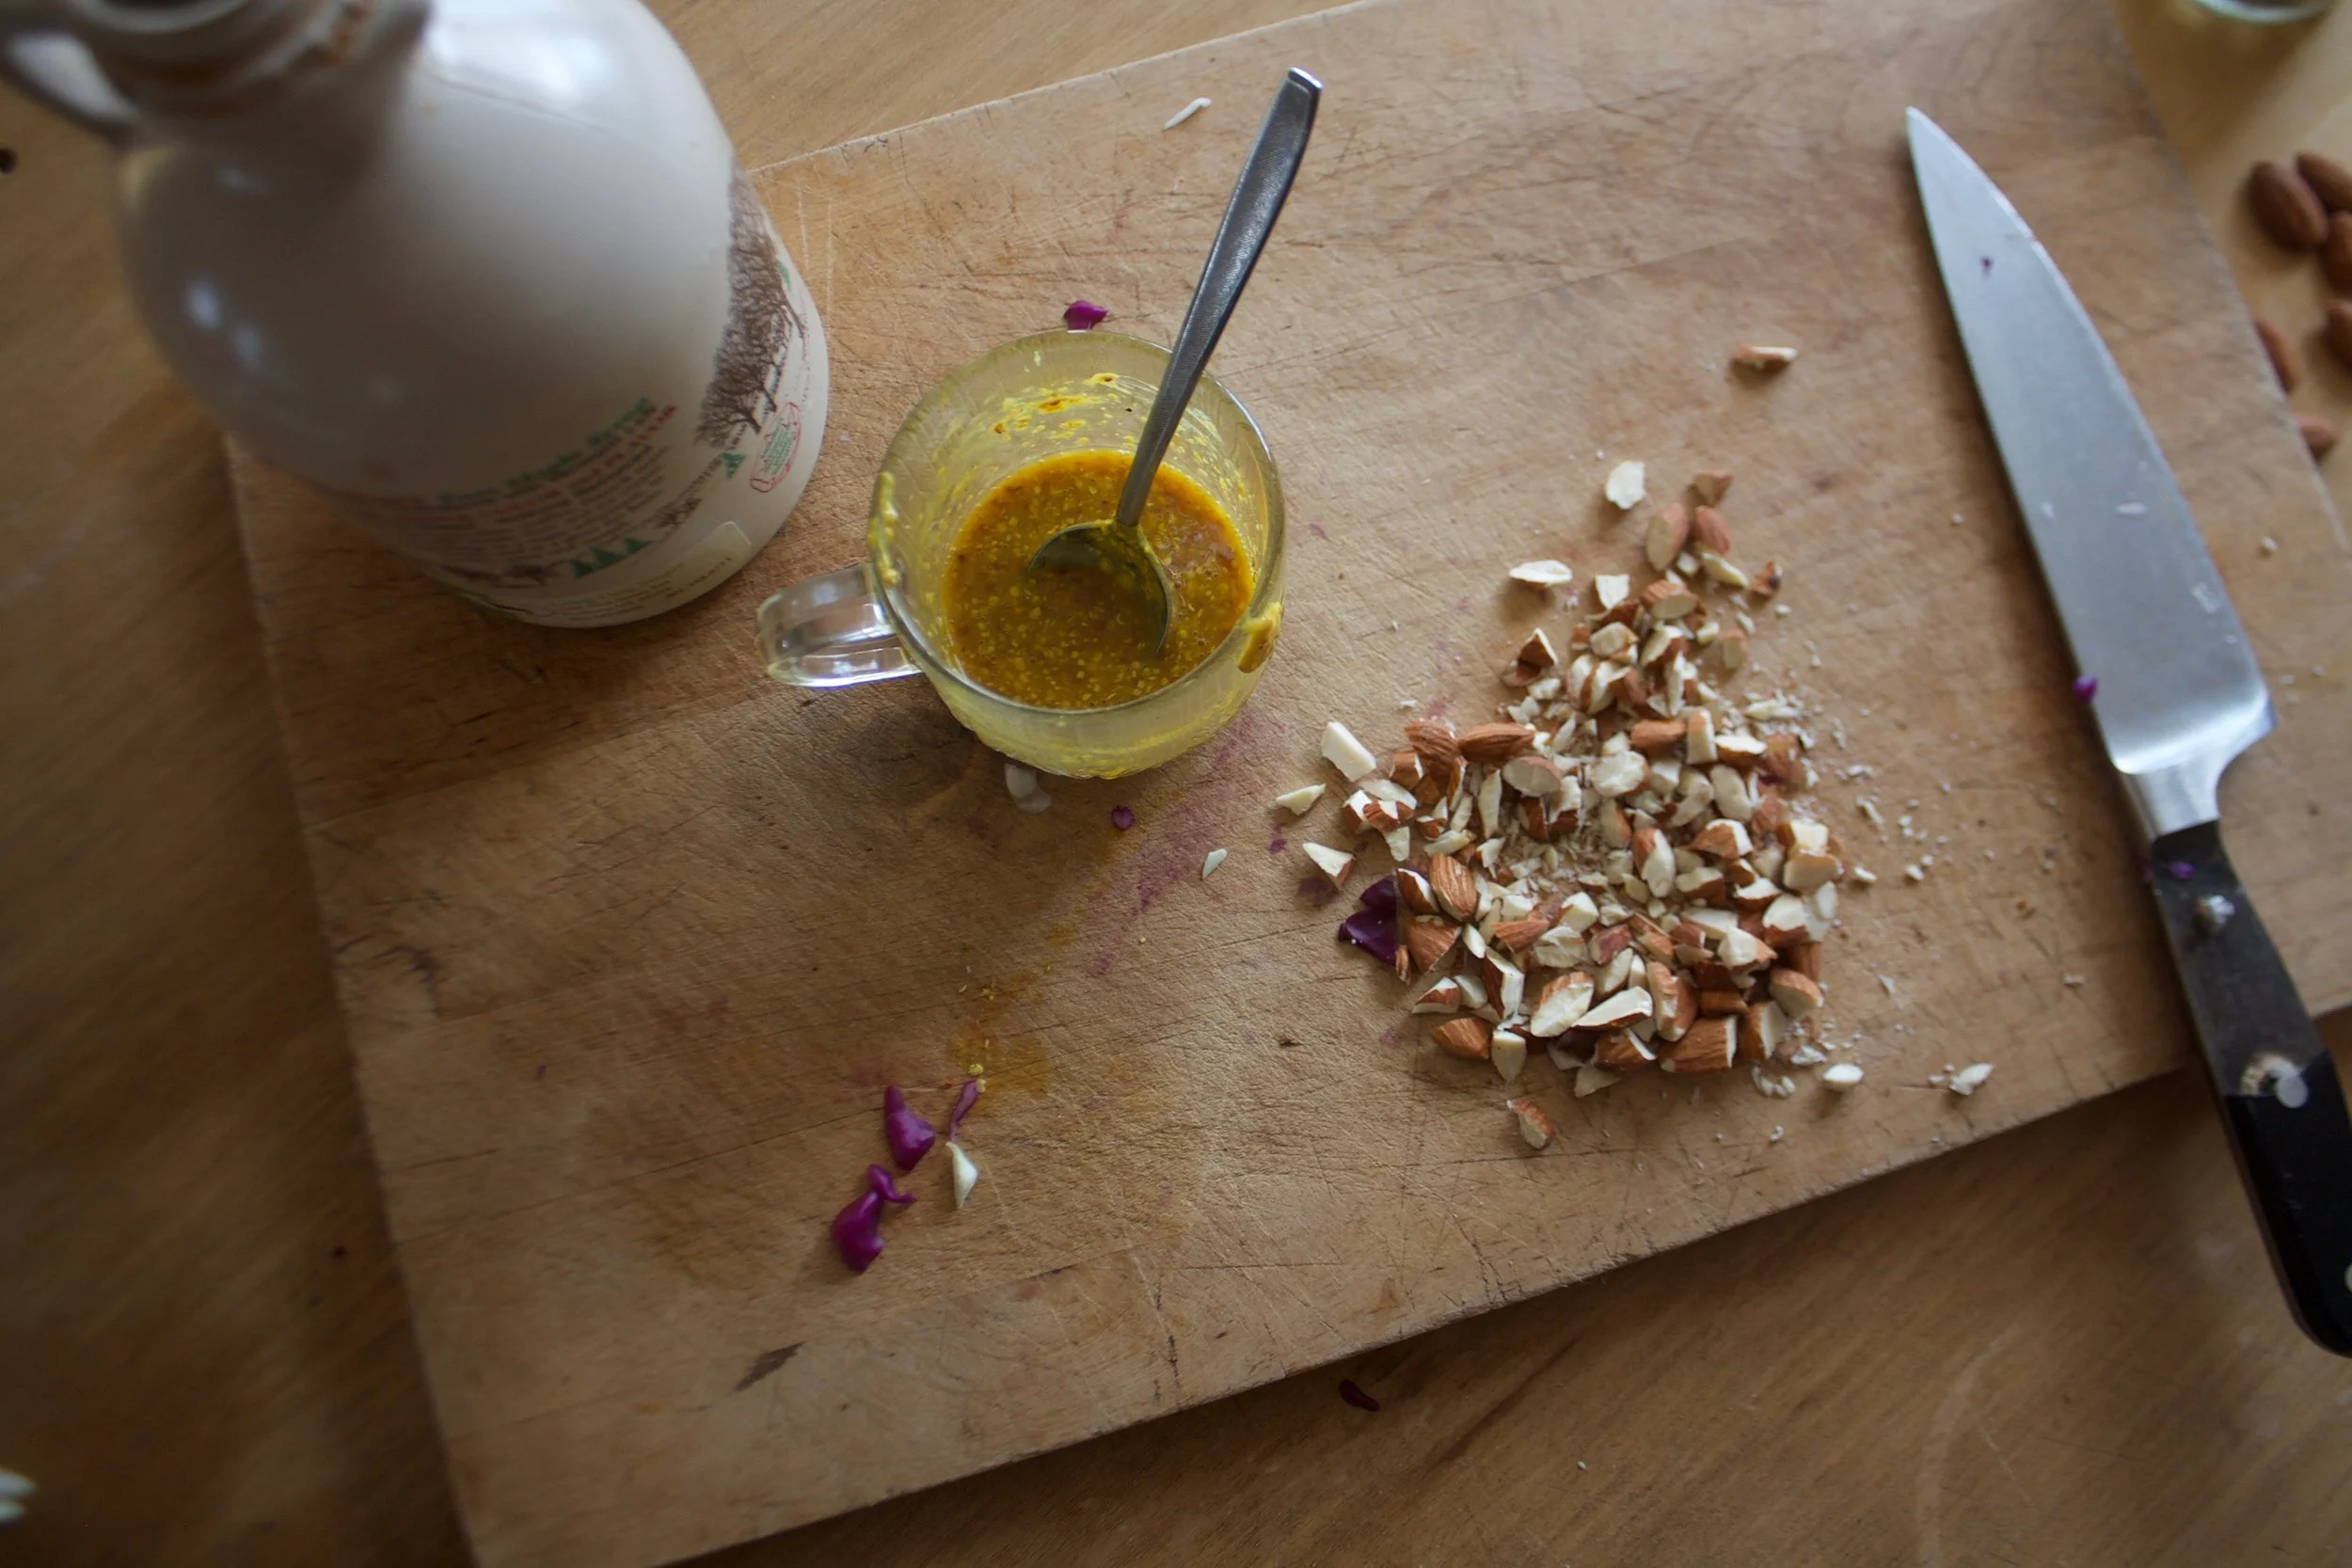

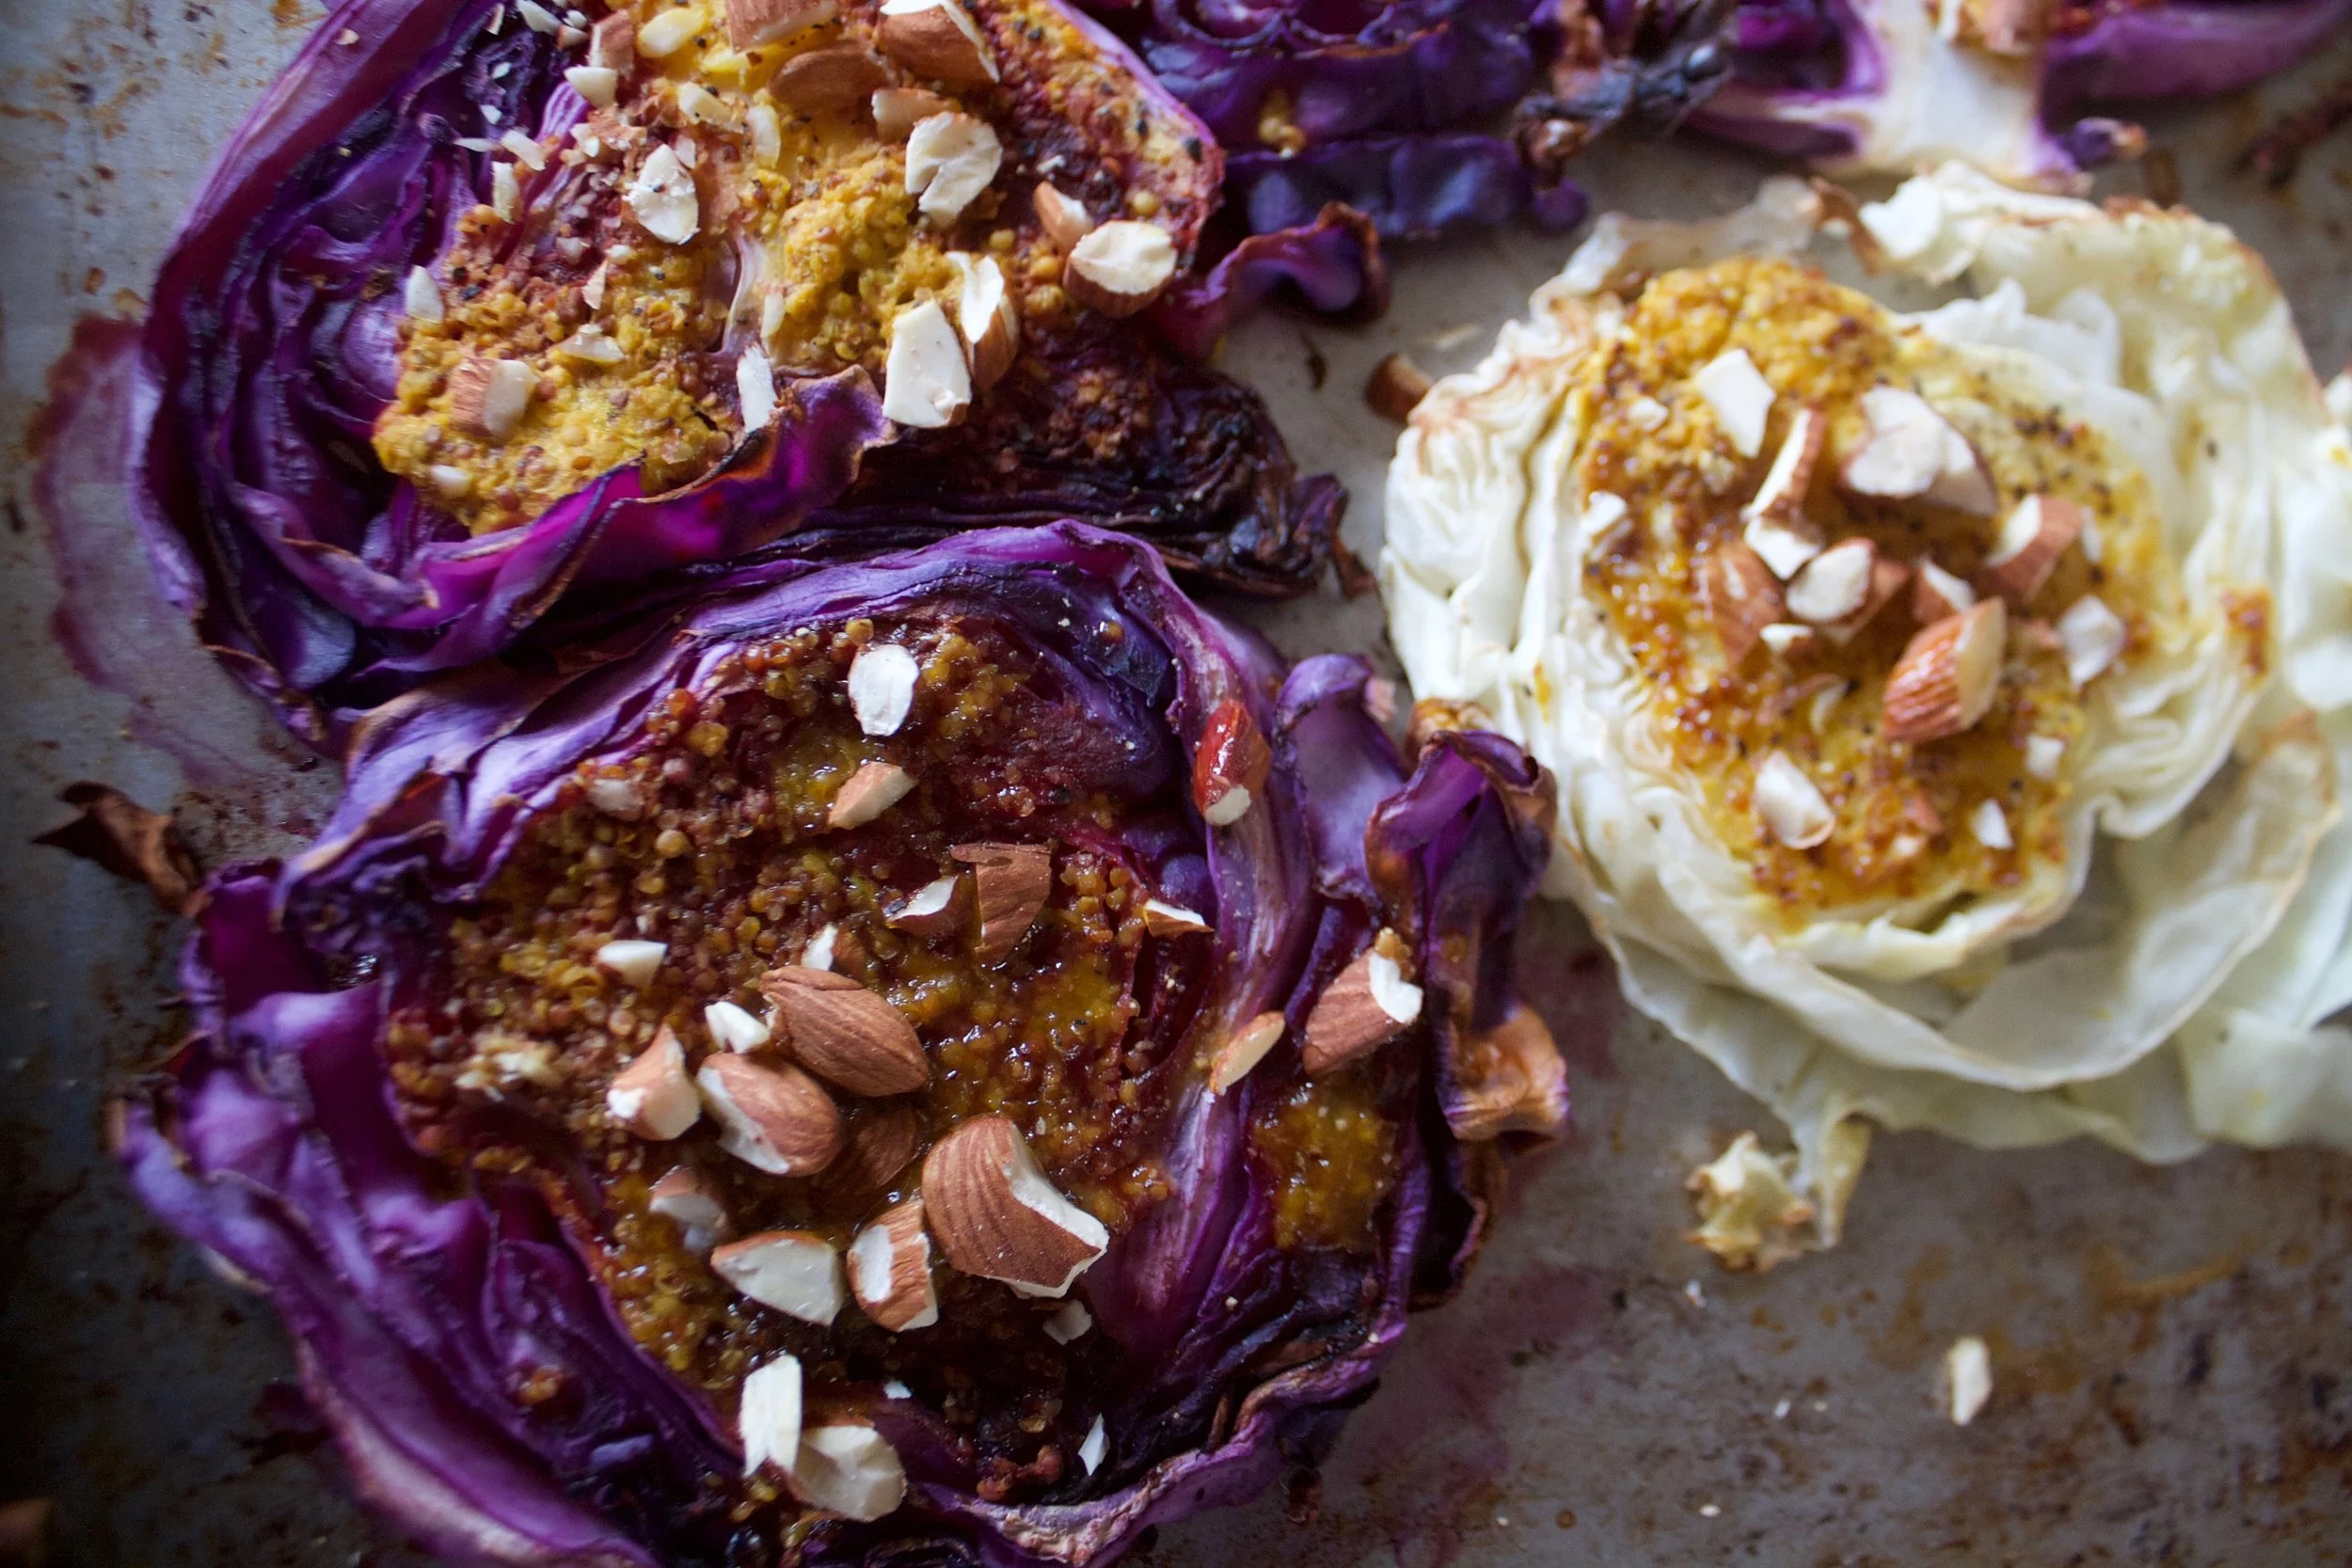


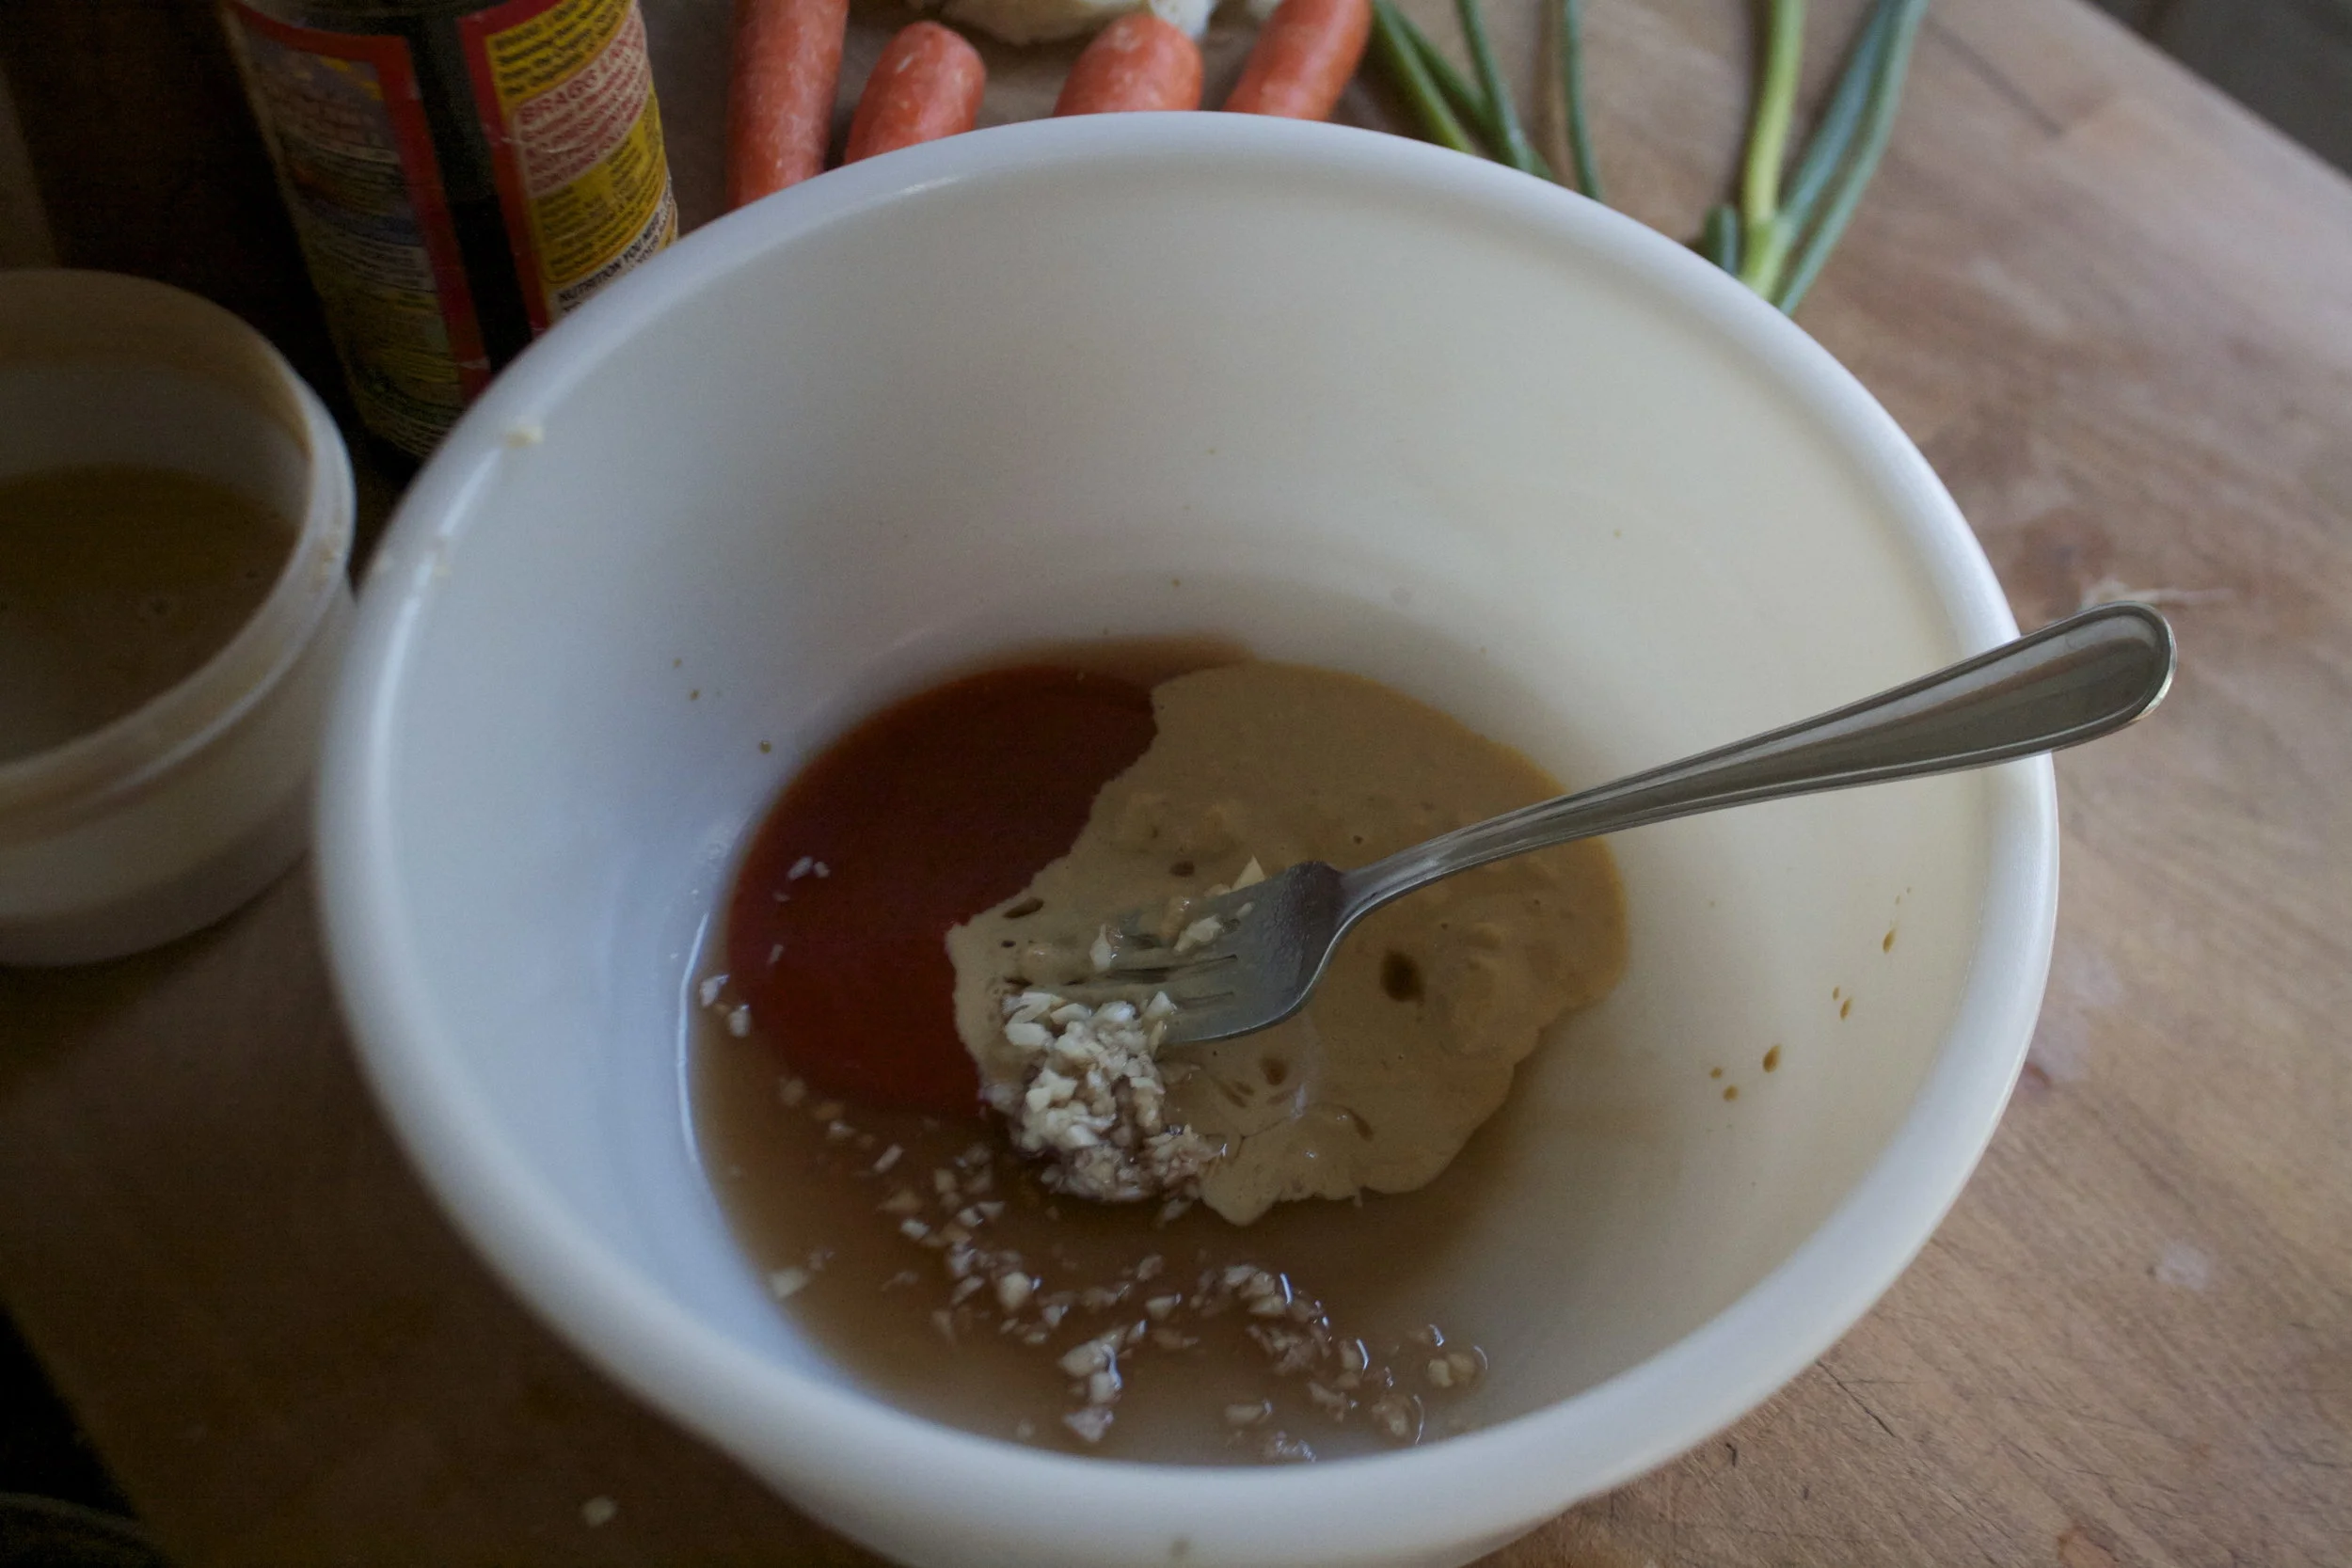
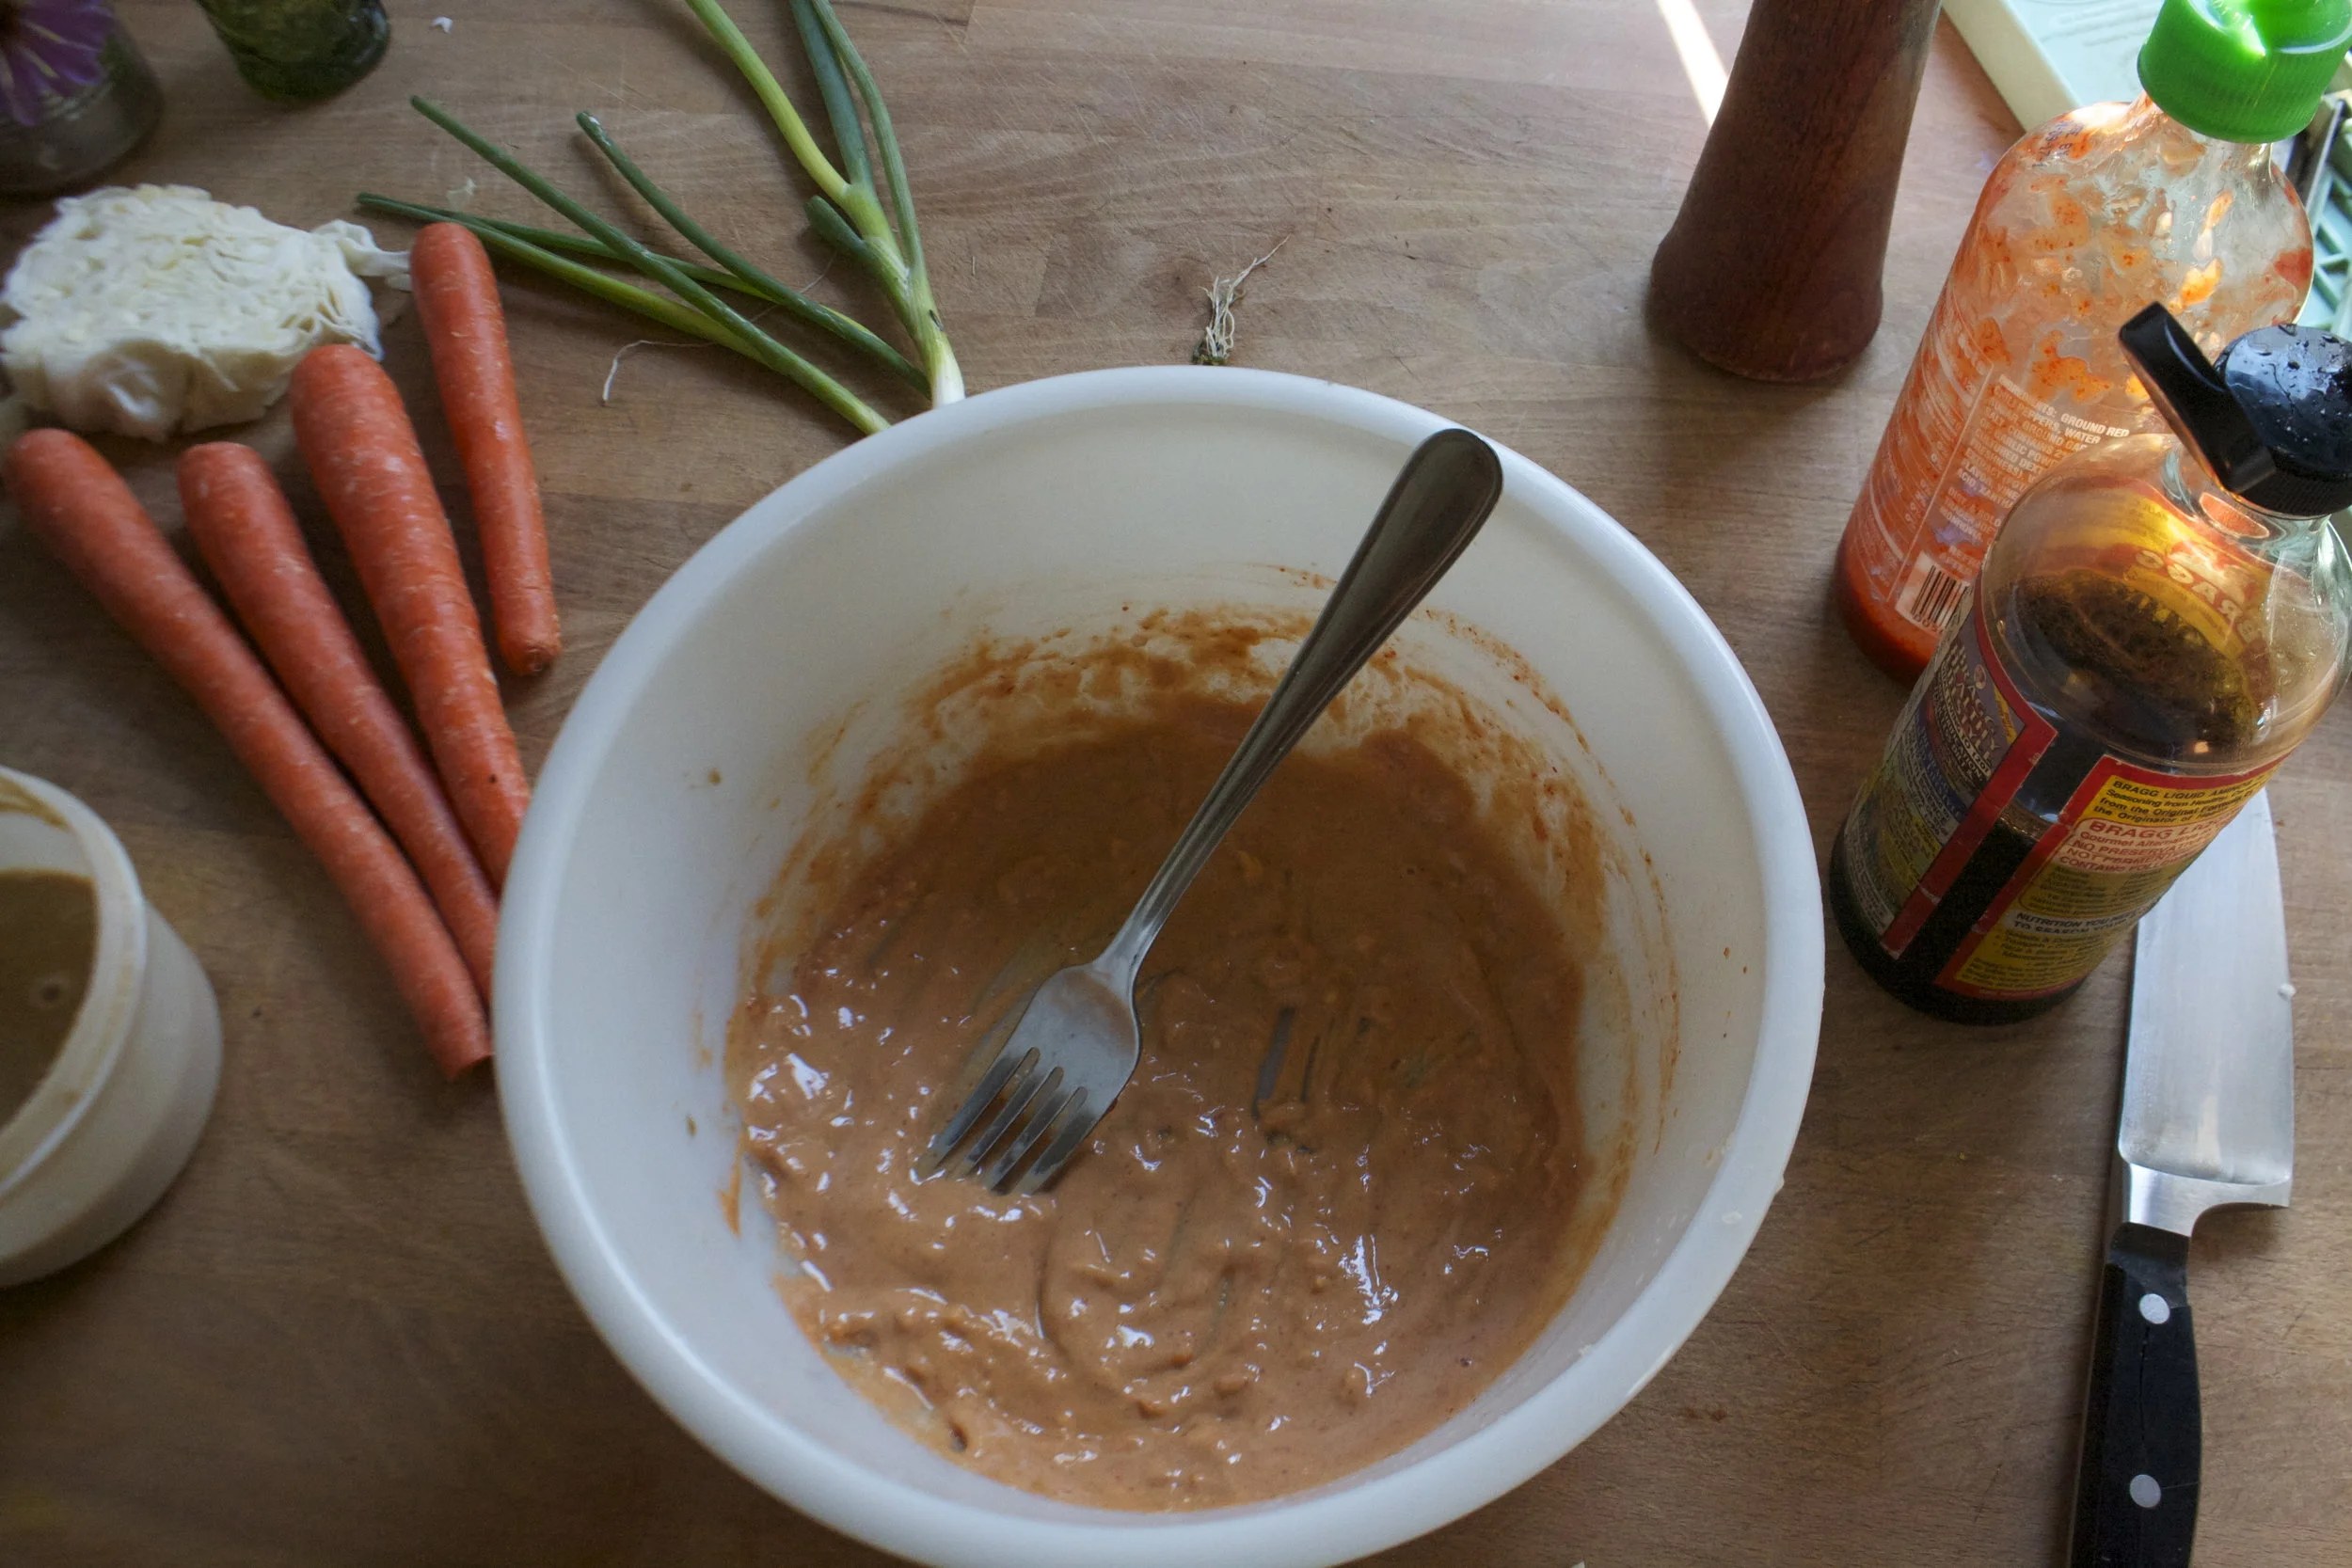
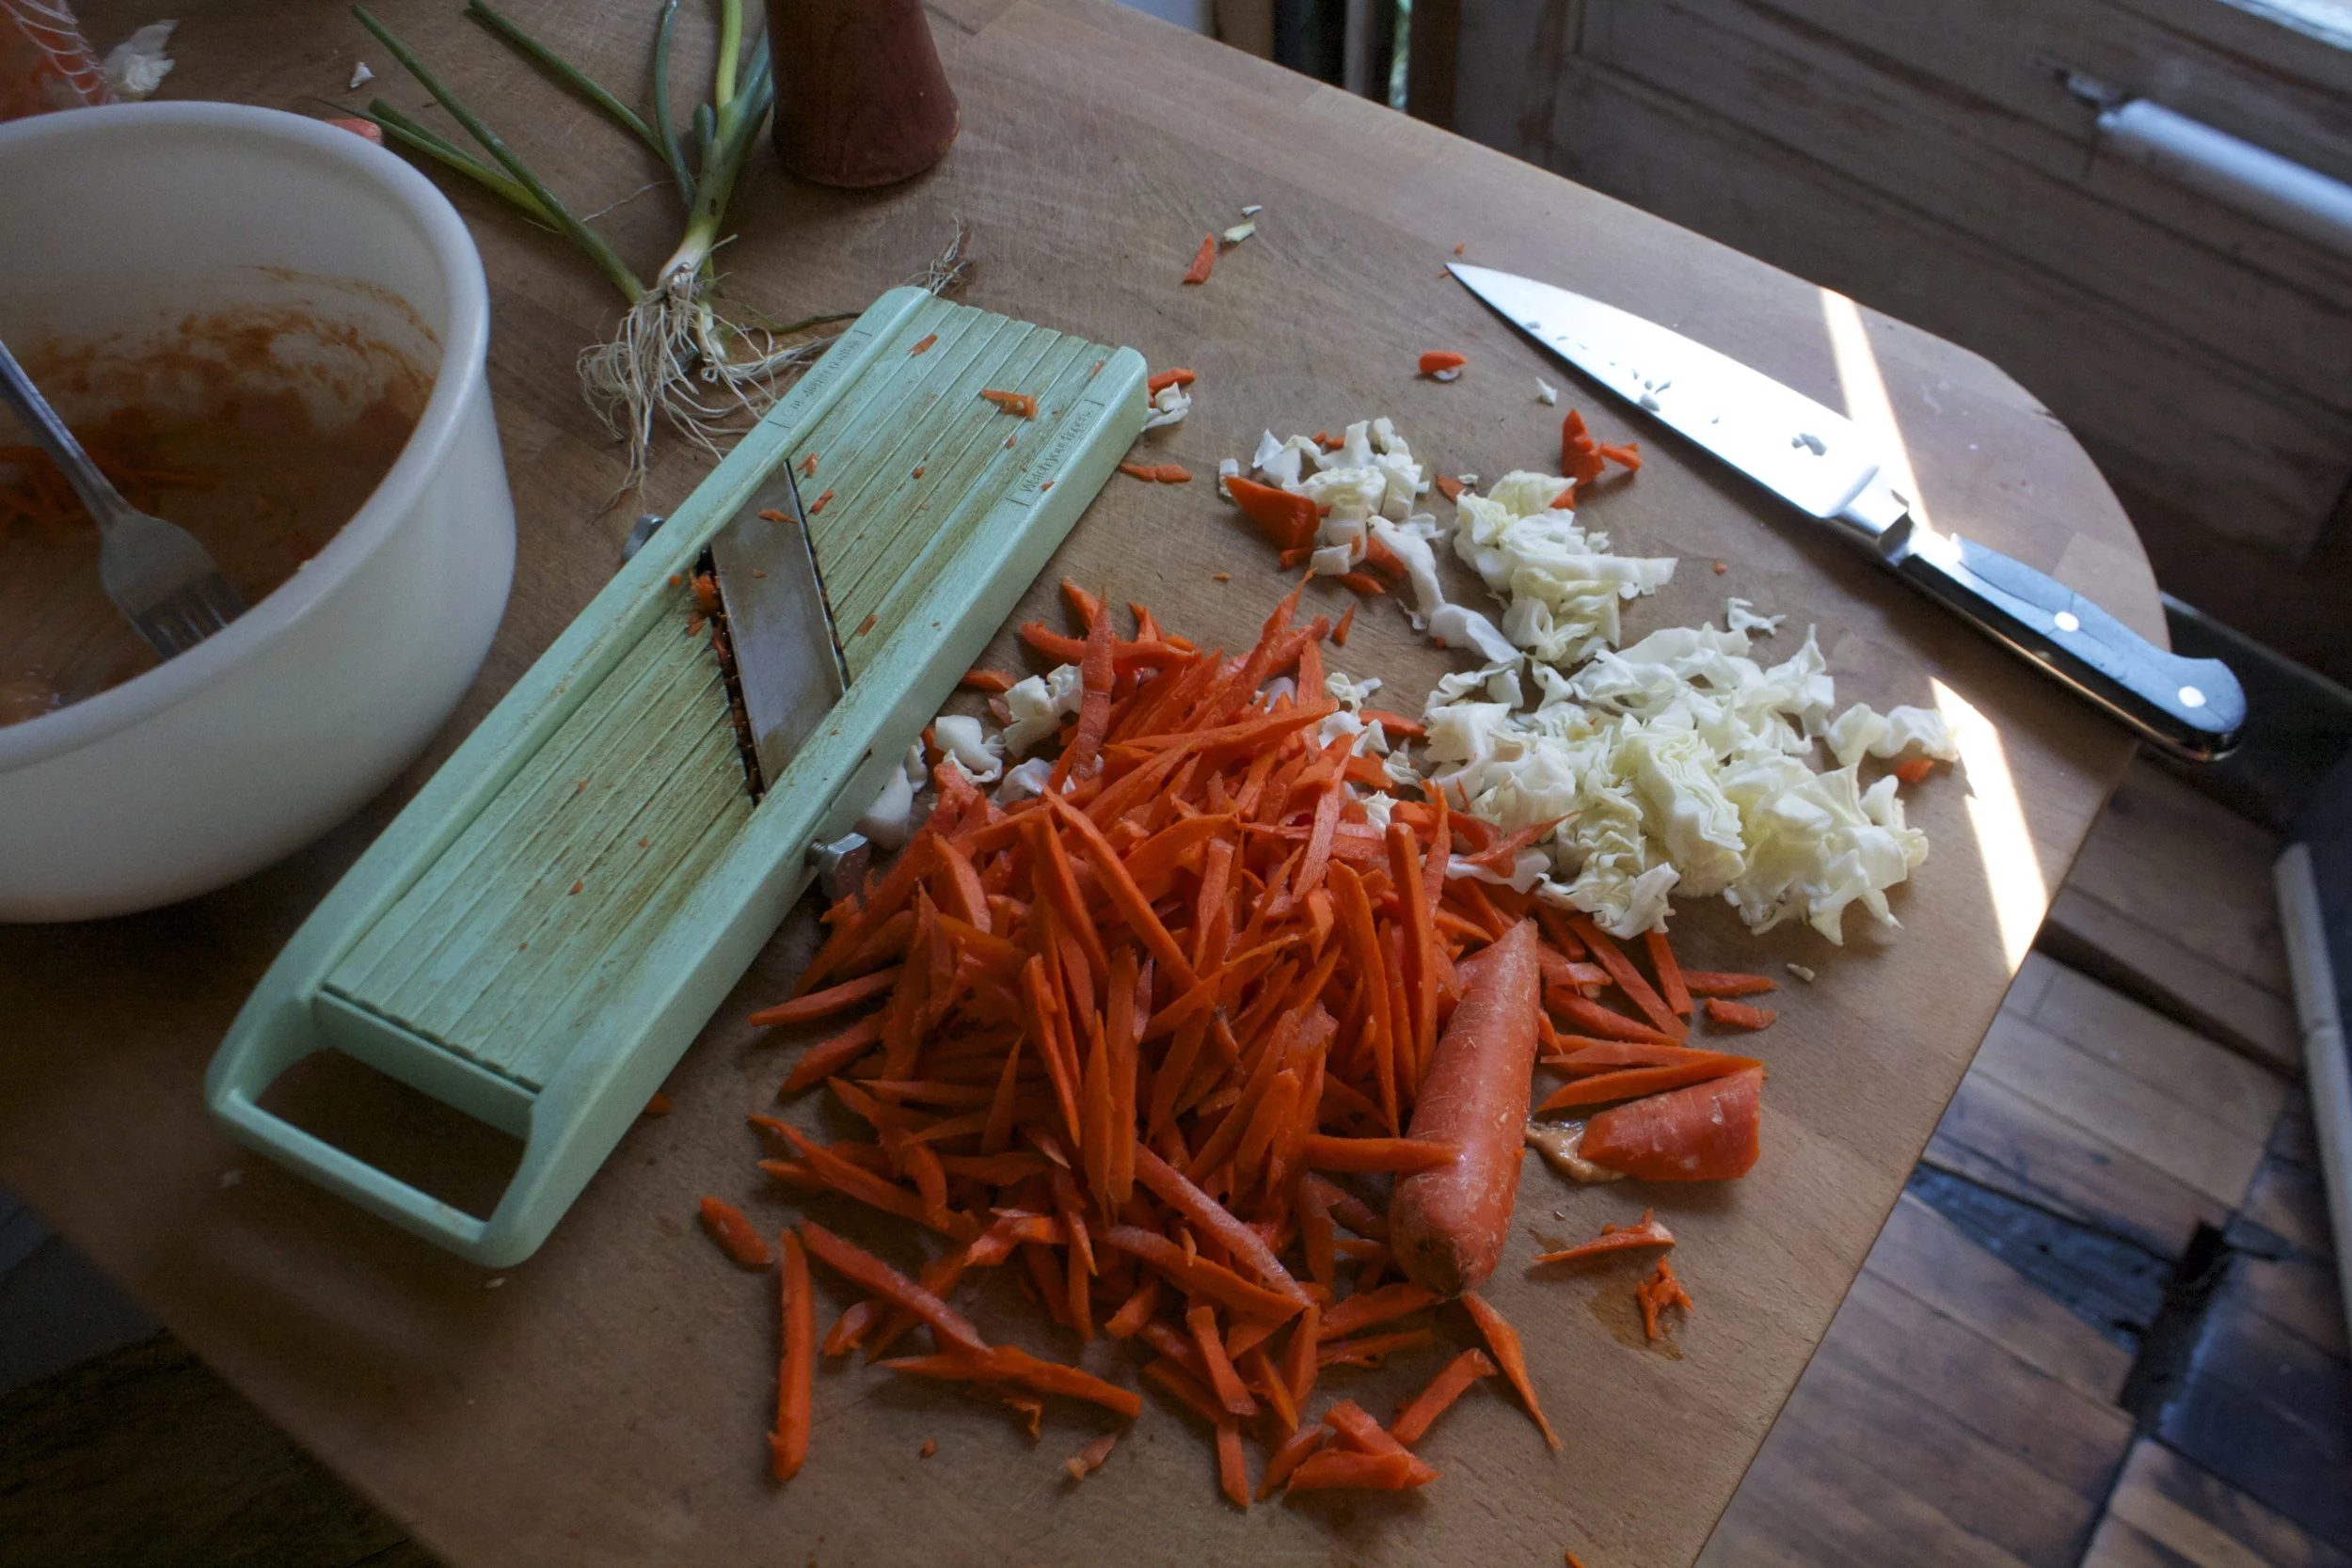


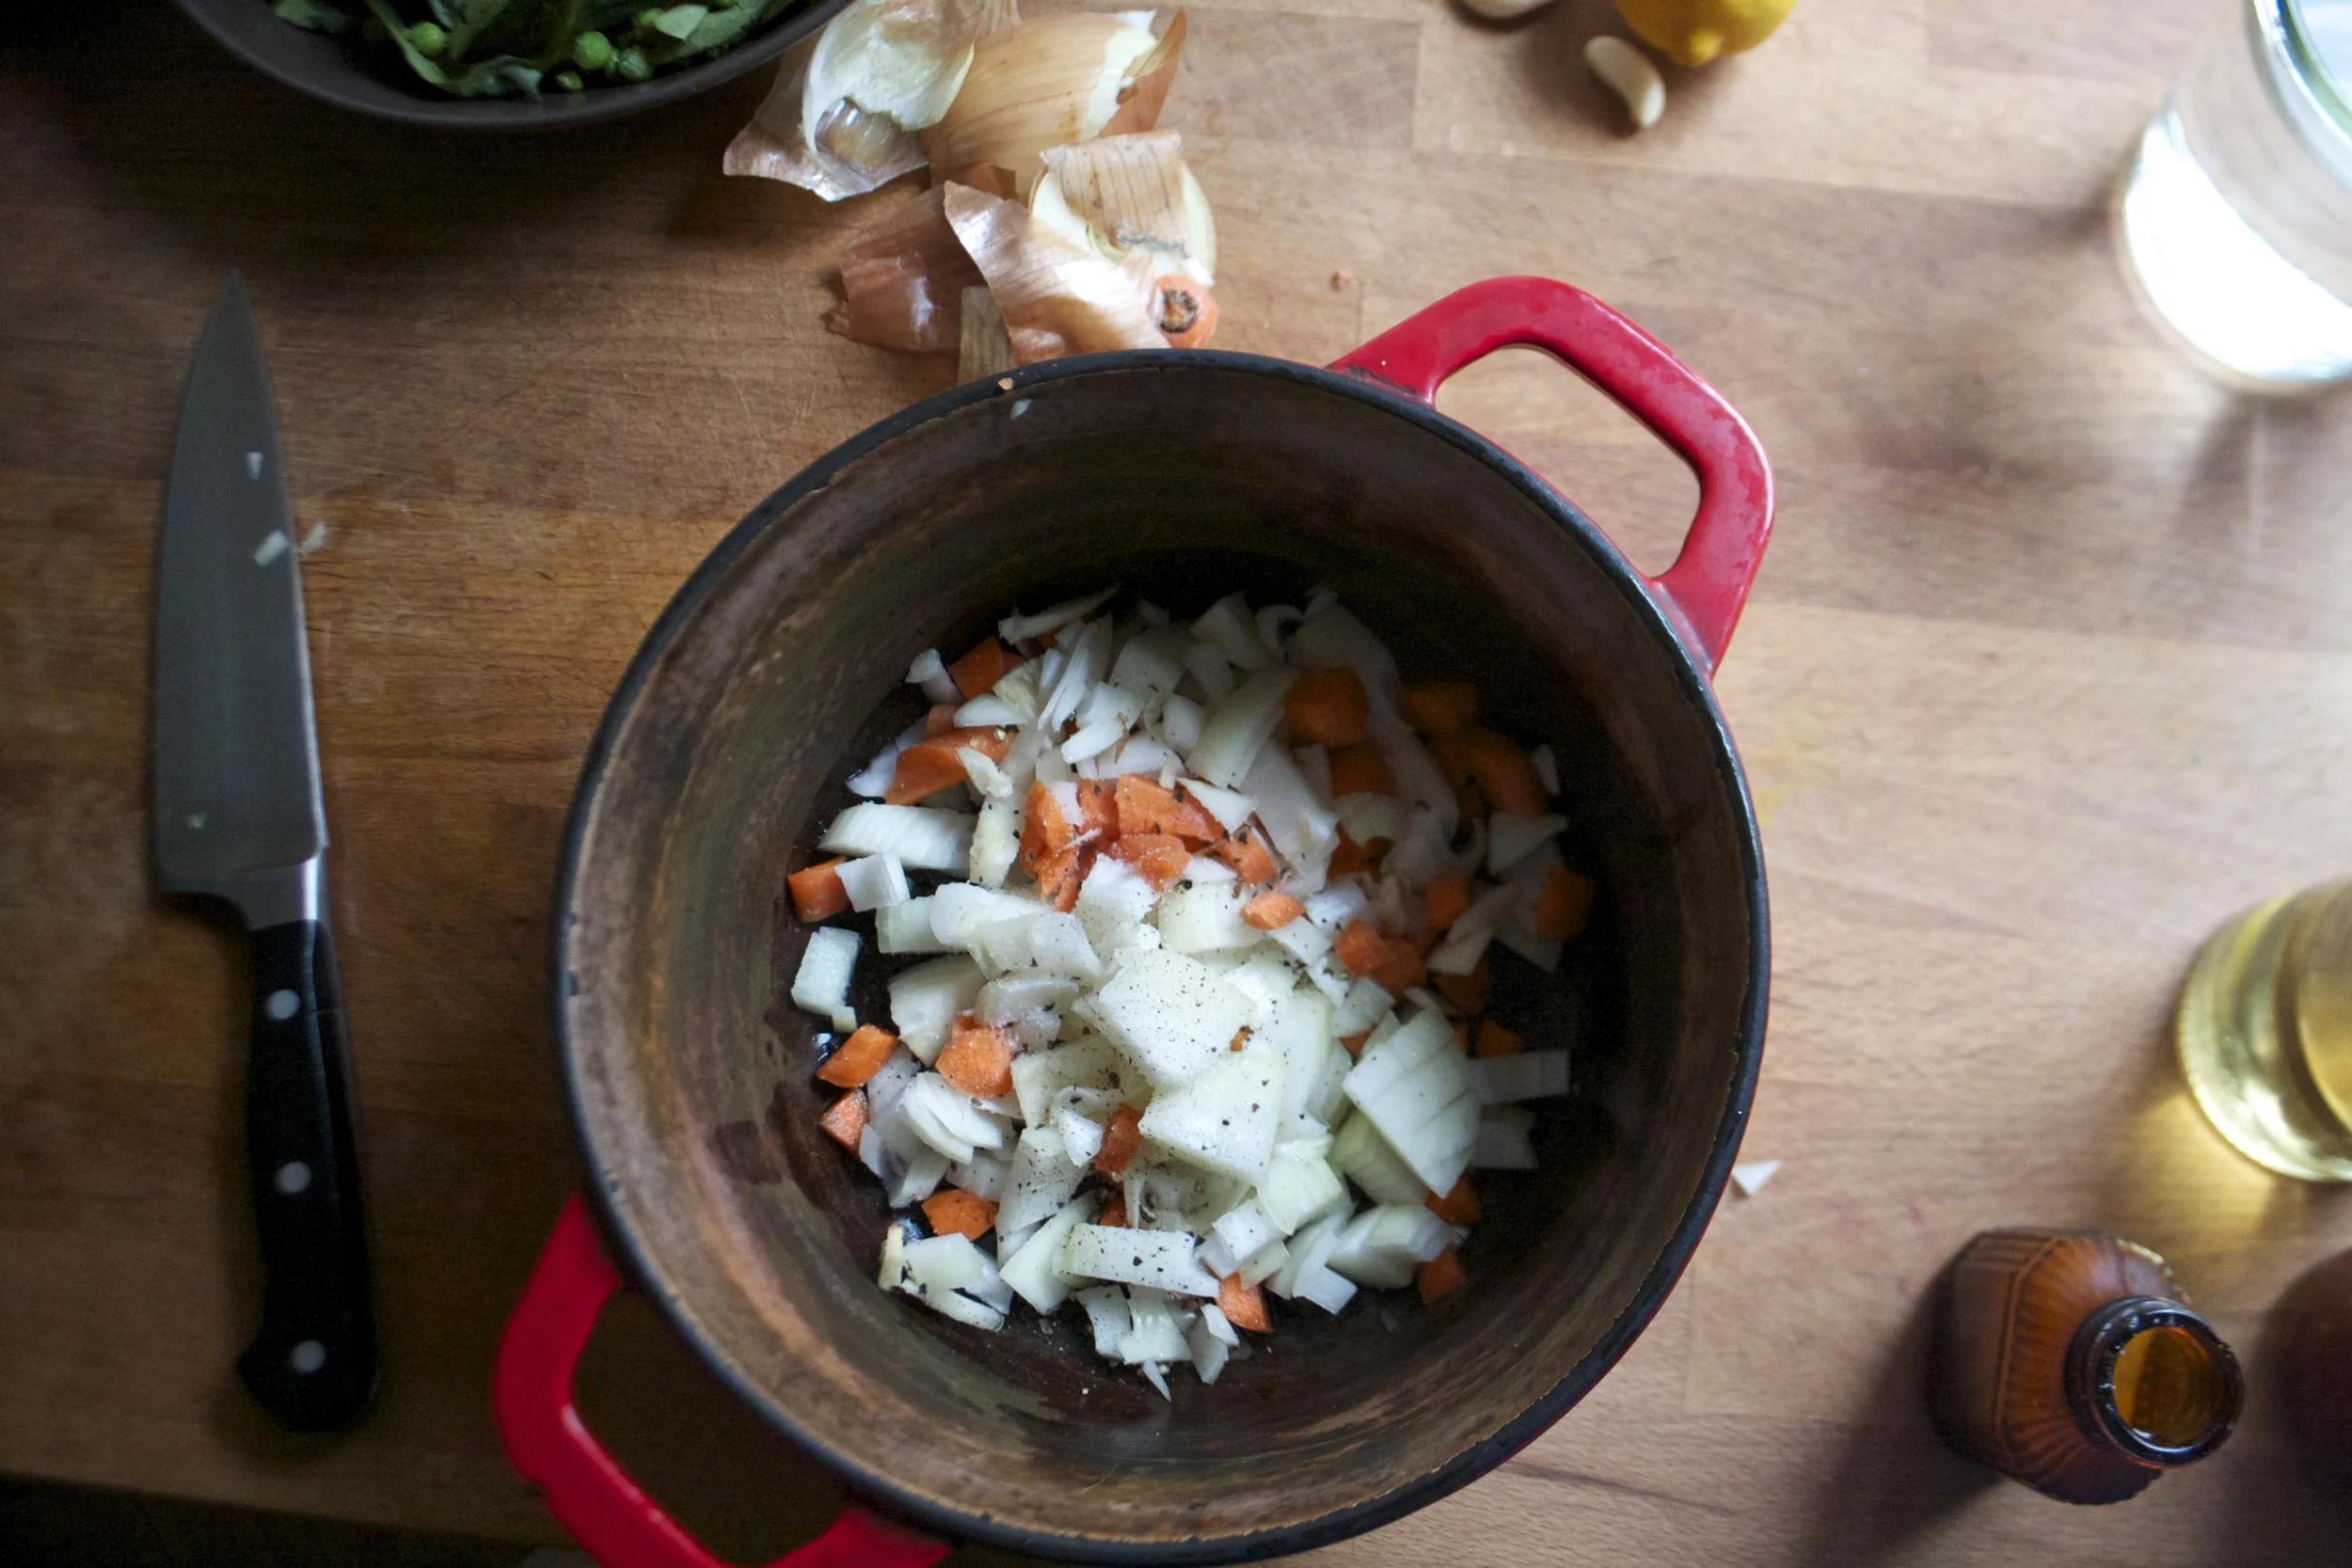
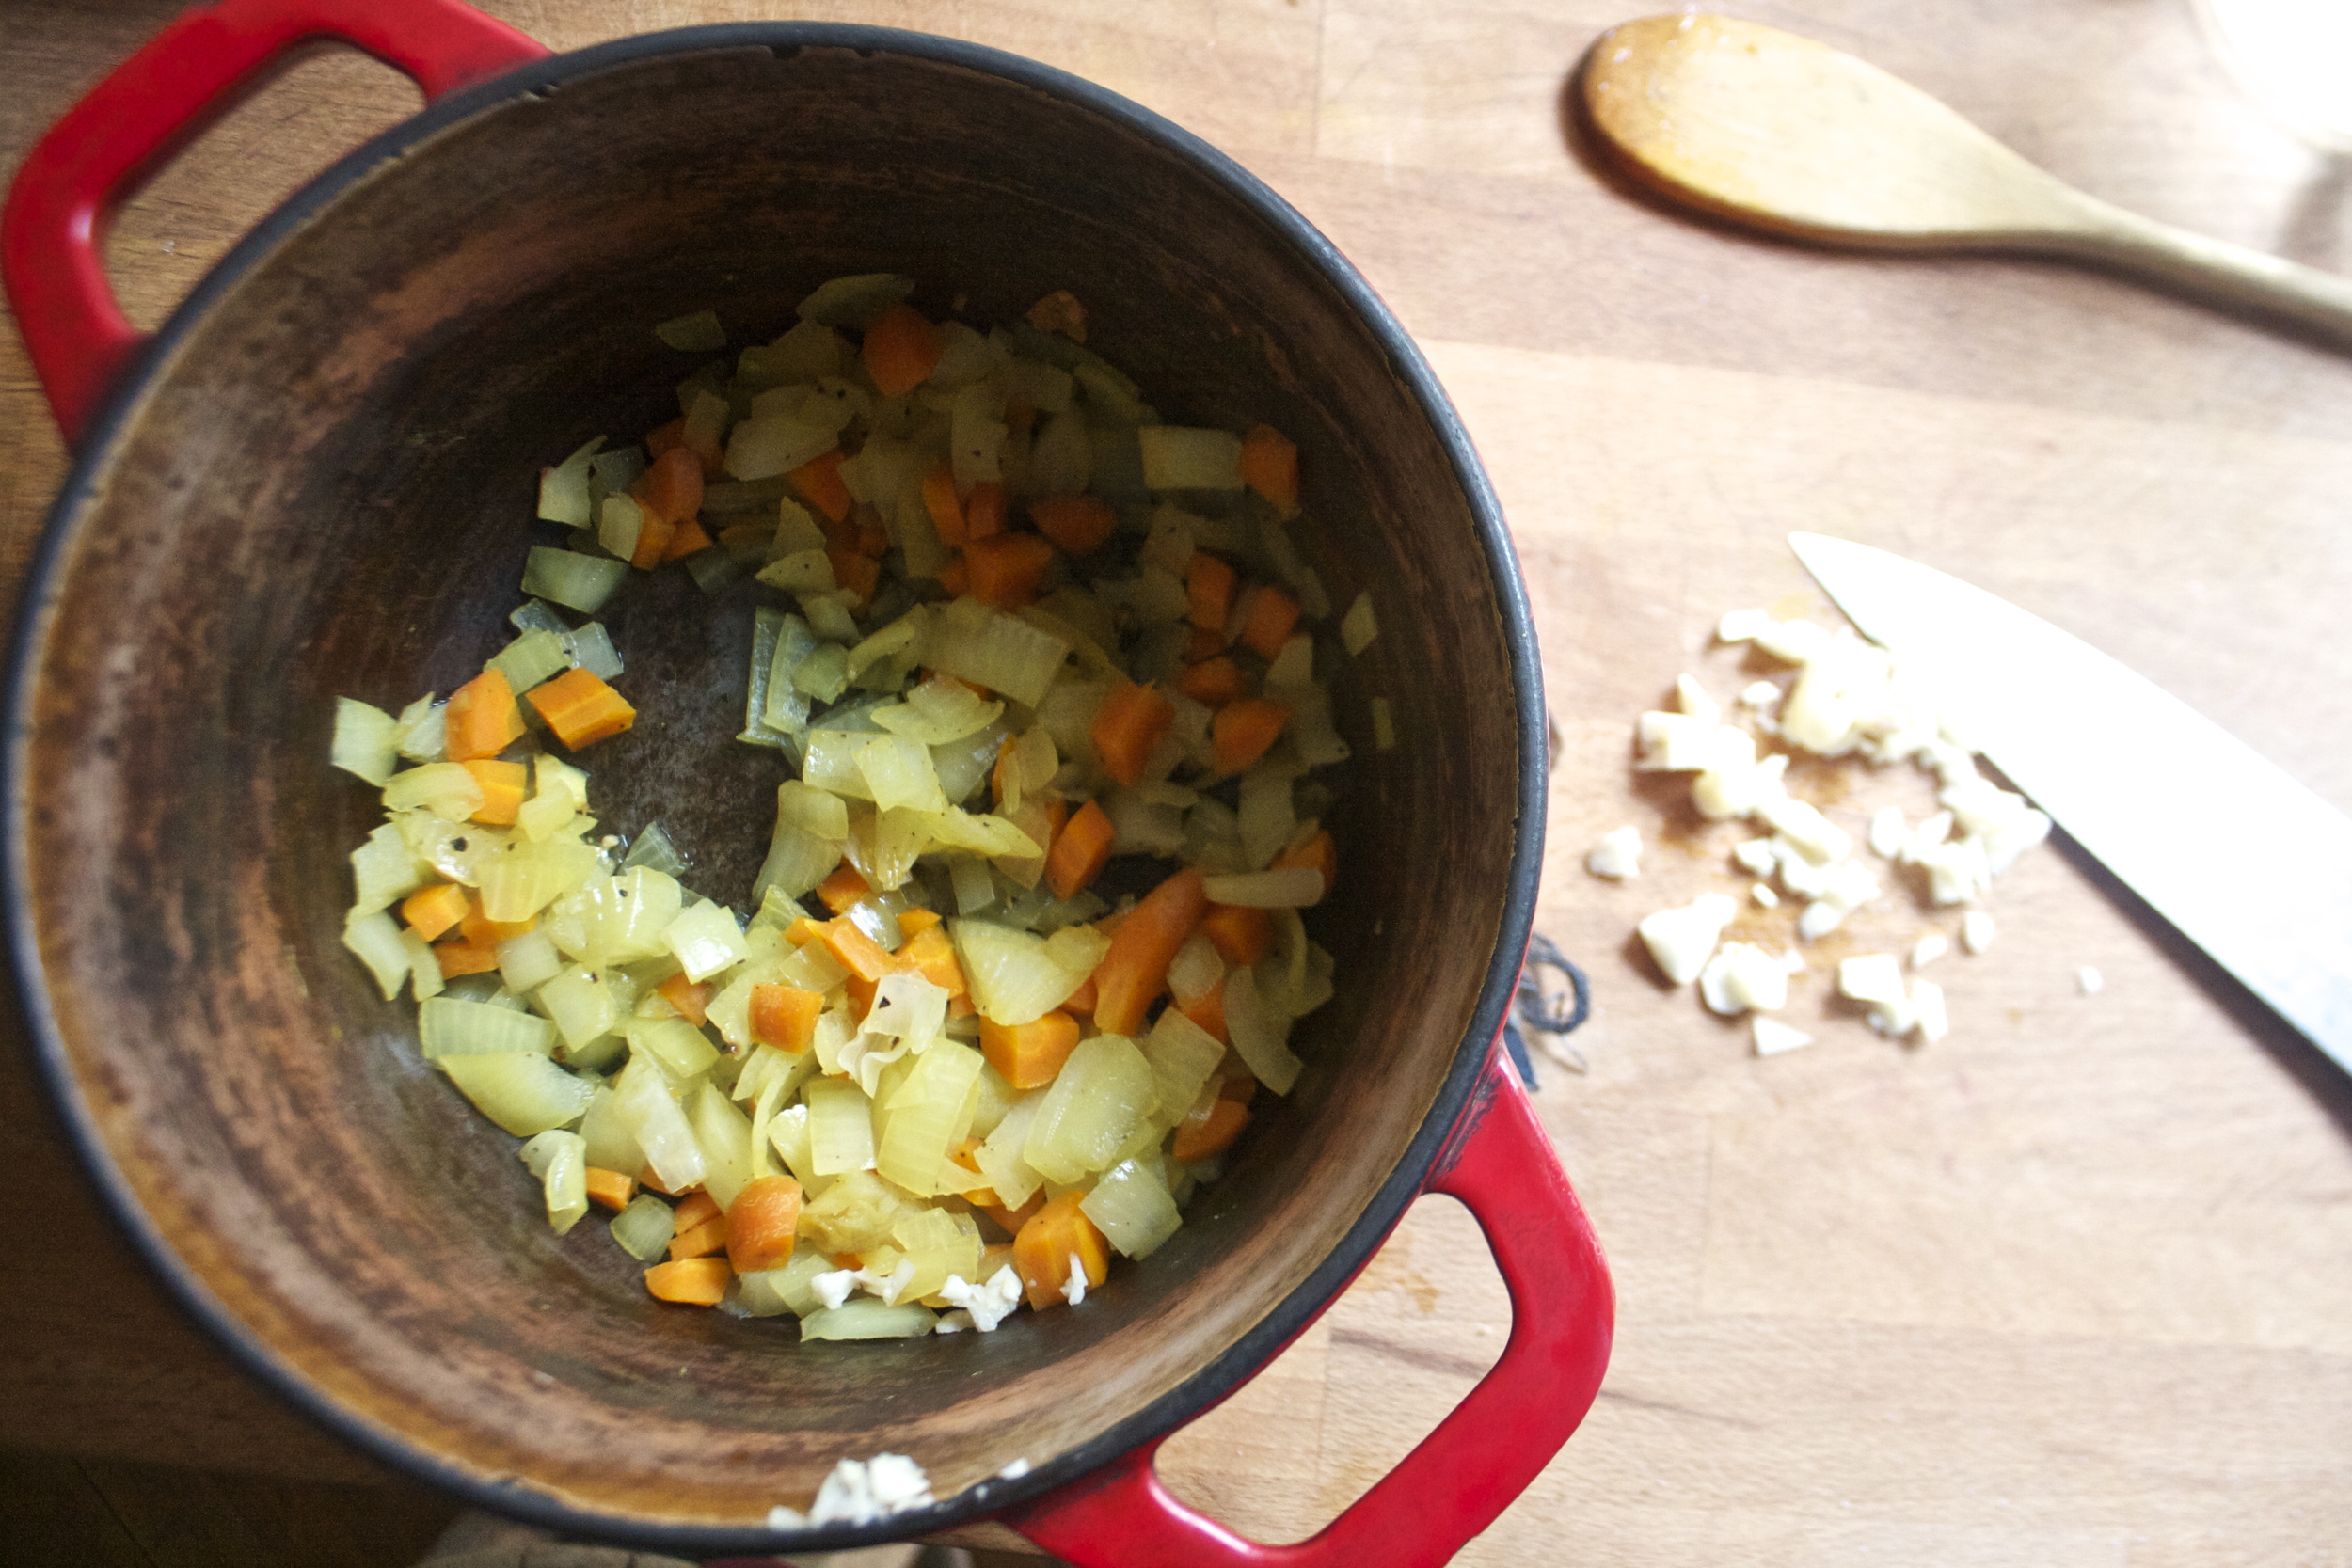
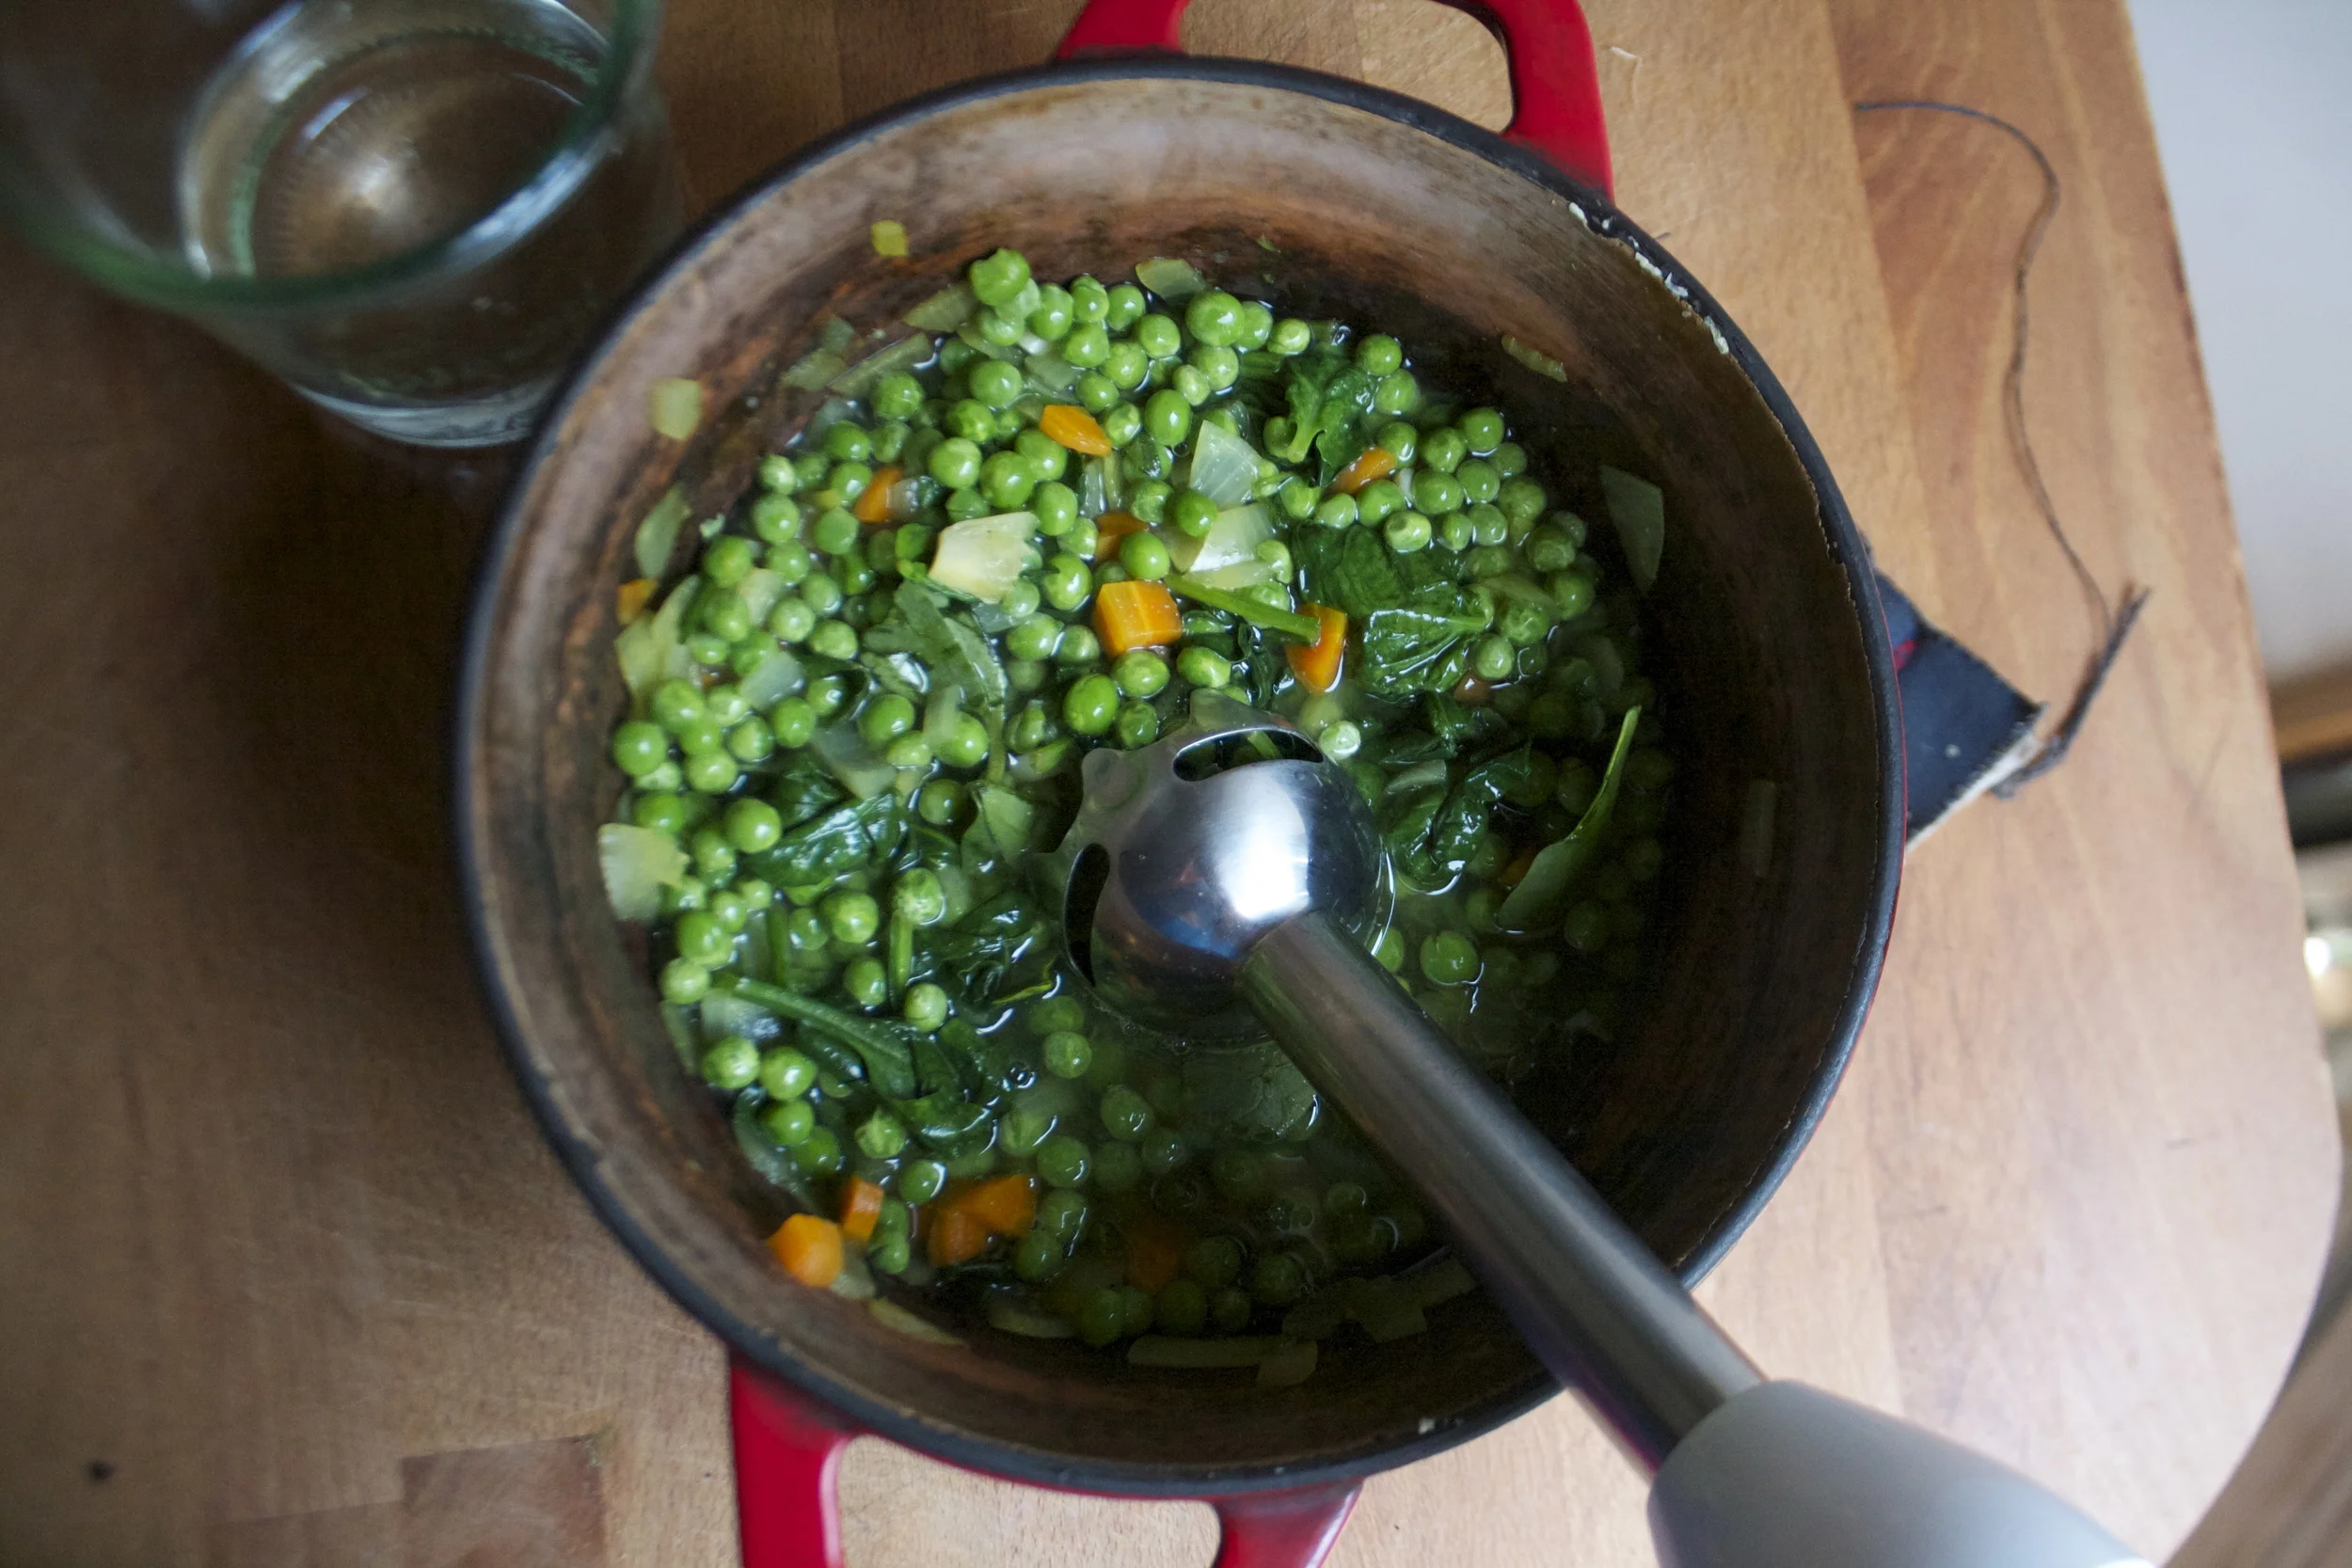


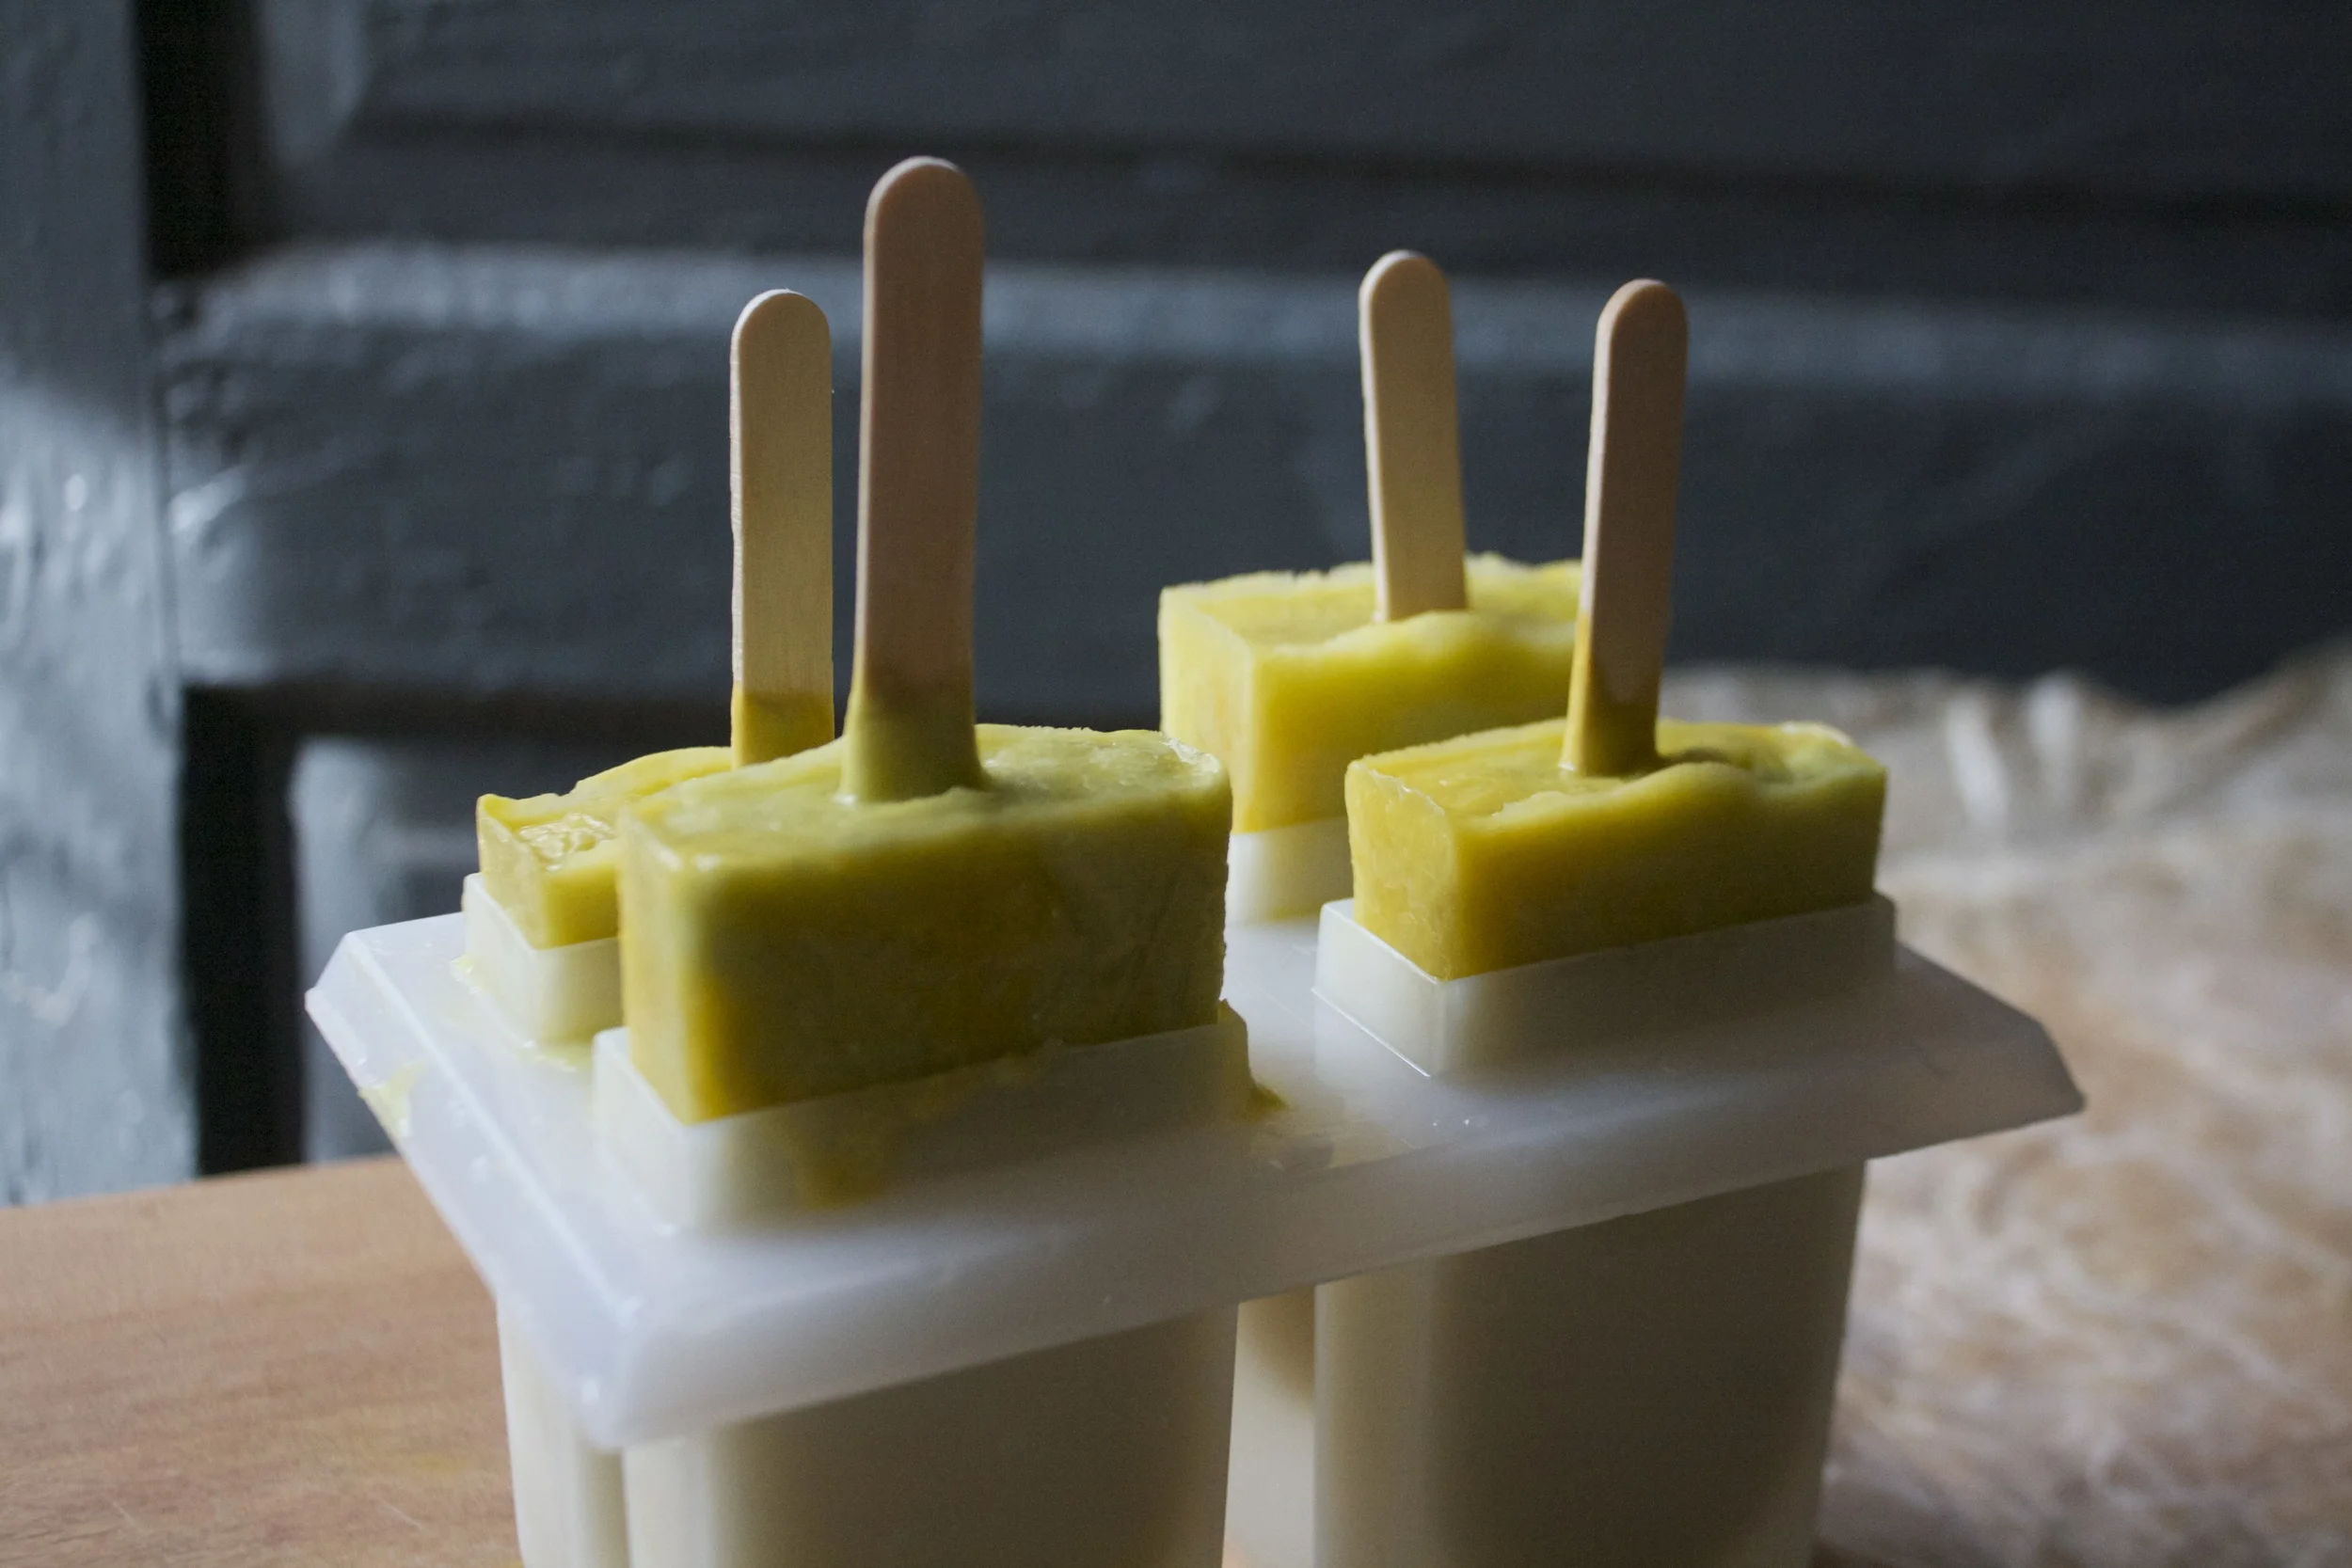
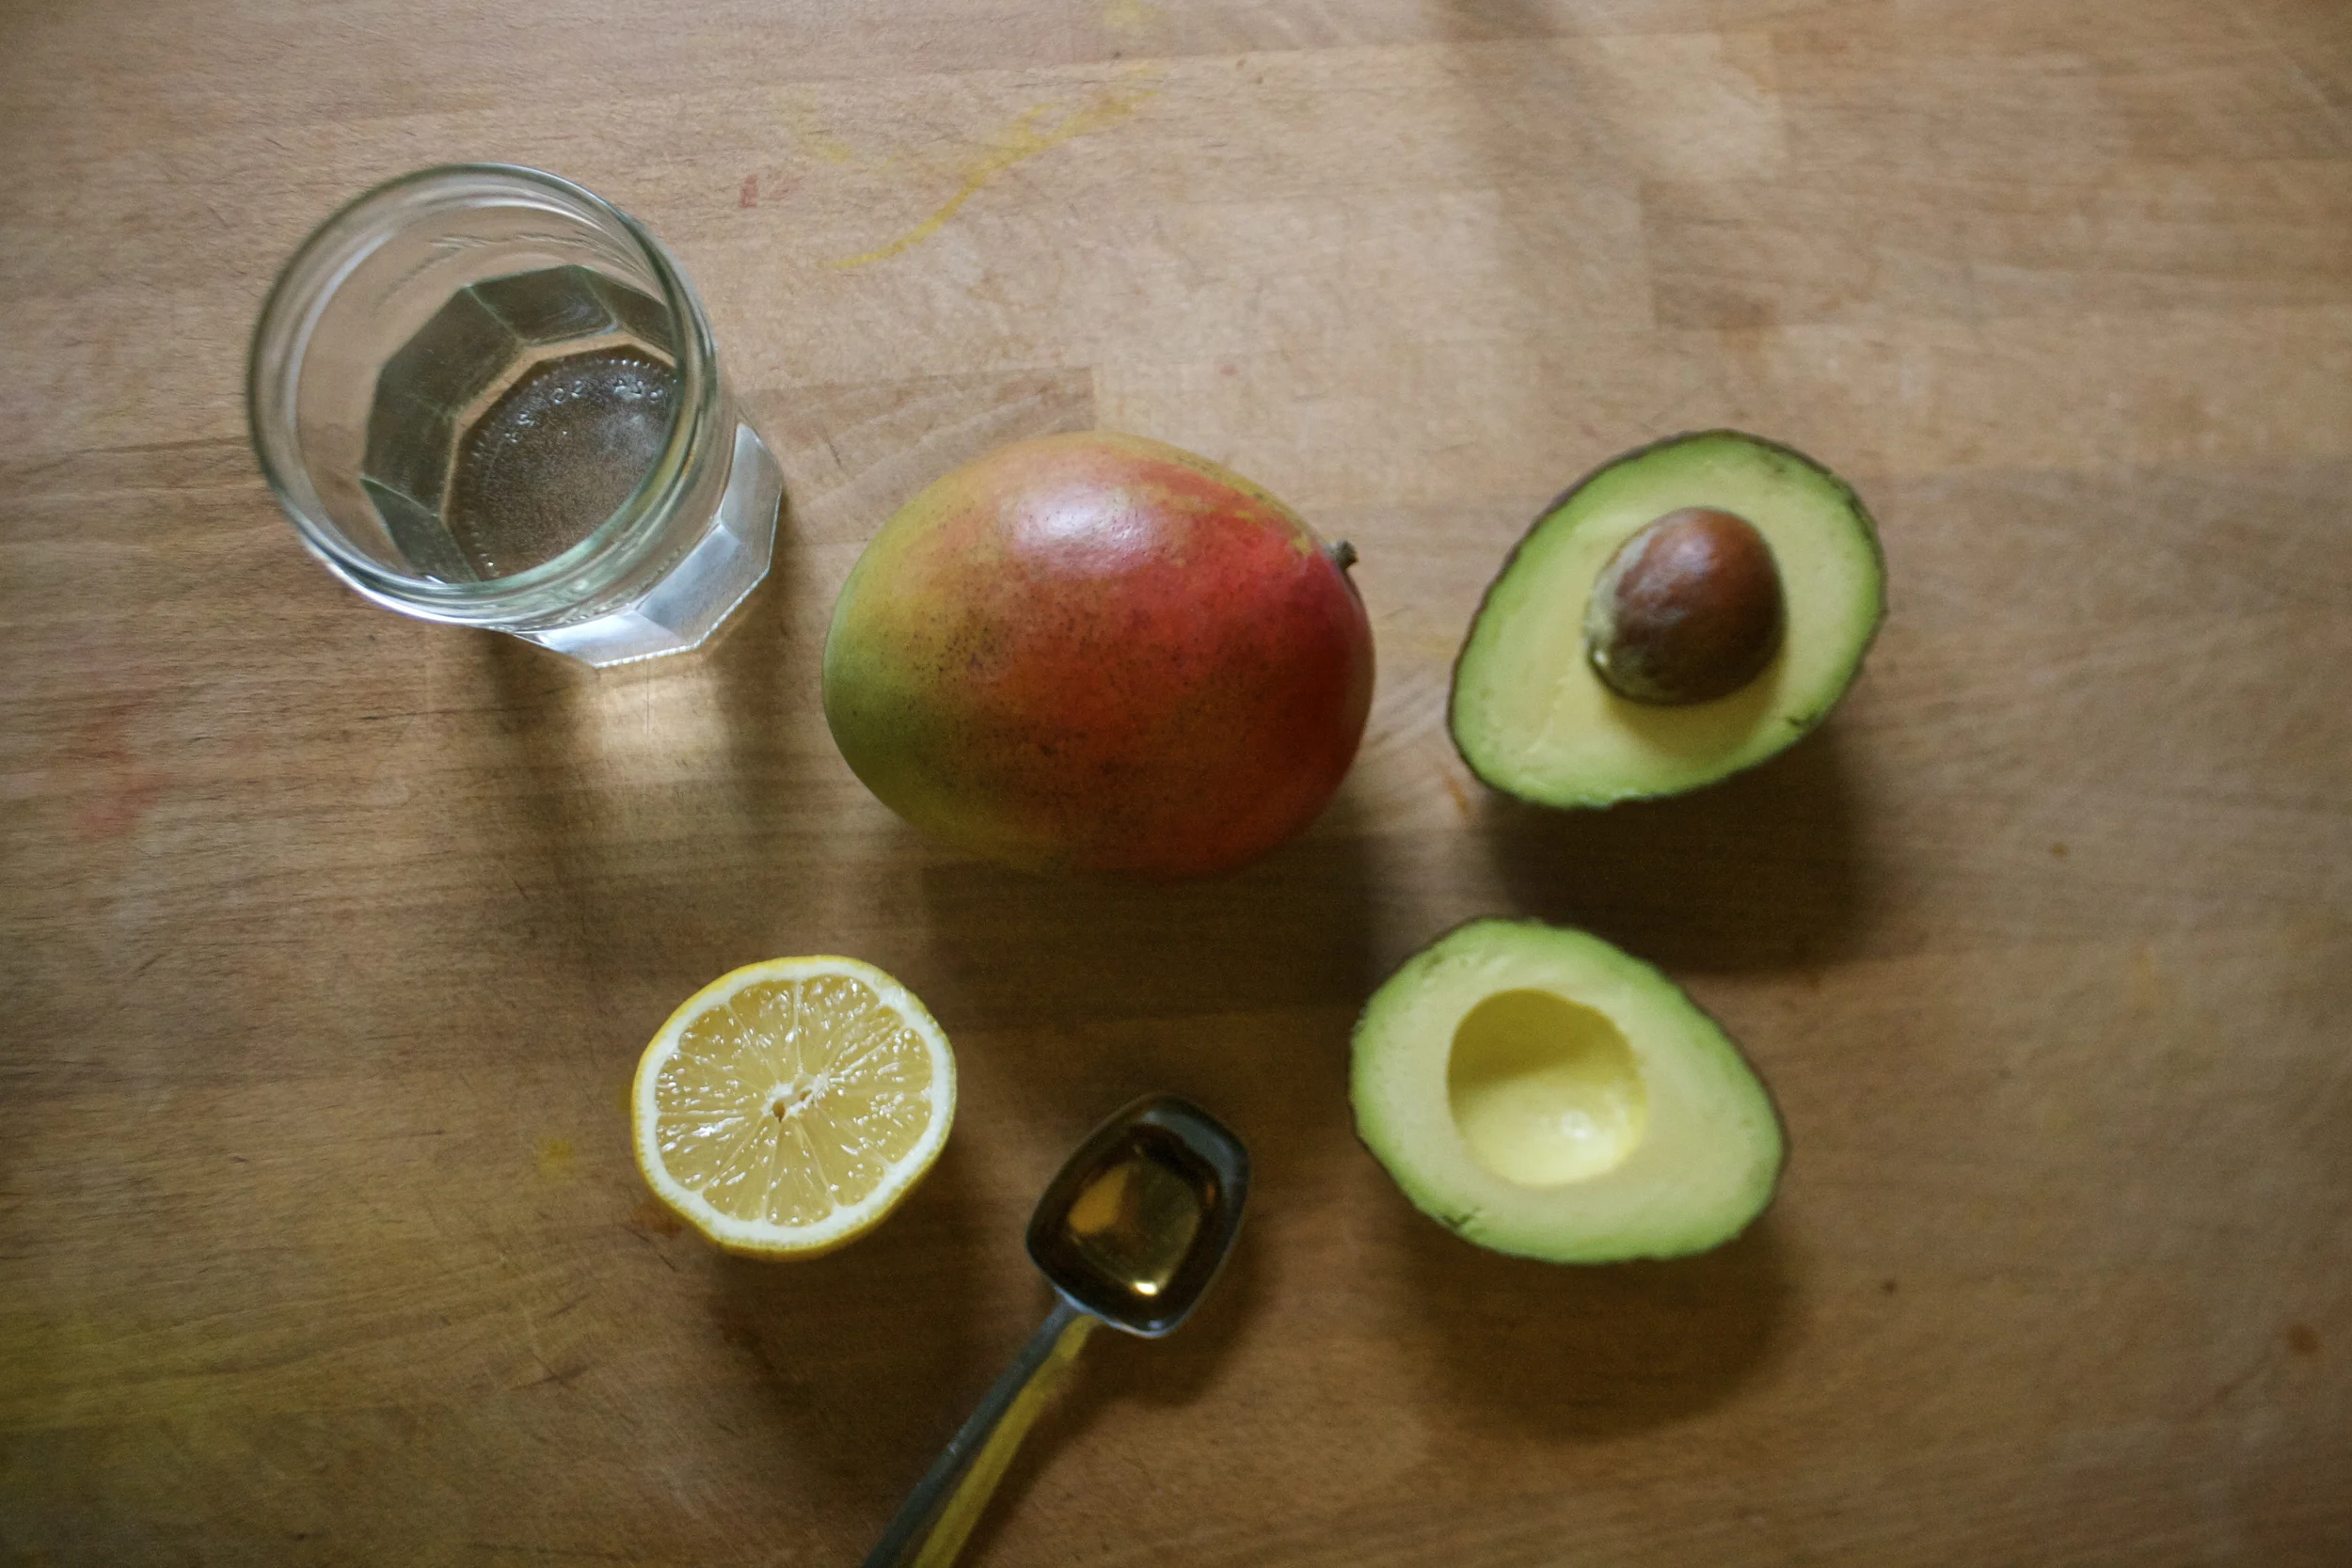
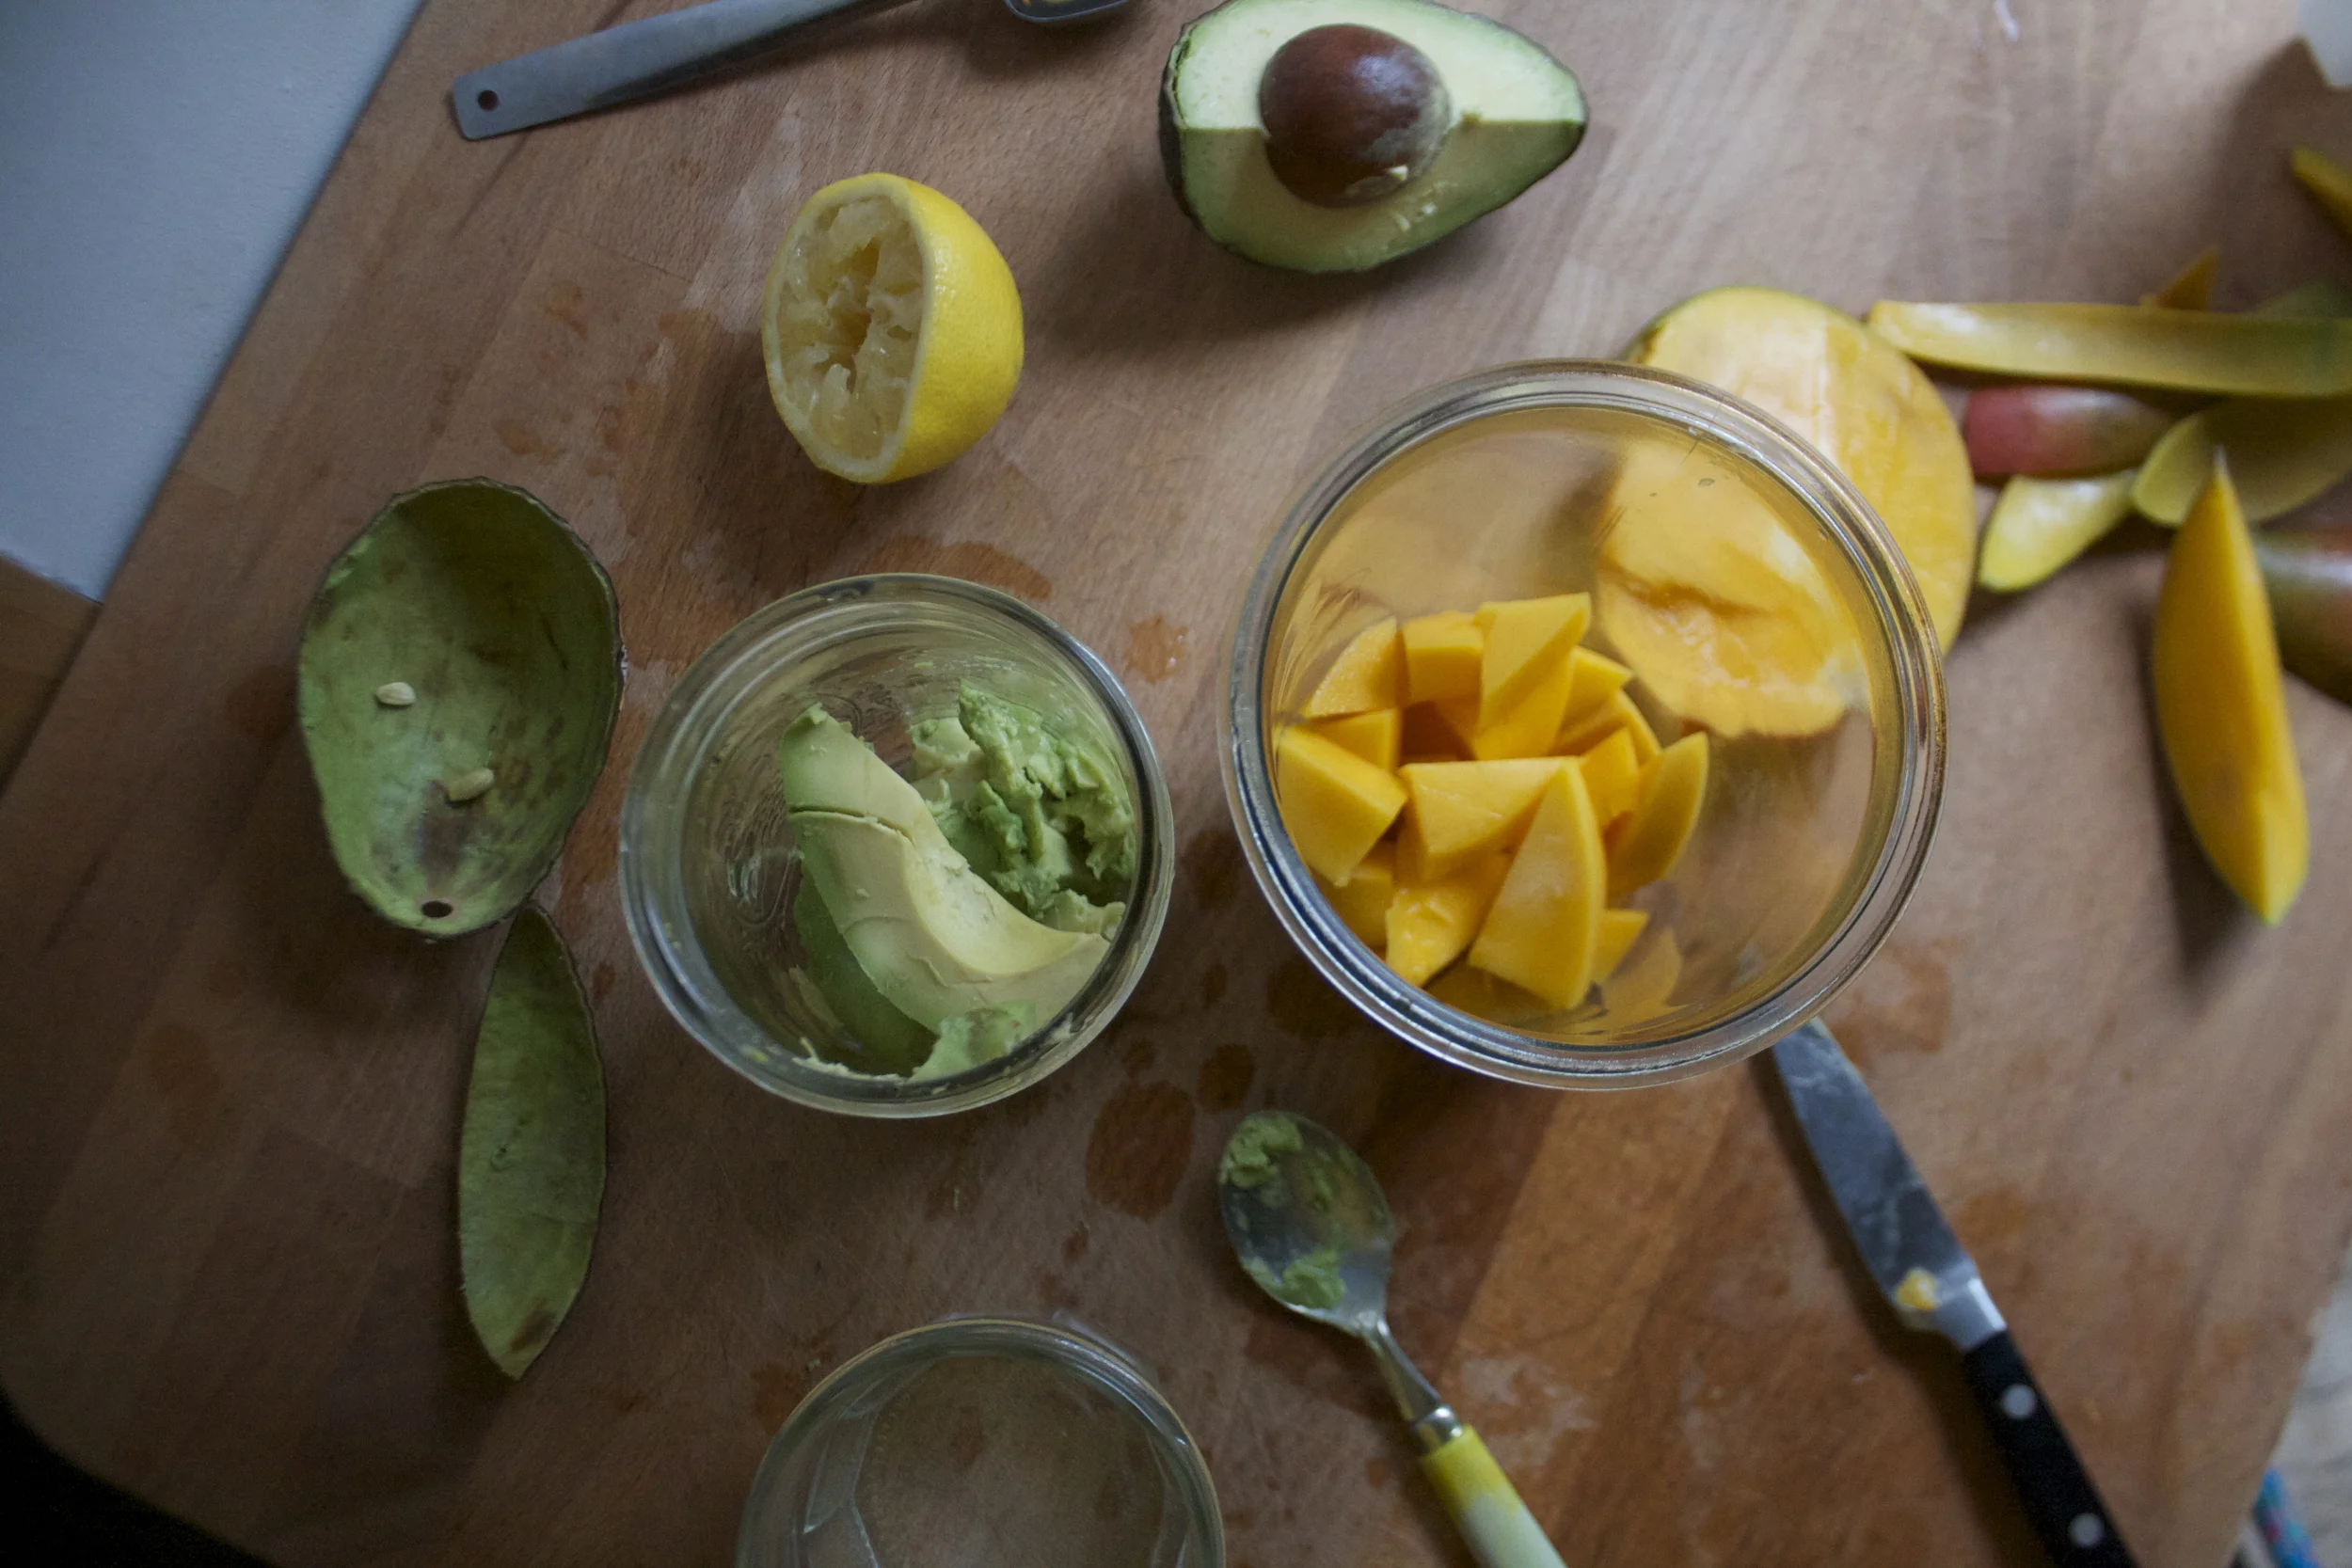
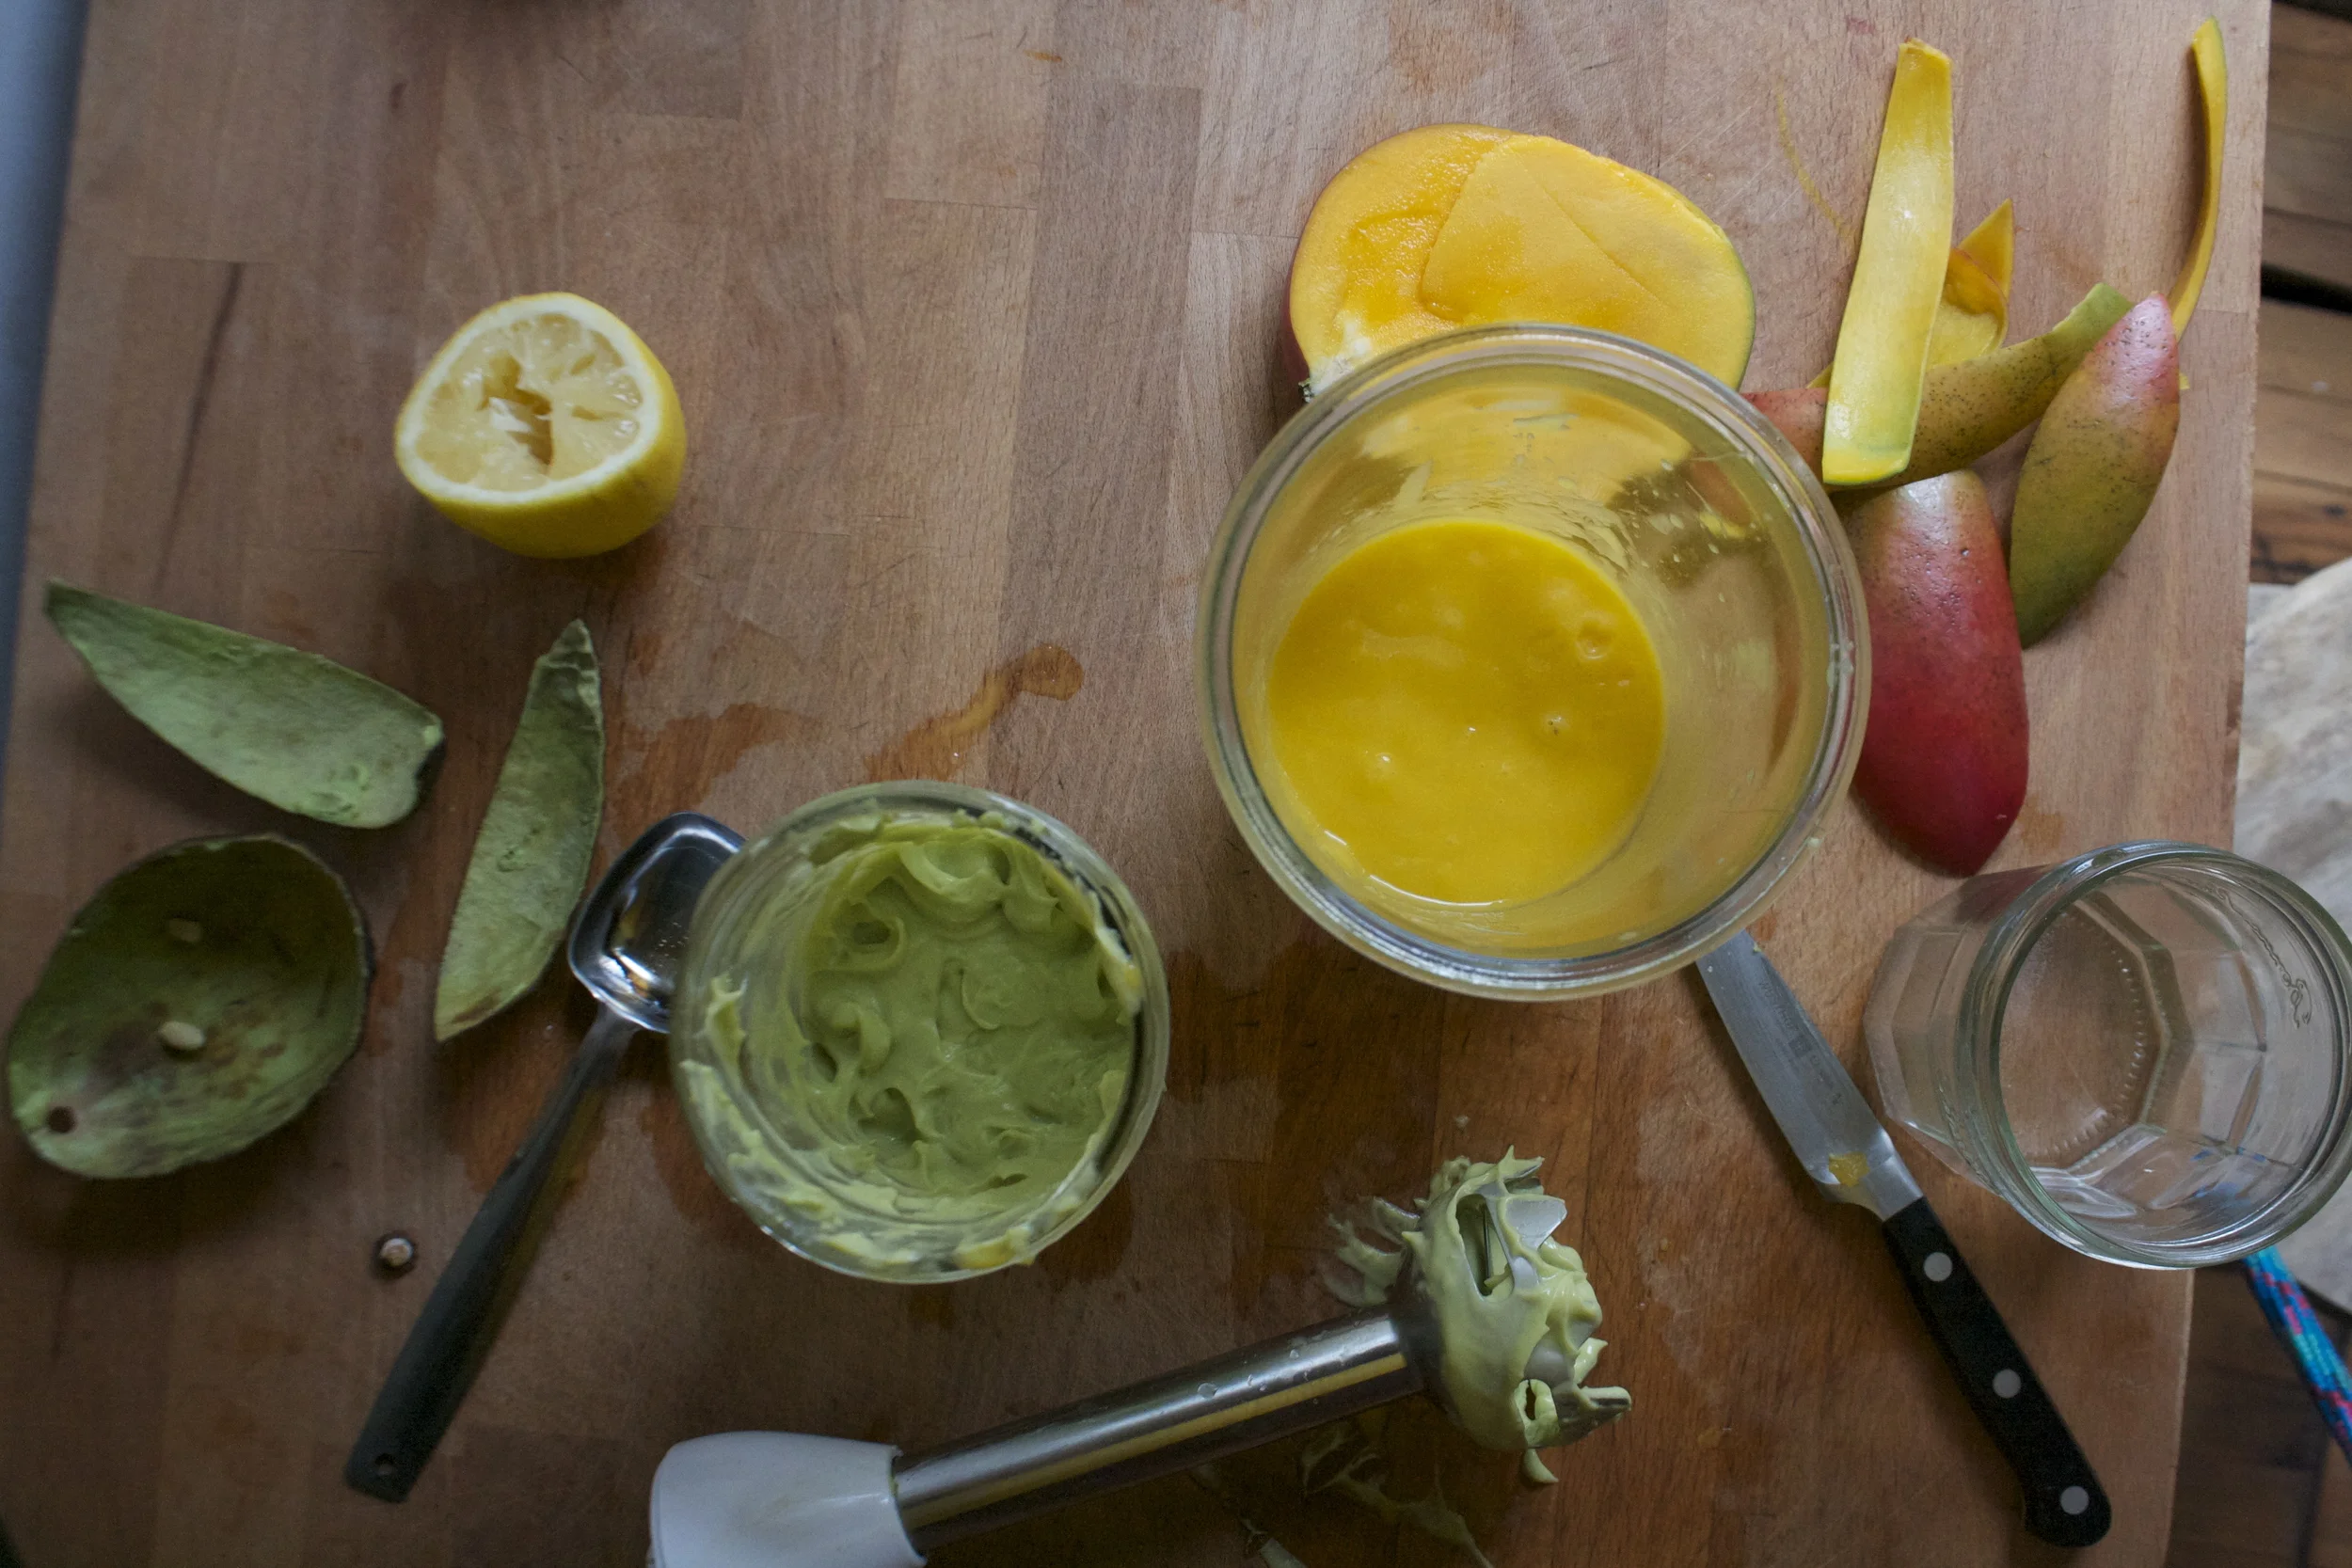

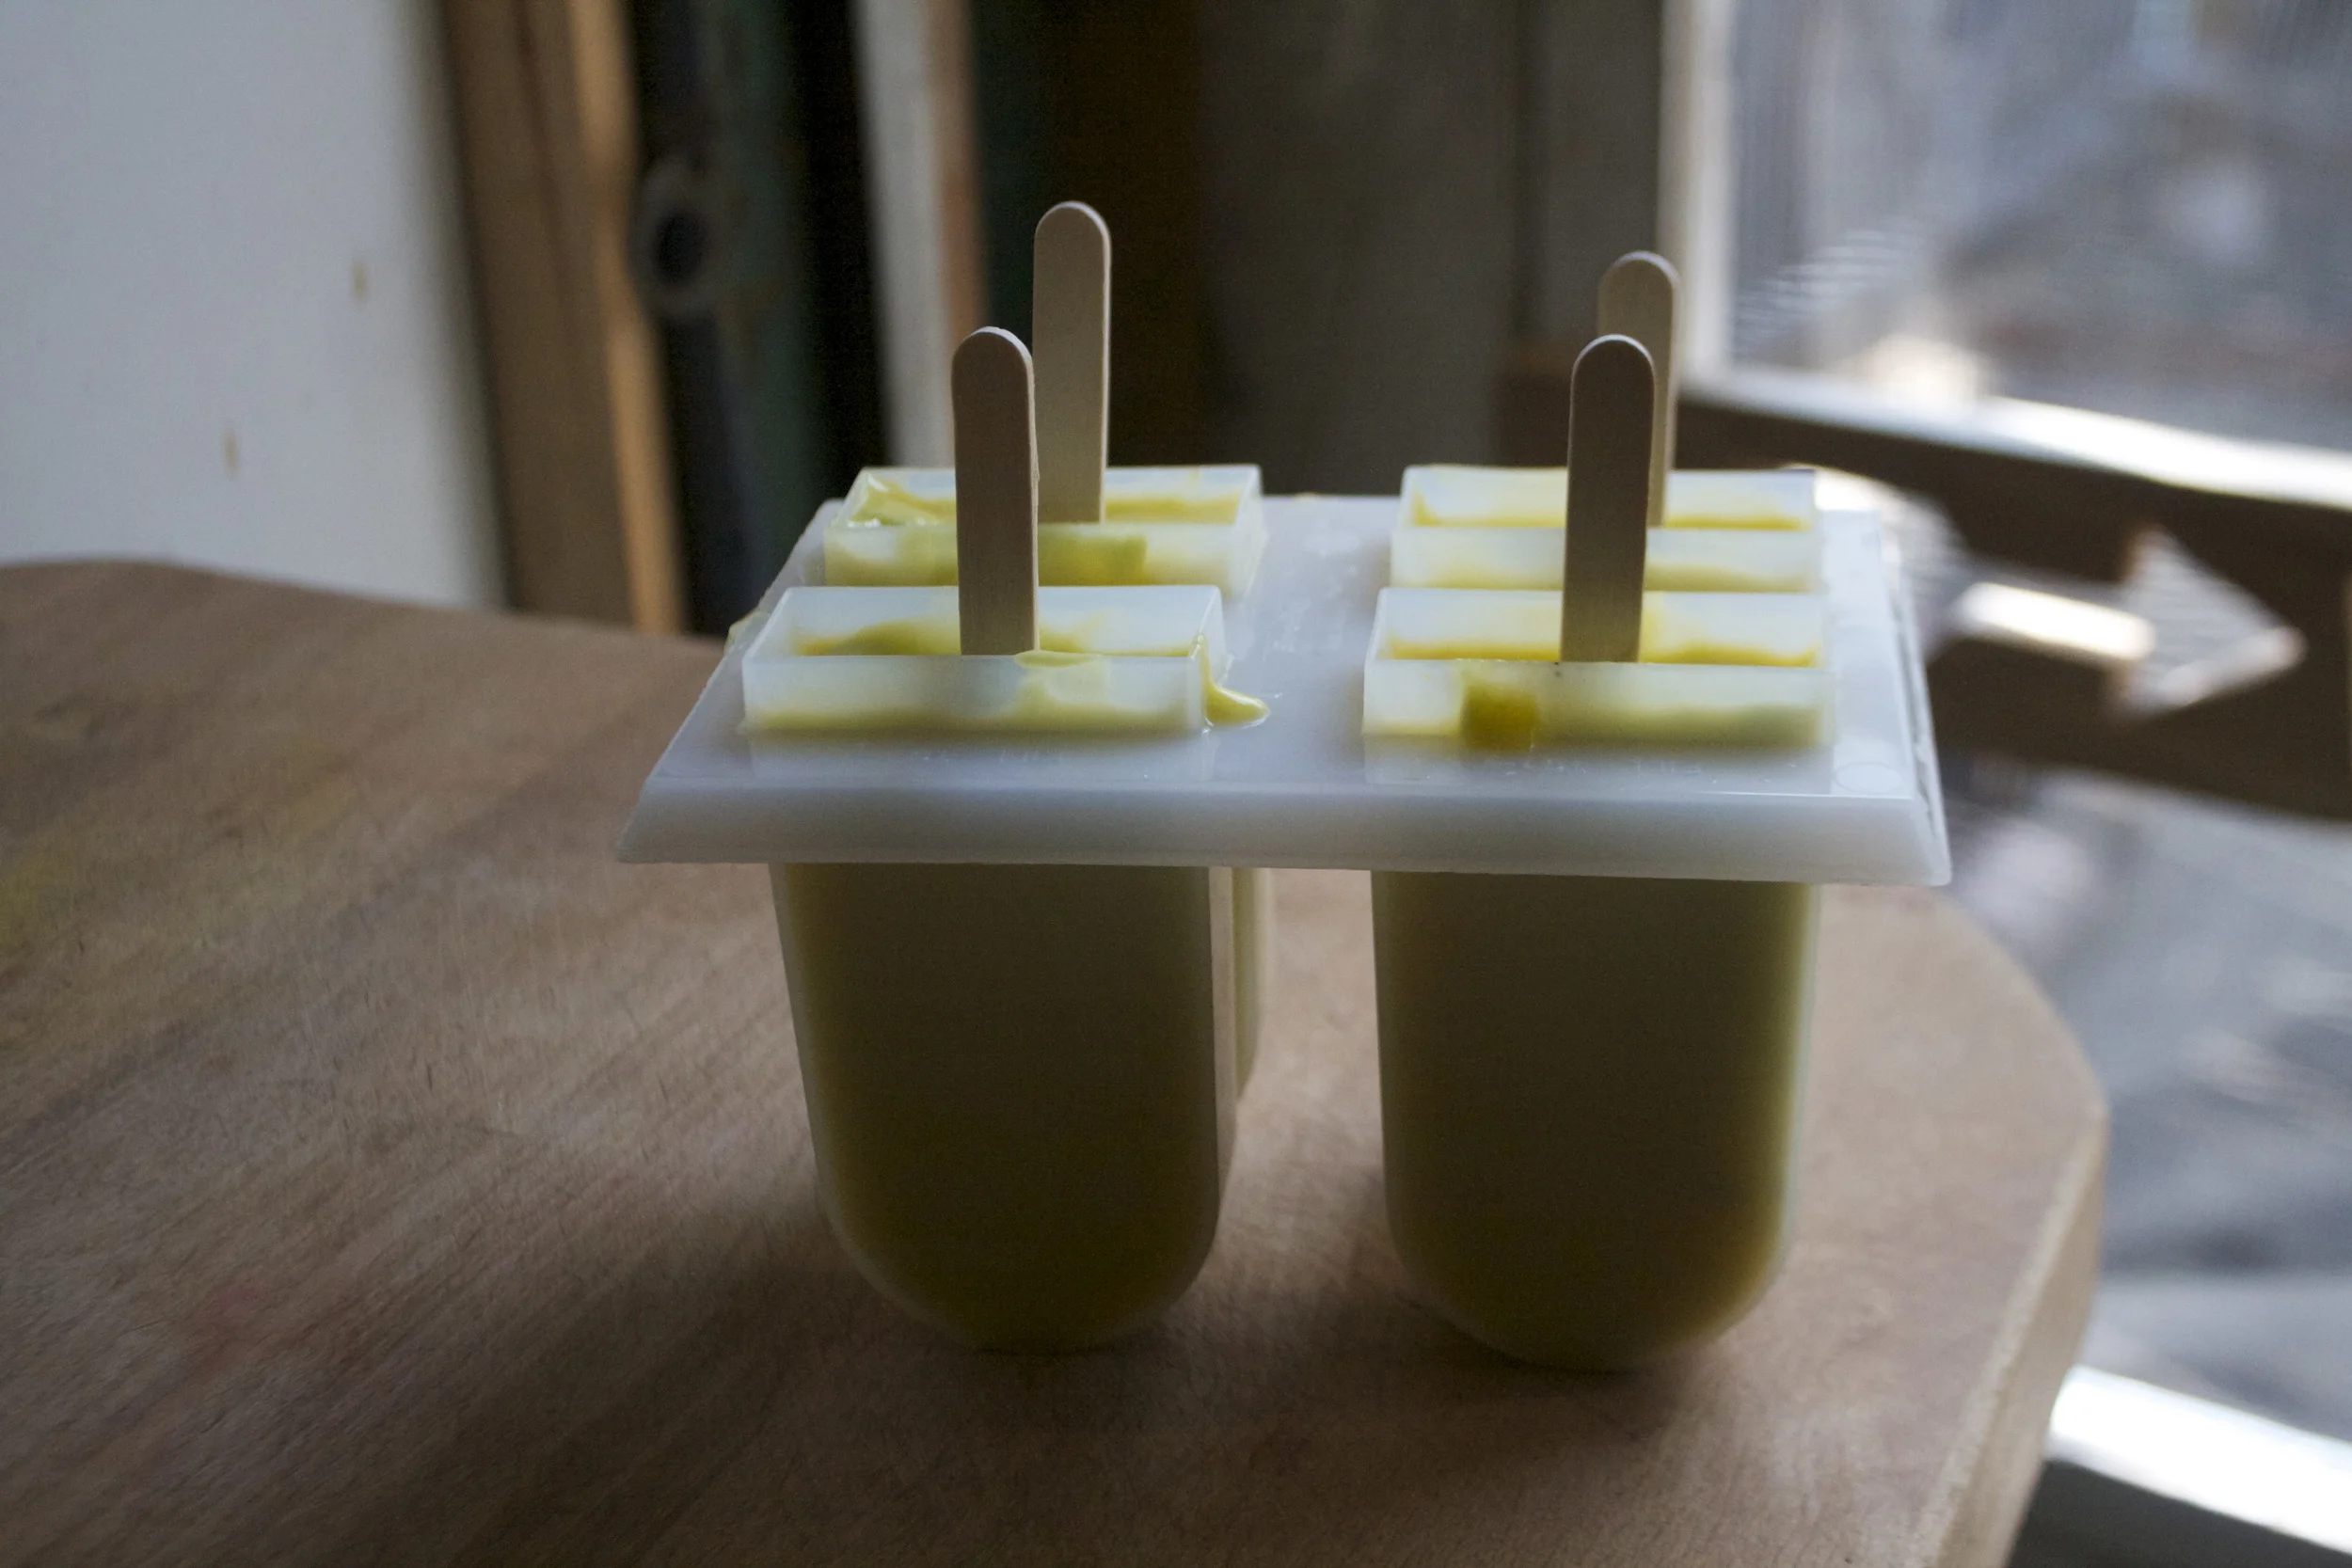
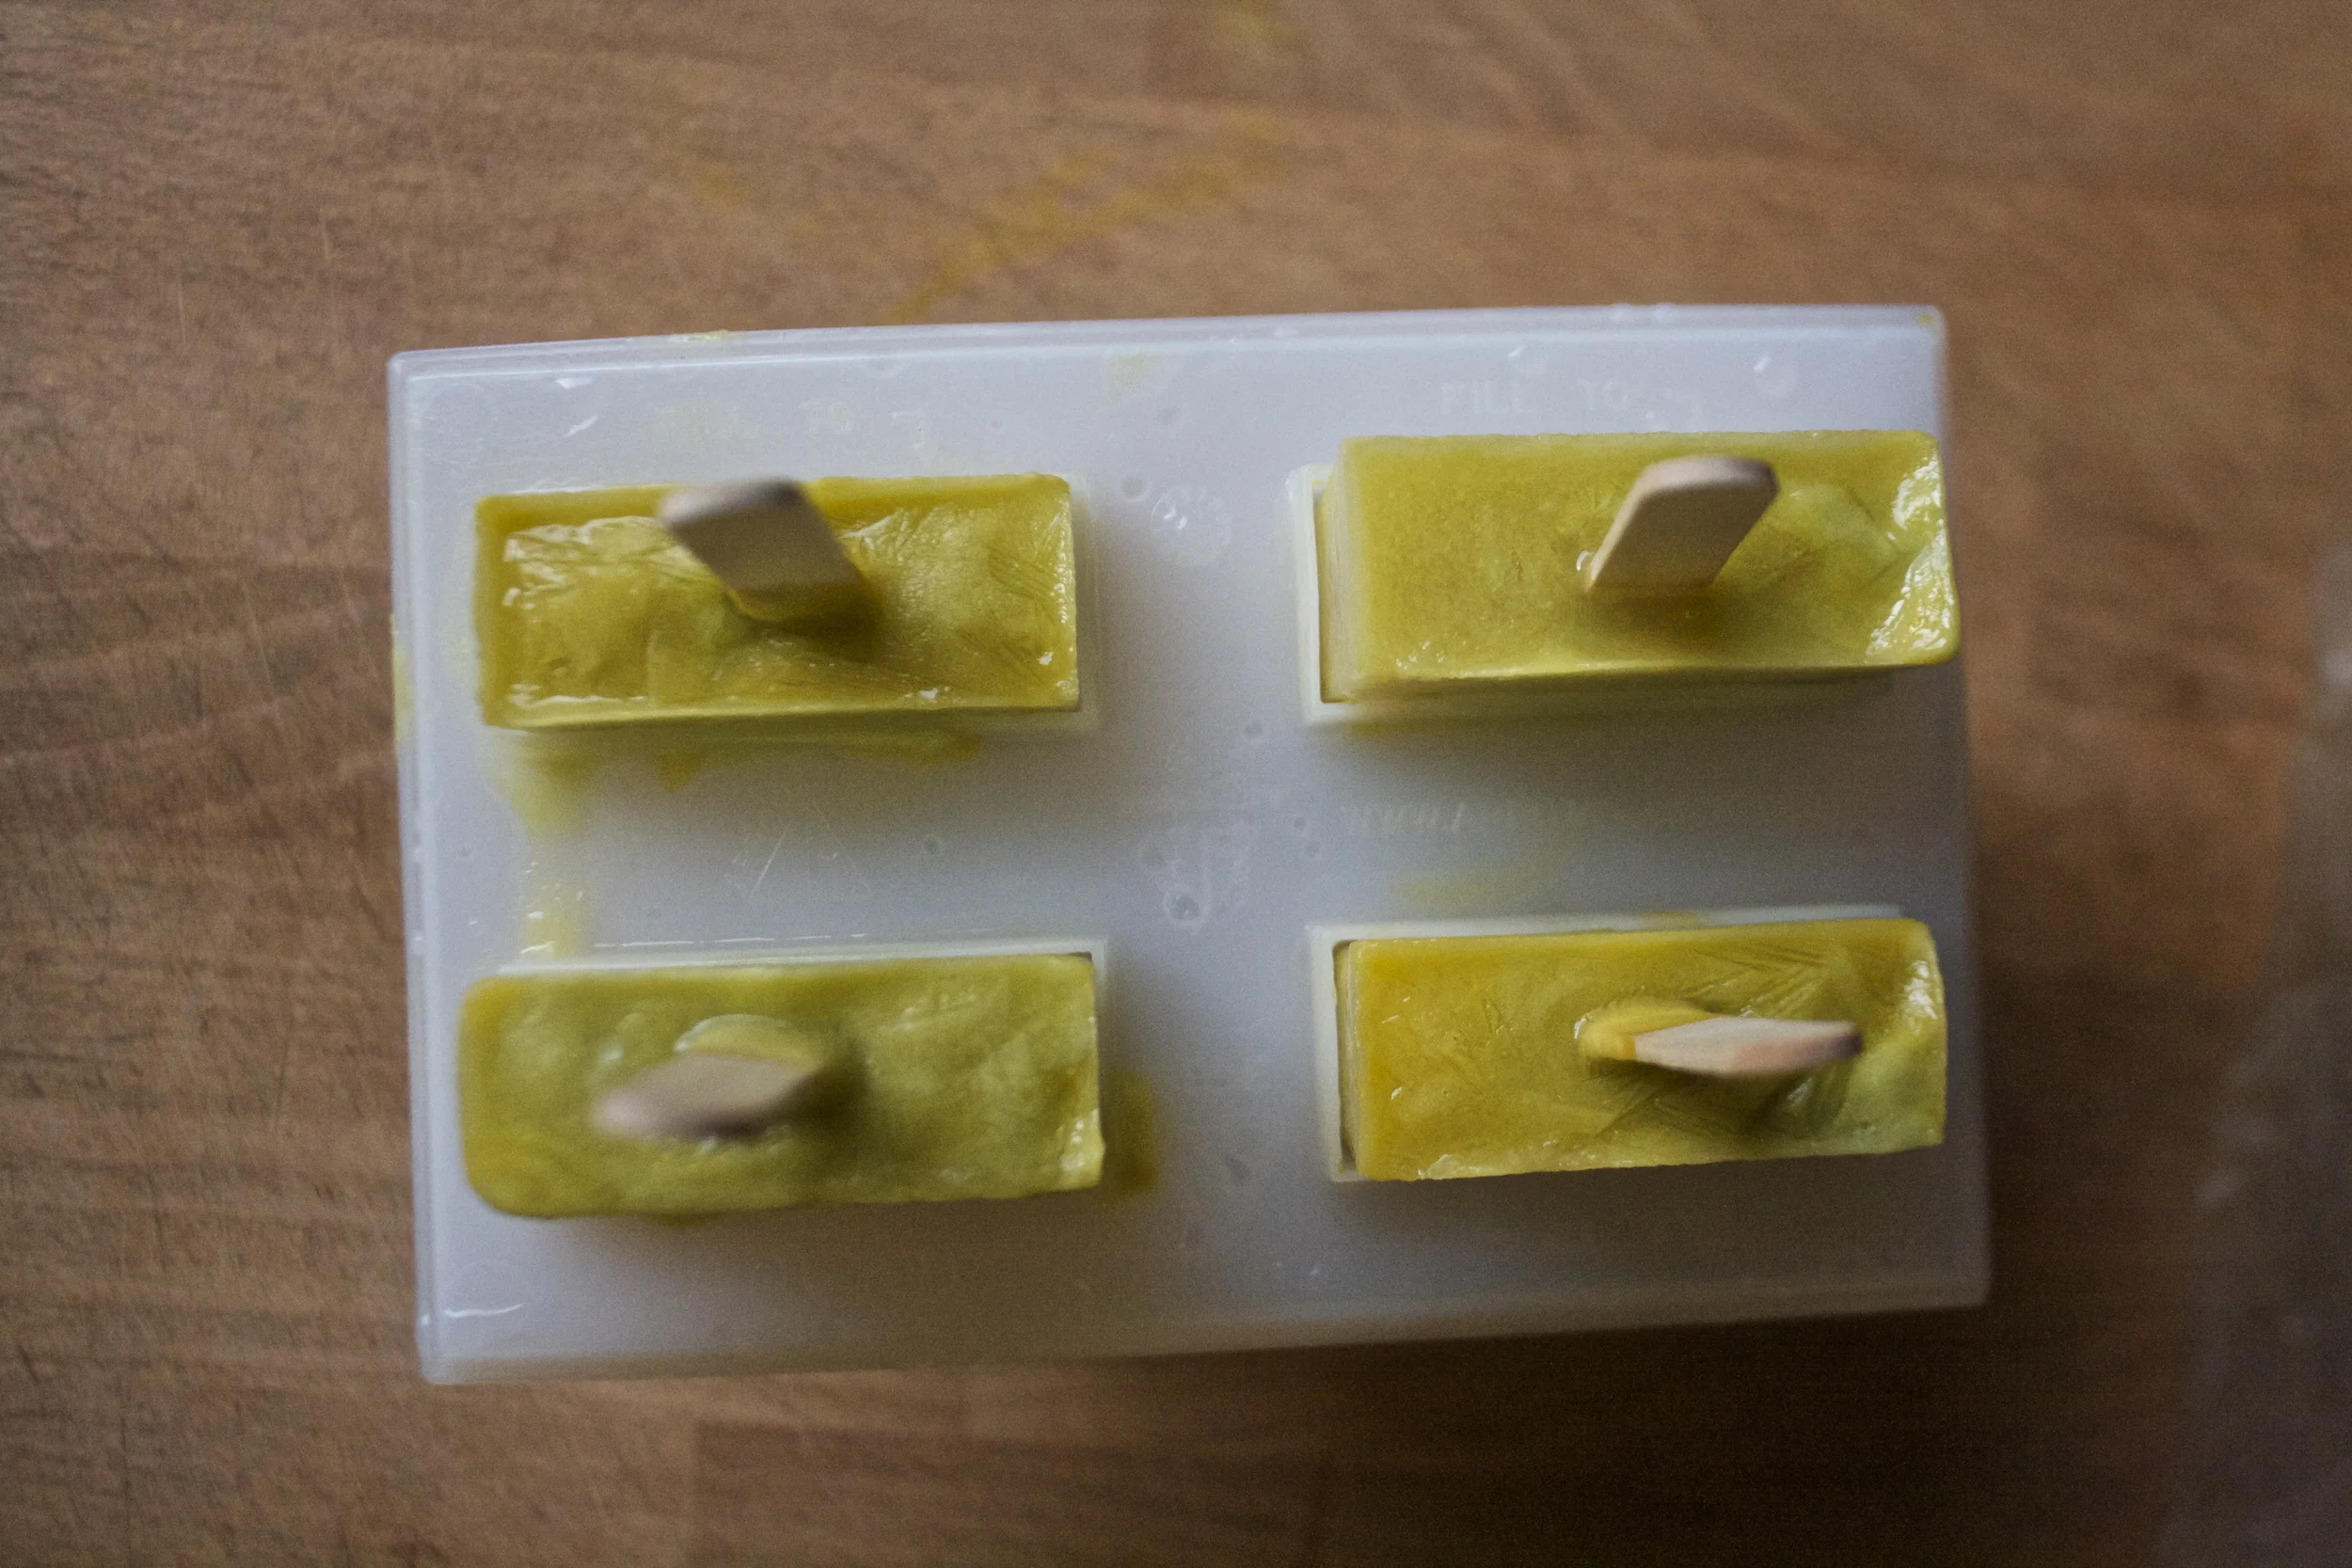

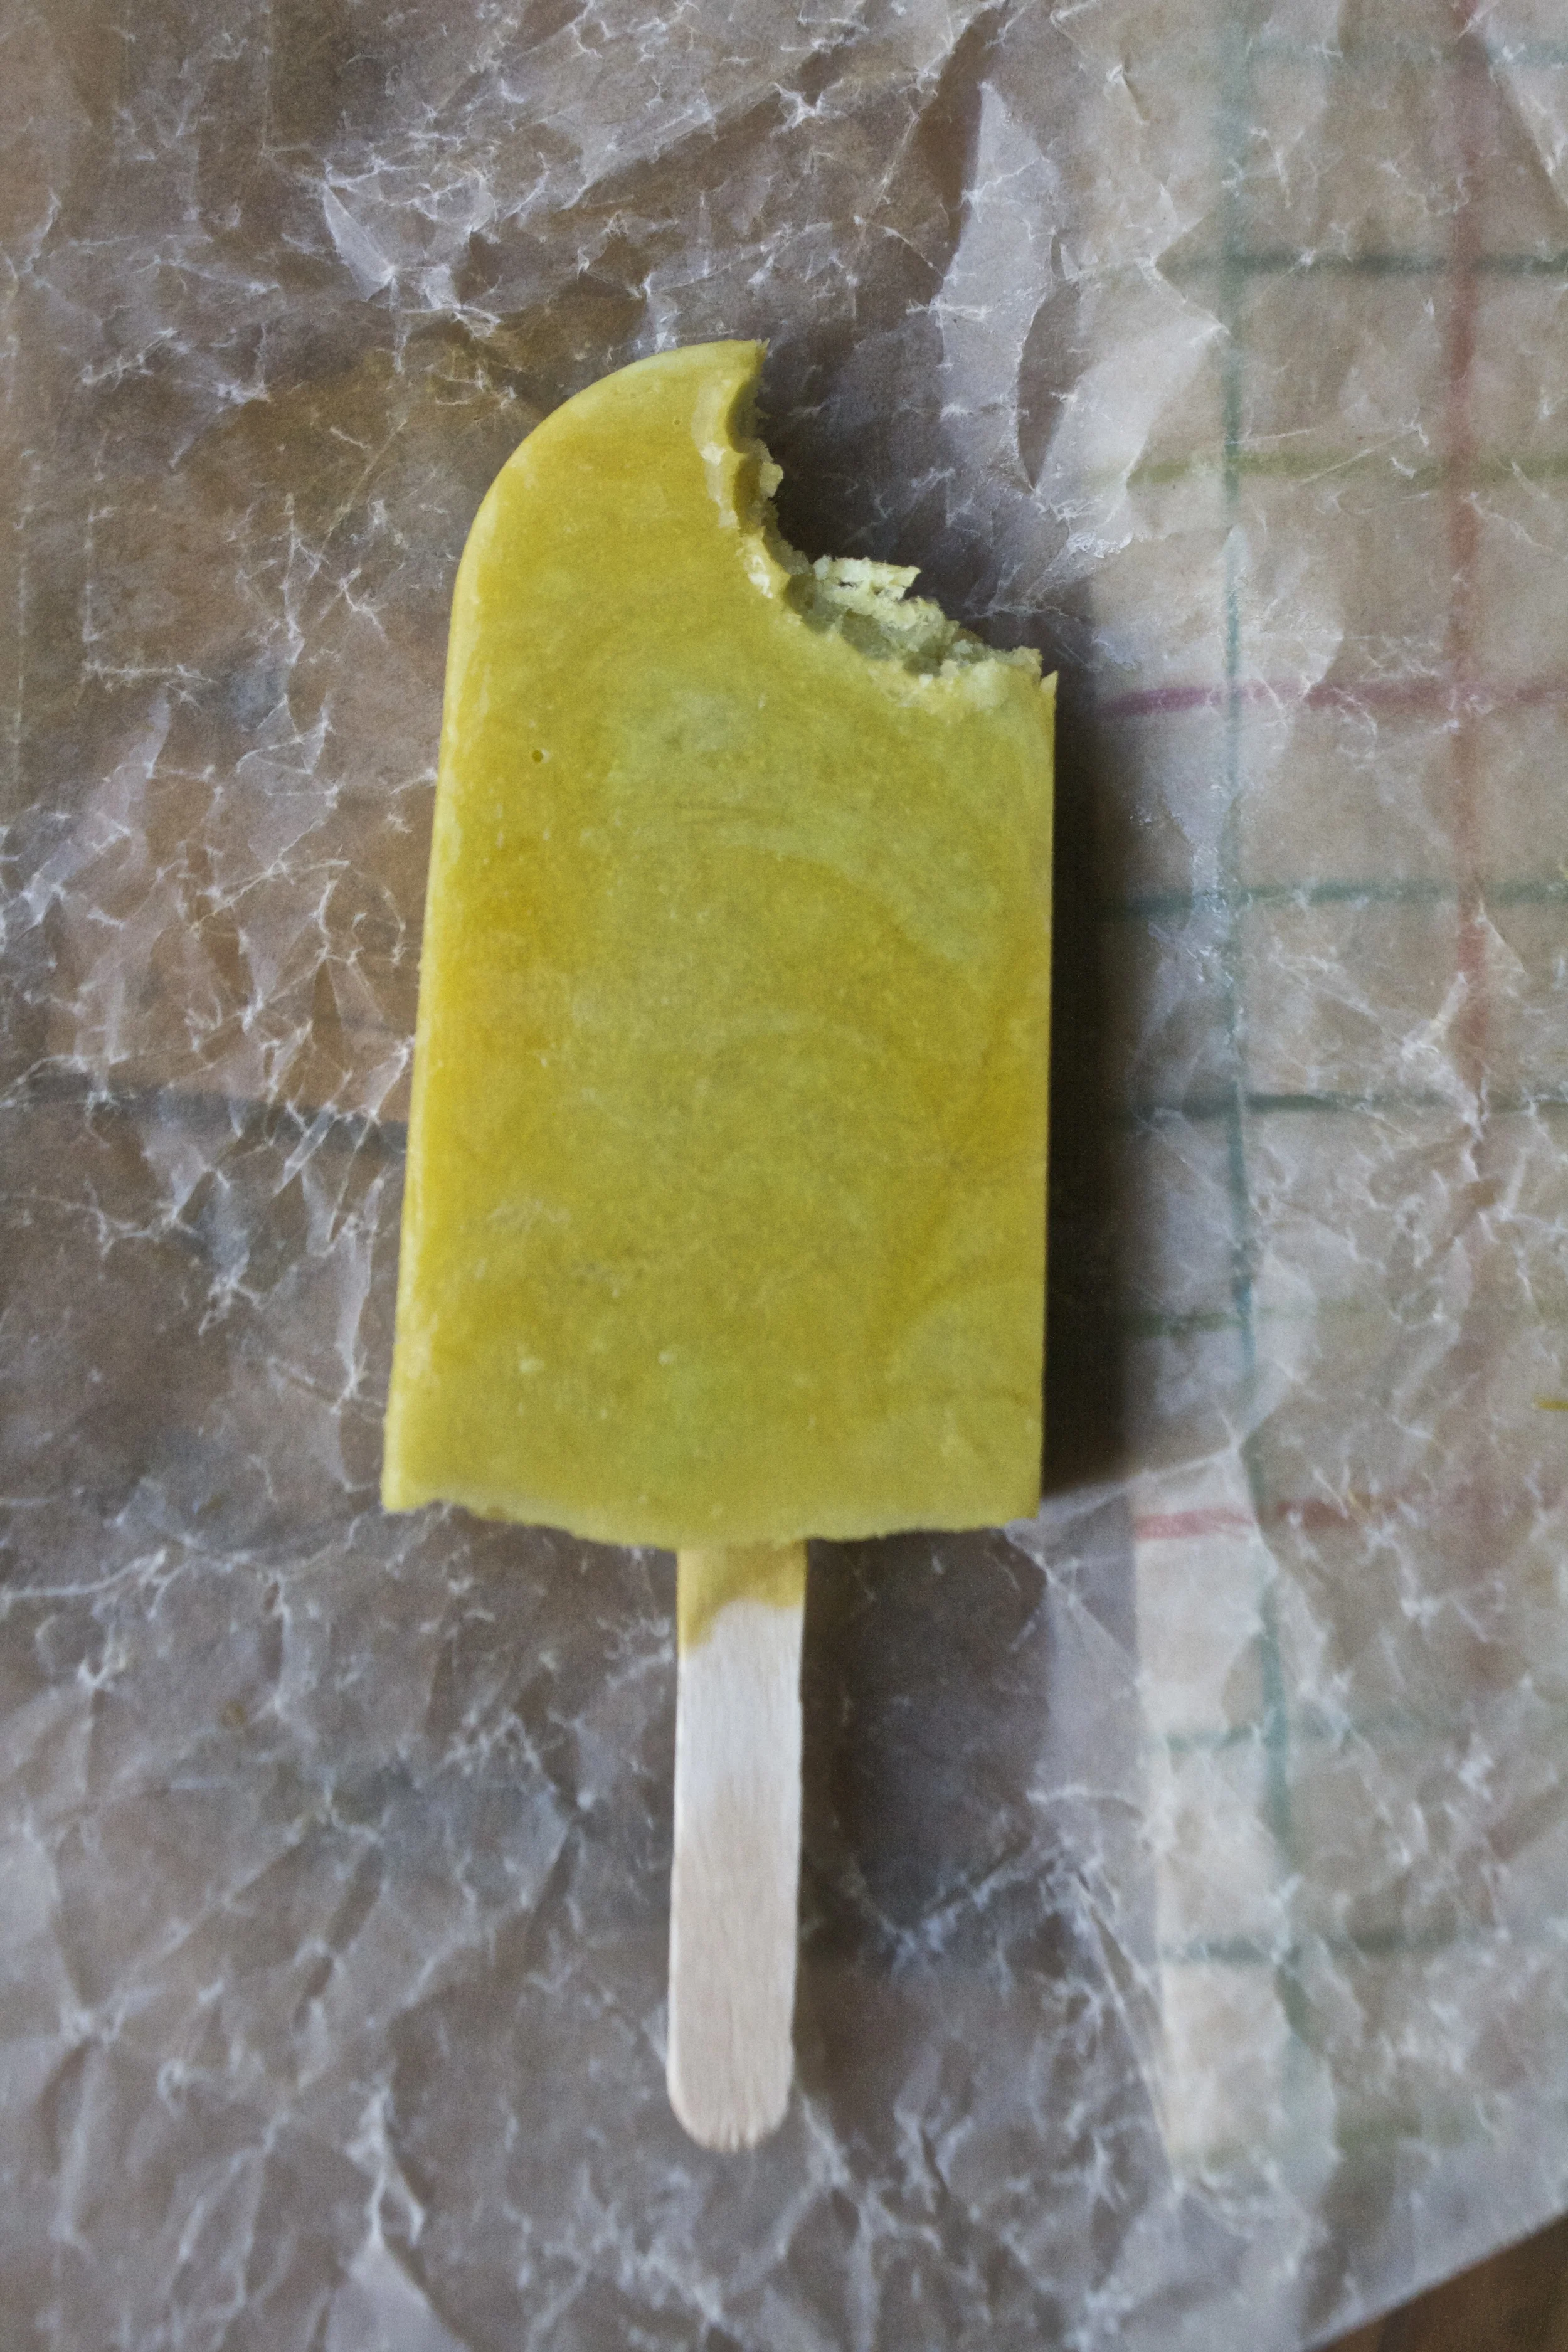


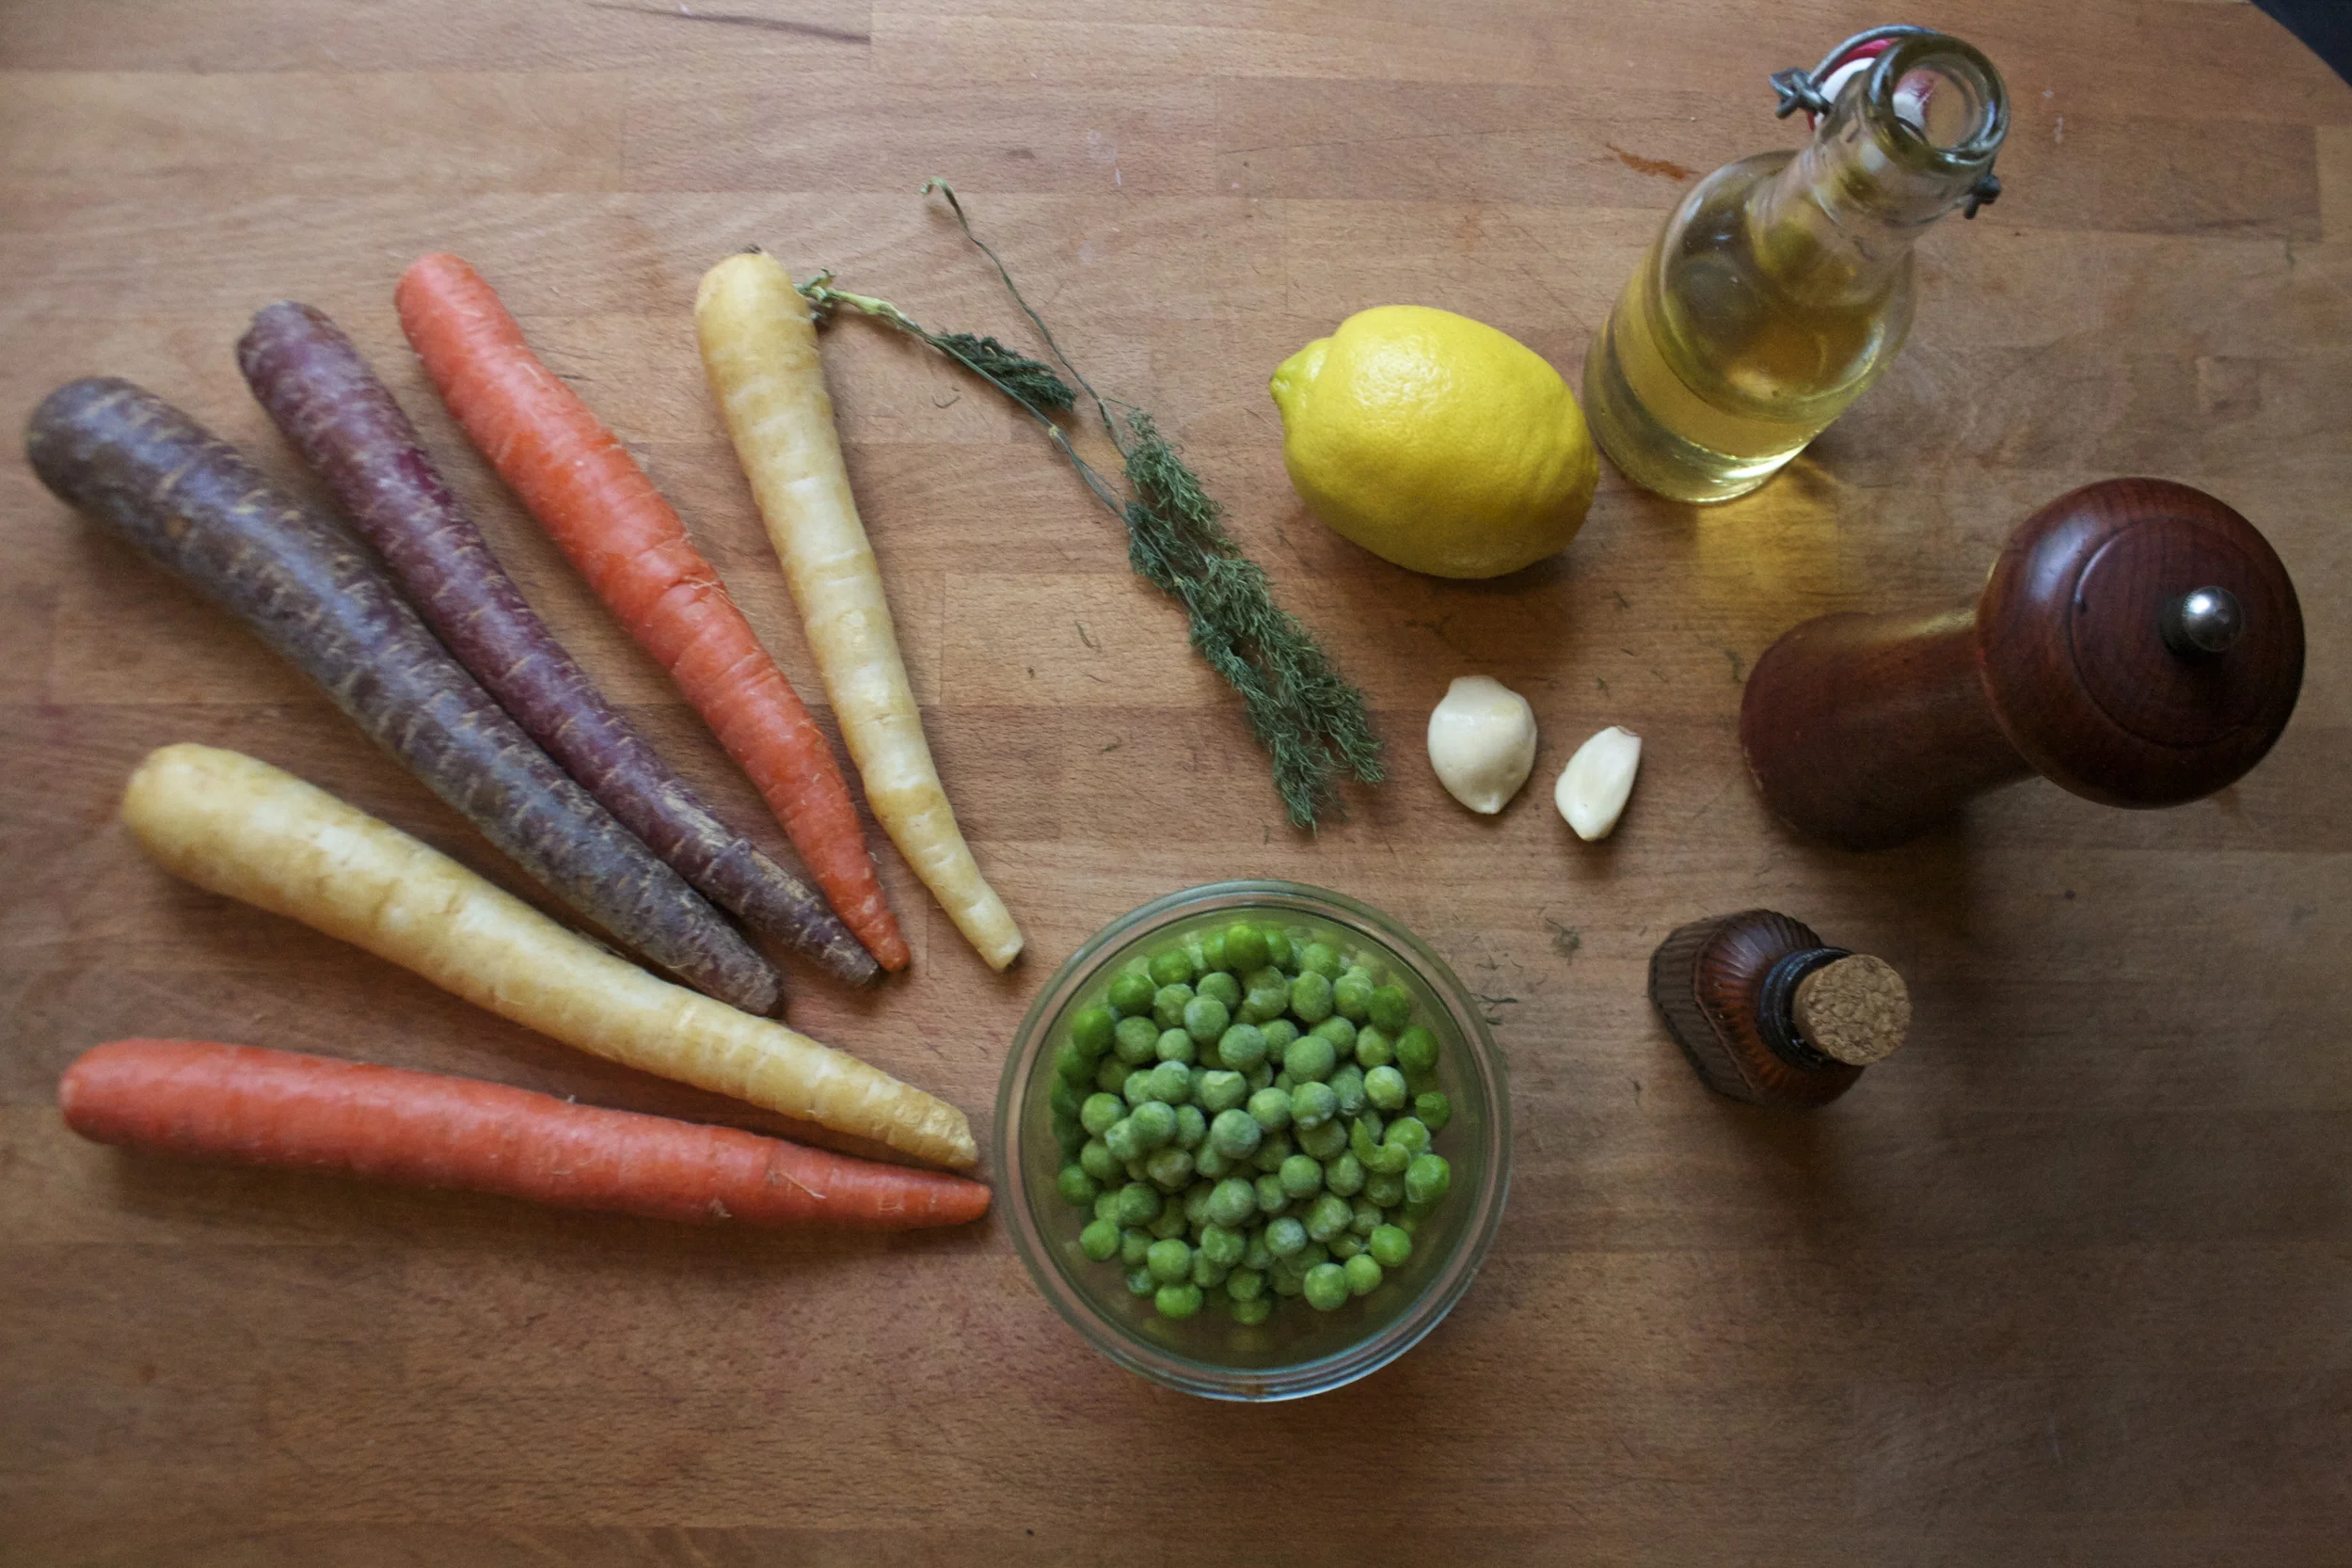

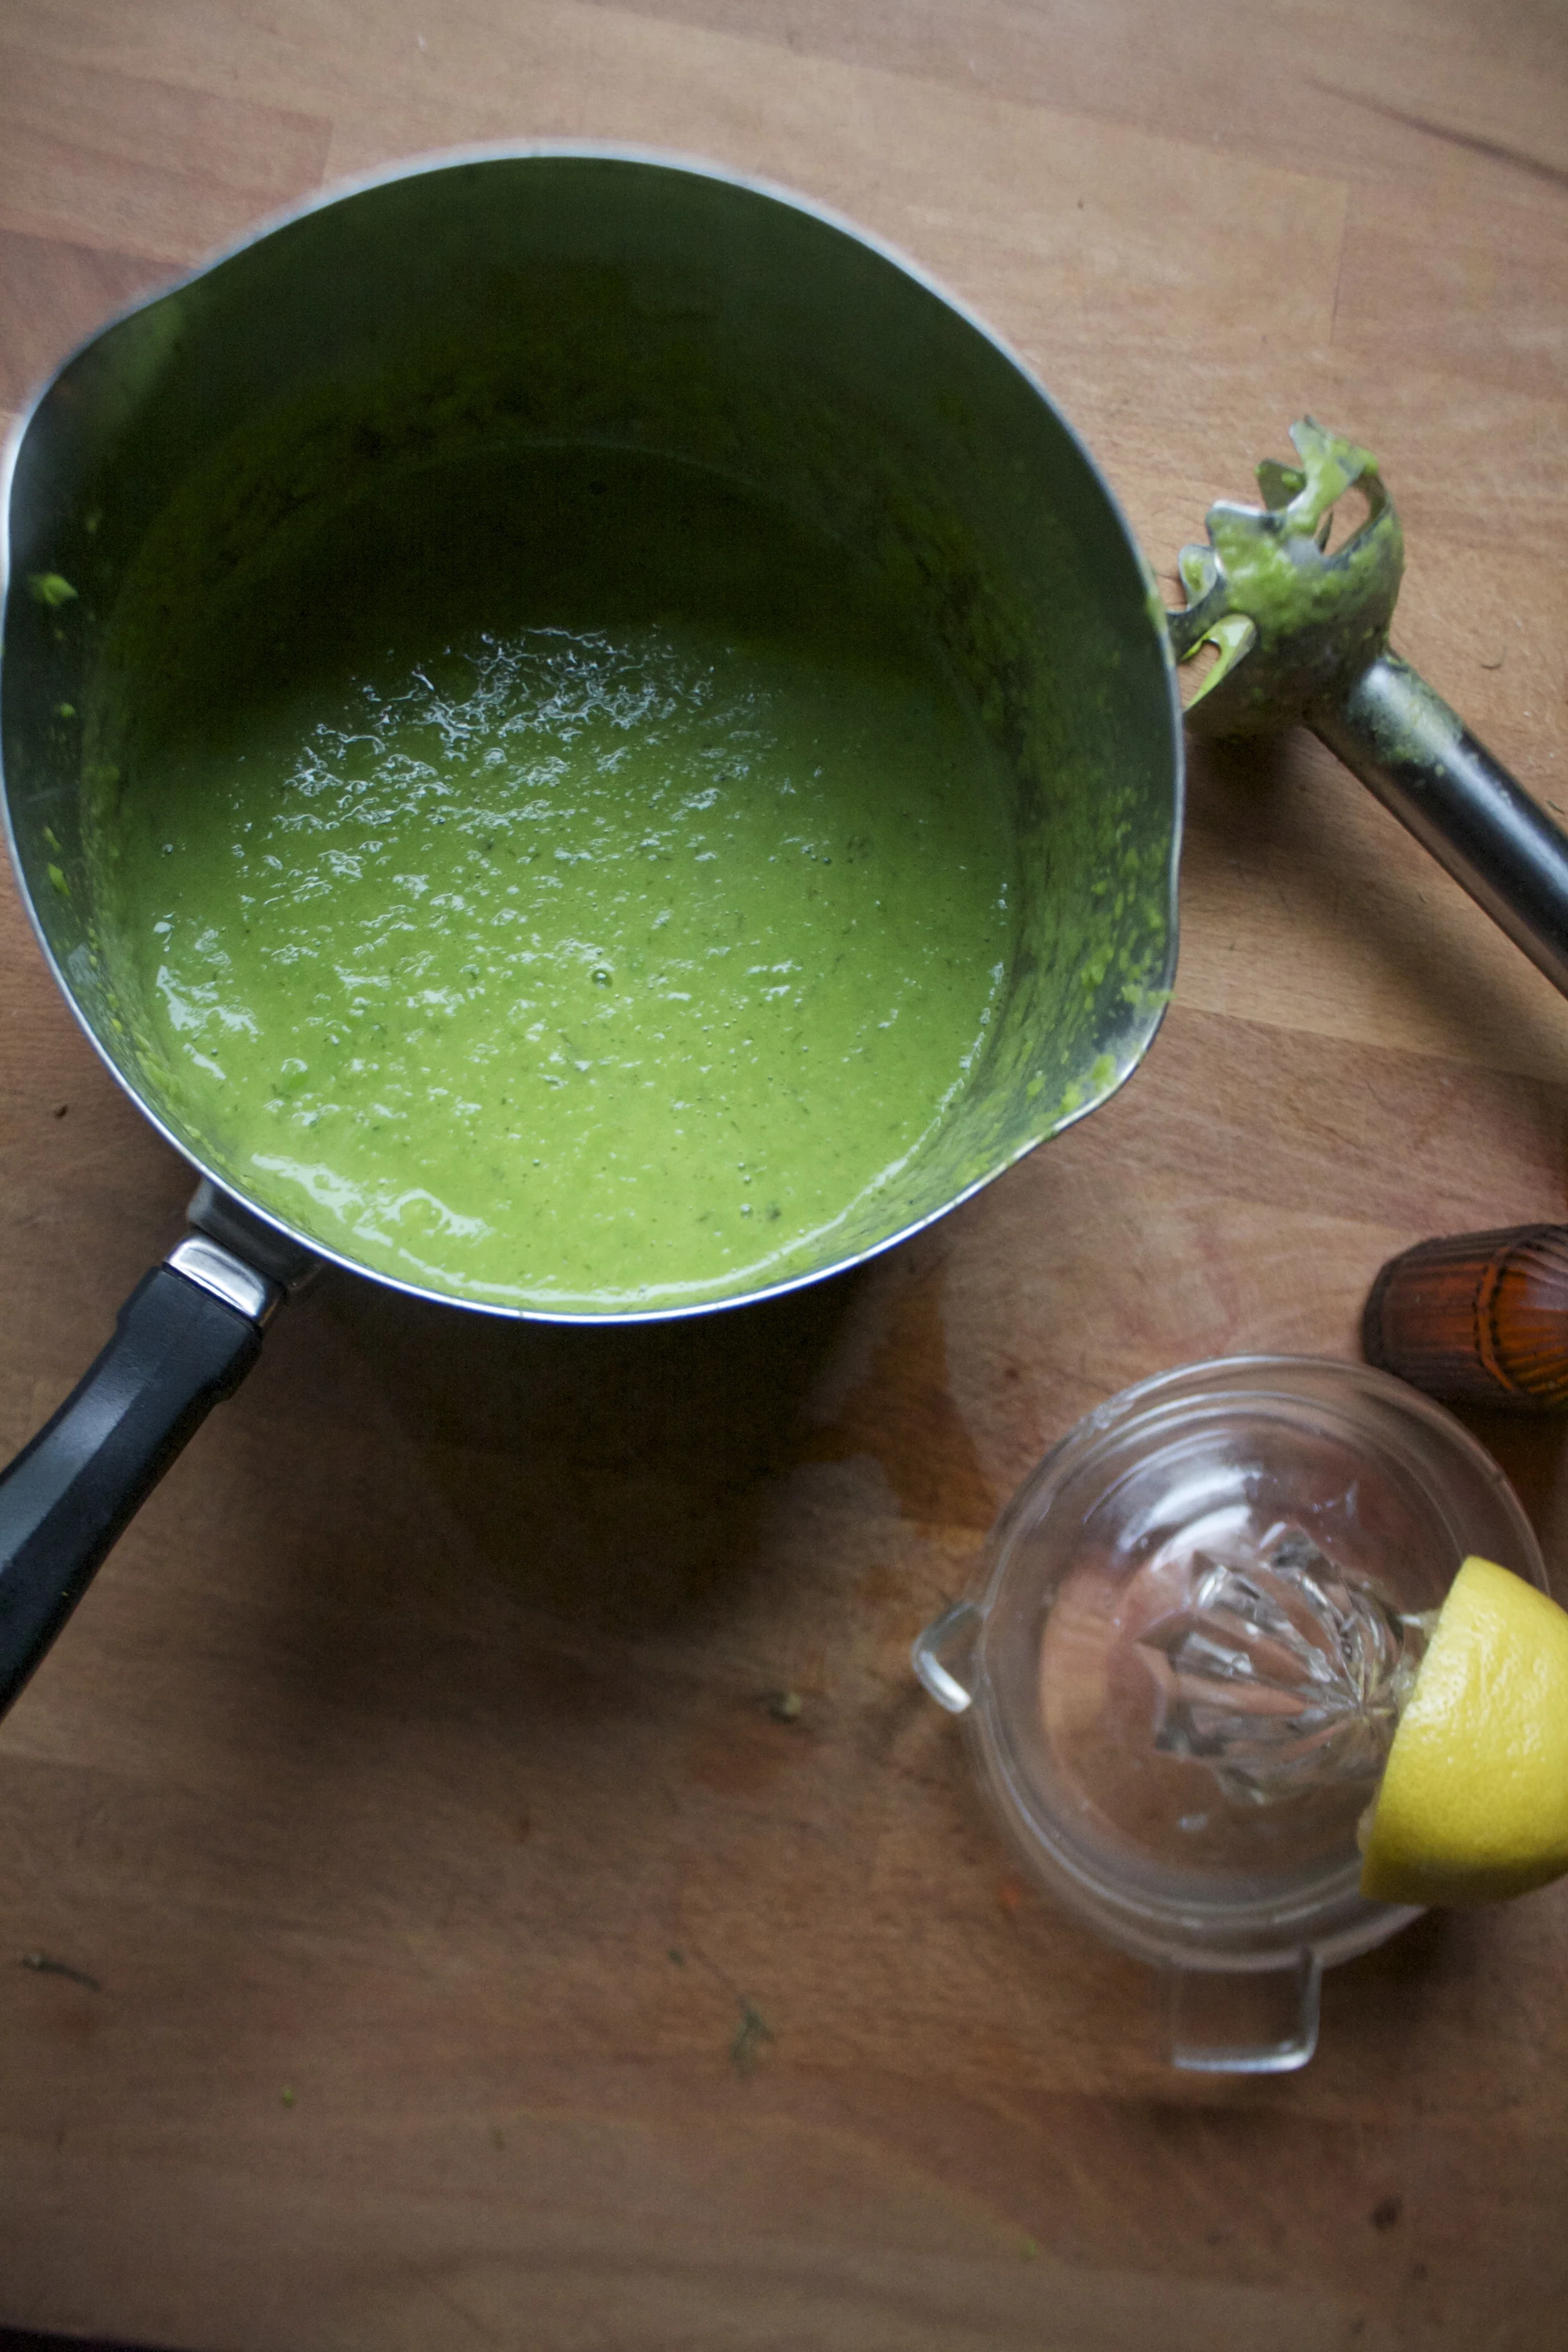

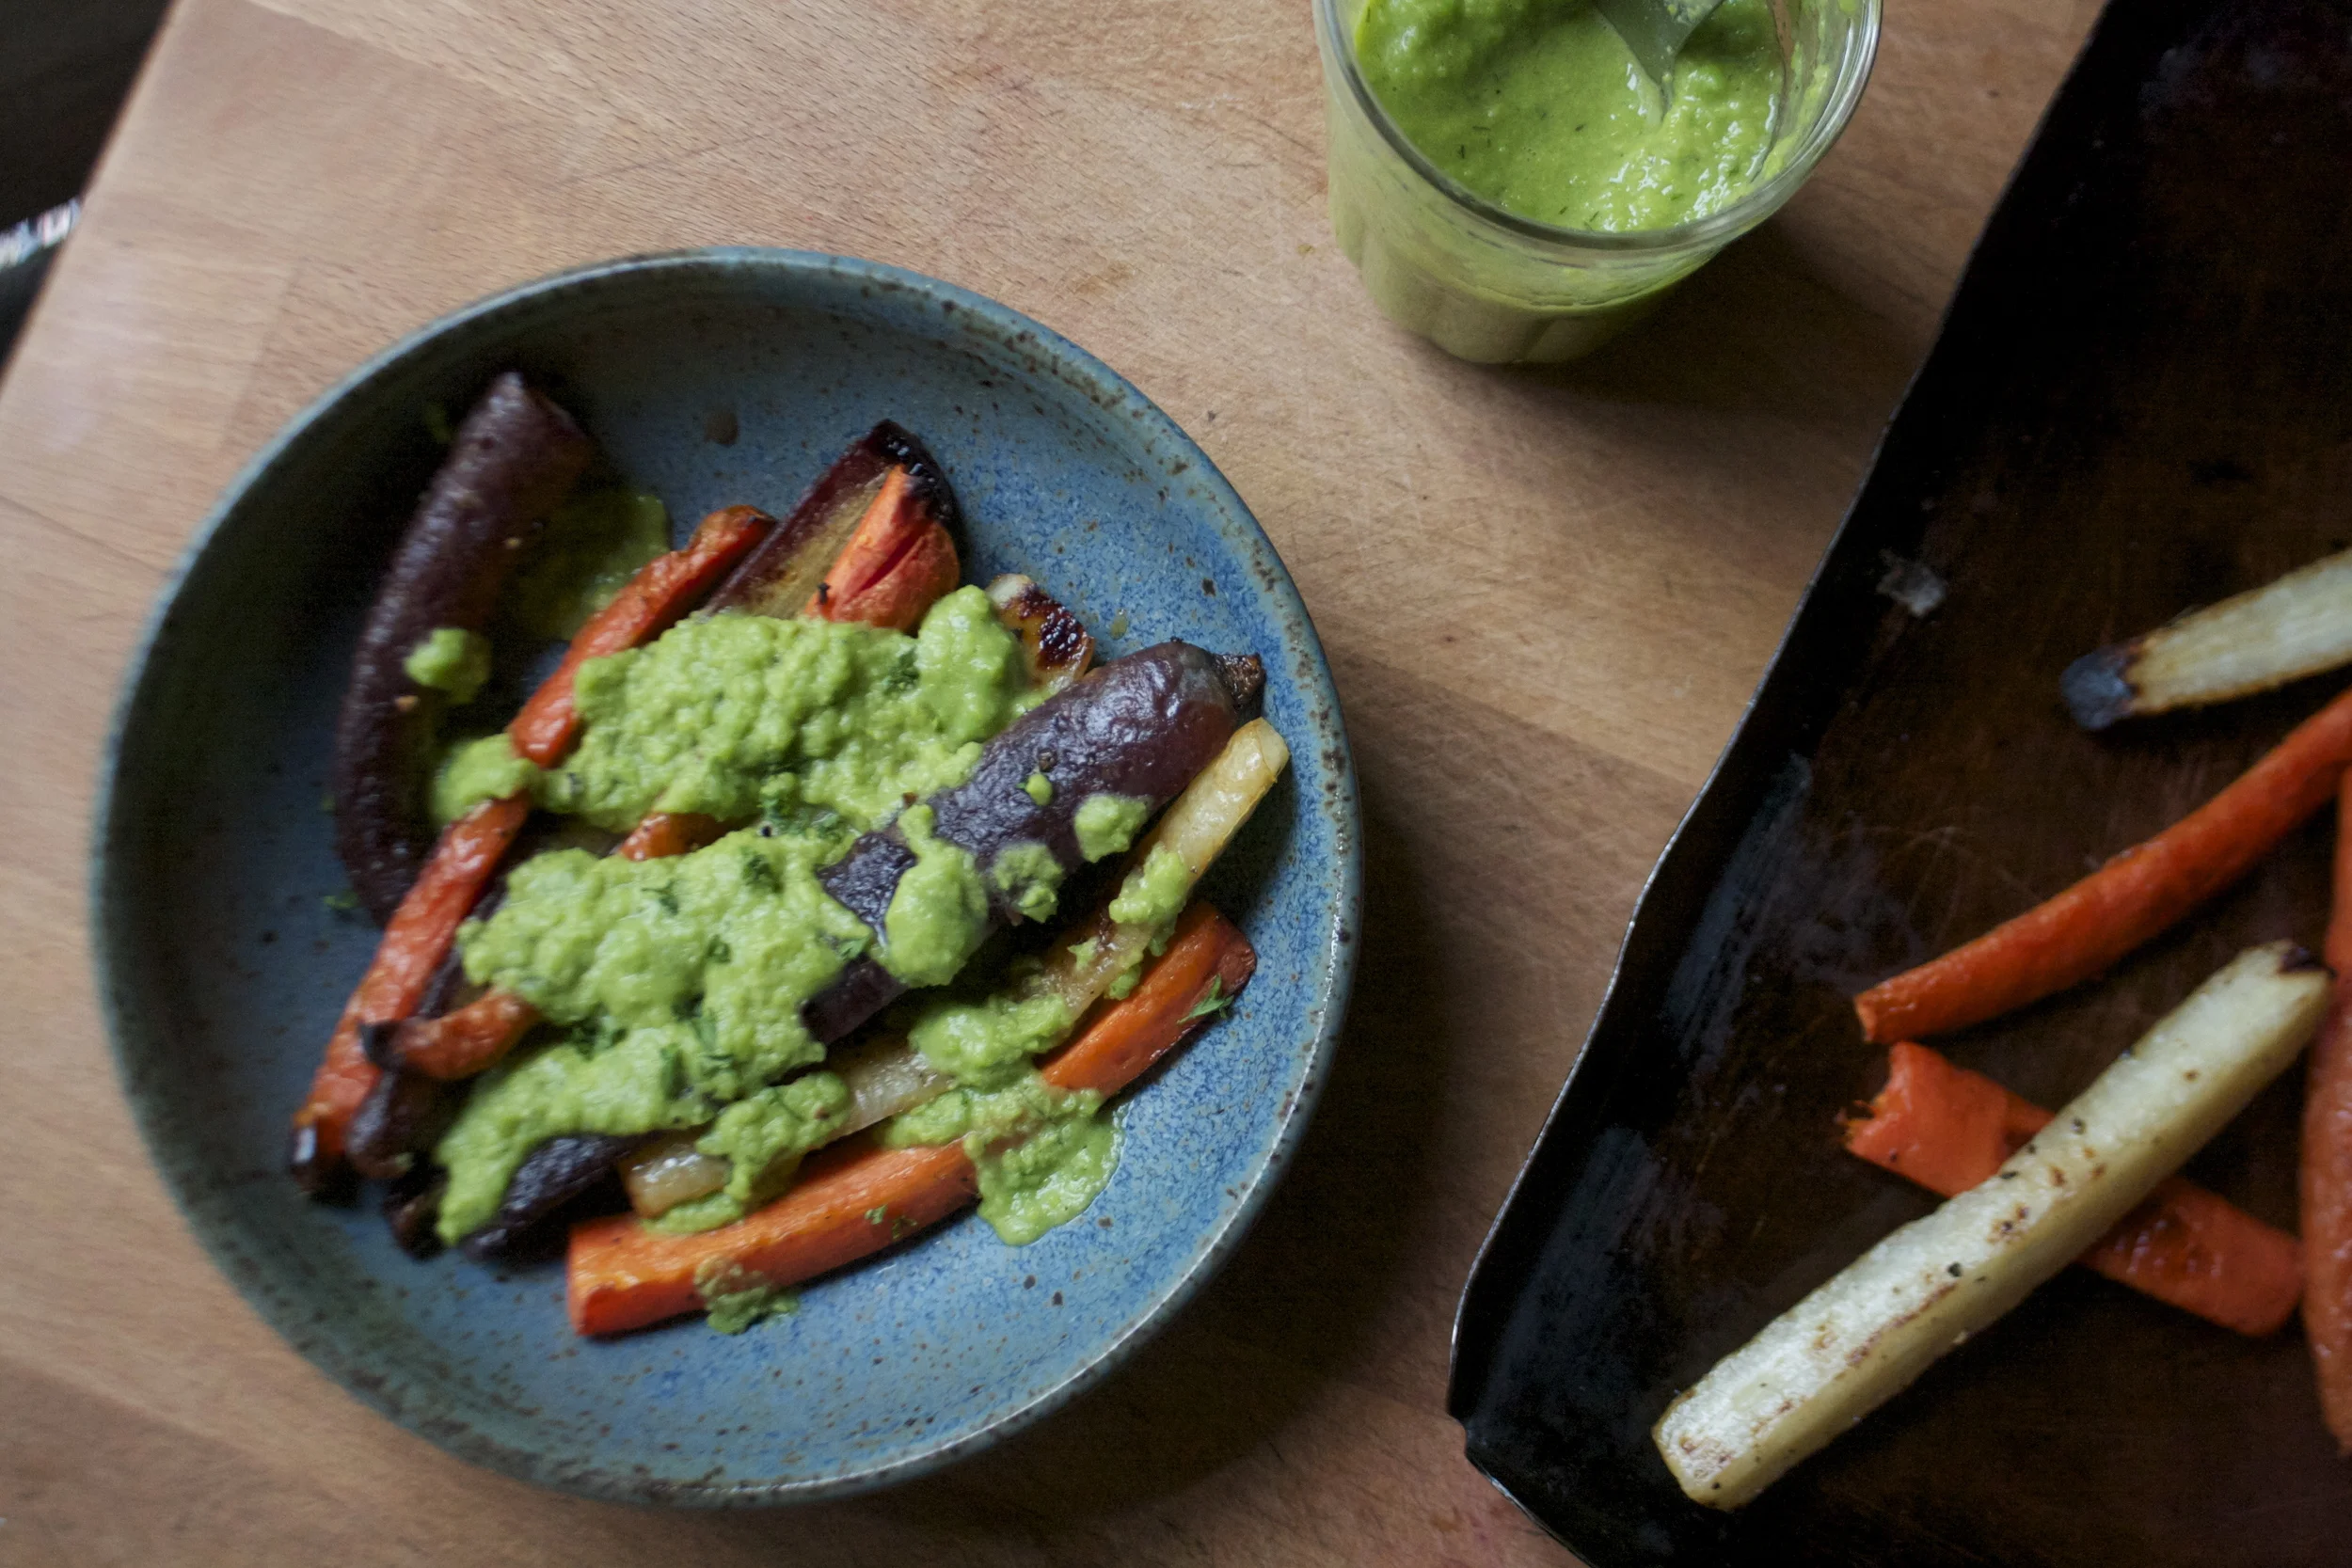
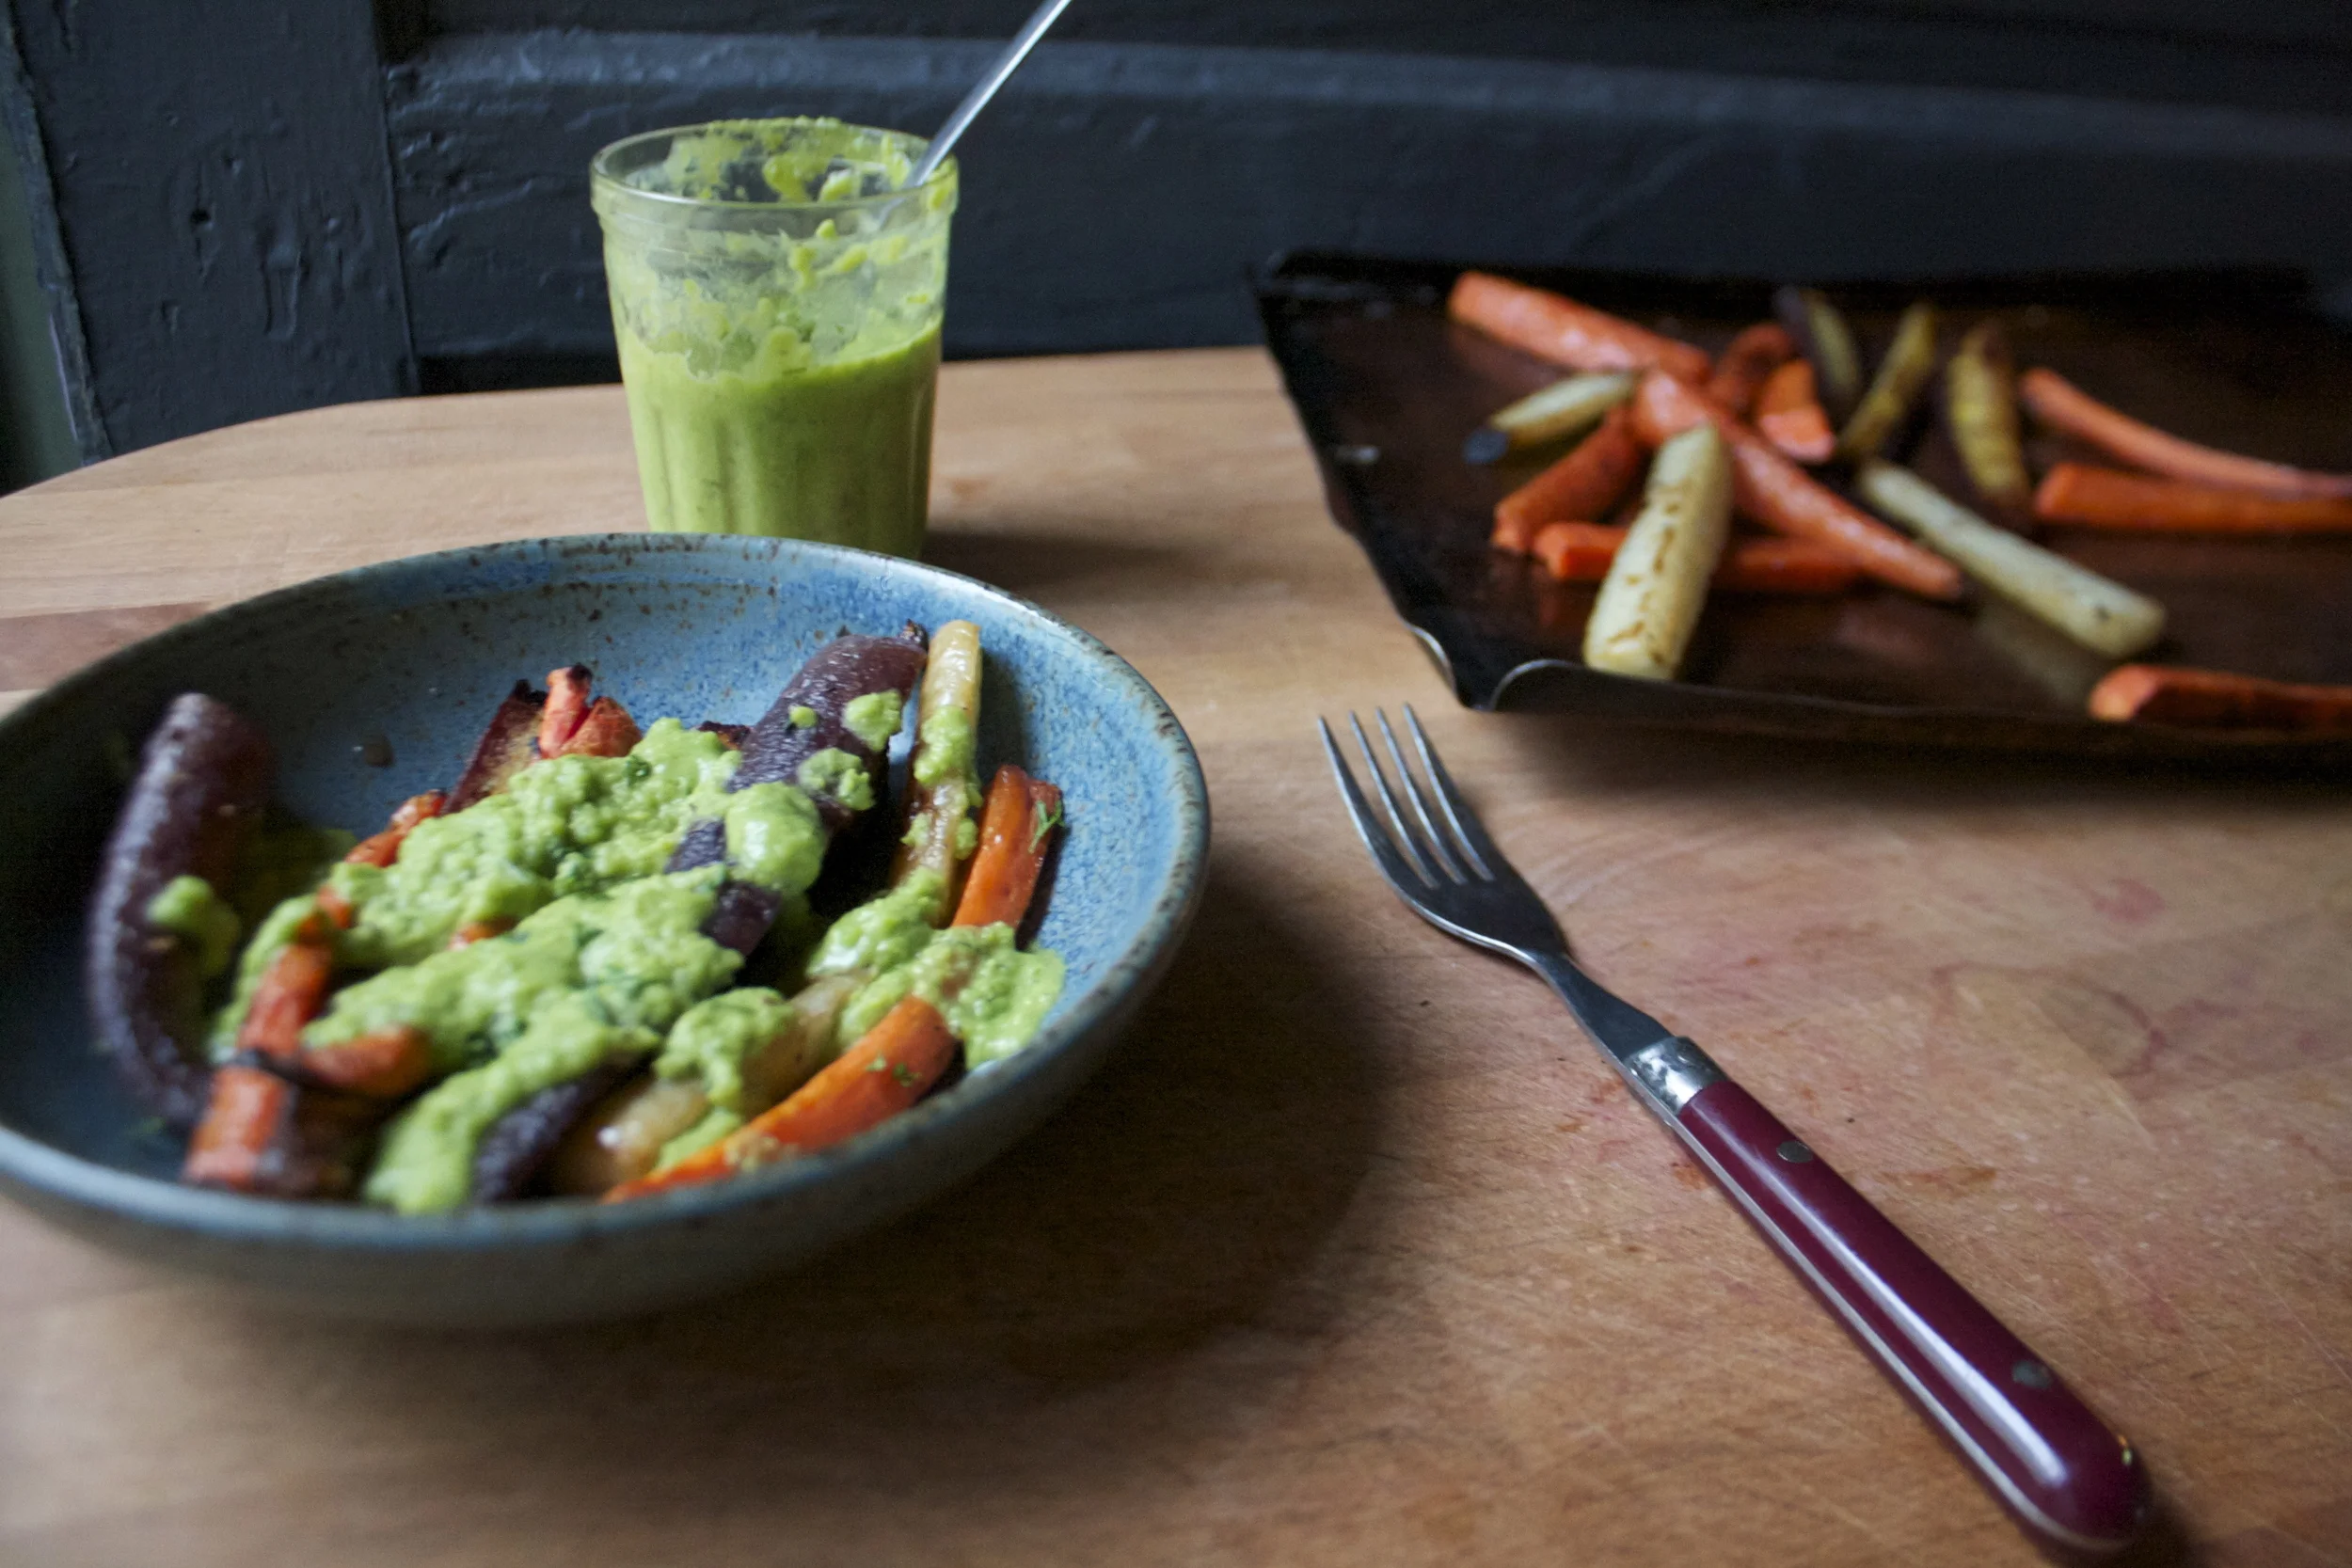


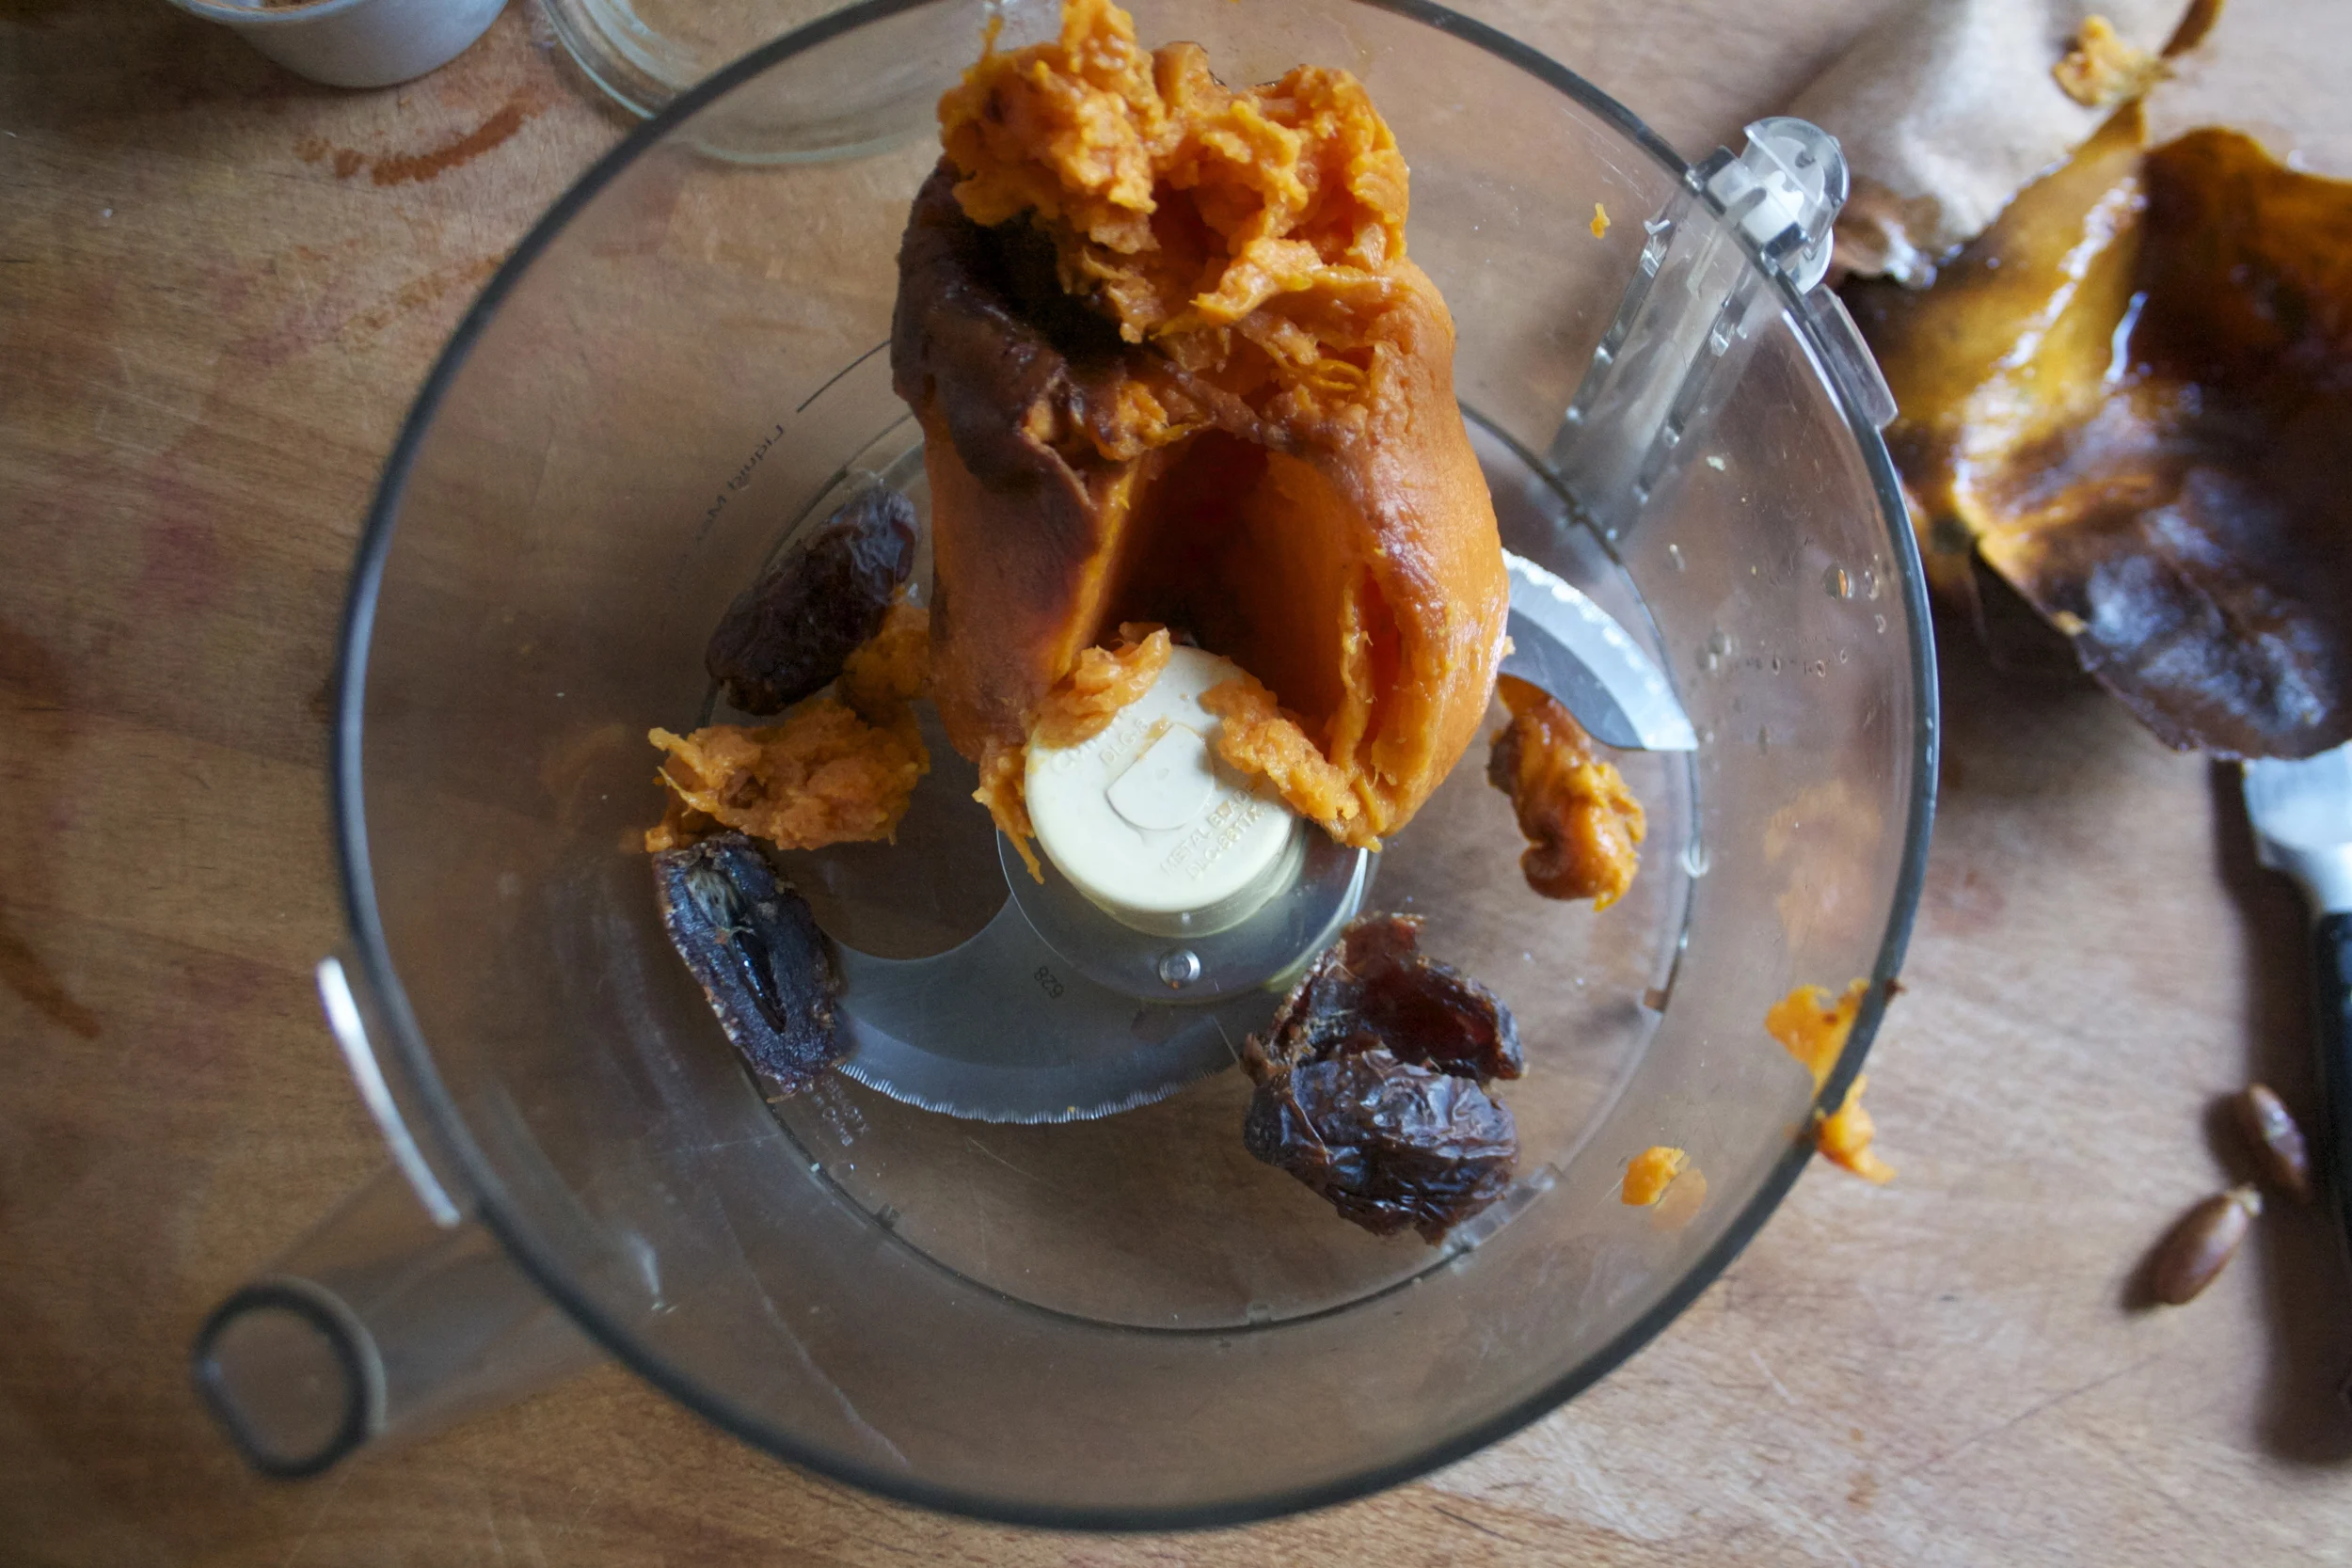
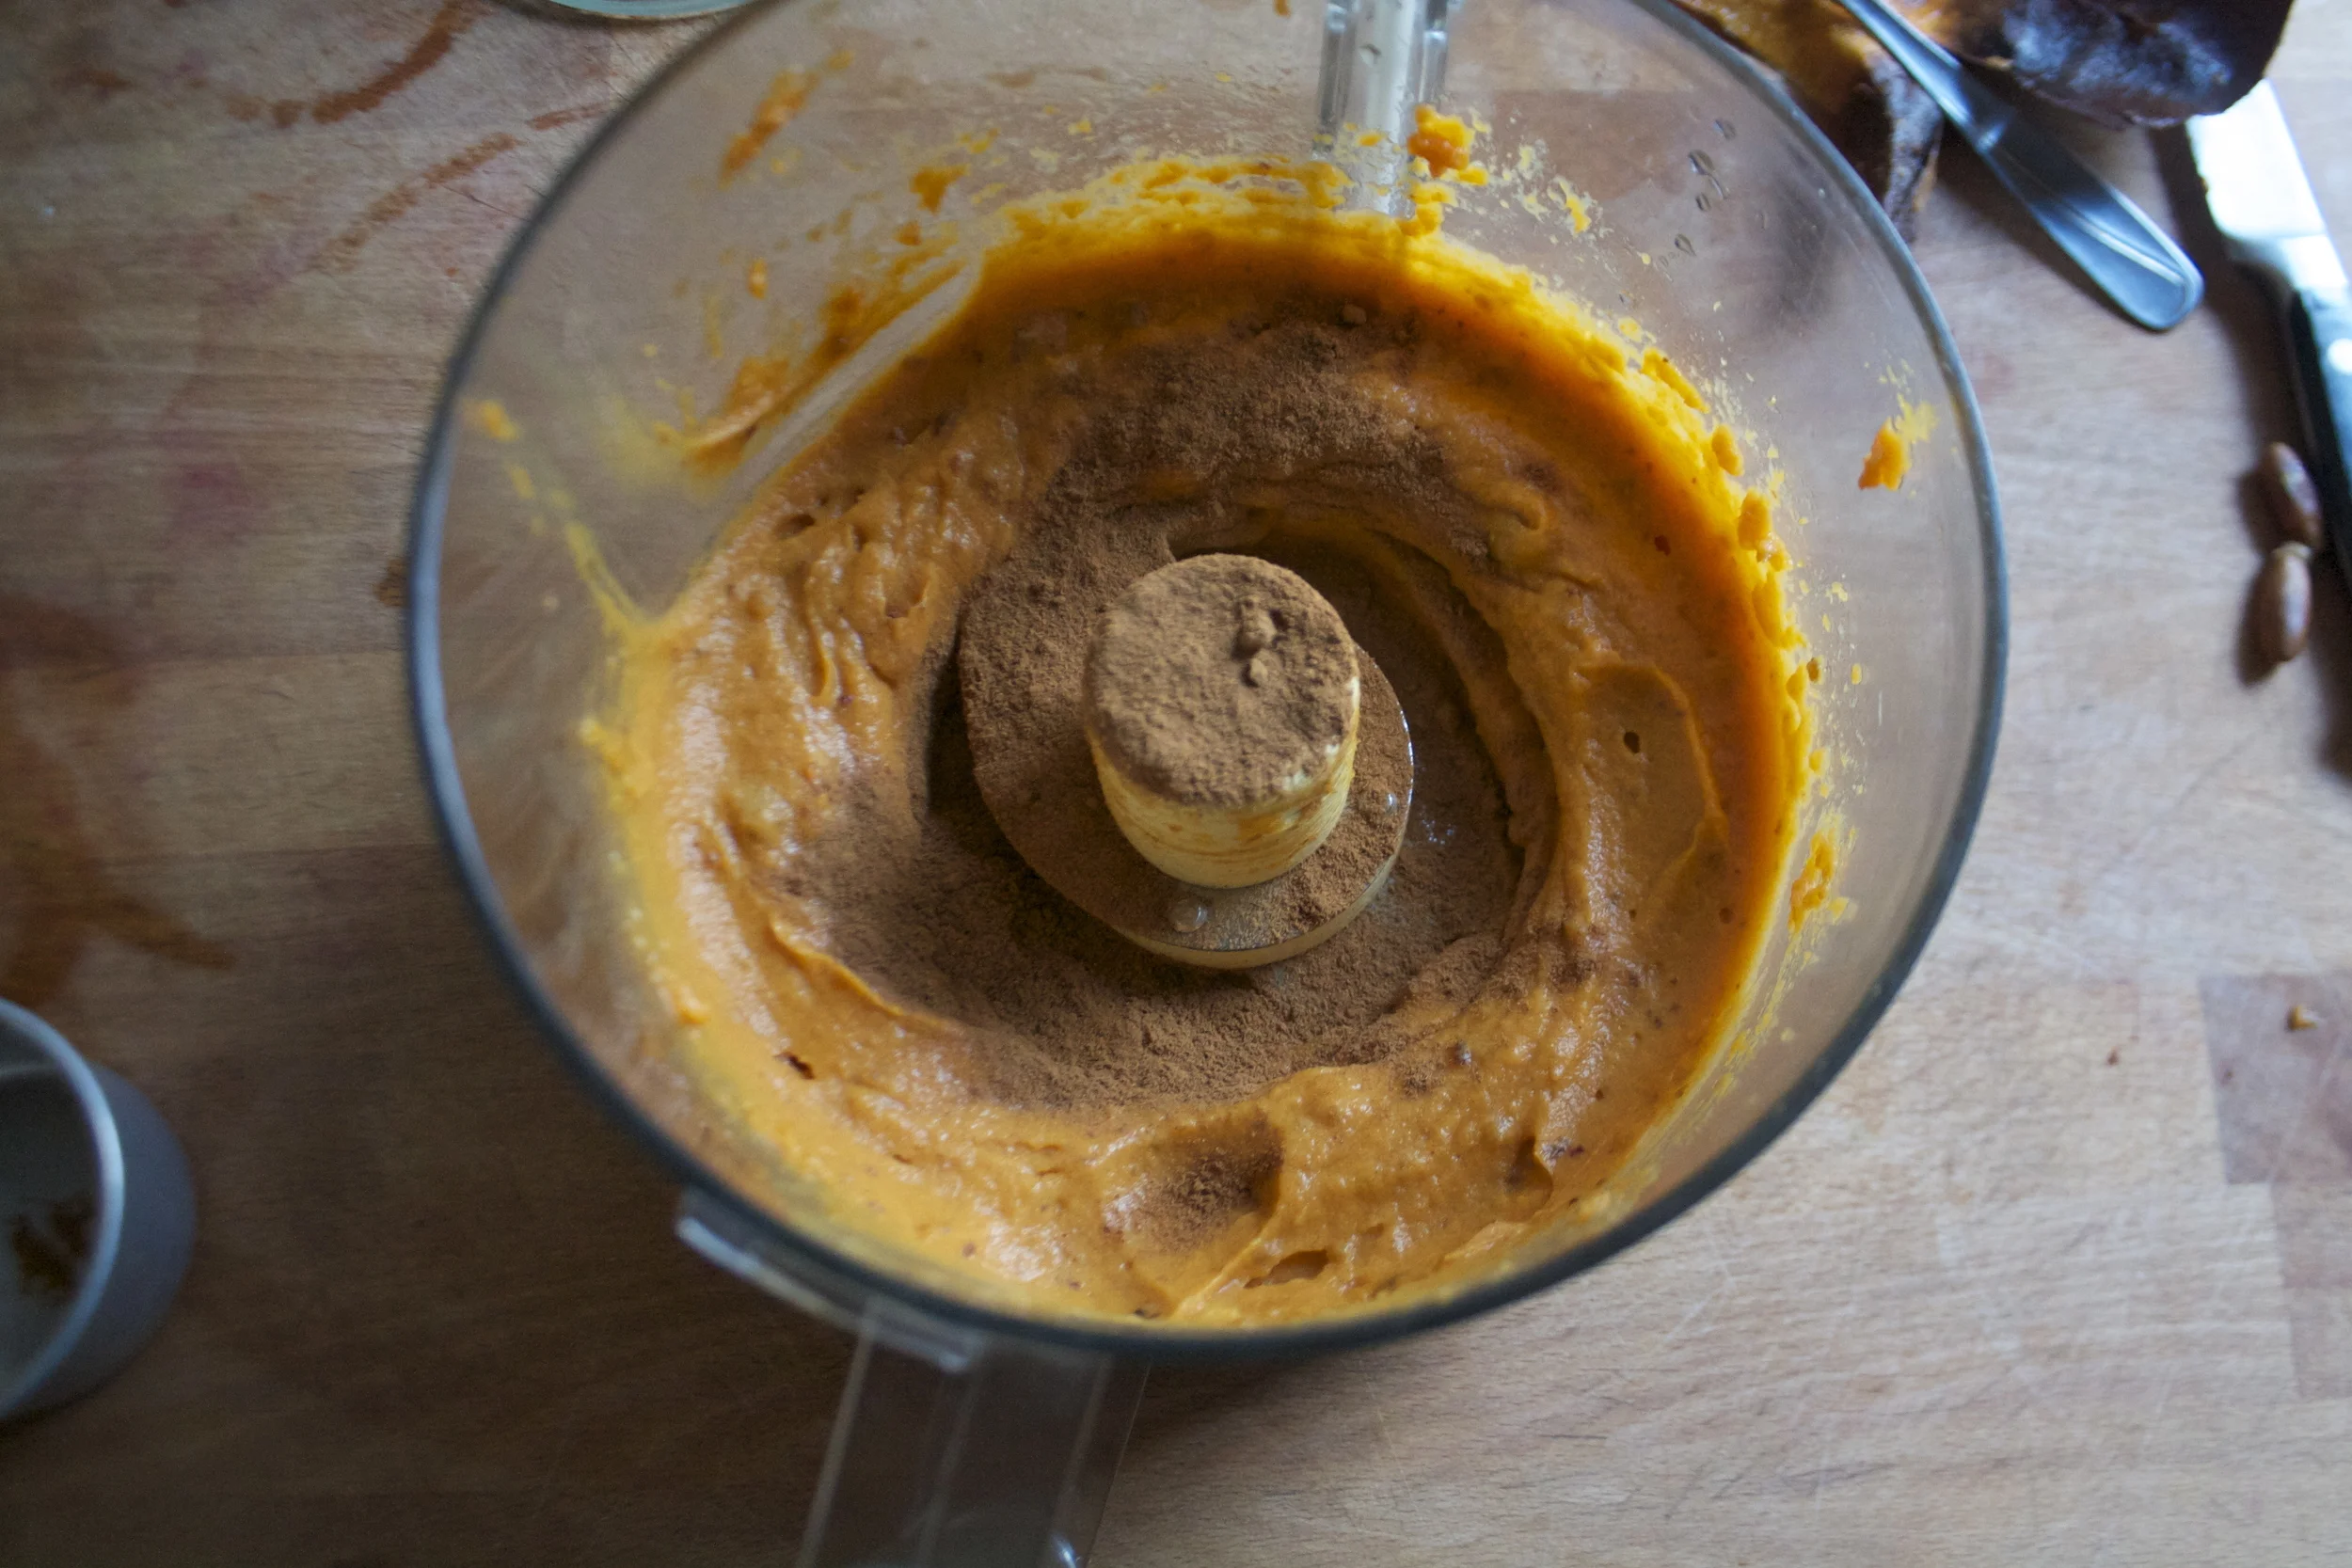

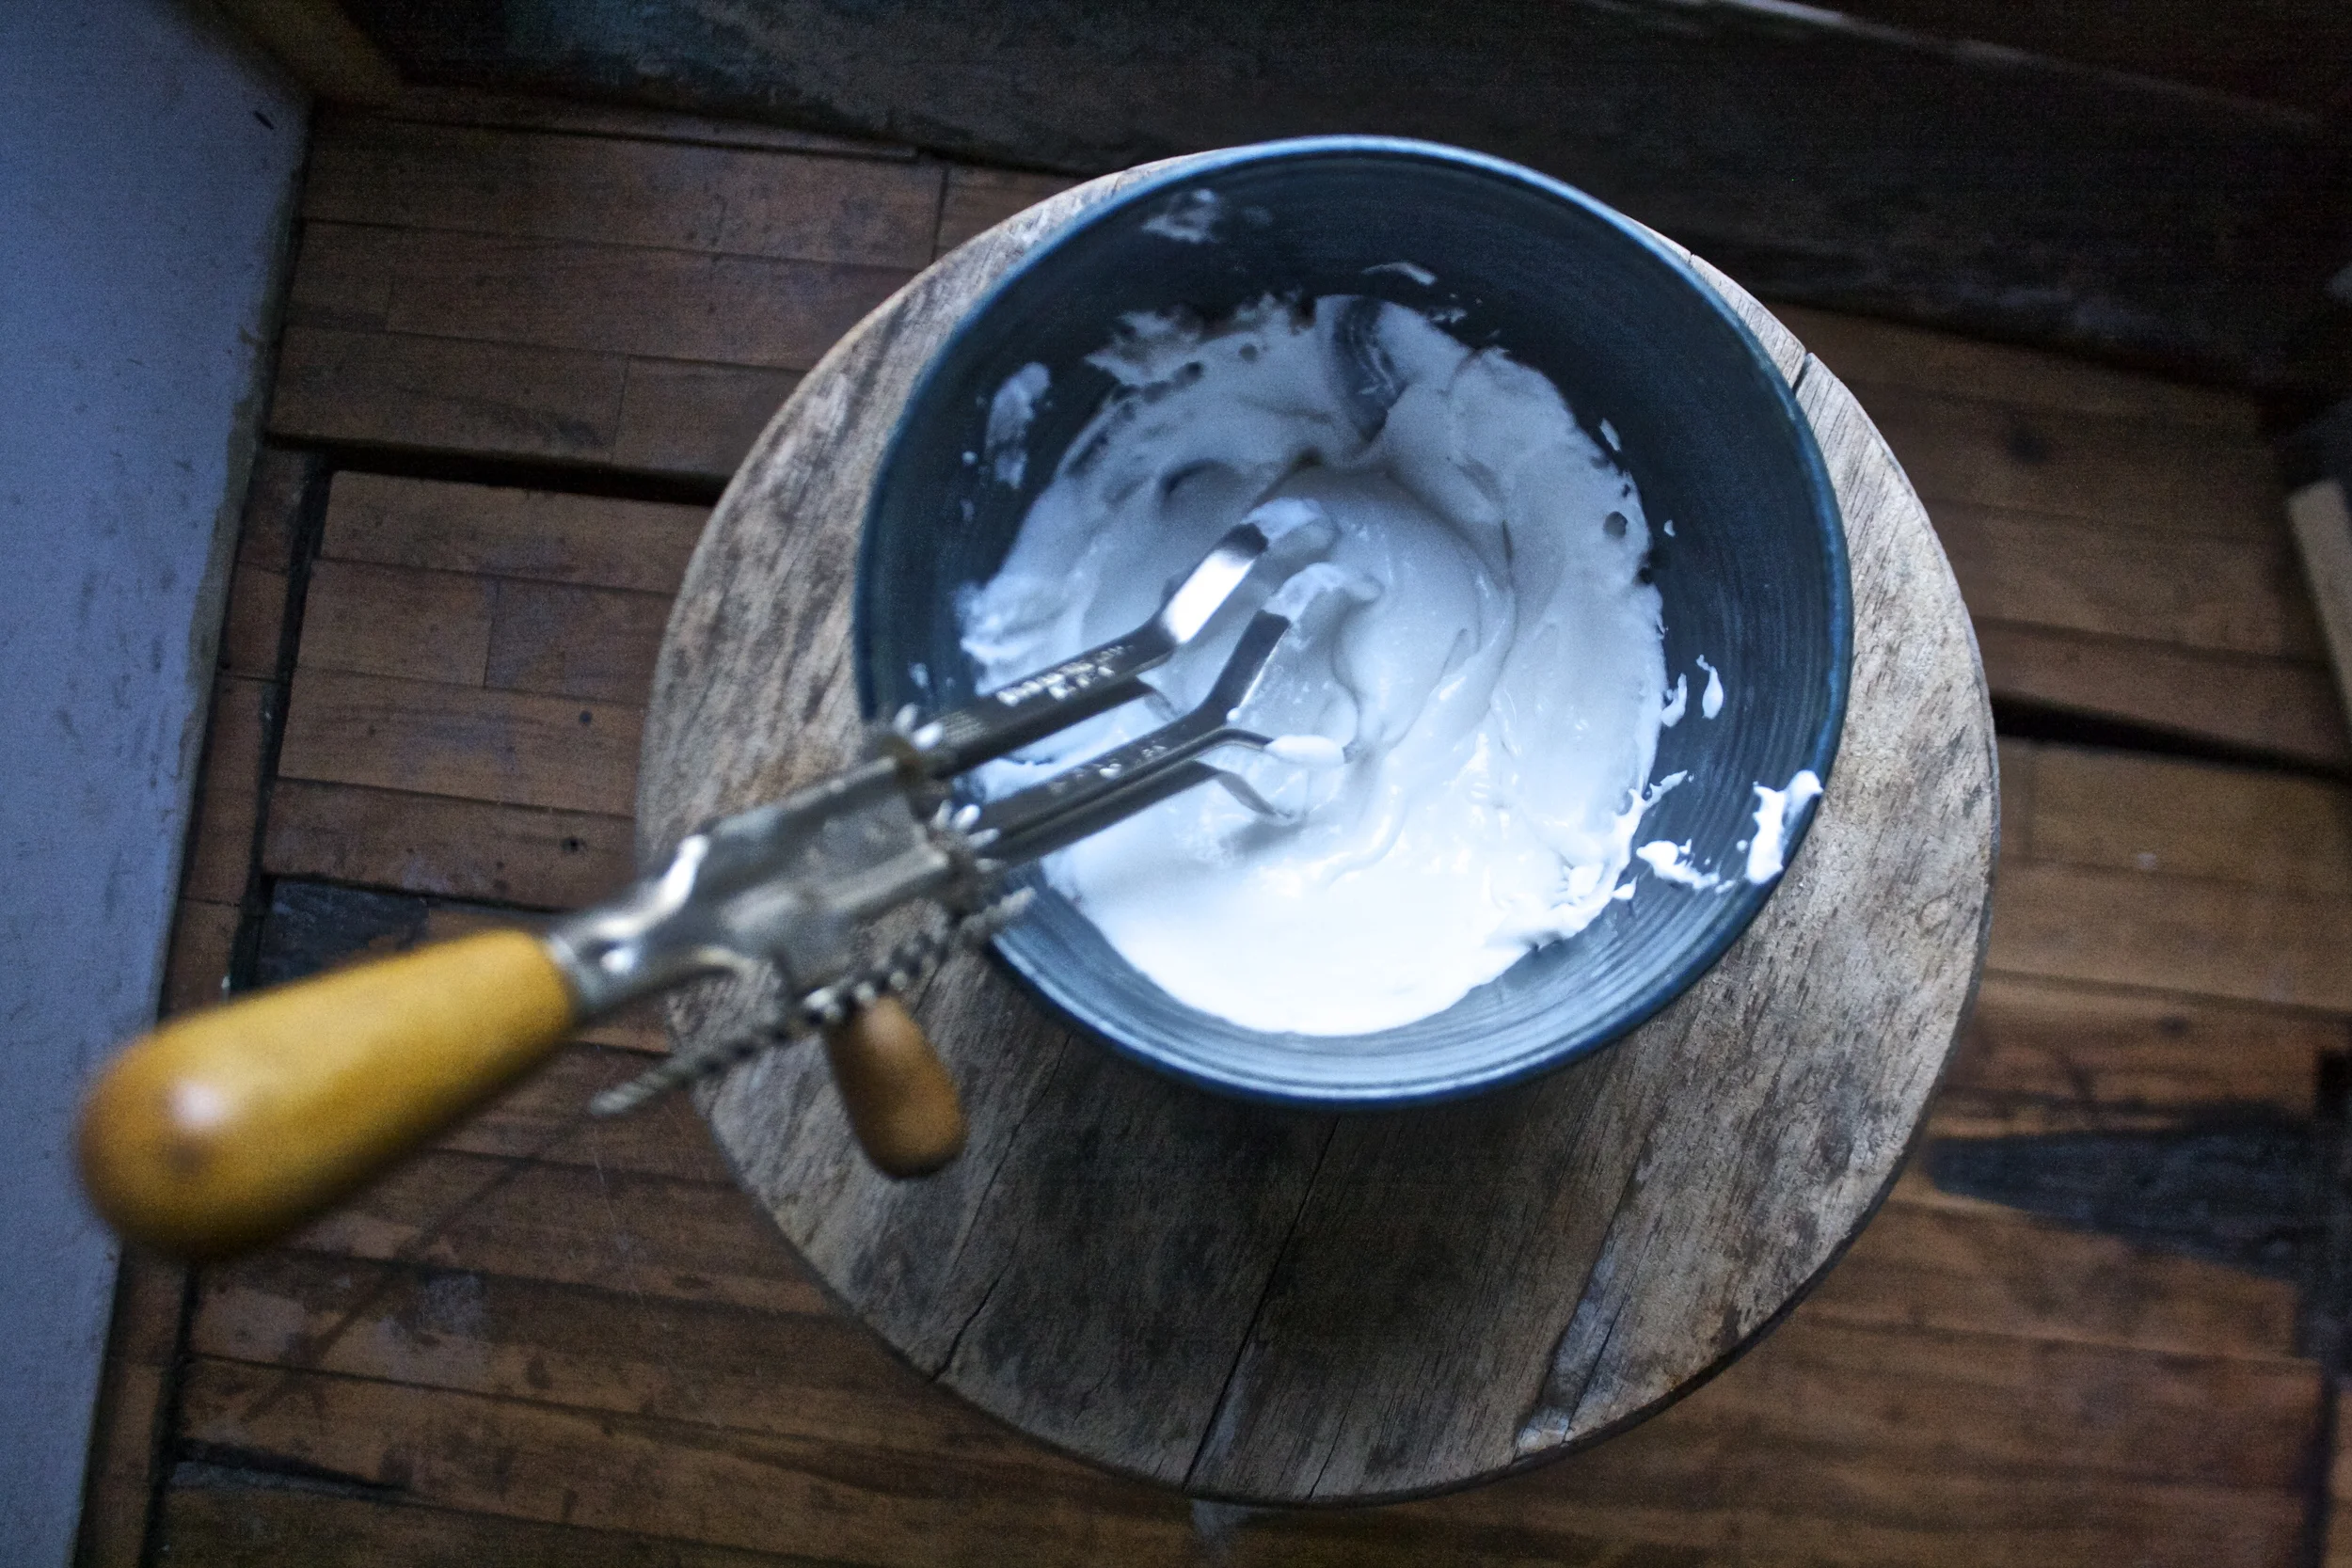

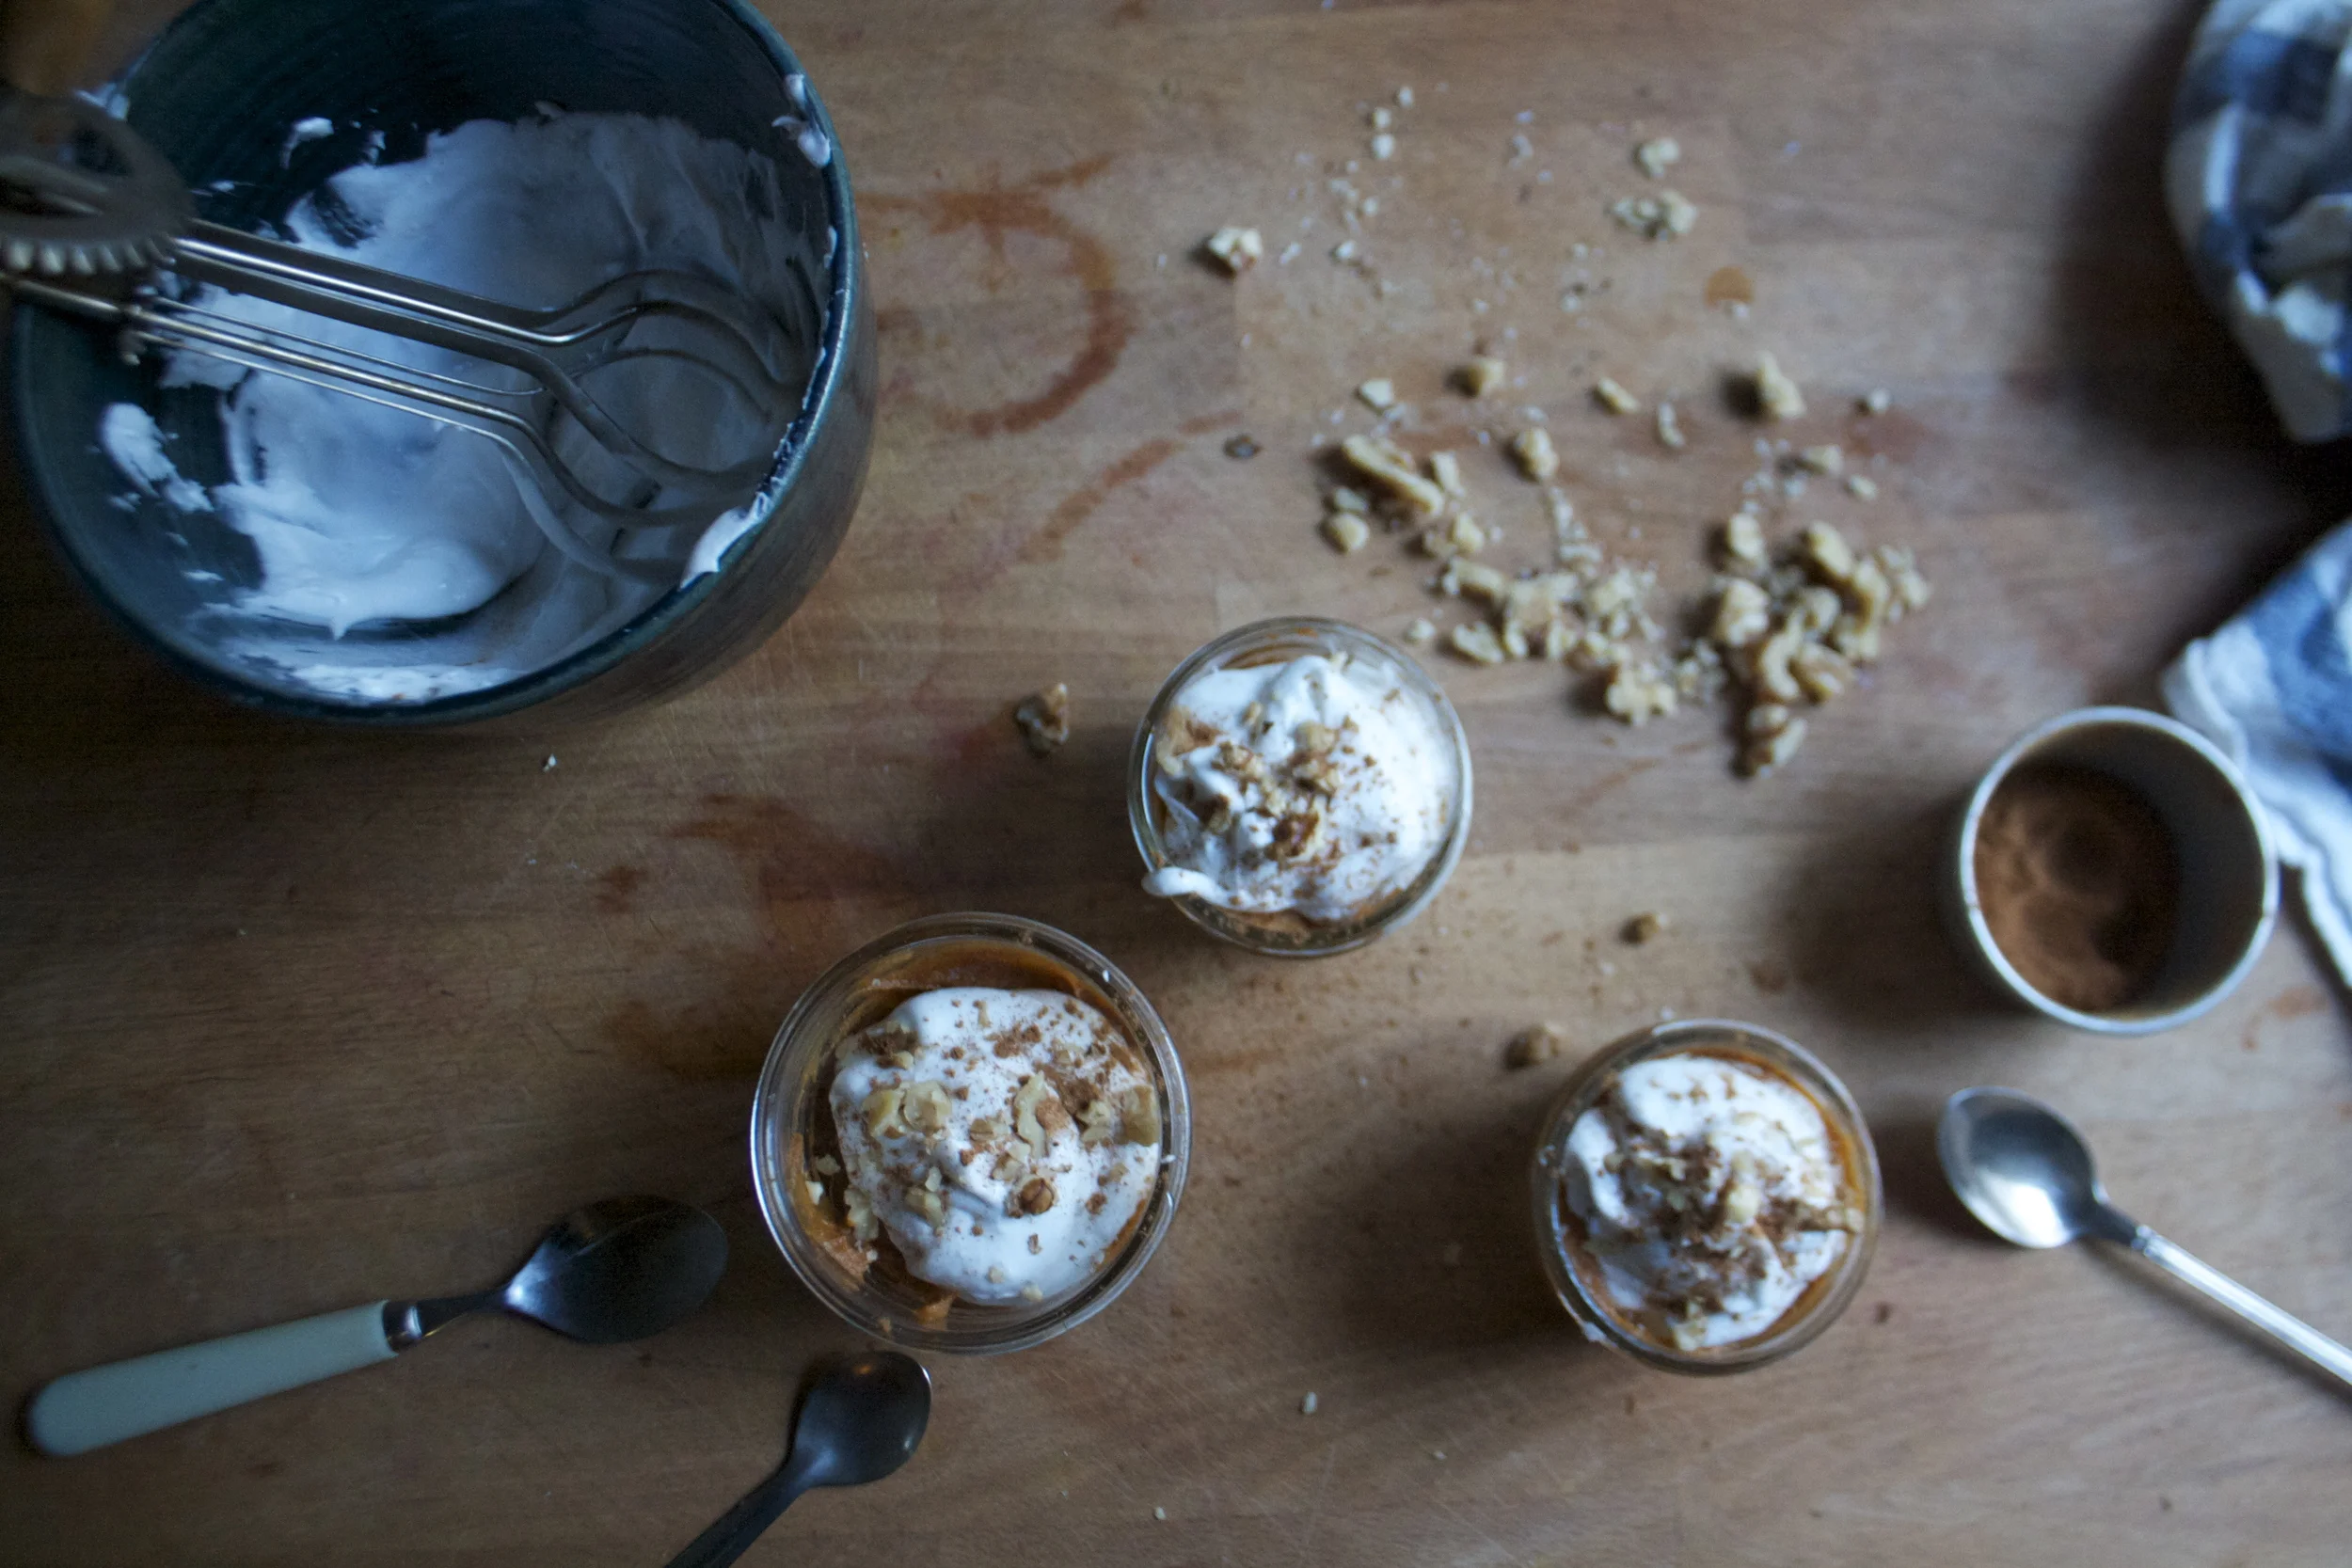
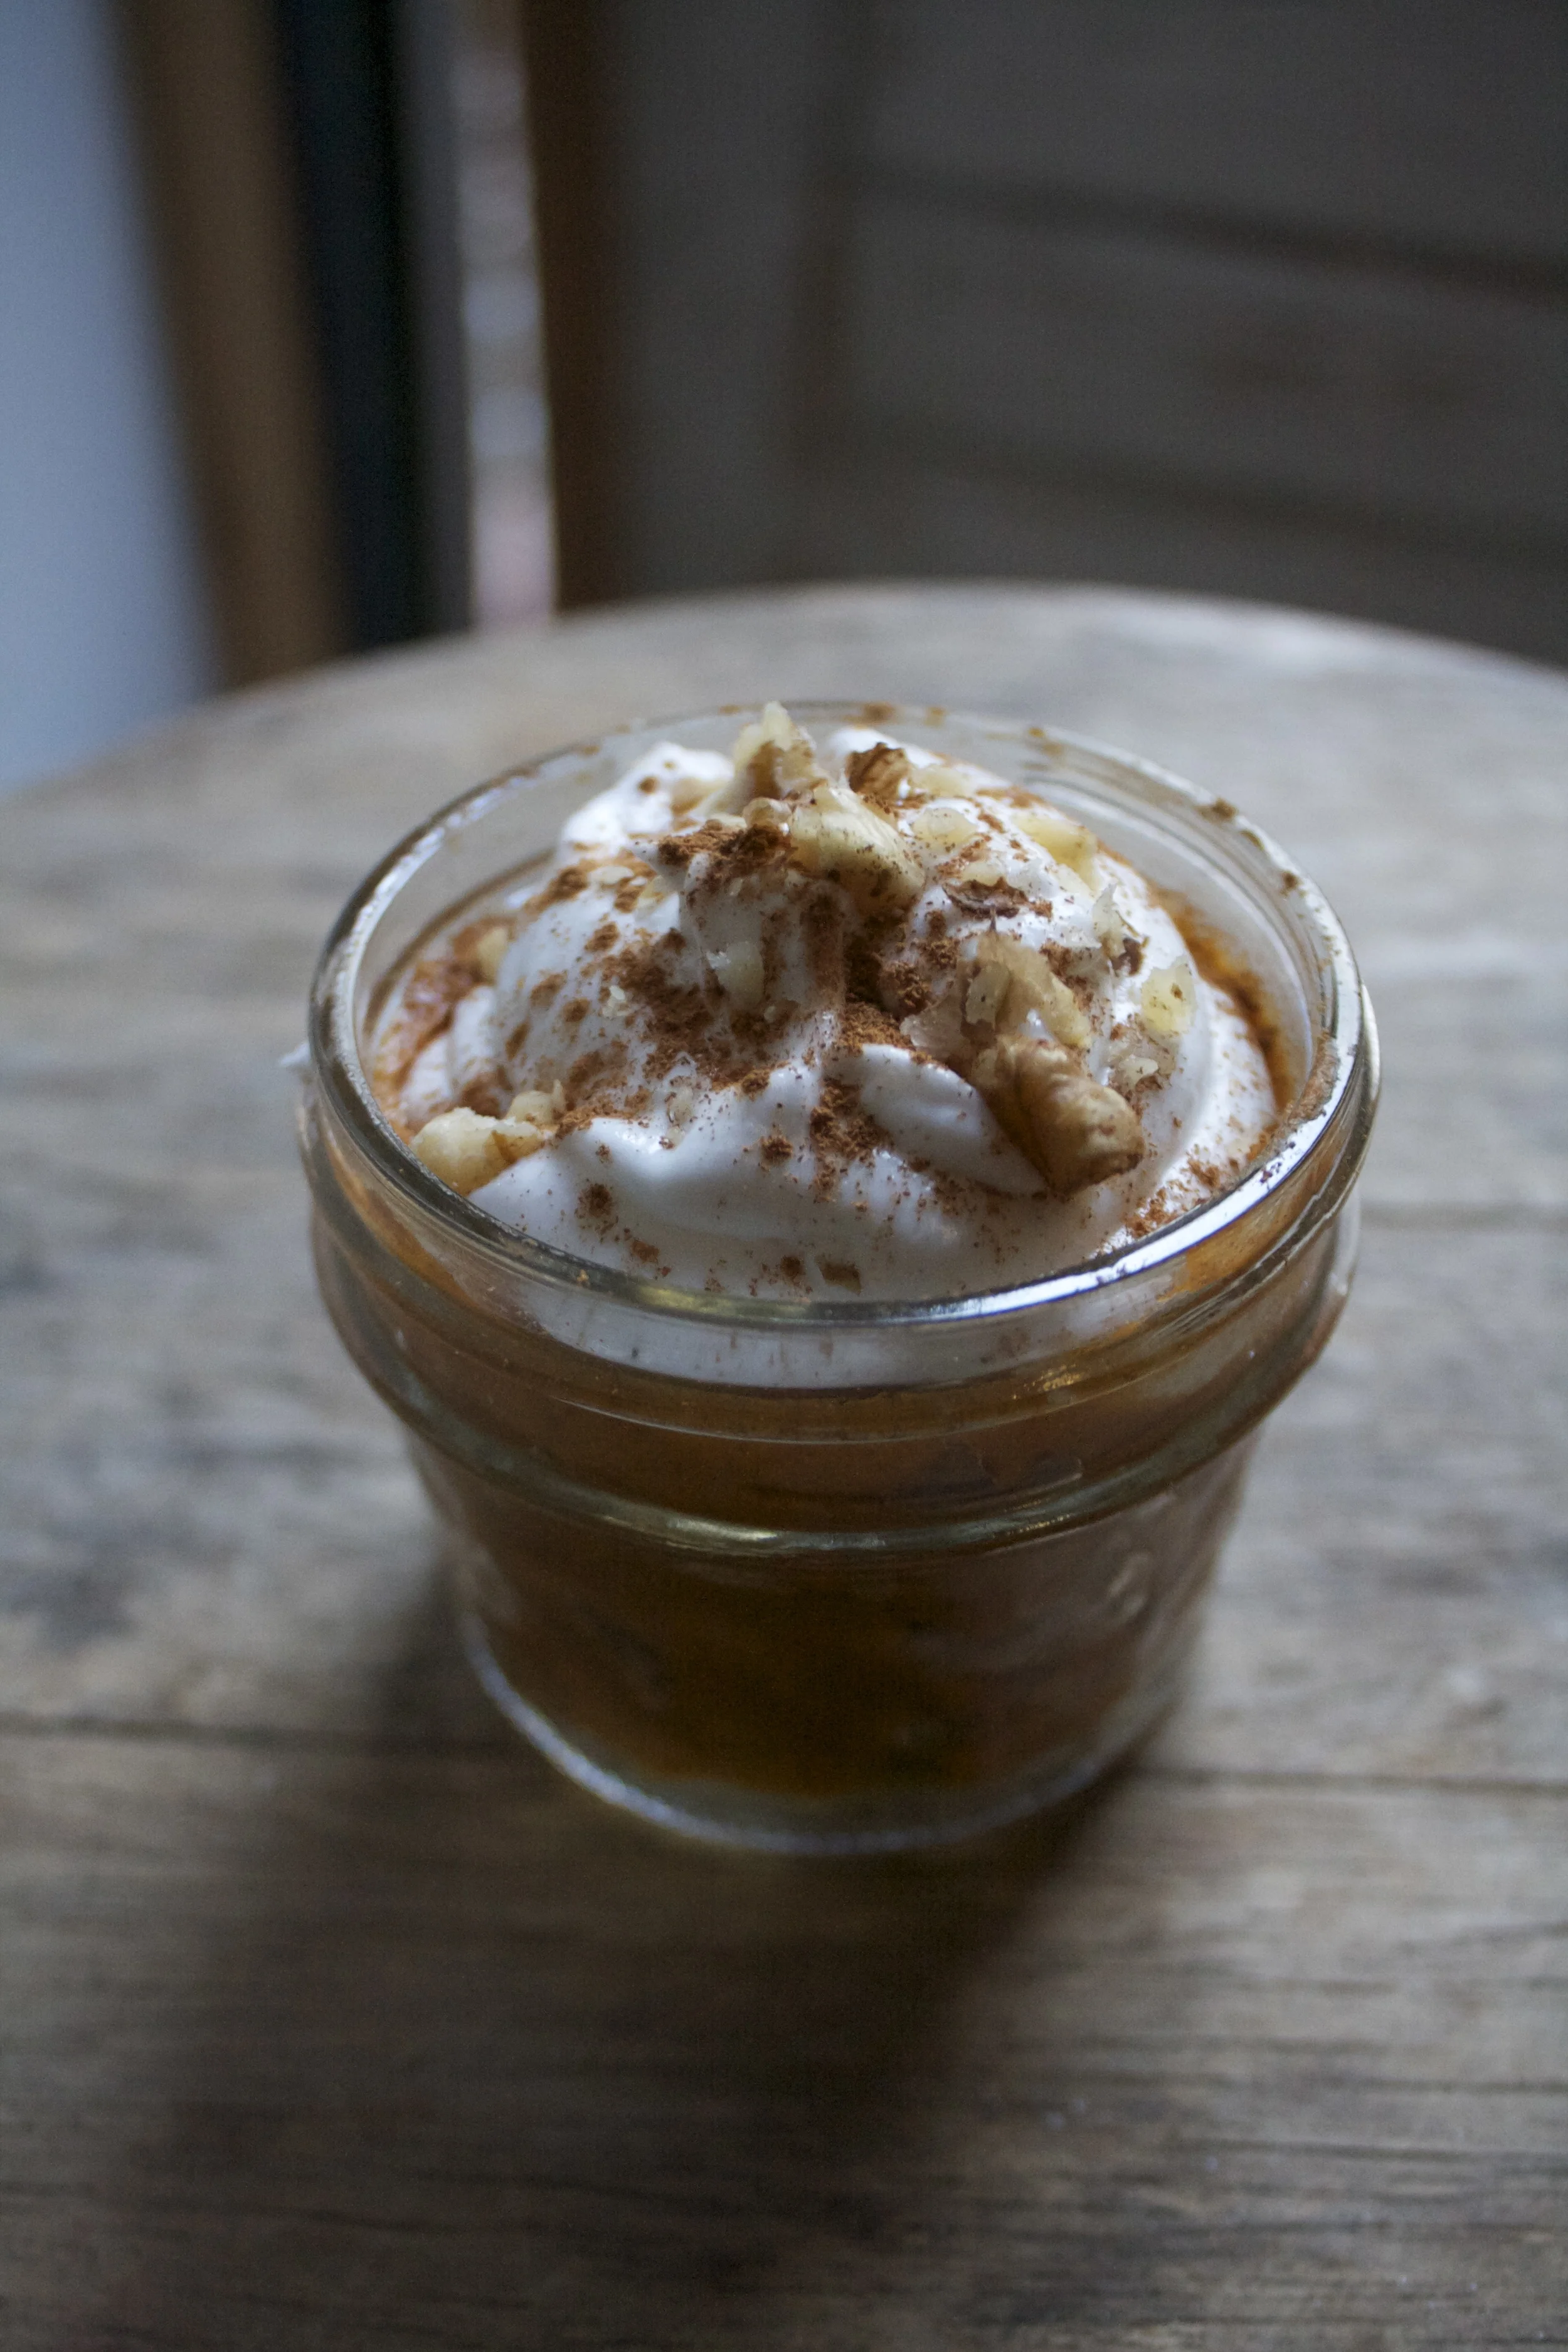


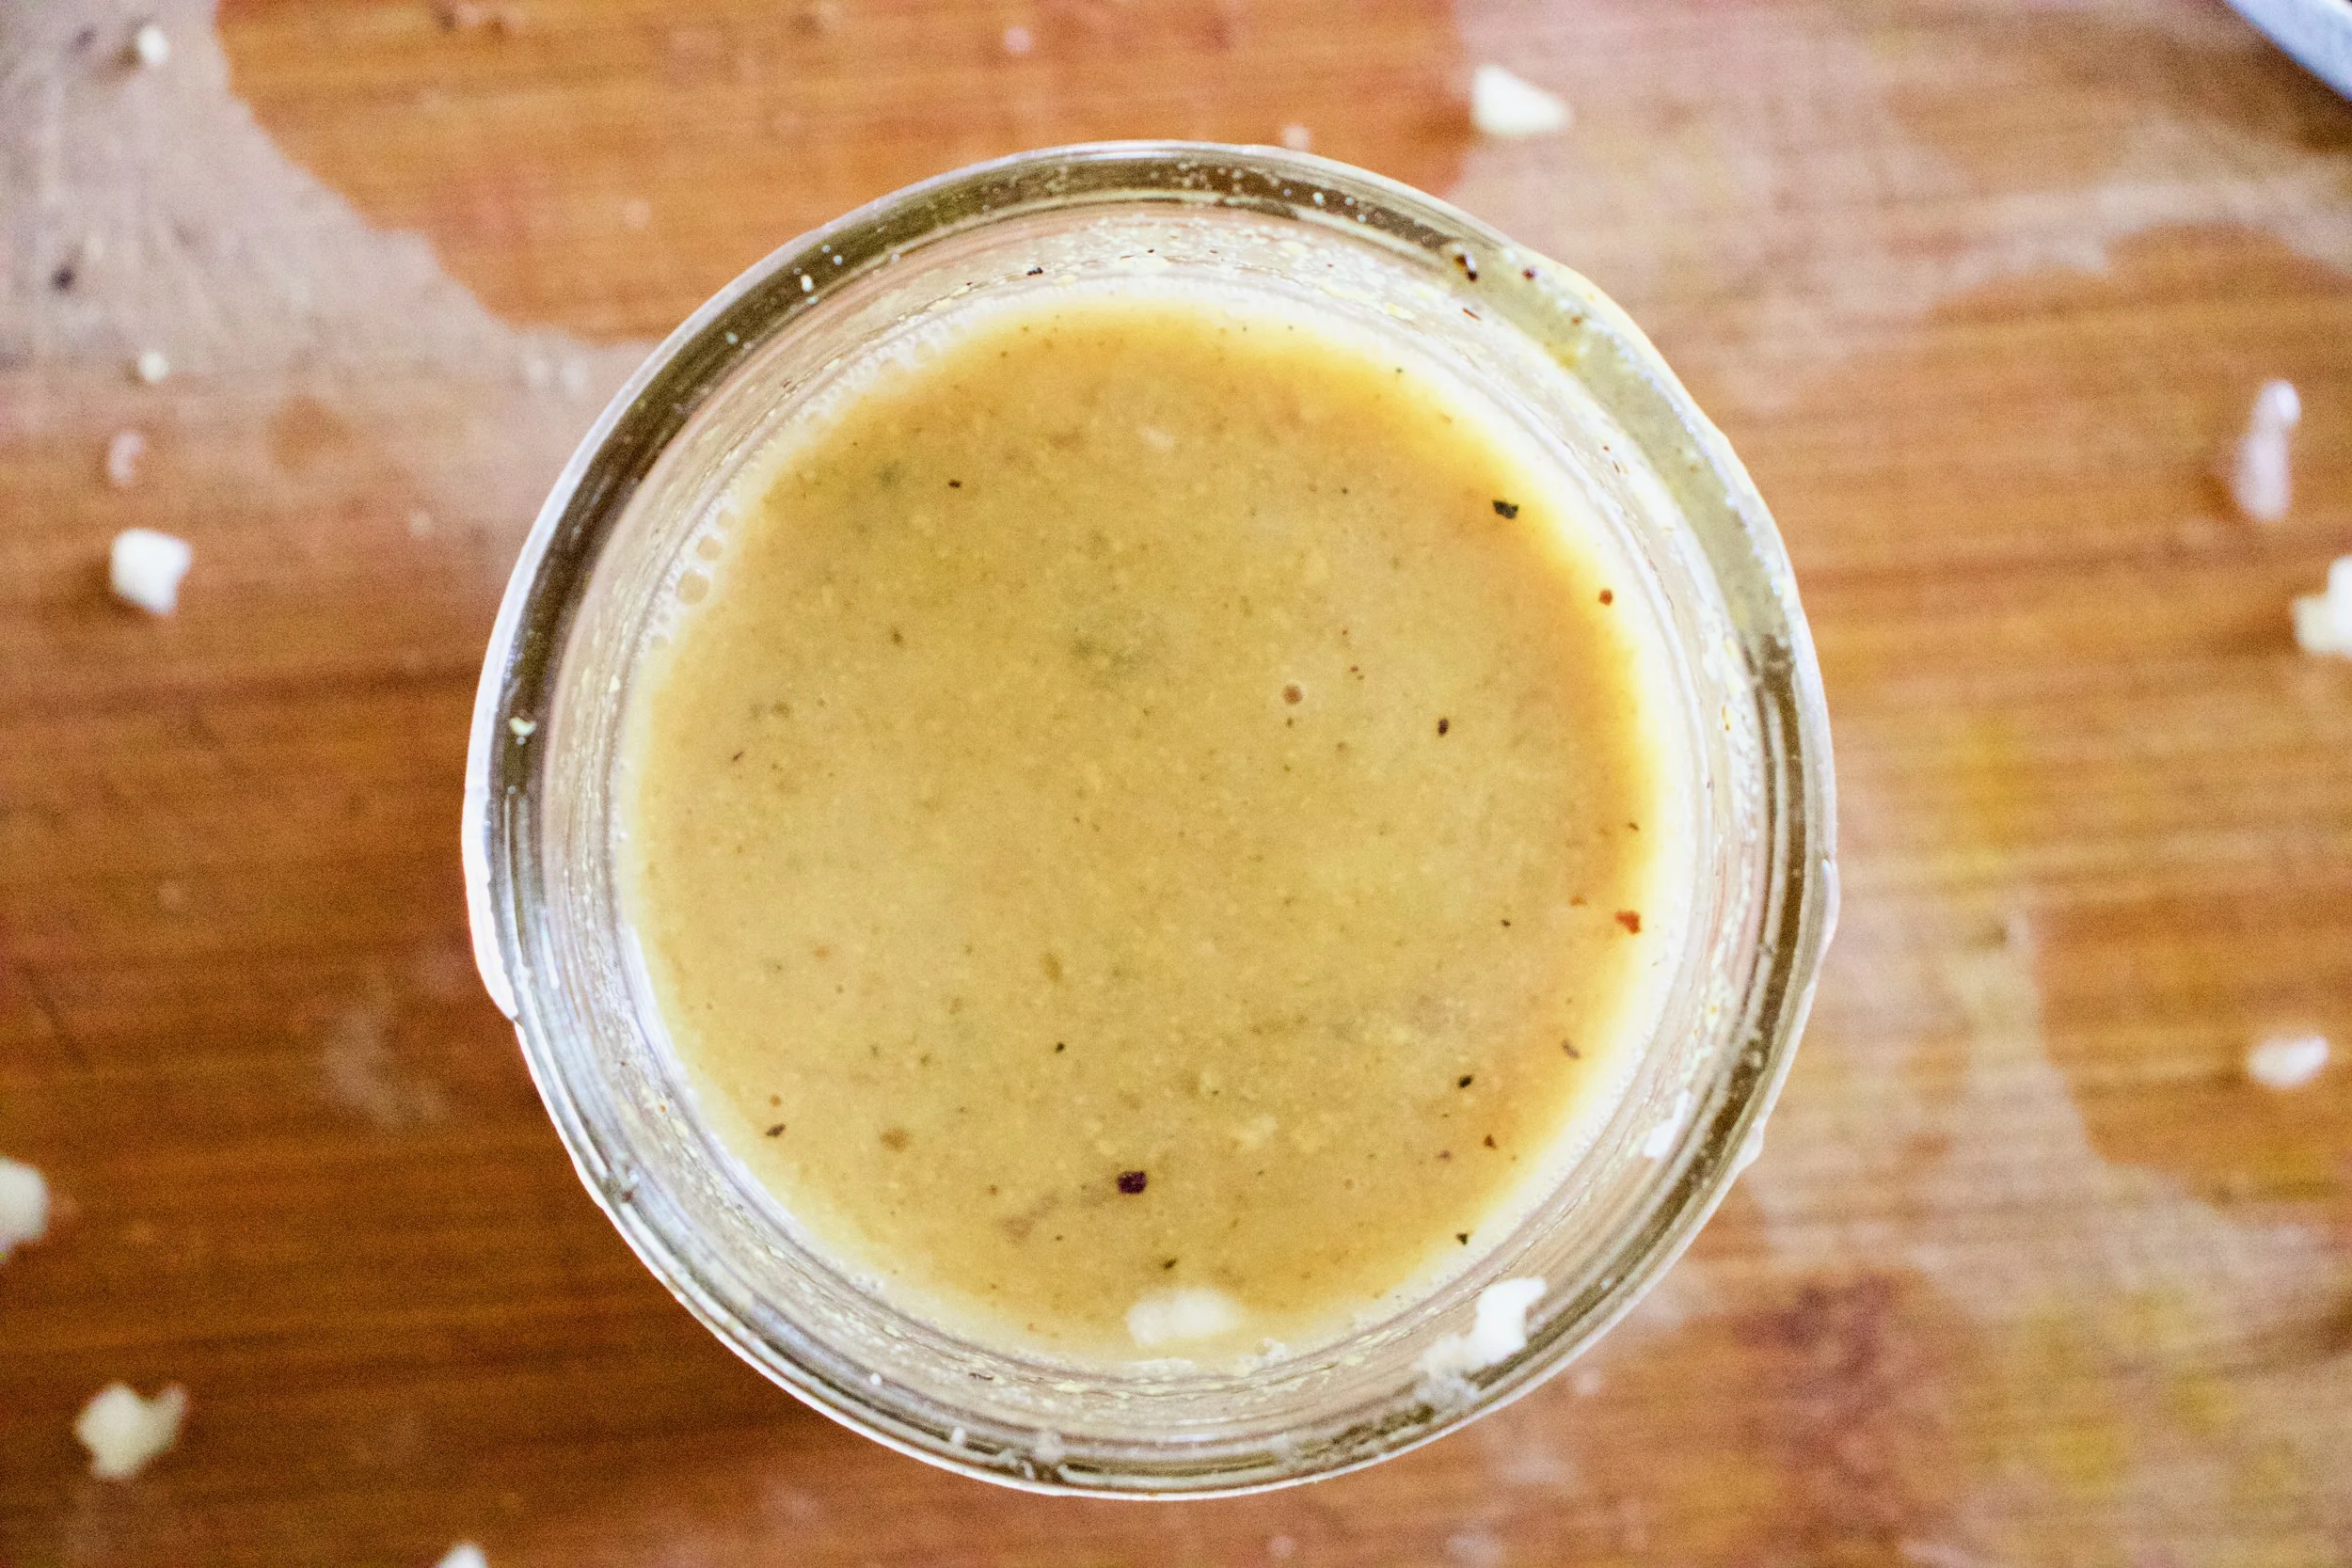


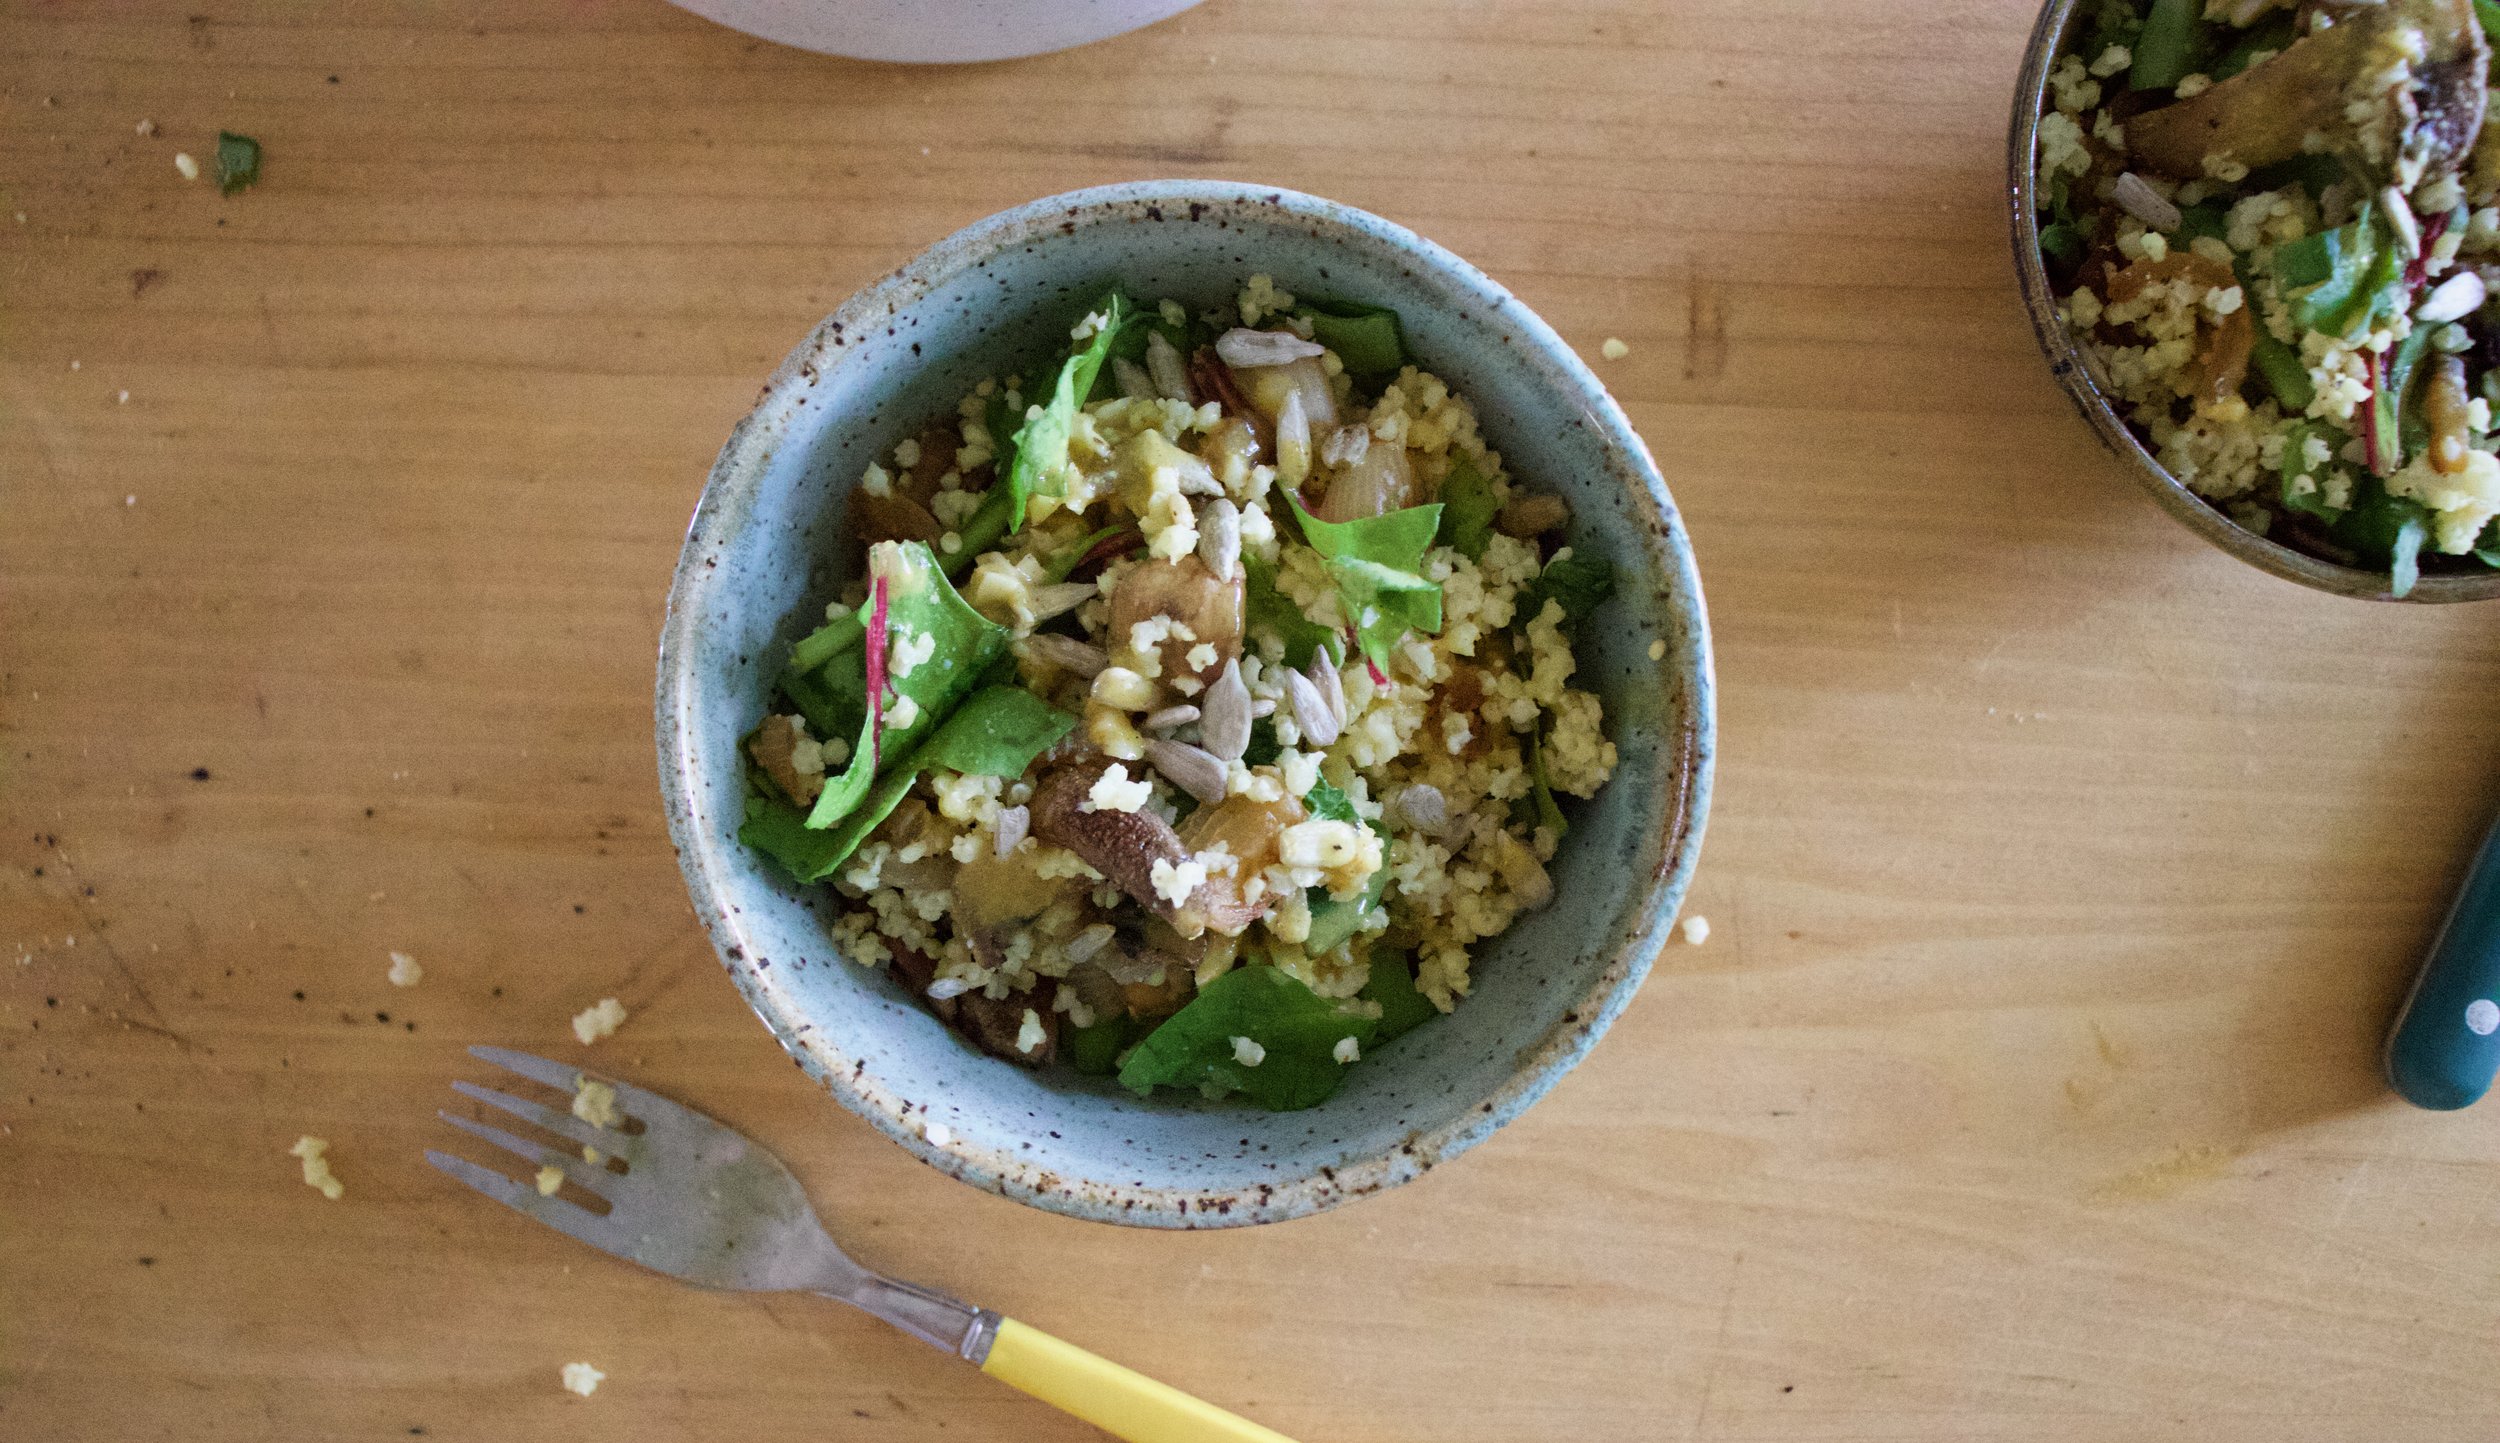


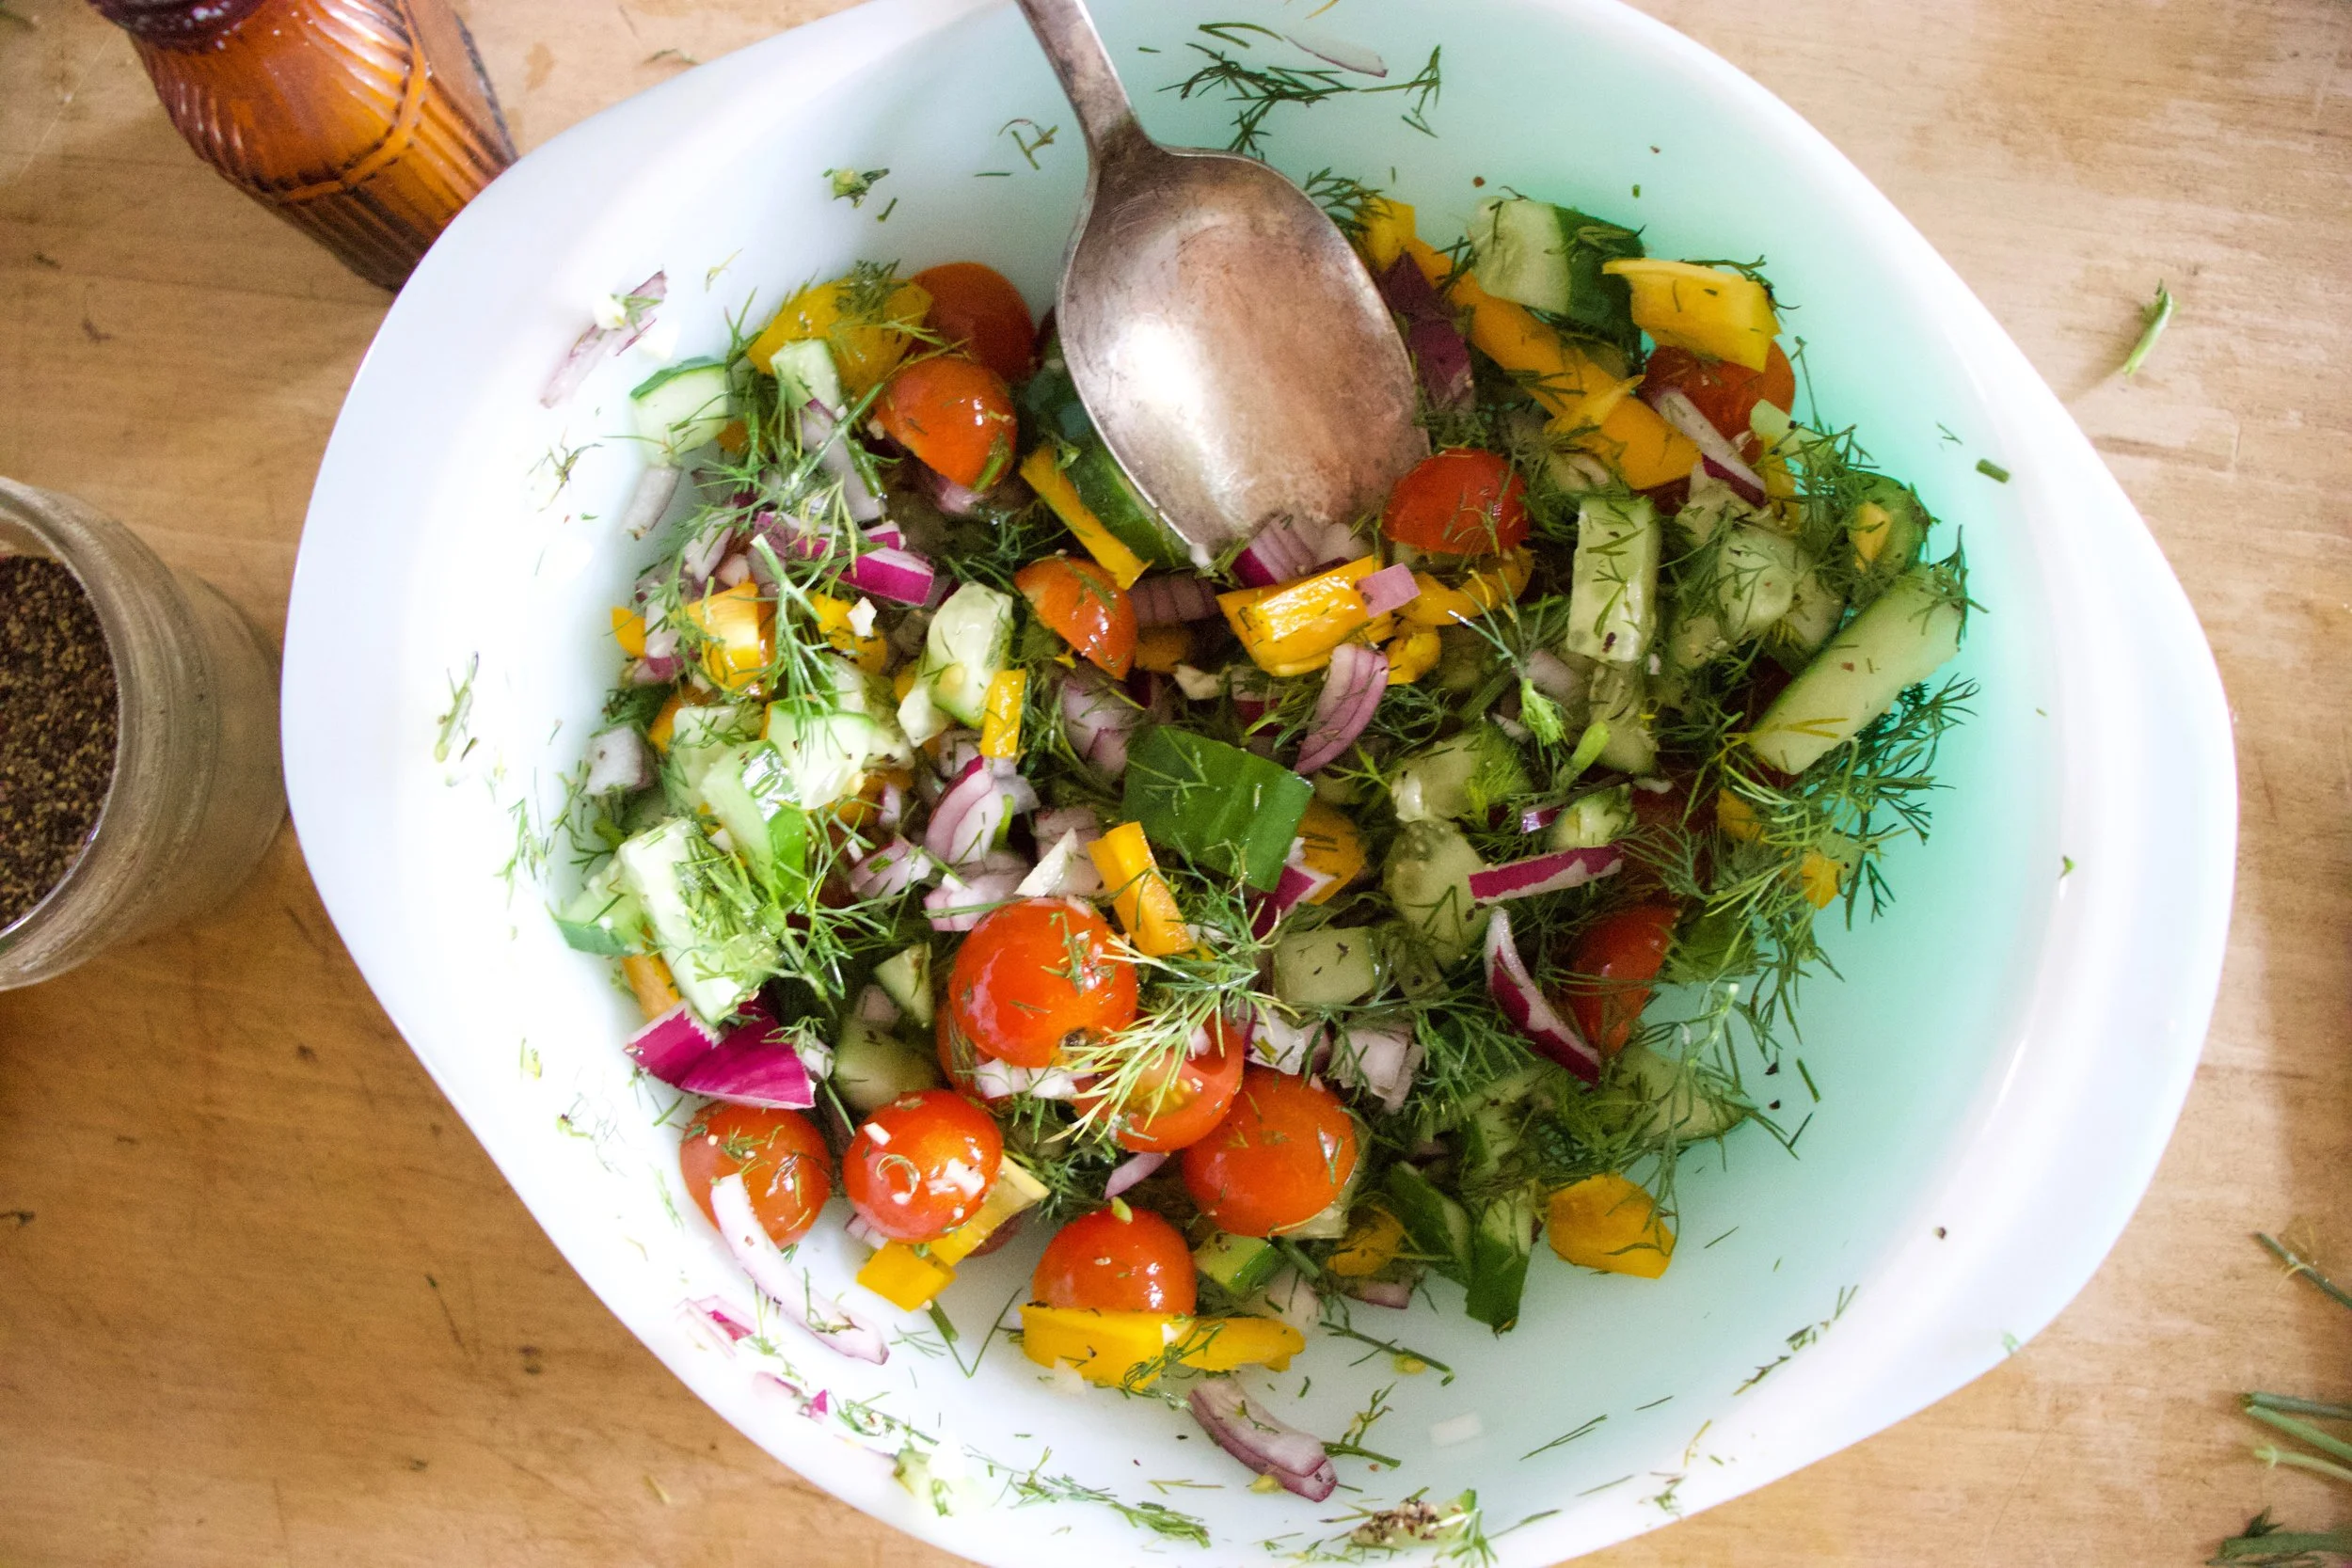
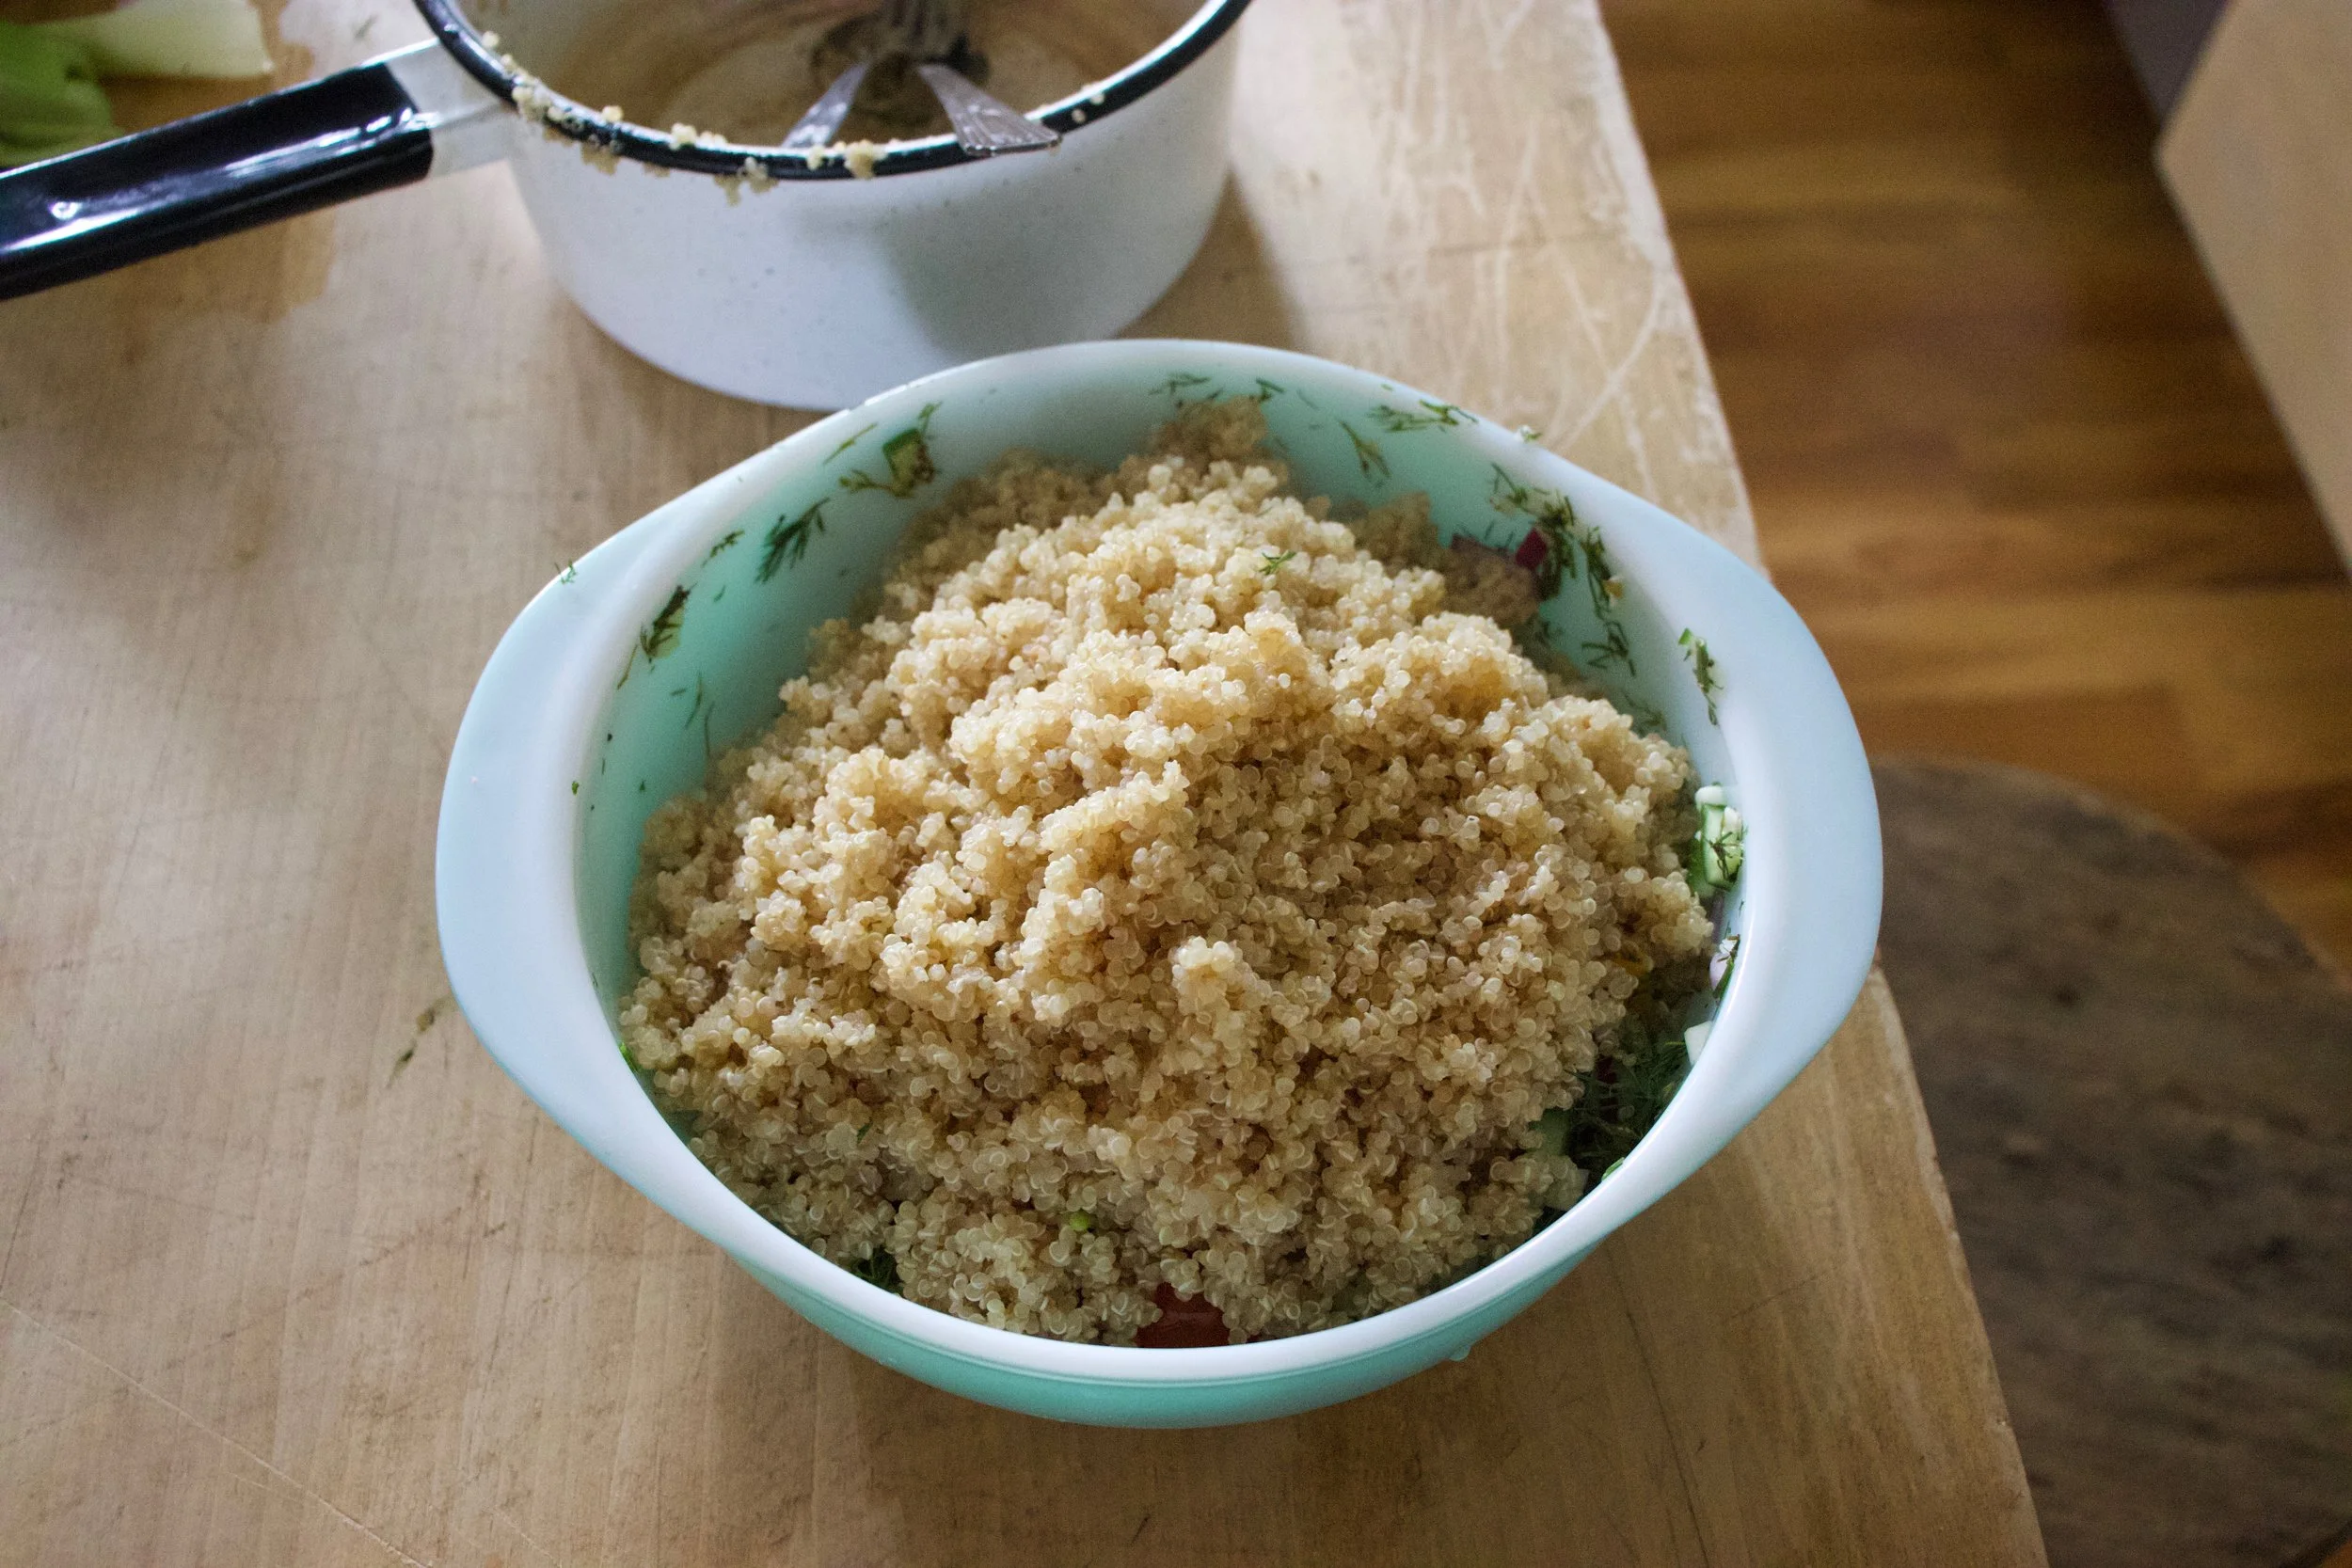
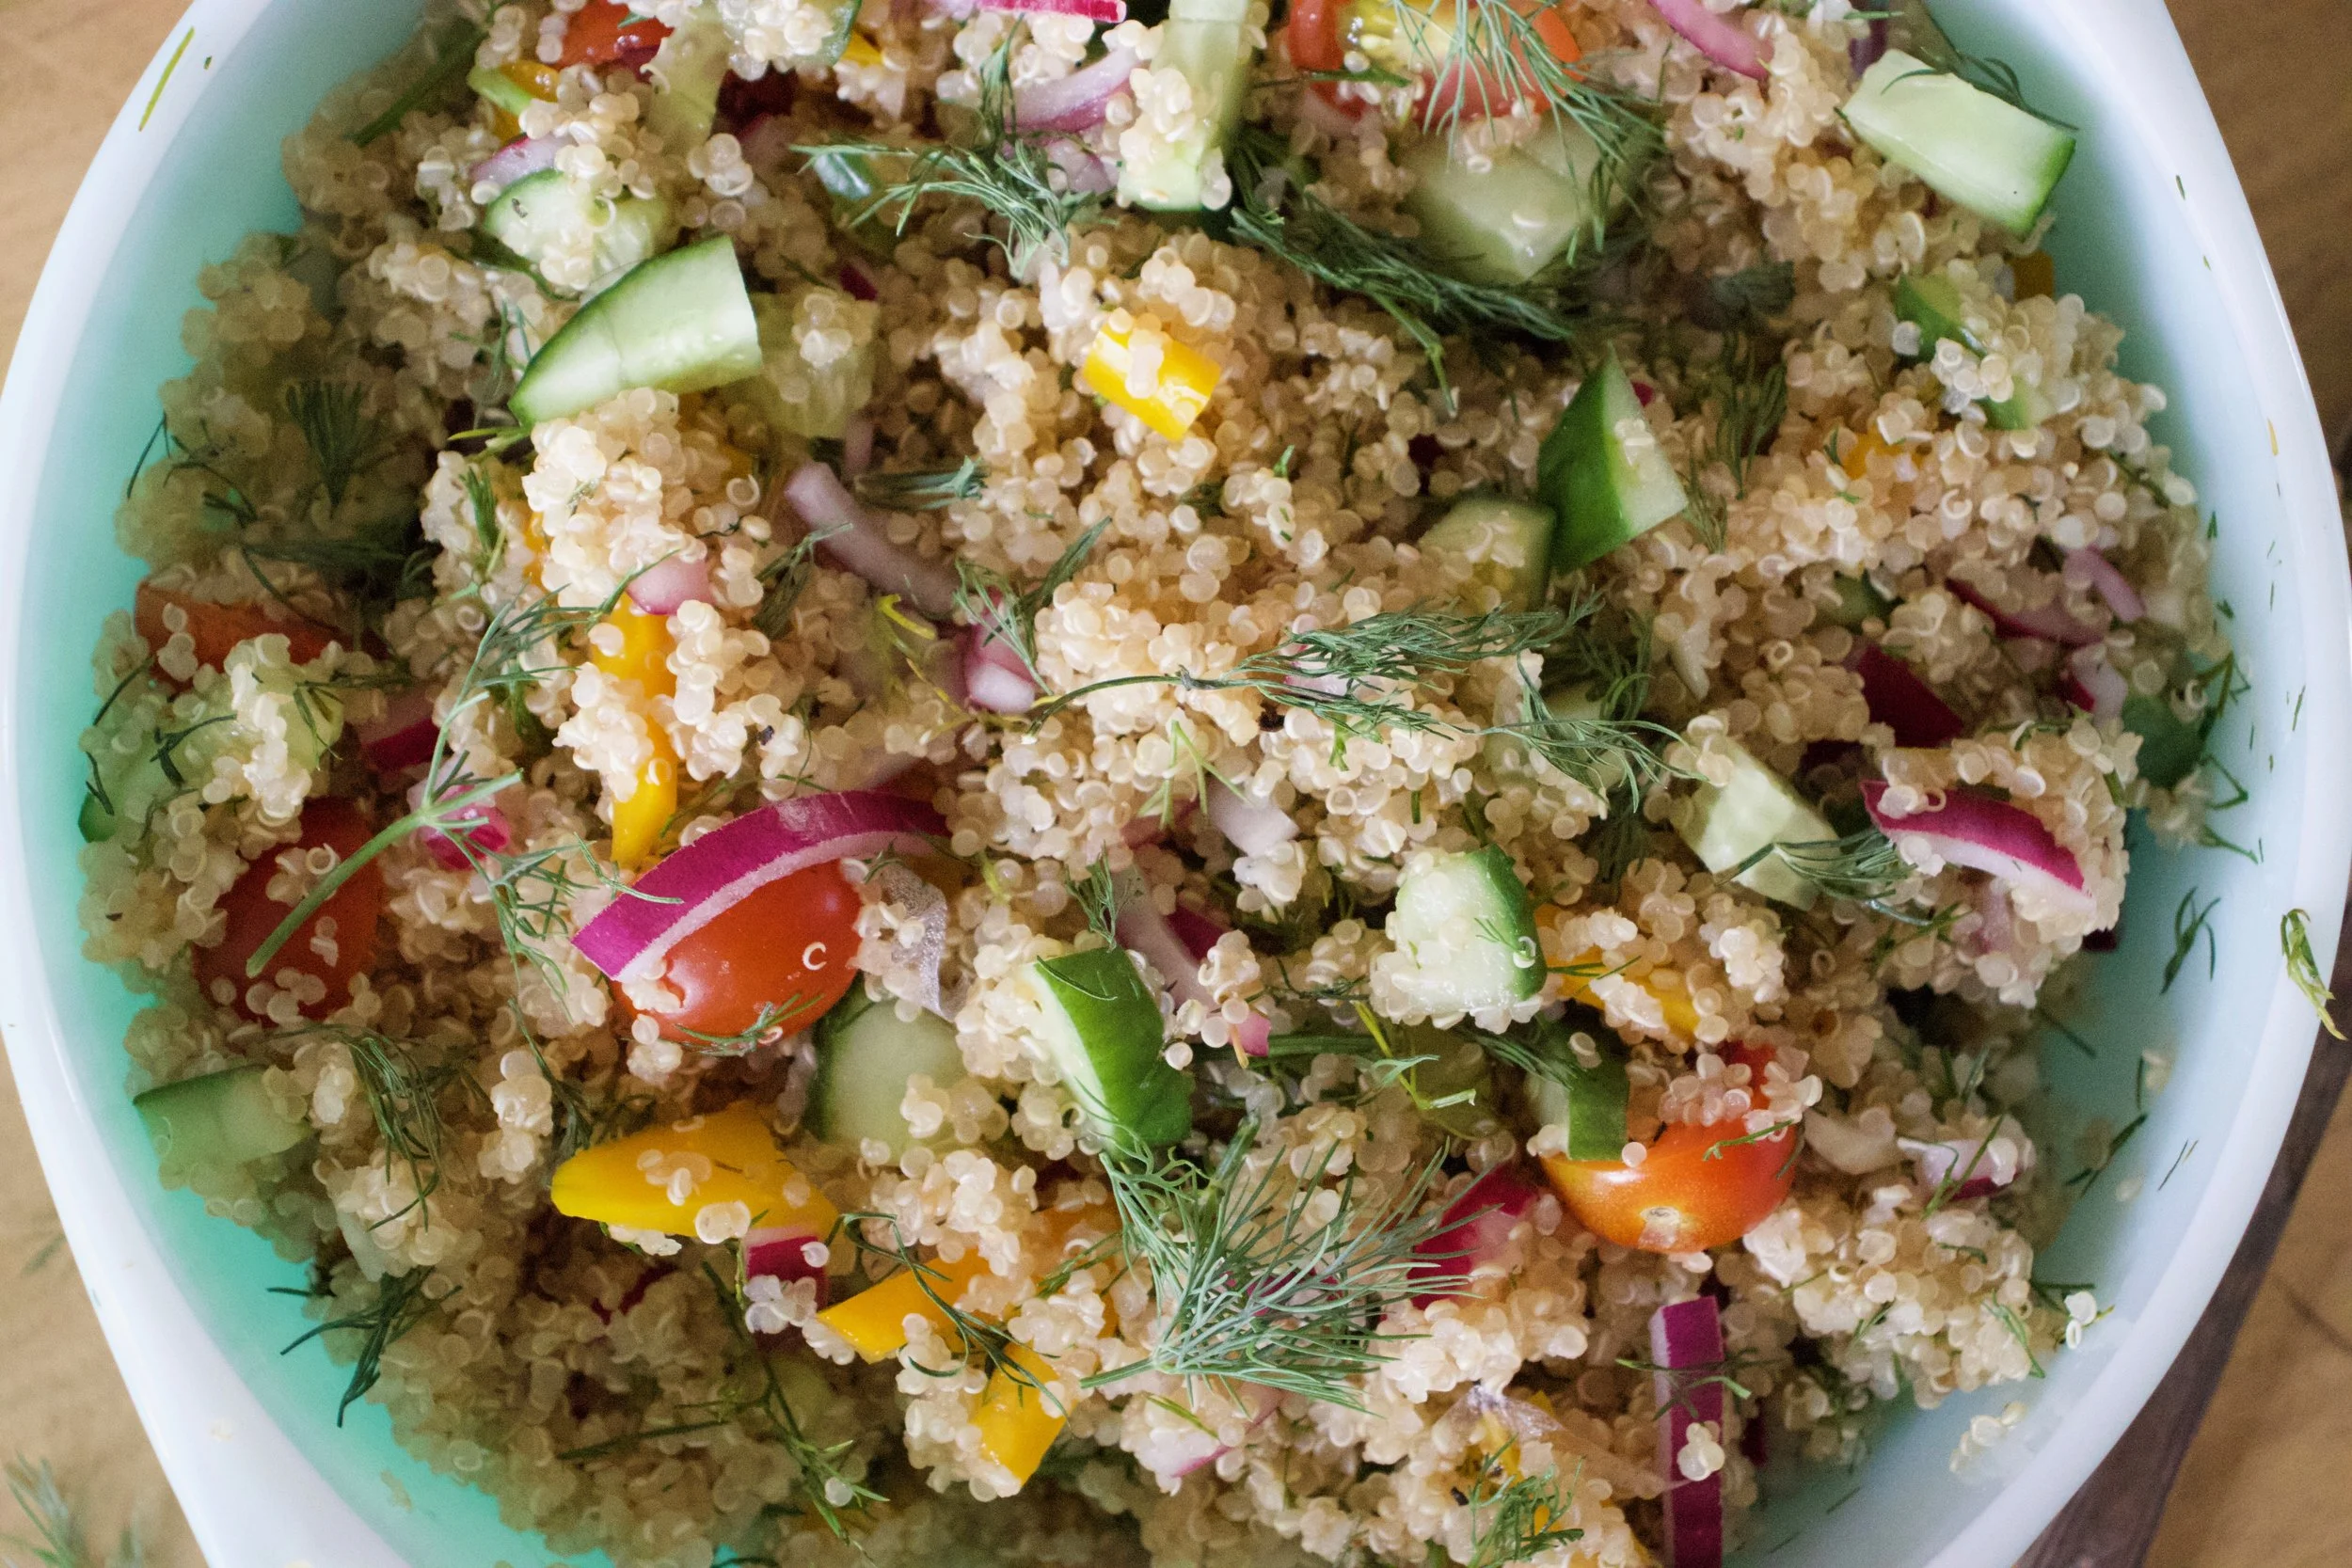

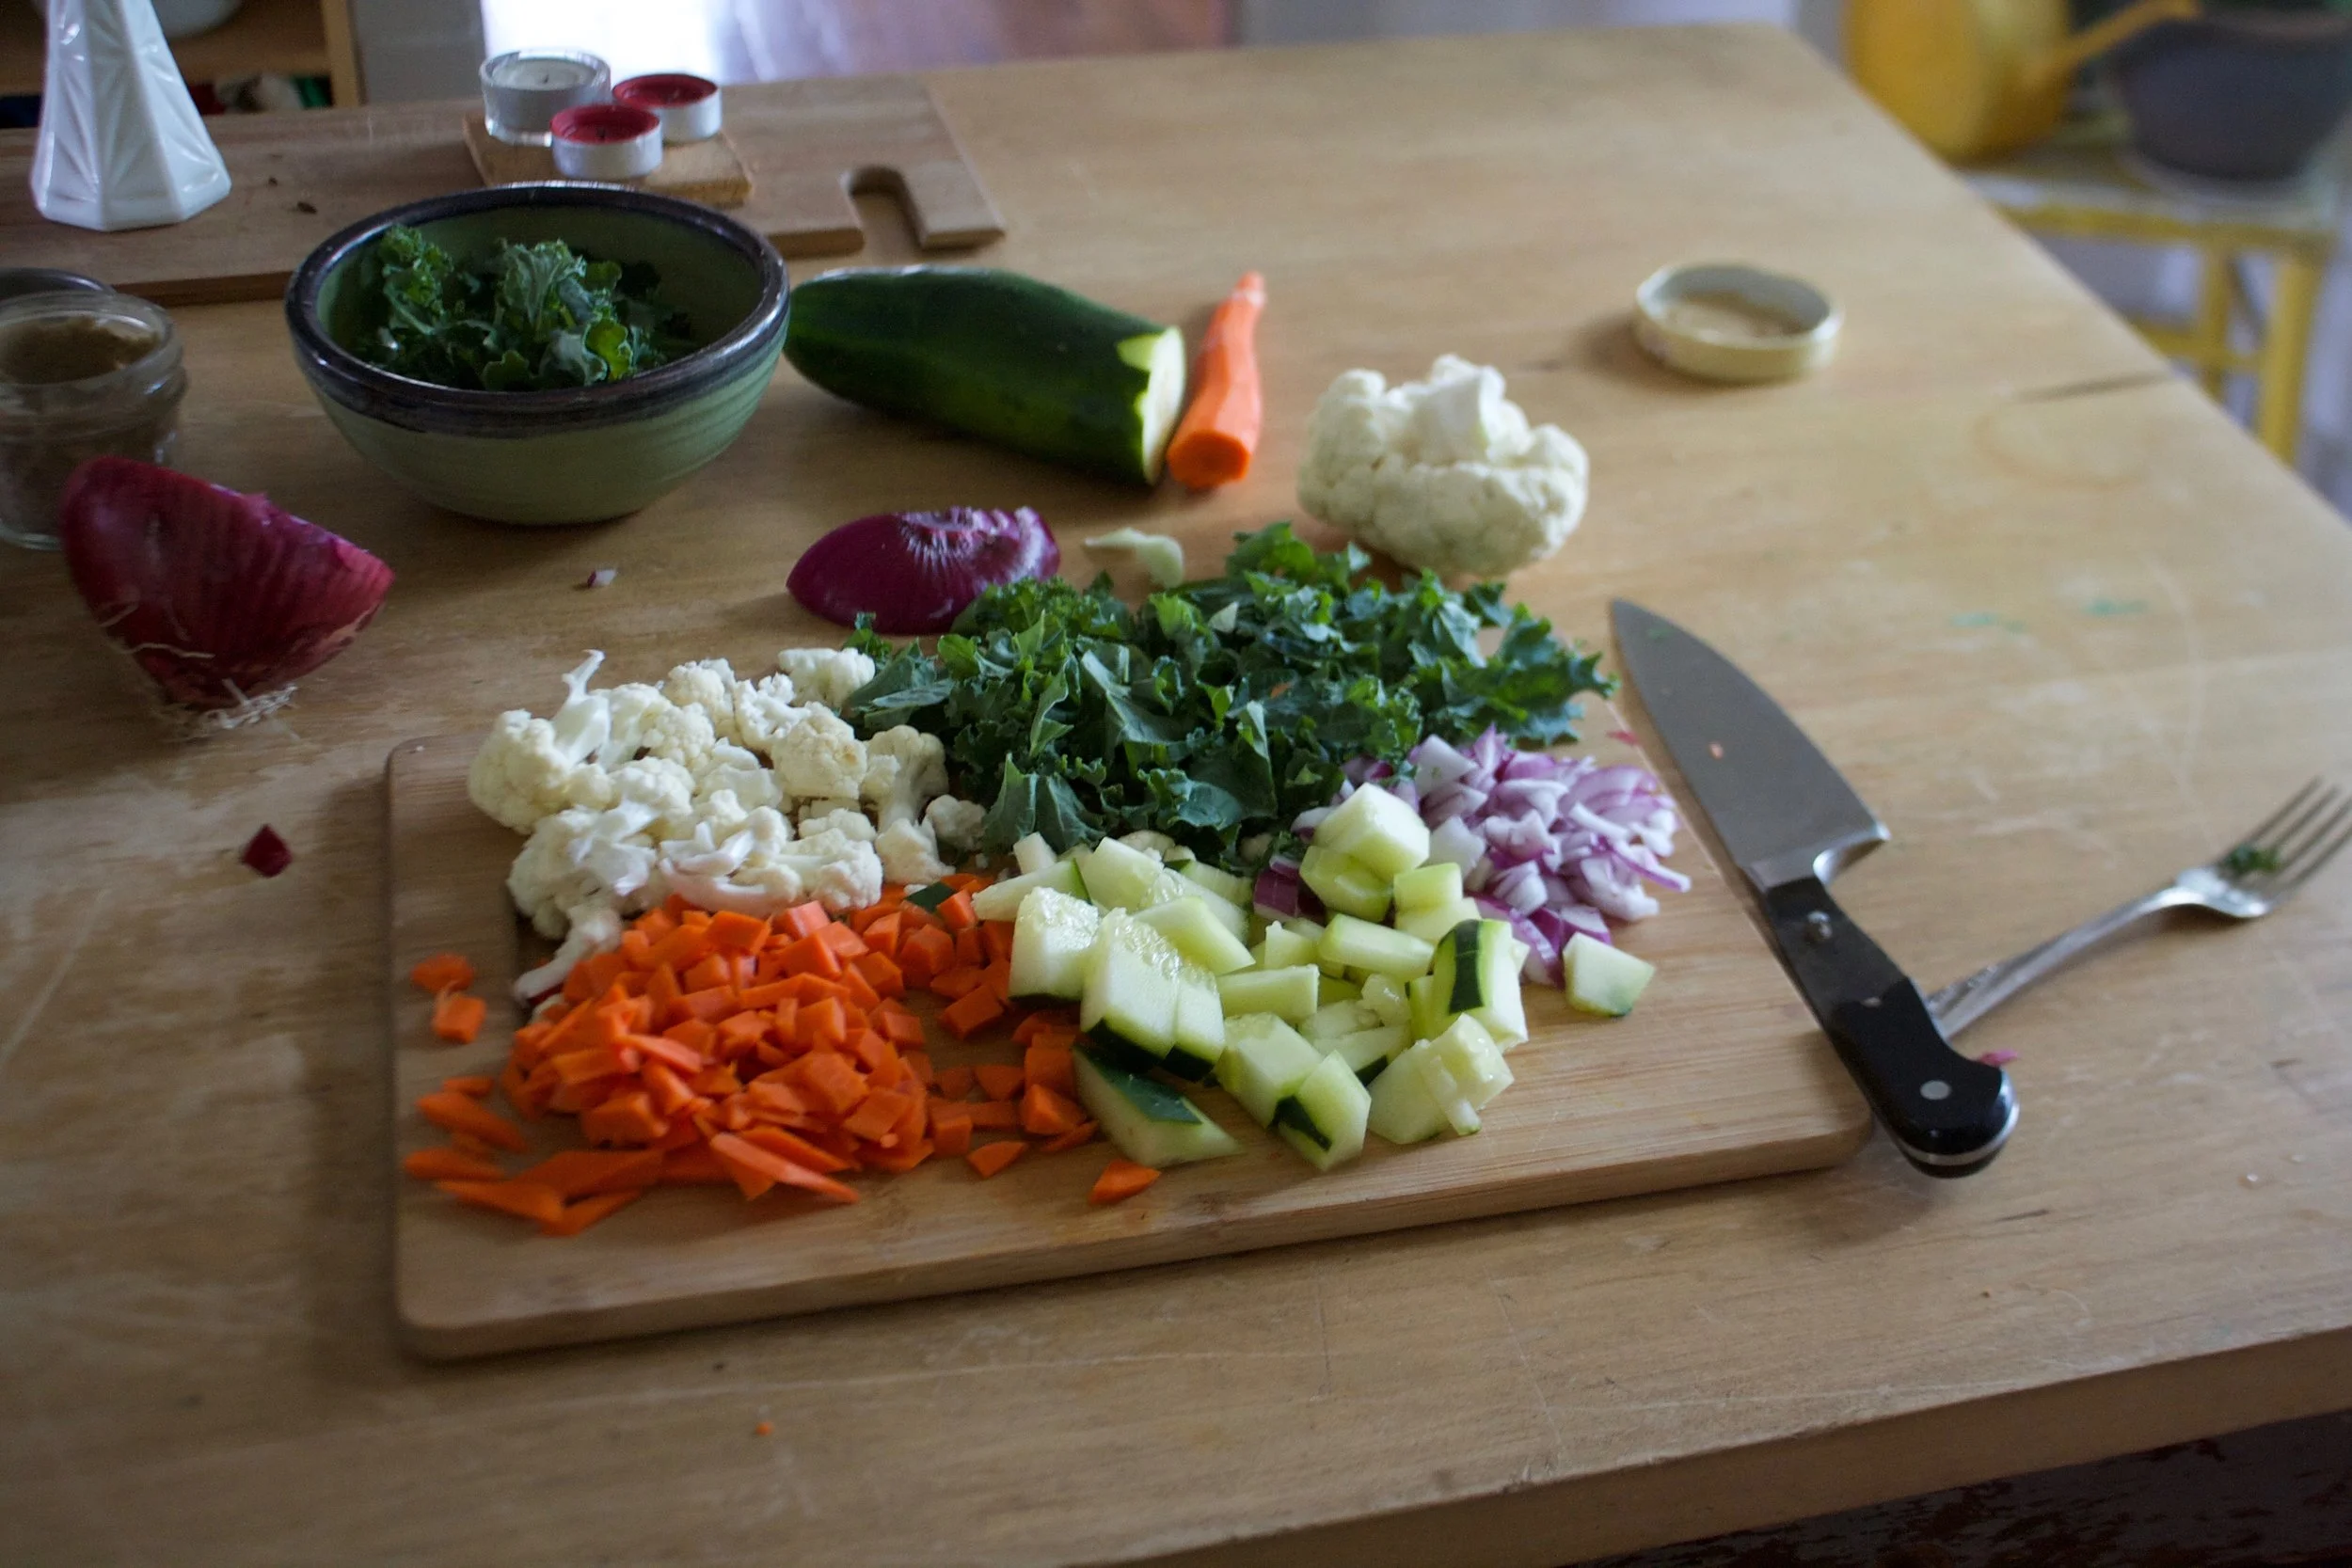

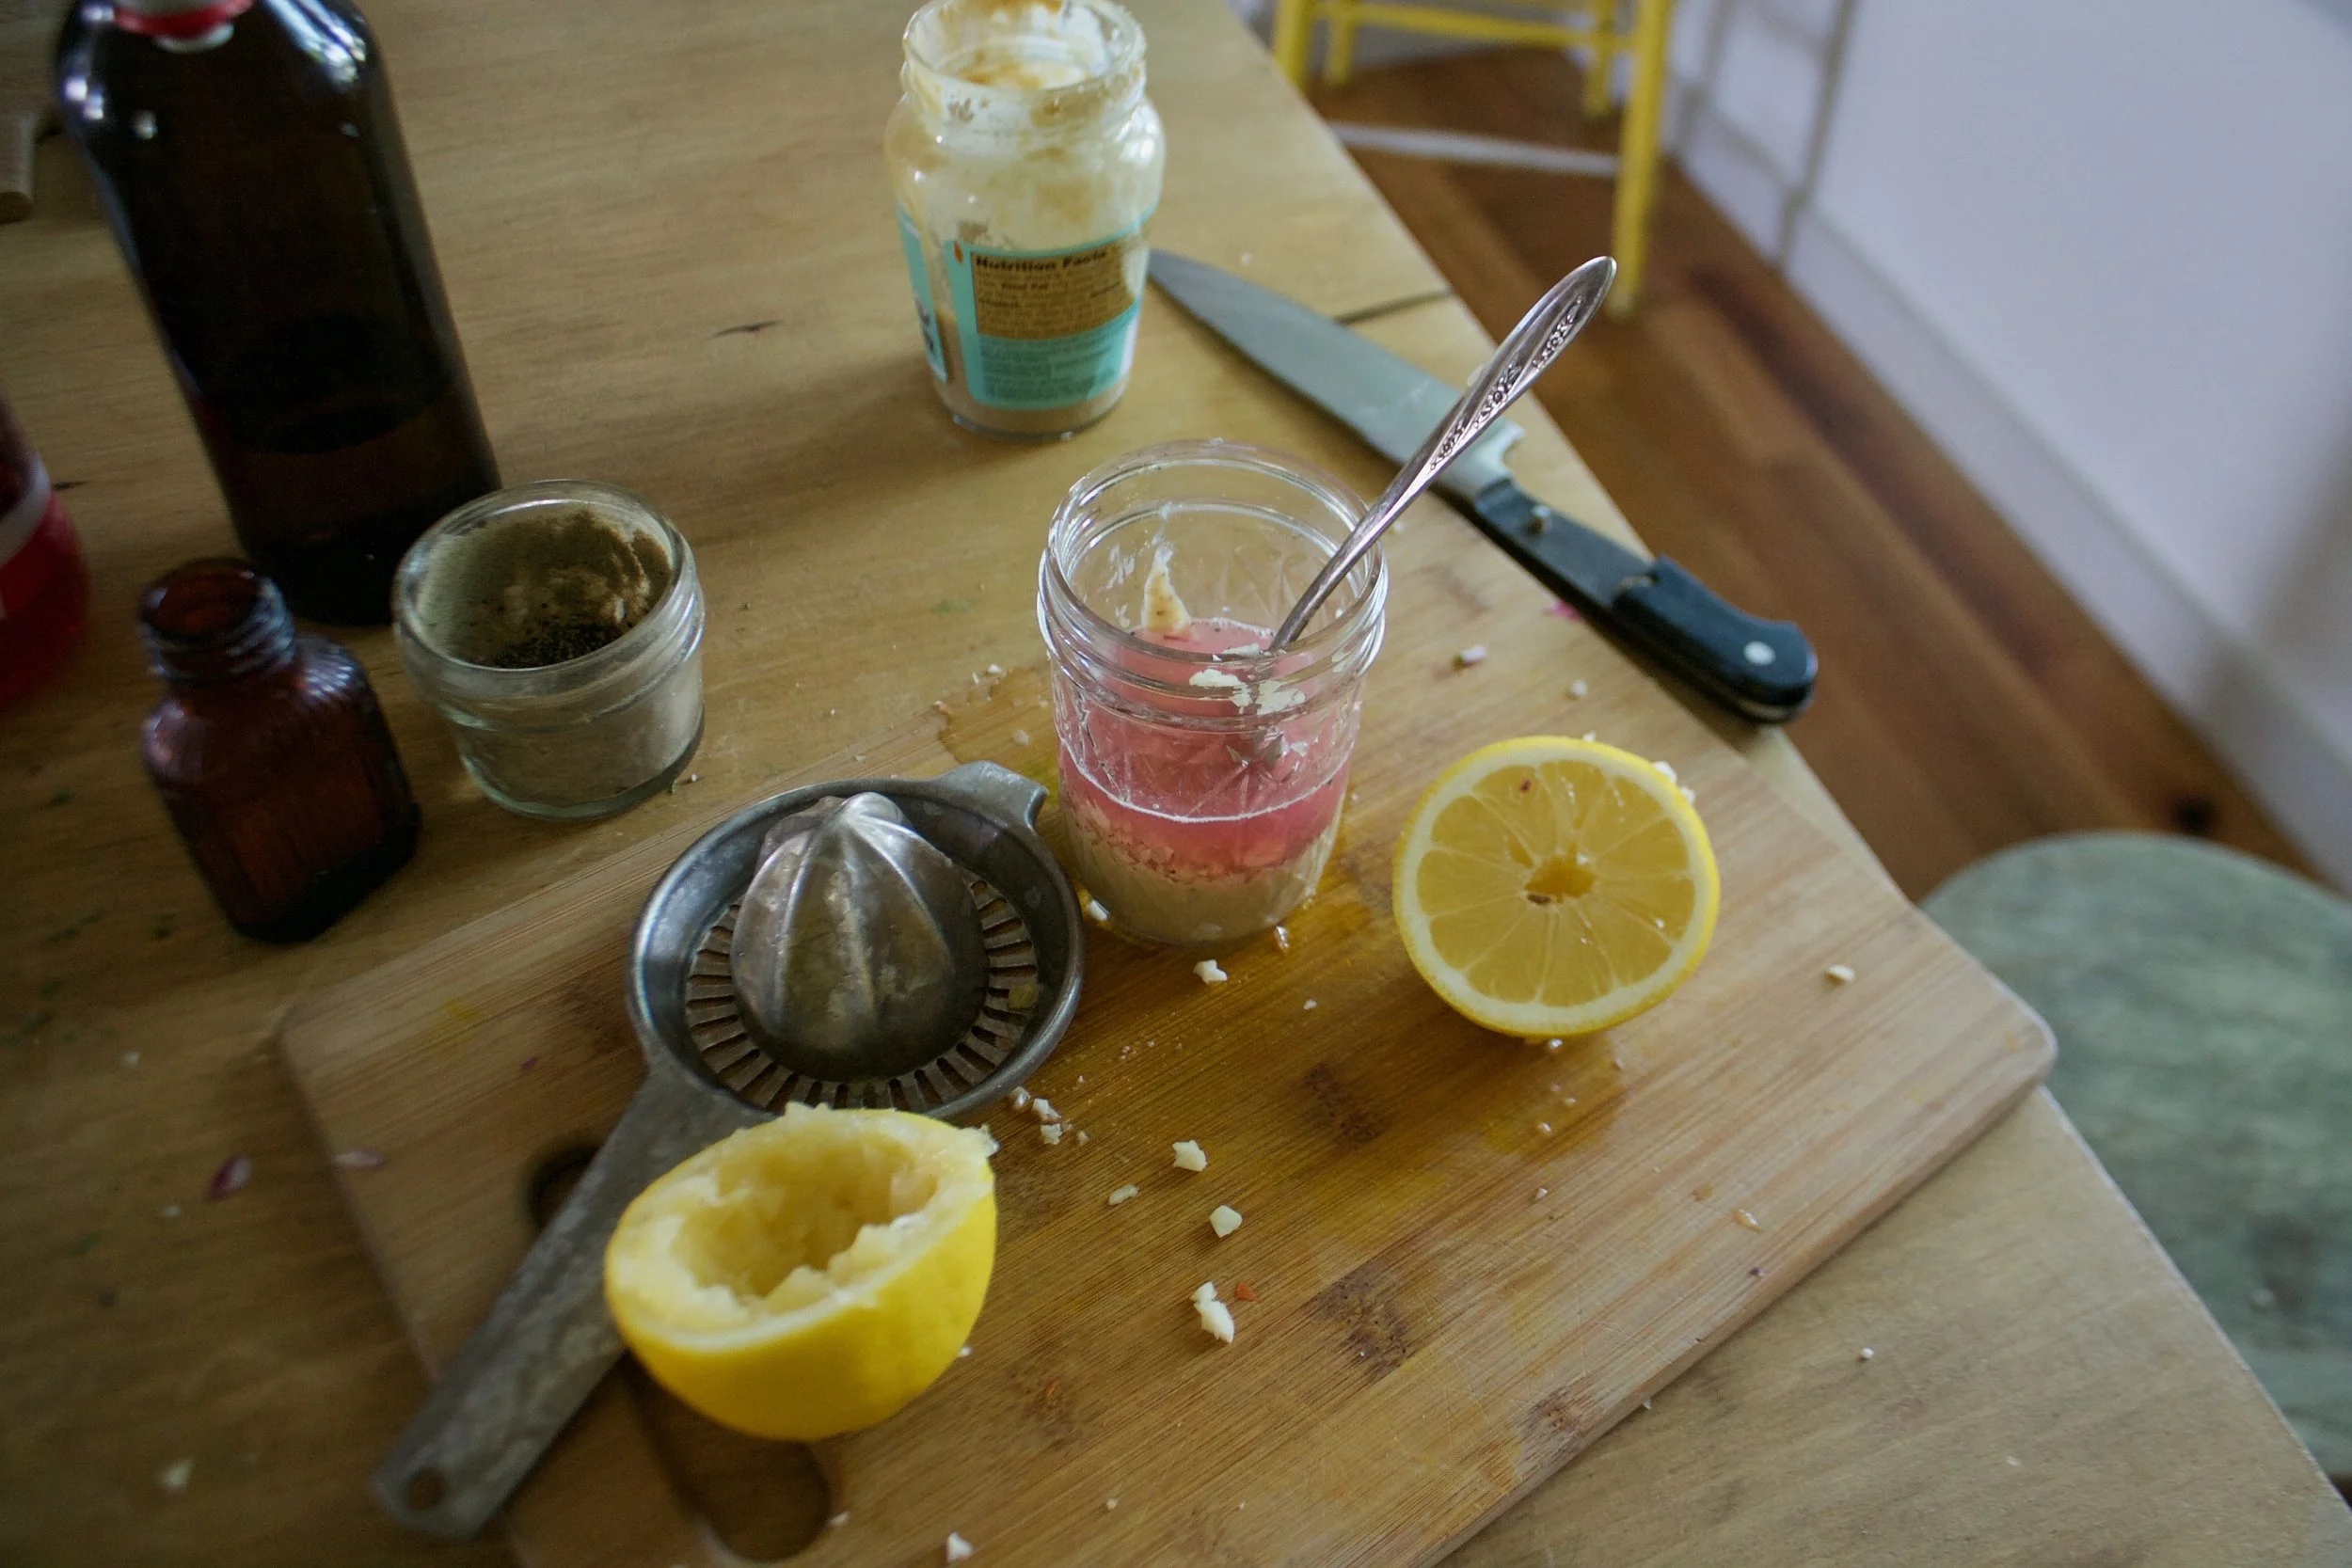
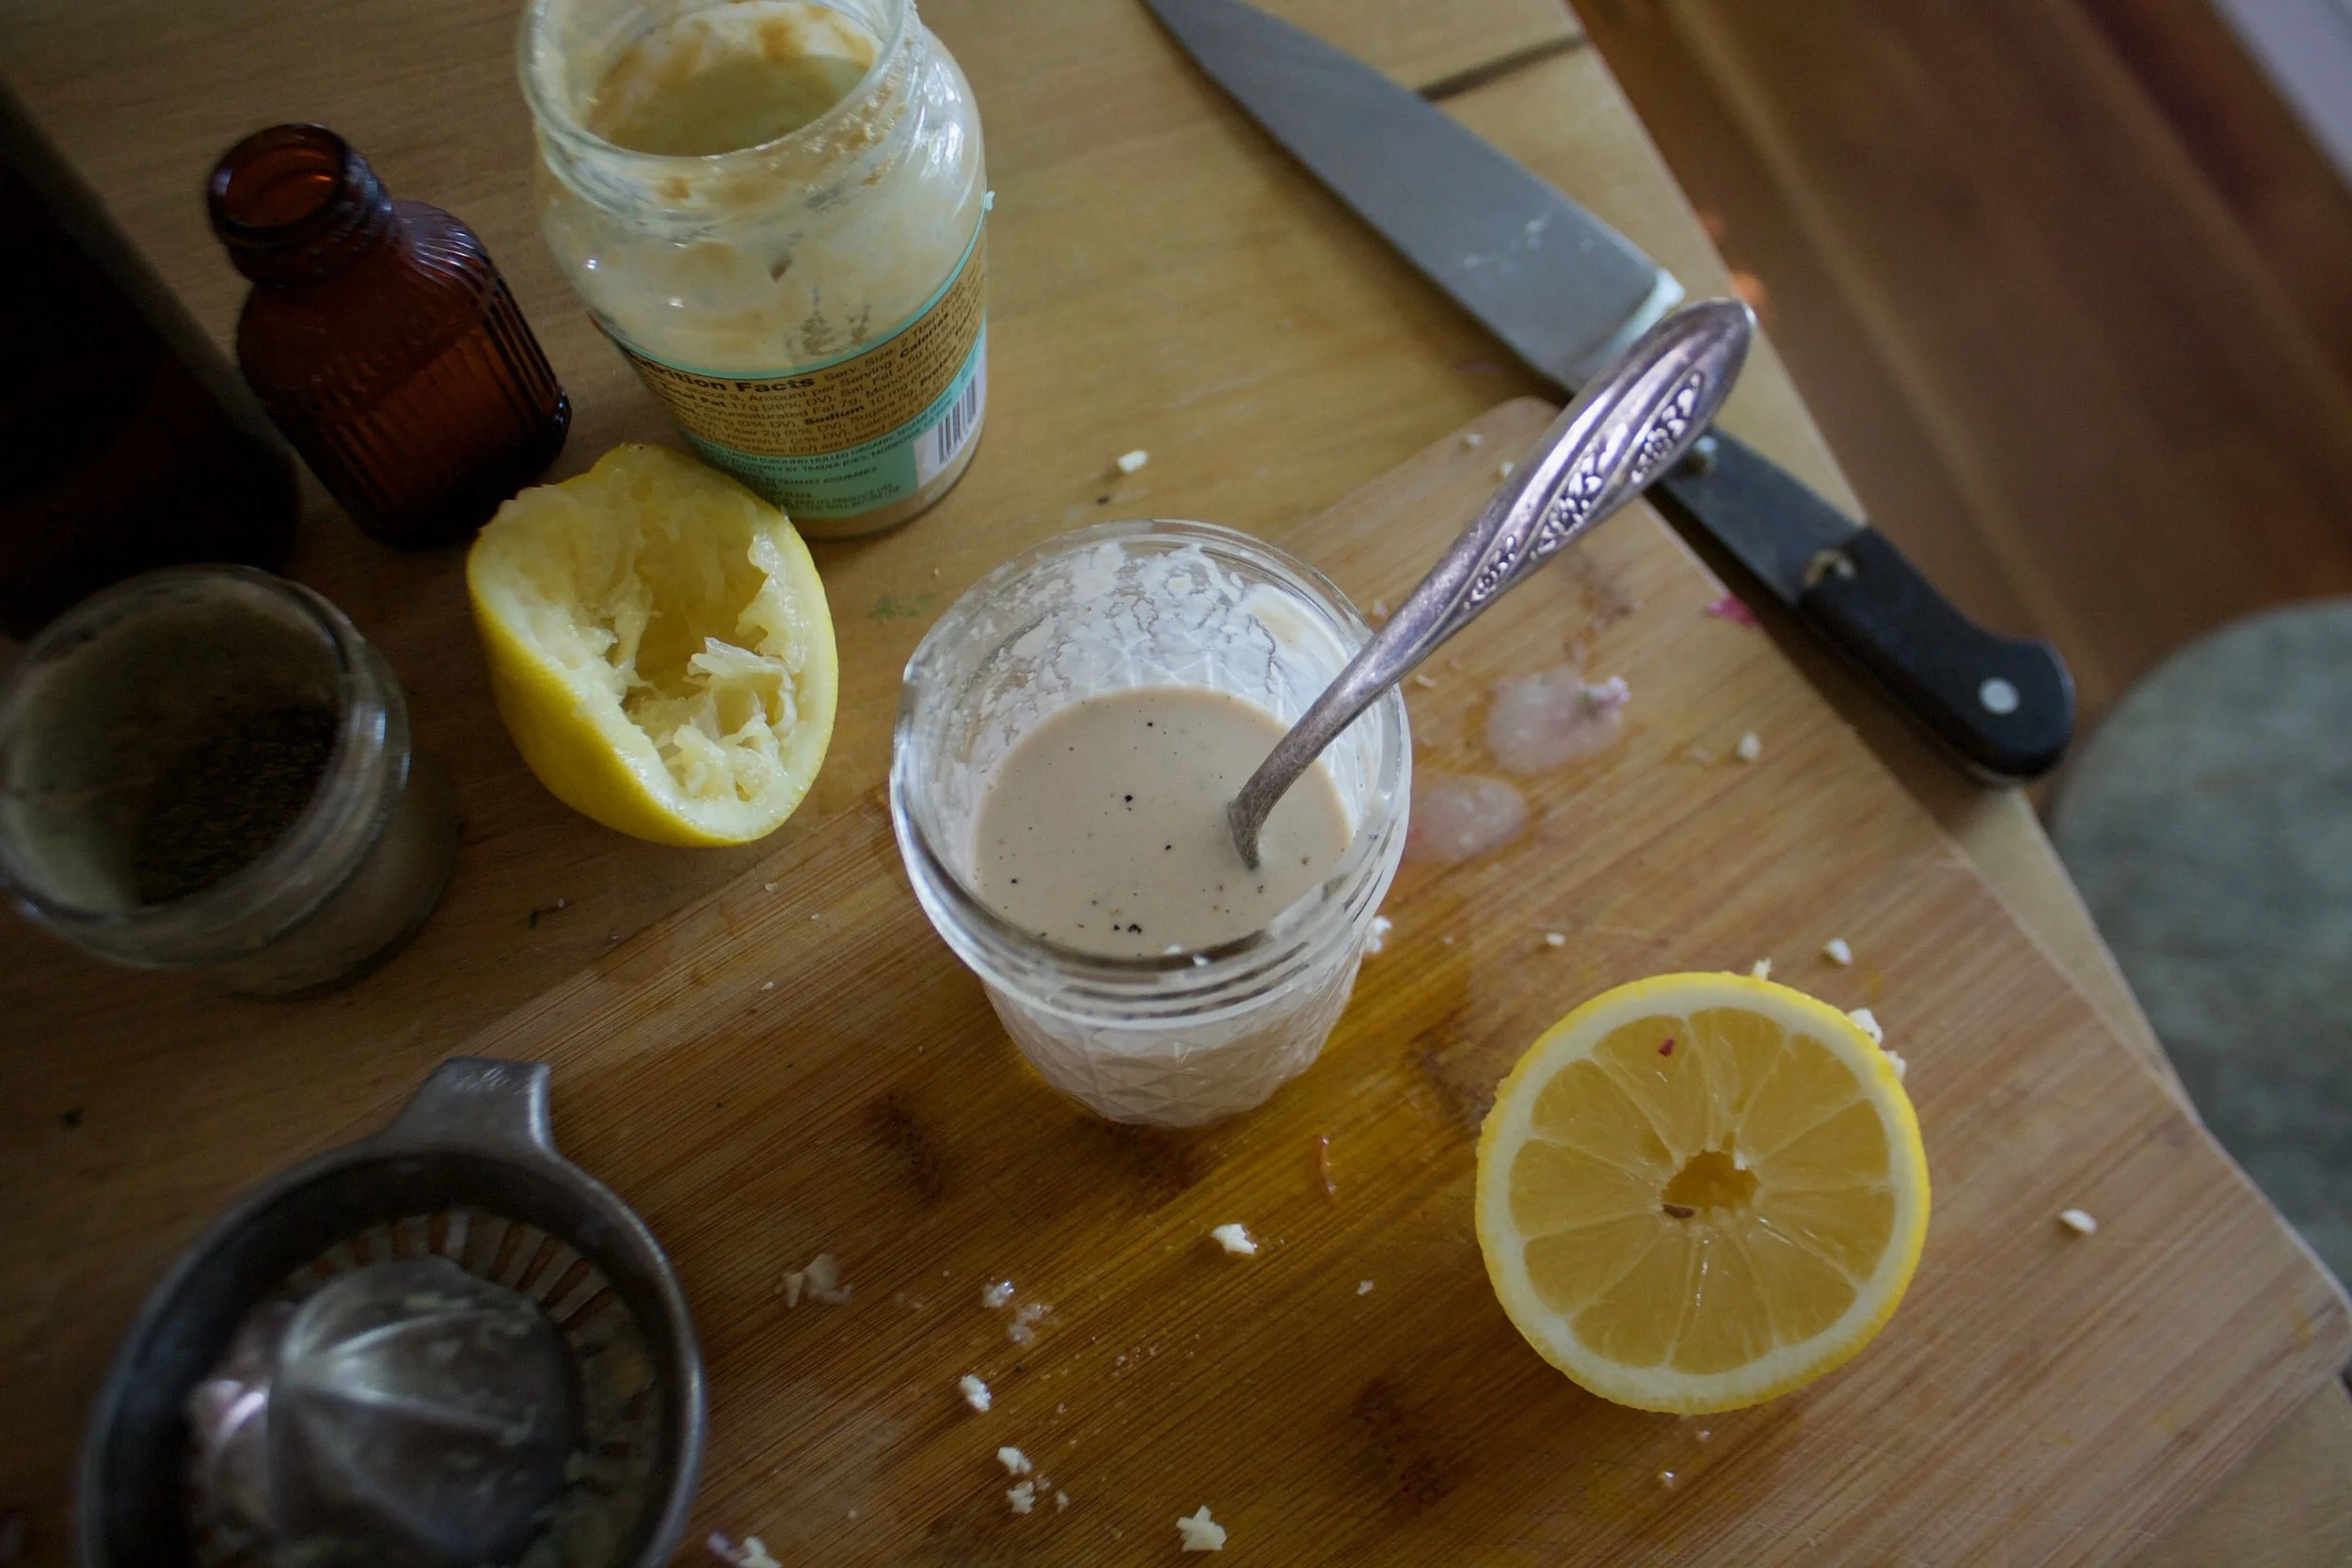



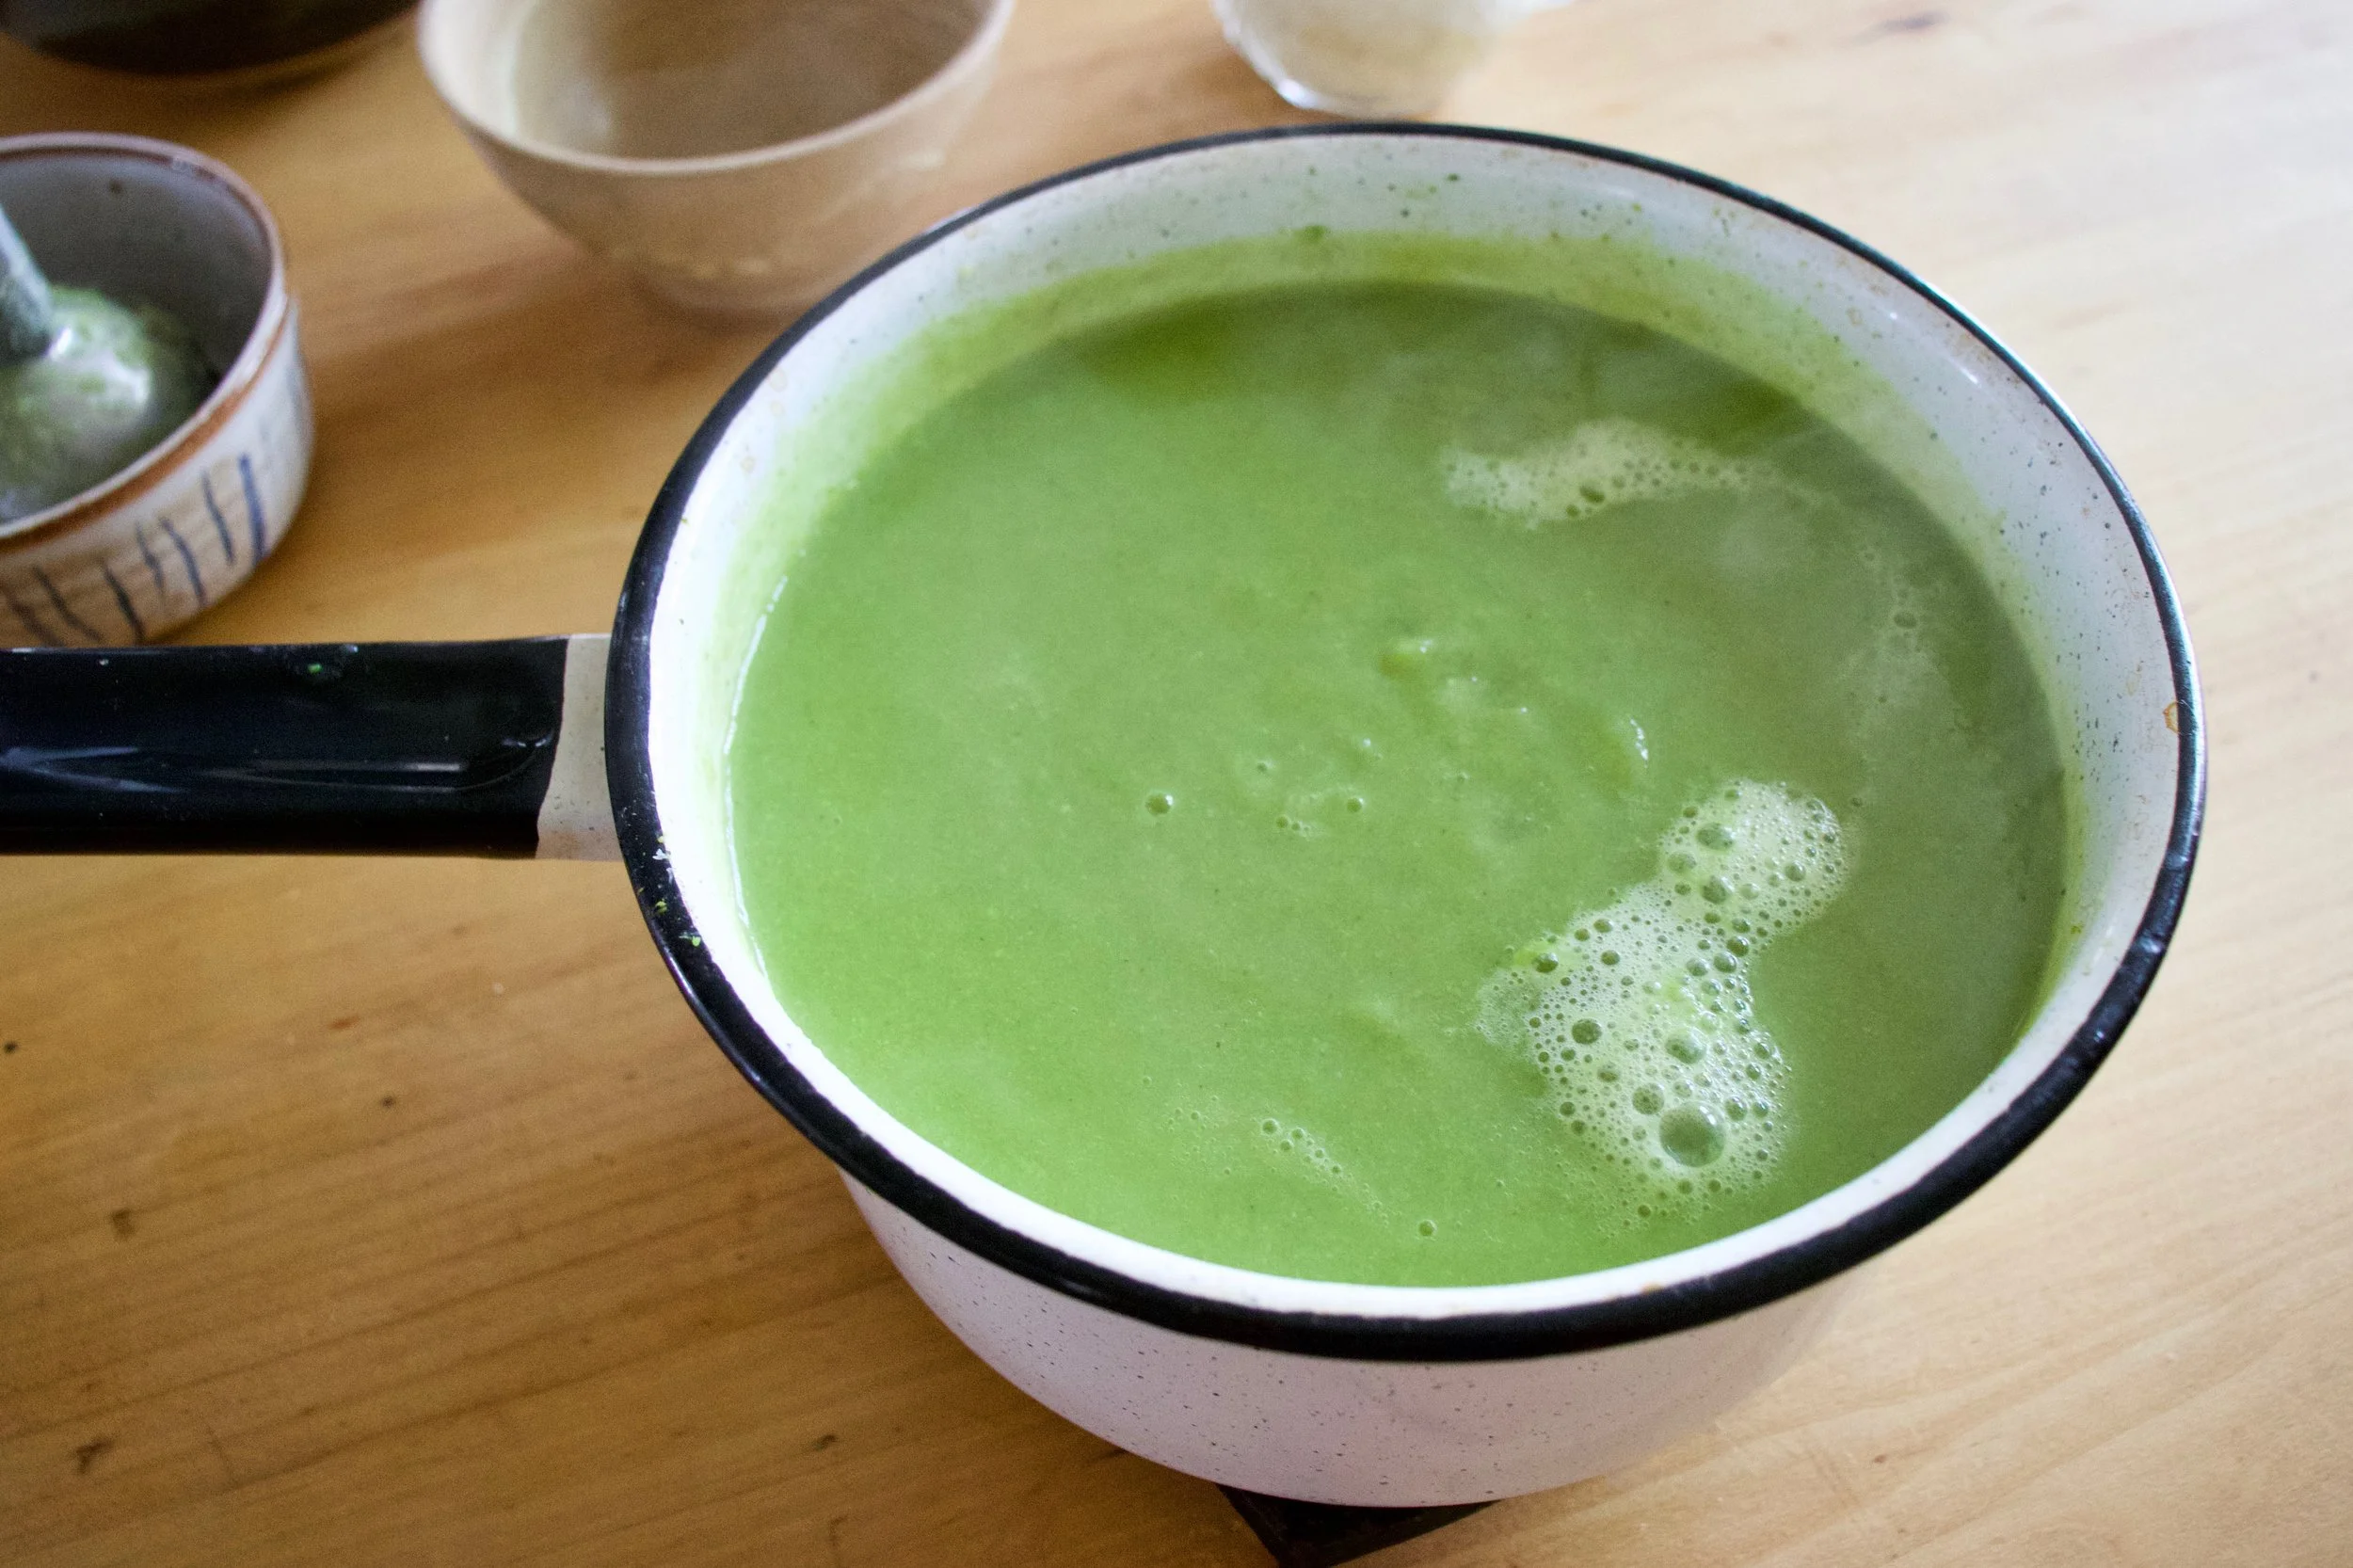
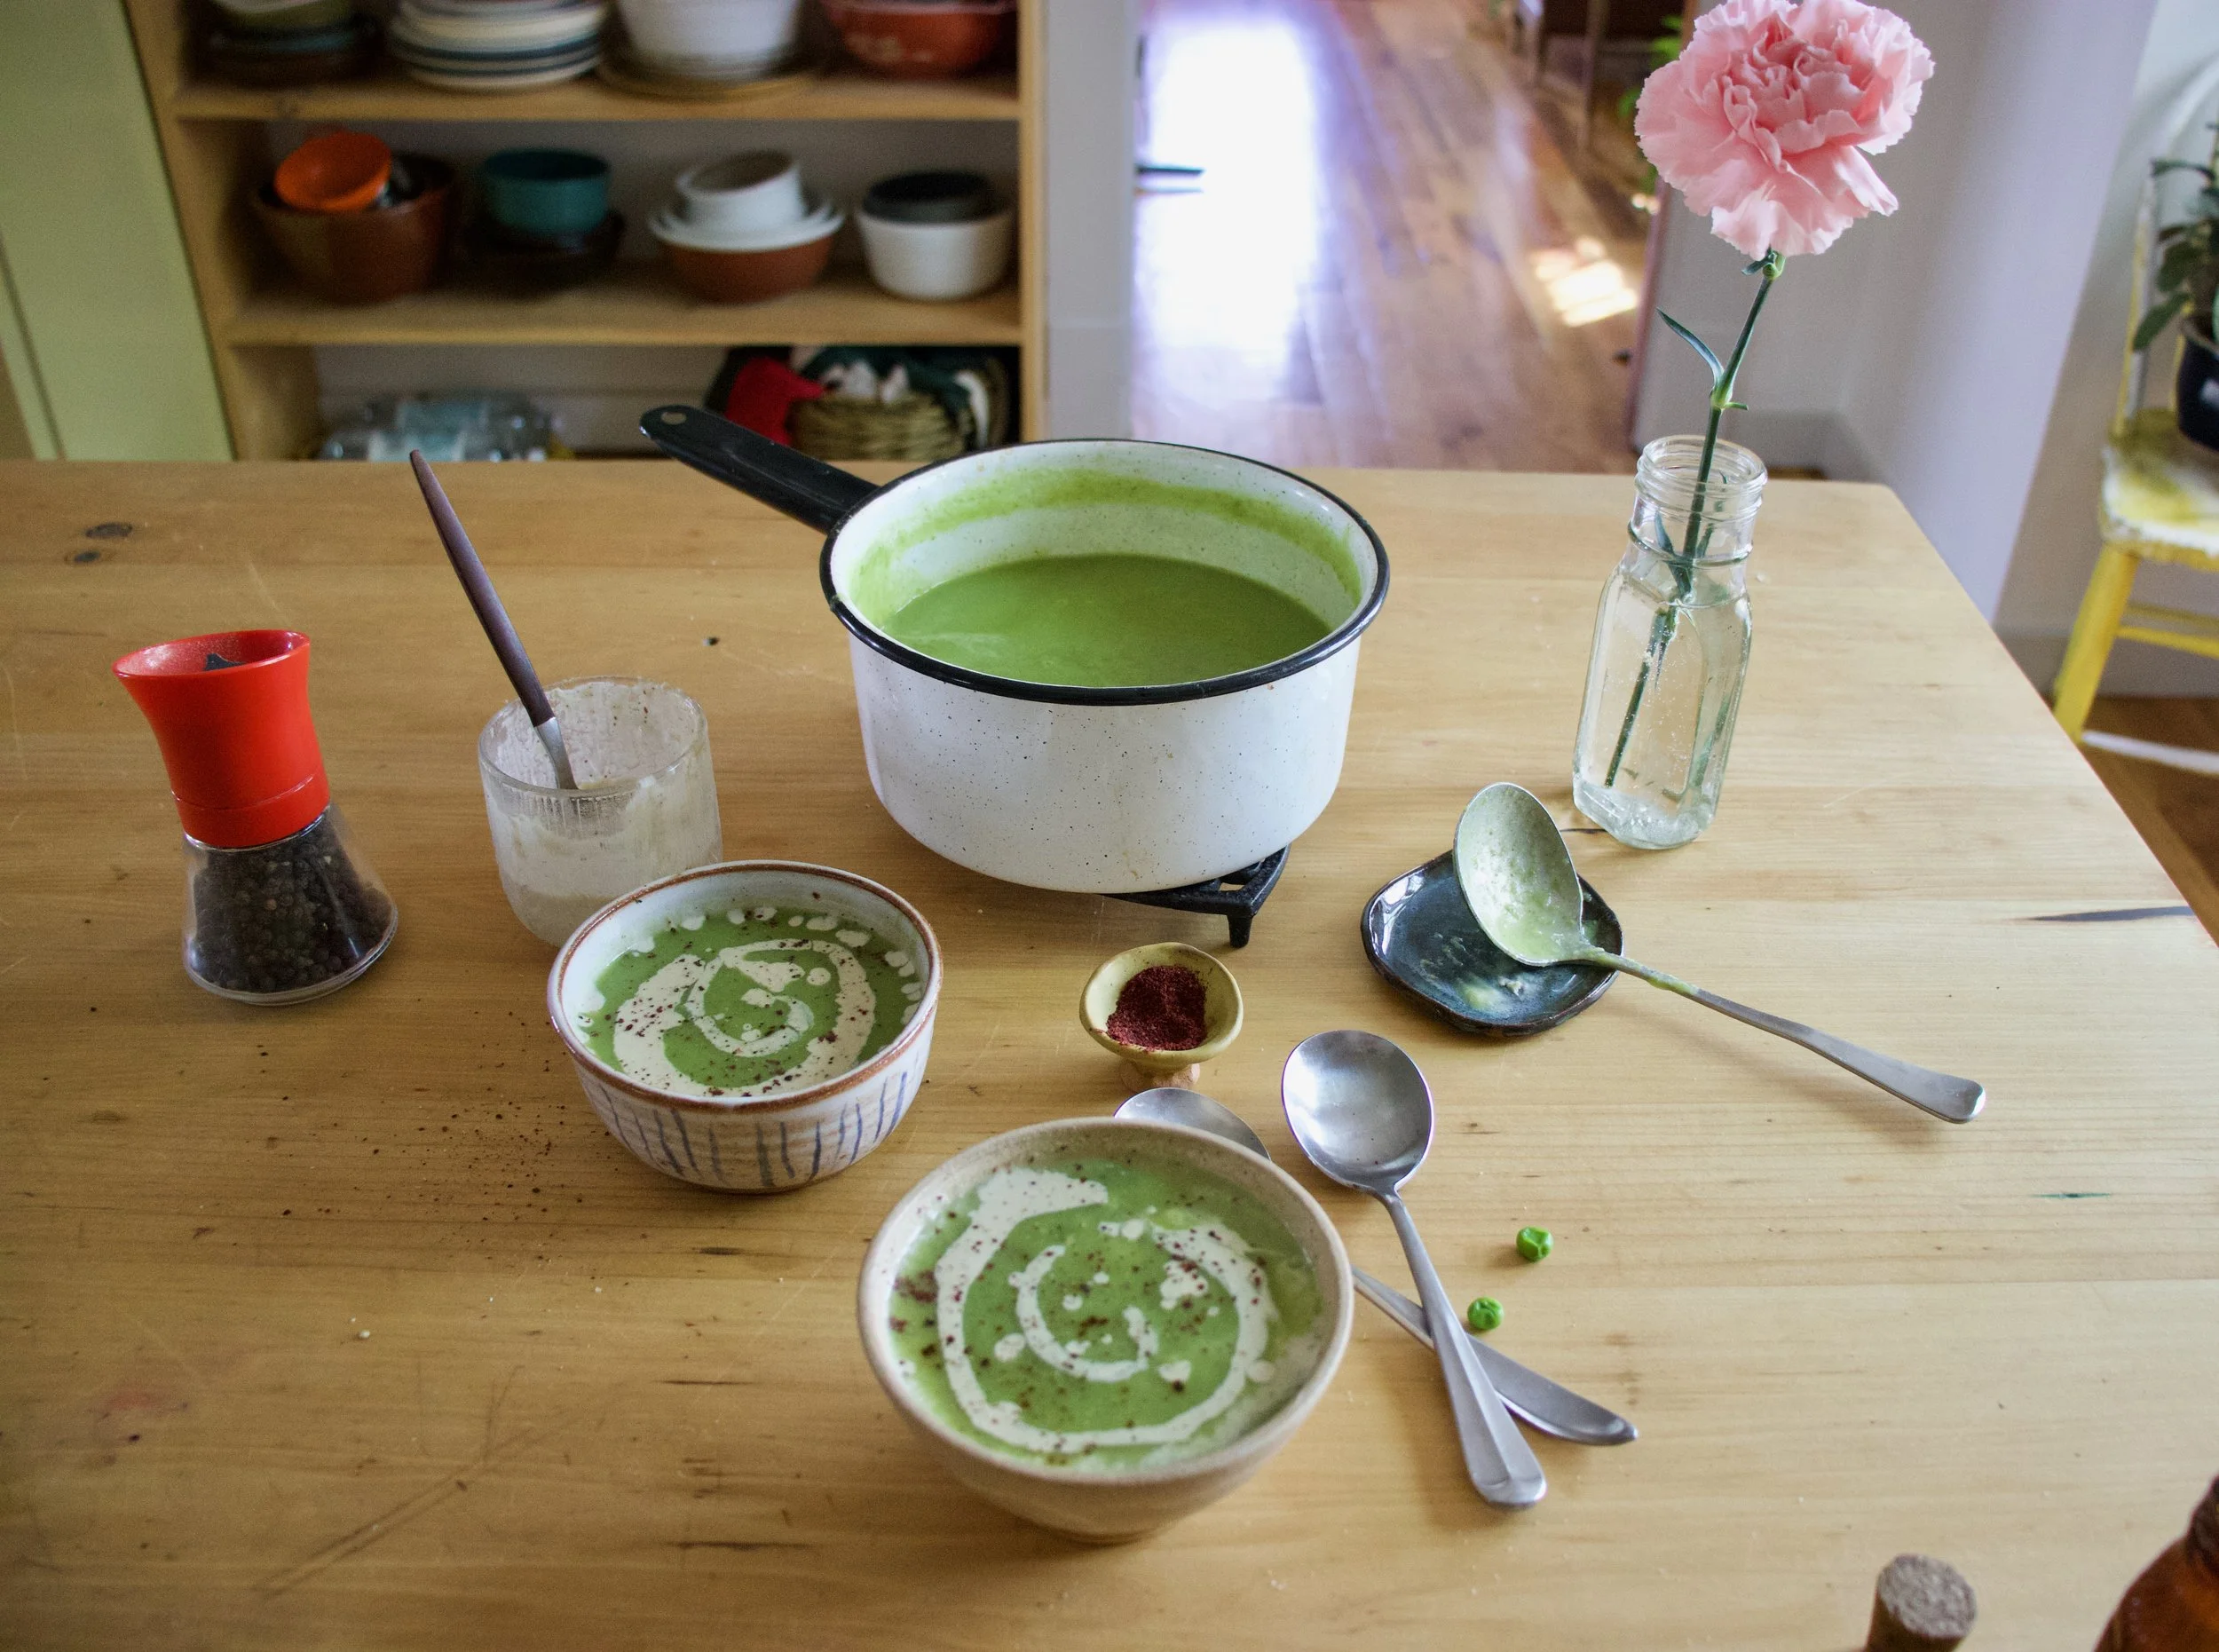
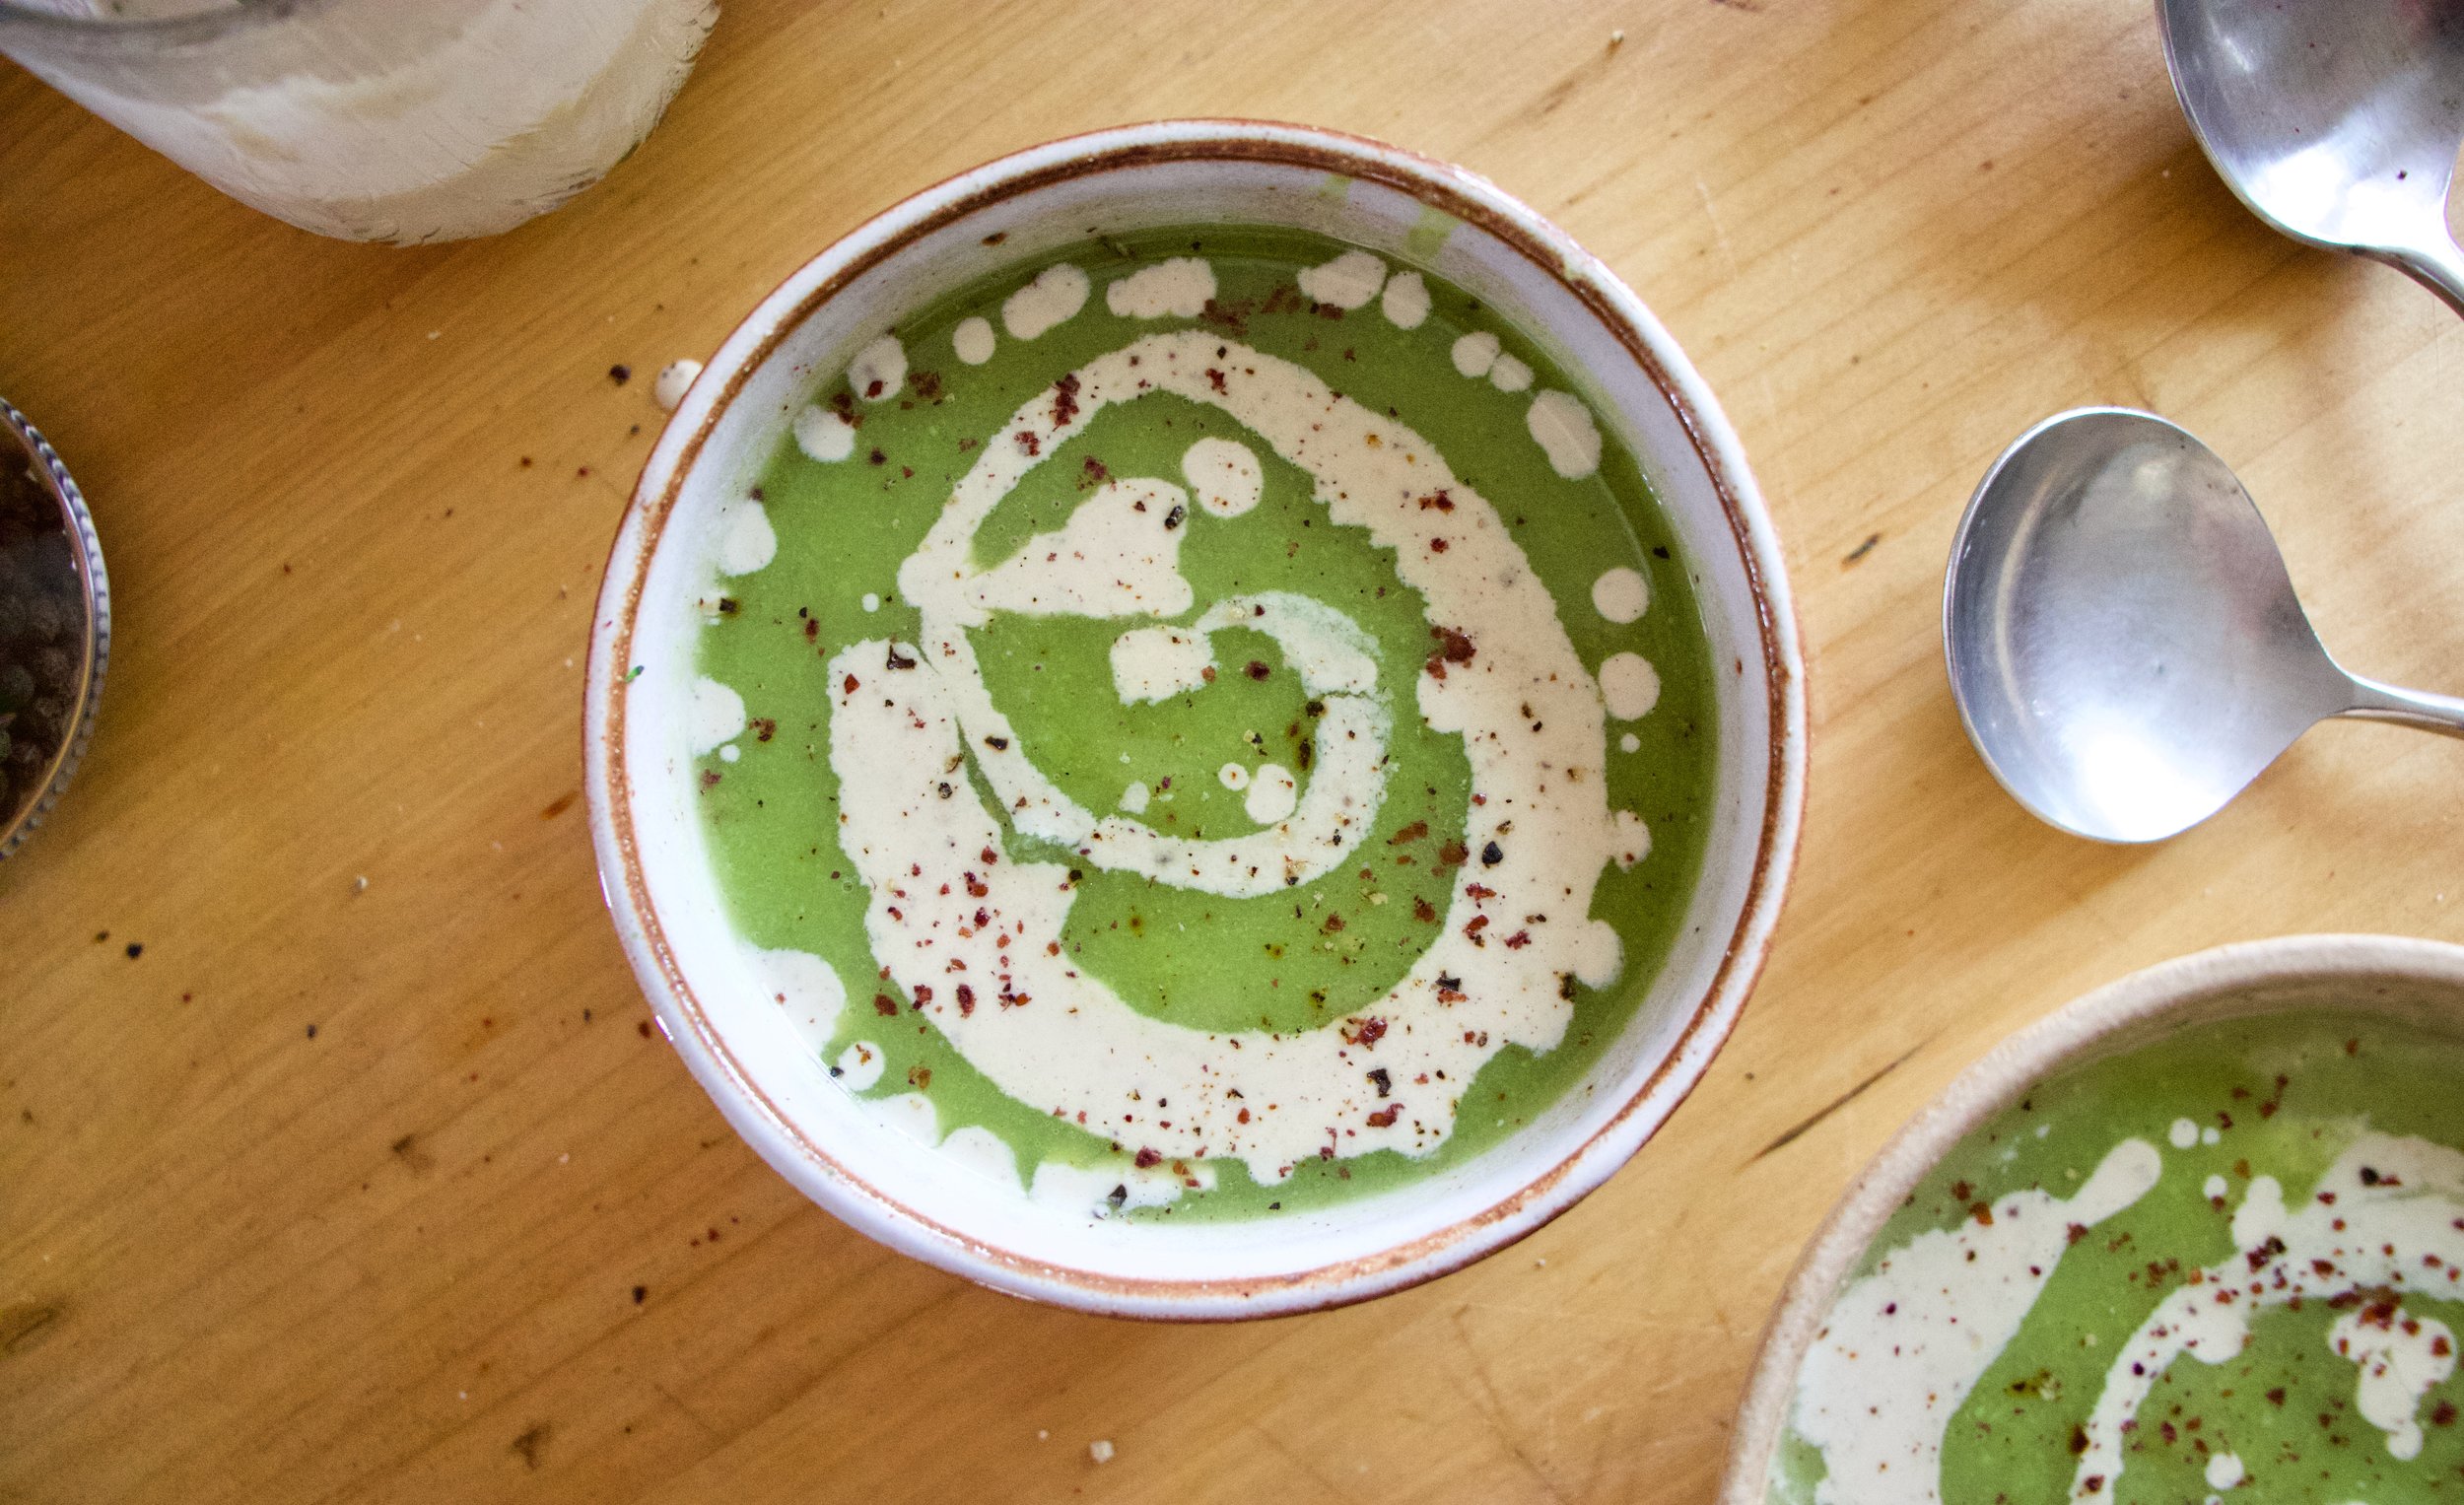

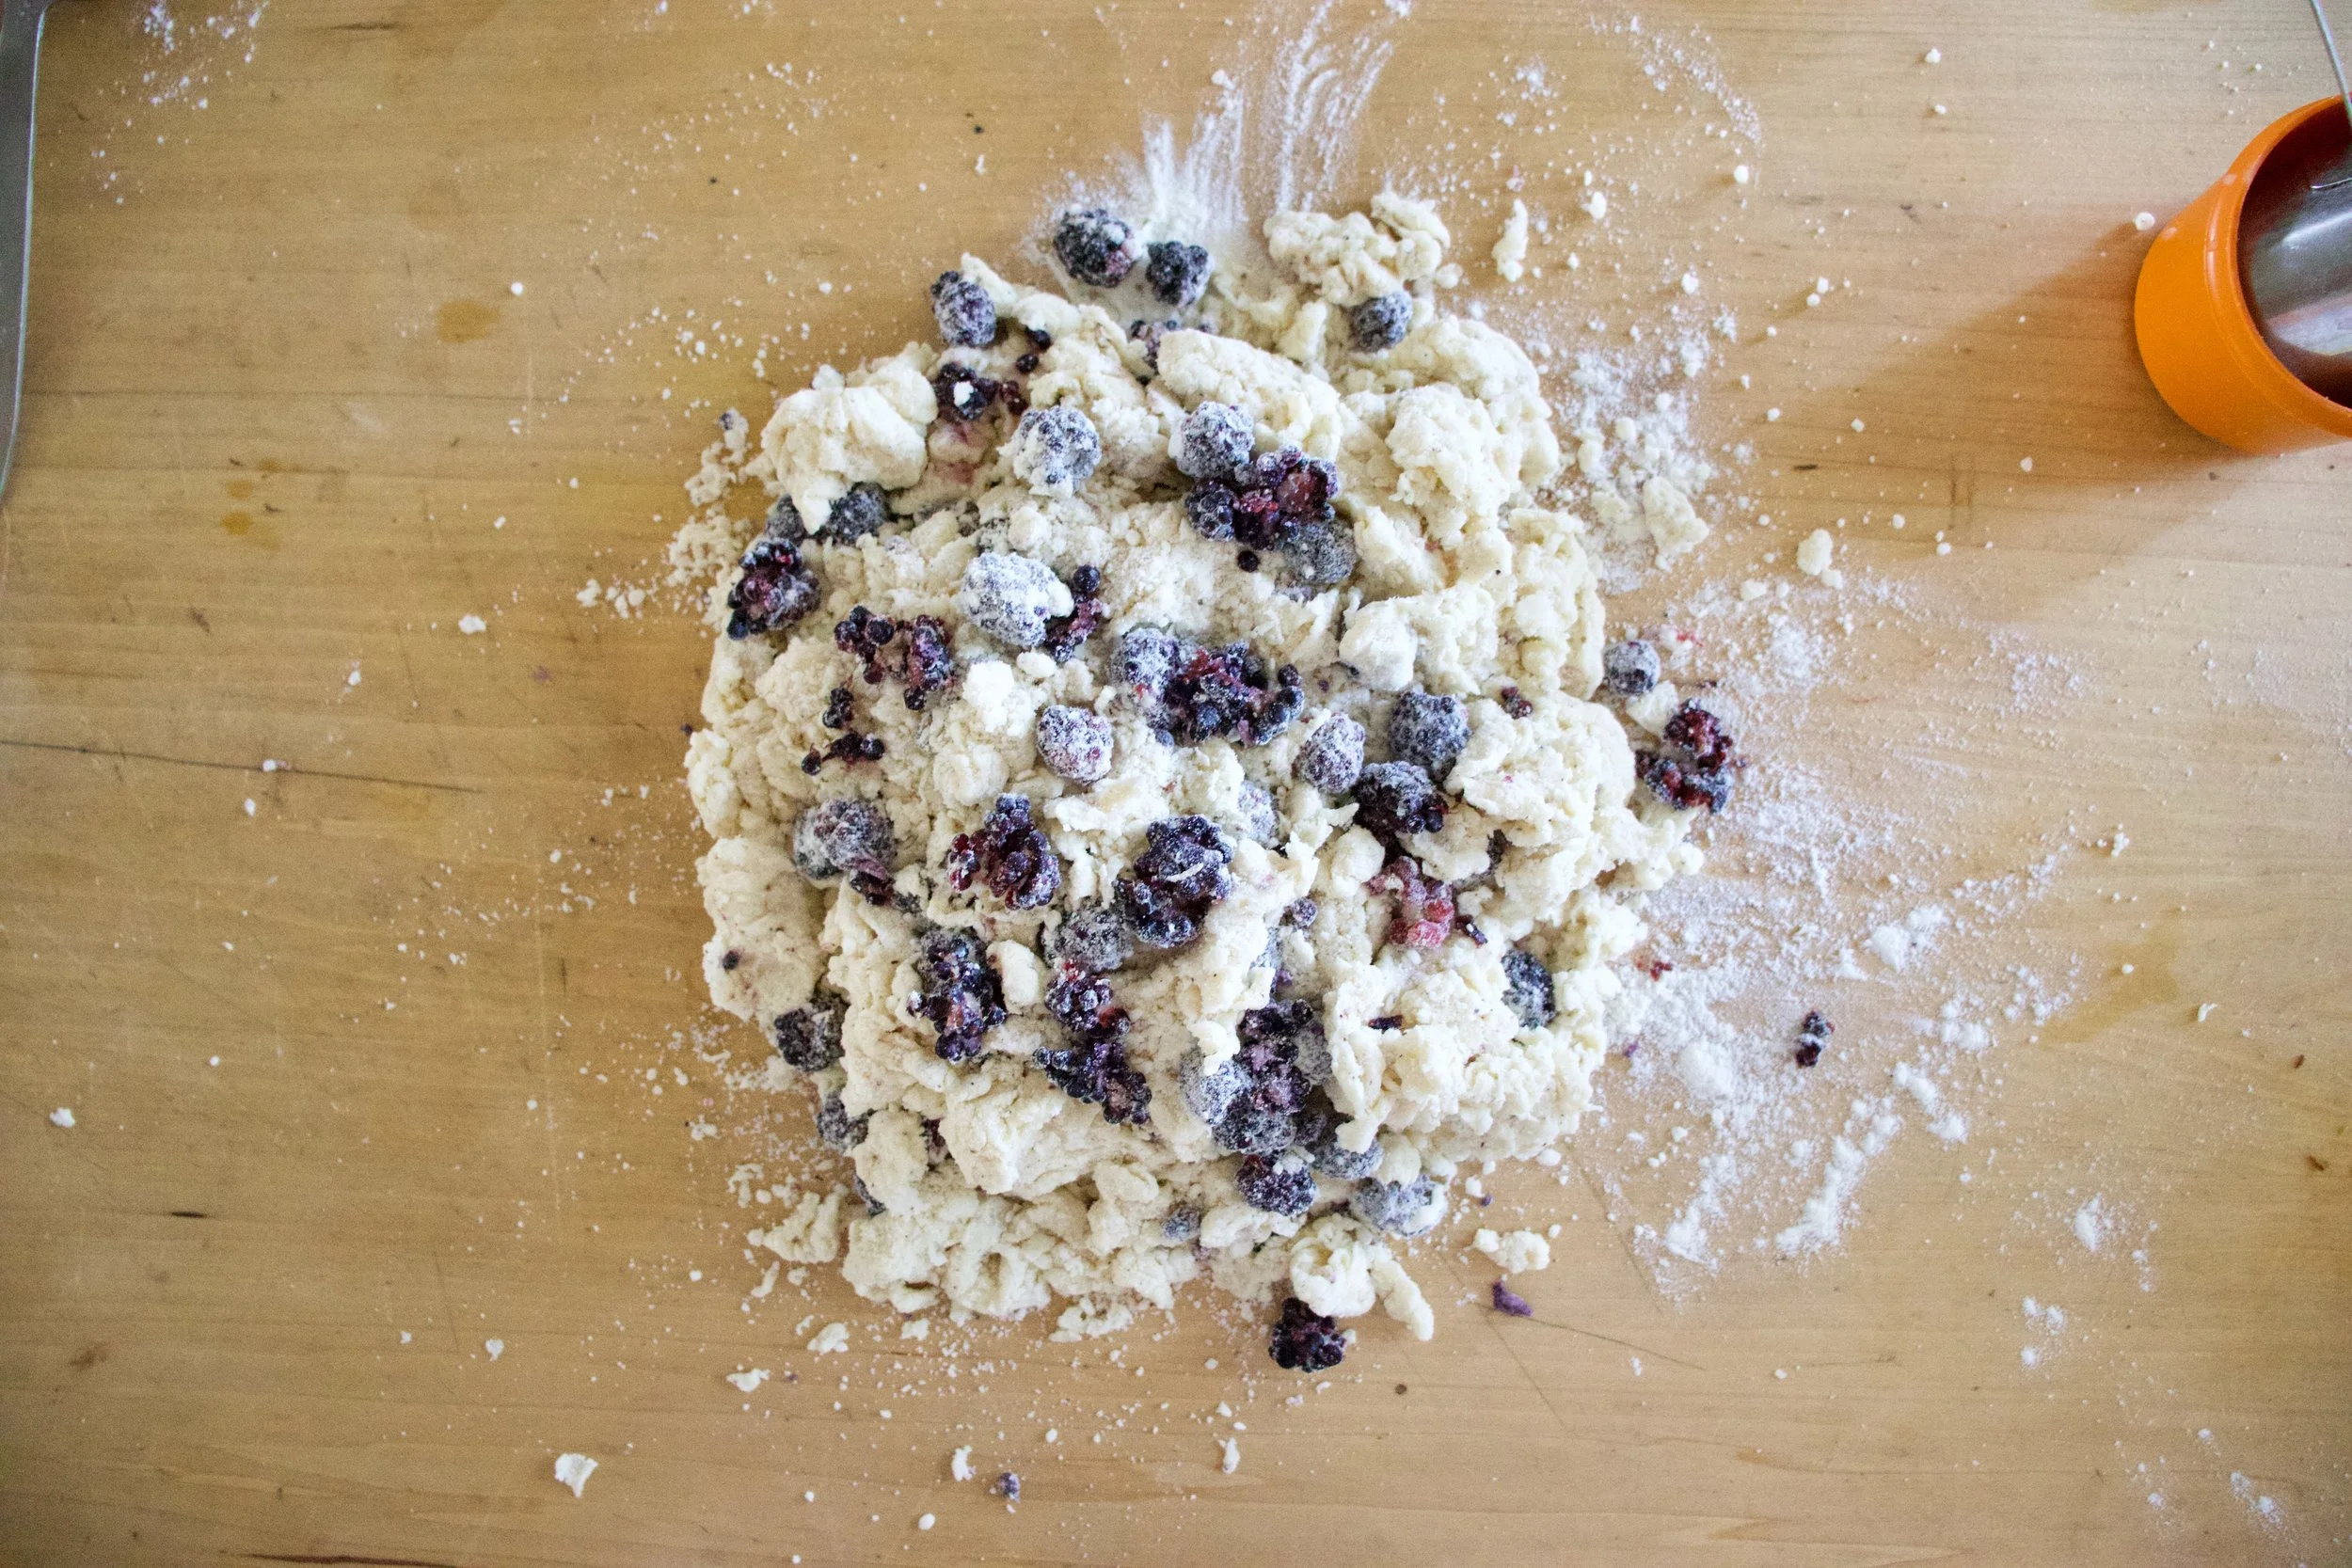

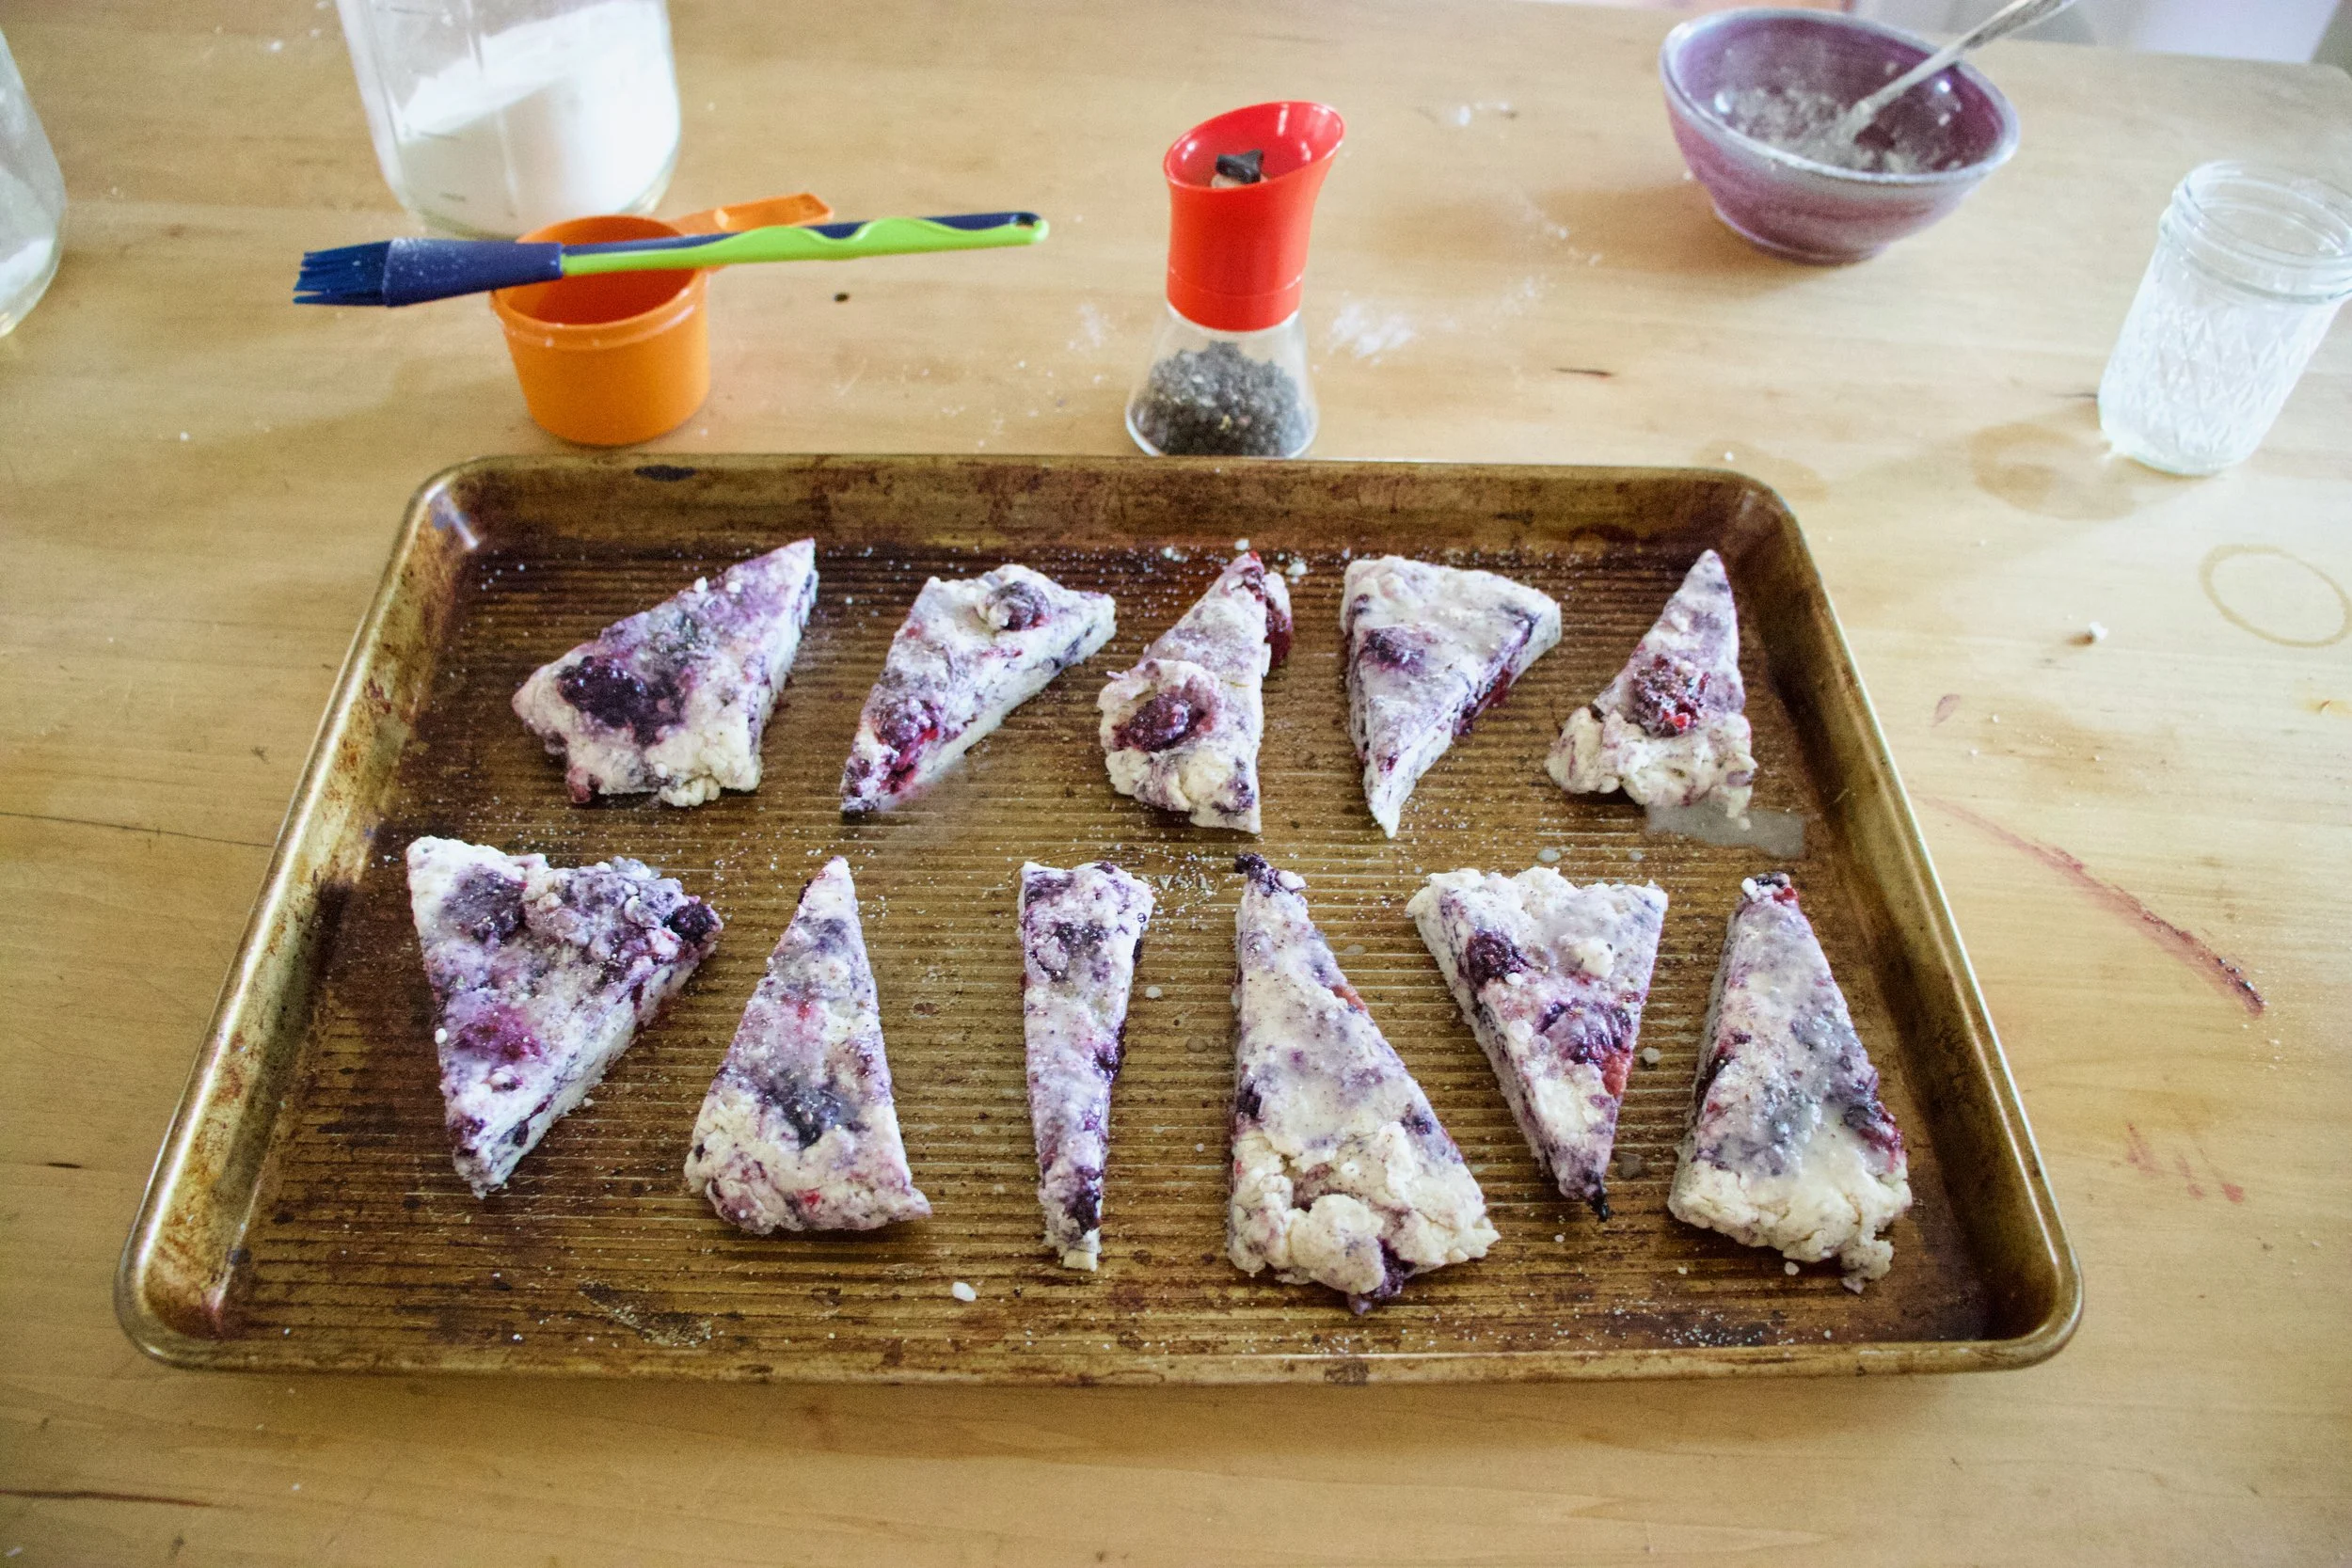

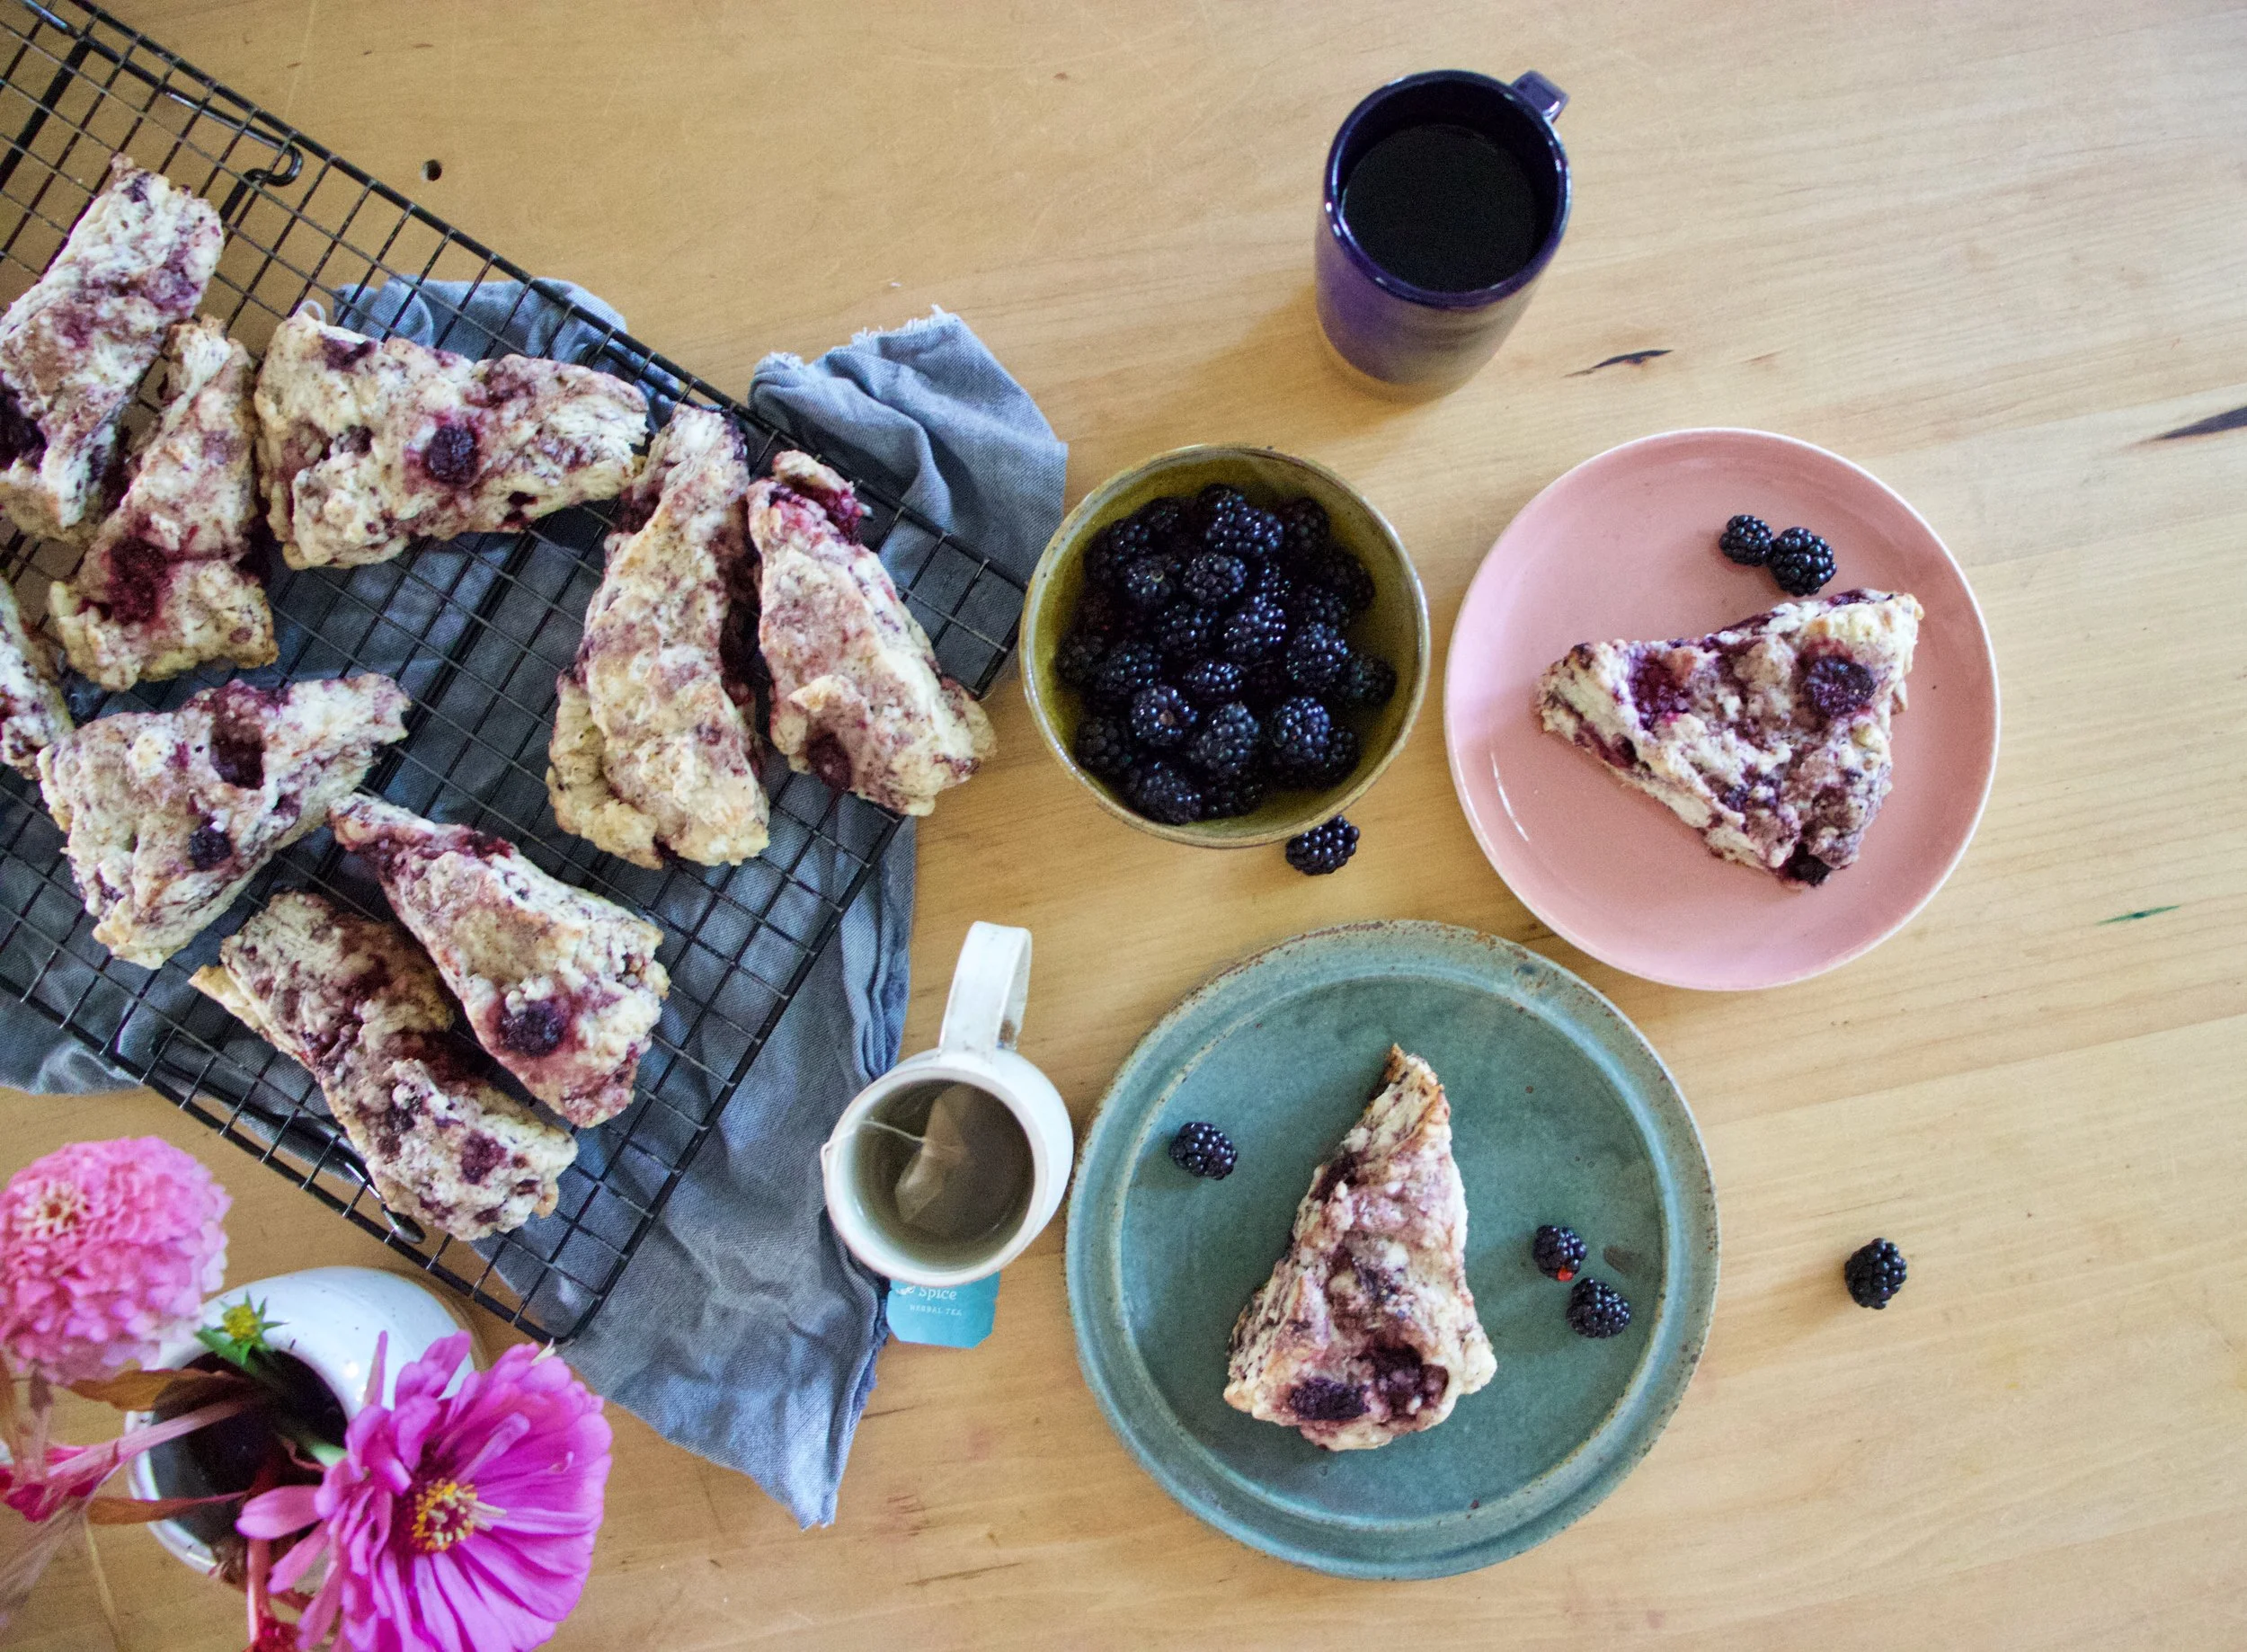

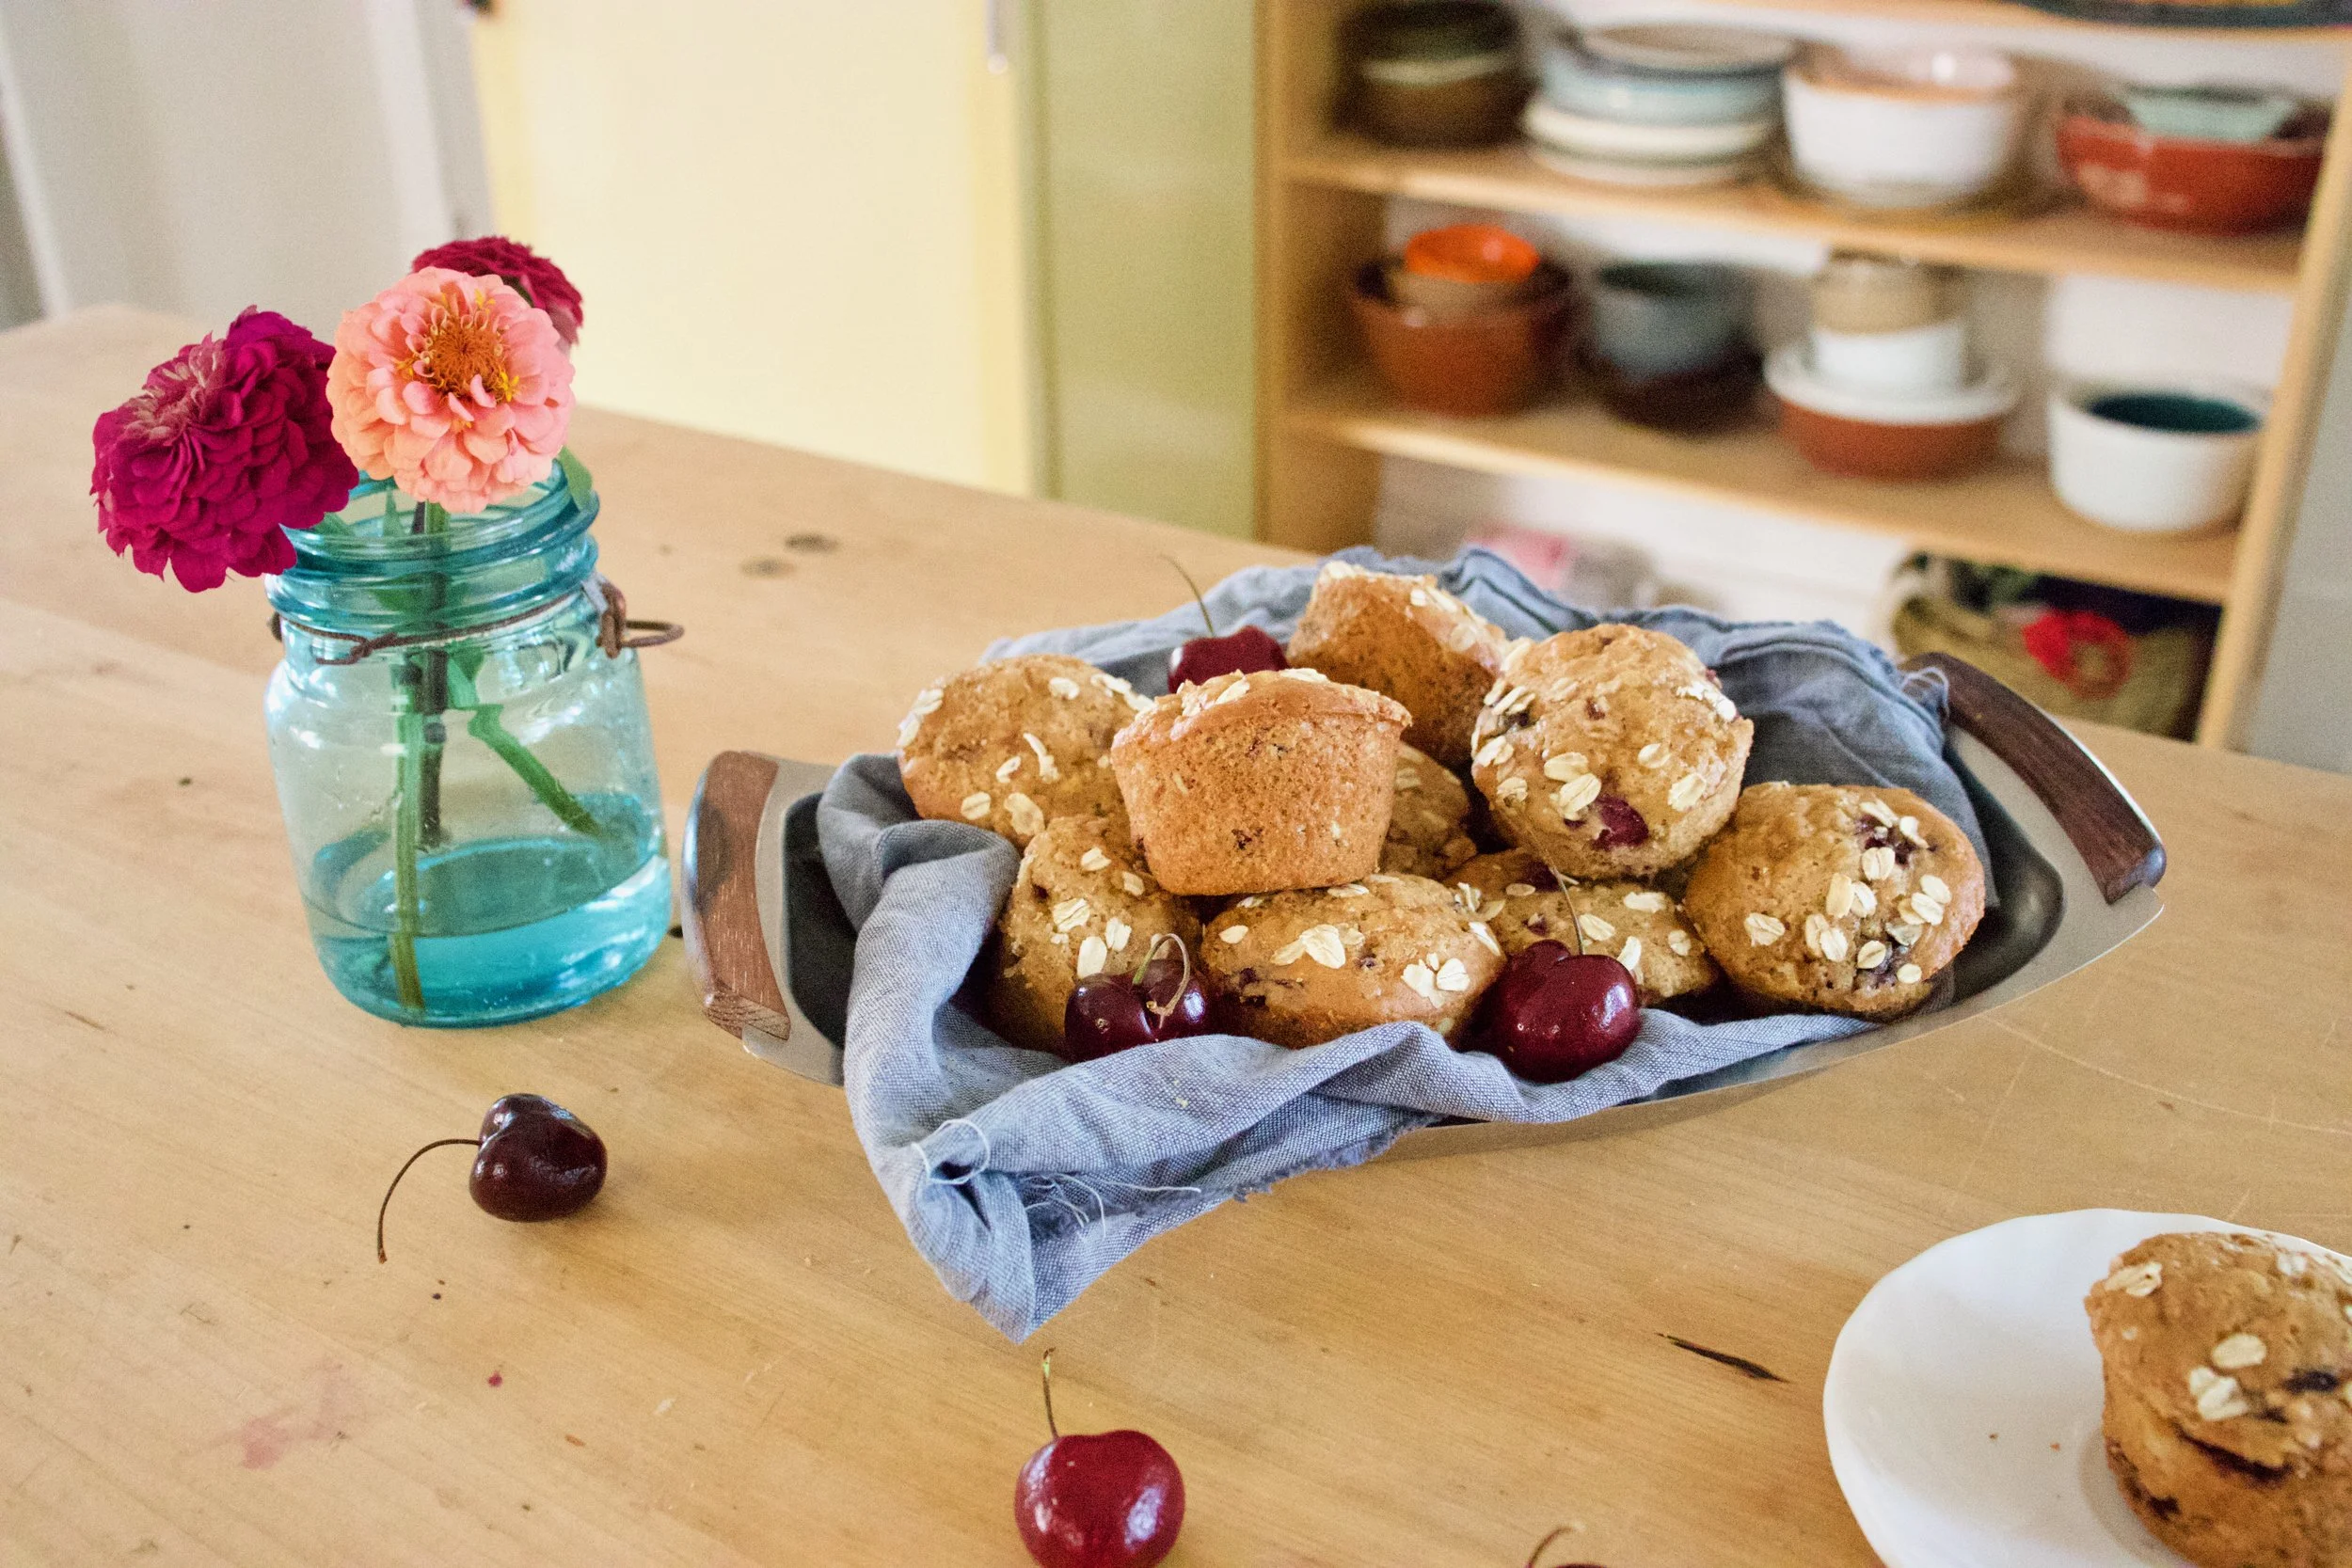
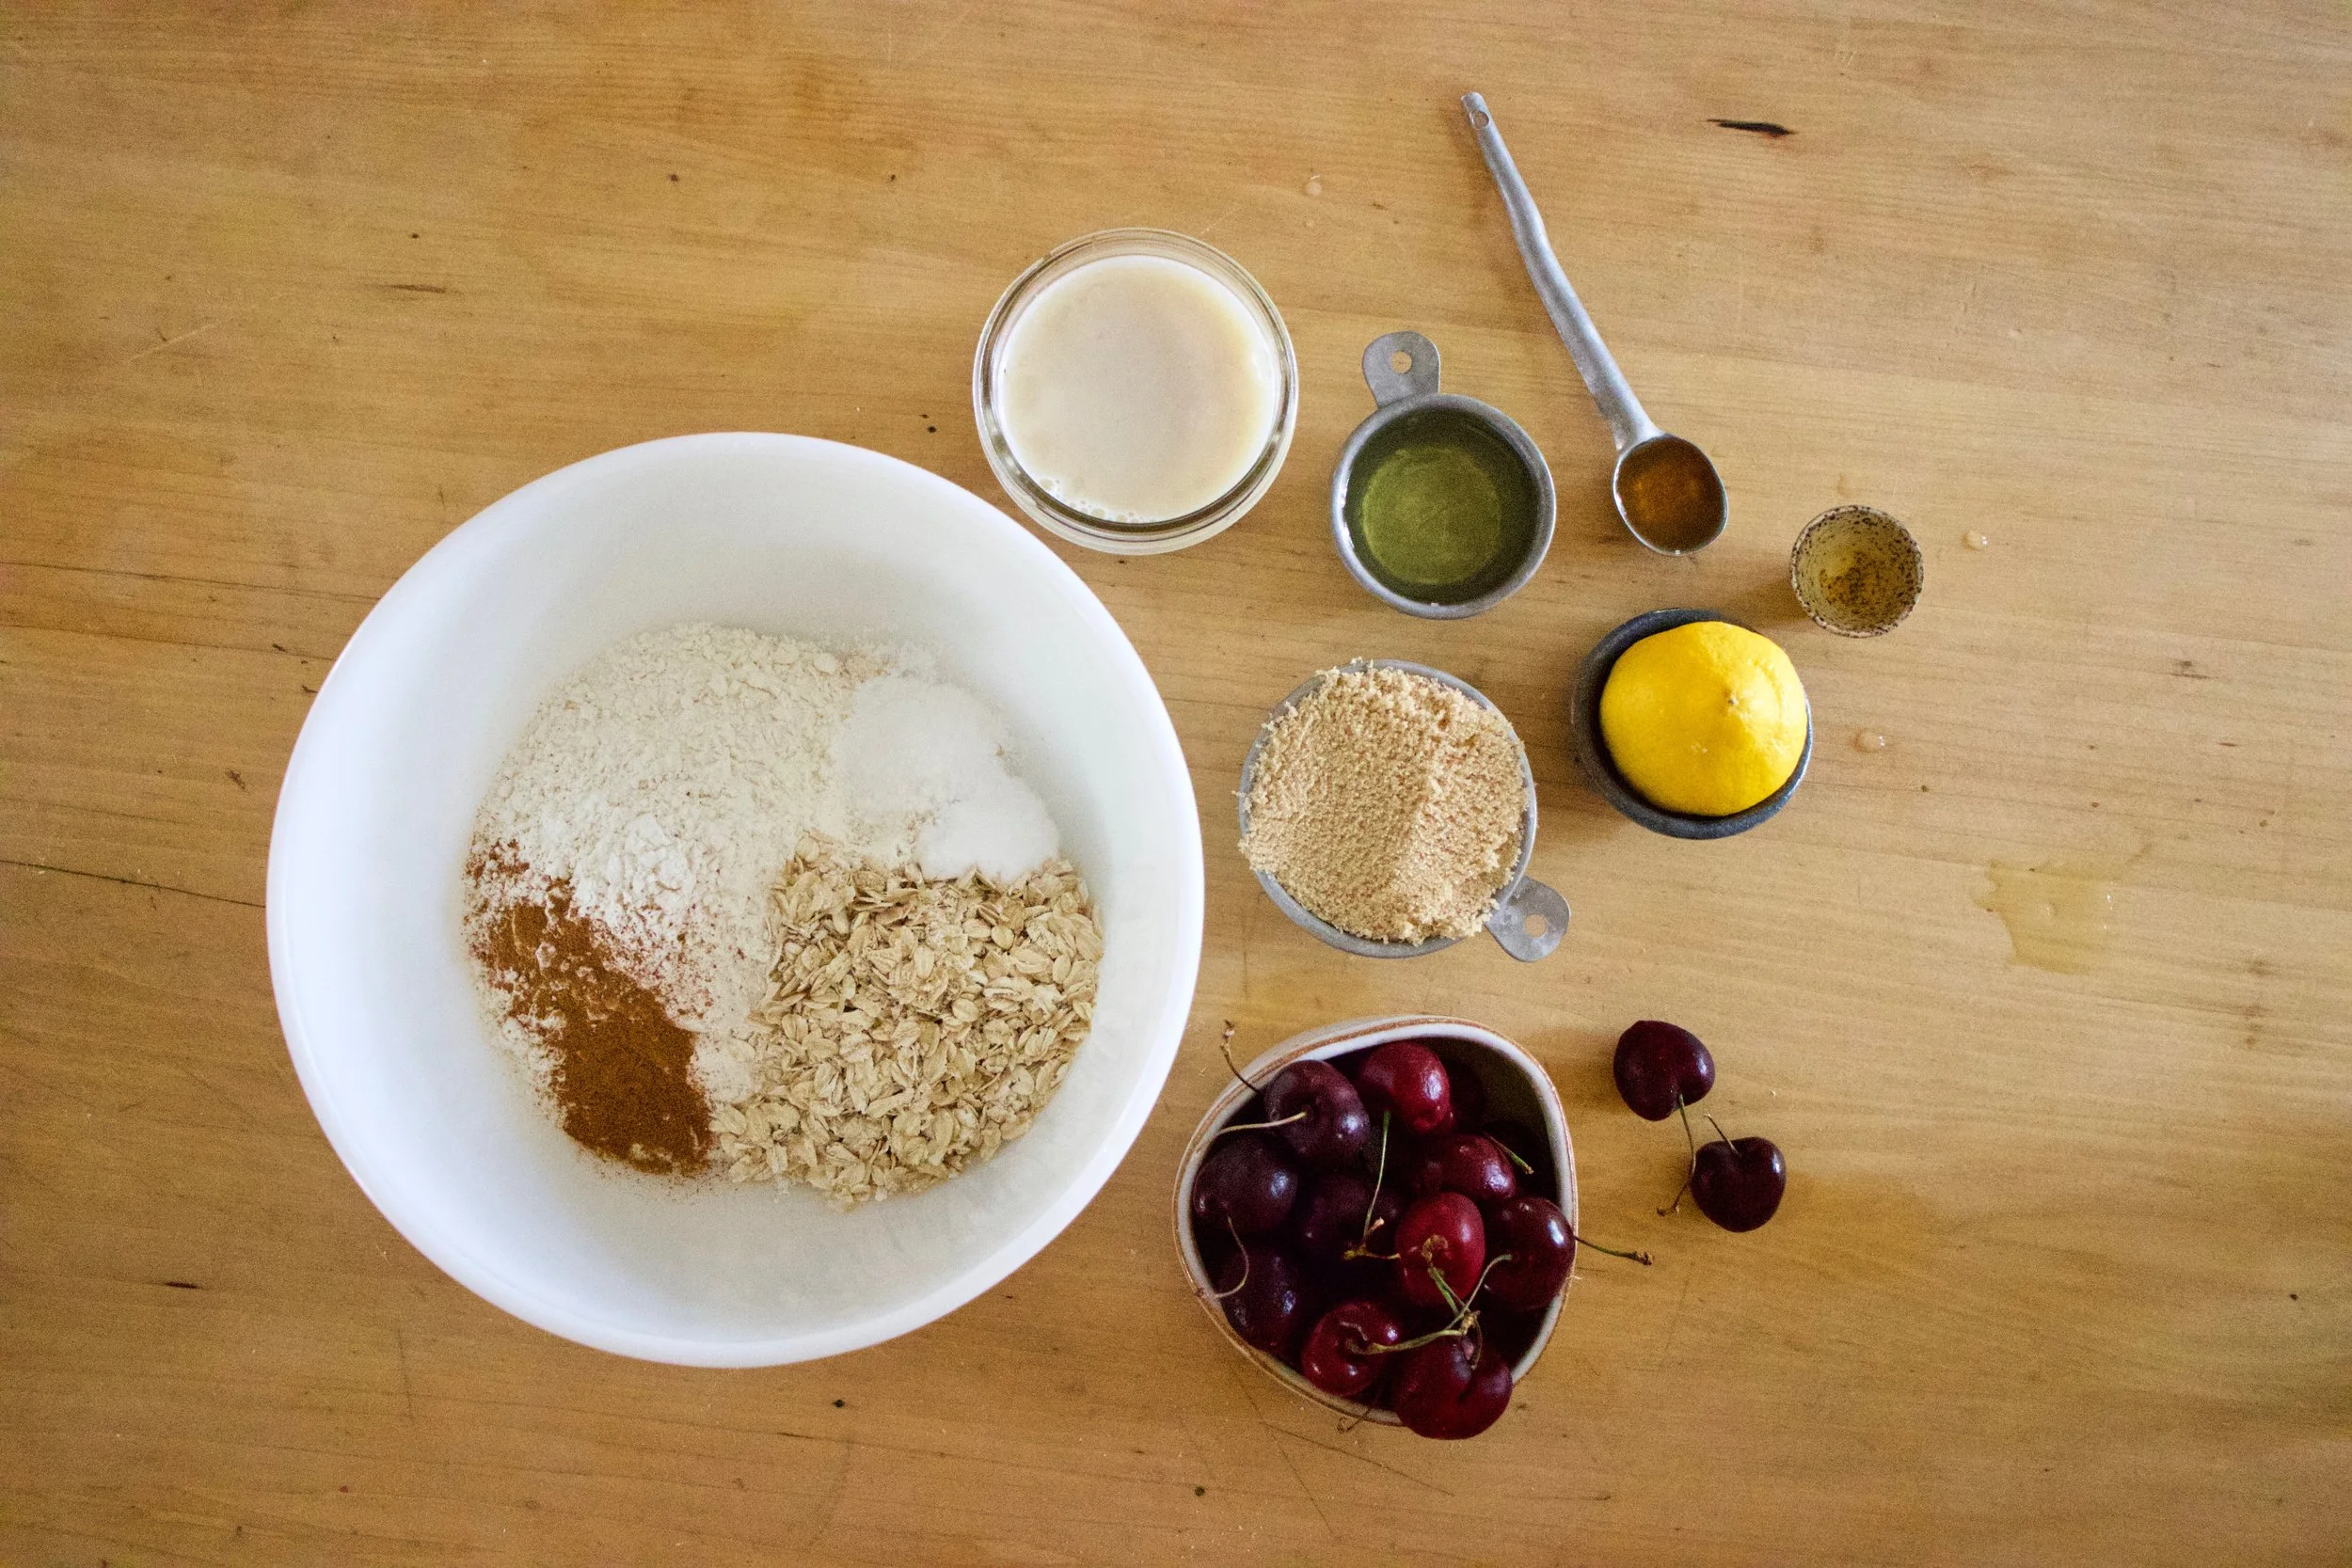

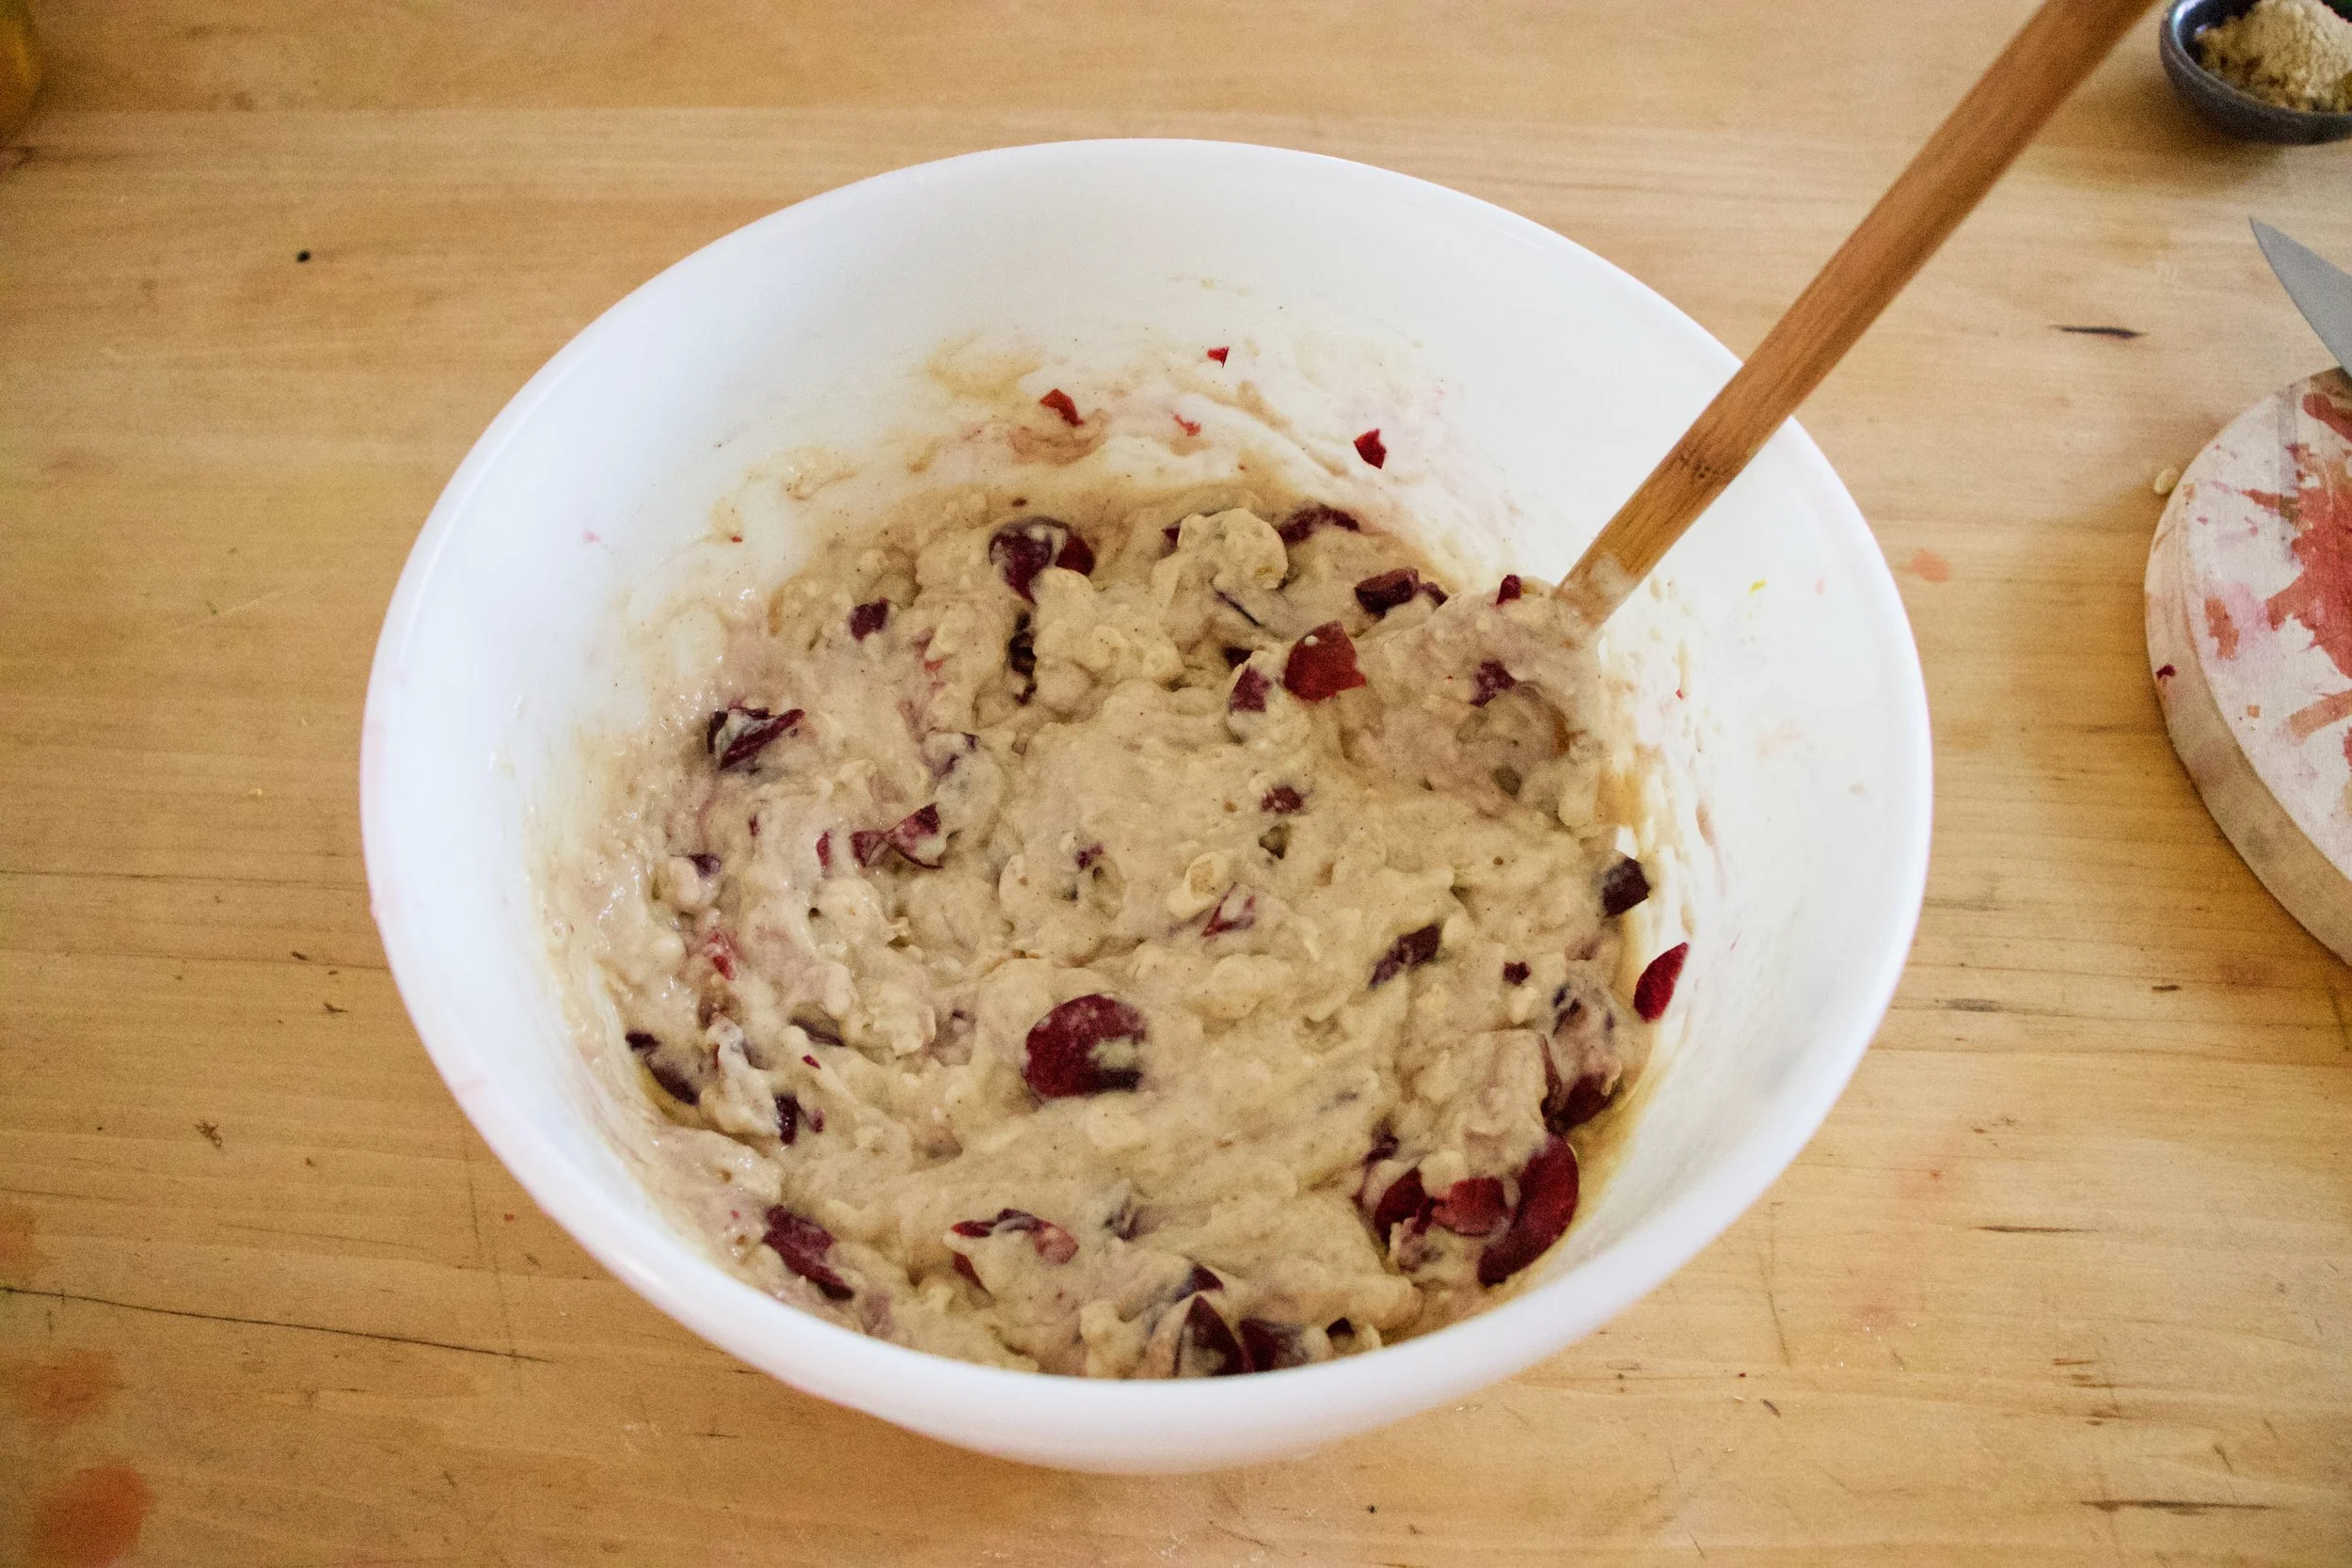
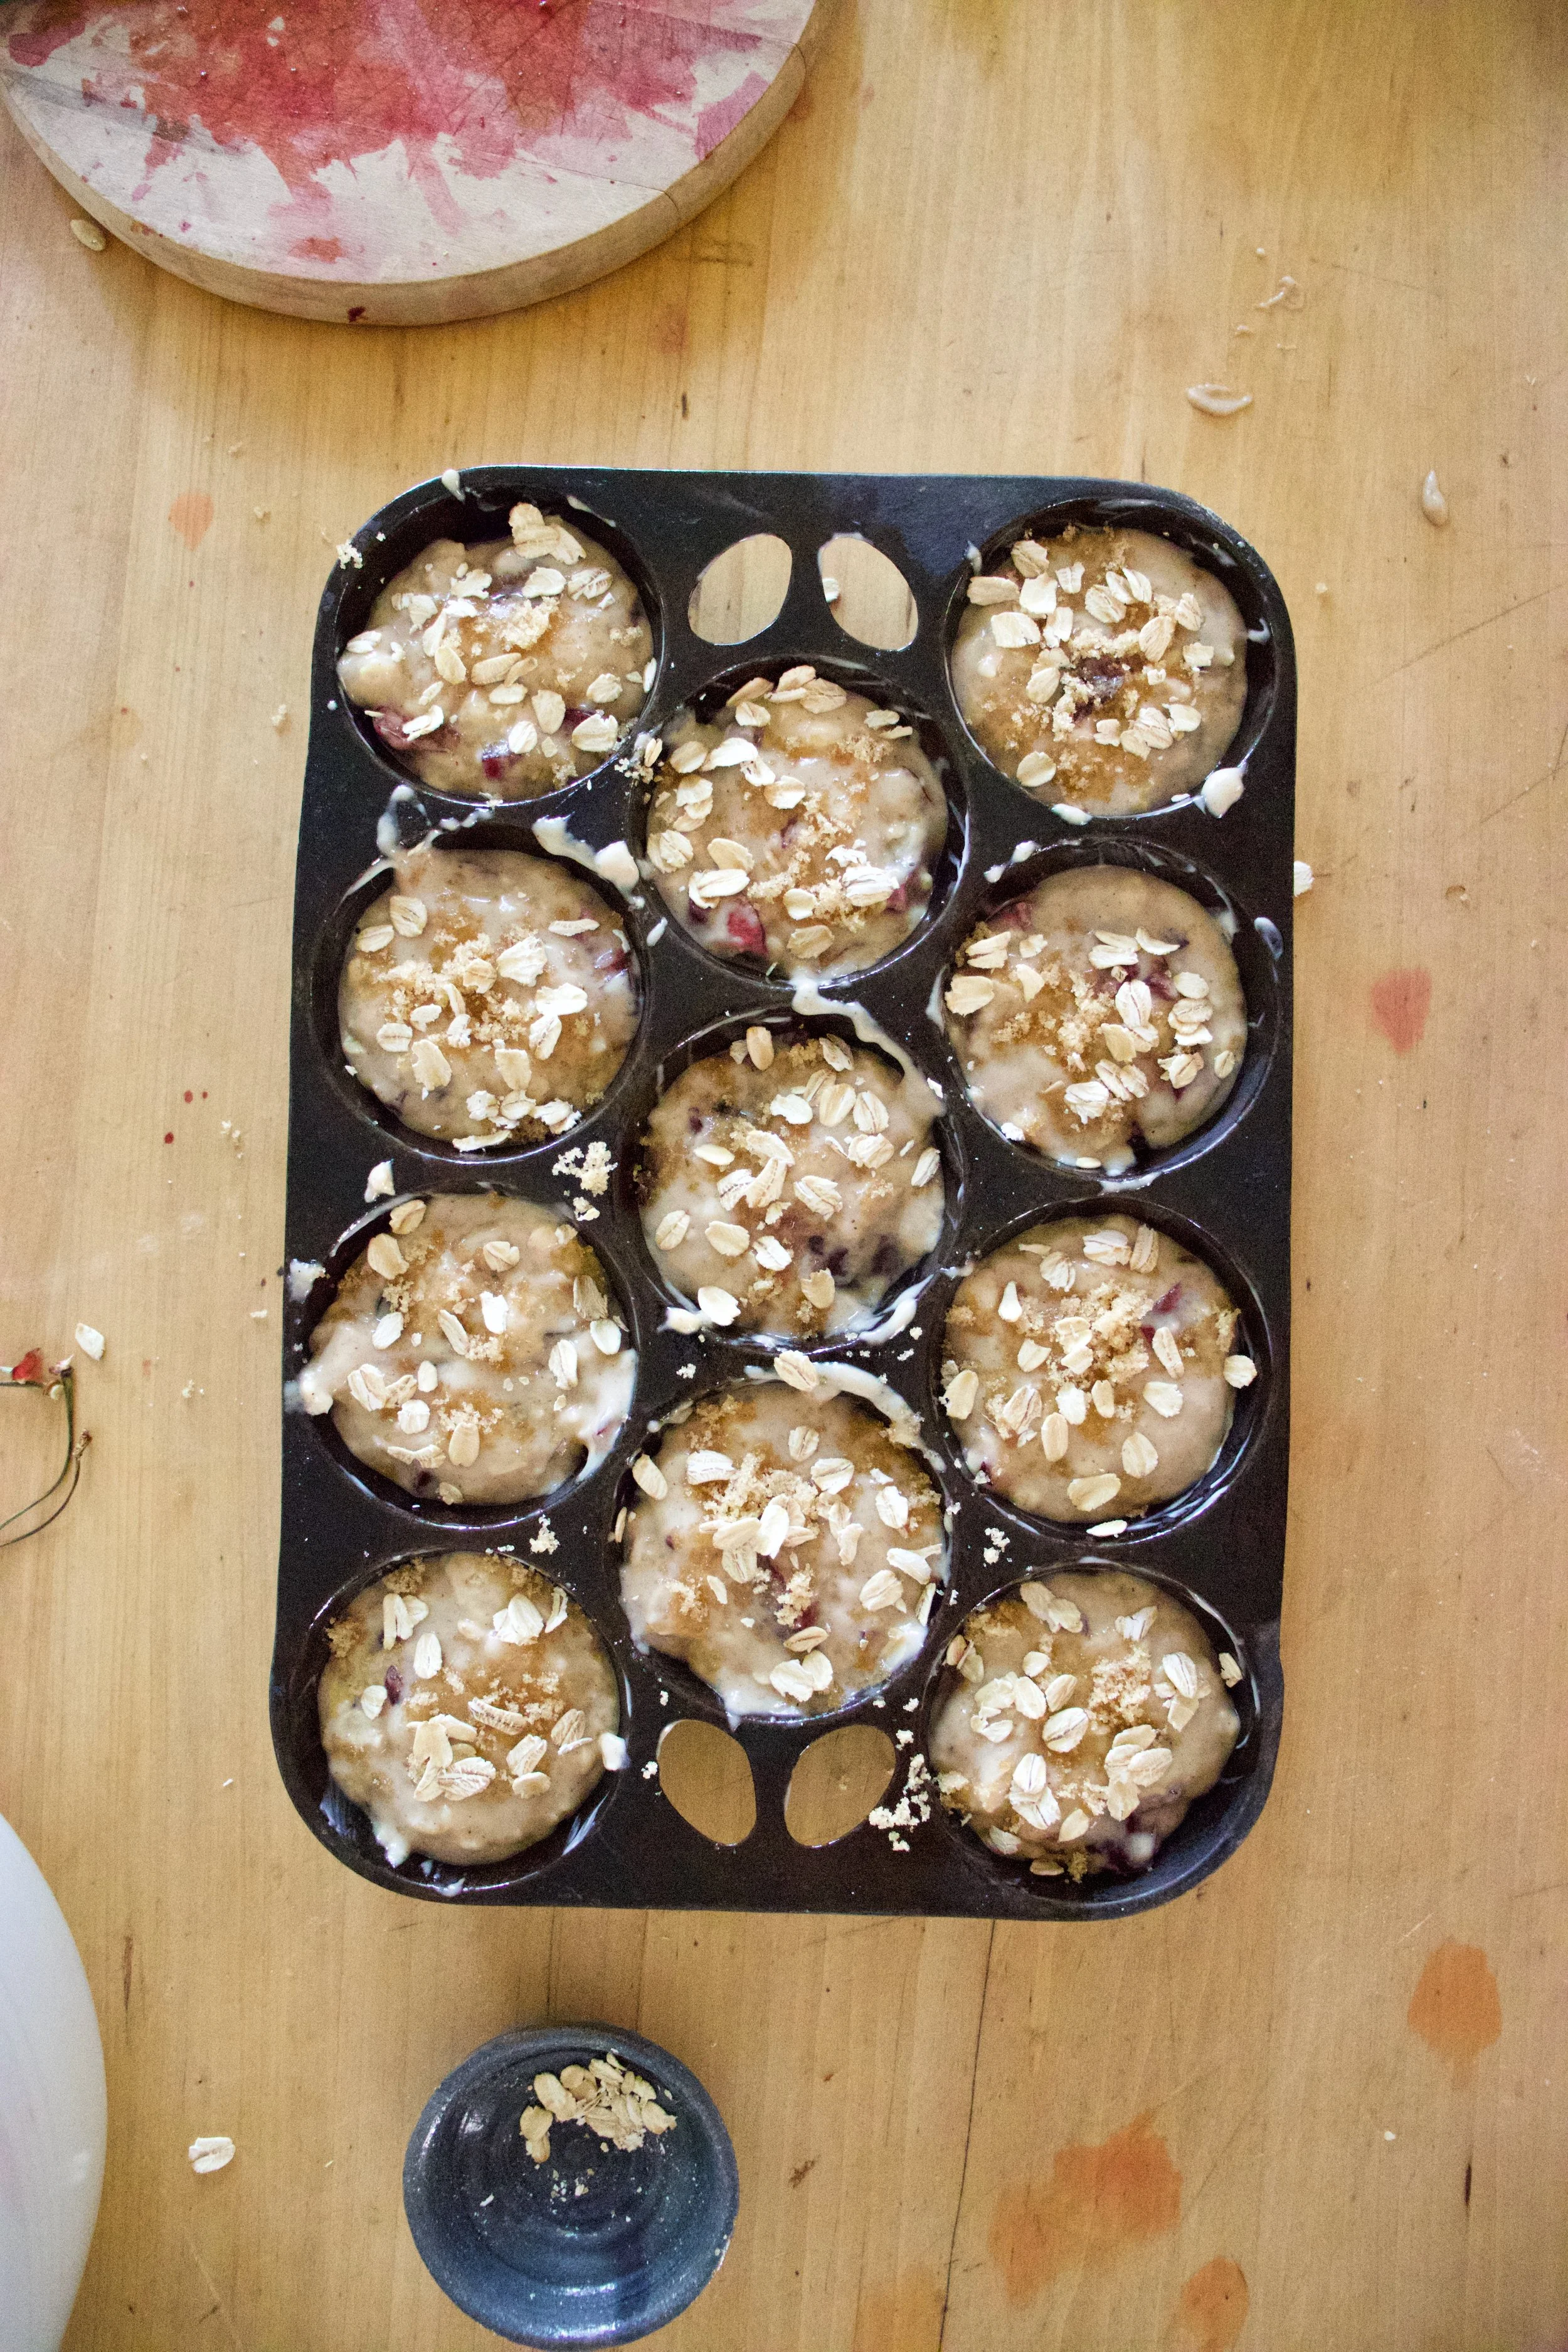
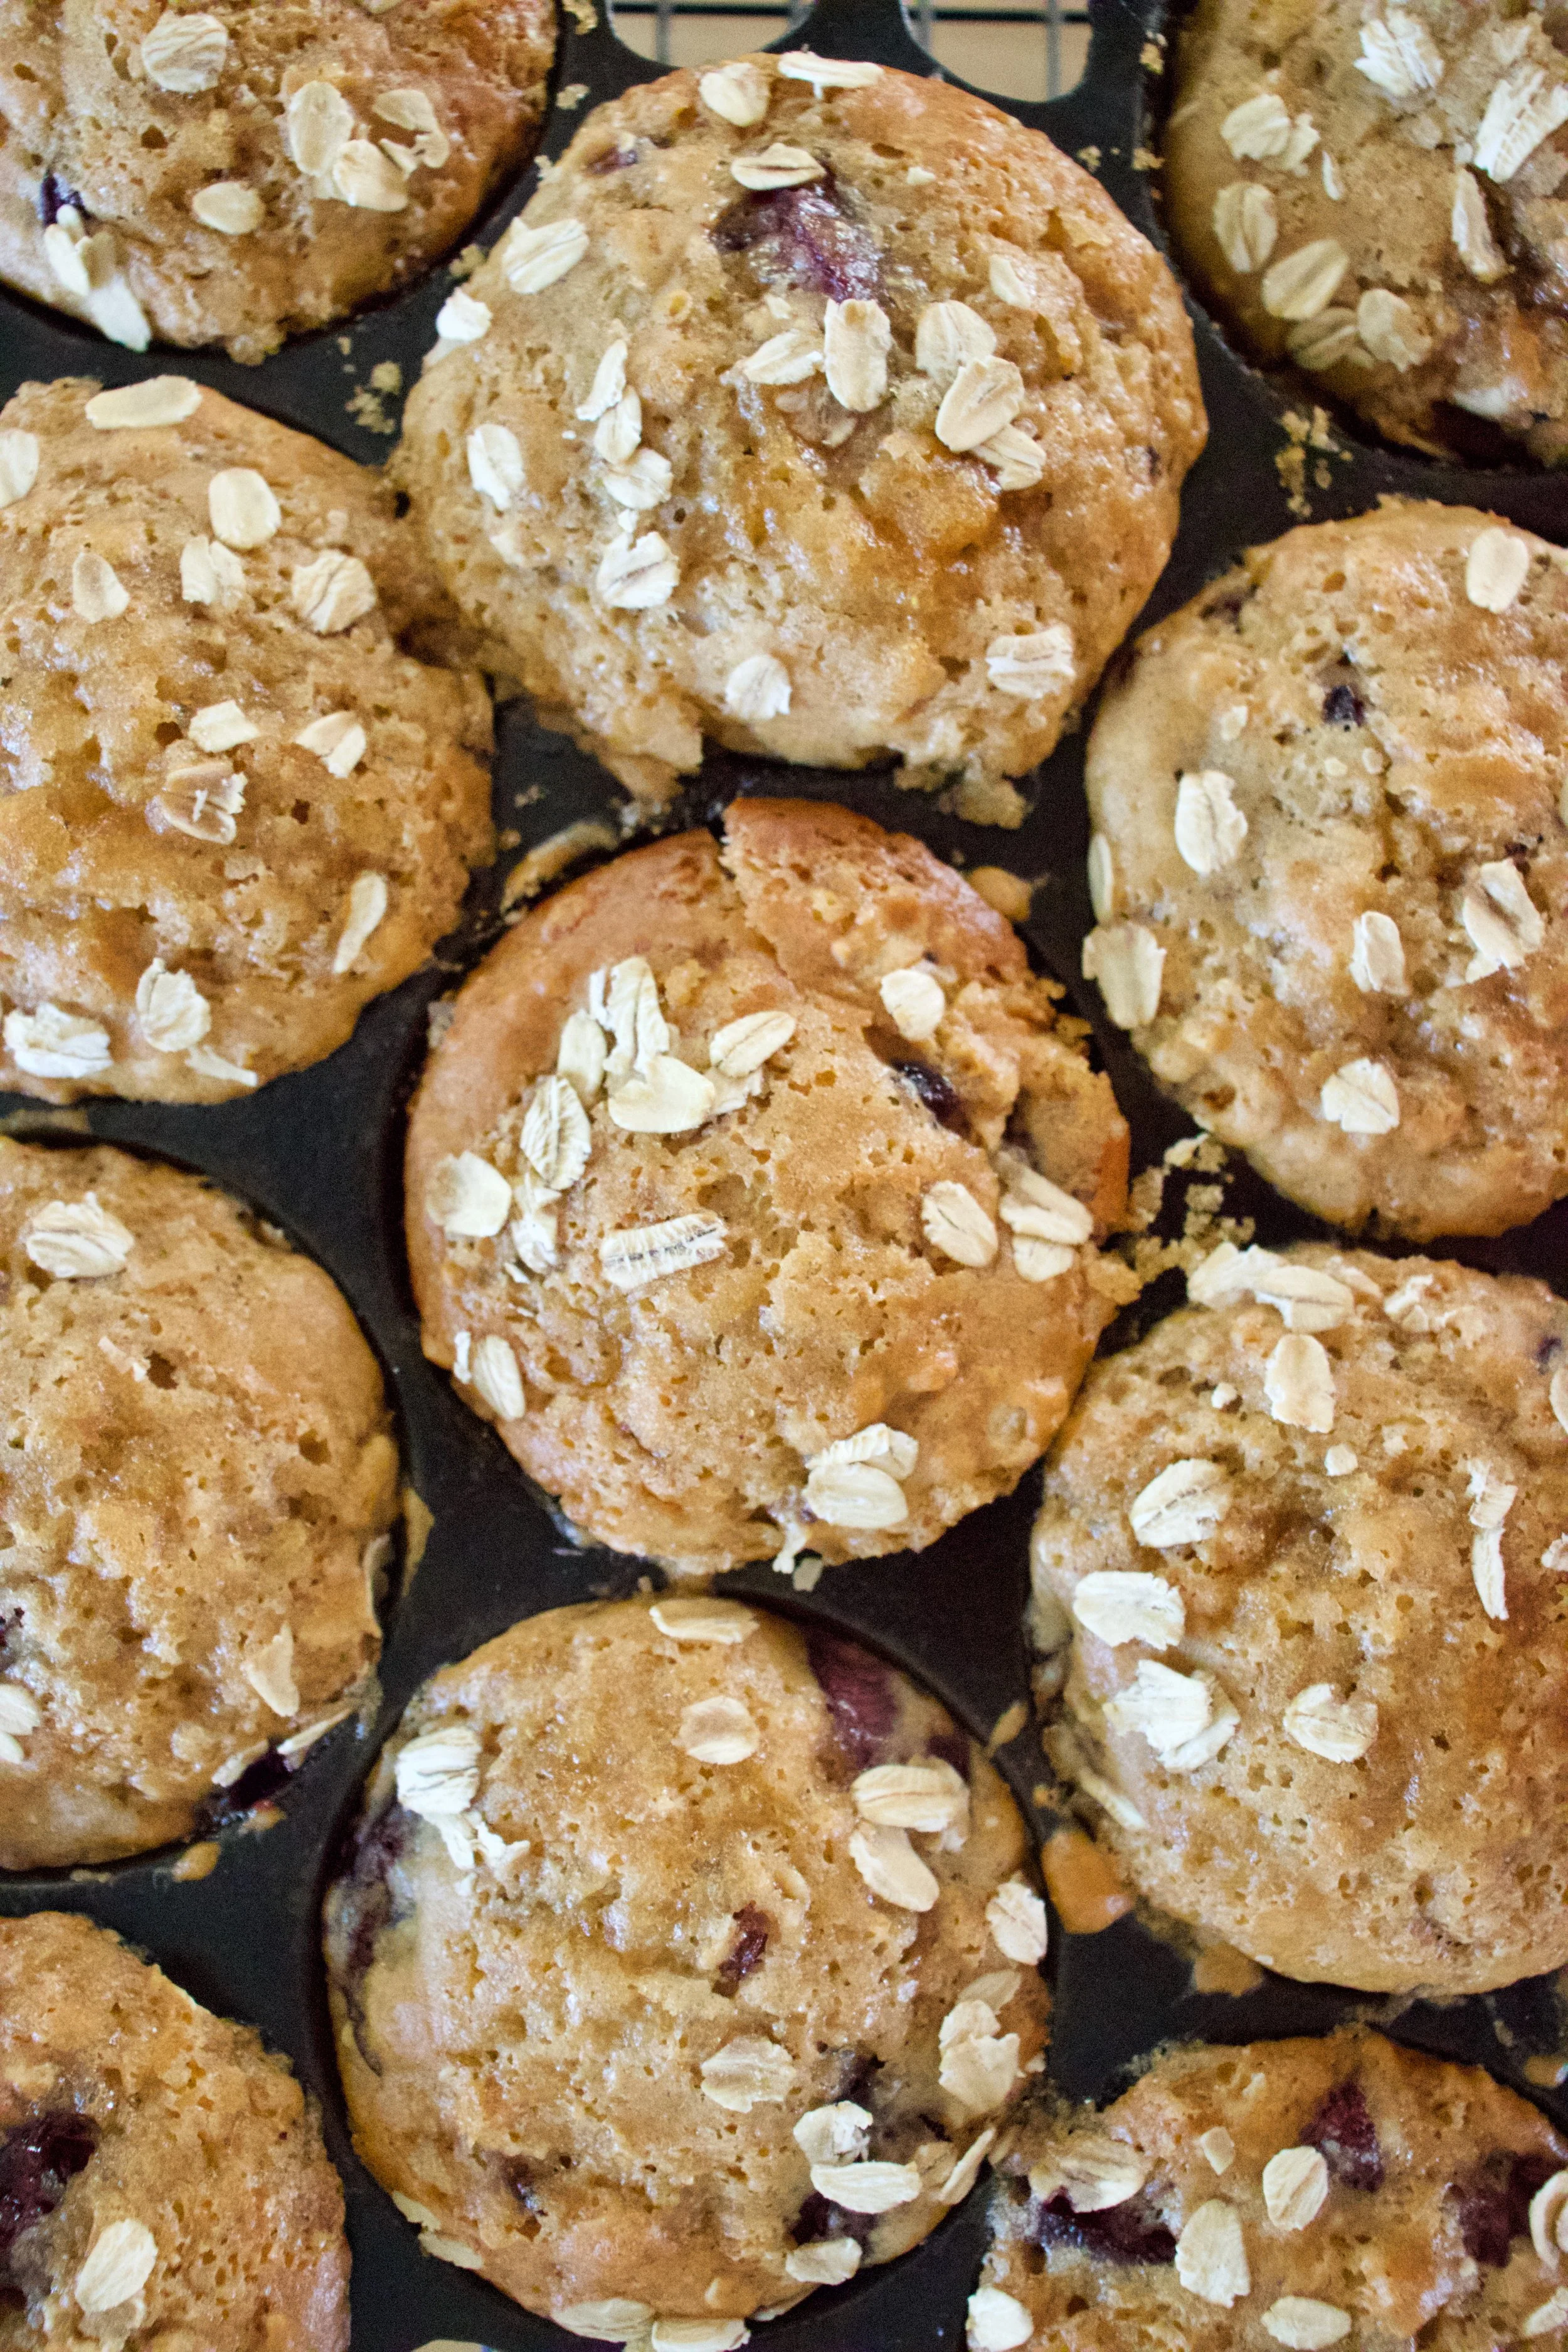

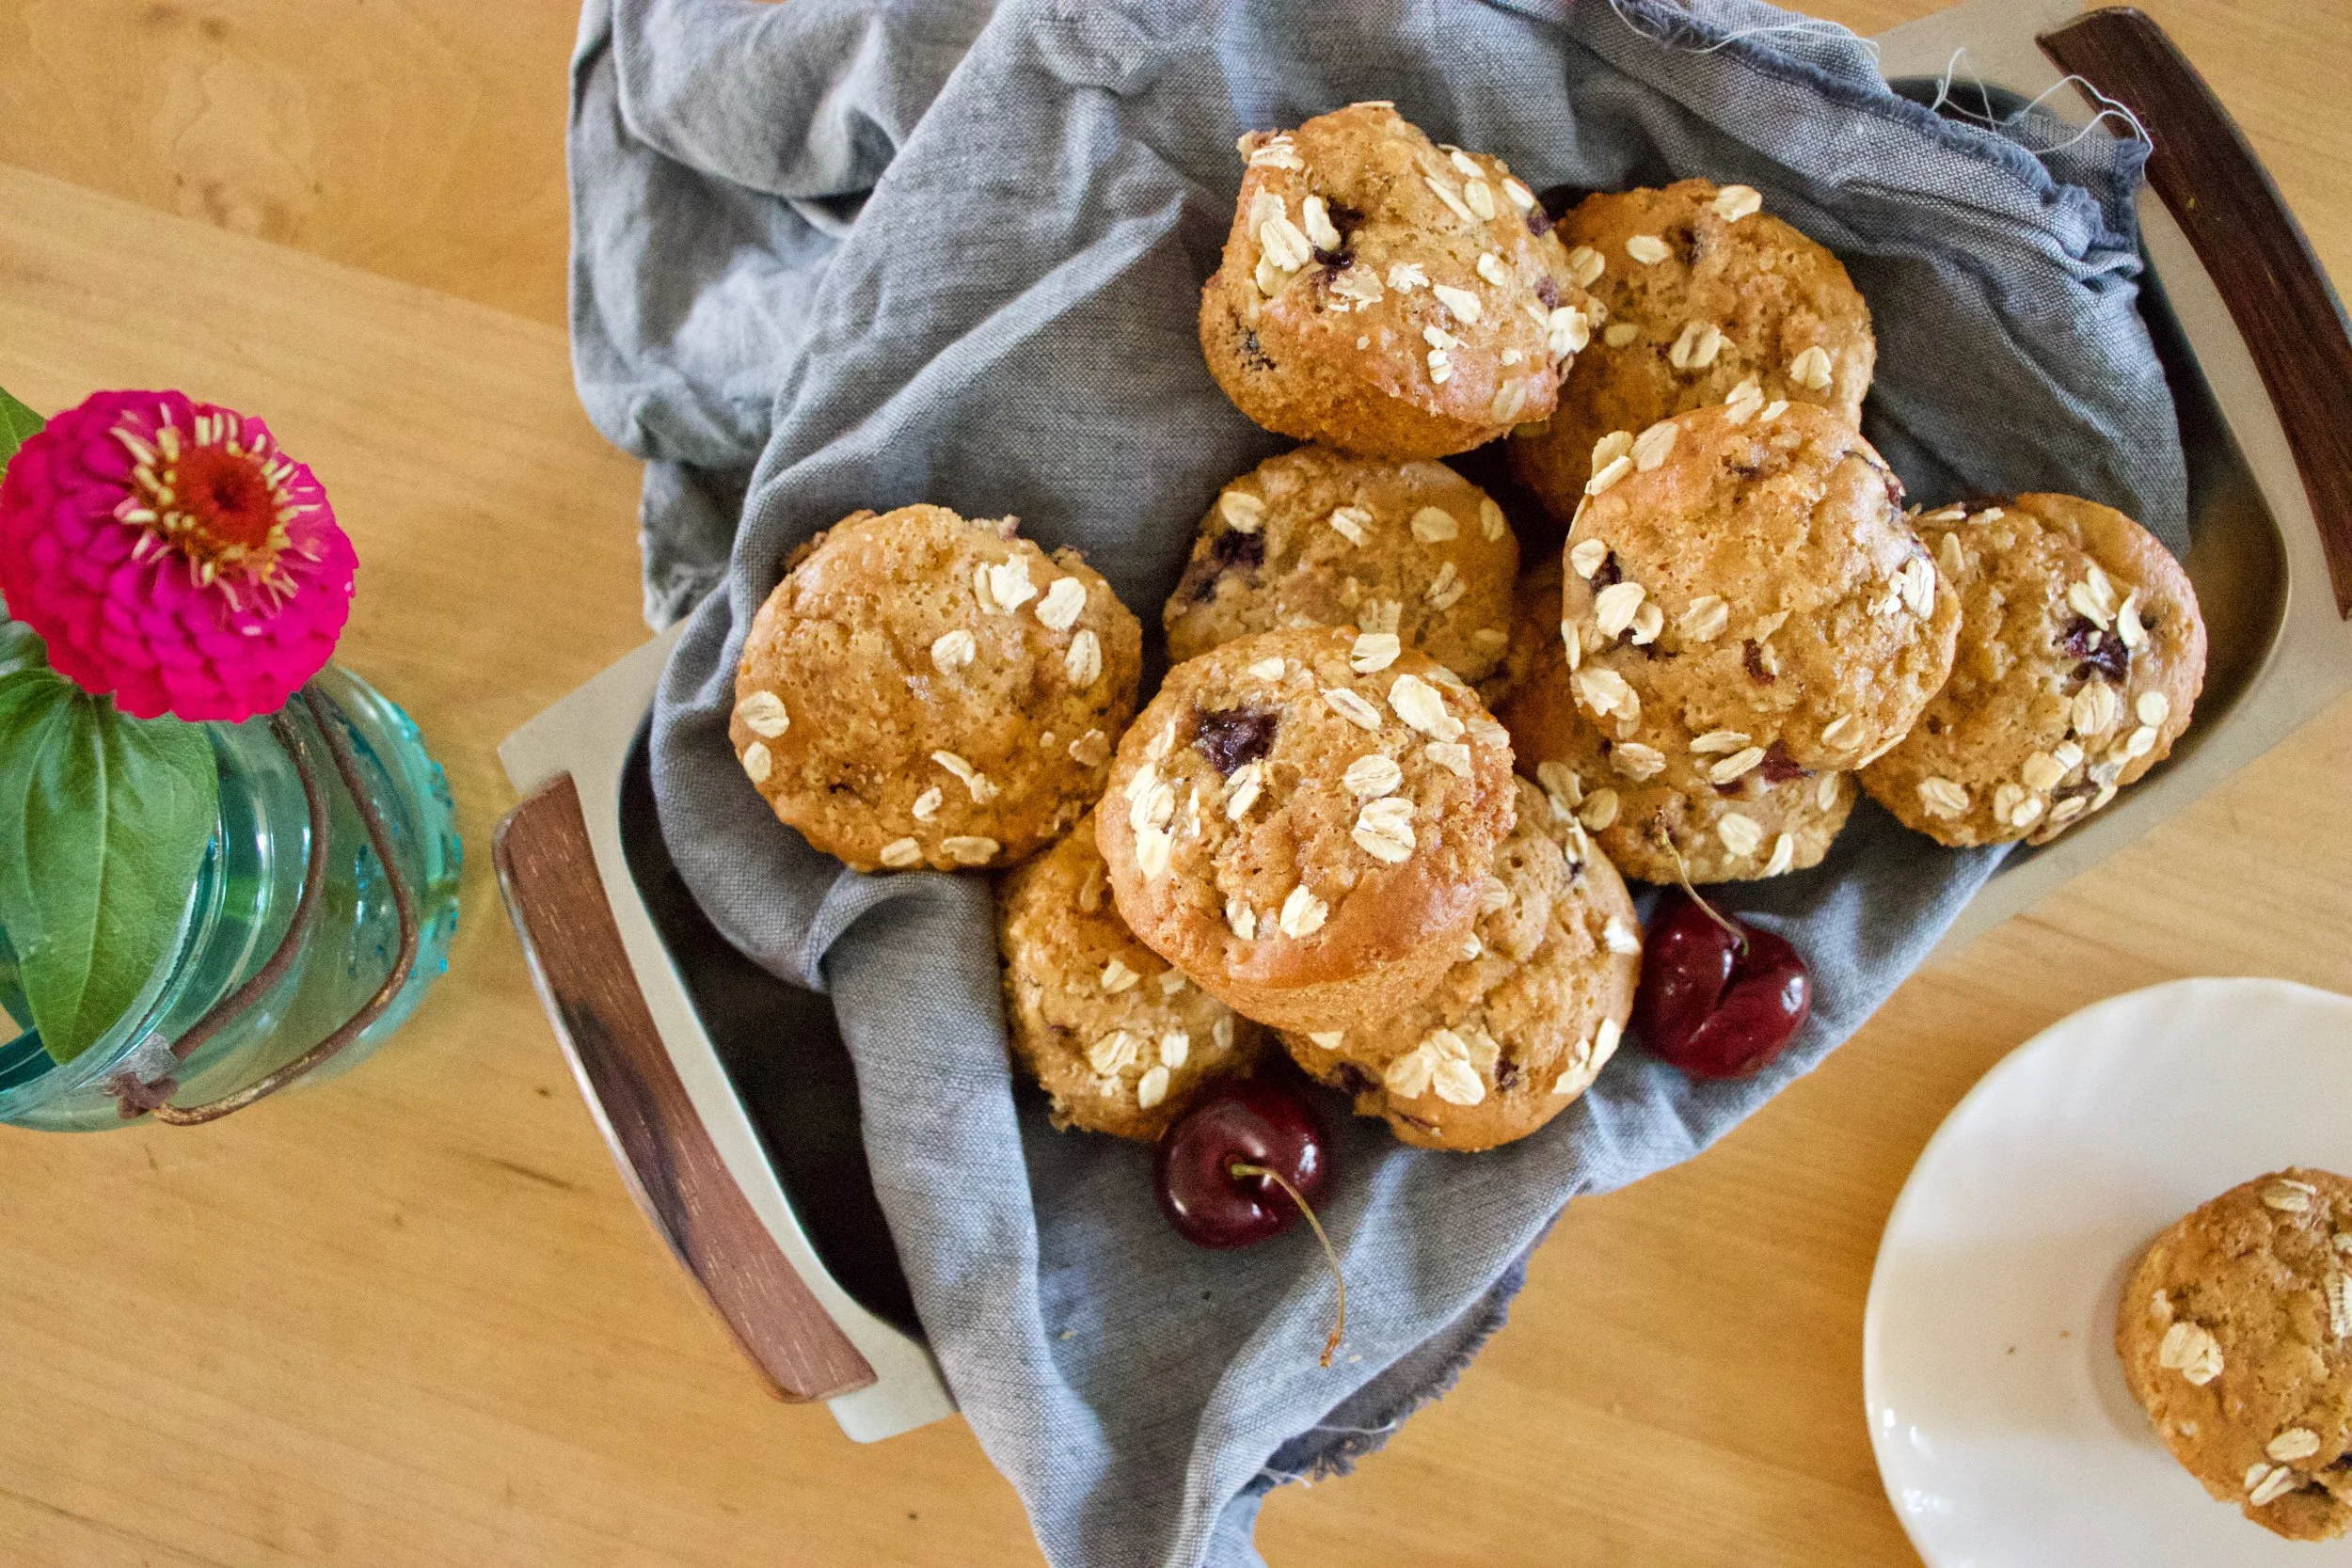

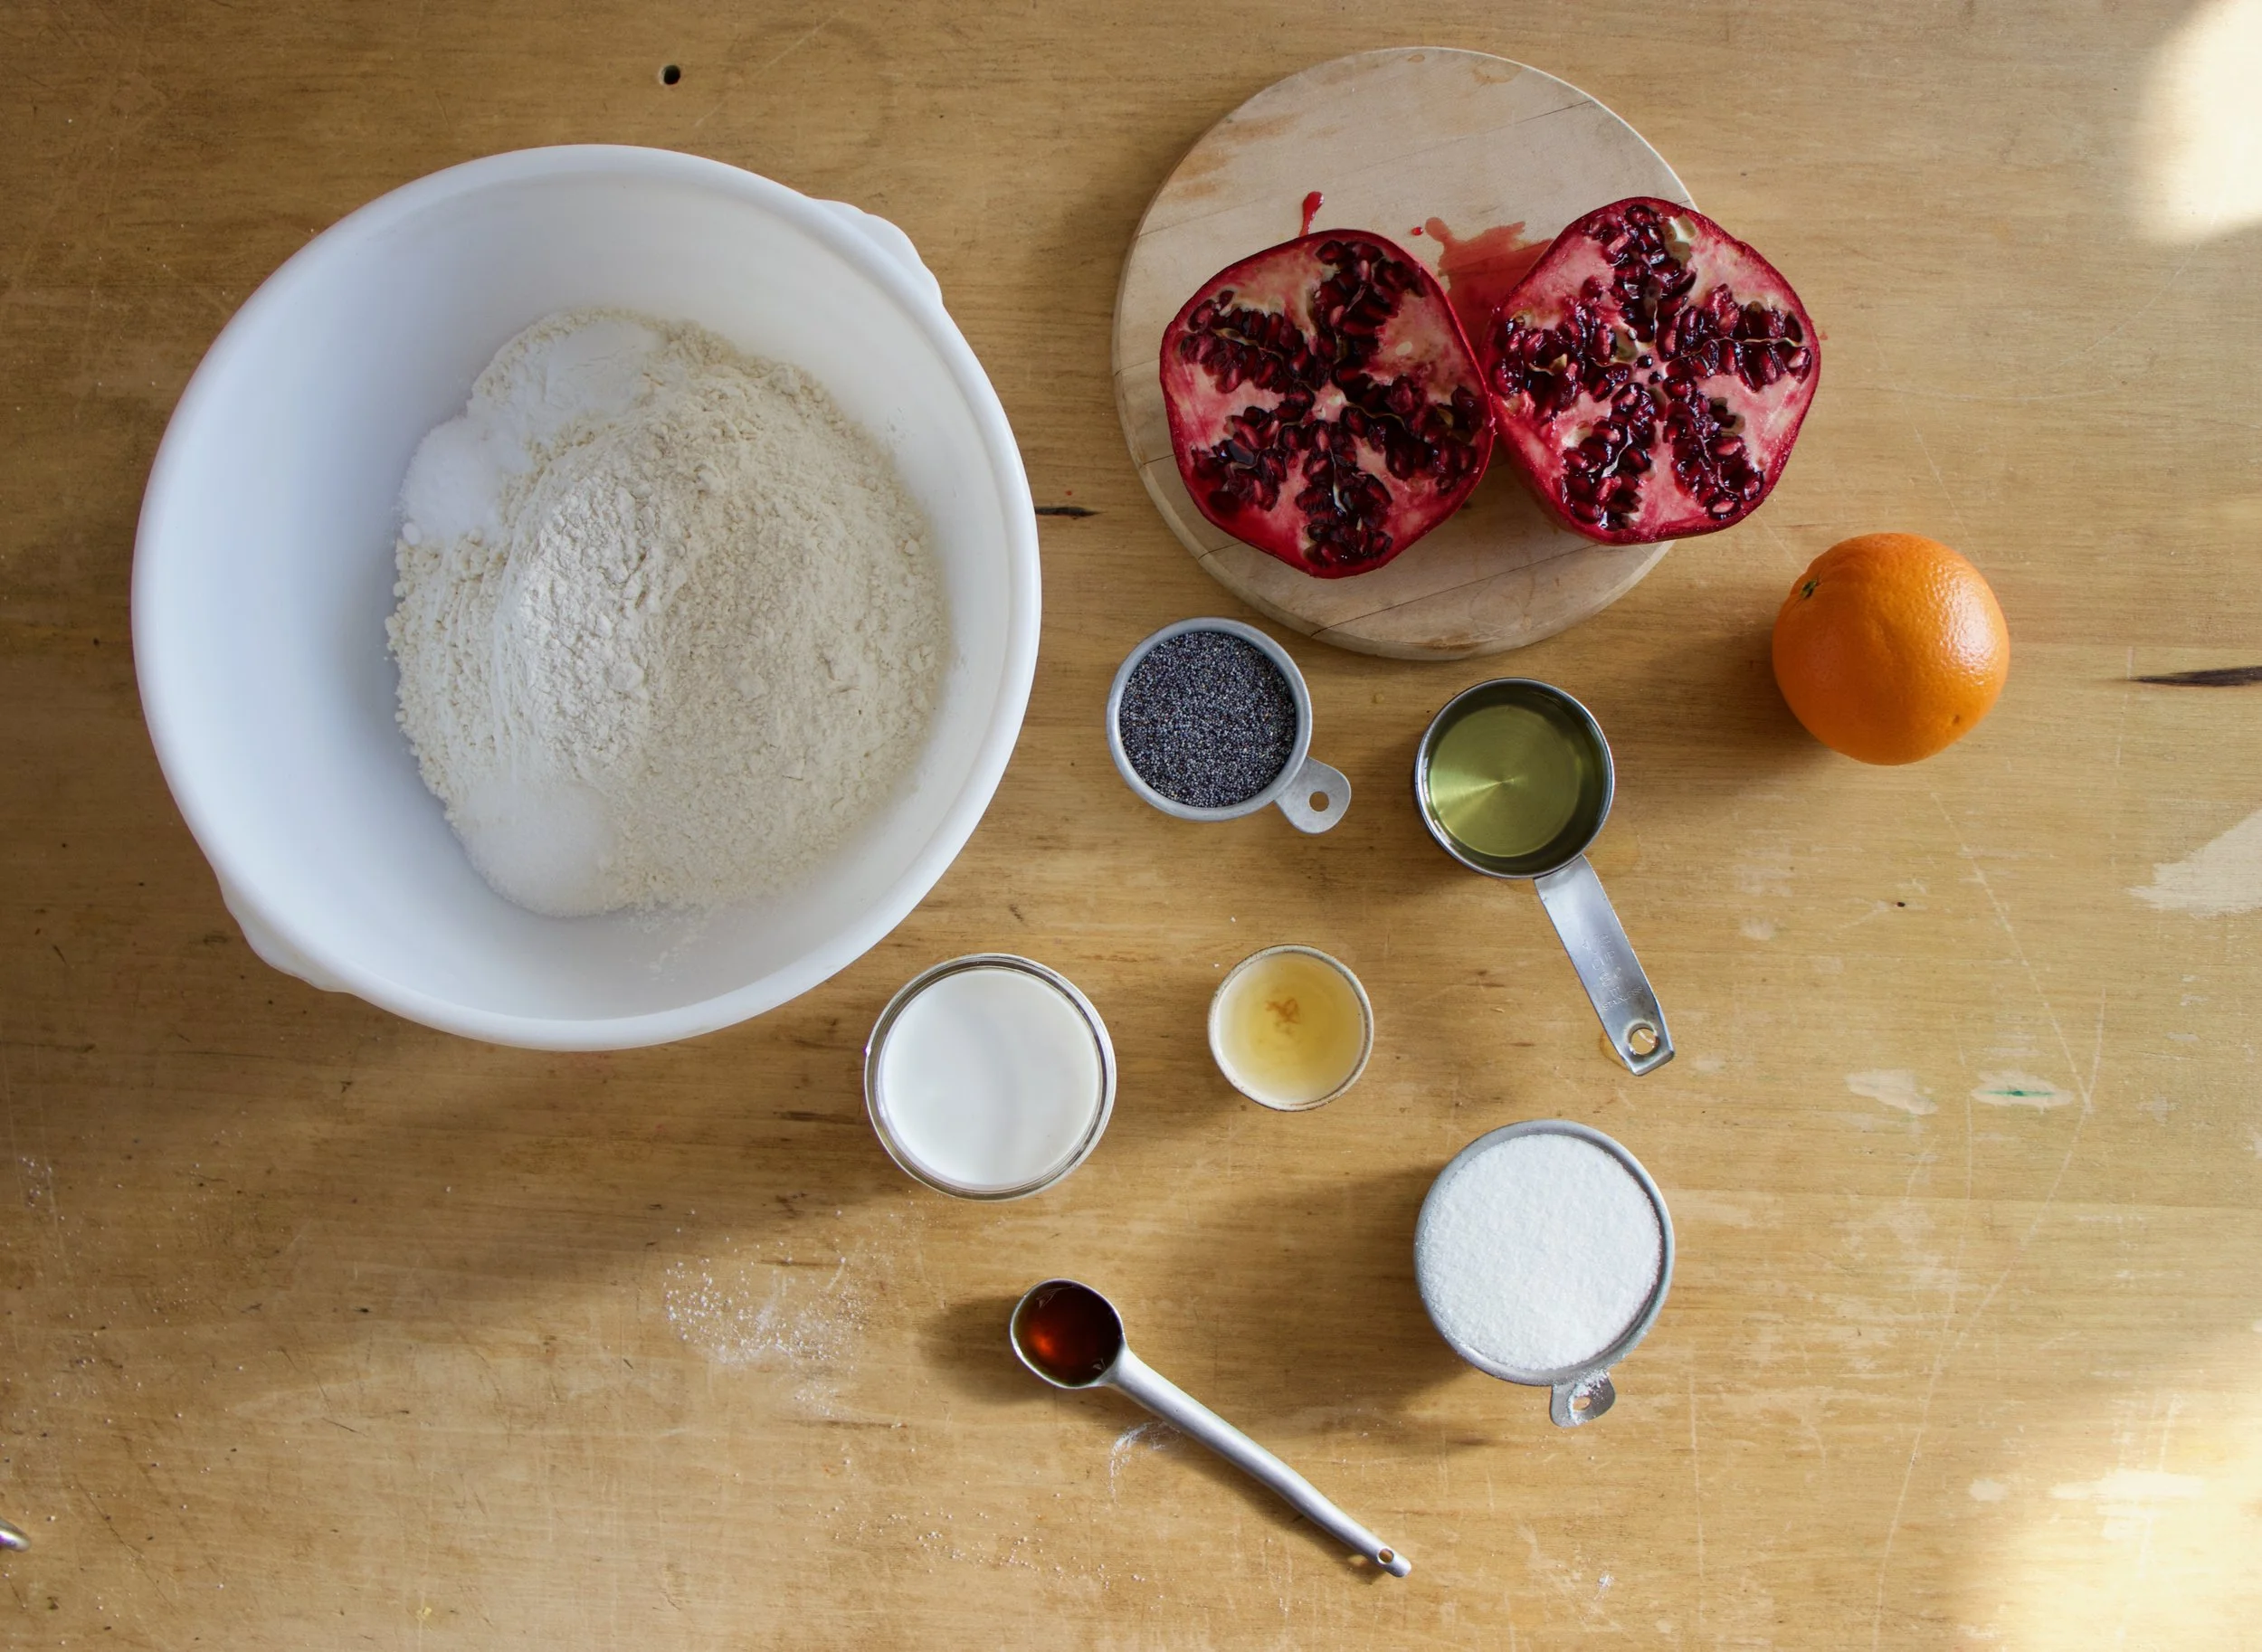
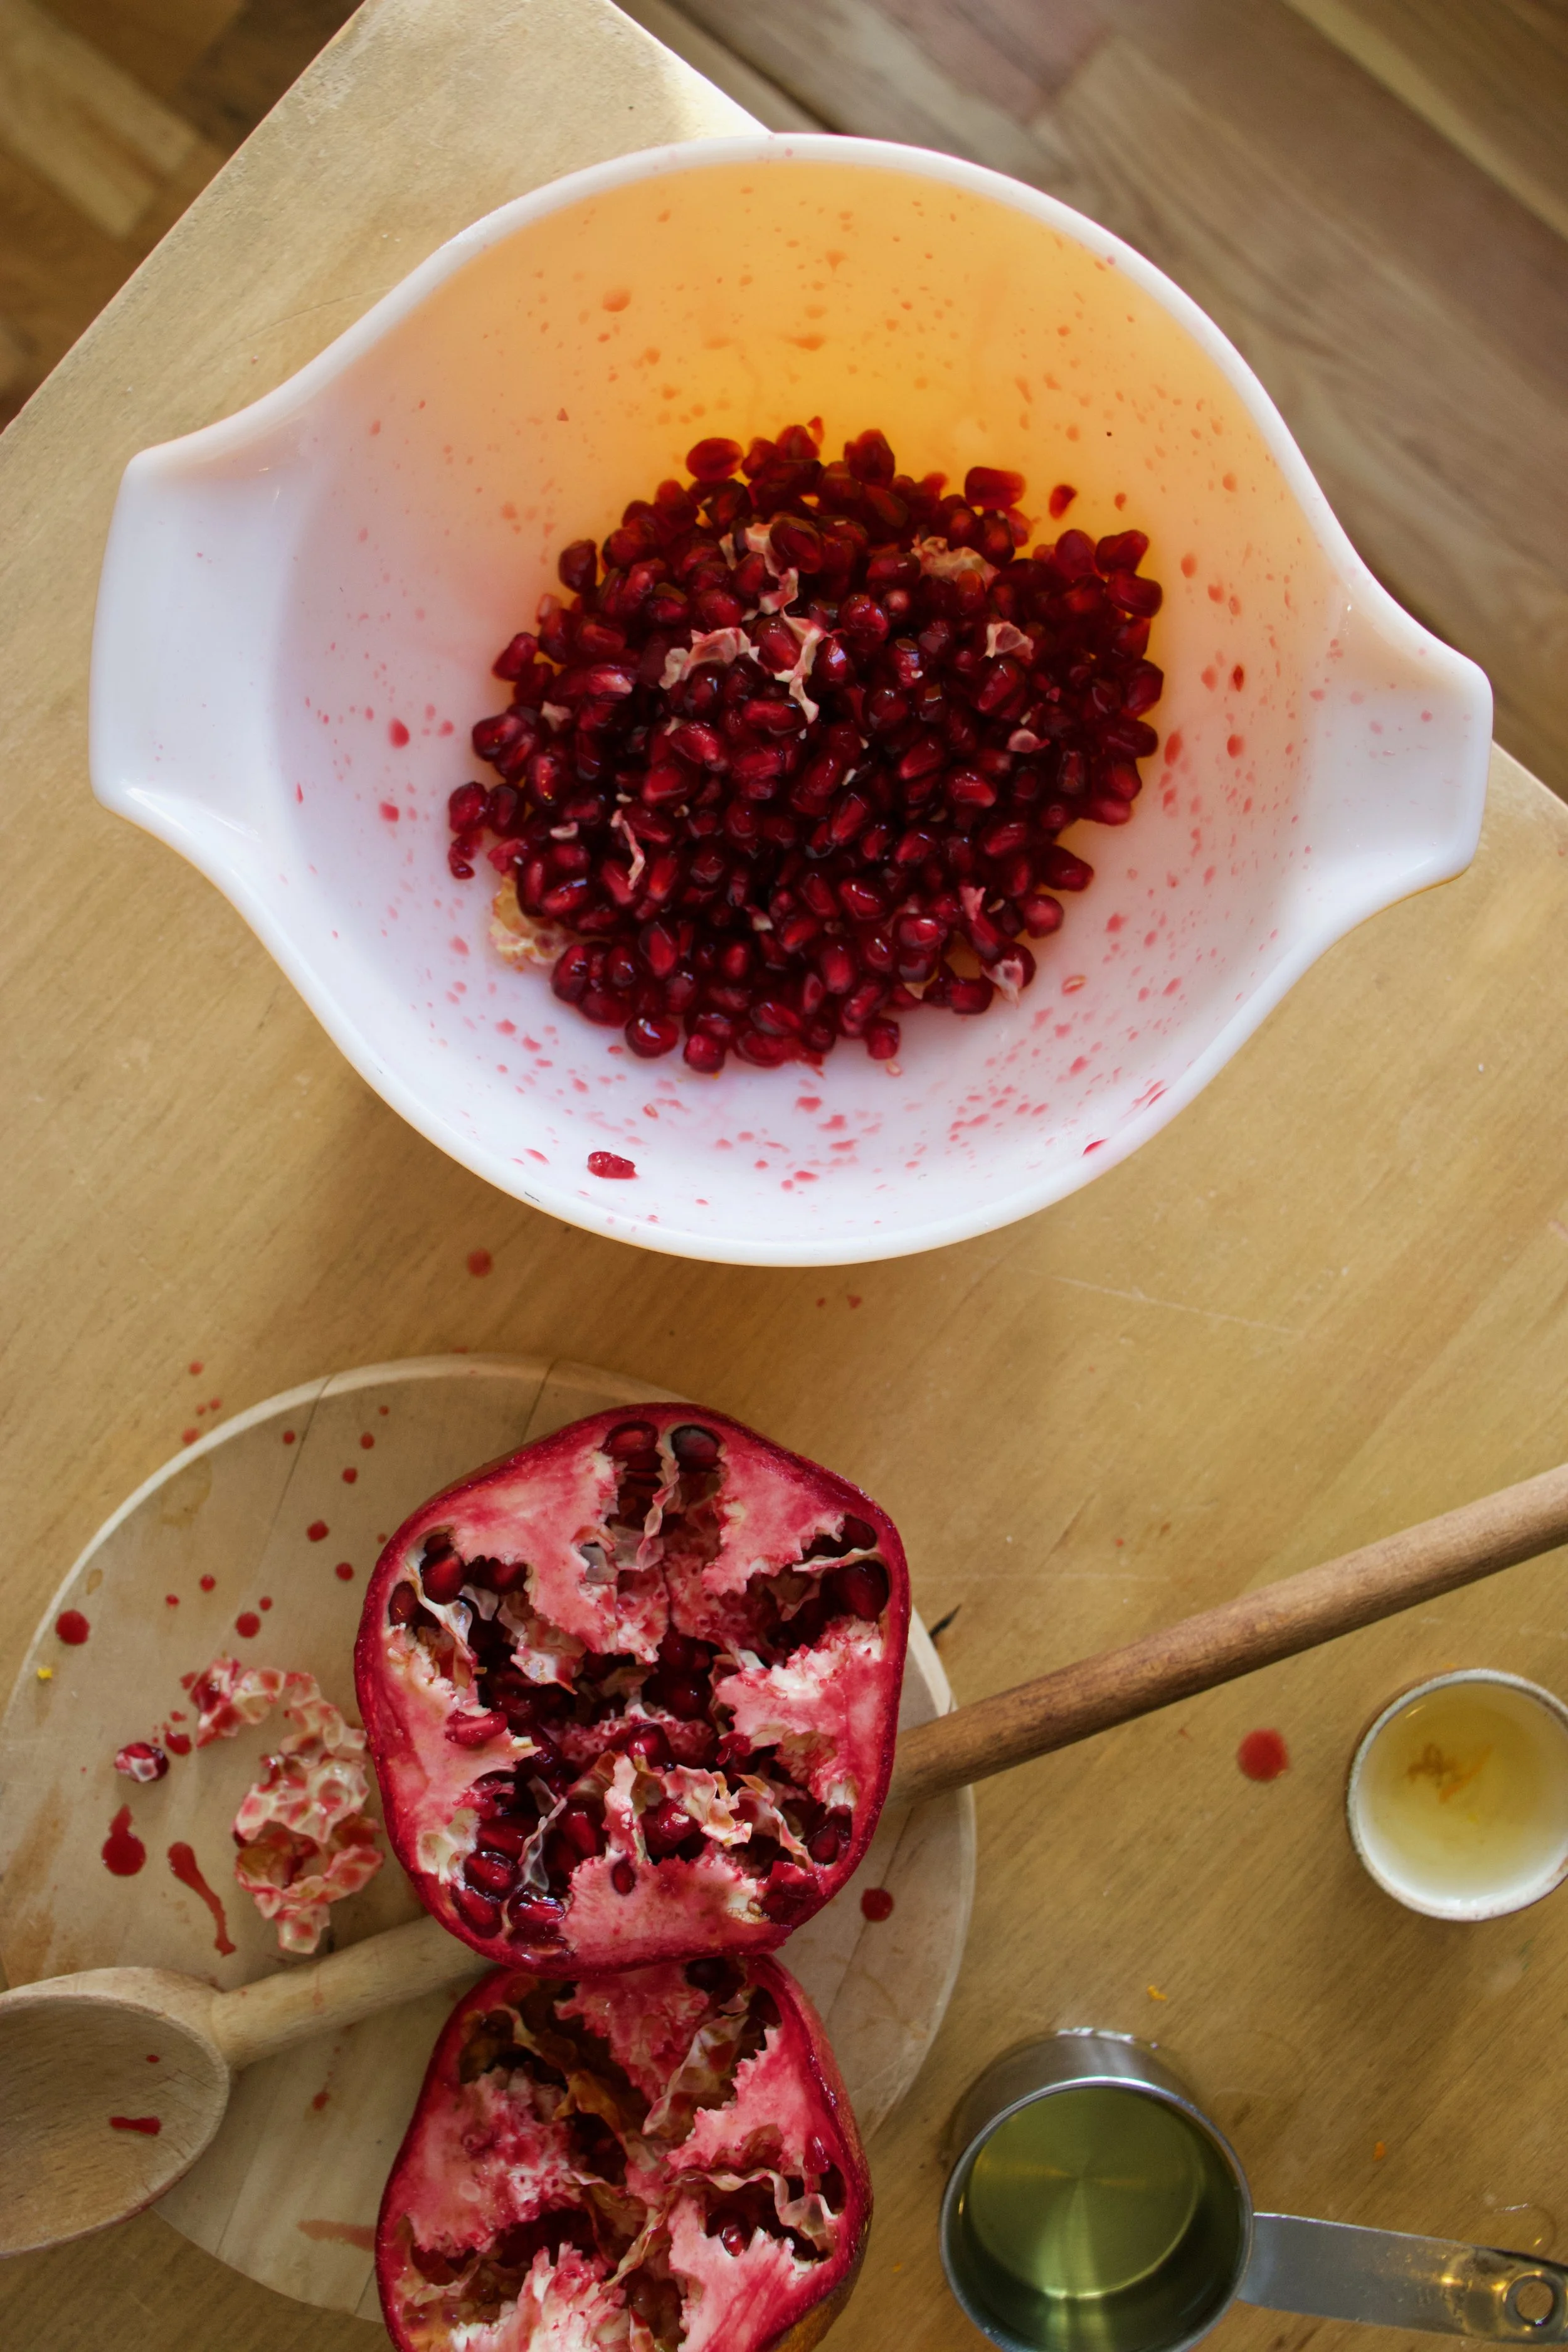
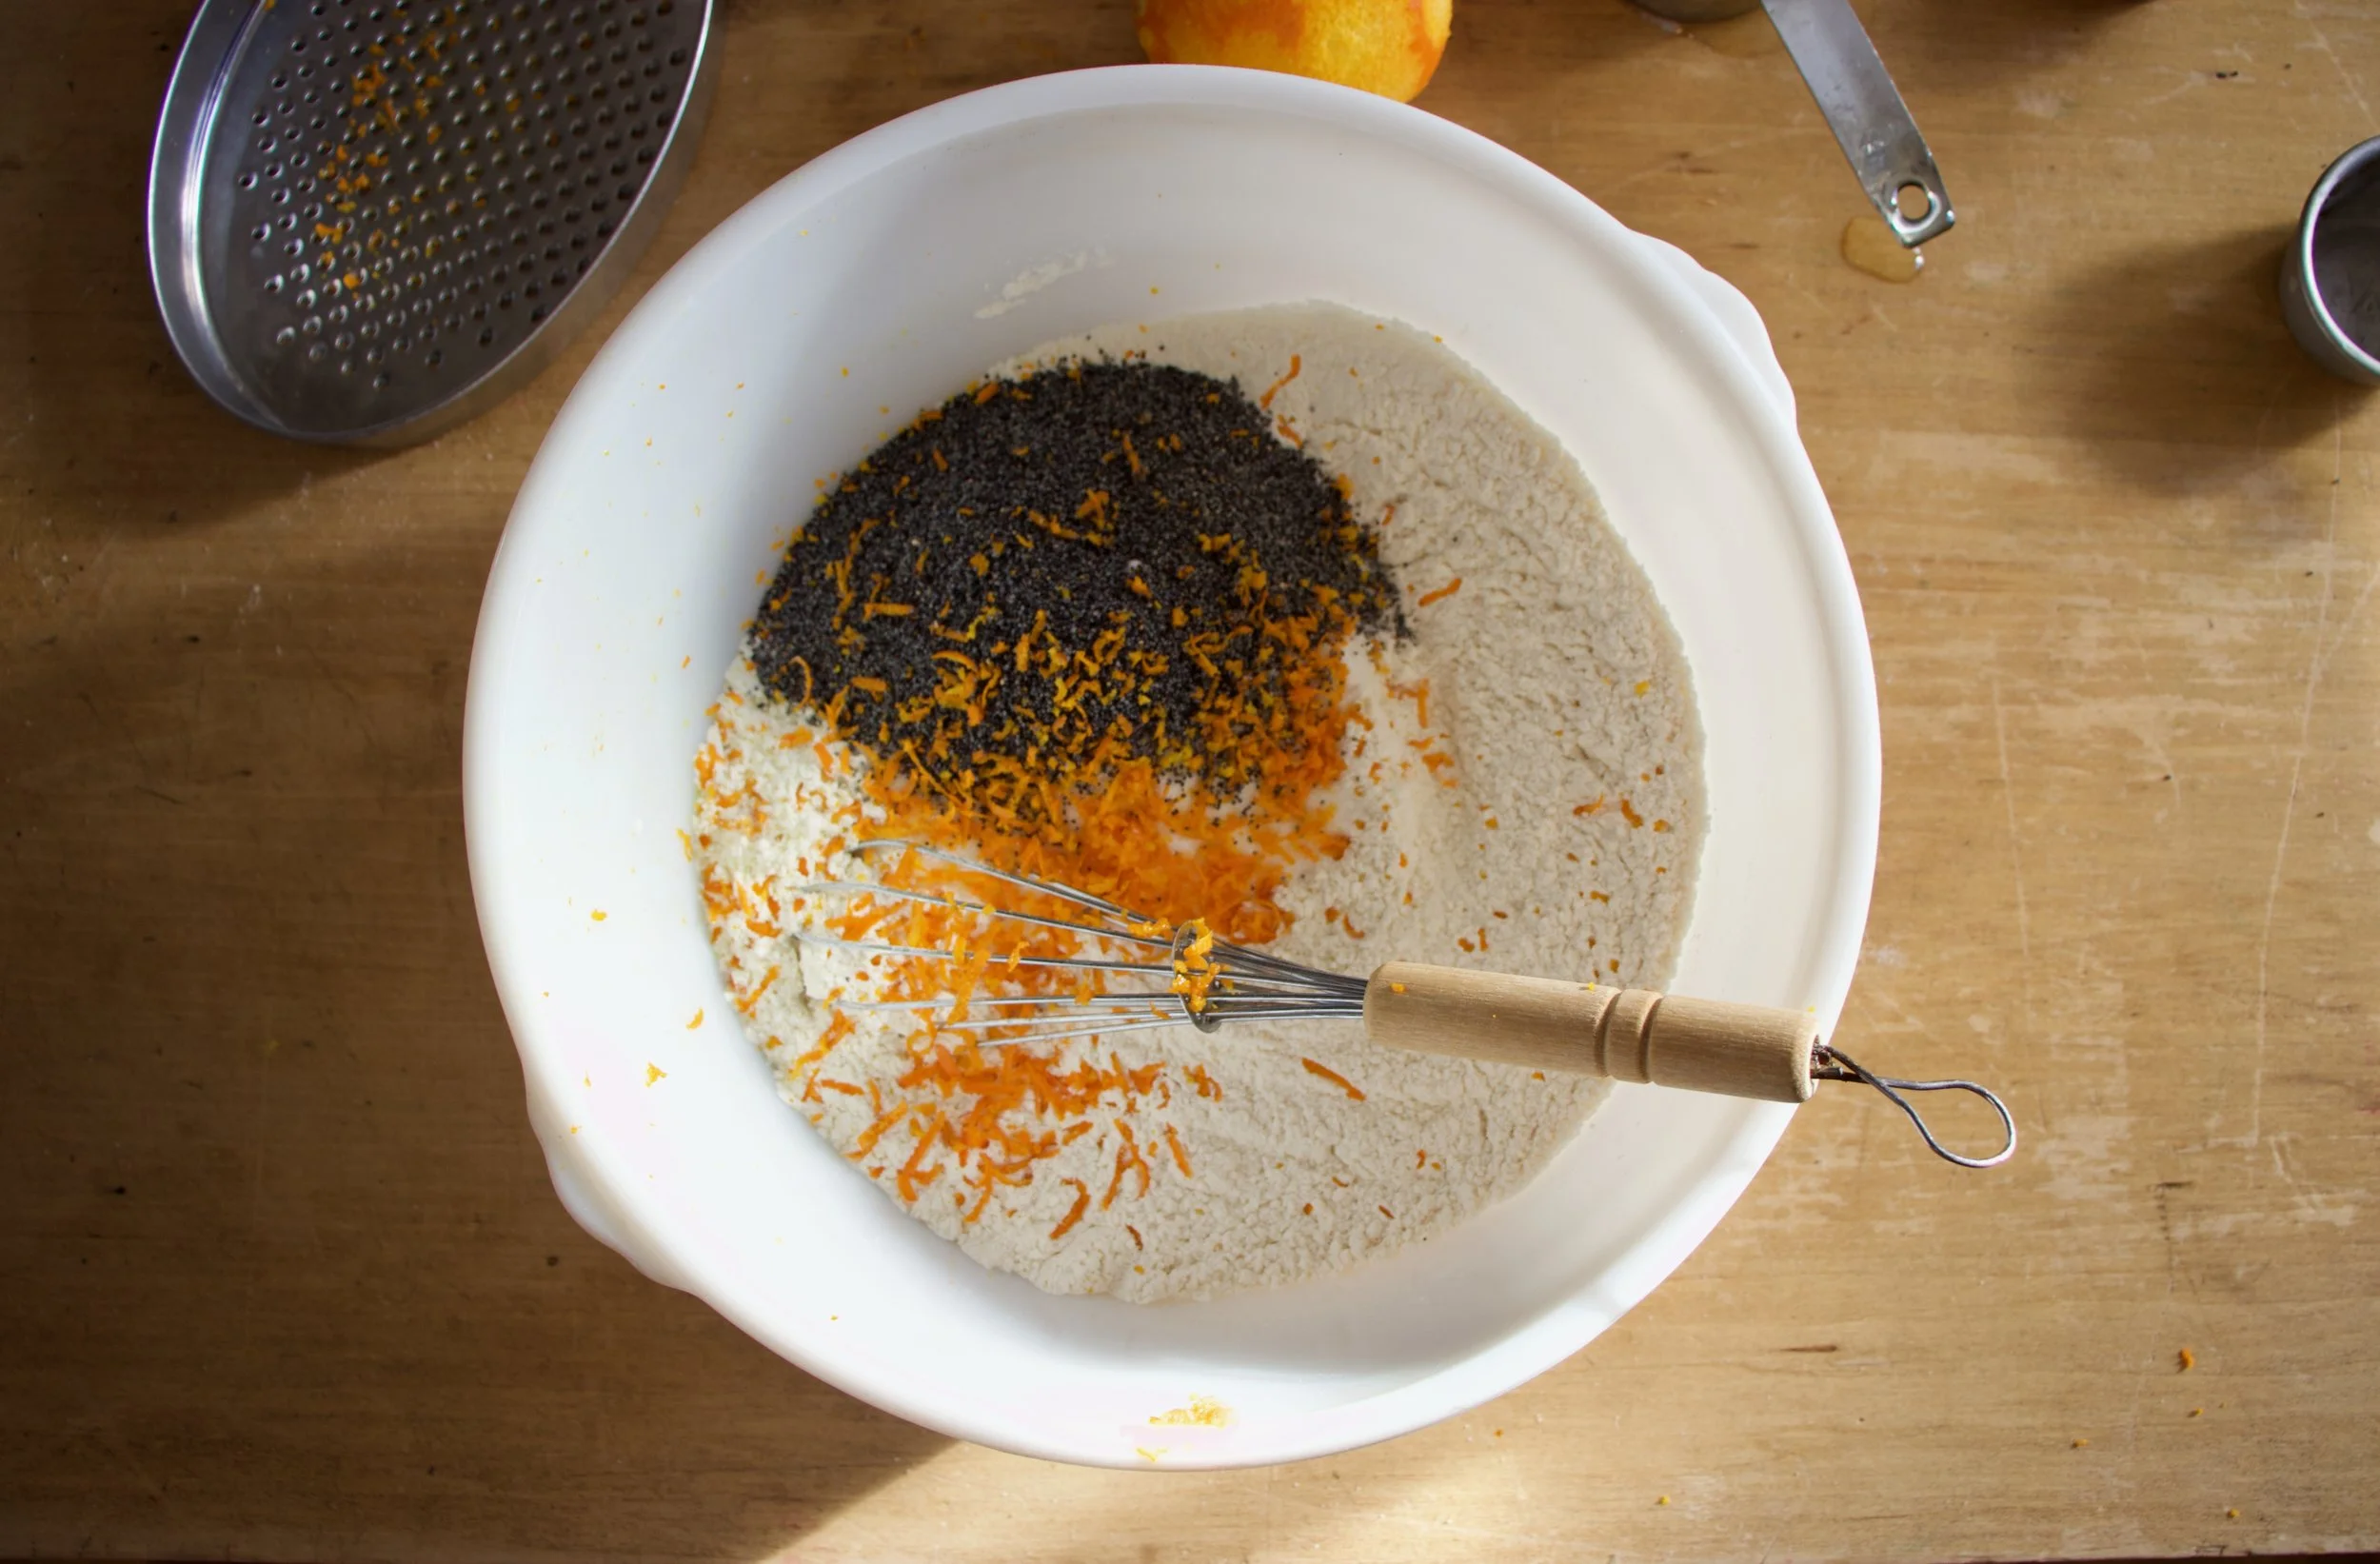


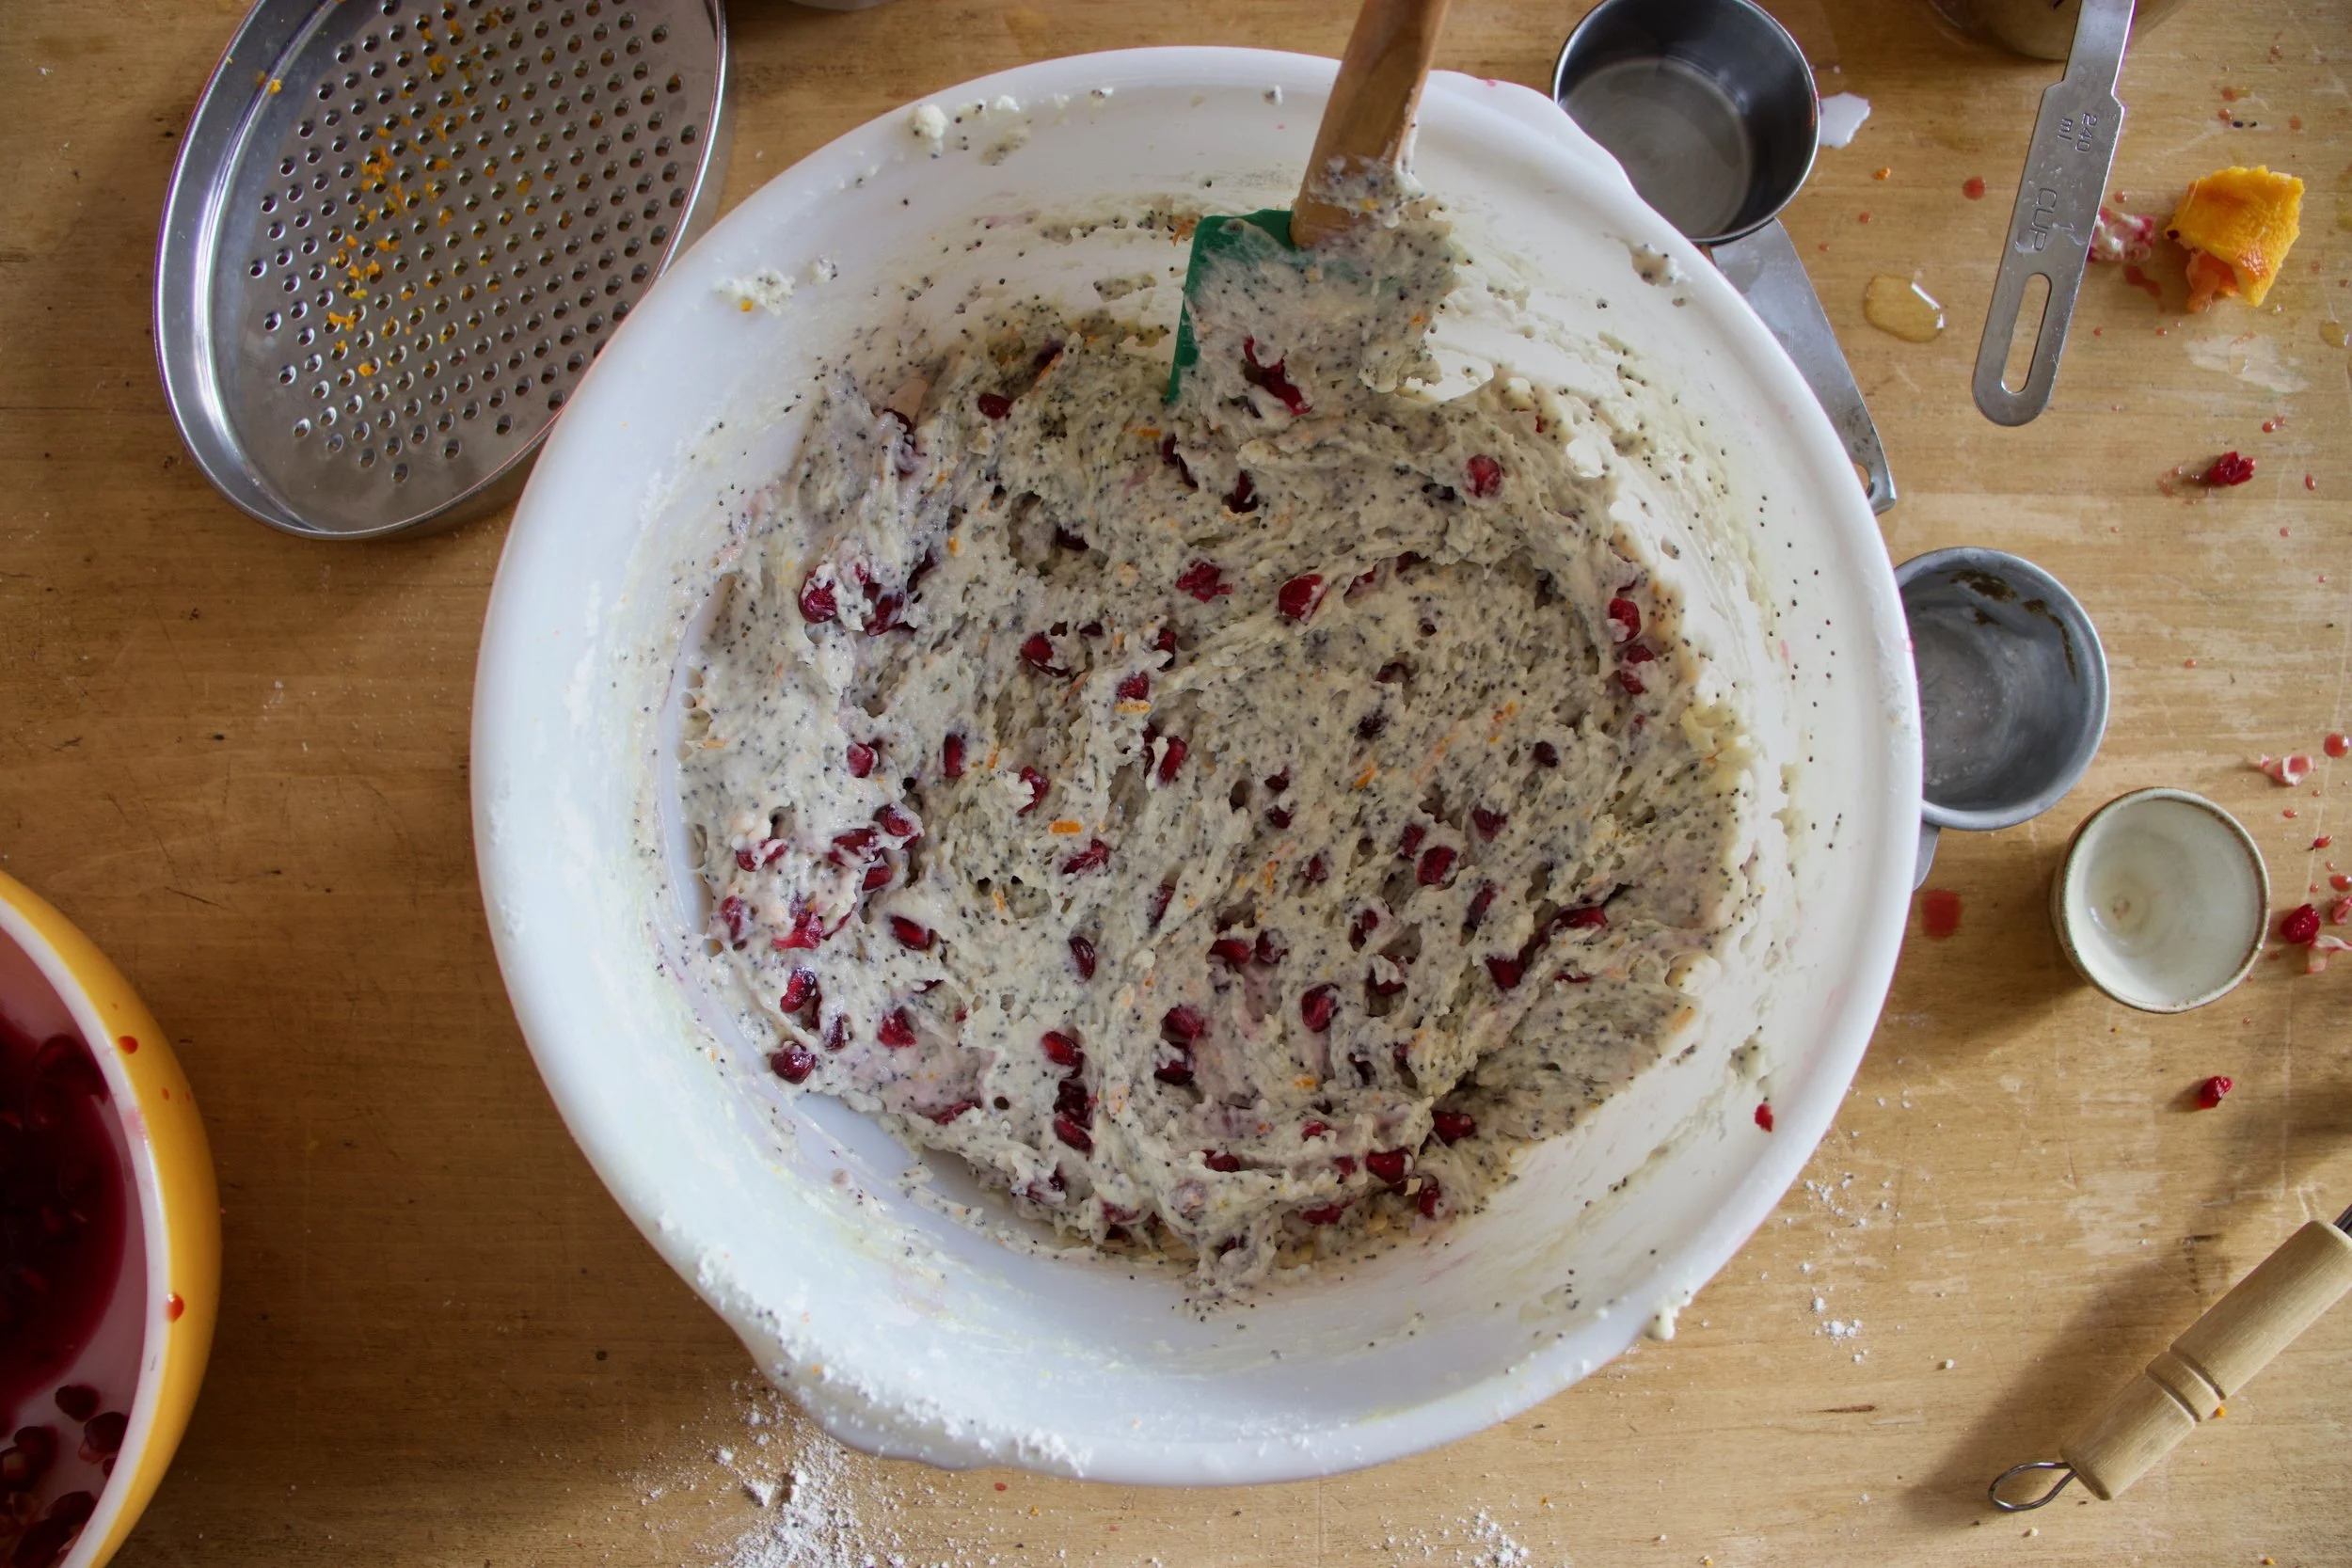
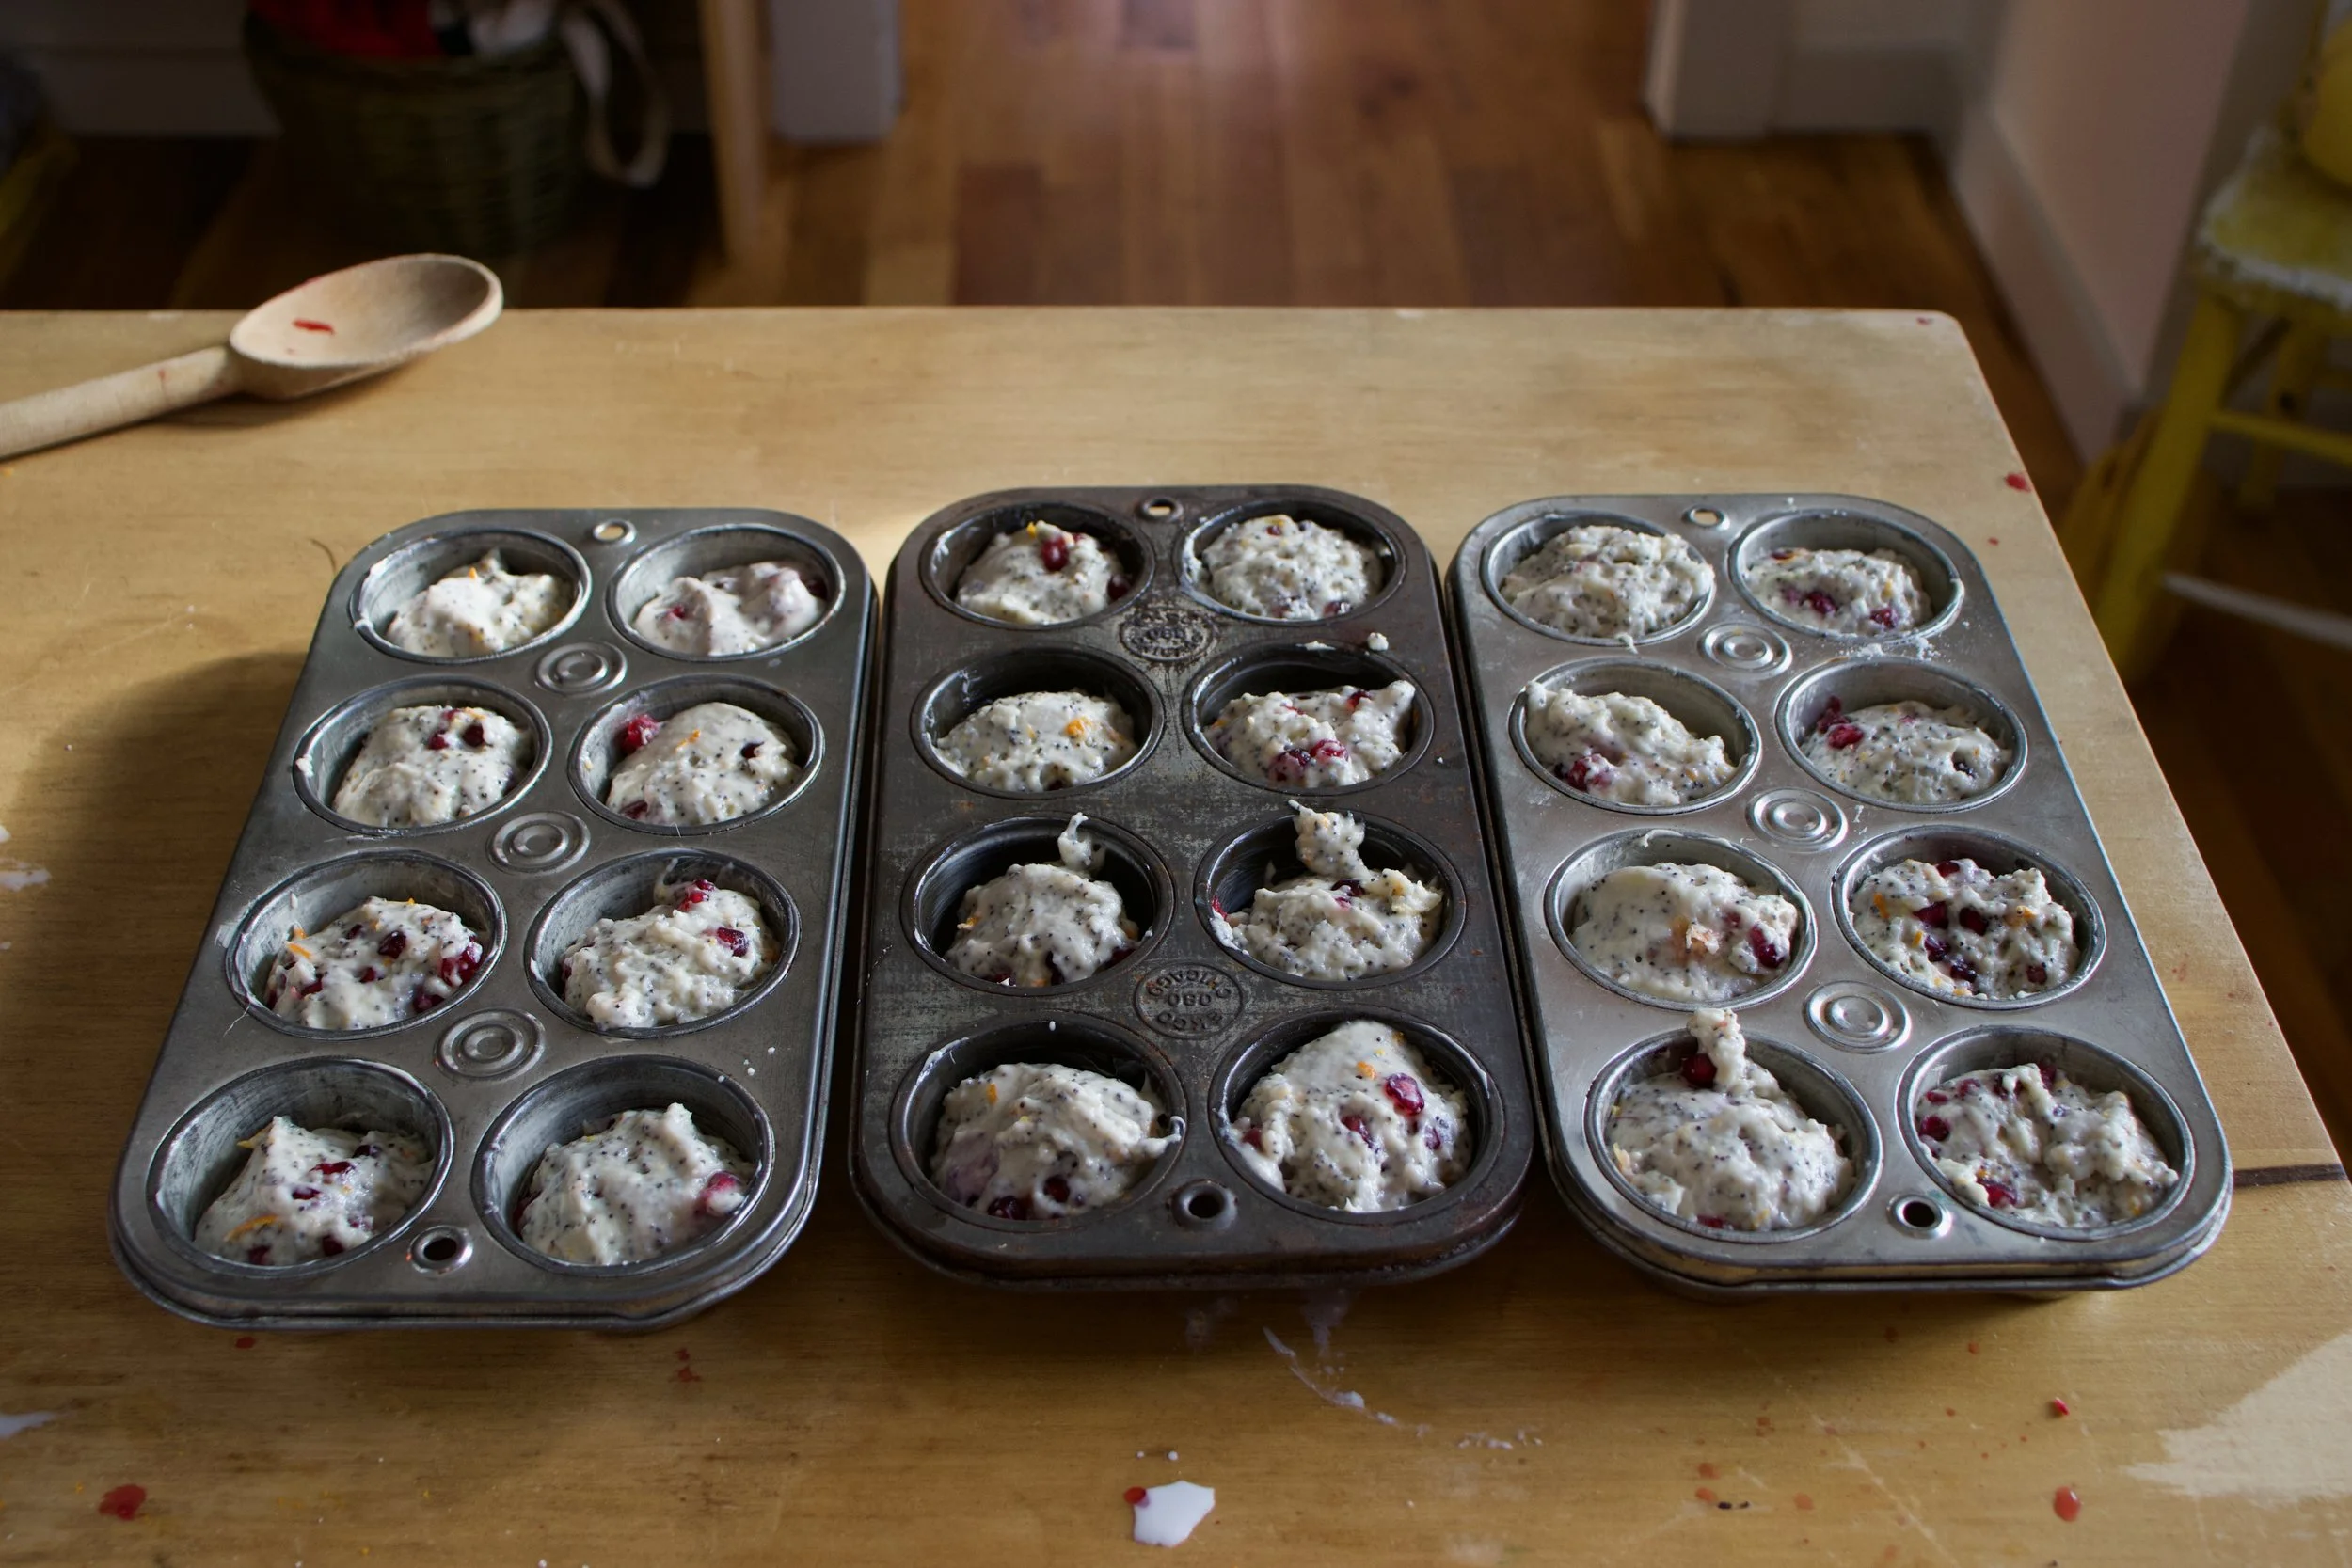
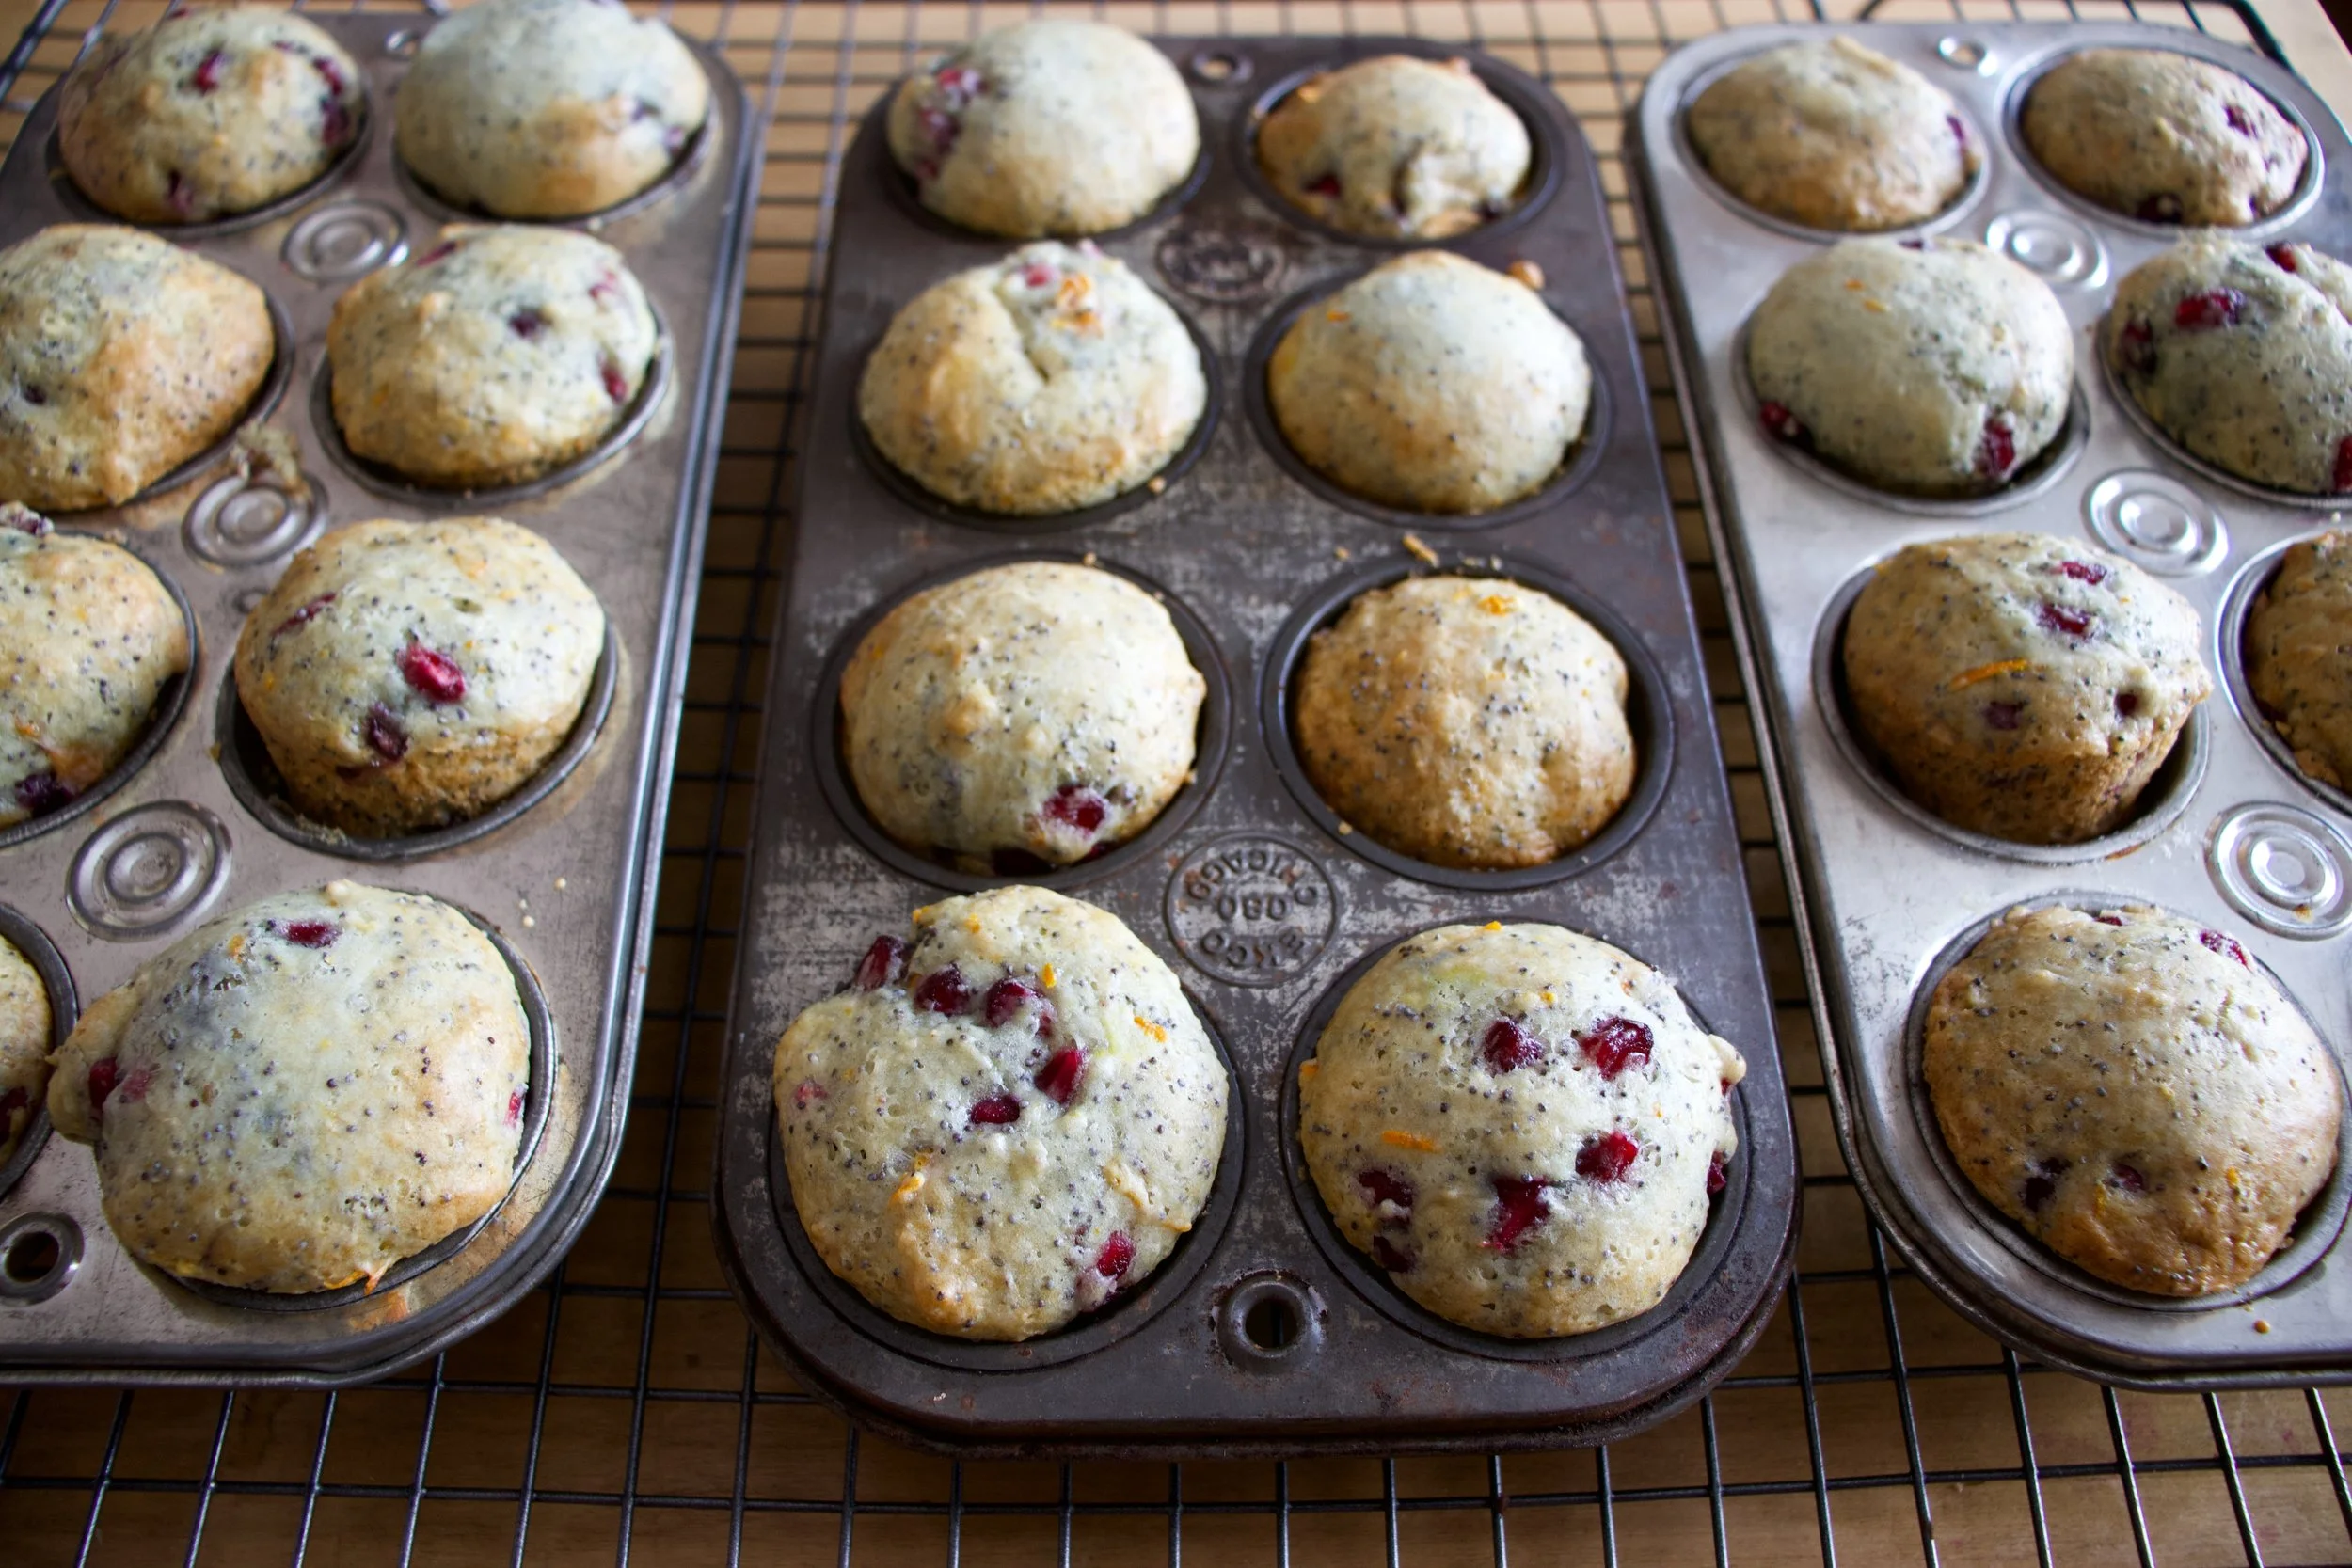
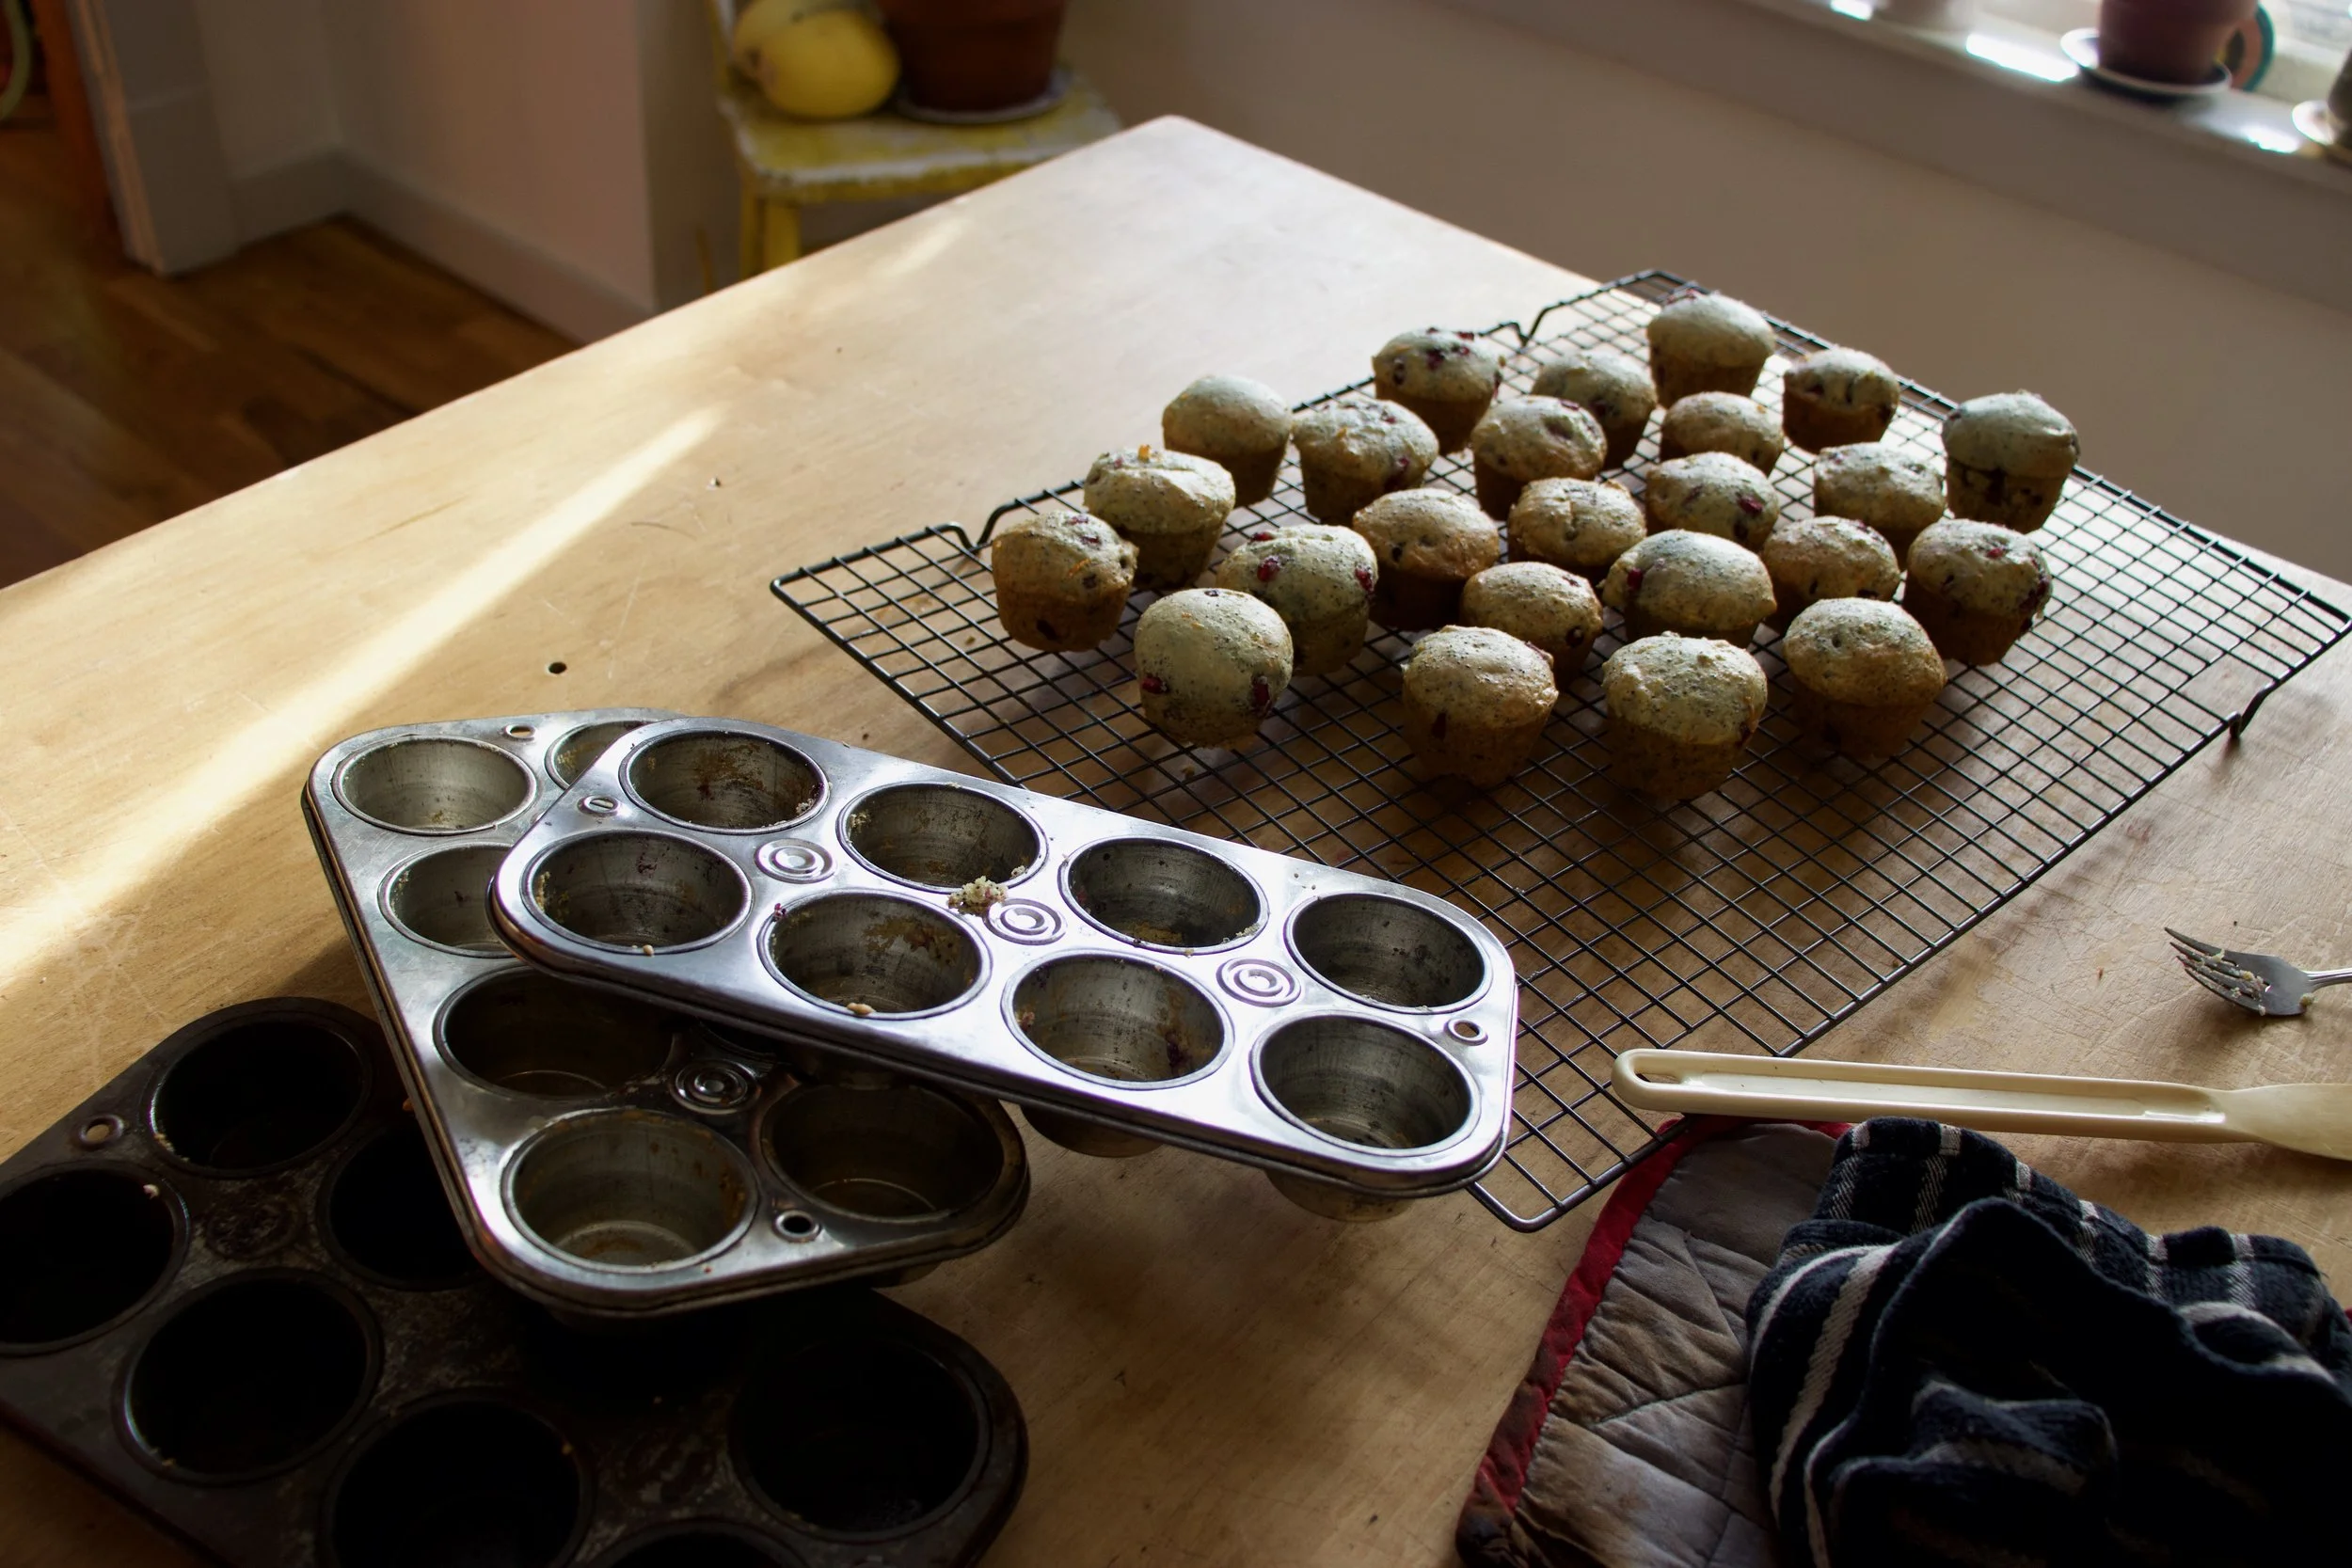
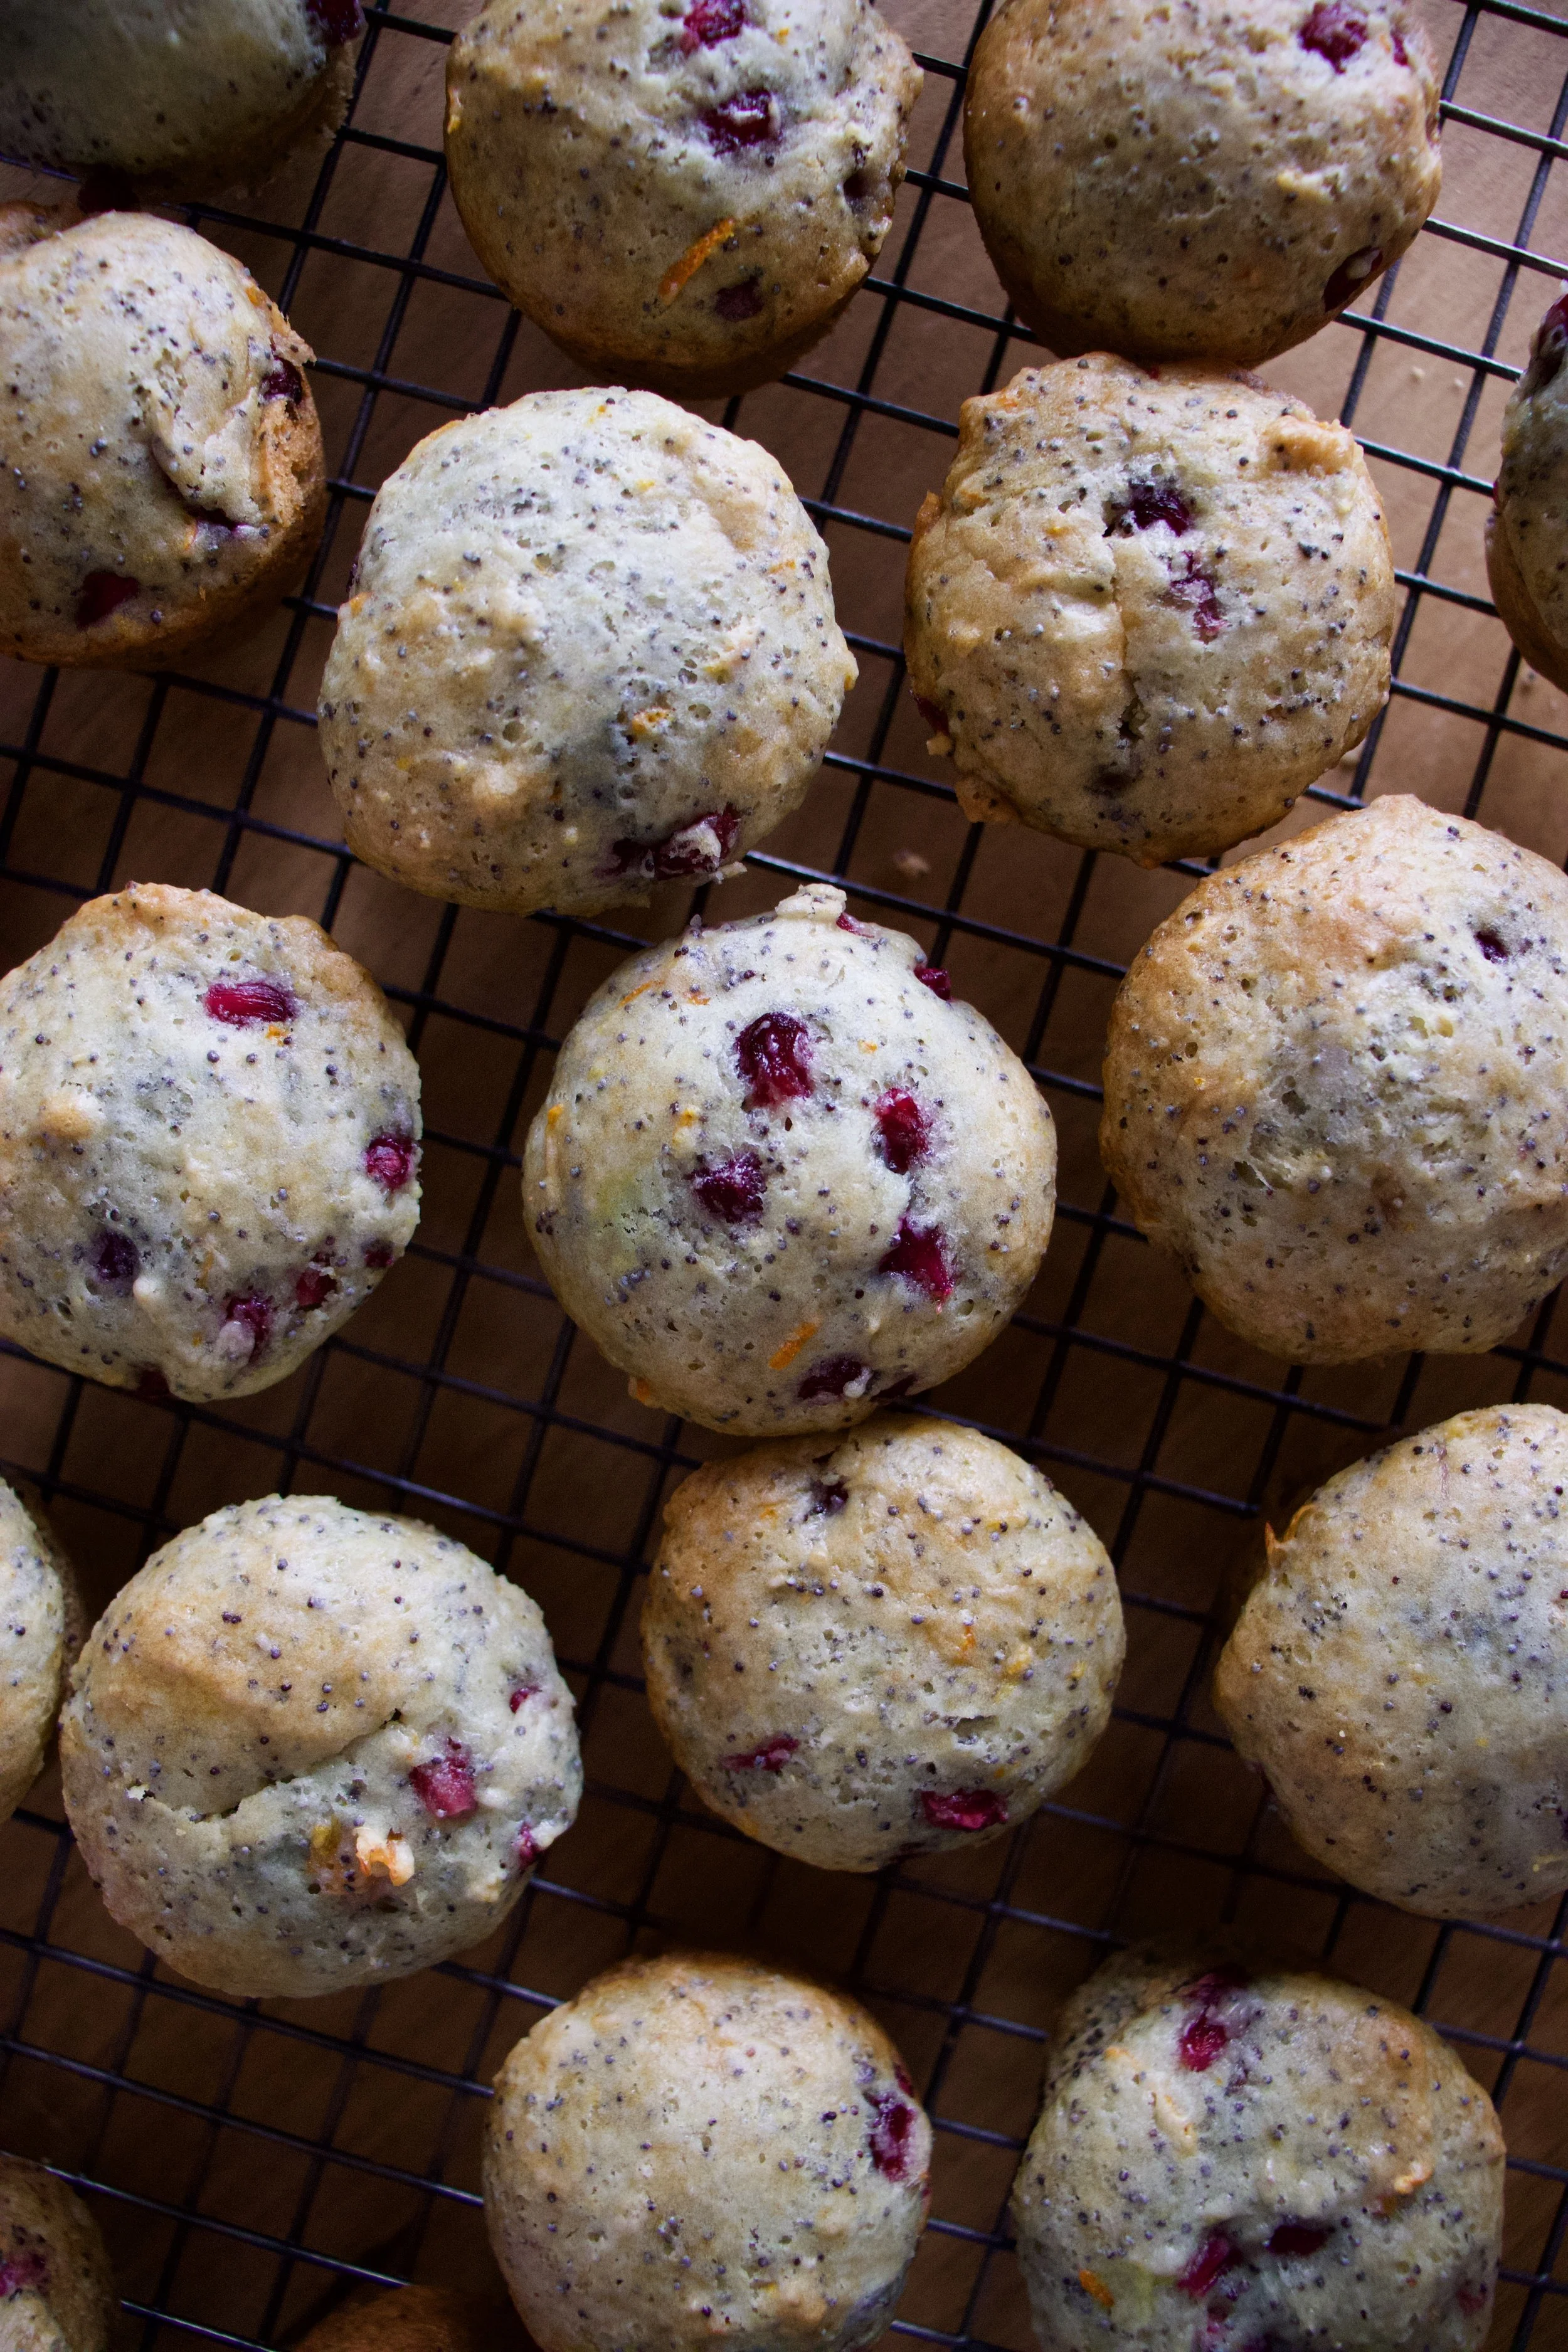
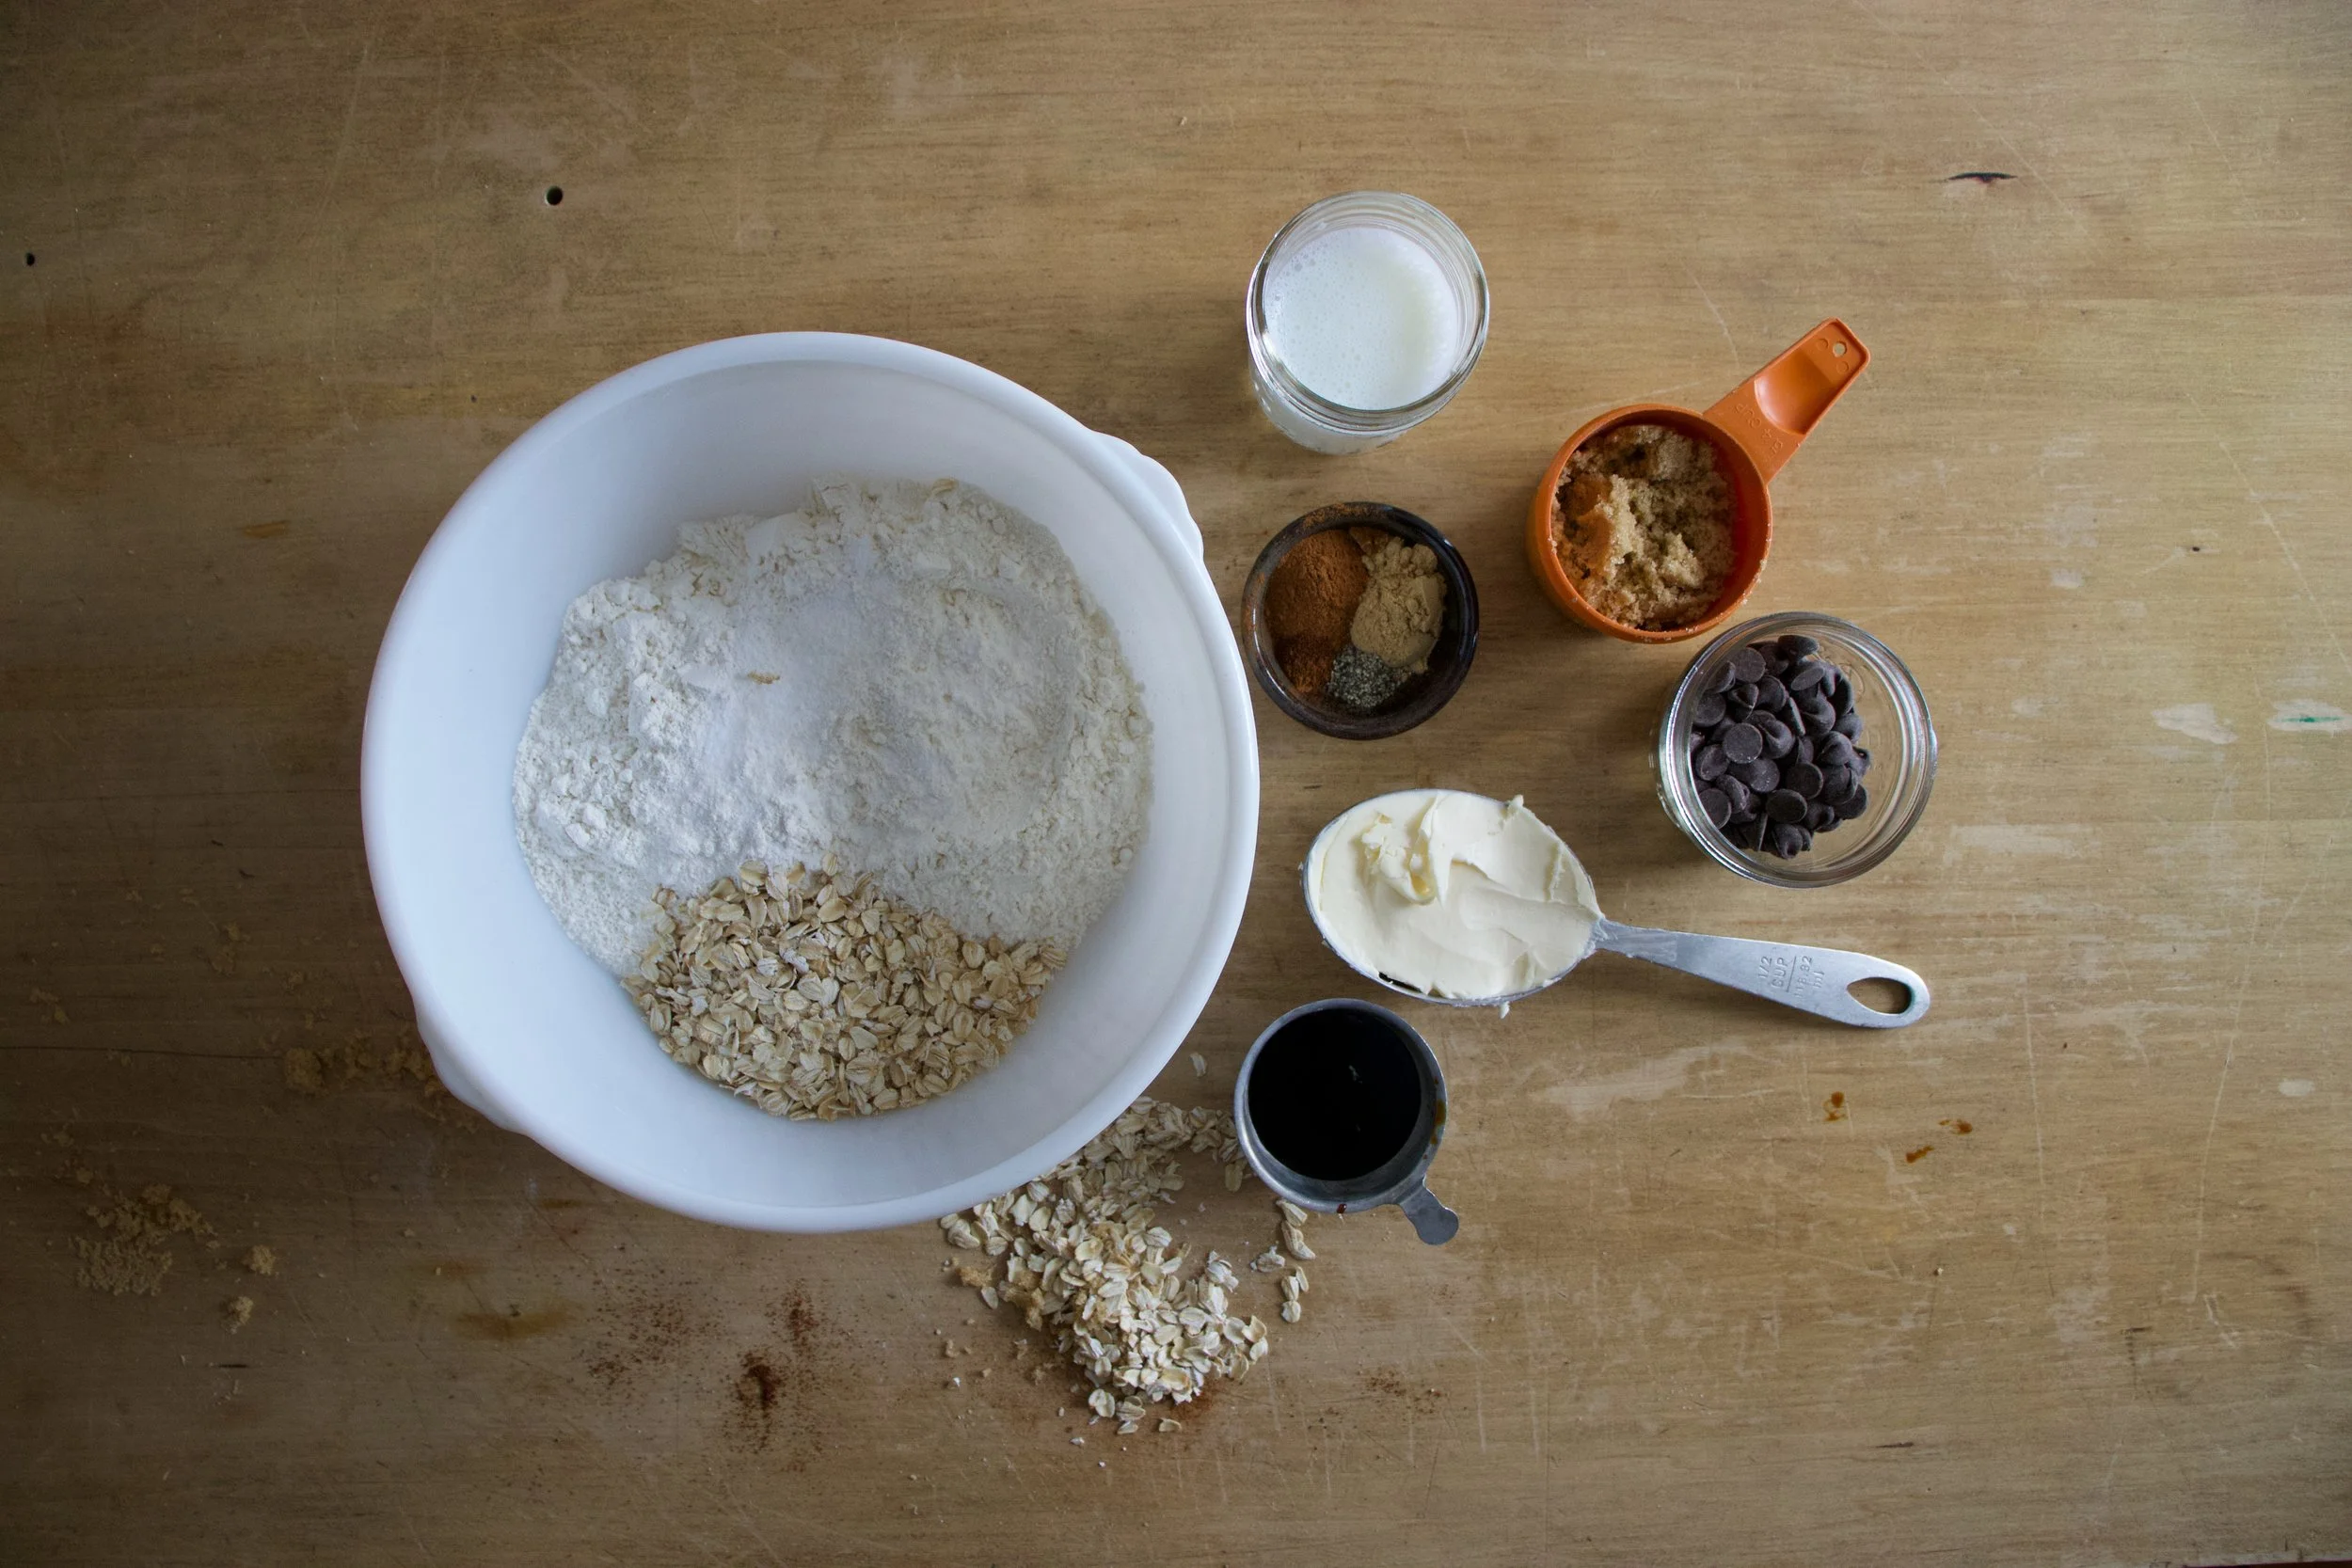

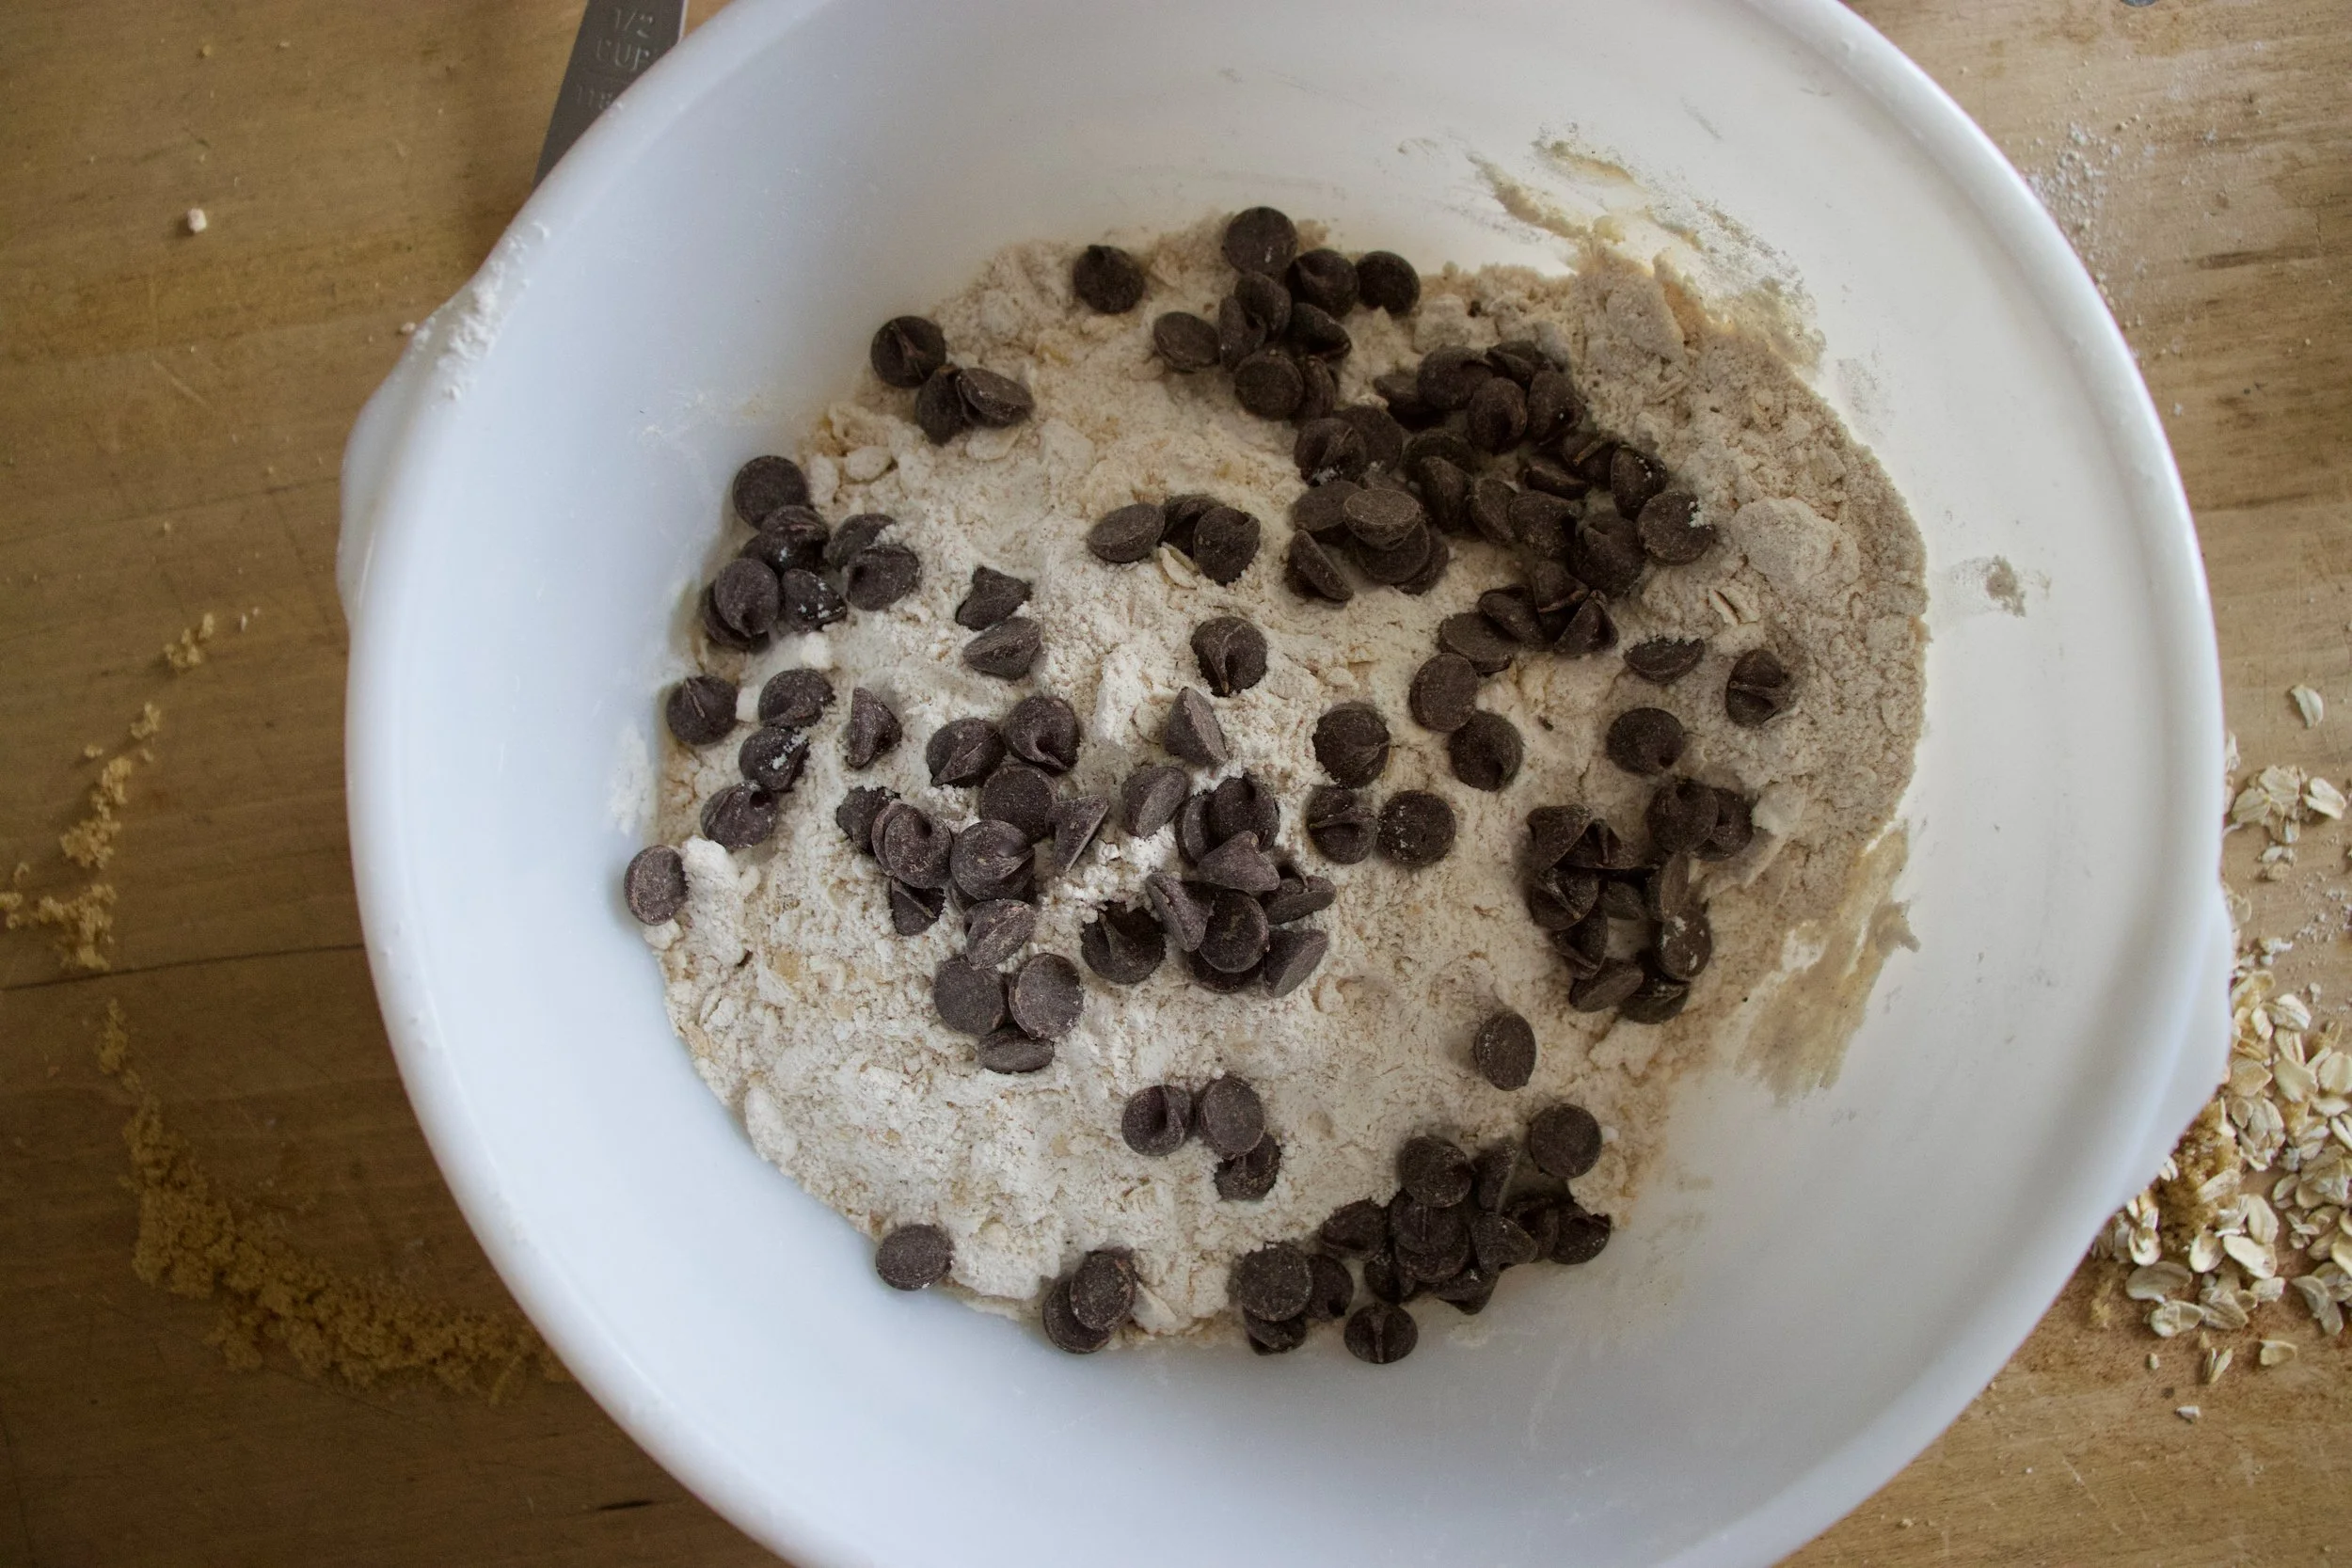


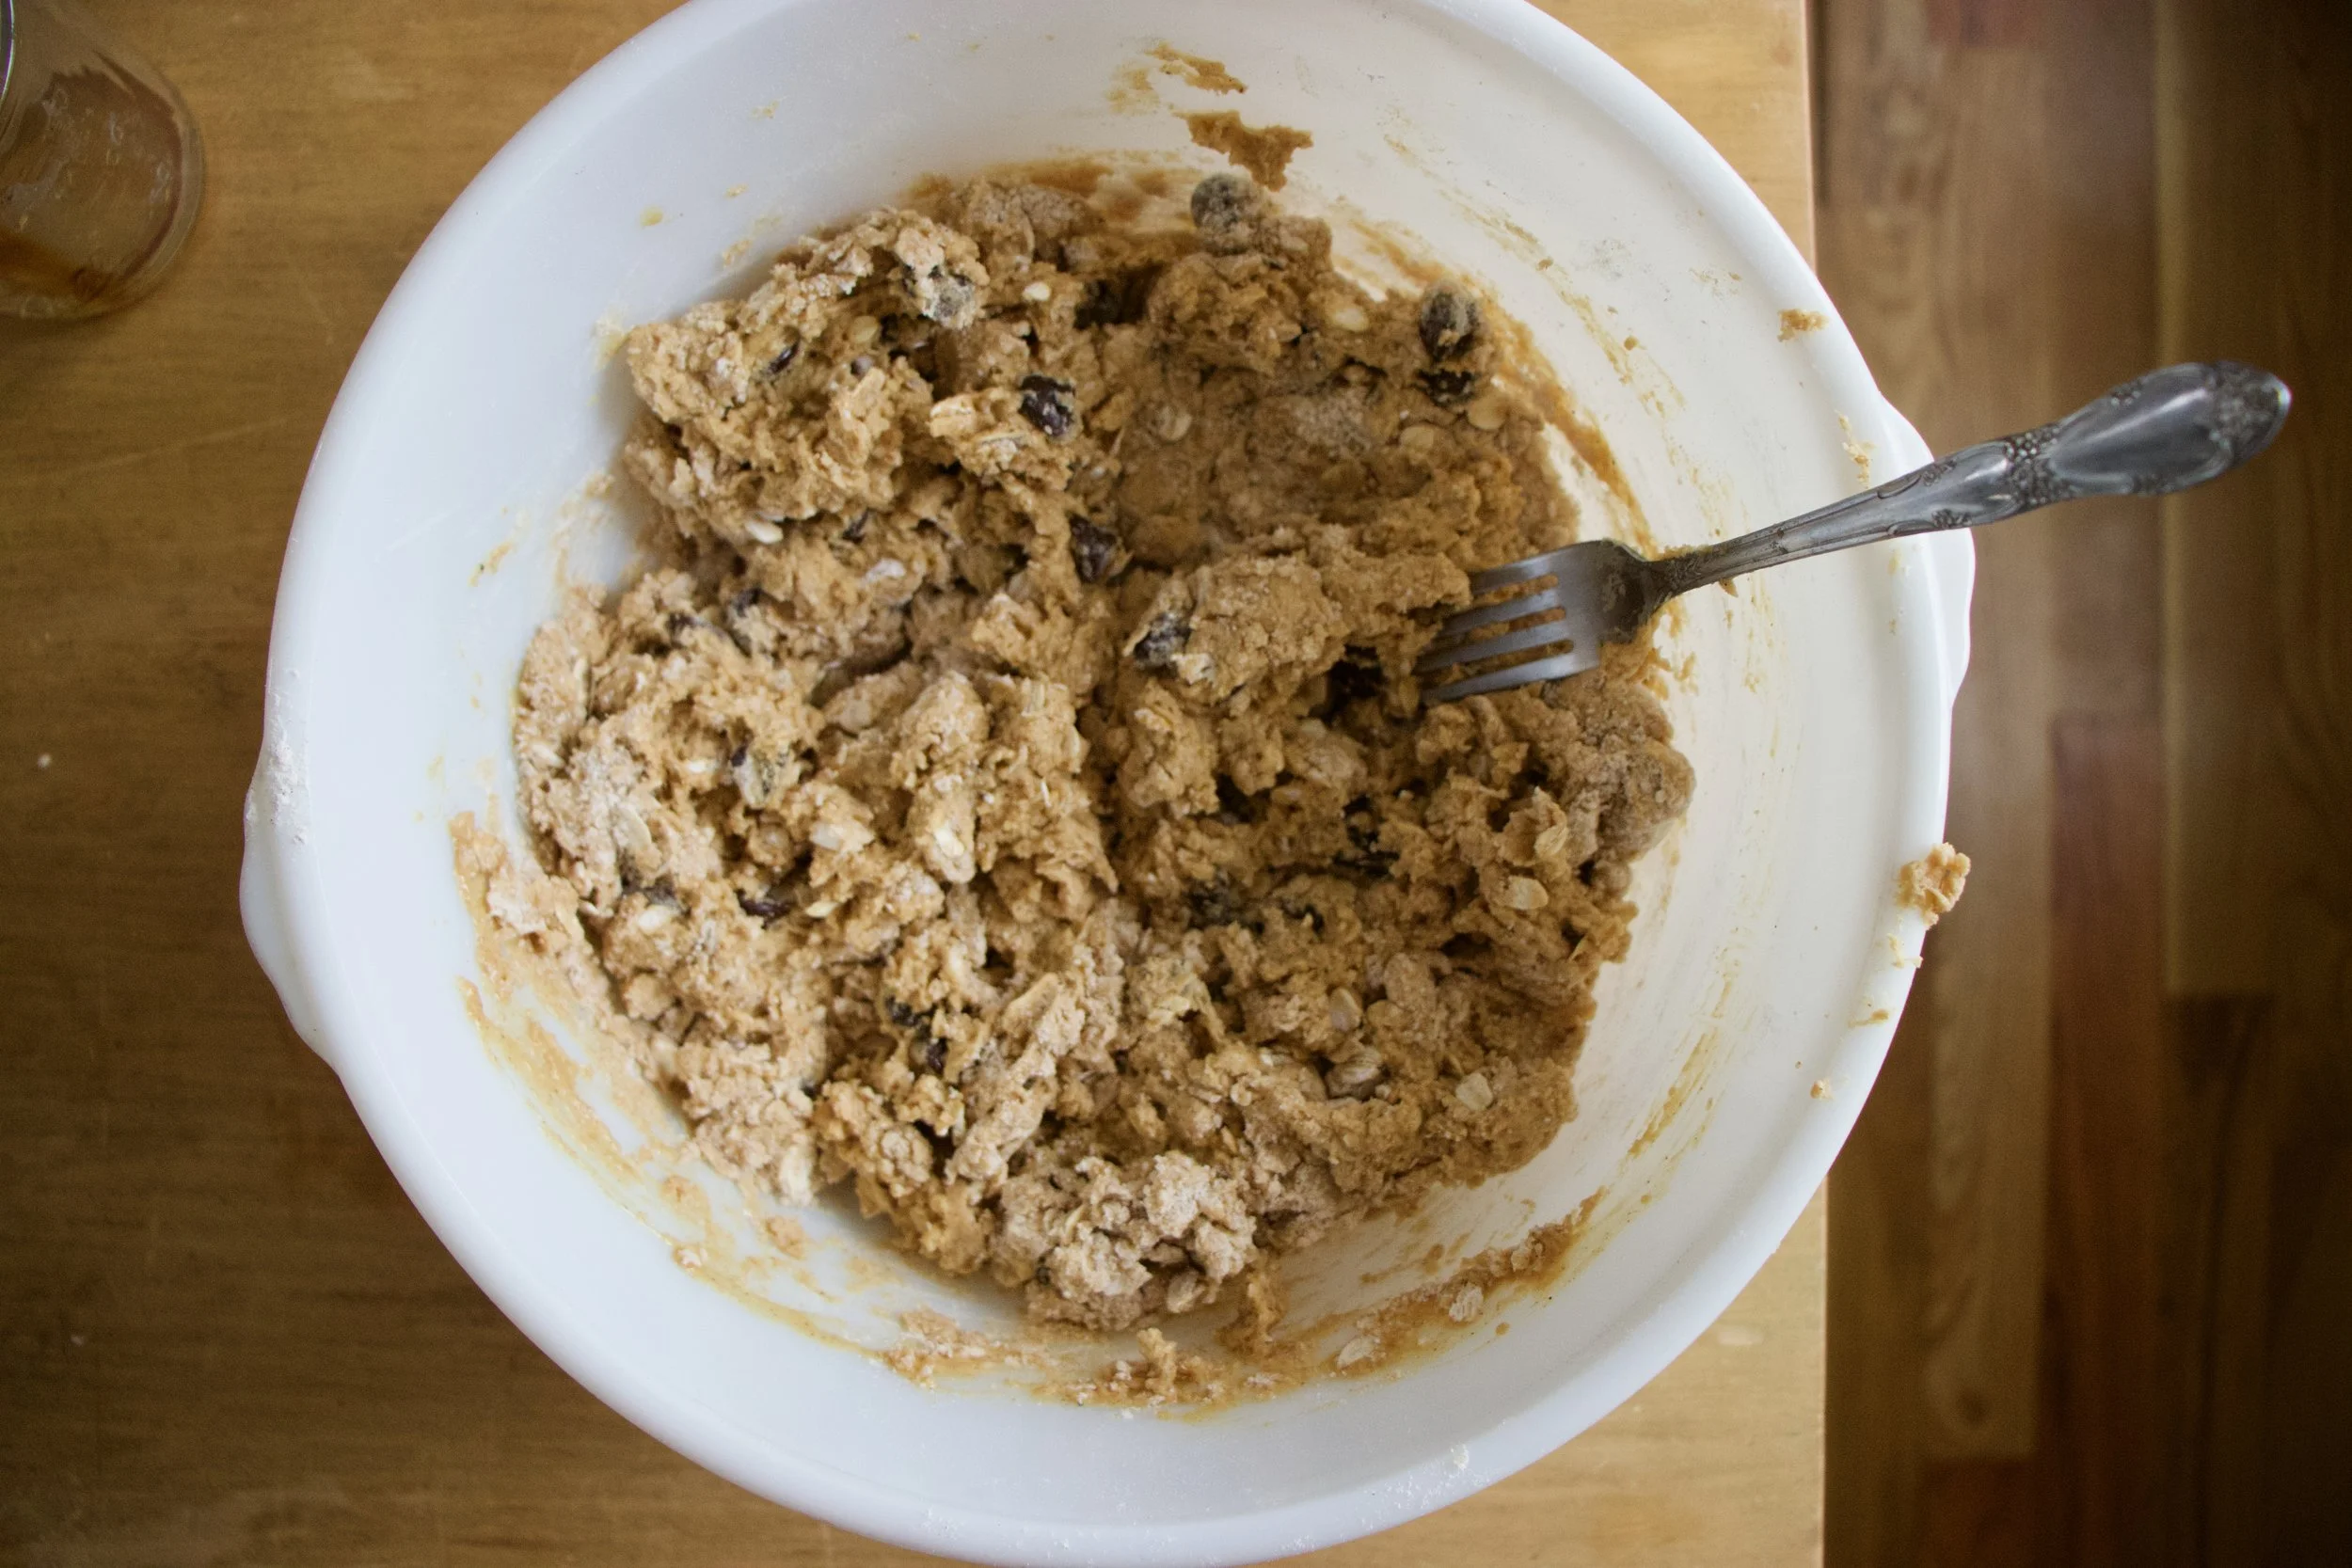


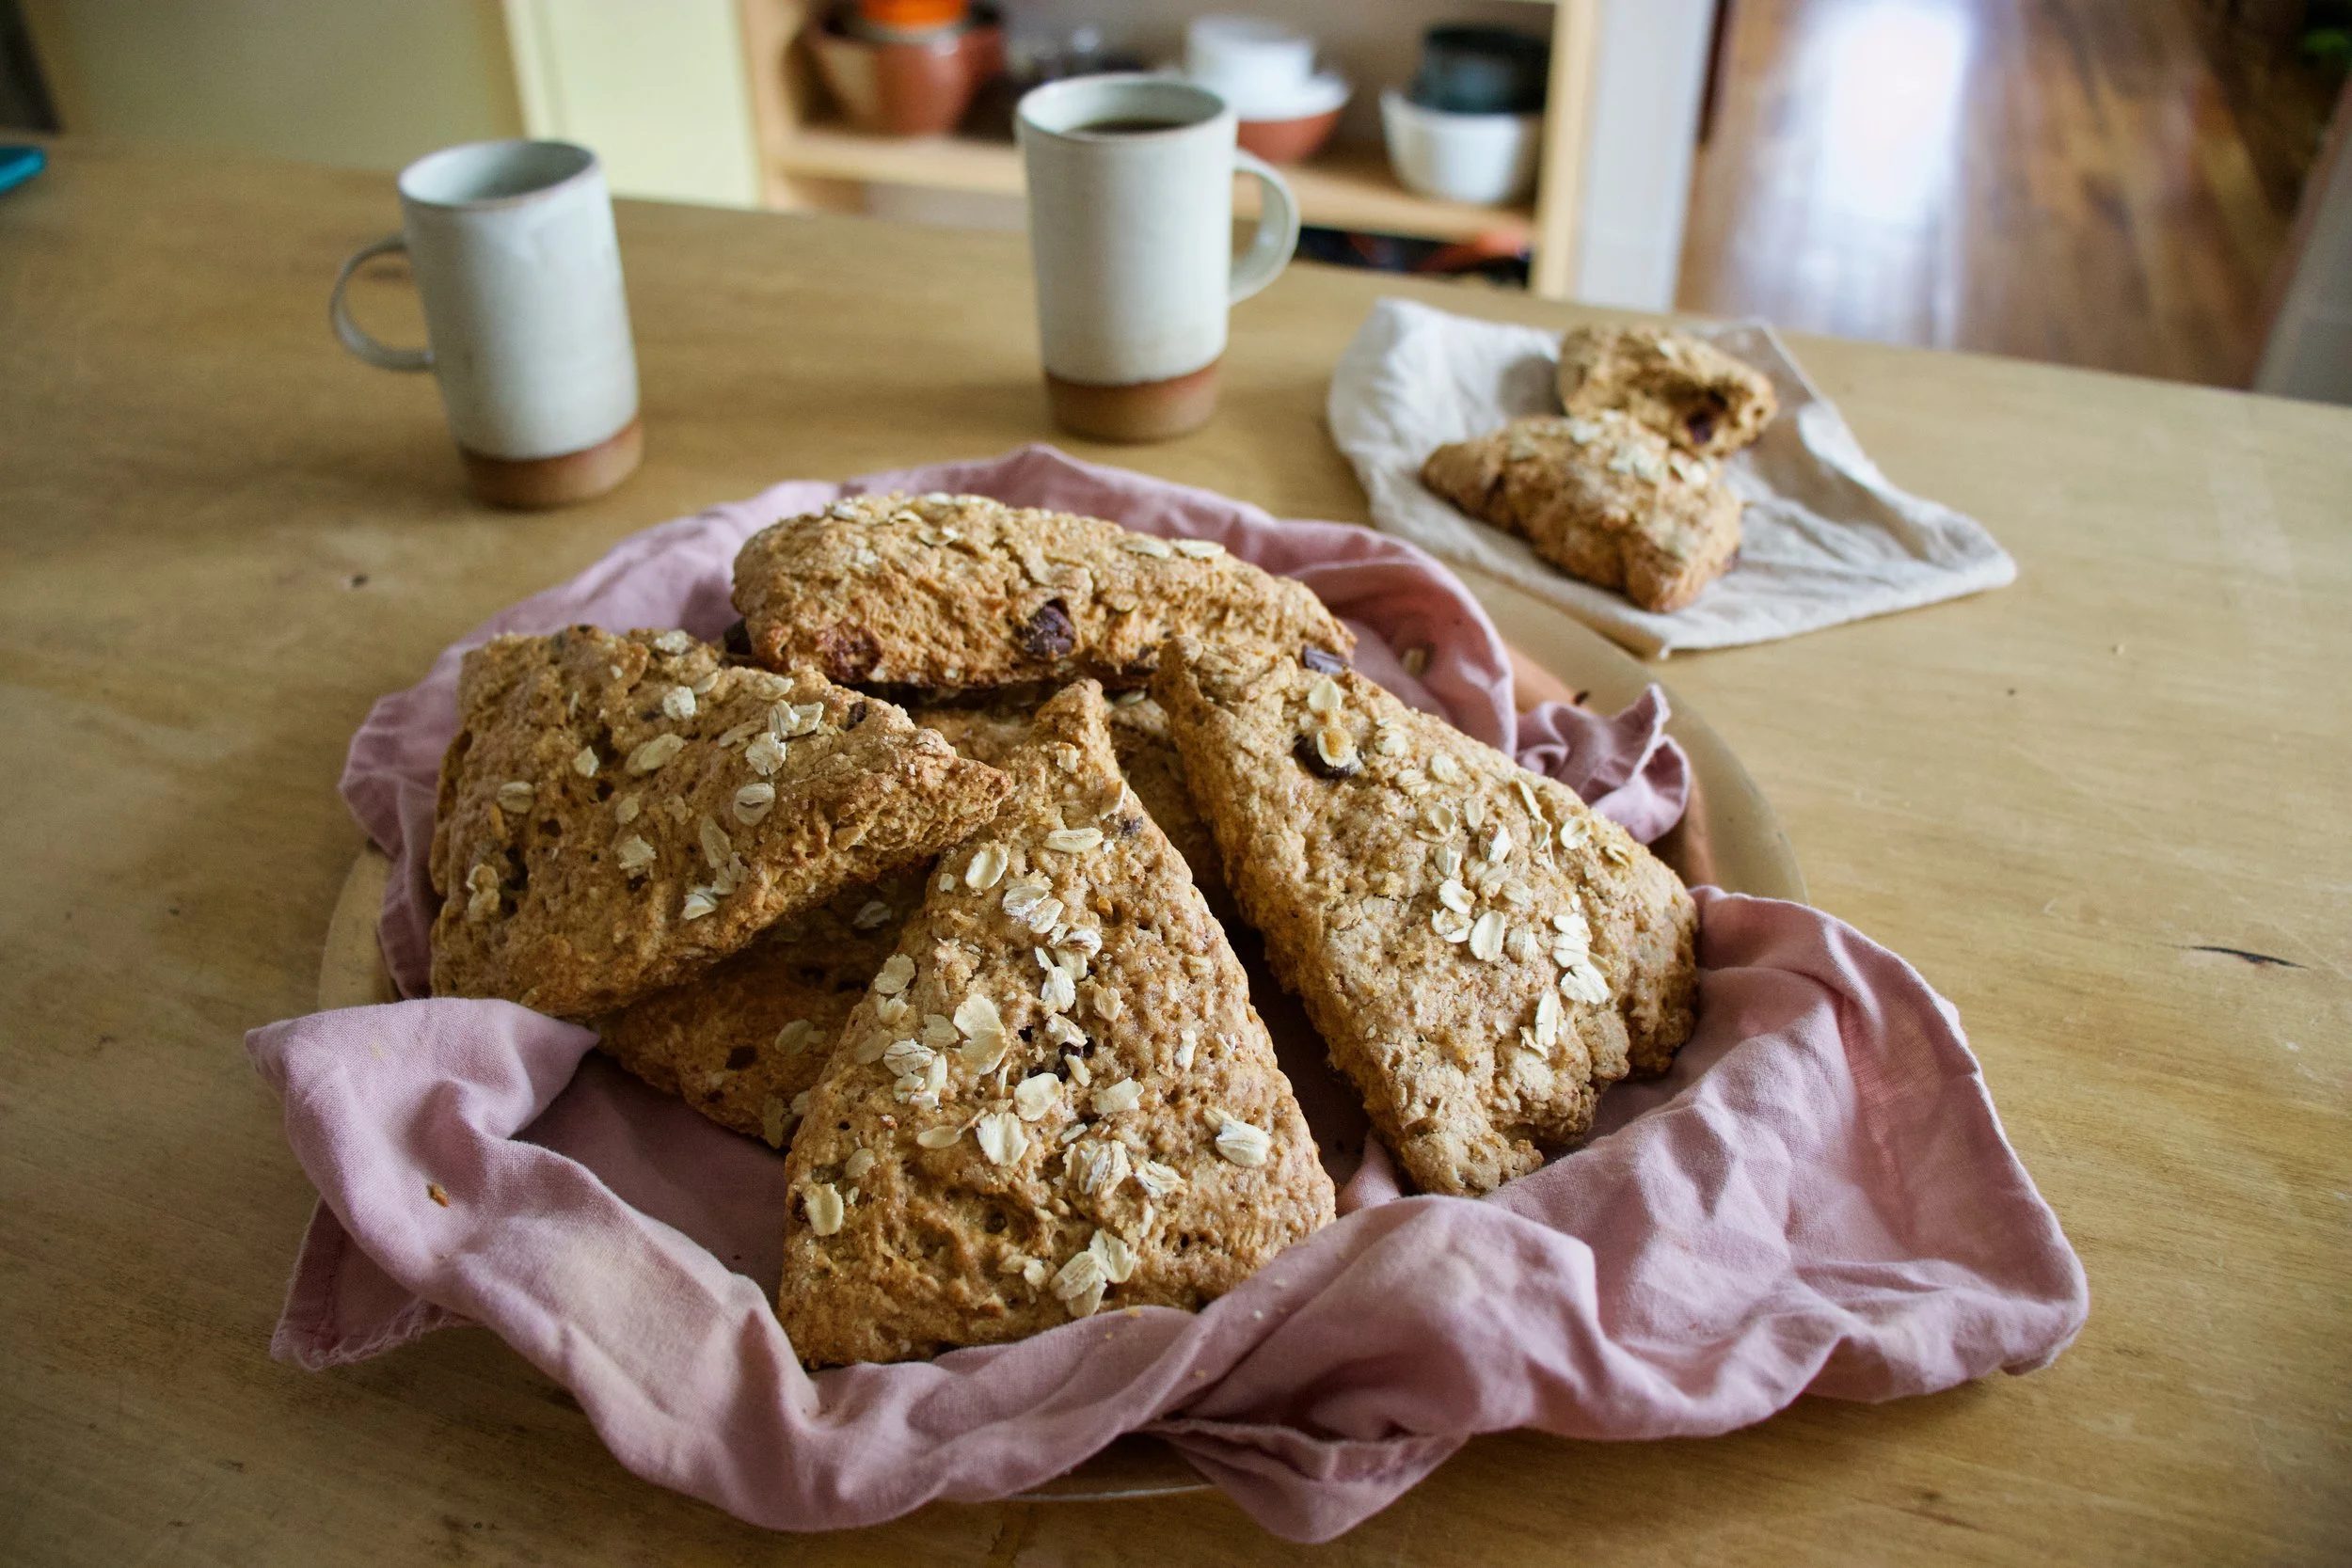
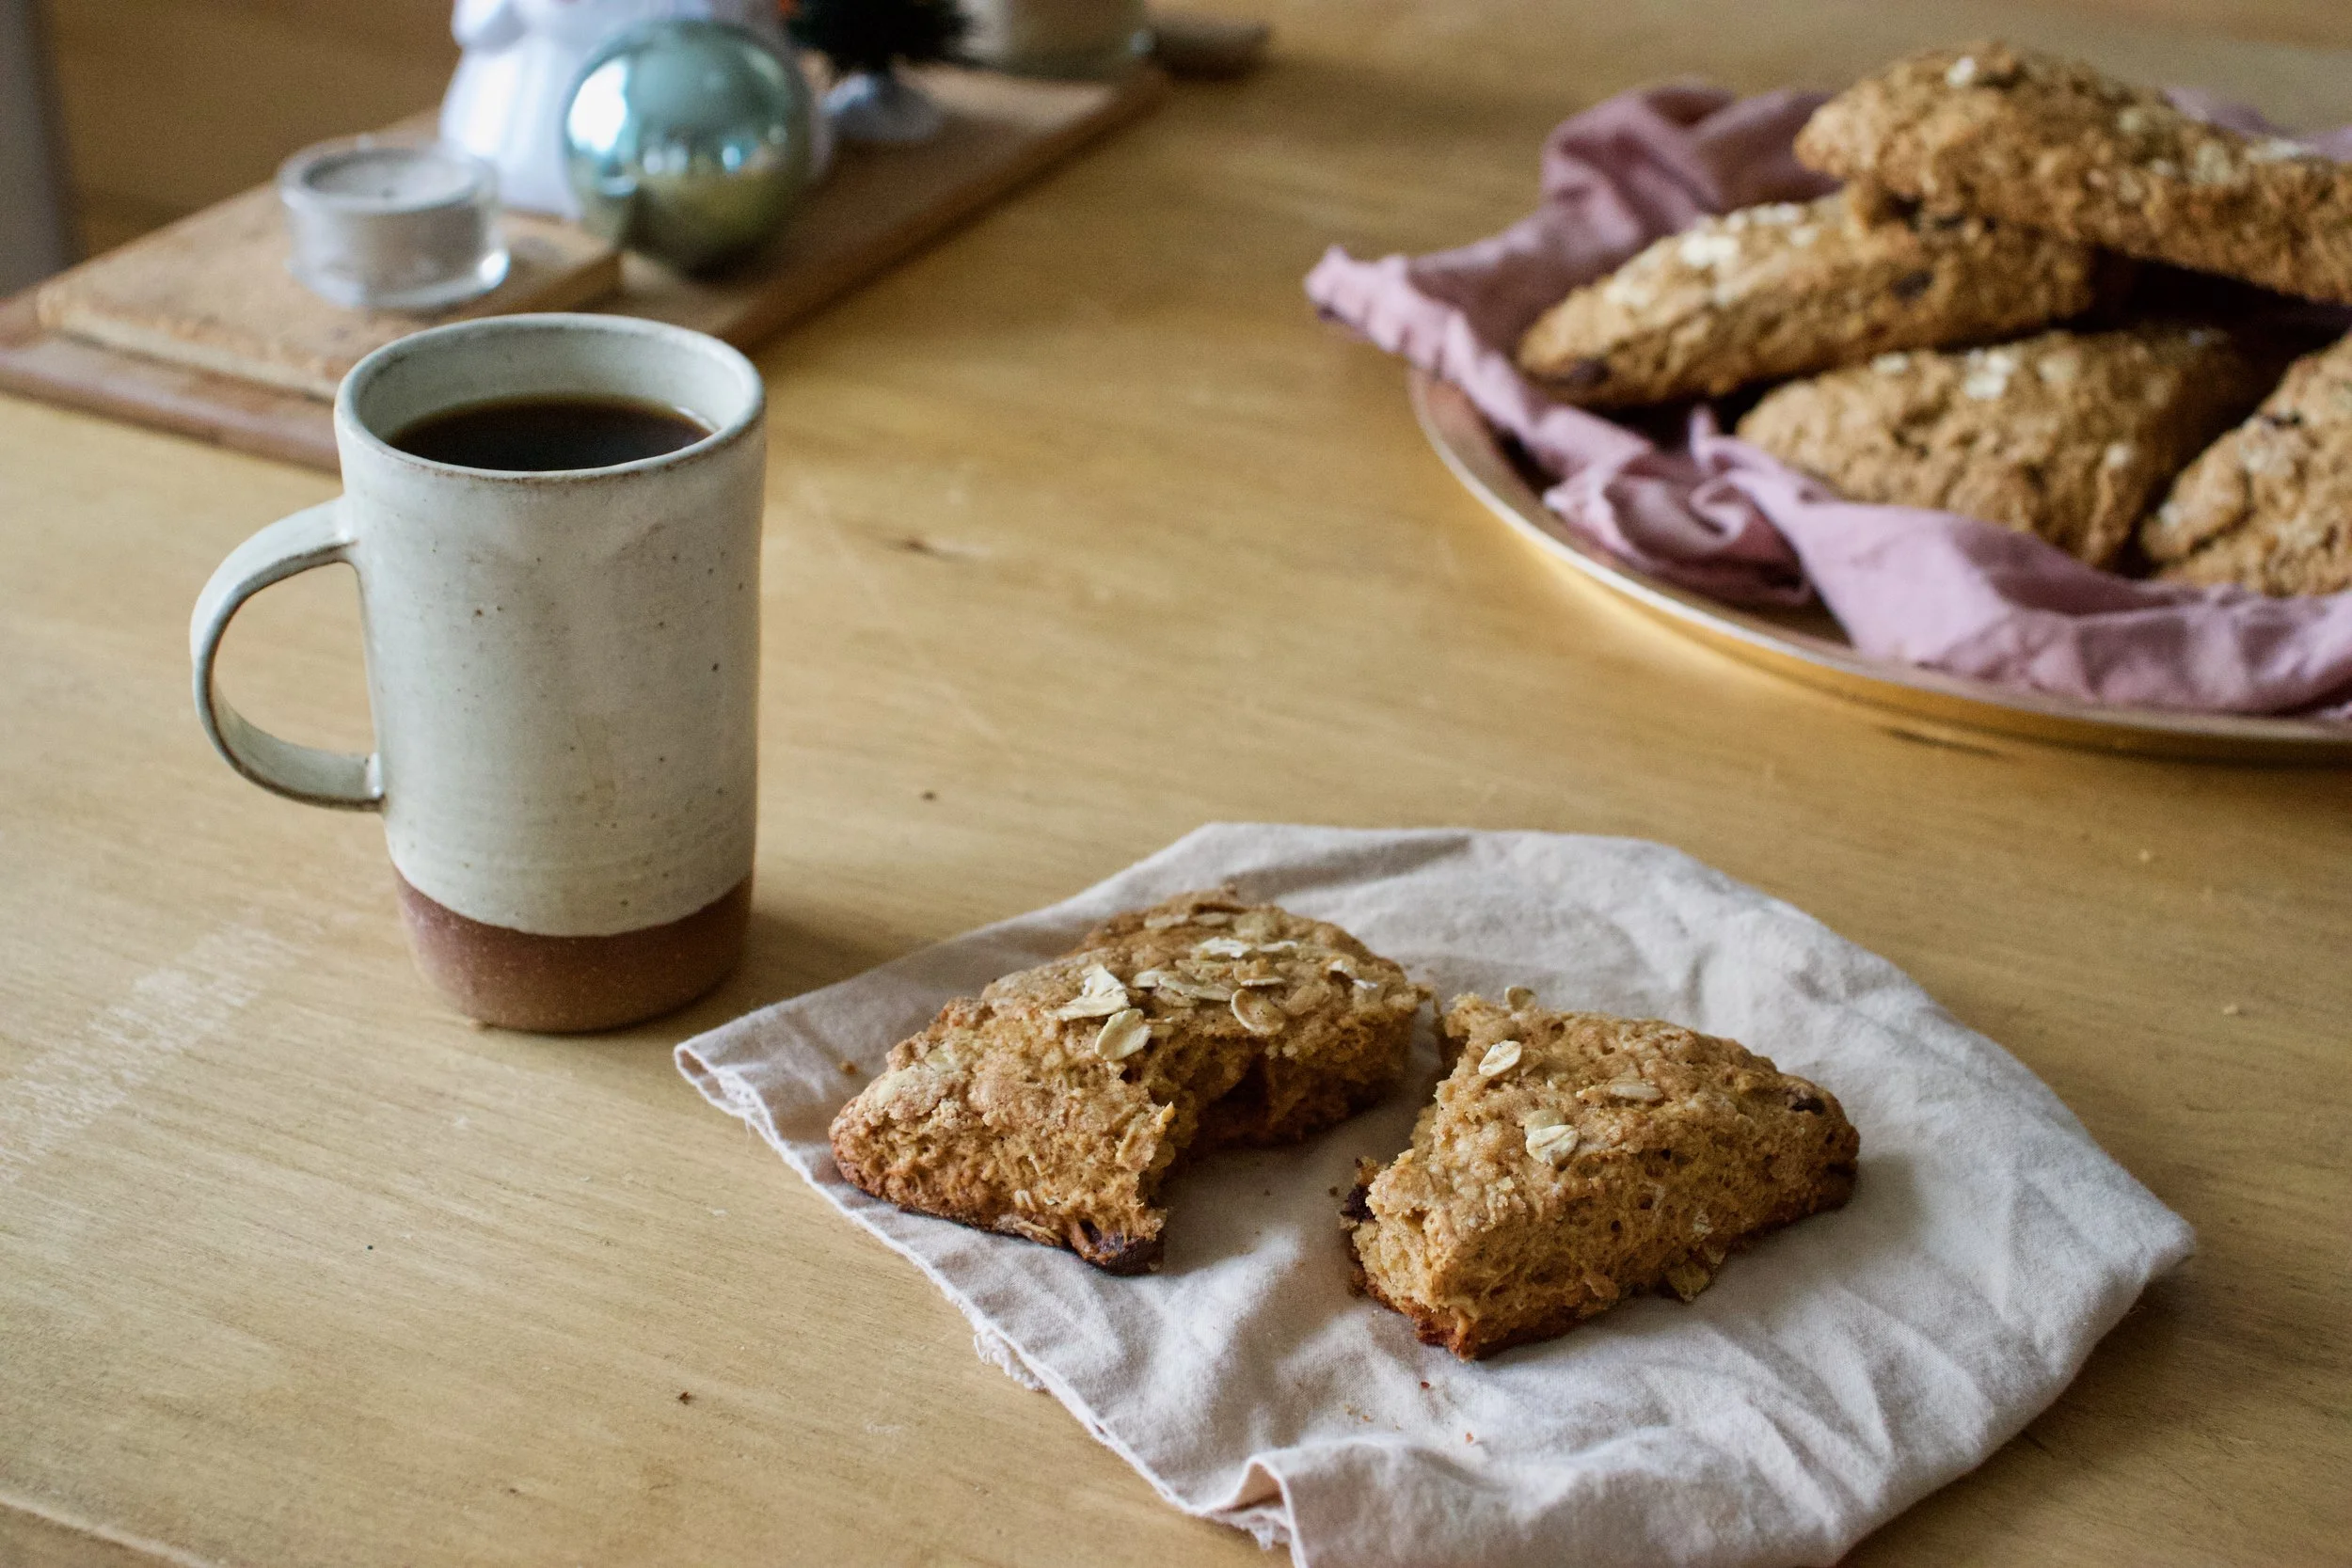
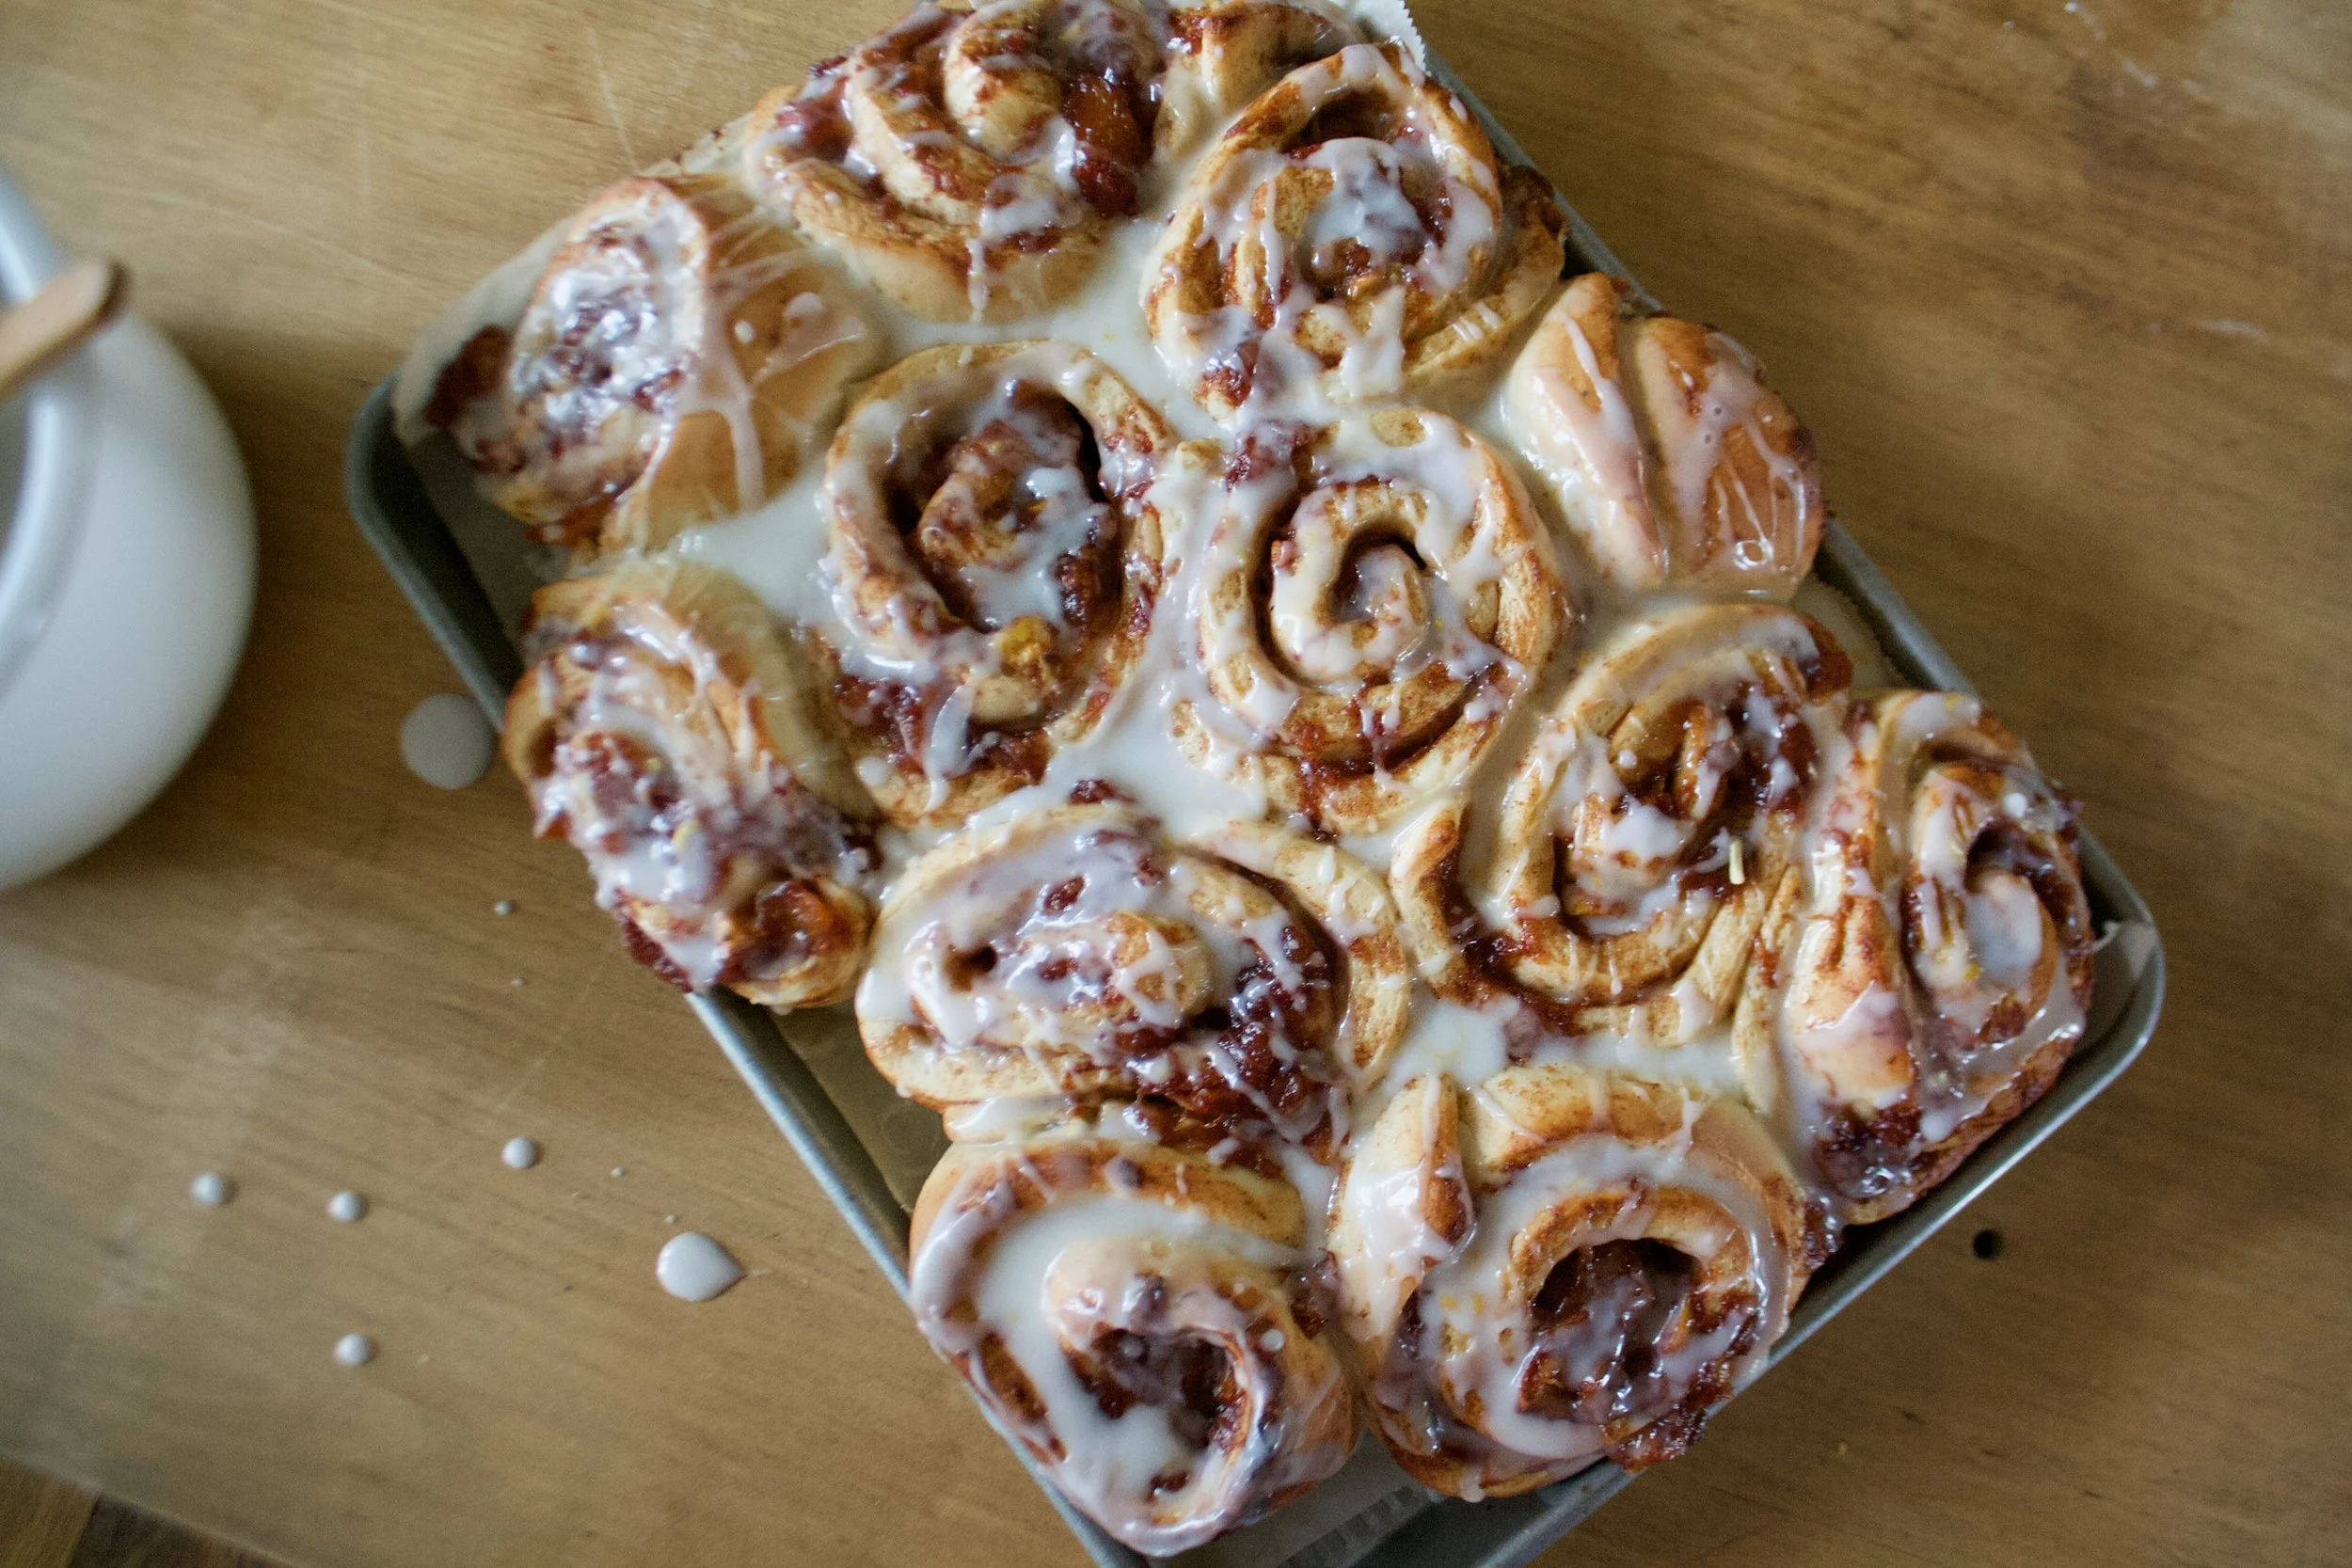



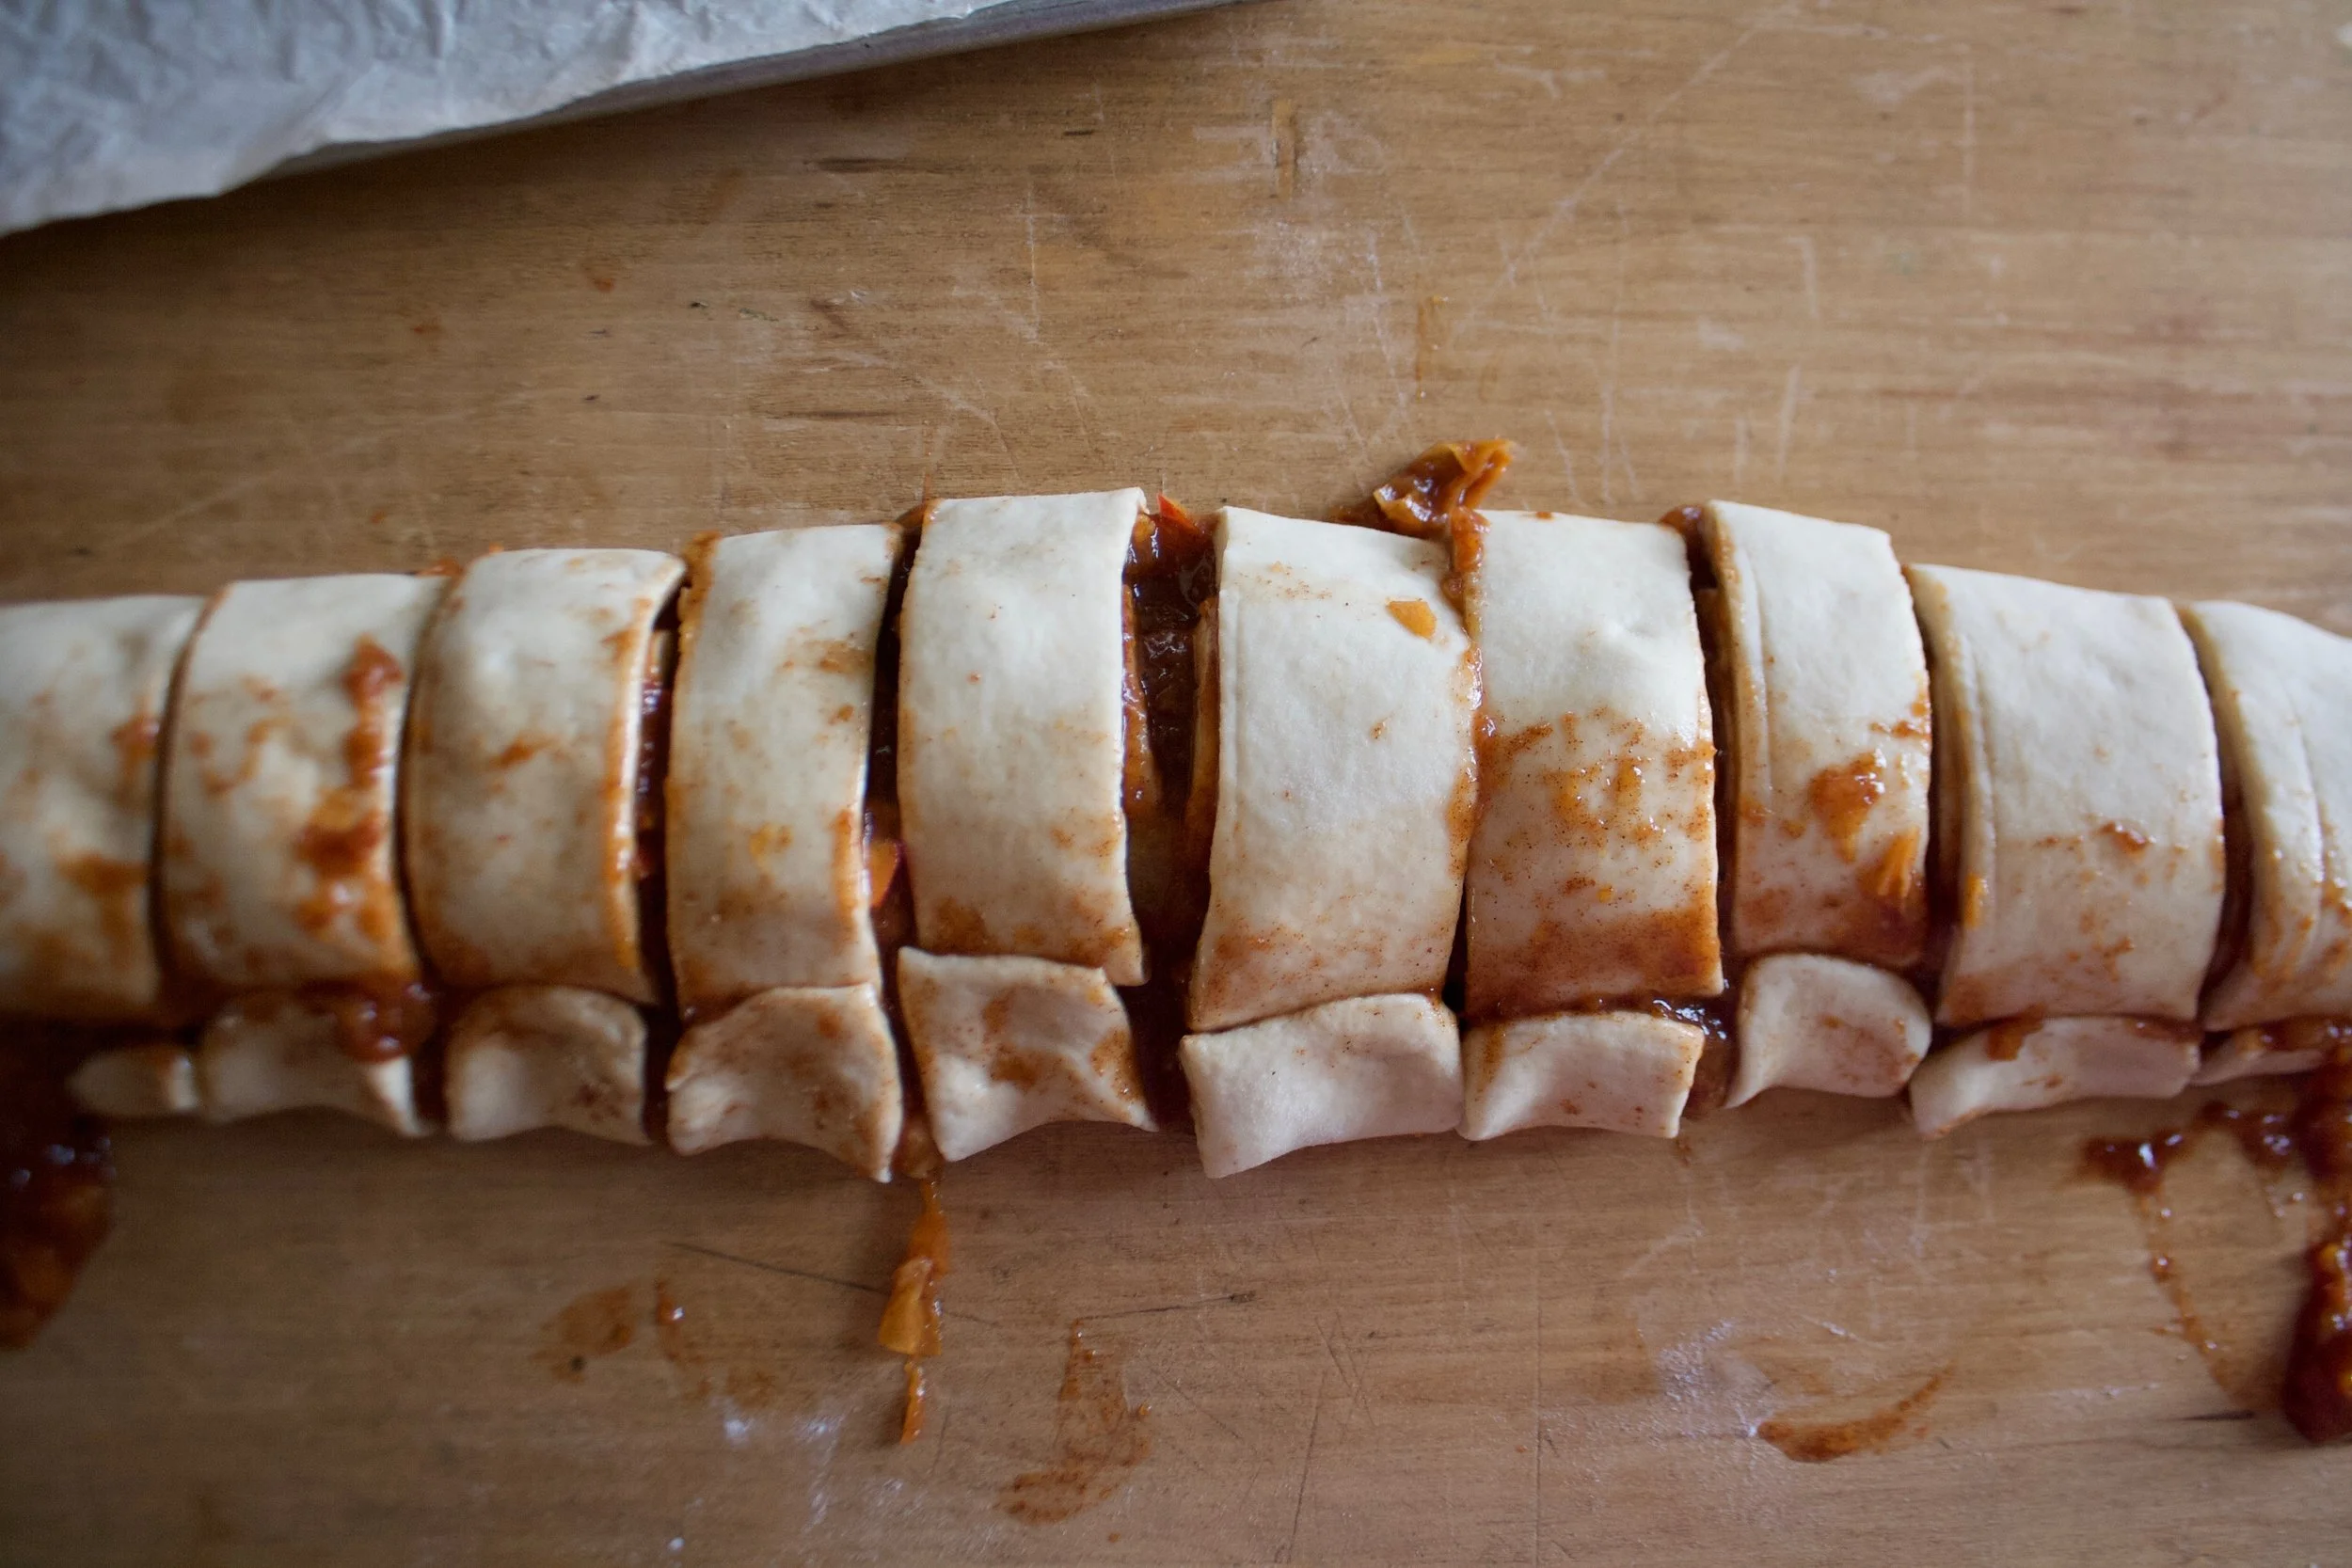




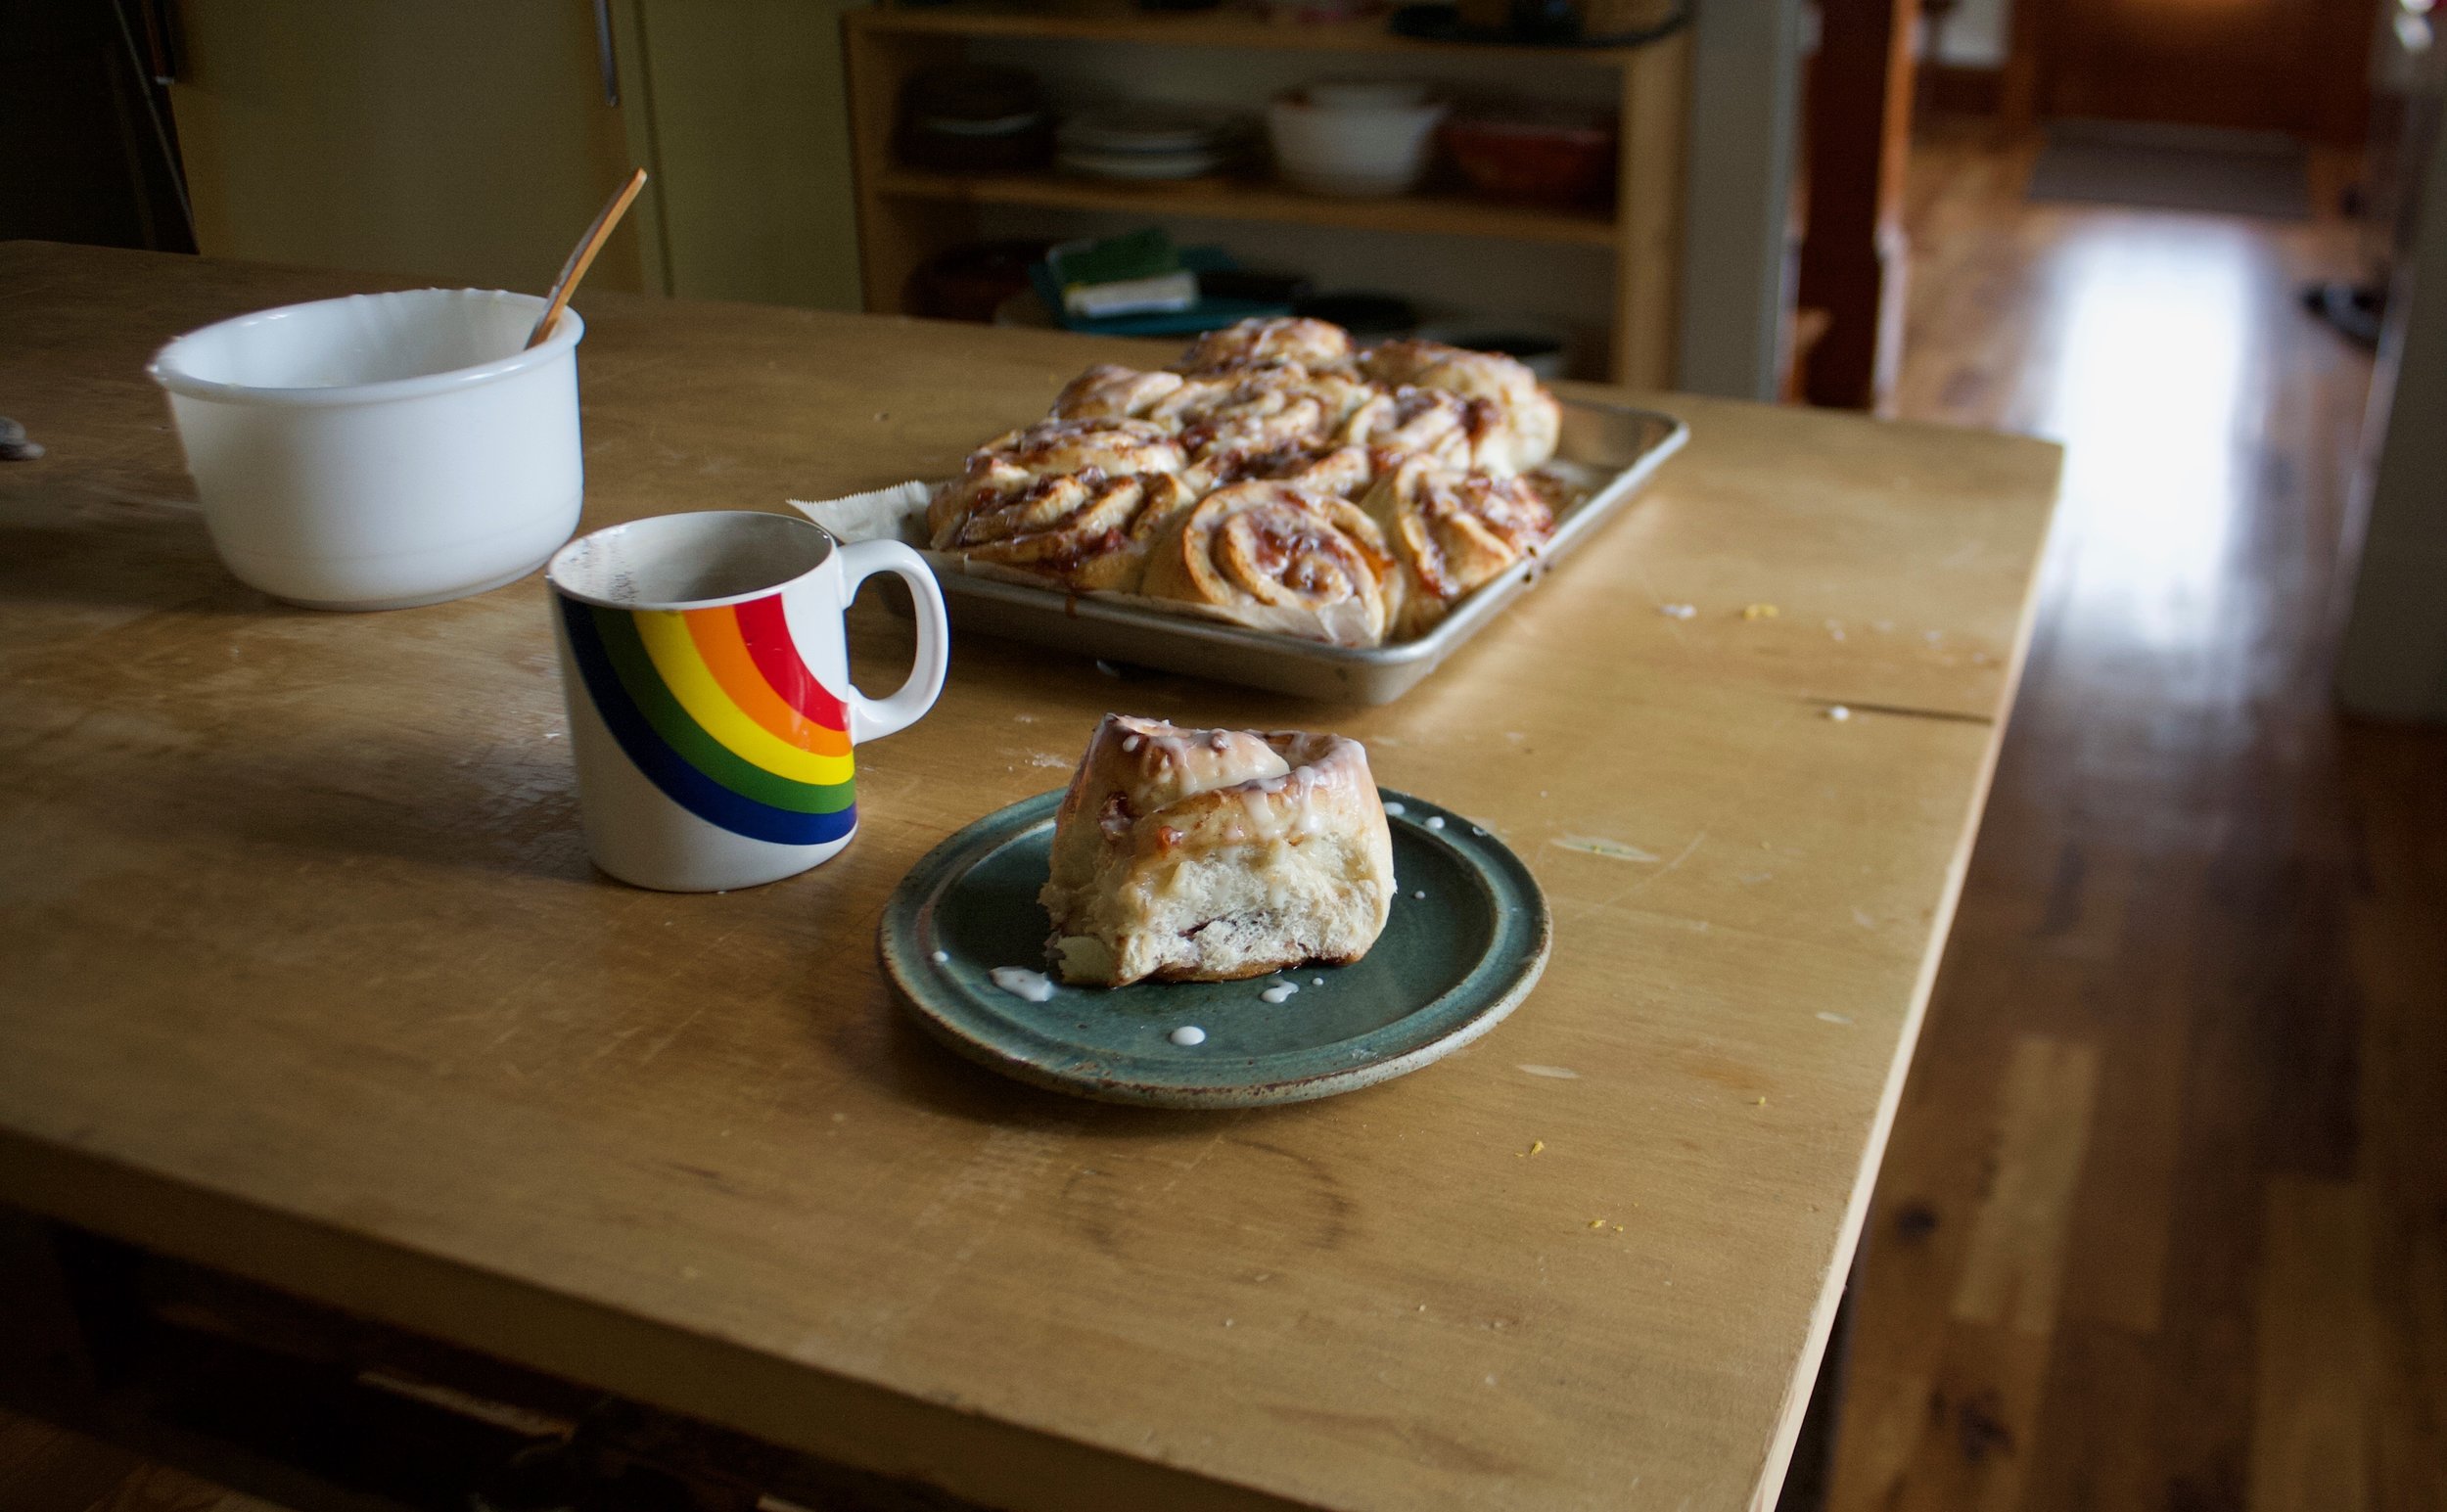


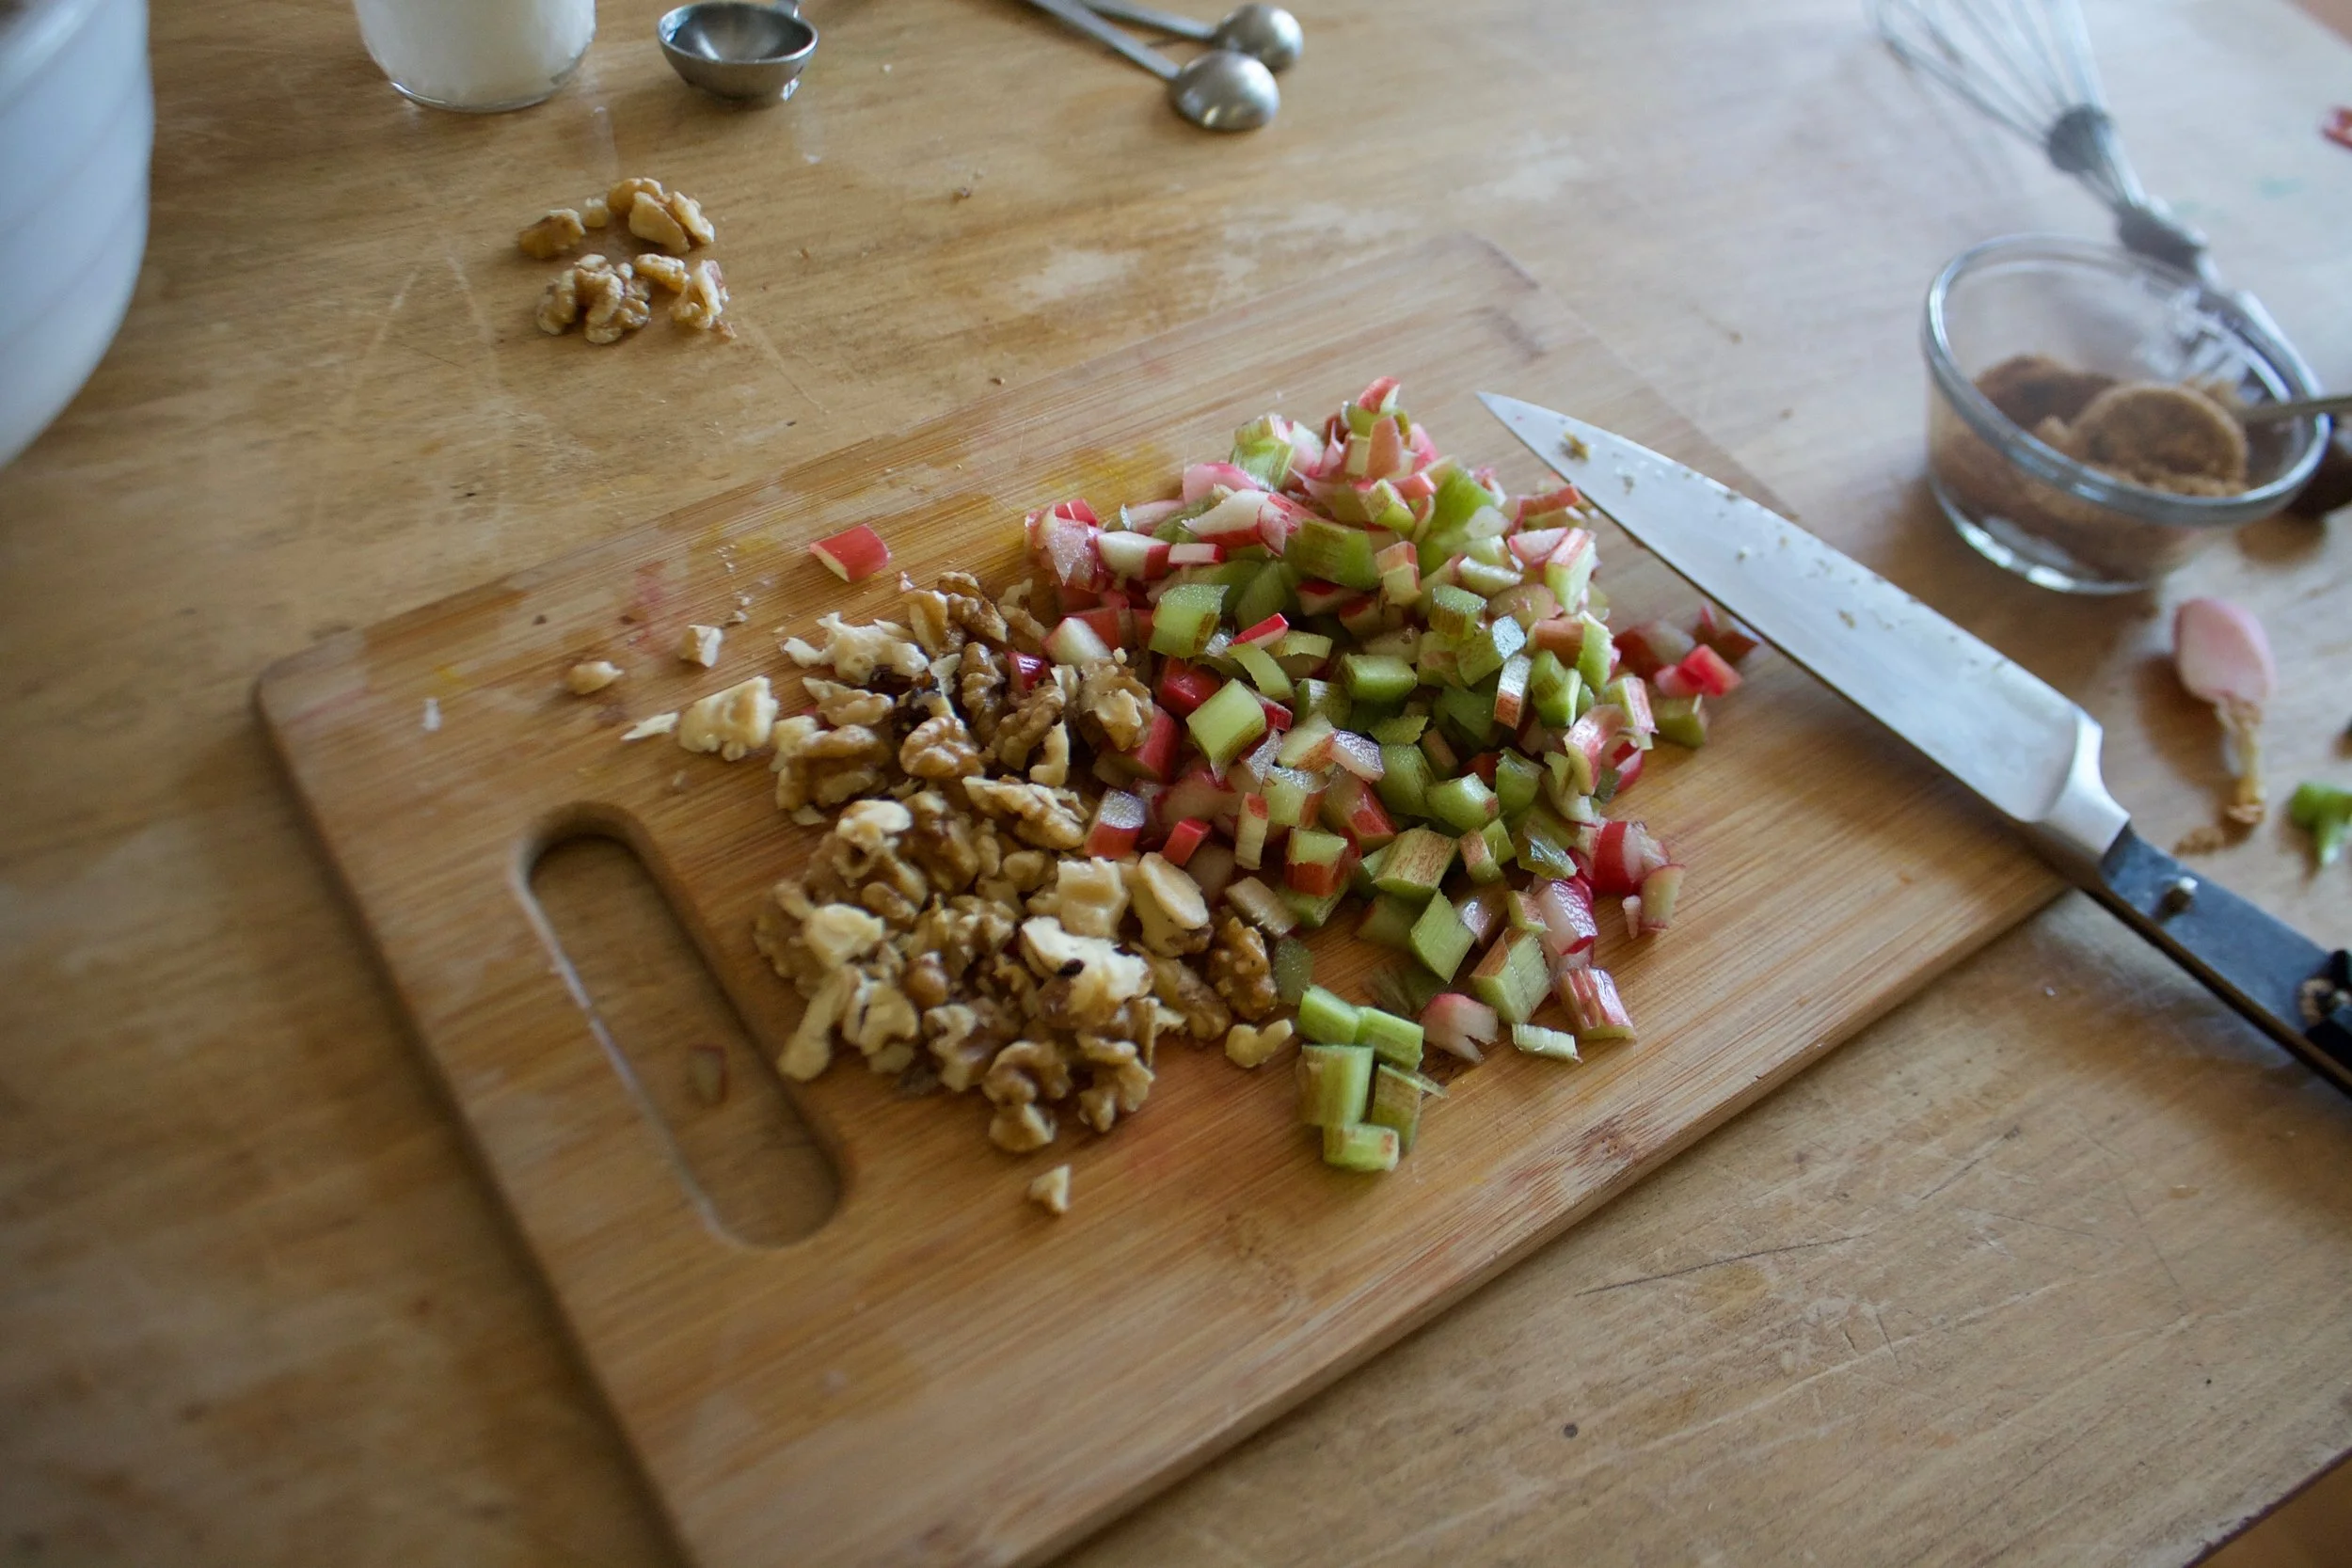


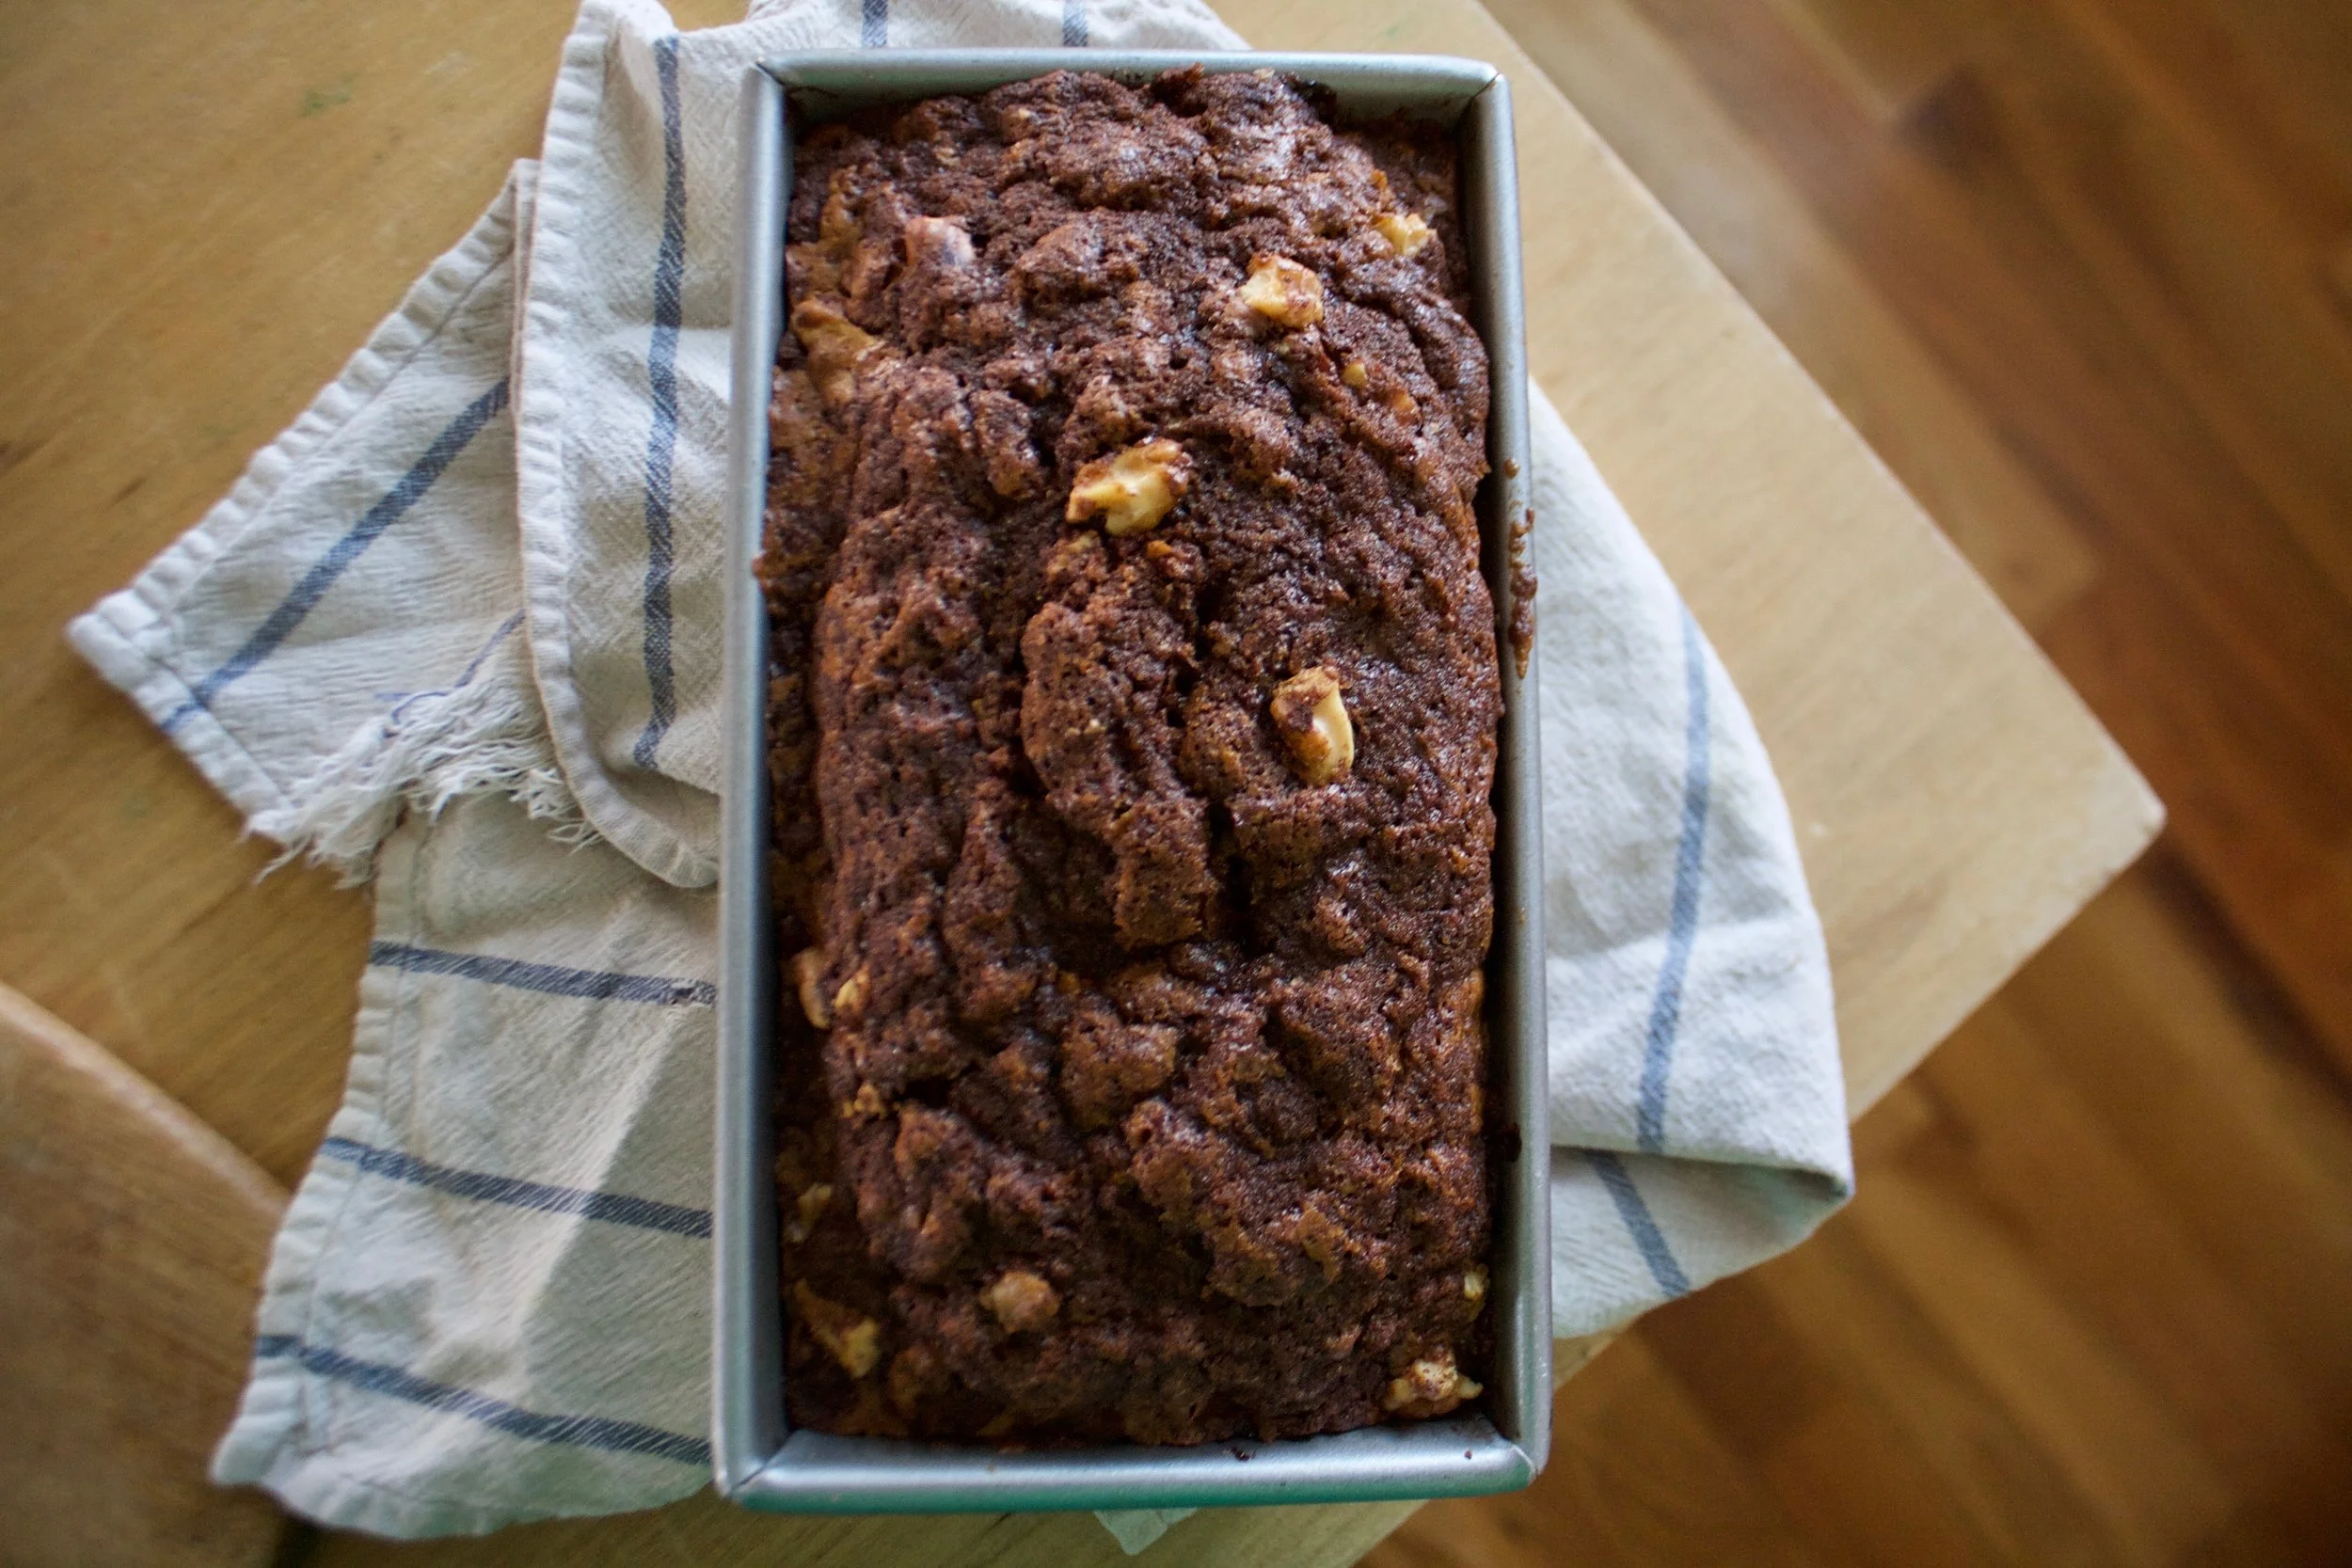
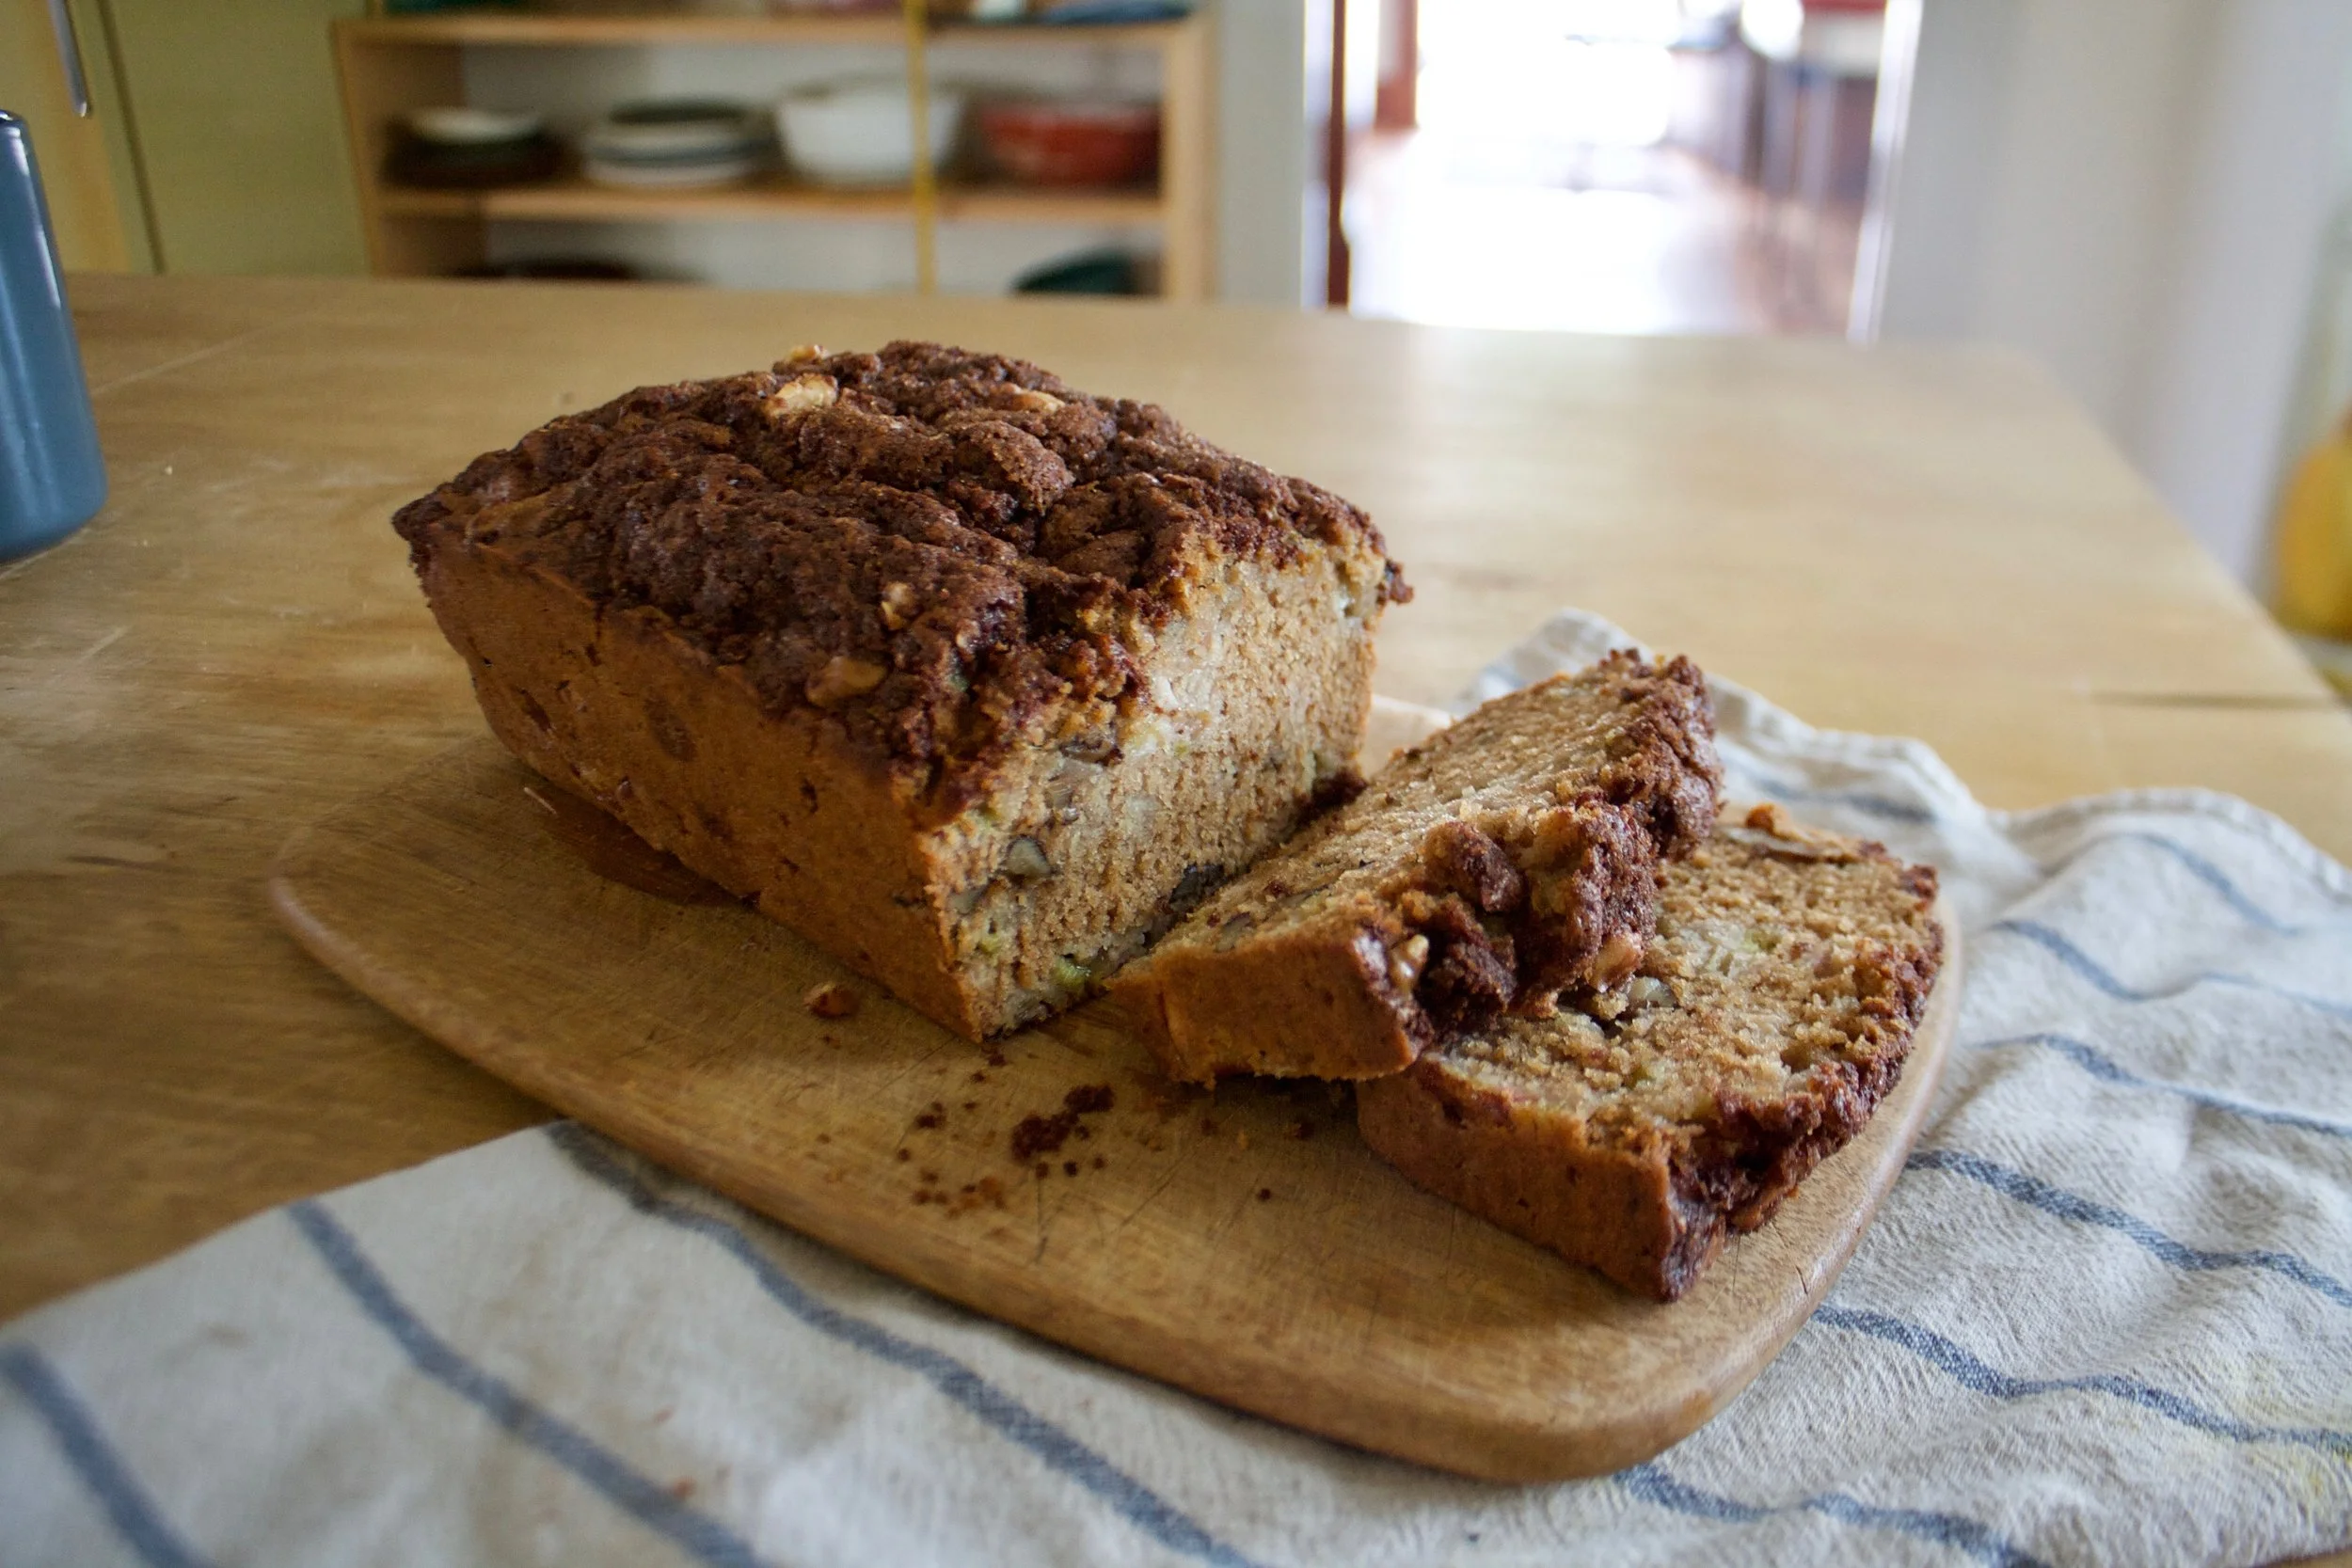

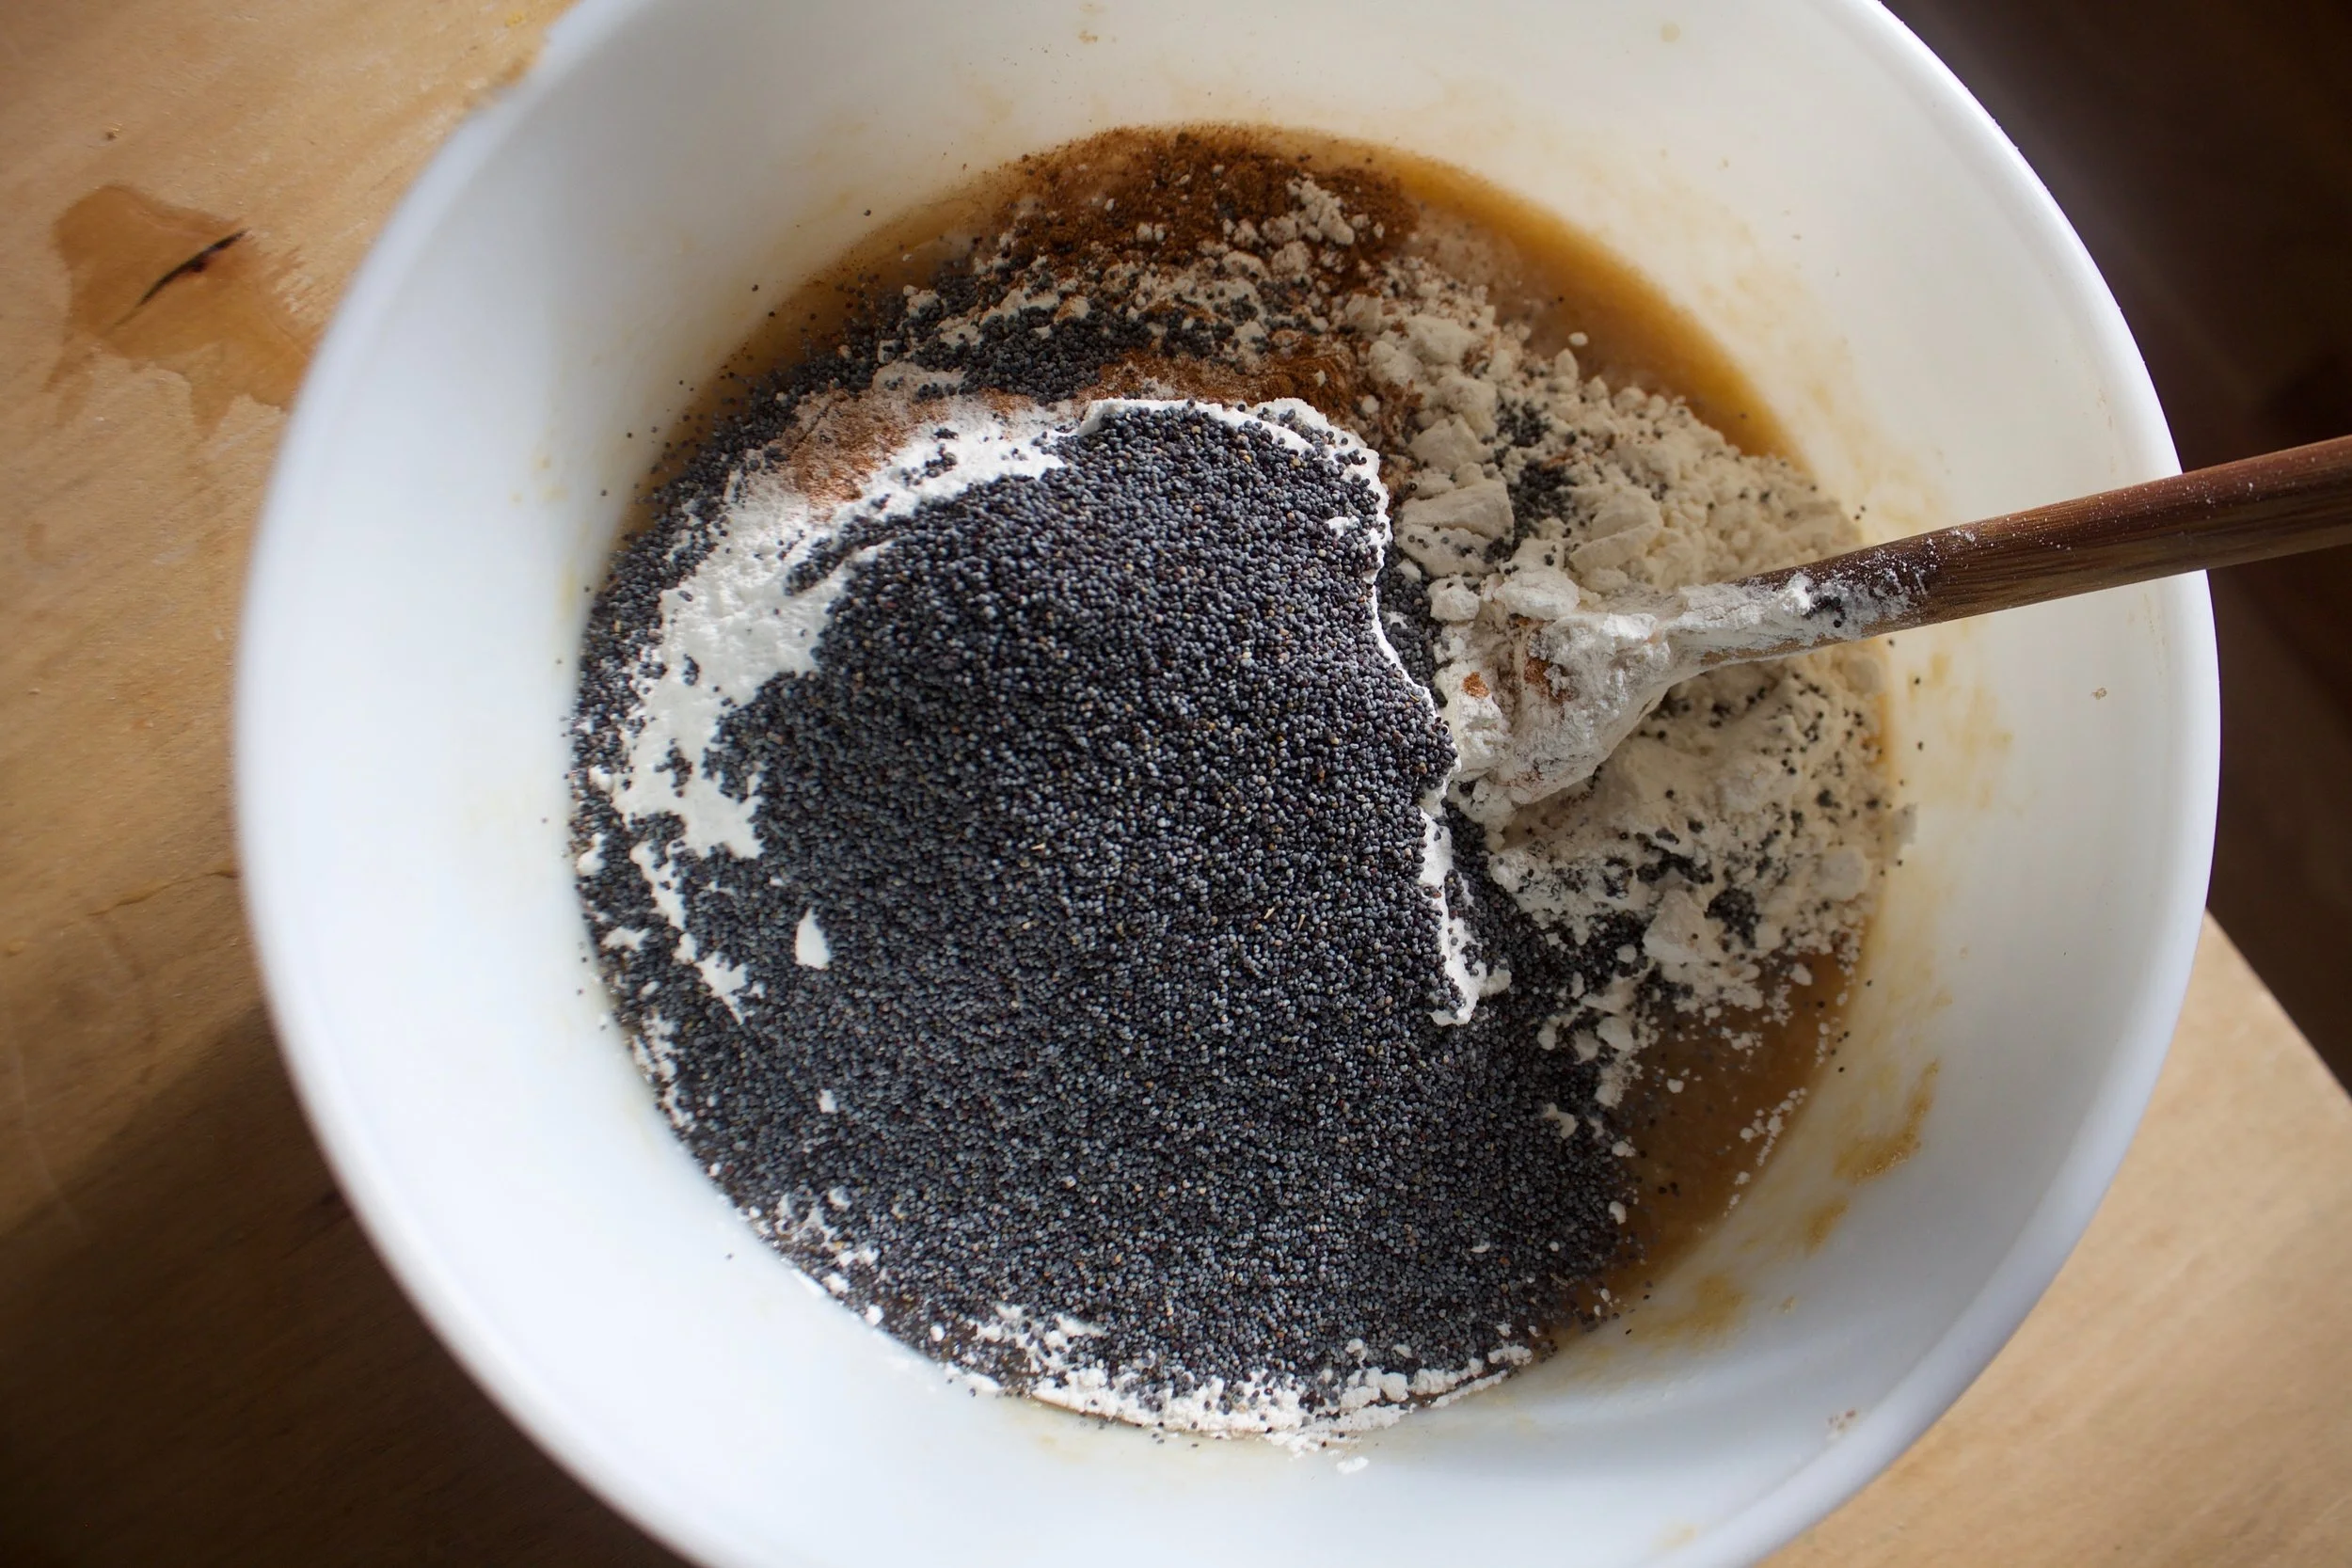
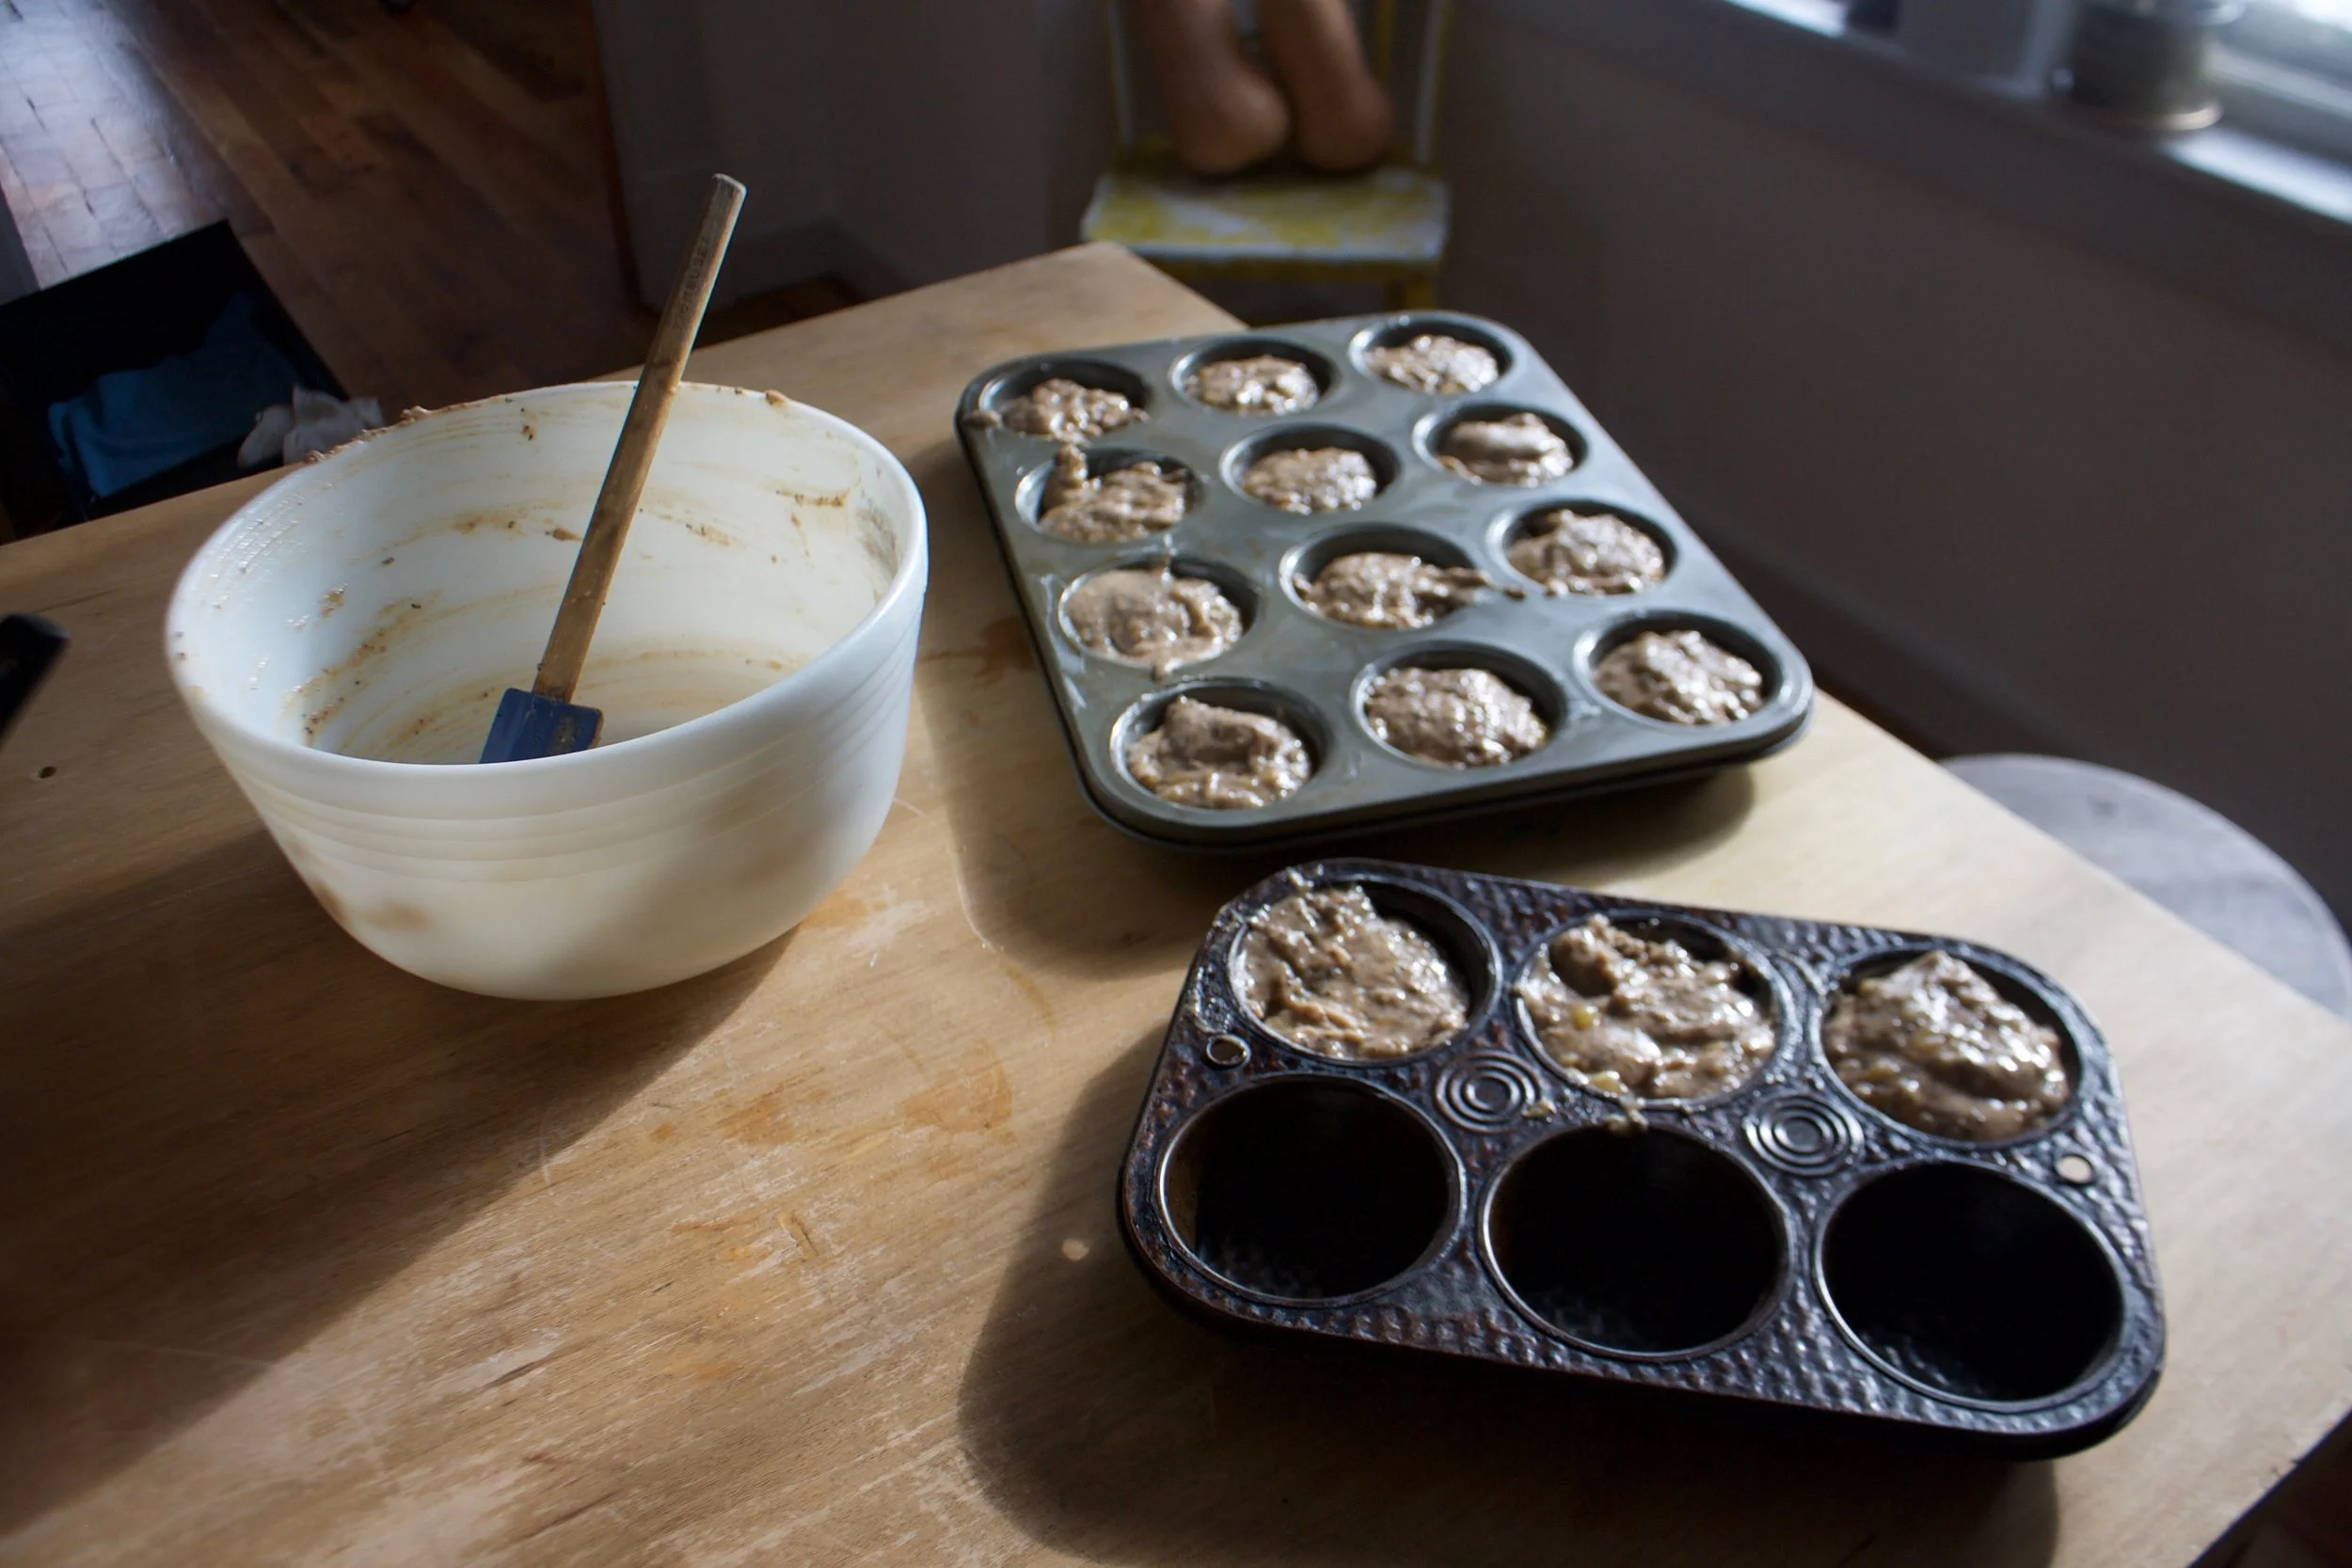
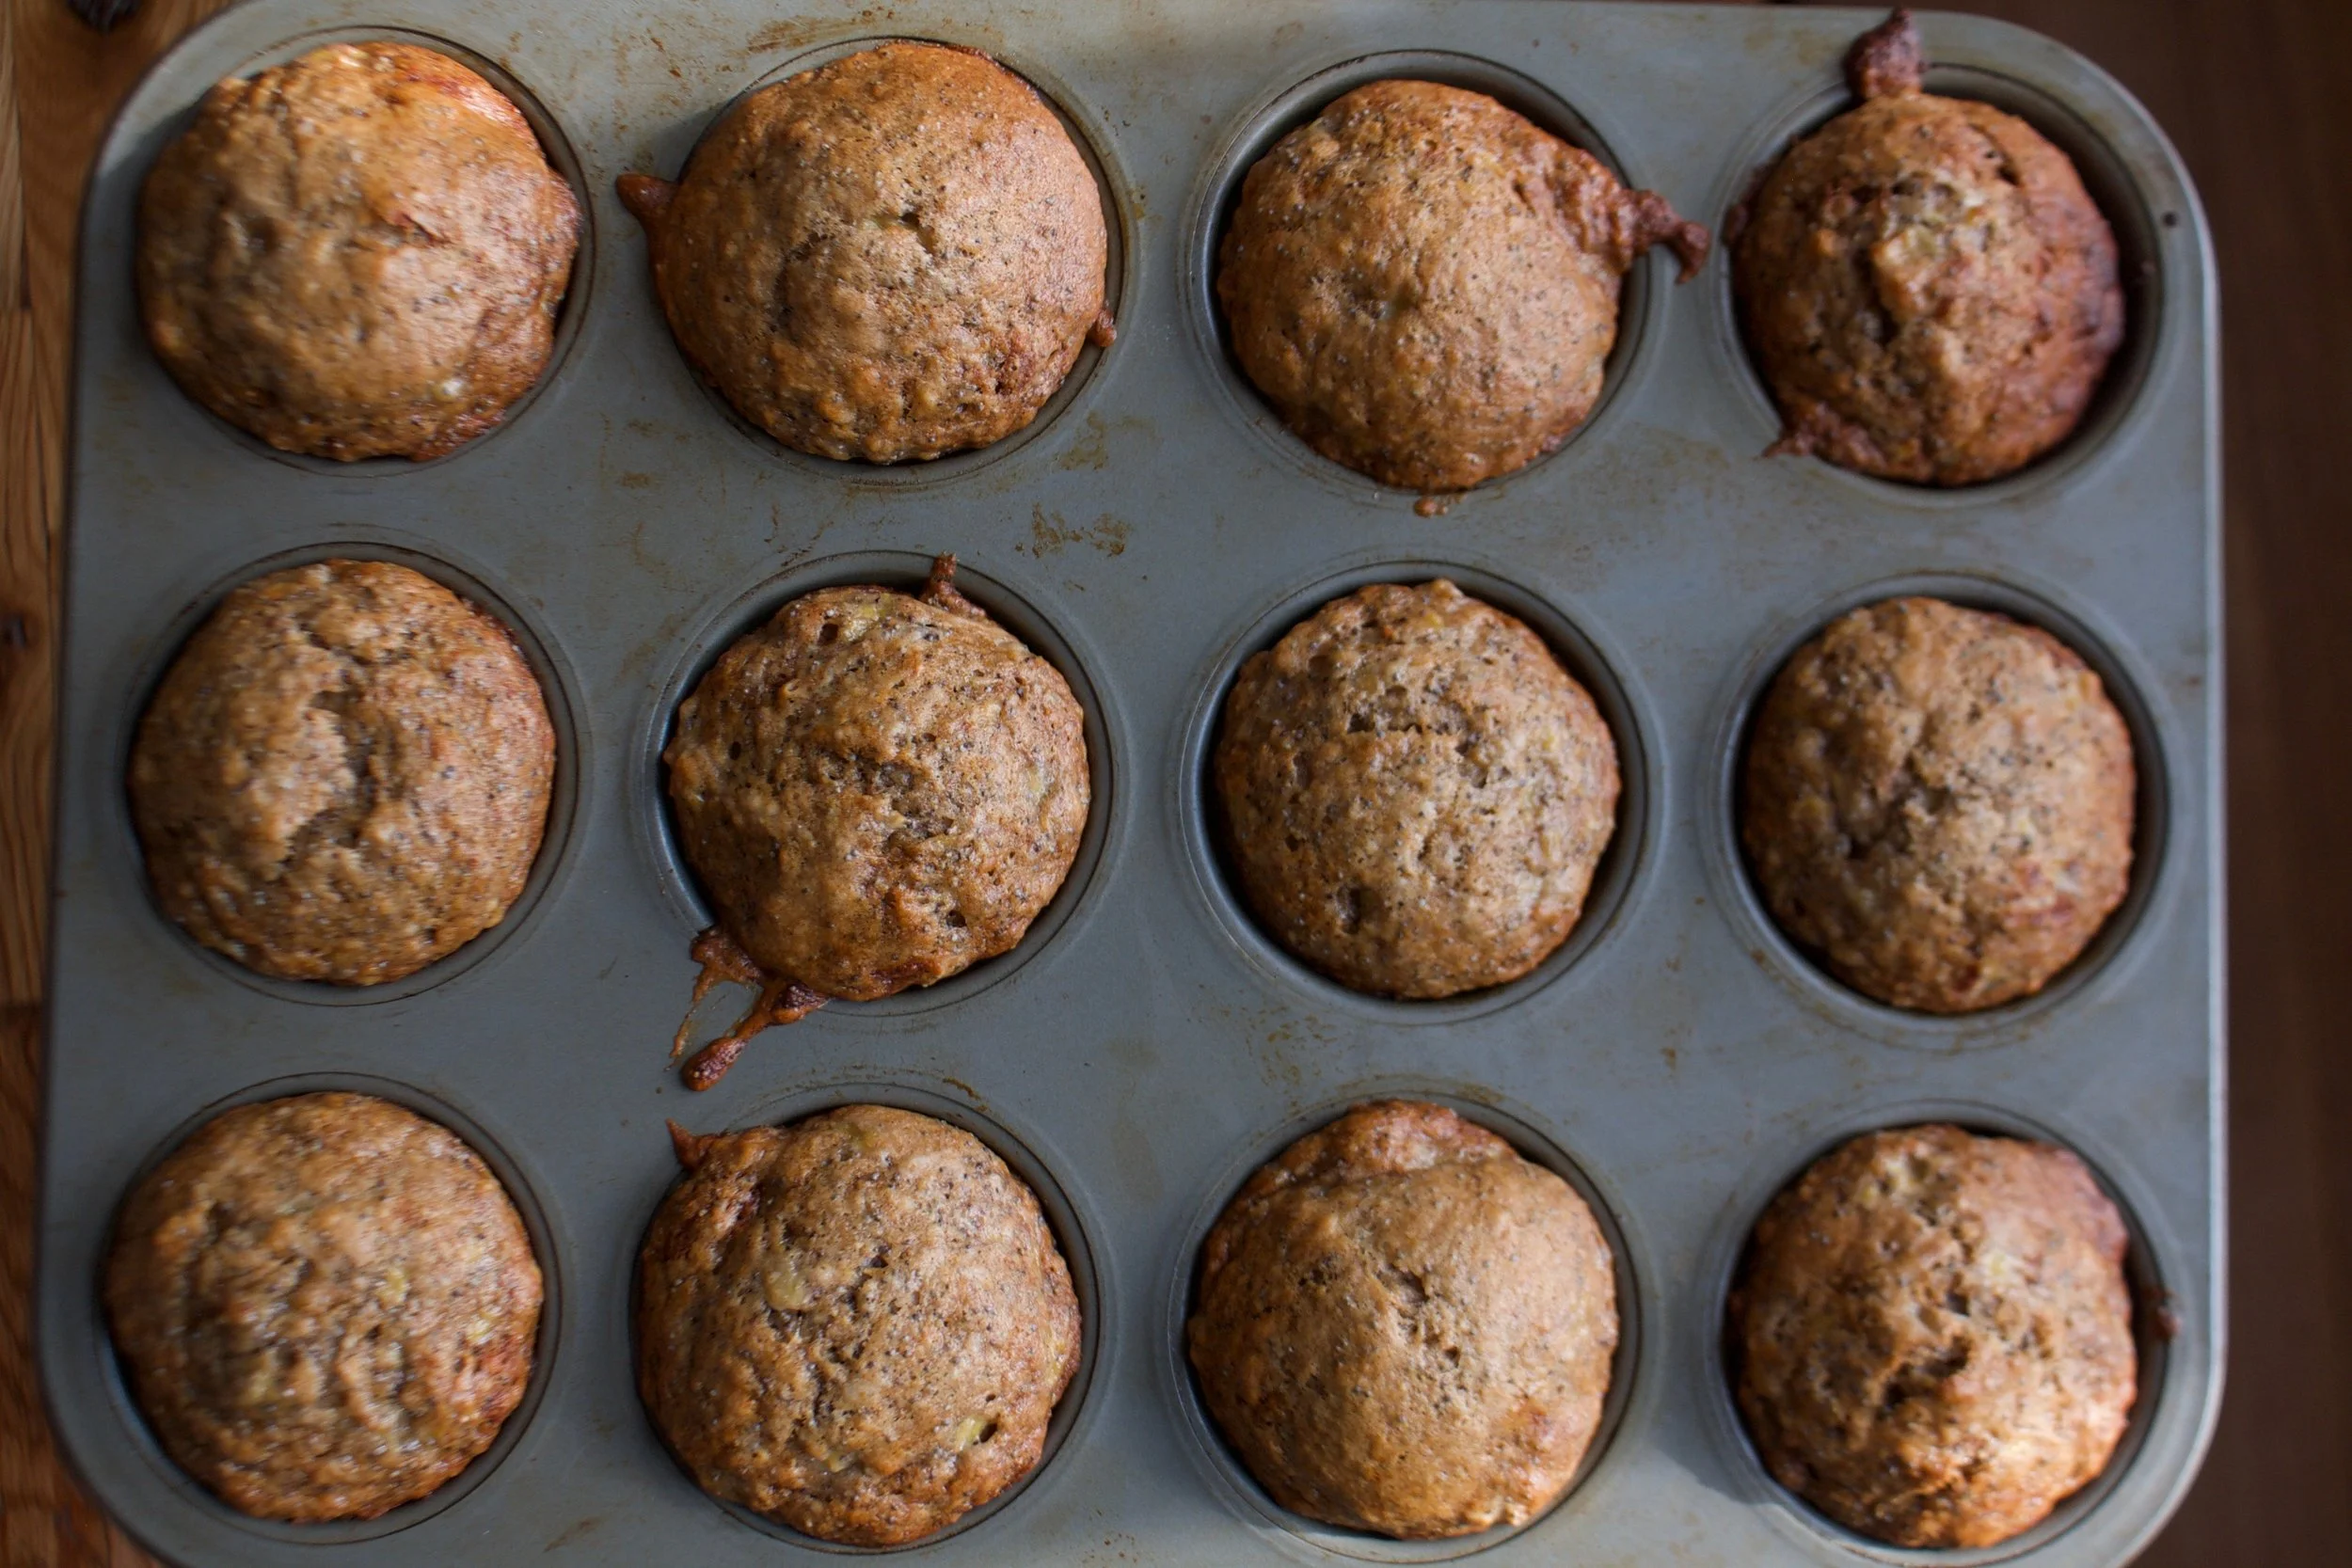

Creamy Parsnip Split Pea Soup — The Lovely Crazy
September 19, 2019 by maximios • Blog
I’ve gone on a complete split pea binge. I have been making it (or reheating it if I have left overs) every day for the last two weeks, no joke. (This lady needs her protein) I get home, grab what ever veggies I see first in the fridge, a few jars of some spices, the giant jar of dried peas, and make quick work of lunch. Chop chop, dump, splash, stir. I am a soup (stews and bisques too) master. Soup for lunch. Right in all ways and just needs to happen.
Sometimes I’ll make soup and it’s just good soup.%u00a0 Sometimes it will end up being really good .This soup, well this soup is really freaking awesome and is my new go to for split peas. Thick and creamy, mildly sweet from the parsnips and ginger, but mellow at the same time. Add a little or a lot of pepper (lots of pepper here) and you got yourself perfection.
Soup that warms you up from the inside out and leaves you happy and full.
Split pea for life!
The stuff. Dried split peas, parsnips, a carrot, and onion, some Italian seasoning, ground ginger, bay leaves, and salt and pepper. Also need water.
Chop the veggies. Smaller chunks are good, but don’t worry to much, it’s all getting blended up anyway.
Now toss all those veggies into a big heavy bottom pot and mix in all the spices. Stick o stove with a splash of water and turn up the heat to give the veggies and spices a few minutes alone to active all the goodness.
Once the smell hits you nose and the veggies look like they need some water, dump in the split peas and add enough water to completely cover everything plus a few extra inches. Bring the pot to a boil then turn down to low, stick a lid on pot, and let cook. Check an stir every 10 minutes or so. If it starts to look dry, add in another few cups of water.
Peas are soft, veggies are cooked and now soup is almost ready to go.
Just blend it until smooth. Take liberty hear and smooth it as much or as little as you like. Also if you want to thin it out, just add more water. Want to thicken it up, just cook for a little while longer. ( spit pea is so easy).
And that is it.
You know what to do from here.
Soup time!
Stay warm and have a great weekend.
-C
makes a large pot of soup that will feed 4-6
*Note. Italian seasoning is pretty basic and you probably have it, but if not you can make your own by mixing equal parts thyme, oregano, basil, and rosemary.
Start by rough chopping all the veggies and placing them in a large heavy bottom pot. Mix in the spices and bay leaves. Stick on the stove with a splash of water and cook for a few minutes to let the spices ans veggies heat up and smell all nice. Add in peas and enough water to completely cover everything in the pot plus a few inches. Bring to a boil, them turn heat to low, cover pot, and let cook for about 1/2 hour-45 minutes, checking and stir ever 10 minutes. If the soup seems to get too dry, just add in a few extra cups of water.
Once the veggies and peas are soft, turn heat off and using the blending device of your choice, blend until smooth. Season with salt and pepper to taste and eat hot but watch your tongue.