Let%u2019s talk about how soup is the perfect food. It can be light and fresh, hearty and deep, chunky or smooth. You can eat it with a spoon, or somtime a fork if warranted, or just drink it from a mug. It%u2019s usually a one pot meal, a small pot for one, a big pot for many. Make a pot of soup and eat some now and save some for later. It freezes amazingly well. Got a few extra sad carrots and wilted greens? Toss them into a pot with whatever you have on hand, maybe those veggies scraps and you got yourself a meal. Want something more filling, just add in some grains. Feeling sick, warm soup will make it all better. Feeling fresh and springy, well soup is there for you too. Seriously soup, you can do anything. If I could, I would marry you. %u2665%ufe0f
This soup is one of this velvety smooth, light but rich, delicious beyond delicious soups. A fresh spring time soup. Not to hearty or heavily spiced. Super rich and creamy and flavorful. Bright ass green which makes it amazing in itself, but then with a nice tangy sumac tahini swirl on top, well it is just about the most perfect soup. I made to share, which I did, (and everyone licked their bowls clean) but then hoarded the little bit left over and ate it cold for a late afternoon snack. That is another thing about soup, you can eat is cold and it is still amazing.
Tasty and delicious, and nutritious. This soup does it all.
To the soup!
The stuff. Peas, chopped broccoli, and chopped cauliflower which are all frozen and slightly thawed. You can totally use fresh here too, but I just so happen to have it frozen so you might as well save the fresh stuff for fresh eating. Also have a big yellow onion, a few cloves garlic, some tahini, a lemon, sumac, and salt and pepper. You need water which I did not picture here.
A pot, some water and a roughly chopped onion and the garlic start off this soup. Bring the pot to a boil, then turn to medium and let the onion and garlic cook until very tender. I have been making a lot of soups starting with this step lately. Boiling the onion and garlic until tender and fragrant really make for a super flavorful and clean soup base. Or soup in itself.
Now add in the broccoli and cauliflower to the pot and cook until tender.
Mid soup cooking time is a good time to make the sumac tahini sauce for the swirl. Basics here, just mix the tahini, the sumac, a pinch of salt and pepper, the juice of the lemon and a tablespoon of warm water together until smooth.
Last but not least, the peas. Add them in and they just need a few minutes to cook through.
And then it all gets blended to become this green creamy goodness.
Ladle into bowls, grab the sumac tahini sauce and swirl it on in. A tablespoon or so is good. And don%u2019t forget a little more pepper and another pinch of sumac for good measure.
Just appreciate for a moment. That is one good looking bowl of soup. And it taste even better then it looks.
-C
Makes about 4 serving
1 1/2 cups fresh or frozen peas
1 1/2 cup chopped fresh or frozen cauliflower
1 1/2 cup chopped fresh or frozen broccoli
1 large onion
3-4 cloves garlic
4-5 cups water
Salt and pepper
1 teaspoon sumac
2 tablespoons tahini
2-4 tablespoons warm water
Start by removing the papery skin from the onion and chop into a few big chunks. Remove the skin from garlic too. Place into pot with 4 cups water. Turn heat on high and bring to a boil then turn heat to medium and let onion are garlic cook until tender which should take about 15-20 minutes
Once the onion is cooked, add in the broccoli and cauliflower. Turn heat back to high and bring to a boil again then turn back down to medium heat. Keep cooking until tender (another 15 minutes or so) then add in the peas. Keep on heat until peas are cooked through then remove the pot from heat and either transfer to a blender or use a immusrian blender to blend the soup until smooth. Add a little more water if needed to get to the right consistency to blend right. Or if you want a thinner soup.
For the tahini sumac swirl just mix the tahini and sumac together along with the juice of the lemon, two tablespoon warm water and a pinch of salt. Mix together until smooth. If the mixture is to thick, add another tablespoon of water.
To serve. Ladle or pour soup into bowls and drizzle and swirl the tahini sumac on top. Sprinkle with pepper and a pinch more sumac and you are good to go.
I can%u2019t remember the last time I have gone a day without eating lentils. Seriously, even when we travel I buy or bring along a bag of lentils. Or when we are camping, its basically all we eat. So it is safe to say that I know my way around a lentil or two. They are probably my favorite food (I say that about all my favorites)
Other then lentils being amazing delicious, the are so versatile. I am sure I say it all the time, but there is nothing you cannot make with lentils, sweet or savory. And nutritional as all heck. So much iron and a super amount of protein. Lentils are basically the perfect food in tiny little coin shaped form. Take it from this vegan lady here. Lentils help keep me alive. HA.
But enough about how many lentils I eat, what we need to address is this chili. It doesn%u2019t matter if you are a lentil feen or not, you will very much enjoy yourself a big bowl of this hearty, slightly spicy, warming goodness. Especially now, when it%u2019s cold outside and the days are short and you just want to eat something filling and healthy and that is not left over holiday cookies. And big bonus, this is a chili that you could come home to start at 5 and basically have it ready to eat by 6. That is just one bit of the magic of lentils, they so cook so fast.
And it%u2019s chili and chili is the best so you really should just get it made. It%u2019s what you need, I can tell.
To all the lentil goodness!
The stuff. Green lentils, crushed tomatoes, a cubanelle pepper, an onion, a couple carrots, and some cauliflower. Also a few cloves or garlic, cumin, chili powder, ground ginger, a red jalape%u00f1o, and salt and pepper.
Get started by small choping the carrot, onion, and pepper. Mince up the garlic too.
Grab that jalape%u00f1o and remove steam (and seeds if you want heat) and dice into very very small piece.
Into a big old pot it all goes, along with the cauliflower and all the spices. Add a splash of water and a sprinkle of salt and pepper and stick it on the stove for a few minutes to warm up the veggies and spices.
Looking good.. So good I wanted to eat it all, but don%u2019t, it%u2019s for the chili.
Now add all the tomatoes and water and place back on stove on high heat until it starts to boil, then reduce heat to a medium and cook until lentils are tender.
Well look at that, chili.
And why not top with a little avocado while you are at it. It is a very good addition, to the spiciness.
Very little amount of works for such great rewards. Probably going to be your new favorite chili recipe just so you know.
Lentil chili. Grab a bowl, kick up your feet, and dig on it.
-C
makes a lot of chili, like 10-12 servings
1 pound green lentils
1 large onion
5-6 cloves or garlic
1 cubanelle pepper (or any green or sweet pepper)
2 large carrots
3 cups chopped cauliflower (fresh or frozen)
6 cups (two 28 oz cans) crushed tomatoes
2 hefty tablespoons cumin
1 hefty tablespoon chili powder
1 teaspoon ground ginger
1 jalape%u00f1o pepper
6-8 cups water
salt and pepper
diced avocado for serving (optional)
Remove steam and seeds from cubanelle pepper and small dice it along with the carrots and onion then place int all nto a large heavy bottom pot. Mince the garlic add into pot. Remove steam and seeds from jalape%u00f1o pepper and finely dice it and add to pot. Last but not least, add the spices to the mix. Add a splash of water and place on high heat and cook the veggies and spices until for 5 or so minutes, just to give them a little heads start and to activate the spices.
Once the veggies have had a few minutes of heat, dump in the dried lentils, the tomatoes, and 6 cups of water. Stir around and keep on high heat until it starts to boil then turn down to medium and continue to cook, stirring once in a while, until the lentils are tender and the chili has thickened, which should take about 35-40 minutes. If at any time you the lentils are not submerged in liquid but are not cooke through, add more water. And once the lentils are cooked you can thicken bu continuing to cooke does or thin it out by adding more water. Taste soup and season with salt and pepper as you see fit.
To serves, ladle into bowls and tope with diced avocado.
Left overs are fantastic hot or cold and will last in the fridge for about a week. Or if you want, you can freeze a few servings.
Soup is all about comfort and I needed comfort this week. What with being all sad and slightly stressed with a little touch of the holiday blues. And I needed something to warm me up because is has been freaking chilly cold. I needed soup. But I wanted something slightly special, not the everyday, but also not anything fussy or finicky. A soup that I could make really fast or let sit on the stove all day. A soup that would bring a little brightness without being overly rich. A soup to take away the chill and make me happy.
Is that asking to much of a soup? I think not.
This soup, it did it all. But also take into account, this soup is not for the people that do not like squash. Or for the people that do not like apples or cranberries. Or for people that do not like thick creamy soups. But if you are not one of this people (you are a person that likes squash, apples and cranberries, and creamy soup) then this soup is for you. It is for us. Creamy, flavorful, slightly sweet and spicy with a little tang and just so dang delicious. It is like a warm blanket of soup. Comfortable and lovely. I have basically eaten an entire pot all to myself in the past two days.
It has been just what I needed.
Join me.
The stuff. A butternut squash, a couple apples, and some cranberries. Also a carrot, an onion, some fresh ginger, a few cloves garlic, cumin and chili powder, salt and pepper, apple cider vinegar, and a little olive oil.
Start by chopping up the carrot and the onion. Small pieces just because they cook a little faster.
Peel and grate or mince some fresh ginger too.
Toss that all into a big pot with a splash of olive oil and a splash of water and cook on a medium heat until tender and fragrant.
While the veggies cook, chop the squash into small cubes. Remove the seeds, but no need to peel.
And chop up the apple too, but set aside a half of one for the apple cranberry relish.
Now toss all that into the pot along with the cranberries.
Add the spices, salt and pepper, a few splashed of apple cider vinegar, and water to cover it all. Then place it on stove, bring to a boil, then turn heat to medium and let cook.
While the soup is cooking, make the relish. Mince the half apple along with about 1/2 cup of cranberries.
Place in a bowl with a pinch of salt and a few splashed of apple cider vinegar. Then just let it sit and meld.
Soup is looking good. Everything is soft and falling apart and ready to go.
Blend it all until smooth.
Thick and creamy goodness right here. If it is to thick, add more water, too thin, cook it down a little longer. The consistency is up to you.
Now all you need to do is ladle soup into bowls and top with a couple spoonfuls of the relish.
This is comfort. This is good.
Have a great, comfy weekend.
-C
makes 6-8 servings
1 small butternut squash (about 5 cups cubed)
1 large onion
1 carrot
2 macon or mac apples
2 cups fresh cranberries (you can use frozen too)
2 tablespoon cumin
2 tablespoons chili power
2-3 cloves garlic
2 tablespoon fresh minced or grated ginger
4-5 tablespoon apple cider vinegar
olive oil
salt and pepper
6 cups water
Start by chopping the onion and carrot into small pieces. Place into large heavy bottom pot with a splash of water and a tiny splash of olive oil. Mince the garlic and peel and mince ginger. Toss into the pot as well and place it on a medium heat to cook until the veggies are tender and fragrant.
While the veggies are cooking, dice up the butternut squash. Remove any seeds but there is no need to peel. Also dice up the apples, reserving 1/2 of one for the relish. Place the chopped squash and apples into the pot with the cooking veggies along with 1 1/2 cups of cranberries , the chili powder and cumin, 2-3 tablespoons apple cider vinegar, and the water. Place the pot back on the stove, bring it to a boil, then reduce heat to medium and let cook.
Once soup is on the stove, take reserved half apple and the other 1/2 cup of cranberries and dice into very small pieces. Place into a bowl with a little pinch of salt and 2 tablespoons apple cider vinegar. Toss around and set aside.
And back to soup. Once the squash is tender and starting to fall apart, it is time. Remove from heat and either with a immersion blender, or a regular blender, blend the soup until smooth. After its blended and creamy smooth, check for thickness. If you think it is too thick, add more water. Too thin, place back on stove and cook down until it thickens up a bit more.
When you are ready to serve and eat, ladle soup into a bowl and top with more pepper and a spoonful or two of the apple cranberry relish.
Then eat and feel cozy.
This summer has been weird. And when I say weird, I mean too stupid freaking hot and humid and it’s screwing up my life.%u00a0I think I have gone a month, maybe more, without making soup.%u00a0That is just not right. For as long as I can remember I have made soup, or at least eaten soup, just about everyday, even all summer long. But the terrible heat and humidity this year, I just have had no desire. It has been straight up shredded zucchini and whole tomatoes for some time now. I just don’t want to have any residual added heat to my life.%u00a0%u00a0But the other day, oh how lovely. I woke up with a chill, %u00a0enough that I needed to grab a long sleeve before leaving the house, and had the very strong urge to return home and get my soup on. And soup on I did!
For my first trip back into soup (oh how I missed soup!),%u00a0I went simple and used what I, and many, many people have ample supplies of right now.%u00a0Tomatoes. And beans because I wanted my soup to be thick and creamy and I had the beans so why the heck not.
This soup really requires very little and you get the most thick, delicious, creamy, tomatoey soup. Perfect to eat alone, but is fanatic with some crackers, or a hunk of crusty bread. And it uses a lot of tomatoes which is nice because I am (as are many of you.. My neighbor is bringing me HER tomatoes now too) trying to make a dent in the ever growing pile or these beauties on the counter. This soup dented it, until I went out to the garden a few minutes later. My pile is bigger then ever, which is fine because I am back on my soup game.%u00a0
The stuff. Lots of tomatoes, some white beans (I used navy, but any white bean would be good) a large onion, a carrot, salt and pepper, a lemon, some olive oil, and honey (optional).
First off, chop the carrot and onion into chunks.
Toss the chopped stuff into a big ol’ pot with a drizzle of olive oil and cook on a medium heat until nice and soft.%u00a0
While veggies are cooking, core and cut up all those tomatoes.%u00a0
When the veggies have cooked up a bit, add the tomatoes, the beans, and a sprinkle of salt and pepper to the pot and give it a good mix. Return to high heat, stirring even so often, until the tomatoes give off enough juiced to start boiling then turn heat down to medium and cook for a little while, like 1/2 an hour or 45 minutes.
Until it looks lit this. The tomatoes have all fallen apart and the beans, carrots and onions are mushy.%u00a0
Blended with the juice of the lemon and a sprinkle of pepper and more salt if needed.%u00a0
Now serve into a %u00a0bowls. Garnish with a drizzle of honey if you are feeling it. Sliced cherry tomatoes make for fancy garnish.%u00a0
Creamy tomato bean soup for everyone!
Hurray for soup!
-C
Makes about 1/2 gallon (enough to serve a crowed or enough to serve one for a few days and maybe freeze some for later)
10-12 large tomatoes%u00a0
2 1/2 cup or 1 can of cooked white beans (I used navy but any white bean will be good)
1 large onion
1 large carrot
I lemon
olive oil
salt and pepper
honey (optional)
Start by chopping the onion and carrot up into small chunks. Grab a large heavy bottom pot, drizzle a teaspoon or two of olive on the bottom then toss in the chopped veggies. Place the pot on a medium heat, stirring occasionally until the onion and carrot start to soften.%u00a0
While the veggies are cooking, core and cut up all the tomatoes. Once the veggies are soft, dump in all the tomatoes, along with the beans and all the liquid they are in. Sprinkle with salt and pepper and turn heat up to high, giving it a good stir until the tomatoes start to get super juicy then bring the pot to a boil. Once boiling, reduce heat to medium and cook for another half hour to 45 minutes, giving it a stir ever so often. %u00a0When the tomatoes have completely fallen apart and the carrot, onions, and beans are mushy, you know its done.%u00a0
Remove the pot from heat and dd in the juice of the lemon. Using a hand blender, blend until it’s a smooth creamy consistency. If you only have a counter belnder, let soup cool a little before handling and %u00a0be really freaking careful and blend a few cups at a time, making sure to have the blender lid on. Hot soup in the face is no fun.
Once soup is creamy and smooth, serve in bowls with a drizzle of honey (totally optional, but some people really like a touch of sweetness to their tomato soup) and more pepper to a taste. Garnish with thinly sliced cherry tomatoes if you are feeling fancy.%u00a0
Any extra soup can be refrigerated for up to a week. Can also be frozen.%u00a0
What are you doing this weekend? It is suppose to be cold and rainy (if not snowy) and crappy and just not a good weekend to be hanging outside, which makes it the perfect weekend to spend some time inside, SPRING CLEANING! Haha. Doesn’t cleaning get you excited? No, well,%u00a0sorry for you. Me, I like to clean, and I really like to tackle jobs that really really need to be tackled, like cleaning out the fridge. And a crappy weather spring weekend is probably the best time to do it.%u00a0
The refrigerator. My pride and joy of the kitchen. It’s an old harvest gold Fridgaire from like 1970. This is the fridge I spent almost a year hunting down and finally finding on craigslist from a man who was cleaning out his dead mothers house. The fridge that I almost gave up on when I couldn’t find it and almost bought a big stainless steal thing instead.mBut last minute, I found it, like it was %u00a0meant to be. And this fridge has a story all of it’s own. It was a prize won by on of the ladies daughters from a cereal company contest.%u00a0The family kept it for all these years and took such good care or it because of that.%u00a0A well cared for and loved fridge.%u00a0It is a good one with faux wood trim and metal shelving. It keeps my food cold and frozen %u00a0(sometimes frozen when it shouldn’t be. The back top shelve %u00a0in the fridge has a few cold spots the might freeze whatever is there. My solution to that is to not stick things in the cold spots.) and is just as pretty as can be. Some people question it, don’t understand why I didn’t just buy a matching fridge to my stainless steal stove, but you know what, if you don’t like it, well I really don’t care. It makes me happy and I love it.
And to what goes on on the inside. To know me is to know what is inside of my refrigerator. It is always packed. There is and always will %u00a0be carrots, beets, lemon, cabbage, turmeric, greens, greens, and more greens in there. There will always be some hummus of some kind, mustard, bread dough, tofu,%u00a0and lots and lots of any and every veggies you can think of. Plus a bunch of %u00a0jars and container, which I have a bad habit of not placing lids on all the time, full of lentils and beans, rice, and quinoa. %u00a0There is usually a %u00a0baked sweet potato or some squash and more likely the not, tomatoes and plant milk. In the freezer, well that’s getting pretty empty now, but after harvest in the fall, it is packed to the brim with bags of frozen veggies. Now it has a few bags of veggies, frozen bananas and berries,flours, and nuts. But the fridge,%u00a0The fridge is always full. And it an get a little messy….
And now I it’s time to clean it out.%u00a0
I spot clean and straighten it out often. Usually before I pick up farm share I go through it and tidy up, make more space, and pull stuff out that needs to be eaten first. But that is just the surface cleaning. Stuff gets sticky, stuff gets stuck, and especially with veggies, stuff gets dirty.%u00a0%u00a0Spot cleaning has a place but it’s not cutting it anymore. It’s spring and it’s time for a full fledge deep clean.%u00a0
Now I know most people have their own methods for cleaning but here are a few tips and techniques that I have to tackle the beast.
-Prepare. You don’t want to just go at it without a plan and supplies. Get out your cleaning supplies. Grab a recycling can and a compost bucket, and have a big lean surface ready to place stuff on. The vacuum or a broom should be handy too.%u00a0
–Cleaning solutions. It is a fridge so you don’t want to be cleaning it with a bunch of chemicals. What I use is a vinegar solution. 50/50 white vinegar and water and a squirt of dish soup. It cleans, degreases, disinfects, and won’t kill you.%u00a0
–An empty sink or bathtub to wash all the drawers and shelving off.%u00a0
–A few clean containers. Just have them on hand,%u00a0with lids, to place stray things roaming around in there.%u00a0
–Clean from%u00a0%u00a0top to bottom. This avoids crap falling into something you already cleaned.
–Labels. Any containers that are not clear might benefit from a label. And if you tend to leave things in the fridge for a long time, a label for the date of opening is also a good idea.%u00a0
–Inventory. Knowing what is in the fridge is very important, this prevents food waste.
–Too many condiments. I don’t know how many times I have looked in peoples fridges and seen 5 different bottles of ketchup or Italian dressings open. Consolidate. %u00a0And if you don’t like it or don’t use it, get rid of it.
–Wipe it all down. Not just the fridge itself, but all the stuff going back into it. So many times I have stuck the soy sauce in the door and had it leaked all over.%u00a0
–Know your fridge and place accordingly. Most people don’t have super old fridges, but even the new ones have some quirks. Know if there are cold spots or dead zones or places that things get stuck and place food accordingly. Also think about where you are placing food. It don’t make sense to but the milk way in the back if you use it all the time.
–Under and behind. Don’t forget to clean under the fridge and behind the fridge. It will be dusty, maybe a little gross, but it must be done.
–Music. A good playlist is always going to make you better are cleaning.
As for the Use it Up Soup, do just that.%u00a0This is the perfect time to use up what you got. I know that I have way more veggies then the average person, but don’t let that stop you. You could even pull stuff out and fill in missing ingredients form the store if you want. And be creative, %u00a0pickled hot peppers, all the frozen veggies, any wilted greens. Even almost empty bottles of mustard. If you think it sounds good in soup,%u00a0use it up. Add some canned tomatoes and a handful of spice, you are gonna end up with something tasty.
. A clean fridge and soup, how can it get any better?%u00a0
The before. Veggies all over. Jars and containers stacked, with and without lids. A stray half of banana, and empty water bottle, and a half eaten salad in a bowl just having out. %u00a0The shelves are kind of gross. The veggie drawers are nasty, and I think almost everything is wet because I dumped over a container of tofu the other day and all the tofu water leaked all over…… This deep clean was a long time coming.
I always have so many bags and containers of veggies and beans in the fridge.
The stuff in the door too. This is actually a lot of crap. The last dinner party we had someone brought over salad dressings. The mr and I don’t use salad dressing,%u00a0but I guess it’s not so bad to have them here. The littles like them and I know that they will be eaten.
And the stuff that is going to be soup. I found a wrinkly parsnip, some celery, carrots, a few cooked potatoes, some cooked butternut squash and a half a kale and carrot salad. The jar of almost gone lentils, and jar of tomatoes.%u00a0Some ginger and turmeric root which is always is the fridge. A rutabaga, some cabbage, an onion,%u00a0and I also grabbed some frozen green beans and the rest of the frozen rhubarb ( resh rhubarb is on it’s way)%u00a0
I chopped it all up, tossed it into a big pot. Added some spices and %u00a0water and stuck it on the stove to cook away while I got to the cleaning.%u00a0
After. Clean fridge wand clean food. All organized and pretty.
The freezer before. It looks a little crazy but there really isn’t that much in there.%u00a0
After. I pulled it all out, wiped it down, and put it all back, organized, and wth lids (again, my bad habit of no lids)%u00a0
And all the while I was cleaning, the soup was cooking.
Clean refrigerator. Makes this lady happy here.%u00a0
And the reward for all of your cleaning. A big bowl of soup.
-C
Whether you are stuck at home because you have the flu or because you do not want to leave the house for fear of turning into a human popsicle, or maybe even you just don’t want to because this is the first weekend that you have no plans, no obligations, no parties, well then you are in good company.%u00a0
Unfortunately for me, I have to leave the house.%u00a0I have obligations, I am getting over the flu, and I am pretty sure I am going to turn into a popsicle because when -8 is the high for the day, well, it’s bound to happen.%u00a0
But lucky for me I already made the soup, in my fitful sicky, but able to think about and eat food again state. Yes I had the flu, or better yet, the stomach flu. And the stomach flu and food do not mix. Even the thought of food would send me reeling and it was just no good. I seriously thought I would never be able to think or better yet, eat food again without turning straight to the bucket.%u00a0But I will stop there because you don’t need to hear about my misery. Anyway, the death spiral subsided and food was no longer the enemy. I actually wanted (kinda of) to eat again. So food it was to be.
Because it was my first day back to food, I really wanted to take it super easy. (Before I made this soup I actually boiled a carrot until it was mush and ate that just to test my tummy)%u00a0%u00a0Nothing heavy, obviously hot and warming, not to spicy. %u00a0Just soothing and nourishing. And I didn’t really want think about it and worry about it and spend much time in the kitchen. Sure I could have bought a can of soup but actually no, canned soup is not for me. And I know the mr would have thrown something together for me but I was determined to be a slightly productive human and do something with my day even if it was minimal.%u00a0%u00a0I had to make the soup, I had to do it.%u00a0
This soup was exactly what I needed and could not have been any easier to make.%u00a0Chop up some shit, toss it into a pot, and walk away (or nap on the couch) for a little while. It can be done on the stove, in a slow cooker, or if you have a Instapot and want to do that, I should say go for it. And I am not saying this because I was starving, but %u00a0this was one dang fantastic tasting soup. Right in every way. It’s going on my semi permanent soup rotation for the next few months.%u00a0%u00a0%u00a0%u00a0
No bad after 48 hours of dying and no food. (stupid flu)
The stuff. Carrots, celery, a small rutabaga, and and onion. A red potato, a parsnip, some green been, garlic, canned tomatoes, navy beans, %u00a0thyme, rosemary, a bay leaf, and salt and pepper.
Note here that all this stuff was already in my house. Say you do not have a rutabaga or a parsnip, it’s totally fine. You can add%u00a0
Here is the hardest part. Chop it all up into little pieces. All of it all mixed together, just get it chopped.
And toss it all into a big pot with he green beans,%u00a0a handful of dried beans,%u00a0and the spices.
Add in the can of tomatoes
Then fill the pot with water.
Now stick the pot on the stove and bring to a boil then reduce heat to a little lower the medium and loosely cover with a lid.%u00a0
A couple hours later, once the beans are cooked and the veggies are tender, you got yourself a big ol’%u00a0pot of some fantastic home made, easy as can be, vegetable soup.%u00a0
Chunky, hearty, and easy as can be. And the best part is that I have left overs and we all know that left over soup is the best soup.%u00a0
Stay warm, don’t turn into a popsicle.
-C
Makes a big pot of soup
2 carrots
3 stalks of elery
1 onion
1 small rutabage
1 red onion
1 parsnip
2 cups frozen green beans%u00a0
1/2 cup navy beans
3-4 cloves garlic
1 28oz can %u00a0(no salt added)%u00a0crushed tomatoes
1 teaspoon roasemary
1 teaspoon thyme
1 bay leave
salt and pepper
water
Note. You might not want rutabaga in this or you might want to add some cauliflour or peppers, so go for it. It’s a pretty adaptable soup so use what you got and like.%u00a0
Grab all you raw veggies, give them a quick wash, then chop them all up into bite sized pieces. Mince up the garlic.%u00a0Dump it all into a large heavy bottom pot. Add in the frozen green beans, the dried beans, the spices and the can of tomatoes. Add a pinch of salt and pepper and %u00a0enough water to cover the everything 3-4 inches.%u00a0
Place pot on stove, bring to a boil, then reduce heart to medium low and loosely cover wit a lid. Cook, giving it a stir once in a while, %u00a0for a least 1.5 hours ( can cook all day on long on simmer if you like)%u00a0%u00a0or until the beans are coooked through and the veggies have soften.%u00a0Add more water if needed.
Serve when you are ready to eat. Refrigerate leftovers.
It’s finally getting cold around here which I know some people are pretty bummed about but not me, I am ready for the days of it being cold and dreary (seriously).%u00a0These are the days that I like to hunker down and keep myself all warm and cozy. And what is more cozy then a big bowl of hot soup? Nothing I say. Or maybe a big cup of hot tea and a cozy blanket by the fire, but I don’t have a fire so soup it is.%u00a0
And I know a few of you people have a little pie pumpkin or two laying around from Halloween and are thinking ” what the heck am I going to do with it”. Well I got you here. You are going to make that pumpkin into something great and amazing that is not a dessert (because you are still working your way through all the Halloween candy). You will make it into soup and then you will eat it and then you will thank me later.%u00a0
The stuff. A little old sugar pumpkin, some red lentils, celery, a carrot, and an onion. A few heads of garlic, turmeric, coriander, cumin, and ginger, salt and pepper, and water to round it out.%u00a0
Start with dicing up the carrot, celery, onion and garlic.%u00a0
Into a heavy bottom pot they go. Stick the pot on heat to sweat the veggies a bit.
Dicing up the pumpkin. No fuss here, just chop it in half and scoop out the seeds (keep seeds to roast and %u00a0top soup with) then cut into little chunks.%u00a0
Grab the pot that the veggies are cooking in and toss in the pumpkin, the spices, the lentils, and the water. Give it a good stir and back to the stove.
All cooked, smelling and looking so good.
A smooth creamy delicious bowl of pumpkin warmth and goodness. A soup to take into the chilly days ahead.%u00a0
serves 3-5
2 1/2 -3 cups diced pumpkin (one small sugar pumpkin)
1/2 cup red lentils
1 medium onion
3-4 cloves garlic
2 stalks celery
1 carrot
1 %u00a0teaspoons ginger
1 teaspoon turmeric%u00a0
1 teaspoon coriander%u00a0
1 teaspoon cumin
3-4%u00a0 cups water or veggie stalk
salt and pepper
olive oil
toasted pumpkin seeds for garnish (optional)
Start by dicing up the carrot, celery, onion and garlic. Toss into a large heavy bottom pot with a splash of olive oil. Place on medium heat to start cooking. Now grab pumpkin, cut in half, and remove all the seeds (reserve seeds for roasting) Dice up the pumpkin and toss into the pot with the veggies. Add in the spices, the lentils,3 cups of the water or stock, and a pinch of salt and pepper. Bring pot to a boil then reduce heat to low. Place lid on pot, but not tightly, and let the soup cook for about a 1/2 hour or until the pumpkin is fork tender.%u00a0
Once everything in the pot is all cooked up it needs to be blended. You can either transfer to a blender or use a emersion blender and blend until the soup is a silky smooth %u00a0Either way, be freaking careful cause the soup is hot! While you are blending, if you think you need to add more liquid, go for it. You can make this as thick or thin as you like.
And now soup time! Laddle into bowls, top with parsley and roasted pumpkin seeds (optional) and get to eating all the good.%u00a0
Place any leftovers in fridge and heat up later (makes a great breakfast soup)
I’ve gone on a complete split pea binge. I have been making it (or reheating it if I have left overs) every day for the last two weeks, no joke. (This lady needs her protein) I get home, grab what ever veggies I see first in the fridge, a few jars of some spices, the giant jar of dried peas, and make quick work of lunch. Chop chop, dump, splash, stir. I am a soup (stews and bisques too) master. Soup for lunch. Right in all ways and just needs to happen.
Sometimes I’ll make soup and it’s just good soup.%u00a0 Sometimes it will end up being really good .This soup, well this soup is really freaking awesome and is my new go to for split peas. Thick and creamy, mildly sweet from the parsnips and ginger, but mellow at the same time. Add a little or a lot of pepper (lots of pepper here) and you got yourself perfection.
Soup that warms you up from the inside out and leaves you happy and full.
Split pea for life!
The stuff. Dried split peas, parsnips, a carrot, and onion, some Italian seasoning, ground ginger, bay leaves, and salt and pepper. Also need water.
Chop the veggies. Smaller chunks are good, but don’t worry to much, it’s all getting blended up anyway.
Now toss all those veggies into a big heavy bottom pot and mix in all the spices. Stick o stove with a splash of water and turn up the heat to give the veggies and spices a few minutes alone to active all the goodness.
Once the smell hits you nose and the veggies look like they need some water, dump in the split peas and add enough water to completely cover everything plus a few extra inches. Bring the pot to a boil then turn down to low, stick a lid on pot, and let cook. Check an stir every 10 minutes or so. If it starts to look dry, add in another few cups of water.
Peas are soft, veggies are cooked and now soup is almost ready to go.
Just blend it until smooth. Take liberty hear and smooth it as much or as little as you like. Also if you want to thin it out, just add more water. Want to thicken it up, just cook for a little while longer. ( spit pea is so easy).
And that is it.
You know what to do from here.
Soup time!
Stay warm and have a great weekend.
-C
makes a large pot of soup that will feed 4-6
1 pound dried split peas
1 medium yellow onion
1 large carrot
1 pound (about 4-5) parsnips
2 tablespoons Italian seasoning*
2 teaspoons ground ginger
2 bay leaves
salt and pepper
water
*Note. Italian seasoning is pretty basic and you probably have it, but if not you can make your own by mixing equal parts thyme, oregano, basil, and rosemary.
Start by rough chopping all the veggies and placing them in a large heavy bottom pot. Mix in the spices and bay leaves. Stick on the stove with a splash of water and cook for a few minutes to let the spices ans veggies heat up and smell all nice. Add in peas and enough water to completely cover everything in the pot plus a few inches. Bring to a boil, them turn heat to low, cover pot, and let cook for about 1/2 hour-45 minutes, checking and stir ever 10 minutes. If the soup seems to get too dry, just add in a few extra cups of water.
Once the veggies and peas are soft, turn heat off and using the blending device of your choice, blend until smooth. Season with salt and pepper to taste and eat hot but watch your tongue.
One of the mr’s little brothers really likes peanut butter cookies. He is always asking me to make them for him so this past weekend, for his 24h birthday, I did just that. Peanut butter chocolate chip birthday cookies,%u00a0 Just for him. (I know, I am the best)
After rushing home the evening before to make this awesome cookies for the boy, I waited until a decent time the next day and I shot him a text.. “Happy Birthday! Where are you?, I want to bring you cookies!”. That was at noon. I get a text back around 3… “just woke up, I’ll come get them later.” (Sleeping until 3pm.. that must have been a crazy ass birthday morning!)
Well guess what. That little shit didn’t come get the cookie that I made all special like for him so now the mr has slowly been picking them off. And the mr. says that these cookies are like magic. That they are so freaking good, probably the best peanut butter cookie he has ever had.%u00a0 (he doesn’t usually say things like that about cookies so the really must be amazing)
So if you are reading this Qui.. you have a a few magic cookies left…but I can’t promise anything after tonight.%u00a0 The sister is coming over for dinner and I’ll just give them to her for dessert……….
The stuff. Rolled oats, peanut butter, brown sugar, sea salt and chocolate chips. Also a bit of baking soda, some vanilla extract and a bit of water.%u00a0 You need no flour, eggs or butter, these cookies are all about simple goodness.
Notes. Chunky or smooth peanut butter is cool here and you can use natural or skippy.. the skippy cookie will just be a bit sweeter. And the sea salt. If you don’t have sea salt, add a teaspoon of table salt to the cookie batter. The sea salt is for the tops of the cookies and you should NOT use table salt for that.
Start by sticking the oats into a food processor and blending until your oats become oat flour.
Then dump everything else in (water first), EXCEPT the chocolate chips.
And pulse until it all comes together into a yummy peanut butter cookie dough.
Dump the dough into a bowl and now mix in the chocolate chip.%u00a0 Once you do that, stop eating the dough and stick the bowl in the fridge for 10-15 minutes to slightly chill….%u00a0
After the bout in the fridge, grab your dough and scoop out like sized balls of dough and place them on baking sheet. Give each ball a smoosh (use a fork or your fingers) and sprinkle the tops with a small little pinch of sea salt (again, if you don’t have sea salt, so not use table salt… just skip this)
And into the oven they go…
Only until slightly golden brown and just starting to look almost done….. that’s when they are done (about 8 minutes)
Let the cookies cool for a minutes on the baking sheet then transfer to a wire rack to finish.
Super awesome and super duper duper good. Made with love and good intentions for a little shit… but left to be eaten by others
But really these are so easy and fast to make. I’ll probably just end up making the boy a new batch. (again, so nice)
Have a super duper day!
-C
Make about a dozen
1 cup old fashion oats
1/2 cup warm water
1 heaping cup peanut butter (creamy or chunky)
2/3 cup brown sugar
1/2 teaspoon baking soda
1 teaspoon vanilla extract
1/2 ish cup chocolate chips/chunks (the tiny chips work the best)
flaked sea salt (optional)
Note. Flaked sea salt is a perfect finish for the cookie but if you don’t have it or don’t want to use it, add a teaspoon of table salt to the cookie batter but don’t sprinkle the tops with it.
Place oats in food processor ans blend until it turns into flour. Add in water, pulse, then add in the rest, EXCEPT the chocolate chip.%u00a0 Pulse until a dough forms. Dump the dough into a bowl and now mix in the chocolate chips.
Stick the dough in the fridge for about 15-20 minutes…. In the mean time, do the dishes and a little cookie dance.
Preheat oven to 350.
With a scoop or spoon. scoop out your preferred sized cookies onto a baking sheet. Give each cookie ball a little smoosh with either a fork for a pattern or just your fingers. Sprinkle each smooshed cookie with a pinch of sea salt.
Stick the cookies in oven and bake for 8-9 minutes, until just barely golden brown. Remove from oven, let cool for a minutes then remove from sheet to cool on a wire rack.
Place a cookie or two on a plate, stash the rest away (or else you will eat them all) grab a nice cold glass of some milk situation or a pipping hot cup of coffee and sit down with a good book or even a smutty magazine (no judgment here), read, eat cookies and be happy.
Not going to lie. Today is a hard day. It’s Sean’s birthday… He would be 27.
Thump thump (that’s my head hitting a wall)
I am not at the point yet where I think of Sean and am not sad because well, I am sad all the time. But I really want to get there, where when I think of him, it makes me happy, or well, more happy then sad. I know it’s going to take time (I just have to say that I hate how everyone says it just takes time. No shit) and that I will get there someday.%u00a0 But today, I am, for him and for me, try spending today thinking about all the good times and not be so sad.%u00a0
So yeah, going to spend 1/2 the day doing some work (keeps the mind at bay) and the other half with the family. They are grilling up hot dogs while I eat lettuce by the head, and we are just going celebrate Sean the way we celebrate everything in our family. Together with food. We will sit around, talking about everything and nothing, let the littles run around , let the dogs run wild, and just be. The is sun is shinning, the world is warm, and the family will be surrounded by each other. (like everyday for the past two weeks.. so much family time) And of course Sean will be the center of attention, not there physically, but in all the spirit.
And as for taking the day to chill, I am postponing my day of nothing until tomorrow and locking my door on the world. I love my family oh so much but if I don’t take a day to myself… I might bite someones head off.
Anyway.%u00a0 Got some stuff from the good old internet that happen to be of some interest to me.
-Did you know it’s National Park Week.. National parks are the best so you should go get your butt to the closest one, it’s free! (Bring a picnic and some hiking boots)
– This coloring book needs to happen.
– I feel in love with these photos that a mom took of her kids.%u00a0 They are amazing
-Screw GI Joes, if you want plastic action figures get these. Yoga Joes
–House love.
-Ever wonder how museums keep their art collections clean? Check this guy out cleaning a Pollack.%u00a0%u00a0%u00a0 There is no way I could do anything close to that, I would loss my shit.
-I will be looking for this book next time I am at the library (for the littles of course) ‘Can I Eat That?’ a Whimsical New Children’s Book
–Tree houses in house plants.. two of my favorite things together in one.
-What Do Recyclable, Biodegradable & Compostable Really Mean?
-This is just one reason I avoid eating out.. I am paranoid, and for good reason… ‘Farm To Fable’? Tampa Probe Finds Many Restaurants Lie About Sourcing
Some new pictures from the past week.
Hope everyone is having a great day and enjoying life.
I never can really tell how I honestly feel about halloween. I love fall, I love pumpkins and cider, but thats fall ,not halloween.%u00a0%u00a0I love to see all the happy little littles running around being super cute. all jacked up on way to much sugar.%u00a0%u00a0And %u00a0I know when I was a kid I was all about it. I mean, what kid doesn’t get jazzed to run around, dressed up (I was alway a black cat),%u00a0with a pillowcase full of candy all night long? That is just magic.%u00a0But as an adult, I haven’t really done too much. Sure I help wit the costumes of the littles and sometime I hand out candy, but where we live now, it’s not possible to give out candy. And the littles, they go do stuff with there friends, not there old lady aunt.%u00a0And I guess me and the mr could dress up and go to a party or something, but %u00a0honestly, we are not really party people%u2026. So yeah, don’t know. I think when I finally have my own kids It will be more fun.%u00a0But whatever, at least I can do a little decorating.
For as long as I have been as adult with my own living place, I have really gotten into holiday decoataing. But here is the thing. I like my decor to be minimalistic,%u00a0not to over the top, or super cheesy. (although I really do like when other people go super overboard and cheesy) But no, you won’t find a 20 foot blow up of a witch or severed hands in my front lawn.(maybe a few dead mice, but thats the cat, not me)%u00a0And I like to make my decorations. I even like to get some littles in one it, cause hand made kiddo decorations are the best.%u00a0
These bats are the perfect bit of halloween decoration. I made a ton of them a few years back and lost them, so I just whipped up a new strand.%u00a0Fast and easy to make, are not overly crazy or gory, and can be hung anywhere. An yeah, making them with a few littles is fun, but you don’t need them. I made them all on my lonesome%u2026. Oh me..
Anyway, to the bat mobile (garland)!
The bat stuff
2-3 pieces of Black card stock (construction paper %u00a0is fine, but will the color will fade over time)
scissors
pencil
needle and thread*
clear tape or tacks (not shown.. to hang bats)
Note. You can use embroidery floss instead of thread, but the thread is much more visible and you are going to need a tapestry needle.%u00a0
Take a piece of paper and fold in half, either length or width wise.( If you do lenght wise, you can cut out a few more bats per piece of a paper, width wise, the bats wings are longer.. up to you, do it both ways if you want)%u00a0
Outline a bat.
Bats are all jagged %u00a0lines.. nothing too complicated so I figured a stencil is not needed. If you really need a stencil, I can email you one…
Cut out bat and open up.
See, easy. And now you have a bat. If you do not like the exact way it looks, fold in again and cut a little more, but don’t get to picky, you have many more to cut.
Now make yourself a %u00a0bat army. As many or as few as you like. I think 12 is a good number. If you want, take the first bat that you cut out and use that as a stencil. Me, actually just free form cut the guys, so none of them look the same.
Bats are ready, now thread you needle.%u00a0%u00a0Don’t cut the end loose or tie the two ends together.
Fold bats back flat and thread them through the upper portion of the wings.%u00a0%u00a0Do that to all your bats.. and make sure that you are threading them on all the dame direction (if you care)
Once all the bats are threaded on. remove needle and tape the end of the thread. Space the bats out evenly or however you like, and hoe ever far apart you like, and cut thread of spool. Tape that end off too.
And hang them%u2026.%u00a0Most of my bats stay where I placed them, but a couple wanted to slide around on the thread, so I just stuck a tiny piece of tape on the inside of the wing over the thread to stop that.
They can fly threw the air%u2026.
Or drape on the wall.%u00a0
Any way, these bats are freaking bad ass and the coolest!
This cake was born from my anxiety. Whenever I am feeling crazy,%u00a0anxious, kinda sick, or even just really happy, I want to be in the kitchen making something. It’s probably some deep seeded control issue that I have (I can’t control my brain, but I can control bread dough), but whatever.%u00a0Being in the kitchen takes my head out of life , even just for a little while, and let’s me concentrate on something else that really has nothing to do with whatever I am thinking about (unless I am thinking about food, in which I bake whatever food I am thinking about) Does this all make sense or am I just nuts?
So yeah, the other day I was having one of those days. I was extra crazy (for so many reasons) and really needed to just step away from my thoughts. I rushed home and just started grabbing stuff.. cake stuff.%u00a0%u00a0I figured that If I was going to bake something that I might as well bake a little snack cake for the mr, especially sense he has to deal with this crazy. I had a large quantity of pears that were all ripening %u00a0at once sitting in the fruit basket, so I grabbed some of those. And I grabbed the ginger%u2026 well because why not.
And I made this cake.. and I felt better. And the mr got cake (also brought some to my sisters.. her and the kids ate it all within minutes). It was a win win situation.%u00a0
So now you know. If you are my friend and I am feeling some feelings, at some point,%u00a0you will proably get a cake.
The stuff. A few pears,some fresh ginger, brown sugar and cinnamon. %u00a0Also have some white whole wheat flour, baking soda, baking powder and salt. And some oil, apple cider vinegar and a little bit of water.
Start with the pears. Cut in half, remove seed and stems, then chop/mince the crap out of them. It’s cool to have a few big chunks., it adds some good texture. Take the pears and as much as the juice you can scrap from the counter and stick into a bowl.
Grate up a few good tablespoons of fresh ginger..
Tip.%u00a0I keep my ginger in the freezer. its easier to grate and it doesn’t go bad!
The ginger goes into the bowl with the pears, along with the oil, cinnamon,%u00a0sugar, water and vinegar. Mix it all up . Then all that wet mixture goes into the bowl with the flour, baking soda and powder and the salt.
And that get’s all mixed.. and now you have cake batter!%u00a0
Depending on you pears and how juicy they are,%u00a0you might find that your batter seems to dry, just add in another 1/4 %u00a0cup of water. The batter should be the consistency of like greek yogurt, not ruing, but not stiff either.
Preheat you cook box (oven)
Dump the batter into a well greased 9×9 inch pan. Slice up another pear into thin strips (I only used half, then ate the other half)
Lay the slices on top to make it look all pretty. Do what I did, or some other design (it’s your cake to make pretty any way you want). Once you do that, stick the cake into the oven.
When the cake is a nice deep golden brown, take it out of the oven.
Maybe let it cool for a few minutes, letting the smell wrap around your head so that you smell like baking all day. No cut yourself a slab, grab some coffee, and go for it.%u00a0
Enjoy
-C
Makes a 9×9 inch single layer cake
2 cups white whole wheat flour
2 cups minced , super ripe and jucey pears (about 2 whole pears)
2 tablespoon freshly frated ginger
1/2 cup canola oil
1/4- 1/2 cup water
2/3 %u00a0cup brown sugar
2 teaspoons cinnamon
1 teaspoon salt
1 teaspoon baking powder
1 teaspoon baking soda
1 tablespoon apple cider vinegar
Preheat oven to 350
Take pears, remove seeds and stem, and chop the crap out of them until they are tiny little pieces. Scoop pears, and any juice they leave behind into a bowl. Add in the sugar, oil, cinnamon, %u00a0ginger, vinegar,%u00a0%u00a0and %u00a01/4 %u00a0cup of water and mix until incorporated.%u00a0In a seprertare big bowl, mix together the salt, baking soda and powder with the flour. Add in the wet mixture and mix until fully incorporated.%u00a0%u00a0If the batter seems to dry (should be the constancy of whipped potatoes or greek yogurt), add in another 1/4 cup of water.%u00a0
Scoop batter into a greased 9×9 inch baking pan.%u00a0If you want to make it pretty, grab another pear and cut into thin slices and place right on top of the batter in any fashion you like.%u00a0
Place cake into oven and bake until a nice dark golden brown,about 40-45 minutes ,or until a tester stuck in the middle comes out clean.%u00a0
Remove, let cool in pan, and cut yourself a big slab, grab some coffee e to tea, grab a book, and eat it.%u00a0.
Let’s just hit the weather for a minute here. Snow one week and 90 freaking degrees the next. Oh Vt, you can be so cray cray, but do me a favor and stop being 90..I can’t sleep, I am constantly sweating….I think I am pretty much melting, not to mention slightly bitchy.%u00a0 Just be 80 with a nice cool breeze. I would like that a lot. Thanks.
The past week has been one full of the fullness that comes with owning apartment buildings. . A handful of the apartments are turning over so we have been running around dealing with repairs, cleaning, and over all property maintenance.%u00a0 There has been lots of weeding, mowing, and tree cutting, you know, all sorts of fun stuff. The buildings are looking good but you should see our little fenced in yard right now. It kind of looks like a junk yard from all the shit we have been piling up for lack of time or space to deal with it all. That and we are also in the processes of getting a new work car. (the process being craigslist) , so until we do, moving stuff is on hold. Why is it so hard to find a working truck that doesn’t cost a million dollars and will get us from point a to point b without falling apart and being fancy.? We pretty much just need something to haul trash and lawn mowers and the occasional toilet. Is that to much to ask? Apparently it is. (we will find something, I am just being a whine ass)
Anyway, we have managed to get to the new house this week and get the rest of the metal roofing on, a temporary gate up so now Washer can roam free, and lots and lots of nails removed from the floors.Things are still moving along. I even spent some time with the plants while the mr mowed the front lawn (We do it mullet style. Short in the front yard,long in the back) And hopefully today we will have a little time to get over there as well. I really want to harvest some rhubarb and get a few more plants into the ground before it’s to late.
And hopefully you are having yourself a long and enjoyable weekend. It’s pretty much summer now so it’s time to do all the summer stuff that needs to be done.
Some internet stuff to keep you occupied if in need.
-I wonder what my rock collection would look like (I have a shit ton of rocks) A Kinetic Artwork that Sorts Thousands of Random River Stones by Age
–The Highly Anxious Herbivore%u2019s Guide to Moral Vegetable Consumption.. hahaha.
-Fake banana flavor could actually be really banana flavor? The History of Banana Flavoring
-Let it roam..How to Make the Most of a Scattered Attention Span
–It’s about time we know exactly whats in the food. An ‘Added Sugar’ Label Is On The Way For Packaged Food
-I always kind of thought smoothies were more a dessert then a meal. Ask Well: The Downside of Smoothies
–This California House Has a Vertical, Living Succulent Wall and I love it. I would be all about something like this except I live in Vt. All the plants would die.
–Scientists Are Trying to Solve the Mystery of Awe… I think it will forever be a mystery, that’s why it’s awe.
–These mountain are like whoa.
-I have moments where I want to whitewash the entire house. This place is inspiring (and the stairs.. love love love)
This summer has been weird. And when I say weird, I mean too stupid freaking hot and humid and it’s screwing up my life.%u00a0I think I have gone a month, maybe more, without making soup.%u00a0That is just not right. For as long as I can remember I have made soup, or at least eaten soup, just about everyday, even all summer long. But the terrible heat and humidity this year, I just have had no desire. It has been straight up shredded zucchini and whole tomatoes for some time now. I just don’t want to have any residual added heat to my life.%u00a0%u00a0But the other day, oh how lovely. I woke up with a chill, %u00a0enough that I needed to grab a long sleeve before leaving the house, and had the very strong urge to return home and get my soup on. And soup on I did!
For my first trip back into soup (oh how I missed soup!),%u00a0I went simple and used what I, and many, many people have ample supplies of right now.%u00a0Tomatoes. And beans because I wanted my soup to be thick and creamy and I had the beans so why the heck not.
This soup really requires very little and you get the most thick, delicious, creamy, tomatoey soup. Perfect to eat alone, but is fanatic with some crackers, or a hunk of crusty bread. And it uses a lot of tomatoes which is nice because I am (as are many of you.. My neighbor is bringing me HER tomatoes now too) trying to make a dent in the ever growing pile or these beauties on the counter. This soup dented it, until I went out to the garden a few minutes later. My pile is bigger then ever, which is fine because I am back on my soup game.%u00a0
The stuff. Lots of tomatoes, some white beans (I used navy, but any white bean would be good) a large onion, a carrot, salt and pepper, a lemon, some olive oil, and honey (optional).
First off, chop the carrot and onion into chunks.
Toss the chopped stuff into a big ol’ pot with a drizzle of olive oil and cook on a medium heat until nice and soft.%u00a0
While veggies are cooking, core and cut up all those tomatoes.%u00a0
When the veggies have cooked up a bit, add the tomatoes, the beans, and a sprinkle of salt and pepper to the pot and give it a good mix. Return to high heat, stirring even so often, until the tomatoes give off enough juiced to start boiling then turn heat down to medium and cook for a little while, like 1/2 an hour or 45 minutes.
Until it looks lit this. The tomatoes have all fallen apart and the beans, carrots and onions are mushy.%u00a0
Blended with the juice of the lemon and a sprinkle of pepper and more salt if needed.%u00a0
Now serve into a %u00a0bowls. Garnish with a drizzle of honey if you are feeling it. Sliced cherry tomatoes make for fancy garnish.%u00a0
Creamy tomato bean soup for everyone!
Hurray for soup!
-C
Makes about 1/2 gallon (enough to serve a crowed or enough to serve one for a few days and maybe freeze some for later)
10-12 large tomatoes%u00a0
2 1/2 cup or 1 can of cooked white beans (I used navy but any white bean will be good)
1 large onion
1 large carrot
I lemon
olive oil
salt and pepper
honey (optional)
Start by chopping the onion and carrot up into small chunks. Grab a large heavy bottom pot, drizzle a teaspoon or two of olive on the bottom then toss in the chopped veggies. Place the pot on a medium heat, stirring occasionally until the onion and carrot start to soften.%u00a0
While the veggies are cooking, core and cut up all the tomatoes. Once the veggies are soft, dump in all the tomatoes, along with the beans and all the liquid they are in. Sprinkle with salt and pepper and turn heat up to high, giving it a good stir until the tomatoes start to get super juicy then bring the pot to a boil. Once boiling, reduce heat to medium and cook for another half hour to 45 minutes, giving it a stir ever so often. %u00a0When the tomatoes have completely fallen apart and the carrot, onions, and beans are mushy, you know its done.%u00a0
Remove the pot from heat and dd in the juice of the lemon. Using a hand blender, blend until it’s a smooth creamy consistency. If you only have a counter belnder, let soup cool a little before handling and %u00a0be really freaking careful and blend a few cups at a time, making sure to have the blender lid on. Hot soup in the face is no fun.
Once soup is creamy and smooth, serve in bowls with a drizzle of honey (totally optional, but some people really like a touch of sweetness to their tomato soup) and more pepper to a taste. Garnish with thinly sliced cherry tomatoes if you are feeling fancy.%u00a0
Any extra soup can be refrigerated for up to a week. Can also be frozen.%u00a0
It’s finally getting cold around here which I know some people are pretty bummed about but not me, I am ready for the days of it being cold and dreary (seriously).%u00a0These are the days that I like to hunker down and keep myself all warm and cozy. And what is more cozy then a big bowl of hot soup? Nothing I say. Or maybe a big cup of hot tea and a cozy blanket by the fire, but I don’t have a fire so soup it is.%u00a0
And I know a few of you people have a little pie pumpkin or two laying around from Halloween and are thinking ” what the heck am I going to do with it”. Well I got you here. You are going to make that pumpkin into something great and amazing that is not a dessert (because you are still working your way through all the Halloween candy). You will make it into soup and then you will eat it and then you will thank me later.%u00a0
The stuff. A little old sugar pumpkin, some red lentils, celery, a carrot, and an onion. A few heads of garlic, turmeric, coriander, cumin, and ginger, salt and pepper, and water to round it out.%u00a0
Start with dicing up the carrot, celery, onion and garlic.%u00a0
Into a heavy bottom pot they go. Stick the pot on heat to sweat the veggies a bit.
Dicing up the pumpkin. No fuss here, just chop it in half and scoop out the seeds (keep seeds to roast and %u00a0top soup with) then cut into little chunks.%u00a0
Grab the pot that the veggies are cooking in and toss in the pumpkin, the spices, the lentils, and the water. Give it a good stir and back to the stove.
All cooked, smelling and looking so good.
A smooth creamy delicious bowl of pumpkin warmth and goodness. A soup to take into the chilly days ahead.%u00a0
serves 3-5
2 1/2 -3 cups diced pumpkin (one small sugar pumpkin)
1/2 cup red lentils
1 medium onion
3-4 cloves garlic
2 stalks celery
1 carrot
1 %u00a0teaspoons ginger
1 teaspoon turmeric%u00a0
1 teaspoon coriander%u00a0
1 teaspoon cumin
3-4%u00a0 cups water or veggie stalk
salt and pepper
olive oil
toasted pumpkin seeds for garnish (optional)
Start by dicing up the carrot, celery, onion and garlic. Toss into a large heavy bottom pot with a splash of olive oil. Place on medium heat to start cooking. Now grab pumpkin, cut in half, and remove all the seeds (reserve seeds for roasting) Dice up the pumpkin and toss into the pot with the veggies. Add in the spices, the lentils,3 cups of the water or stock, and a pinch of salt and pepper. Bring pot to a boil then reduce heat to low. Place lid on pot, but not tightly, and let the soup cook for about a 1/2 hour or until the pumpkin is fork tender.%u00a0
Once everything in the pot is all cooked up it needs to be blended. You can either transfer to a blender or use a emersion blender and blend until the soup is a silky smooth %u00a0Either way, be freaking careful cause the soup is hot! While you are blending, if you think you need to add more liquid, go for it. You can make this as thick or thin as you like.
And now soup time! Laddle into bowls, top with parsley and roasted pumpkin seeds (optional) and get to eating all the good.%u00a0
Place any leftovers in fridge and heat up later (makes a great breakfast soup)
I am a year round maker and consumer of soup.
With that being said, the nature of my soups change seasonally. My summertime soups are usually on the lighter side, made with the%u00a0fresh bounty of the season, and spiced more on the light and floral side, opposed to the really deep and warm spices%u00a0that I use all winter long,
This corn chowder is made just right. It had the perfect balance of hearty and creamy from the potatoes and use of pureed%u00a0onion cream, but%u00a0%u00a0still light and refreshing from the sweet fresh corn and the lemony fresh thyme. It is for sure%u00a0a great summertime soup (chowder) Even the%u00a0Mr.%u00a0was even really into it, and he claims he doesn’t like corn. (I say bullshit to that.. he eats corn all the time)
Now to chowder!
The Stuff. Some super fresh corn on the cob, a couple onions, a few chopped up potatoes and a chopped up carrot. Then we have a little oil, a lemon,%u00a0dried thyme and salt and pepper.%u00a0
To start, take an%u00a0onion, chop it up, and toss into%u00a0a large heavy pot with a little olive%u00a0oil and%u00a0a sprinkle of salt. Stick pot on stove on medium heat and cook until %u00a0onions are soft and traslutcent. When the onions are done, remove and%u00a0add to a blender or%u00a0bowl. (if using a hand blender)%u00a0Add in the juice of the lemon%u00a0and blend it all up until nice a smooth.%u00a0
You have now made a nice creamy cream that will help make the final product more, well more creamy without the use of cream (lets say cream on more time !)%u00a0.Set aside.
When the pot is empty again, add in the rest of the stuff, including the cobs of the corn, (they hold a butt load of flavor)%u00a0the dried thyme, and salt and pepper.%u00a0Place%u00a0on stove and add enough%u00a0water to completely%u00a0submerge the veggies. Keep pot on a medium heat, add a lid, and stir ever once in a while. Cook until the potatoes are nice and tender.%u00a0(when the potatoes%u00a0are done, so is everything else)
Now that everything is all cooked up, remove the cobs and stir in the onion puree.
Now with a hand blender, blend up until the chowder is thick and smooth, but still nice and chunky. (If you are working with a blender, just remove about half of the soup and blend up, then dump back in) The optimal chunkiness %u00a0is up to you , so %u00a0blend, check the chunk,%u00a0%u00a0then blend a little more if needed. If you feel that the soup is to thick, add in a little more water, or to thin, just cook down o little longer.
%u00a0Once you like the constituency,season to taste with salt and pepper and%u00a0place pot back on a simmer until you are ready to serve.%u00a0
And thats how we make%u00a0corn chowder
It tastes best serves in the daintiest of the cups, sprinkled heavily with cracked pepper, and with a side of some cracker situation (Saltines would be best, but sometime there are only triscits in the house)
Summertime is for chowder!
HAPPY Humpday Wednesday!!!
-C
Makes a pot big enough for 4-6 nice decent sized servings
2 fresh ears of corn
3 medium (tennis ball sized)%u00a0red or white potatoes
2 white or yellow onions
1 carrot
Juice of a lemon
1 tablespoon olive oil
1 1/2 %u00a0tablespoons dried thyme
salt and pepper
To start, peel%u00a0and dice one whole onion and toss into pot with olive oil and stick on medium heat. Cook onions until translucent and fragrant. Remove from pot and add cooked onions and the lemon juice to a blender and puree until smooth and set aside.
While you are cooking down the onions, dice up the carrot and onion, remove the corn kernels from the cob, and chop up the potatoes. Once you have removed the first batch of onions, toss in corn, onions, carrot, potatoes, and the dried thyme.%u00a0Stir around in the pot on medium heat for a few minutes just to warm up the spices. Add the cobs into the pot and fill with enough water to cover the stuff in the pot. Place back on medium heat with a lid and cook for another 20ish minutes, or until potatoes are super tender and almost falling apart.
Remove cobs from pot and add in the onion puree. Now either remove about half the soup and place in the bender and blend up til smooth, or use a hand blender and blend up chowder until you get your%u00a0desired chunkiness. If you think the chowder seems to thick, add in more water, or to thin, just cook down a little longer on the stove.
When ready to eat, ladle chowder into a cup or bowl and add lots of fresh cracked pepper.%u00a0
Serve with a cracker and a spoon to eat it with.
%u00a0%u00a0You ever make dish, completely on the fly, just to use something up (I have a lot of ripe tomatoes) with no real expectation, just because%u2026 Then have it be one of the best freaking things that you have ever made?%u00a0This salad is one of those things.. maybe not the best thing I have ever made, but definitely the best salad I have ever made%u2026. this week.
A salad compiled of all things amazing, taking just a few minutes to make and is the perfect balance of uber fresh with baby spinach, raw kale, and crunchy quick pickled onions. Then adding a touch of warmth with the sweet and juicy seared tomatoes and big chunks of creamy avocado.
I mean, for reals. %u2026…Best Salad Ever !!!! (this week)
Now let’s do this.
%u00a0The Stuff. A big bowl of baby spinach and chopped up kale, a few sliced up roma tomatoes, some super thinly sliced red onion, half an avocado, red wine vinegar and salt and pepper.%u00a0%u00a0Before you do anything, place the sliced onions into bowl, sprinkle with a pinch of salt and add a few glugs of the red wine vinegar. You want the onions to sit in the vinegar for at least 5 minutes on the counter cause the longer they sit the more crispy pickly they get. (after eating onions like this, you will never want to eat them any other way)%u00a0Lightly oil a skillet and preheat to a medium heat. Once the skillet is hot, sprinkle the tomato slices with salt and pepper and %u00a0place tomatoes right on in, snugly, but not overlapping. Let cook for about 3-4 minutes, or until the bottoms start to brown. Flip and cook other side for another few minutes.Once the tomatoes are seared on both sides, remove them gently from skillet and toss them on top of the bowl of greens.
Take the pickled onions and toss those right on top, with any of the residual vinegar, add dice and scoop the half of avocado and toss that on in as well.And now eat the best salad ever (this week).
Make the day good!
-C
Skillet Seared Tomato and Quick Pickled Onion Salad
Serves 2 as a side, 1 for a hungry eater
2 large or 3 smaller roma tomatoes
1/2 of a red onion
2-3 tablespoons red wine vinegar
1 1/2 cups baby spinach
1 1/2 cups chopped kale
salt pepper
1/2 a ripe avocado%u00a0
olive oil (to grease pan)
Thinly slice red onion and place in a bowl. %u00a0Add vinegar into a and sprinkle with salt. Let sit on counter for at least 5 minutes, if not longer,
Slice tomatoes into 1/2 inch thick rounds and sprinkle with a pitch or salt and pepper. %u00a0Lightly oil a skillet and preheat it on medium heat. Once the skillet is preheated, stick the tomatoes on it (watch out for splattering tomato juice) Cook first side for about 3 minutes or until the bottom has browned, then flip and do the same for other side.%u00a0
One tomatoes are seared, place directly onto the greens. Now dump the pickled onions and residual vinegar on top. And %u00a0dice up %u00a0avocado and add that on top too.%u00a0
Now eat your salad, fork or fingers%u2026 %u00a0
And I know, ba-daaaamn. So good.
%u00a0%u00a0 %u00a0%u00a0%u00a0I figured now is a good time to get this recipe out there before we get to far into spring and summer recipes because there is going to be a lot of banana ice cream filled recipe coming and I figured its a good idea to have the basic banana ice cream recipe ready for people to refer too.%u00a0 And because I made so much fantastic naner ice cream, I also made a cookies and cream naner ice cream for my sisters and the mister.
Comments that I got from my sisters and the mister when I made them this ice cream
-Sister one.”I give this my sister seal of approval.. It’s so good. %u00a0The first dessert you have made that I liked! (not including all the other desserts that you have made that I liked)”
-Sister two- “Wow.. it looks like ice cream and feels like ice cream and tastes like ice cream.. You should make me this ice cream!” (I was confused too because I was pretty sure I just made her some)
-The mister- “I am so excited for my new fly fishing pole!”
Ok, so the naner ice cream isn’t new to the mister and he IS very much excited for his new fly fish pole. So excited that he forgot to tell me how amazing that I am and to thank me for making him a big bowl of yumminess. (It’s ok, I forgive him)
And yes, this is probably one of the easiest, most delicious, healthy and amazing frozen dessert that you will ever eat. You will probably find yourself buying mass amounts of bananas and stocking the freezer until things just start falling out. (which is also ok because it’s only bananas and you can’t have too many frozen bananas)
%u00a0 %u00a0The stuff you need for this ice cream%u2026. Nice and ripe bananas, peeled and then frozen* That’s it.
To make it, place frozen bananas into food processor and hit the on button. Process the crap out of the namers until nice and silky smooth.%u00a0
*Note, the smaller the frozen chunks are , the faster and maybe a little easier for the blender to blend the naners into ice cream. So if you think of it, chop bananas into pieces before freezing or even after.
After all blended and smooth, either eat right away or scoop ice cream into a freezer safe container and stick in freezer. That’s the banana ice cream%u2026 %u00a0And it is amazing and so so so so so addictive. I make a batch, think I am only going to eat a scoop, then find myself eating half of what I have made, but it’s ok cause it’s only bananas.%u00a0
Now for the cookies and cream banana ice cream..One%u00a0batch of banana ice cream, either freshly made, still in food processor or made ahead and placed in a food processor and given a good pulse to smooth it up.
Add cookies in, crushing a bit beforehand and pulse till combined.%u00a0Now you have cookies and cream naner ice cream%u2026. and everybody is happy.
Scoop into a cup, a bowl, a freezer safe container, or directly into your mouth.%u00a0Be careful%u2026. You can still get brain freeze from eating naner ice cream too fast!
Keep it real hump day drum bum!
-C
Basic Banana Ice Cream
Makes one batch. Good for 3-4 servings
4-5 %u00a0ripe bananas peeled and frozen
Peel %u00a0bananas and stick in a freezer bag or container and freeze. When bananas are completely frozen, break into pieces and stick into a food processor or blender and puree until silky smooth.%u00a0
Eat right away or scoop into a freezer safe container for later.
Cookies and Cream Banana Ice Cream
1 batch banana ice cream
5-10 (depending on your cookie need) cream filled cookies like oreos or Trader Joe’s Joe Joe’s (These are gluten free)
In a food processor, blend banana ice cream with cookies.
Eat right away, with a utensil of choice in a container of choice.
Bowl licking is acceptable.%u00a0
%u00a0I’ll let you know now, I am a make and eat soup all year long person. I can think of few things better then sitting outside, basking in the sun, hopefully with a light wind, a book in hand, enjoying a nice big cup of some good homemade soup. (Doesn’t that sound so freaking lovely?) This soup right here is perfect for just that. Parsnips are the best, kind of like a big white sweet, yet starchy carrots. And cooked together with a little bit of light and lemony thyme, rich earthy turmeric and a couple more chopped veggie%u2026.. you got yourself a%u00a0nice thick and fragrant bowl of happiness that fills you up without weighing you down. It’s food you can eat that fills you up, leaves you feeling cozy, yet still wanting to hop on a bike or lace up the running shoes. %u00a0Hearty without the feeling of all the heaviness.
A perfect soup for spring! (or summer, winter, or fall)
The stuff. Parsnips, carrots, onion and garlic. Thyme and turmeric, salt and pepper. the tinniest bit of oil and water (water not shown)Chop all the veggies and the garlic, drizzle a dutch oven or a pot with oil, toss in the veggies. Add the turmeric, the thyme, and 1/2 cup of water.%u00a0Sweet sweating the veggies. Turn pot on medium and cook until the water completely cooks out. When the veggies start to brown and stick to the pot, deglaze with water. Give a good stir and keep cooking. Repeat the deglazing process until the veggies are super soft and ready to blend. (I did this 4 times.. it only took 10 minutes)Add enough water to cover the cooked veggies.%u00a0And now blend the heck out of it.. Go as smooth or chunky as you want. I blended as smooth as I could get with this crappy immersion blender. (Blender on loan until I finally decide on, and buy a new one)And there you have it. Scoop into bowls, add lots of cracked black pepper, and go to town. I made enough to save a bowl for later%u2026 %u00a0it didn’t last for later.%u00a0
Soup so good.%u00a0
-C
Parsnip Thyme and Turmeric Soup%u00a0
4 large parsnips
2 carrots
1 whole onion
3-4 cloves garlic
2 teaspoons thyme
2 teaspoons turmeric%u00a0
salt and pepper
olive oil
water
Dice up the parsnips, carrots, garlic and onion and place into a large dutch oven or pot. Drizzle with a bit of olive oil, %u00a0sprinkle on the spices, salt and pepper and add about 1/2 cup of water. Turn heat on medium and start cooking down the veggies. Once the water evaporates and the veggies start to caramelize, deglaze pot with about a 1/2 cup of water. Give pot a stir, and continue to cook until water evaporates. %u00a0Repeat this 2-3 more times until the veggies are super soft and fragrant.%u00a0
When the %u00a0veggies are ready, add enough water to the pot to submerge the veggies. Bust out the immersion blender or dump into a blending device and blend until smooth (or the consistency that you want) Have a cup of water ready to thin out if needed. When blended, taste for salt and pepper, add more if you want, and cook on low heat until you are ready to serve.
Garnish with a lot of good cracked pepper
Eat from a vessel, use a spoon
I was cleaning my spice shelf (I feel like I do this like once a week) and found some poppy seeds hiding behind some jars. Accidental spice findings happened more often the then one might think in my house.. I like to buy tiny baggies of spices with good intentions of using them, but because of their tiny size, I often lose them or forget about them due to that %u00a0tininess. But I usually find those tiny little bags, and when I find them, I try to use them right away..(I don’t like having old spices around and no, I will not toss it)%u00a0And it just so happened that I has a lemon in need of using.. and it was getting close to dinner time. I could wait and make lemon poppy seed cake or muffins, or just start dinner. %u00a0 Then I was like, ” I’ll %u00a0just make lemon poppy seed pasta.” And so I did. And of course it needed to have lots of garlic and some kind of vegetable to round out the dish, (I know tomatoes are fruit but you know what I mean) %u00a0
And the mister%u2026.He loved it. And I am sure you will too. How can you go wrong with lemon, garlic and poppy seeds all creamy and fragrant? You really can’t, %u00a0Pus this recipe is so easily adaptable. It can be vegan and or gluten free..whatever you want it to be.%u00a0
So if you are looking for a %u00a0fast, delicious, and impressive looking dinner%u2026 look no further. You gots one right here!
Start by tuning oven on to 400 degrees. Chopped tomatoes %u00a0and sprinkle in oil and salt and stick in the oven. Do this first because the rest of the meal only takes about 10 minutes..So fast!!!
Choose your pasta and get a pot of water boiling and start on the sauce.. which includes, olive oil, lots of garlic, flour, milk(any kind you use), lemon zest a little lemon juice, poppy seeds, salt and pepper.%u00a0
The sauce is pretty much a basic roux%u2026
Crush the garlic and stick into pot with the oil. Let simmer for a few minutes until you can smell the garlic, which smells like heaven. Whisk in the flour and then gradually whisk in the milk. Keep on low heat and continuously whisk until sauce has thickened and doesn’t run off a spoon. Add in lemon zest, the poppy seeds, and the salt and pepper. Mix it all up and turn off heat.
Once your pasta is cooked (cook however it says to on package), reserve about a 1/4 cup of pasta water and drain the rest. Add the pasta water and pasta the sauce. (the pasta water helps the sauce and noodles canooddle together)
And its all mixed up just waiting to be served%u2026and the roasted tomatoes!
Scooped into a bowl with a scoop of the roasted tomatoes and some chopped chives, %u00a0served with a couple wedges of lemon..just because.
And dinner is done%u2026. %u00a0and it took all of 15 minutes.%u00a0
Thank me later.
-C
Lemon Garlic Poppyseed Pasta with roasted tomatoes
3 cups pasta (whatever you want..so it can be gluten free too)%u00a0
3 tablespoons olive oil
3 tablespoons flour (use corn or arrowroot starch for gluten free)
2 cups milk (cow, hemp, soy%u2026any kind you use)
6 cloves garlic
Zest of 1 lemon
1 tablespoon poppy seeds
2 roma tomatoes (optional but really good)
salt and pepper
Start by chopping tomatoes %u00a0and placing them in a skillet or baking sheet, sprinkled in salt and a little bit of olive oil, and stick into a 400 degree oven
Bring a large pot of water to a boil add you pasta%u2026cook to the boxes instructions.
While pastas is boiling, crush garlic and add to a pot with the olive oil. Heat on medium low heat until the garlic is fragrant and slightly brown. Now whisk in flour and then whisk in milk. Continue to whisk until sauce thickens to where it doesn’t run of a spoon. Add in the zest of 1 lemon, the poppy seeds and salt and pepper to taste. When pasta is done (should be around the same time the sauce is done) reserve about a 1/4 cup of pasta water and drain the pasta from the rest. Add water and pasta to the sauce and mix together.
Remove roasted tomatoes from the oven. Scoop pasta into bowls and top with a scoop of the tomatoes. (you can mix into pasta, but it will turn the sauce red and the tomatoes will fall apart)
Serve with a wedge of lemon and bring food to face!
In case you are one of those lucky people that happen to stumble upon this blog, I am not going to lie, I have not a fucking idea what I am doing! So bare with me.. I will get it together and it will be amazing. Lots of recipes, food ideas, crafty and art projects. Pictures of lovely, pretty, beautiful and maybe some amazing things. There will probably be a lot of mis spelled words, a little ranting a raving and possible some half finished thoughts. I will try to keep my dirty sailor mouth to a minimum and try not offend anyone, but i am not going to say that it might not happen.
So come back soon, you might find a whole bunch of awesome and lots of lovely crazy
What is any good holiday season without some sort of gingerbread? Am I right, or am I right? I am right. The smell alone smacks a smile on my face. Spicy and sweet and all sorts of comforting. If smells could be objects, the smell of gingerbread would be a warm soft blanket that you can curl up next to a fire, with hot beverages and a good book. Yup, that is exactly what gingerbread smells like.
Gingerbread cookies were an option for all the gingerbread goodness but right now there is a heavy influx of people making cookies of the gingerbread variety so I figured I should do something a little different and honestly, a heck of a lot easier and faster. Plus scones are a way more expectable breakfast food then cookies (who am I kidding, cookies are a completely expectable for breakfast) and I was looking for a good breakfast treat to feed the mr this week because its his birthday week and I wanted a little something special for him for breakfast. I know, I am just so great.
Anyway, these scones fit the holiday gingerbread bill. I mixed them up, added the chocolate chips for a little extra something, then tossed them into the oven and bathed in the smell as they were baking. Pulled them from the oven, poured some coffee, and set out a delightful afternoon snack for the mr, right after he was finished laying on the freezing ground trying to fix the tire on the truck. I think he really appreciated the smell of a warm blanket. And he really enjoyed the scones too. All birthday week long.
So what are you doing this weekend? I think probably making scones. Yeah, do that.
Here we go.
The stuff. In the bowl there is flour, old fashion oats, baking soda and baking powder, and salt. Also need the spices of ginger, cinnamon, clove, and black pepper. Molasses, brown sugar, vegan butter, soy milk, and chocolate chips finish of the list.
In the bowl add in all the spices and the brownl sugar. Mix until completely combined and there are no brown sugar lumps. Drop in the cold butter and cut it in with a fork. You don%u2019t want it blended, you want the butter in little bits.
You want it to look like this. Crumbly.
Toss in the chocolate chip.
Dump the molasses into the milk and mix until combined. Doing this helps minimize the amount of mixing you do which will help make sure your scones are not tuff. So don%u2019t not do this.
Pour the molasses milk into the mixture
With a fork, lightly fold and mix batter until it just starts to come together.
Dump dough out onto a lightly flour surface and gather together with your hands.
Flatten into a big disk and cut into 8 equal wedges. Or as equal as you want to make them%u2026 you could even make a few more wedges if you want more. You do you.
Place the scones onto a baking sheet. Brush a little milk on each then sprinkle the tops with a little brown sugar and some oats.
Pop them into preheated oven and let bake.
Gold brown and ready for the world.
After letting them cool for a bit on a wire rack, stack onto a plate and feed them to your people. And yourself of course.
Chocolate chip oatmeal gingerbread scone and a cup of coffee. A perfection in all the ways.
Enjoy the weekend. It will be great, especially if you make some of these scones.
-C
Makes 8 scones
2 cups all purpose flour
1/2 cup old fashion oats plus 1/4 cup to sprinkle on top
1 1/2 teaspoons baking powder
1/2 teaspoon baking soda
1 teaspoon salt
2 teaspoons ground ginger
2 teaspoon cinnamon
1/2 teaspoon fresh ground pepper
1/4 teaspoon cloves
1/3 cup packed light brown sugar plus 2 tablespoons more to sprinkle on top
2 tablespoons molasses
1/2 cup cold vegan butter
2/3 cup soy or your favorite plant milk
2/3 cup semi sweet chocolate chips
Preheat oven to 375
In a large bowl, whisk together the flour, oats, baking powder and soda, salt, all the spices, and the brown sugar. Make sure there are no big lumps of brown sugar in the mixture. Once dry mixture is all mixed up, cut in (do not blend in) the cold vegan butter until the mixture looks crumbly. Toss in the chocolate chips.
Grab your measure out milk and mix in the molasses until completely mixed together. Dump the mixture into the bowl of dry and lightly mix with a fork until a dough forms. Dump out the dough onto a lightly floured surface and bring it all together with your hands .Flatten dough out into a circle about and inch thick them with a knife or dough scraper, cut into 8 even sized wedges. Place scones onto a baking sheet and lightly brush a little milk onto the tops.. Mix together the extra oats and brown sugar and sprinkle on the tops. Place into preheated oven and bake for 25-28 minutes, or until nice and golden brown. Once baked, remove and place on a wire rack to cool.
Eat. Store left over scones in an airtight container at room temperature for 3-4 days. Individual scones freeze well.
The house next door to us is for sale and in the backyard of the house is a whole lot of blackberry bushes. The mr and I have been hopping the fence over there like ninjas and filling large bowls of berries and sneaking back home to eat our weight in those blackberries. (Ok, not entirely true. We are not good enough ninjas to jump the fence so we have been walking through the fence gate. Plus we checked with the current owner, she told us to pick all we wanted to. We are not asshole ninjas stealing fruit)
So many berries. I check every few days and they just keep on coming and I am not one to let perfectly good berries (or any food) go to waste, so I just keep picking. I froze some , ate so so many, and then I was going to make a straight up pie but decided to do pie bars instead because one, I couldn’t find my pie plate (I think Shannon has it) and two, these are just a bit less formal, like pie can sometime be. Plus easier to share because they are cut into little squares and hold there shape really well. And lets be honest, I didn’t want to have to roll out pie dough if I didn’t have to.
Such a good way to use up and share an excess of berries. Now off you go to make some pie crumble bars while I go play with the kittens (I’ll tell you all about the kittens tomorrow….)
The stuff. Flour, sugar, baking powder, and salt. A little soy milk and coconut oil, a lemon, and arrowroot powder. And of course lots of blackberries.
The flour, salt, baking soda, and sugar get mixed in a big bowl then the coconut oil get mixed in into a crumble.%u00a0 Now in goes the soy milk to get it all a little wet.
A little more then half the mixture gets patted down into a greases and lined pan
Berries, sugar, arrowroot powder, lemon juice and lemon zest go into a bowl. Give it a mix.
Dump and distribute all over recently patted down dough..
And crumble the rest of the crumble all over the top.
Now into the oven it go.
All cooked and cooling while you put away the clean dishes (or anything that will distract you for at least a half hour while they cool.)
And when they have cooled enough to cut, it’s time for you to eat.
And yes, these are totally perfect for dessert and breakfast.
-C
makes 16 squares
For the crust
2 1/2 cups flour
1 teaspoon baking powder
1/2 teaspoon salt
2/3 cup coconut oil melted then cooled to soft
2/3 cup cane sugar
4 tablespoons soy milk
For the berry filling
3 cups fresh blackberries
3 tablespoons arrowroot powder
1/3 cup cane sugar
zest and juice of a lemon
Preheat oven to 375
Mix the flour, sugar, salt, and baking powder together in a large bowl. Add in coconut oil and incorporate with a fork or pastry cutter until the dough looks crumbly, add in soy milk and mix in with for again just til until incorporated. (think pie dough-like)%u00a0 Don’t worry if some of the dough seems dry, it’s fine.
Grease and line a 9×9 pan. Dump a little more then half of the dough mixture in and pat down to cover bottom of pan. Try to make sure it’s all an even thickness.
In a separate bowl, toss together the berries, sugar, arrowroot powder, lemon zest and juice of that lemon. Dump the mixture into pan and evenly distribute over dough. Take the remaining dough and crumble all over the top then just stick it into the hot oven.
Bake for about 50 minutes or until the crumble on top is a nice golden brown.
Remove and let cool completely before cutting.
Cut then eat.
Store squares in fridge, some even say they taste better cold.


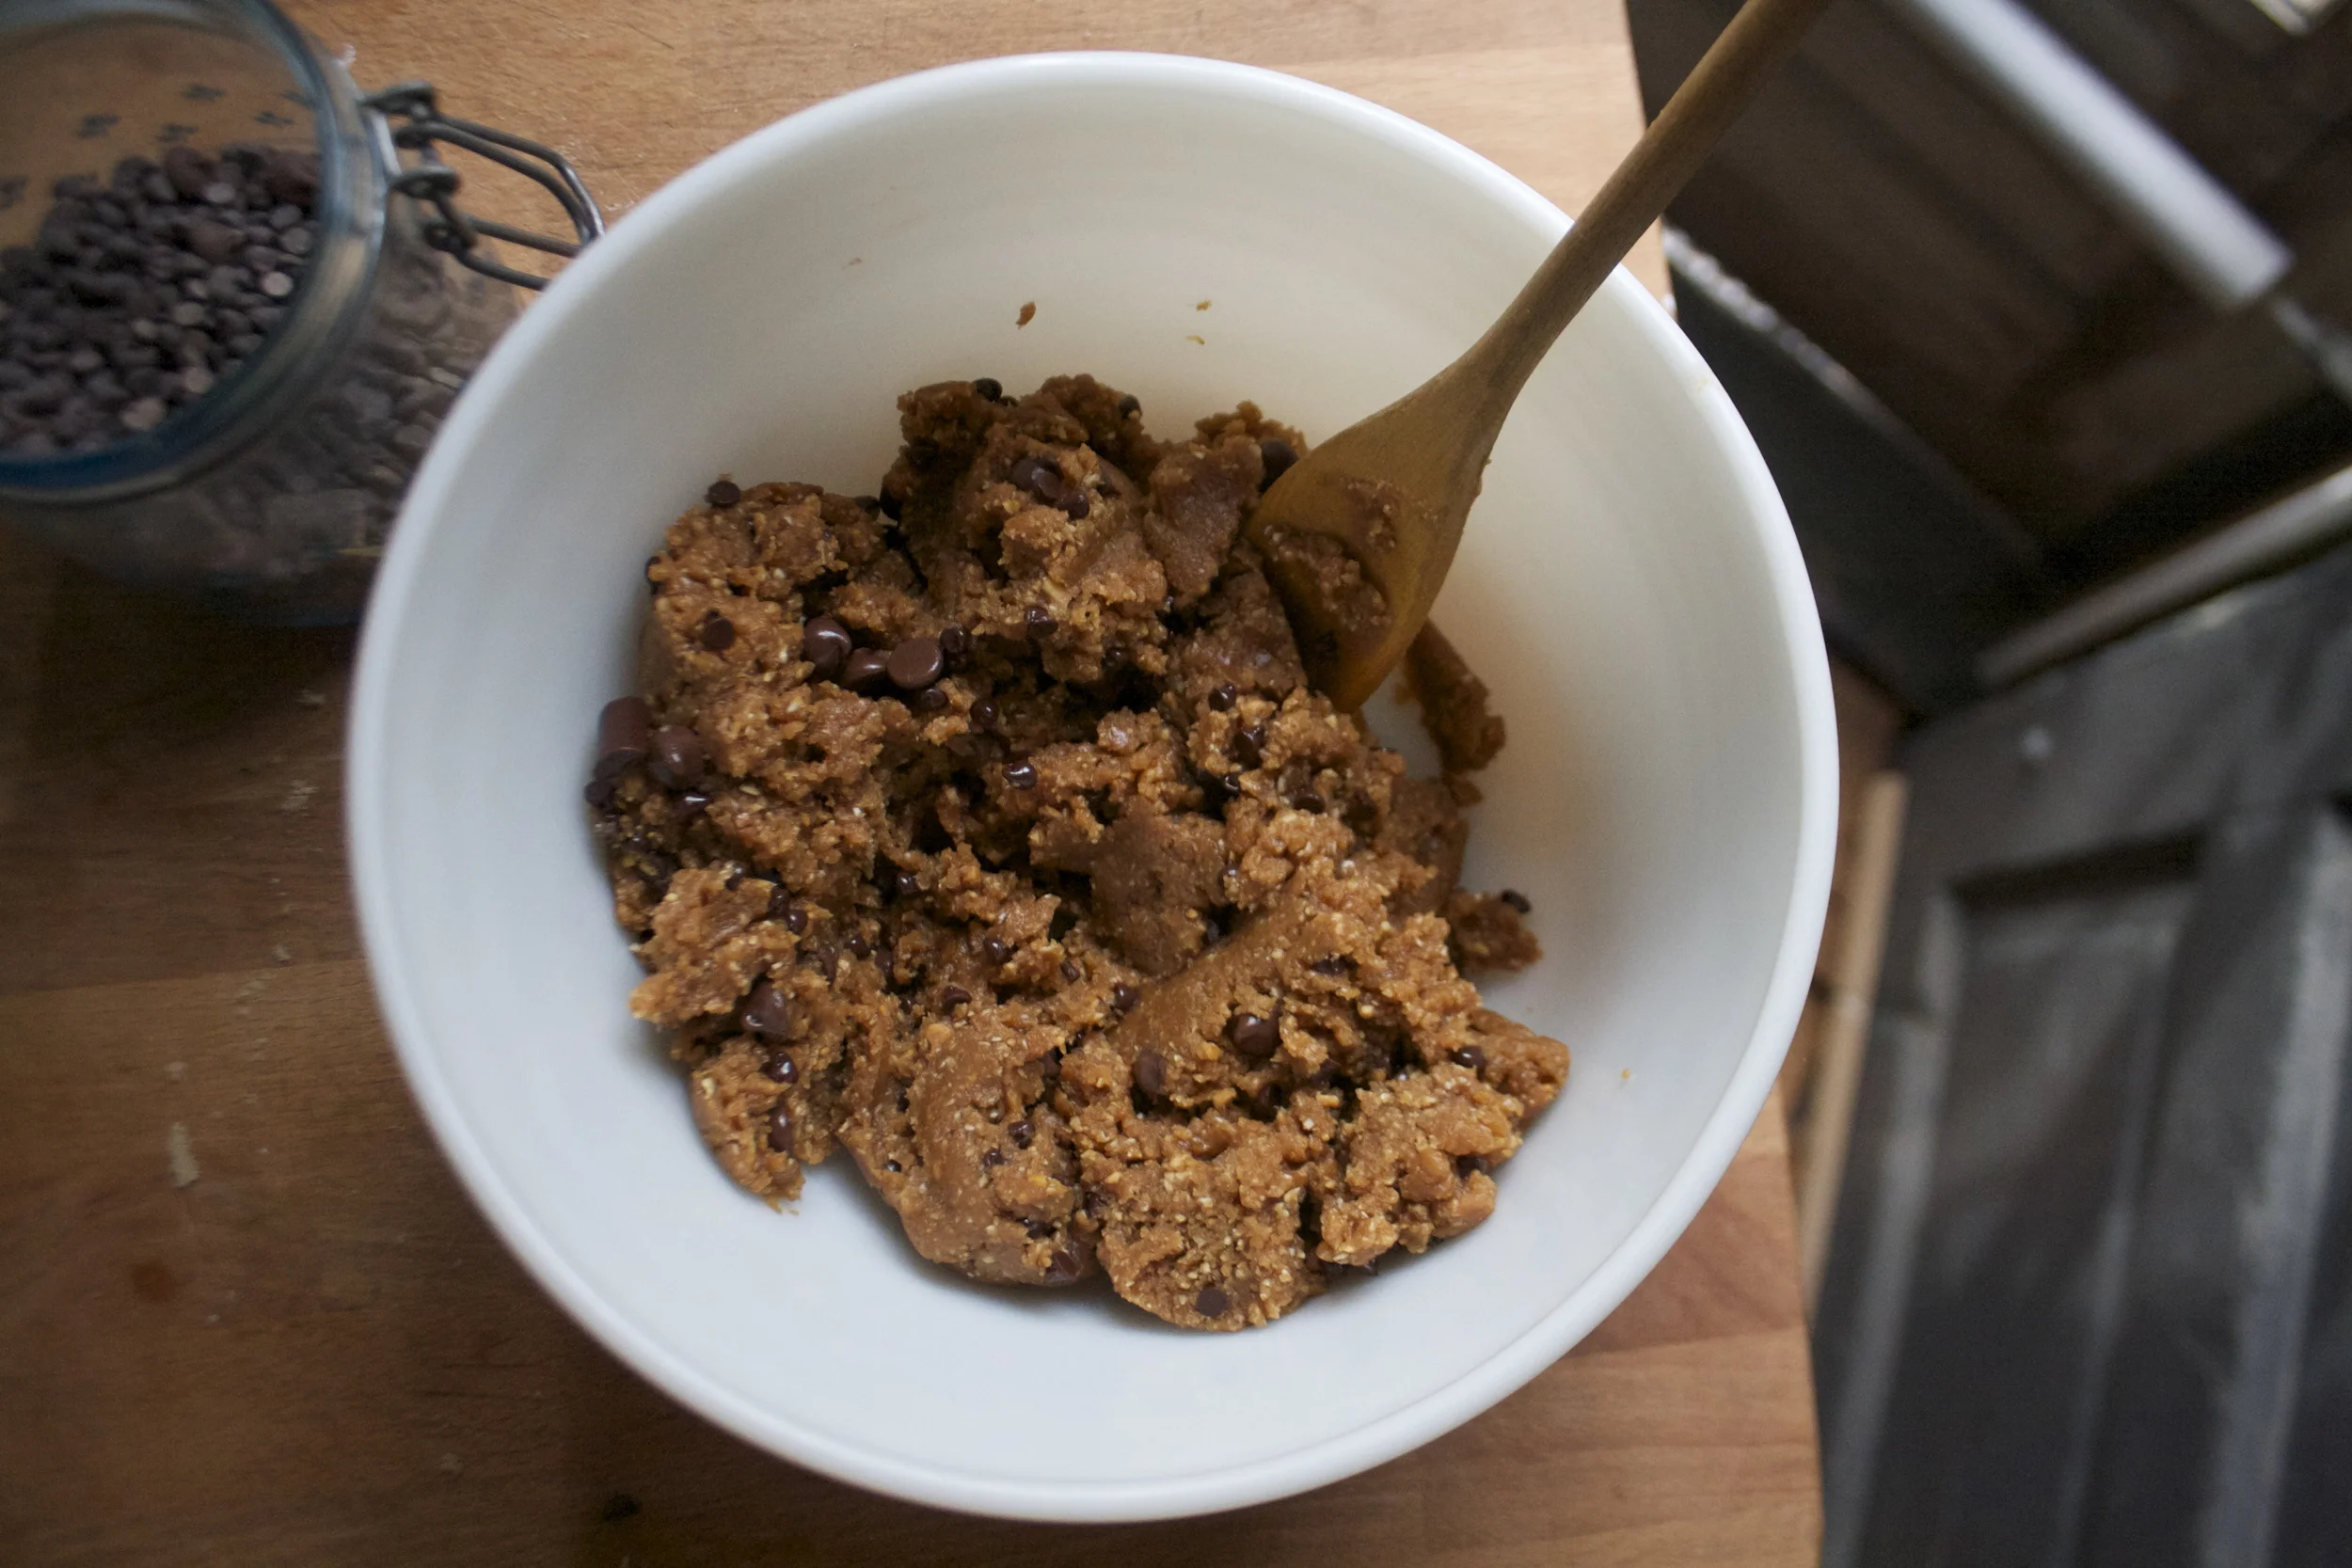
























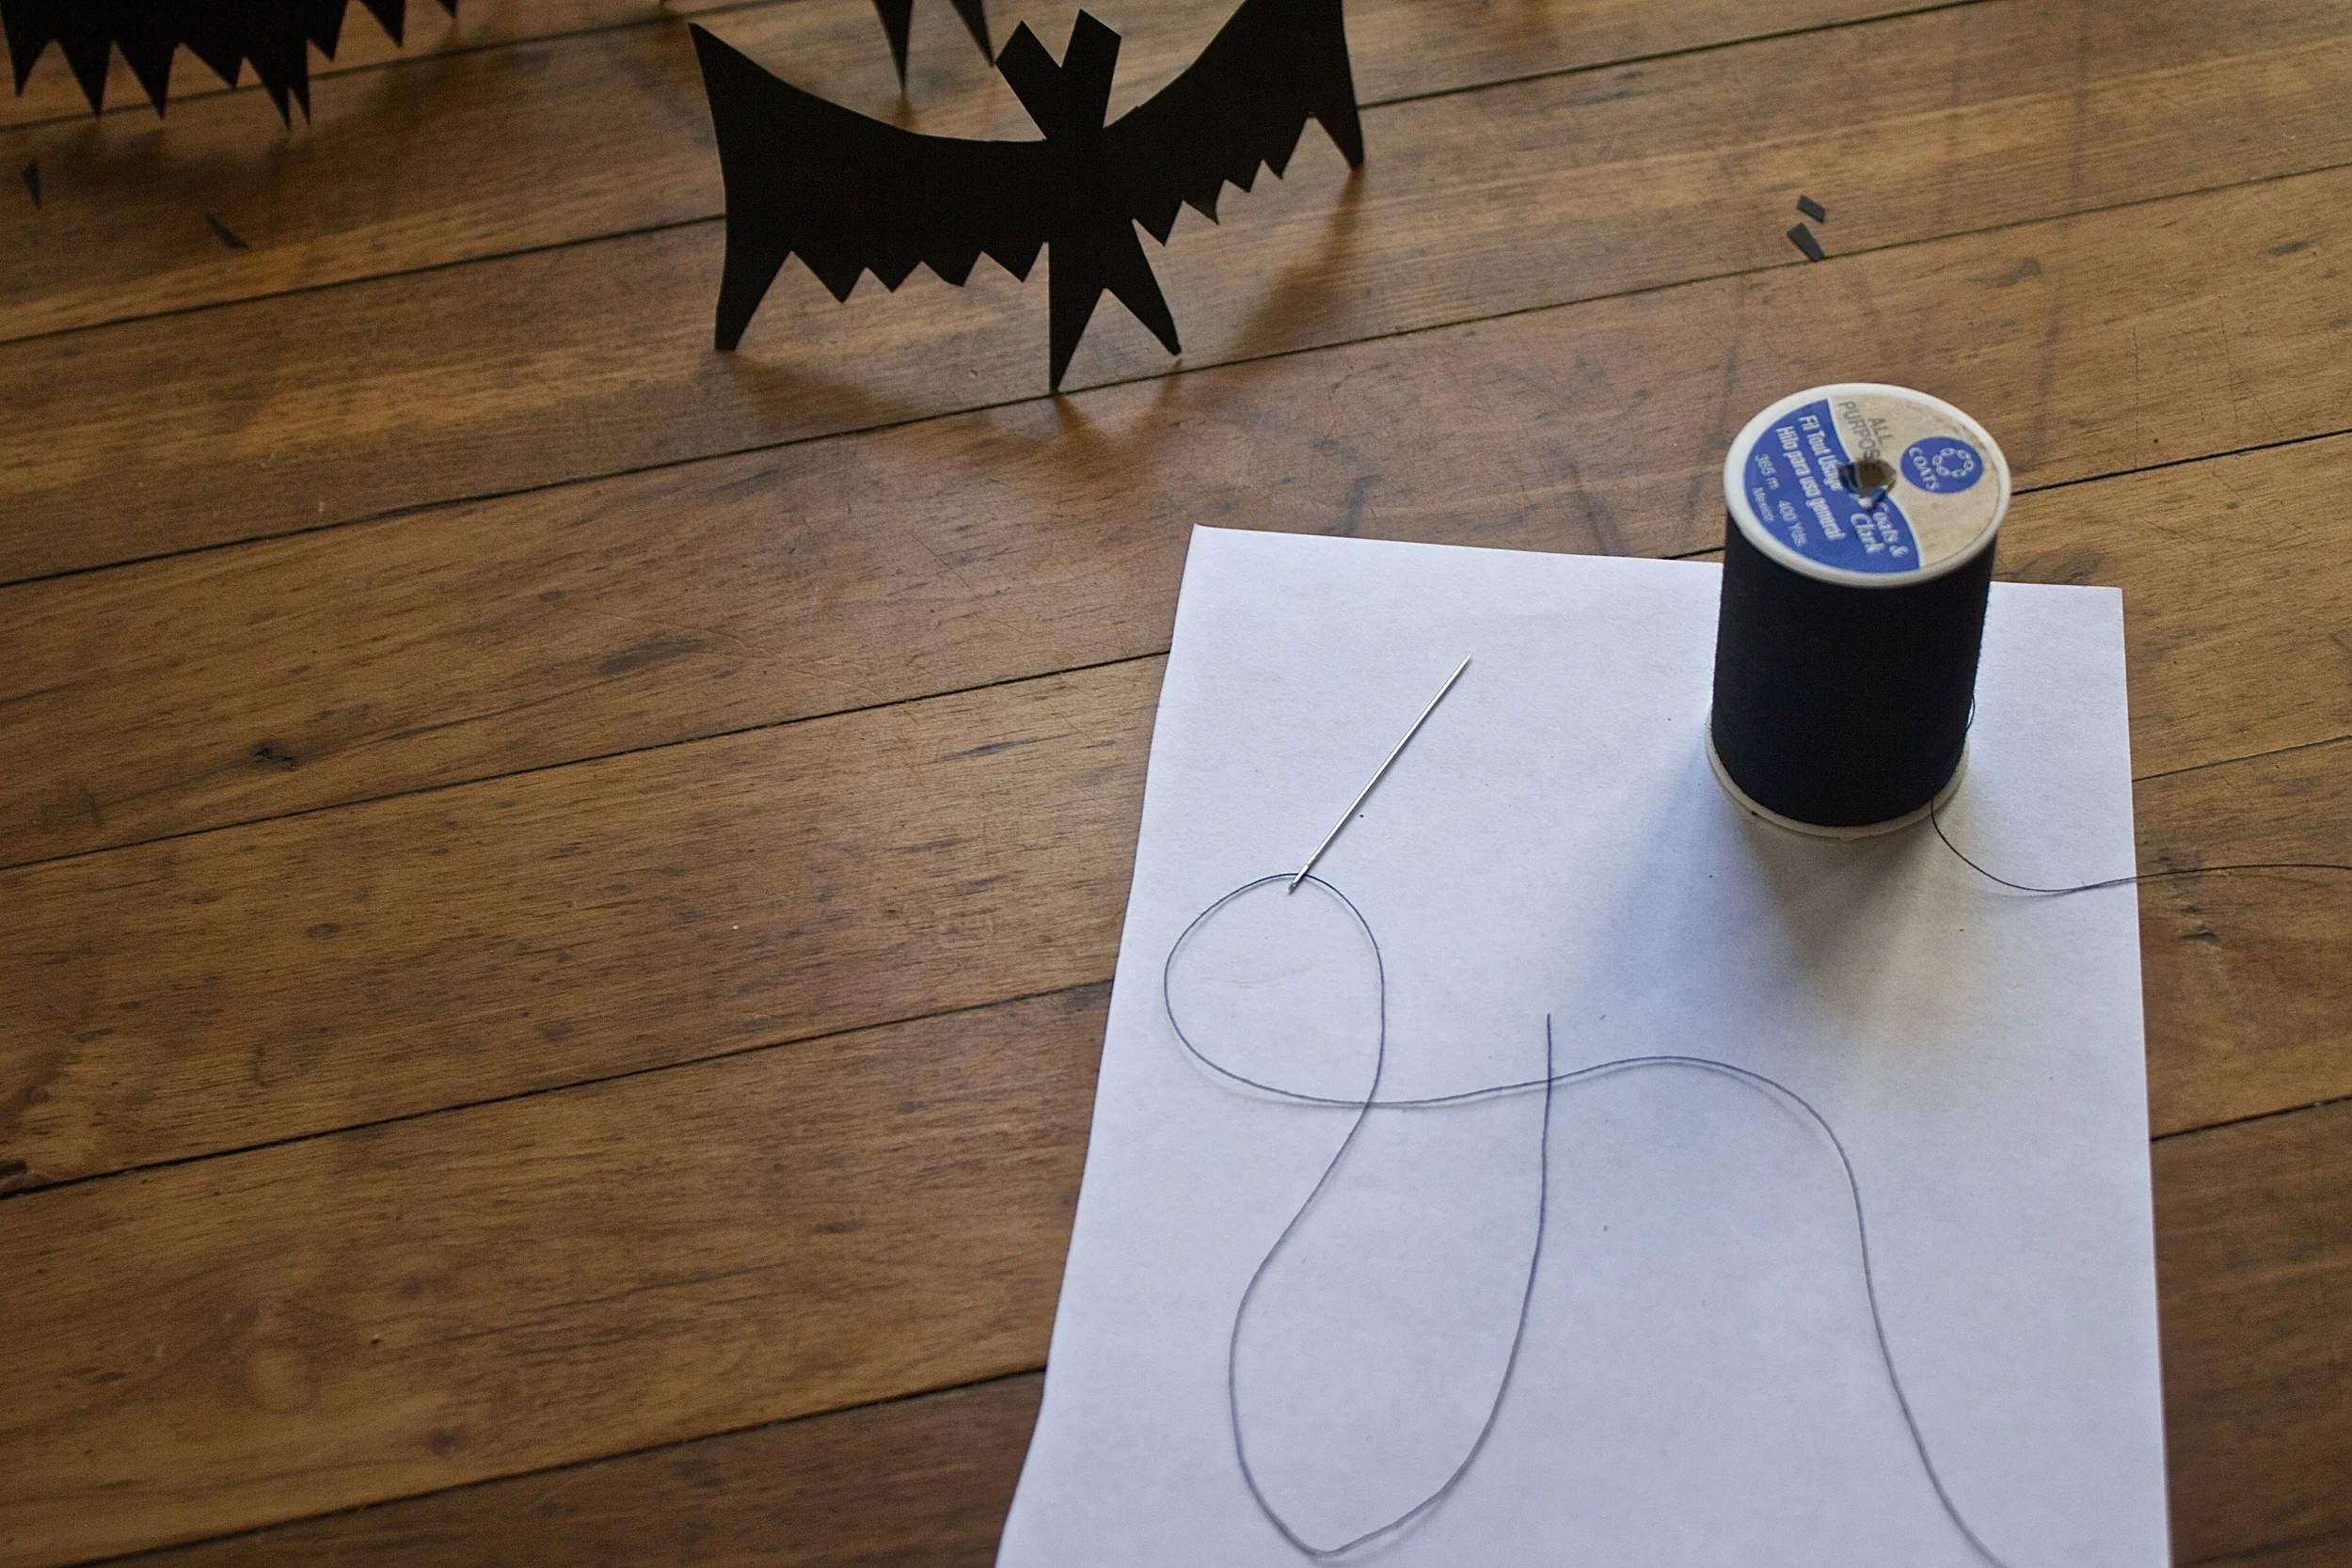




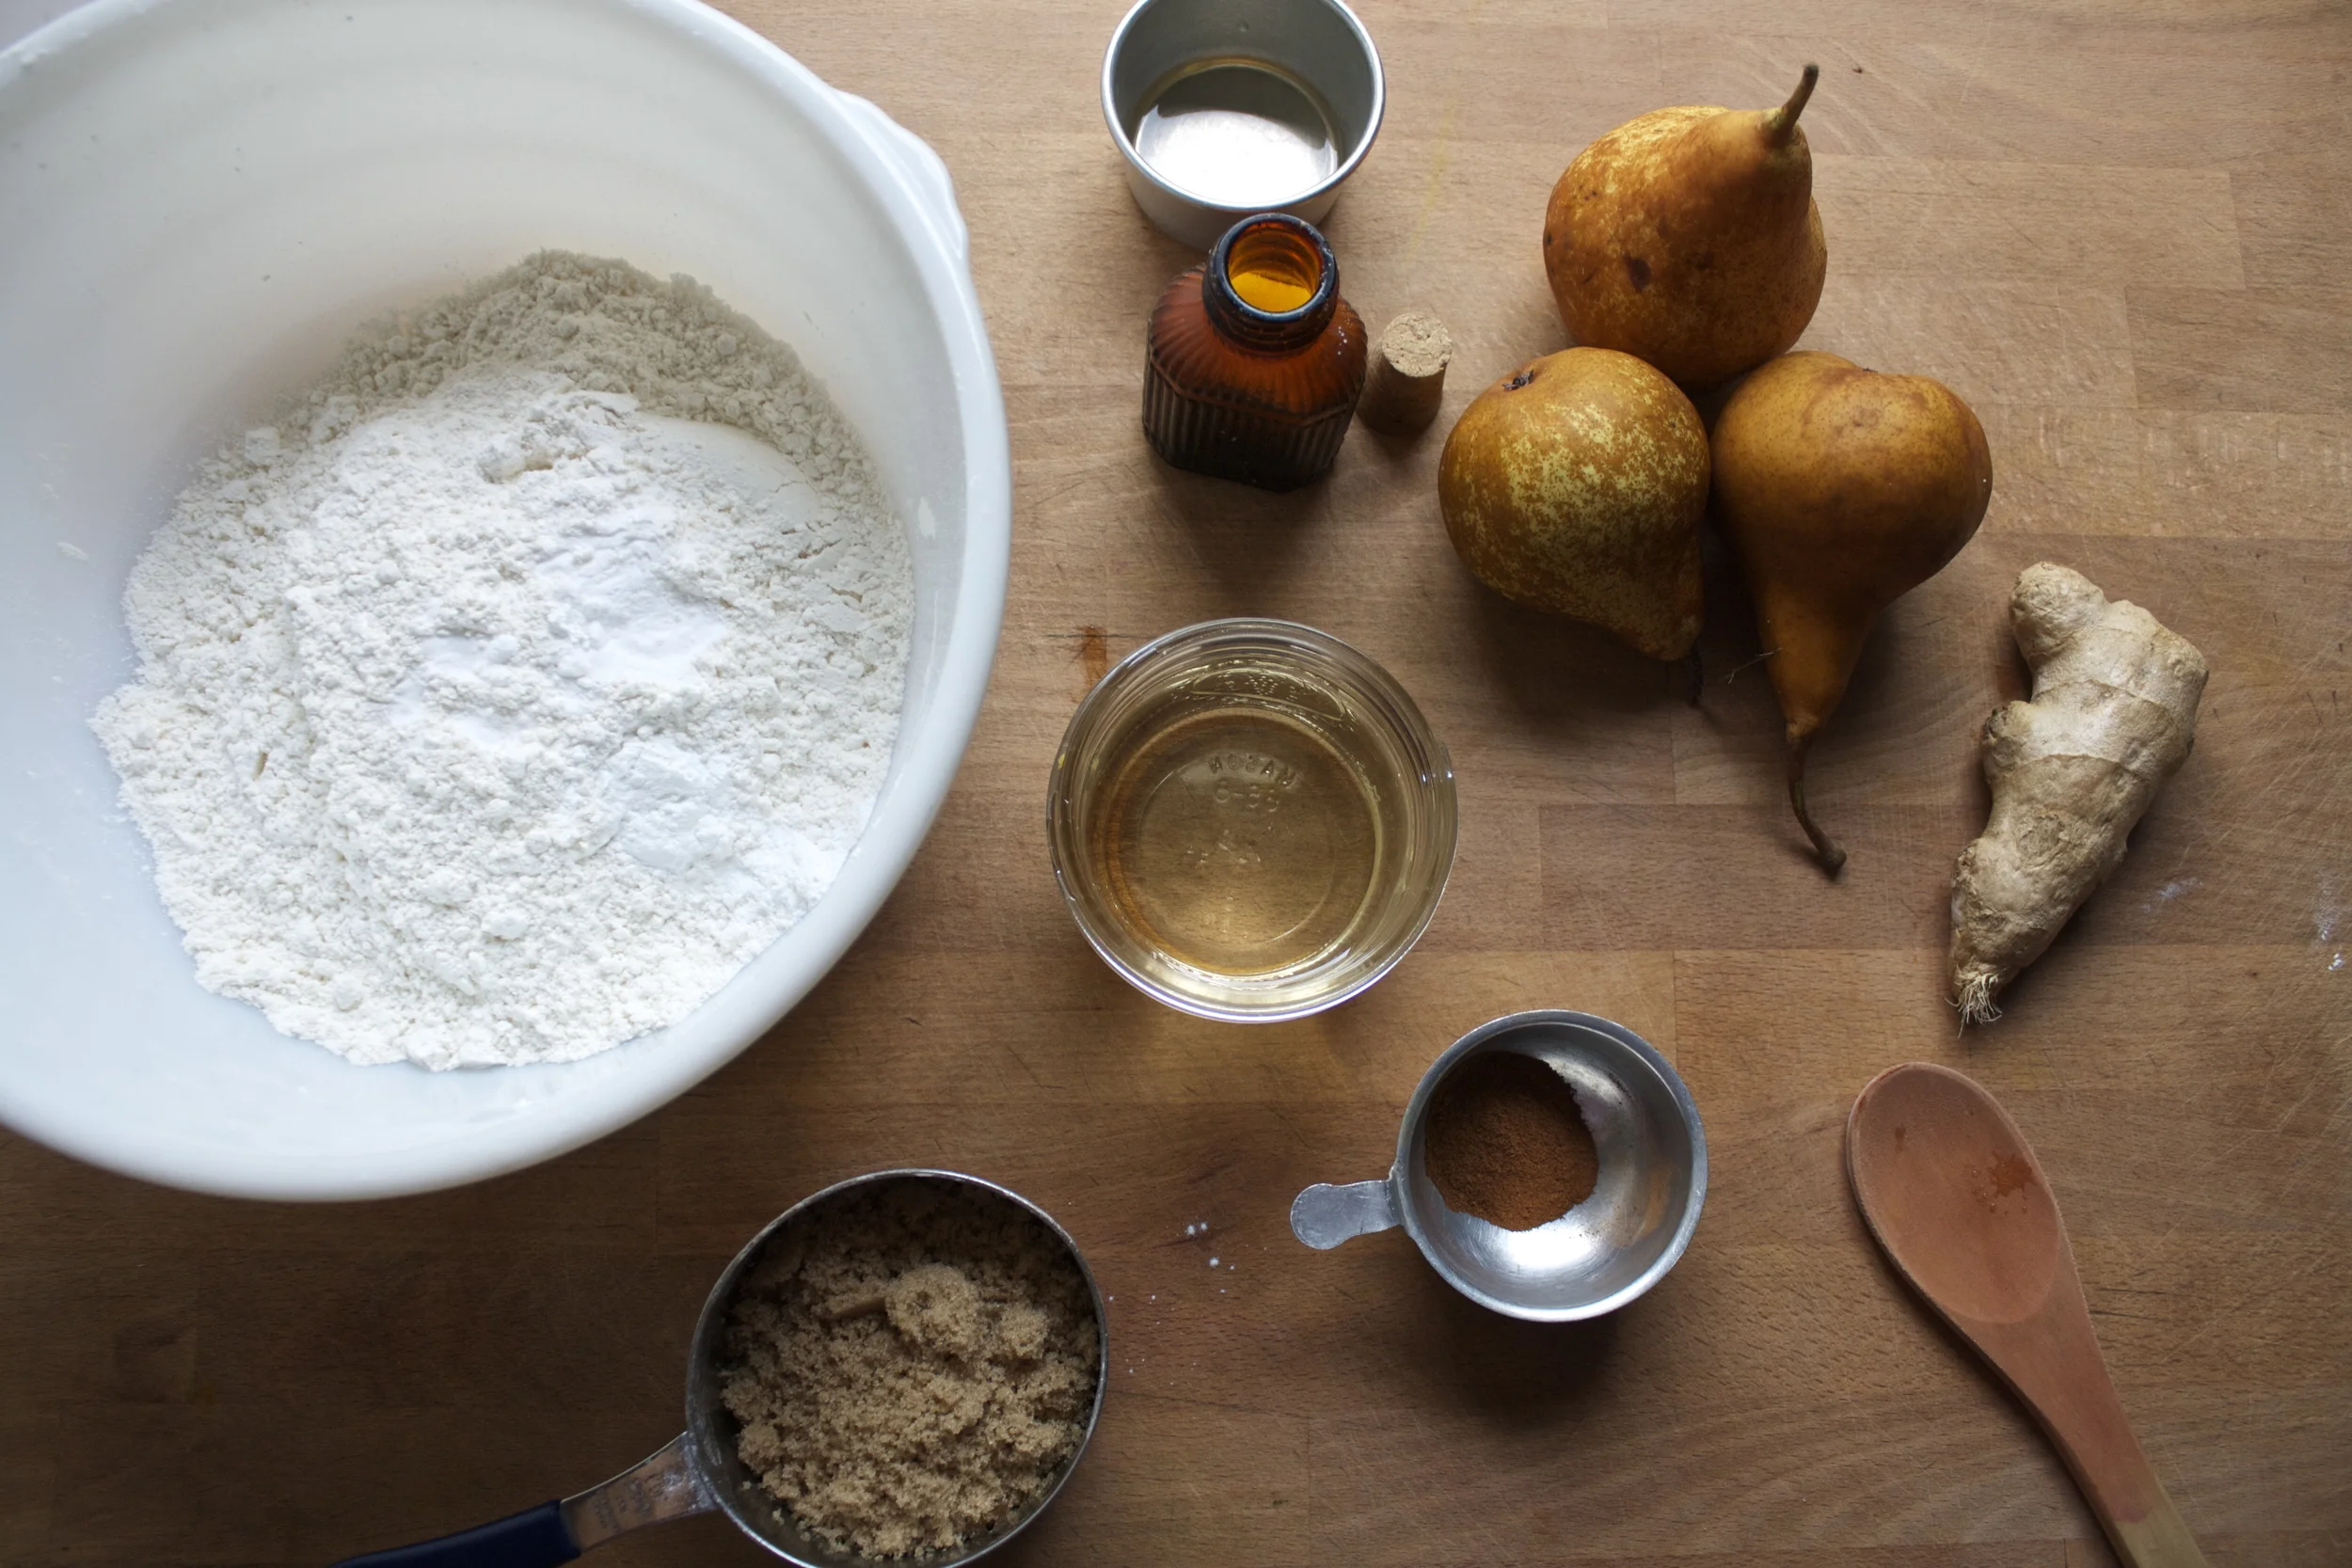
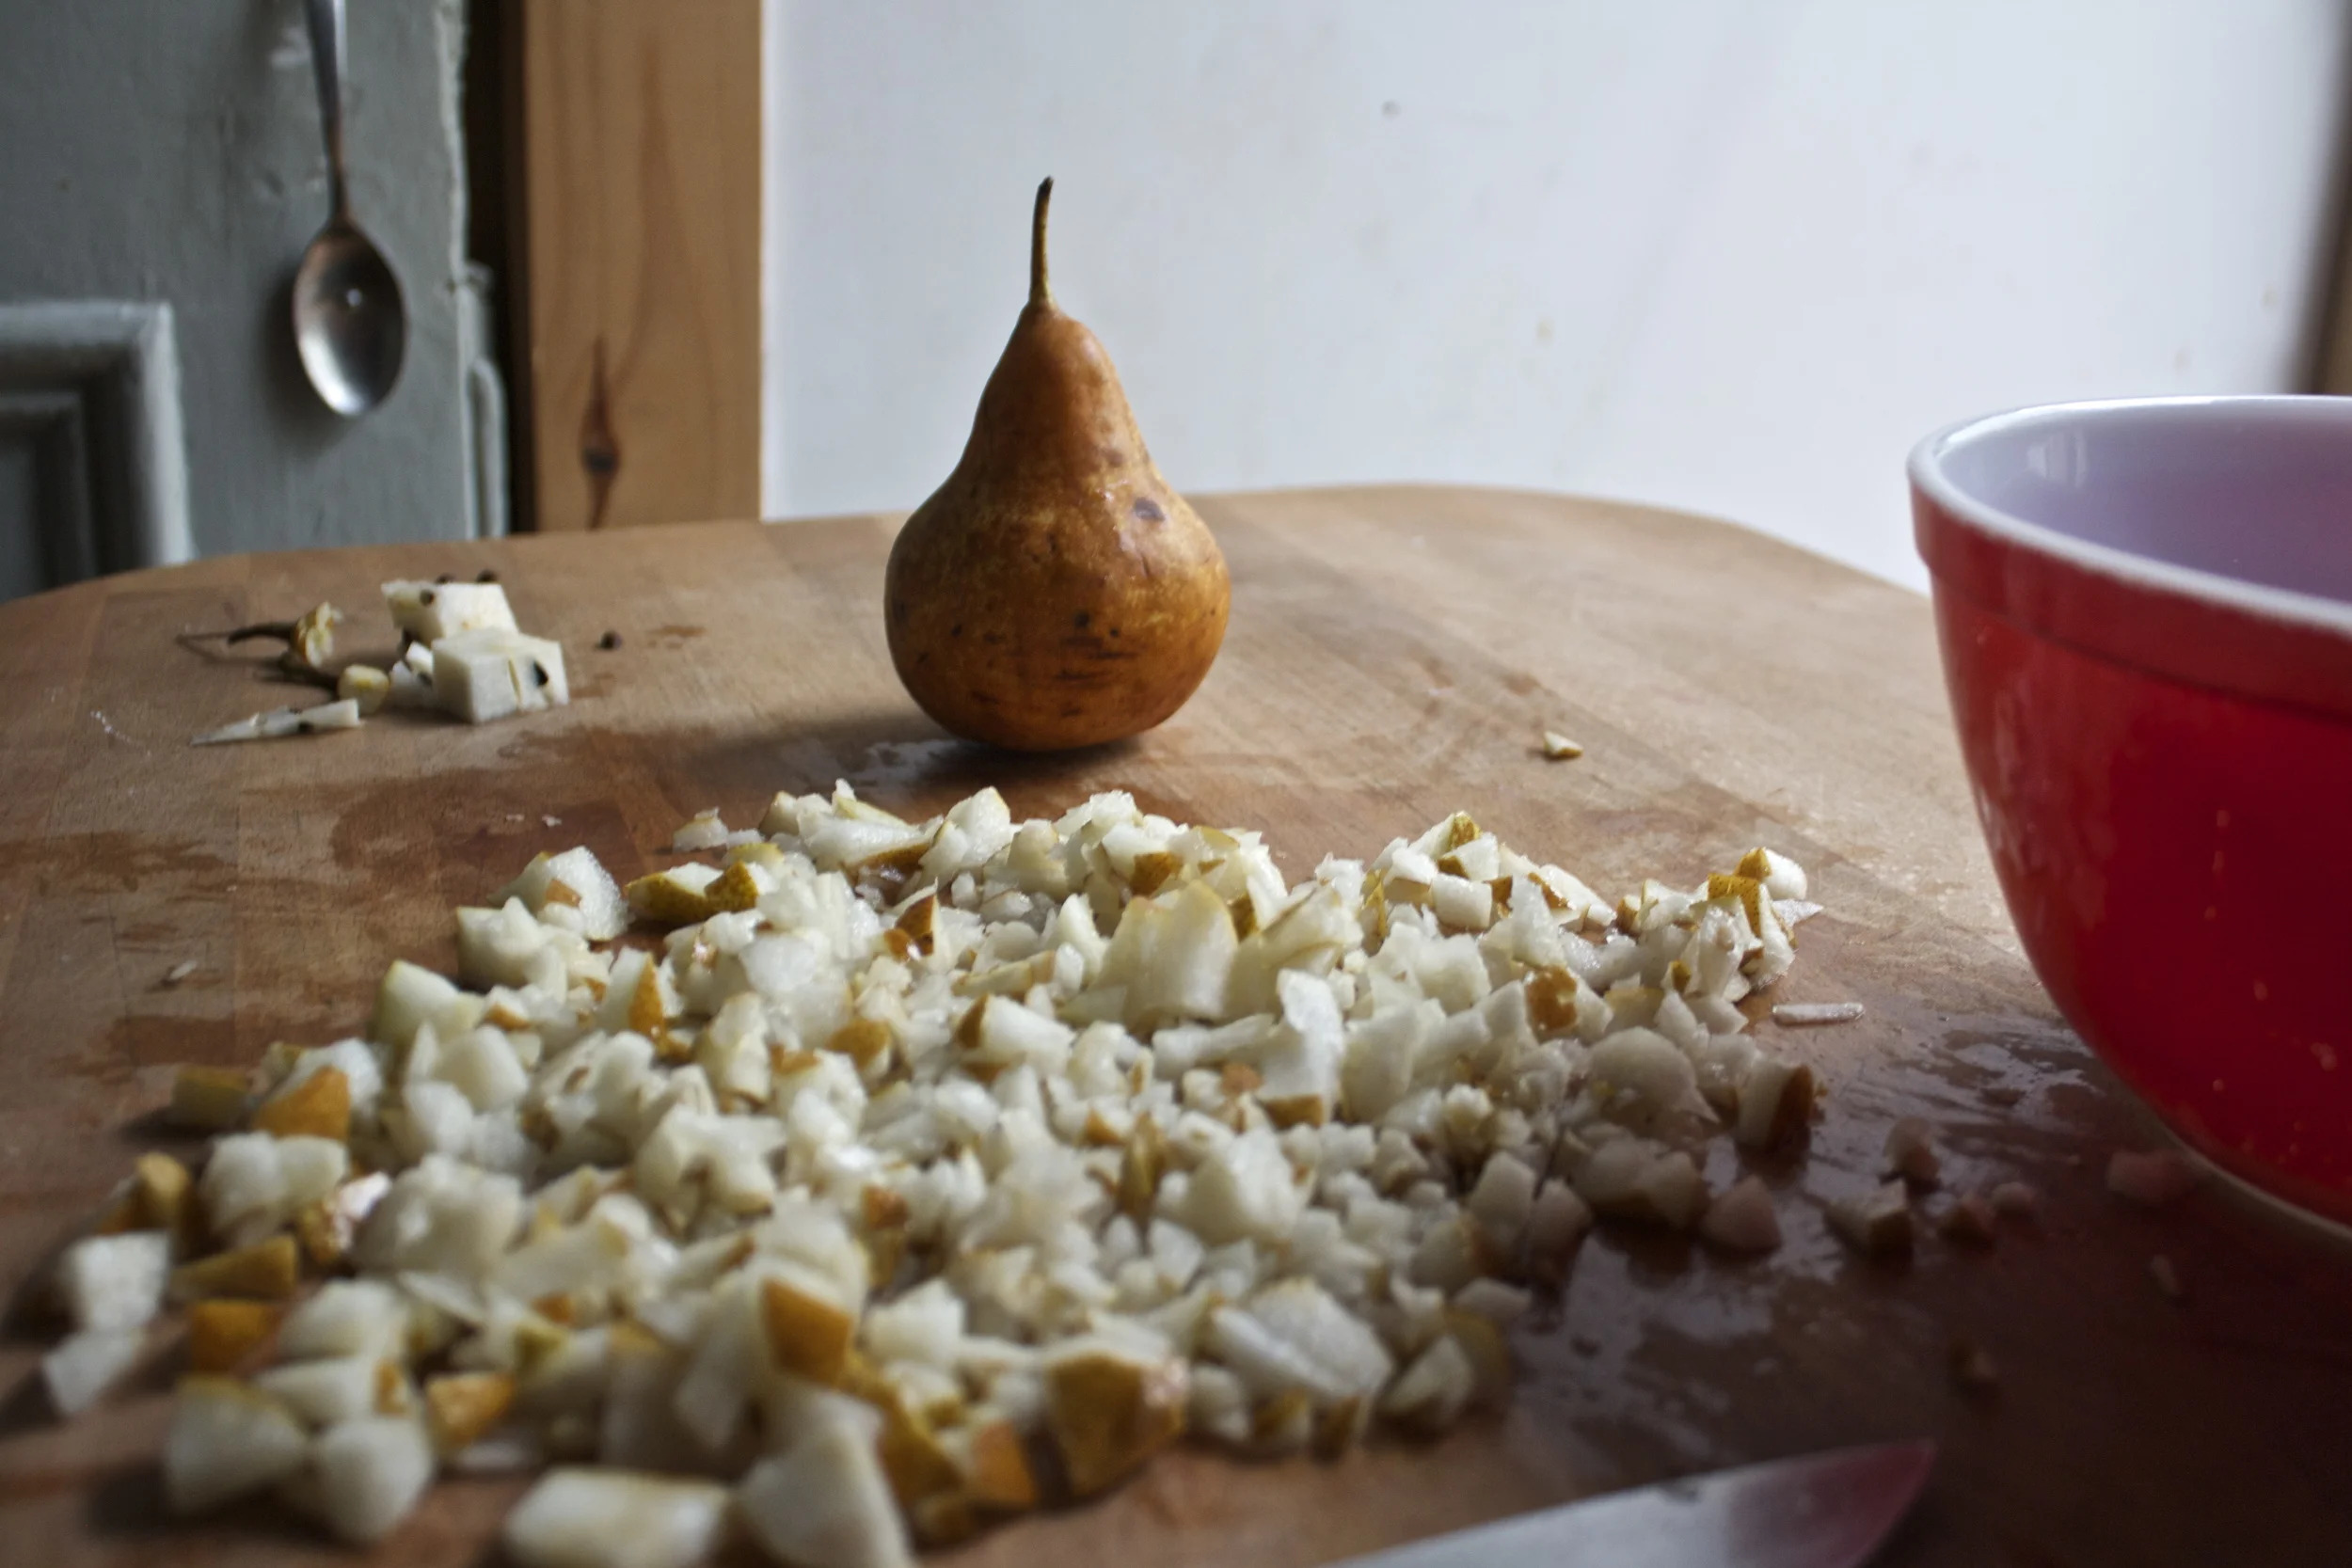
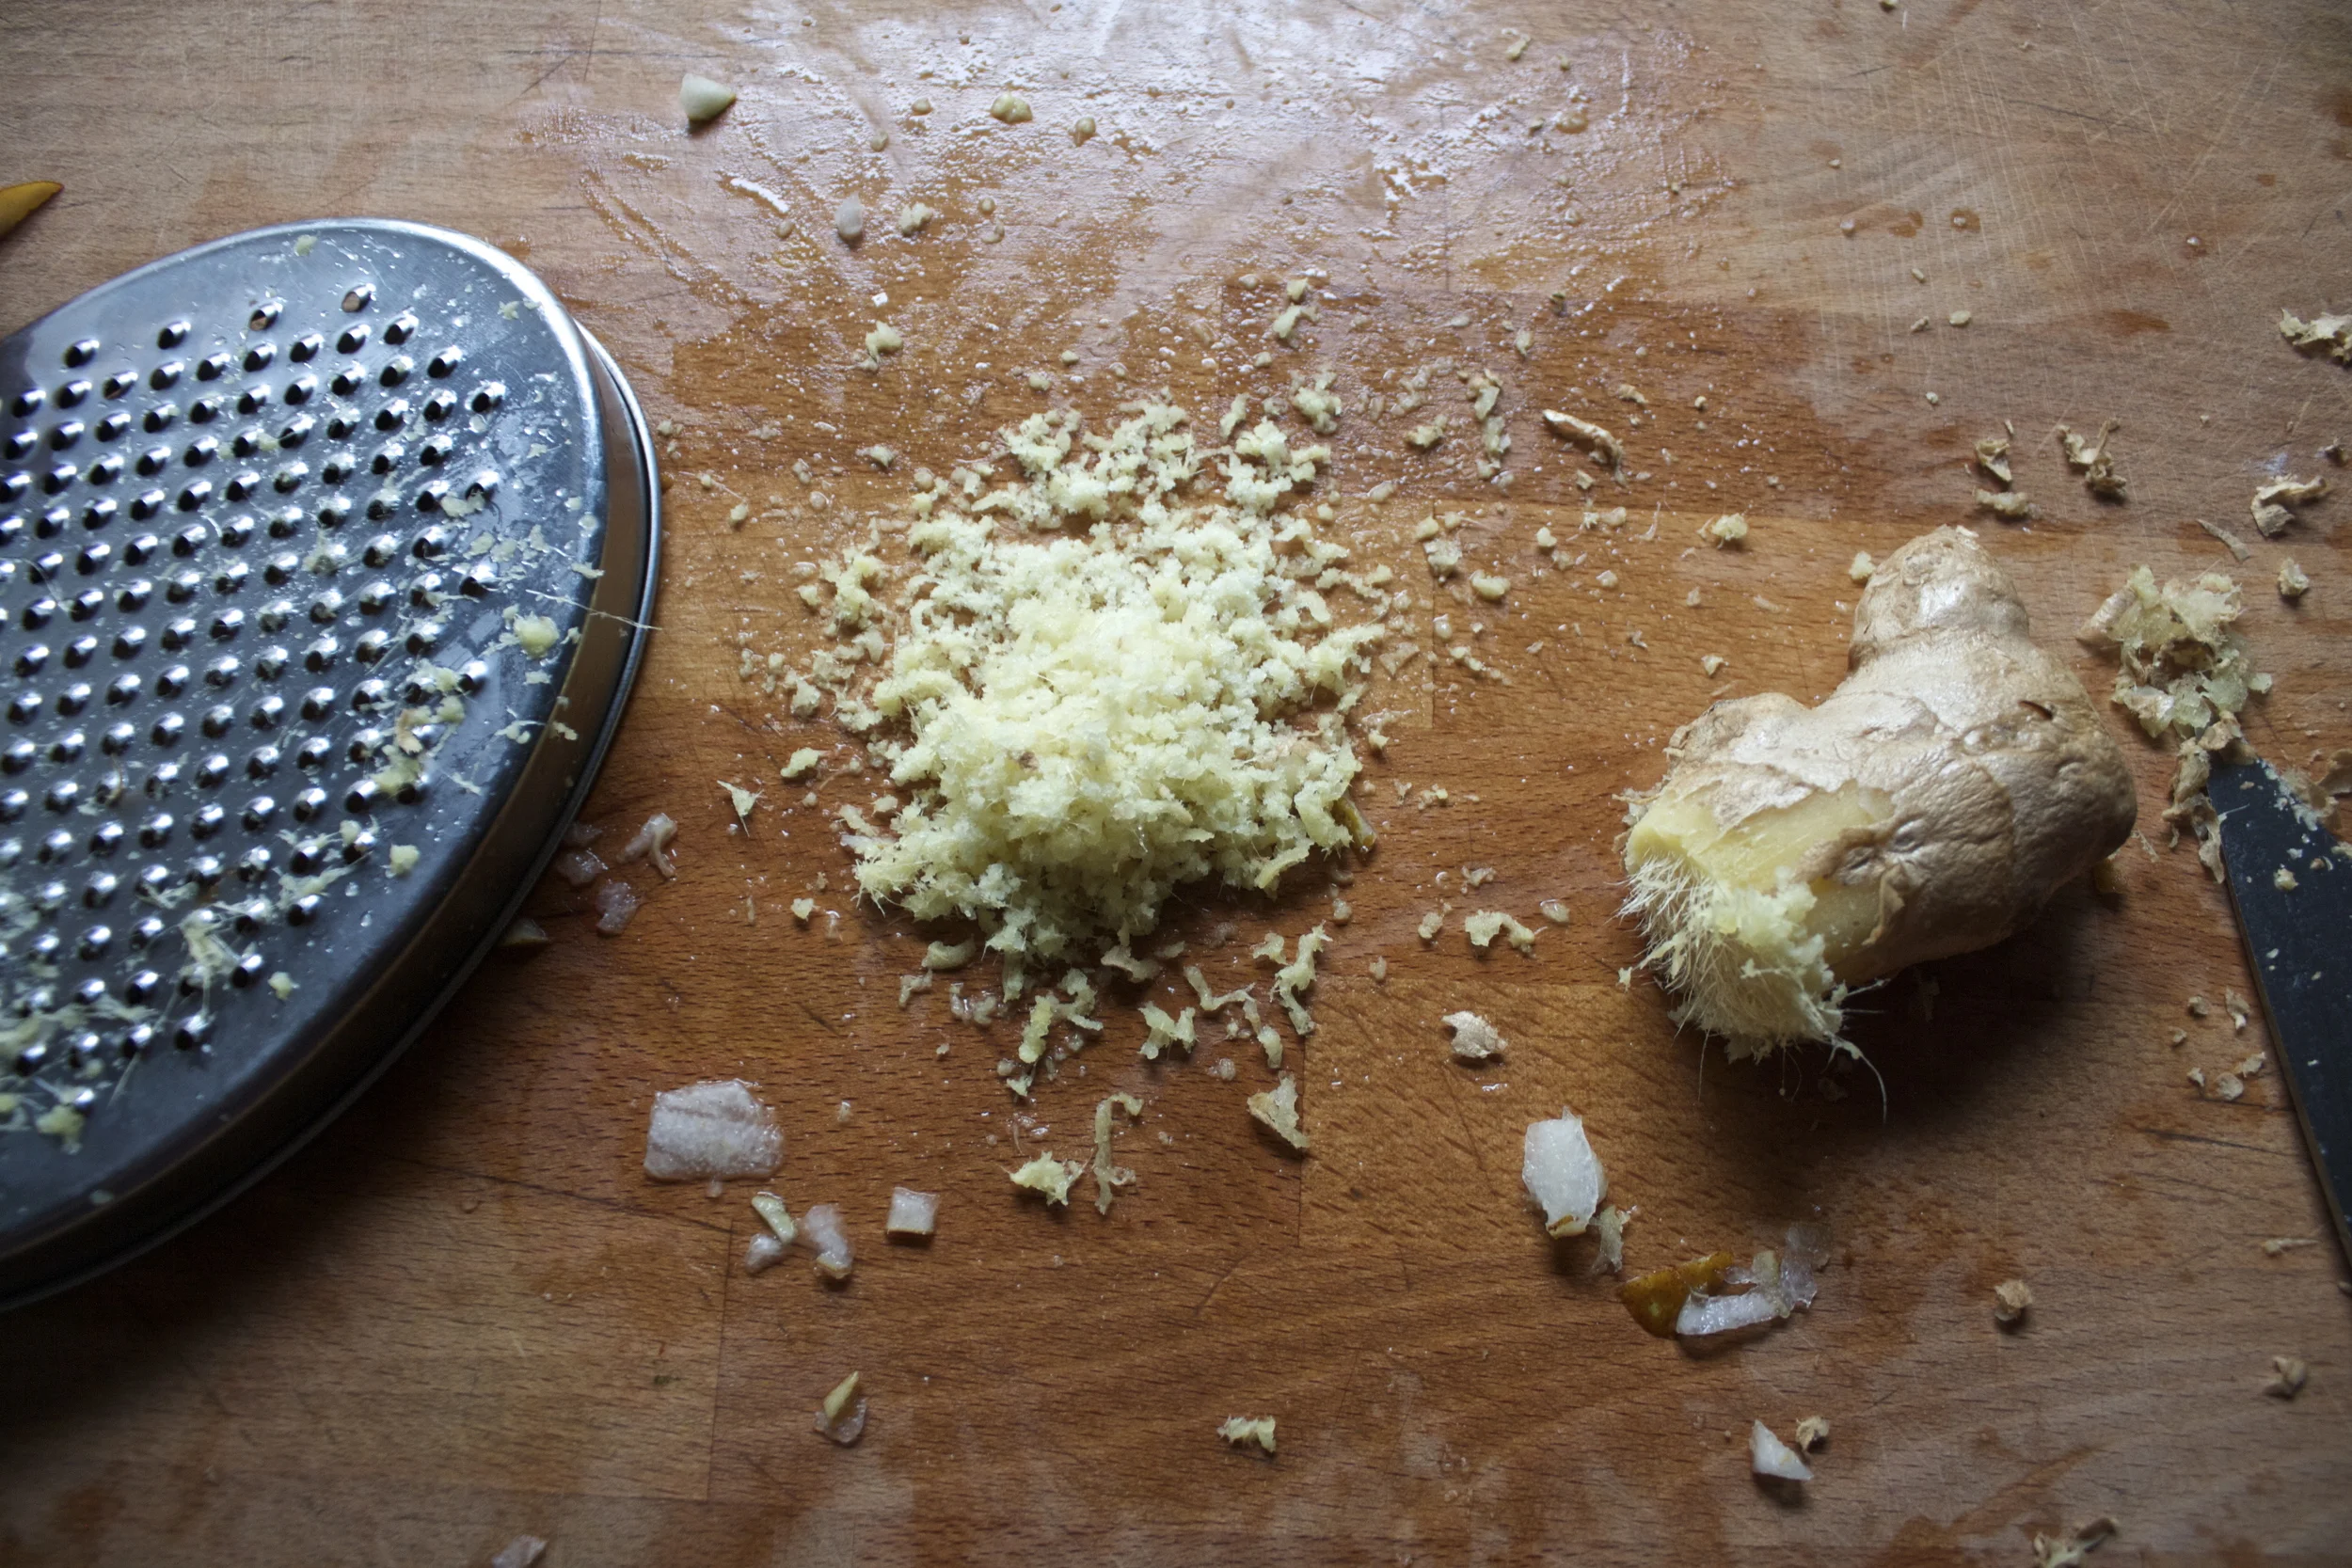
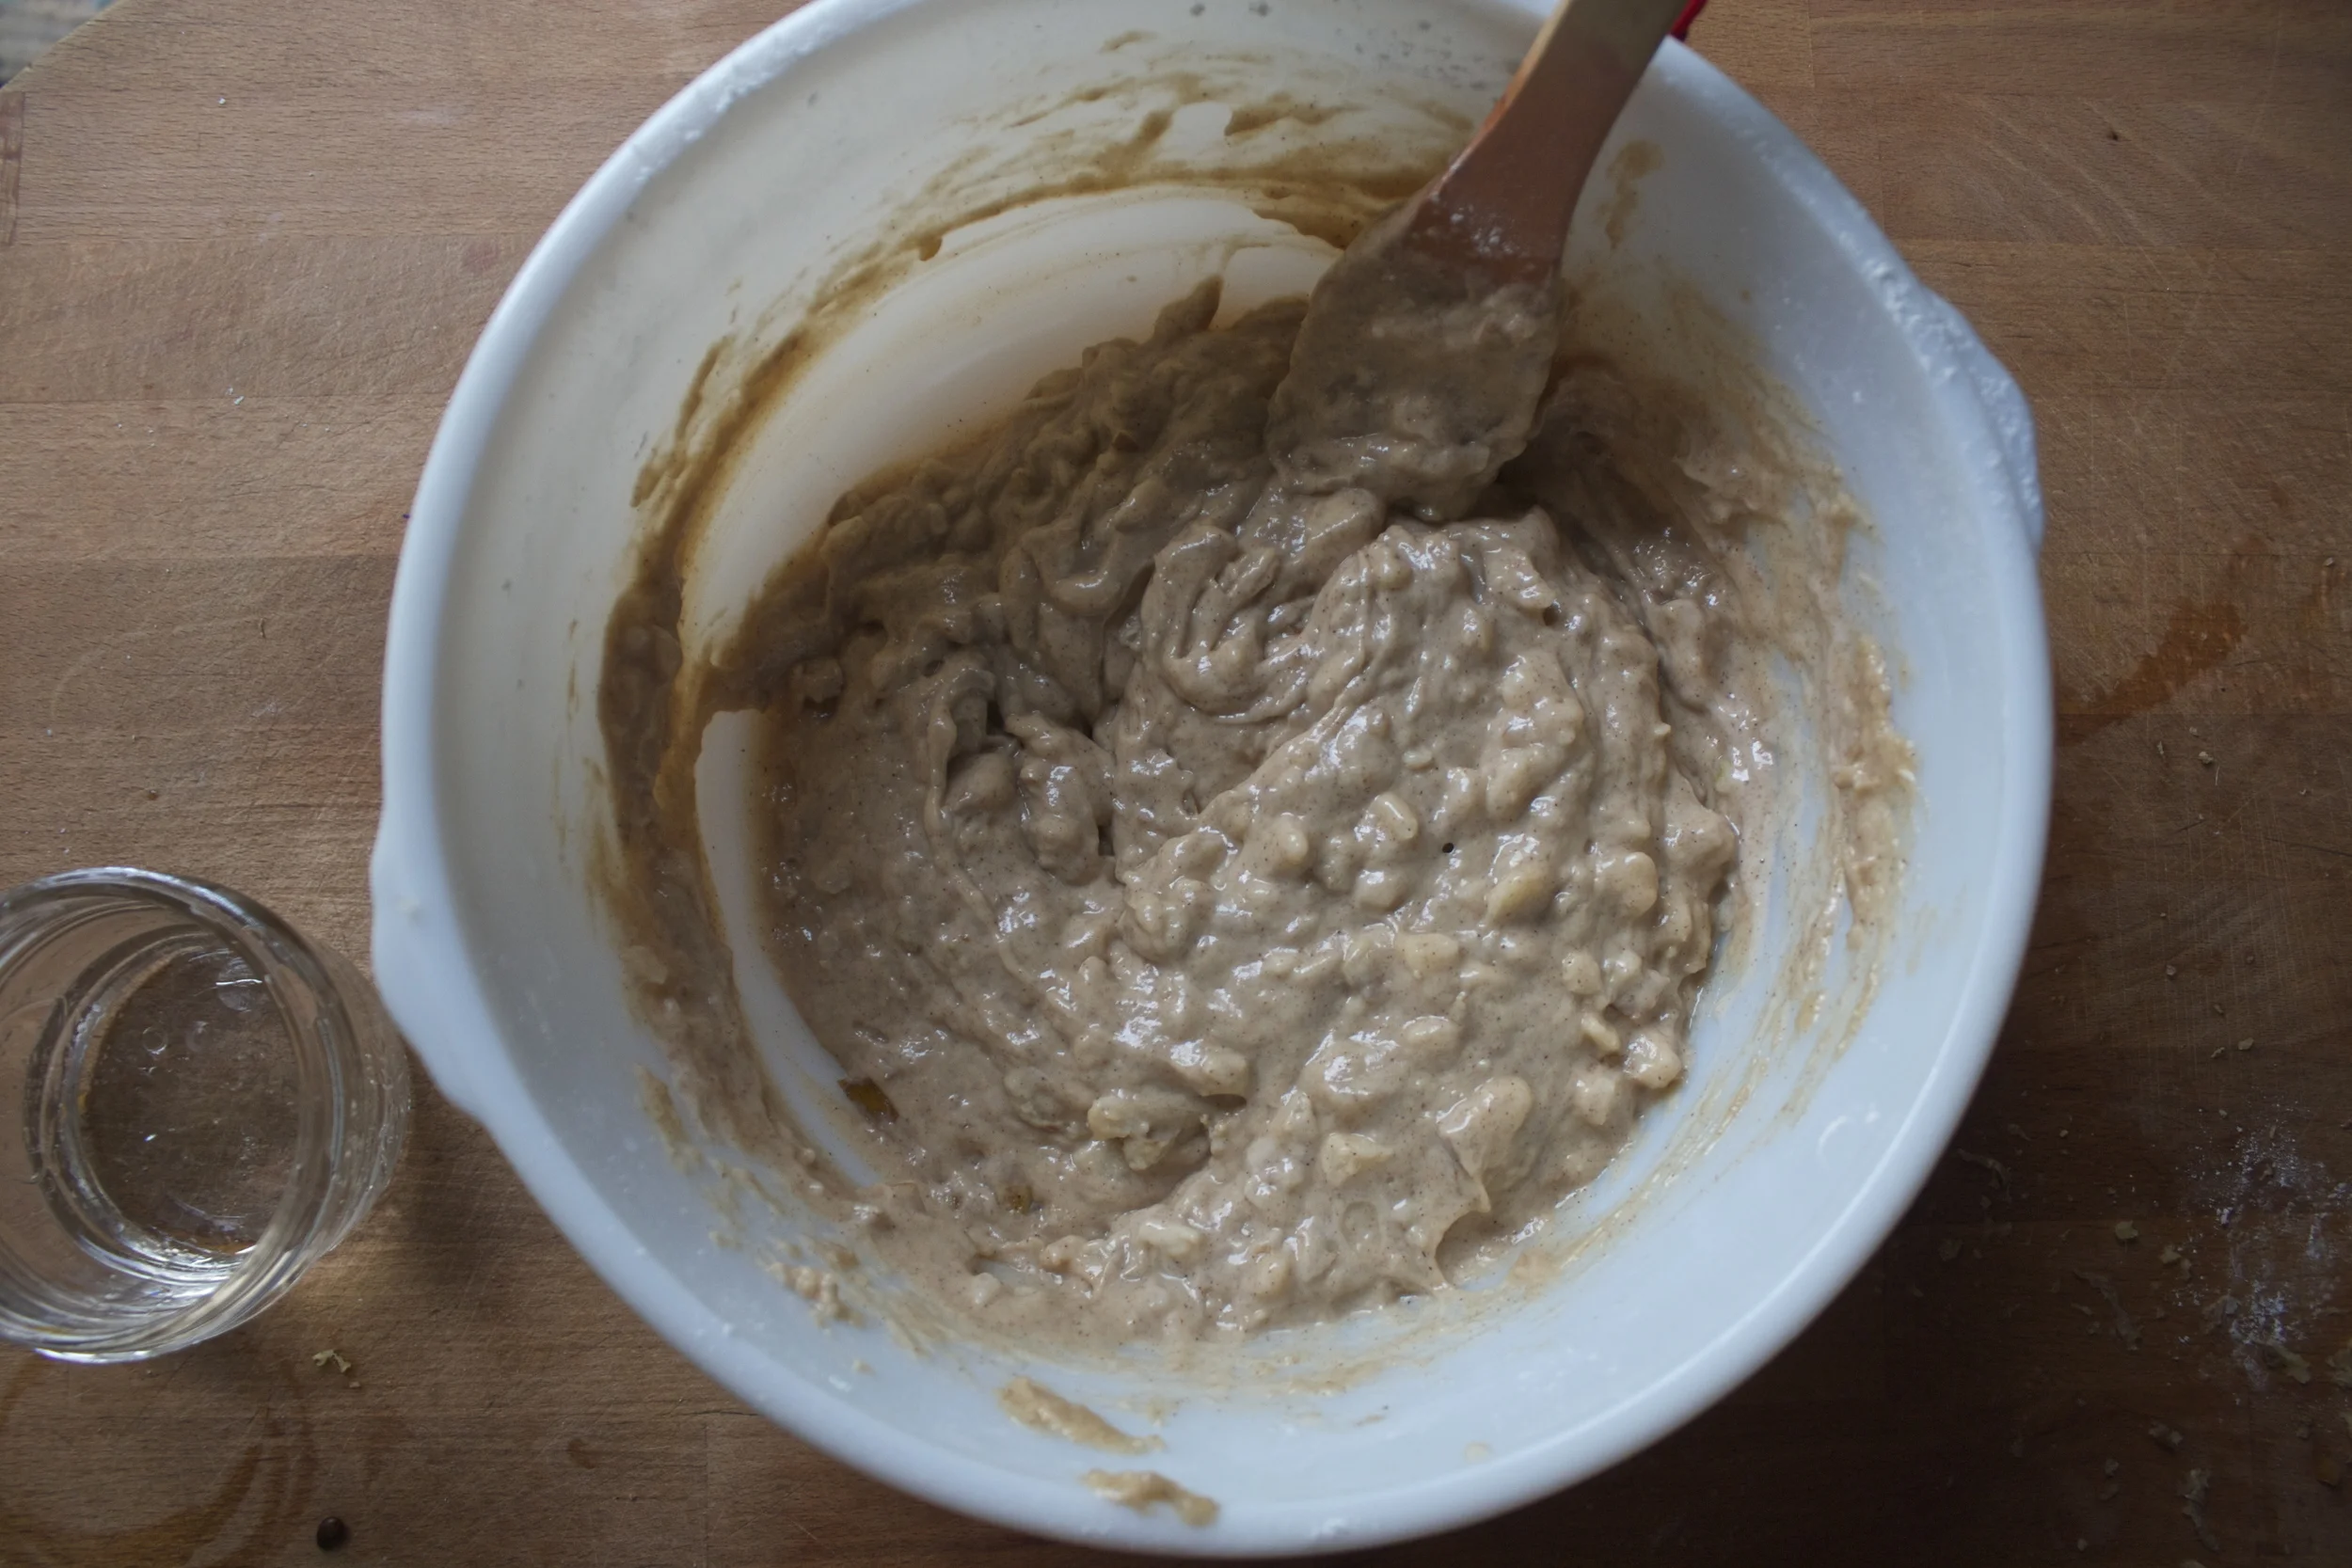

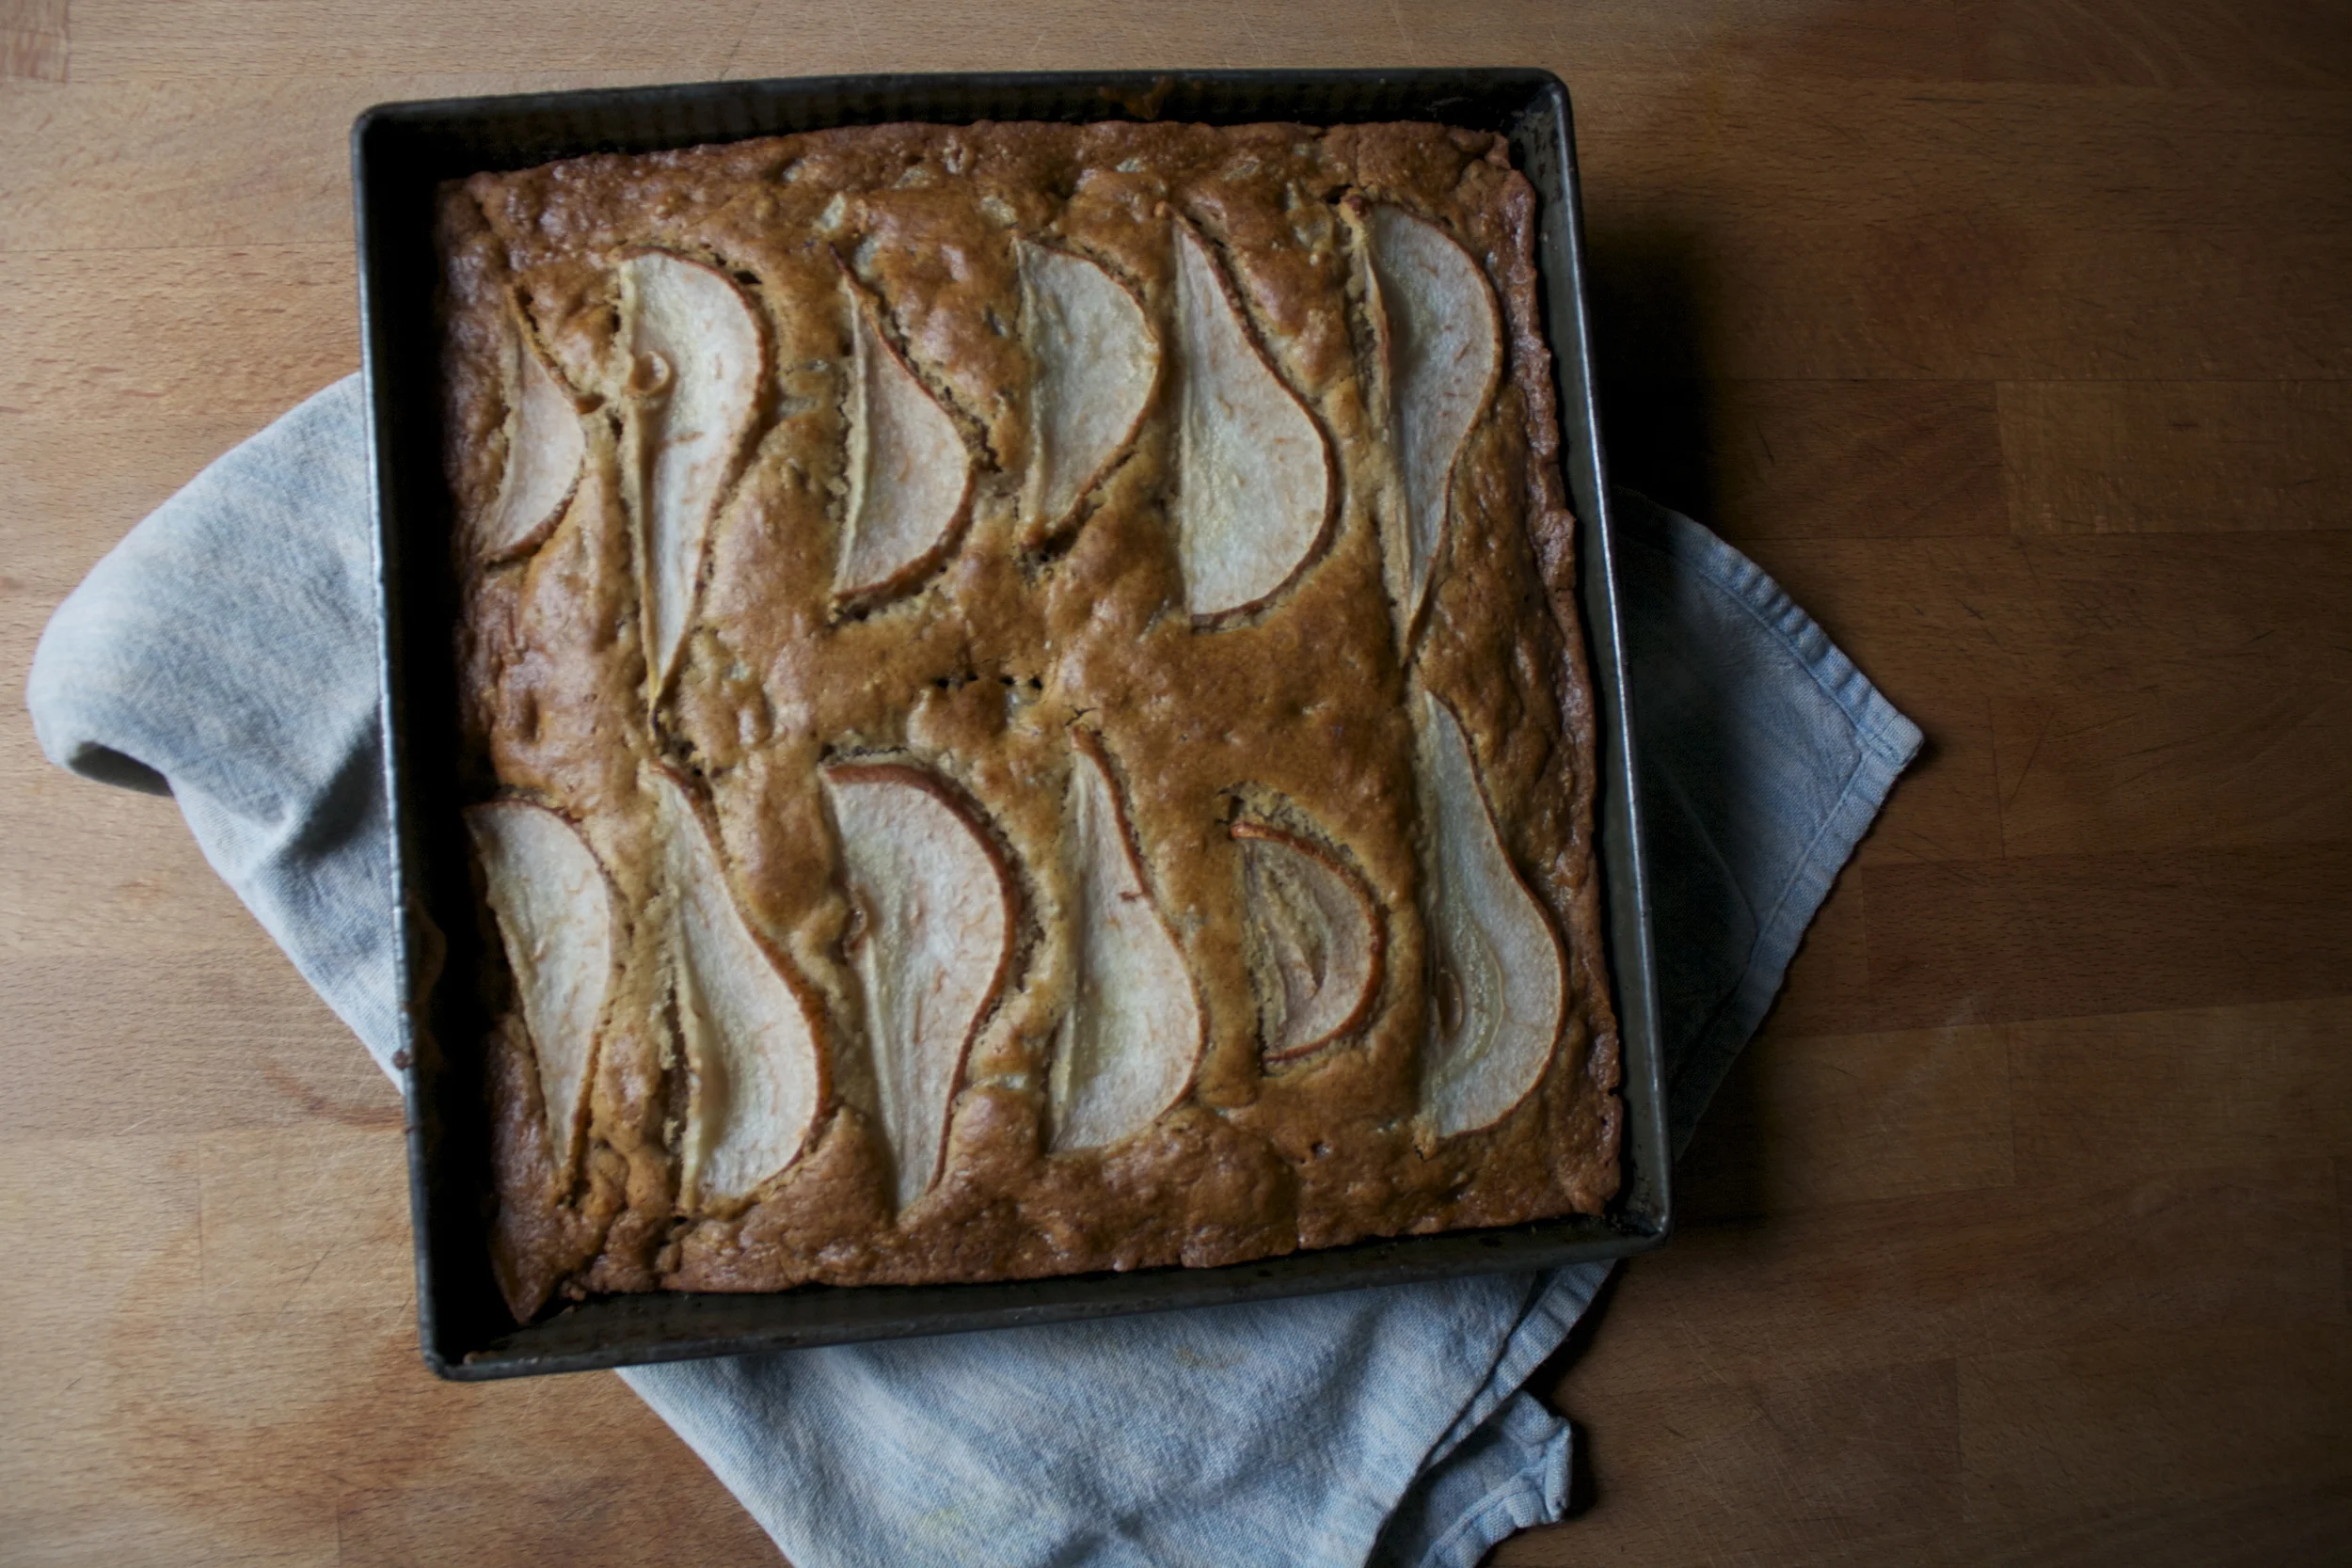










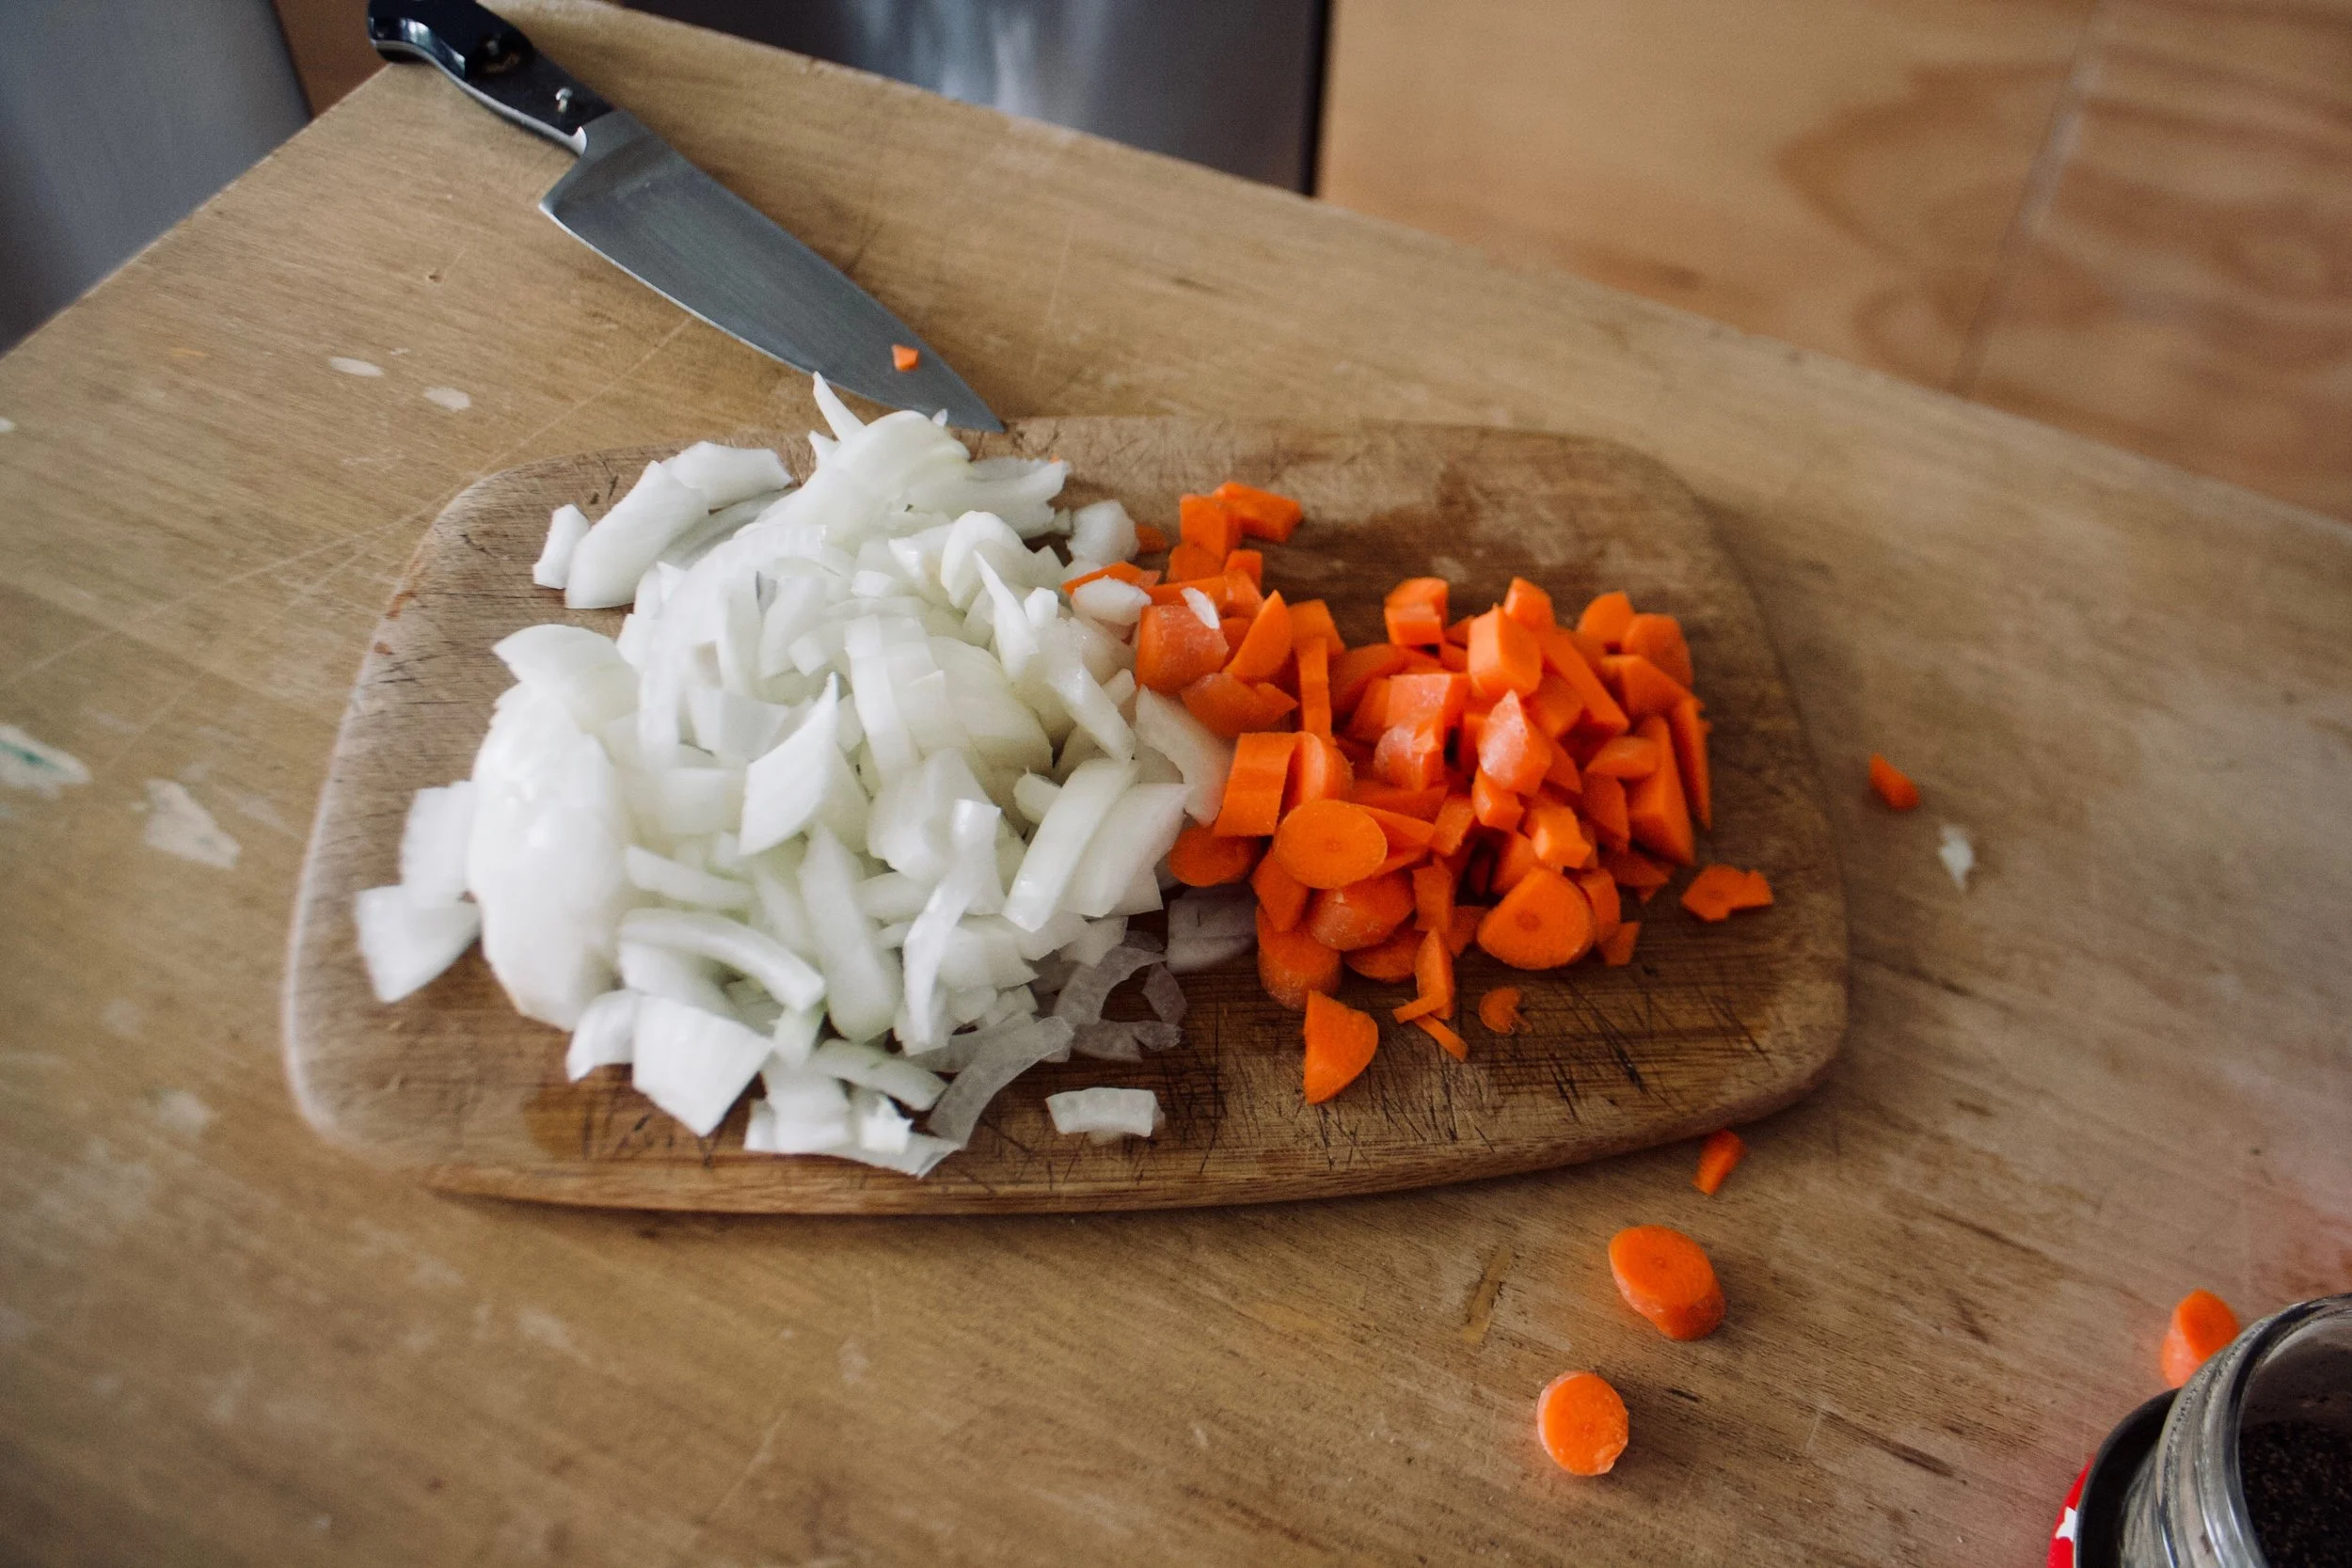


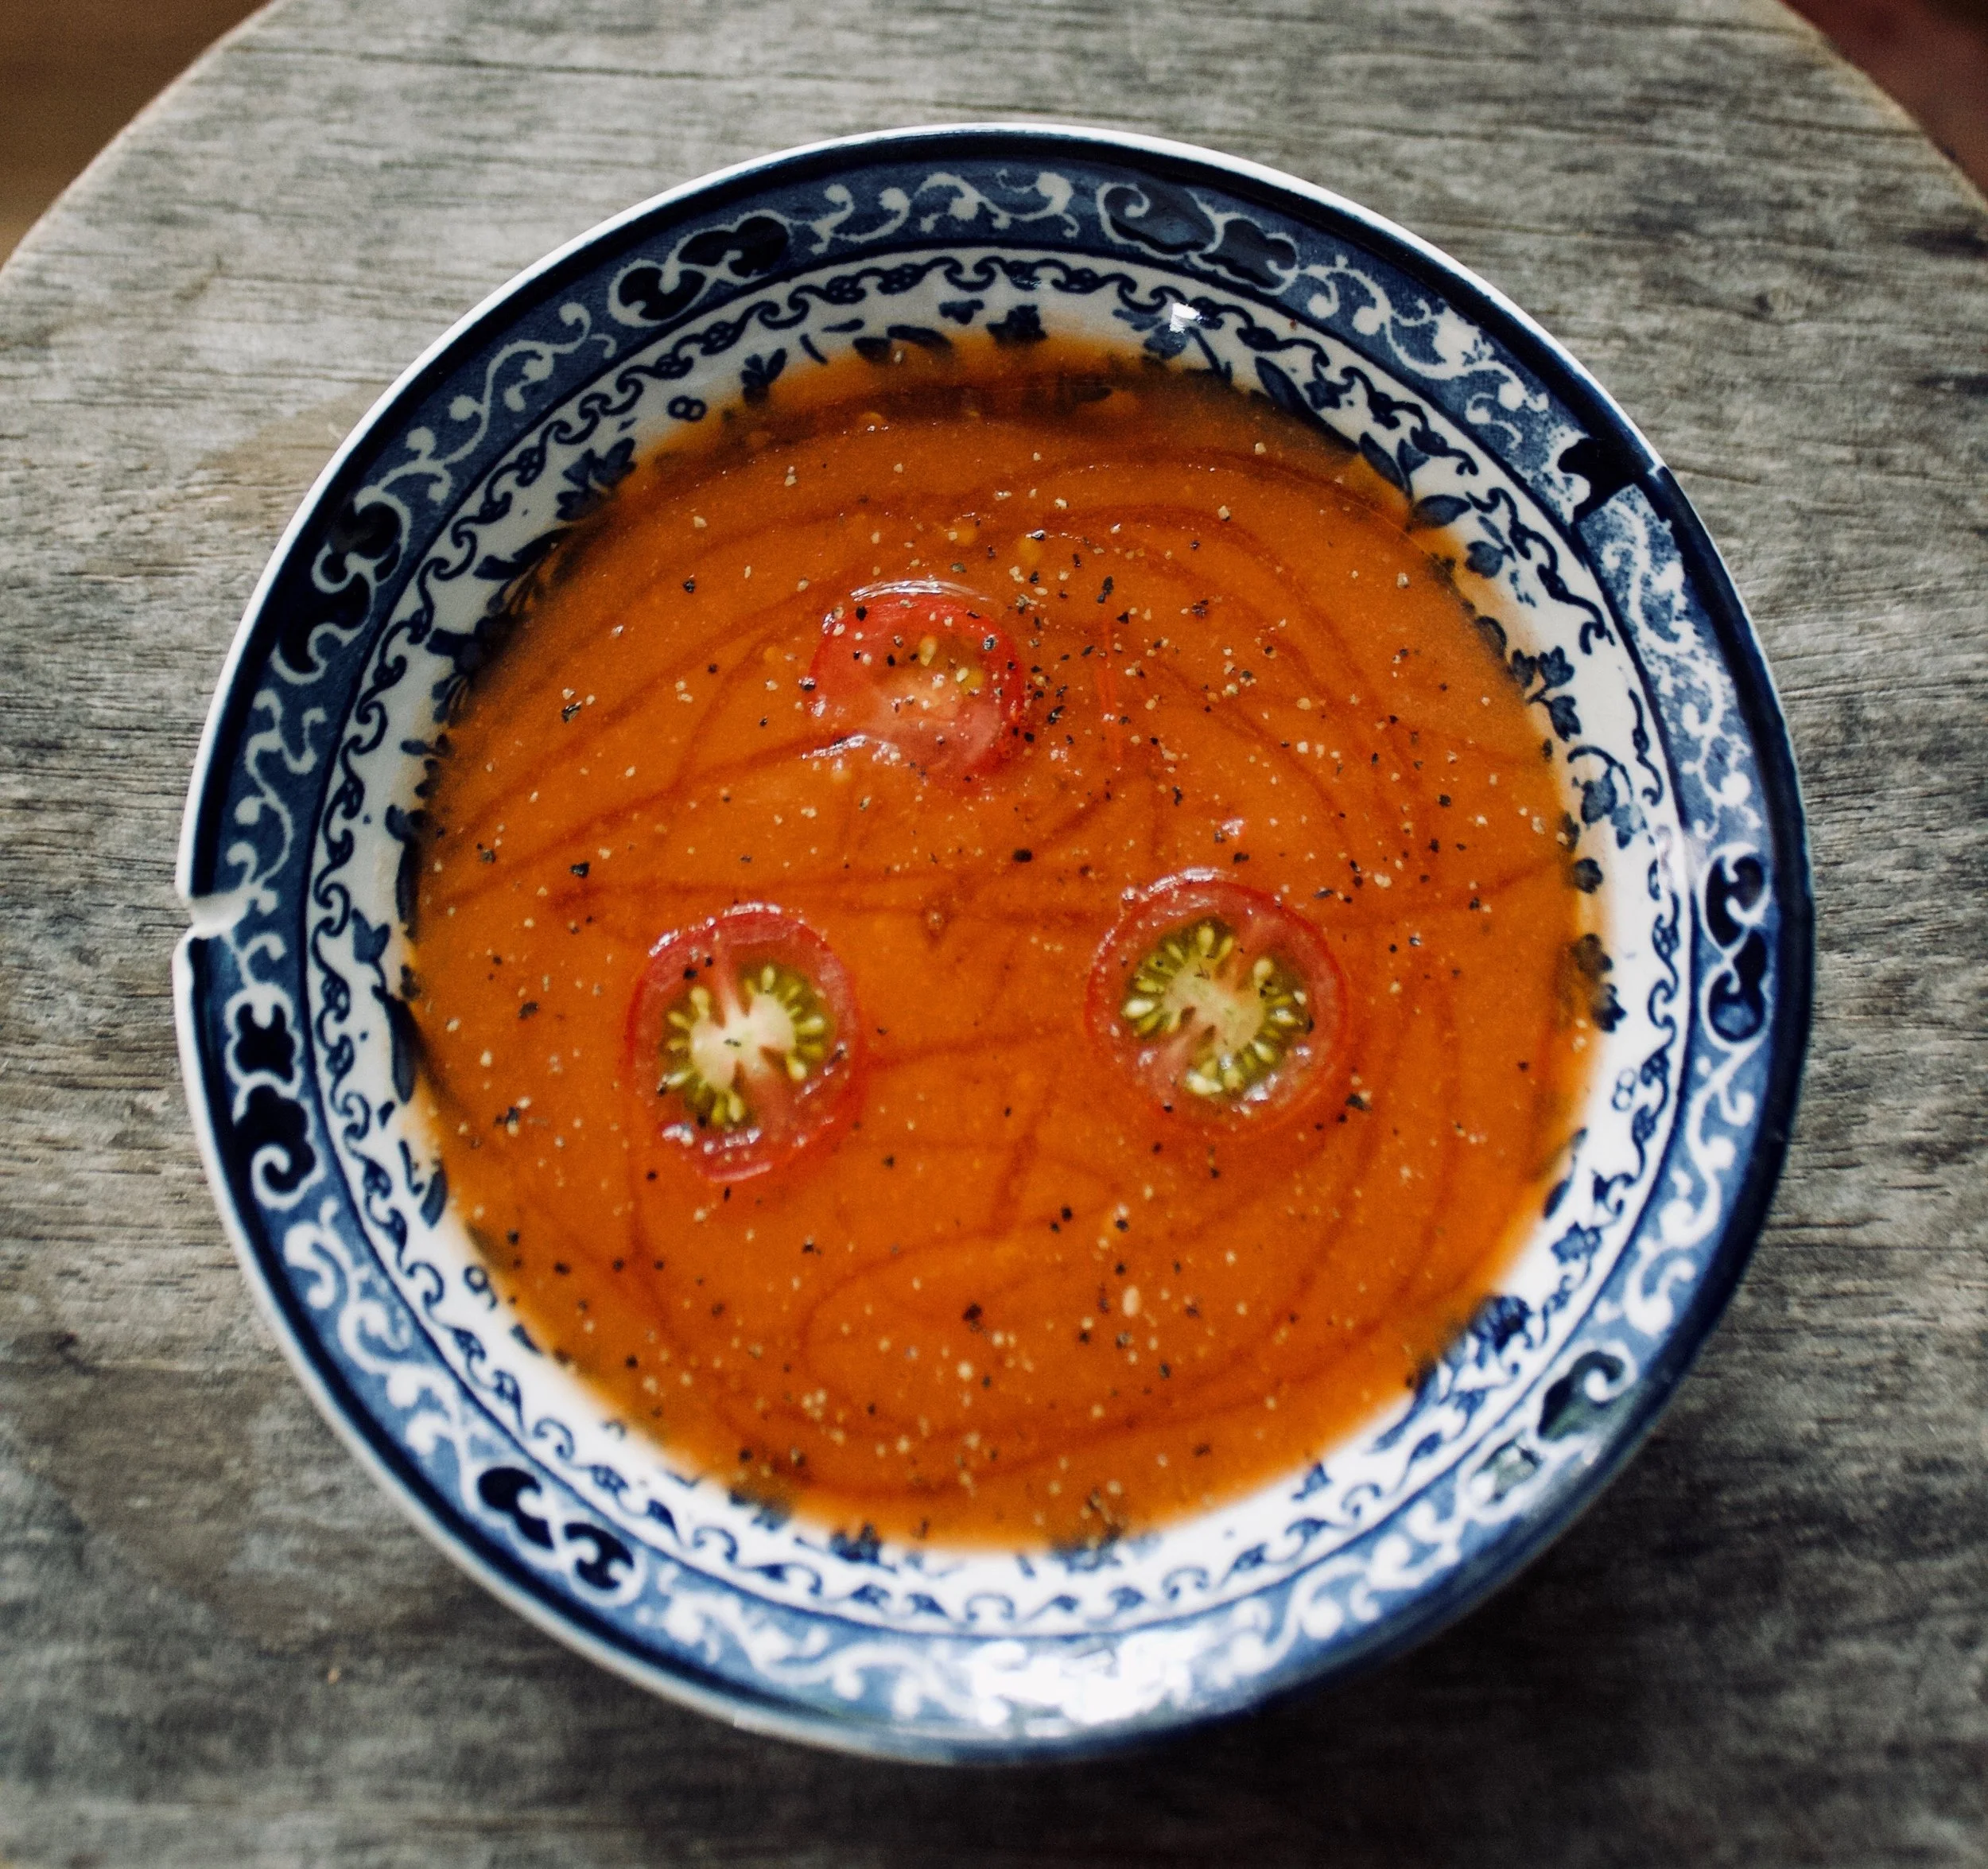
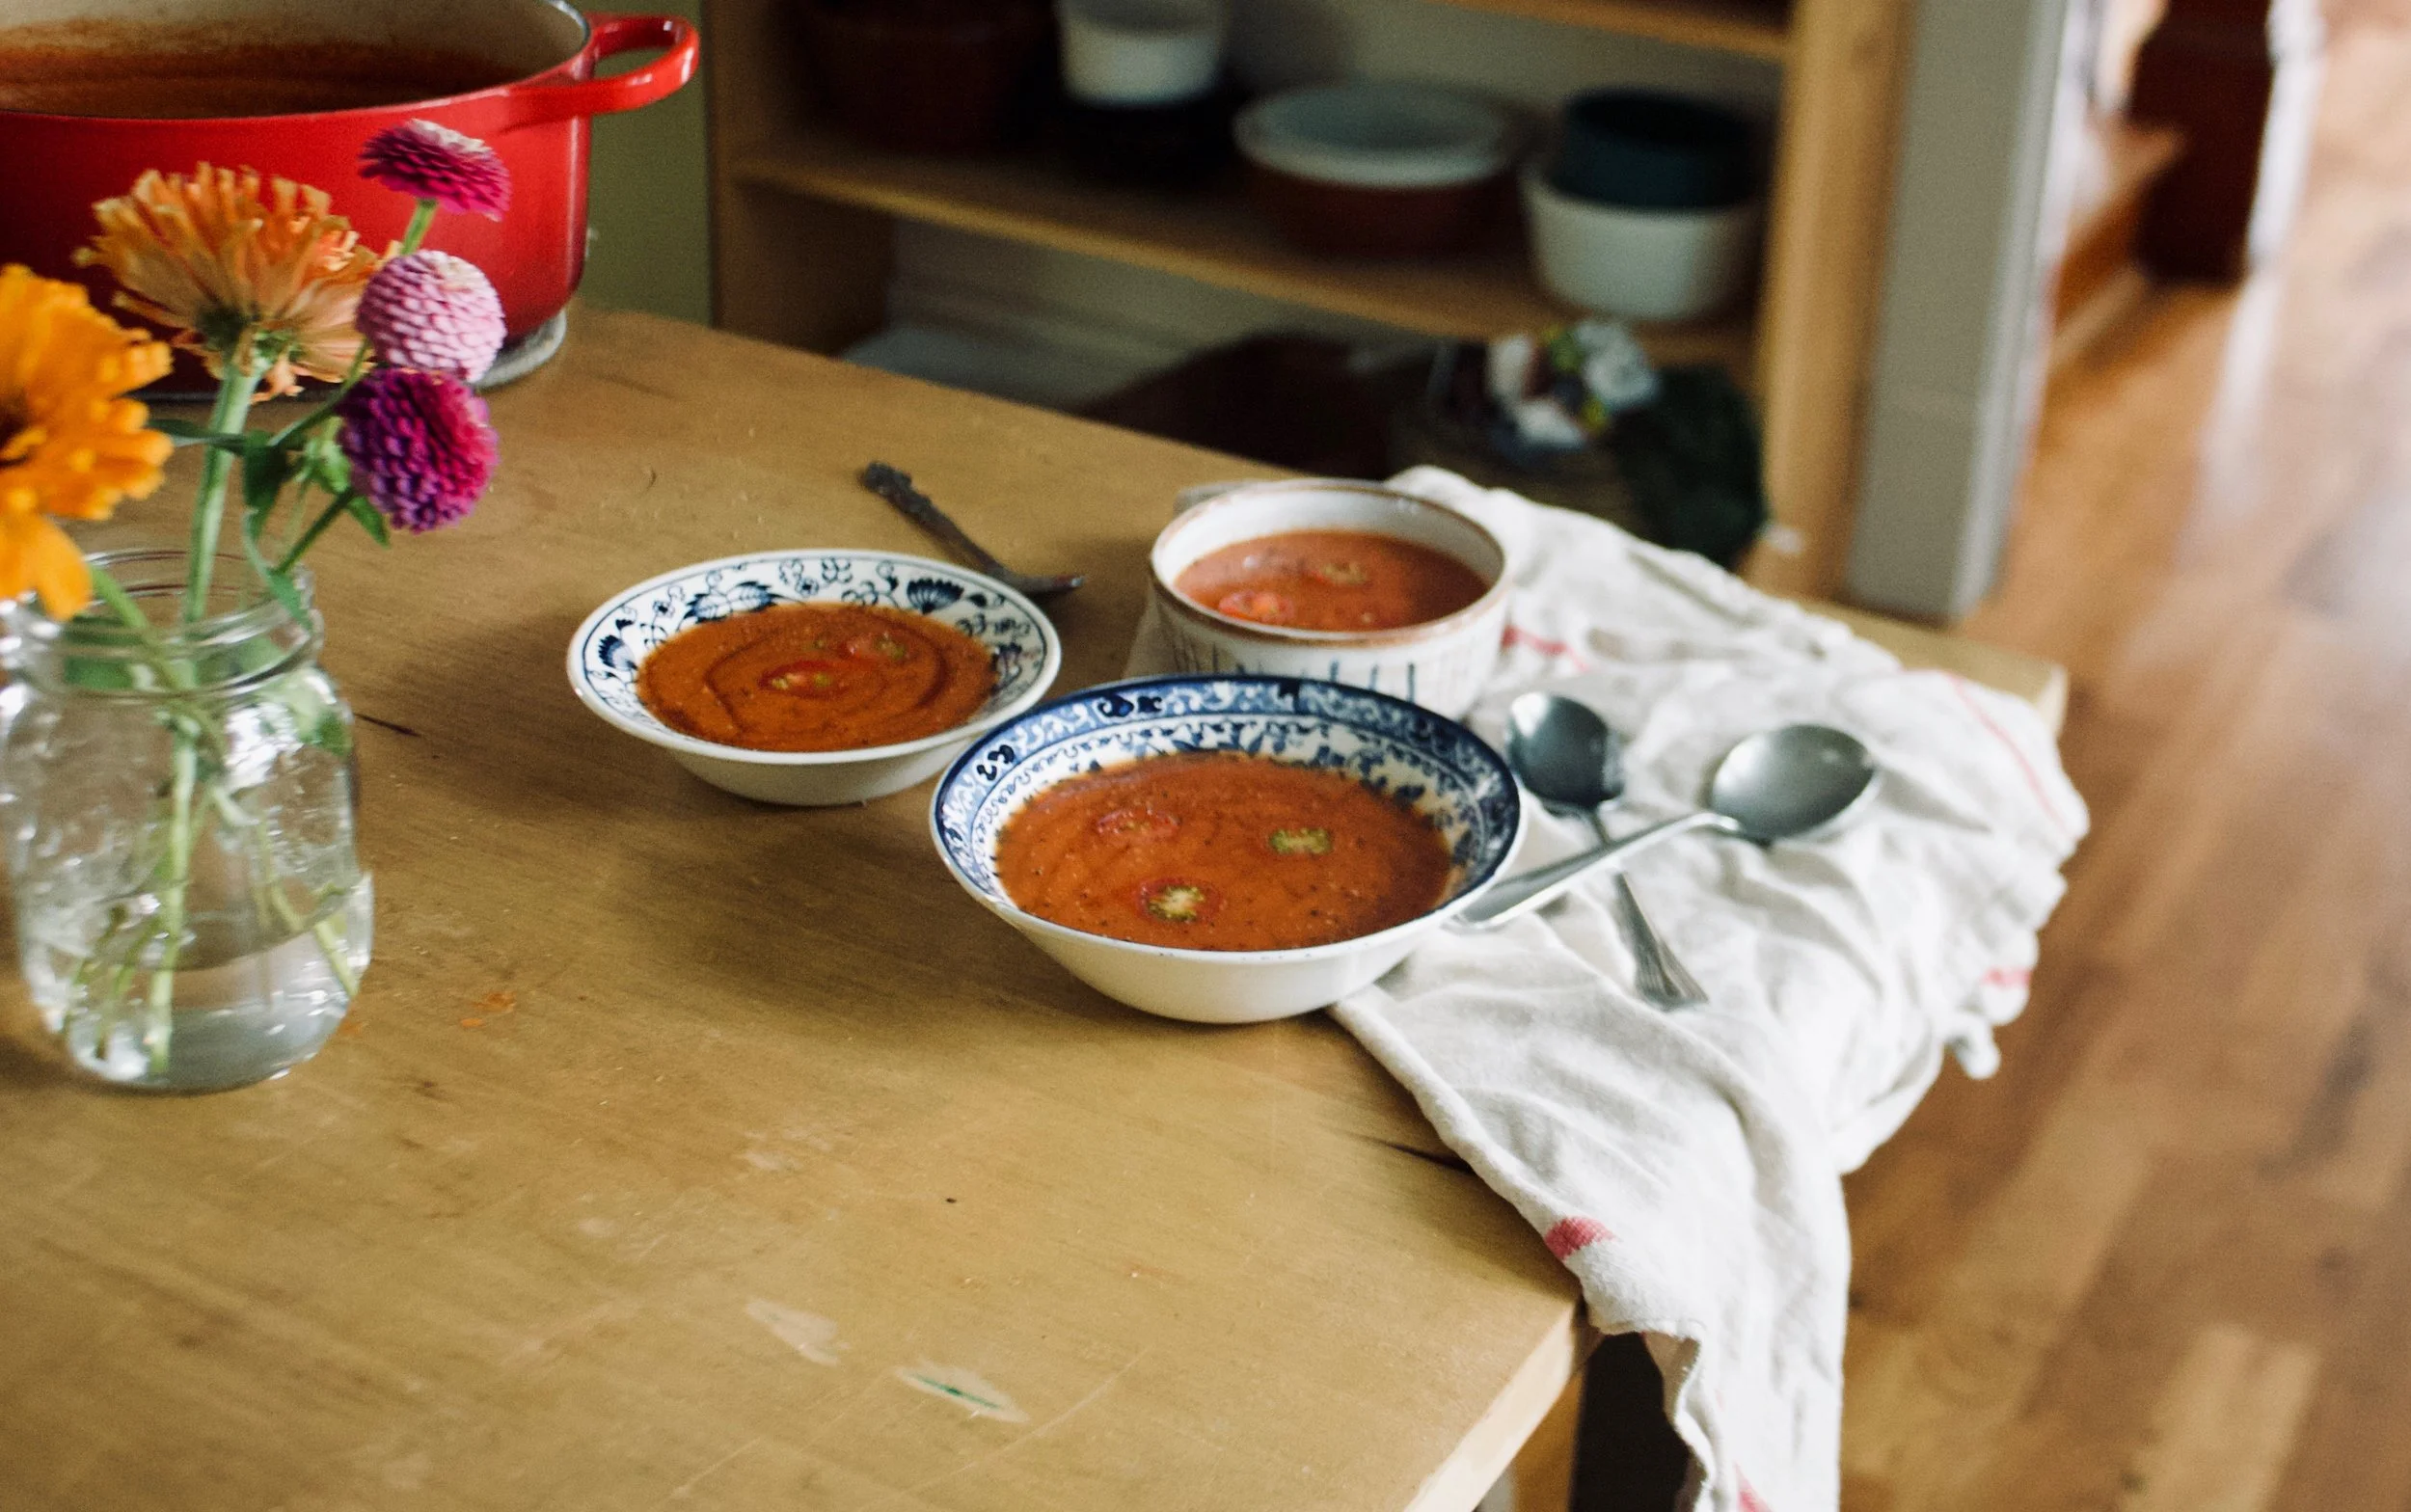


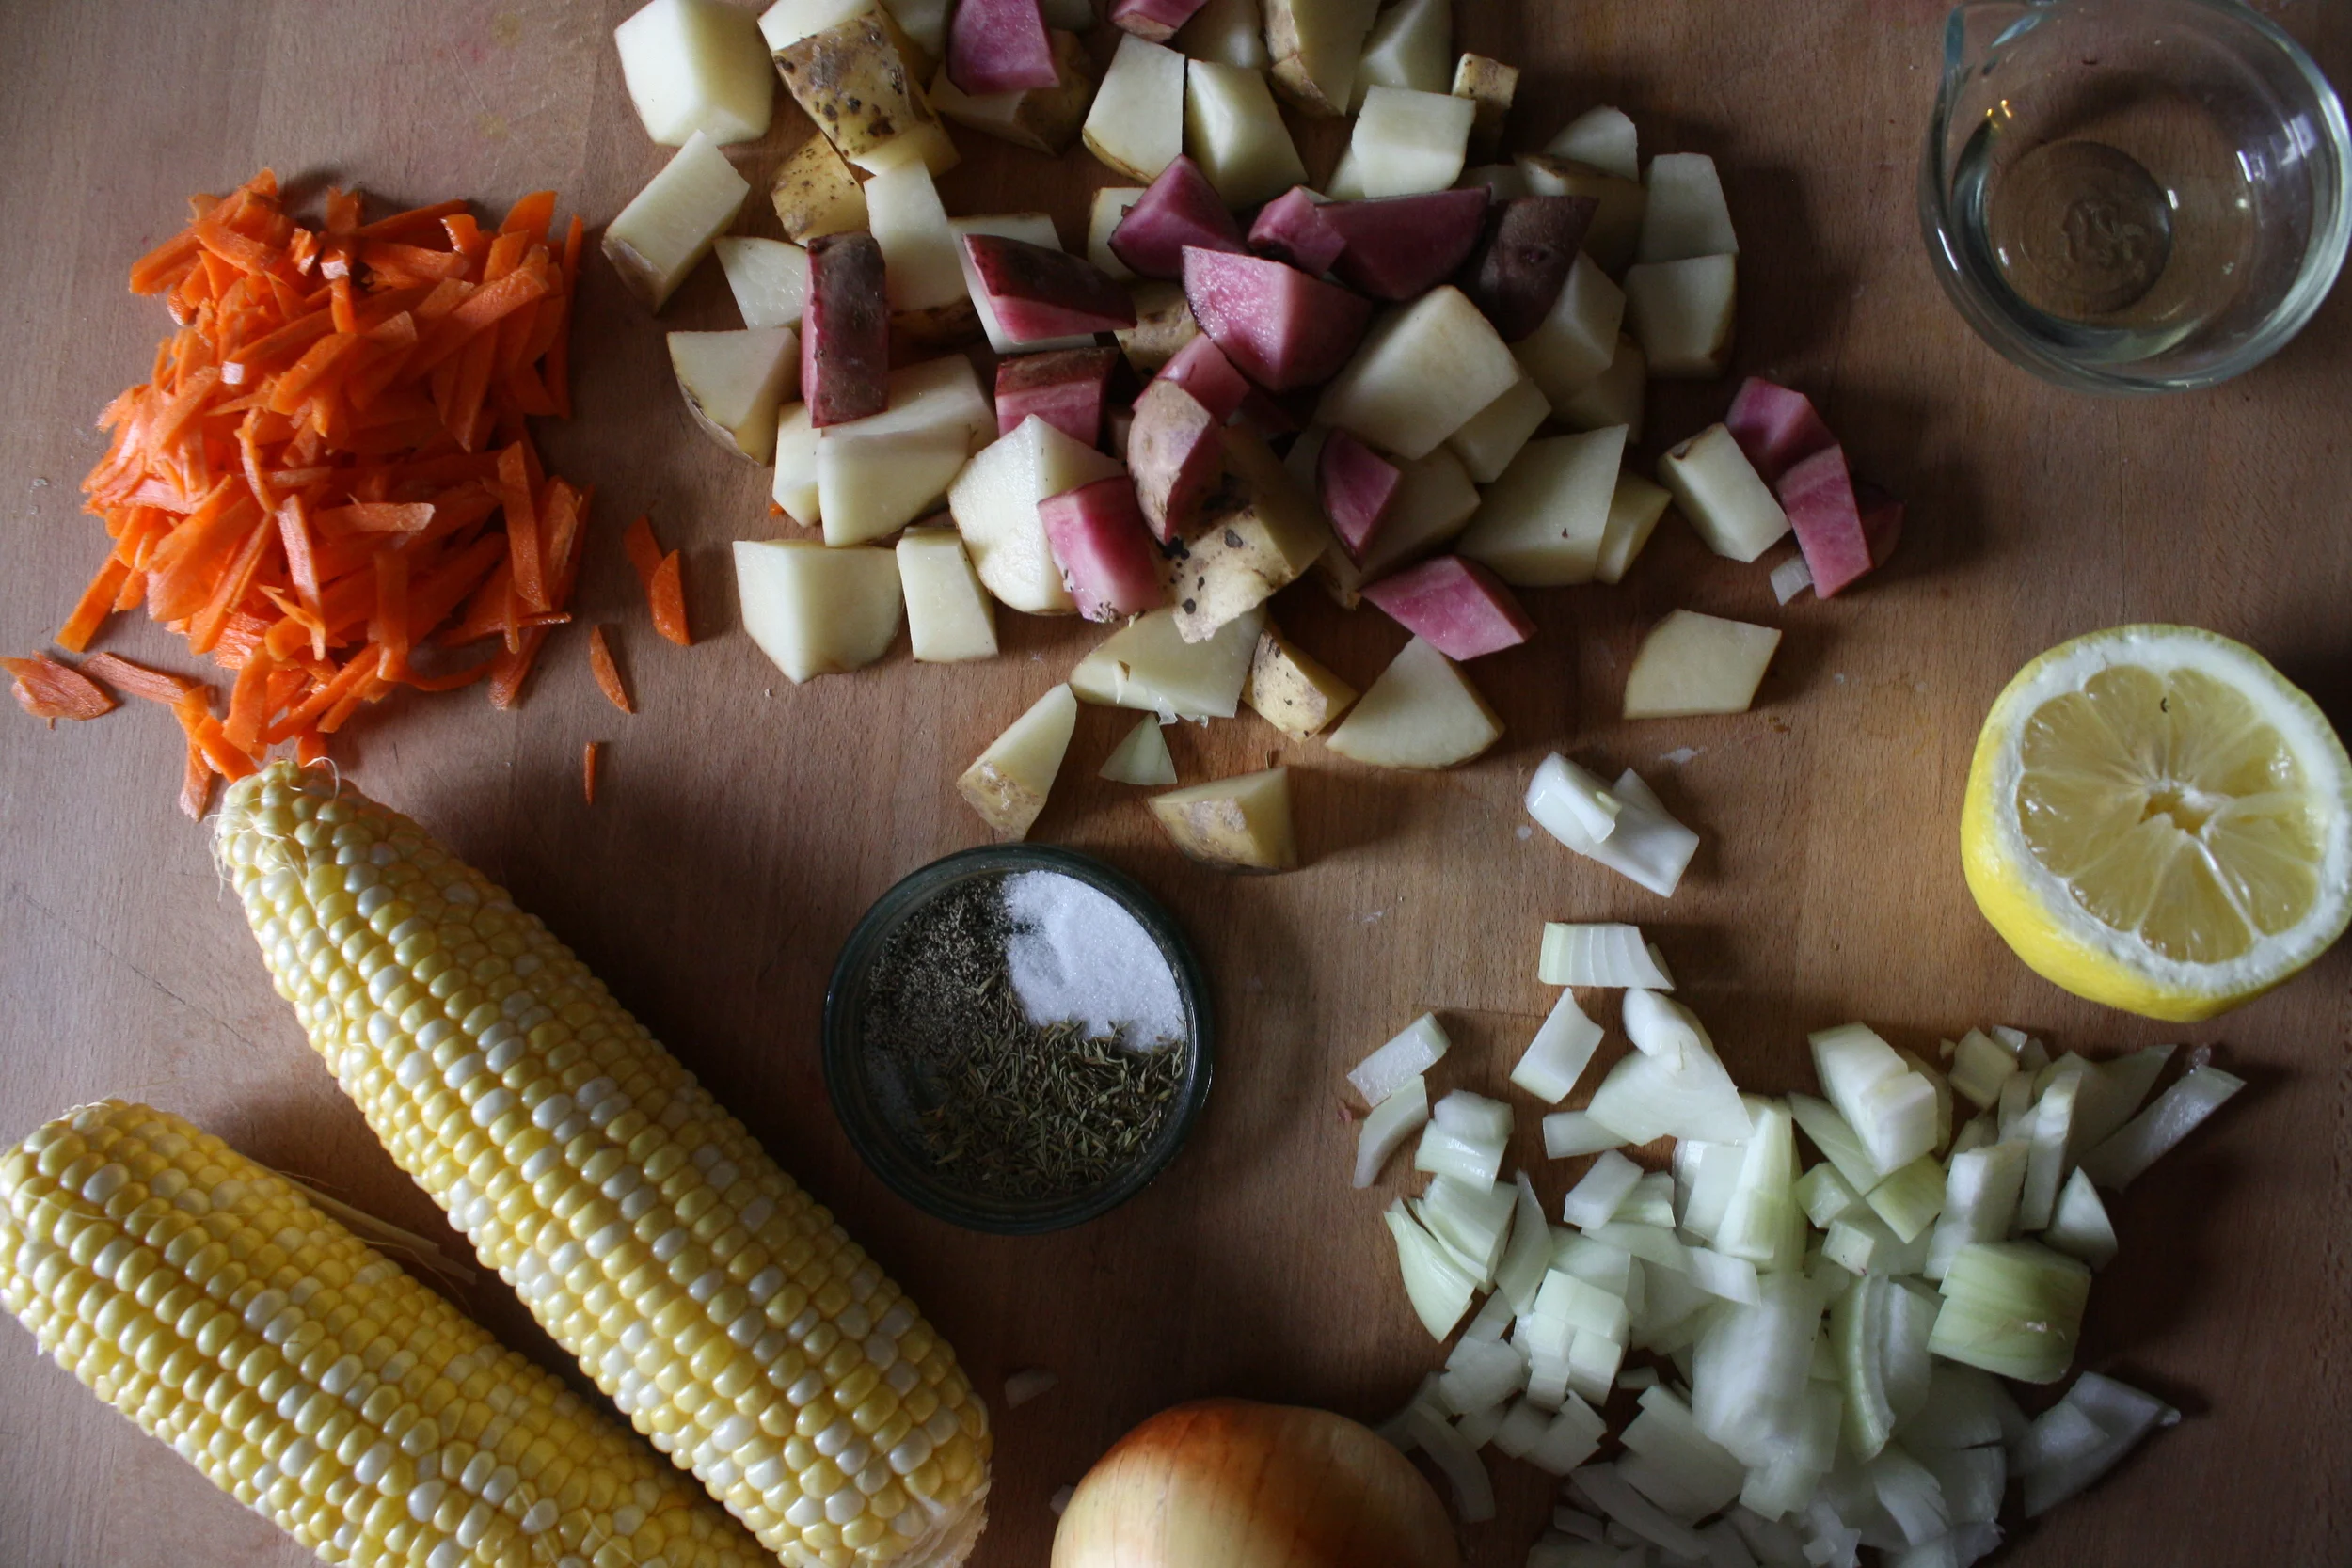
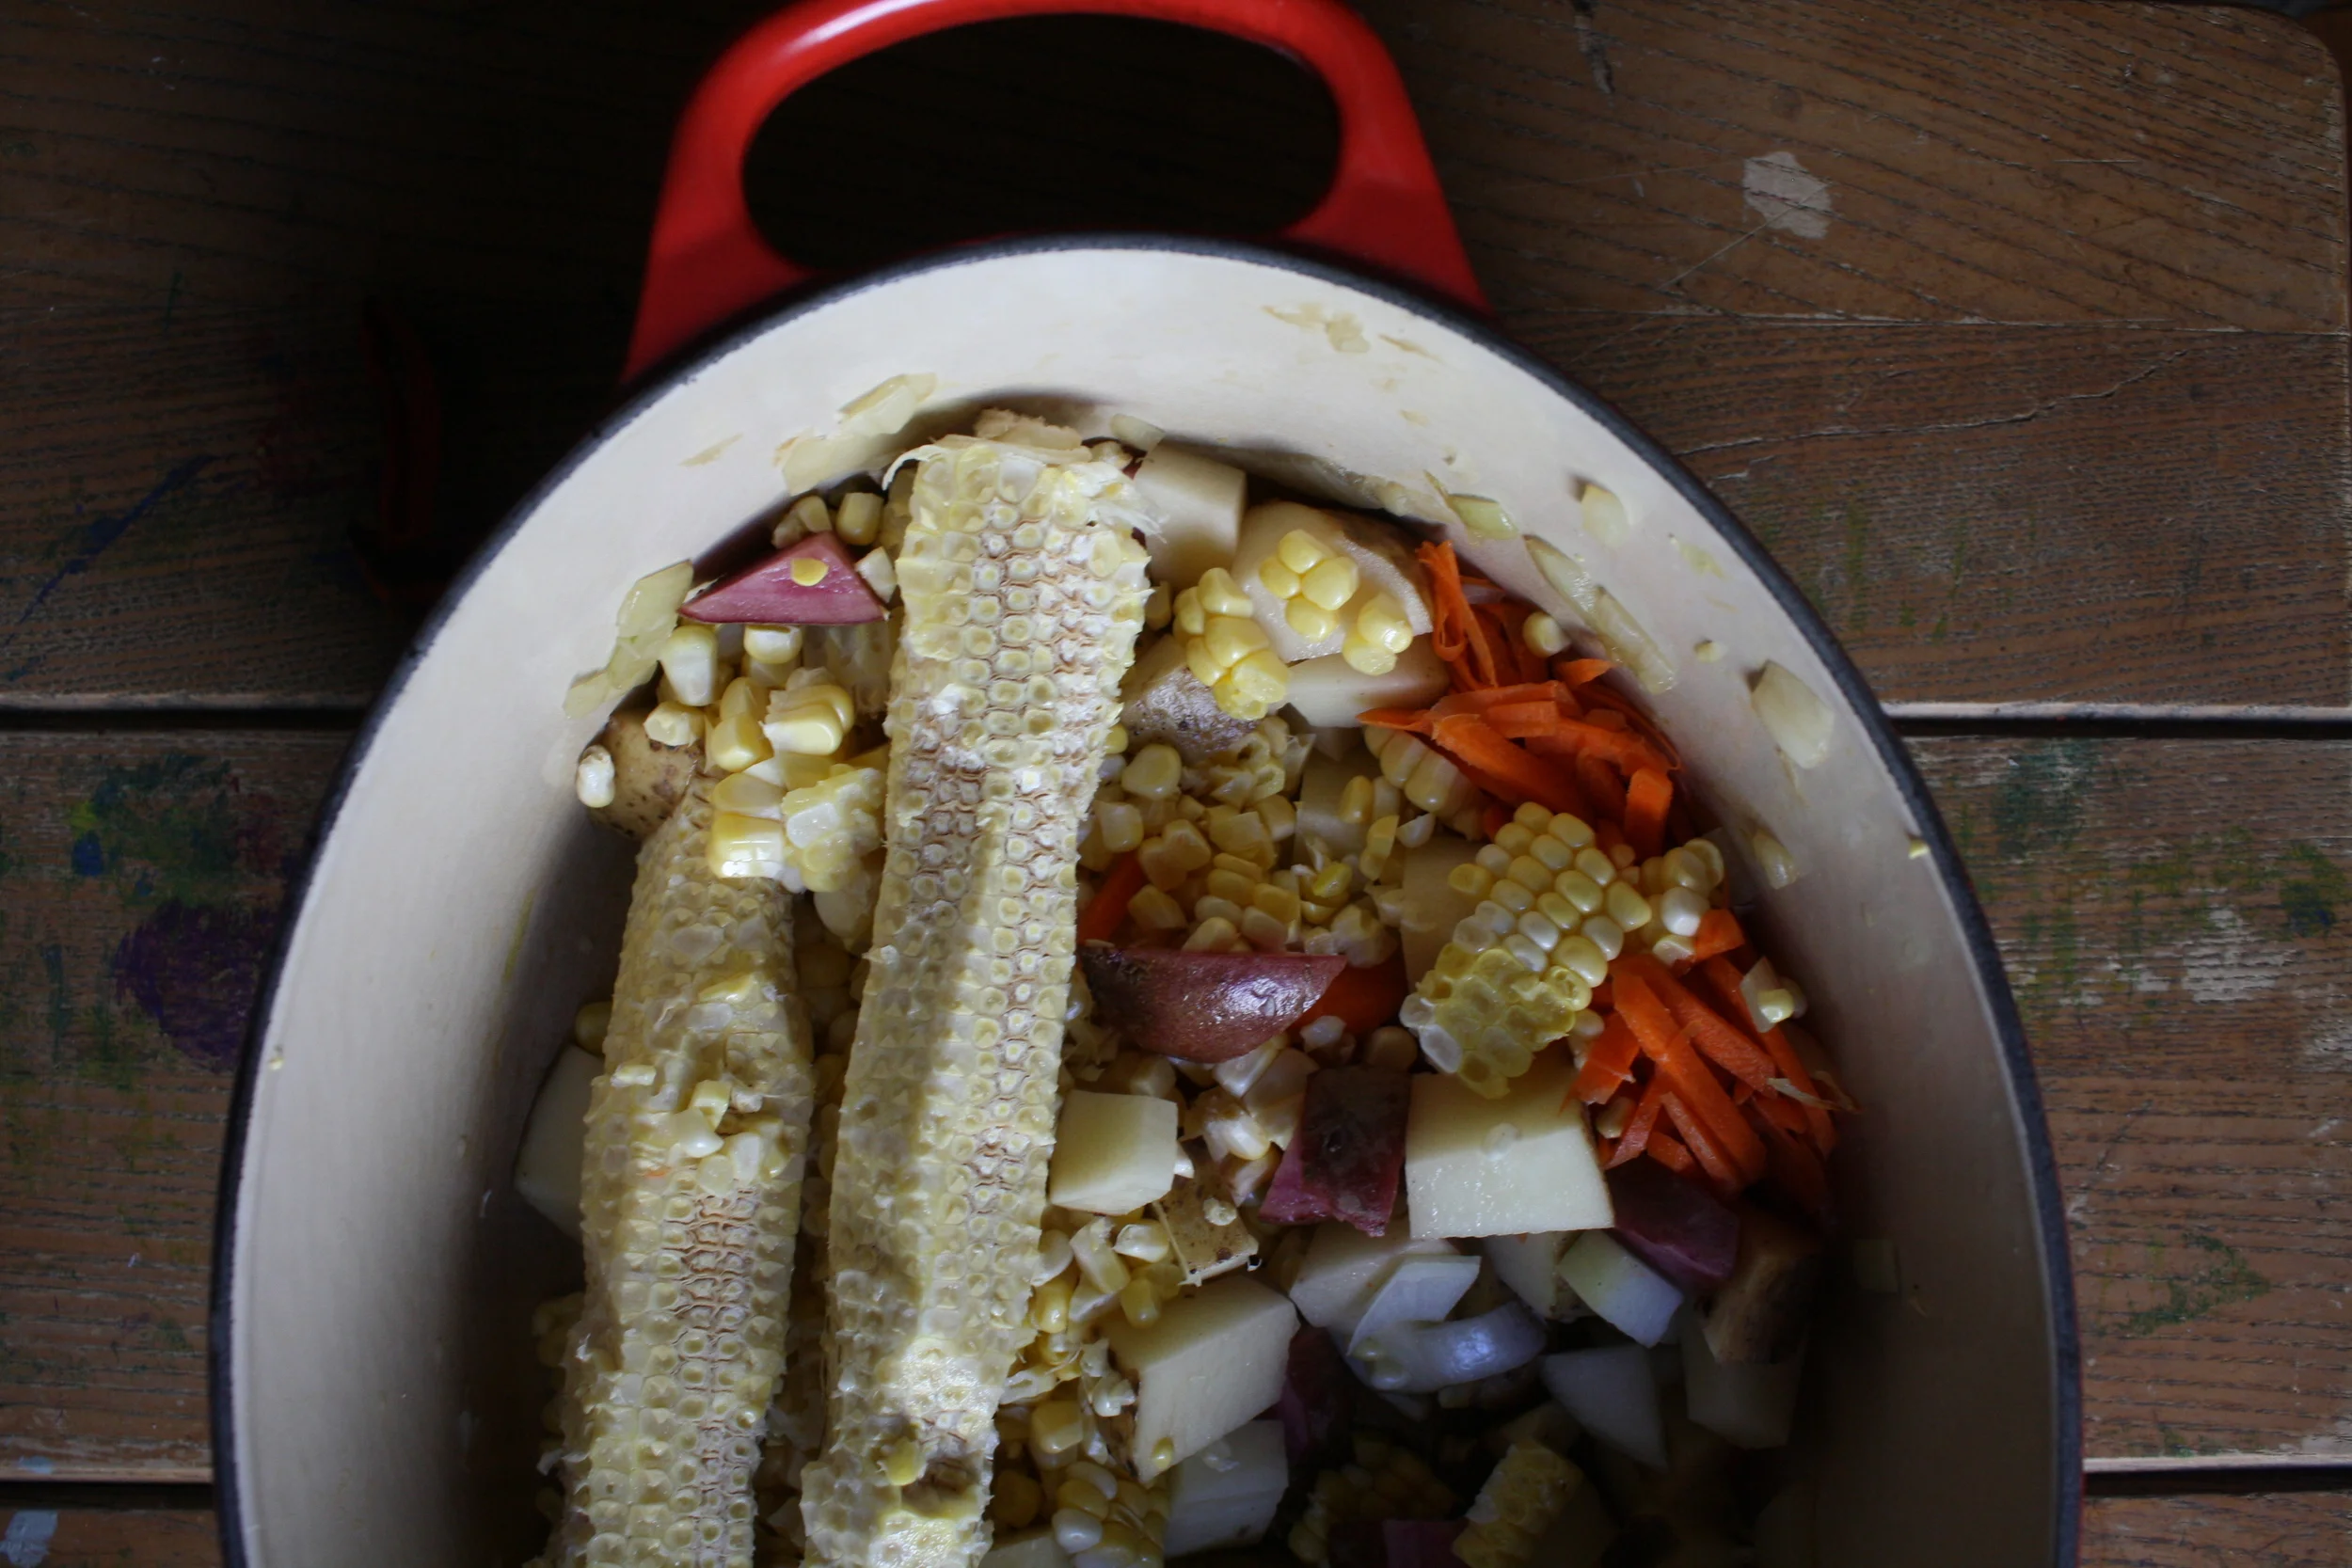


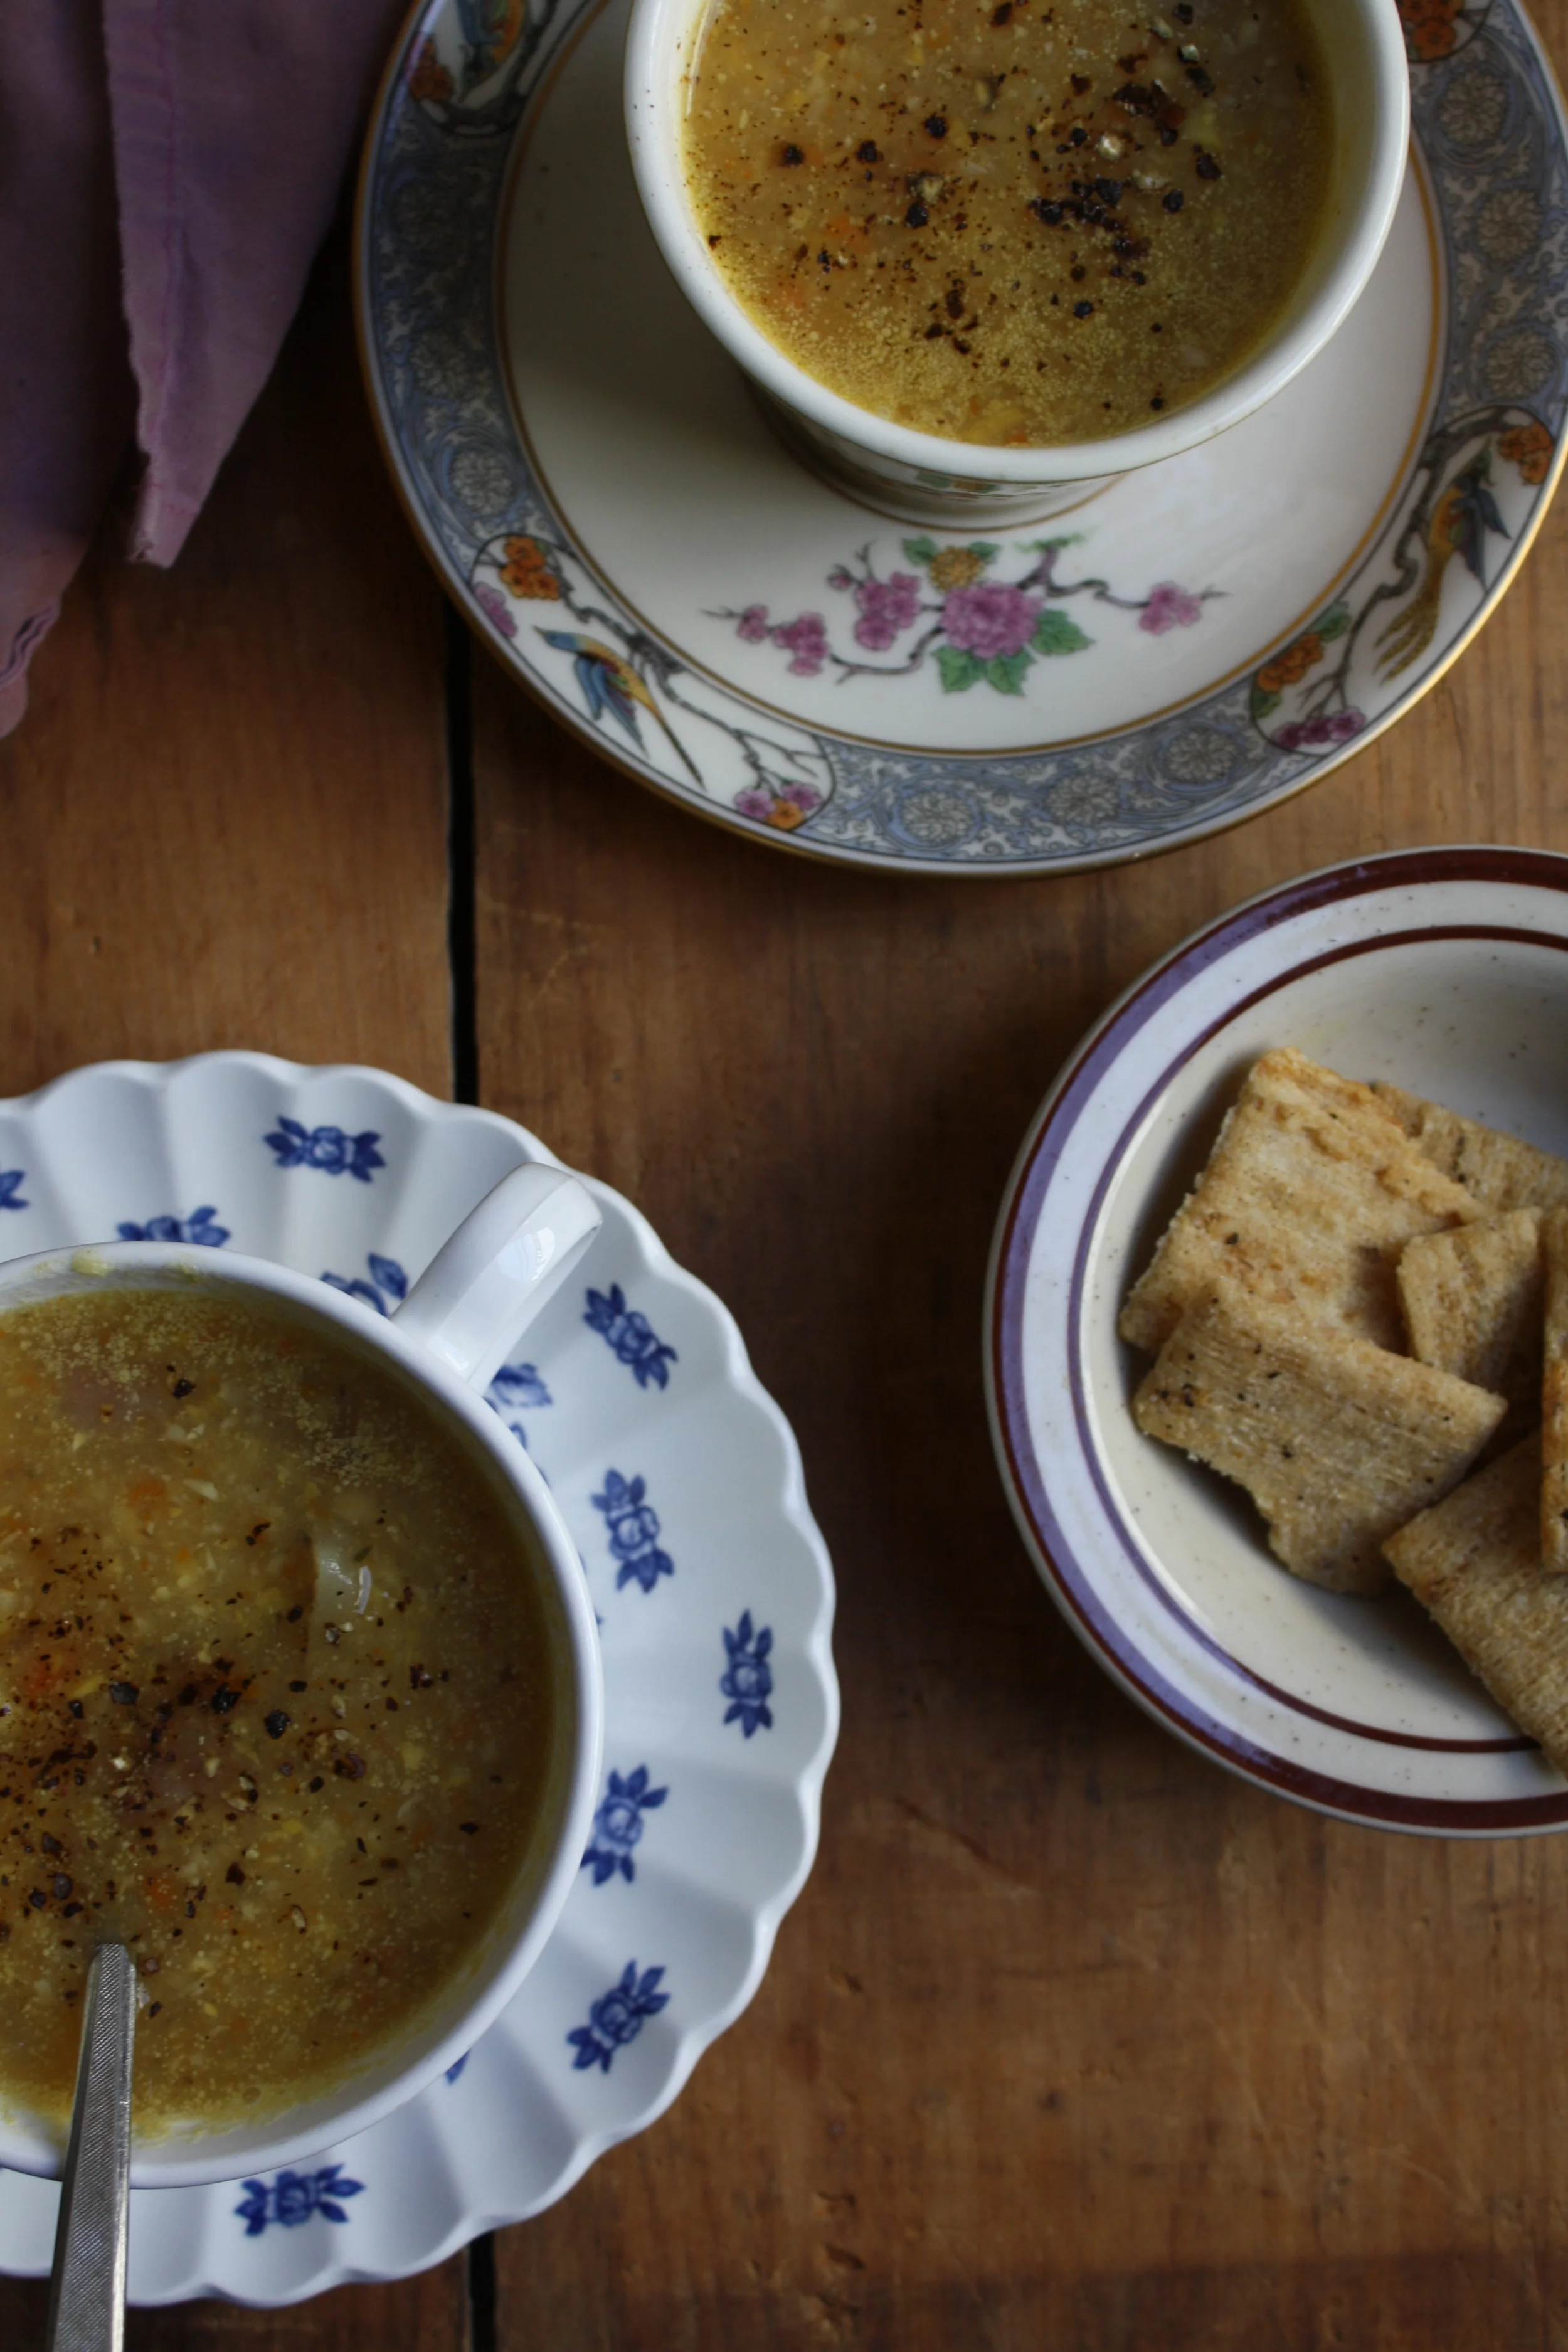


 %u00a0 %u00a0%u00a0
 %u00a0I figured now is a good time to get this recipe out there before we get to far into spring and summer recipes because there is going to be a lot of banana ice cream filled recipe coming and I figured its a good idea to have the basic banana ice cream recipe ready for people to refer too.%u00a0 And because I made so much fantastic naner ice cream, I also made a cookies and cream naner ice cream for my sisters and the mister.
 %u00a0 %u00a0
 The stuff you need for this ice cream%u2026. Nice and ripe bananas, peeled and then frozen* That’s it.
 After all blended and smooth, either eat right away or scoop ice cream into a freezer safe container and stick in freezer. That’s the banana ice cream%u2026 %u00a0And it is amazing and so so so so so addictive. I make a batch, think I am only going to eat a scoop, then find myself eating half of what I have made, but it’s ok cause it’s only bananas.%u00a0
 One%u00a0batch of banana ice cream, either freshly made, still in food processor or made ahead and placed in a food processor and given a good pulse to smooth it up.
 Now you have cookies and cream naner ice cream%u2026. and everybody is happy.
 %u00a0I’ll let you know now, I am a make and eat soup all year long person. I can think of few things better then sitting outside, basking in the sun, hopefully with a light wind, a book in hand, enjoying a nice big cup of some good homemade soup. (Doesn’t that sound so freaking lovely?) This soup right here is perfect for just that. Parsnips are the best, kind of like a big white sweet, yet starchy carrots. And cooked together with a little bit of light and lemony thyme, rich earthy turmeric and a couple more chopped veggie%u2026.. you got yourself a%u00a0nice thick and fragrant bowl of happiness that fills you up without weighing you down. It’s food you can eat that fills you up, leaves you feeling cozy, yet still wanting to hop on a bike or lace up the running shoes. %u00a0Hearty without the feeling of all the heaviness.
 The stuff. Parsnips, carrots, onion and garlic. Thyme and turmeric, salt and pepper. the tinniest bit of oil and water (water not shown)
 Chop all the veggies and the garlic, drizzle a dutch oven or a pot with oil, toss in the veggies. Add the turmeric, the thyme, and 1/2 cup of water.%u00a0
 Sweet sweating the veggies. Turn pot on medium and cook until the water completely cooks out. When the veggies start to brown and stick to the pot, deglaze with water. Give a good stir and keep cooking. Repeat the deglazing process until the veggies are super soft and ready to blend. (I did this 4 times.. it only took 10 minutes)
 Add enough water to cover the cooked veggies.%u00a0
 And now blend the heck out of it.. Go as smooth or chunky as you want. I blended as smooth as I could get with this crappy immersion blender. (Blender on loan until I finally decide on, and buy a new one)
 And there you have it. Scoop into bowls, add lots of cracked black pepper, and go to town. I made enough to save a bowl for later%u2026 %u00a0it didn’t last for later.%u00a0
 I was cleaning my spice shelf (I feel like I do this like once a week) and found some poppy seeds hiding behind some jars. Accidental spice findings happened more often the then one might think in my house.. I like to buy tiny baggies of spices with good intentions of using them, but because of their tiny size, I often lose them or forget about them due to that %u00a0tininess. But I usually find those tiny little bags, and when I find them, I try to use them right away..(I don’t like having old spices around and no, I will not toss it)%u00a0And it just so happened that I has a lemon in need of using.. and it was getting close to dinner time. I could wait and make lemon poppy seed cake or muffins, or just start dinner. %u00a0 Then I was like, ” I’ll %u00a0just make lemon poppy seed pasta.” And so I did. And of course it needed to have lots of garlic and some kind of vegetable to round out the dish, (I know tomatoes are fruit but you know what I mean) %u00a0
 Start by tuning oven on to 400 degrees. Chopped tomatoes %u00a0and sprinkle in oil and salt and stick in the oven. Do this first because the rest of the meal only takes about 10 minutes..So fast!!!
 The sauce is pretty much a basic roux%u2026
 Once your pasta is cooked (cook however it says to on package), reserve about a 1/4 cup of pasta water and drain the rest. Add the pasta water and pasta the sauce. (the pasta water helps the sauce and noodles canooddle together)
 And its all mixed up just waiting to be served%u2026and the roasted tomatoes!
 Scooped into a bowl with a scoop of the roasted tomatoes and some chopped chives, %u00a0served with a couple wedges of lemon..just because.
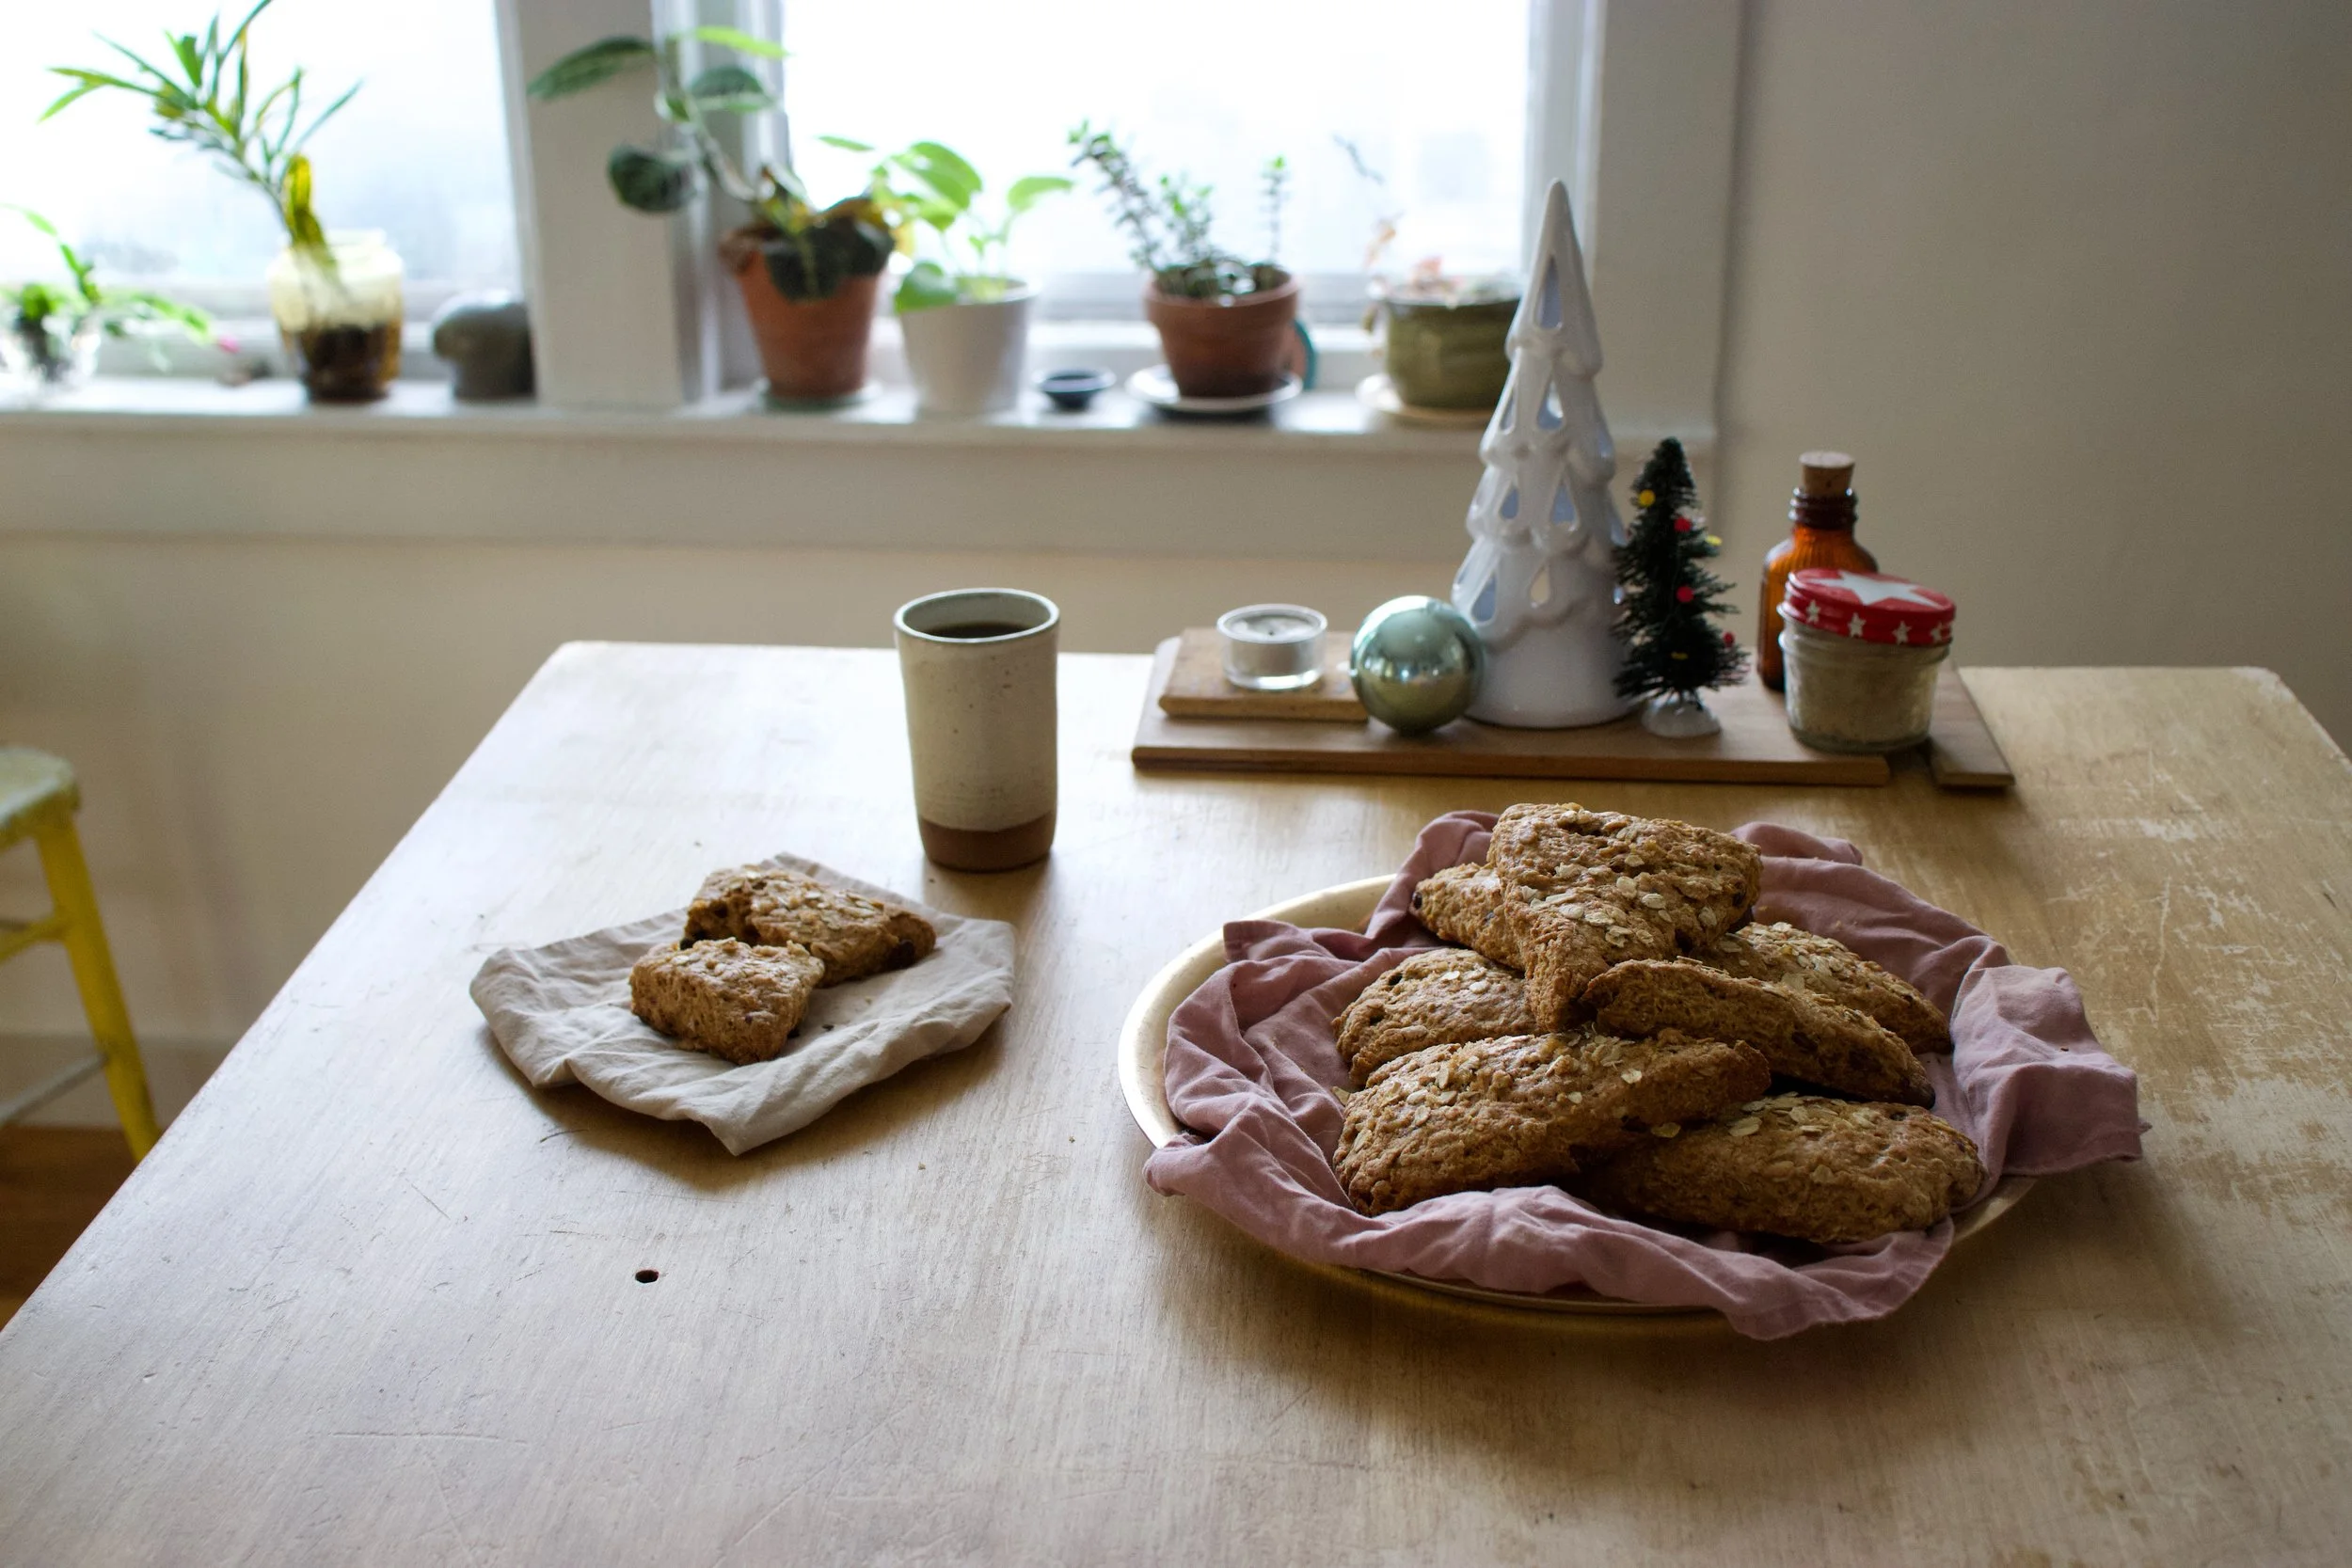
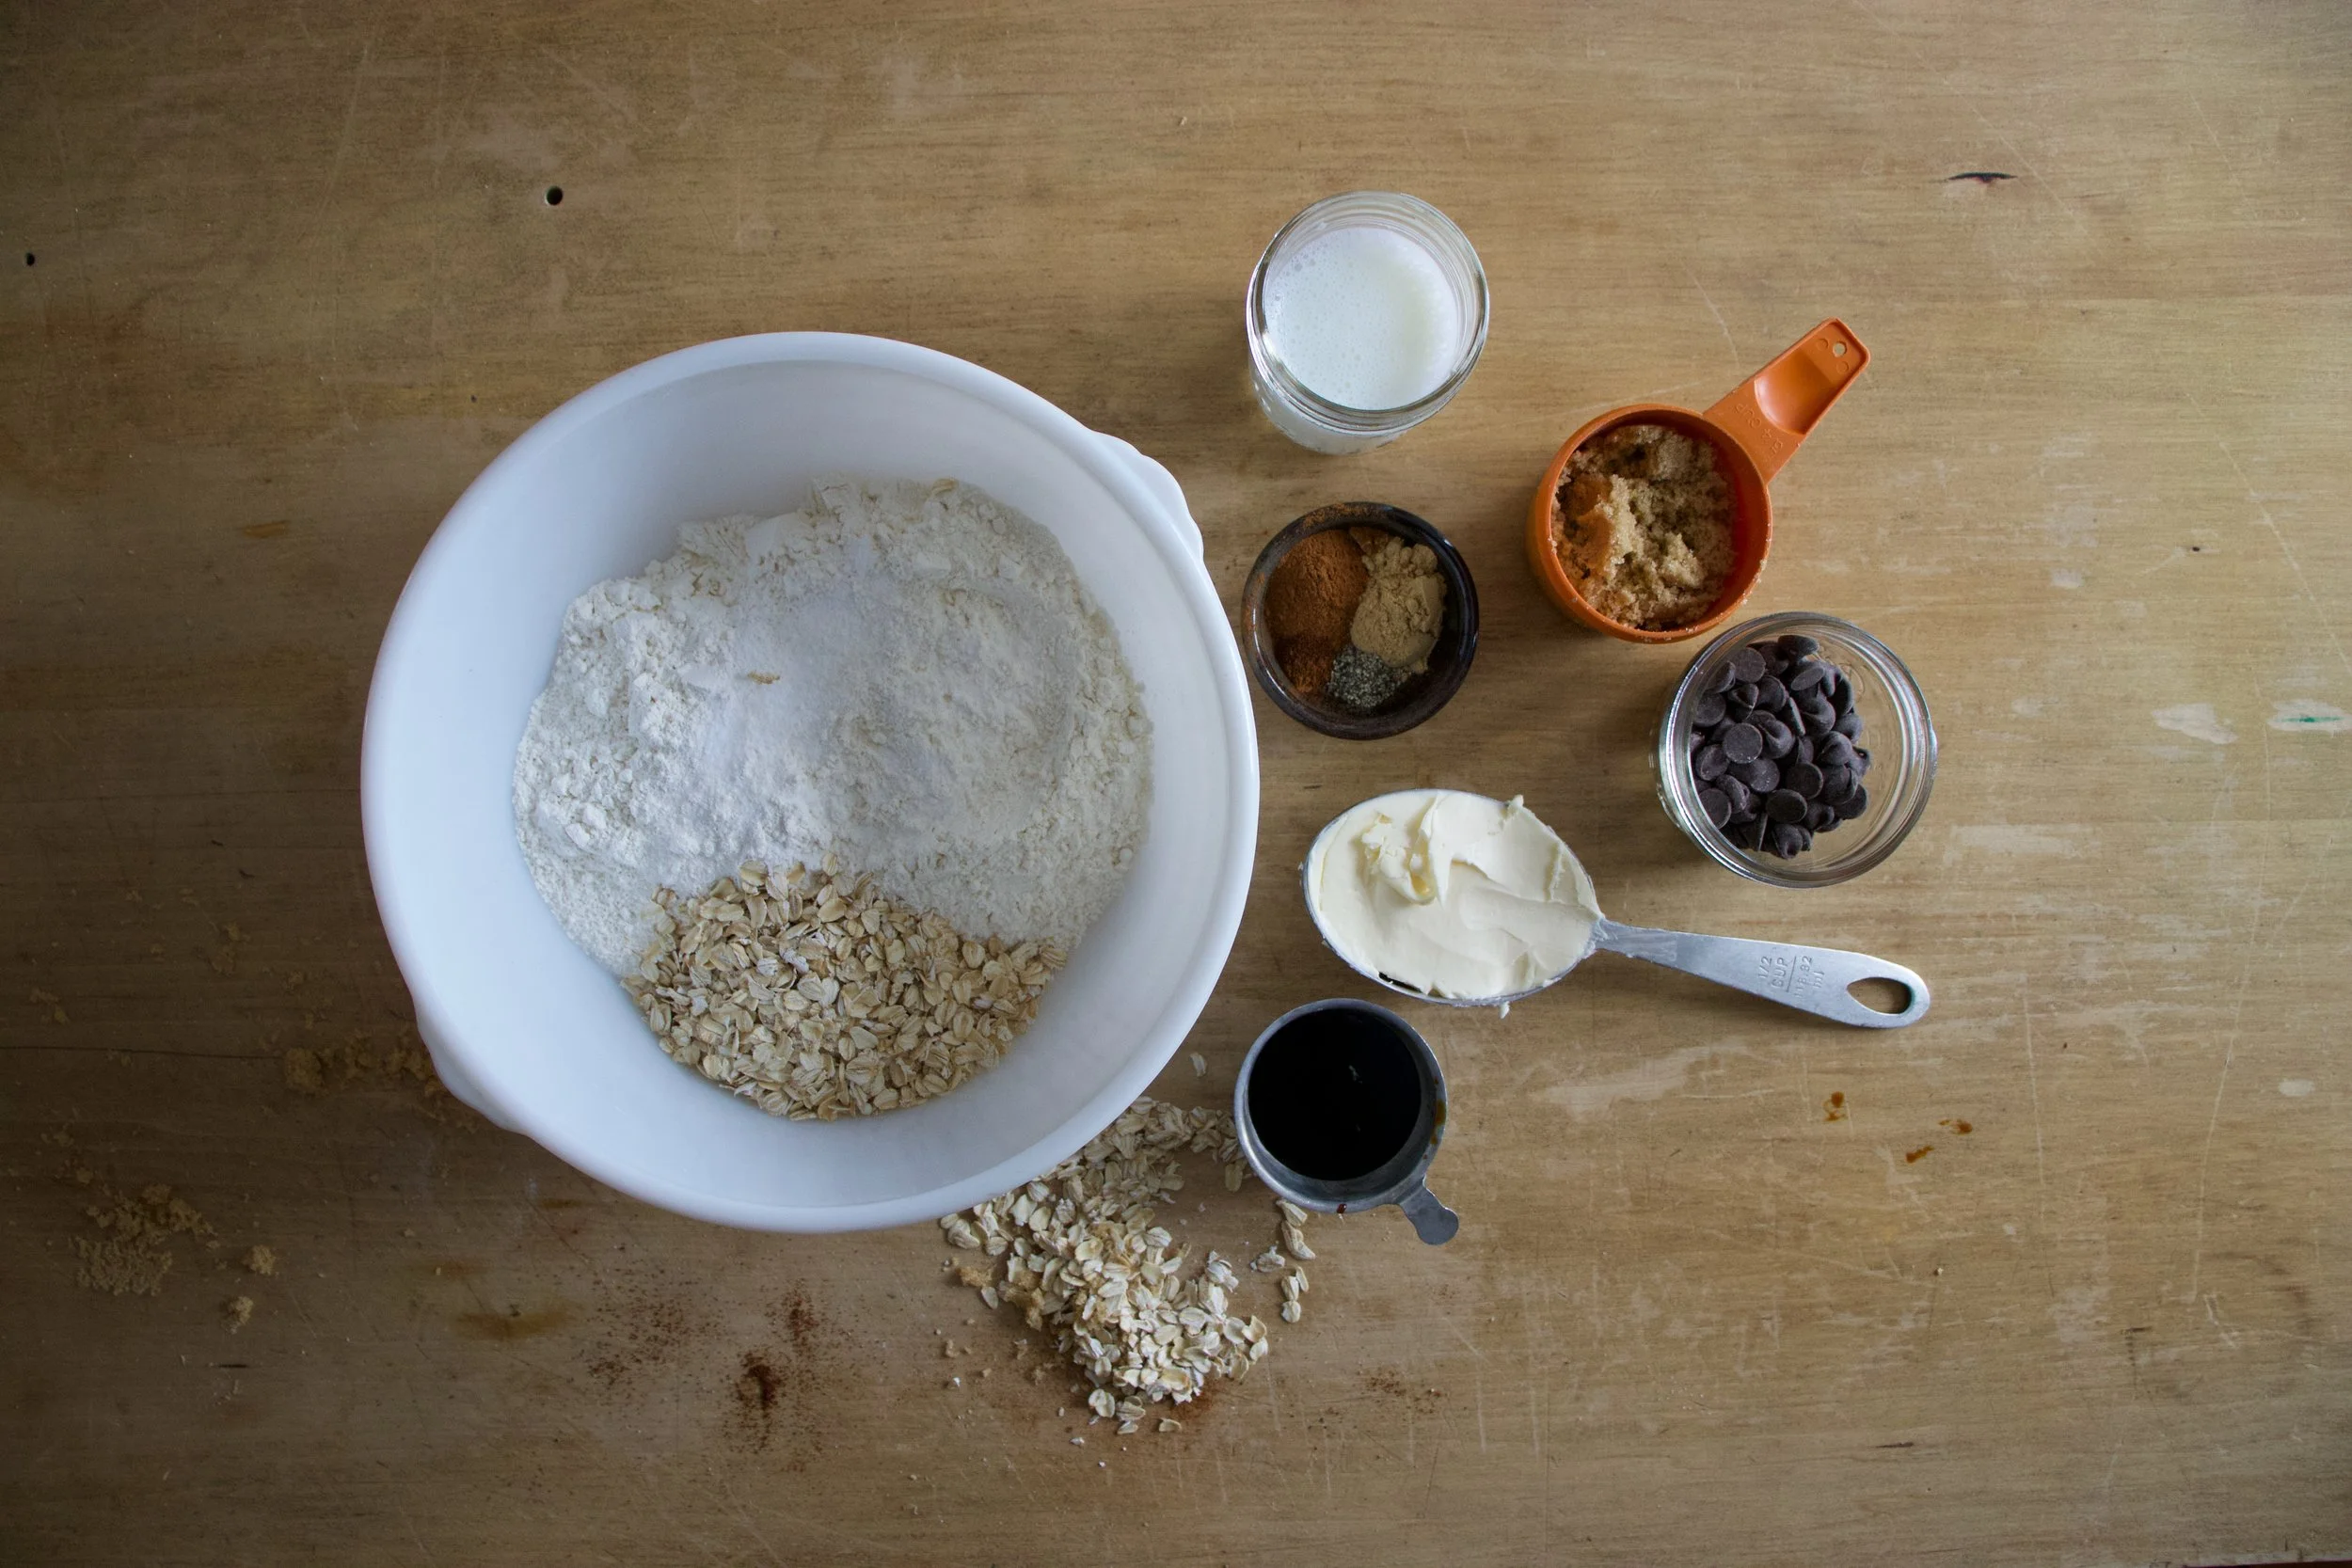

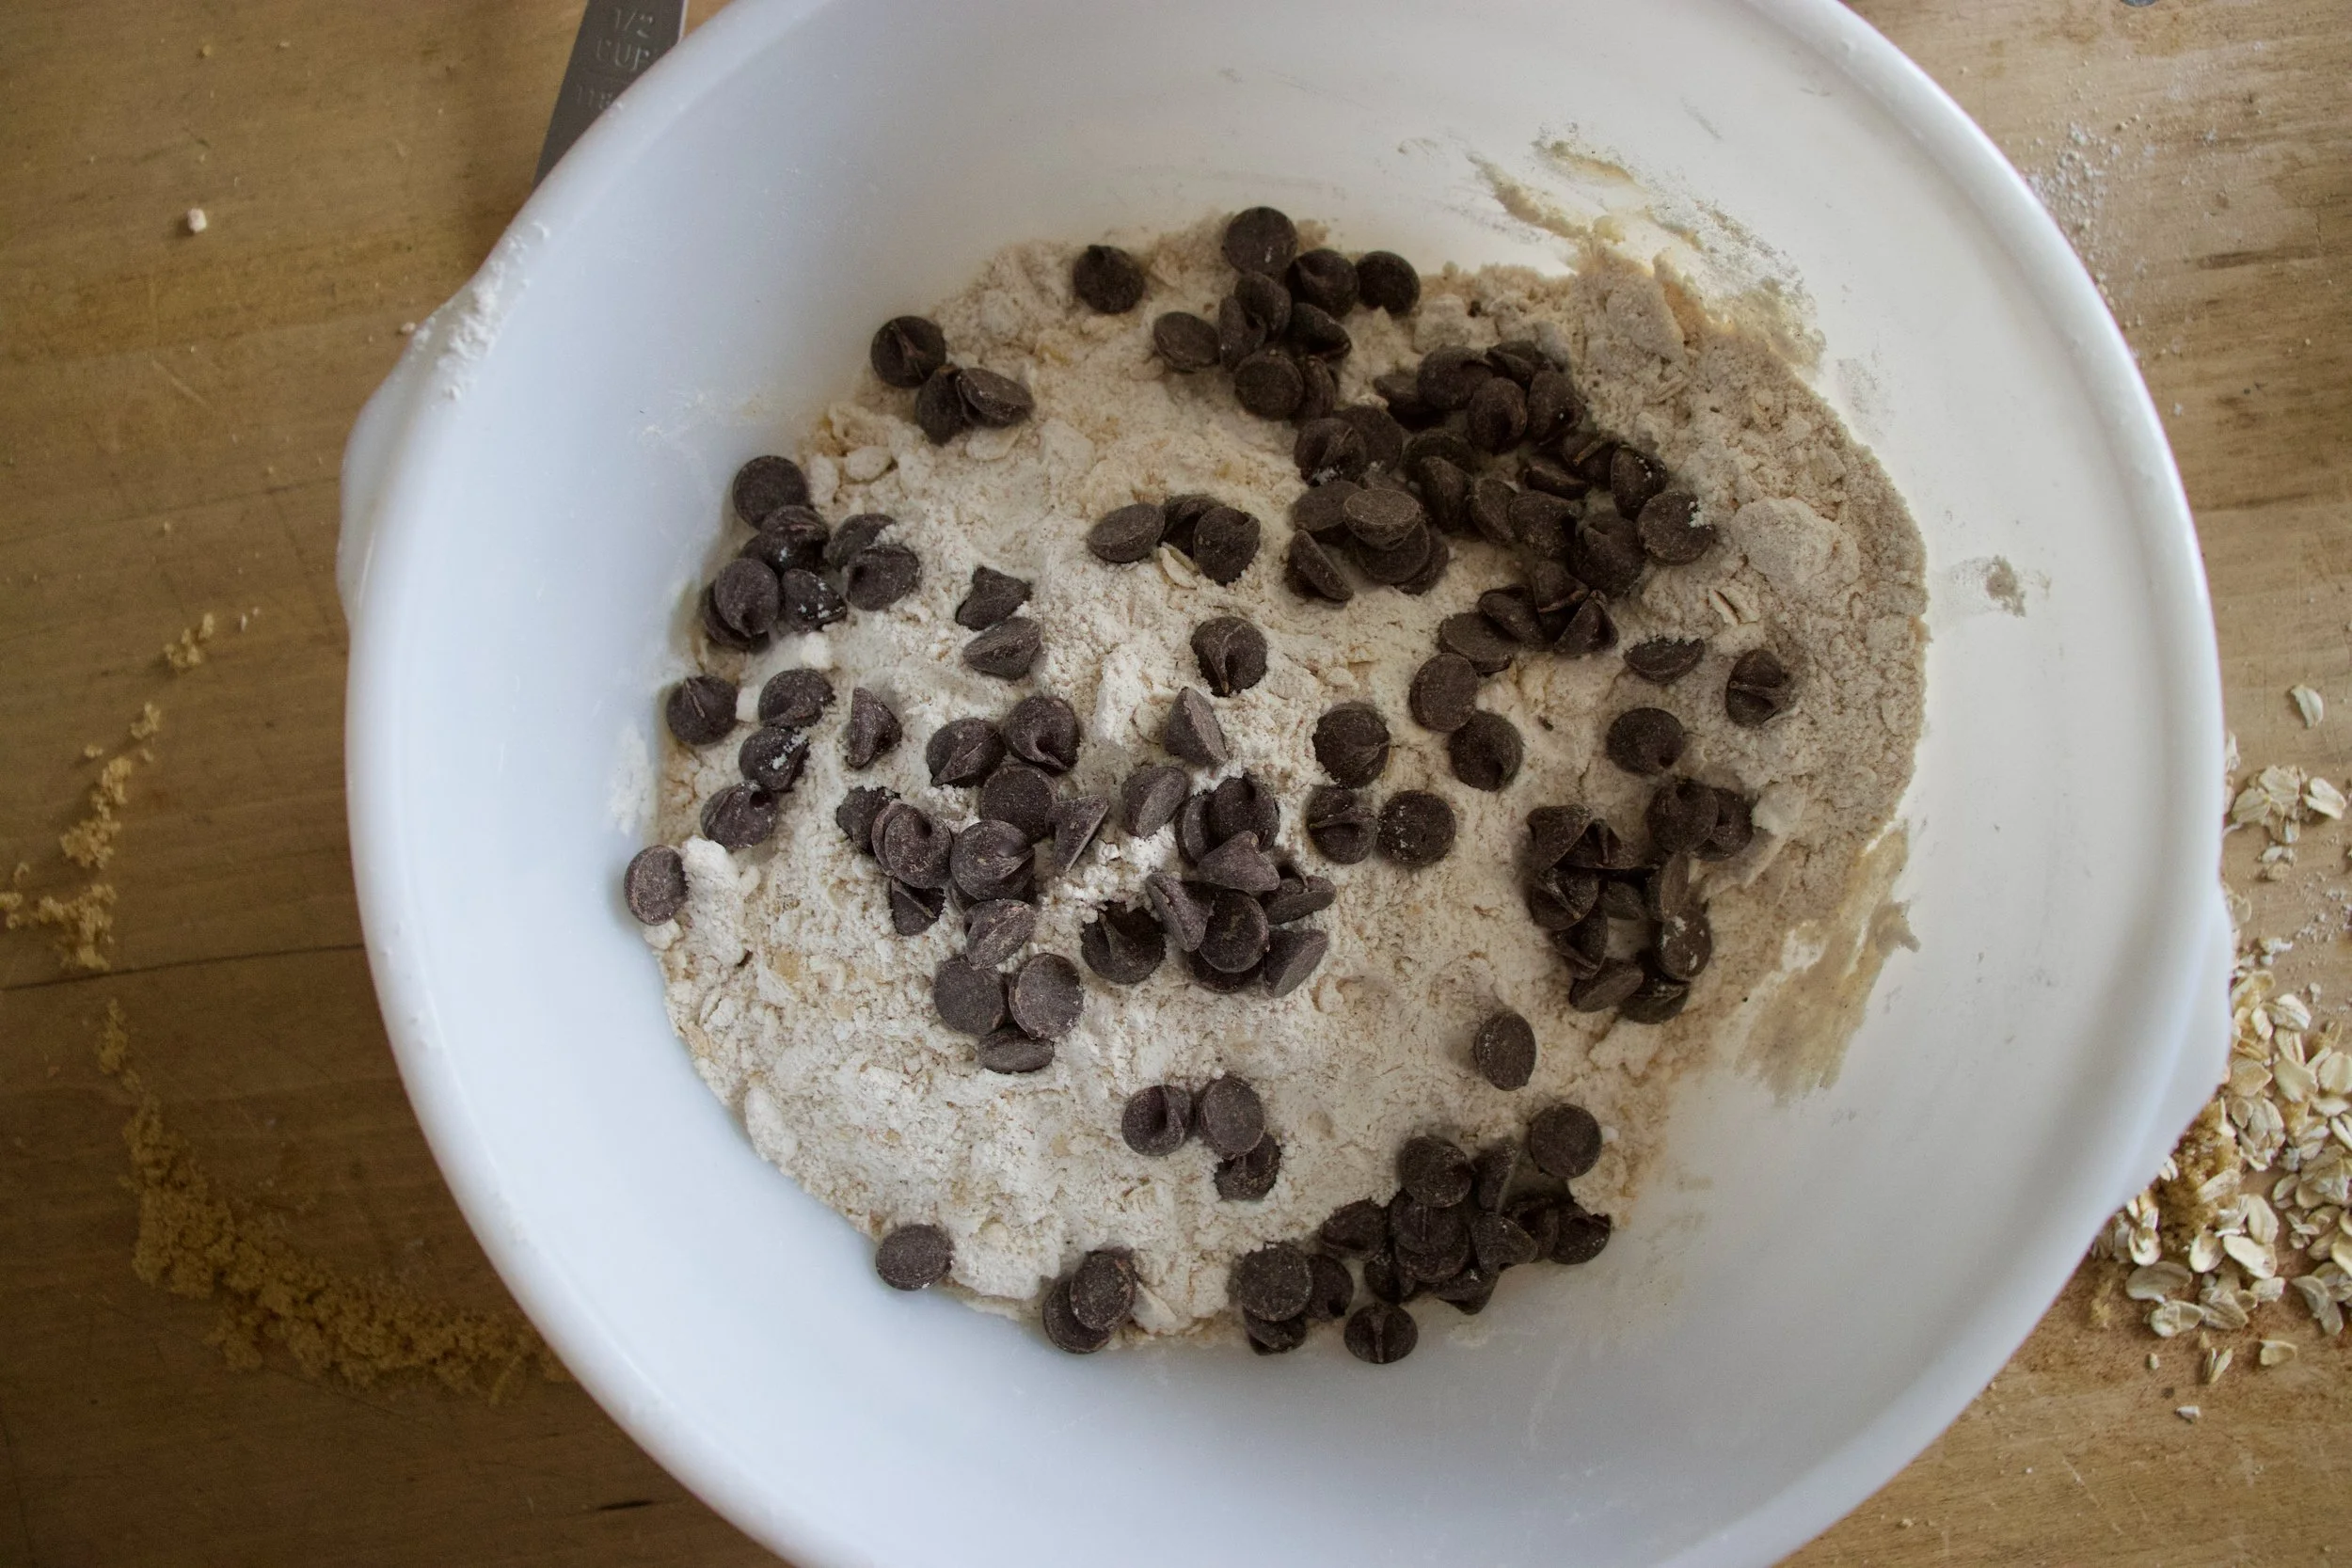


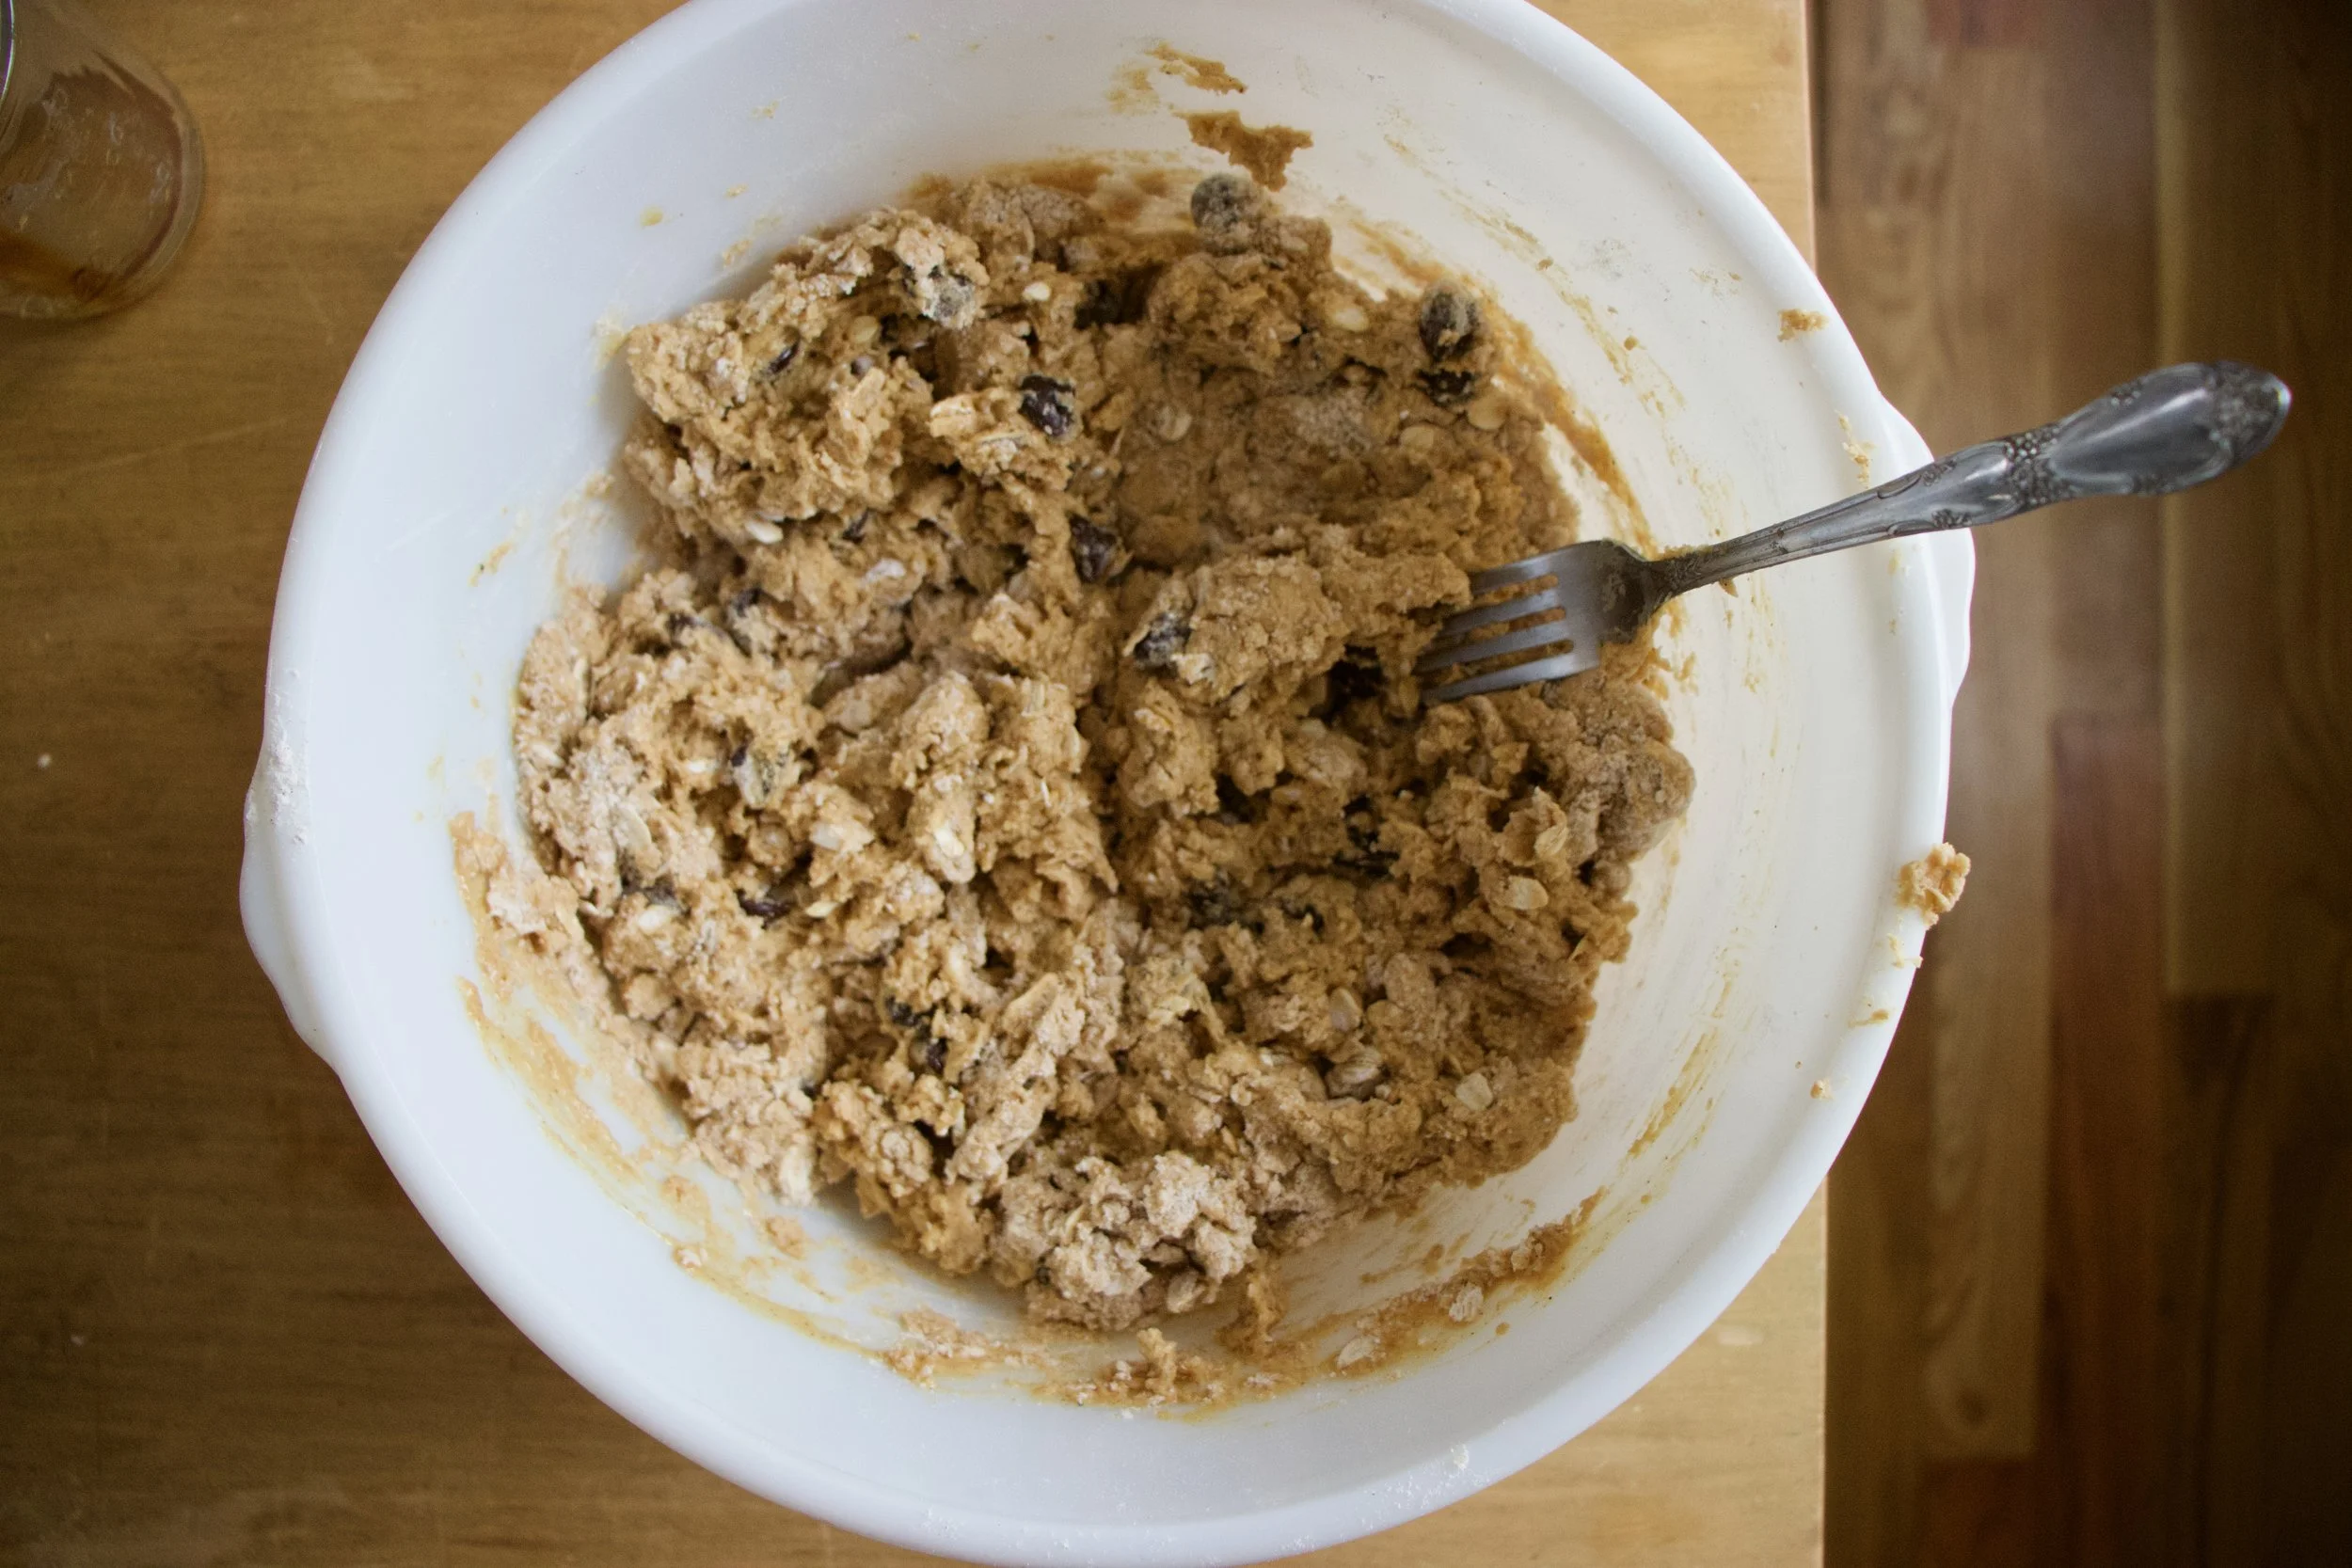


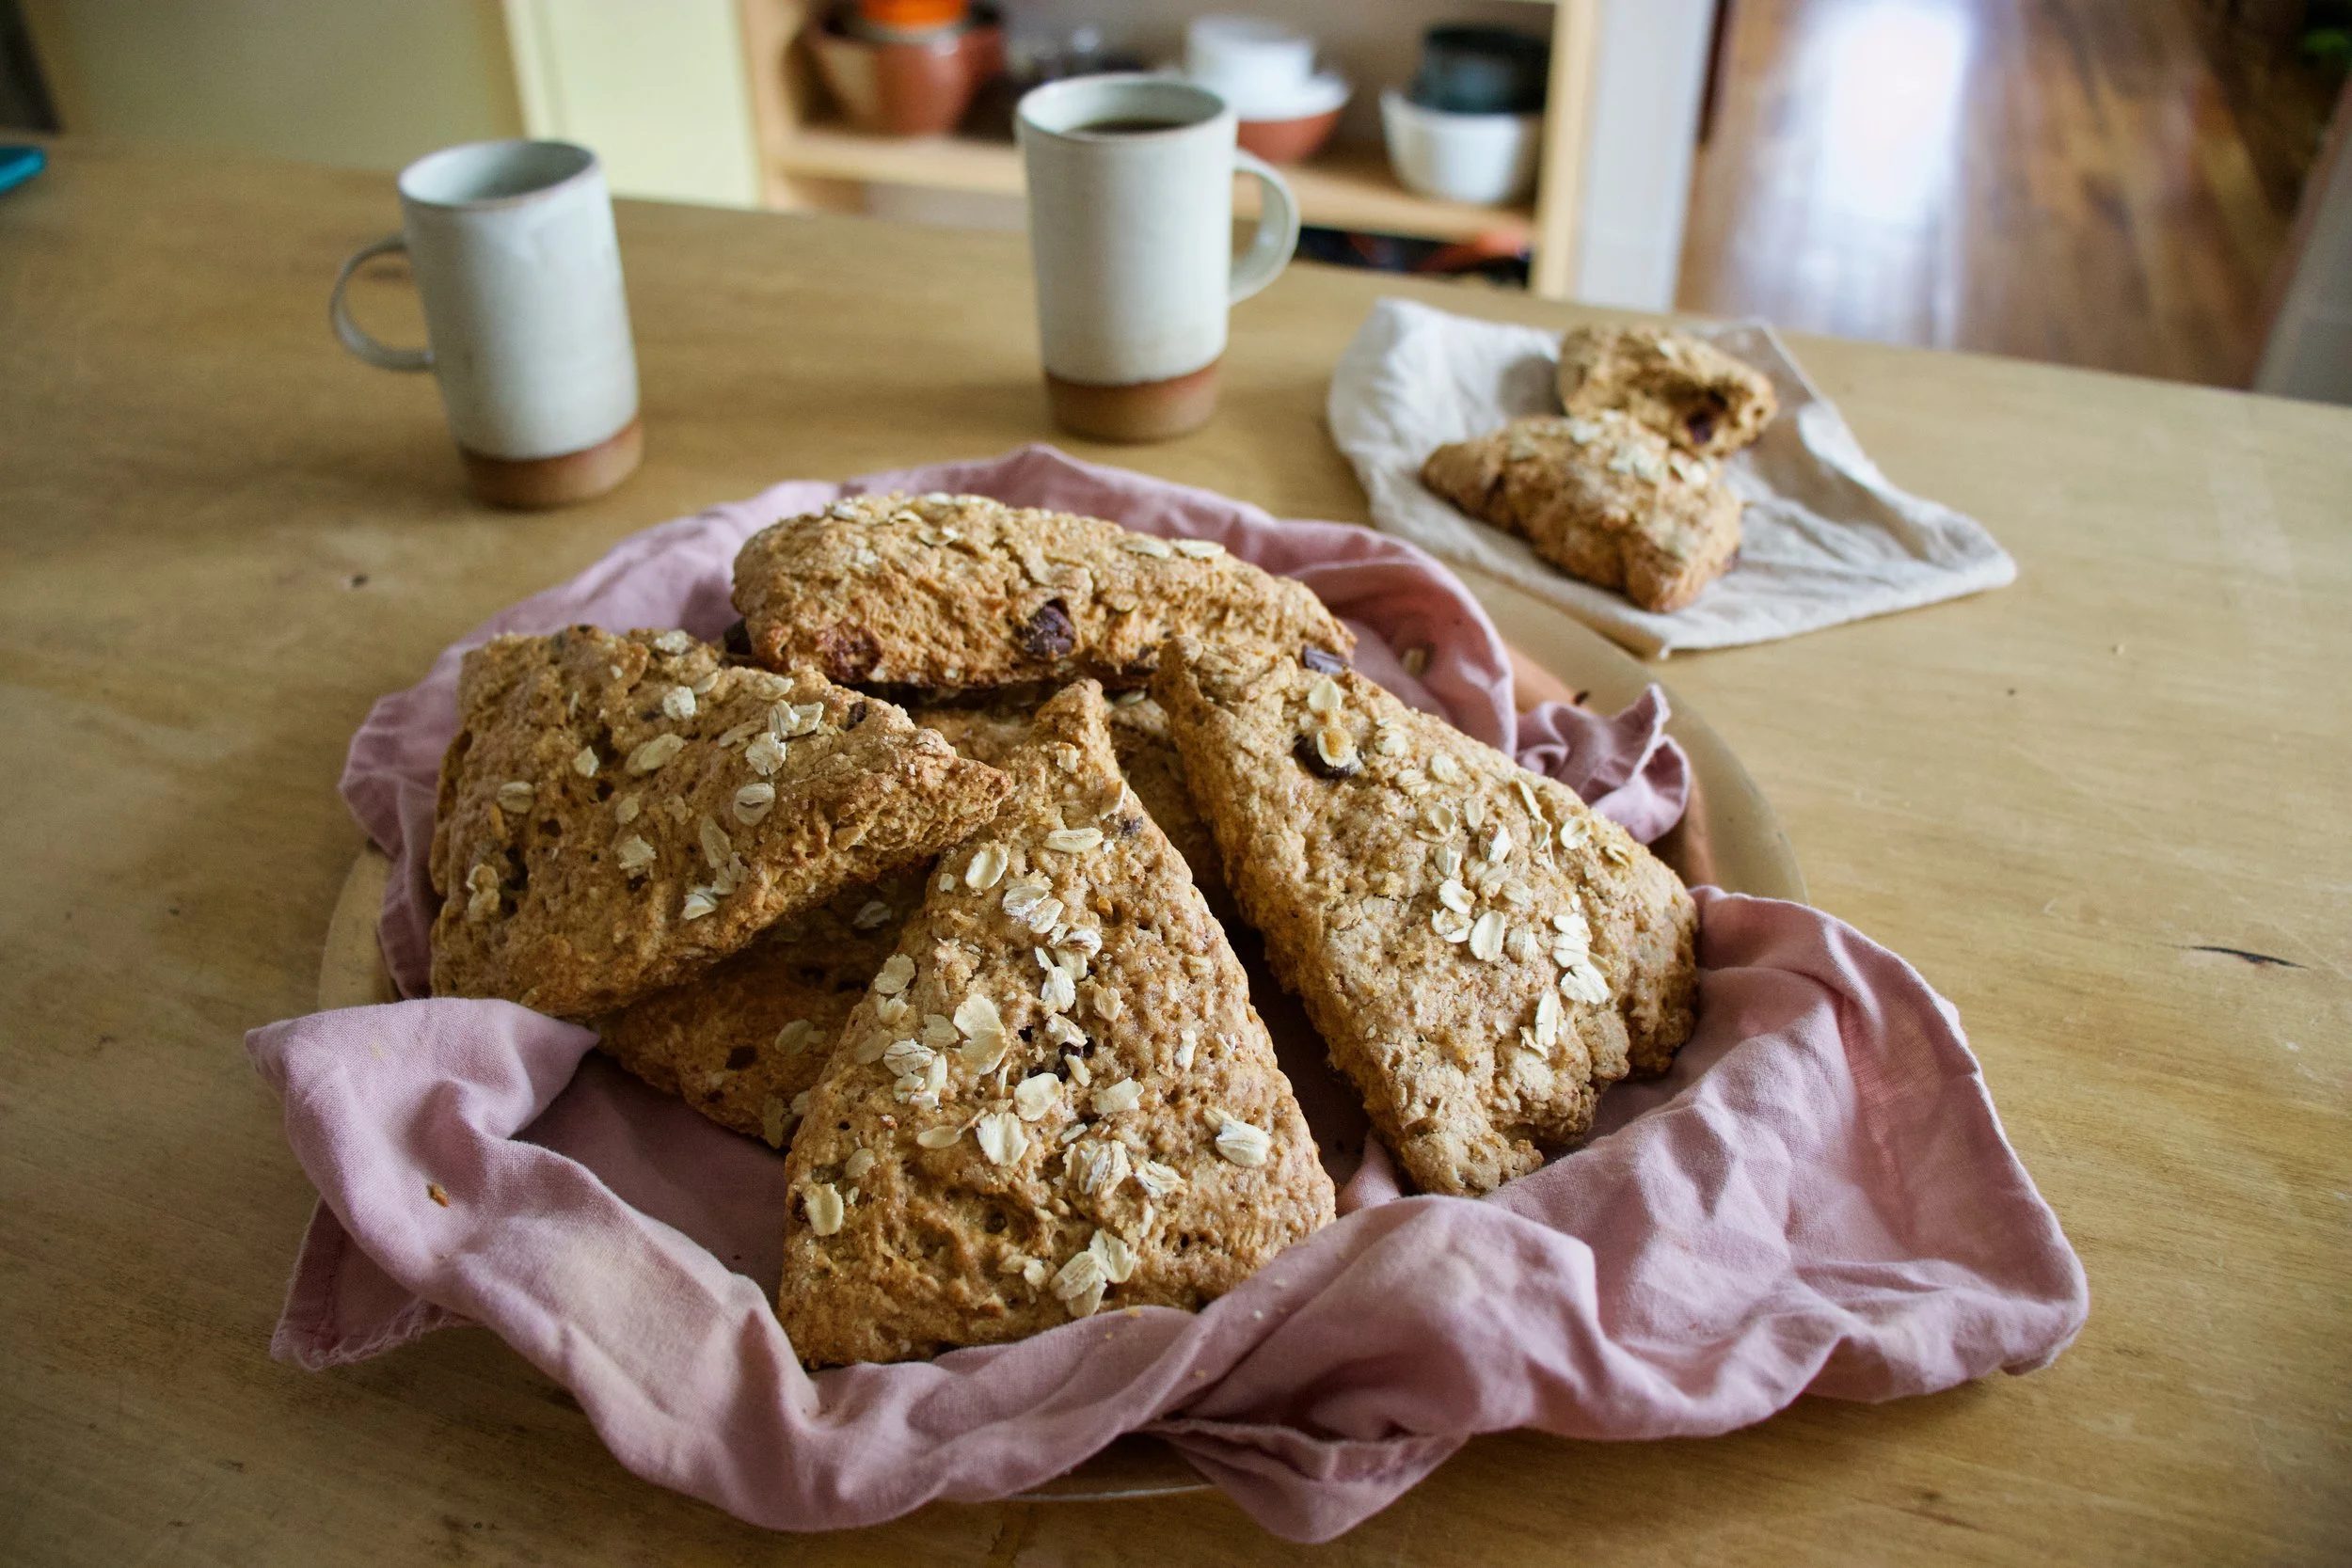
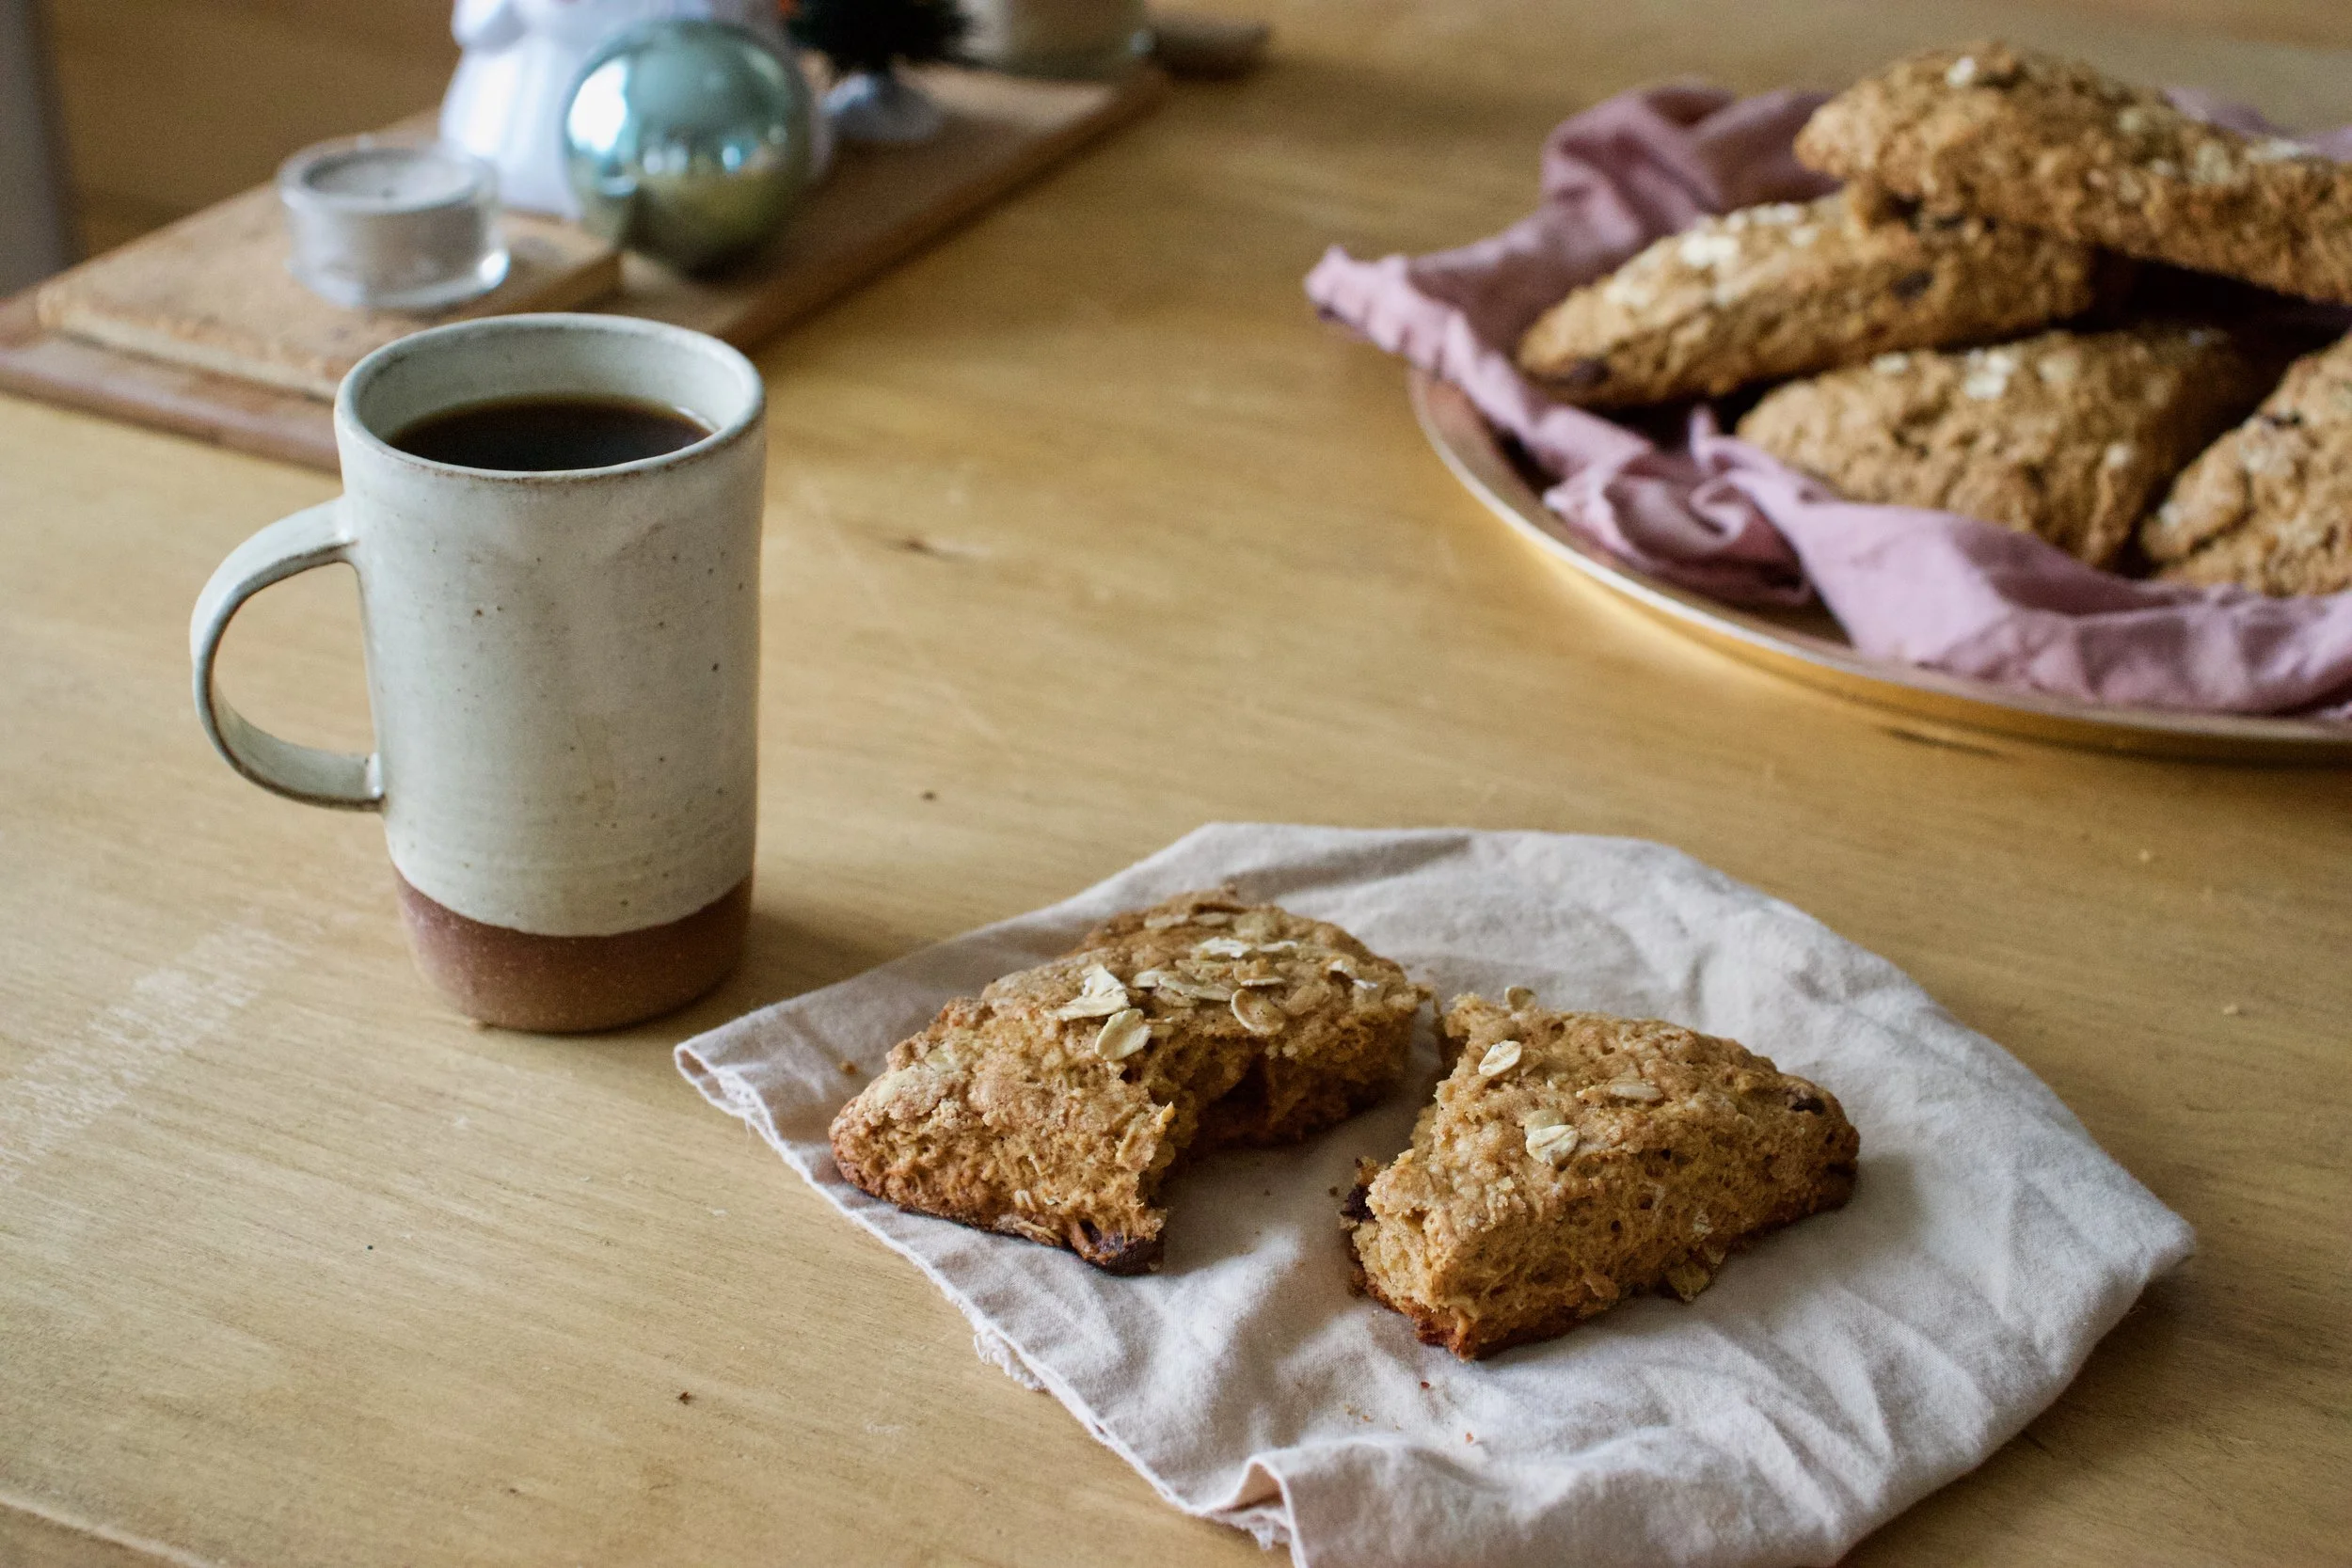

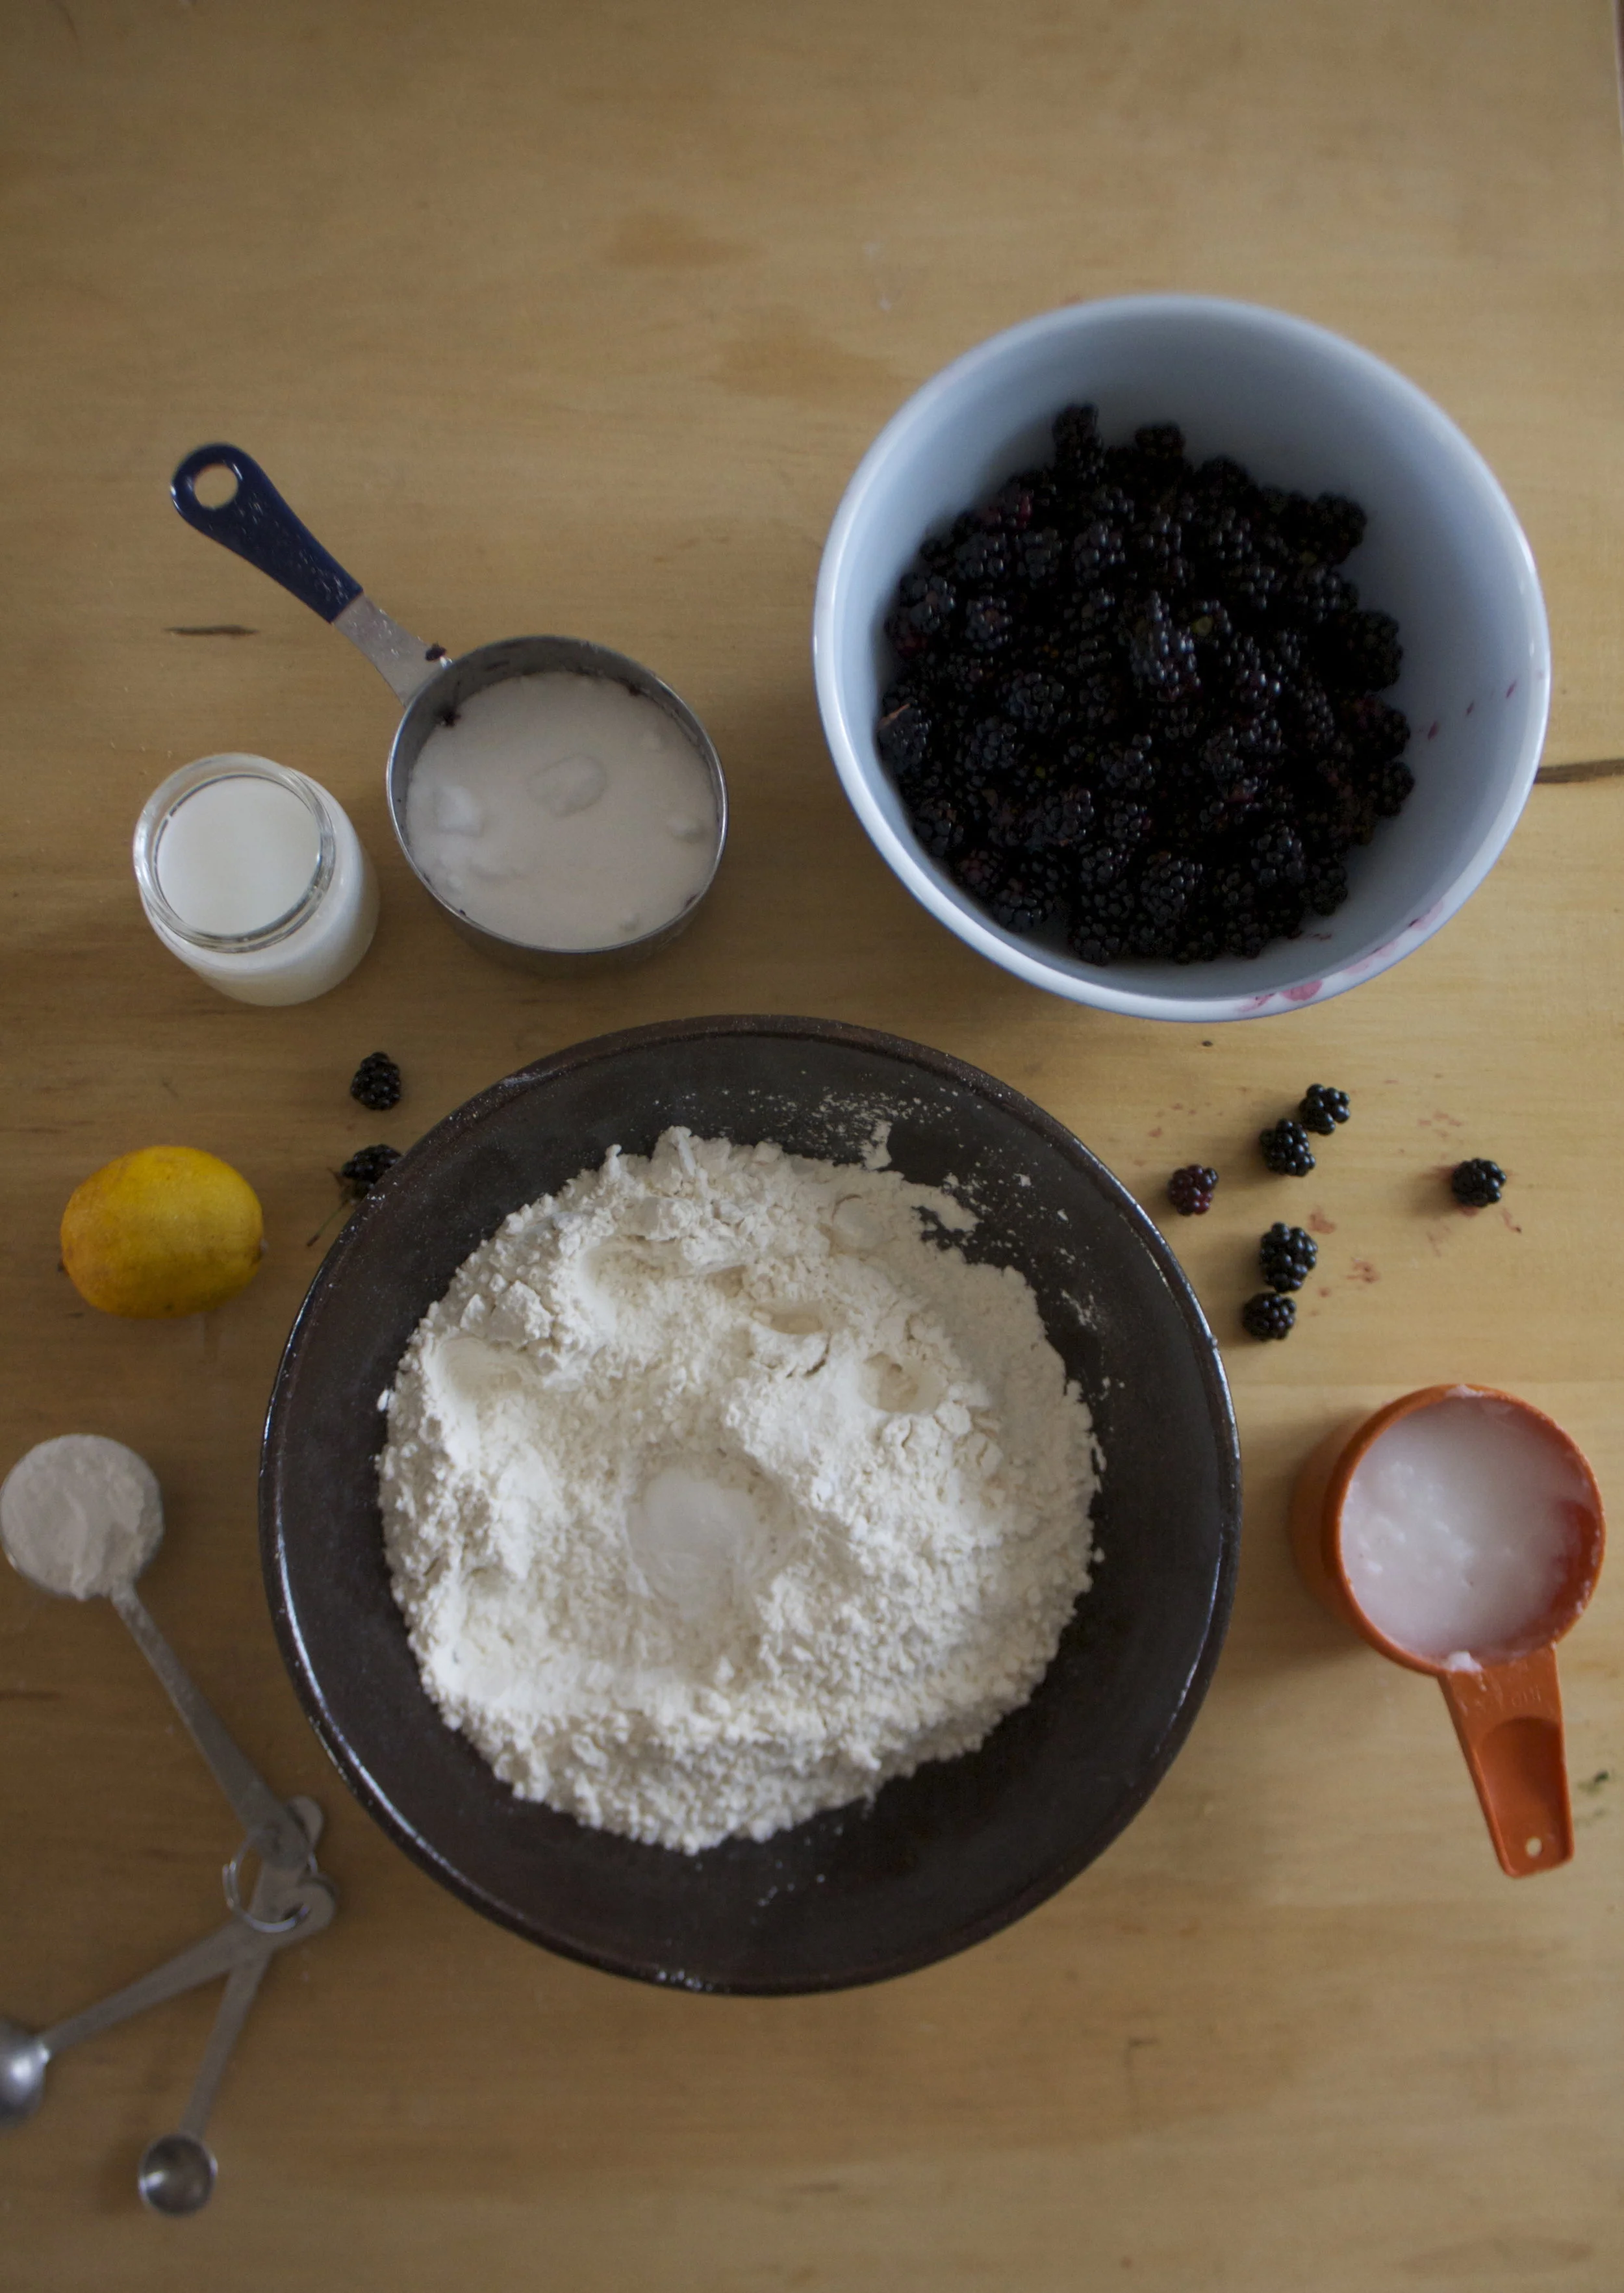
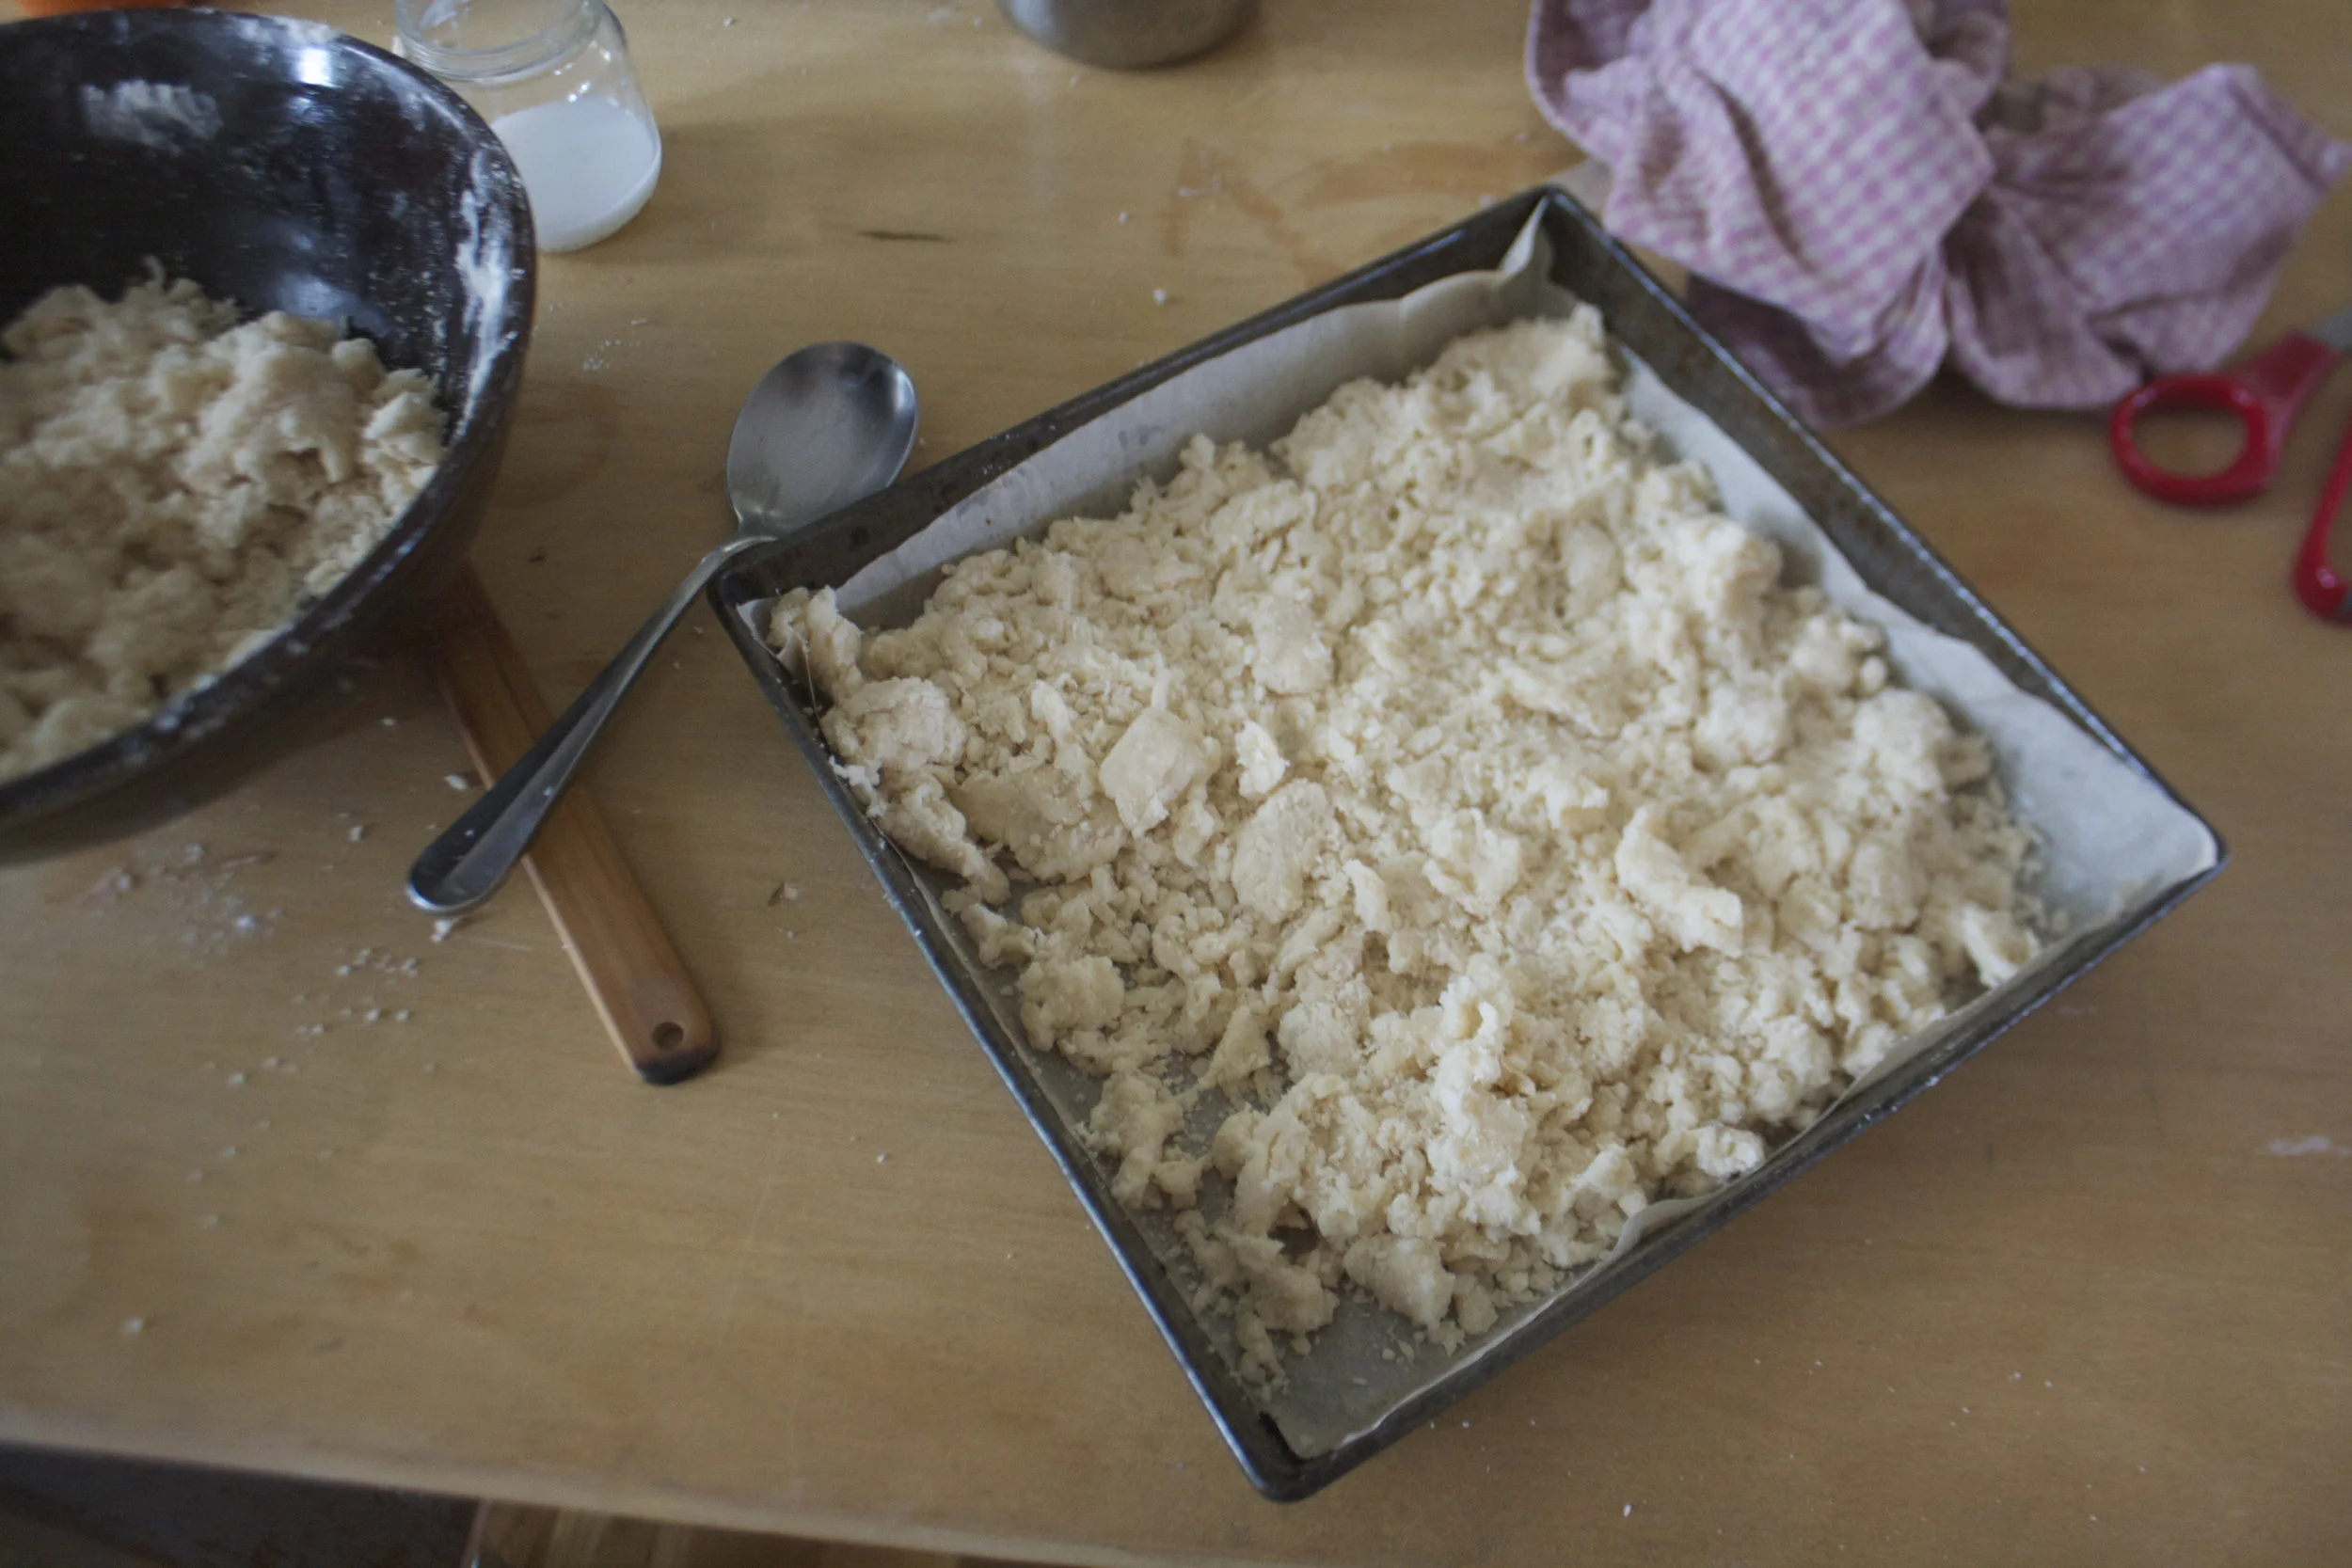
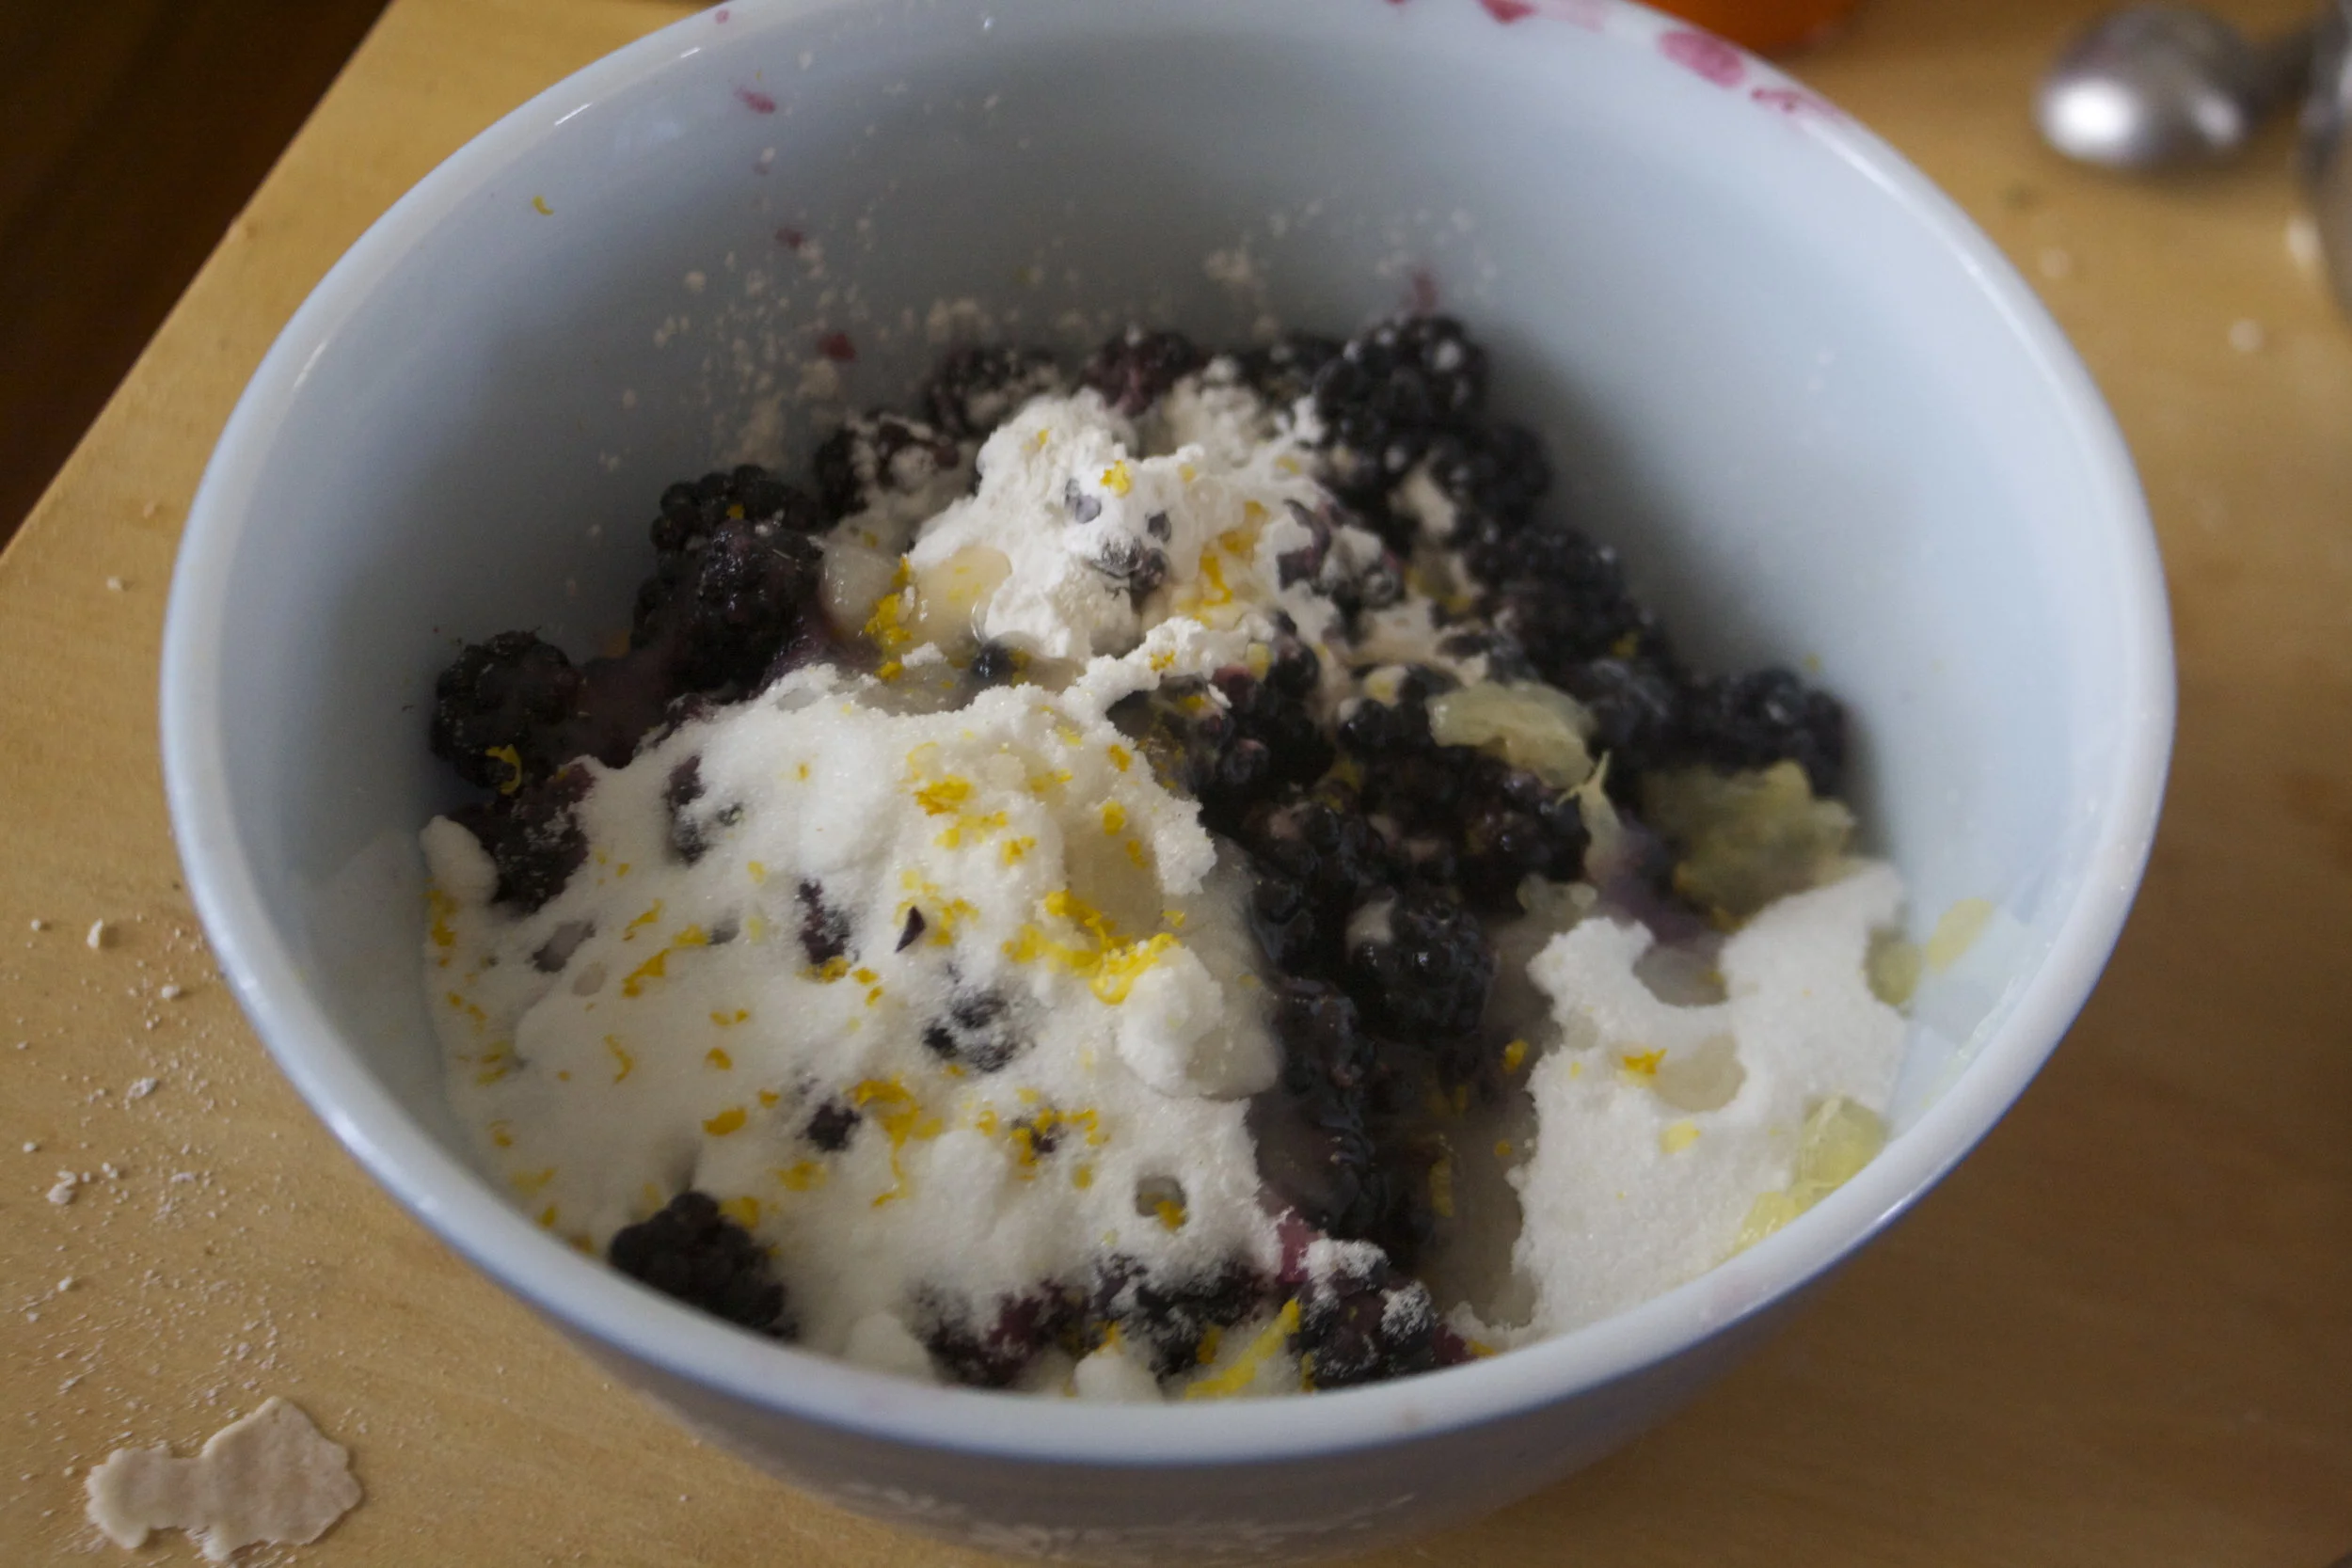
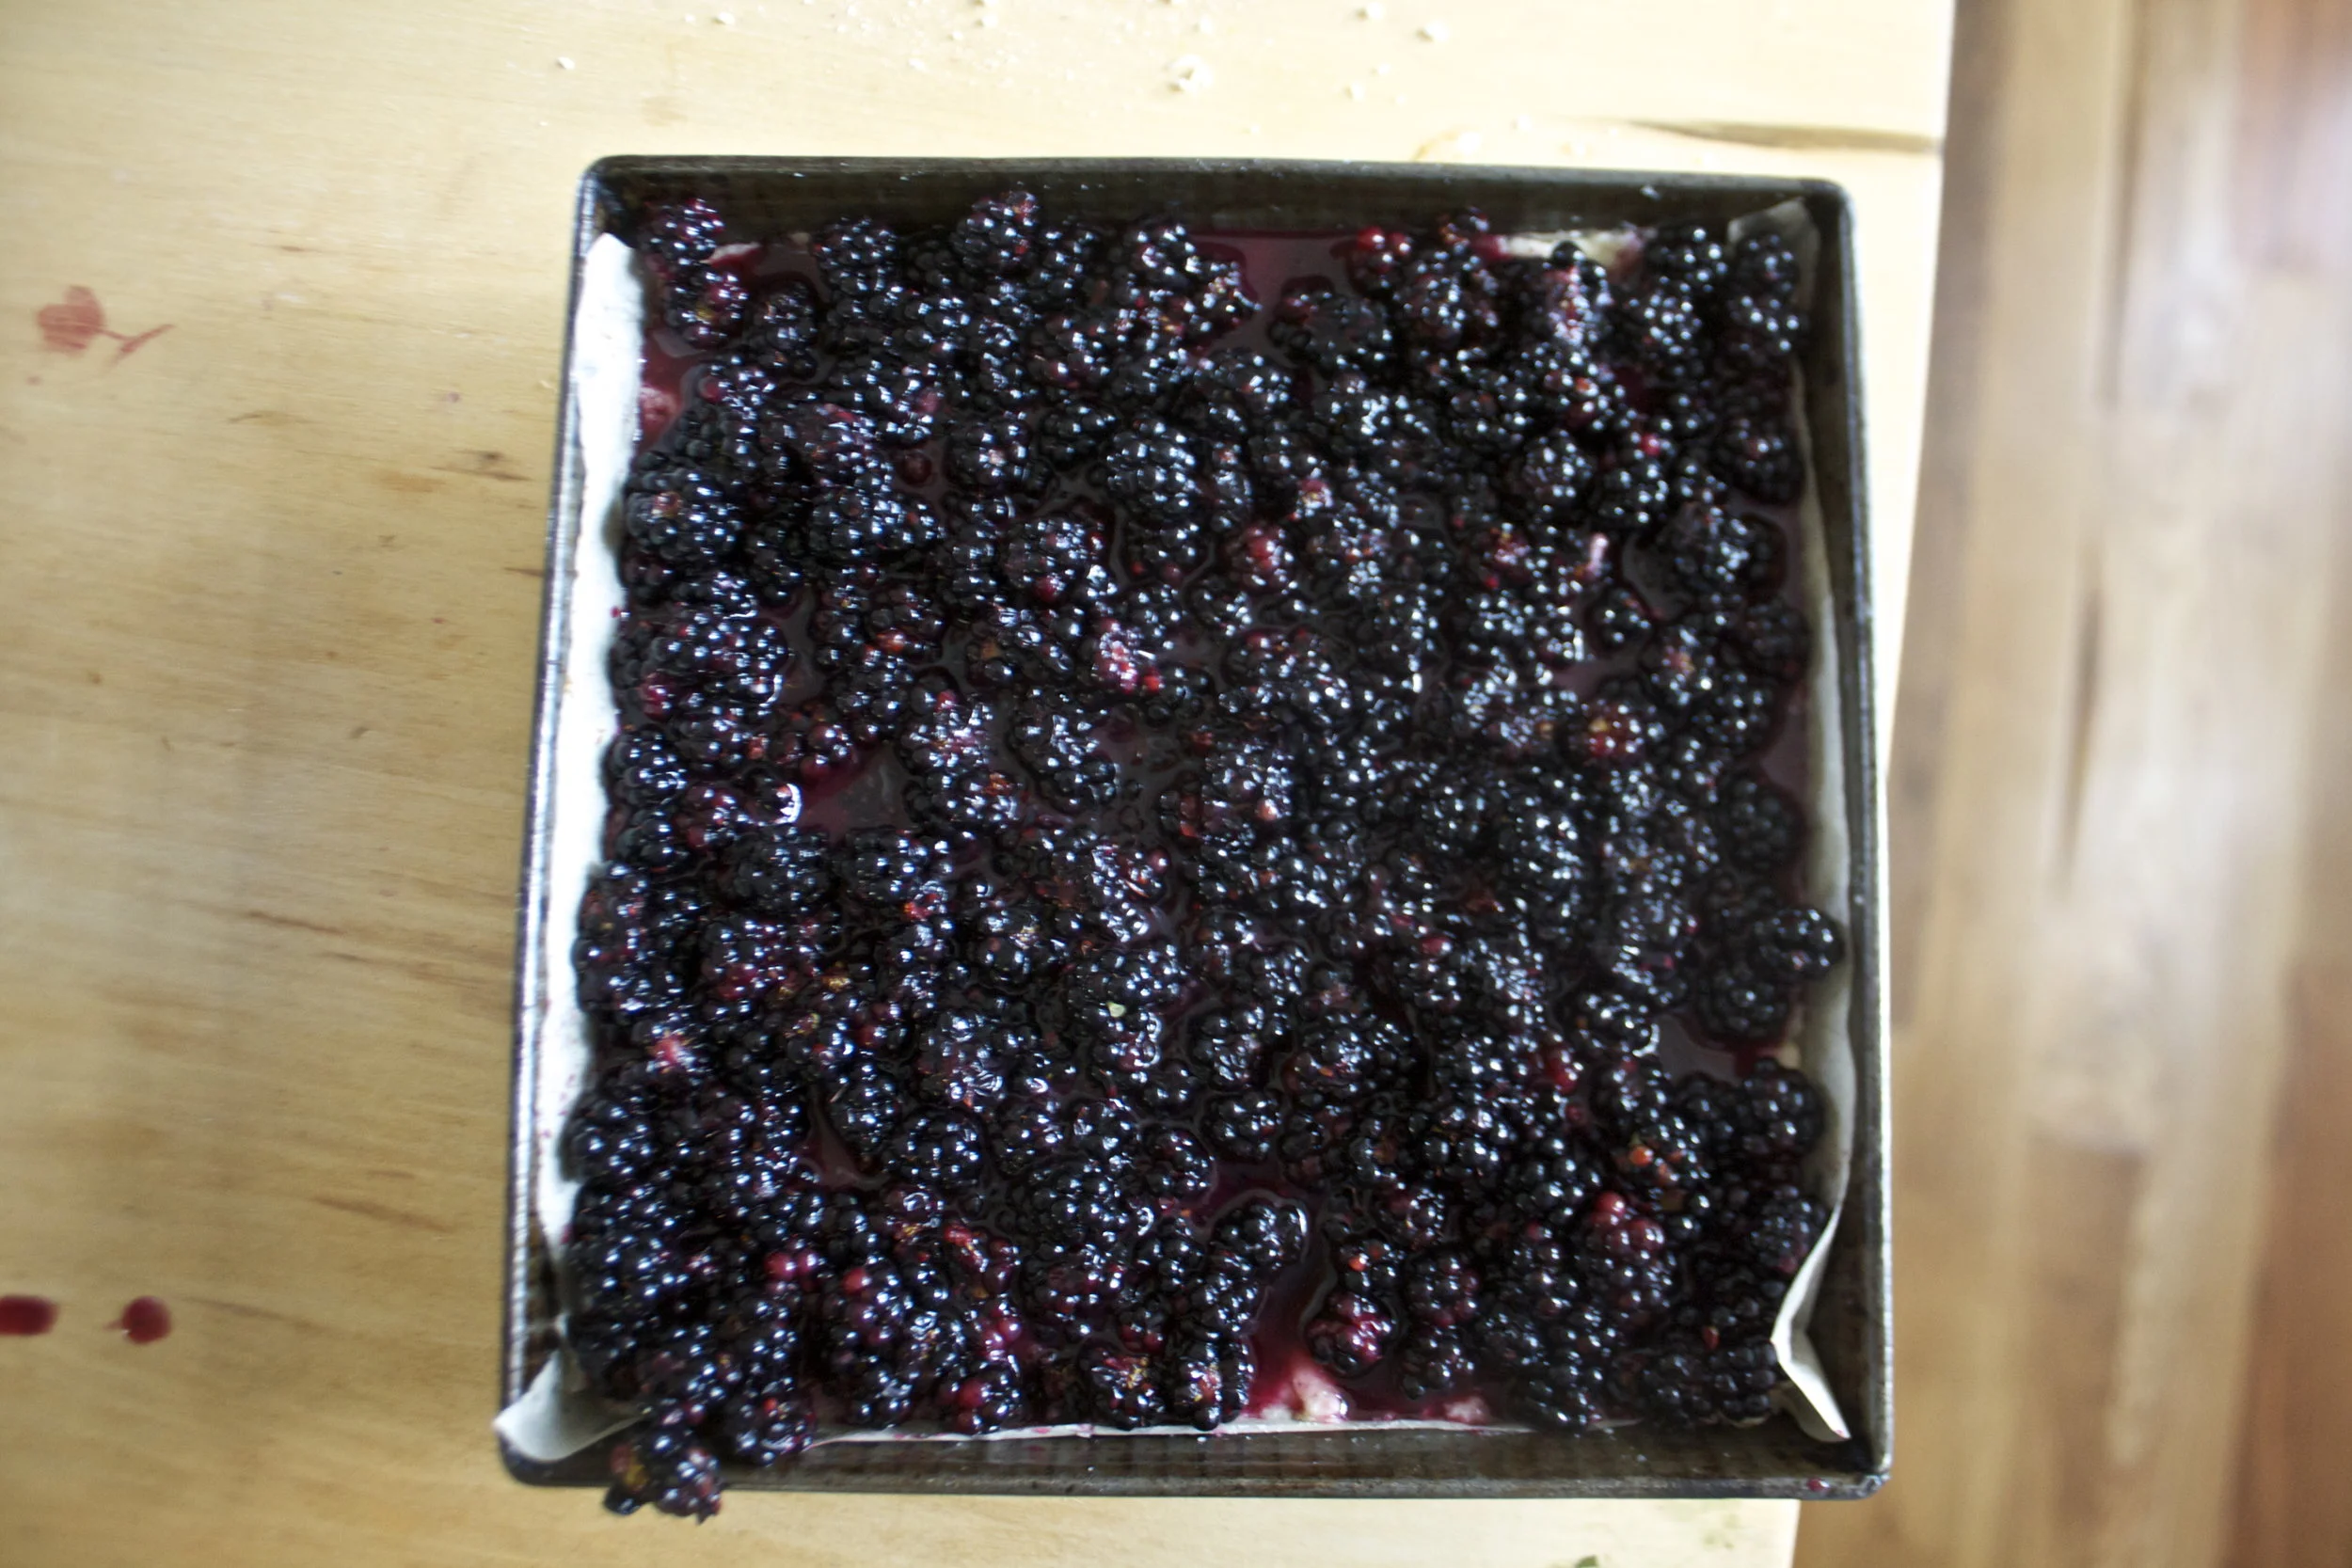
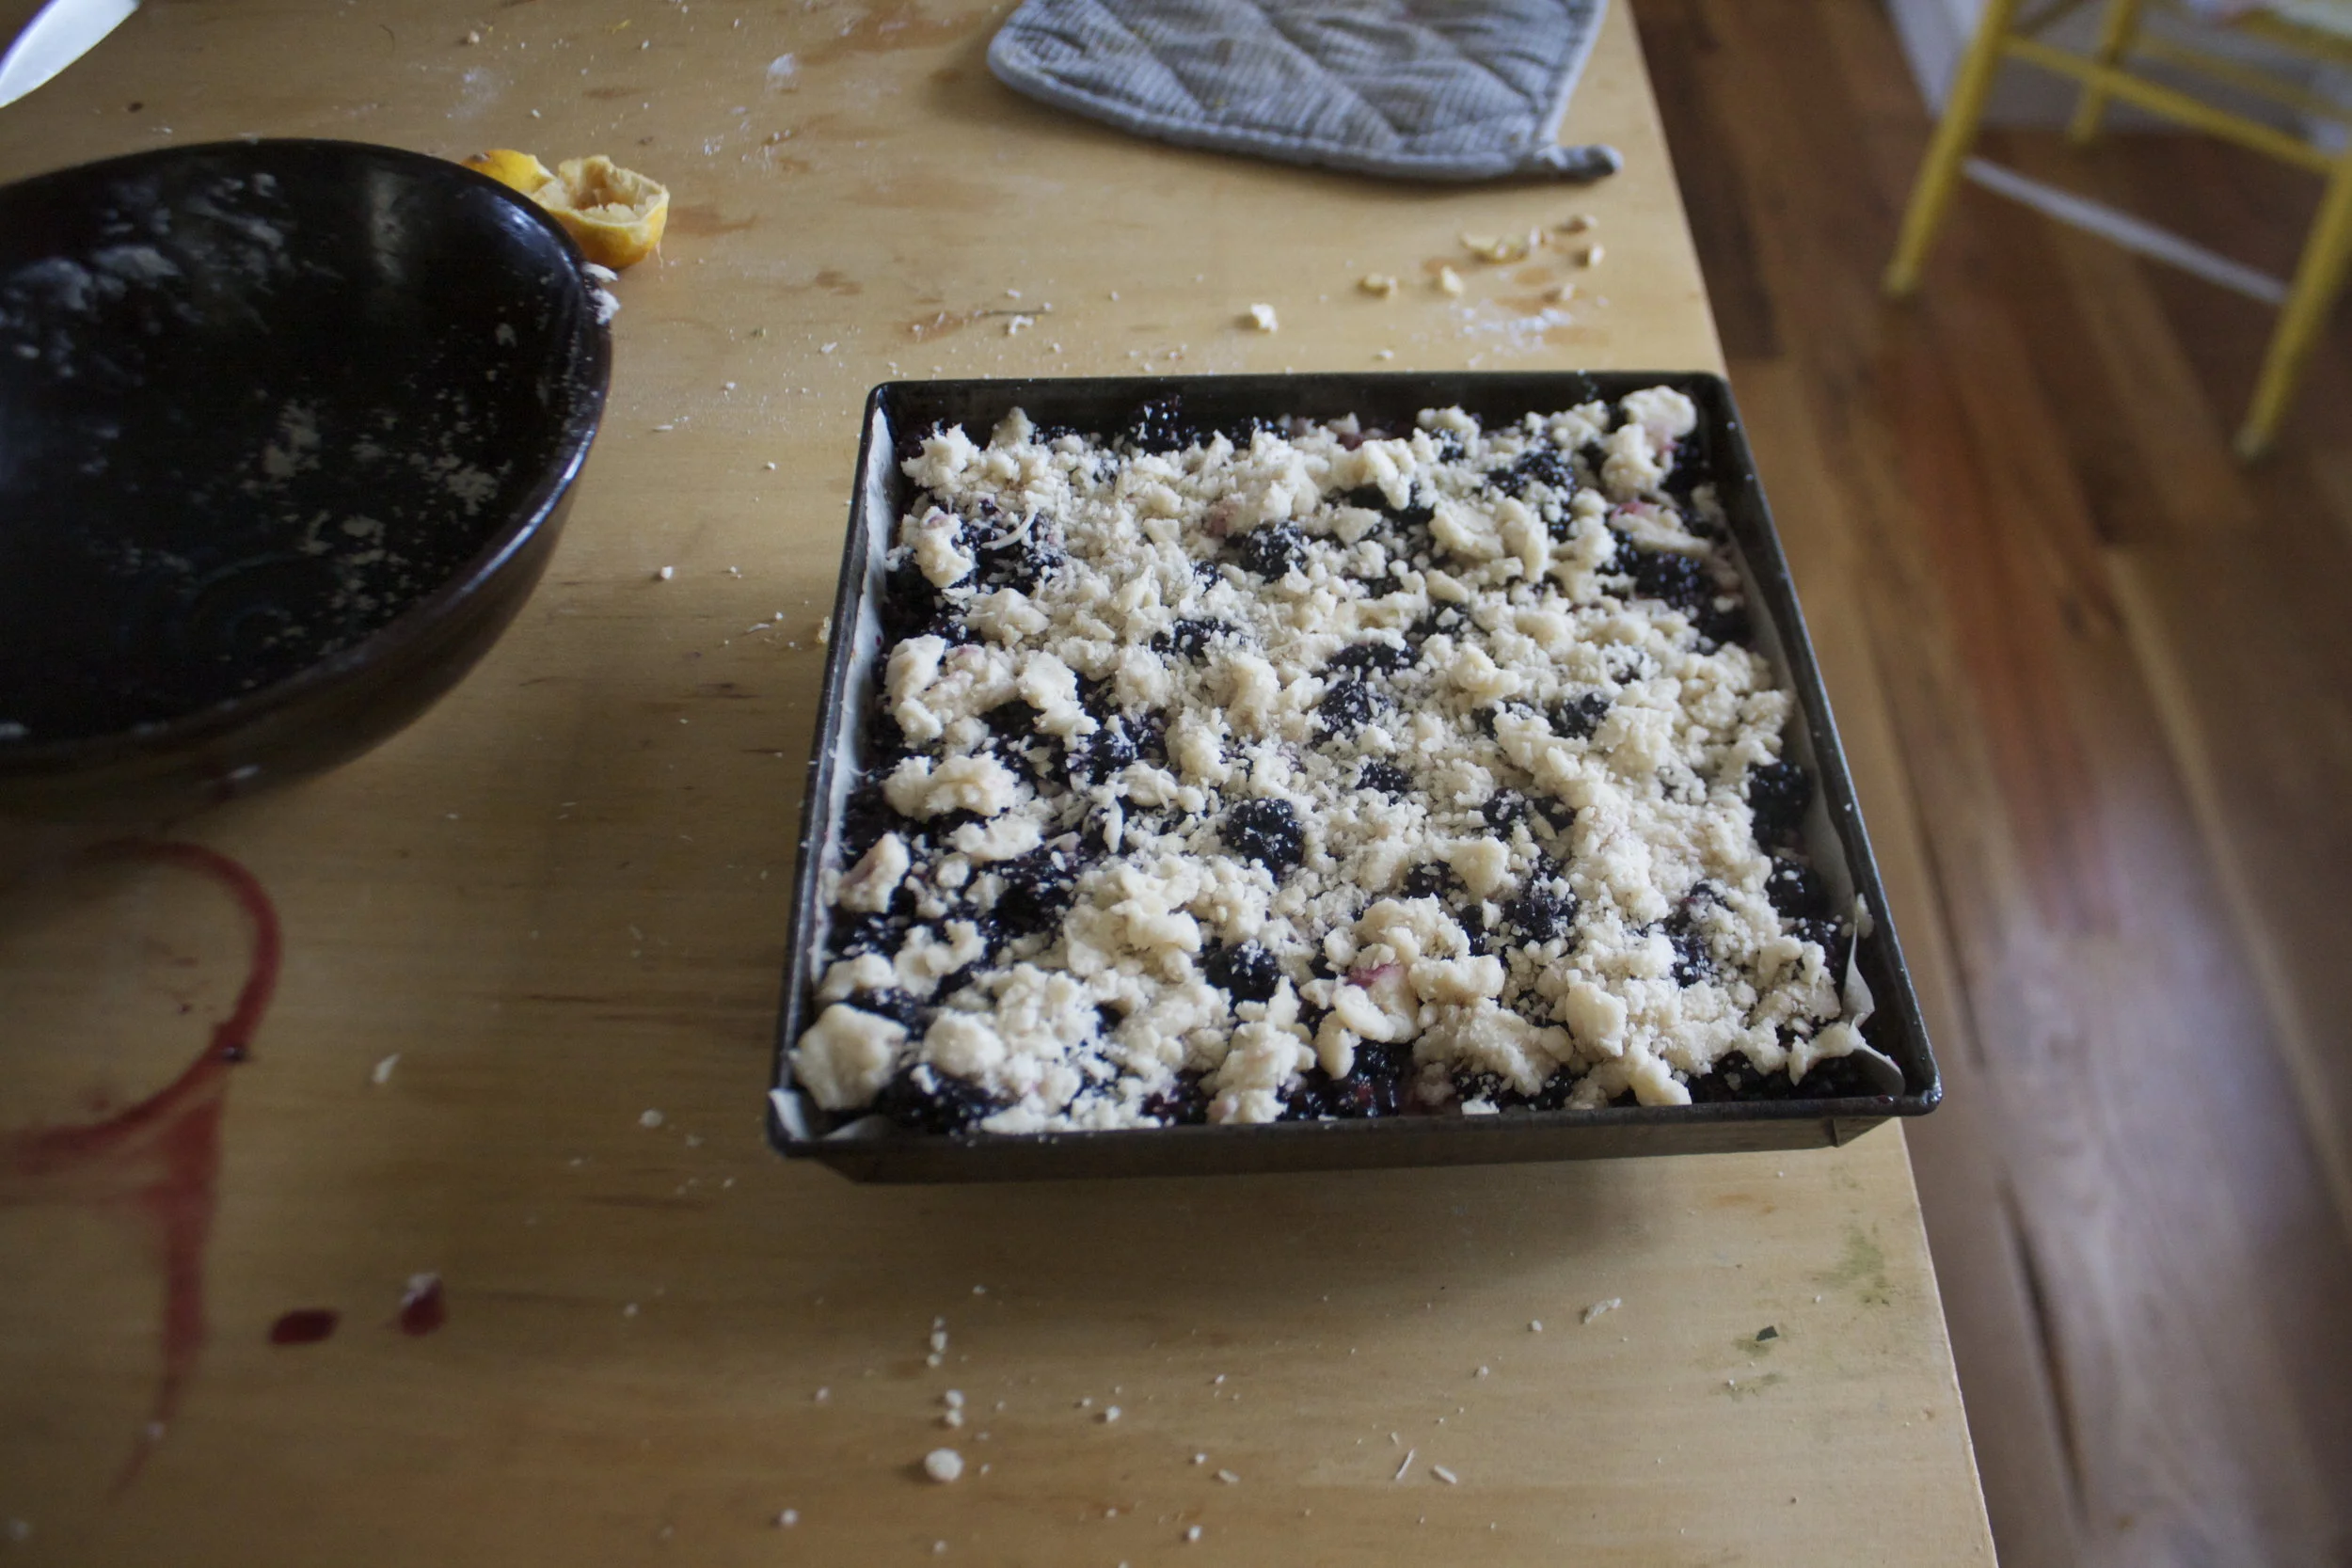

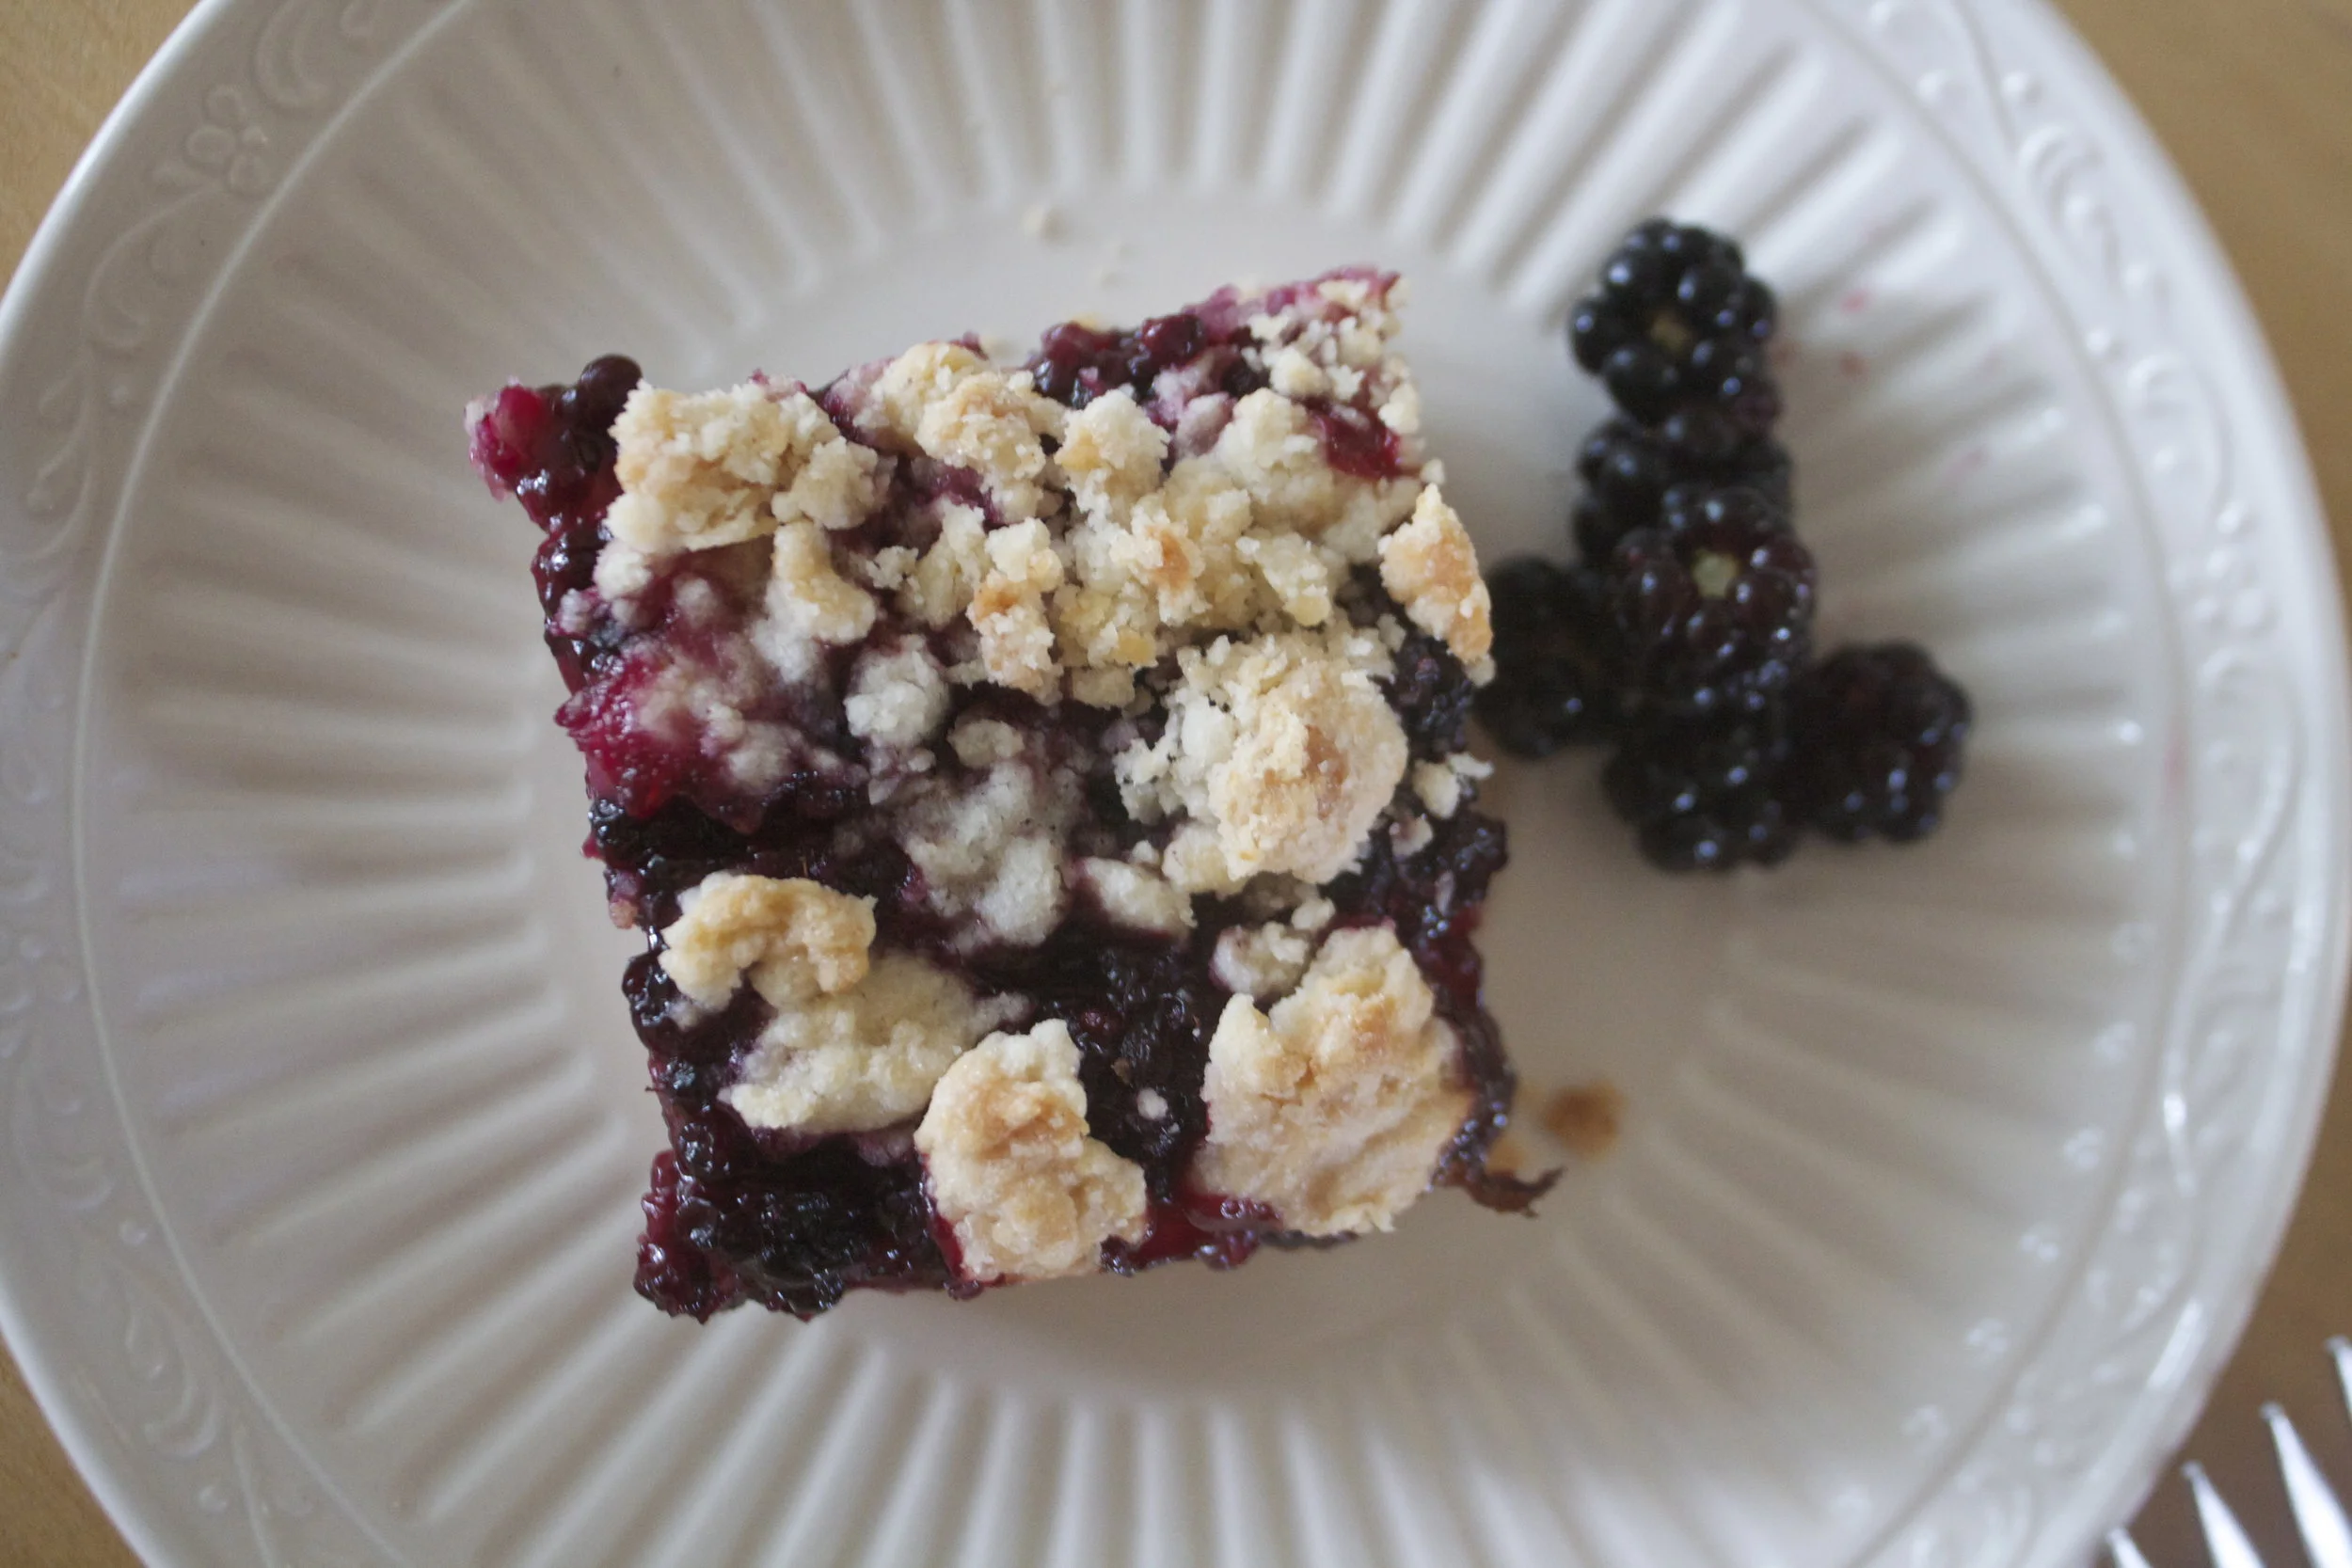
THE LOVELY CRAZY
September 19, 2019 by maximios • Blog
Let%u2019s talk about how soup is the perfect food. It can be light and fresh, hearty and deep, chunky or smooth. You can eat it with a spoon, or somtime a fork if warranted, or just drink it from a mug. It%u2019s usually a one pot meal, a small pot for one, a big pot for many. Make a pot of soup and eat some now and save some for later. It freezes amazingly well. Got a few extra sad carrots and wilted greens? Toss them into a pot with whatever you have on hand, maybe those veggies scraps and you got yourself a meal. Want something more filling, just add in some grains. Feeling sick, warm soup will make it all better. Feeling fresh and springy, well soup is there for you too. Seriously soup, you can do anything. If I could, I would marry you. %u2665%ufe0f
This soup is one of this velvety smooth, light but rich, delicious beyond delicious soups. A fresh spring time soup. Not to hearty or heavily spiced. Super rich and creamy and flavorful. Bright ass green which makes it amazing in itself, but then with a nice tangy sumac tahini swirl on top, well it is just about the most perfect soup. I made to share, which I did, (and everyone licked their bowls clean) but then hoarded the little bit left over and ate it cold for a late afternoon snack. That is another thing about soup, you can eat is cold and it is still amazing.
Tasty and delicious, and nutritious. This soup does it all.
To the soup!
The stuff. Peas, chopped broccoli, and chopped cauliflower which are all frozen and slightly thawed. You can totally use fresh here too, but I just so happen to have it frozen so you might as well save the fresh stuff for fresh eating. Also have a big yellow onion, a few cloves garlic, some tahini, a lemon, sumac, and salt and pepper. You need water which I did not picture here.
A pot, some water and a roughly chopped onion and the garlic start off this soup. Bring the pot to a boil, then turn to medium and let the onion and garlic cook until very tender. I have been making a lot of soups starting with this step lately. Boiling the onion and garlic until tender and fragrant really make for a super flavorful and clean soup base. Or soup in itself.
Now add in the broccoli and cauliflower to the pot and cook until tender.
Mid soup cooking time is a good time to make the sumac tahini sauce for the swirl. Basics here, just mix the tahini, the sumac, a pinch of salt and pepper, the juice of the lemon and a tablespoon of warm water together until smooth.
Last but not least, the peas. Add them in and they just need a few minutes to cook through.
And then it all gets blended to become this green creamy goodness.
Ladle into bowls, grab the sumac tahini sauce and swirl it on in. A tablespoon or so is good. And don%u2019t forget a little more pepper and another pinch of sumac for good measure.
Just appreciate for a moment. That is one good looking bowl of soup. And it taste even better then it looks.
-C
Makes about 4 serving
1 1/2 cups fresh or frozen peas
1 1/2 cup chopped fresh or frozen cauliflower
1 1/2 cup chopped fresh or frozen broccoli
1 large onion
3-4 cloves garlic
4-5 cups water
Salt and pepper
1 teaspoon sumac
2 tablespoons tahini
2-4 tablespoons warm water
Start by removing the papery skin from the onion and chop into a few big chunks. Remove the skin from garlic too. Place into pot with 4 cups water. Turn heat on high and bring to a boil then turn heat to medium and let onion are garlic cook until tender which should take about 15-20 minutes
Once the onion is cooked, add in the broccoli and cauliflower. Turn heat back to high and bring to a boil again then turn back down to medium heat. Keep cooking until tender (another 15 minutes or so) then add in the peas. Keep on heat until peas are cooked through then remove the pot from heat and either transfer to a blender or use a immusrian blender to blend the soup until smooth. Add a little more water if needed to get to the right consistency to blend right. Or if you want a thinner soup.
For the tahini sumac swirl just mix the tahini and sumac together along with the juice of the lemon, two tablespoon warm water and a pinch of salt. Mix together until smooth. If the mixture is to thick, add another tablespoon of water.
To serve. Ladle or pour soup into bowls and drizzle and swirl the tahini sumac on top. Sprinkle with pepper and a pinch more sumac and you are good to go.
I can%u2019t remember the last time I have gone a day without eating lentils. Seriously, even when we travel I buy or bring along a bag of lentils. Or when we are camping, its basically all we eat. So it is safe to say that I know my way around a lentil or two. They are probably my favorite food (I say that about all my favorites)
Other then lentils being amazing delicious, the are so versatile. I am sure I say it all the time, but there is nothing you cannot make with lentils, sweet or savory. And nutritional as all heck. So much iron and a super amount of protein. Lentils are basically the perfect food in tiny little coin shaped form. Take it from this vegan lady here. Lentils help keep me alive. HA.
But enough about how many lentils I eat, what we need to address is this chili. It doesn%u2019t matter if you are a lentil feen or not, you will very much enjoy yourself a big bowl of this hearty, slightly spicy, warming goodness. Especially now, when it%u2019s cold outside and the days are short and you just want to eat something filling and healthy and that is not left over holiday cookies. And big bonus, this is a chili that you could come home to start at 5 and basically have it ready to eat by 6. That is just one bit of the magic of lentils, they so cook so fast.
And it%u2019s chili and chili is the best so you really should just get it made. It%u2019s what you need, I can tell.
To all the lentil goodness!
The stuff. Green lentils, crushed tomatoes, a cubanelle pepper, an onion, a couple carrots, and some cauliflower. Also a few cloves or garlic, cumin, chili powder, ground ginger, a red jalape%u00f1o, and salt and pepper.
Get started by small choping the carrot, onion, and pepper. Mince up the garlic too.
Grab that jalape%u00f1o and remove steam (and seeds if you want heat) and dice into very very small piece.
Into a big old pot it all goes, along with the cauliflower and all the spices. Add a splash of water and a sprinkle of salt and pepper and stick it on the stove for a few minutes to warm up the veggies and spices.
Looking good.. So good I wanted to eat it all, but don%u2019t, it%u2019s for the chili.
Now add all the tomatoes and water and place back on stove on high heat until it starts to boil, then reduce heat to a medium and cook until lentils are tender.
Well look at that, chili.
And why not top with a little avocado while you are at it. It is a very good addition, to the spiciness.
Very little amount of works for such great rewards. Probably going to be your new favorite chili recipe just so you know.
Lentil chili. Grab a bowl, kick up your feet, and dig on it.
-C
makes a lot of chili, like 10-12 servings
1 pound green lentils
1 large onion
5-6 cloves or garlic
1 cubanelle pepper (or any green or sweet pepper)
2 large carrots
3 cups chopped cauliflower (fresh or frozen)
6 cups (two 28 oz cans) crushed tomatoes
2 hefty tablespoons cumin
1 hefty tablespoon chili powder
1 teaspoon ground ginger
1 jalape%u00f1o pepper
6-8 cups water
salt and pepper
diced avocado for serving (optional)
Remove steam and seeds from cubanelle pepper and small dice it along with the carrots and onion then place int all nto a large heavy bottom pot. Mince the garlic add into pot. Remove steam and seeds from jalape%u00f1o pepper and finely dice it and add to pot. Last but not least, add the spices to the mix. Add a splash of water and place on high heat and cook the veggies and spices until for 5 or so minutes, just to give them a little heads start and to activate the spices.
Once the veggies have had a few minutes of heat, dump in the dried lentils, the tomatoes, and 6 cups of water. Stir around and keep on high heat until it starts to boil then turn down to medium and continue to cook, stirring once in a while, until the lentils are tender and the chili has thickened, which should take about 35-40 minutes. If at any time you the lentils are not submerged in liquid but are not cooke through, add more water. And once the lentils are cooked you can thicken bu continuing to cooke does or thin it out by adding more water. Taste soup and season with salt and pepper as you see fit.
To serves, ladle into bowls and tope with diced avocado.
Left overs are fantastic hot or cold and will last in the fridge for about a week. Or if you want, you can freeze a few servings.
Soup is all about comfort and I needed comfort this week. What with being all sad and slightly stressed with a little touch of the holiday blues. And I needed something to warm me up because is has been freaking chilly cold. I needed soup. But I wanted something slightly special, not the everyday, but also not anything fussy or finicky. A soup that I could make really fast or let sit on the stove all day. A soup that would bring a little brightness without being overly rich. A soup to take away the chill and make me happy.
Is that asking to much of a soup? I think not.
This soup, it did it all. But also take into account, this soup is not for the people that do not like squash. Or for the people that do not like apples or cranberries. Or for people that do not like thick creamy soups. But if you are not one of this people (you are a person that likes squash, apples and cranberries, and creamy soup) then this soup is for you. It is for us. Creamy, flavorful, slightly sweet and spicy with a little tang and just so dang delicious. It is like a warm blanket of soup. Comfortable and lovely. I have basically eaten an entire pot all to myself in the past two days.
It has been just what I needed.
Join me.
The stuff. A butternut squash, a couple apples, and some cranberries. Also a carrot, an onion, some fresh ginger, a few cloves garlic, cumin and chili powder, salt and pepper, apple cider vinegar, and a little olive oil.
Start by chopping up the carrot and the onion. Small pieces just because they cook a little faster.
Peel and grate or mince some fresh ginger too.
Toss that all into a big pot with a splash of olive oil and a splash of water and cook on a medium heat until tender and fragrant.
While the veggies cook, chop the squash into small cubes. Remove the seeds, but no need to peel.
And chop up the apple too, but set aside a half of one for the apple cranberry relish.
Now toss all that into the pot along with the cranberries.
Add the spices, salt and pepper, a few splashed of apple cider vinegar, and water to cover it all. Then place it on stove, bring to a boil, then turn heat to medium and let cook.
While the soup is cooking, make the relish. Mince the half apple along with about 1/2 cup of cranberries.
Place in a bowl with a pinch of salt and a few splashed of apple cider vinegar. Then just let it sit and meld.
Soup is looking good. Everything is soft and falling apart and ready to go.
Blend it all until smooth.
Thick and creamy goodness right here. If it is to thick, add more water, too thin, cook it down a little longer. The consistency is up to you.
Now all you need to do is ladle soup into bowls and top with a couple spoonfuls of the relish.
This is comfort. This is good.
Have a great, comfy weekend.
-C
makes 6-8 servings
1 small butternut squash (about 5 cups cubed)
1 large onion
1 carrot
2 macon or mac apples
2 cups fresh cranberries (you can use frozen too)
2 tablespoon cumin
2 tablespoons chili power
2-3 cloves garlic
2 tablespoon fresh minced or grated ginger
4-5 tablespoon apple cider vinegar
olive oil
salt and pepper
6 cups water
Start by chopping the onion and carrot into small pieces. Place into large heavy bottom pot with a splash of water and a tiny splash of olive oil. Mince the garlic and peel and mince ginger. Toss into the pot as well and place it on a medium heat to cook until the veggies are tender and fragrant.
While the veggies are cooking, dice up the butternut squash. Remove any seeds but there is no need to peel. Also dice up the apples, reserving 1/2 of one for the relish. Place the chopped squash and apples into the pot with the cooking veggies along with 1 1/2 cups of cranberries , the chili powder and cumin, 2-3 tablespoons apple cider vinegar, and the water. Place the pot back on the stove, bring it to a boil, then reduce heat to medium and let cook.
Once soup is on the stove, take reserved half apple and the other 1/2 cup of cranberries and dice into very small pieces. Place into a bowl with a little pinch of salt and 2 tablespoons apple cider vinegar. Toss around and set aside.
And back to soup. Once the squash is tender and starting to fall apart, it is time. Remove from heat and either with a immersion blender, or a regular blender, blend the soup until smooth. After its blended and creamy smooth, check for thickness. If you think it is too thick, add more water. Too thin, place back on stove and cook down until it thickens up a bit more.
When you are ready to serve and eat, ladle soup into a bowl and top with more pepper and a spoonful or two of the apple cranberry relish.
Then eat and feel cozy.
This summer has been weird. And when I say weird, I mean too stupid freaking hot and humid and it’s screwing up my life.%u00a0I think I have gone a month, maybe more, without making soup.%u00a0That is just not right. For as long as I can remember I have made soup, or at least eaten soup, just about everyday, even all summer long. But the terrible heat and humidity this year, I just have had no desire. It has been straight up shredded zucchini and whole tomatoes for some time now. I just don’t want to have any residual added heat to my life.%u00a0%u00a0But the other day, oh how lovely. I woke up with a chill, %u00a0enough that I needed to grab a long sleeve before leaving the house, and had the very strong urge to return home and get my soup on. And soup on I did!
For my first trip back into soup (oh how I missed soup!),%u00a0I went simple and used what I, and many, many people have ample supplies of right now.%u00a0Tomatoes. And beans because I wanted my soup to be thick and creamy and I had the beans so why the heck not.
This soup really requires very little and you get the most thick, delicious, creamy, tomatoey soup. Perfect to eat alone, but is fanatic with some crackers, or a hunk of crusty bread. And it uses a lot of tomatoes which is nice because I am (as are many of you.. My neighbor is bringing me HER tomatoes now too) trying to make a dent in the ever growing pile or these beauties on the counter. This soup dented it, until I went out to the garden a few minutes later. My pile is bigger then ever, which is fine because I am back on my soup game.%u00a0
The stuff. Lots of tomatoes, some white beans (I used navy, but any white bean would be good) a large onion, a carrot, salt and pepper, a lemon, some olive oil, and honey (optional).
First off, chop the carrot and onion into chunks.
Toss the chopped stuff into a big ol’ pot with a drizzle of olive oil and cook on a medium heat until nice and soft.%u00a0
While veggies are cooking, core and cut up all those tomatoes.%u00a0
When the veggies have cooked up a bit, add the tomatoes, the beans, and a sprinkle of salt and pepper to the pot and give it a good mix. Return to high heat, stirring even so often, until the tomatoes give off enough juiced to start boiling then turn heat down to medium and cook for a little while, like 1/2 an hour or 45 minutes.
Until it looks lit this. The tomatoes have all fallen apart and the beans, carrots and onions are mushy.%u00a0
Blended with the juice of the lemon and a sprinkle of pepper and more salt if needed.%u00a0
Now serve into a %u00a0bowls. Garnish with a drizzle of honey if you are feeling it. Sliced cherry tomatoes make for fancy garnish.%u00a0
Creamy tomato bean soup for everyone!
Hurray for soup!
-C
Makes about 1/2 gallon (enough to serve a crowed or enough to serve one for a few days and maybe freeze some for later)
Start by chopping the onion and carrot up into small chunks. Grab a large heavy bottom pot, drizzle a teaspoon or two of olive on the bottom then toss in the chopped veggies. Place the pot on a medium heat, stirring occasionally until the onion and carrot start to soften.%u00a0
While the veggies are cooking, core and cut up all the tomatoes. Once the veggies are soft, dump in all the tomatoes, along with the beans and all the liquid they are in. Sprinkle with salt and pepper and turn heat up to high, giving it a good stir until the tomatoes start to get super juicy then bring the pot to a boil. Once boiling, reduce heat to medium and cook for another half hour to 45 minutes, giving it a stir ever so often. %u00a0When the tomatoes have completely fallen apart and the carrot, onions, and beans are mushy, you know its done.%u00a0
Remove the pot from heat and dd in the juice of the lemon. Using a hand blender, blend until it’s a smooth creamy consistency. If you only have a counter belnder, let soup cool a little before handling and %u00a0be really freaking careful and blend a few cups at a time, making sure to have the blender lid on. Hot soup in the face is no fun.
Once soup is creamy and smooth, serve in bowls with a drizzle of honey (totally optional, but some people really like a touch of sweetness to their tomato soup) and more pepper to a taste. Garnish with thinly sliced cherry tomatoes if you are feeling fancy.%u00a0
Any extra soup can be refrigerated for up to a week. Can also be frozen.%u00a0
What are you doing this weekend? It is suppose to be cold and rainy (if not snowy) and crappy and just not a good weekend to be hanging outside, which makes it the perfect weekend to spend some time inside, SPRING CLEANING! Haha. Doesn’t cleaning get you excited? No, well,%u00a0sorry for you. Me, I like to clean, and I really like to tackle jobs that really really need to be tackled, like cleaning out the fridge. And a crappy weather spring weekend is probably the best time to do it.%u00a0
The refrigerator. My pride and joy of the kitchen. It’s an old harvest gold Fridgaire from like 1970. This is the fridge I spent almost a year hunting down and finally finding on craigslist from a man who was cleaning out his dead mothers house. The fridge that I almost gave up on when I couldn’t find it and almost bought a big stainless steal thing instead.mBut last minute, I found it, like it was %u00a0meant to be. And this fridge has a story all of it’s own. It was a prize won by on of the ladies daughters from a cereal company contest.%u00a0The family kept it for all these years and took such good care or it because of that.%u00a0A well cared for and loved fridge.%u00a0It is a good one with faux wood trim and metal shelving. It keeps my food cold and frozen %u00a0(sometimes frozen when it shouldn’t be. The back top shelve %u00a0in the fridge has a few cold spots the might freeze whatever is there. My solution to that is to not stick things in the cold spots.) and is just as pretty as can be. Some people question it, don’t understand why I didn’t just buy a matching fridge to my stainless steal stove, but you know what, if you don’t like it, well I really don’t care. It makes me happy and I love it.
And to what goes on on the inside. To know me is to know what is inside of my refrigerator. It is always packed. There is and always will %u00a0be carrots, beets, lemon, cabbage, turmeric, greens, greens, and more greens in there. There will always be some hummus of some kind, mustard, bread dough, tofu,%u00a0and lots and lots of any and every veggies you can think of. Plus a bunch of %u00a0jars and container, which I have a bad habit of not placing lids on all the time, full of lentils and beans, rice, and quinoa. %u00a0There is usually a %u00a0baked sweet potato or some squash and more likely the not, tomatoes and plant milk. In the freezer, well that’s getting pretty empty now, but after harvest in the fall, it is packed to the brim with bags of frozen veggies. Now it has a few bags of veggies, frozen bananas and berries,flours, and nuts. But the fridge,%u00a0The fridge is always full. And it an get a little messy….
And now I it’s time to clean it out.%u00a0
I spot clean and straighten it out often. Usually before I pick up farm share I go through it and tidy up, make more space, and pull stuff out that needs to be eaten first. But that is just the surface cleaning. Stuff gets sticky, stuff gets stuck, and especially with veggies, stuff gets dirty.%u00a0%u00a0Spot cleaning has a place but it’s not cutting it anymore. It’s spring and it’s time for a full fledge deep clean.%u00a0
Now I know most people have their own methods for cleaning but here are a few tips and techniques that I have to tackle the beast.
-Prepare. You don’t want to just go at it without a plan and supplies. Get out your cleaning supplies. Grab a recycling can and a compost bucket, and have a big lean surface ready to place stuff on. The vacuum or a broom should be handy too.%u00a0
–Cleaning solutions. It is a fridge so you don’t want to be cleaning it with a bunch of chemicals. What I use is a vinegar solution. 50/50 white vinegar and water and a squirt of dish soup. It cleans, degreases, disinfects, and won’t kill you.%u00a0
–An empty sink or bathtub to wash all the drawers and shelving off.%u00a0
–A few clean containers. Just have them on hand,%u00a0with lids, to place stray things roaming around in there.%u00a0
–Clean from%u00a0%u00a0top to bottom. This avoids crap falling into something you already cleaned.
–Labels. Any containers that are not clear might benefit from a label. And if you tend to leave things in the fridge for a long time, a label for the date of opening is also a good idea.%u00a0
–Inventory. Knowing what is in the fridge is very important, this prevents food waste.
–Too many condiments. I don’t know how many times I have looked in peoples fridges and seen 5 different bottles of ketchup or Italian dressings open. Consolidate. %u00a0And if you don’t like it or don’t use it, get rid of it.
–Wipe it all down. Not just the fridge itself, but all the stuff going back into it. So many times I have stuck the soy sauce in the door and had it leaked all over.%u00a0
–Know your fridge and place accordingly. Most people don’t have super old fridges, but even the new ones have some quirks. Know if there are cold spots or dead zones or places that things get stuck and place food accordingly. Also think about where you are placing food. It don’t make sense to but the milk way in the back if you use it all the time.
–Under and behind. Don’t forget to clean under the fridge and behind the fridge. It will be dusty, maybe a little gross, but it must be done.
–Music. A good playlist is always going to make you better are cleaning.
As for the Use it Up Soup, do just that.%u00a0This is the perfect time to use up what you got. I know that I have way more veggies then the average person, but don’t let that stop you. You could even pull stuff out and fill in missing ingredients form the store if you want. And be creative, %u00a0pickled hot peppers, all the frozen veggies, any wilted greens. Even almost empty bottles of mustard. If you think it sounds good in soup,%u00a0use it up. Add some canned tomatoes and a handful of spice, you are gonna end up with something tasty.
. A clean fridge and soup, how can it get any better?%u00a0
The before. Veggies all over. Jars and containers stacked, with and without lids. A stray half of banana, and empty water bottle, and a half eaten salad in a bowl just having out. %u00a0The shelves are kind of gross. The veggie drawers are nasty, and I think almost everything is wet because I dumped over a container of tofu the other day and all the tofu water leaked all over…… This deep clean was a long time coming.
I always have so many bags and containers of veggies and beans in the fridge.
The stuff in the door too. This is actually a lot of crap. The last dinner party we had someone brought over salad dressings. The mr and I don’t use salad dressing,%u00a0but I guess it’s not so bad to have them here. The littles like them and I know that they will be eaten.
And the stuff that is going to be soup. I found a wrinkly parsnip, some celery, carrots, a few cooked potatoes, some cooked butternut squash and a half a kale and carrot salad. The jar of almost gone lentils, and jar of tomatoes.%u00a0Some ginger and turmeric root which is always is the fridge. A rutabaga, some cabbage, an onion,%u00a0and I also grabbed some frozen green beans and the rest of the frozen rhubarb ( resh rhubarb is on it’s way)%u00a0
I chopped it all up, tossed it into a big pot. Added some spices and %u00a0water and stuck it on the stove to cook away while I got to the cleaning.%u00a0
After. Clean fridge wand clean food. All organized and pretty.
The freezer before. It looks a little crazy but there really isn’t that much in there.%u00a0
After. I pulled it all out, wiped it down, and put it all back, organized, and wth lids (again, my bad habit of no lids)%u00a0
And all the while I was cleaning, the soup was cooking.
Clean refrigerator. Makes this lady happy here.%u00a0
And the reward for all of your cleaning. A big bowl of soup.
-C
Whether you are stuck at home because you have the flu or because you do not want to leave the house for fear of turning into a human popsicle, or maybe even you just don’t want to because this is the first weekend that you have no plans, no obligations, no parties, well then you are in good company.%u00a0
Unfortunately for me, I have to leave the house.%u00a0I have obligations, I am getting over the flu, and I am pretty sure I am going to turn into a popsicle because when -8 is the high for the day, well, it’s bound to happen.%u00a0
But lucky for me I already made the soup, in my fitful sicky, but able to think about and eat food again state. Yes I had the flu, or better yet, the stomach flu. And the stomach flu and food do not mix. Even the thought of food would send me reeling and it was just no good. I seriously thought I would never be able to think or better yet, eat food again without turning straight to the bucket.%u00a0But I will stop there because you don’t need to hear about my misery. Anyway, the death spiral subsided and food was no longer the enemy. I actually wanted (kinda of) to eat again. So food it was to be.
Because it was my first day back to food, I really wanted to take it super easy. (Before I made this soup I actually boiled a carrot until it was mush and ate that just to test my tummy)%u00a0%u00a0Nothing heavy, obviously hot and warming, not to spicy. %u00a0Just soothing and nourishing. And I didn’t really want think about it and worry about it and spend much time in the kitchen. Sure I could have bought a can of soup but actually no, canned soup is not for me. And I know the mr would have thrown something together for me but I was determined to be a slightly productive human and do something with my day even if it was minimal.%u00a0%u00a0I had to make the soup, I had to do it.%u00a0
This soup was exactly what I needed and could not have been any easier to make.%u00a0Chop up some shit, toss it into a pot, and walk away (or nap on the couch) for a little while. It can be done on the stove, in a slow cooker, or if you have a Instapot and want to do that, I should say go for it. And I am not saying this because I was starving, but %u00a0this was one dang fantastic tasting soup. Right in every way. It’s going on my semi permanent soup rotation for the next few months.%u00a0%u00a0%u00a0%u00a0
No bad after 48 hours of dying and no food. (stupid flu)
The stuff. Carrots, celery, a small rutabaga, and and onion. A red potato, a parsnip, some green been, garlic, canned tomatoes, navy beans, %u00a0thyme, rosemary, a bay leaf, and salt and pepper.
Note here that all this stuff was already in my house. Say you do not have a rutabaga or a parsnip, it’s totally fine. You can add%u00a0
Here is the hardest part. Chop it all up into little pieces. All of it all mixed together, just get it chopped.
And toss it all into a big pot with he green beans,%u00a0a handful of dried beans,%u00a0and the spices.
Add in the can of tomatoes
Then fill the pot with water.
Now stick the pot on the stove and bring to a boil then reduce heat to a little lower the medium and loosely cover with a lid.%u00a0
A couple hours later, once the beans are cooked and the veggies are tender, you got yourself a big ol’%u00a0pot of some fantastic home made, easy as can be, vegetable soup.%u00a0
Chunky, hearty, and easy as can be. And the best part is that I have left overs and we all know that left over soup is the best soup.%u00a0
Stay warm, don’t turn into a popsicle.
-C
Makes a big pot of soup
Note. You might not want rutabaga in this or you might want to add some cauliflour or peppers, so go for it. It’s a pretty adaptable soup so use what you got and like.%u00a0
Grab all you raw veggies, give them a quick wash, then chop them all up into bite sized pieces. Mince up the garlic.%u00a0Dump it all into a large heavy bottom pot. Add in the frozen green beans, the dried beans, the spices and the can of tomatoes. Add a pinch of salt and pepper and %u00a0enough water to cover the everything 3-4 inches.%u00a0
Place pot on stove, bring to a boil, then reduce heart to medium low and loosely cover wit a lid. Cook, giving it a stir once in a while, %u00a0for a least 1.5 hours ( can cook all day on long on simmer if you like)%u00a0%u00a0or until the beans are coooked through and the veggies have soften.%u00a0Add more water if needed.
Serve when you are ready to eat. Refrigerate leftovers.
It’s finally getting cold around here which I know some people are pretty bummed about but not me, I am ready for the days of it being cold and dreary (seriously).%u00a0These are the days that I like to hunker down and keep myself all warm and cozy. And what is more cozy then a big bowl of hot soup? Nothing I say. Or maybe a big cup of hot tea and a cozy blanket by the fire, but I don’t have a fire so soup it is.%u00a0
And I know a few of you people have a little pie pumpkin or two laying around from Halloween and are thinking ” what the heck am I going to do with it”. Well I got you here. You are going to make that pumpkin into something great and amazing that is not a dessert (because you are still working your way through all the Halloween candy). You will make it into soup and then you will eat it and then you will thank me later.%u00a0
The stuff. A little old sugar pumpkin, some red lentils, celery, a carrot, and an onion. A few heads of garlic, turmeric, coriander, cumin, and ginger, salt and pepper, and water to round it out.%u00a0
Start with dicing up the carrot, celery, onion and garlic.%u00a0
Into a heavy bottom pot they go. Stick the pot on heat to sweat the veggies a bit.
Dicing up the pumpkin. No fuss here, just chop it in half and scoop out the seeds (keep seeds to roast and %u00a0top soup with) then cut into little chunks.%u00a0
Grab the pot that the veggies are cooking in and toss in the pumpkin, the spices, the lentils, and the water. Give it a good stir and back to the stove.
All cooked, smelling and looking so good.
A smooth creamy delicious bowl of pumpkin warmth and goodness. A soup to take into the chilly days ahead.%u00a0
serves 3-5
Start by dicing up the carrot, celery, onion and garlic. Toss into a large heavy bottom pot with a splash of olive oil. Place on medium heat to start cooking. Now grab pumpkin, cut in half, and remove all the seeds (reserve seeds for roasting) Dice up the pumpkin and toss into the pot with the veggies. Add in the spices, the lentils,3 cups of the water or stock, and a pinch of salt and pepper. Bring pot to a boil then reduce heat to low. Place lid on pot, but not tightly, and let the soup cook for about a 1/2 hour or until the pumpkin is fork tender.%u00a0
Once everything in the pot is all cooked up it needs to be blended. You can either transfer to a blender or use a emersion blender and blend until the soup is a silky smooth %u00a0Either way, be freaking careful cause the soup is hot! While you are blending, if you think you need to add more liquid, go for it. You can make this as thick or thin as you like.
And now soup time! Laddle into bowls, top with parsley and roasted pumpkin seeds (optional) and get to eating all the good.%u00a0
Place any leftovers in fridge and heat up later (makes a great breakfast soup)
I’ve gone on a complete split pea binge. I have been making it (or reheating it if I have left overs) every day for the last two weeks, no joke. (This lady needs her protein) I get home, grab what ever veggies I see first in the fridge, a few jars of some spices, the giant jar of dried peas, and make quick work of lunch. Chop chop, dump, splash, stir. I am a soup (stews and bisques too) master. Soup for lunch. Right in all ways and just needs to happen.
Sometimes I’ll make soup and it’s just good soup.%u00a0 Sometimes it will end up being really good .This soup, well this soup is really freaking awesome and is my new go to for split peas. Thick and creamy, mildly sweet from the parsnips and ginger, but mellow at the same time. Add a little or a lot of pepper (lots of pepper here) and you got yourself perfection.
Soup that warms you up from the inside out and leaves you happy and full.
Split pea for life!
The stuff. Dried split peas, parsnips, a carrot, and onion, some Italian seasoning, ground ginger, bay leaves, and salt and pepper. Also need water.
Chop the veggies. Smaller chunks are good, but don’t worry to much, it’s all getting blended up anyway.
Now toss all those veggies into a big heavy bottom pot and mix in all the spices. Stick o stove with a splash of water and turn up the heat to give the veggies and spices a few minutes alone to active all the goodness.
Once the smell hits you nose and the veggies look like they need some water, dump in the split peas and add enough water to completely cover everything plus a few extra inches. Bring the pot to a boil then turn down to low, stick a lid on pot, and let cook. Check an stir every 10 minutes or so. If it starts to look dry, add in another few cups of water.
Peas are soft, veggies are cooked and now soup is almost ready to go.
Just blend it until smooth. Take liberty hear and smooth it as much or as little as you like. Also if you want to thin it out, just add more water. Want to thicken it up, just cook for a little while longer. ( spit pea is so easy).
And that is it.
You know what to do from here.
Soup time!
Stay warm and have a great weekend.
-C
makes a large pot of soup that will feed 4-6
*Note. Italian seasoning is pretty basic and you probably have it, but if not you can make your own by mixing equal parts thyme, oregano, basil, and rosemary.
Start by rough chopping all the veggies and placing them in a large heavy bottom pot. Mix in the spices and bay leaves. Stick on the stove with a splash of water and cook for a few minutes to let the spices ans veggies heat up and smell all nice. Add in peas and enough water to completely cover everything in the pot plus a few inches. Bring to a boil, them turn heat to low, cover pot, and let cook for about 1/2 hour-45 minutes, checking and stir ever 10 minutes. If the soup seems to get too dry, just add in a few extra cups of water.
Once the veggies and peas are soft, turn heat off and using the blending device of your choice, blend until smooth. Season with salt and pepper to taste and eat hot but watch your tongue.