Farm share started last week (HOORAY!!!!) but always, at the beginning when things are still getting on growing, we are only getting a few things. Lot of greens which I will never get enough of, and lots of potatoes. Also, I made the mistake of buying a very large bag of potatoes last week right before farm share and now I am basically swimming in potatoes. And so the story goes%u2026.
So what do you do with a shit ton of potatoes? Yeah, I thought potato cannon to but then I realized that I would have to use my potatoes and sure I have a lot, but I am not wasting them on that. So gnocchi they became. Gnocchi. Basically a boiled french fry or a mashed potato meat ball. Or maybe more like a ravioli. Whatever they are, they are loved by potato loving people and are fun to make. I mean, when do you ever get to use the ricer? ( Don%u2019t worry, you can make gnocchi without a ricer.)
To the gnocchi.
The stuff. Potatoes, flour, an onion, some tomatoes, a few cloves of garlic, salt, pepper, and olive oil.
Note. Make sure to use russet potatoes because they make the lightest, fluffiest gnocchi. You could probably use Yukon gold, but any hard wax potato just won%u2019t do.
First step is to make baked potatoes. Place potatoes in oven, directly on rack, and bake for 30-45 minutes until nice and soft and tender. Just like you would when you eat it as a baked potato. Once cooked cut them in half and let them cool off for a few minutes.
Once potatoes are cool enough to handle, scoop all the flesh out of skins. Keep skins for soup or a snack for later.
And the fun part. Flour the counter then rice the potatoes. You can also do this with a food mill or even grate the potato with a box grater. Once all riced, cover with flour and start to fold and mix the potato into the flour gently until the dough starts to come together. If the dough seems really sticky and wet, add in a tablespoon or two of flour, to dry and crumbly, add in a tablespoon or two of water. The goal is a nice fluffy dough that hold it shape but is not overly dense.
Cut off a potion of the dough, roll it into a rope about an inch thick, then cut into inch long pieces.
To cook gnocchi. Bring a big pot of water to a boil and carefully drop in a handful of gnocchi into the water. They are gonna sink, but after a minute or two they start to float. Once floating, remove them from the pot with a slotted spoon and place them on a lightly oiled baking sheet. Repeat until all the gnocchi are cooked.
Cooked and ready%u2026 Ready for what? For anything you want but these are going into a tomato and onion situation.
Mince garlic and dice tomatoes and place into skillet with a good pinch of salt and a splash of olive oil. Place on stove and cook until slightly tender. Dice up tomatoes into small chunks and add to skillet along with a cup of water (if you have gnocchi water, use that) Turn heat up and cook until mixture start to bubble, then turn heat down to low and cook until the tomatoes are mushy.
And then drop in gnocchi. Keep on heat until the gnocchi are warmed completely all the way through.
Sprinkle of salt, lots of pepper, and something green if you want to be fancy.
And then you eat them.
-C
Makes 3-4 servings
2.5 pounds russet potatoes
2/3 cup of all purpose flour
1 large onion
3-4 tomatoes
few cloves garlic
salt and pepper
olive oil
water
Place potatoes directly into oven on one of the oven racks and bake on 450 degrees until soft and tender. Should take about 1/2 hour to 45 minutes, depending on size of potatoes.
Once cooked, remove from oven carefully, cut in half, carefully, and let cool for a about 10 minutes, just so you can handle the potatoes without burning yourself. In the mean time, get a large pot, fill it with water, and set it on the stove to boil.
When the potatoes are not to hot to touch, grab them and with a spoon, scoop out all the potato flesh from the skin (keep skin for a snack or for soup). Lightly flour the counter and start ricing the potatoes directly onto the counter. (You can also use a food mill or a box grater if you don%u2019t have ricer). Once all potato is rices, cover with floor and gently fold potato over into flour, over and over, even using a knife, to kind of cut the potato into the flour, until it all mostly comes together. Be careful to not overwork the dough or else it will become dense make the gnocchi chewy. If the dough seems is sticky, add in a few more tablespoons of flour, to dry and seems crumbly, add a few tablespoons warm water.
Once you have the dough, make sure the water on the stove is still there and has not evaporated and is at a gentle boil. Cut dough in thirds then roll out a portion into a rope about an inch thick. Cut the rope into inch long pieces. Repeat with the rest of dough.
When all the gnocchi are made, grab a rimed baking sheet, coat with oil, and place close by the boil water.
Now to cook them. Drop a handful of gnocchi into water carefully. They will sink. Watch and after about a minute or two, they will start to float. Once floating, take a slotted spoon and take them out of water. Place them on the greased baking sheet. Repeat until all the gnocchi are cooked. (when done cooking, save a cup of the cooking water)
After the gnocchi is cooked, you can do whatever you want with it, like eat it right away with salt and pepper or whatever, but to make the quick tomatoes onion situation, dice up the onion and mince the garlic. Place into a skillet with a drizzle of olive oil and a pinch of salt and place on stove and start to cook. Dice up the tomatoes and once the onion is tender, add in the dice tomatoes and about a cup of the gnocchi cooking water. Turn the heat up until the water is bubbling then reduce to low and cook until the tomatoes are mushy and tender. Once cooked, add in the gnocchi, toss them around, and cook until the gnocchi are fully warmed through.
And then eat it. Maybe a little more salt if needed, definitely lots of pepper, and whatever else you want.
Are you sizzling? Is that pool of water next to you , in fact, your own sweat?
Yeah, I feel you…..stupid heat wave.%u00a0
During these long extended periods of heat and humidity, my body starts%u00a0to revolt. I get bitchy, by skin get itchy, my head goes foggy, my stomach starts to refuse food. and I generally just feel like crap. I love the summer, but I am not,%u00a0%u00a0by any means, %u00a0a hot,%u00a0high humidity person.
So during%u00a0this nasty bout%u00a0of heat, I do what I can to find comfort. And one of my comforts is%u00a0watermelon. I am pretty sure that watermelon is a magical fruit. A giant green oblong ball that when cracked open is the brightest, sweetest bright pink fruit.. I mean, thats pretty f ing magical.%u00a0It can make anything better, and is%u00a0one of the few things that I want to eat when its a million degrees outside without barfing.
Watermelon is my official heatwave food. Watermelon all day long%u00a0(Is it bad that I could literally eat an entire watermelon all to my face, in one sitting? )%u00a0And because I am me, I like to spice it up a bit and slather a big glob of basil pesto to the melon%u2026. and that makes me happy. Plus it%u00a0makes the fact that I am eating nothing but melon seem a little more substantial.
%u00a0%u00a0%u00a0Do you have a heatwave food? If not, try this%u2026.It will be your food.
The stuff. A big hunk of watermelon, basil, a lemon, olive oil and salt.
Stick the basil, the juice of the lemon, and a pinch of salt into a blender. Turn on and blend, adding just a tad bit of olive oil until a nice green pesto is made.%u00a0
Prepare your melon. Remove rinds if you want and%u00a0save for later.. (seriously, we can make gazpacho with it) and cut into inch thick chunks.
And now if your feeling it, stick a skillet on the stove and preheat on medium high. Once heated, place watermelon chunks%u00a0on hot skillet and sear%u00a0each side for about 3-5%u00a0minutes per side.
If you want to go fresh, just skip searing it. Me, I do a bowl of both.%u00a0
And now slather the melon with the pesto%u00a0
And go to town
Stay cool my friends!
-C
Watermelon
a bunch of basil
a lemon
salt
olive oil
Place basil, a pinch of salt and the juice of the lemon into a blender. Turn on and blend, adding in a drizzle of olive oil until pesto forms.%u00a0
Preheat a lightly oiled skillet (or a grill) on medium high heat. Take your watermelon and remove rinds (save for later) and cut into inch chunks.* When heated, add the watermelon. LEt each side sear for 3-5 minutes, or until caramelized. Tarnsfrer to a bowl.
*Note. The seared melon is fantastic cooked then cooled. Also, I know some people blot out the juice before grilling, but I think that is a waste and I find unnecessary, but if you don’t want a juicy piece of cooke melon, by all means, blot out the juice..%u00a0
Or if you don’t want to cook it, don’t
And lastly,%u00a0%u00a0toss in a big giant scoop of pesto%u00a0
Feels like we are nearing the end of summer, no? I am all on board, feeling that feeling one gets when the season starts to change over. It%u2019s that deep down in my bones feeling, the feeling my body gets because it knows whats coming and is getting ready. The shift is coming on fast. Grasp those last summer days as much as you can.
Another intense week. After a super duper good camp at Ricker State Park, it was full steam ahead. The mr has been super crazed, all out, sanding and assembling bowling alleys into gigantic countertops for a local restaurant. Most days he is gone as I get home, home when I am in bed. But not quite as bad as last week. We have managed a few meals together and an adventure or two, like when we went to a church in the islands,, had ourselves a picnic and picked their apples. The apples were not good yet. But the church was lovely.
Other then being busy busy, there was other stuff. Barb and her man child came over for dinner and brought along Coco. We ate, he cried. I gave him a cookie, he laughed and ran around like a lunatic. (Coco, not barbs boyfriend) The older littles have been away at summer camp all week so we saw none of them.(We miss them!) We had dinner at my moms with the boys and Barb and I was lucky enough to see the world greatest tan lines ever. I also worked the last day of art camp (YAY!), picked blackberries, gave the mr a haircut, and scrubbed the shit out of the bathtub. All the fun stuff. Not fun stuff was when the car battery died when I Was trying to leave the house, the underglaze I was bringing home to use dumped all over me and the inside of the car (I was so pissed!) or when I was at the grocery store, lost my credit card, freaked out and ran around the store, then drove home, and back to the store looking for it, only to find it underneath one of my canvas bags in the shopping cart. The whole freaking time. At least I found it though cause I was about to cancel it. Look at me seeing the bright side.
Then I picked up farm share and all the tomatoes. Coming off of last weeks tomato hall, and all the tomatoes that are starting to come in in my garden, I am up to my ears in so many tomatoes. I have been cooking down pots and pots, freezing and jarring and of course eating. Eating so many tomatoes that my belly is on fire. And of course I have no help from the mr. He says he is officially tomatoed out. I wonder how is that possible? I think he is just being a butt is all. But whatever, no more tomatoes for him. (that he will know of. HAHA) And I%u2019l just have to keep on keeping on and eat them. The season only lasts so long.
Yesterday the mr and I took a few hours to get away. We packed lunch and went in search of land. Picked a few properties to look at (but only made it to one) and hiked around the property. It was really nice, had a lot of what we are after but probably not THE property. But close so we are getting there and hopefully we will get there sooner then later. Ready to build our cabin life. And then we went home, I started cleaning and the mr went back to work and didn%u2019t get home until like 3 am this morning.
Not gonna lie, I am bumming. We are not going camping today because well, the mr is still working like a madman and installing those bowling alleys today and tomorrow and we just can%u2019t make it happen. So today, well I am going to make good use of it. Probably going to weed out some dead shit from the garden, maybe do a little replanting. Grocery shopping, clean the car, do a few loads of laundry, return books to the library, process food like a boss. (More tomatoes, hot sauce, freeze chard and pickles!) That and probably do some porch reading. And coffee all day. All. Day. It%u2019s no camping but it will do. Next weekend we are back at it.
Internet read by me, shared with you.
-Are you a camper? If you are, here is some things to consider to optimize a good time. 10 rules for picking the perfect campsite
-Eat all the plants. Gorgeous Portraits of America%u2019s Wild (and Surprisingly Delicious) Edible Plants
–You Should Pour Vinegar into Your Washing Machine%u2014Here%u2019s Why. What can%u2019t vinegar do?
-Always a good idea when you pack lunches or any food. HOW TO MAKE REUSABLE SANDWICH BAGS AND SNACK BAGS
-I don%u2019t consider myself a cat person or a person who wants a book of cats, but this book looks, well, it freaking awesome. A New Book Compiling Hundreds of Timeless Feline Photos by Walter Chandoha is the Cat%u2019s Meow
–Oatly and the quest for the perfect alt-milk. Have you had Oatly? I haven%u2019t but I do really like me some oat milk.
–Is crying truly cathartic?I think it can be. Can also be annoying and exhausting.
-Why does anyone ever listen to anything that guys says, ever? Greenland is not for sale. Seriously, why?
–Don%u2019t Burn Trees to Fight Climate Change%u2014Let Them Grow. I just thought that was common sense but what do I know.
-I don%u2019t know about you, but I start baking a lot more around this time of year. So this is good to know. The Best Substitute for Cake Flour and Self-Rising Flour in%u00a0Baking
Pictures from the week
A well placed porta-potty. Enough said. HAHAHA
Summer is really just coming along nicely. I have heard many a people complaining that it is not warm enough yet, but I would like to completely disagree. It is plenty warm and I am loving this not to hot start of summer. Even the rain. The only downside I see to it is the late start planting for farmers. But talking to a few farmers made me feel better about my rain loving self. The are alright and getting things in the ground. They will good. So I can go back to be happy about it again.
Besides the wonderful weather, the week had been pretty good. The mr got to go fishing a couple of different time, I have been biking all over the world (within the surrounding 20 mile radius). We had dinner with Barb which always makes me happy. Miley also came over for her own dinner night. We talked about dealing with mean girls (so hard to not go track each one down and flip the F out on them) and her summer bucket list. Then she ate a gallon of ice cream because why not. I worked the studio, the mr worked the work, and being fully functional adults we did all the doings that needed to be done. We are good like that.
Then there is this thing that I have noticed this week with my brain that is driving me crazy. I think that I might have summer brain fog. I%u2019ll be thinking about something and all of a sudden I forget what I am thinking about. I don%u2019t know if it because I have so much I want to think, and so many little things I want to do, but it keeps happening and is driving me nuts. There is a rabbit hole of reasons for why this is happening that I am trying not to go down. I am not a hypochondriac per say, but I am definitely staying off any web based medical sites that will tell me I have all and any brain diseases possible. I don%u2019t need help visualizing my demise, thank you-very-much.
Today is a day for home stuff. After I bike into town to go to the gym and drop off a hundred library books, I am coming home, throwing on my overalls and spending a good amount of time weeding the garden, mowing the lawn, and lets be honest, sitting around drinking coffee and reading. The mr, I think he is going to finish making a picnic table for me to sit at. I am excited for that picnic table.
Oh, and call my dad cause it%u2019s Fathers Day. #1 Daughter here!
The stuff on the internet that I looked at and am now sharing with you.
-Labels can be tricky and misleading.Good to know what they all mean. Why Food Reformers Have Mixed Feelings About Eco-Labels
-I have been in Love with Keanu Reeves ever since I saw him jump off that bus. And knowing he is not an asshole, only makes me love him more. Keanu Reeves Is Too Good for This World
–The Invention of the %u201cBeach Read%u201d. Sometime a good, easy read is what we (I) need.
-I love the idea of the Prefab Treehouse, but it seems a little sketchy.. Who checks if the trees are safe? But still cool.
–Meet the Coolest Inflatable Pool Ever from Mylle. My kind of kiddie pool. I want one.
–What your grip says about your odds of surviving a health crisis. Now whenever I shake someones hand I am going to crush it. HA
-It is true. Behold, the Age of %u2018Salad Frosting%u2019 Is Upon%u00a0Us. And I kind of think it is brilliant and also wrong.
-I used to hate arches but now, well I am kind of obsessed with them. THE ART OF THE ARCH.
-In love with these Found Leaves with Delicate Crochet Embellishments by Susanna Bauer
–Scientists Are Figuring Out How To Change Blood Types. The things that science and smart people can do is crazy and mazing and scary.
Pictures from the week.
This past weekend, the mr, the pup, and I grabbed our stuff, chucked it into the back of the car and took of to the wood.%u00a0
We ended up in Waterbury, at Little River State Park. Campsite 77 (the last one they had available!!) And from that we think, the best spot in the park.%u00a0
First things first,%u00a0set up camp. which involved the mr.%u00a0popping%u00a0up the tent and me making coffee and setting up the table.. Just cause we are in the woods doesn’t mean we can’t have a fruit bowl, right.
Then we spend the afternoon kicking%u00a0around.. Into the woods we went. This place had so many hiking%u00a0trails, we just let%u00a0the pup lead%u00a0the wayHe usually knows where he is going.
After a long afternoon of hiking and romping, we make our way back to our outdoor home for food. Dinner consisted of potato and%u00a0sweet potato, squash and onions, kale, salsa and beans.%u00a0%u00a0It couldn’t have been any better. We did forget plates, but no matter, we managed.
Of course we needed to take an after dinner hike to the river and swim the pup. (We think he might be part fish)
He spent about an hour fetching stick and making sure that he couldn’t possibly smell any worse.
Playing with my camera and sticks. Then off to the tent for the three of us.%u00a0(holy hell did the dog smell like shit)
Another morning hike and some time spent just hanging on the river. The mr fished, the pup swam and I collected rocks.
And then we went home, washed off the filth,%u00a0and assed out%u2026Then%u00a0Washer got sick, but%u00a0that’s a whole other story.
Camping is the best. I could live in a tent all year long. (not really%u00a0all year long.. I would surely freeze to death)
So if you are thinking of camping, I highly recommend going to Little River State Park.
-C
The Mr. and I went and took ourselves on a rainy day nature adventure. He did some fly%u00a0fishing%u00a0(worst day ever for fishing) and%u00a0I did some wondering. %u00a0It was fantastic. And the Mr, only lost one fly and%u00a0I managed only%u00a0about a dozen mosquito%u00a0bites! %u00a0 Nature days are the best!
And then as we were leaving, the clouds broke and the sun came out. It was kind of perfect.
It%u2019s hot out and we are thirsty. Water is good, water is great, but sometimes a little somethin%u2019 somethin%u2019 is called for, for you know, being that we need to deal with it being so freaking hot out. and sticky and gross. (BLAH. This past week we have had some temperatures it had make me crankers.)
Anyway, what is more refreshing then cucumber? Not much. And so we blend up cucumber, add some mint and lime juice and stick it into a glass with ice and bubbles. What can be more refreshing then that? Plus look at how pretty it is. Bright ass green. A true summertime drink.
To the Spritzer!
The stuff. A thin skinned cucumber, a lime, a spring of mint, club soda, and if you want, a little simple syrup.
Chunk up the cucumber and into the blender it goes with the juice of the lime and a couple mint leaves.
Grab a couple glasses, add in some ice, and fill each glass half way with the cucumber juice. (mix in liquid sweetener in now if you want it.)
Top off with club soda, a mint leaf and a few slices of cucumber and you are golden cool and fancy free.
Stay cool%u2026..as a cucumber.. HAHA!
Makes 2 or 3 drinks
1 cucumber (thin skinned and 6-8 inches long)
a lime
a few mint leaves
club soda or plain seltzer
1-2 teaspoons liquid sweetener (optional)
Take cucumber and place into blender along with the juice of the lime and a couple mint leaves. Blend until smooth. Grab a couple glass, fill each with ice, then fill each glasses half way with cucumber mixture. Add in any liquid sweetener if using and stir. (I recommend trying without sweetness, that is that way I like it, and then add sweetener if you need it.) Top glasses off with club soda. Garnish with sliced cucumber, lime wedges, and or mint leaves if you want.
Summertime is in full swing. Hot ass days, garden fresh veggies, zucchinis as big as whales, and did I mention that hot ass heat? If you have been around here before, you know how well I handle the heat. (NOT WELL AT ALL!)
I think we are all hot these days. But really, lets just focus on the good things, like fresh summa veggies!
This sandwich is all about summertime and not having to turn on a single flame or heat source and takes all of 5 minutes to make. Zucchini because it is everywhere, beans for more substance and they are delicious, all mixed up in a creamy bean and tahini sauce. Super fast, fresh and oh so delicious. I made a big batch for sandwiches but also I was just eating it with a fork. It%u2019s a tasty one that will be on the summer rotation for sure for the next few months, or until the zucchini runs out and I dare to turn the oven on again. (Ok, I am being a whine ass. It%u2019s not THAT bad and I did turn the oven on, early morning, to bake bread. So yeah.) But for real. This is a great, super fast, throw together, fresh, light but filling, sandwich situation for any and all of your summertime eating needs. What more do we need? The mr said all he needed with the sandwich were chips. Chips and a nice cold drink.
Done sir. Done.
Now to the sandwich!
The stuff. White beans, a zucchini, and a fresh spring onion. Also some tahini, a lemon, a few cloves of garlic, a little vinegar and water, and salt and pepper. And to serve as a sandwich you need bread. lettuce, and tomato. Well you only need the bread, but you get what I am saying.
Fist off. Half the white beans go into blender or jar with the tahini, the juice of the lemon, garlic, vinegar and a splash of water. Blended unit nice and creamy smooth. And yes, it is basically hummus but whatever.
Julienne the zucchini and chop up the onion.
Note. You don%u2019t have a mandolin or done%u2019t want to julienne with a knife, well just chop the zucchini into small little chunks.
Bean, onion, and zucchini in a bowl. Add in the bean tahini mixture and mix. And ta da, all done. All of 5 minutes and no heat. Good for us.
Now here is the thing. This salad is ready to eat now. You can continue onto the sandwich path or just eat it like it is with a fork. What I really liked to do is scoop spoonfuls into lettuce cups with a slice of tomato and a squirt or mustard. So yes sandwich, but also whatever else you want it to be.
But as a sandwich%u2026. Bread. And lettuce and tomato and heck, whatever else you want to throw on there. (Again, mustard is A+)
Now stop. Sandwich time.
Stay cool!
-C
makes 3-4 sandwiches
1 medium sized zucchini
2 1/2 cups cooked and strained white beans (a can will do)
1 spring onion (or a small white or red onion)
3 tablespoons tahini
2-3 cloves minced garlic
1 lemon
1 tablespoon white or red wine vinegar
2-3 tablespoons warm water
salt and pepper
And to serve as a sandwich
bread or wrap of your choice
tomato slices
lettuce
anything else you want
Place half of the beans, tahini, garlic, juice of the lemon, and the vinegar into a jar and use a immersion blender or a regular blender and blend until creamy smooth. Add in a tablespoon at a time of water until the consistency is just slightly thinner then hummus.
Grab zucchini and using a mandolin or a knife and julienne it. (You can also just cut into small little cubes.) Dice the onion up into small pieces and toss with zucchini, onion, and the other half of beans into a big bowl. Dump the bean tahini mixture all over and veggies bean mixture and toss around. Add salt and pepper to taste.
To make it a sandwich%u2026 Place a scoop onto a bread situation, add some lettuce and tomato and whatever else you want, and eat it.
It’s Mother’s Day weekend which means that you and I and everyone out there should feel the slightest bit obligated to at least do a little something nice for your mom for the mere fact that you were borned. And really what better way to celebrate mom than with food… It really is the least that you can do. (I think mom’s also like flowers and cards and handmade pasta necklaces) My mom is defiantly about the food. (she has had her fair share or pasta necklaces) A many years back on Mother’s day, this sweet little girl (me) made her mother a special breakfast treat…blueberry scones. And ever since that day, for every freaking holiday, birthday, whatever day, my mother requests (demands) a batch of those scones. She is always saying that these are her favorite treat and that no one has ever made them as good as I do. (I guess that just reiterates that I am her number 1 child)
And for the last few months my mom has been up my butt, trying to get me to make her some. Not going to lie, I have been saying I’ll get her a batch, but for some reason, I haven’t gotten around to making them. So two birds here.. Make the scones and she gets off my back for a least a little while (a month.. maybe 2) and I give her a fantastic Mothers day gift that I know she will love.
So here they are , oh mother of mine. Blueberry scones!
The stuff. Flour, baking soda, baking powder and salt. A bit of sugar, vanilla, buttermilk, and butter (use vegan butter and nut milk if you want to make them vegan) And of course we need the blueberries which can be fresh or frozen. I usually use fresh, but the store I stopped at only had really big containers of fresh that were like $1000 dollars a piece and the organic frozen happen to be on super sale. So you know, the cheap in me won that battle. So into the bowl goes all the dry stuff; flour, baking powder and soda, salt, and the sugar. Give it a good whisk.
Now for my special trick for a perfectly distributed cold butter in a pastry. Freeze your butter and grate it!
With a large wholed grater, grate the frozen butter directly into the bowl with the dry, stoping a few times to toss the butter chunks around so you don’t end up with a huge pile of grated butter. When it’s all grated, gently toss around so the butter is evenly distributed. Now dump the blueberries into the flour mixture. Toss them around to give them a coat of flour. Add in the buttermilk and vanilla and give a little mix until liquid is absorbed. We are trying to handle the dough as little as possible.Turn mixture onto counter. It’s very loose, but thats what it should look like. Very gently and with as little handling as possible, gather dough up, knead a few times till everything just comes together. Press dough into a disk that is roughly an inch thick…. and it doesn’t need to be perfect. Cut the disk into even sized pieces. Do 6 big, 8 normal, maybe even 10 smaller. Whatever size you like. (I did 8) Place the scones onto a baking sheet, using a spatula to transfer, and sprinkle the tops with a little bit of sugar. Into a preheated oven for about 20 minutes.And when the scones look all nice and browned and a tester comes out clean. remove and either serve right away warm, preferably with huge cup of coffee or tea, or stick on a rack to cool before storing in air tight container.
Perfect to serve as a breakfast pastry, at brunch, or even as a dessert. A nice little treat for a special lady. (dudes can eat them too)
Happy Mothers Day Mom! Thanks for having me!
And Happy Weekend!!!
-C
Blueberry Scones
2 cups all purpose flour
1/3 cup sugar plus 2 tablespoons to sprinkle on top
1 teaspoon baking powder
1 teaspoon baking soda
1/2 teaspoon salt
1/2 cup (1 stick) unsalted butter frozen or really cold (use non dairy butter like Earth Balance for vegan)
1 cup blueberries (fresh or frozen)
1 teaspoon vanilla
3/4 cup buttermilk (use non dairy milk for vegan)
Preheat oven t0 400 degrees
In a large bowl, whisk together flour, baking soda, baking powder, sugar, and salt. Take the frozen butter and grate directly into flour mixture, tossing around to evenly disrupted. Add in blueberries and toss around till coated with flour, then lastly, add vanilla to buttermilk and mix into mixture until just barely coming together. Turn mixture out onto counter and with your hands, knead mixture a few times until it forms a solid dough. Shape into a disk and smoosh down until about an inch thick. Cut into 6-10 triangles and place on a non greases baking sheet and sprinkle tops with remaining sugar. Stick into oven and bake for 20 minutes or until tops start turning a golden brown and a tester in the middle of a scone comes out clean.
Remove from baking sheet and serve warm or let cool on a rack.
Mom gets first dibs, and if she is willing to share, eat one yourself with your face.
As a kid, my favorite holiday was Easter. Every year my parents would fill up brightly colored plastic baskets with handfuls of neon colored plastic “grass” and top it with all sorts of candy, coloring books, bubble, and sidewalk chalk. They were beautiful and amazing.%u00a0 It was like getting a basket of fun and a bunch of sugary candy to keep you going to have all that fun all day long. And the egg hunts. Plastic eggs full of candy hidden all over the house ans yard. We would all have our emptied out baskets running around full of excitement, ready to take out any sibling in our path just to be the one to get the next egg. We were ruthless and I am pretty sure every year someone would end up crying. Now, as an adult, I am not allowed to participate in the egg hunt. (but I still try to make my sibling cry)%u00a0 Nope, now I get to hide the eggs and sit back and watch the new generation of littles tripping each other and stealing eggs from one another. The carnage!
And also at Easter there is cake. Is there a rule that says you have to make carrot cake for Easter? I think there must be because it is when everyone and their moms busts this cake out. And everyone’s carrot cake it the best because they made it the right way, like with raisins or pineapple or walnuts. There are so many things that can be added to this cake that it’s a little overwhelming. So I made a carrot cake that was mainly about the carrots. Nothing added, no nuts raisins or coconut (although you could add i if you wanted) and it’s made into a pretty bundt cake, which in turn makes mine the best.
This here cake was destined for tomorrows Easter table. I made it with no nut produces cause the nephew has the deadly nut allergy. But when I went and made the date sauce, I kinda let that slip and used almond milk. Oops. So now I have a whole big carrot cake sitting on the counter with it’s destiny shattered. So sad, but I think its will survive cause the mris really into it and has already eaten a few pieces. I figure that because it’s a carrot cake, he can eat a few more. It’s almost like eating a vegetable….almost. And now I need to make a new cake to bring over or I might just stop at the store and buy some oreos on my way over tomorrow. The littles will like that.
The stuff. A bowl containing flour, salt, baking powder ans baking soda.%u00a0 Also need a few really big carrots, a bit of brown sugar, and ground up cinnamon and ginger. Coconut oil, soy milk, an orange (for it’s zest) and a little apple cider vinegar are going into this cake too.
Start by chopping up 2 of the biggest carrots and tossing the into a pot with about an inch of water. Stick the pot on the stove and cook until the carrots are nice and tender. Then blend those tender carrots up.
I had a hard time not eating all of the carrot puree, so maybe if you want, cook up a few extra carrots ans have yourself a pre-carrot cake carrot snack.
And while the carrot puree is still warm, add in the coconut oil and the sugar. Mix it until the oil is melted ans it’s one cohesive mixture.
And take that last carrot ans grate it up into the flour. Also add in the spices and the zest of the orange.
Note. I used a small holed grater so that the carrot shreds would be small and add texture to the cake but not make it too chunky. But use a normal grater..it’s all about your carrots chunk prefernce here.
Now dump the wet carrot mixture into the dry and start to mix
Adding in the soy and the vinegar to complete the batter.
And scooped that batter into a oiled bundt pan and get it into the (preheated) oven to bake.
After about an hour, the cake is ready, golden brown and smelling like any good carrot cake should. Remove from the oven and turn the cake out from the cake pan and stick on on a rack to cool. This cake is waiting for me to decide what, or if I want to frost, drizzle, or sauce it up….. I think it wants as little something.
Ok, I figured it out. Date sauce.
The stuff. Fresh medjool dates, almond milk and sea salt.
Date (pits removed) into the food processor along with the milk and a good pinch of sea salt.%u00a0 Blend until it turns into a nice smooth, fluffy sauce.
Take that sauce and spread it all over the cake. As much or as little as you want (you might have left over date sauce but its ok, you can just eat. It will last for about a week in the fridge and goes great with just about anything) Once fully sauced, sprinkle the cake with flaked sea salt.
Sliced, plated, and ready. It’s carrot cake time.
Have a great weekend, eat all your candy at once!
-C
Makes a bundt cake (but could be made into a 9×13 sheet cake)
2 1/2 cups flour
1 teaspoon baking soda
2 teaspoons baking powder
1 teaspoon salt
3/4 cup brown sugar
1/3 coconut cup oilany oil works)
1 tablespoon apple cider vinegar
3 large carrots (makes about 2 cups carrot puree and 1/2 cup of raw grated carrot)
1 heaping tablespoon cinnamon
1 teaspoon ginger
Salted Date Caramel
1 cup medjool dates (pitted)
1 cup almond milk (or any milk you want to use)
sea salt
Start by chopping up 2 of the biggest carrots and placing them into a pot with water about an inch of water. Stick on stove and bring to a boil then reduce to a simmer until the carrots are fork tender. When done, puree them with any means nessasary (hand blender, regular blender, food processor) Add the coconut oil and sugar to the warm carrot puree and mix until oil is melted.
Preheat oven to 350
In a large separate bowl, mix together the flour, baking soda and powder, salt, and the spices. Grate the smallest carrot in with the dry.
Take the wet carrot mixture and dump into the dry and mix, adding in the soy milk and the vinegar as you mix. Once everything is completely incorporated, pour mixture into a well oiled bundt pan and stick the cake into the preheated oven
While the cake is baking, make the date sauce. Just take the dates, remove pits if they have any and place in a food processor with a good pinch of sea salt and the almond milk. Pulse a few times, scrap down the sides, and keep blended, stopping to scrap sides if needed, until a nice thick smooth sauce is formed. If you want a thinner sauce, just add more milk til you get your desired consistency.
Now check cake. Once it’s golden brown and a tester comes out clean (between 50 minutes to an hour) remove from oven. Let cool for a few minutes in pan the then turn it over onto a wire rack to finish cooling off. Once the cake is cool, dump the date sauce all over it then sprinkle with another good few pinches of the sea salt.
And now eat it. This is a cake that needs no fork, but you can go ahead and use one if you must.
Corn is the name of the game, and this game I won!
The mr doesn%u2019t much like to eat corn. But I do. And this time of year I get like 10 ears of corn every week from farm share, which is a lot of corn for one person to have to eat every week and sometimes I just can%u2019t do it. So every now and then I make something that I think the mr will tolerate, if not like, to get him to help me eat the stash of a hundred ears or corn that I have going on in the fridge.
These fritters helped me with that and I think with all the future corn that I will get from the farm. They are soooo good! The mr liked them! As for me, I couldn’t stop eating them and almost didn’t want to share because they we just so dang good. Sweet fresh corn, nutty and slightly chewy oats. Scallions. And that%u2019s pretty much it. So fresh and clean and yummy tasting. A summertime fritter situation that takes corn to a place where even the corn hater likes it.
Although who the hell hates corn? I know one person. One. And I live with him. Weirdo.
Anyway, to the fritters!
The stuff. Fresh sweet corn, old fashion rolled oats, and a few scallion. Also some ground flax seed, water, baking powder, salt and pepper, and a little oil.
Start with oats. Add most of what we need to a blender and blend until it becomes oat flour.
Then the corn. Remove the kernels from the cobs. Best way is to hold corn in a large bowl and cut downward. Don%u2019t want corn flying all over the place!
Add most of the corn you just cut off the cob to the blender with the oat flour, along with with flax and water. Blend until smooth.
Chop the scallions into thin and tiny pieces.
Now dump the contents of the blender into a bowl, add in the scallions, the baking powder, and the extra oats and corn. Mix it all up and then let the batter rest for a few minutes (like 10) so the oats have a chance to really absorb all the liquid.
And then to cook them. Heat a lightly oiled skillet to medium high heat. Once skillet is hot, drop scoops of batter into it. Cook for 3-4 minutes or until the bottom is a nice deep golden brown. Flip and cook the other side the same.
When fritters are done cooking, place them on a wire rack. So they don%u2019t get soggy.
And then serve them right away. I ate mine with fresh salsa. Definitely the way to go. So GOOD!
Now eat your corn.
-C
makes about 12 fritters
3 ears fresh corn ( about 1 1/2 cups of kernels)
1 1/2 cups rolled oats (gluten free if needed)
1/2 teaspoon baking powder
2-3 scallions
1 tablespoon flax meal
3 tablespoons water
salt and pepper
a little oil for skillet
Combine water and flax meal, mix and set aside.
Place 1 cup of oats into blender or food processor and blend for about a minutes or until the oats are a fine flour.
Grab corn and remove from cob. Best way to do this is to place corn vertically in a big bowl and cut downwards so the bowl catches all the kernels. Cut enough corn until you have about 1 1/2 cups of kernels. Also, garb scallions and chop into very small, thin pieces.
Add in a cup of the corn, the flax and water mixture, baking powder, and a pinch of salt and pepper. Pulse or blend until completely combined and the mixture is mostly smooth.. Dump mixture into a bowl and add in the remaining corn, chopped scallions, and oats and mix together. The mixture should not be runny, but also should not be dry enough to pack together. If the mixture seems too dry and tight, add in a tablespoon or two more or water. To wet, add in a small handful of oats.
Once batter is mixed, set aside for about 10 minutes to rest.
Grab skillet and place on medium high heat. Add a touch of oil to pan and make sure it evenly coats the bottom. Once pan is preheated, add scoops batter into pan (about 2 tablespoons each). Cook first side for about 3-4 minutes or until dark golden brown, then flip and cook the other sides for another 2-3 minutes until a dark golden brown. Remove from pan and either place on a wire rack or a plate. ( I recommend a wire rack just to keep them from getting soggy.)
Serve right away. Fresh salsa goes amazingly with them!
Any left overs can be stored in fridge and reheated in the oven.
Yes you read that right. Corn. In a popsicle.
What?
No it is not weird or gross or anything. I wouldn’t do that to you. These popsicles are down right deeee-lightful. Rich and creamy and sweet. Both the creamy coconut and the toasted coconut pair perfectly with the sweet corn flavor. They truly are delicious and I think that if you give them a try, you will think so too. And really, now that it is like almost summer, who doesn’t have a little extra corn laying around. So you might as well just make a batch.
And then you will thank me for introducing you to the goodness that is a toasted coconut and corn popsicle. Heck, the mr even ate one and he (still, after I have proven him wrong on a many occasions) says he hates corn. So if a corn hater likes these, imagine what a corn lover will think. HAHA. Corn lover.
To the popsicles!
The stuff. Corn, full fat coconut milk, shredded coconut, and maple syrup.
First, remove corn from cob and place on a baking sheet. Bake in oven for 10-ish minutes until corn is cooked and all nice and sweet.
And don%u2019t forget to toast the coconut. A few minutes in the oven is all it needs.
Now to blend. Corn and coconut milk go in first to blend until nice and smooth. Then add in the maple and coconut and blend until just combined. That will leave a little coconut texture. If you want it smooth, well just blend until completely smooth. Do what feels right to you.
Thick, rich and creamy popsicle mixture.
Now pour it into the molds and stick into the freezer. You could probably stick the sticks in now or wait a little while for the mixture to set a bit, but just don%u2019t forget to get sticks in those popsicles before they completely freeze. That would suck.
Pop those lovelies out of the molds and there you go.
The anticipation is over. Eat a popsicle
-C
makes 4 average sized popsicles
2 ears corn (about a cup of corn kernels)
1 cup full fat coconut milk (the canned stuff)
1/4 cup shredded unsweetened coconut
2- 4 tablespoons maple syrup
Note. If you have left over cooked corn, just use that. You don%u2019t need to recook it so skip the cooking corn step.
Preheat oven to 400
Remove corn kernels from cob and place on a baking sheet pretty evenly. Pop into the oven for 10 minutes of so or until the corn is cooked through and nice and sweet.
Remove corn and dump it into blender and set aside to cool for a few minutes. Place the coconut onto the baking sheet and pop into the oven for 3-4 minutes to just lightly toast. When the coconut is toasted, remove from oven.
Grab the blender with the corn and pot in the coconut milk. Blend until smooth. Add in the maple (start with 2 tablespoons and work your way up to the sweetness you like) and the toasted coconut. Blend quickly just to combine for a slightly more textures popsicle or blend completely smooth if you would rather a smoother popsicle.
Pour mixture into popsicles molds and place into freezer. After the mixture sets up (about an hour) pop sticks into molds. Continue to freeze until completely frozen. Usually 4-6 hours.
And then when it is popsicle time, remove popsicles from molds and eat them.
I think that my favorite thing abut summer is probably the food. Yeah, no, definitely all the food. If it weren’t for all the delicious amazing things that grow during these summer months, I would probably hate summer. %u00a0Well, I mean, not hate it because summer is nice when it it nice, but lately it has not been so nice and so I am trying to make myself feel better by finding all the good things that I like about summer. Summer trees, summer flowers, the smell of fresh cut grass, river rocks, summer sandals, summer… well that’s what I got right now. But summer produce, that is the best and what keeps me happy when I am extremely over heated and over sunned and just want a blast of cold air accompanied by some dark clouds, a sweater and the smell of decomposing leaves. Obviously I am being a little crank butt, and I actually do usually like me some summertime, I am just over this summer. To hot, to humid, to dry. I am ready to move on.%u00a0
But back to the good parts of summer that I am not over.%u00a0The food.%u00a0The corn is flowing steadily (I am getting on average 10 pieces of corn a week from the farm. That is a lot of corn for 2 people, one of which says he doesn’t like corn), the kale is growing in super abundance in the garden, and it’s is for sure blueberry season. When we %u00a0have those three things and we toss in a avocado, as little onion, and lots of lime juice ,%u00a0BAM,%u00a0another super fantastic summertime eating time, reason that summer can be a ok. Makes %u00a0all the heat a little worth it.%u00a0
I am telling you, this is my new favorite food combination. Blueberries are magical (I think so anyway) and really add the perfect little sweetness, tartness, and texture to this salad. Crisping up the kale and corn elevates the deliciousness, and avocado always is welcome is any salad situation. This is one of those salads that you will make for yourself and then immediately want to make for someone you like because it is so good you want to share. OR you just want to make it for yourself again because you could share or you could just eat more of it yourself. It’s ok either way, you do you.%u00a0
The stuff. A cob of fresh corn. some fresh blueberries, a bunch of dinosaur kale, a lime, an avocado, a piece of a sweet onion, sea salt, pepper, and a little oil.%u00a0
First off preheat the oven then cut the corn off the cob.
Then deal with the kale. Each leaf needs just the slightest bit of oil. The easiest way to do this is to dump a little oil into your hands and grab each piece of kale and rub your oily hands all over the kale.
After the kale is oiled, chop it into chunks. First place the corn on a baking sheet then add the kale on top. Placet it into the oven to get all crispy… The kale will might get crispy before the corn, which is fine because you can remove the kale then pop the corn back into the oven for a few more minutes to keep cooking if you want. Or you might just want to call it cooked, it’s your call.%u00a0
I popped the corn back into the oven to get a little more color. I like a real crispy corn.%u00a0
Cut up some onion and avocado into chunks.%u00a0
And time to compile. Kale, onions, corn, avocado, blueberries, and lime juice. And don’t or get a sprinkle of sea salt and pepper.%u00a0
Toss it all around and be delighted.%u00a0
Just look at that salad. Who wouldn’t want to eat that?%u00a0
Heres to summer salads….The reason I can barely stand the heat!
-C
makes one salad
10 or so large Lacinato (Dinosaur) Kale leaves
1 fresh cob of corn
%u00a01/2 of an avocado
1/2 cup fresh blueberries
1/4 of a sweet onion (about 1/4 cup diced)
1 lime
teaspoon olive oil
sea salt and pepper %u00a0
Preheat oven to 350
Cut the corn off the con and place on a lightly oiled baking sheet. Take a little oil and rub into hands then grab the kale leaves ans rub oil all over them. Once oiled, rough chop into medium sized pieces (don’t chop small, it will shrink a lot in the oven). Place chopped kale on top of corn and stick into hot oven. Bake until the kale is crispy, about 12-15 minutes.. What closely after 10 minutes to prevent burning.
Remove the kale from the baking sheet and place in a large bowl. The corn will be cooked, but if you want to make it a little crispier , just toss it back into the oven for a few minutes. %u00a0Once corn is to your liking, remove from pan and toss into two with the kale.
Small dice up some onion and dice up half of the avocado. Toss into the bowl with the kale and corn. And the blueberries, add those in. Sprinkle the whole shebang with a little sea salt and pepper and squeeze the juice of at least half of a lime all over (use the whole lie if you want) Give it all one last toss and that is it.%u00a0
Eat your new favorite salad. Think about making it for all your favorite friends and family and how impressed they will be because this is one of those impressive salads. T
I got my first few ears or corn from the farm share this week which is exciting because I wait until we get corn from the farm to eat it. I figure that we get so much from the farm that there is no freaking way I am going to buy it and plus I know that that corn was picked a few hours before I got it. If you are going to eat corn, it needs to be fresh (life lesson).
Have I told you that the mr hates corn? I am pretty sure I have. I also have a theory that he really doesn’t hate it so I just go ahead and make food with corn in it. Then he eats it, likes it, and I am all like” AHA, you like corn be-otch! I win!” (not sure what I win). But then the next time I mention we have fresh corn and how would he like it he is all like, I hate corn.%u00a0 It’s a game we keep on playing.%u00a0
So I got fresh corn, lots of tomatoes, and the kale is growing strong out back. I figured I would give the mr a break from all the zucchini for the night and make he a nice warm summer salad with the corn that he “hates”.
The mr ate it all and didn’t even mention corn so now I am thinking that he just hates the word corn and if I don’t say the word then there will be no problem. HA HA, I am a genius.
The stuff. A tomato, a ear of corn, some kale, a little balsamic vinegar, oil, and salt and pepper.
Chop the tomato and remove the corn from the cob.
Toss into an oven safe skillet with a drizzle of oil and a pinch of salt.
Now stick it into the oven
After about 10 minutes the tomato has fallen apart and the corn is all nice and tender.
While the skillet is still hot the vinegar goes in and the (chopped) kale goes in. Mix it all around until the kale wilts. And be careful, the pan is hot.
Dump it into a bowl, sprinkle with pepper, grab a fork, and you are on.
Happy eating.
-C
makes a salad for one or two small side salads
1 medium tasty tomato
1 ear of corn
like 4-5 good sized kale leaves
2-3 tablespoons balsamic vinegar
%u00a0oil of choice (i used avocado oil)
salt and pepper
You can cook this in or on the stove. I did it in the stove because I was baking anyway
Preheat oven to 425
Remove corn from cob and chop tomato into medium sized chunks. Toss into a oven safe skillet with a drizzle of oil and a little pinch of salt. Stick in oven and cook until the corn is tender and the tomatoes have fallen apart, about 10 minutes. Remove from oven and mix in vinegar. Chop kale into mouth sized pieces and toss into hot skillet. Mix around until kale starts to wilt. And it’s done. Serve with a pinch of pepper.
What a week, what a week. I have barely had time to think, let alone cook food.%u00a0
I had the rhubarb that was in need of cooking, the corn is all over the place all super fresh, and I had me a few minutes in between running around to make some food.
%u00a0I made this (what I now realize is succotash, which is such a fantastic word for food) a few weeks back, fell in love with it so I wanted to make it again. I also wanted to see if the mr would like it this time (he didn’t so much the last time) Says he is not a corn fan. But I don’t know, I still think he loves corn and just wants to be a pain in my ass and tell me he doesn’t. I figured that this time I made it, he would finally declare his love of corn, I mean, there is butt load of rhubarb in it too. And big creamy lima beans and nice sweet onion, and tomatoes. Yes it has a lot of corn, but it has so much more.
Well, he didn’t declare his love of corn.%u00a0 He did have a big scoop on his dinner plate, ate a bite or two then, picked out all the lima beans and chunks of rhubarb then told me that corn love wasn’t going to happen. He also aid that I should stop messing with the rhubarb and just make another pie.
What a butt face.
Whatever, more for me! And if you are awesome and you like sweet corn, tart rhubarb (corn and rhubarb together is the best) ,and are in need of a great summer side for any and all of your summertime food time needs, this is a winner.%u00a0 Super fast and easy to make, eaten warm or cold, and keeps well. It screams BBQ time. (Or 10 o’clock at night, standing in front of the fridge, eaten with a big spoon) It’s good whenever.
The stuff. Rhubarb, fresh corn, and some cooked lima beans. Also need a tomato, a sweet onion, red wine vinegar, salt ans pepper, a little olive oil and water (not pictured) and a few sprigs of fresh parsley.
The onion and rhubarb gets chopped up and tossed into a big skillet with a tiny bit of olive oil and a few splashes of water and place on the stove to cook a bit.
Corn needs to come off the cob. Do it the way you like, but I find holding corn vertical in a big bowl and cutting it down works best.
Slightly soft rhubarb and onions, ready for the other stuff.
Dump the corn, the tomato (chop it up first) the lima beans(drained) and a few splashes of vinegar into the skillet. Stir it all up and keep on heat for a few more minutes until the corn is just barely cooked and all the flavors have had a few minutes to meld.
Toss in some fresh chopped up parsley and season with salt and pepper…..
Into a pretty bowl for eating now or eating later.
This big ass bowl is all for me!!!!
Have the greatest weekend!
-C
2 ears of corn
4 fat stalks rhubarb (mine where about 10 inches long)
2 cups cooked lima beans
1/2 a sweet onion
1 tomato
fresh parsley
salt and pepper
few tablespoons red wine vinegar
olive oil
a few splashes of water
Chop the onion into small pieces then chop the rhubarb into smallish chunks. Toss the rhubarb and onion into a skillet with just a tiny bit of olive oil and a few splashes water. Place on the stove on medium heat and cook until the onion and rhubarb are slightly tender, but not to soft.%u00a0 If you need to, add a bit more water to the skillet to keep the stuff from browning or burning.
While the rhubarb is cooking, remove the corn from the cob and chop up the tomato into small chunks.%u00a0 Toss the corn, the tomato, the lima beans (drained) into the skillet with the rhubarb and onion. Pour in about 2-3 tablespoons of vinegar and season with salt and pepper. Mix and cook for another few minutes just until the corn get slightly cooked and all the flavors have had a few minutes to meld.
Remove from heat and dump into a bowl. Chop up a handful of fresh parsley and sprinkle all over
Serve right away warm or stick in the fridge and serve cold later.
I am a year round maker and consumer of soup.
With that being said, the nature of my soups change seasonally. My summertime soups are usually on the lighter side, made with the%u00a0fresh bounty of the season, and spiced more on the light and floral side, opposed to the really deep and warm spices%u00a0that I use all winter long,
This corn chowder is made just right. It had the perfect balance of hearty and creamy from the potatoes and use of pureed%u00a0onion cream, but%u00a0%u00a0still light and refreshing from the sweet fresh corn and the lemony fresh thyme. It is for sure%u00a0a great summertime soup (chowder) Even the%u00a0Mr.%u00a0was even really into it, and he claims he doesn’t like corn. (I say bullshit to that.. he eats corn all the time)
Now to chowder!
The Stuff. Some super fresh corn on the cob, a couple onions, a few chopped up potatoes and a chopped up carrot. Then we have a little oil, a lemon,%u00a0dried thyme and salt and pepper.%u00a0
To start, take an%u00a0onion, chop it up, and toss into%u00a0a large heavy pot with a little olive%u00a0oil and%u00a0a sprinkle of salt. Stick pot on stove on medium heat and cook until %u00a0onions are soft and traslutcent. When the onions are done, remove and%u00a0add to a blender or%u00a0bowl. (if using a hand blender)%u00a0Add in the juice of the lemon%u00a0and blend it all up until nice a smooth.%u00a0
You have now made a nice creamy cream that will help make the final product more, well more creamy without the use of cream (lets say cream on more time !)%u00a0.Set aside.
When the pot is empty again, add in the rest of the stuff, including the cobs of the corn, (they hold a butt load of flavor)%u00a0the dried thyme, and salt and pepper.%u00a0Place%u00a0on stove and add enough%u00a0water to completely%u00a0submerge the veggies. Keep pot on a medium heat, add a lid, and stir ever once in a while. Cook until the potatoes are nice and tender.%u00a0(when the potatoes%u00a0are done, so is everything else)
Now that everything is all cooked up, remove the cobs and stir in the onion puree.
Now with a hand blender, blend up until the chowder is thick and smooth, but still nice and chunky. (If you are working with a blender, just remove about half of the soup and blend up, then dump back in) The optimal chunkiness %u00a0is up to you , so %u00a0blend, check the chunk,%u00a0%u00a0then blend a little more if needed. If you feel that the soup is to thick, add in a little more water, or to thin, just cook down o little longer.
%u00a0Once you like the constituency,season to taste with salt and pepper and%u00a0place pot back on a simmer until you are ready to serve.%u00a0
And thats how we make%u00a0corn chowder
It tastes best serves in the daintiest of the cups, sprinkled heavily with cracked pepper, and with a side of some cracker situation (Saltines would be best, but sometime there are only triscits in the house)
Summertime is for chowder!
HAPPY Humpday Wednesday!!!
-C
Makes a pot big enough for 4-6 nice decent sized servings
2 fresh ears of corn
3 medium (tennis ball sized)%u00a0red or white potatoes
2 white or yellow onions
1 carrot
Juice of a lemon
1 tablespoon olive oil
1 1/2 %u00a0tablespoons dried thyme
salt and pepper
To start, peel%u00a0and dice one whole onion and toss into pot with olive oil and stick on medium heat. Cook onions until translucent and fragrant. Remove from pot and add cooked onions and the lemon juice to a blender and puree until smooth and set aside.
While you are cooking down the onions, dice up the carrot and onion, remove the corn kernels from the cob, and chop up the potatoes. Once you have removed the first batch of onions, toss in corn, onions, carrot, potatoes, and the dried thyme.%u00a0Stir around in the pot on medium heat for a few minutes just to warm up the spices. Add the cobs into the pot and fill with enough water to cover the stuff in the pot. Place back on medium heat with a lid and cook for another 20ish minutes, or until potatoes are super tender and almost falling apart.
Remove cobs from pot and add in the onion puree. Now either remove about half the soup and place in the bender and blend up til smooth, or use a hand blender and blend up chowder until you get your%u00a0desired chunkiness. If you think the chowder seems to thick, add in more water, or to thin, just cook down a little longer on the stove.
When ready to eat, ladle chowder into a cup or bowl and add lots of fresh cracked pepper.%u00a0
Serve with a cracker and a spoon to eat it with.
It seems that everywhere I turn this week, there corn. So much so that its coming out of my ears%u2026..get it.. ears! (yes I am that lame)%u00a0
Yup, its now%u00a0officially (but%u00a0unofficially) summer and that means 2 things, well 3 things. First, we eat corn. Secondly, It%u2019s hot out, and get so hot in our little tiny loft that having the oven on is like torture so I%u00a0avoid it at all costs. And lastly, I seem to always have less time(or forget) to make dinner %u00a0cause,%u00a0you know, I am%u00a0outside running%u00a0around with my head cut off.%u00a0
The solution to the last two%u2026..Quesadillas.%u00a0
I probably make the mister quesadillas at least 5 time a week. They are just so easy to make (takes about 8 minutes) are full of some kind of veggie situation and lots of cheese (which is the misters favorite food group). You can make one, for a quick lunch, or very easily make 10 to feed a few people for a easy dinner. (everyone likes a quesadilla!). And even%u00a0though I cooked these%u00a0particular ones inside, quesadillas are great made outside on the grill. They just make so much sense.%u00a0
And so it goes.
Summertime + corn = Charred corn and kale quesadillas.
The Stuff. Freshy freshy corn on the cob. A few flour tortillas, a bunch of chopped kale and some shredded cheese. (I used pepper jack)
With a sharp knife, cut the corn off the cob. I find using a deep bowl works best to catch corn, and you could even invert another little bowl inside to rest the cob for easier cutting (I skipped extra bowl.. once less dish to wash)
While you are cutting the corn, preheat a large pan on medium high heat.%u00a0
Once the pan is hot, toss the corn kernels right on into it and sprinkle with salt and pepper %u00a0Let cook for a minutes or two, then give it a stir and cook for another minute.%u00a0
After about 4 minutes the corn turns bright yellow and starts to char. %u00a0Remove pan from heat and toss in the chopped up kale.
And compile the quesadilla. Tortilla, grated cheese, corn and kale, more cheese if you please, and top with anther tortilla. %u00a0Place assembled quesadilla into the pan and place on medium heat. Cook both sides until brown and cheese is ooey gooey.
Remove from pan and cut into triangles (or any shape you want)%u00a0
Serve right away. Can be eaten on a napkin, plate, or directly off the counter.%u00a0
Not needed, but it would be nice of you to serve with a little avocado, salsa, or sour cream.%u00a0
Happy Tuesday!
-C
Makes two 8 inch quesadillas
Four 8 inch flour tortillas (use gluten free if needed)
2 ears of fresh corn
3-4 larges kale leaves
1 cup* shredded pepper jack cheese (use vegan cheese if needed)
*Note. Use more cheese if you want%u00a0
Preheat a large pan %u00a0on medium high. While the pan is heating up, cut the corn from the cob. Once pan is hot, toss corn kernels into hot skillet and sprinkle with a pinch of salt and pepper. Give corn a stir after a few minutes. Once the kernels start to turn bright yellow and get a little charred, remove pan from heat. Chop up kale into little pieces and toss into pan with the corn while the pan is still hot. Mix around and let the kale wilt a bit from the residual heat.%u00a0
Ready your tortilla. Place half the cheese onto totilla, add on half of the corn and kale mixture, sprinkle with a bit more cheese and top with another tortilla. Place onto now empty pan and heat up quesadilla until brown on both sides and chesse is melty. Remove from skillet and cut into triangle. Repeat for the second quesadilla.
Serve right away with or without some guacamole, salsa, or sour cream.
plates are not required.%u00a0
%u00a0How awesome will you be when you bring the most freaking amazing tortilla chips to the party this weekend? You will be like..”what, it ain’t no thang.. I am just good like that” Yes, yes you are.
And yes, I am assuming that you will be making these awesome%u00a0chippers to share at a Super Bowl part this weekend. I say this because even as I sit here writing this (with the TV on) there has been nothing but football talk%u2026deflated balls, hot wings, half time shows and commercials. It’s almost as big as Christmas. %u00a0Got to get the decorations, the special game day food and your football jerseys. It’s crazy and all over the place. So that’s why I am assuming you are making these for the game. %u00a0But if you not going to be participating in any football parties.. by all means, make these chips for yourself anyways. Celebrate you day! Have a non football watching party. Or just make these whenever. %u00a0Jalape%u00f1o Lime chips for everyday!%u00a0
Note: You can make these chips without the jalaeno and or the lime if you need or want to. You can also stop after the first step and have some dank corn totillas for tacos ands stuff..But definitely make the chips%u2026 worth it for sure!
%u00a0 %u00a0 %u00a0
All the stuff.. Masa harina, hot water, salt, a lime and a jalape%u00f1o. Zest lime and place half the zest into a glass bowl with oil and either sit on warm oven or microwave for 30 seconds to infuse. %u00a0Puree the jalape%u00f1o with a cup of hot water and add the puree and half the zest of a lime, plus salt, to the masa harina. Mix it all up with another 1/2 cup of water or enough to make the dough resemble play dough%u2026 You can add more water or masa if you dough is to wet or dry.%u00a0
Knead dough a few times just to make sure it’s completely uniformed and divide %u00a0into 12-14 equal pieces. Place balls on a plate and cover with a wet paper towl to keep from drying out.
%u00a0I do not own a tortilla press so I used what I had%u2026 wax paper, a wooded cutting board and brunt force. I took each ball and place it between the two pieces of the waxed paper, placed the cutting board on top, and with all my might and body weight, pressed down to smoosh. %u00a0It works like a charm.
My%u00a0cast iron skillet is big enough to cook 2 -3 at a time, but doing one at a time is cool too. Preheat the skillet to medium heat. Cook each tortilla for about 2-3 minutes ( or until starting to brown) on each side. Half way there to chips!!!
With my fingers ( you can using a basting brush for sure), I rubbed a little of the lime oil all over %u00a0both sides of each tortilla. Stacked a few high, %u00a0then sliced those tortillas into triangle shapes. If you %u00a0want to go crazy, you could cut them into strips or even use a cookie cutter and do some fun shapes%u2026 but triangle are easy, classic, and practical. A good shape for dipping!
Placed all nice and cozy on a baking sheet. trying not to overlap. Into a 400 degree oven for about 20 minutes to complete the chip making process.. After about 15 minutes, check for doneness. When nice a crispy, remove from oven, squeeze %u00a0lime juice all over and sprinkle with salt. I then stuck them back in the oven for a few more minutes just to dry the lime..
After cooling down, take those chips and stick them in a bowl.%u00a0
Eat a few, but wait and save them for the party. Or better yet, make a few batches. Bring a batch, eat a batch. (Its ok, you are allowed)
Eat with some salsa, maybe some of%u00a0this guacamole, or just as they are%u2026Anyway is the right way as long as you are eating!
Have fun making these and have fun getting read for the party this weekend (Super Bowl or not!)
-C
Jalape%u00f1o Lime Tortilla Chips
Makes 12-14 tortillas.. then made into a medium bowl of tortilla chips.
Ingredients%u00a0
2 cups masa harina
1 1/2 to 1 3/4 cups hot water
1%u00a0teaspoon salt
1 lime (juice and zest)
1 large or 2 small jalape%u00f1os%u00a0
2 tablespoons olive oil
salt
To start, zest lime and add 1/2 of the zest to bowl with the oil. Place oil on warm spot on stove to let the oil infuse the limeness.%u00a0
Take jalapeno and puree with 1 cup of hot water. In a large bowl, add puree %u00a0and remaining lime zest to the masa harina and mix, adding an additional 1/2 to 1 cup of hot water until the dough %u00a0resembles %u00a0play dough, not to soft, but not to dry and completely incorporated
Divide dough into 12-14 balls and place on a plate %u00a0under a wet paper towel to keep dough from drying out.%u00a0
One at a time, take a dough ball and place between two pieces of wax or parchment paper. Place either a plate or cutting board on top and press down as hard as you can (you could even stand on it). Remove flatten tortilla from paper and place in medium hot skillet. Cook each tortilla for 2-3 minutes on each side.
When all tortillas have been made, lightly rub lime oil on all over both sides. Stack a few on top of each other and cut into triangles. Place pieces on a baking sheets (I used 2) and bake at 400 for 15- 20 minutes or until lightly browned and crunchy. When chips are done, remove from oven, squeeze or sprinkle lime juice on chips and sprinkle with salt. Stick back into oven for another 2 or so minutes to re-crisp%u00a0from the lime juice.%u00a0
Remove and let cool completely, then dump into a bowl
It%u2019s hot out and we are thirsty. Water is good, water is great, but sometimes a little somethin%u2019 somethin%u2019 is called for, for you know, being that we need to deal with it being so freaking hot out. and sticky and gross. (BLAH. This past week we have had some temperatures it had make me crankers.)
Anyway, what is more refreshing then cucumber? Not much. And so we blend up cucumber, add some mint and lime juice and stick it into a glass with ice and bubbles. What can be more refreshing then that? Plus look at how pretty it is. Bright ass green. A true summertime drink.
To the Spritzer!
The stuff. A thin skinned cucumber, a lime, a spring of mint, club soda, and if you want, a little simple syrup.
Chunk up the cucumber and into the blender it goes with the juice of the lime and a couple mint leaves.
Grab a couple glasses, add in some ice, and fill each glass half way with the cucumber juice. (mix in liquid sweetener in now if you want it.)
Top off with club soda, a mint leaf and a few slices of cucumber and you are golden cool and fancy free.
Stay cool%u2026..as a cucumber.. HAHA!
Makes 2 or 3 drinks
1 cucumber (thin skinned and 6-8 inches long)
a lime
a few mint leaves
club soda or plain seltzer
1-2 teaspoons liquid sweetener (optional)
Take cucumber and place into blender along with the juice of the lime and a couple mint leaves. Blend until smooth. Grab a couple glass, fill each with ice, then fill each glasses half way with cucumber mixture. Add in any liquid sweetener if using and stir. (I recommend trying without sweetness, that is that way I like it, and then add sweetener if you need it.) Top glasses off with club soda. Garnish with sliced cucumber, lime wedges, and or mint leaves if you want.
Last week pineapples were on sale everywhere……So I bought 5. Don’t judge
And I bet I am not the only one that got overly excited at $1.50 pineapple and bough themselves a few. We will just call ourselves opportunists. Now we have plenty of pineapples and don’t have to pay the $4 a piece prices. (Justification)
But if you don’t have a pineapple laying around, you must go get one. (Maybe if your lucky, there might still be some sales going on) because you must make this salad. I am on a mission to make everyone I know eat it because, for lake of a better way to say it…….It will rock your world.
Dill and pineapple are a serious match made in heaven. Pineapple, with its sweet, tangy, citrusness and dill with it’s super fresh earthiness. Mixed together with a few other helpers to create a fresh, clean, chunky, tangy, over the top, flavor. I could stop right there, but toss in a handful of lentils, some creamy avocado and a bed of kale…It’s like the best spring time, celebration on you tongue, happiness in you tummy, kind of salad.
A salad that will make you smile. (and maybe buy 5 pineapples)
Stuff for the goodness. We got the kale, some avocado because all salads should have avocado and some cooked lentils because, well, all salads should have lentils (or beans or nuts.. so you could totally something else) Then a few sprigs of fresh dill, a clove of garlic, red wine vinegar, salt and a bowl of chunked up pineapple. The pineapple, dill, garlic, red wine vinegar, a splash of water and a pinch of salt get blended in a blender or whatever blending device you use. Go as smooth or chunky as you like, I recommend going smooth, but leaving a little chunk, like half blended.
The prep is done, now compile. Kale in bowl, top with lentils,. Toss on avocado chunks, and, last but not least, the blended pineapple dill mixture.So good……So so good.
Happy Friday!!
-C
So Good Pineapple Dill Kale Salad
Serves Two
3 cups washed and chopped Kale
1/2 a avocado, diced
1 cup fresh pineapple chunks
1-2 springs fresh dill
1 tablespoon Red Wine Vinegar
Salt
1/2 cup cooked lentils (or any bean or nut will do)
Note. No fresh dill? You can use dried, just sub in 1 teaspoon for the fresh and after blending with the pineapple, let sit a little longer to really let the flavors meld together.
Place pineapple, dill, pinch of salt, vinegar and garlic into a blender or whatever you own that blends and blend stuff together, leaving it a little chunky. Let sit for 5-10 minutes.
Kale goes into a bowl and add the lentils and diced avocado. Pour the blended pineapple on. Toss around.
Now eat.
We made it ! FRIDAY!!! Fridays always make me think about Steve Urkel, you know, the geeky guy from the show Family Matters who’s catch phrase was “Did I do that?. Weird, I know, but when I was a kid, Fridays meant TGIF on abc (the Tv show line up) It was something I looked forward to all week. Get out of school, go home, have dinner (usually pizza) and spend the night in front of the Tv. And honestly, not mush has changed. We still keep Fridays the same. Work, Pizza, and Tv.. Just now its not Family Matters and Urkel, but Netflix binge watching and me making the mister a fancy ass pizza. But if Family Matters makes it to Netflix… I will for sure be watching that!
So anyways, This particular pizza was inspired by a small batch of kohlrabi and red cabbage sauerkraut I made, plus a block of swiss cheese that I found hidden in the back if the fridge. I guess it was meant to be. The mister was much into this concoction… like I will be making this again and maybe again after that. Its kind of like a reuben, but without the corn beef, which you could totally add if you wanted, or the mayo and ketchup dressing, which you could swap in instead of the mustard sauce. You can even make it vegan if you use vegan cheese. Do what ever you need to do here cause hey, its your pizza to eat.
The stuff. Pizza dough, stone ground mustard, shredded swiss cheese, kraut, and caraway seeds.
The dough is rolled out and smeared with the mustard. (The mister said I could have added more)
Cheese goes next and a good sprinkle of caraway seeds too. Now stick that lovely into the oven.
And after 15 minutes, this is what you get… Bubbly, cheesy, crusty pizza.
And it’s for real one of the prettiest pizzas that I ever have made. Slice and serve…. and eat in front of the TV.
HAPPY WEEKEND!!!!
-C
Kind of a Reuben Sauerkraut and Swiss Pizza
This is the stuff you will need..adjust the amounts to you liking
Pizza dough (this doughor store bought)
1/4 cup Stone Ground Mustard
1 cup Cabbage and Kohlrabi Sauerkraut ( or just regular sauerkraut)
1 cup Swiss Cheese (Use vegan cheese to make this pizza is vegan)
1 teaspoon caraway seeds
Preheat oven to 450
Roll out the pizza dough to desired thickness and place on skillet or baking sheet. Smear with mustard, then layer the sauerkraut then cheese, and sprinkle with caraway seeds. Place into oven to cook for about 15 minutes. Pizza is done when dough s cooked and cheese is all nice and bubbly.
Remove from oven, let cool for a minute, cut into slices, and eat.
TGIF!!!! For reals, because Monday-Thurday were monster days. And now that its friday, I can dig a hole and hide in it until it’s at least 30 degrees with some sunshine. (I might never get to come out.)
A few things I will bring in my hole:
food (lots of food and coffee, lots of coffee)
a soft blanket and pillow
a few books, preferably with pictures, on farming and gardening (think spring!)
the entire series of the Fresh Prince of Bel-air and a device to watch it on
toothpaste (I can use my finger to brush my teeth)
But before I leave for my hole in the ground, I made these little cake bites to get my people through the weekend. Sweet little lemony bites of rich dense cake dipped into bittersweet chocolate. (I am just so nice) They have all the pleasure or cake without the need of a fork and are much easier to give away then a big slice of cake. Plus, they are fun to make. My little sister helped and did most of the chocolate dipping. Then she and another little used their mouths to clean up the chocolate mess. It was an afternoon of chocolate all over the kitchen fun day.
So make some bites to have and to share. Or if you, like me, are digging a hole to hide in, make a batch of bites to bring with you. That’s the beauty of cake covered in a harden chocolate shell, they travel really well.Simple lemon cake stuff. Flour, baking powder and salt whisked together, Sugar and soft butter in a bowl. An egg, some vanilla, milk, and of course, the lemon.
To make the batter, cream the soften butter with the sugar until light and fluffy. Zest lemon(1 big or 2 small) into bowl with the juice of the lemon(s), the vanilla and the egg. Beat until combined. Now beat in the dry and then the milk. Keep beating for another minute until all mixed. Batter should be light and fluffy.
Batter goes into a greased and floured 9×13 baking sheet and stuck into a 375 degree oven for about 30 minutes (You can use a 9×9 baking pan. Just bake fir another 10 minutes and you will end up with thicker bites). Remove from oven and let cool for a few minutes and flip to remove cake from baking sheet. Cut cake into small pieces (I cut 4×6 to get 24 bites) and place bake into sheet and into freezer (I stuck mine outside, it was -2 degrees ) for at least 2 hours.
Frozen bites ready for the chocolate coating… Bittersweet chocolate chips and a little bit of coconut oil. Melted together all nice and shiny smooth.Now dip and slather those bites in the melted chocolate.
Oh what a lovely sister I have.. Look at her dunk….. like a boss!Fully coated and placed on a rack for the chocolate to harden. I ended up sticking the rack in the freezer for 10 minutes…They harder really fast in there.
And now you have some it, bites of cake covered in chocolate. 1 bite, 2 bites…5 bites. Eat however many you want because its Friday and because there small little bites and just because you can.
Now if you need me, I’ll be in my hole.
-C
Chocolate Lemon Cake Bite
1 1/2 cups all purpose flour
1 teaspoon baking powder
1 teaspoons salt
1 cup white sugar
1/2 cup (1 stick) soft butter
1 egg
1 teaspoon vanilla
1 cup milk
1 large or 2 small lemons
2 cups bittersweet chocolate chips
2 tablespoons coconut oil
Add butter and sugar to a large bowl and beat on medium unit light and fluffy. Ass in vanilla egg, the zest of the lemon and the juice of the lemon. Beat to incorporate. Now beat in the dry and lastly the milk.
Grease and flour either a 9×9 pan or a 9×13 baking sheet. dump batter in and smooth out. Stick in oven and bake for about 3o minutes or until a toothpick stuck into the middle comes out clean. Remove and let cool for a few minutes on a wire rack. Flip cake to remove from pan. Cut cake into bit sized pieces, 4×6 is a good size, and place back on baking sheet and stick into freezer for at least 2 hours.
When cake bites are as good as frozen, get the chocolate ready. Take the chocolate and the coconut oil and either melt in a double boiler or the microwave. Mix until smooth and make sure to full incorporate the oil. Now remove the cake bites from the freezer and dip each bite into chocolate, trying to full coat all sides. Stick onto a wire rack or a parchment lined pan to harden. They can be stuck back into the freezer to harden faster.

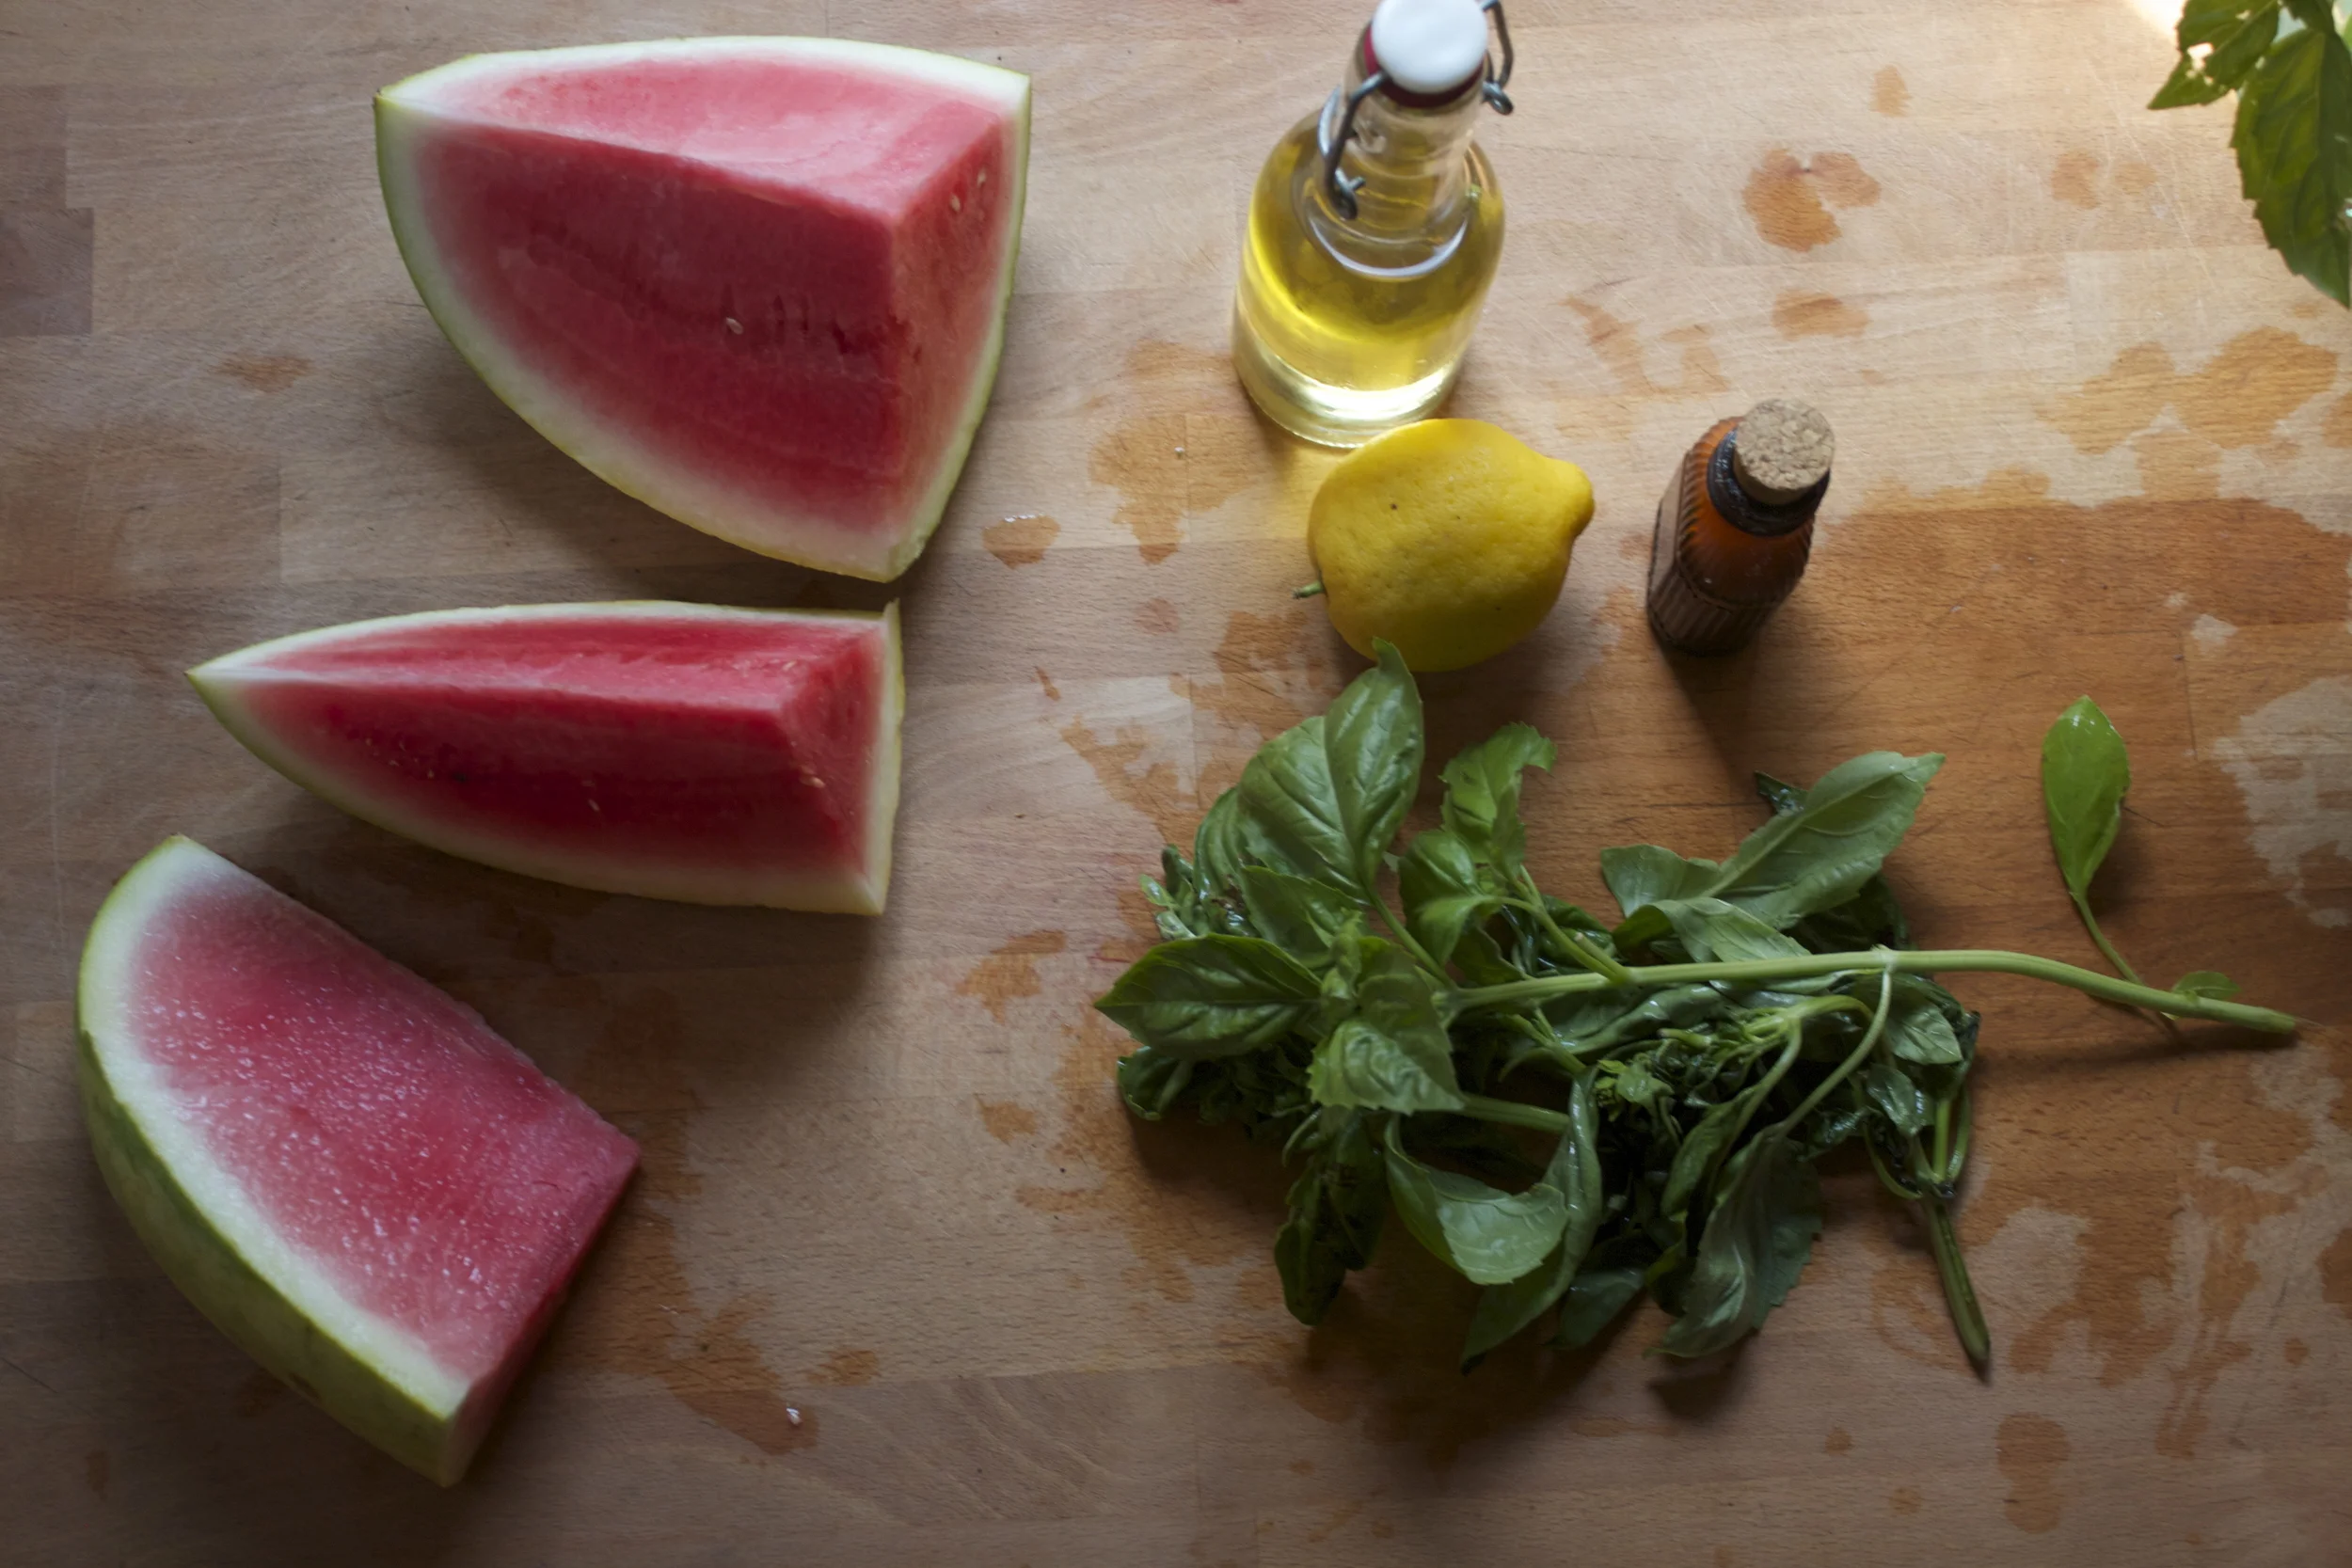

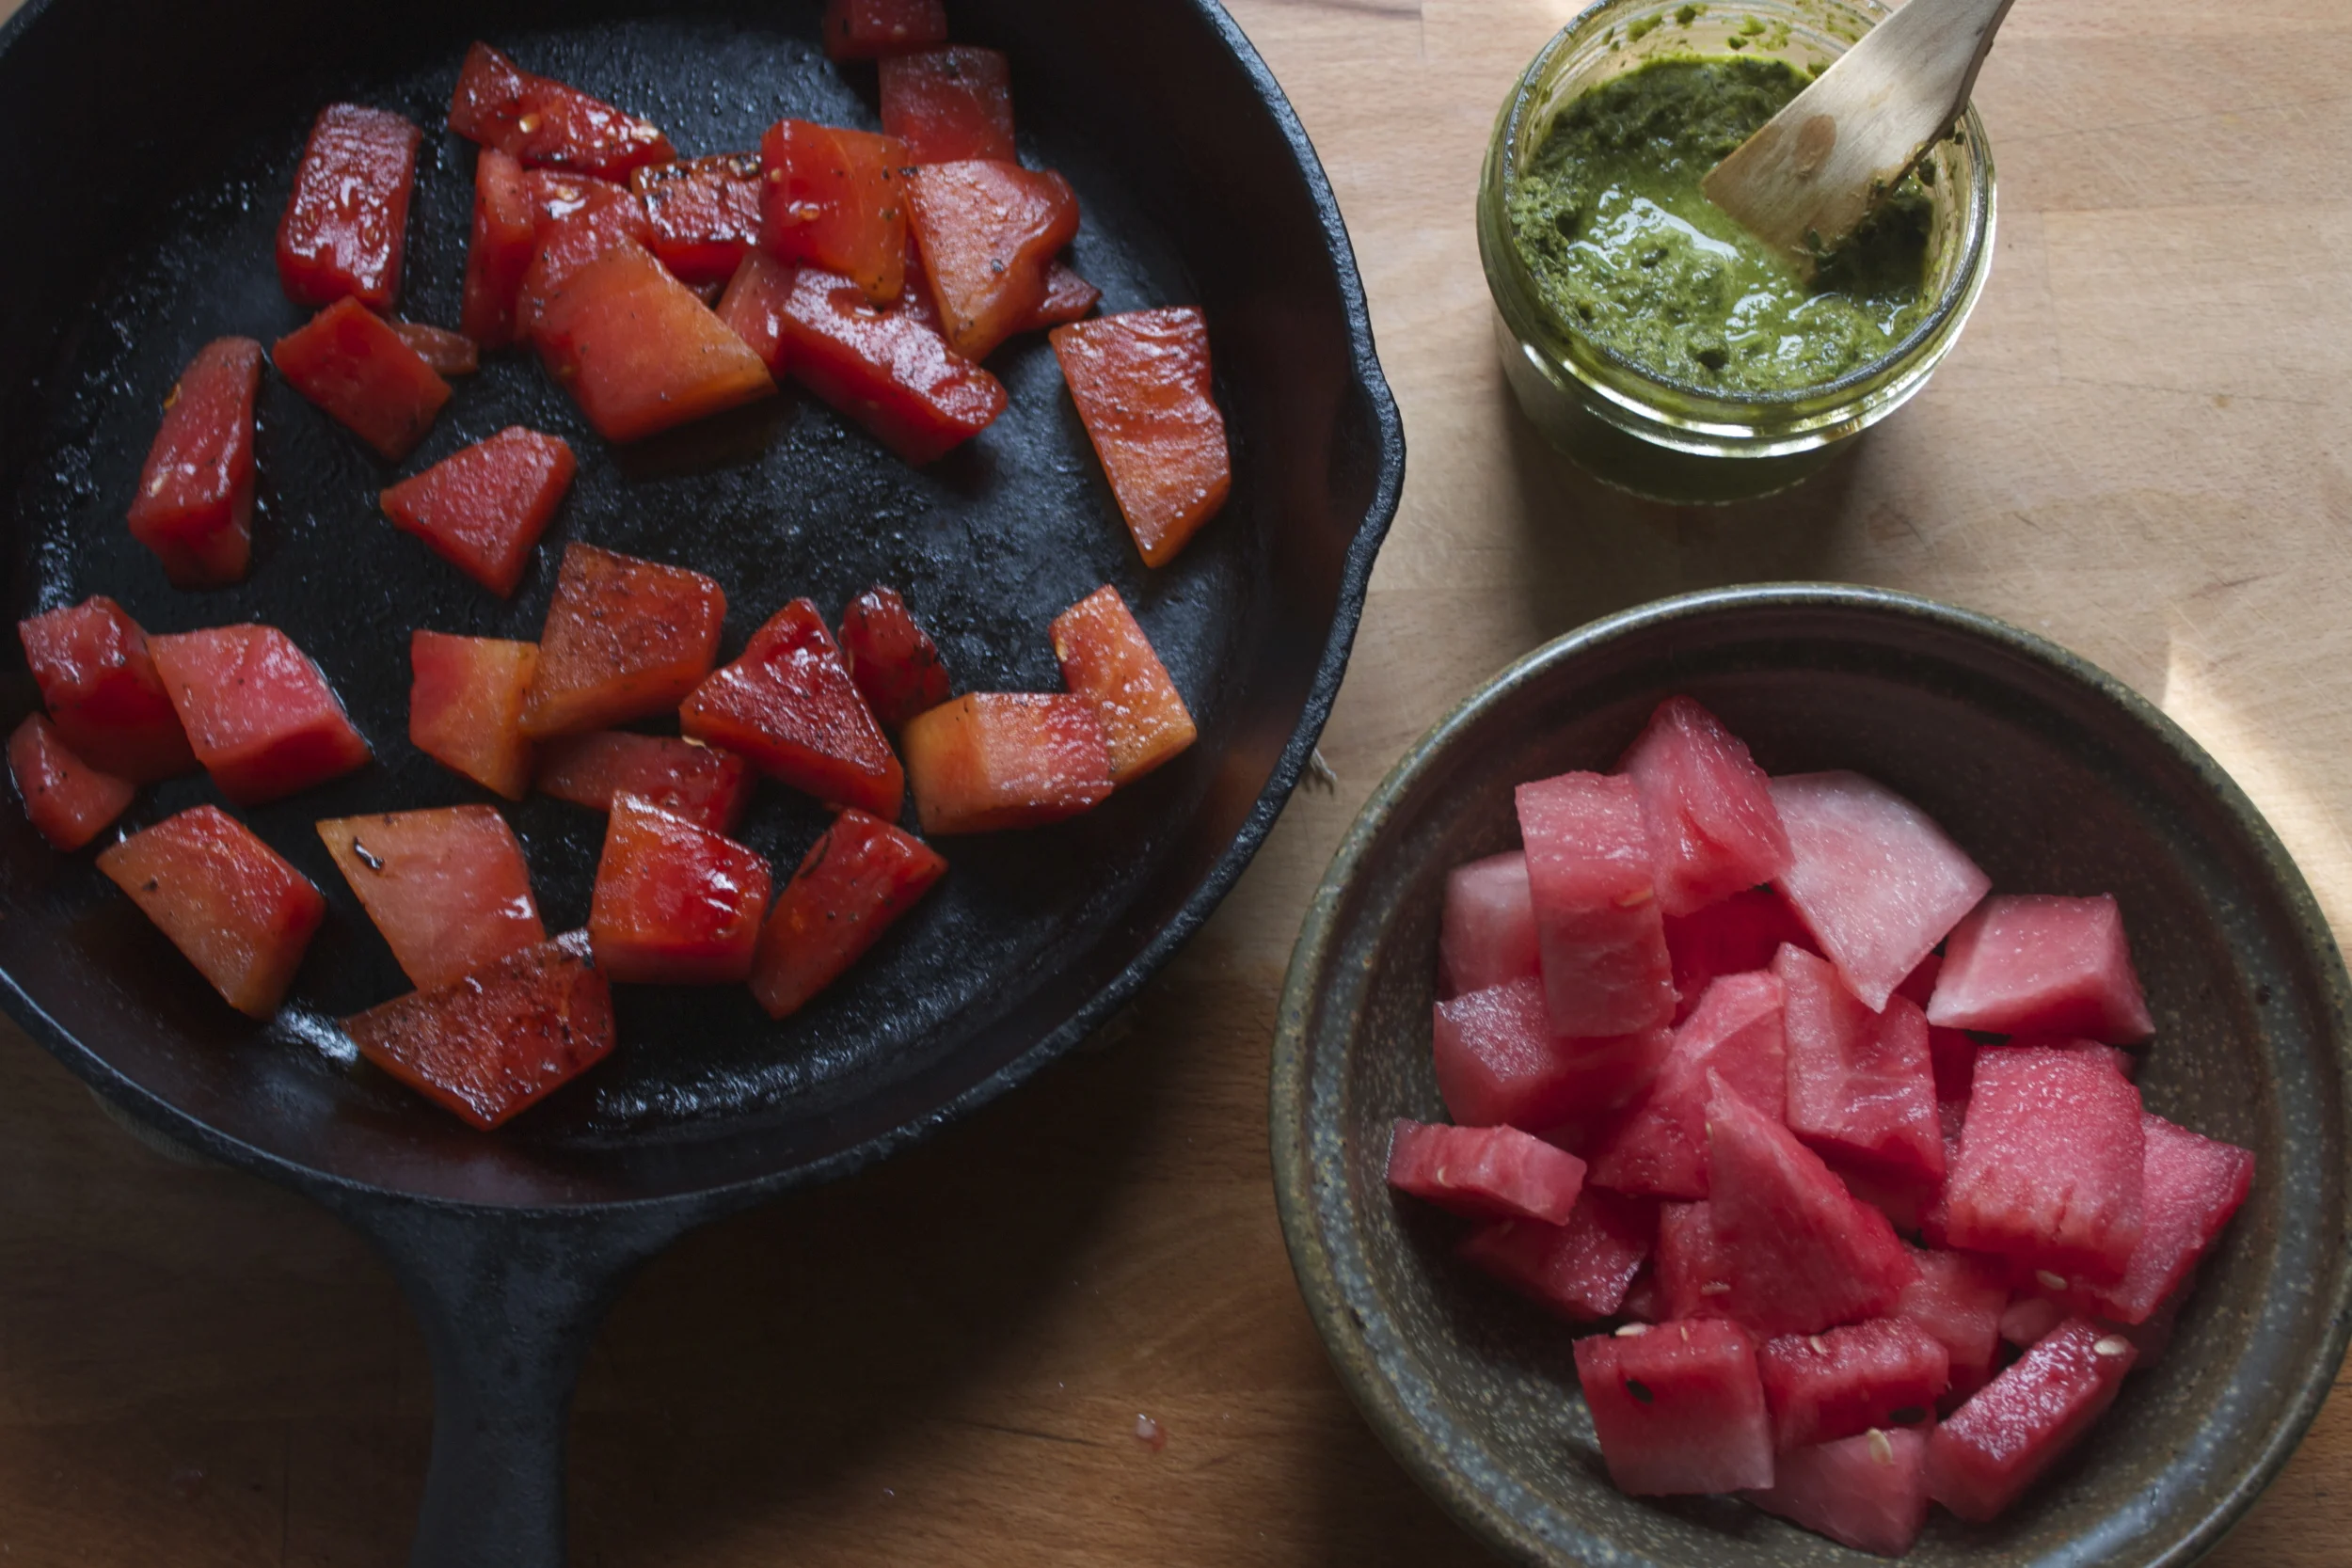














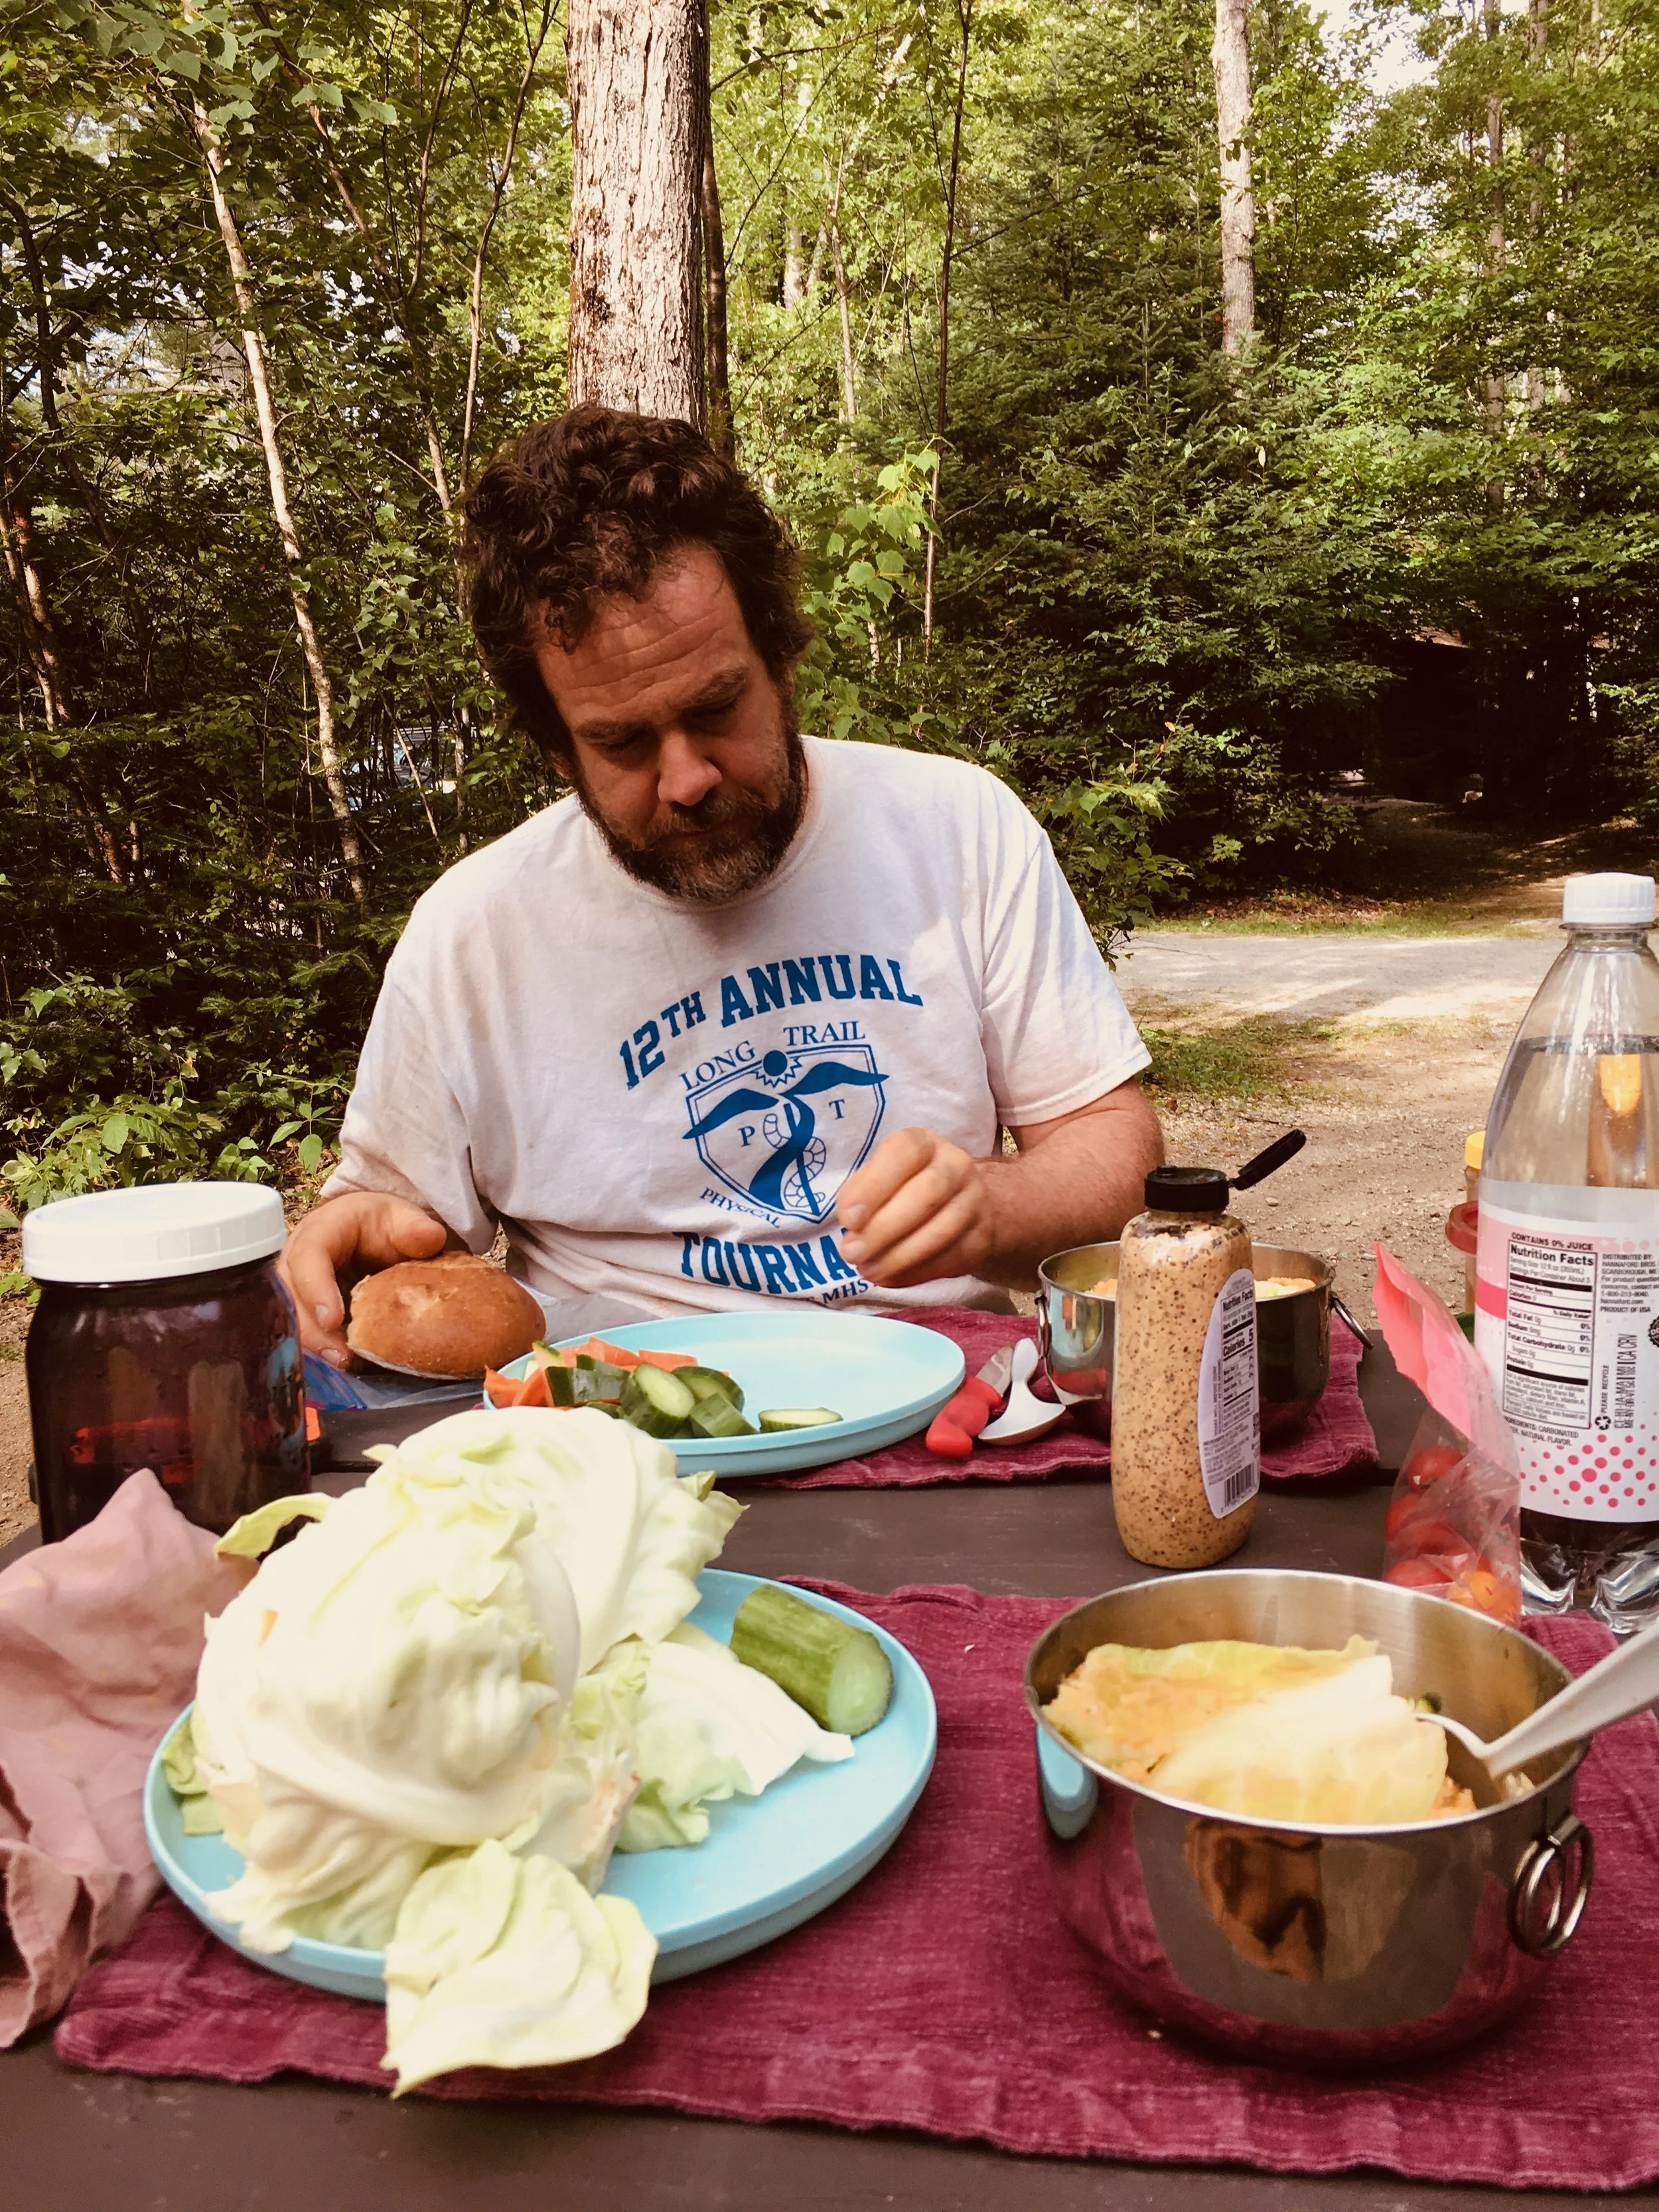


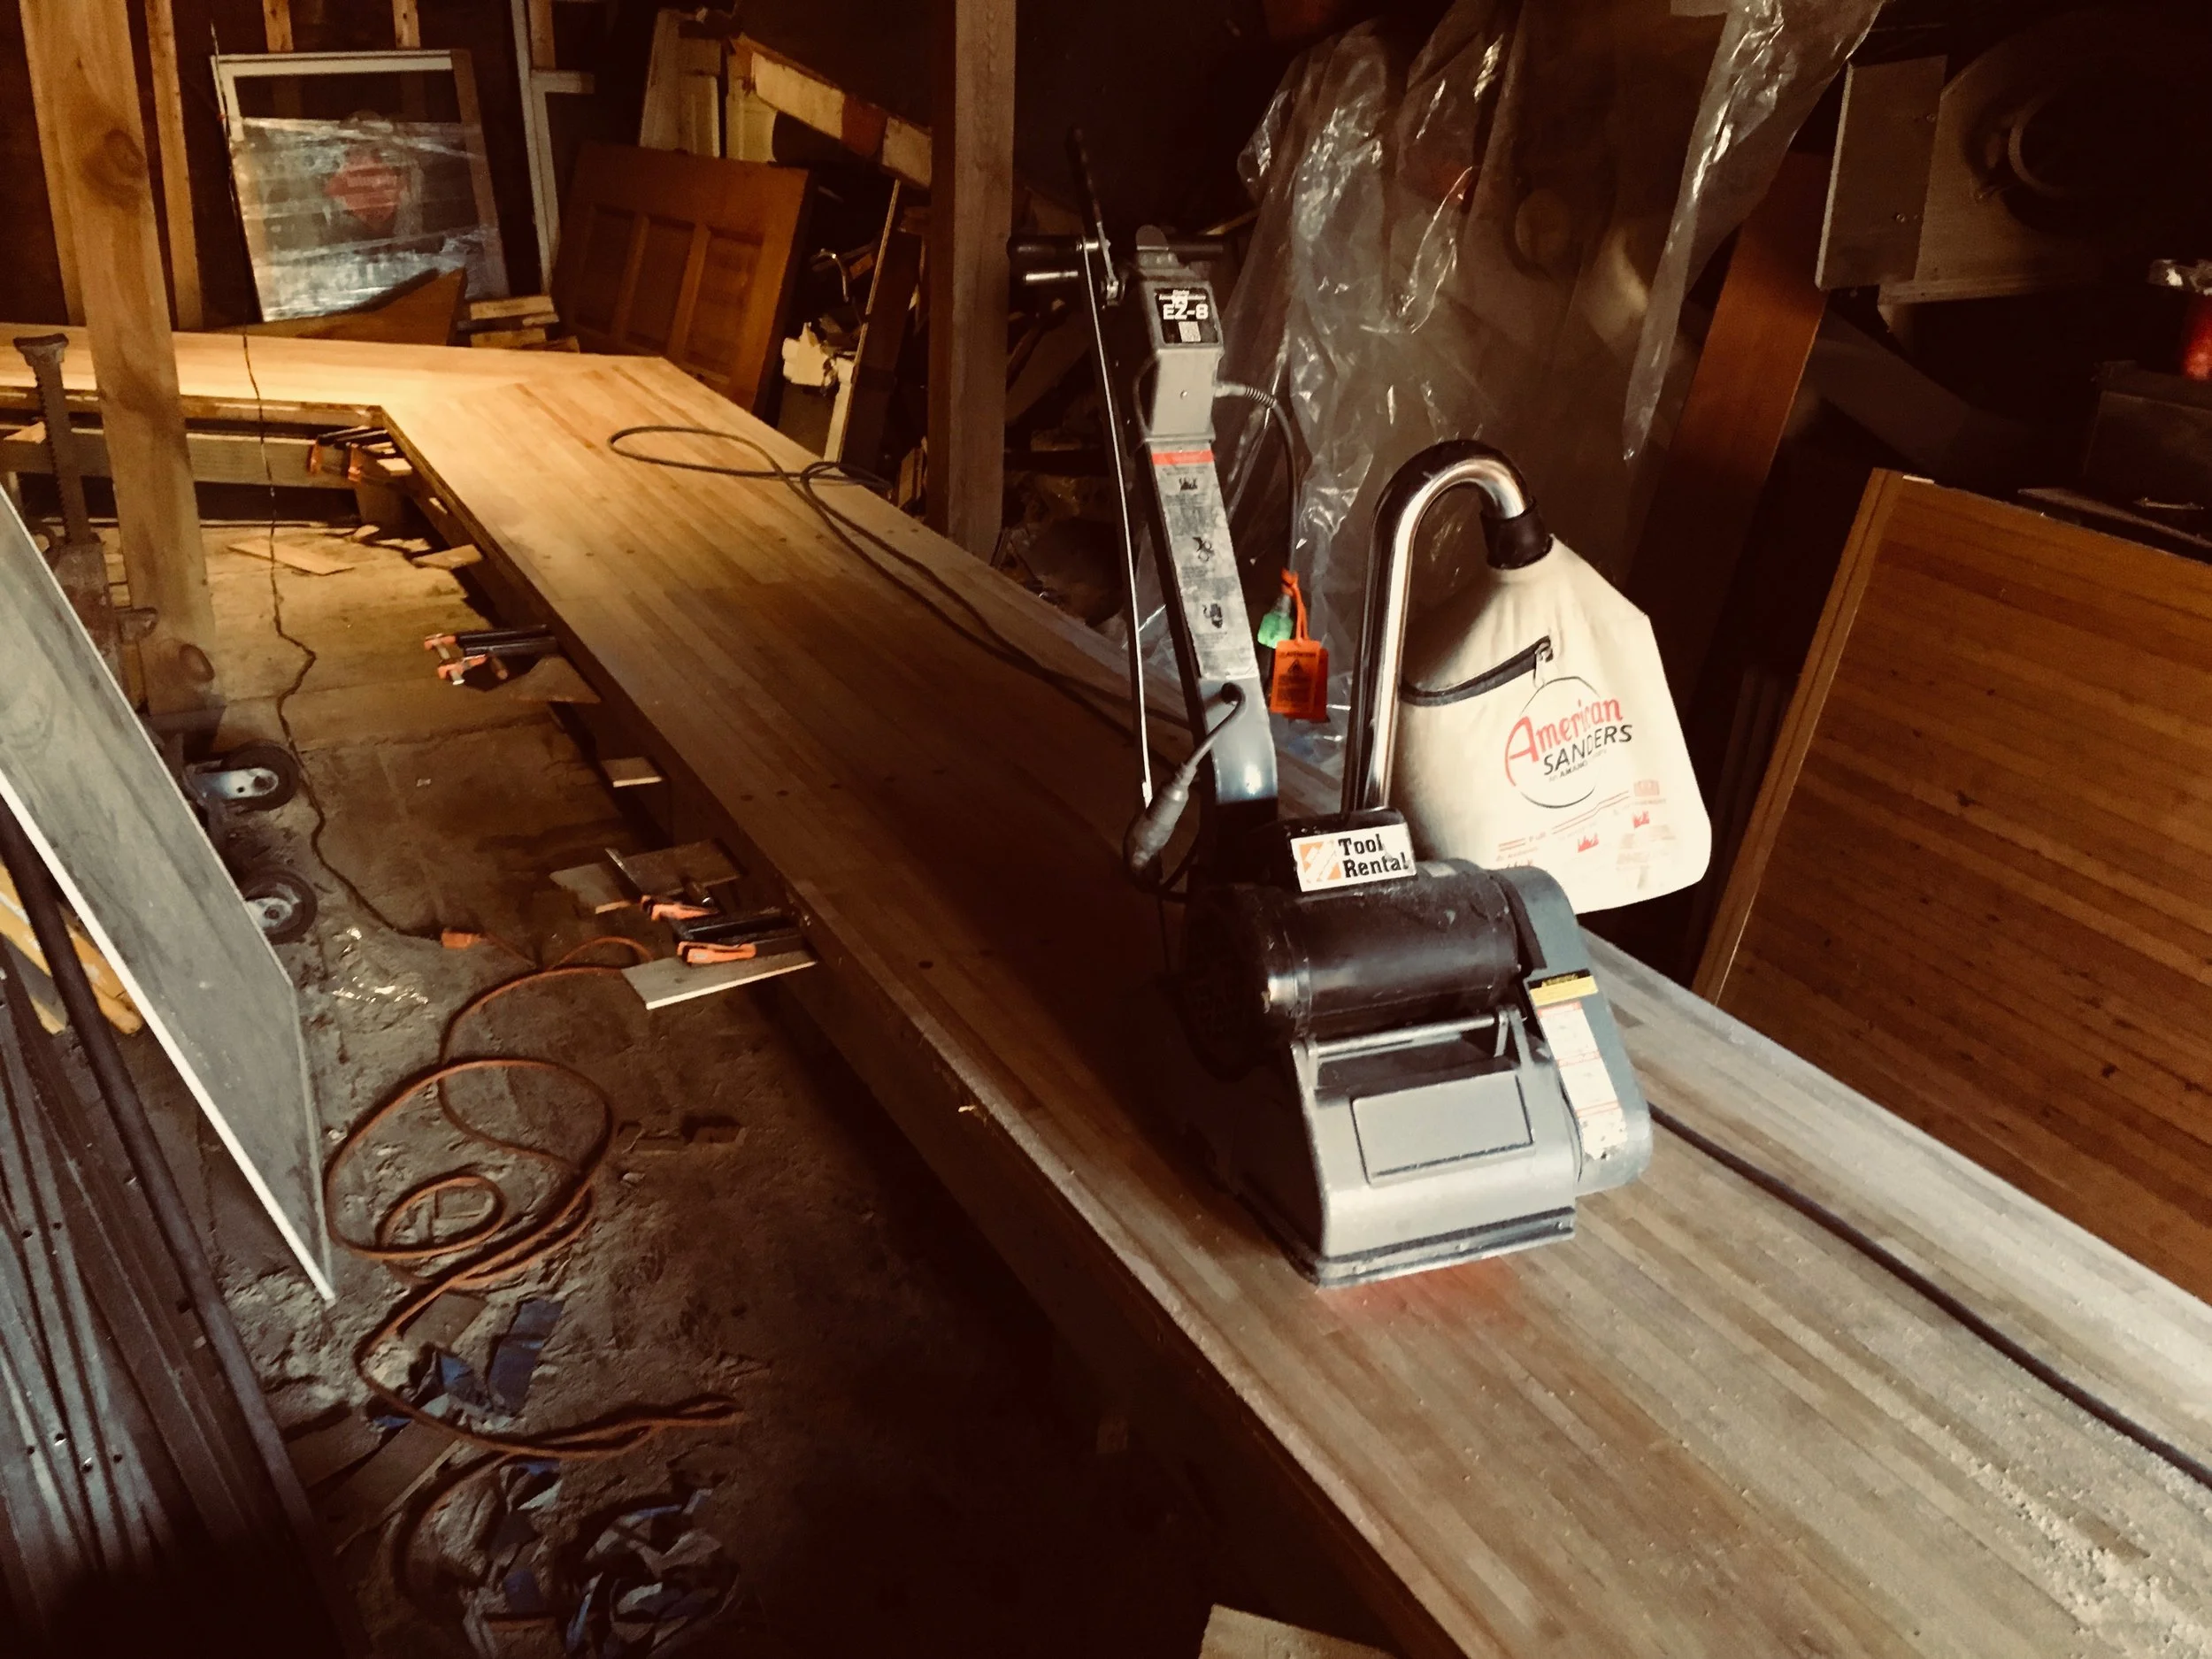
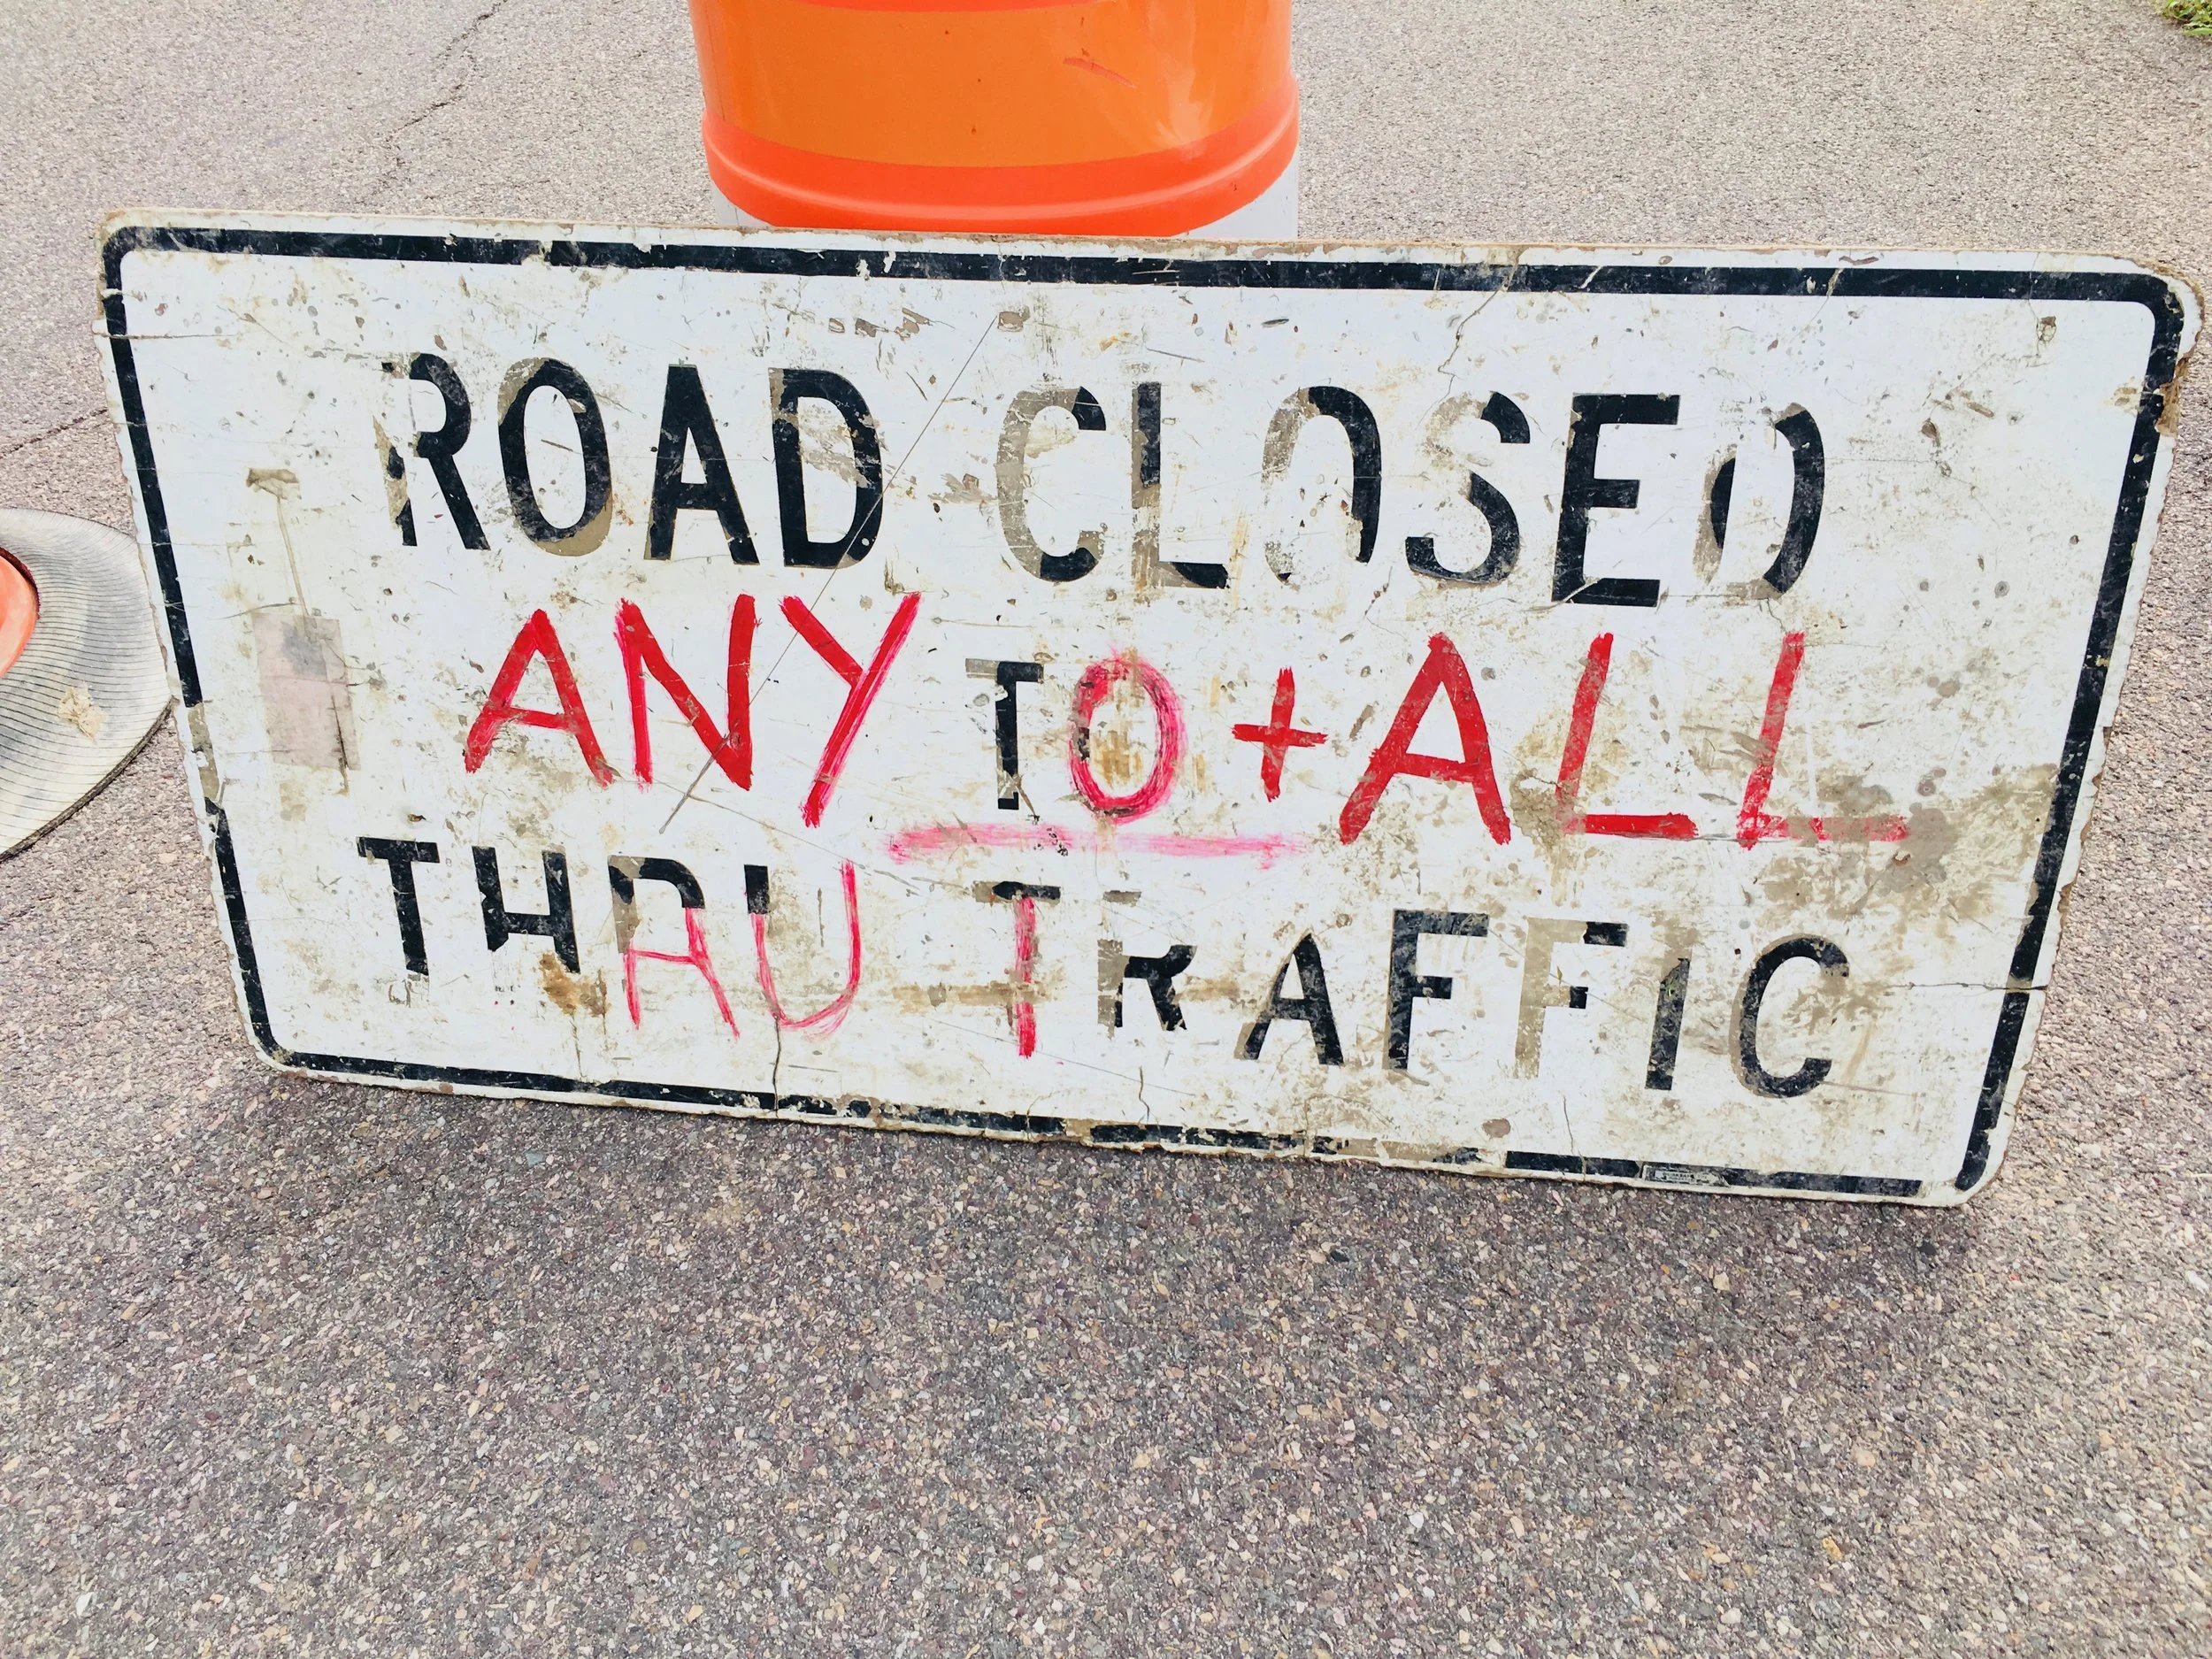








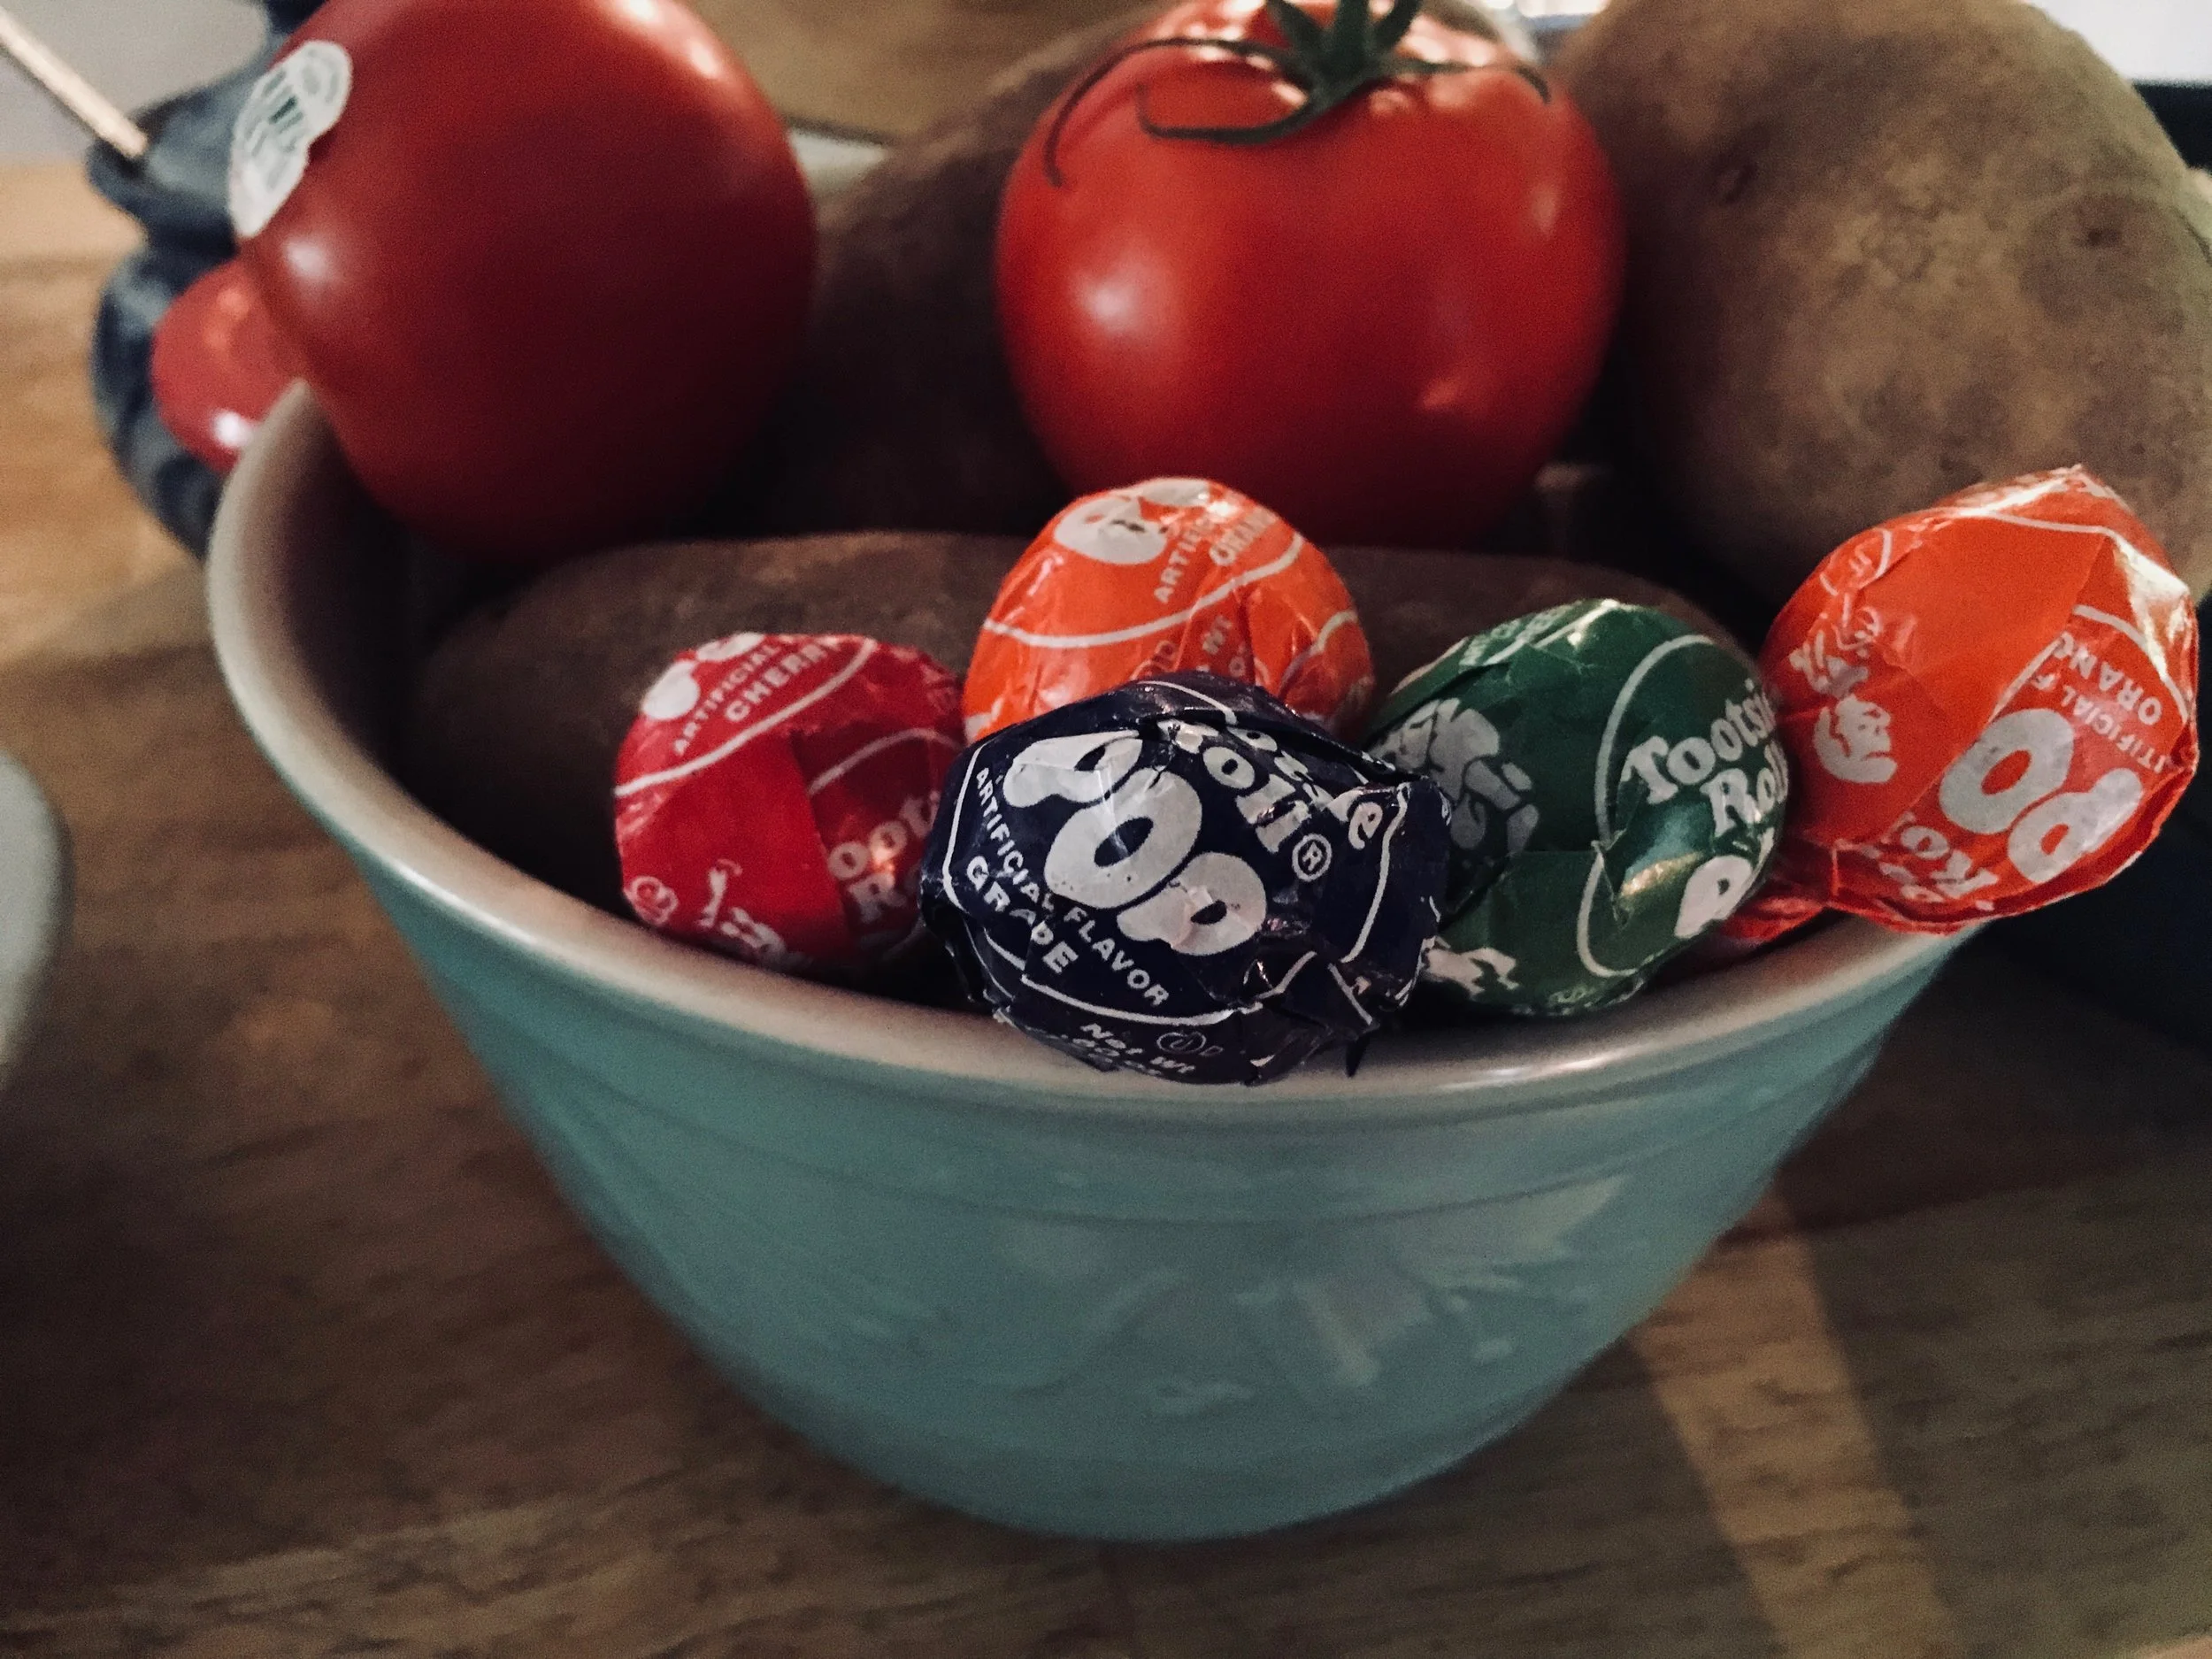
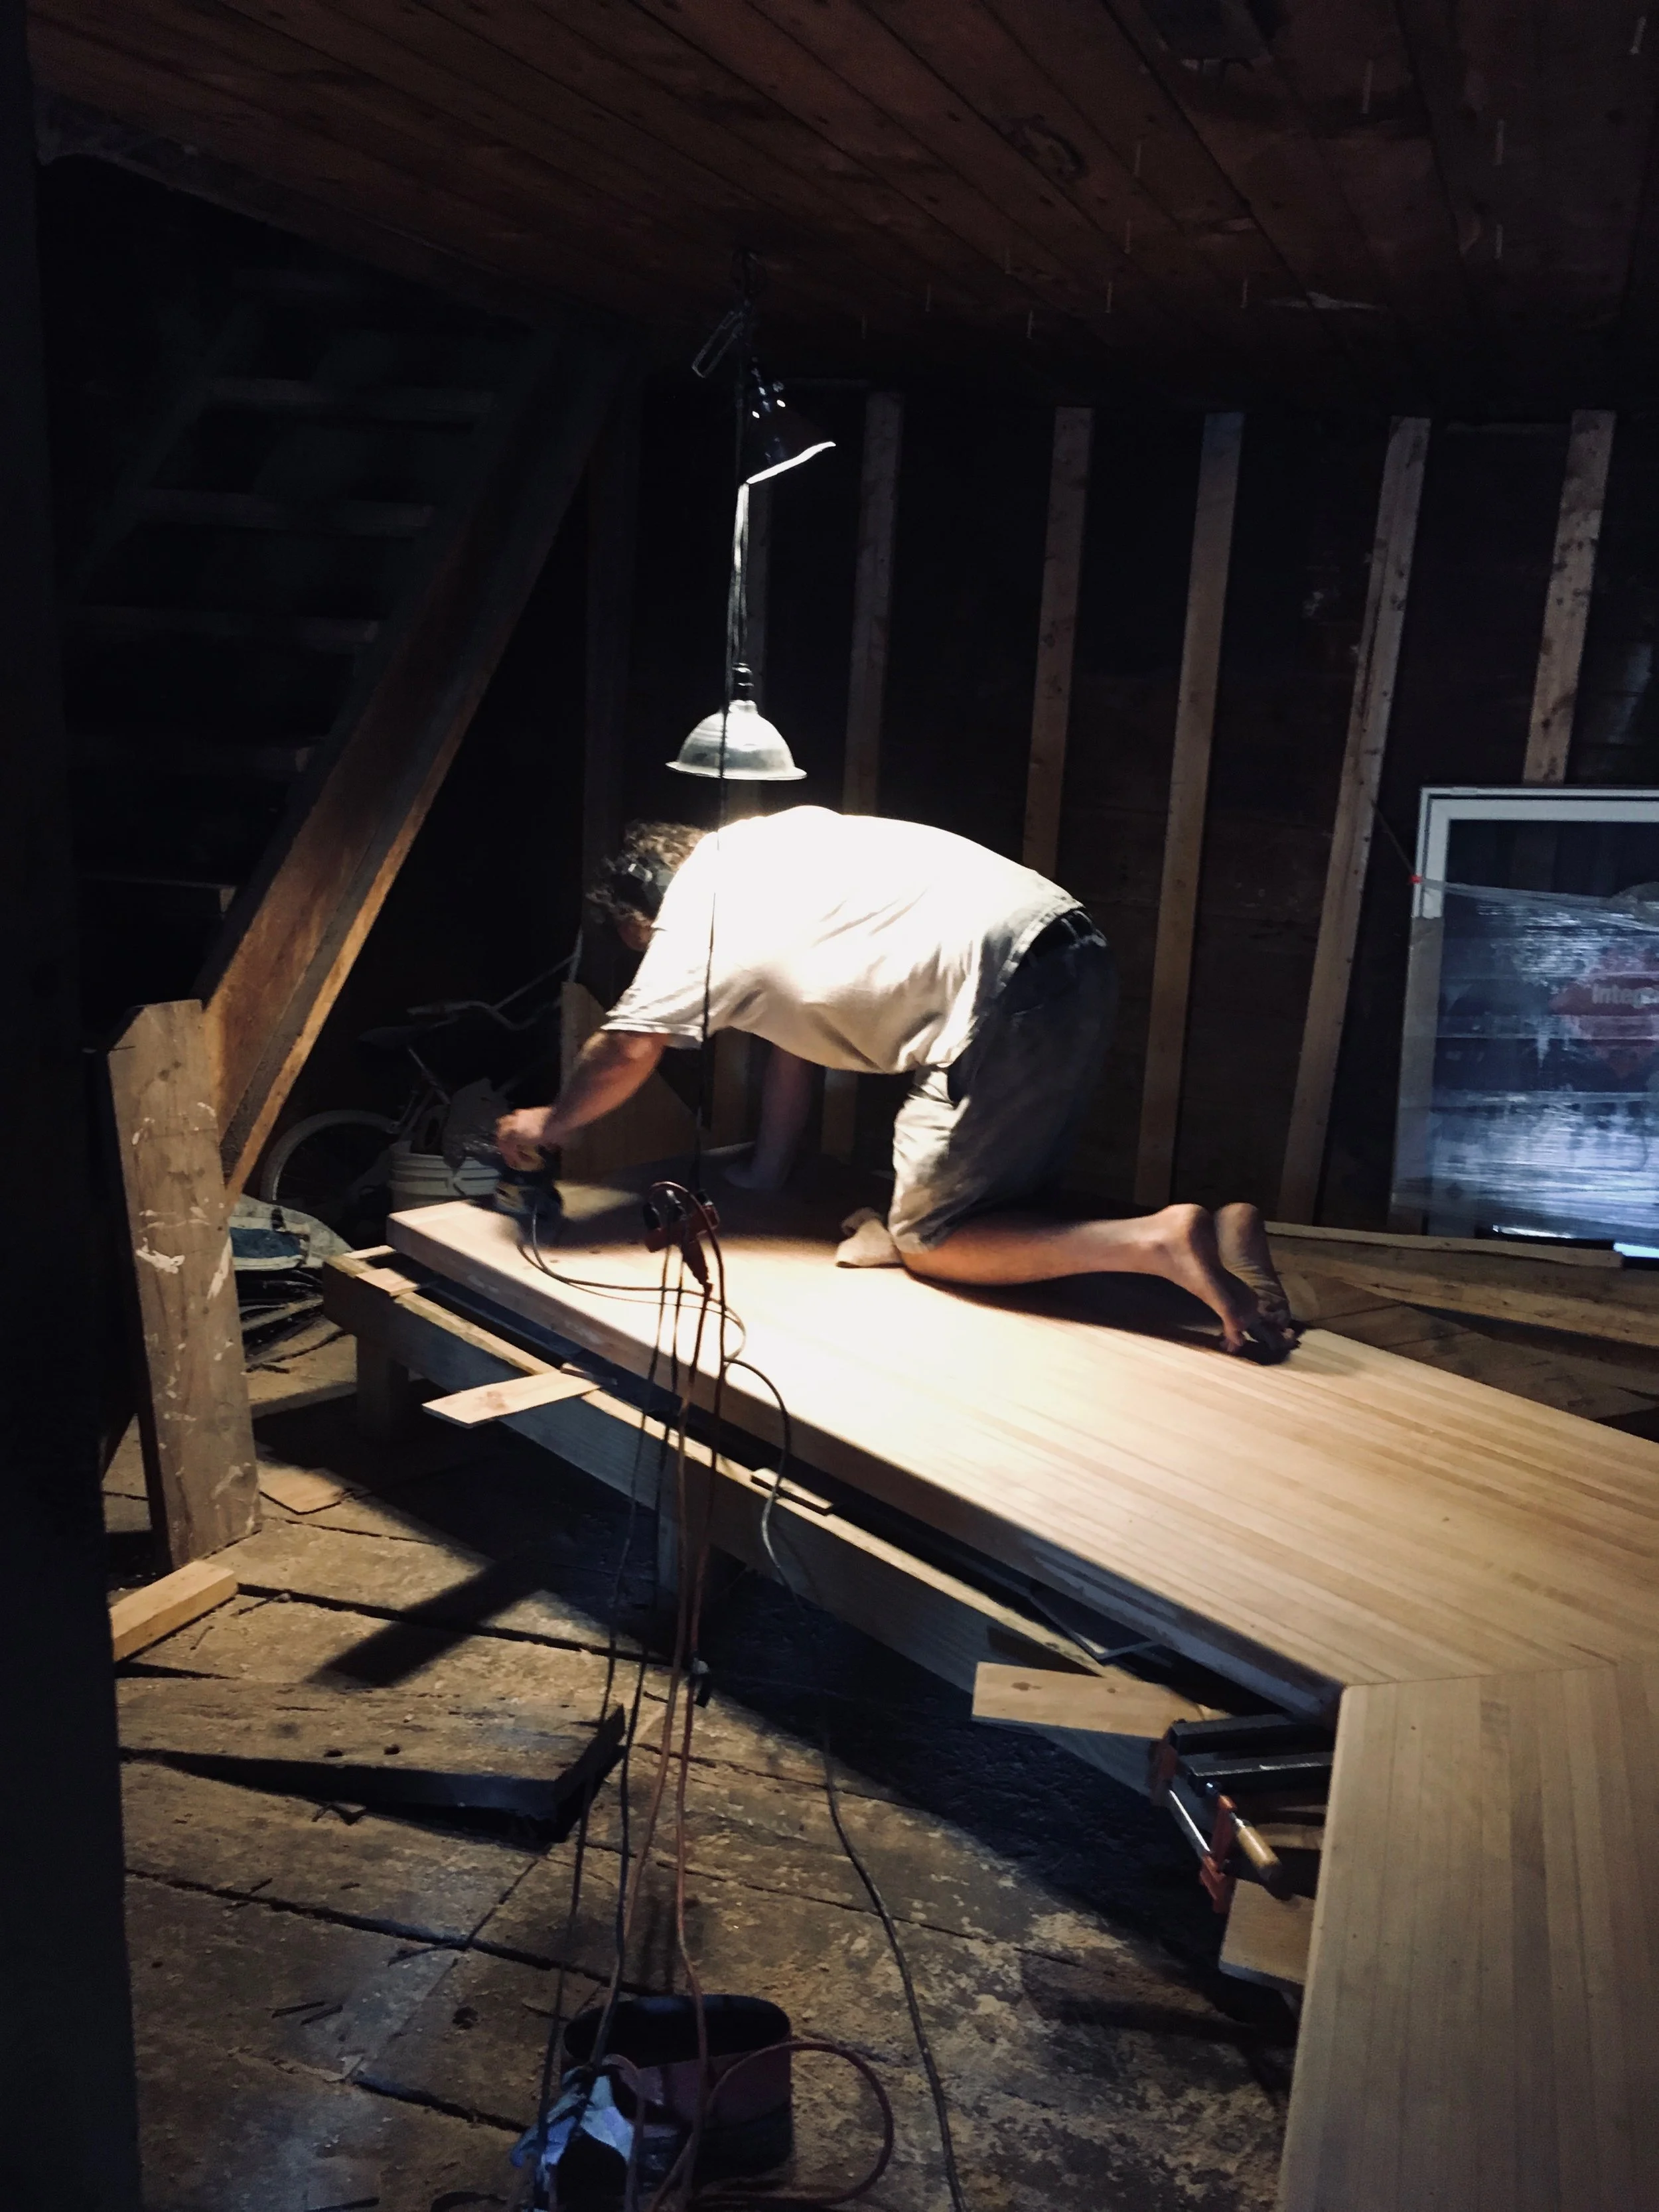


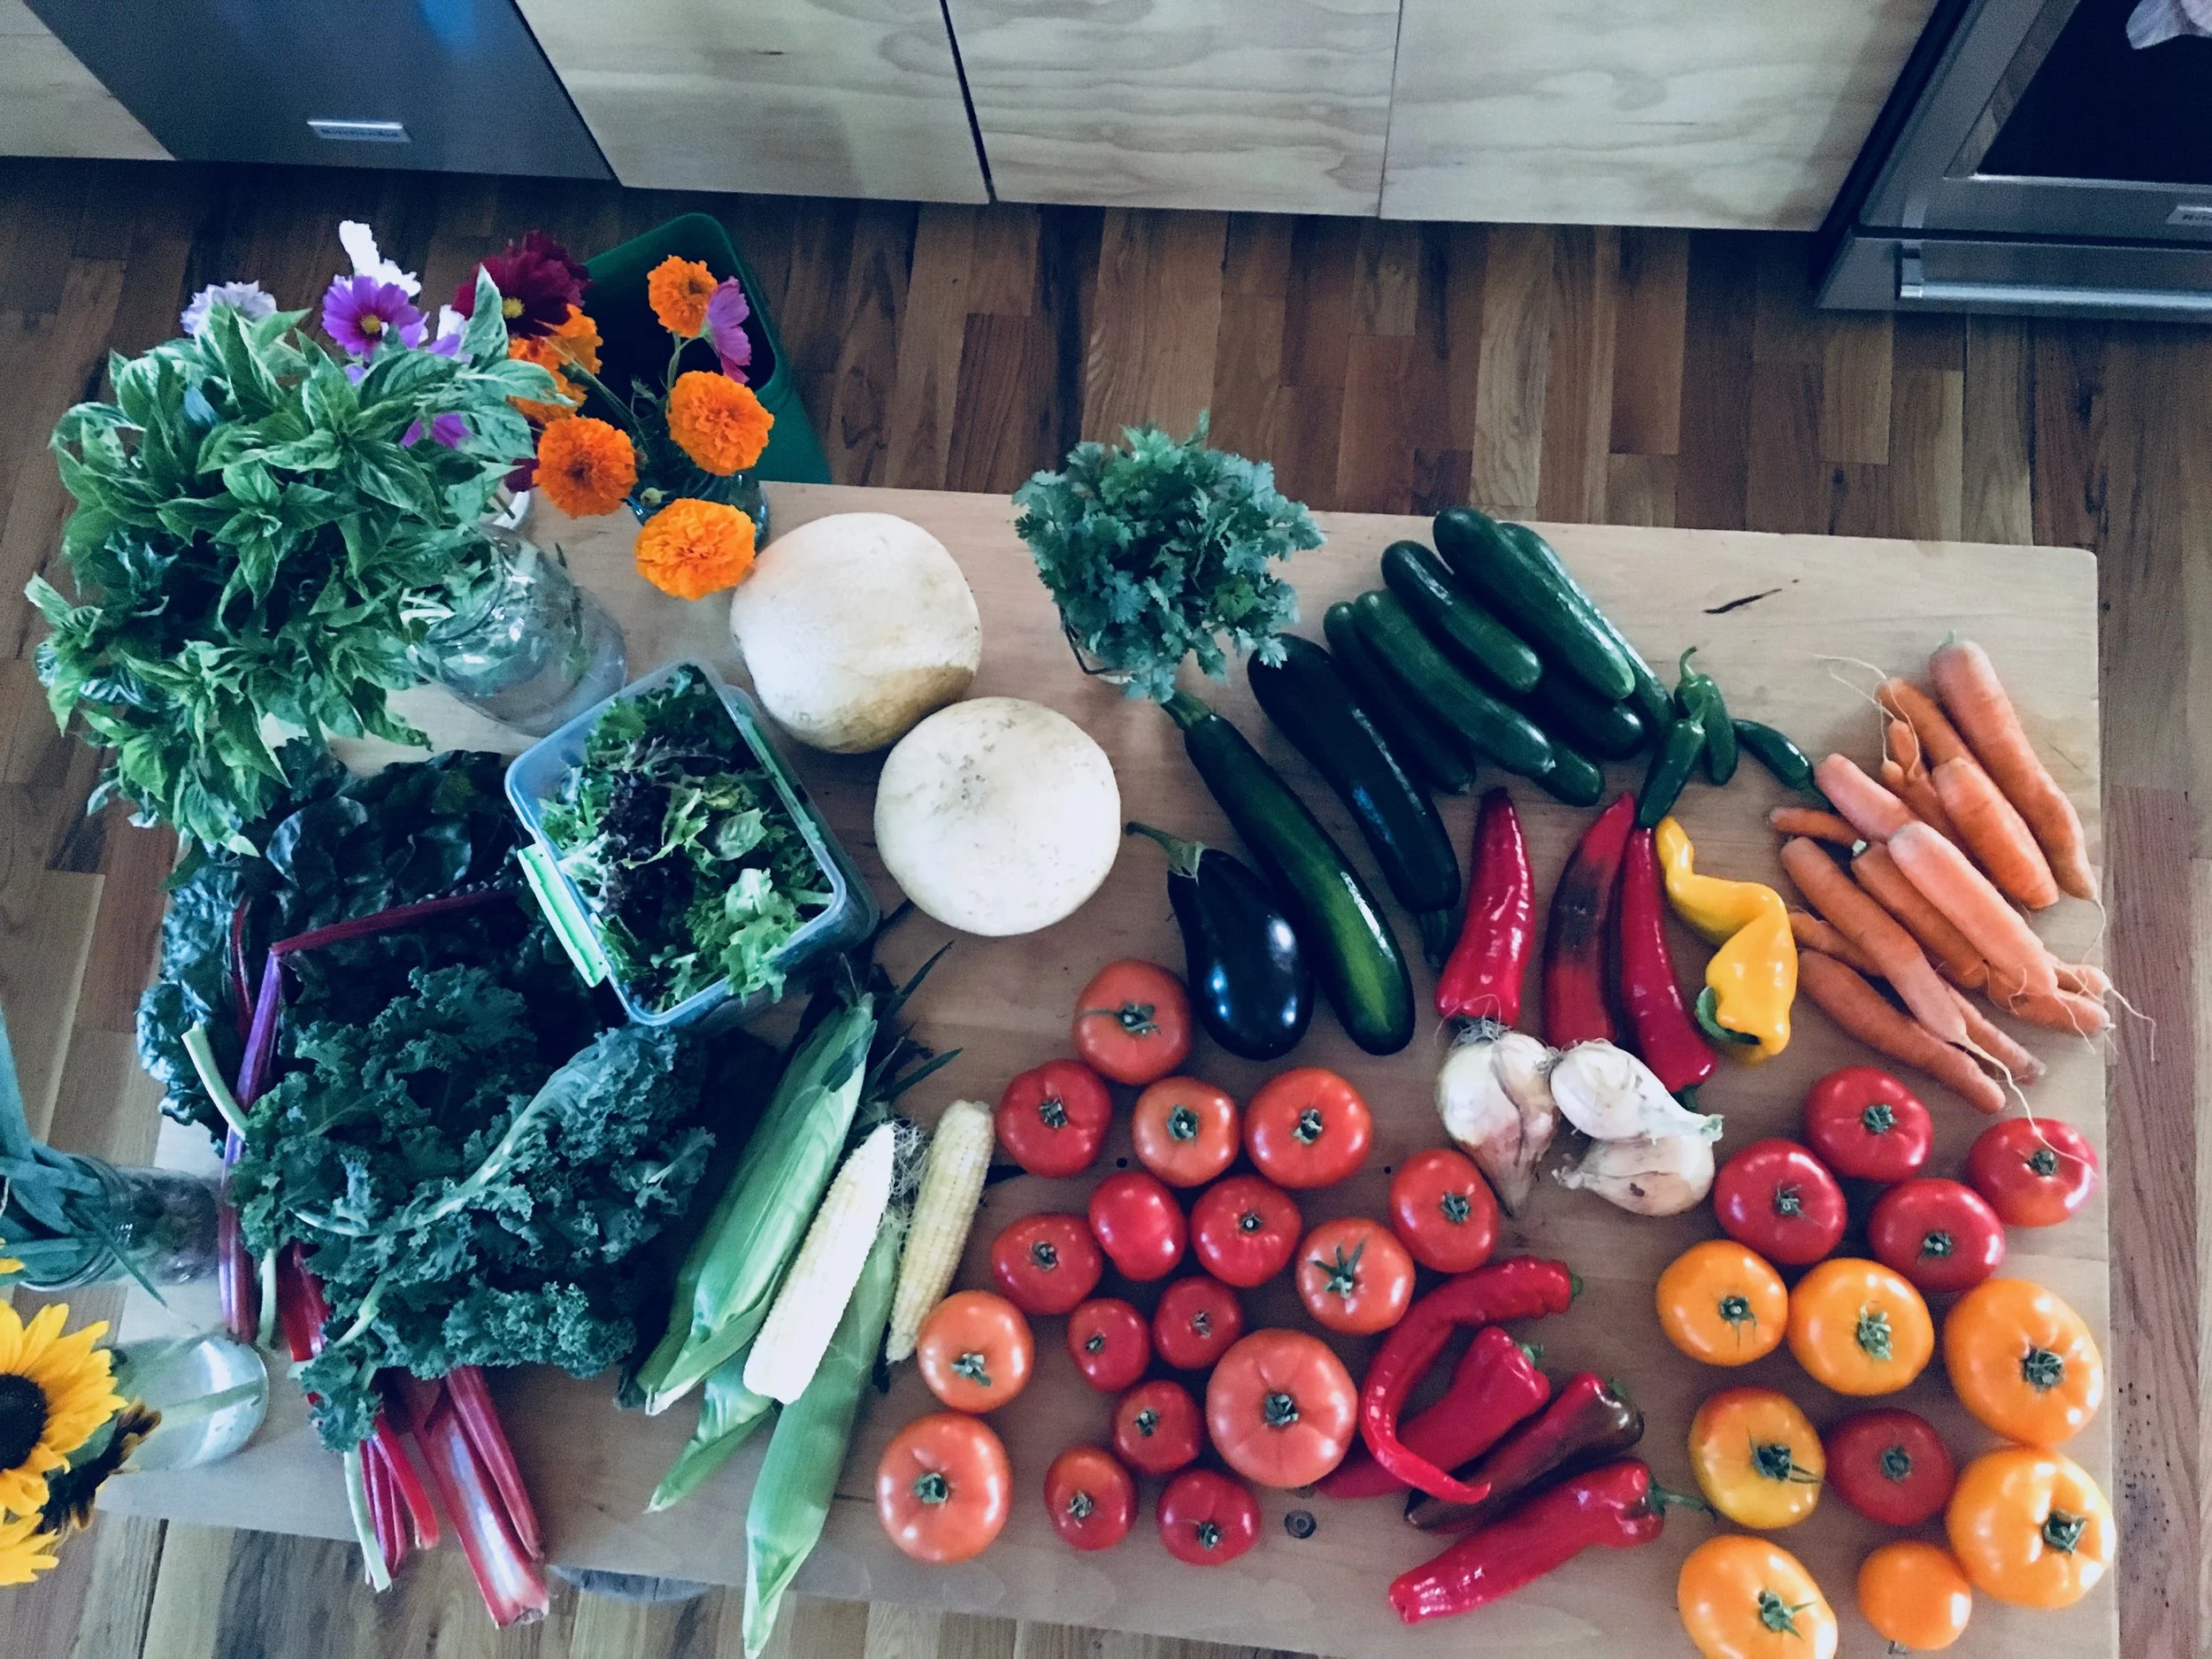


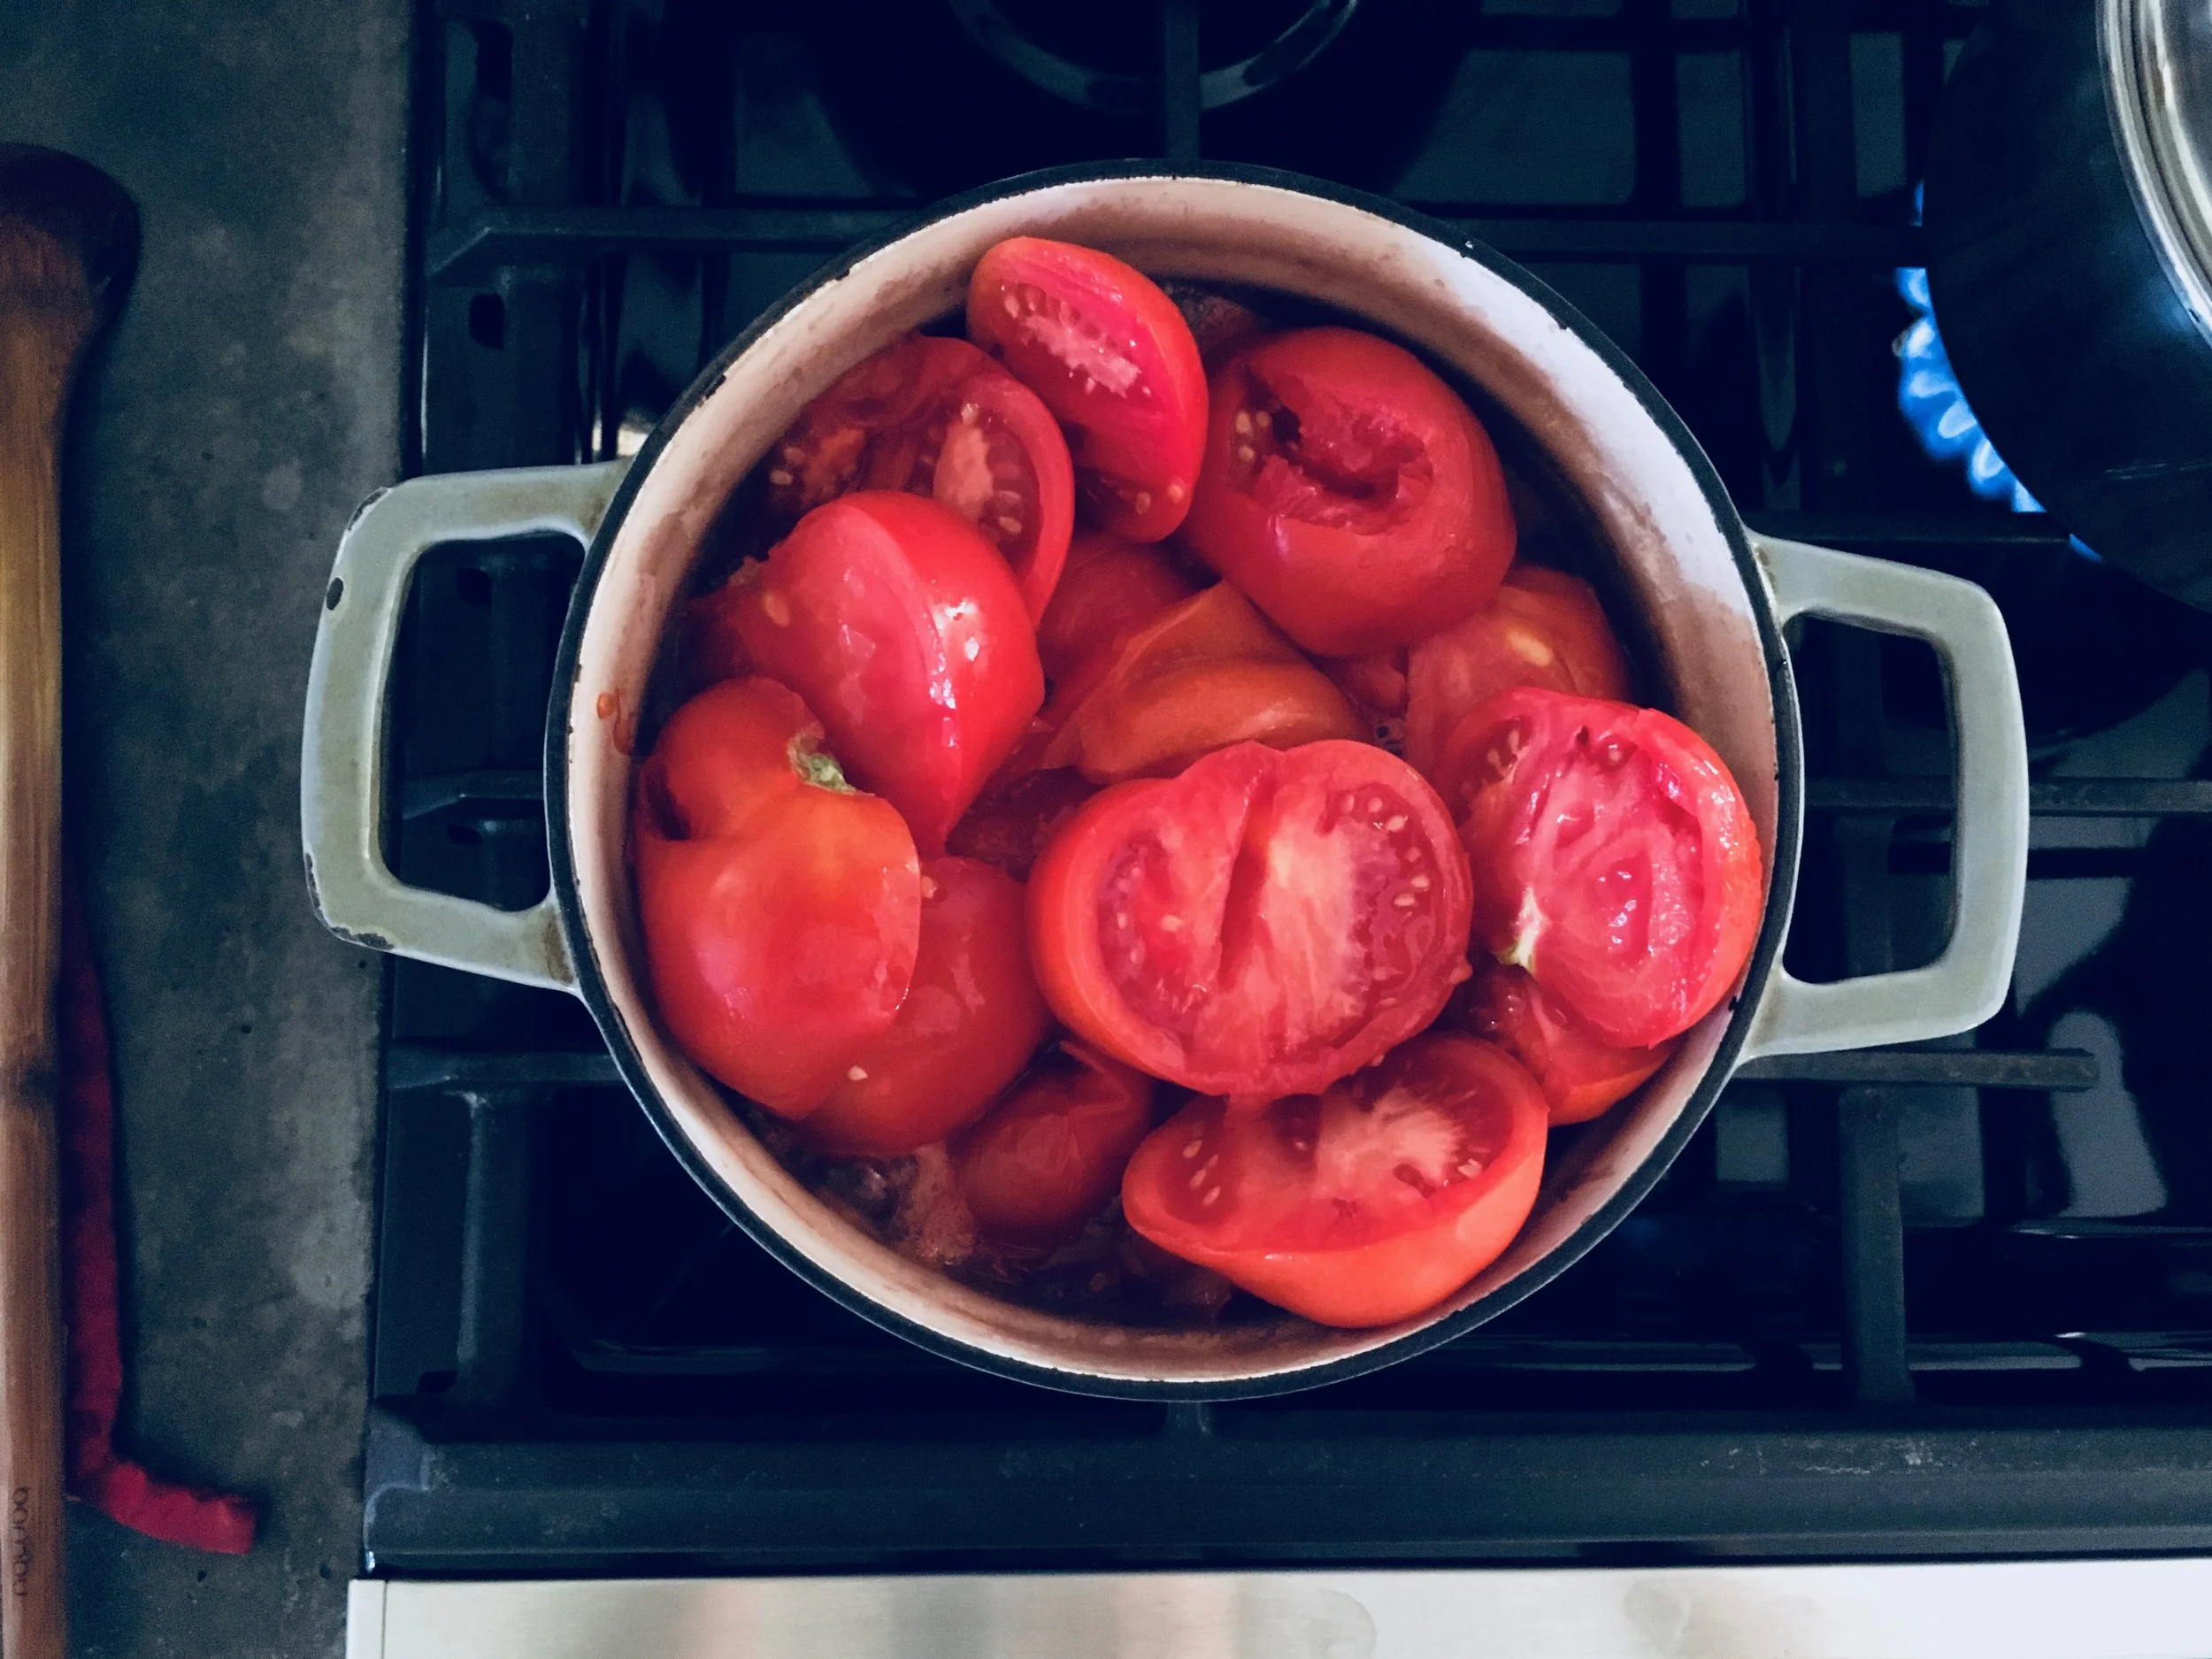

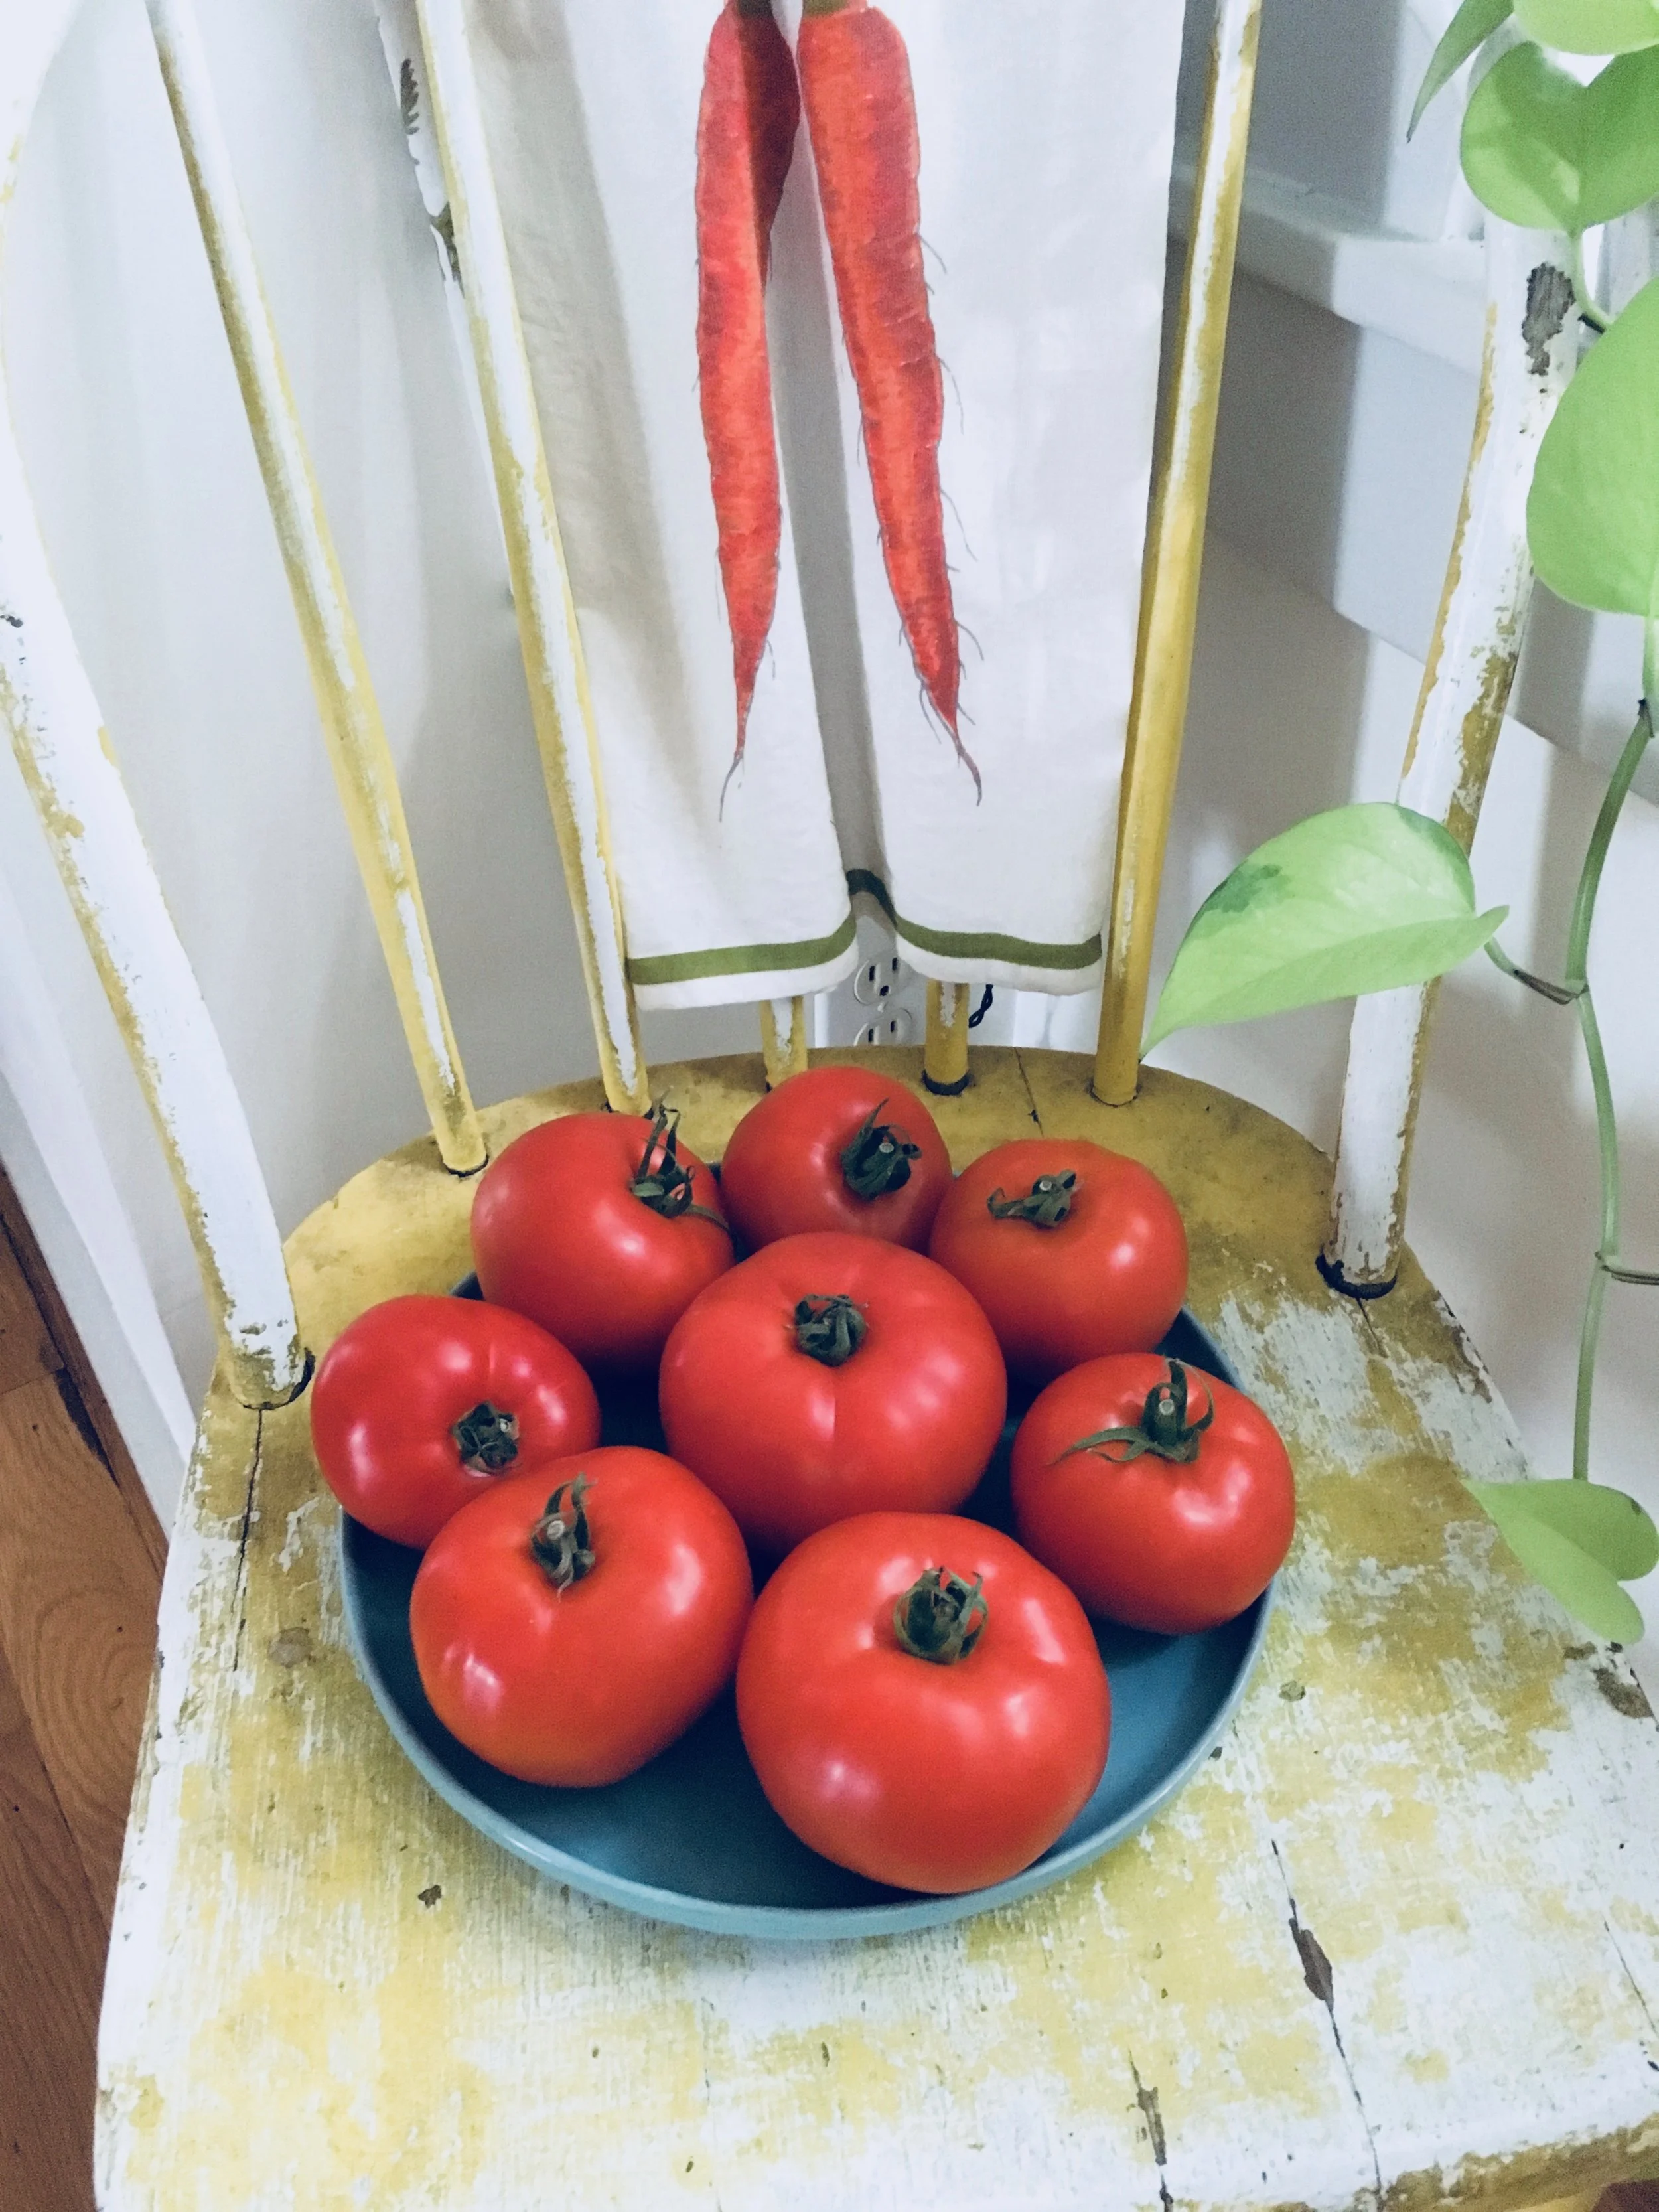







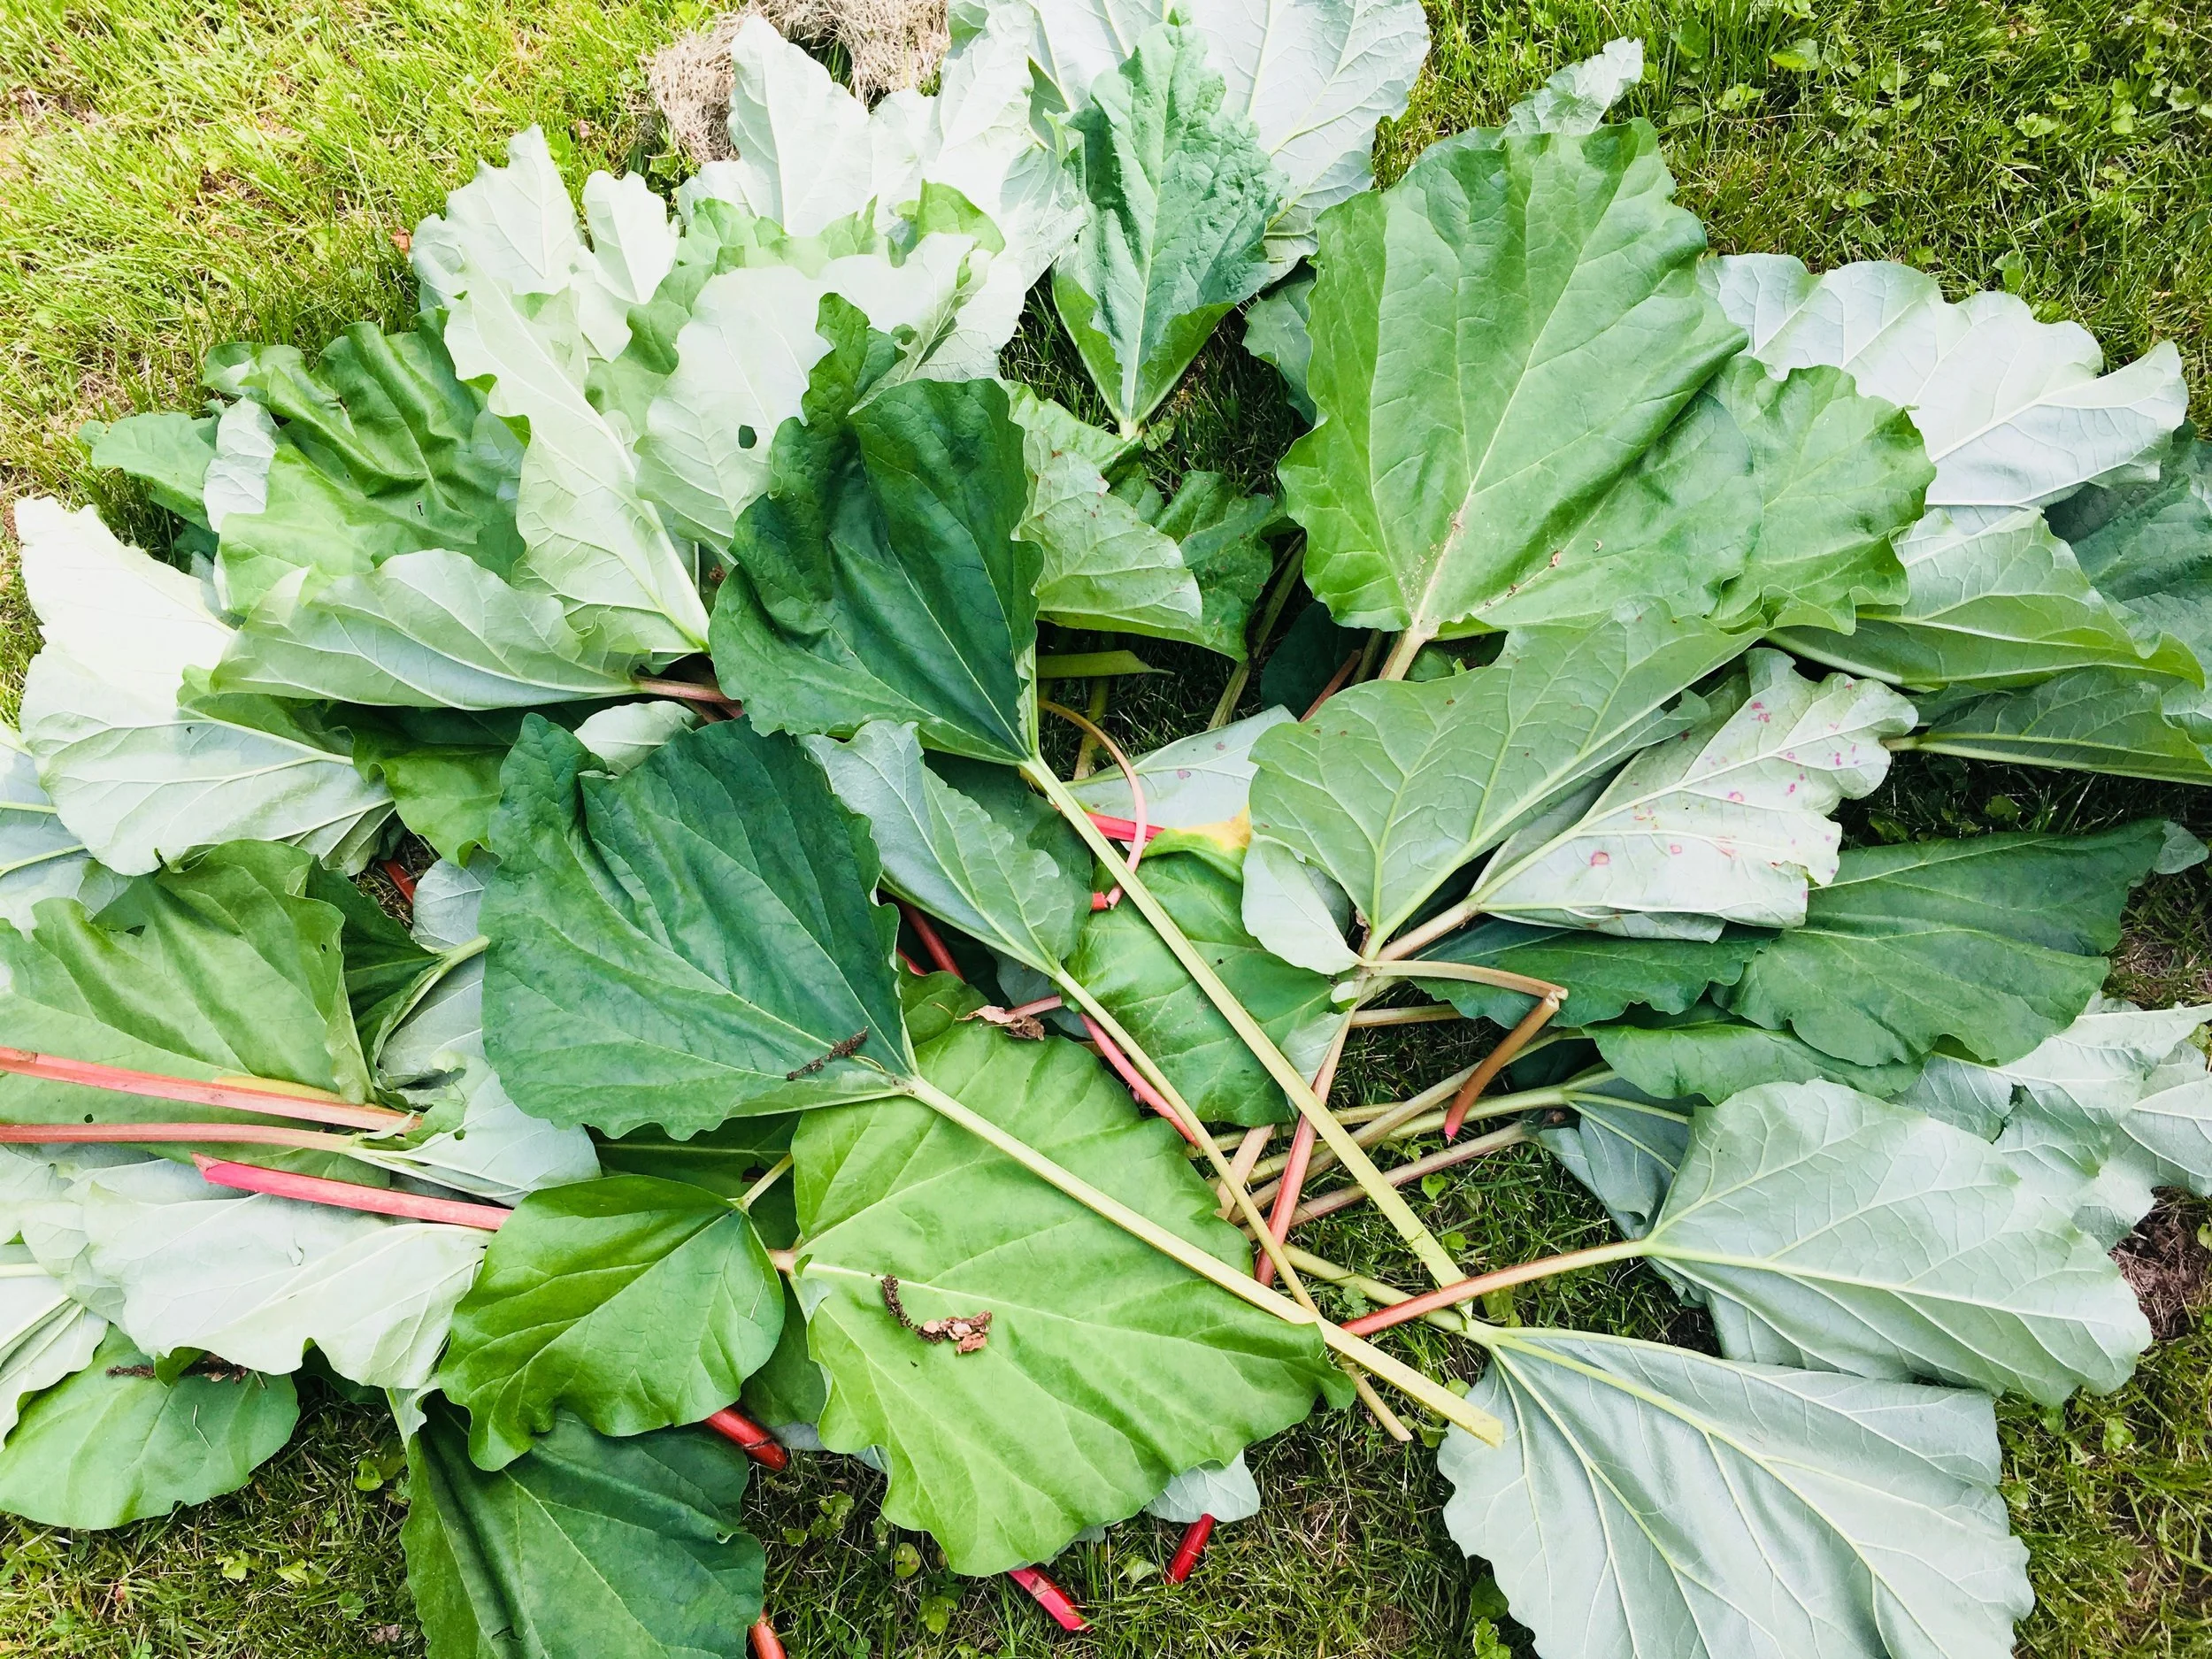
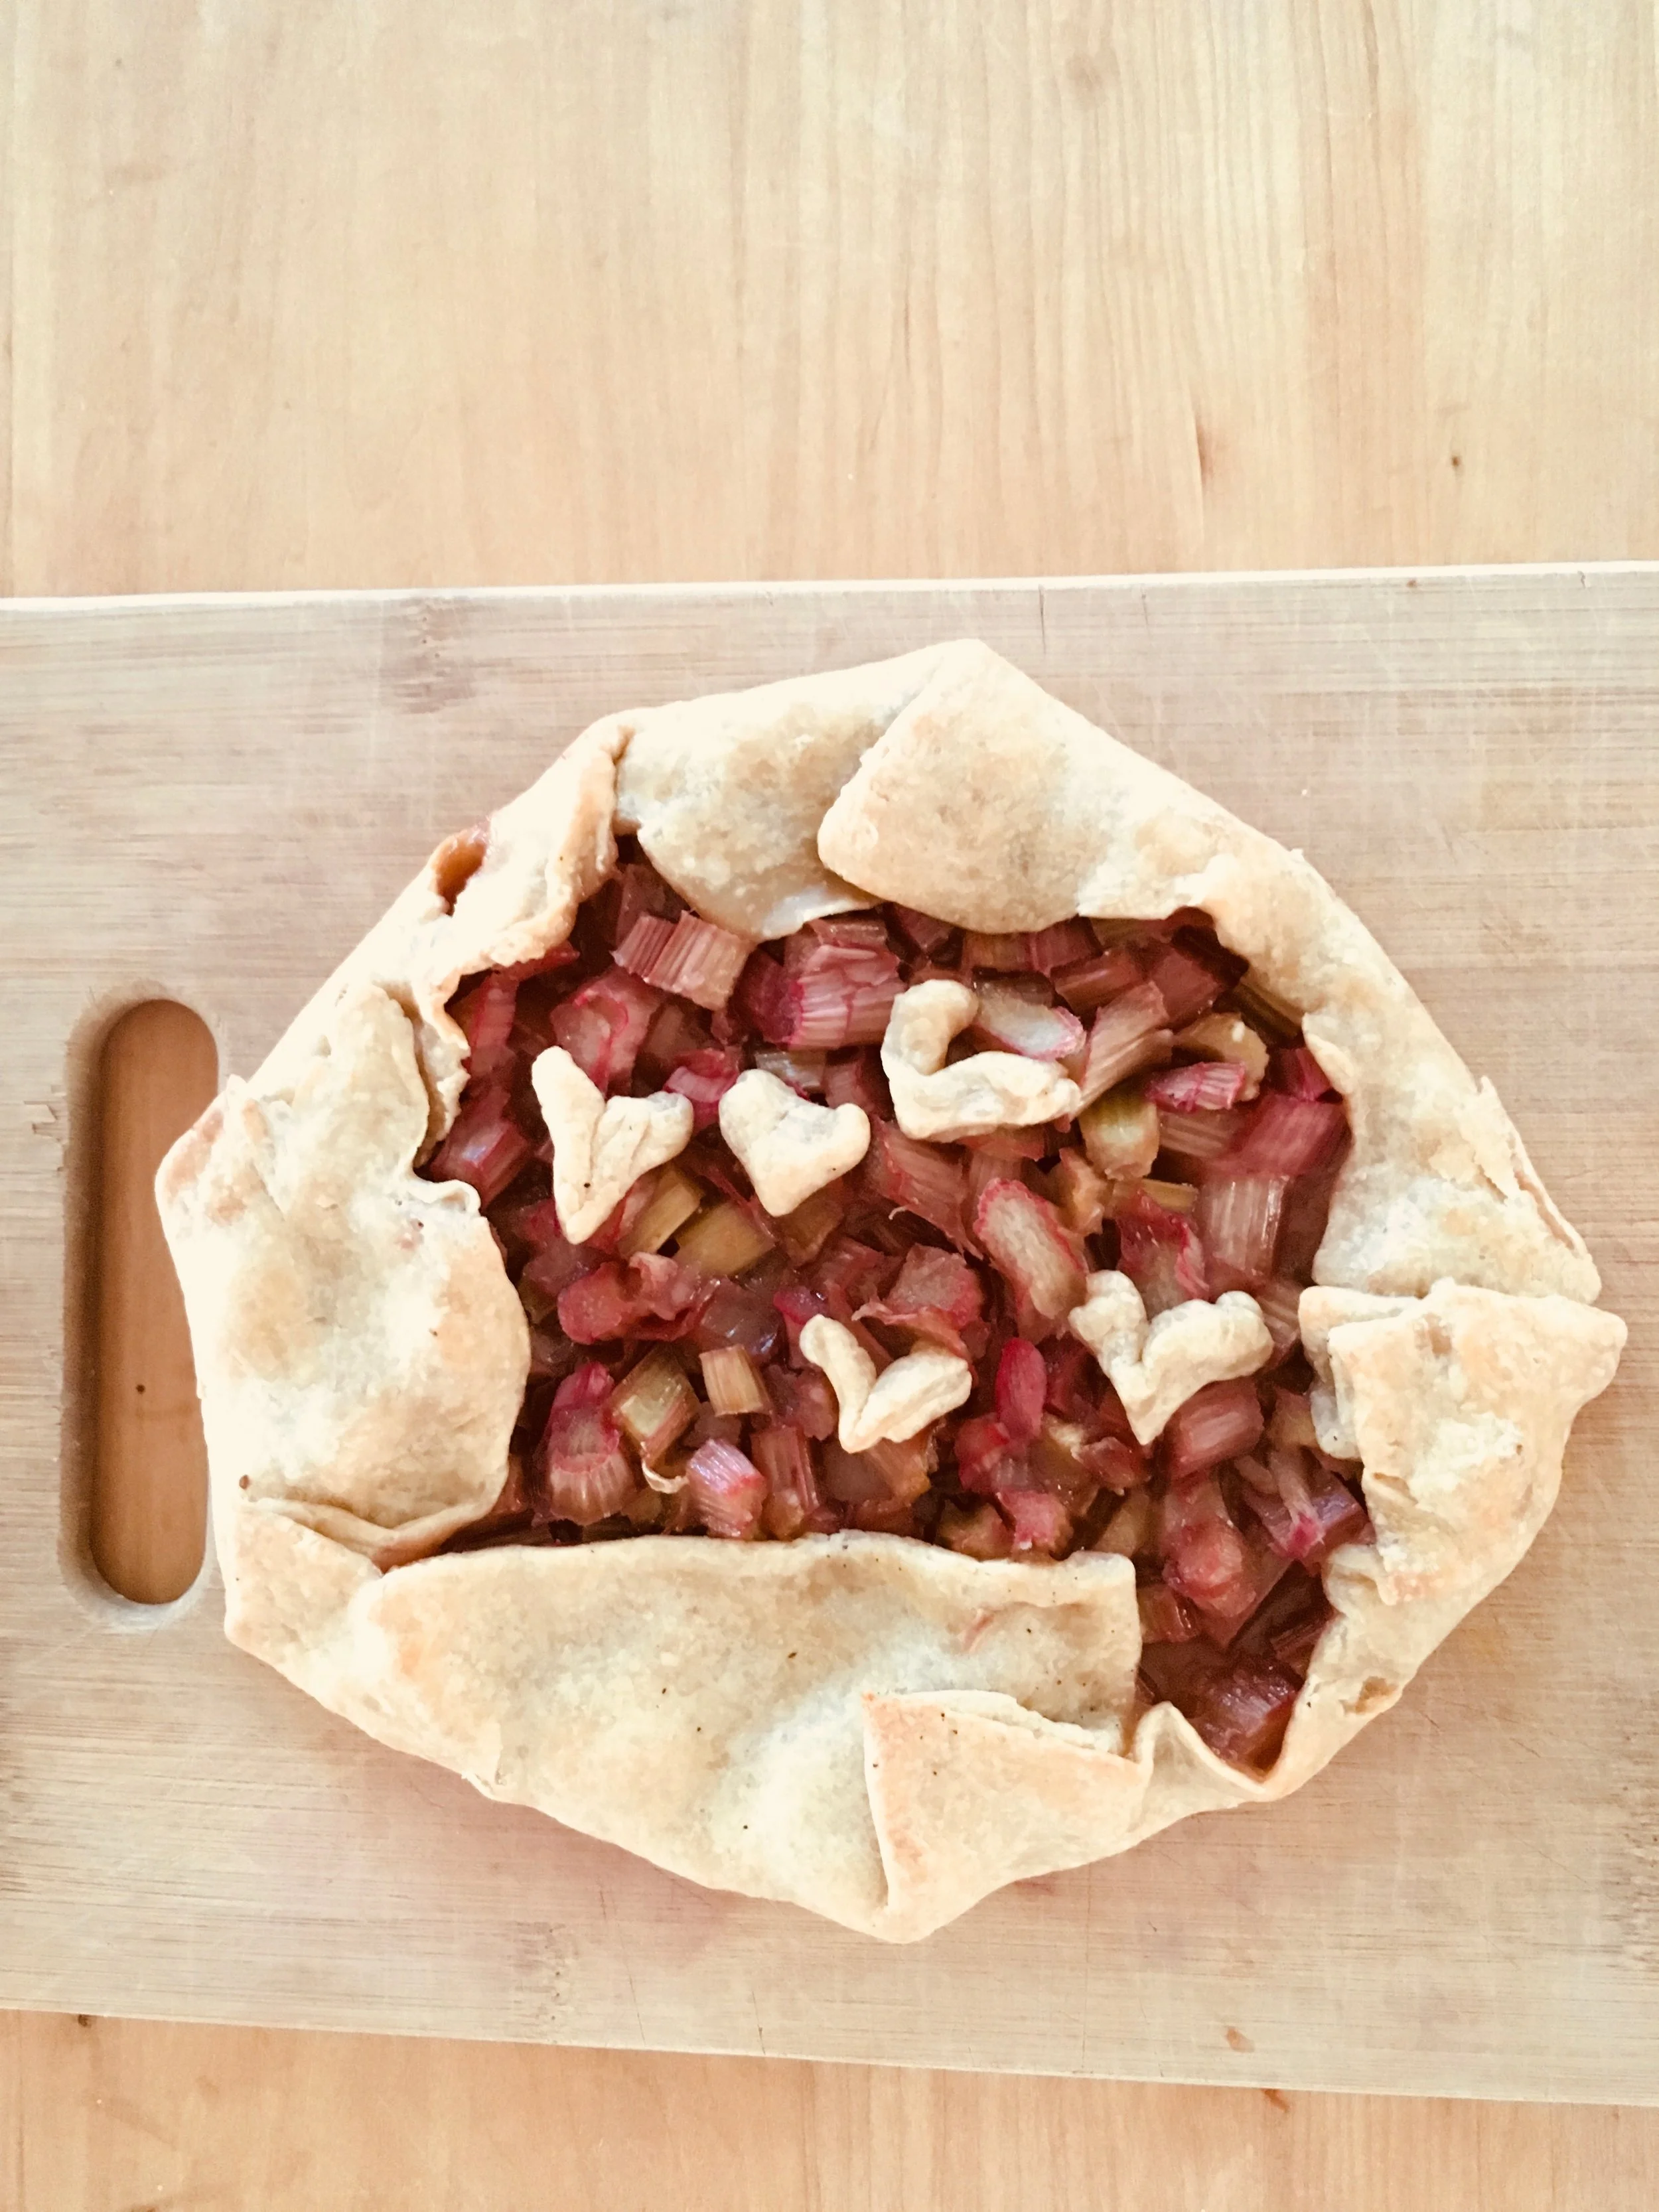






















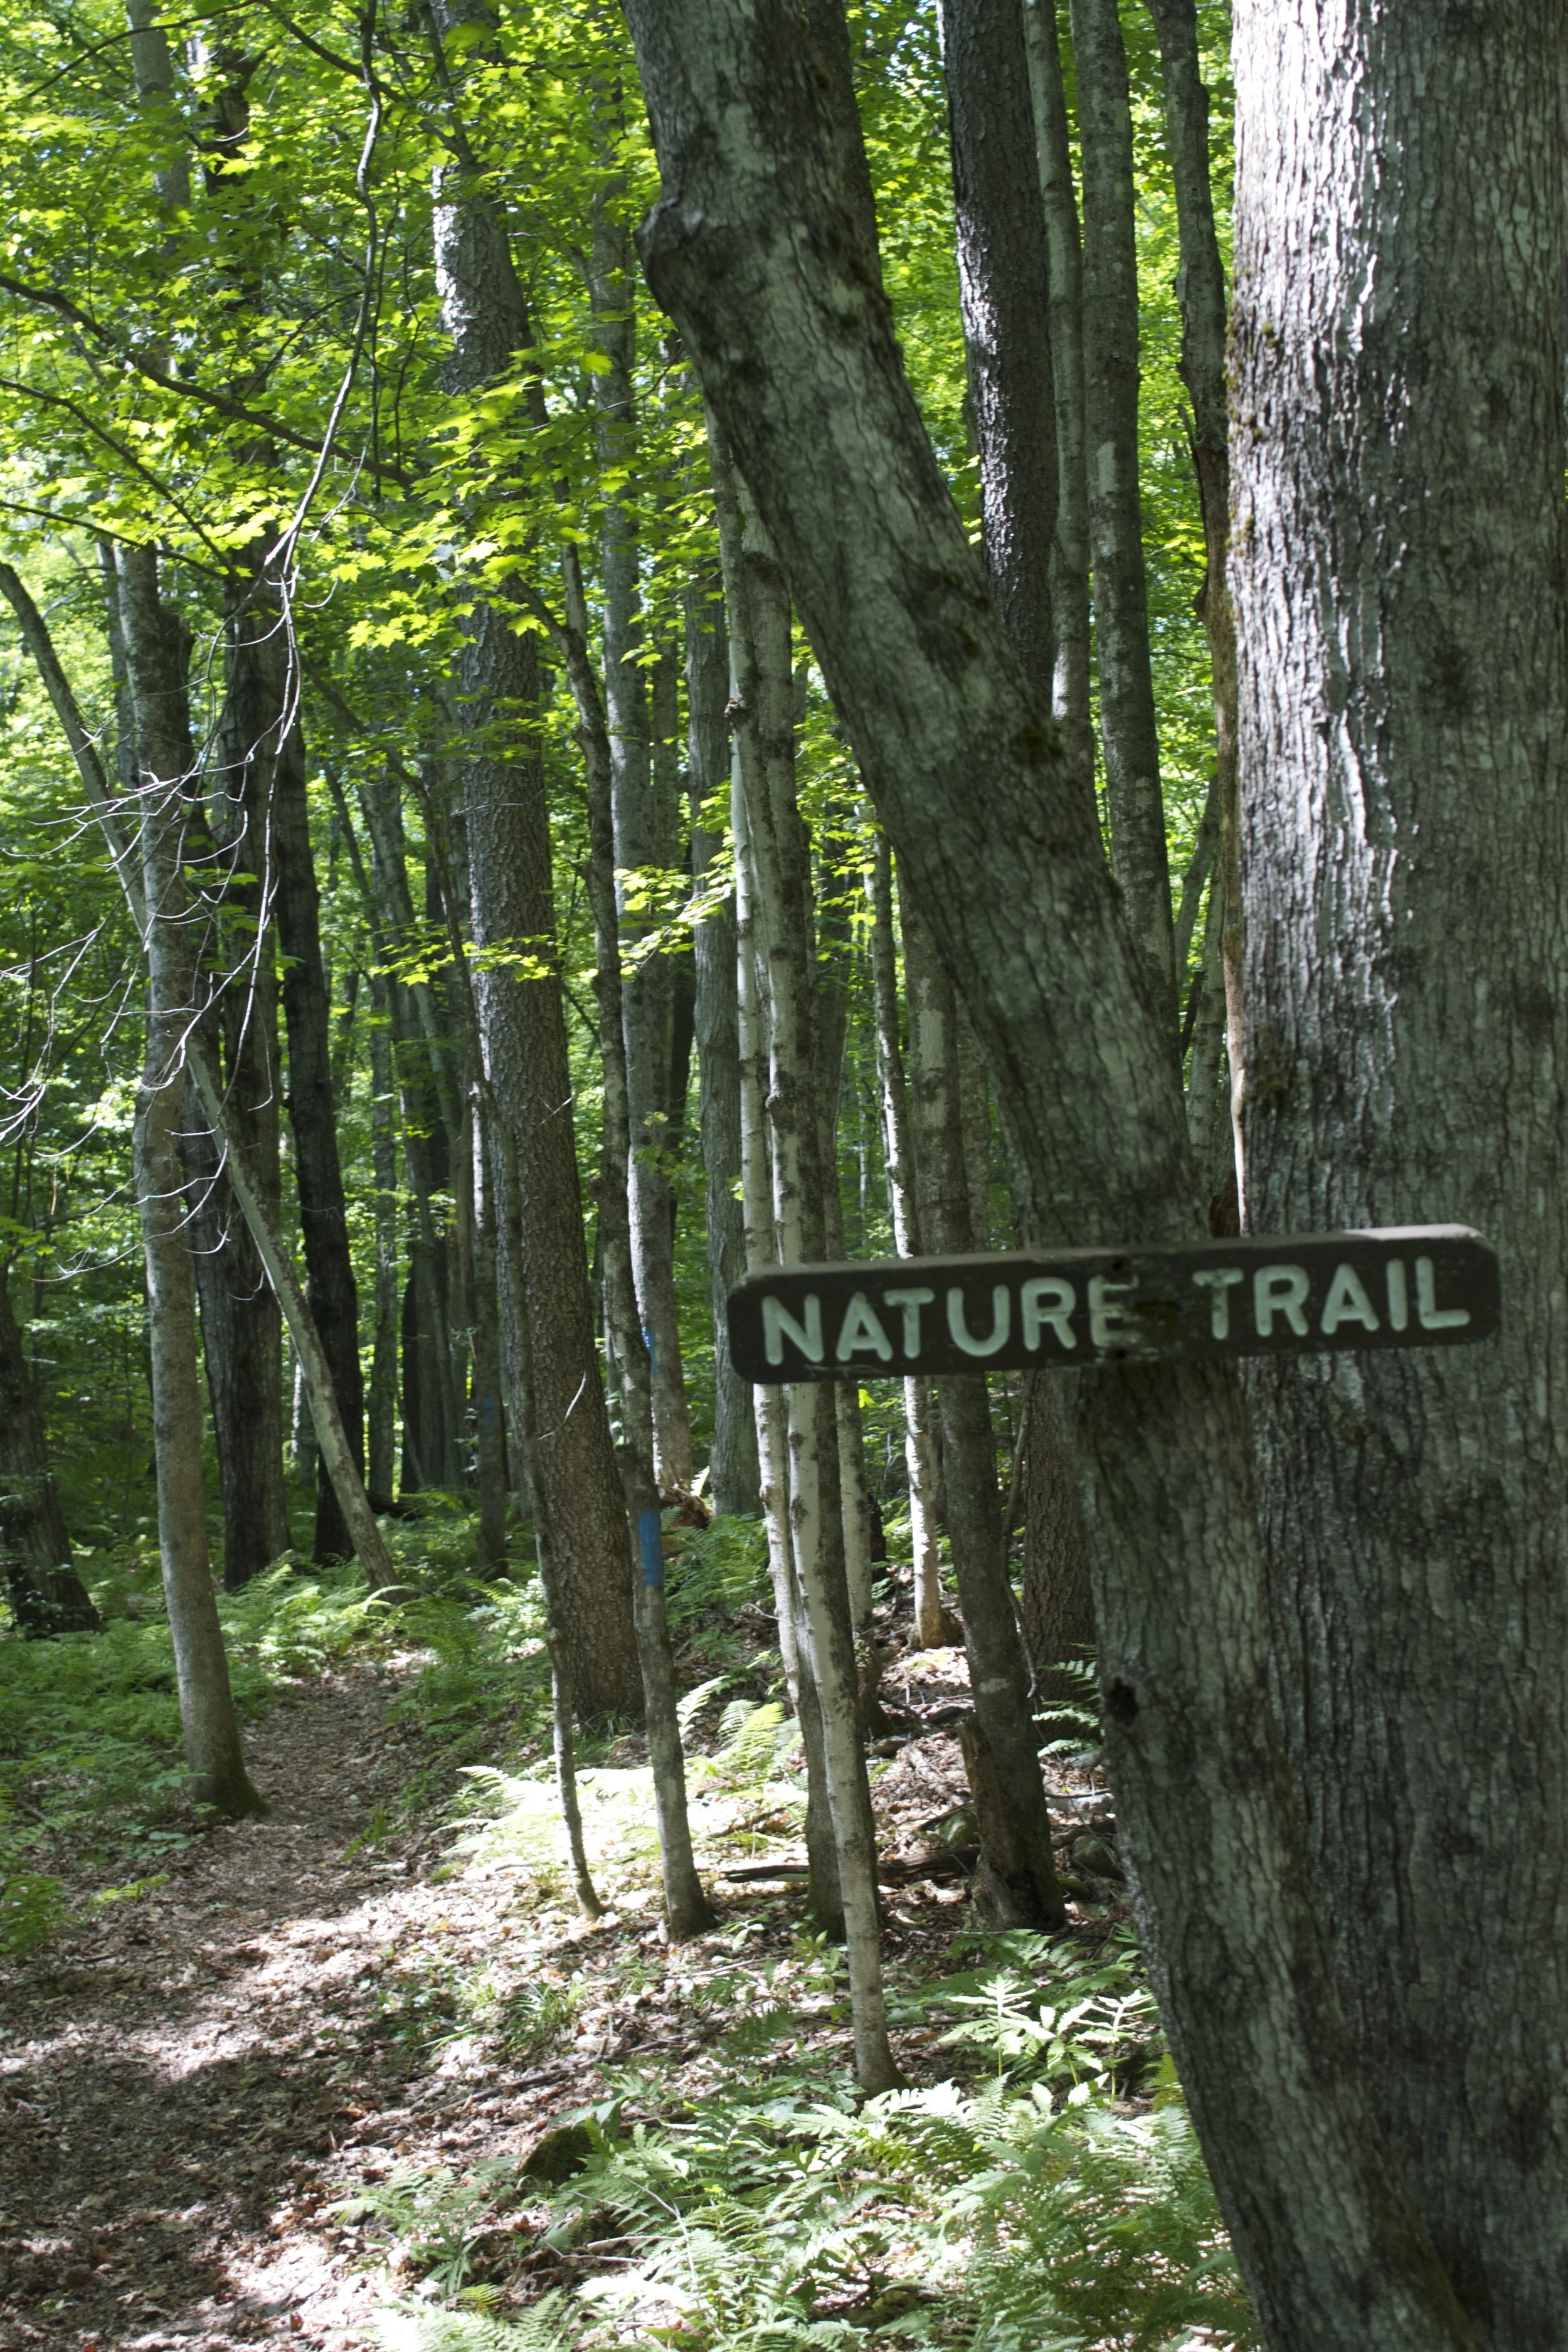
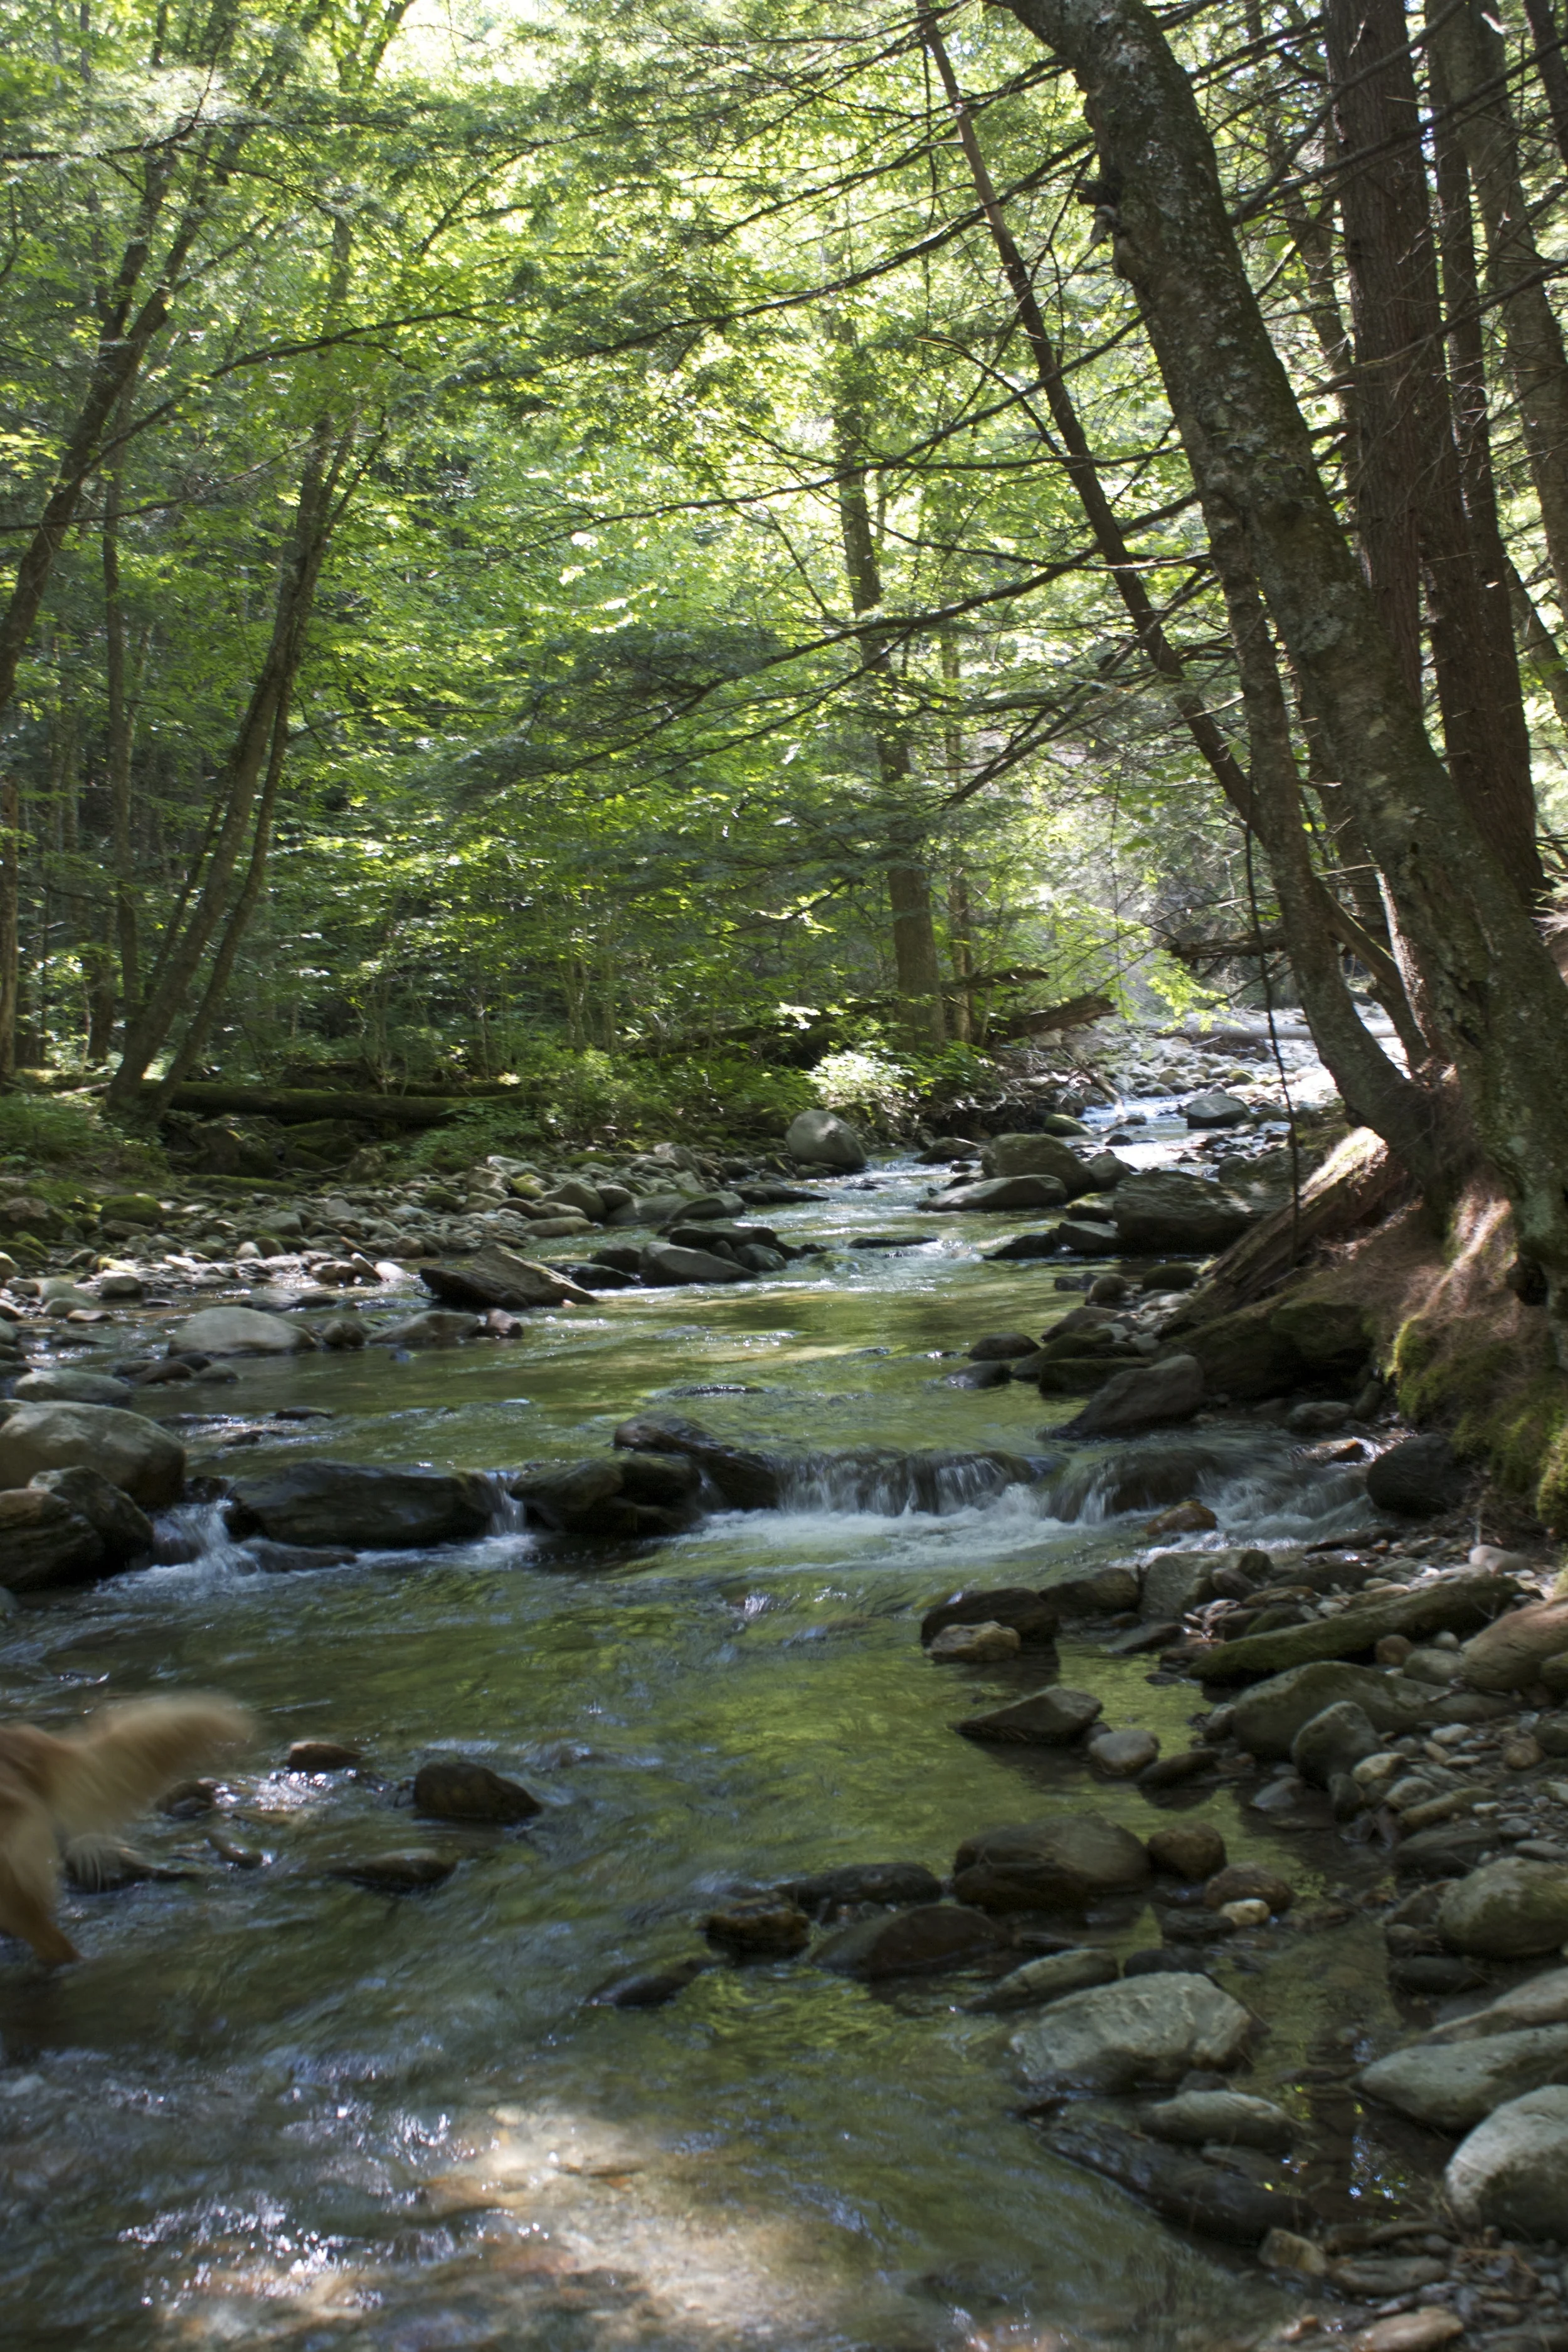

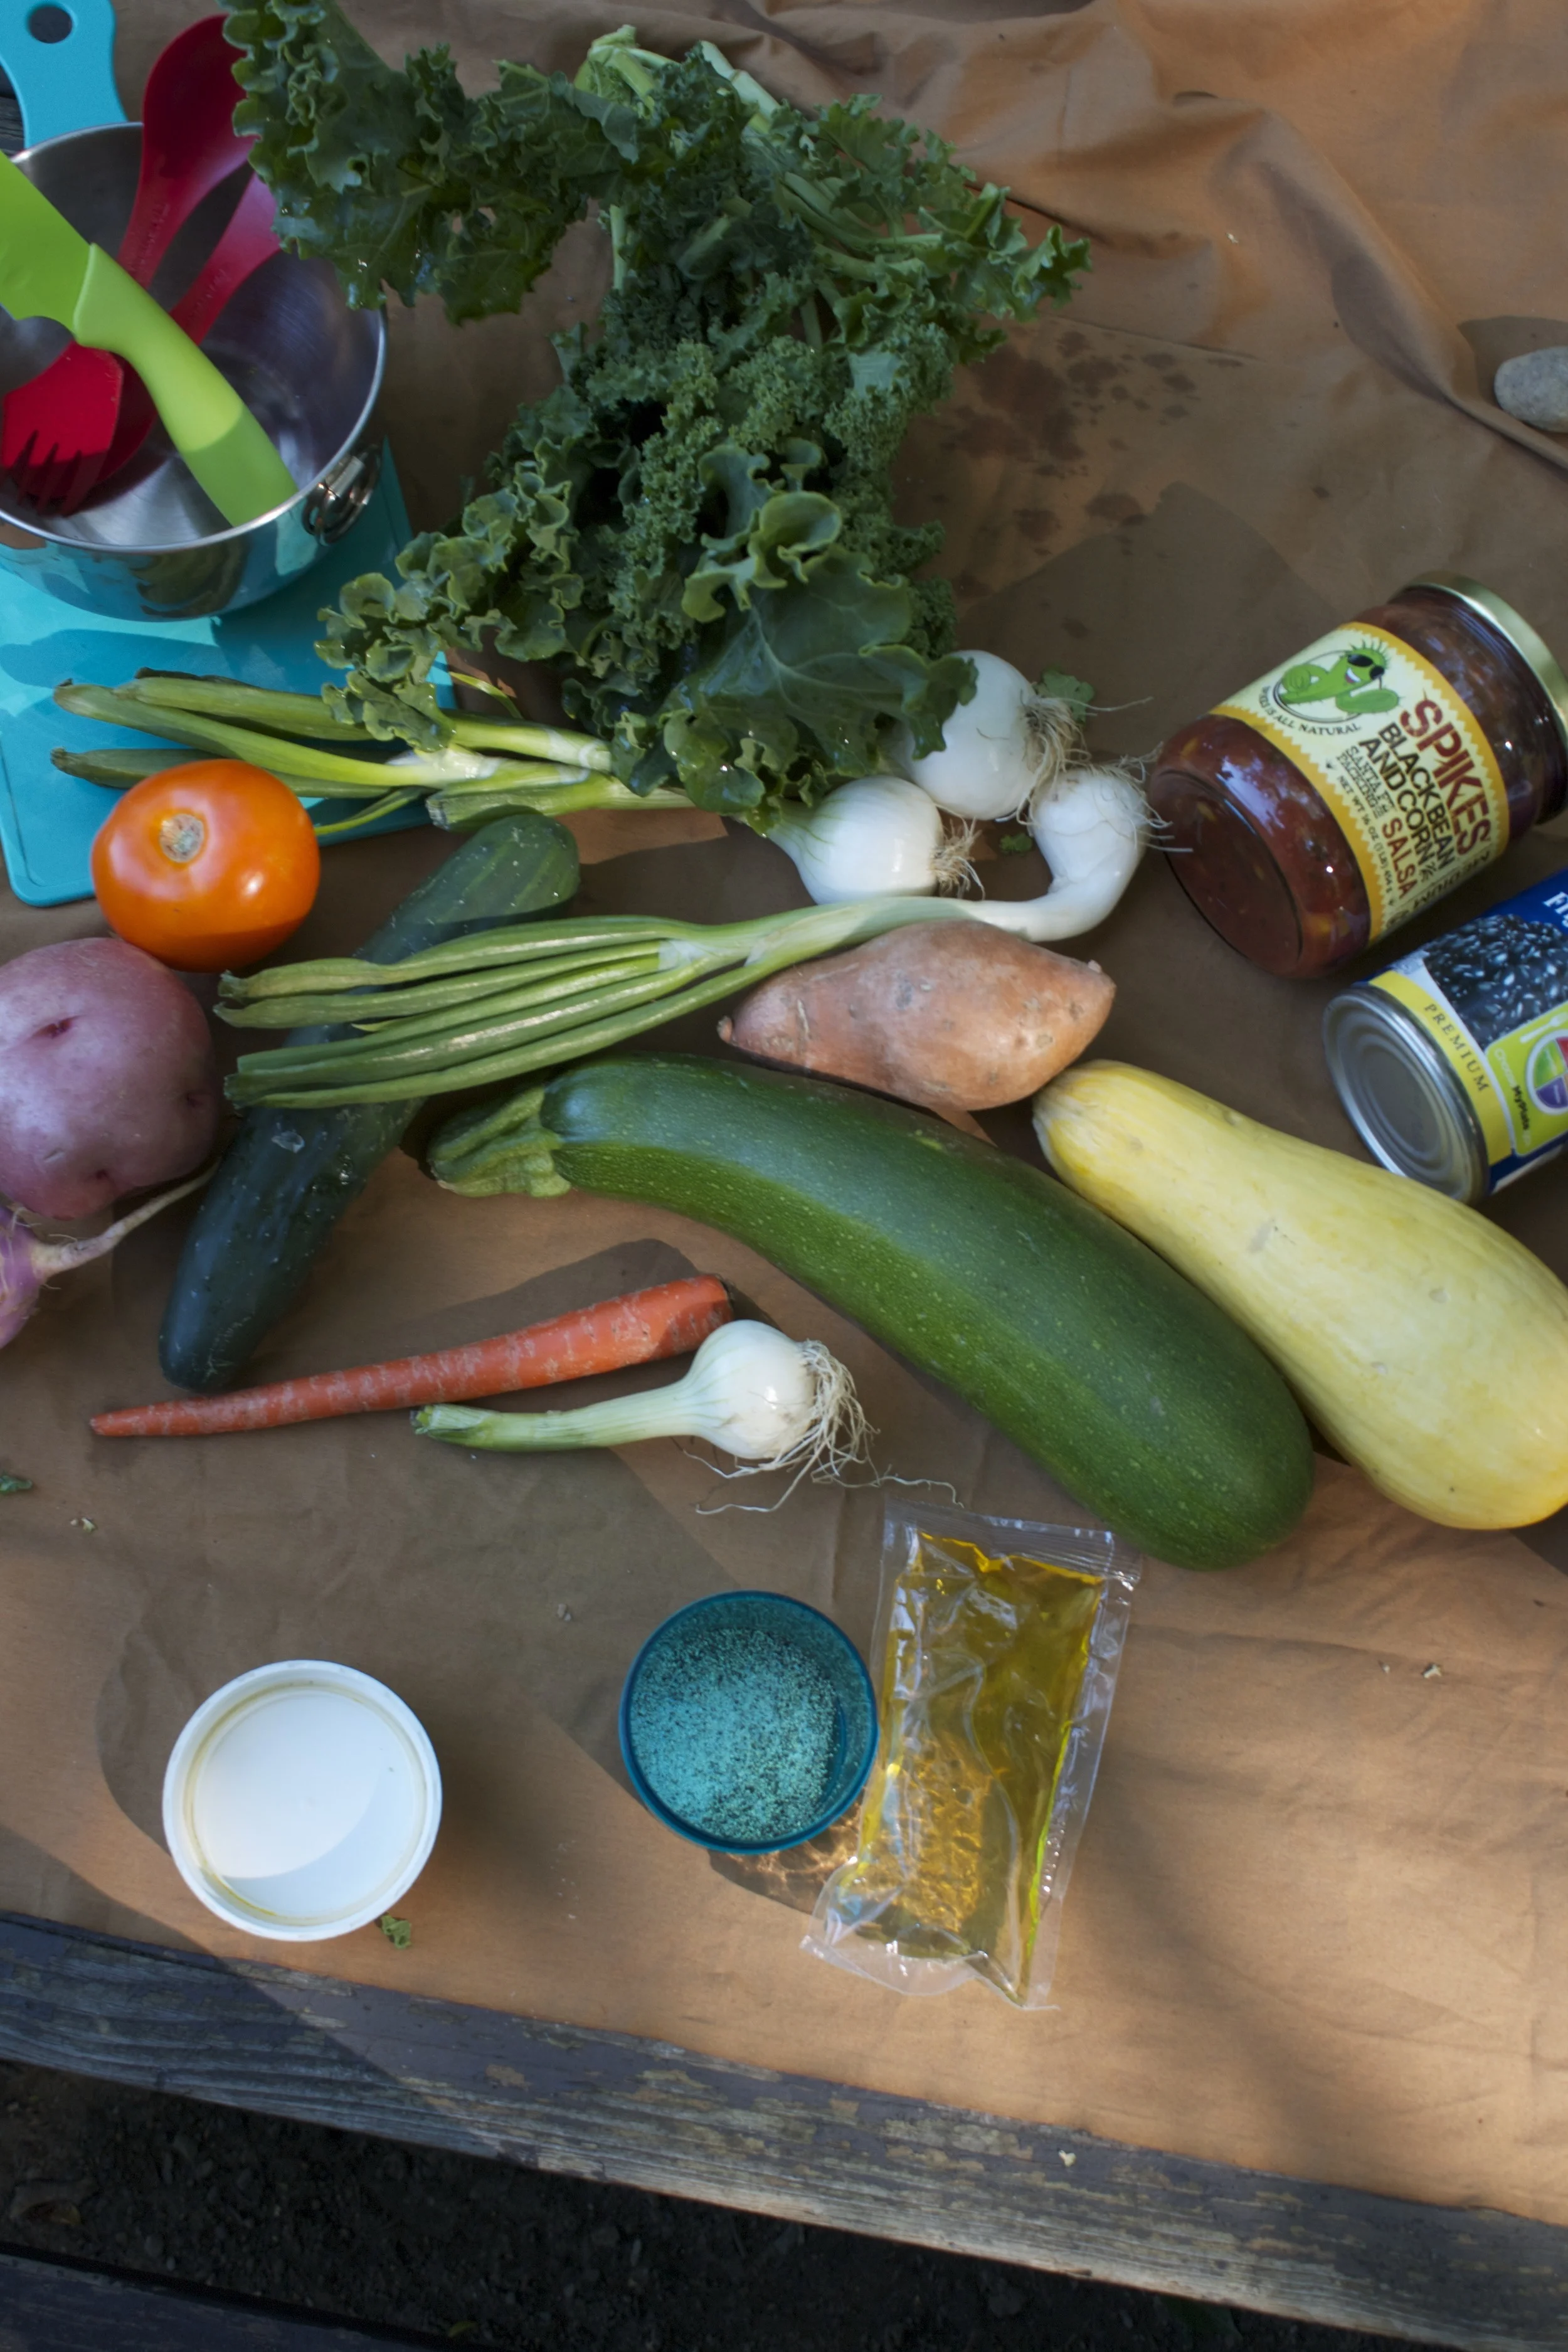






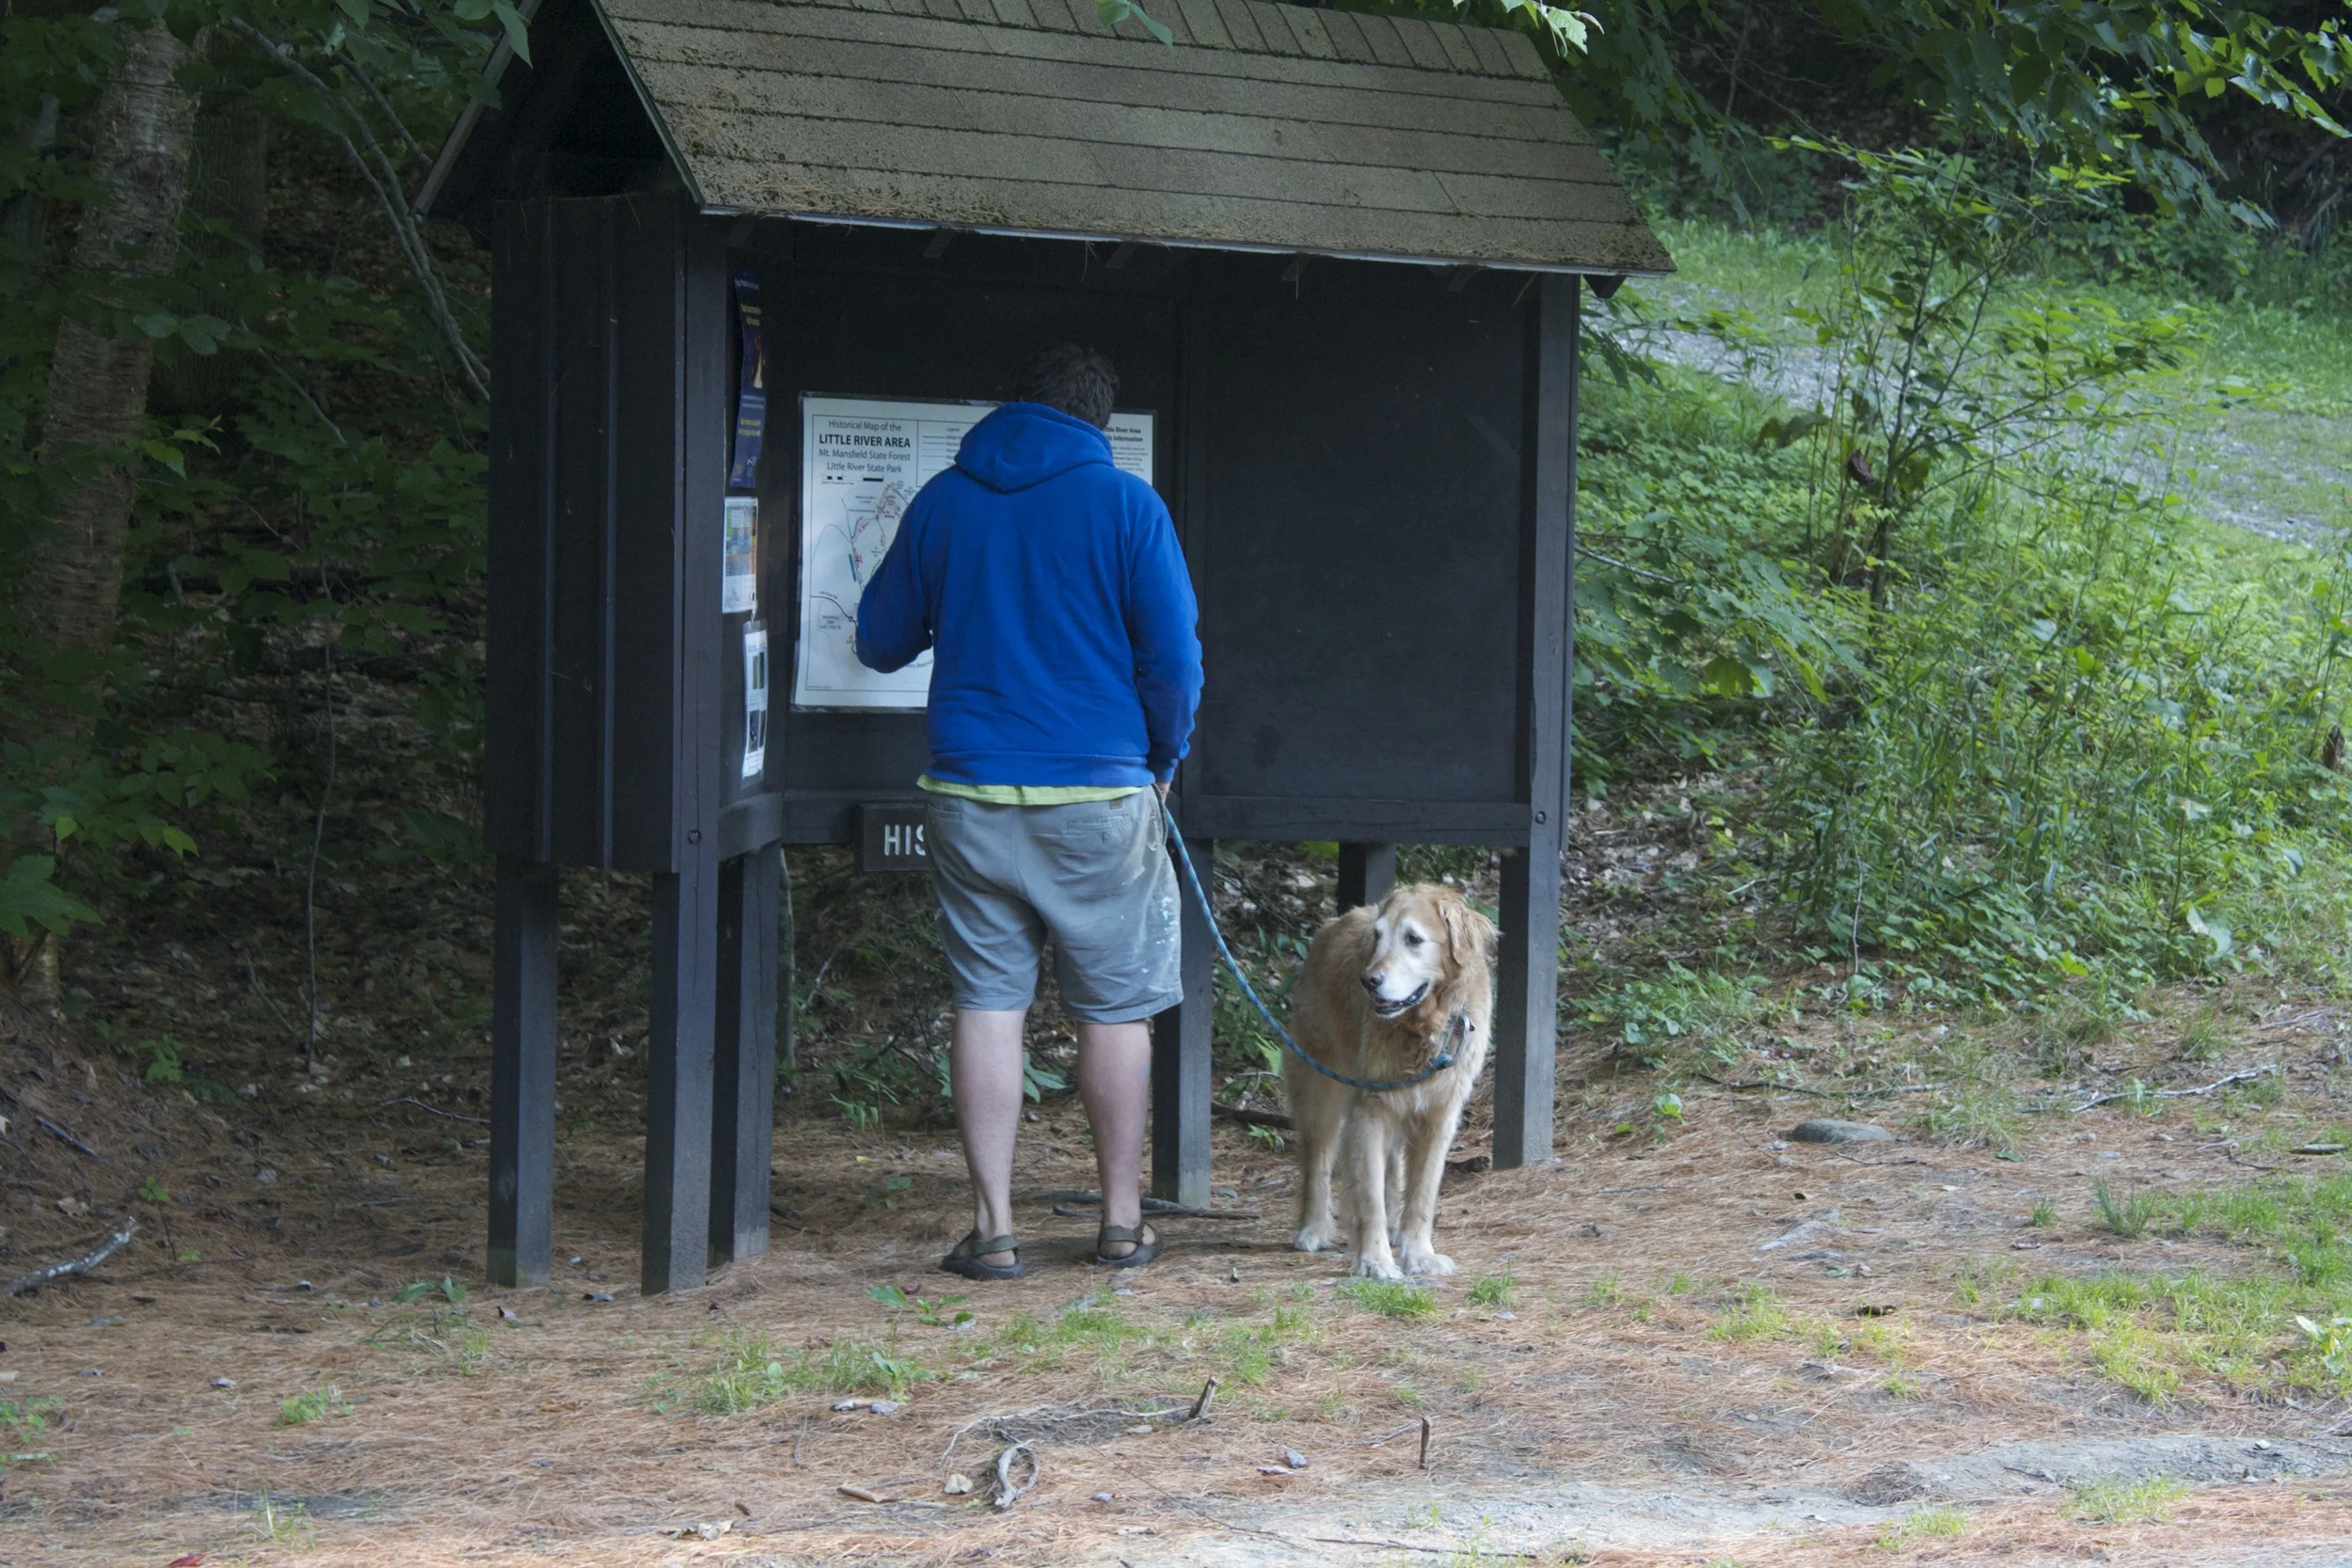




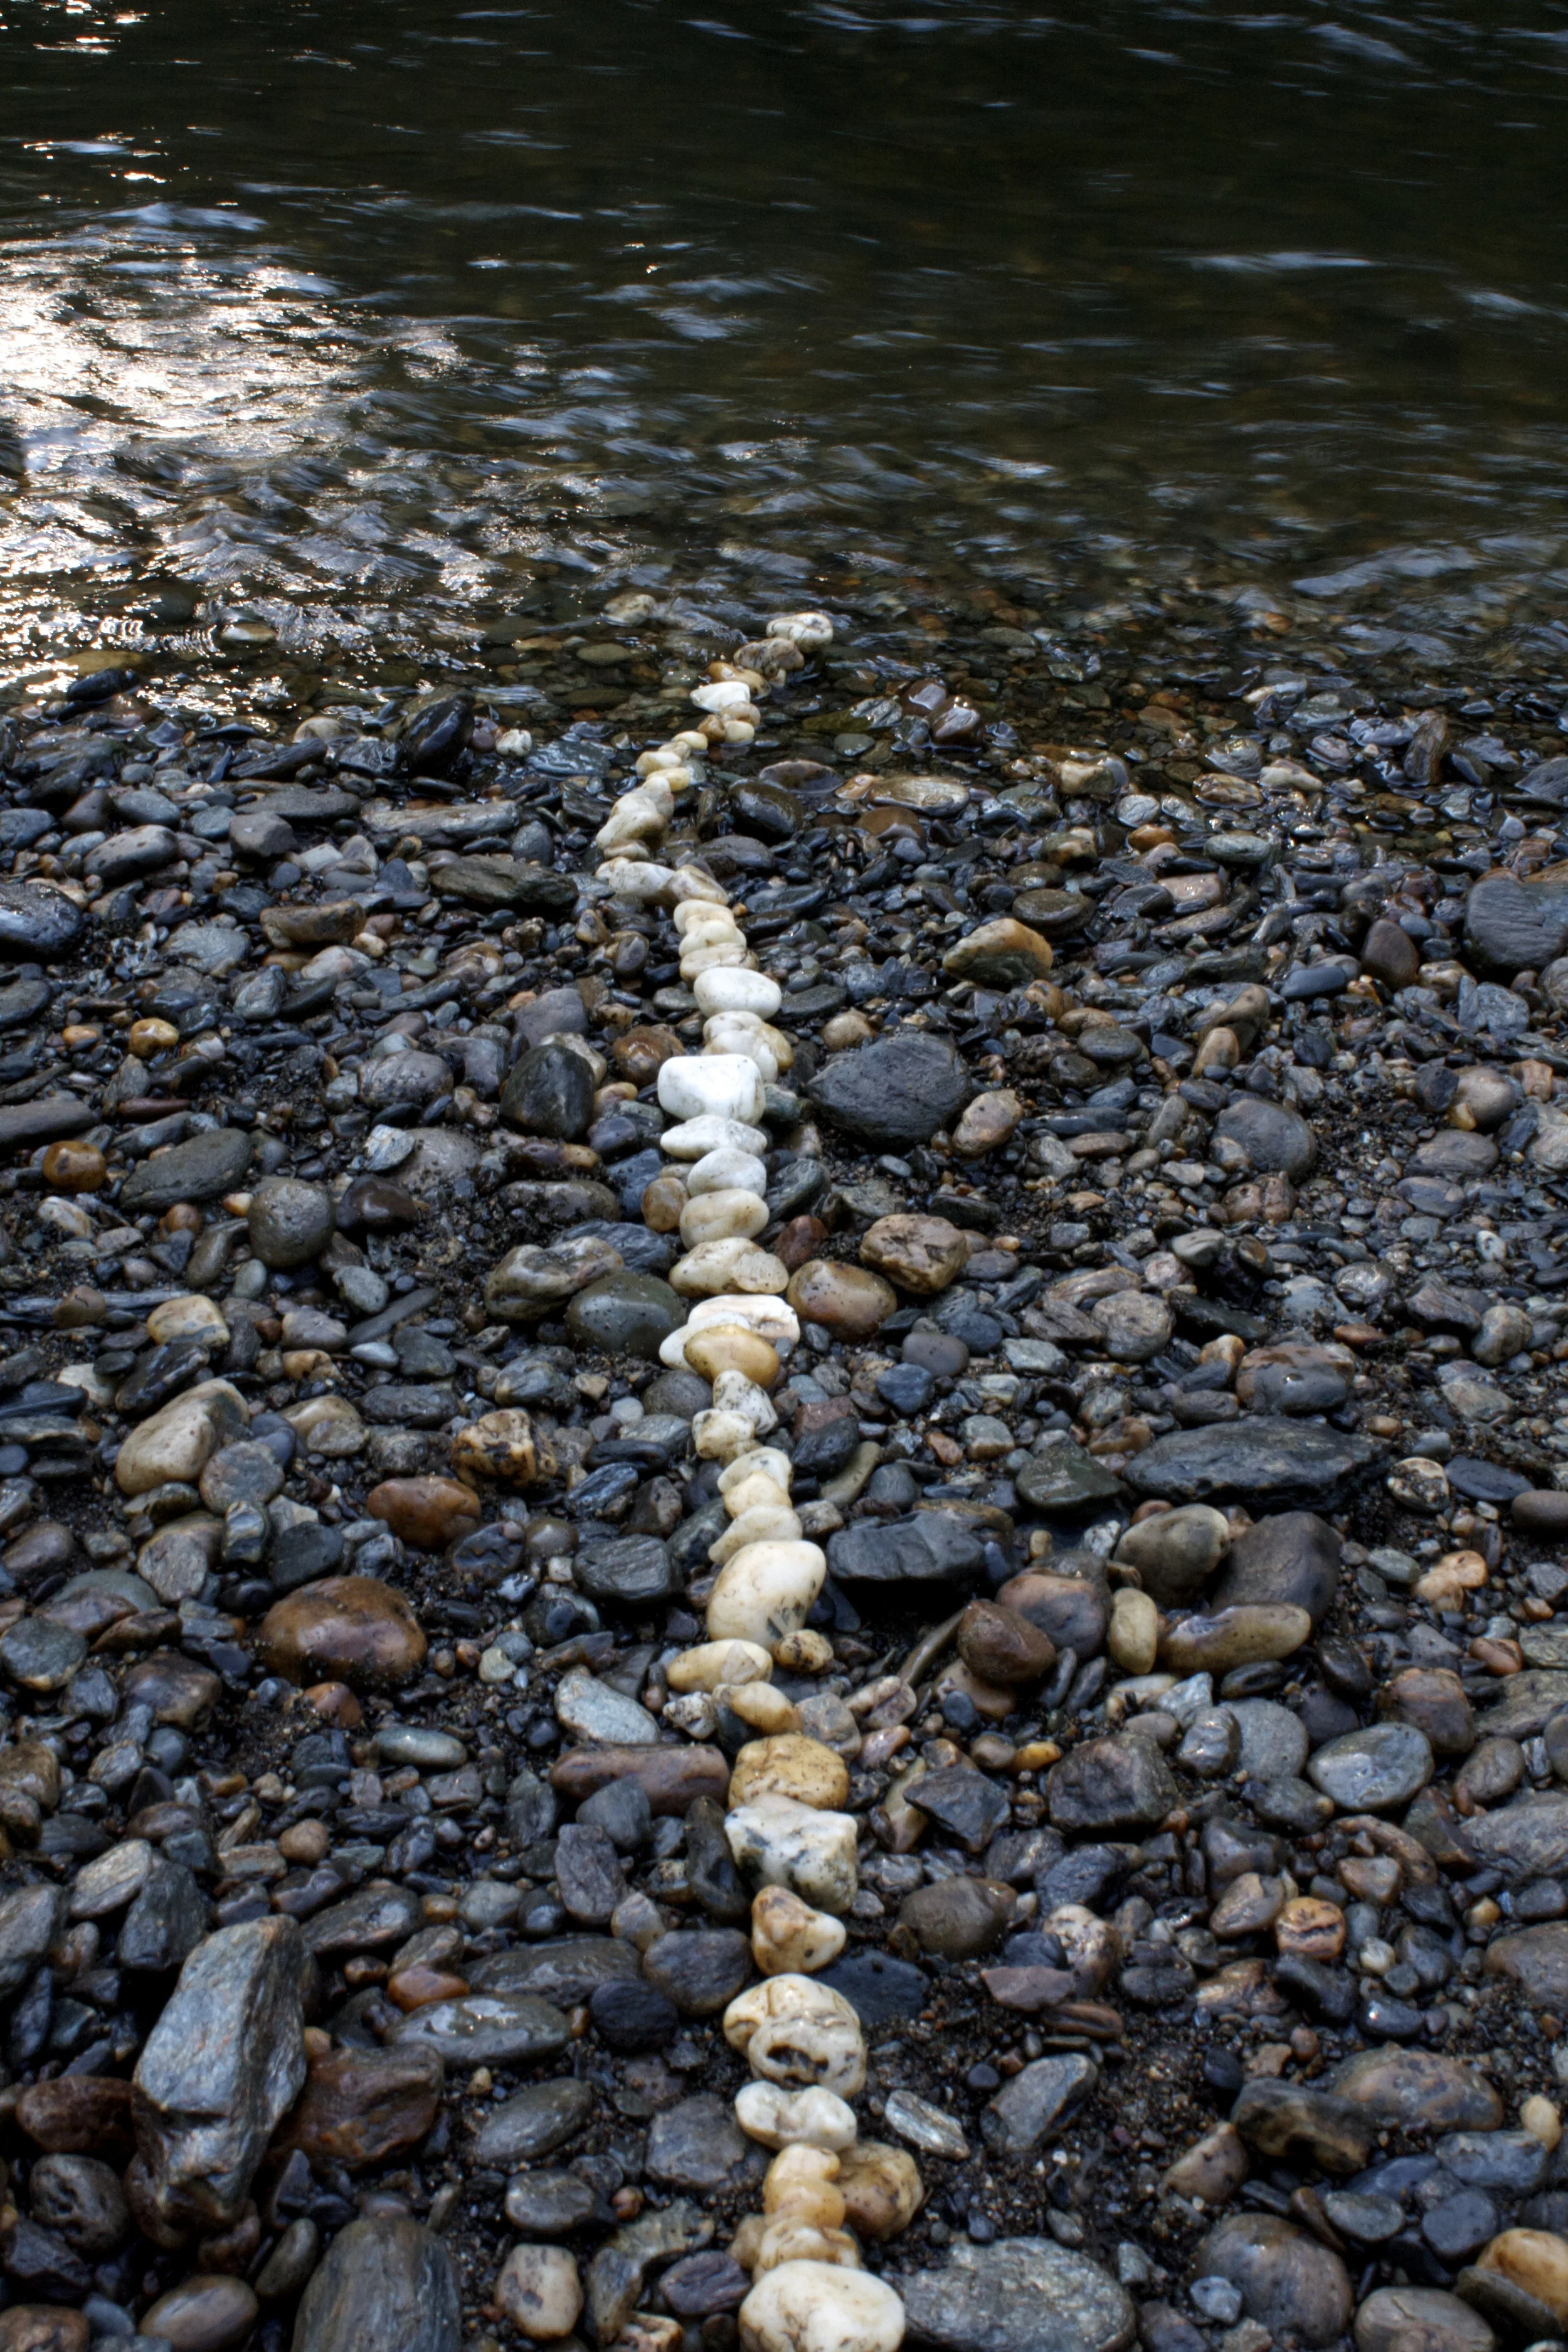






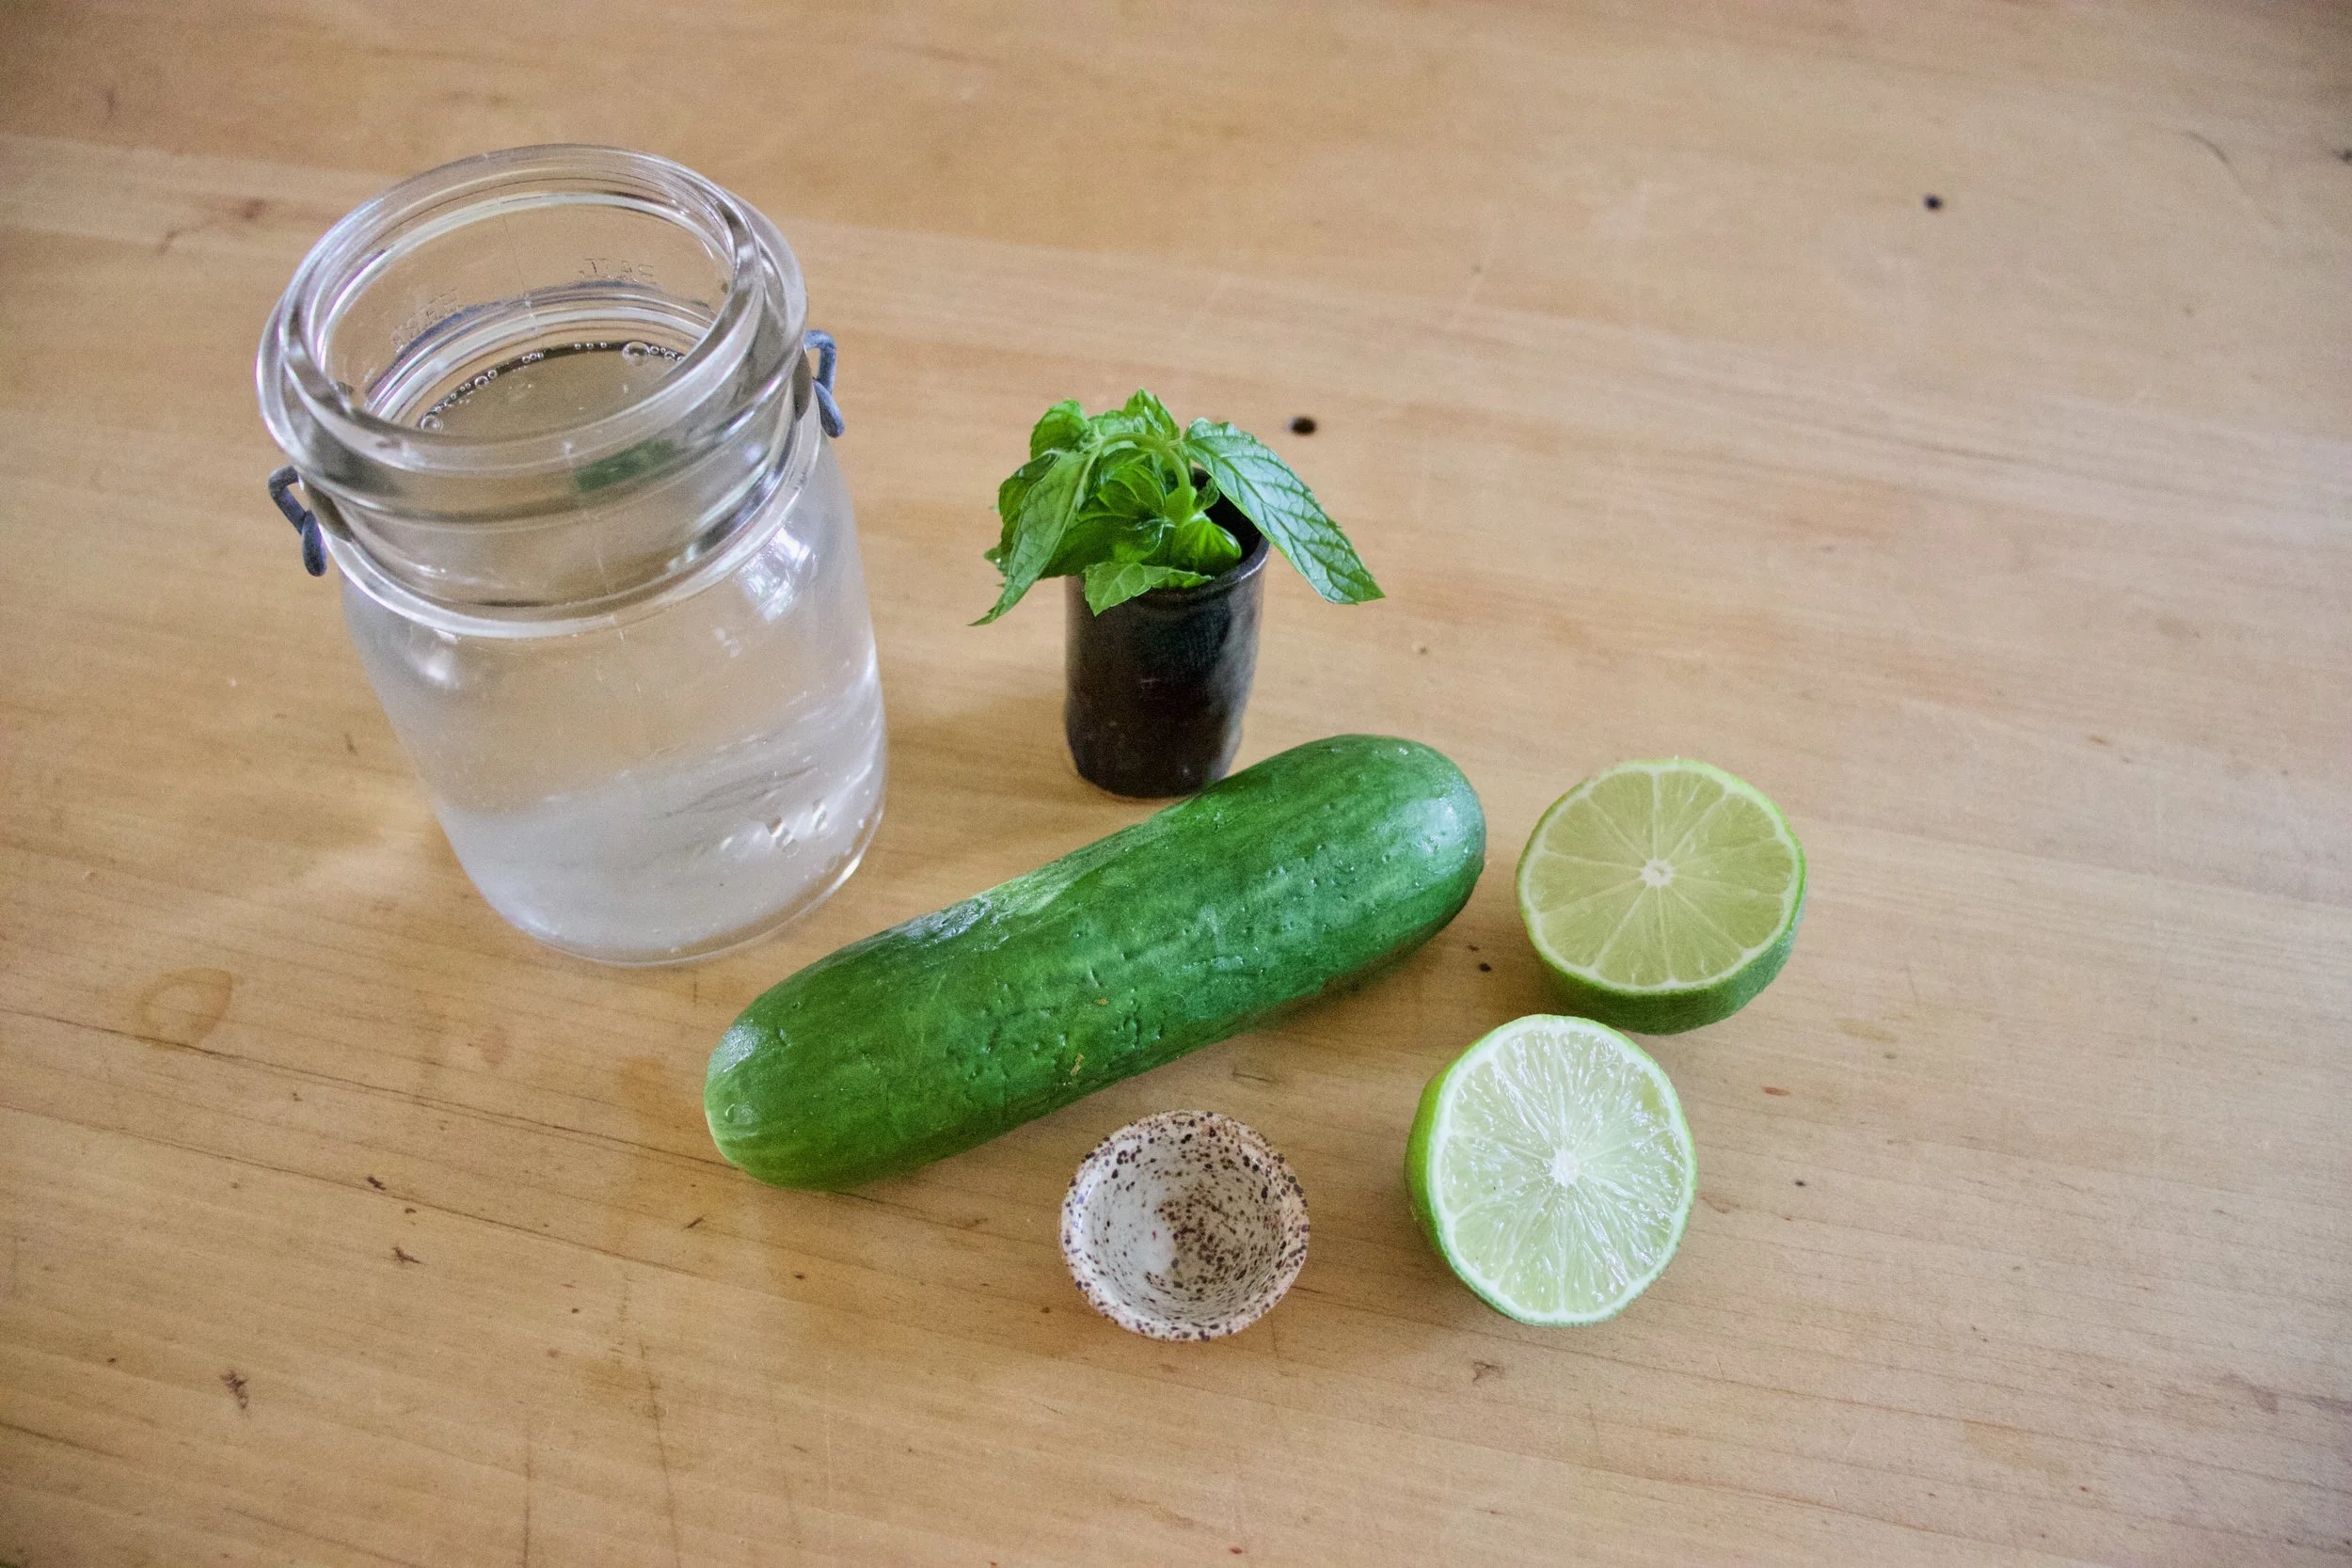
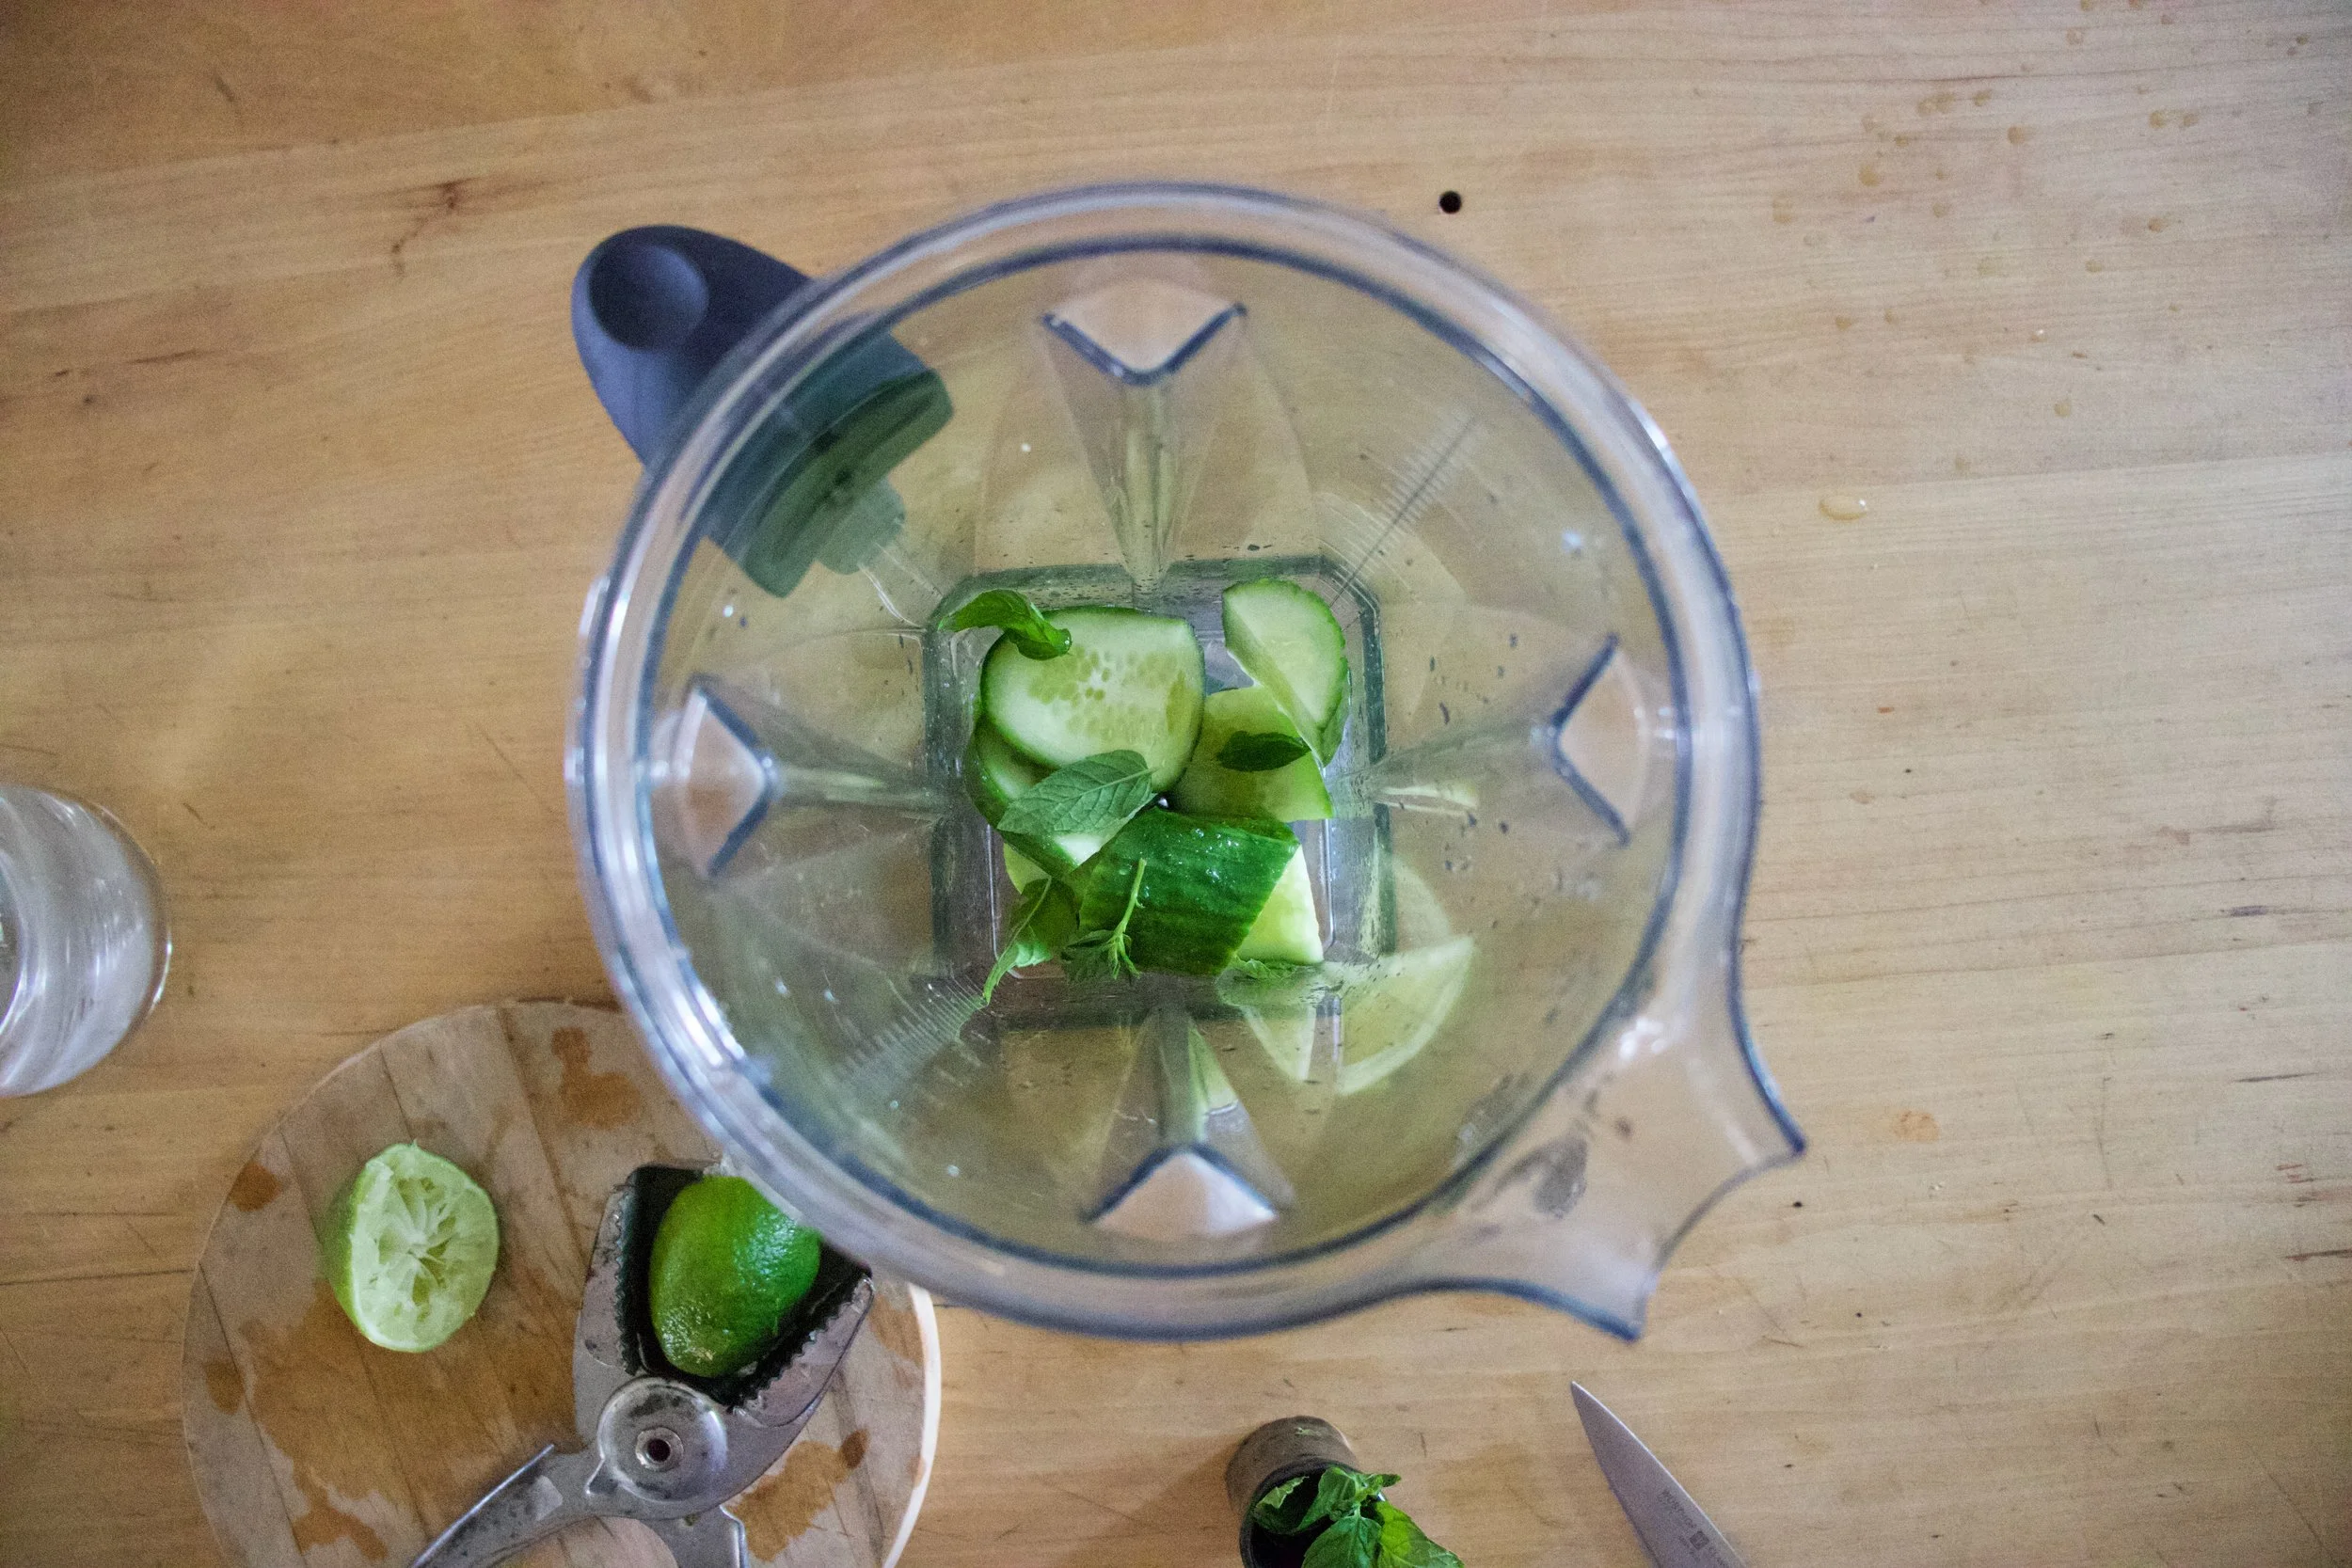


 It’s Mother’s Day weekend which means that you and I and everyone out there should feel the slightest bit obligated to at least do a little something nice for your mom for the mere fact that you were borned. And really what better way to celebrate mom than with food… It really is the least that you can do. (I think mom’s also like flowers and cards and handmade pasta necklaces) My mom is defiantly about the food. (she has had her fair share or pasta necklaces) A many years back on Mother’s day, this sweet little girl (me) made her mother a special breakfast treat…blueberry scones. And ever since that day, for every freaking holiday, birthday, whatever day, my mother requests (demands) a batch of those scones. She is always saying that these are her favorite treat and that no one has ever made them as good as I do. (I guess that just reiterates that I am her number 1 child)
 The stuff. Flour, baking soda, baking powder and salt. A bit of sugar, vanilla, buttermilk, and butter (use vegan butter and nut milk if you want to make them vegan) And of course we need the blueberries which can be fresh or frozen. I usually use fresh, but the store I stopped at only had really big containers of fresh that were like $1000 dollars a piece and the organic frozen happen to be on super sale. So you know, the cheap in me won that battle.
  So into the bowl goes all the dry stuff; flour, baking powder and soda, salt, and the sugar. Give it a good whisk.
 Now dump the blueberries into the flour mixture. Toss them around to give them a coat of flour. Add in the buttermilk and vanilla and give a little mix until liquid is absorbed. We are trying to handle the dough as little as possible.
 Turn mixture onto counter. It’s very loose, but thats what it should look like.
  Very gently and with as little handling as possible, gather dough up, knead a few times till everything just comes together. Press dough into a disk that is roughly an inch thick…. and it doesn’t need to be perfect.
  Cut the disk into even sized pieces. Do 6 big, 8 normal, maybe even 10 smaller. Whatever size you like. (I did 8) Place the scones onto a baking sheet, using a spatula to transfer, and sprinkle the tops with a little bit of sugar. Into a preheated oven for about 20 minutes.
 And when the scones look all nice and browned and a tester comes out clean. remove and either serve right away warm, preferably with huge cup of coffee or tea, or stick on a rack to cool before storing in air tight container.
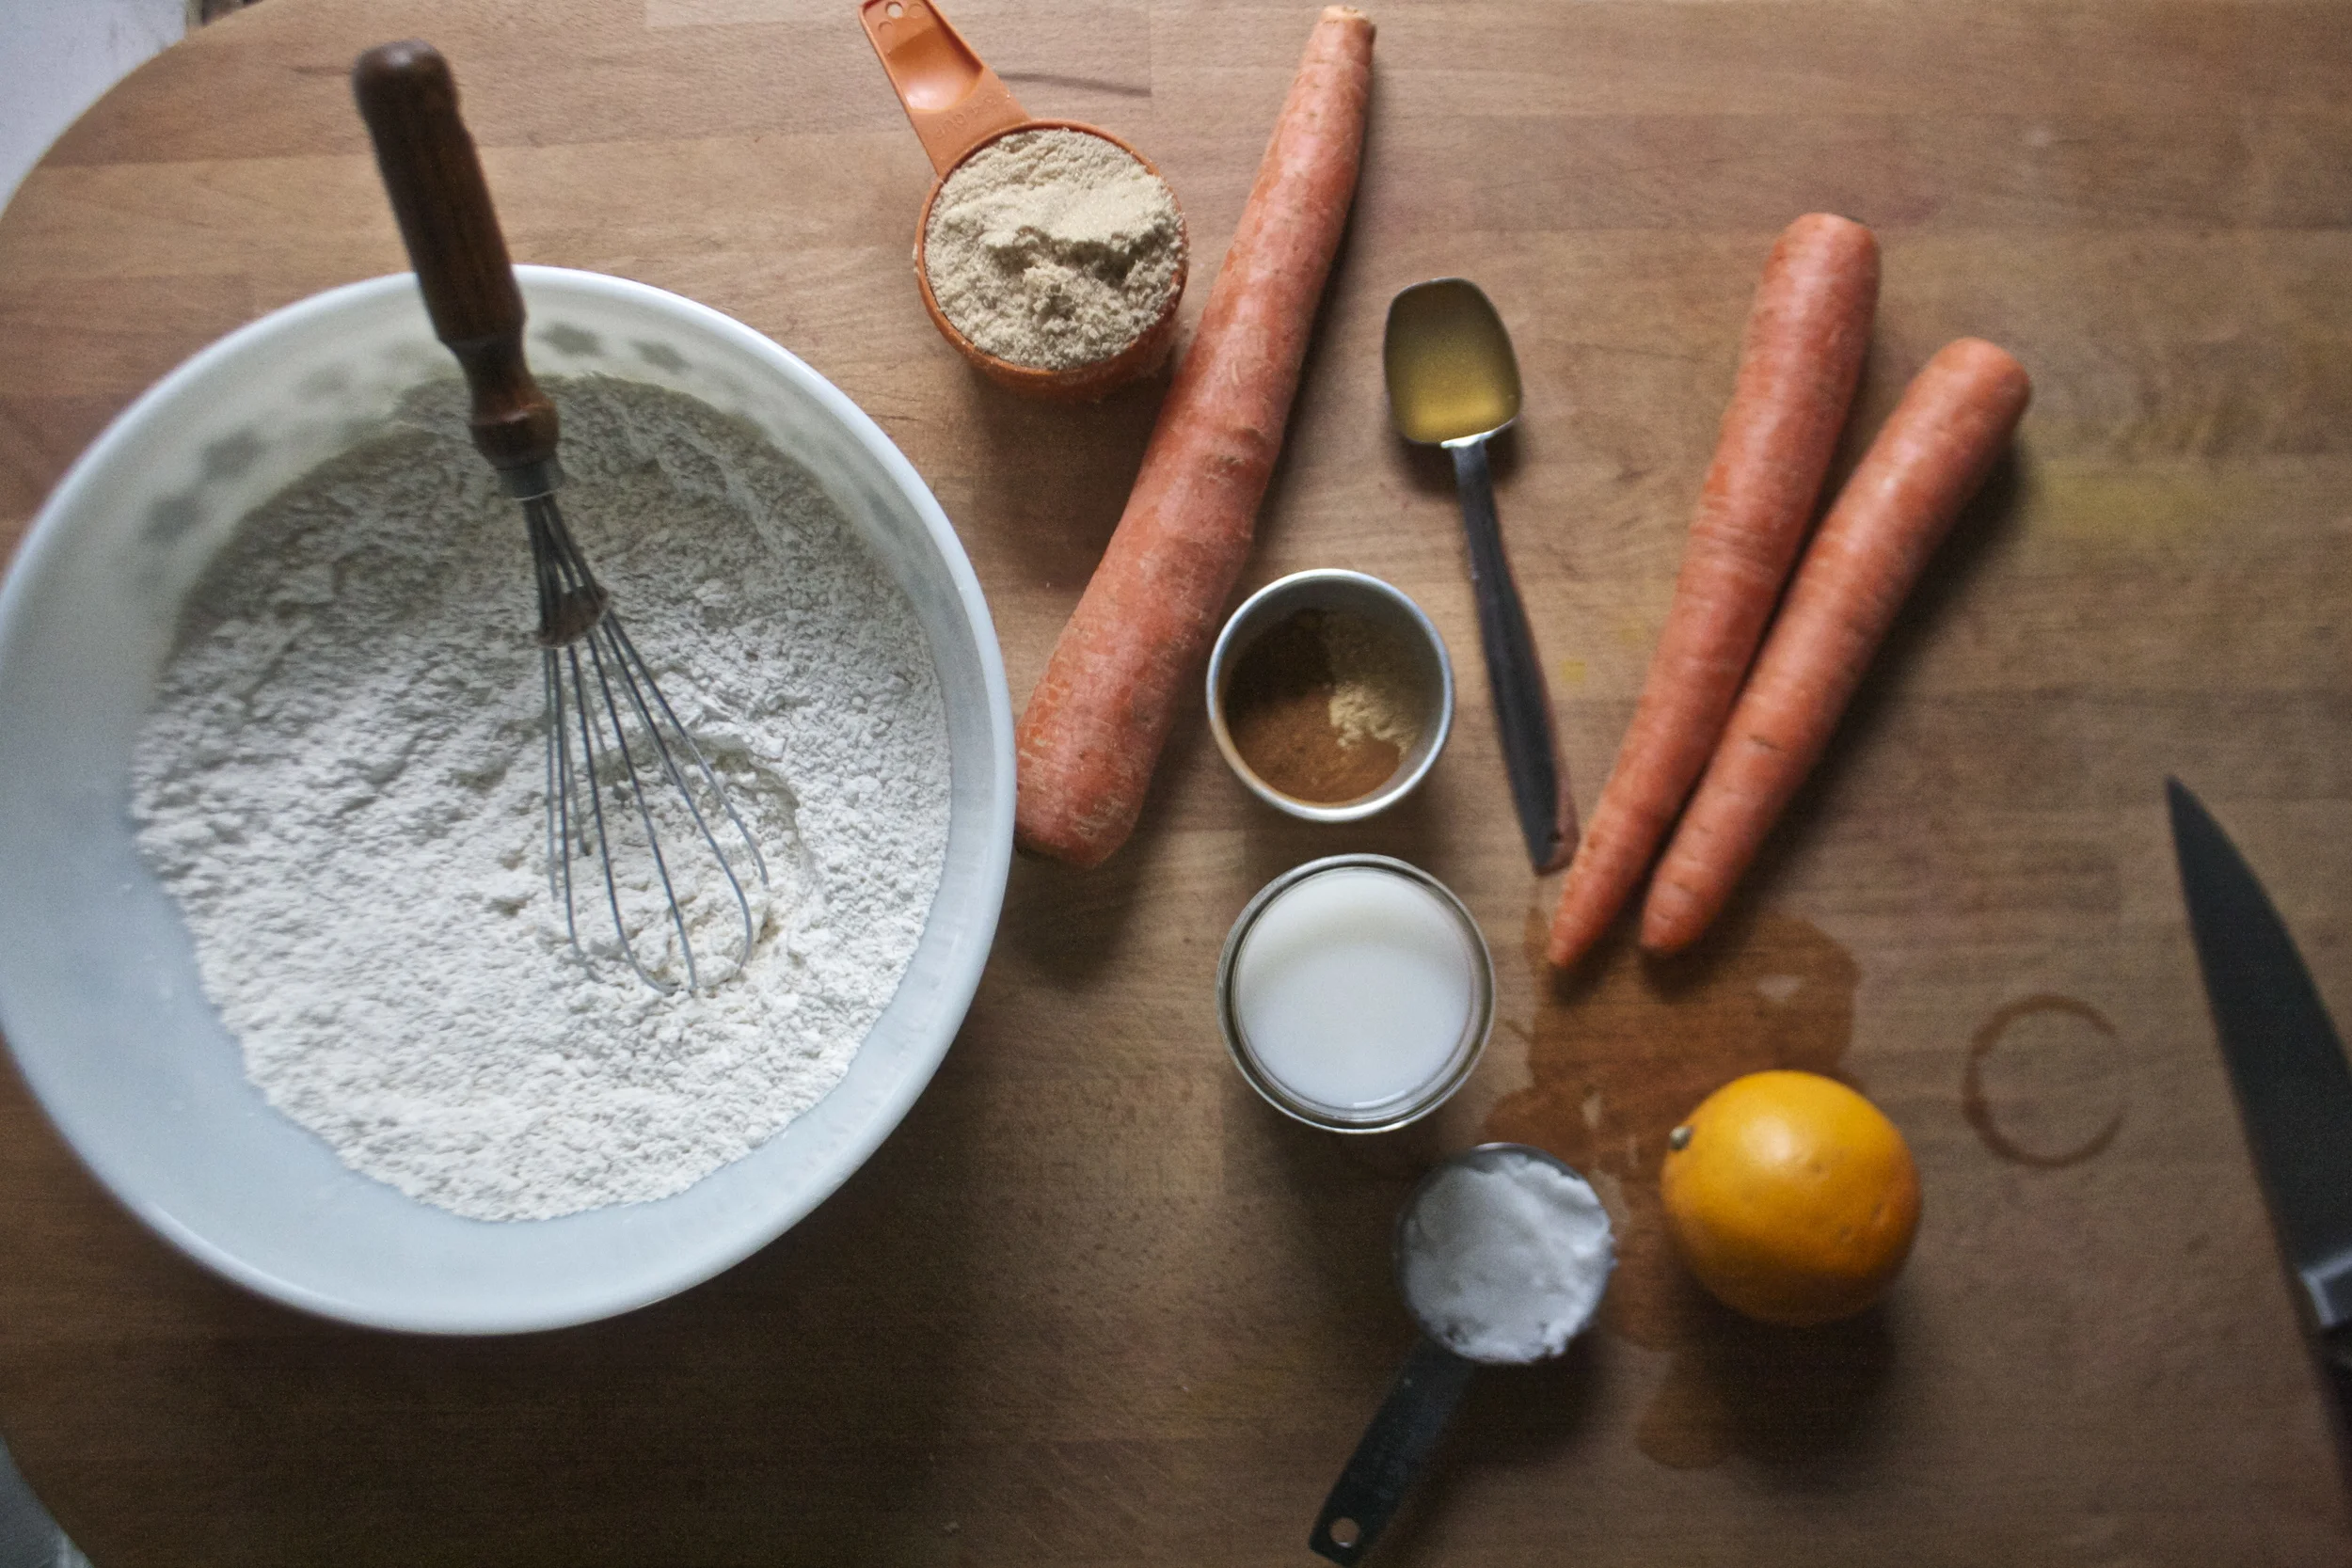
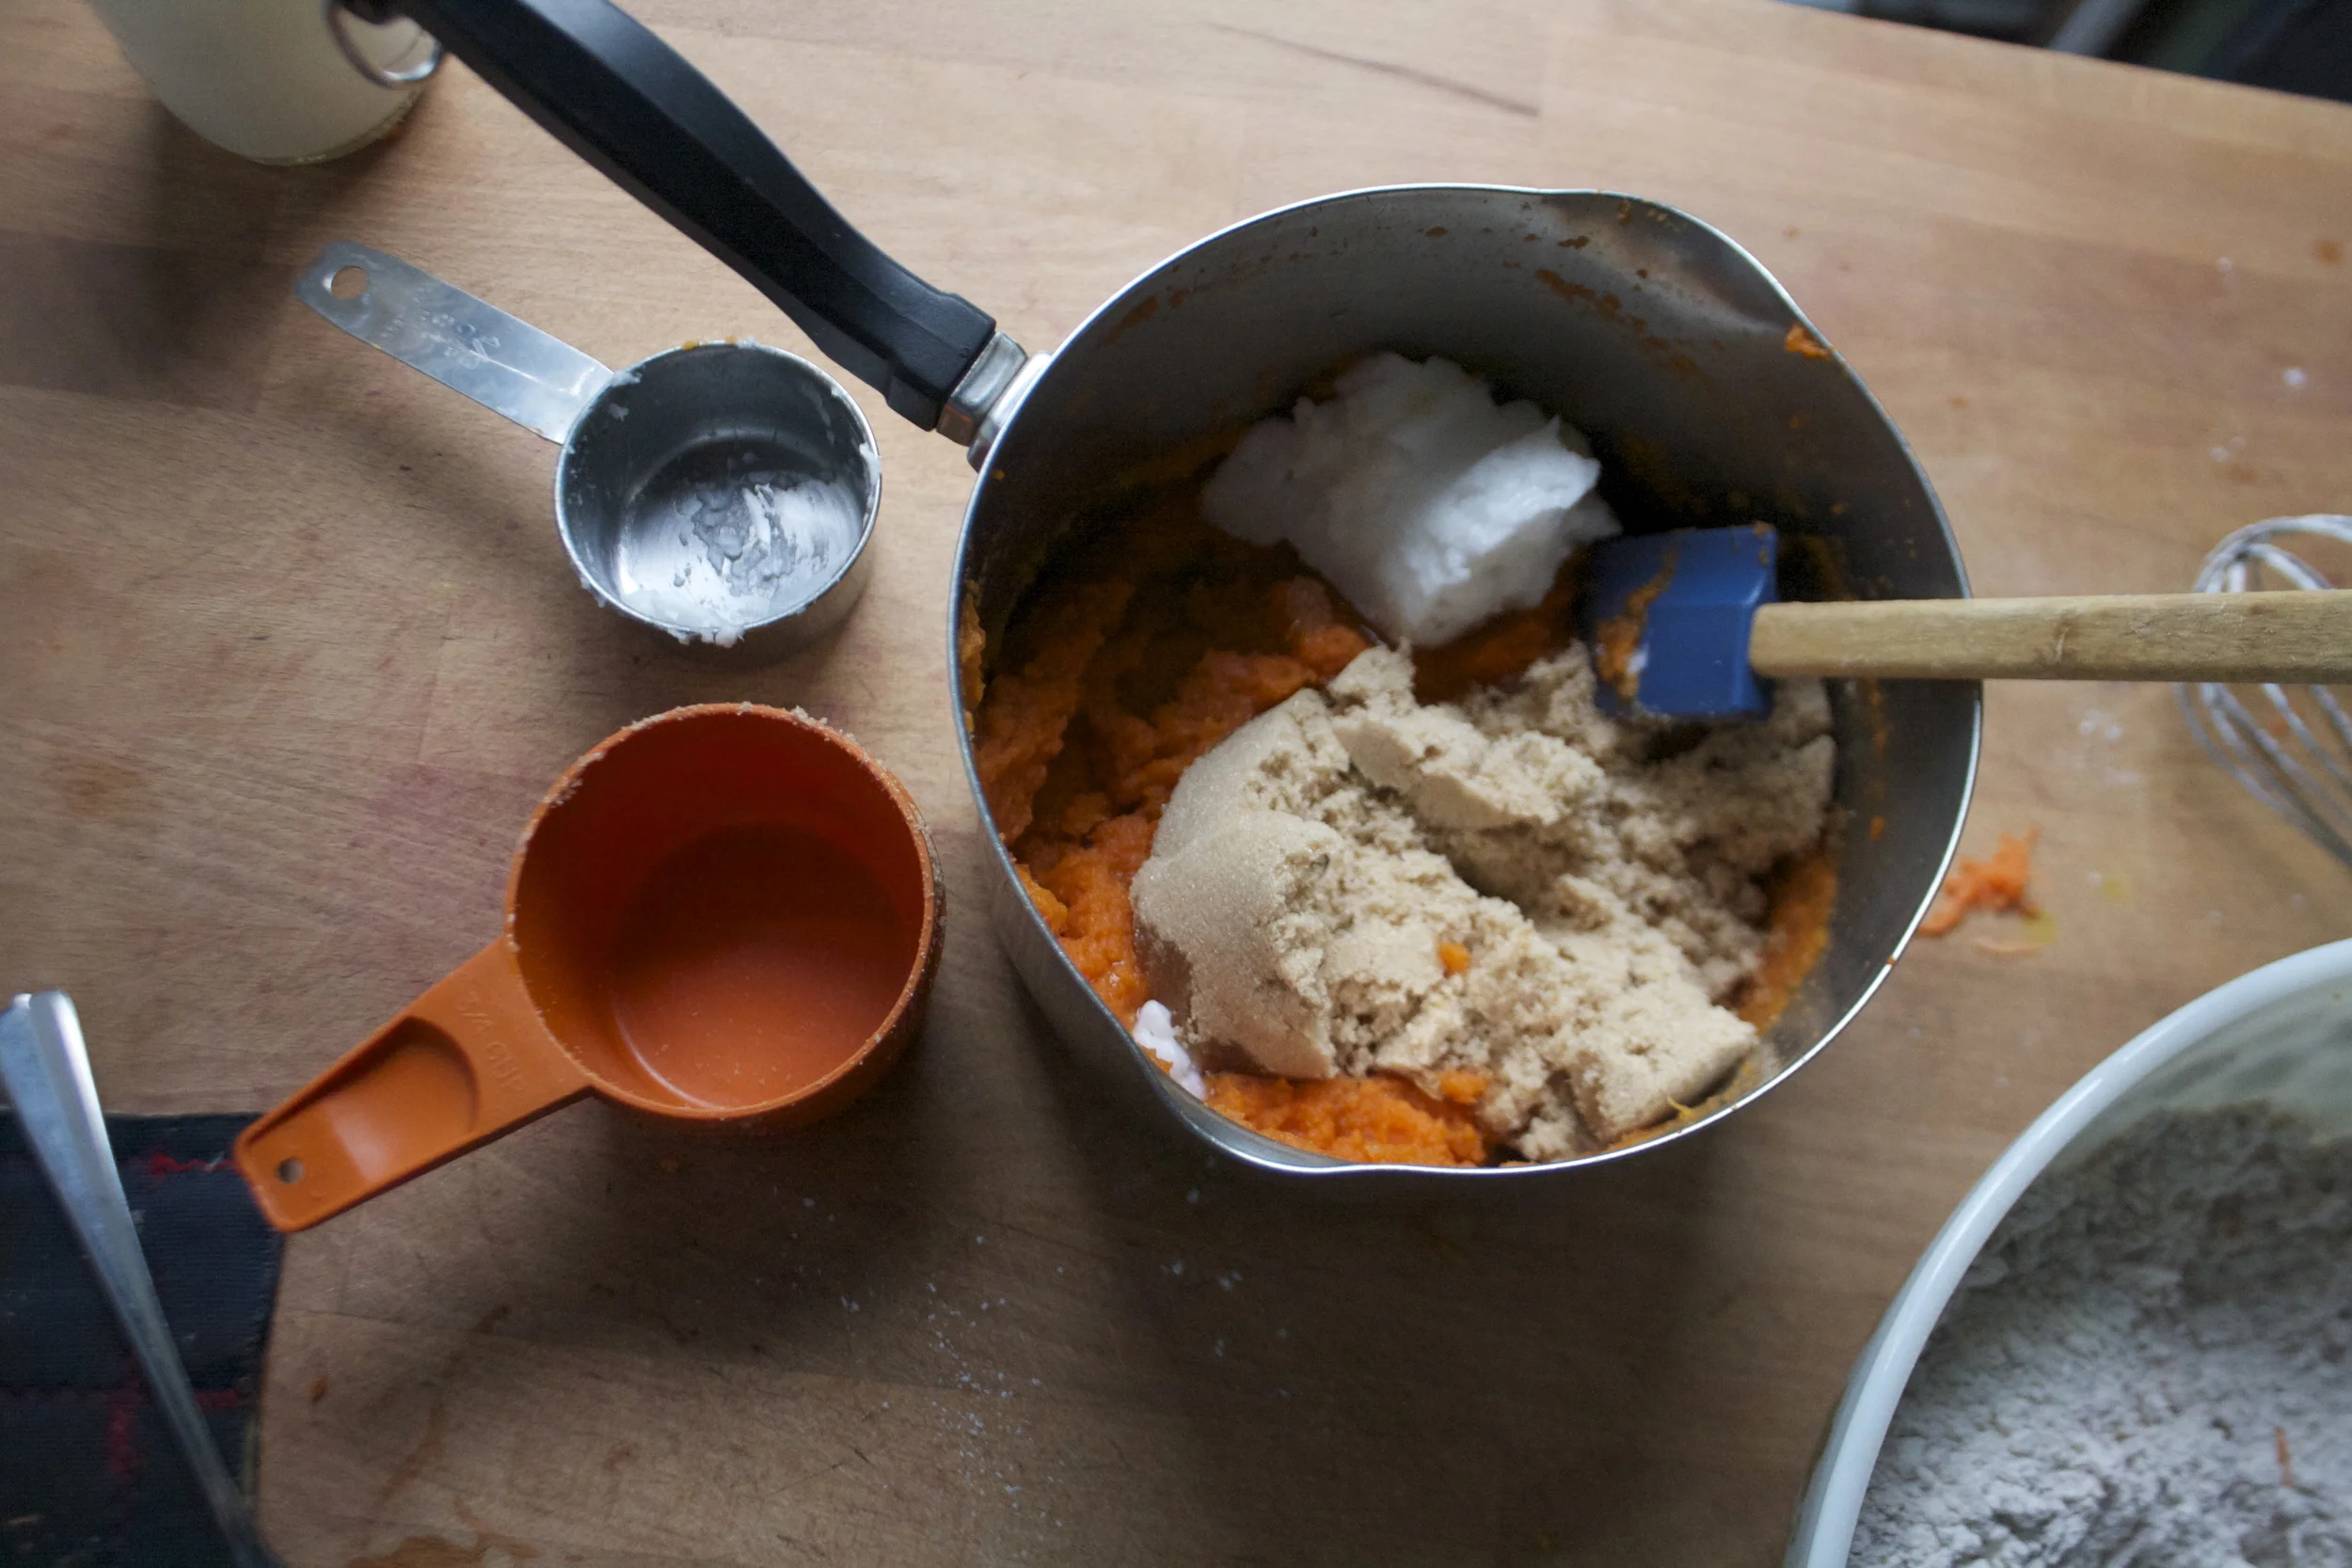
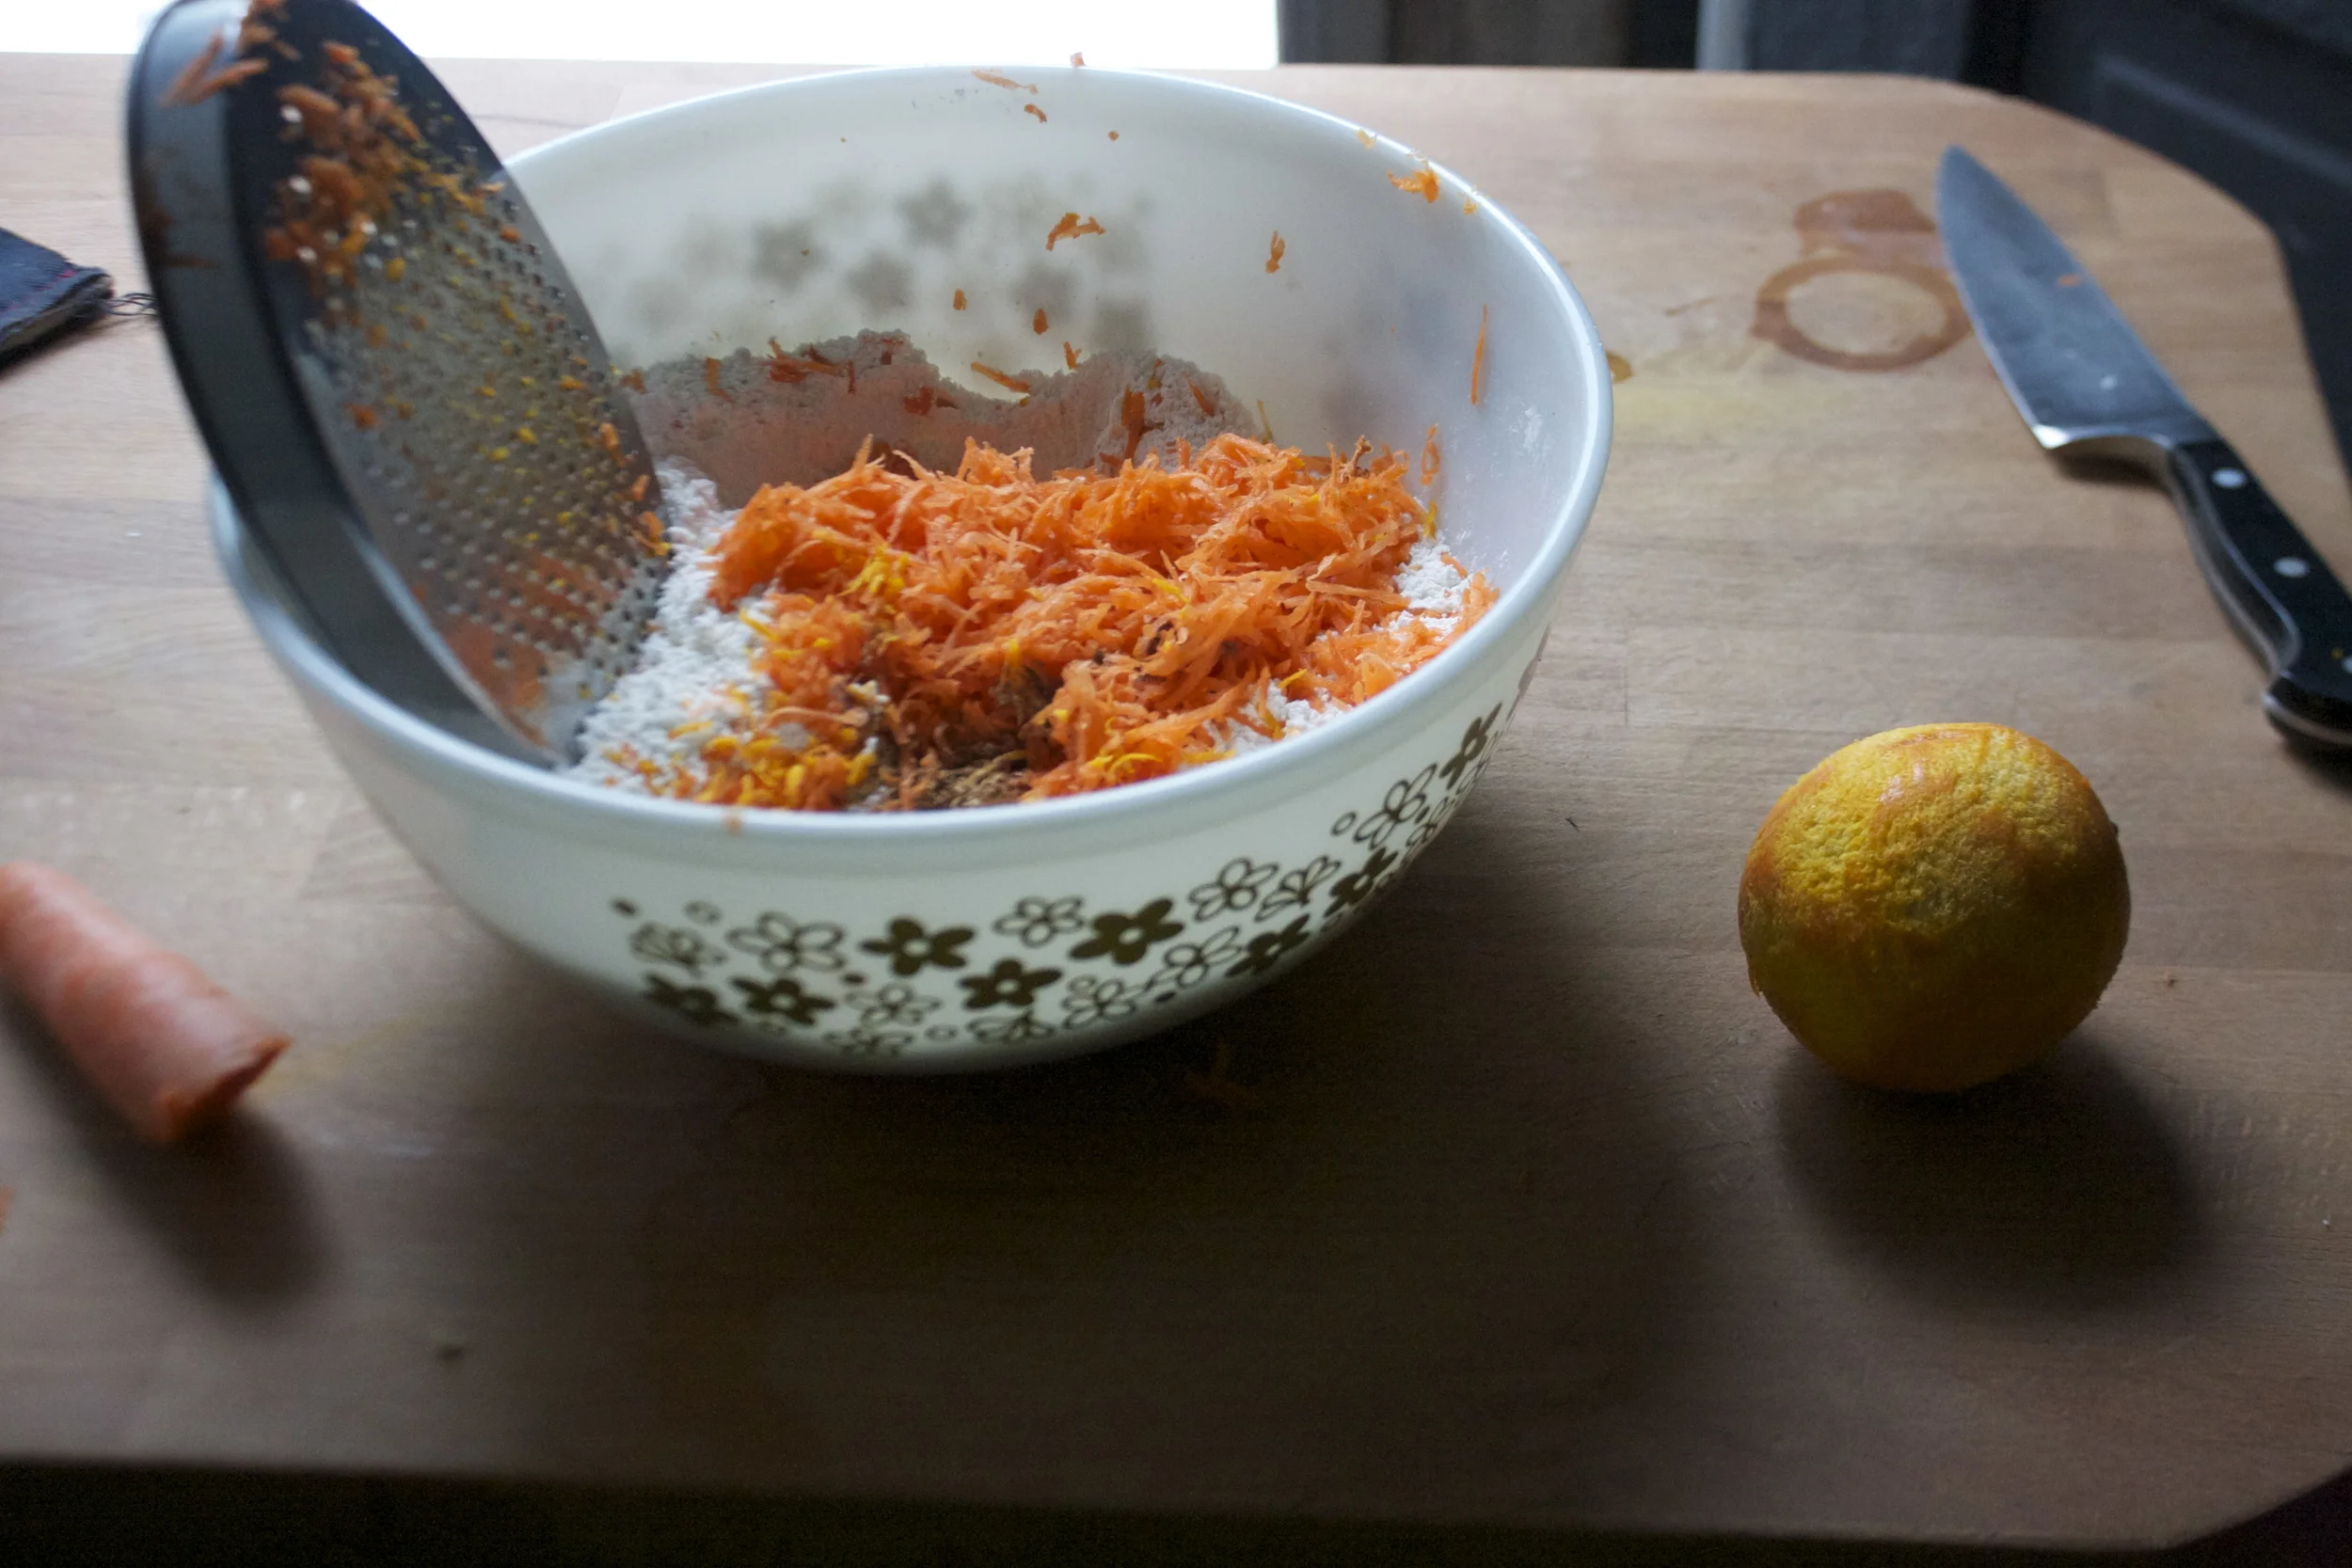
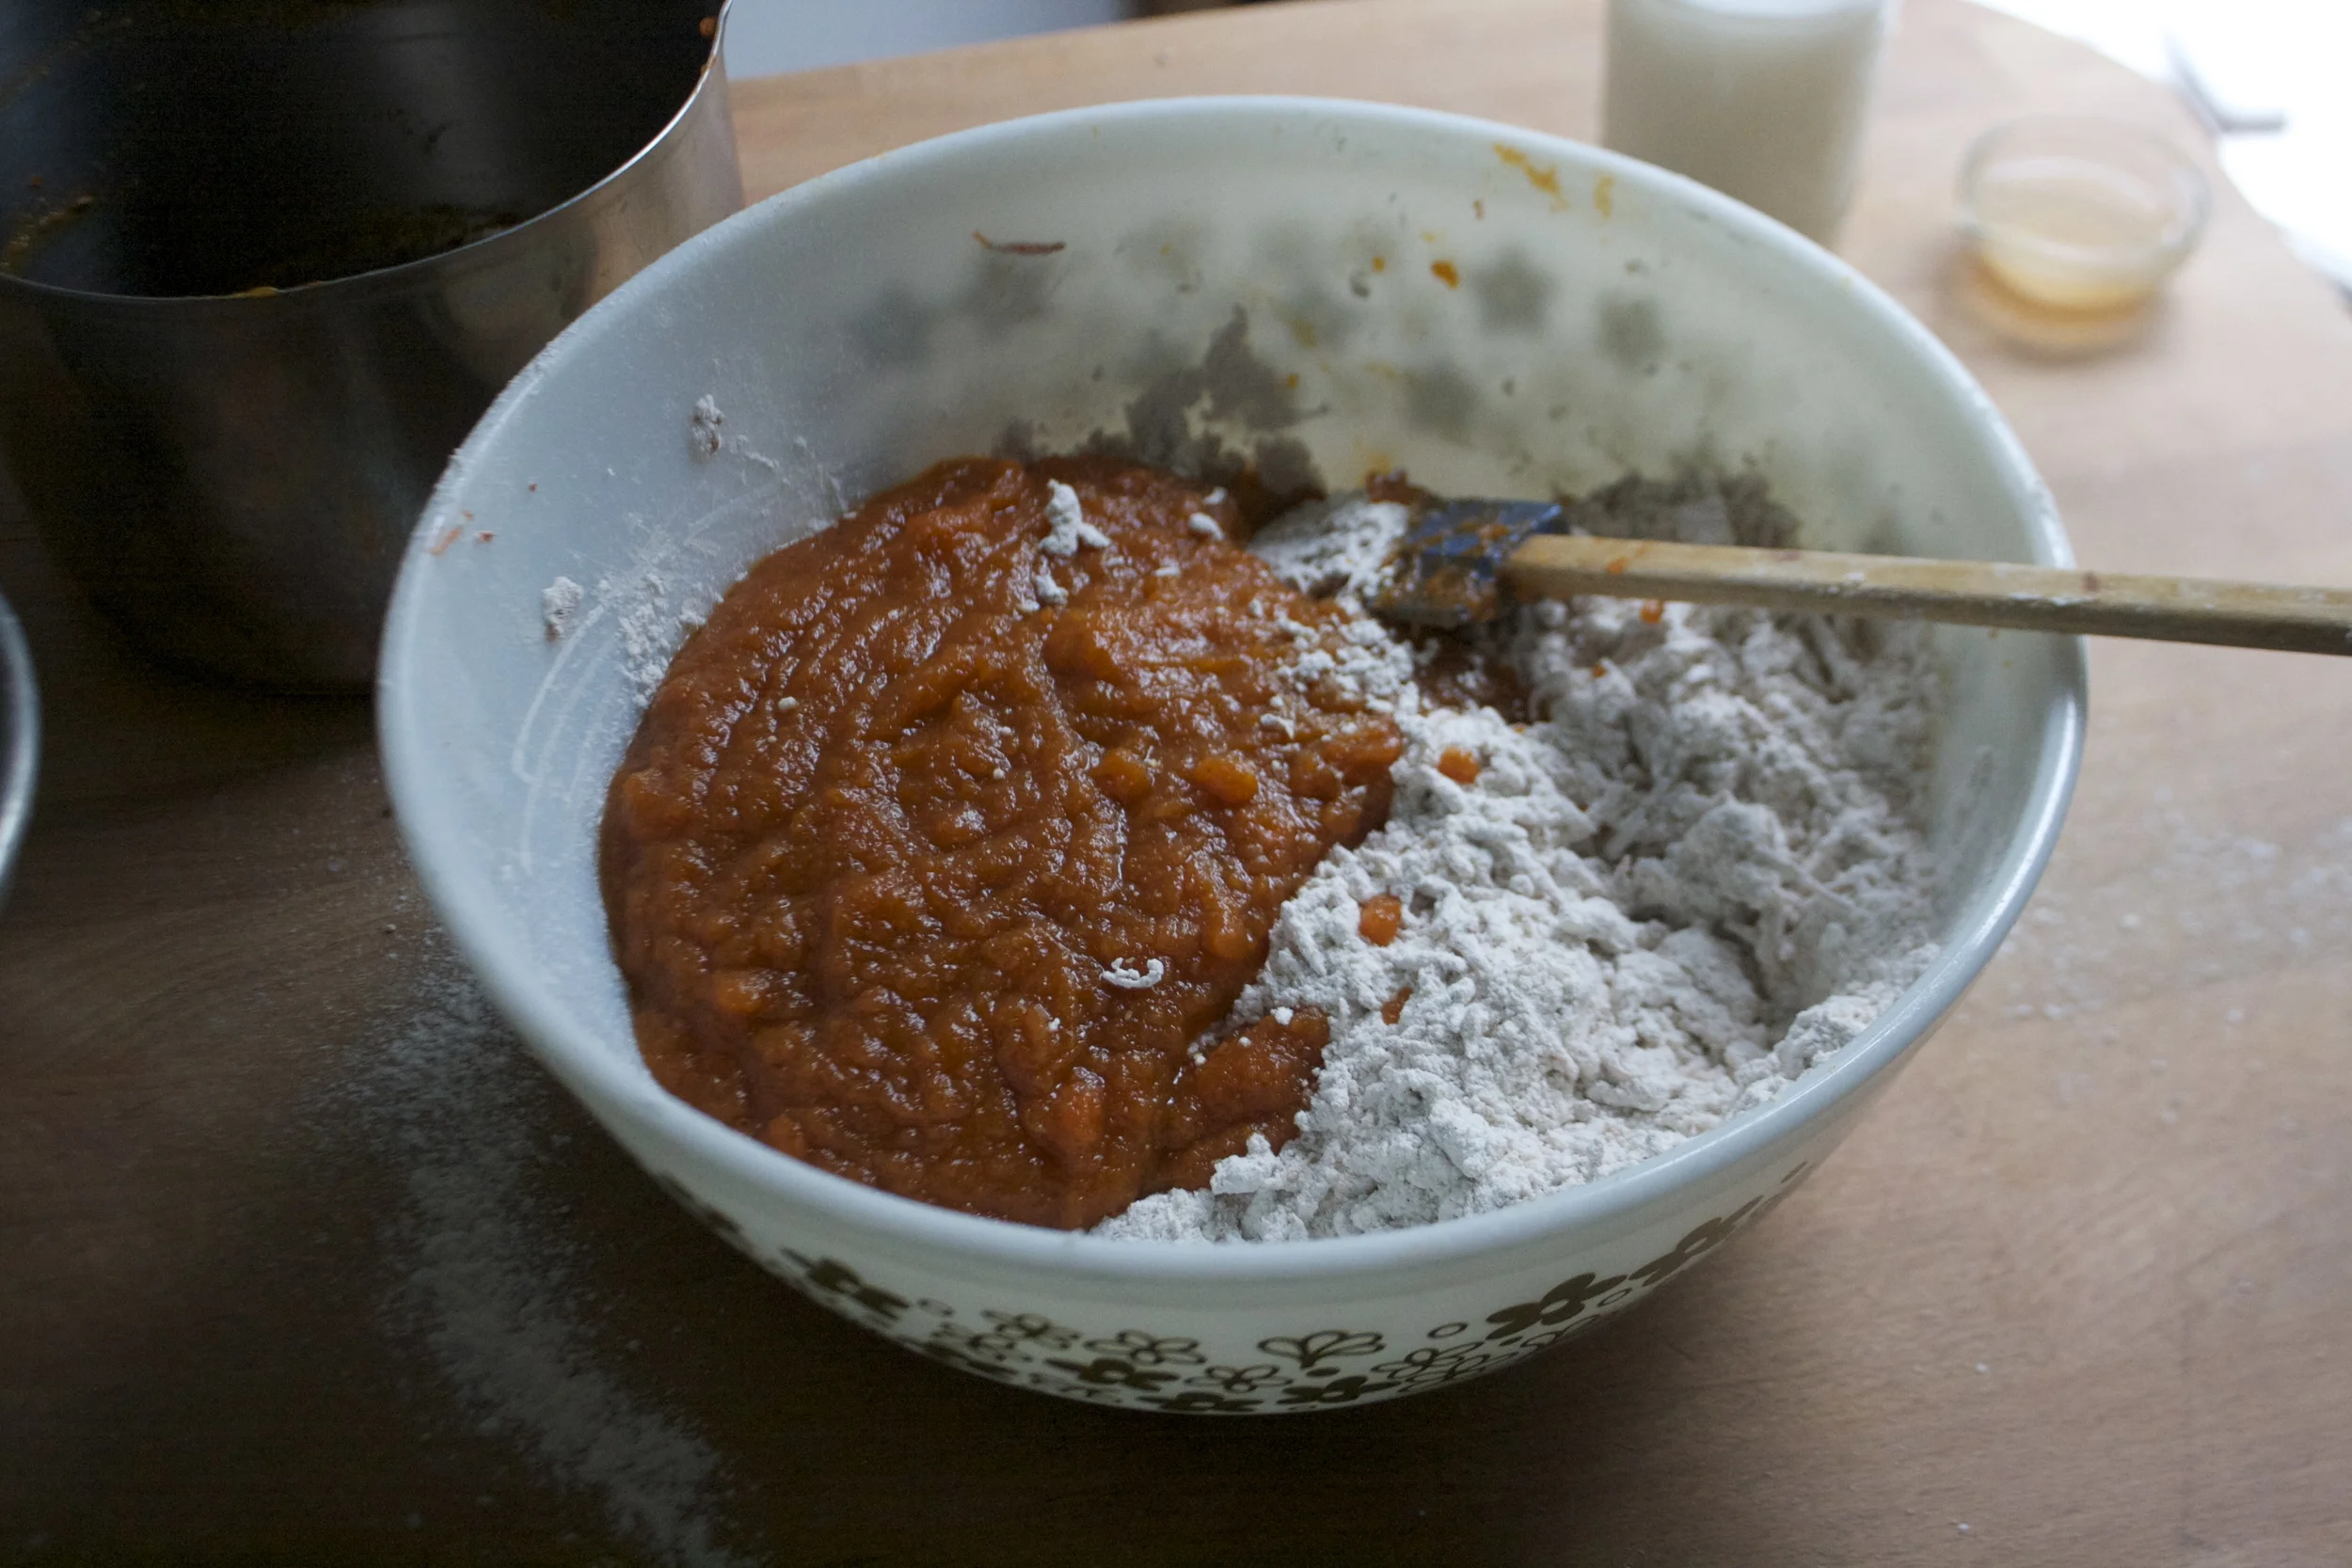

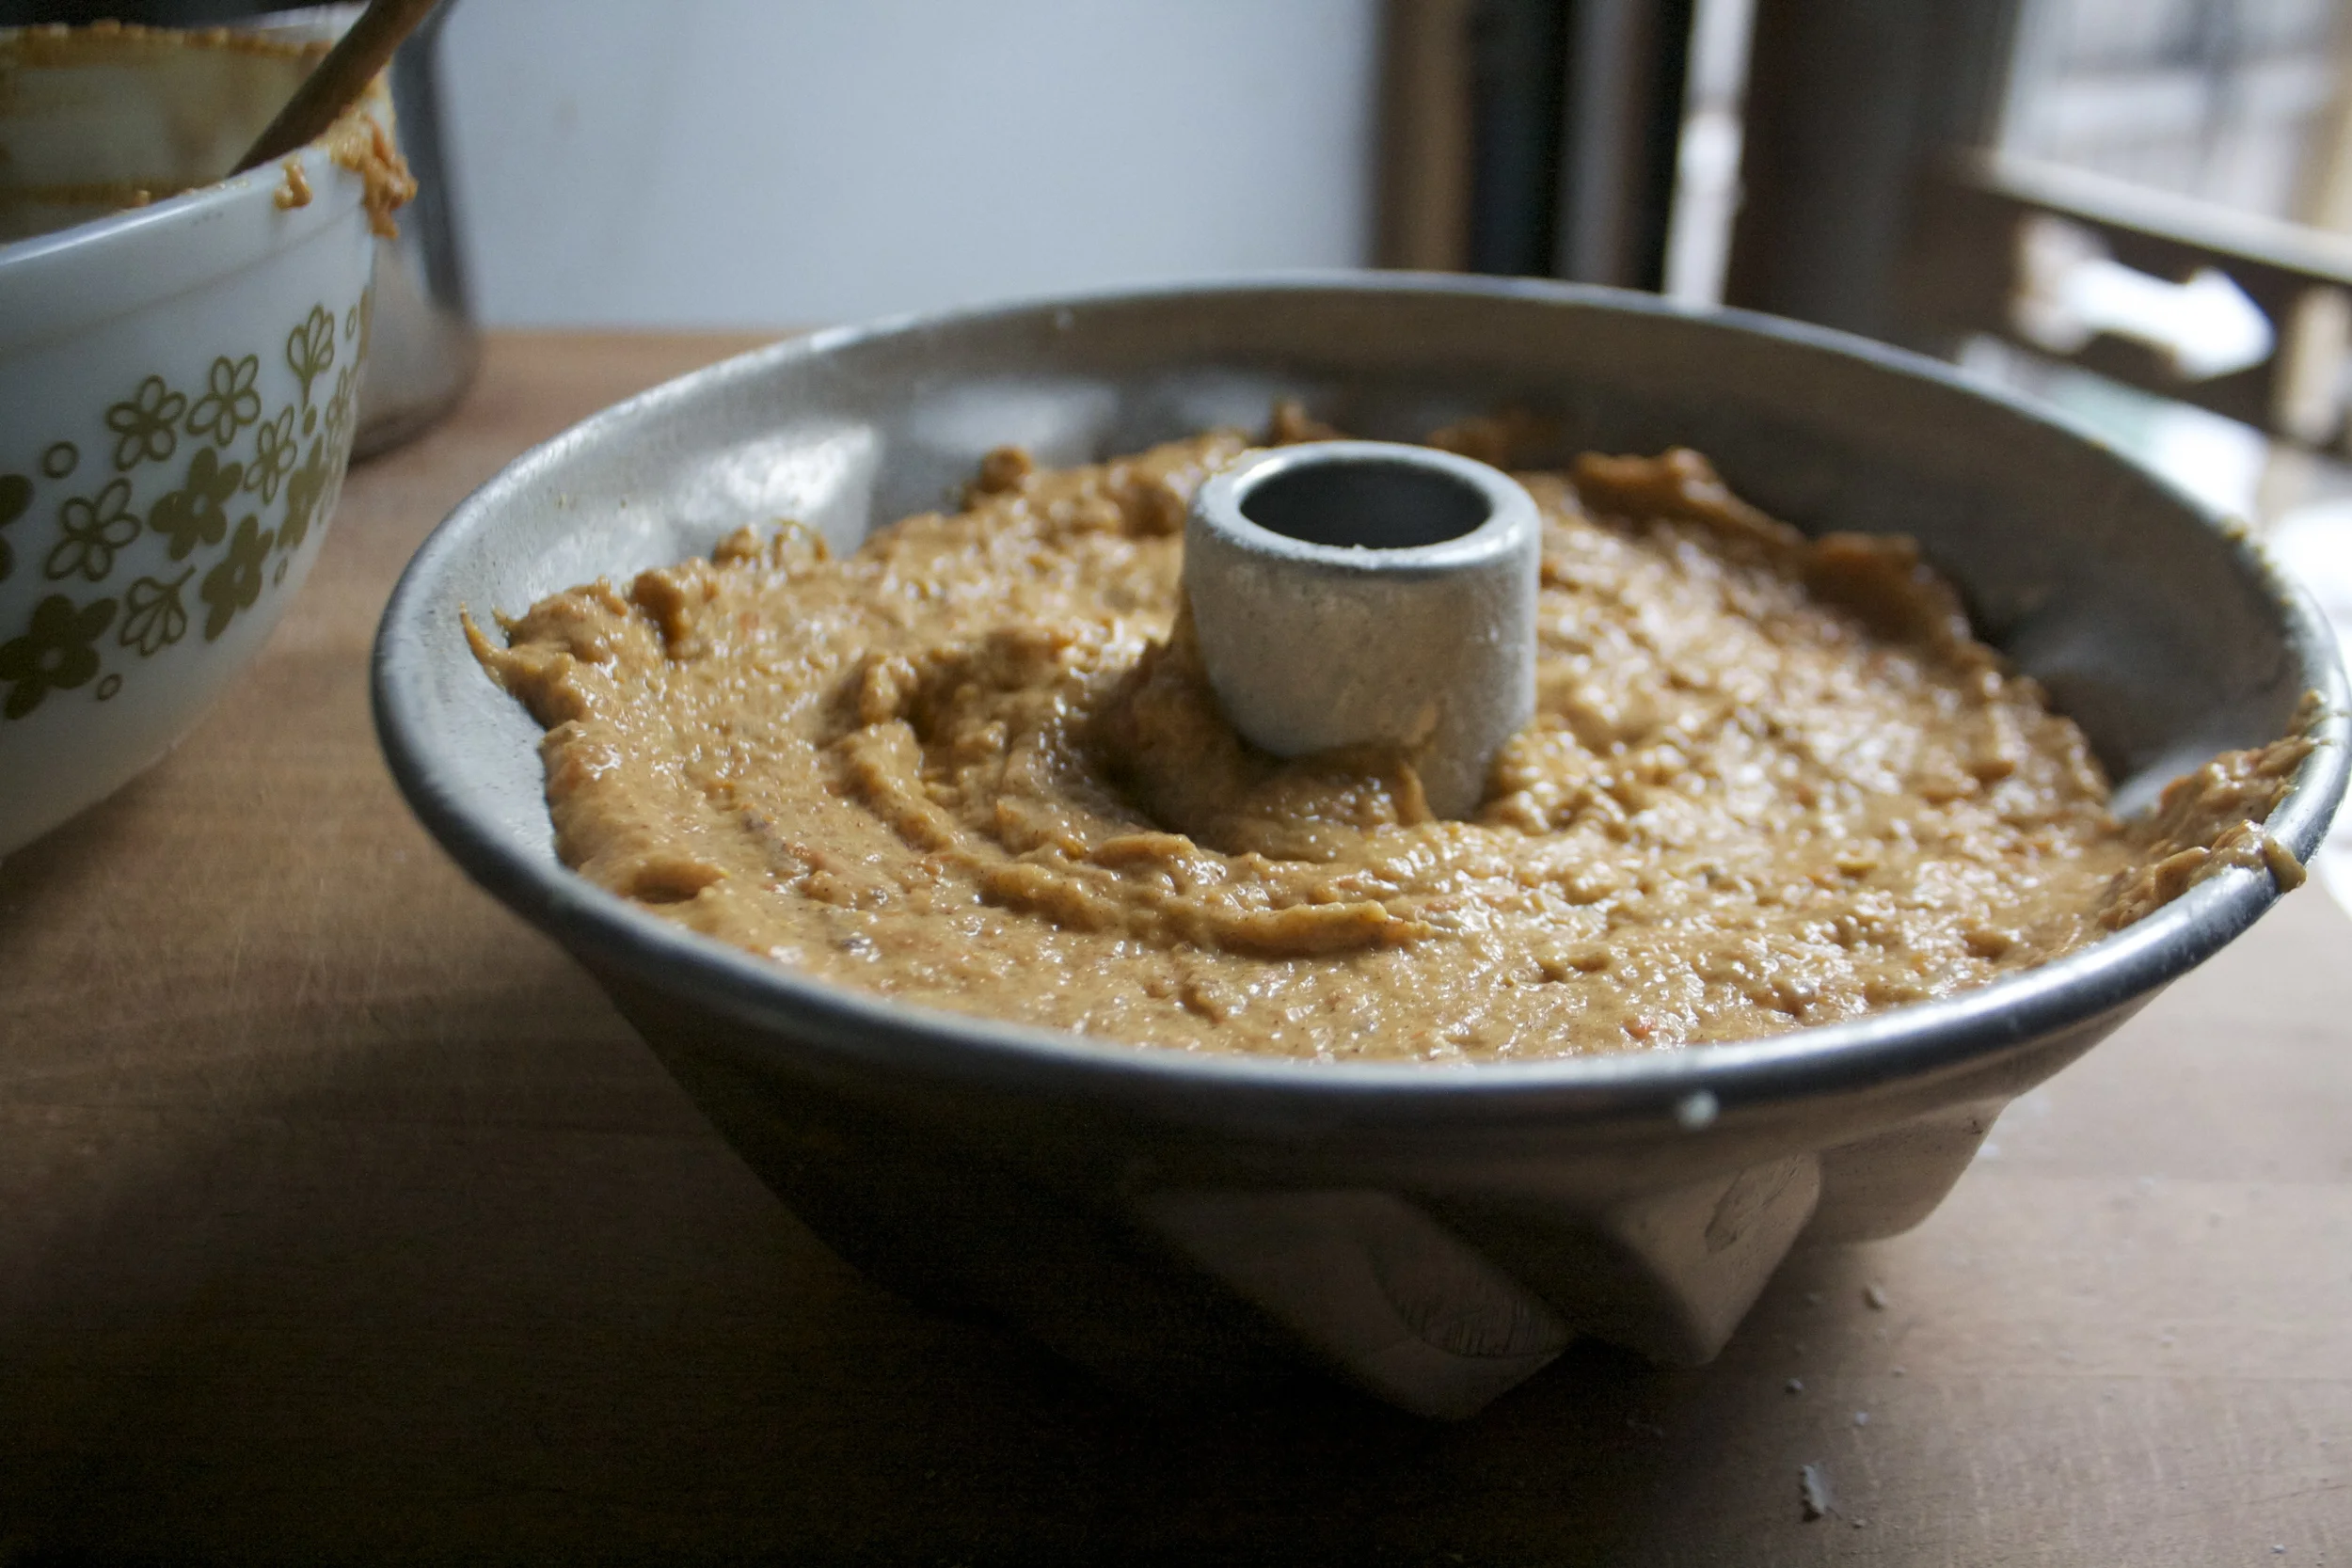


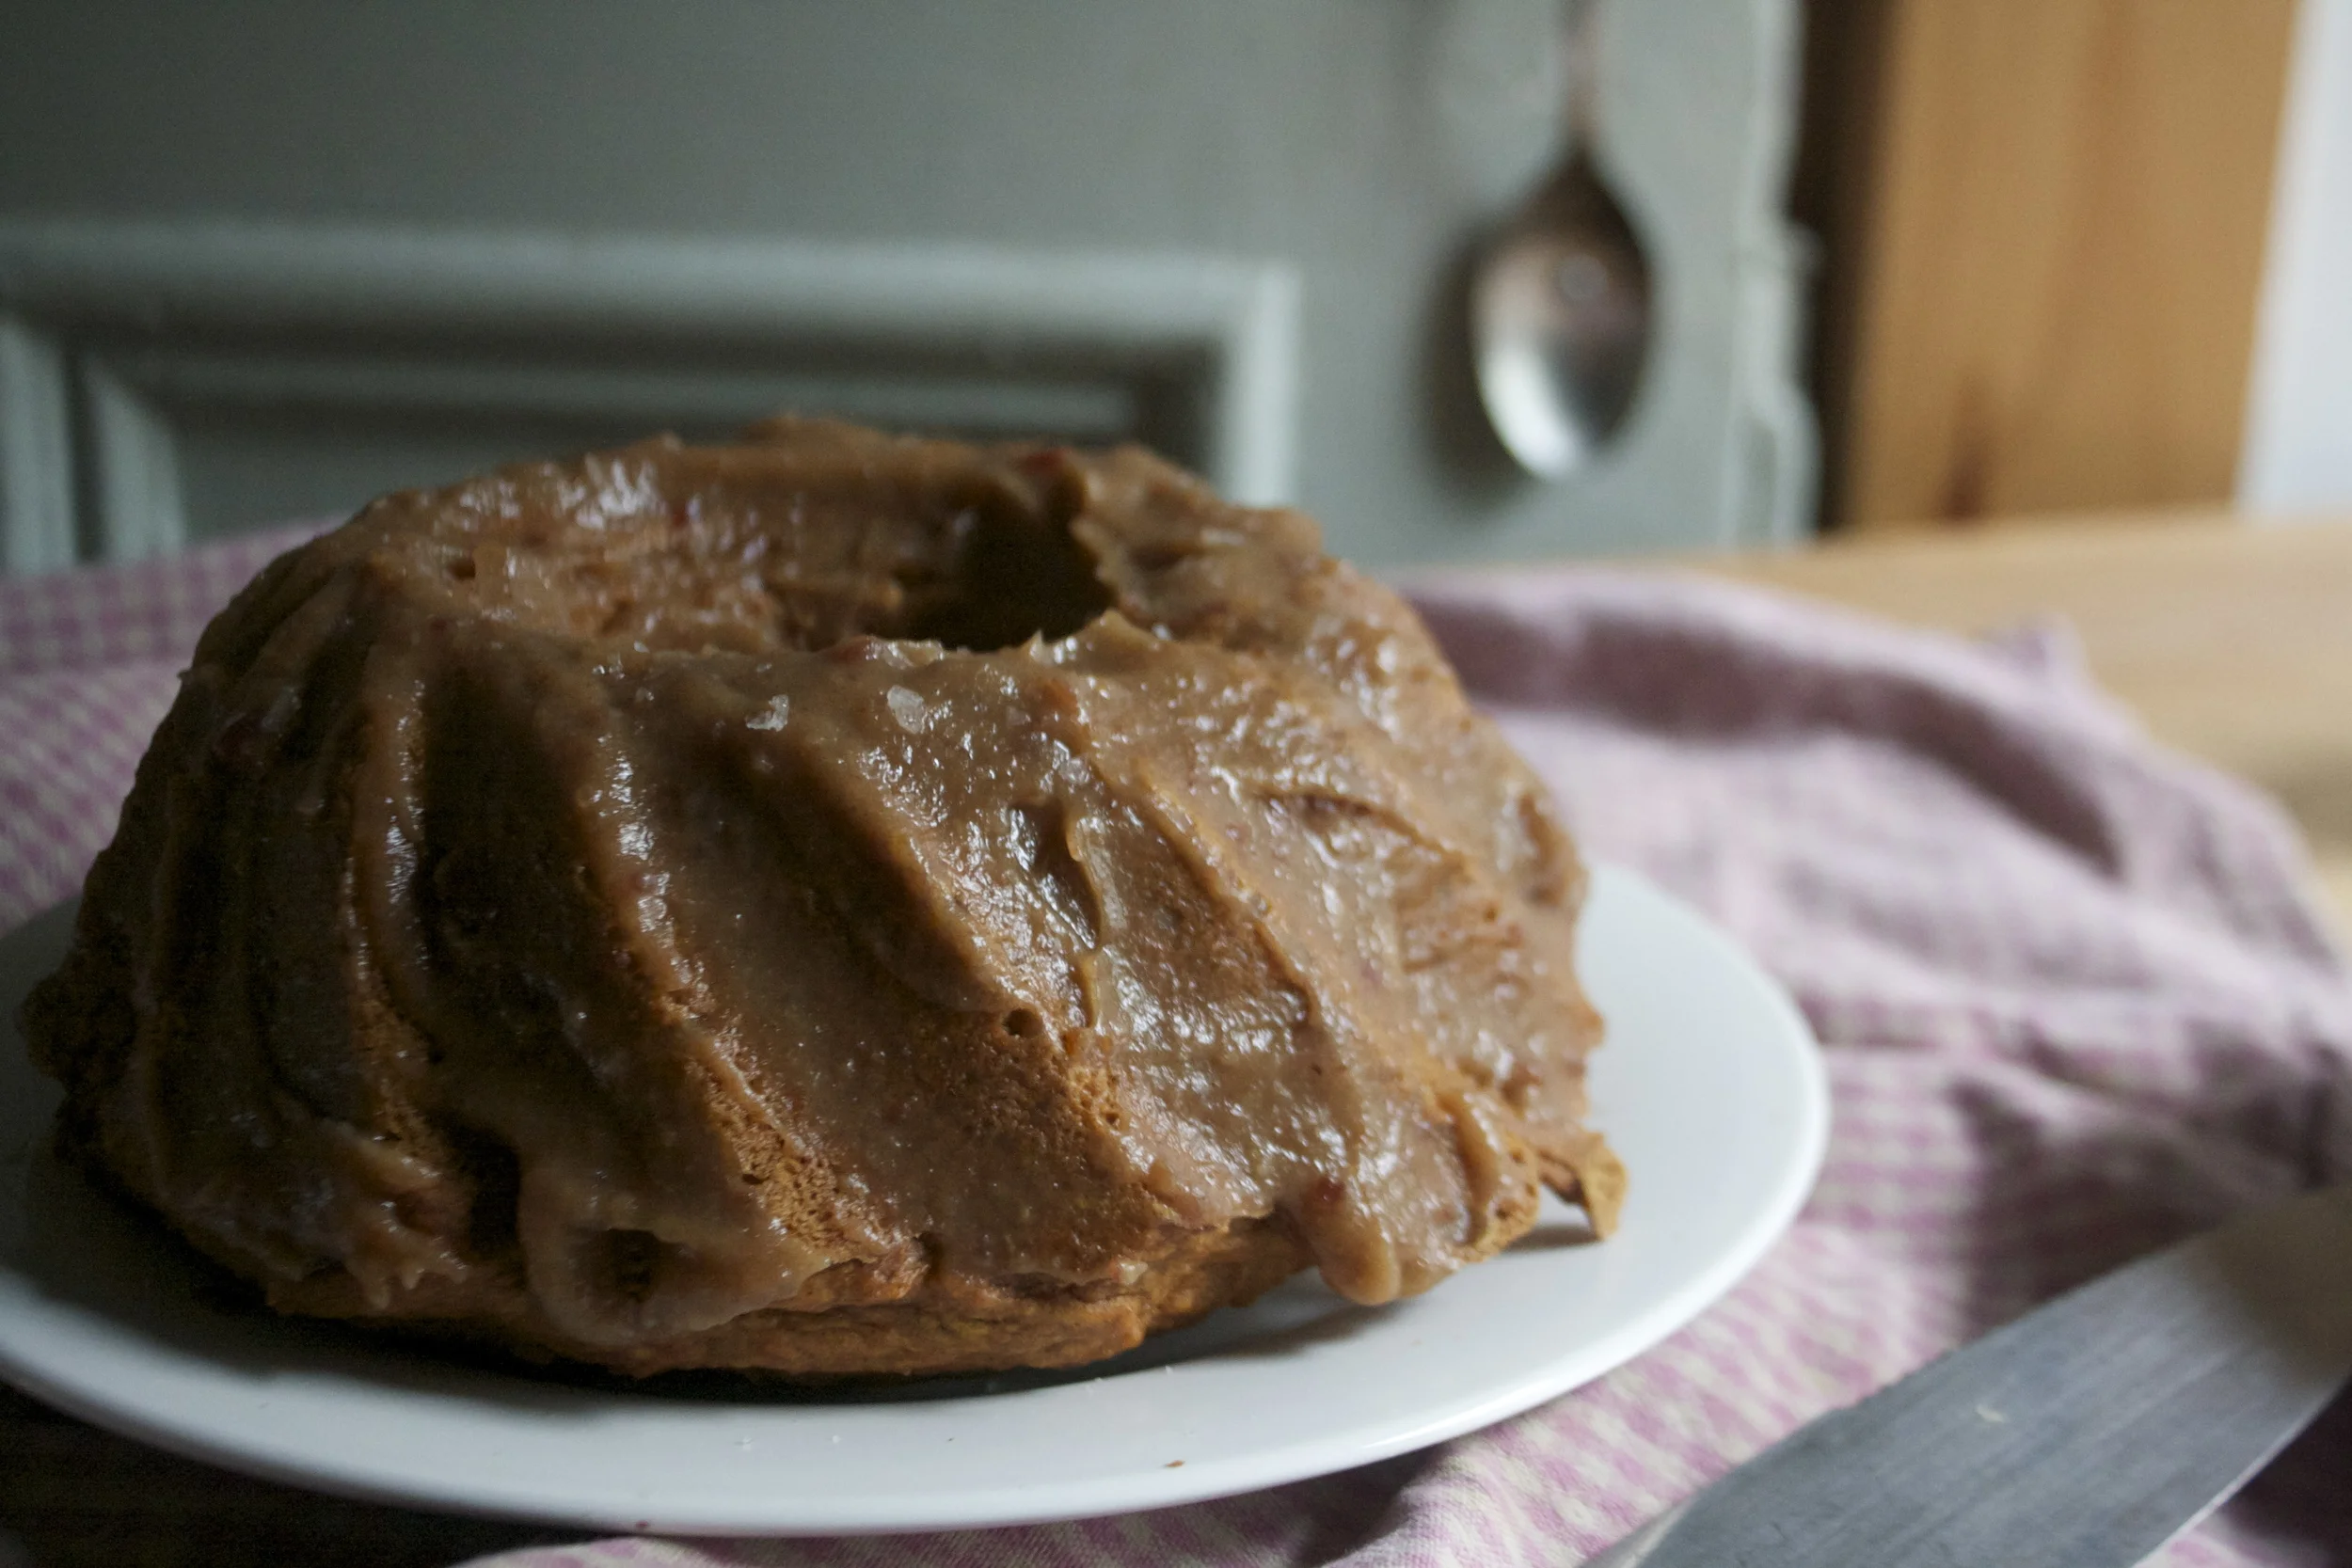
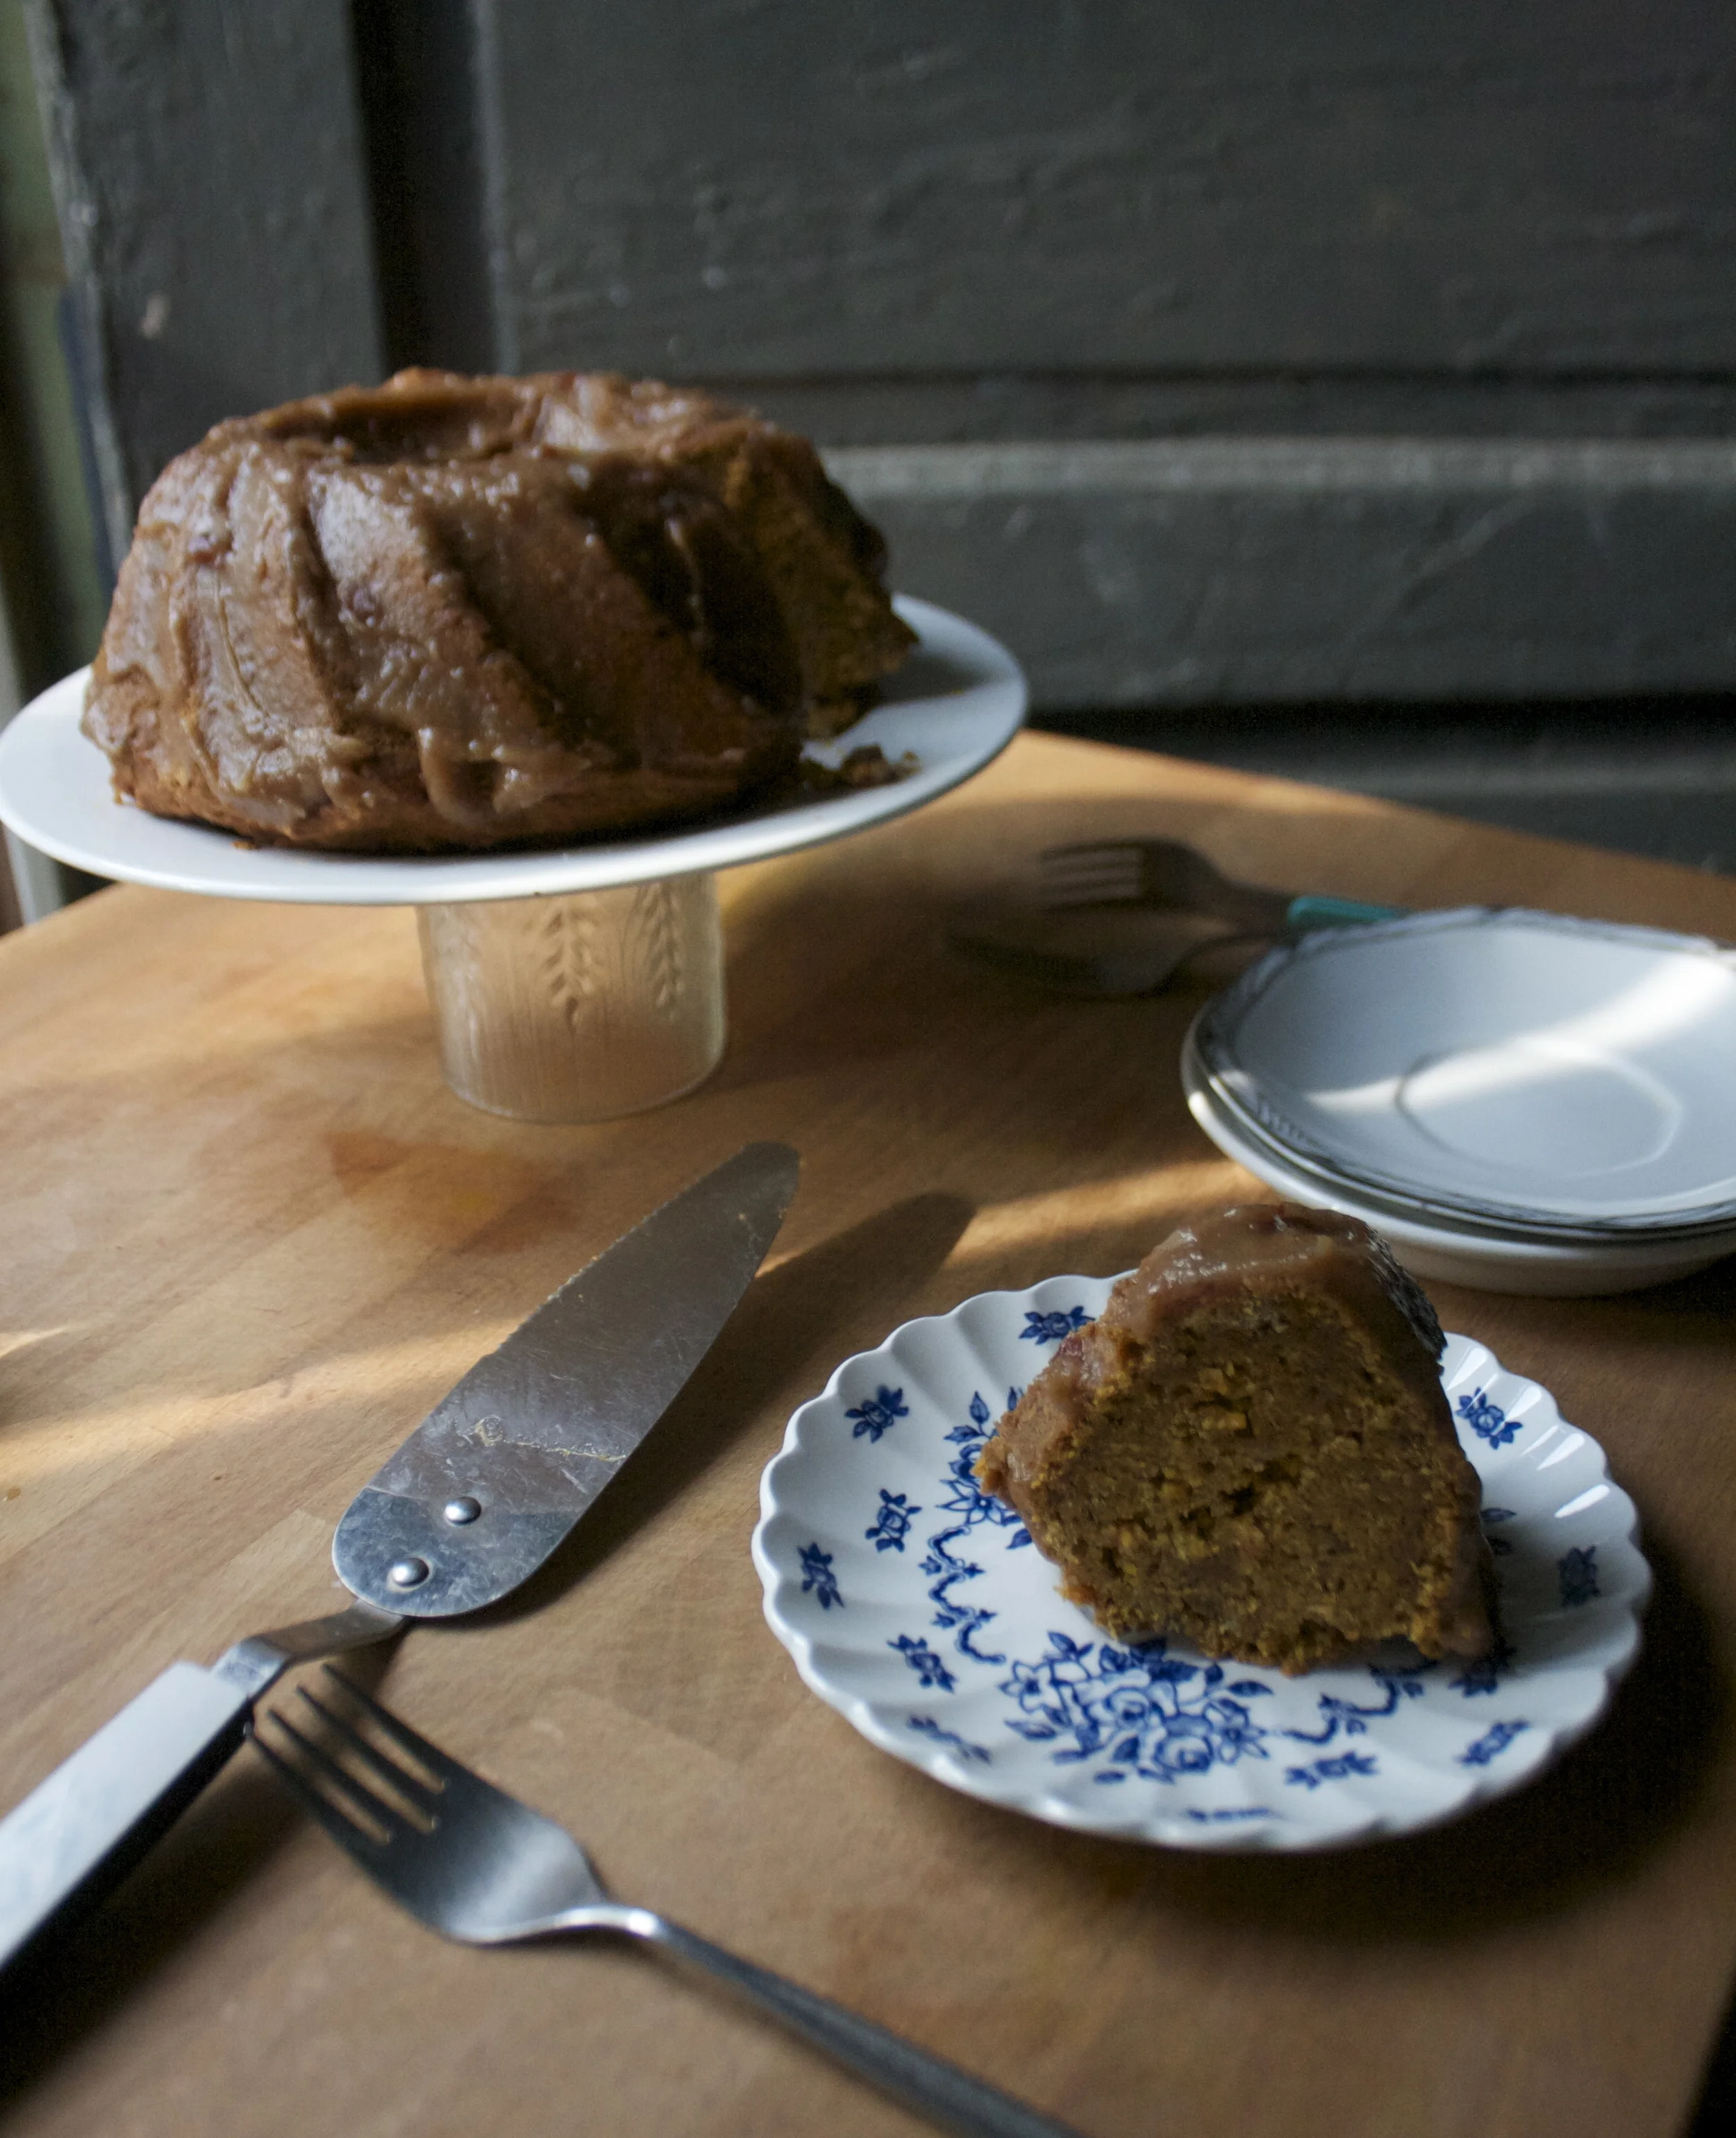

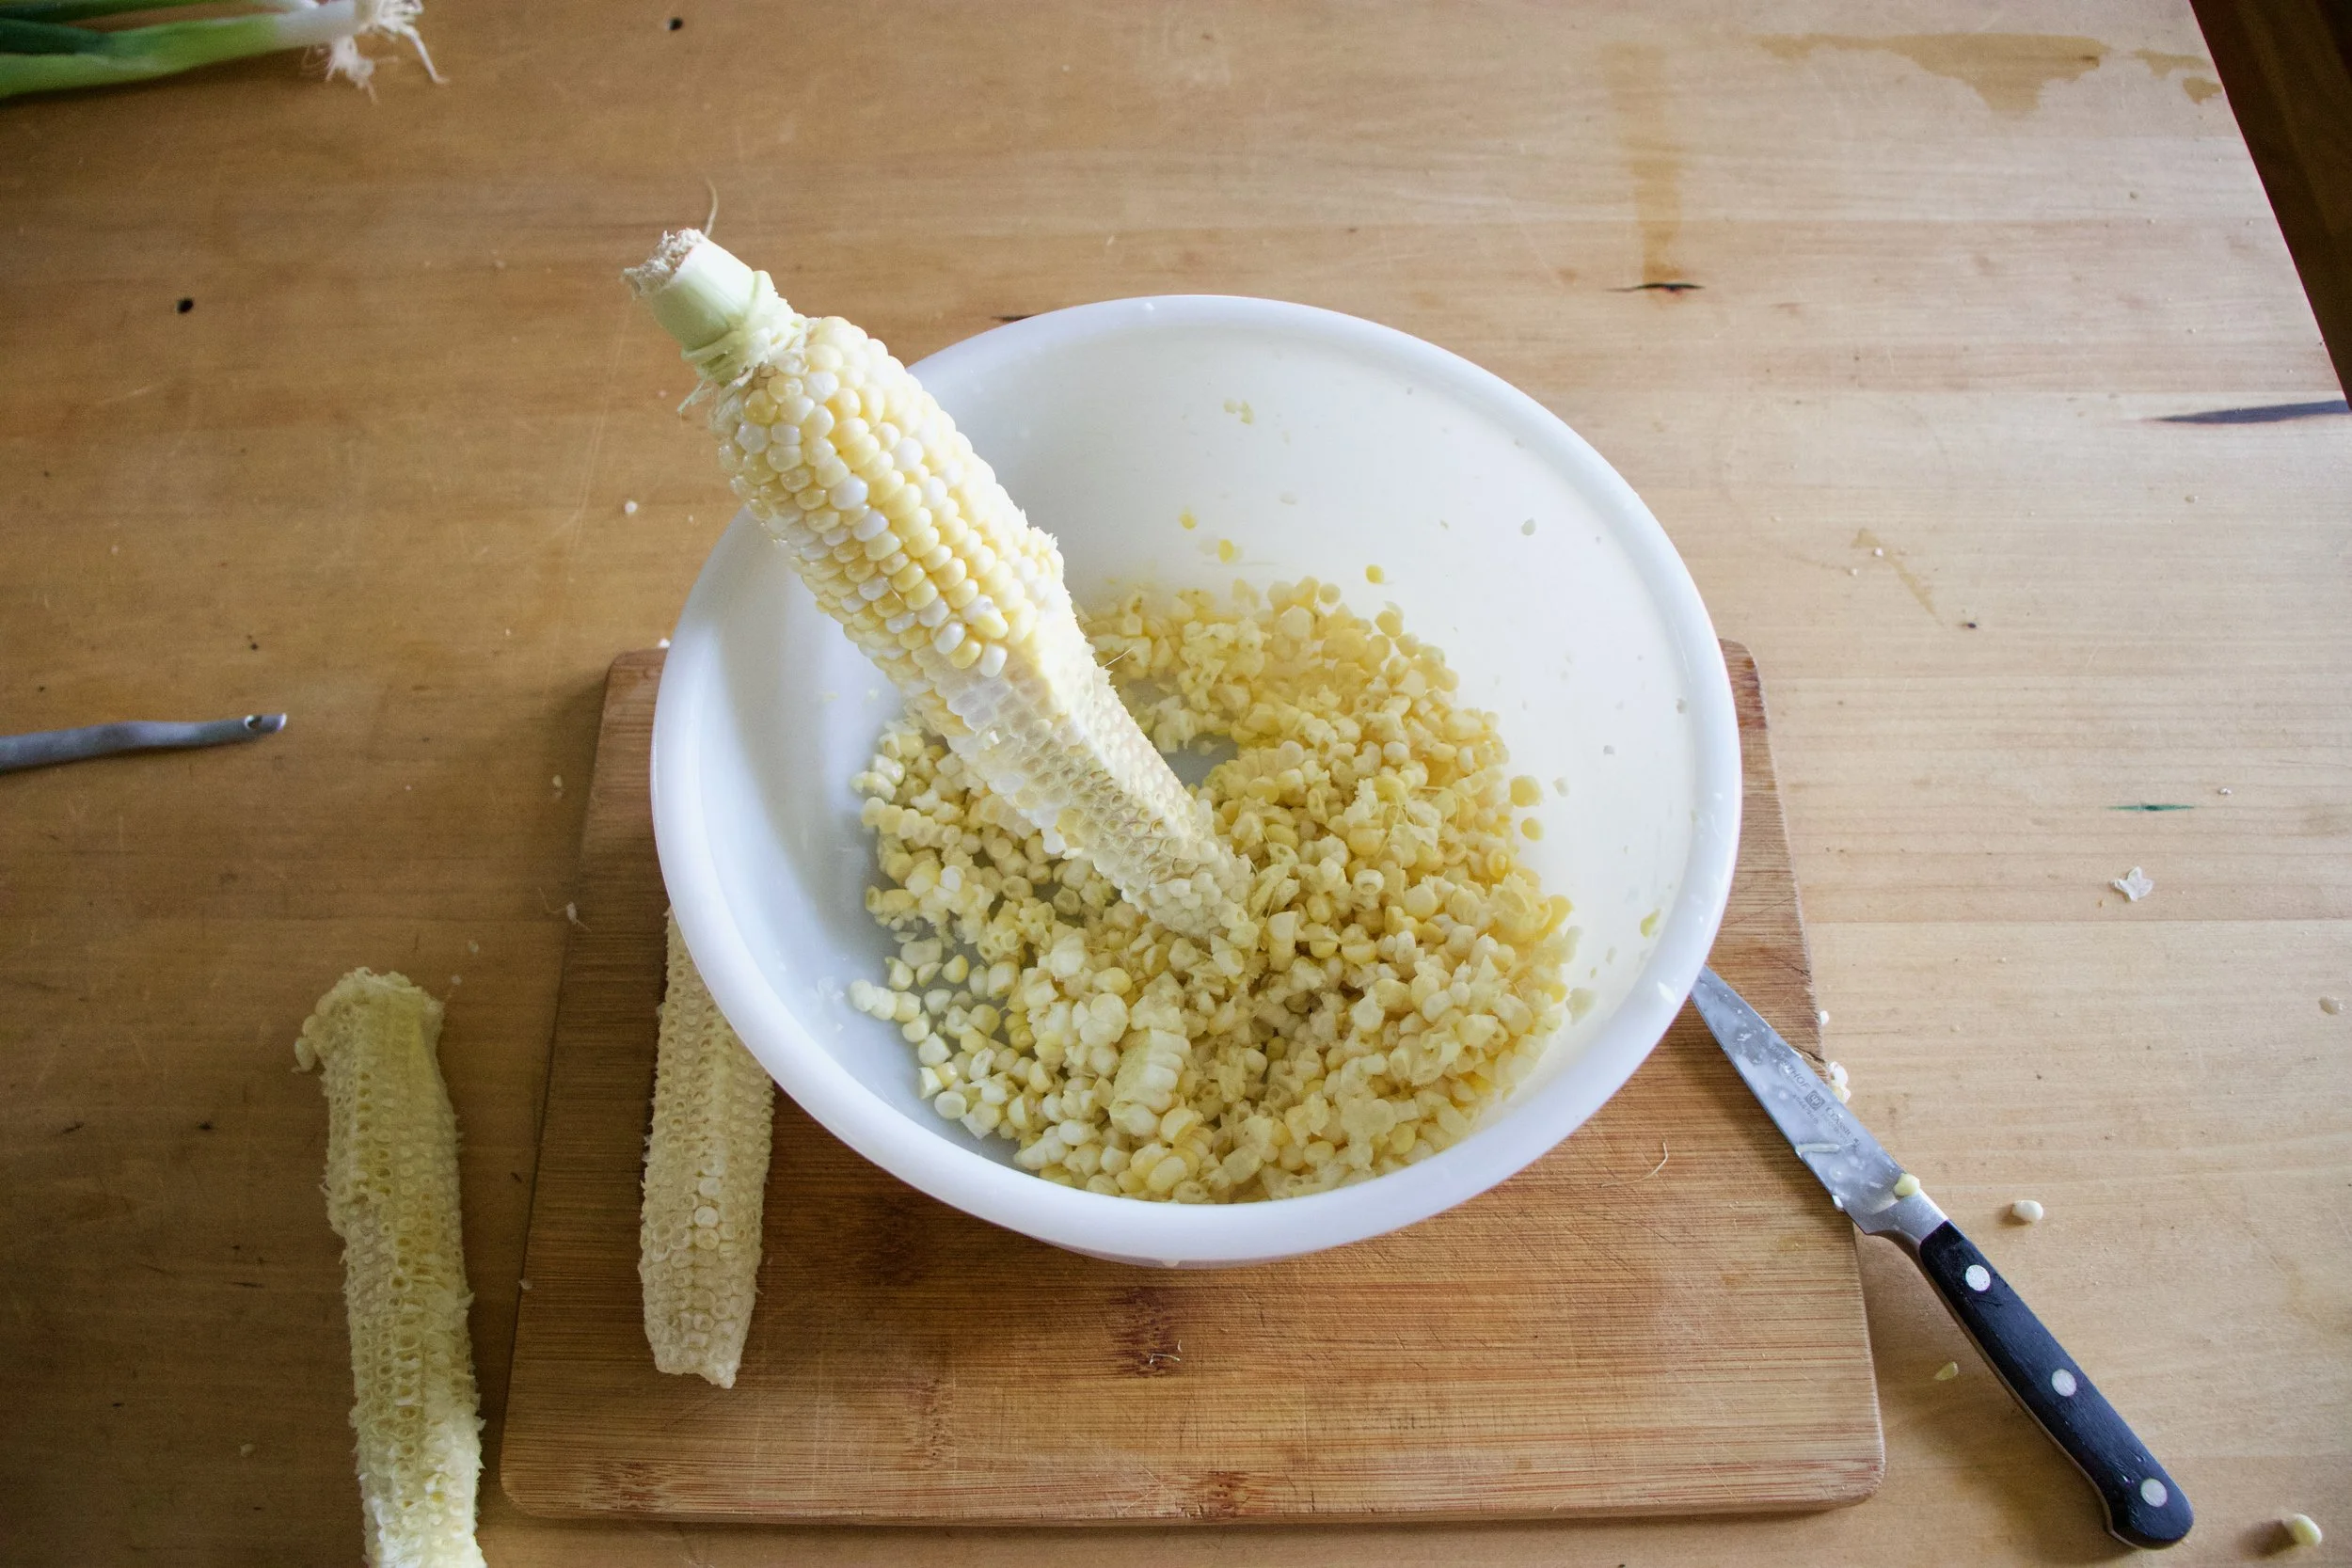
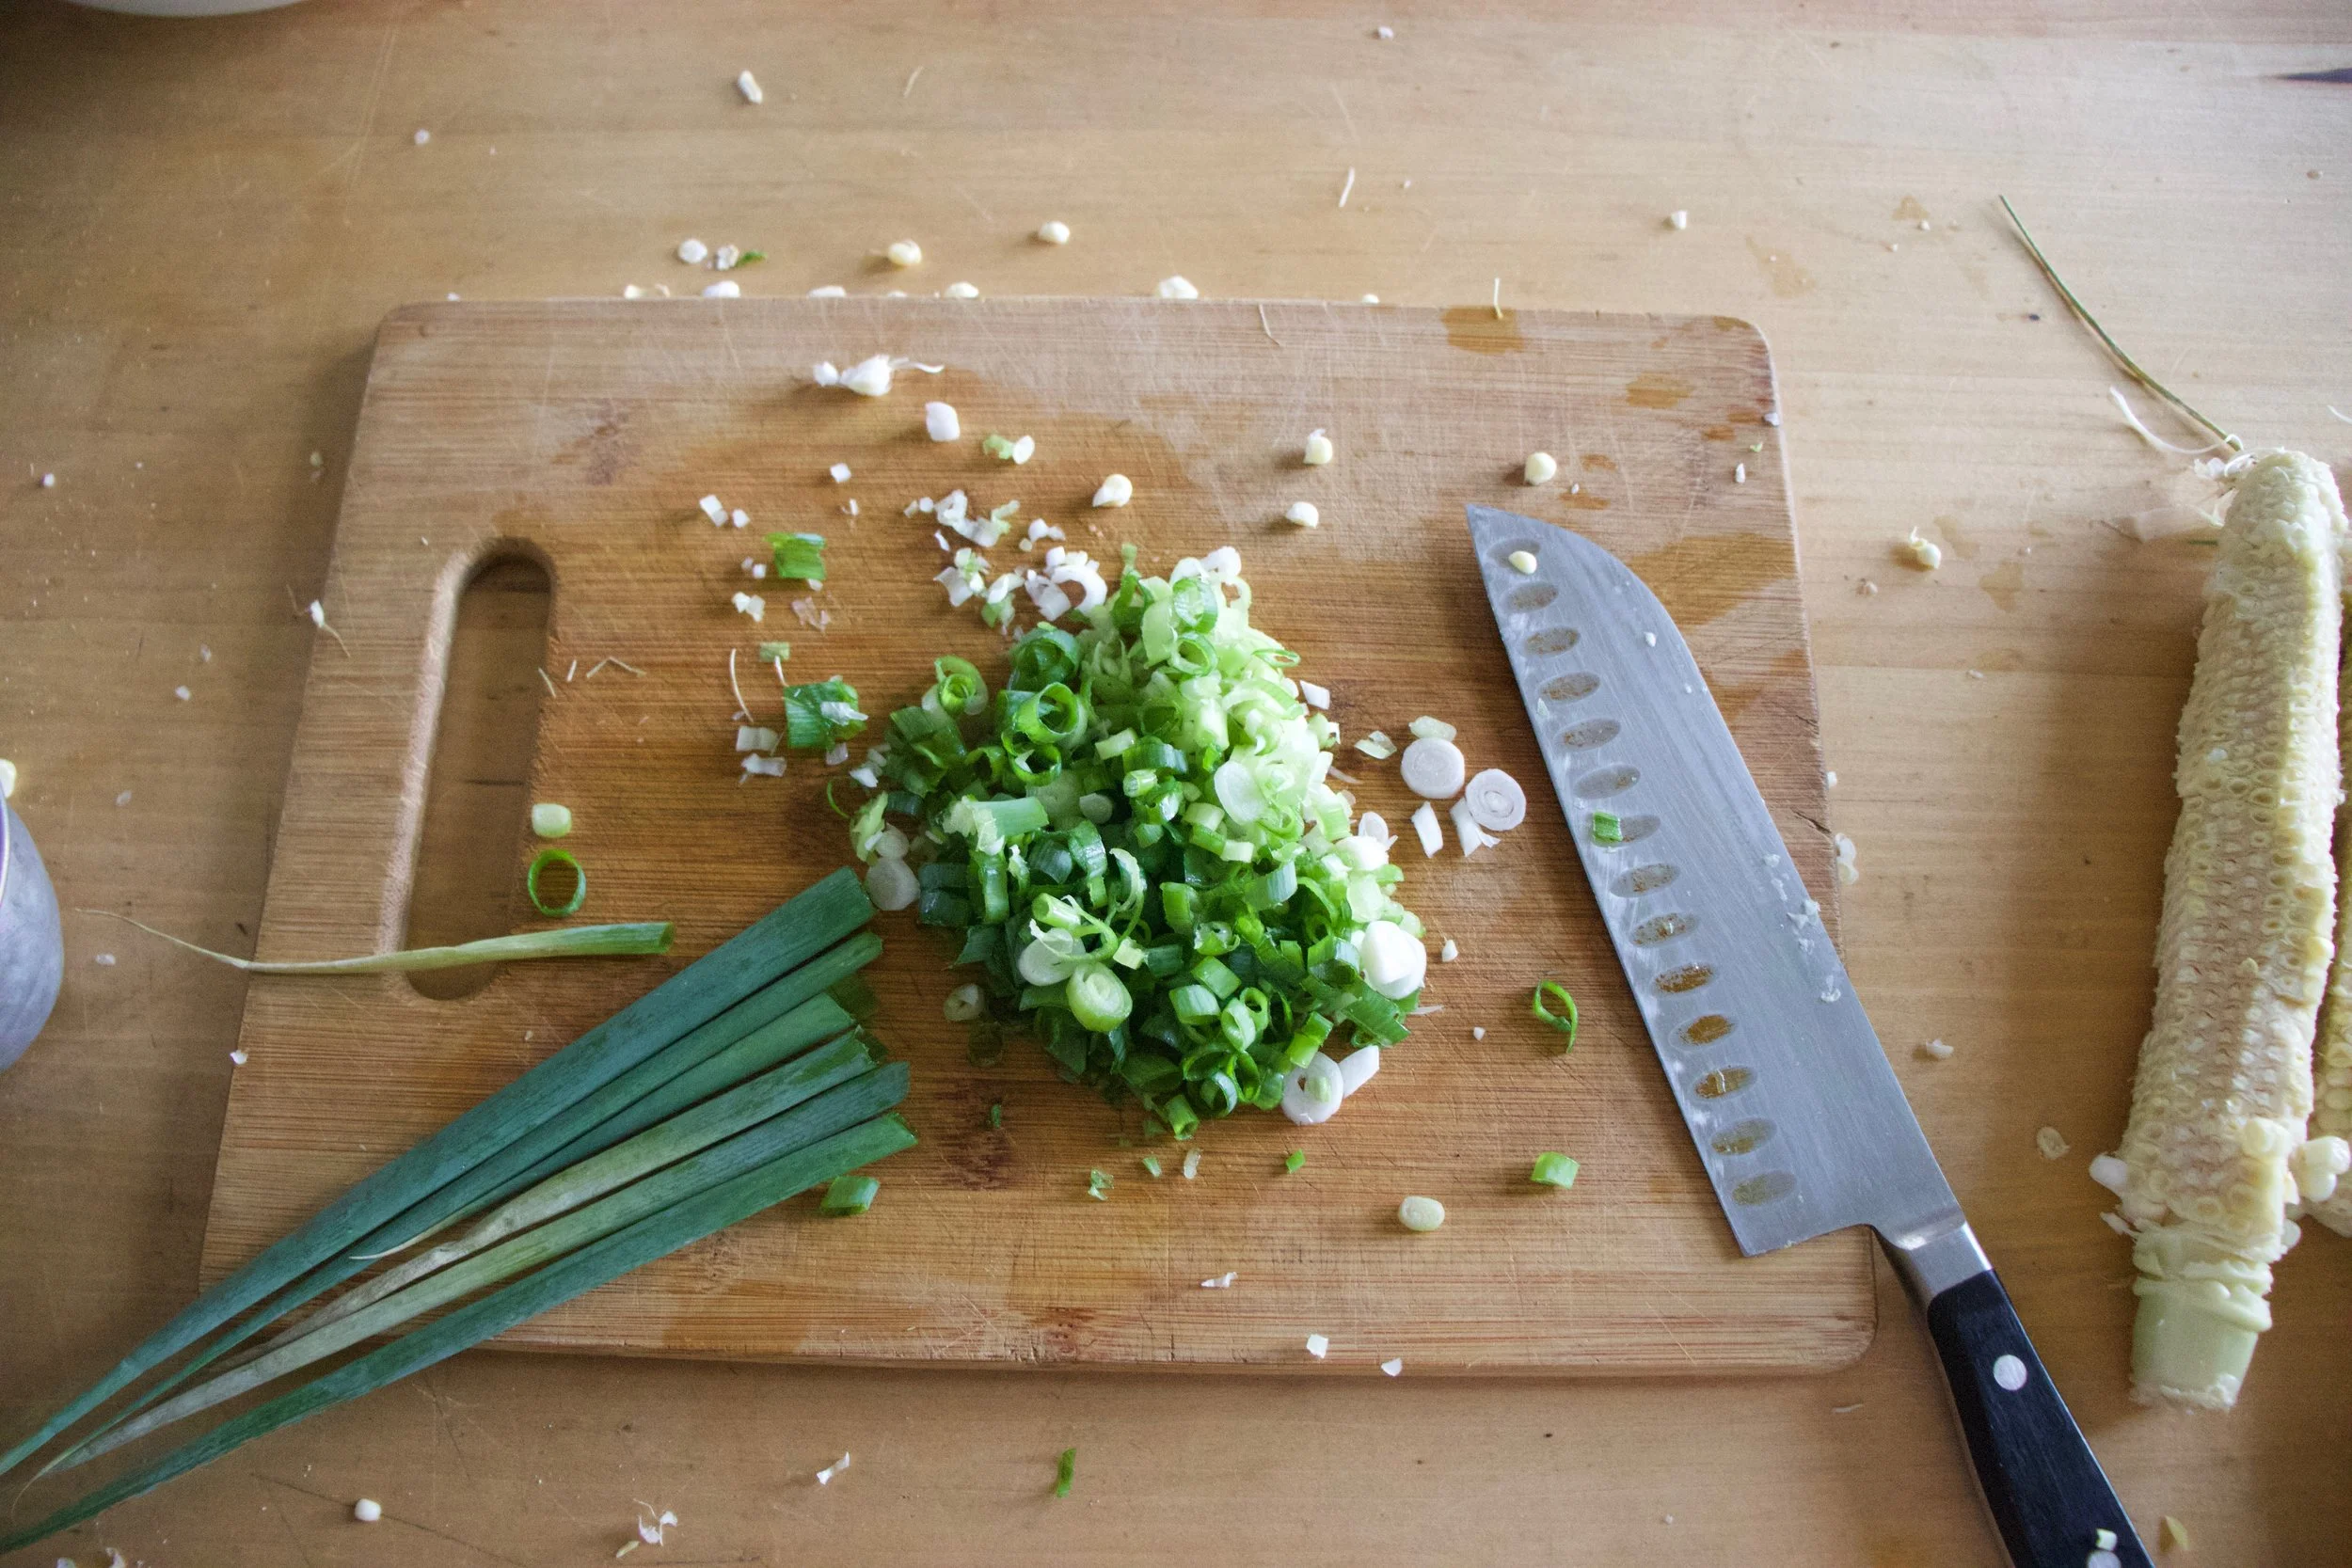


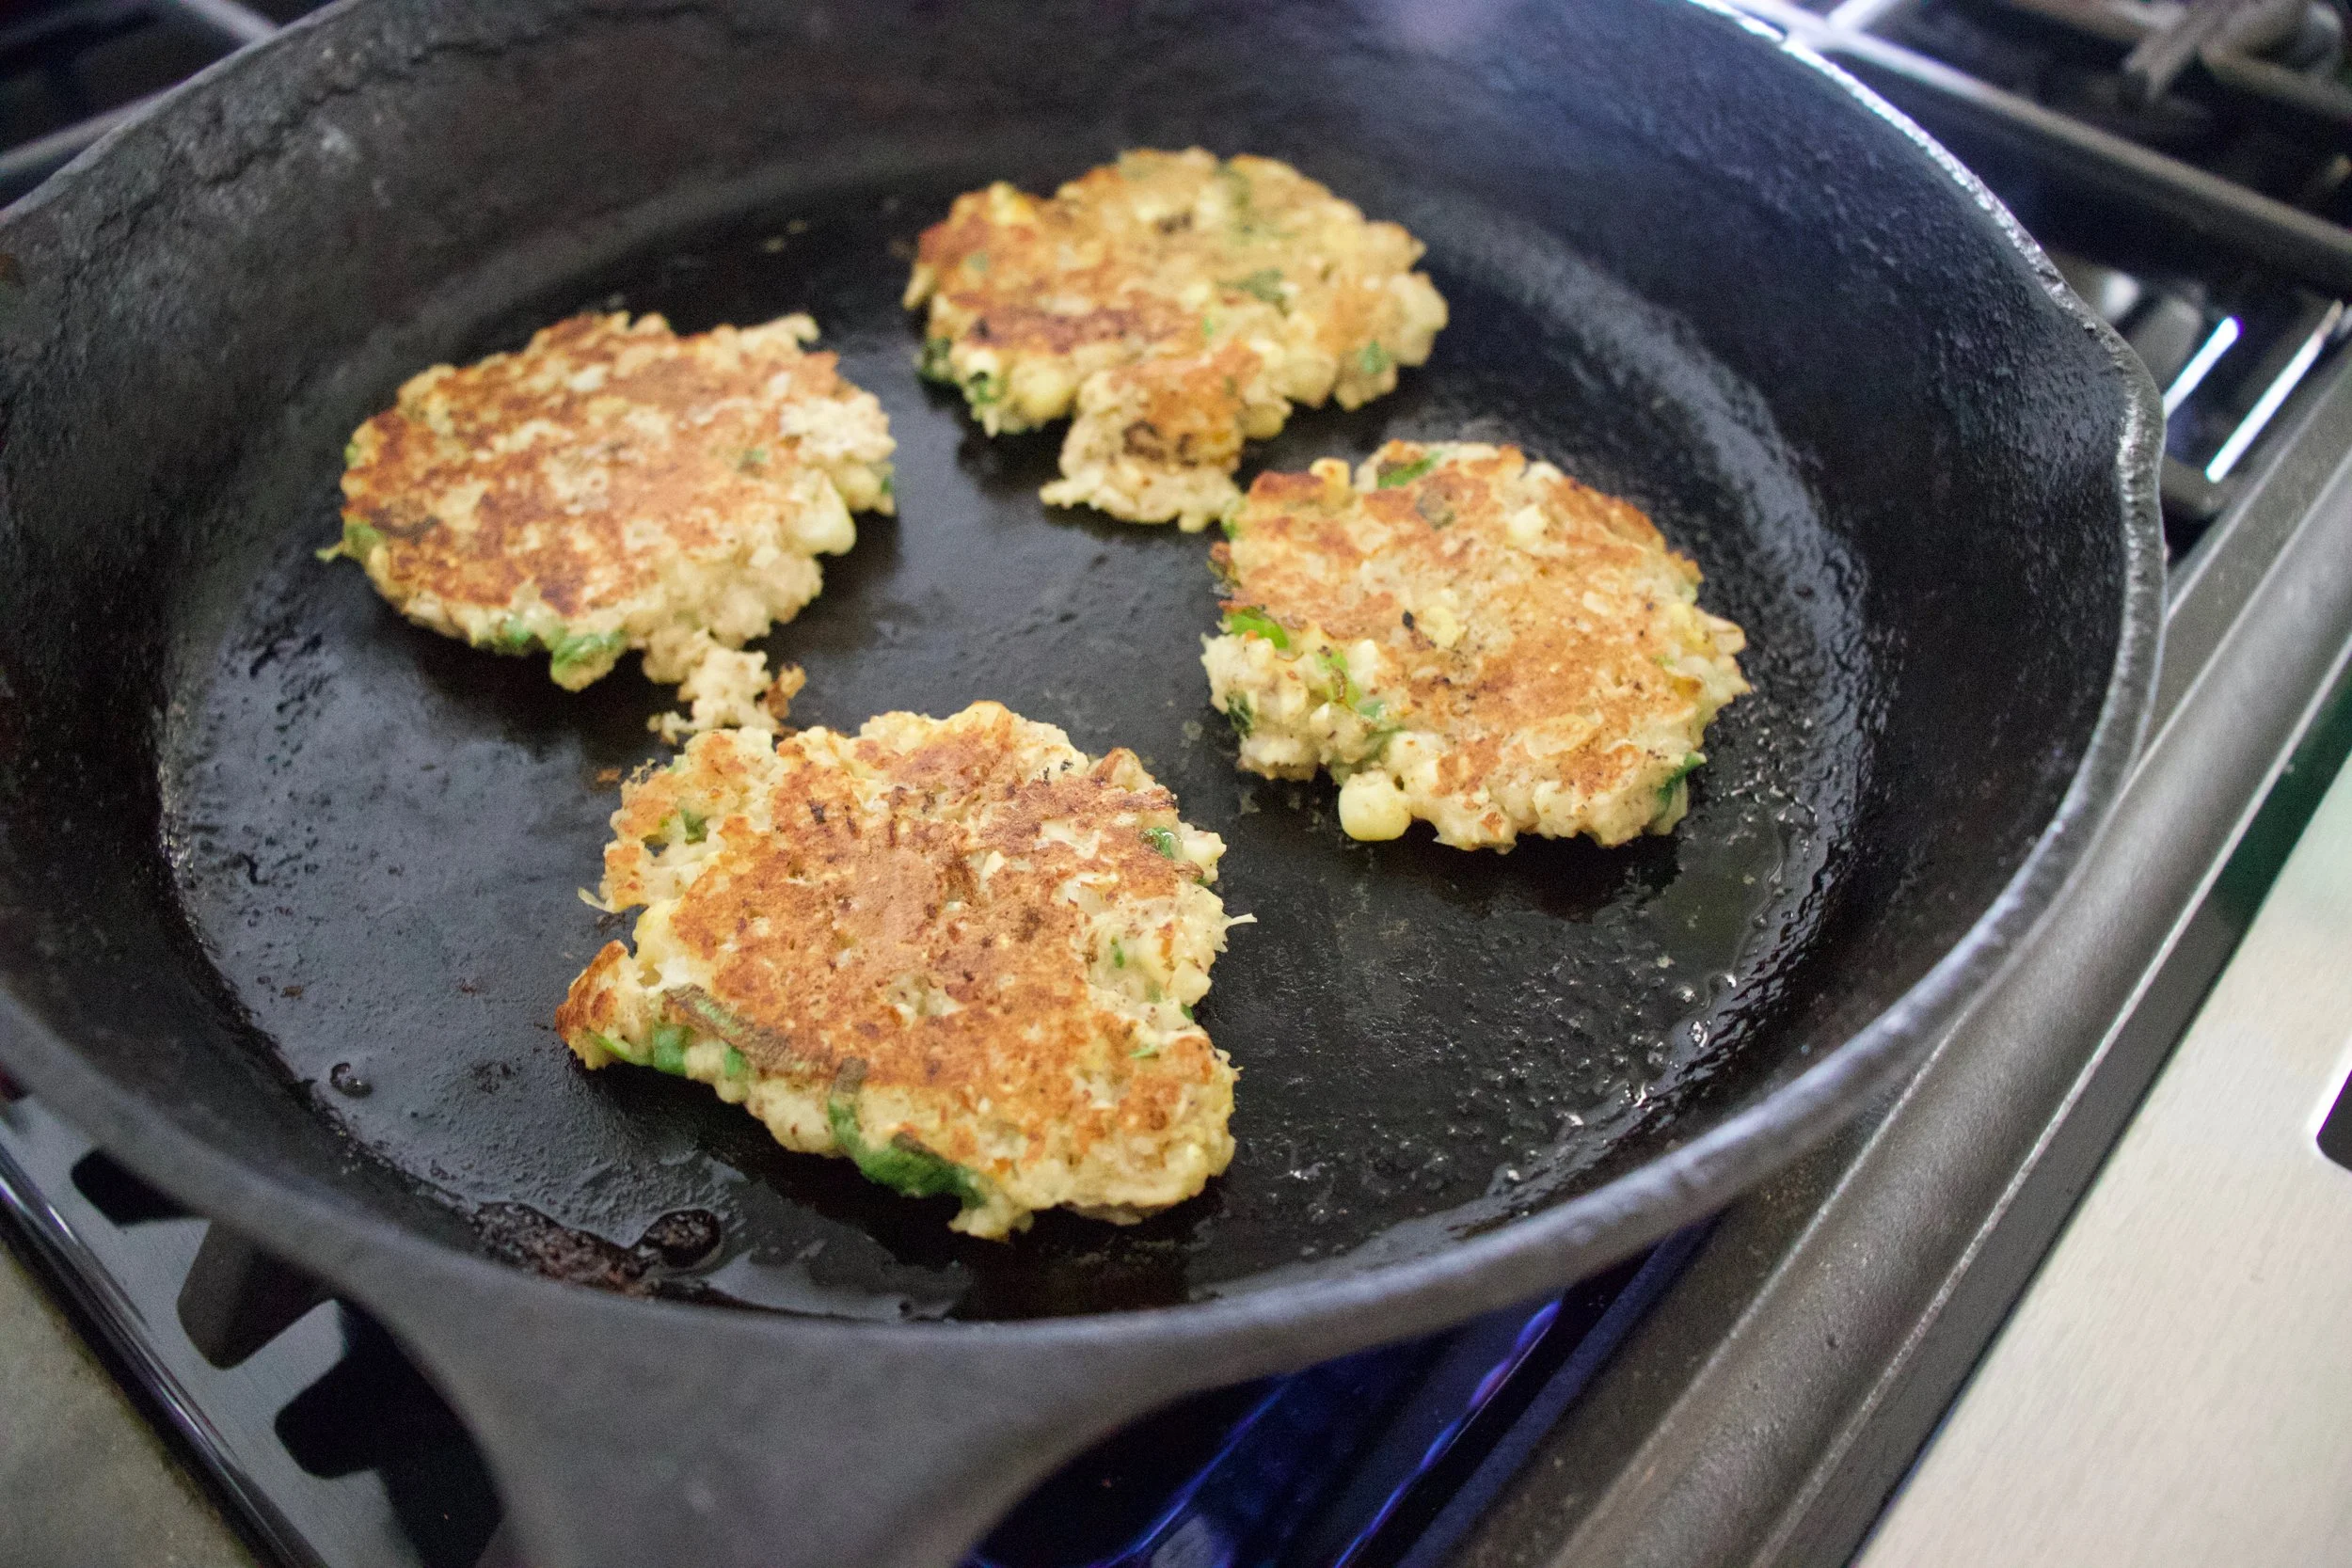
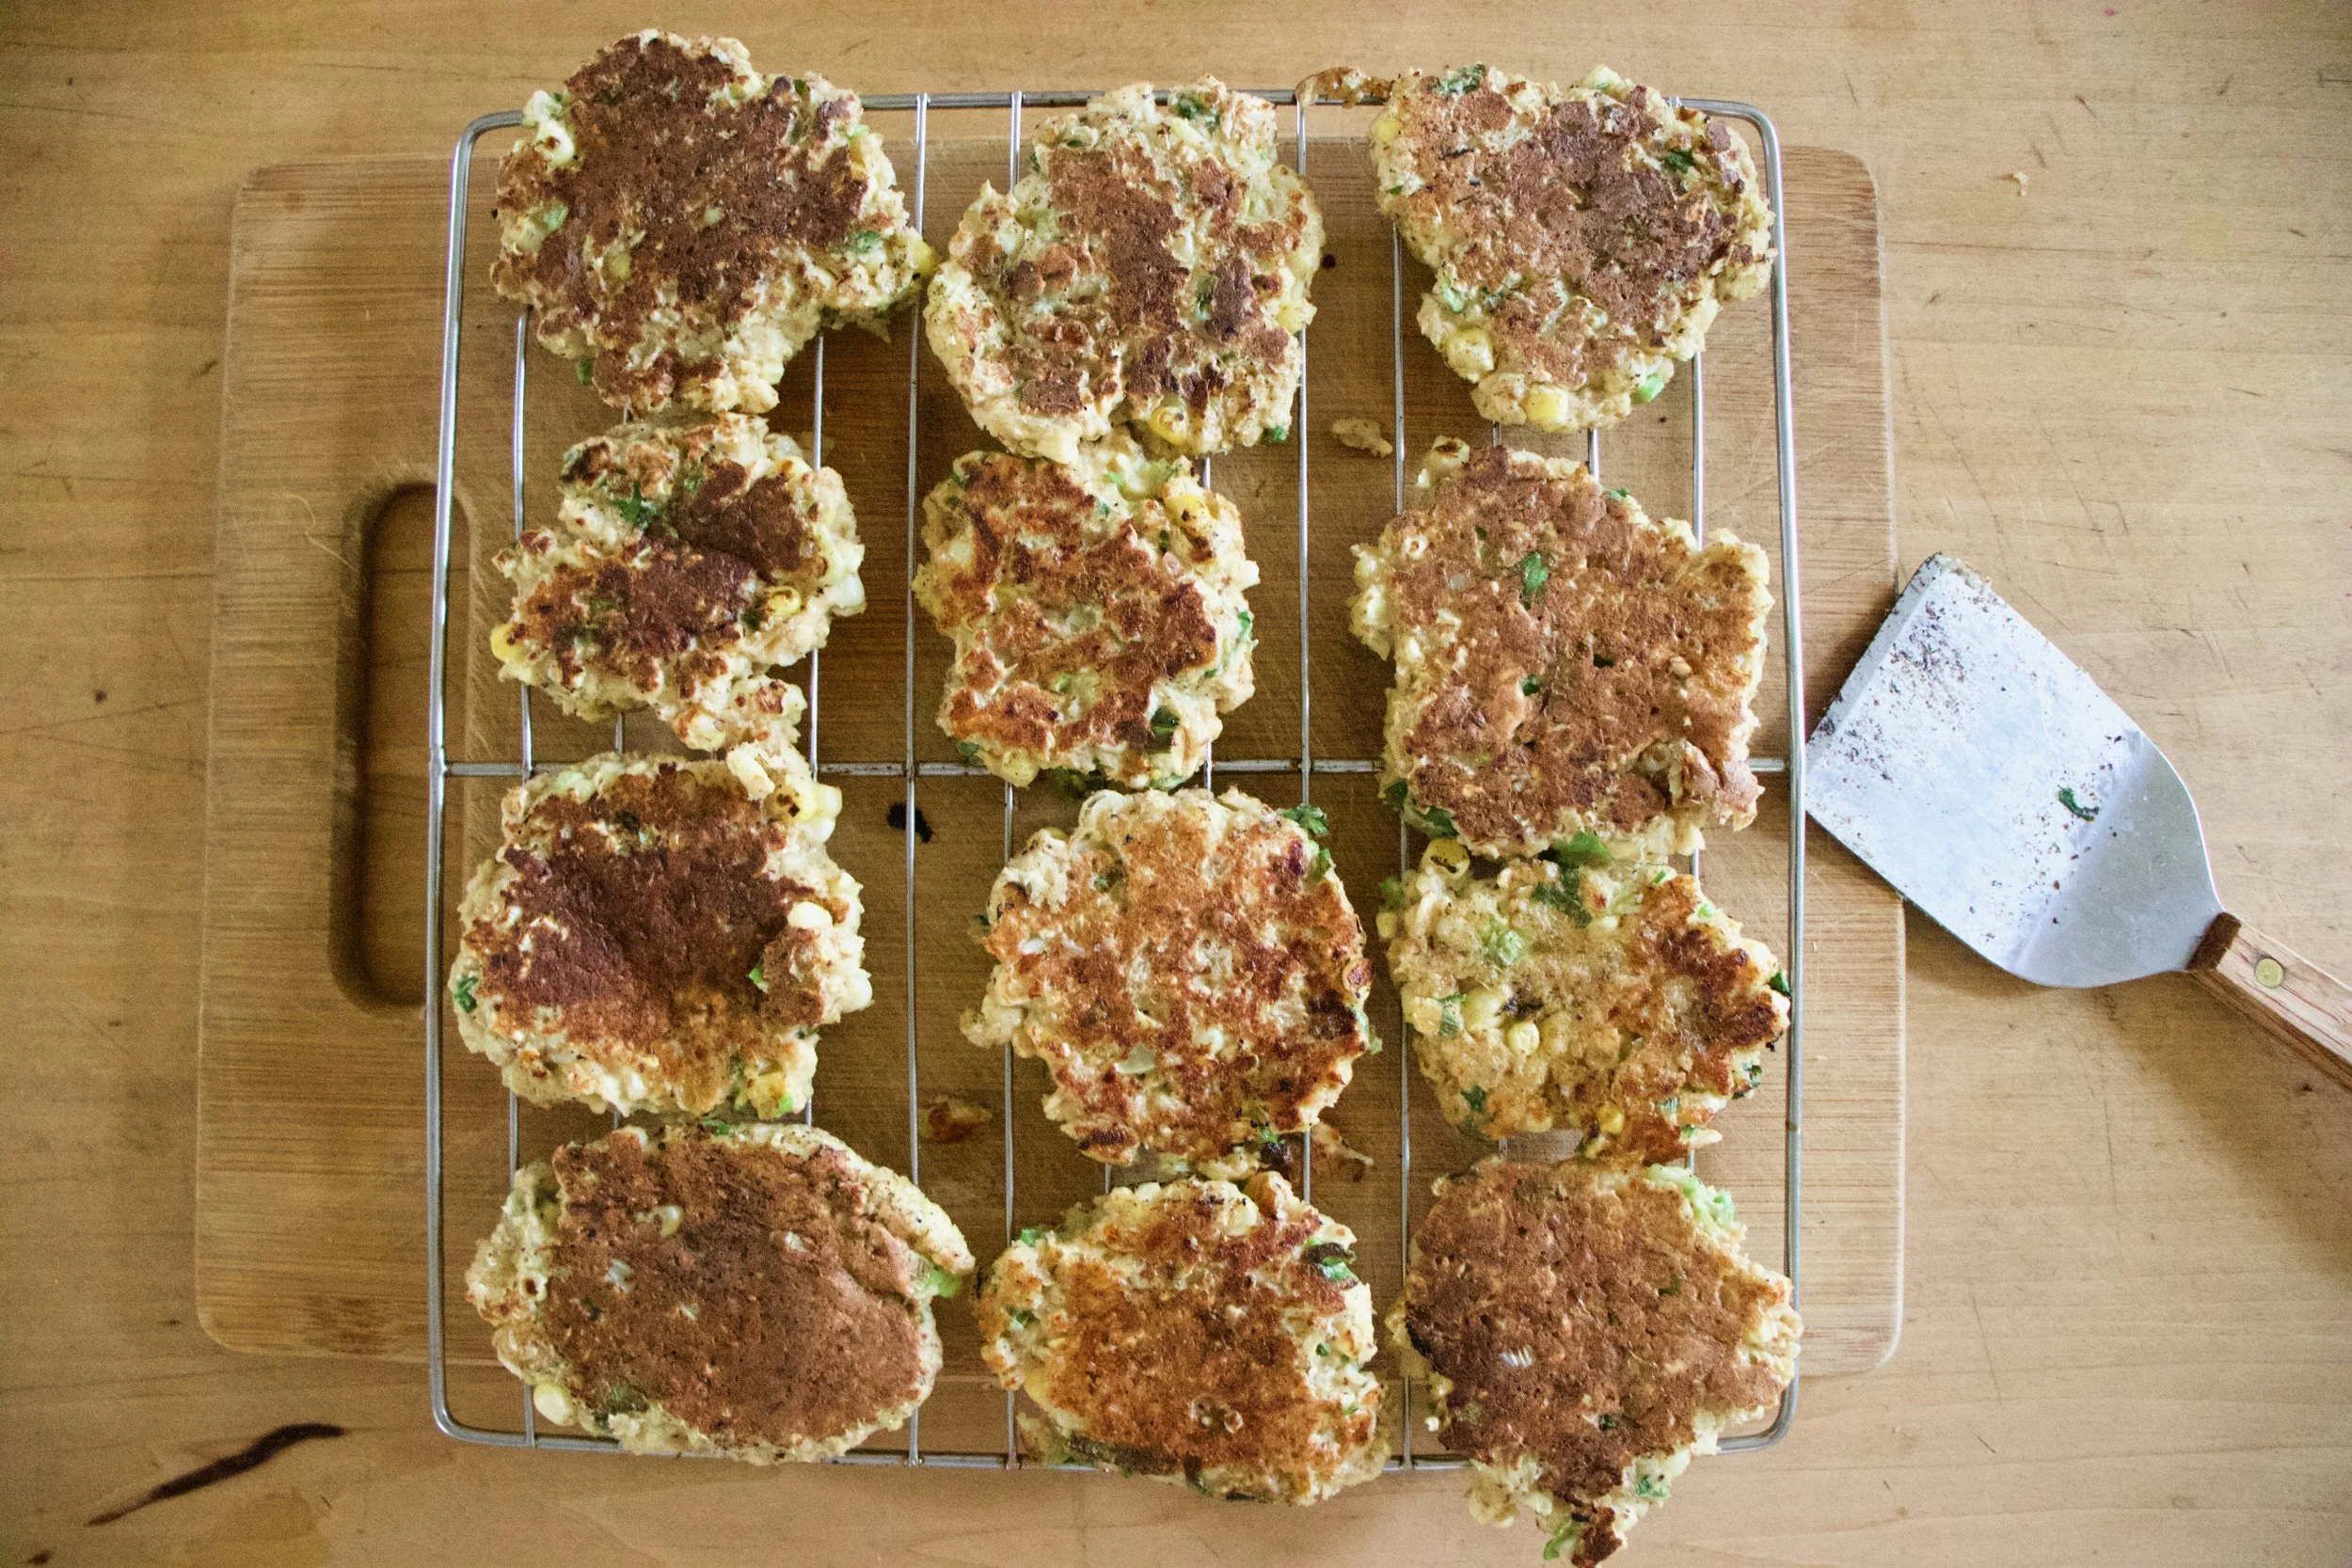


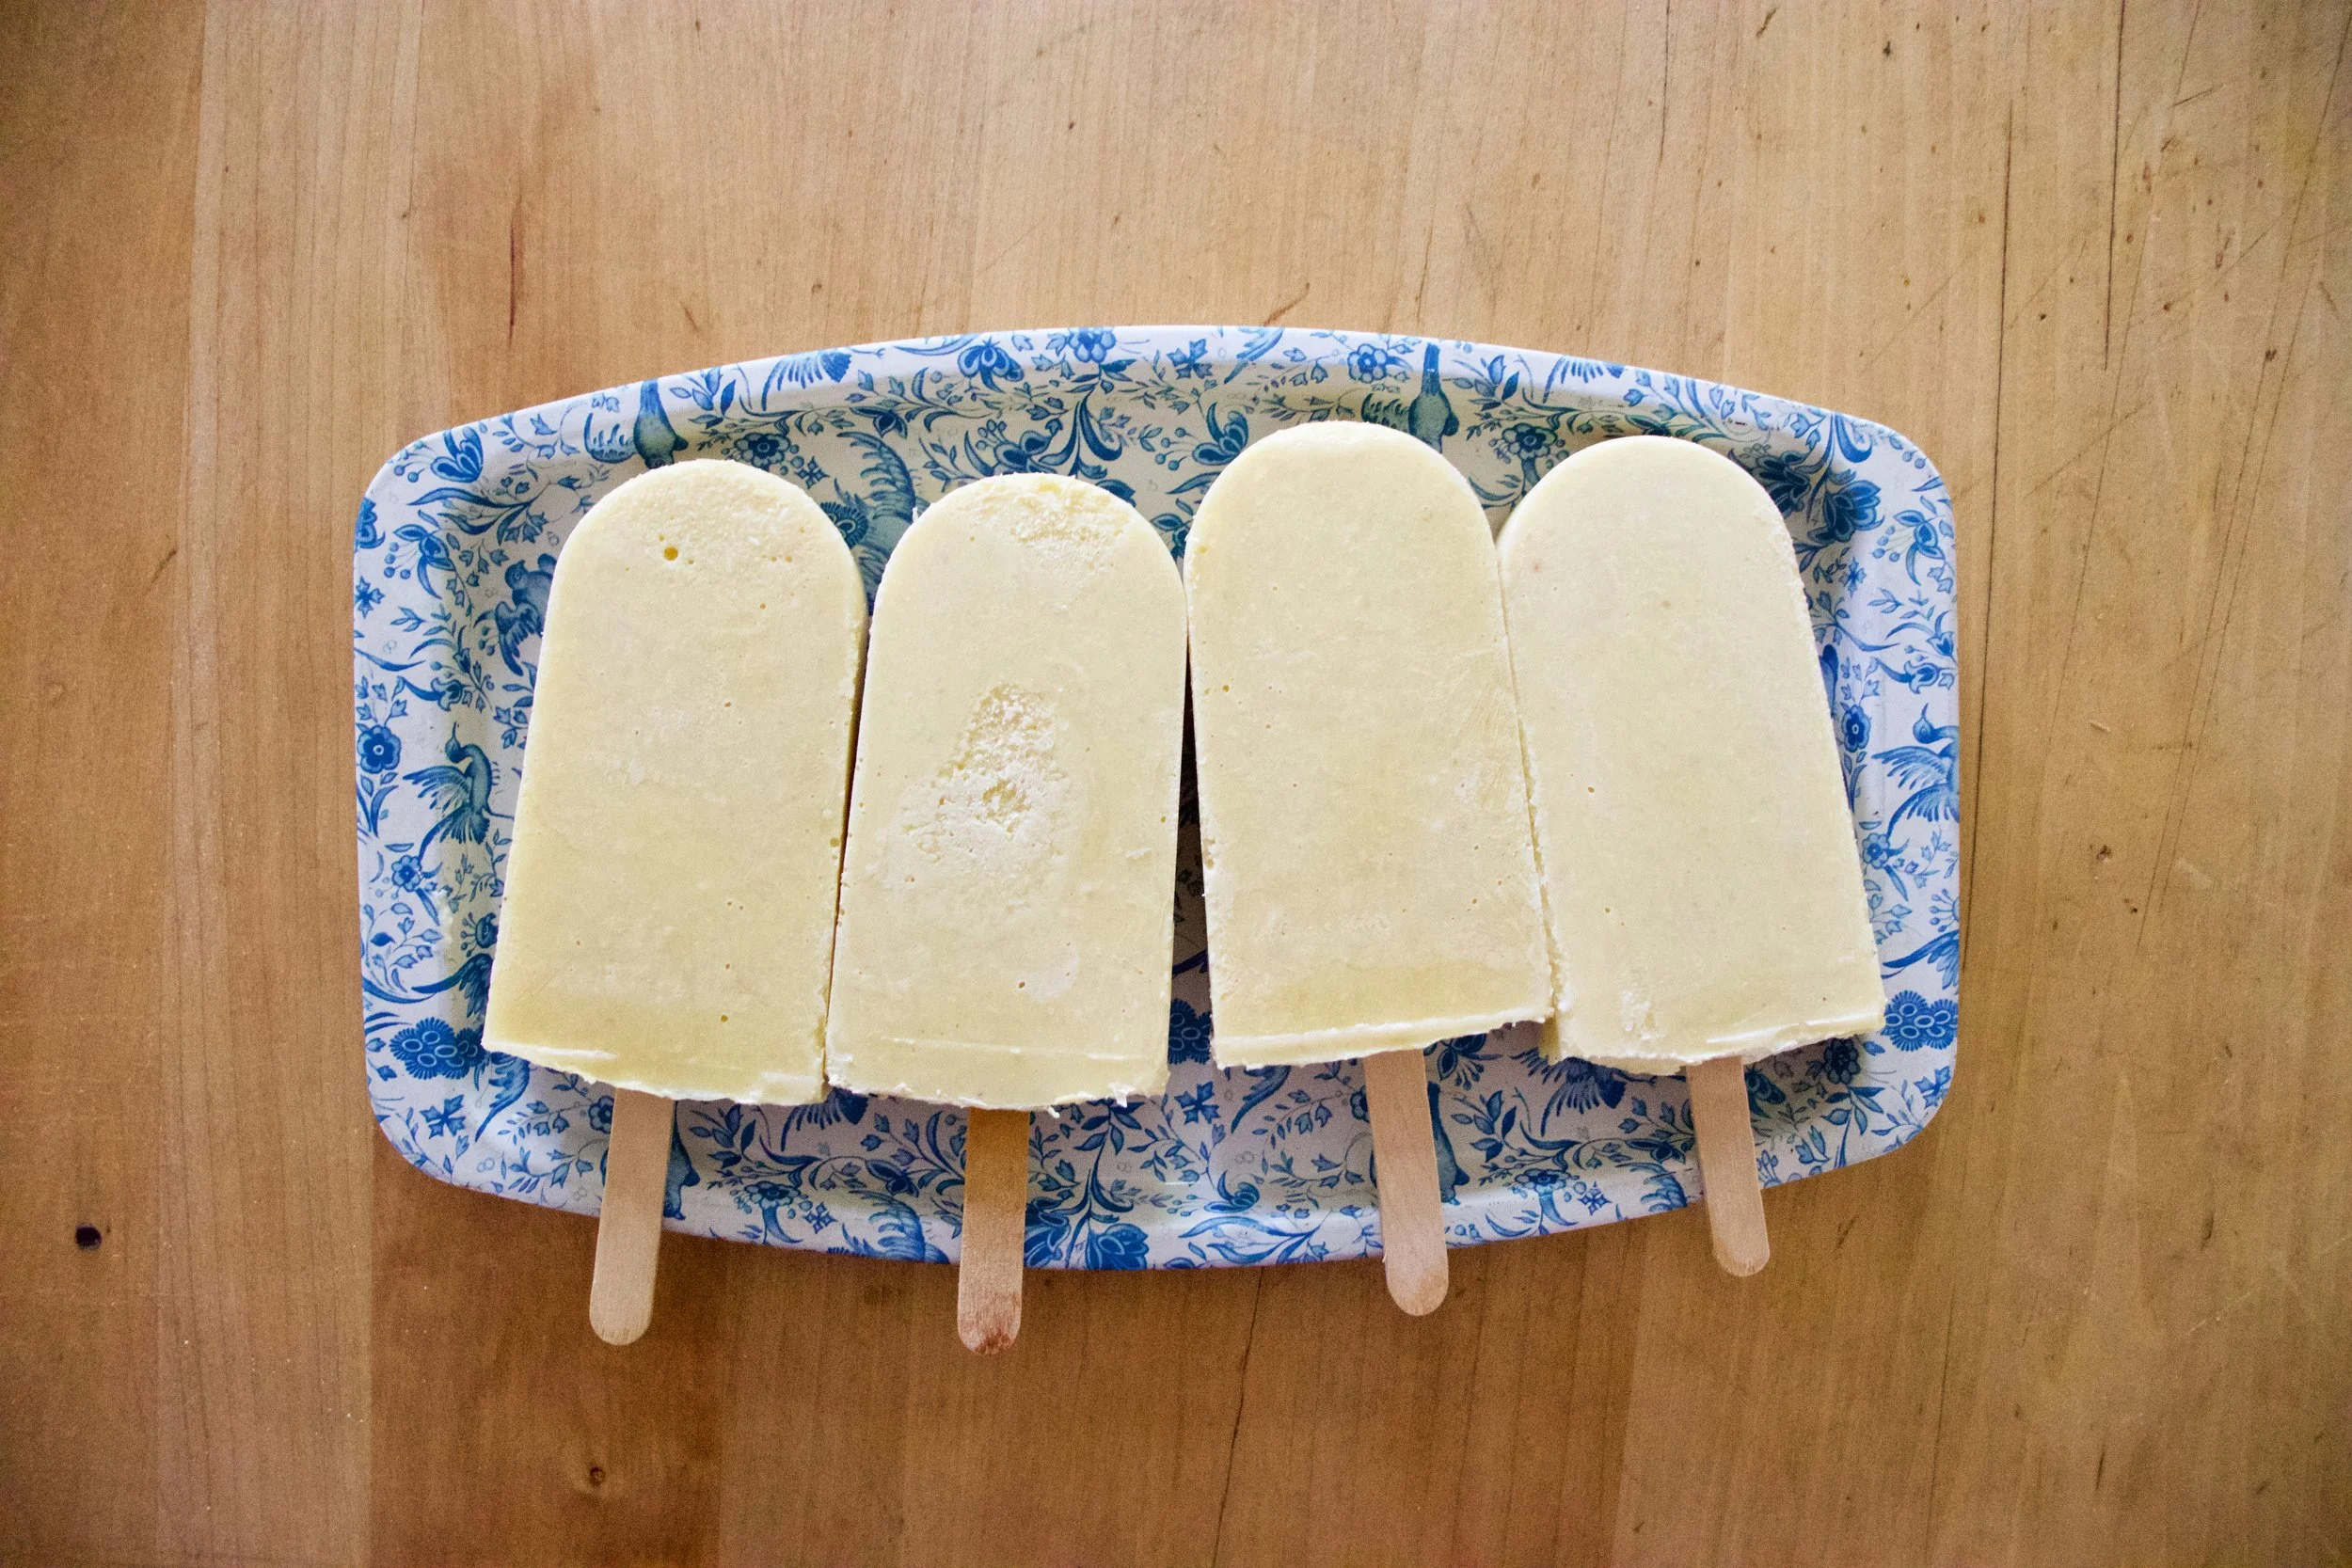


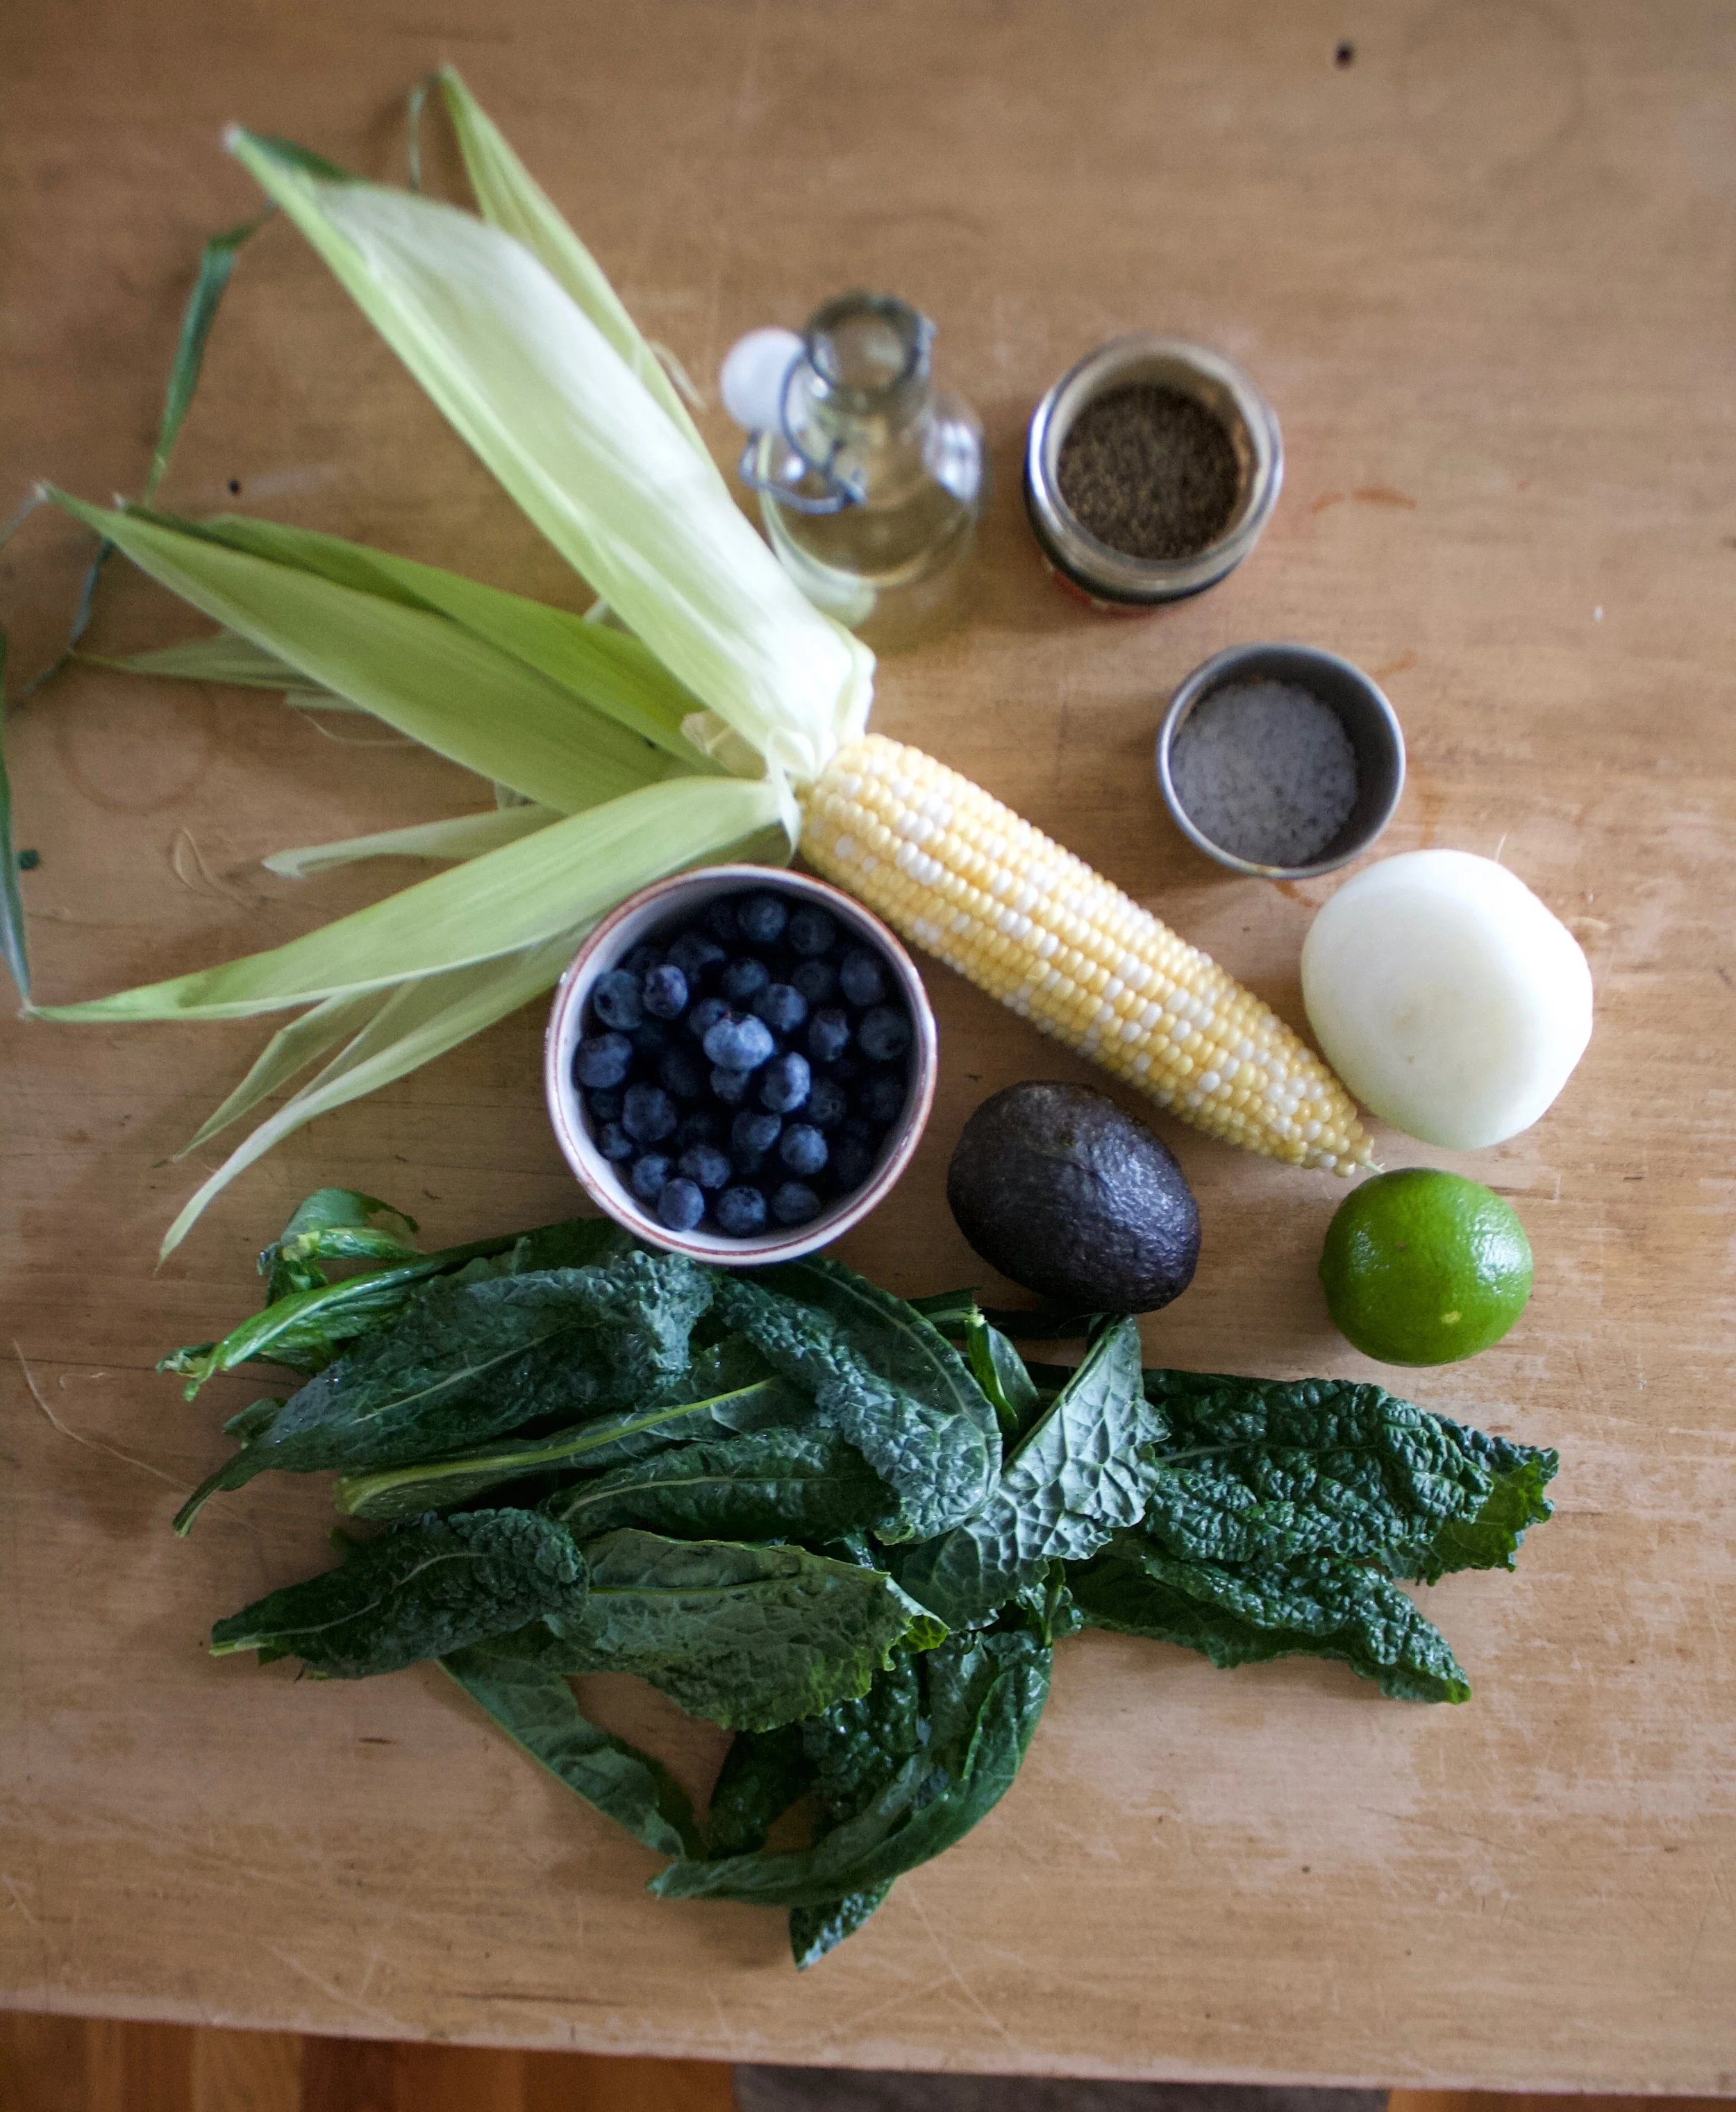
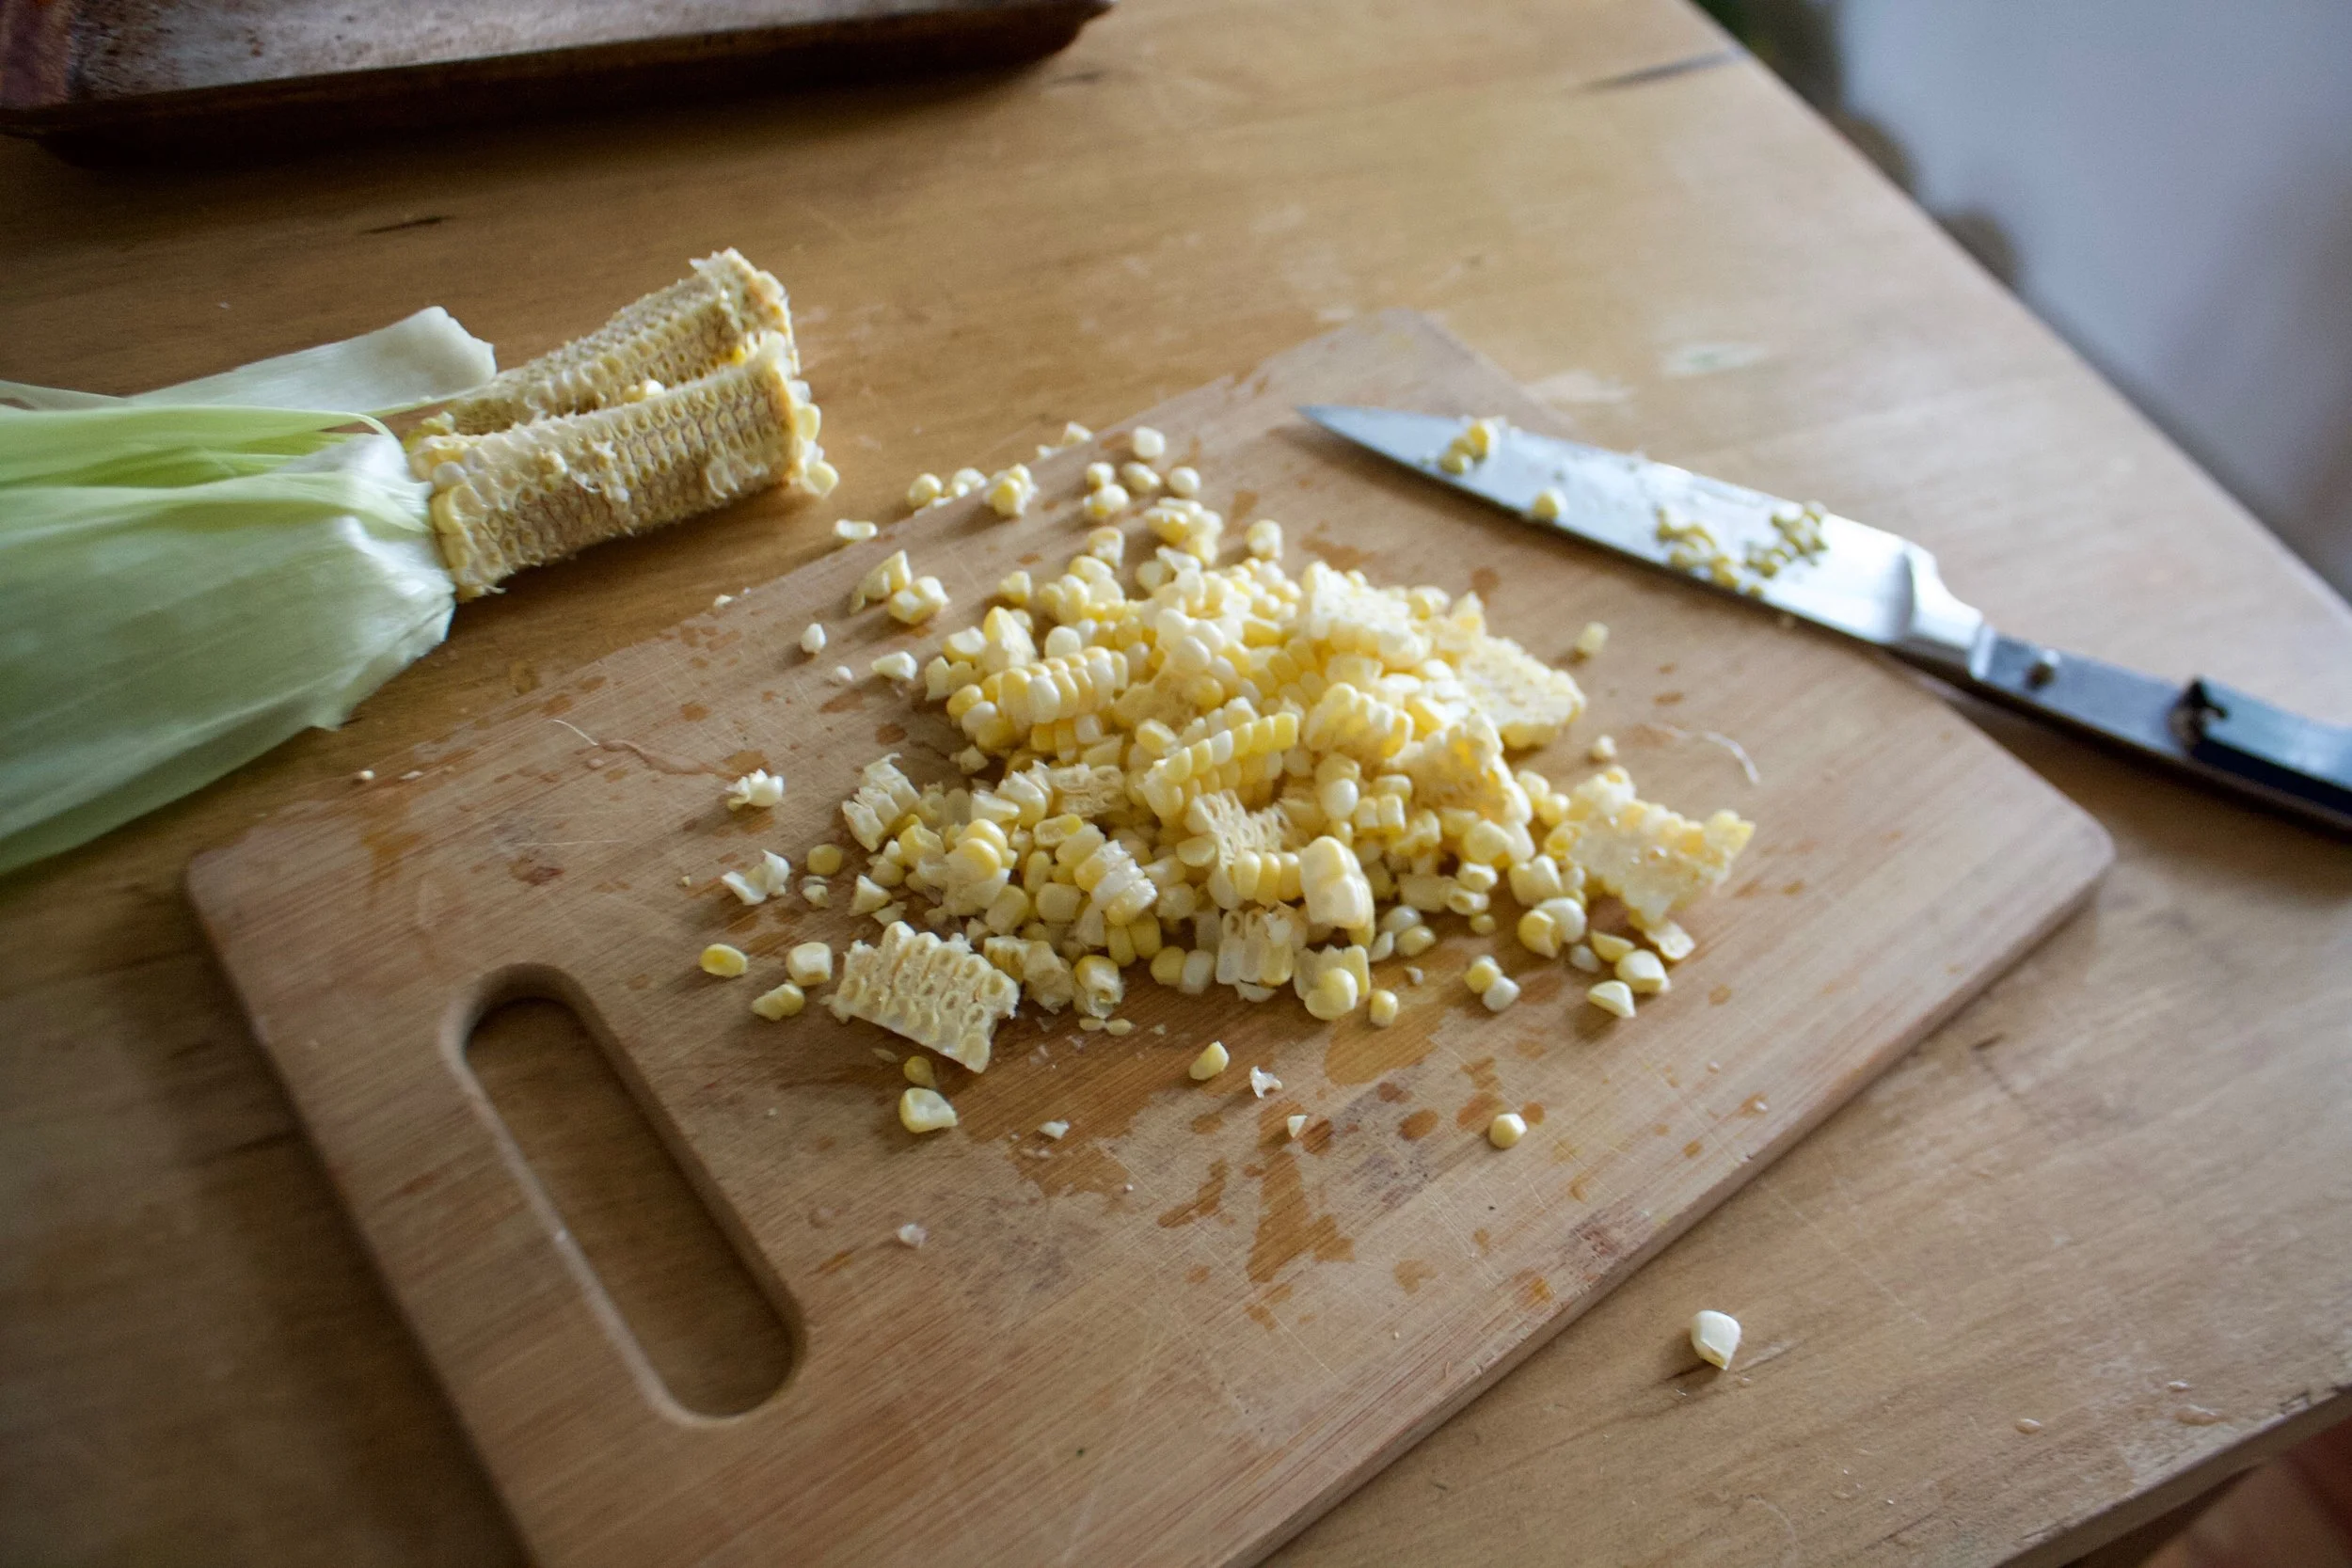


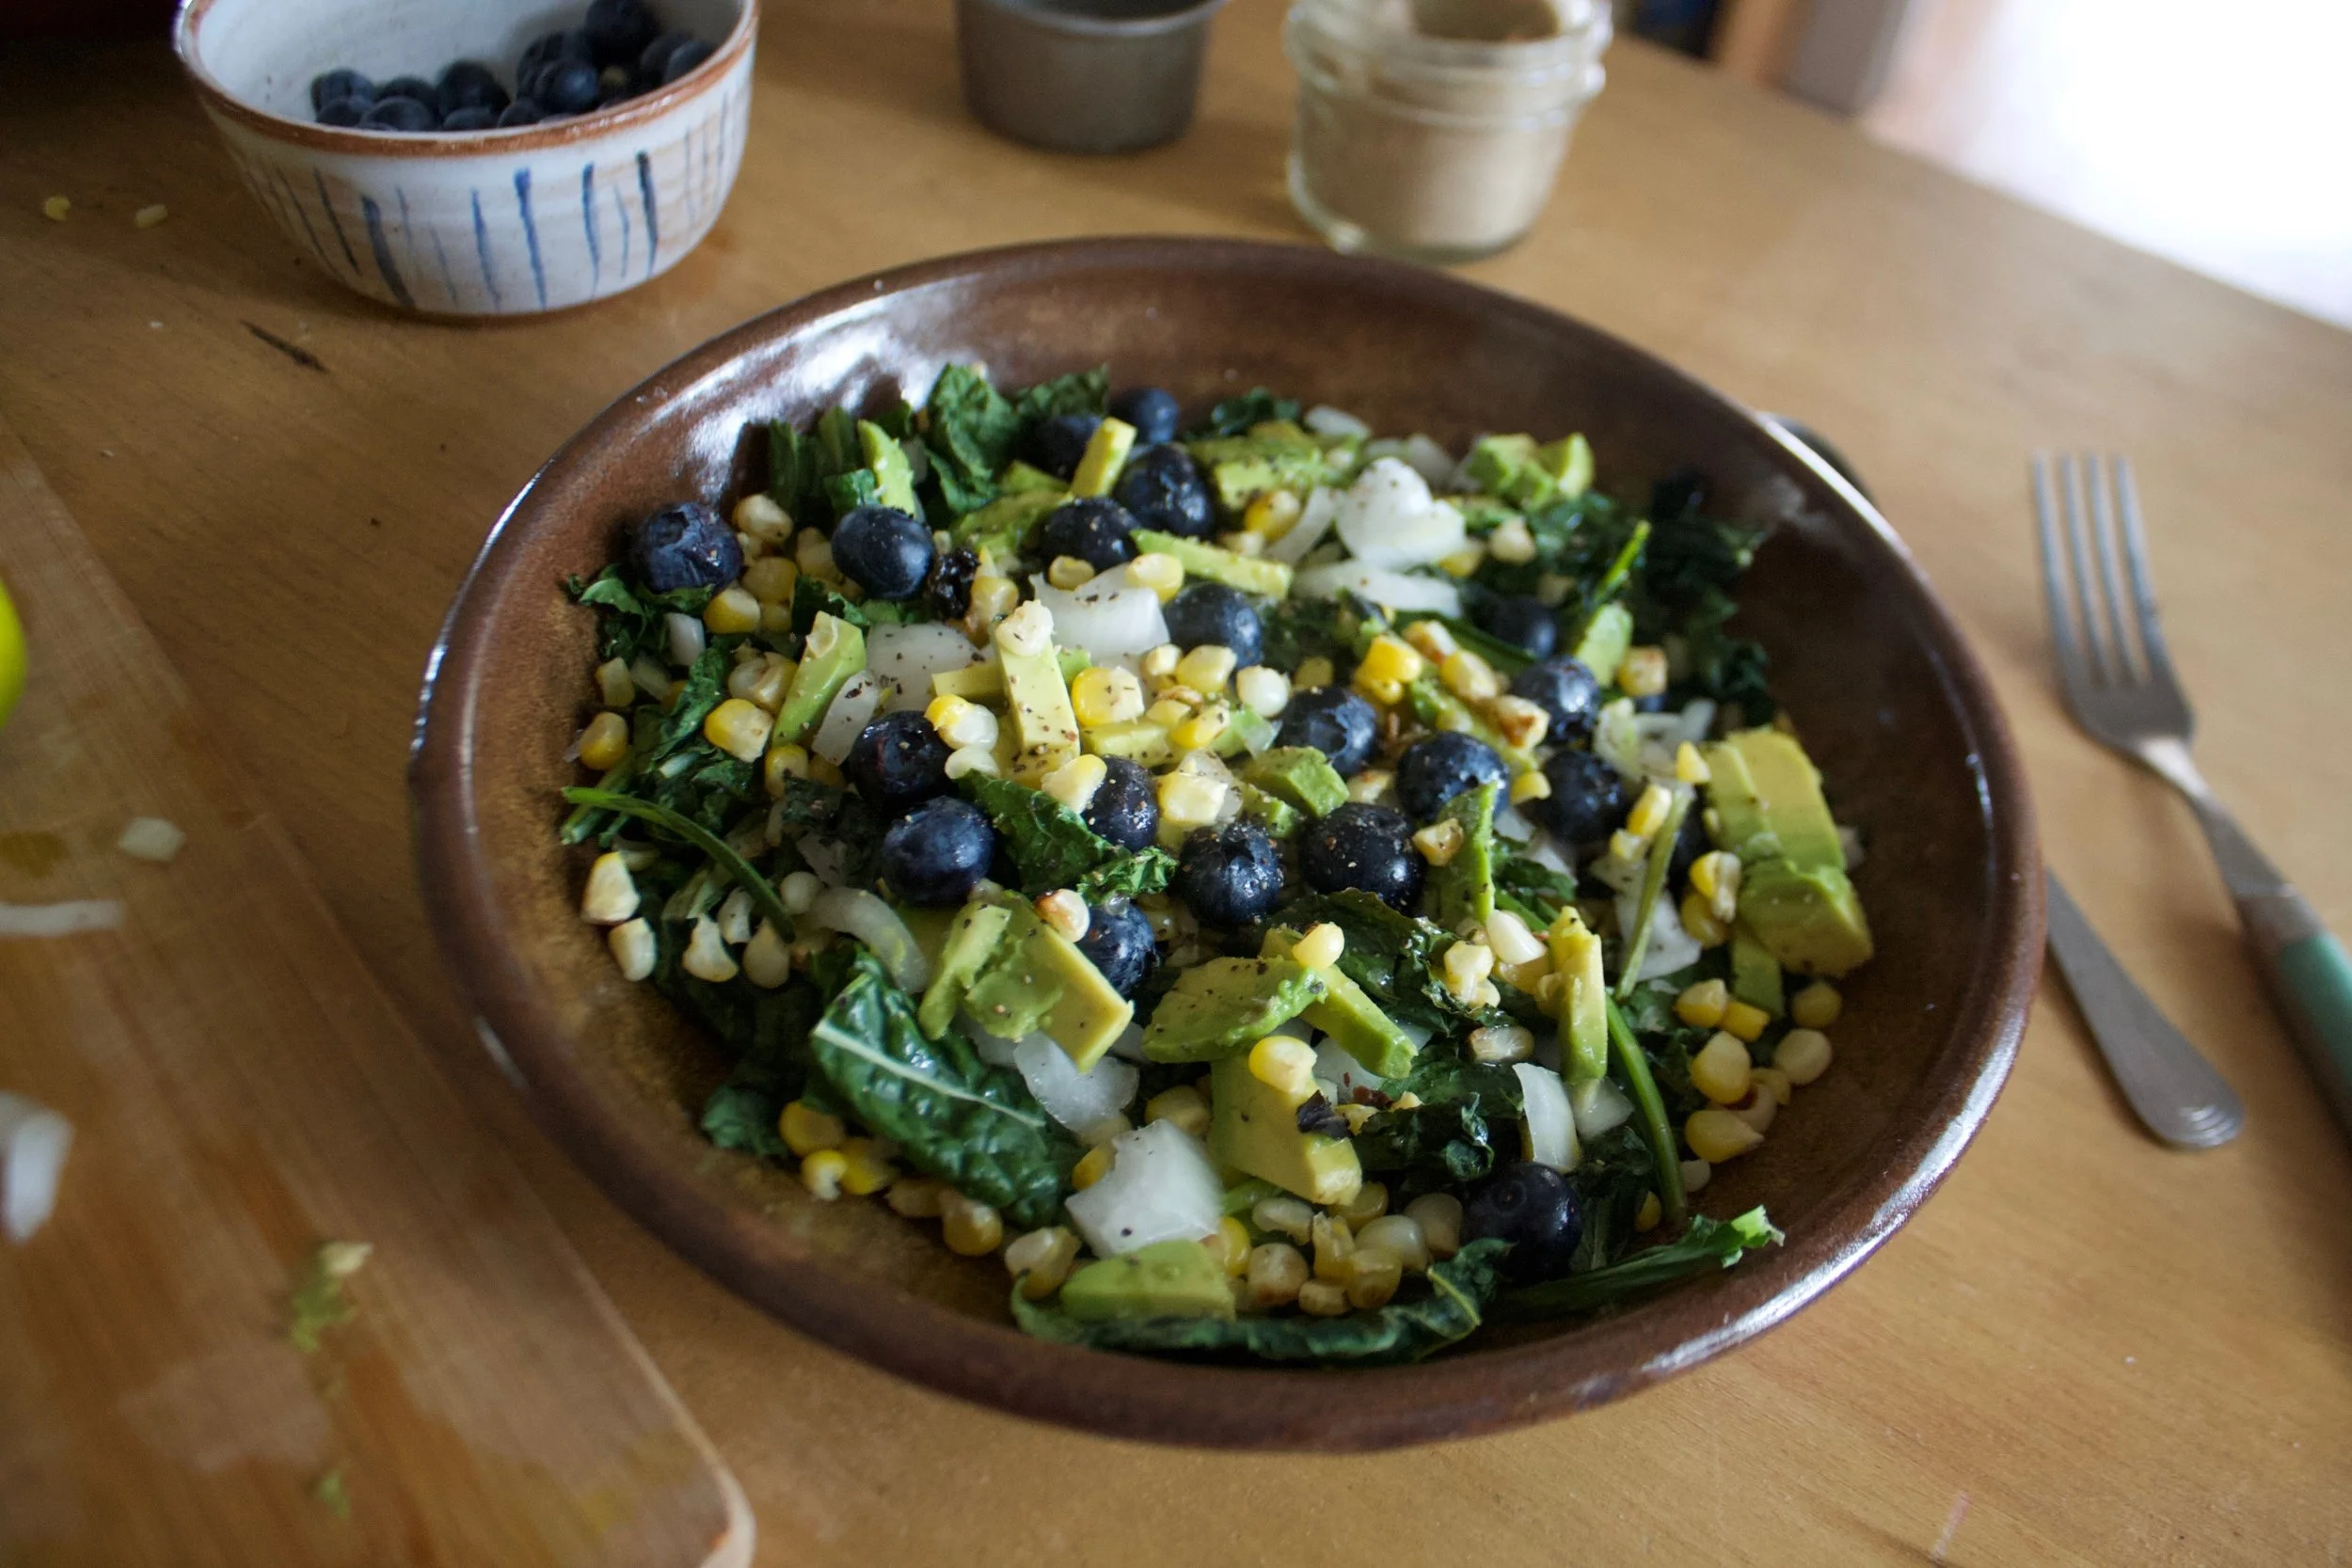


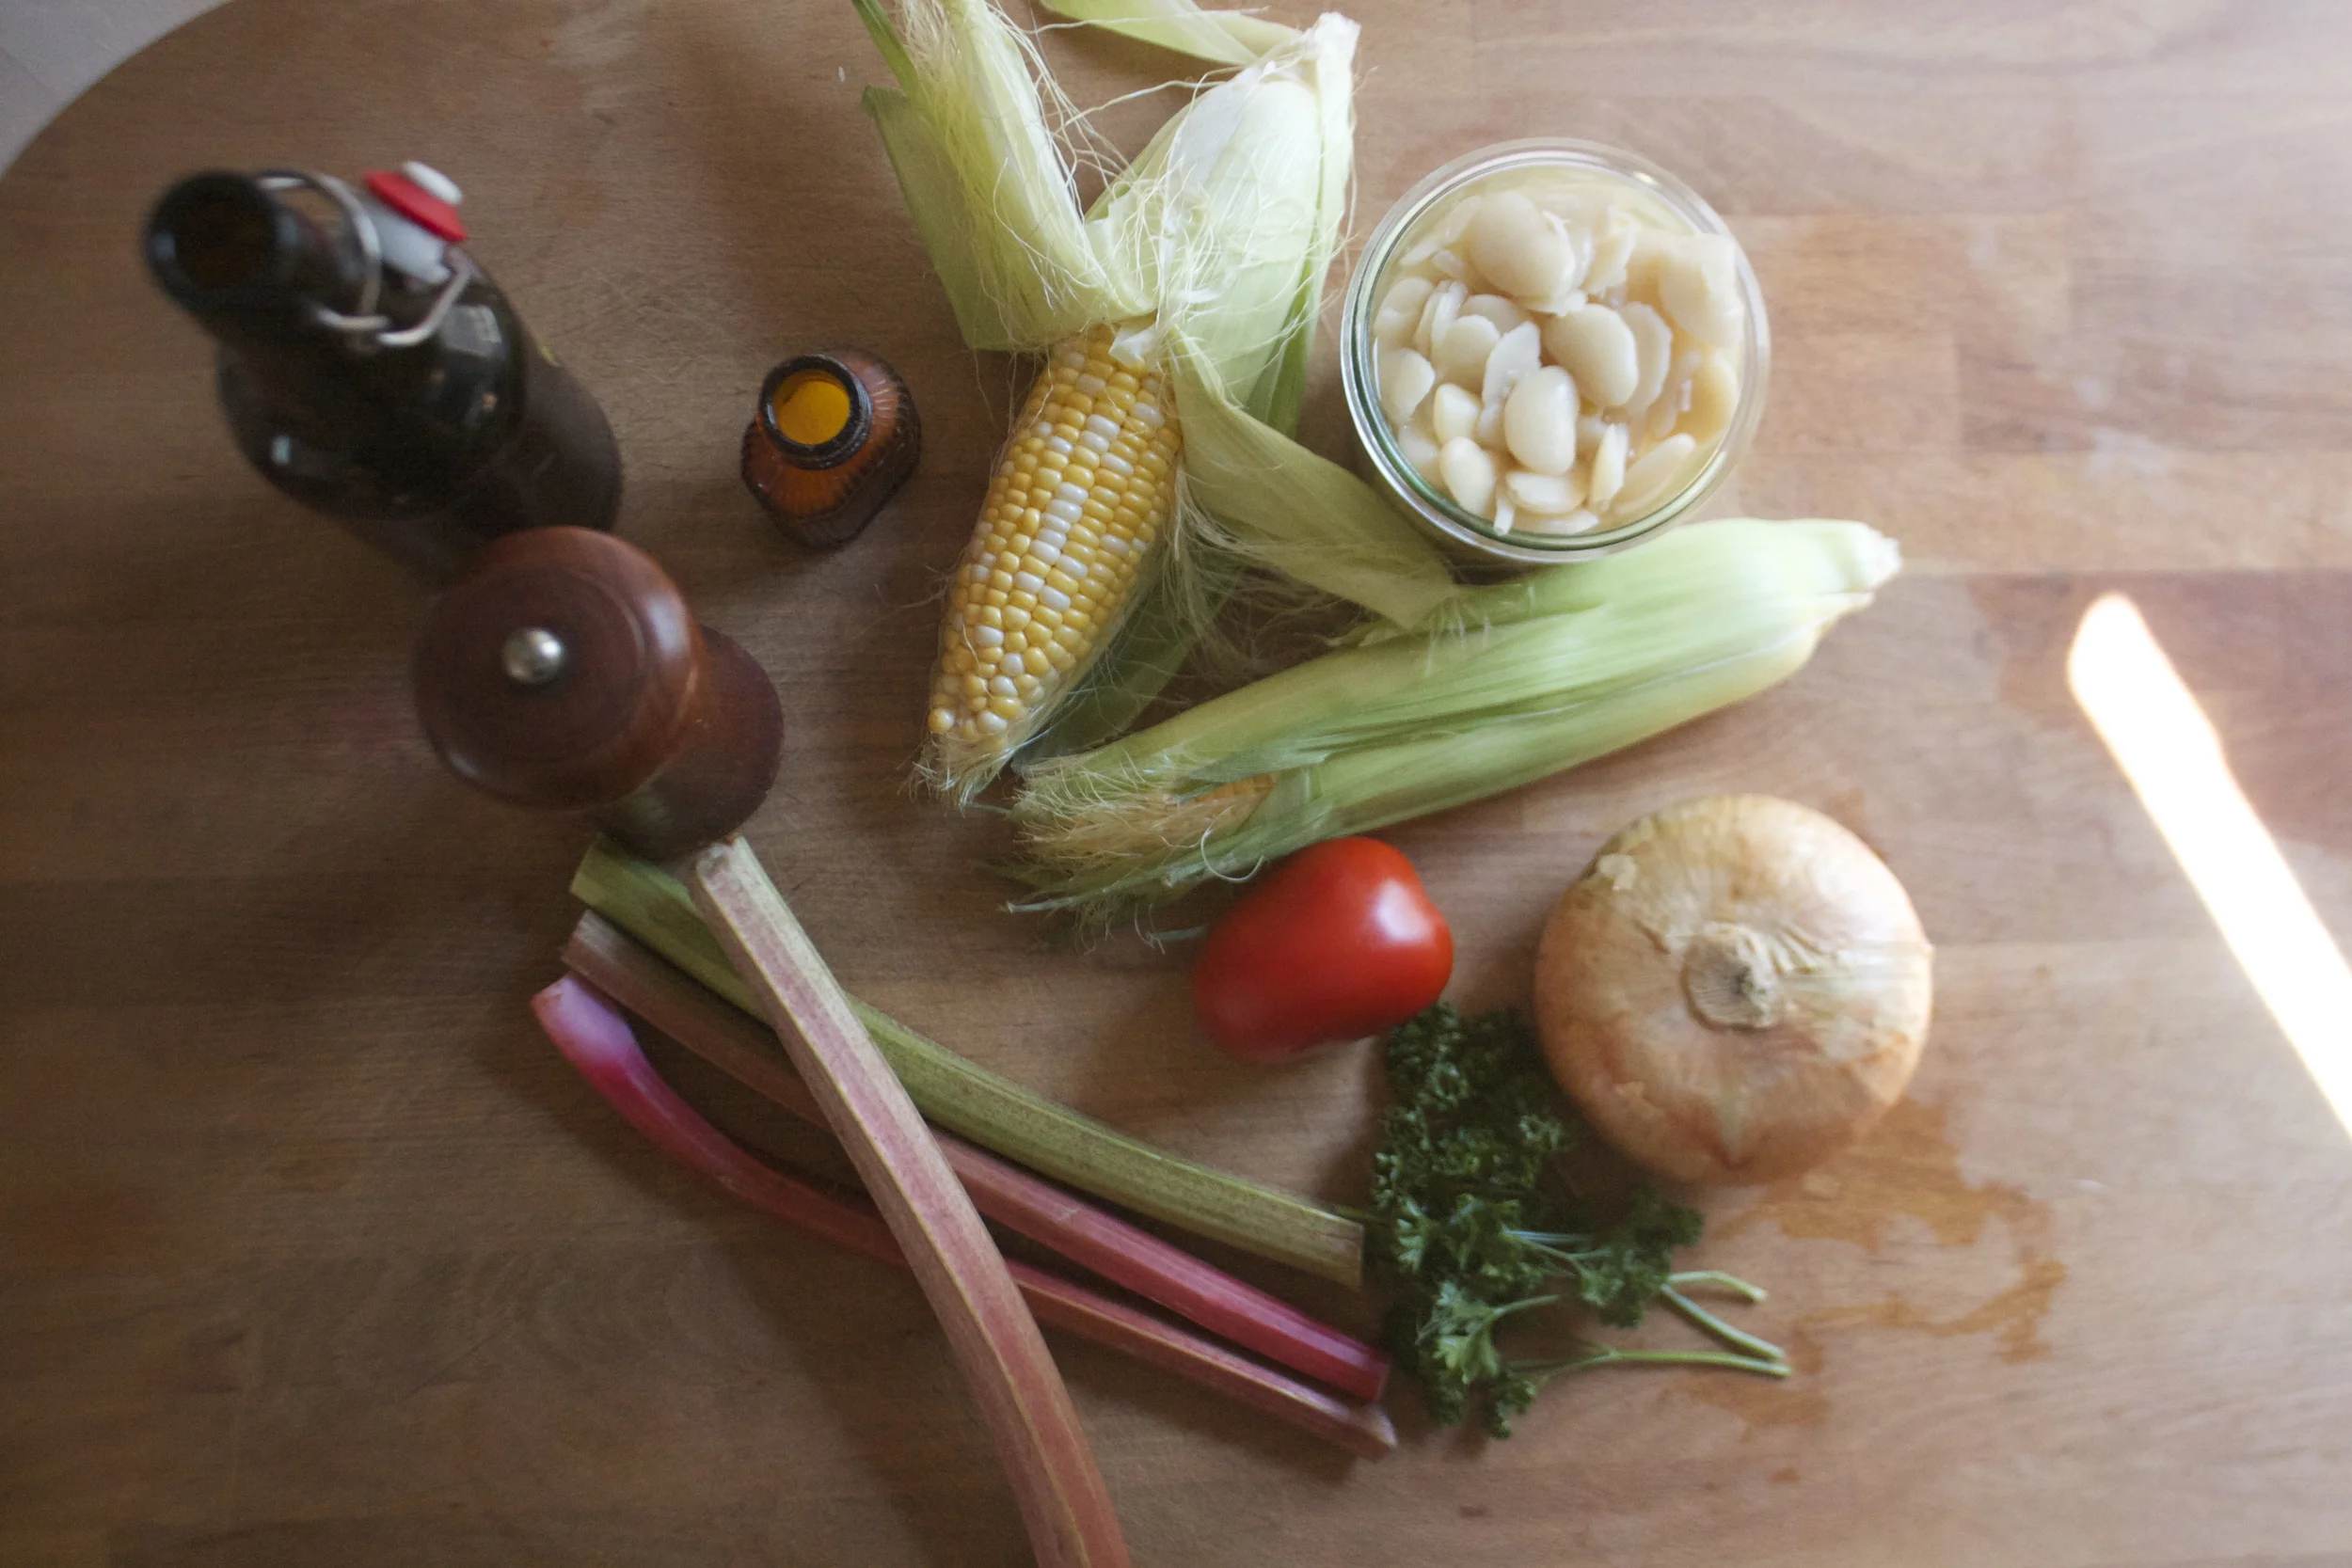
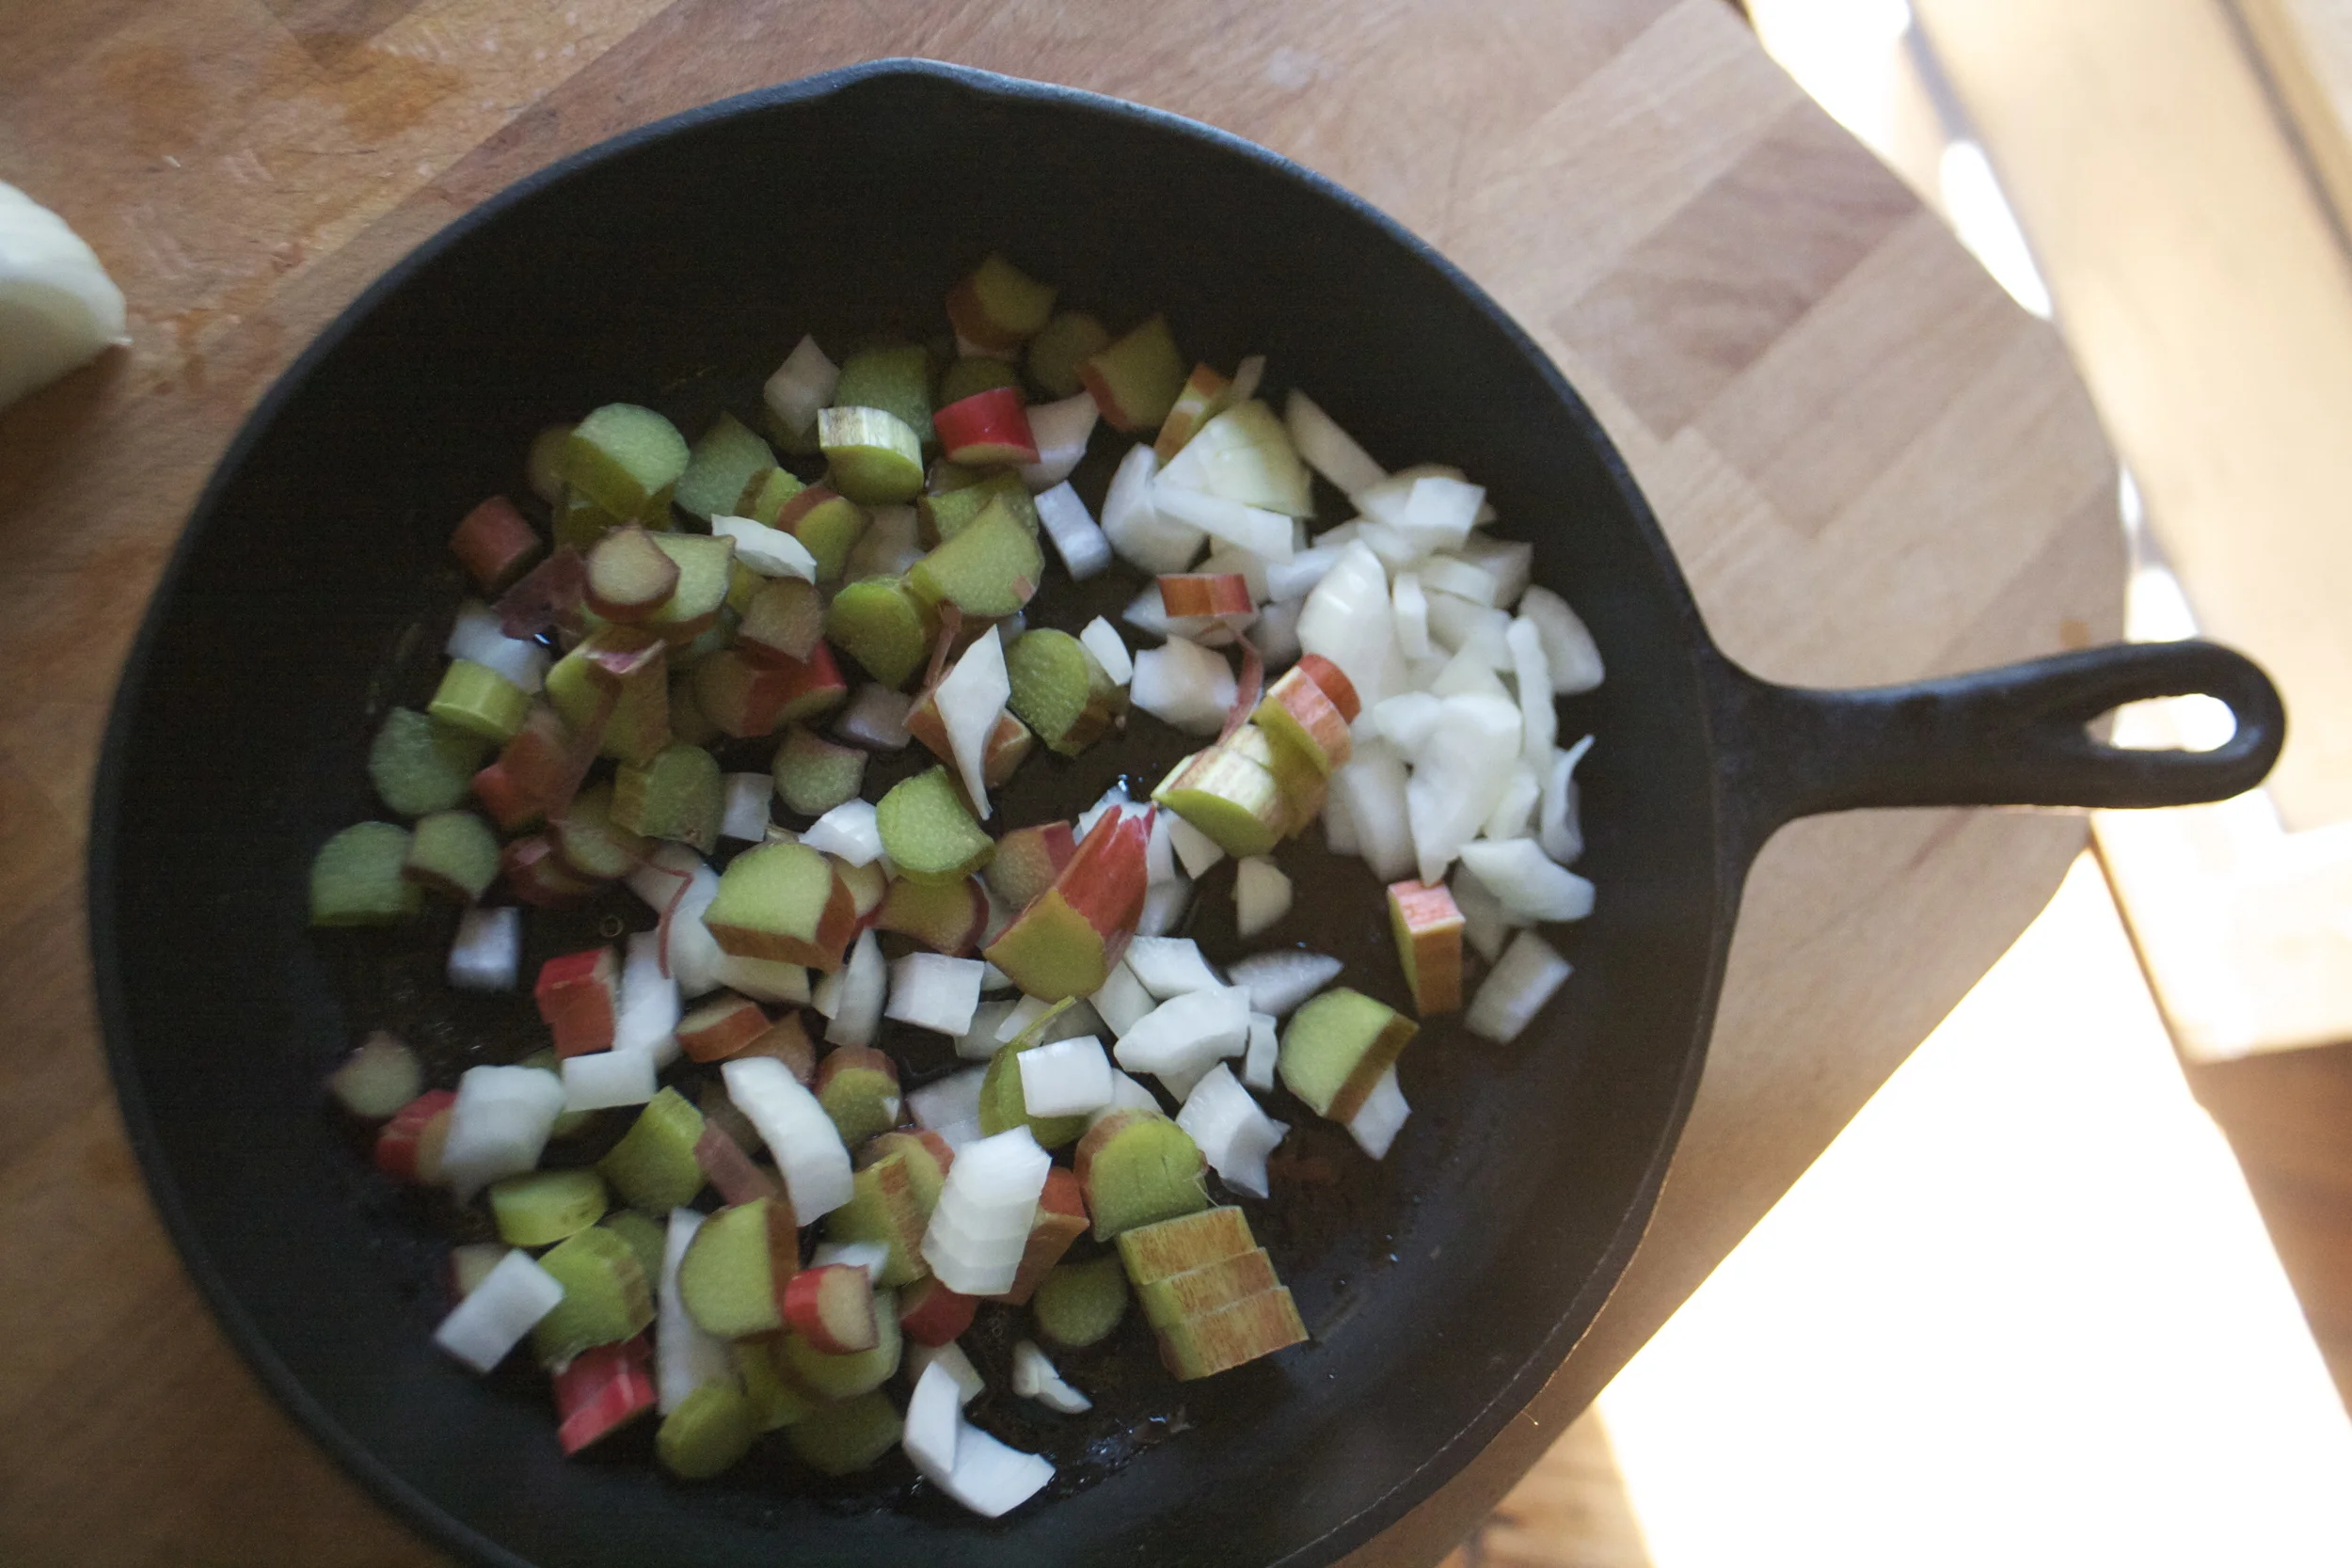
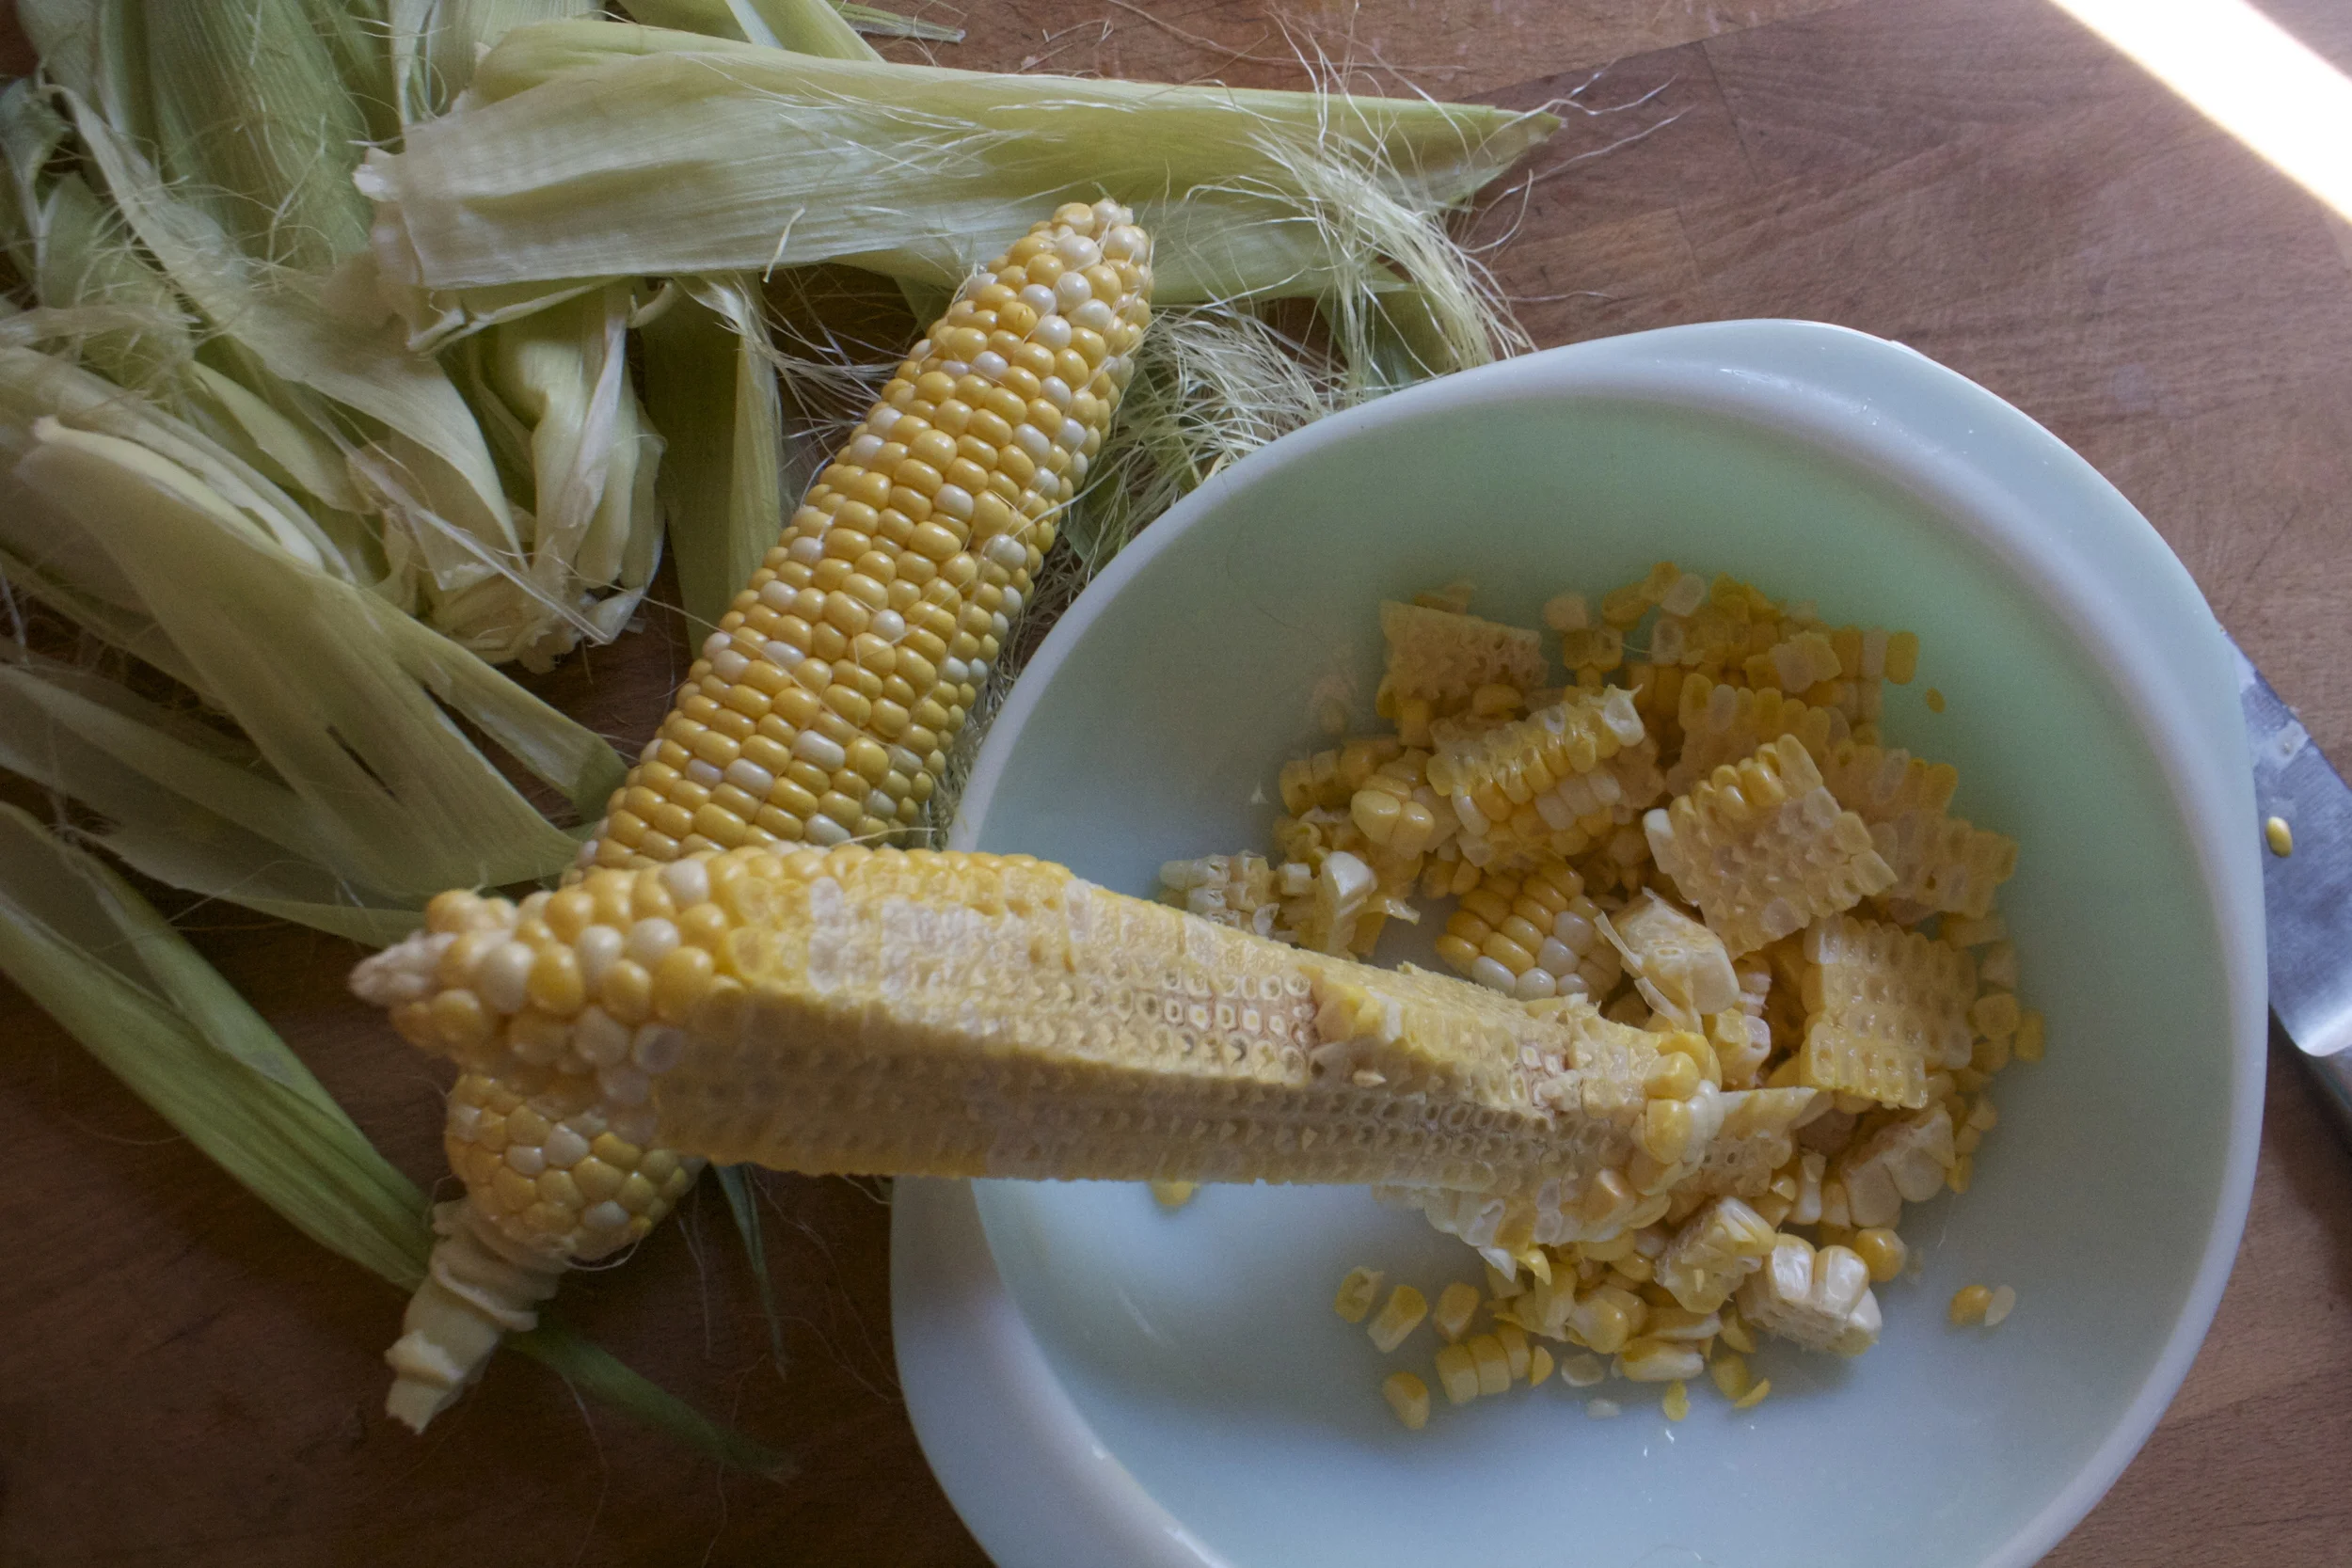
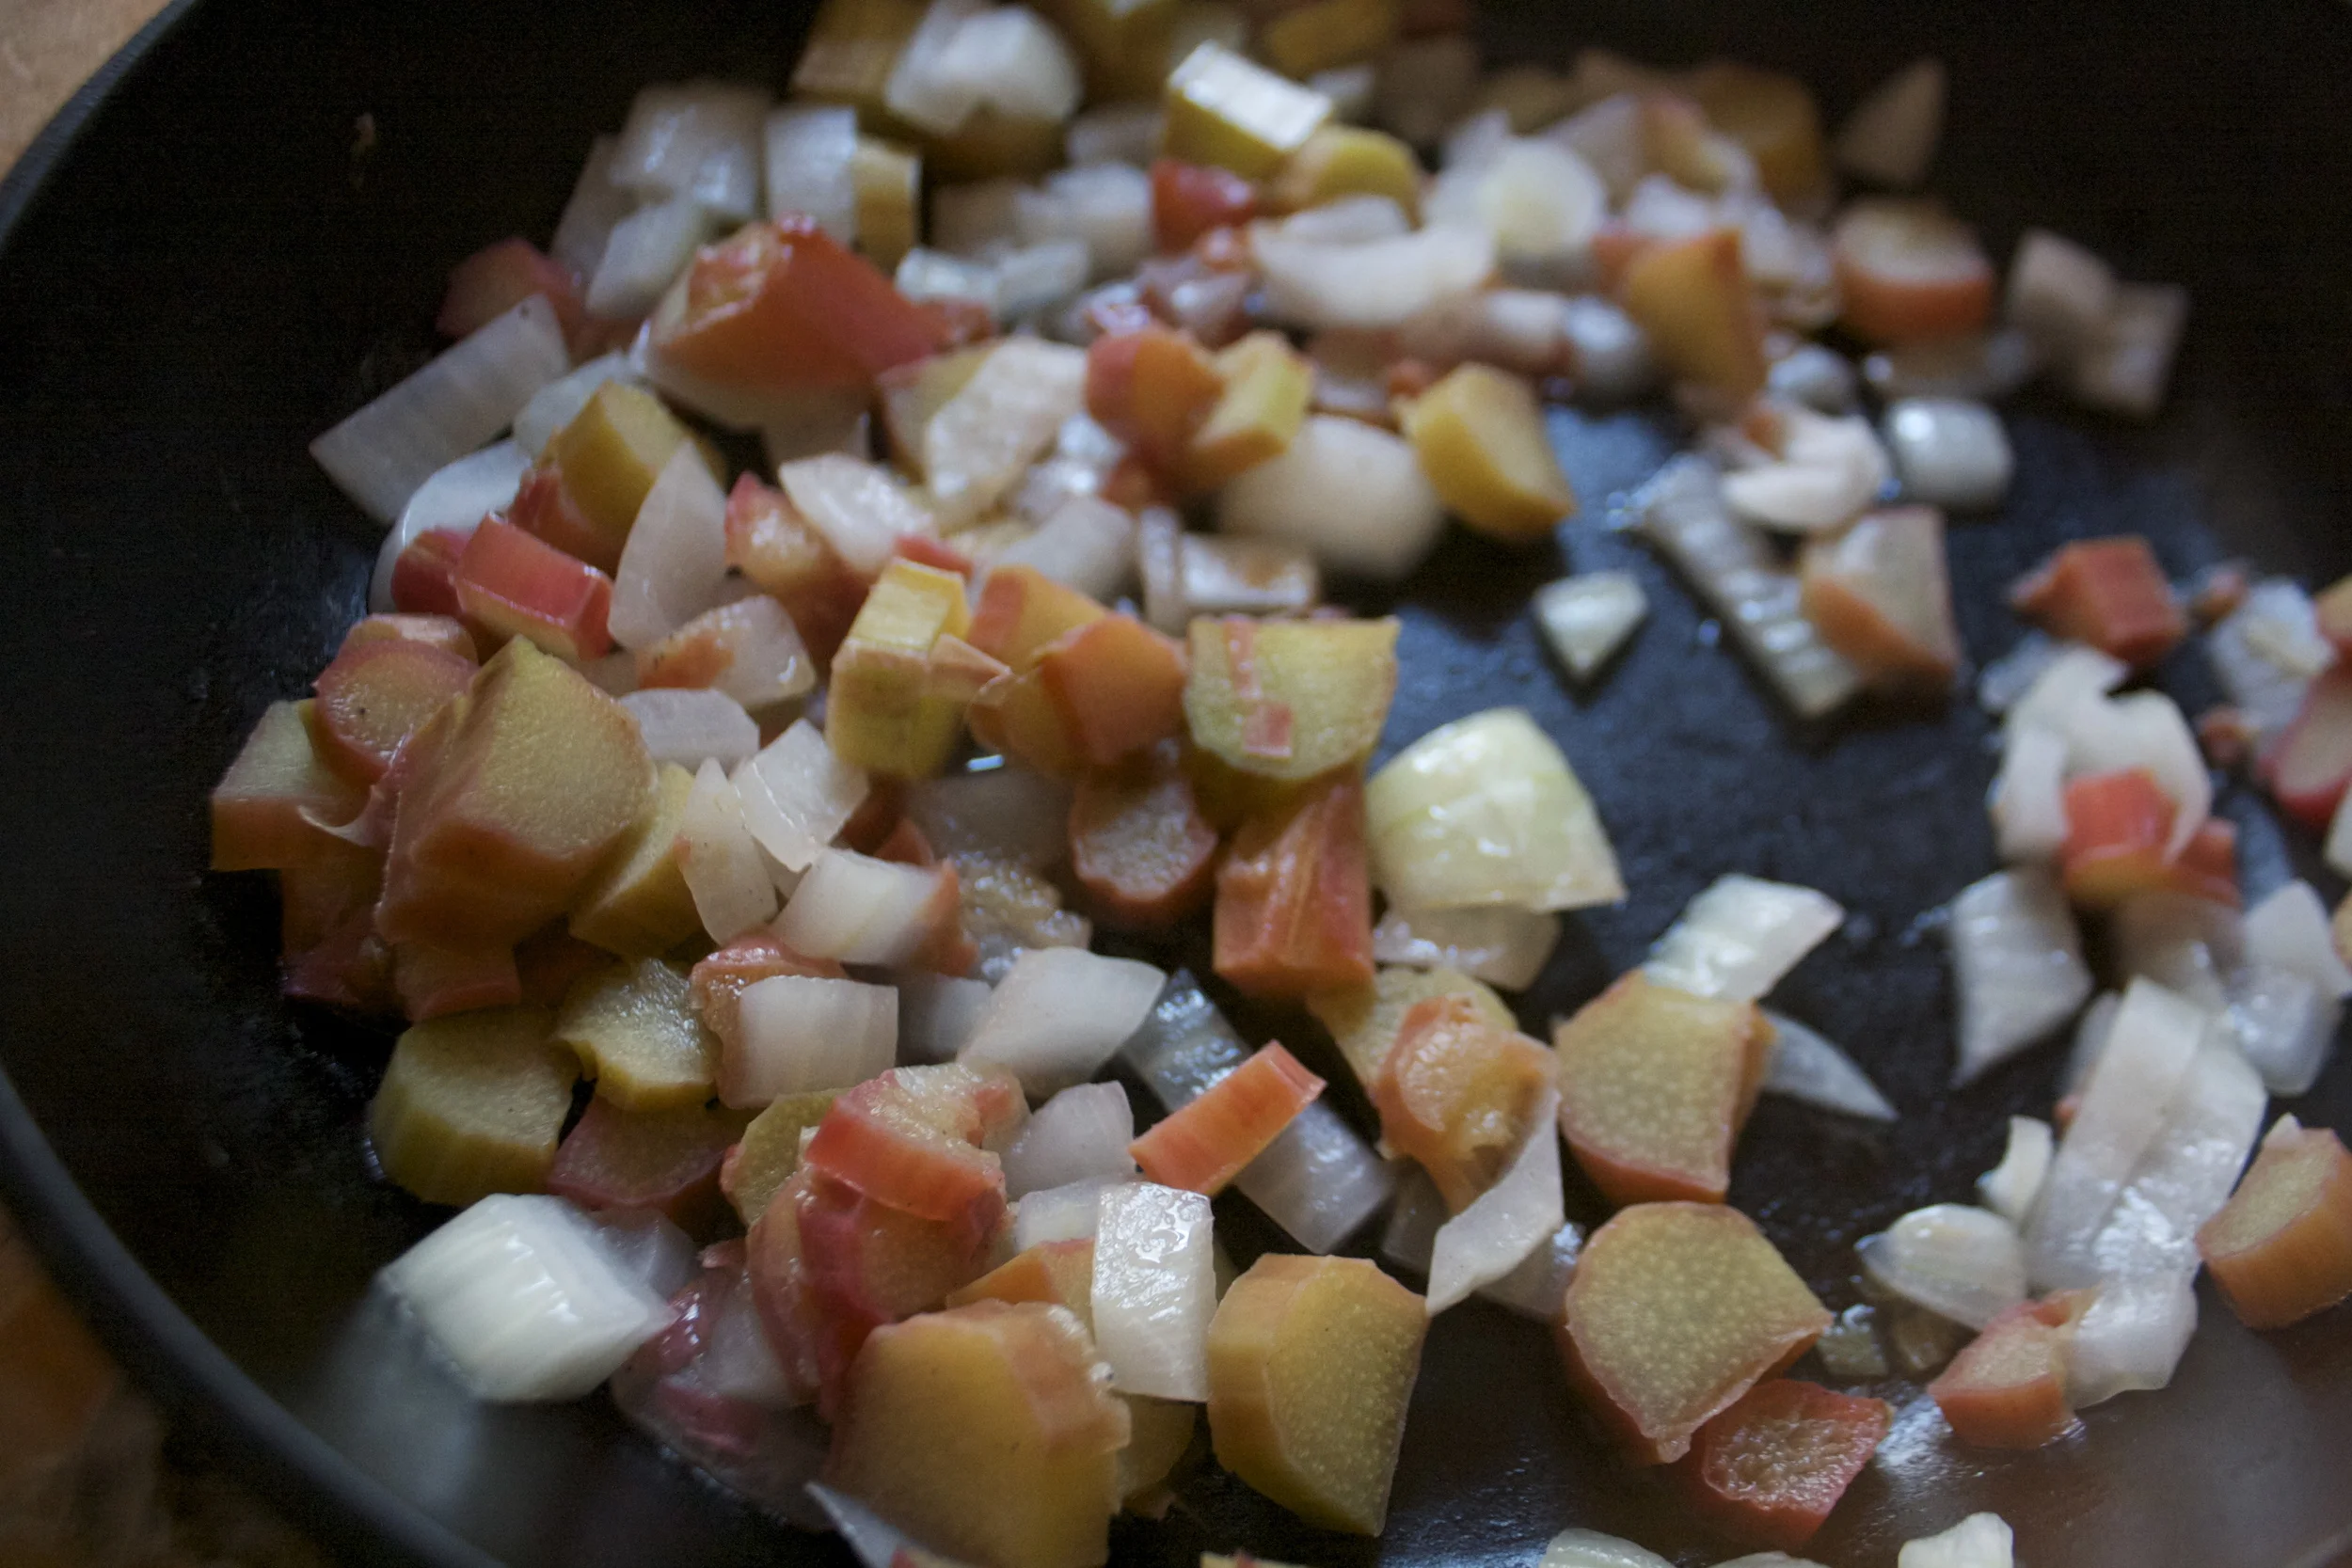
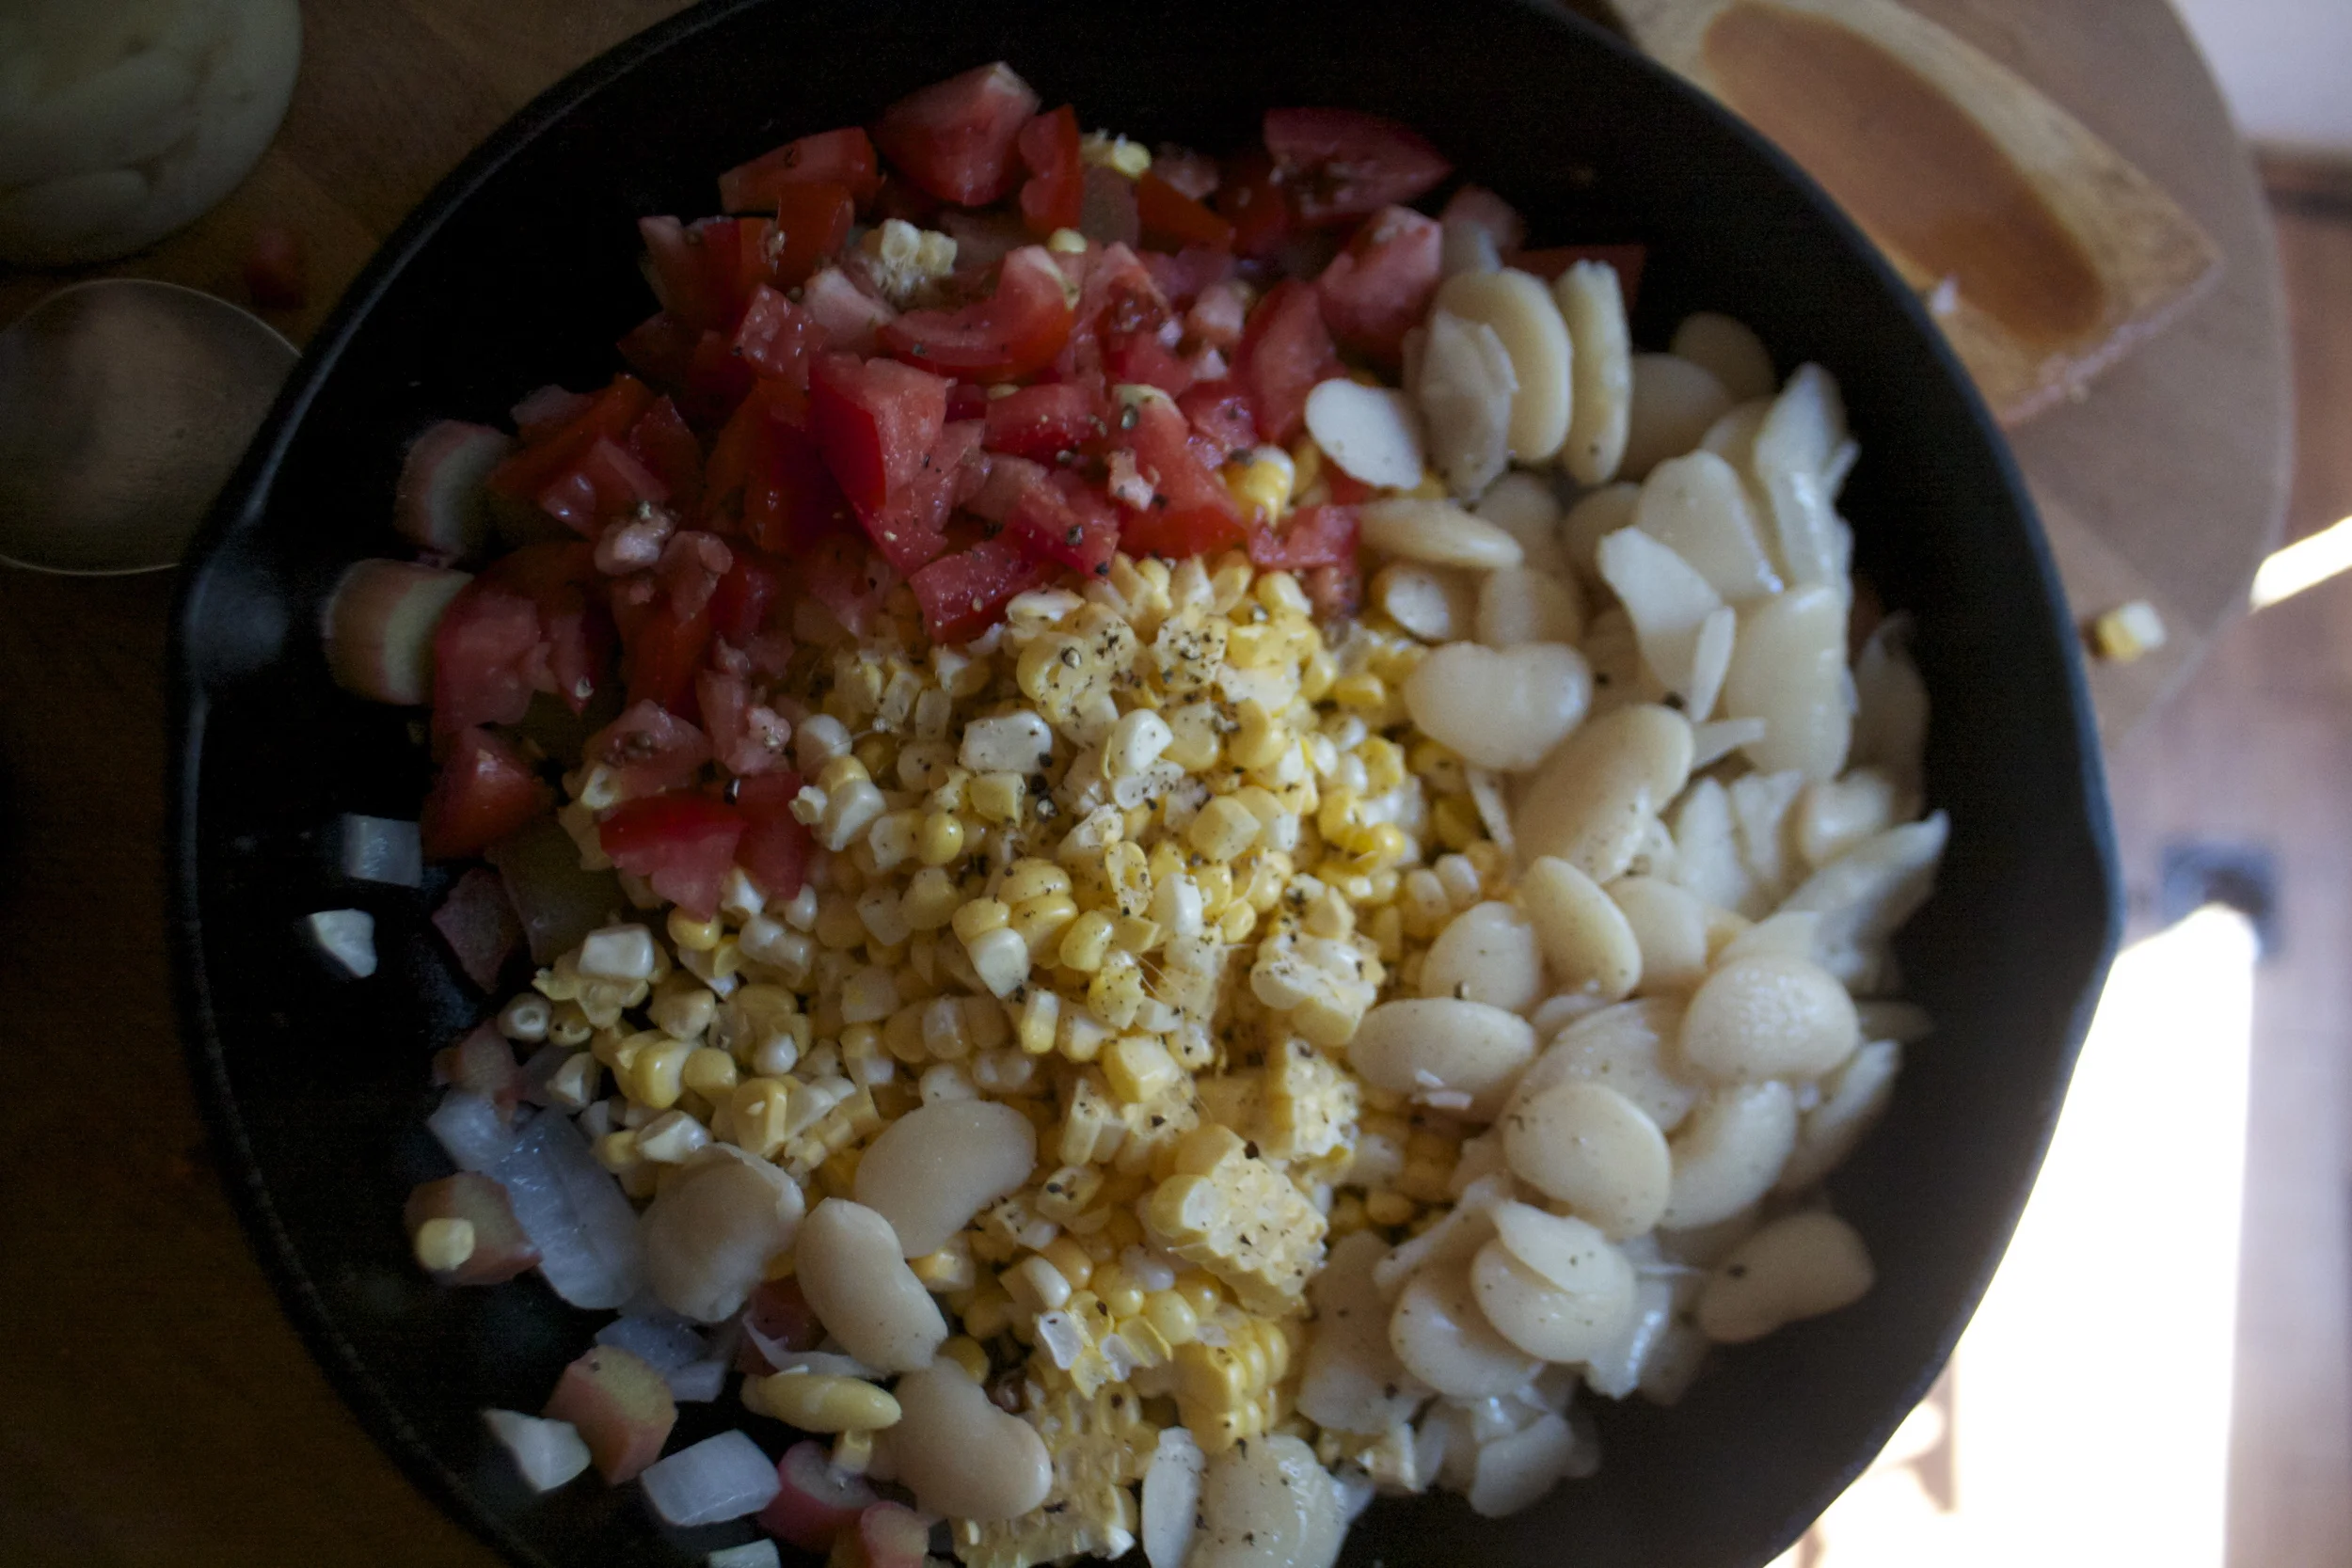
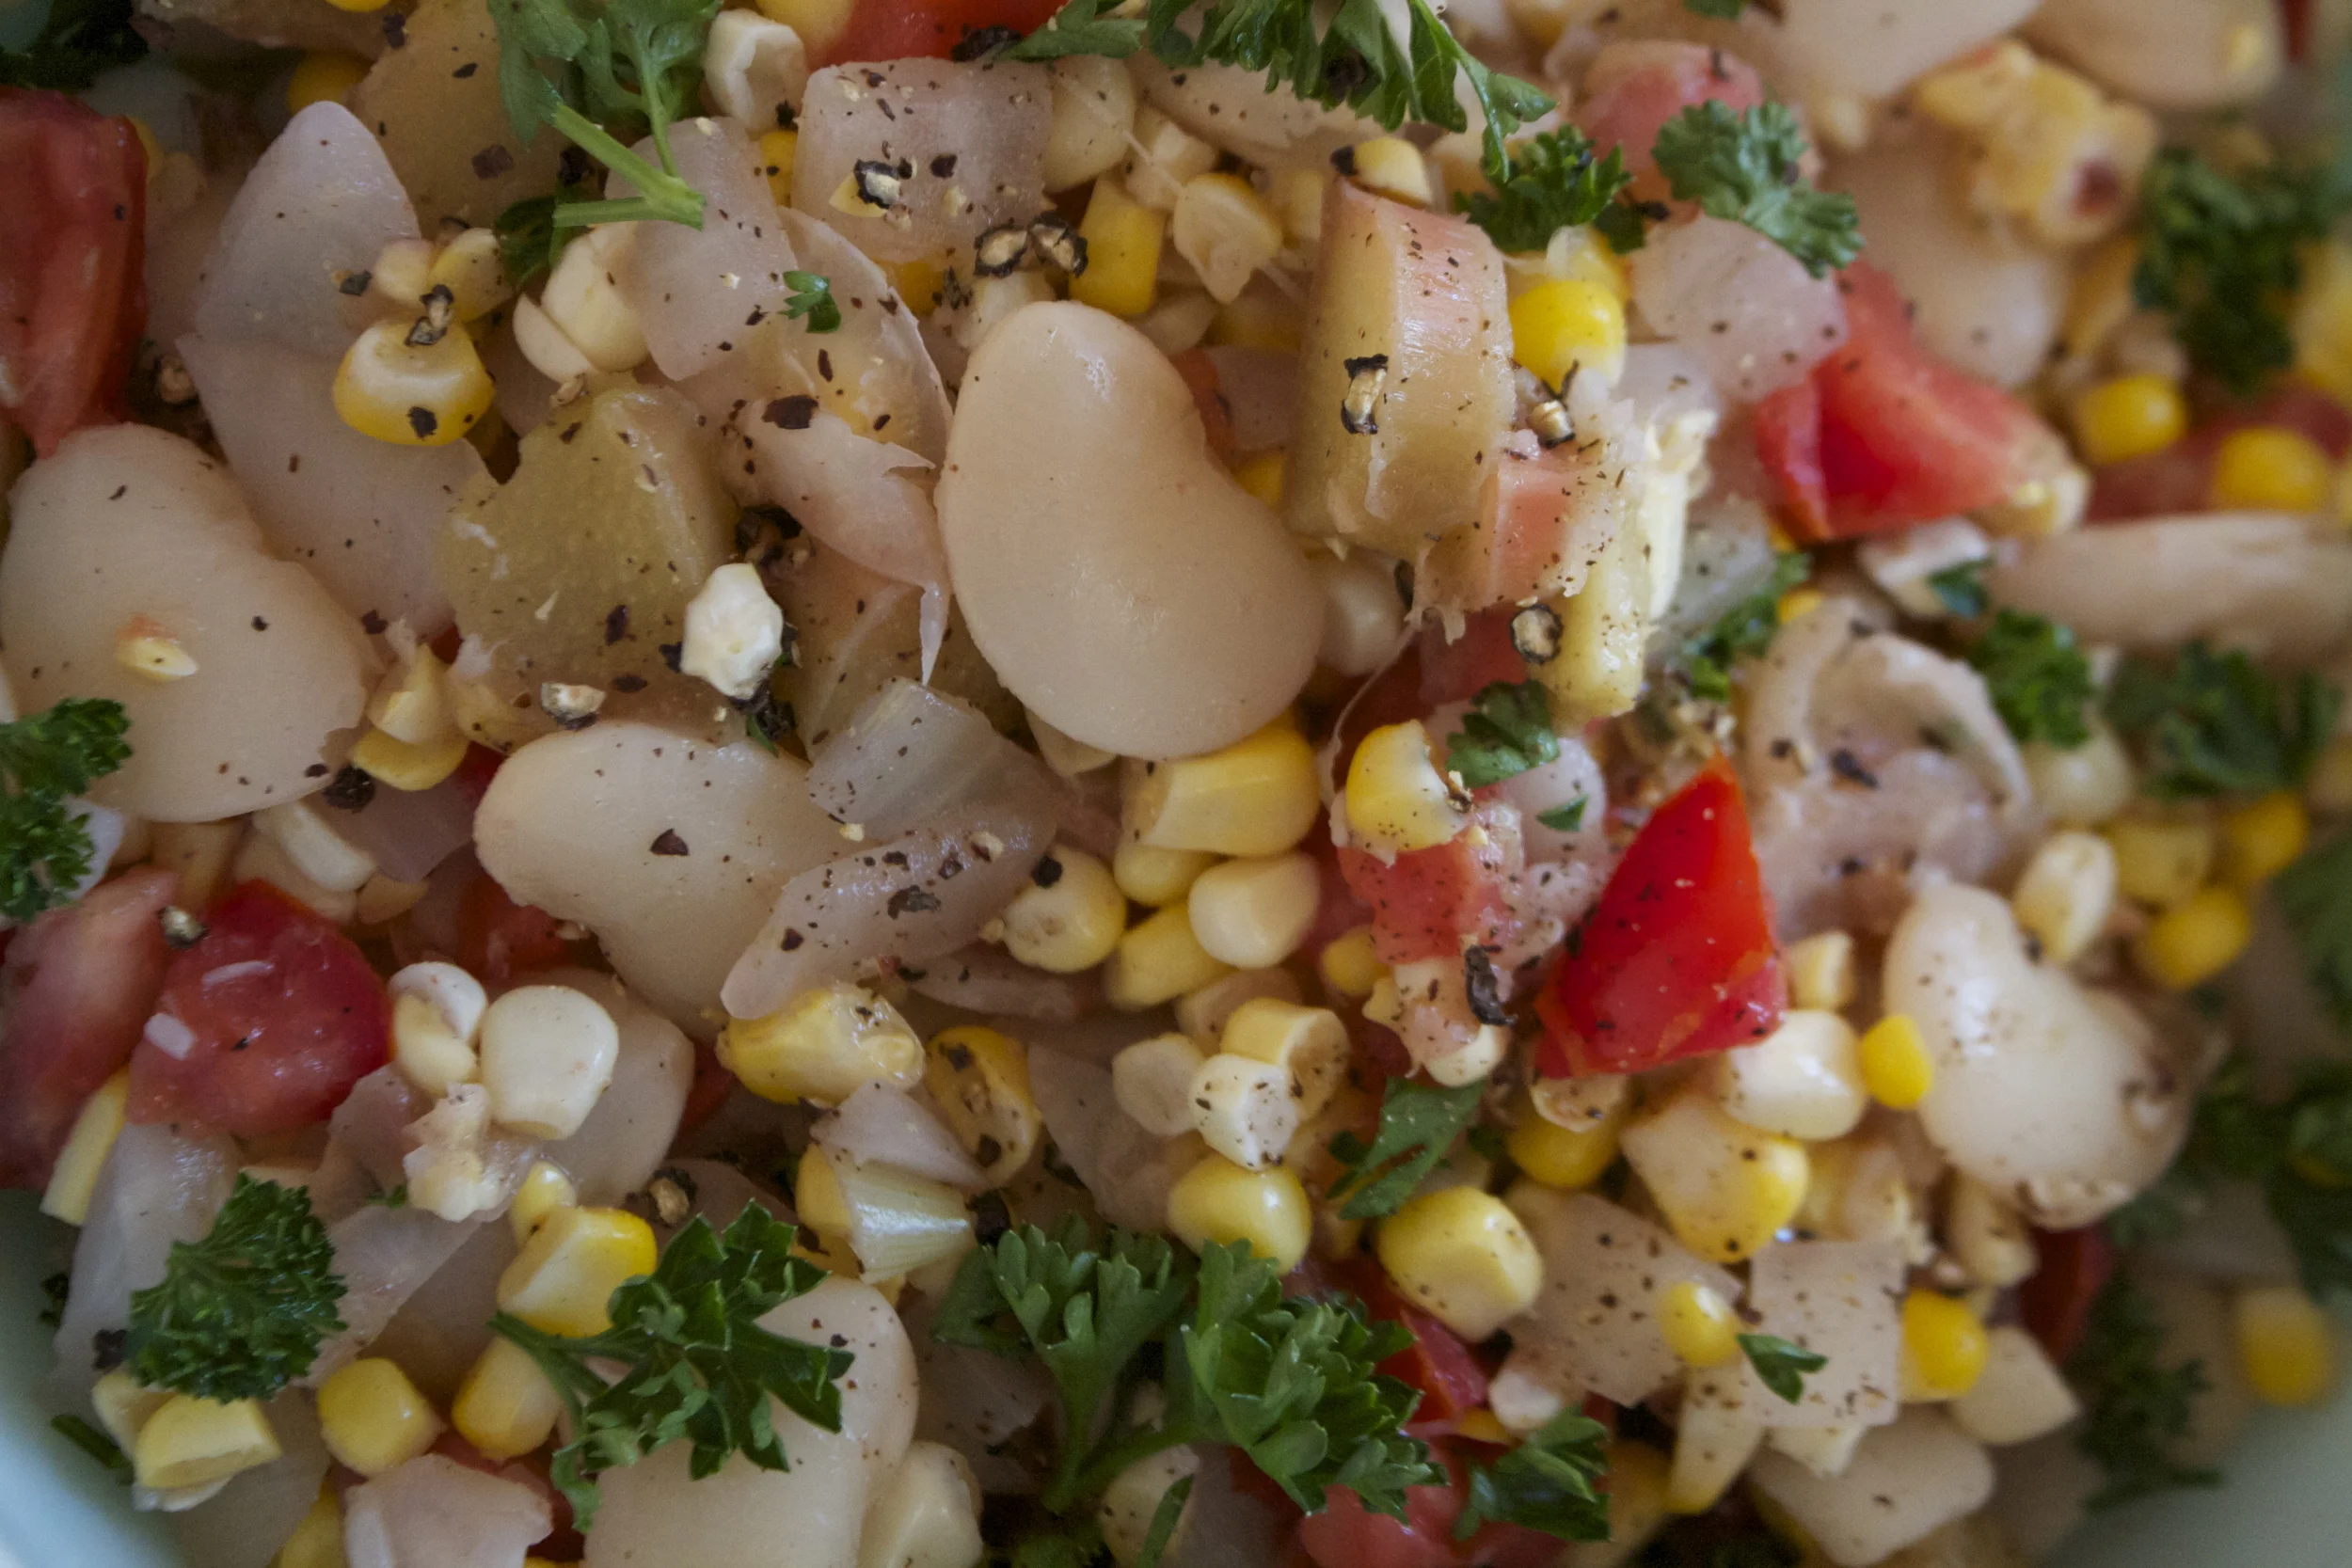


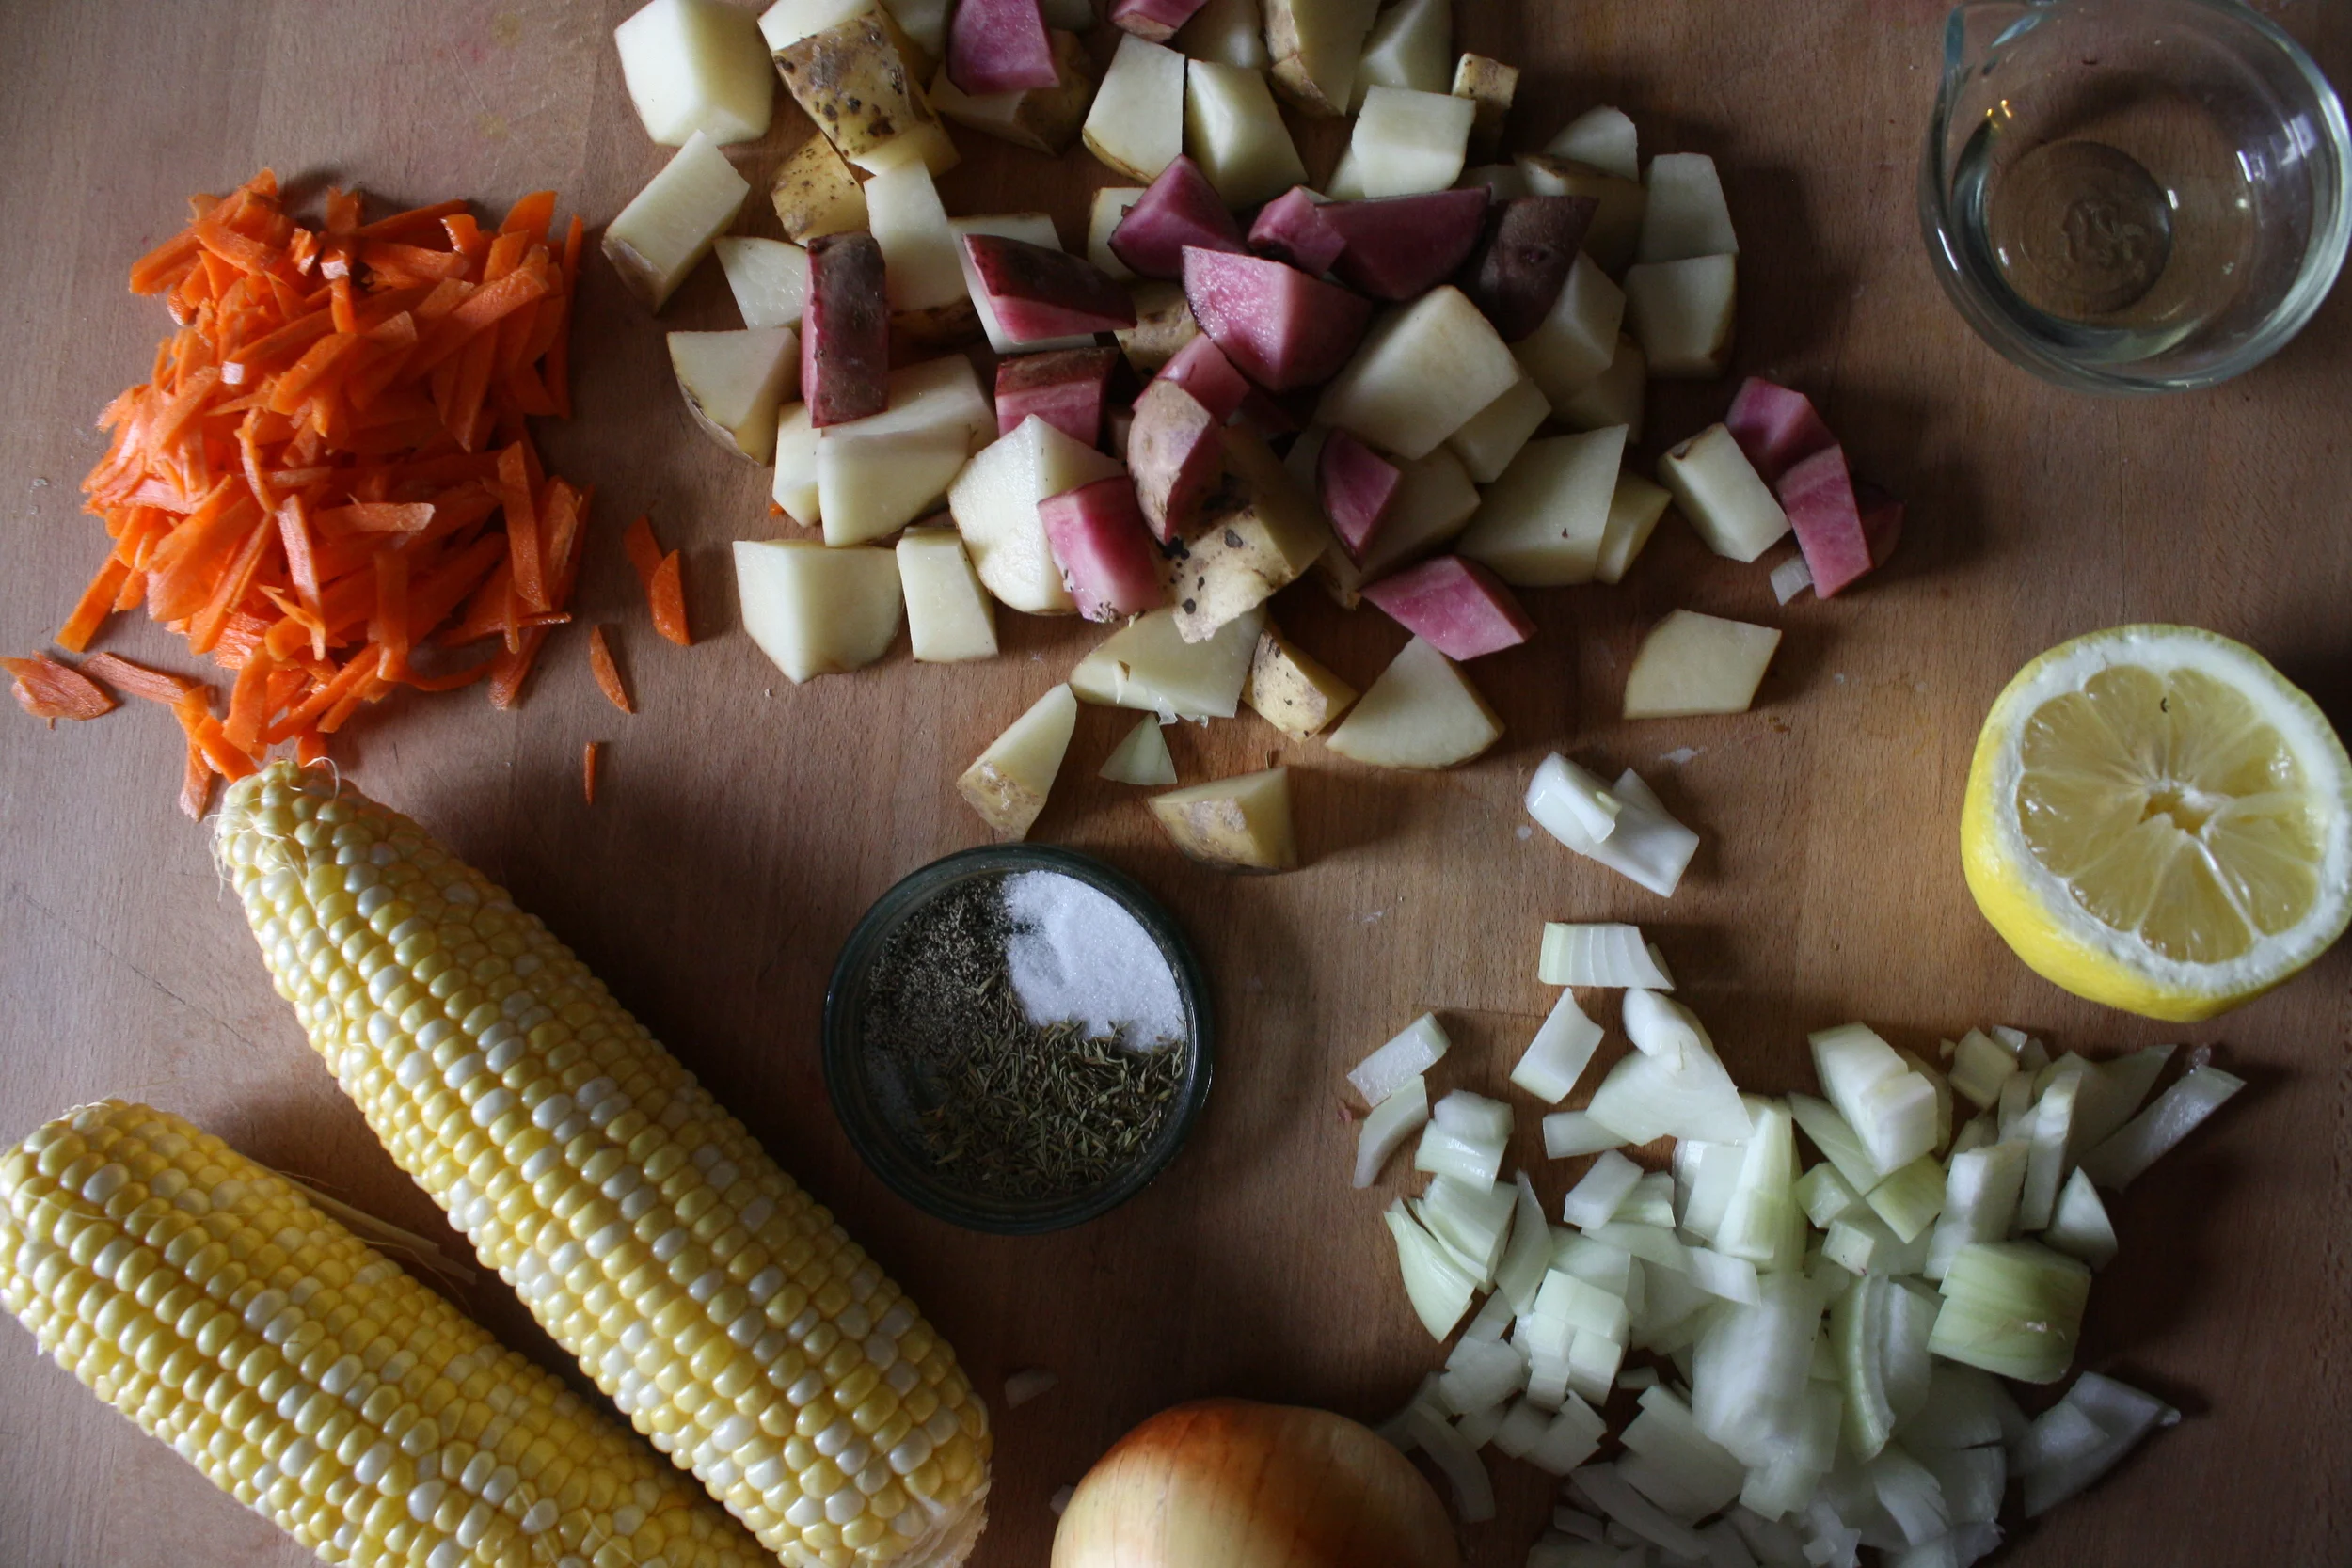
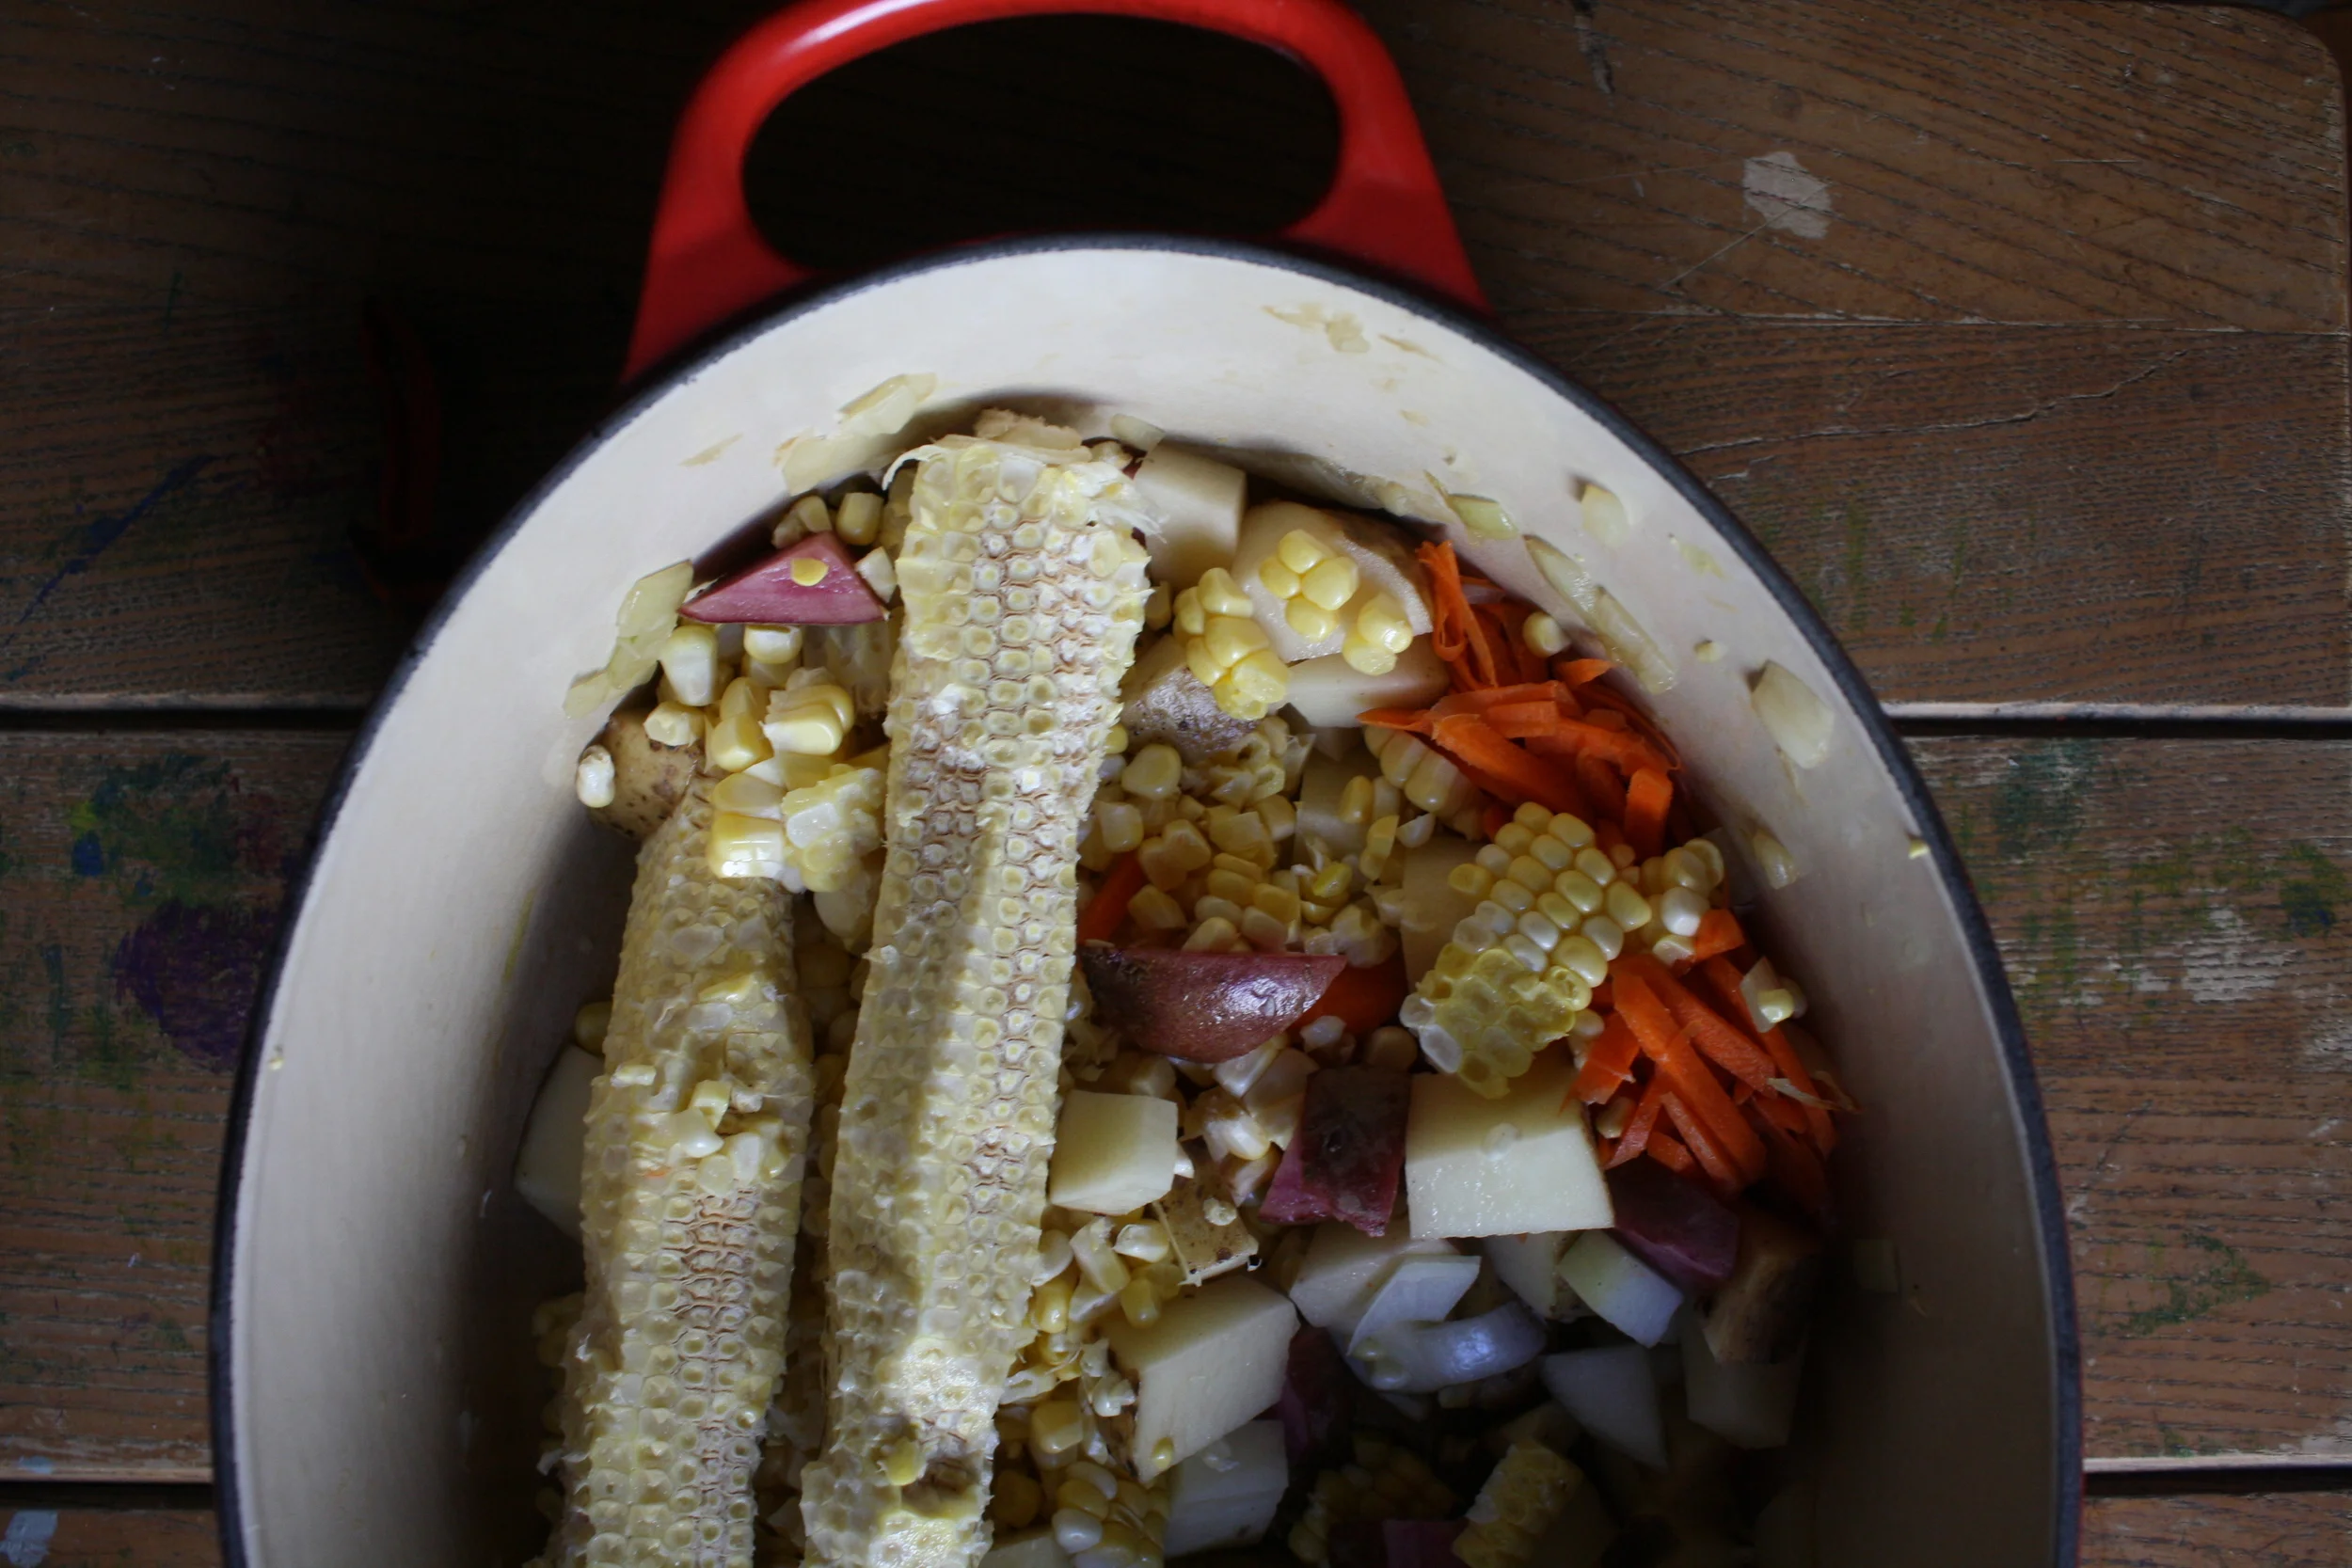

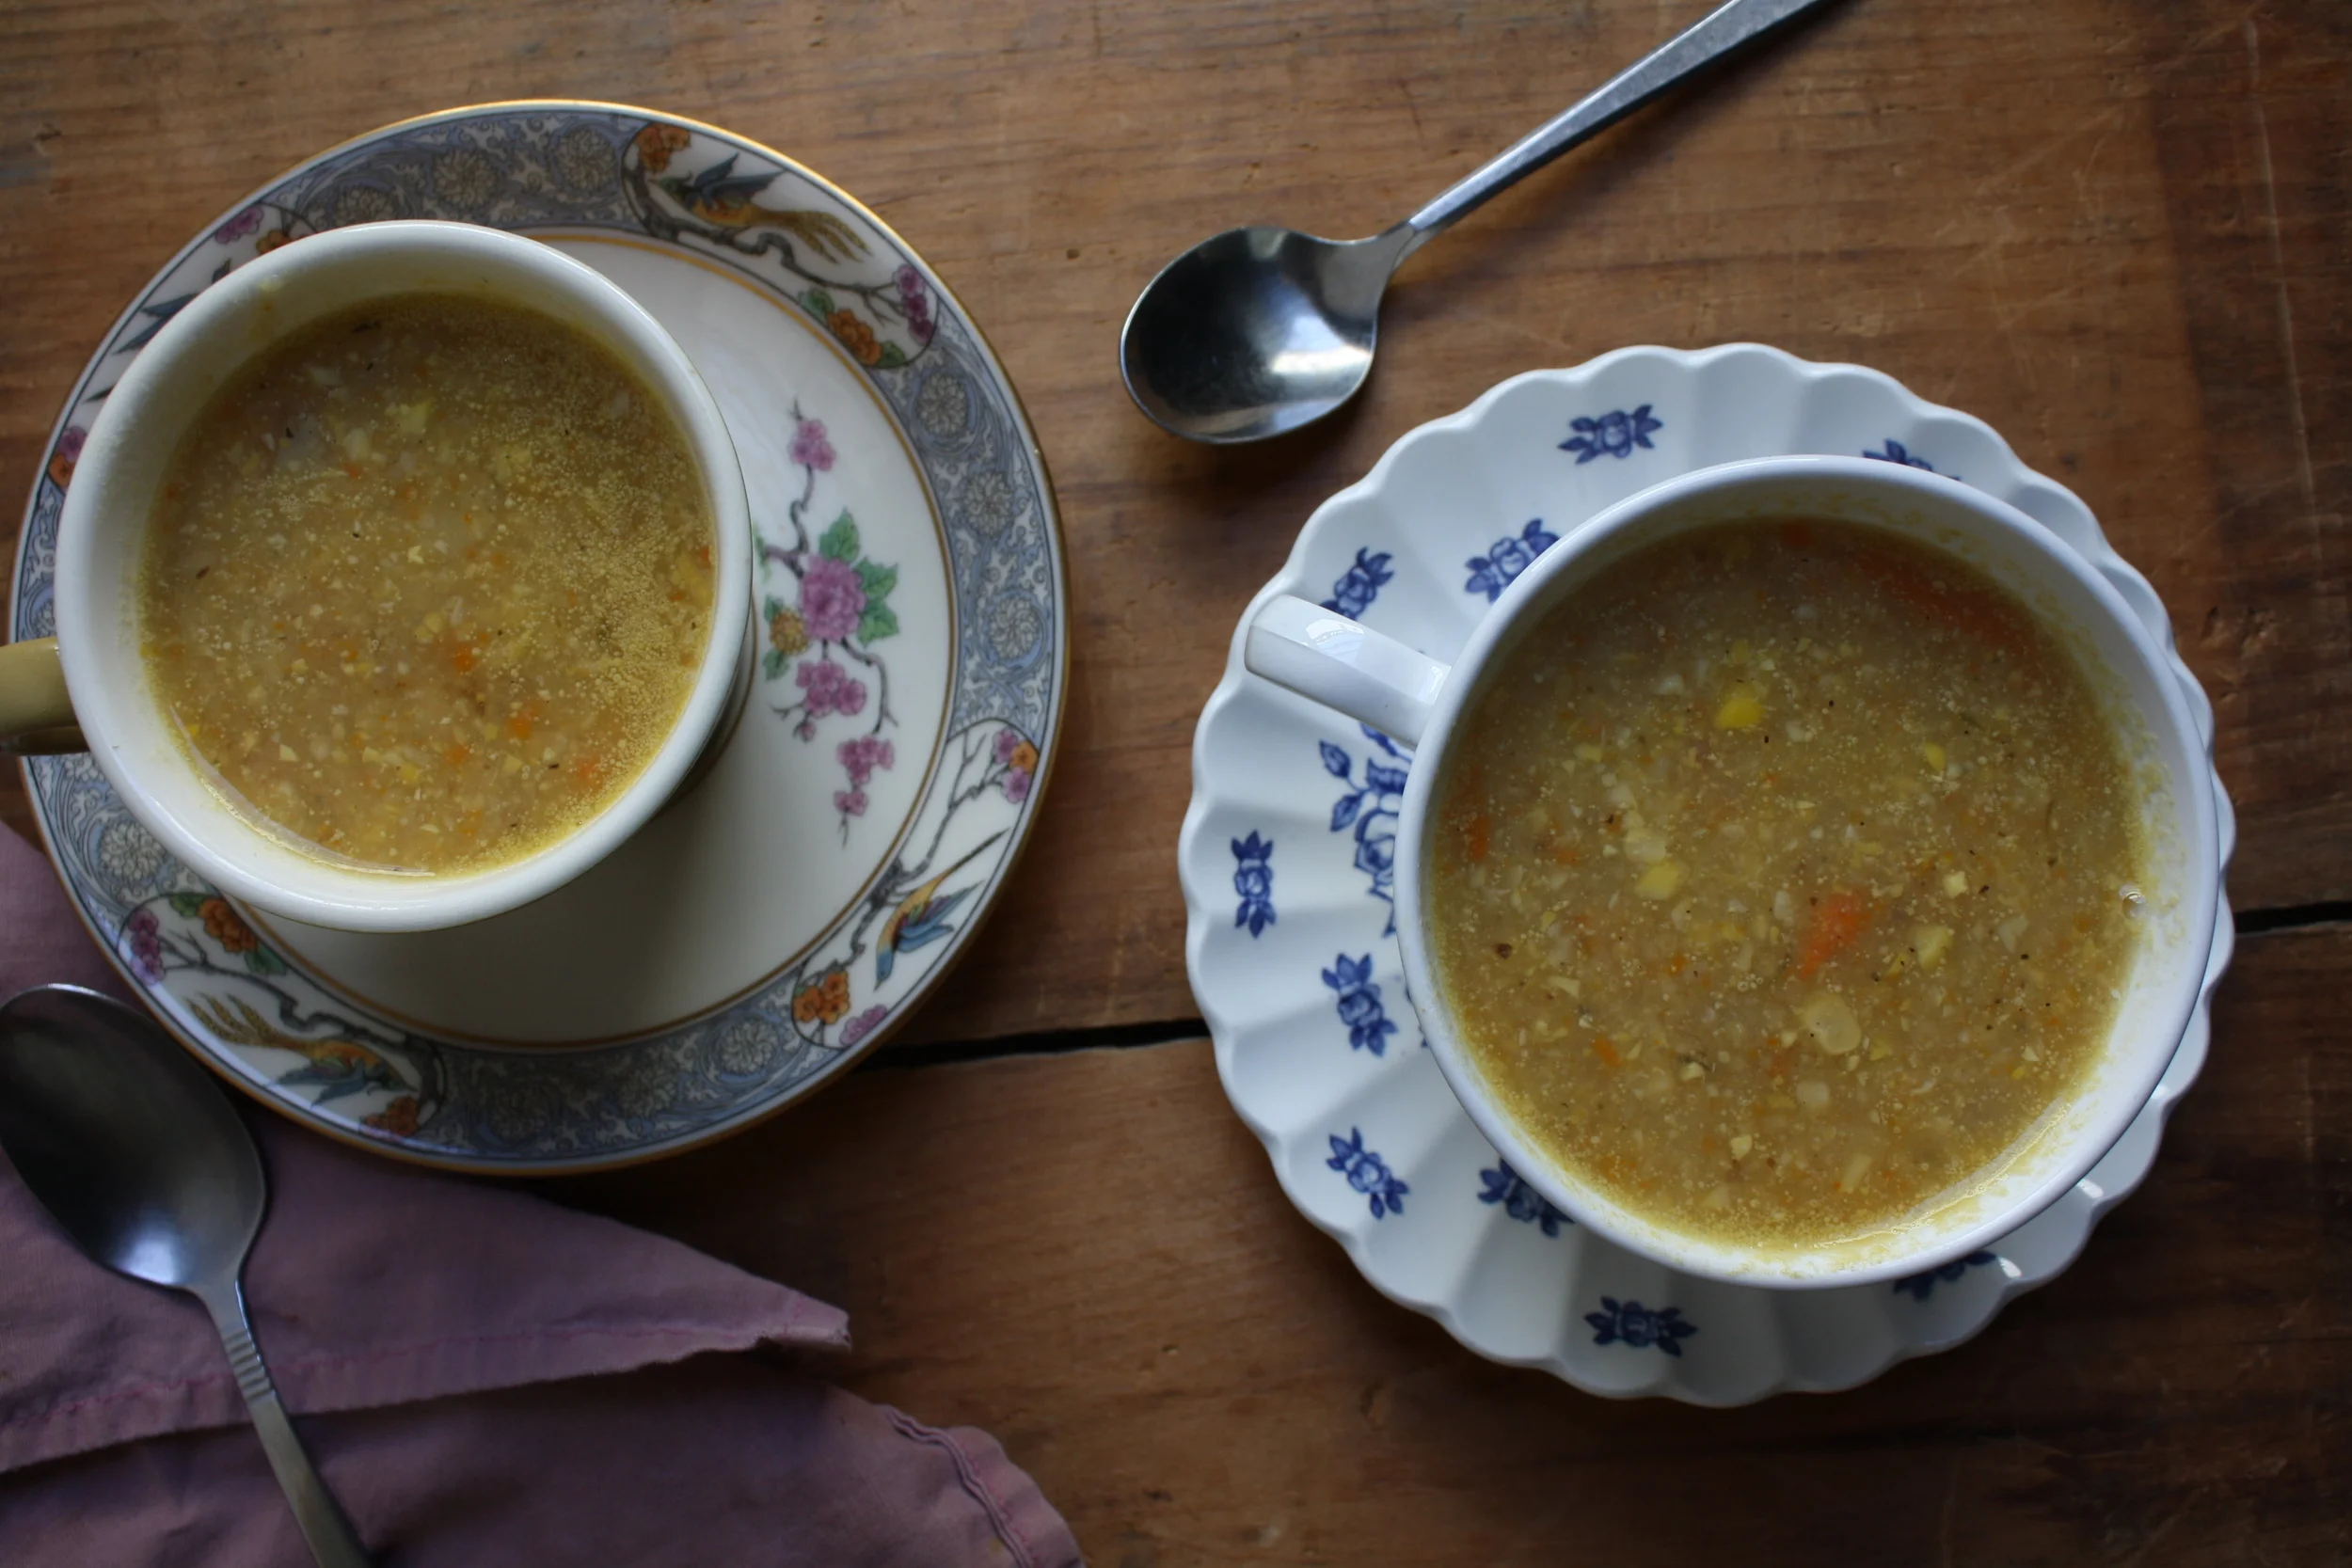
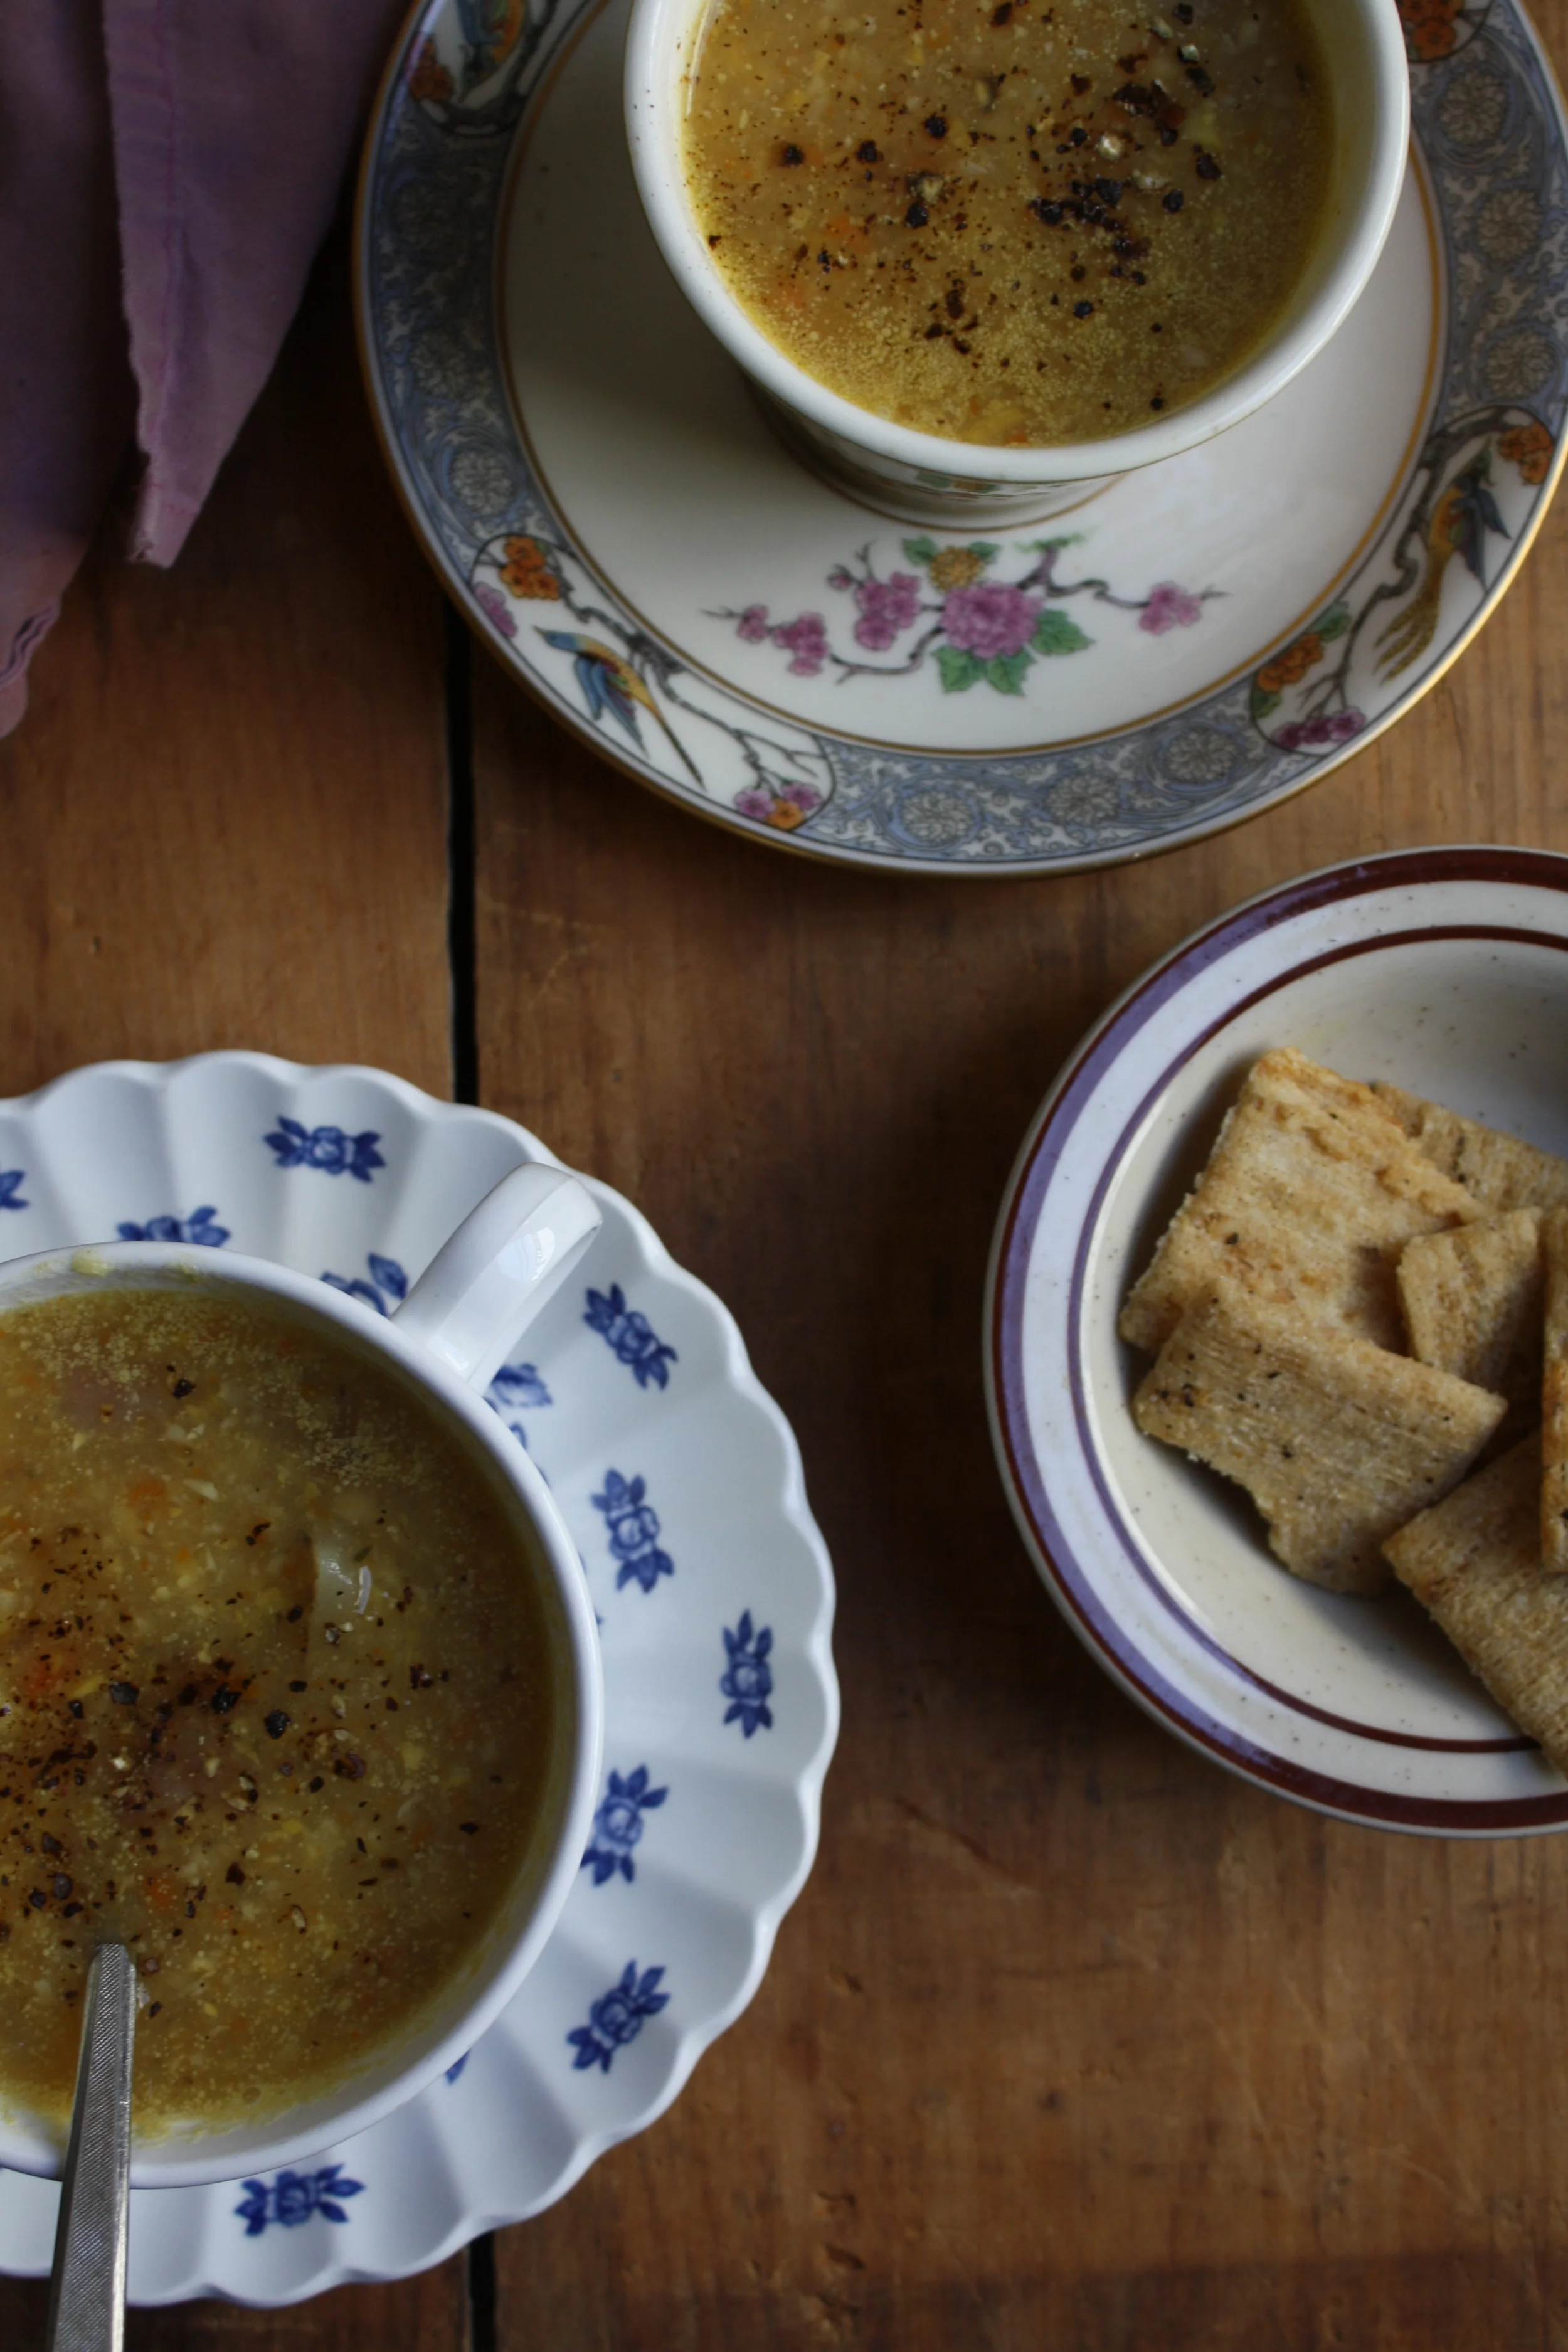


 %u00a0How awesome will you be when you bring the most freaking amazing tortilla chips to the party this weekend? You will be like..”what, it ain’t no thang.. I am just good like that” Yes, yes you are.
 %u00a0 %u00a0 %u00a0
 Knead dough a few times just to make sure it’s completely uniformed and divide %u00a0into 12-14 equal pieces. Place balls on a plate and cover with a wet paper towl to keep from drying out.
 My%u00a0cast iron skillet is big enough to cook 2 -3 at a time, but doing one at a time is cool too. Preheat the skillet to medium heat. Cook each tortilla for about 2-3 minutes ( or until starting to brown) on each side.
  Half way there to chips!!!
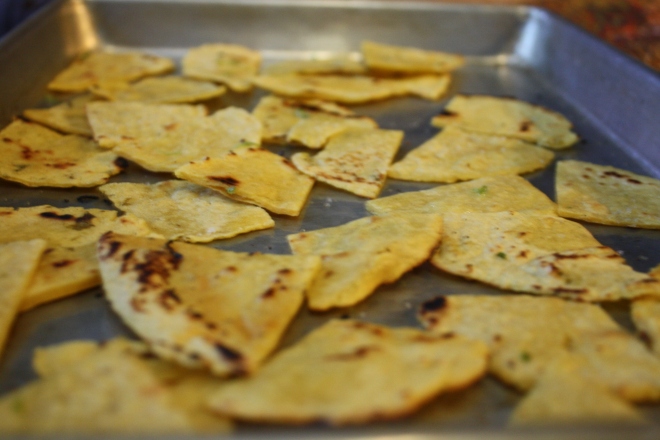 Placed all nice and cozy on a baking sheet. trying not to overlap. Into a 400 degree oven for about 20 minutes to complete the chip making process.. After about 15 minutes, check for doneness. When nice a crispy, remove from oven, squeeze %u00a0lime juice all over and sprinkle with salt. I then stuck them back in the oven for a few more minutes just to dry the lime..
 After cooling down, take those chips and stick them in a bowl.%u00a0
 Last week pineapples were on sale everywhere……So I bought 5. Don’t judge
  Stuff for the goodness. We got the kale, some avocado because all salads should have avocado and some cooked lentils because, well, all salads should have lentils (or beans or nuts.. so you could totally something else) Then a few sprigs of fresh dill, a clove of garlic, red wine vinegar, salt and a bowl of chunked up pineapple.
  The pineapple, dill, garlic, red wine vinegar, a splash of water and a pinch of salt get blended in a blender or whatever blending device you use. Go as smooth or chunky as you like, I recommend going smooth, but leaving a little chunk, like half blended.
 So good……So so good.


 TGIF!!!! For reals, because Monday-Thurday were monster days. And now that its friday, I can dig a hole and hide in it until it’s at least 30 degrees with some sunshine. (I might never get to come out.)
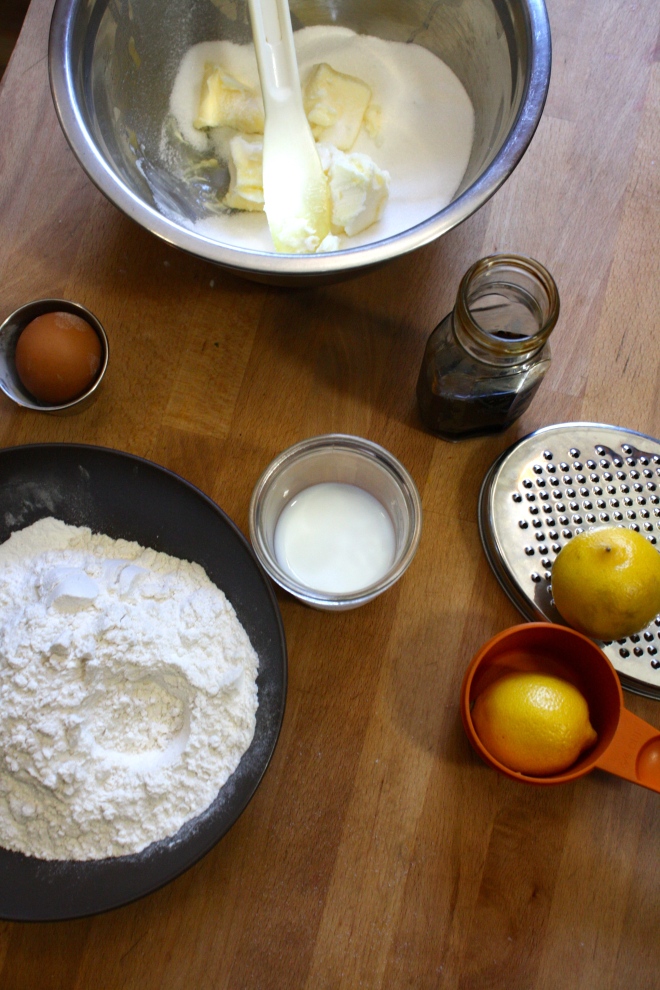 Simple lemon cake stuff. Flour, baking powder and salt whisked together, Sugar and soft butter in a bowl. An egg, some vanilla, milk, and of course, the lemon.
  Frozen bites ready for the chocolate coating… Bittersweet chocolate chips and a little bit of coconut oil. Melted together all nice and shiny smooth.
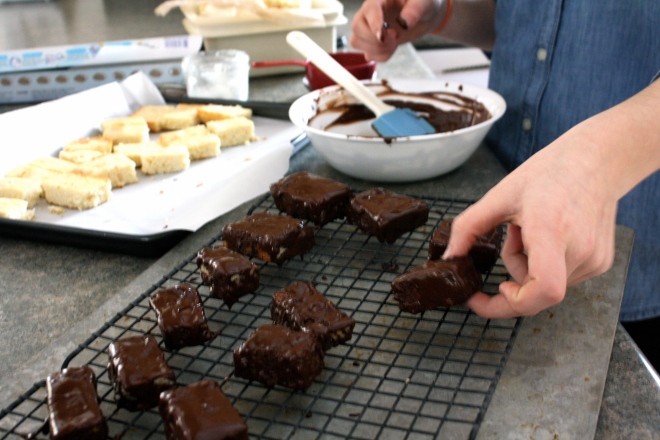 Now dip and slather those bites in the melted chocolate.
  Fully coated and placed on a rack for the chocolate to harden. I ended up sticking the rack in the freezer for 10 minutes…They harder really fast in there.
Gnocchi with Chunky Tomato and Onion — The Lovely Crazy
October 15, 2019 by maximios • Blog
Farm share started last week (HOORAY!!!!) but always, at the beginning when things are still getting on growing, we are only getting a few things. Lot of greens which I will never get enough of, and lots of potatoes. Also, I made the mistake of buying a very large bag of potatoes last week right before farm share and now I am basically swimming in potatoes. And so the story goes%u2026.
So what do you do with a shit ton of potatoes? Yeah, I thought potato cannon to but then I realized that I would have to use my potatoes and sure I have a lot, but I am not wasting them on that. So gnocchi they became. Gnocchi. Basically a boiled french fry or a mashed potato meat ball. Or maybe more like a ravioli. Whatever they are, they are loved by potato loving people and are fun to make. I mean, when do you ever get to use the ricer? ( Don%u2019t worry, you can make gnocchi without a ricer.)
To the gnocchi.
The stuff. Potatoes, flour, an onion, some tomatoes, a few cloves of garlic, salt, pepper, and olive oil.
Note. Make sure to use russet potatoes because they make the lightest, fluffiest gnocchi. You could probably use Yukon gold, but any hard wax potato just won%u2019t do.
First step is to make baked potatoes. Place potatoes in oven, directly on rack, and bake for 30-45 minutes until nice and soft and tender. Just like you would when you eat it as a baked potato. Once cooked cut them in half and let them cool off for a few minutes.
Once potatoes are cool enough to handle, scoop all the flesh out of skins. Keep skins for soup or a snack for later.
And the fun part. Flour the counter then rice the potatoes. You can also do this with a food mill or even grate the potato with a box grater. Once all riced, cover with flour and start to fold and mix the potato into the flour gently until the dough starts to come together. If the dough seems really sticky and wet, add in a tablespoon or two of flour, to dry and crumbly, add in a tablespoon or two of water. The goal is a nice fluffy dough that hold it shape but is not overly dense.
Cut off a potion of the dough, roll it into a rope about an inch thick, then cut into inch long pieces.
To cook gnocchi. Bring a big pot of water to a boil and carefully drop in a handful of gnocchi into the water. They are gonna sink, but after a minute or two they start to float. Once floating, remove them from the pot with a slotted spoon and place them on a lightly oiled baking sheet. Repeat until all the gnocchi are cooked.
Cooked and ready%u2026 Ready for what? For anything you want but these are going into a tomato and onion situation.
Mince garlic and dice tomatoes and place into skillet with a good pinch of salt and a splash of olive oil. Place on stove and cook until slightly tender. Dice up tomatoes into small chunks and add to skillet along with a cup of water (if you have gnocchi water, use that) Turn heat up and cook until mixture start to bubble, then turn heat down to low and cook until the tomatoes are mushy.
And then drop in gnocchi. Keep on heat until the gnocchi are warmed completely all the way through.
Sprinkle of salt, lots of pepper, and something green if you want to be fancy.
And then you eat them.
-C
Makes 3-4 servings
2.5 pounds russet potatoes
2/3 cup of all purpose flour
1 large onion
3-4 tomatoes
few cloves garlic
salt and pepper
olive oil
water
Place potatoes directly into oven on one of the oven racks and bake on 450 degrees until soft and tender. Should take about 1/2 hour to 45 minutes, depending on size of potatoes.
Once cooked, remove from oven carefully, cut in half, carefully, and let cool for a about 10 minutes, just so you can handle the potatoes without burning yourself. In the mean time, get a large pot, fill it with water, and set it on the stove to boil.
When the potatoes are not to hot to touch, grab them and with a spoon, scoop out all the potato flesh from the skin (keep skin for a snack or for soup). Lightly flour the counter and start ricing the potatoes directly onto the counter. (You can also use a food mill or a box grater if you don%u2019t have ricer). Once all potato is rices, cover with floor and gently fold potato over into flour, over and over, even using a knife, to kind of cut the potato into the flour, until it all mostly comes together. Be careful to not overwork the dough or else it will become dense make the gnocchi chewy. If the dough seems is sticky, add in a few more tablespoons of flour, to dry and seems crumbly, add a few tablespoons warm water.
Once you have the dough, make sure the water on the stove is still there and has not evaporated and is at a gentle boil. Cut dough in thirds then roll out a portion into a rope about an inch thick. Cut the rope into inch long pieces. Repeat with the rest of dough.
When all the gnocchi are made, grab a rimed baking sheet, coat with oil, and place close by the boil water.
Now to cook them. Drop a handful of gnocchi into water carefully. They will sink. Watch and after about a minute or two, they will start to float. Once floating, take a slotted spoon and take them out of water. Place them on the greased baking sheet. Repeat until all the gnocchi are cooked. (when done cooking, save a cup of the cooking water)
After the gnocchi is cooked, you can do whatever you want with it, like eat it right away with salt and pepper or whatever, but to make the quick tomatoes onion situation, dice up the onion and mince the garlic. Place into a skillet with a drizzle of olive oil and a pinch of salt and place on stove and start to cook. Dice up the tomatoes and once the onion is tender, add in the dice tomatoes and about a cup of the gnocchi cooking water. Turn the heat up until the water is bubbling then reduce to low and cook until the tomatoes are mushy and tender. Once cooked, add in the gnocchi, toss them around, and cook until the gnocchi are fully warmed through.
And then eat it. Maybe a little more salt if needed, definitely lots of pepper, and whatever else you want.