I eat a lot of hummus. Like a lot. Every day, all day long. (seriously, I am always snacking on veggies dipped in hummus) So I am sorry to all around me that my breath always smells.. (I blame all the garlic in the hummus.)
Recently, during a particularly browsey grocery shop, I ended up in the hummus case (I always end up there) and found a new hummus flavor.%u00a0 Pineapple jalapeno, WHAT.%u00a0 I grabbed it right then and there, convinced that hummus gods were rewarding me for all of my hummus eating and have made me my very own flavor.
Got home, tossed all the groceries into the fridge and busted open the new hummus, a bag of carrots, and went at it. Oh man, it was good.(to often the store bought hummus flavors are not so great) The flavors were all there, sweet and spicy, and creamy.%u00a0 It was fantastic, I ate almost all of it and I knew I had to make my own.
And I did and you know what, it was even freaking better! (Fresh it the best!)
So If you are a hummus person of any kind, this is a fantastic exciting flavor that will make you all sorts of happy.
The stuff for the hummus:%u00a0 chickpeas, tahini, olive oil, garlic, and salt and pepper. And for flavor add ins,%u00a0 fresh pineapple and a jalapeno pepper.
Chickpeas (rinsed and drained) go into the food processor with some tahini, the juice of the lemon and salt and pepper.. The garlic I actually pulsed in the processor first (to avoid big raw hunks) and some olive oil are also going in on this.
Blended until a smooth, creamy perfection.
Now for the fun stuff. Dice up the pineapple and remove seeds (or not) from the jalapeno and dice that up too
Toss it all (minus a few little pieces of garnish if you want) into that creamy dreamy hummus.
Pulse pulse pulse until the chunks of stuff are all incorporated . Make it super chunky or super smooth, up to you. I like mine kinda chunky, but not too chunky, if you know what I mean.
Into a big bowl, topped with a few little diced up pieces of jalapeno and pineapple, you know, for prettiness. And lots of cracked pepper.. Lots.
Now eat. With whatever ( I like veggies or just give me a spoon, Ican eat hummus all by itself)
Hummus for life!
-C
Makes about 2 1/2cups
2 1/2 cups cooked chickpeas (one can)
2-3 cloves garlic
2 tablespoons tahini
1 lemon
2 tablespoons olive oil
3/4 cup fresh pineapple
1-2 jalapenos
salt and pepper
Rinsed and drain chickpeas. Add garlic and a little olive oil to the food processor and pulse until the garlic is a little minced. Add in the drained chickpeas,%u00a0 tahini, a sprinkle of salt ans pepper, the juice of the lemon and another tablespoon of olive oil and blend until smooth.
Dice up pineapple into smaller chunks and remove seeds (if you want) from the jalapeno and chop that into smaller pieces . Add to the hummus and pulse until combined. You can leave it chunky or blend until smooth. Just stop blending when you reach you desired consistency . Garnish with more chopped pineapple and jalapeno and lots of freshly ground pepper.
Serve with whatever you eat your hummus with.
Store left over (there probably won’t be any) in a container in the fridge.
I am on full fledged baking mode. I bought the Costco sized bag of flour, stocked up on spices and chocolate chips, and am counting down the days to when all the littles come over for the cookie decorating party. But I am also trying to pace myself because I don’t need to have cookies, cake, and candies all over the house quite yet. The season is young and the time for stuffing your face with all the candies and cookies awaits. Until then, (next week sounds about right) sensible baking like bread and scones (yes, scones are sensible)
The other morning I woke up and was very determined that I must make scones. I don’t really know why scones, maybe it was the news of Prince Harrys engagement %u00a0(the dream of being princess is now dead)%u00a0%u00a0but it was a fierce determination..%u00a0 And they had to be cranberry because well, I have a tone of cranberries in the fridge. And I know I could have made them just cranberriy, but why not add a little chocolate. Still sensible in my book.%u00a0 So scones I did make. And after he shared one with Barb,%u00a0the mr has been eating them for breakfast which is just another reason why they are sensible…they are breakfast food.%u00a0
The stuff. Flour, baking soda, baking powder, and salt (all in the bowl). Sugar, coconut oil, cinnamon, soy milk and vinegar. And of course fresh cranberries and chocolate chips.
The sugar and cinnamon go into the bowl with the rest of the dry…whisk it all together. Oh, and preheat the oven.
Mix a tablespoon of vinegar into the milk so it starts to sour.
Coconut oil gets cut in to the mixture.. You want a course crumb, kind of like pea sized chunks of oil mix around in there.
And now rough chop the cranberries which is a little difficutl because they all want to roll away, but you can do it.%u00a0
I rough chopped the chocolate chips as well because why not.
Mix the cranberries and chocolate into the mixture until evenly incorporated.
Gently mix until the dough just comes together. Dump our onto a well floured surface.%u00a0
Pat the dough into a circle and flatten out until it’s about an inch and a half thick. Cut the circle into 8-10 equal pieces.%u00a0
Place the scones on a baking sheet and brush with a little milk. Pop them into the preheated oven%u00a0
Pop them out when they are all nice and golden brown.%u00a0
Place them on a cooling rack.
And watch them disappear or like a sensible person, eat one everyday for breakfast.%u00a0
Have a great weekend.
-C
makes 8-10 scones
2 %u00a01/4 cups flour%u00a0
1/3 cup %u00a0sugar
1 teaspoon cinnamon%u00a0
1 %u00a0teaspoon baking powder%u00a0
1 teaspoon baking soda
1 teaspoon salt
1/2 cup coconut oil
1 hefty cup fresh cranberries
1/2 cup chocolate chips
3/4 cup plant milk plus about a tablespoon more for brushing on top
1 tablespoons apple cider vinegar%u00a0
Preheat oven to 375.%u00a0
In a large bowl whisk together the flour, salt, baking soda, baking powder, cinnamon, and sugar. Add the vinegar to the milk and set aside. With a pastry cutter or 2 knives, cut the coconut oil into the dry mixture until it becomes a course crumb.%u00a0
Rough chop the cranberries and the chocolate chips (optional on the chocolate chips) and toss both into the bowl. Give it a quick mix to coat it all then dump in the milk. Mix until the dough comes together (DON”T OVER MIX) then dump the dough onto a lightly floured surface. Gather the dough into a ball and flatten out into a disk that is about and inch and a half thick. Cut into 8-10 equal sized wedged and place not a baking sheet. Brush the tops with a little milk and pop into the preheated oven.
Bake for 25 minutes or until the tops are all nice and golden brown. Remove from oven and place on a wire rack to cool.
And the best part, it’s as easy as eating way to many slices of pie! Roasted beets, rutabaga and sweet potato. A little salt…A food processor…no joke, so easy and it tastes so freaking good. A real show stopper. Everyone will whip out their phones to snap a pic.
Let me break this down for you. Rutabaga. Sweet Potato. Beet. That’s what I was working with. I chose these roots for color as well as for taste. Separately the flavors are amazing. Together they are out of this world. If you wanted you could omit any of these and sub in, lets say, pureed cauliflower, or maybe parsnips. I would stay away from potato, it’s a little to starchy, but maybe acorn or butternut squash. Oh man, now I want to make celeriac, carrot and acorn squash marble. Pureed vegetables are trouble for me. I can’t stop eating when they are around. I know, but don’t judge, instead lets prepare.
Peel the rutabaga..To be honest, I don’t peel, but this one that I got at the grocery store had a layer of wax on it…so yeah, I decided to peel that. You can also peel the beet if you want, but again, I don’t do that.
I diced up the baga and the beet, and tossed into separate pans to roast. I gave each pan a tiny splash of oil and a sprinkle of salt. The sweet potato, well that just got tossed into the oven as it was. I wouldn’t mix the beet with the rutabaga, the juice will turn it pink. Here the thing, If you want to boil or steam you veggies, go right ahead. I roast because I like the roasted flavor and its easier for me to throw things into the oven on a cast iron pan then to boil onto of my tiny stove. Bonus, I don’t wash my cast iron so less dishes! Just make sure with any method, your vegetables are cooked throughout and that they are tasty.
So you got a pile of roasted rutabaga, a pile of roasted beets and a baked sweet potato.
Remove the flesh from the skin of the sweet potato.. then eat it. Ok you don’t have to eat it but it is SOOOOOOO good. At least try it.I used my handy emulsion blender to puree everything but a food mill or a food processor is equally as good. Puree each root separately . Start with the rutabaga. Go to the sweet potato, then end with the beet. That way you don’t have to clean in between purees. Add little amounts of water when pureeing if it needs a little help to loosen up. Blend until smooth.
Three beautiful purees. My sister and I stood in the kitchen prior to preparing the plate and stuck our fingers in the puree. That right, and we licked then and went back in for seconds. In my family, as long as there is not disease being transmitted, a little bit of shared germs is ok. So now that you have tasted and tried not to eat to much of the purees, let’s get crazy….I just took a spoon and threw piles in that bowl. I could have done more of a checkerboard pattern to make it a more uniform marble, but I just went for it. Do it any way you want. Don’t be afraid, you can’t screw this up!I took a fork and kind of rain it throw the top to start the effect. I then took a cake knife and just leaved it out. That’s what I did and then I was done. After all the oohing and aching, I stuck the dish into the oven for another 10 minutes just to keep hot, but you can serve this at room temp as well. Now tell me that isn’t a thing of beauty. I fell in love. I want to puree and marble everything. This could be my thing.Empty bowl…Ok, I’ll admit I ate half of it..I couldn’t help it. Next time I will have to make a bigger batch.
P.S. You could totally make this dish today and serve it tomorrow. Just plastic wrap the top and refrigerate. When your getting ready for you meal, stick in oven for 20 minutes or until it’s the temperature you want it.
Happy Thanksgiving and Yeah!
Marbled Roots
Choose at least two, preferable three contrasting root vegetables. I;ll give you the version in the pictures.
1 large beet
1 medium rutabaga
1 large sweet potato
olive oil
salt
Preheat oven to 425
Dice rutabaga and beet. Toss with splash of oil and sprinkle of salt. Place on spereate baking sheets and move to oven. Place whole sweet potato in oven Cook until veggies are fork tender, usually about 40 minutes.
Remove veggies and place into separate containers and puree each veggie, starting with the lightest colored one. Add small amounts of water to help loosen if needed.
In a shallow casserole dish or pie plate, pile small amount of puree in dish, alternating the colors. With a knife, swirl the veggies around…Dont go to crazy or it will end up blended. You could stop here, I know, it looks amazing, but I finish it all off by taking a cake knife and smooth out the top.
Pop the roots back into the oven for another 10-15 minutes just to completely warm and meld the flavors together.
How cool are you now? People will be talking about you marbled roots for weeks.. maybe even until next thanksgiving.
Yesterday was my sisters 31 birthday. Yuck..If she is 31, what does that make me?( I am younger, but not by much) The ladies in my family have a really hard time with birthdays. We act like we don’t care, but we do. We say don’t do anything, it’s no big deal, but it is. Who cares that we are getting older……oh we care. We are all crazy.
So while the birthday lady who doesn’t care was out picking up her darling children, I showed up with ingredients for a cake from scratch..a bad ass bundt pan…and a bunch of beautiful sunflowers. I prepared the batter, popped it into the oven and me and my mr. proceeded to clean her house. Yup…#1 right here!
For real, I love my sister and I wanted to do something nice for her on her birthday. Pumpkin is nice. Pumpkin is not the conventional birthday cake. It’s a little different, a little spicy, much like my sister.
All the right stuff nicely measured out and the oven preheating.. I really like baking in her kitchen. She has the best light and a bunch of kitchen gadgets, lots of bowls, plus a dish washer. I miss having a dish washer.
Creaming the sugars with butter and adding the eggs…It took me like 20 minutes to find the beater which was in my face the whole time. I was looking for a white beater. Hers is black.I am oblivious.Here comes the pumpkin. I added the spices at this point. (This picture is awesome)
Beat in the flour and milk….and now you have cake batter. I made the mr. lick the spatula just to make sure the spices and stuff were right. He always says everything is right.
Greased and flour dusted bundt pan. This pan is my new favorite, another one of my junk store scores! If you use a shaped pan like this, really make sure you get every line greased or else… Dusting the greased pan with flour makes it easier to see if you missed a spot. Pour in batter and stick on middle rack in oven.
Pop it out of the oven when a tester come out clean and…TADA! What a beauty. I decided to forgo any frosting. The cake shape is too nice to cover. And bonus, since there is no frosting…didn’t have to wait for it to cool. Dug right into warm pumpkin goodness.
Look at those flowers. Trader Joes has it going on. We looked all over her house for a vase and good thing I found this one. Nick had cut the top off of a 2 liter of mountain dew and stuck the flowers in that. I mean, it worked, but I think the vase was the better choice. And did I mention I am a genius? We couldn’t find any candles so I cut pieces of a striped straw and stuck matches in them. Best on the fly candle creation ever!
Left with crumbs… Notice the finger marks in the powdered sugar? I bribed one of her littles with that sugar. I told her if she emptied the dish washer she could lick the plate clean. I am a fantastic sister!!!
Happy Birthday!!
INGREDIENTS
1 stick unsalted butter
1 2/3 cups all-purpose flour
1 tablespoon ground cinnamon
1/4 teaspoon ground allspice
1/2 teaspoon salt
1 teaspoon baking powder
1/2 teaspoon baking soda
1 cup white sugar
1/4 cup brown sugar
2 l eggs
1 cup Pumpkin Puree
1/2 cup milk
DIRECTIONS
Pre heat oven 350 degrees.
Butter a bundt pan or a 9-inch round cake pan.
Whisk together flour, cinnamon, allspice, salt, baking powder, and baking soda
In a large bowl, beat sugars and butter together until light and fluffy. Add eggs, pumpkin and milk and beat until combined. Mix in dry ingredients and beat until combined Pour batter into greased pan, and bake for 50 minutes to 1 hour or until a toothpick inserted i the middle comes out clean.
Remove from oven and let cool for a few minutes in pan. Remove from pan and dust with powdered sugar.
And there you have it a cake fit for a birthday, a holiday, or a breakfast on a Tuesday morning.
Oh boy we made it! Ate our way through another Thanksgiving. I hope yours was a good as mine, lot of family and friends…an abundance of pies, and lot of warm lovely goodness.
So now what?? Is there a butt load of laundry waiting to be washed and the floors are in need of mopping after dropping that pie? Are you eagerly anticipating the departure of your quests, in-laws, or your own departure from your current digs? Or are you just plan looking forward to getting your house clean and life back to normal? (I hear that).Maybe you are the guest and are dreading the day after food and booze hangover and don’t want to be rude, but don’t want to get out of bed. Well you are in luck cause I have declared this day, the day after Thanksgiving, Left Over Friday!
I always feel the great build up to any major holiday, get to the day, have a wonderful time, then feel the crash. My house is messy. I have used all of my clean dish towels and every dish and pan is in the wrong place in the kitchen. .I really need a rug for the front door to collect snow.(my floor is nasty) and the refrigerator looks like a food bob went off inside. There is so much to do and I need a break. For those who spend the week(s) before thanksgiving gearing up, planning, and stressing out about producing this one great feast for this one day of the year, I am suggesting to you and myself that we take this day to let it all out. A day of decompression. Go head, let everyone eat leftover pie for breakfasts. Why not stay in your pjs all day reading and drinking coffee. Maybe like me, you feel like cleaning. Go for it, but why not slap on some sweet tunes and a hit that stack of dishes dancing with no expectations. If you don’t get to all those pots, well there is always tomorrow. Say you are a guest, then maybe you try not to be demanding of your host(s) but suggest a hike or even a movie. And if you want to go shopping, well that one is on you. If it makes happy to shop with a bunch of crazy people, then go to town. Whatever you do today, just remember to take it easy.Do what makes you feel good.. It’s ok to take a break, to let things be, to enjoy your friends and loved ones, but let them take care of themselves and you take care of you.
Now Saturday..well there is no excuse. We both know that leaving those pots any longer and they might not ever be right again. You might not want you littles eating pie for breakfast lunch and dinner for the third straight day. Maybe you should do the laundry so you’re not using your bath towels to dry the dishes. And anyway, its time to start planing for the next major holiday craziness. Hey, I know I am already excited! Today I might even dig out some Christmas decor…but with no pressure, just cause I want to!
Take care of yourself and enjoy today.. Left Over Friday!!!!!!
Just a few ideas for the Thanksgiving leftovers…….
Mashed potato pancakes..Add an egg and a 1/4 cup of flour for every cup of mashed potato. Season with salt and pepper
Cranberry sauce and rolls….Spread the cranberry sauce on a toasted roll
Squash Soup….Throw into a big pot with a little veggie stock or water, even a bit of curried powder would be nice
Roasted Veggie Salad….Toss veggies together with a touch of vinegar and add to a bed of green.
Smashed stuffing cheese sandwich.…2 cups of stuffing and 1 egg. Mix and separate into 2 balls. Smoosh them down and cook each side in a frying pan. When both sides are cooked through, place a bit of you choice or cheese on one smash and top with the other. Let melt.
Turkey wrap…add a scoop of hummus and stick into a wrap with some greens
Pie yogurt…..Mix a slice into a cup of plain yogurt
Sweet potatoes… Save them. I’ll give you an amazing recipe tomorrow for a Sweet potato Coconut custard. It will blow you mind!
To know me is to know that I eat a shit load of lentils. And not just one kind, I eat them all, in all the ways, all day, everyday. Vegetables and lentils. That is my truth.
Lentil flour. One more way to consume the mighty legume. Blended while dry into a fine powder, it takes the lentil to a whole other level. You can use the flour in all sorts of things like bread, soup, even in baked goods. it really is a great flour to have on hand, especially if you are hungry and want to toss something quick and easy, heathy, and delicious together like these here pancakes.
These pancakes. All they are made of is lentil flour and pureed up zucchini and onion. Now that might sound a little on the dull side, but trust me here, they are far from dull. They are freaking delicious. And better for it that they take like 10 minutes from start to finish to make. And no oven which is necessary these days with all the stupid hot weather.
Anyway. lentil zucchini pancakes. Give them a try. They will probably become your favorite.
To the lentil flour and zucchini pancakes!
The stuff. Dry green lentils, a zucchini, and onion, salt and pepper, and a splash of oil.
Te make lentil flour. Place dried lentils into a high speed blender and blend until it turns into a fine flour.
Once you have the flour made, cut up the zucchini and onion into chunks.
Drop into the blender and blend until pretty smooth.
Dump puree into bowl and top with some lentil flour.
Mix until completely combined. The batter should be kind of thic but still spoonable. Also, season with salt was pepper here.
Heat up a skillet with a splash of oil. Once hot, scoop spoonfuls of batter into pan and spread it evenly about 1/4 inch thick. Cook first side fr 4-6 minutes or until nice and brown then flip and cook the other side until done. Repeat until batter is gone.
Now eat your amazing delicious lentil zucchini pancakes. I served with fresh salsa, and I have also made tahini dip and used hummus to smear on them which was also freaking amazing, but you can serve with whatever floats your boat.
-C
1 pound dry green lentils
1 large zucchini
1 onion
salt and pepper
splash of oil
Start with the by making the lentil flour. Place lentils into a high speed blender and blend until it has turned into a fine flour. You might need to stop the blender ever once in a while to move things around with a spoon (when it is turned off!). It should only take about a minute or so in a Vitamix, but maybe a few extra minutes if using a less powerful blender.
Once flour is achieved, dump into a jar with a lid. You probably won%u2019t be using it all right now.
Now grab the zucchini and onion and cut into chunks. Place the chunks into the blender and blend until smooth.
Dump puree into a bowl. Add about 1 cup of lentil flour and stir. IF the batter is really loss, add in another 1/4 cup or more to get the batter to a thick but spreadable consistency (kind of like hummus). Season with salt and pepper.
Grab a skillet and place on medium heat with a splash of oil. Once skillet is heated place spoonfuls of the batter in and spread around until between 1/2-1/4 inch thick. Cook fist side for 4-6 minutes or until a nice golden brown then flip and cook the other for a few minutes until browed. Repeat until batter is gone.
Place cooked pancakes on a plate, grab a fork and some savory type condiment (hummus, salsa, tahini, cashew cream) and eat.
If you were to ask me what my favorite winter squash would be, I would have to say that I couldn%u2019t choose, I love them all. But when I really, really think about it, when I look deep into my food soul, I could, and I think it would be pumpkin. Yup, pumpkin is my favorite.
Pumpkin is amazing and delicious, Not just as a pie or bread, but eaten in any way that any other winter squashed can be eaten. Fantastic in a soup or roasted or saut%u00e9ed. And yes, blended up into all sorts of baked goods. It tastes somewhat like butternut squash but less sweet and has a nice nutty, earthiness to it and pairs well with al sorts of great spices, not just pumpkin spice. If you haven%u2019t had it outside of a baked good, well then, make this. You are in for a really treat!
But don%u2019t carve a jack o lantern pumpkin then eat that. Those big pumpkins are not very tasty. Get a small pie pumpkin, those are ones to eat.
Now to the tomato stewed pumpkin!
The stuff. A sugar(pie) pumpkin, a couple nice big ripe tomatoes, a large onion, a clove or two or garlic, cumin and chili powder, vinegar, shredded cabbage, and salt and pepper.
Start with the onion. Cut in half and thinly shred about 1/3 or it. Small dice the rest Also mince up the garlic too.
Add the thinly shredded onion to the shredded cabbage and toss around with vinegar a little salt and pepper then set aside.
Place the diced onions, minced garlic, tomatoes, and cumin ans chili powder into a big pot with a splash of water and stick on medium heat on stove to start to stew the tomatoes.
While the tomatoes are going, cut up pumpkin. Just cut in half, remove seeds (save for roasting) and cut into small cubes. And sure, if you are not a fan of the skin (my favorite part) just peel the pumpkin with a potato peeler before cutting it up small. But really the skin, it is sooo GOOD!
Once the tomatoes are soft and mushy, add in the pumpkin. Keep on heat and place a lid mostly over pot. Let cook.
Soft and stewed and all sorts of everything good.
And then you scoop it into bowls, top with the cabbage slaw, sprinkle with pepper and fresh cilantro if you just so happen to have some, and eat it.
Yeah, pumpkin is my favorite.
-C
makes 2 bigger or 4 smaller serving
1 small sugar pumpkin (around 3 or a little more cups cubed)
2 large tomatoes
2 heaping teaspoons cumin
1 teaspoon chili powder
A few tablespoons water
1-2 cloves garlic
1 large onion
2 cups shredded red or green cabbage
2 tablespoons white vinegar
salt and pepper
Start with the onion. Cut in half and thinly slice a little more then half of the half. Toss with the cabbage, the vinegar, and a pinch of salt. Set aside
Dice the rest of the onion and place into a big pot. Grab tomatoes and dice them up as well and place them into the pot with the onions. Sprinkle with a pinch pf salt and pepper and add in the cumin and chili powder. Add 2 tablespoons of water and place on stove on medium heat to start to cook down.
While the tomatoes are stewing away, cut up the pumpkin. Just cut in half, remove seeds (and reserve for roasting) and dice it into small chunks. If you are not one to enjoy the greatness of pumpkin skin (it is really good) then before dicing it, just peel it with a potato peeler.
Once tomatoes have cooked down a bit, place the diced pumpkin into the pot. Add another tablespoon or so of water, mix around, partially place a lid on the pot, and let cook for about 20-25 minutes, stirring occasionally, until the pumpkin starts to fall apart. If at any time it seems like it needs more liquid, just add in another tablespoon or so of water.
Once it is all stewed up, remove from heat, scoop into a bowl or bowls, and top with the cabbage slaw that was made early.
Eat.
To know me is to know that I eat a shit load of lentils. And not just one kind, I eat them all, in all the ways, all day, everyday. Vegetables and lentils. That is my truth.
Lentil flour. One more way to consume the mighty legume. Blended while dry into a fine powder, it takes the lentil to a whole other level. You can use the flour in all sorts of things like bread, soup, even in baked goods. it really is a great flour to have on hand, especially if you are hungry and want to toss something quick and easy, heathy, and delicious together like these here pancakes.
These pancakes. All they are made of is lentil flour and pureed up zucchini and onion. Now that might sound a little on the dull side, but trust me here, they are far from dull. They are freaking delicious. And better for it that they take like 10 minutes from start to finish to make. And no oven which is necessary these days with all the stupid hot weather.
Anyway. lentil zucchini pancakes. Give them a try. They will probably become your favorite.
To the lentil flour and zucchini pancakes!
The stuff. Dry green lentils, a zucchini, and onion, salt and pepper, and a splash of oil.
Te make lentil flour. Place dried lentils into a high speed blender and blend until it turns into a fine flour.
Once you have the flour made, cut up the zucchini and onion into chunks.
Drop into the blender and blend until pretty smooth.
Dump puree into bowl and top with some lentil flour.
Mix until completely combined. The batter should be kind of thic but still spoonable. Also, season with salt was pepper here.
Heat up a skillet with a splash of oil. Once hot, scoop spoonfuls of batter into pan and spread it evenly about 1/4 inch thick. Cook first side fr 4-6 minutes or until nice and brown then flip and cook the other side until done. Repeat until batter is gone.
Now eat your amazing delicious lentil zucchini pancakes. I served with fresh salsa, and I have also made tahini dip and used hummus to smear on them which was also freaking amazing, but you can serve with whatever floats your boat.
-C
1 pound dry green lentils
1 large zucchini
1 onion
salt and pepper
splash of oil
Start with the by making the lentil flour. Place lentils into a high speed blender and blend until it has turned into a fine flour. You might need to stop the blender ever once in a while to move things around with a spoon (when it is turned off!). It should only take about a minute or so in a Vitamix, but maybe a few extra minutes if using a less powerful blender.
Once flour is achieved, dump into a jar with a lid. You probably won%u2019t be using it all right now.
Now grab the zucchini and onion and cut into chunks. Place the chunks into the blender and blend until smooth.
Dump puree into a bowl. Add about 1 cup of lentil flour and stir. IF the batter is really loss, add in another 1/4 cup or more to get the batter to a thick but spreadable consistency (kind of like hummus). Season with salt and pepper.
Grab a skillet and place on medium heat with a splash of oil. Once skillet is heated place spoonfuls of the batter in and spread around until between 1/2-1/4 inch thick. Cook fist side for 4-6 minutes or until a nice golden brown then flip and cook the other for a few minutes until browed. Repeat until batter is gone.
Place cooked pancakes on a plate, grab a fork and some savory type condiment (hummus, salsa, tahini, cashew cream) and eat.
I have been on a severe citrus kick lately. Oranges, limes, lemons, kumquats. I want it all and have been eating it all. A lot of it all. Espeically the oranges which are just so good right now. We have been going through bags of them faster then ever and I am not mad about it.
Which then brings us to chili. Chili is one of the things that I make on a very regular bases. It%u2019s beans, veggies, tomatoes, and a ton of spices. Easy as can be, most people like it, and I never get sick of it. I mean, how could you get sick of it, it is so good! Anyway. Chili, its great but have you ever added orange to it? Oh man is it amazing. Bright and acidic and sweet. The whole pot of chili just radiates more goodness, more intensity, more, moreness. (I know that doesn%u2019t make sense but you get it.) It%u2019s a whole new level of chili and I don%u2019t if there will ever be a time when I don%u2019t add orange to my chili again. Well at least during citrus season.
But enough about all that, what you really want is to just start making this orange black bean chili so you can eat it. I hear you, so I%u2019ll let you at it.
To the chili!
The stuff. Oranges, black beans, crushed tomatoes, an onion, a couple carrots, a pepper, and jalape%u00f1os. Also lots of cumin, chili powder, ground ginger, garlic powder, and salt and pepper.
Small dice up the pepper, onion, carrots, and jalape%u00f1os. Don%u2019t want it super spicy, don%u2019t add the jalape%u00f1os.
All that stuff gets tossed into a big pot along with all the spices, some salt and pepper, and a little water too. Place on stove to start cooking down the veggies.
Slightly tender and smells amazing.
Now add in the beans, the tomatoes, and the zest and juice of an orange. Mix it all up, set it back on stove and keep on cooking,
Now eat your chili, with extra orange slices to squeeze all over it of course. And maybe you want to serve it with some corn bread? That is entirely up to you, but who would be made about it?
-C
Serves 4-6 people
1 pound cooked black beans drained (about 5 cups or 3 cans)
5 cups crushed tomatoes (or 2 28oz cans)
2 oranges (navel or cara cara work)
2 carrots
1 large onion
1 bell pepper
2 jalapenos (optional)
2 heaping tablespoons cumin
2 tablespoon chili powder
2 teaspoons garlic powder
2 teaspoons ground ginger
salt and pepper
Start by chopping up the veggies. Small dice the carrot, the onion and the pepper. If using jalape%u00f1o, dice that into small little bits too. And remove seeds for less heat or leave them if you like it. Once that is all cut up, dump it all into a large heavy bottom pot along with the cumin, chili powder, garlic and ginger powder, and about a teaspoon or so each of salt and pepper. Add about 1/2 cup water, mix it all up, and place the pot on stove on medium heat and start to cook the veggies and spices until they begin to smell fragrant and are ever so slightly tender, which should take 5-10 minutes.
Now add in the beans, the tomatoes, and the zest and juice of one orange. Mix together and keep cooking on medium heat, partially lidded, for about 45 minutes to an hour, stirring once in a while, until the chili has thicken and tastes good to you.
Once done, season to taste with more salt and pepper and either stir the juice of the second orange into the whole pot or serve with slices of orange to squeeze on top.
Eat. Store any left overs in fridge. Tastes delicious cold too.
Every now and then I make something for me. All for me. This is one of those dishes that was not destined to be shared with anyone. That I had no one else in mind to eat besides me. No worring about what anyone else with think. Just a simple little dish that I was craving and wanting.
So I made it and man, was it so freaking satisfying. Cooking for oneself is very much a gratifying experience.
Celeriac, or also know as celery root. Have you ever had it? If not, well duder, you need to. It is in my top 3 favorite vegetables and that is saying a lot. So anyway, celeriac, has a slight celery taste, but also kind of earthy and nutty. It pairs well with anything that a potato might, but also is amazing on it%u2019s own. Roasted, steamed, raw. Just really fantastic. And it is in season so get on it and go find yourself some.
And lentils. In my top 3 favorite foods. Made them crispy because pureed celeriac and crispy lentils just sounded right and I love me crispy things. Again, I was making this dish fo me so crispy was happening.
Together, the creamy, delicious pureed celeriac covered with a bunch of spiced, crispy lentil%u2026.Amazing. Eating it, I couldn%u2019t have been happier. I did myself one good with this one.
I might even have to make it to share someday.
Now to the celeriac and lentils!
The stuff. A bulb of celeriac, some cooked lentils, salt and pepper, chili powder, garlic powder. mustard powder, and oil. (oil is optional)
The celeriac. Ok, so most people peel it. I actually get weird looks from people when I tell them I don’t , but let me do me, you know. So anyway. Peel it if you want, or not, just cut it up into chunks.
Place cut up celeriac into a pot and cover with water. Place on stove on medium heat and cook until fork tender.
Lentils meet spices and get mix all together. Add a pinch of salt and lots of cracked pepper too.
Spread now spiced lentils onto a baking sheet, pop into oven, and bake until crispy. Easy peasy.
And to puree the celeriac. Strain any extra water into a cup. Season with a pinch of salt and pepper and grab the hand blender (or regular blender) and blend it, adding back in some of the strained water as needed, to get to a consistency that you like. Me, I liked it pretty smooth, but also with a little chunk. Heck, you could leave it really chunky or go all out completely smooth. Up to you. Also if you want a creamier texture, add in a teaspoon or so of the olive oil. That is a taste preference. I didn’t add oil this time, but I have before. It%u2019s good both ways.
And there you have it. Add the celeriac puree to a bowl, top with crispy lentils, and garnish with something green if you want.
Then eat it.
Not going to lie. After this picture was taken, I busted out the spicy mustard and covered everything with it. And it was amazing.
-C
serves 1 as a meal, or a few as a side dish
1 1/2 cups cooked green lentils
1 large celeriac bulb (soft ball sized)
1 teaspoon chili power
1/2 teaspoon ground mustard powder
1/2 teaspoon garlic powder
salt and pepper
olive oil (optional)
Grab celeriac and peel if you want, or just give it a really good wash. Cut into chunks and place into pot. Add enough water to just cover the celeriac and place on medium heat on the stove. Cook until fork tender.
In the mean time, mix all the spices and a good pinch of salt and lots of pepper together with the lentils. Dump them and spread them out onto a lightly oiled baking sheet. Place in oven and turn to 400 degrees (you can start cooking the lentils while the oven is preheating). Bake for about 20 minutes or until lentils are crispy.
Once the celeriac is tender, strain water into a cup and either with a hand blender or a regular blender, blend until smooth, adding in some of the poured off water as needed. You can puree as smoothly as you like or leave a few chunks.. Also, you might want to add in a teaspoon or so of olive oil for a slightly richer and creamier taste. Season to taste with salt and pepper.
Ehen the lentils are done, take them from oven. Place large amount (or all) of the celeriac puree to a bowl, cover with some (or all) of the crispy lentils and that is that. Eat away.
Serving suggestion%u2026. Mustard. Any kind. So good.
When your sister drops off 50 lbs of beets, on top of the 50 lbs that you have to harvest that are growing in your garden, what do you do?
Well chips of course.
Yeah, chips. That%u2019s right. When I got home from camping on Monday and there was a humongous pile of beets sitting next to my front door, I am not going to lie, I was a little shocked. I mean there wasn’t just a few little ones. These beets were freaking huge, like the size of my arm, and so many. But pretty much right after my initial shock I knew what needed to be done. First, eat a few roasted, second, roast extra to freeze for later, and lastly, make a few bunches of chips.
Have you ever had beet chip? They are amazing. Crispy, crunchy, tasty as all heck. If you like beets, even in the slightest, you will love these. If you hate beets, well maybe don%u2019t? Either way, beet chips are the best chip. Wha’t%u2019s not to love? Pink, and chippy. Sweet, and salty. And then you add the fact that making beets into chips is a good way to get your veggies in and that you can eat a whole bowl full and feel zero guilt because you are just eating beets. Plus making beets into chips is a good way to use up any extra beets you might have laying around or that have been dropped off at your front door.
These chips, once they are made, will not last long. So when you do make them, know you will probably be making them again soon there after. Me, I have still have to harvest all my garden beets so beet chips are happening again soon. Real soon (like this afternoon!)
To the beets!
The stuff. Beets (these are Formanova beets but any variety works) salt and pepper ,and oil.
Ok so you need to cut these bad boys reallllllly thin. Like 1/15th a inch. So, what I am saying is, use a mandolin. If you don%u2019t have one, a knife will do, but you are going to have a hard time getting them as thin as you need to and all of them consistent so baking is going to be a little more tricky so maybe you should just go borrow or invest in a mandolin.
Grab baking sheets, oil, and salt and pepper. You can either dump the oil directly onto the pile of sliced beets and really toss to make sure each one has been coasted or do what I did which was I drizzled oil into my hands and rubbed each sliced beet between my oiled hands before placing on the sheet.
After you get them on there, single layered with no overlapping, sprinkle tops with a pinch of salt and pepper.
On the way into the oven.
After the oven. Baked for about 18 minutes. You really have to watch after the first 13 or so minutes to make sure you catch them at the perfect time. Crispy, but not burnt.
A side by side shot. Crazy shrinking will happen!
Oh man, so delicious. And so pretty!.
Let the chips cool before eating, you know, so you don%u2019t burn your tongue. Plus they crisp up a wee bit more.
Once cooled, pile them into bowl, and then eat them. And eat them all. They are only beets after all. And you won%u2019t be able to stop yourself anyway. Ha
-C
Makes enough for an evening of chip eating for 1-2 people
2 Large beets (think softball sized)
a tablespoon or two of oil (I used grape seed but really any would work)
salt and pepper
Note. Making these without cutting with a mandolin will be a pain in the ass. It can be done, but if you have a mandolin, use it.
Preheat oven to 350
With a mandolin, slice the beets about 1/15 inch thick. (No need to peel the beets unless you want to.) Once beets are all sliced, either drizzle them all with a tablespoon or so of oil and toss until all are coated. OR what I did and found worked really well was drizzled oil into my hands and rubbed each beet between my oiled hands as I was placing them on the baking sheets. Either way.
Now place oiled beets, single layered, without overlapping, on baking sheets. Sprinkle with a pinch of salt and pepper and place into oven. Bake for about 13 minutes without worrying then start to check every minute or so until the beets are a deep golden brown and crispy ,which will be between 15-20 minutes. Also, even though you cut them all the exact same thickness, some might crisp up faster so you should remove done chips as they happen. Once they are done, place on a rack to cool. And then do another batch. And not, they do crisp up a tiny bit more as they cool.
Once chips are cool and crisp, eat.
Store uneaten (how did you not eat them all?) chips in an air tight container. If you notice that they turned a bit chew, just place them back into oven while preheating oven to 300 then turn oven off and let sit in there for a few minutes.
Do you ever wake up first thing in the morning with a craving, a maybe somewhat strange food craving? Lately I have been waking up and within an hour of being up, I start to think about olives. My mouth starts to water and it%u2019s like I can almost taste the salty, briny, fattiness in my mouth, which in itself is kind of weird, but for me is really really weird because up until very recently I completely hated olives. Now, well now I just want to eat them all. And first thing in the morning.
I don%u2019t pretend to understand such things. My brain is going to do what it%u2019s going do. Tell me I like olives, well all right then.
Another thing I am desperately craving is freshy fresh greens which makes complete since because I always crave greens. I am still pretty deep in root veggies and cooked things because winter and Vermont and all, but all I really really really want to eat are buckets of greens. Any kind will do, but the sweet tender baby ones%u2026. So good.
And so I combined my two cravings, greens and olives and hit those craving like POW! BAM! POOF? A salad so simple yet so amazing and mouth watering. I outdid myself here.
To the bestest, most amazingly perfect salad yet!
The stuff. A big ol%u2019 bowl of greens. Black pitted olives, half an avocado, a lemon, toasted almonds, a chunk of red onion, a couple cloves garlic, and pepper.
Almond crumbs. Exactly what it sounds like. Place almonds into a clean food prosessor and pulse until they are crumbs.
Dump the almonds into a bowl. Don%u2019t bother cleaning it out, you are about to use it again. Olives, avocado, garlic, and all the juice of the lemon now get a go in the food processor. Pulsed together into a creamy, kinda of chunky but mostly smooth, mixture of amazing. Add a few tablespoons of cold water if the mixture seems really thick, but other then that, you be done.
Very thinly slice up red onion and slice up a few extra olives.
All here, all ready to go. Just got to toss it together now.
Greens, some slices olives and onion tossed all together in a good amount of the olive avocado goodness then topped with a hardy helping of almond crumbs. Fresh pepper to finish it off.
I was barely able to stop myself from eating it all before snapping a few pictures.
All of my cravings come true%u2026
It%u2019s salad time!
-C
Makes enough dressing and crumbs to feed 2-4 people
1/2 of a ripe avocado
1 cup pitted black olives
1 lemon
2-3 tablespoons cold water
1-2 cloves garlic
1/4 cup toasted almonds
2-4 large handfuls of fresh greens (I used a mixture of baby spinach, baby chard, and baby kale. Spring mix or even chopped leaf lettuce would be grand as well)
about 1/2 a small red onion
pepper to taste
Place almonds in food processor and pulse until they are crumbly. Not to fine, a few big chunks are good.. Remove and set aside
Roughly chop the garlic and place in the food processor (no need to clean it out after the almonds). Add in the avocado and most of the olives (leave few behind to slice up). Add in the juice of the lemon. Pulse until mixture is combined but with little specks of olive left.or completely smooth if you wanted too. Scoop out into a container. You want it to be slightly loos so it will mix well with the greens. If the mixture seems really thick, add in a a few tablespoons of cold water to thin out.
Grab the onion and remaining olives and thinly slice.
Now to assemble salad. Place a handful of clean greens into a bowl. Toss a some onions and extra sliced olives into greens. Add as little or as much olive avocado dressing as desired then sprinkle as much or as little of the almond crumbs all over that. Top with freshly find pepper
Then eat it.
Easy quick dinners are no joke because sometimes life happens and then you are hungry, then hangry, %u00a0then maybe yelling and or tears start and nothing is ever going to be good again. And then you eat and everything is A OK, but that time between tears and food can be long, especially when you just can’t think so one should have a least a good 2 or 3 good dinners up there sleeve (besides pasta) that can be made quick and easily to avoid the fallout of food deprivation.%u00a0This bowl of goodness here is one of those. And sure some people might not always have a sweet potato,%u00a0tahini, or chickpeas is the house %u00a0(I ALWAYS have a sweet potato or some type of winter squash and tahini and chickpeas…%u00a0they are staples here)%u00a0but with a tiny it of foresight, you can make these things happen too. And then you will make it and realize that you must have these ingredients on hand at all times because yeah, a good go to meal that will prevent the tears.
Admittedly I have made this for the mr but he is not that into it. Says he is not a huge fan of sweet potatoes. (what the fuck is wrong with him?) But me, I eat is and I eat it all.. The sweet potato/chickpea/tahini combination is classic fantastic. This hash is sweet potato sweet, a little chickpea crunchy, salty, savory,%u00a0and creamy citrusy. %u00a0It’s all sorts of goodness. I tossed this hash on a big bed of kale (any sturdy green would be good) and only good things happen in my mouth. So the mr.%u00a0might not like it but I am starting to realize (after 15 years) that my taste is far superior to his. Haha. (but really) %u00a0Quick and easy (and healthy) and good. %u00a0Make it once and it will turn into on of your go to dinners, unless you don’t like sweet potatoes. In that case there is pasta.%u00a0
The stuff. Chick peas (I had just made a batch but if you don’t have any made already, grab a can) a sweet potato, an onion, a lemon, some tahini, and garlic Also some cumin and chili powder, olive oil, and salt and pepper.%u00a0
Preheat your oven and chop up the onion and sweet potato into mouth sized pieces.%u00a0
Toss the chopped stuff onto a baking sheet with the chickpeas.
Drizzle the whole shebang with olive oil and toss with cumin, chili powder, and salt and pepper. %u00a0
Into the oven it goes.
Half hour later it is all roasted and ready.
Oh quick, make this before the stuff is out of the oven. Tahini, minced garlic, a dash of salt, a bit of the liquid from the chickpeas and the juice of a lemon. Just stick it all in a cup or bowl and mix it around. Then it’s done.
Scoop the hash into a bowl (I like a large pile of greens underneath) and cover with the tahini sauce.%u00a0
Eat is all to your face.
-C
dinner for one, a side for two.%u00a0Very easily doubled or tripled.%u00a0
1 sweet potato
2 cups or 1 can cooked chickpeas drained but liquid reserved%u00a0
1 medium yellow onion
1 tablespoon cumin
1 teaspoon chili powder
salt and pepper
2-3 tablespoons olive oil
3 tablespoon tahini
1 lemon
1/4- 1/2 cup of aquafaba (chickpea liquid)
2-3 cloves garlic
Preheat oven to 425
Chop sweet potato and onion into mouth sized cubes and place on a baking sheet. Add the drained chickpeas and drizzle with olive oil and toss around. Sprinkle on the cumin, chili powder,%u00a0salt and pepper, and toss that around again. When the oven is preheated, slide the baking sheet on in.%u00a0
While the stuff is baking, mince the garlic and place it in a bowl with the tahini, the juice of a lemon, and a pinch or two of salt to taste. Add in 1/4 cup of aquafaba and mix it all around.%u00a0If to thick for your liking, add a little more of the aqaufaba until its a good consistency.%u00a0
Check the stuff in the oven after 20 minutes and give it a toss.%u00a0%u00a0Keep baking for another 5-10 minutes or until the sweet potato is cooked and starting to brown. Remove from oven and dump into a bowl (maybe on a bed of greens or rice) and drizzle all over with the tahini sauce.
Eat
%u00a0 I use to suck the juice out of the seeds (they are actually called arils)%u00a0of the pomegranate and spit out the actual seeds…%u00a0I thought that the seeds were poisonous. (I blame my sister for this .She is the one that told me that). %u00a0And it turns out that it is an actual thing. That other people think that the seeds are not edible, so I guess don%u2019t feel so duped.%u00a0But I leaned. The seeds, they are very much edible, and very much tasty. I love biting into a pomegranate seed, letting the juice flood my mouth, followed by a nice little crunch from the seed inside, just like little crunchy red jewels.%u00a0And the method of removing the seeds just makes them that much better. When you have to whack a fruit for it’s edible parts, it got to be good. And to make this clear%u2026.%u00a0to all the people out there that thick the seeds are poison%u2026 the seeds are NOT POISION. In fact, they are quite good for you.
Now that that has been established, we can get to eating these little pearls the right way.%u00a0 And being all holiday and jolly lala, I was thinking of some classic side dishes that are typical around this time.%u00a0 Creamed spinach came to mind, but that just seemed a little boring. That%u2019s where the pomegranate comes in. %u00a0You add pomegranate to anything and it%u2019s not boring anymore. Also I switched out the creamed part and replaced it with cashew cream, and spinach with kale%u2026 cause that%u2019s what I do. And the results are fantastic! Sweet, creamy, crunchy, earthy… All the best flavors. And even though I ate most of it hot, it%u2019s definitely a side that moves from hot to cold and still taste super great. Would even make a nice sandwich or maybe add a little bed of grains and you got yourself a nice little lunch.
But the again, you probably wont have any left overs
The stuff. A bunch of kale, some cashews that have been soaking for a little while,%u00a0 and a pomegrante %u00a0(I only used half of one). We also need us some more fresh water, a lemon, a few cloves of garlic and salt and pepper.
Remove the arils (thats what the juicy seeds ae called) by placing half the pomegranate into a bowl and whacking %u00a0it with a big wooden spoon. (martha stewart taught me this)
Strain the soaking cashews and dump them into a blender with the juice of the lemon, the garlic, some fresh water and some salt and pepper.
Turn blender on and blend until a nice smooth consistency
Chop up the kale and place into a really big skillet with a few splashes of water.
Once the kale has wilted, pour the cashew cream all over it.%u00a0
Add in the pomegranate %u00a0seeds
And get yourself a fork (bowl is optional( and eat.%u00a0
Creamed food never tasted this good!
-C
makes 3-4 servings%u00a0
1 bunch (abut a pound) Kale
1/2 cup cashews that have been soaking in water for a little while
3/4 cup water
1 lemon
2-3 loves garlic
1/2 cup pomegranate seeds (about 1/2 a pomegranate)
salt and pepper to taste%u00a0
Take your pomegranate , slice in half, and place half seed sside down into a bowl. Take a big wooden spoon or something like it, and whack the outside of the fruit. The seeds will all fall out.. but check for any stuck seeds
Strain cashews from soaking waterand dump into a blender with the juice of the lemon, the garlic, %u00be cups of water, and a pinch or two of salt. Blend until a smooth a creamy cream. If you think the cream is to thick, add in another splash of water
After washing kale, chop it up into smallish pieces. (remove stems if you want.. I don’t,%u00a0I like the stems) Stick the kale into a large skillet with a few splashes of water and a sprinkle of salt and place on the oven on medium high heat. Stir around until kale is wilted and the water has evapotated. Pour on the cashew cream, mix around and top with the pomegranate seeds.
and eat..hot or cold. Its all good.
Sometime the best things in life are the simplest things. For example; a walk through the woods, a really pretty smooth rock, a perfectly timed 80’s ballad song for the last push during a workout, or falling asleep on the couch and managing to not drool all over the newly washed pillows.(You know what I am talking about). I mean, can one really ask for much more?
Same goes with food. The simplest foods can really the best. Take this cashews cheese for example. All it is is soaked and blended up cashews with a bit of seasoning to cheese it up. Nothing fancy, nothing labor intensive, just straight up and straight out. You can up the greatness by adding thick cuts of fresh, sun kissed, bright and happy tomato, and a chunk of fresh bread%u2026Not much better then that. So simple and yet so good.
%u00a0And bonus. No need to turn on any heating units in order to make this cause that would suck, given that we are again having another fucking heat wave.%u00a0
Agh stupid hot weather. STUPID!!!! But enough about that..
Cheese time.
The stuff. Cashews that be soakin for a while in some water, nutritional yeast (to give it that cheesy flavor), lemon, garlic, and salt and pepper. That’s for the cheese, but you are, and should, want to eat it with a large, so fresh and juicy, tomato and some kind of fresh bread situation. So you need that too!
Simple as can be. Strain cashews from soaking water and dump into a food processor with the garlic, nutritional yeast, juice of the lemon,%u00a0a pinch of salt and pepper, and a little water.%u00a0%u00a0Turn on processor.
And it’s done when its all smooth and creamy .Adjust salt and pepper to taste.
Tranfer %u00a0the goodness to a lovely jar%u00a0
And that’s that.. some cheese of the cashew.
But wait, you need to eat it.. Smear all over the bread situation, cut up the tomato, place big fat slabs directly onto cashew butter and spinkle with a salt and pepper.
SImply the best%u2026 Better then all the rest!
Happy today! Stay cool my friends%u2026stay cool.
-C
makes about 1 1/2 cups of creamy, cheesy goodness
1 cup of raw unsalted cashew soaked in water for about an hour%u00a0
1/2 cup fresh water
2-4 tablespoons nutrional yeast%u00a0
juice of a lemon
2-3 cloves garlic (optional )
salt and pepper
And not that you have to, but having some freshy tomatoes and some nice bread to eat the cheese on is pretty fantastical.%u00a0
After you cashews have been soaking for about an hour, strain water and add them and all of the other ingredients to a food processor. Blend until smooth and creamy. Scoop into a jar.
Eat some right away on a hunk of fresh bread with lots of thick cuts of fresh tomato and place the rest in the fridge.
The cheese will get a bit thicker after being refrigerated for a while.
Use on anything , in anything, or all on it’s own. Licking jar clean is encouraged.
It’s official, all of the littles started school yesterday%u2026%u2026HOORAY! (I say hooray cause school is cool and the start of school means it’s going to be fall so soon!. Also I like hanging out with the littles more when they are in school. There is more to talk about and any time away from school is cool time so they like to do more stuff and not just be summer bums)
One of the littles had his very first ever day of school.%u00a0So me, being the bestest most awesomest aunt ever, made that little a celebration, hooray for school, banana ice cream cake.
This little %u00a0has been bugging me for a while now to make him an ice cream cake. It all started a few months ago when I gave him a bowl of banana ice cream and told him that when he sleeps over he can have ice cream for breakfast %u00a0That blew his little mind.%u00a0We then proceeded to have a converastawtion about healthy food and what was ok to eat for breakfast. (He is very interested in being healthy)%u00a0I then told him that whenever he sleeps over I would make a banana ice cream cake for breakfast cause bananas are healthy. But every time he is over,%u00a0I never seems to have enough bananas.
Well I had the bananas and there is no better excuse then the first day of kindergarten to make a cake.. A very delicious peanut butter banana ice cream cake! %u00a0And no, it wasn’t for breakfast, but the left overs can be! (there were no left overs here)
The stuff%u2026 Crispy rice cereal, peanut butter (I have some chiunky stuff %u00a0at the moment, but any nut butter is good) and 4 frozen %u00a0chopped up bananas.
Rice ceareal goes into a food processor with the peanut butter. Pulse until everything is all combined and starts to come togerter.
And ump the mixture into a spring for pan. If you do not have a spring form pan, a pie plate will work just as well.
Such a nice looking crust if I do say so myself. Now stick it in the freezer while you make your ice cream.
Frozen bananas go into the processor, get blended for a few mounters, and come out as ice cream%u2026. freaking magic!
Now dump the magic ice cream into the crust.
And smooth it all nice like..and into the freezer it goes until its frozen.
After a few hours, you take it out of the freezer, remove from the pan (or leave it in the pan)
And gather your toppings. A handful of the rice cereal, some melted peanut butter, and a little melted nutella. (use whatever you want.. fruit would be great, some nuts, graham crackers, sprinkles. You get the idea)
%u00a0Now,%u00a0Wait for it%u2026.
Go crazy! Toppings all over!
And serve up, and watch out.. I almost got my hand eaten for kids going for seconds..
Have a fantastic day and happy back to school. to littles and parents alike!
-C
Makes a 6 inch cake%u00a0
For the cake
4-5 frozen bananas
2 1/2 cups crispy rice cereal
4 tablespoon peanut butter%u00a0
To garnish (use any, all or none of what you would like%u2026 and maybe not the super sugary ones if a breakfast cake)
melted peanut butter
melted chocolate
Nutella
handful of rice cereal
fresh fruit
jam
coconut flakes
sprinkles
anything else you would like!
Place cereal and peanut butter into a food processor and pulse until crumbly and combined and starts to come away from bowl.
Dump mixture into a 6 in spring form pan (or if you not have one, a pie plate works too) and press it down evenly on the bottom. Stick into freezer
Take bananas out of freezer and place into food processor.%u00a0Blend until smooth. If needed, you can drizzle a tiny amount of water into it if you think it needs a little help to blend.%u00a0
Once smooth, take crust from freezer and dump the nanaer ice cream on top and carefully smooth it out. Stick back into freezer (a pier of plastic over to prevent ice crystals )for at least 2 hours, or until the ice cream has completely frozen.
When it’s time to serve, remove cake from spring form (or leave it in the pie plate).and drizzle the top with melted peanut butter, melted,%u00a0chocolate and another handful of crispy cereal. Or leave it bare. Or add sprinkles%u2026 the toppings are all unto you!
Eat like a camp, for breakfast or dessert.. Or eat some for dessert and then some for breakfast.
When I was picking up farm share the other day, I got really confused for a minute or two. There were watermelons and cantaloupe. We don%u2019t get melons until the late summer%u2026. And there is was. I felt the time warp hit me hard right then and there. I honestly felt a wave os shock run through me, like how could this possible be? Well it is. And it%u2019s now August and I don%u2019t even know.. But hey, at least I got some watermelon so there is that. Ha.
The week was good. The mr and I went kayaking, we hung out with the littles and let them meet Gigi, had dinner with my mom, voted by mail, and I cleaned out my closet. I also cried again about my garden. The woodchuck, he came back, got under the fence, and ate my first zucchinis, beans, and flowers. That fucker has destroyed my garden AGAIN this year. AGH! The mr is trying to trap him but I kind of feel like I have given up. There is no replanting again this time, but I still have tomatoes, as of now anyway%u2026.
Besides that, nothing really new. The mr has been working a lot on a few big projects and I have been spending a lot of time in my studio working, getting ready for when the studio opens up again and I can start getting more work fired and glazed and out into the world. Hopefully I will have a massive shop update in the next month or so!!
And we made it back to Sunday and I am happy for it. The mr and I were planning on going camping tonight but as of last night that was still up in the air. We might just take off for the day and find a quiet spot away form people and chill out. Either way, we are heading out of town to the woods. Our happy place.
Stuff the internet contained this week.
–When We Were Bread Heads.%u00a0What did we want from sourdough? And did we get it after all? I totally forgot that everyone in the world was trying to sourdough at the same time. I haven%u2019t heard of anyone making bread lately%u2026.
–When Did Recipe Writing Get So…Whitewashed?. Really good read.
-Oh the trees lets just let them be. Believe It Or Not, Forests Migrate %u2014 But Not Fast Enough For Climate Change
-These cakes are gorgeous. Sumptuous Cakes Designed by Tortik Annushka Emerge as Elegant, Sculptural Desserts
–How Solitude Can Help You Regulate Your Mood. The more alone time, the bette. For me that is.
–The best way to cook dried chic peas. Plus The Very Best Ways to Store Fresh%u00a0Bread
-Would you go to a strip club right now? I think I would have to pass. There%u2019s no way to socially distance in a strip club%u201d: A dancer on working through the pandemic
–Living Tree Bridges In A Land Of Clouds.Wow.
–Avocado Green, Beige, Mauve, and More: These Are the Colors That Dominated Homes the Last 70 Years. Harvest gold is where it%u2019s at.
–A COZY YELLOW READING NOOK IN A SHARED ROOM FOR THREE GIRLS. I am so so jealous.
To know me is to know that I eat a shit load of lentils. And not just one kind, I eat them all, in all the ways, all day, everyday. Vegetables and lentils. That is my truth.
Lentil flour. One more way to consume the mighty legume. Blended while dry into a fine powder, it takes the lentil to a whole other level. You can use the flour in all sorts of things like bread, soup, even in baked goods. it really is a great flour to have on hand, especially if you are hungry and want to toss something quick and easy, heathy, and delicious together like these here pancakes.
These pancakes. All they are made of is lentil flour and pureed up zucchini and onion. Now that might sound a little on the dull side, but trust me here, they are far from dull. They are freaking delicious. And better for it that they take like 10 minutes from start to finish to make. And no oven which is necessary these days with all the stupid hot weather.
Anyway. lentil zucchini pancakes. Give them a try. They will probably become your favorite.
To the lentil flour and zucchini pancakes!
The stuff. Dry green lentils, a zucchini, and onion, salt and pepper, and a splash of oil.
Te make lentil flour. Place dried lentils into a high speed blender and blend until it turns into a fine flour.
Once you have the flour made, cut up the zucchini and onion into chunks.
Drop into the blender and blend until pretty smooth.
Dump puree into bowl and top with some lentil flour.
Mix until completely combined. The batter should be kind of thic but still spoonable. Also, season with salt was pepper here.
Heat up a skillet with a splash of oil. Once hot, scoop spoonfuls of batter into pan and spread it evenly about 1/4 inch thick. Cook first side fr 4-6 minutes or until nice and brown then flip and cook the other side until done. Repeat until batter is gone.
Now eat your amazing delicious lentil zucchini pancakes. I served with fresh salsa, and I have also made tahini dip and used hummus to smear on them which was also freaking amazing, but you can serve with whatever floats your boat.
-C
1 pound dry green lentils
1 large zucchini
1 onion
salt and pepper
splash of oil
Start with the by making the lentil flour. Place lentils into a high speed blender and blend until it has turned into a fine flour. You might need to stop the blender ever once in a while to move things around with a spoon (when it is turned off!). It should only take about a minute or so in a Vitamix, but maybe a few extra minutes if using a less powerful blender.
Once flour is achieved, dump into a jar with a lid. You probably won%u2019t be using it all right now.
Now grab the zucchini and onion and cut into chunks. Place the chunks into the blender and blend until smooth.
Dump puree into a bowl. Add about 1 cup of lentil flour and stir. IF the batter is really loss, add in another 1/4 cup or more to get the batter to a thick but spreadable consistency (kind of like hummus). Season with salt and pepper.
Grab a skillet and place on medium heat with a splash of oil. Once skillet is heated place spoonfuls of the batter in and spread around until between 1/2-1/4 inch thick. Cook fist side for 4-6 minutes or until a nice golden brown then flip and cook the other for a few minutes until browed. Repeat until batter is gone.
Place cooked pancakes on a plate, grab a fork and some savory type condiment (hummus, salsa, tahini, cashew cream) and eat.
I am freaking hot. We are currently in a heat wave right this very minute and I am not happy about it. This is my problem with summer, the heat. Or better yet, the heat with humidity. It turns me sour and I can%u2019t deal with anything, including myself. It is not a good look on me.
But a redeeming quality summer does have is all the fresh produce. The farm share is really starting to pick up and we are getting a good amount of fresh goody goods and that is something I can%u2019t not be happy about. But it is still to hot and when it%u2019s to hot, no one (I think) wants to cook. So don%u2019t cook, just compile. A big ass bowl of veggies, some lentil (or use beans if you want) , and creamy peanut sauce. Thrown together within minutes, hardy and satisfying without being heavy and hot, and tasted really freaking good. A meal on it%u2019s own or a fantastic side dish or snack dish or you know, anytime eating time food dish.
It is just a good dish to make and even better to eat. Heatwave or not.
Now to the cauliflower, kale, and lentil bowl with all the peanut sauce!
The stuff. Half a head of cauliflower, a few big kale leaves, half an onion, cooked lentils, peanut butter, apple cider vinegar, hot water, soy sauce, ginger, garlic powder, red pepper flakes, and black pepper.
Cut up cauliflower. Just go at it with a knife until it is a pile of small little pieces. Then dice up the onion into small pieces and cut up kale into small pieces as well.
Toss all of that into a bowl and top with the lentils.
Peanut sauce. Mix together the peanut butter, vinegar, soy, ginger, garlic, and red pepper flakes. Stir and add in enough hot water to make it creamy, smooth, and pourable.
Dump the peanut sauce into the bowl with everything else.
Toss until everything is evenly coated. And don%u2019t forget to add a good amount of black pepper.
And that is it. Now grab a bowl and a fork and eat. It is really really good.
-C
Serves 1-2 as a big salad or 3-4 as a side
1/2 head of cauliflower
1 1/2 cup cooked lentils
2-3 large kale leaves
1/2 a small onion
Peanut Sauce
1/4 heaping cup of peanut butter
2 tablespoons soy or liquid aminos
2 tablespoons apple cider vinegar
1 teaspoon garlic powder
1/2 teaspoon ground ginger
1/2 teaspoon chili flakes
4-5 tablespoons hot water
black pepper
Start by chopping up cauliflower into little pieces. Some pieces will be like crumble and that is good. Also dice up onion into small pieces and chop kale into small pieces. Place it all into a bowl and top with the cooked lentils.
Make peanut sauce. Place peanut butter, soy ,vinegar, the ginger, garlic and red pepper flakes, and 4 tablespoons hot water into a jar or bowl and mix until incorporated. It should be smooth and thick, but pourable. If to thick, add in another tablespoon or two of hot water.
Once sauce is made, dump into bowl with the rest of the stuff and toss until everything is coated and combined. Top with lots of black pepper and then, well, eat. Or set aside until meal time. Then eat.
Is it just me or can you also stuff an entire pound of fresh spring greens into your mouth by the fist full and be nothing but happy about it?
Spring greens are on point right now. So tender and sweet and just, agh, I just love greens. I picked up our last winter farm share a few days ago (3 weeks til summer share begins.. will I survive?) and I got a huge bag of baby kale which made me really freaking happy because I love me some kale but baby kale, I loooooovee it. Yay for me!
Then we have rhubarb. I get so excited every year when my patch starts to peek out from under all the rotten leave. The stalks I used for the salad were the first ones that I harvested from my patch! So I know that some people might think ruhabrb in any other form other then in a pie seems strange, but stop, don%u2019t think that. Rhubarb is everything. You can use it and love it in all sorts of ways, sweet and savory, and in all sorts of things, like this salad.
Fresh greens tossed with tart and gingery warm rhubarb and onions, topped with a creamy almond dressing. There is not much more you can ask for in a spring time salad. Sure, I guess you can ask for a fork, but really, I ate more of it with my fingers because well, that%u2019s just how I roll.
Now to the rhubarb and kale salad.
The stuff. Fresh rhubarb, baby kale, half an onion, a chunk of fresh ginger, a couple cloves garlic, almond butter, some roasted almonds, soy, vinegar, water, oil, and black pepper.
Start by mincing garlic and ginger and choping onion up into smallish pieces.
Add the stuff to a hot skillet with a little oil. Once it starts to sizzle, add in a couple splashes of water and let cook until soft.
While that%u2019s cooking make the almond dressing. Mix the almond butter, soy, vinegar, and a little warm water together until smooth and creamy. Taste and add more soy or vinegar if you feel it necessary. More water too if it%u2019s too thick.
Grab rhubarb ad cut into 1/2 inch pieces.
Toss it into skillet with the other stuff. Add in another splash or so of water and keep on cooking.
Once rhubarb starts to soften, turn the heat off of the skillet. Grab kale and toss it around in the skillet to mix around with the good stuff.
Immediately dump it all into a big bowl and top with almond dressing. Toss it around to evenly coat. Oh and throw in some chopped almonds. And black pepper. Add lots (as much as you like) of black pepper.
Now it%u2019s fork(or fingers) to bowl to face.
What a salad. What. A Salad.
Get at it!
-C
makes an entree salad for one or a side salad for a few
2-3 stalks fresh rhubarb (about 2 cups chopped)
3 large handfuls (about 6 oz) baby kale (you can really use any greens)
1/2 a yellow or sweet onion
1tablespoon freshly grated ginger
2 cloves garlic
olive oil
black pepper
2 tablespoons almond butter
1 tablespoon red wine vinegar
1 tablespoons soy sauce
1-2 tablespoons warm water
smal handful of chopped toasted almonds
Start by mincing the ginger and garlic and chop onion into small pieces. Place it all into a skillet with a drizzle of olive oil and place on medium heat. Once it starts to sizzle, add in a tablespoon or so of water to help soften and cook. Should take about 5 minutes.
In the meantime make the almond dressing. Mix almond butter, soy, vinegar, and a tablespoon of warm water together in a small bowl until completely incorporated. Taste. Add a little more soy if not salty enough, a splash more vinegar if not acidic enough, or bit more water if to thick.
Now chop up rhubarb into about 1/2 inch pieces and toss into skillet along with the other stuff. Cook for a few more minutes until the rhubarb becomes slightly soft. If the plan seems to get dry, add in another few splashed of water. Once rhubarb starts to get tender, take skillet off heat. Add in the baby kale and toss around then immediately transfer to a big bowl or plate. Drizzle almond dressing all over, toss, then top with chopped toasted almonds and lots of black pepper.
Eat.
Pudding is comfort. Pudding is simple. Pudding is just that, nothing but pudding. And if you add some graham cracker crumble, well you got yourself a pudding parfait. And a pudding party of sorts, if you need one.
Now do you, like me, think about grade school when you see pudding? Or how about Billy Madison. Oh hell yeah, definitely watching Billy Madison, in grade school, with a snack pack. HA. Those were some days right there. And with all the littles being homeschooled these crazy days, I figured why not bring in a bit of the grade school feeling into the routine and make some pudding for an after lunch or after %u201cschool%u201d snack. For the routine purposes and also as a form of a bribe. Yes. You can bribe your children with pudding. Or your partner. The mr got his pudding too, just after he dealt with the recycling on the porch.
And plus. Oat milk. You got a stash? Yeah? Well use it in this pudding. It will make you glad you panicked bought 10 cartons and hid them under your mattress. Right next to all the canned beans of course.
Now to the pudding!
The stuff. Oat milk (use any milk you want or have), cocoa powder, brown sugar, corn starch, brewed coffee (optional), vanilla extract, graham crackers, coconut oil, and a little salt.
Start with a pot. Mix in the cocoa powder, brown sugar, and corn starch, and pinch of salt. Add in a little milk and coffee if using and mix around until its a thick paste and everything is incorporated.
Now add in the rest of the milk and place on medium heat on the stove. Heat up for about 3ish minutes and once it starts get hot and you see a bubble or two, start whiskingand don%u2019t stop. Whisk all around pot, all over the bottom, so no spot start to burn. Whisk whisk whisk, until it thickens to pudding consistency. Should take 3-5 minutes.
Once thick and pudding like turn heat off and add in the vanilla and chocolate chips. Whisk until completely melted and incorporated.
Silky and smooth. Hot pudding.
Pour the pudding into a jar or bowl and place into the fridge to set. 1- 2 hours.
In the meantime, graham cracker crumble. Smash up the crackers into a bowl, (big chunks are good) and add in the melted coconut oil and a tablespoon of brown sugar.
Mix around until evenly incorporated
Dump the crumbs onto a baking sheet and stick into the oven to toast up for about 10 minutes.
And now you assemble. Graham crumble on a vessel, topped with pudding, more crumble, and whatever whipped cream, yogurt, ice cream situation you might want to top it with.
Pudding. All for you to eat.
-C
make 4-6 serving
2 cups oat milk (can use any milk you have on hand)
1/3 packed cup brown sugar
2 tablespoon brewed coffee (optional but makes it a little more deep and chocolatey)
3 tablespoon cocoa powder
1/3 cup chocolate chips
2 tablespoons cornstarch
pinch of salt
1 teaspoon vanilla extract
For Graham Cracker Crumble
6 full sheets of package of graham crackers
2 tablespoon melted coconut oil or vegan butter
1 tablespoon brown sugar
In a medium size pot mix together the cocoa powder, brown sugar, corn starch, and a pinch of salt. Add in the coffee if using, and about 1/2 cup of milk. Mix until all the ingredients are evenly incorporated and the mixture is kind of pasty. Place pot on stove on medium heat and add in the rest of the milk . Let mixture heat up for a few minutes and once it starts to warm, start whisking. Whisk consistency until the mixture heats up and thickens to a pretty thick pudding consistency. Remove from heat, add in the chocolate chips and vanilla and keep whisking until the chocolate completely melts it.
Pour pudding into a jar or bowl and place into the fridge. 1-2 hours to cool and set.
In the meantime make the graham cracker crumble. Preheat oven to 350. Crush up crackers into a bowl (some big chunks are good) and mix in the brown sugar and melted coconut oil. Mix around until the crumbs are evenly moisten. Dump the crumble onto a baking sheet and place into oven for about 10 minutes or until the crumble is a nice deep golden brown. Remove from oven and let cool.
Once the pudding is set and the crumble is toasted, it is time to assemble. Scoop some crumble into a bowl or jar, add in some pudding, then top with more crumble. If you want, top with a dollop of something creamy like whipped cream, yogurt, or even ice cream.
Eat.
IF there is pudding and crumble left over, store the pudding I the fridge (will last a few days) and the crumble separately at room temperature in a airtight container.
It was a toss up this week. Share this recipe or share home remedies for%u00a0flatulence!!!! Mah haha! (But honestly, should I share some home remedies for bloating and the toots?)
Ok, so we all know what is going on in the world at the moment and jeezm fuck. I%u2019ll leave it at that.
Word on the streets (or in the news) is that everyone and their mom went out the past few weeks and stock piled a shit ton of food, especially beans. And you know what, that%u2019s cool because beans are amazing and sometimes the silver lining behind bad shit is that you discover something magical. Like beans.
But there is also the issue of all the food people stocked up on in a slight frenzy and might not have had exact intentions for it. Maybe some greens? Did you buy greens? Are they, right now, sitting in your fridge, maybe a little sad, getting neglected because you have been binge eating up the rest of the girl scout cookies like what?
Well maybe this is a good time to use those greens before they go completely bad and you end up tossing them.%u00a0Even though shit is mad crazy right now, we need to get perspective, especially on food. Waste is preventable. You don%u2019t need to be that person. If you bought it, you for sure better be eating it.
But let me be clear. This is not just a recipe to use up greens and beans because you have to. No no no. These beans and greens are so freaking delicious. It is spring after all and greens are so bountiful and amazing right now. All I want to do is stuff handfuls of the tender green things into my mouth. After months of roots on top of roots, I could gladly eat nothing but greens for the next month. (Until all the other spring veggies start growing!)
This dish is quick and easy and tasty as AF. You can use any type of bean that you have, pretty much any greens you have, and any bread you have. As for the tahini sauce that gets drizzled on top, if you don%u2019t have tahini, you can make it with another nut butter or just use some other dressing situation. It really is that simple and adaptable. And delicious and nutritious. All the boxes are checked!%u2714%ufe0f
Now to the beans and greens on toast!
The stuff. Beans, greens. bread, tahini, an onion, a lemon, a little garlic powder, salt and pepper, and olive oil.
Onions into a skillet with a touch of oil. Cook until soft.
Once onions are soft, toss in the beans! Keep on heat and cook for a few minutes.
And lastly the greens. Right on in, just mix then around and let them wilt down to your preferable wiltedness.
Tahini sauce. All you do is mix the thin with lemon, garlic, a little pinch of salt and pepper, and water until it is creamy.
Lastly, toast the bread. I used a skillet but use the toaster or oven. Whatever you want to do.
And that is it. Toast on plate, pile on the beans and greens and get that tahini sauce drizzled also over!
Now eat. And revel in the greatness of all the good that is now in your mouth!
Stay safe and healthy and aware!
-C
Serves 1
2 cups cooked or canned beans (I used navy but any bean will work)
2-3 large handfuls of greens (I used a mixture of spinach, kale, and chard, but again, any green will do, even romaine or spring mix)
1 small onion
2 pieces of bread
a lemon (you can sub a tablespoon vinegar if you don%u2019t have a lemon)
a tablespoon or so water
a clove of garlic minced or a pinch of garlic powder
olive oil
salt and pepper
First dice up the onion and toss into a medium sized skillet with a drizzle of olive oil and a pinch of salt. Place on medium heat and cook until soft which should take about 5-6 minutes. Once cooked, add in the beans and stir around.
Let those hang out for a few minutes and start the toast. I think you can figure out how to make toast so I will let you do that. Also make the tahini sauce. Mix the tahini, the juice of the lemon, garlic, and a pinch of salt and pepper together until completely incorporated. Drizzle in enough water to thin it out to a drizzle-able consistency.
After beans and onions have had the past few minutes to warm and cook, toss in all the greens and a splash of water. Cook for another minutes to 2 or until greens have wilted.
Grab a plate, place toast on plate, pile the beans and greens on toast then drizzle all the tahini sauce on top. Season with salt and pepper if needed.
Smile and then eat.
We have officially kicked off our summer camping adventures. And with camping comes all the greatness of all the things, including camping food.
Recently a friend asked me what it is that we do for camp food. So I told her. Camp food is basically aways the same and consists of a big pot of spiced warm lentils or split peas (both cook really fast and have lots of protein), a shredded summer squash in the summer, or pumpkin in the colder months, maybe fresh tomatoes or a bunch of kale to chop and mix in, and a side of cut up carrots, cucumbers, green beens or whatever else I have.. Then I’ll bring a hunk of bread for the mr to eat and me, usually a small head of cabbage to squirt mustard on and crunch into. (Always have the mustard on hand.) And I bring apples to snack on too, but that usually it. (Sometime I%u2019ll back a desert for the mr. If I am feeling nice.)
She was a little taken aback. Said when she (and basically everyone in the world, which I disagreed with) goes camping it is bags of chips, cookies, meat, and everything and anything that she (they) wanted. Basically that camp food was junk food and that she though we were weirdos. But cool weirdos so you know.
So our camp food%u2026 not like many others. But honestly it is everything that I want to eat and I love it so whatever whatever. As for the mr, he is happy with the food and when he is not, he brings along something else, but that rarely happens because my lentils be so good. HA!
But she got me thinking that I should have a few more snack options beside cut up carrots and apples. So that is why I made crackers. These chickpea chili lime, freaking amazing crackers. Because crackers are a very appropriate snack food, and these crackers in particular are even greater because they are made with the goodness of chickpea flour which is packed full of protein and is well received after a day of hiking or other fun outdoor camping activities. And how can you go wrong with chili lime? Well i%u2019ll tell you, you really can%u2019t
So the plan was to make a batch, eat a few, save the rest for this camping weekend. But guess what? I have to make another batch. They didn%u2019t make it. We ate them all. (not sorry) At least I know we will be liking our new camping snack addition well and right.
So if you like crackers, camping or elsewhere, you should really gives these a go. They will not disappoint.
Now to the crackers!
The stuff. Chickpea flour, chili powder, a lime, a little baking powder, olive oil, salt and pepper, and water.
Combine the flour, zest of the lime, half the chili powder and half the salt, and the baking powder and some pepper in a bowl. Mix until completely combined then add in the oil, water and the juice of the lime.
Mix until dough forms. It might feel a little sticky, if that is the case, just mix other tablespoon of chickpea flour.
Knead dough on a well chickpea floured surface for a good minute until the dough is a even consistency then let it sit for a few minutes to rest. Once rested, cut dough into 2-3 pieces because working smaller is easier.
Roll out your first piece of dough about 1/8 inch thick. (Again, make sure to really flour your work surface and rolling pin.) Mix salt and chili powder together and sprinkle on top. Cut out your crackers (squares are nice but triangles would be nice too) then poke each cracker with a fork.
Crackers on a baking sheet before baking and after baking looking all crackery and delicious. And yeah, they shrink a bit.
And lastly, cool the crackers on a cooling rack. They will crisp up a even more. Then it%u2019s all you.
Ready to eat whenever you make the move. You can pack them away for later or place these delicious crackers in a very pretty bowl and eat them away. Or both.
A cracker win!
-C
make 75 crackers
1 1/2 cups chick pea flour plus about 1/3 more for dusting and rolling
1/2 teaspoon baking powder
1 tablespoon olive oil
1/3 cup room temp water
1 teaspoon chili powder split in half
1 lime
1 teaspoon salt split in half
1/2 teaspoon fresh crackers pepper
Preheat oven to 350.
In a bowl combine the chick pea flour, baking soda, pepper, 1/2 teaspoon chili powder, and half a 1/2 teaspoon salt. Mix until evenly incorporated. Add in oil, the juice of the lime, and and water and mix until a dough forms. Dump dough onto counter and knead until completely uniform in texture. Add more flour if the dough is really sticky. Set dough aside for a few minutes to rest.
To make the crackers, really dust the counter with chickpea flour. Cut the dough into 2-3 pieces and roll1 piece out at a time to about an1/8 inch thin. Again, really flour the surface and rolling pin or else the dough will stick Once rolled, combine the remaining chili powder and salt and sprinkle the top with it. And then cut the crackers. Take a knife of bench scrapper or pizza cattier and cut the dough into inch long strips vertically, then diagonally. Poke each cracker with a fork then gently place them onto a baking sheet. Repeat with remaining dough.
Bake crackers for 15-20 minutes or until a nice deep golden brown. Remove from oven and let cool on a wire rack.
And then eat.
Store uneaten crackers in an airtight container for about a week.
Peaches are here. YAY!!! Peaches are for sure one of those fleeting fruits, one that once in season, you need to eat as many fresh as you can because once they are out of season, they are not good. Not good at all. And me being me, I see peaches, I buy a shit load, and now I have a fridge drawer full. Not complaining in the slightest, but peaches cannot sit around all summer waiting to be eaten. So if you are going to buy a shit load, know what you are going to do with them all.
My peaches, well they haven%u2019t had to wait long. I have been eating at least a peach a day and%u2026 I made these bars with a few. Sharing my peaches, thats what I do. HA.
These almond peach shortbread bars. Fantastic A+ on all fronts. Easy to make, not a whole heck of a lot of ingredients, make the house smell amazing, and really kick off the peach, summer vibe thing that goes on around here.
‘%u201cMillions of peaches, peaches for me. Millions of Peaches, peaches for free%u201d %ud83c%udfb6 (Peaches by The Presidents of the United States of America. If you have%u2019t head the song, look it up. I don%u2019t think I can even look at a peach without hearing the song in my head.)
Now to the peach almond shortbread bars!
The stuff. Peaches, almonds, vegan butter, brown sugar, flour, cinnamon, salt, and baking powder.
Easy peasy. Almonds go in to food processor first. Blend and pulse for a minute or two until they turn into a medium fine almond meal. (Don%u2019t over blend or you will end up with almond butter.) When almonds are ground, add in the flour, baking powder, salt, cinnamon, and sugar. Pulse until combined. Then add in the butter in chunks and pulse until dough just starts to come together.
Half the dough goes into a 9×9 baking pan. Smooshed evenly all over the bottom poke it with a fork. Then it just needs to go into the oven to bake. 15-18 minutes or so, just until it starts to brown a bit.
Peaches need to be cut so cut them up. !/2 inch thick slices, after the pits be removed of course.
Blinded baked bottom. Looks good yeah? Let it cool for a few minutes and then it gets peaches. Three rows, all over lapping and nestled together.
The top gets the remaining half of dough and is now it%u2019s ready for the oven. Another 40-ish minutes or so to really seal the deal.
Taken from the oven when golden brown, cooled, cut up, and placed on a pretty plate because pretty is nice.
I am pretty sure you figured out what to do next%u2026. EAT IT!
-C
makes a 9×9 pan which can be cut Into the sizes of your choice
1 cup vegan butter
1 cup packed brown sugar
2 cup cup all purpose flour
1 cups raw almonds
1 teaspoon baking powder
1 teaspoon salt
3 large firm peaches
1 heaping teaspoon cinnamon
Preheat oven 350
Place almonds into a food processor and pulse and blend until a fine meal has formed. It should take only a minute or two and stop half way and scrape the edges and sides do the almonds don%u2019t start to form a paste. Add in the flour, salt, baking powder, cinnamon,and sugar and pulse until combined. Add in the vegan butter in a few chunks and pulse until the mixture turns into a crumbly dough. Stop pulsing and dump mixture into big bowl.
Take half of the mixture and place into a 9×9 baking pan. Evenly distribute and press the dough into the bottom. Take a fork and poke the dough all over then place the pan in the oven. Bake for 15-17 minutes or until the dough just starts to lighly brown. Remove from oven.
While the bottom crust is cooling off for a few minutes, slice peaches into 1/2 inch slices. Obviously make sure to remove pit.
Now take your half baked crust and layer peaches evenly on top. It is easies to start at the top, make three rows across and then layer the peaches down (like in the picture above). Once peaches are layered, grab the remaining half of dough and evenly distribute on top. Place back into oven and bake for another 40-45 minutes or until the crumble on top is a nice deep golden brown.
Remove from oven, let coo completely (or as completely as you can) cut into pieces, and then you eat it.
Left over pieces should be placed in an airtight container in the fridge for up to 5 days. They freeze well individually wrapped too.
blind back for about 15 minutes of until the crust is starting to brown around the edges
bake for another 30 minutes
Fritters are no joke. You can just about turn anything into a fritter and almost all of the time it will taste pretty good. Parsnips are no exception. Tasting the way parsnips do, straight up without any extra spices, these fritters will hit the spot if you are on the lookout for a fritter for your fritter seeking self.
And what if you are not sure you like parsnips or fritters for that matter. Stop right here. You probably do and just don%u2019t know it yet. I guess the only way you will really know is to make a batch. Then you can tell me all about how you love parsnips and will now be making fritters for every meal every day for the next week.
To the frittering.
The stuff. Parsnips (I only needed one because mine are humongous) a carrot, an onion,. some garlic powder. a little oat flour, a flax egg, and some olive oil. Also if you want to serve with avocado mash (which tastes great together), well grab one and a lemon too.
Start being shredding the parsnip, carrot, and half the onion into a big bow. Chop up the other half of onion into small bits. I do this because grating onion only turns the onion into a juice and I like the little bits if onion in my fritter.
Shredded and mixed. And pretty too.
Add in the garlic powder, a little salt and pepper, the flax egg, and the oat flour.
Mixed and ready for the cooking.
A medium hot frying pan with a little olive oil is what you need. Make medium sized flattish patties and cook until nice and golden brown.
Flip and cook the other side just the same.
Fritters are done and could be eaten now too, but I like to stick them on a baking sheet and into the oven for 10 minutes or so to really crisp them up.
If you want to serve with avocado, just mash half of one up with a pinch of salt and juice of lemon.
And that is that. Out of the oven, onto a plate, and into the mouth.
Enjoy
-C
makes about 9 fritters
1-3 parsnips, depending on size (about 2 1/2 cups shredded)
1 carrot
a medium sized onion
1/3 cup oat flour
1 flax egg (3 tablespoons warm water and 1 tablespoon ground flax seed)
1 teaspoon graduated or powdered garlic
salt and pepper
oil (any kind you like)
An avocado and a lemon (optional)
Preheat oven to 400
Shred the parsnips, carrot and half the onion into a large bowl. Mince the second half of onion and mix into the shredded. Add a pinch of salt and pepper, the flax egg, and the oat flour and mix until evenly incorporated. Grab a flying pan, add a little olive oil, and place on medium high heat. Once pan is hot, scoop about 1/4 cup of the mixture into pan, trying o keep it compacted. Let it cook for a few minutes then with a spatulaf gently tamp it down. Flip and let the other side cook until golden brown. Once they are cooked, they can be eaten, but I like to place them into the oven for about 10 minutes to cook and crisp up a little more.
Once done, serve anyway you like, but mashed up avocado with lemon is fantastic. Tahini would also rock.
Eat and if you by chance have any left over (but you wont) they can be placed in fridge and reheated later (or eaten cold)
You know when you eat something that you haven%u2019t had or haven%u2019t had in a long time and it%u2019s all you want to eat?
I am having a moment with apples and onions. Roasted and raw, it%u2019s on my mind every time I am making food. Weird? I don%u2019t know, but it%u2019s sweet and savory and all fall like and comforting. It%u2019s a good moment.
So now I am passing on my moment in the form of cornbread. Why cornbread? Well I think cornbread is a fine fine vessel for things that could be perceived sweet of savory. This cornbread is in fact not sweet, but not not sweet. It is a little both and suits the the apple and onion moment quite well.
People ate it, at first somewhat suspect that it was not going to be good, but after a bite or two they too appreciated the apple onion combination. And the cornbread. Even got a lady that doesn’t even like cornbread to like this so that is something right?
Embrace the moments.. To the cornbread!
The stuff. A couple apples, an onion, cornmeal, flour, salt, and baking soda. Also soy milk, oil, apple cider vinegar, maple syrup, pepper, Sansa little earth balance.
Start by thinly slicing the onions. Toss them into a oven safe skillet with about a tablespoon of earth balance and place on a medium heat.
Once the onions are cooking, thinly slice the apples too.
Toss the apples in with the onions and stir around wait a few minutes and stir around some more until the stuff all looks like%u2026
This. The apples ans onions are super tender sans soft and amazing and do not eat them all, but maybe have bite or two.
Scoop the mixture out of the skillet ans melt another tablespoon of earth balance into the skillet, trying to evenly coat the bottom.
Now to the cornbread. Mix together all of the dry ingredients.
Then add in all the wet and gently mix until completely incorporated.
Pour the batter into the greased skillet
Top with the apple union mixture then pop into the oven for about 40-45 minutes to bake.
Golden crisp and amazing smelling. Check for donees with a tester stuck in the middle and when its done, its done.
Now the hard part. Let it cool. You can go right at it, but it will crumble and fall apart. This bread really needs a little time to chill.
Then it%u2019s time. Eat what you need. Careful, it might be all of it.
-C
Dinner for when you have maybe too many (although I never think I have too many… just sometime I end up with a lot at once and that it can get a little chaotic)%u00a0 squash and tomatoes,%u00a0which may be bound to happen this time of year.
Nothing fancy, and is quick and easy,%u00a0filling, and full of all those summertime things that need to be eaten before they are gone and we are back to eating beets and potatoes for months at a time.%u00a0
Savor all of the good stuff the summer is giving us.%u00a0
The stuff. A couple of squashed ( I used a crookneck and a patty pan), cherry tomatoes, an onion, some spaghetti, salt and pepper, and olive oil.%u00a0
Preheat the oven and chop up your squash and onion. Not tiny pieces, but not really bug chinches either.
Toss all that chopped stuff into a skillet along with the cherry tomatoes. Drizzle it all with olive oil, sprinkle with salt and pepper, then stick it into the hot oven.%u00a0
While the stuff is roasting, cook up the pasta, but cook it a little al dente, it will cook a bit more once mixed with the veggies.
Roasted and ready for noodles.
Add the cooked spaghetti to the skillet, along along with about 1/2 of cup of the pasta water (it helps bind the flavors all together). Toss it all around and %u00a0then let it chill in the hot skillet for a minute or two then taste it. So good right? And if you need to, season with more salt and pepper, and drizzle with more oil if needed.%u00a0
That is all you need to do, besides you know, sticking it into a bowl, getting all the good big chunks, and eating it.
-C
2 small summer squash (I used a crook neck and a patty pan… but whatever kind you have on hand works)
1 mild onion (vidalia or walla walls)
1 pint cherry %u00a0tomatoes
2-3 %u00a0tablespoons olive oil
salt and pepper%u00a0
1/2 pound spaghetti and water to boil it in
Preheat the oven to 425.
Chop up squashes into inch-ish sized chunks then chop the onion into medium sized slices and toss into a large oven safe skillet. Add in the tomatoes and drizzle the whole lot with olive oil and sprinkle with salt and pepper and toss around to make sure everything is evenly coasted. Place in oven and roast for 30-40 minutes or until the squash and tomatoes are nice and soft and ready to eat.%u00a0
While the stuff is roasting, boil the pasta per the instructions on the box, but cook it a little al dente (still with a bite to it). Drain the pasta when done, reserving a cup full of the starchy pasta water.
When the pasta is done and the veggies are roasted, dump the pasta into the skillet along with 1/2 a cup of the starchy pasta water. Mix around and let sit for a minute or two. Sprinkle with more salt and pepper and drizzle a tiny more olive oil on top (optional).%u00a0
Serve and eat.%u00a0
Basil goes extremely well with this dish, if you just so happen to have some.
I sometime struggle with certain veggies, not like in a eating way (I have no snuggle eating any veggie)%u00a0but in a making something with that certain veggie kind of way,%u00a0like I don’t make anything out of them, I just eat them raw as they are. (That was terribly long winded and does it even make sense?)%u00a0I don’t find this to be a problem most of the time, but sometime I think I need to be less lazy about eating and maybe prepare a dish for a meal rather then just eating raw beans out of the garden for lunch…..I mean, I am not going to stop doing that but I am going to start being a little more creative and planning meals with a little more substance. Adding nuts is more substance right?
These beans were freaking fantastic. %u00a0Blistered and charred, and not soggy and soft. They were perfect.%u00a0(I like my veggies either raw or burnt)%u00a0I made them late morning and was going to save them for dinner but the mr, Barb, and I ate them all just on snacking on them. %u00a0Just a really good, A+%u00a0veggies situation here. Highly recommended, hot or cold. Almost beats a bean lunch in the garden. Almost.%u00a0
The stuff. Green beans, almonds, garlic, ginger, soy, and a little oil.%u00a0
Quick fast, rough chop the almonds and give them a toast in a dry skillet (you can skip this part if you have already toasted almonds)%u00a0
And here would be the time to trim the beans if you are a person that does that. I am however, not a bean trimmer. But you must wash them, so give them a good rinse , and keep them a little wet. The moisture will help them cook.%u00a0
Just washed beans go into a medium high hot skillet (add in a tablespoon of oil) and get a nice little cover to start the cooking process. %u00a0Leave them alone for a few minutes, then remove lid and toss them around. Do that ever few minutes.%u00a0
While the beans start cooking, mince the garlic and the ginger and add to the soy sauce.
Smells so good!
Beans have cooked for about 10 minutes here and are all nice and blistered and just about done so now add in the ginger garlic soy mixture and toss around. Keep cooking for a minute or two.
And now don’t forget those almonds, mix those in too. Then it’s into a bowl they go.%u00a0
Green beans so good. Can’t go wrong with these.
Have a marvelous weekend, maybe go pick some green beans!
-C
About a pound of green beans (trimmed if you want to trim them)
2-3 cloves garlic
2 tablespoons freshly grated ginger%u00a0
1/4 cup almonds
3 teaspoons soy sauce
tablespoon oil
Rough chop almonds into small pieces and place in a dry skillet (meaning no oil). Turn heat on to medium high heat to toast for about 5 minutes or until you can start to smell the almonds and they are slightly browning. (you can skip the tasting %u00a0part if your almonds are already toasted, jus chop them into small pieces)
Dump the almonds into bowl and set aside. Keep skillet on heat and add in the oil. Rinse beans off, keeping them damp,%u00a0and very carefully, dump the damp beans into the hot skillet. Place a lid on beans and let cook about 4-5 minutes. In the meantime, mince garlic and ginger and combine with the soy sauce. After a few minutes, remove the lid from beans and toss the bean around. Keep doing this for another 8-10 minutes or until the beans are cooked though and blistered in places. Once the beans are cooked,%u00a0%u00a0dump the garlic ginger soy mixture into pan. Toss around and leave in pan for another minutes then stir the toasted almonds in. Transfer the whole bit of it into a big bowl or plate.%u00a0
Eat right away or.. They taste freaking fanatic cold too.%u00a0
Easy quick dinners are no joke because sometimes life happens and then you are hungry, then hangry, %u00a0then maybe yelling and or tears start and nothing is ever going to be good again. And then you eat and everything is A OK, but that time between tears and food can be long, especially when you just can’t think so one should have a least a good 2 or 3 good dinners up there sleeve (besides pasta) that can be made quick and easily to avoid the fallout of food deprivation.%u00a0This bowl of goodness here is one of those. And sure some people might not always have a sweet potato,%u00a0tahini, or chickpeas is the house %u00a0(I ALWAYS have a sweet potato or some type of winter squash and tahini and chickpeas…%u00a0they are staples here)%u00a0but with a tiny it of foresight, you can make these things happen too. And then you will make it and realize that you must have these ingredients on hand at all times because yeah, a good go to meal that will prevent the tears.
Admittedly I have made this for the mr but he is not that into it. Says he is not a huge fan of sweet potatoes. (what the fuck is wrong with him?) But me, I eat is and I eat it all.. The sweet potato/chickpea/tahini combination is classic fantastic. This hash is sweet potato sweet, a little chickpea crunchy, salty, savory,%u00a0and creamy citrusy. %u00a0It’s all sorts of goodness. I tossed this hash on a big bed of kale (any sturdy green would be good) and only good things happen in my mouth. So the mr.%u00a0might not like it but I am starting to realize (after 15 years) that my taste is far superior to his. Haha. (but really) %u00a0Quick and easy (and healthy) and good. %u00a0Make it once and it will turn into on of your go to dinners, unless you don’t like sweet potatoes. In that case there is pasta.%u00a0
The stuff. Chick peas (I had just made a batch but if you don’t have any made already, grab a can) a sweet potato, an onion, a lemon, some tahini, and garlic Also some cumin and chili powder, olive oil, and salt and pepper.%u00a0
Preheat your oven and chop up the onion and sweet potato into mouth sized pieces.%u00a0
Toss the chopped stuff onto a baking sheet with the chickpeas.
Drizzle the whole shebang with olive oil and toss with cumin, chili powder, and salt and pepper. %u00a0
Into the oven it goes.
Half hour later it is all roasted and ready.
Oh quick, make this before the stuff is out of the oven. Tahini, minced garlic, a dash of salt, a bit of the liquid from the chickpeas and the juice of a lemon. Just stick it all in a cup or bowl and mix it around. Then it’s done.
Scoop the hash into a bowl (I like a large pile of greens underneath) and cover with the tahini sauce.%u00a0
Eat is all to your face.
-C
dinner for one, a side for two.%u00a0Very easily doubled or tripled.%u00a0
1 sweet potato
2 cups or 1 can cooked chickpeas drained but liquid reserved%u00a0
1 medium yellow onion
1 tablespoon cumin
1 teaspoon chili powder
salt and pepper
2-3 tablespoons olive oil
3 tablespoon tahini
1 lemon
1/4- 1/2 cup of aquafaba (chickpea liquid)
2-3 cloves garlic
Preheat oven to 425
Chop sweet potato and onion into mouth sized cubes and place on a baking sheet. Add the drained chickpeas and drizzle with olive oil and toss around. Sprinkle on the cumin, chili powder,%u00a0salt and pepper, and toss that around again. When the oven is preheated, slide the baking sheet on in.%u00a0
While the stuff is baking, mince the garlic and place it in a bowl with the tahini, the juice of a lemon, and a pinch or two of salt to taste. Add in 1/4 cup of aquafaba and mix it all around.%u00a0If to thick for your liking, add a little more of the aqaufaba until its a good consistency.%u00a0
Check the stuff in the oven after 20 minutes and give it a toss.%u00a0%u00a0Keep baking for another 5-10 minutes or until the sweet potato is cooked and starting to brown. Remove from oven and dump into a bowl (maybe on a bed of greens or rice) and drizzle all over with the tahini sauce.
Rice is a hit or miss in this house. Whenever I make it fresh, I either make too much or not enough so I like to air on the side of too much because when there is too much, you just save for a later day and make fried rice, which to some, might be even better then fresh rice. So there you go.
Fried rice. Not really a complicated dish. Basically it is just reheating rice up in a skillet with some stuff. This version is carrot ginger with chickpeas because those flavors are on point and also I had just made a huge batch of chikepeas and always have carrots and ginger on hand. The rice was just waiting to be reheated and I was glad for it because fried rice take a quarter of the time to make then fresh rice (I use brown rice) and I was trying to get dinner done without having to make much of an effort. And because there is veggies and chickpeas in this rice, it is a complete meal and did not need to make anything else. One pot dinner and done. Good things.
Now to the fried rice!
The stuff. Cooked rice, chick peas, carrots, fresh ginger, garlic, soy, red wine vinegar, olive oil, scallions, cabbage, and cilantro (optional). Also going to need a little water. And black pepper.
Start with veggies. Dice the carrots into very small little pieces. Toss into lightly oiled skillet with a splash of water and set on low heat. Then start mincing garlic and the fresh ginger. Toss that into skillet with carrots. Grab scallions and cut the thick white parts from he green and slice thinly and toss into skillet. And lastly shredded cabbage and thinly slice the greens of the scallions and set that aside.
Carrot, ginger, garlic, and scallions are in skillet getting a little heat. Turn heat up to medium, add a splash or two of water, and cook until the carrots are just starting to get a little soft and the ginger and garlic are fragrant. If the
Add in the chick peas, the soy, and the vinegar and cook away.
Once chick peas are warm through, add in the rice and another splash of water and mix around.
And when the rice is warm, add in he cabbage and greens of the scallion and mix until incorporated.
Now scoop into bowls, toss some cilantro and black pepper on for good measure then grab a eating utensil.
And eat.
-C
serves 2-3 as a meals or 5-6 as a side
3 cups already cooked rice (white or brown, I used brown)
2 cups cooked chick peas
2 carrots
2 inches fresh ginger root
2 gloves garlic
3-4 teaspoon soy or liquid aminos
1 tablespoon red or white wine vinegar
1-2 teaspoons olive oil
2-3 large scallions
small hunk of cabbage
black pepper
Few tablespoons water
fresh cilantro (optional)
Start by prepping the veggies. Cut the carrots into very small little pieces and toss into a large, lightly oiled skillet Place on stove on low heat with a splash of water. Now mince the garlic and ginger and toss it into the skillet was well. Shredded the hunk of cabbage and set aside Grab the scallion, cut the green parts from the white, then thinly slice the the white, thicker part and toss into the skillet and thinly slice the green and add to the pile with the shredded cabbage. Mix all the veggies around, add another tablespoon or two of water, turn heat up to medium, and cook until carrots are slightly soft and the garlic and ginger are fragrant.
Once it is all starting to cook, toss in the drained chickpeas and add in the vinegar and 2-3 teaspoons of soy. Mix and cook until chickpeas are warm all the way through.
Now for the rice. Toss that in and mix around. Once rice is warm, toss in the greens of the scallions and the shredded cabbage. Cook until the rice is hot. Taste, and if you need more soy, add in in another teaspoon.
Once its all hot, it ready to eat and that is what you do. So scoop into bowls, add some chopped cilantro and black pepper and eat.
I feel like people are constantly throwing shade at iceberg lettuce. When talked about, it is always subpar with other greens in the world, that it has no nutritional value, that it is always soggy, that it is just not classy enough.
Well what I say is that iceberg is a hell of a lot more nutritional than a lot of things (like a bag of chips), that if it is soggy, well you bought it when it was no good, and that I love me some iceberg lettuce and I am classy as fuck.
The wedge, It is exactly what is sounds like, a big wedge of lettuce. Traditionally I think it is covered in a mass amount of blue cheese and bacon, but yeah, I don%u2019t get down with that. Hummus and tomatoes ad mustard, that is how I roll. This %u201csalad%u201d is probably one of my all time favorite salads. Crisp and light lettuce, summer fresh tomatoes, creamy hummus, and the slight tang of mustard. I have been eating this for years and it still never stops being a favorite snack (because It really is what I snack on. And I will eat the whole head of lettuce with a few tomatoes. Nothing better on a hot afternoon). Out of all honesty though, I usually don%u2019t eat it like a wedge, I usually just tear off a hunk of lettuce, slice a a slab of tomato, then dunk it straight into the hummus. That goes straight into my mouth and then I squirt a little mustard in there. That is class.
Now to the wedge!
The stuff. A head of iceberg lettuce (cut into wedges), hummus (store bought or home made), a couple of fresh tomatoes, scallions, yellow mustard, and pepper.
Thinly slice the tomatoes and chop up the scallions
Grab a wedge of the lettuce and stick it on a plate. Grab hummus and mix around until loose. Add a tablespoon or two or water to help loosen it if it is too thick, then slather wedge in hummus.
Layer on sliced tomatoes, add more hummus, and drizzle the top with mustard. Oh, and cracked pepper.
And then eat it. One wedge or the whole damn head. No shade from me.
-C
Makes 4 wedges
a head of iceberg lettuce
3/4 cup homemade or store bought hummus
1/4 cup water(if needed)
2 large fresh tomatoes
2-3 scallions (the green parts)
Yellow mustard
cracker pepper
Take the head of iceberg and slam it core side down onto a hard surface. This should dislodge the core (a good trick to know) Then cut the head into 4 equal wedges and place each wedge on a plate.
Slice up tomatoes thinly and chop up the green parts of the scallions.
Grab hummus and mix around until loose. If it is really thick add water until it is the consistency of lets say, a creamy thick dressing. Take the hummus and lather each wedge. Layer on sliced tomato, then top with more hummus.
Grab mustard and drizzle (squeeze) all over each wedge. And last but not least, season with pepper.
Now eat it.
The other morning I woke up chilly, lke legit had to grab a sweater. It made me smile so hard. And when I left for my morning run through the woods, I spent the entire time in a long sleeve shirt, not stupid hot, thinking about all the food that I was suddenly craving. An hour of soups, casseroles, and basically everything hot and comforting running through my mind. Honestly, it%u2019s what I think about during most of my runs. Anyway I was going through my food inventory I had at home and decided what I was going to make myself lunch on this fine cool day was this. Roasted sweet potato with broccoli, onion, and kale. Tahini too. And za%u2019atar. I was drooling while running, again not out of the norm. Good times.
So I came home, did stuff, and made myself lunch. Exactly as I wanted, all for me, and it was everything that I thought it would be. Simple, fresh, hot but not heavy, and just the right amount of comfort to feel all the feels of soon to be fall. I grabbed my food, a book, and sat out on the porch, still in a long sleeved shirt, and ate my lunch. A fine lunch that was. A fine fine lunch.
You should have yourself a fine lunch (or any meal) too.
Now to the food!
The stuff. A sweet potato, a head of broccoli, 1/2 a large onion (or 1 small one), tahini, a lemon, a clove or garlic, za%u2019atar, and salt and pepper.
Start by chopping up the sweet potato into mouth sized pieces, break apart the broccoli into smaller mouth sized pieces, and slice up the onion.
Toss it all onto a sheet pan and cover with the za%u2019atar seasoning. You can toss around in a little oil if you want, but I actually just spray it wit ha little water and call it. I am over roasting with oil, it is to oily.
Put the seasoned goodness into hot hot oven.
Oh and place clove or garlic on pan too, just for a few minutes to get a little roasted and remove. It%u2019s for the tahini dressing.
Make the tahini dressing. Tahini, roasted garlic minced up, lemon juice, and a little hot water. Mix tighter until creamy smooth. Season with salt and pepper.
Grab kale and toss it around with everything while it is still hot so the kale kind of wilts. You can also pop it into the oven for a few more minutes to really get that wilt on.
Dump it all into a big bowl.
Drizzle that tahini all over, grab a fork (or not),and make you teeth dance with all this goodness in the mouth.
-C
Serves 1 as a meal
1 sweet potato
1 head of broccoli
a small onion (or half a big one)
a few kale leaves
1 tablespoon za%u2019atar seasoning
1 heaping tablespoon tahini
a lemon
a clove of garlic
a few tablespoon hot water
salt and pepper
Preheat oven to 450 degrees
Grab the sweet potato and cut into mouth sized chunks. Break apart the head of broccoli into florets And cut up stem into chunks, and slice onion into thick pieces. Place on a baking sheet, sprinkle on the za%u2019atar, and toss around. Sprinkle or spray(with a spray bottle) with a little water. Also throw the garlic clove onto the pan too and place it into the oven.
After about 10 minutes, grab the garlic from the pan and keep everything else roasting.
In the meantime, make tahini dressing. Mince the roasted garlic and add to the tahini with the juice of half the lemon and a splash of hit water. Mix together until completely incorporated, adding in a little more hot water as needed to make the dressing into a thick, but drizz-able consistency. Season with salt and pepper.
And chop kale into smaller pieces.
After 20ish minutes, remove pan from oven and toss the veggies around and place back into oven and roasted for another 10ish minutes or until the sweet potato is soft and tender and the broccoli is looking all roasted. Remove and right away toss the kale with the hot veggies to get the kale to wilt a bit. Also can stick the pan back into oven for a minute to wilt it even more.
And then dump the contents of the pan into a big bowl, drizzle the tahini all over, and eat that shit.
To know me is to know that I eat a shit load of lentils. And not just one kind, I eat them all, in all the ways, all day, everyday. Vegetables and lentils. That is my truth.
Lentil flour. One more way to consume the mighty legume. Blended while dry into a fine powder, it takes the lentil to a whole other level. You can use the flour in all sorts of things like bread, soup, even in baked goods. it really is a great flour to have on hand, especially if you are hungry and want to toss something quick and easy, heathy, and delicious together like these here pancakes.
These pancakes. All they are made of is lentil flour and pureed up zucchini and onion. Now that might sound a little on the dull side, but trust me here, they are far from dull. They are freaking delicious. And better for it that they take like 10 minutes from start to finish to make. And no oven which is necessary these days with all the stupid hot weather.
Anyway. lentil zucchini pancakes. Give them a try. They will probably become your favorite.
To the lentil flour and zucchini pancakes!
The stuff. Dry green lentils, a zucchini, and onion, salt and pepper, and a splash of oil.
Te make lentil flour. Place dried lentils into a high speed blender and blend until it turns into a fine flour.
Once you have the flour made, cut up the zucchini and onion into chunks.
Drop into the blender and blend until pretty smooth.
Dump puree into bowl and top with some lentil flour.
Mix until completely combined. The batter should be kind of thic but still spoonable. Also, season with salt was pepper here.
Heat up a skillet with a splash of oil. Once hot, scoop spoonfuls of batter into pan and spread it evenly about 1/4 inch thick. Cook first side fr 4-6 minutes or until nice and brown then flip and cook the other side until done. Repeat until batter is gone.
Now eat your amazing delicious lentil zucchini pancakes. I served with fresh salsa, and I have also made tahini dip and used hummus to smear on them which was also freaking amazing, but you can serve with whatever floats your boat.
-C
1 pound dry green lentils
1 large zucchini
1 onion
salt and pepper
splash of oil
Start with the by making the lentil flour. Place lentils into a high speed blender and blend until it has turned into a fine flour. You might need to stop the blender ever once in a while to move things around with a spoon (when it is turned off!). It should only take about a minute or so in a Vitamix, but maybe a few extra minutes if using a less powerful blender.
Once flour is achieved, dump into a jar with a lid. You probably won%u2019t be using it all right now.
Now grab the zucchini and onion and cut into chunks. Place the chunks into the blender and blend until smooth.
Dump puree into a bowl. Add about 1 cup of lentil flour and stir. IF the batter is really loss, add in another 1/4 cup or more to get the batter to a thick but spreadable consistency (kind of like hummus). Season with salt and pepper.
Grab a skillet and place on medium heat with a splash of oil. Once skillet is heated place spoonfuls of the batter in and spread around until between 1/2-1/4 inch thick. Cook fist side for 4-6 minutes or until a nice golden brown then flip and cook the other for a few minutes until browed. Repeat until batter is gone.
Place cooked pancakes on a plate, grab a fork and some savory type condiment (hummus, salsa, tahini, cashew cream) and eat.
Eggplant and I are having real moment right now. I honestly think I have been eating one, in some way or another, just about every day for the last week or so. And no, I am not sick of them at all. But yes, I have been lazy about doing much other roasting or braising the old plant and just eating it straight into my mouth hole. But I guess sometimes my lazy ass wants more substance and also, it is nice to feed the mr something good too. I figured I should maybe do something a little more classy, more meal like, and might actually require a fork to eat it with. (I have a real tendency to eat with my hands, even the things that most people would probably say could not be eaten with hands. You should see me eat soup! Ha!) And so I prepared for us a feat of greatness (not really a feat, but great for sure). Eggplant roll ups.
These rolls are way more tasty and delicious then the effort it takes to make them. Really, they are super simple to make. Just a thick herby bean filling rolled up in eggplant and roasted in tomatoes. Sounds so good right? Well then taste even better. And then you can top that whole shebang with some fresh basil and everyone is all good to go.
So ok, I feed some to the mr for dinner because the goal was to fee us both with one dish, but I sure did eat more then half (like 3/4 of it) to myself. Without a fork.
There is no shame in my game.
Now to the eggplant rolls!
The stuff. An eggplant, an onion, some white beans, crushed tomatoes, a lemon, some thyme, oregano,and garlic powder, salt and pepper, oil, and basil. (I just pureed all my fresh basil into a paste so yeah).
First up, slice the eggplant lengthwise into 1/2 inch thick pieces.
Place the pieces on a baking sheet and sprinkle with a pinch of salt. It is ok if they overlap a little, we are just trying to soften them a bit. Stick into a hot oven.
Into a skillet it goes to cook up until soft and fragrant.
Eggplant, comes out of the oven all nice a pliable.
Now make the bean filling. Beans, onions, spices, juice of lemon, and a good crank of pepper and a pinch of salt go into food processor. Blend until smooth.
Gently grab an eggplant cut and cover one side with the bean mixture. Don%u2019t skimp our but don%u2019t add ore then you can roll up. And then roll it up.
Add a cup or so of sauce to a skillet or casserole dish, then place the rolls on in. Once all the rolls are in, cover with the remaining crushed tomato or marinara sauce.
Pop into hot oven to bake.
And then when the eggplant is tender and the sauce is all bubbly, pop it out.
Add some fresh basil (or basil puree) and grab that fork.
Nothing left for you to do beside eat it.
-C
serves 3-5
a medium to large eggplant
1 yellow onion
2 1/2 cups white beans (or one can)
a lemon
teaspoon each of thyme, garlic powder and oregano
3 cups crushed tomato or a simple marinara sauce
salt and pepper
splash of oil
fresh basil (optional)
Preheat oven to 400 degrees
Grab the eggplant and cut the very top off then cut slices lengthwise about 1/2 inch thick. You should get about 10-12 slices. Place the slices onto a baking sheet, overlapping a little if necessary, sprinkle with a pinch of salt, and place into oven. Cook for about 10 minutes or until the eggplant is just barely starting to soften and becomes pliable. Remove from oven and let cool a bit.
Meanwhile chop up the onion and place into a lightly oiled skillet. Cook for 5-8 minutes or until the onion starts to become translucent and fragrant. Once cooked, place into a food processor along with the beans (drained but keep the liquid),the spices, and the juice of the lemon. Pulse until smooth and if needed, add a few tablespoons of the bean liquid to loosen it up enough to blend. Taste and season with salt and pepper.
Now to make the rolls. Grab cooled off piece of eggplant, lay it flat, and cover with the bean mixture. Not too much or too little, probably a bit less then 1/4 cup. Then roll the eggplant up. Either grab a skillet or baking dish and add about 1 cup of the crushed tomato or marinara sauce to the bottom. Place rolls as they are being made into the dish. Once you have filled the dish with the rolls, cover with the remaining sauce.
Place the rolls into the oven and bake for 30ish minutes or until eggplant is nice and fork tender.
Once baked, remove from oven, left cool for a few minute and then serve. Top with fresh basil (or basil puree) if you want.
Eat with a fork.
The short of it is, people, stop wasting your beet greens!
The long of it is that I went to pick up my farm share this week and ooh lovely we got bunch beets. Bunched beets are my favorite becuase when they come bunched, they come with the greens and I can honestly say that the greens are some of my favorites. So I grabbed my bunched beets and continued picking up the rest of my veggies. As I tuned the corner I passed the compost. Know what I saw? Beet greens. People were grabbing there beets and ripping the greens off and tossing them into the compost. Oh that just pissed me off. First because it still shocks me that people don%u2019t realize they can, and should, eat the greens but more because I wish they just left the greens in the extras pile. I would have gladly taken them home. I almost went into the compost but there was some gross stuff in there and plus there was a line of people waiting patiently to get the to cucumbers. I had to walk away.
Oh how I can%u2019t stand wasted food!
So now that we all know that beet greens are food and are amazing, you might ask how do you eat beet greens? Any way you want really, but you can use them like any other green. They are kind of like chard orkale, but more beety and are just really really good. One on my favorite and simple things to do is beet greens saut%u00e9ed with garlic and ginger and a little soy with thinly sliced vinegary onions. Fast, easy, and tasty as hell.
There you go. Now never waste your beet greens again. Or if you don%u2019t want them you can give them to me!
Now to the beet greens!
The stuff. A bunch of beet greens (you don%u2019t need the beets) an onion (Or 2 really small onions) soy or aminos, garlic, ginger, red wine vinegar, and a splash of oil.
First, thinly slice onion and place into a bowl. Dump in the vinegar and toss around.
Grab the beet greens and cut the leafy parts from the stem. Chop the stems up into small pieces.
Place stems into a skillet with a tiny splash of oil and water and cook on medium heat.
Mince up garlic and ginger.
Once stems are tender, toss in the garlic and ginger and mix around. Keep on heat.
Now grab the greens and rough chop into smaller pieces
Once the garlic and ginger becomes fragrant, toss in the greens and stir in until wilted. Once wilted, dump in the soy and mix around. cook for another minute or so then remove from heat.
Toss in the onions and mix around.
Now just eat. From skillet or grab a bowl. You do you.
-C
serves 1-3
1 bunch of beet greens
1 regular sized onions (or 2 very small onions)
2 cloves garlic
inch piece of fresh ginger
2 tablespoons red wine vinegar
1-2 tablespoons soy, tamari, or aminos
a splash of oil.
a splash of water
First, if there are beets attached to the greens, cut them off and save them for later.
Take the onion and slice into very thin pieces, place into a bowl, and toss them with the vinegar. Set aside.
Grab greens and cut the leafy parts from the stem. Cut the stem up into little pieces and toss into a skillet with a splash of oil and a splash of water. Set on medium heat to cook. While cooking, mince garlic and ginger and once the stems become tender, toss garlic and given into the pan and mix around. Keep on heat. Now grab greens and give them a good rough chop then toss them into skillet once the garlic and ginger become fragrant. Mix around until wilted. Once wilted, add in the soy and mix. Cook for another minutes or so then remove from heat. Toss in the onions with the vinegar. And that is it. And now you eat.
Zucchini. One of the best summertime veggies. If you have been around here (as in my blog) for long enough, you all know how I am a zucchini feen. Once they start growing, I take them all. From my garden, from your garden, even my sisters mother in laws extra, plus the million I get with my farm share. At any given time I could have upwards of fifty zucchini spilling out all over the counter and shoved into any crevice I can find in the fridge. But the excess never lasts long because I eat them all. Mostly to myself, and I feel great about it. (Ok, I do end up freezing some of it for winter, but I am still eating it all!)
And every year when the first zucchinis start to hit the ground, all the people are up in my squash asking for zucchini bread, like they can%u2019t possibly make it themselves or anything. But I don%u2019t mind what so ever because sharing is caring and I guess I care. Plus I like to bake so it works, you know?
When I was recently asked to bake a loaf of zucchini bread, I made the decision to go the muffin route instead because aren%u2019t muffins just individual little breads that take half the time to cook them a loaf? Yup, and that is very nice when you want to minimize any hot oven time because summer is hot enough as it is.
And because they are muffins, they acceptable for breakfast, even with all the chocolate chips.
Win!
Now to the muffins!
The stuff. A good sized zucchini, flour, baking soda and powder, salt, brown sugar, oil, cinnamon, raw sugar, apple cider vinegar, and some chocolate chips.
In a large bowl, whisk together the flour, baking soda and powder, salt, cinnamon, and brown sugar until completely incorporated and there are no lumps of sugar.
Shred the zucchini. I used a smaller shredder so the pieced are very thin but a normal sized box grater shred works just as well
Add zucchini, oil, and vinegar to bowl and fold in until completely combined.
Then fold in chocolate chips. Duh.
Scoop batter into a greased muffin pan and sprinkle the tops with raw sugar. Pop into the hot oven to bake.
Pop out of tins to cool on a rack.
And eat. All to yourself or share, that is on you.
-C
makes 12 muffins
2 1/2 cups all purpose flour
1 1/2 teaspoon baking powder
1 teaspoon baking soda
1/2 teaspoon salt
1 tablespoon cinnamon
3/4 cup packed brown sugar
1/2 cup neutral flavored oil
2 tablespoons apple cider vinegar
1 medium zucchini (2 cups packed shredded zucchini)
2/3 cup chocolate chips
1/4 cup raw sugar (to sprinkle the tops) optional
Preheat oven to 350.
Grab a large bowl and add in the flour, baking powder and soda, cinnamon, and salt. Whisk together then add in the brown sugar and whisk in, making sure there are no big clumps.
Shred zucchini uniti you have 2 hefty cups. If you have a fine shredder, use that, if not, a normal sized shred will do.
Place shredded zucchini into the bowl along with the oil and the vinegar. Start folding with a spatula until everything is incorporated. Resist the urge to aggressively mix, it takes a minute for the liquid from the zucchini to absorb into the flour. (Over mixing it will make the muffins tough) Once the batter is uniform, fold in chocolate chips.
Scoop batter into a well greased or lined muffin tin. Sprinkle the tops with raw sugar and pop the pan into the preheated oven. Bake for about 30 minutes or until fluffily and domed and a tester stuck in one comes out clean.
When baked, remove from oven and pop out if tin. Let cool on a wire rack but feel free to eat one warm.
Store uneaten muffins in airtight container at room temp for a 2-3 days but if it is really hot out, just stick them in the fridge. Also can be frozen.
I am freaking hot. We are currently in a heat wave right this very minute and I am not happy about it. This is my problem with summer, the heat. Or better yet, the heat with humidity. It turns me sour and I can%u2019t deal with anything, including myself. It is not a good look on me.
But a redeeming quality summer does have is all the fresh produce. The farm share is really starting to pick up and we are getting a good amount of fresh goody goods and that is something I can%u2019t not be happy about. But it is still to hot and when it%u2019s to hot, no one (I think) wants to cook. So don%u2019t cook, just compile. A big ass bowl of veggies, some lentil (or use beans if you want) , and creamy peanut sauce. Thrown together within minutes, hardy and satisfying without being heavy and hot, and tasted really freaking good. A meal on it%u2019s own or a fantastic side dish or snack dish or you know, anytime eating time food dish.
It is just a good dish to make and even better to eat. Heatwave or not.
Now to the cauliflower, kale, and lentil bowl with all the peanut sauce!
The stuff. Half a head of cauliflower, a few big kale leaves, half an onion, cooked lentils, peanut butter, apple cider vinegar, hot water, soy sauce, ginger, garlic powder, red pepper flakes, and black pepper.
Cut up cauliflower. Just go at it with a knife until it is a pile of small little pieces. Then dice up the onion into small pieces and cut up kale into small pieces as well.
Toss all of that into a bowl and top with the lentils.
Peanut sauce. Mix together the peanut butter, vinegar, soy, ginger, garlic, and red pepper flakes. Stir and add in enough hot water to make it creamy, smooth, and pourable.
Dump the peanut sauce into the bowl with everything else.
Toss until everything is evenly coated. And don%u2019t forget to add a good amount of black pepper.
And that is it. Now grab a bowl and a fork and eat. It is really really good.
-C
Serves 1-2 as a big salad or 3-4 as a side
1/2 head of cauliflower
1 1/2 cup cooked lentils
2-3 large kale leaves
1/2 a small onion
Peanut Sauce
1/4 heaping cup of peanut butter
2 tablespoons soy or liquid aminos
2 tablespoons apple cider vinegar
1 teaspoon garlic powder
1/2 teaspoon ground ginger
1/2 teaspoon chili flakes
4-5 tablespoons hot water
black pepper
Start by chopping up cauliflower into little pieces. Some pieces will be like crumble and that is good. Also dice up onion into small pieces and chop kale into small pieces. Place it all into a bowl and top with the cooked lentils.
Make peanut sauce. Place peanut butter, soy ,vinegar, the ginger, garlic and red pepper flakes, and 4 tablespoons hot water into a jar or bowl and mix until incorporated. It should be smooth and thick, but pourable. If to thick, add in another tablespoon or two of hot water.
Once sauce is made, dump into bowl with the rest of the stuff and toss until everything is coated and combined. Top with lots of black pepper and then, well, eat. Or set aside until meal time. Then eat.
Is it just me or can you also stuff an entire pound of fresh spring greens into your mouth by the fist full and be nothing but happy about it?
Spring greens are on point right now. So tender and sweet and just, agh, I just love greens. I picked up our last winter farm share a few days ago (3 weeks til summer share begins.. will I survive?) and I got a huge bag of baby kale which made me really freaking happy because I love me some kale but baby kale, I loooooovee it. Yay for me!
Then we have rhubarb. I get so excited every year when my patch starts to peek out from under all the rotten leave. The stalks I used for the salad were the first ones that I harvested from my patch! So I know that some people might think ruhabrb in any other form other then in a pie seems strange, but stop, don%u2019t think that. Rhubarb is everything. You can use it and love it in all sorts of ways, sweet and savory, and in all sorts of things, like this salad.
Fresh greens tossed with tart and gingery warm rhubarb and onions, topped with a creamy almond dressing. There is not much more you can ask for in a spring time salad. Sure, I guess you can ask for a fork, but really, I ate more of it with my fingers because well, that%u2019s just how I roll.
Now to the rhubarb and kale salad.
The stuff. Fresh rhubarb, baby kale, half an onion, a chunk of fresh ginger, a couple cloves garlic, almond butter, some roasted almonds, soy, vinegar, water, oil, and black pepper.
Start by mincing garlic and ginger and choping onion up into smallish pieces.
Add the stuff to a hot skillet with a little oil. Once it starts to sizzle, add in a couple splashes of water and let cook until soft.
While that%u2019s cooking make the almond dressing. Mix the almond butter, soy, vinegar, and a little warm water together until smooth and creamy. Taste and add more soy or vinegar if you feel it necessary. More water too if it%u2019s too thick.
Grab rhubarb ad cut into 1/2 inch pieces.
Toss it into skillet with the other stuff. Add in another splash or so of water and keep on cooking.
Once rhubarb starts to soften, turn the heat off of the skillet. Grab kale and toss it around in the skillet to mix around with the good stuff.
Immediately dump it all into a big bowl and top with almond dressing. Toss it around to evenly coat. Oh and throw in some chopped almonds. And black pepper. Add lots (as much as you like) of black pepper.
Now it%u2019s fork(or fingers) to bowl to face.
What a salad. What. A Salad.
Get at it!
-C
makes an entree salad for one or a side salad for a few
2-3 stalks fresh rhubarb (about 2 cups chopped)
3 large handfuls (about 6 oz) baby kale (you can really use any greens)
1/2 a yellow or sweet onion
1tablespoon freshly grated ginger
2 cloves garlic
olive oil
black pepper
2 tablespoons almond butter
1 tablespoon red wine vinegar
1 tablespoons soy sauce
1-2 tablespoons warm water
smal handful of chopped toasted almonds
Start by mincing the ginger and garlic and chop onion into small pieces. Place it all into a skillet with a drizzle of olive oil and place on medium heat. Once it starts to sizzle, add in a tablespoon or so of water to help soften and cook. Should take about 5 minutes.
In the meantime make the almond dressing. Mix almond butter, soy, vinegar, and a tablespoon of warm water together in a small bowl until completely incorporated. Taste. Add a little more soy if not salty enough, a splash more vinegar if not acidic enough, or bit more water if to thick.
Now chop up rhubarb into about 1/2 inch pieces and toss into skillet along with the other stuff. Cook for a few more minutes until the rhubarb becomes slightly soft. If the plan seems to get dry, add in another few splashed of water. Once rhubarb starts to get tender, take skillet off heat. Add in the baby kale and toss around then immediately transfer to a big bowl or plate. Drizzle almond dressing all over, toss, then top with chopped toasted almonds and lots of black pepper.
Eat.
I love me some onions, I mean I eat one everyday so I asked myself why the heck haven%u2019t I made onion rings before? Probably because when I usually think onion rings, I think greasy and fried and that is not really my jam. But early in the week the lightbulb went off in my brain. I have been making a lot of stuff with bean flours lately and thought that chickpea flour would make an excellent batter for onions. And low and behold, I was right. Very very right.
These onion rings are so f-ing amazing. Sure they might not be the most traditional of onion ring but they are for sure just as good. A spicy crispy crunchy outer layer with a soft and creamy onion inside. Baked, not fried, and just really delightful. Easy to throw together and yeah, you got onion rings. I have made them twice this week already. Probably going to make them again tonight because why the hell not? They are simply a vegetable covered in bean. I should be eating them every day and you probably should be eating them everyday too.
Now to the onion rings!
The stuff. Onions (I used valida but any sweet variety will work) chickpea flour, spices (garlic, ginger, cumin, chili powder, paprika, and a pick or red pepper flakes), warm water, oil, and salt and pepper.
Mix up the batter. All the spices get mix together with the chickpea flour. Add in the water and then mix unit completely combined and all batter like.
Dip the onions into the batter and place on a oiled baking sheet. Try not to overlap too much and use the insides of large rings to place the small ones!
Into the oven and out of the oven. Crispy, dark, and delicious!
Get those rings onto a plate while they are hot, grab some dipping sauce of choice (tahini for me) and eat.
Get into this.
-C
3/4 cup checkpea flour
1 teaspoon each cumin and chili powder
1/2 teaspoon each garlic, paprika and ground ginger
pinch of red pepper flakes
2 medium sized valida onions (or whatever onions you have)
3/4 cup warm water
1/2 teaspoon salt
cracked pepper
tablespoon or so of oil to oil baking sheet
Preheat oven to 425.
In a wide bottomed bowl mix together the chickpea flour. salt. and all the spices. Add in the warm water and mix until completely incorporated and smooth. You want the batter to coat the onions when dipped but not be overly thick. If you think it needs to thicken up a bit, add a tablespoon more chickpea flour. To thin it, just add a splash more water.
Grab onions and peel off papery skin then slice into 1/4-1/2 inch rounds. Take onion rings and dip them into the batter then place rings on a large oiled baking sheet. Try not to overlap to much and definitely place smaller rings inside bigger rings. Also use a second baking sheet if you need to.
Once rings are all battered, place in preheated oven and bake for 40 minutes, giving them a flip atfter about 25-30 minutes.
Once dark brown and crispy, remove from the oven. Place rings on a plate and eat. Dipping sauce recommendation is tahini but anything or nothing at all is also right.
It started a few nights ago when I was eating my after dinner dessert snack. A big bowl of fresh strawberries. But there was something missing. I wanted a little something else to add to my dessert so I opened the freezer to see if there was any frozen bananas. What caught my eye was the bag of peas. And it just seemed right so I poured some into a bowl, dumped hot water on them to thaw, and mixed them into the bowl with the strawberries. Now I got to tell you, it was one of the most satisfying delicious desserts I have had in a long time. Think about it. Peas are sweet and creamy and strawberries are sweet and tart. The combination might seem a little strange but haven%u2019t we learned by now that I am always right about flavors? HAHA. But really. It%u2019s one of my new favorite snacks.
Now how to share my newfound love of peas and strawberries? Well cake of course. I figured people are less hesitant to try new flavor combinations when in cake form because everyone wants cake. And I was right. Plus it is a real looker if I do say so myself. Bright green cake with bright red strawberry glaze. A spring time snack with the spring time feels. Everything about this cake is right on point with all the things. And it is super fast and easy to make to boot because it%u2019s all thrown together in a blender.
You really can%u2019t go wrong here friends. And if you happened to be needing a little something something to snack on with your mama this weekend, well I think you just found the perfect snack.
Now to the cake!
The stuff. Peas,strawberrie jam of perceives (I had just made it so it is still warm) Flour, sugar and powdered sugar, baking soda and powder, salt, oil, and vinegar.
Super easy here. Place peas into blender and blend until smooth. Add oil and sugar and blend until incorporated. Then add in all the dry. Before you blend, take a spoon or spatula and hand mix it a little. Add in a cup of water and vinegar then pulse until incorporated. Don%u2019t over blend it or else it will be tough.
Pour batter into a well greased pan and pop into a hot oven. Bake.
Afer about 25 minuts, check for doneness. When the fork or tester comes out clean, it is done!
Pop cake out and let cool on a wire rack.
And glaze. Warm up the jam in the microwave on on stove until loose then mix jam with powdered sugar.
When the cake has cooled, grab a fork and stab holes all over so when you pour glaze on it will kind of seep into said holes.
Pop cake back into pan (or don%u2019t if you dont want too) and pour glaze all over top.
A dusting of powdered sugar for looks and done and done. Cut into squares, pop a piece on a plate, and snack away.
-C
makes a 9×9 cake
2 cups all purpose flour
3/4 cup white sugar
1 1/3 cups sweet peas (fresh or frozen and thawed)
1 cup water
1/3 cup oil
1/2 teaspoon salt
1 teaspoon baking powder
1 teaspoon baking soda
1 tablespoon vinegar
1 cup powdered sugar
3 tablespoon strawberries jam or preserves
Preheat oven to 350
Place peas into blender ans blend until smooth. Add in oil and sugar and blend until incorporated. Next add in baking soda and powder and then flour on top. Grab a spoon or spatula and mix a little to give the batter a head start then add int he water and vinegar. Pulse in blender for a few seconds, scrap sides, then pulse again until it just become a cohesive batter. Don%u2019t oven blend it or that cake will be tough.
Pour batter into a well greased 9×9 baking tin and place into hot oven. Bake for about 25 minutes or until golden brown and a tester comes out clean. When it is done, pop out of oven and pop cake out of tin to cool on a wire rack.
Once cake is cooled, place back into baking pan. Mix together the powdered sugar and jam then either microwave it or heat on stove for 30ish seconds until warmed and pourable. Grab a fork and stab holes all over top of cake then pour glaze all over.
Sprinkle some more powdered sugar on top for looks, but other then that, it%u2019s now time to eat.
Cake that is not eaten is best keep at room temperature for 2-3 days. Can be frozen too.
Why is it when I bring up anything that has to do with savory peanut butter, people get all wild and weird about it? There has been some misinformation that has seeped into peoples brains that told them that peanut butter cannot be savory, that it must be paired with something sweet and sugary.
Well I am here to tell you that that is bull shit and while peanut butter does go amazingly with all things sweet and or fruity, it is almost more fantastic with savory notes and veggies. Seriously, I eat peanut butter all the freaking time, and most of that time it is has garlic, vinegar, and some hot sauce mixed into it. To dip carrots and cabbage into of course.
This sandwich is basically that. Peanut butter mixed with a few spices and loaded with veggies. Sure ok, some of you might be a little skeptical, that is how you were raised. Peanut butter and jelly. Peanut butter and fluff. Peanut butter and banana. I get it, because that was me when I was a kid too. But then I grew up and my taste for great things grew up too, which lead me to this sandwich.
So trust me. It will probably be one of the best peanut butter sandwich situations that you will ever stick in your mouth. Plus what do you got to lose? It is a one sandwich, basically no time invested, easy as can be, adventure. One that will change your view of peanut butter and maybe even your life in all the good ways. For reals.
Now to the peanut butter and veggie sandwich!
The stuff. Peanut butter, soy, apple cider vinegar, garlic powder, black pepper, ginger, and red pepper flakes. Also bread and lots of sliced up or shredded veggies. I used red onion, shredded cabbage and carrot, cucumber, sliced fresh green beans, and spinach.
First you pile your veggies together and dump a little vinegar on to them. Also add a little pepper and toss a bit. I did it right on the cutting board. No need to dirty another bowl if you don%u2019t have to.
Now for the peanut butter spread. Mix the soy, rest of vinegar, the garlic, ginger, and red pepper flakes all together with the peanut butter. Add a tiny splash of water to loosen it up if needed. Mix until completely incorporated. And then dip your finger and taste it. Add more soy or spices if you want.
And then you spread the peanut butter all over the bread.
Top with the veggies that have been sitting a good couple minutes in the vinegar.
Close up the sandwich, cut in half%u2026
Eat.
I know, I know. Life is pretty swell, especially with a peanut butter and veggie sandwich.
You%u2019re welcome.
-C
makes 1 sandwich
2 heaping tablespoons peanut butter
1/2 teaspoon each ground ginger and red chili flakes
1/2 teaspoon garlic powder
2 tablespoon apple cider or red wine vinegar
1 tablespoon soy
splash of water
Veggies. You can use any or all of the following . Red onion, shredded cabbage, shedded carrot, sliced cucumber, green beans, spinach.
2 slices of some good ass bread
Start by placing all the veggies you are adding to the sandwich into a little pile and drizzle about a tablespoon of vinegar. Add ground black pepper and toss around a little. You can do this in a bowl, but just on a cutting board works too.
Next mix the peanut butter, tablespoon of vinegar, ginger, garlic, red chili flakes, and soy together until completely incorporated. Add a splash of water if needed to loosen a bit if it gets to thick to stir. Then taste. If you think it needs more heat, add more chili flakes, or more saltness, add a splash more soy.
And now spread the peanut butter all over the two slices of bread. Each side get equal amounts. Grab the veggies and pile them on, close sides together, and cut in half.


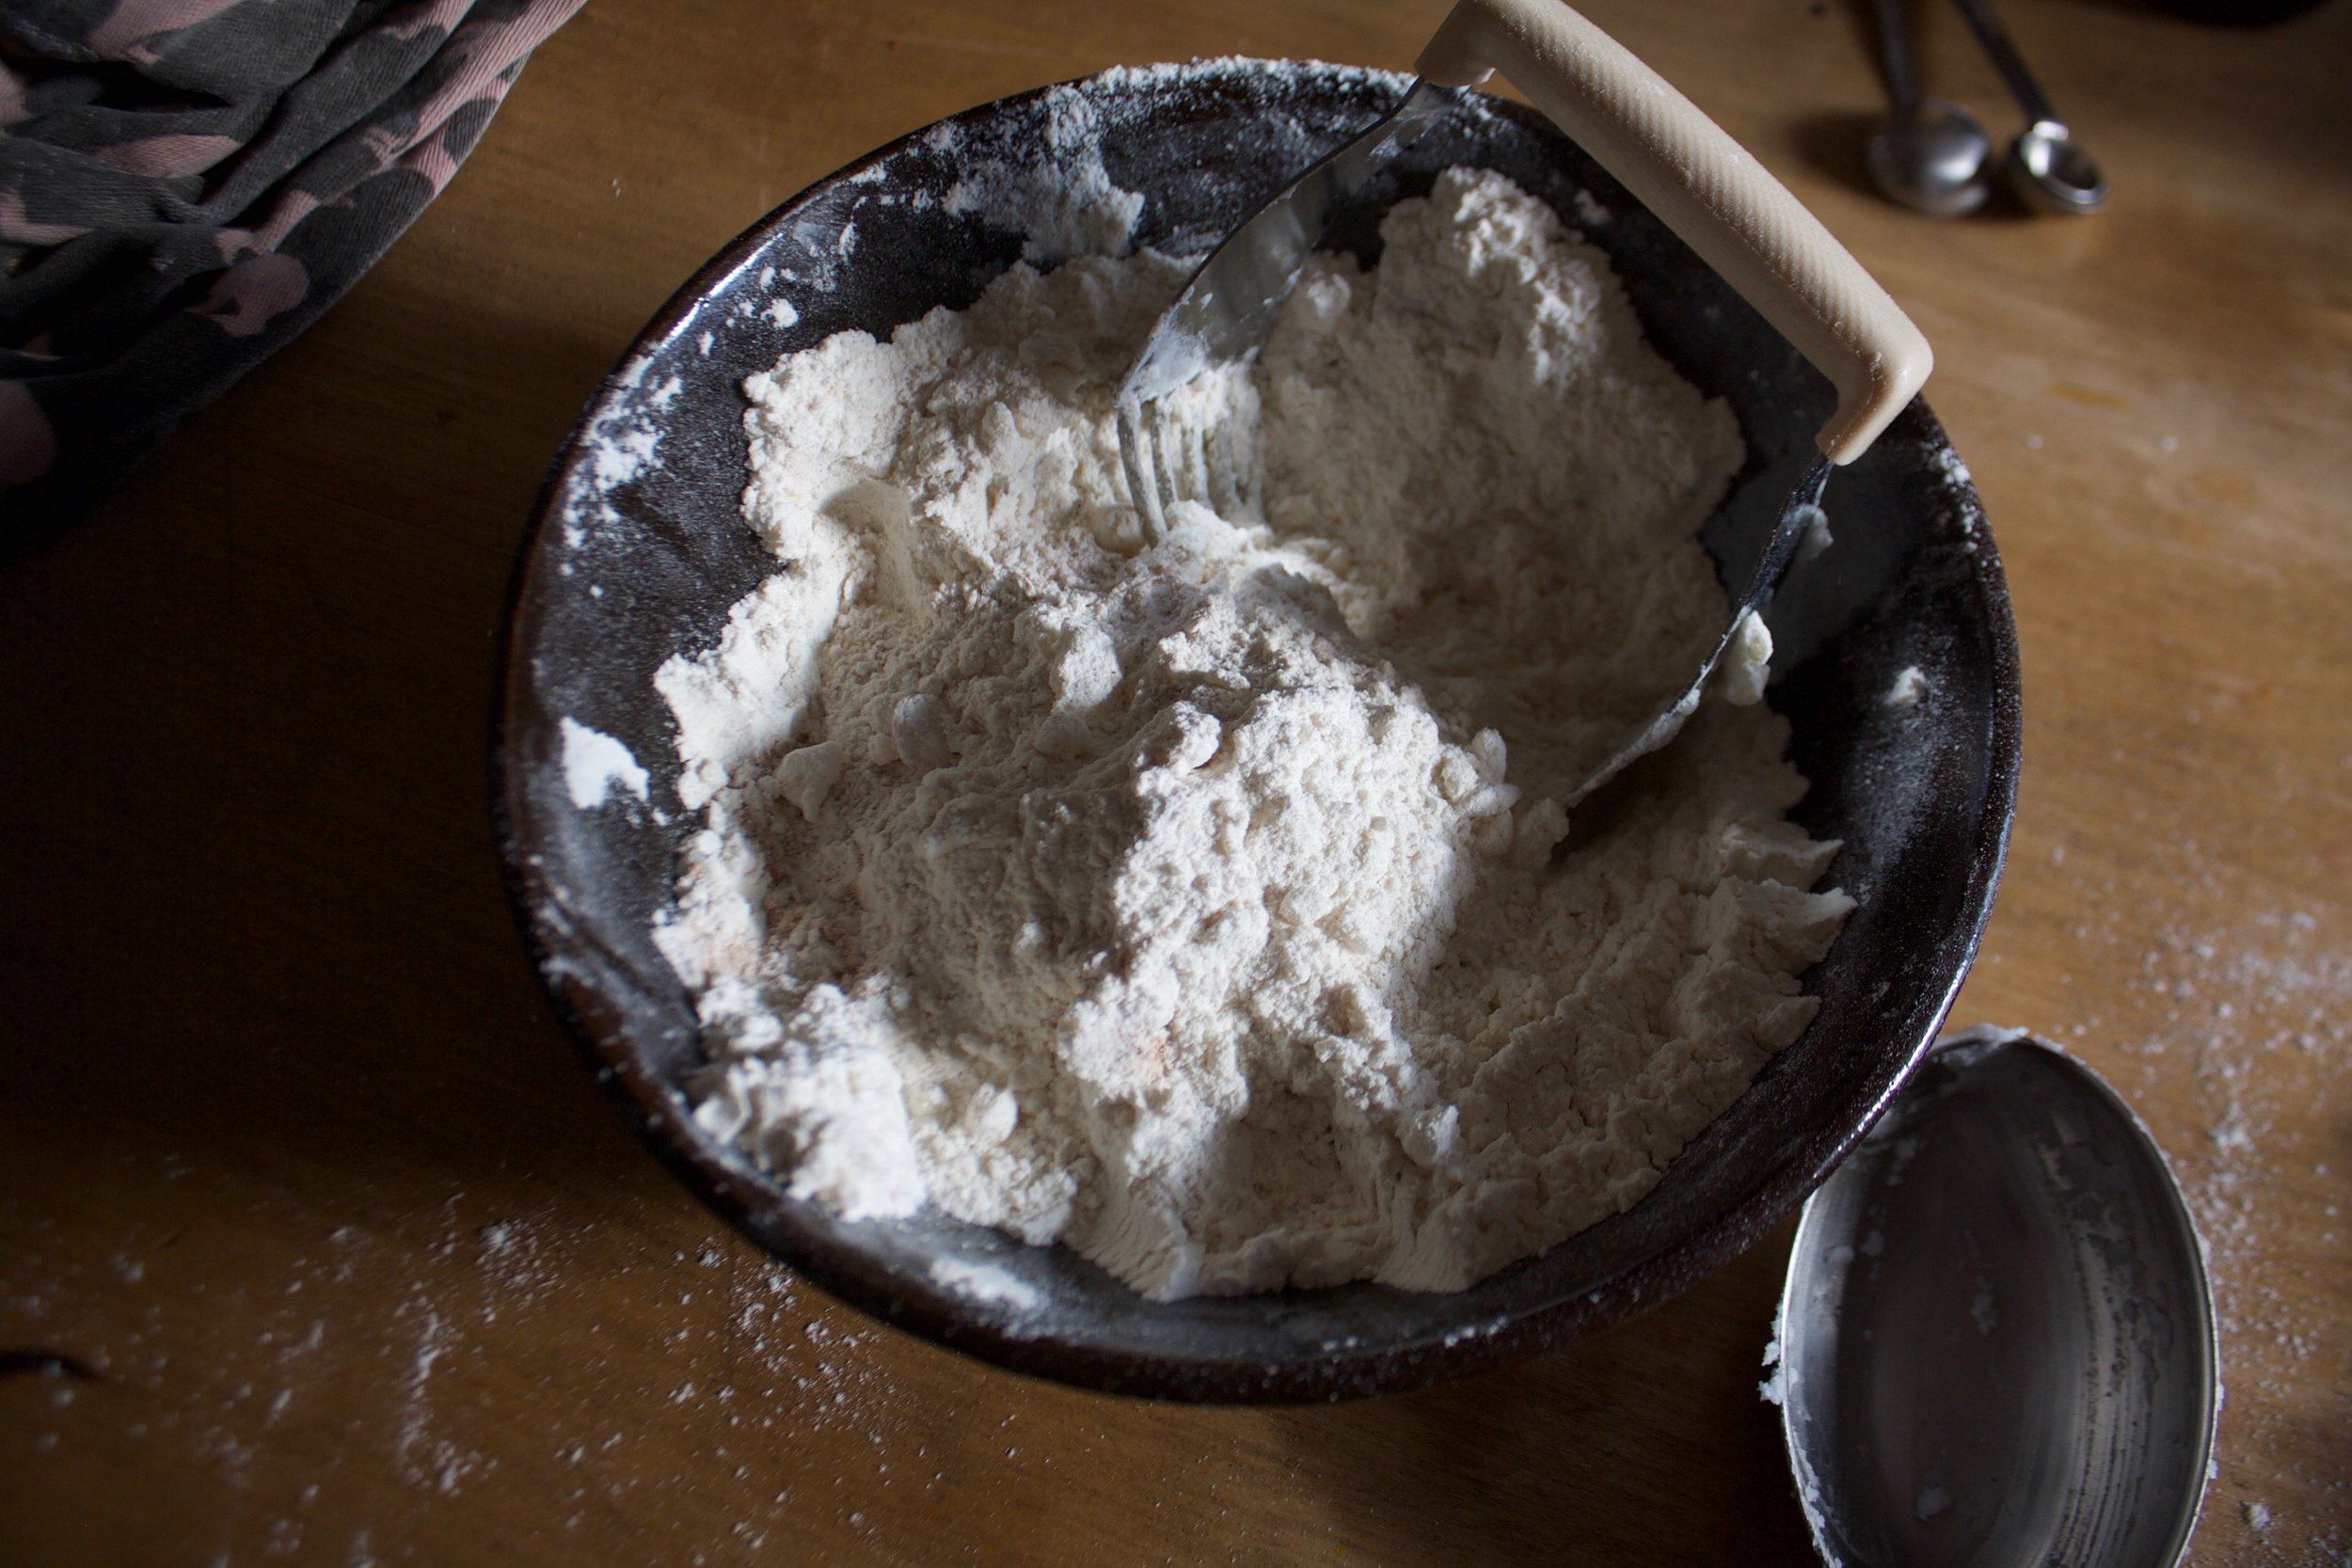
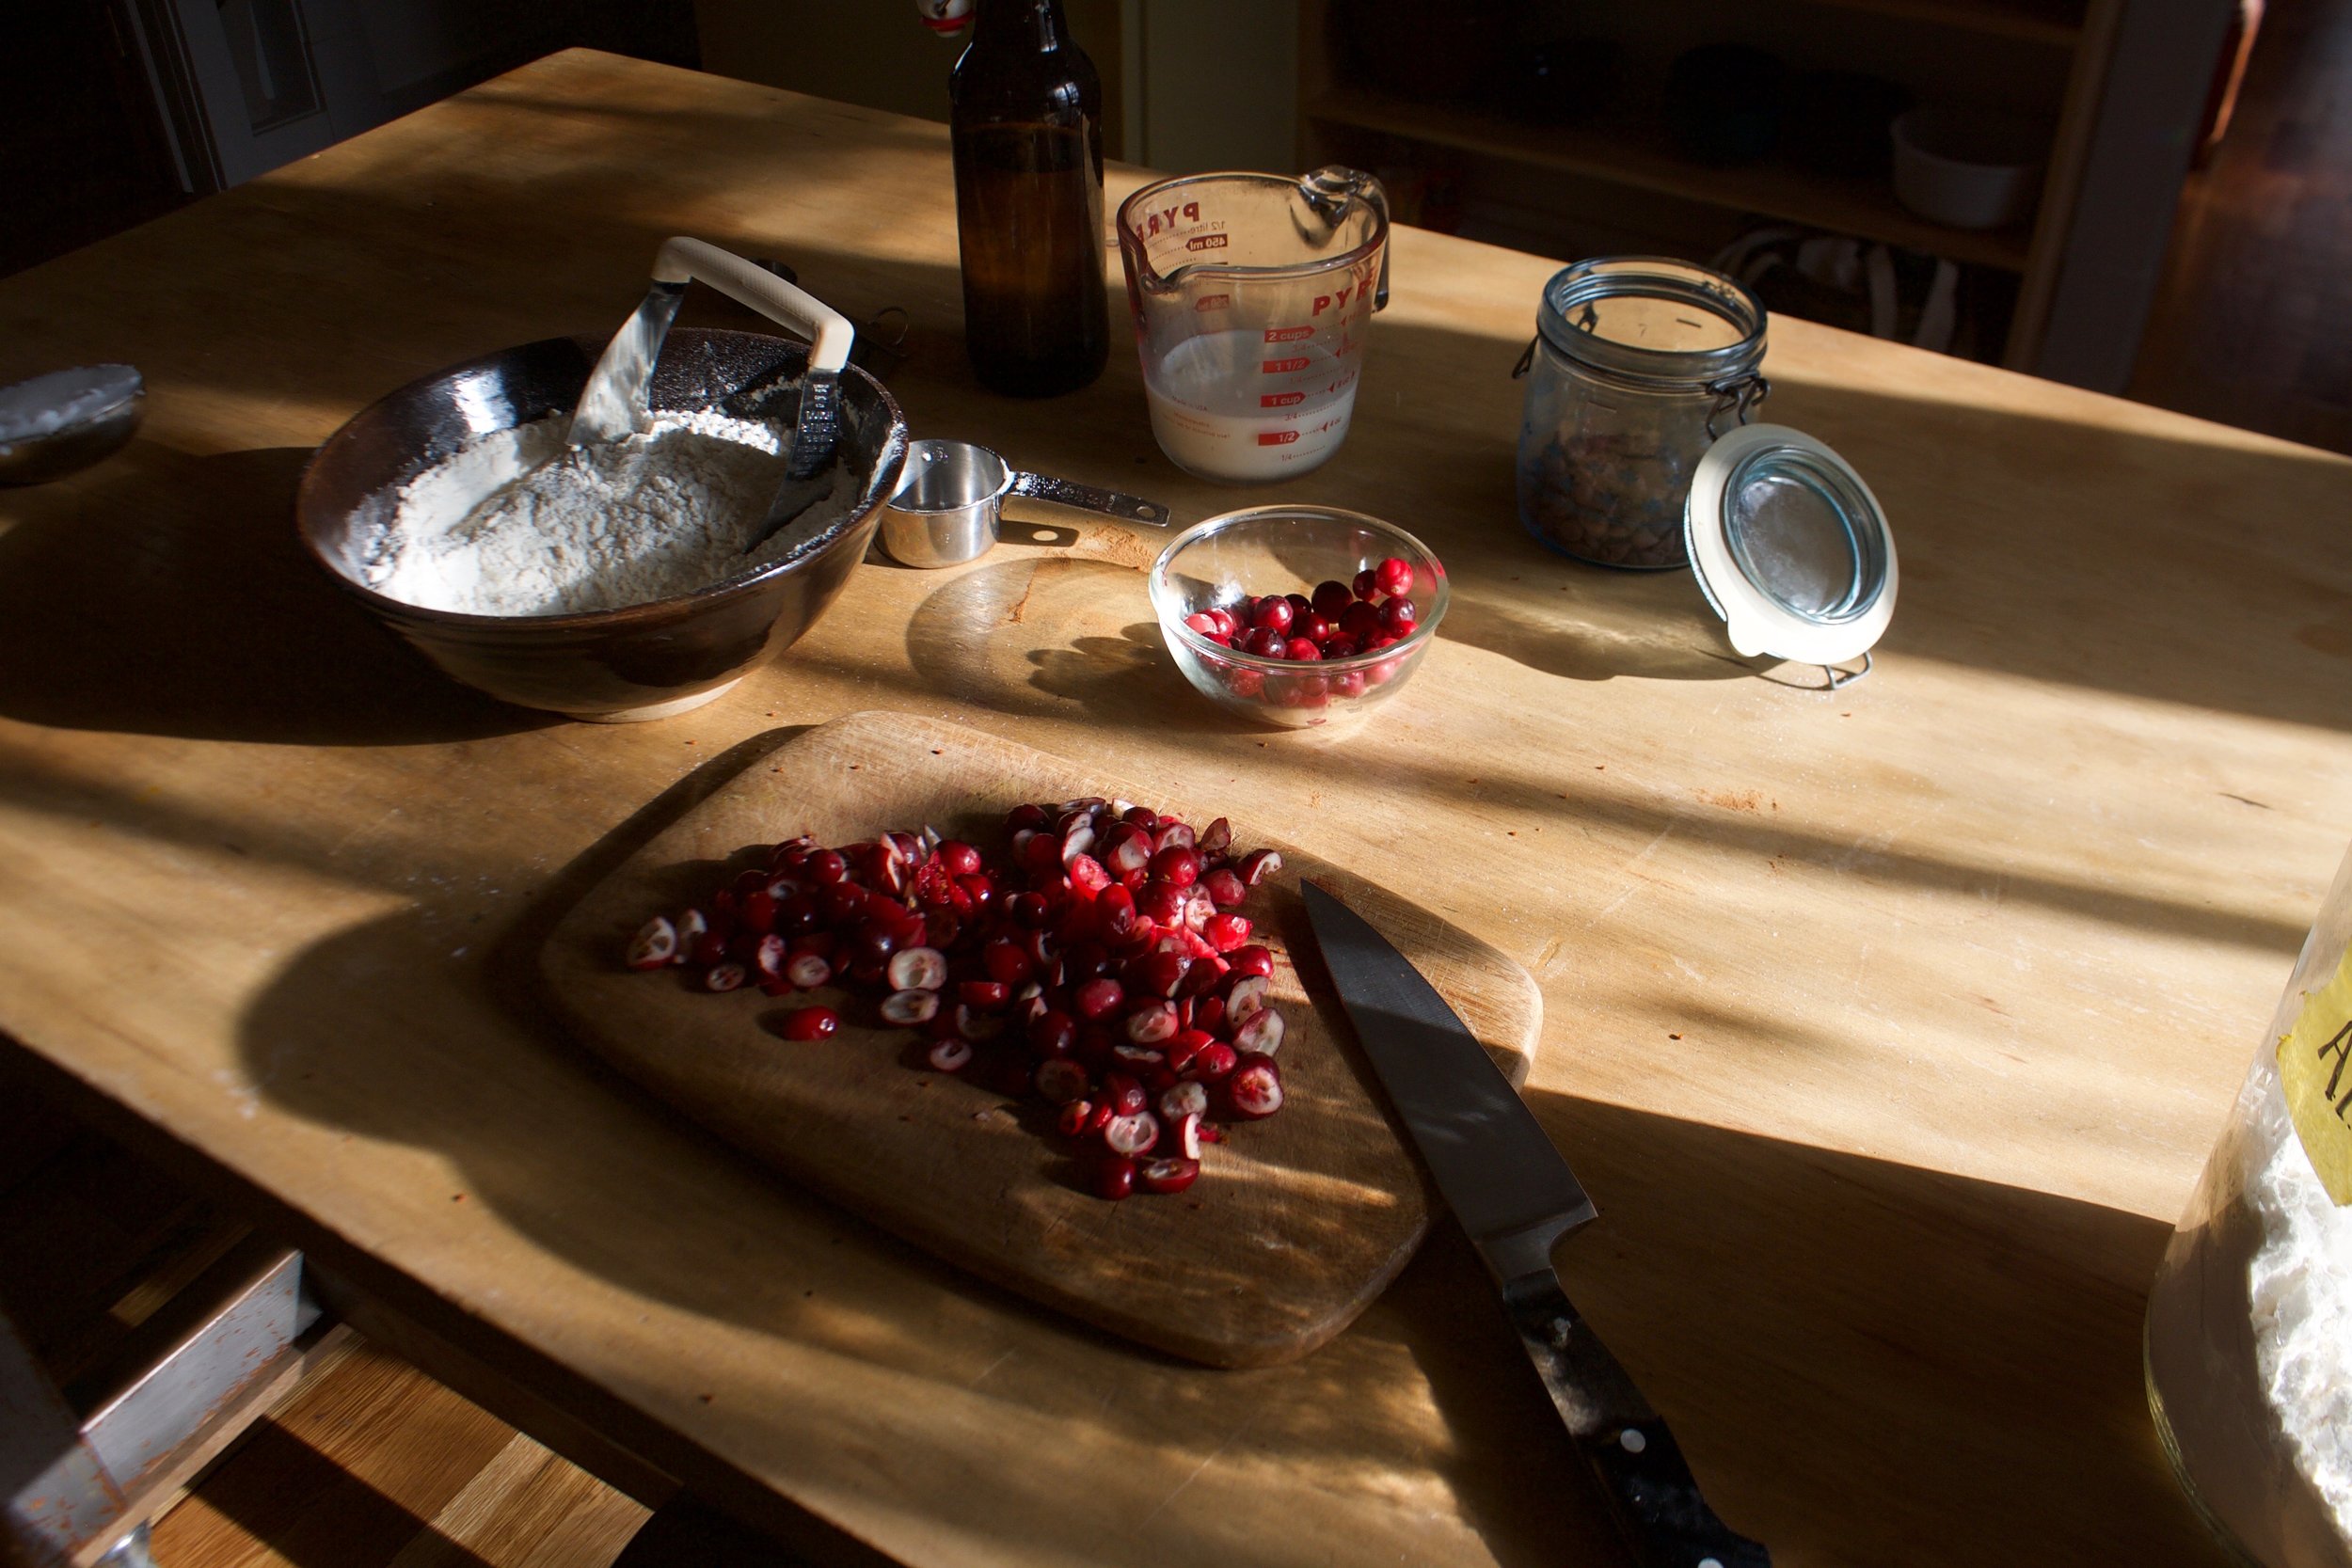
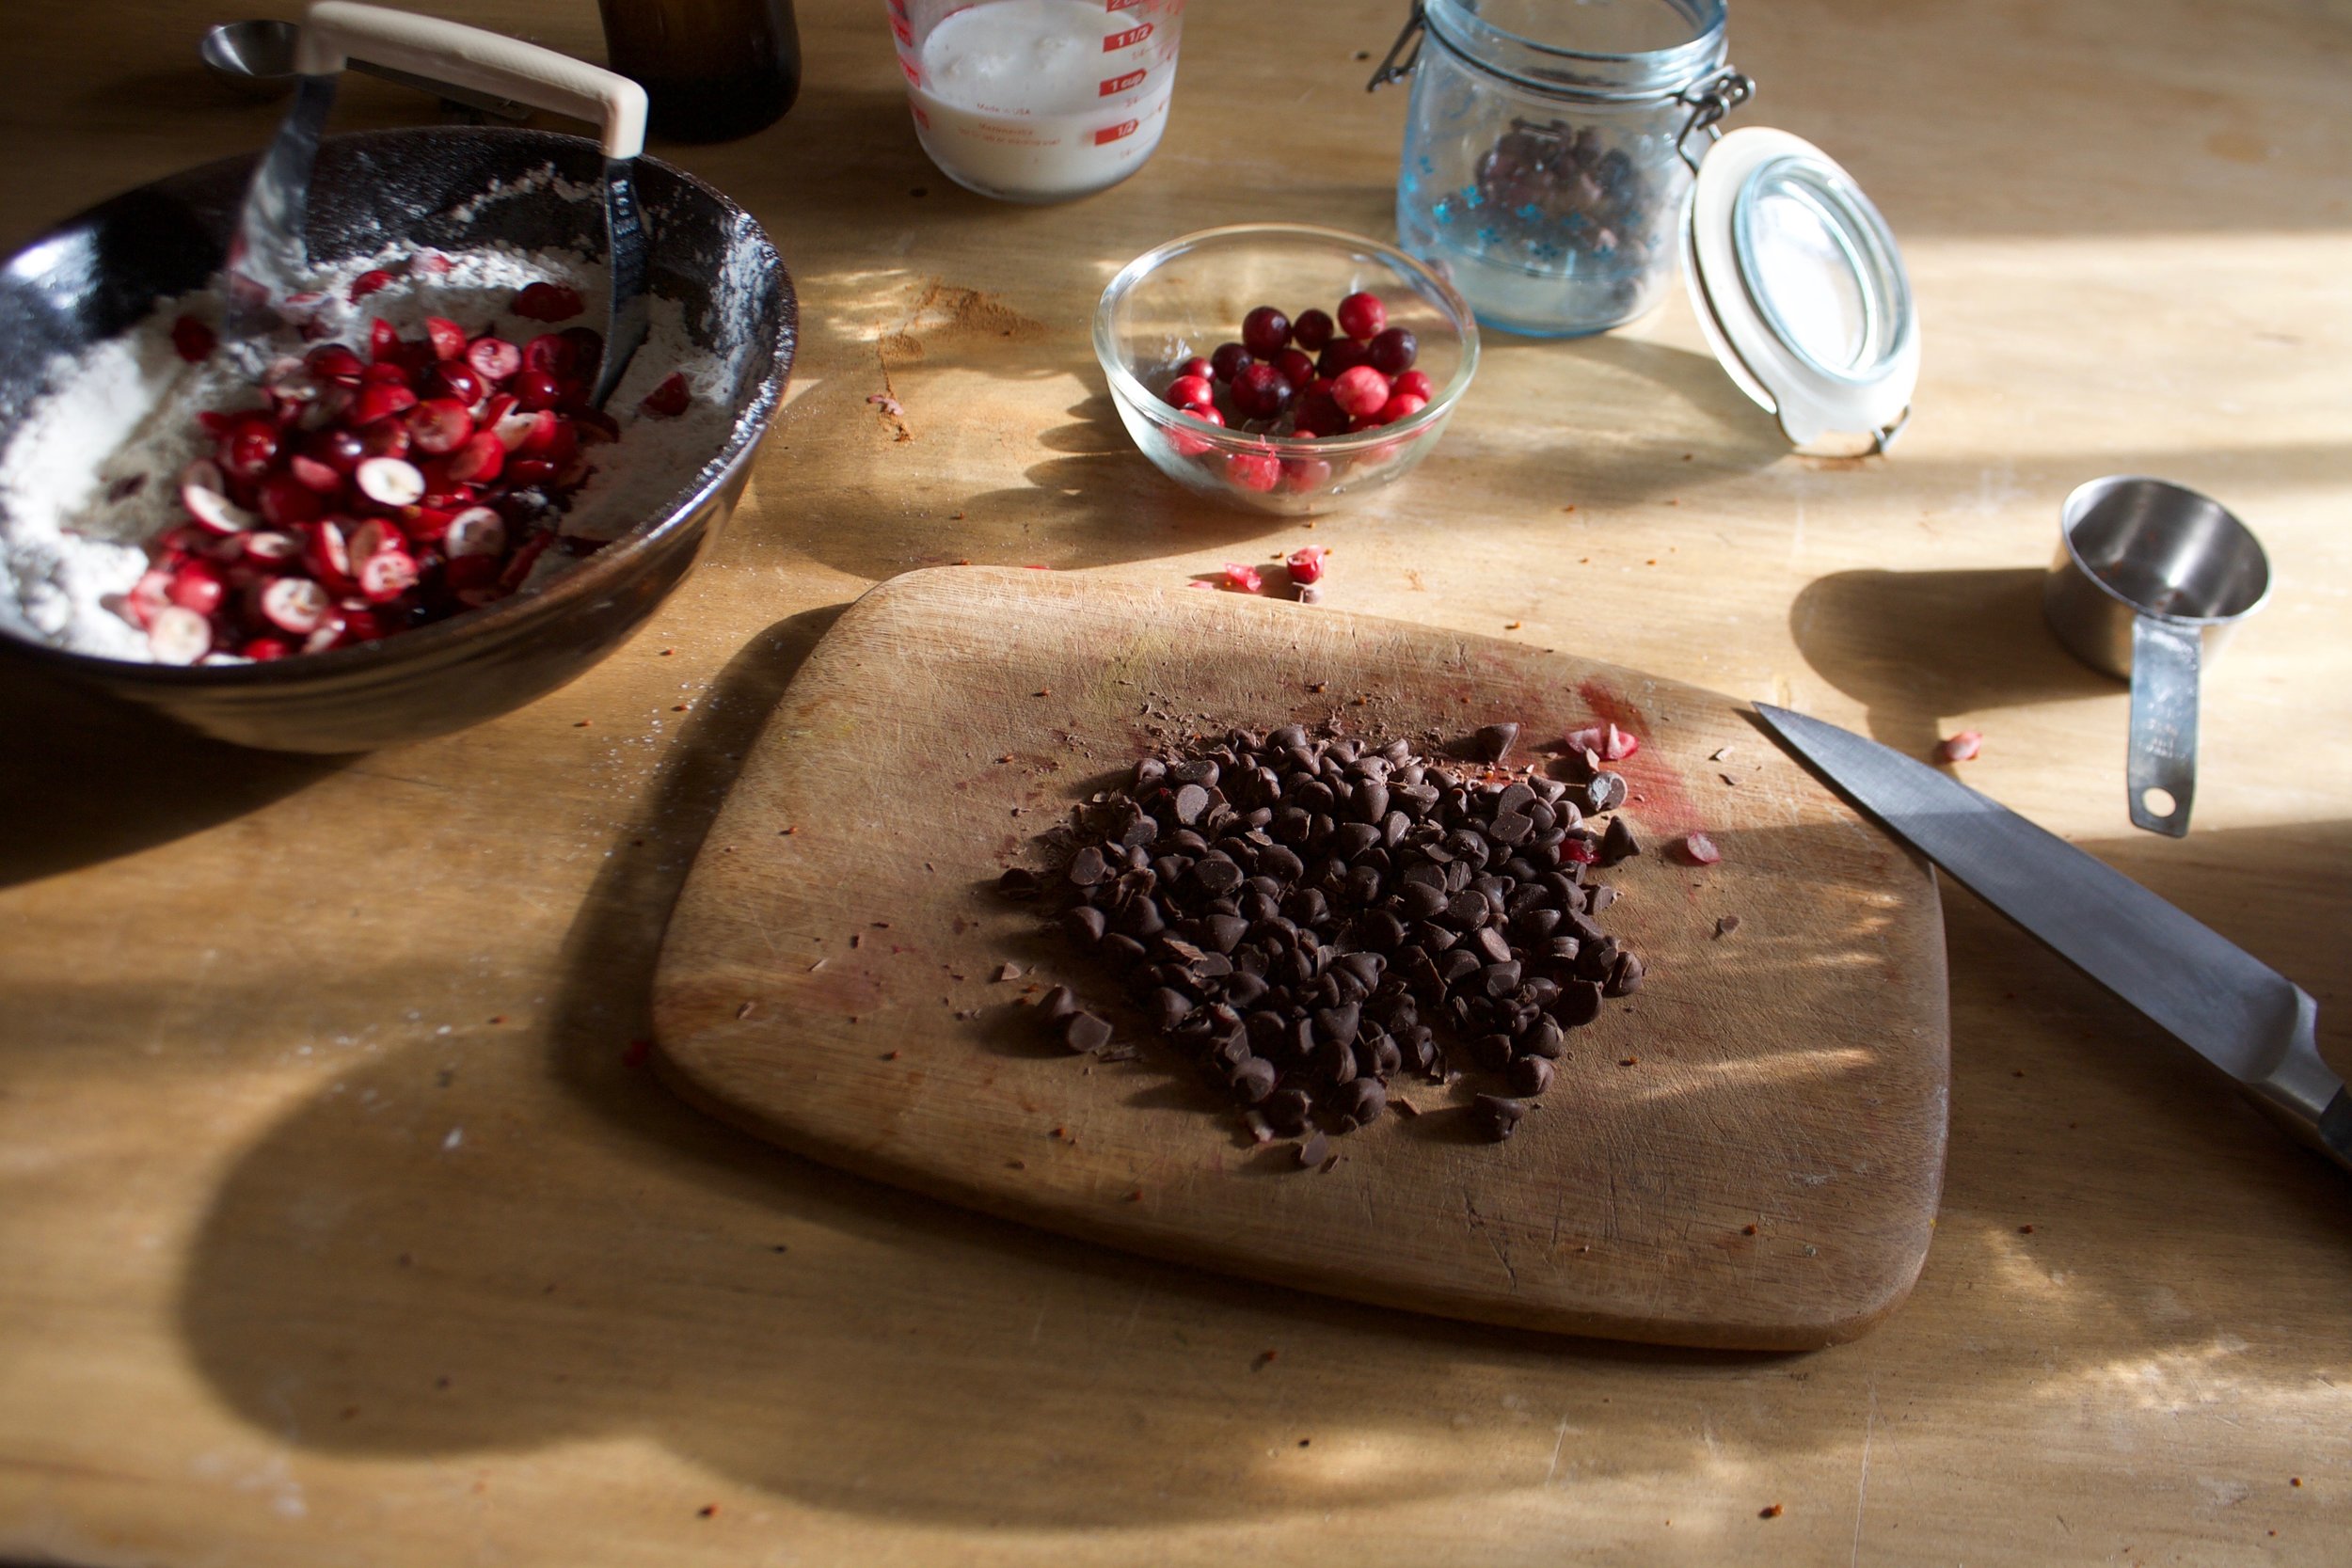


 Miraculous.
 Rutabaga. Sweet Potato. Beet. That’s what I was working with. I chose these roots for color as well as for taste. Separately the flavors are amazing. Together they are out of this world. If you wanted you could omit any of these and sub in, lets say, pureed cauliflower, or maybe parsnips. I would stay away from potato, it’s a little to starchy, but maybe acorn or butternut squash. Oh man, now I want to make celeriac, carrot and acorn squash marble. Pureed vegetables are trouble for me. I can’t stop eating when they are around. I know, but don’t judge, instead lets prepare.


 So you got a pile of roasted rutabaga, a pile of roasted beets and a baked sweet potato.
 I used my handy emulsion blender to puree everything but a food mill or a food processor is equally as good. Puree each root separately . Start with the rutabaga. Go to the sweet potato, then end with the beet. That way you don’t have to clean in between purees. Add little amounts of water when pureeing if it needs a little help to loosen up. Blend until smooth.
 I just took a spoon and threw piles in that bowl. I could have done more of a checkerboard pattern to make it a more uniform marble, but I just went for it. Do it any way you want. Don’t be afraid, you can’t screw this up!
 I took a fork and kind of rain it throw the top to start the effect. I then took a cake knife and just leaved it out. That’s what I did and then I was done. After all the oohing and aching, I stuck the dish into the oven for another 10 minutes just to keep hot, but you can serve this at room temp as well.
 Now tell me that isn’t a thing of beauty. I fell in love. I want to puree and marble everything. This could be my thing.
 Empty bowl…Ok, I’ll admit I ate half of it..I couldn’t help it. Next time I will have to make a bigger batch.
 I am the best sister. .
 All the right stuff nicely measured out and the oven preheating.. I really like baking in her kitchen. She has the best light and a bunch of kitchen gadgets, lots of bowls, plus a dish washer. I miss having a dish washer.
 Creaming the sugars with butter and adding the eggs…It took me like 20 minutes to find the beater which was in my face the whole time. I was looking for a white beater. Hers is black.I am oblivious.
 Here comes the pumpkin. I added the spices at this point. (This picture is awesome)
 Greased and flour dusted bundt pan. This pan is my new favorite, another one of my junk store scores! If you use a shaped pan like this, really make sure you get every line greased or else… Dusting the greased pan with flour makes it easier to see if you missed a spot. Pour in batter and stick on middle rack in oven.
 Pop it out of the oven when a tester come out clean and…TADA! What a beauty. I decided to forgo any frosting. The cake shape is too nice to cover. And bonus, since there is no frosting…didn’t have to wait for it to cool. Dug right into warm pumpkin goodness.
 Look at those flowers. Trader Joes has it going on. We looked all over her house for a vase and good thing I found this one. Nick had cut the top off of a 2 liter of mountain dew and stuck the flowers in that. I mean, it worked, but I think the vase was the better choice.
  And did I mention I am a genius? We couldn’t find any candles so I cut pieces of a striped straw and stuck matches in them. Best on the fly candle creation ever!
 Left with crumbs… Notice the finger marks in the powdered sugar? I bribed one of her littles with that sugar. I told her if she emptied the dish washer she could lick the plate clean. I am a fantastic sister!!!
 Oh boy we made it! Ate our way through another Thanksgiving. I hope yours was a good as mine, lot of family and friends…an abundance of pies, and lot of warm lovely goodness.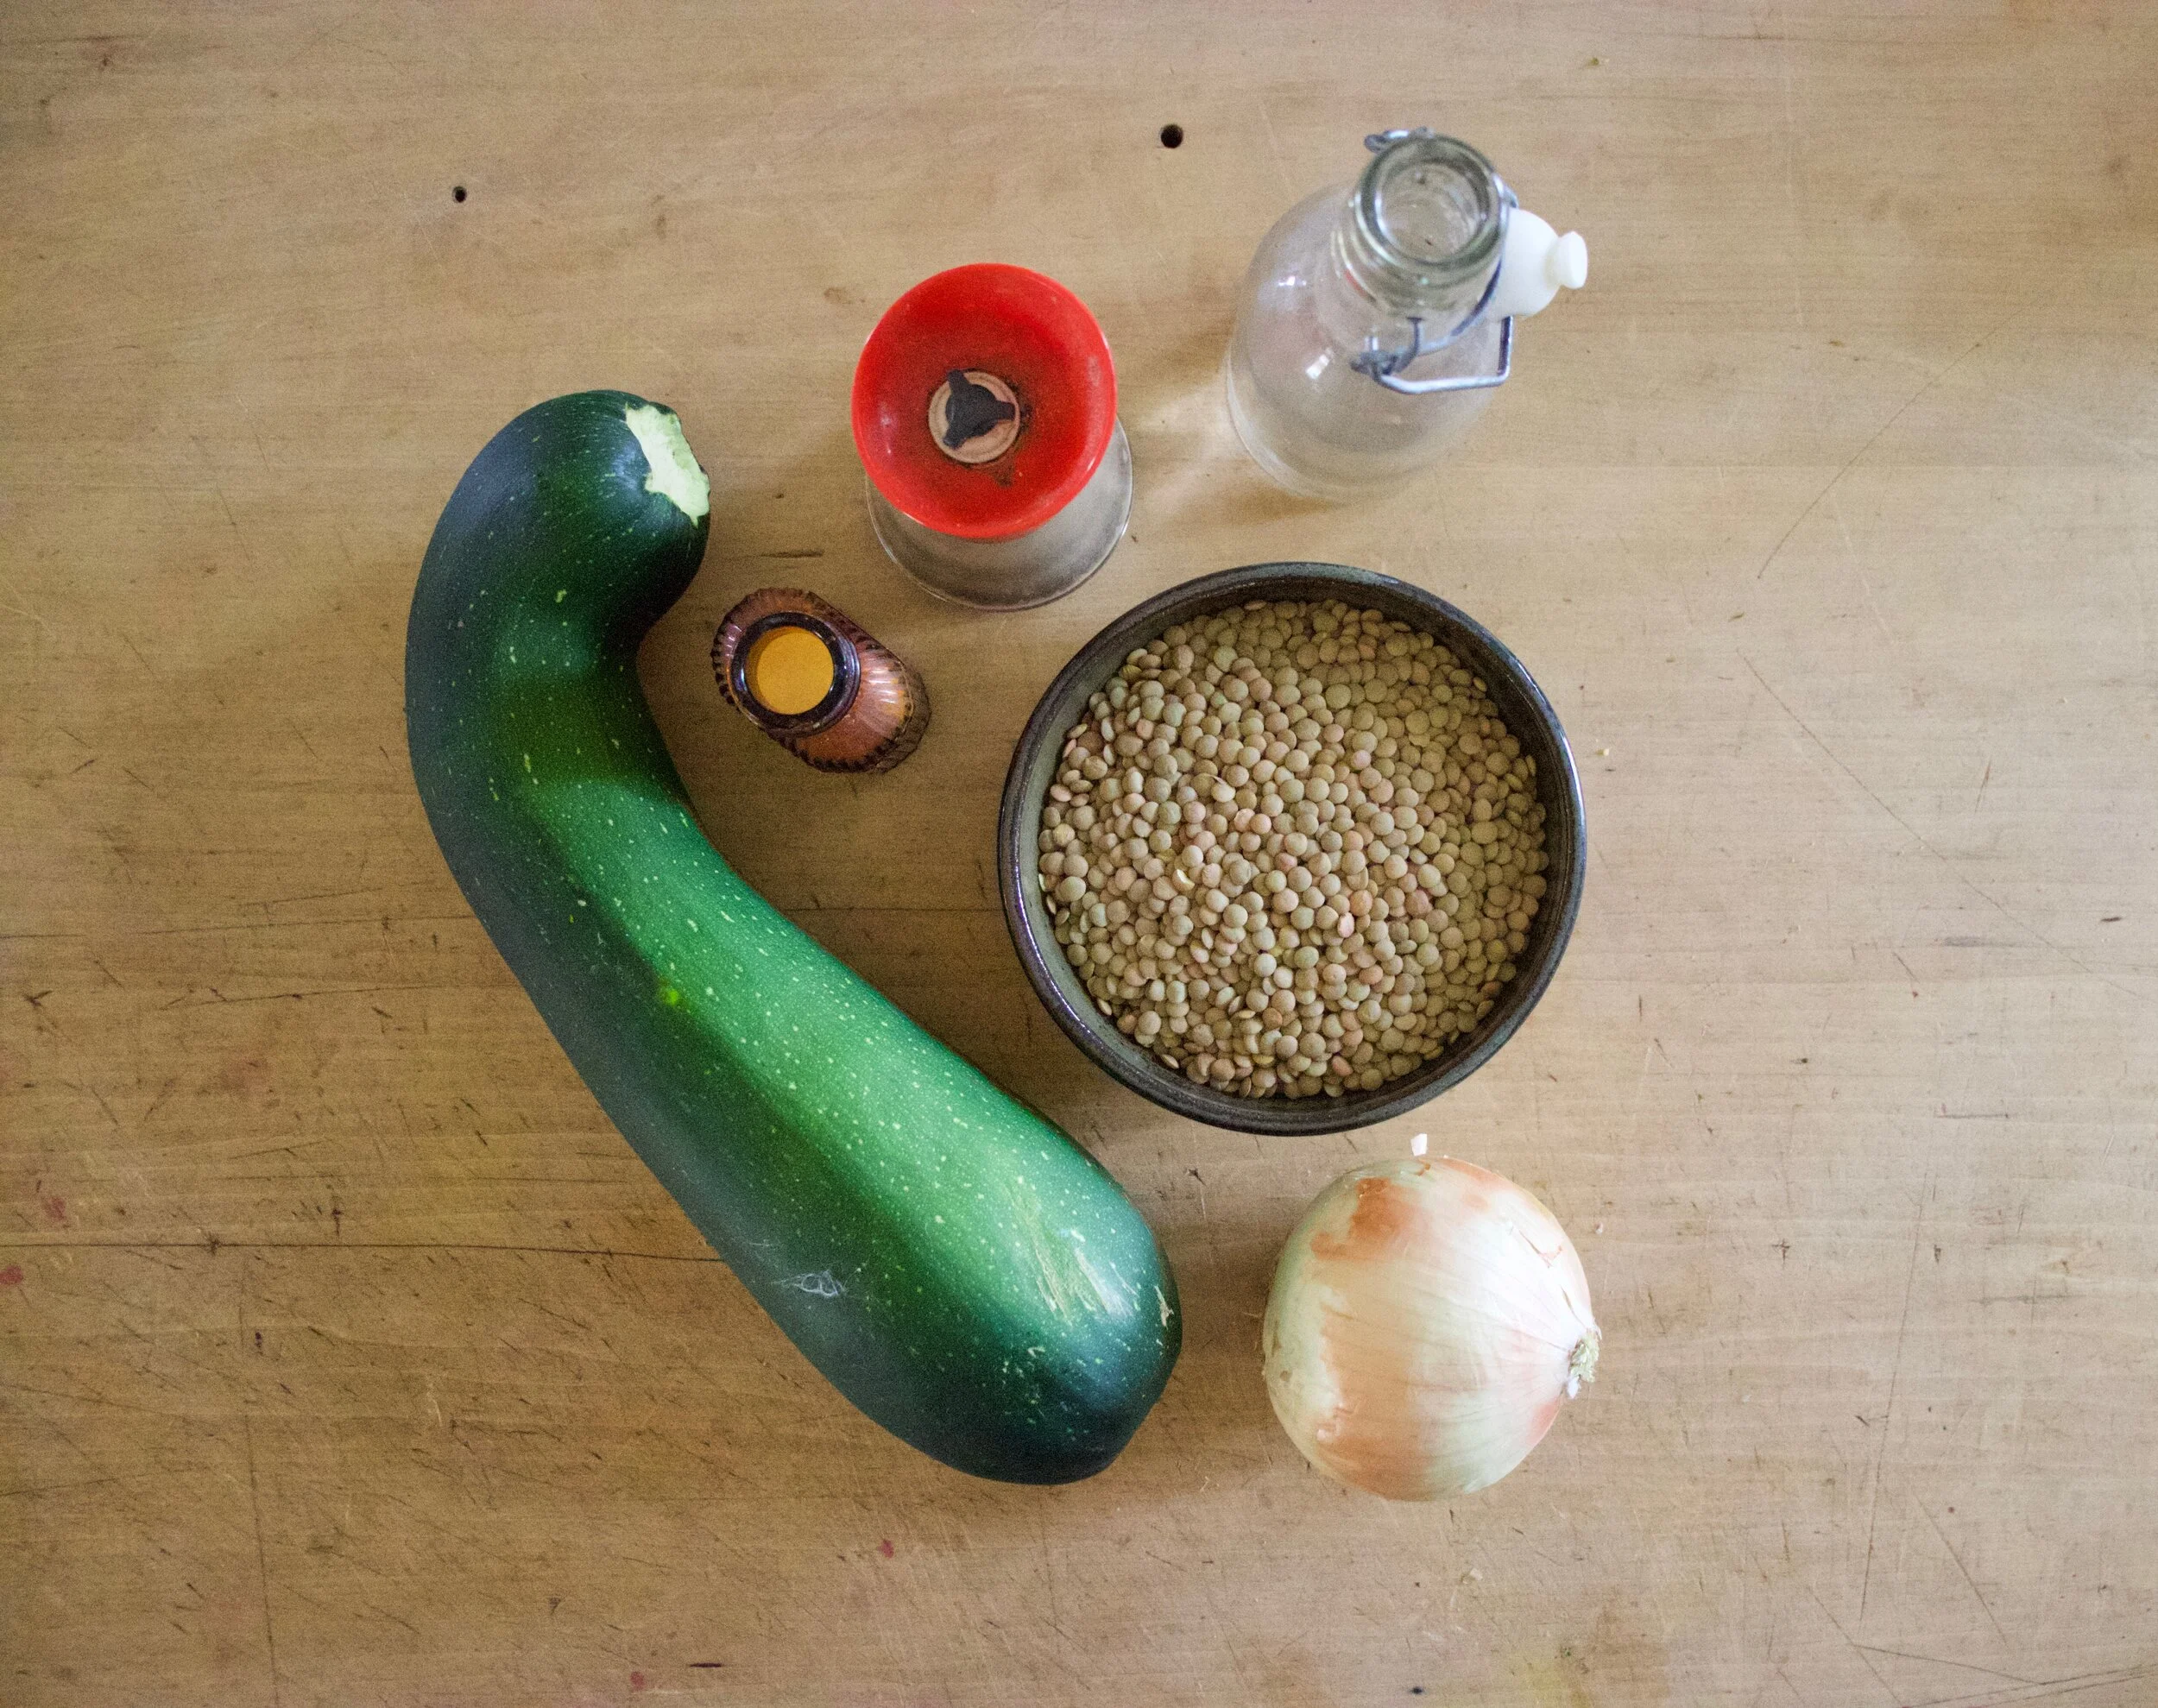
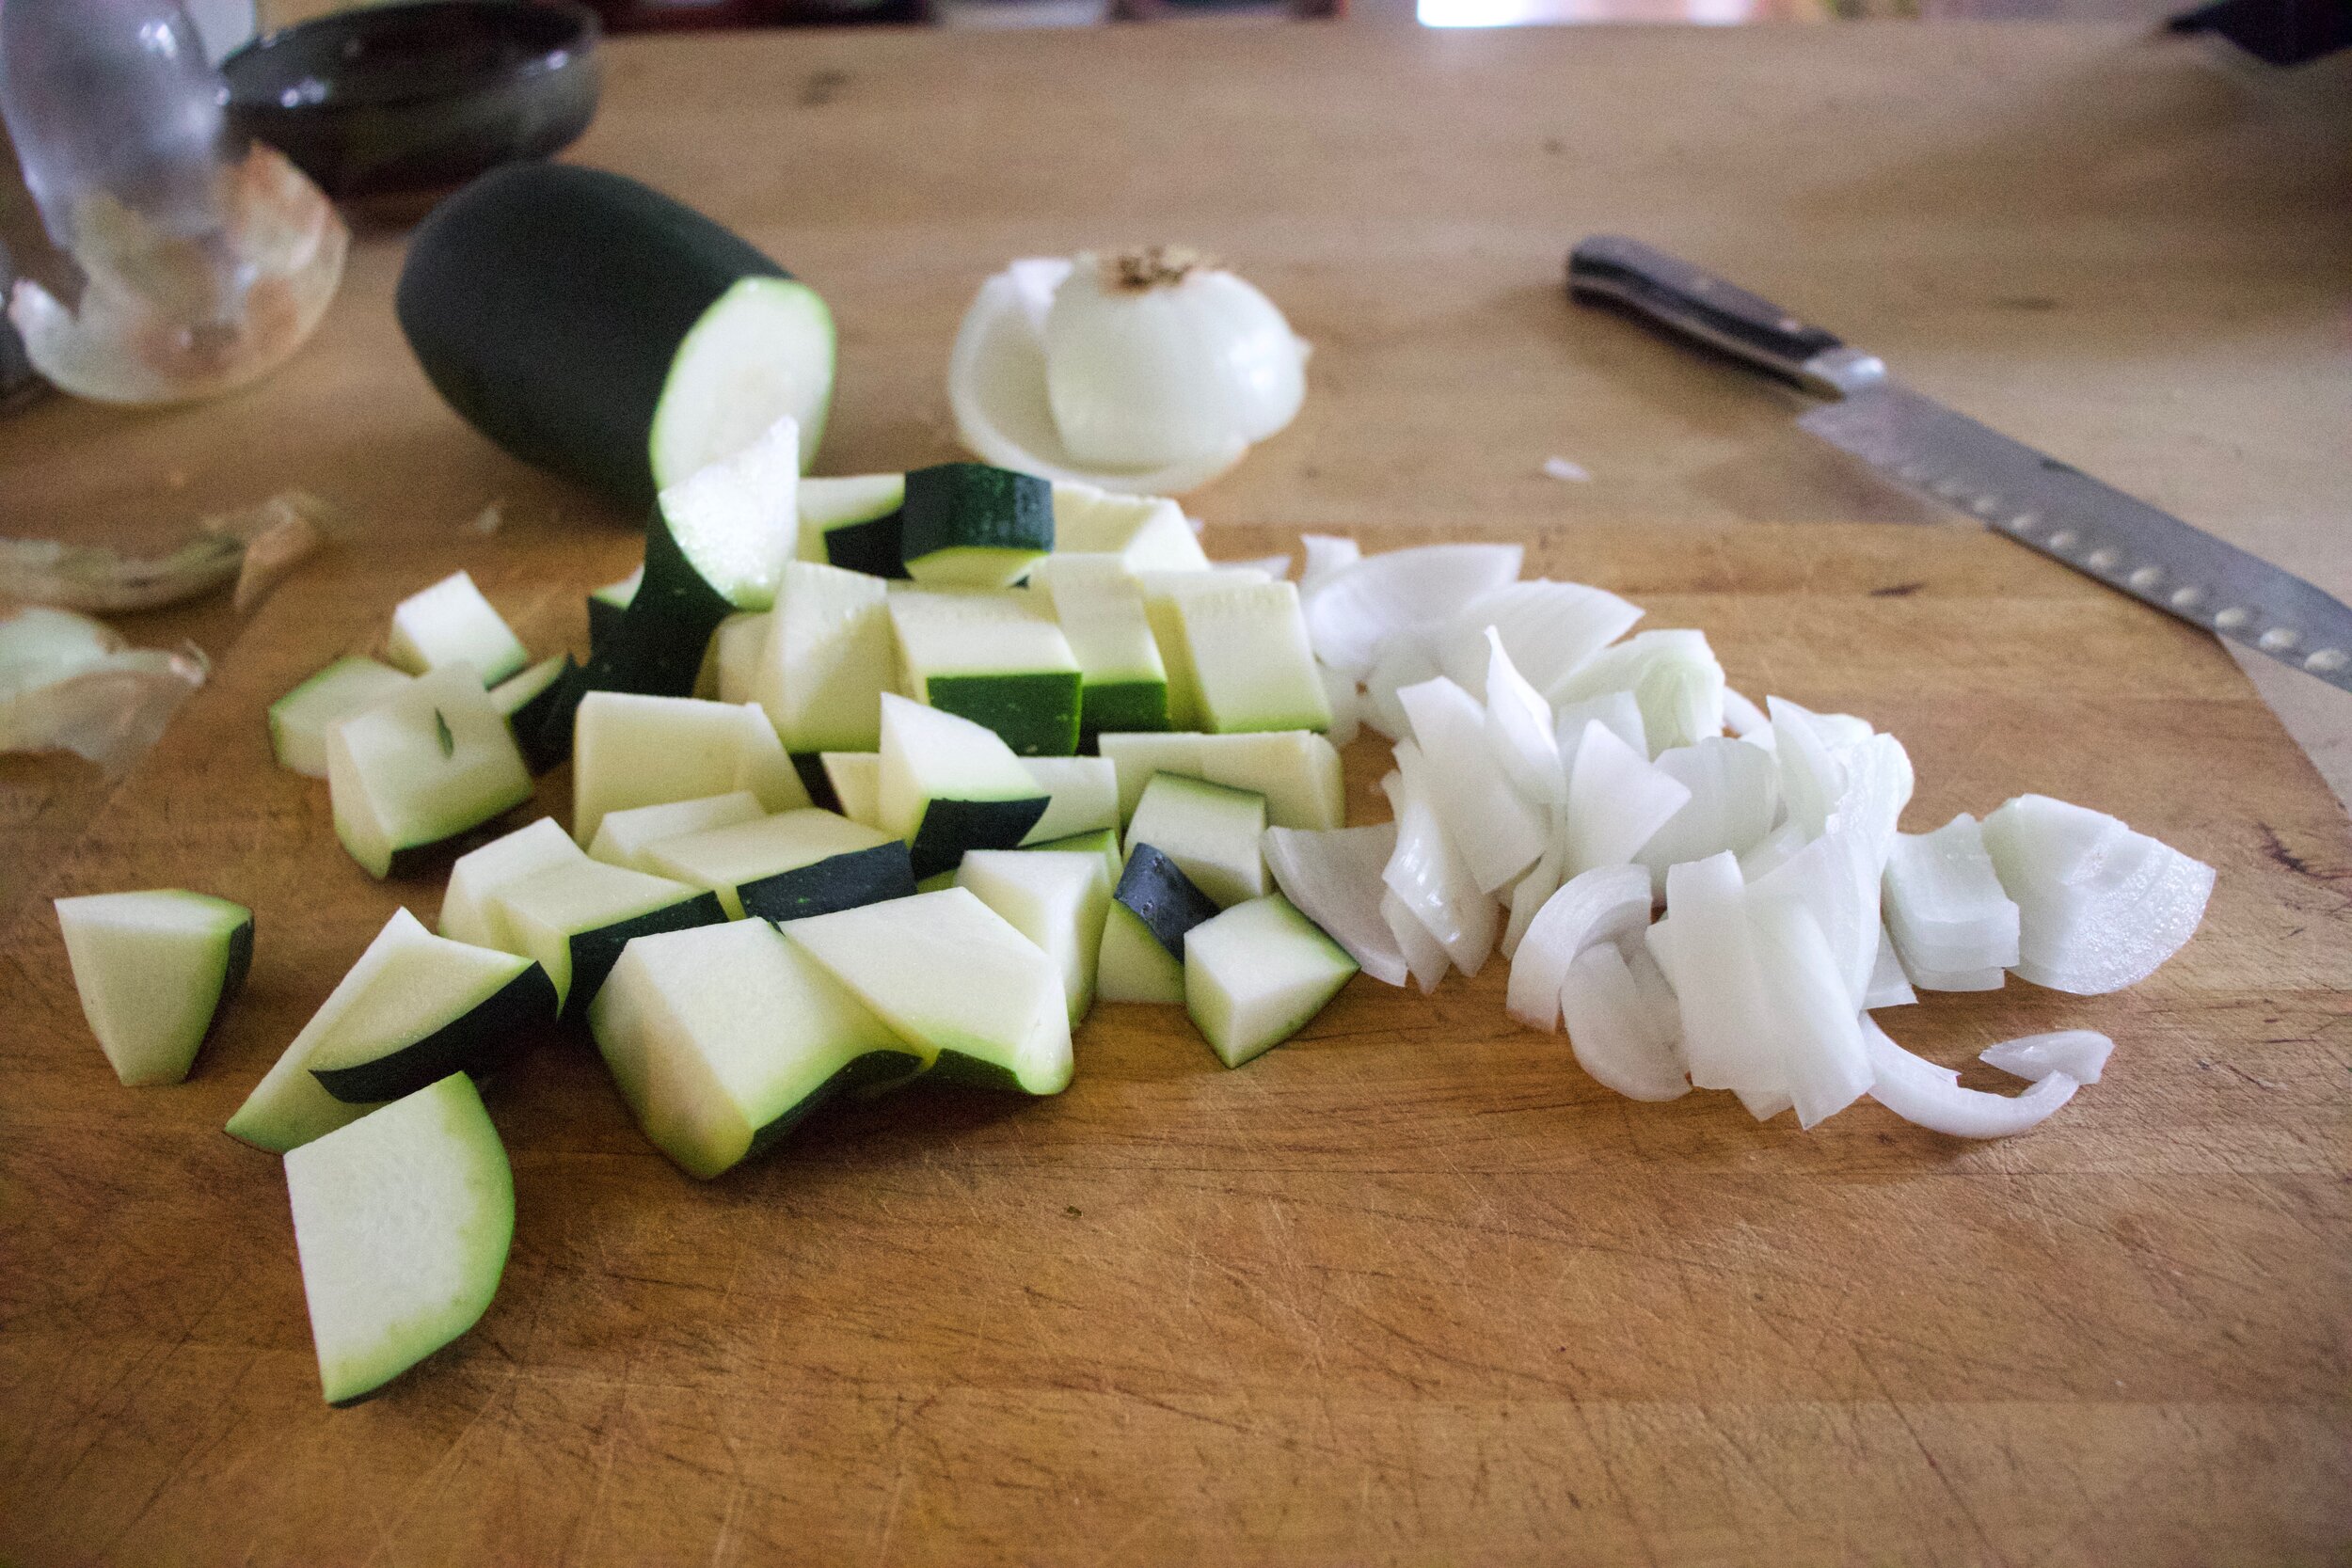
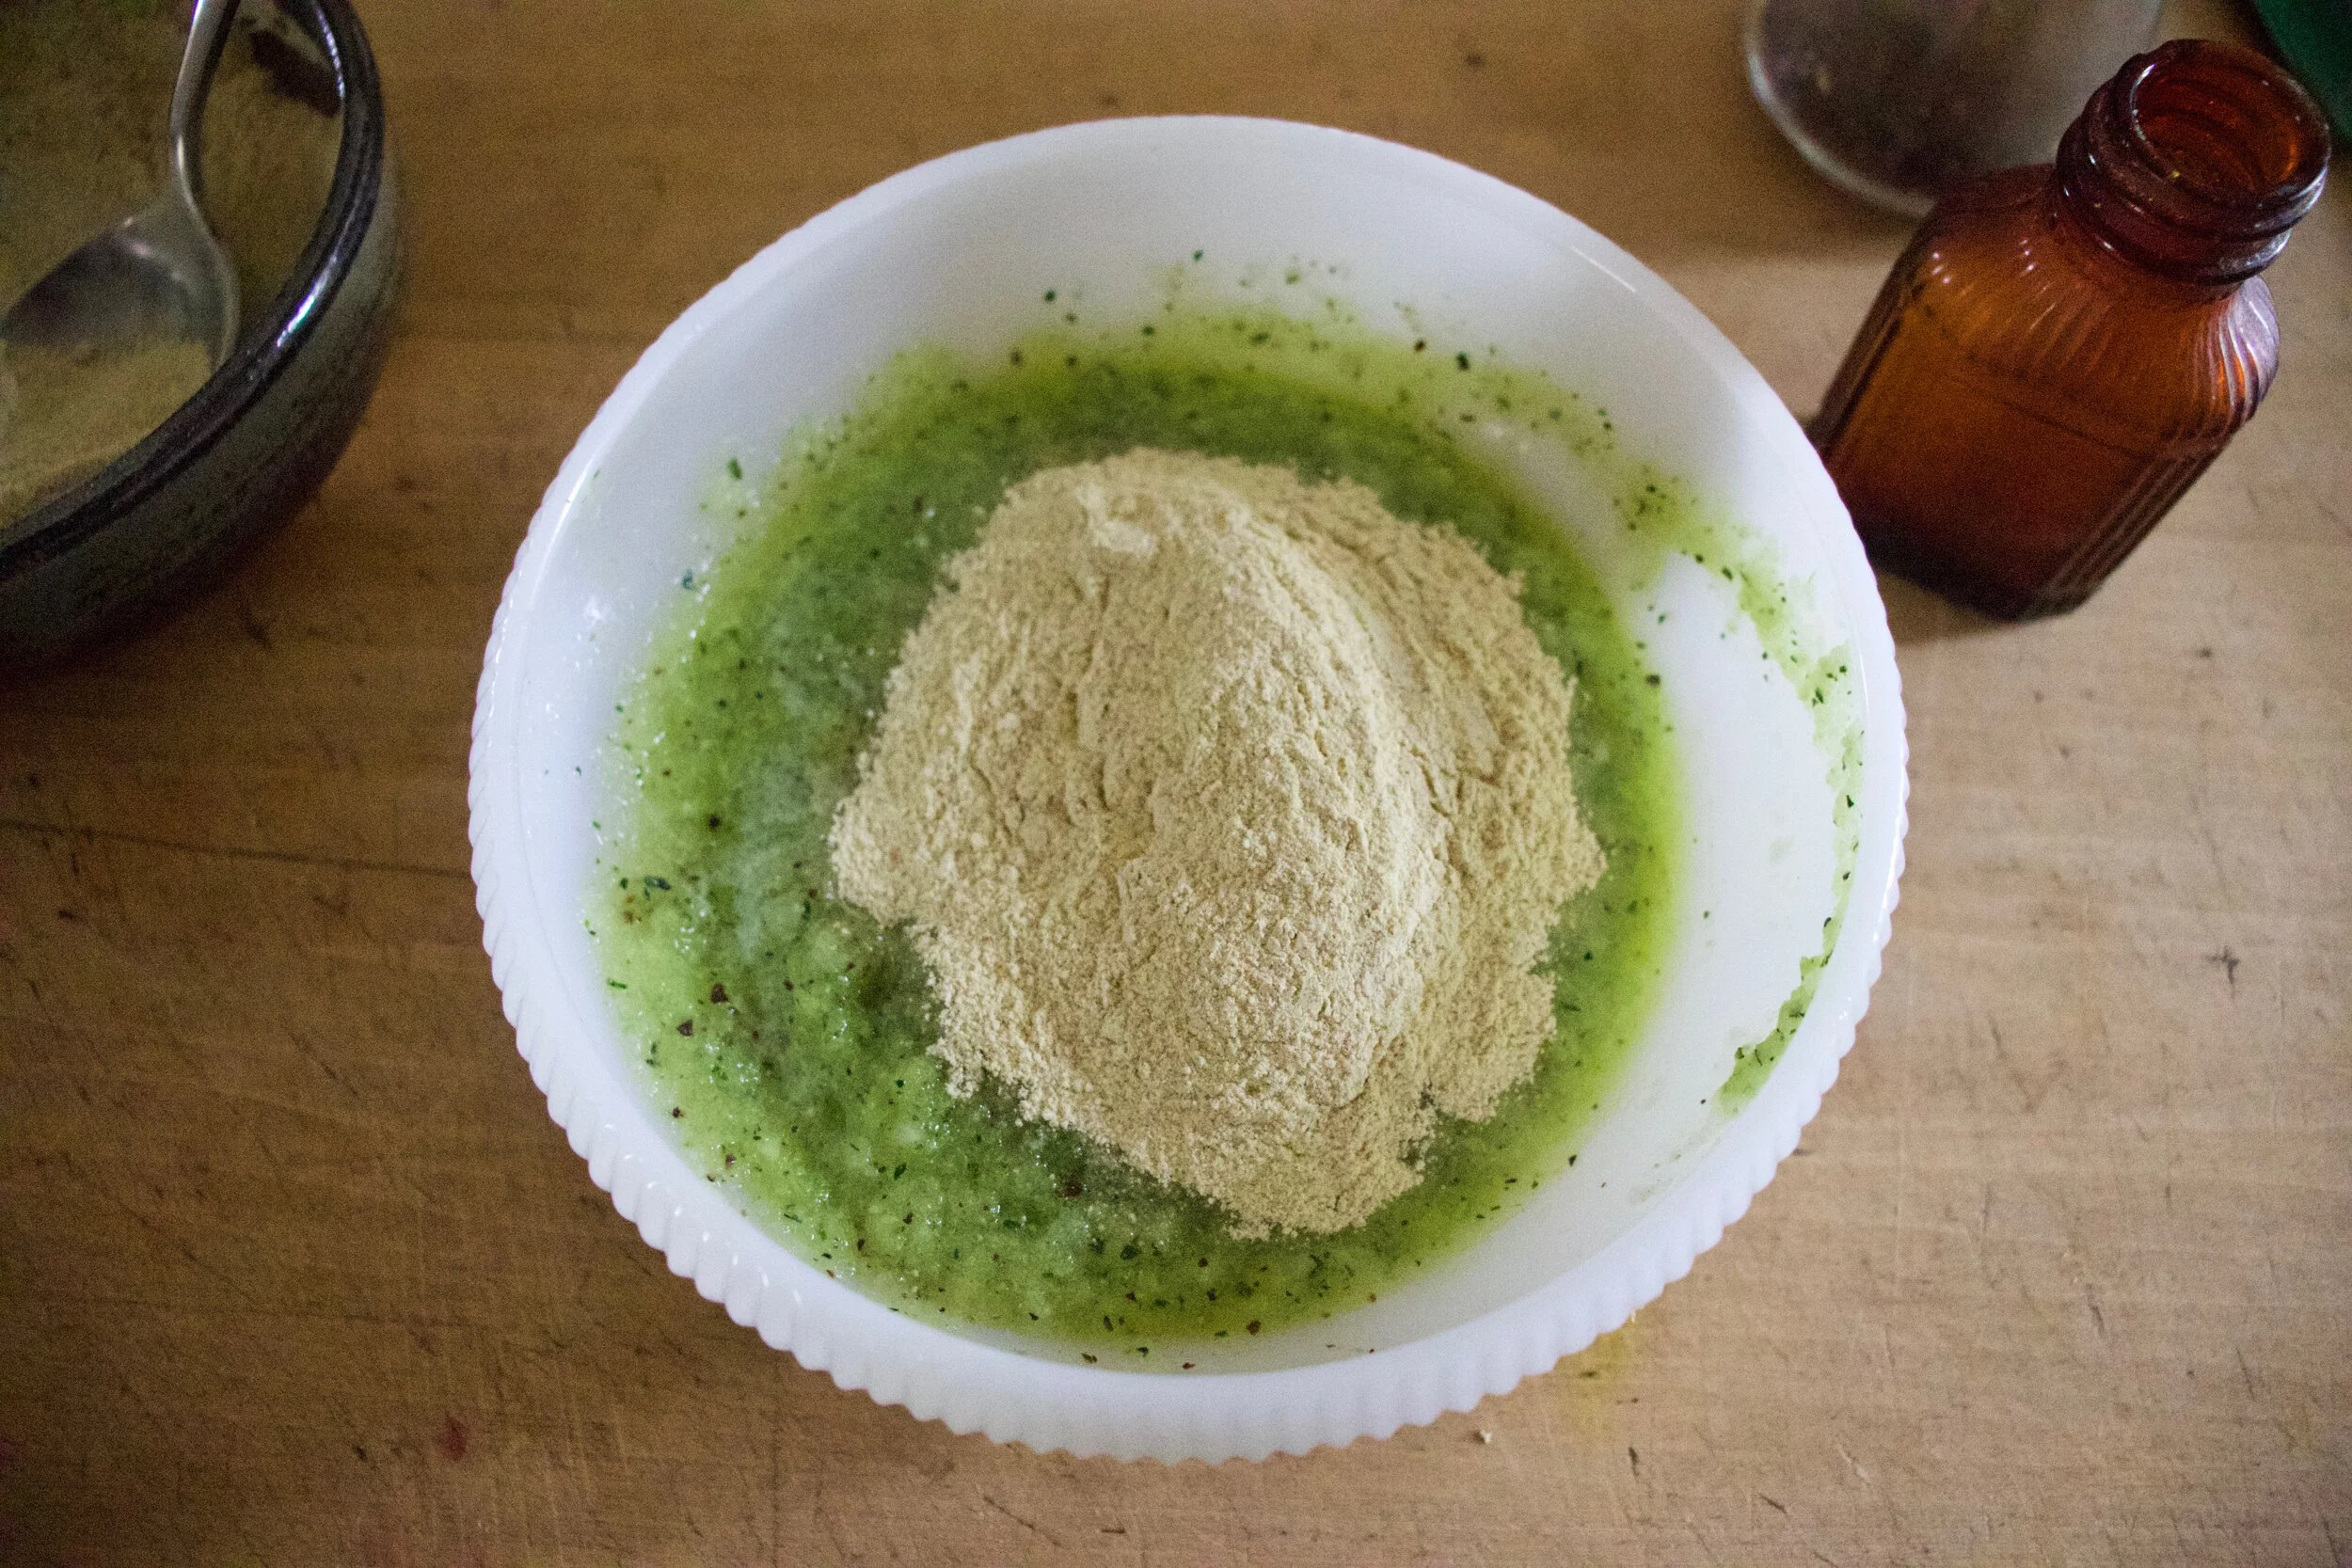

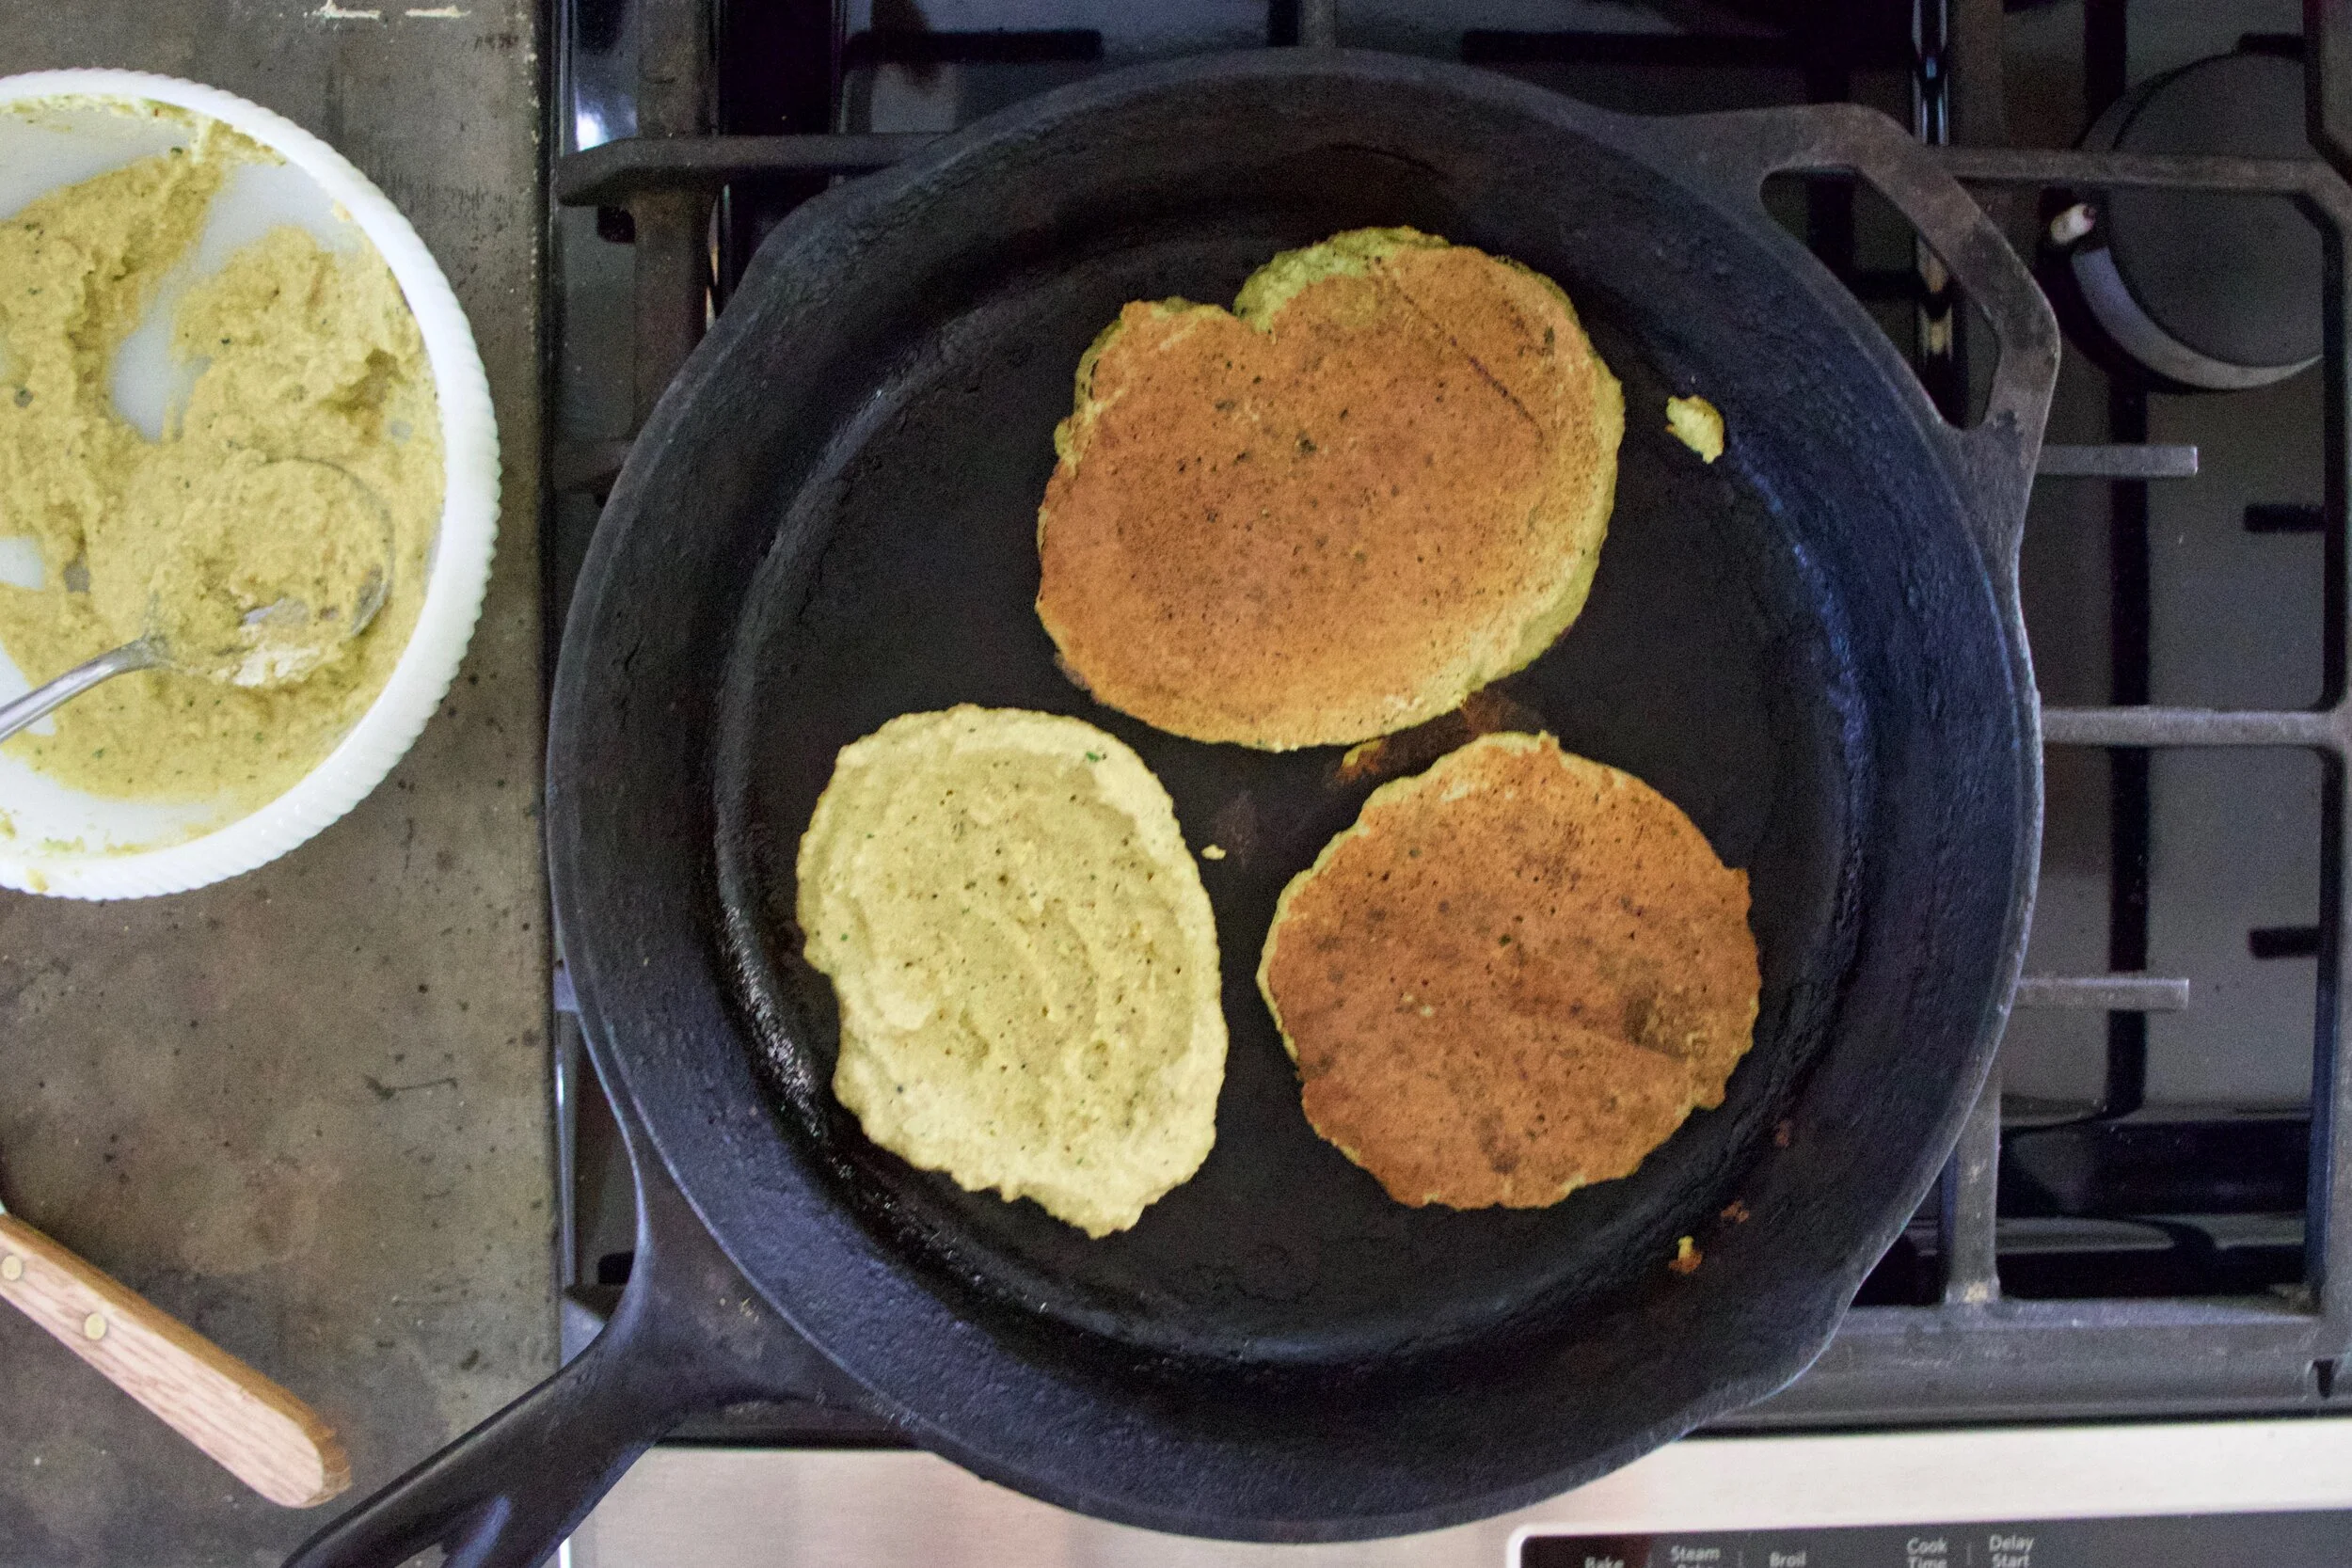
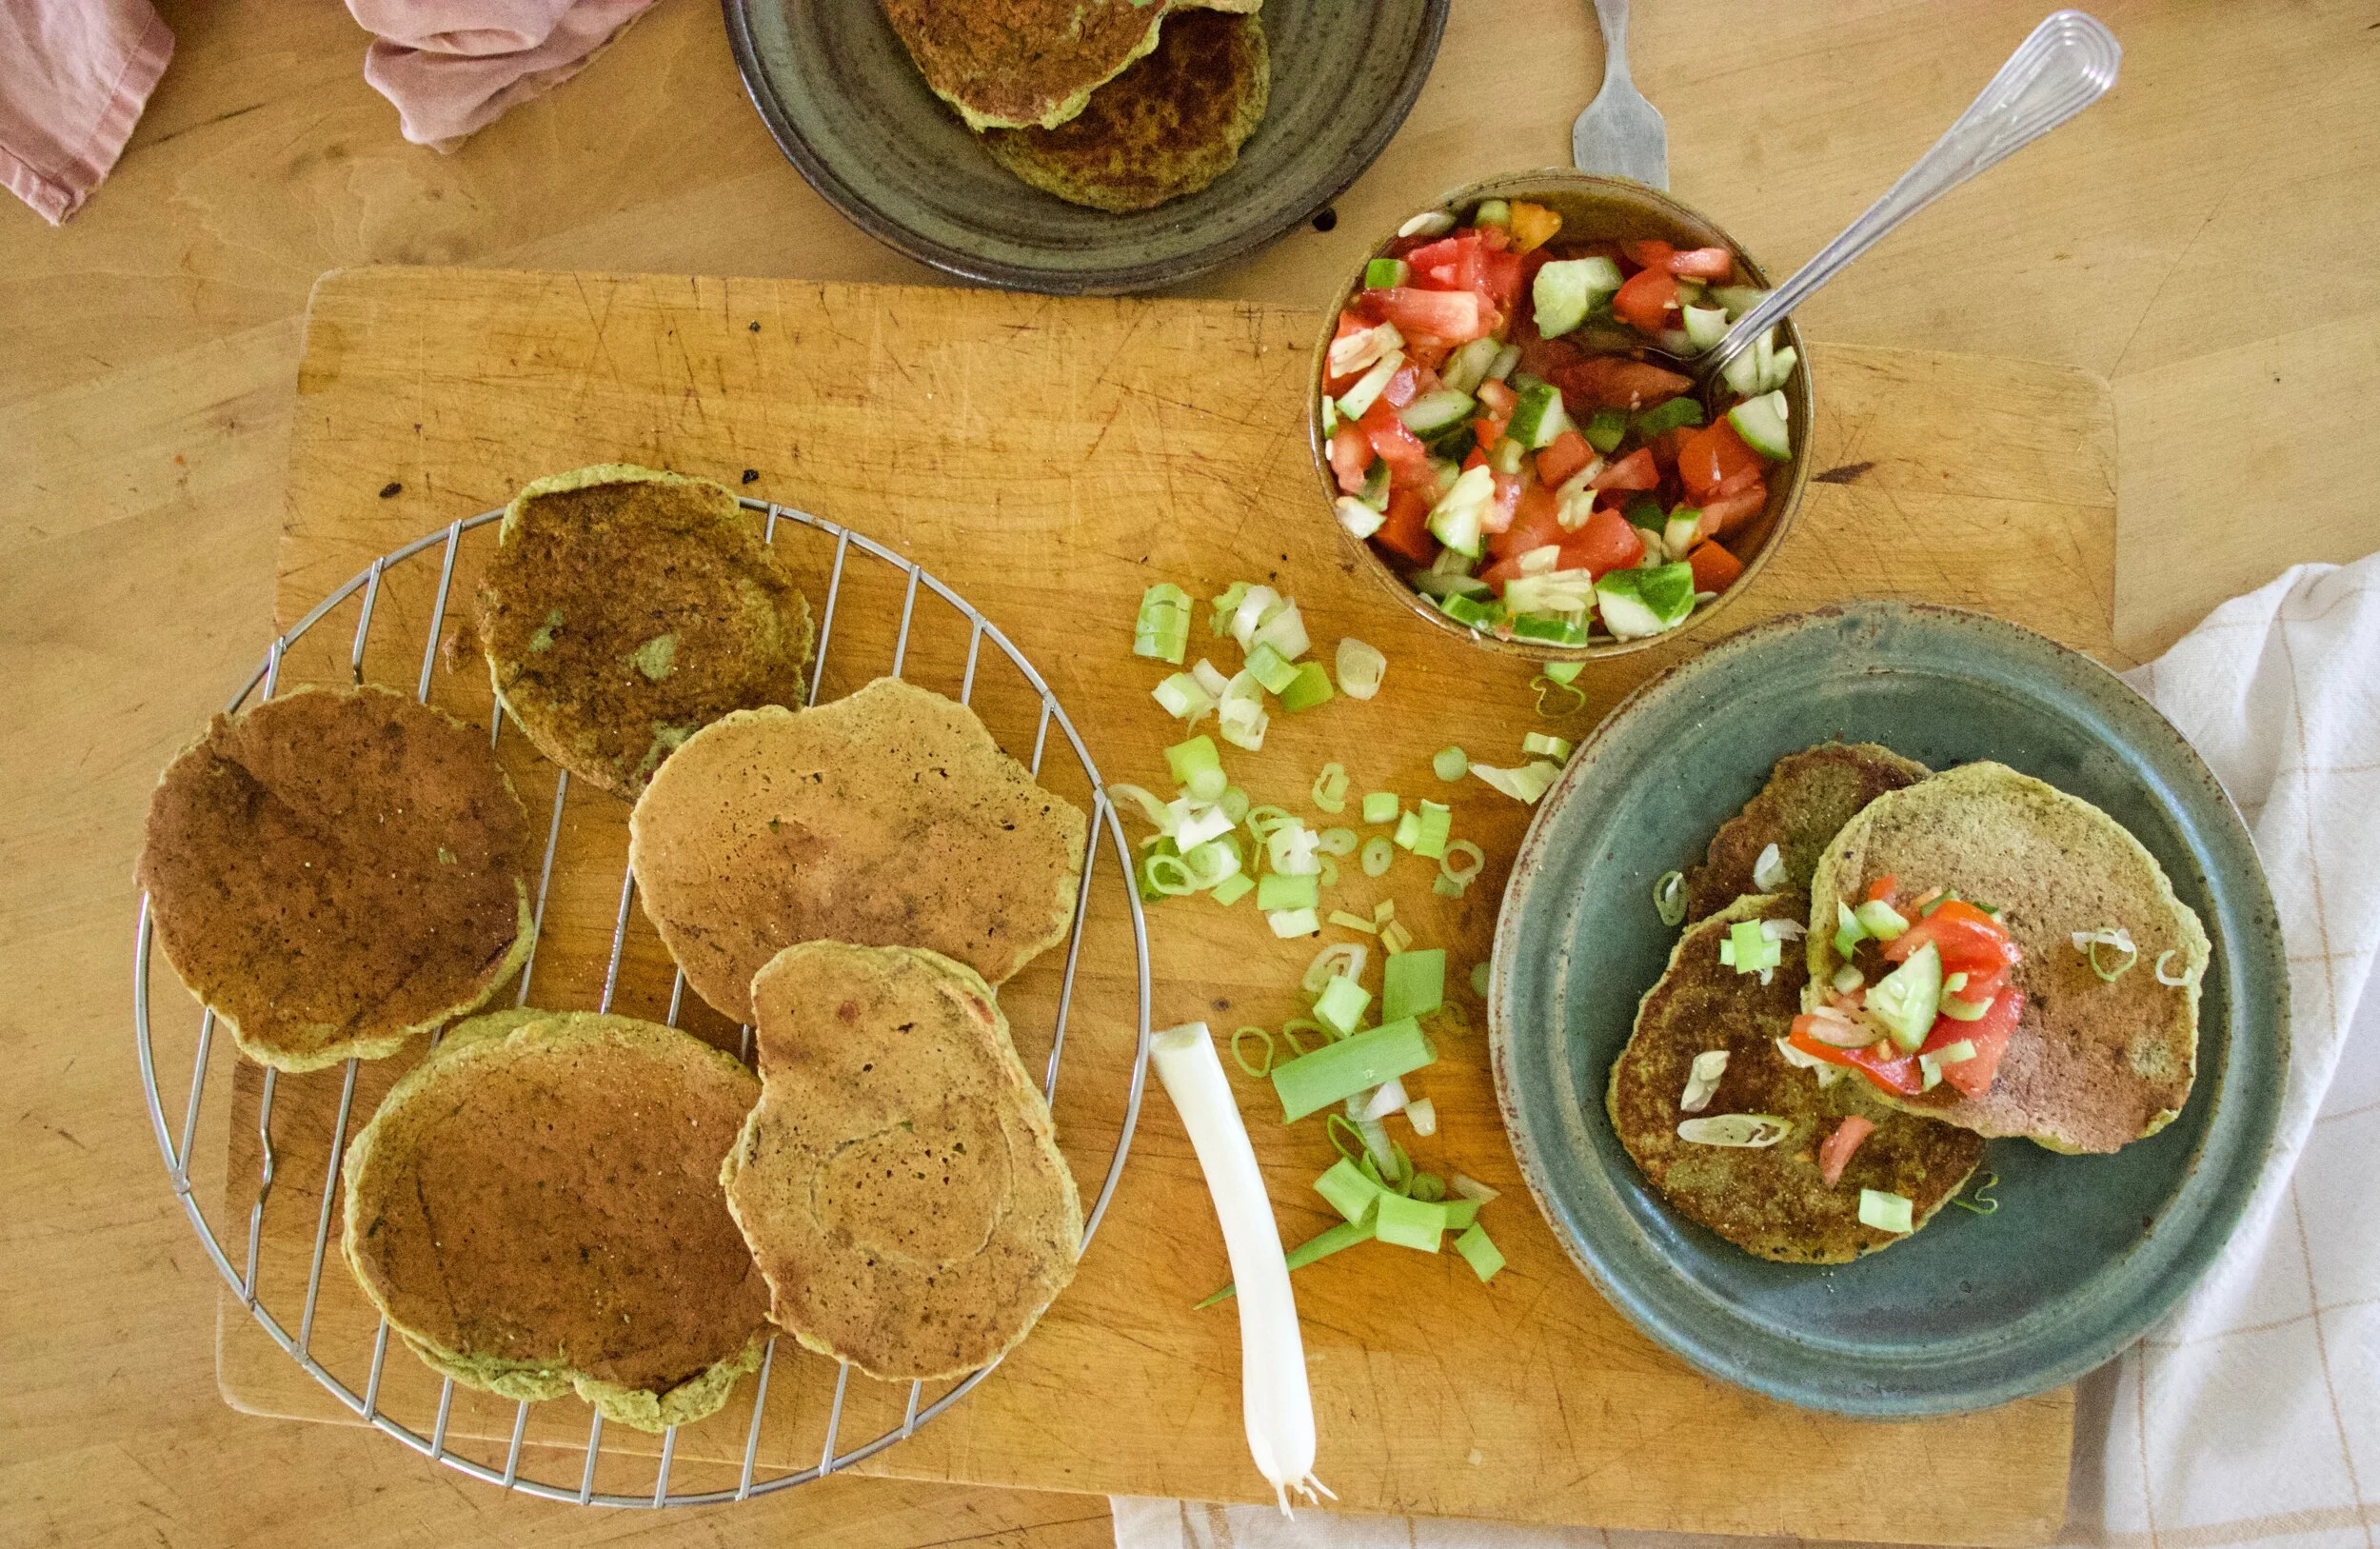
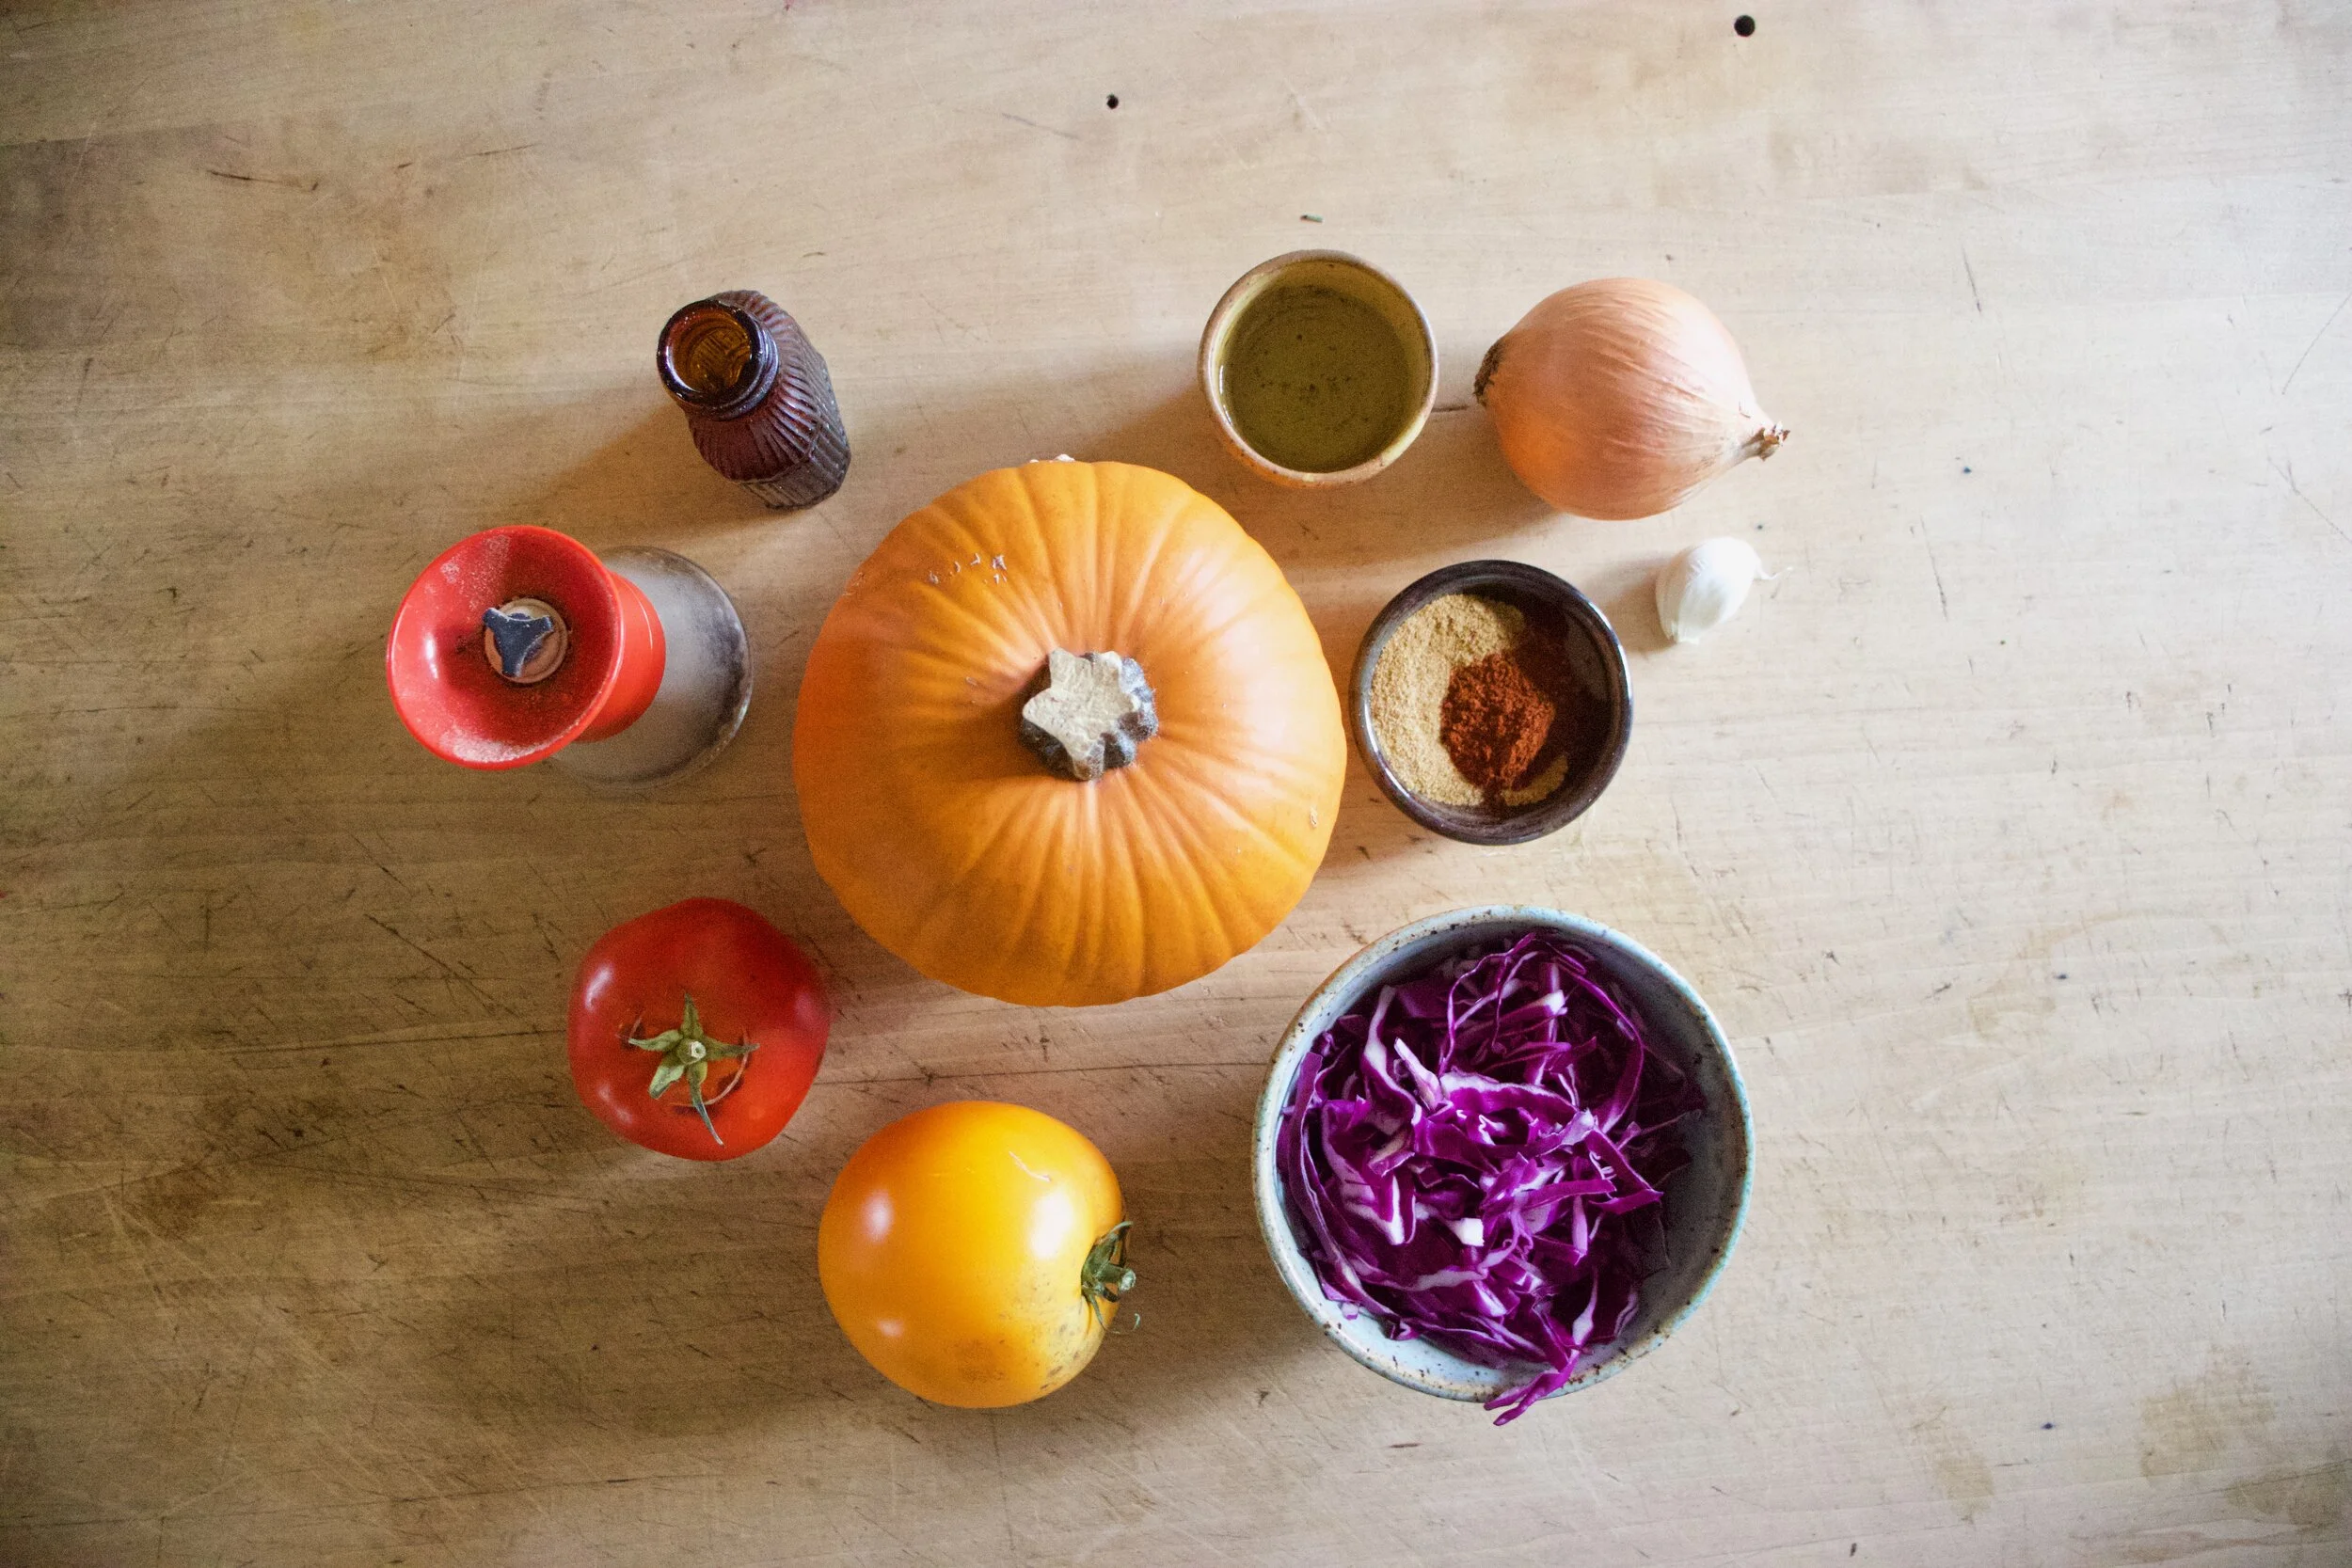
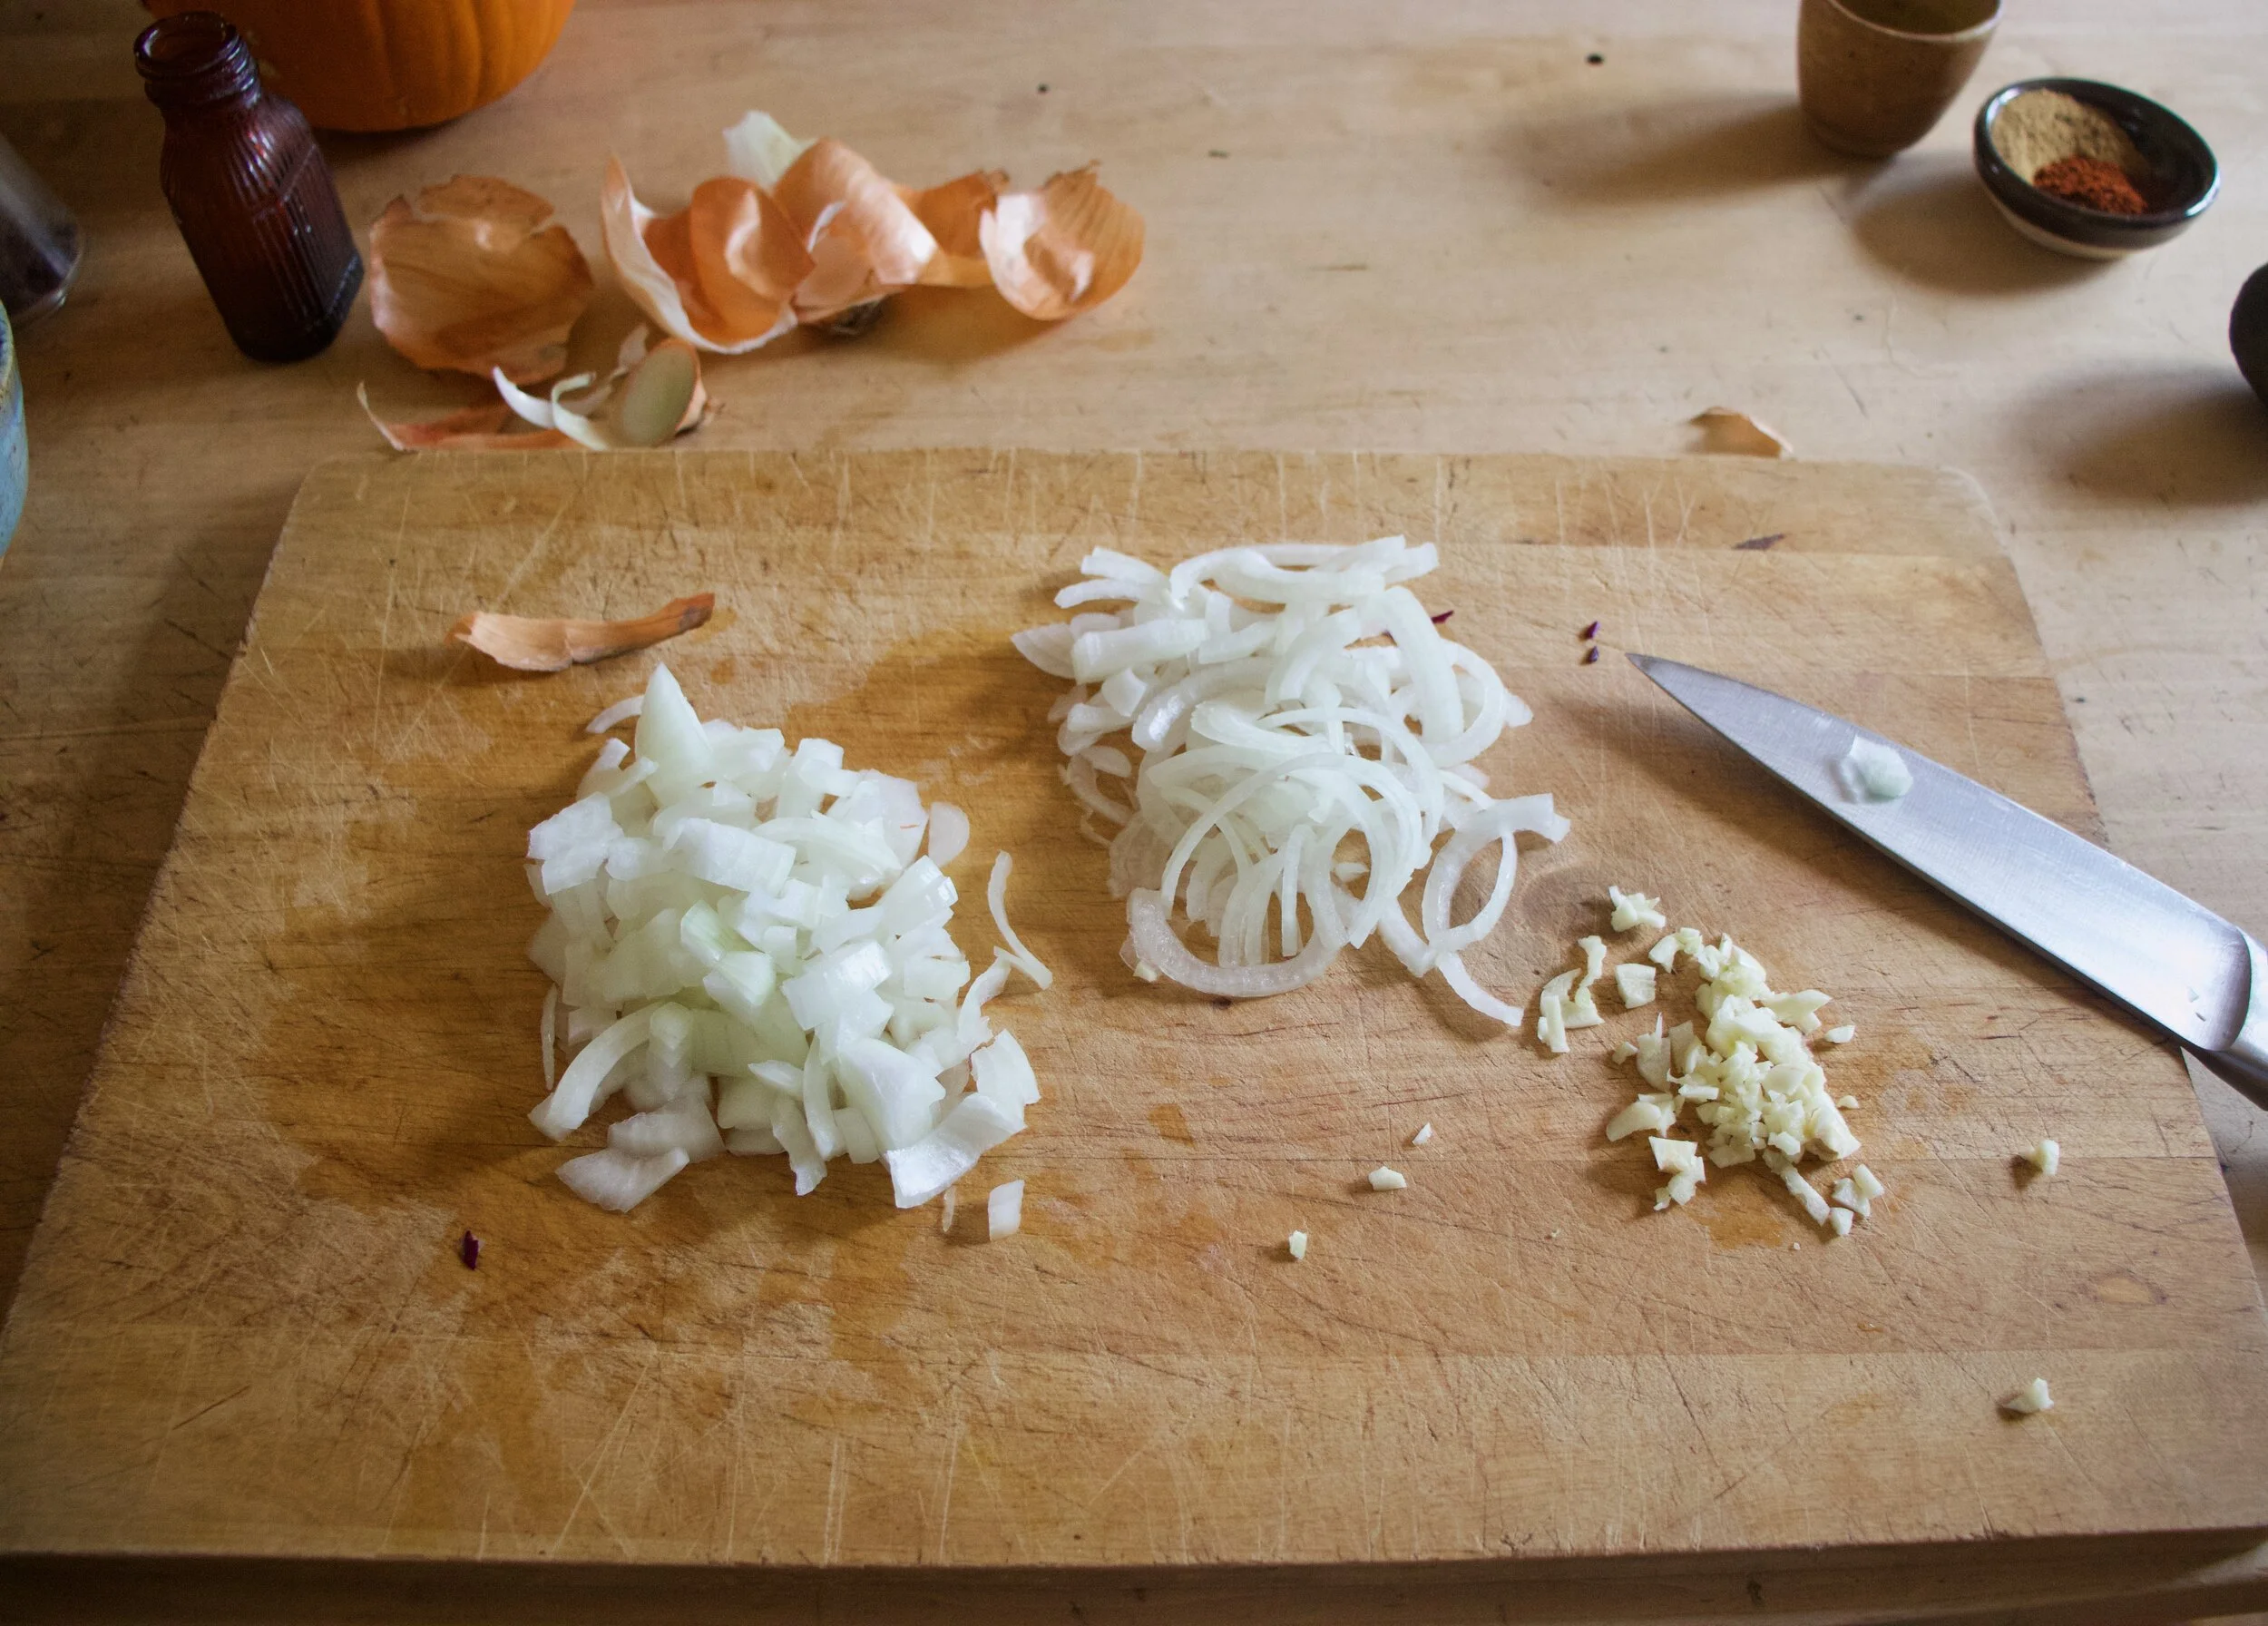
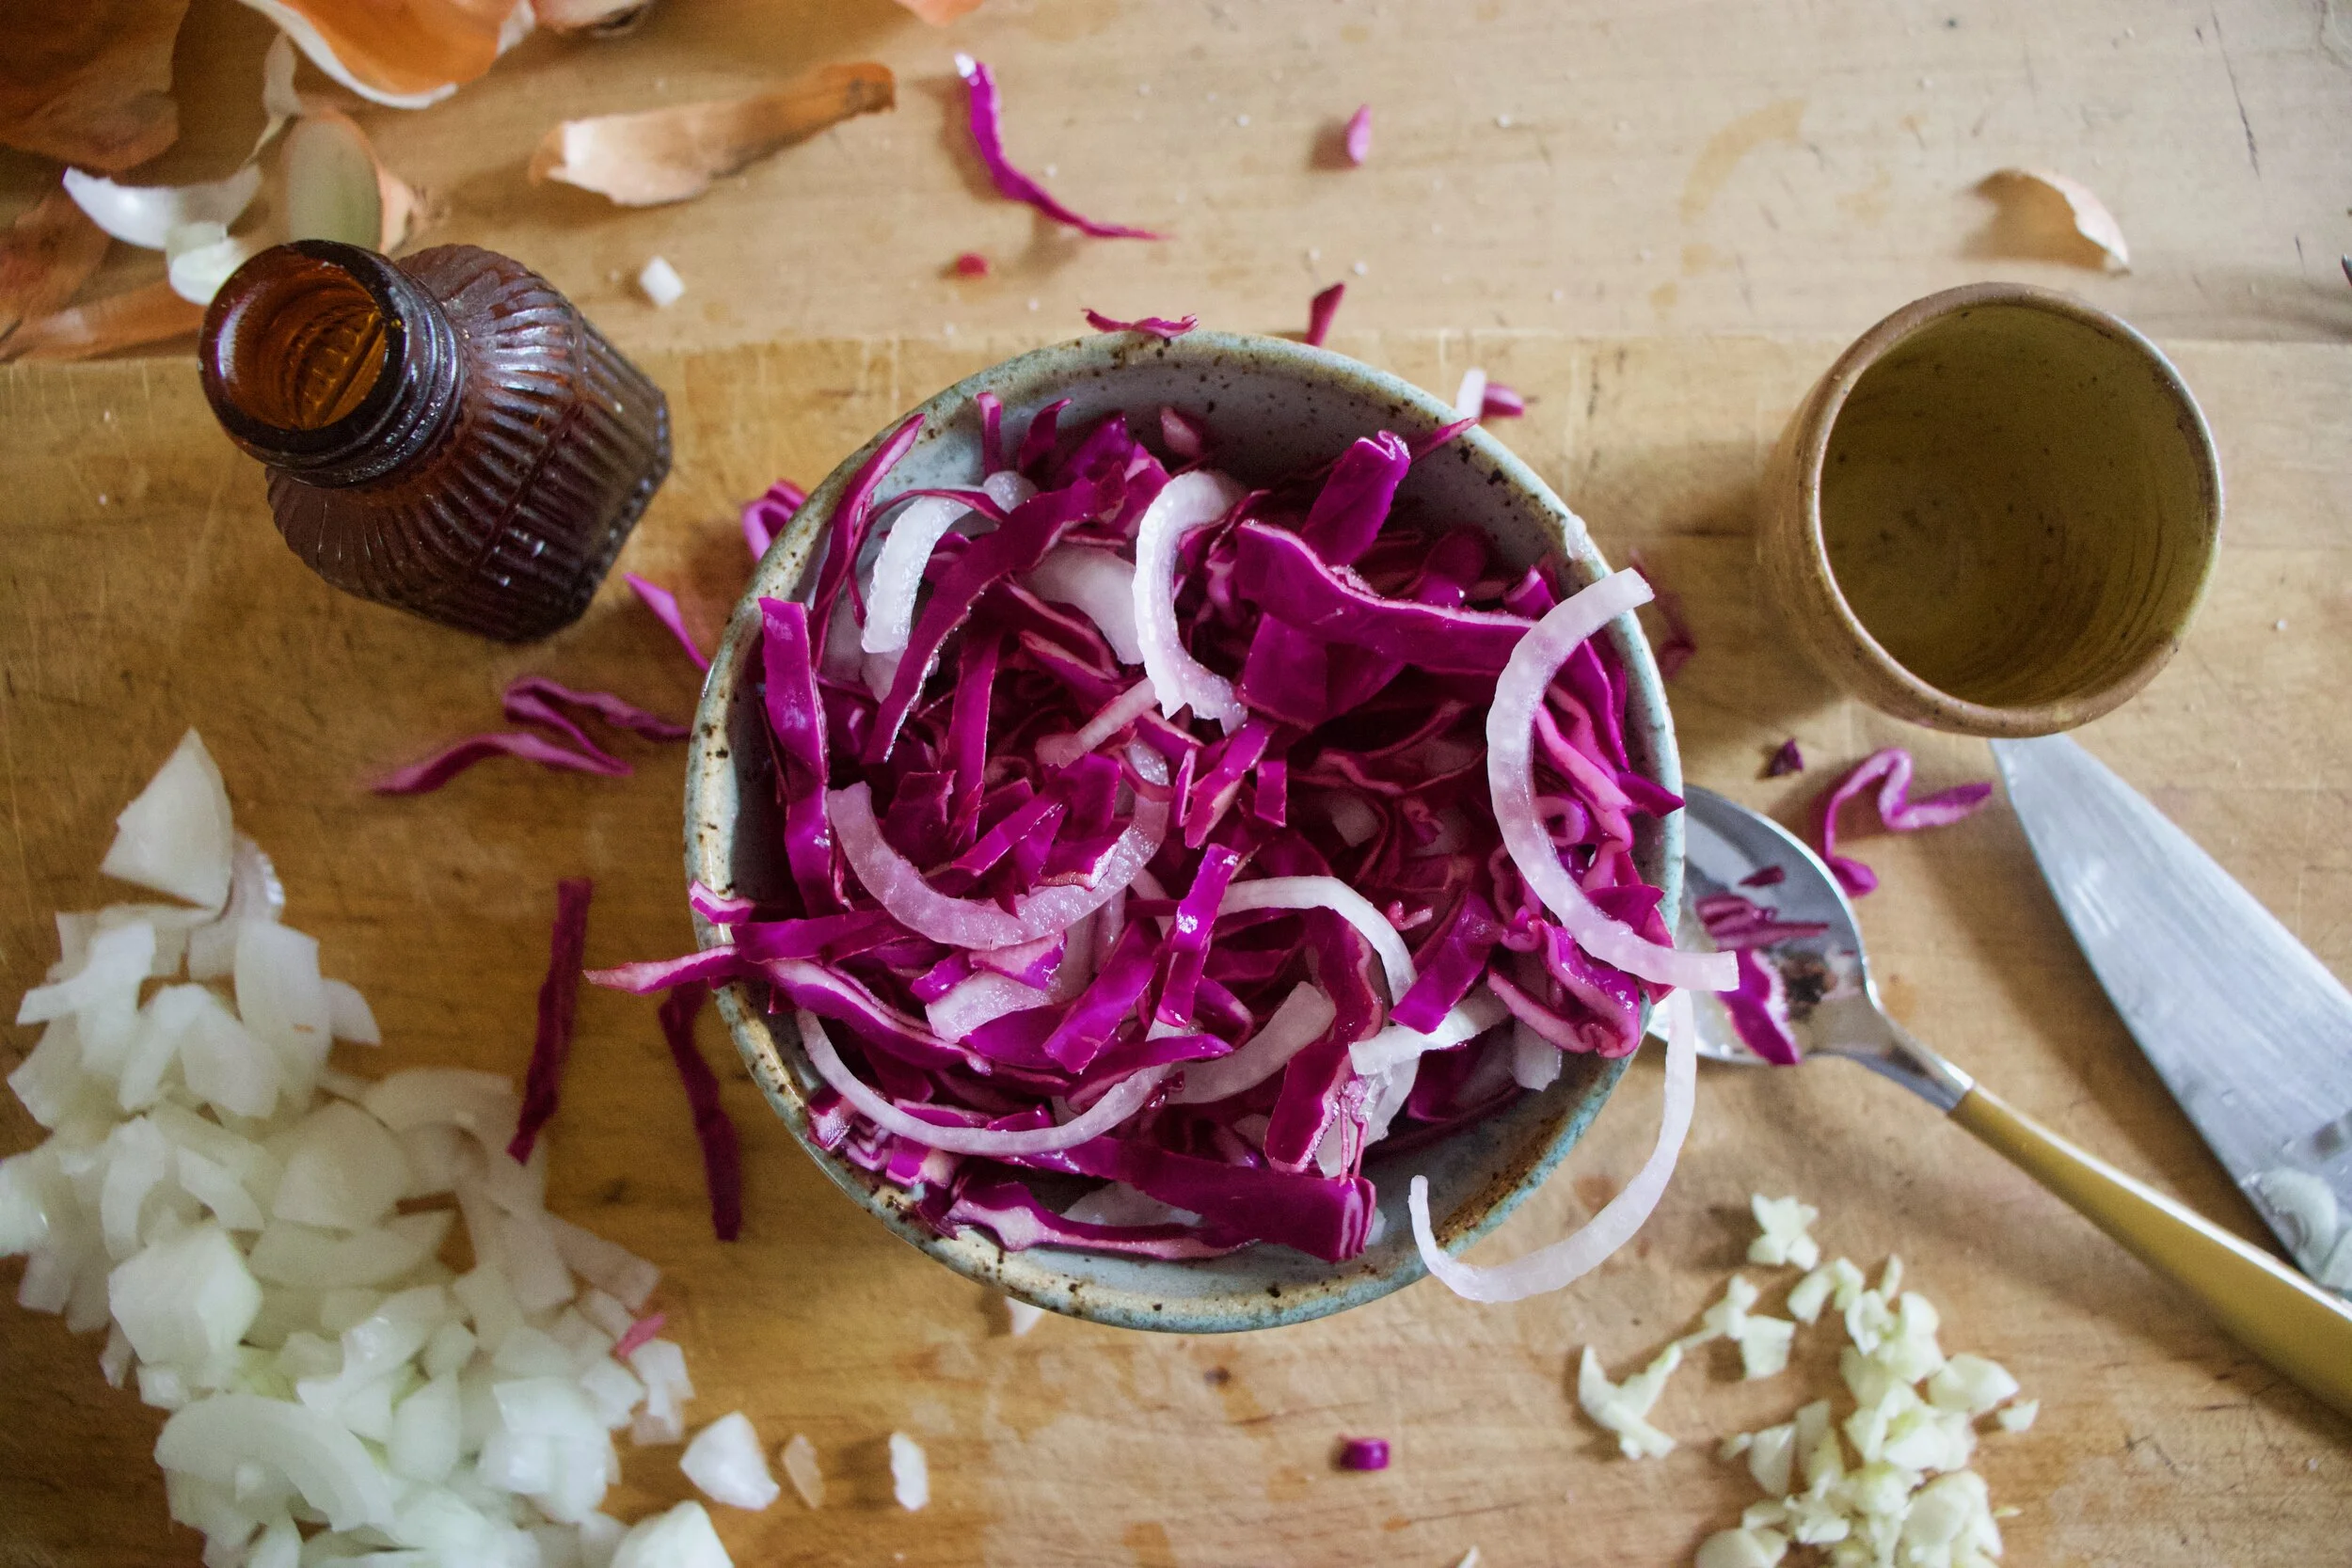
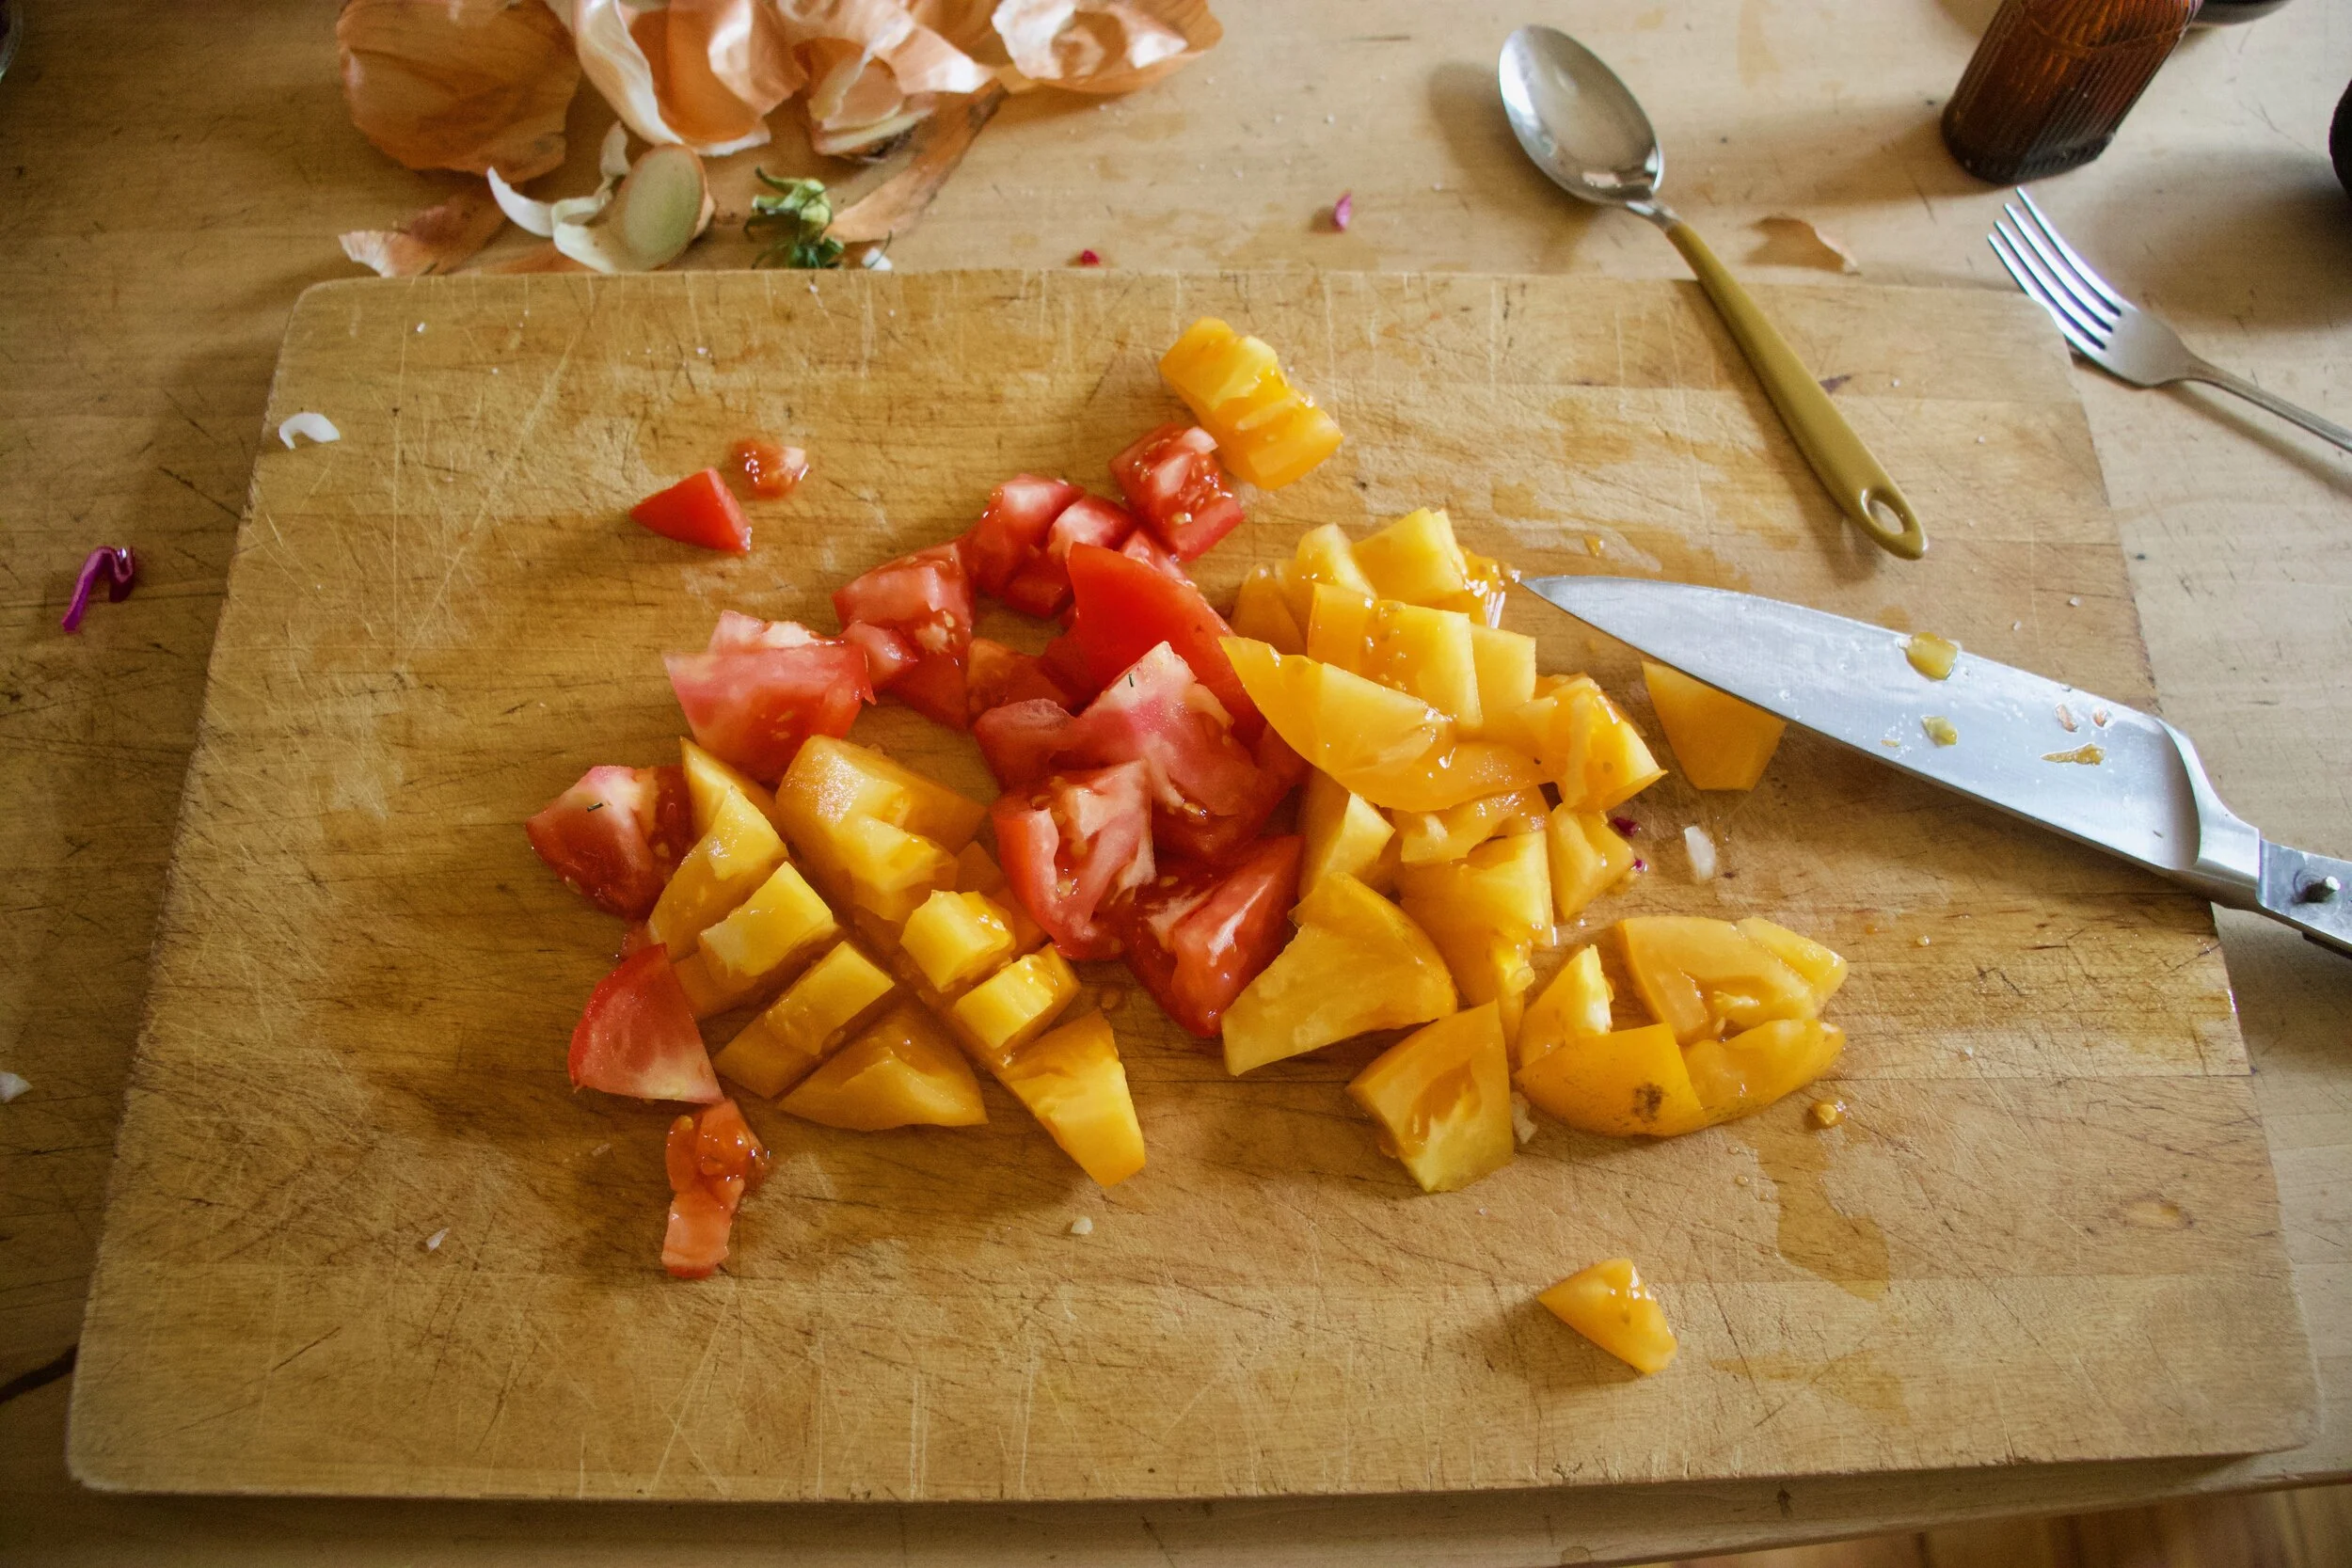
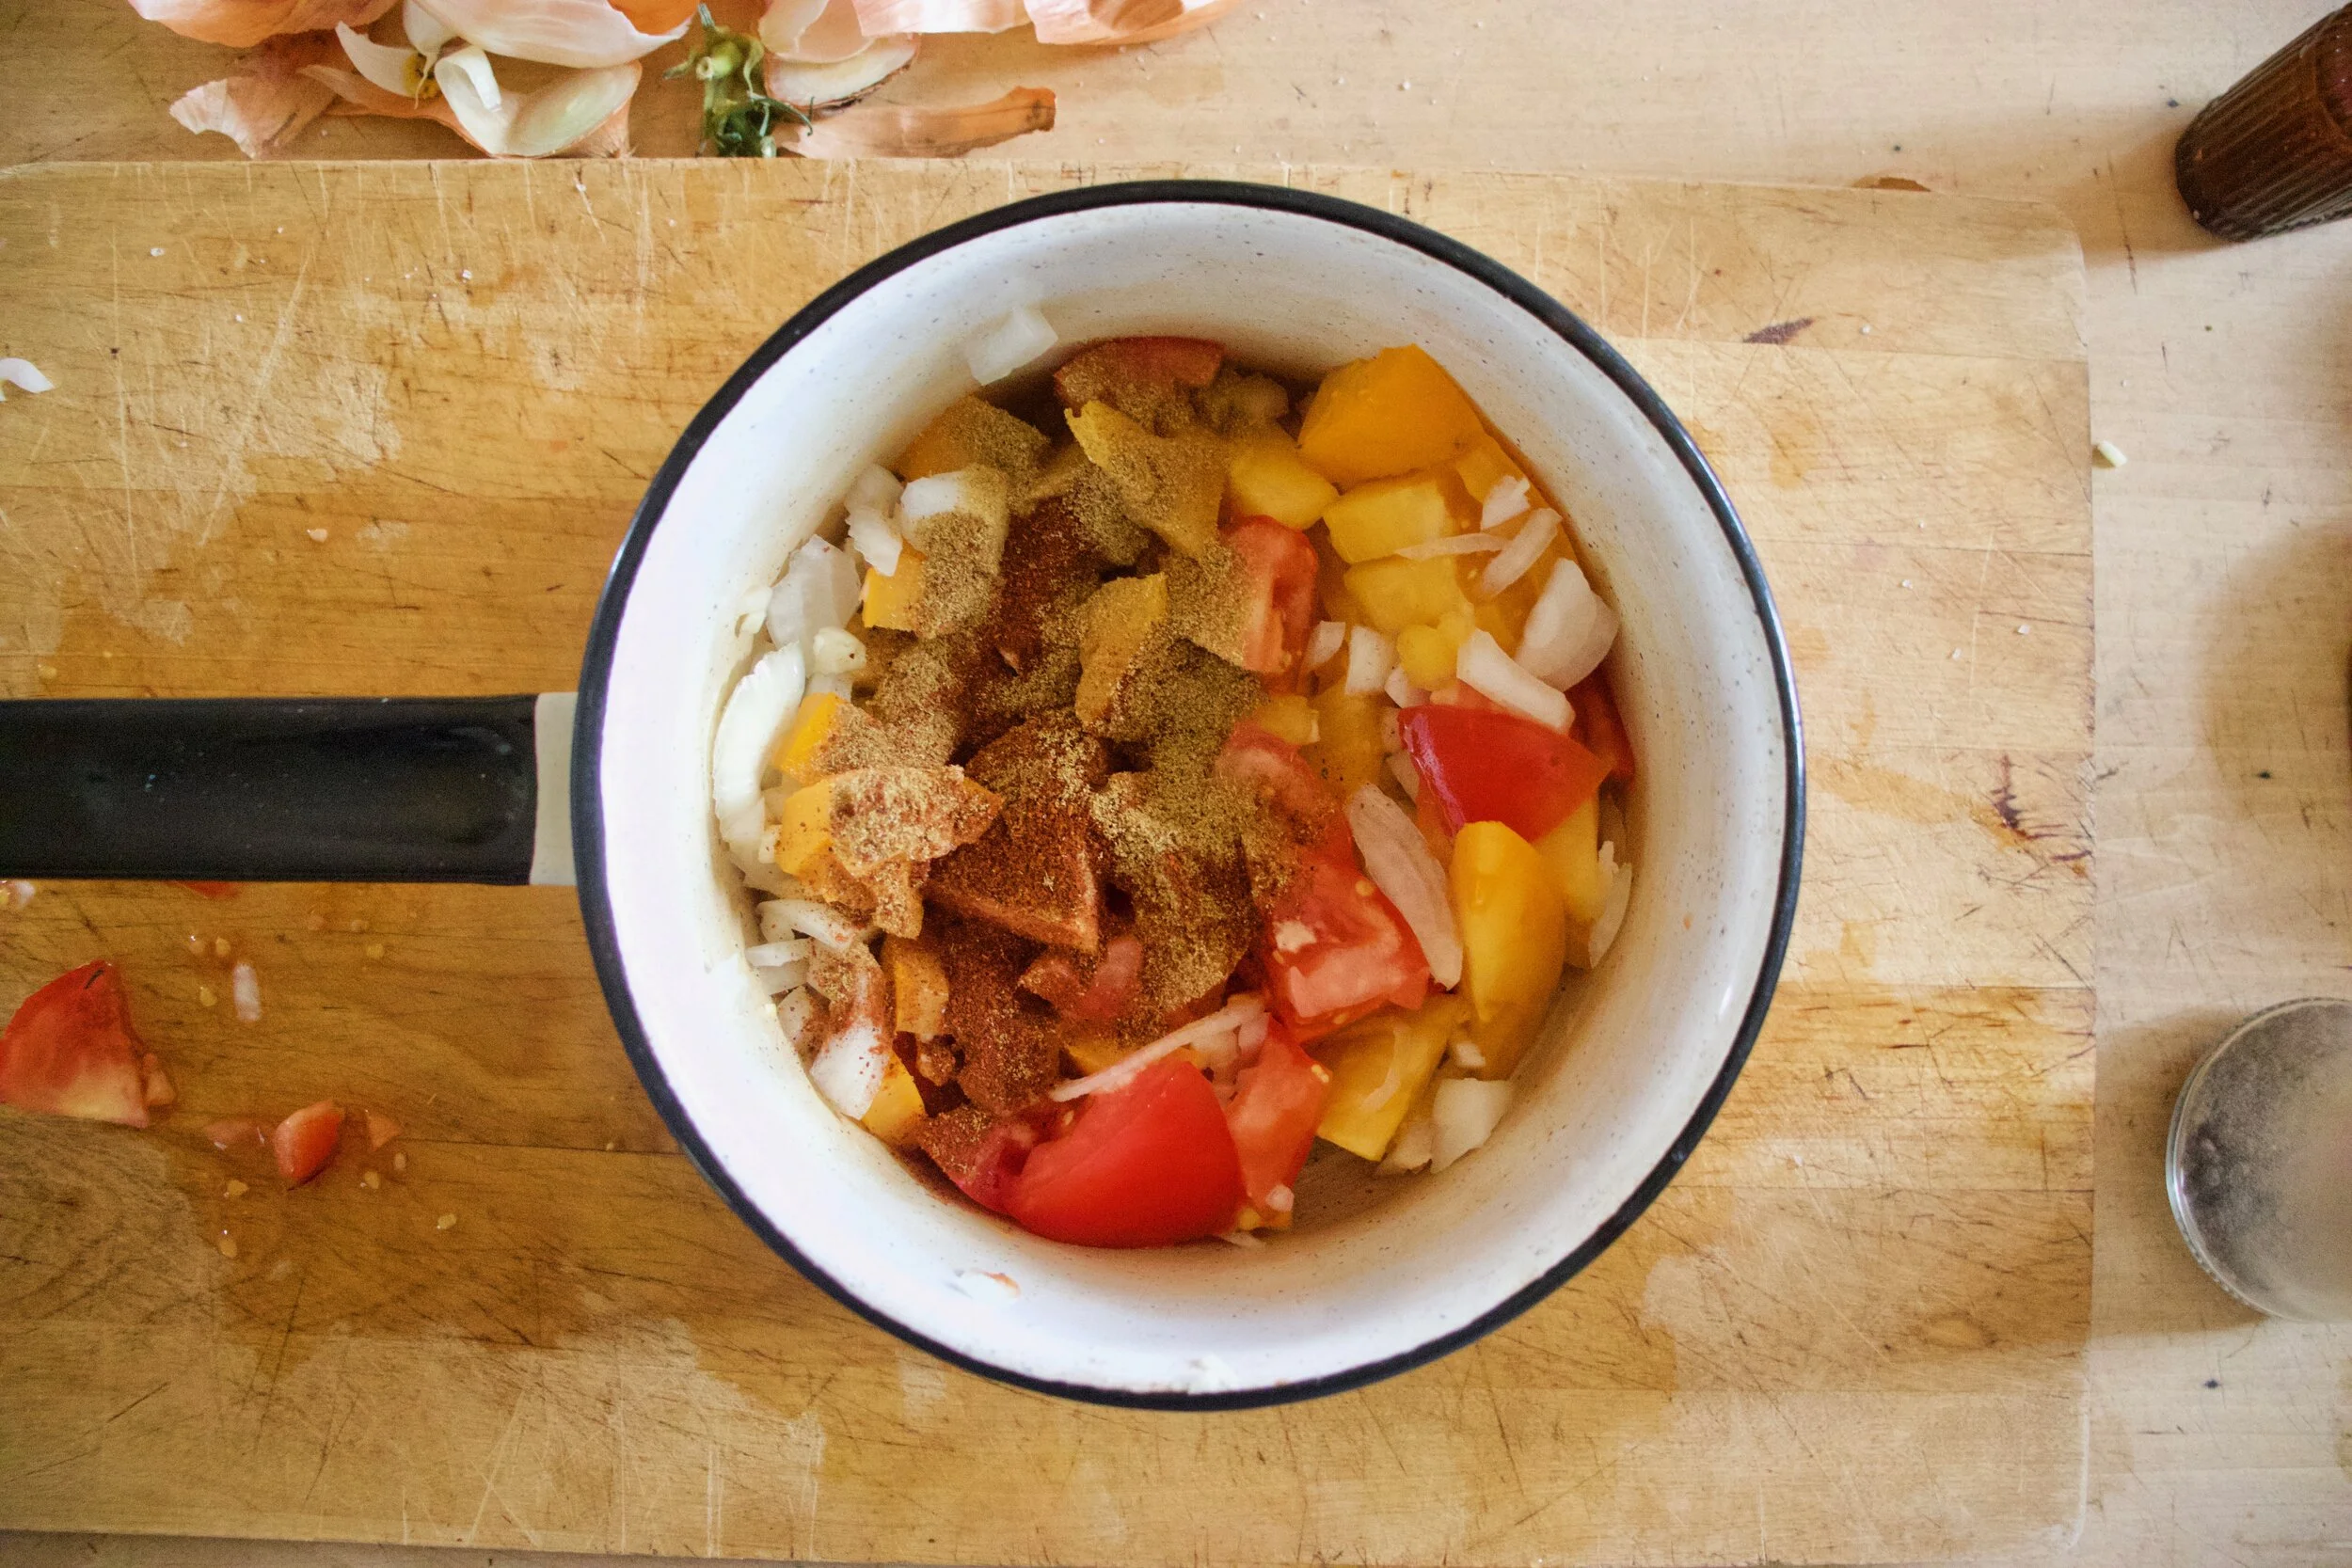
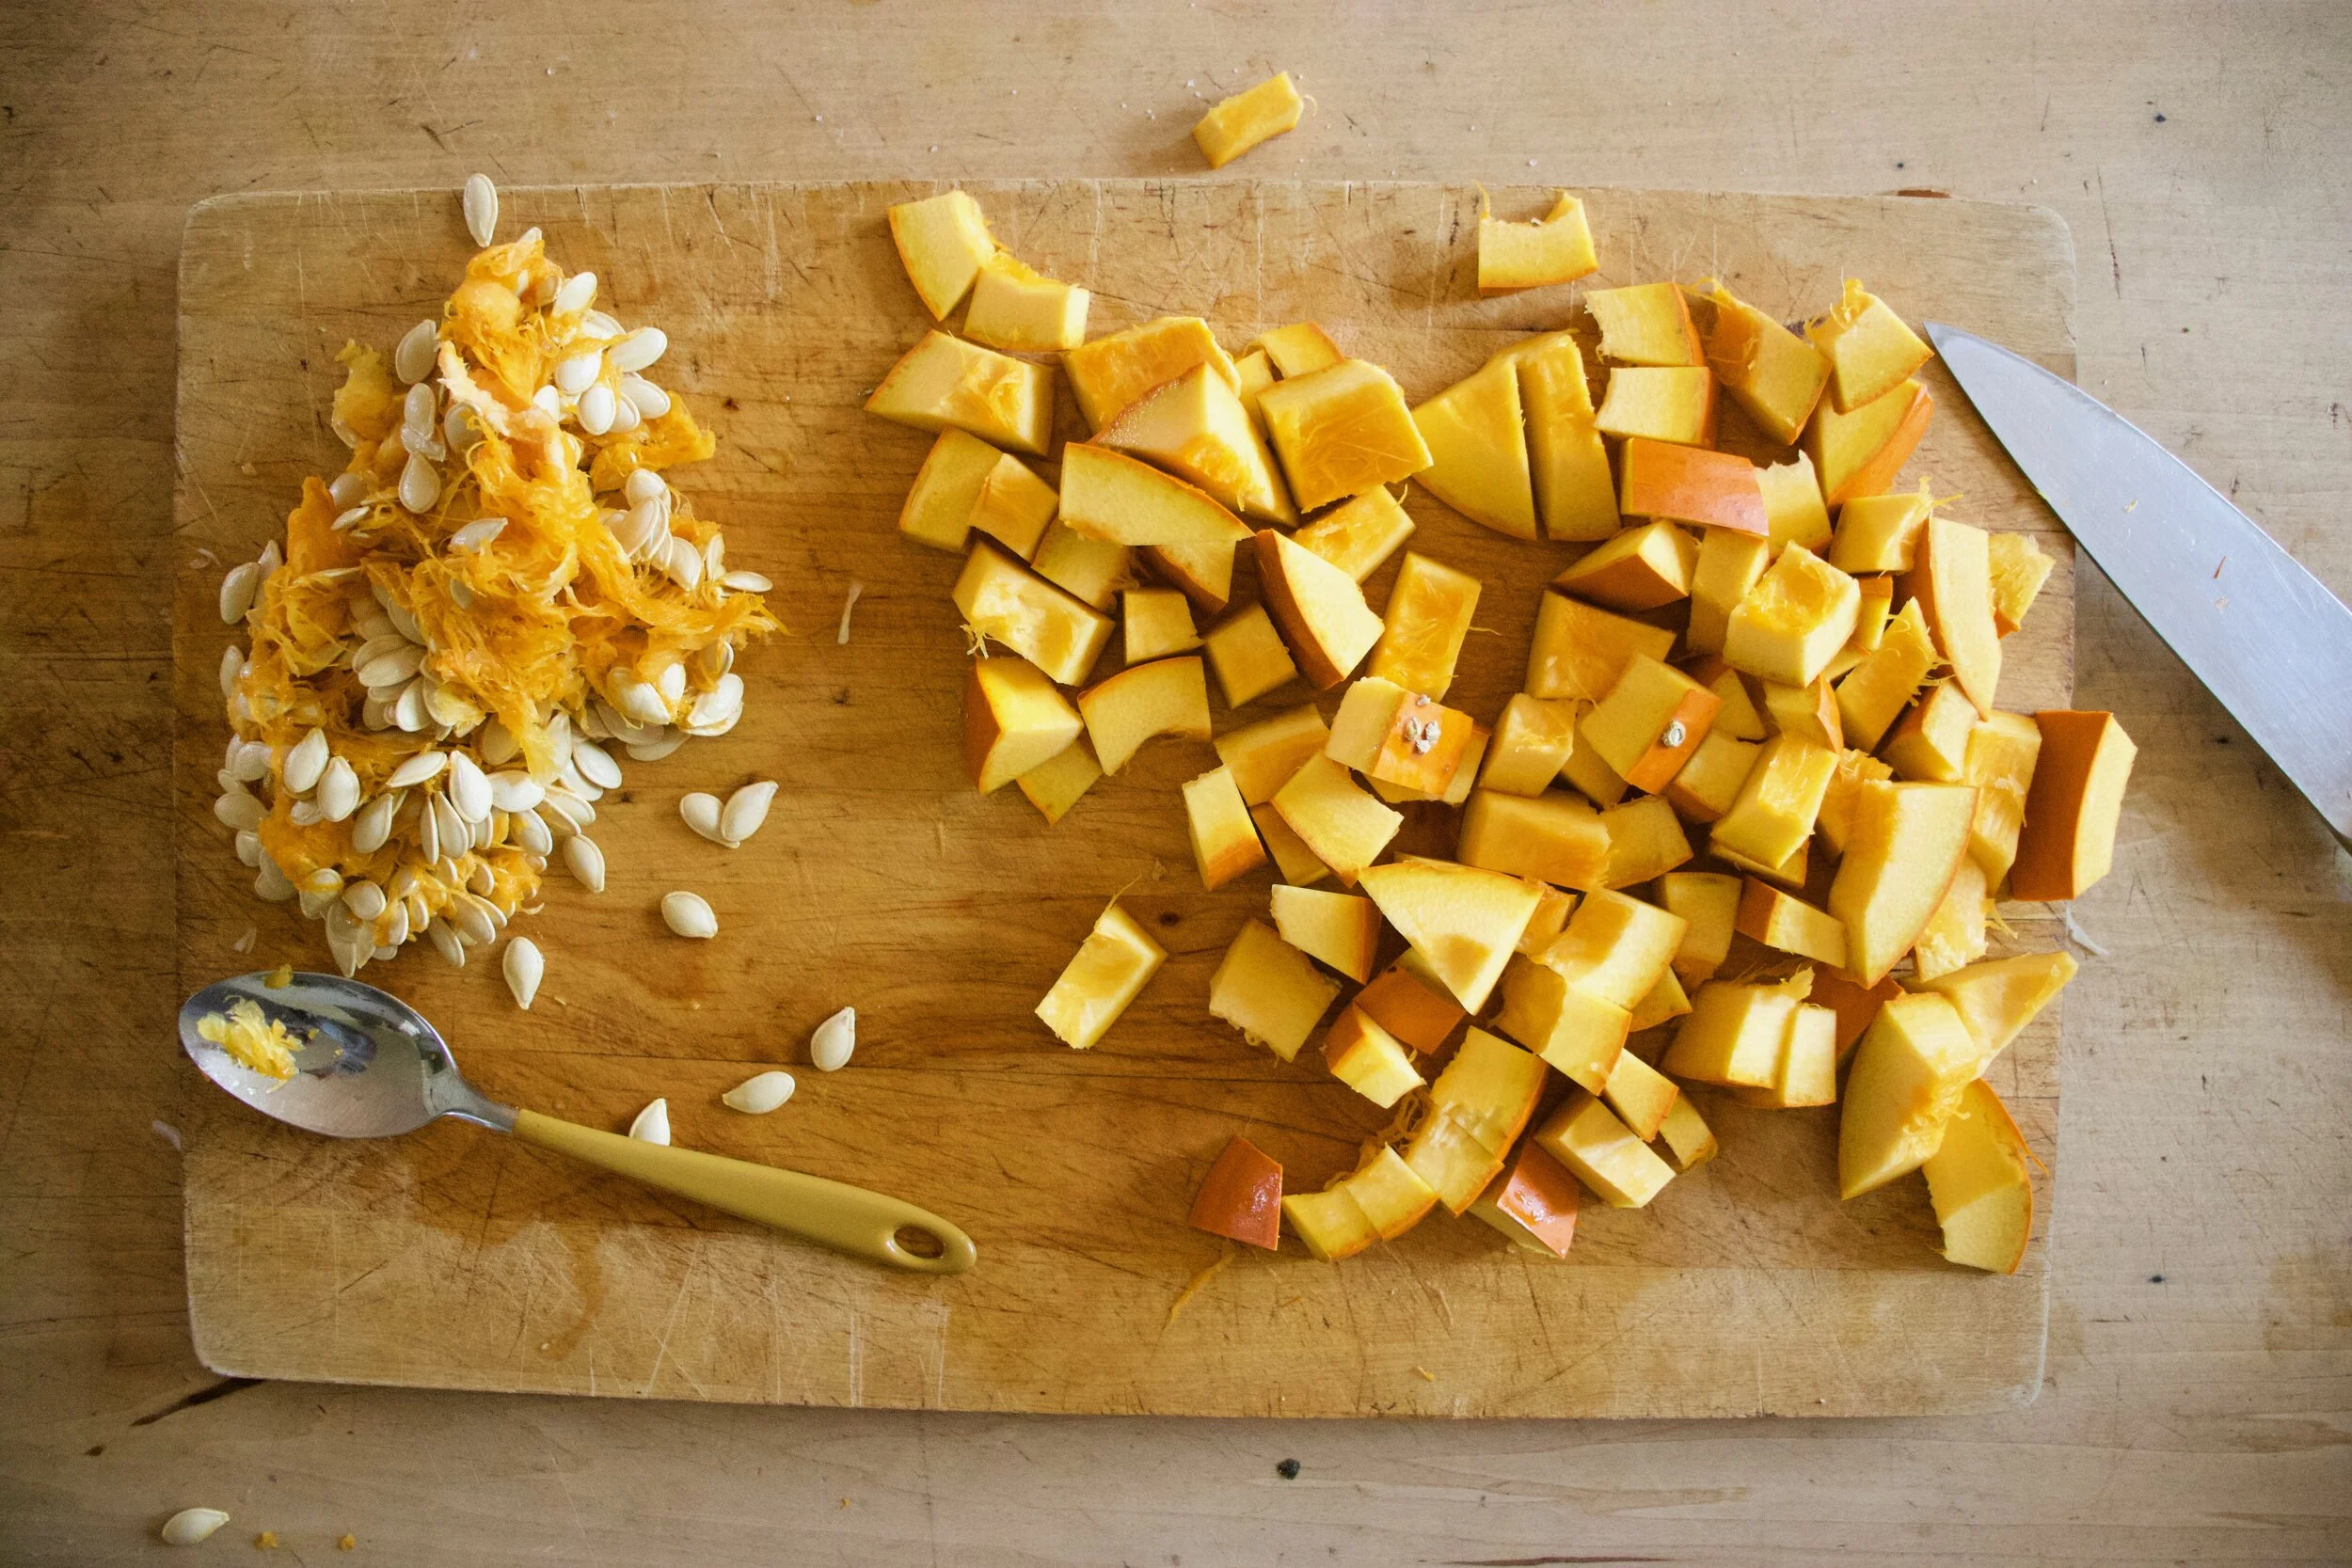
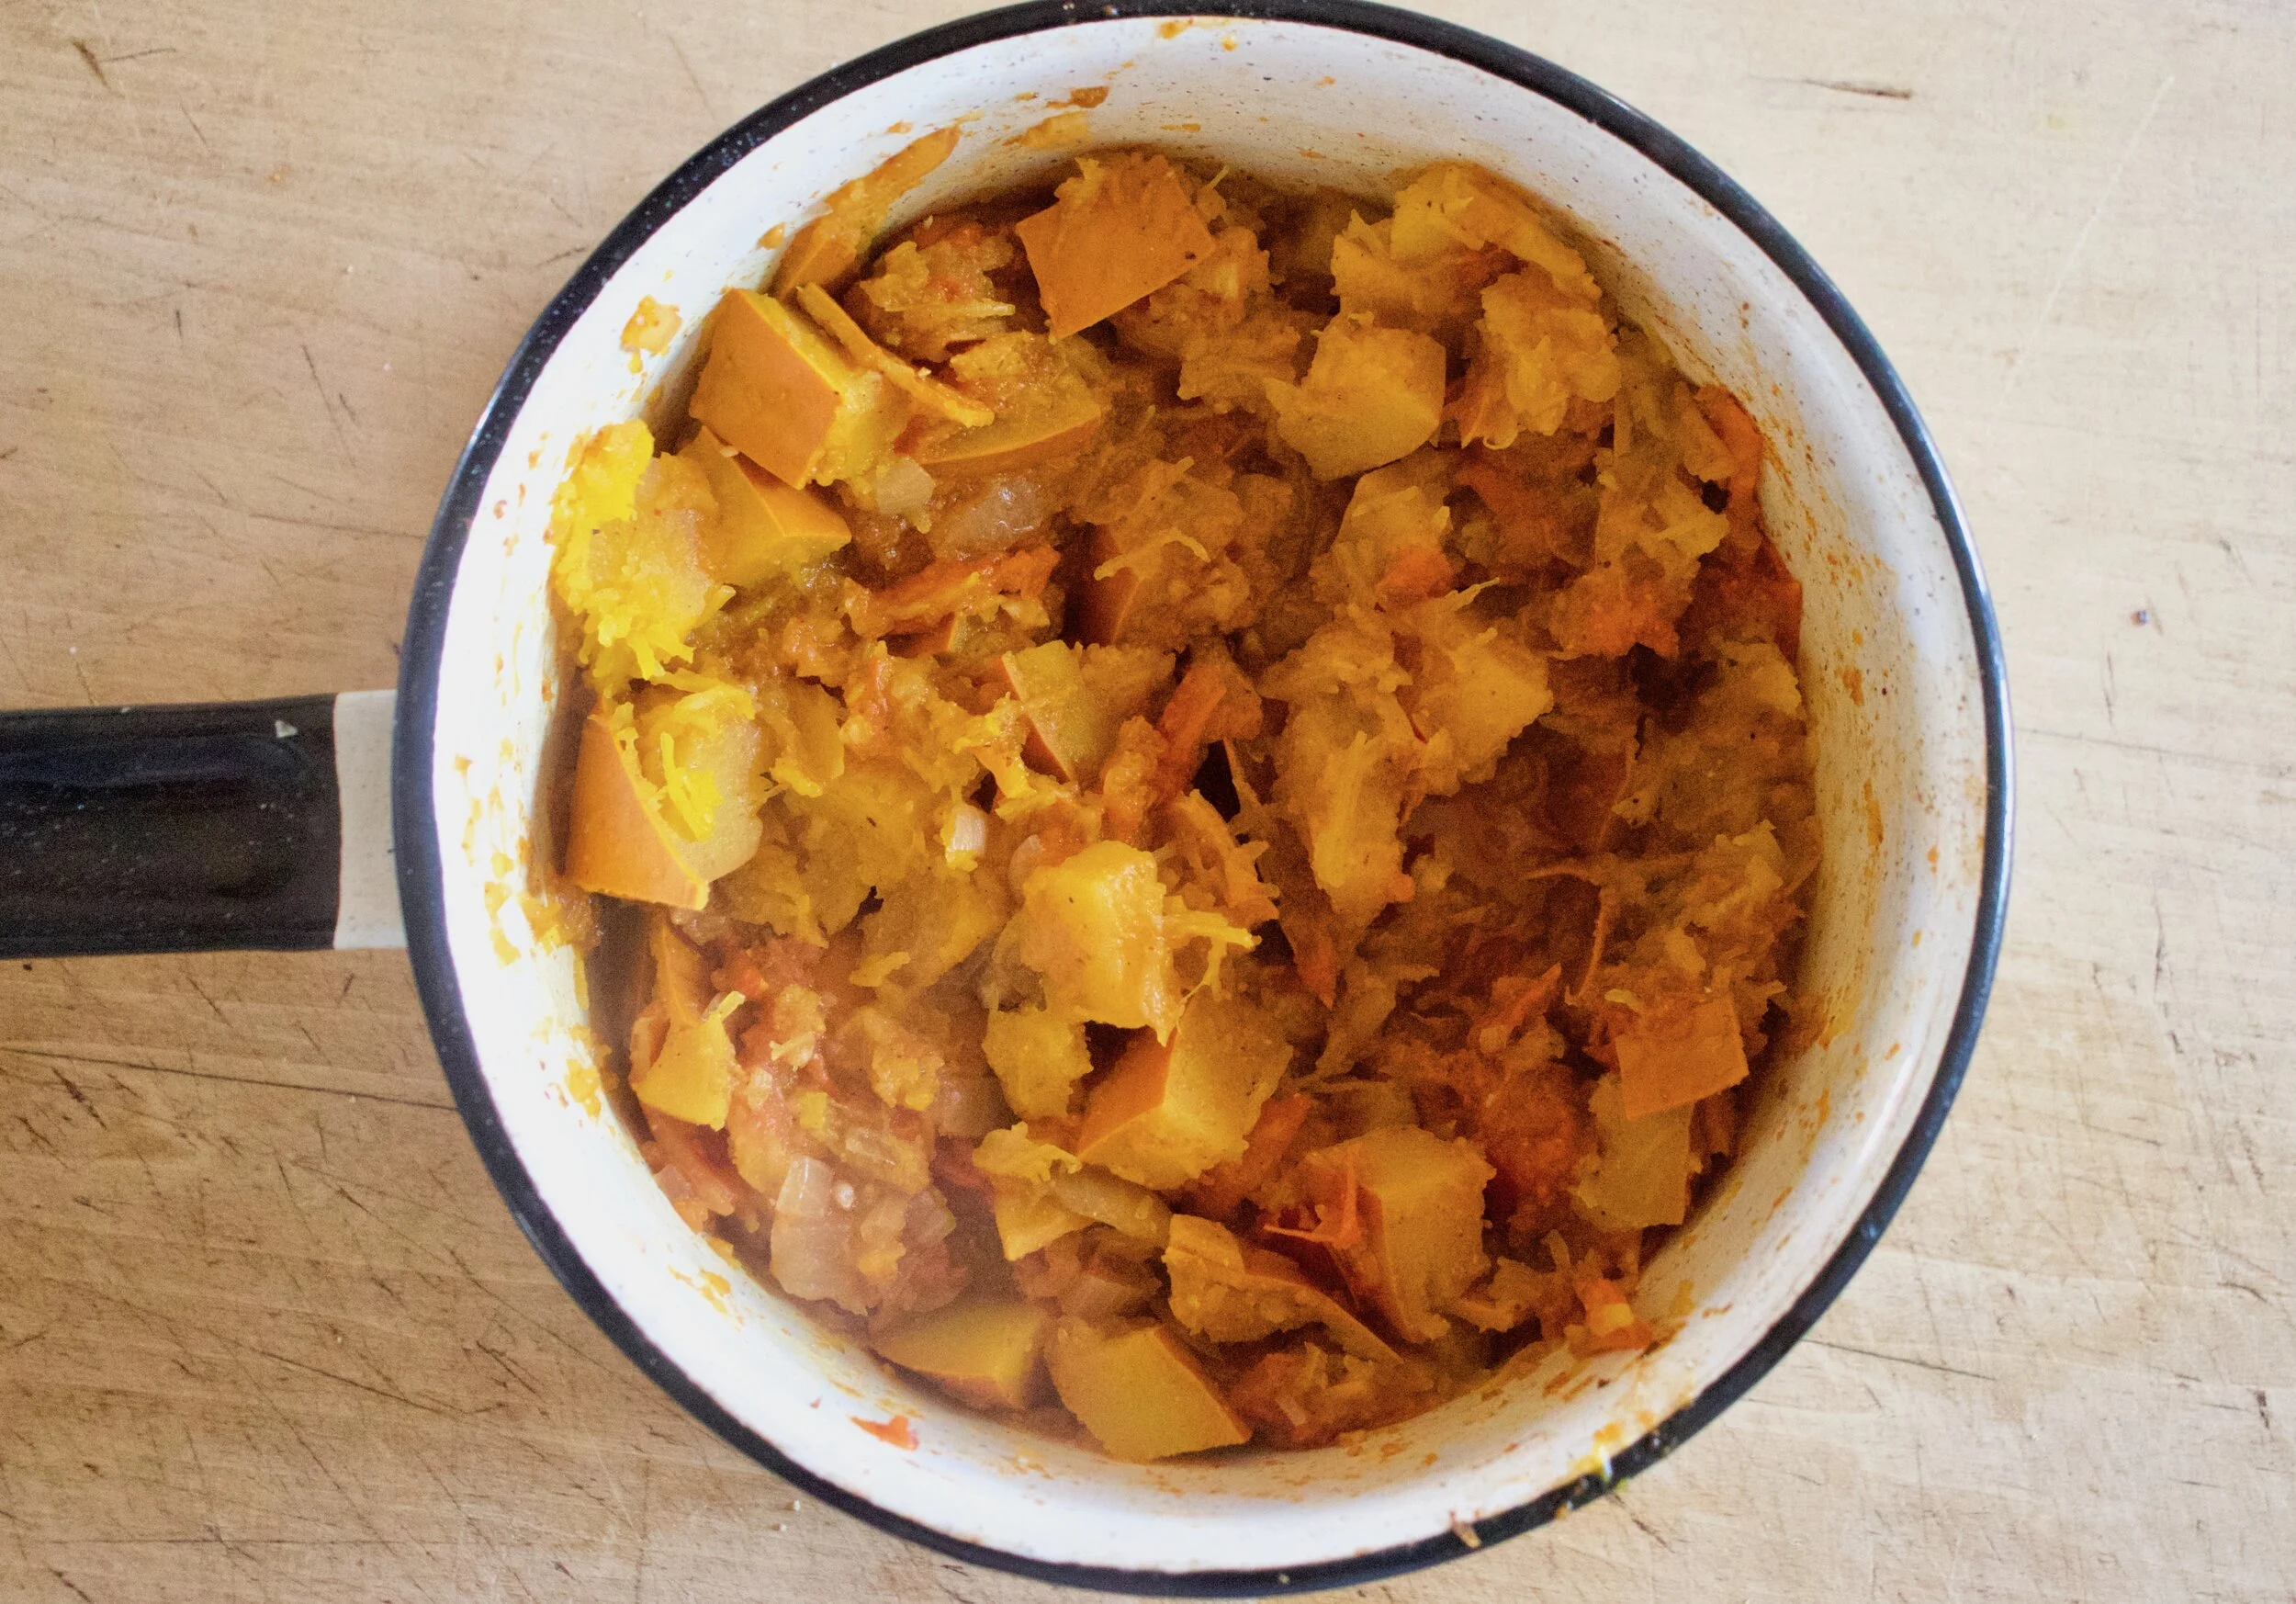


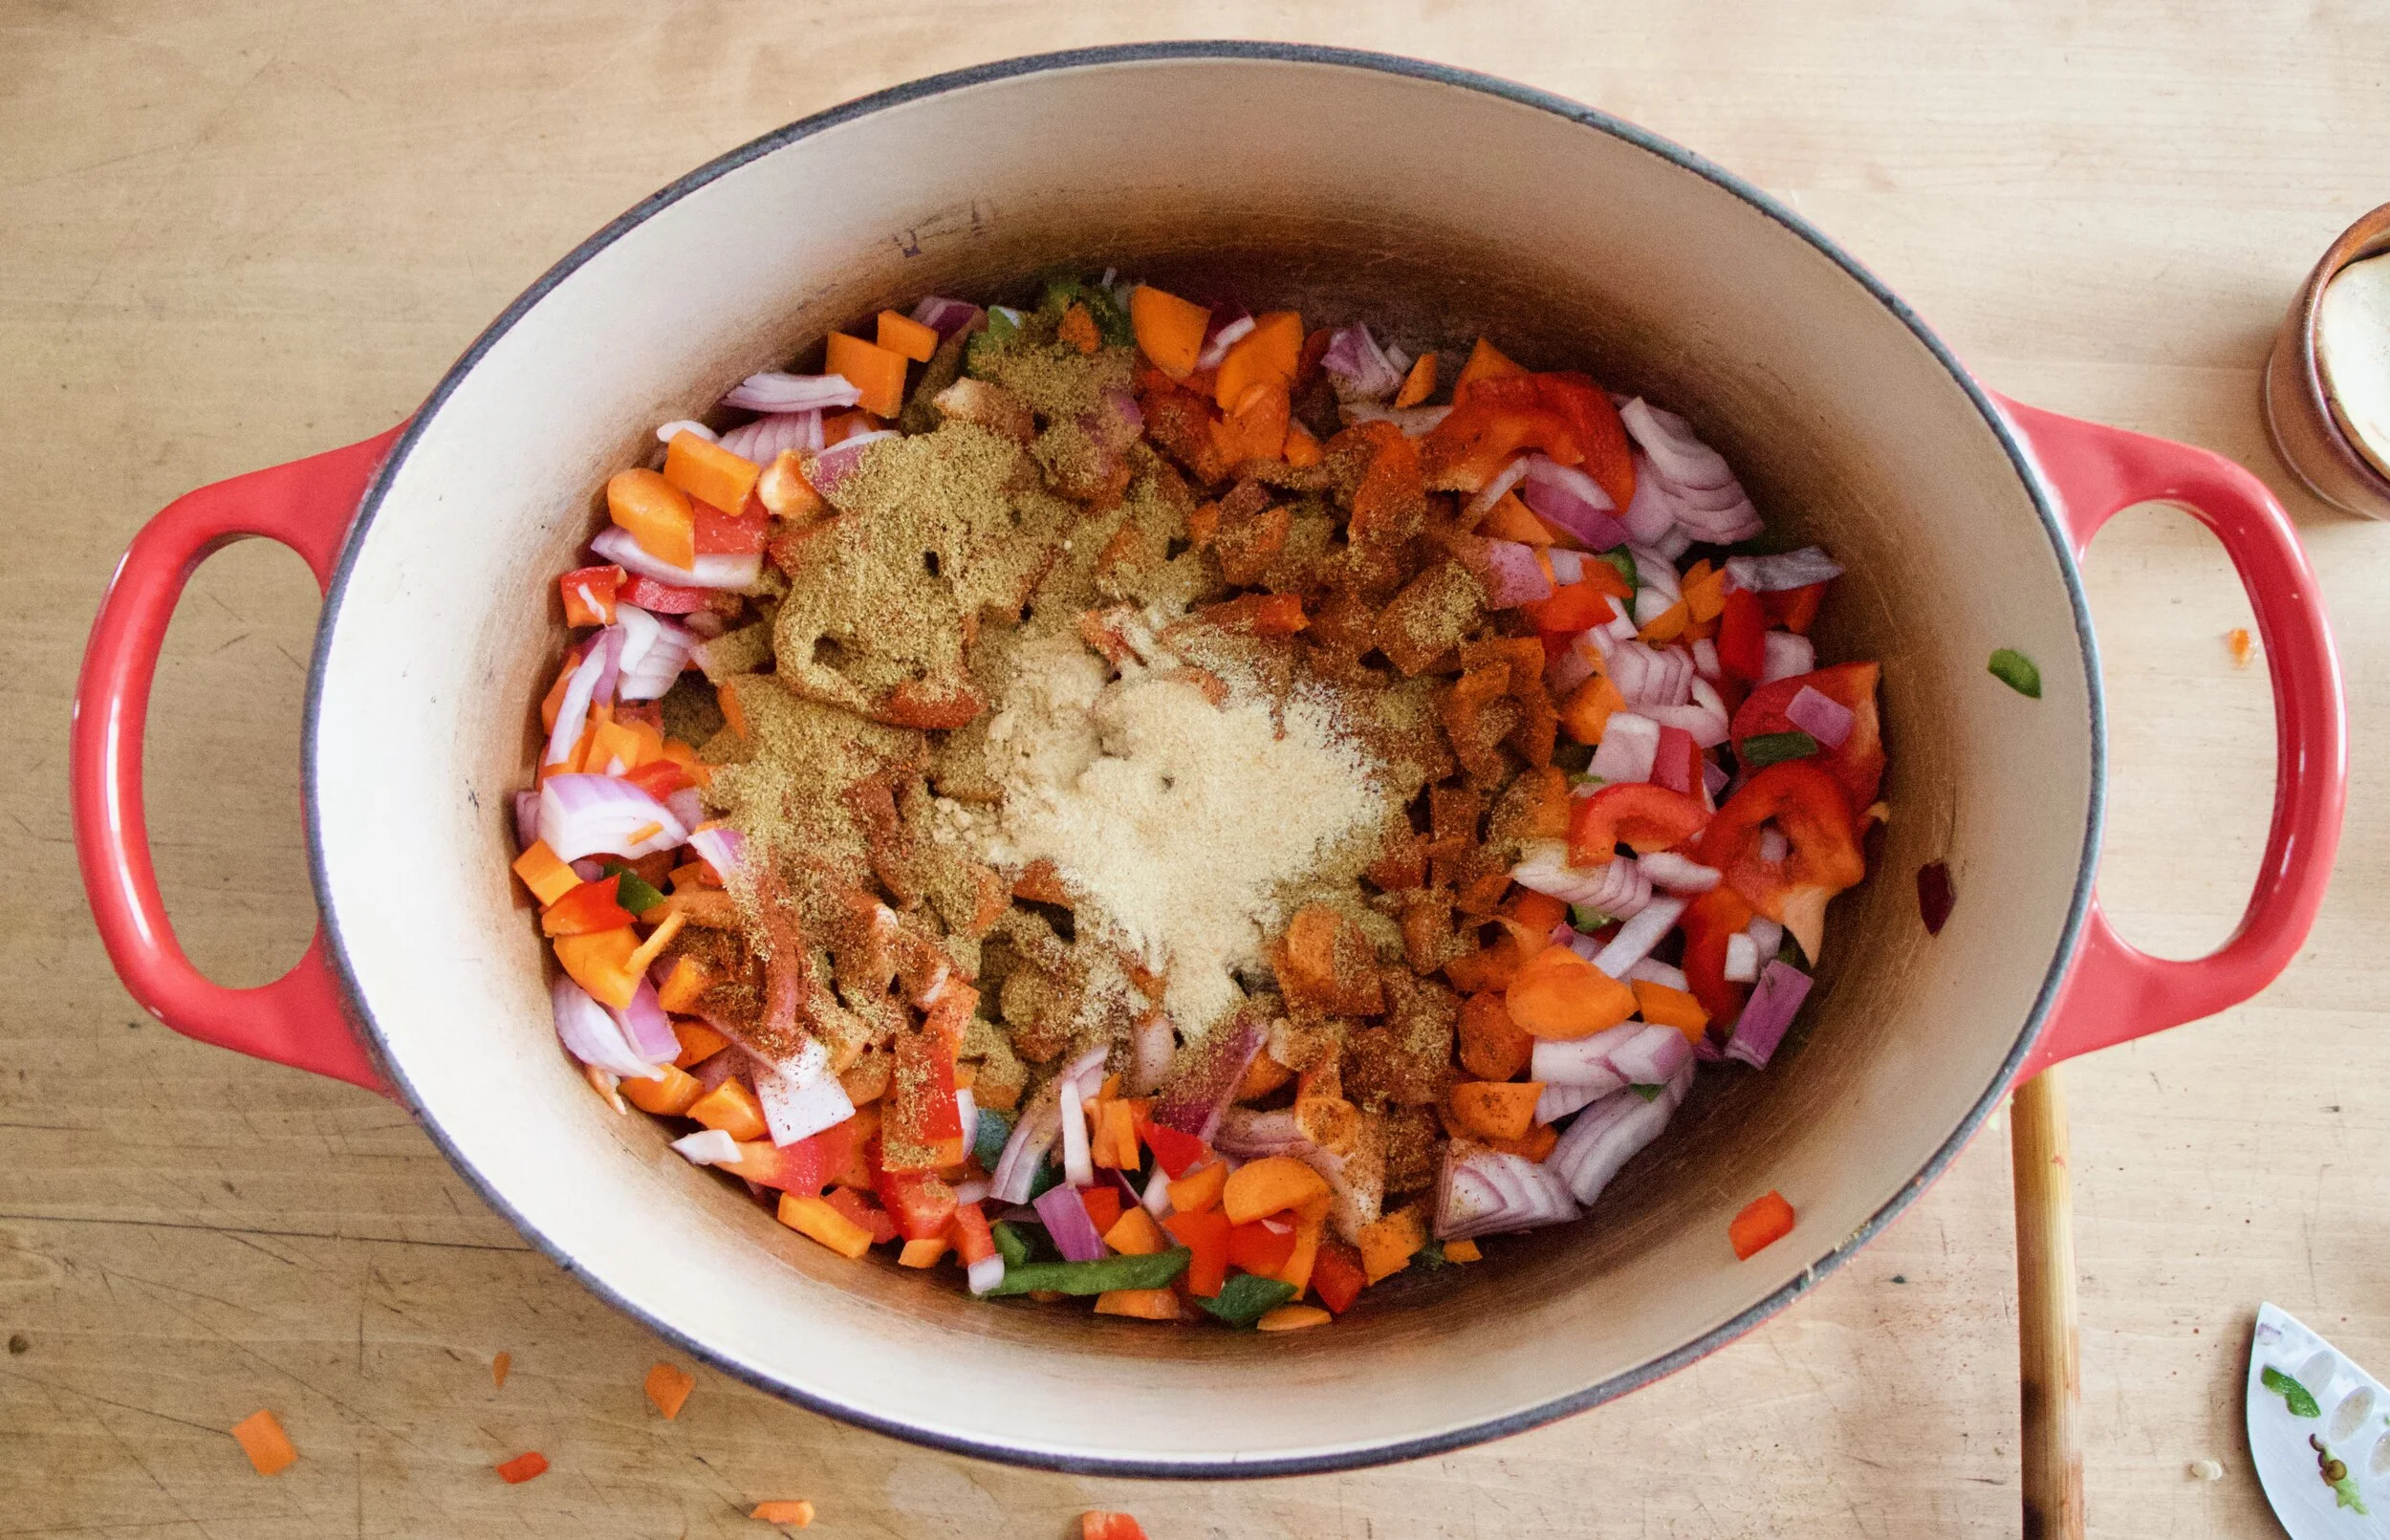
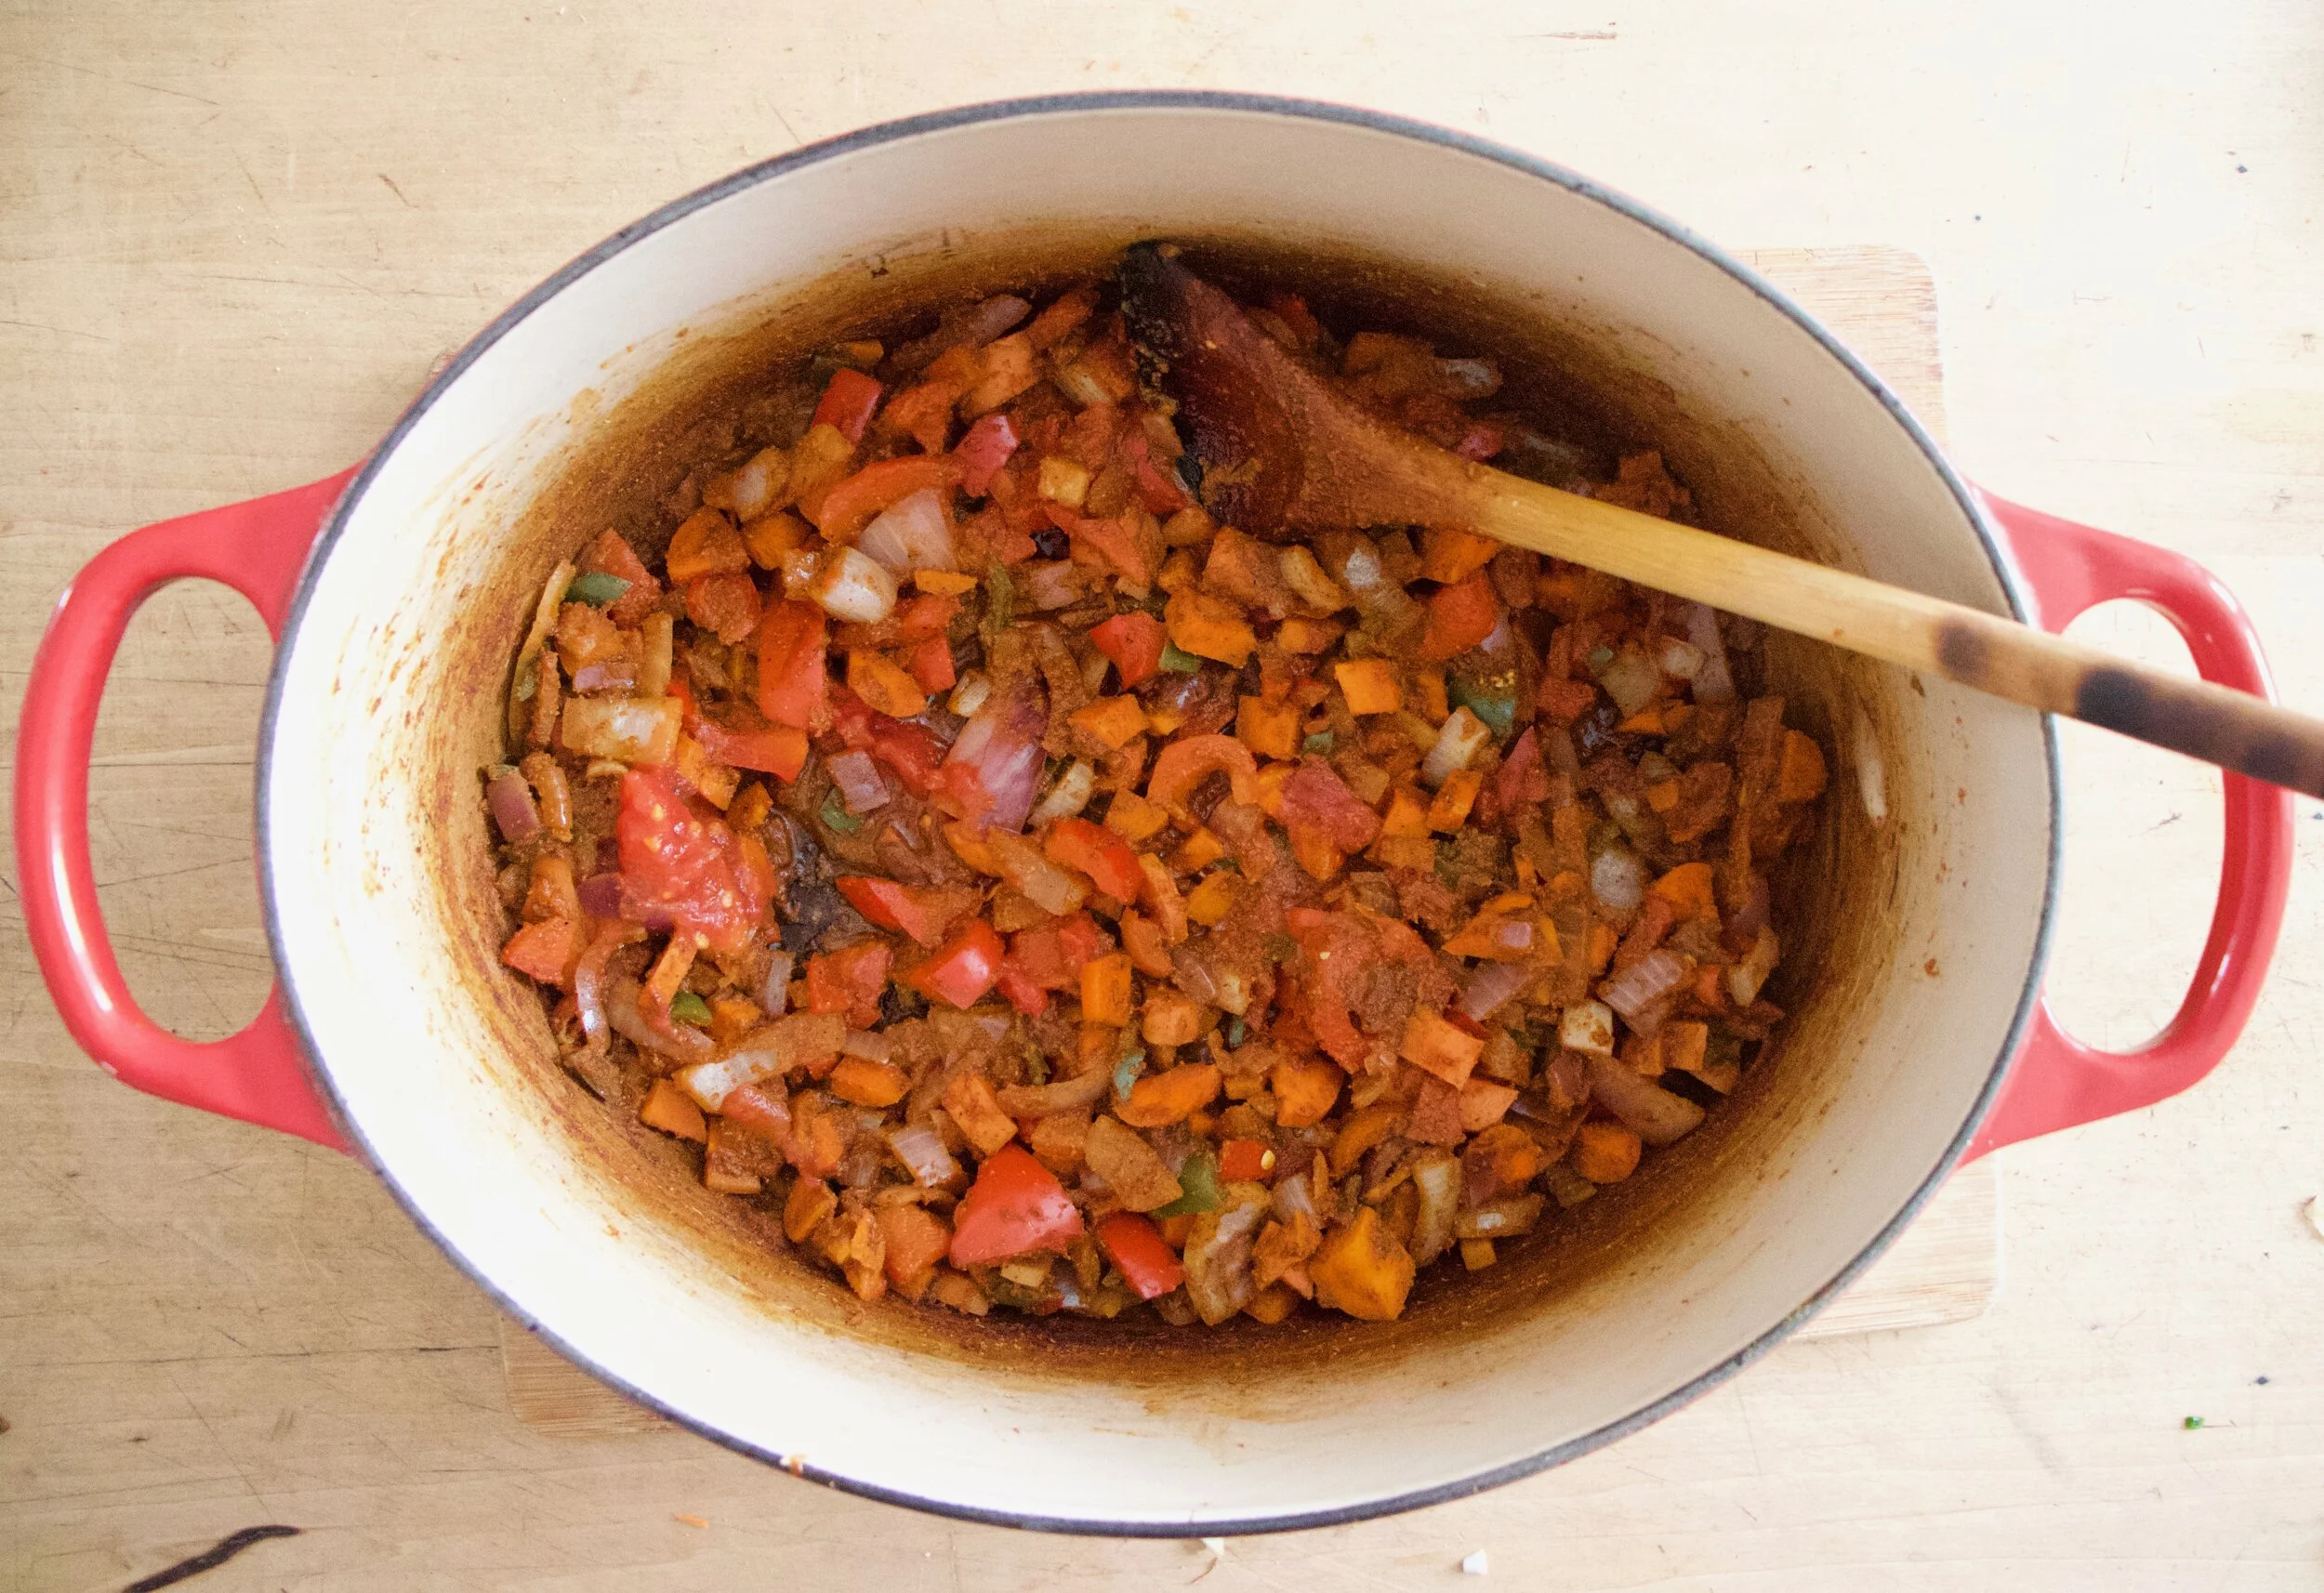
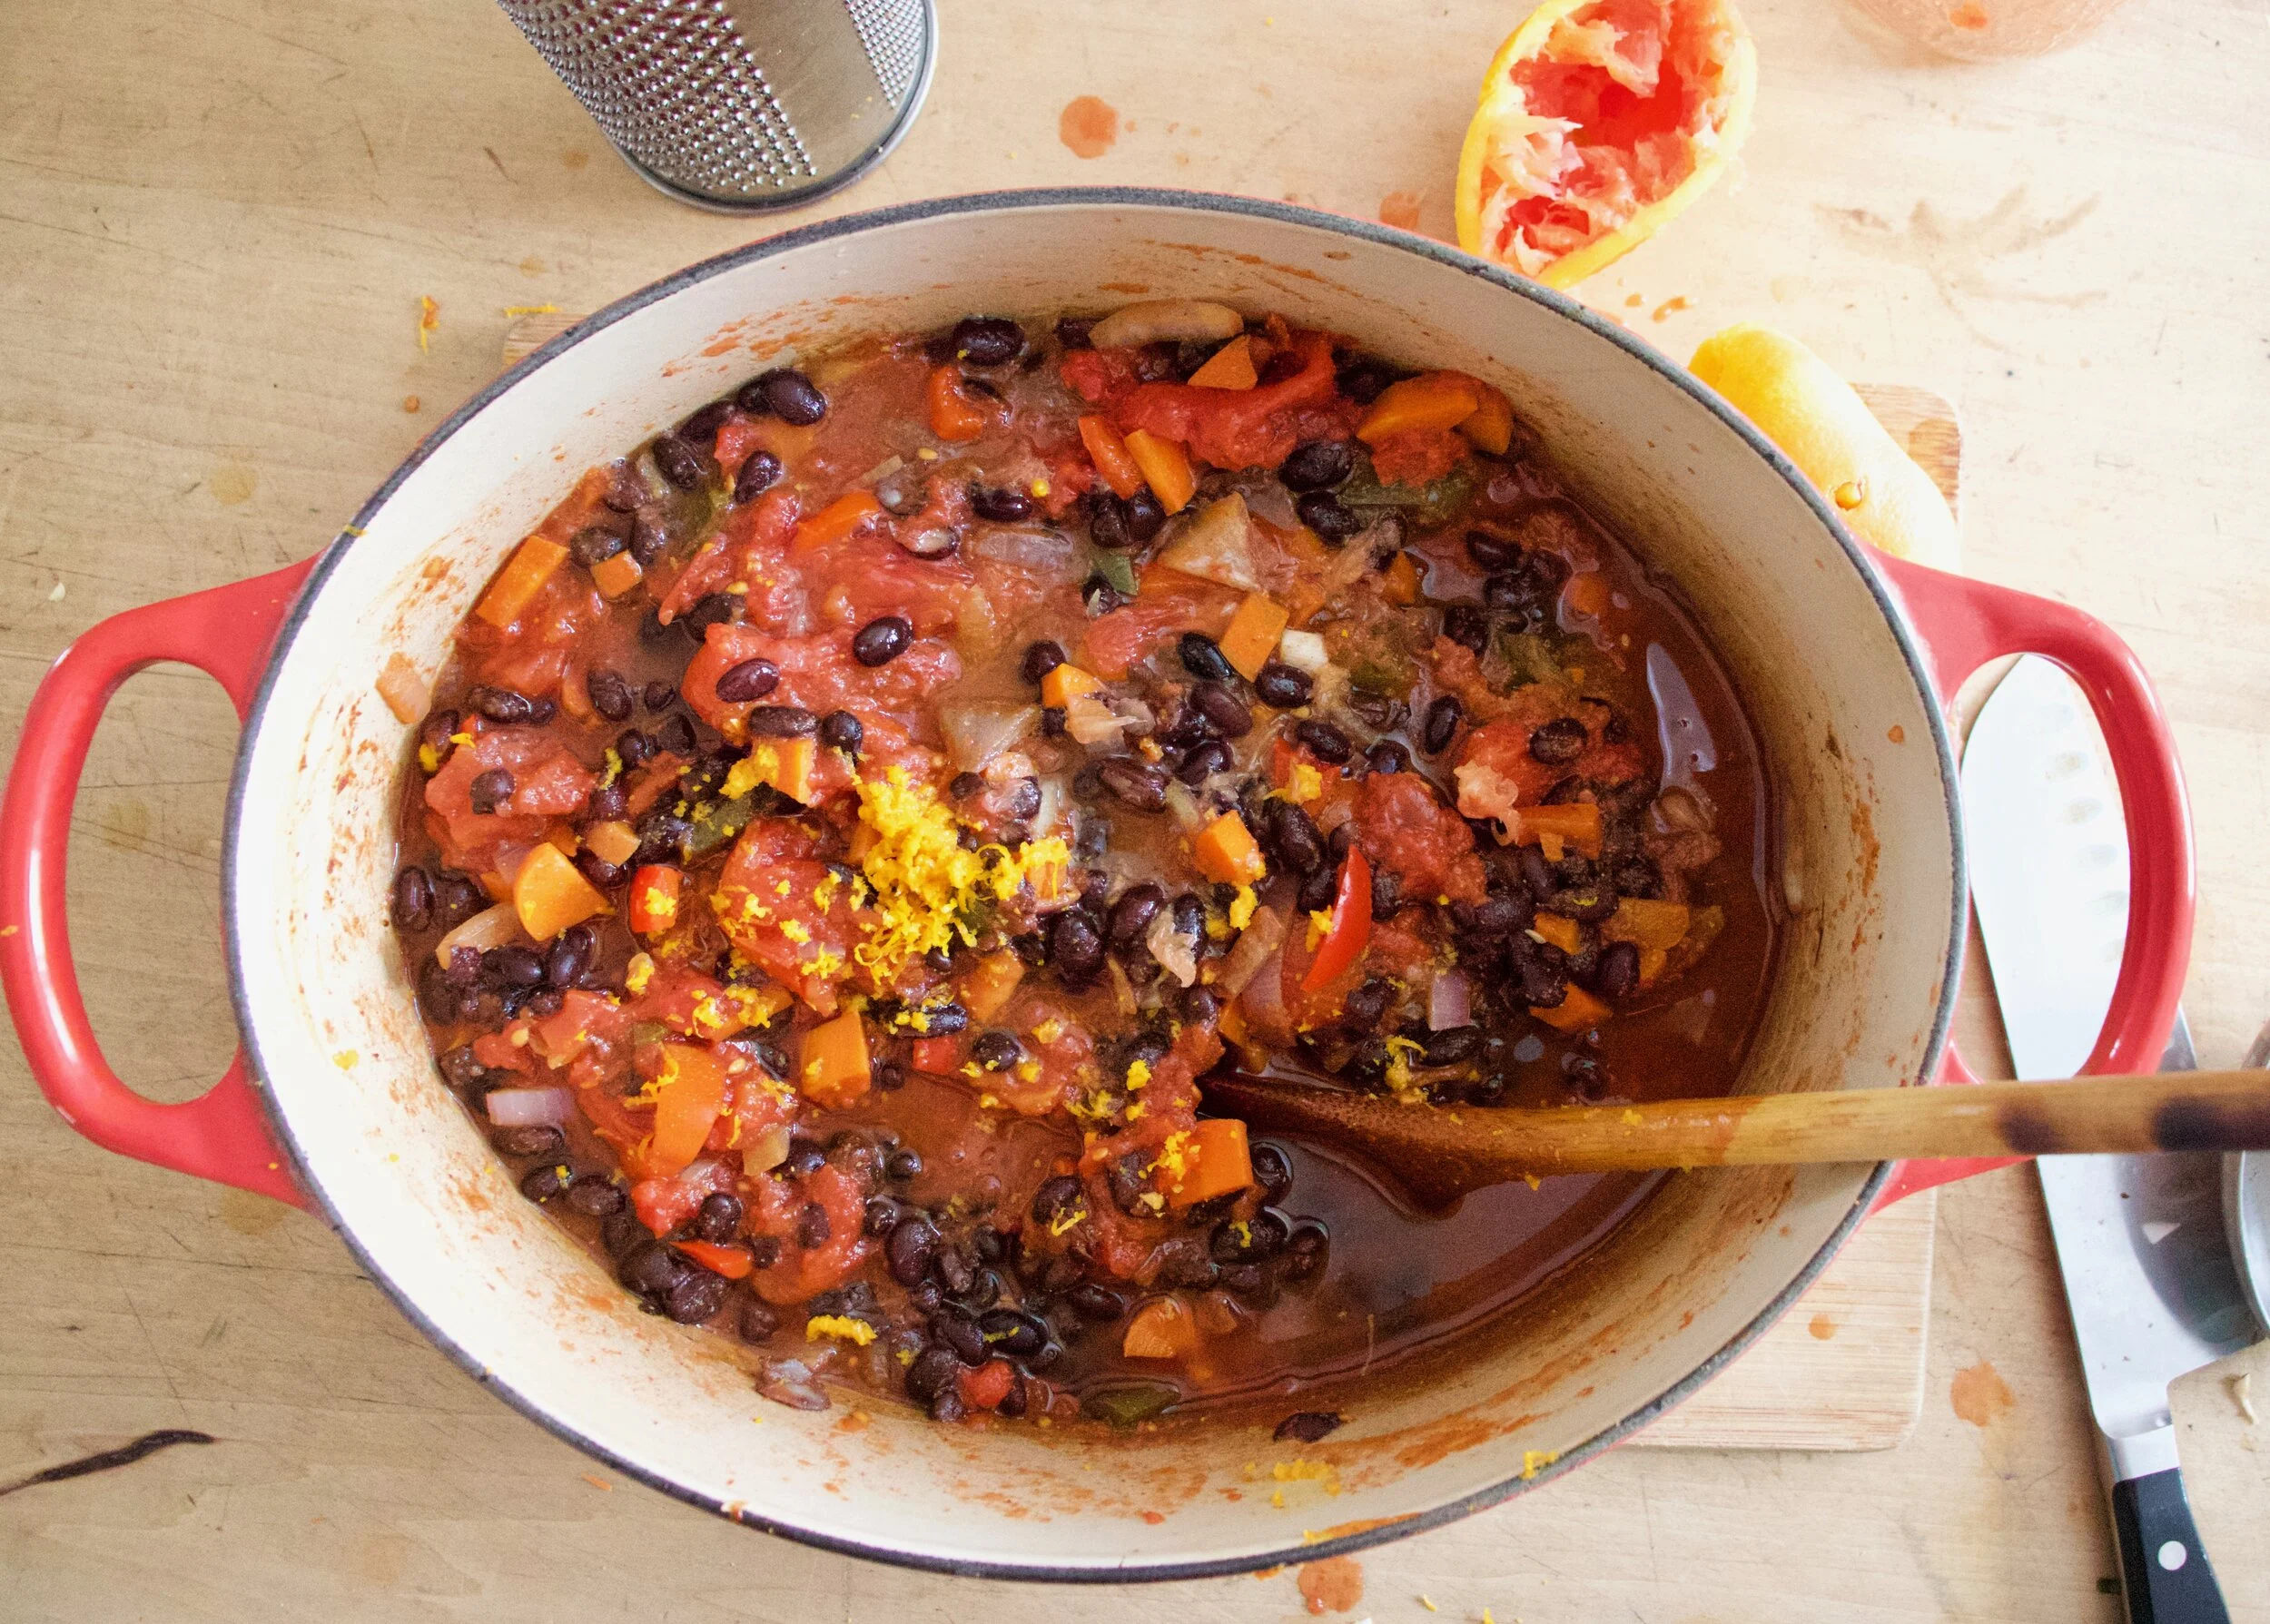
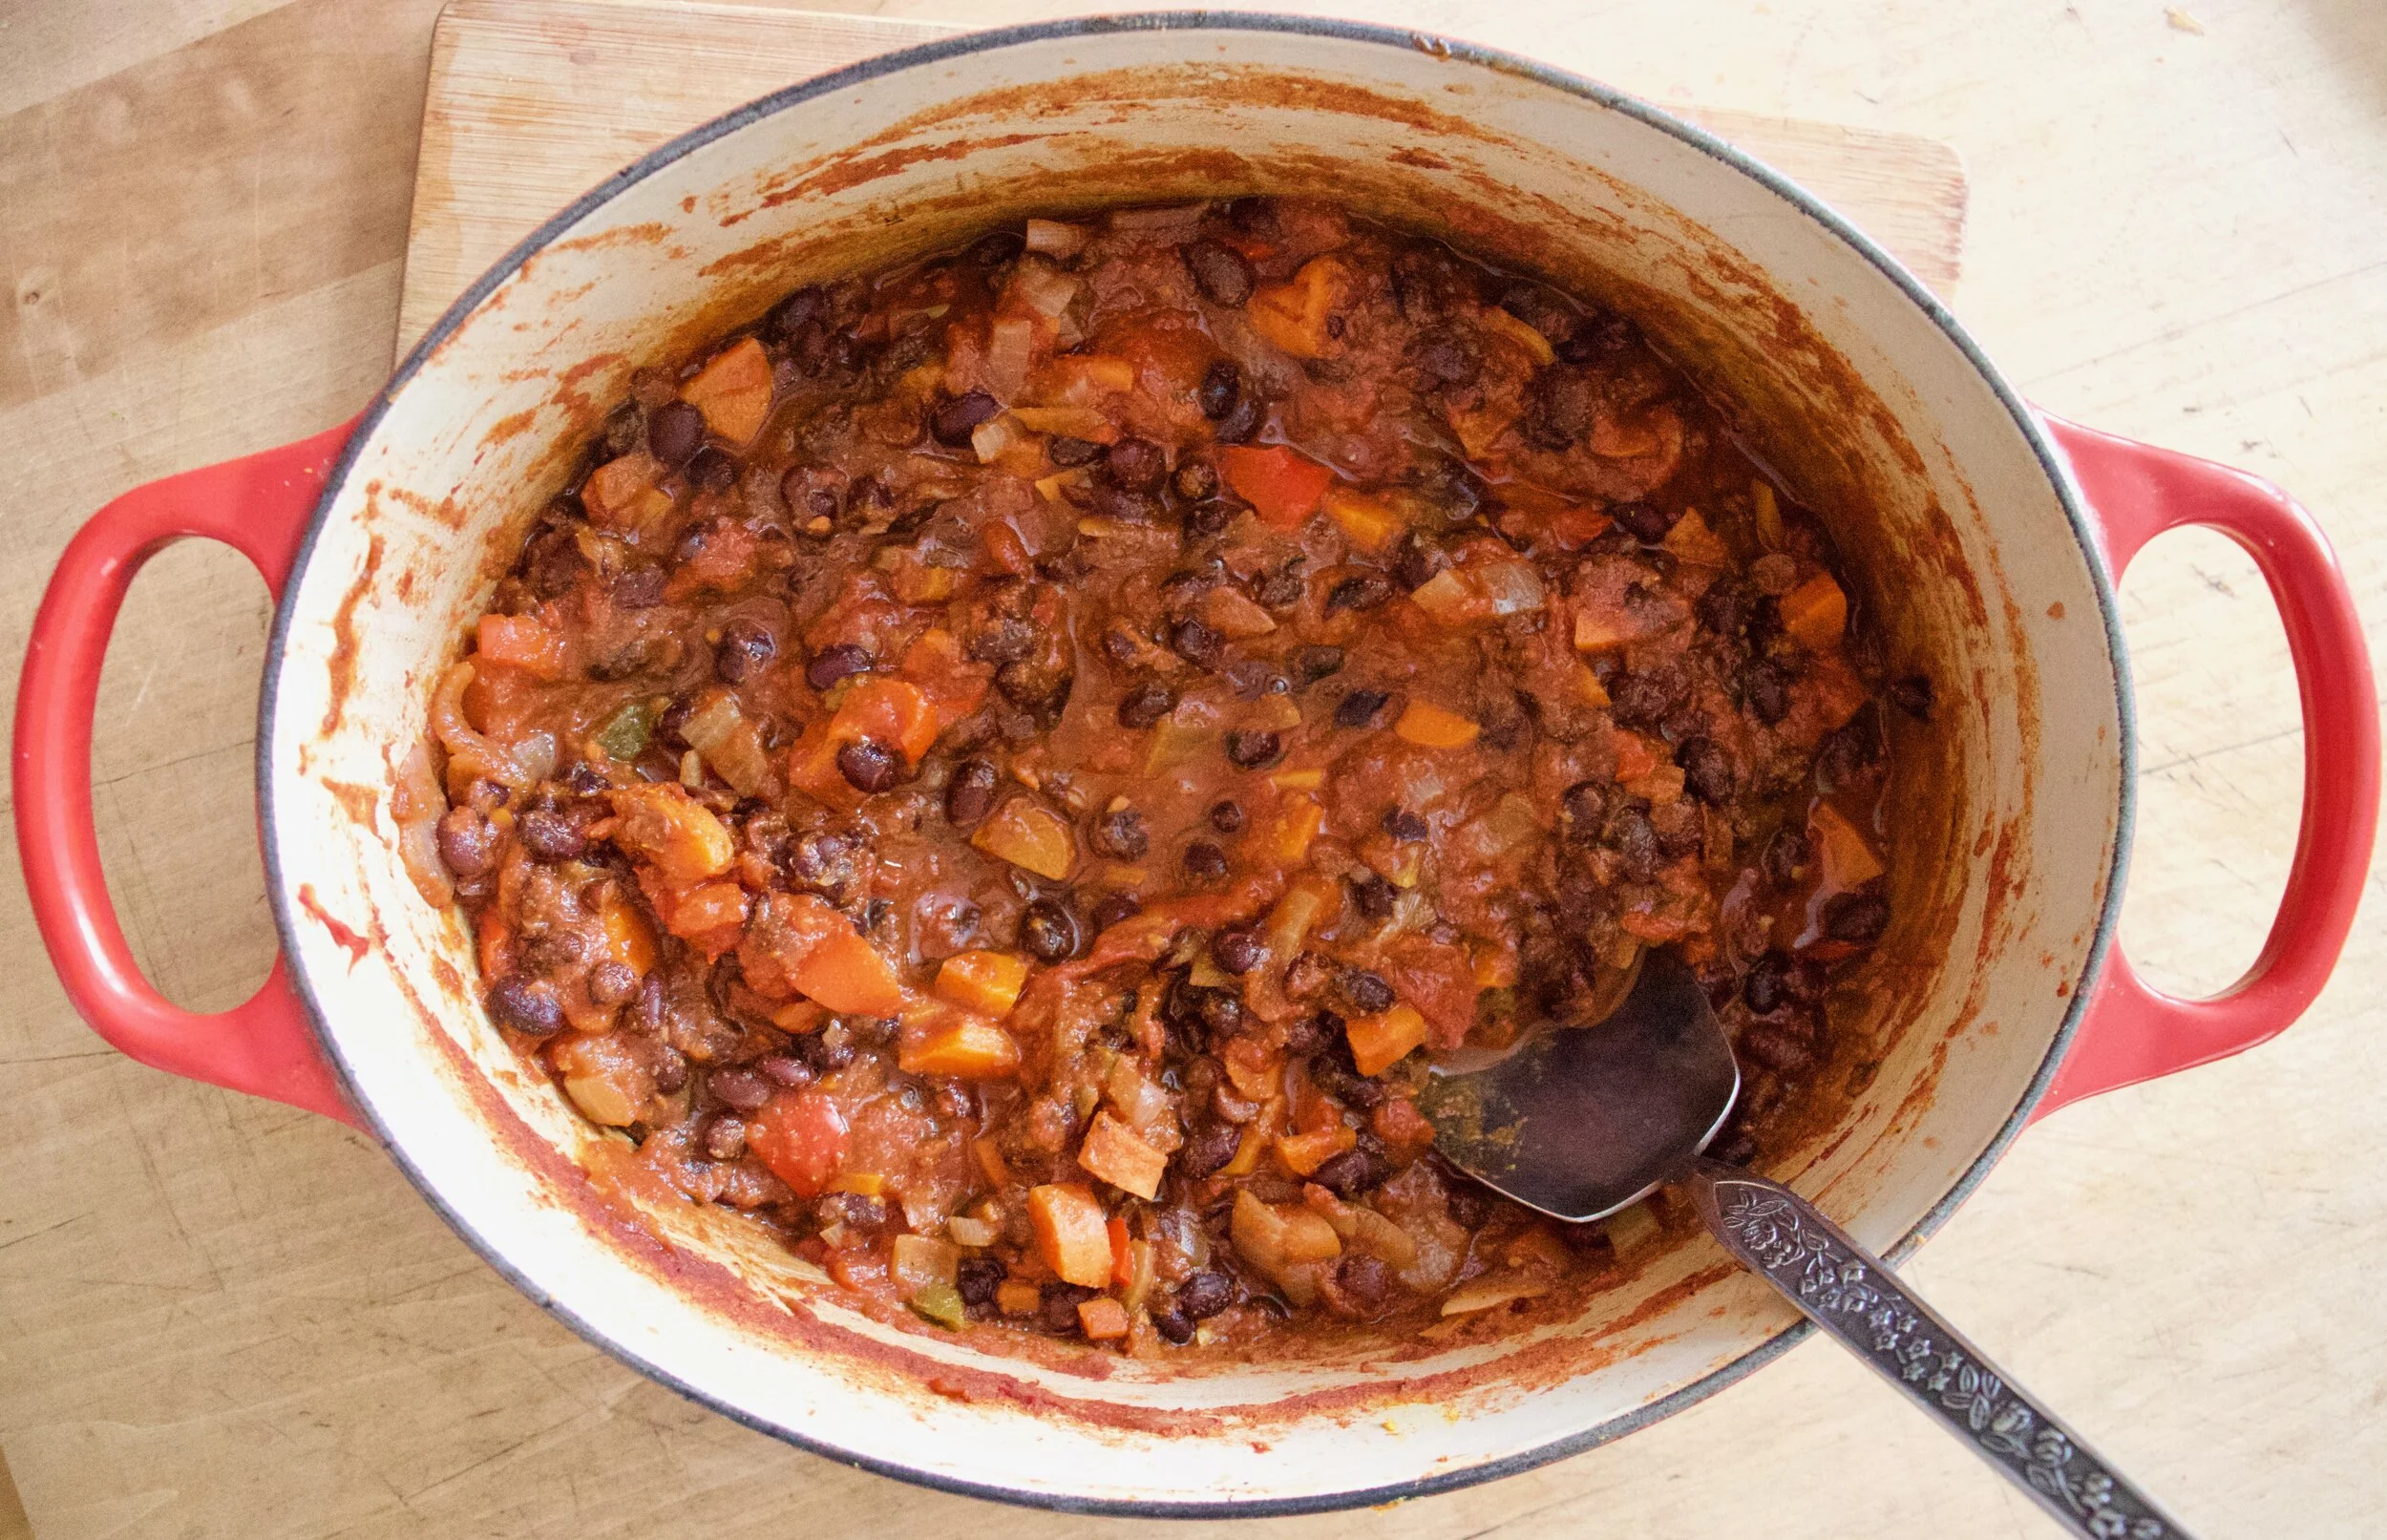
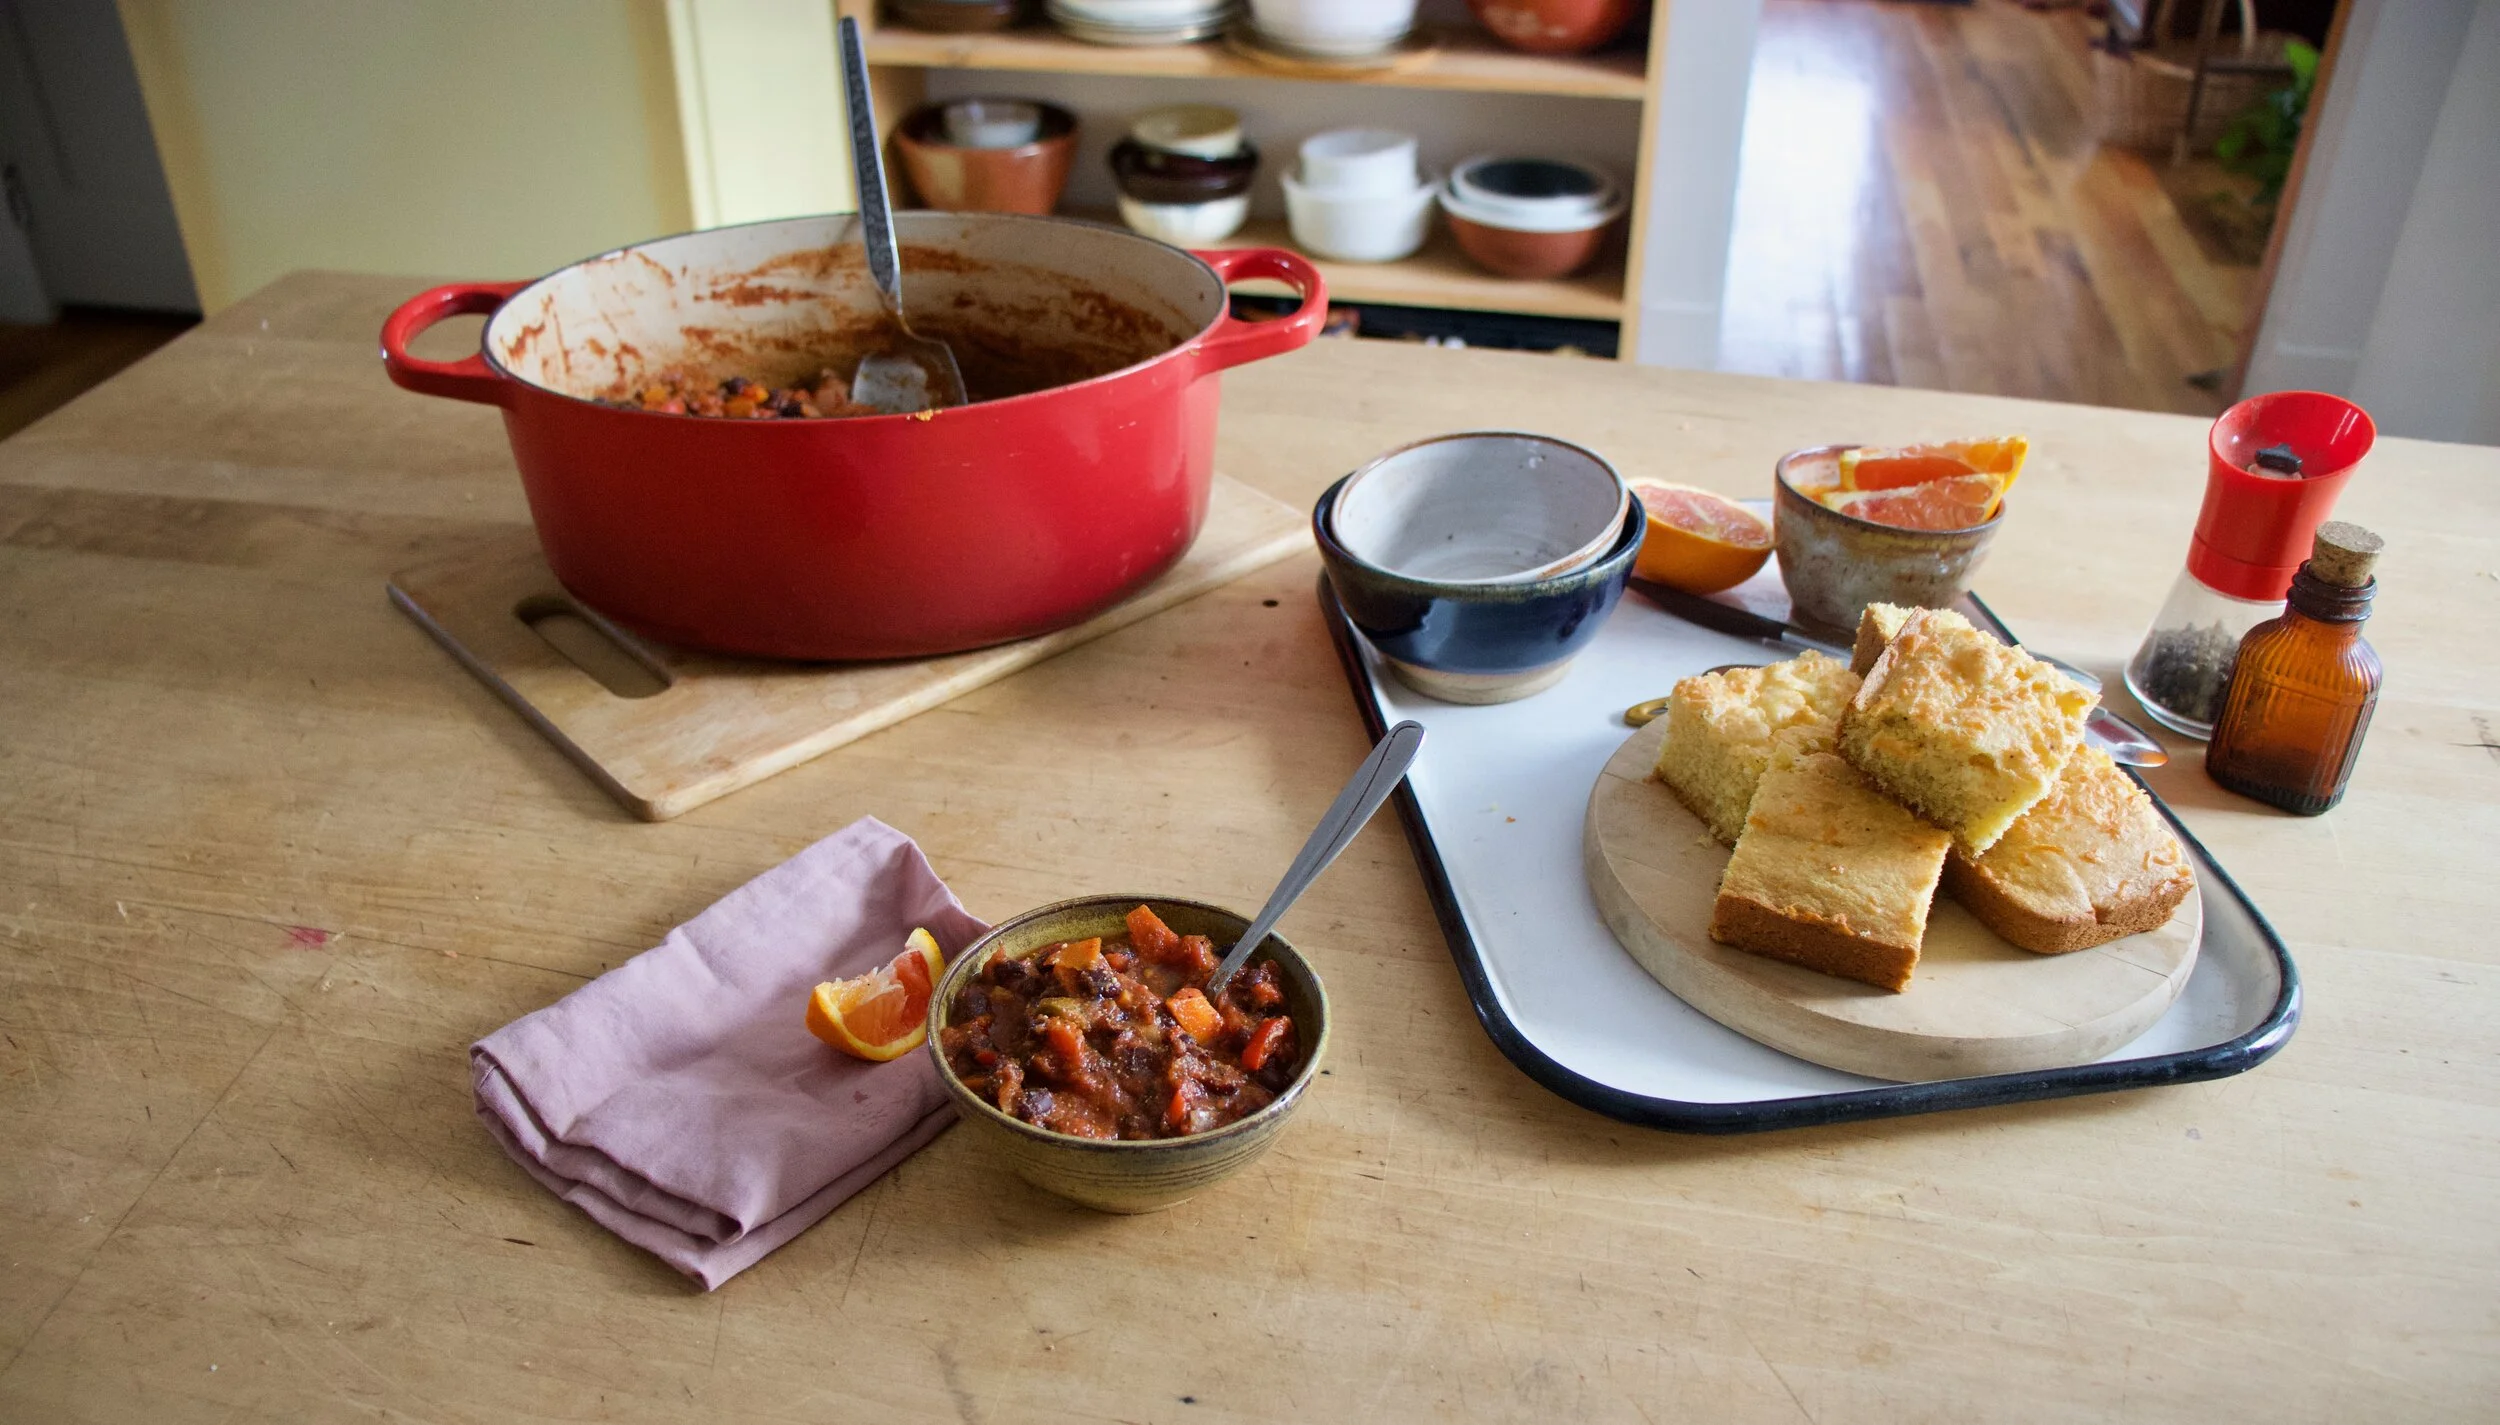
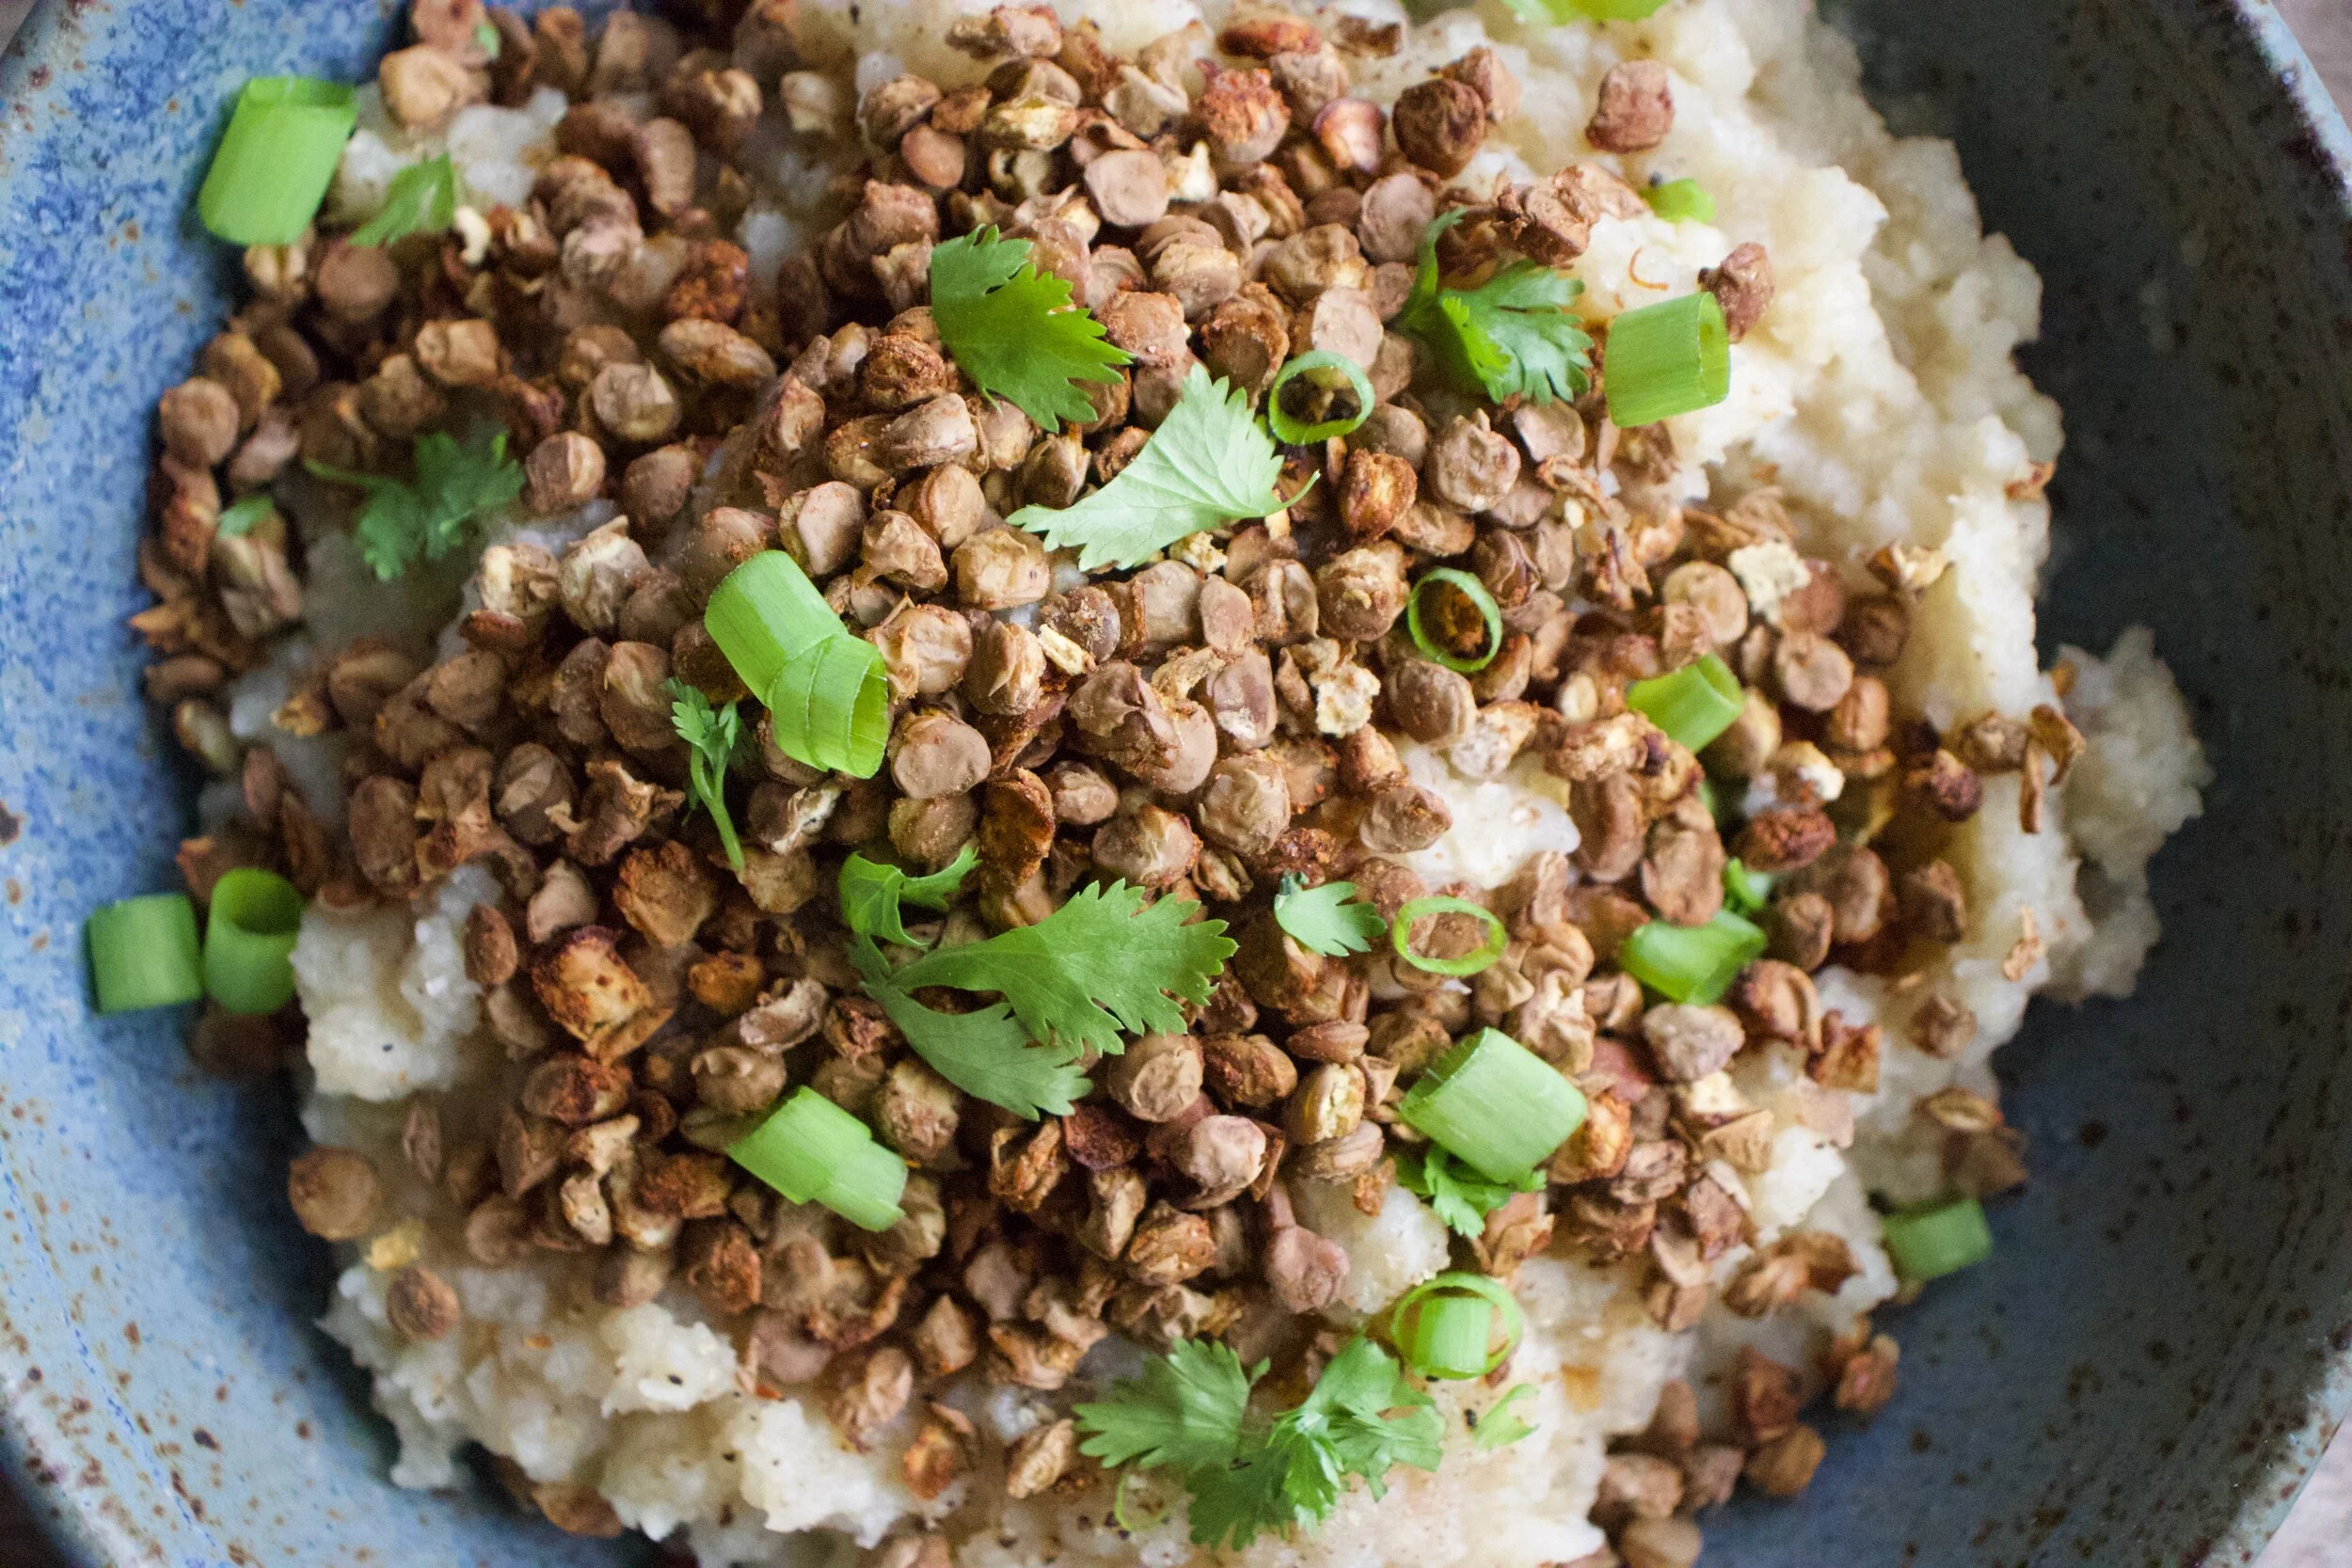
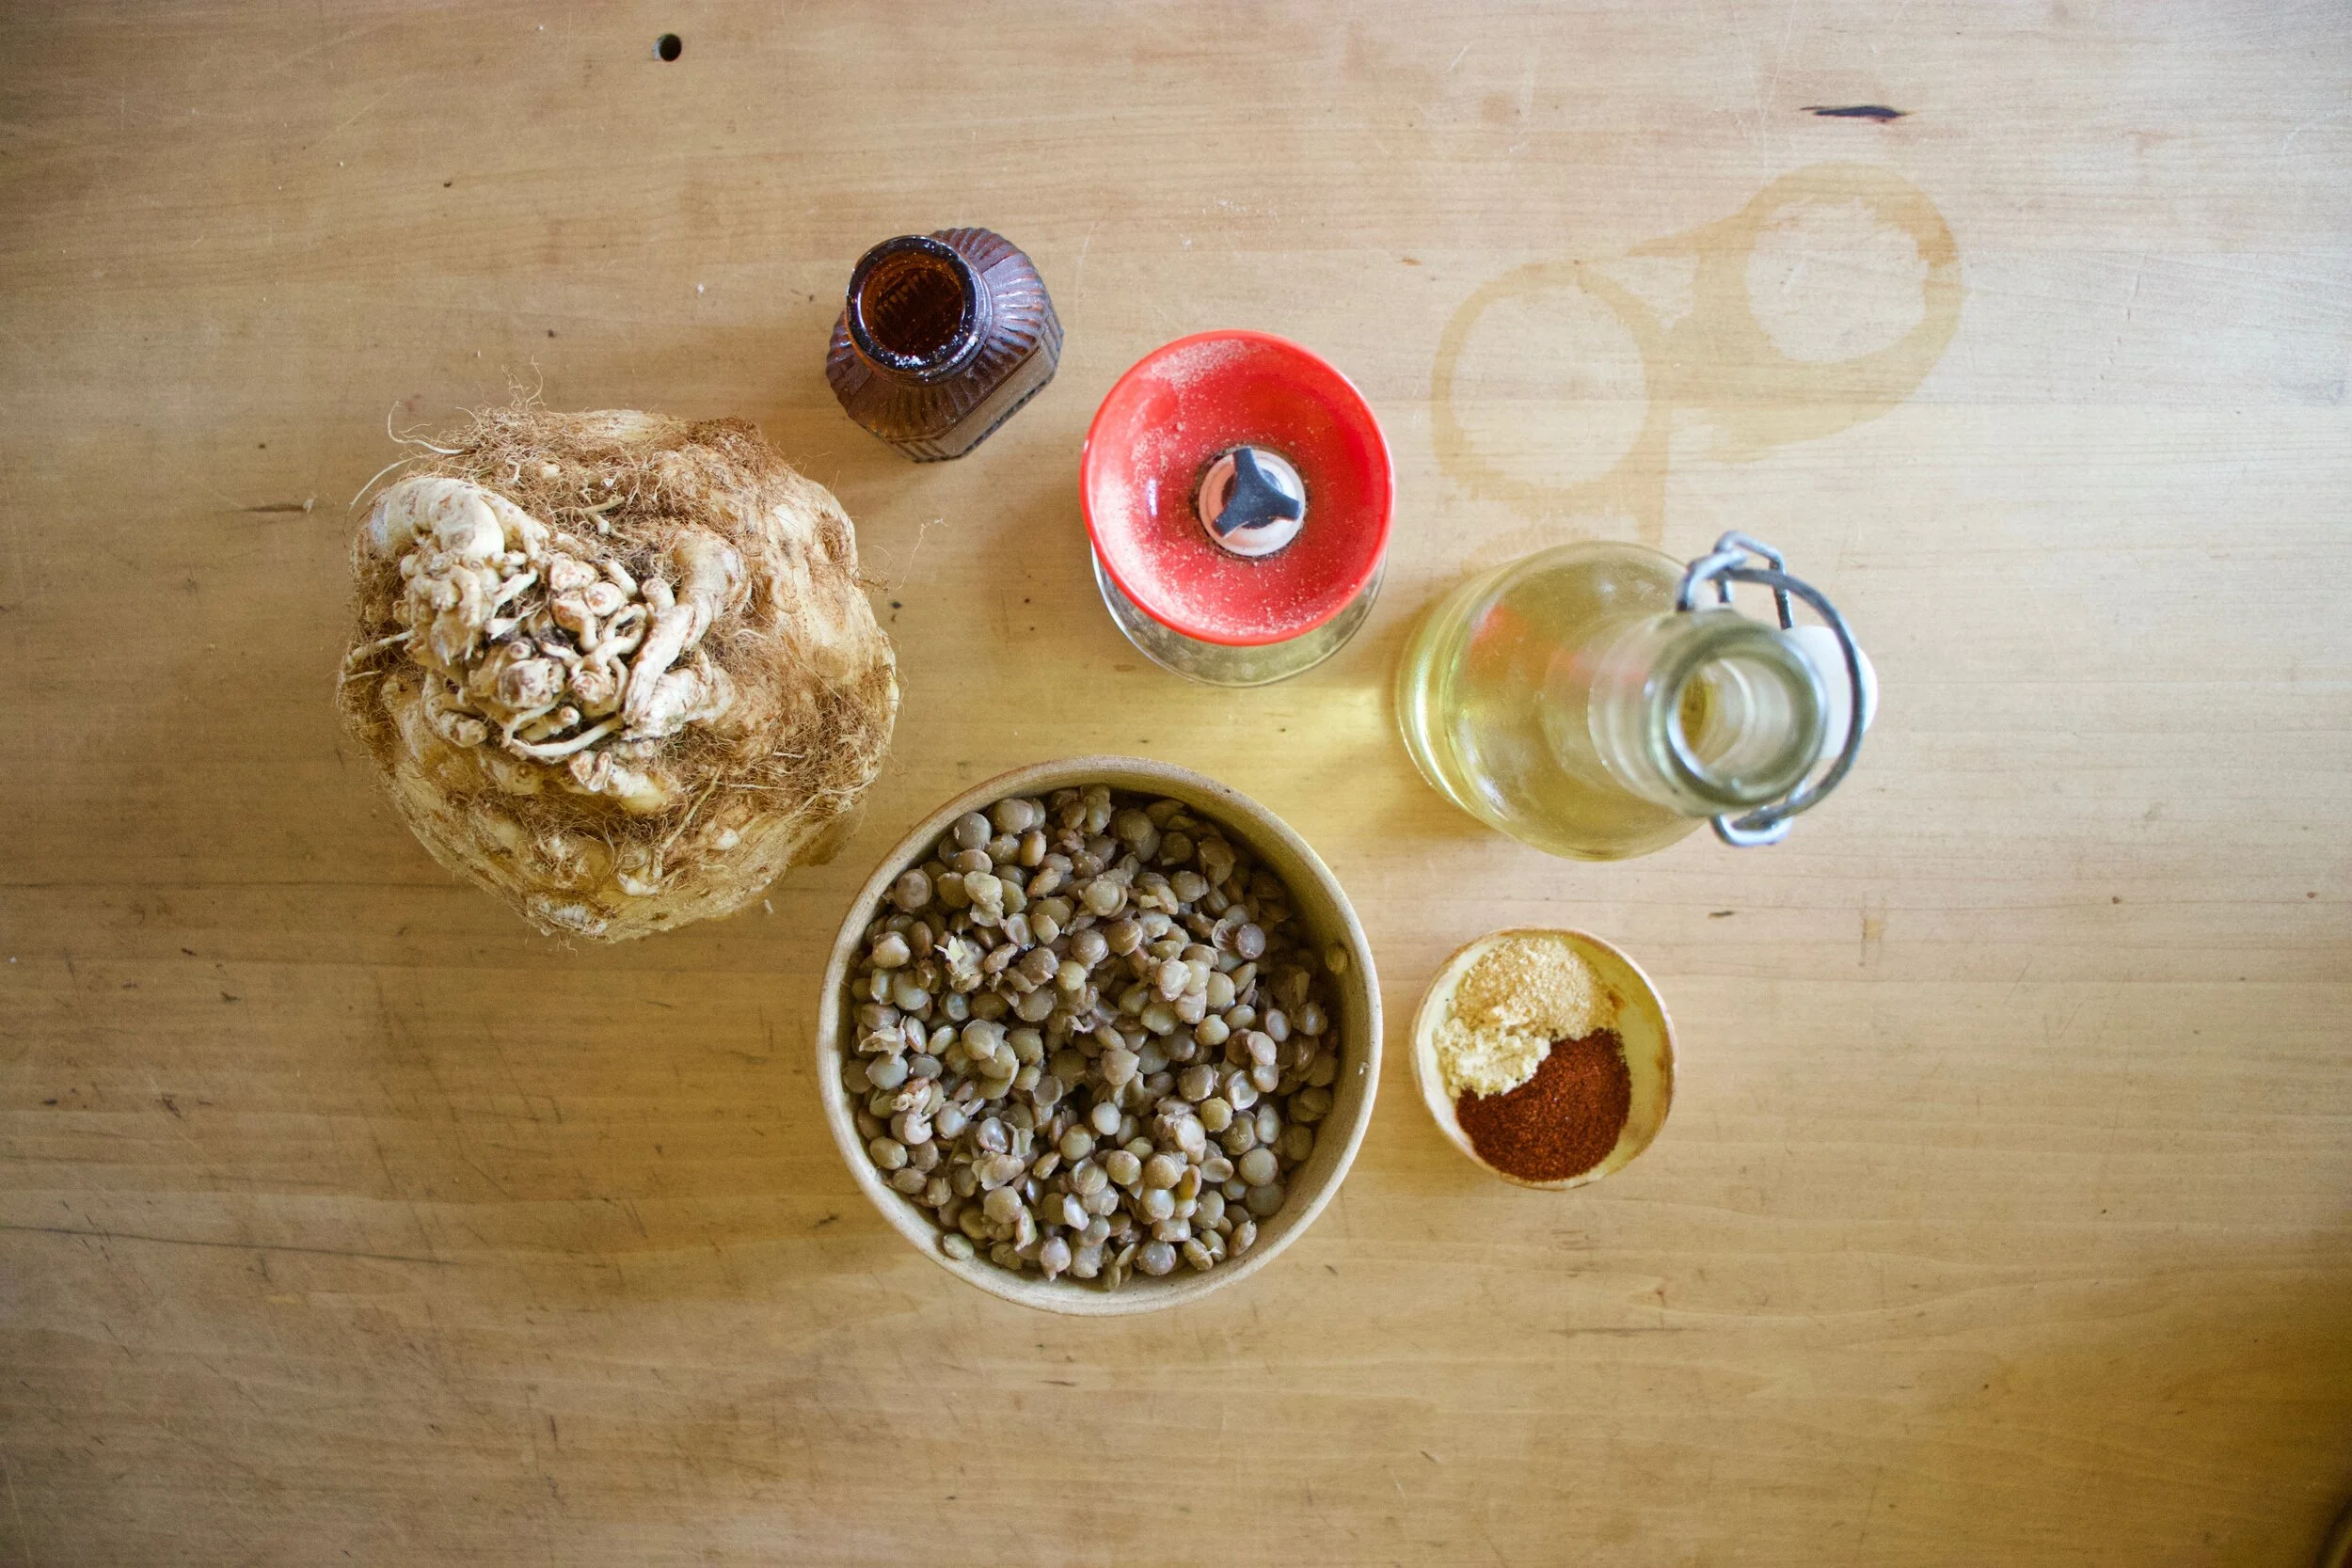
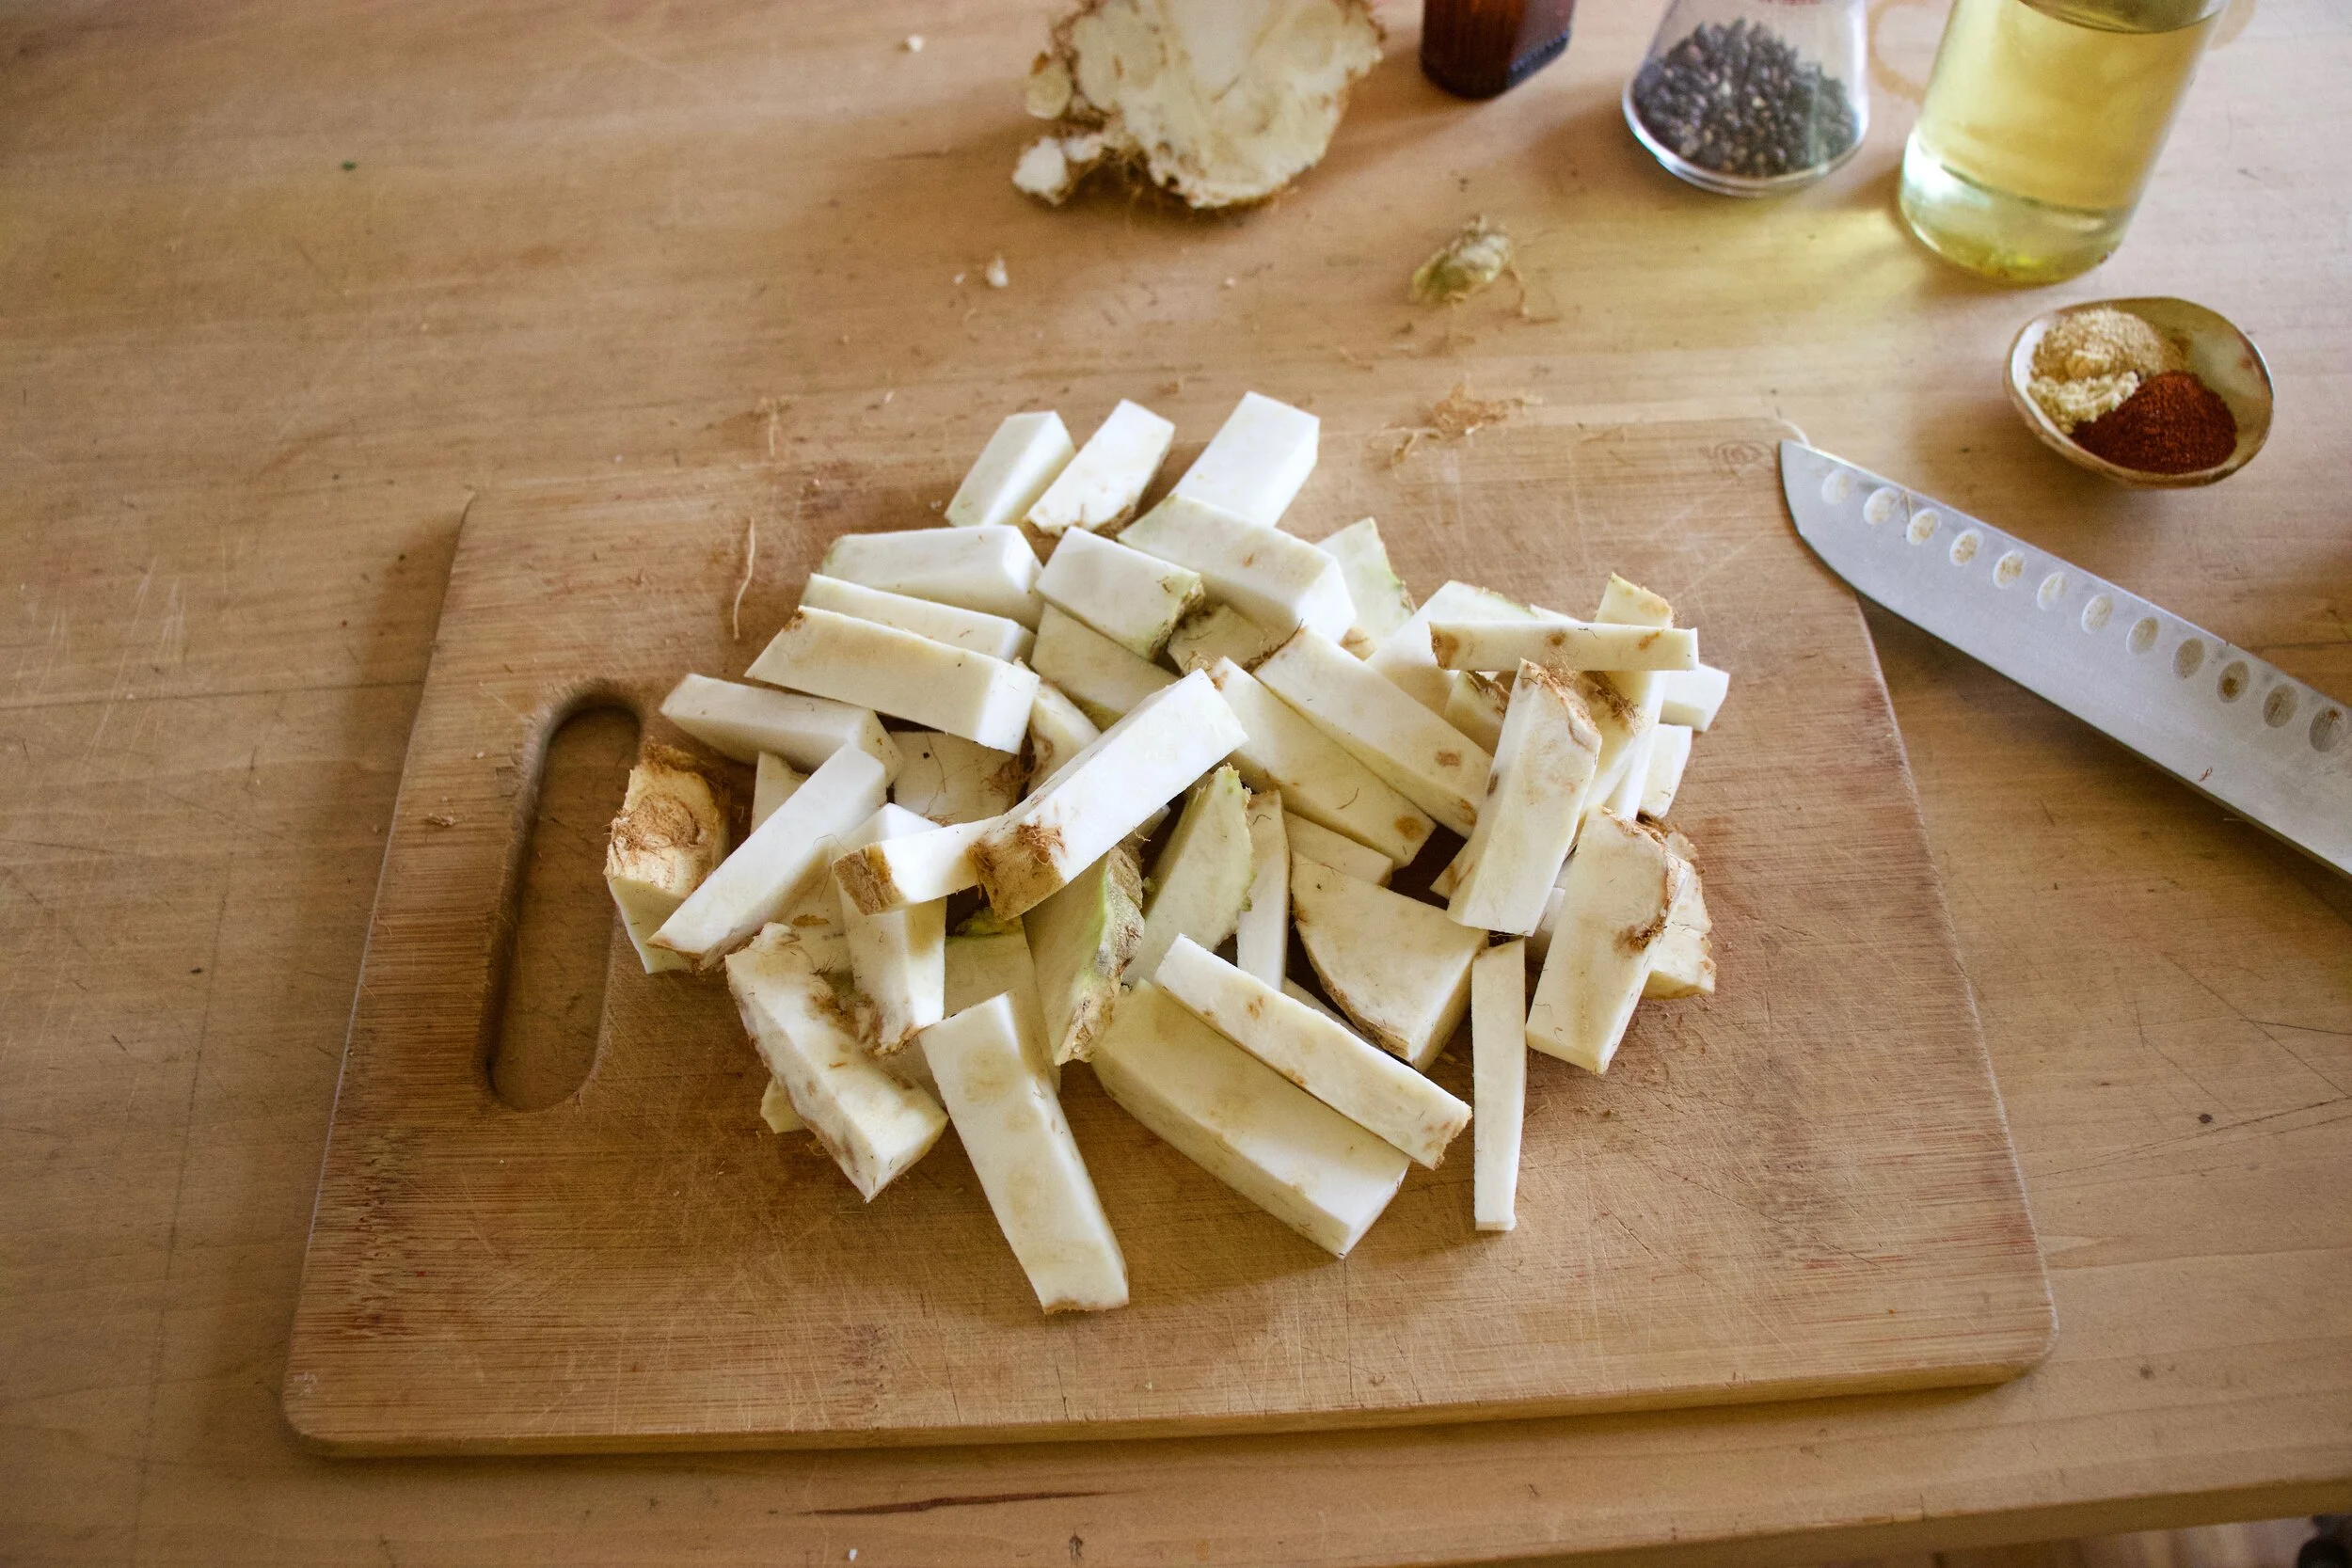
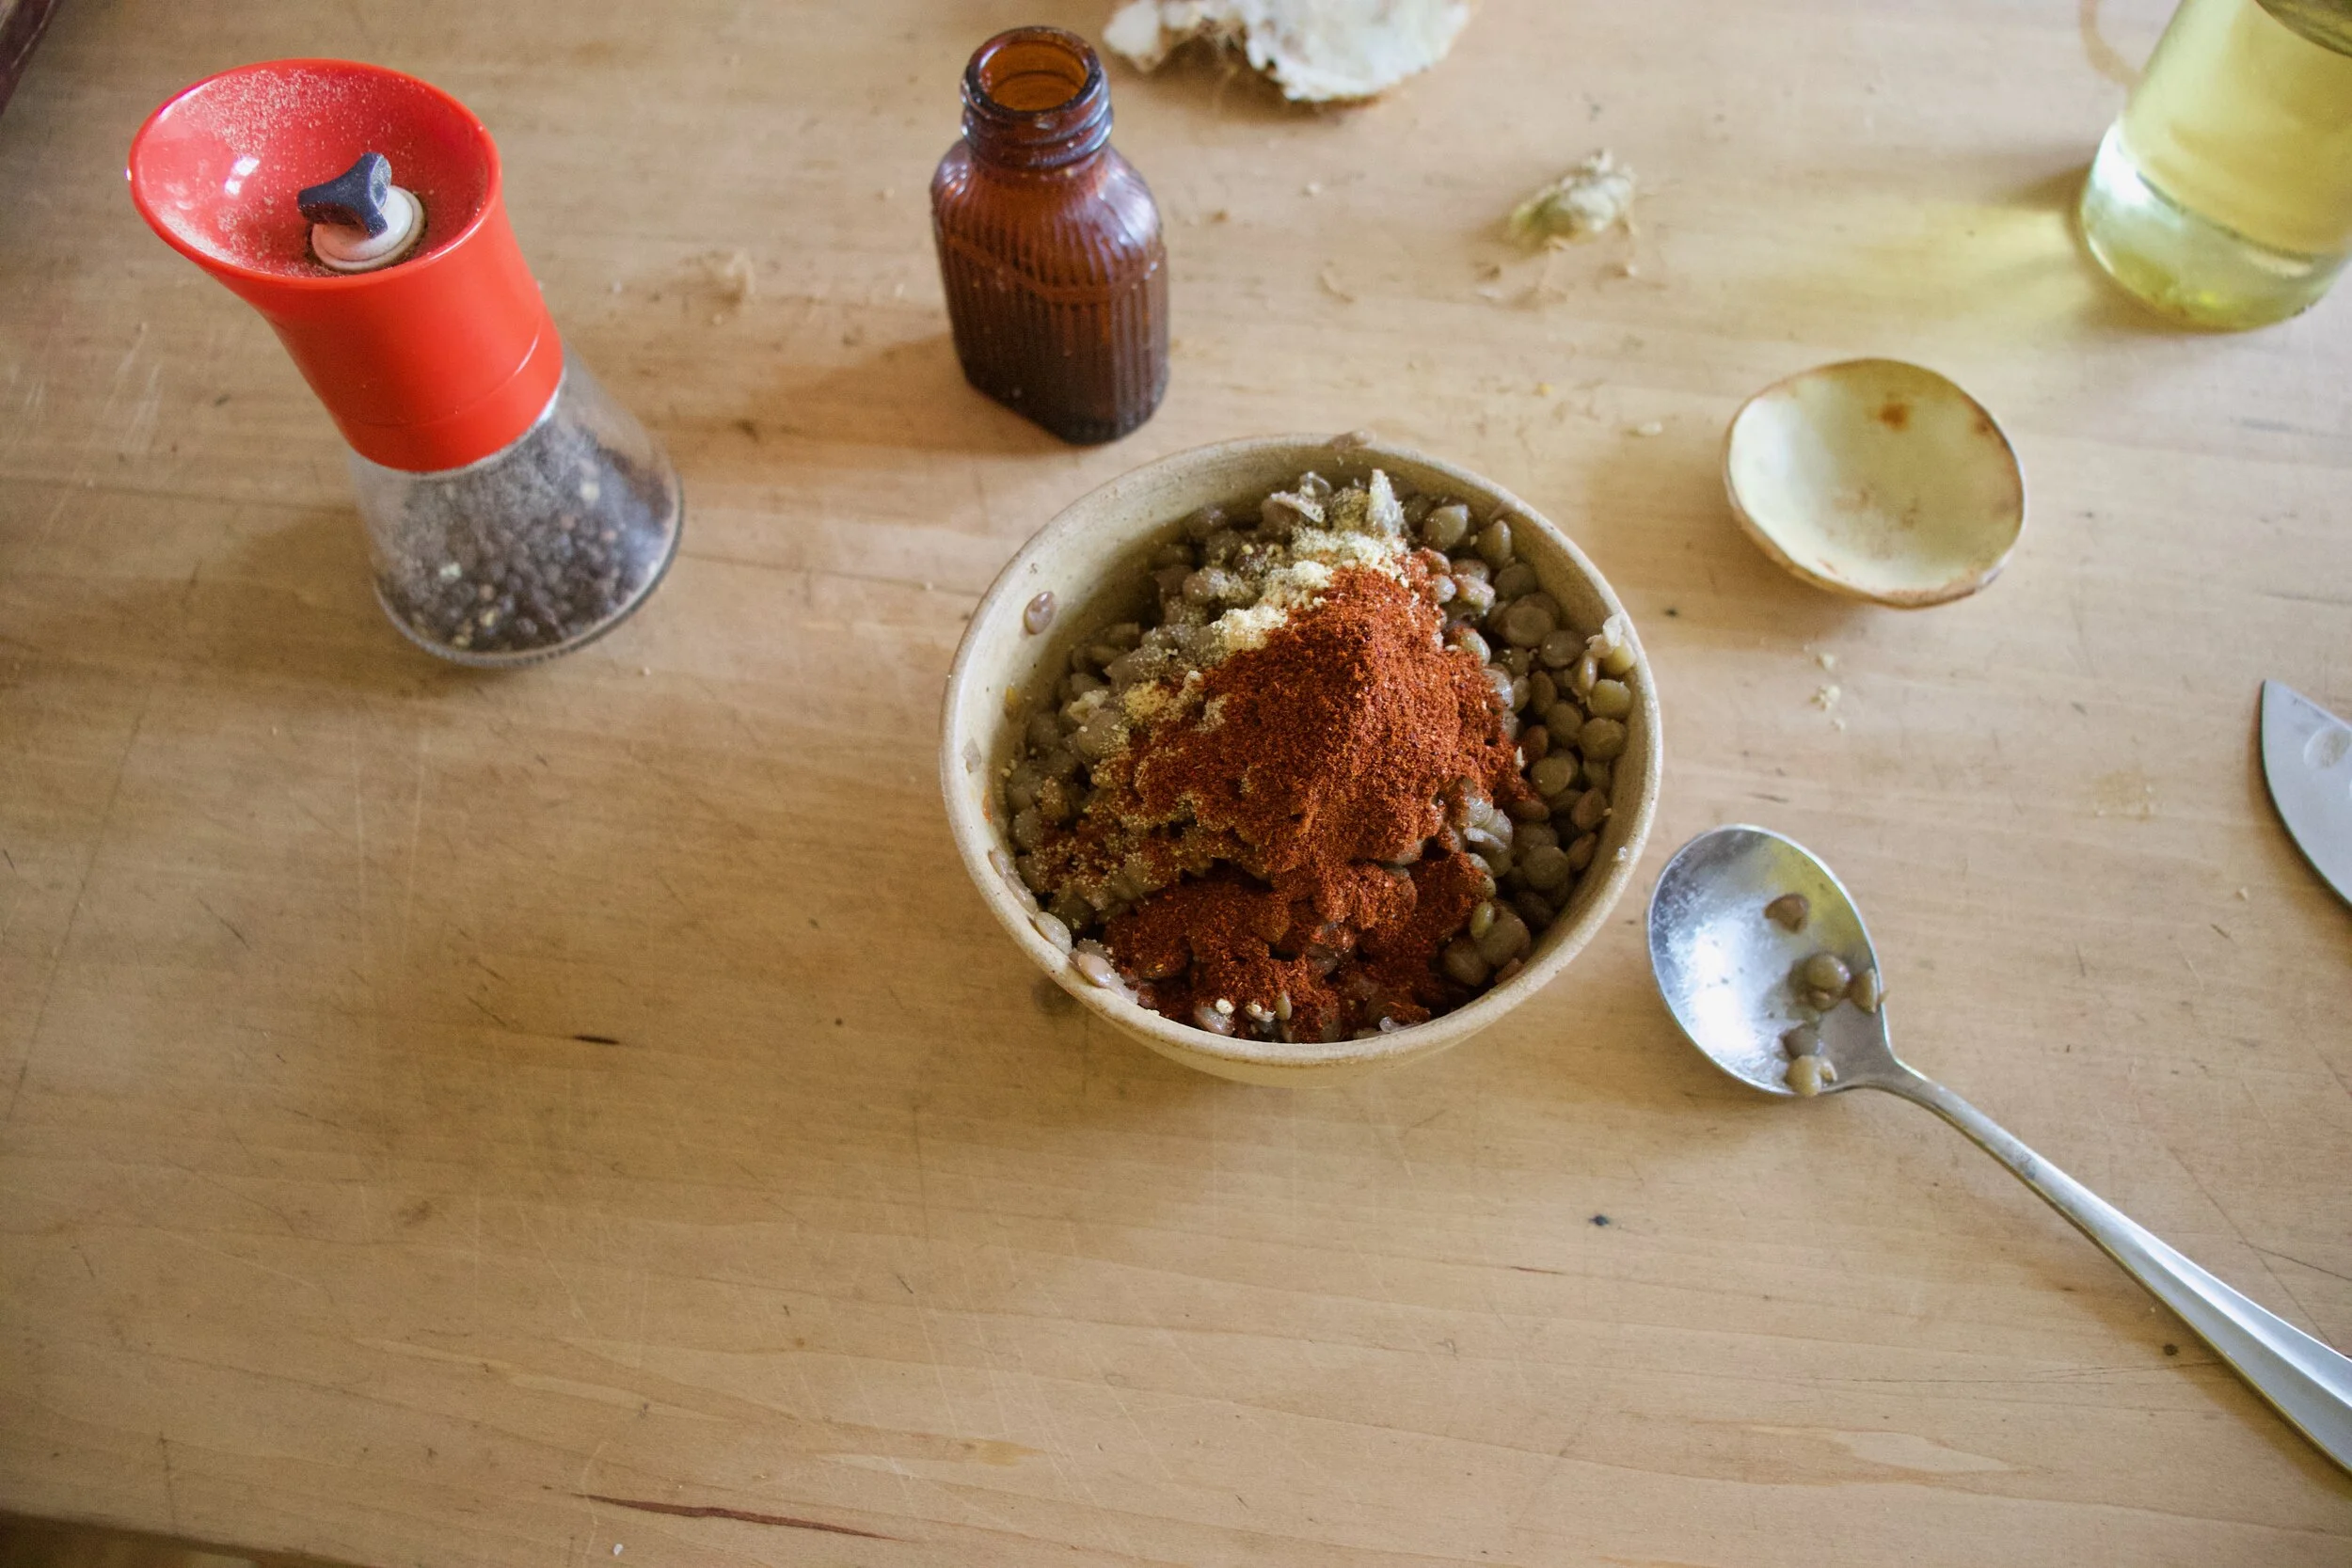


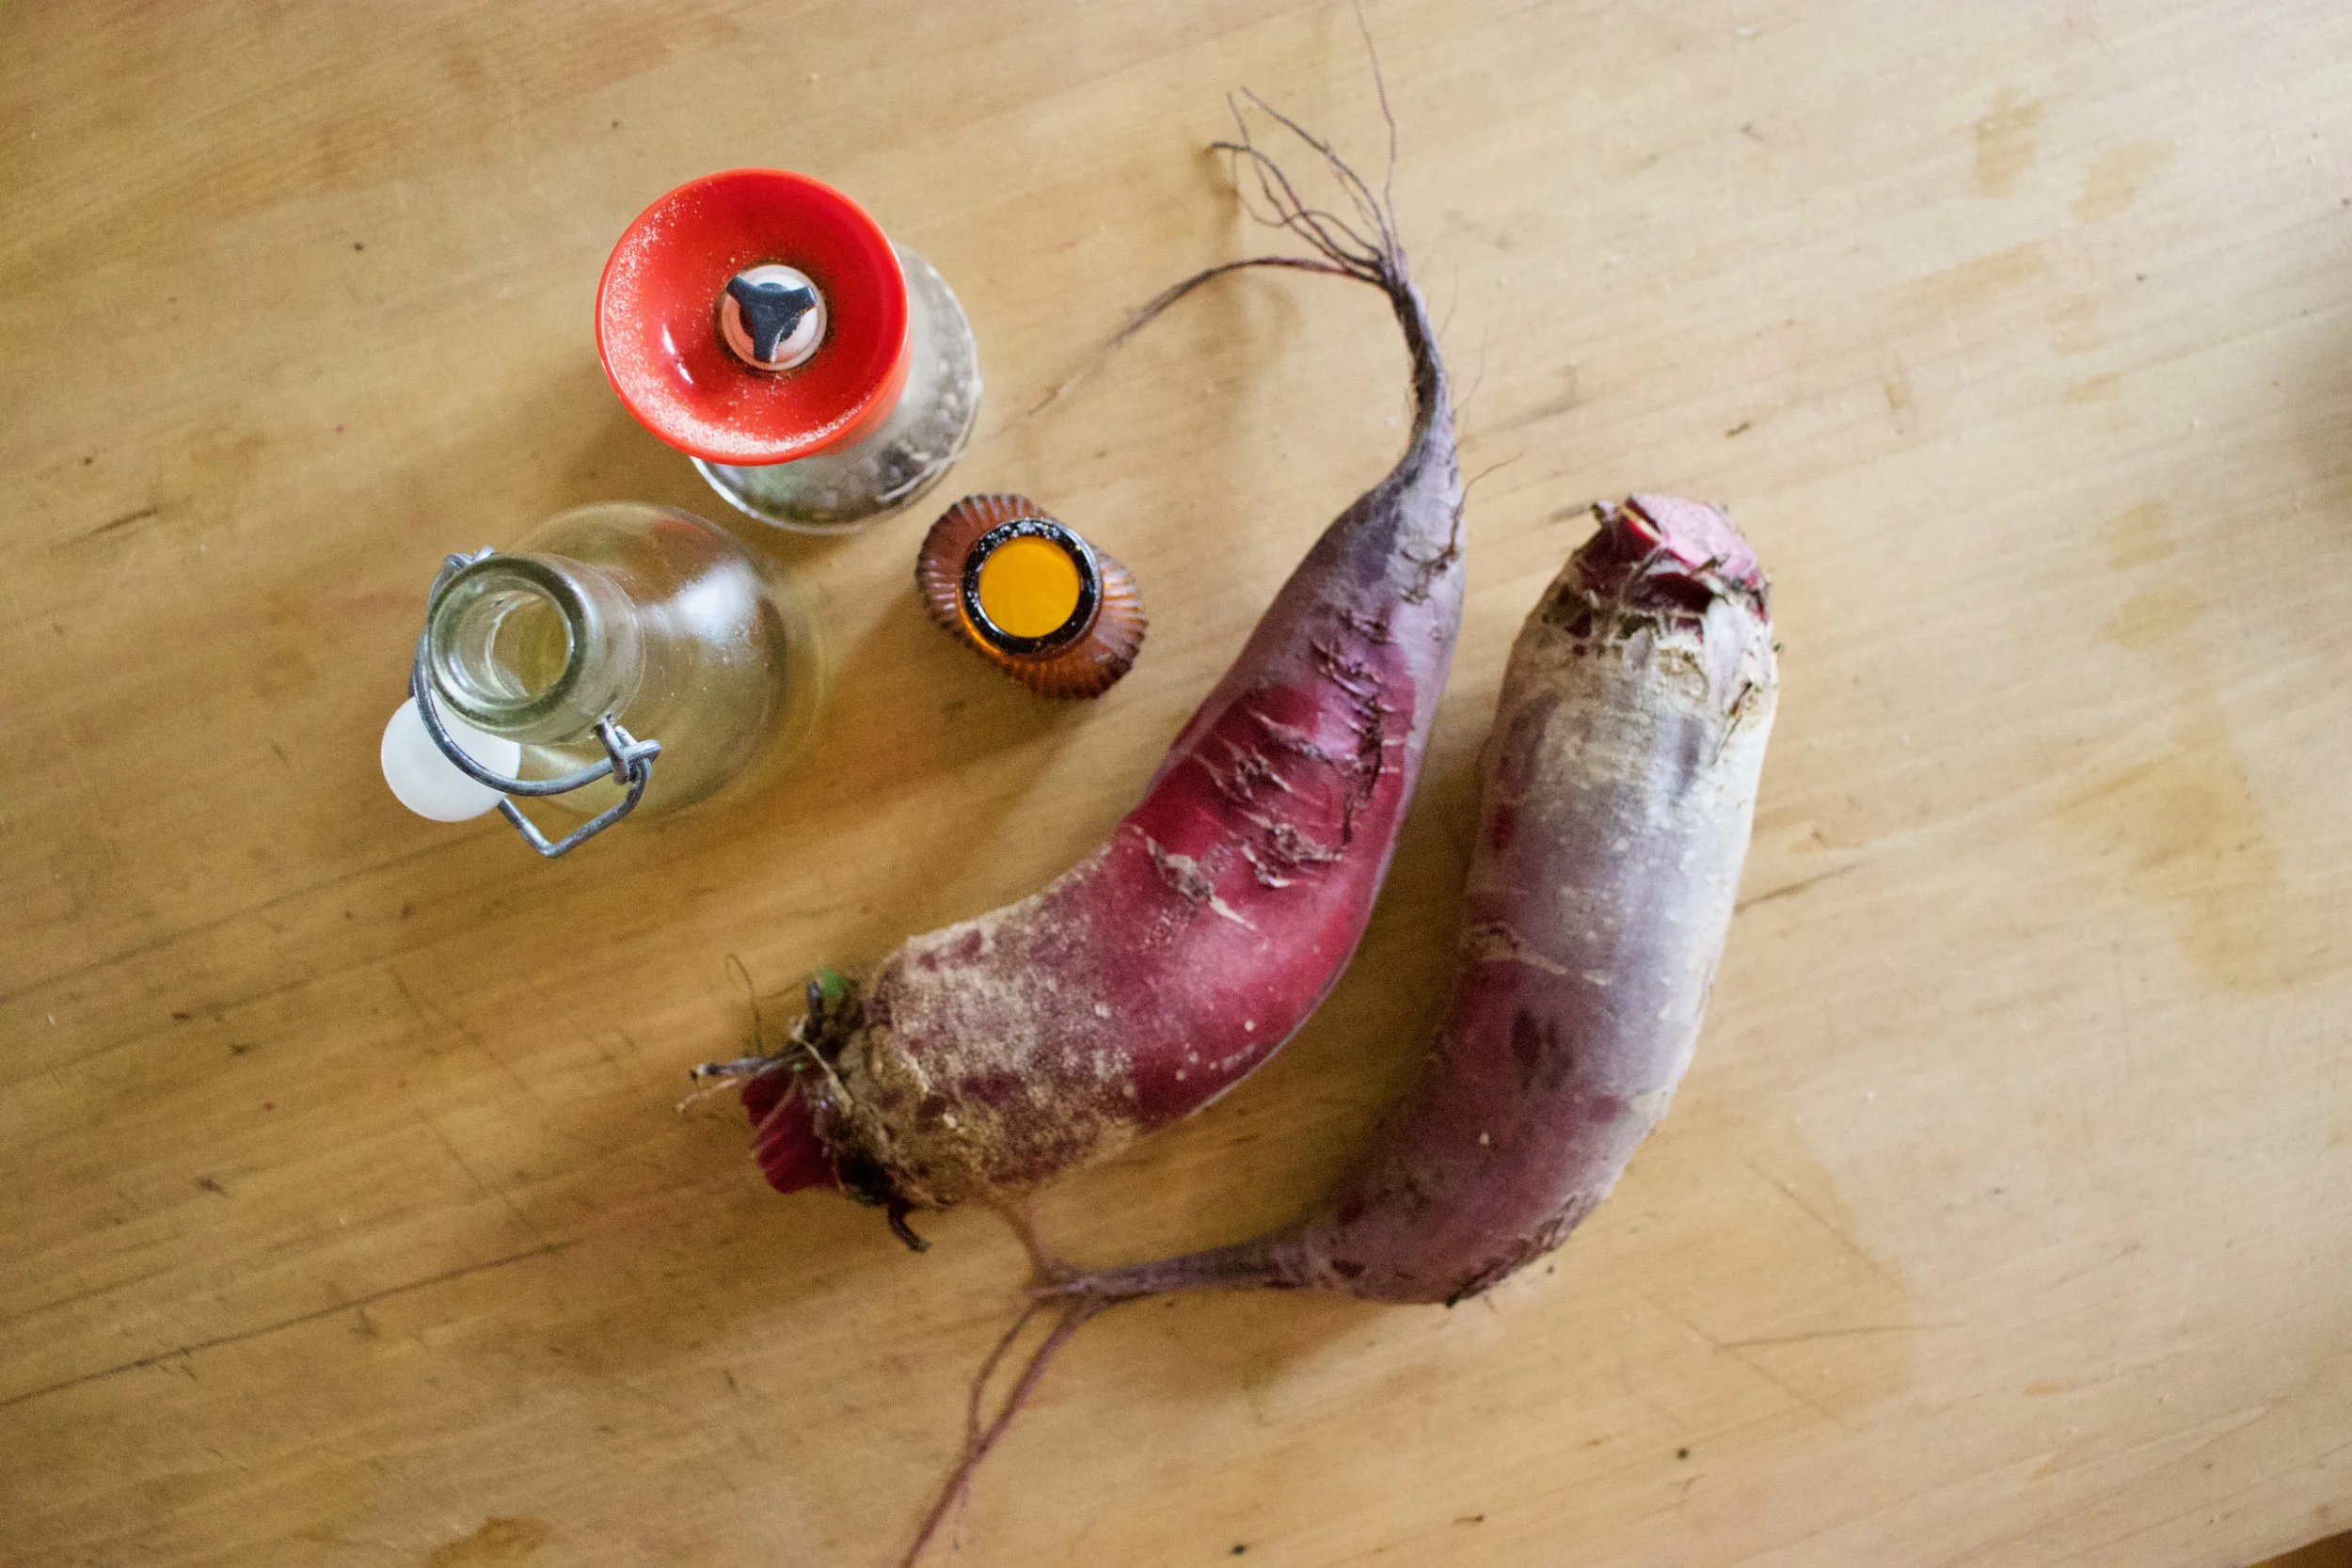
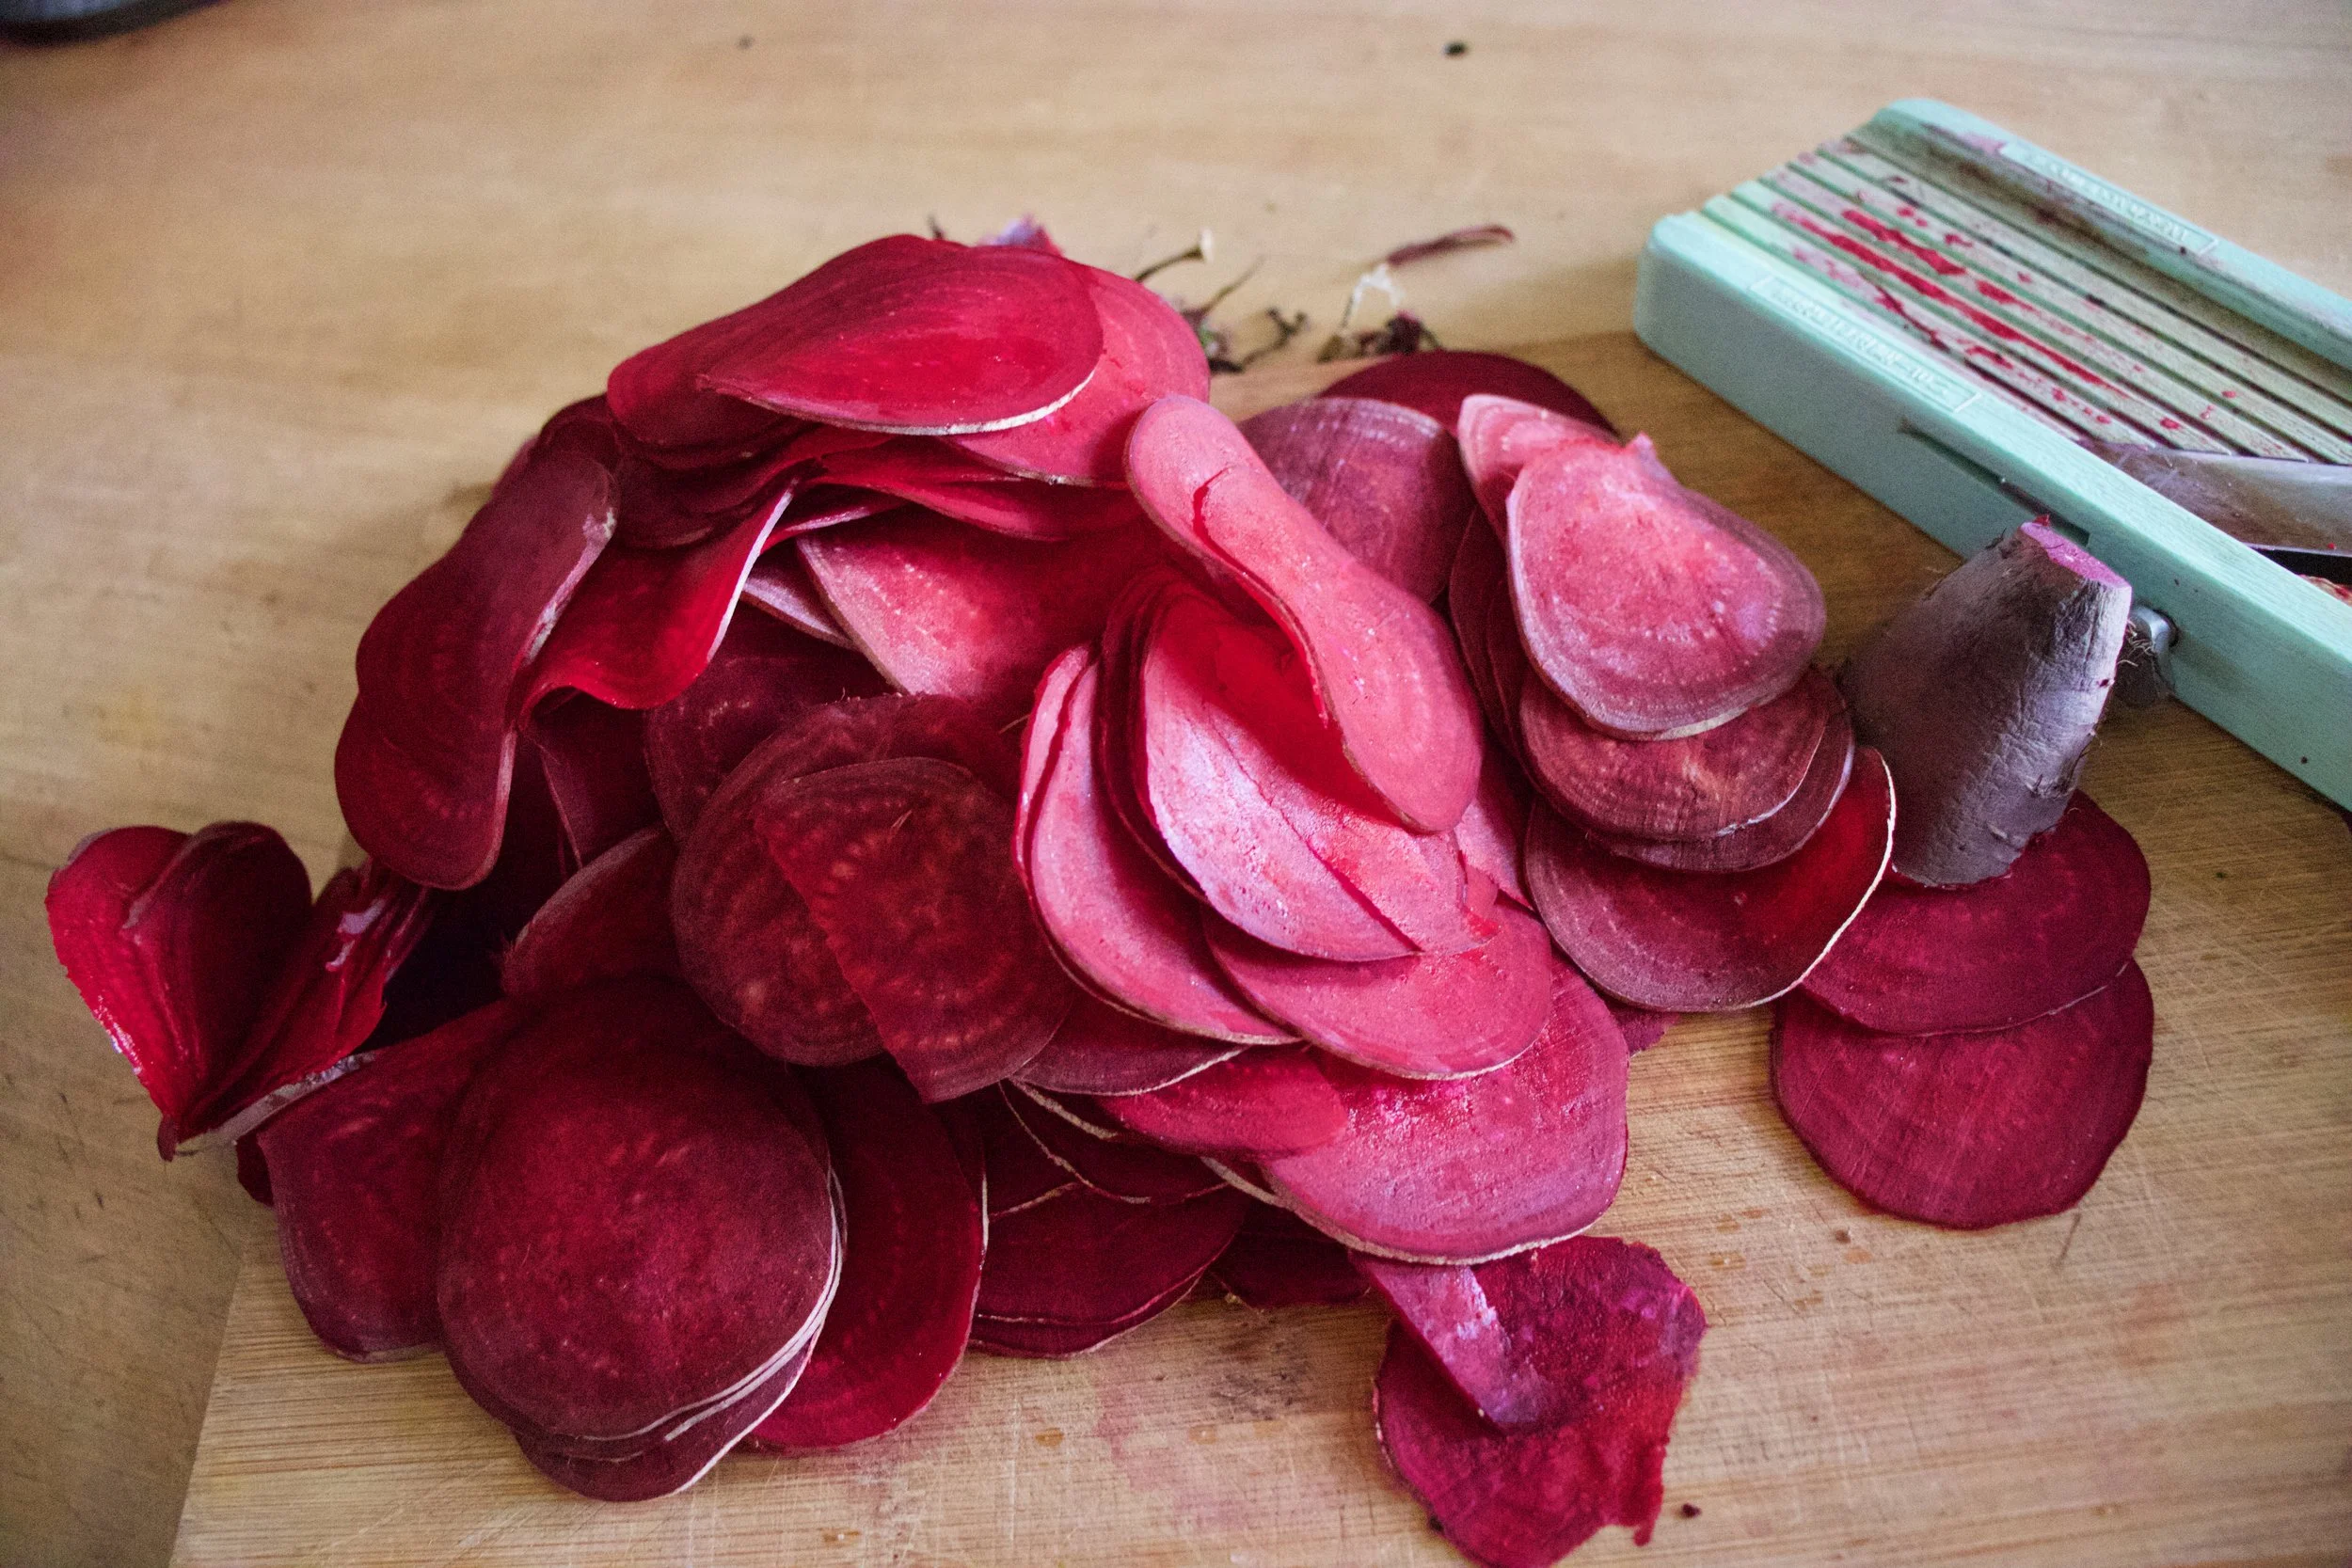
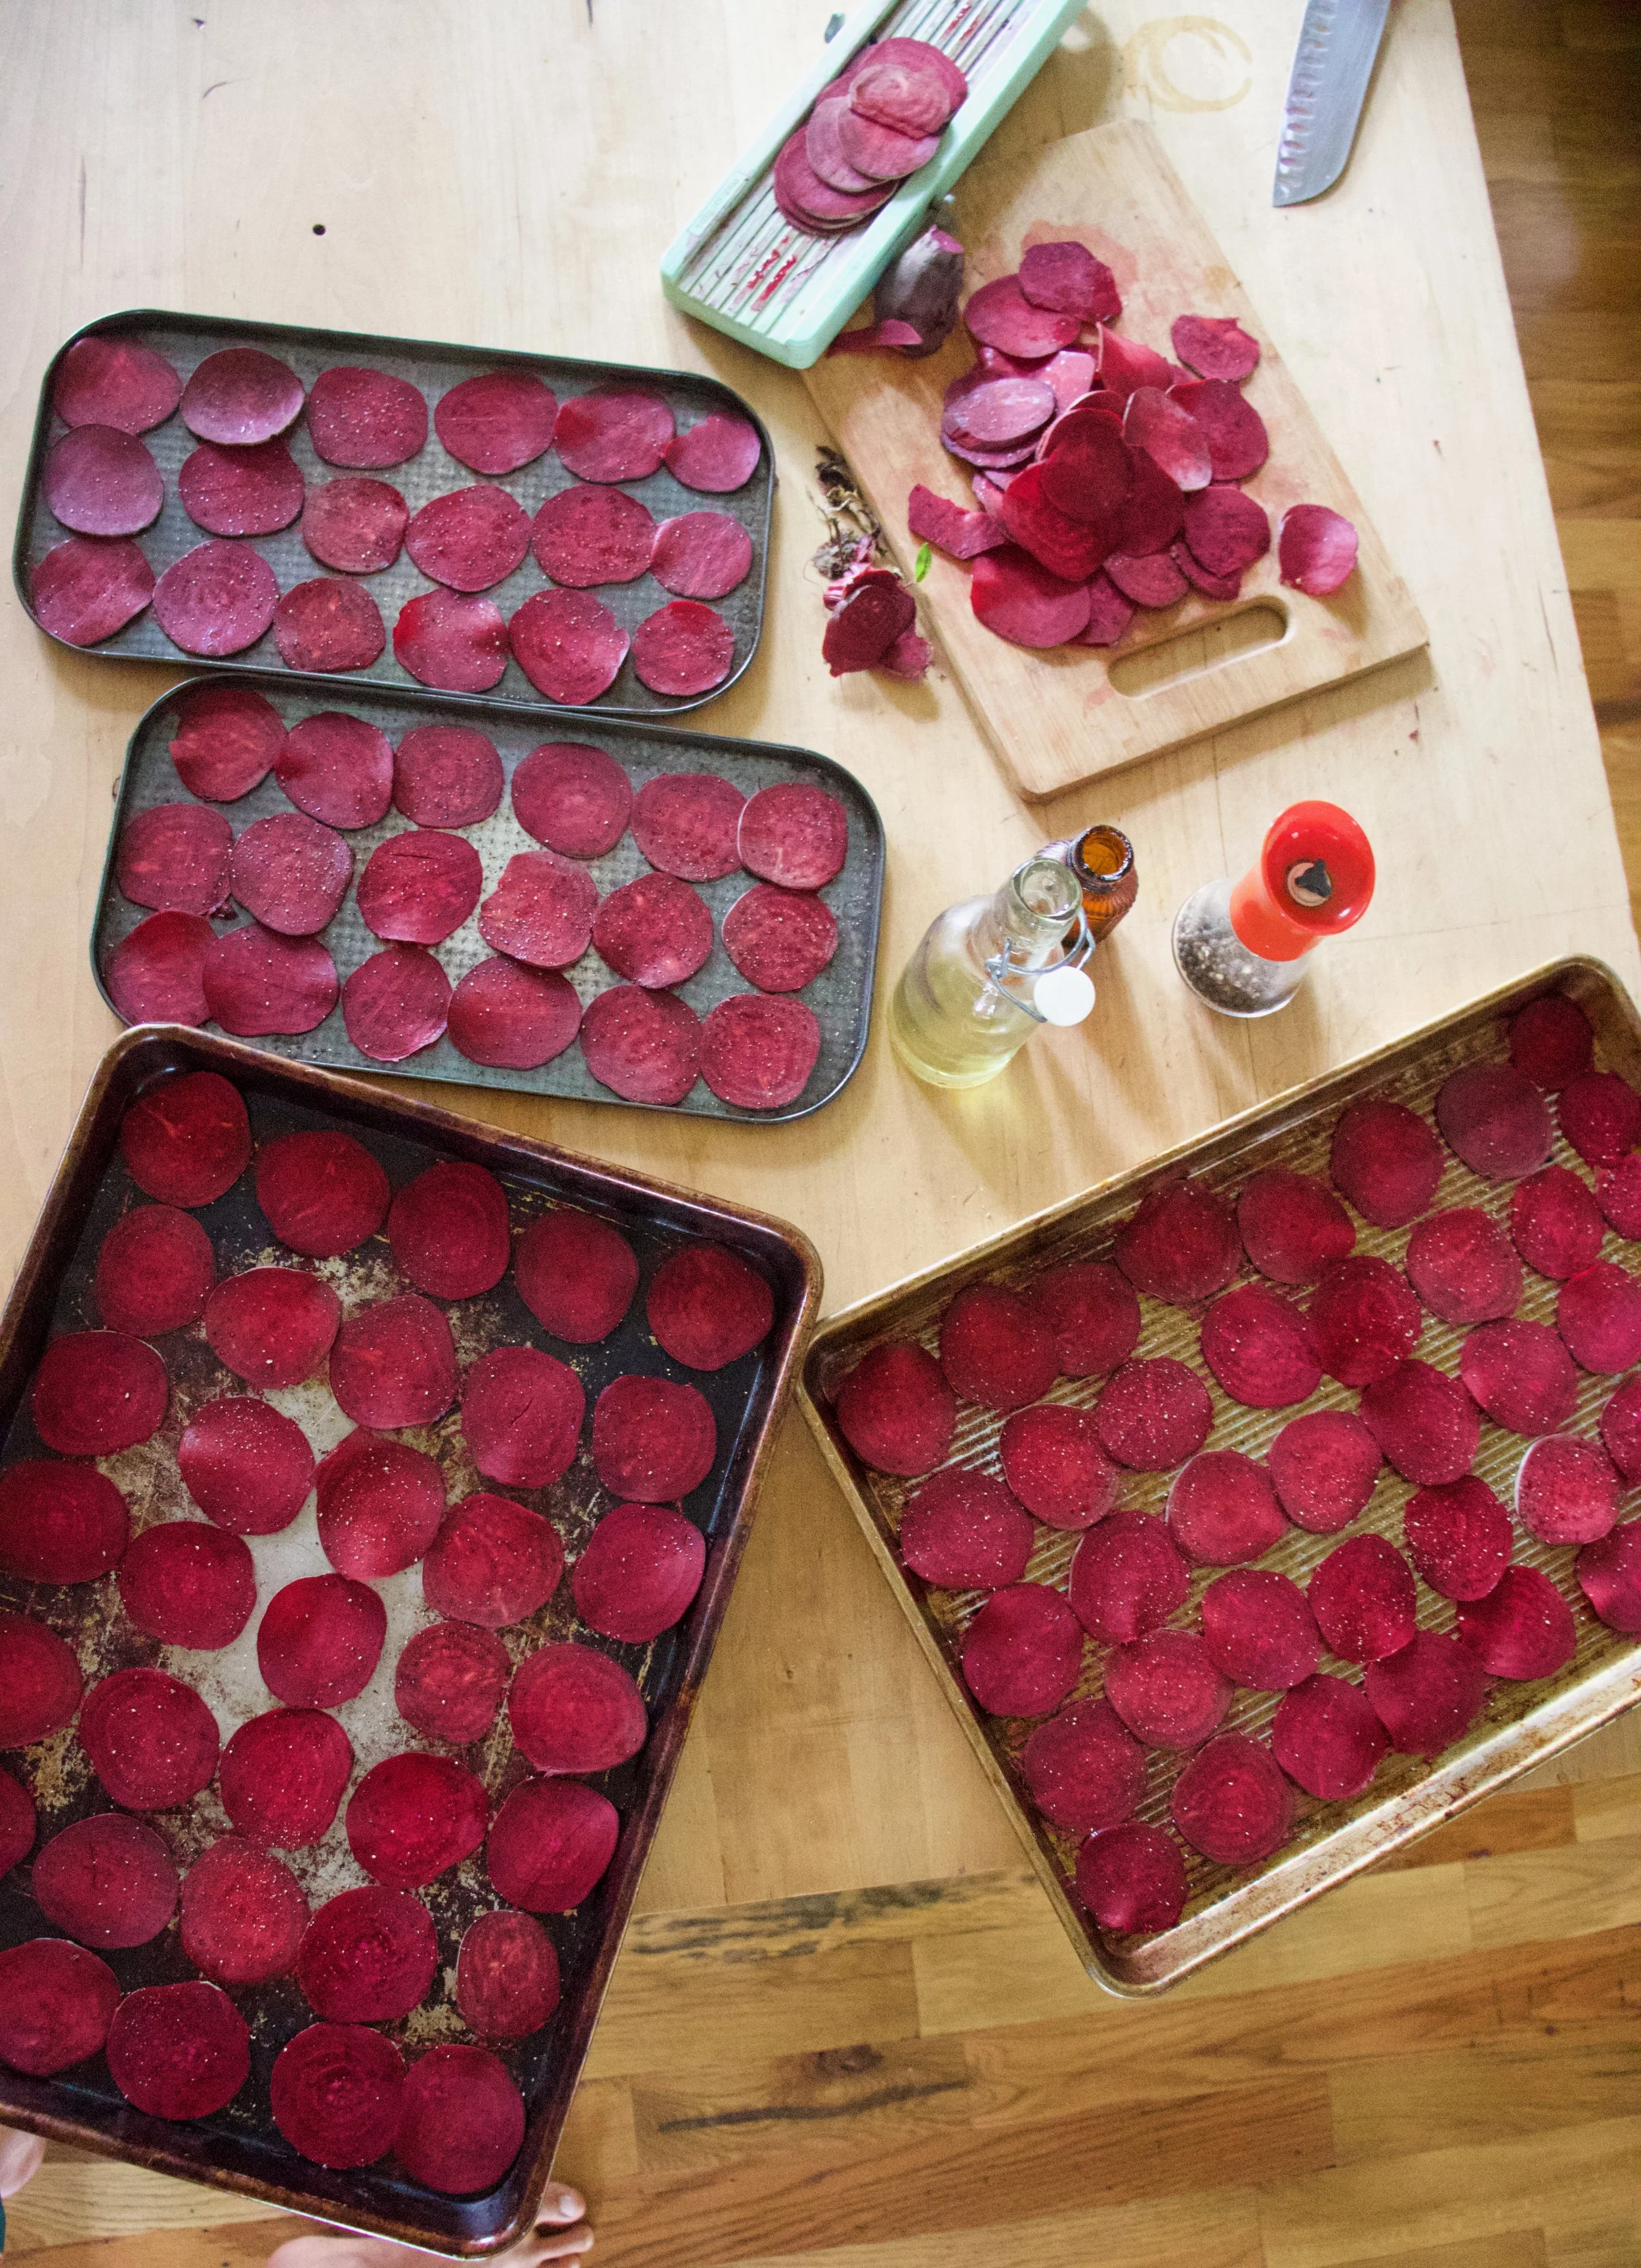
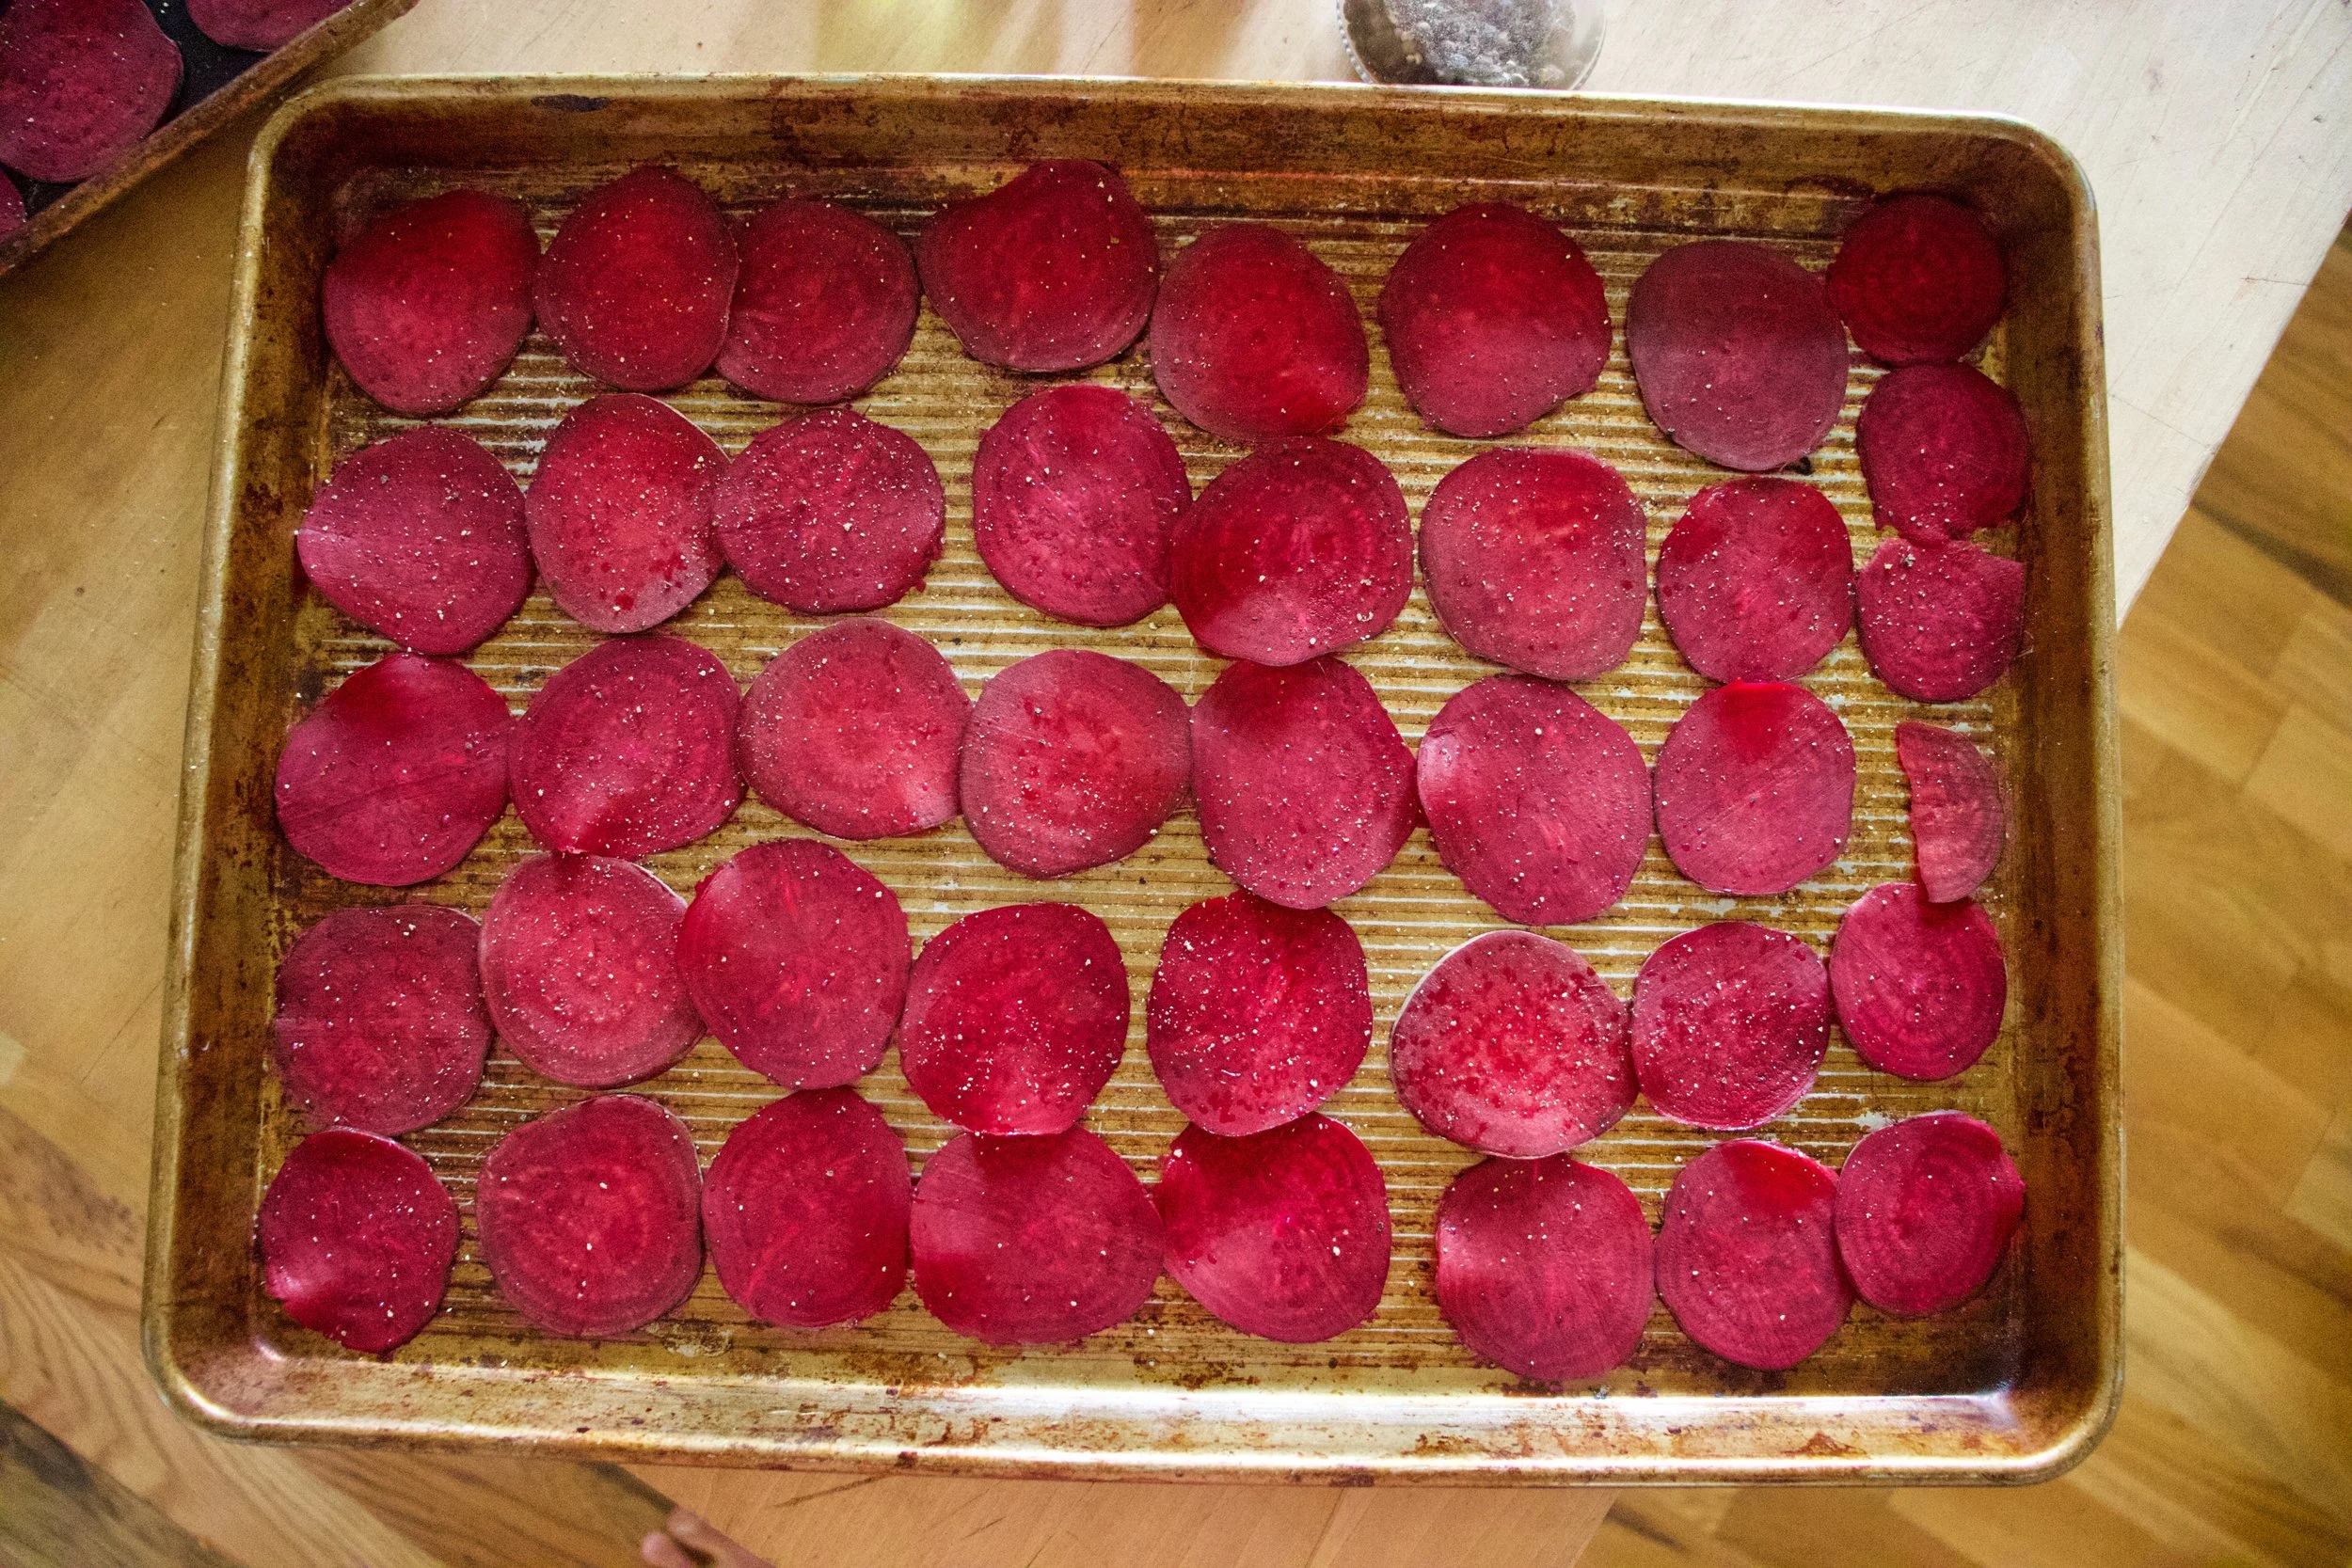
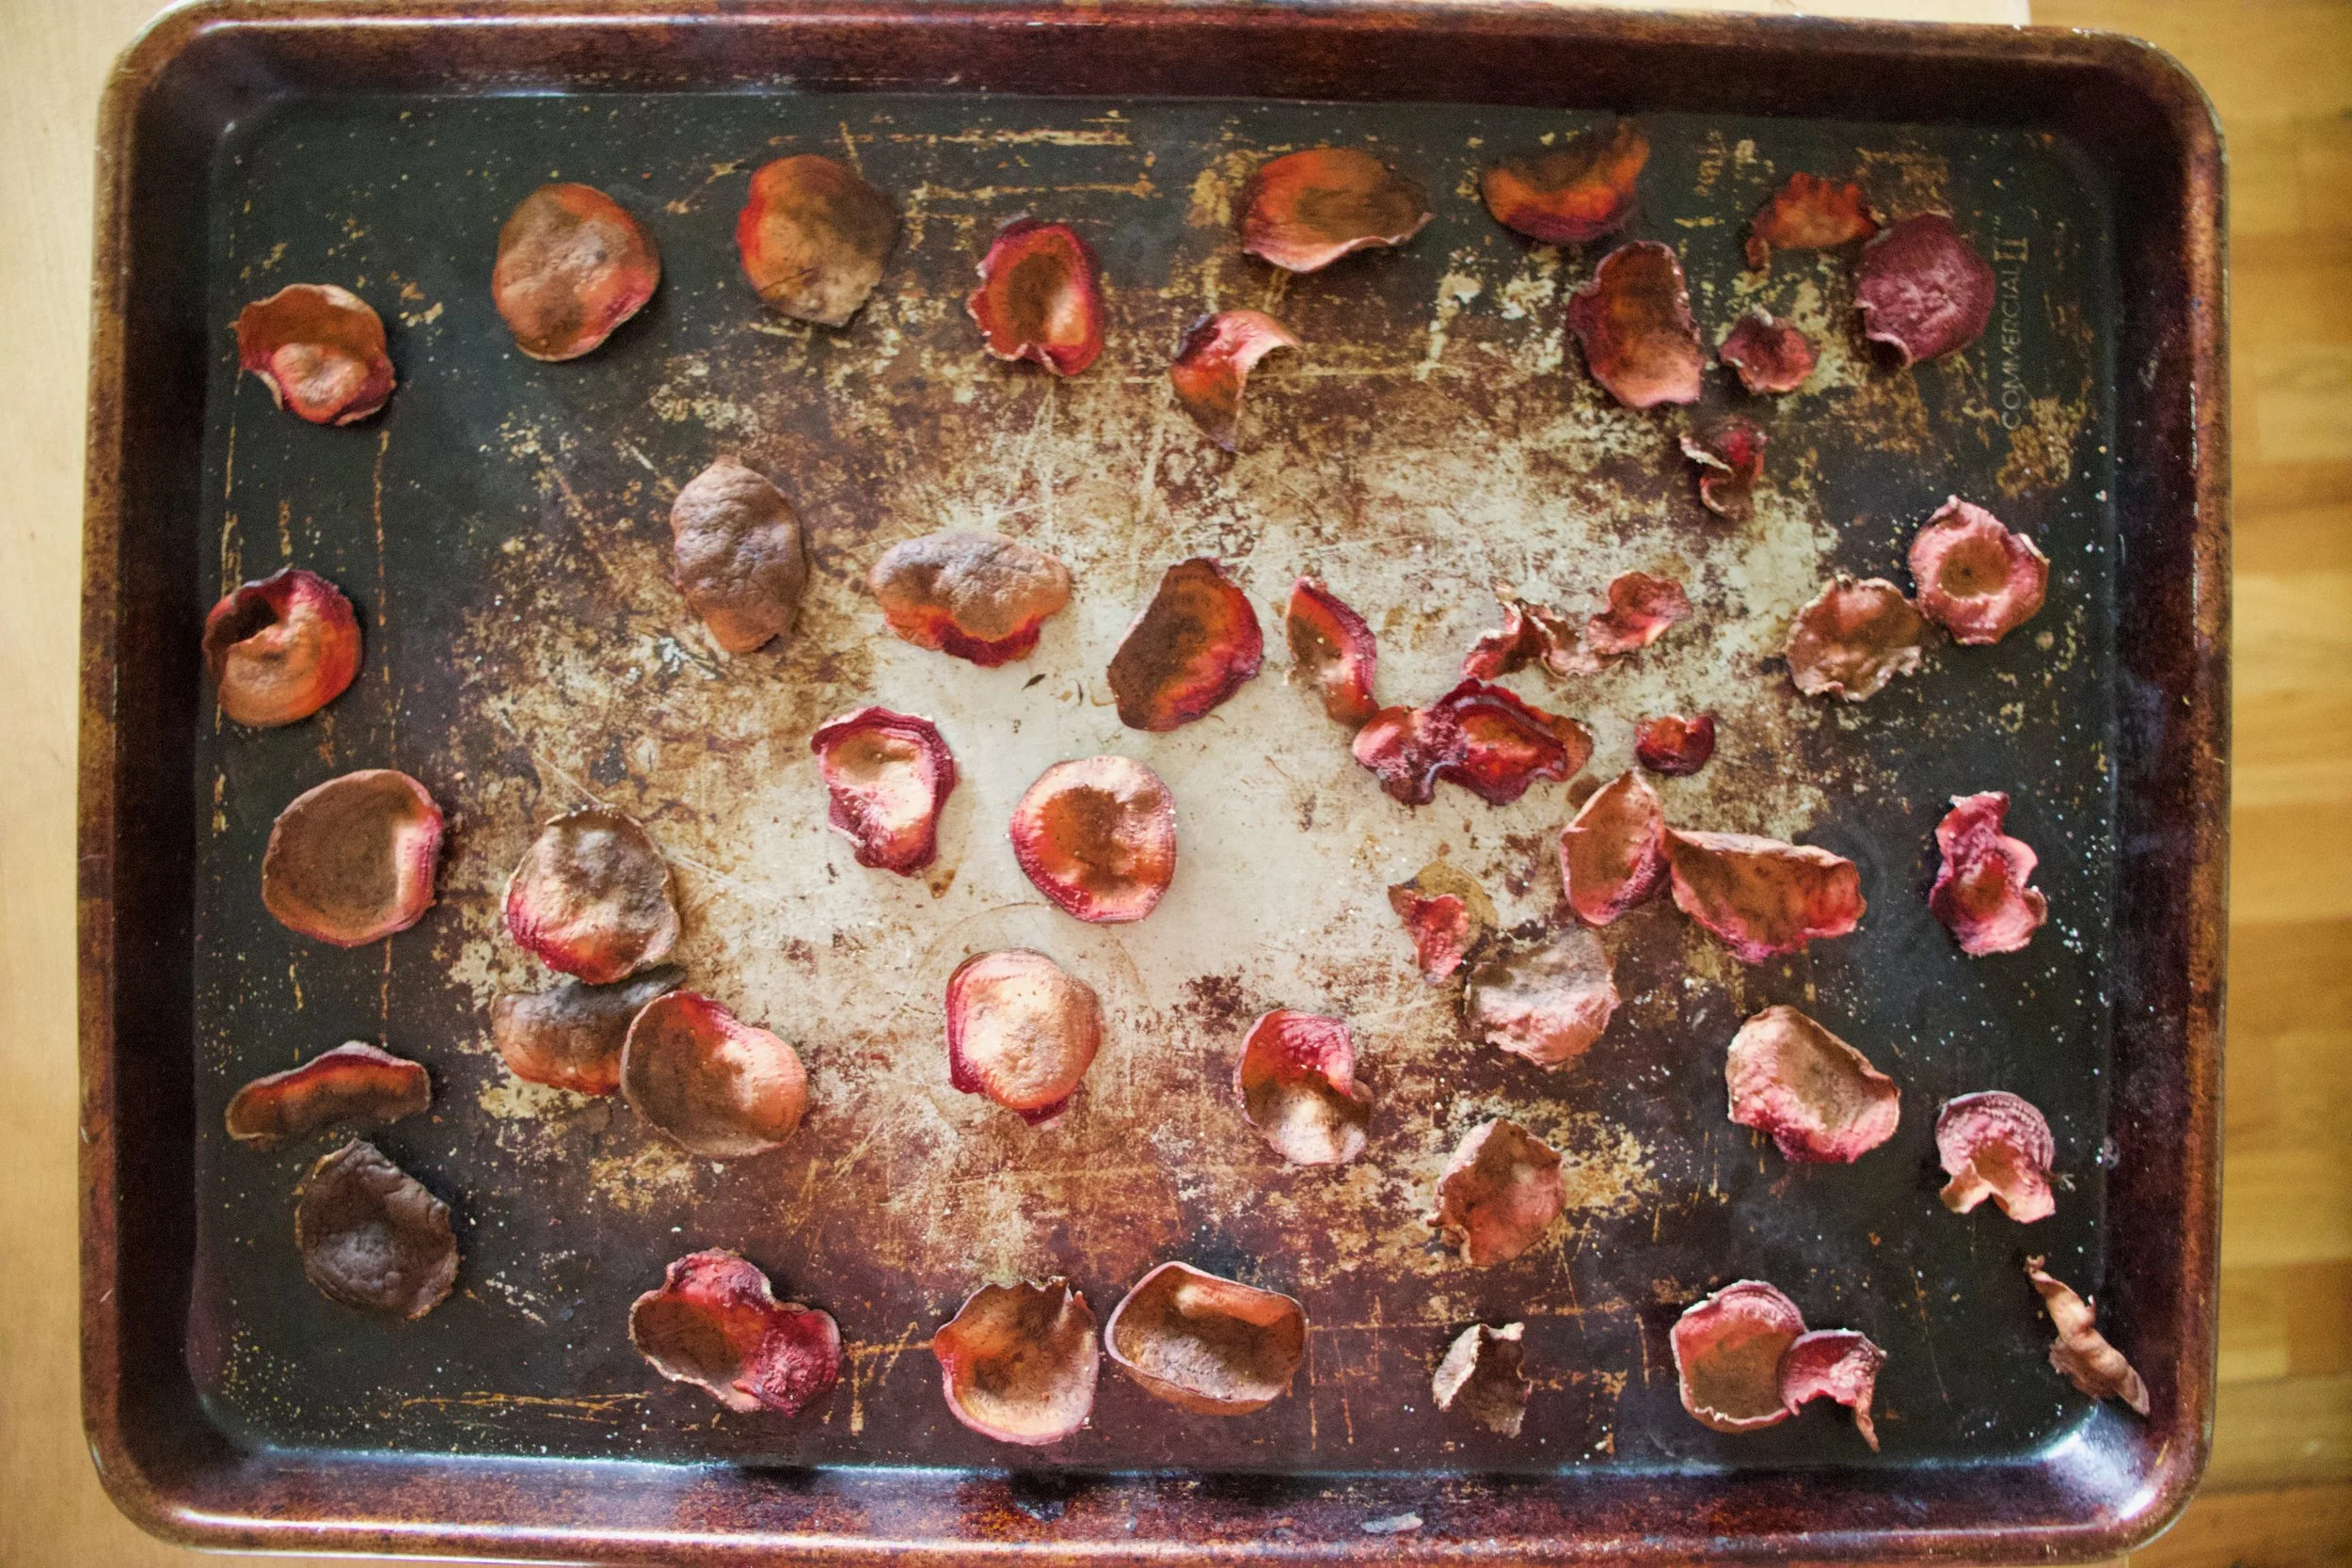

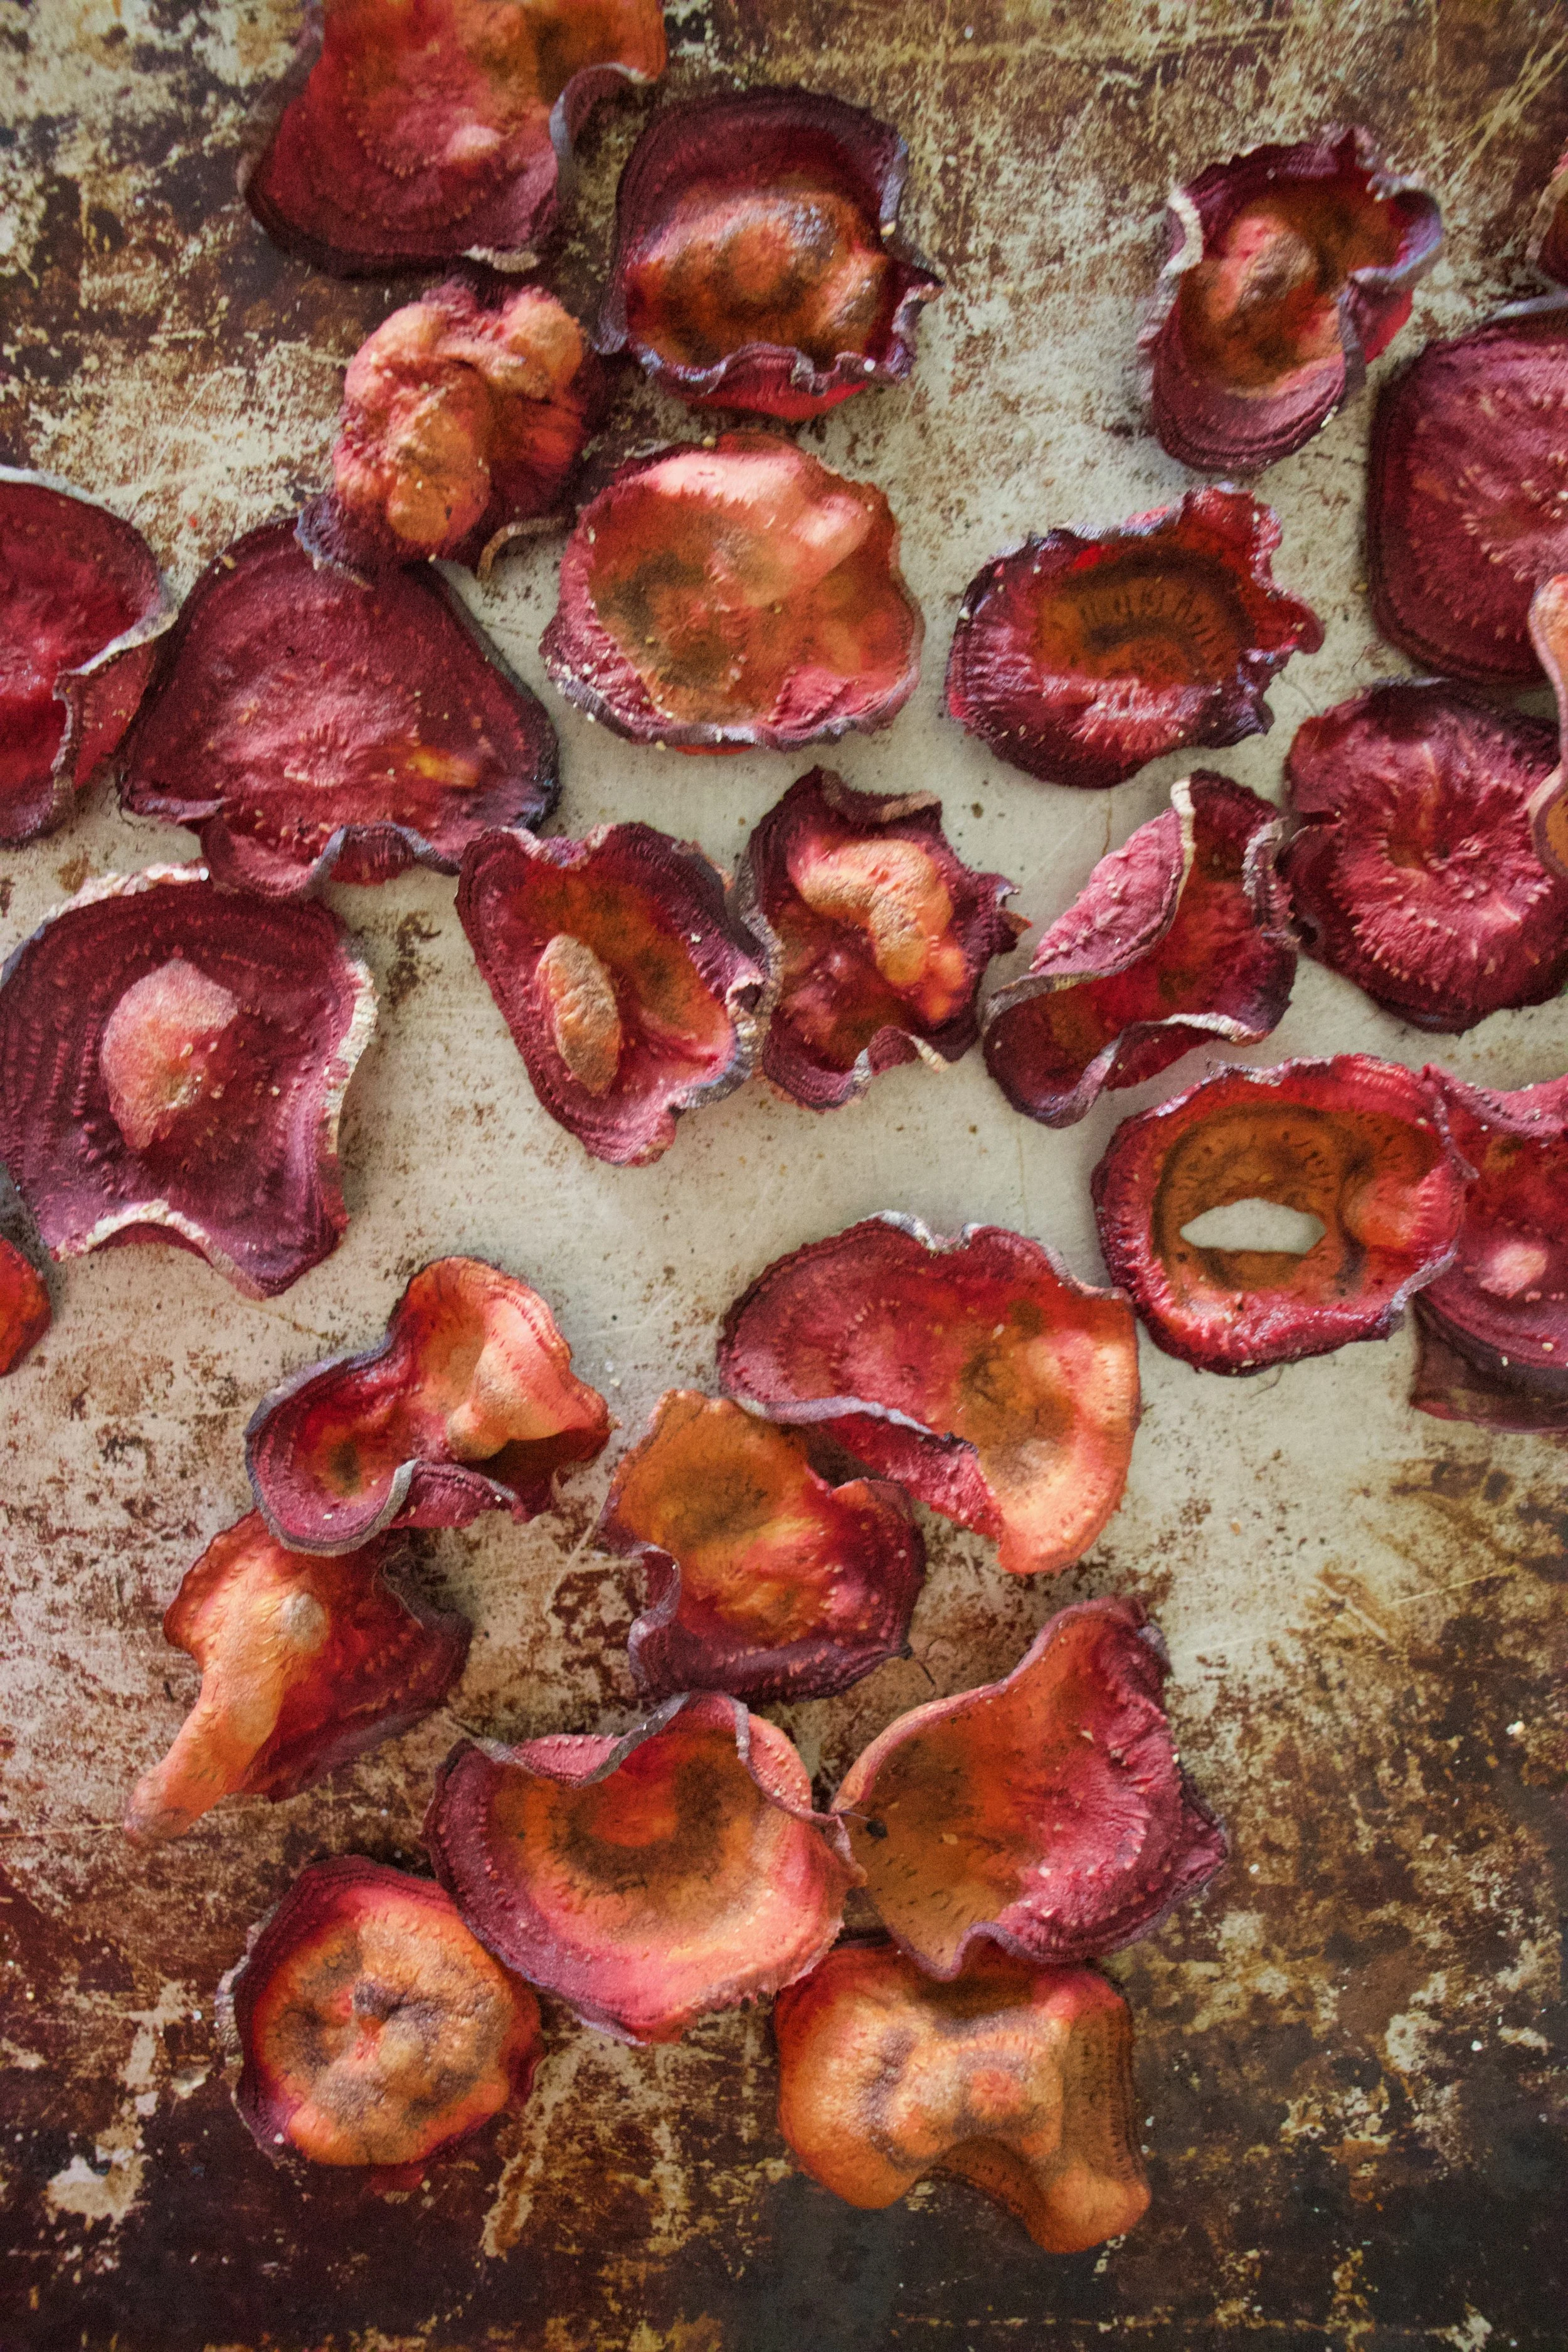
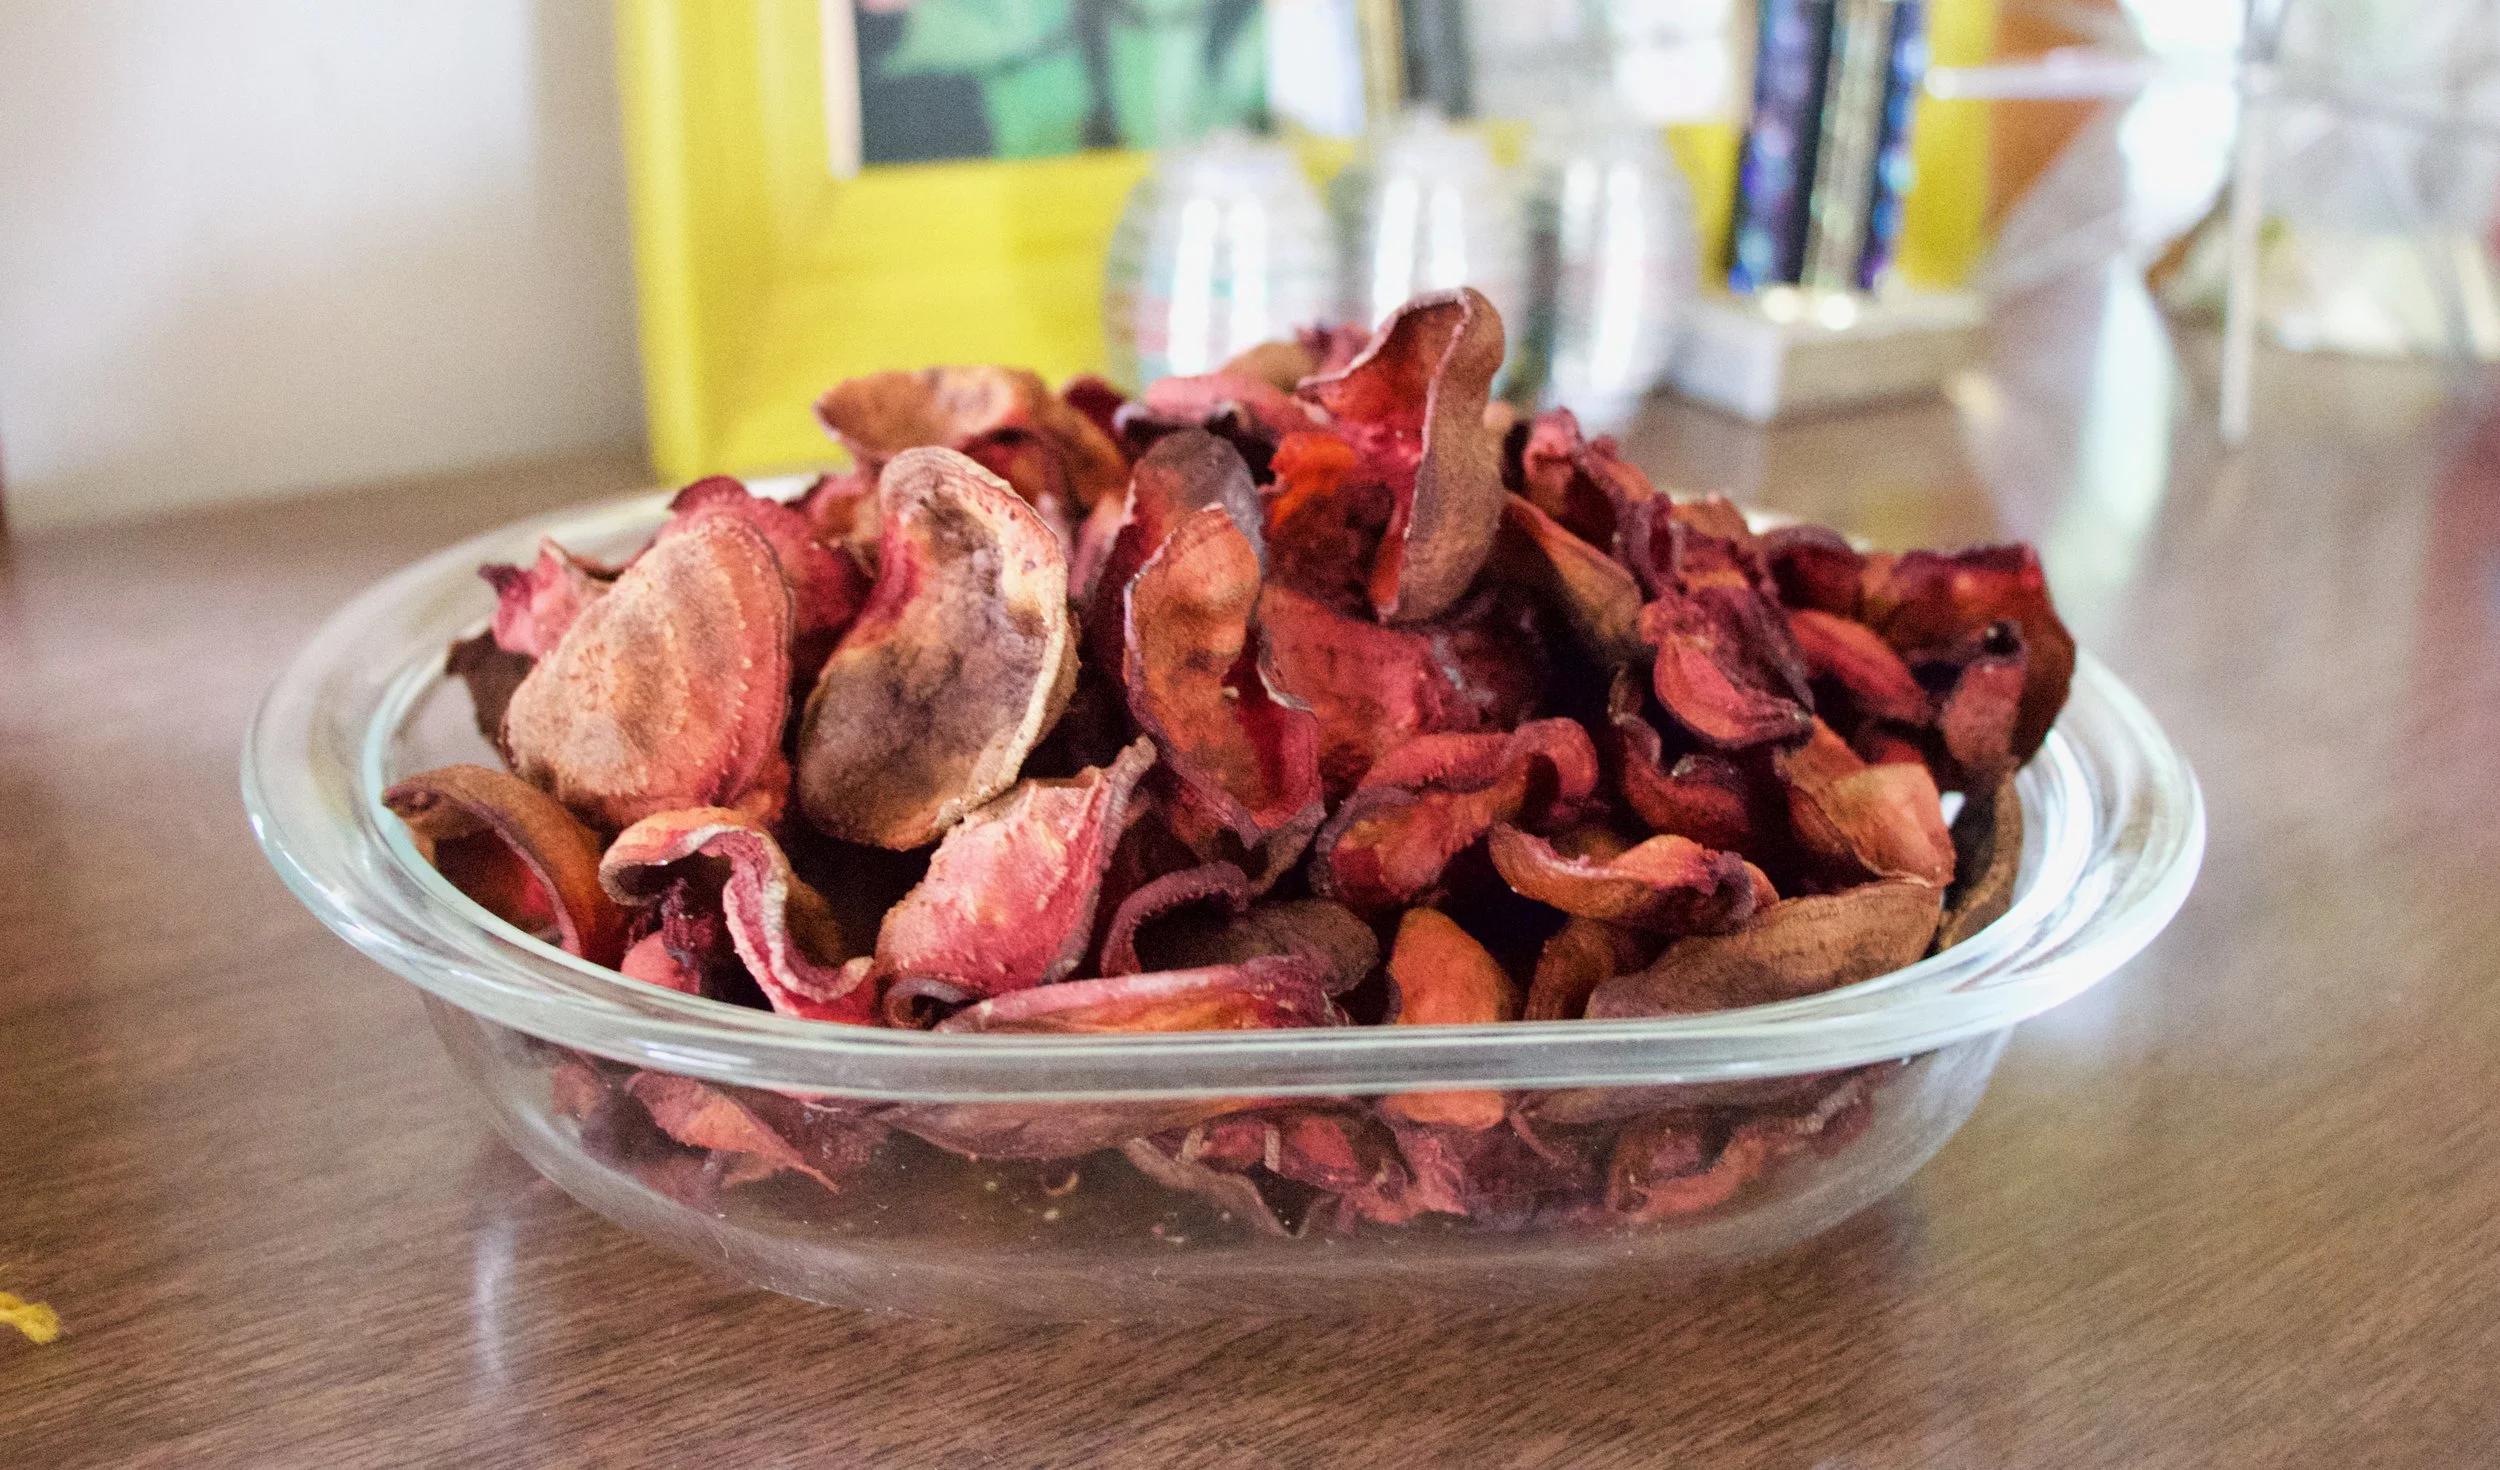

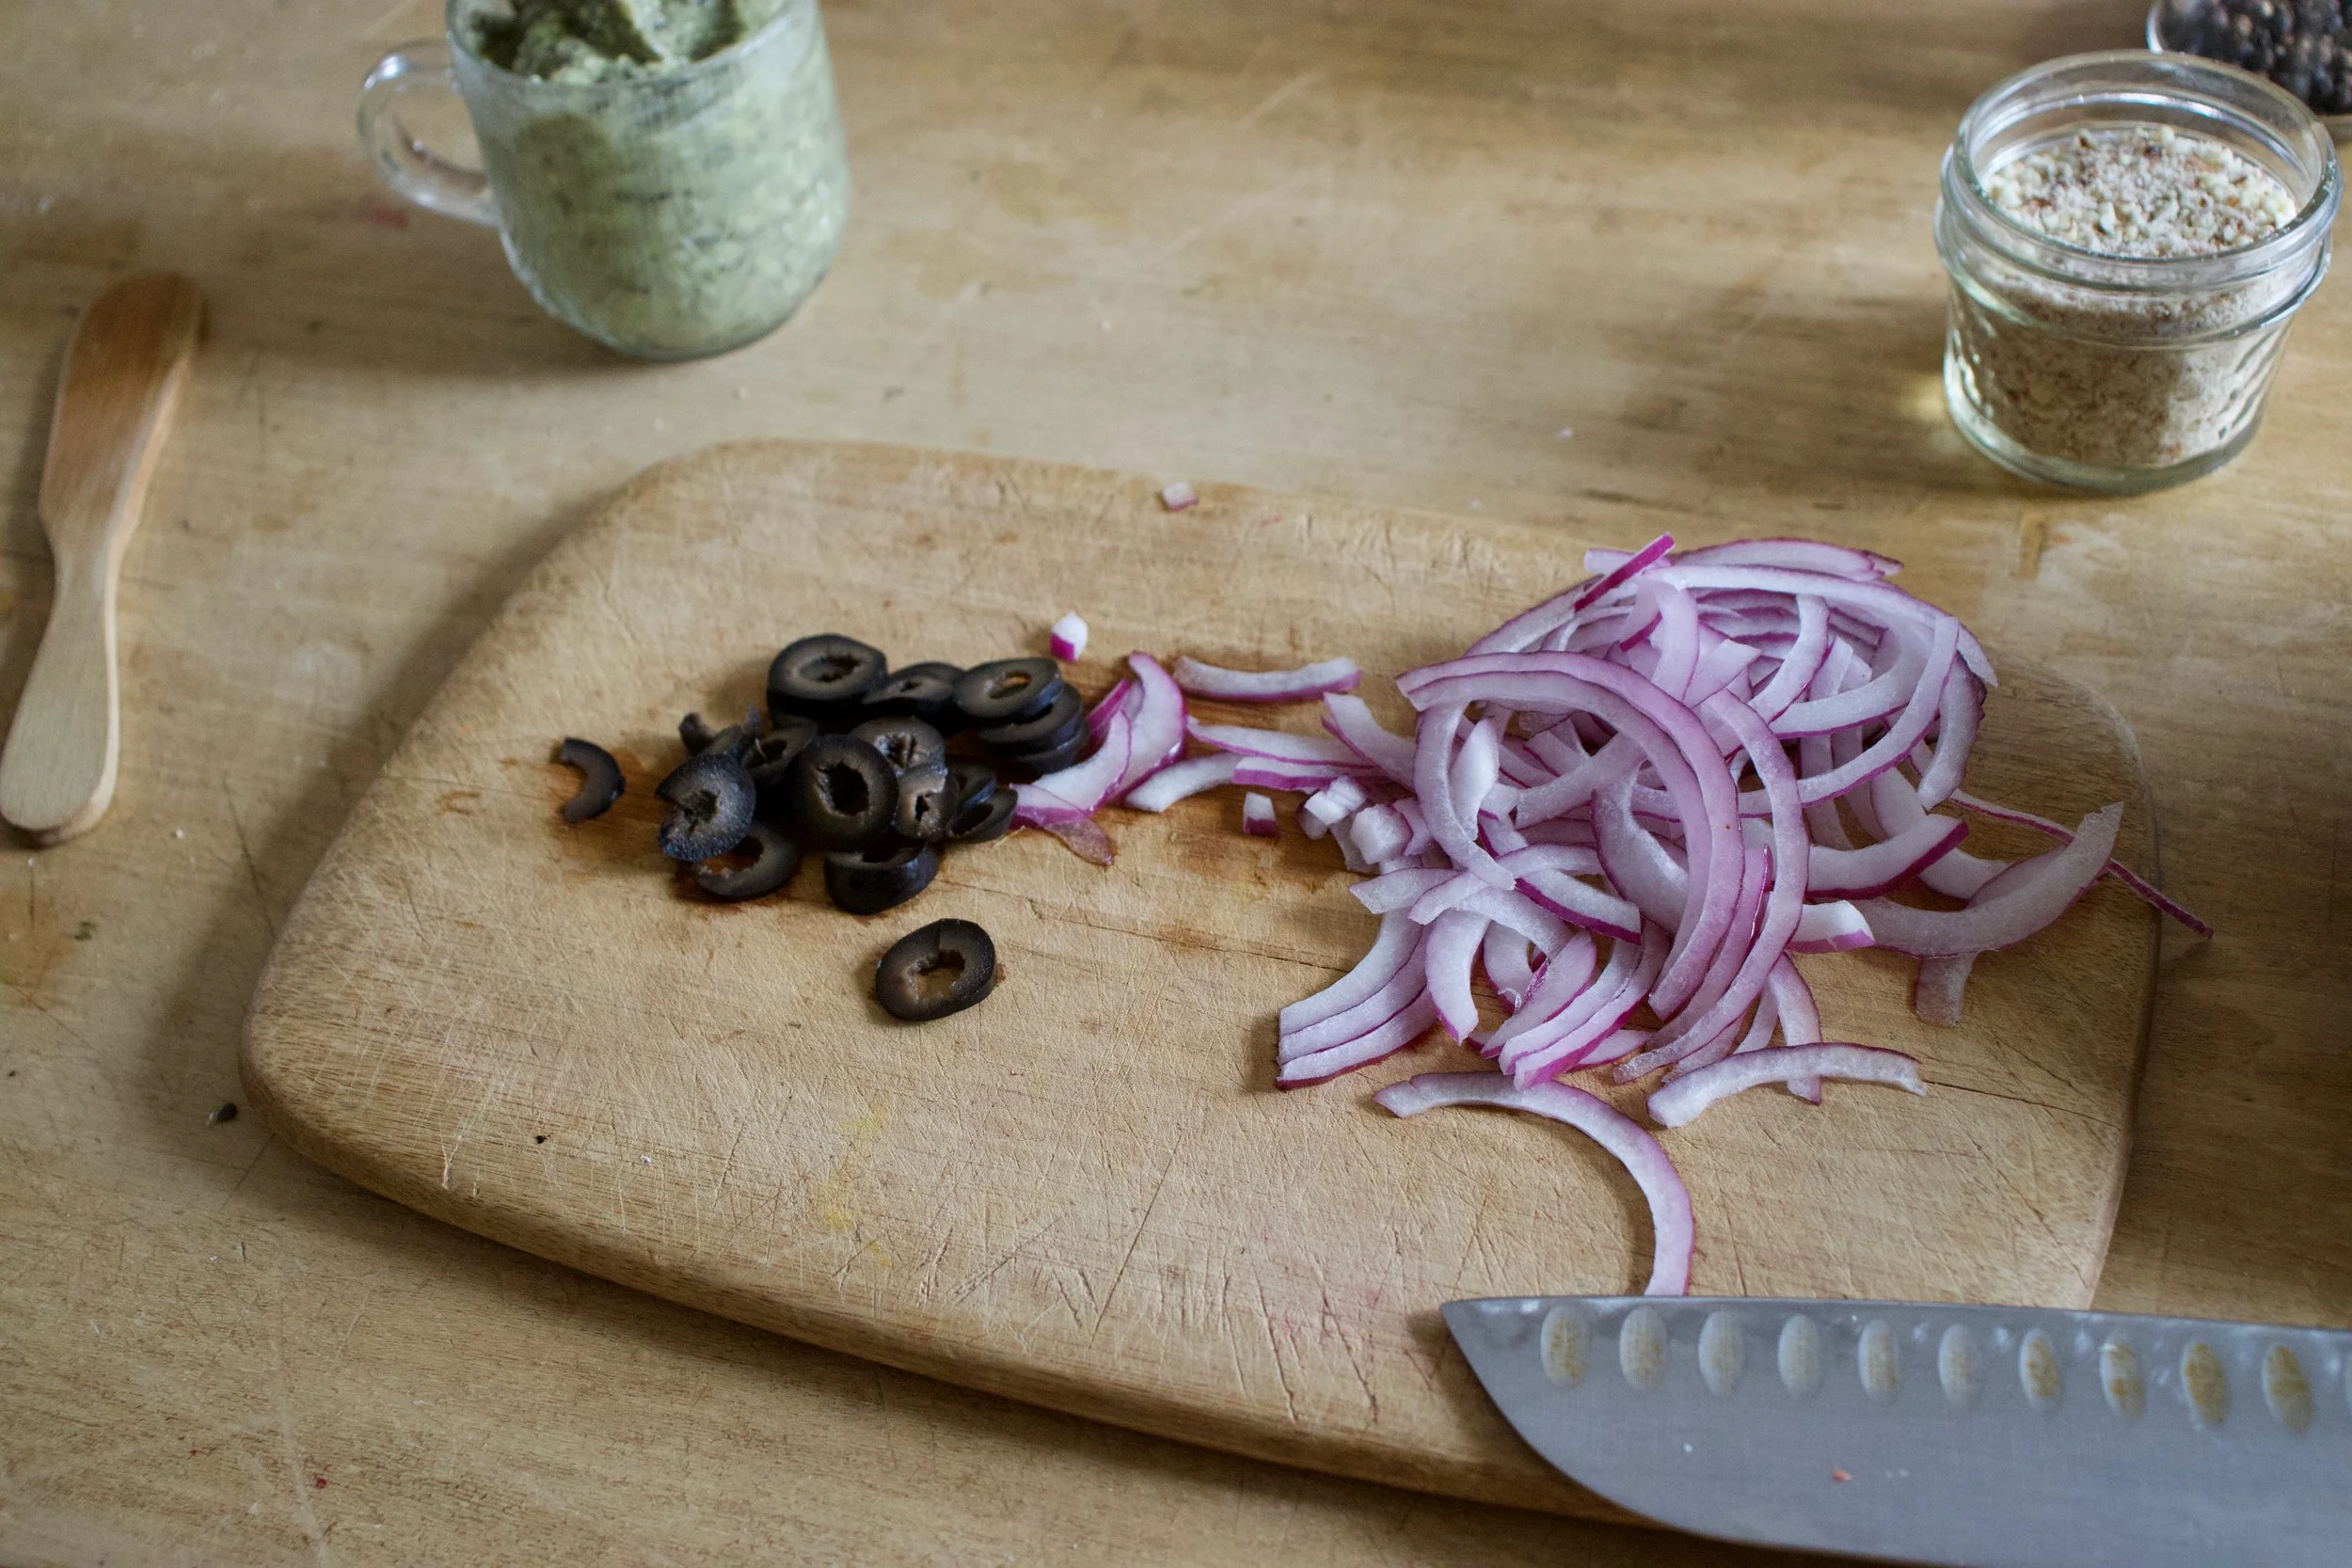


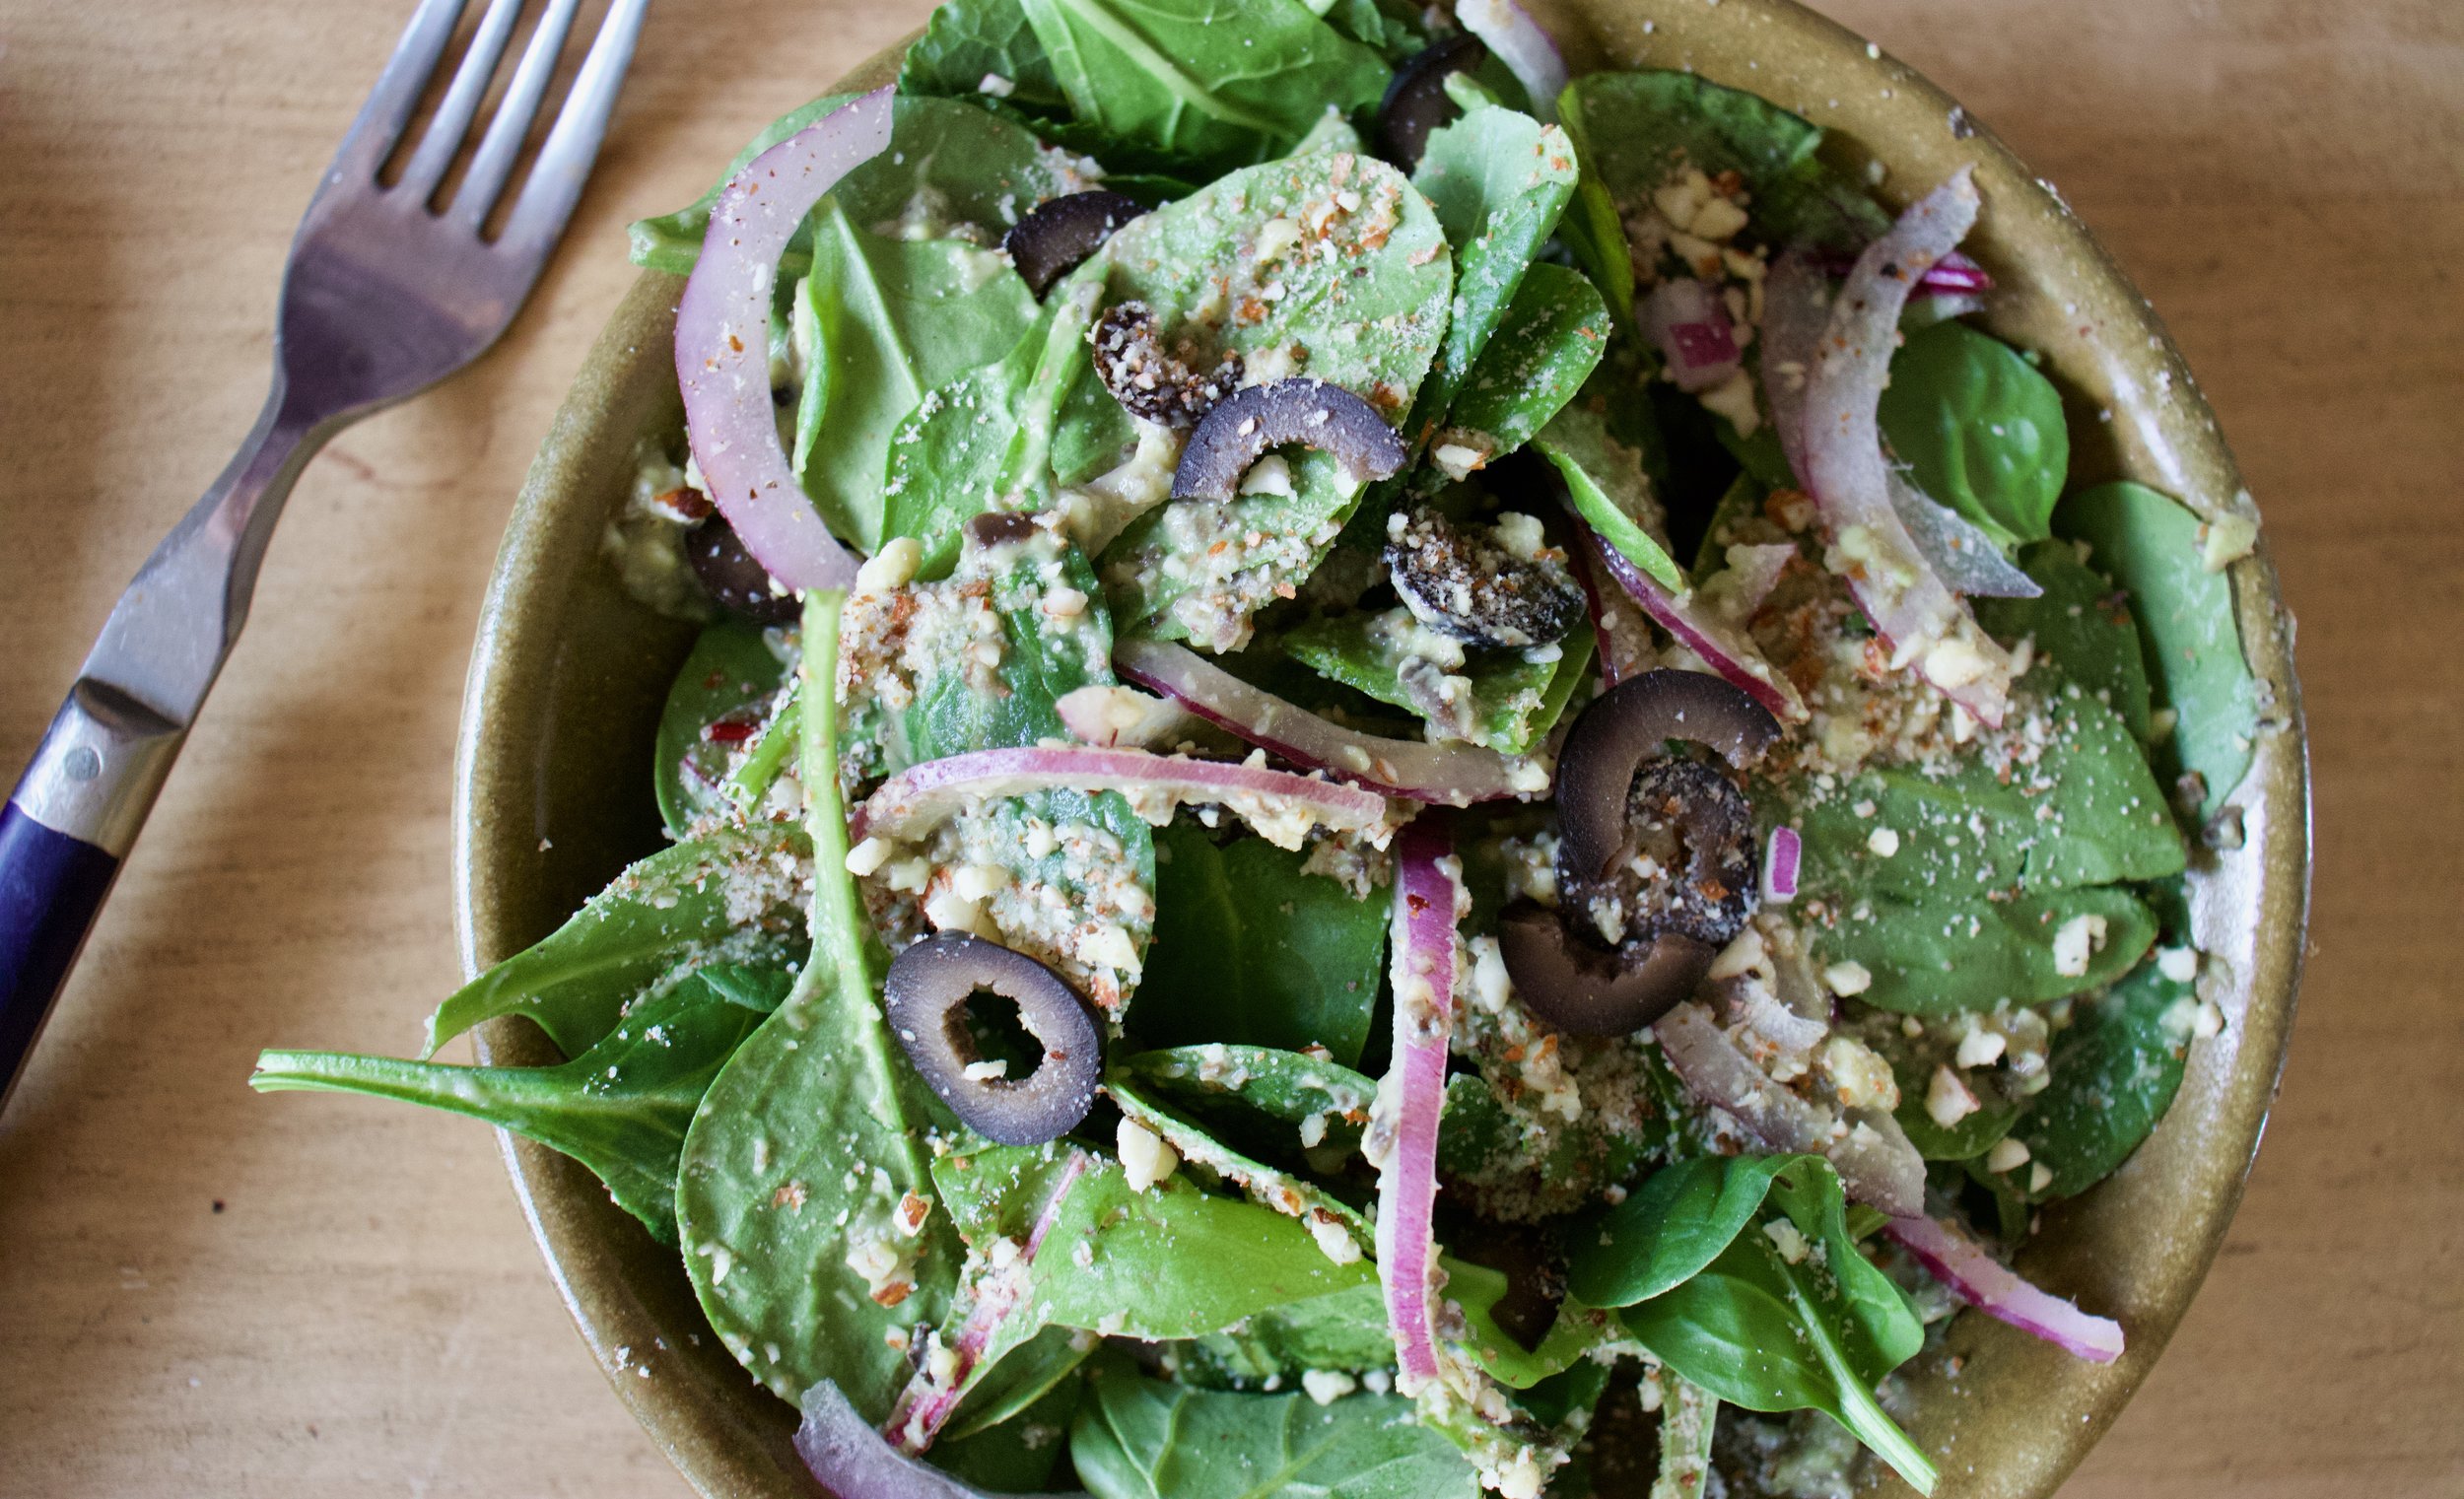
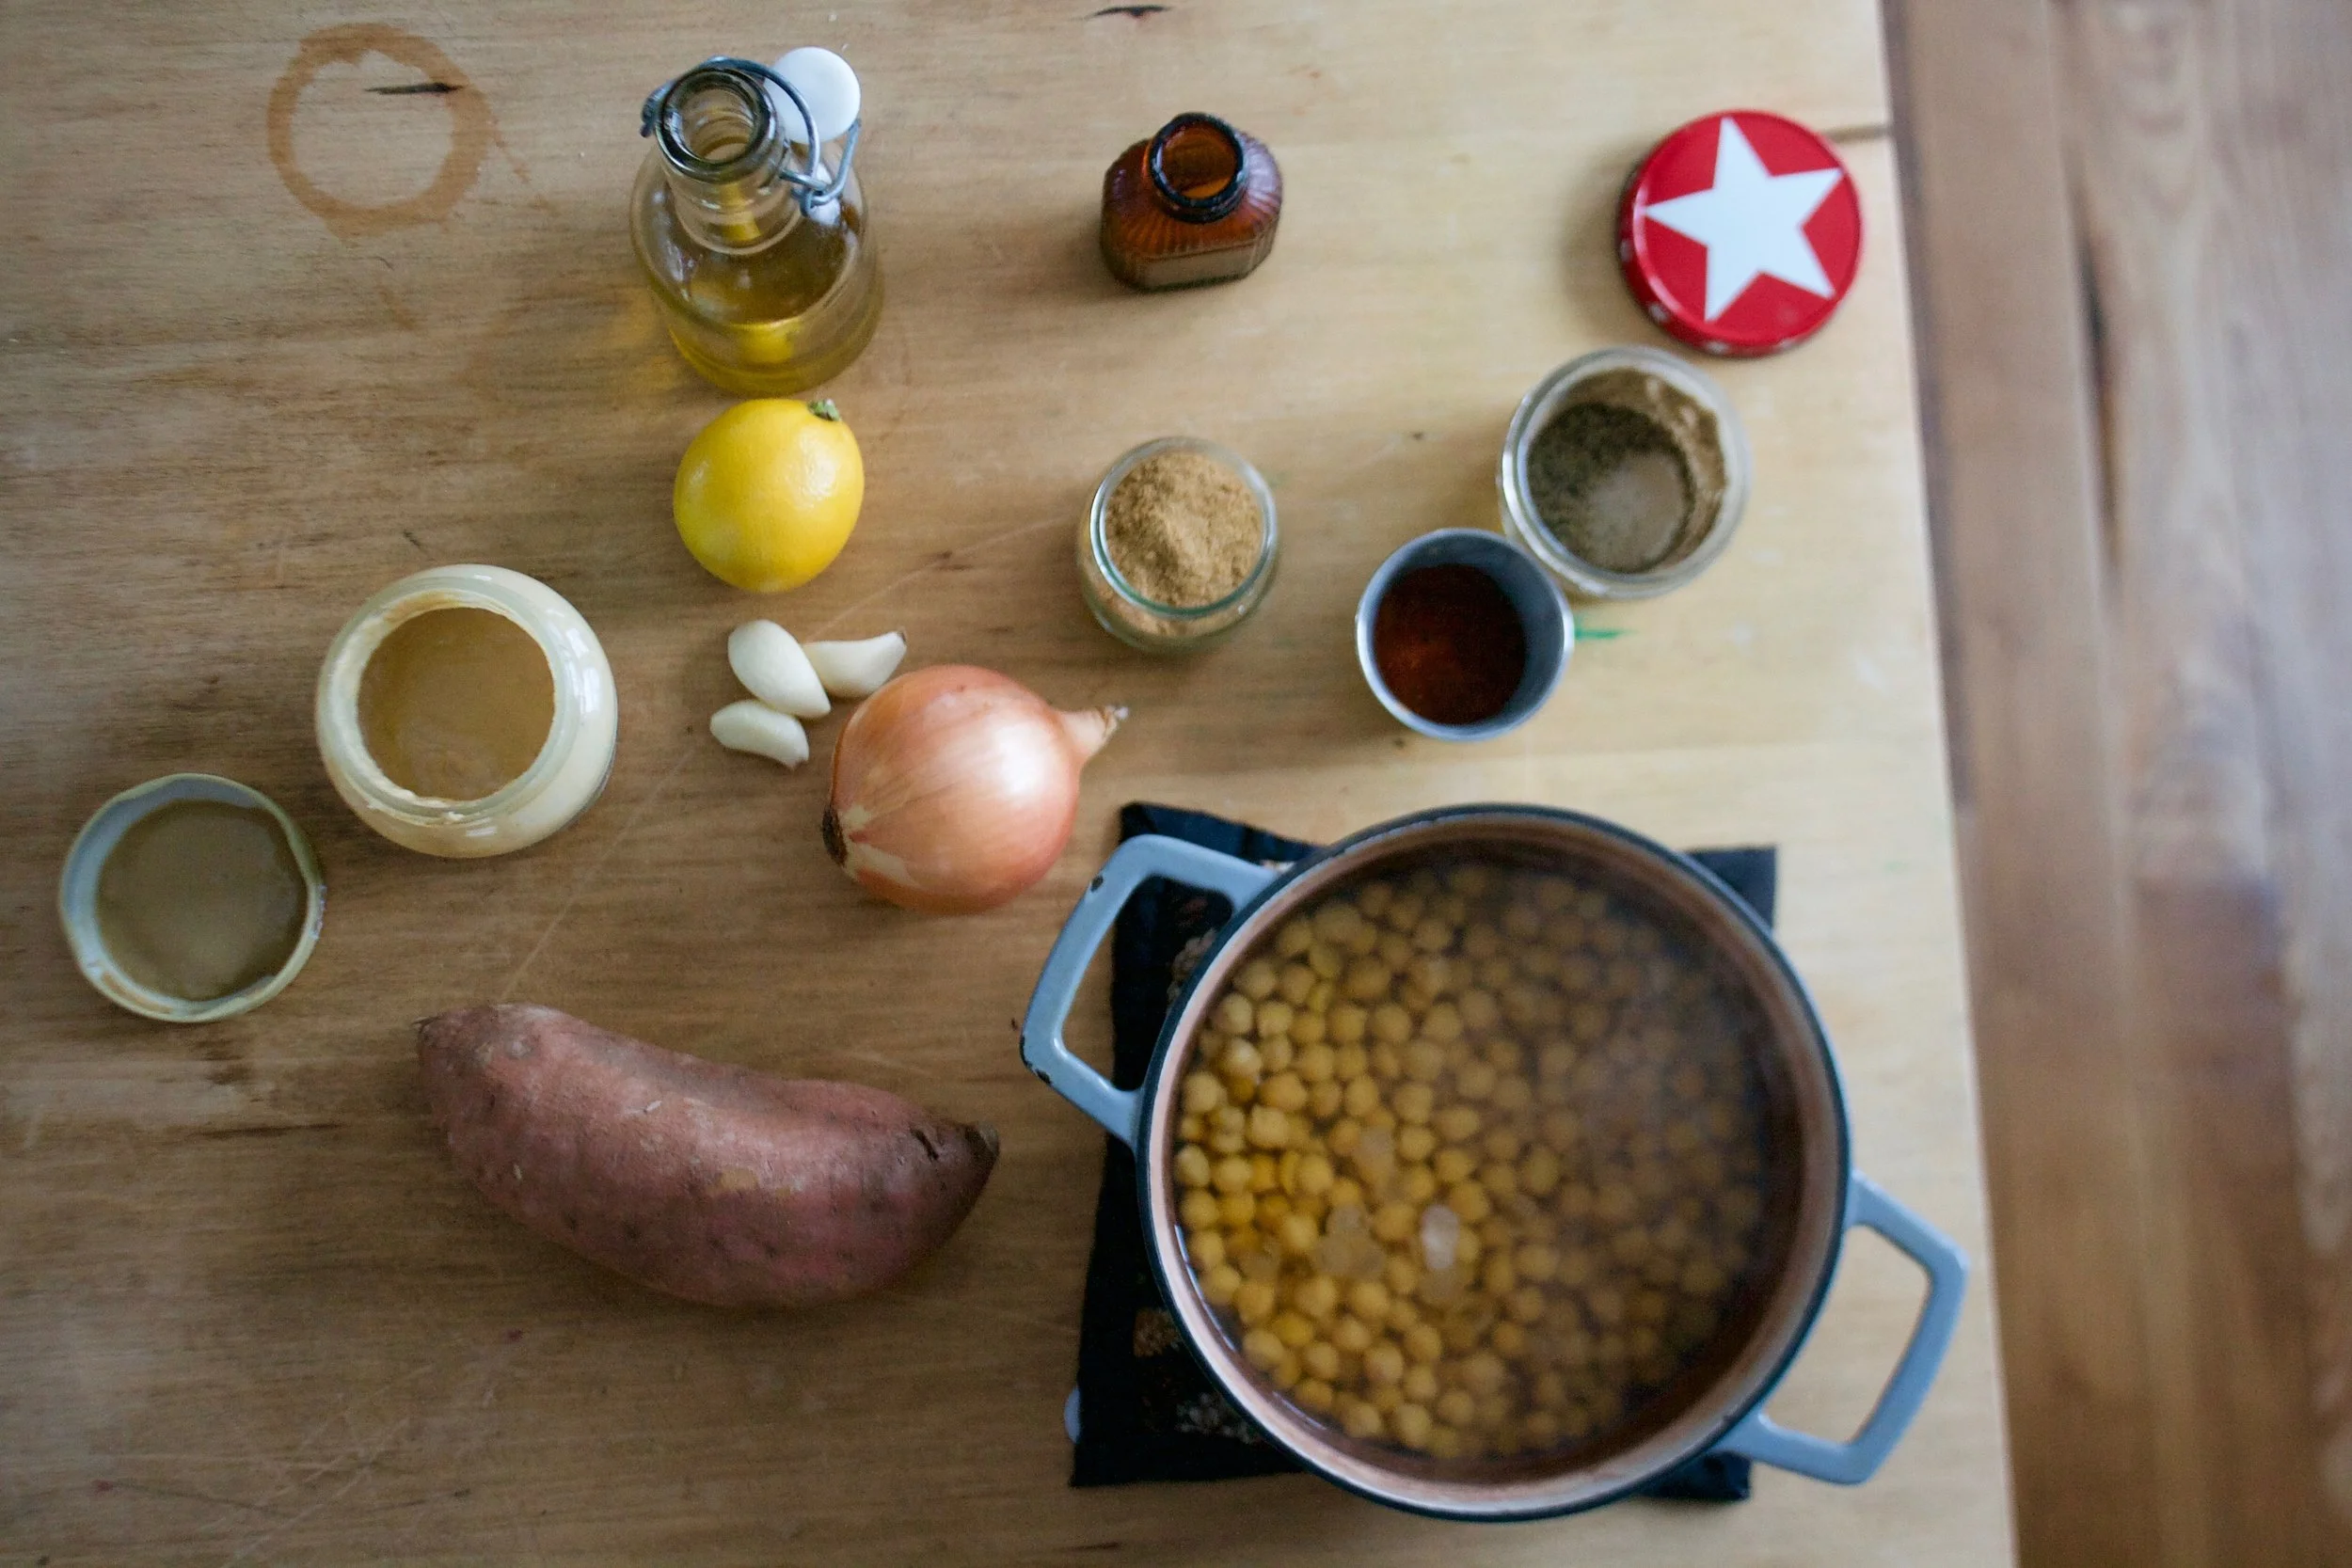
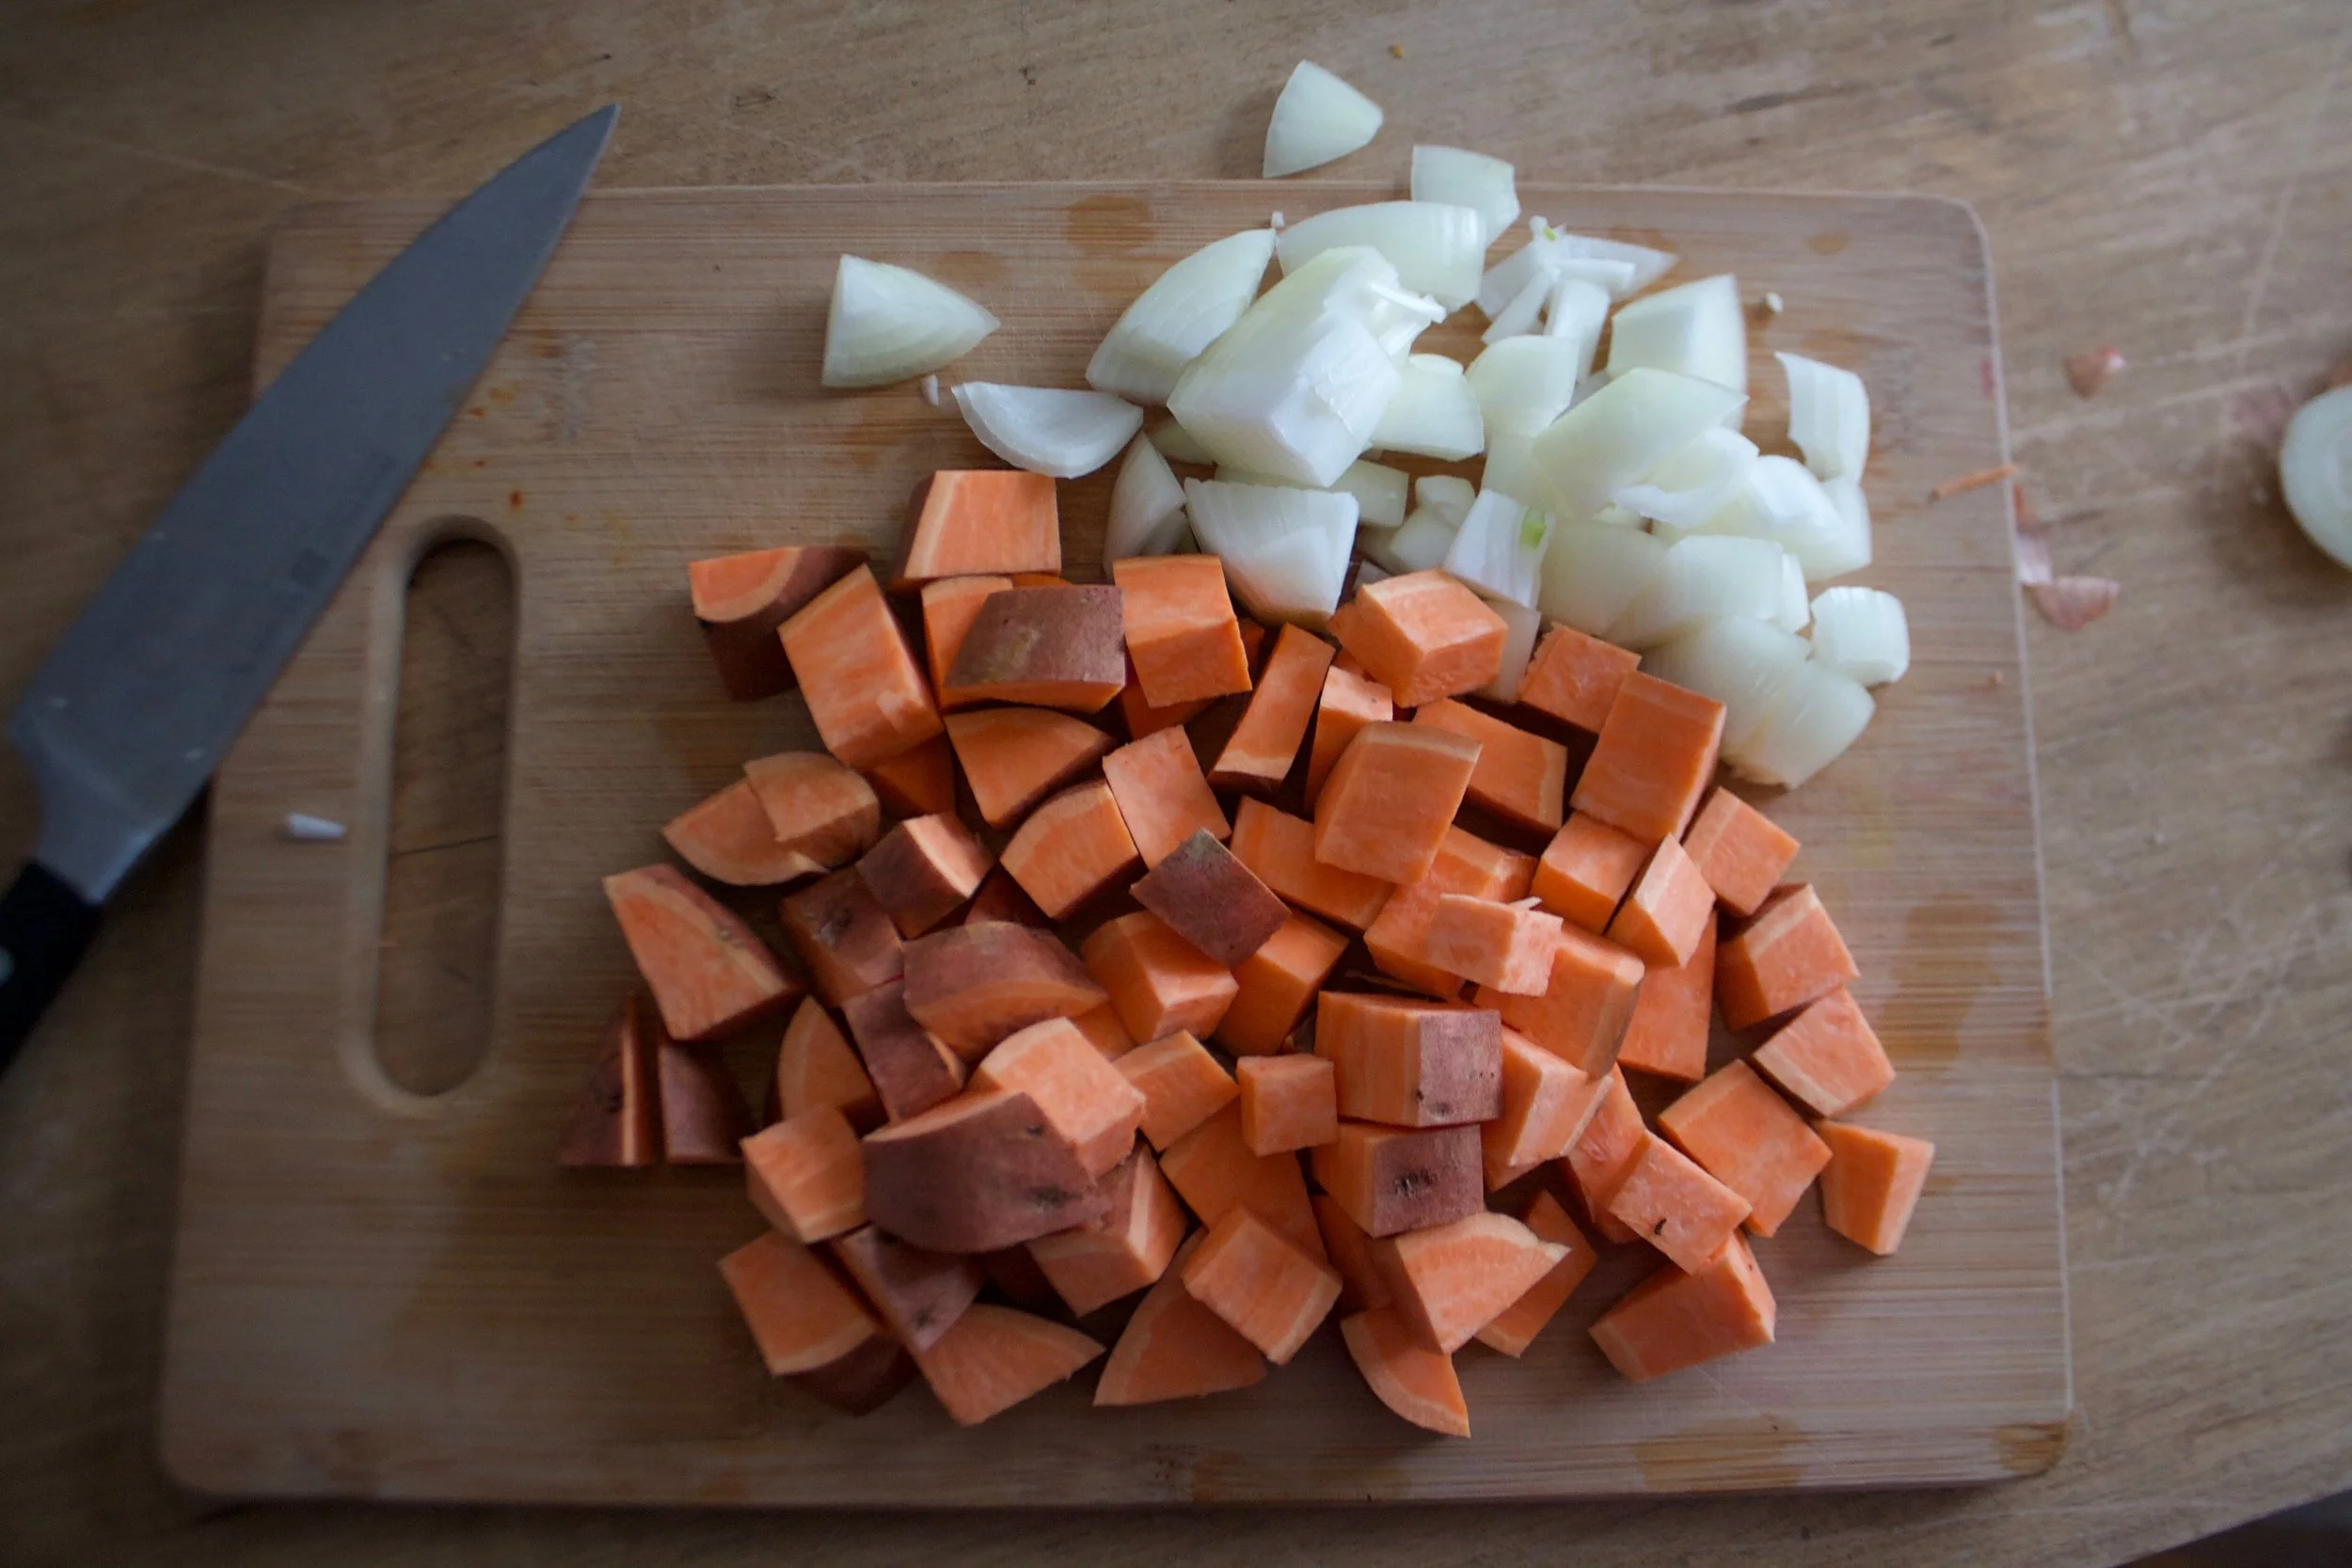
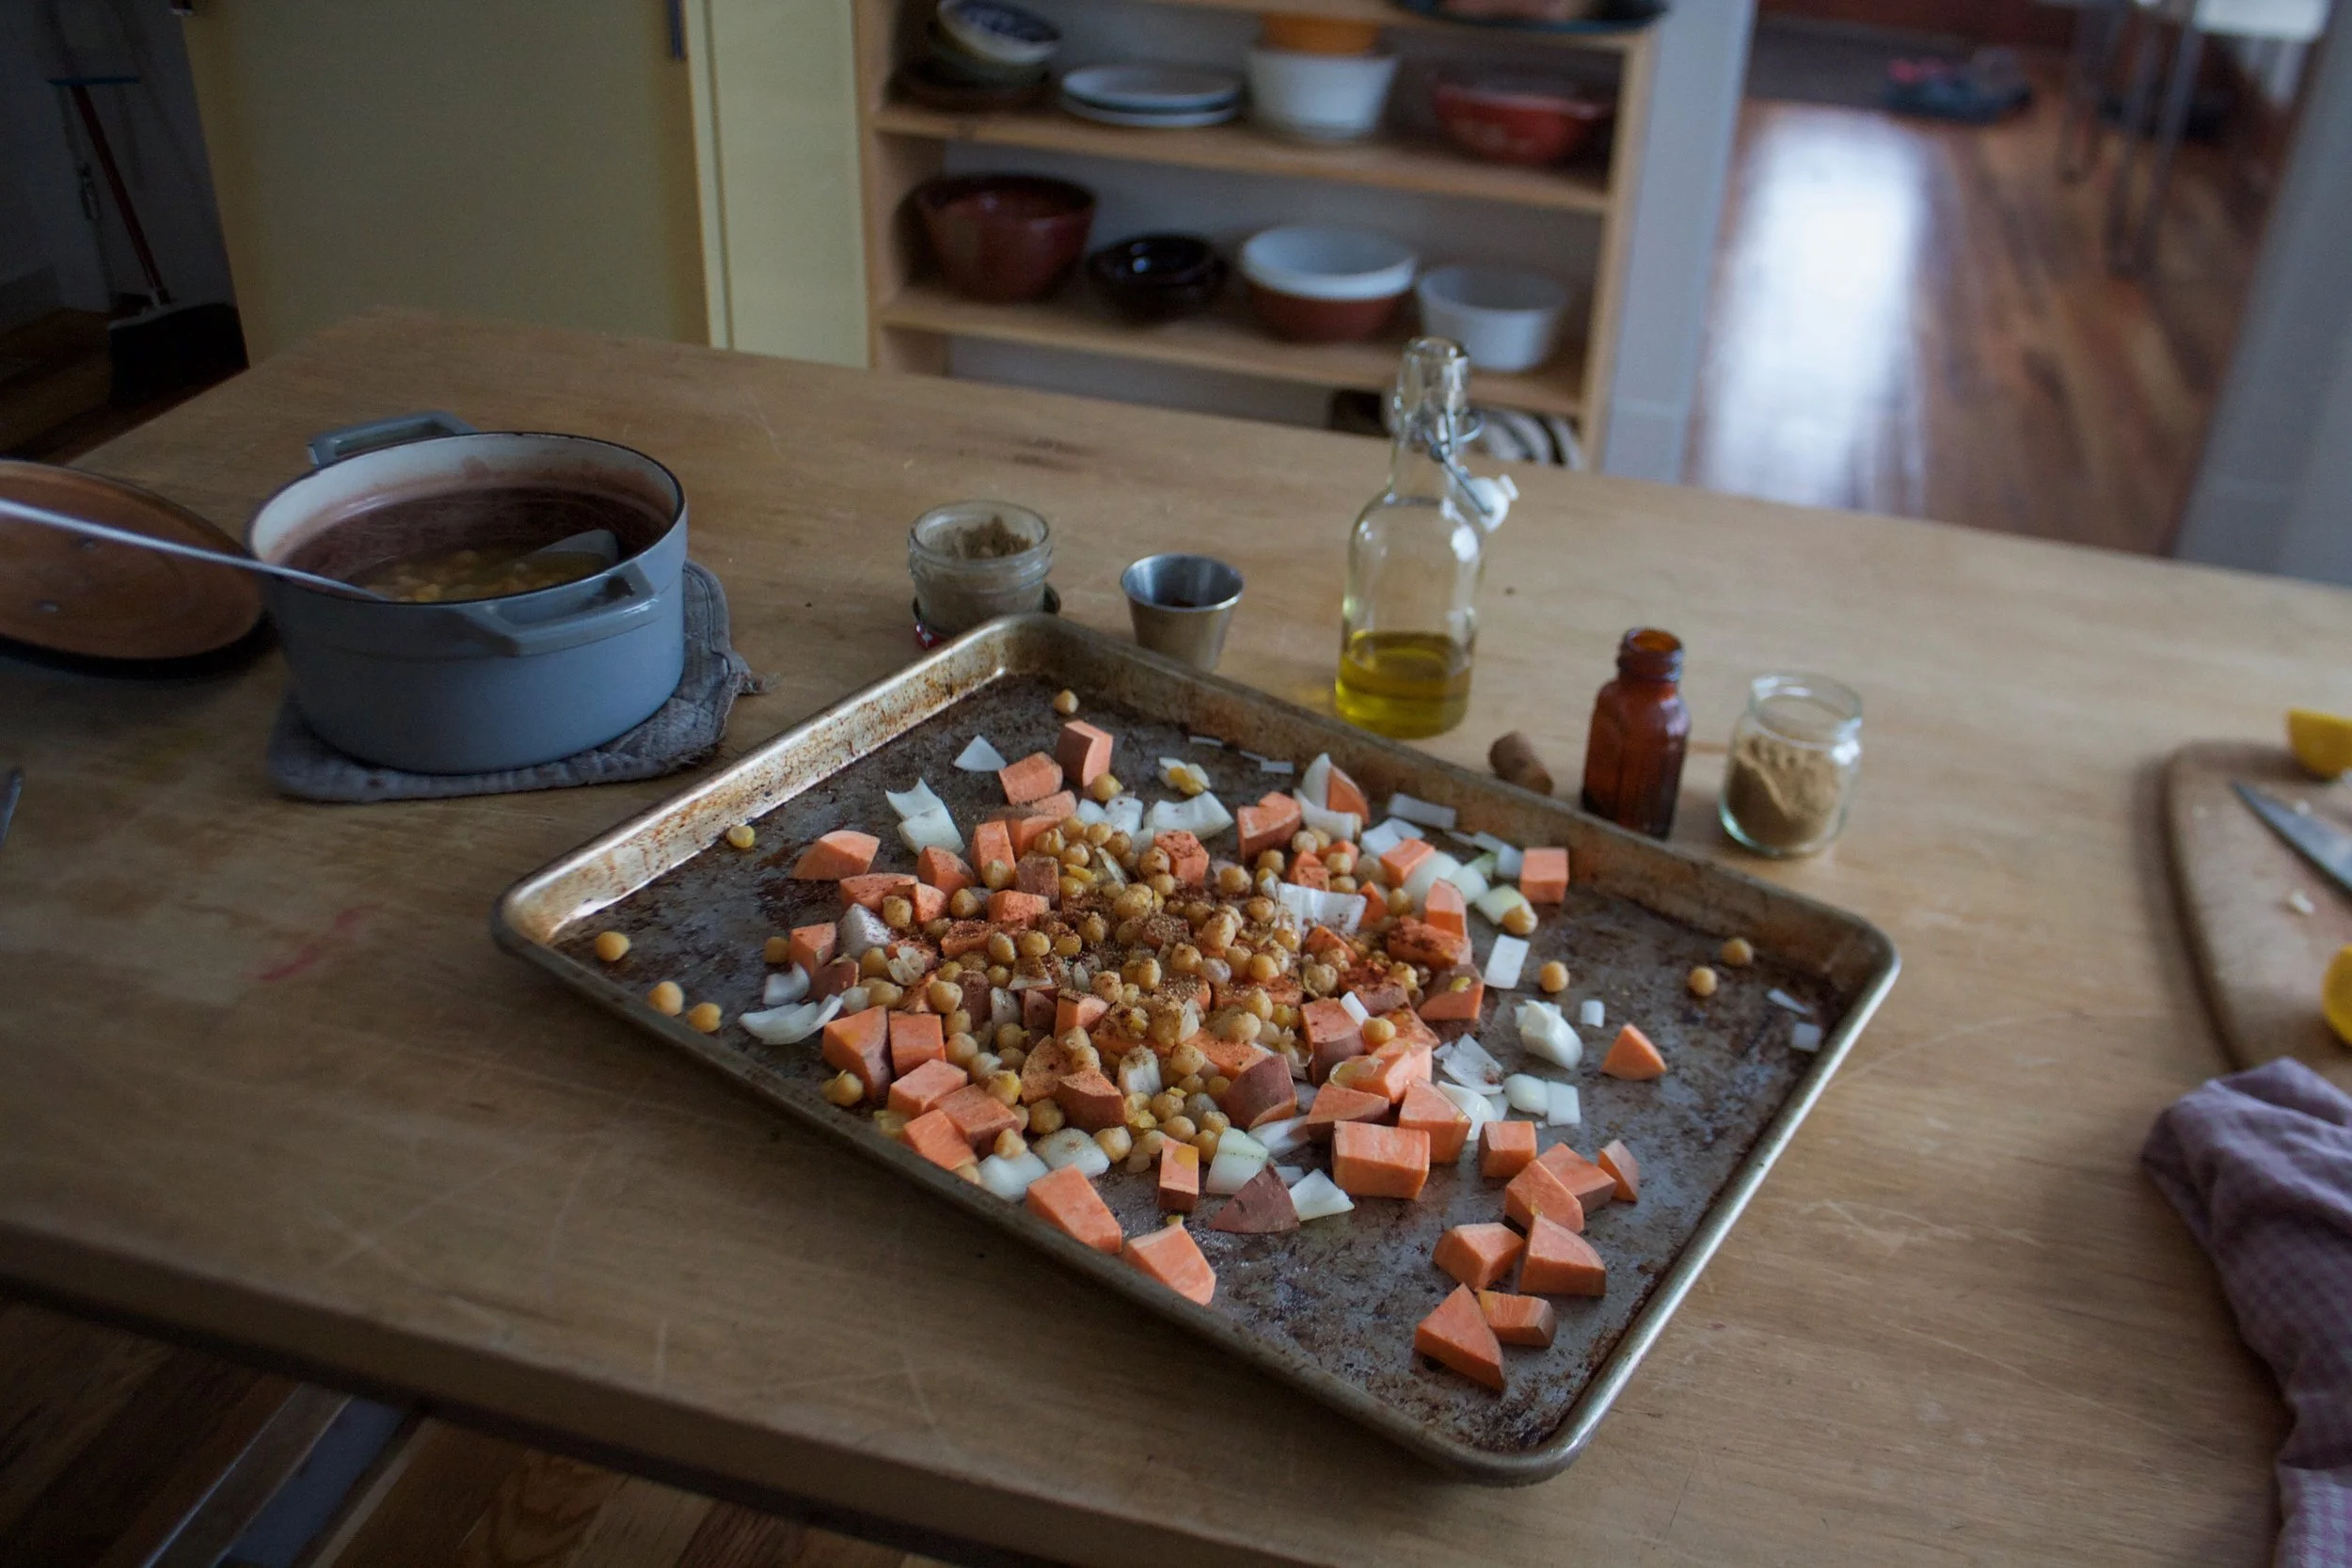


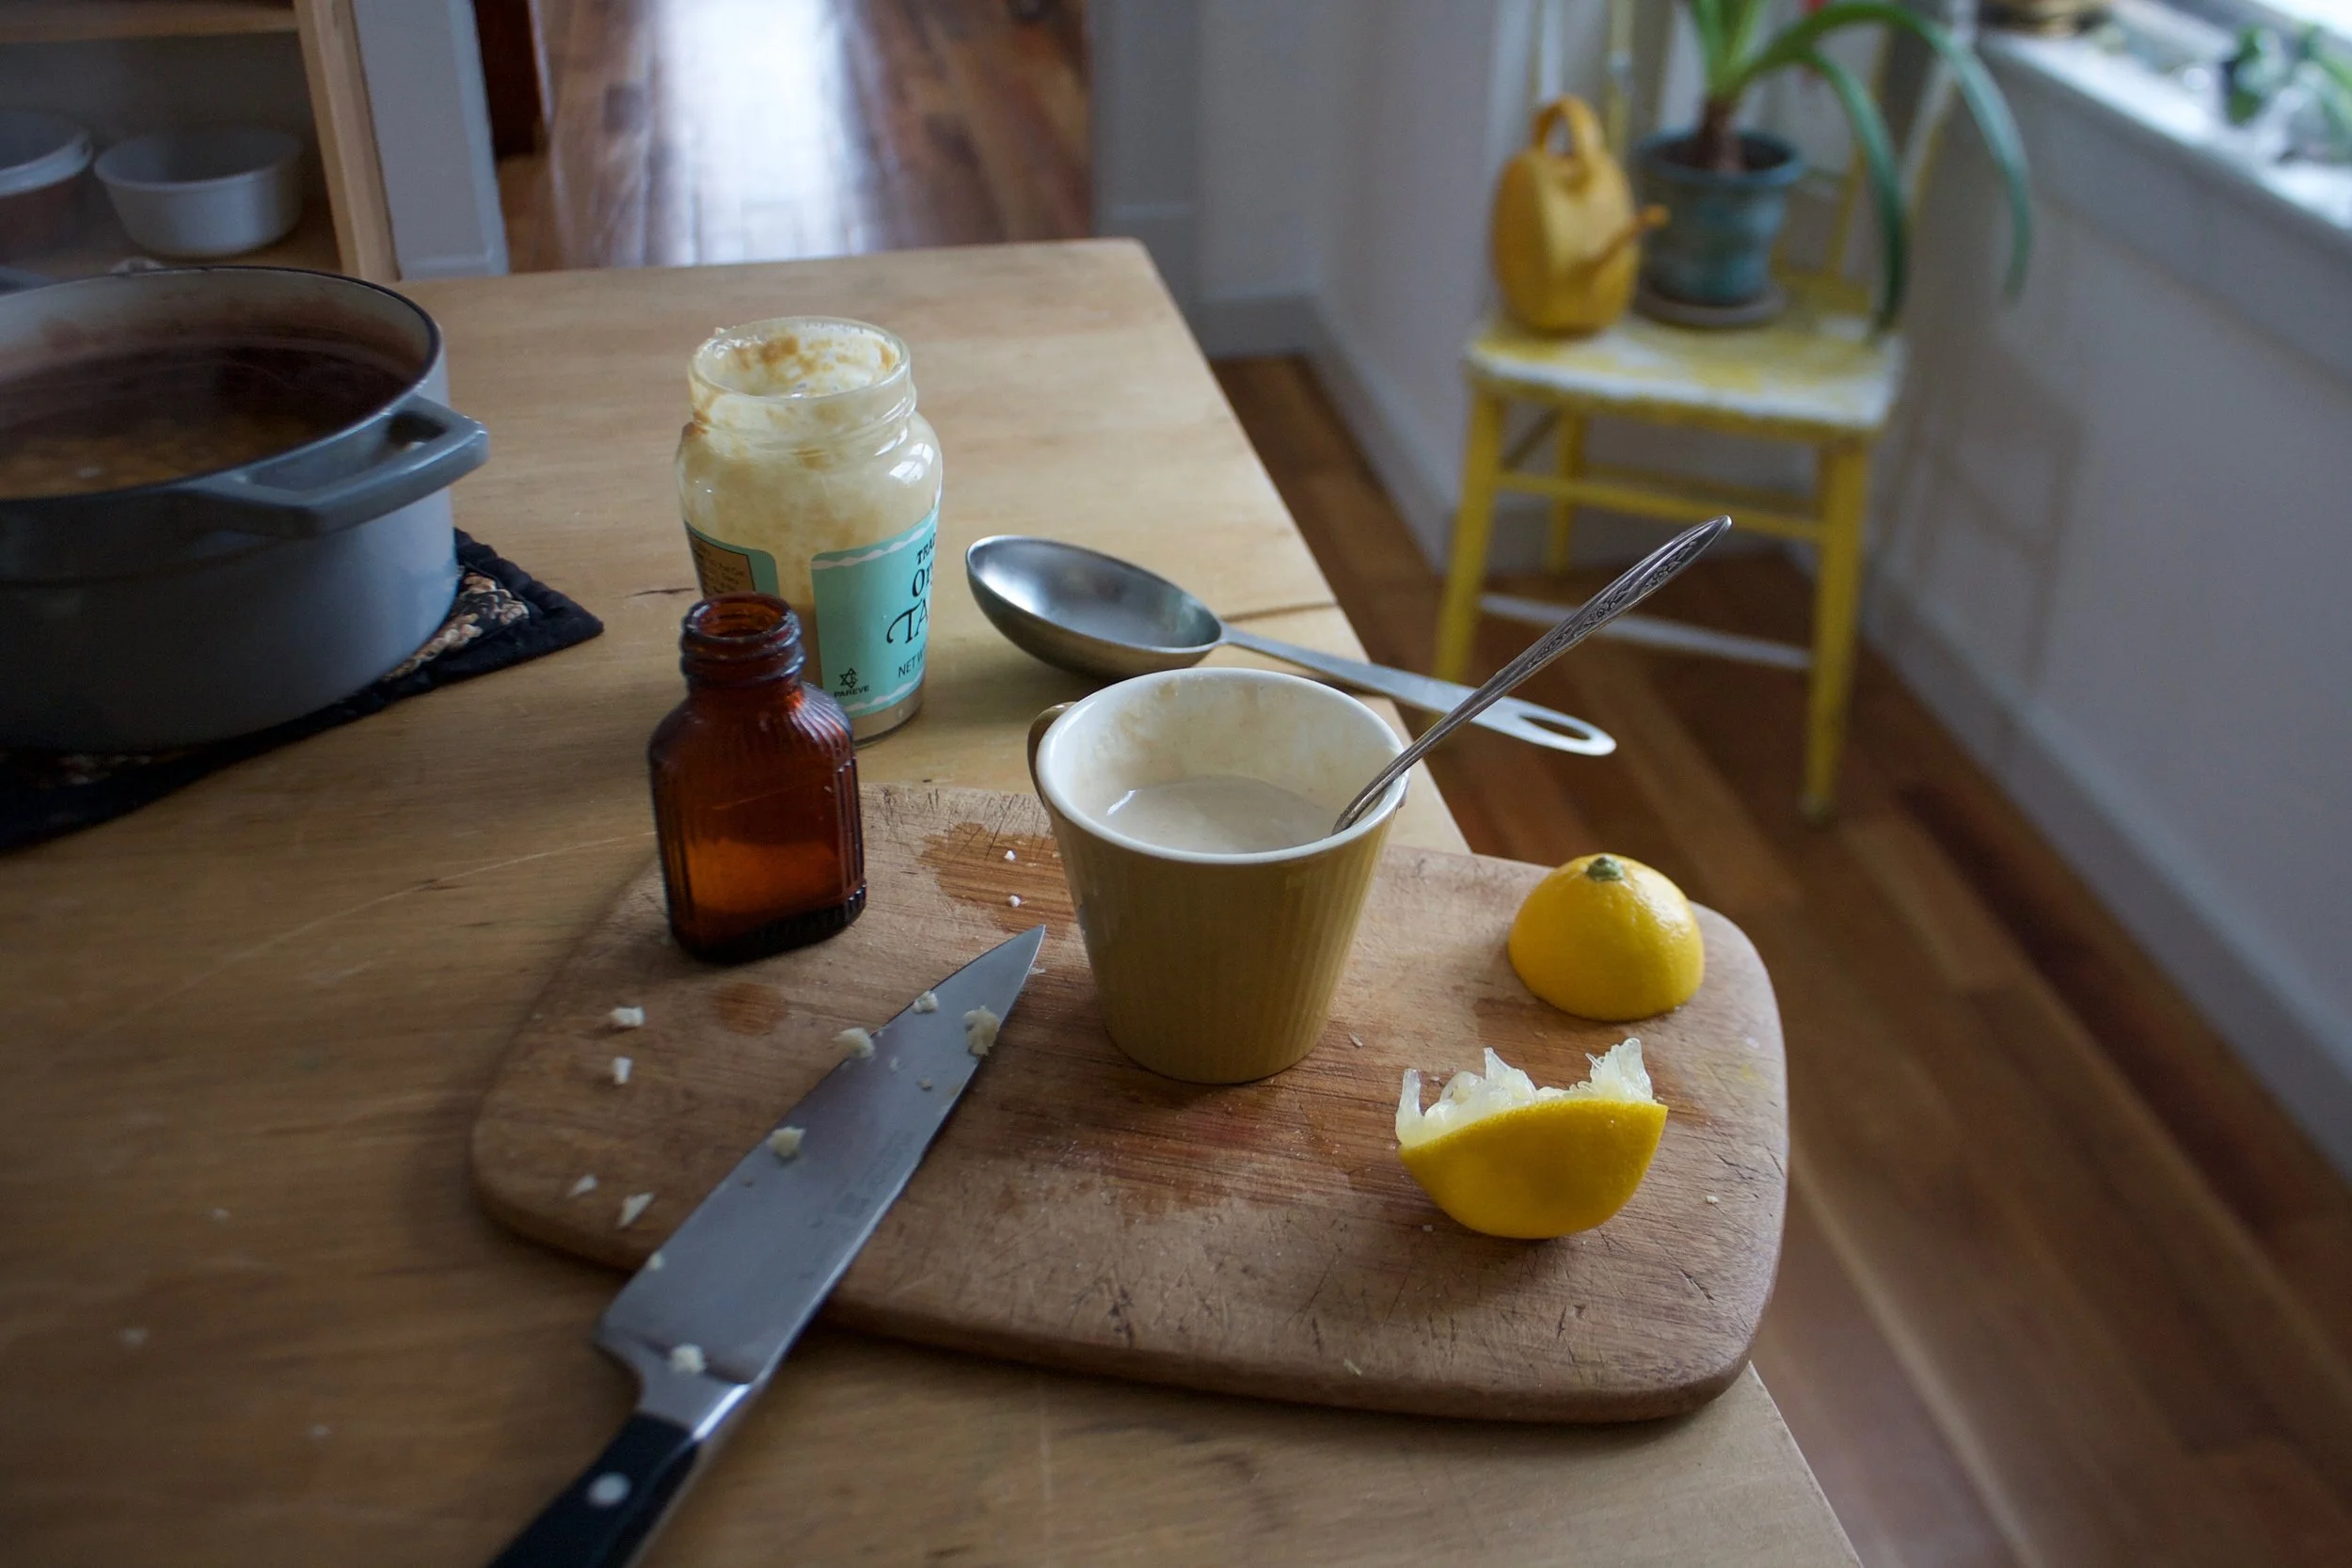

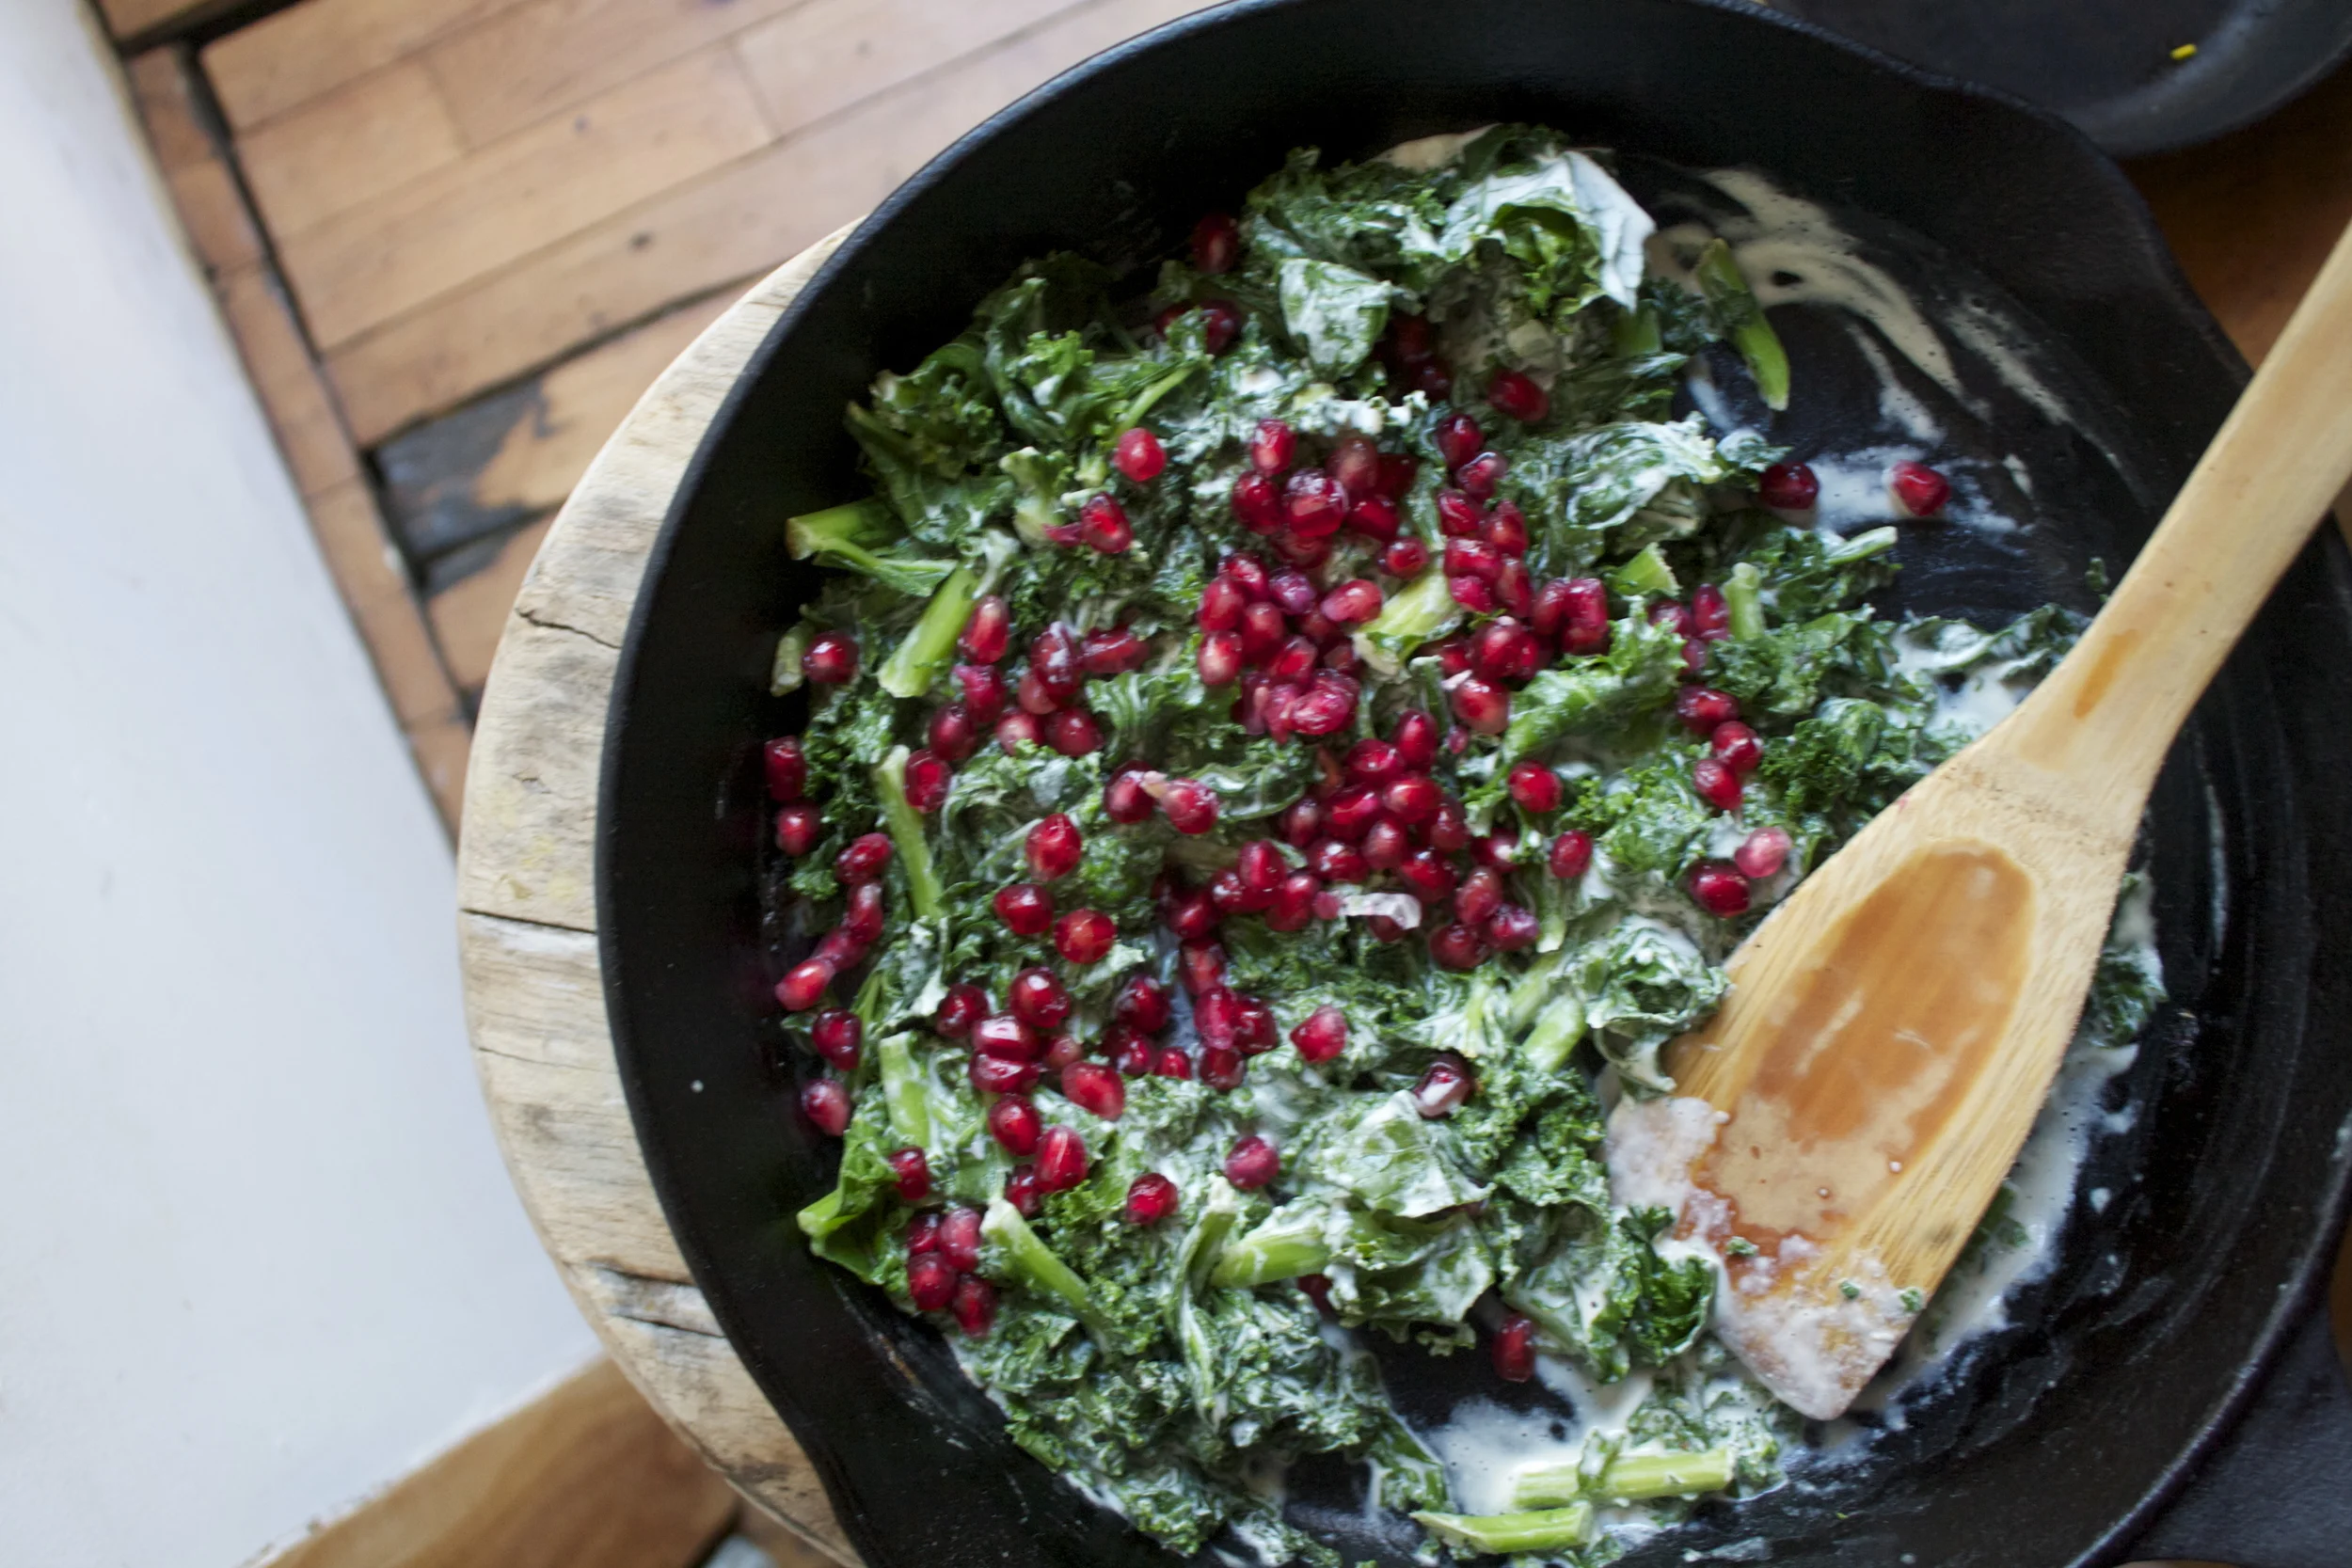
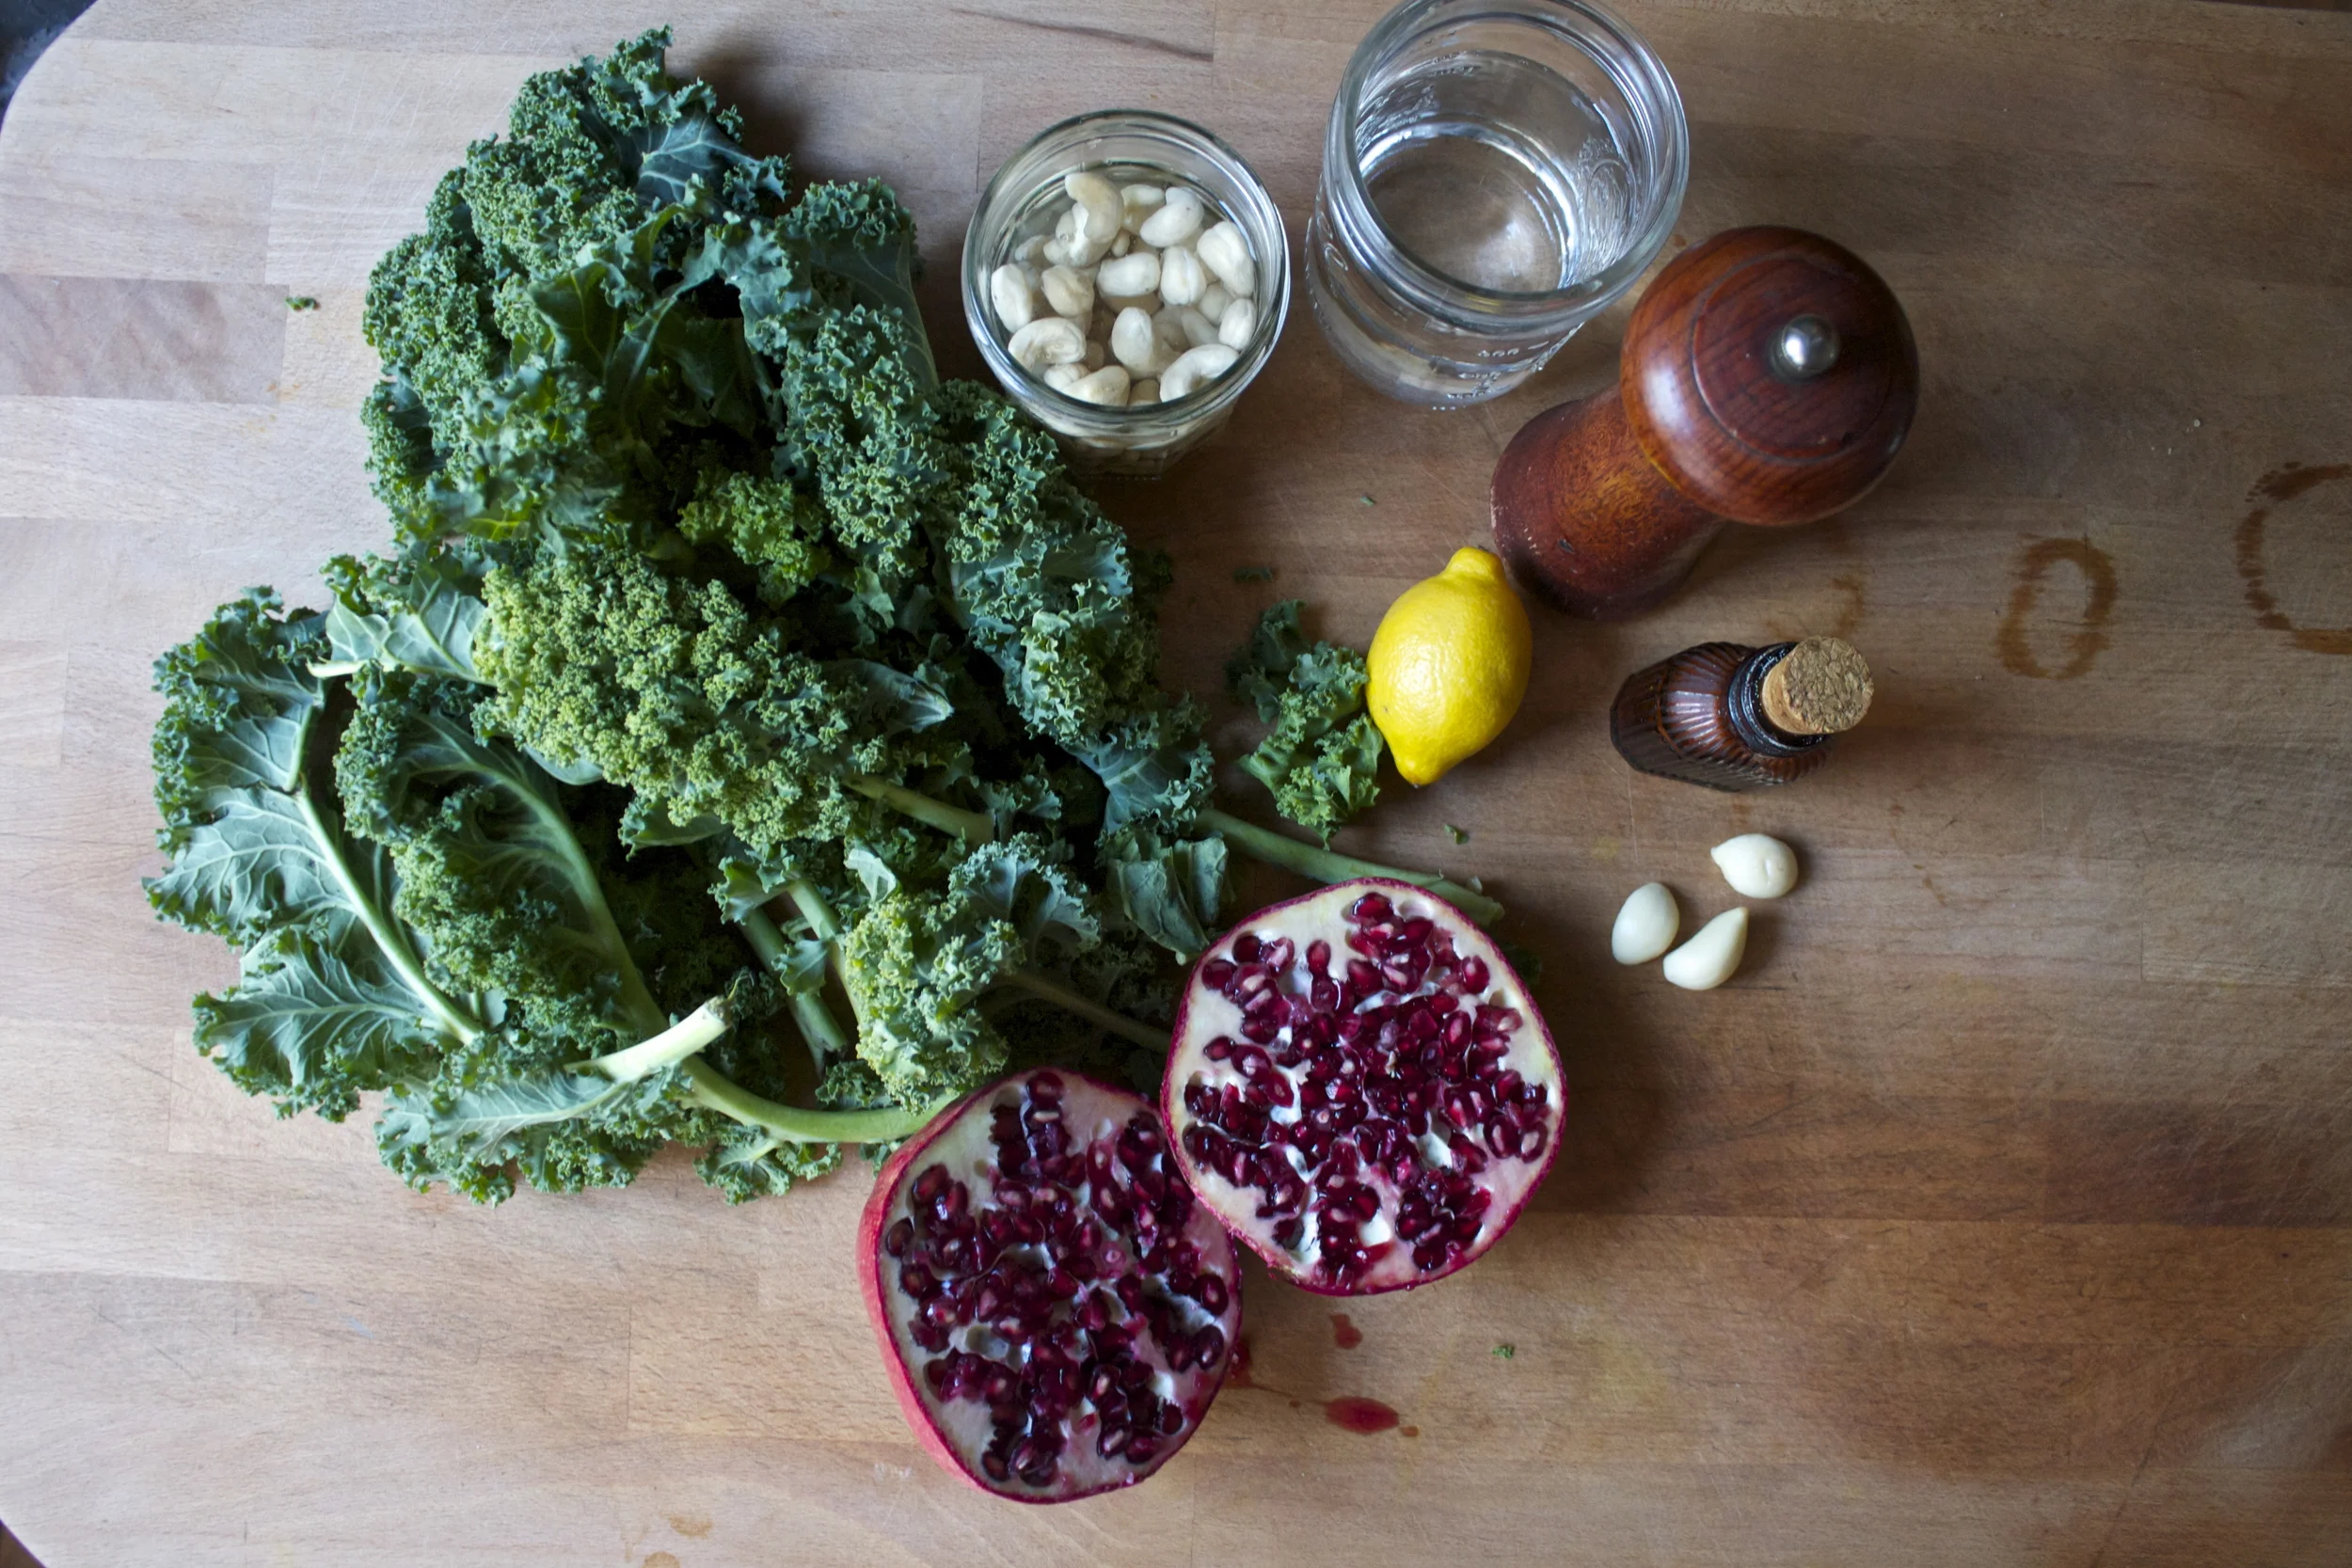
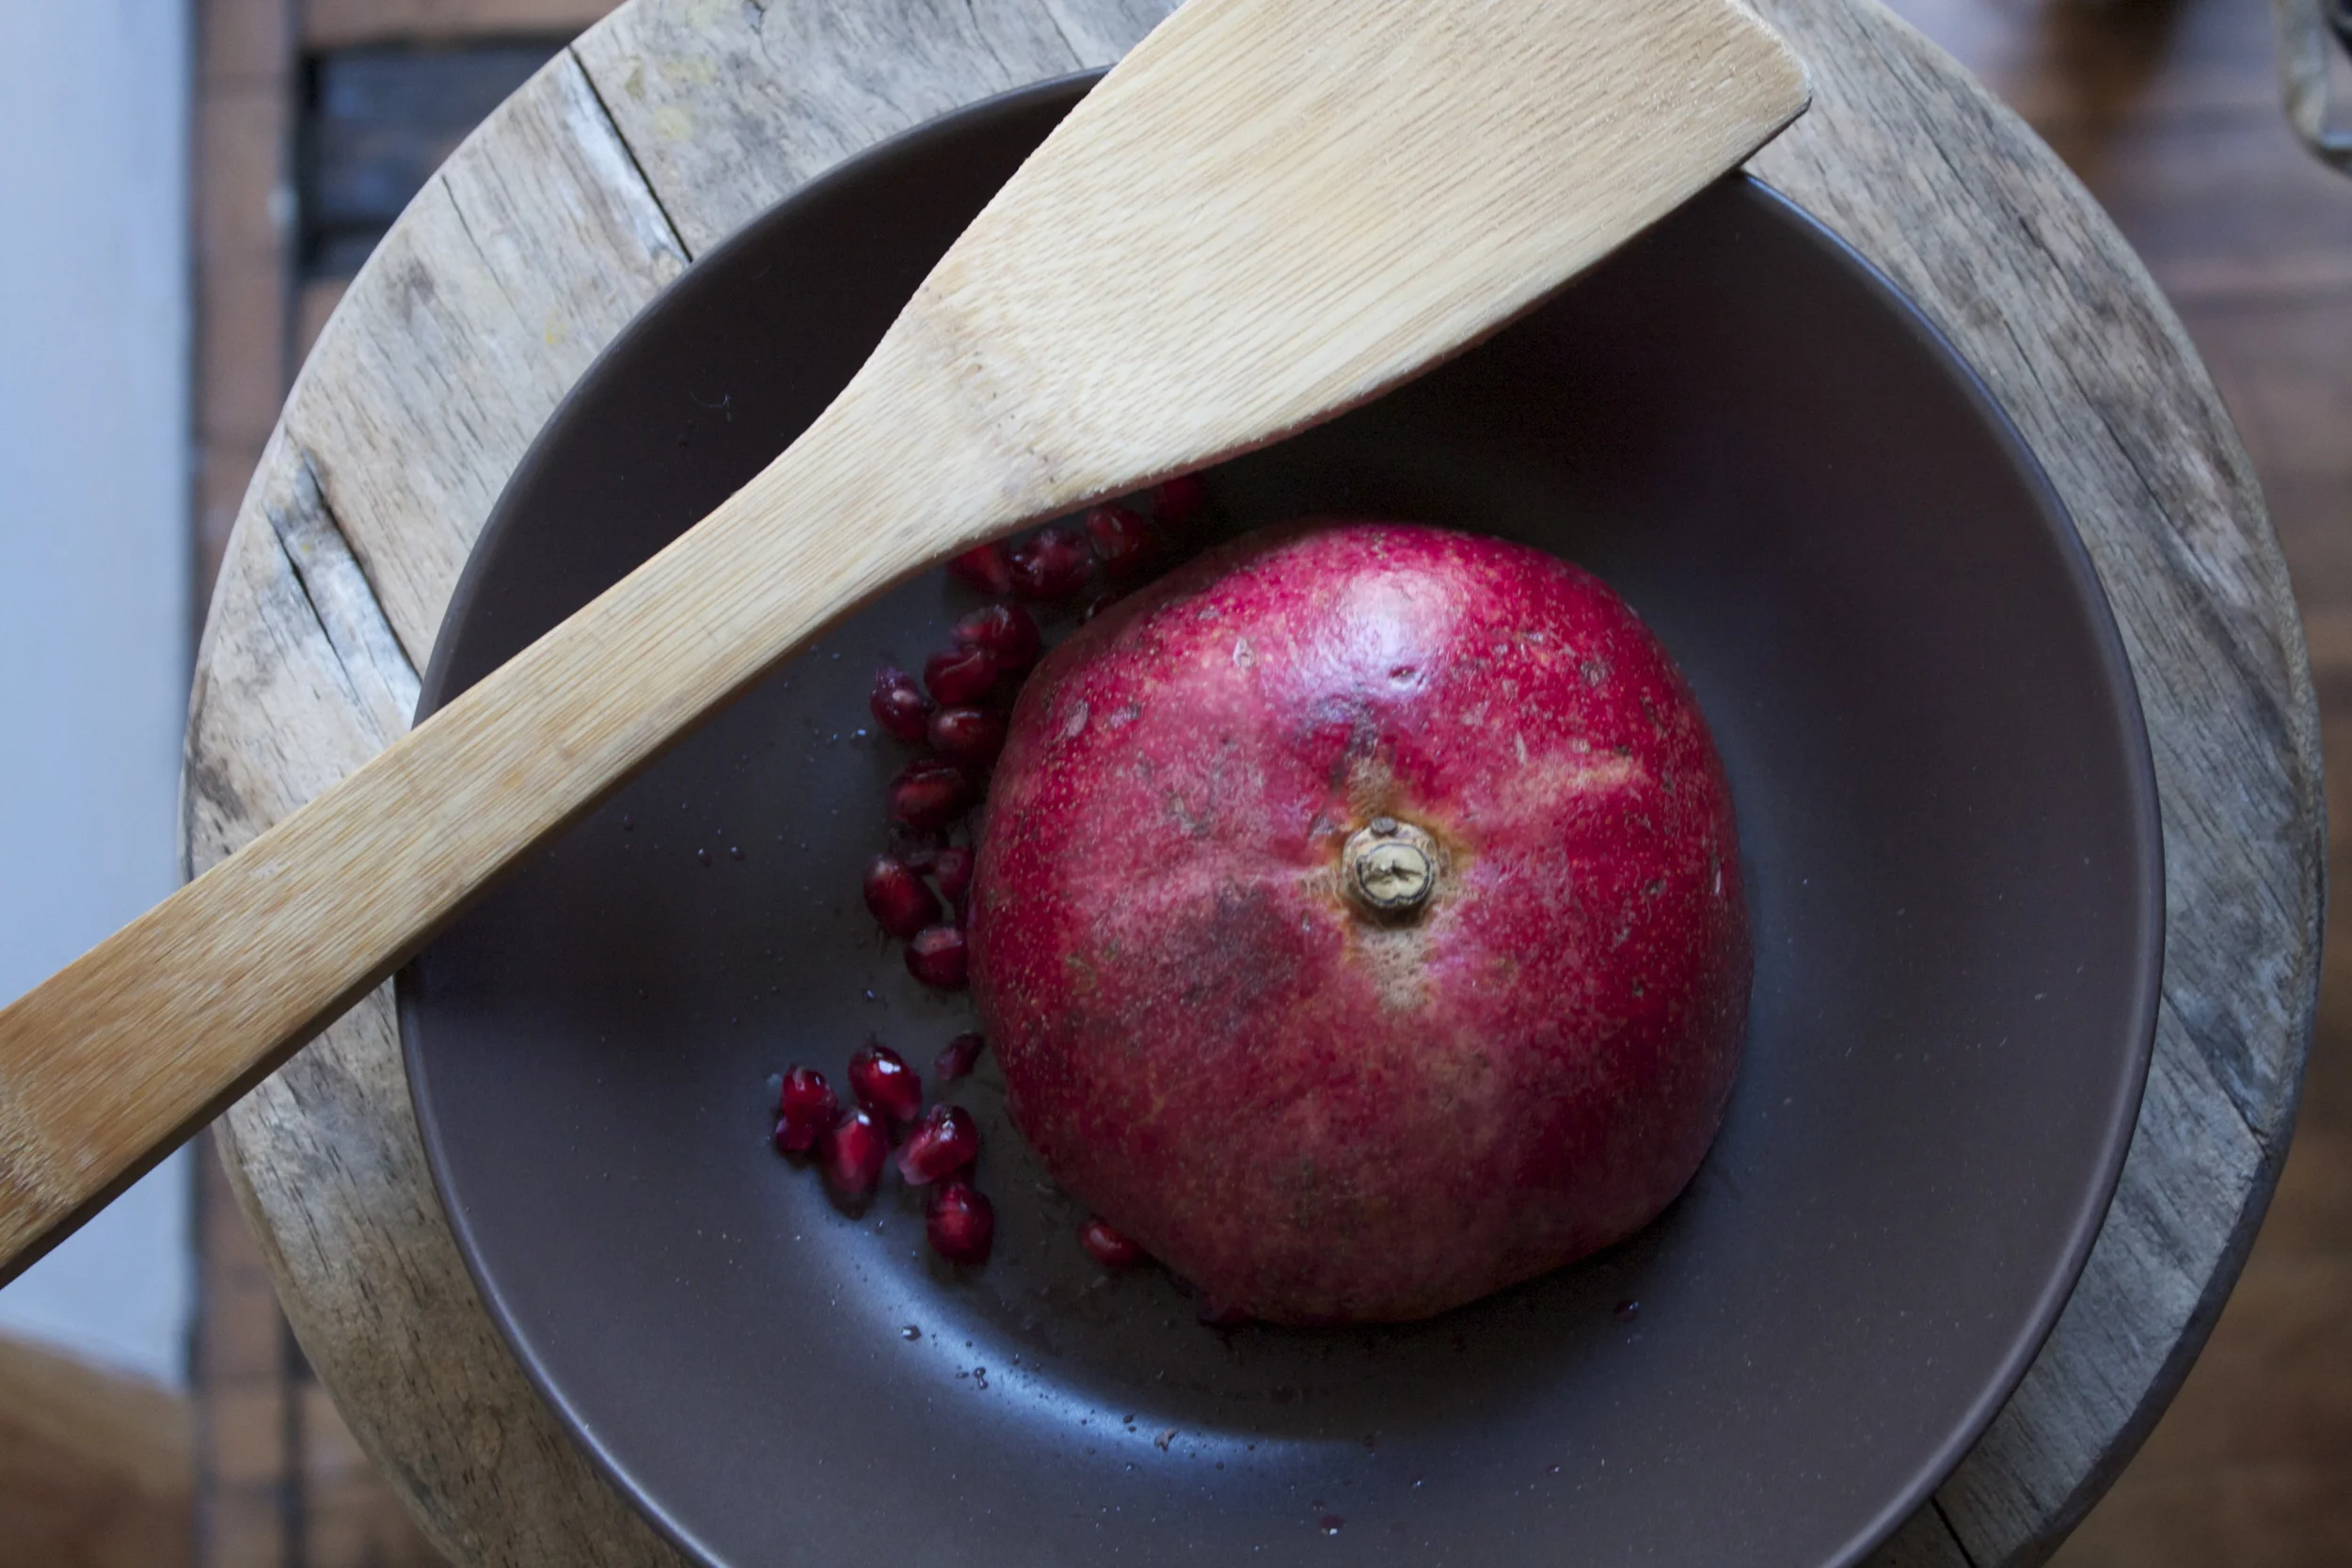
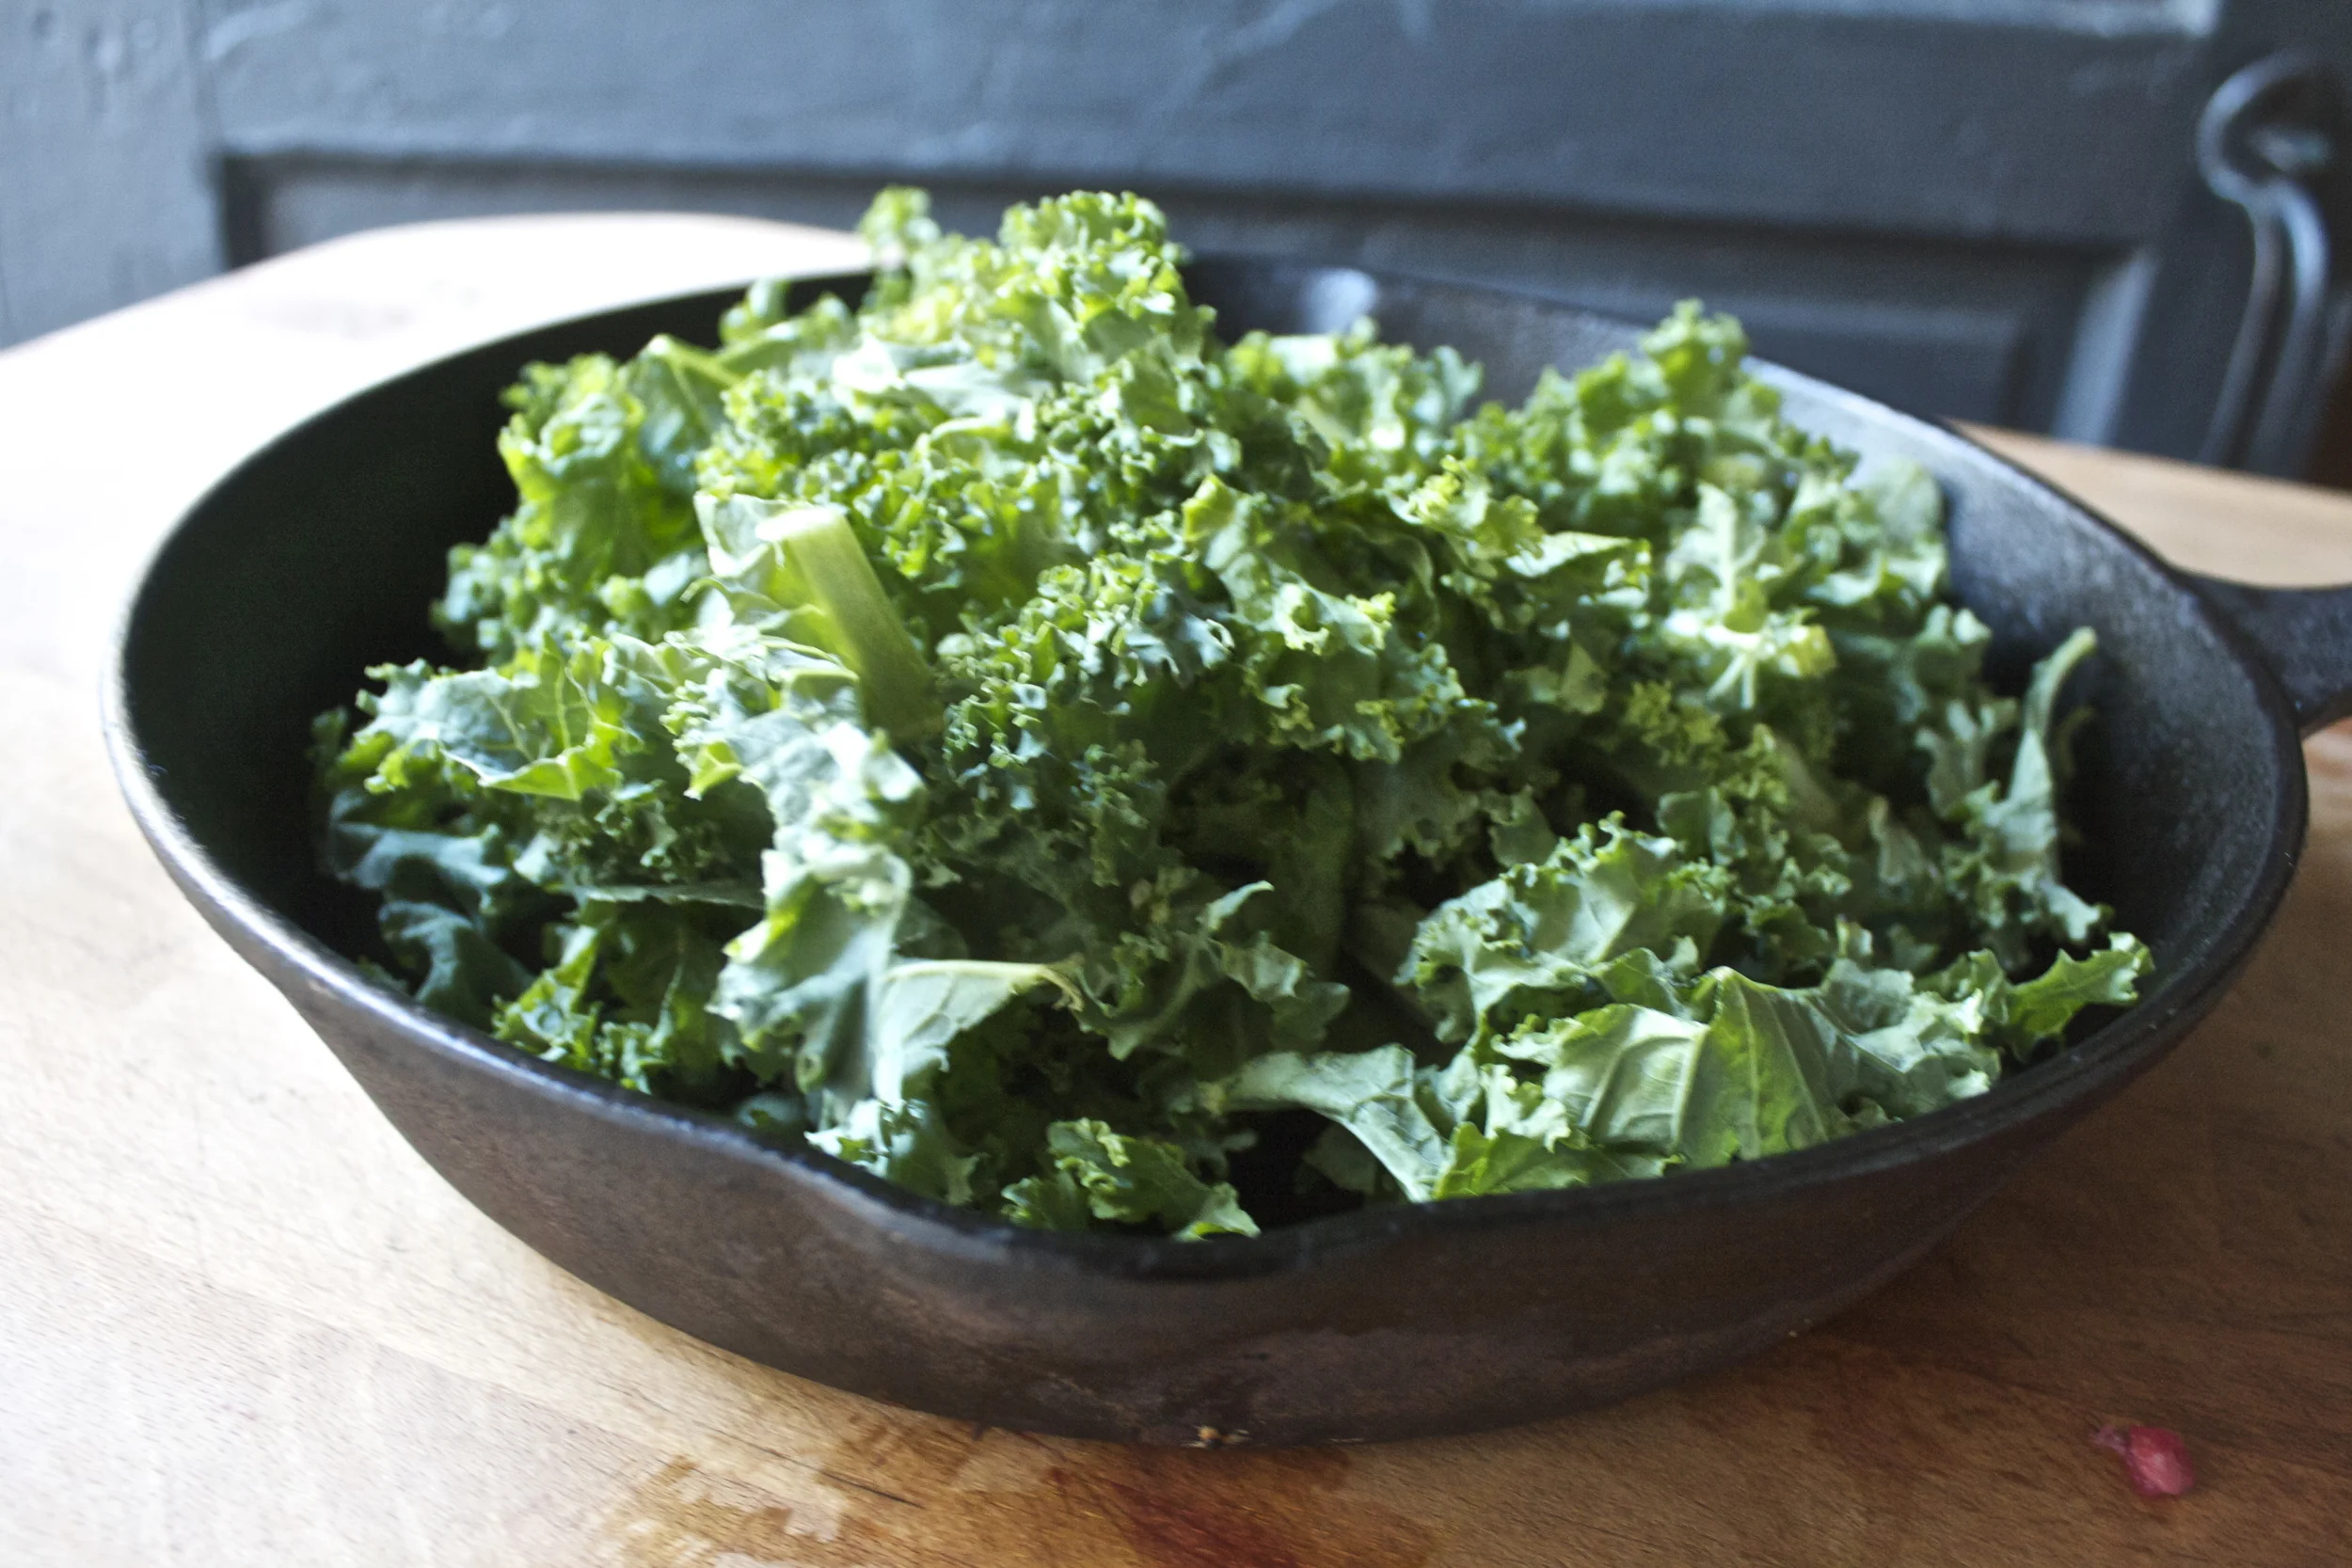
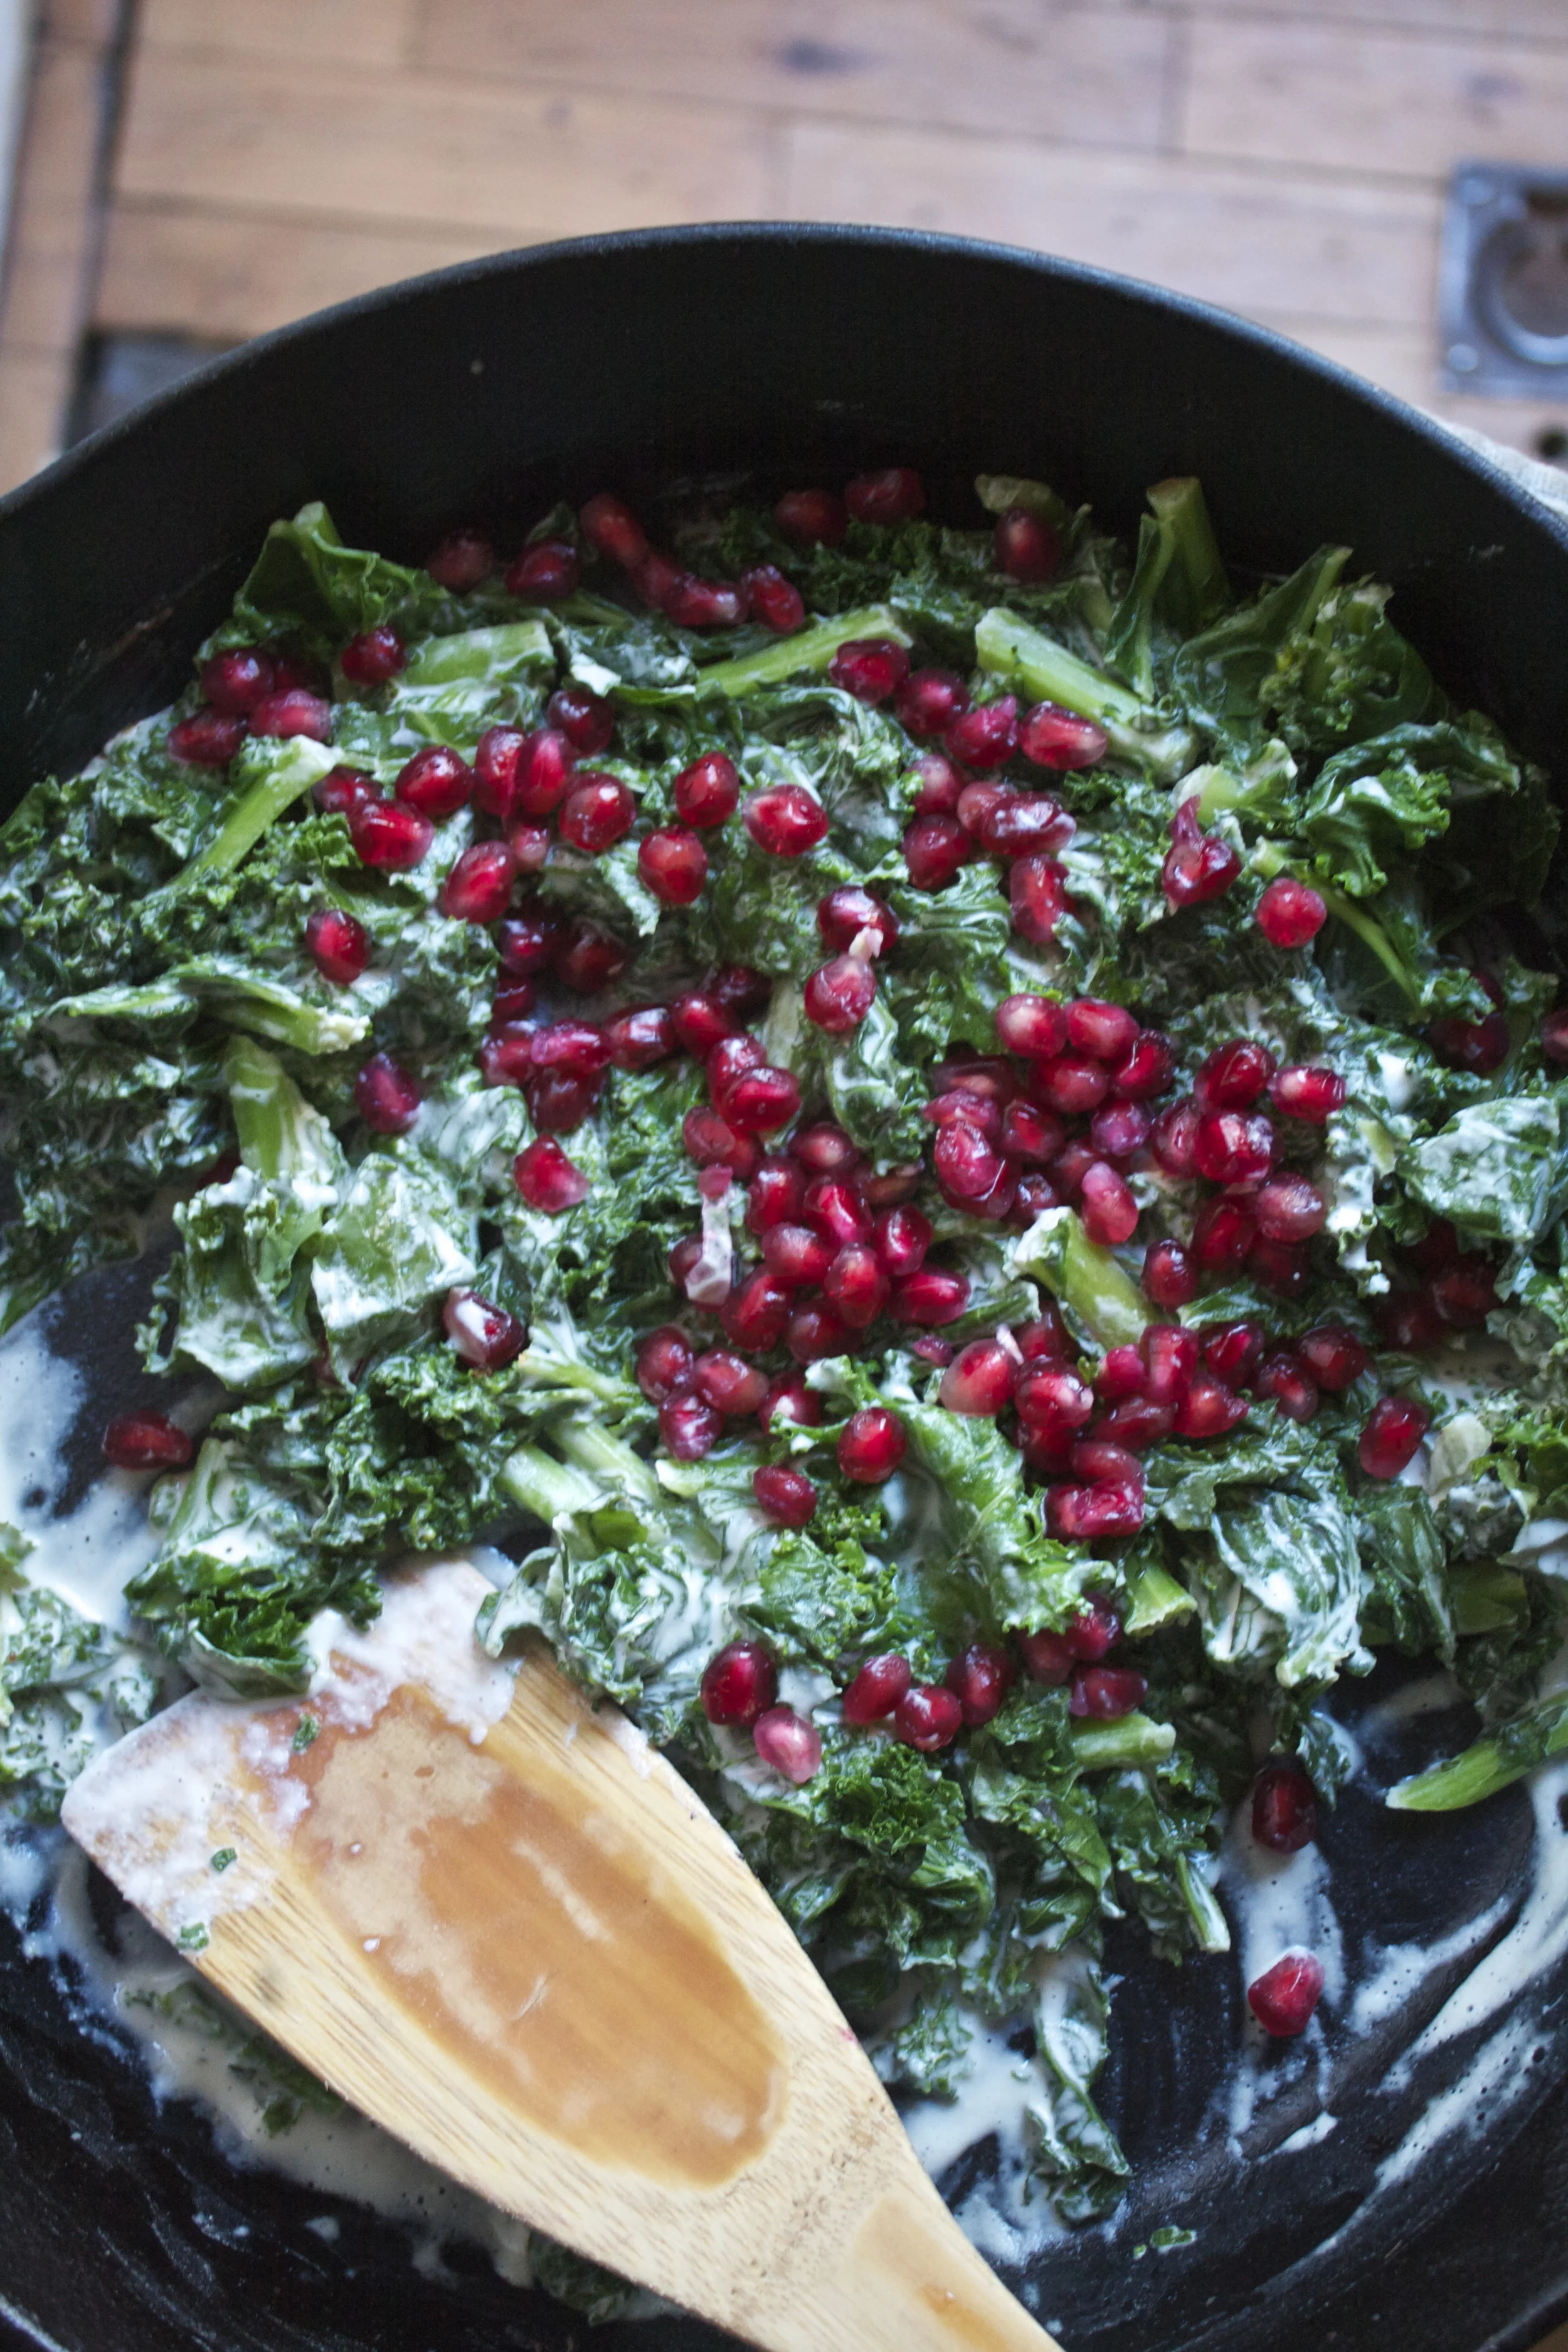
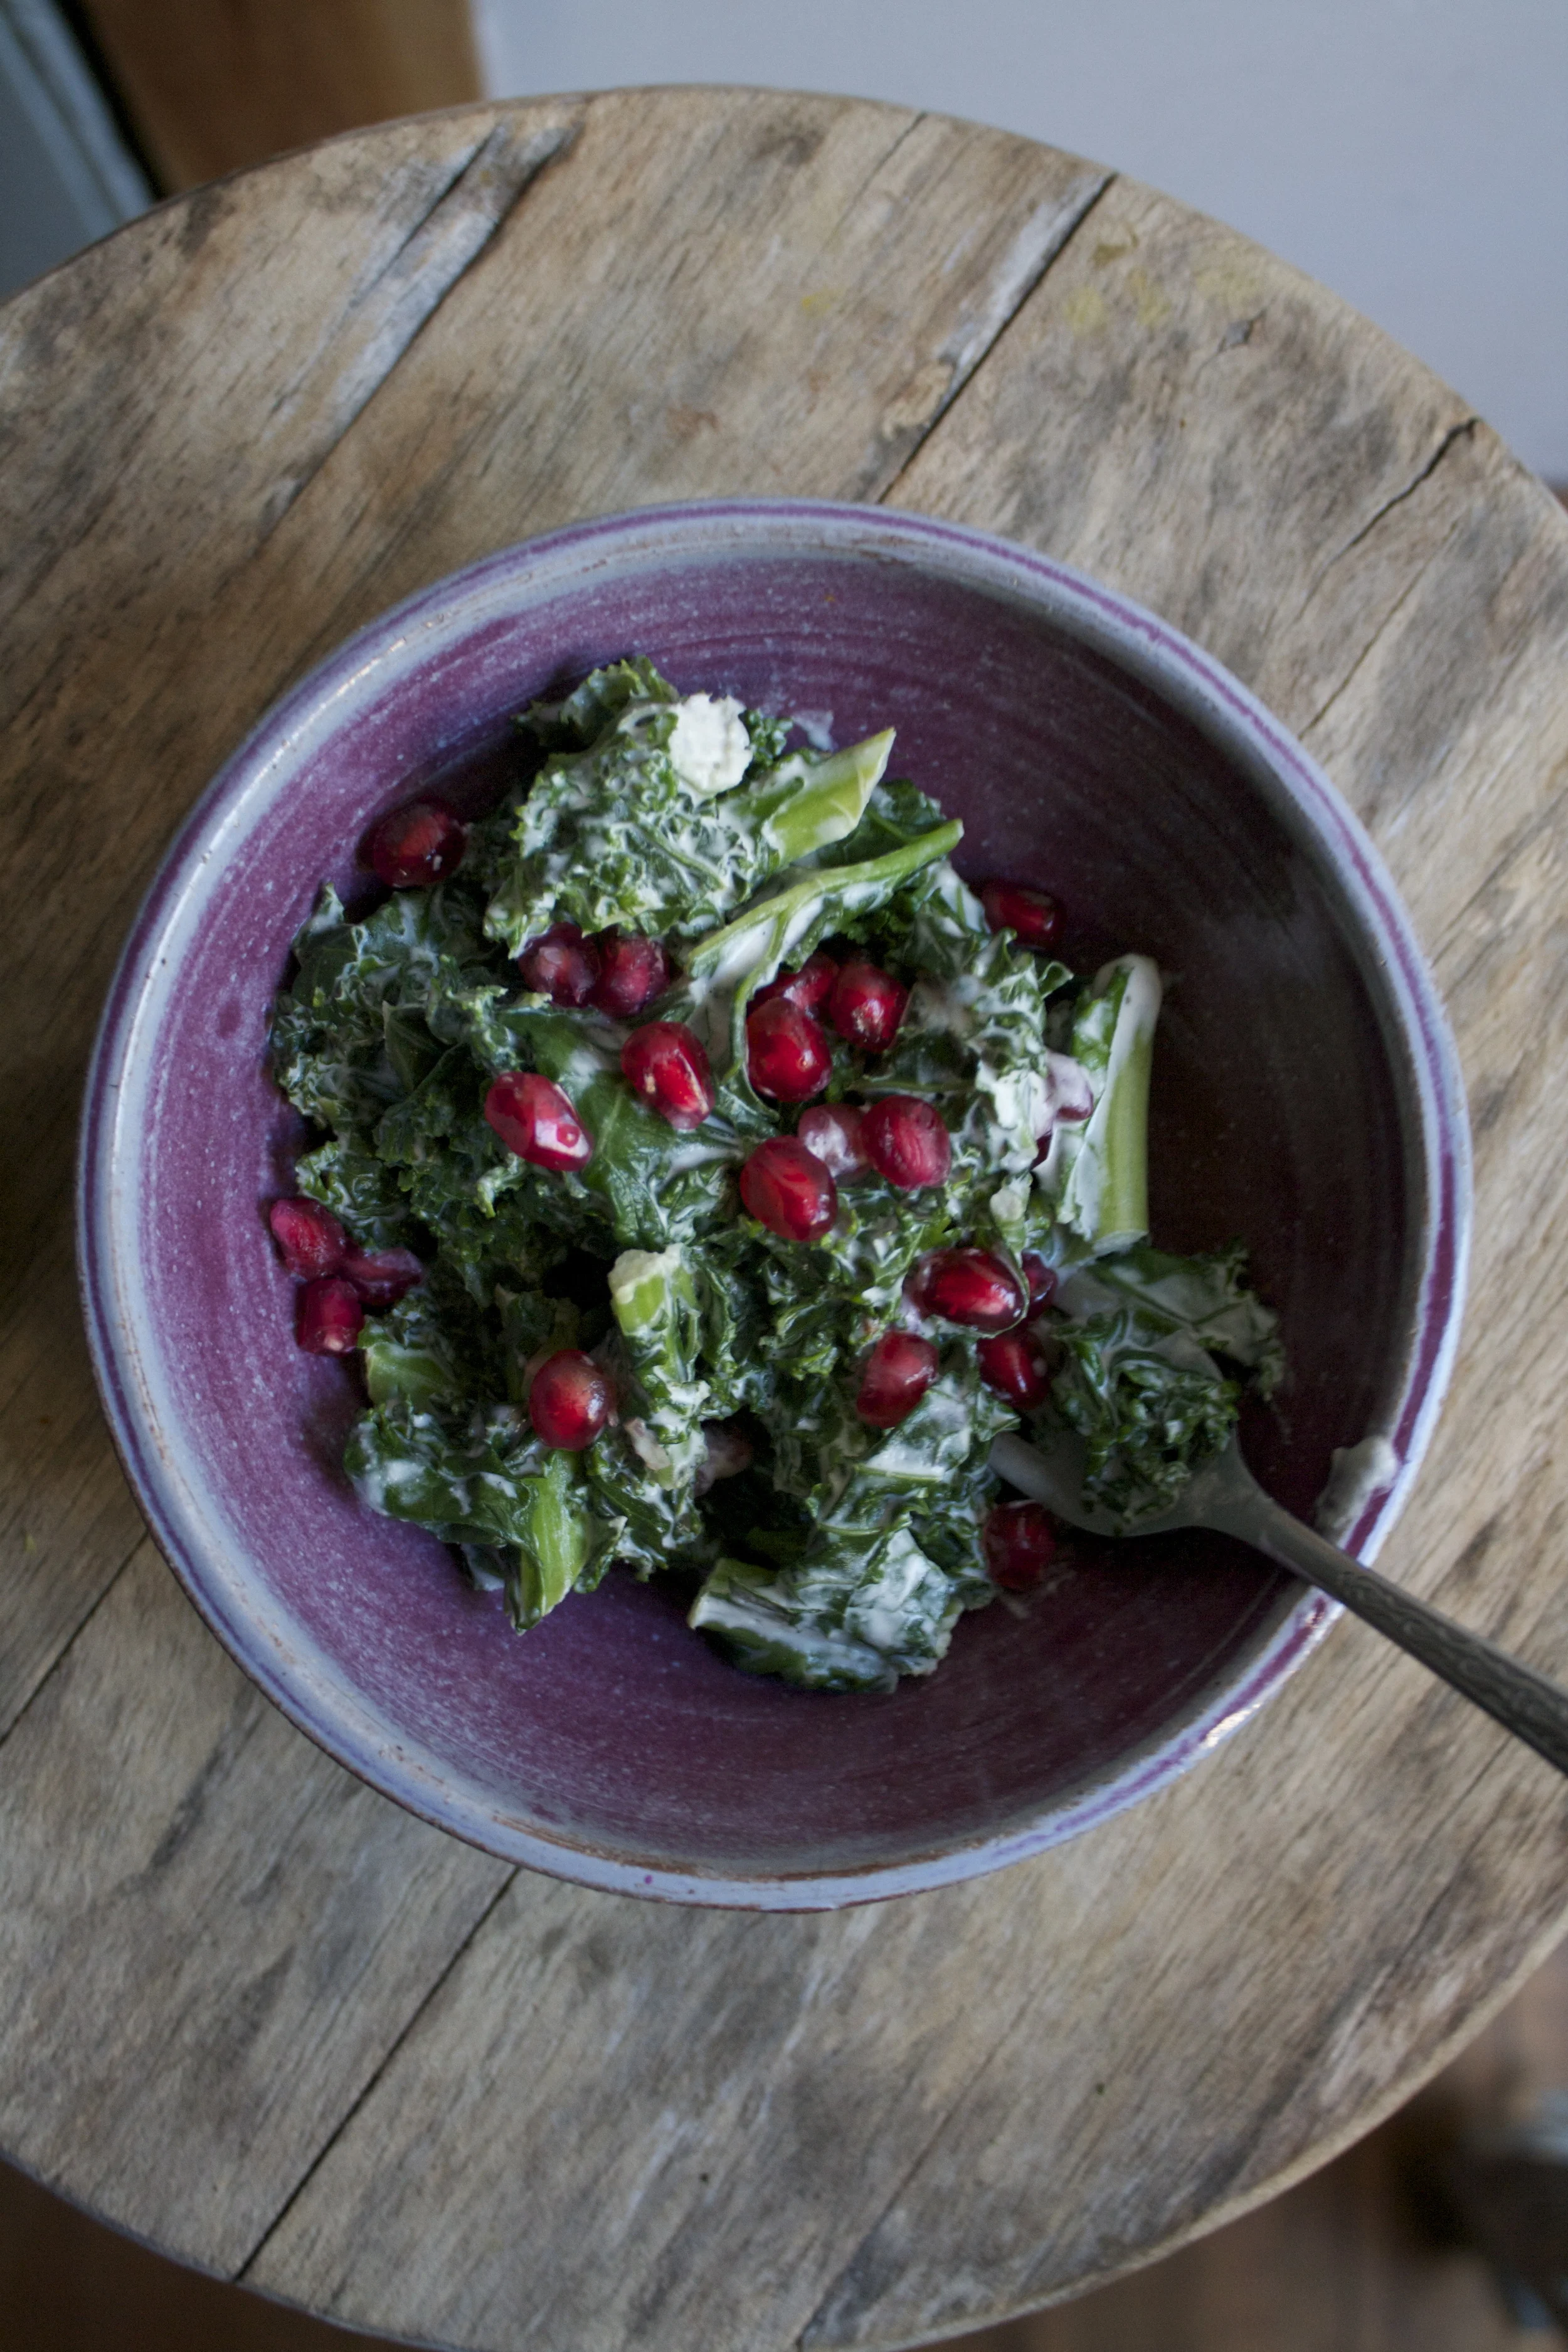








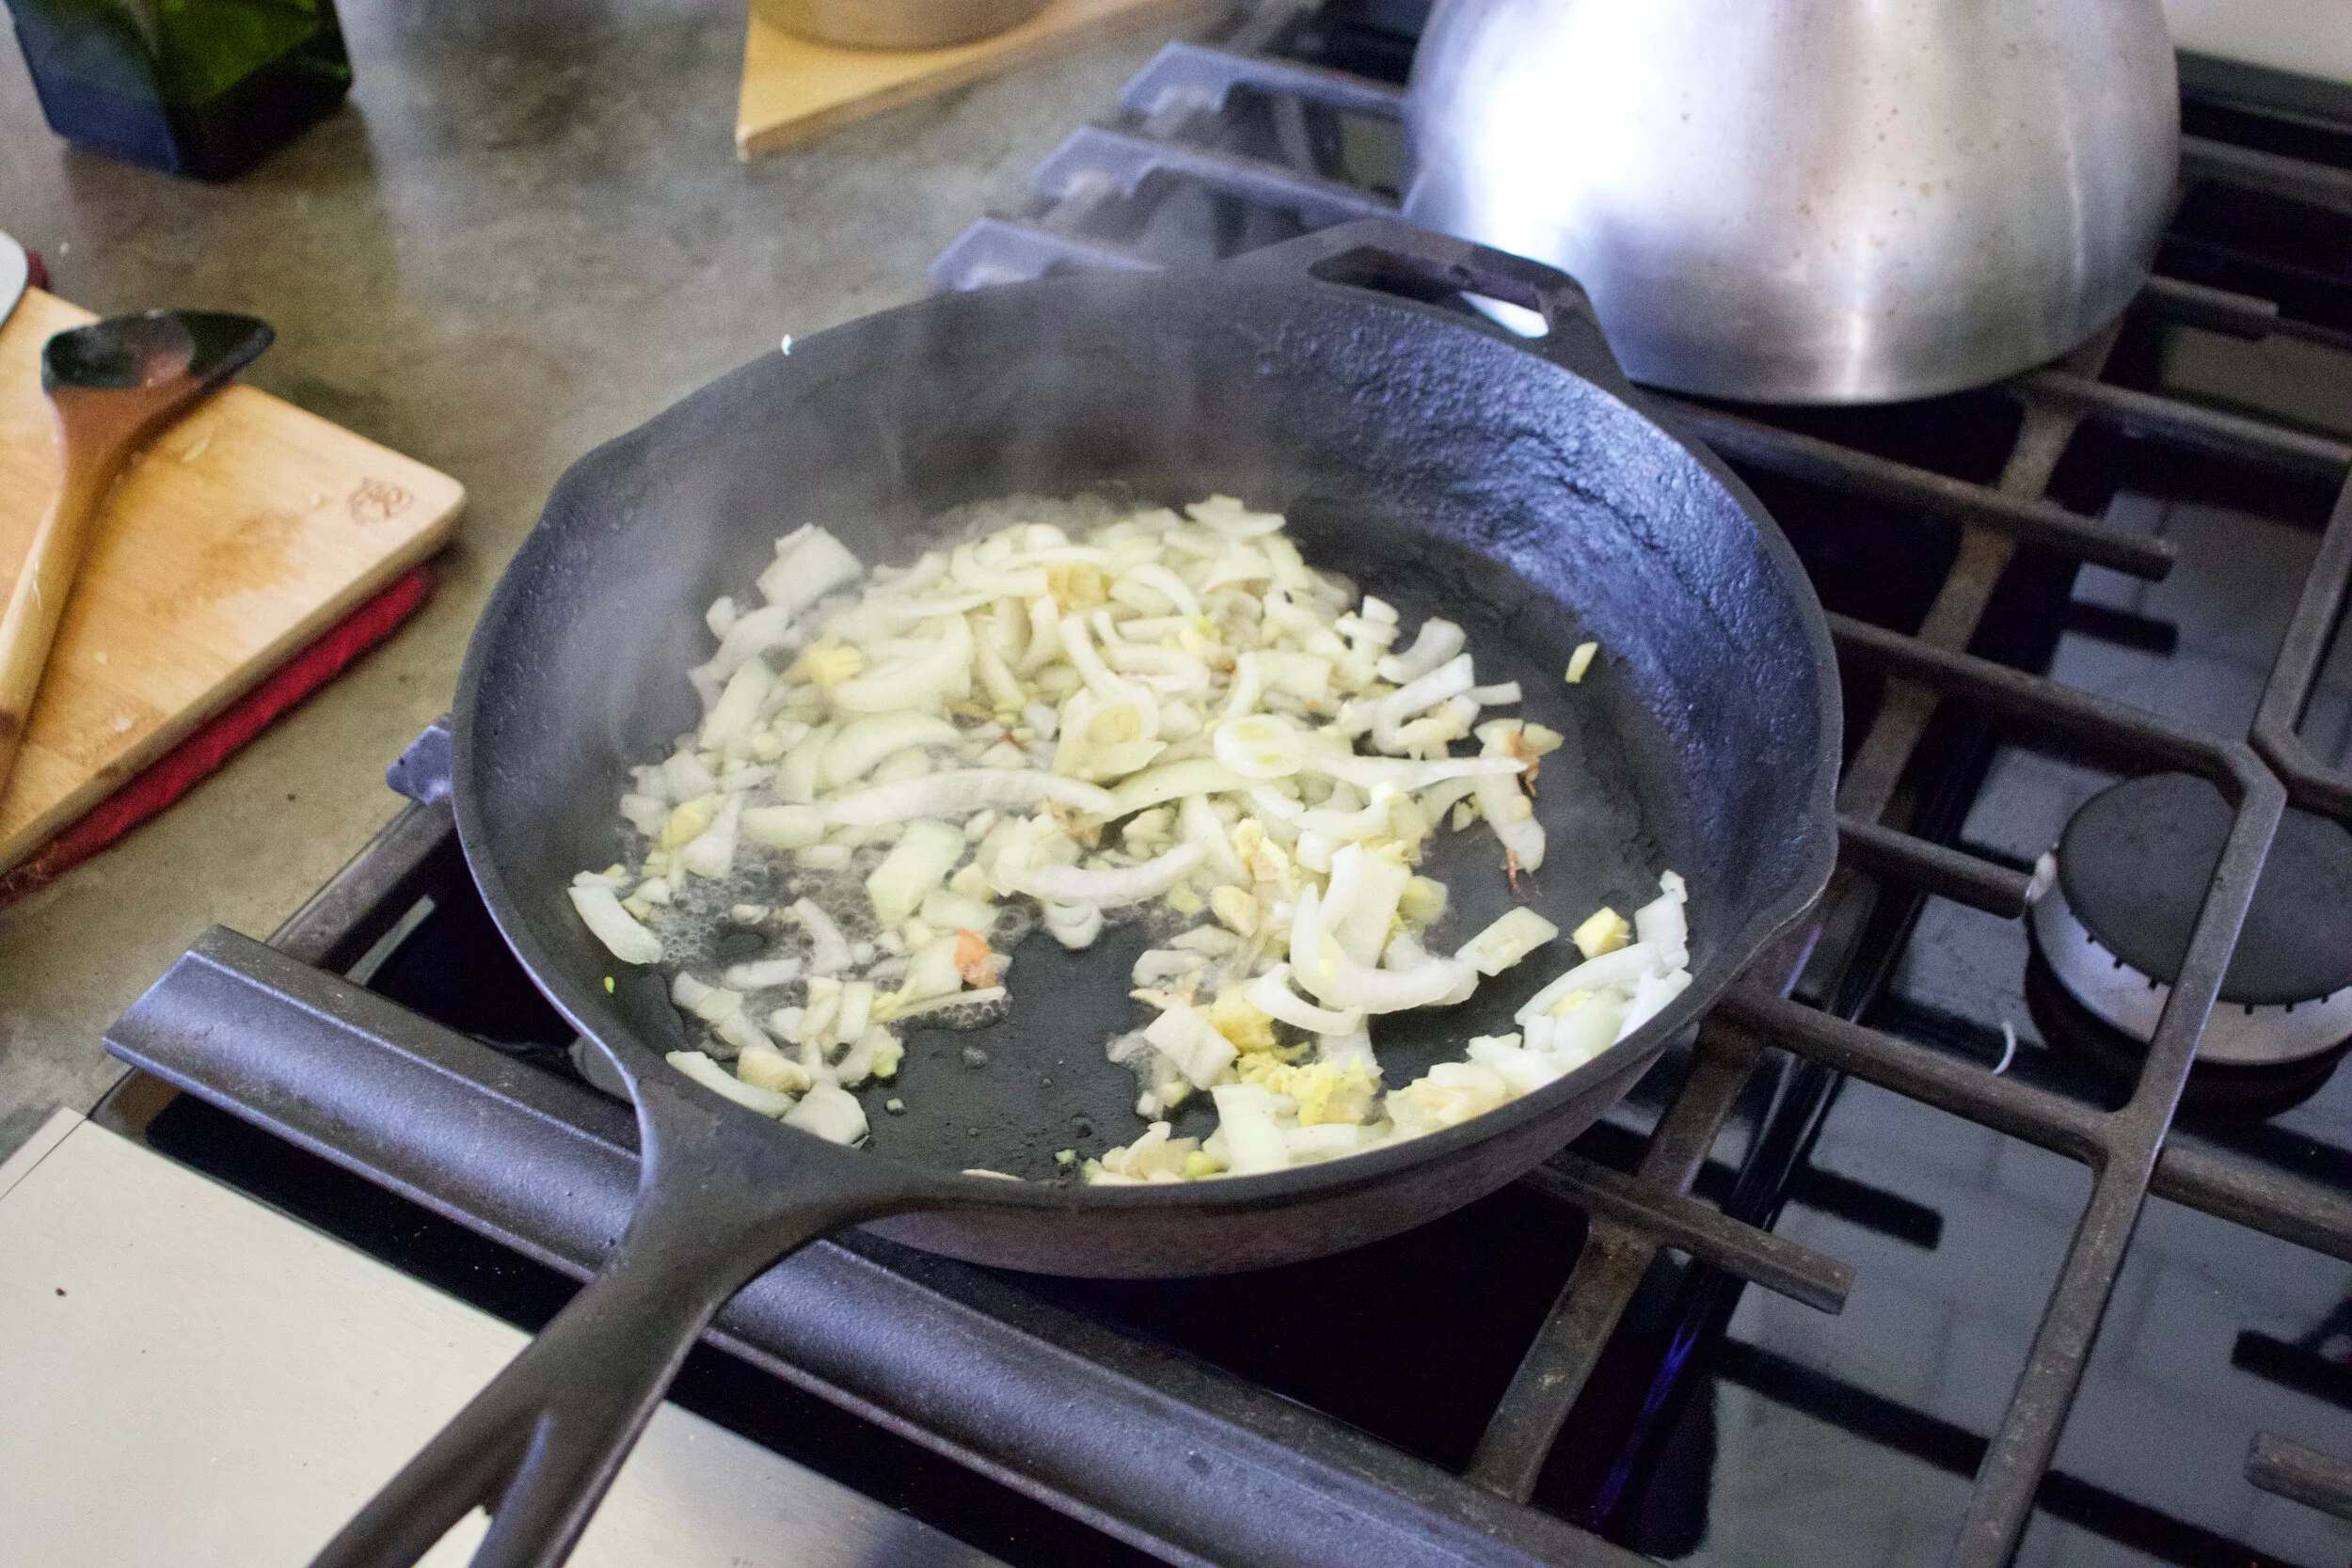
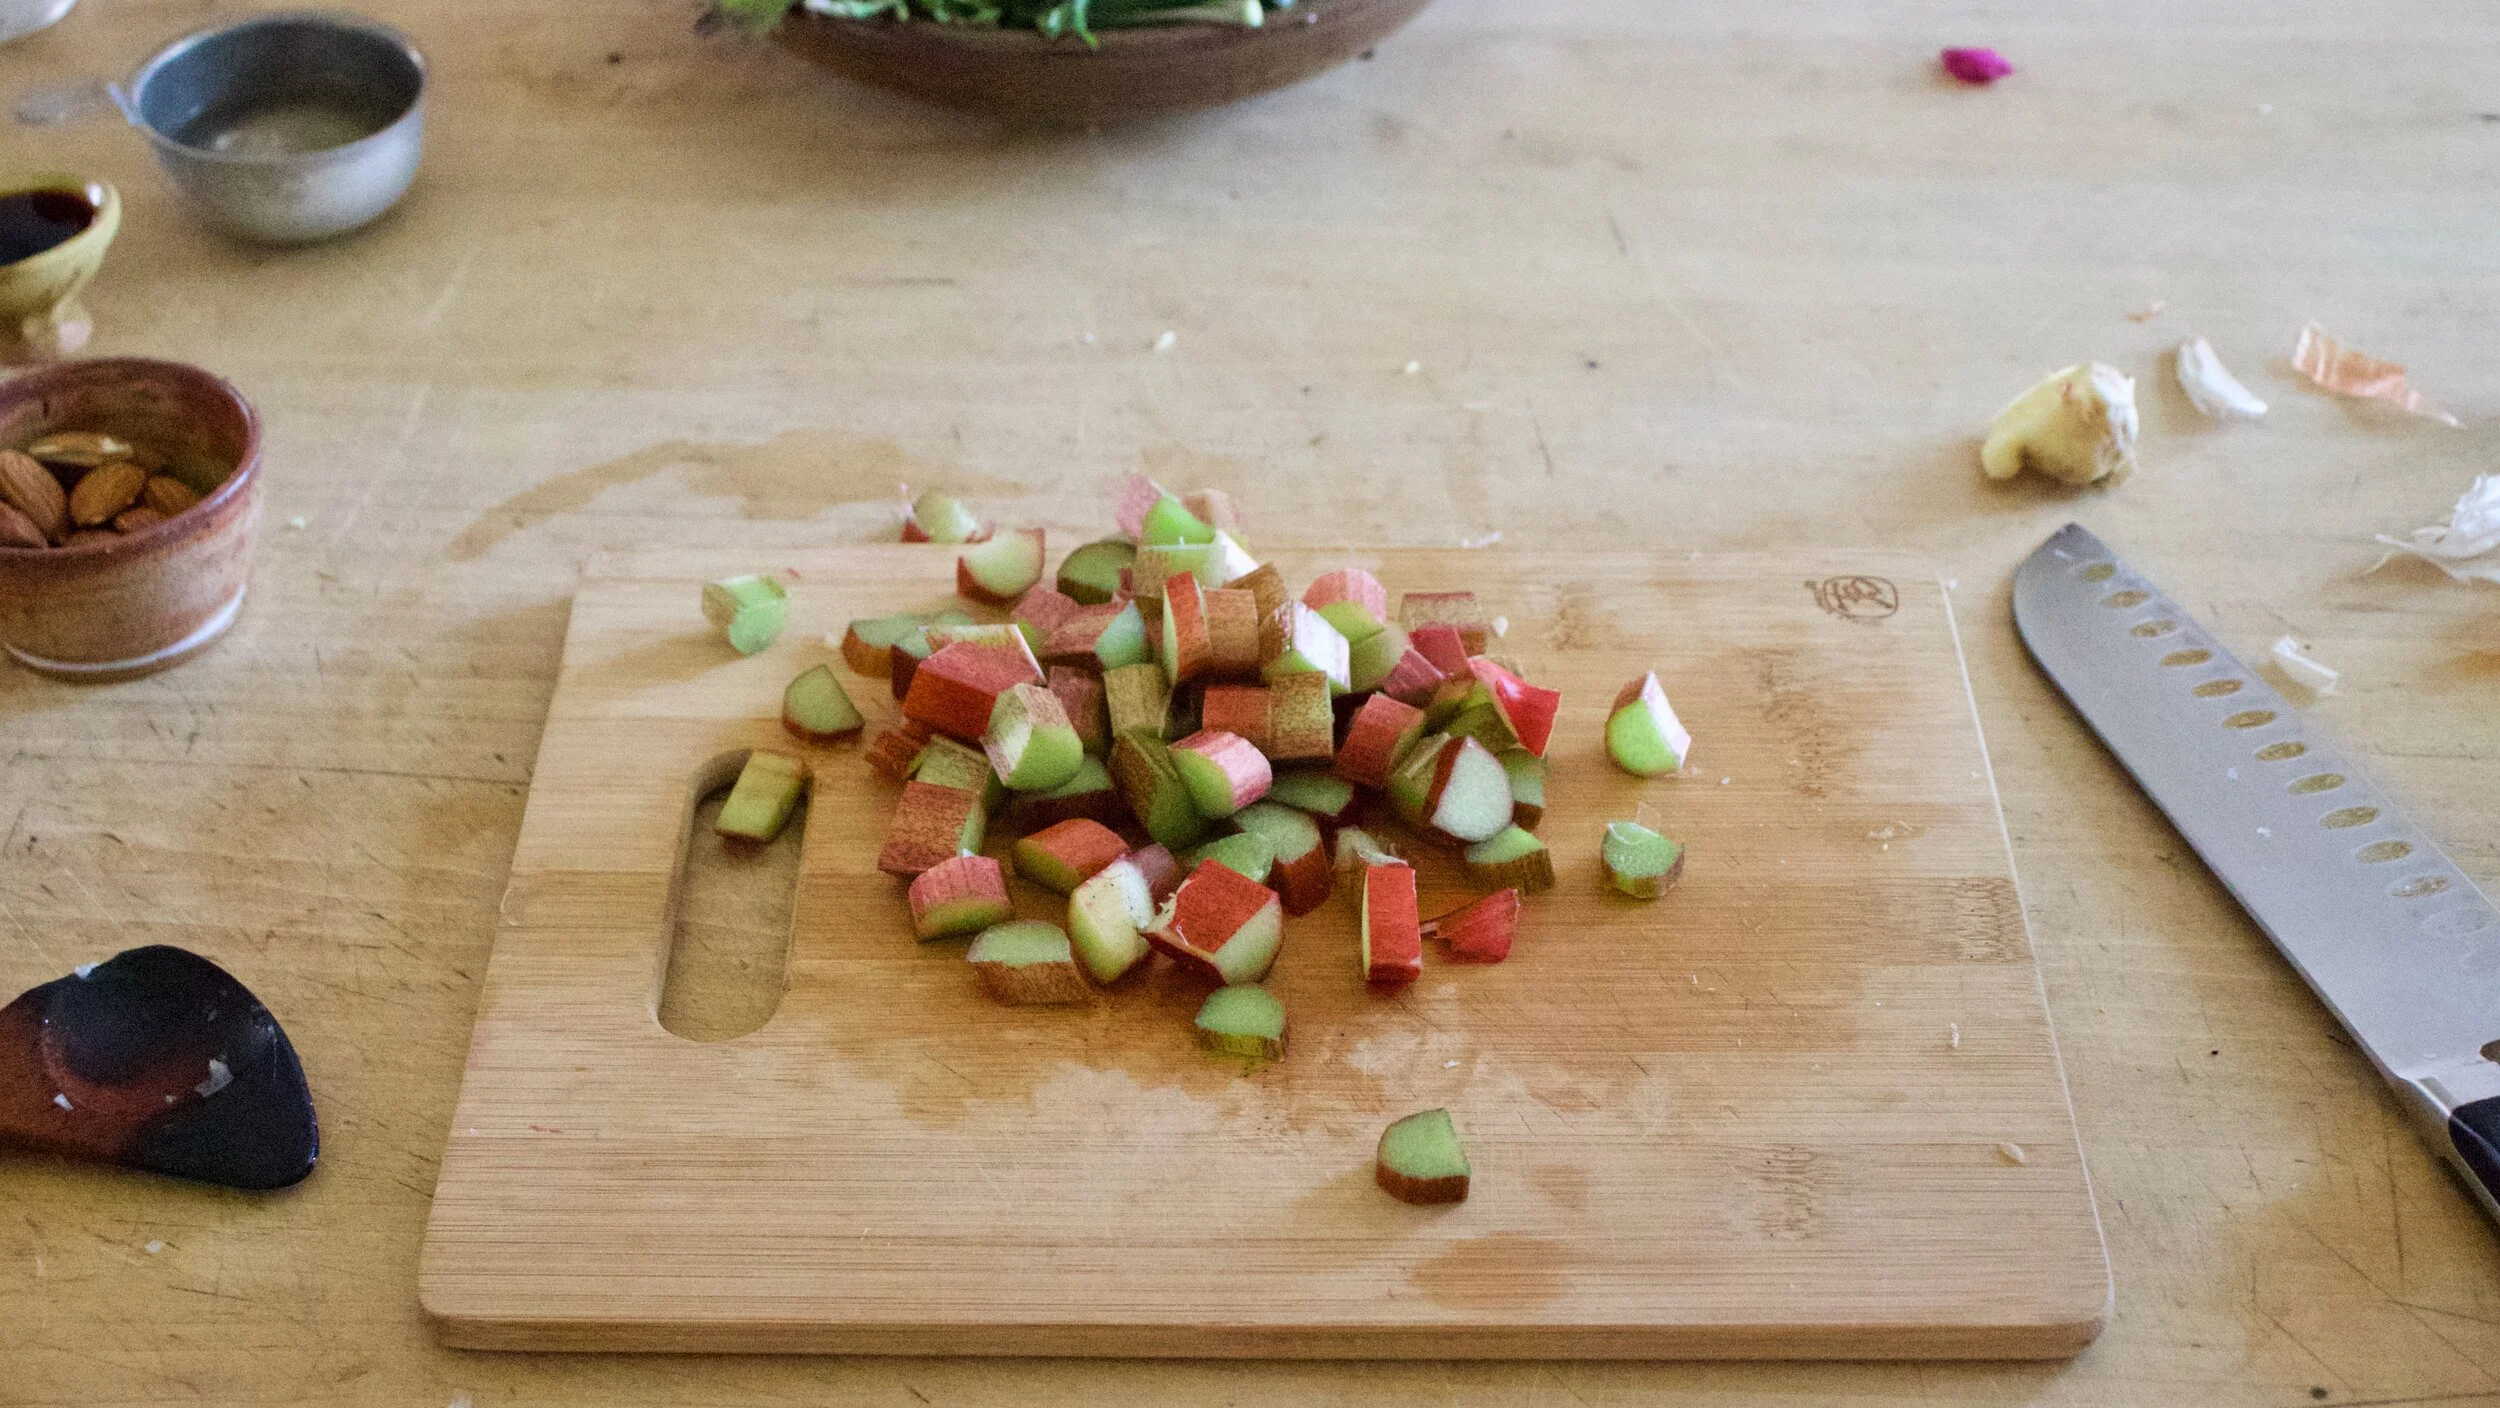
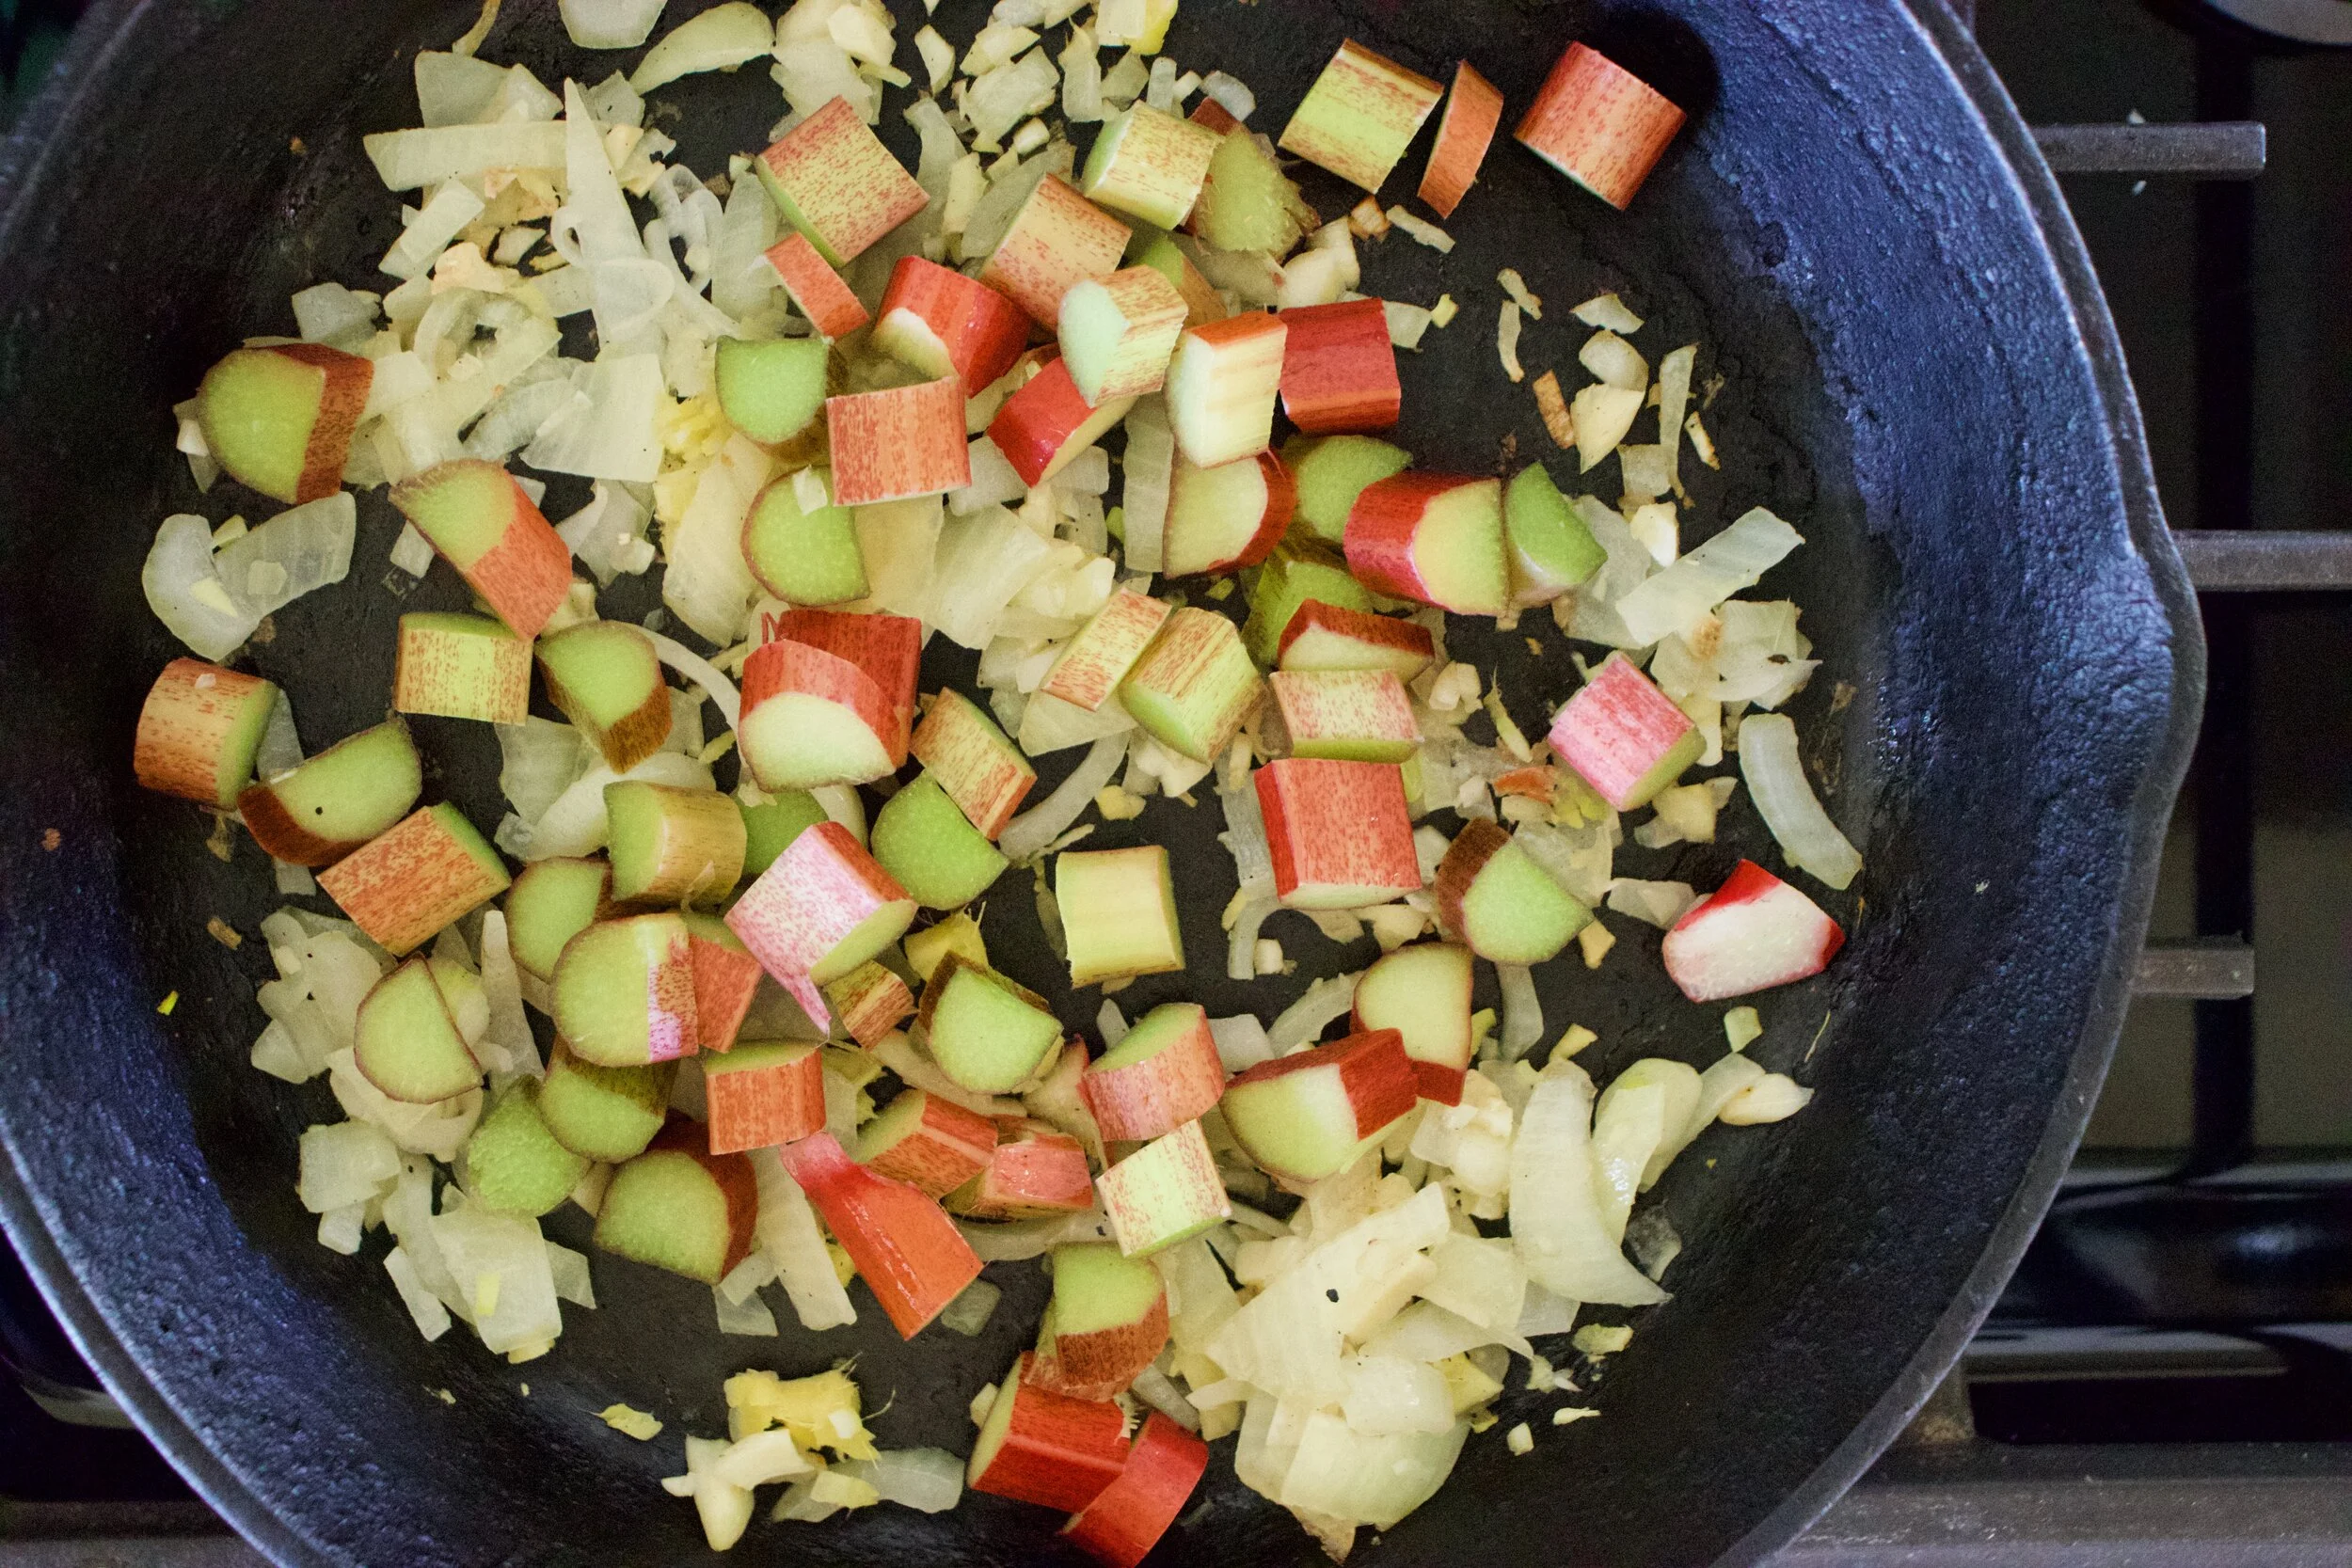
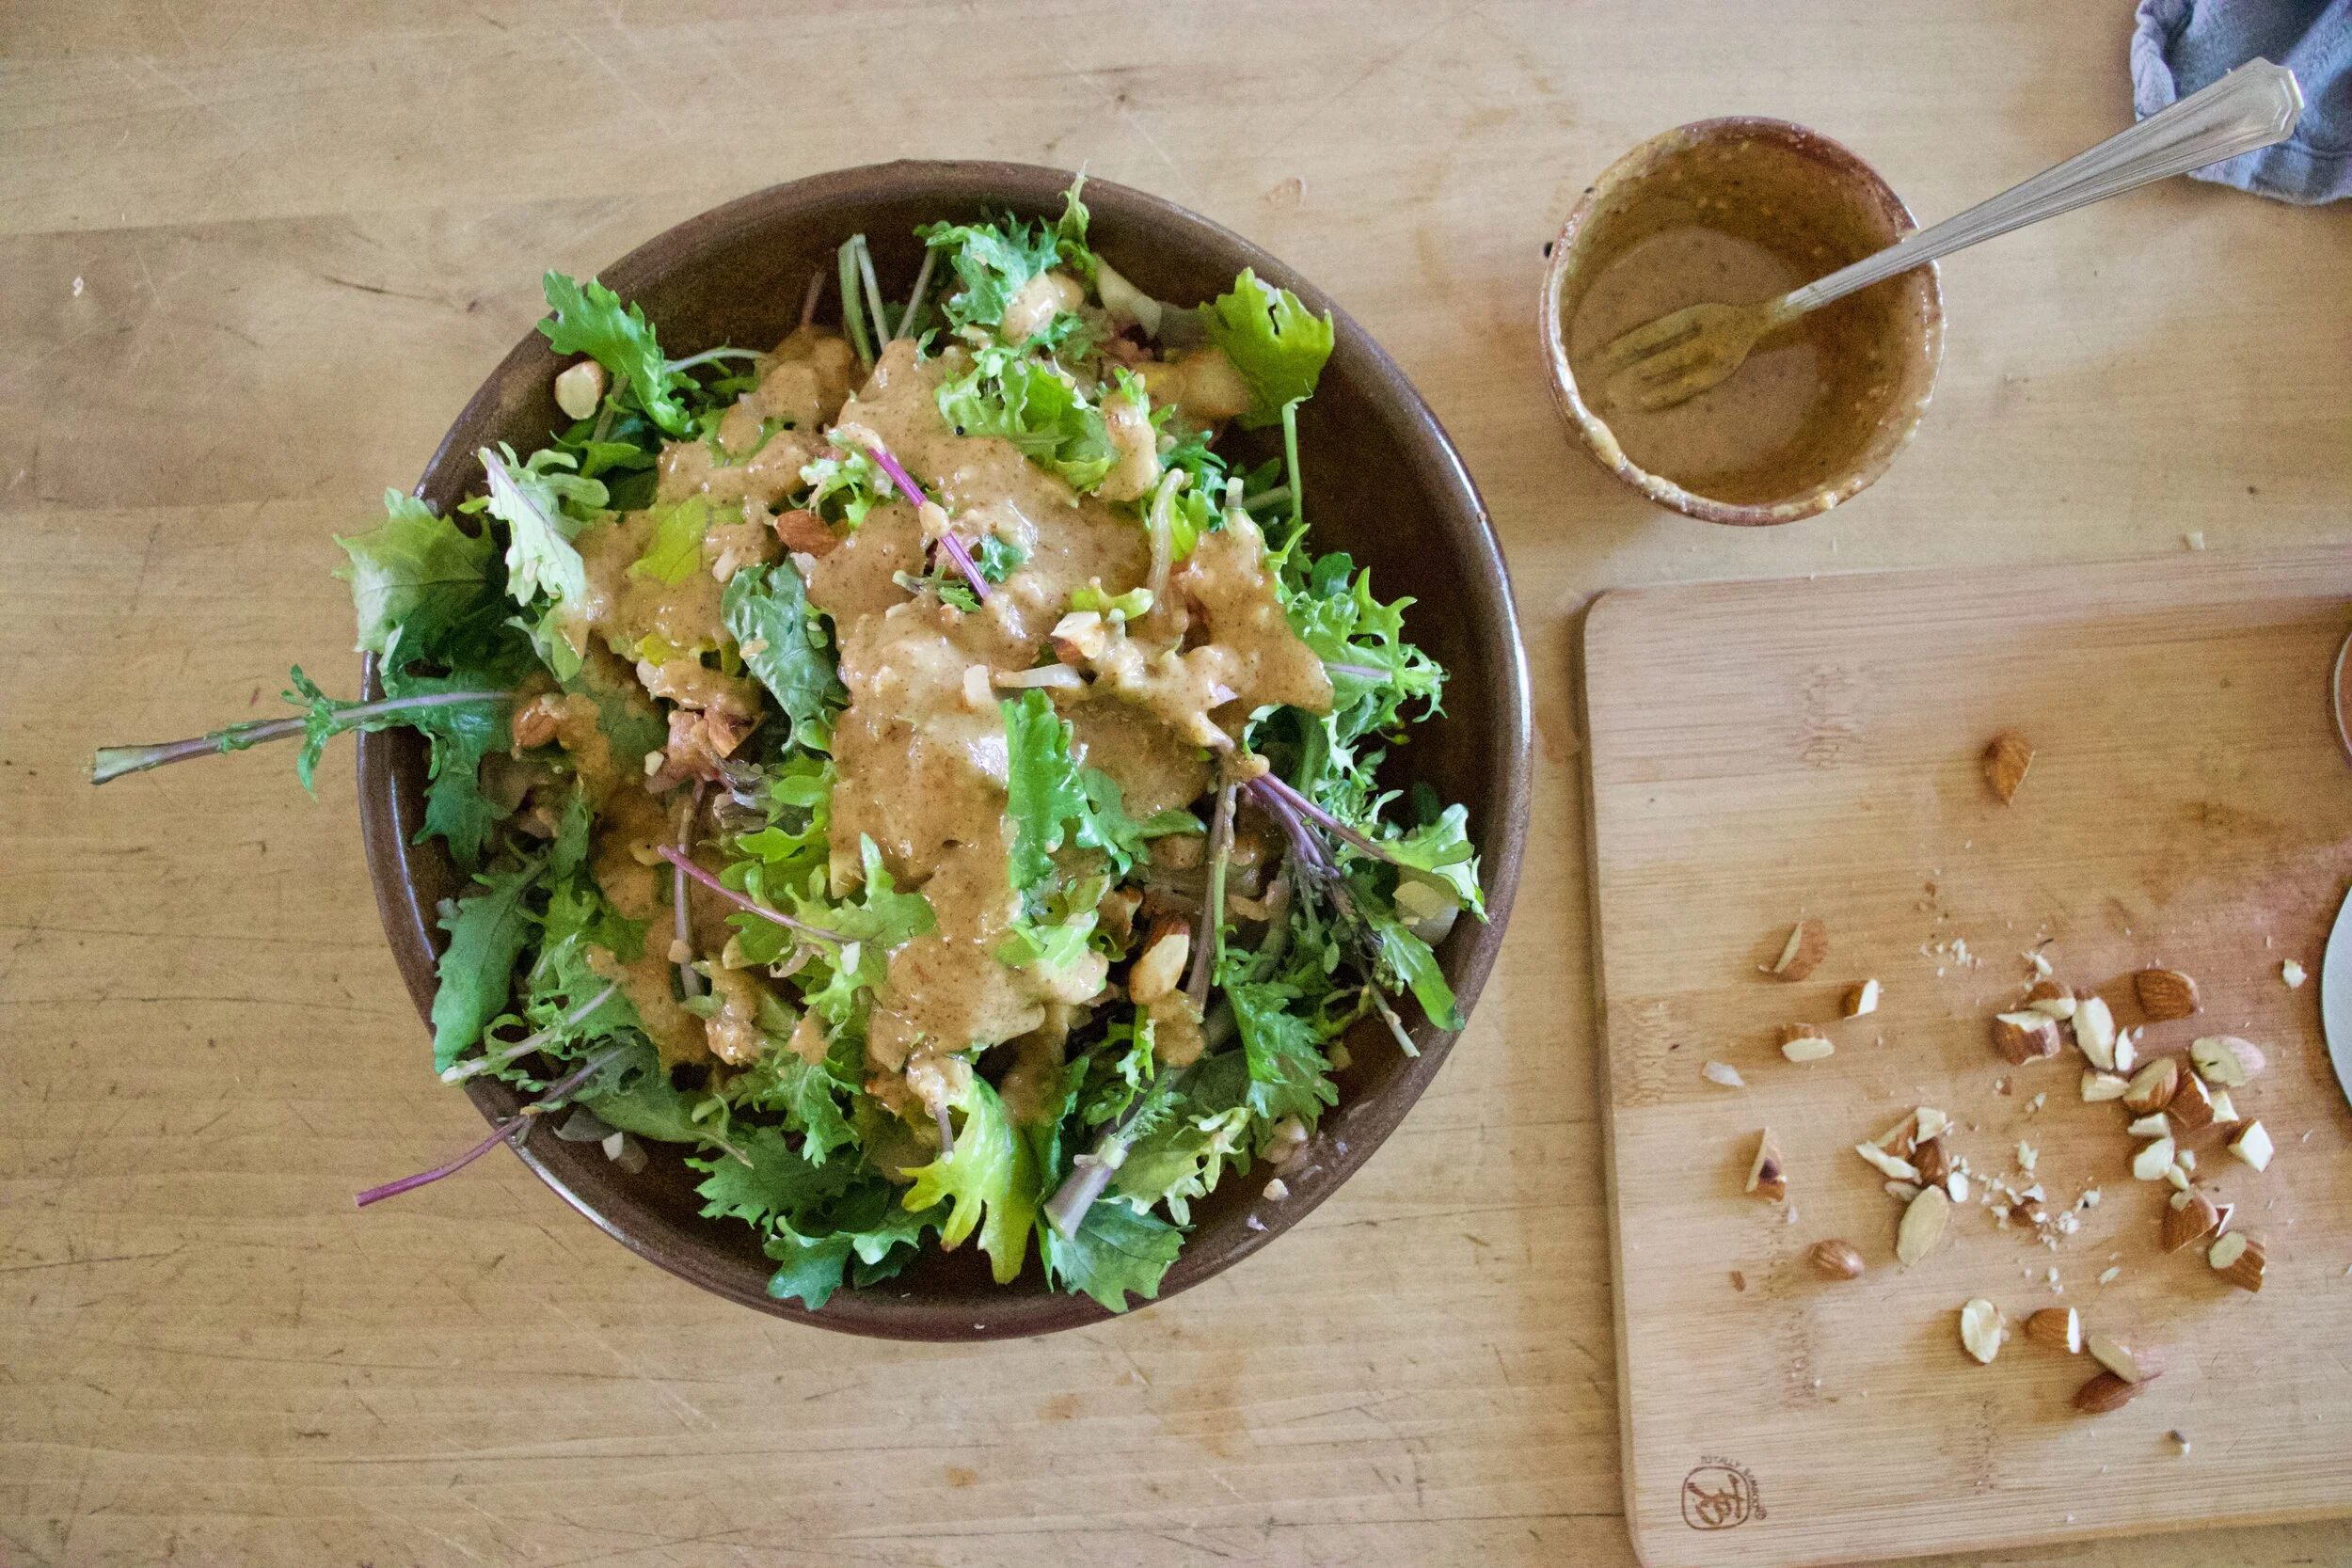
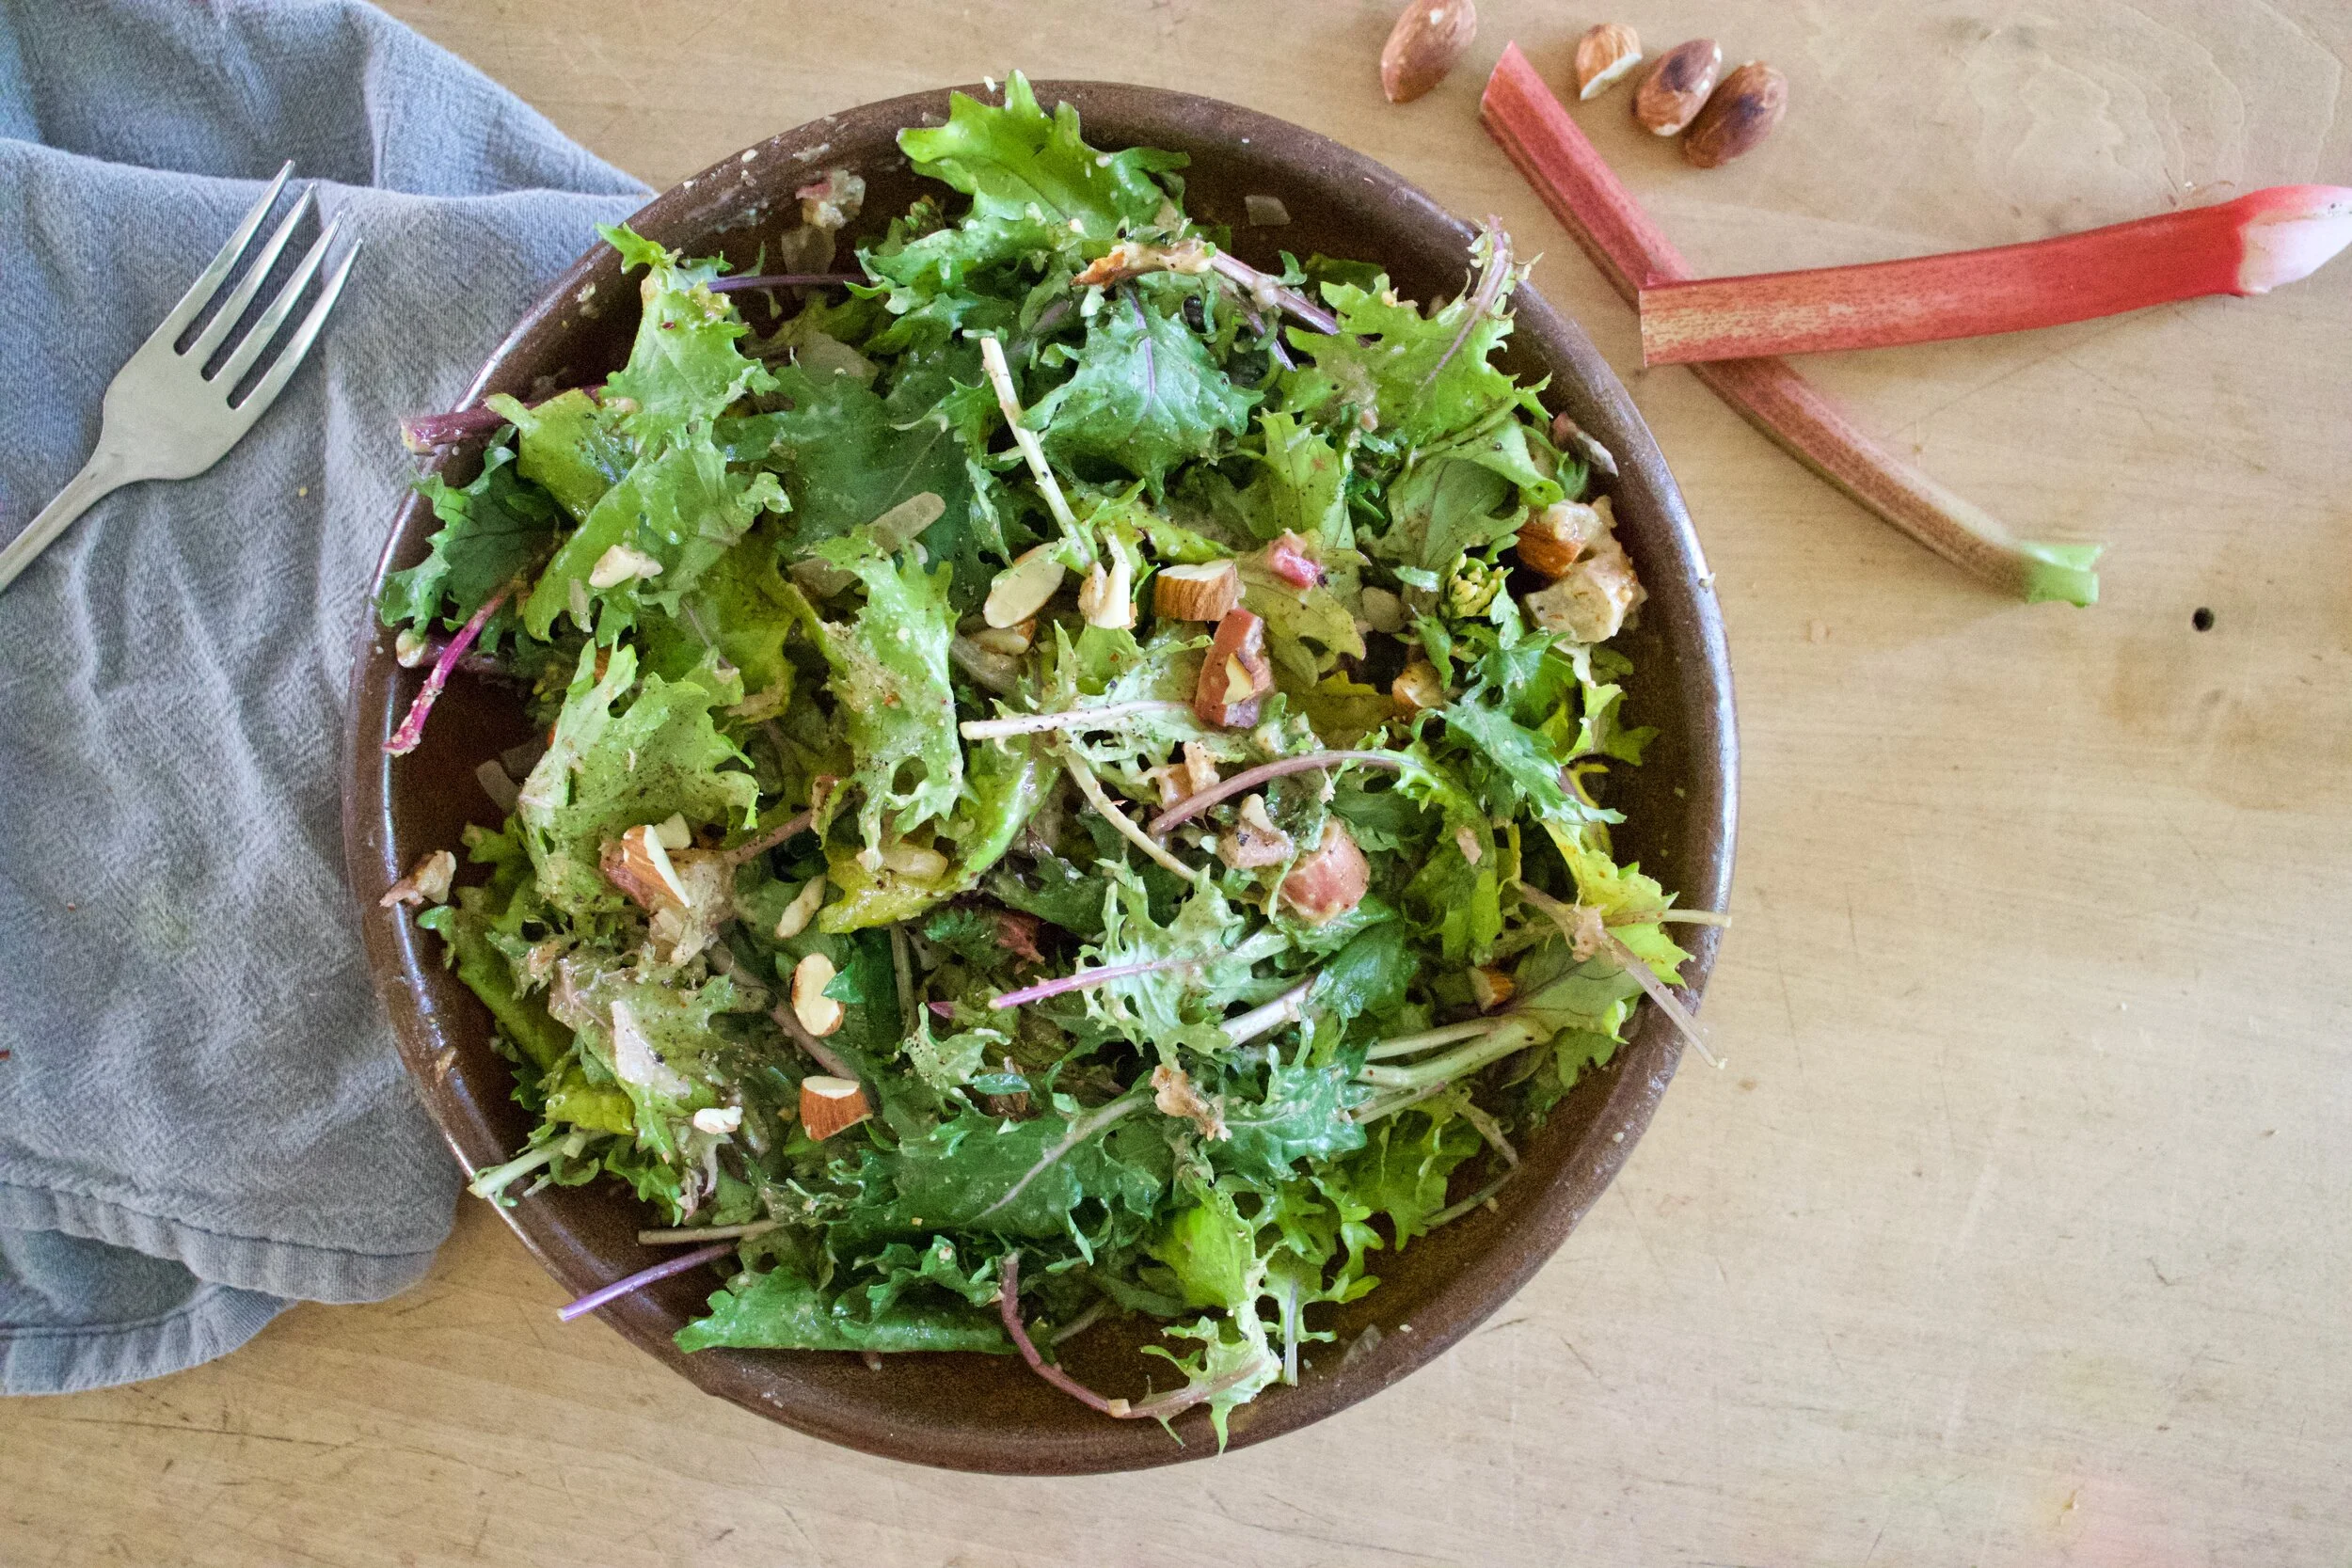


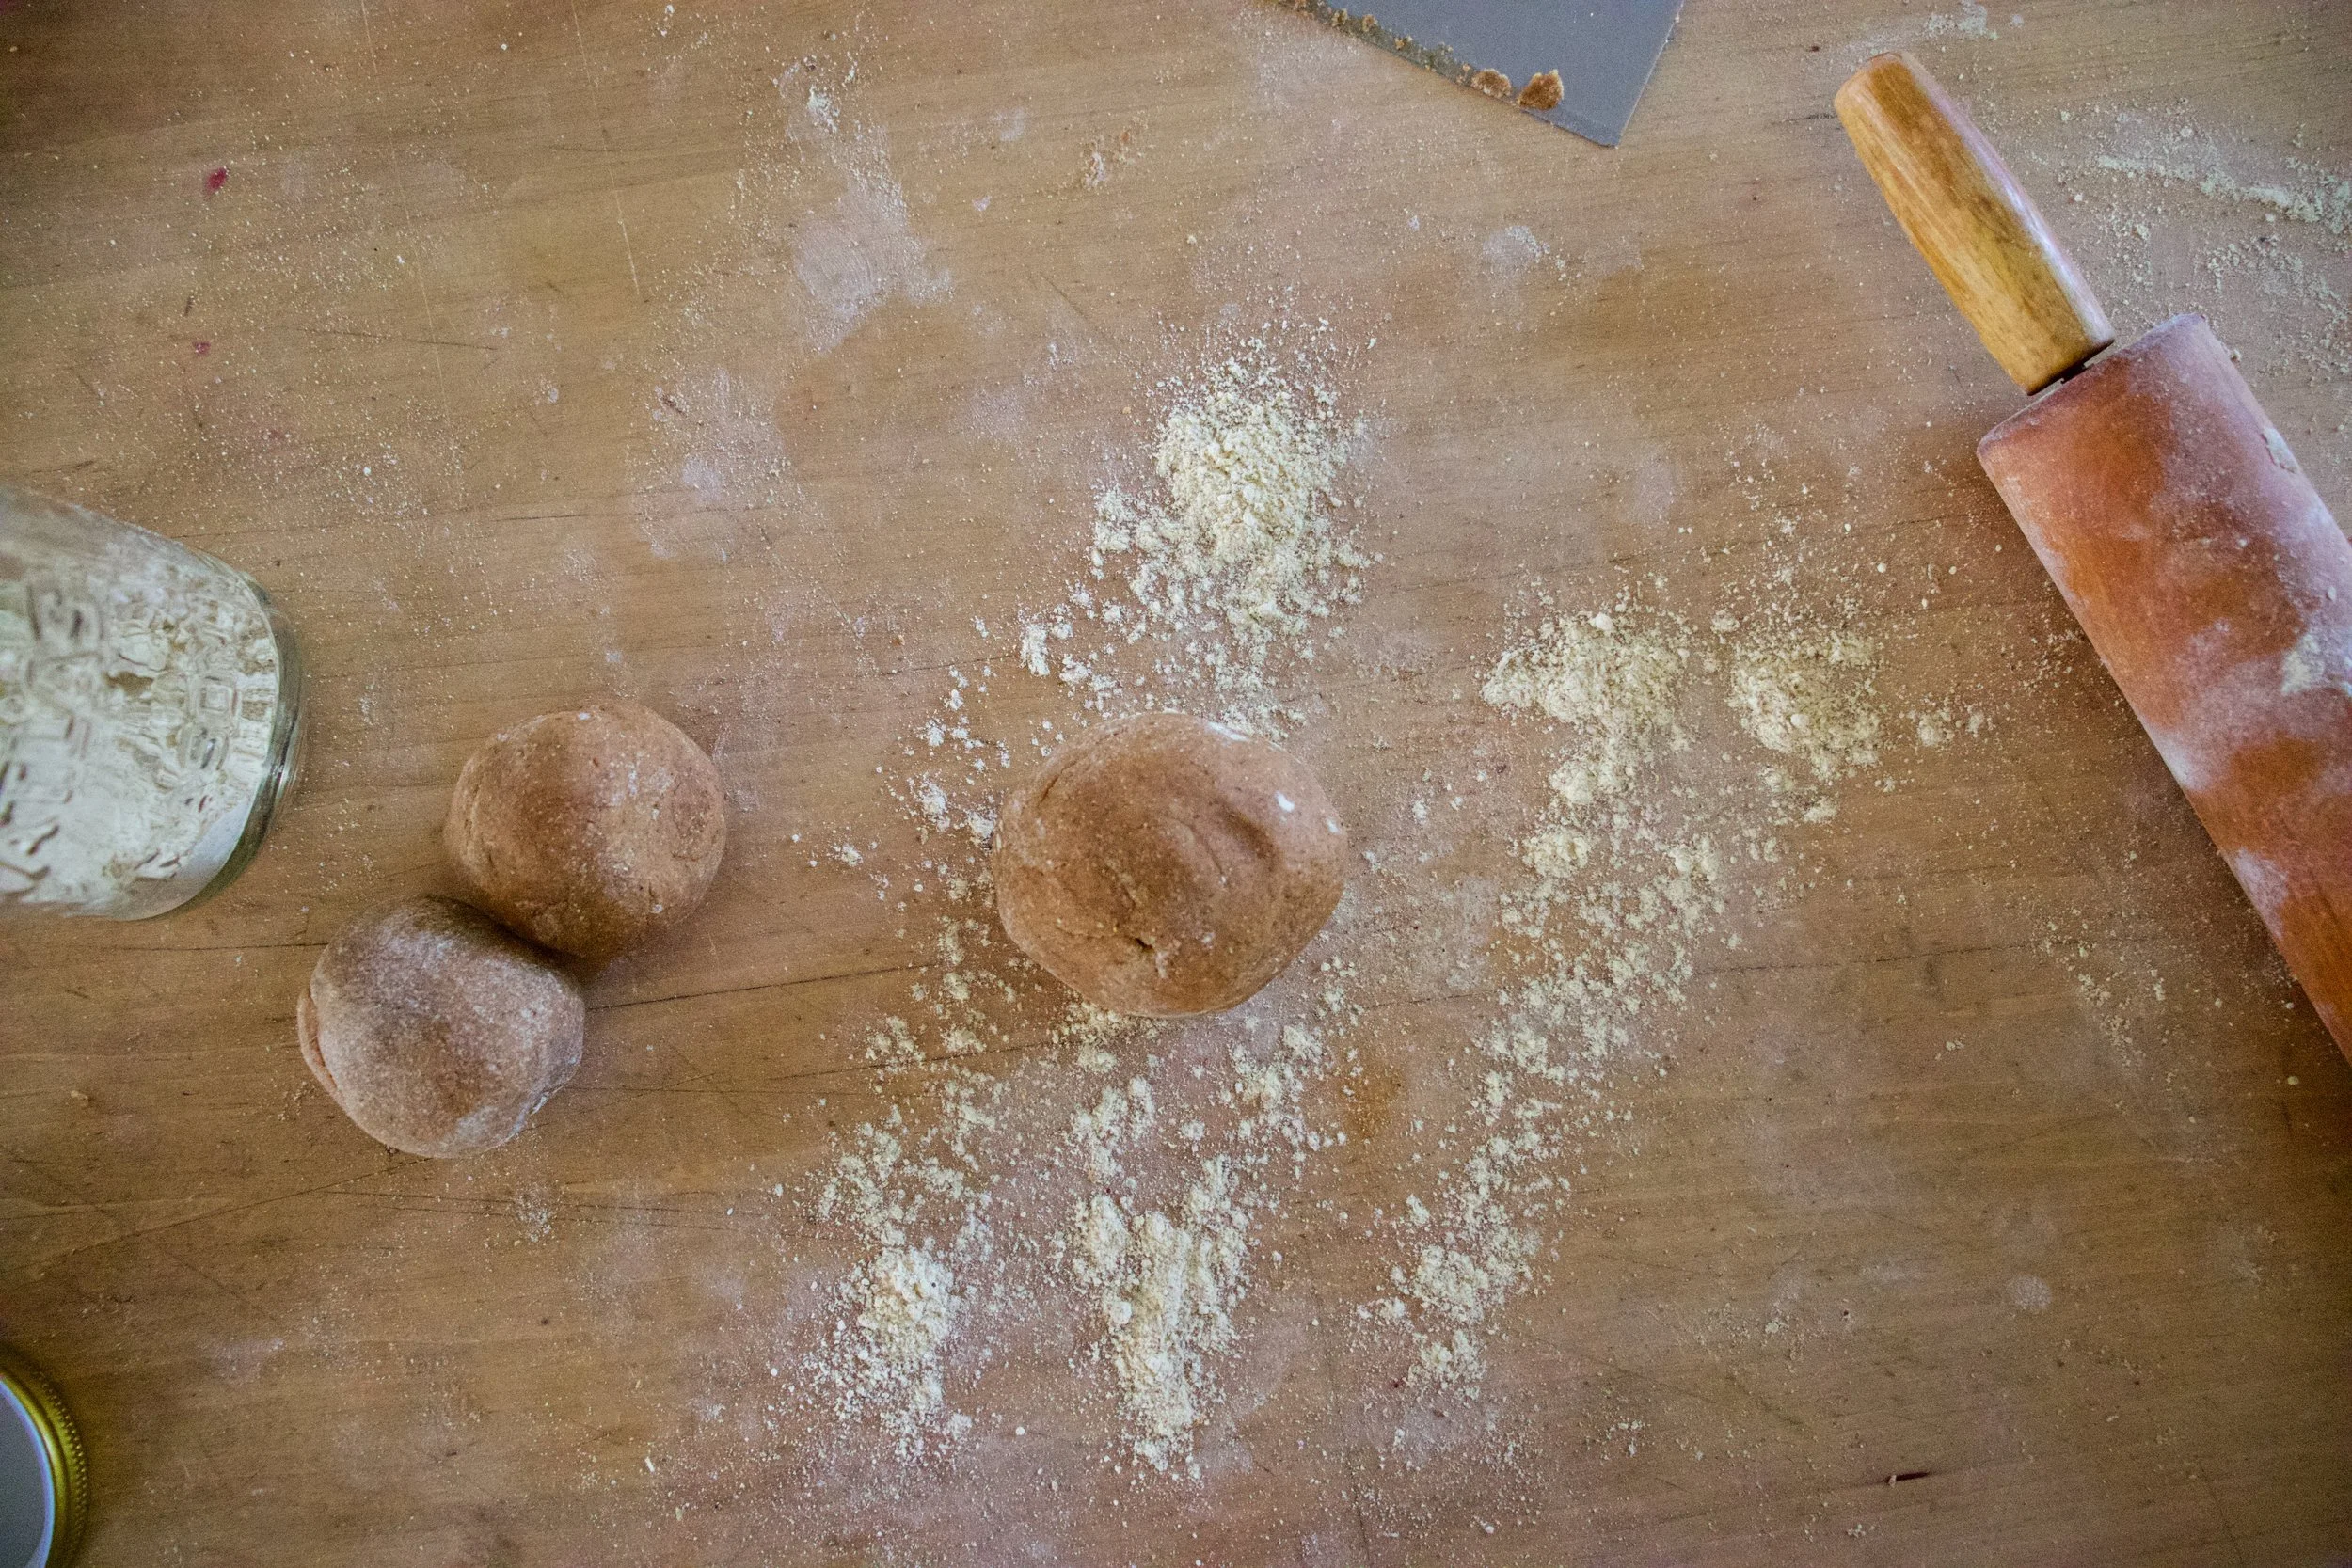


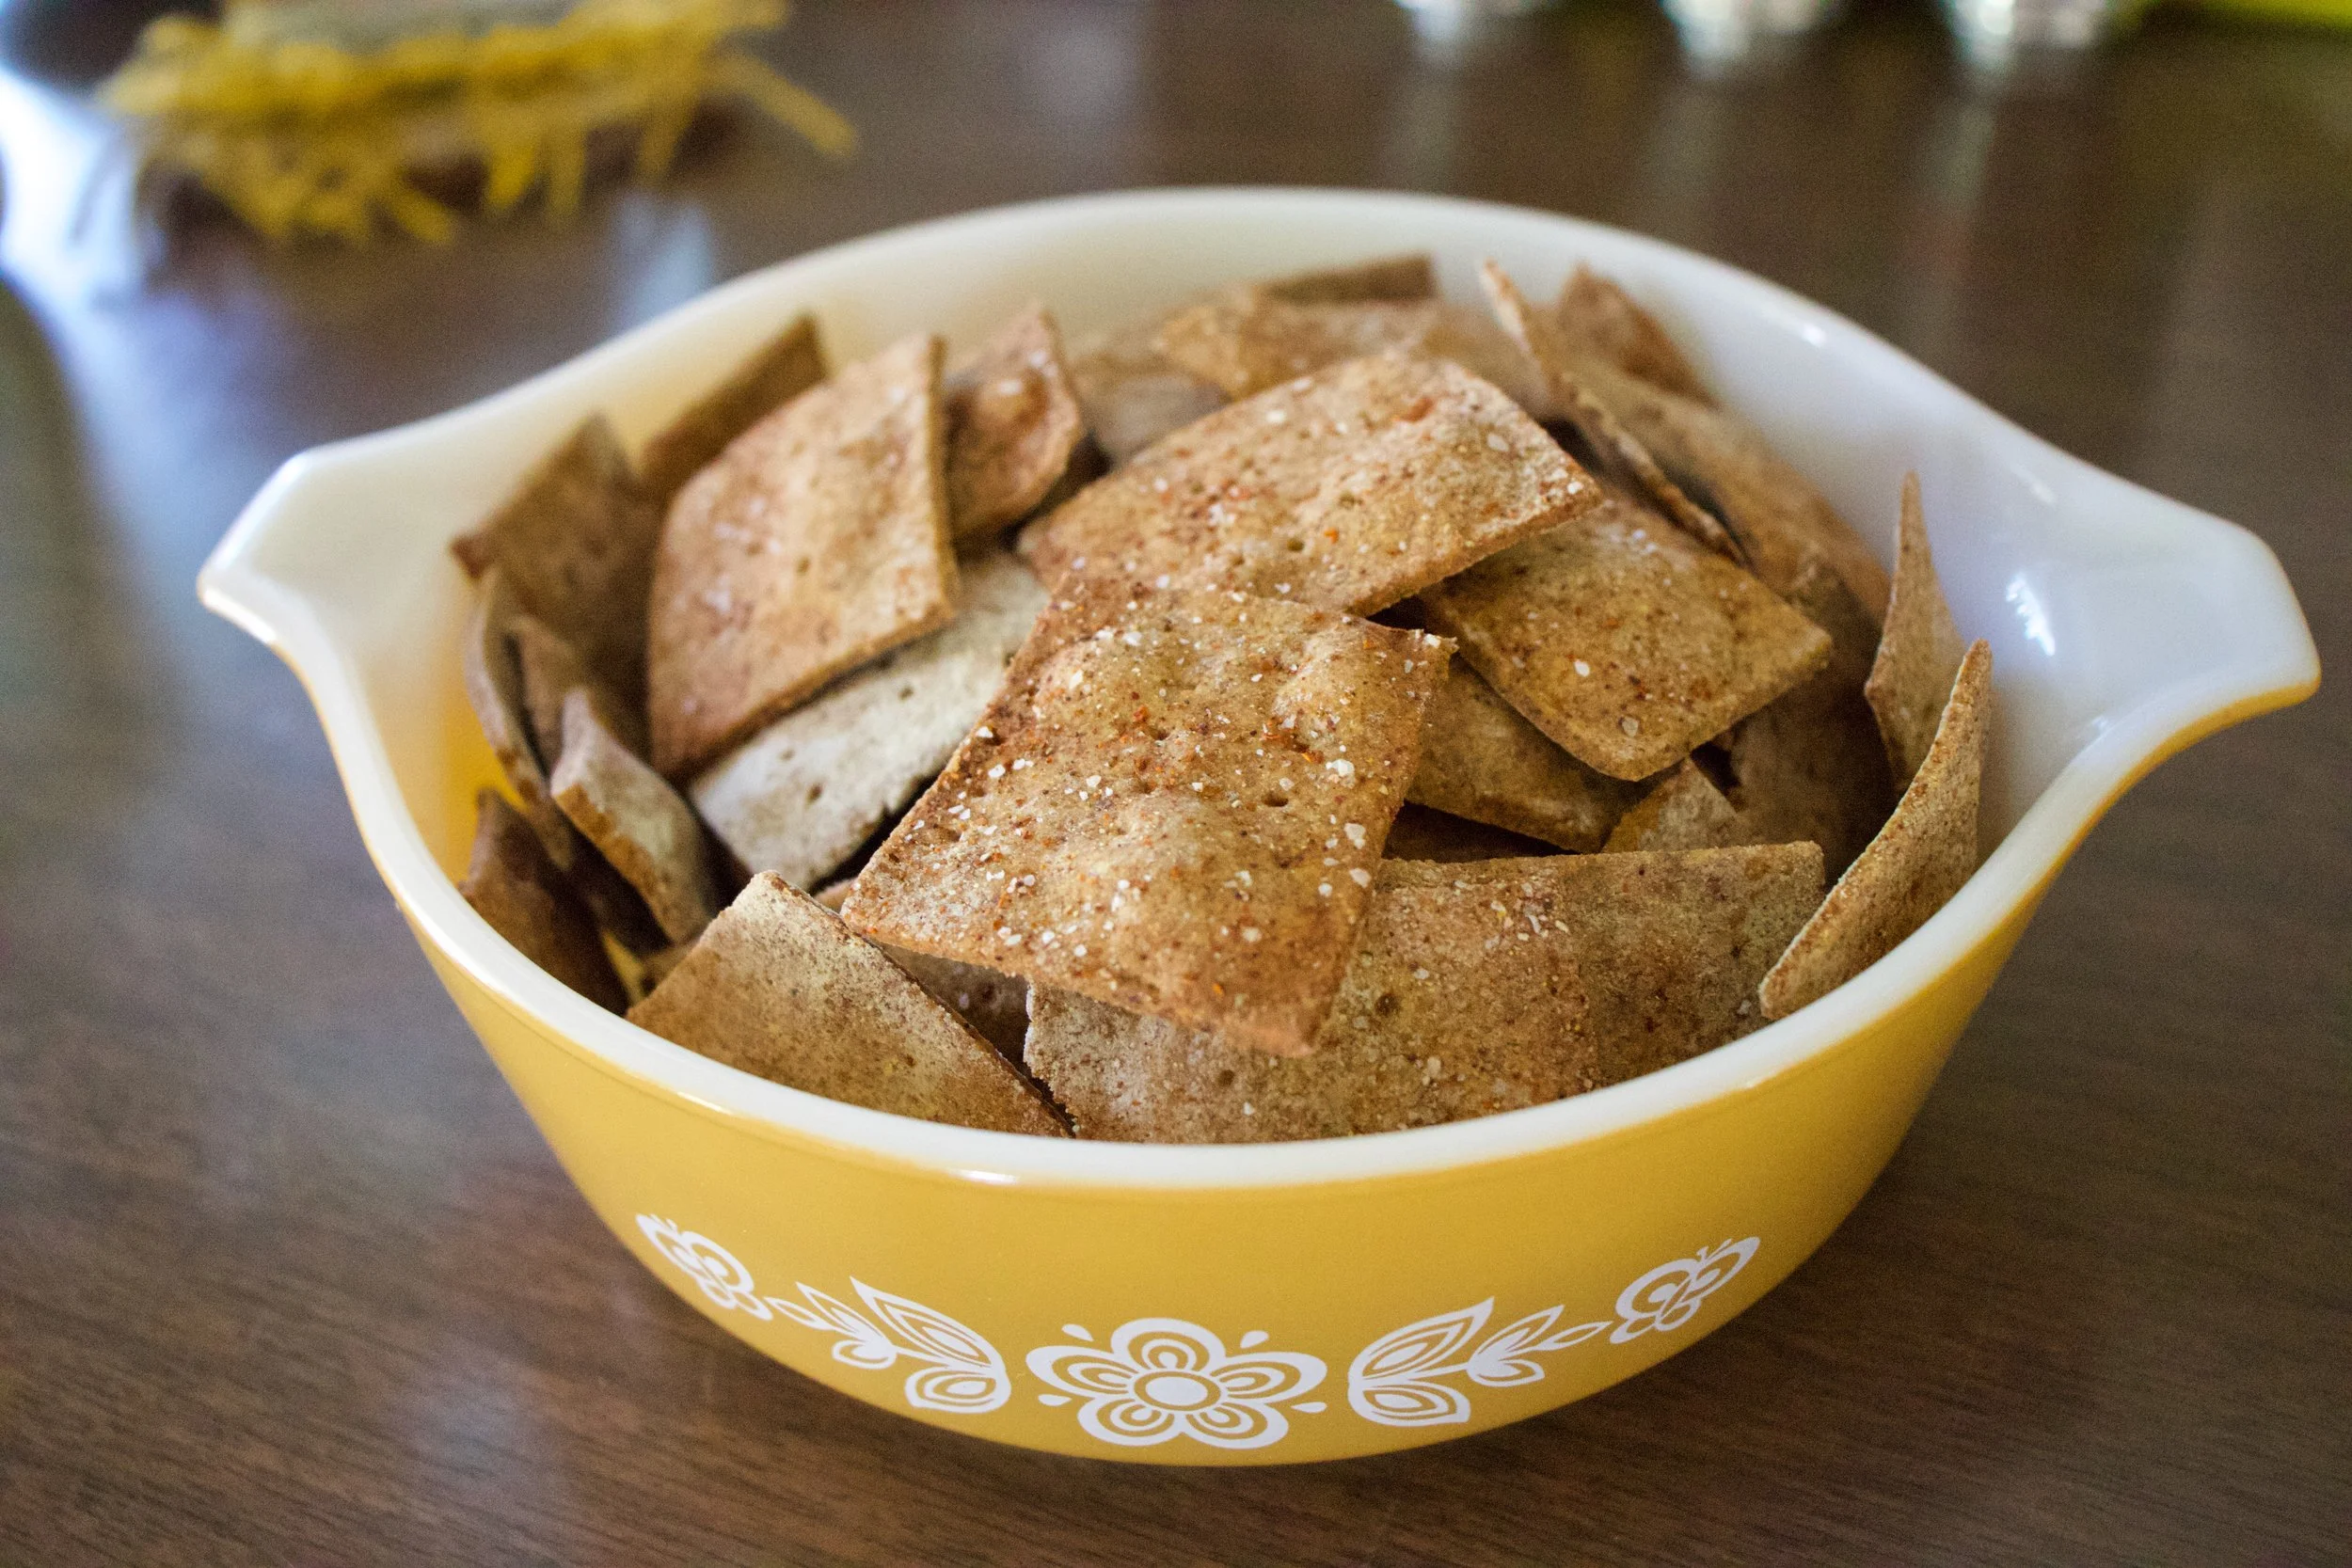
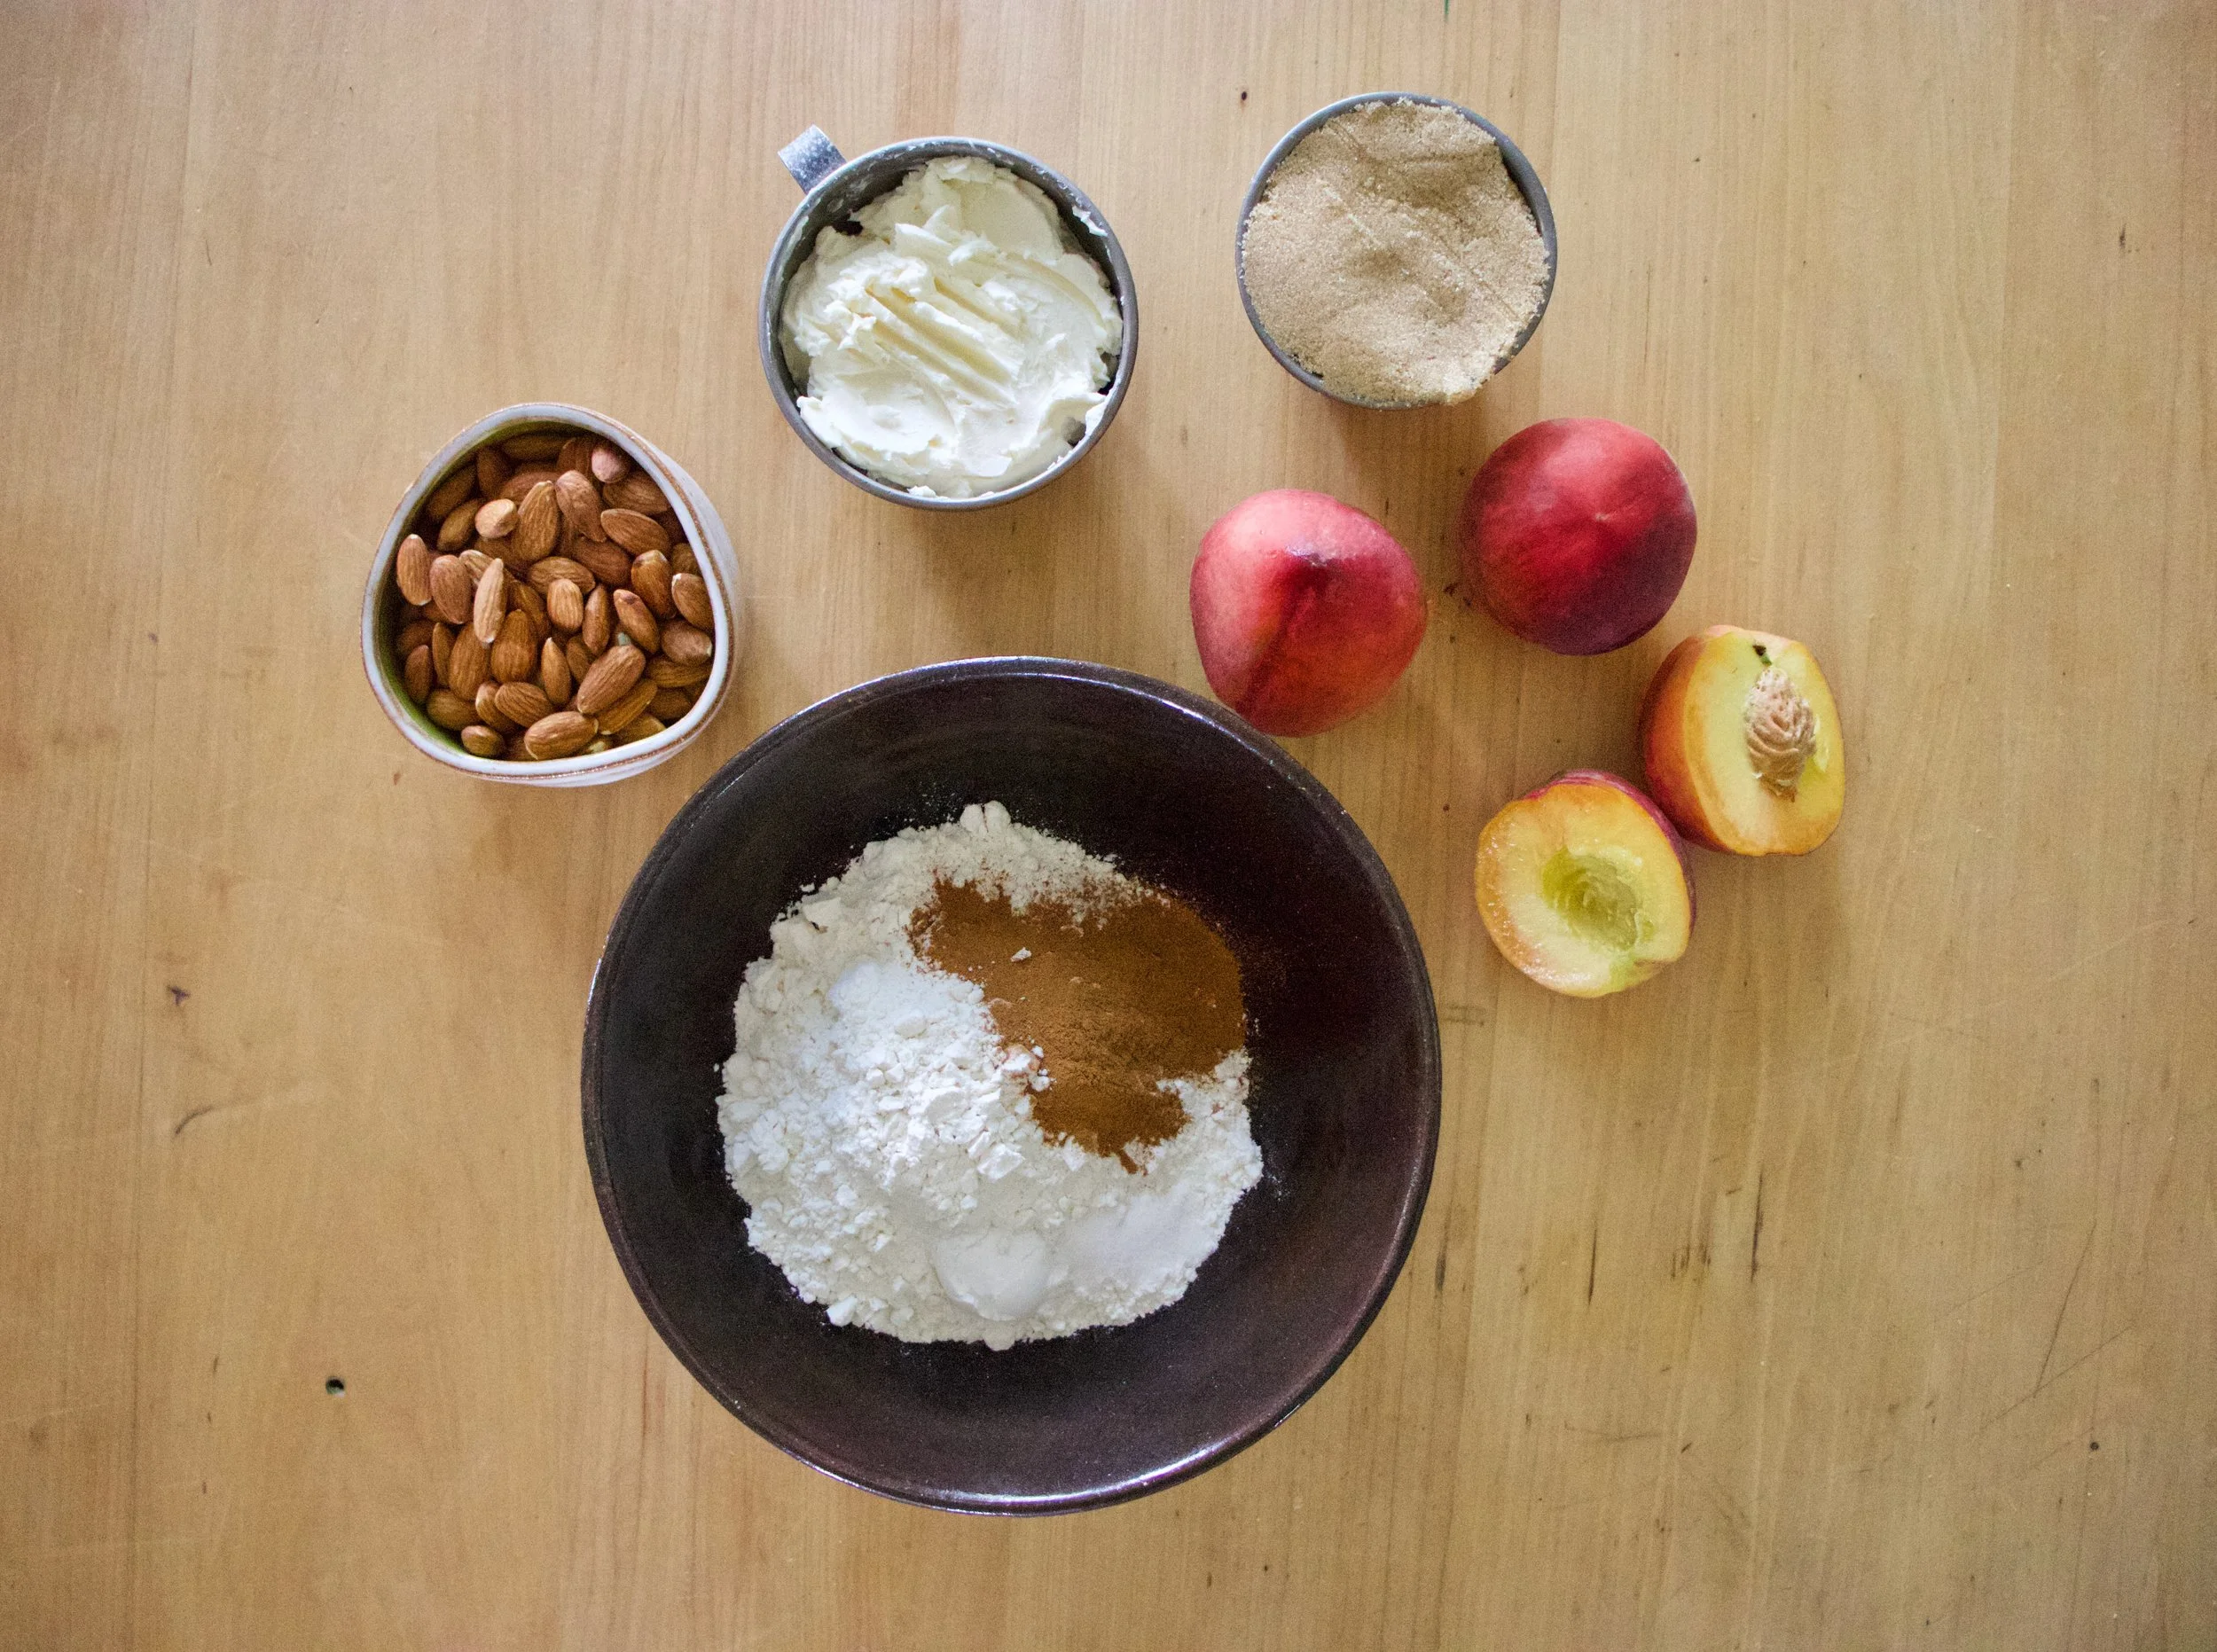

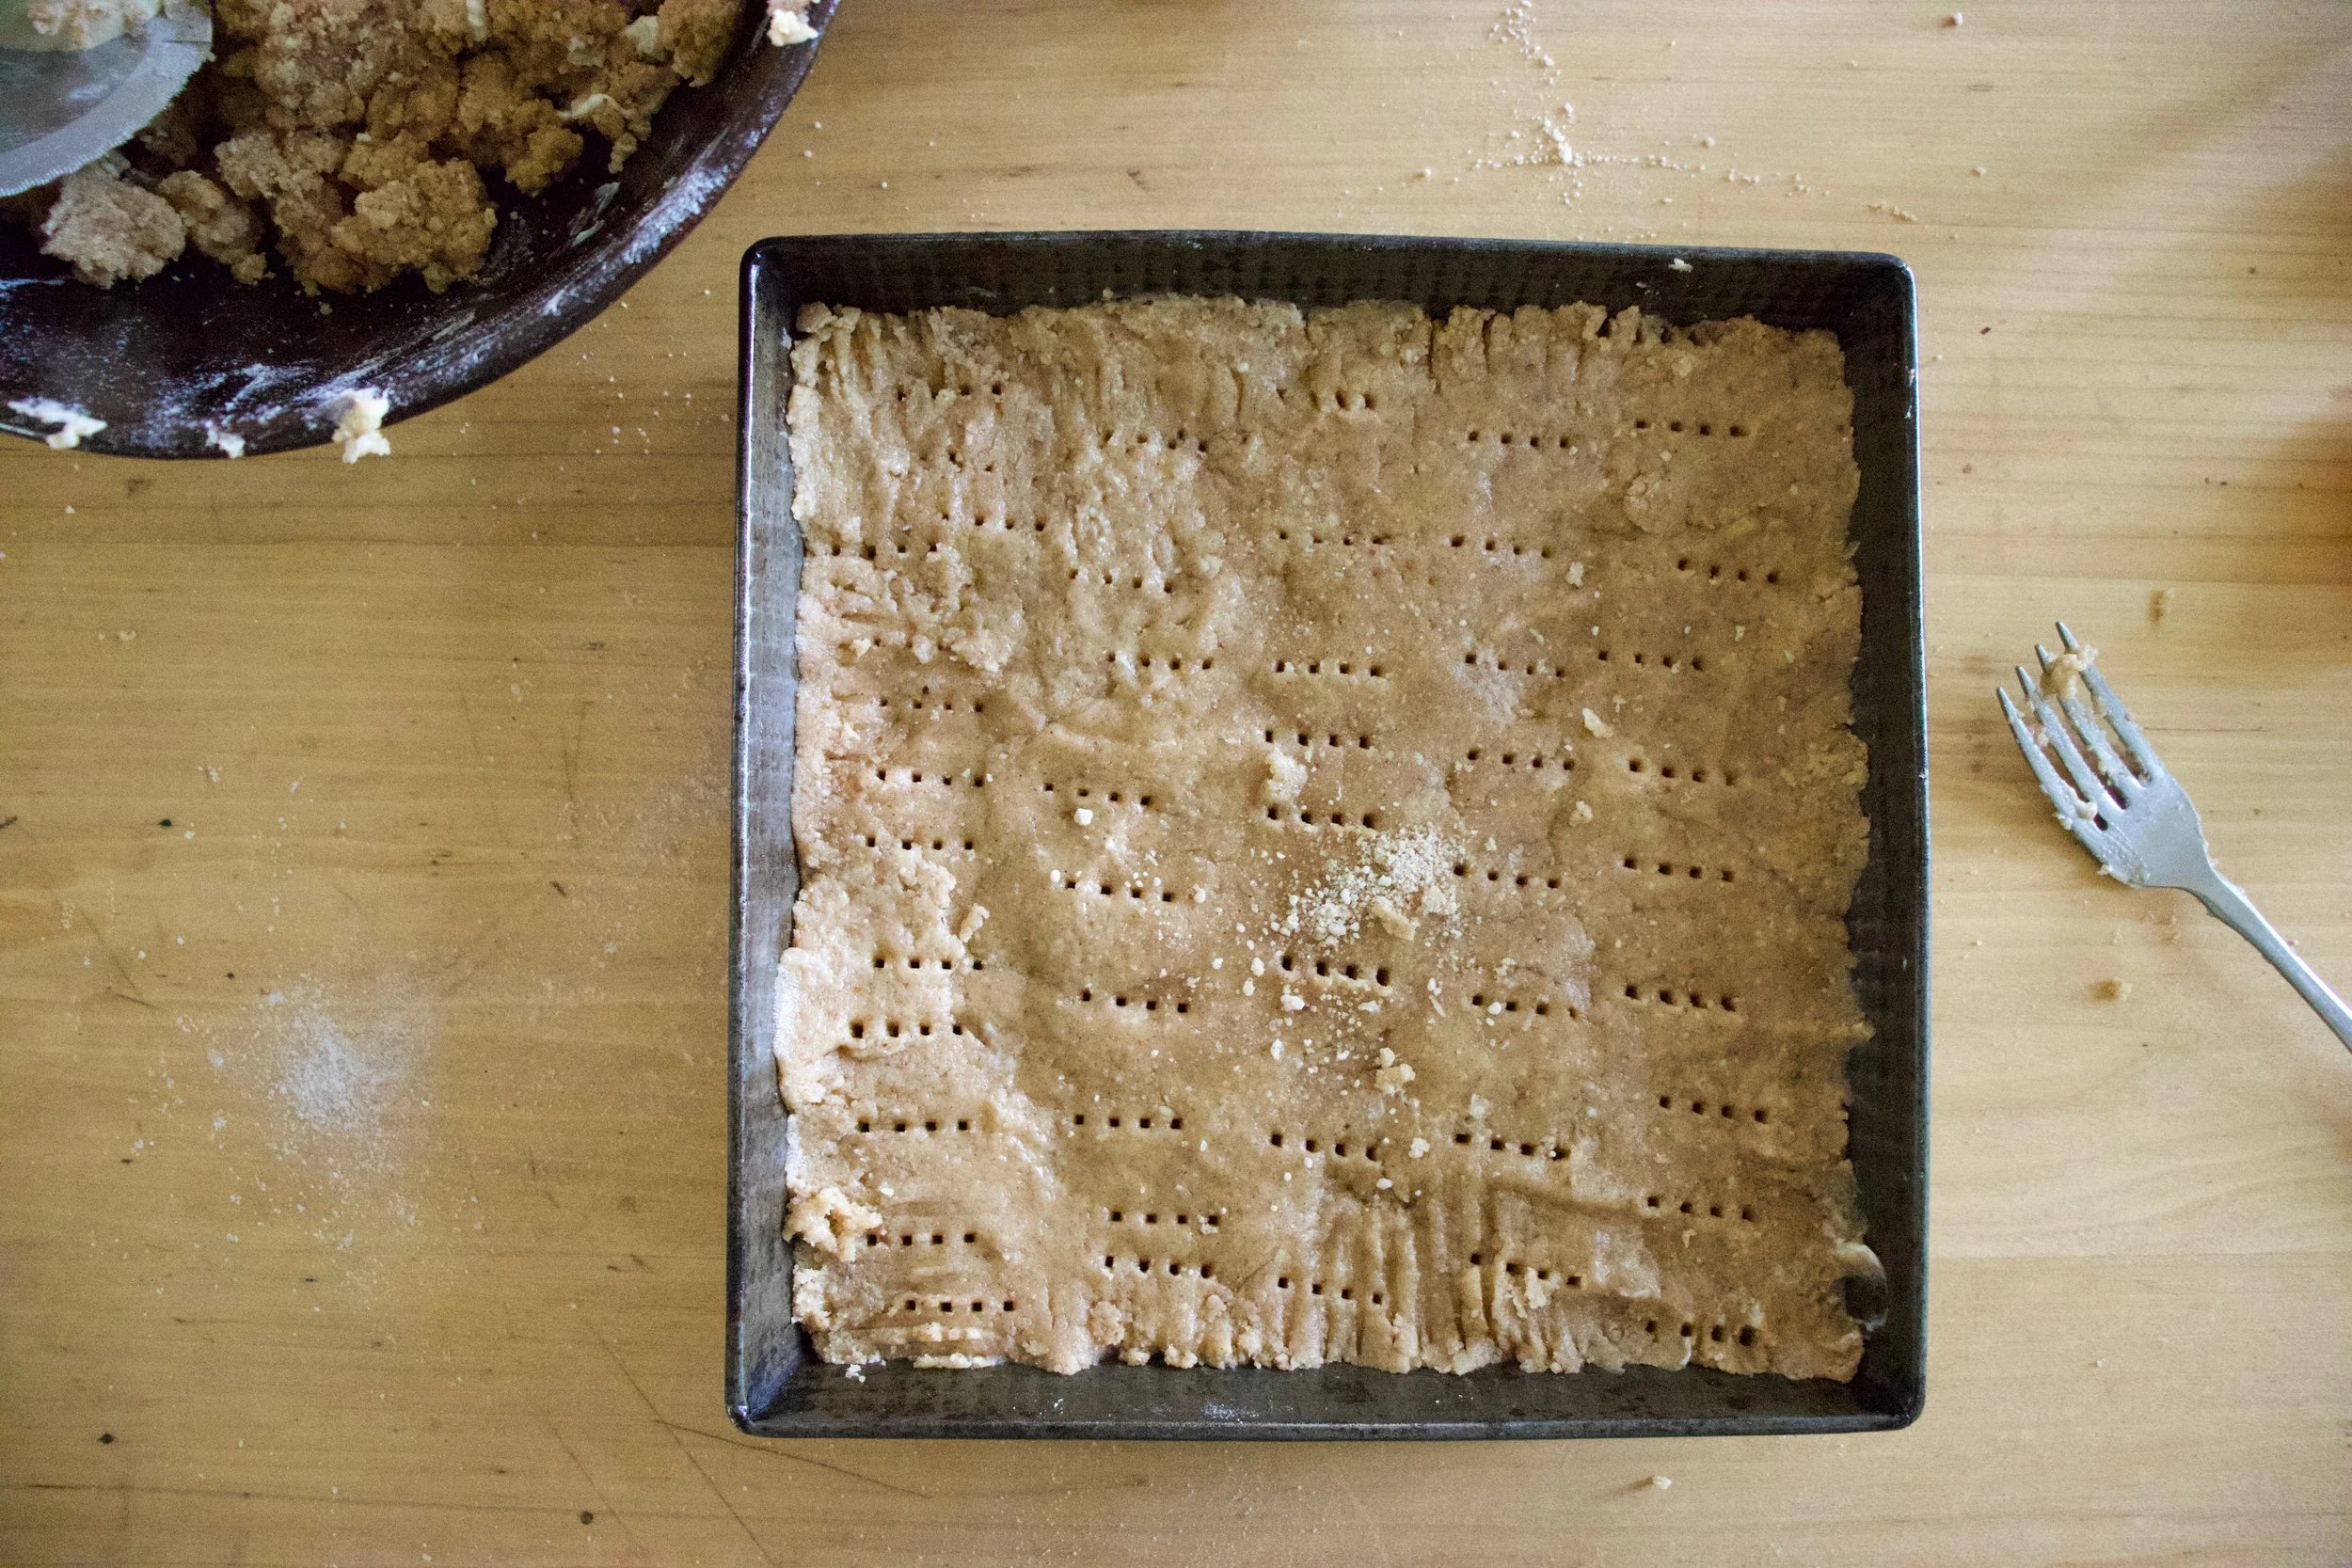
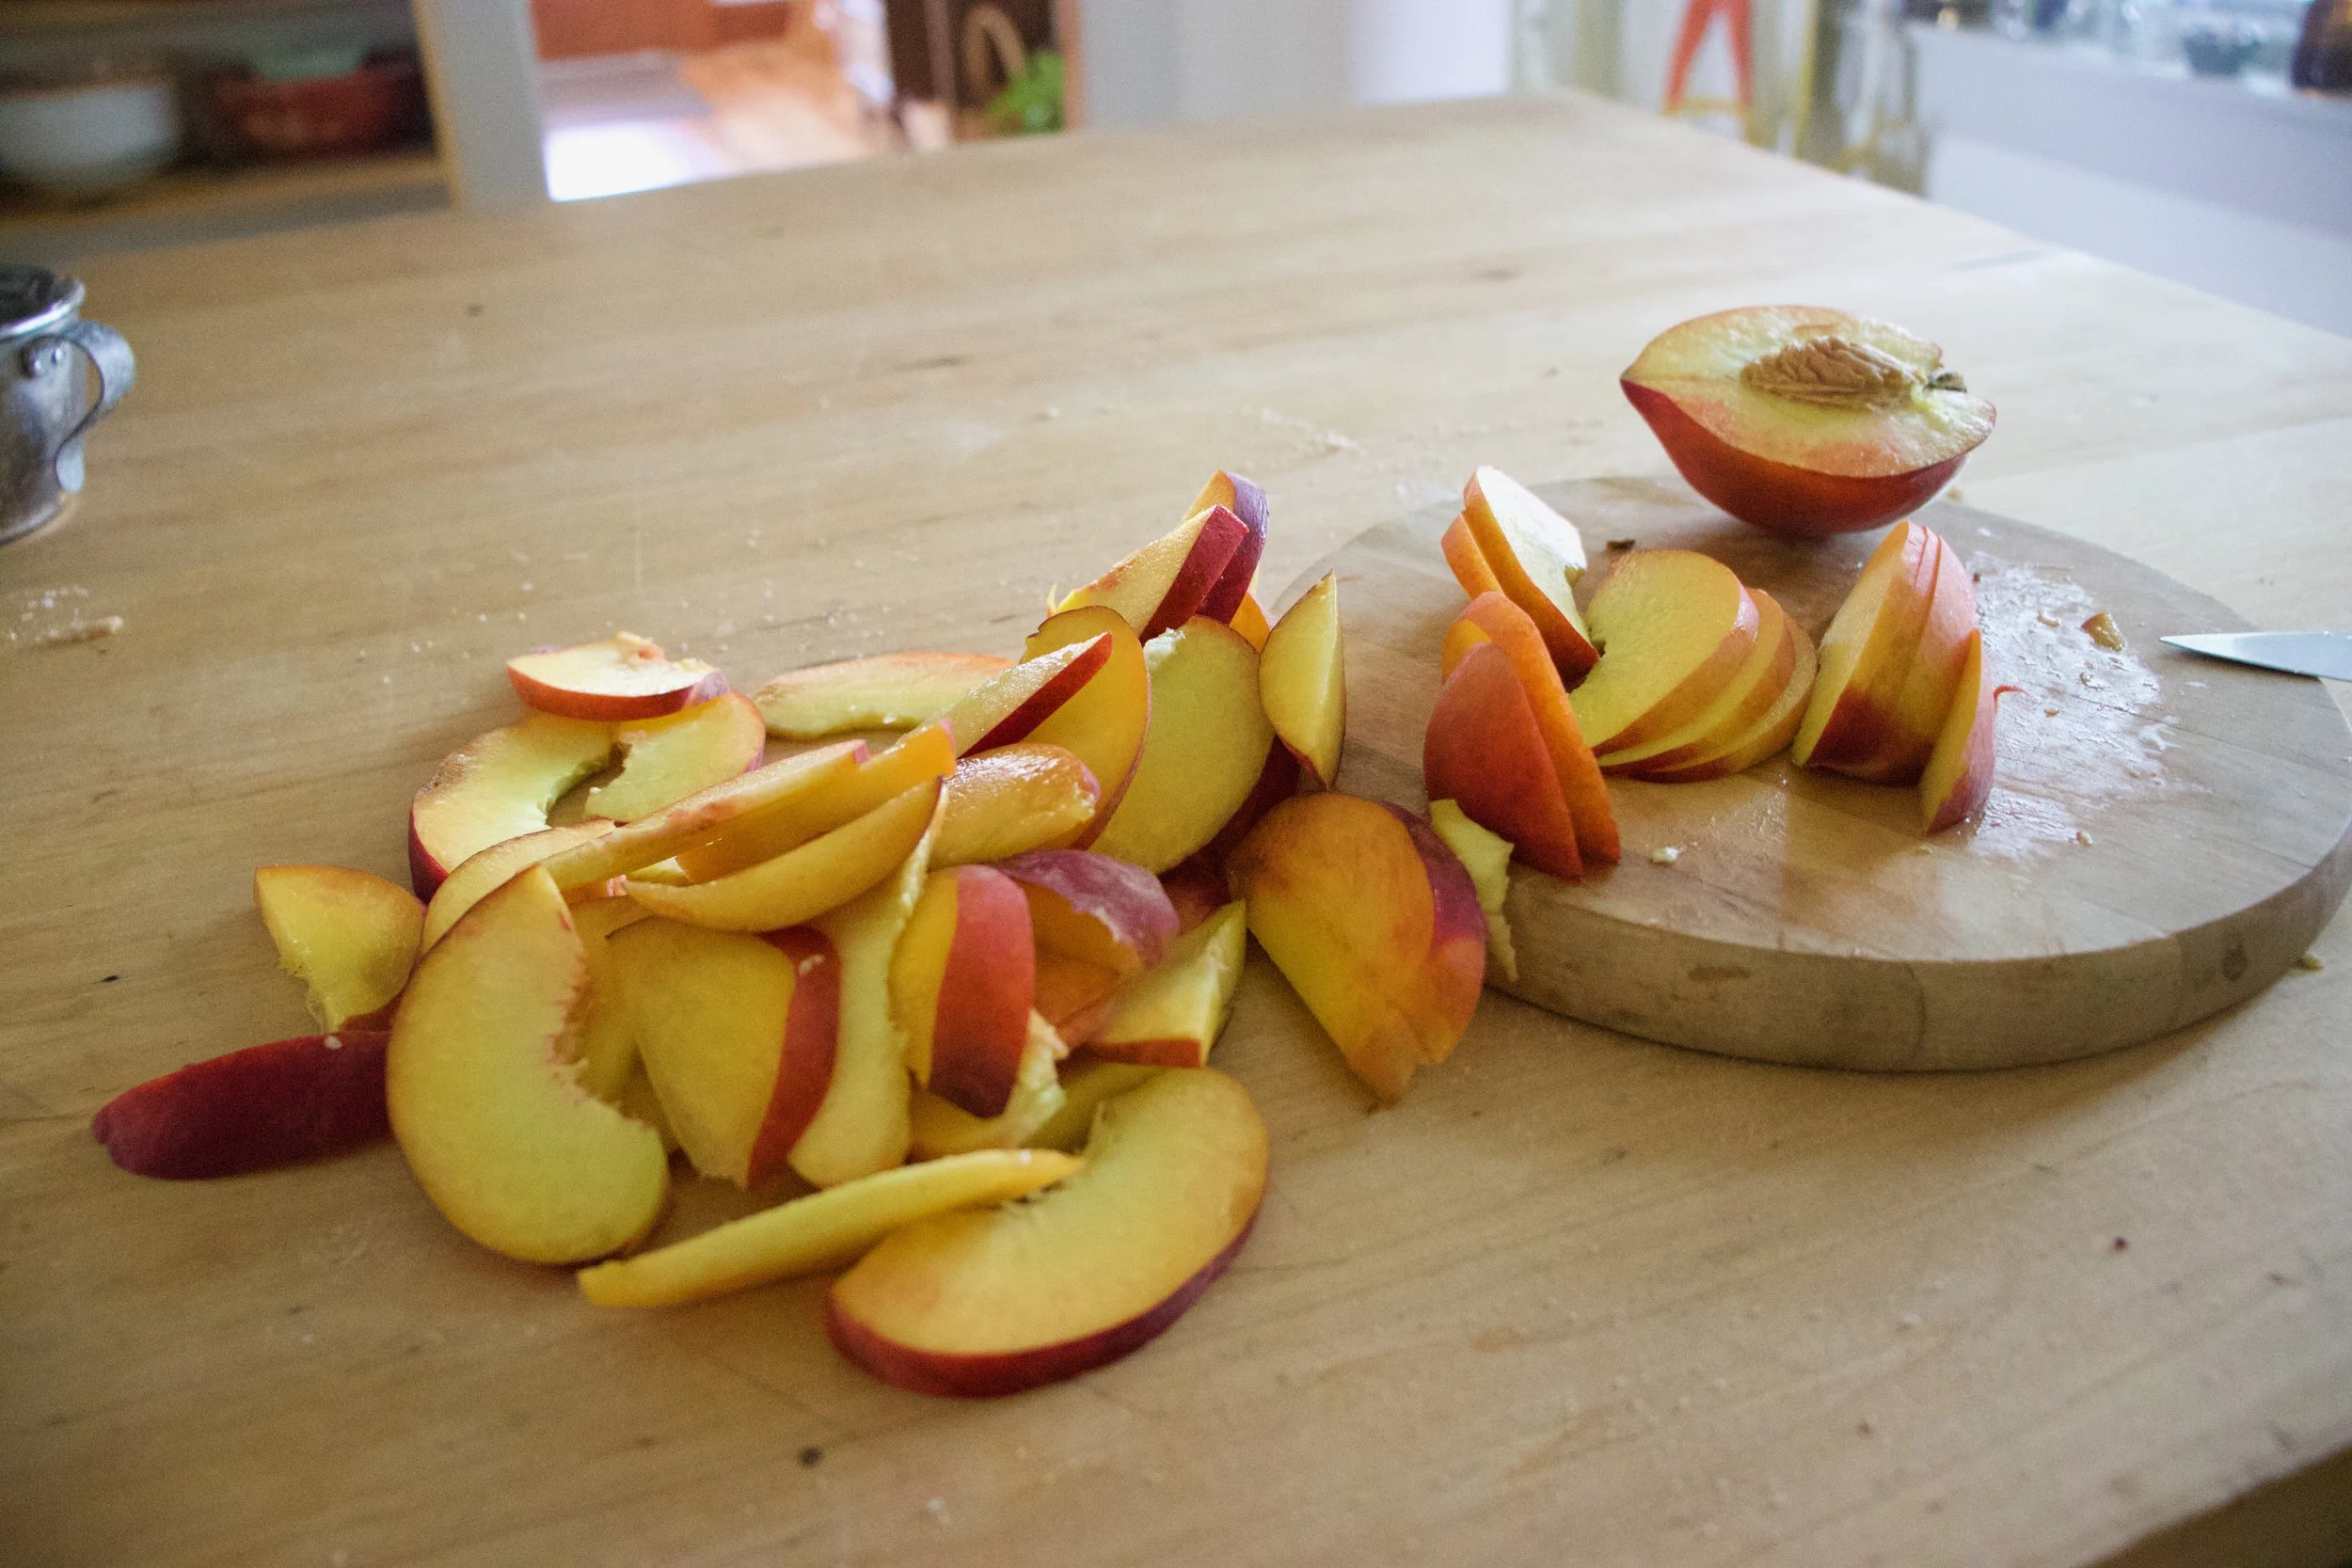


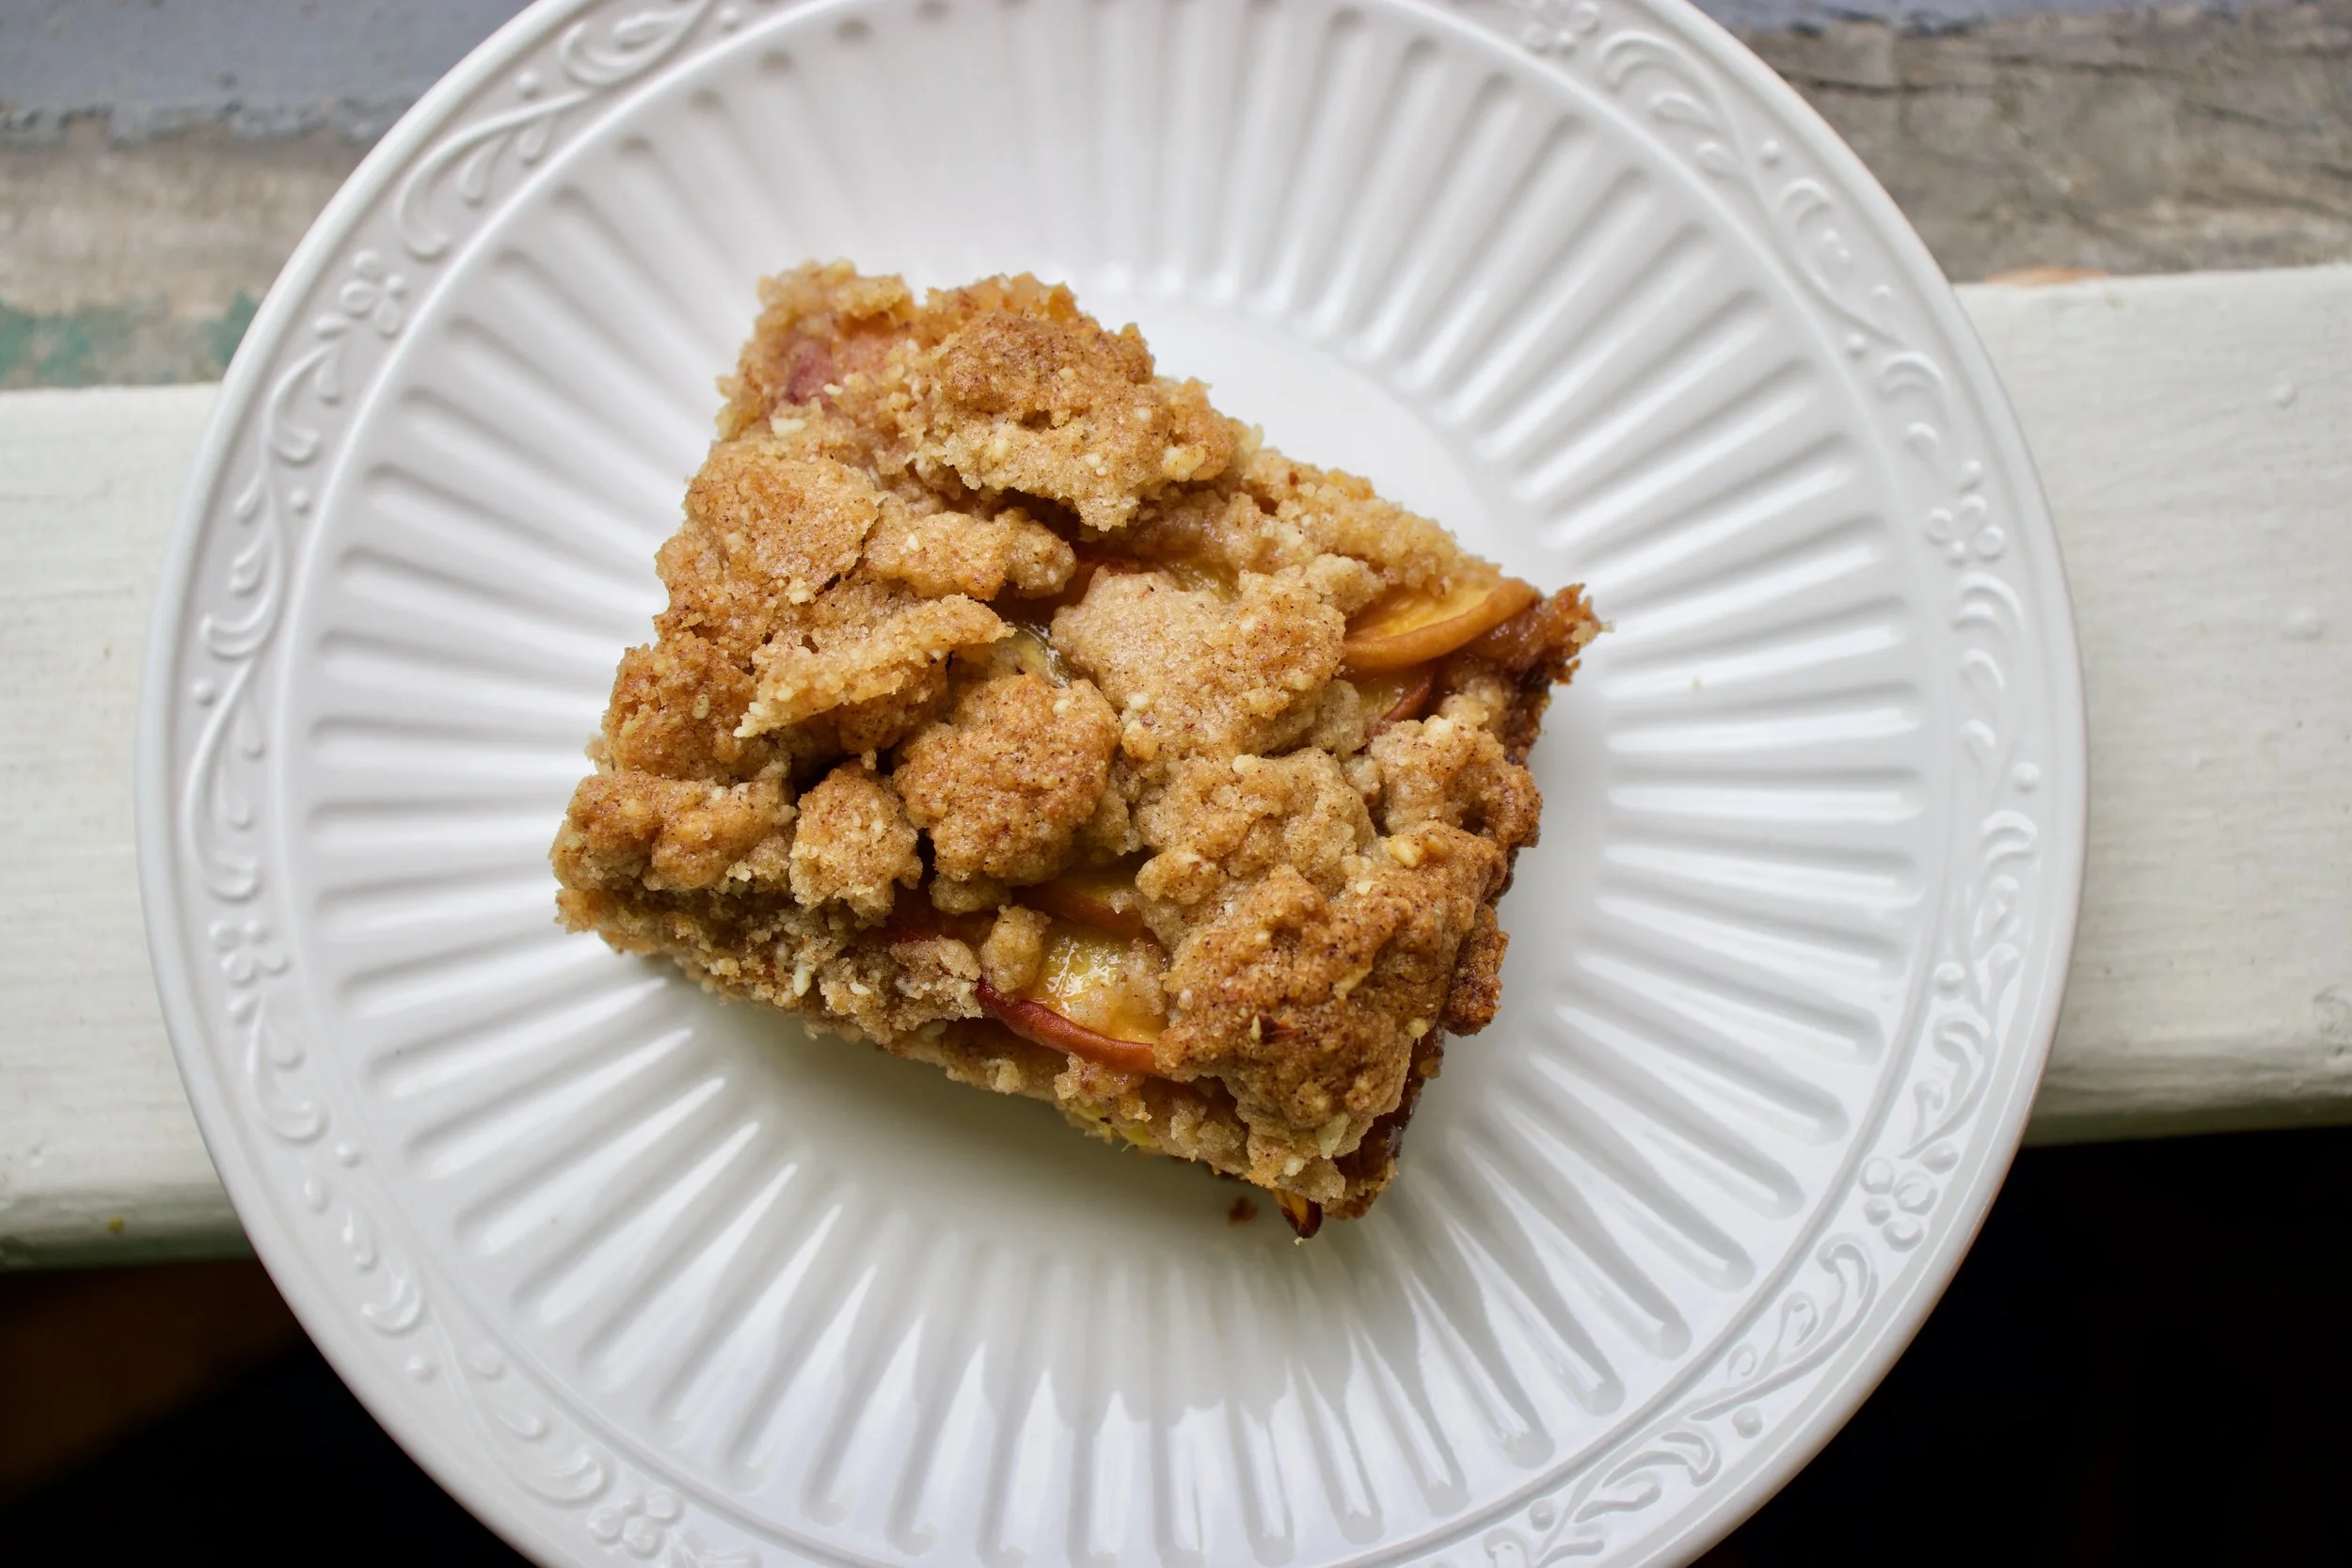


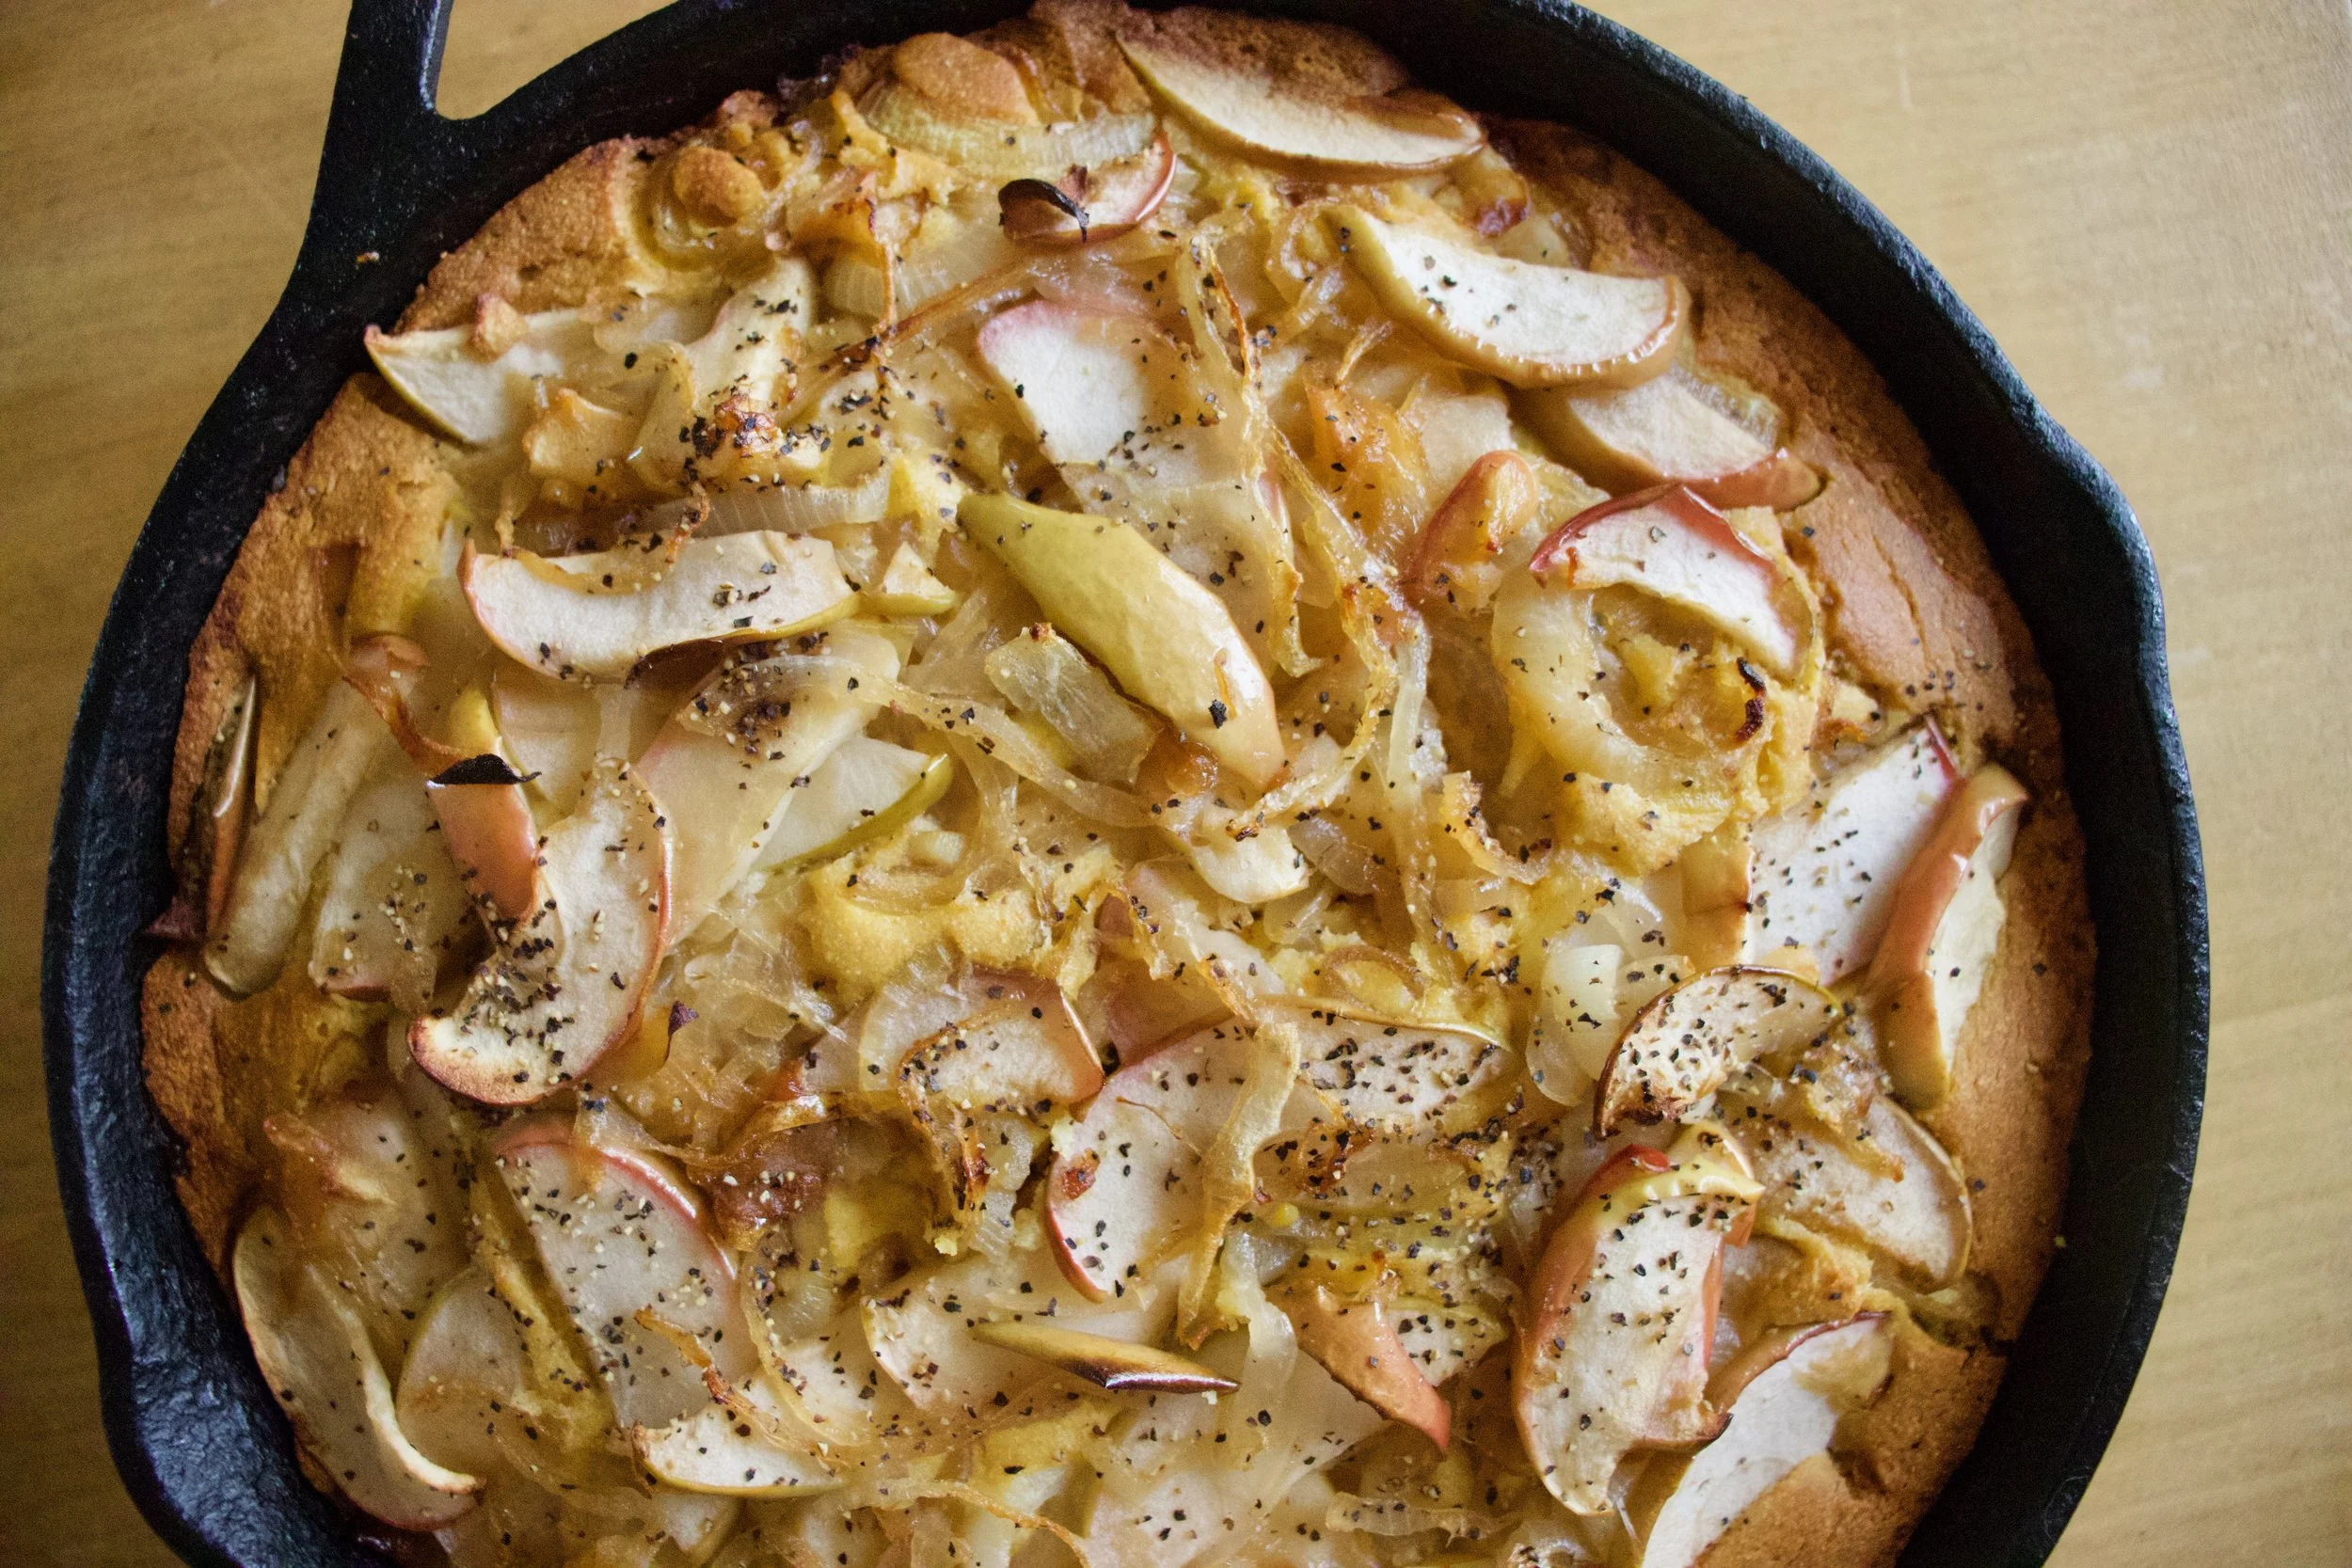
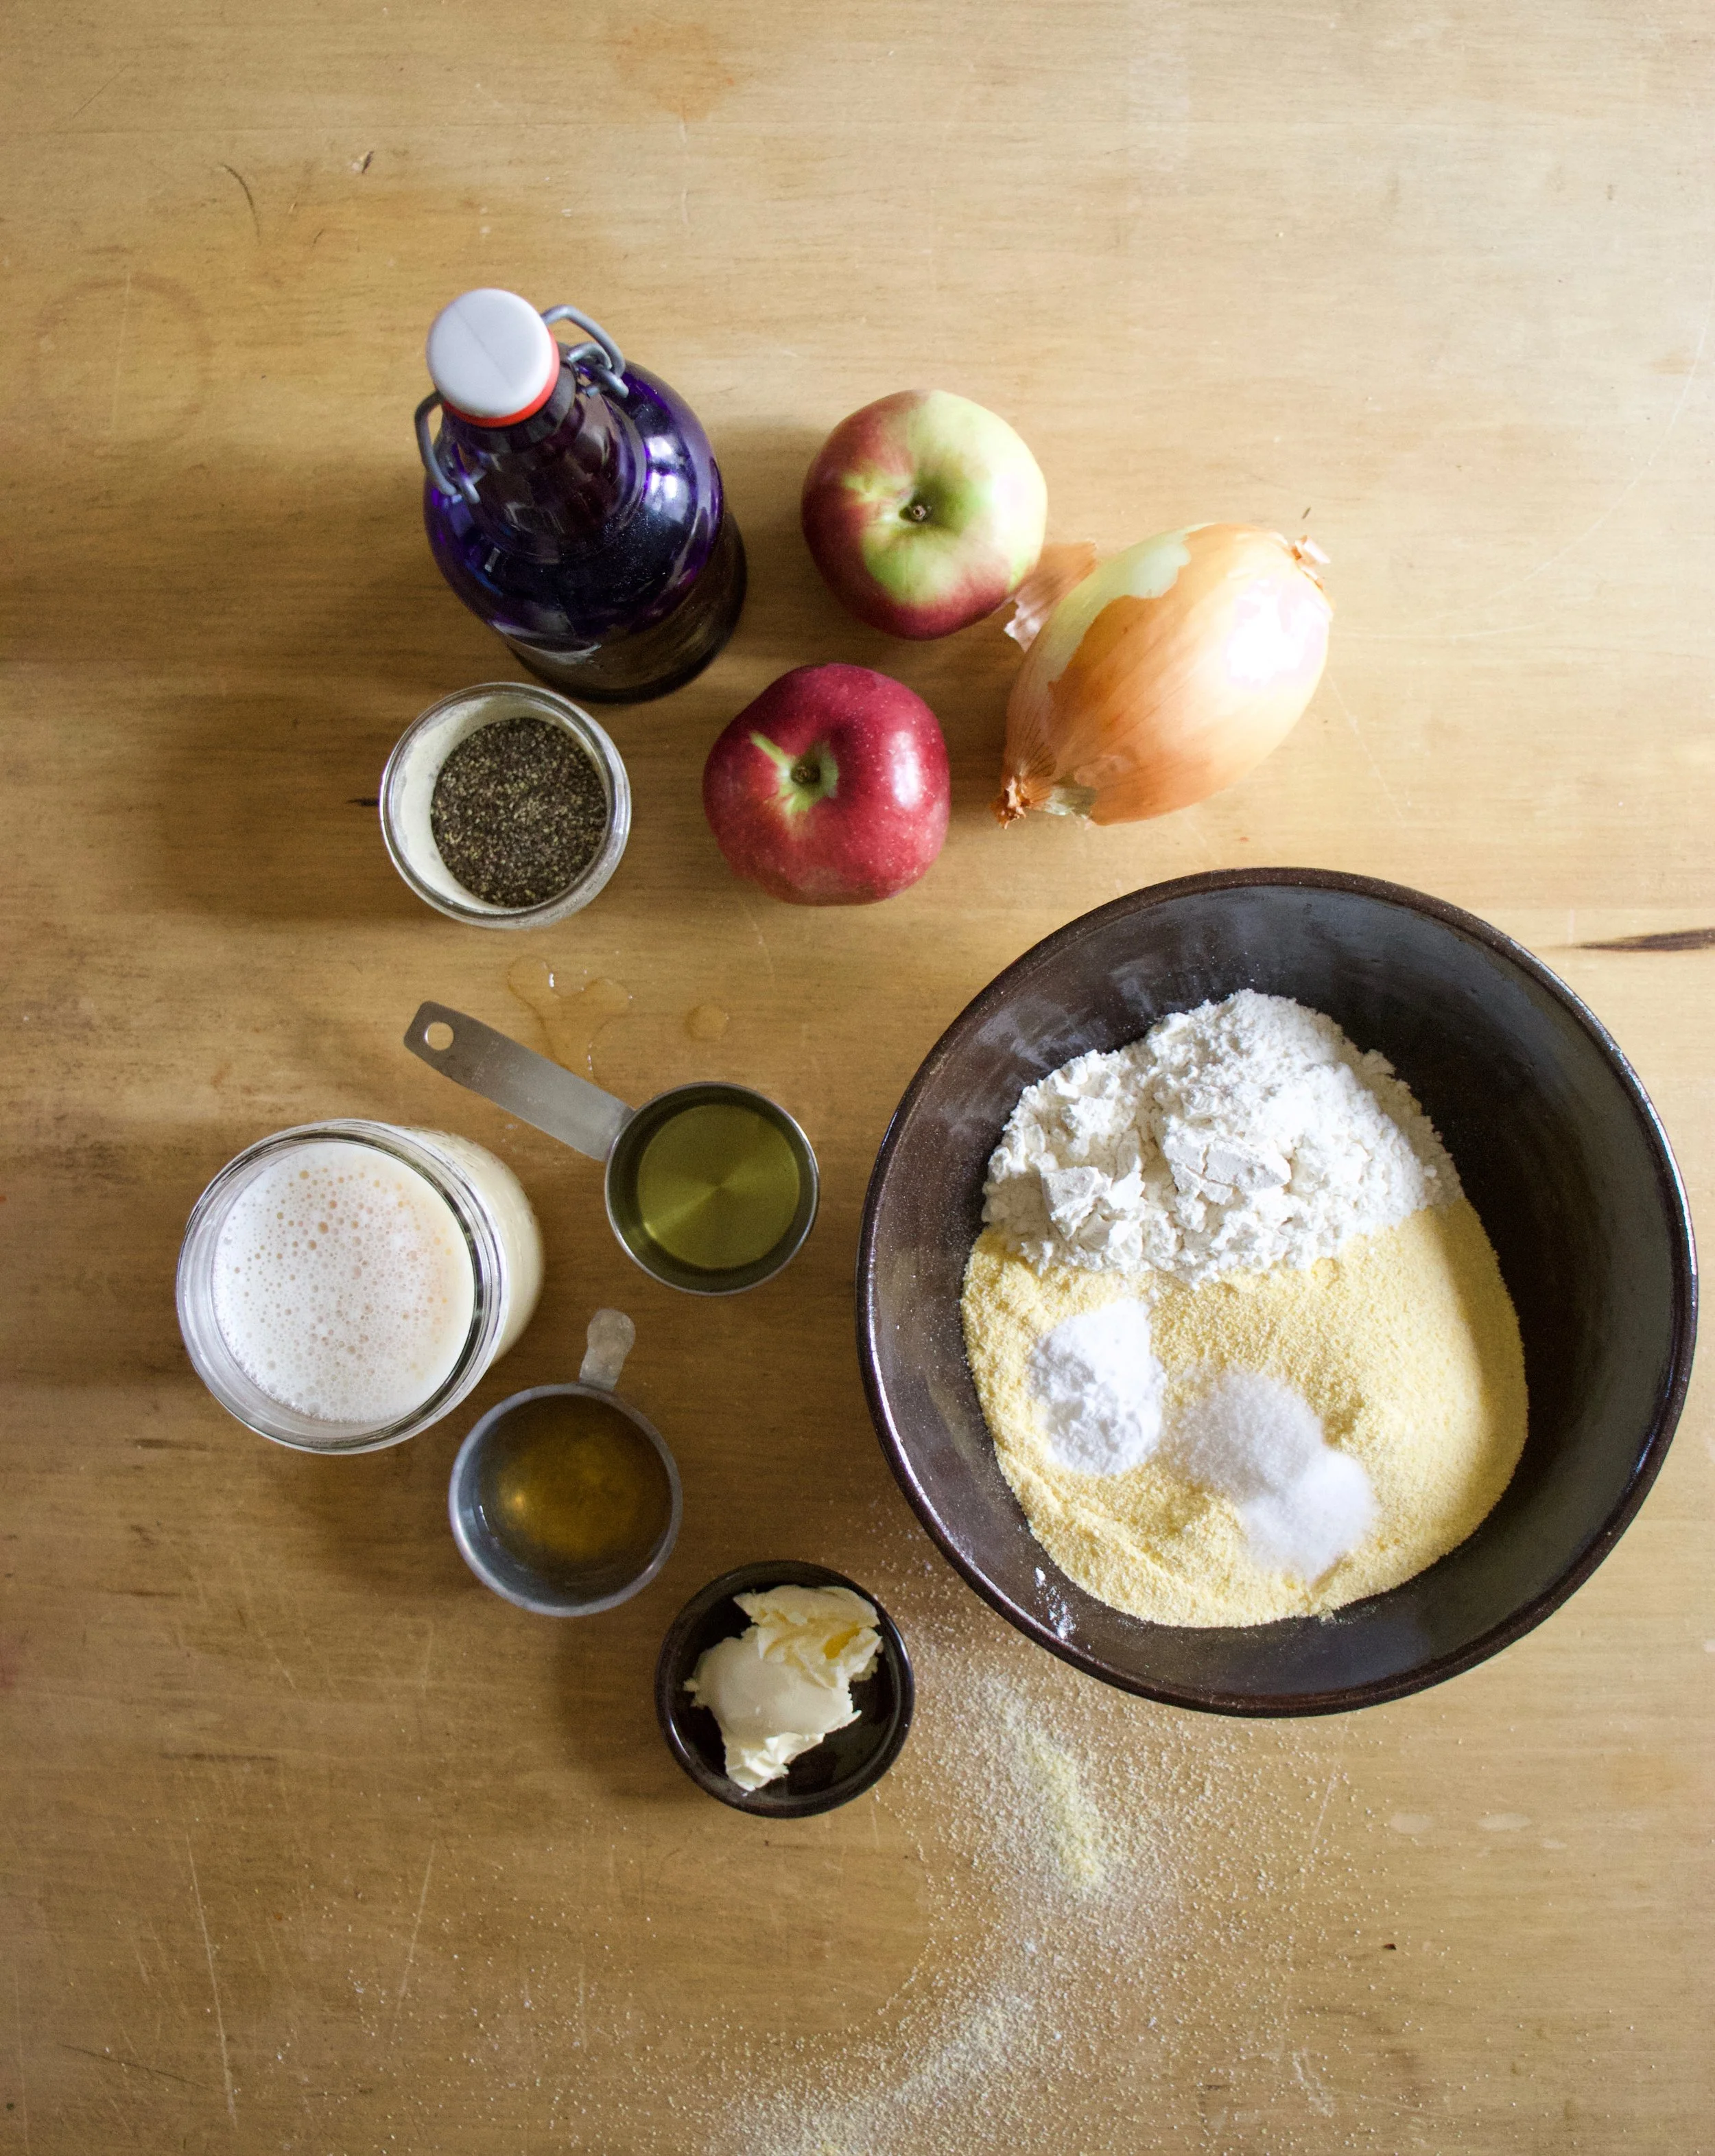


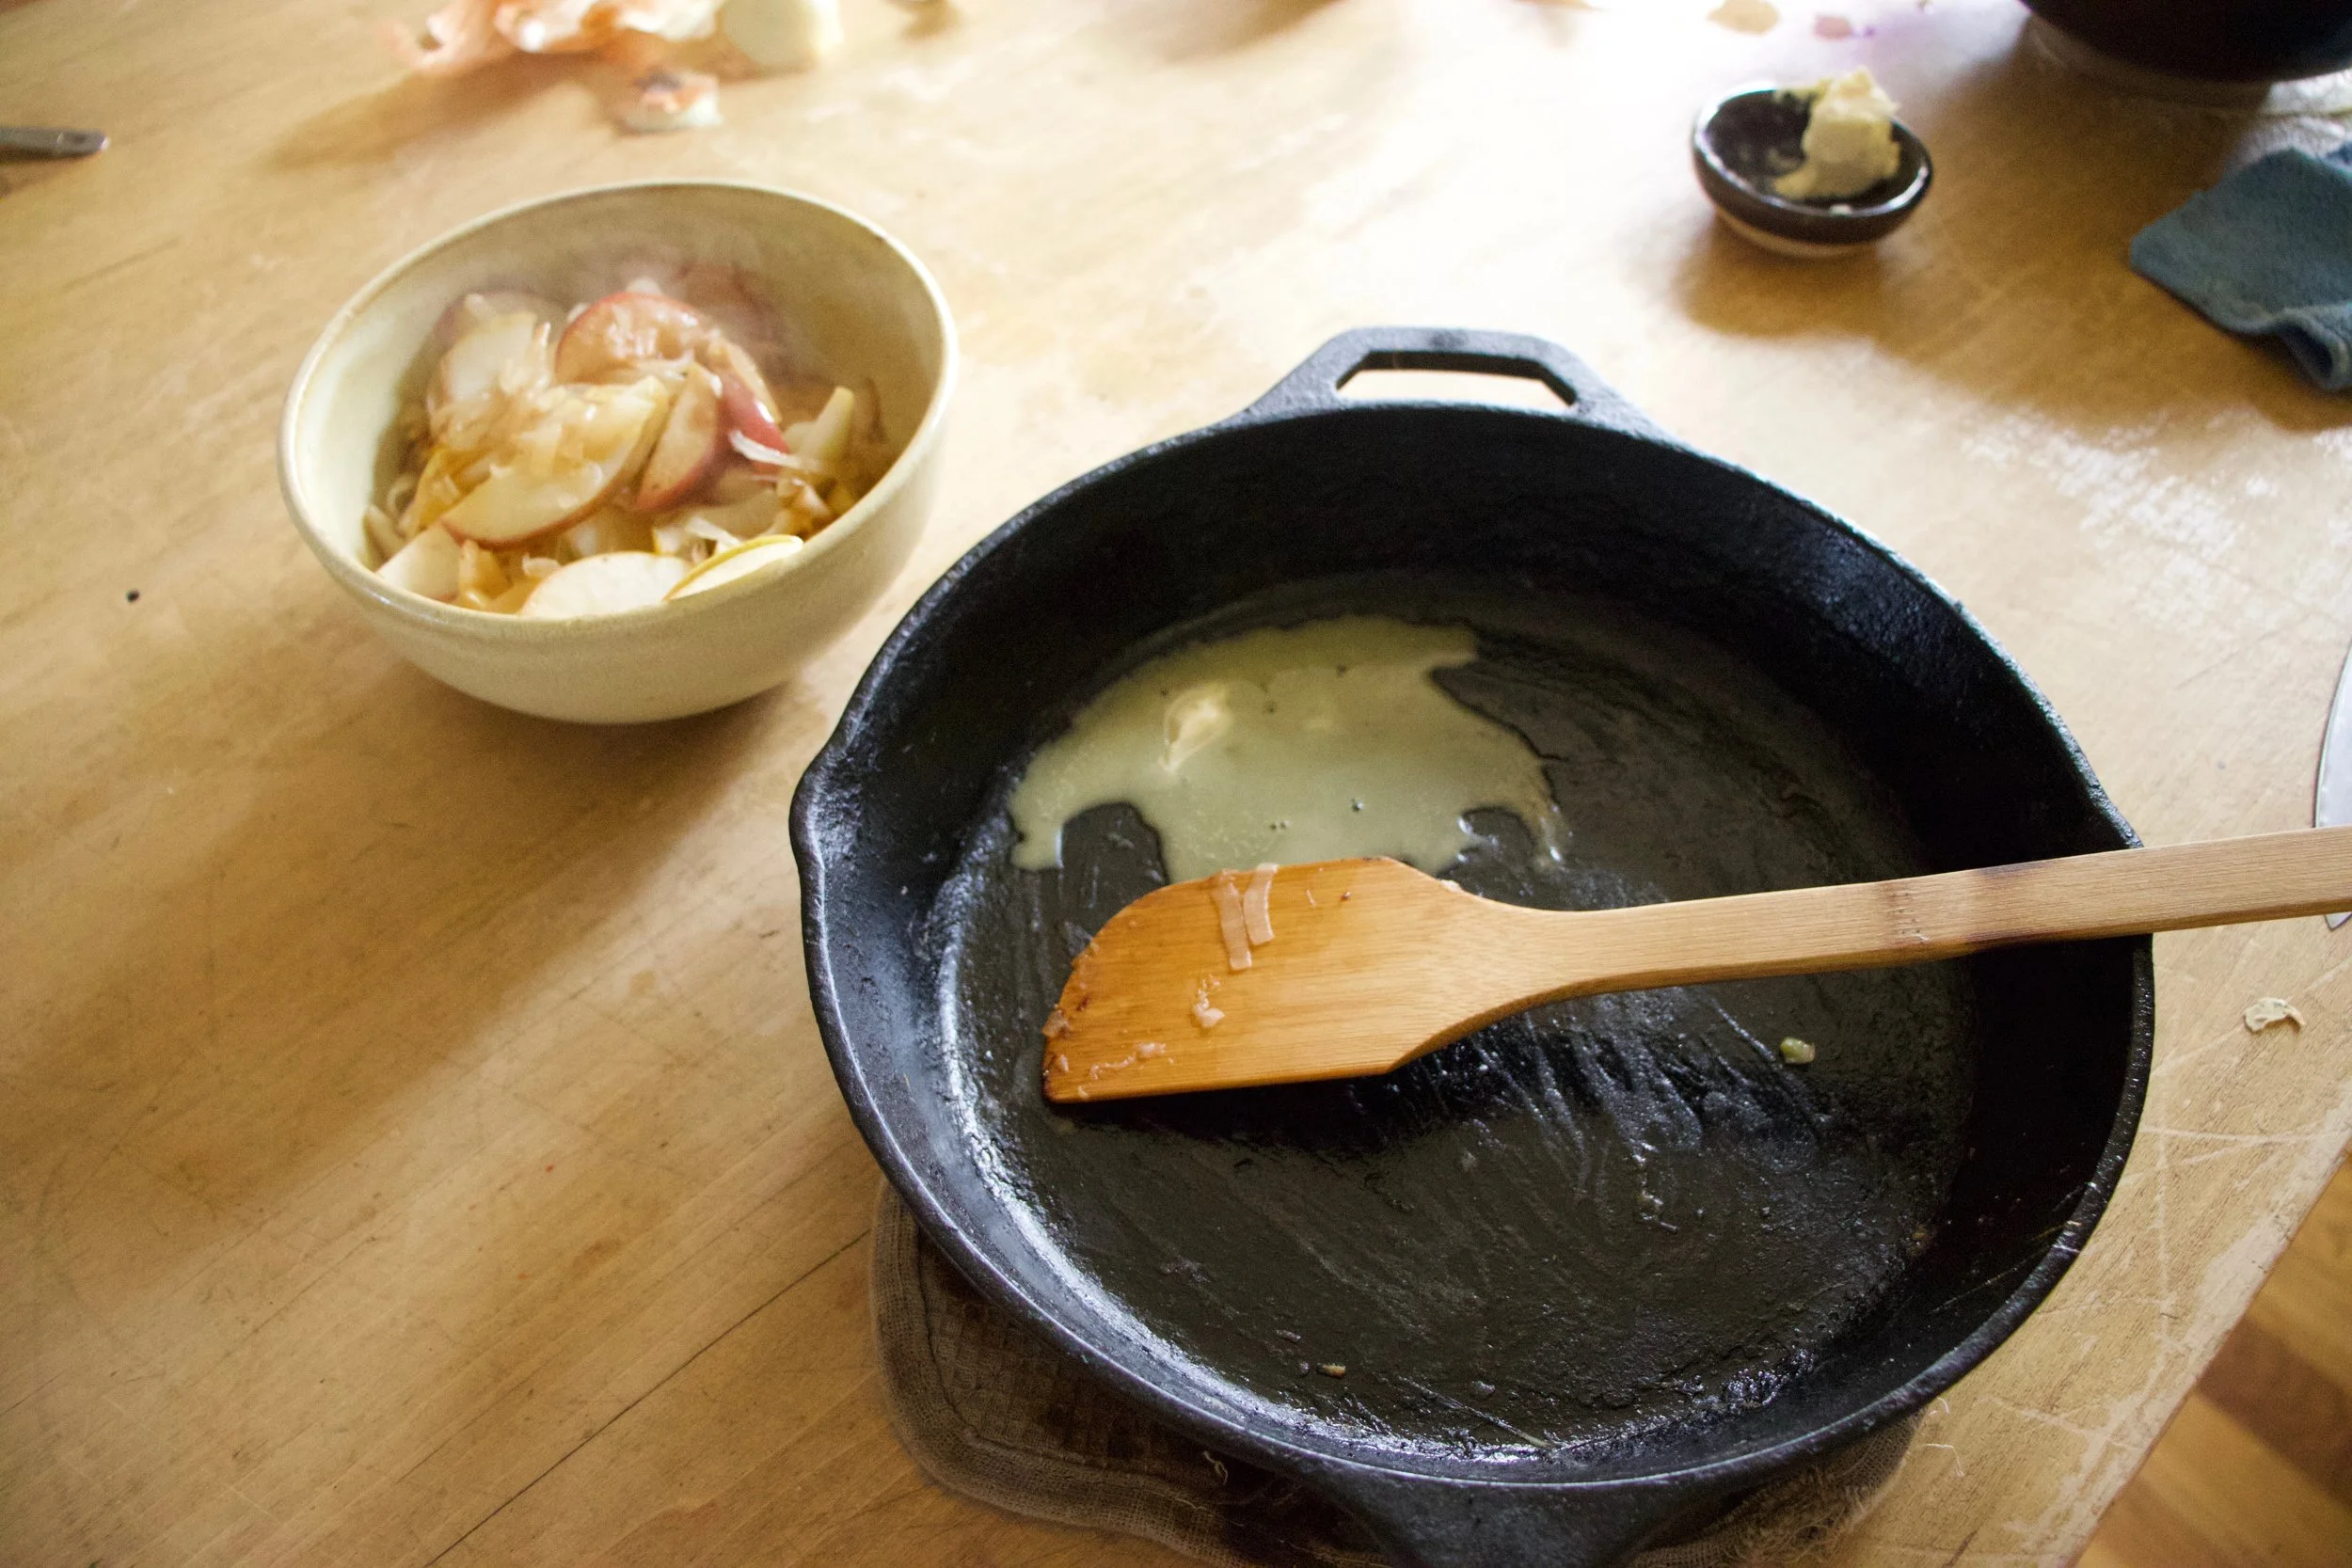

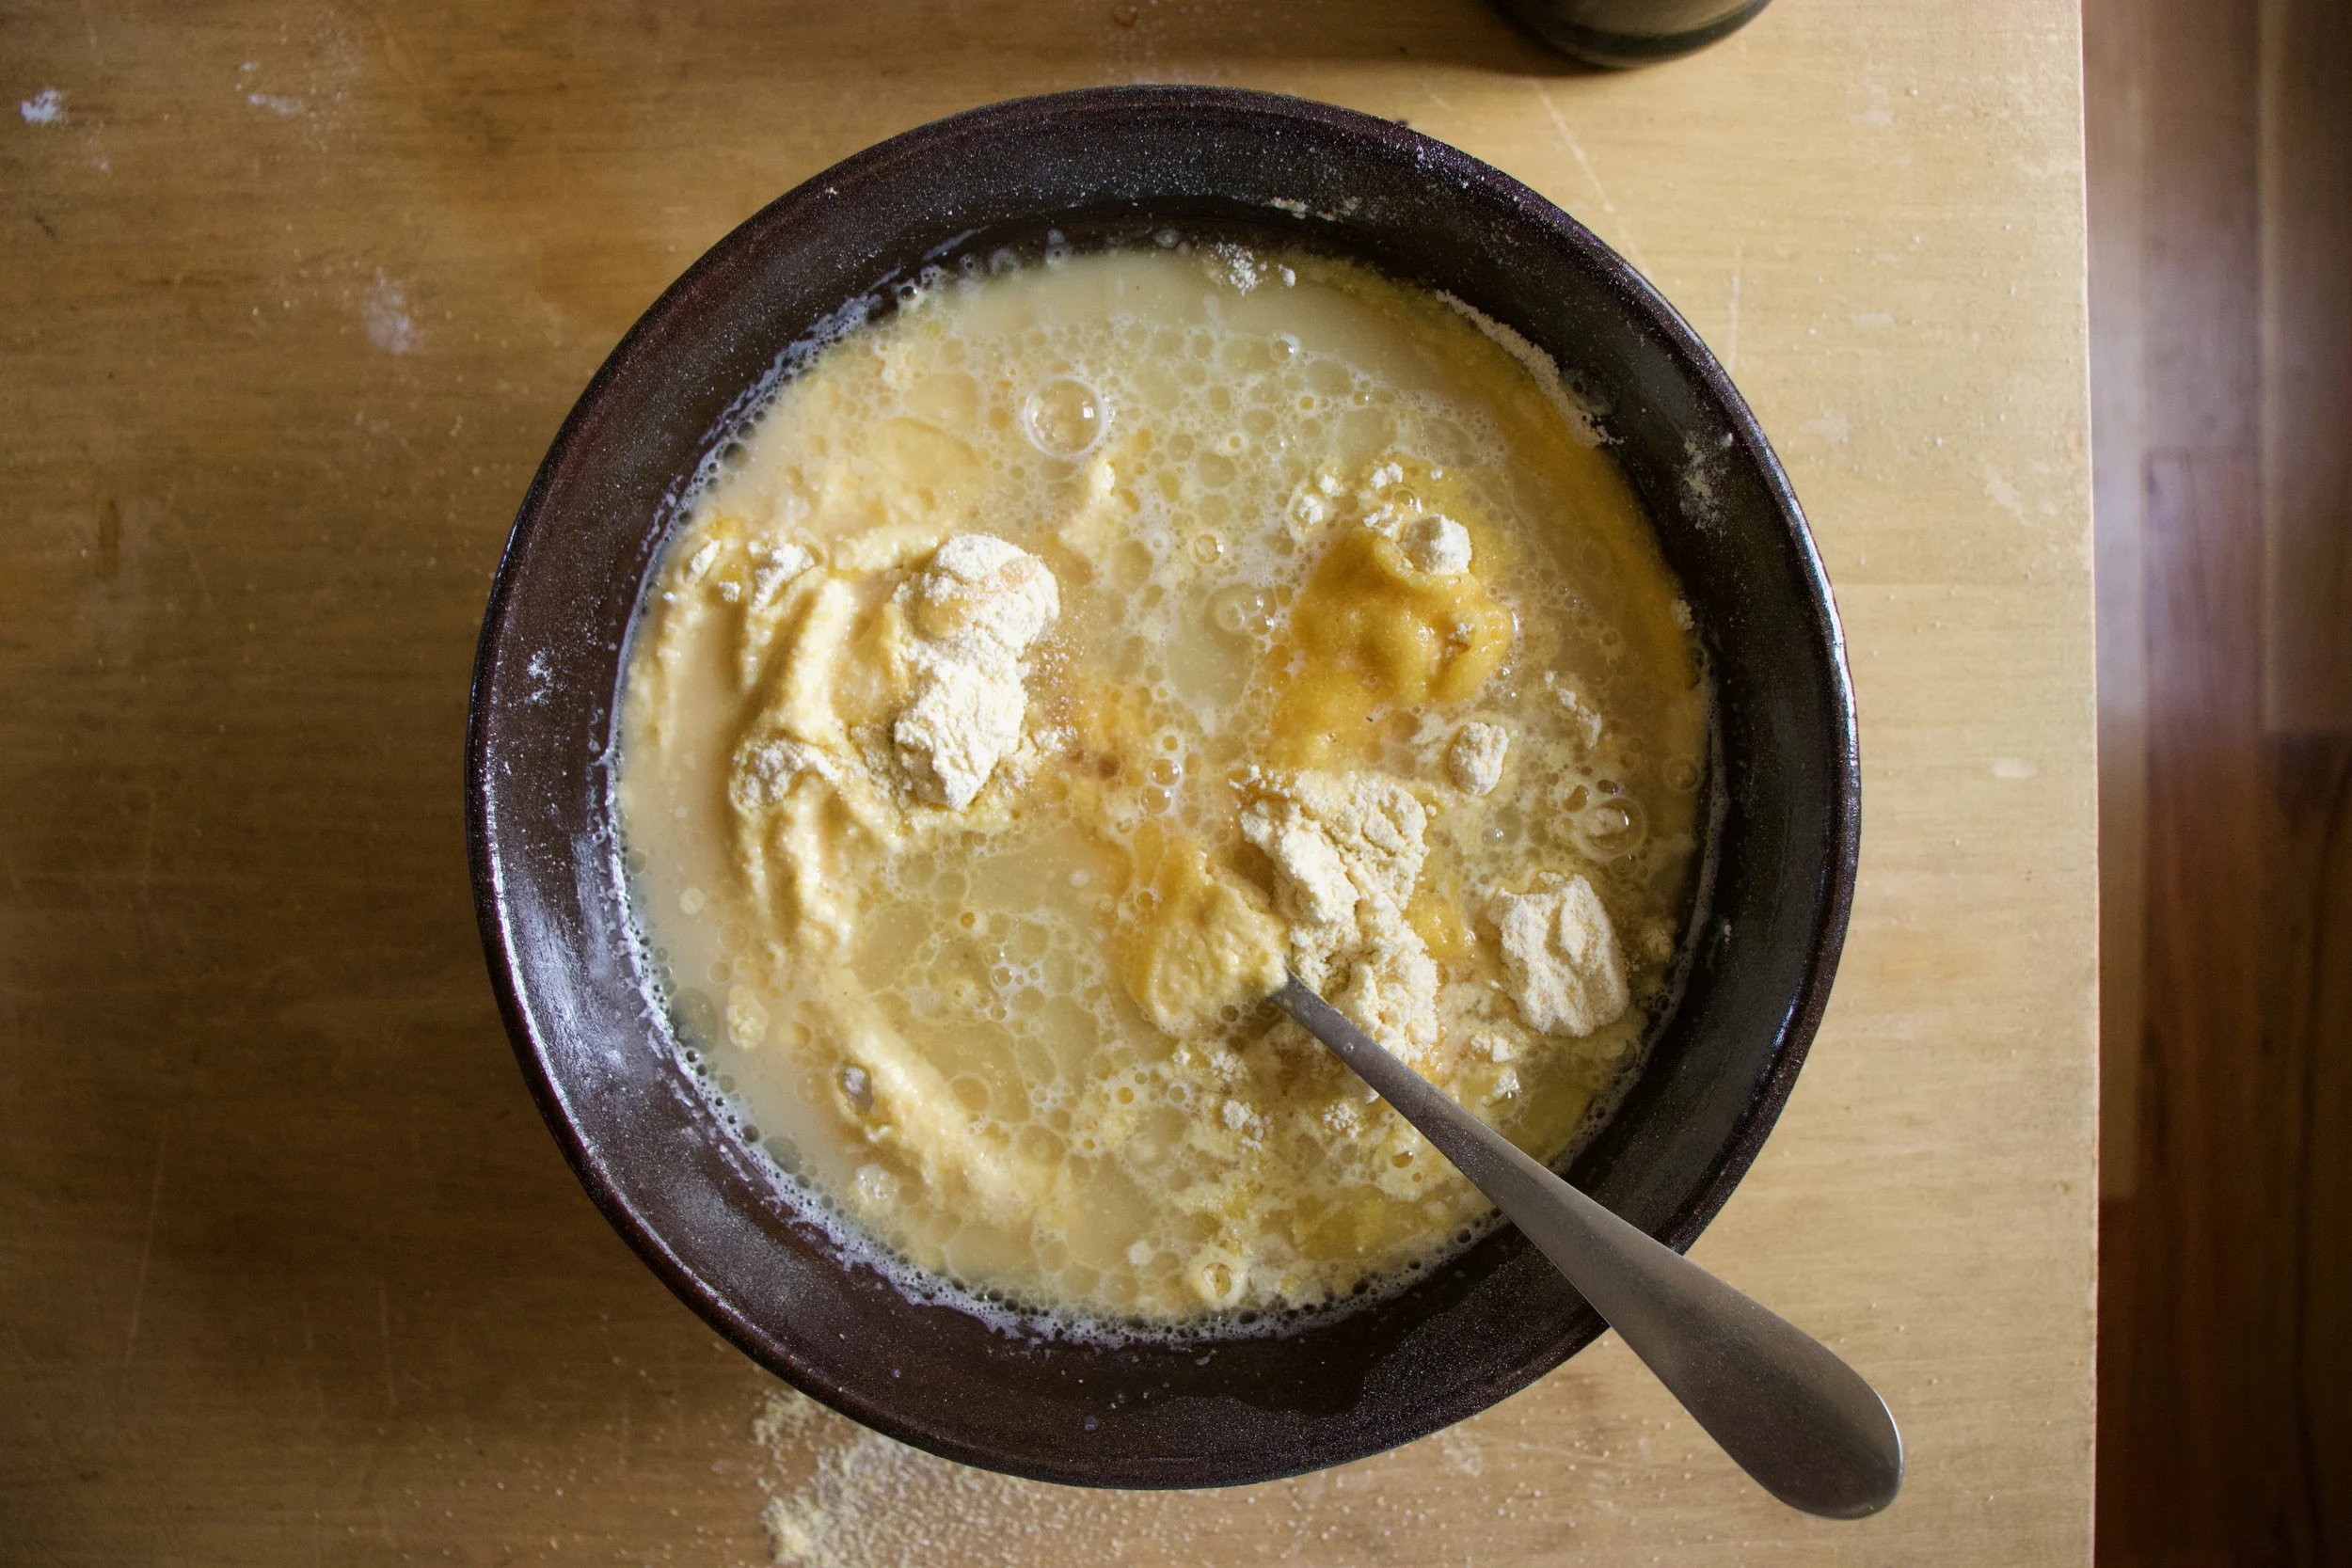


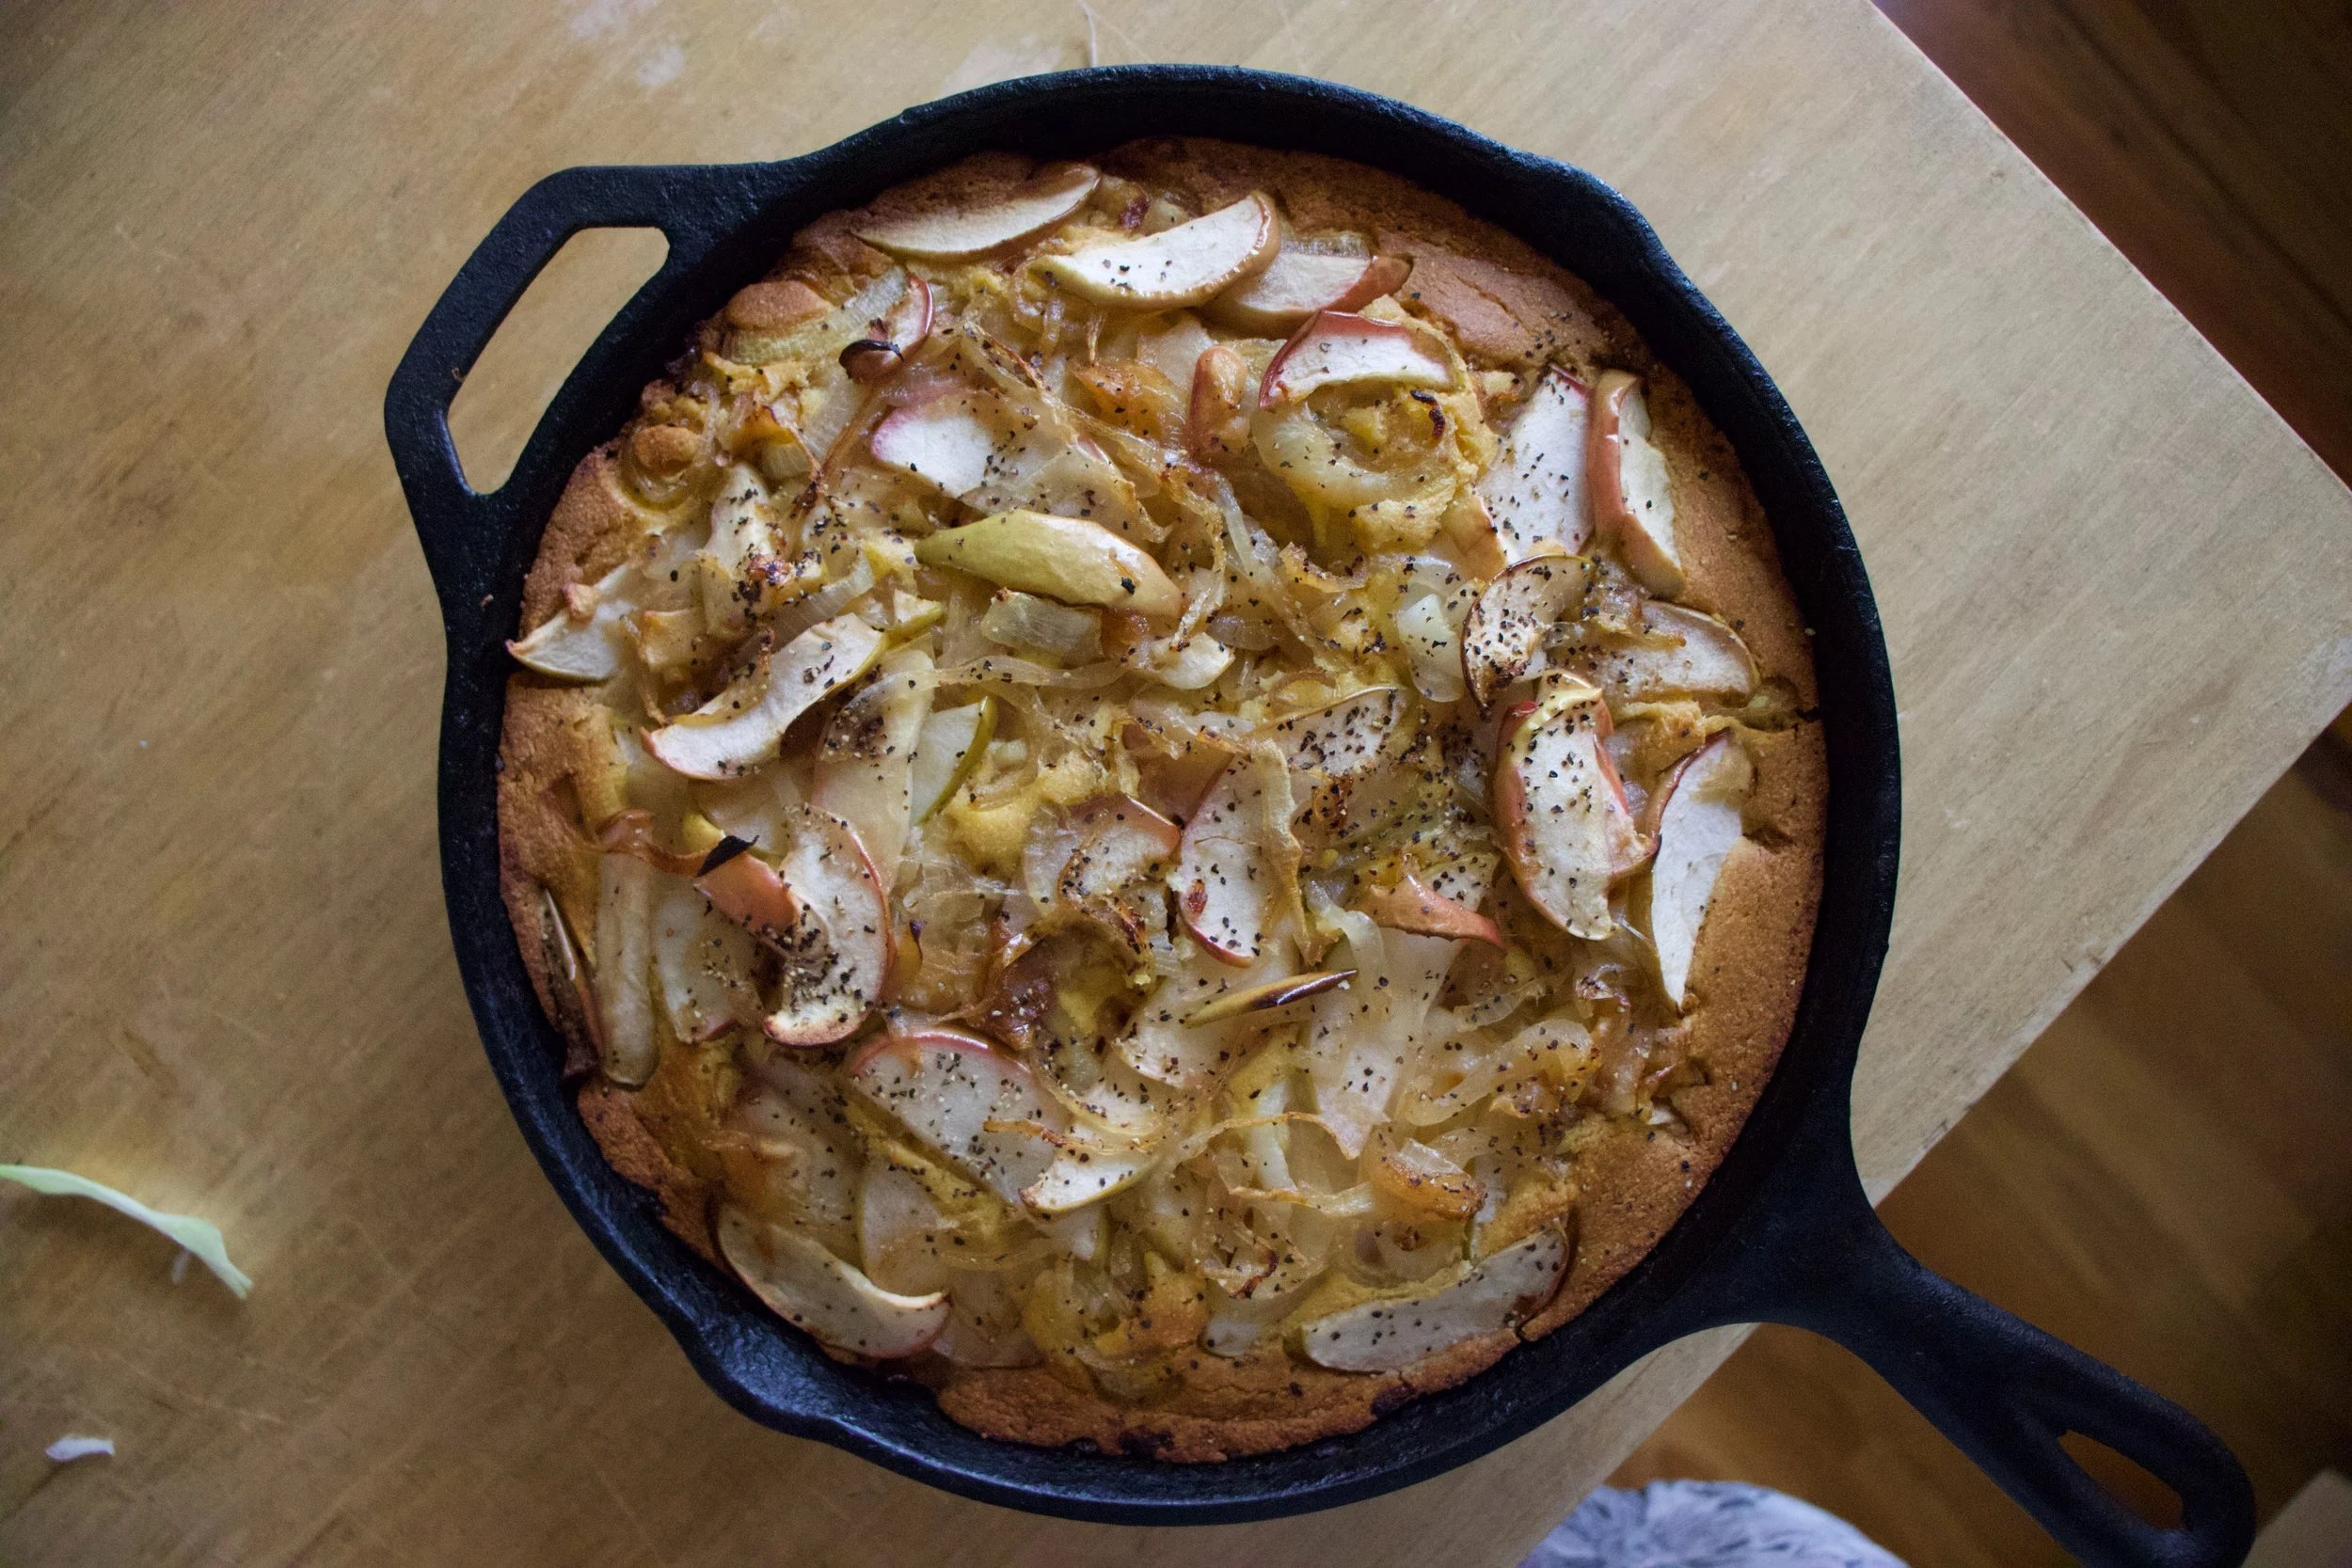

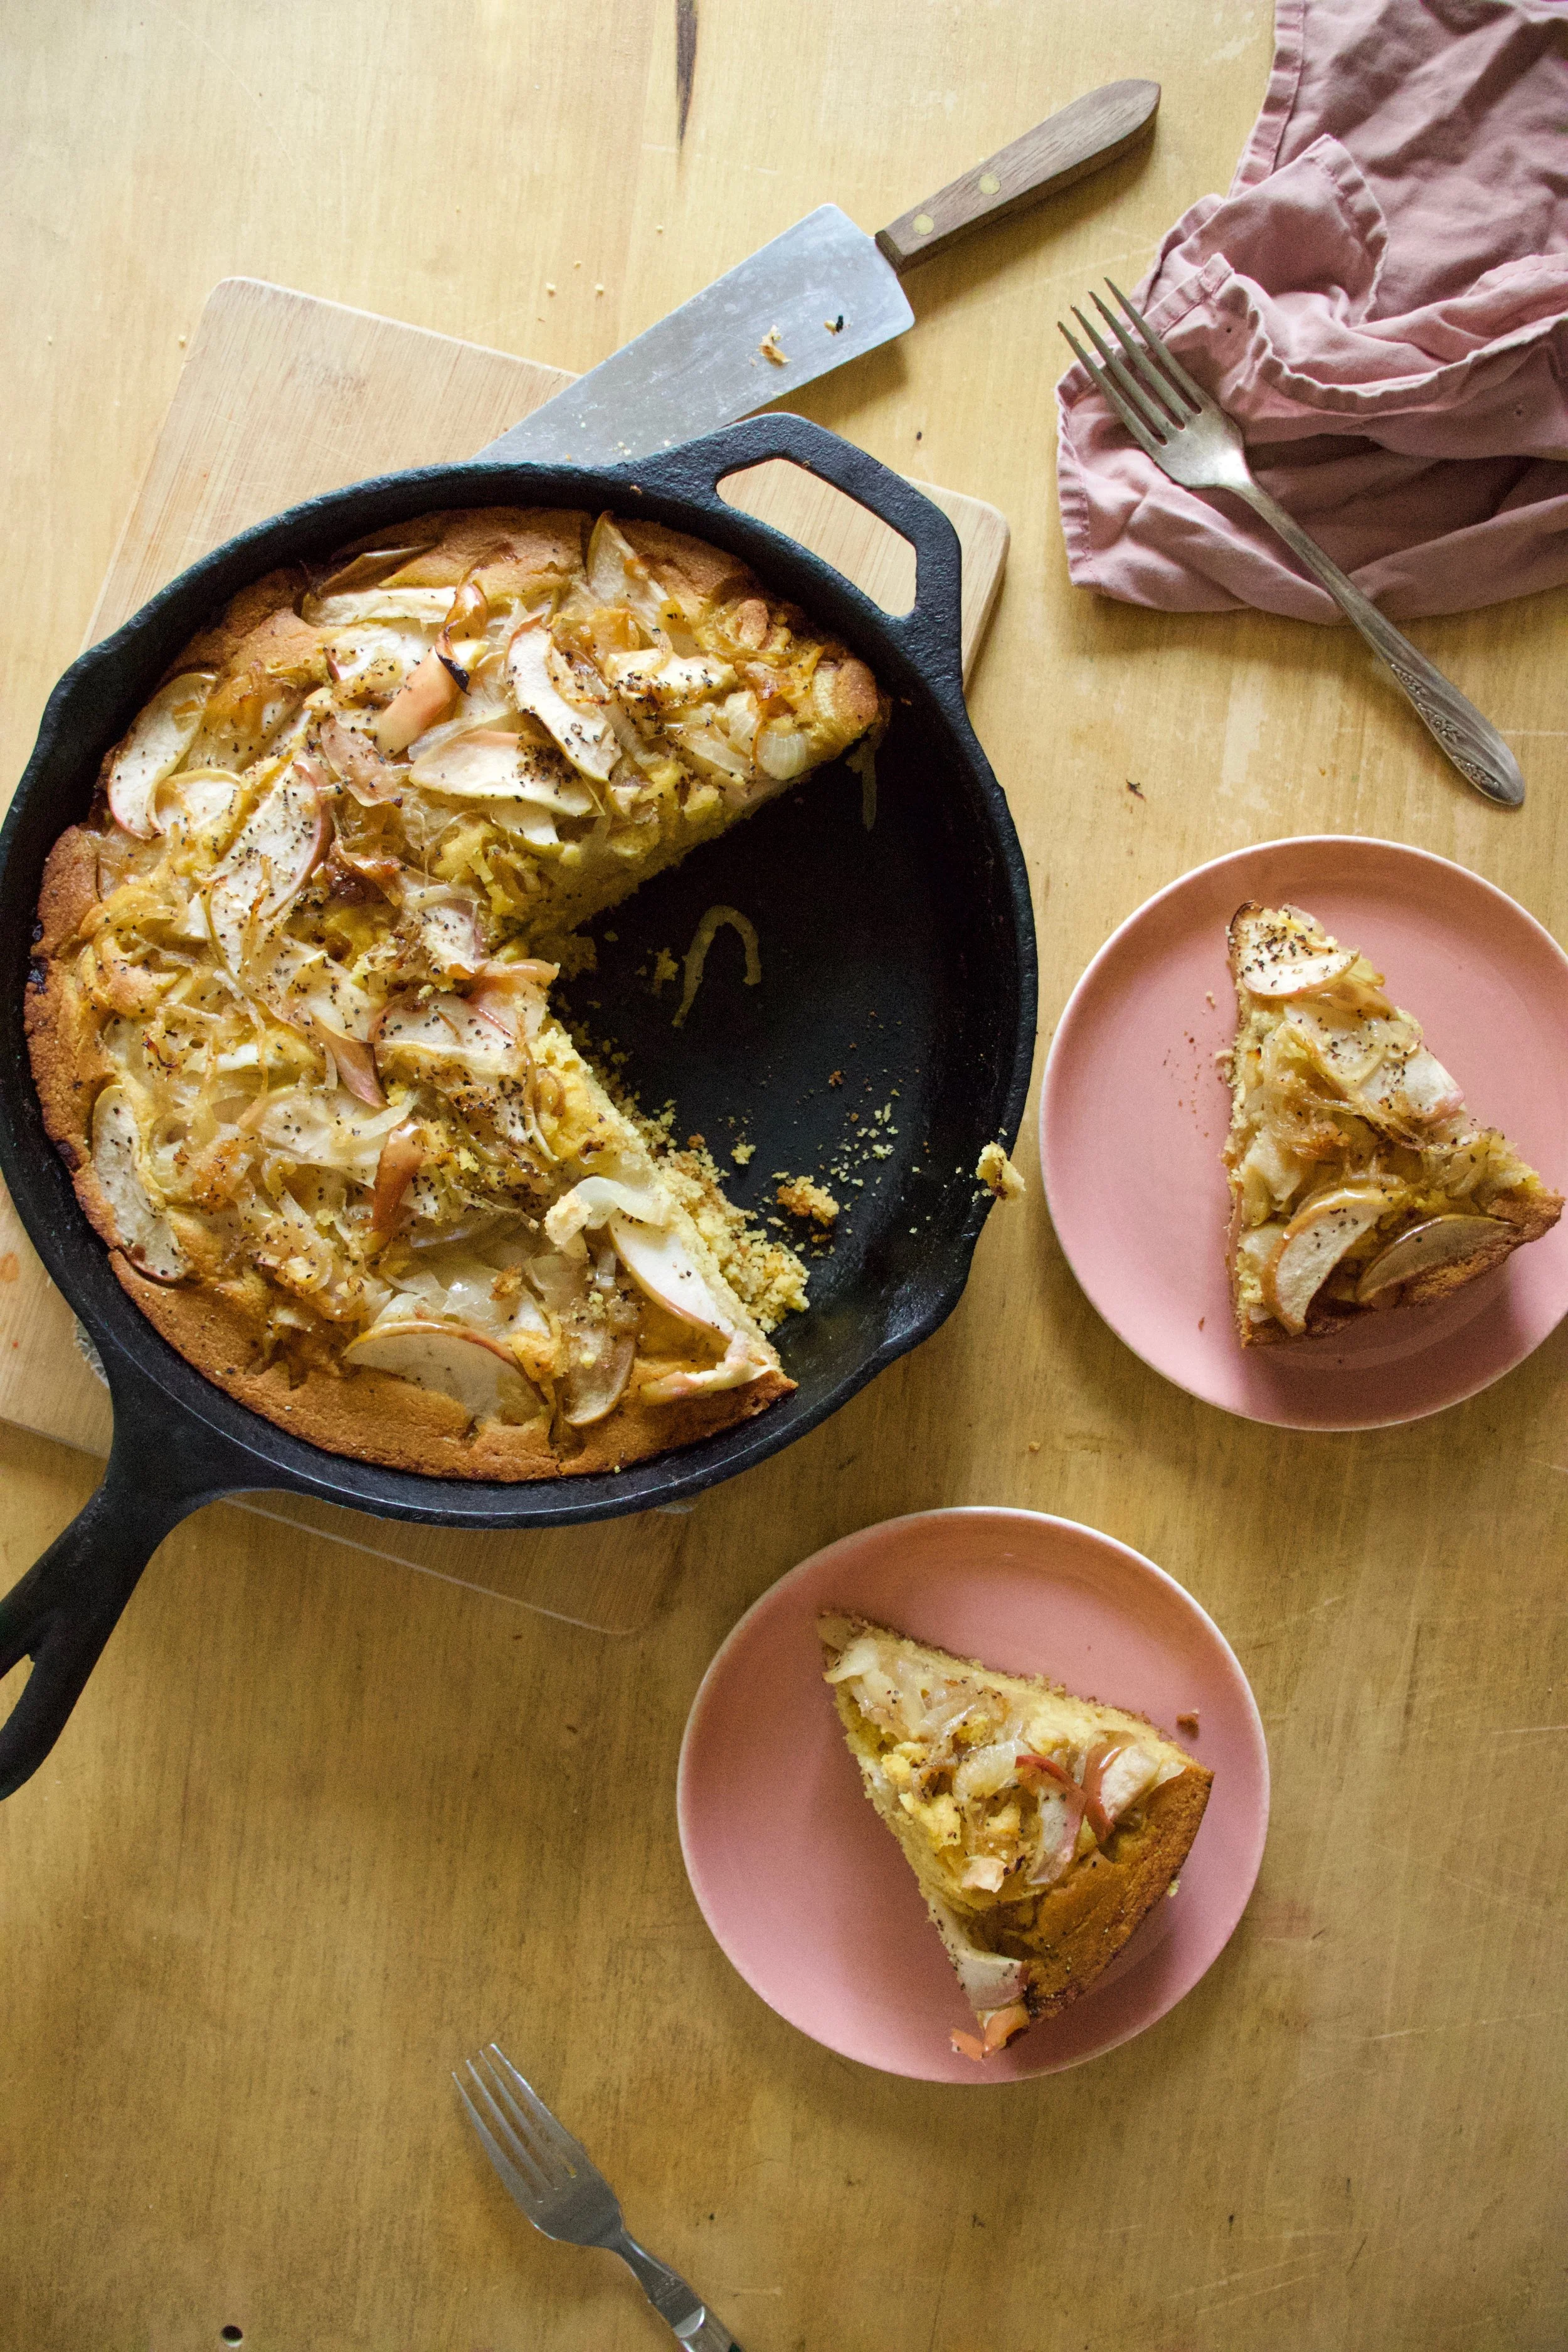
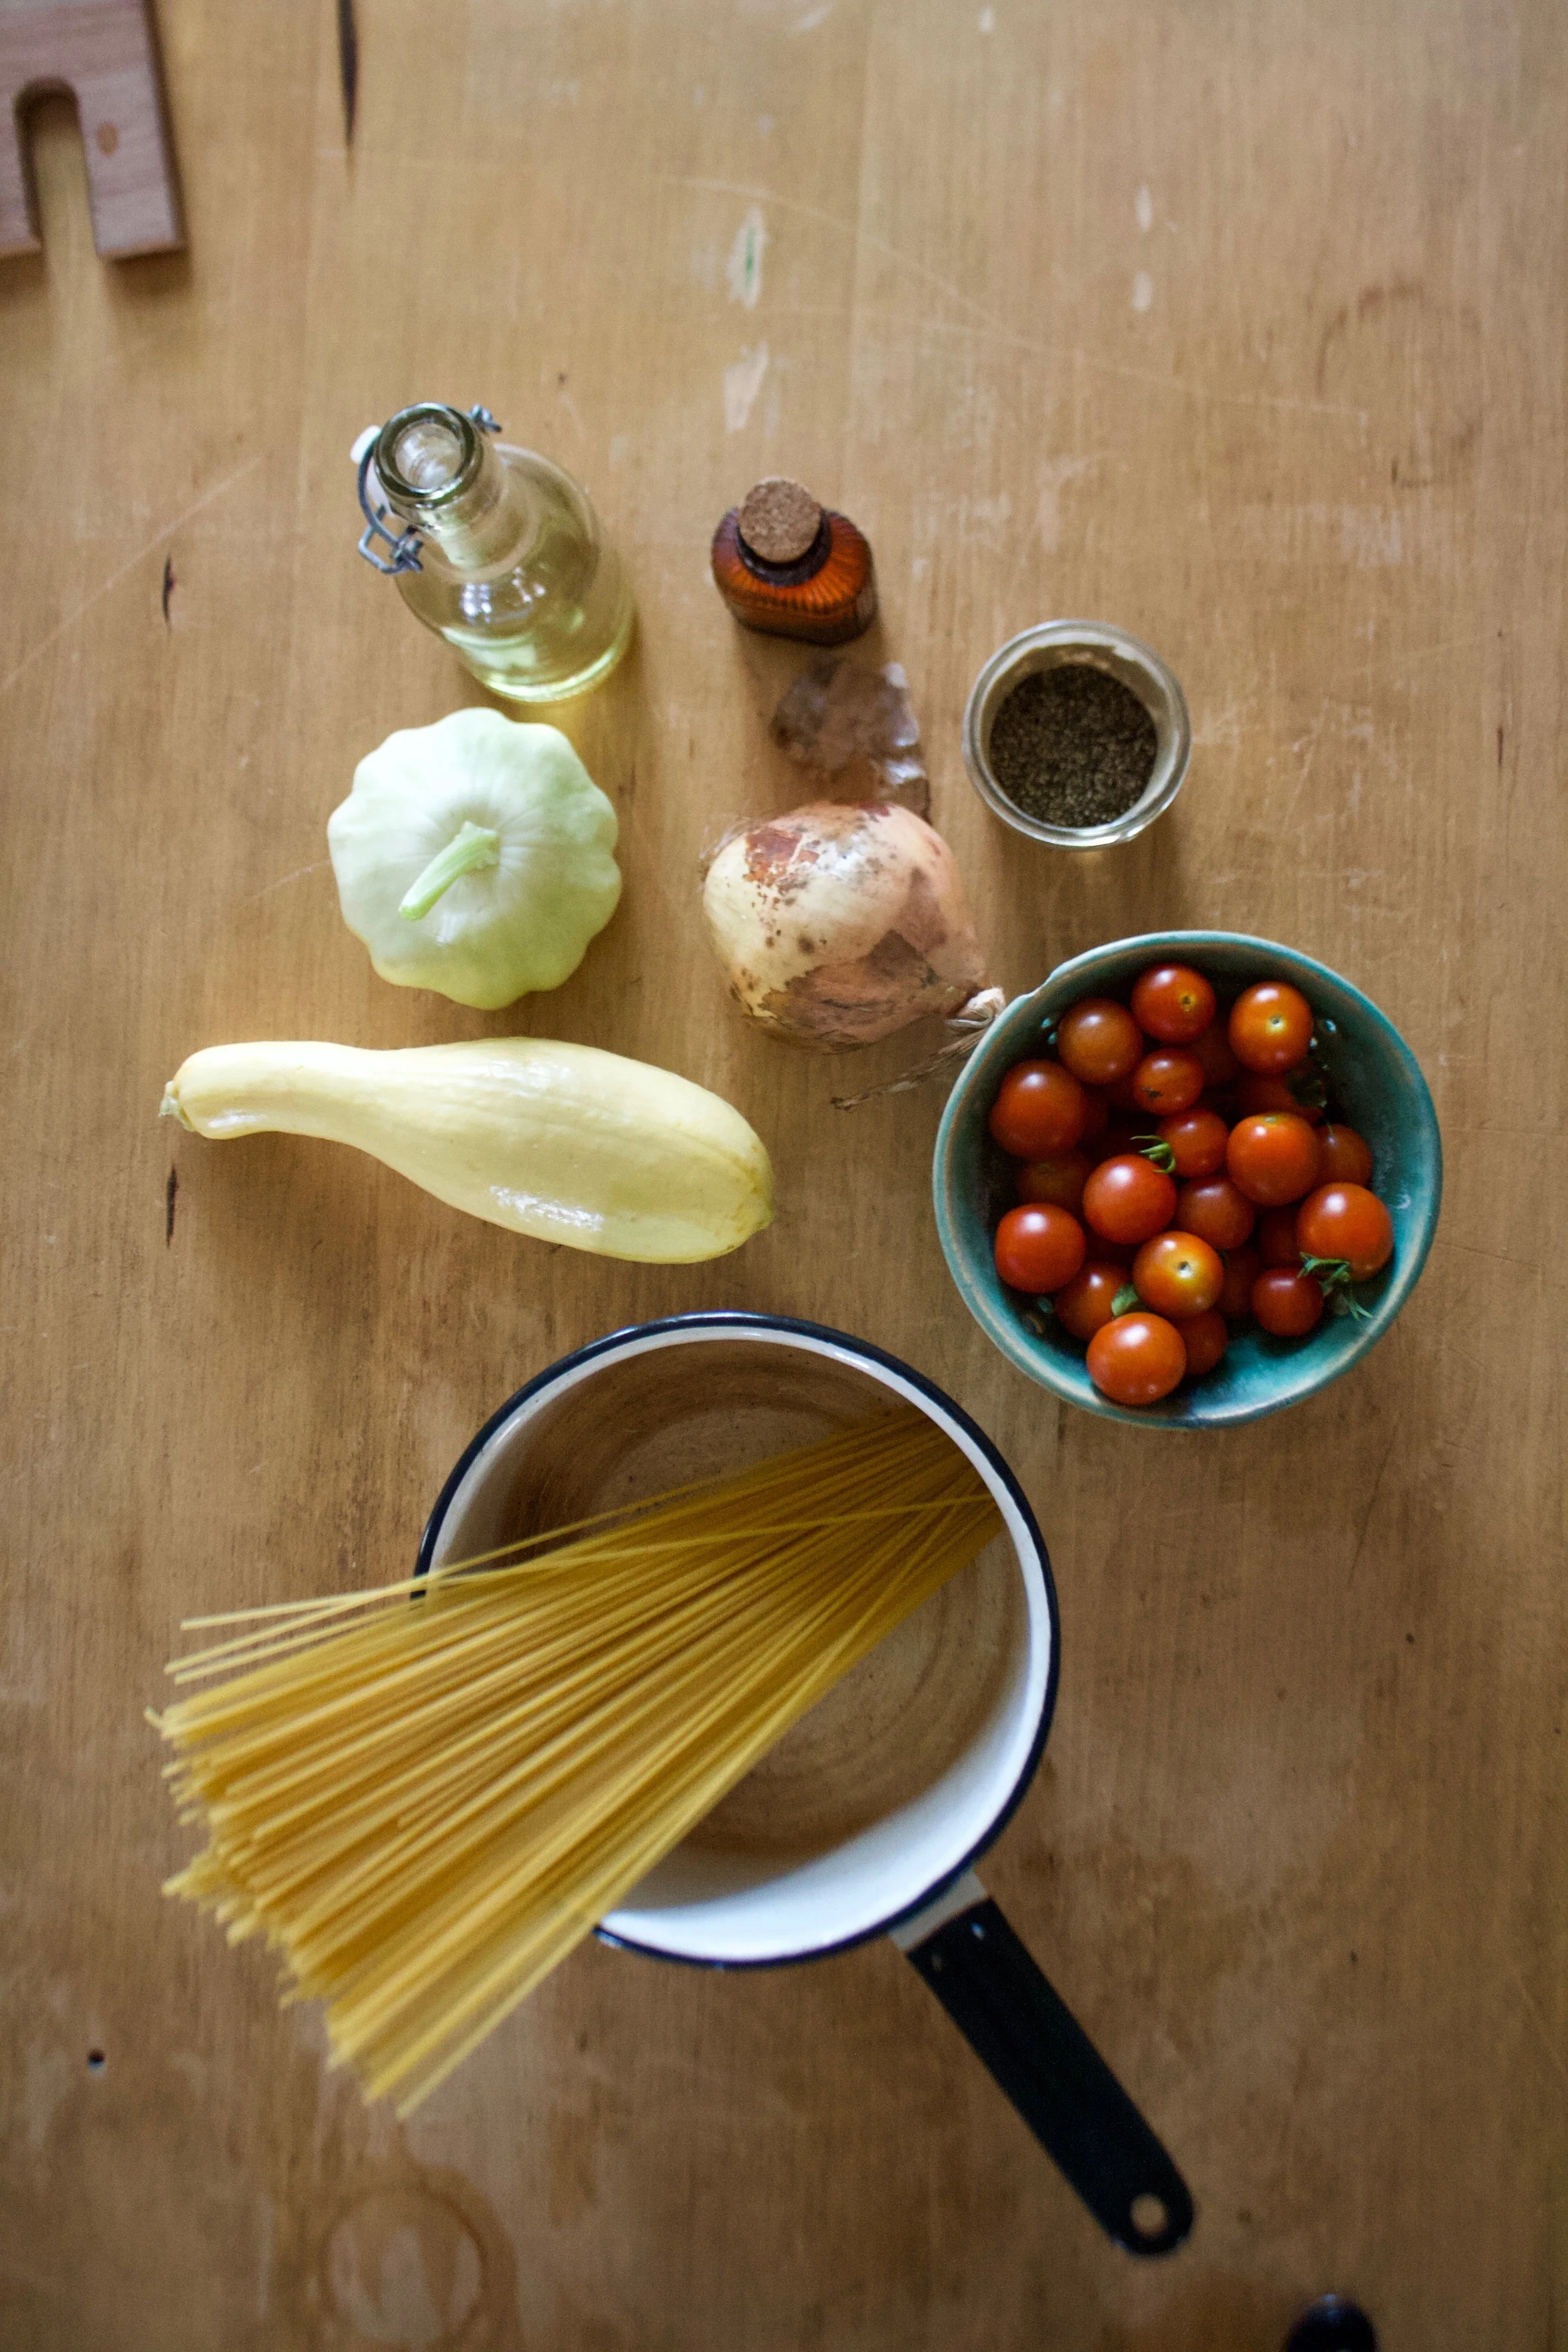
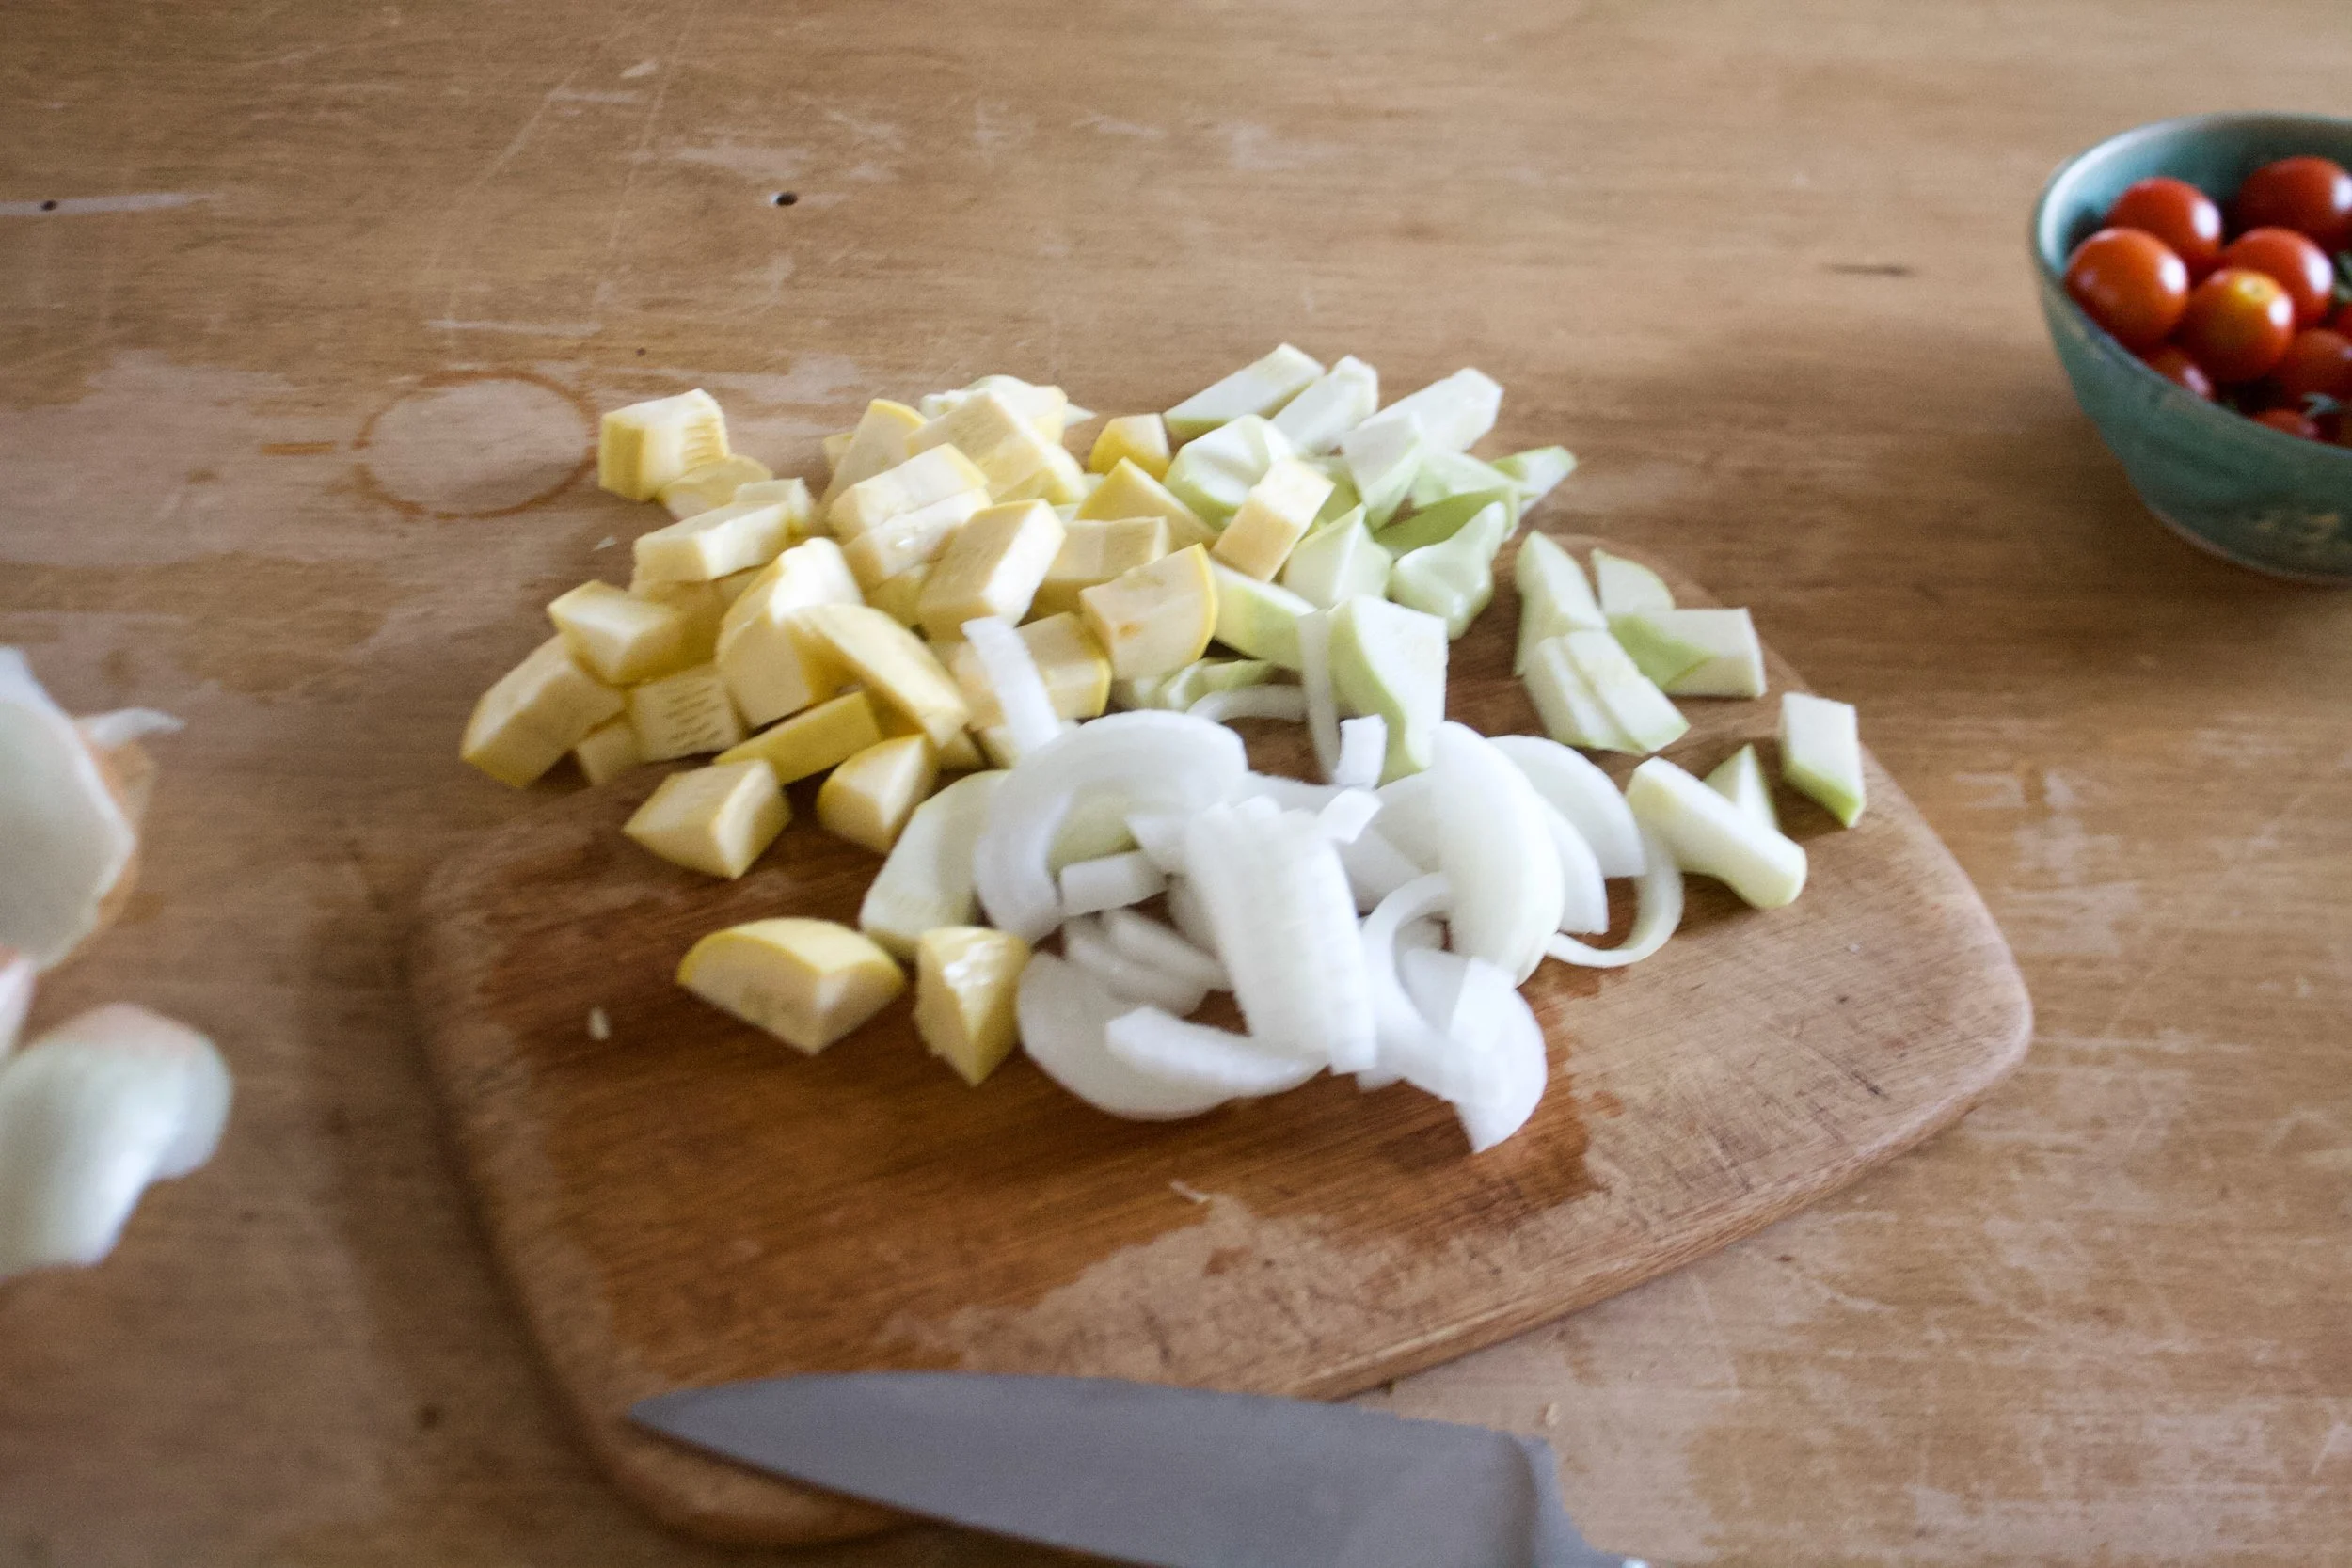

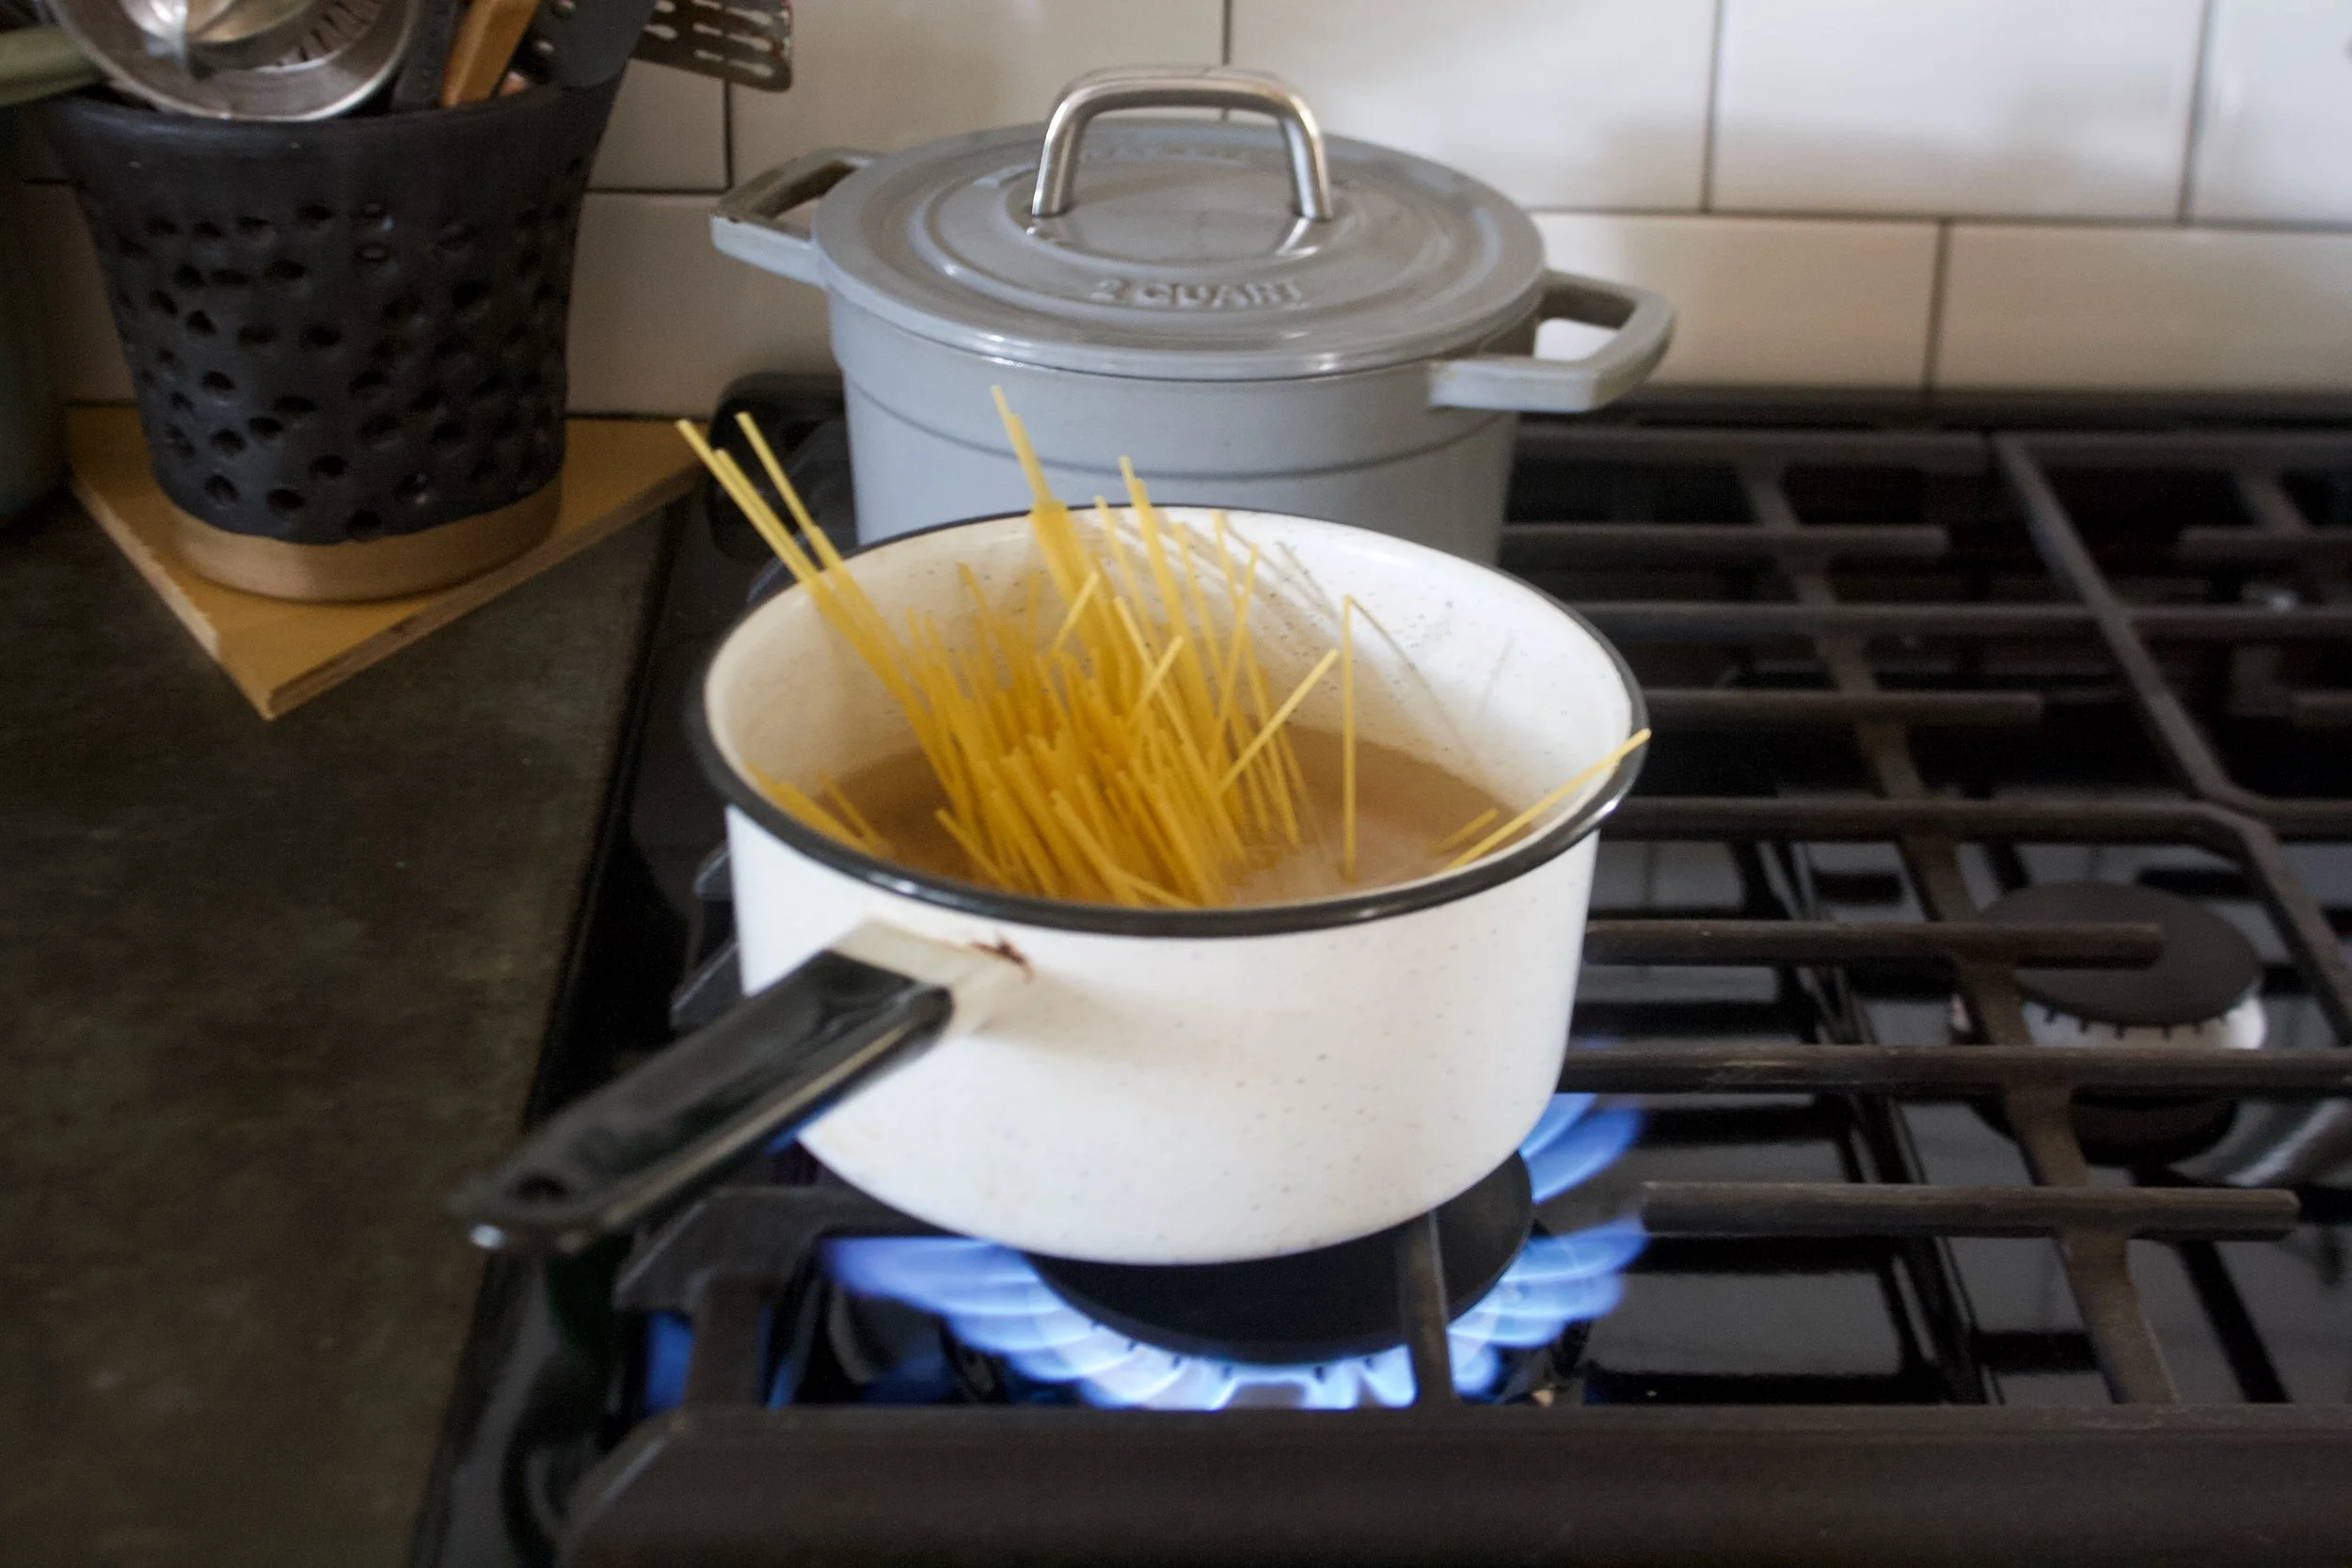


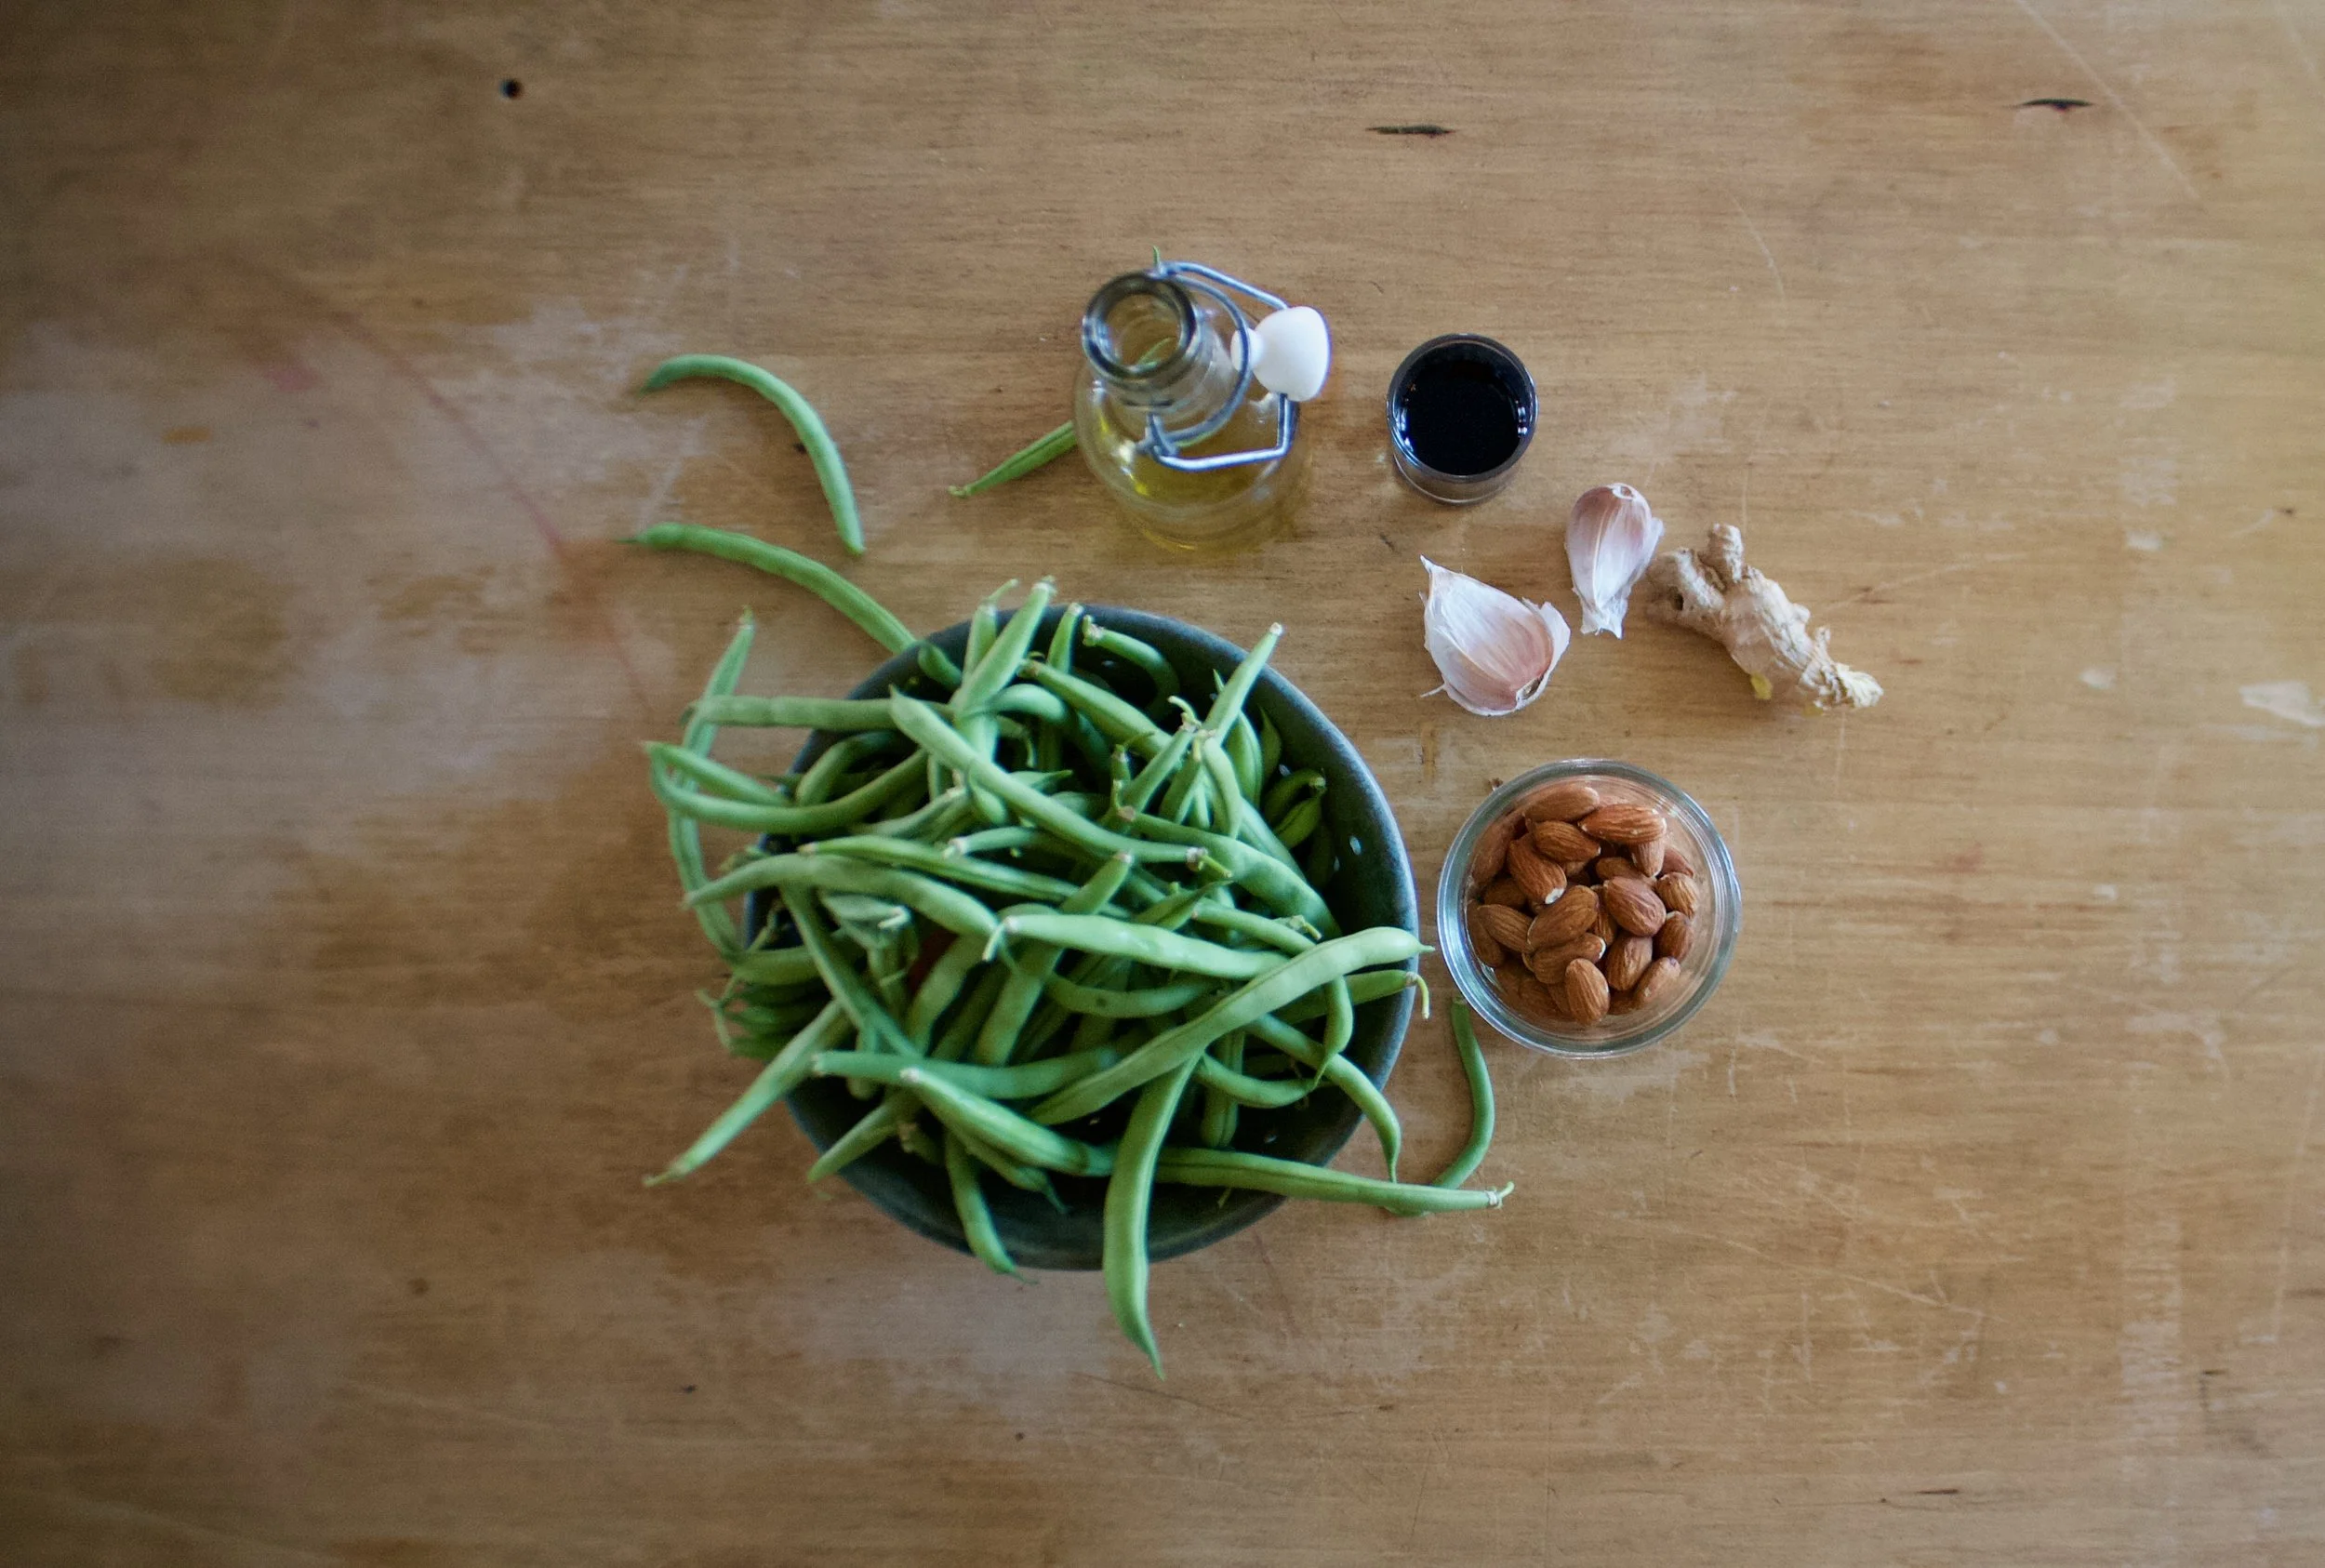

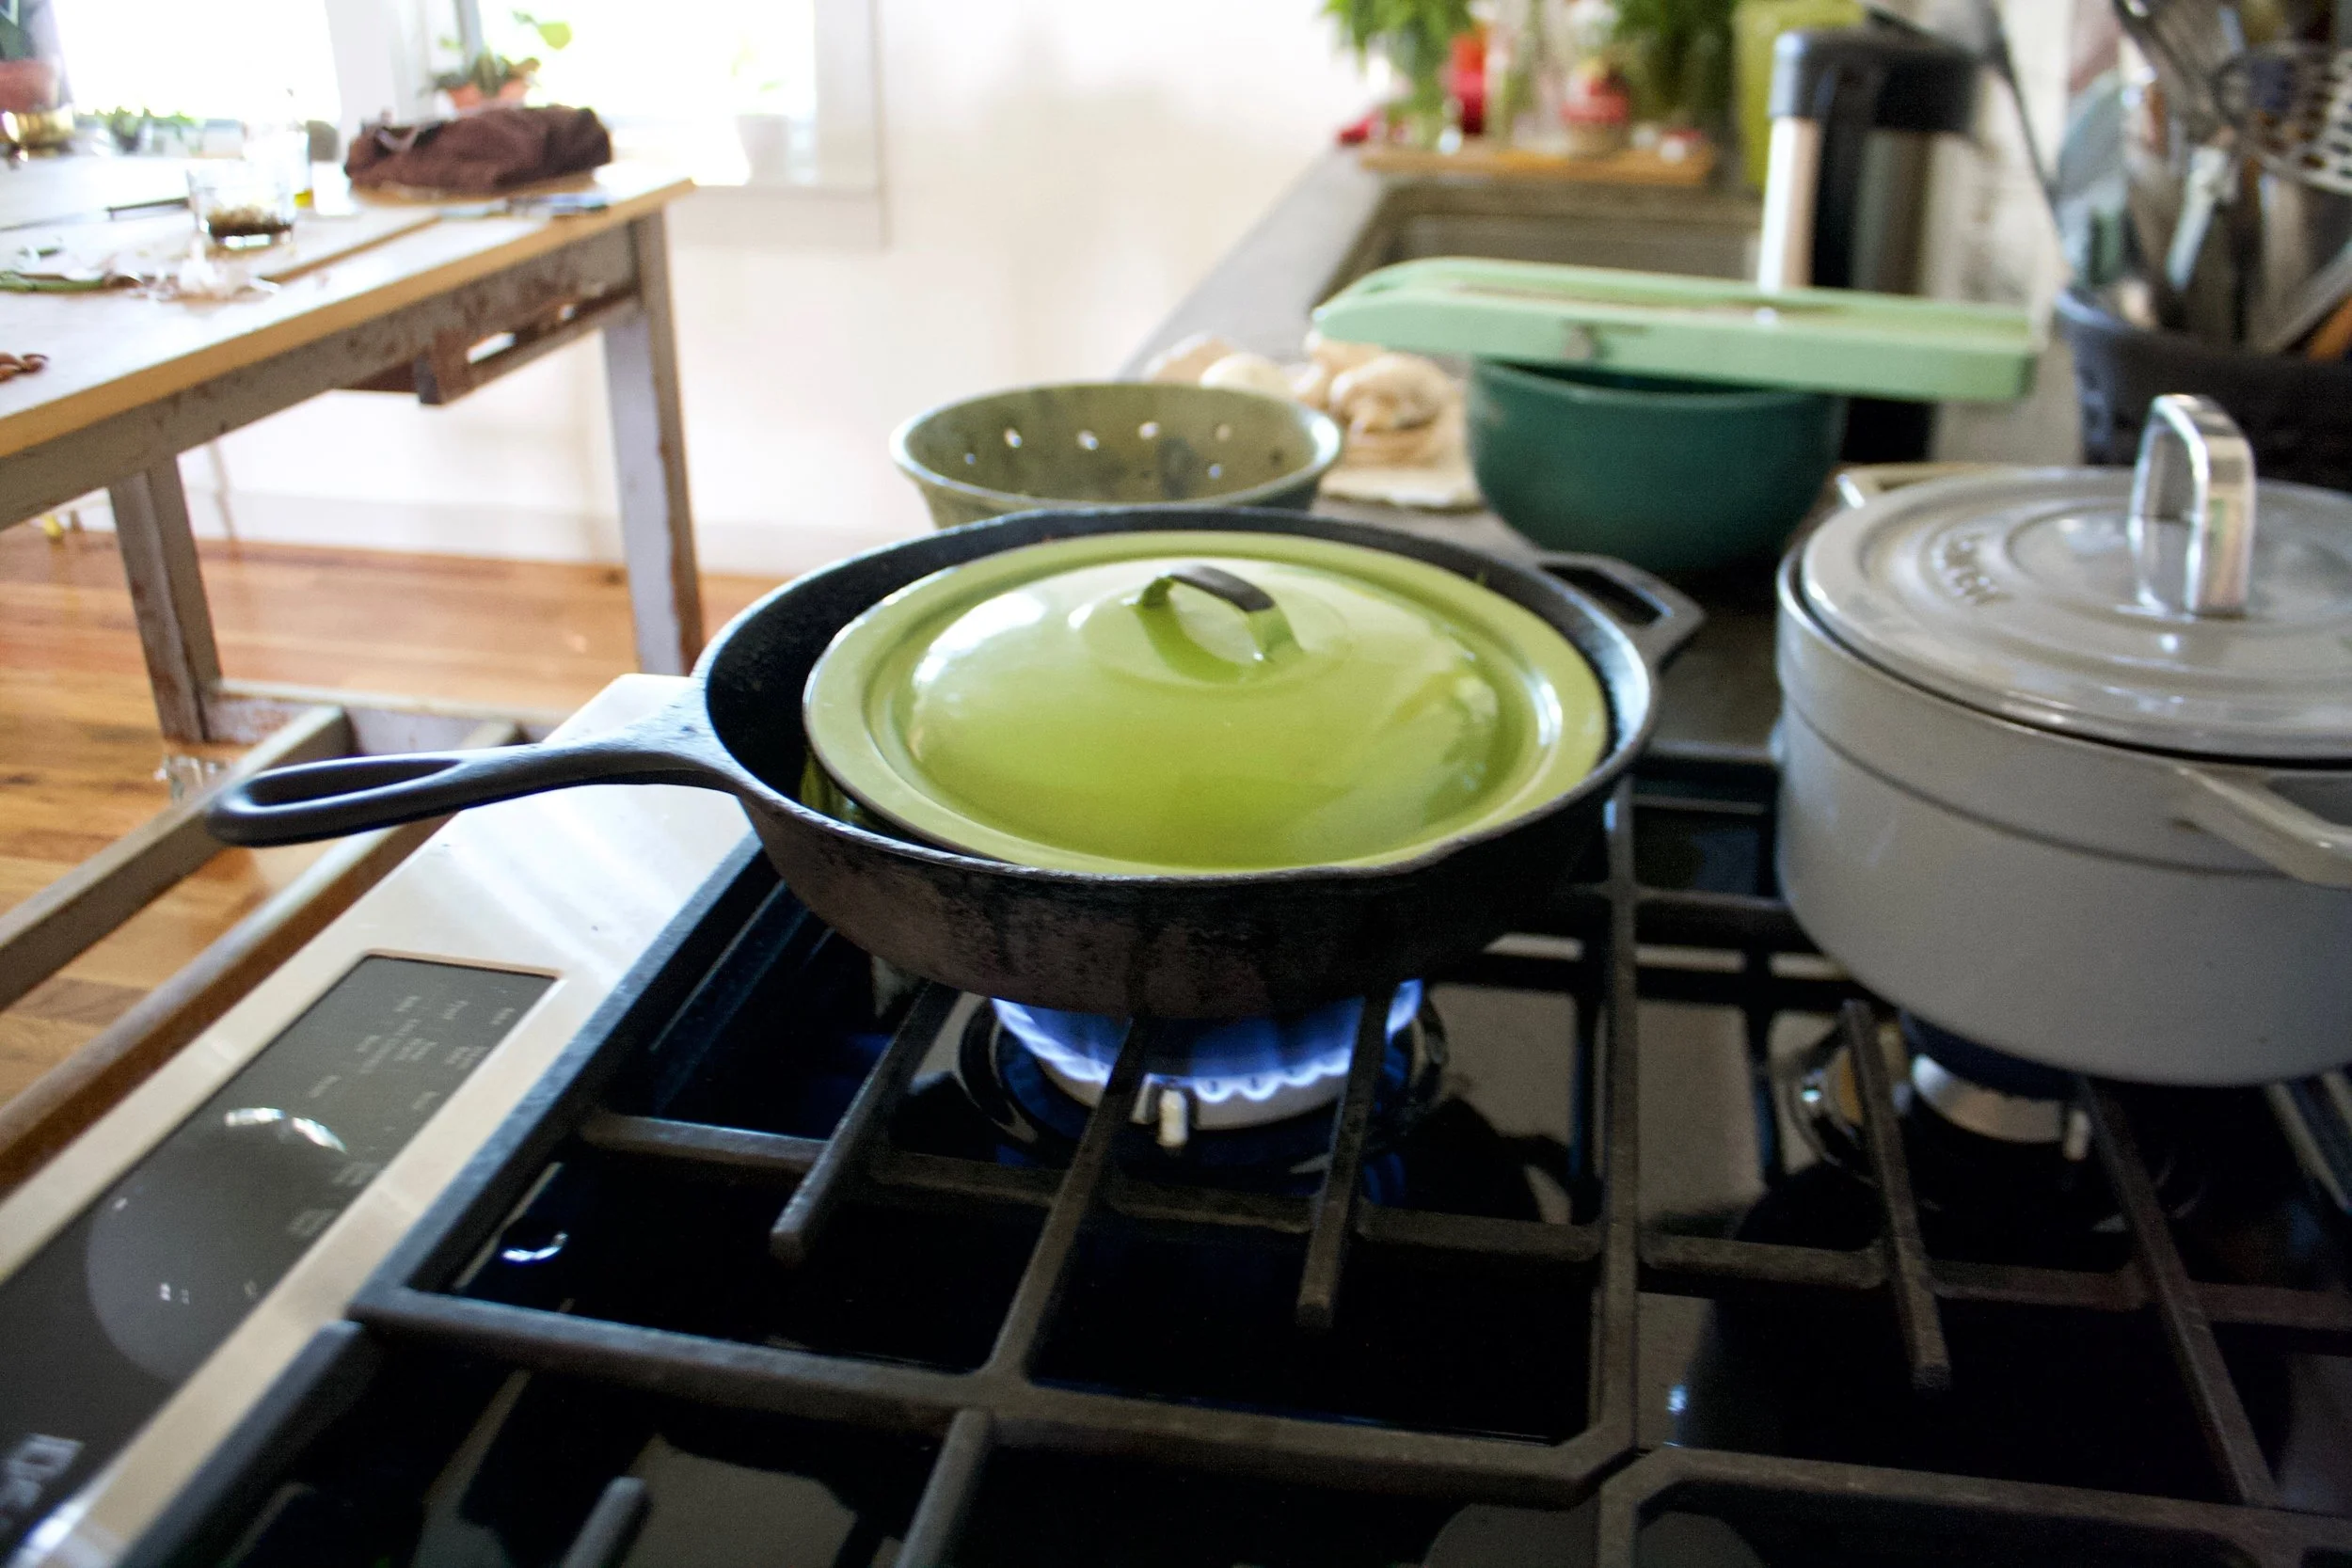
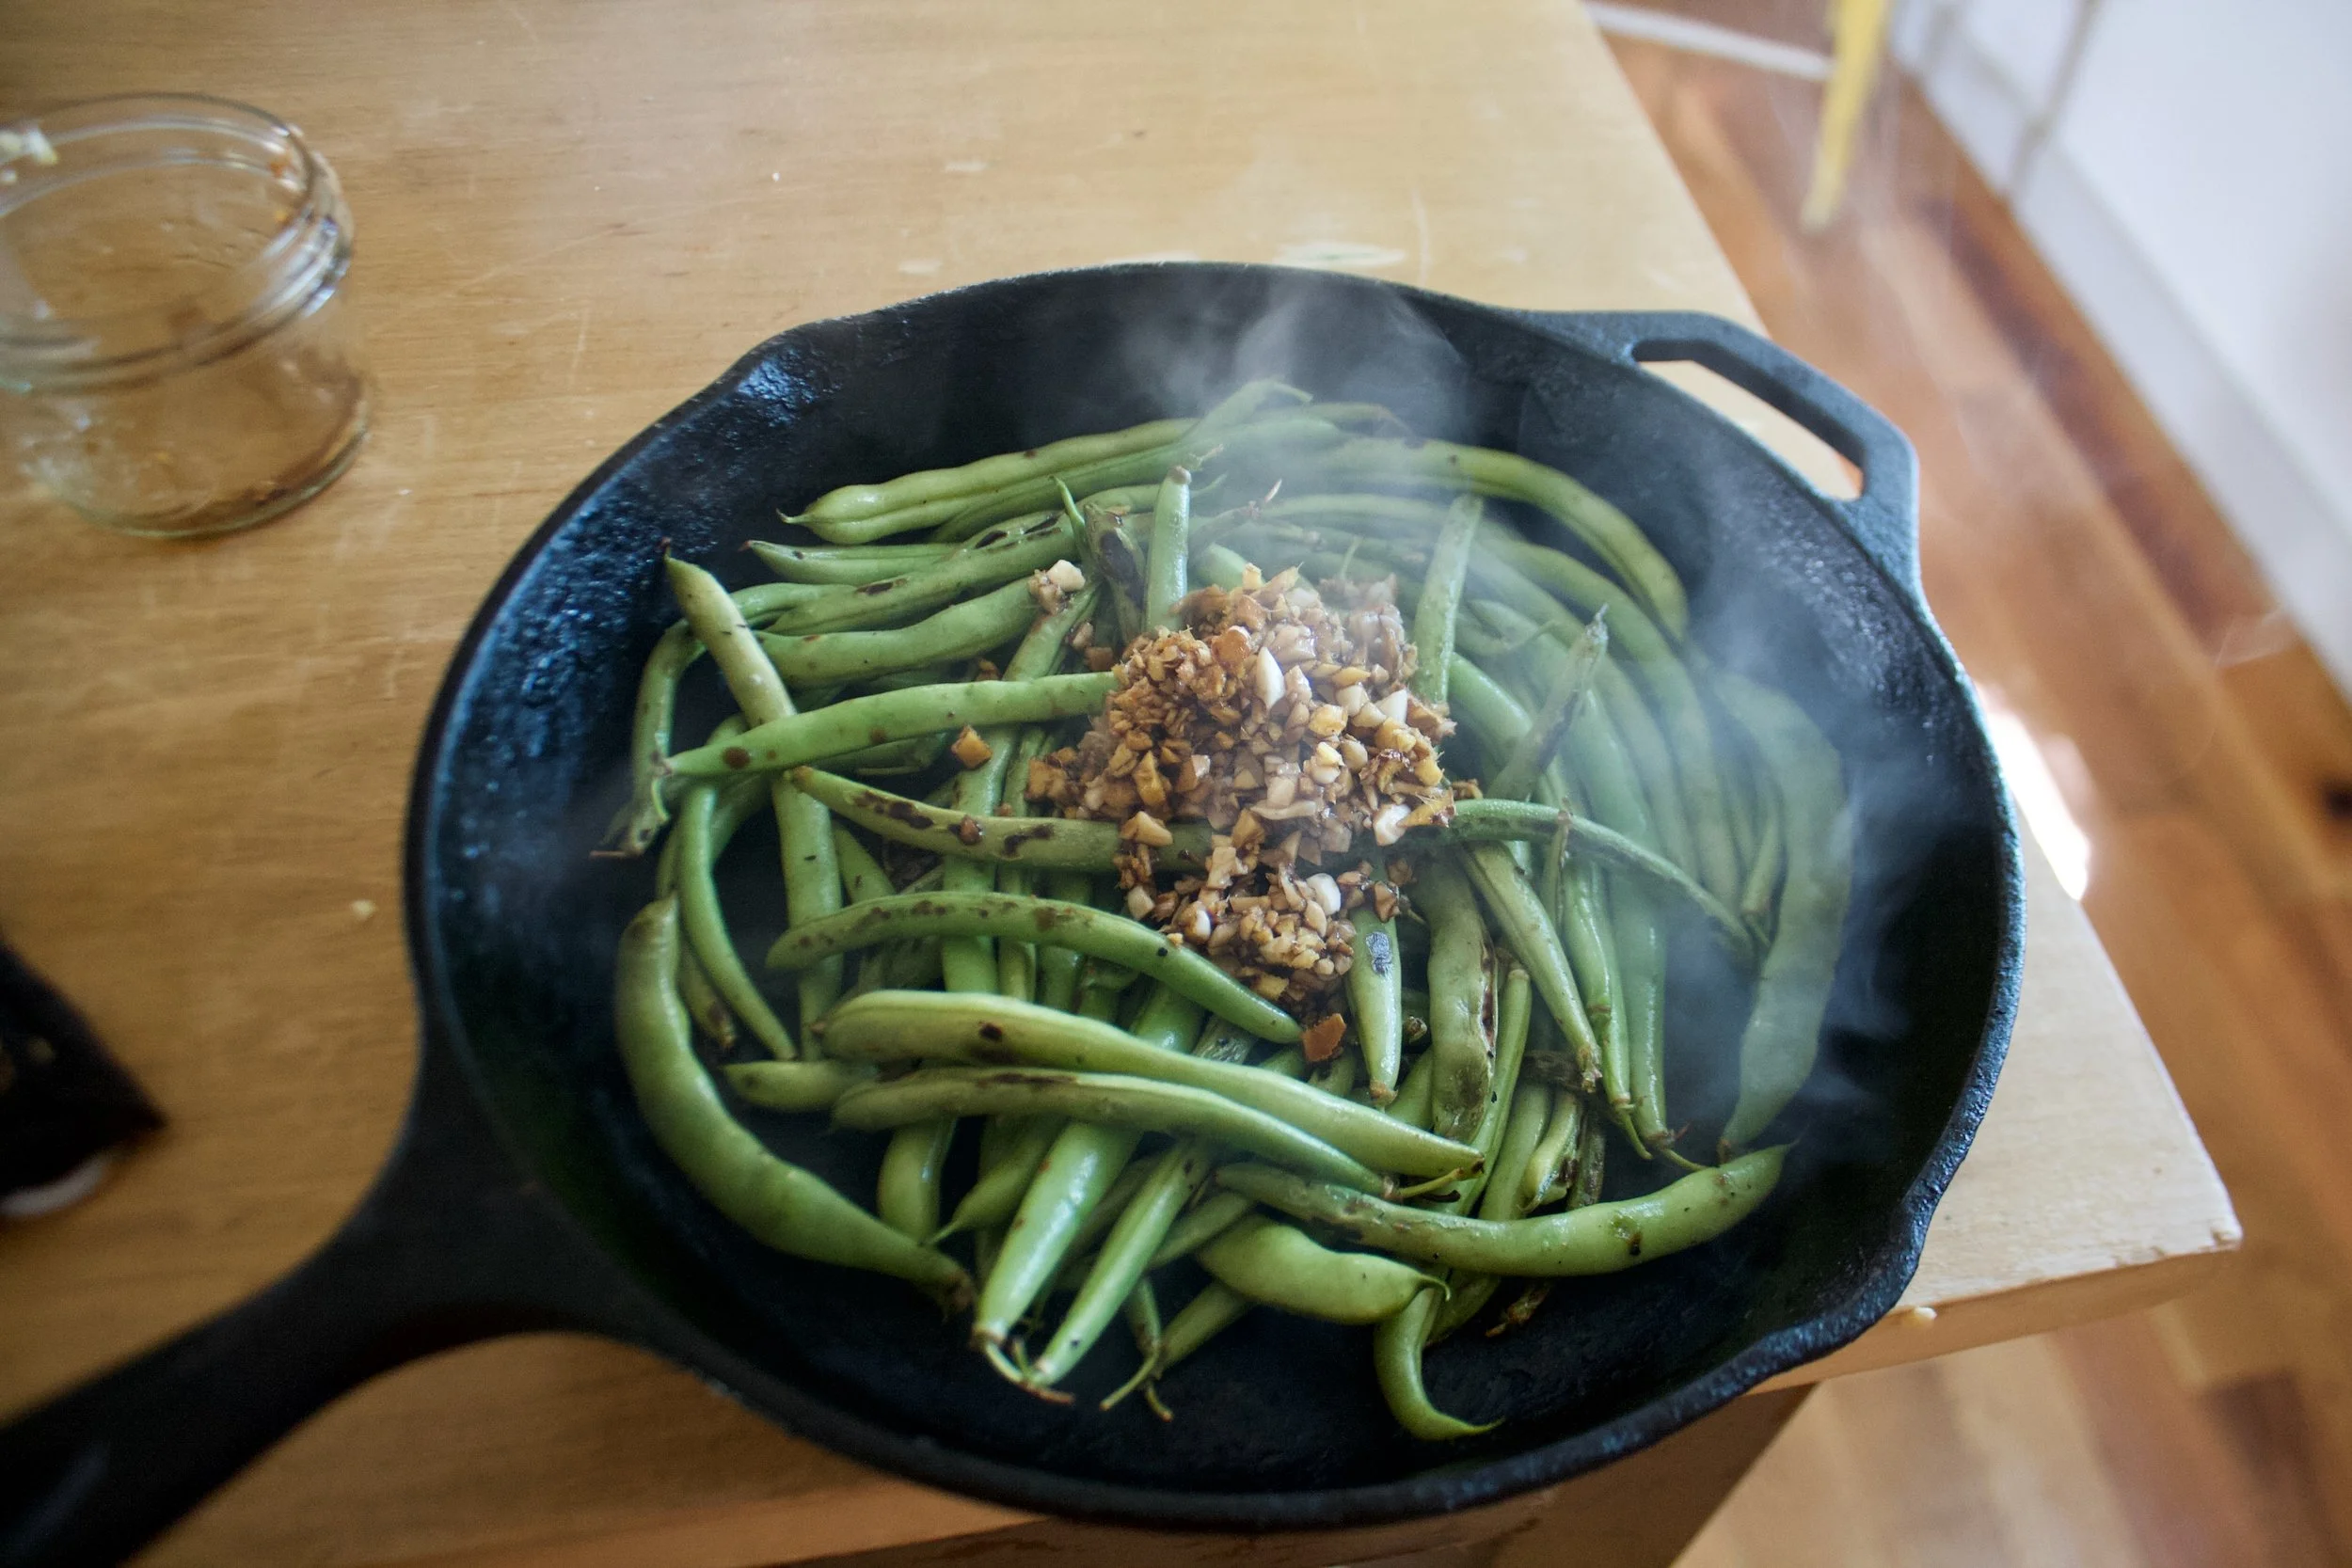


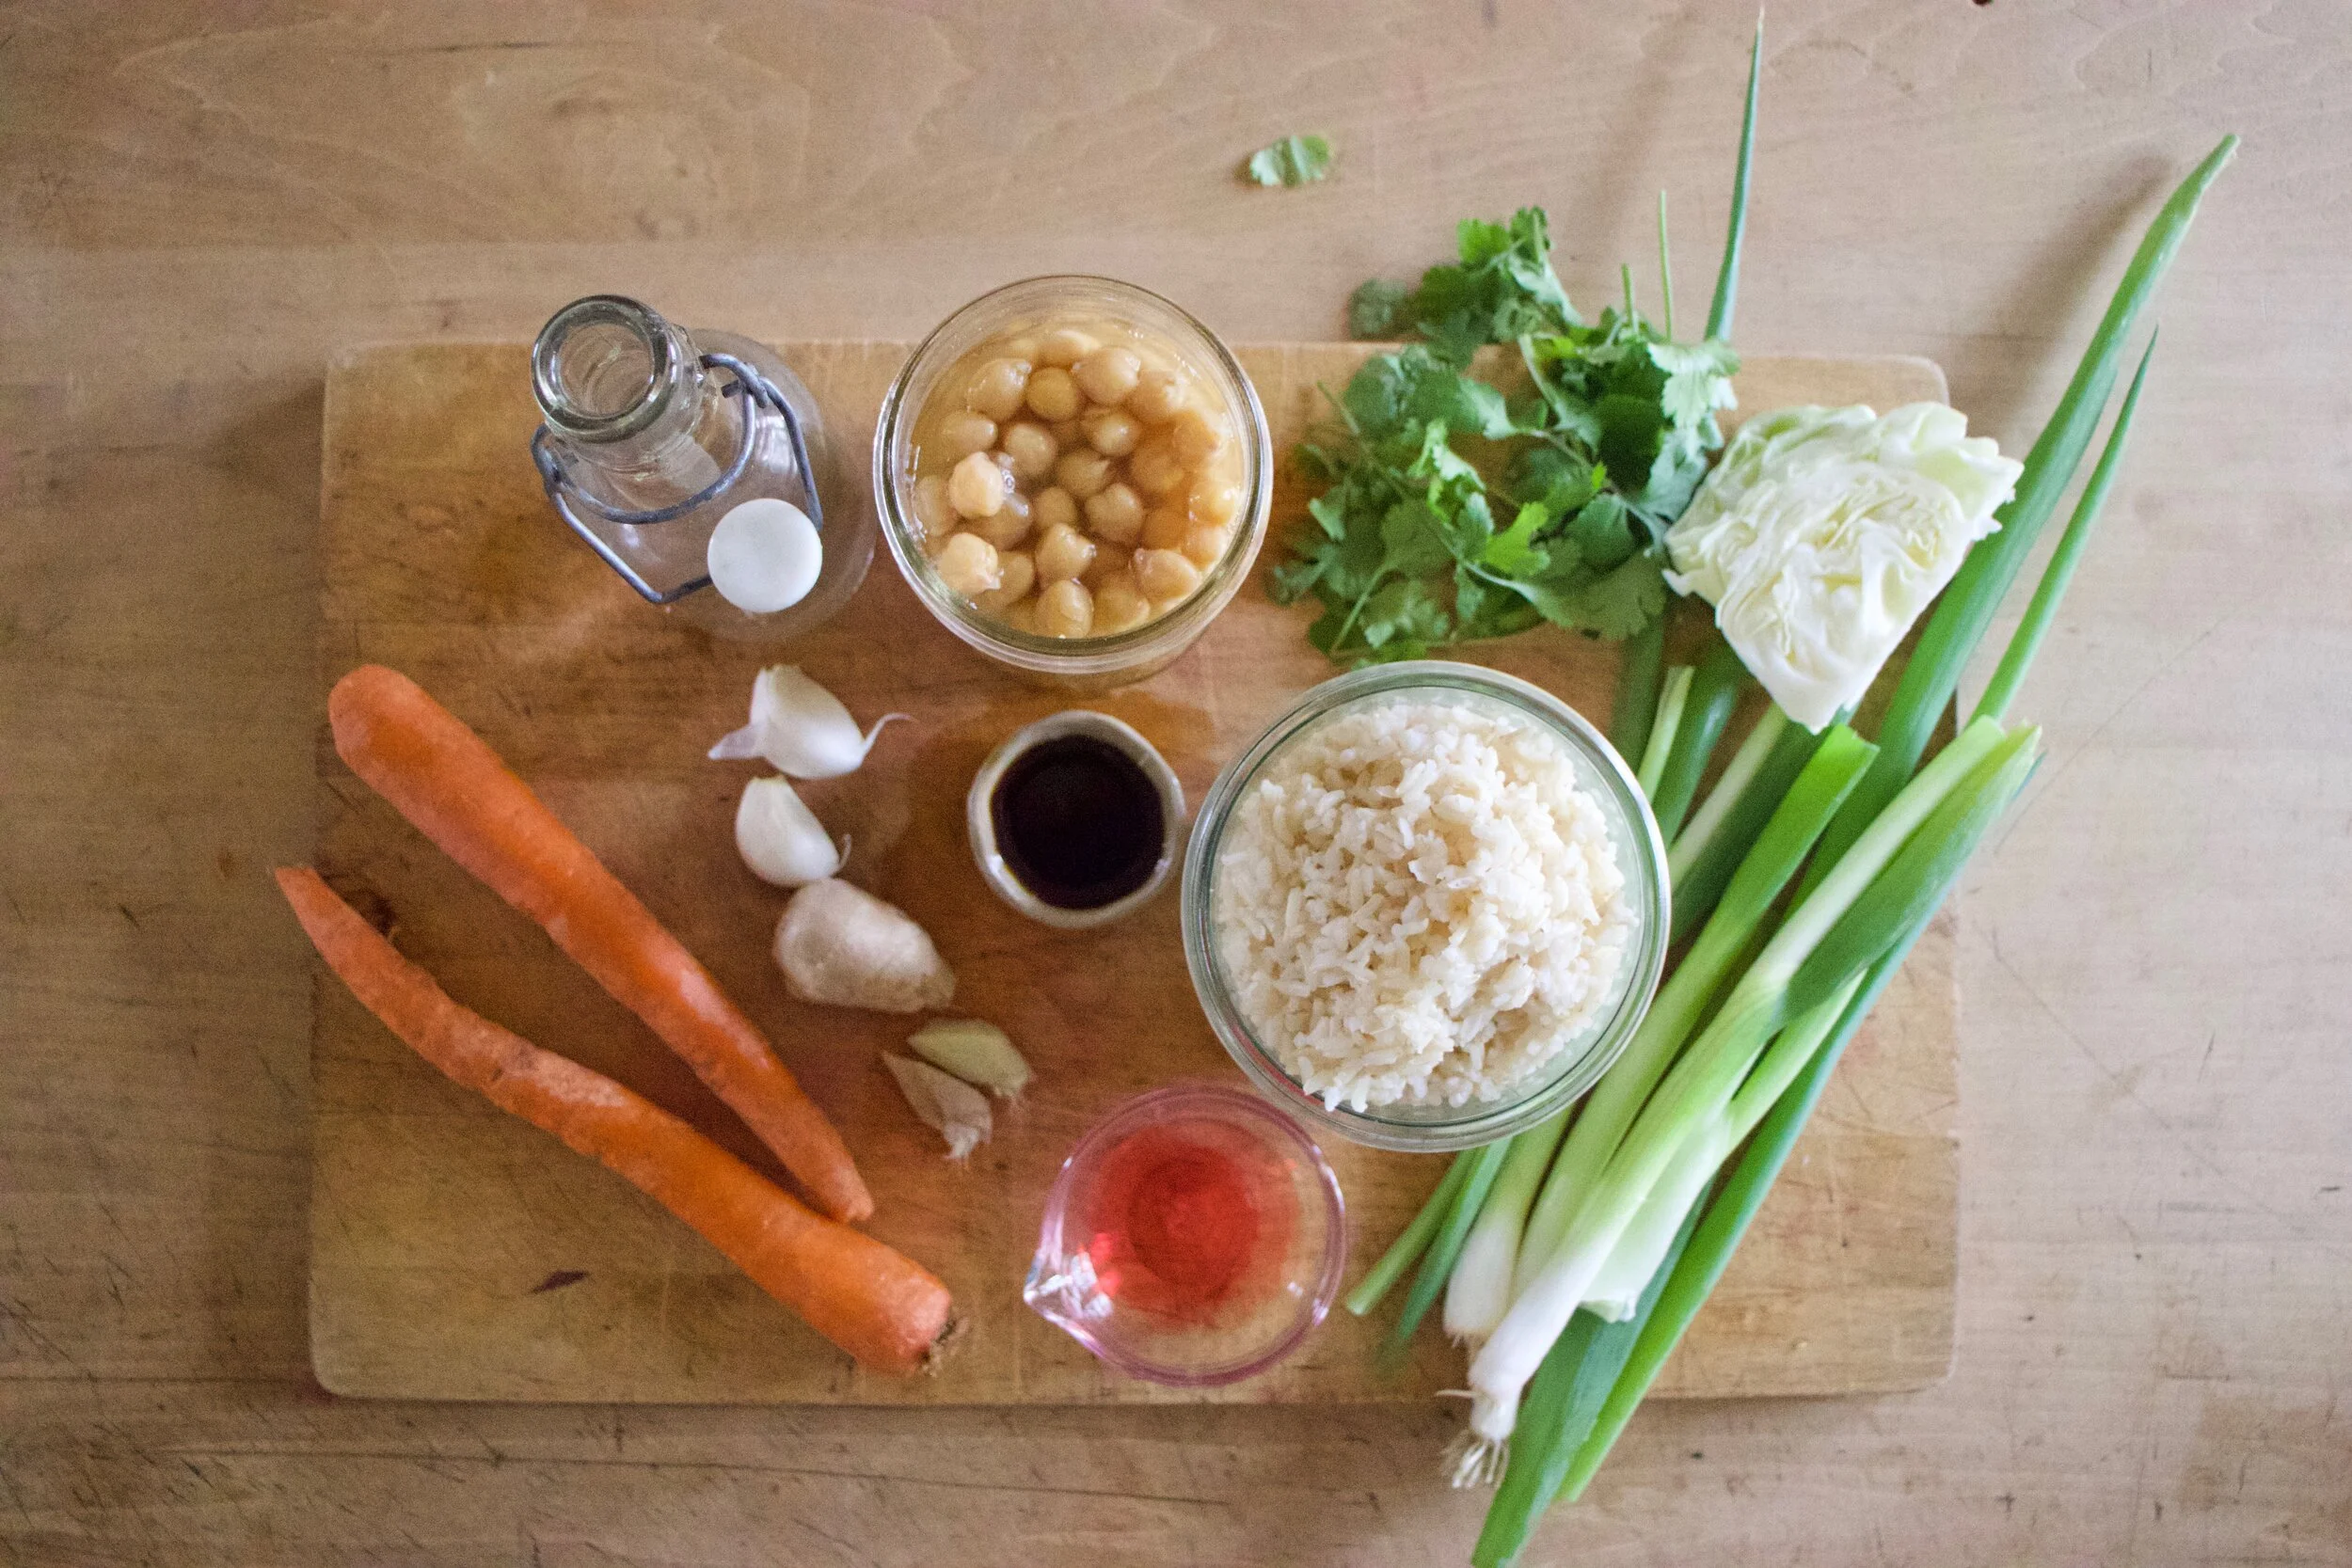
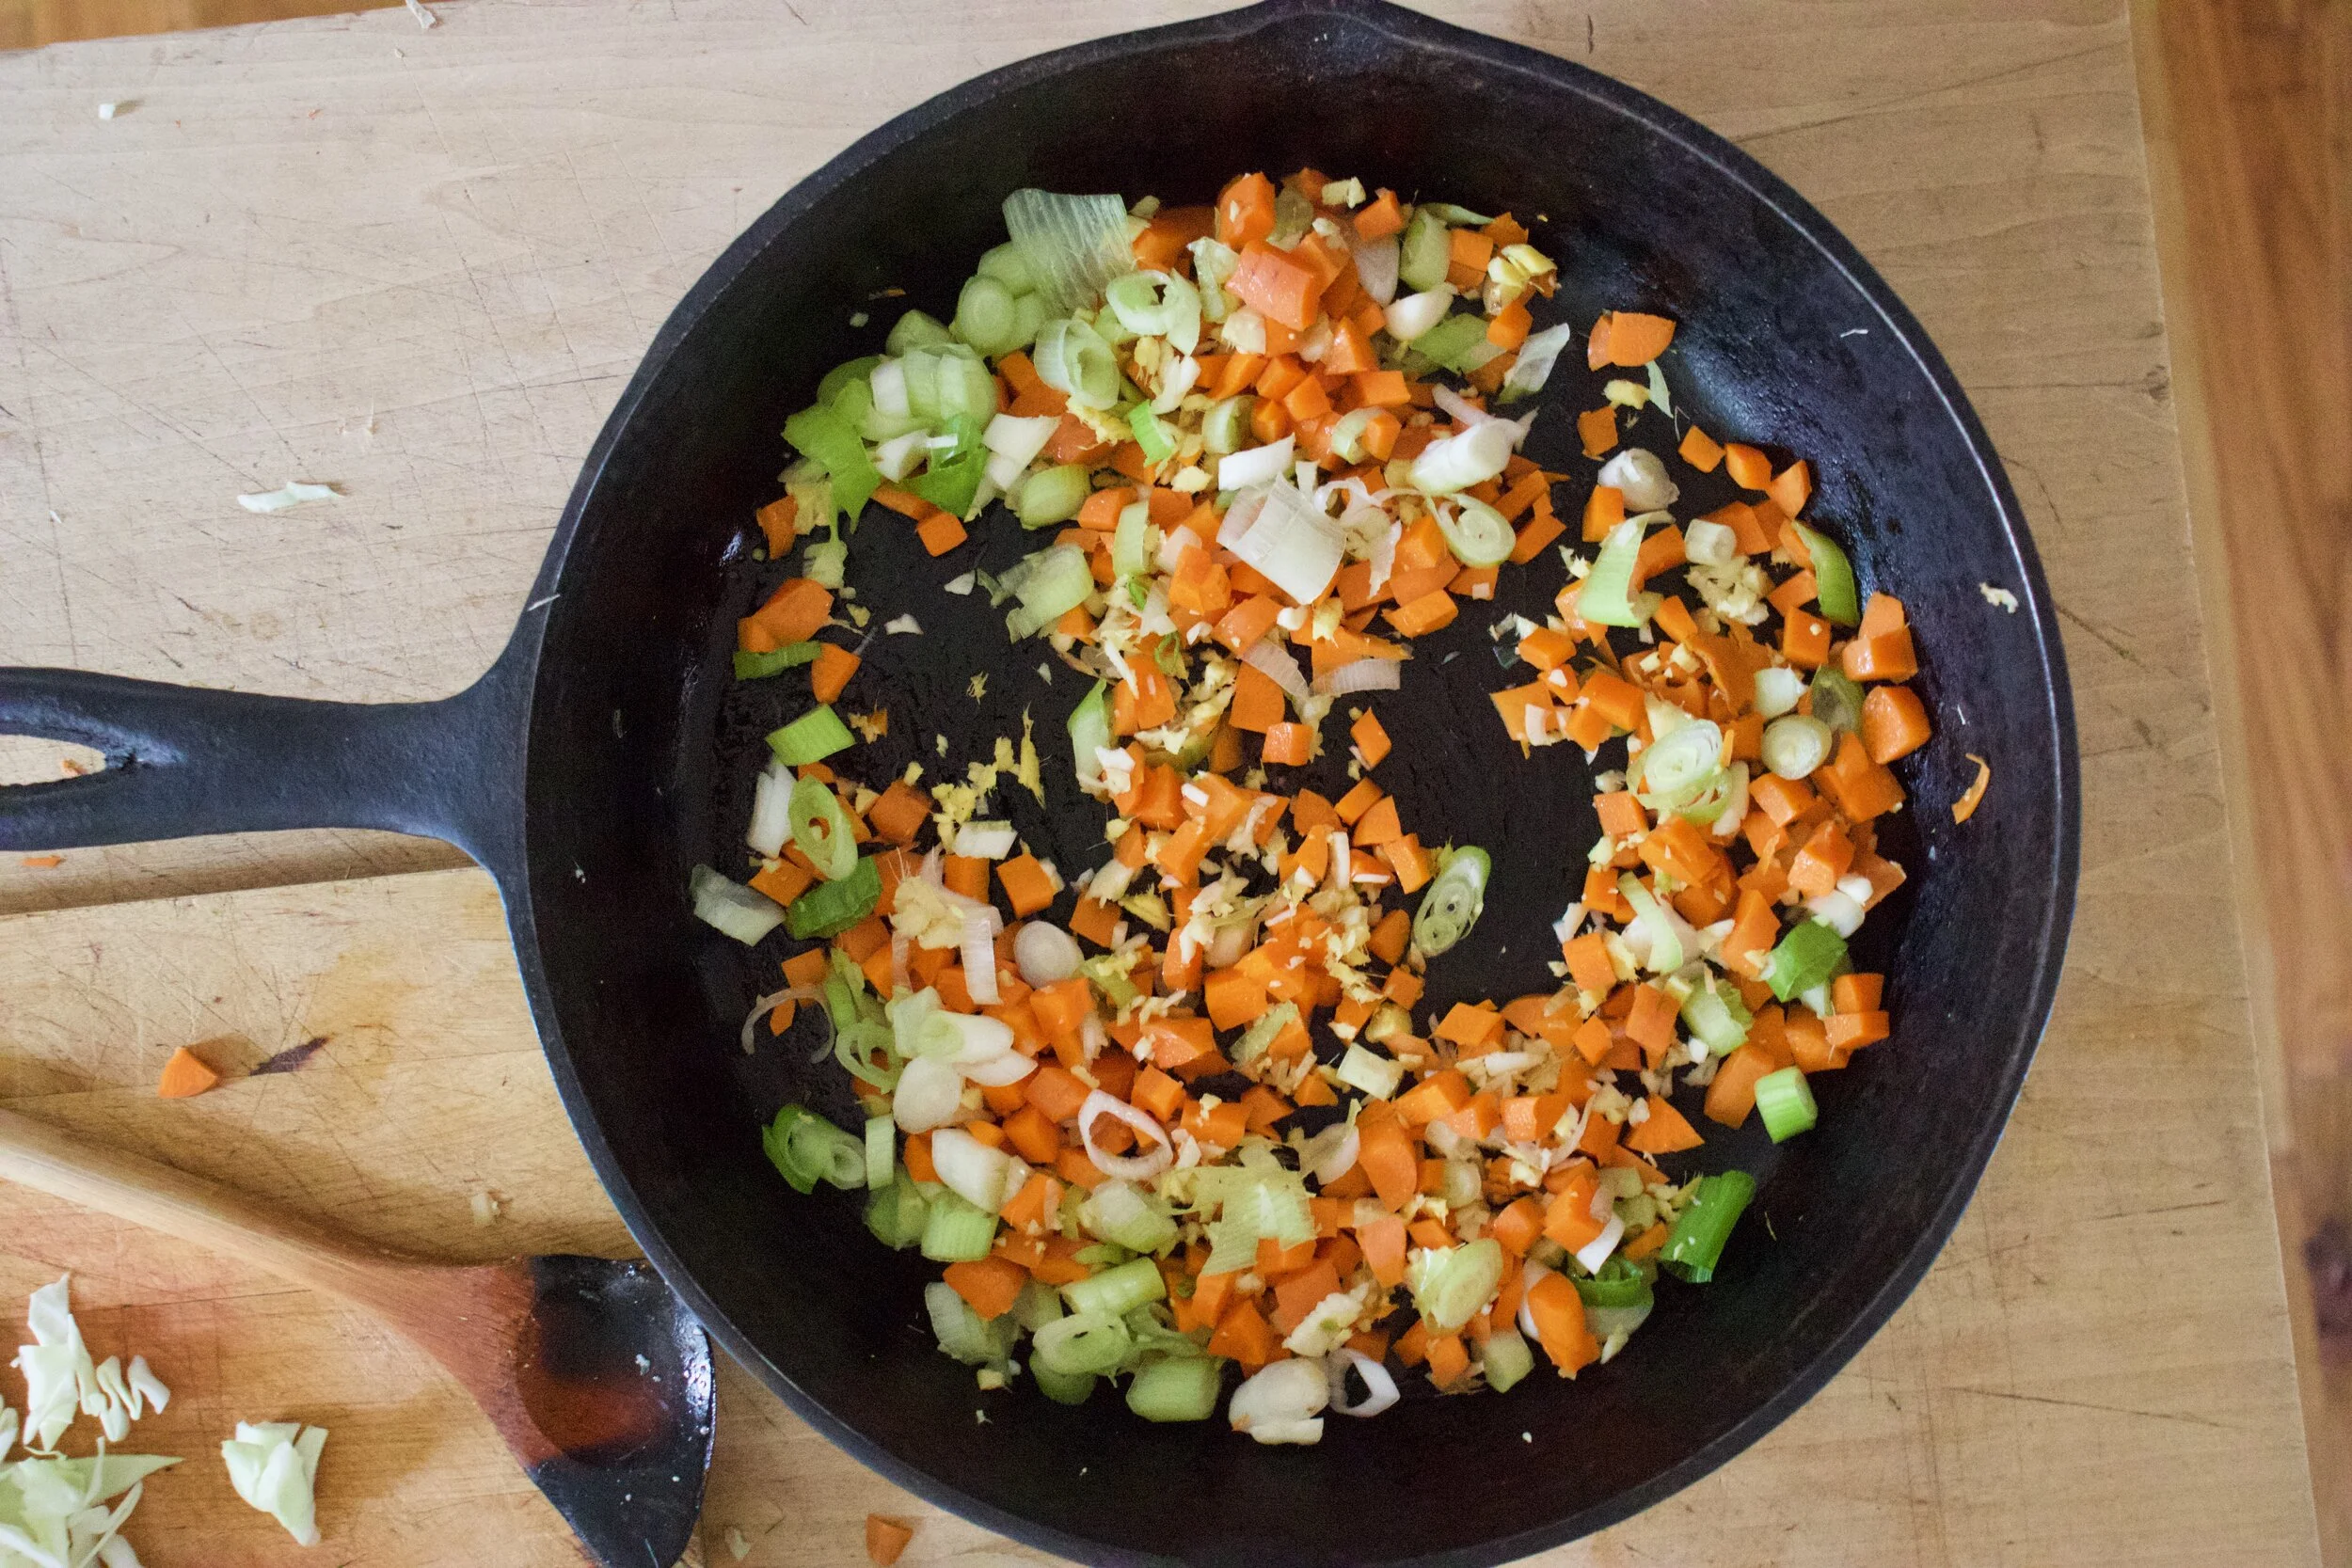
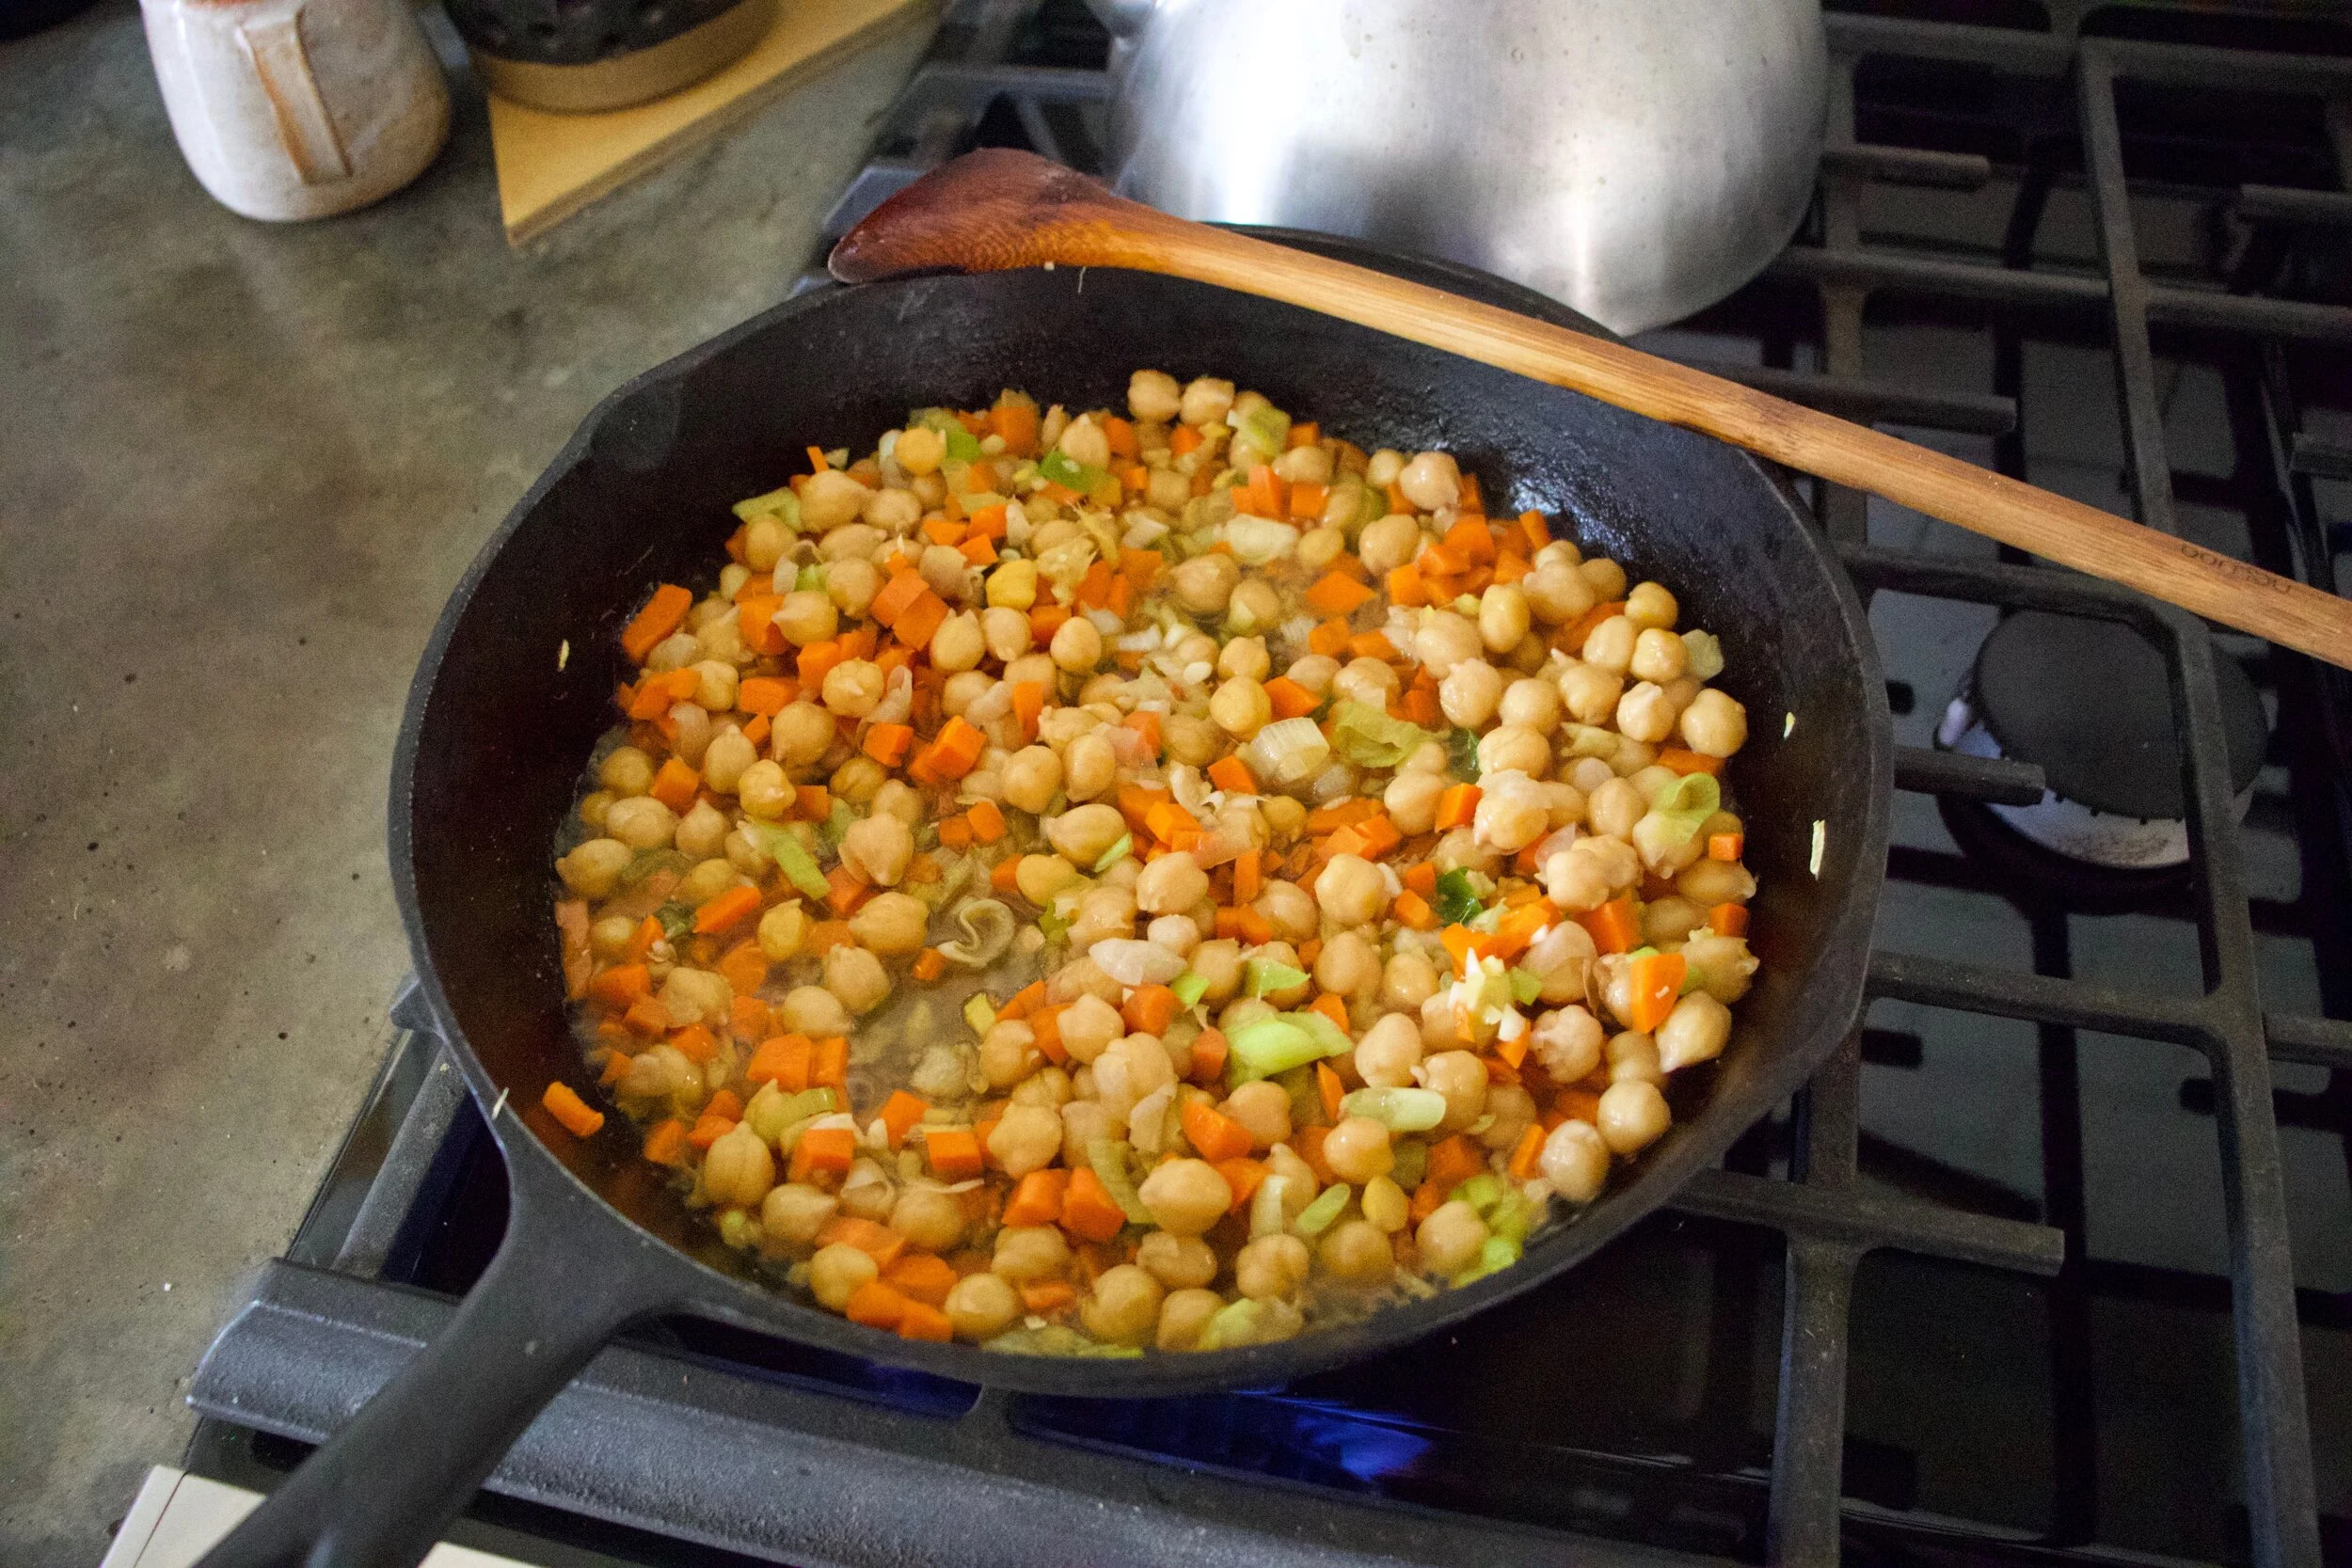
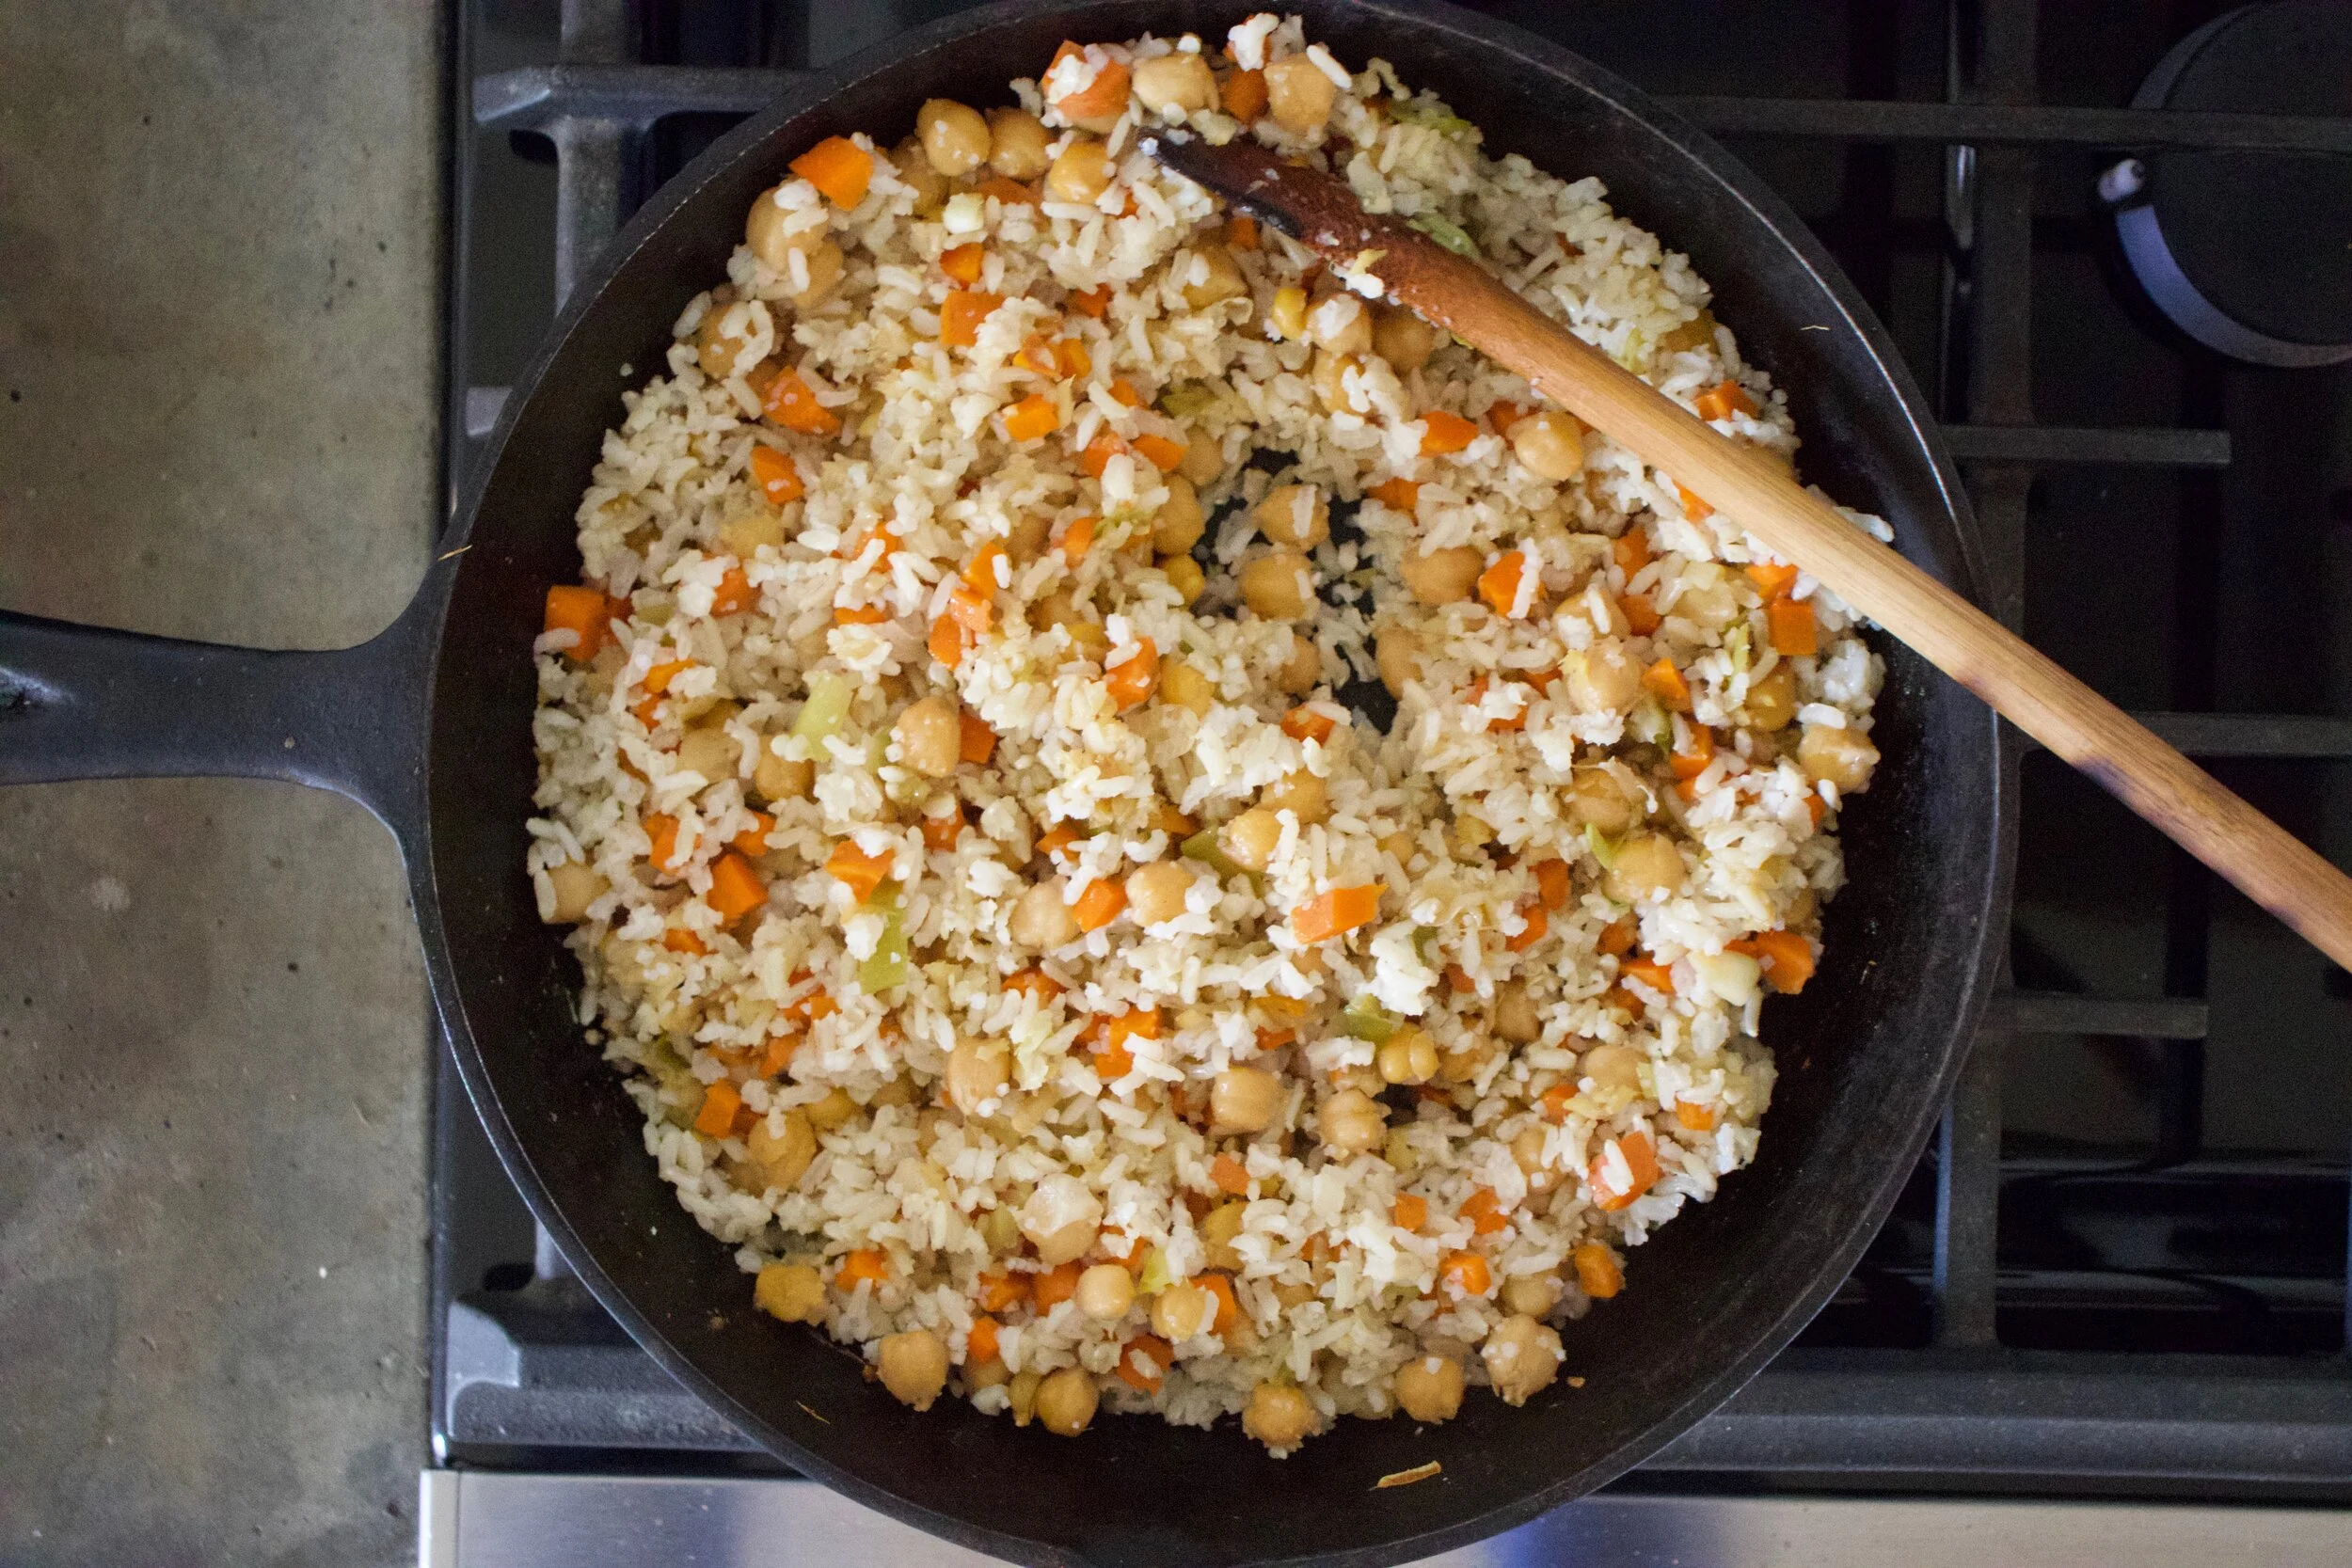
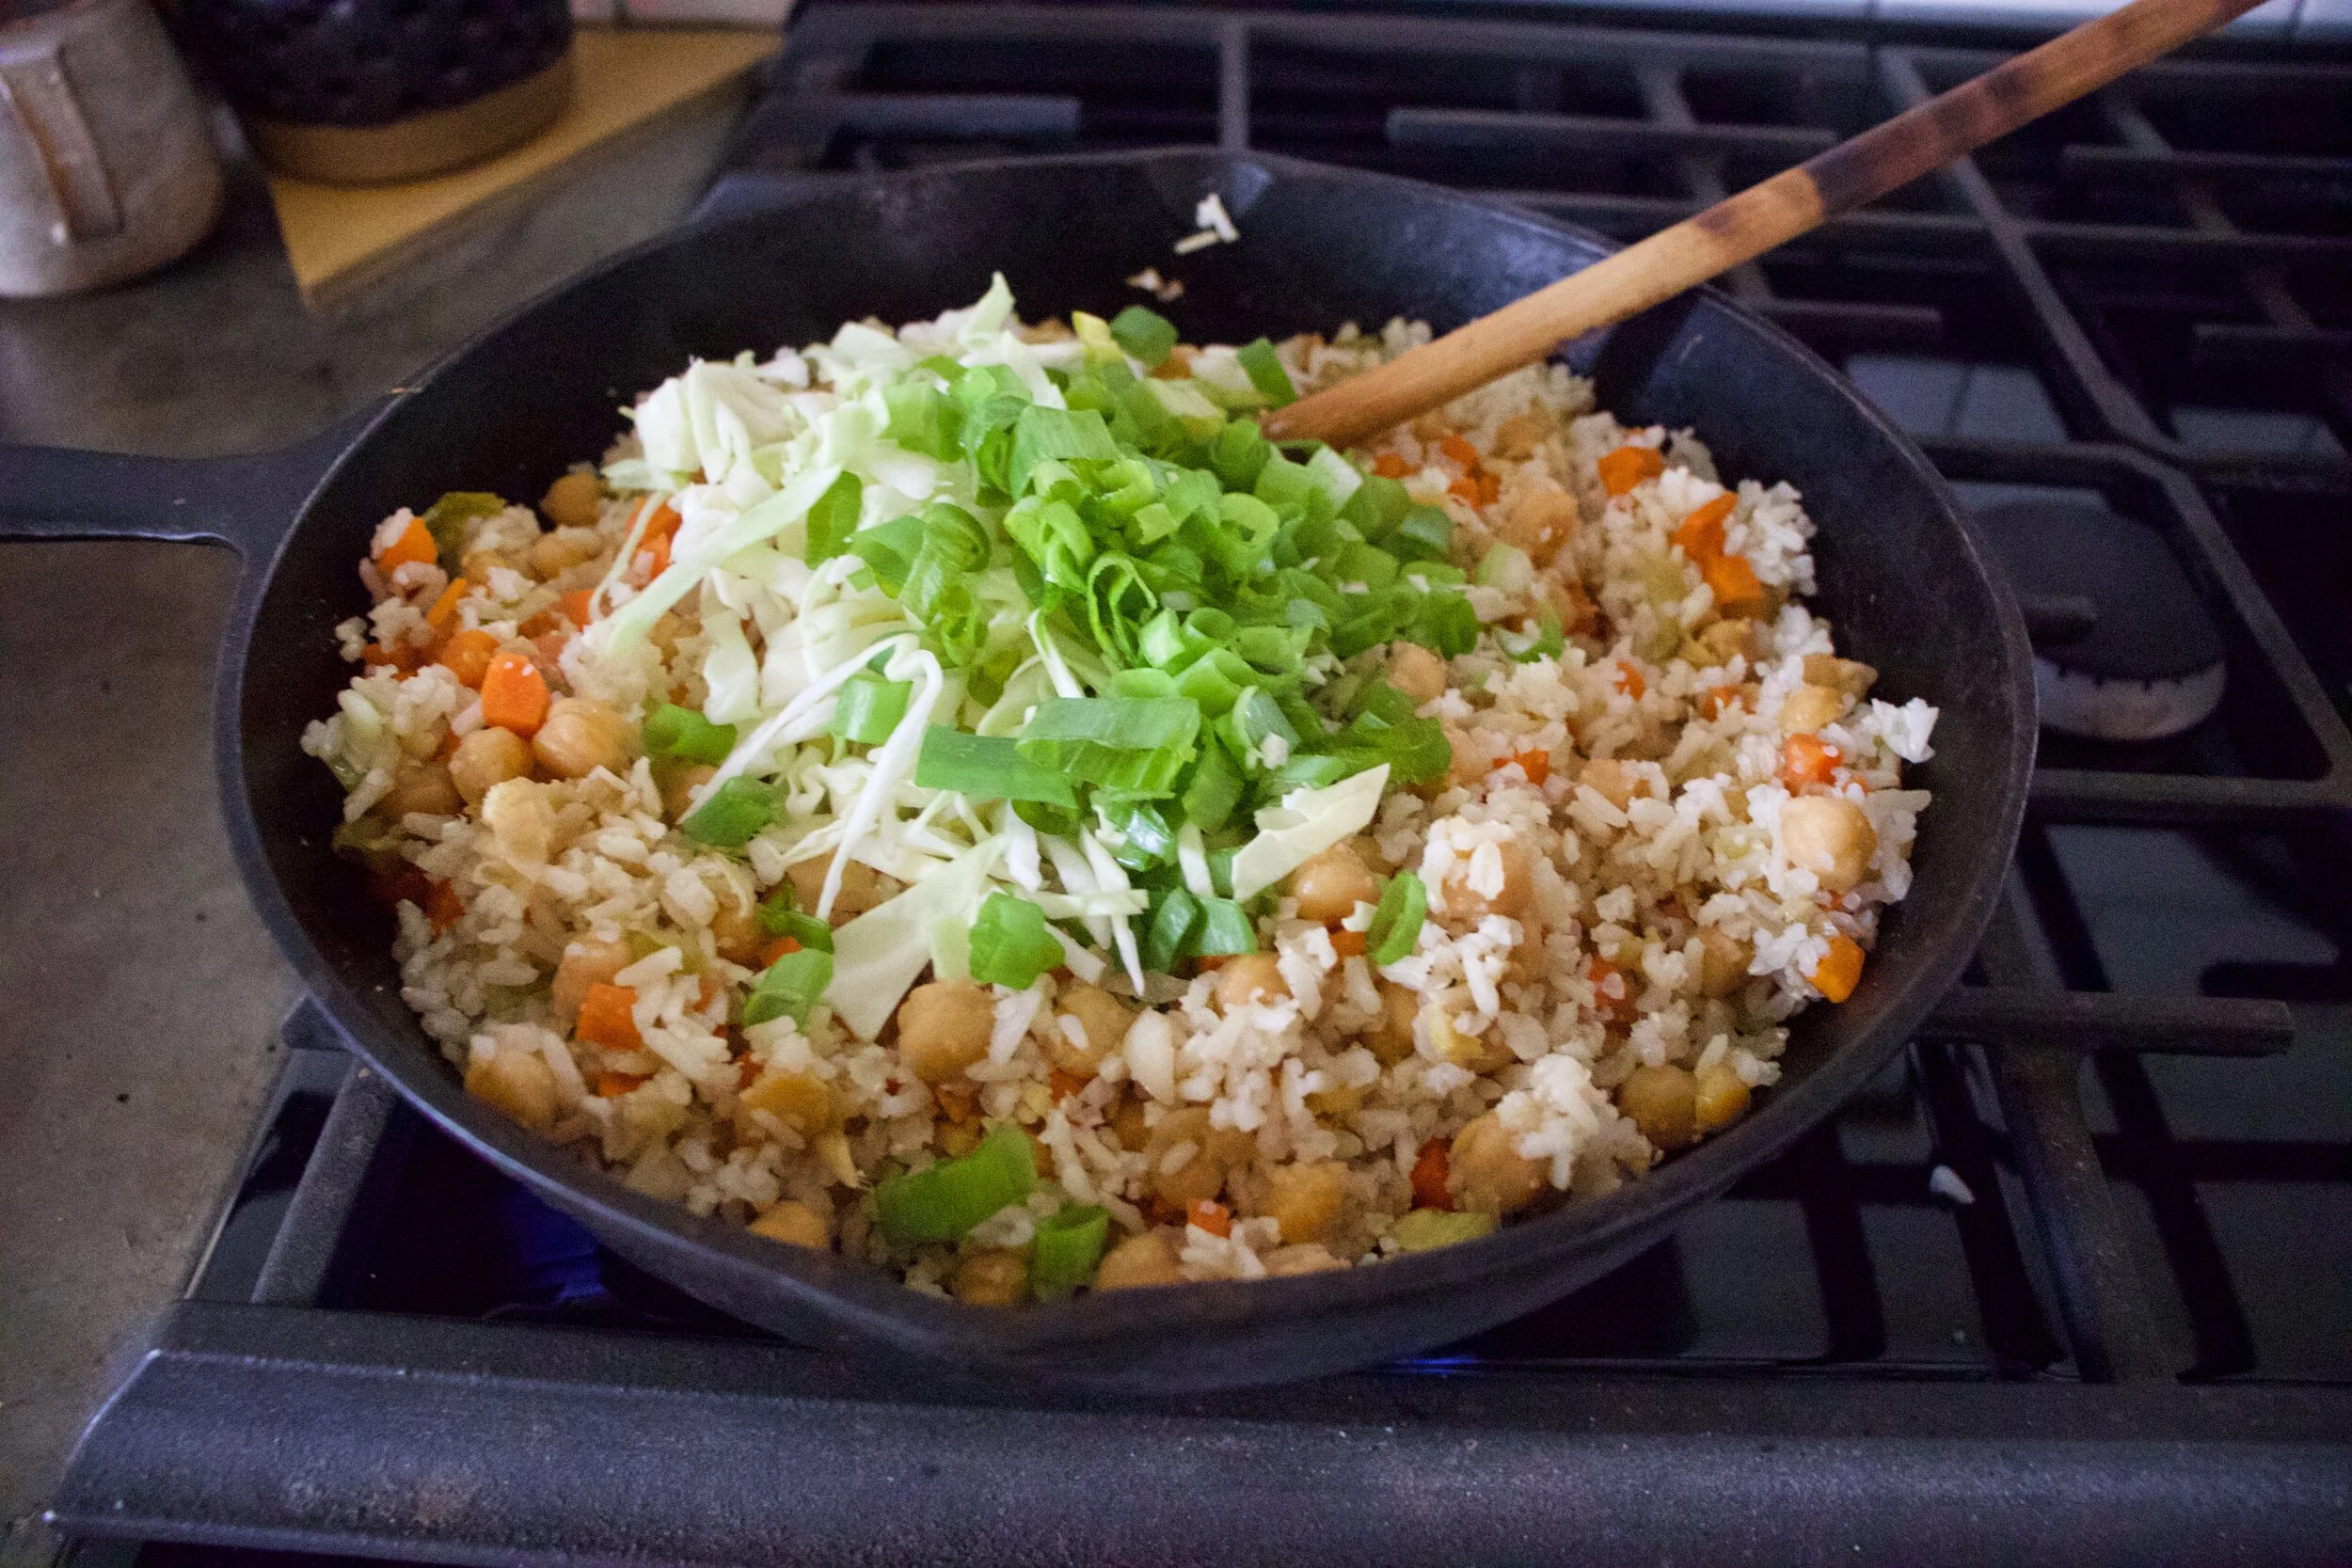
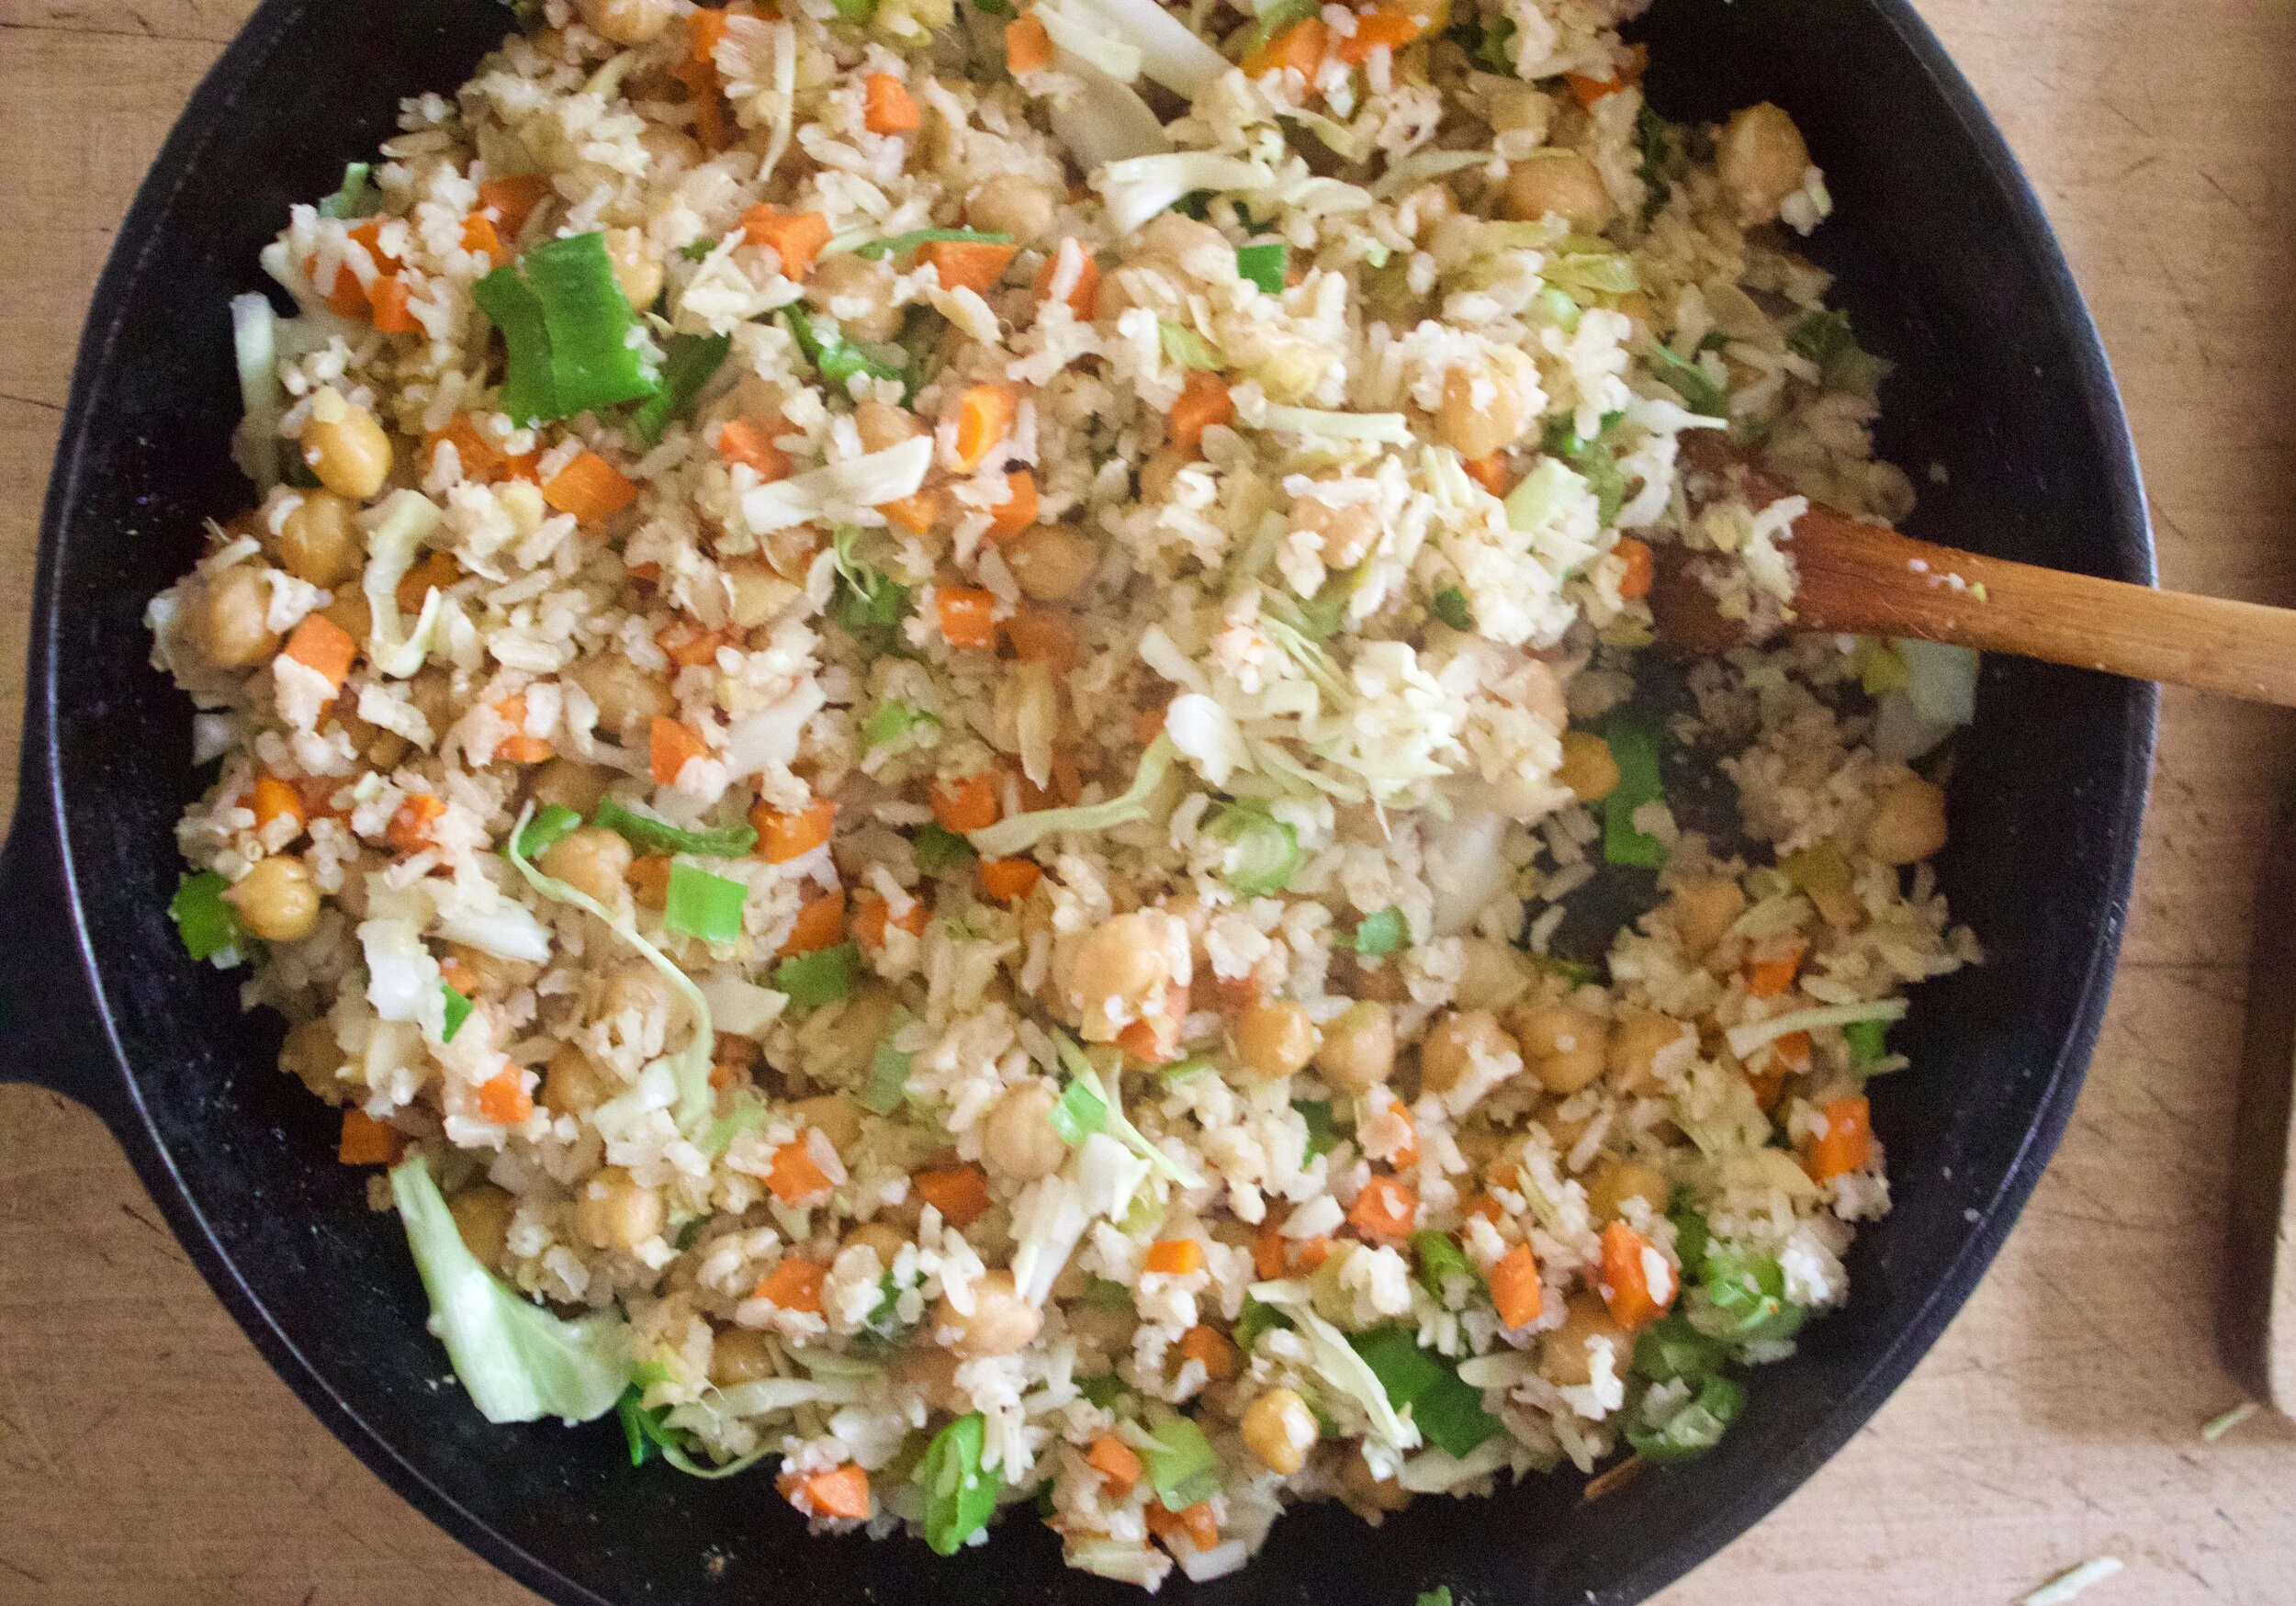
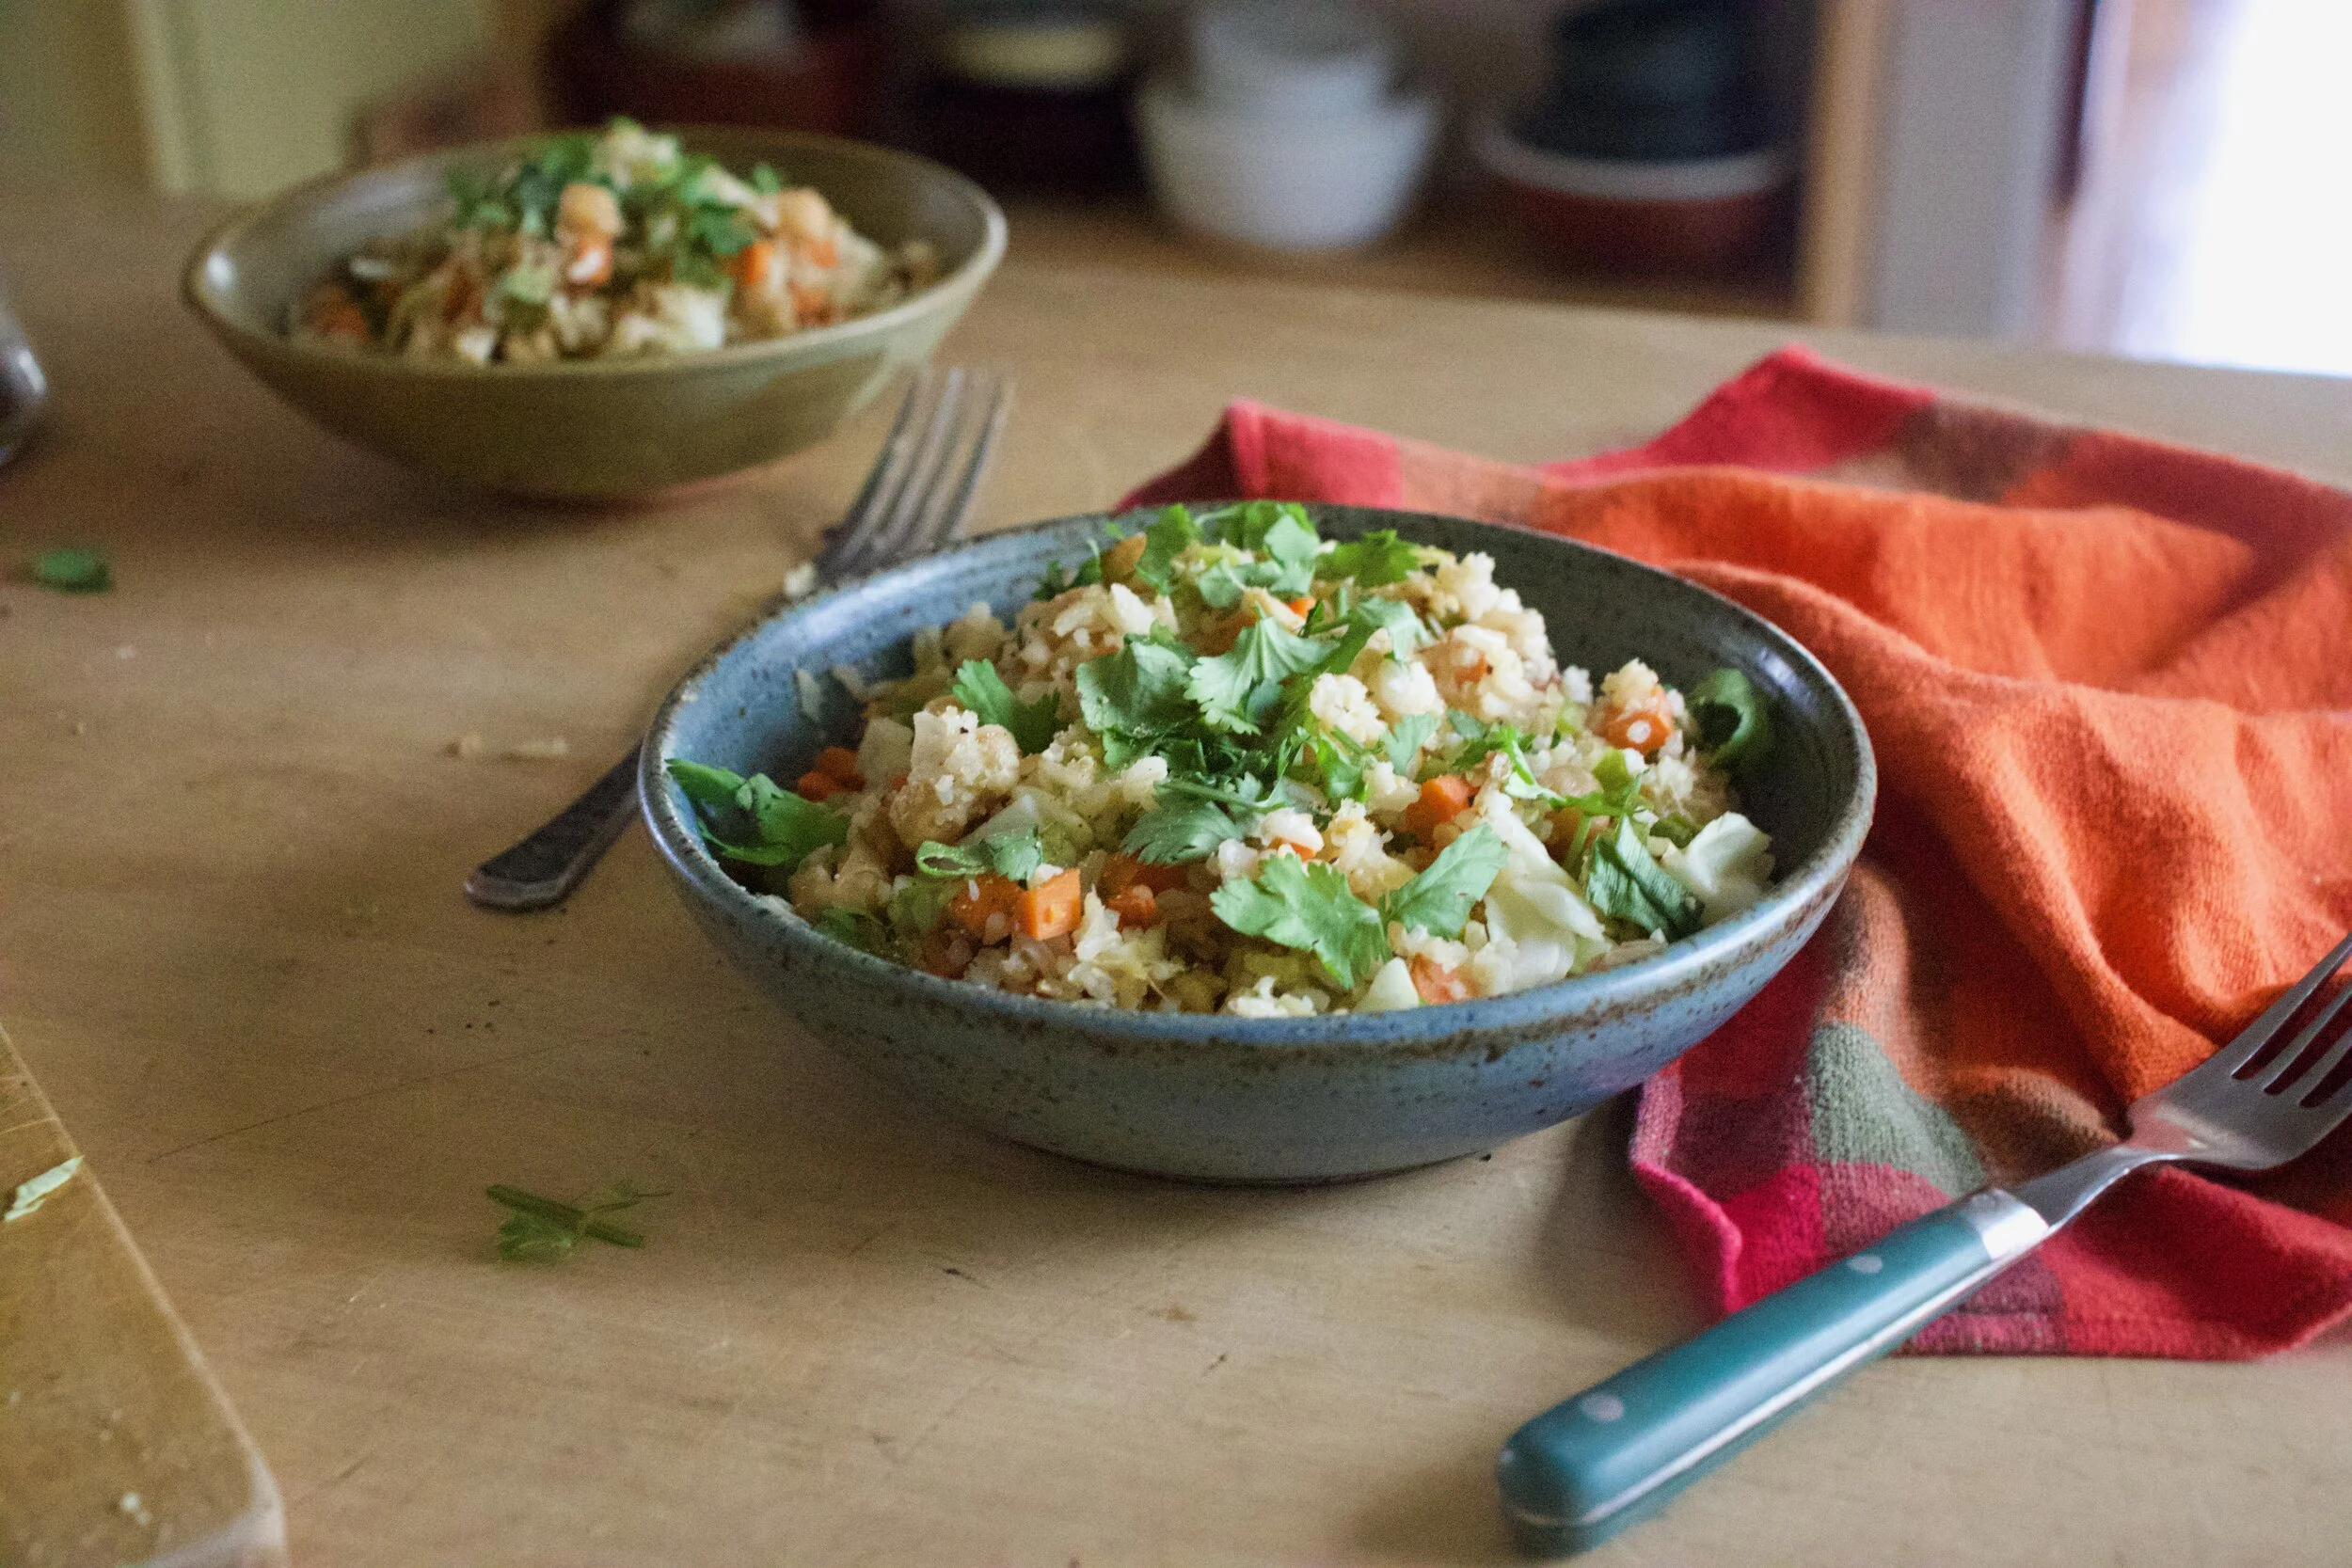


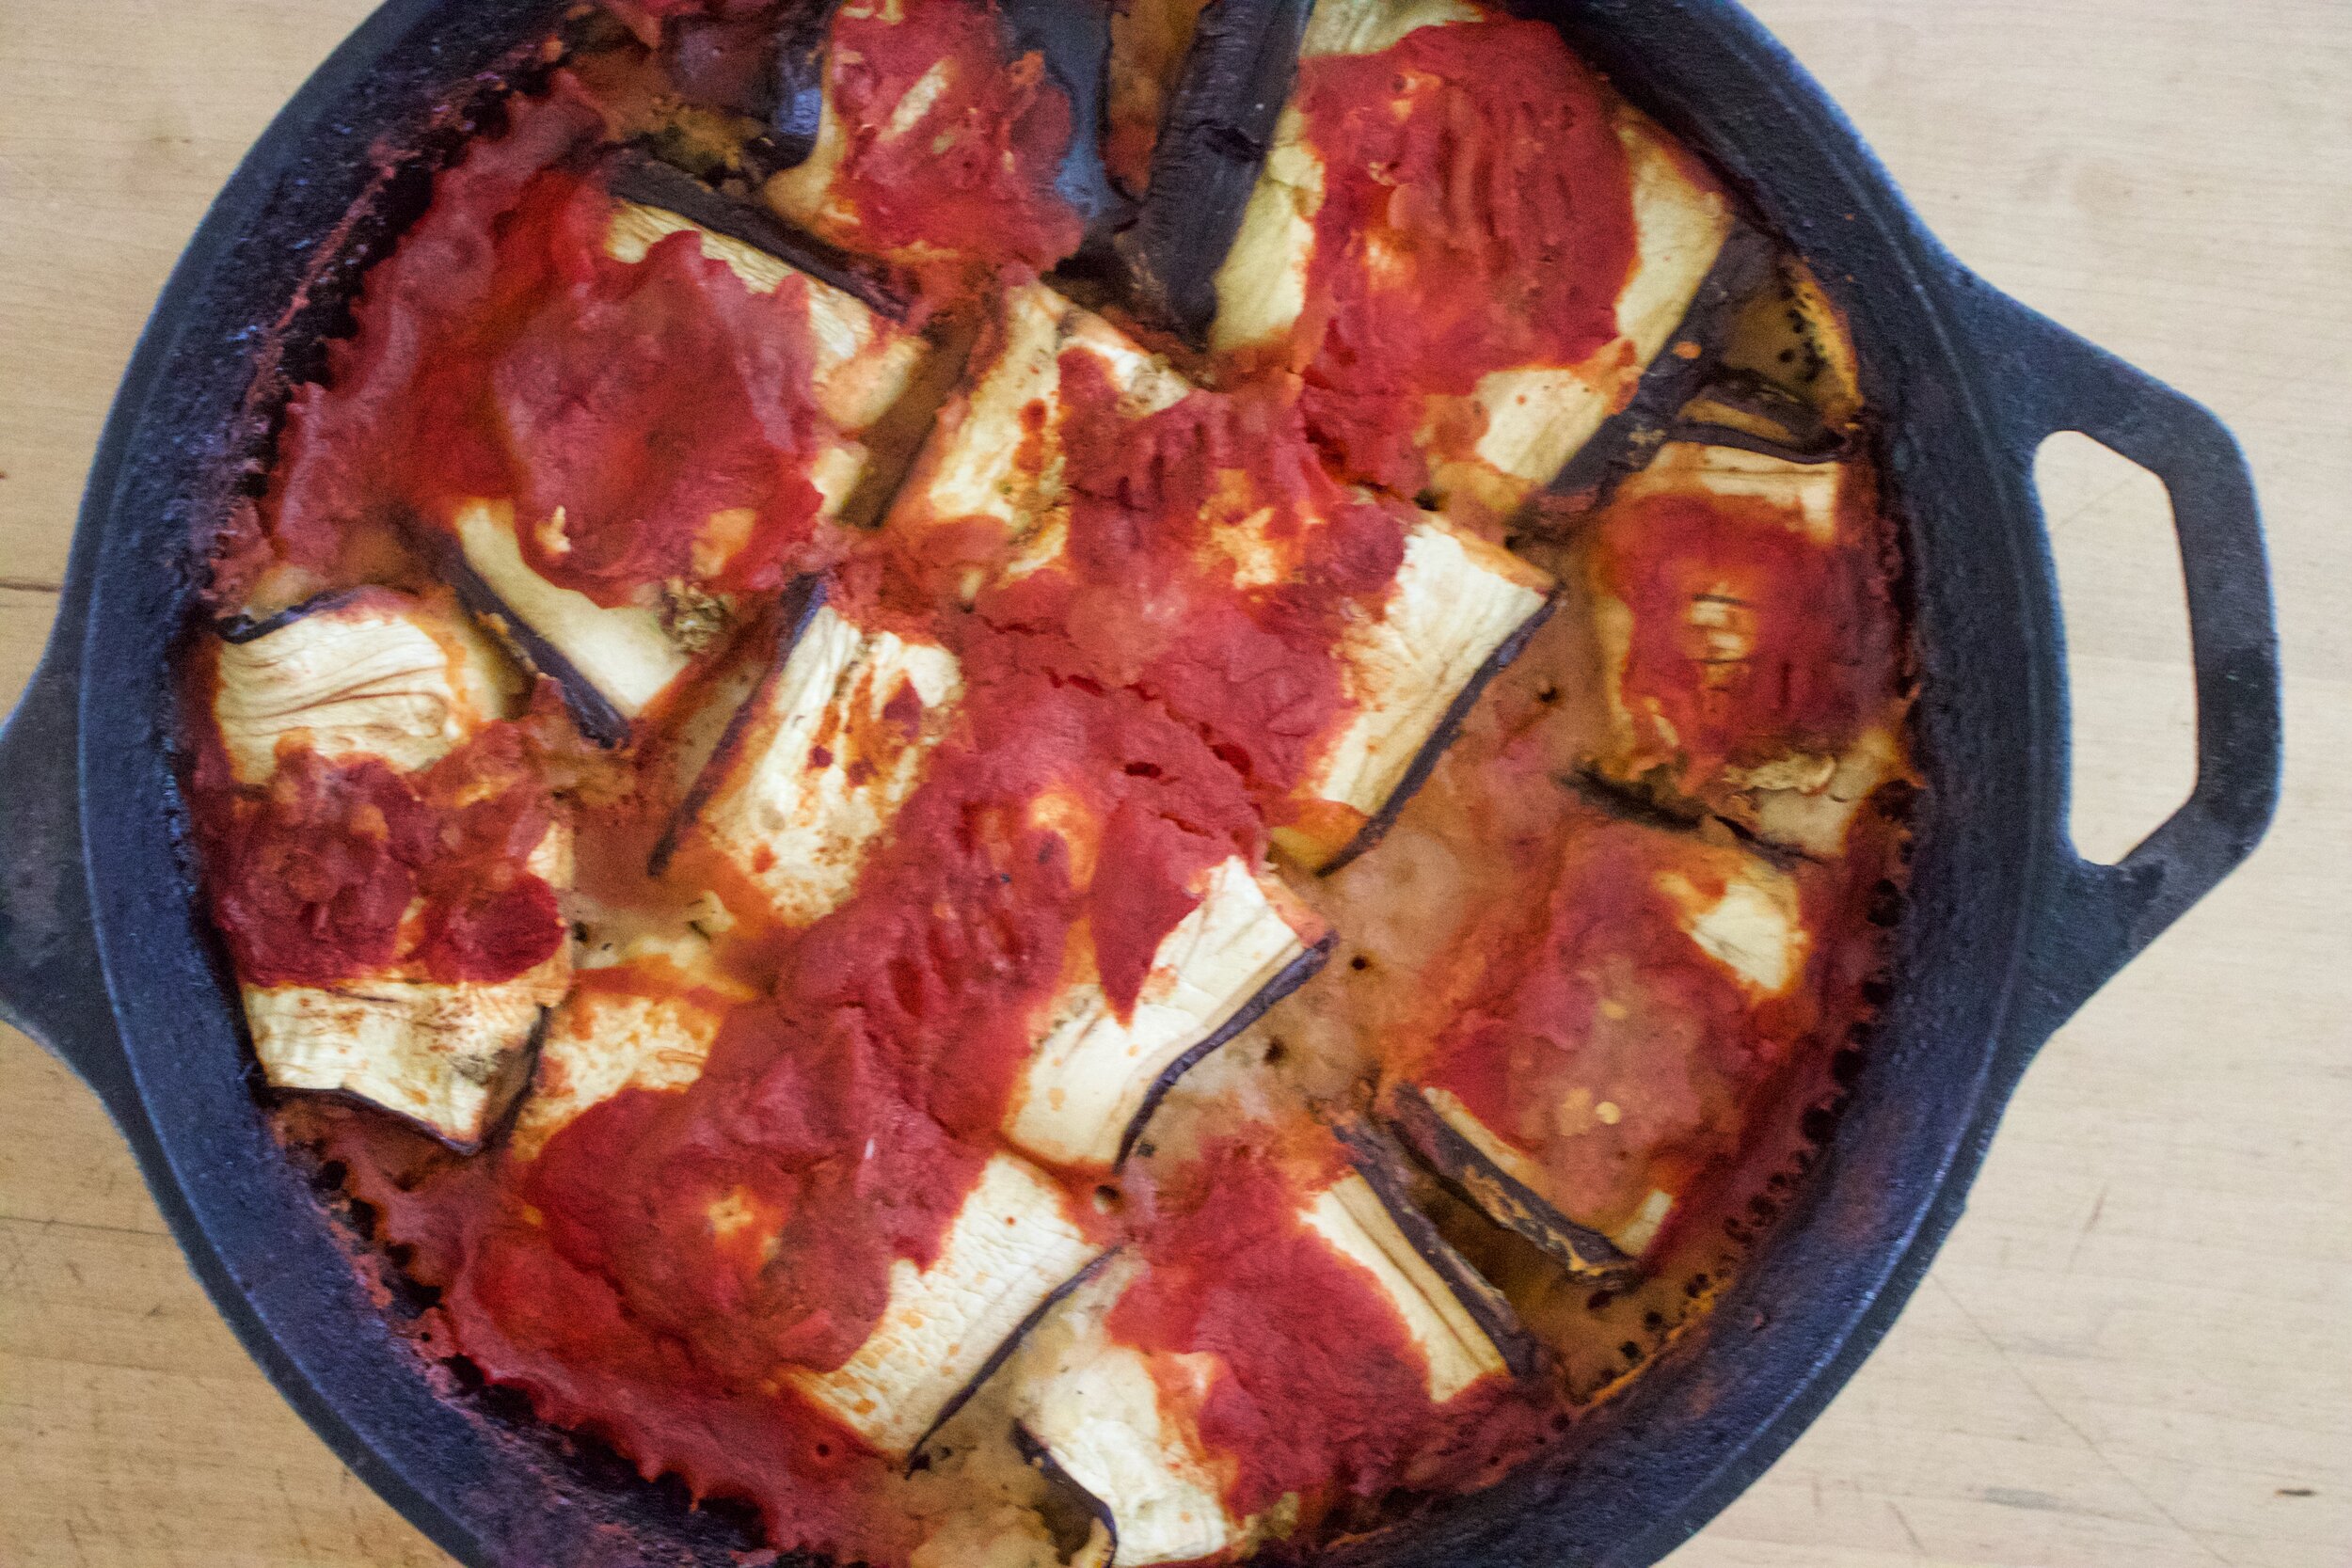

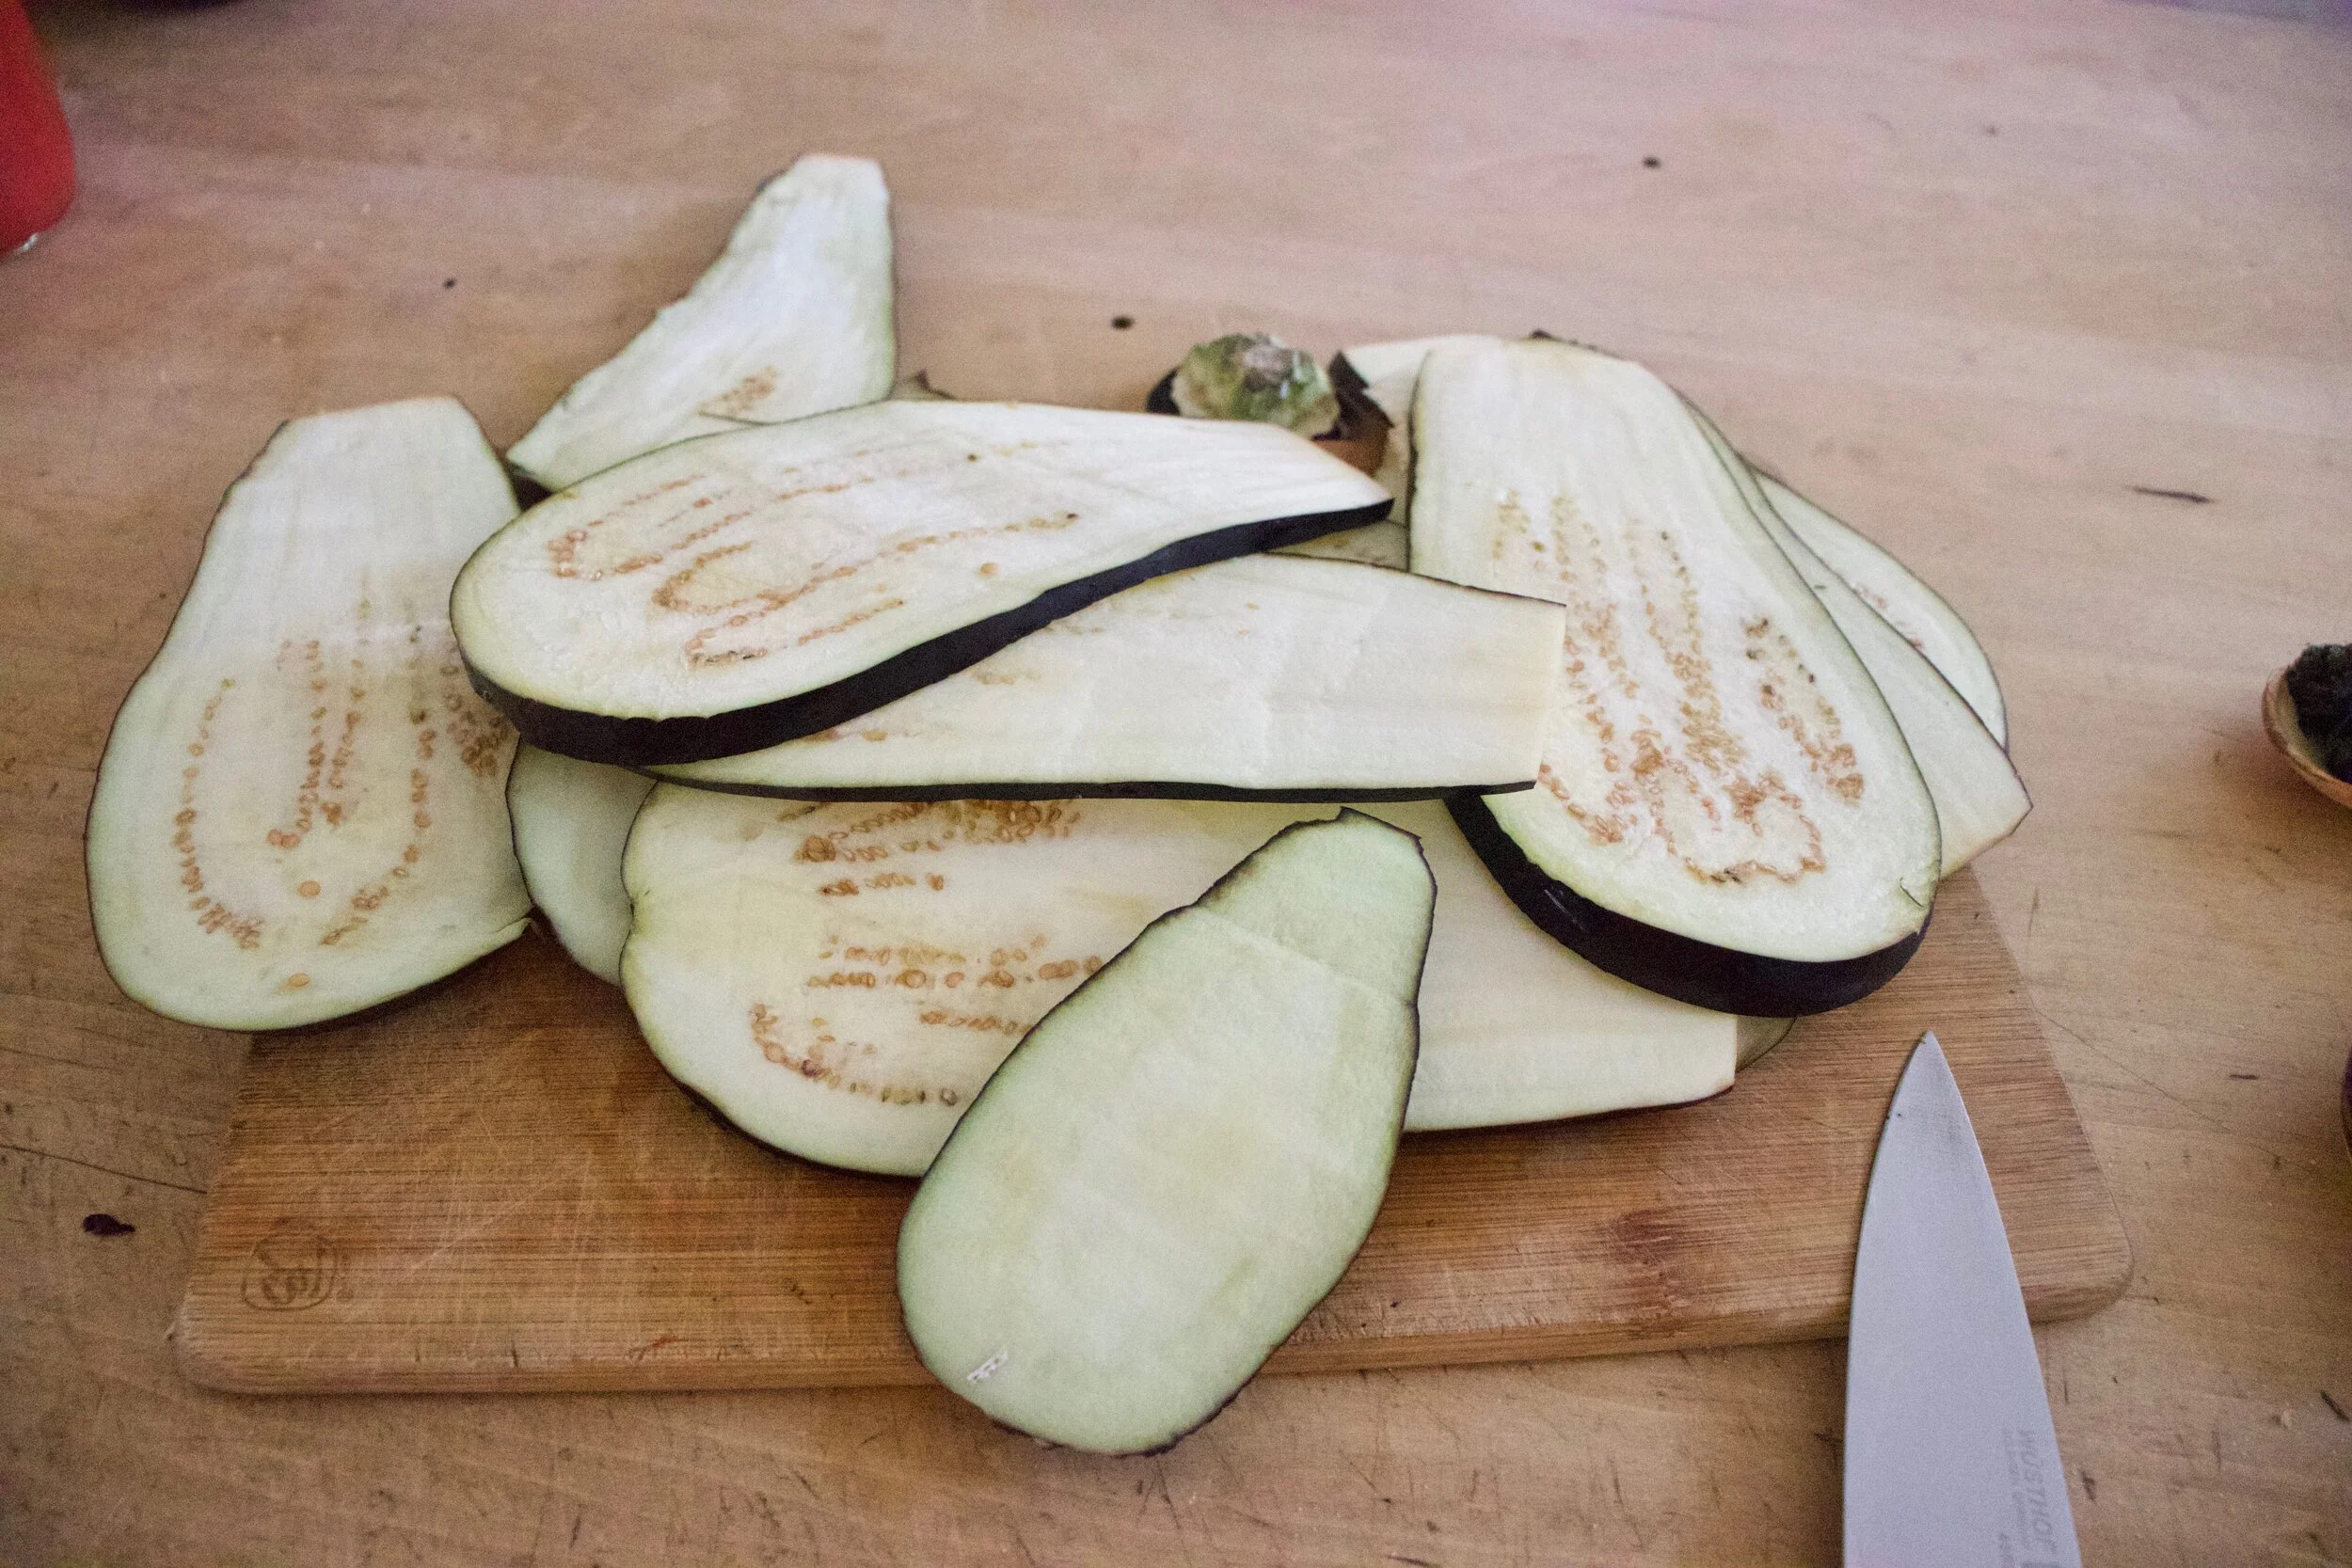


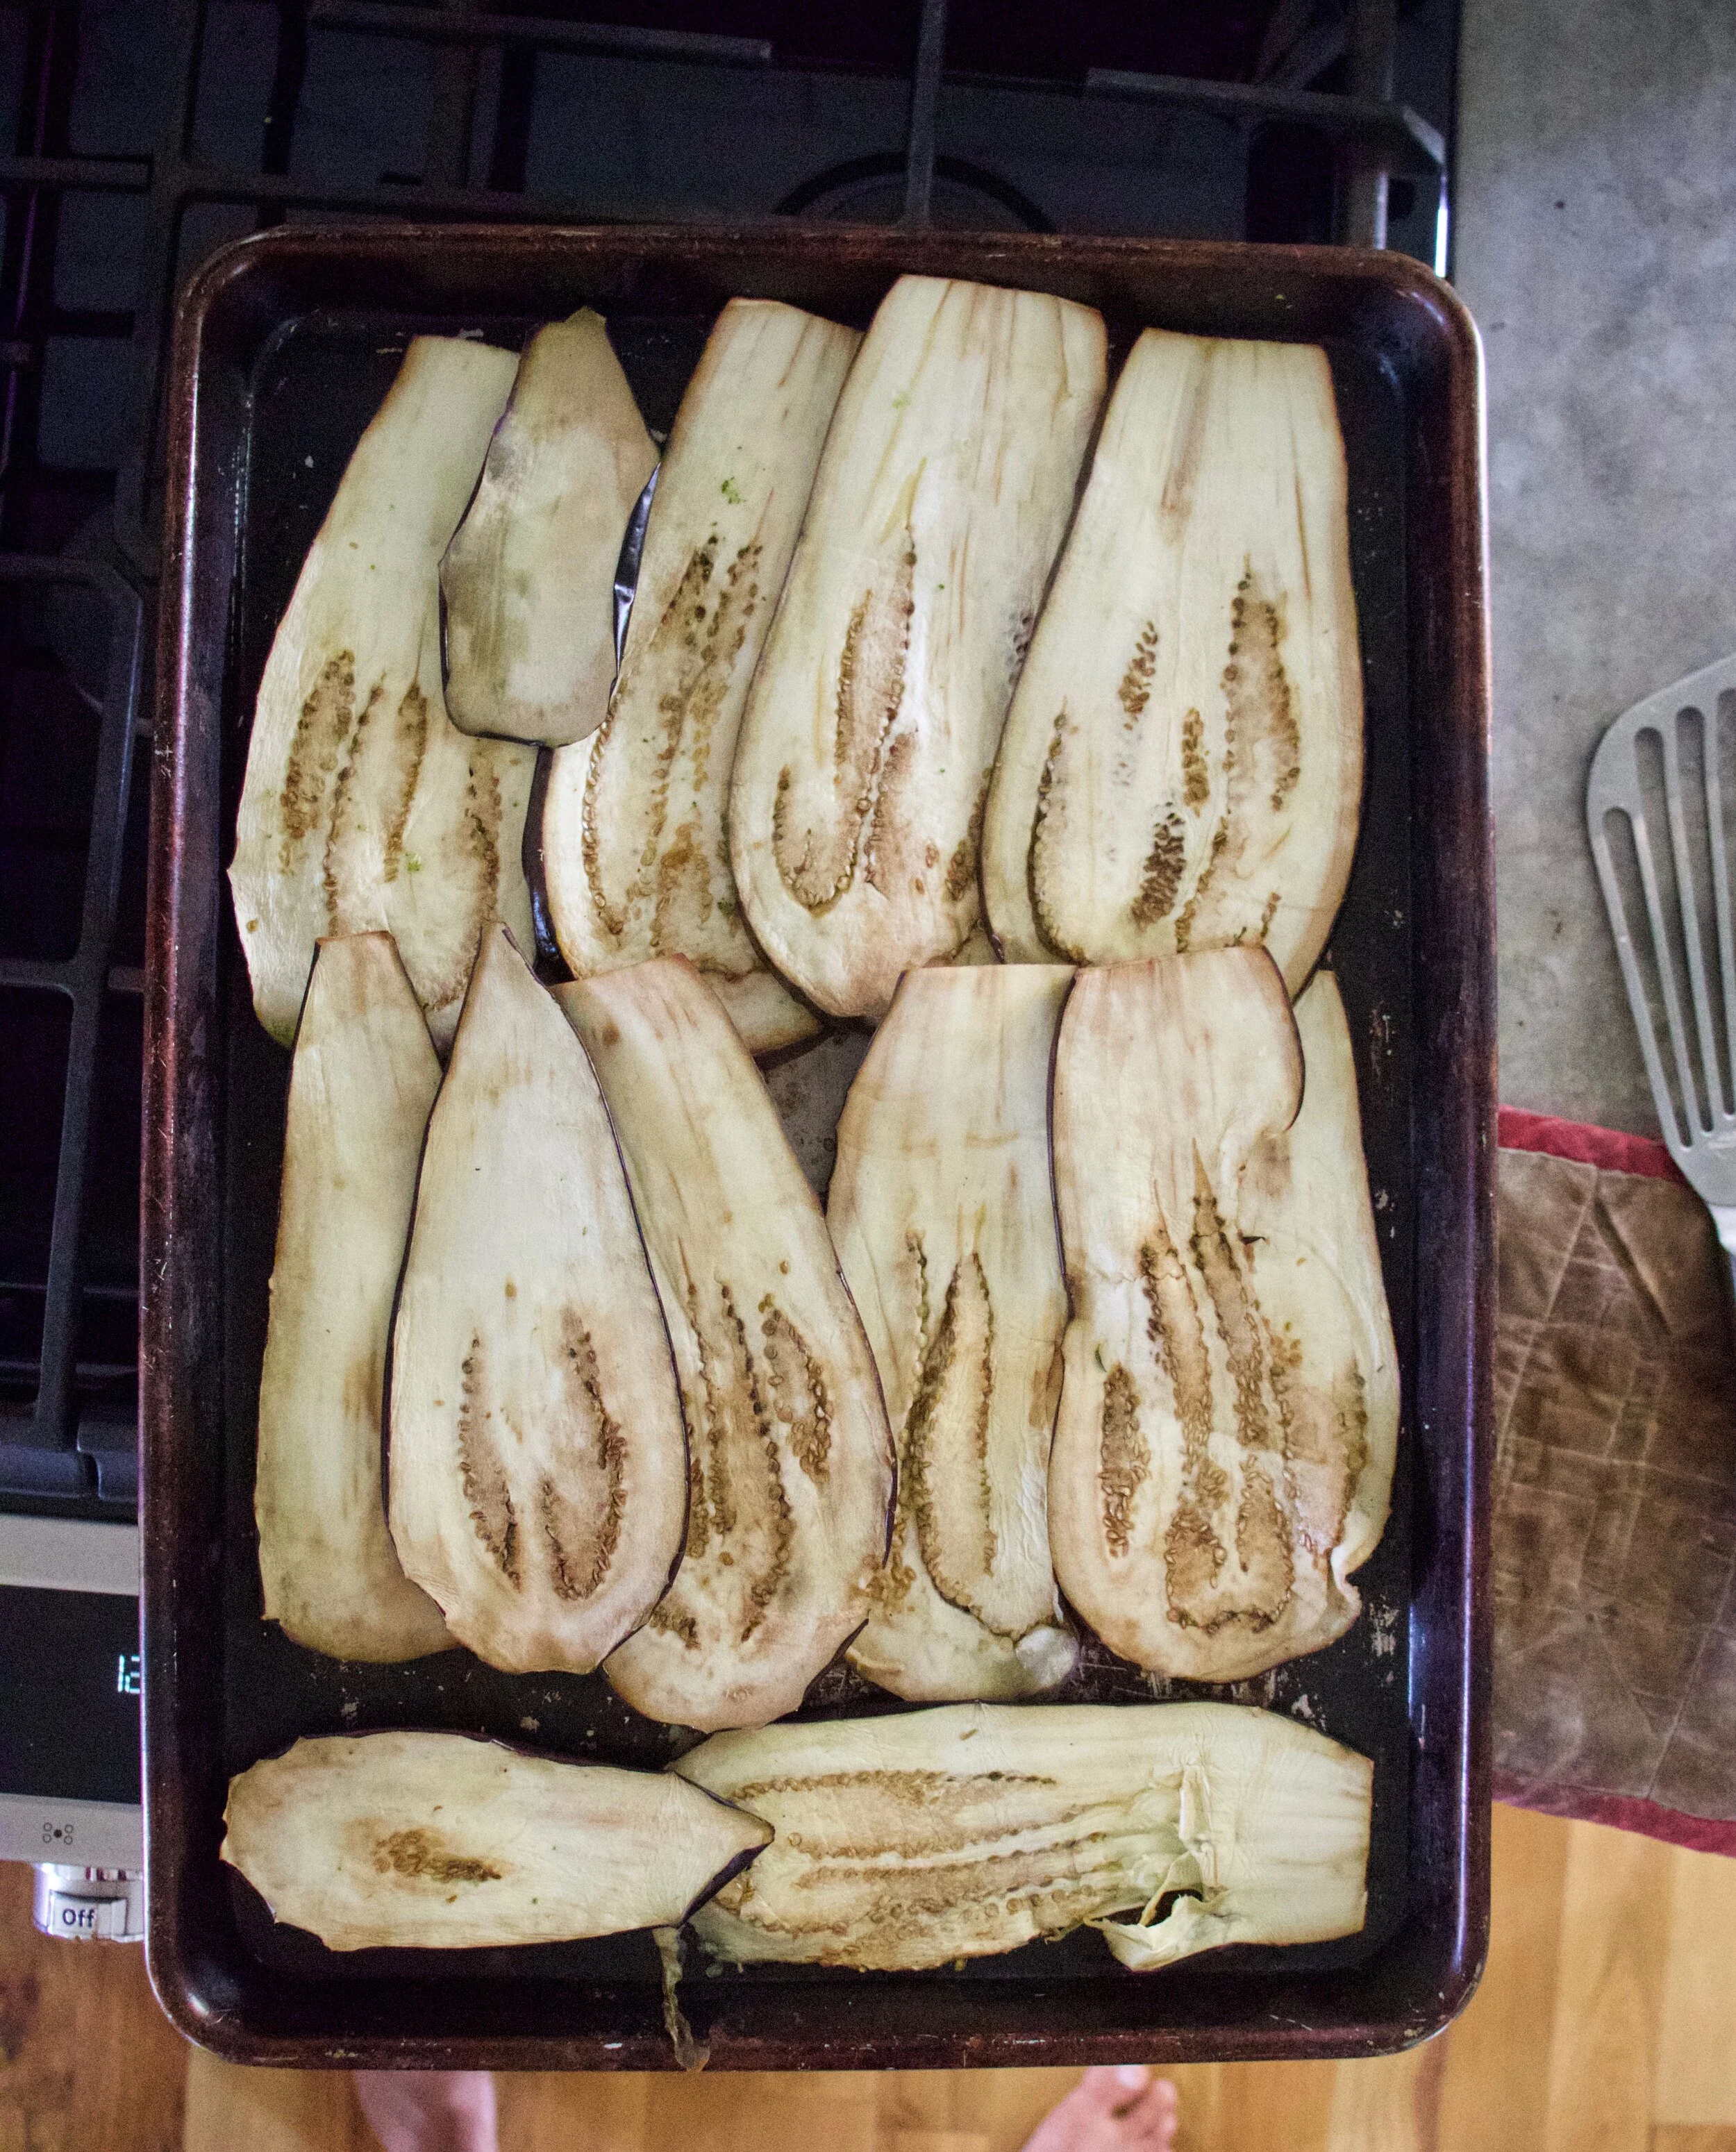
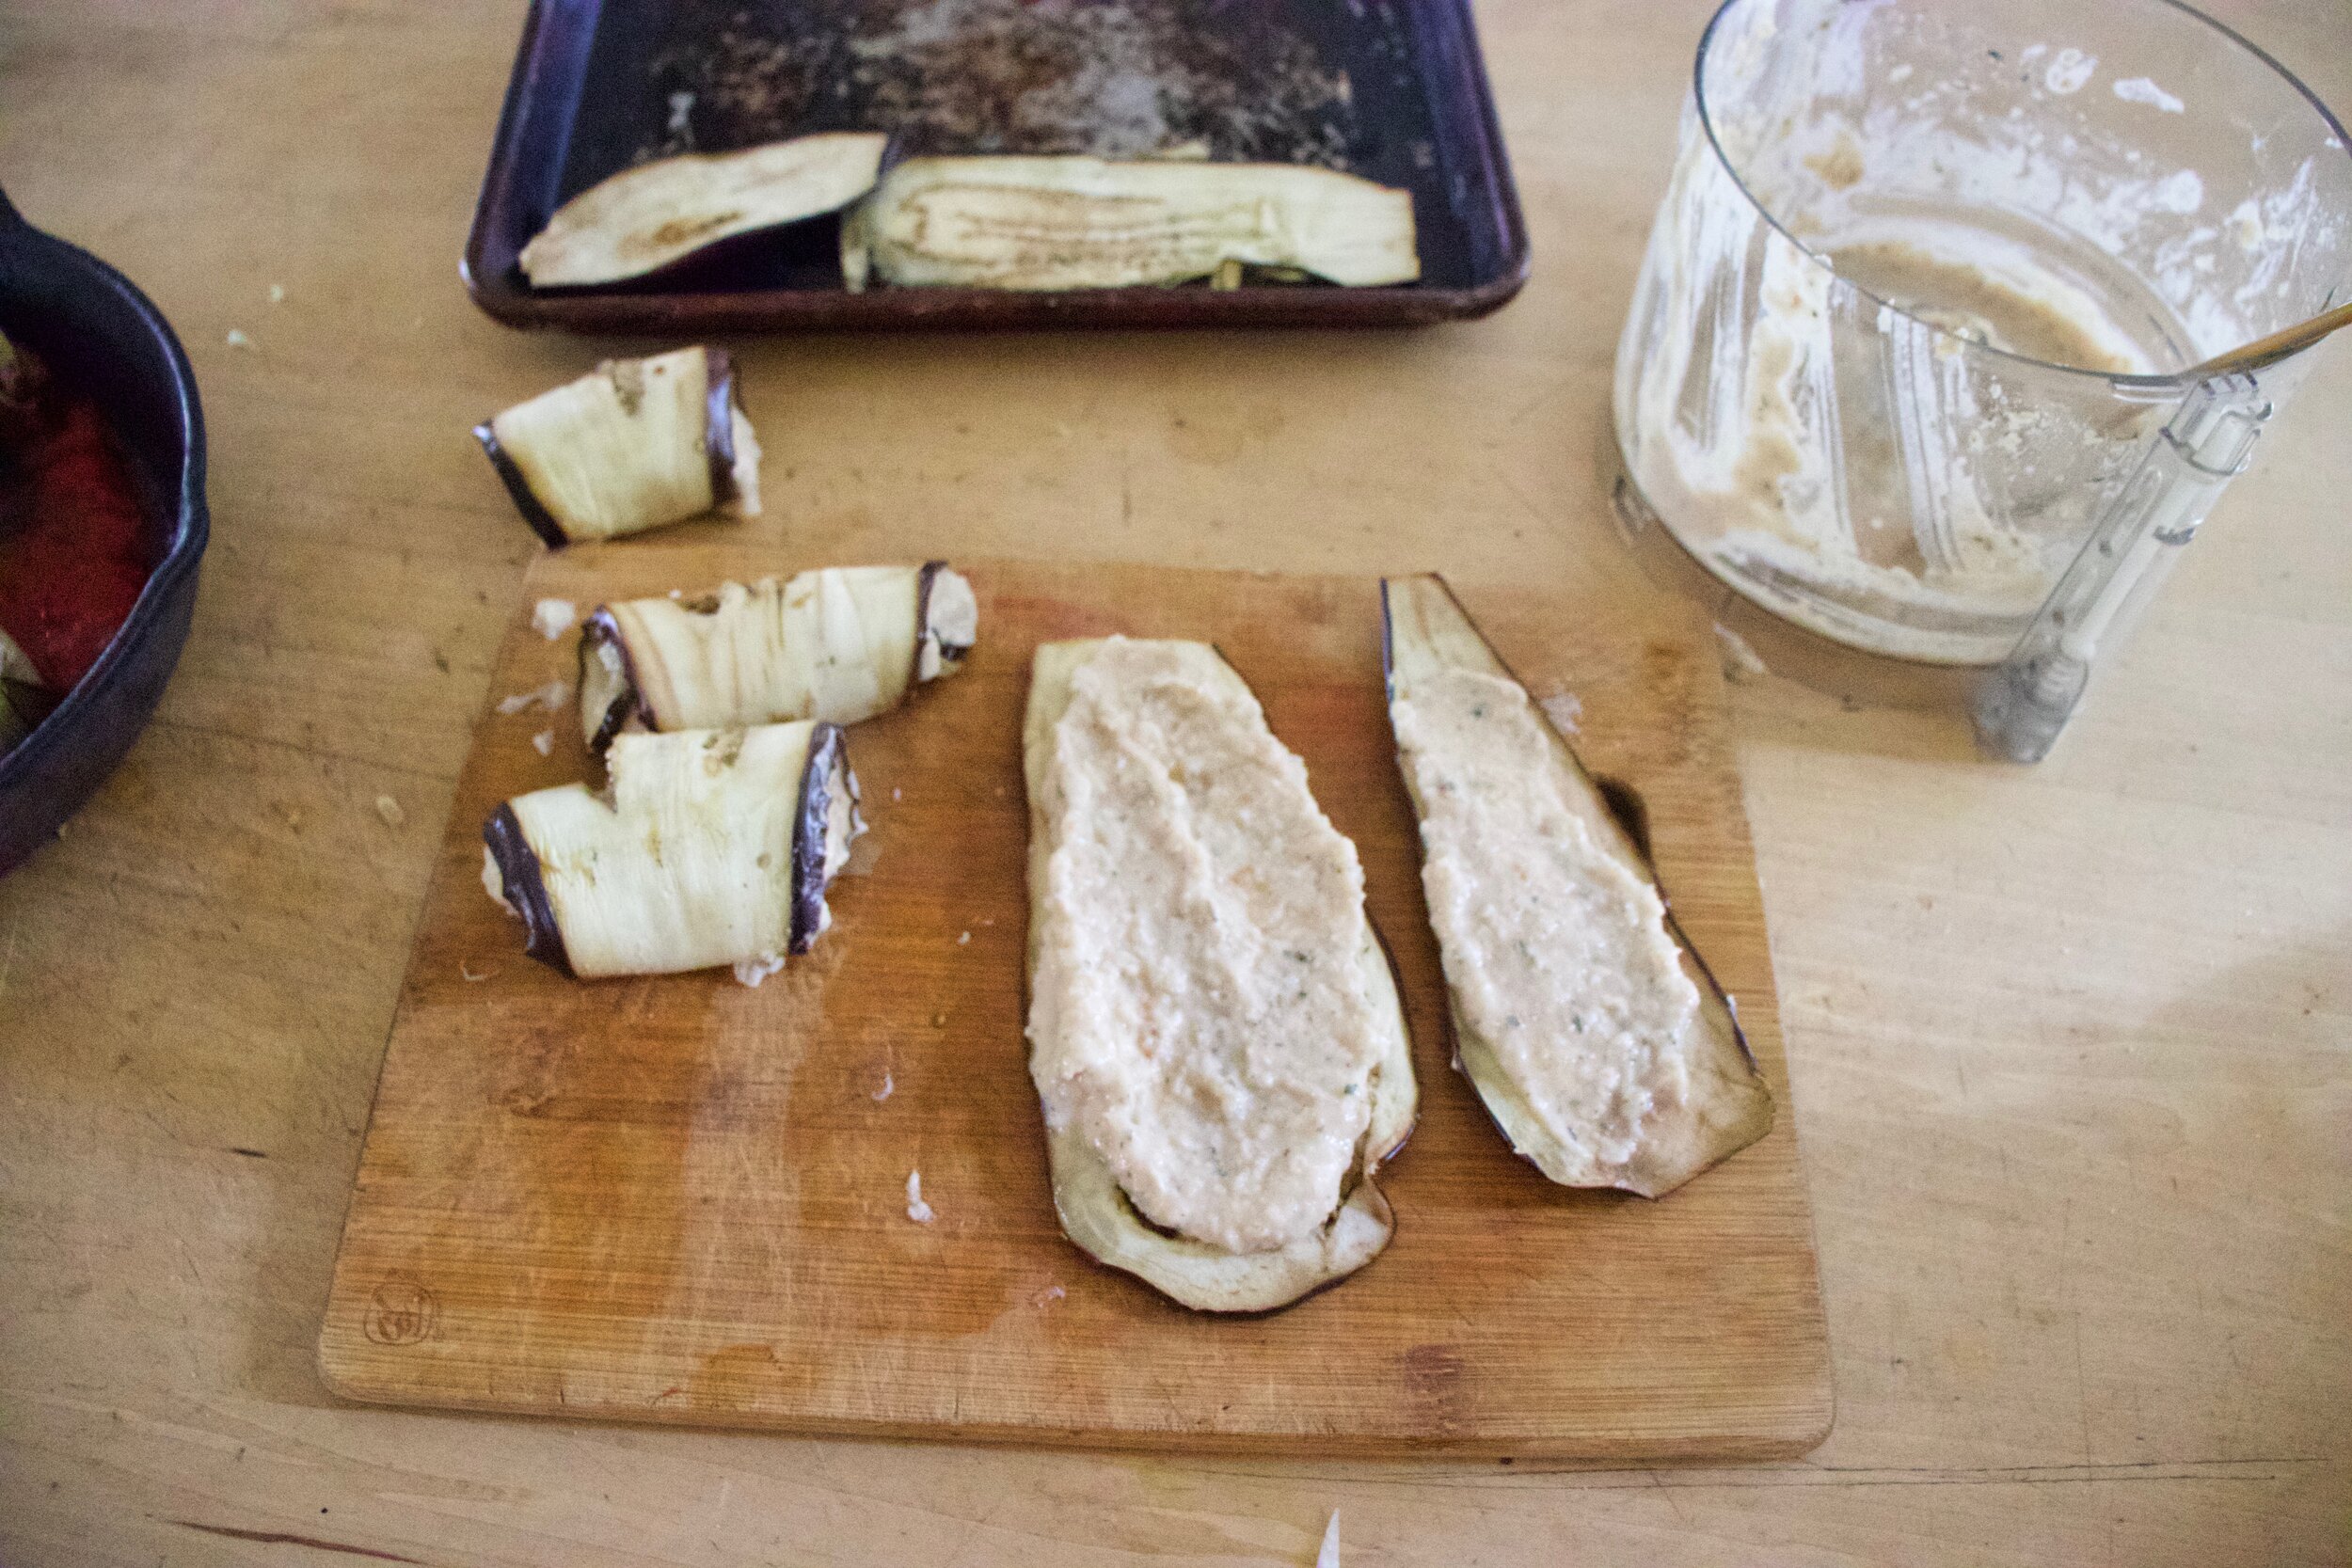


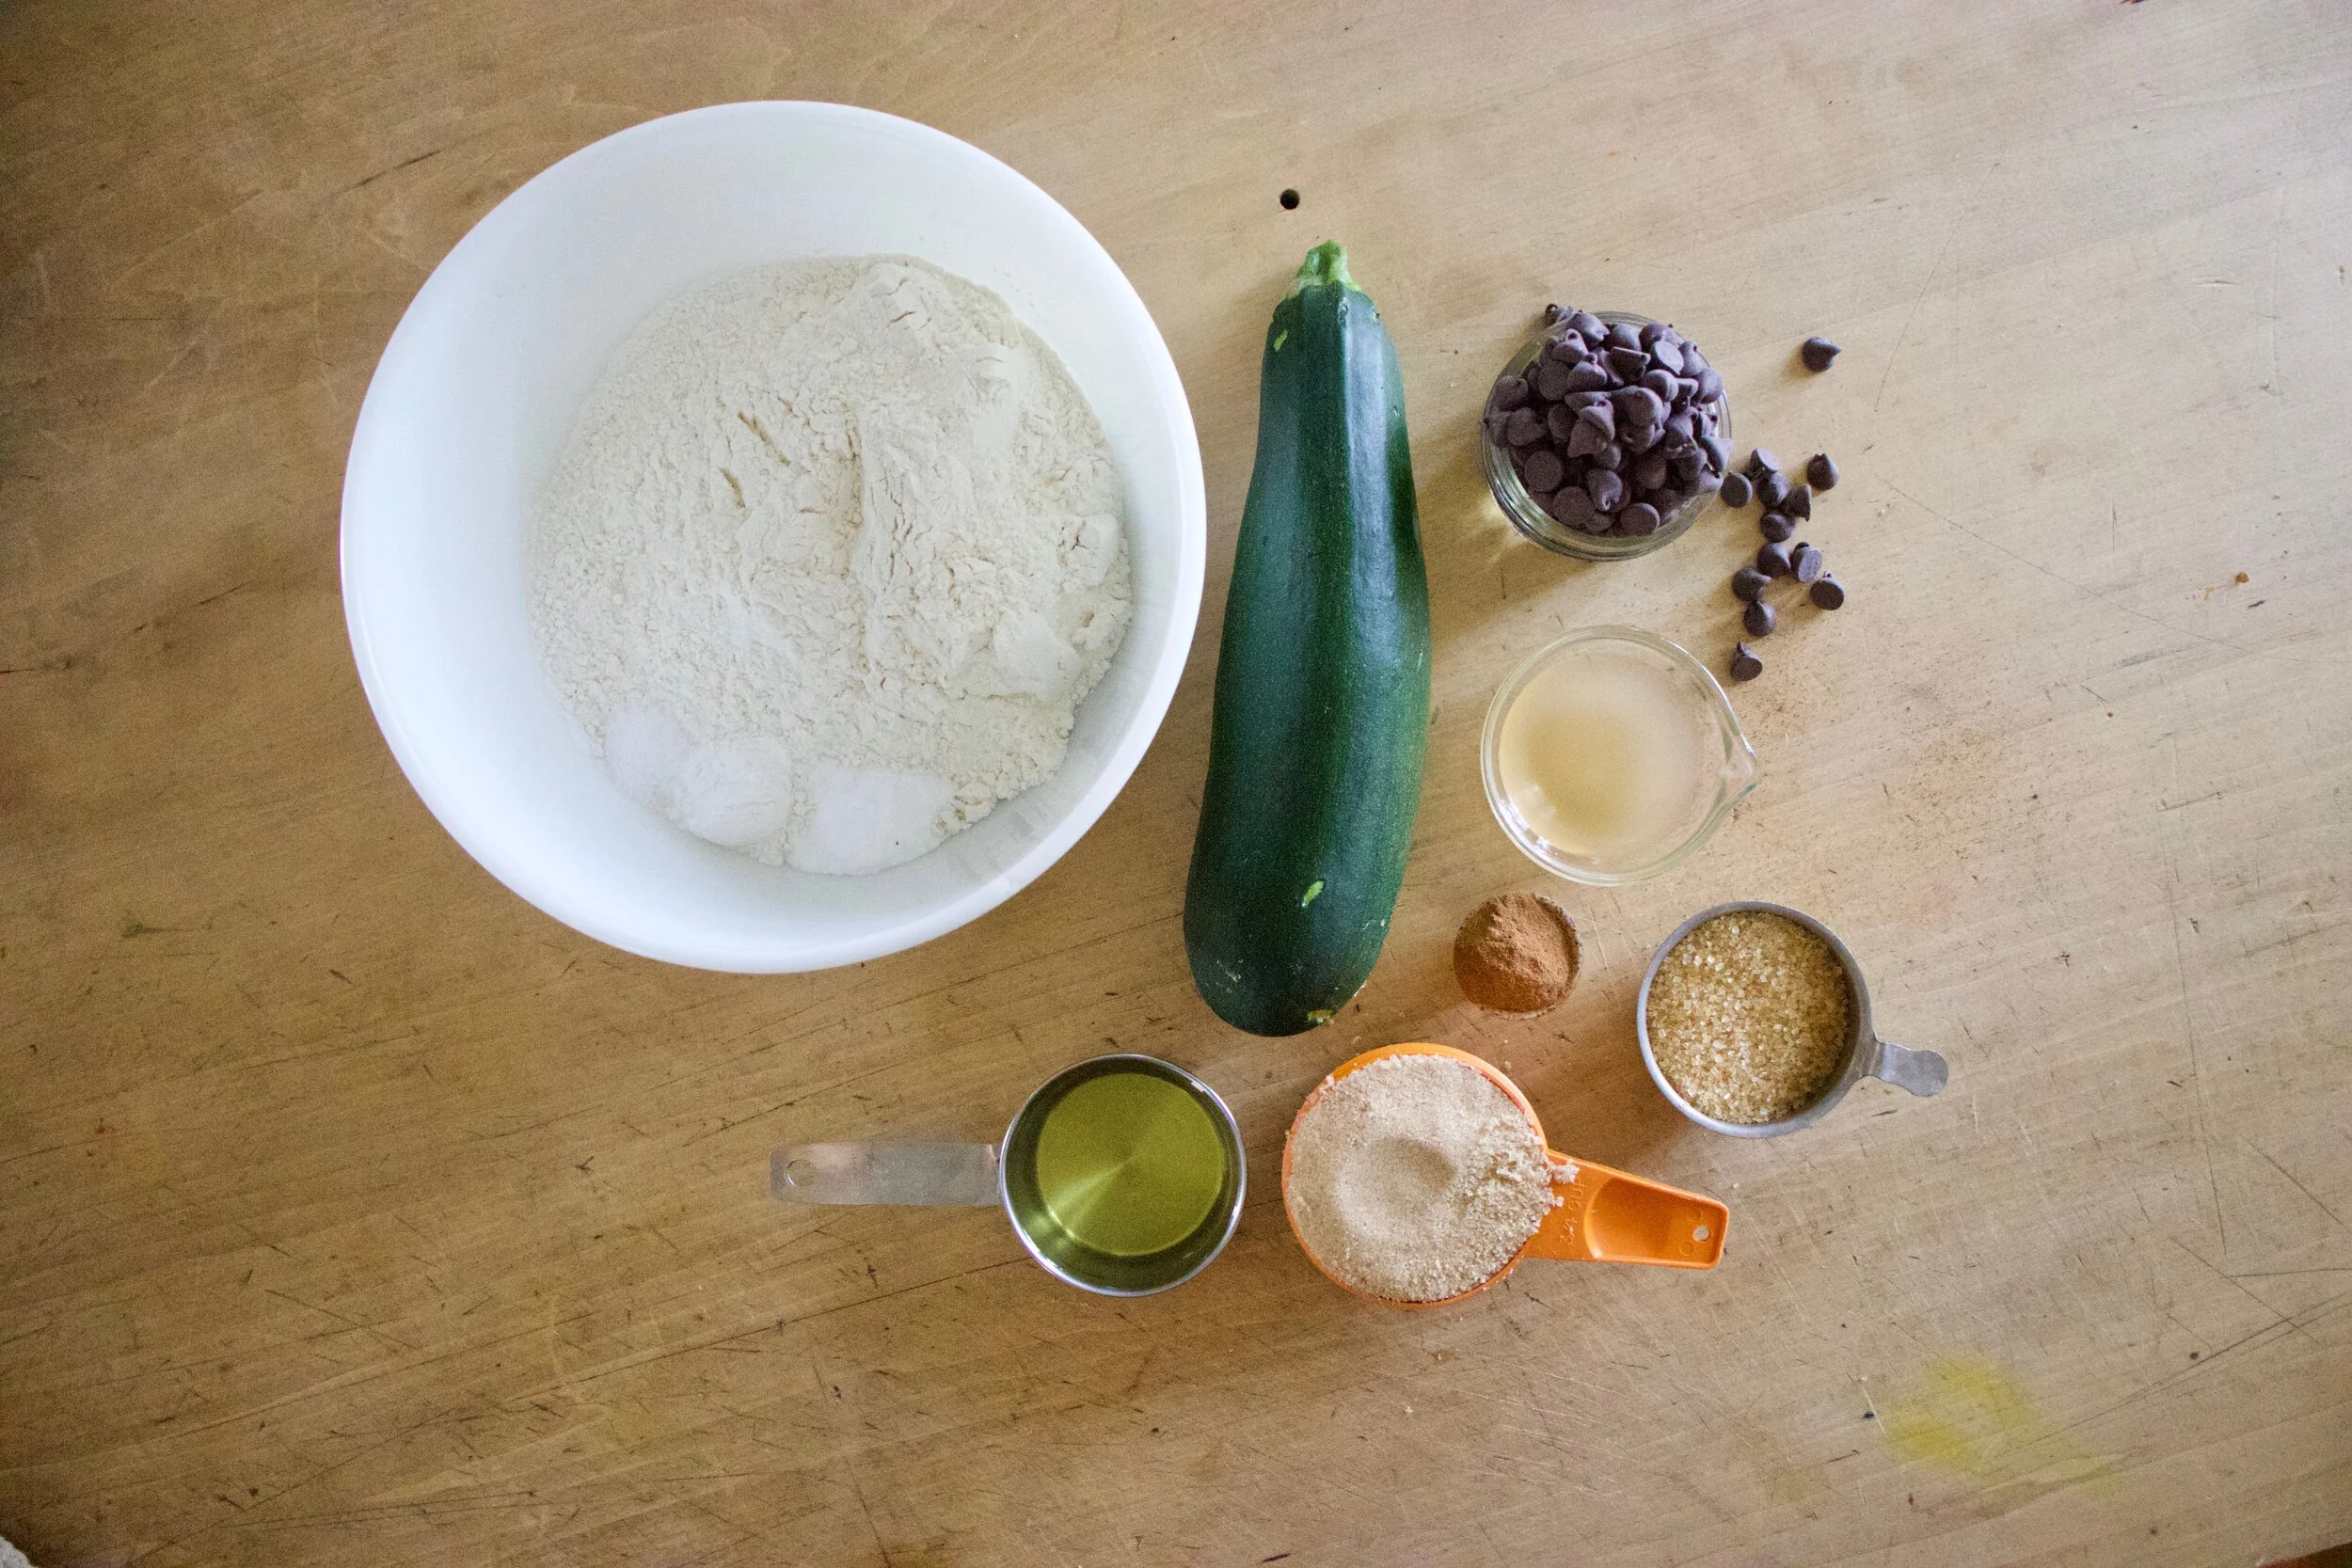
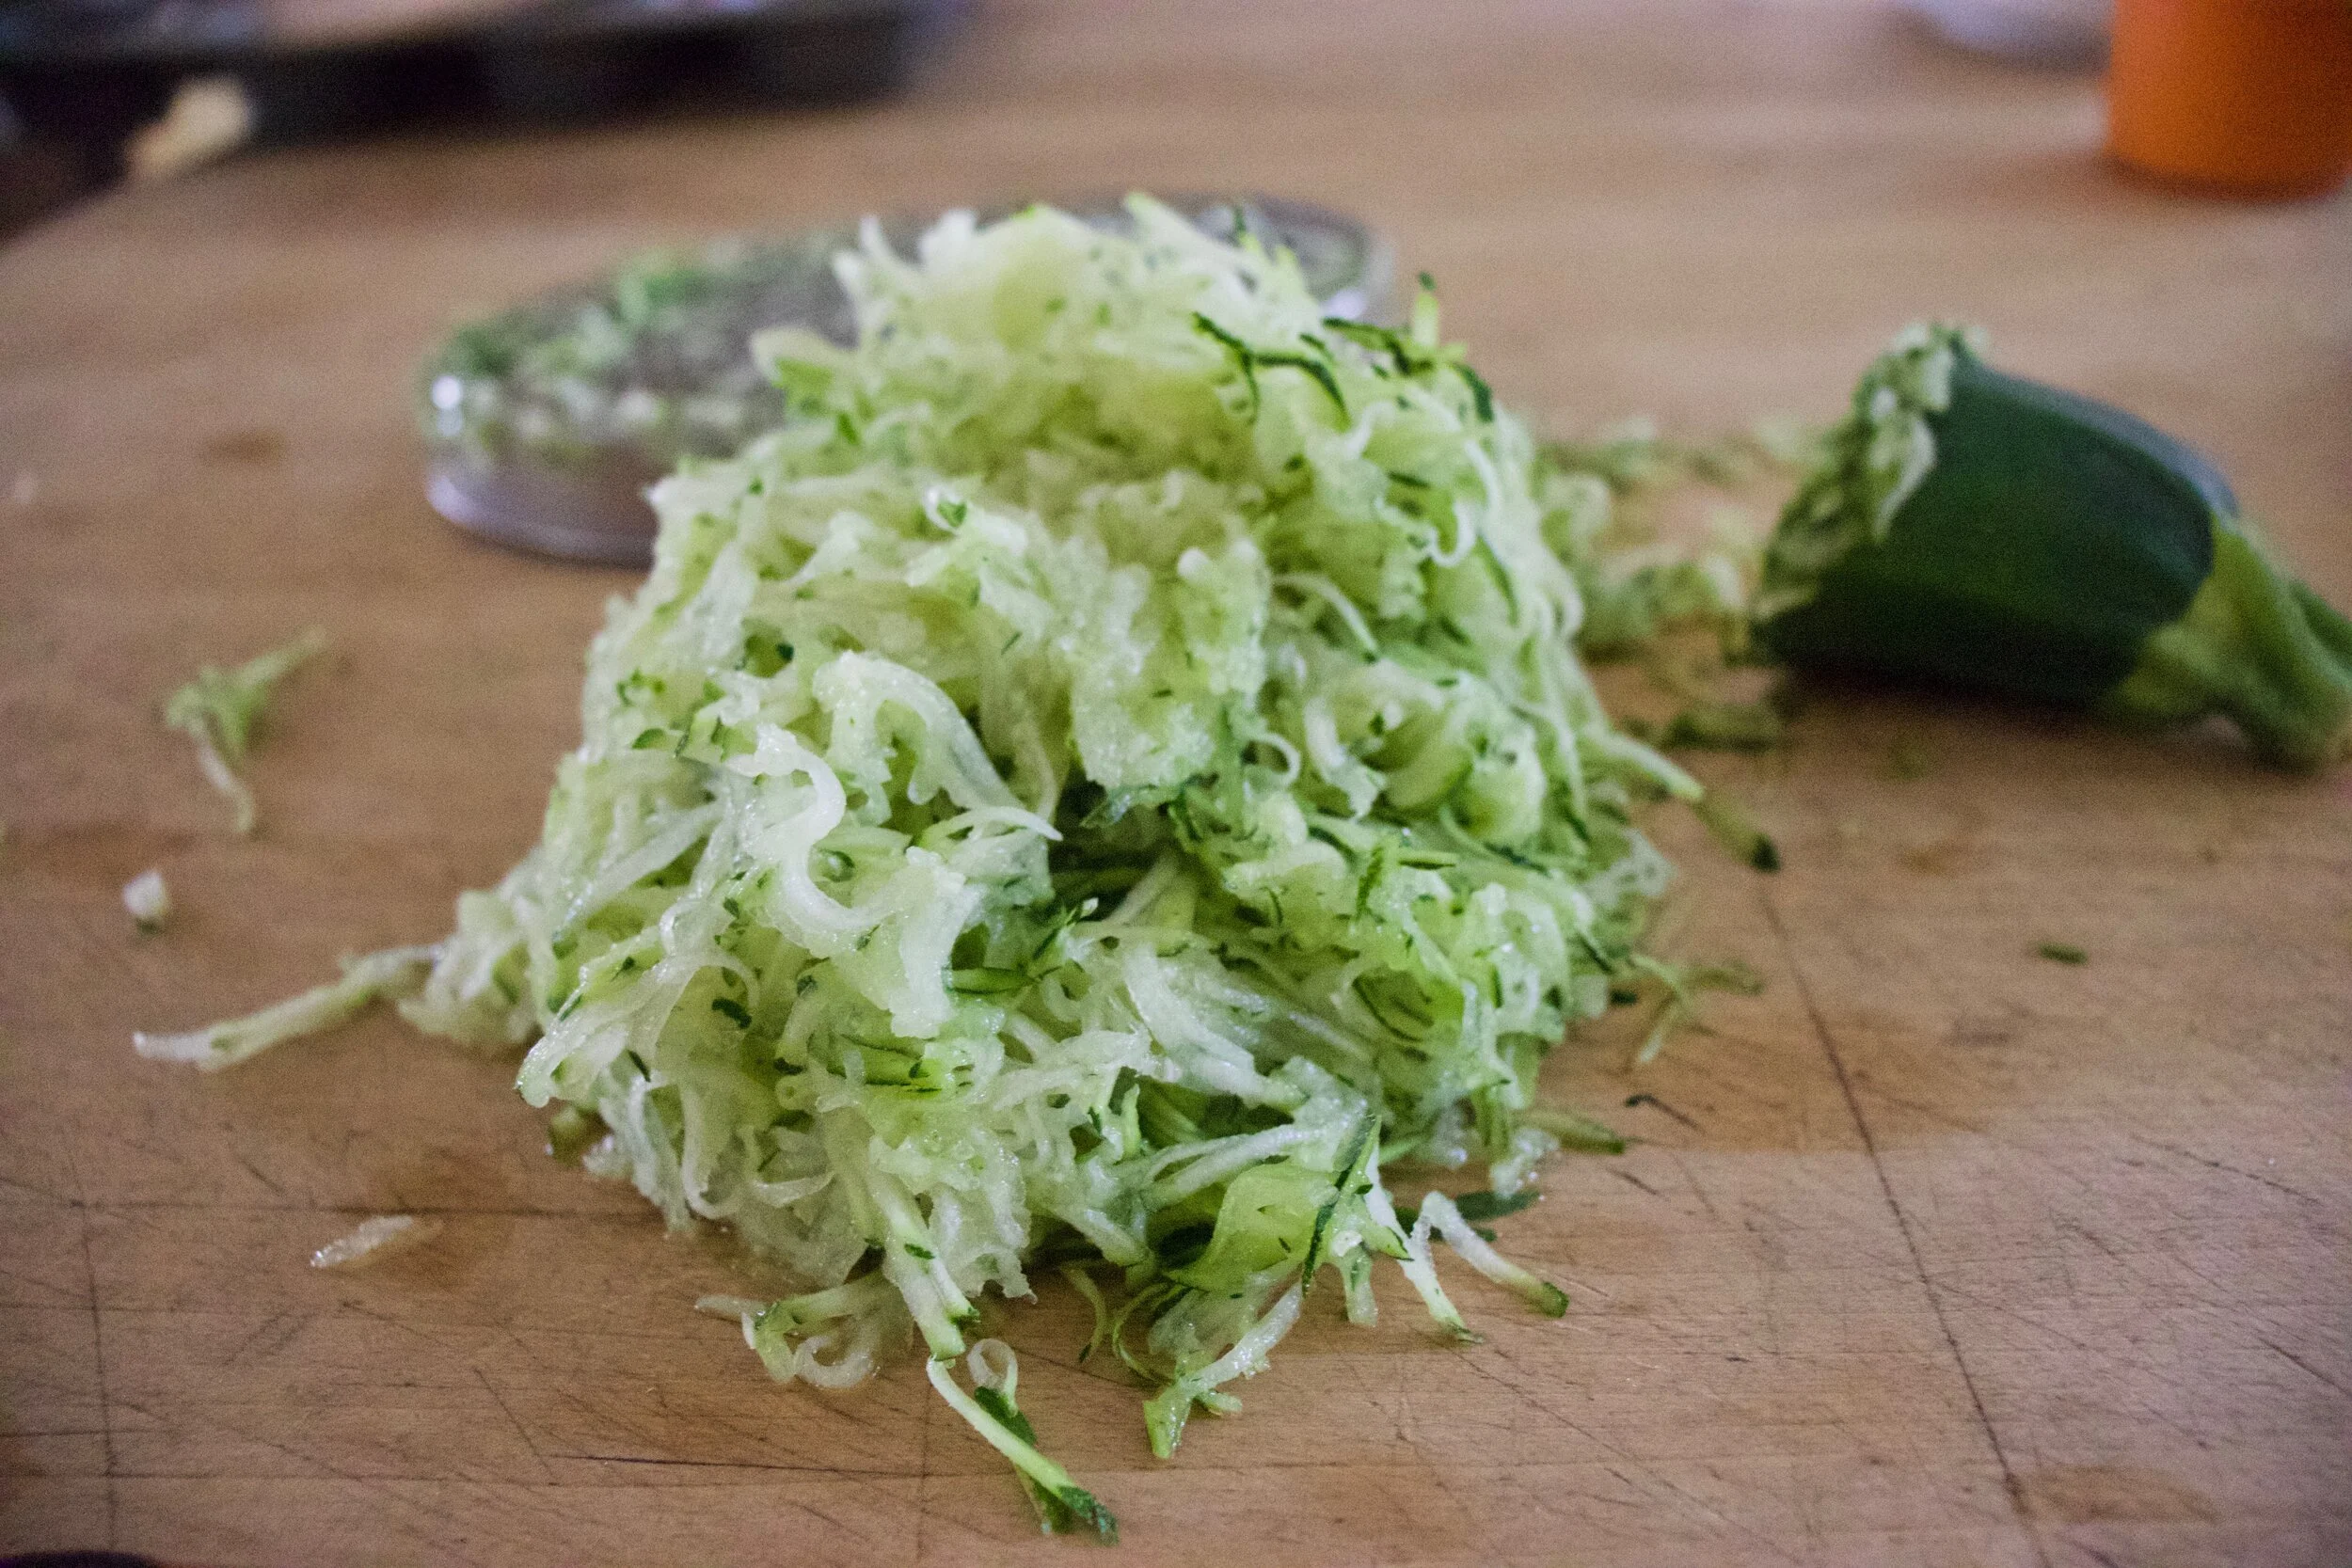
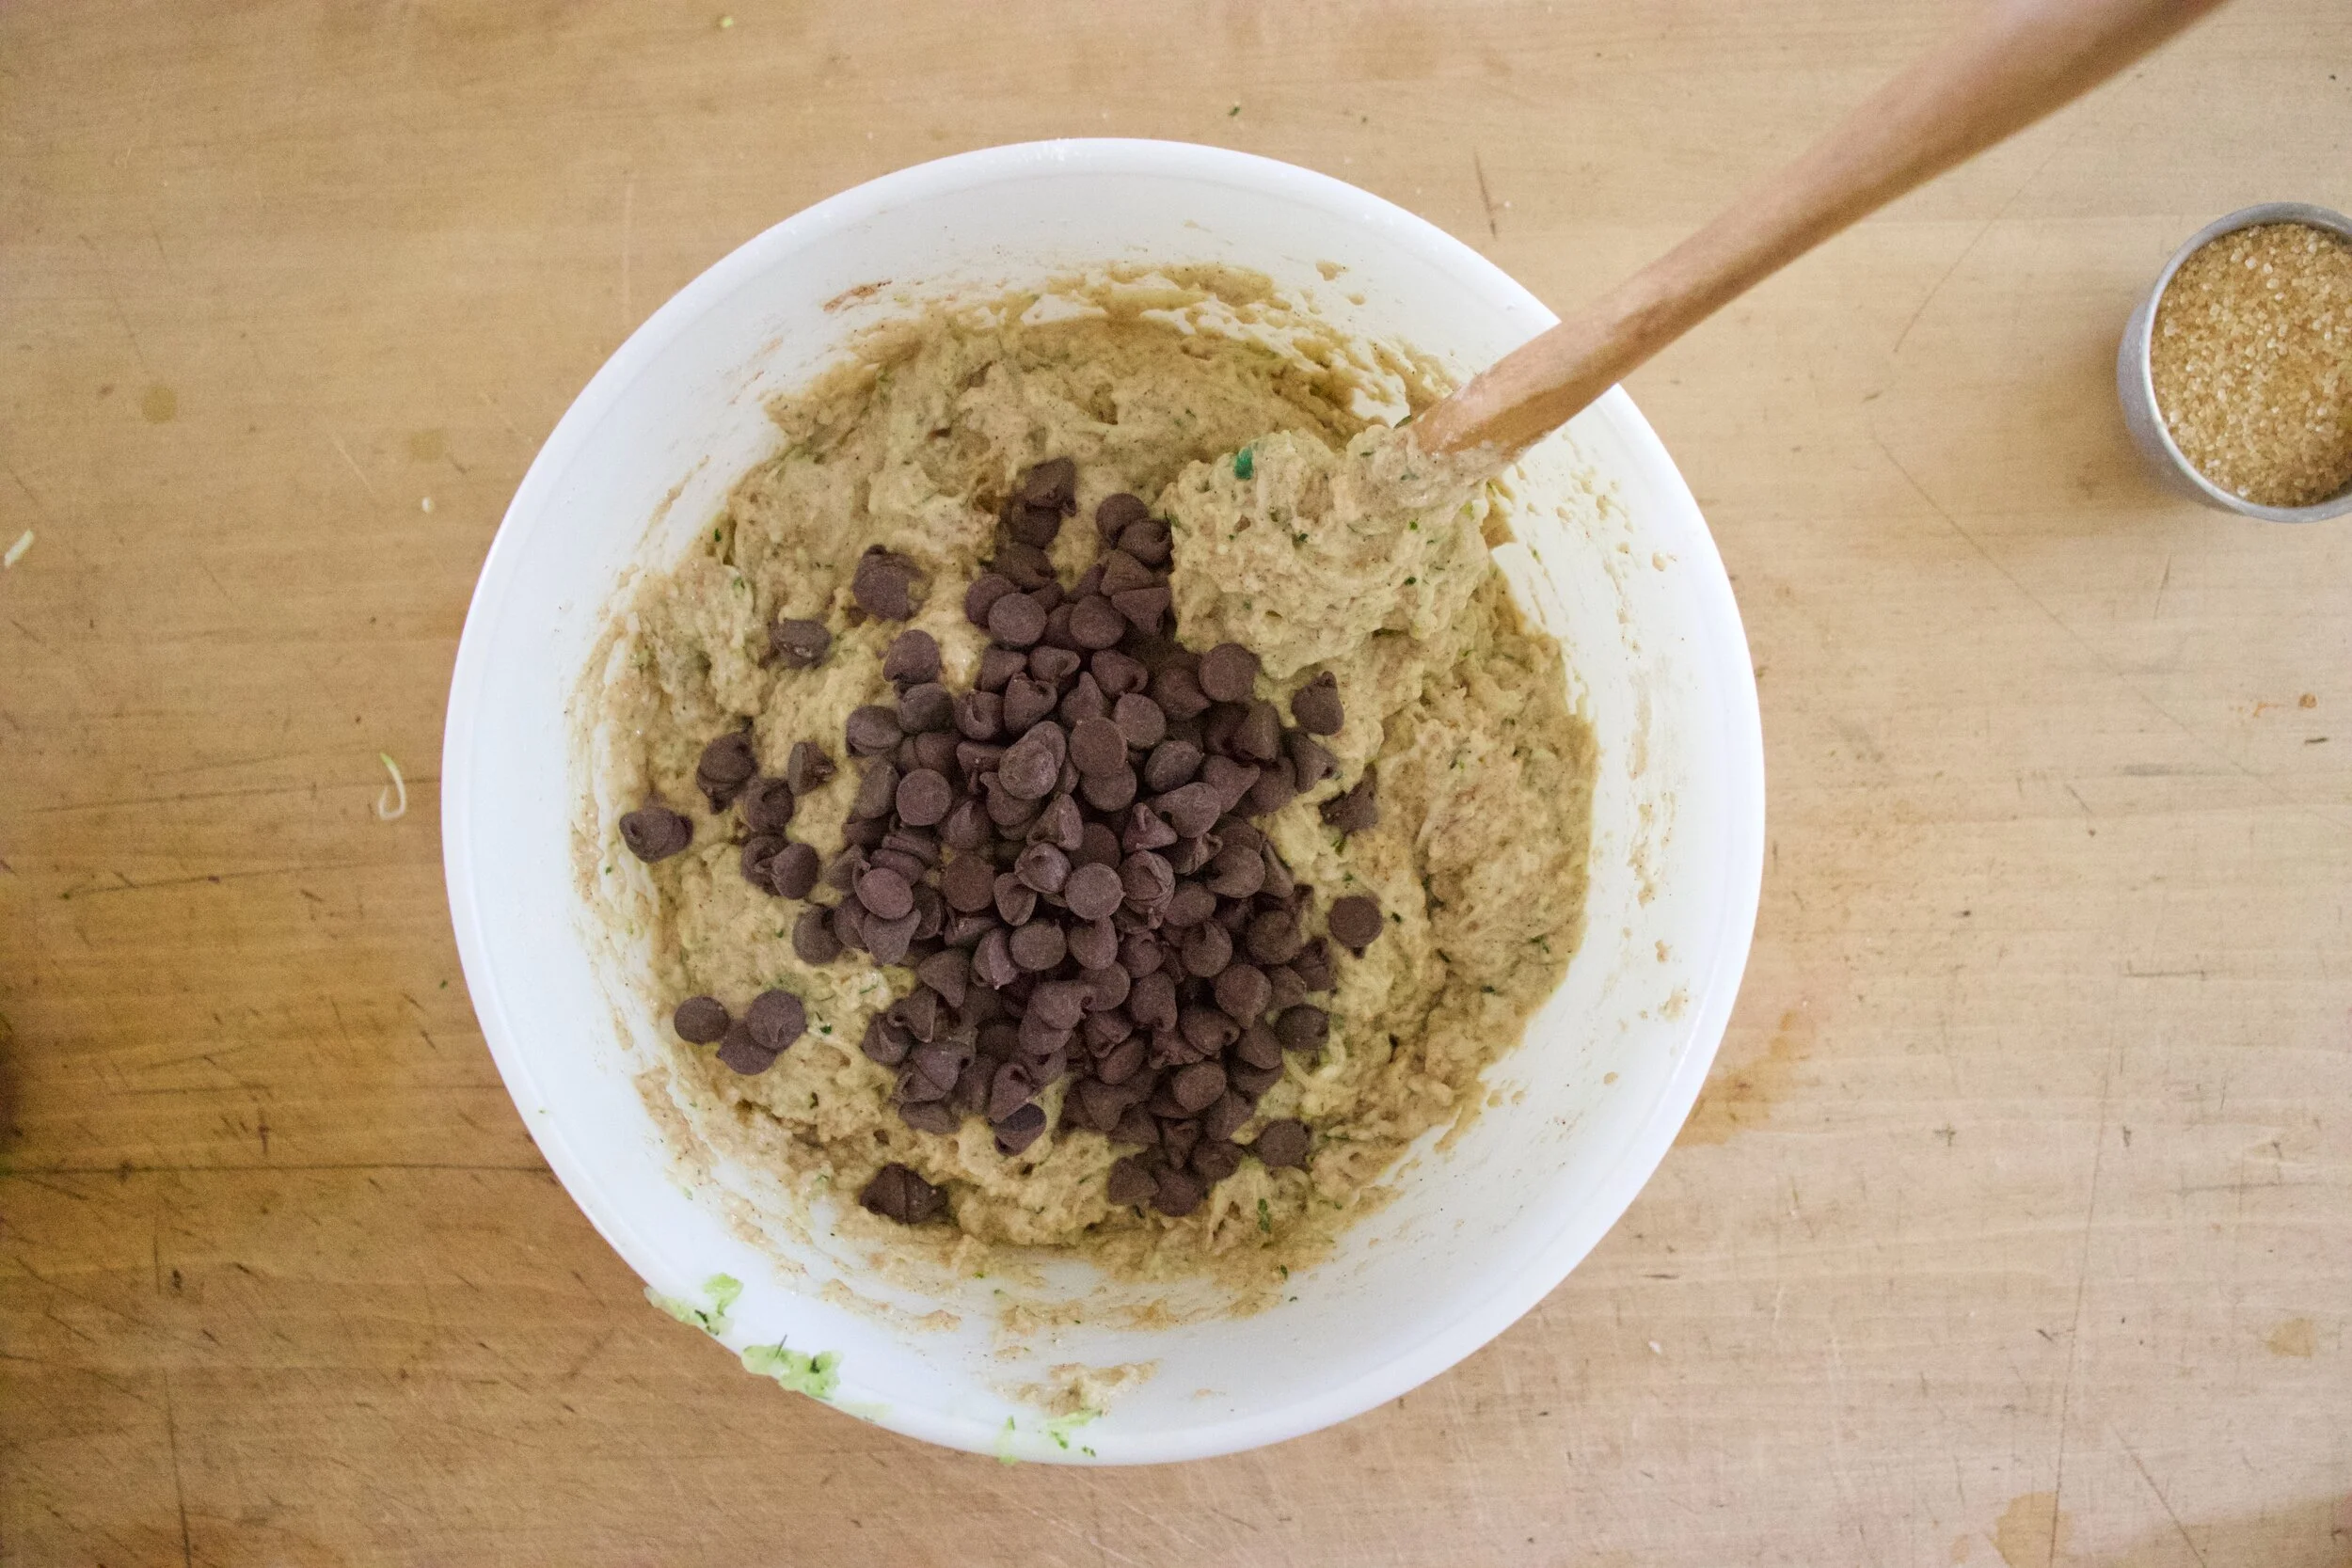
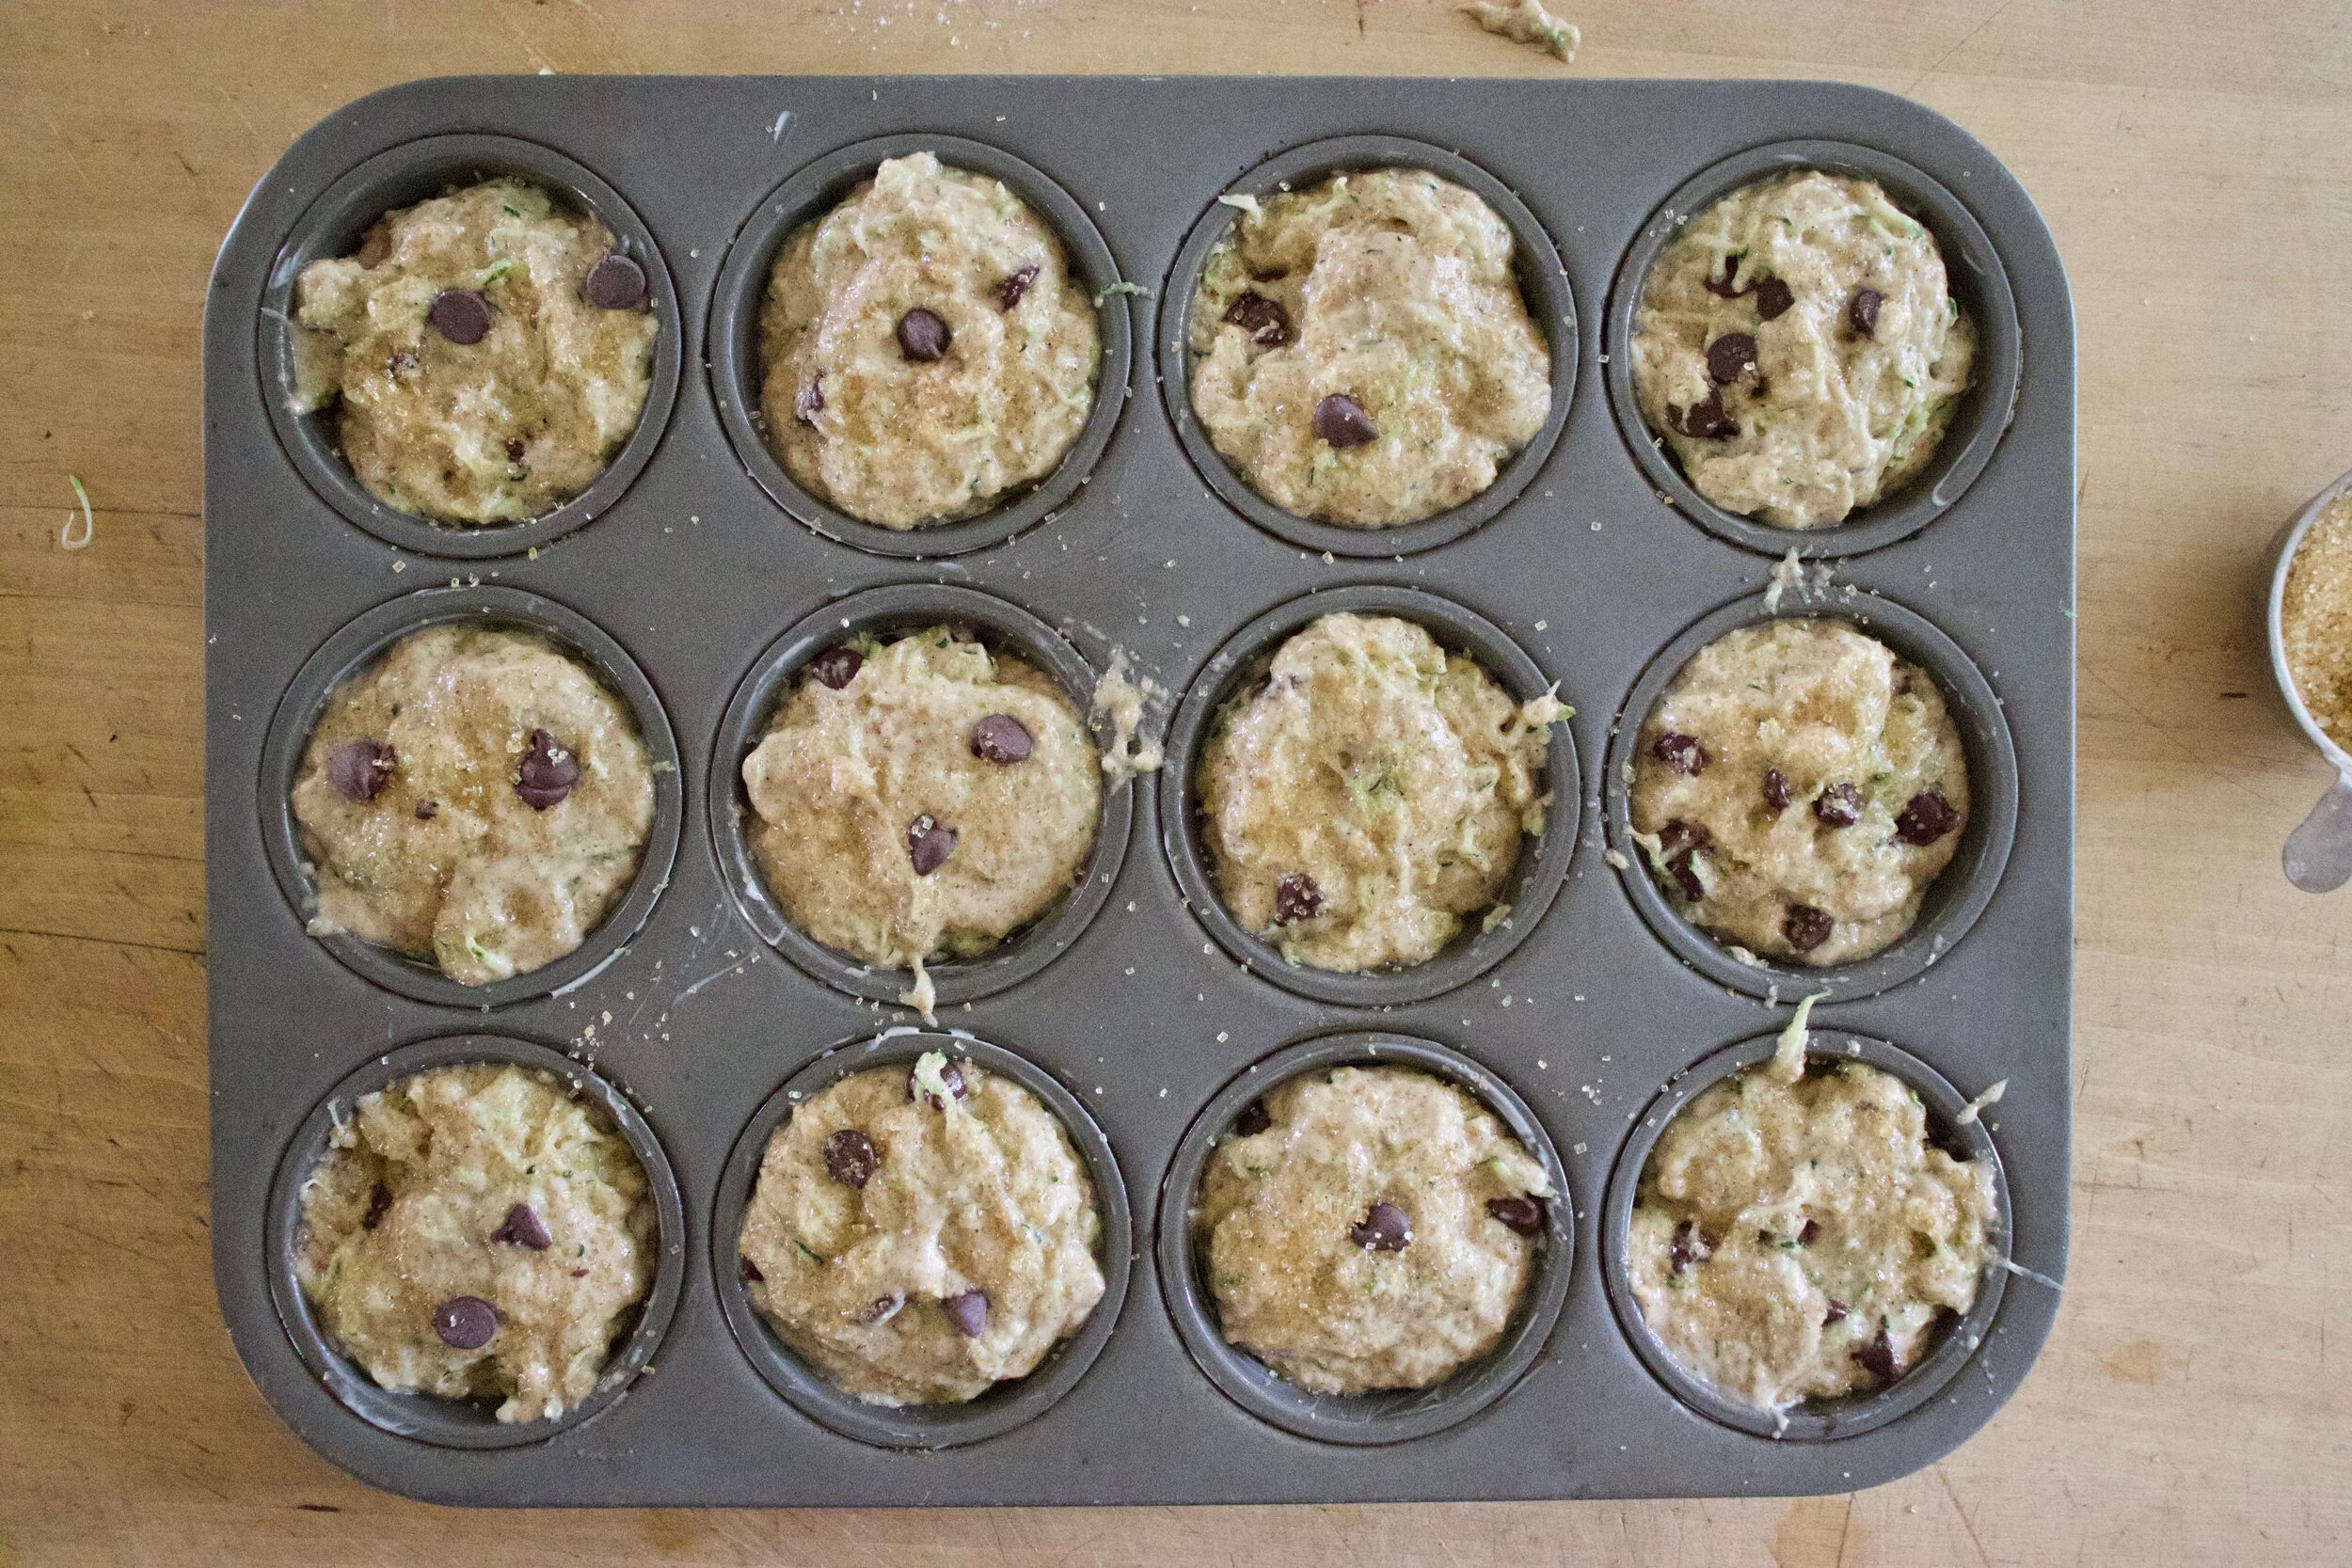
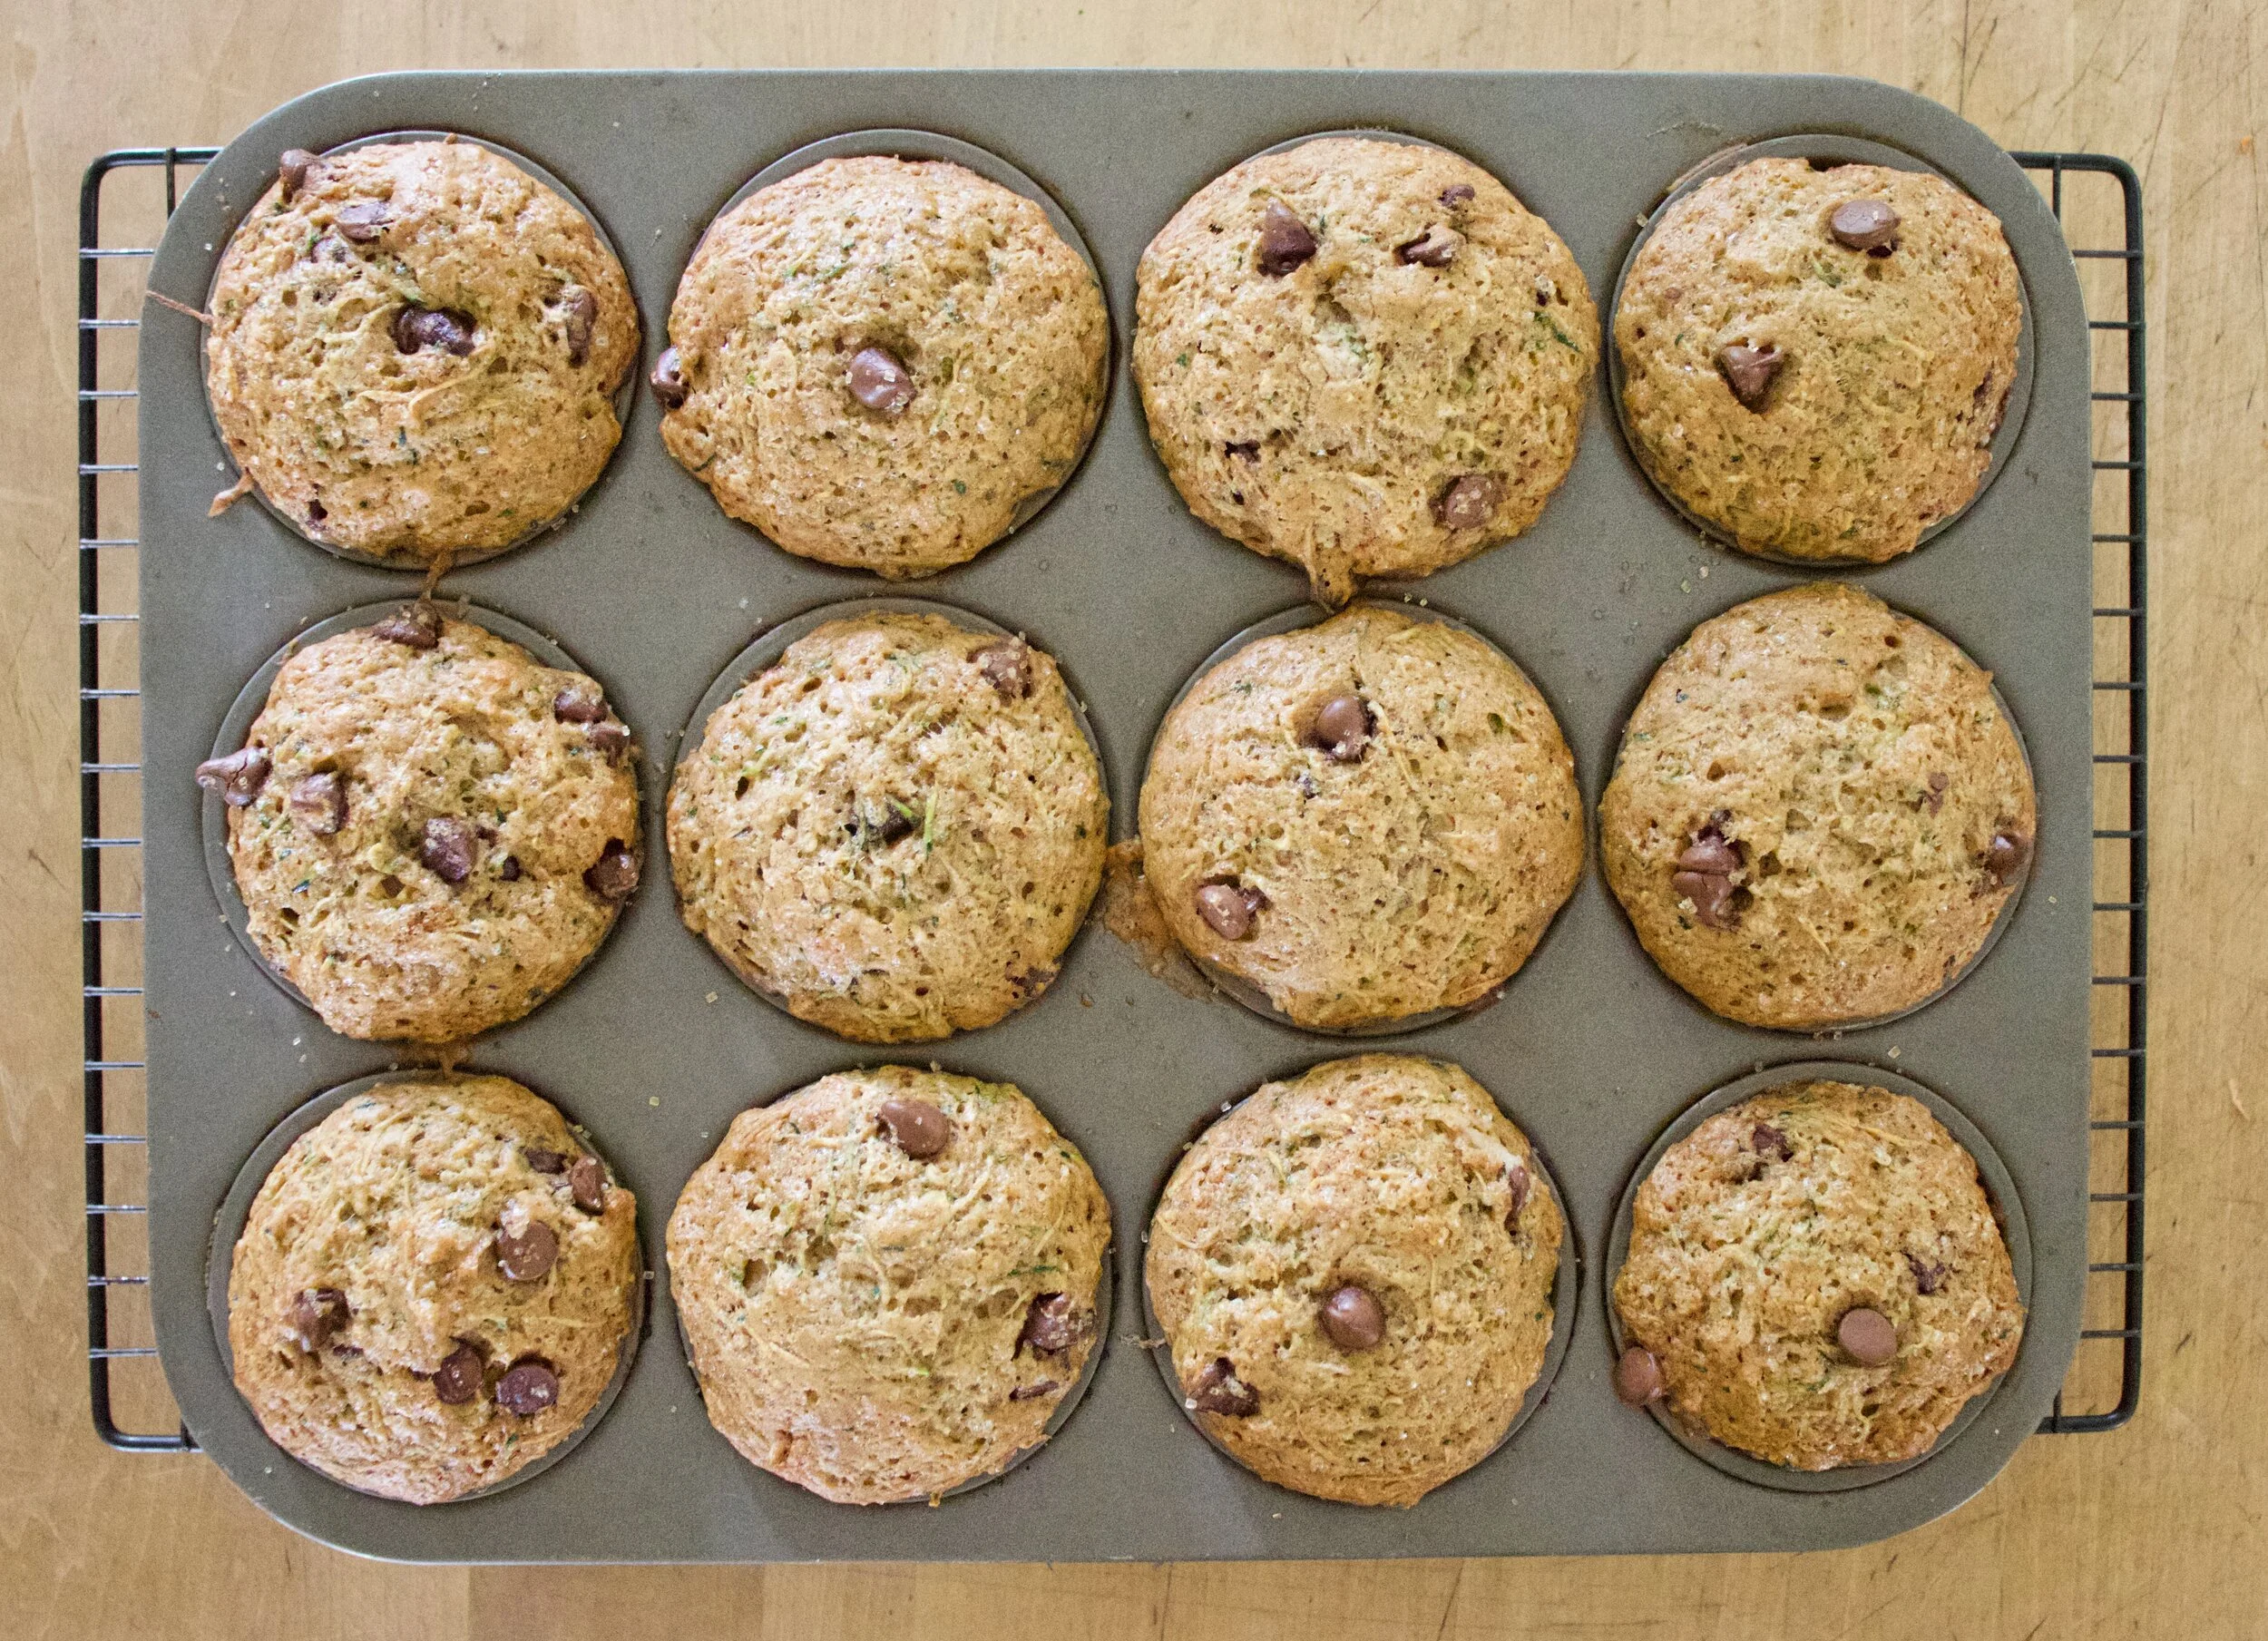
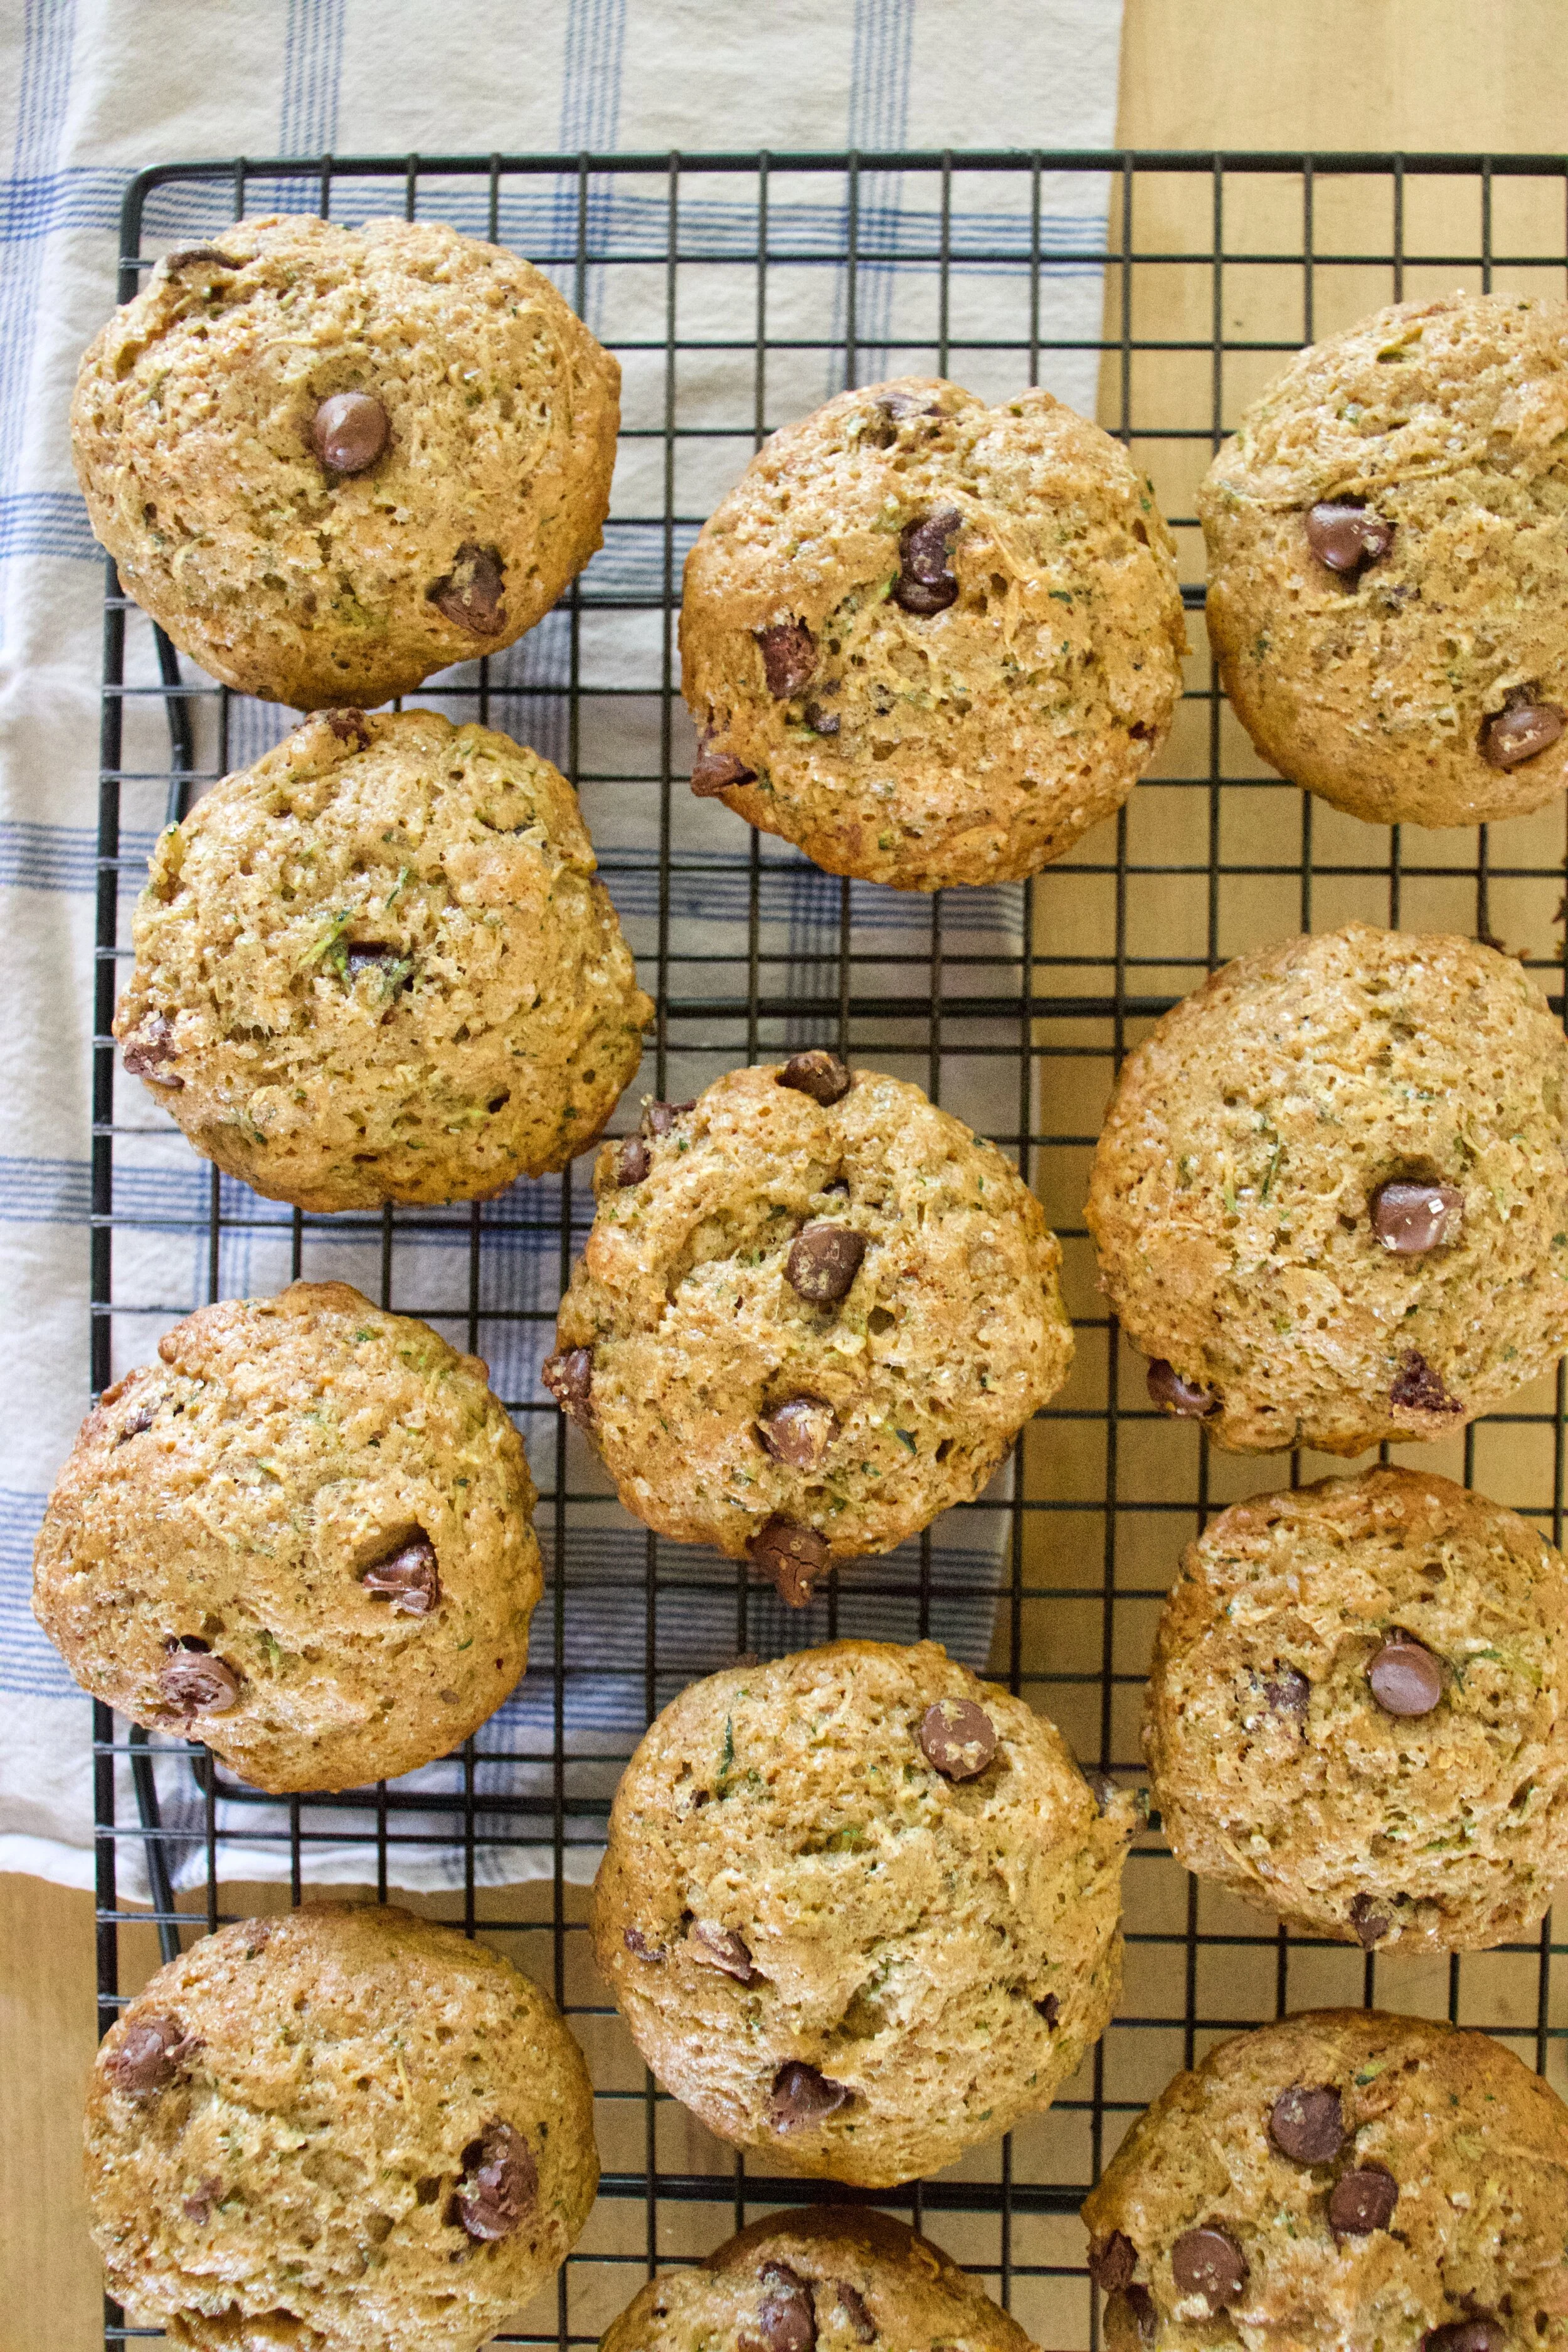
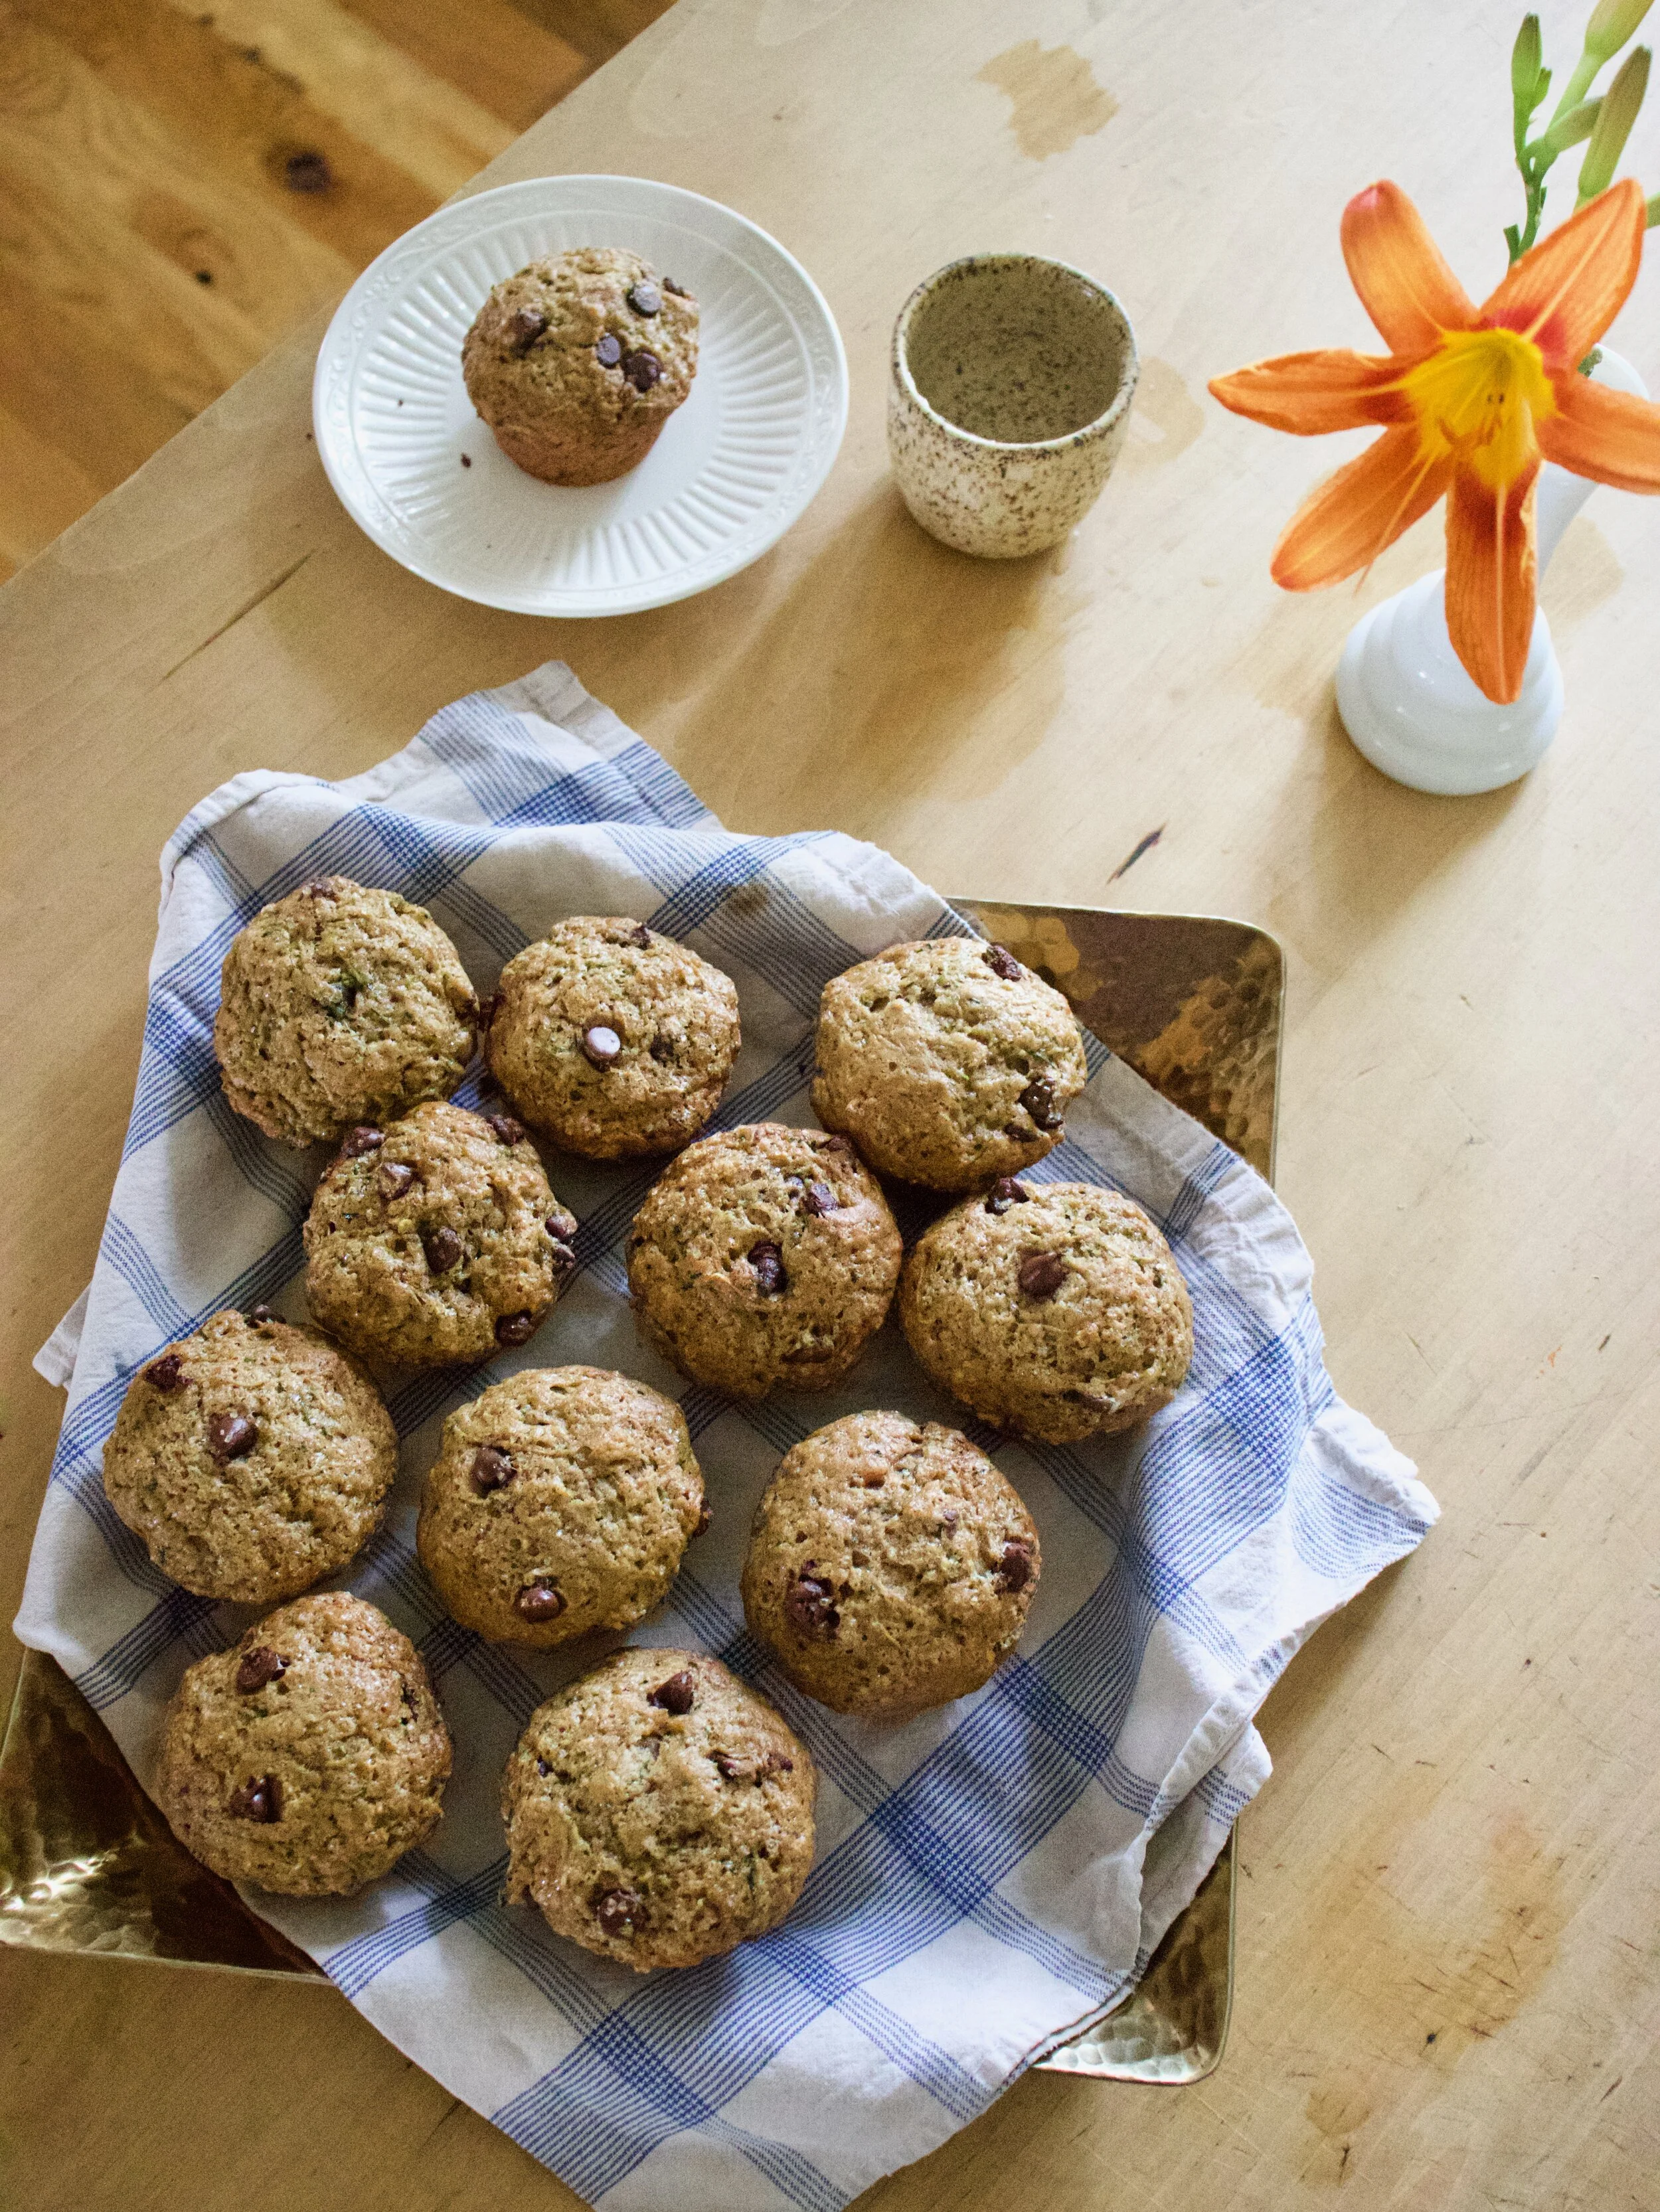


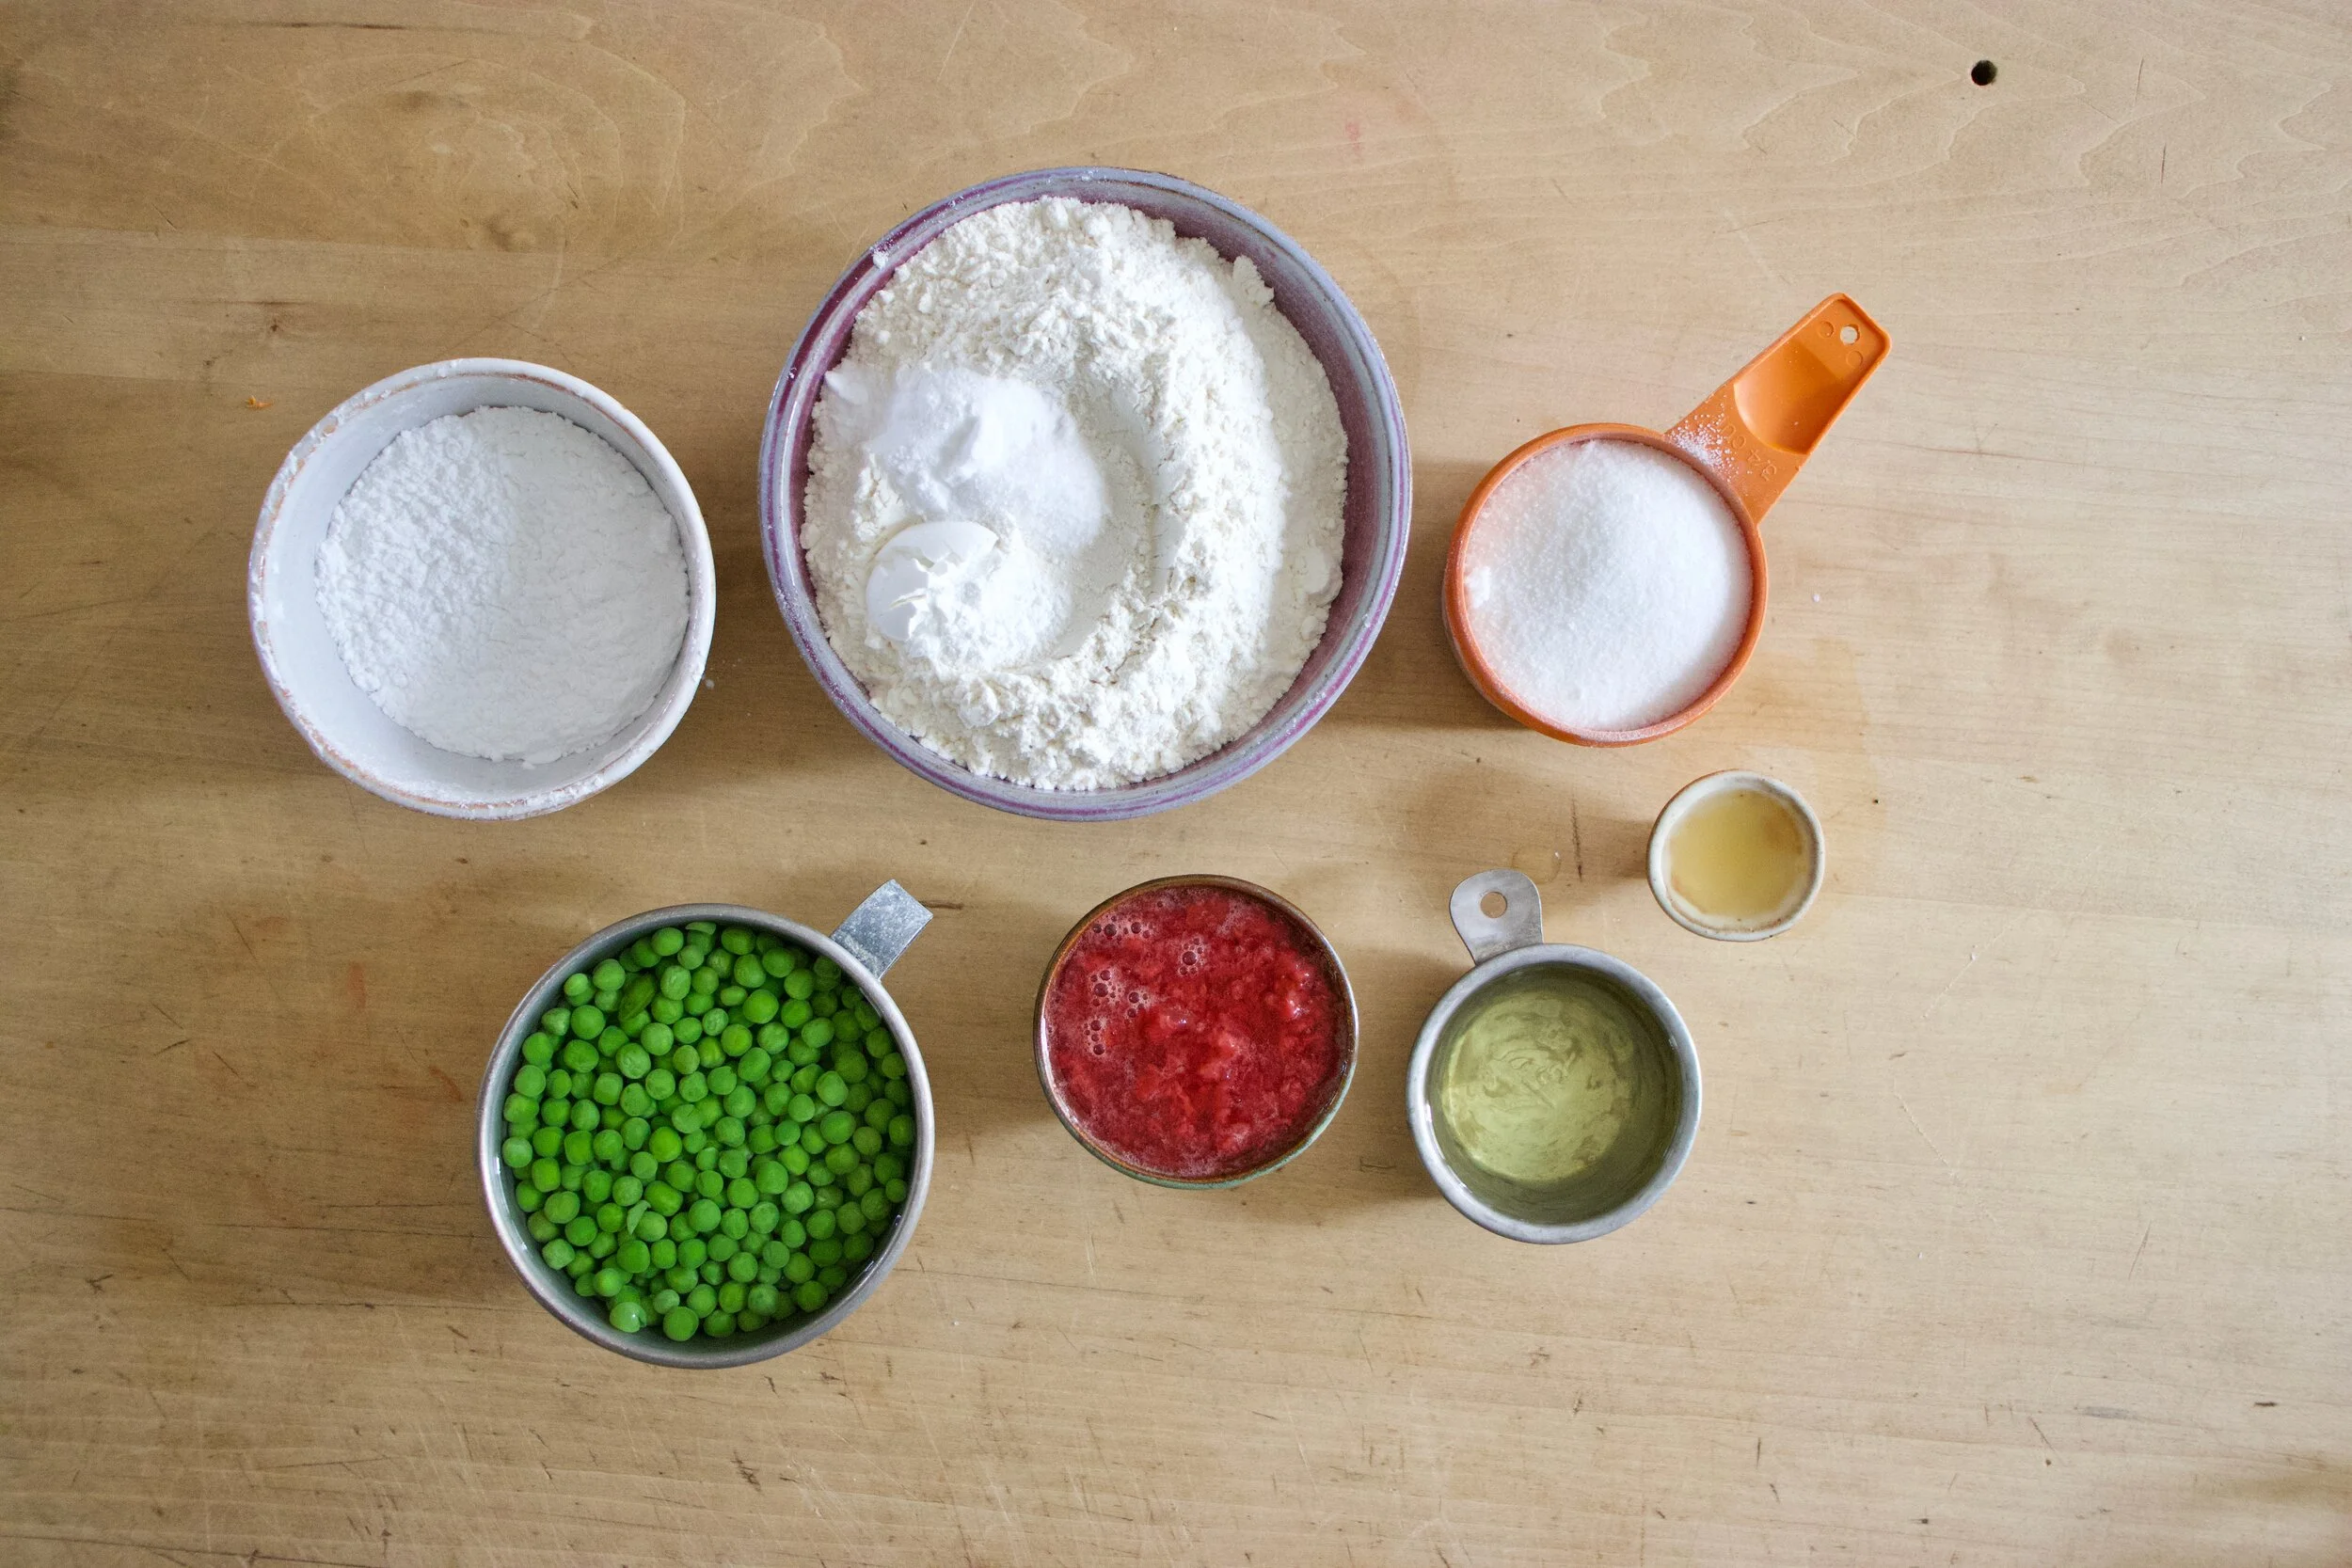
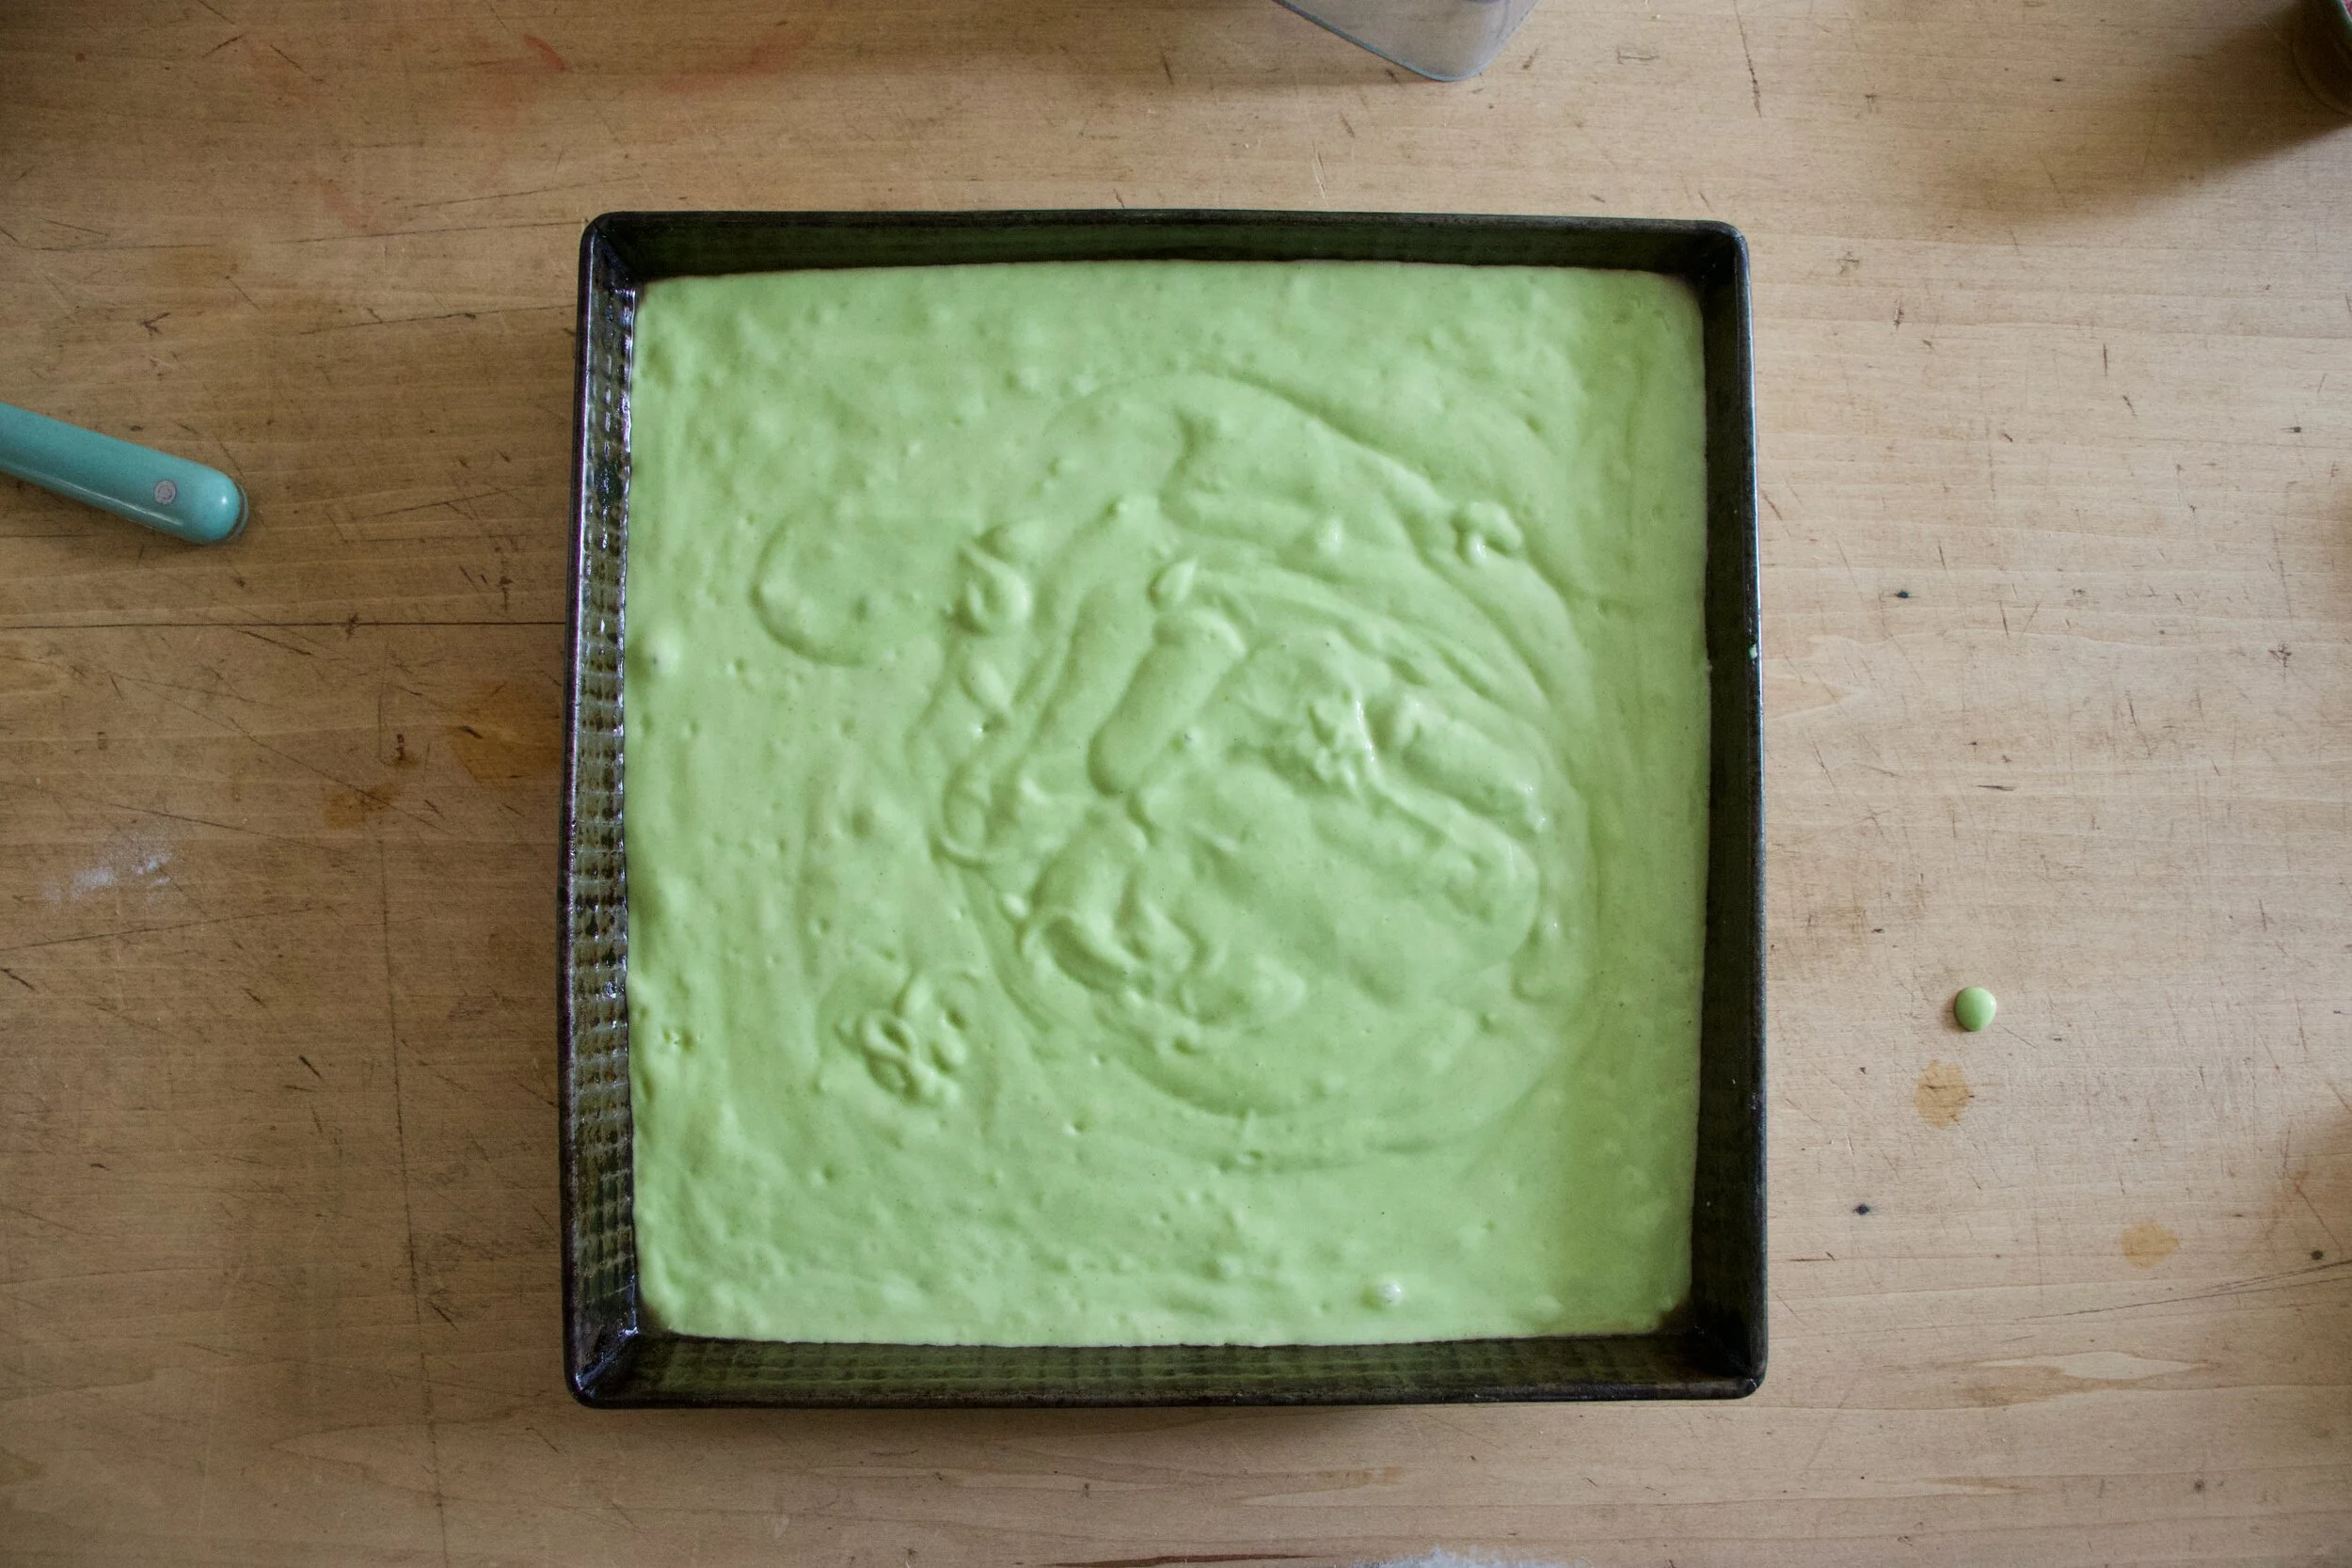
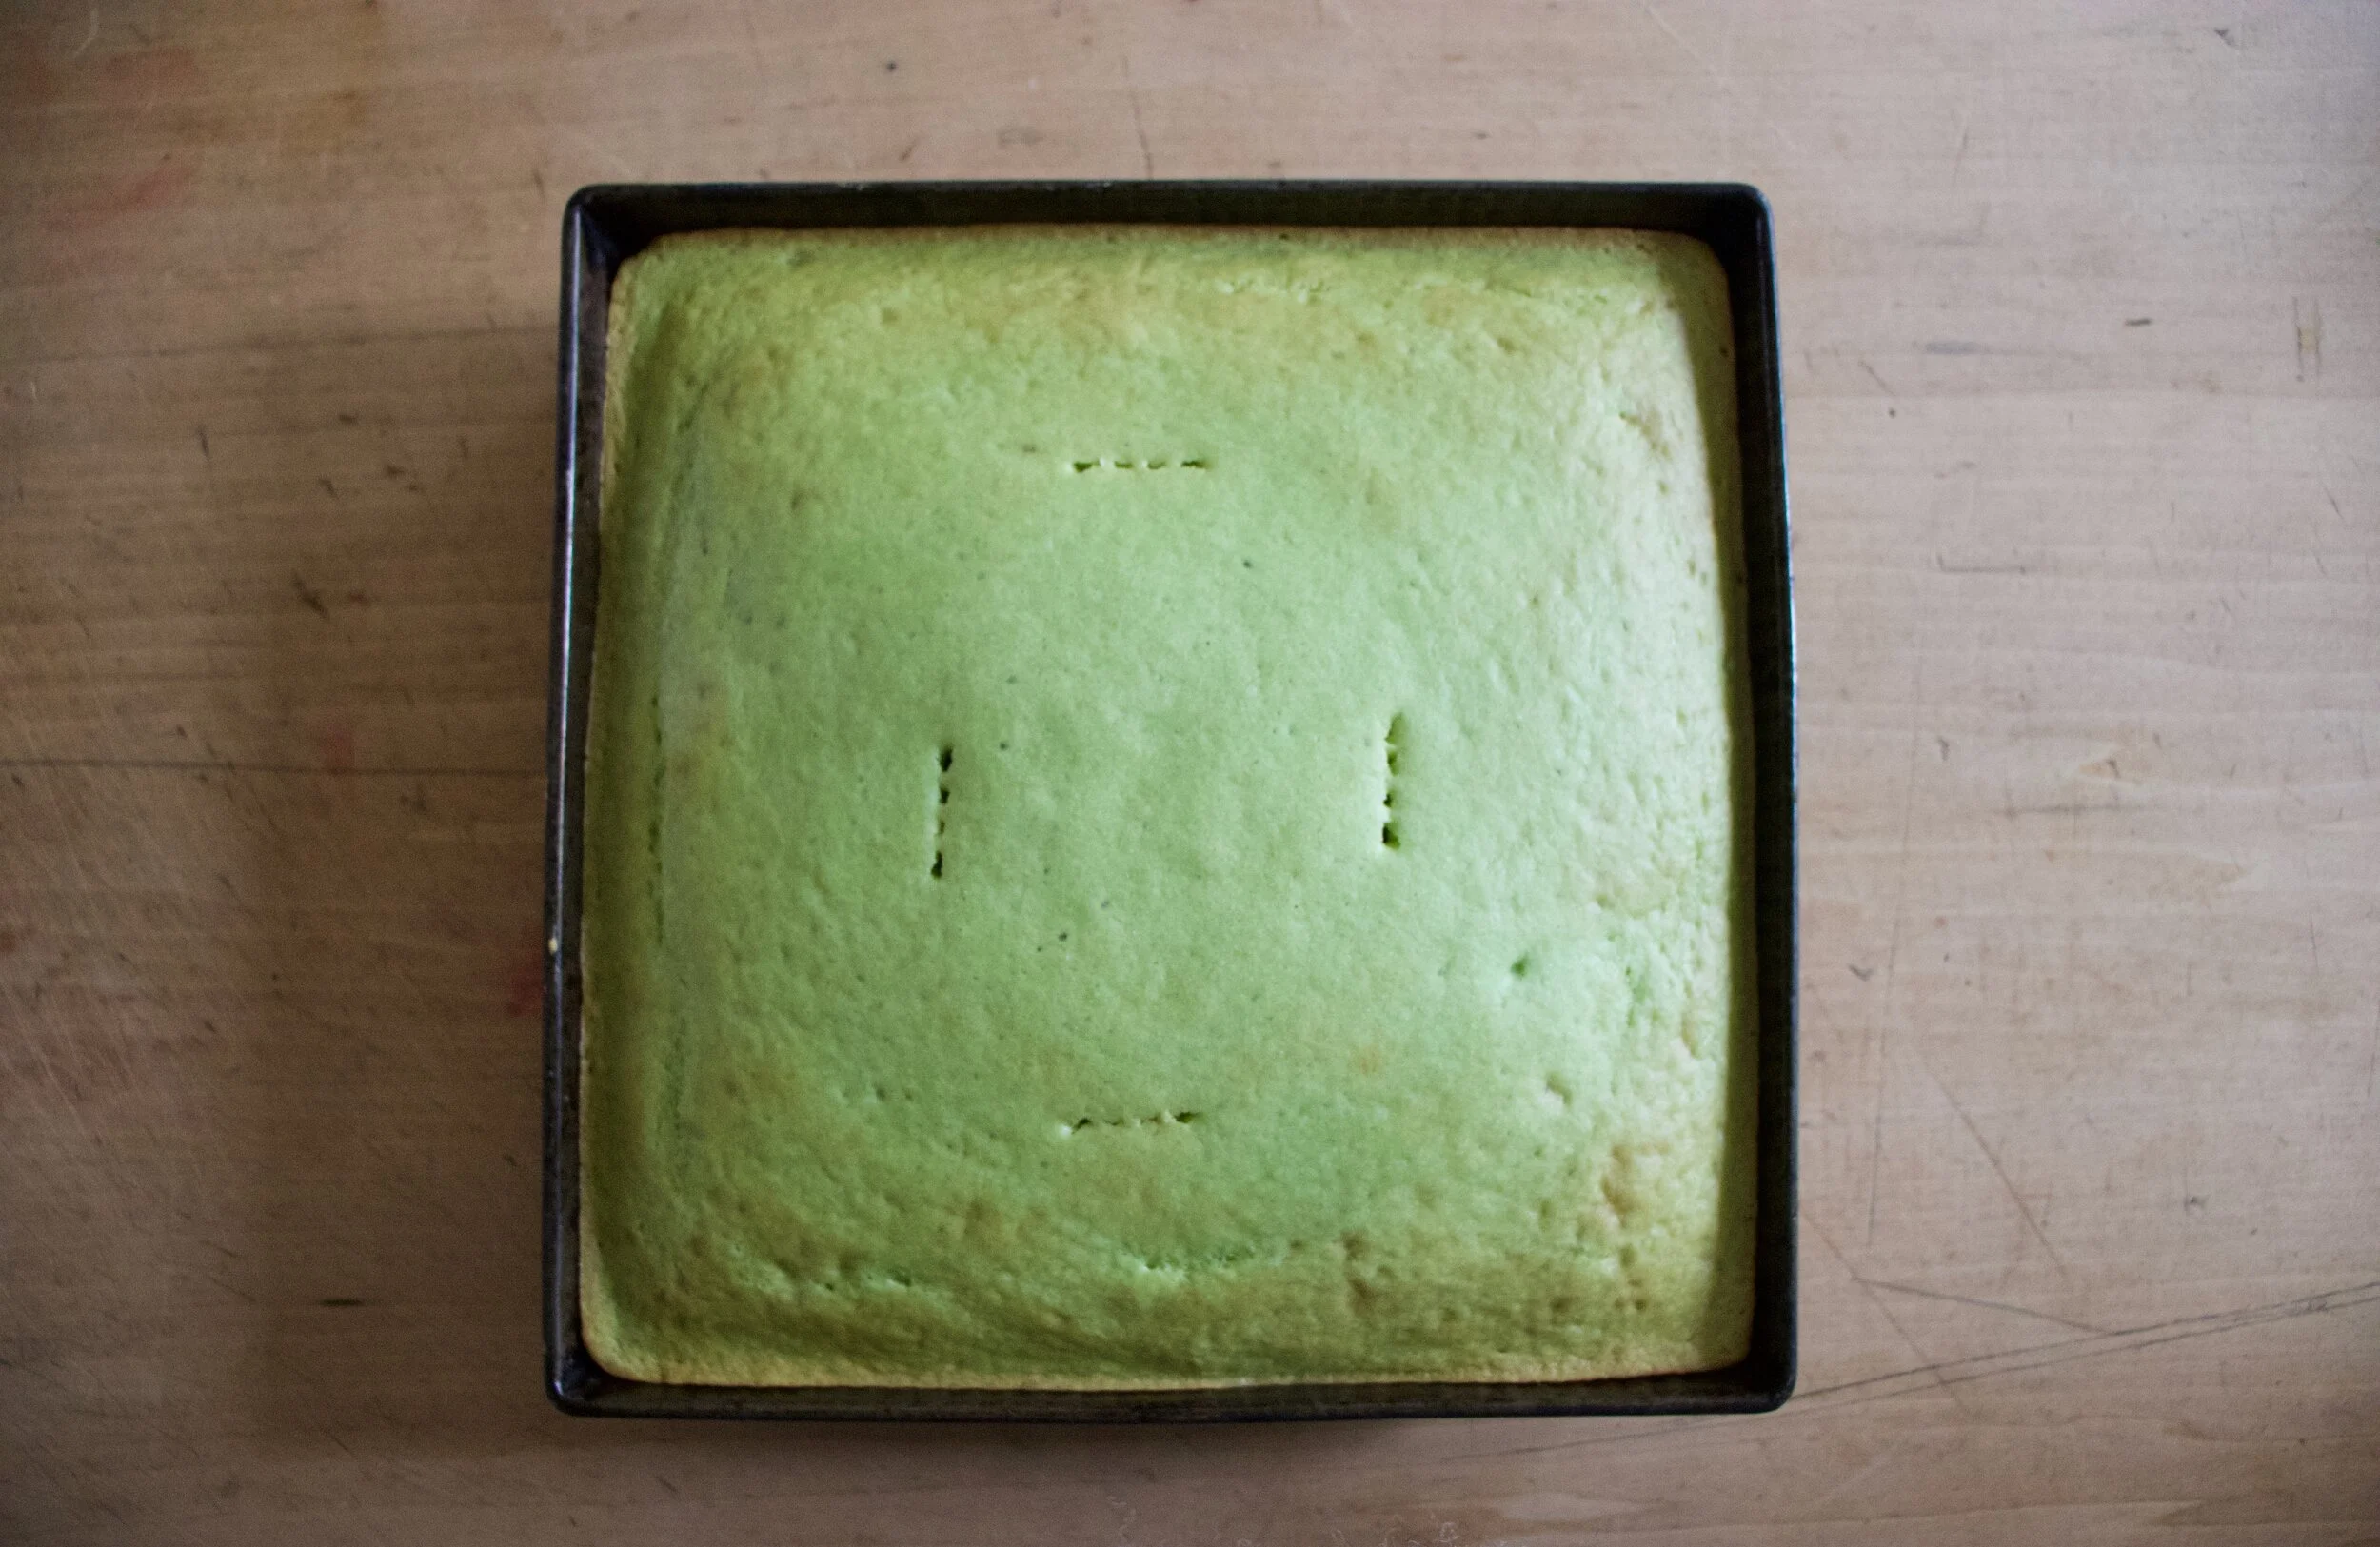
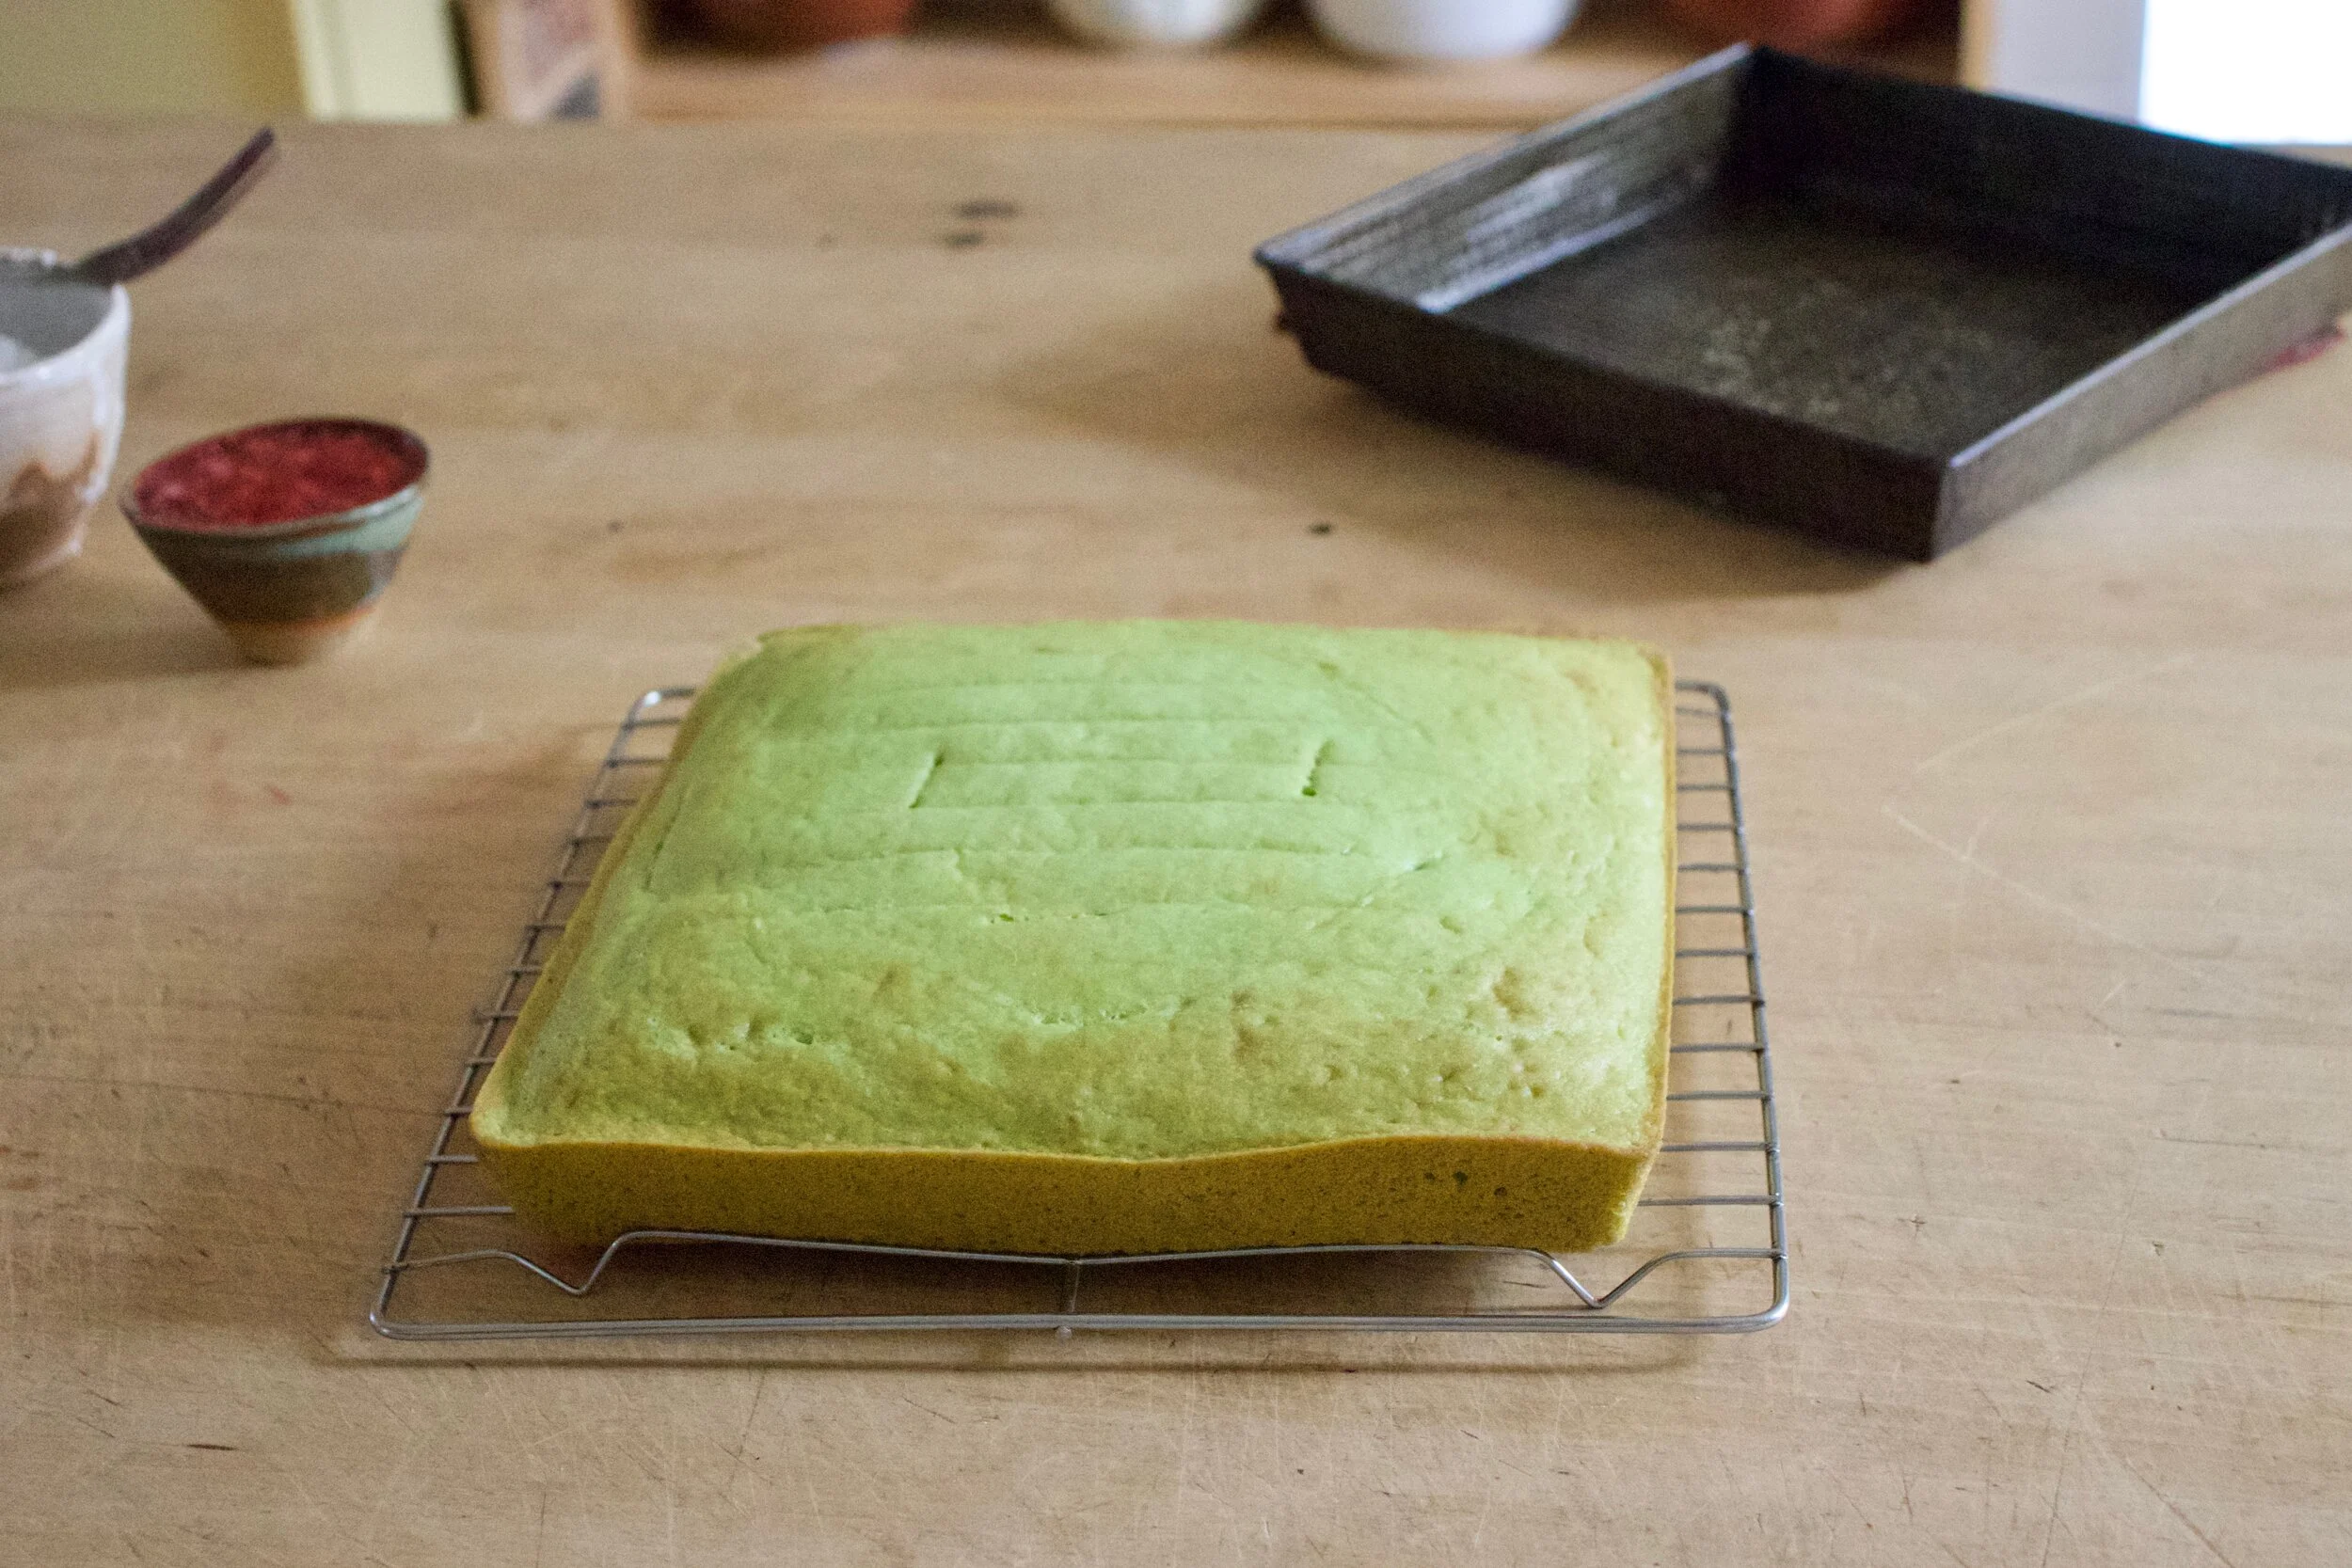
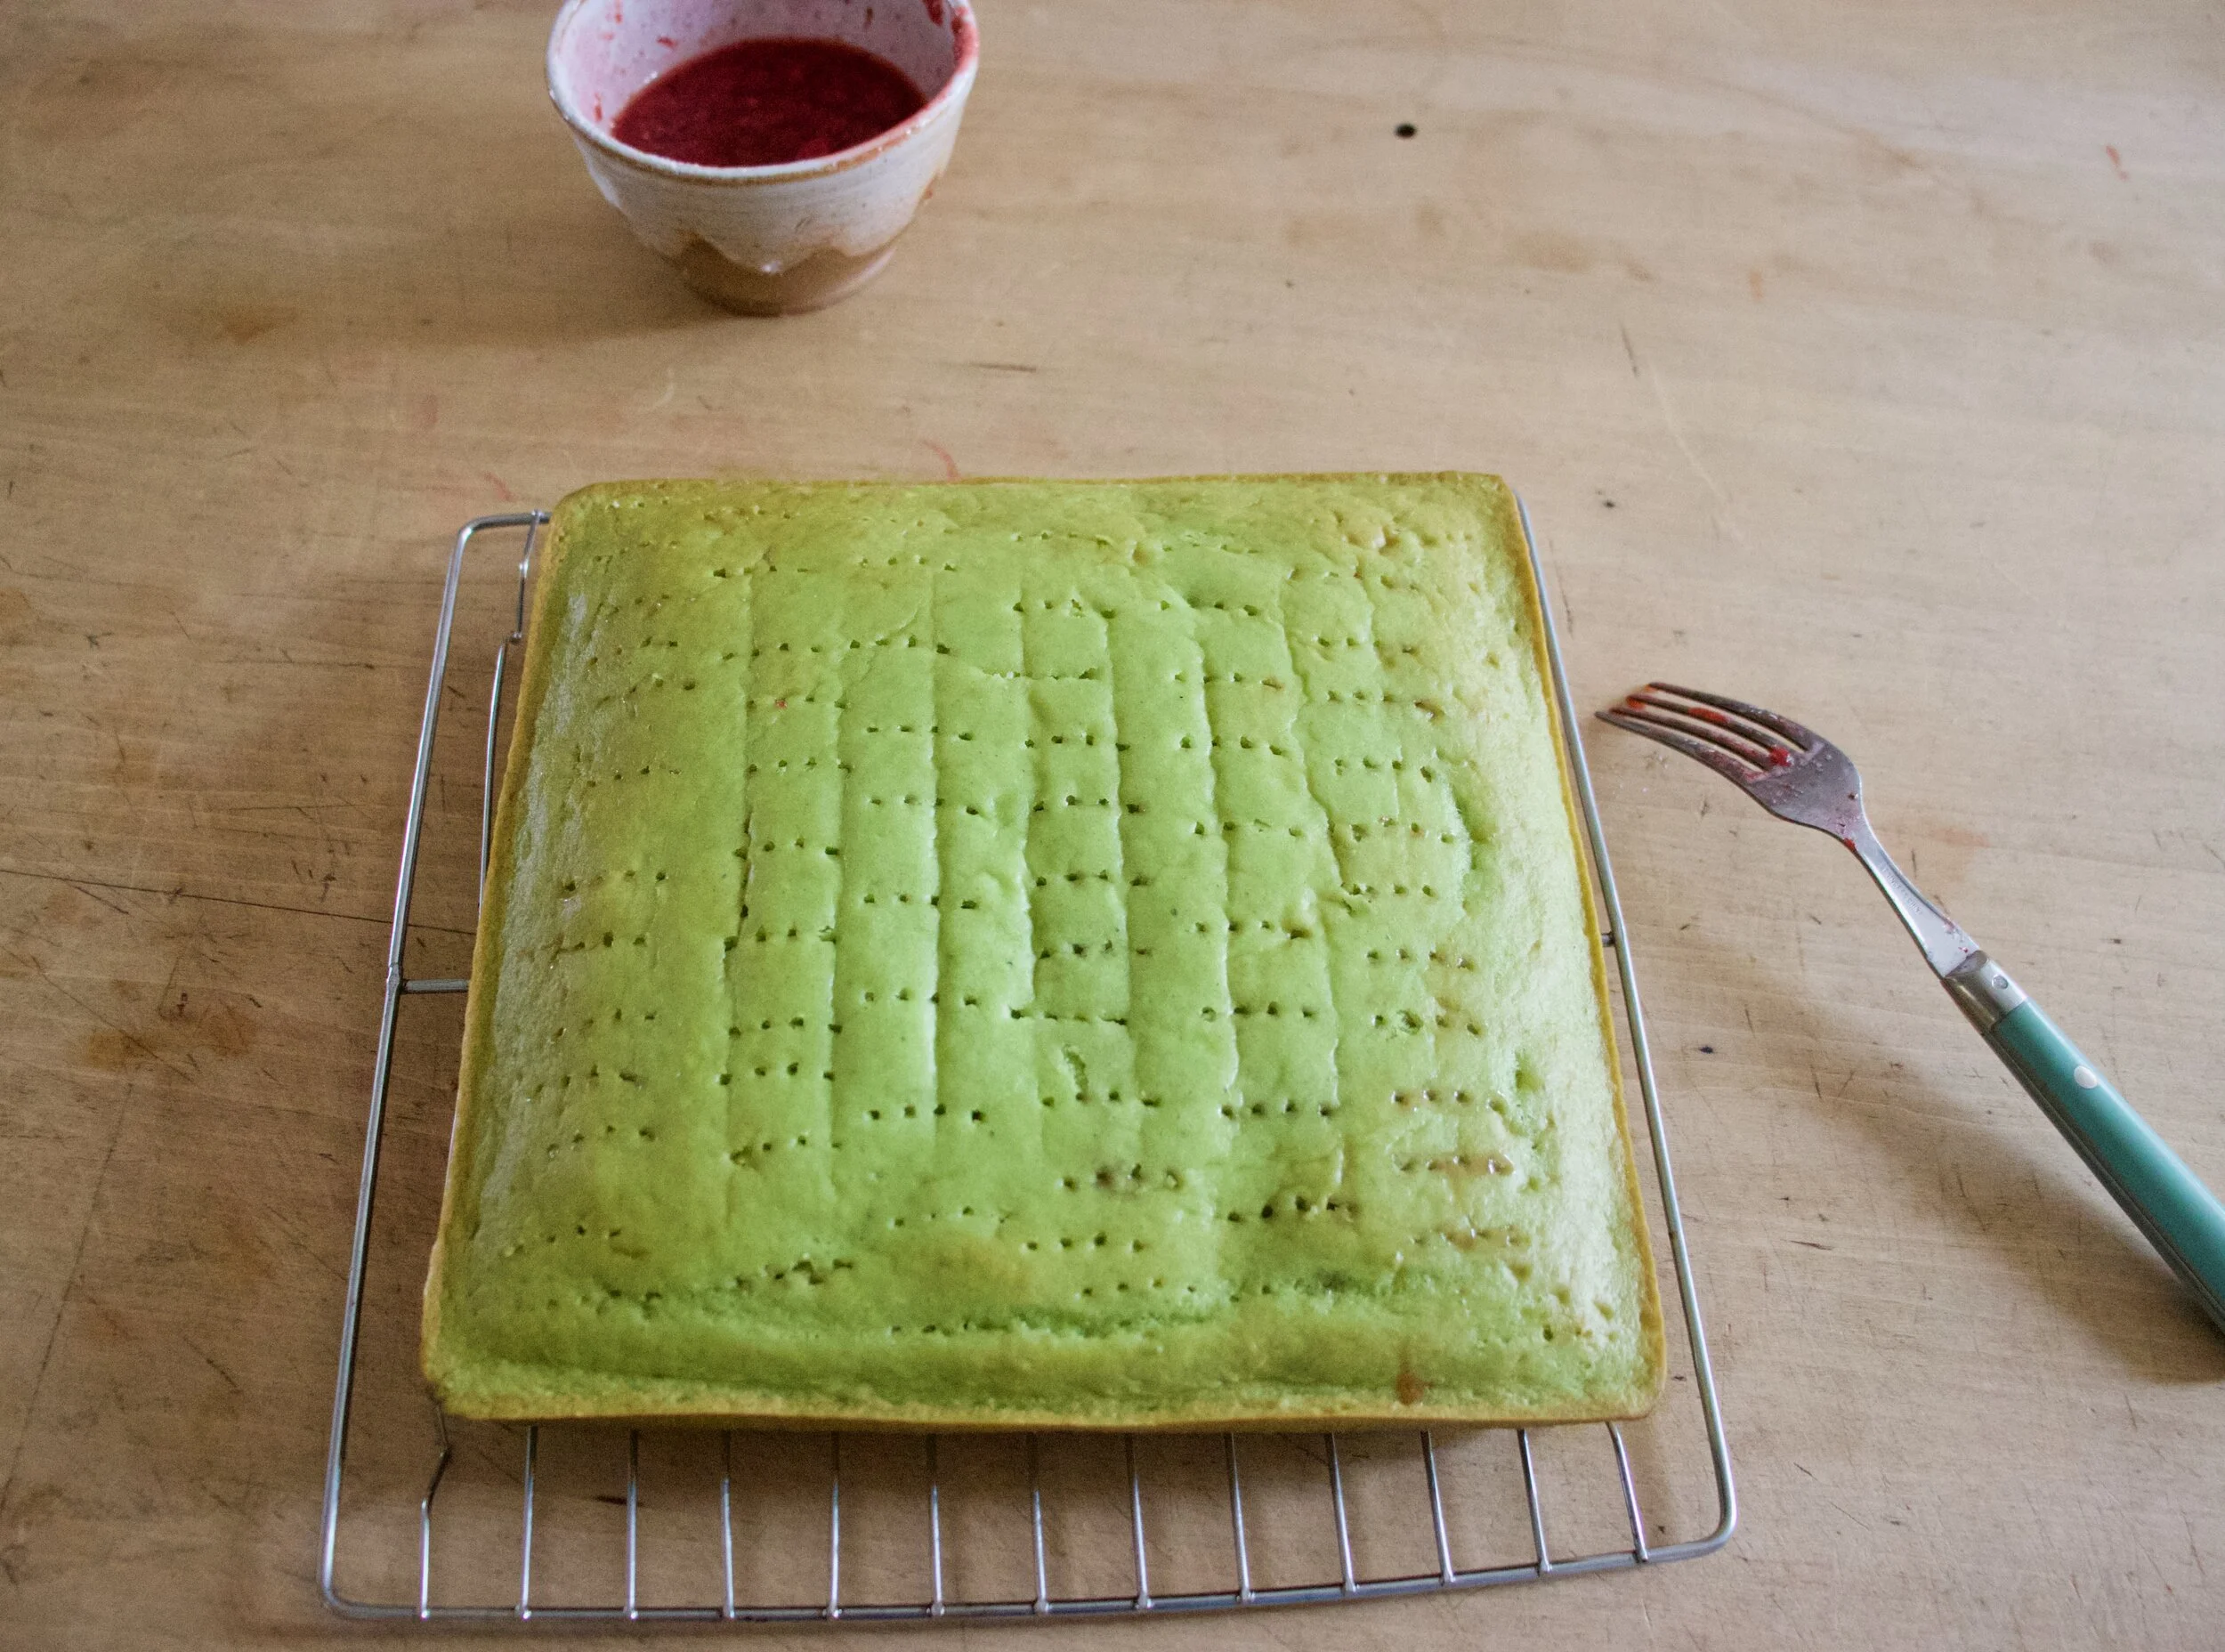
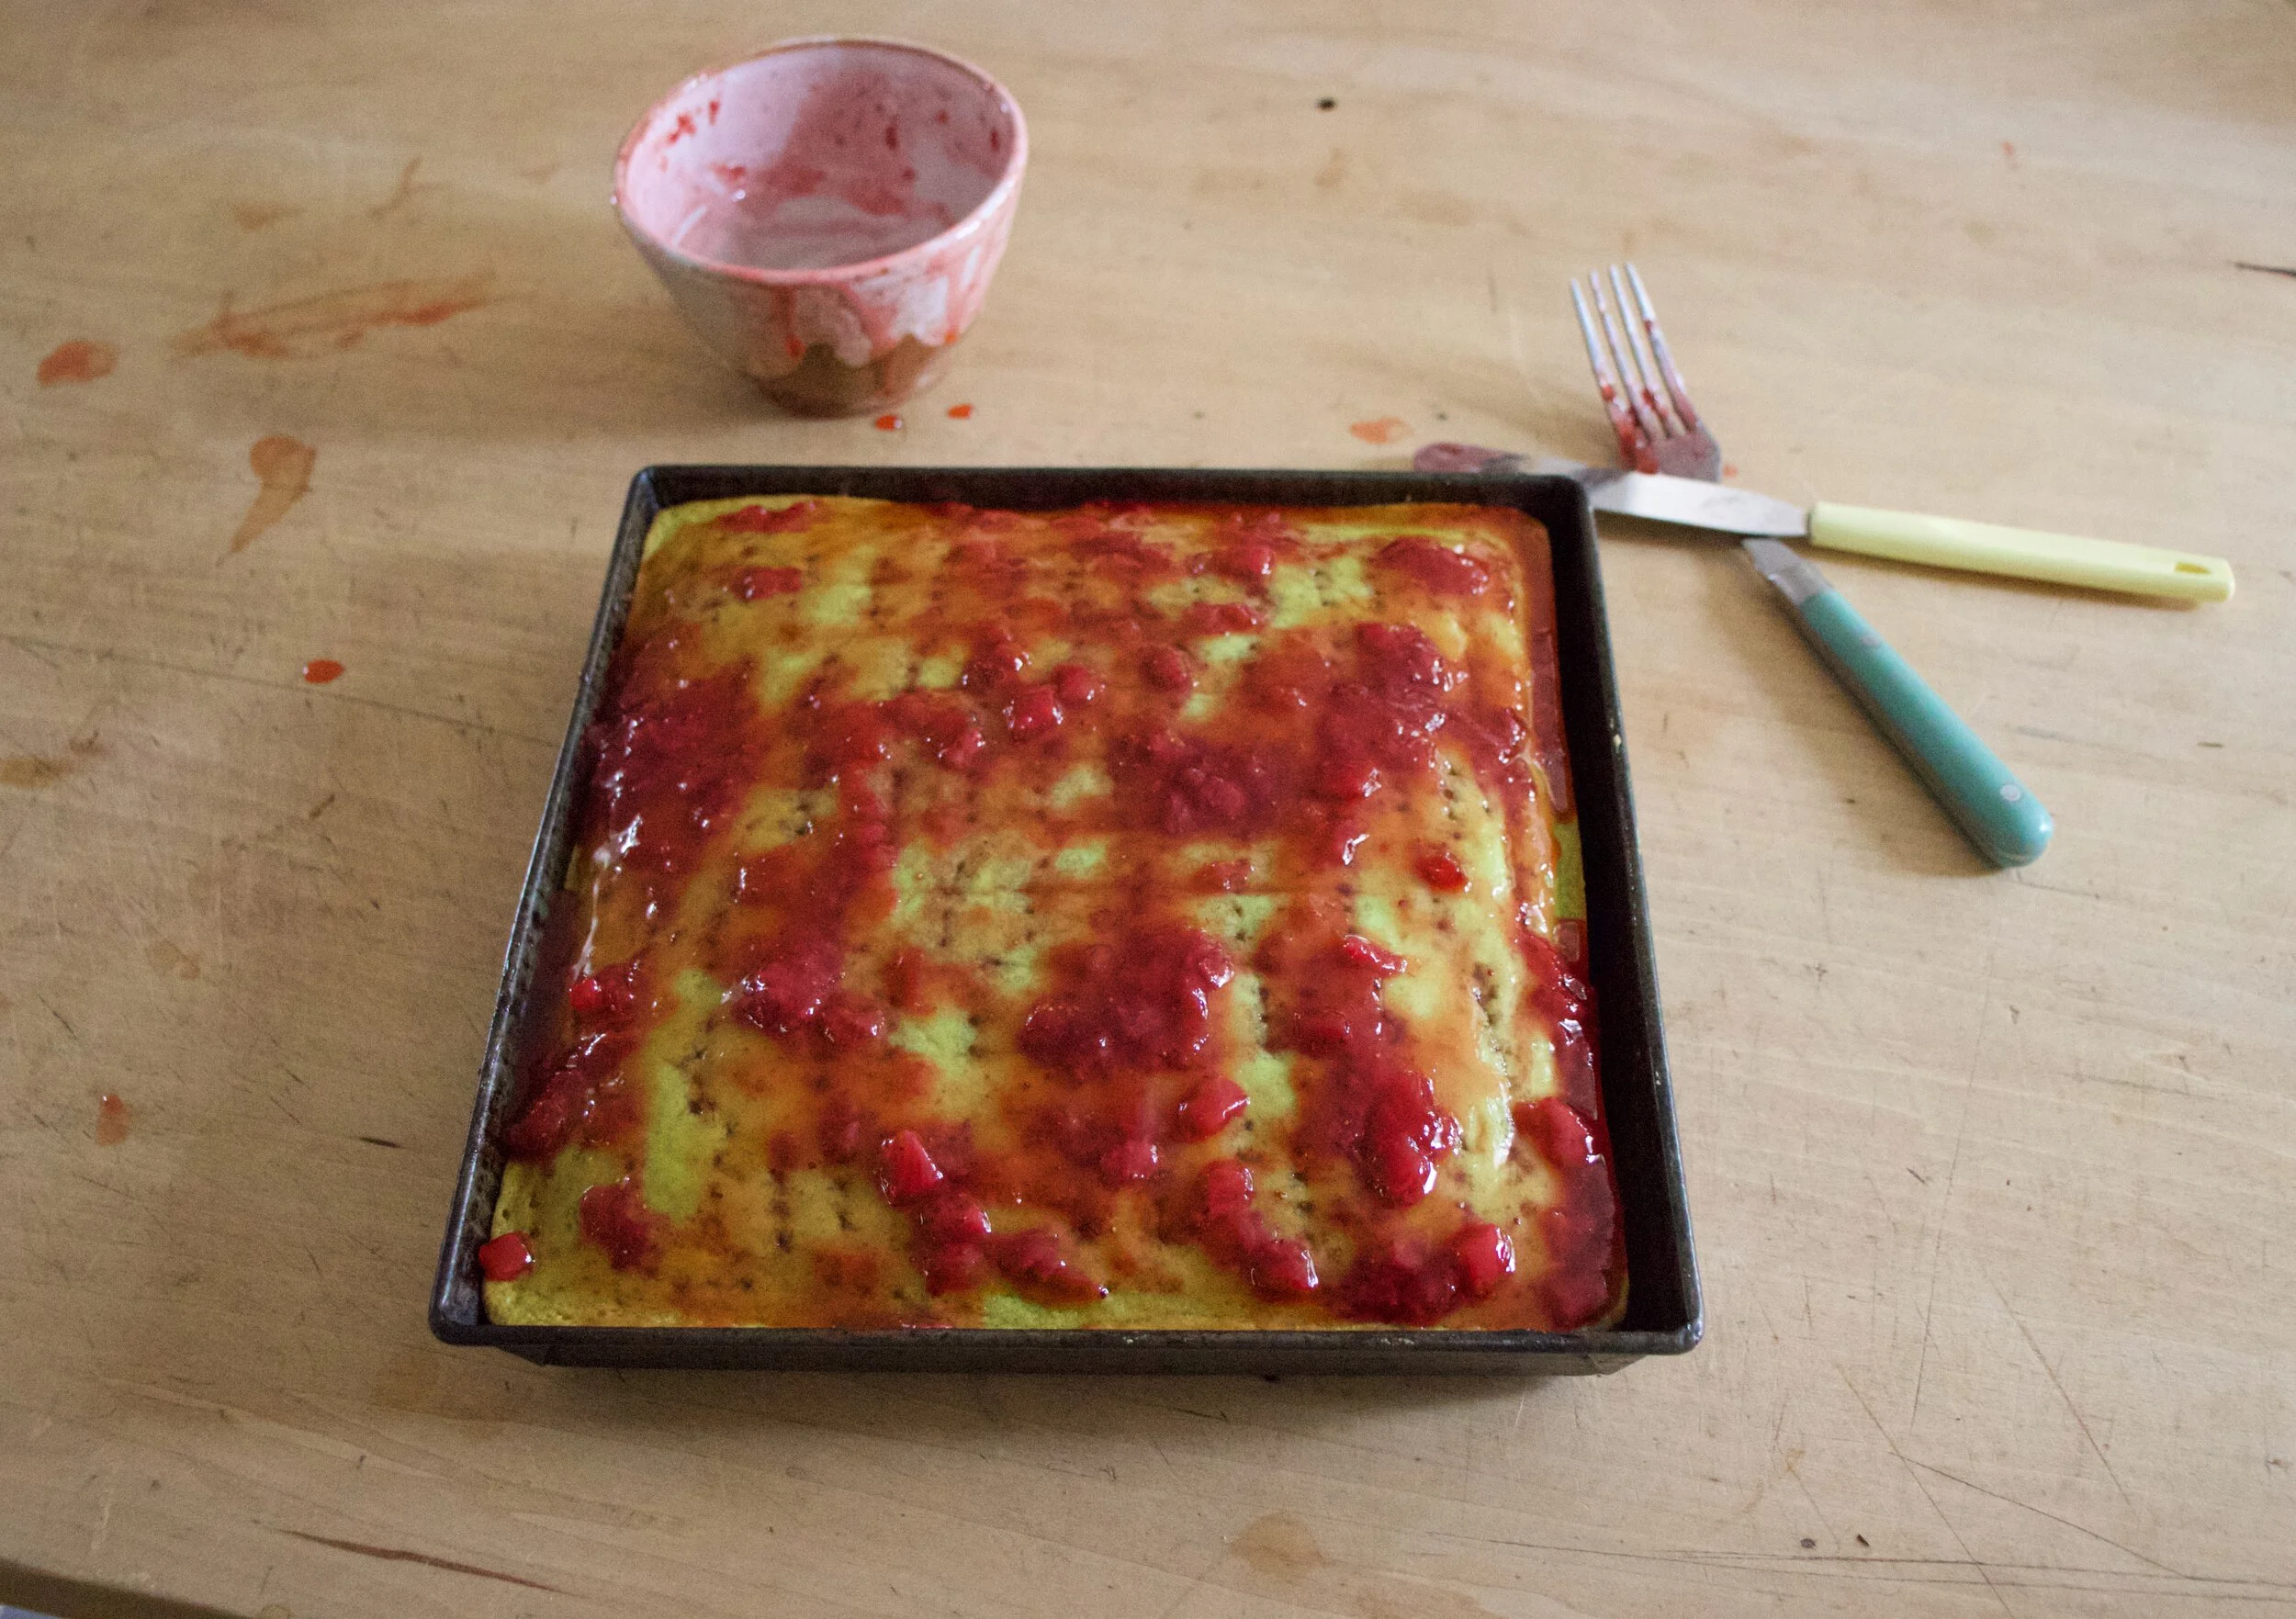
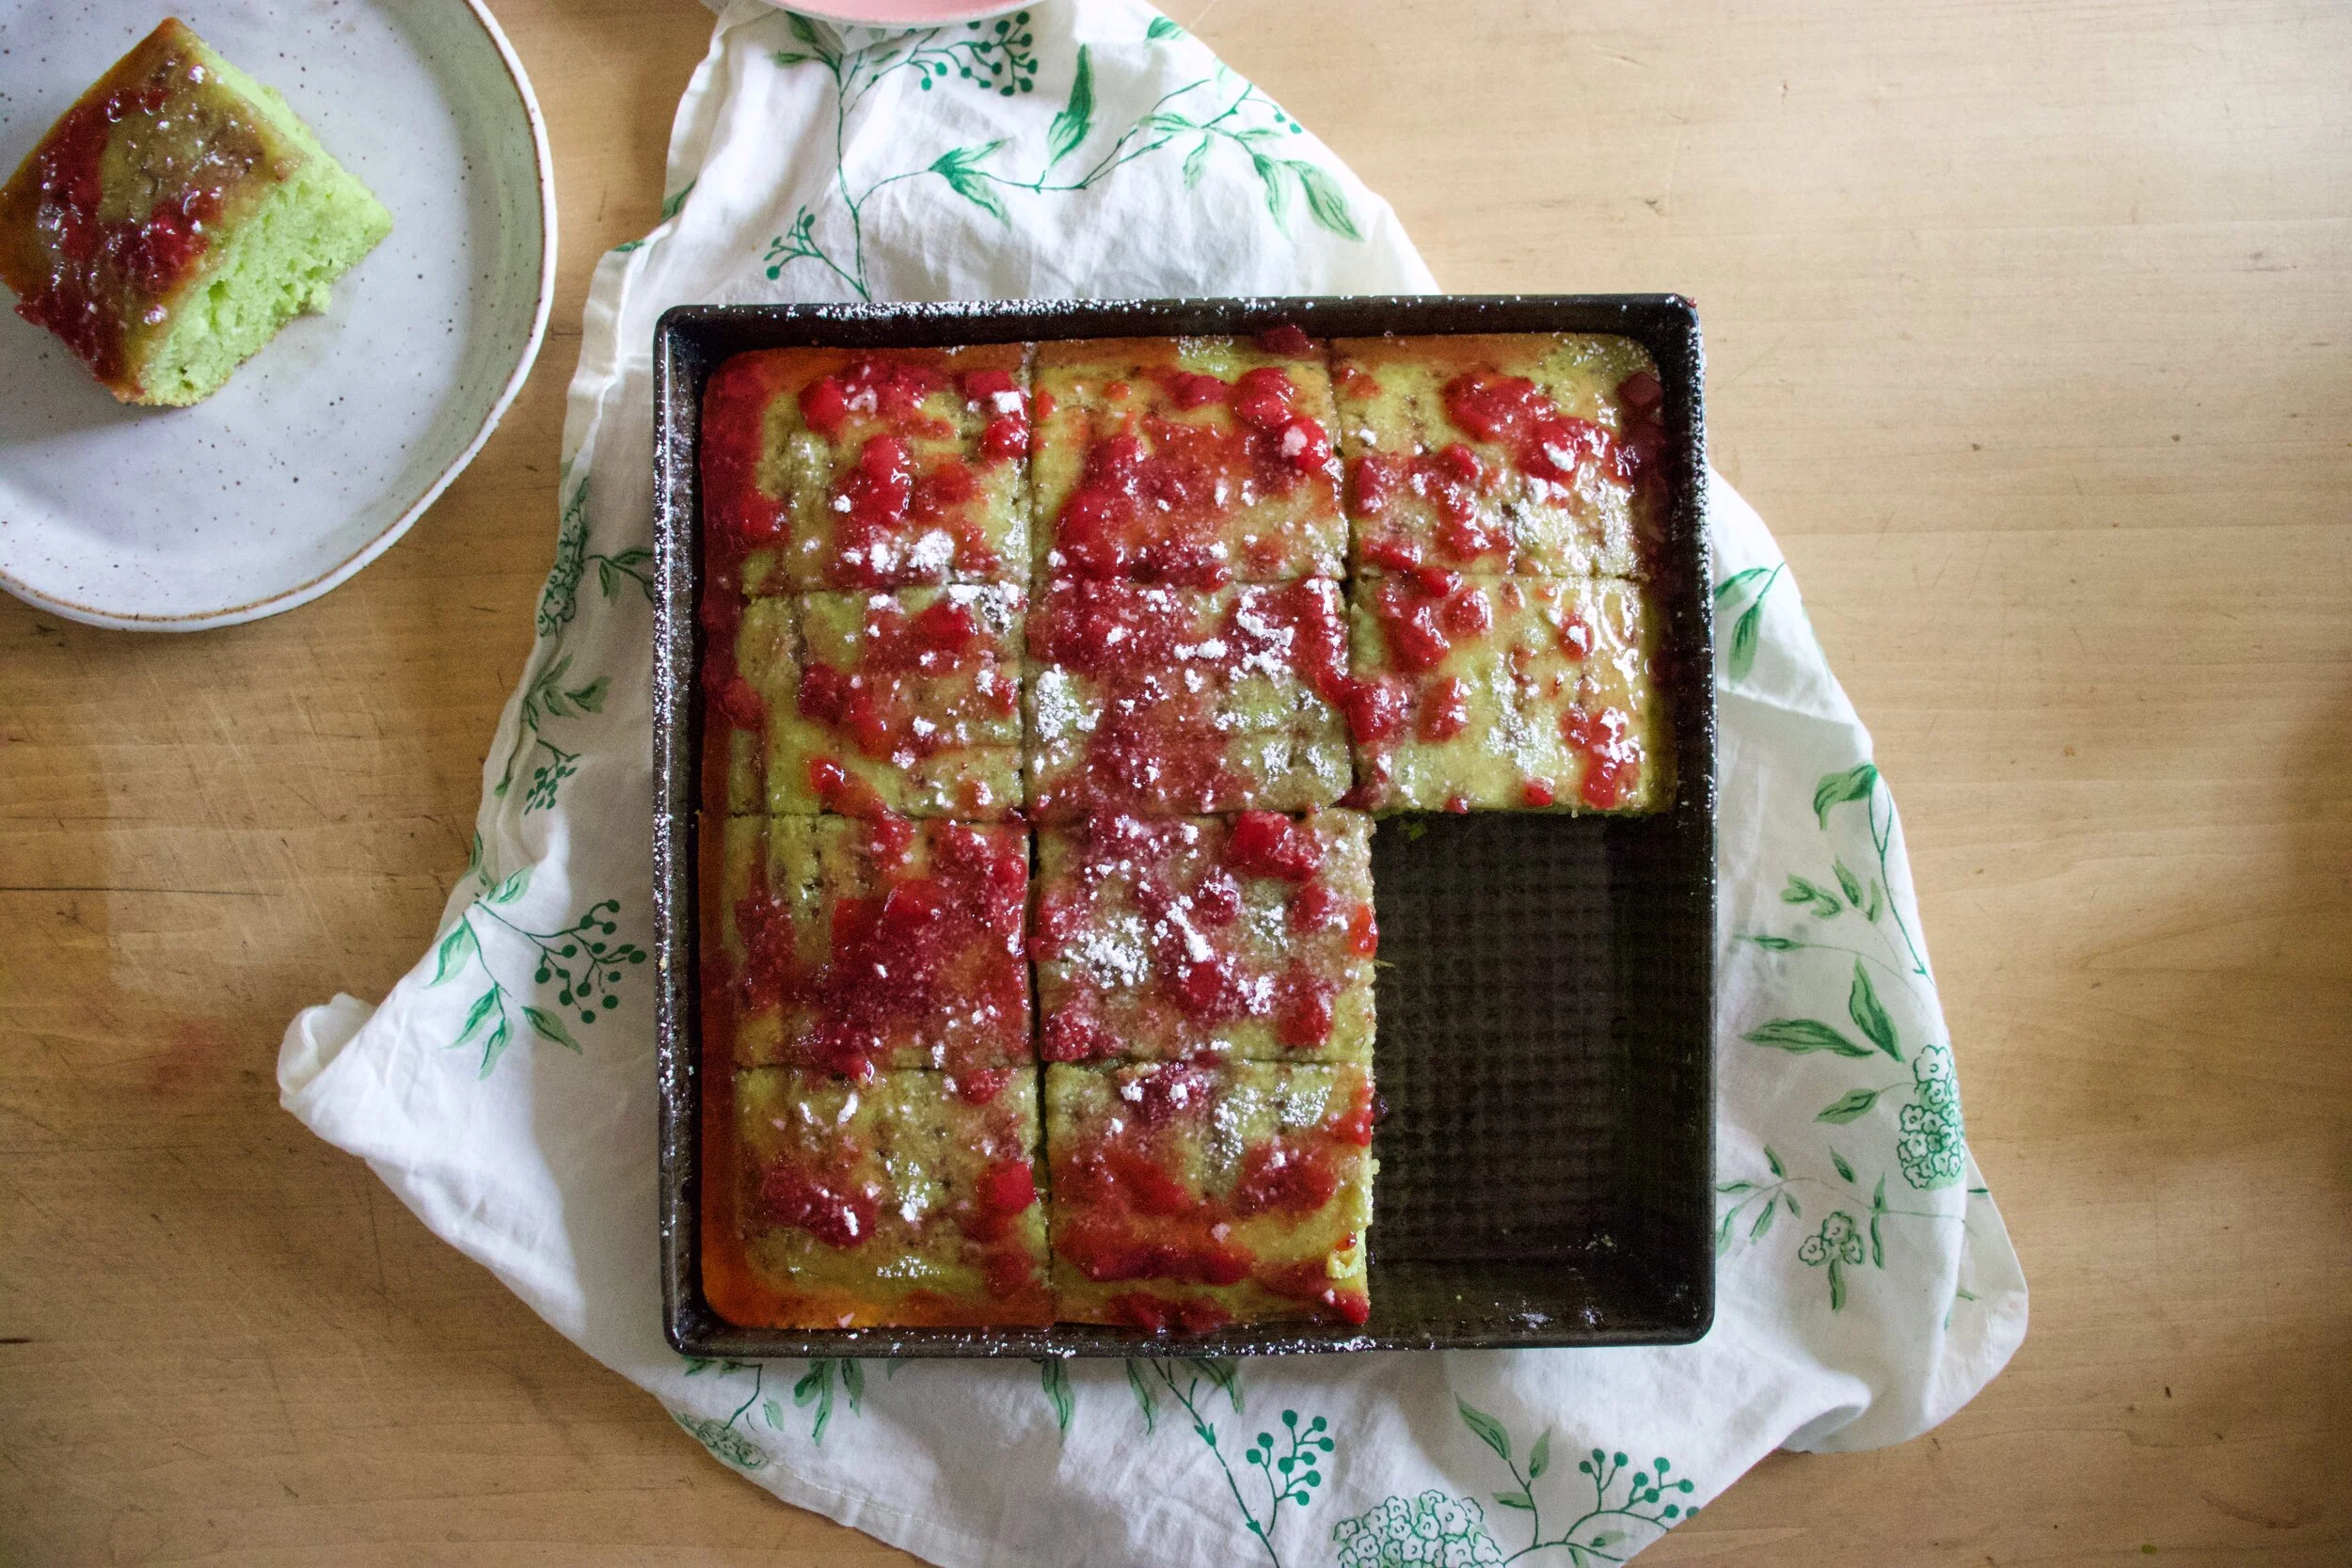


Pineapple Jalapeno Hummus — The Lovely Crazy
December 4, 2021 by maximios • Blog
I eat a lot of hummus. Like a lot. Every day, all day long. (seriously, I am always snacking on veggies dipped in hummus) So I am sorry to all around me that my breath always smells.. (I blame all the garlic in the hummus.)
Recently, during a particularly browsey grocery shop, I ended up in the hummus case (I always end up there) and found a new hummus flavor.%u00a0 Pineapple jalapeno, WHAT.%u00a0 I grabbed it right then and there, convinced that hummus gods were rewarding me for all of my hummus eating and have made me my very own flavor.
Got home, tossed all the groceries into the fridge and busted open the new hummus, a bag of carrots, and went at it. Oh man, it was good.(to often the store bought hummus flavors are not so great) The flavors were all there, sweet and spicy, and creamy.%u00a0 It was fantastic, I ate almost all of it and I knew I had to make my own.
And I did and you know what, it was even freaking better! (Fresh it the best!)
So If you are a hummus person of any kind, this is a fantastic exciting flavor that will make you all sorts of happy.
The stuff for the hummus:%u00a0 chickpeas, tahini, olive oil, garlic, and salt and pepper. And for flavor add ins,%u00a0 fresh pineapple and a jalapeno pepper.
Chickpeas (rinsed and drained) go into the food processor with some tahini, the juice of the lemon and salt and pepper.. The garlic I actually pulsed in the processor first (to avoid big raw hunks) and some olive oil are also going in on this.
Blended until a smooth, creamy perfection.
Now for the fun stuff. Dice up the pineapple and remove seeds (or not) from the jalapeno and dice that up too
Toss it all (minus a few little pieces of garnish if you want) into that creamy dreamy hummus.
Pulse pulse pulse until the chunks of stuff are all incorporated . Make it super chunky or super smooth, up to you. I like mine kinda chunky, but not too chunky, if you know what I mean.
Into a big bowl, topped with a few little diced up pieces of jalapeno and pineapple, you know, for prettiness. And lots of cracked pepper.. Lots.
Now eat. With whatever ( I like veggies or just give me a spoon, Ican eat hummus all by itself)
Hummus for life!
-C
Makes about 2 1/2cups
Rinsed and drain chickpeas. Add garlic and a little olive oil to the food processor and pulse until the garlic is a little minced. Add in the drained chickpeas,%u00a0 tahini, a sprinkle of salt ans pepper, the juice of the lemon and another tablespoon of olive oil and blend until smooth.
Dice up pineapple into smaller chunks and remove seeds (if you want) from the jalapeno and chop that into smaller pieces . Add to the hummus and pulse until combined. You can leave it chunky or blend until smooth. Just stop blending when you reach you desired consistency . Garnish with more chopped pineapple and jalapeno and lots of freshly ground pepper.
Serve with whatever you eat your hummus with.
Store left over (there probably won’t be any) in a container in the fridge.