
THE LOVELY CRAZY
If you are a falafel fan, as I am, then this one is for you. Carrot ginger falafel. Oh yes. Warm and spicy and carroty and all the things that are good, packed into a chickpea ball of mouth sized proportions. When I thought of it it sounded good, When I made it and ate it, it was everything and more I could have asked for in a freaking fantastic falafel. As for the tahini cabbage slaw, I might just be making it in my house every dang day. Super easy, super tasty, goes with the falafel like whoa but is just as good eaten on it%u2019s own. Eaten together the pair make every inch of mouth space happy. A happy mouth space, what more can you ask for?
To the falafel!
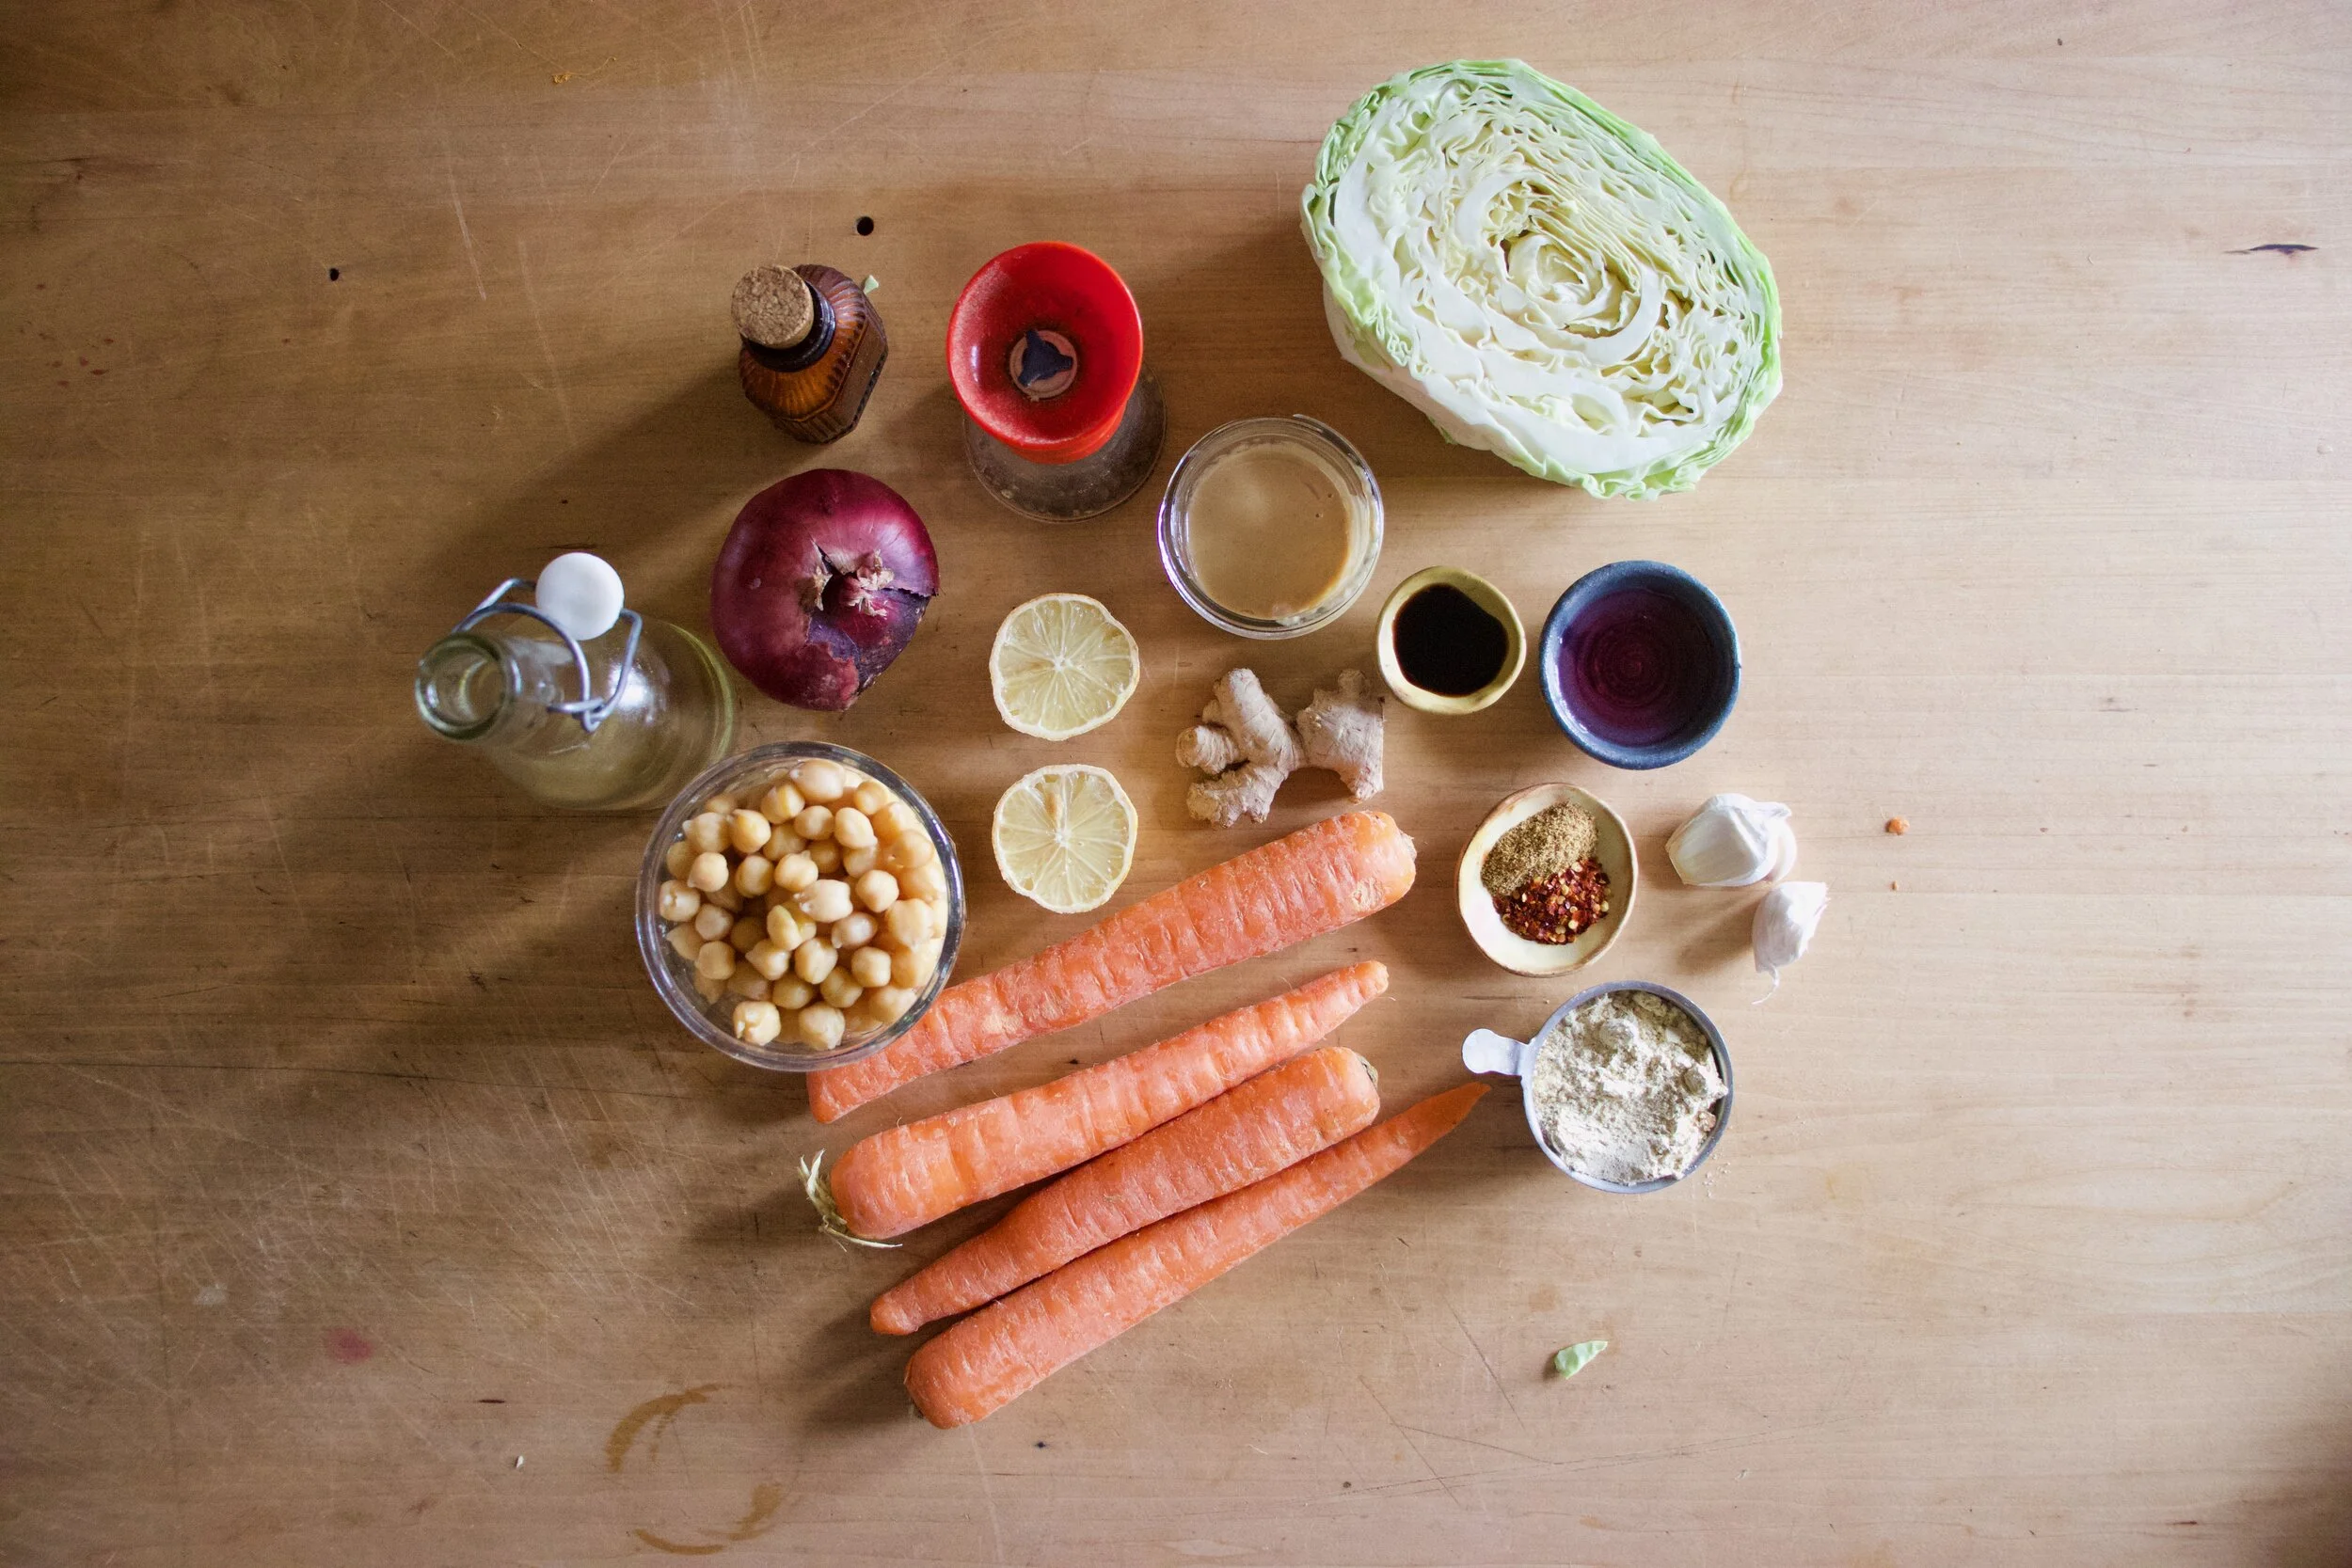
The stuff. Cooked chickpeas, carrots, a piece of fresh ginger, tahini, soy sauce, cabbage, an onion, a few cloves of garlic, red wine vinegar, some cumin and red pepper flakes, a lemon, chickpea flour, salt and pepper, and oil.
Start off by chopping the carrots into small pieces. Then cut half of the onion into small pieces. Rough chop the garlic and the ginger as well. No need to peel ginger unless you really want to.
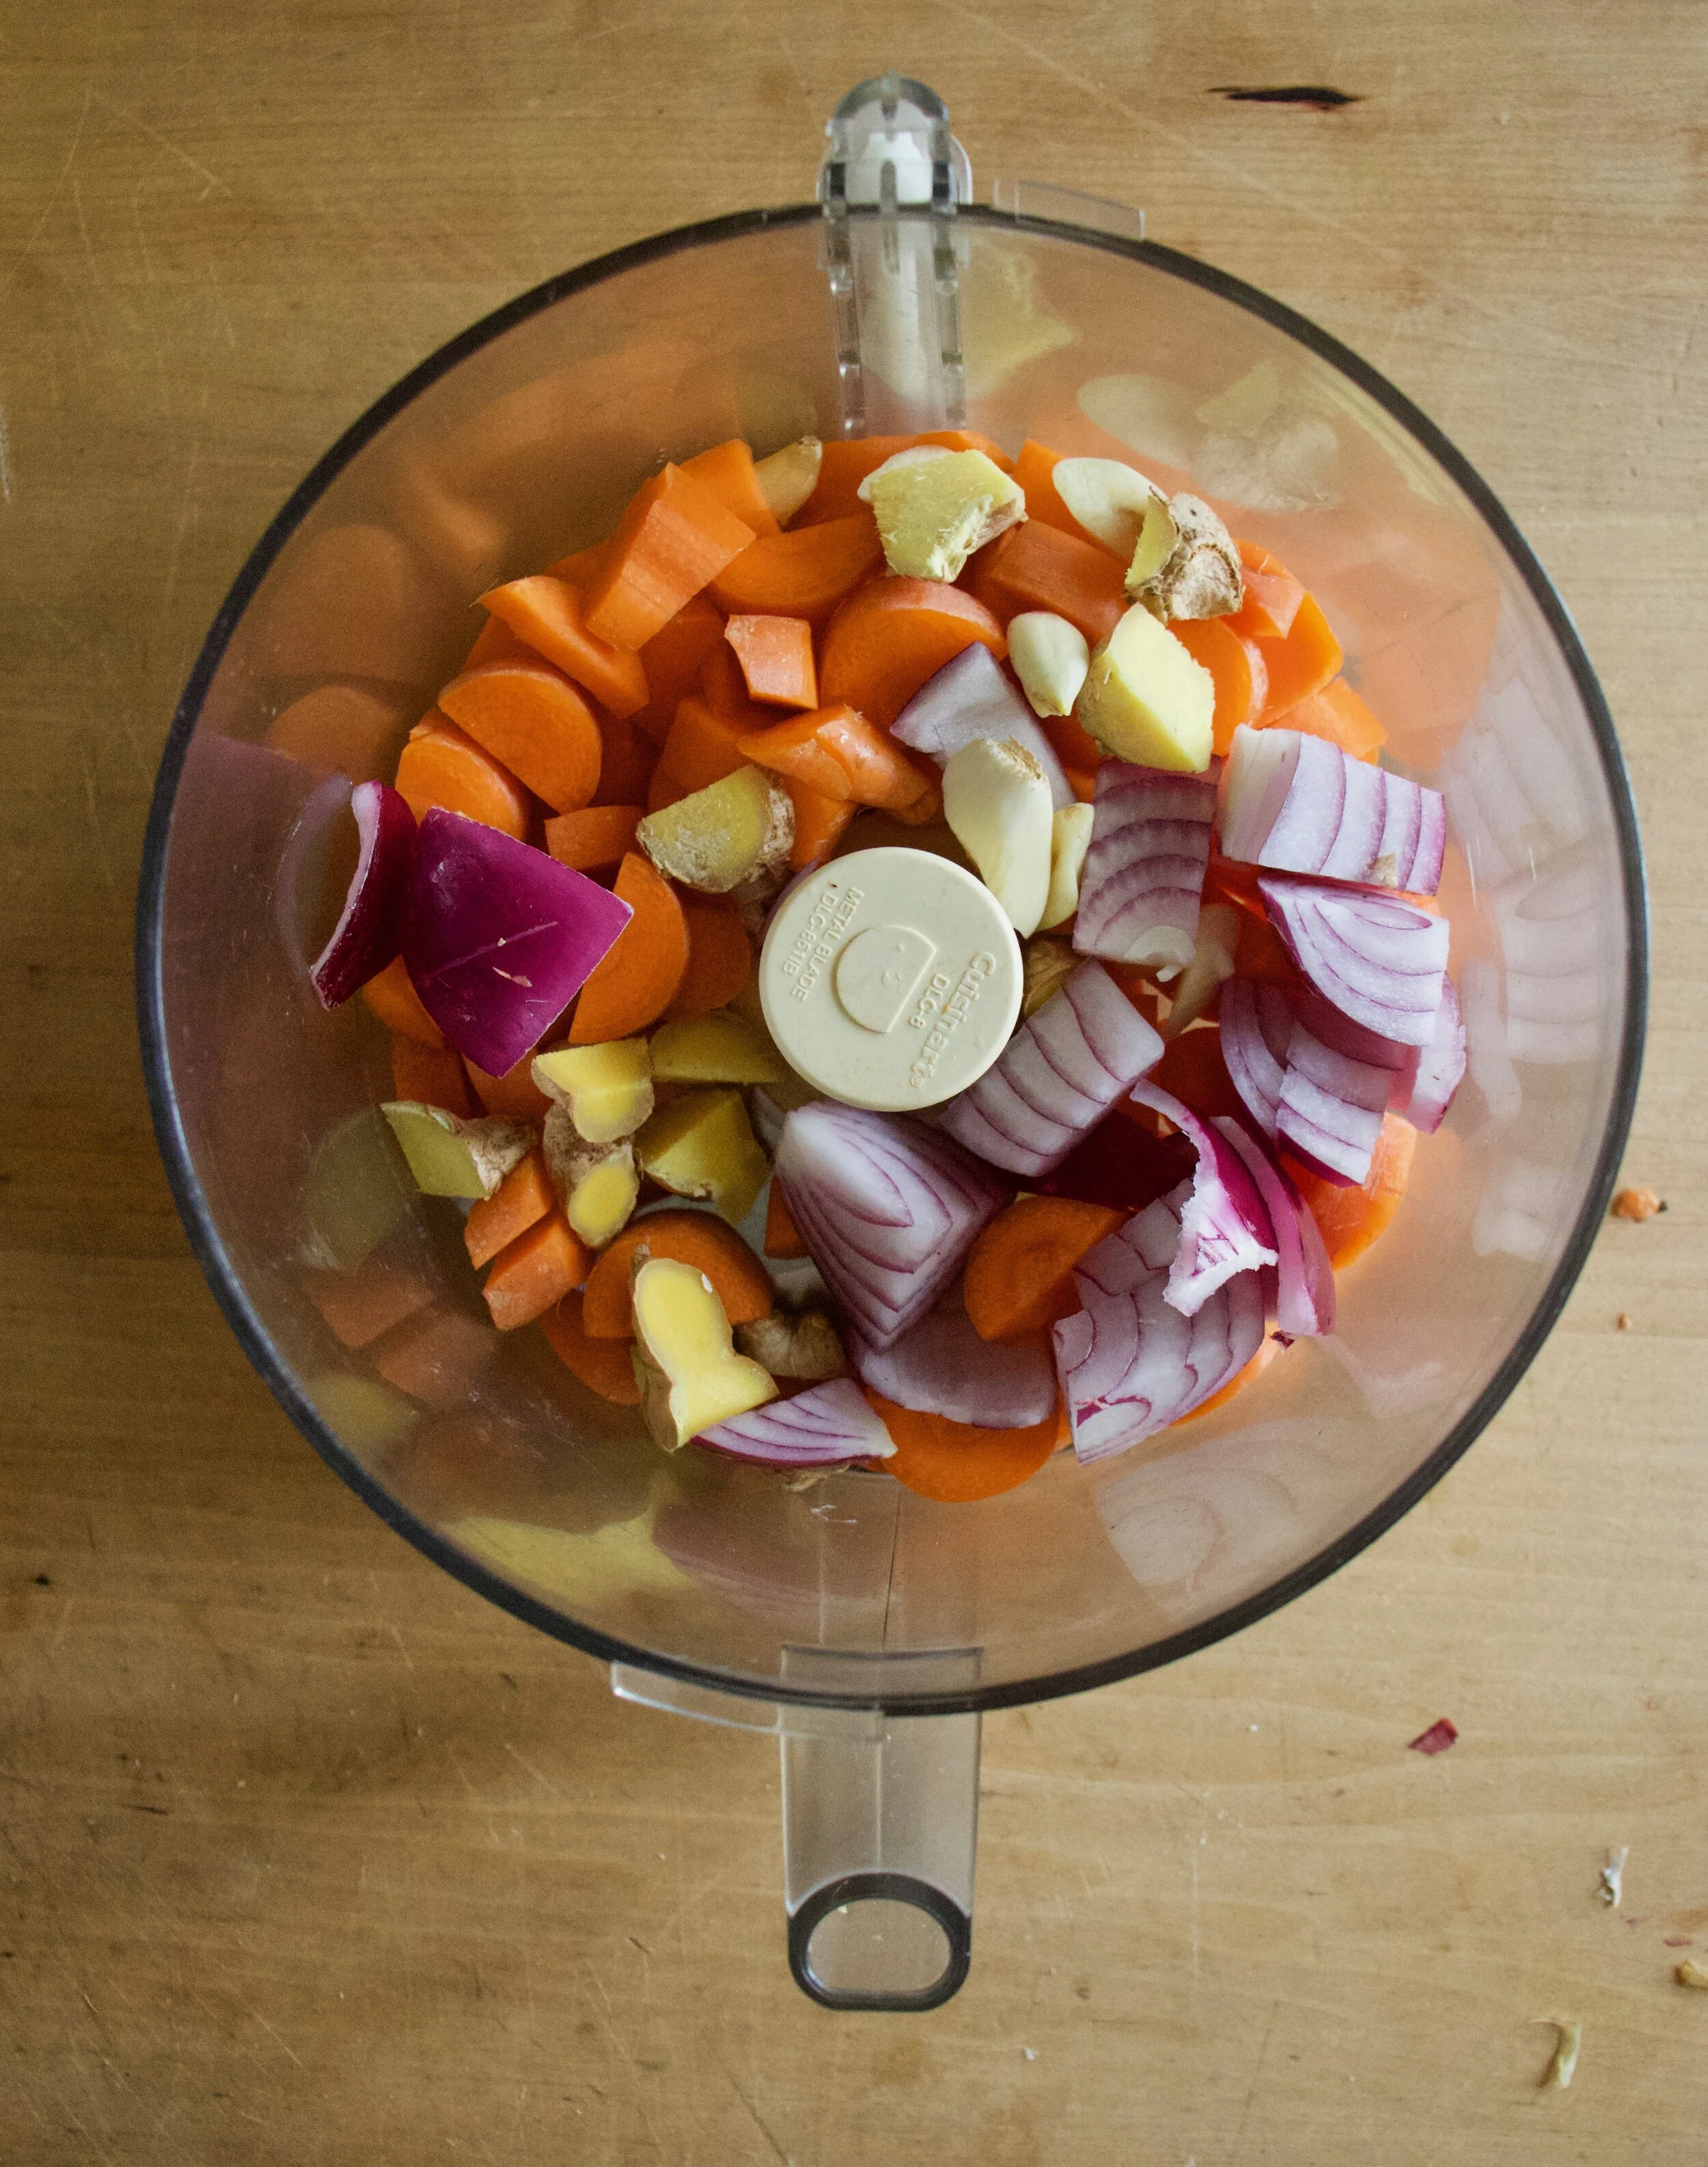
Place it all into food processor and pulse until a small crumble.
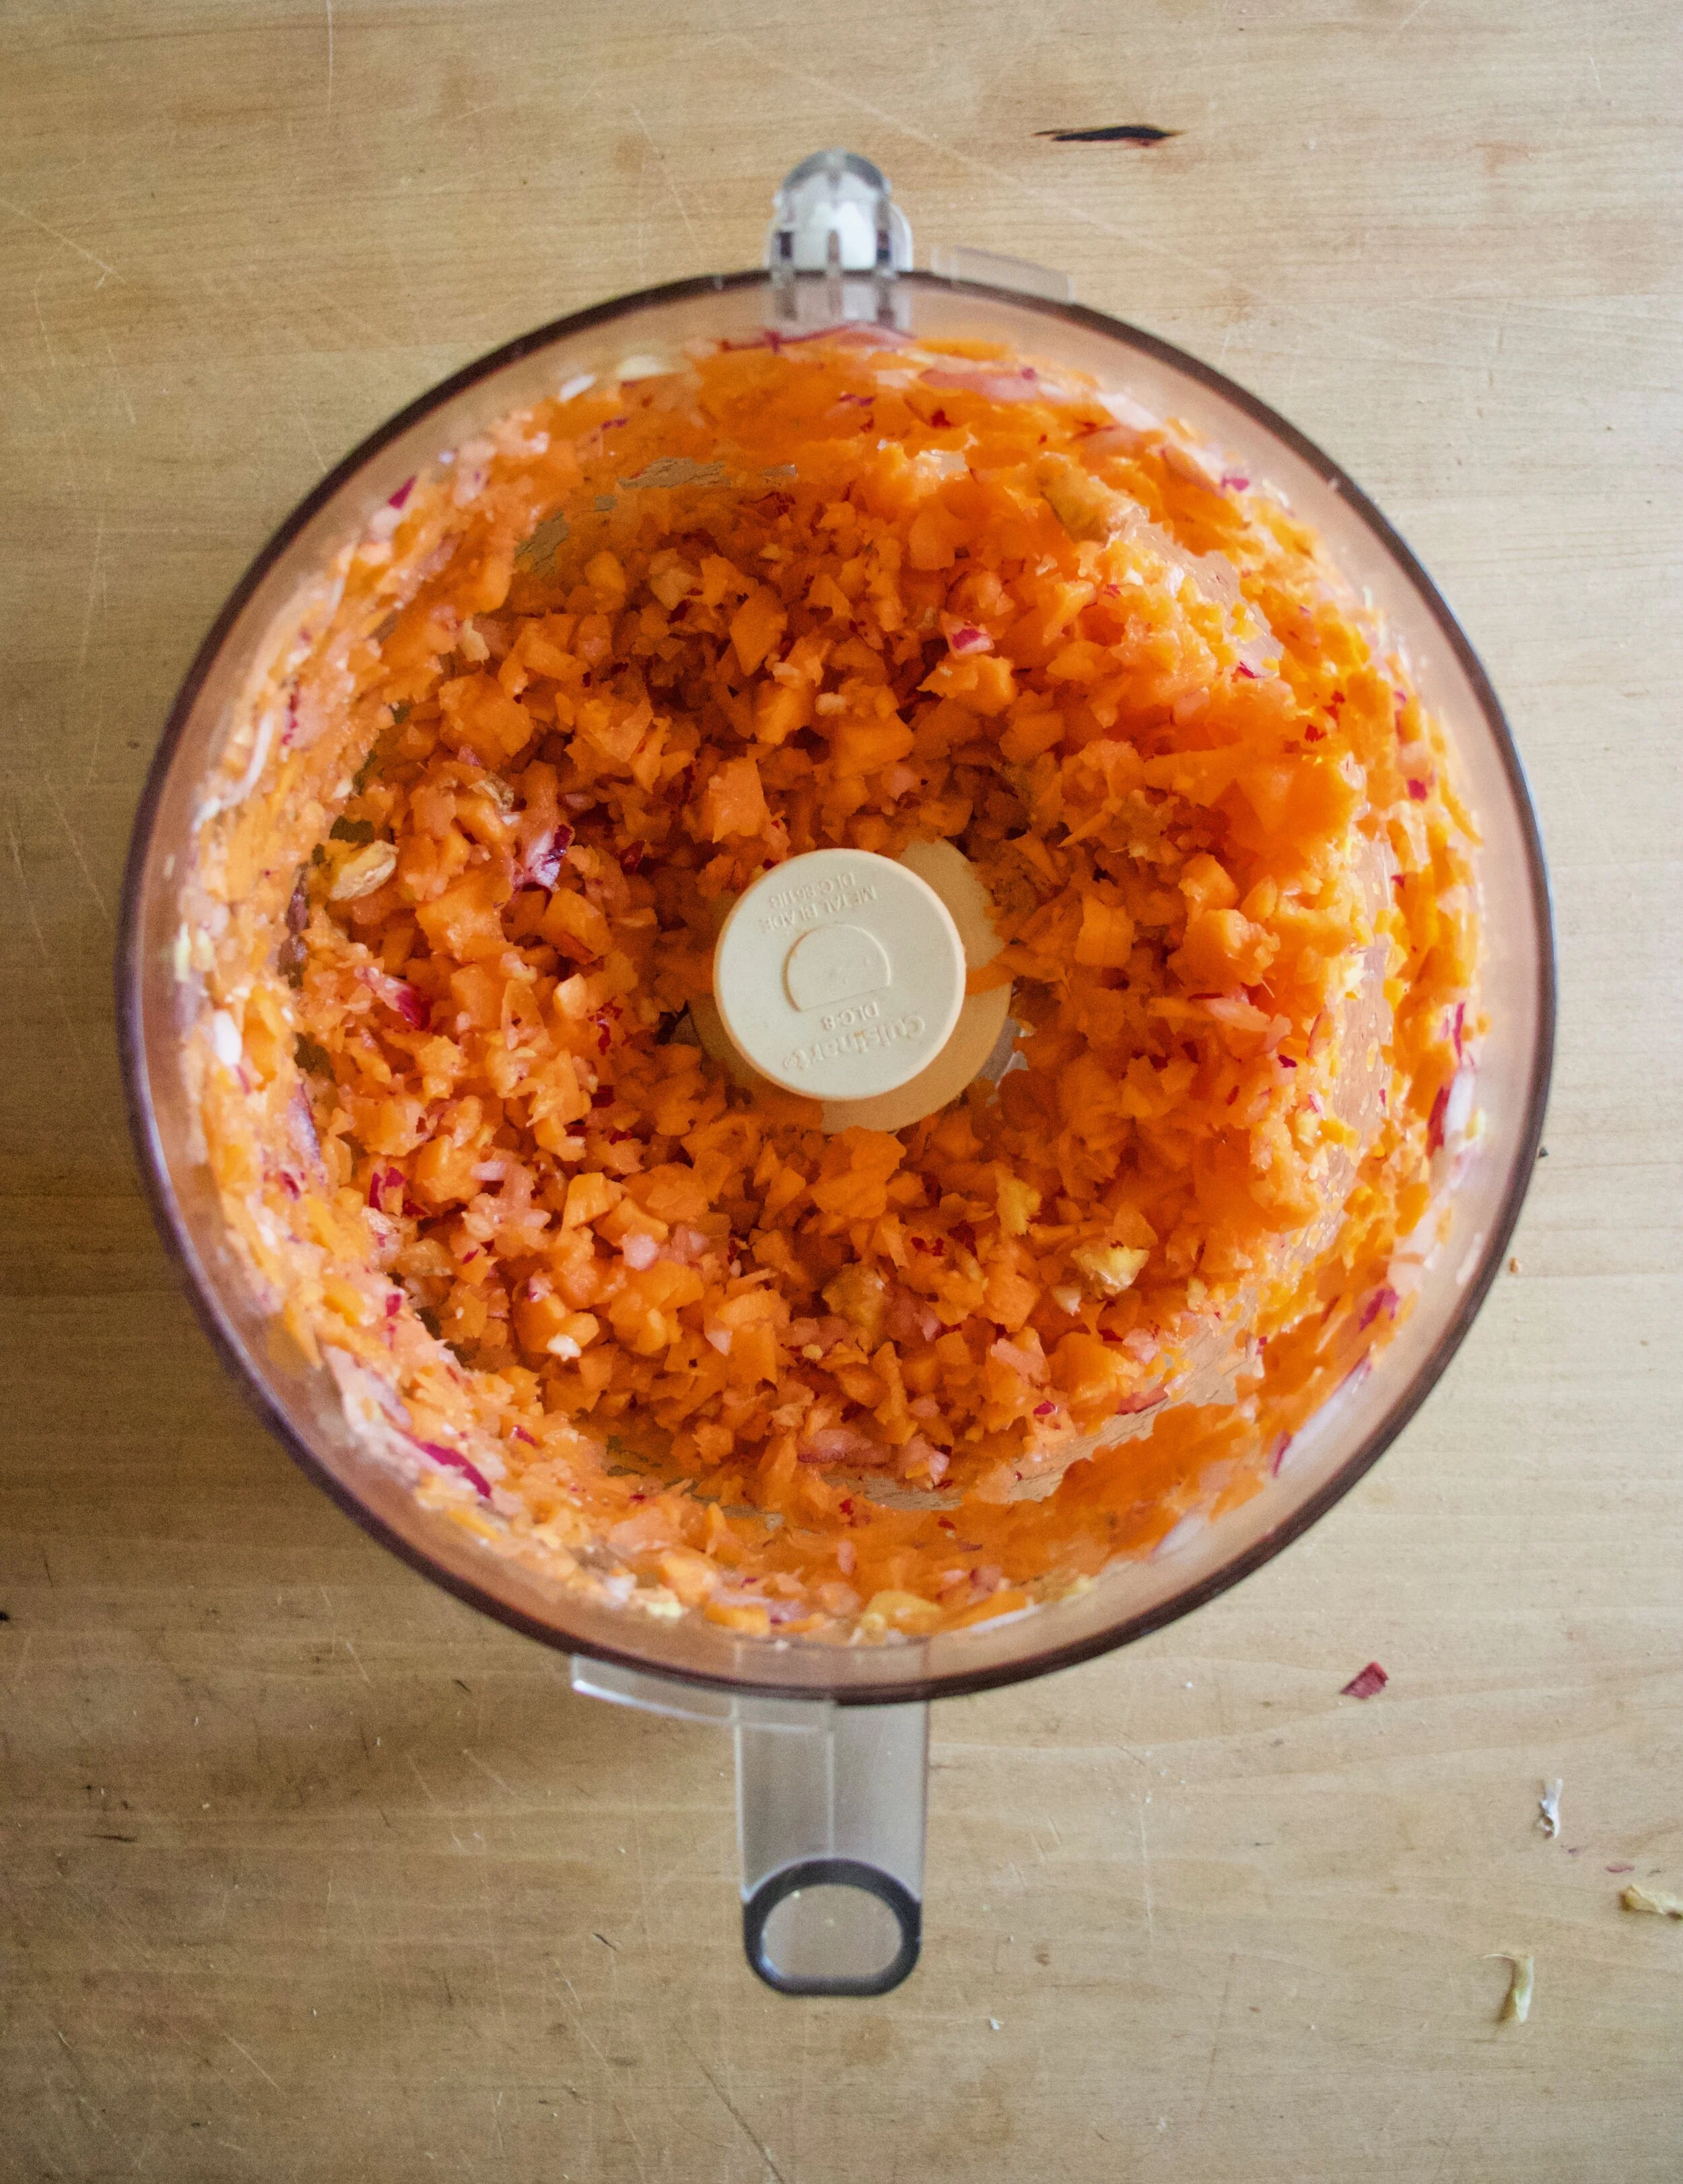
Carrot onion garlic ginger mixture.
Dump mixture into a skillet with a splash of water. Add in the cumin, chili flakes, and a good pinch of salt and pepper and cook on the stove for 5-8 minutes until the crumble softens and becomes fragrant.
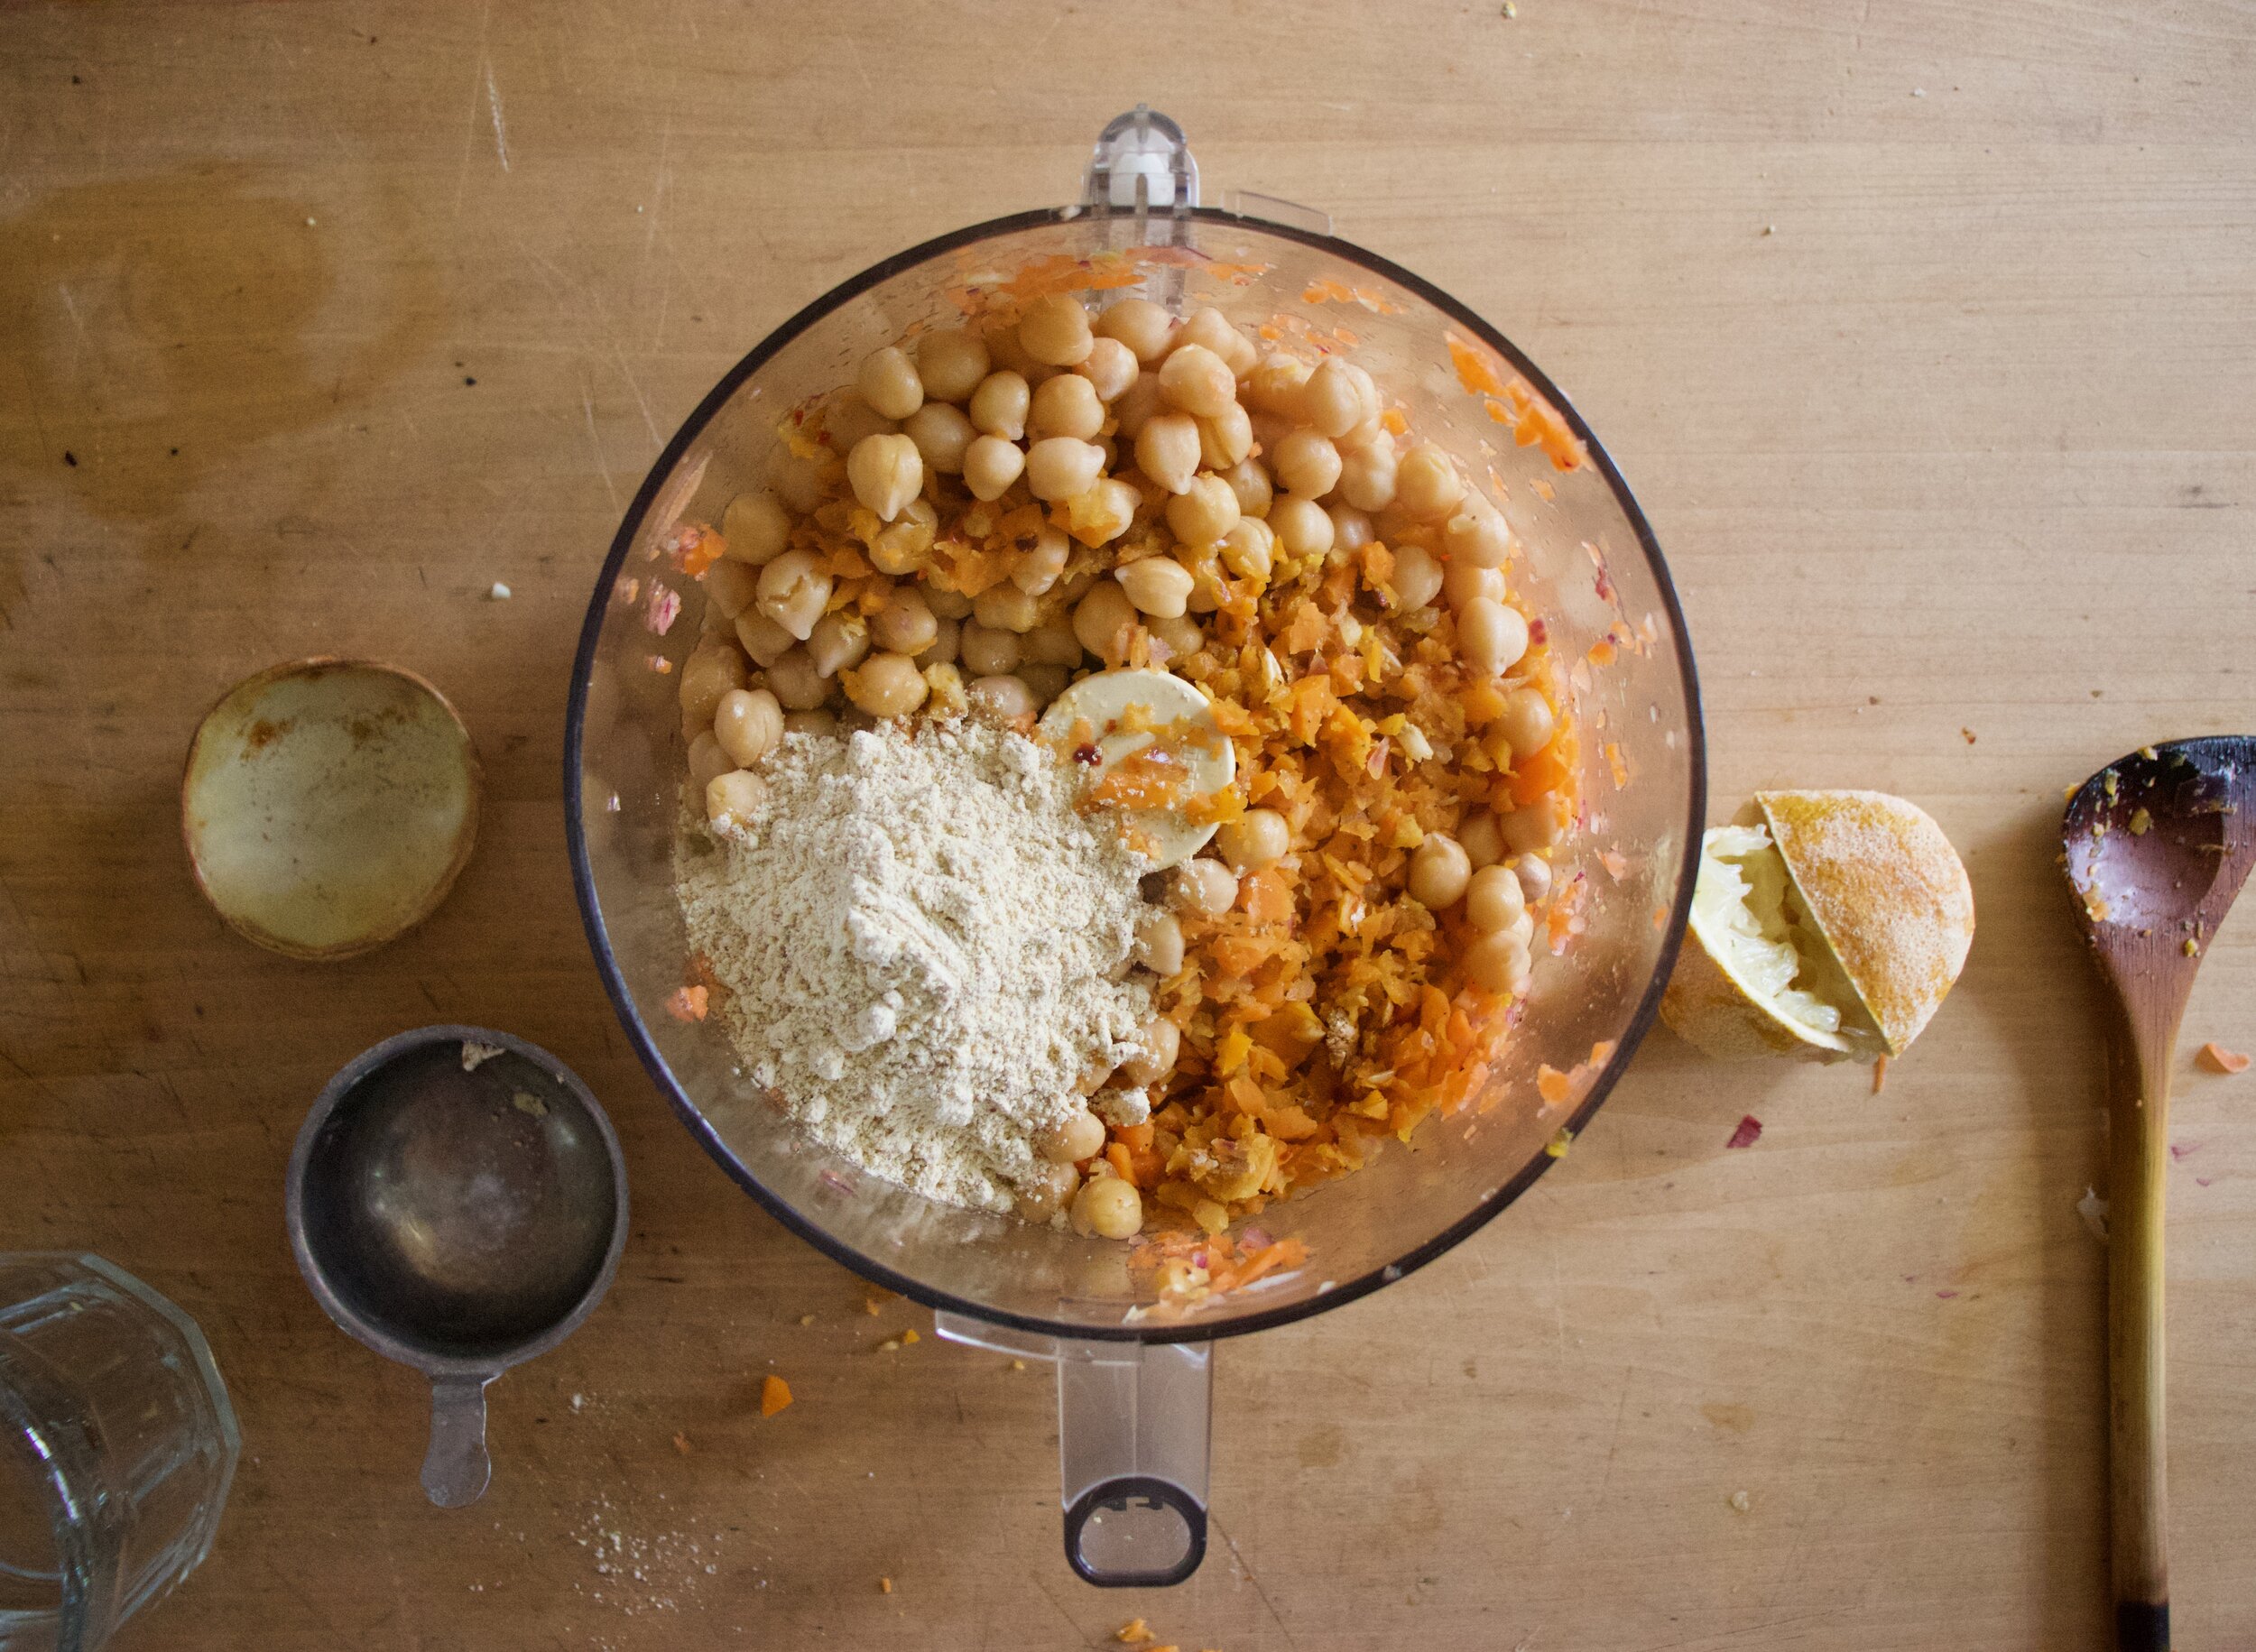
Dump carrot ginger mixture back into food processor along with the chickpeas, chickpea flour, and the juice of the lemon. Puree until smooth.
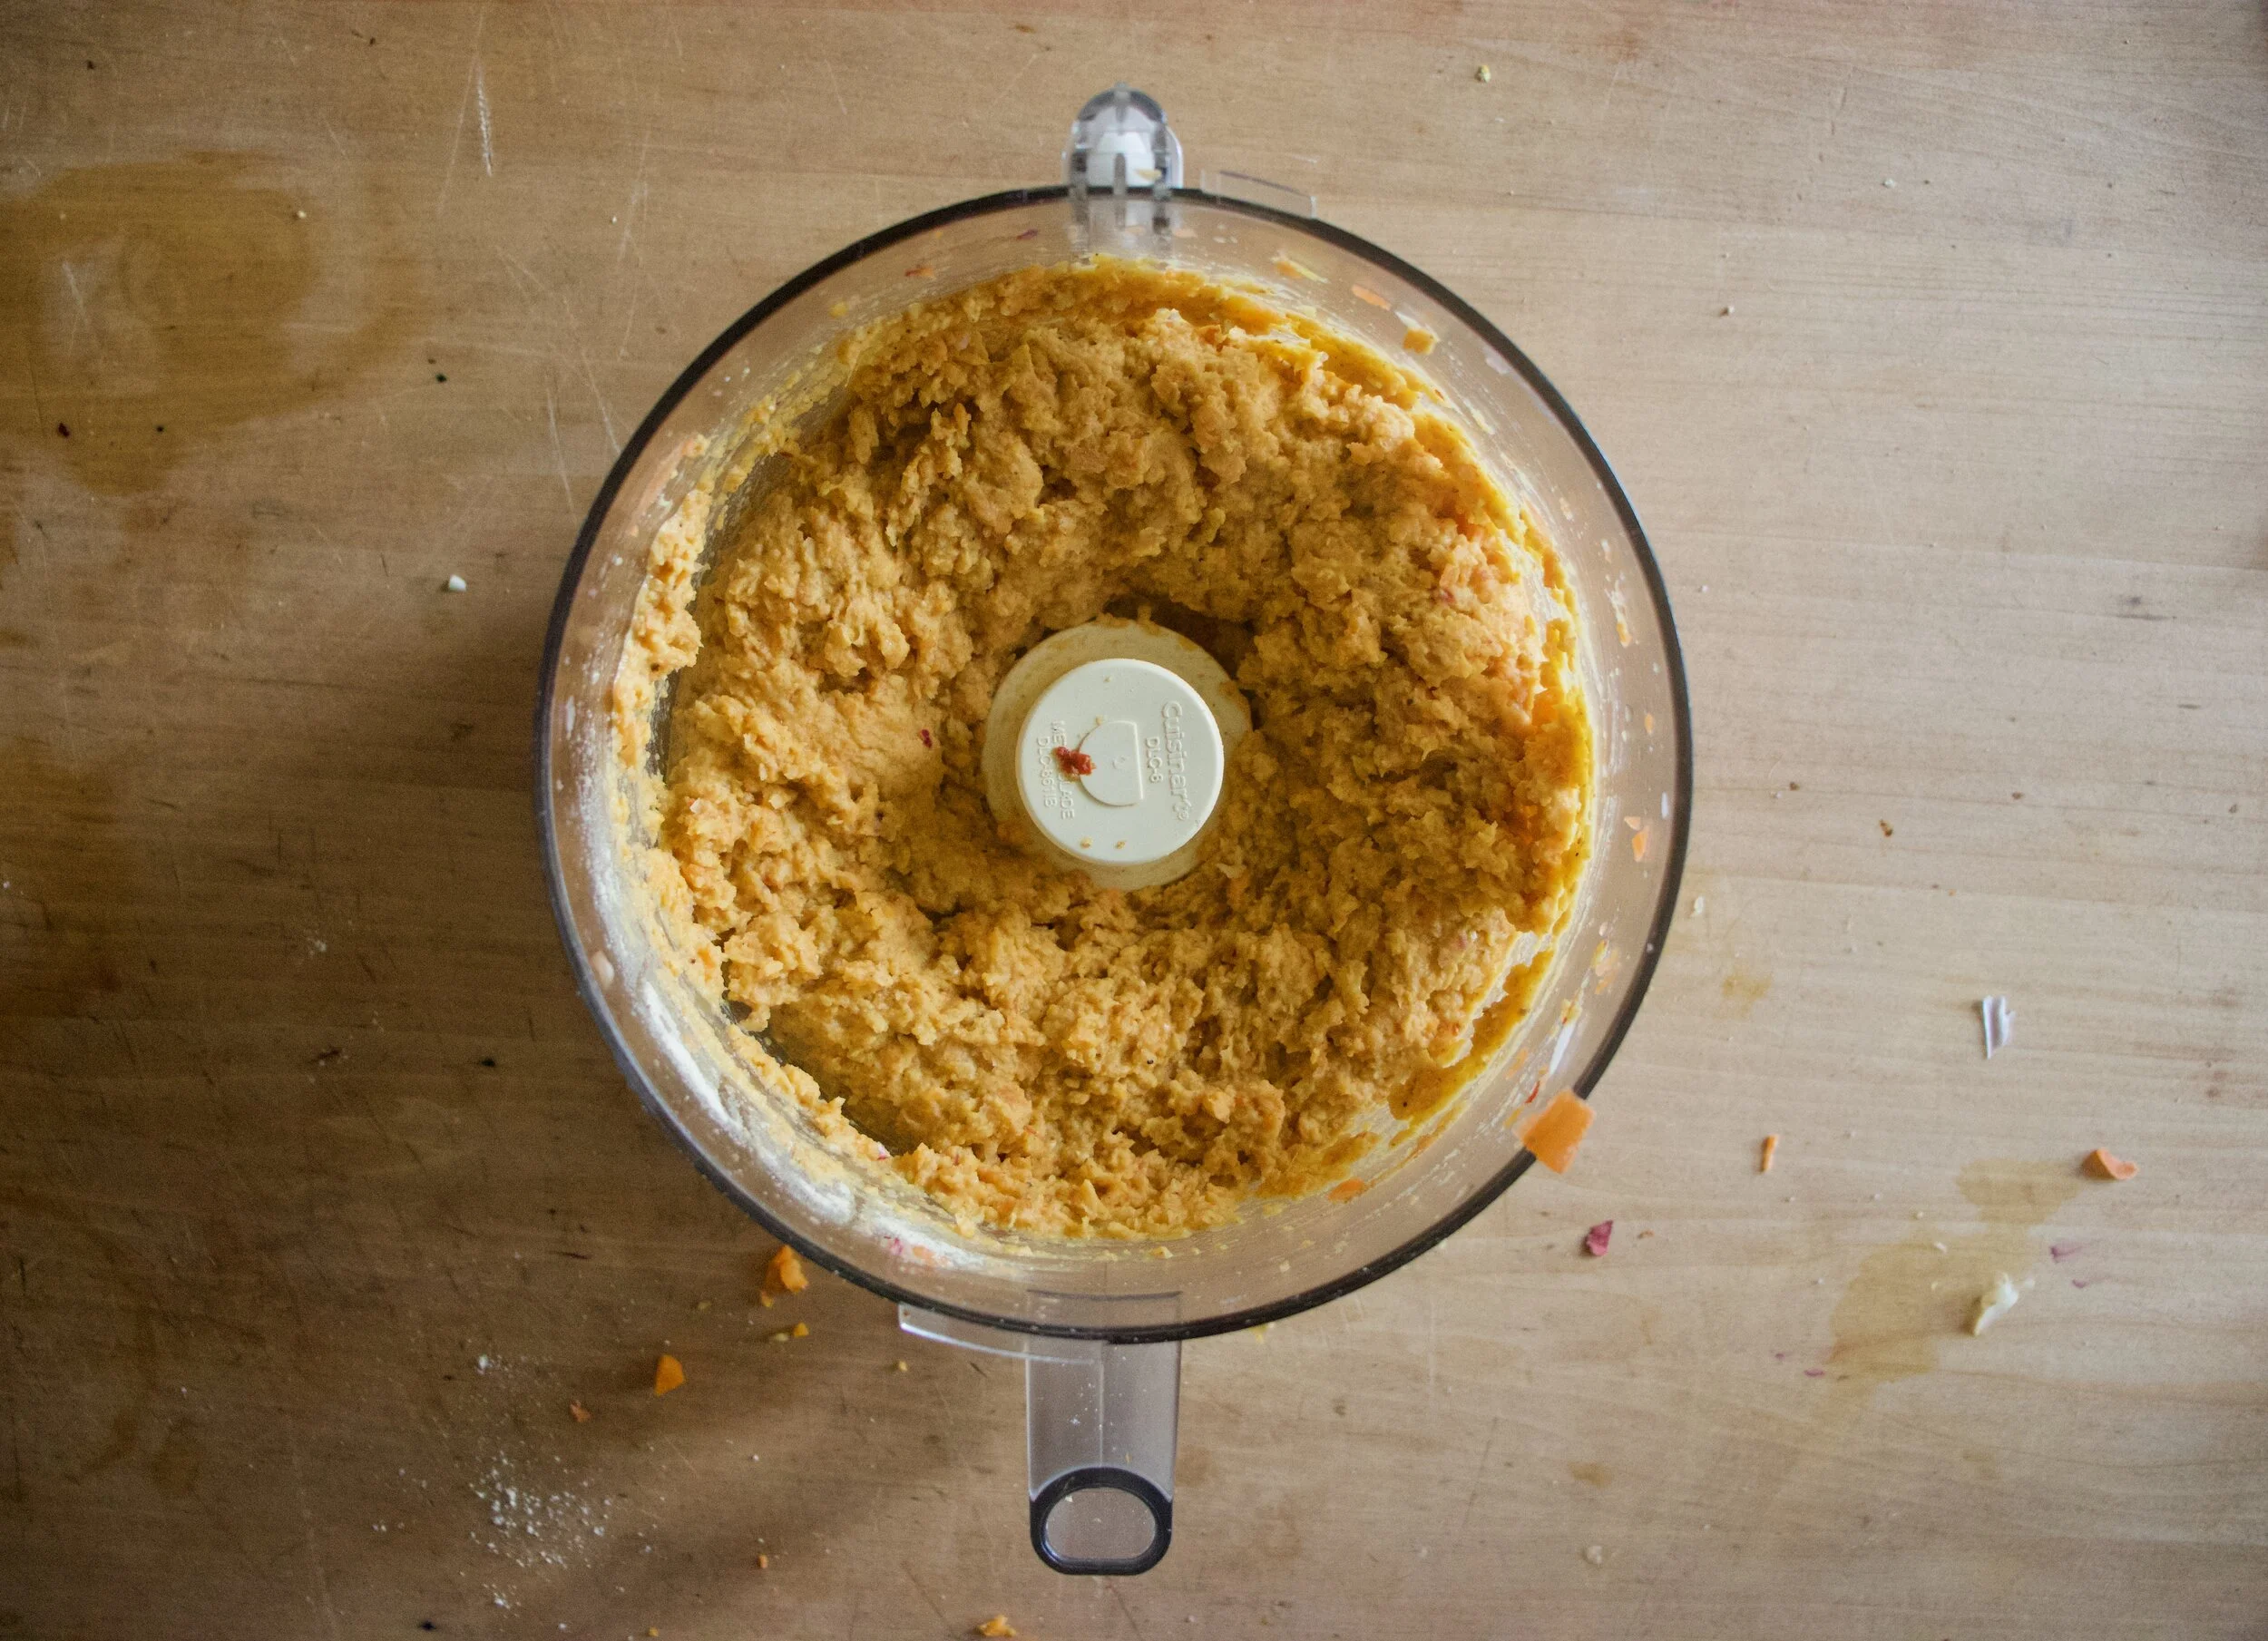
Carrot ginger falafel mixture. Now stick it in the fridge. For a little while to a day, just to let it set up a bit.
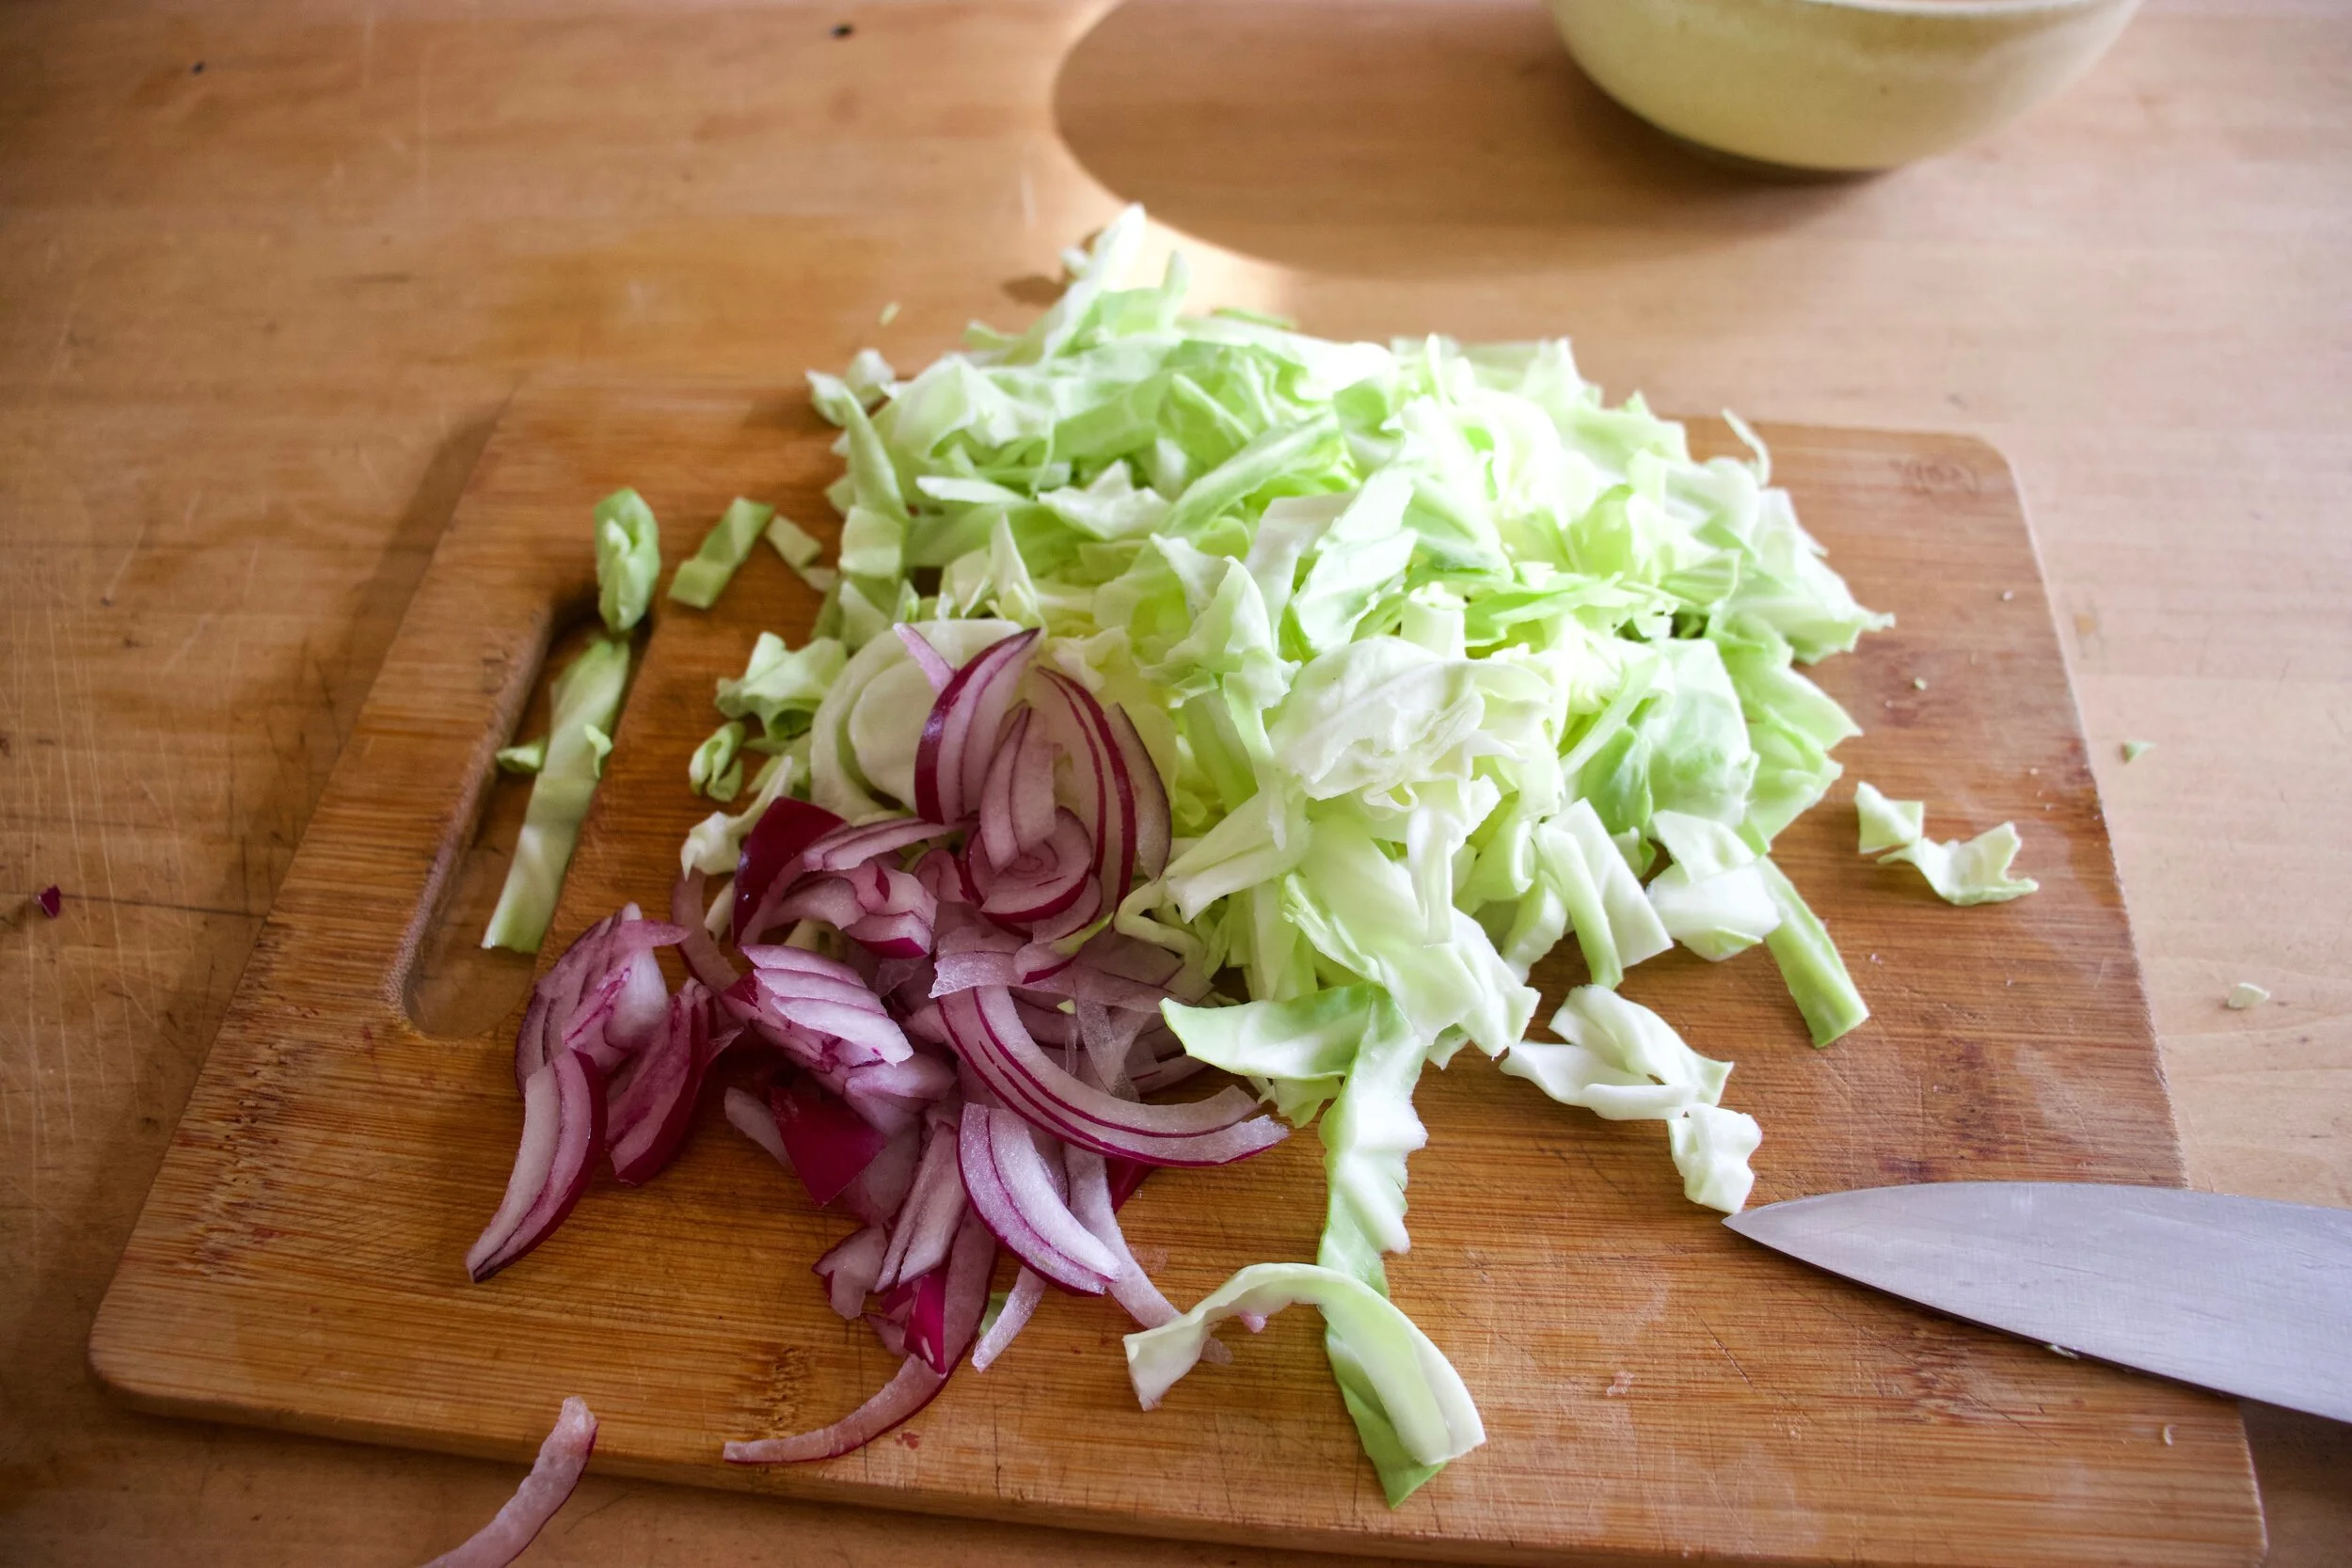
And in the mean time you can make the slaw. Shred cabbage and cut up onion all nice and thin.
Dump tahini, soy, vinegar, and a few tablespoons warm water into bowl and mix until creamy and good.
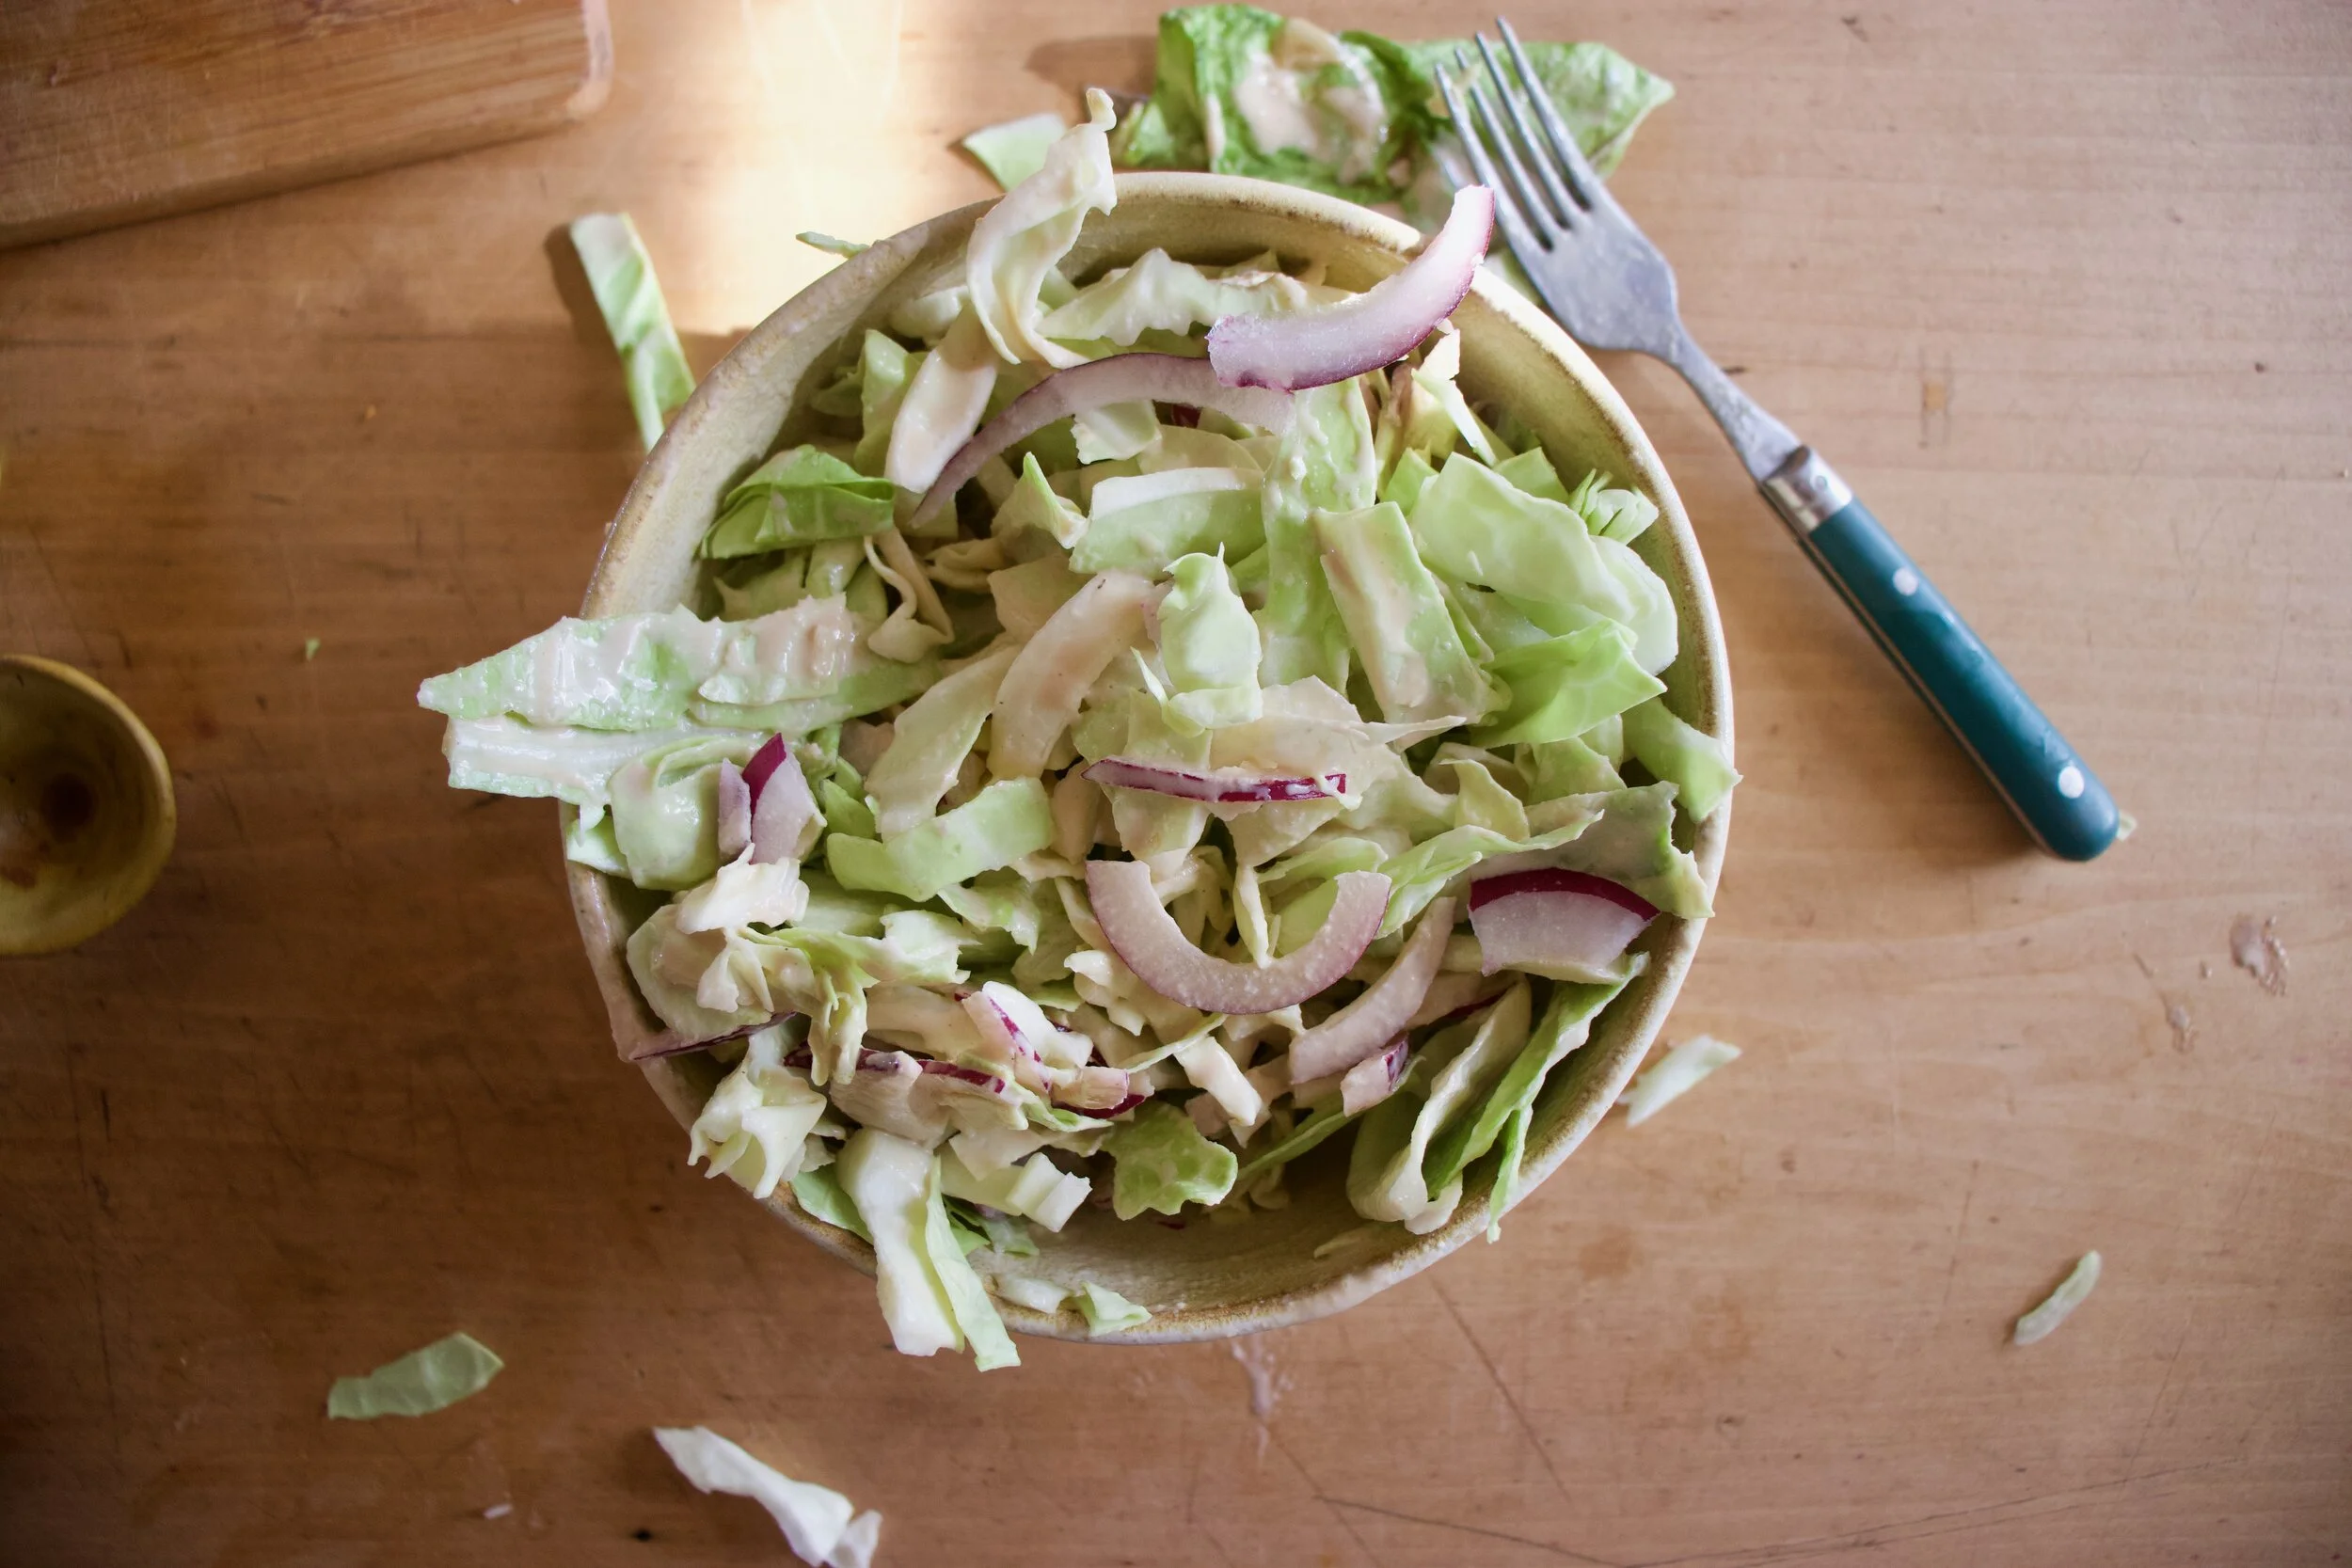
Toss in that cabbage and onion. Now you have tahini cabbage slaw.

Now to cook falafel. Grab the batter, scoop into balls then smoosh into disks. Place in a light oiled skillet and brown each side a nice golden brown.
After browning, place on a baking sheet. Once all the falafel has been browned, place the baking sheet into the oven to finish up cooking. 20 minutes or so and you got yourself falafel.

Then eat it. Falafel topped with tahini cabbage slaw. That is how it%u2019s done, with or without wraps or pitas or whatever your want. Just as it is. Falafel, cabbage slaw, into mouth.
Good things friend.
-C
serves 3-4 people or makes 14-16 falafel balls
-
For the falafel
-
2 cups cooked chickpeas drained
-
3-4 carrots (around 2 cups diced)
-
1/2 of a red onion
-
2 inches fresh ginger
-
2-3 cloves garlic
-
1 teaspoon cumin
-
1/2 teaspoon chili flakes
-
1/3 cup chickpea flour (can sub in oat flour if needed)
-
juice of a small lemon
-
salt and pepper
-
For Tahini Cabbage Slaw
-
1/2 head red or green cabbage (about 3 cups shredded)
-
1/2 of a red onion
-
3 tablespoon tahini
-
1 tablespoon soy or liquid aminos
-
2 tablespoon red wine vinegar
-
a few tablespoons warm water
Grab carrots and red onion. Chop carrots into small chunks and cut onion in half. Cut one half into chunks. Place in food processor. Take the ginger and cut into small chunks (you don%u2019t need to peel it) and peel and slice garlic and cut into small pieces. Add that to the food processor. Pulse the mixture into a very small crumble then dump the mixture into a skillet with a splash of water. Add in the cumin, chili flakes, and a good pinch of salt and lots of pepper, and place on medium heat and cook for 5-8 minutes until soft and fragrant. Once cooked, scoop back into food processor along with the chickpeas, chickpea flour, and the juice of the lemon. Turn on and and puree until smooth, stopping when needed to scrap down the side. Then either dump mixture into a bowl or leave in the container you processed it in and place in fridge for 1/2 hour to a day.
When ready to cook, preheat oven to 400.
After letting the dough sit for a bit, remove from fridge. Grab skillet and lightly oil it and place on medium heat. Take a cookie scoop or just a spoon and scoop balls of falafel into your hand and roll them around so they are packed together. Smoosh then balls a little into disks and place into hot skillet. Let cook until bottom is golden brown then gently flip and cook the other side until browned. Place cooked falafel on a baking sheet. Once you have browned all the falafel, place into oven to bake for about 20 minutes or until the falafel has firmed up to your liking.
To make the tahini cabbage slaw. Shred cabbage and cut the remaining half of red onion into thin pieces. Place tahini, soy, vinegar, and 2 tablespoons warm water into a big bowl. Mix together until light and creamy. If the mixture seems to thick, add another tablespoon of warm water. When happy with consistency, add in the cabbage and onion and toss around until everything is coated.
Now when the slaw is made, the falafel is cooked, you eat it. Serve with warm pita or wraps or a bed of greens or nothing. Just slaw on top of falafel. And FYI, this whole shebang can be eaten hot or cold or anywhere in between.

Bread is probably, no, definitely one of my upmost favorite things to bake. There is just something so gratifying about the whole process of mixing ingredients, kneading, watching it rise, shaping, then baking. It calms me and make me a better person. Seriously.
And this might sound sad, but this week when my Dad told me that my grandmother died, well I went home and made bread because that is what felt right to do. It gave my mind and hands a good something to do far a little while. Plus I ended up with a loaf of bread to feed people with. I also like to feed people when I am feeling sad.
I chose to use cinnamon and cardamom because of the smells. They are just delightful and happy smells. And swirls are happy so a happy swirl of happy smells in a loaf of bread that I was making to share that was (and did) make people happy. (See, bread baking is making me so nice because I am sharing it) It was just the right thing to do.
So if you are in need of a little happy pick me up, may I suggest making some bread? It might make you feel a little better, or at least get your mind off of things for a bit. And you will have bread so there is that too. It%u2019s a win win.
Now to the bread, which you can also make when you are happy. Or bored, or hungry, although it takes some time so if you are starting off hungry, you will be starving by the time it is done. Maybe eat a snack will you are making it%u2026..
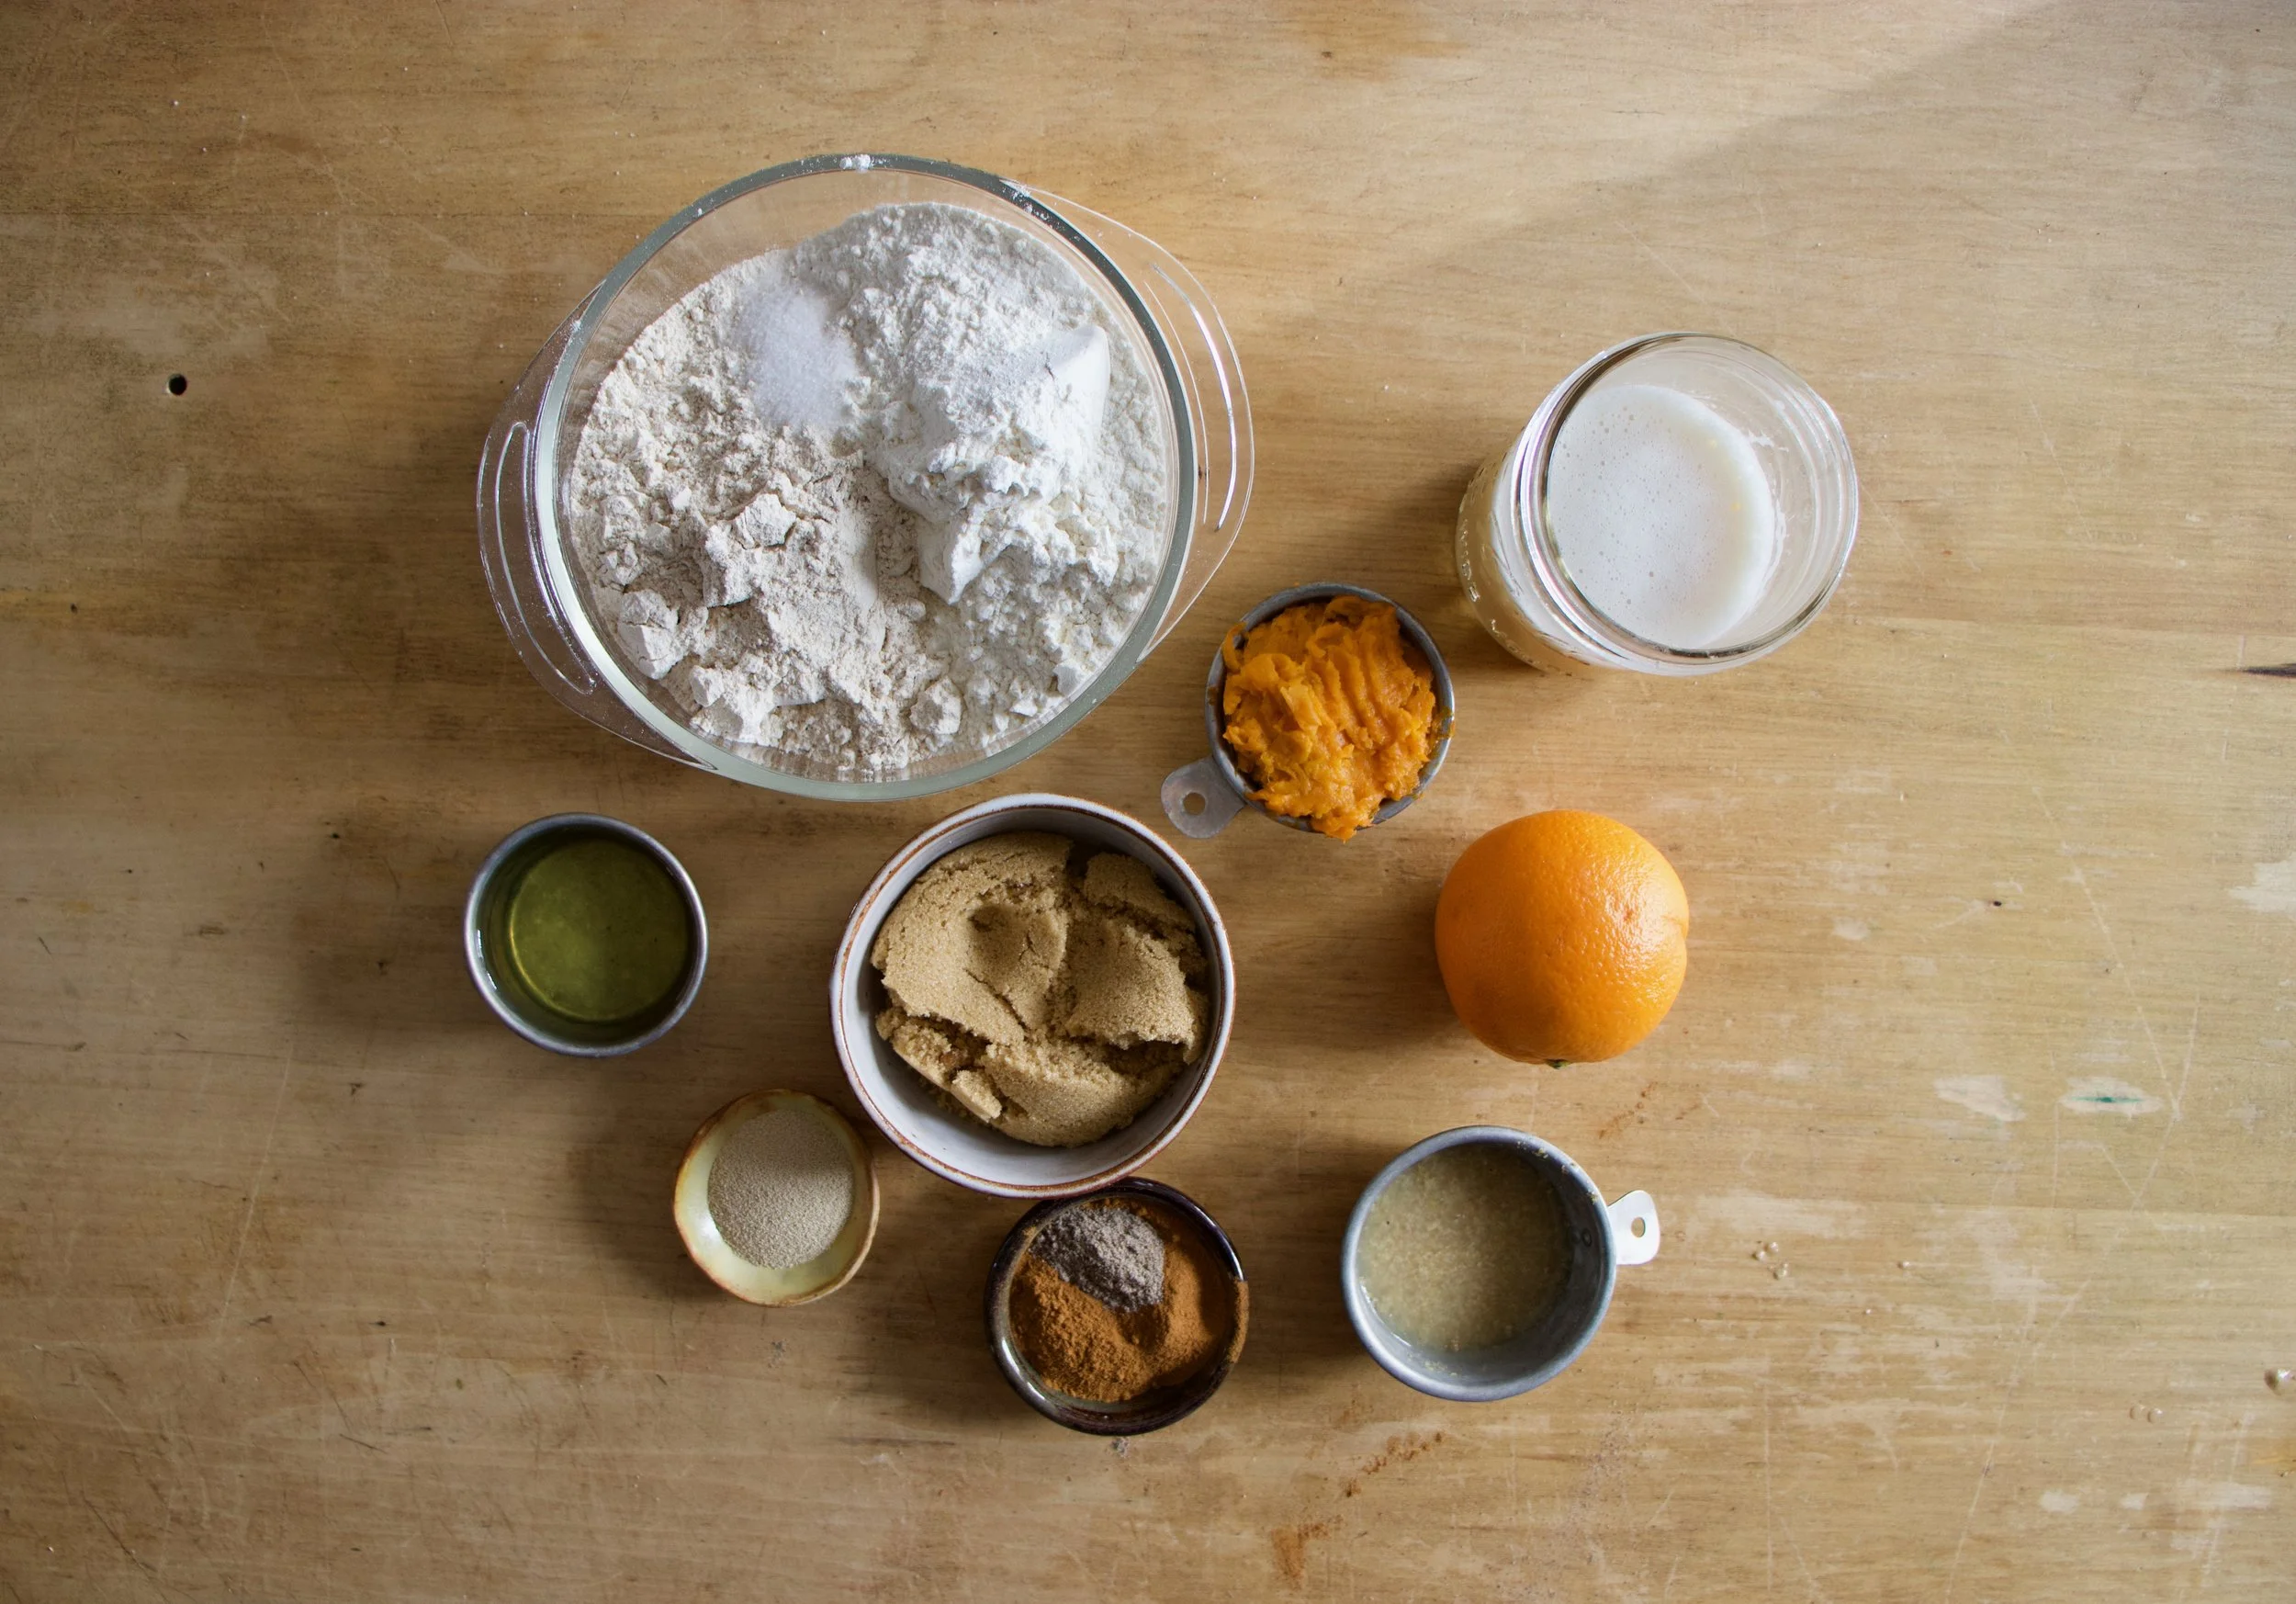
The stuff. White and whole wheat flour, salt, sweet potato puree, soy milk, yeast, brown sugar, oil, cinnamon, cardamom, some flax seeds, and an orange.
In a big bow, mix together the yeast, warm milk, sweet potato puree, a little sugar, and oil. Let it sit for a minute to active yeast.

Flours and salt get a good mix to be mixed.

Then dry gets dumped into the yeast mixture along with the zest of the orange.

Mix it until a dough forms then dump it out onto a lightly floured surface.
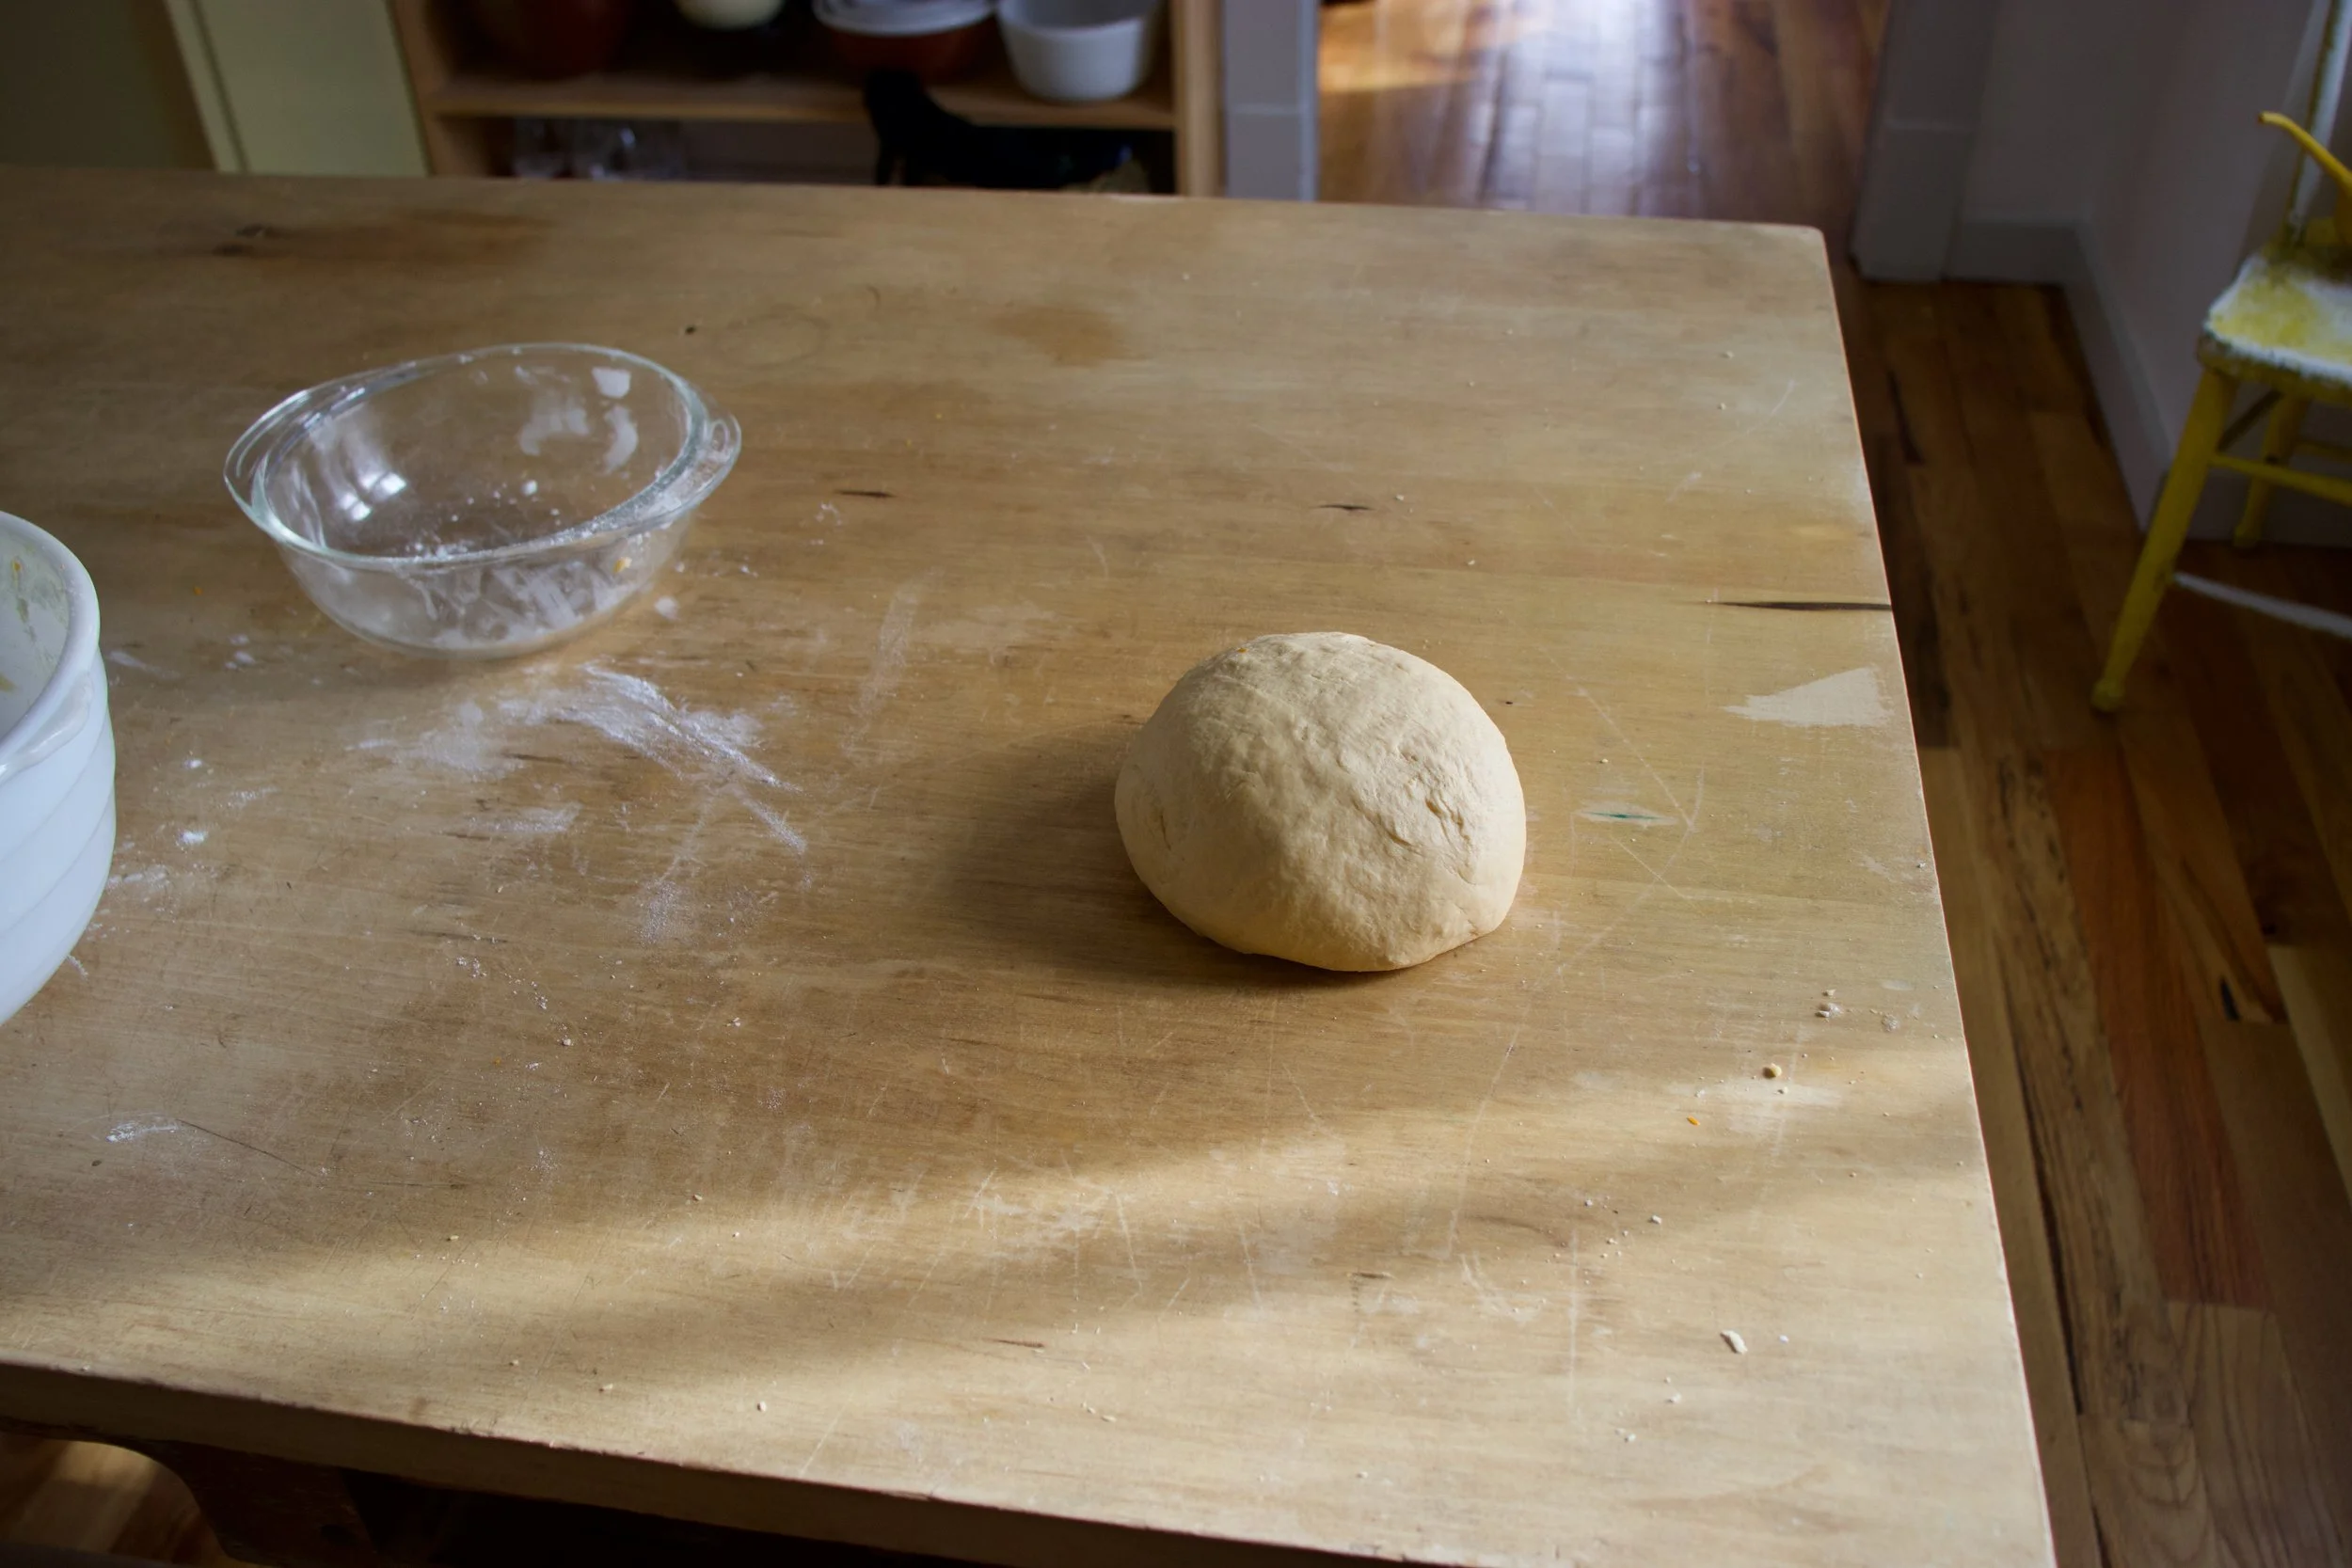
Knead dough for about 6-8 minutes or until supple, uniform, and smooth.
Place dough into a well oiled bowl and cover. Let rise for about and hour or so or until it doubles in size (could take a little longer then a hour)

Place risen dough back out onto a lightly floured surface.
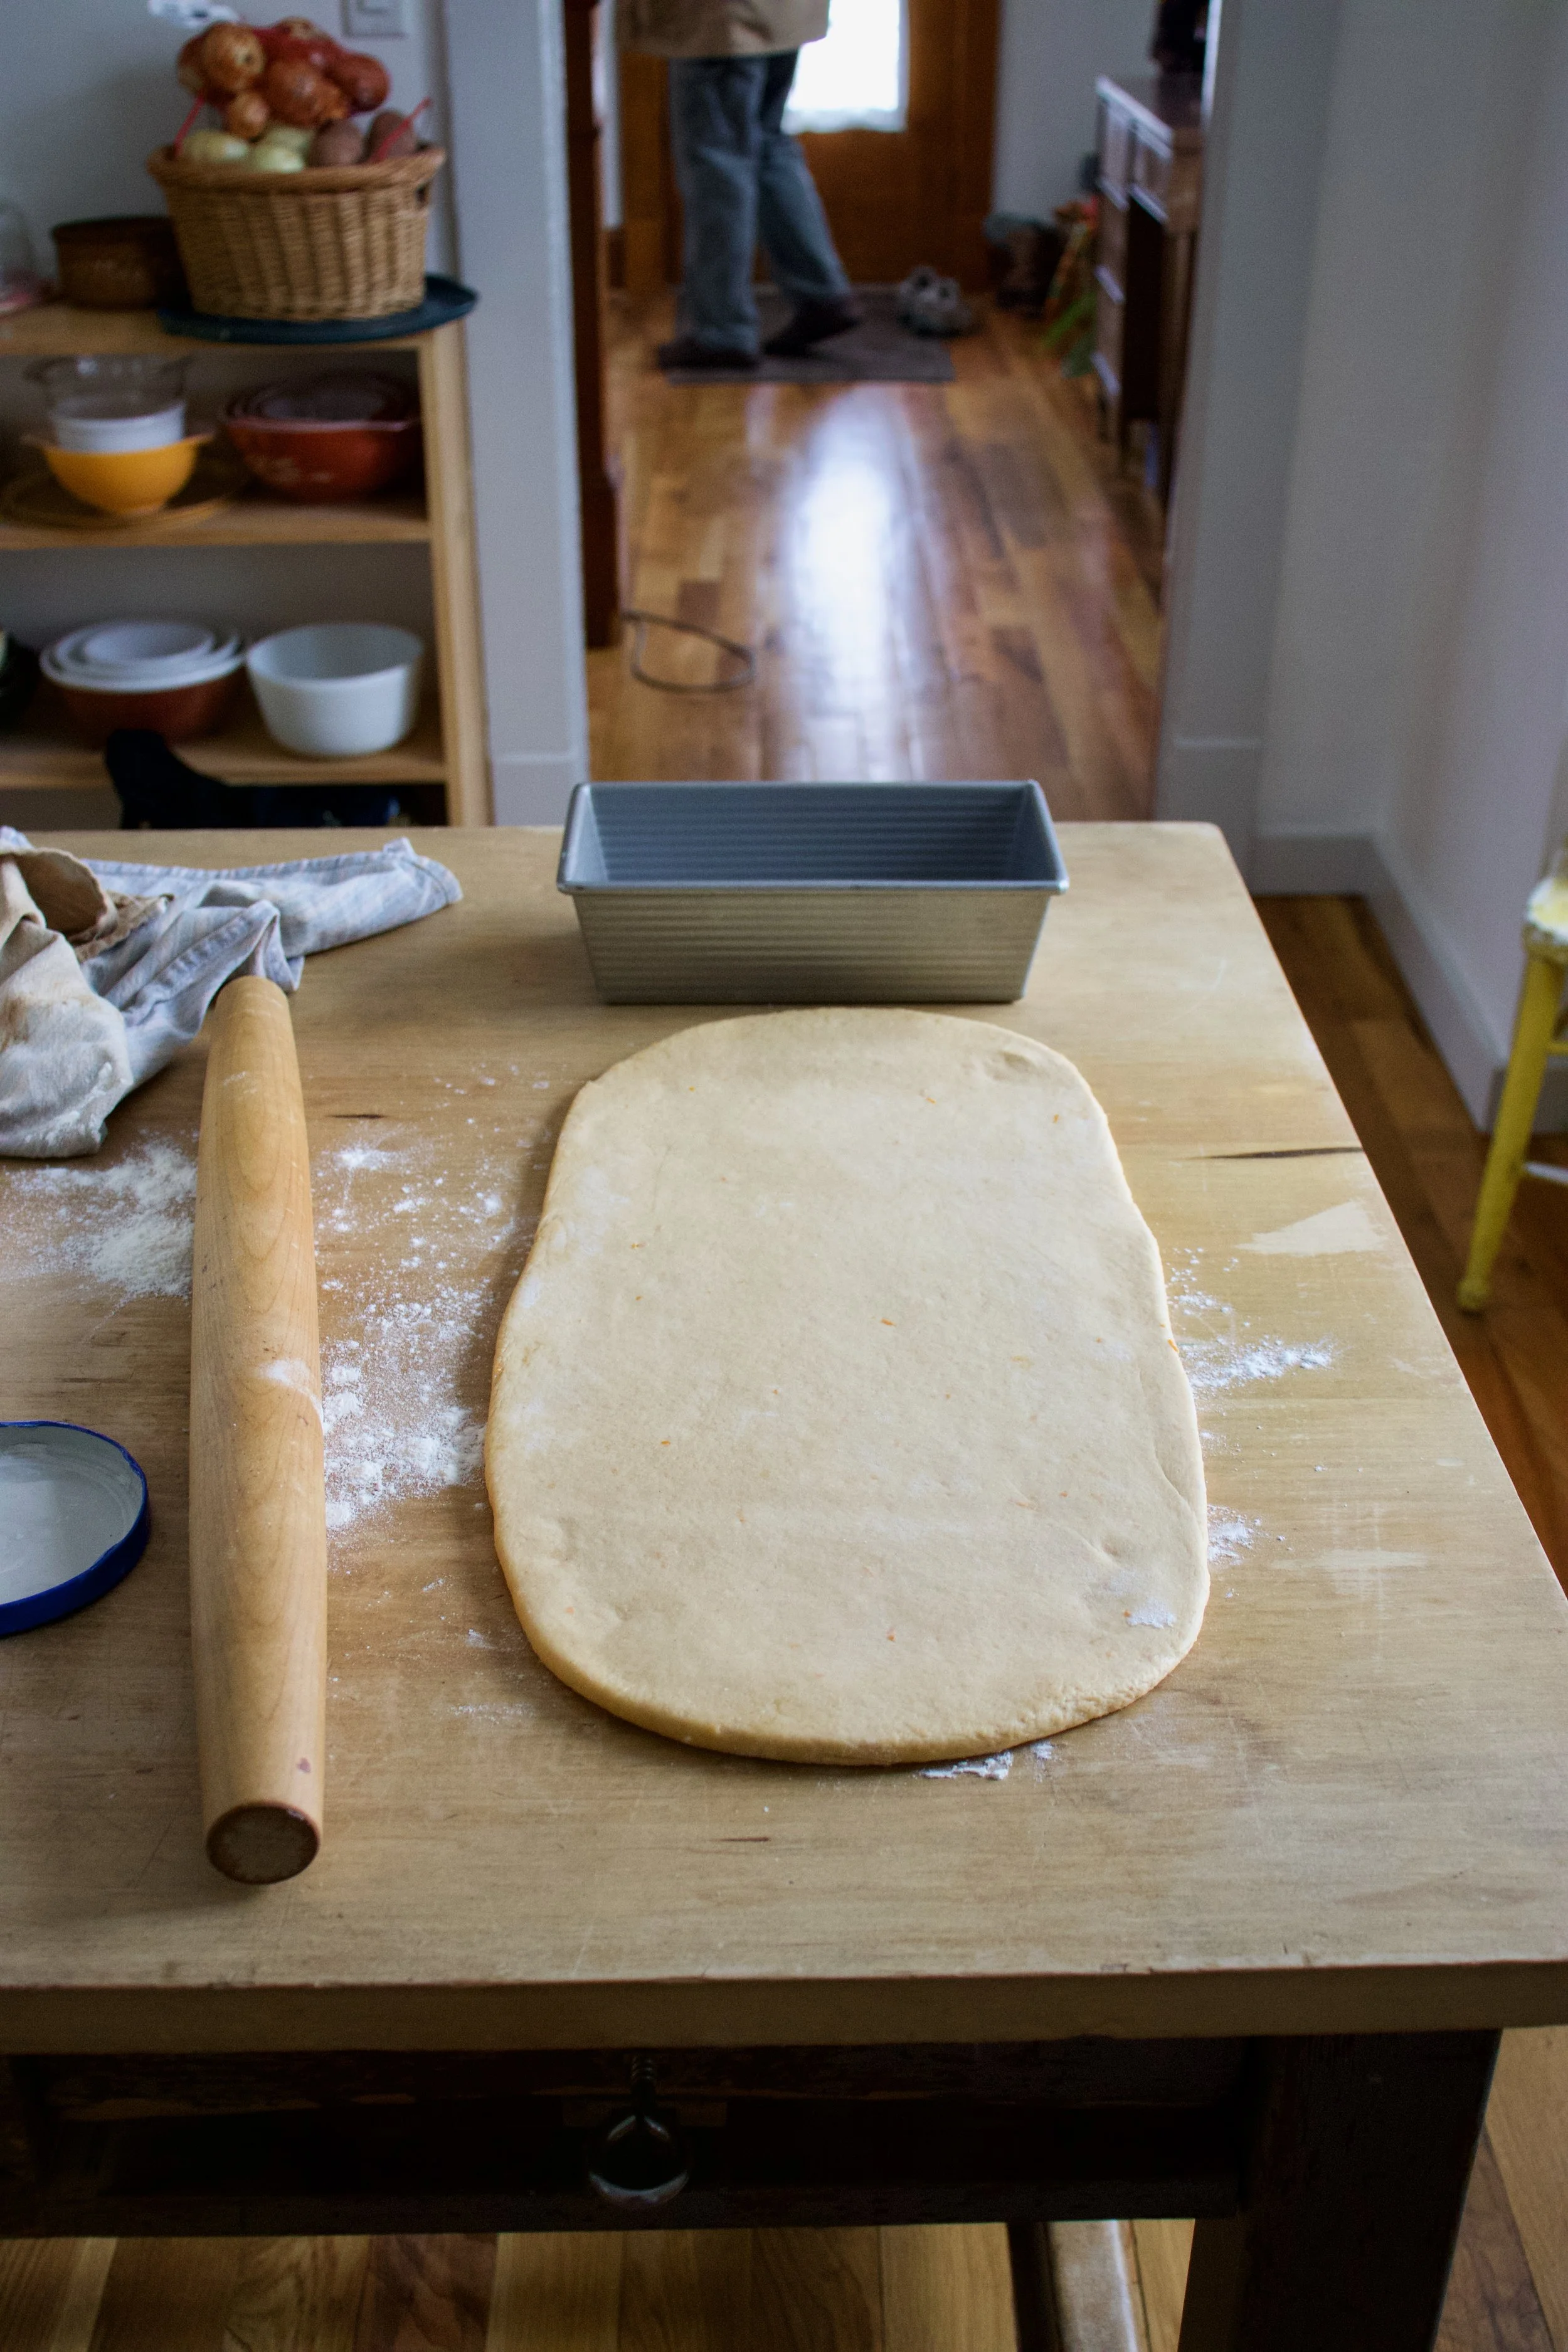
Roll it out about 2 feet long and as wide as a bread pan.

Don%u2019t forget mix up your brown sugar with the cinnamon and cardamom.
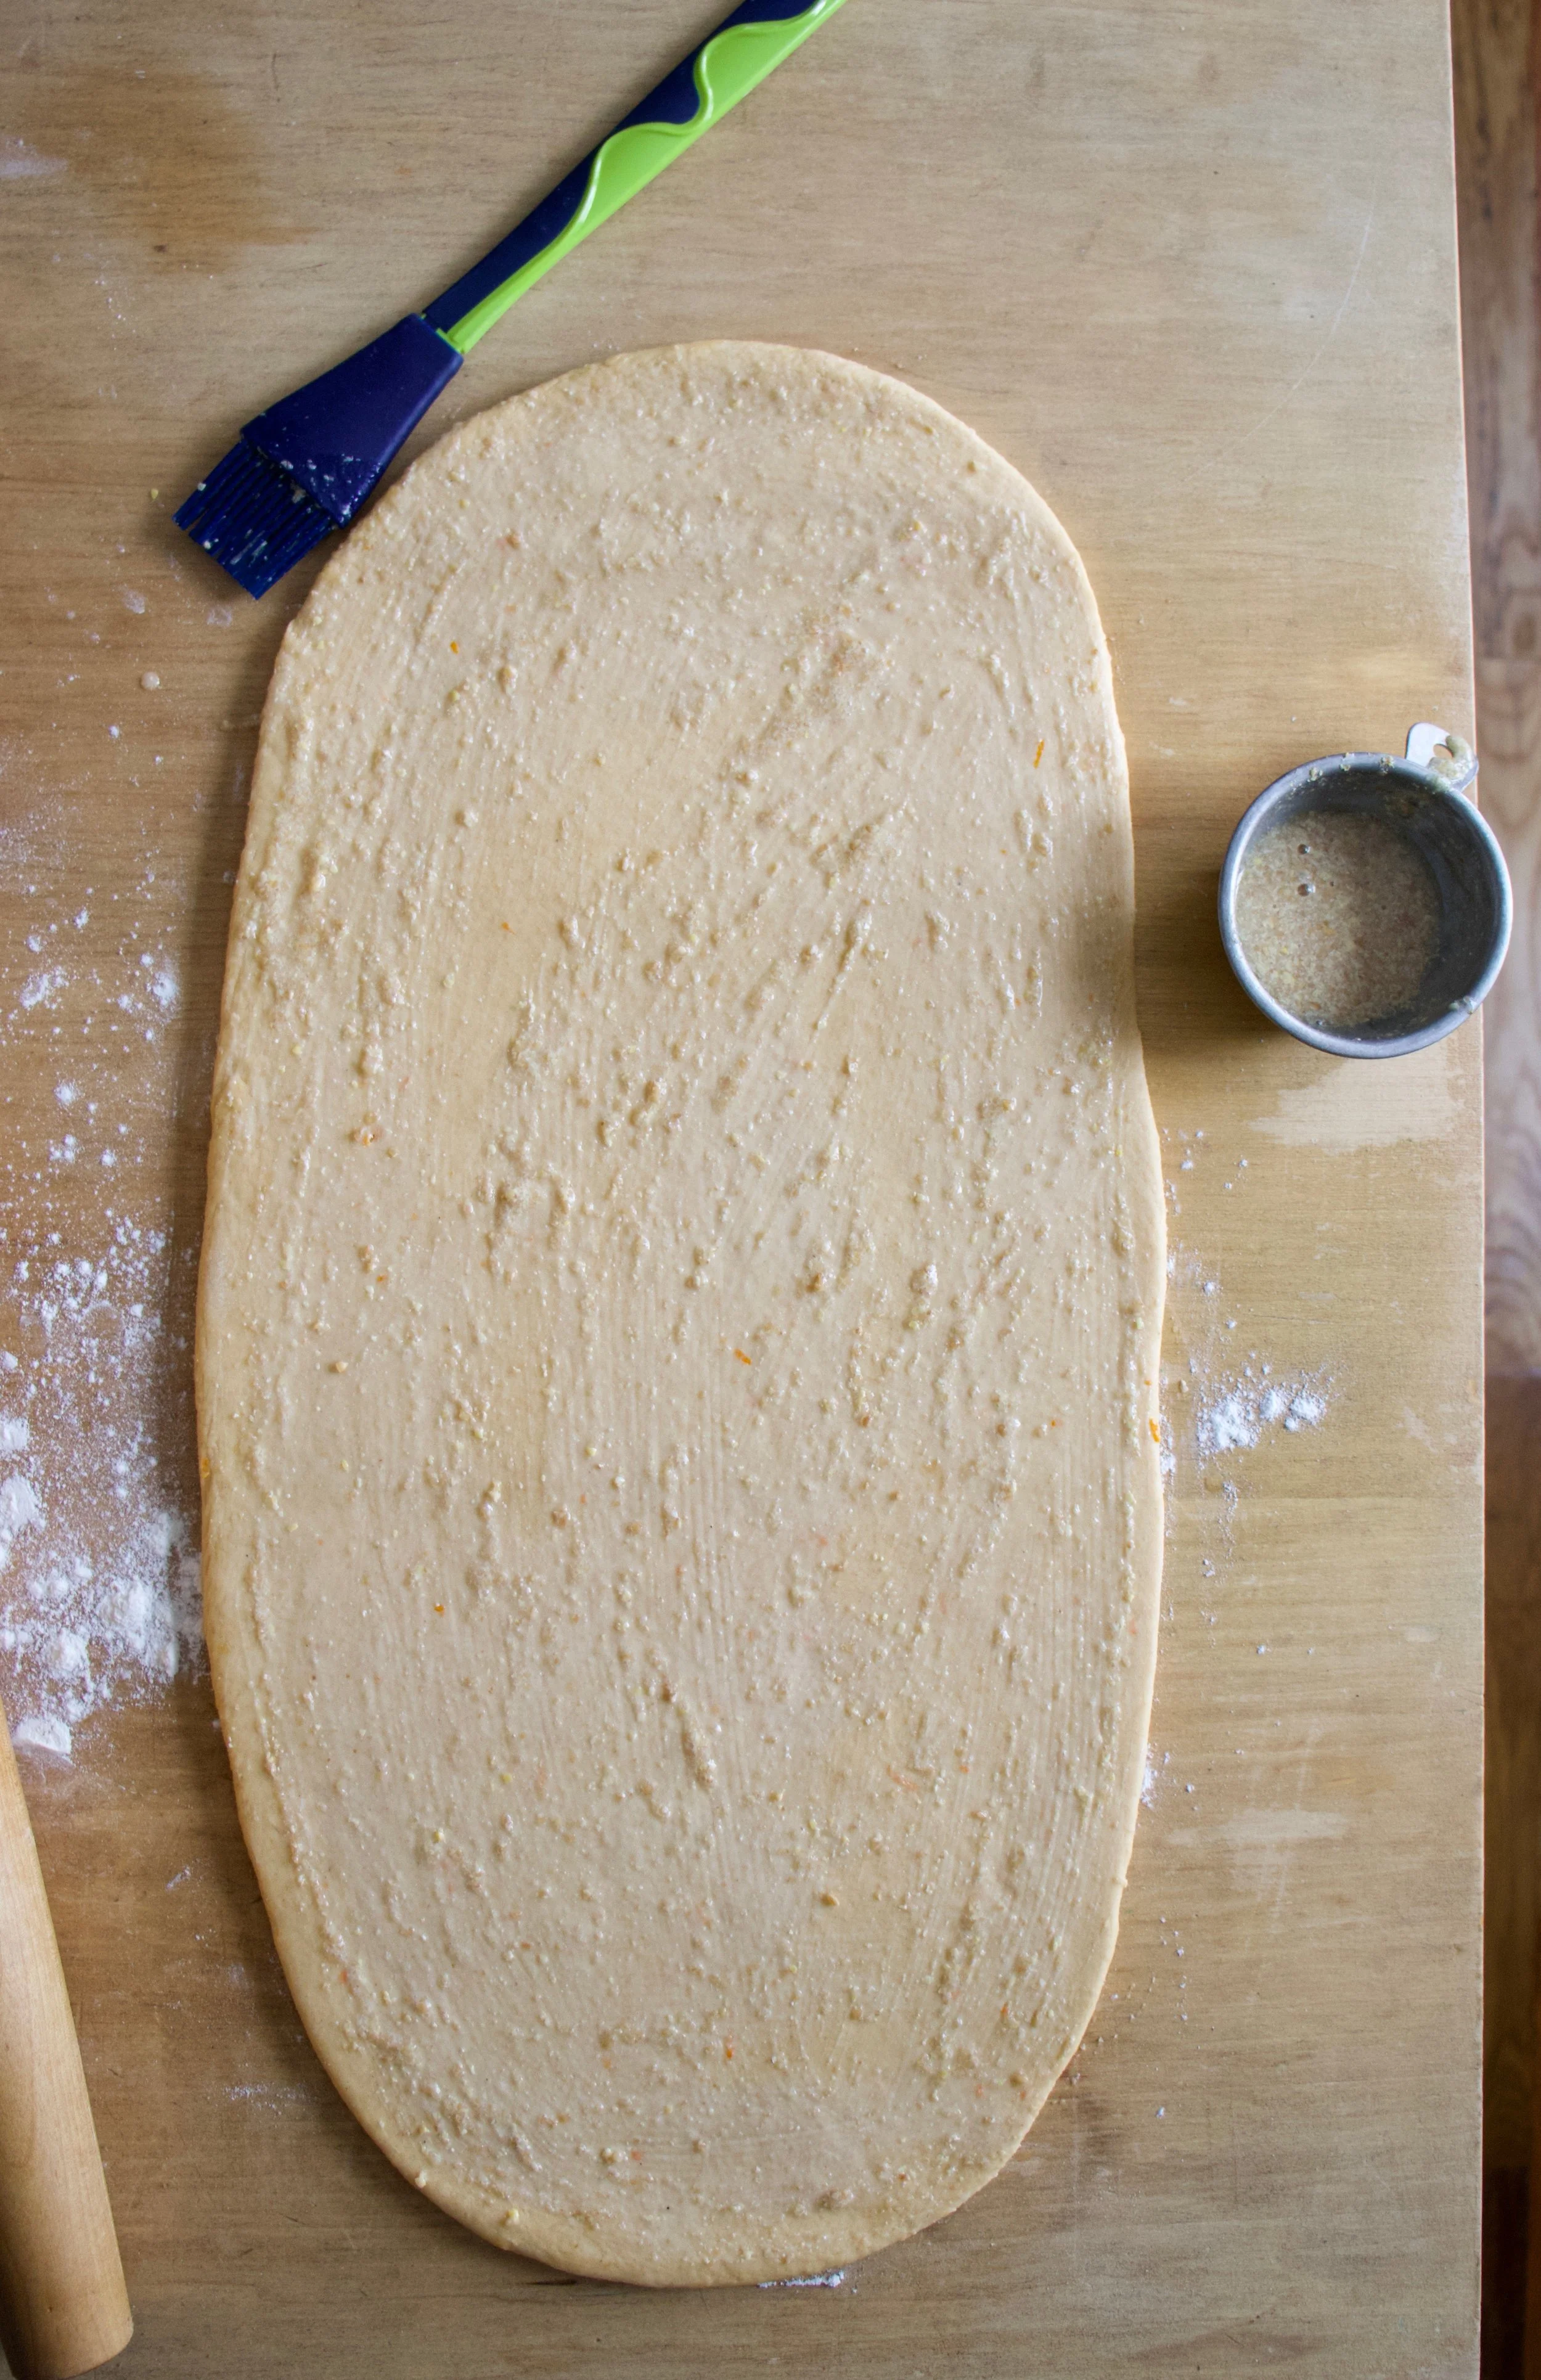
Brush rolled out dough with the flax mixture. This will help the cinnamon cardamon sugar stick.

And evenly distribute the mixture all over the dough.
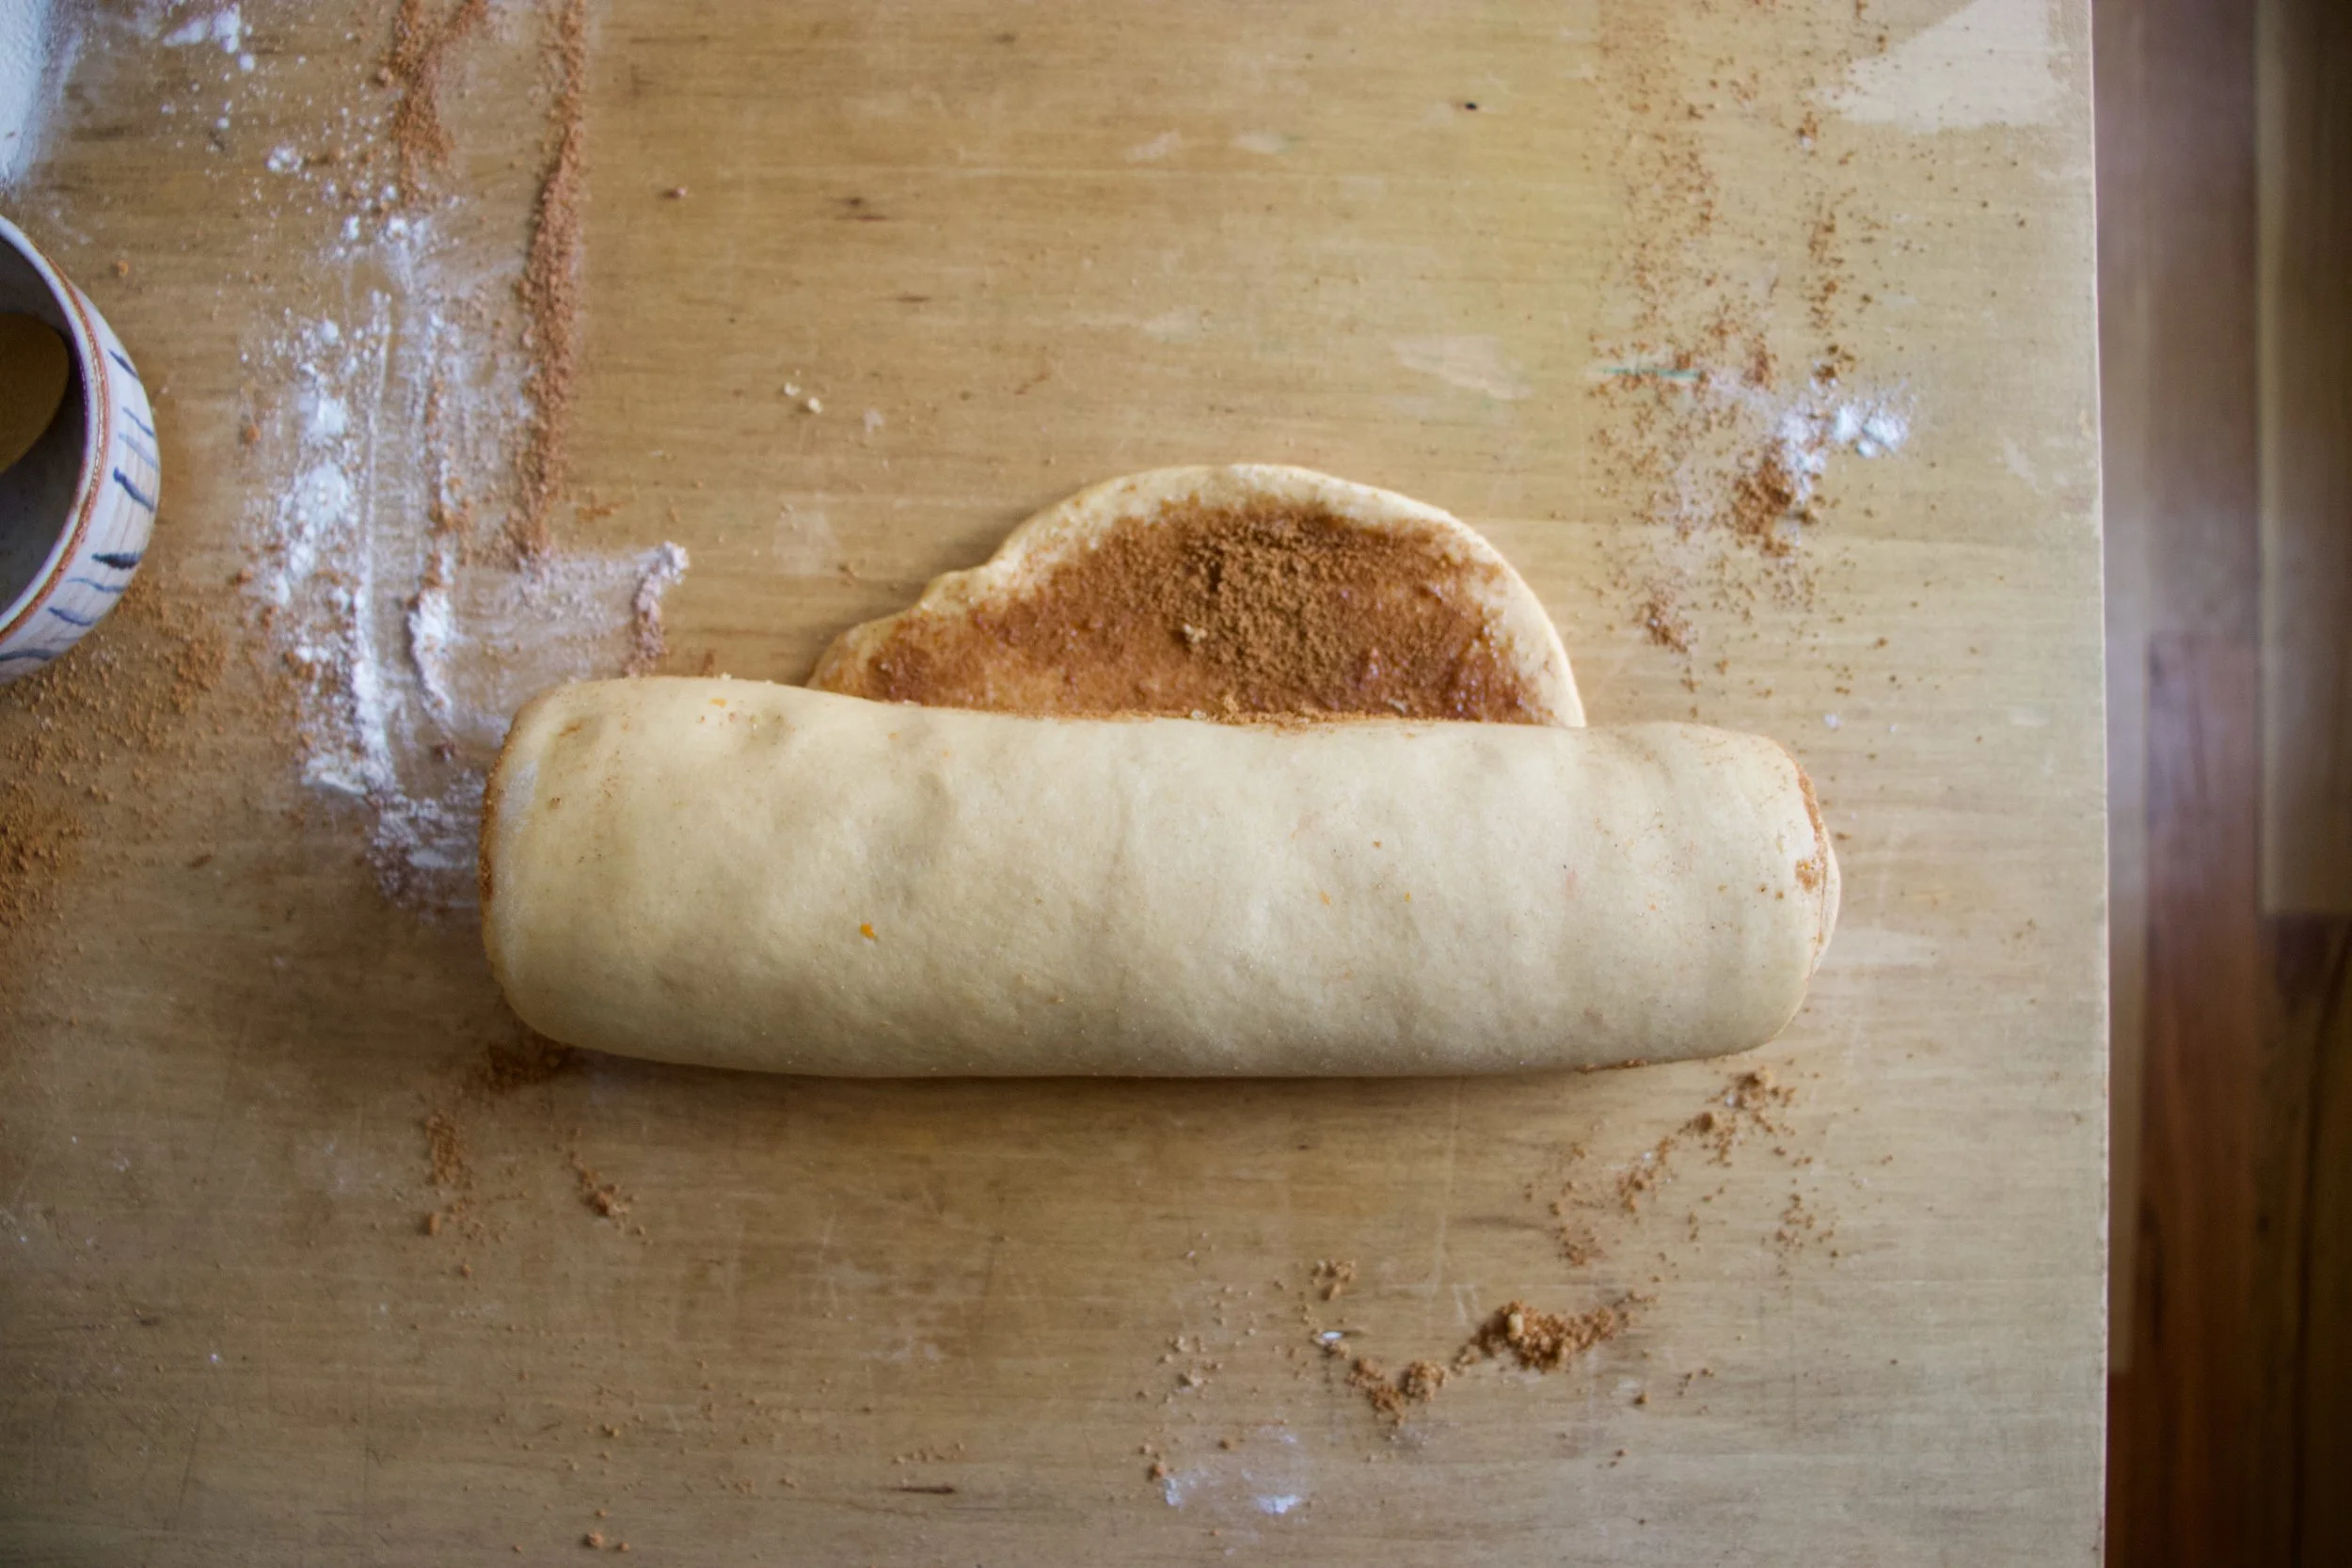
Roll it up nice and tight and once it%u2019s all rolled, pinch then end to the rest of the dough.
Gently place the rolled dough, pinched side down, into a well greased bread pan. Cover in a plastic bag for about another hour or until the dough has risen a good amount and is doming over the rim of the pan. Now preheat the oven.
Once the bread is sufficiently risen, place into hot oven and bake for 40-45 minutes.
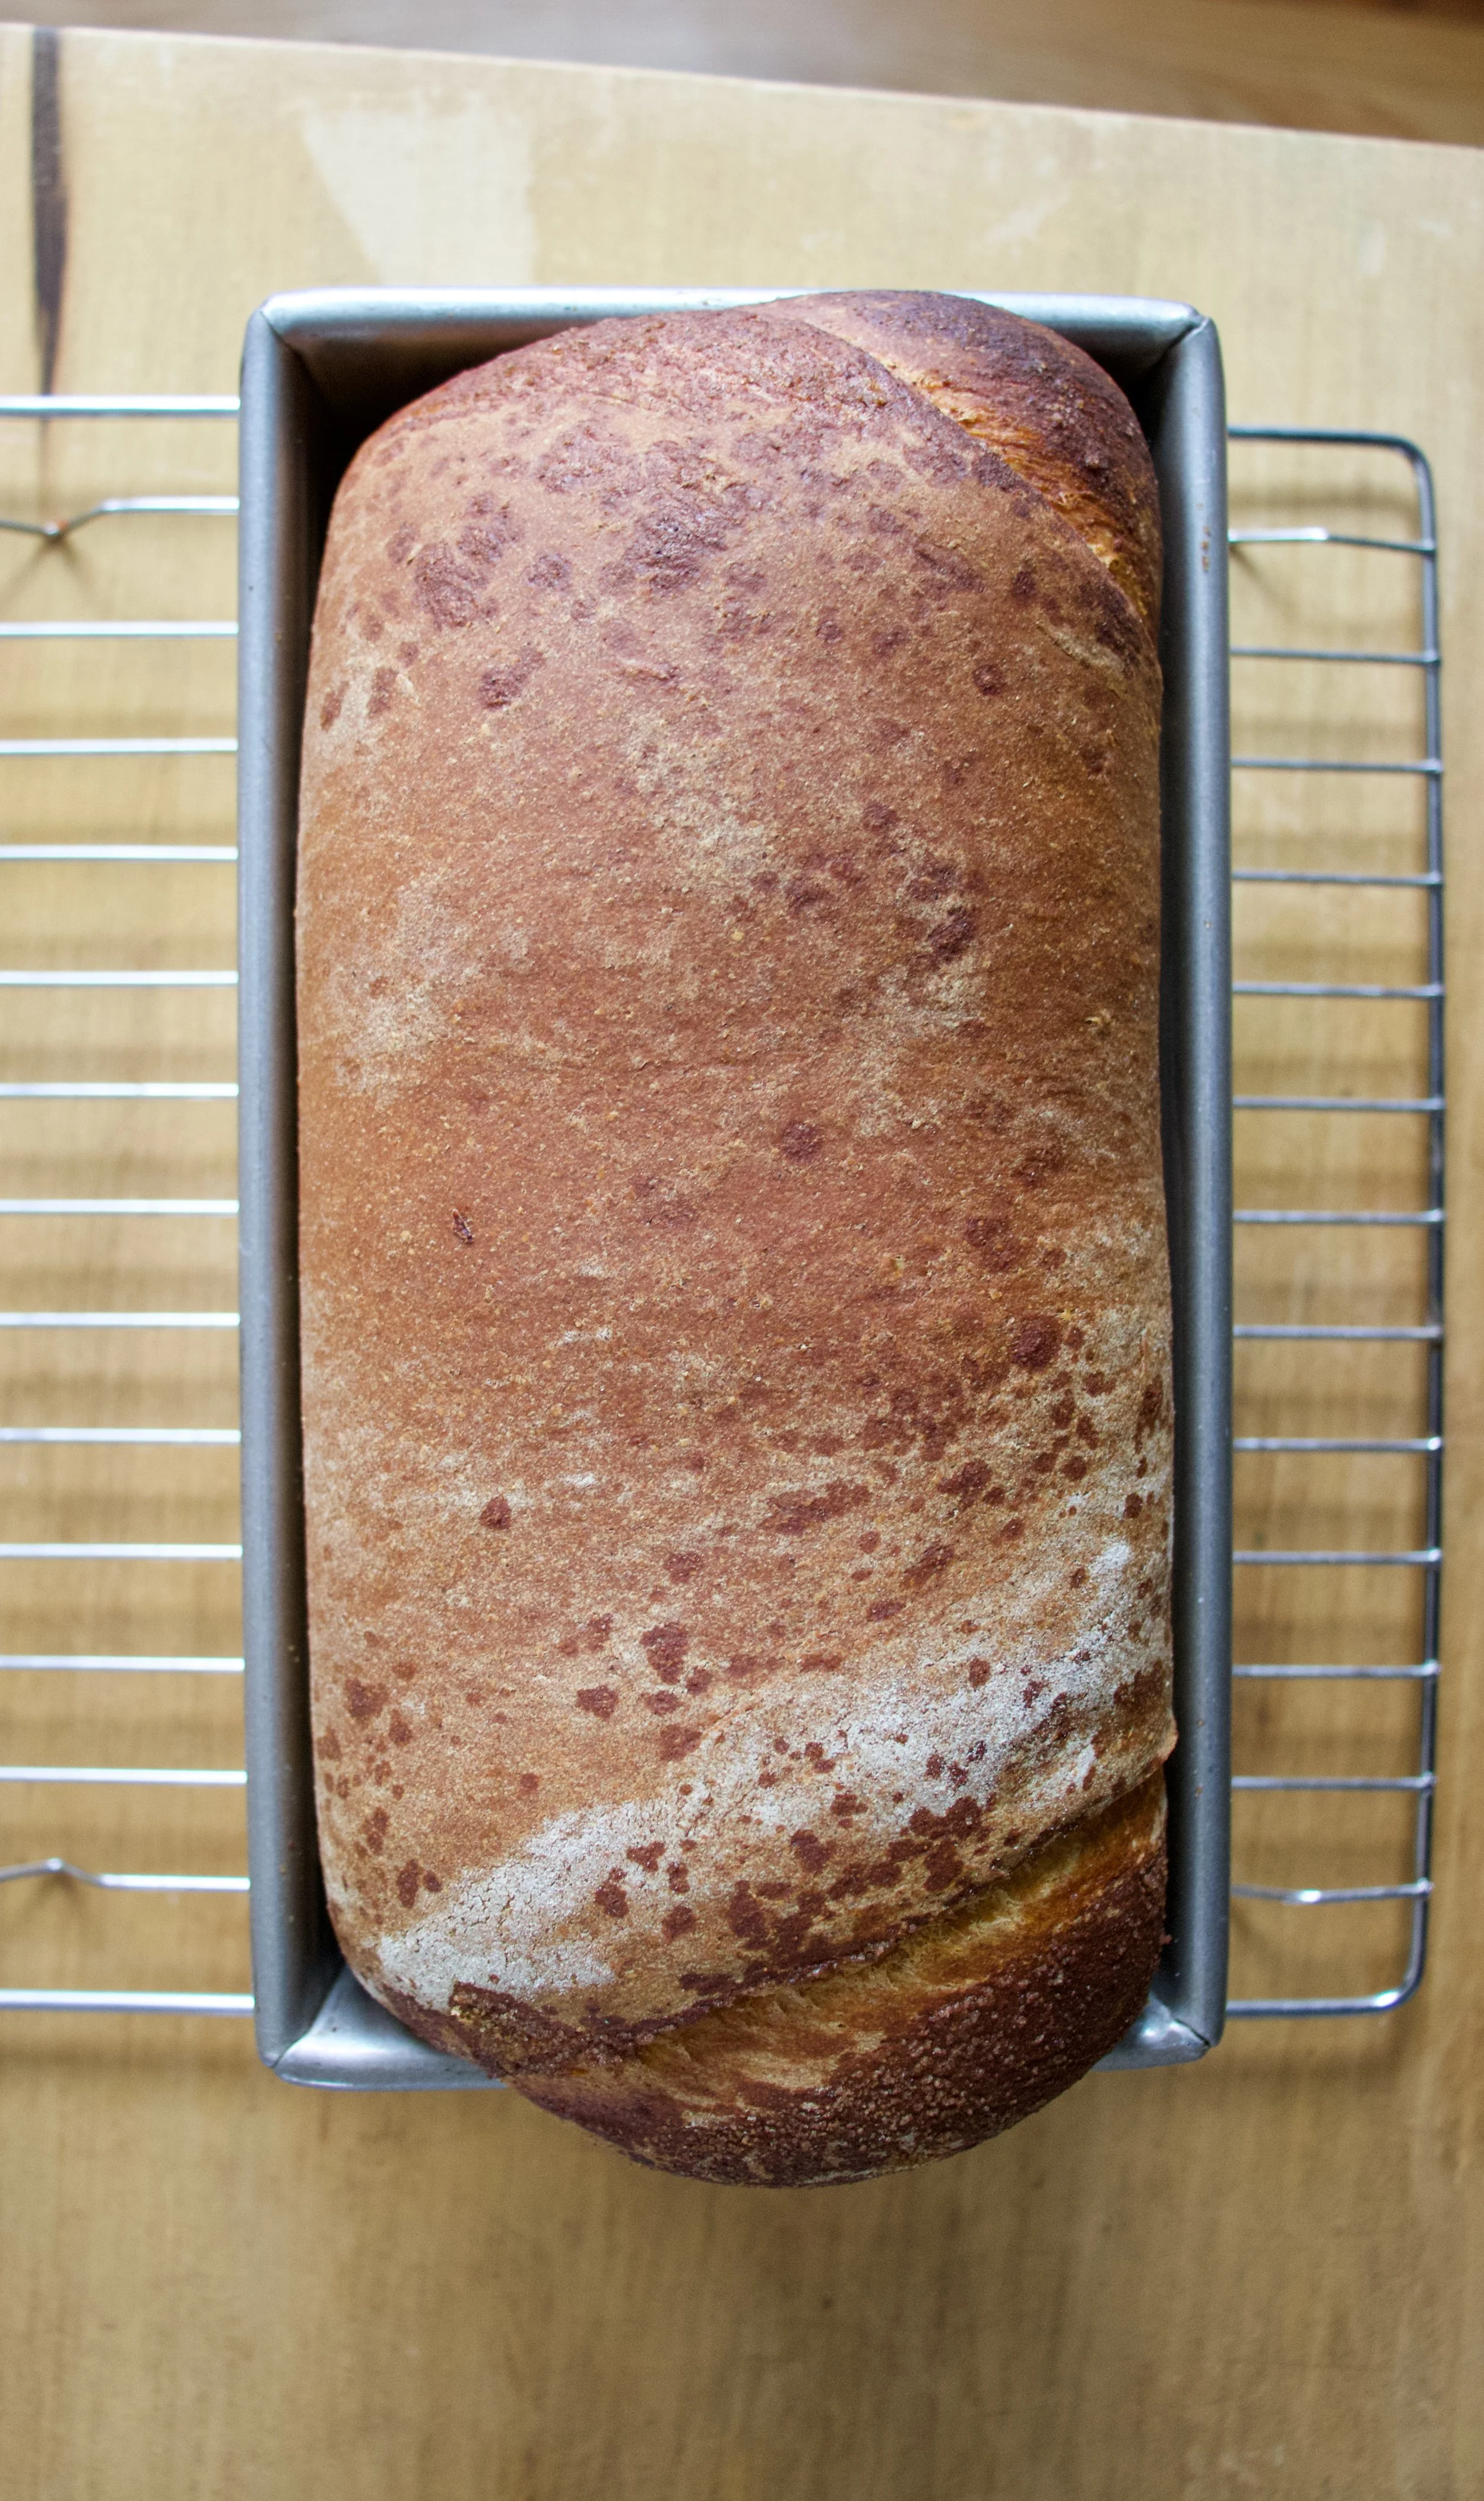

Now the hard part. Get it out of the bread pan and get it cooling off. You cannot cut into it until it cools or you will smoosh the swirl and make it gummy. Just wait, at least a half hour. For real. Wait. You can do it!
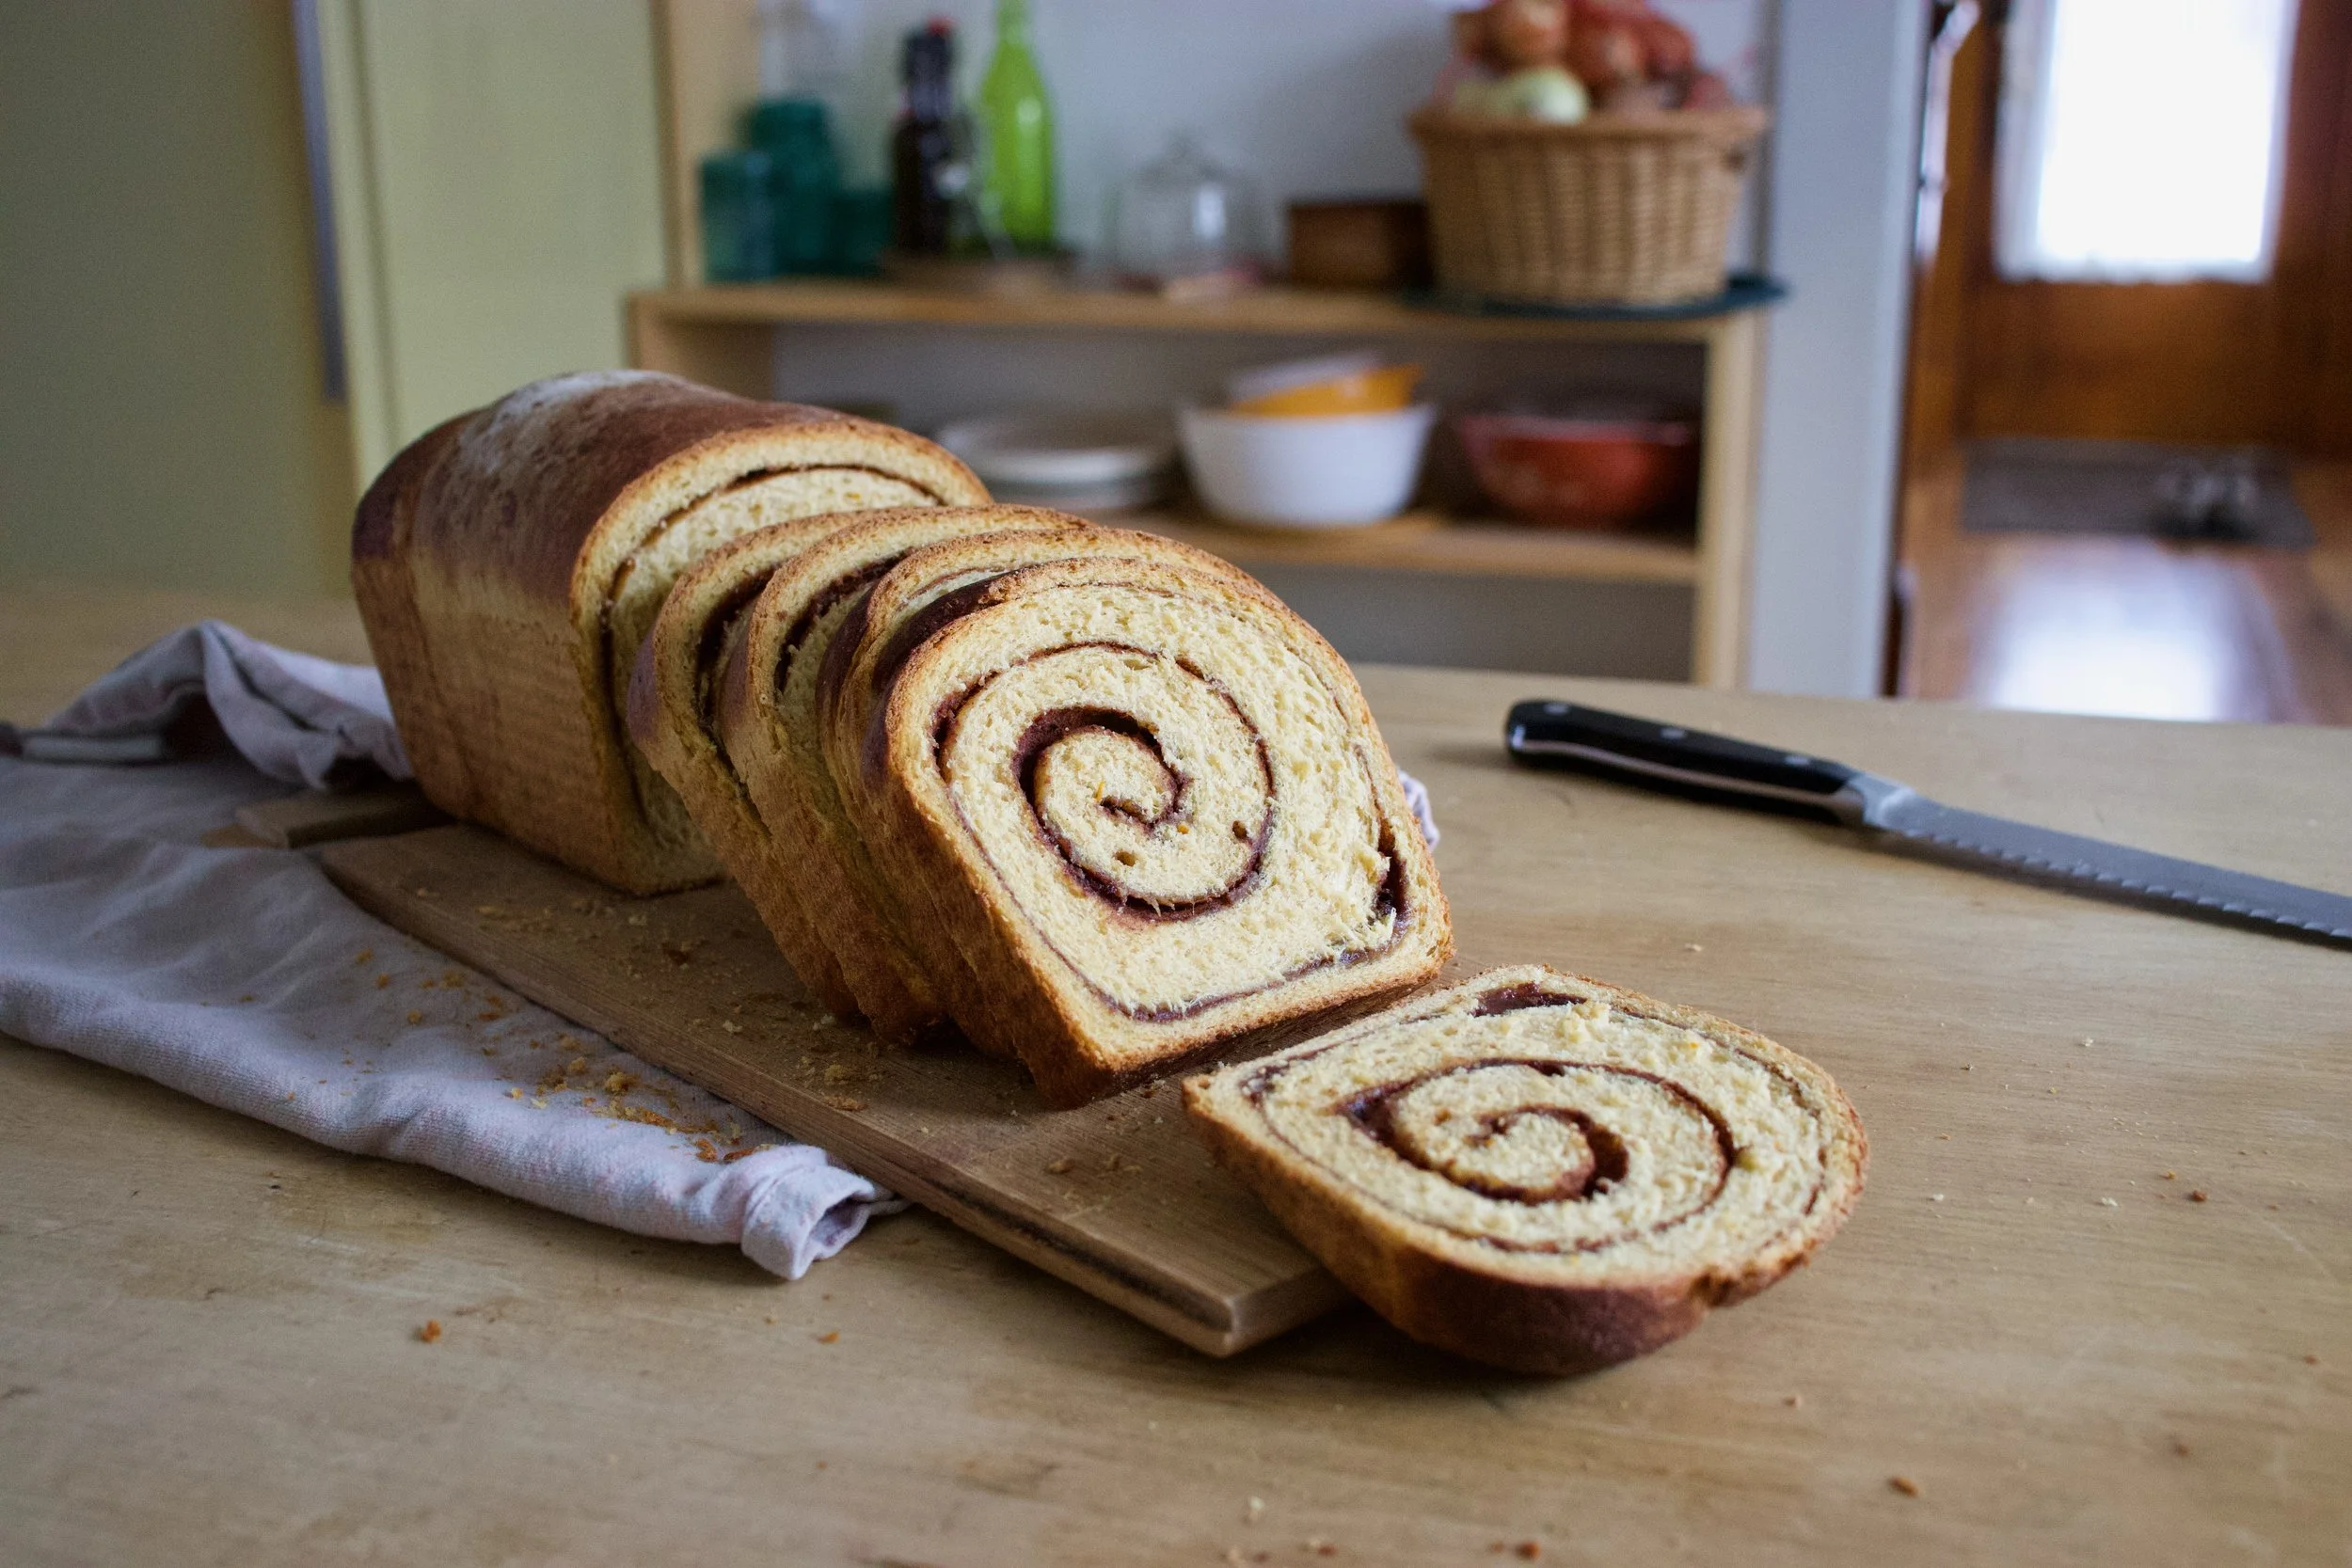
And when the bread cools and the wait it over, slice and be amazed. A thing of beauty that smells of greatness.
Bread is so great. Great great great! Especially a swirl bread. I mean. Look at that.
Happy day to you.
-C
Makes 1 loaf
-
2 cups all purpose flour
-
1 cup white whole wheat flour
-
1/3 cup sweet potato puree
-
1 cup soy milk
-
2 teaspoons (or one packet) yeast
-
3 tablespoons neutral oil like canola
-
2 tablespoon light brown sugar
-
1 teaspoon salt
-
Zest of 1 orange
-
For the cinnamon cardamom filling
-
1/2 cup light brown sugar
-
2 tablespoon cinnamon (I used Vietnamese Cinnamon which is a little spicier and sweeter)
-
1/2 teaspoon ground cardamom
-
2 teaspoons ground flax mixed with 4 teaspoons warm water
Start by grabbing a big bowl. Mix together the yeast, the 2 tablespoons brown sugar, warm milk, sweet potato puree, and oil. Let sit for a minute to active yeast. In a separate bowl mix together the flours and salt. Dump the dry mixture into the wet. Zest the zest of an orange into bowl and mix it all together until it forms a dough. Dump the dough onto a lightly floured surface and knead for 5-8 minutes or until the dough gets supple and shinny and uniform. Place dough into a well oiled bowl and cover for about an hour or until doubled in size.
Once dough has doubled, dump out onto a well floured surface and roll out to as wide as a bread pan and roughly 24 inched long. After you have rolled it out brush the flax and water mixture all over surface . Combine the brown sugar with the cinnamon and cardamom and evenly distribute the mixture all over flaxed dough. And for the fun part. Careful roll the dough into a log. Roll it tightly so the bread doesn’tt end up with big gaps after it bakes. Once rolled, pinch the rolled end and place the log rolled side down into a well greased bread pan. Place dough into a a plastic bag with plenty of space for dough to rise. Let sit for about another hour or until the dough has risen a little bit above the rim of baking pan.
Preheat oven to 375
When dough has risen, place on middle rack in hot oven and bake for 40-45ish minutes or until bread is a deep golden brown and when you give it a tap, it sounds slightly hollow. Also check it with a intsant read thermometer. Get it to 190.
When it done baking, pull from oven and remove from pan. Place on a wire rack and let completely cool. Seriously, you got to let it cool for at least 1/2 and hour, but longer is better!
When it%u2019s cooled, cut into slices. Eat as you wish.
Uneaten bread stores well for a day or two in a airtight plastic bag but if you don%u2019t eat it that fast, cut into slices and freeze. That way you can just pop a piece out and stick it into toaster. Smart.
The thing with having an abundance of squash in the house, and having the abundance keep growing (we get a lot of squashes at farm share) is that I need to cook just about every meal with said abundance, which I am totally on happy to do. I welcome all the squash. I am excited about all the squash. I could eat al the squash all day, everyday. And I do. But that is me. The mr and the others the I sometimes cook for, they are not as squash crazy as me and get sick of plain old roasted squash so I am trying to change it up and make new and interesting things out of the squash so no one gets bored with it.
Yes, I know stuffing an acorn squash is hardly a new idea, but this squash is not stuffed with the usual rice and stuff, it stuffed with lots of black beans and cumin and chili powder spiced cauliflower (and a few other things). The combination of all the flavors with the acorn squash really hit all the right spots for a tasty, not boring squash meal. It is a brilliant combination of flavors that even the not so keen on squash person will love.
That is my opinion of course but it will be your opinion too after you make and eat these. We will brilliant together.
To the stuffed squash.
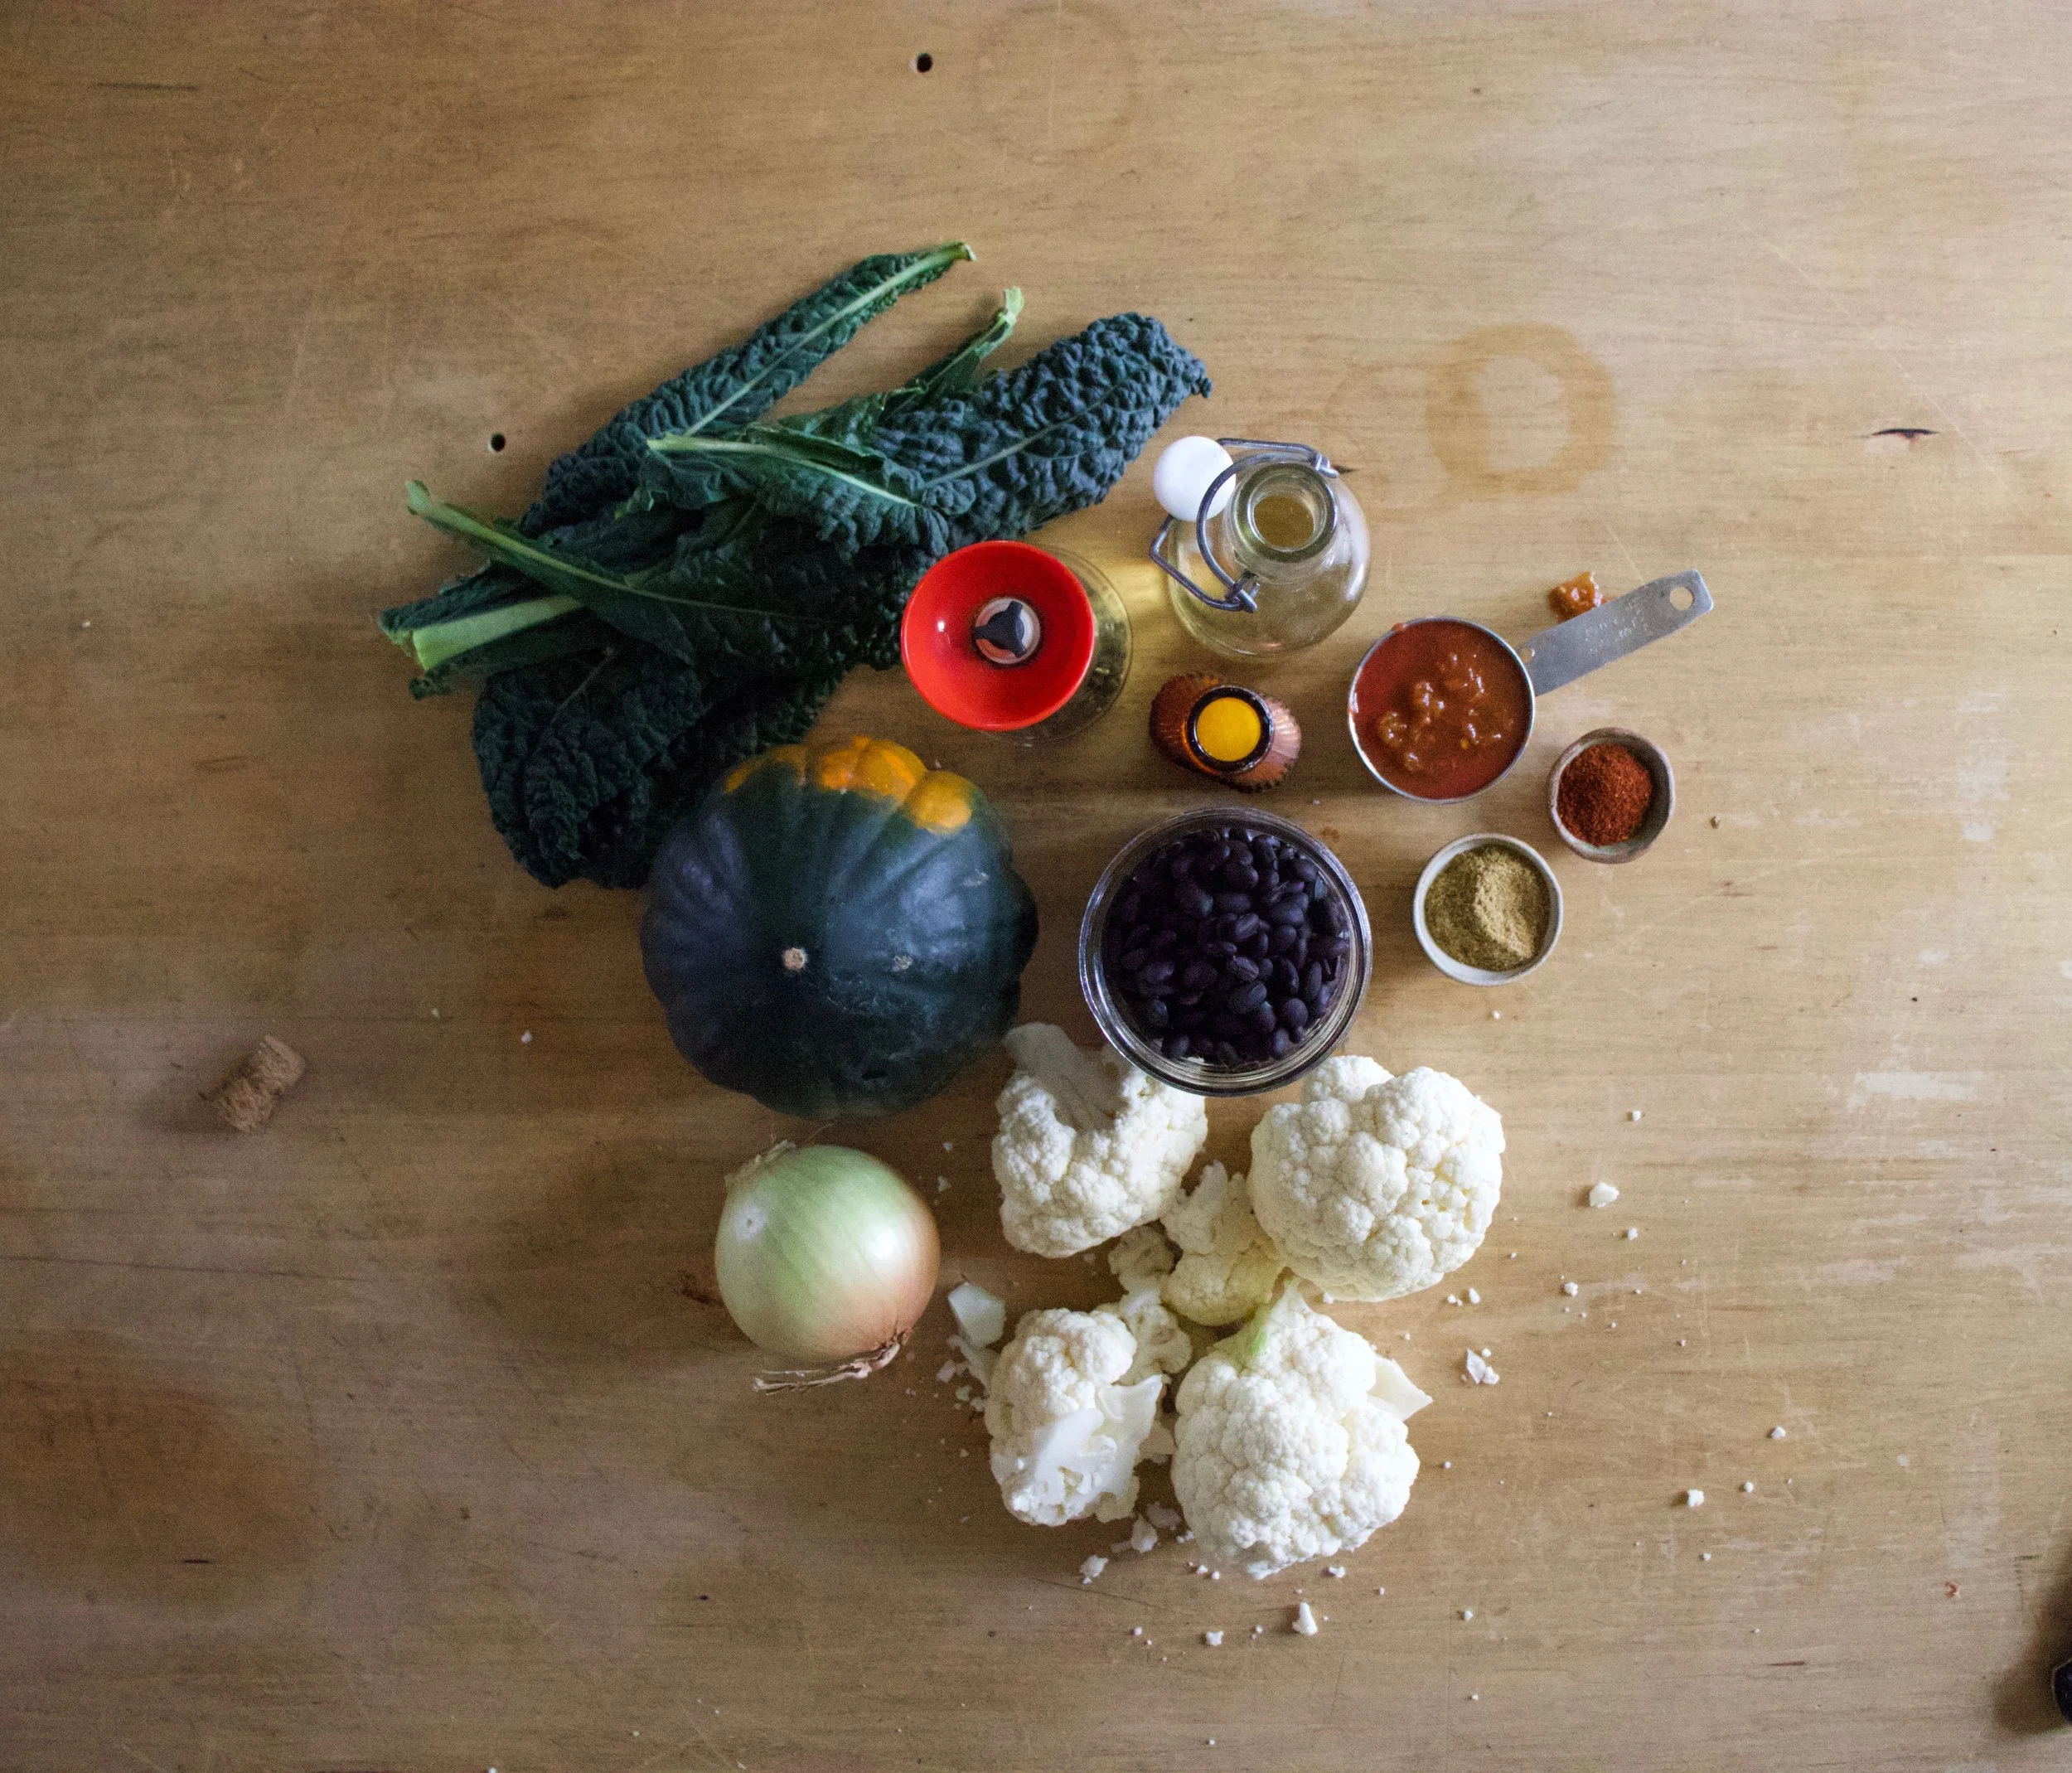
The stuff. An acorn squash, some cauliflower, cooked black beans, an onion, and a few kale leaves. Also need some cumin, chili powder, salt and pepper. salsa, and olive oil.
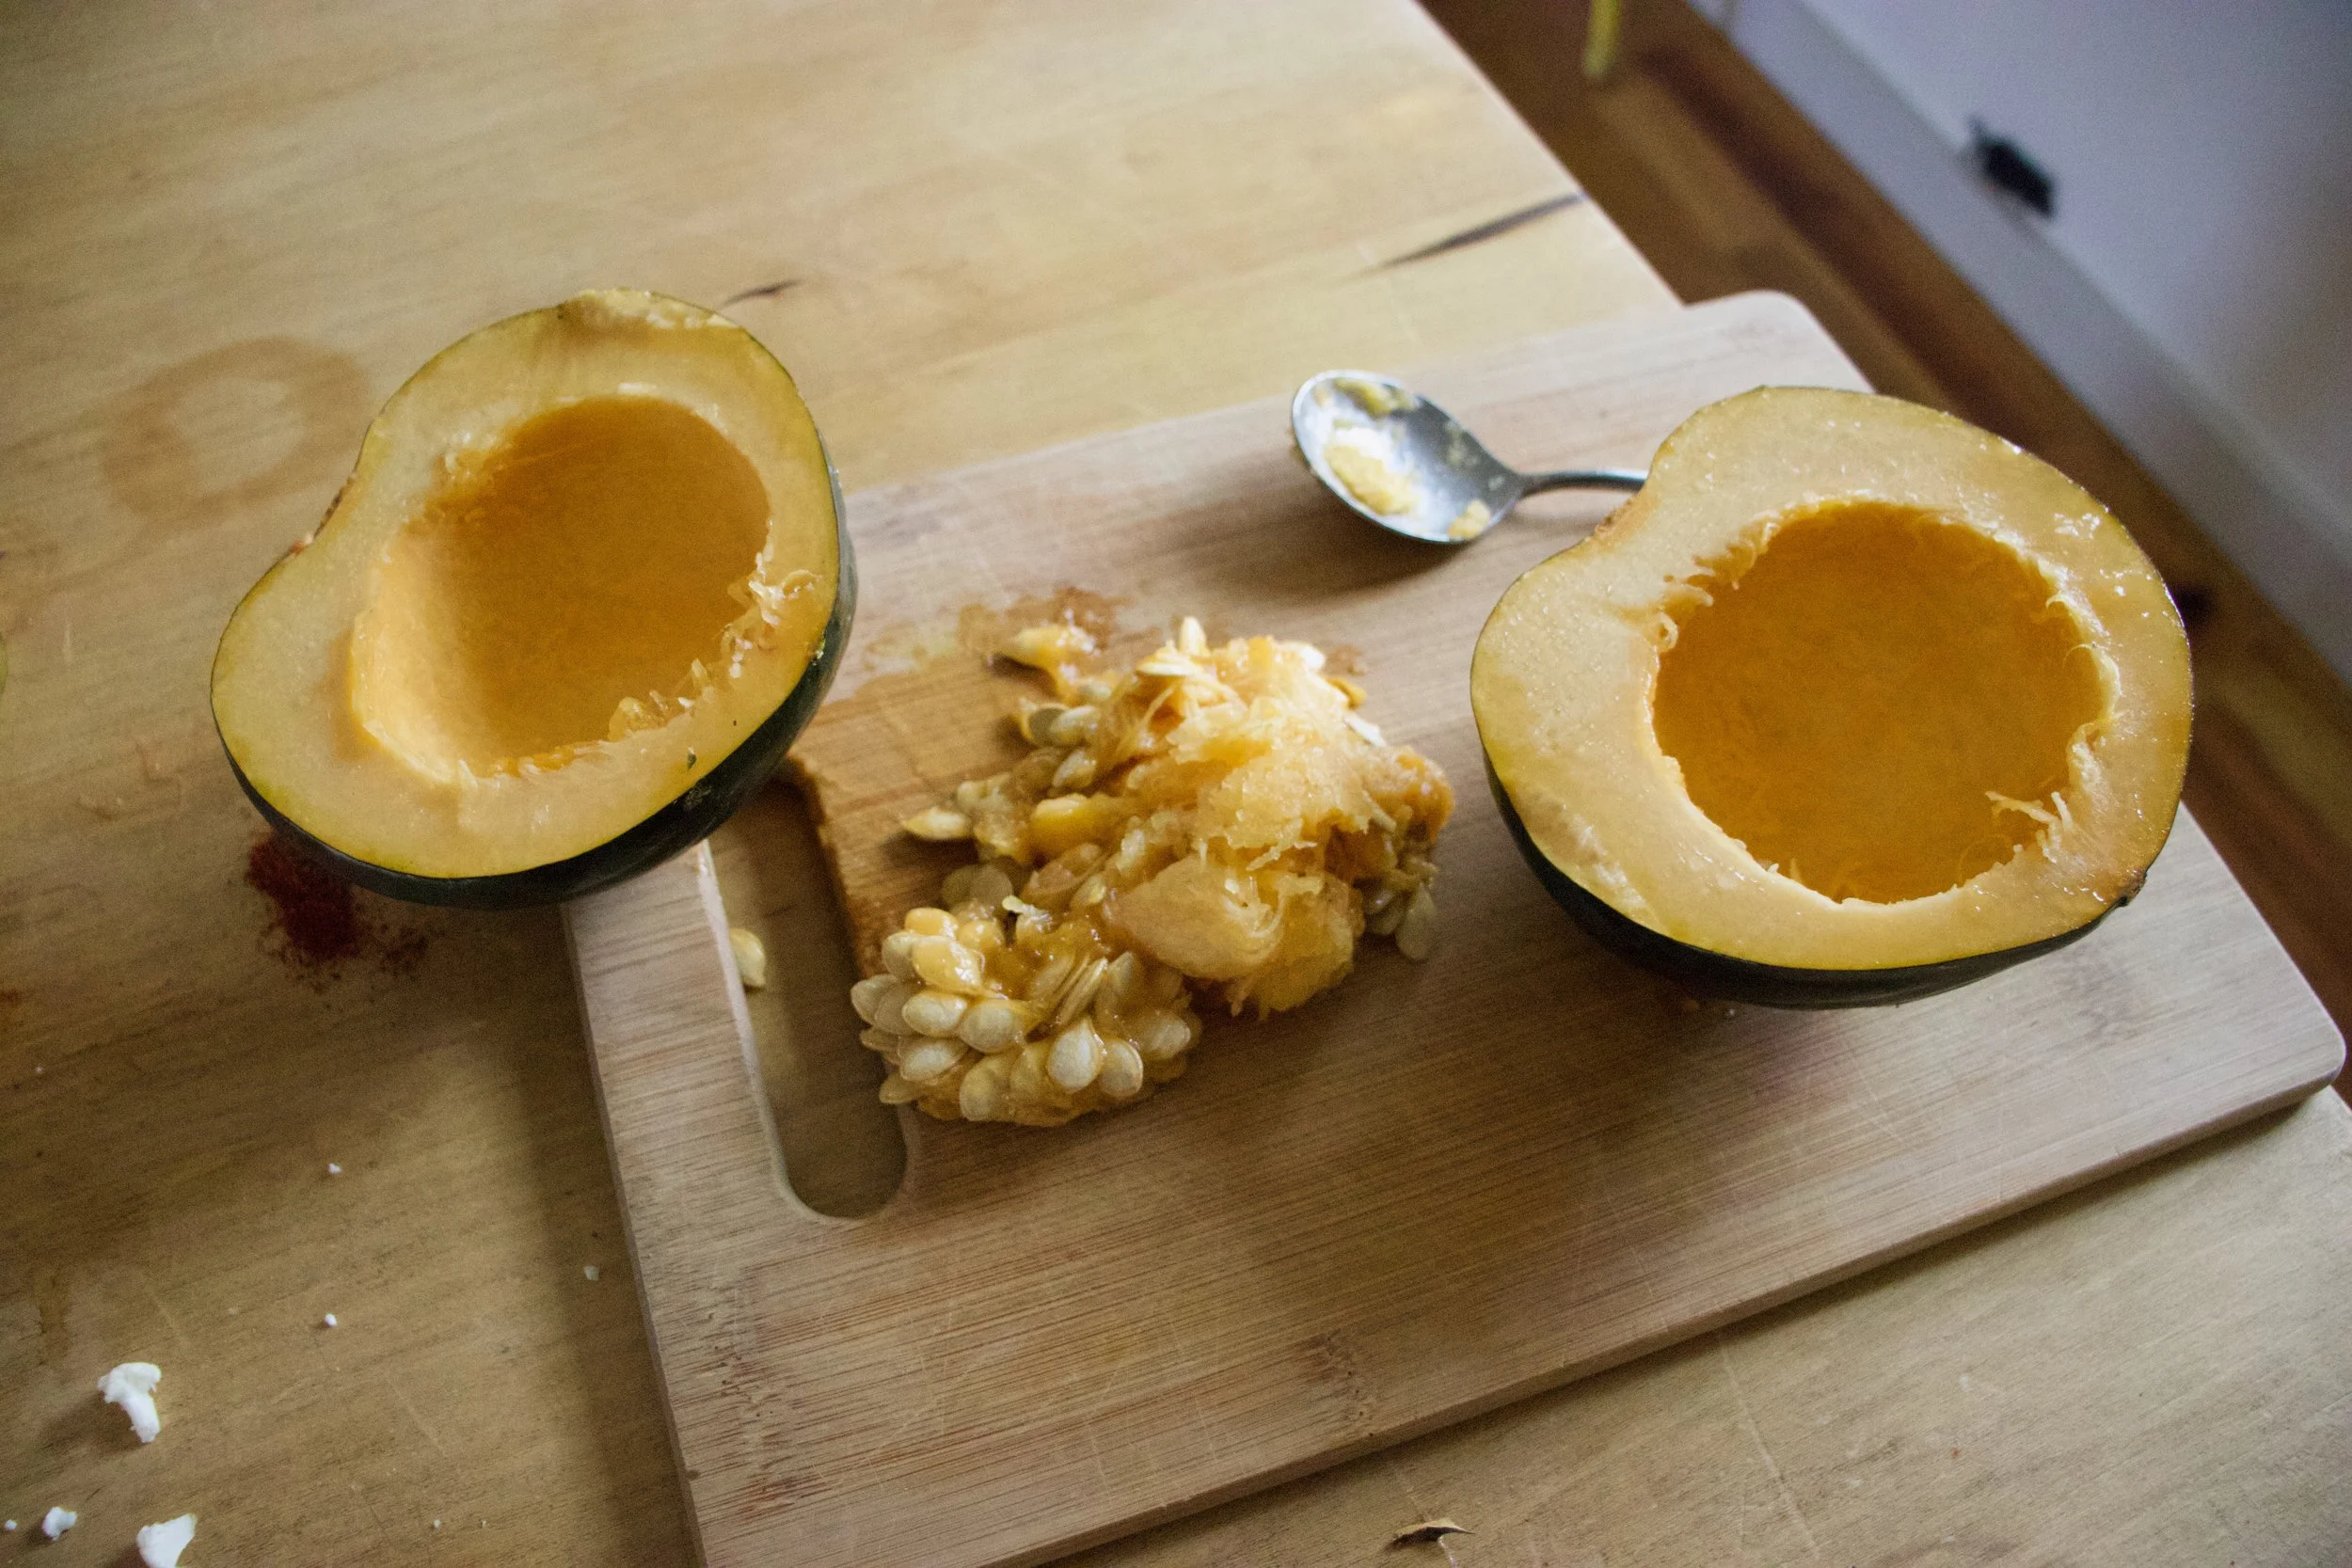
Start by cutting the squash in half and scooping out all the seeds.
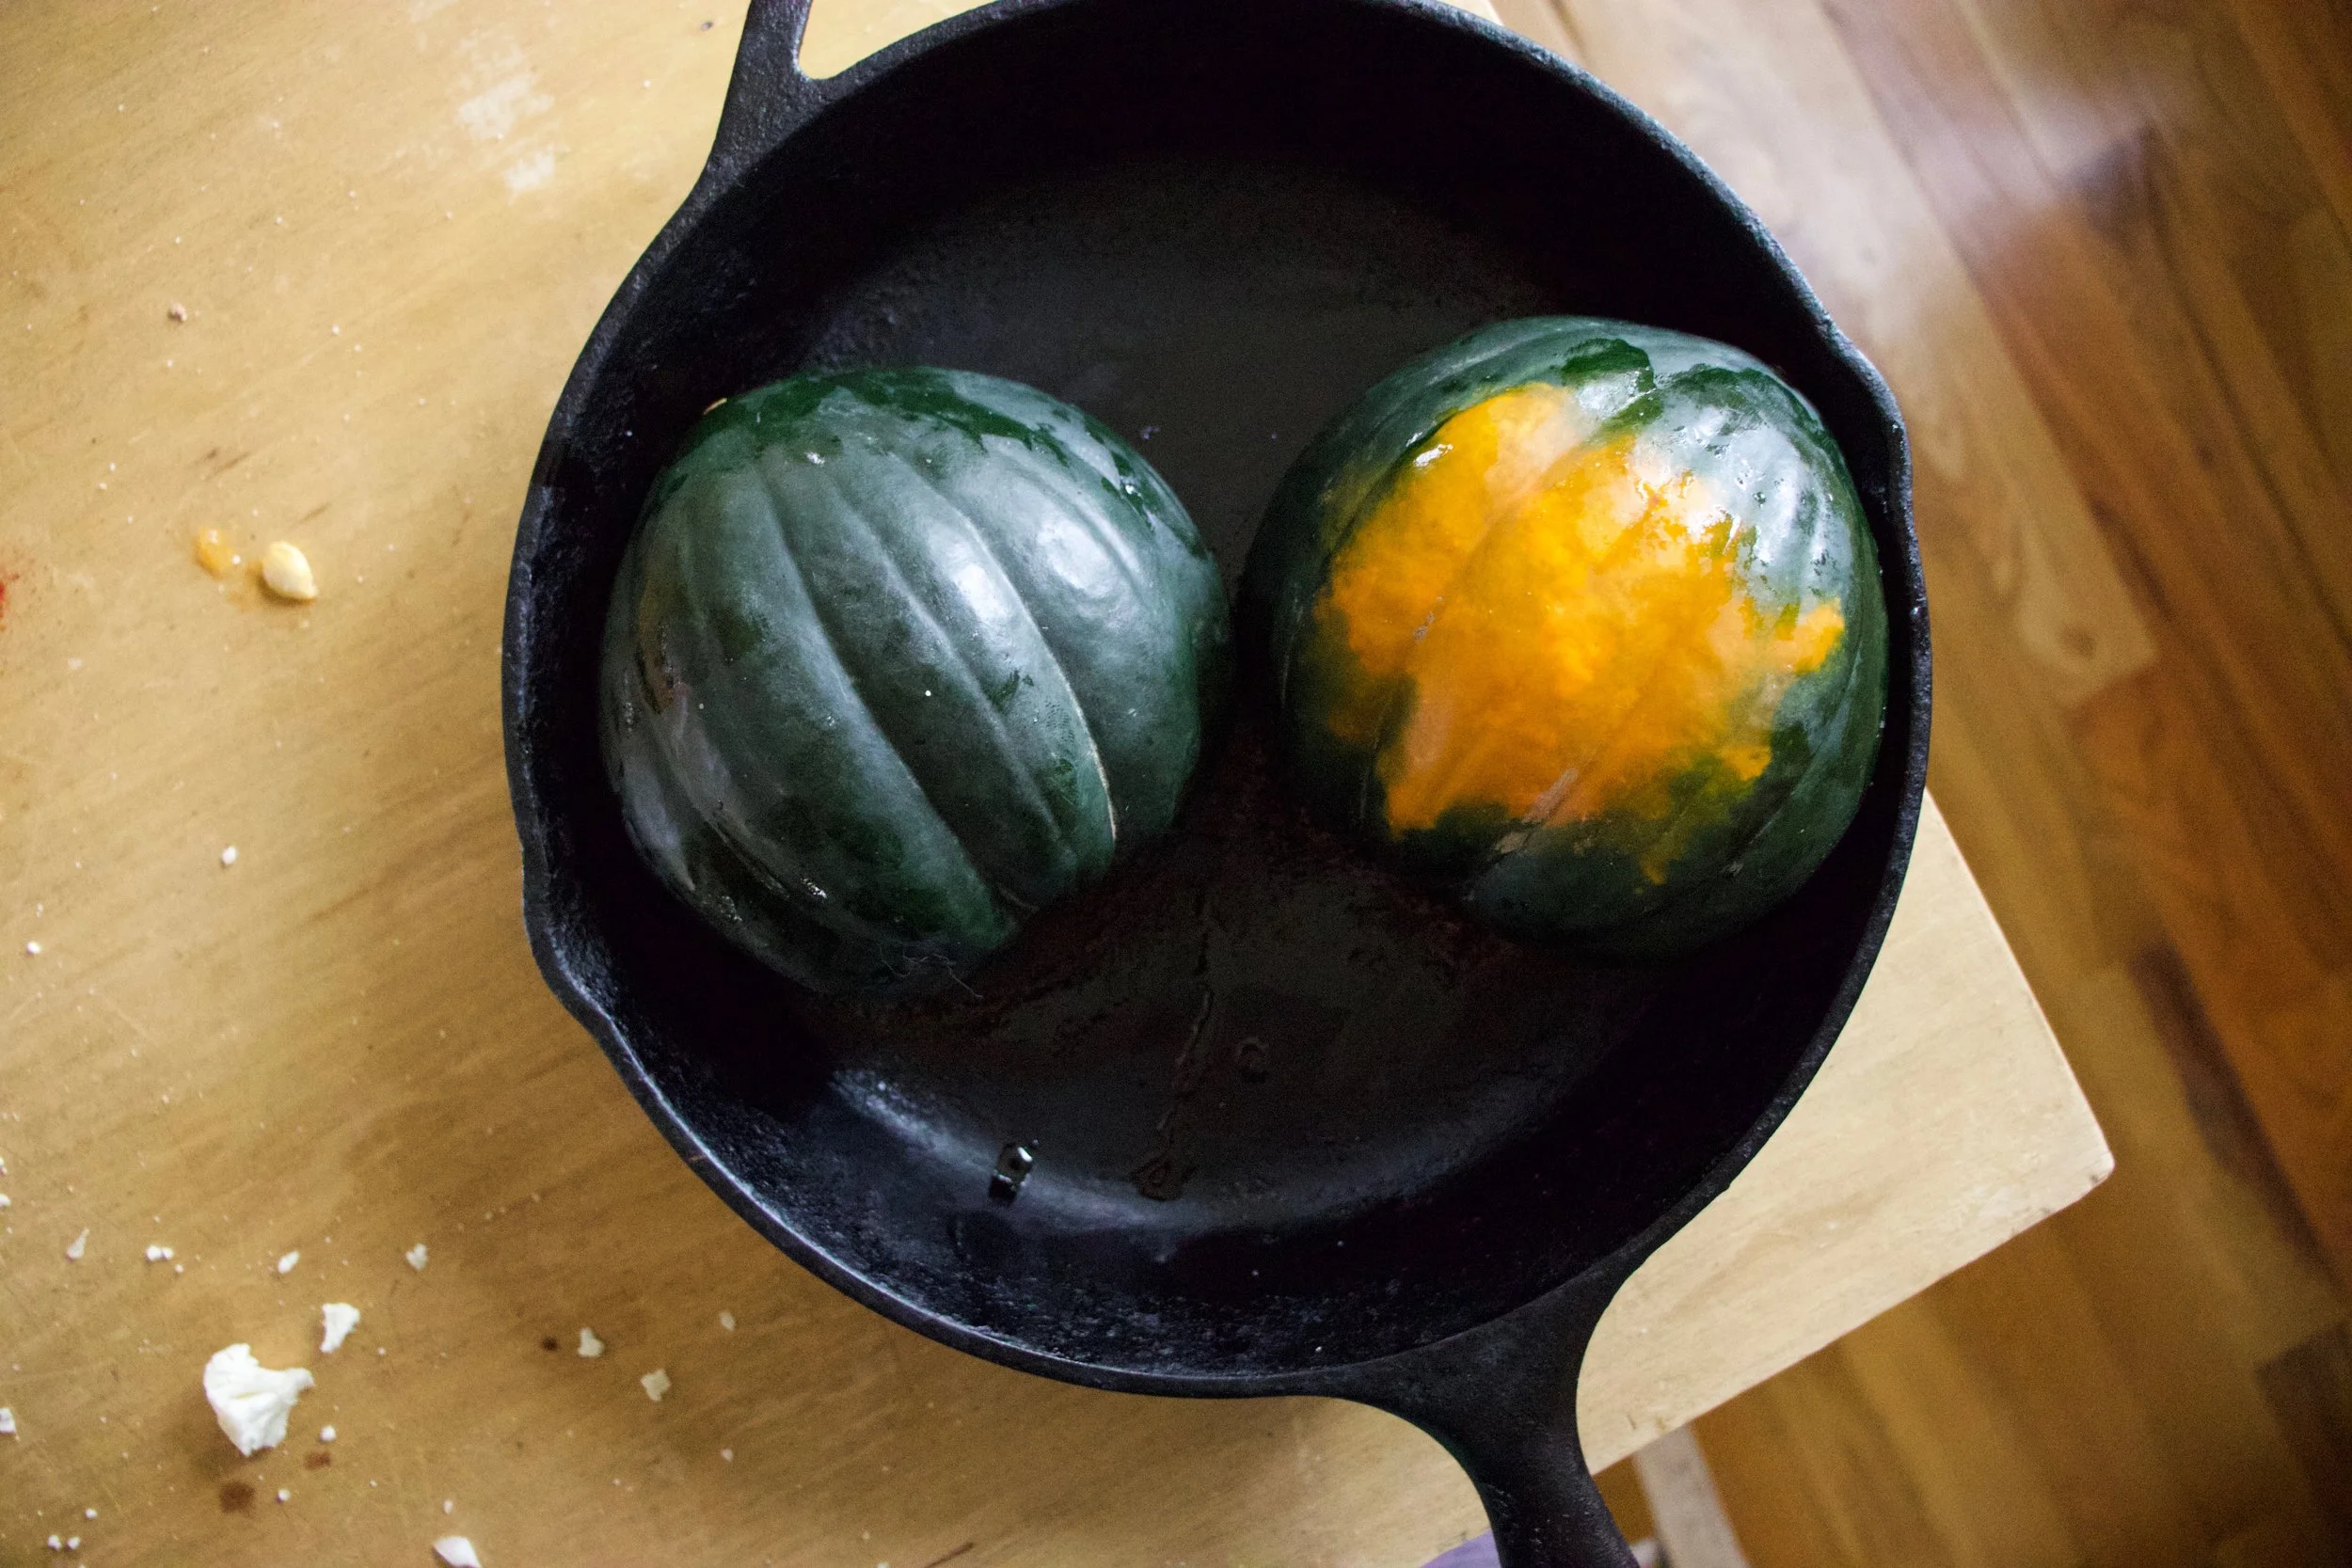
Place the squash open side down on a baking sheet or in a skillet lightly oiled and then stick into a hot oven to roast.
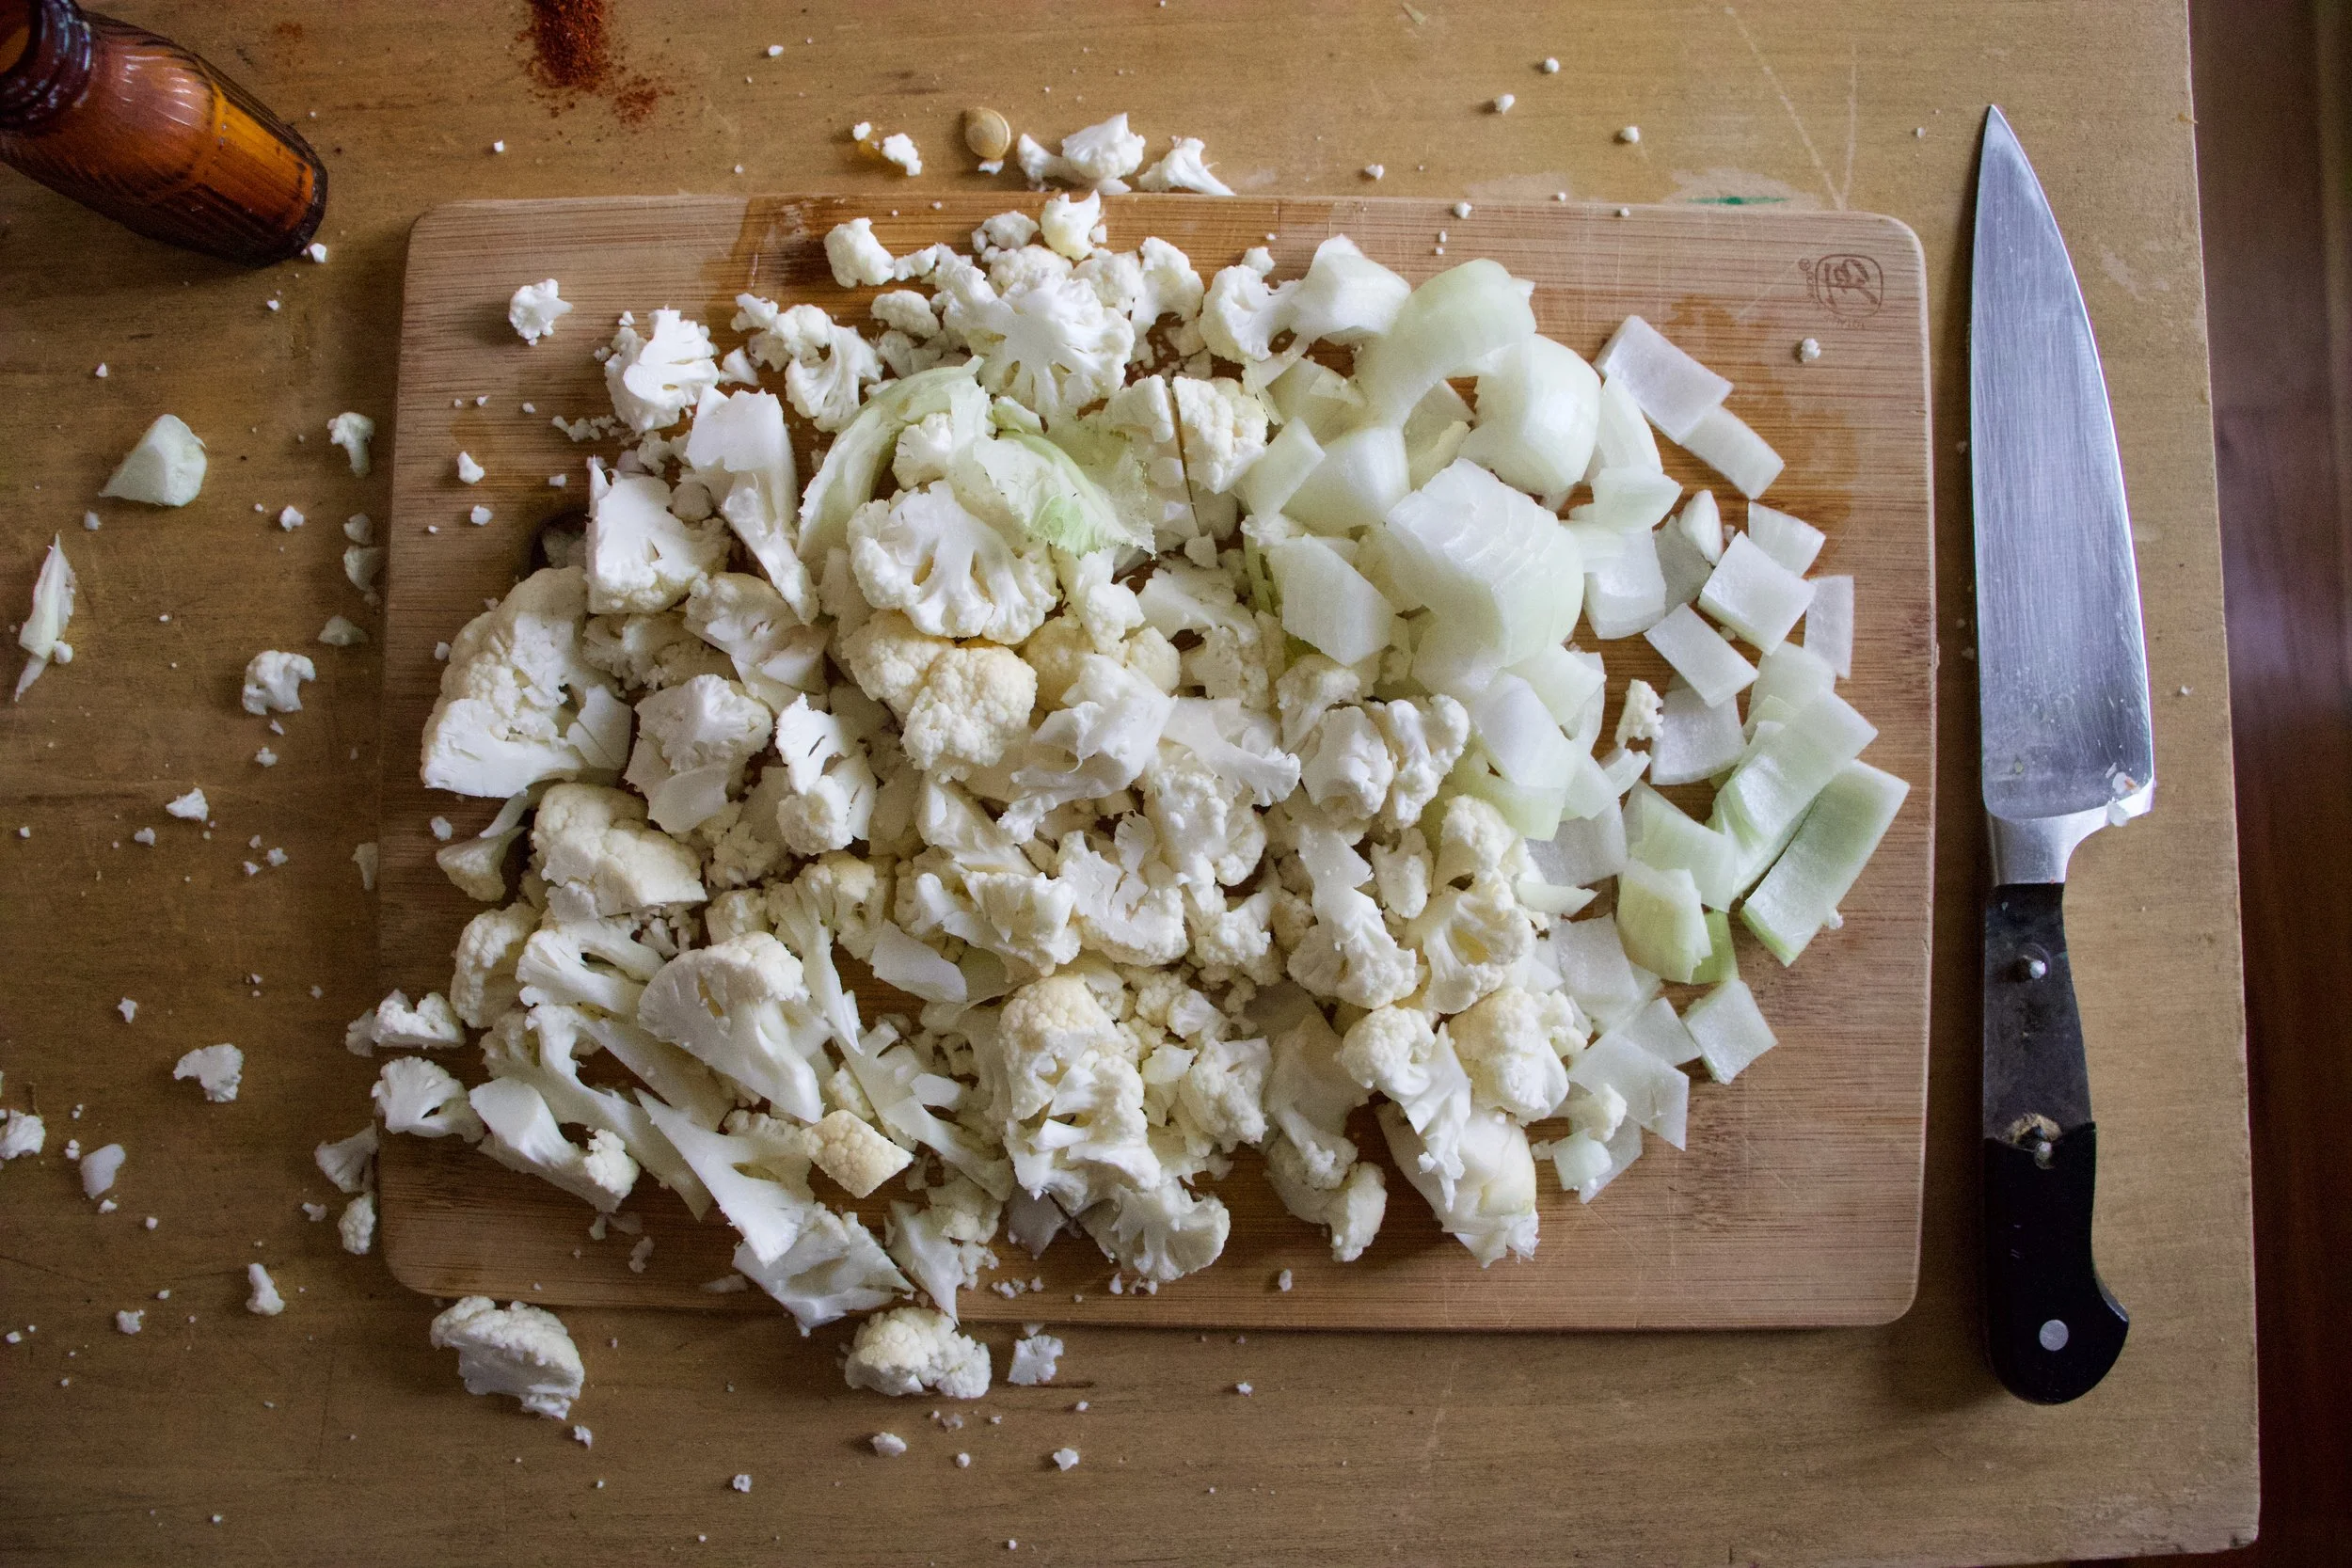
After the squash goes in, dice up the onion and cauliflower into small little pieces.
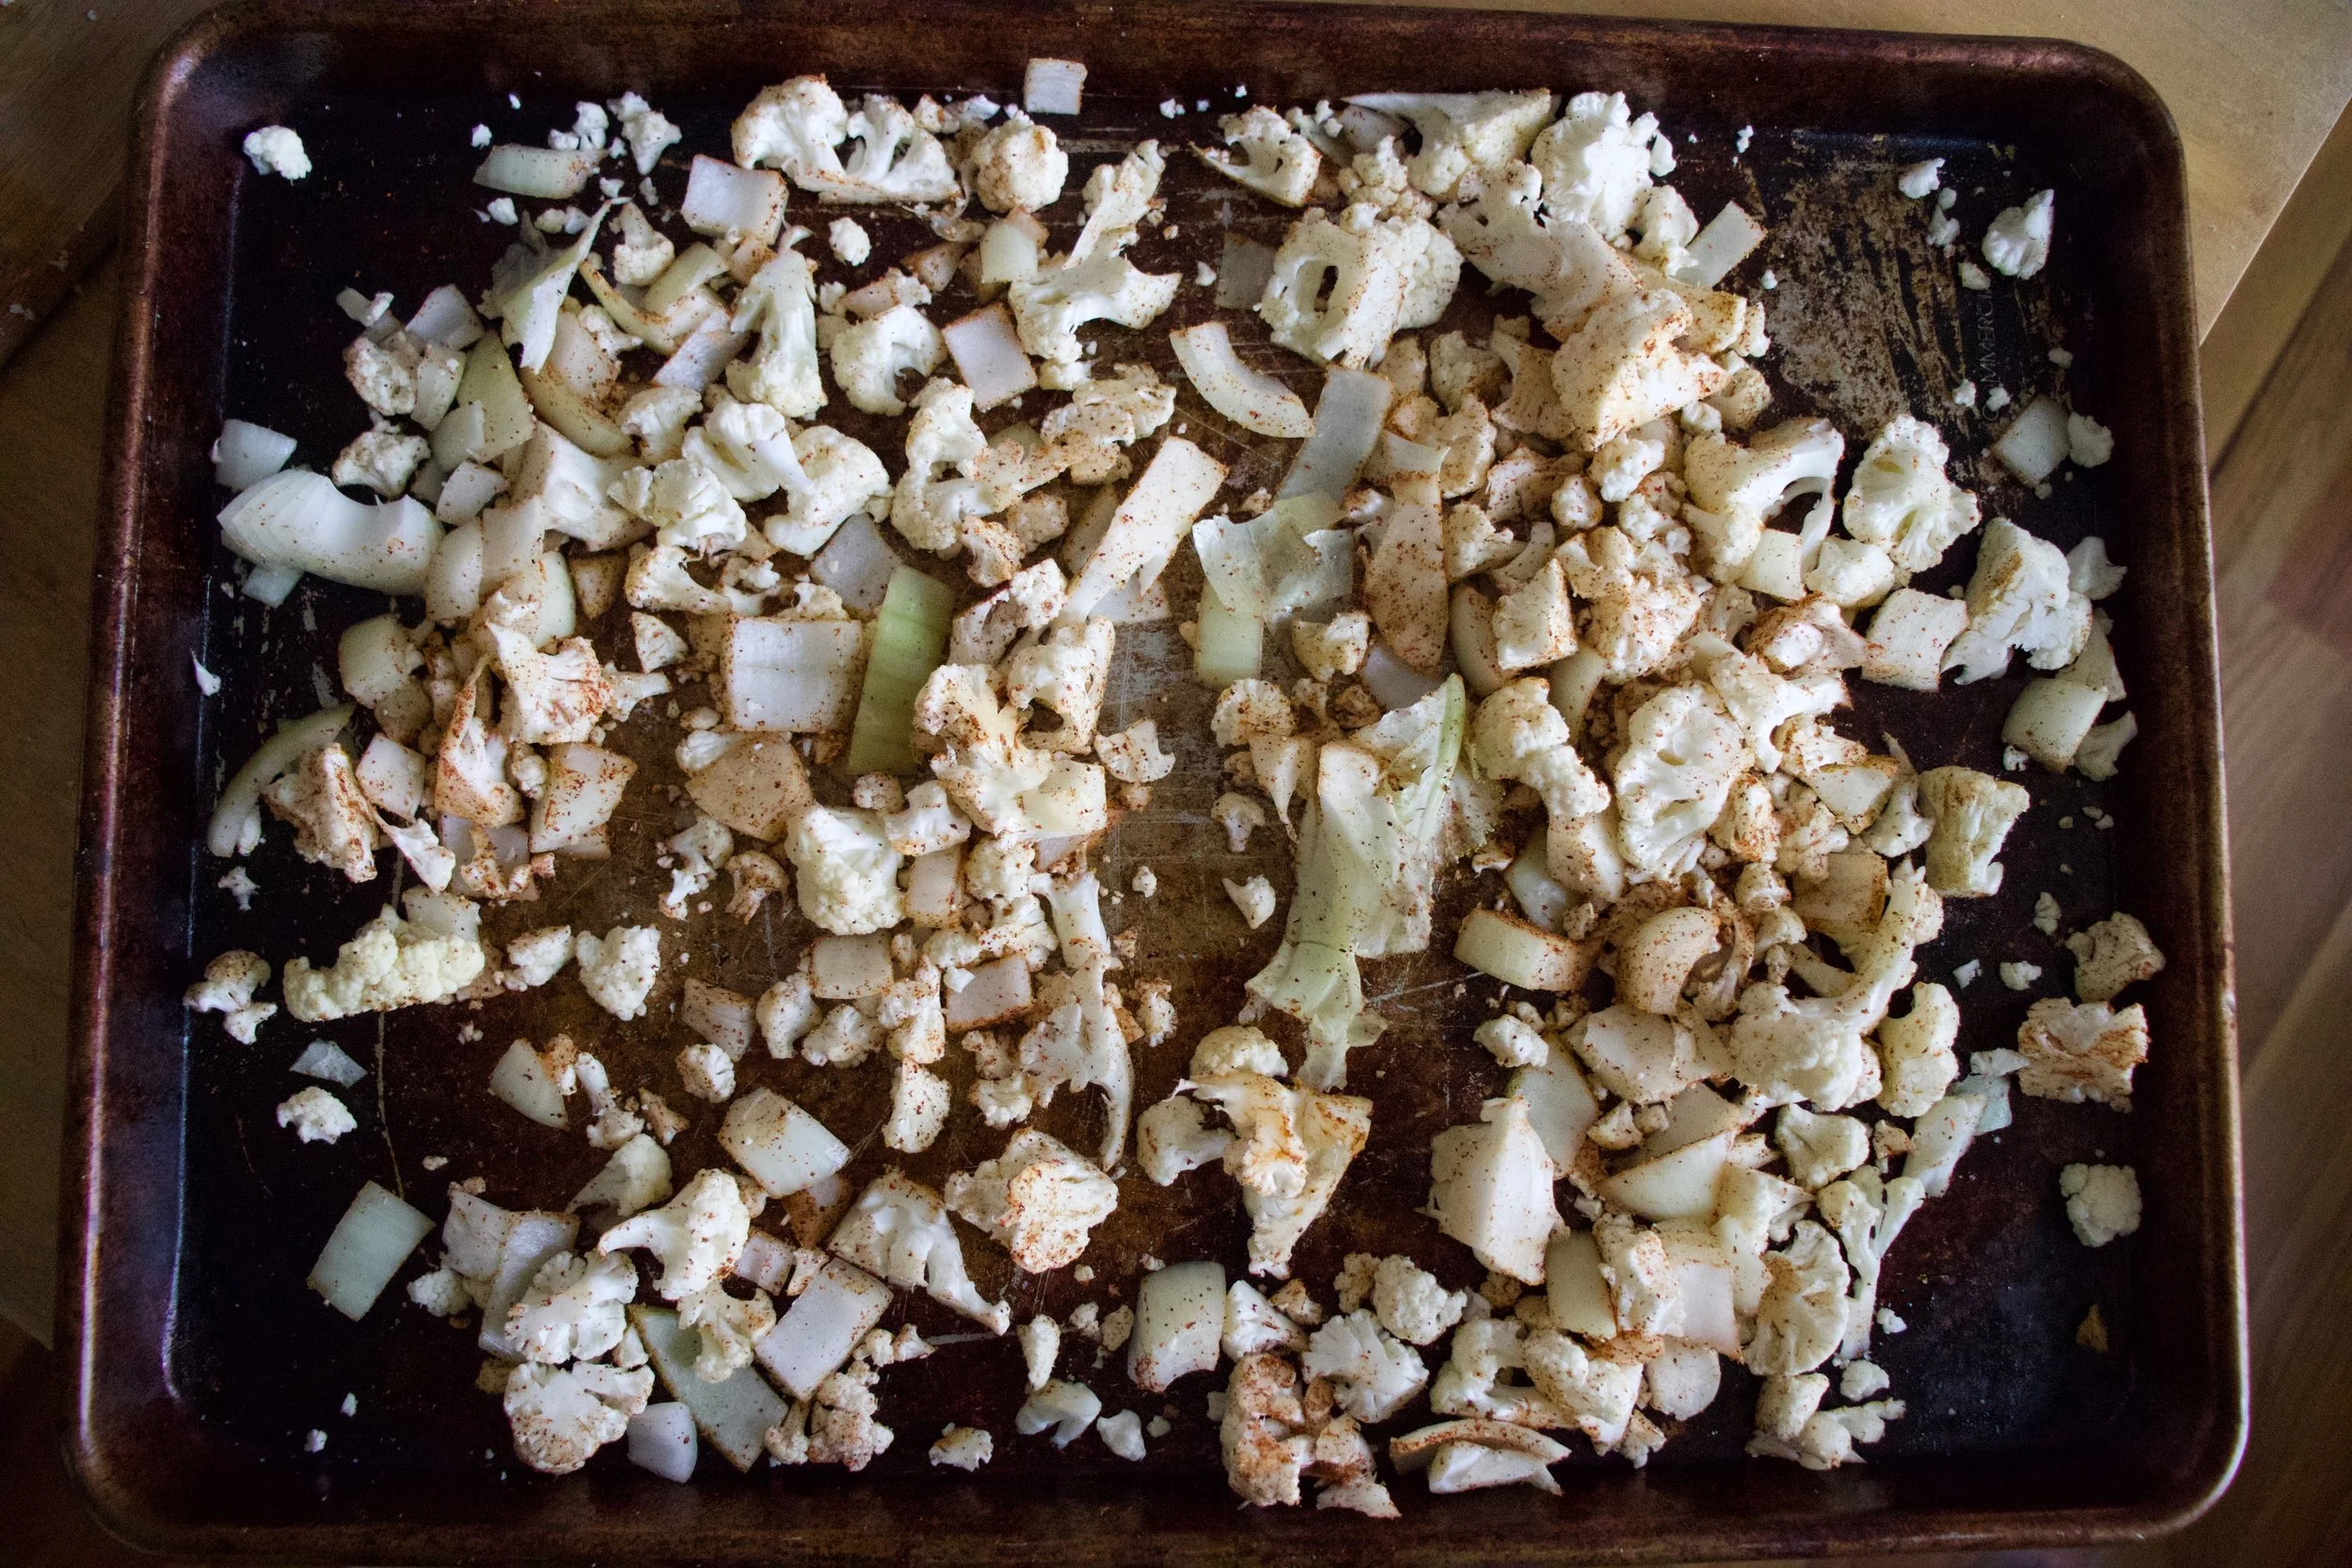
Place the chopped stuff onto a baking sheet. Drizzle with olive oil and toss with the cumin, chili powder, salt, and pepper. Get that into the oven too.
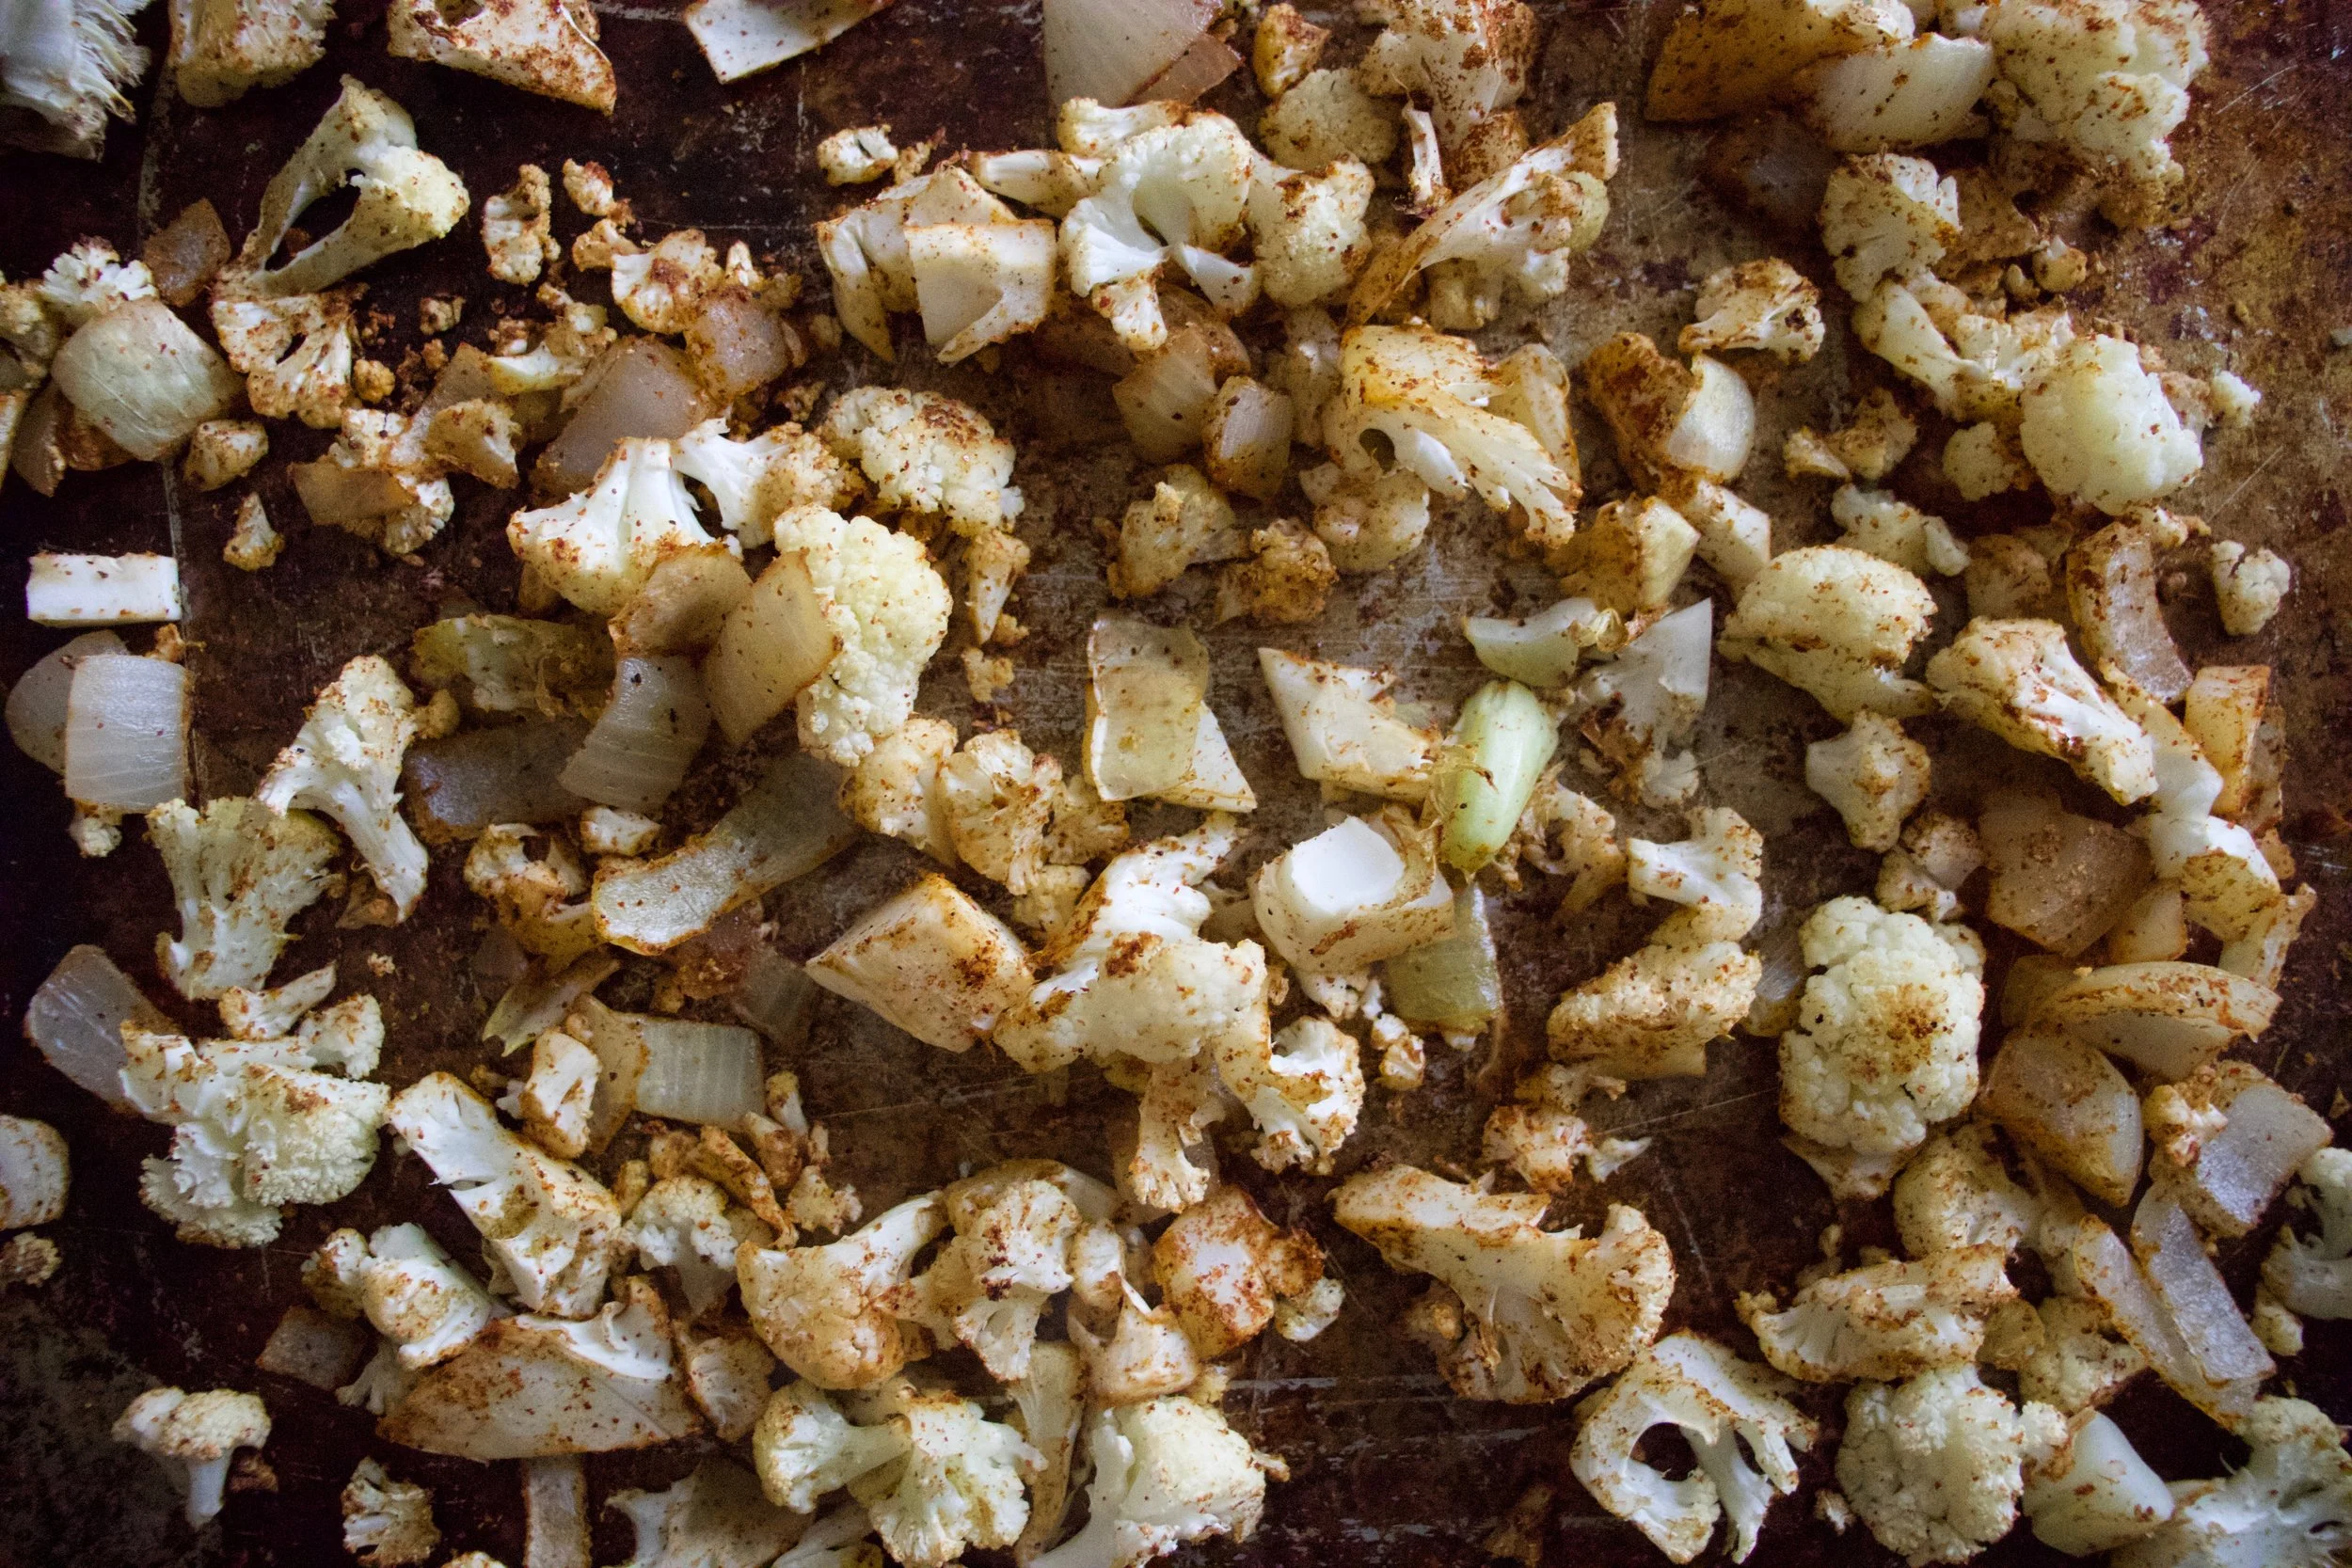
Roasted, and ready. Stop, do not eat it all, but you might want too, it is so freaking good.
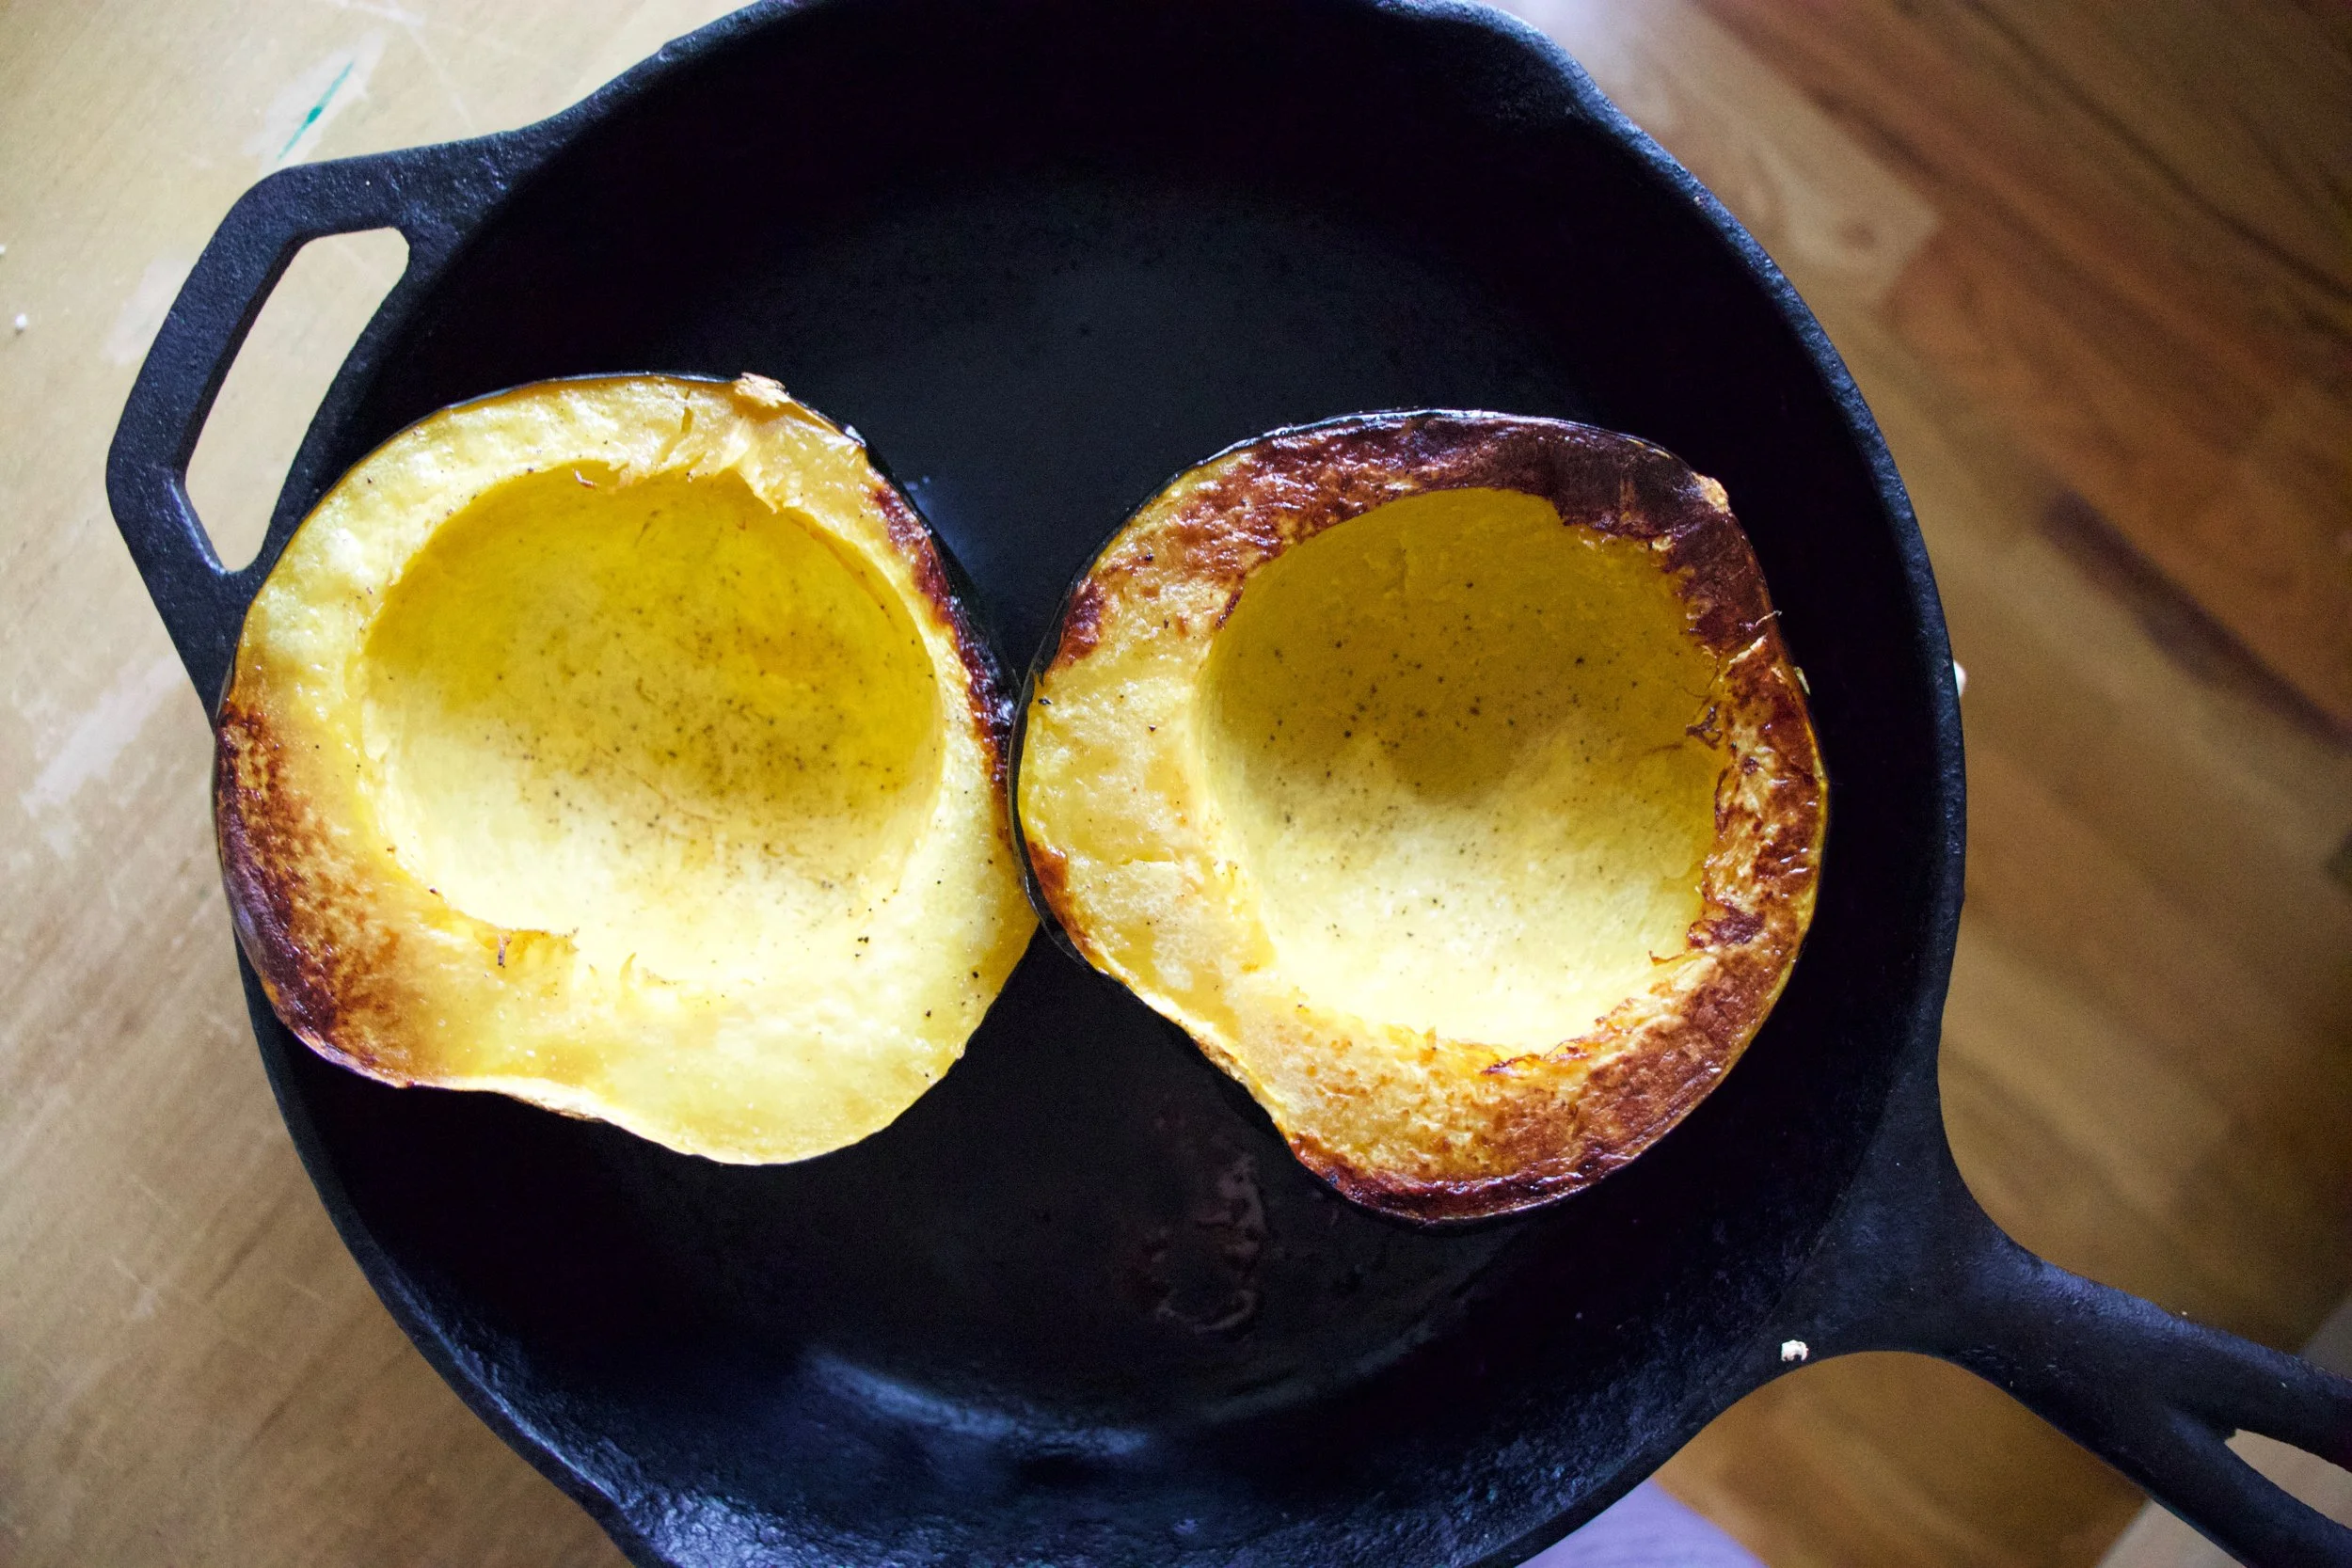
And once this guy in fork tender, its ready as well.

Scoop out a bit of the cooked squash from each side making the well bigger. More room to stuff.

Get everything together. Chop the kale, grab a bowl.
The black beans, salsa, scooped out cooked squash go into bowl. Add in the roasted cauliflower and onion and the chopped kale and mix.

Now stuff each side. Get as much in as you can, mound it as high as you can and place back into oven to bake for a little bit longer.

Cooked and slightly crispy in all the right ways.

These stuffed suckers are everything we all wanted and didn%u2019t know we needed. Fantastic, and all the more when serves with extra salsa, sliced avocado, and a wedge of lime.
Go get at it.
Bye!
-C
Makes 2 stuffed halves. This recipe is very easy to fiddle with and can easily be double or tripled.
-
1 medium sized acorn squash
-
1 1/2 cups cooked black beans
-
1/4 head of cauliflower (about 2 cups chopped before roasting)
-
a small onion
-
a few kale leaves
-
1/4 cup thick and chunky salsa
-
2 teaspoons cumin
-
1 teaspoon chili pepper
-
salt and pepper
-
olive oil
-
Avocado, lime, extra salsa (optional)
Preheat oven to 400
Slice acorn squash in half and scoop out all the seeds. (seeds can be roasted). Place both halves cut side down on a lightly oiled baking sheet or oven safe skillet and place in oven to roast for about 30-35 minutes or until the squash is fork tender.
Once squash is in oven, dice the onion and cauliflower into small pieces and place on a baking sheet. Drizzle with olive oil and toss together with the cumin, chili powder, salt, and pepper. Place into oven along with the squash. Roast for 15-20 minutes or until the cauliflower is lightly browned and tender.
When the cauliflower is roasted and squash is cooked, get all the rest of the ingredients ready. Dice up the kale . Take each side of squash and scoop out about an inch more of cooked squash, leaving a good sized well. Place cooked squash into a bowl and kind of mash it up. Add in the beans, the salsa, the kale, and the roasted cauliflower and onions. Season with salt and pepper and mix it all up. Take filling and fill the squashes, stuffing as much as you can in and mounding it on top. Place the halves back onto baking sheet or skillet and place back into oven for 10-15 minutes until nice and browned and slightly crispy on top. Pull from oven and serve. Although not necessary, extra salsa, avocado, a lime are much appreciated.
For the longest time now, I have been drinking a little turmeric with a little lemon first thing in the morning. It started as a medicinal drink, but quickly became a tasty habit. I have some stupid weird circulation condition called raynaud’s where changes in temp turn my fingers and toes into icicles. And for me, the worst time of the year for this condition is the spring (but spring is still my favorite). All the up and down of temperature and the wet cold damp weather is my trigger, not to forget to mention that those temp swings can get a girl sick. (I can’t get sick!!)
So way back when I started to drink for my health and the feeling in my fingers. Turmeric, ginger, and cinnamon , all super warming spices that help greatly with blood circulation, not to mention a whole bunch of other good things. (I could tell you and go on and on, but you can just look it up yourself) Ever since I started drinking and eating lots of these spices, my raynauds has gotten soooo sooo soooo much better. I still get cold finger and toes, but no where as severe and the way less often.
Now a few weeks ago the mr started making himself an afternoon turmeric tea. He read something on the internet about how it’s the best anti-inflammatory and good for achy joints. (Sure dude, listen to the internet and not me) Being a big guy doing construction and such, he gets really achy joints and there is only so much arnica and frozen peas a guy can do. So now he drinks this and I think he is starting to notice a difference. (less time with the frozen peas) And since he is making himself tea every afternoon, I started to make a spicy tea for myself in the afternoons too. I figured that a little extra goodness to ward off the chills and any larking illness is only a plus. It’s our after lunch treat that tastes good, is warm and soothing and is doing the body all sorts of good.
Spicy turmeric tea. You will get addicted and feel like awesomeness.
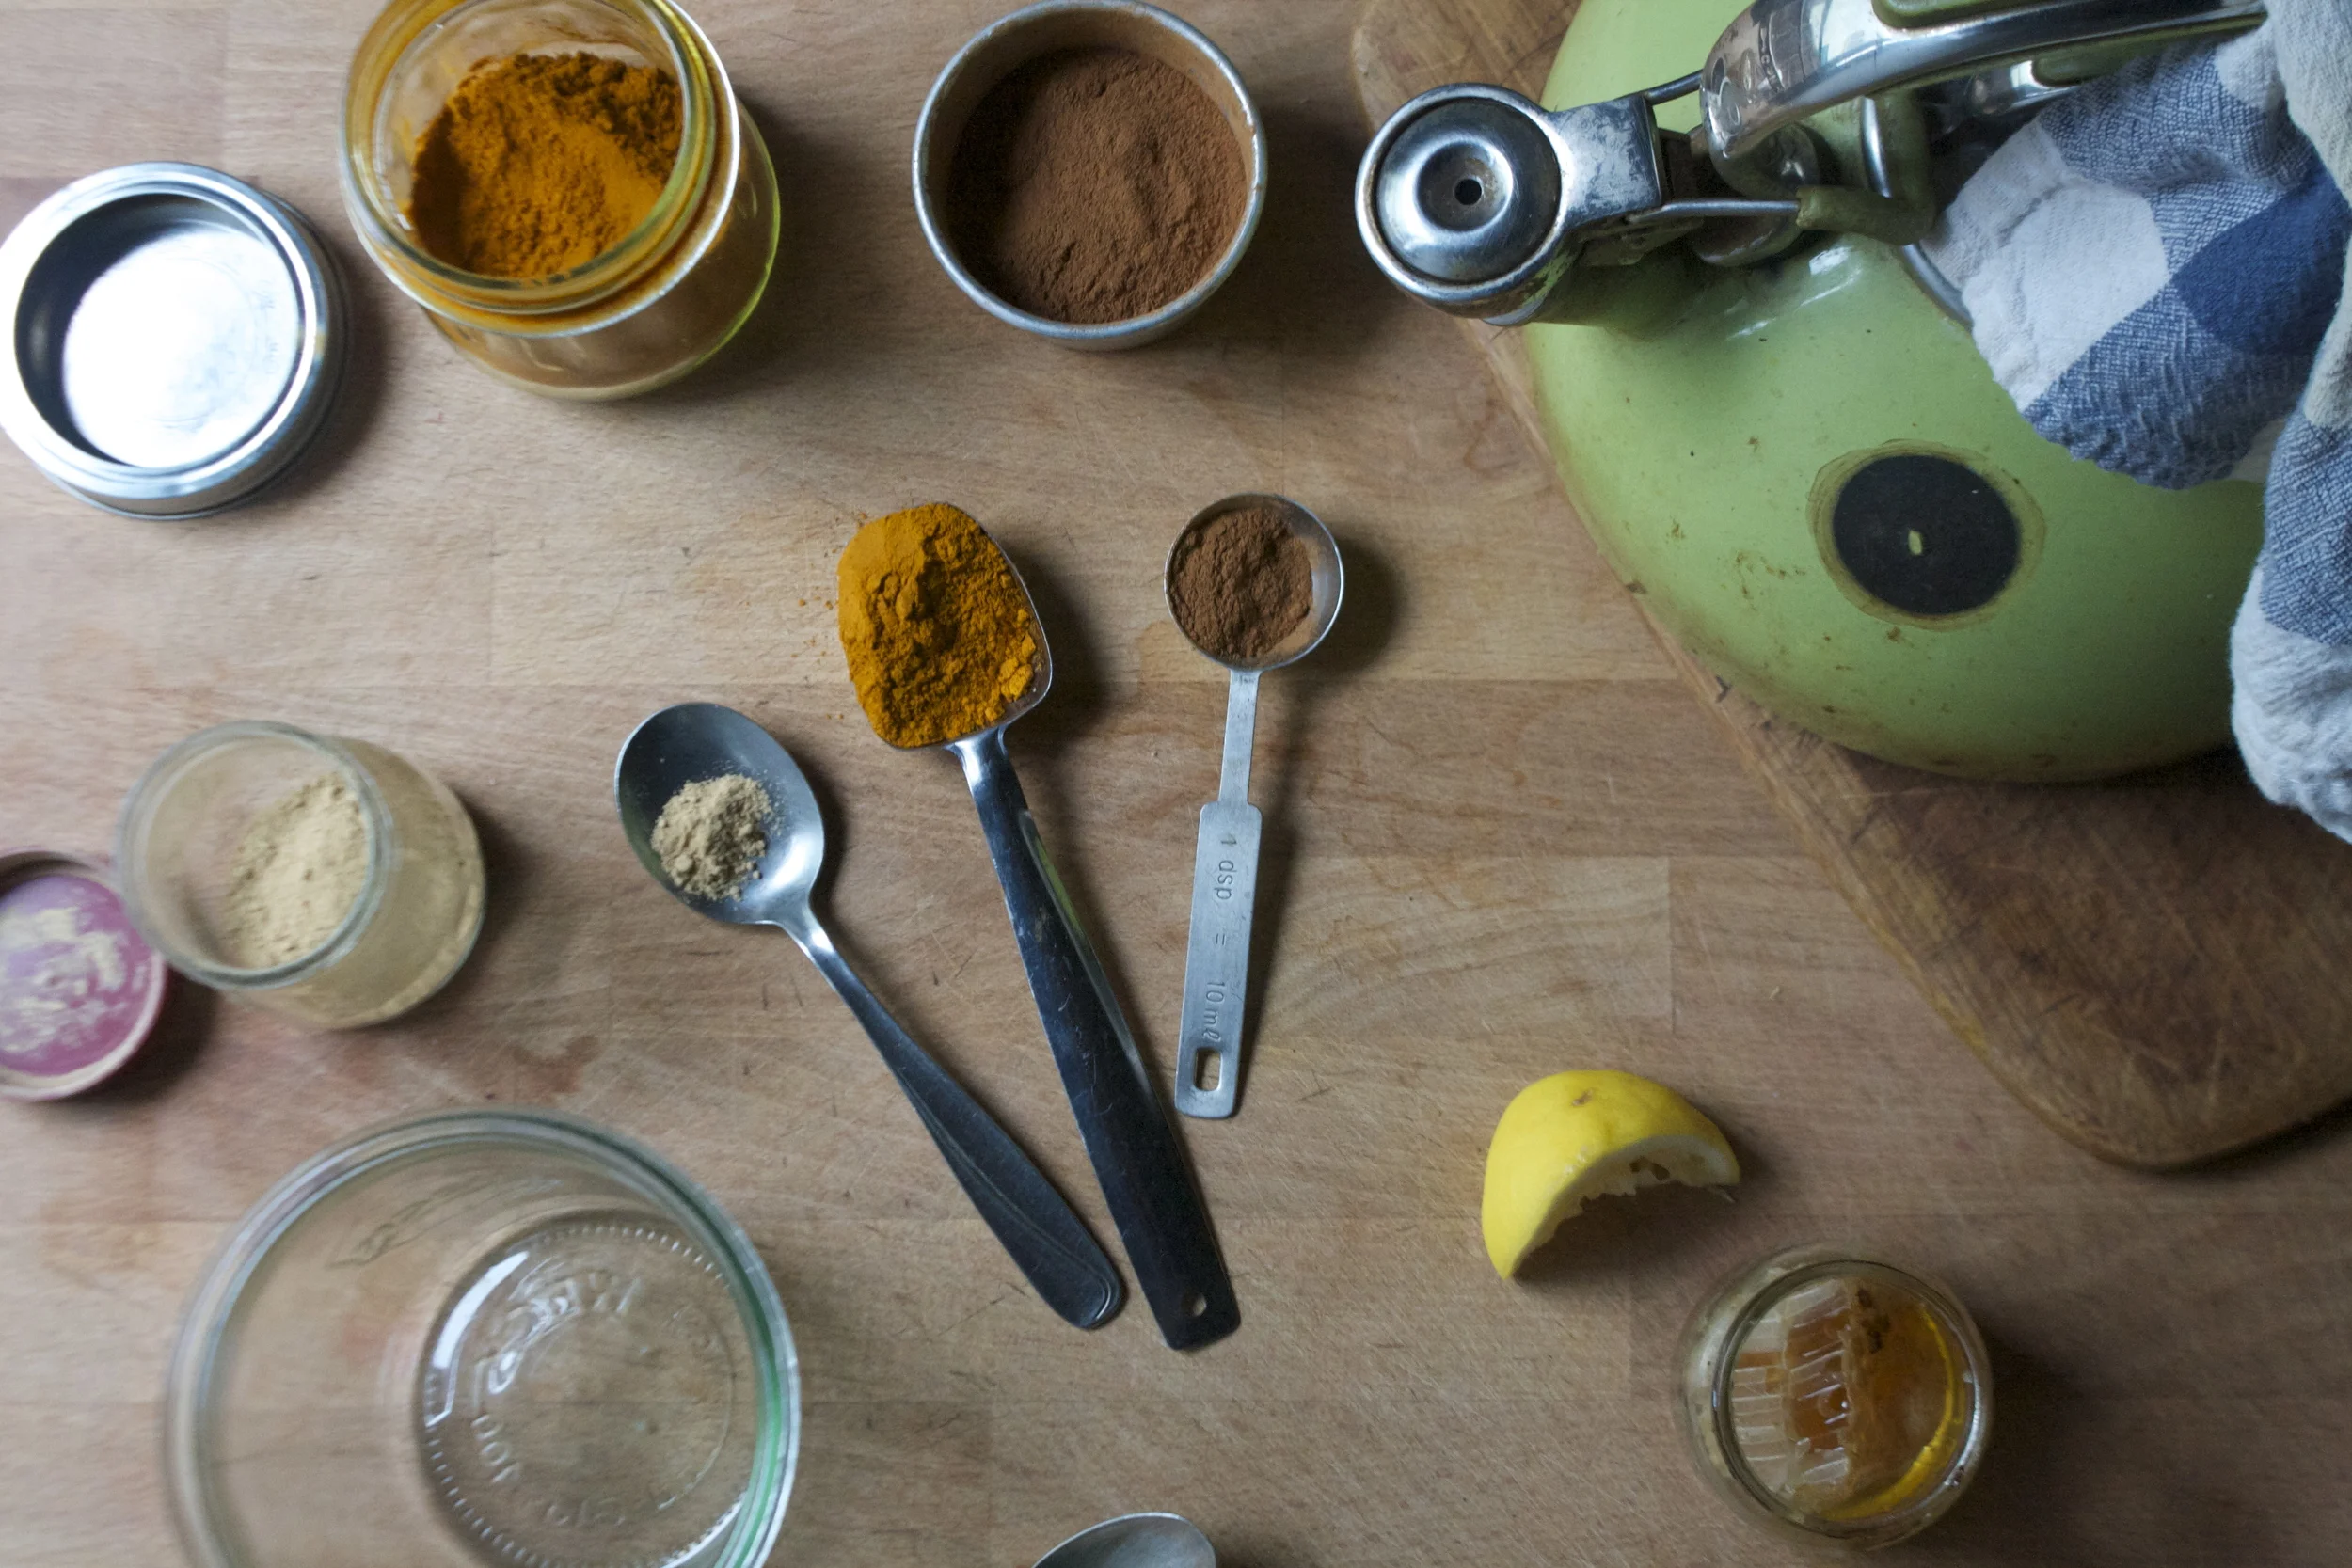
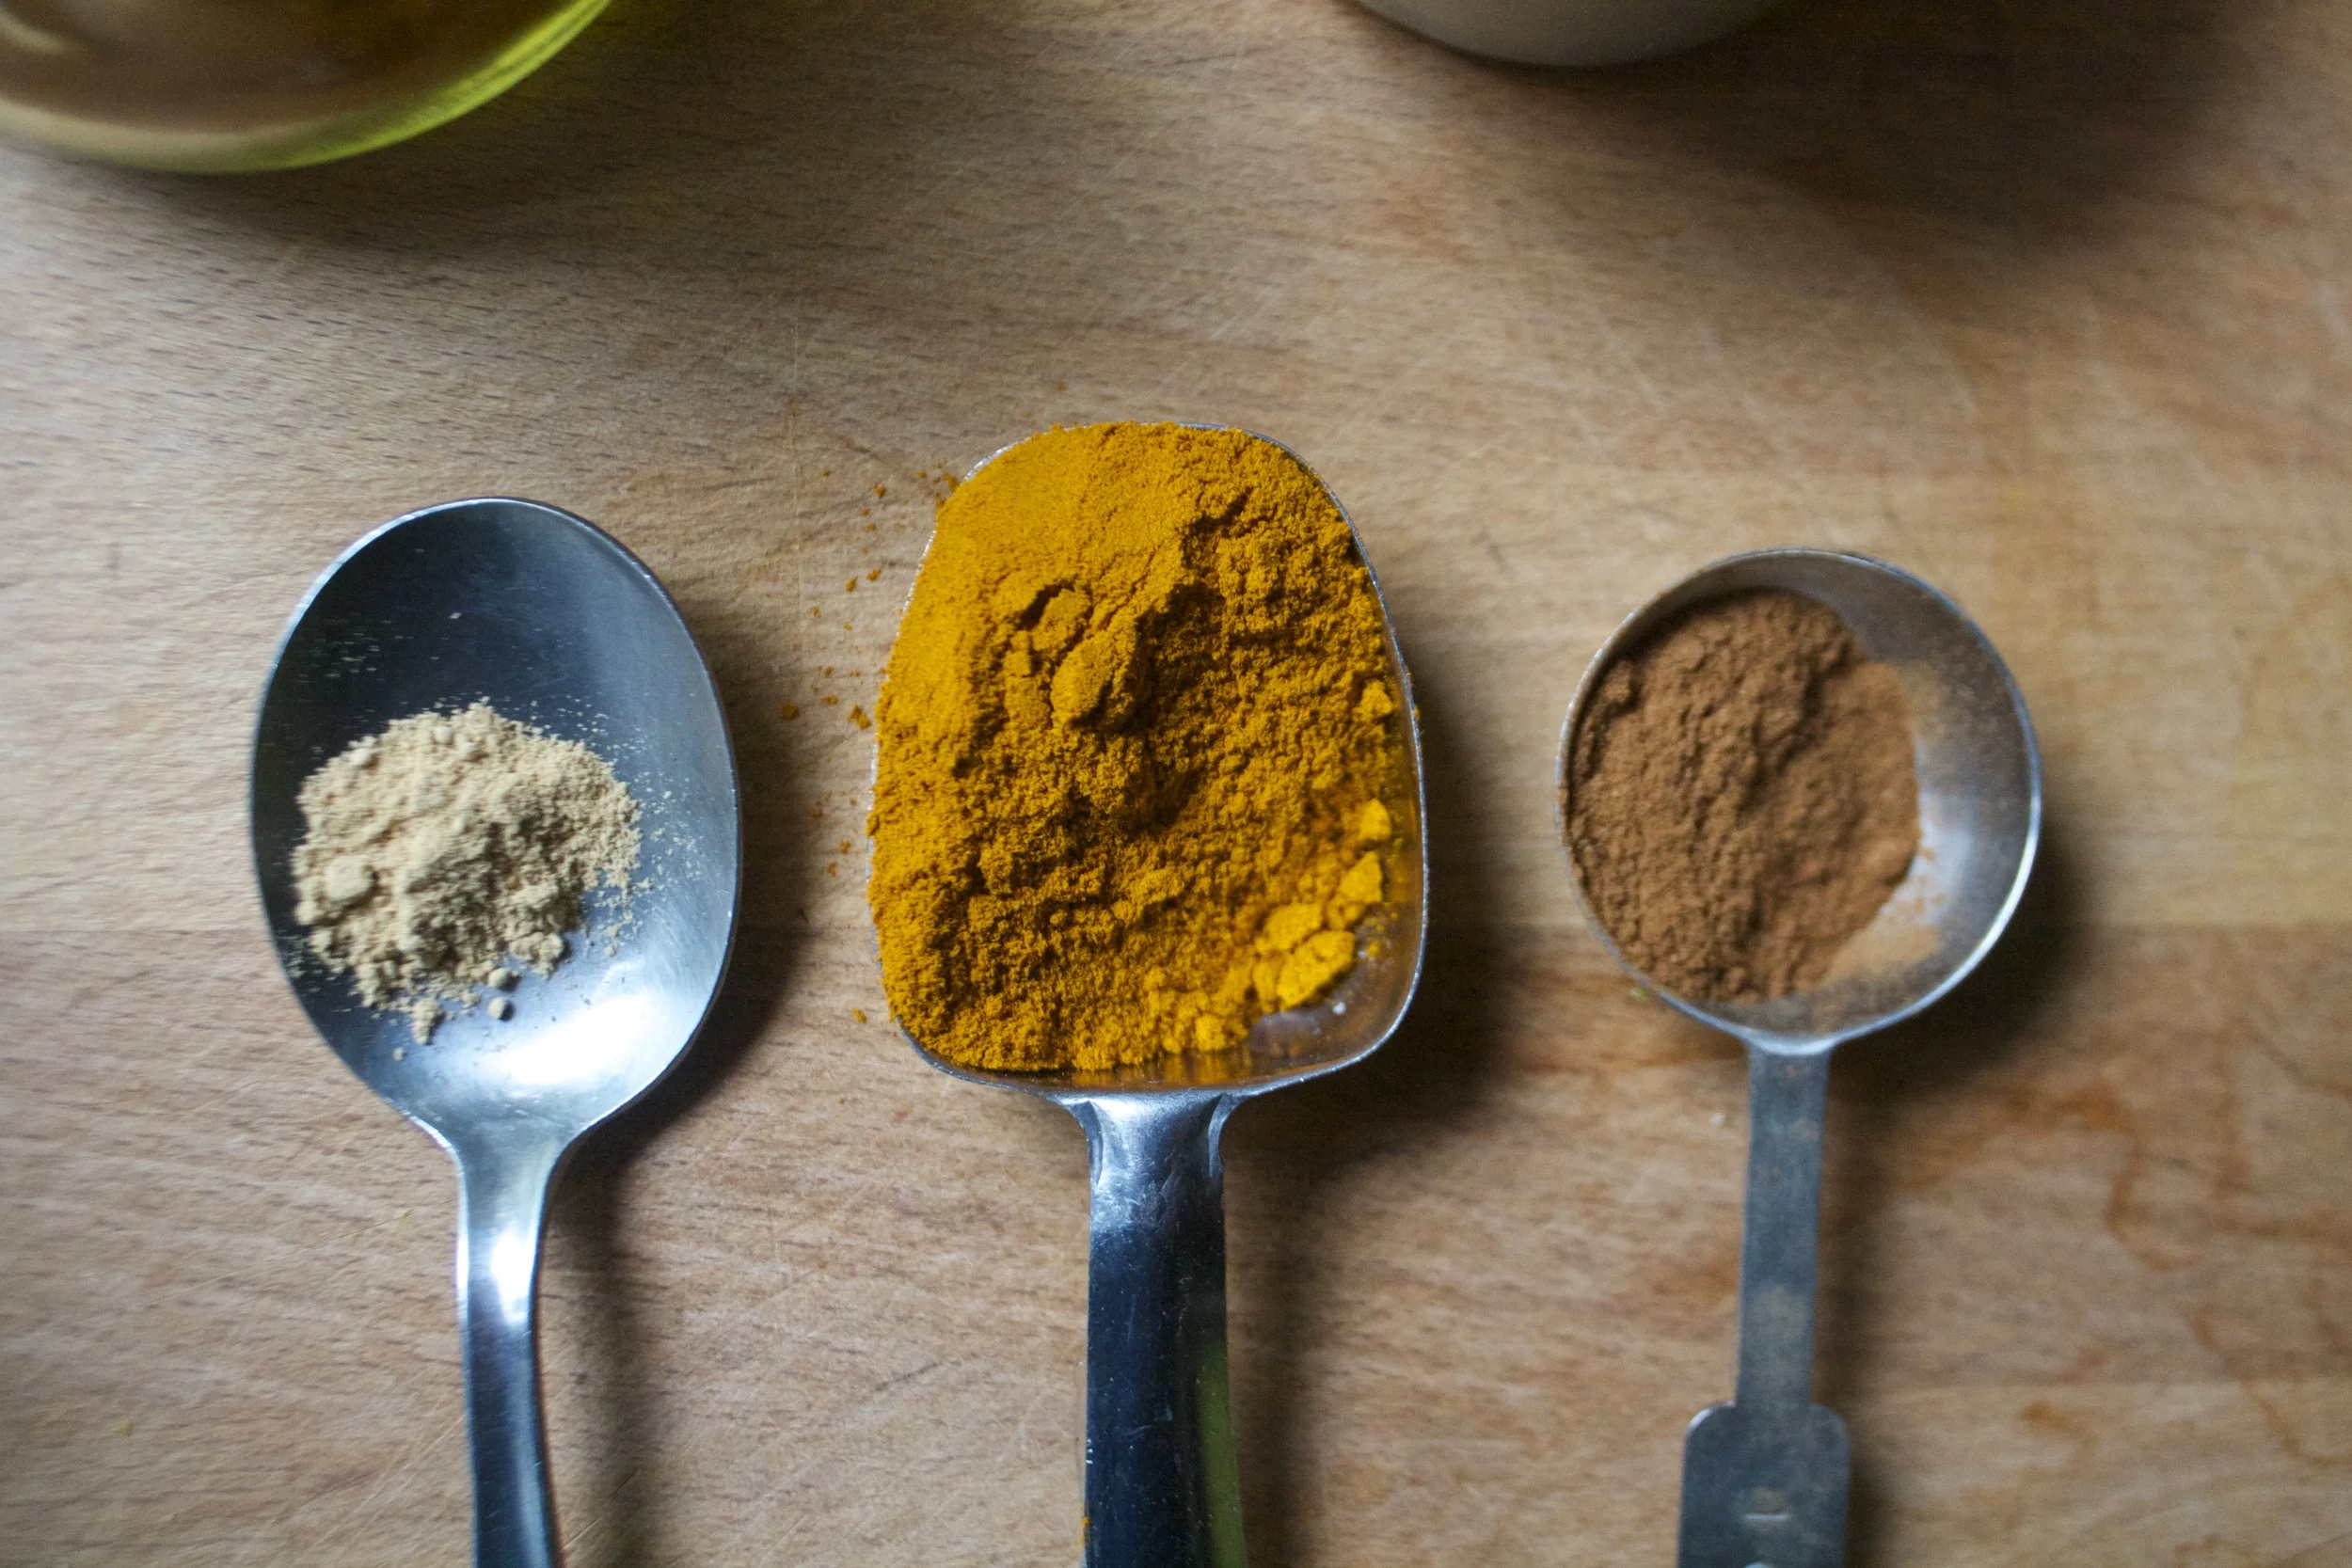
The stuff. Ground turmeric, ground ginger, saigon cinnamon and hot water. Additional yums with a little lemon and some honey if you like it sweet or have a scratchy throat.
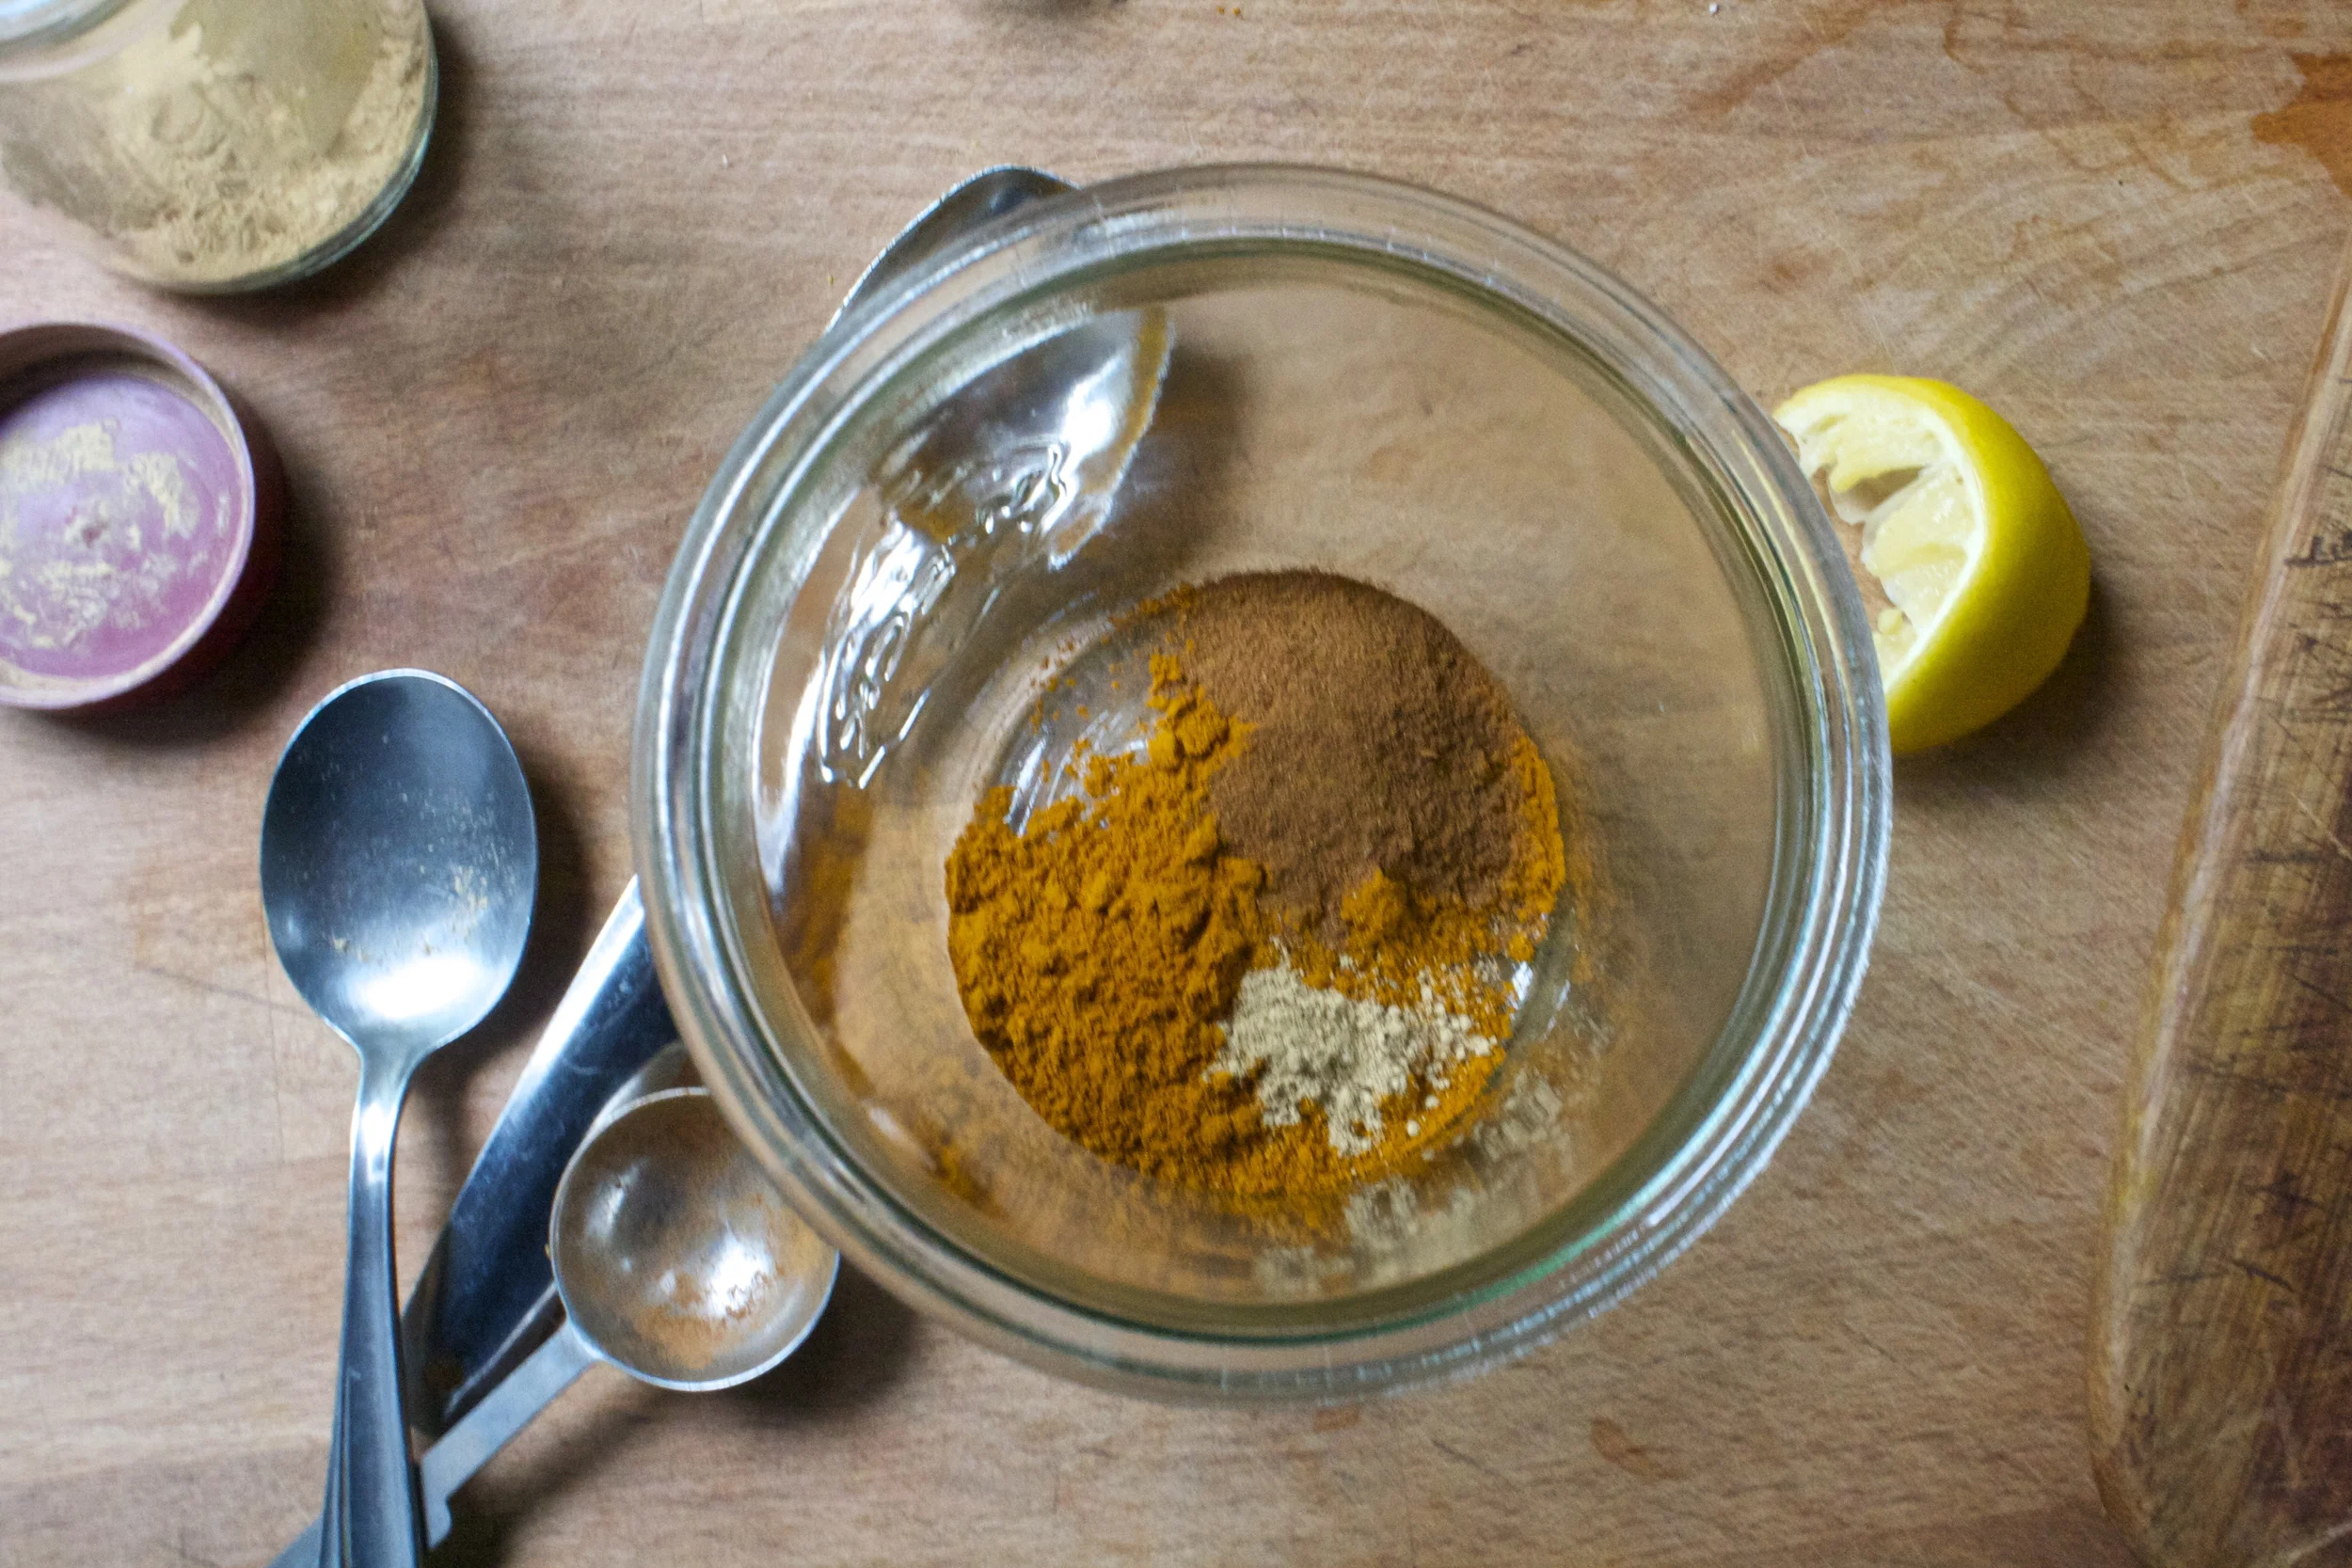
Spices into a drinking vessel (I like a big jar)
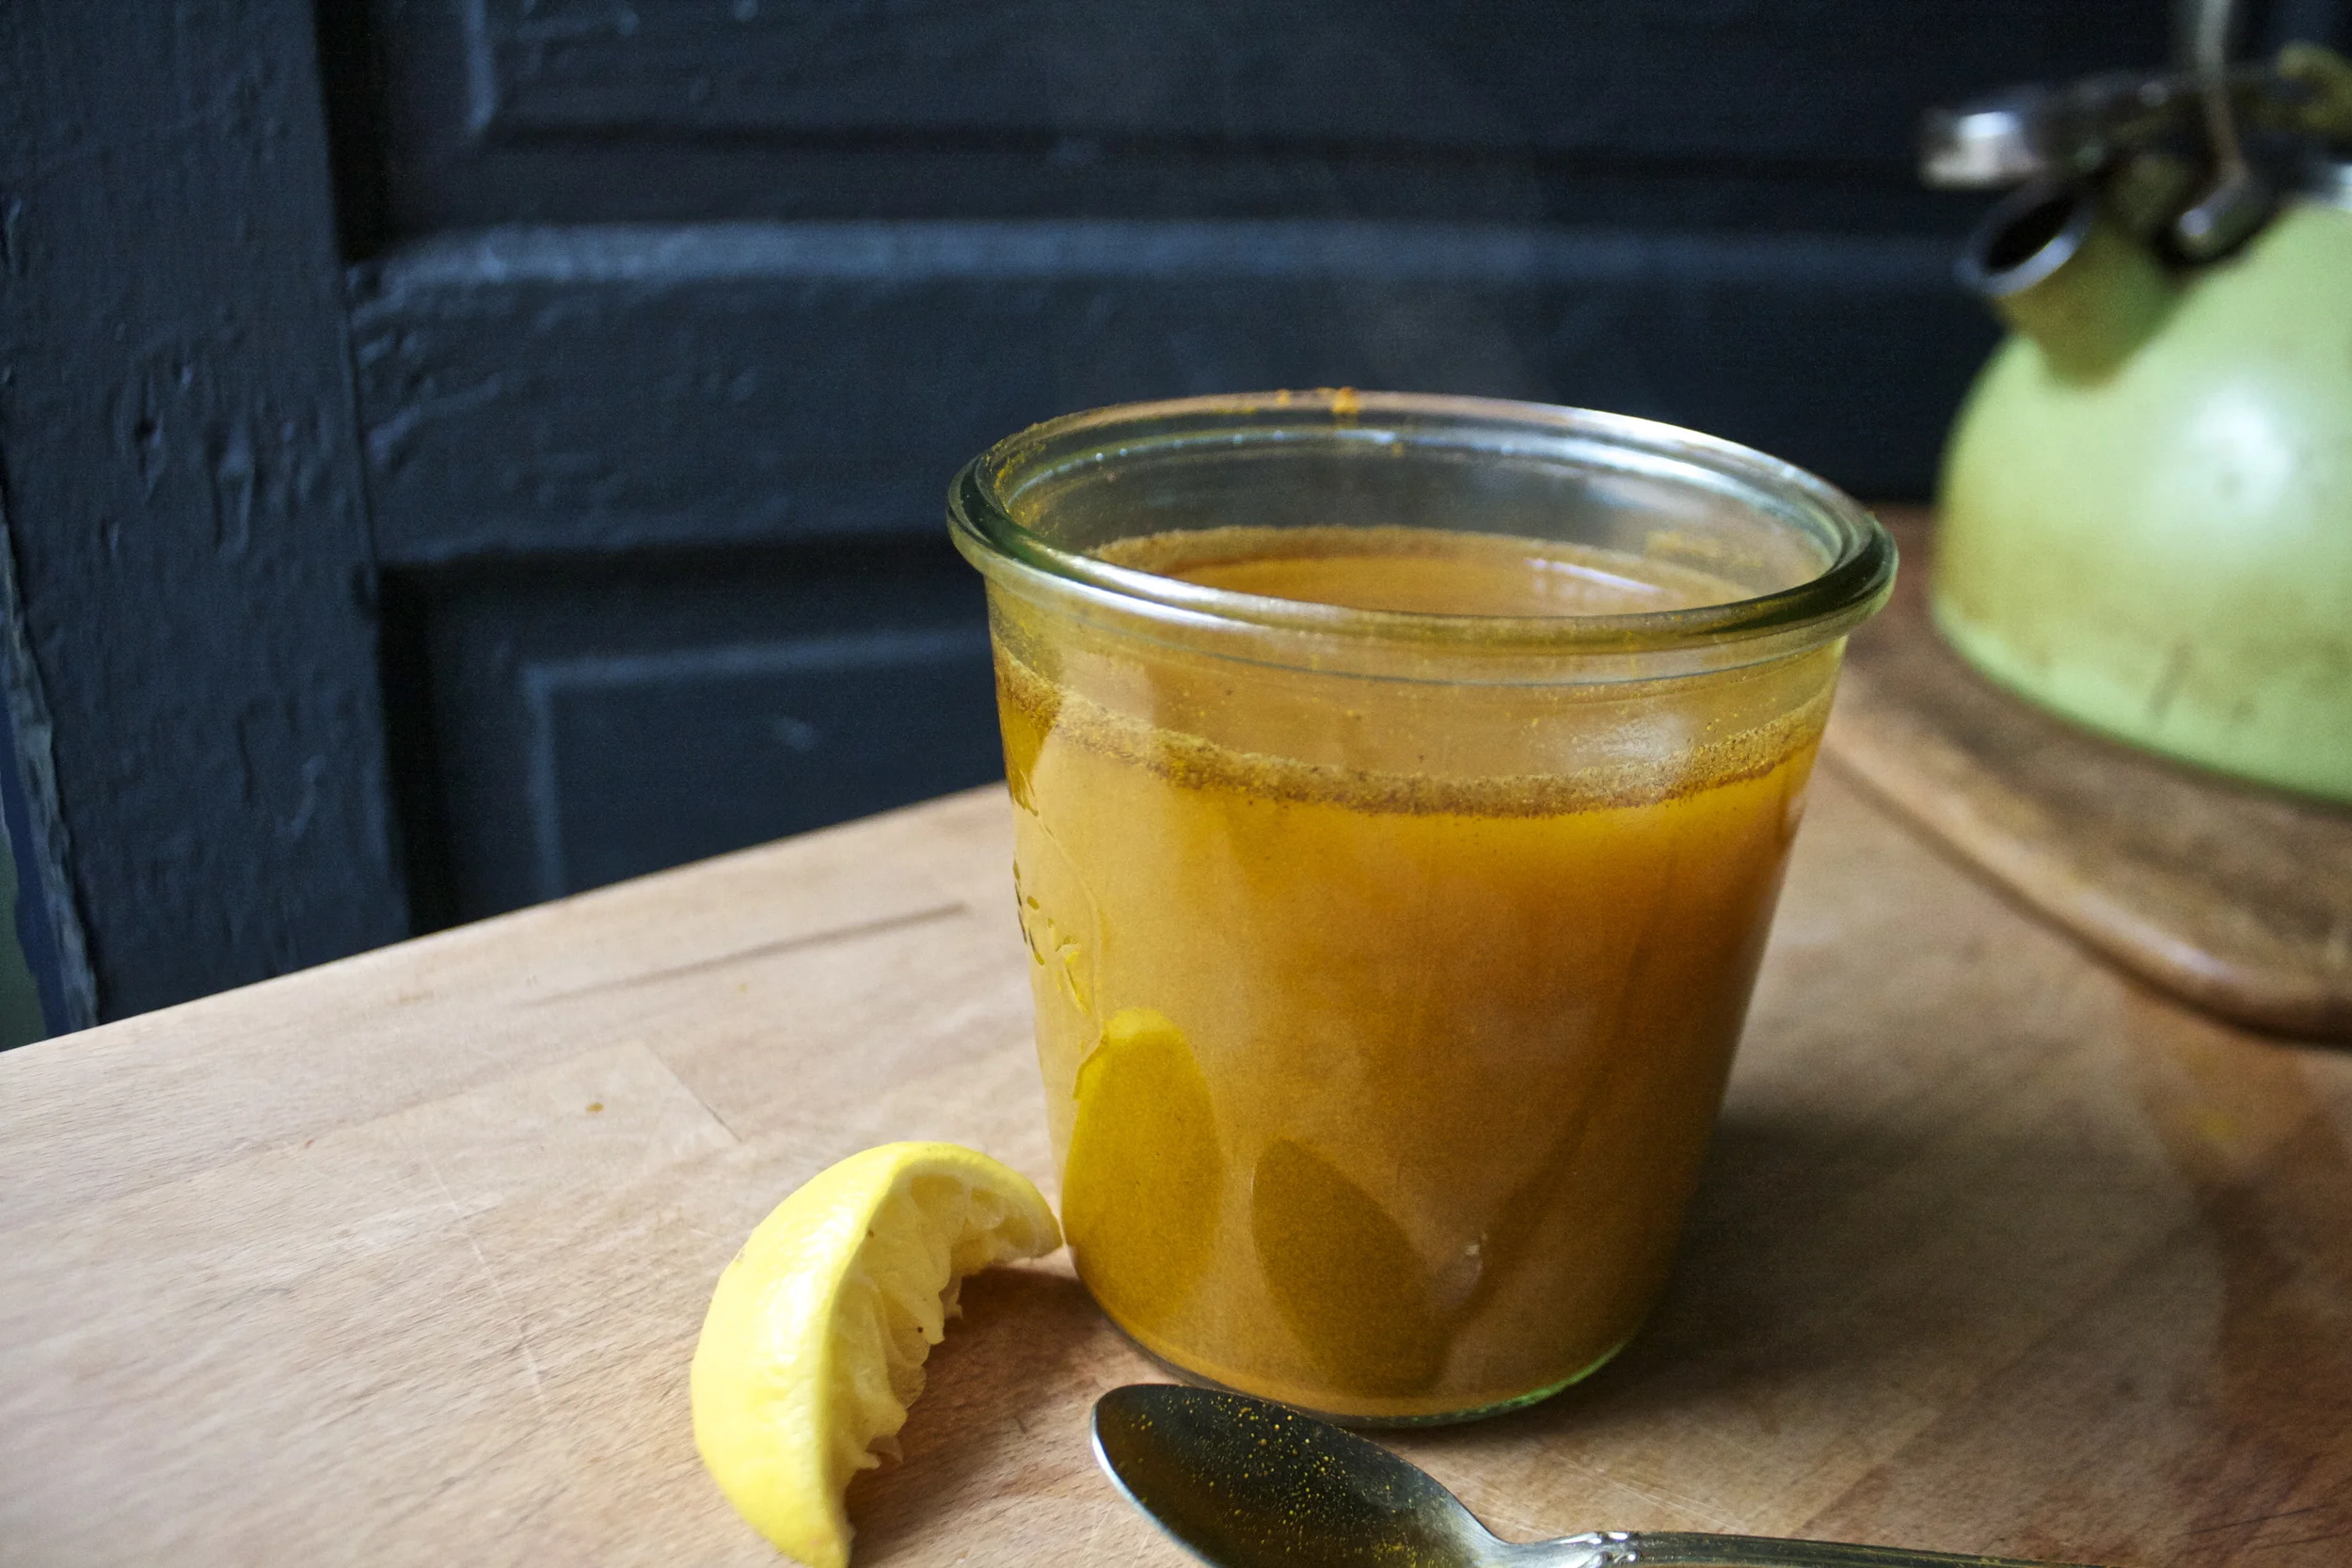
And in goes the hot water. Give it a good stir and a squeeze of lemon (and sweeten if your gonna)
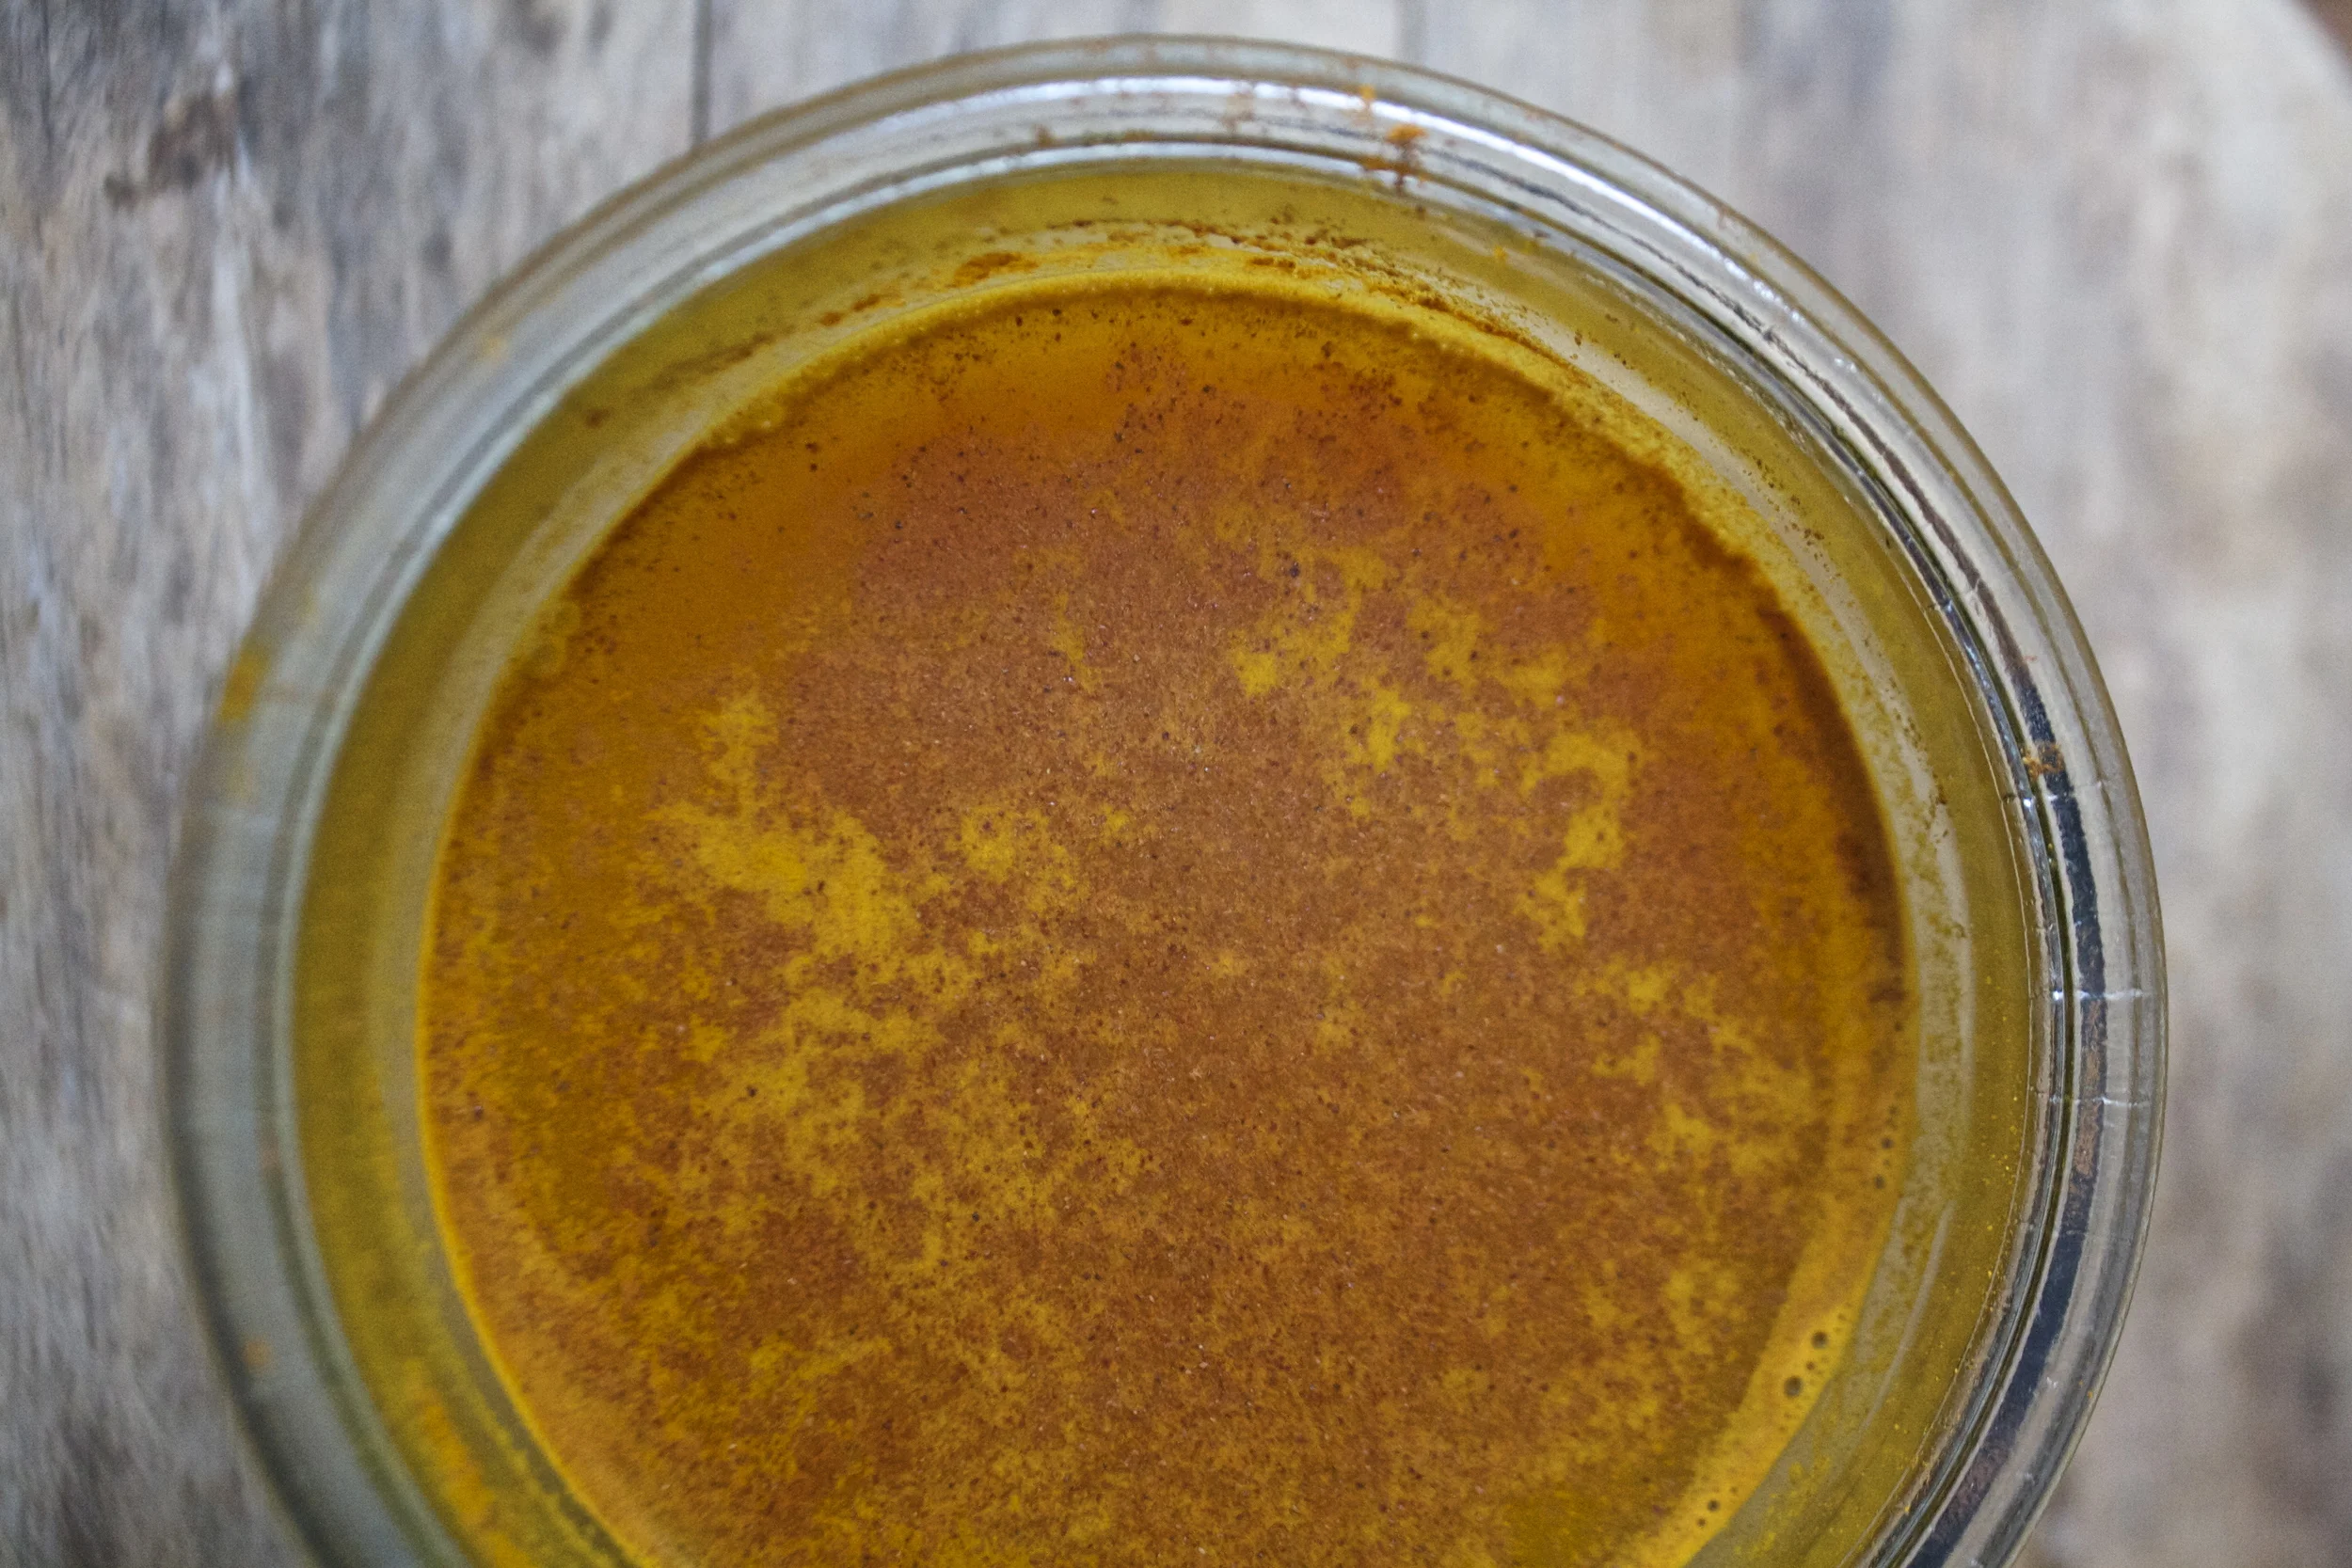
And watch it swirl. A drink that keeps this girl happy and healthy.
Something great to look forward.
-C
- 1 tablespoon ground turmeric
- 1 teaspoon ground saigon cinnamon (can use regular, but it’s not as spicy sweet)
- 1/2 teaspoon ground ginger
- 1 1/2- 2 cups hot water (not quite boiling)
- honey to taste (I only use if my throat is sore)
- lemon juice (optional)
Note… My measurements are just guidelines. You might like a little less turmeric or more ginger so make this drink any way that tastes best for you.
Grab yourself a big mug or jar, add in the spices and hot water, honey if you want it and a squeeze of lemon juice if using. Stir with a spoon and drink. Keep spoon handy to give it a good stir every now and then

 %u00a0 %u00a0
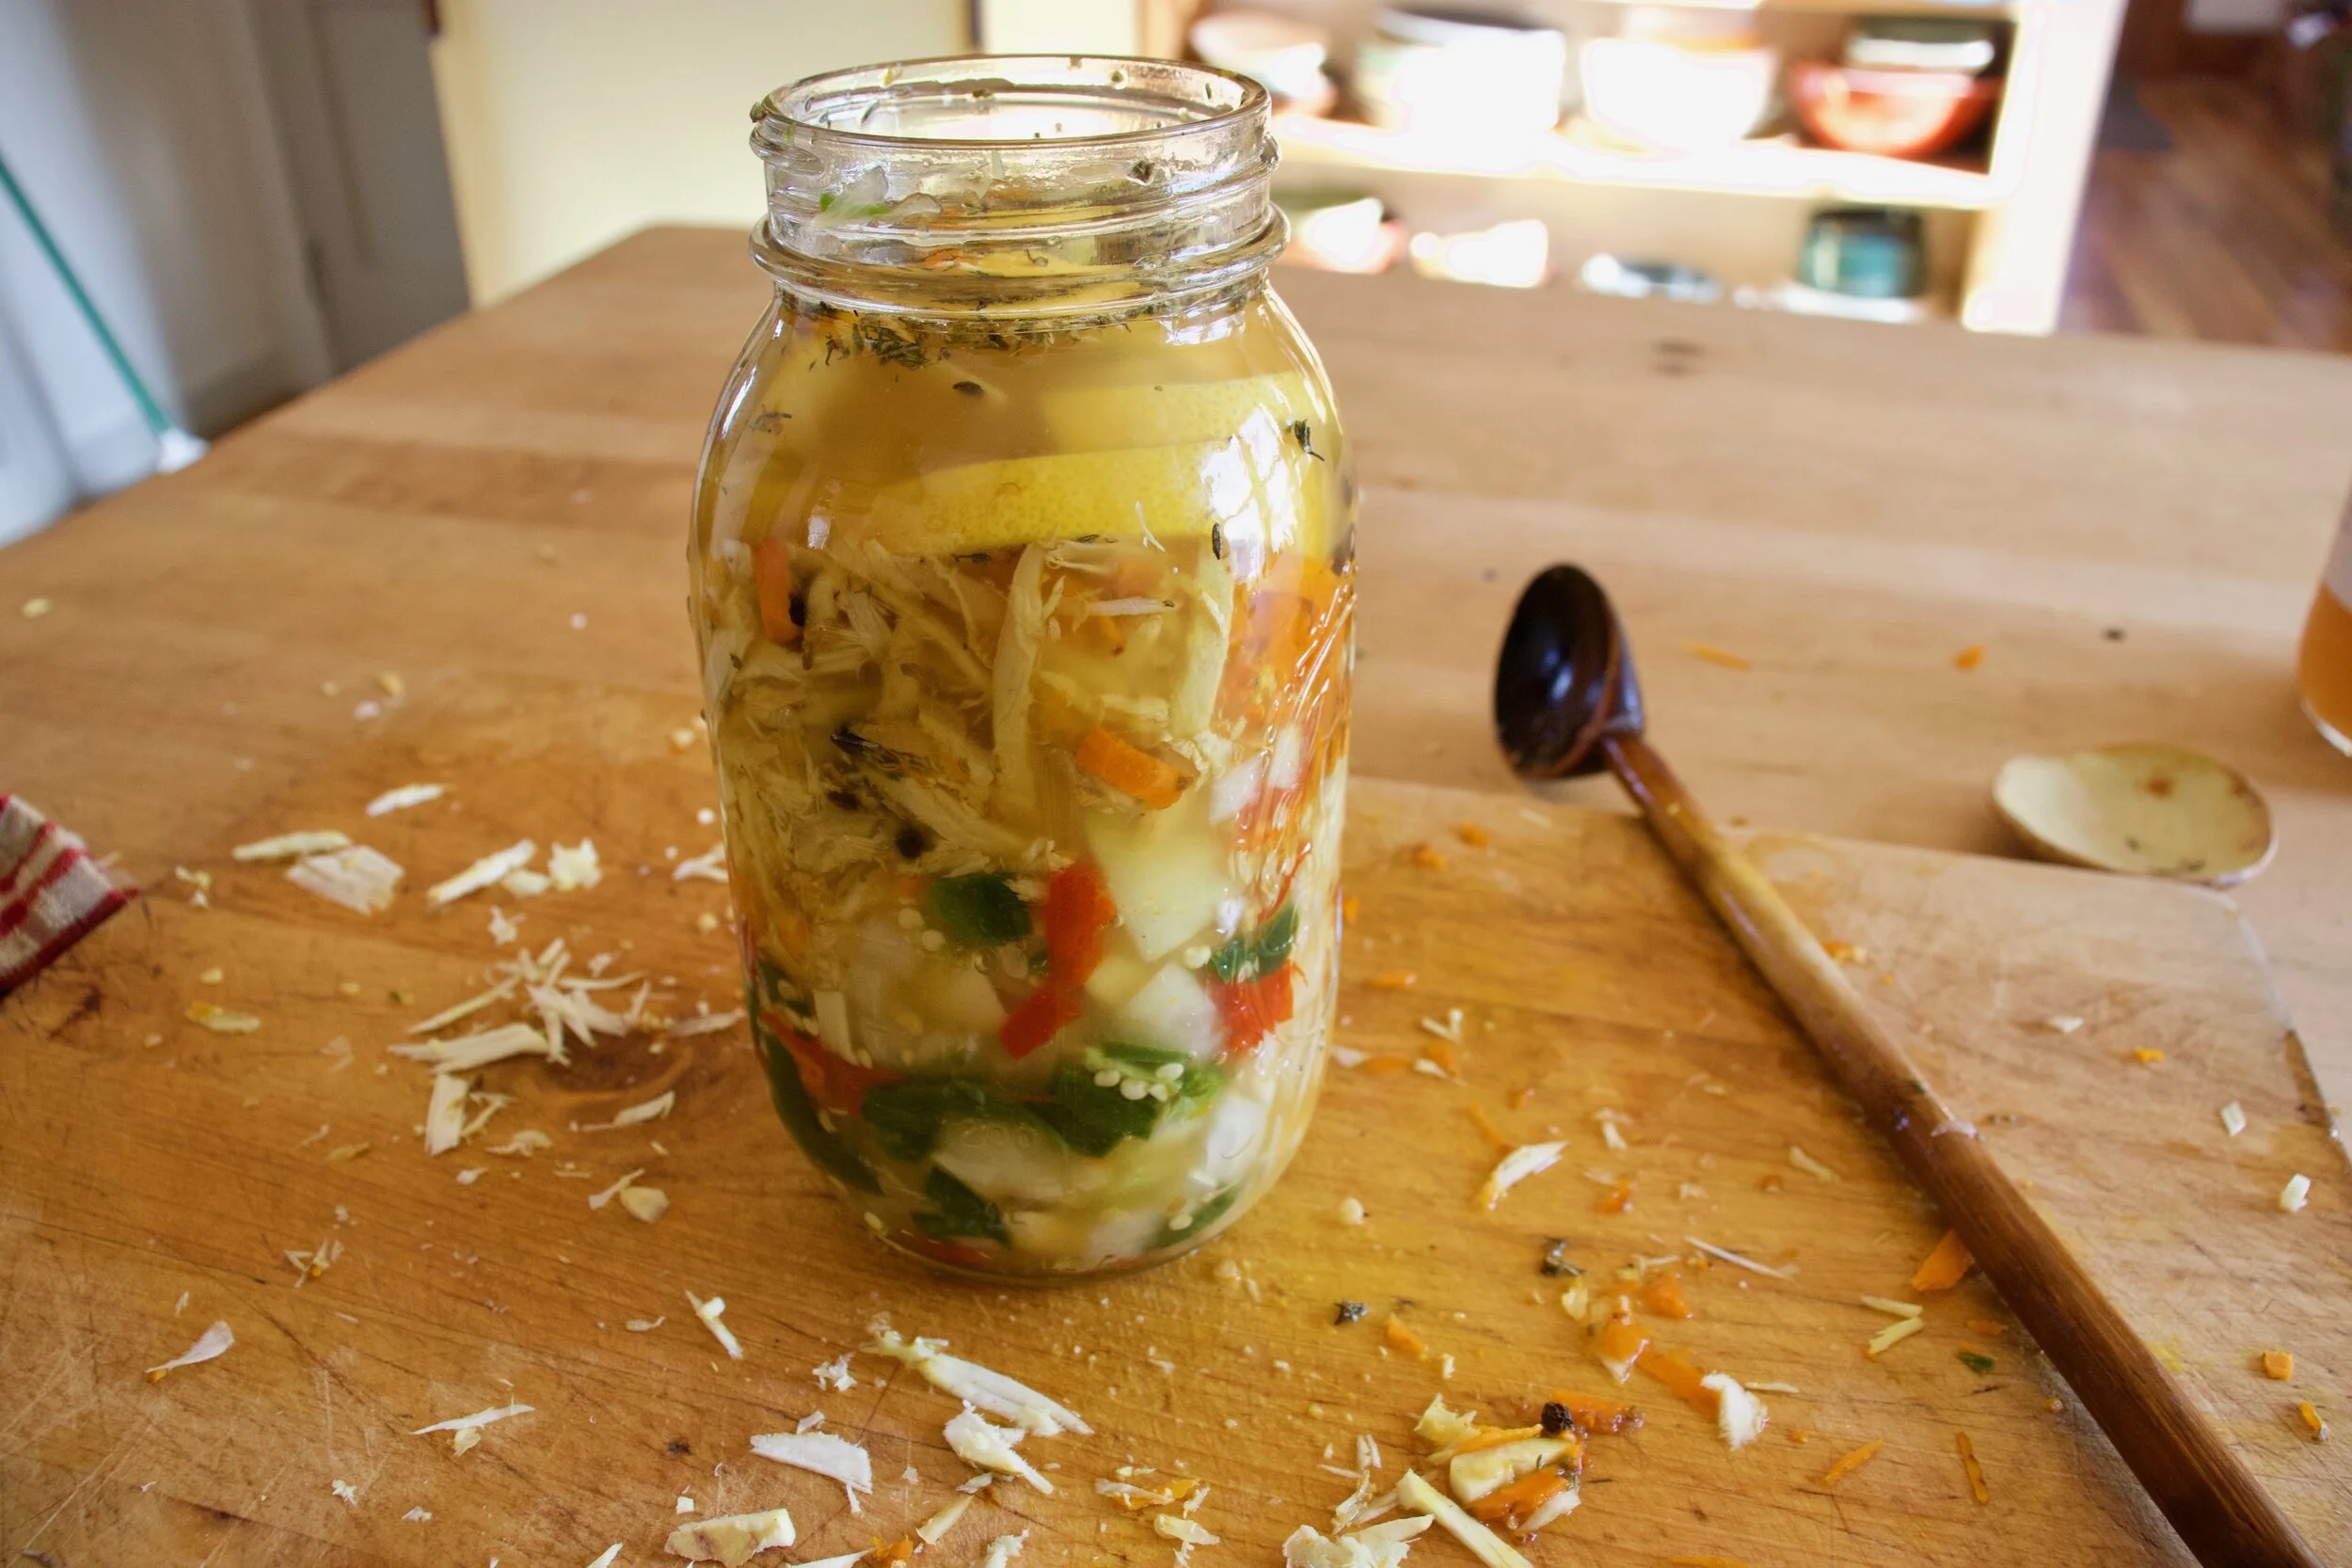
Because I love beets, I love celeriac and I love to pickle things%u2026. And I love hearts. And Valentines Day is just around the corner so I though it appropriate to share these little darlings with you because even if you are not a%u00a0fan of pickled beets or celeriac, you have to admit that these are just the cutest pickles you have ever seen. I have made a batch, sitting in the fridge, awaiting some sweet little dinner date that me and the mister will have come Valentines day. Or not, we might just eat them all before hand%u2026 because everyday is like Valentines day for us! (blah, barf, but awe, we are so cute!)


This is my basic pickling recipe%u2026.I figured you will want to pickle everything and anything once you realize (if you haven’t already) how amazing pickled everything is! And how easy it is to do it yourself.
My Pickling method%u2026…
- Choose the jar that the pickles will live in
- Prepare and pack the stuff %u00a0that is going to be pickled into the jar%u2026 leave about and inch of head space
- Fill the jar to the top with a half water and half vinegar solution (I usually use apple cider vinegar because I think it adds a bit of sweetness.. I don’t like to pickle with sugar)
- If going for a crispy pickle (like green%u00a0beans or crunchy carrots)%u2026. strain liquid into a pot with a teaspoon of salt per cup of liquid and any spices* that you want to use%u00a0and bring to a boil%u00a0%u00a0Add back to jar
- If going for a more tender pickle (like beets or celeriac), dump the liquid and the veggies into a pot with a teaspoon of salt per cup of liquid and any spices* you want to use. Bring to a boil for a few minutes, then remove and replace back into jar.
- Place lid and stick in fridge for at least a day%u2026.(I alway cheat and end up taking a bite within the first few hours) The flavor only gets better after being in the fridge for a couple of days.
*You can spice your pickles anyway you see fit%u2026. I%u00a0like to use peppercorns, garlic, mustard seeds, celery seeds red pepper flakes. Or for a little sweeter and more fragrant pickle, cinnamon stick, cardamom pods or star anise%u2026the possibilities are endless.
Pickles are usually good for about a month, but I have never been able to keep them that long!
A little about these specific pickles%u2026…
I used one medium celeriac root, and 2 small beets. Sliced about a 1/4 inch thick and then used a cookie cutter to make the hearts. %u00a0The chosen vinegar was%u00a0apple cider, and yeah ,you must pickle both the inner and outer hearts%u2026.don’t waste the outer heart! And the spices I used were black mustard seed and peppercorns.%u00a0
And they be amazing!!!!
Have a Fantastic Weekend!! Hopefully full of %u00a0warm weather, fluffy clouds, and lots of pickles!
-C
%u00a0 %u00a0 %u00a0%u00a0

What a way to start the day, with a mouth full of c words%u2026%u2026.Caraway, cauliflower, chick peas and cabbage%u2026What did you think I meant?
This week has been nippy, no, its been chilly%u2026..nah, it’s been freaking freezing! Yeah, freezing cold. When I woke up this morning to walk the pup, it was 5 degrees. So needless to say, when it gets this cold, I like to keep inside. Tying not to be a complete lazy bones, I went to town on my spices%u2026 refilling jars with all the little baggies scattering the kitchen, screwing on lids, and wiping down the shelves. Not a bad accomplishment for a day. While cleaning I came upon a little bag or caraway seeds, %u00a0Not enough to warrant a jar on the wall, but defiantly enough for one dish. %u00a0
When I think of the bright, somewhat sweet and peppery caraway, I think cabbage.(anything cabbage and I am sold) A big pan cabbage, added cauliflower for the mister,(his favorite) creamy chick peas because we need %u00a0protein and they be tasty, and of course mustard, because everything tastes better with mustard.(I’ll let you in on a little secret.I eat a lot of mustard, I am kind of obsessed. Mustards of all kind; grainy, homemade, dijon%u2026but usually just plan old yellow. And I eat it on everything.. but my go to is French’s yellow mustard and carrots%u2026don’t judge) A warm, bright and filling dish, perfect for a freezing cold evening stuck inside. You can eat it as main dish or add a pile of quinoa or wild rice, or even a big plate of greens. What ever say you eat it, you and your stomach will be happy.(If your worries about cabbage bloat..don’t be. Cooking cabbage helps breaks down the enzymes that create gas, plus caraway has anti bloating properties%u2026WIN!)%u00a0

Cabbage, cauliflower,(fresh of frozen%u2026.I used frozen in this recipe) pre-cooked or canned chick peas, caraway seeds, yellow mustard, and salt..(I added pepper too)

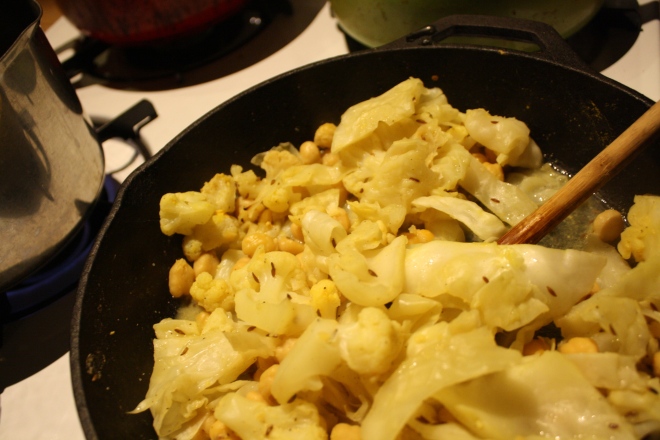
Chop the cabbage and toss into a lightly oiled pan with the rest of the stuff. Heat pan with everything but water %u00a0for a couple of minutes.. to warm the caraway and give everything a cooking head start, then add the water. Stick a lid on it and let simmer.%u00a0After about 15 minutes, give it a stir or two and do a taste test. At this point, it’s up to you%u2026how cooked you want the veggies? I kept mine cooking for another 10 minutes. I also added another 1/2 cup of water. Not enough water and the pan will burn, a little extra water is good, it creates a yummy broth.


When you are happy with the flavor and doneness, eat it. I made myself a %u00a0bowl with a heap of pickled beets(holy yes!). I am sorry if you don’t have any pickled beets, but the dish is still amazing without them. %u00a0Fresh ground pepper really does the trick too!
So there you go, make it tonight, it will make you warm,smart and happy
-C
serves 2-3
- 1/2 small head of green cabbage(about 2 cups chopped)
- 2 cups cauliflower(fresh or frozen)
- 1 cup cooked chick peas
- 1 1/2 -2 cups water
- 1 tablespoon caraway seed
- 2 tablespoons yellow mustard
- salt and pepper to taste
Lightly oil a medium sized skillet and add all ingredients except water. Heat for a few minutes to warm up veggie and caraway seeds then add a 1 1/2 cups of water. Keep on medium heat with a lid and stir on occasion If water evaporates completely out, add another 1/2 cup. %u00a0Dish is done when veggies are tender.. about 20 minutes%u2026.but whenever tastes best to you!















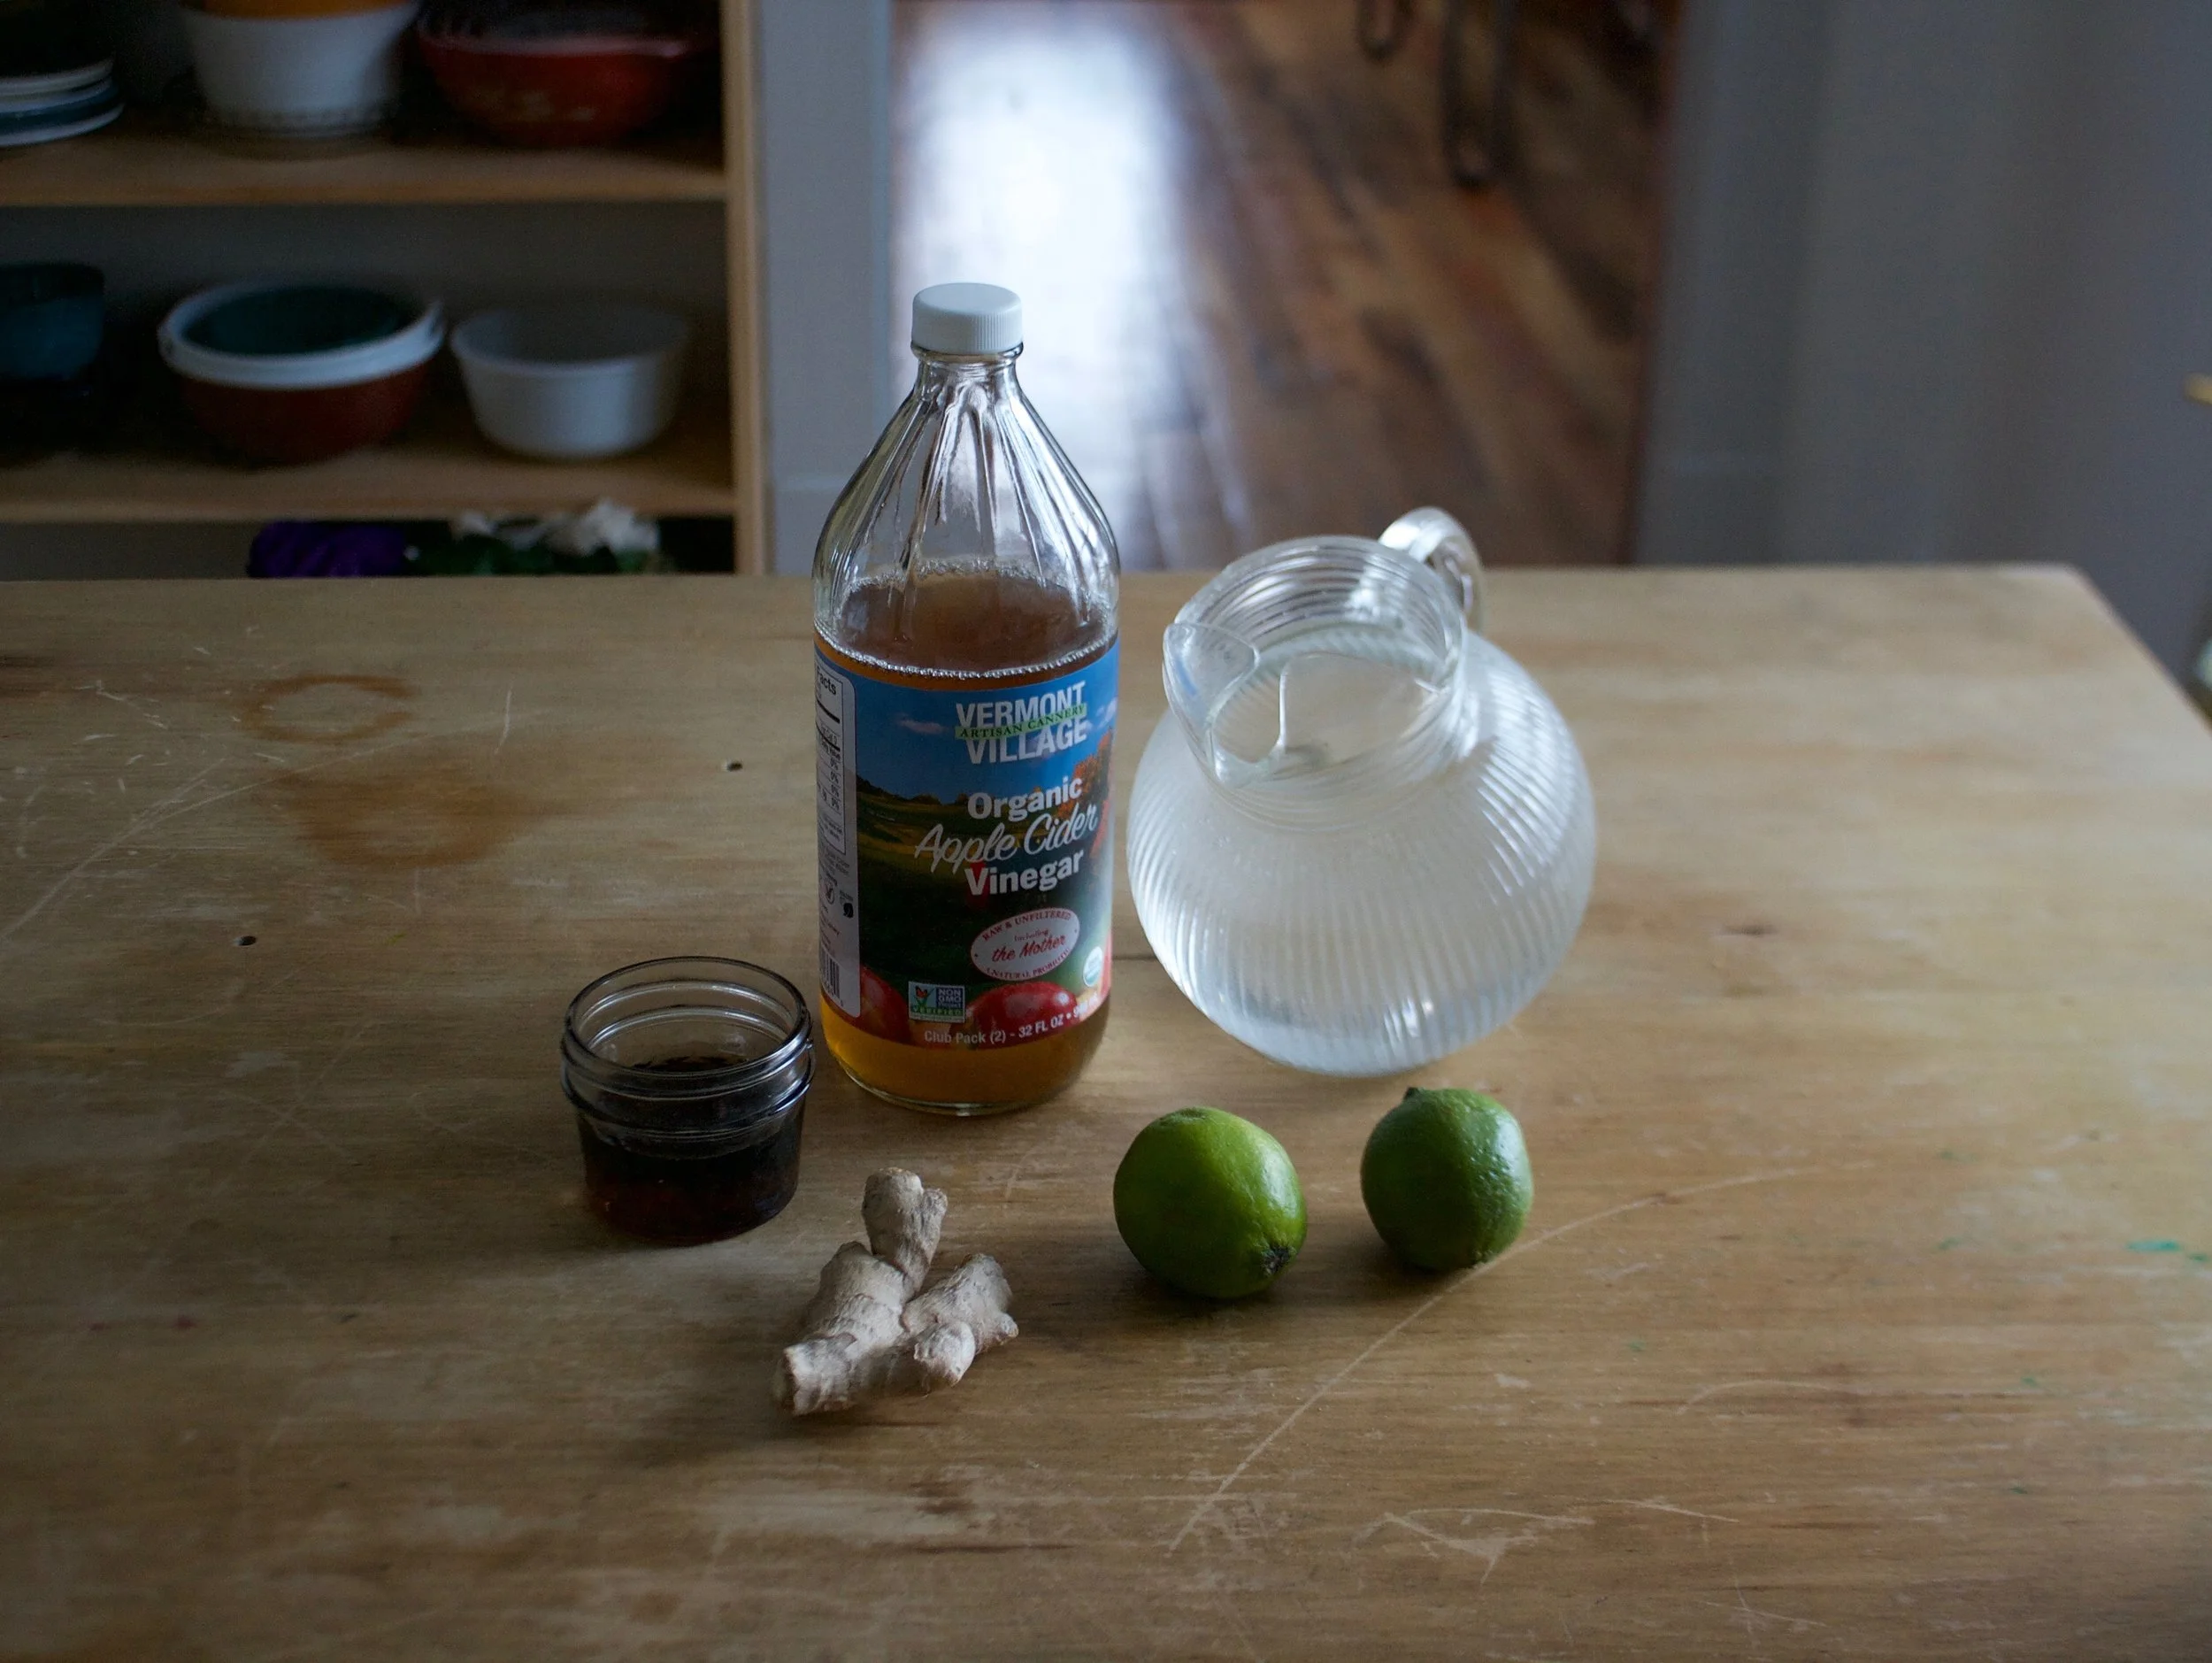
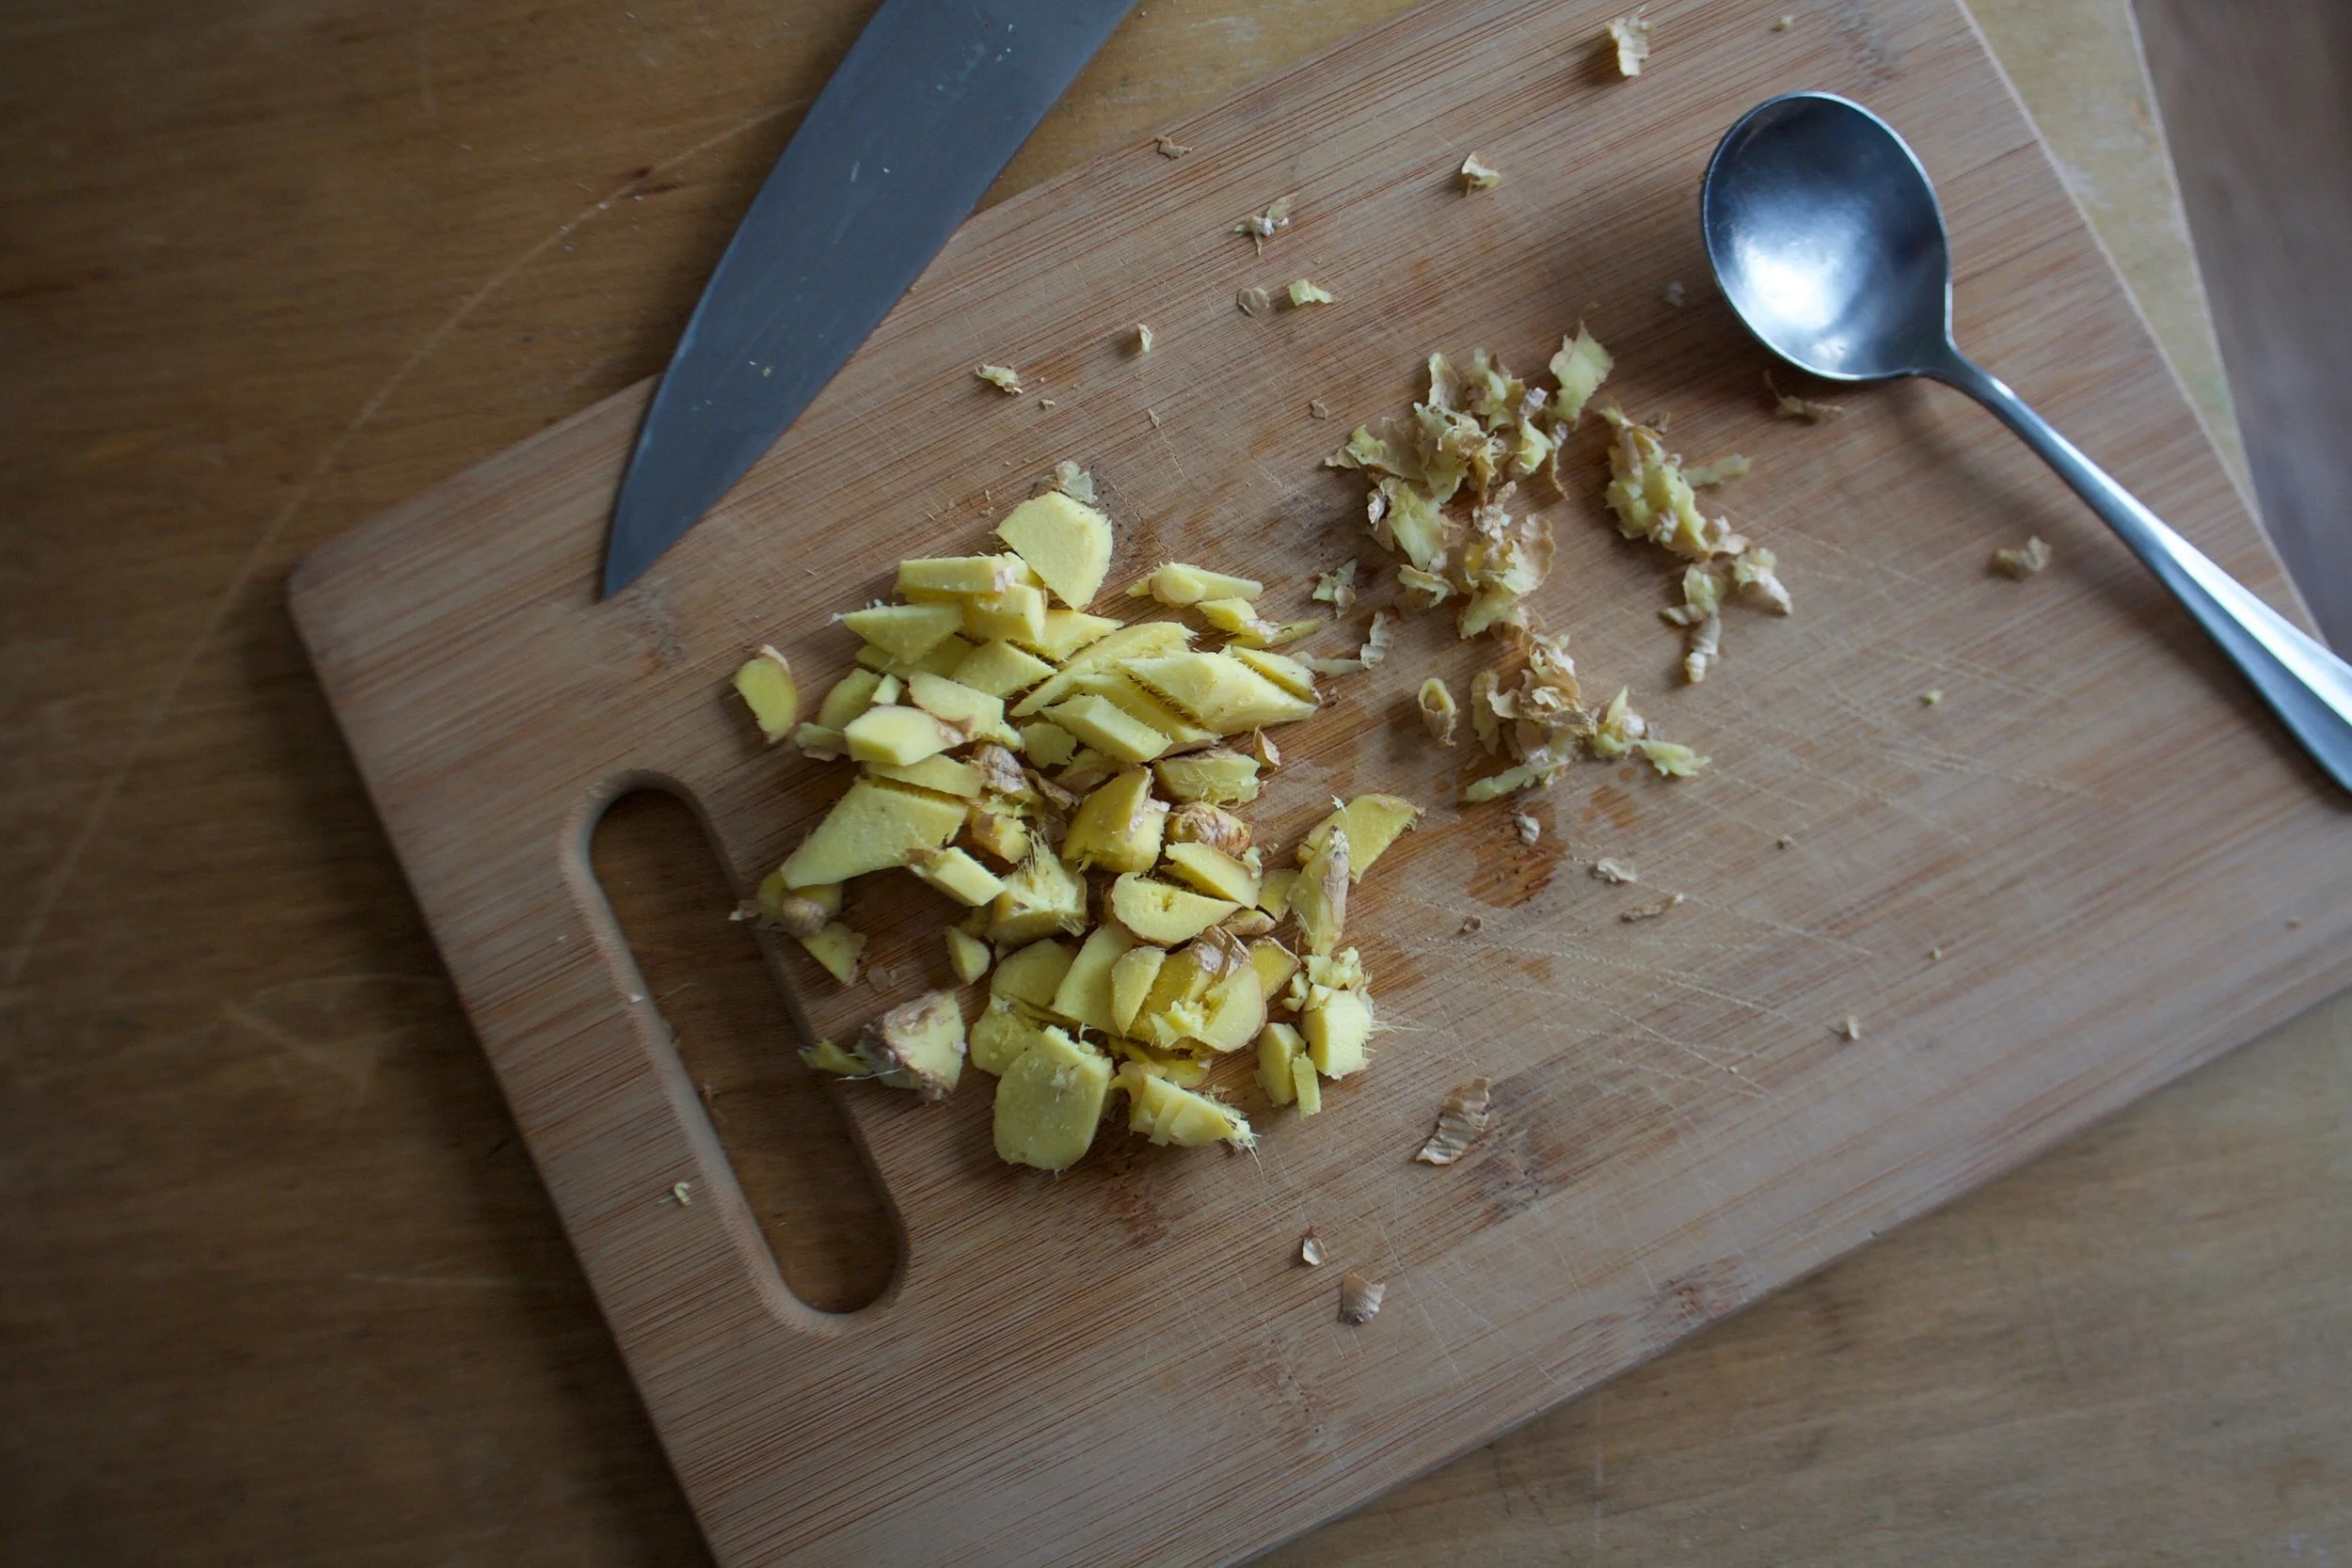


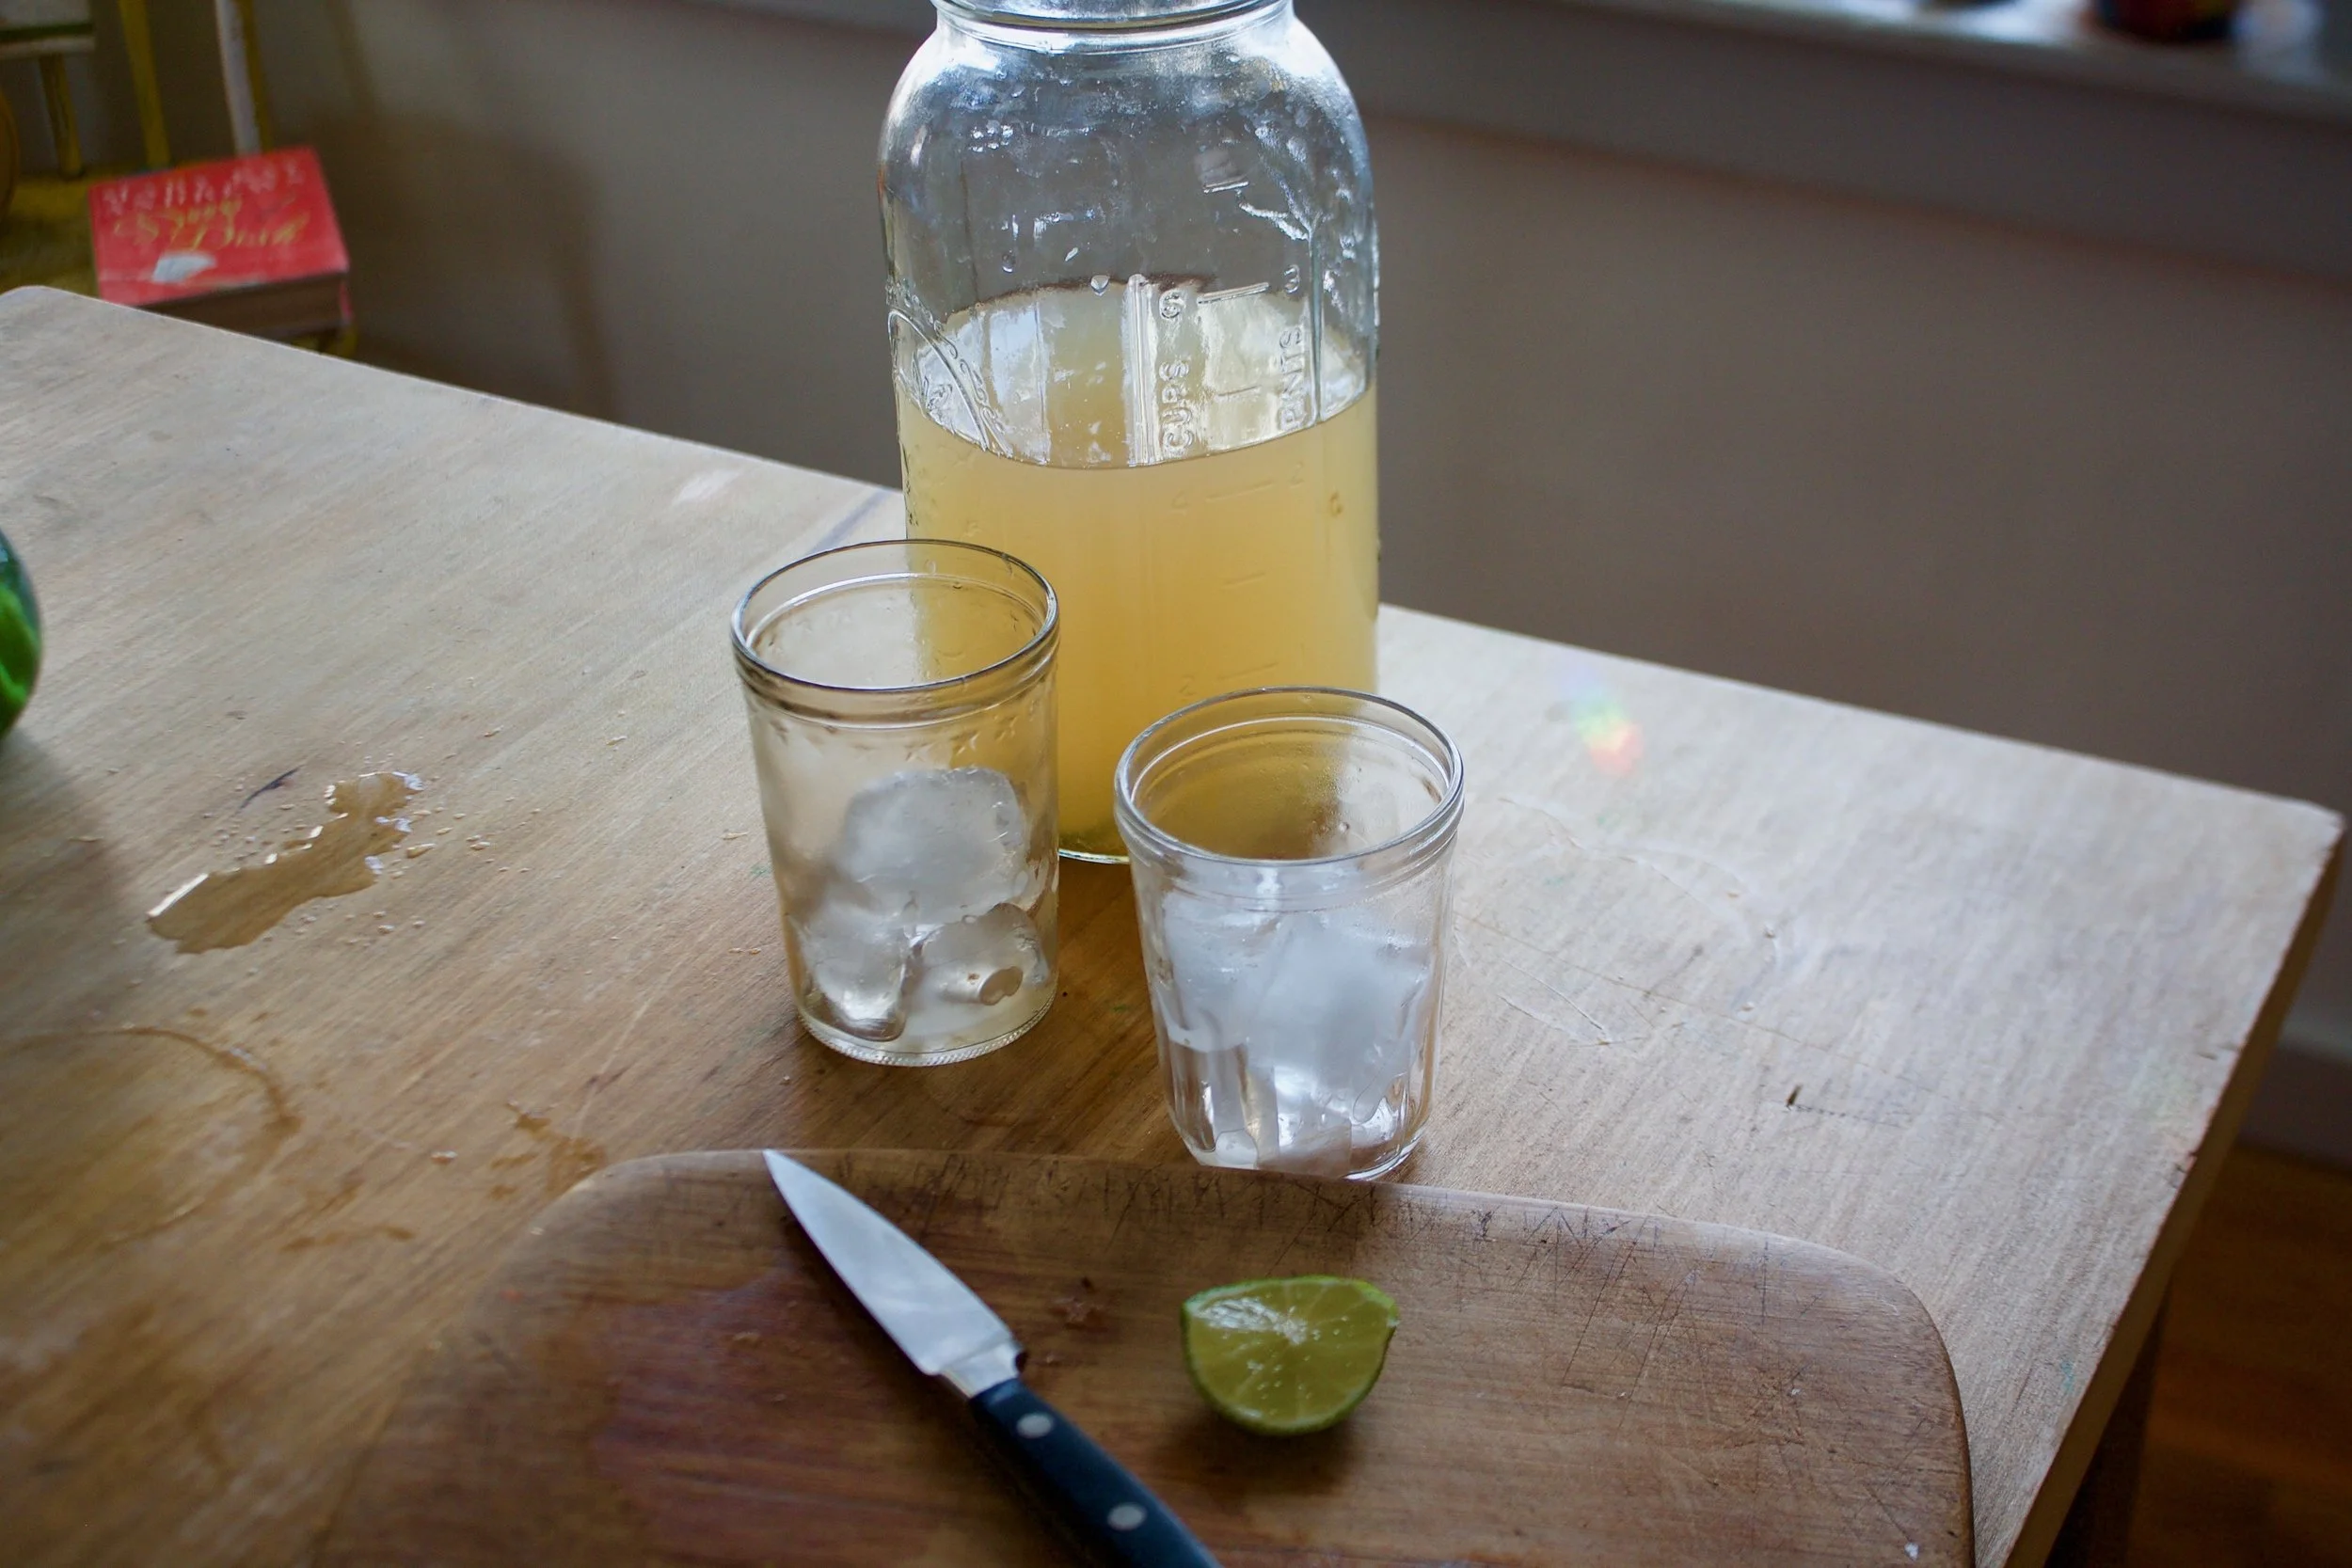
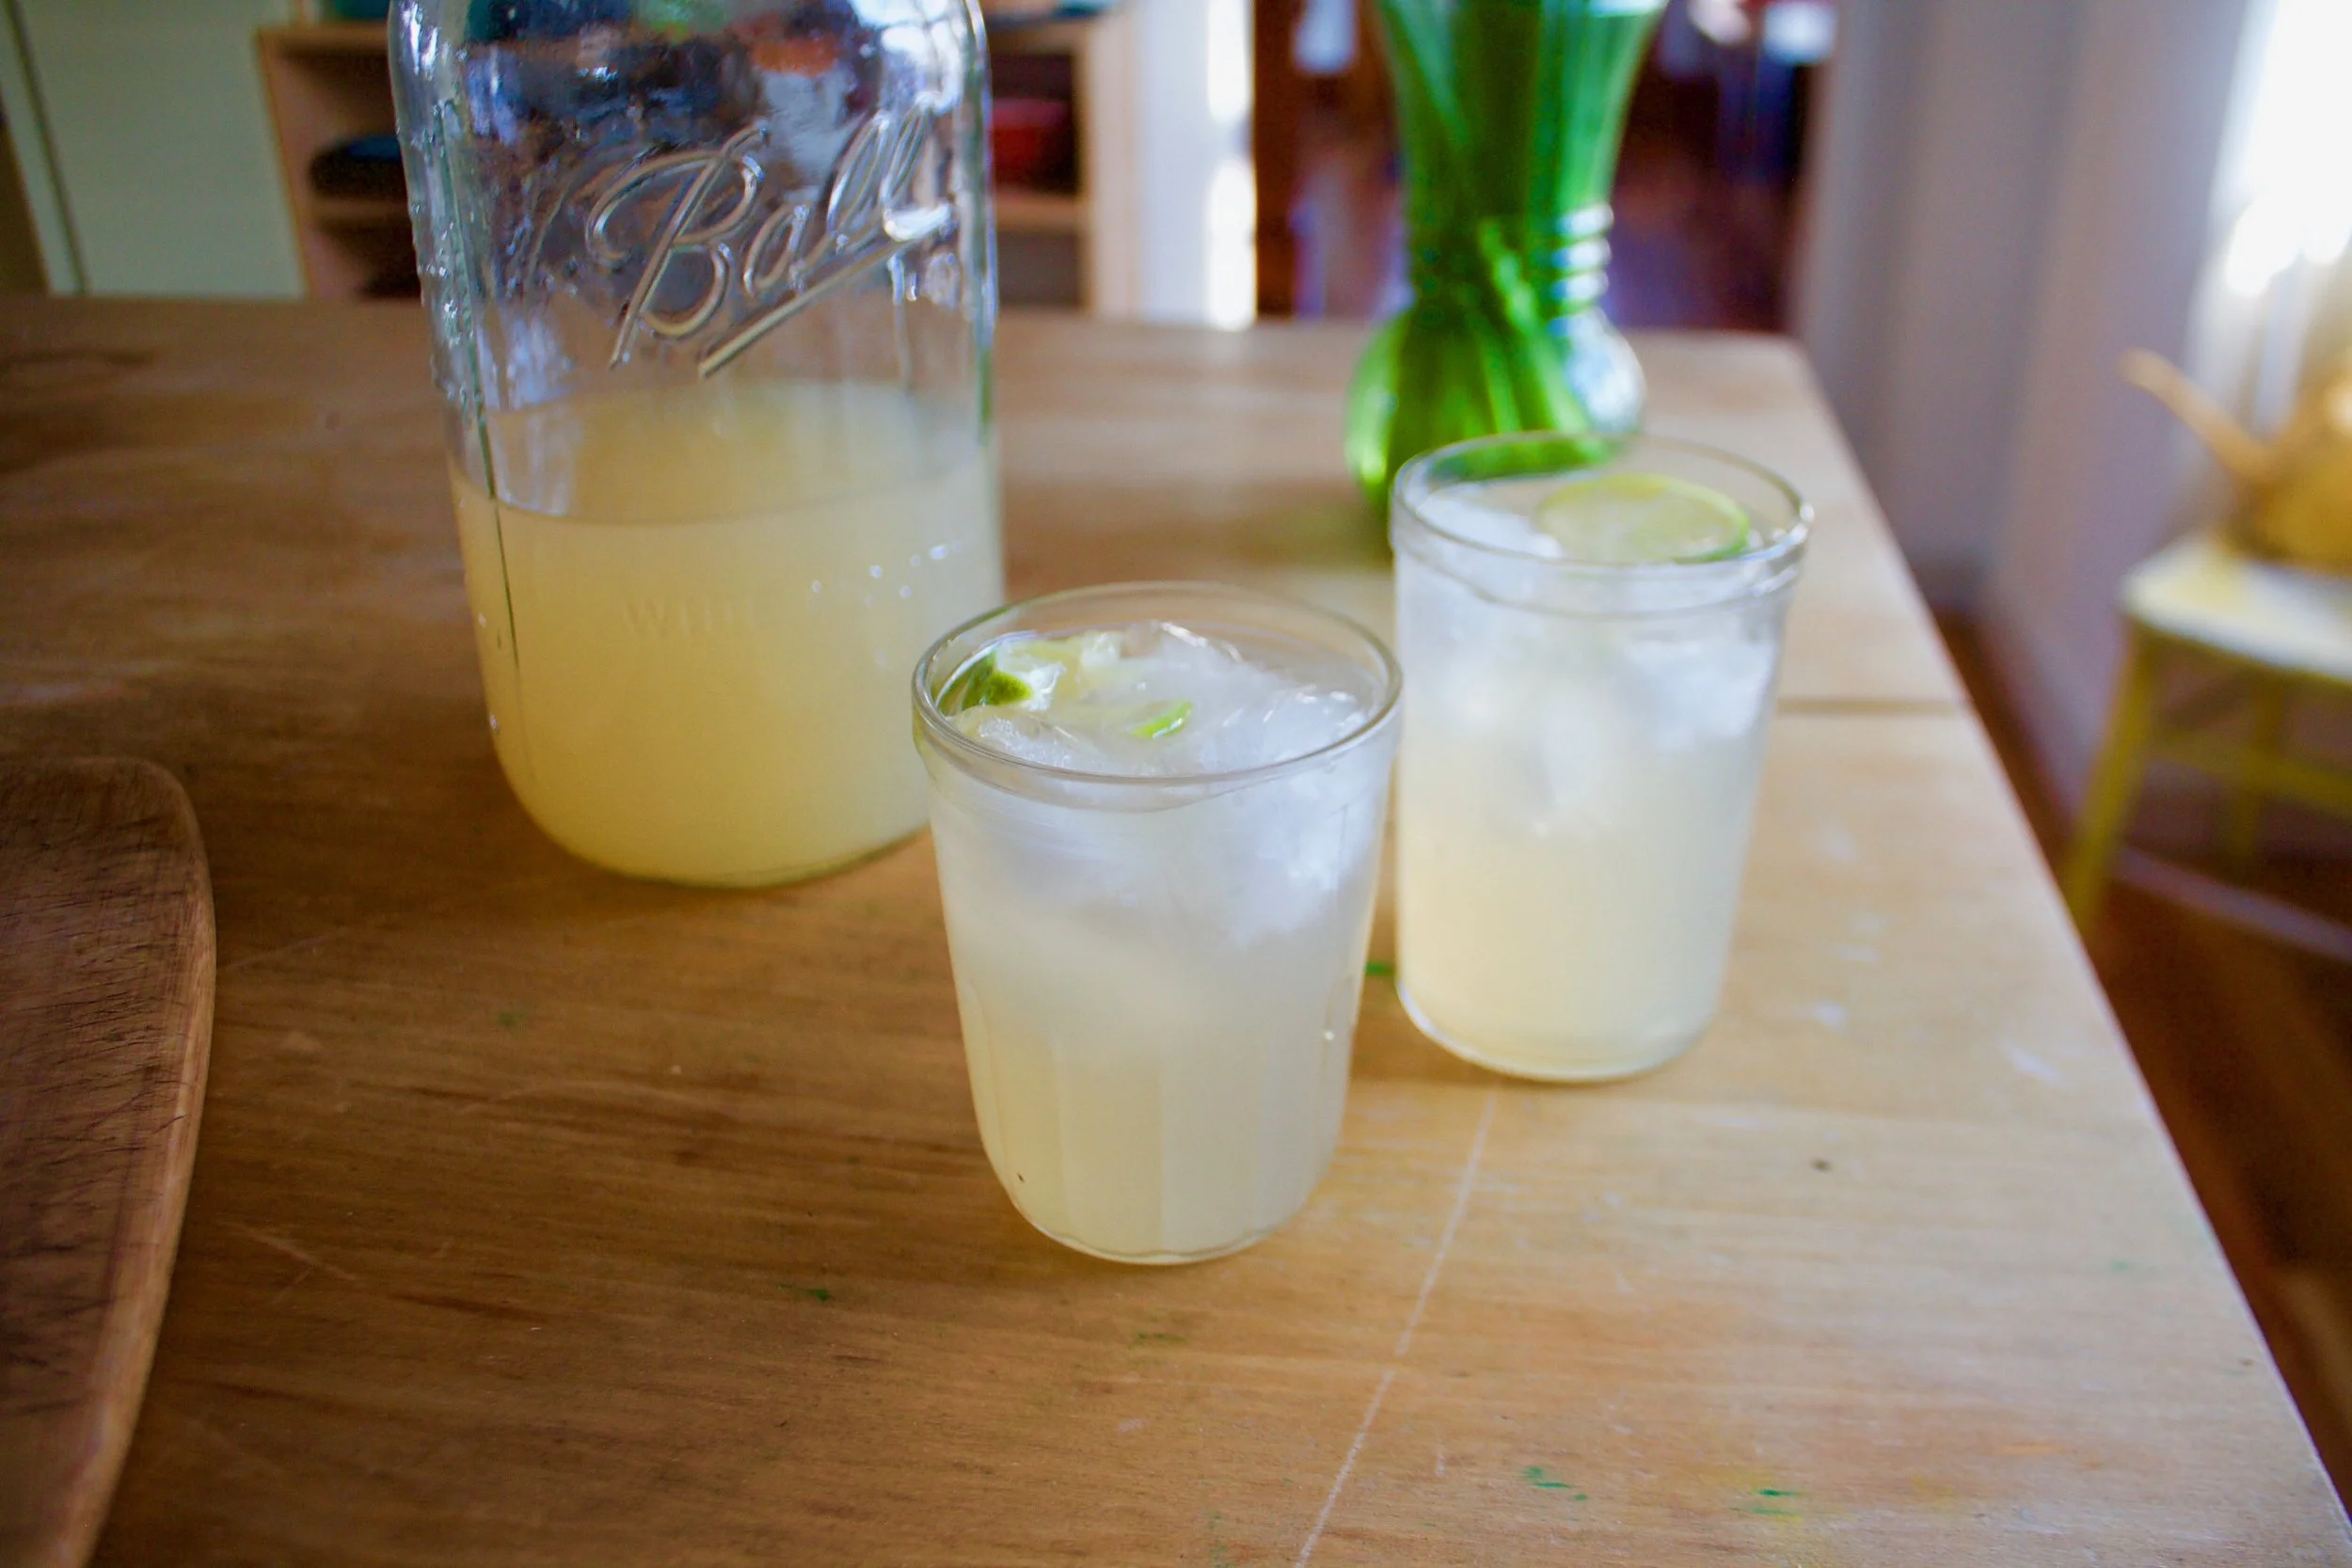

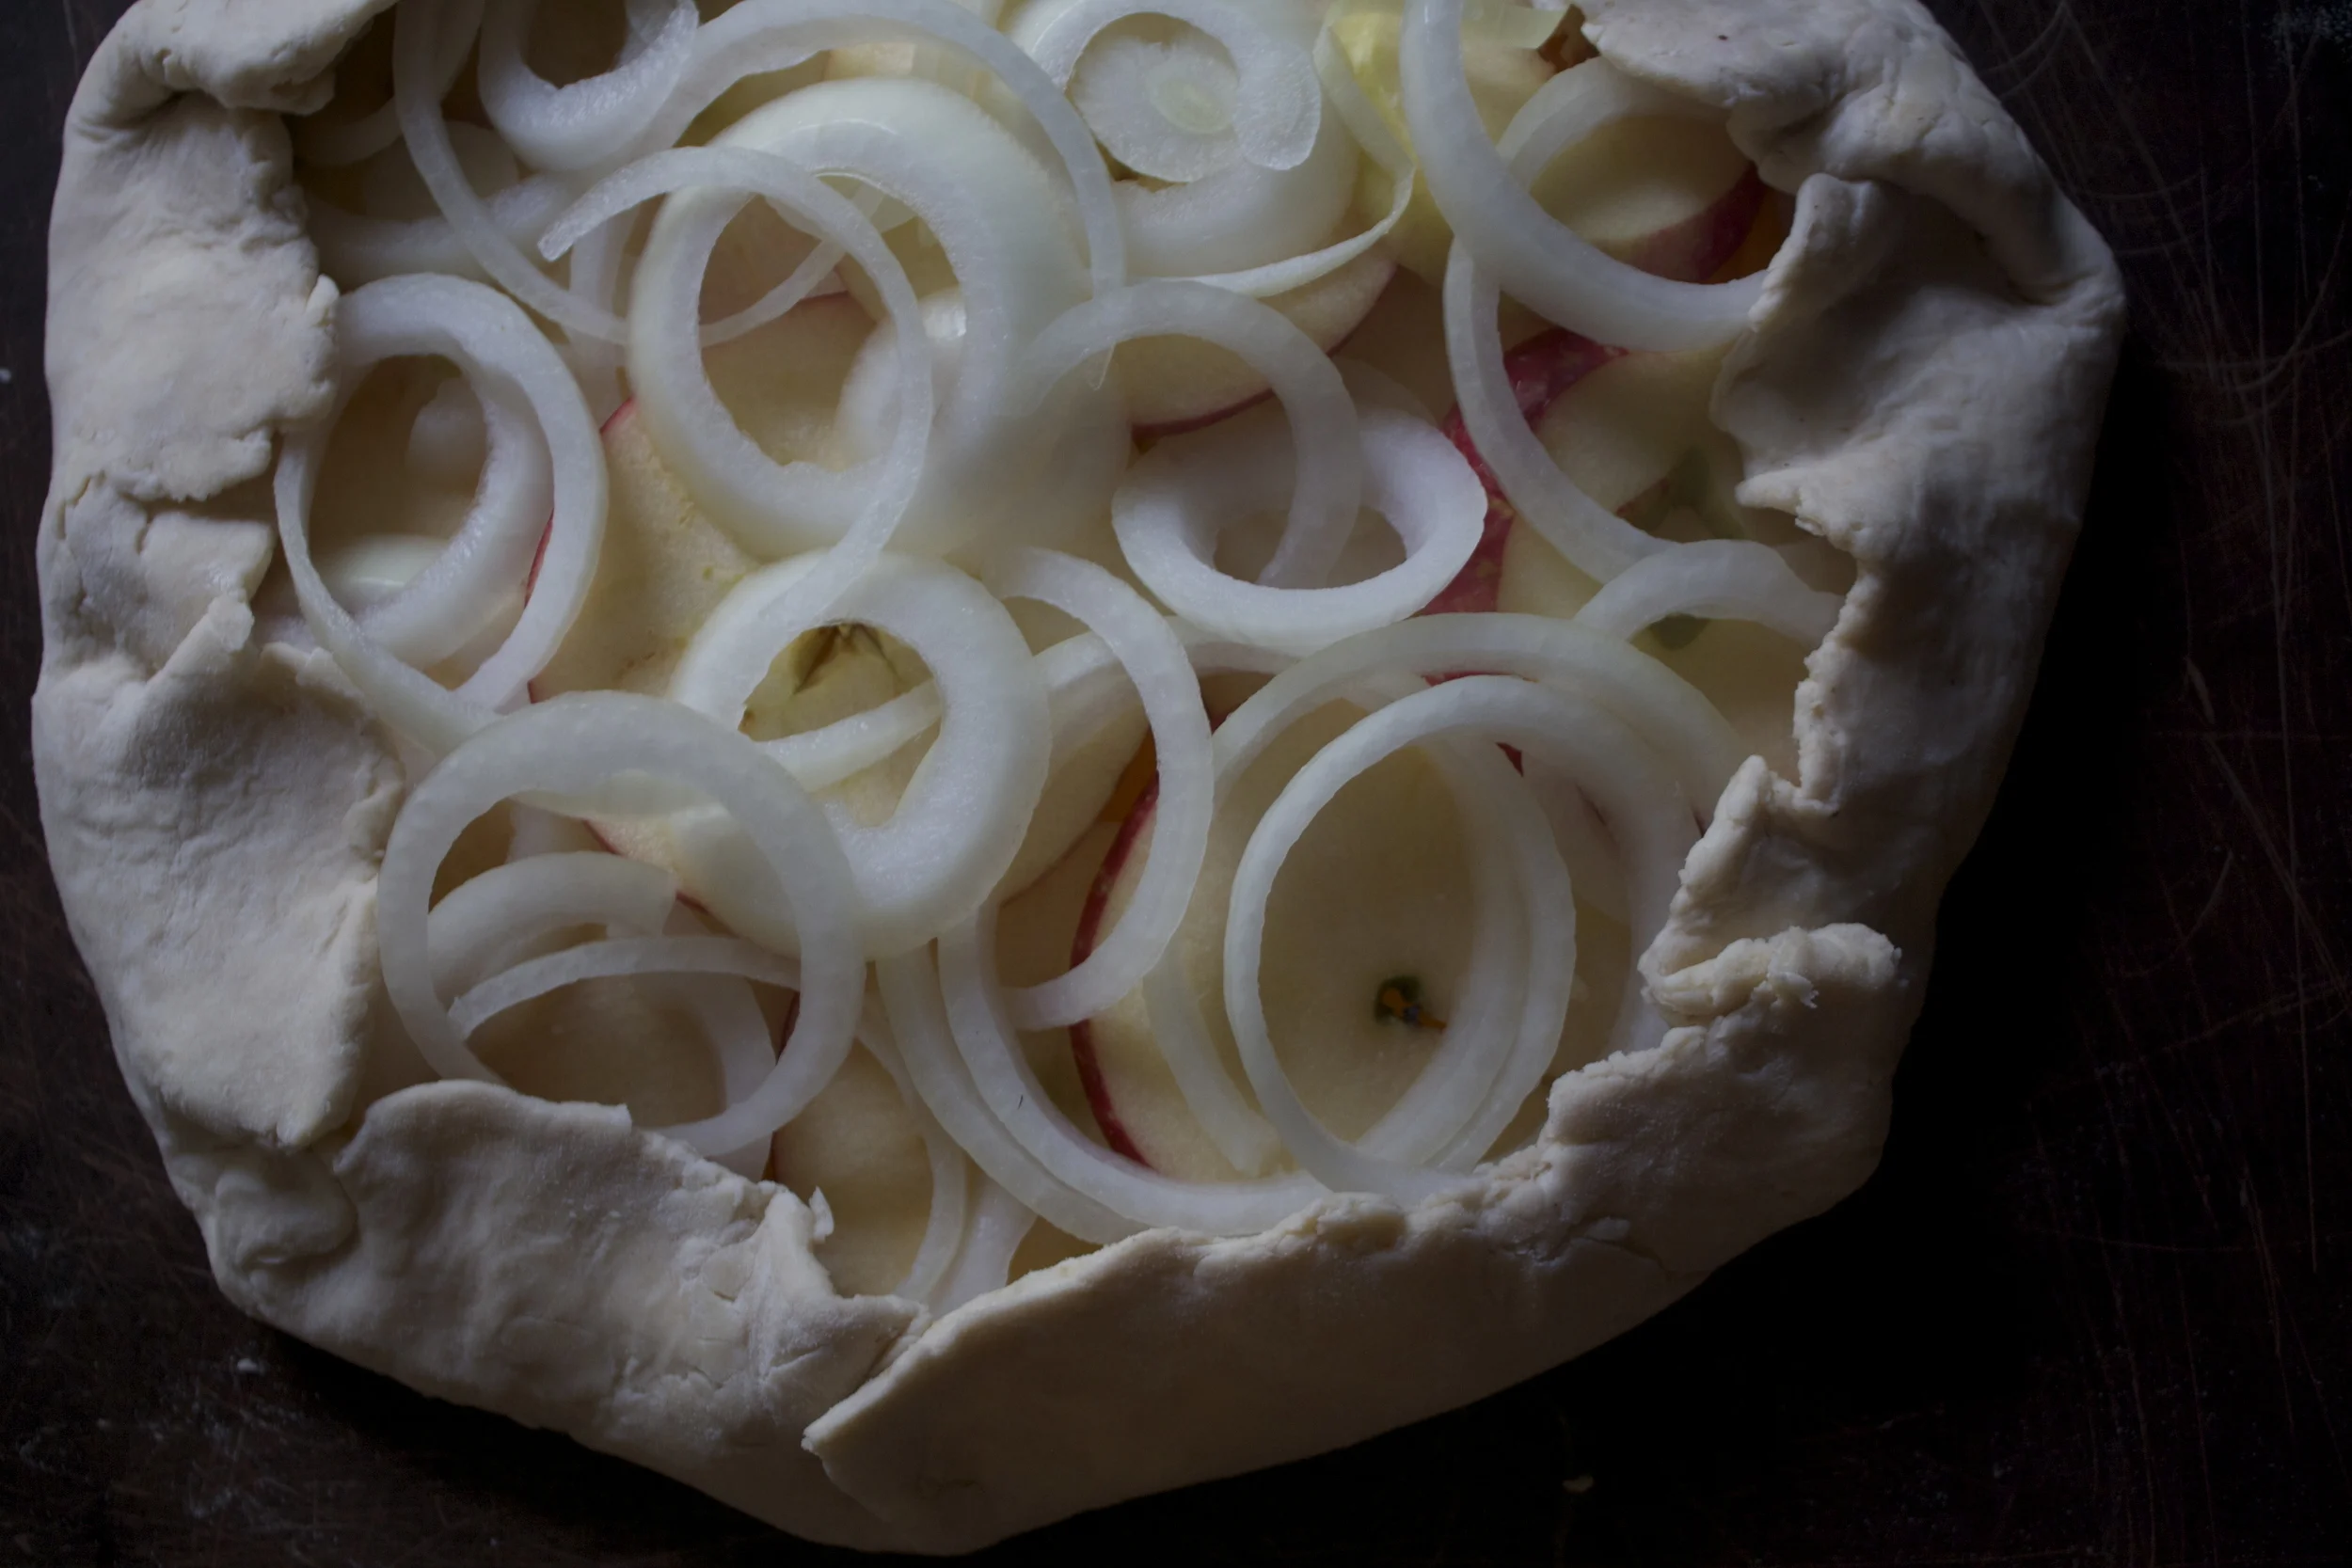
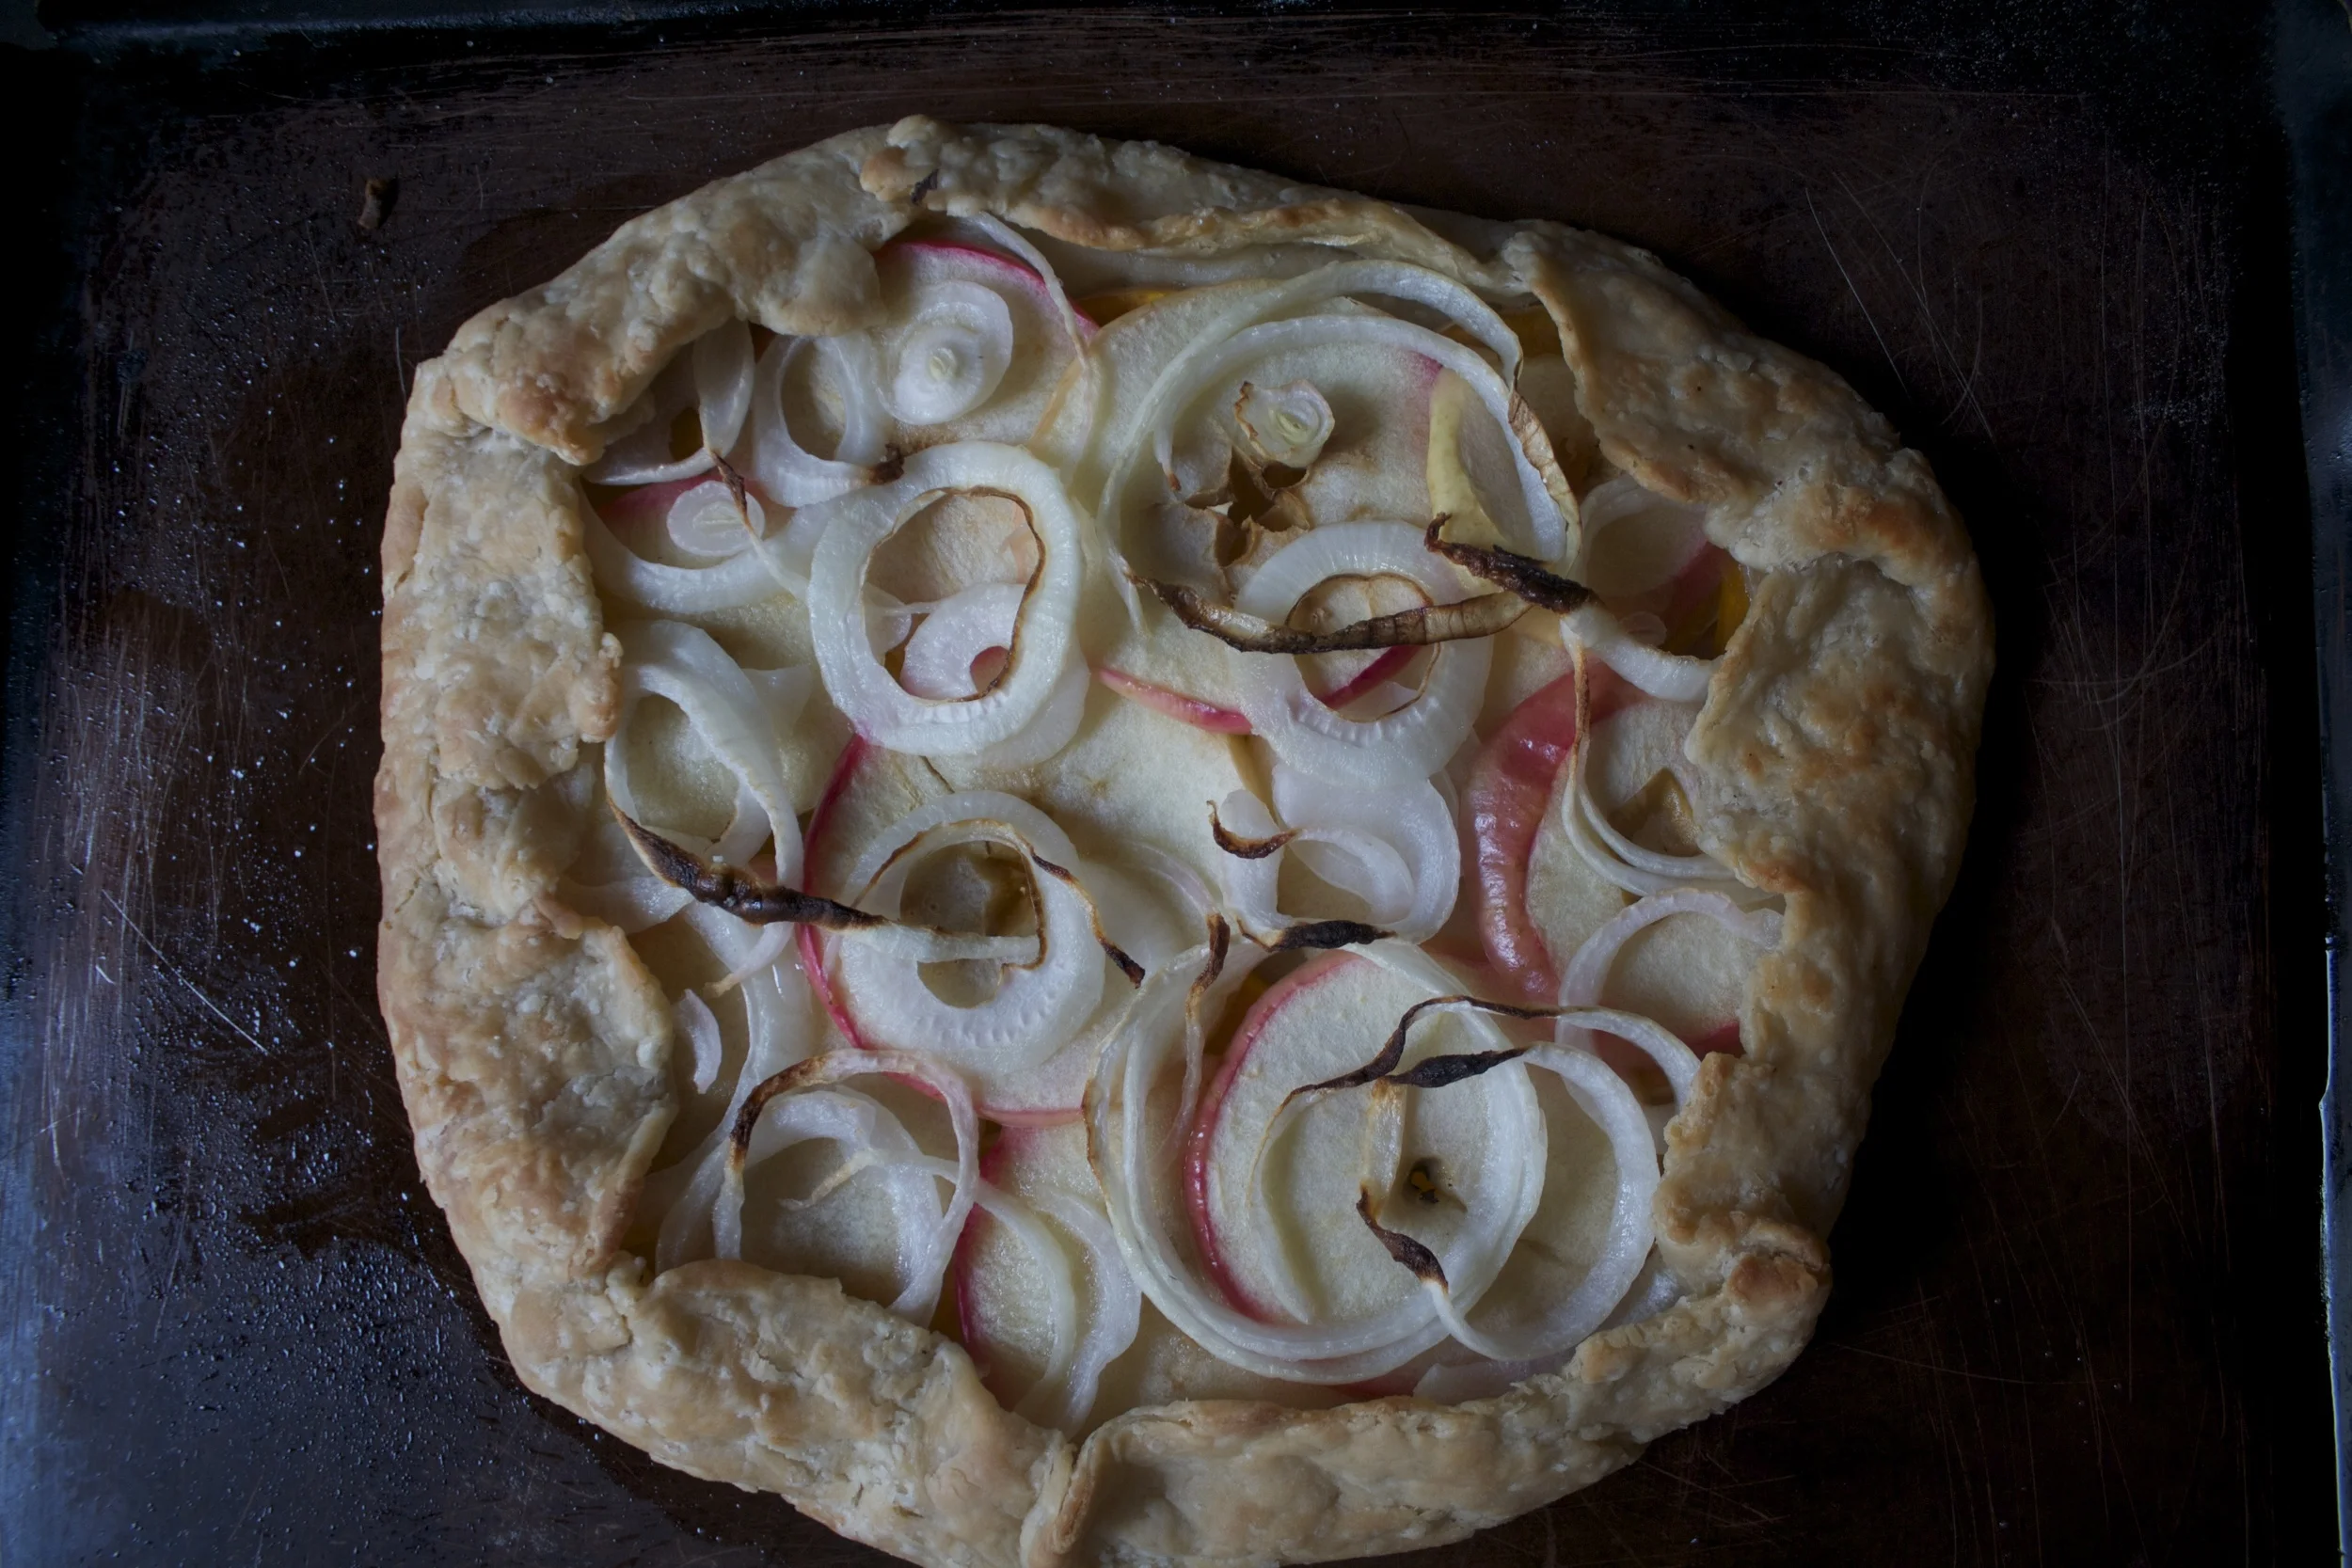
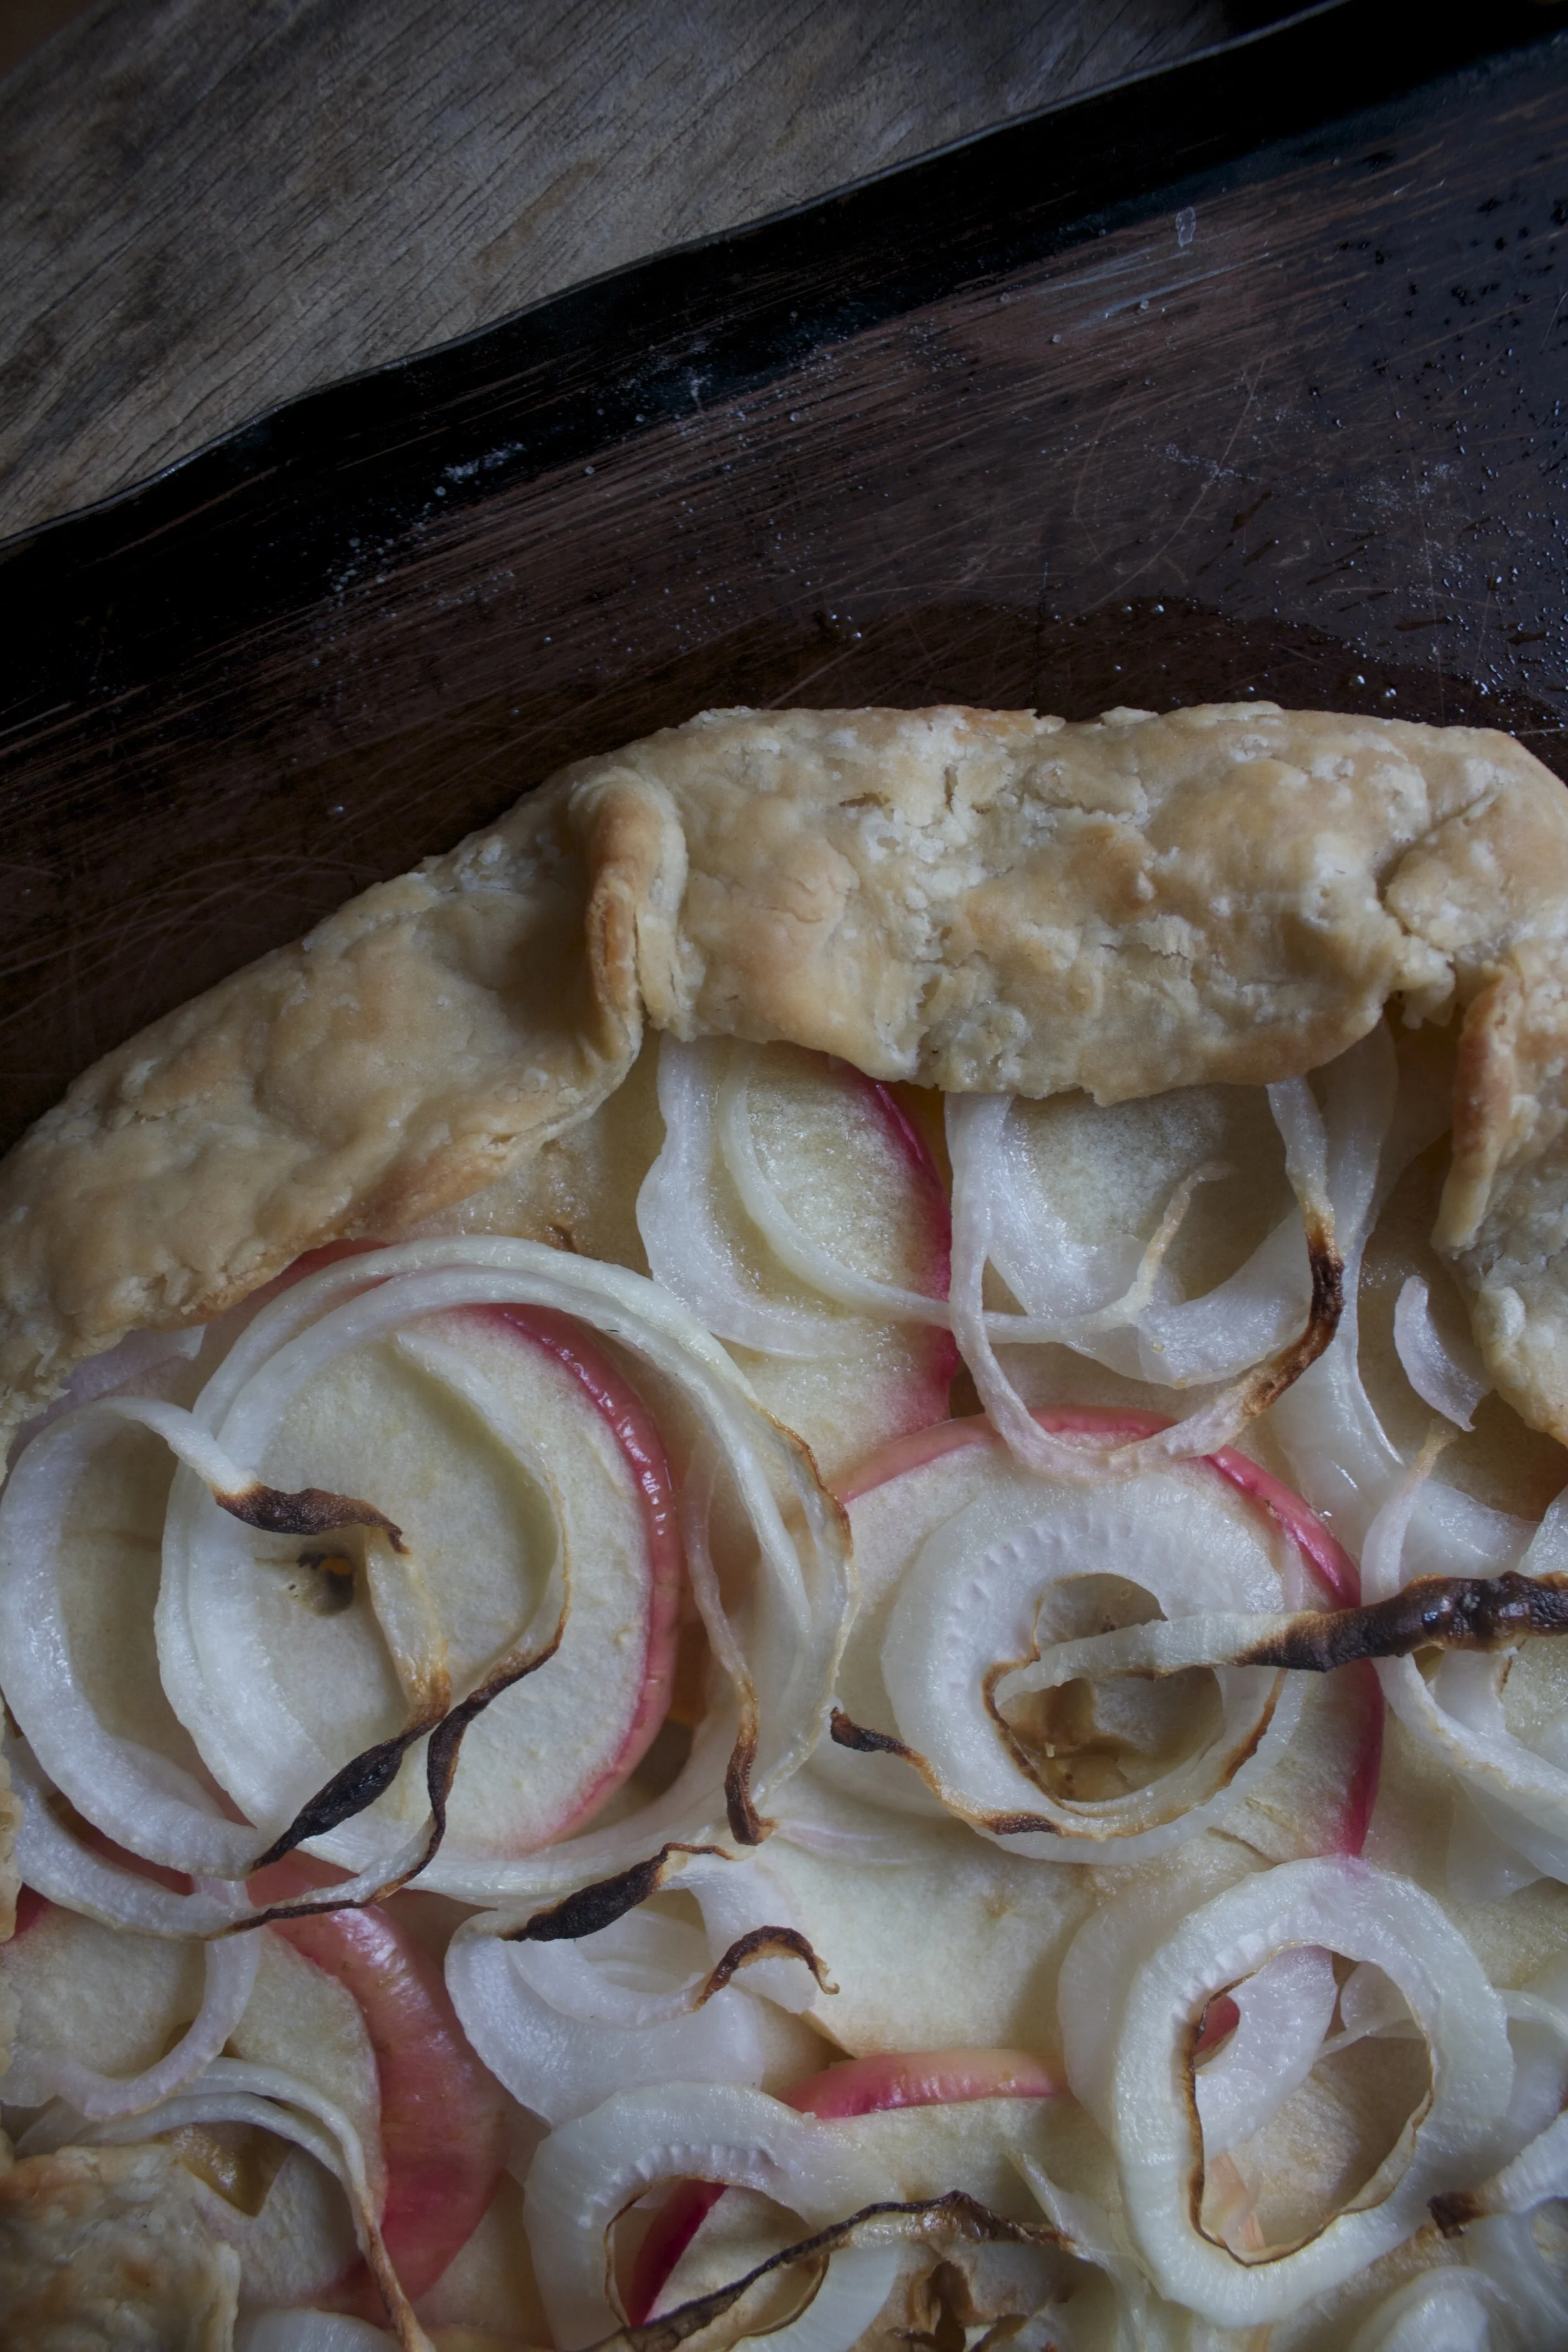
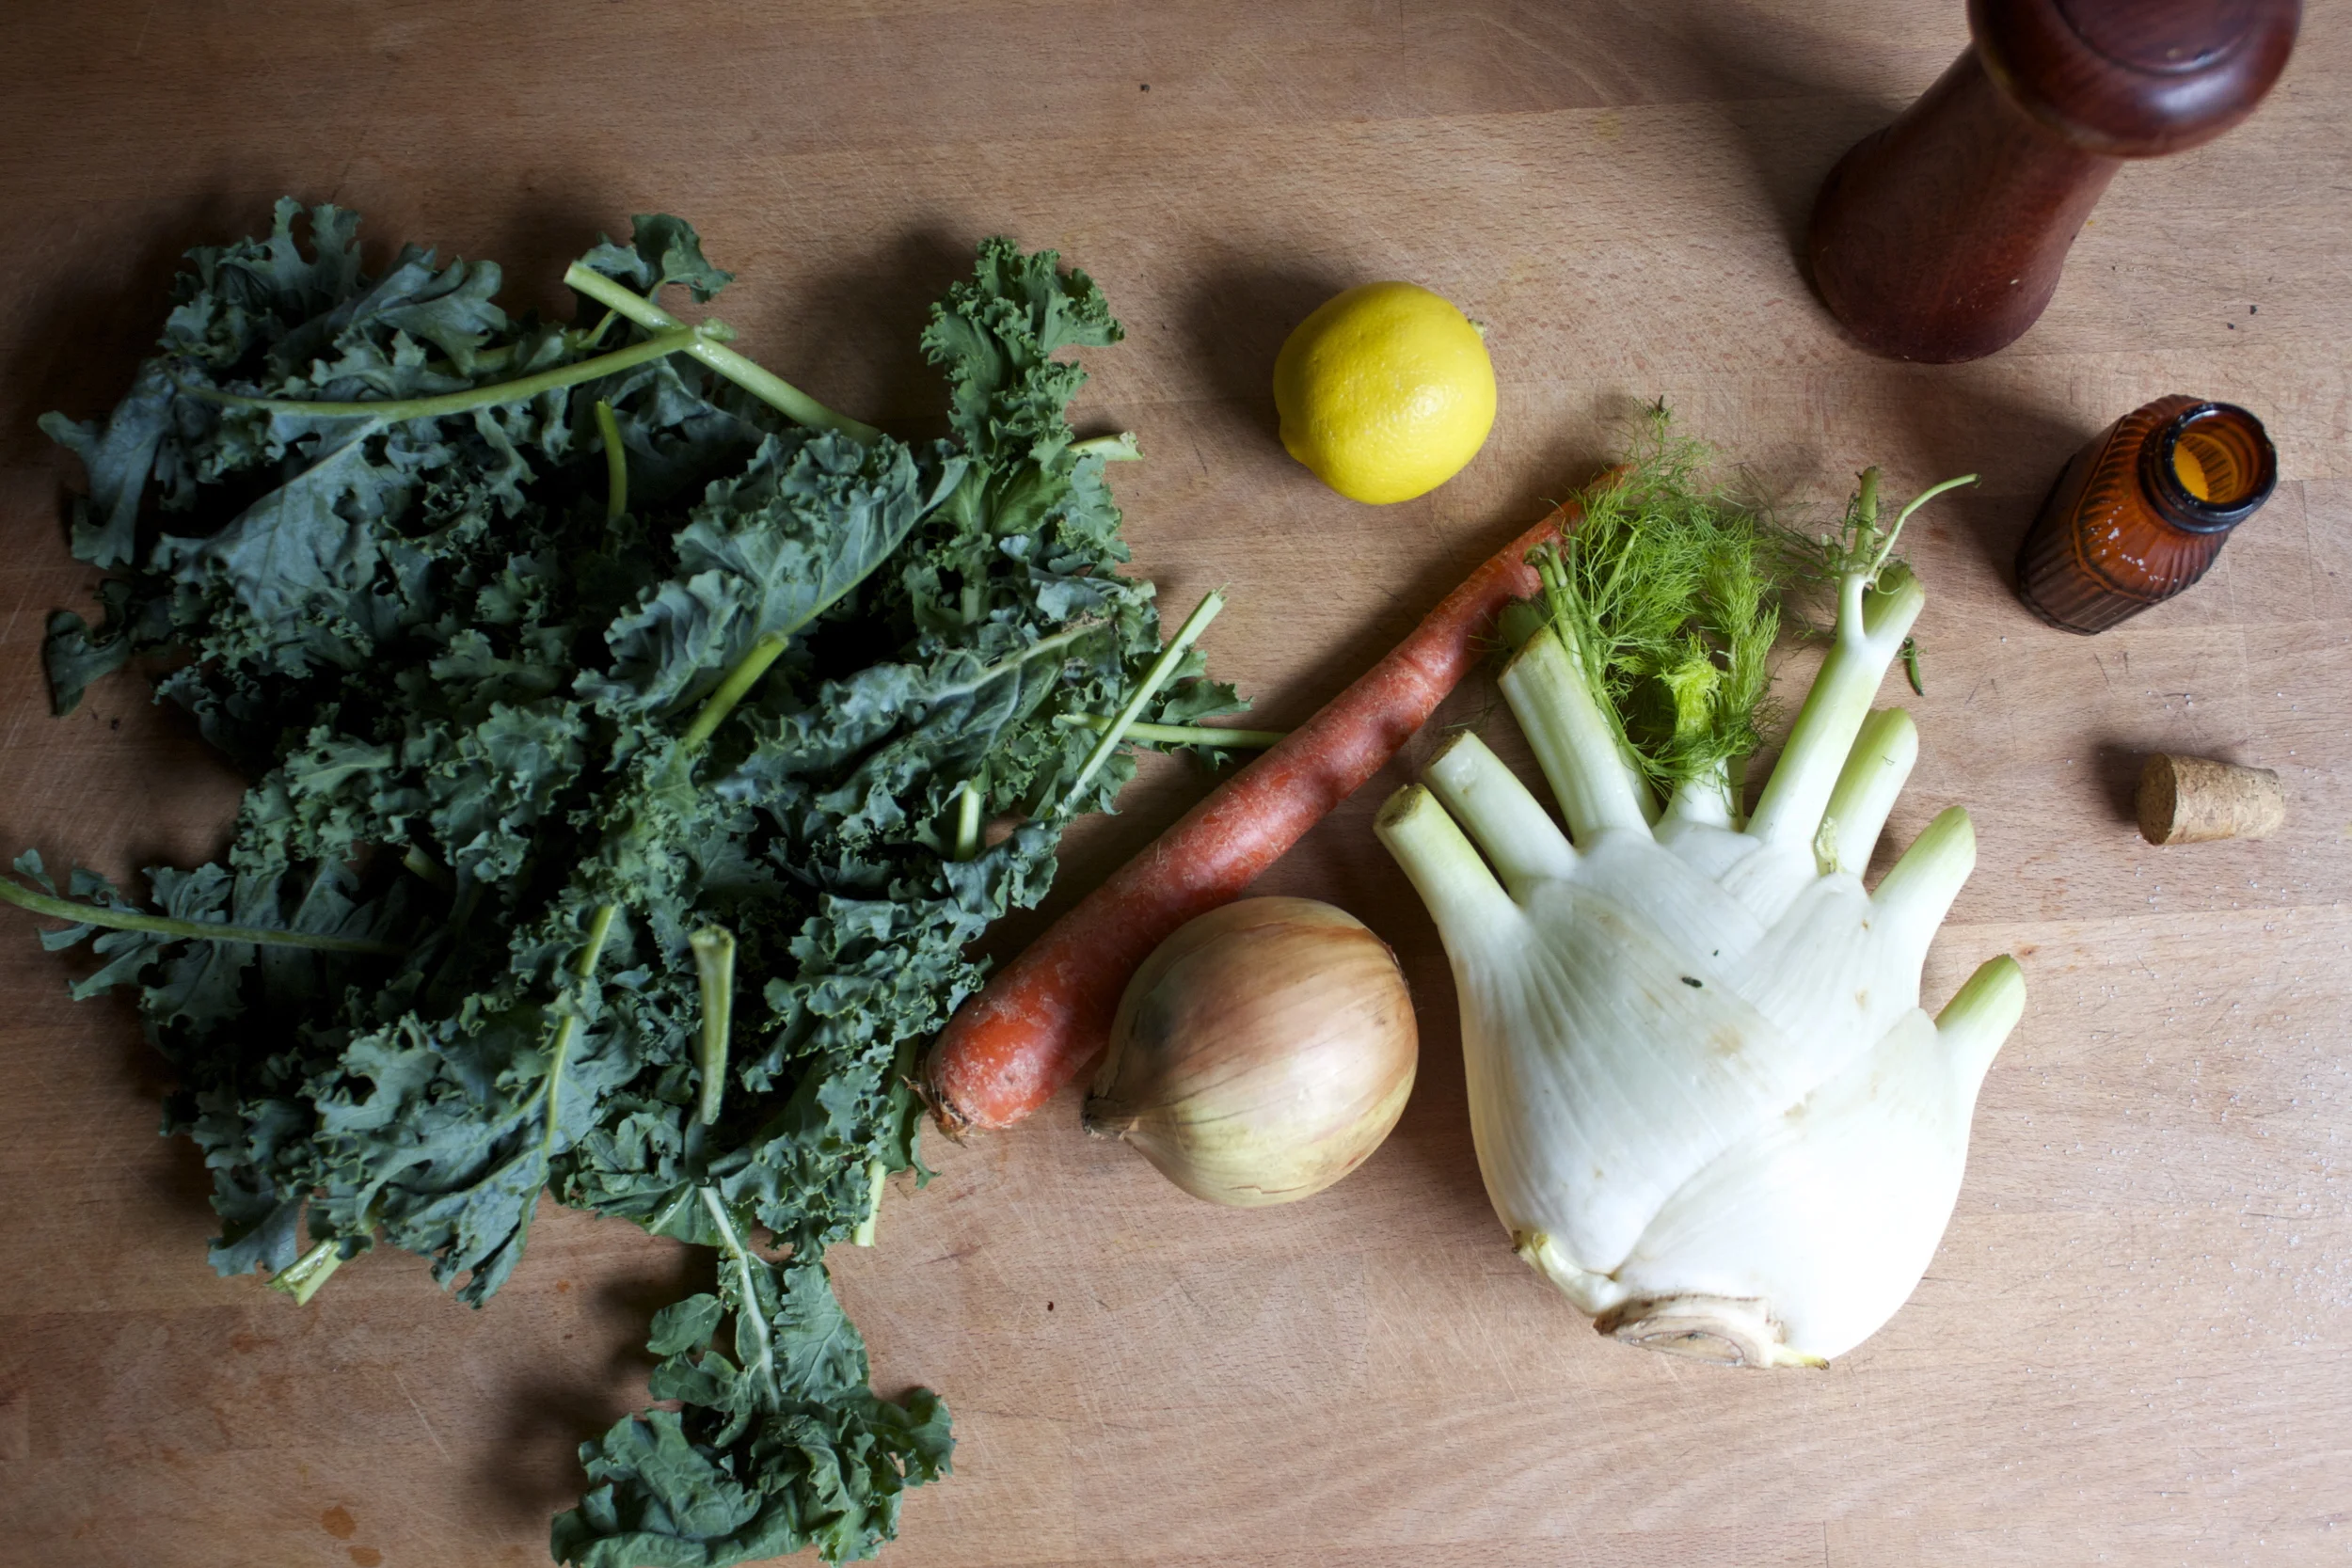


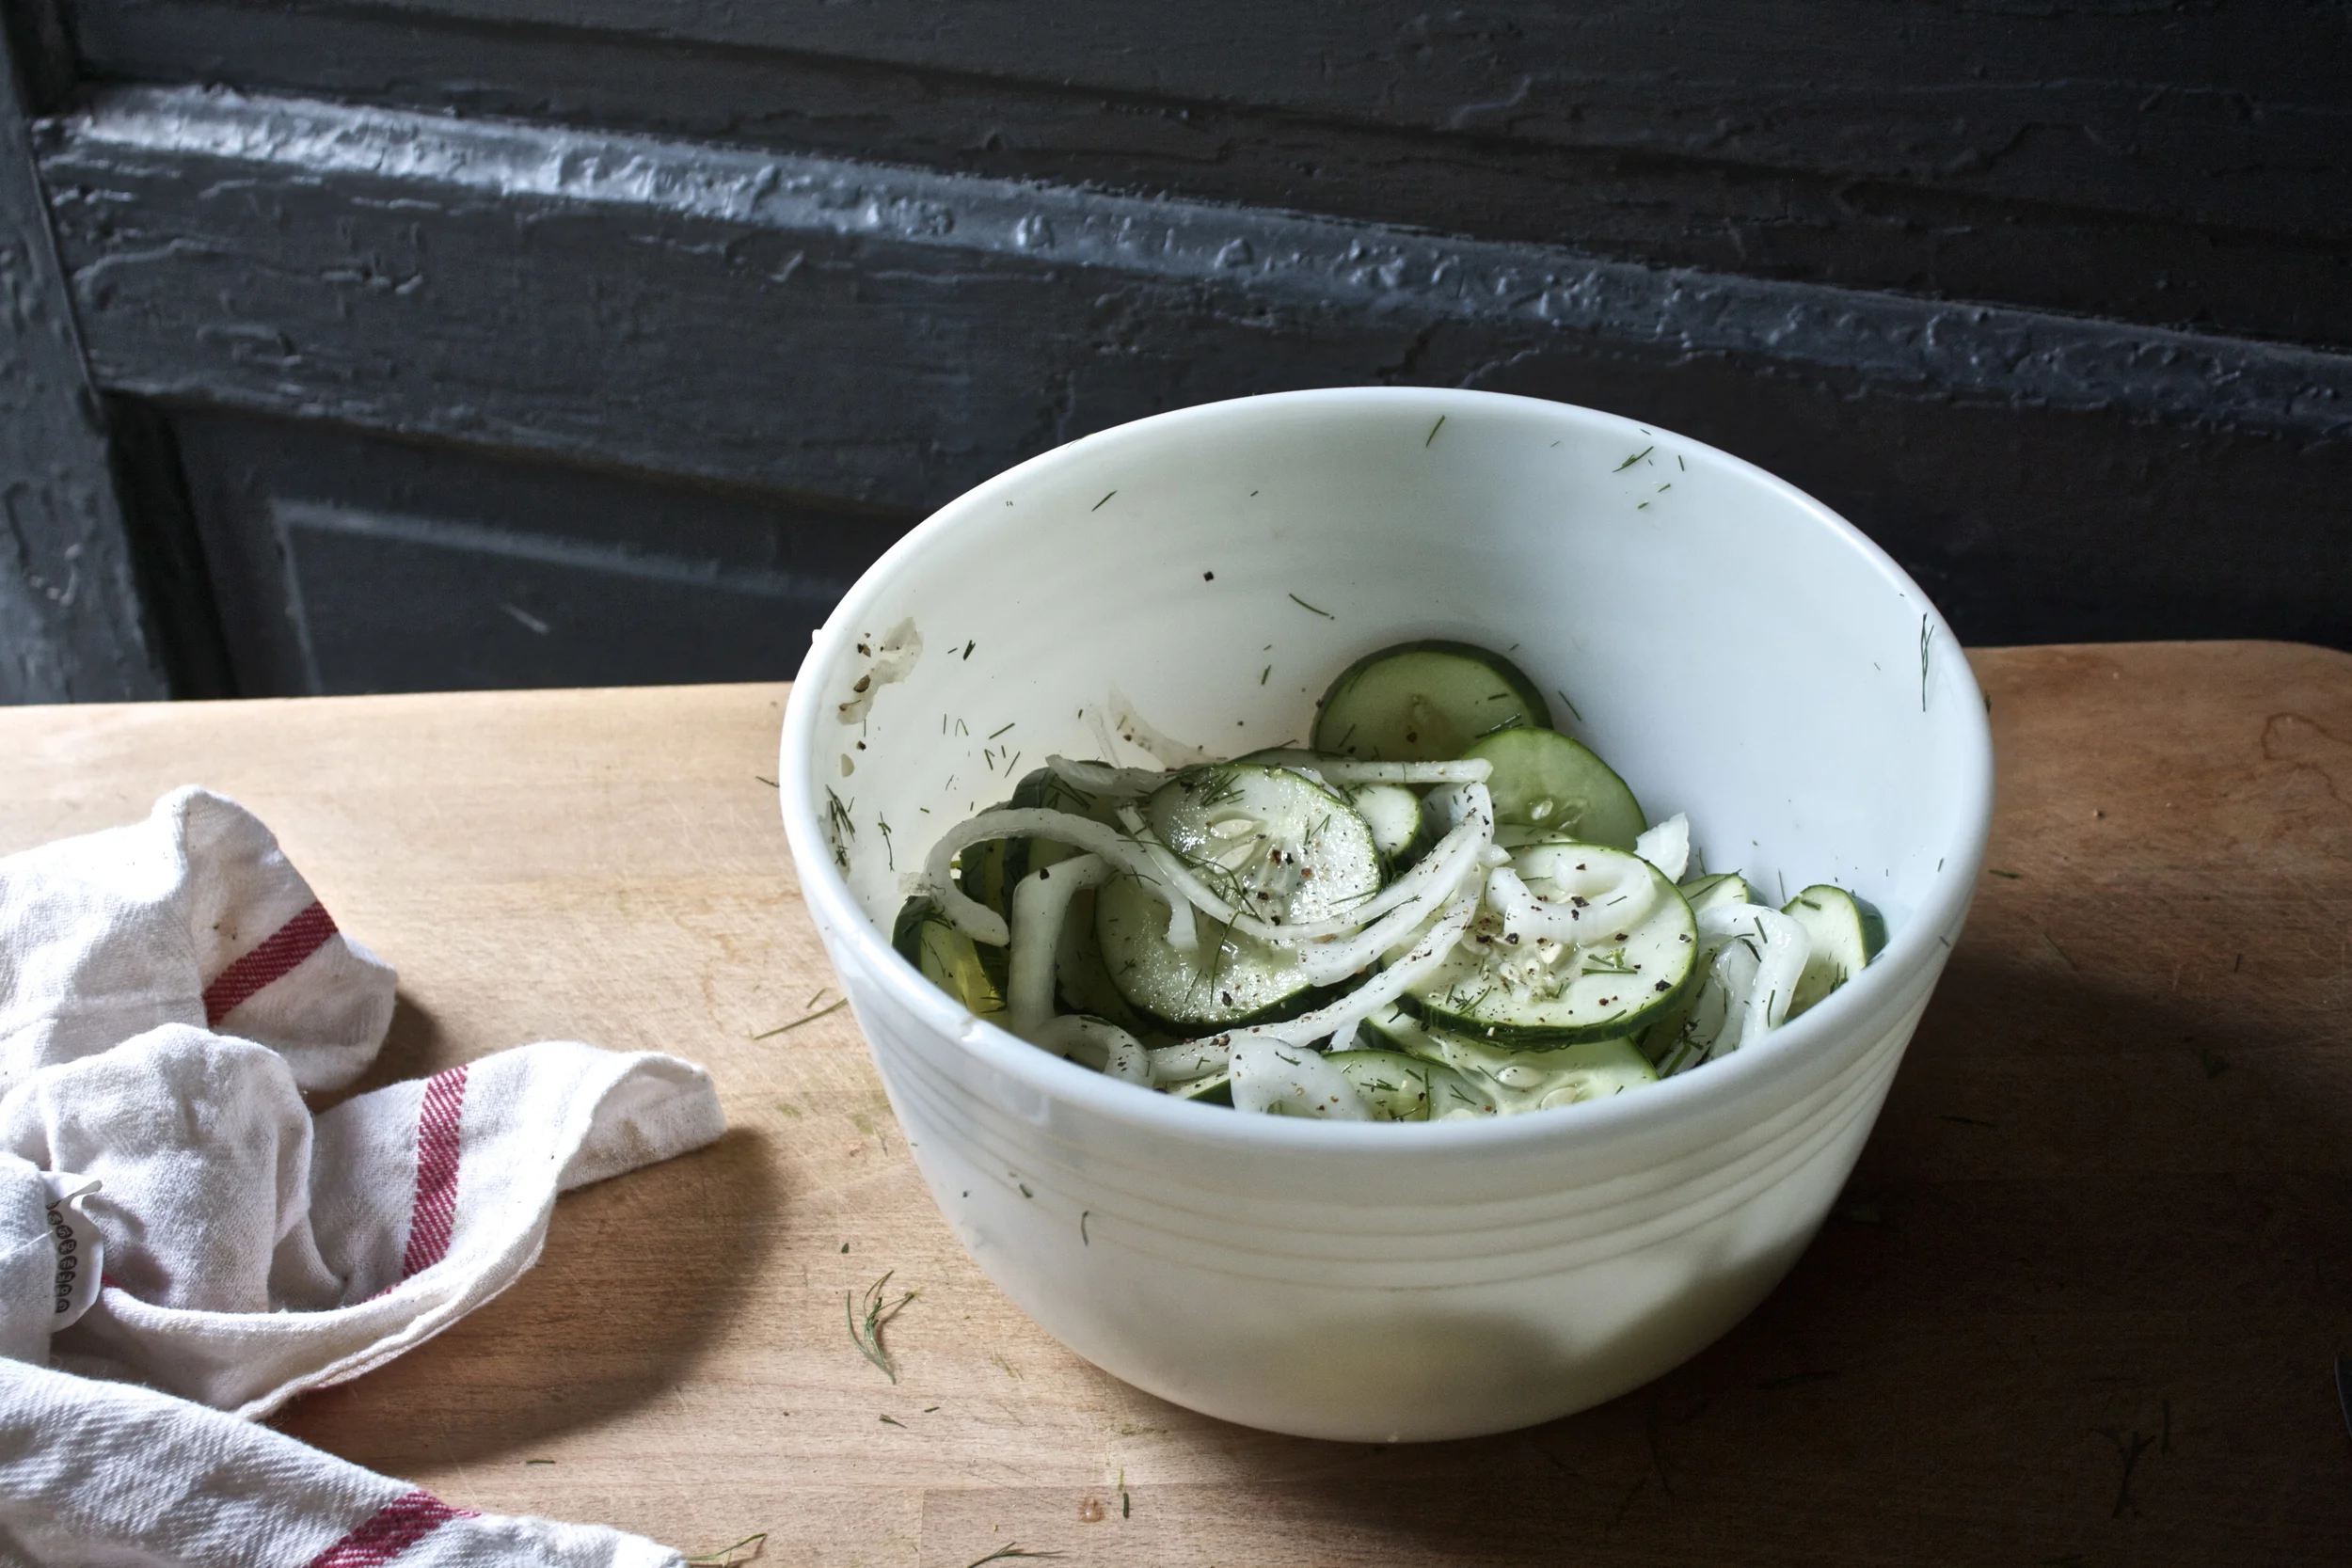
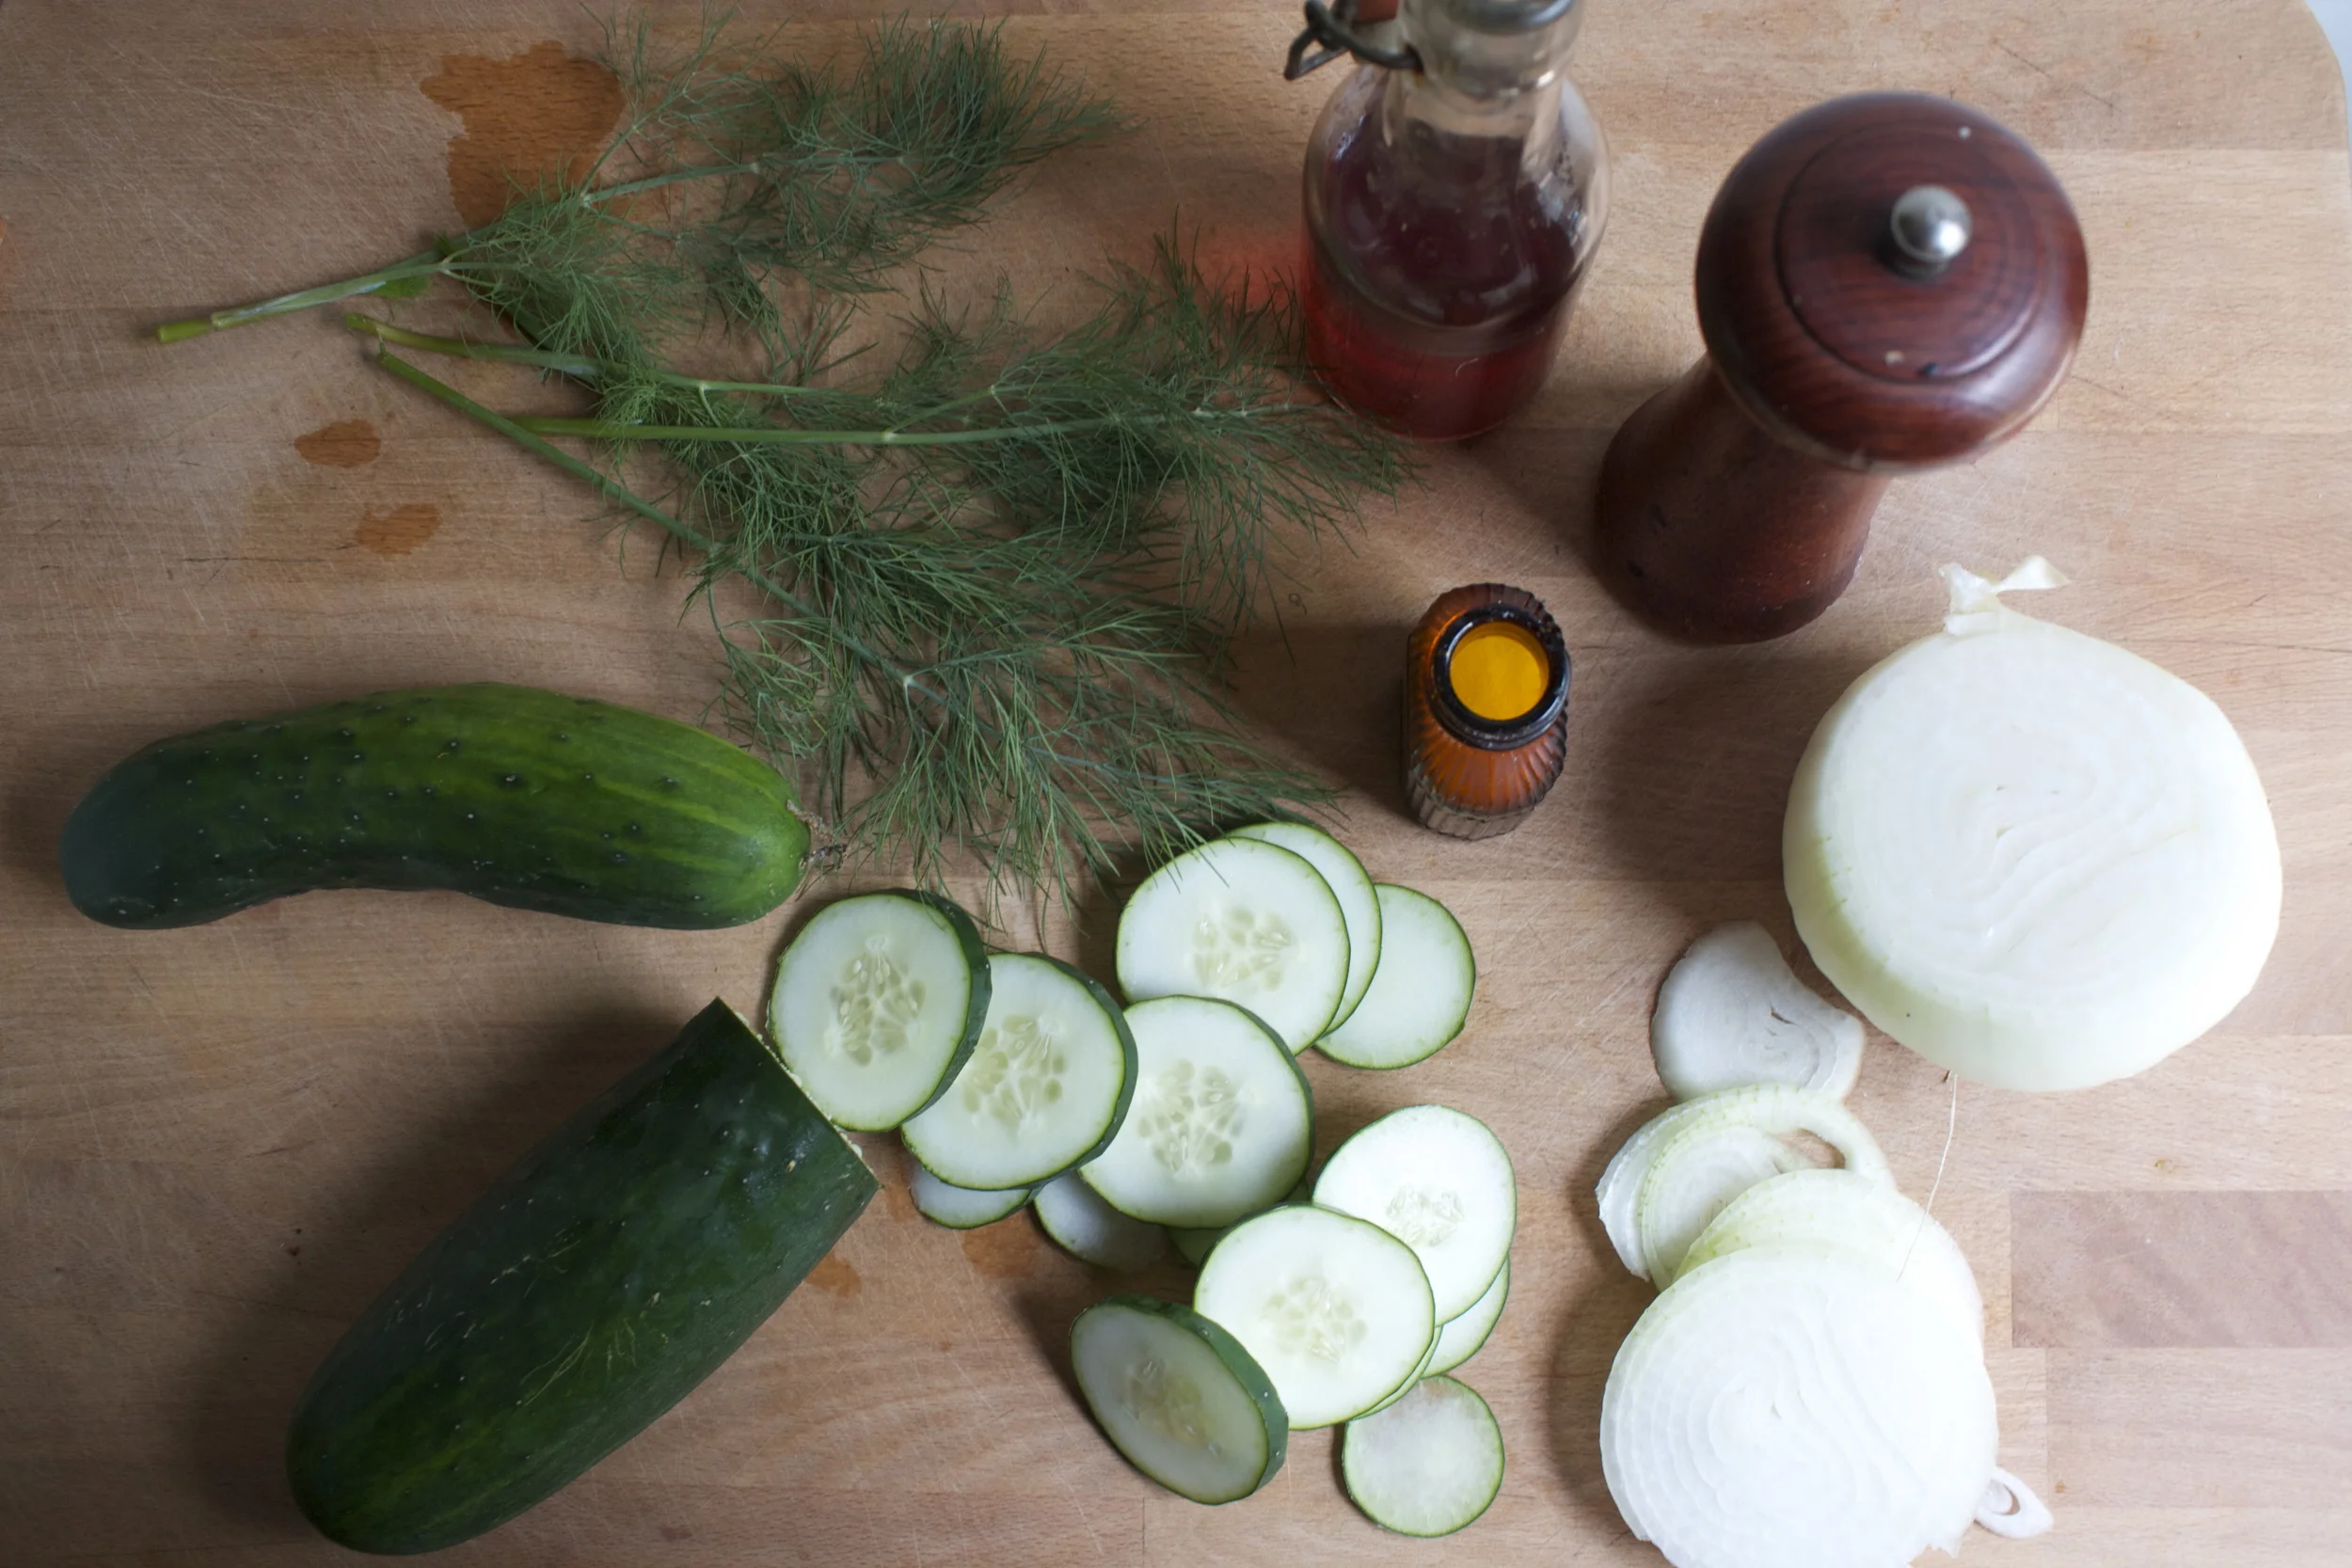
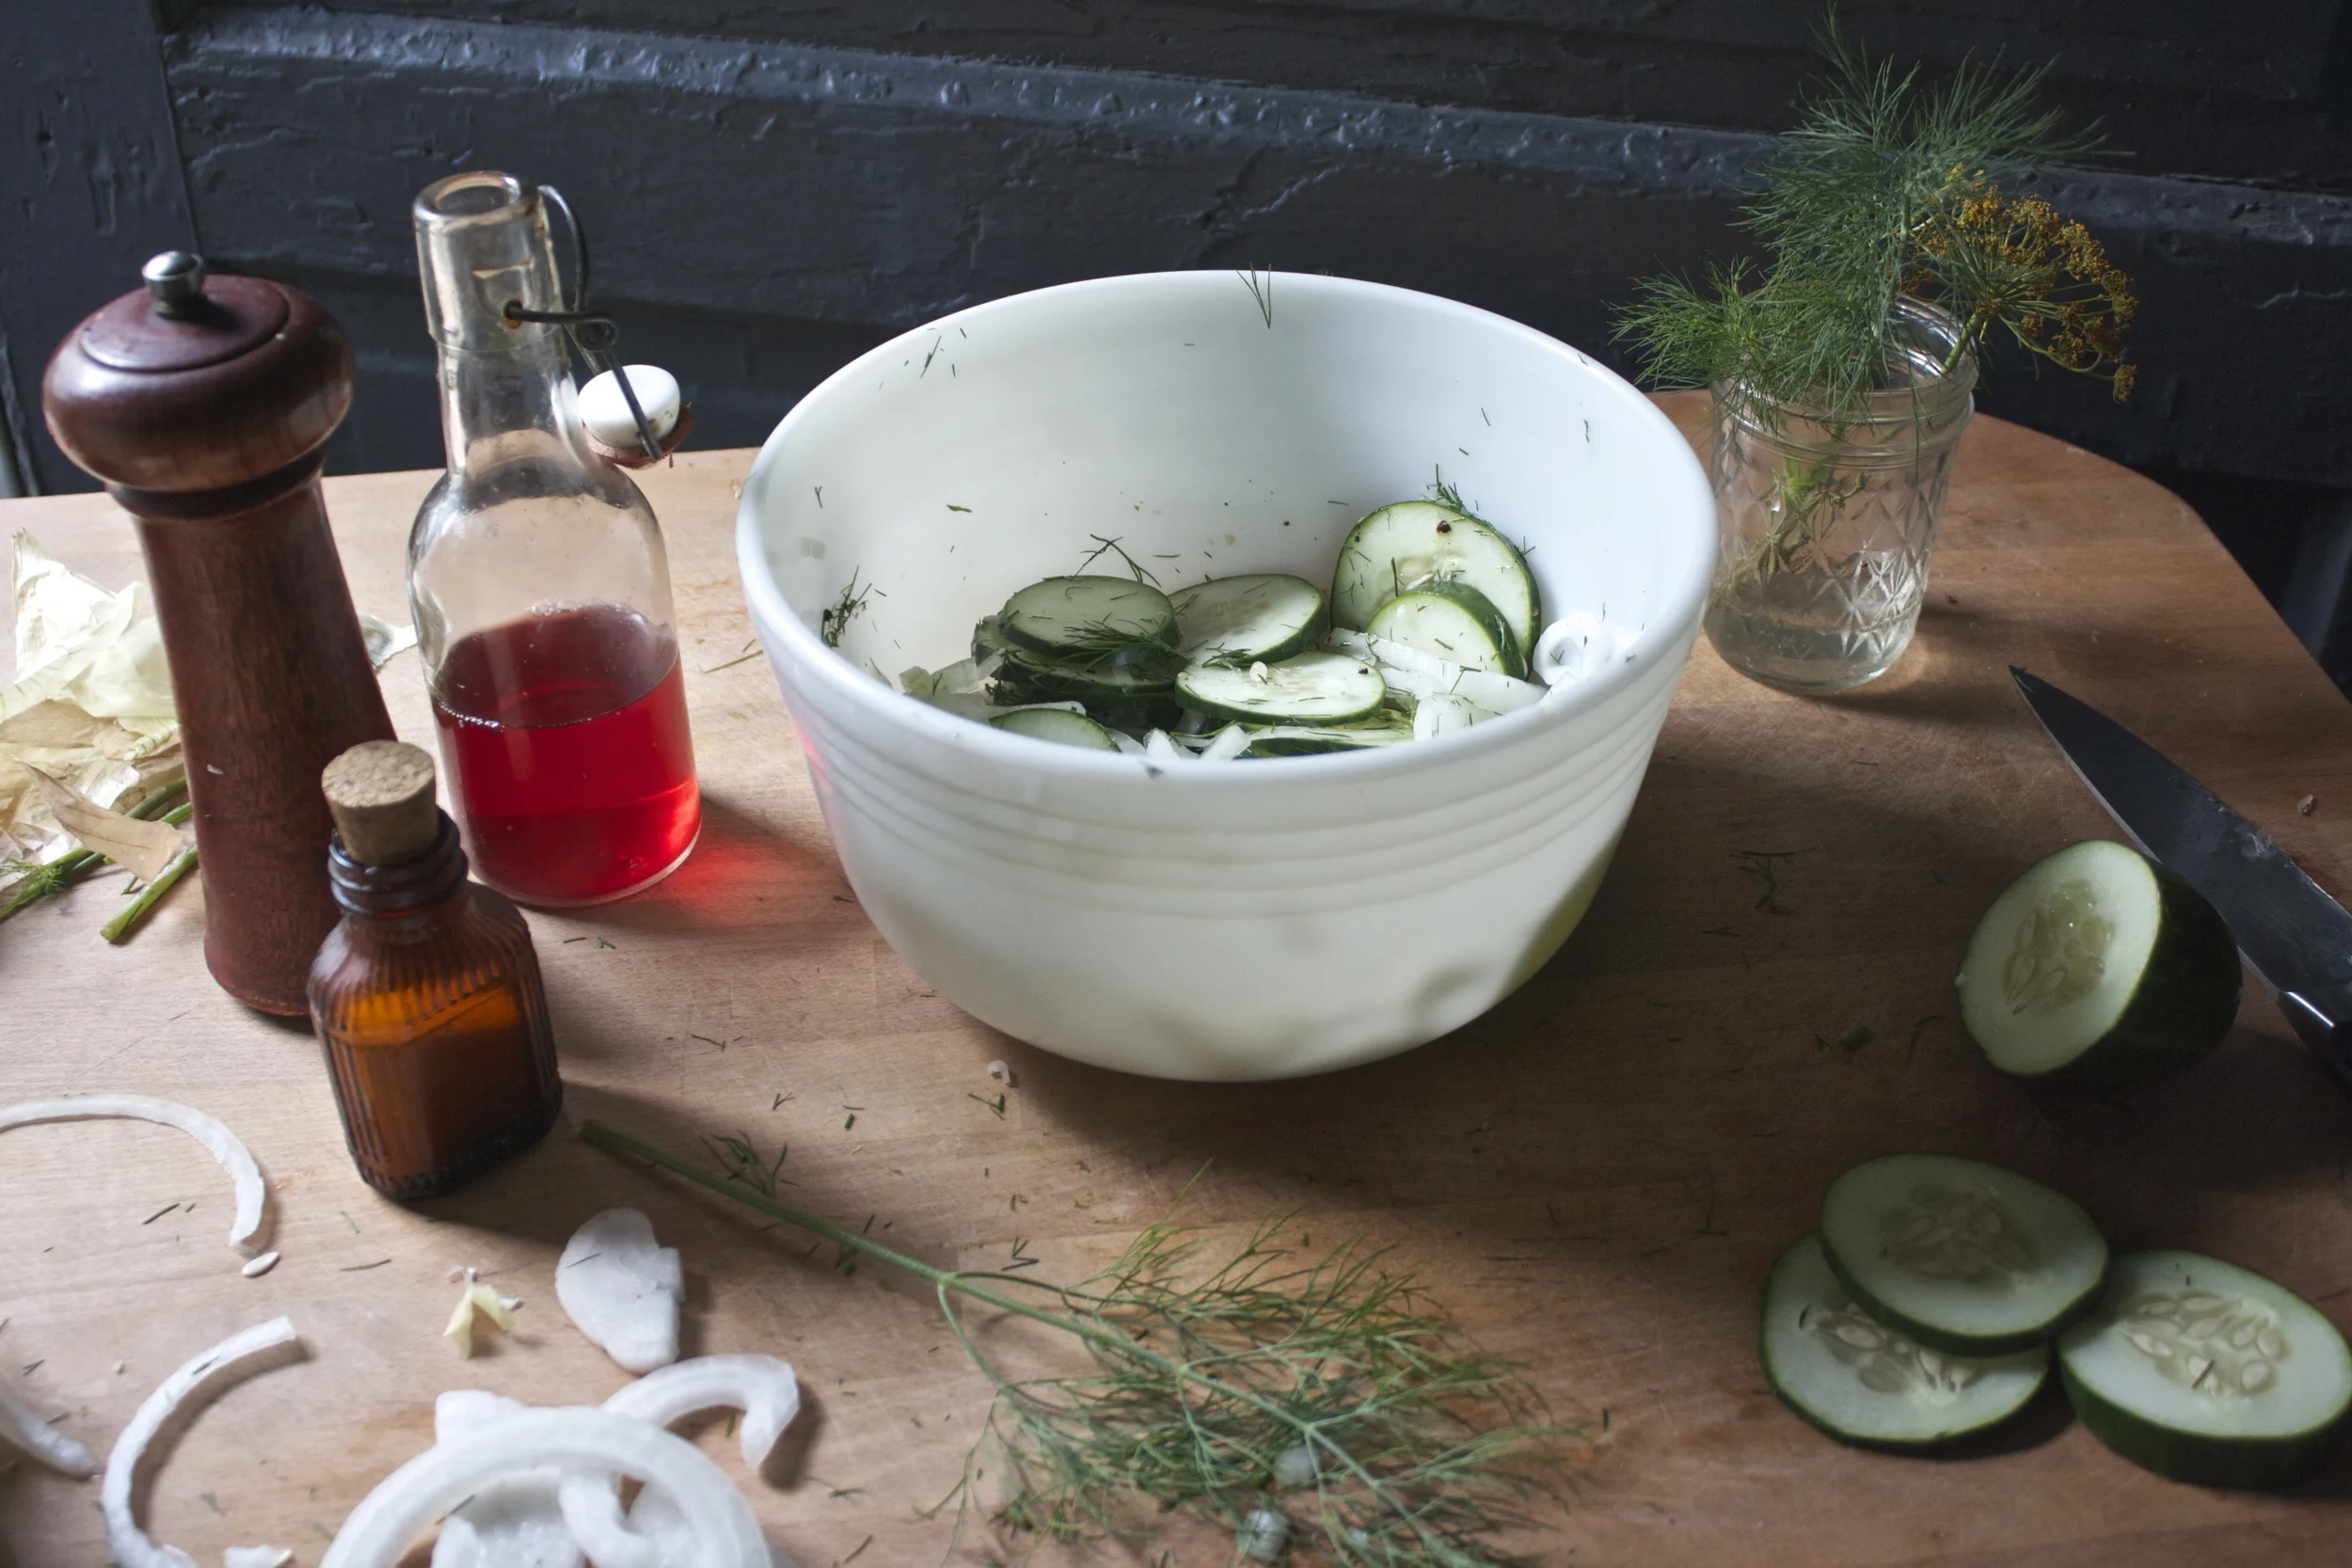
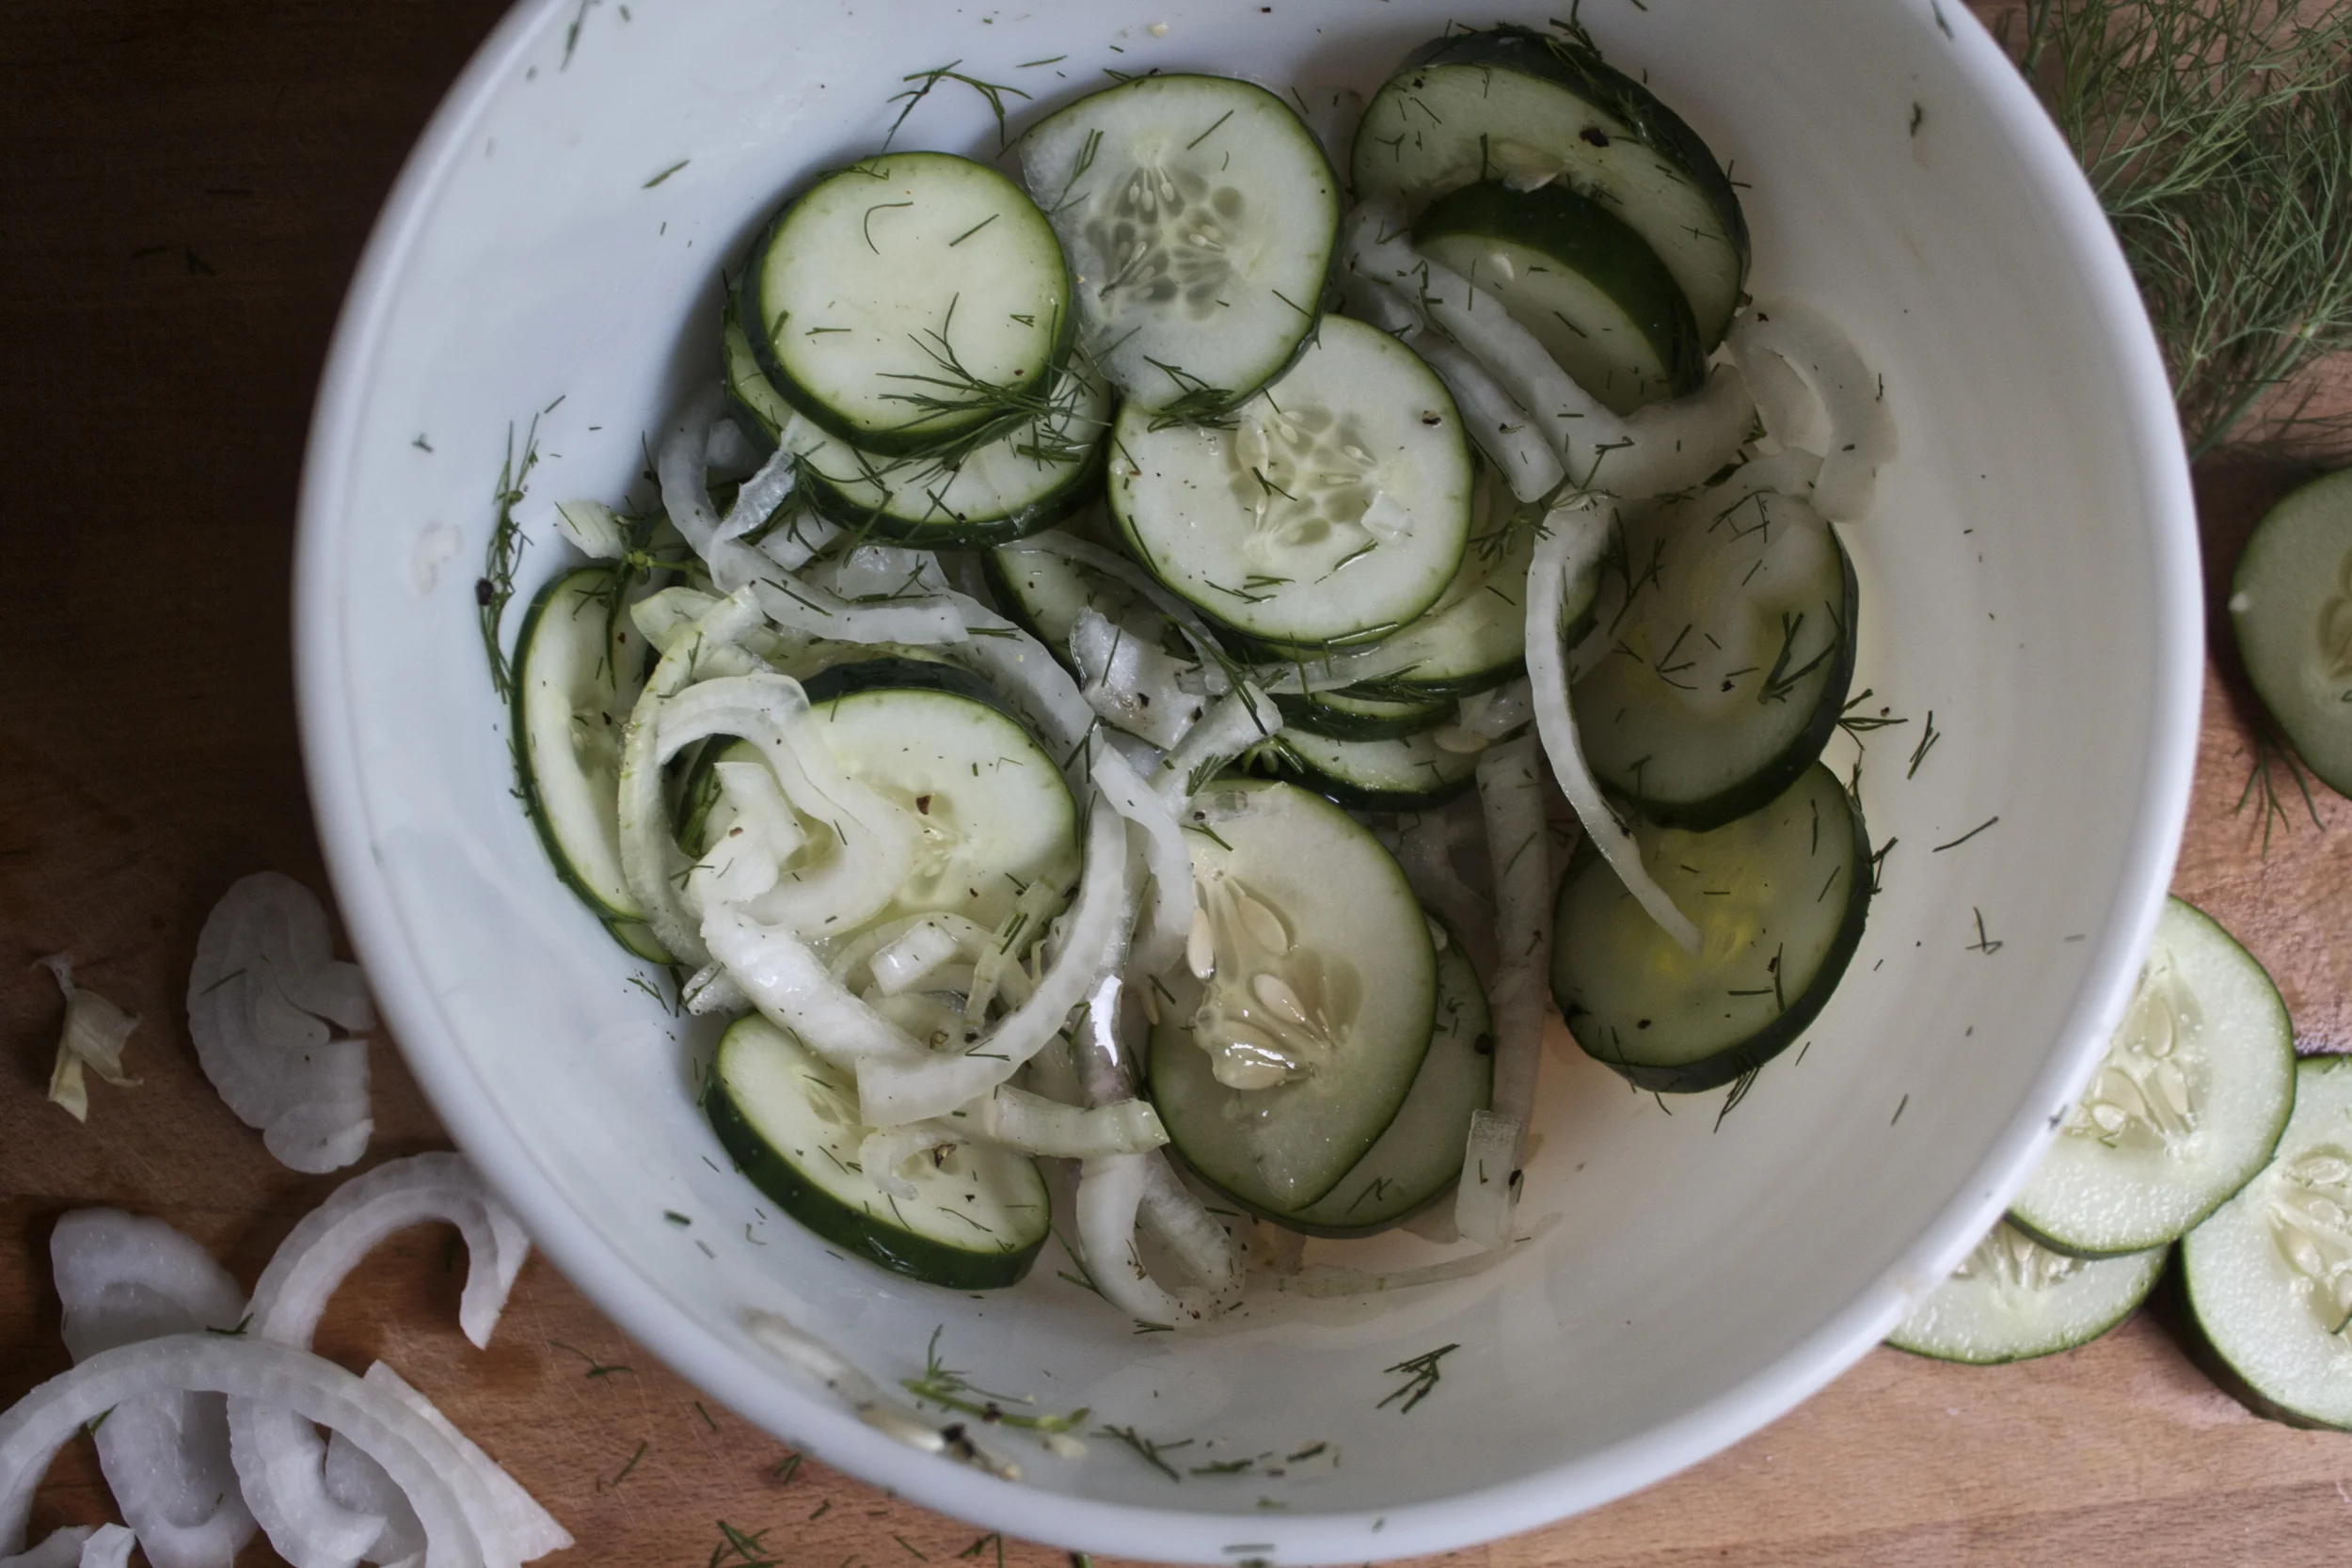


 My winter farm share is coming to an end this week. One more pick and then a three week stretch until the summer share starts%u2026 WHAT AM I GOING TO DO!!! Stock up as much as I can is what.
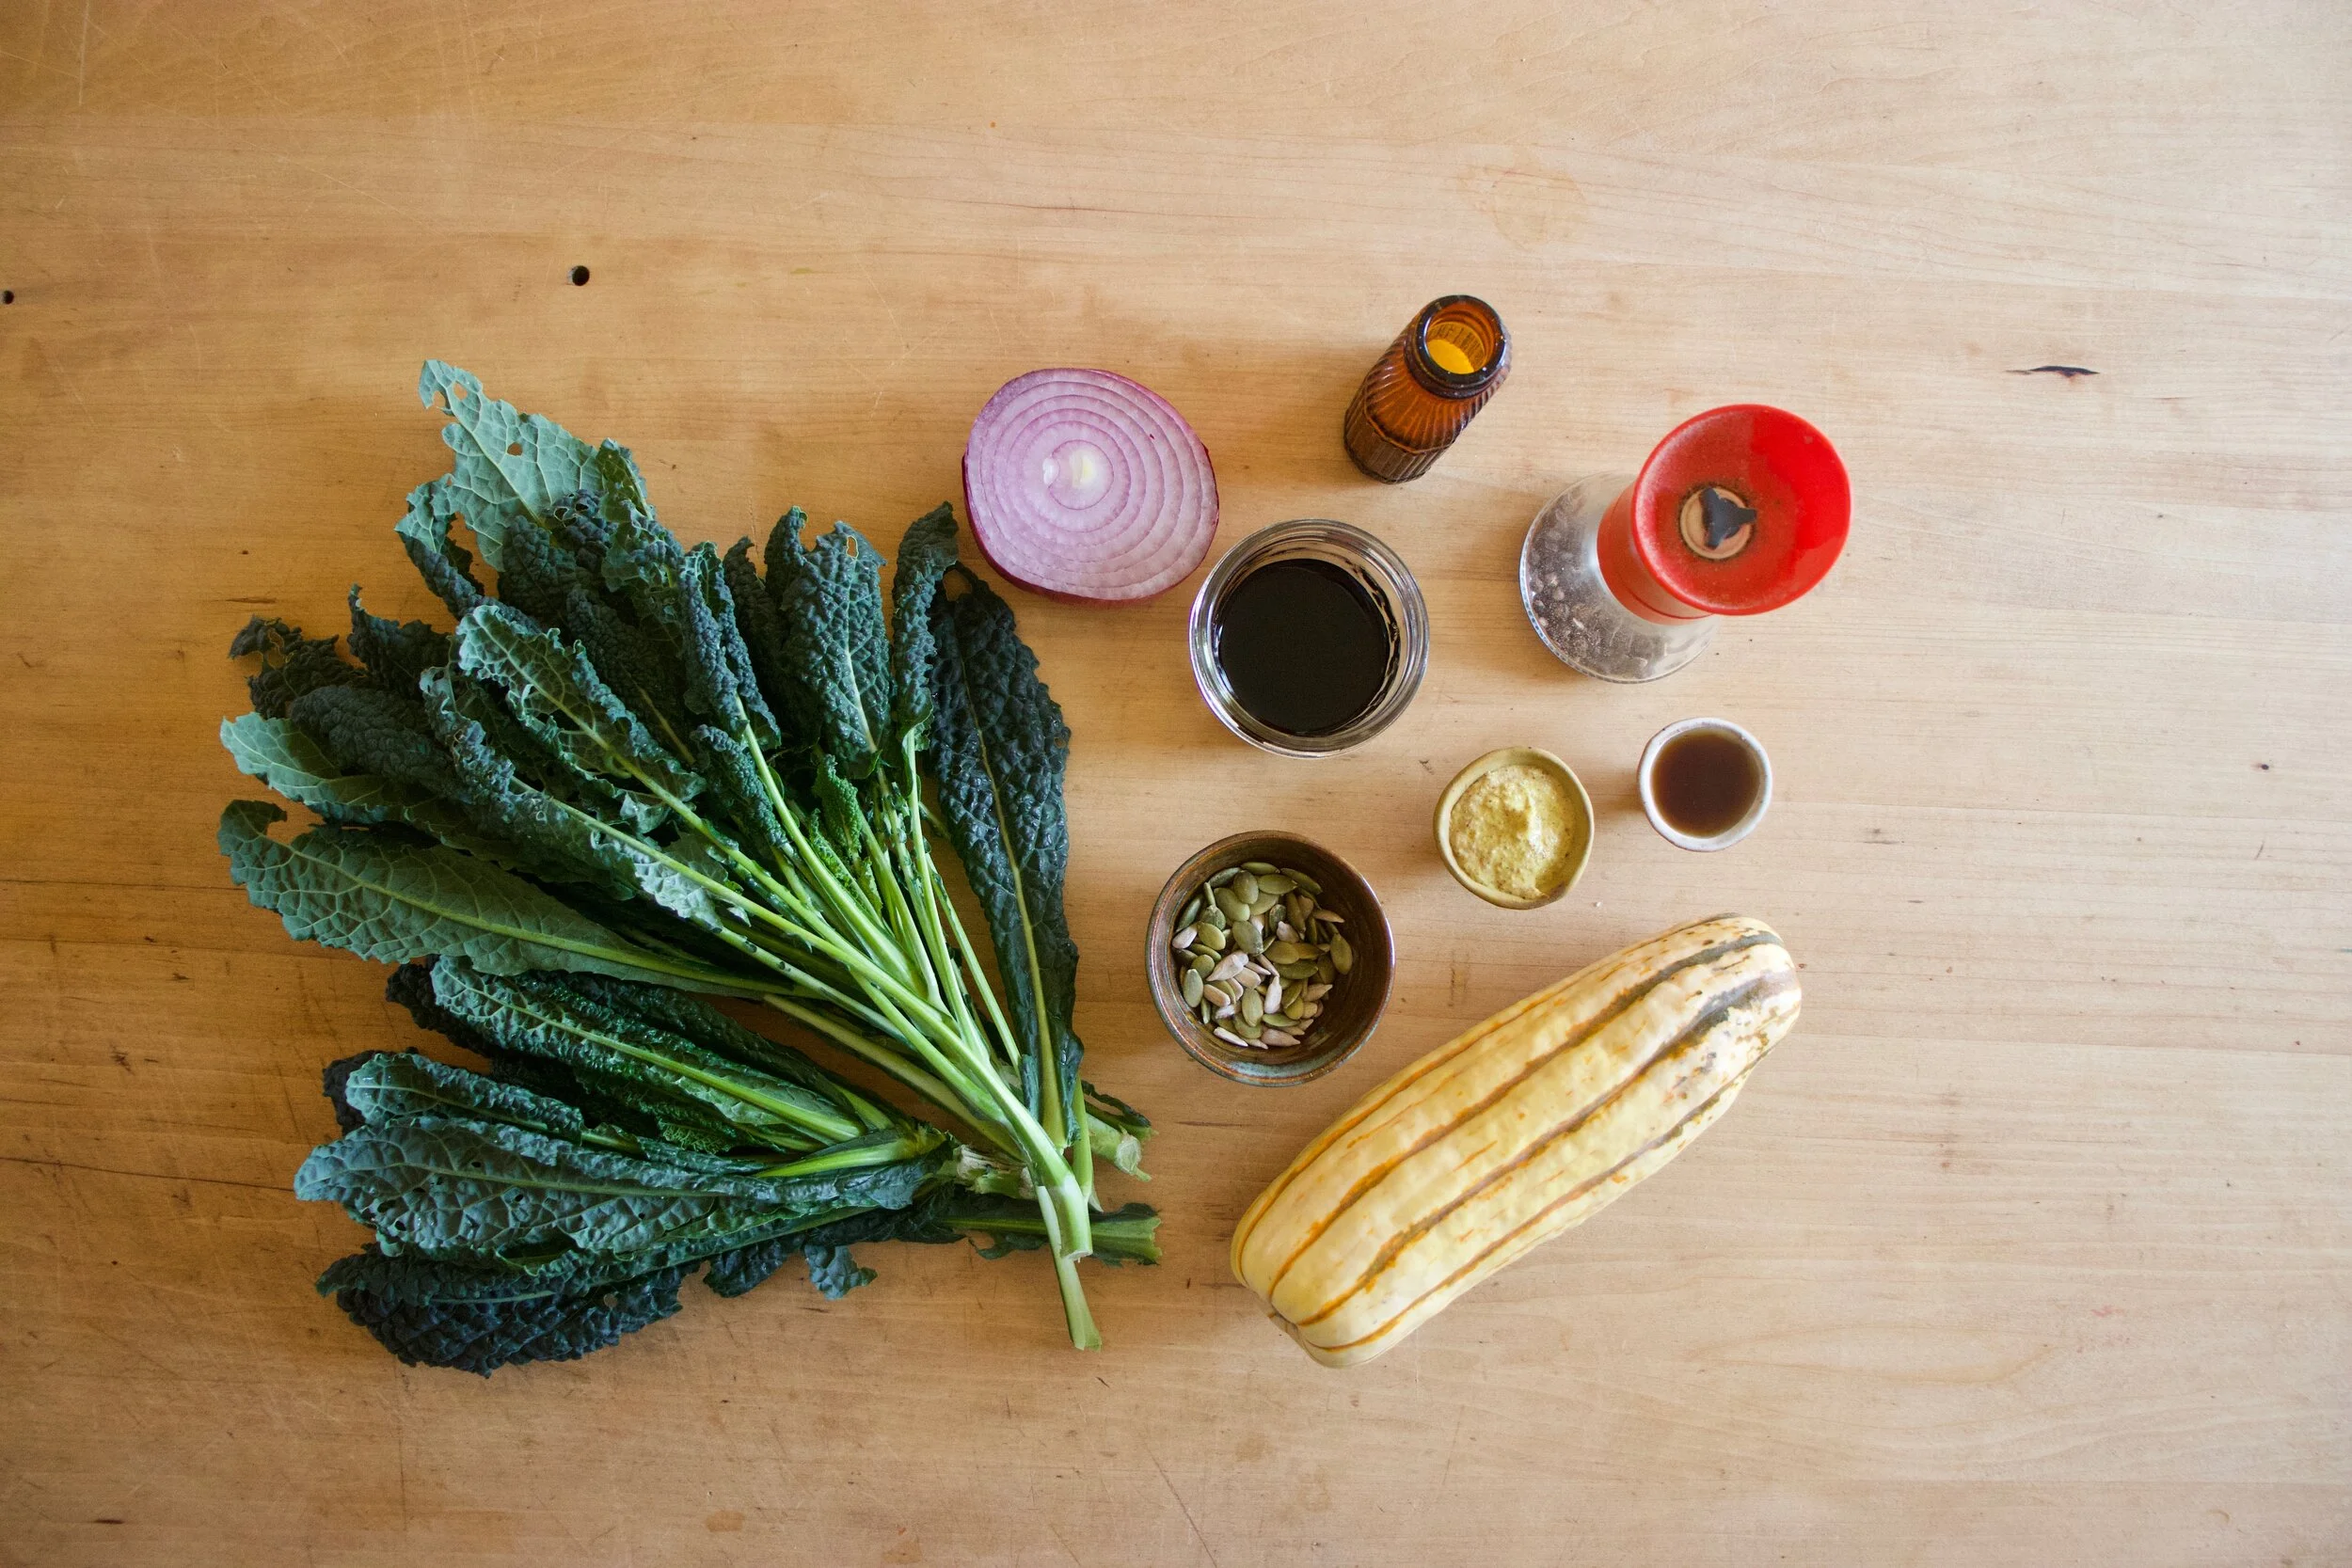
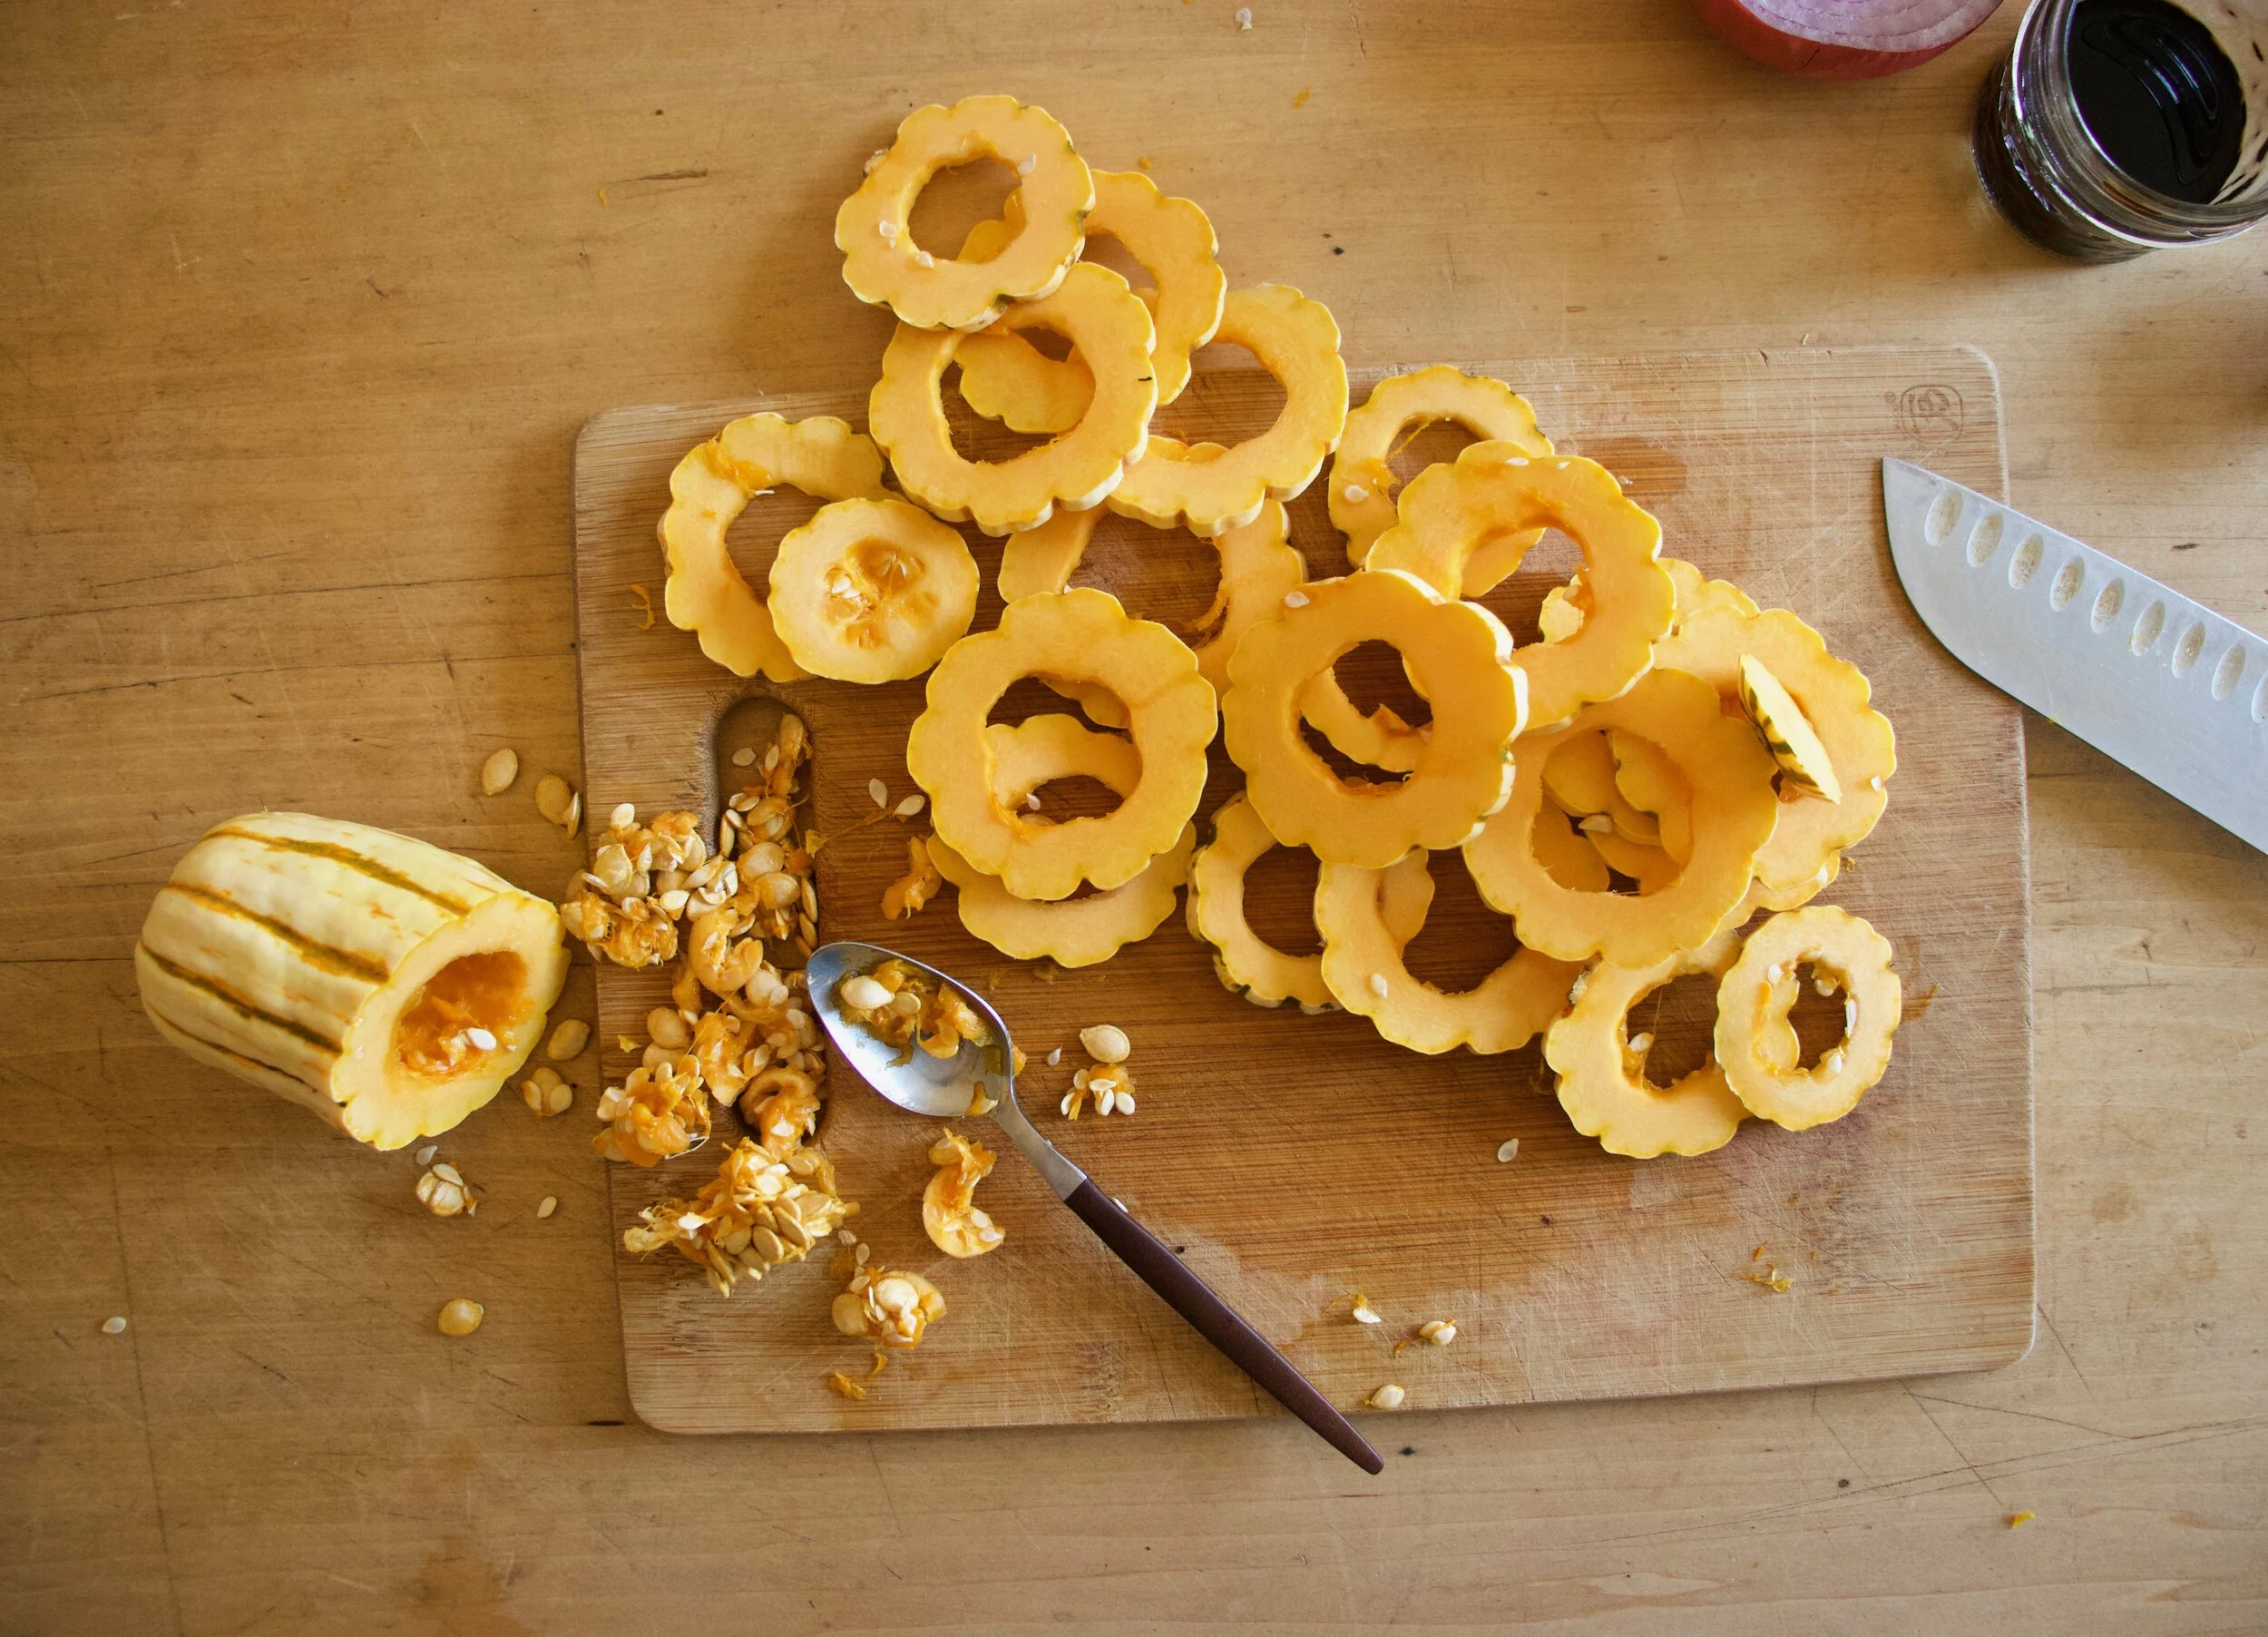
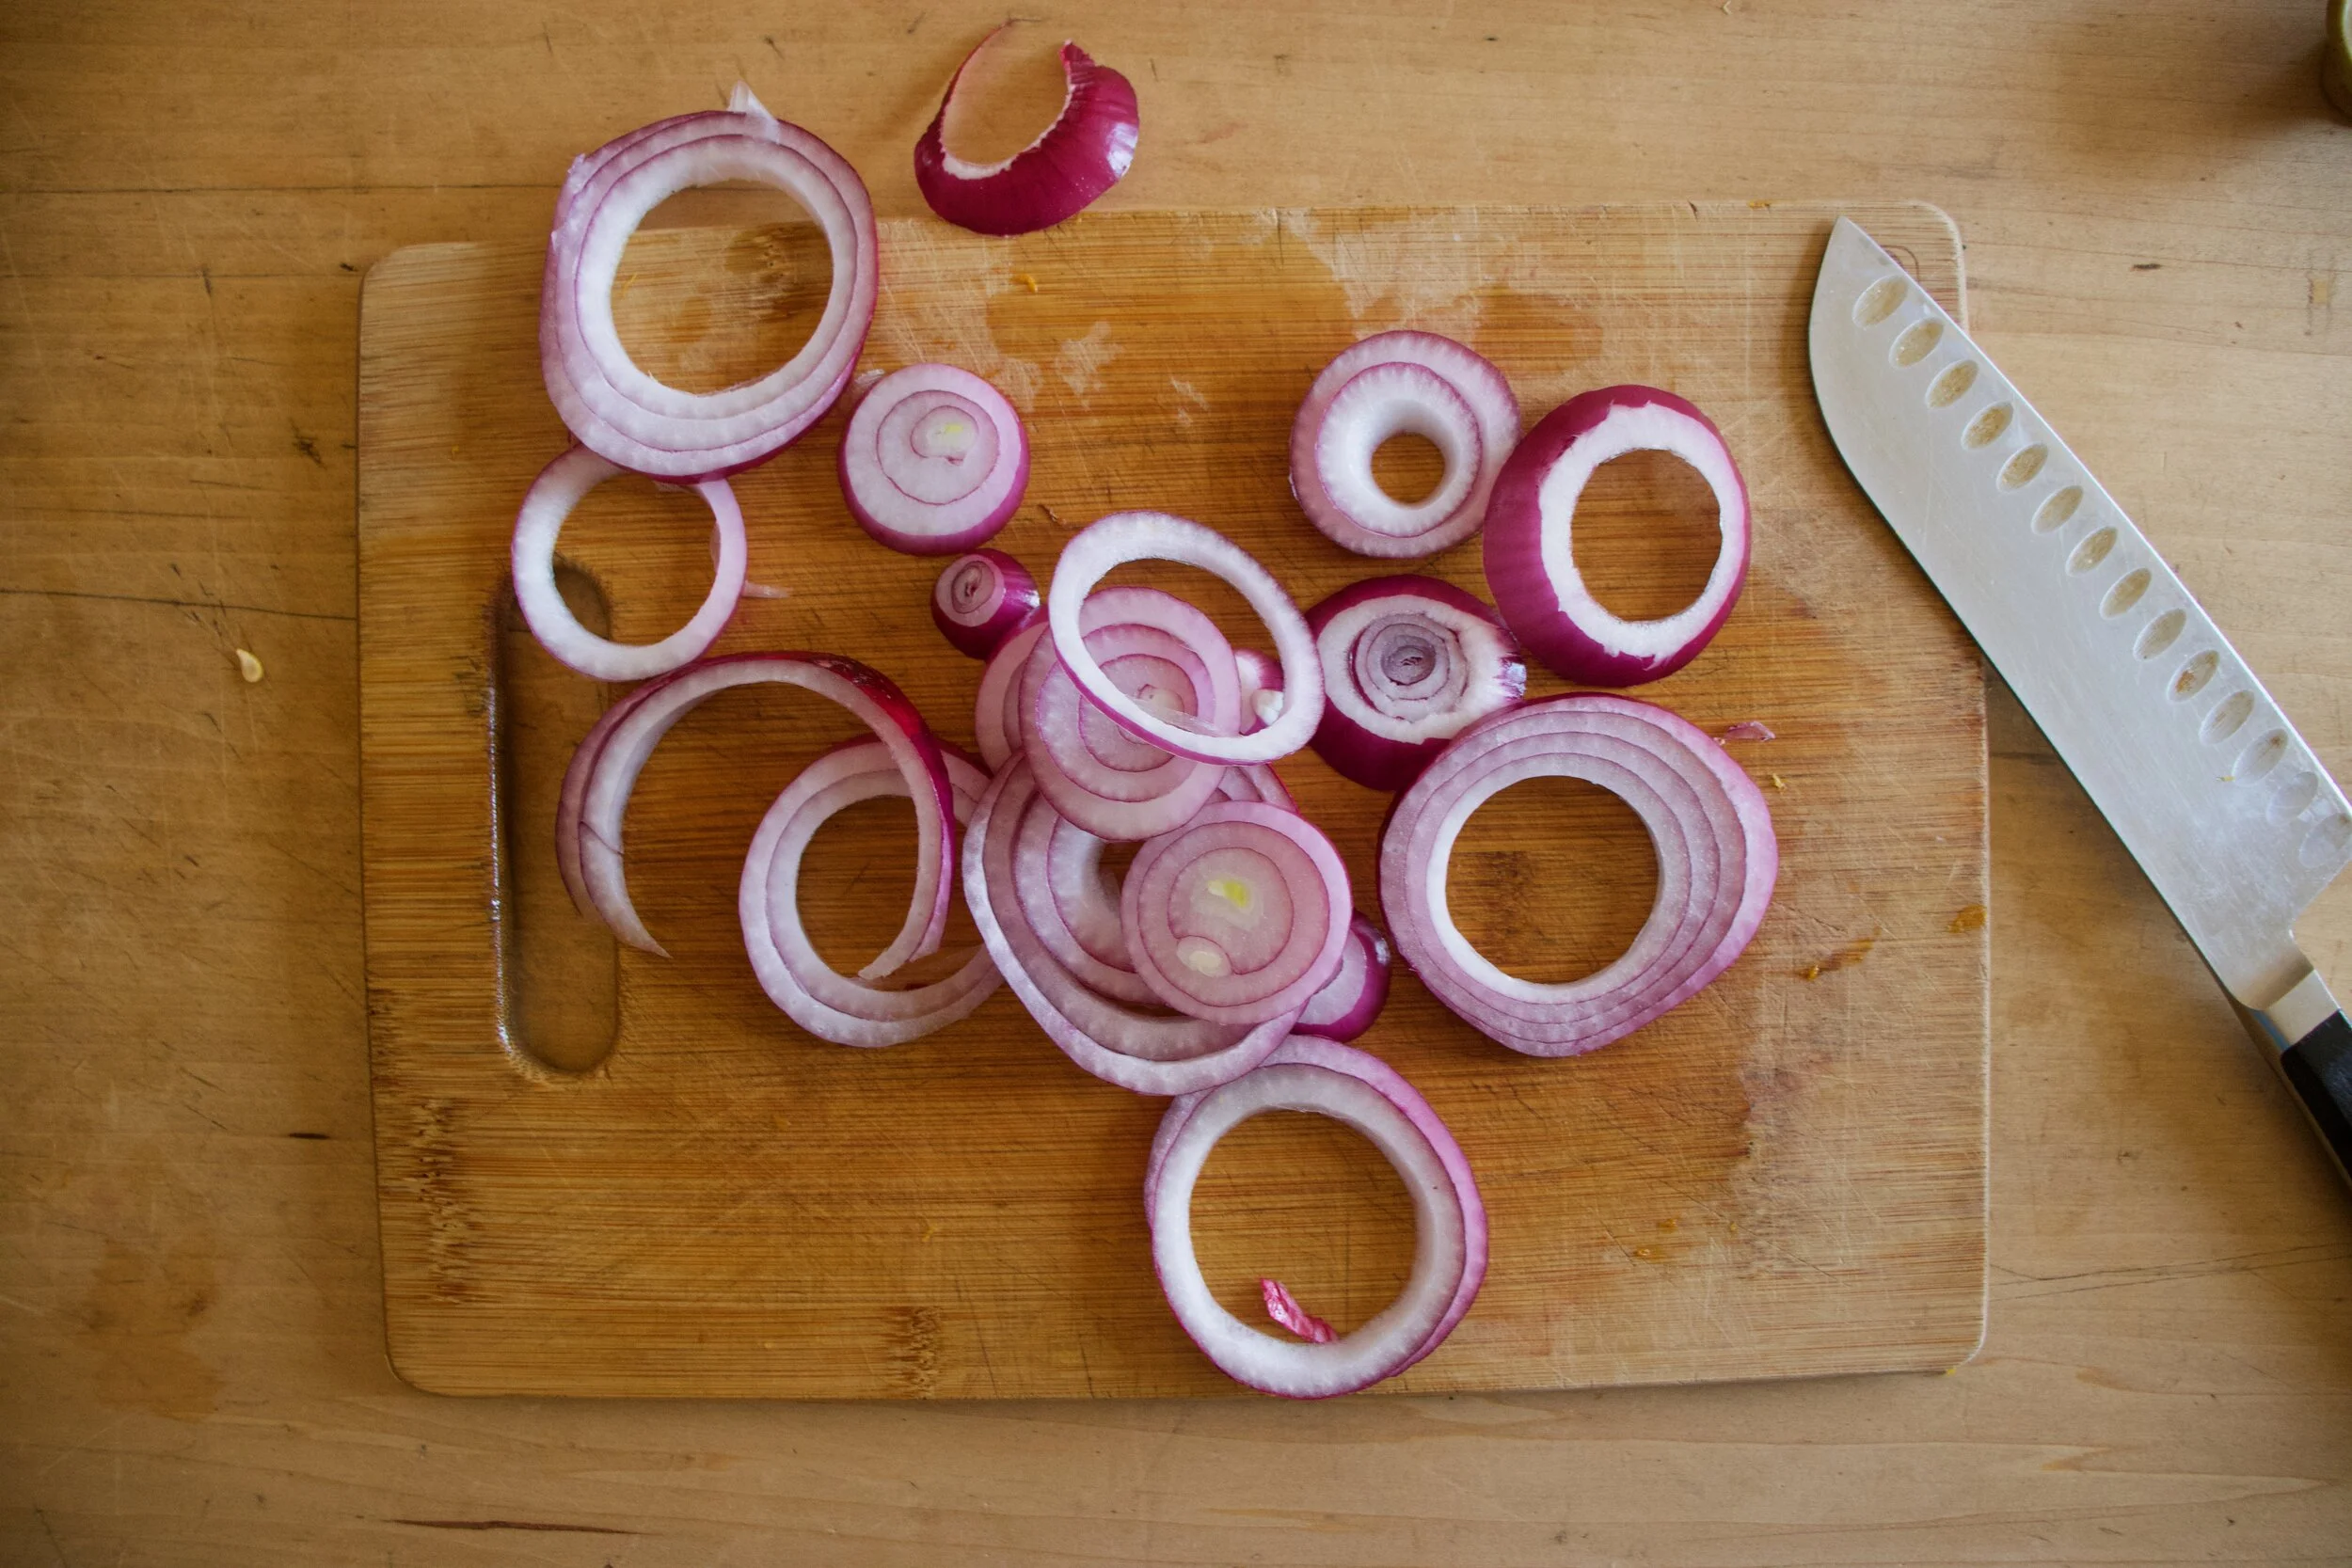
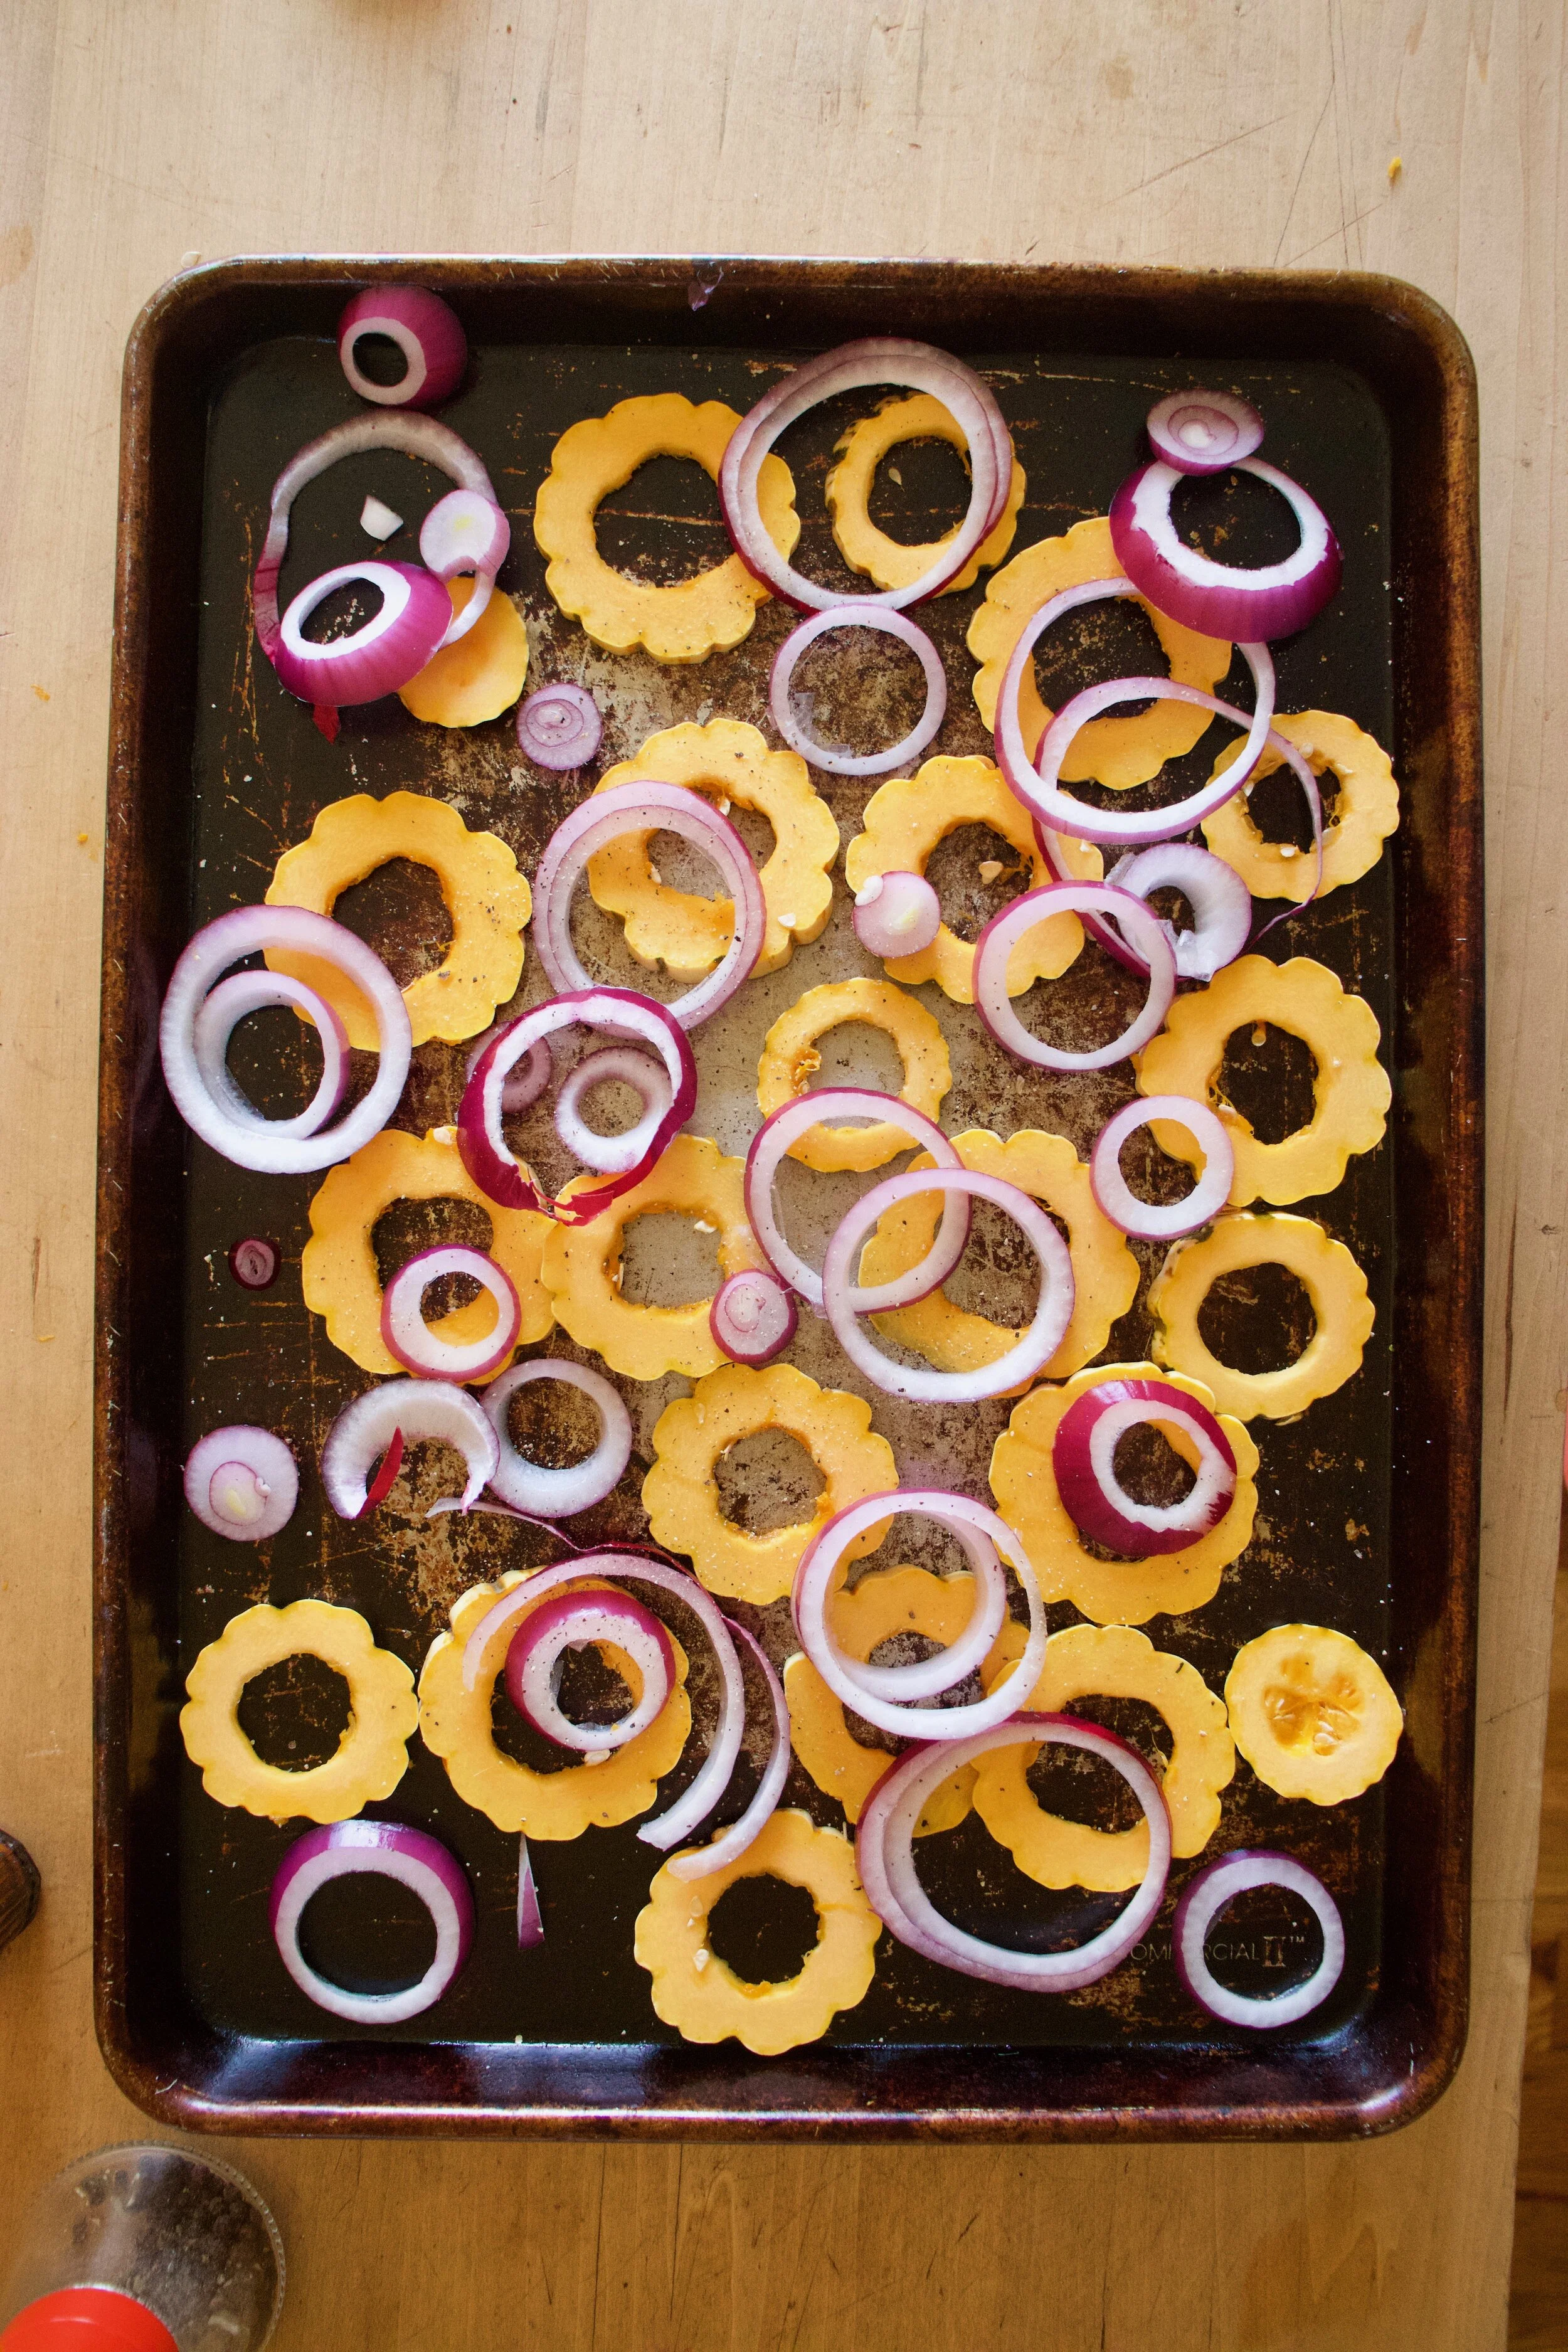
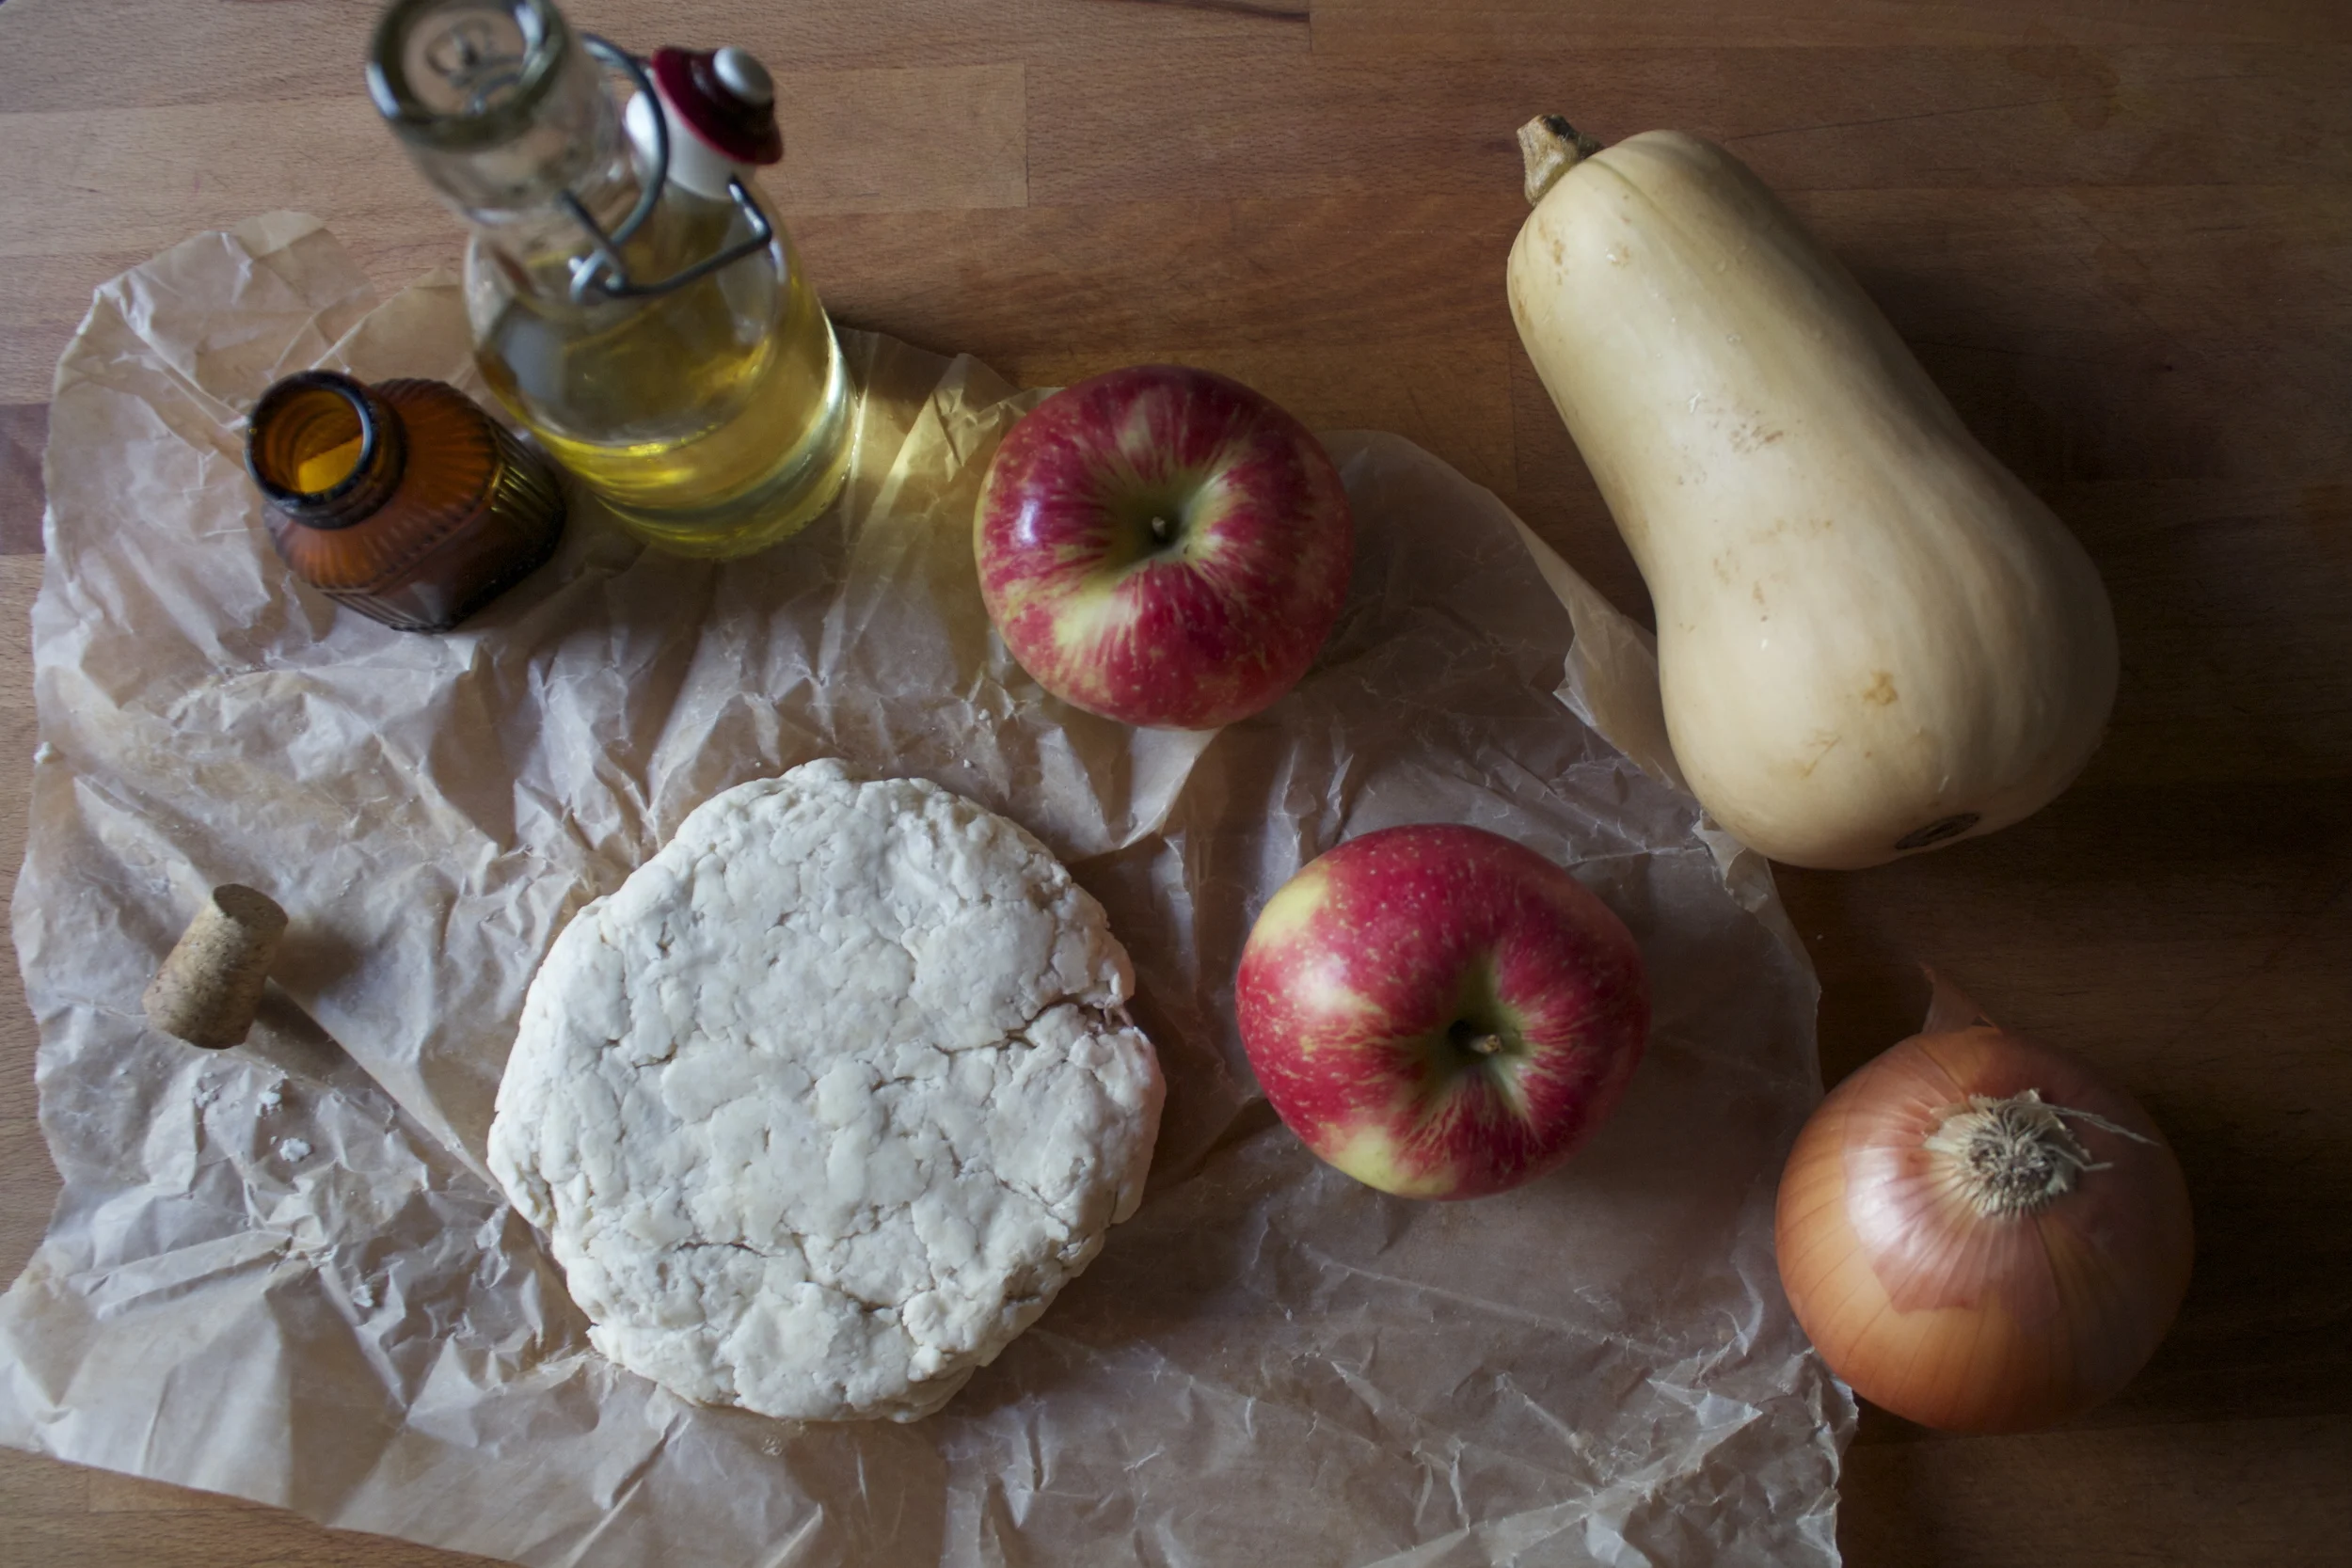
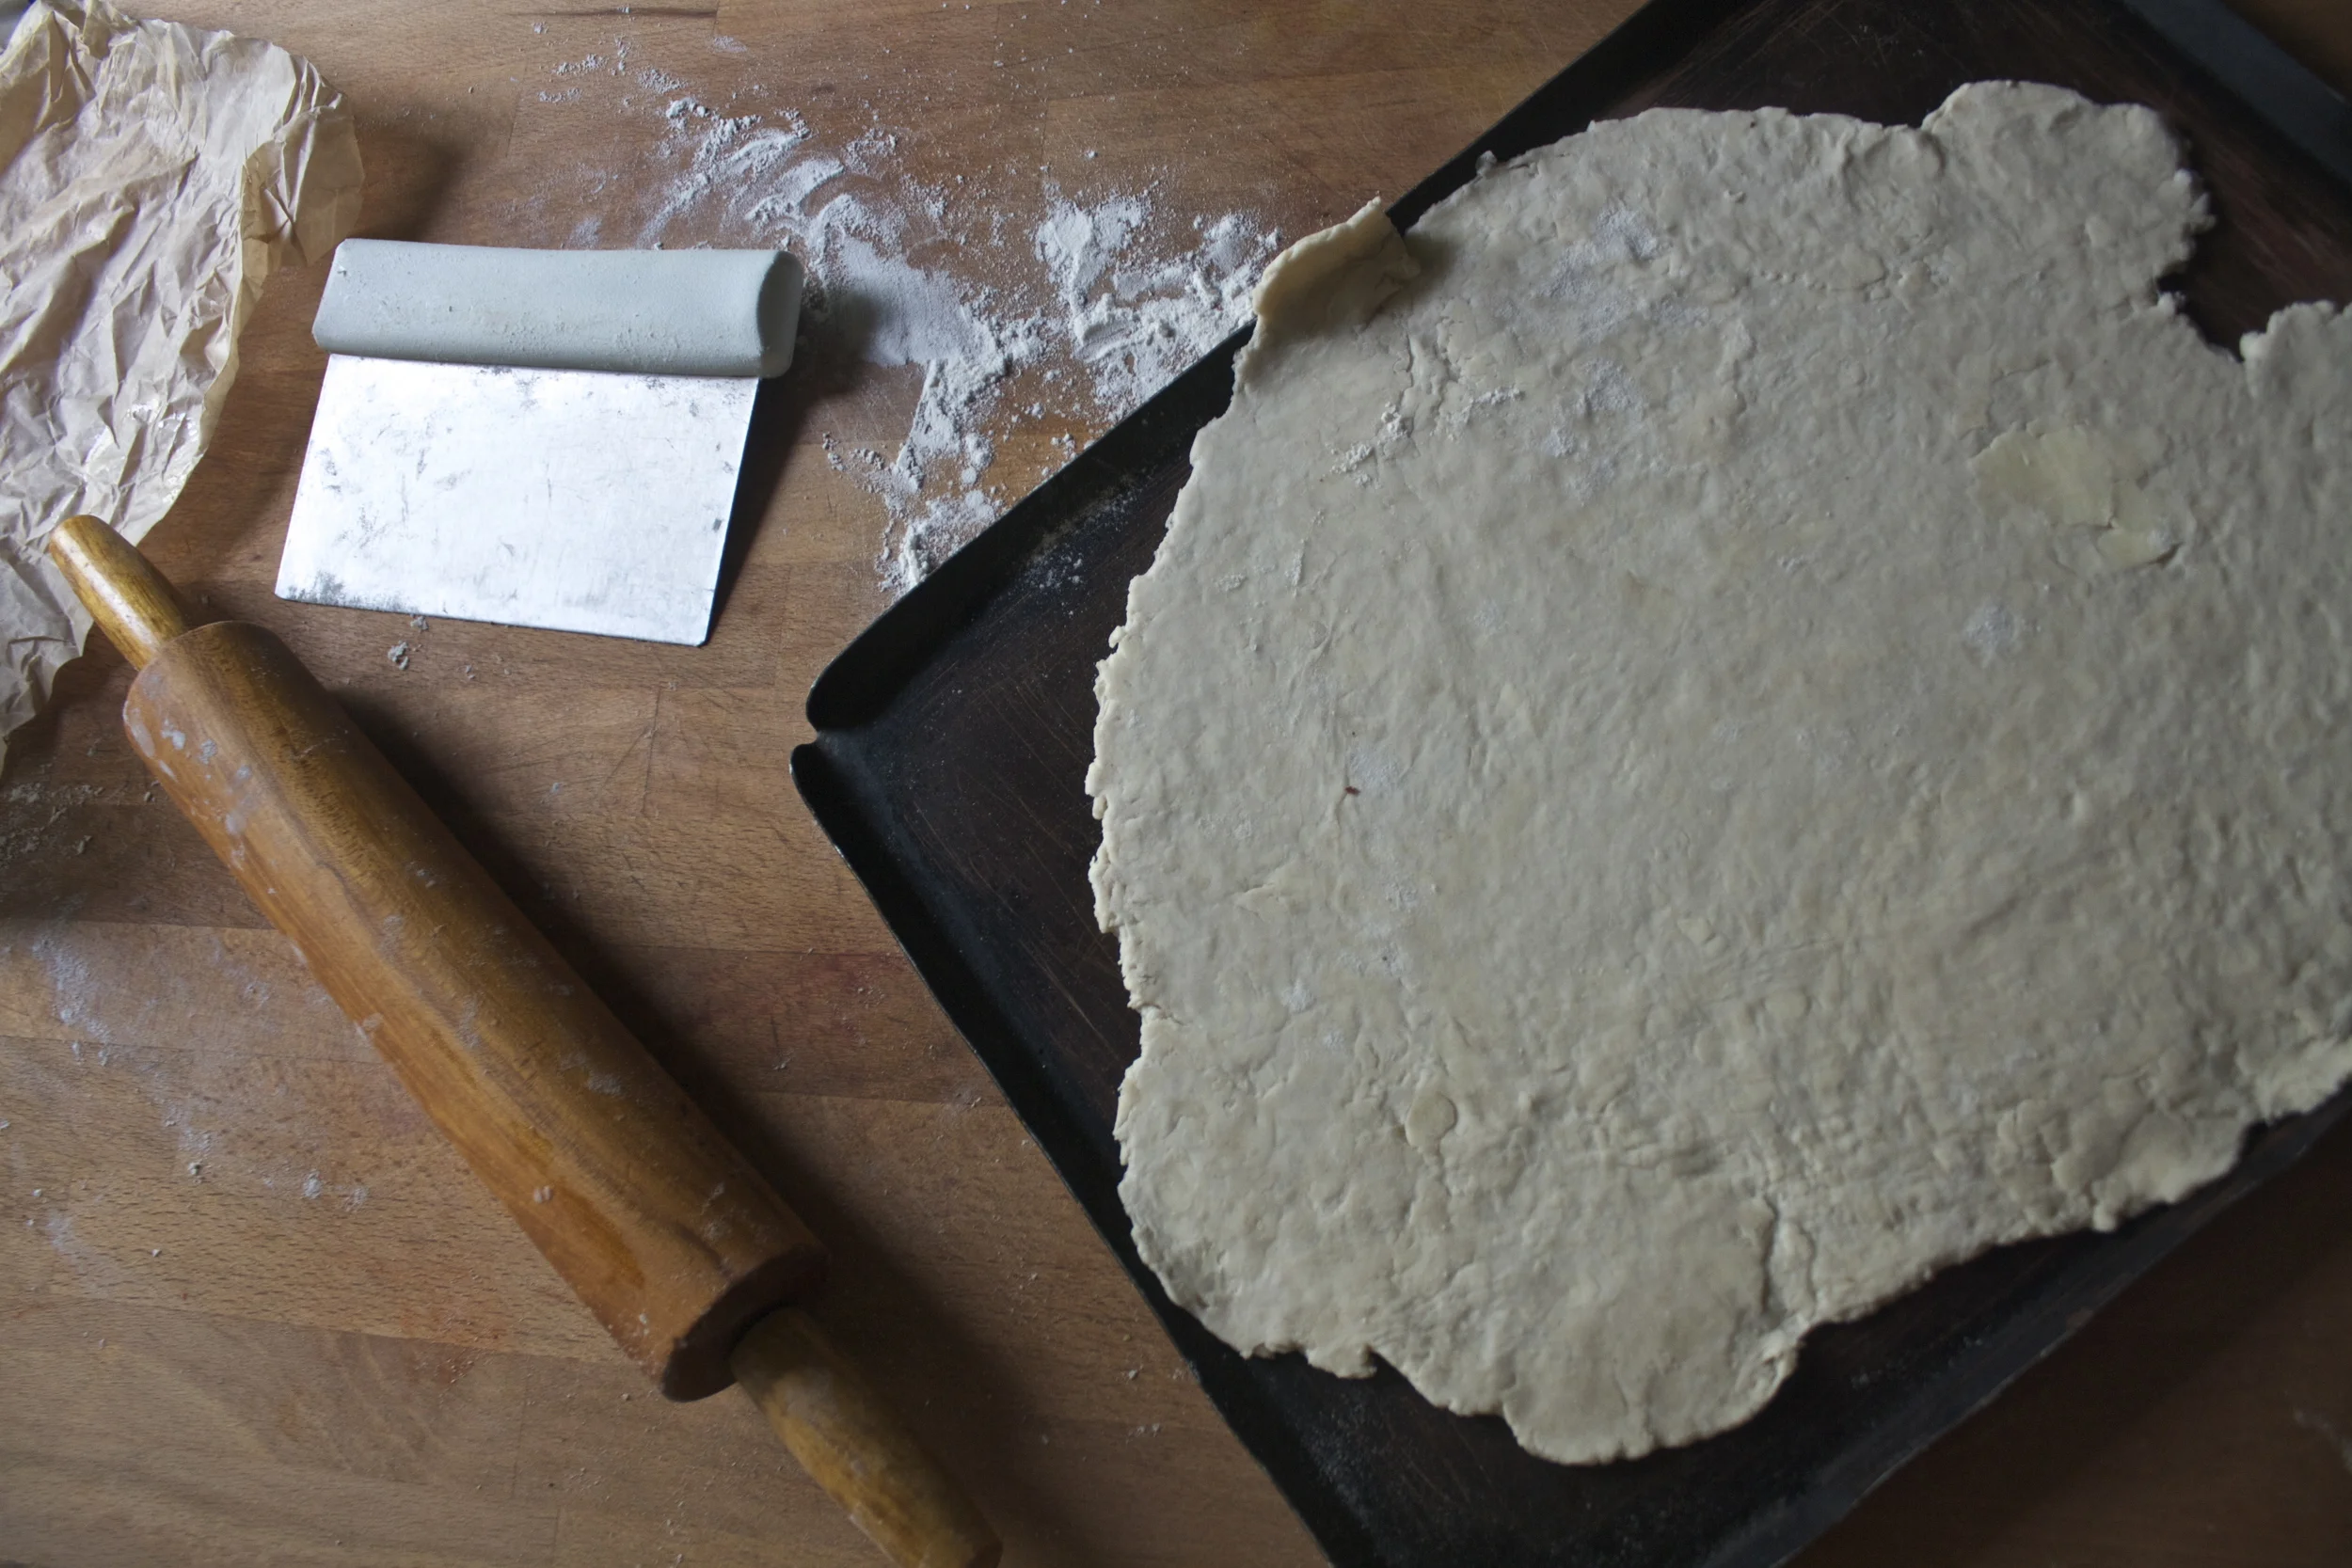
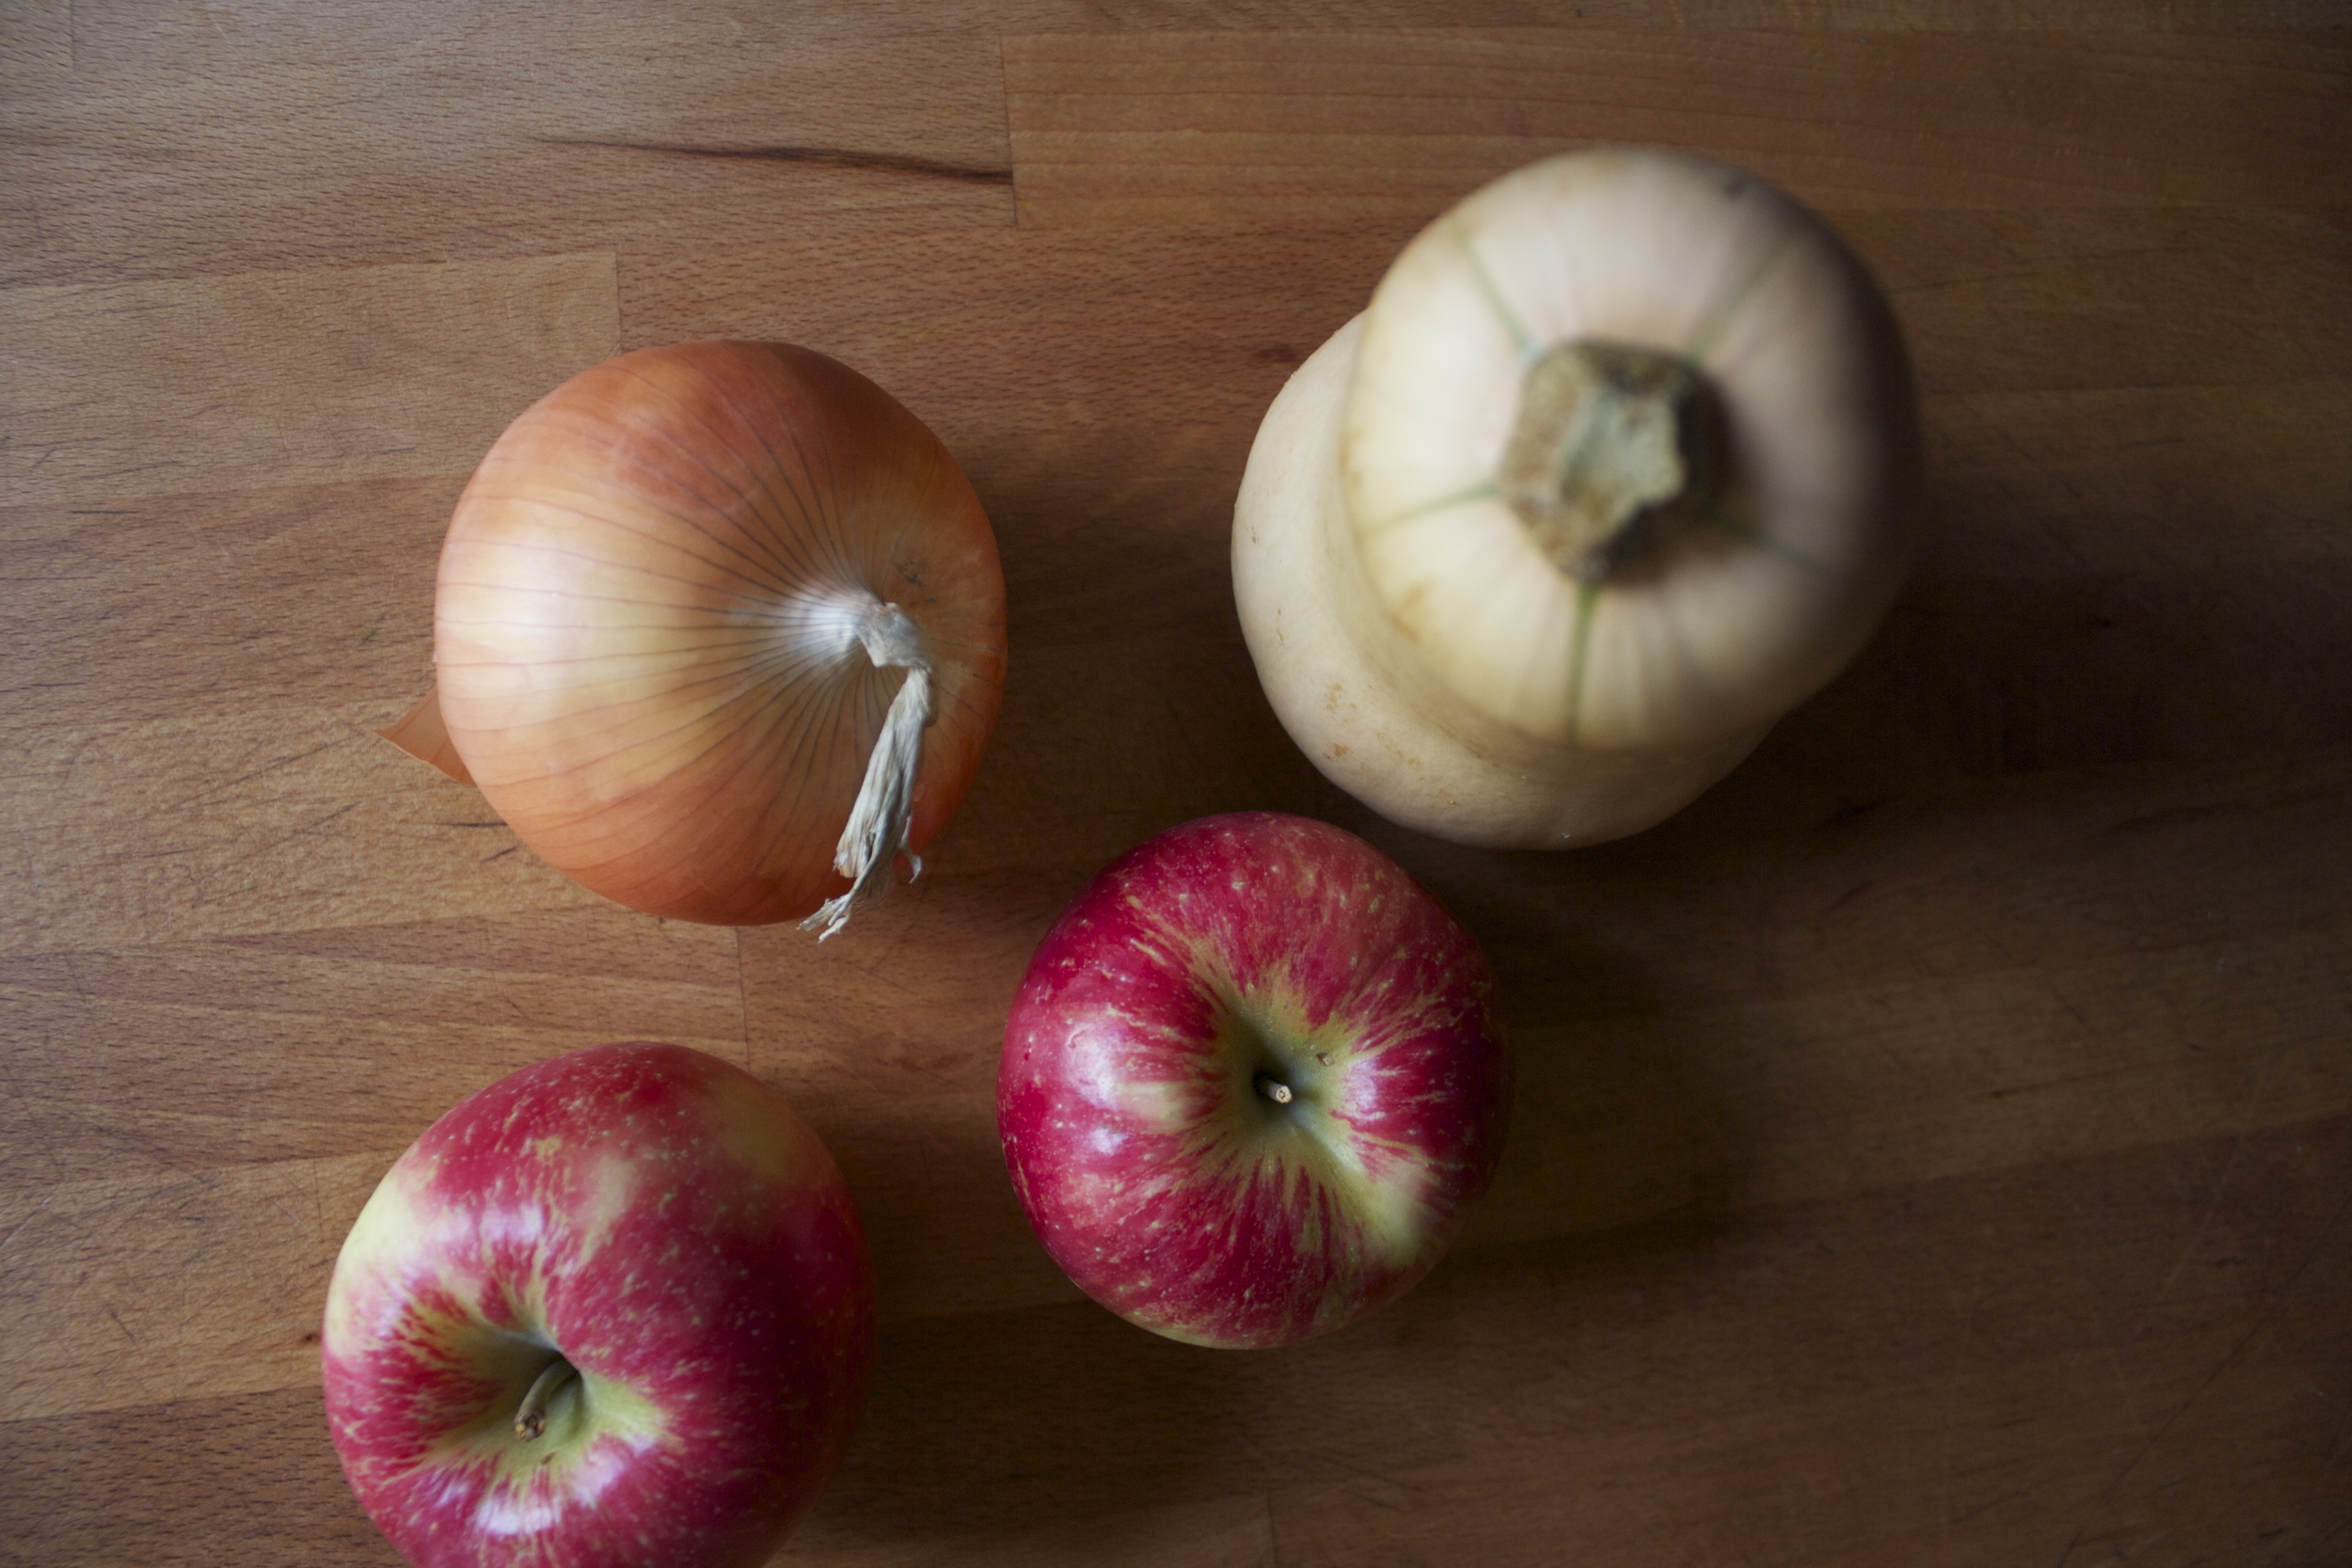
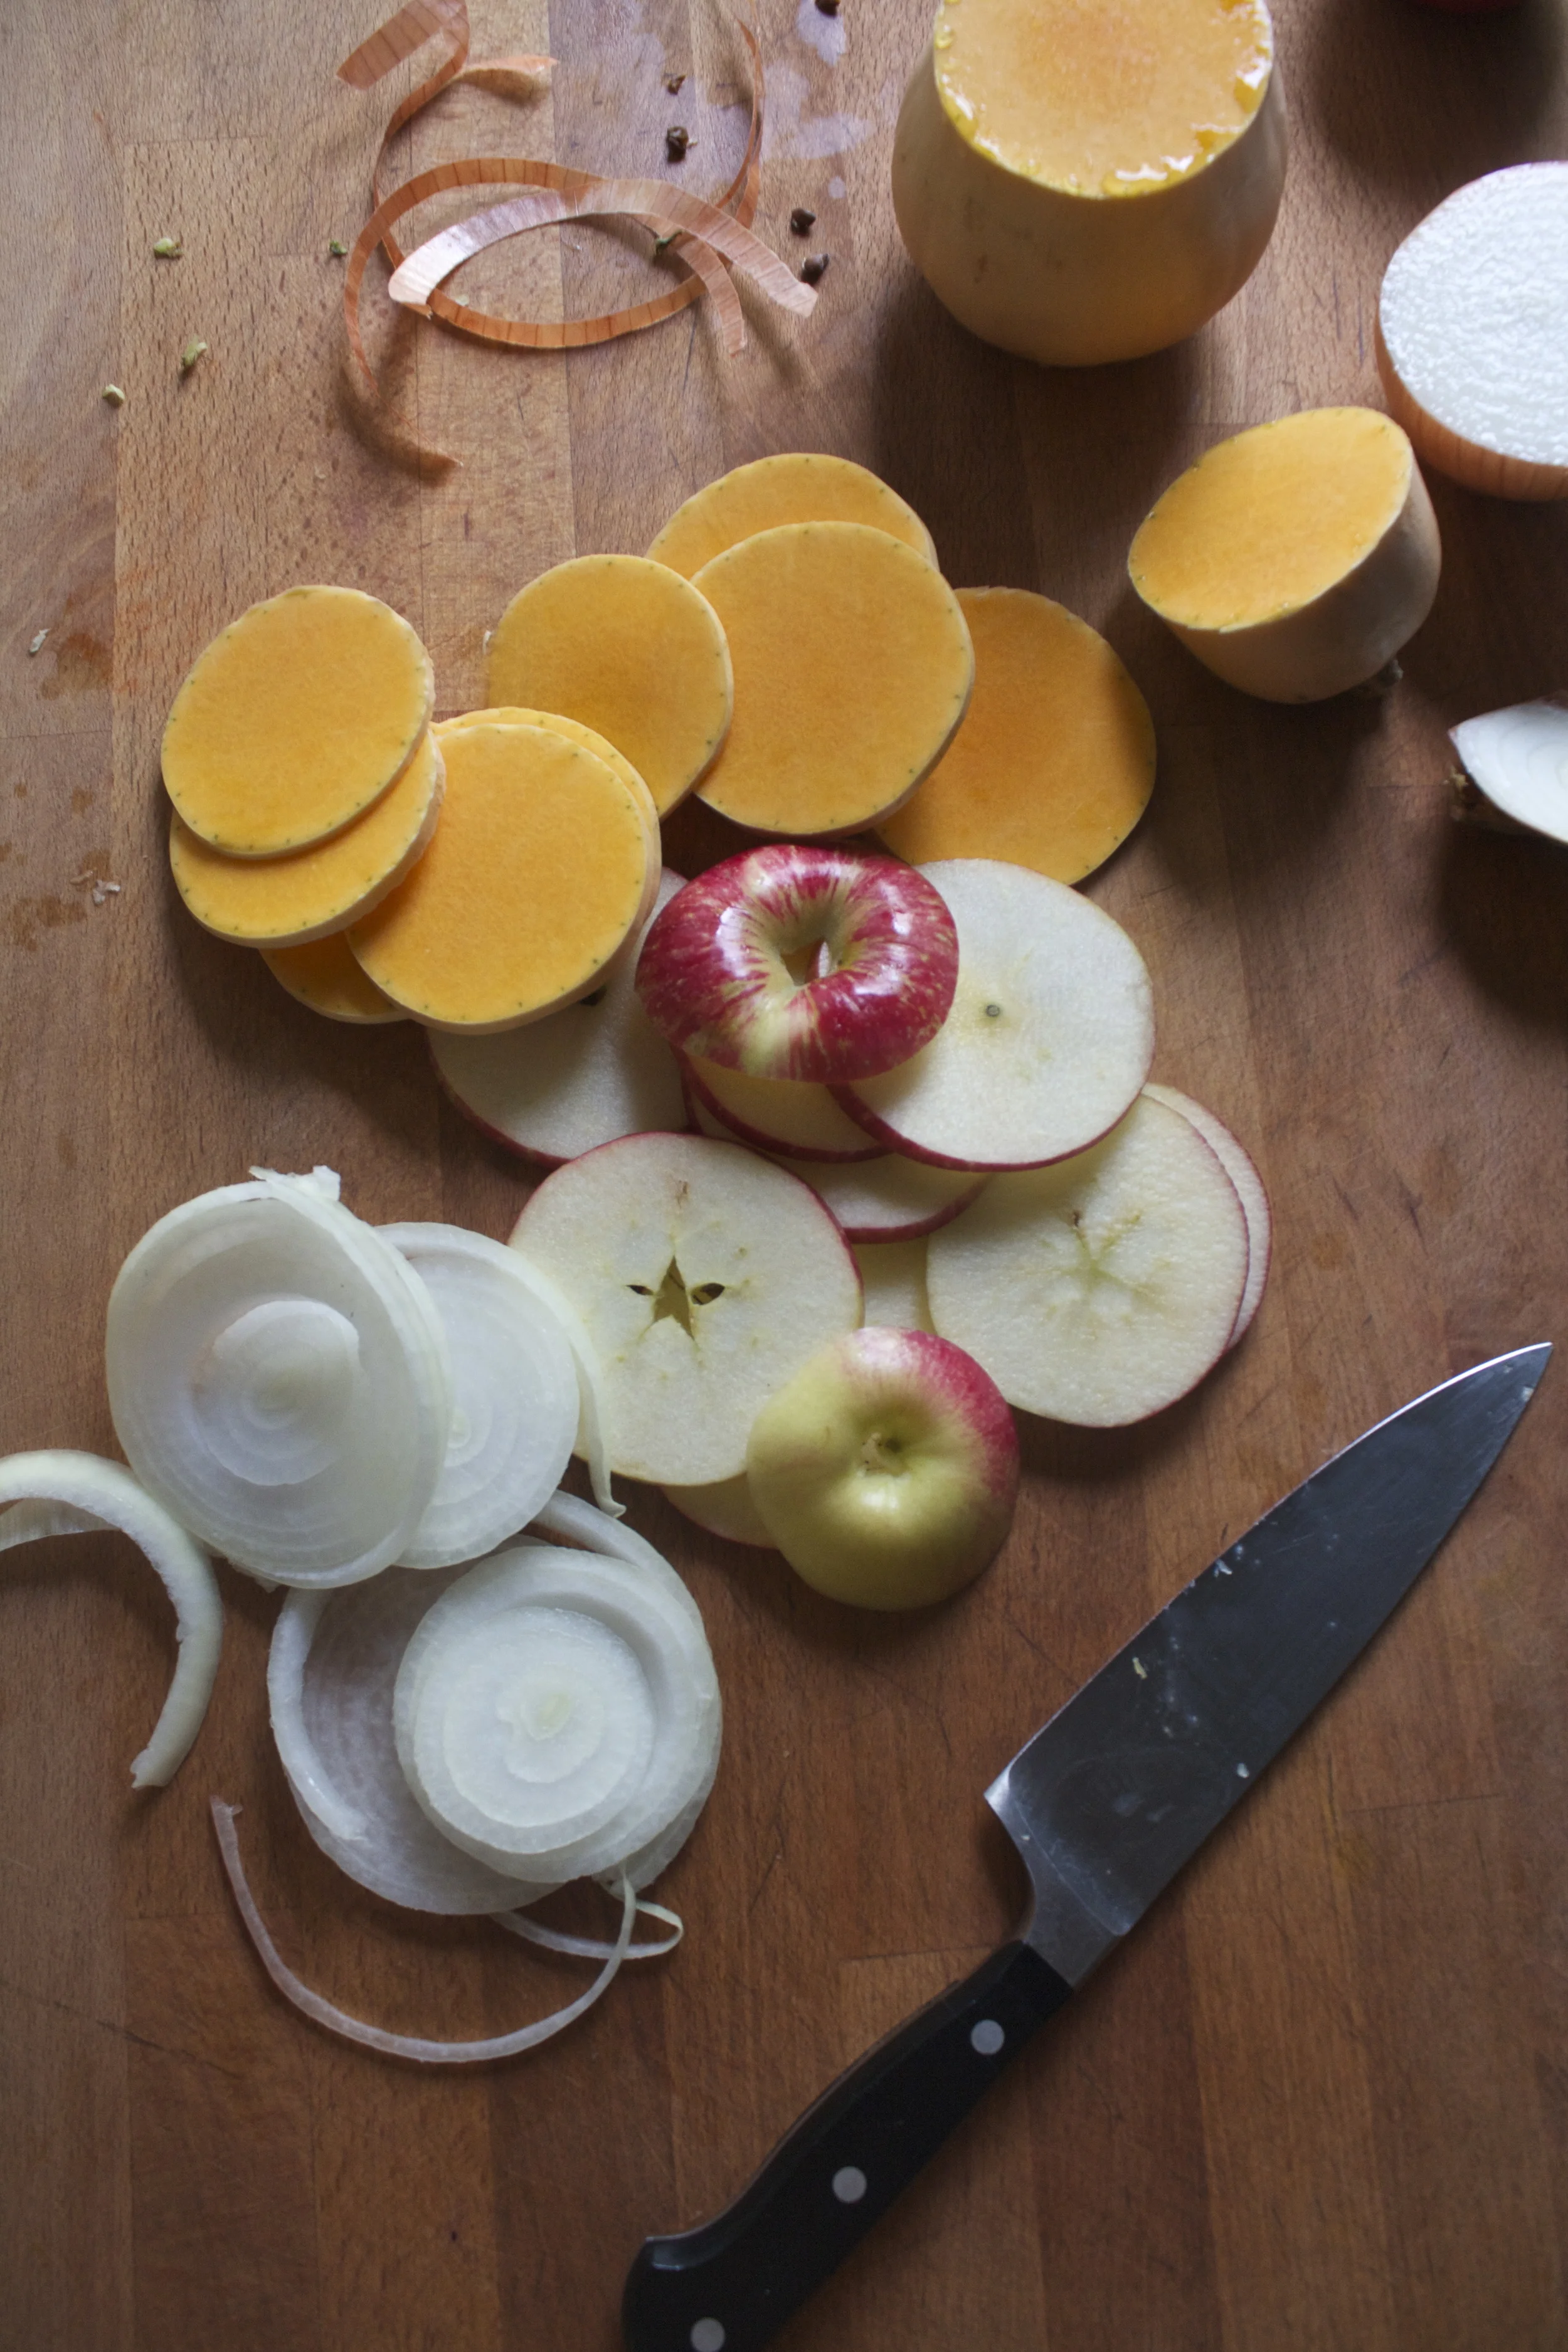
 %u00a0The stuff%u2026.For the split pea gravy we have a carrot, a parsnip and a large onion chopped into small chunks. %u00a0Salt, thyme, a bay leaf and of course the split peas. Then there is the celeriac root* sliced into 1/2 inch thick rounds and some plain old yellow mustard .
 Toss the chopped parsnip, carrot, onion and the spices into a pot on medium heat and let veggies sweat a few minutes until tender. %u00a0Add in the split peas and enough water to cover everything. %u00a0Turn pot on high and bring to a boil, then cover and turn to low. Make sure to give the pot a good stir ever few minutes and add more water if needed%u00a0
 Once the peas have soften, remove the bay leaf and puree until smooth and oh so creamy. Taste and add more salt and pepper if needed. If you find that the gravy seems to thick, just add in more water until it’s the consistency that you want.%u00a0
 The gravy is made, the celeriac is roasted%u2026 now we are ready to eat!!%u00a0
 Stick the celeriac on a plate and dump good amount of that gravy right on top. Feel free to add a bed of spinach, or a grain or anything you want, because why not, and also some chopped tomatoes for a little acid and prettiness.


THE LOVELY CRAZY
November 29, 2019 by maximios • Blog
What%u2019s up with dinner rolls? Do people eat them all year round, like on a Tuesday in the middle of March or maybe a nice blue sky sunny day in July? Is that a weird question? But seriously, think about it. Dinner rolls, at least in my world of people, are pretty much only eaten in and around Thanksgiving and Christmas. Huh. Kind of strange seeing that dinner rolls are bread which everyone eats all the time and are basically made specifically for dinner (although can and should be eaten for breakfast and lunch as well) which most people eat. Every. Single. Day. Well, whatever the reason, it%u2019s weird. So yes, I am making these here dinner rolls now at the traditional holiday time but I think as of now, I am going to start making them all the time. It%u2019s going to be my new thing. Fourth of July dinner rolls. Yup.
And so yes, we need dinner rolls right now for the holiday food feasts and these dinner rolls are the perfect accompaniment to any and all dinners. They are nice and fluffy and all dinner roll like, just as any good roll should be, but also slightly more nutty and soft and healthy because oats and wheat flour and homemade which is always the best.
And if you are like, hell yes I am a dinner roll person and hell no I am sticking to store bought cause that is that and how it%u2019s done, well hey, no judgment here. I made these for my people for our family Thanksgiving, (which is happening today at my house. There are going be so many people) and I know that everyone will love and be happy to eat them, but I too also bought some of those super white, take and bake ones that I know if I don%u2019t have on the table next to these gorgeous and amazing rolls, that I will probably get punched in the face. So we will have both. And then at dinner I can bask in the glory of all the comments about how much better my rolls are then the store bought ones. (Secretly why I am having both. Fishing for compliments. HAHA!)
Now to those soft and fluffy dinner rolls!
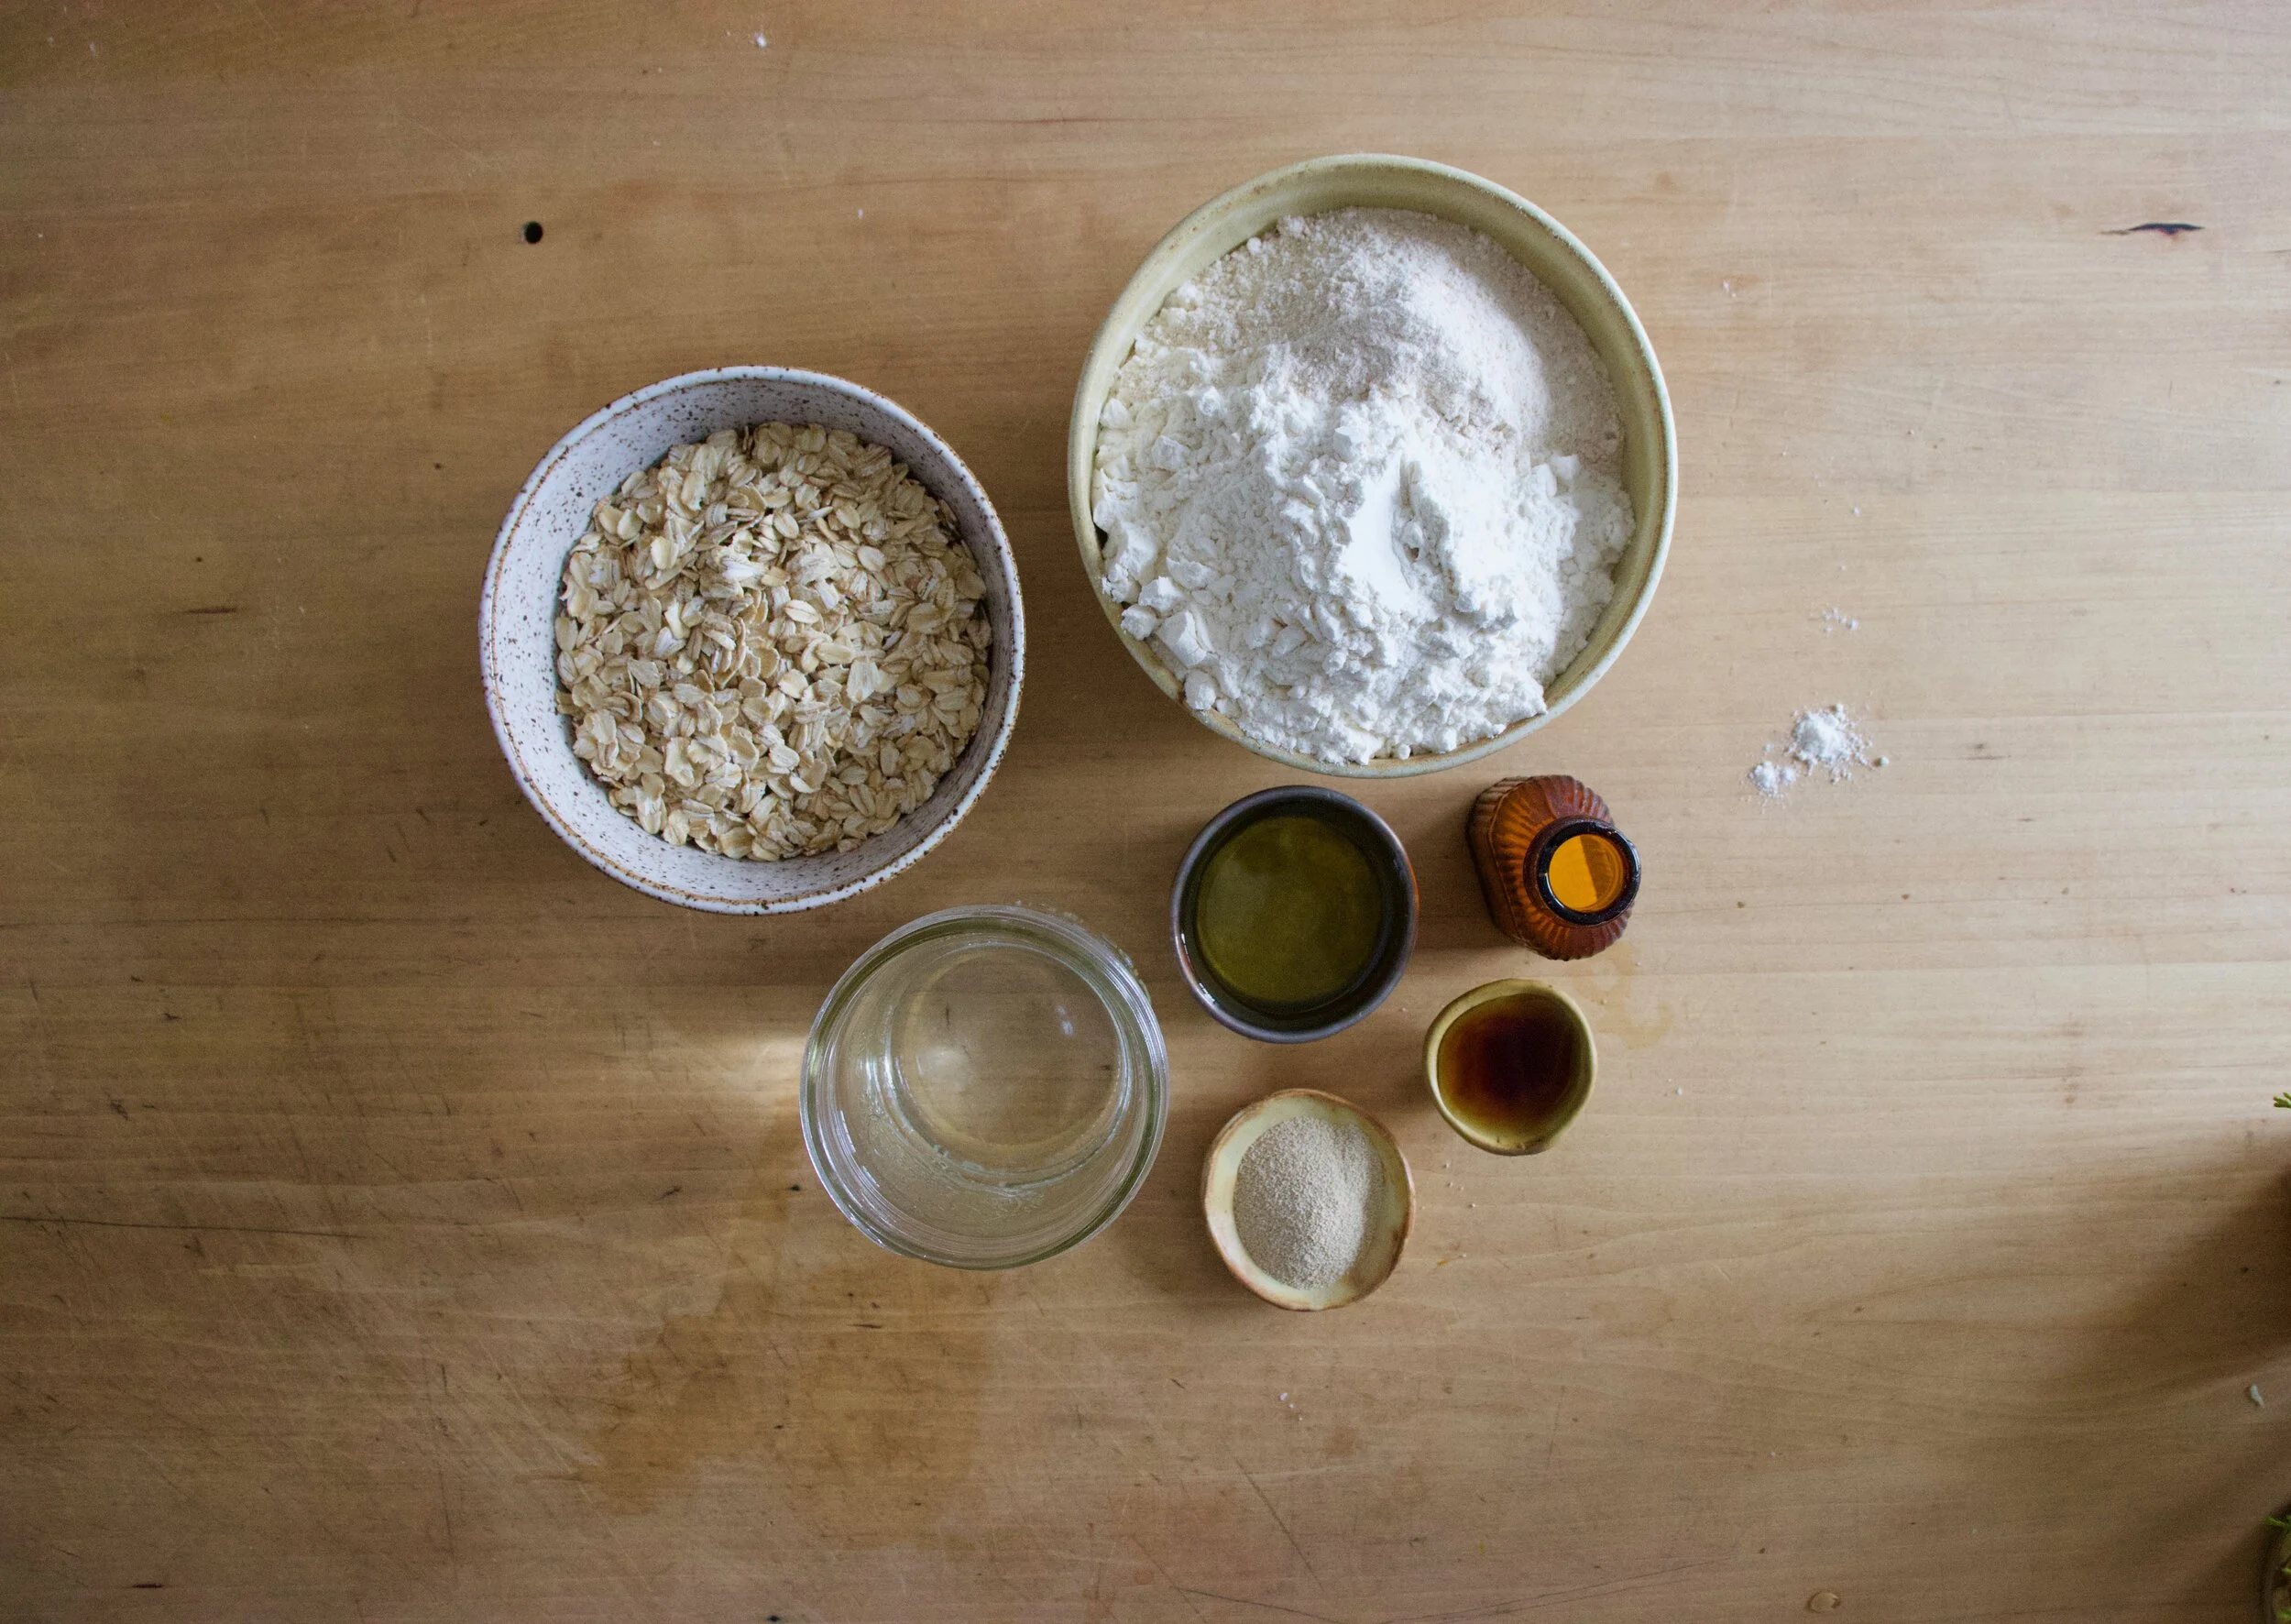
The stuff. Old fashion oats, all purpose and white whole wheat flour, yeast, oil, water (hot and room temperature), maple syrup, and salt.
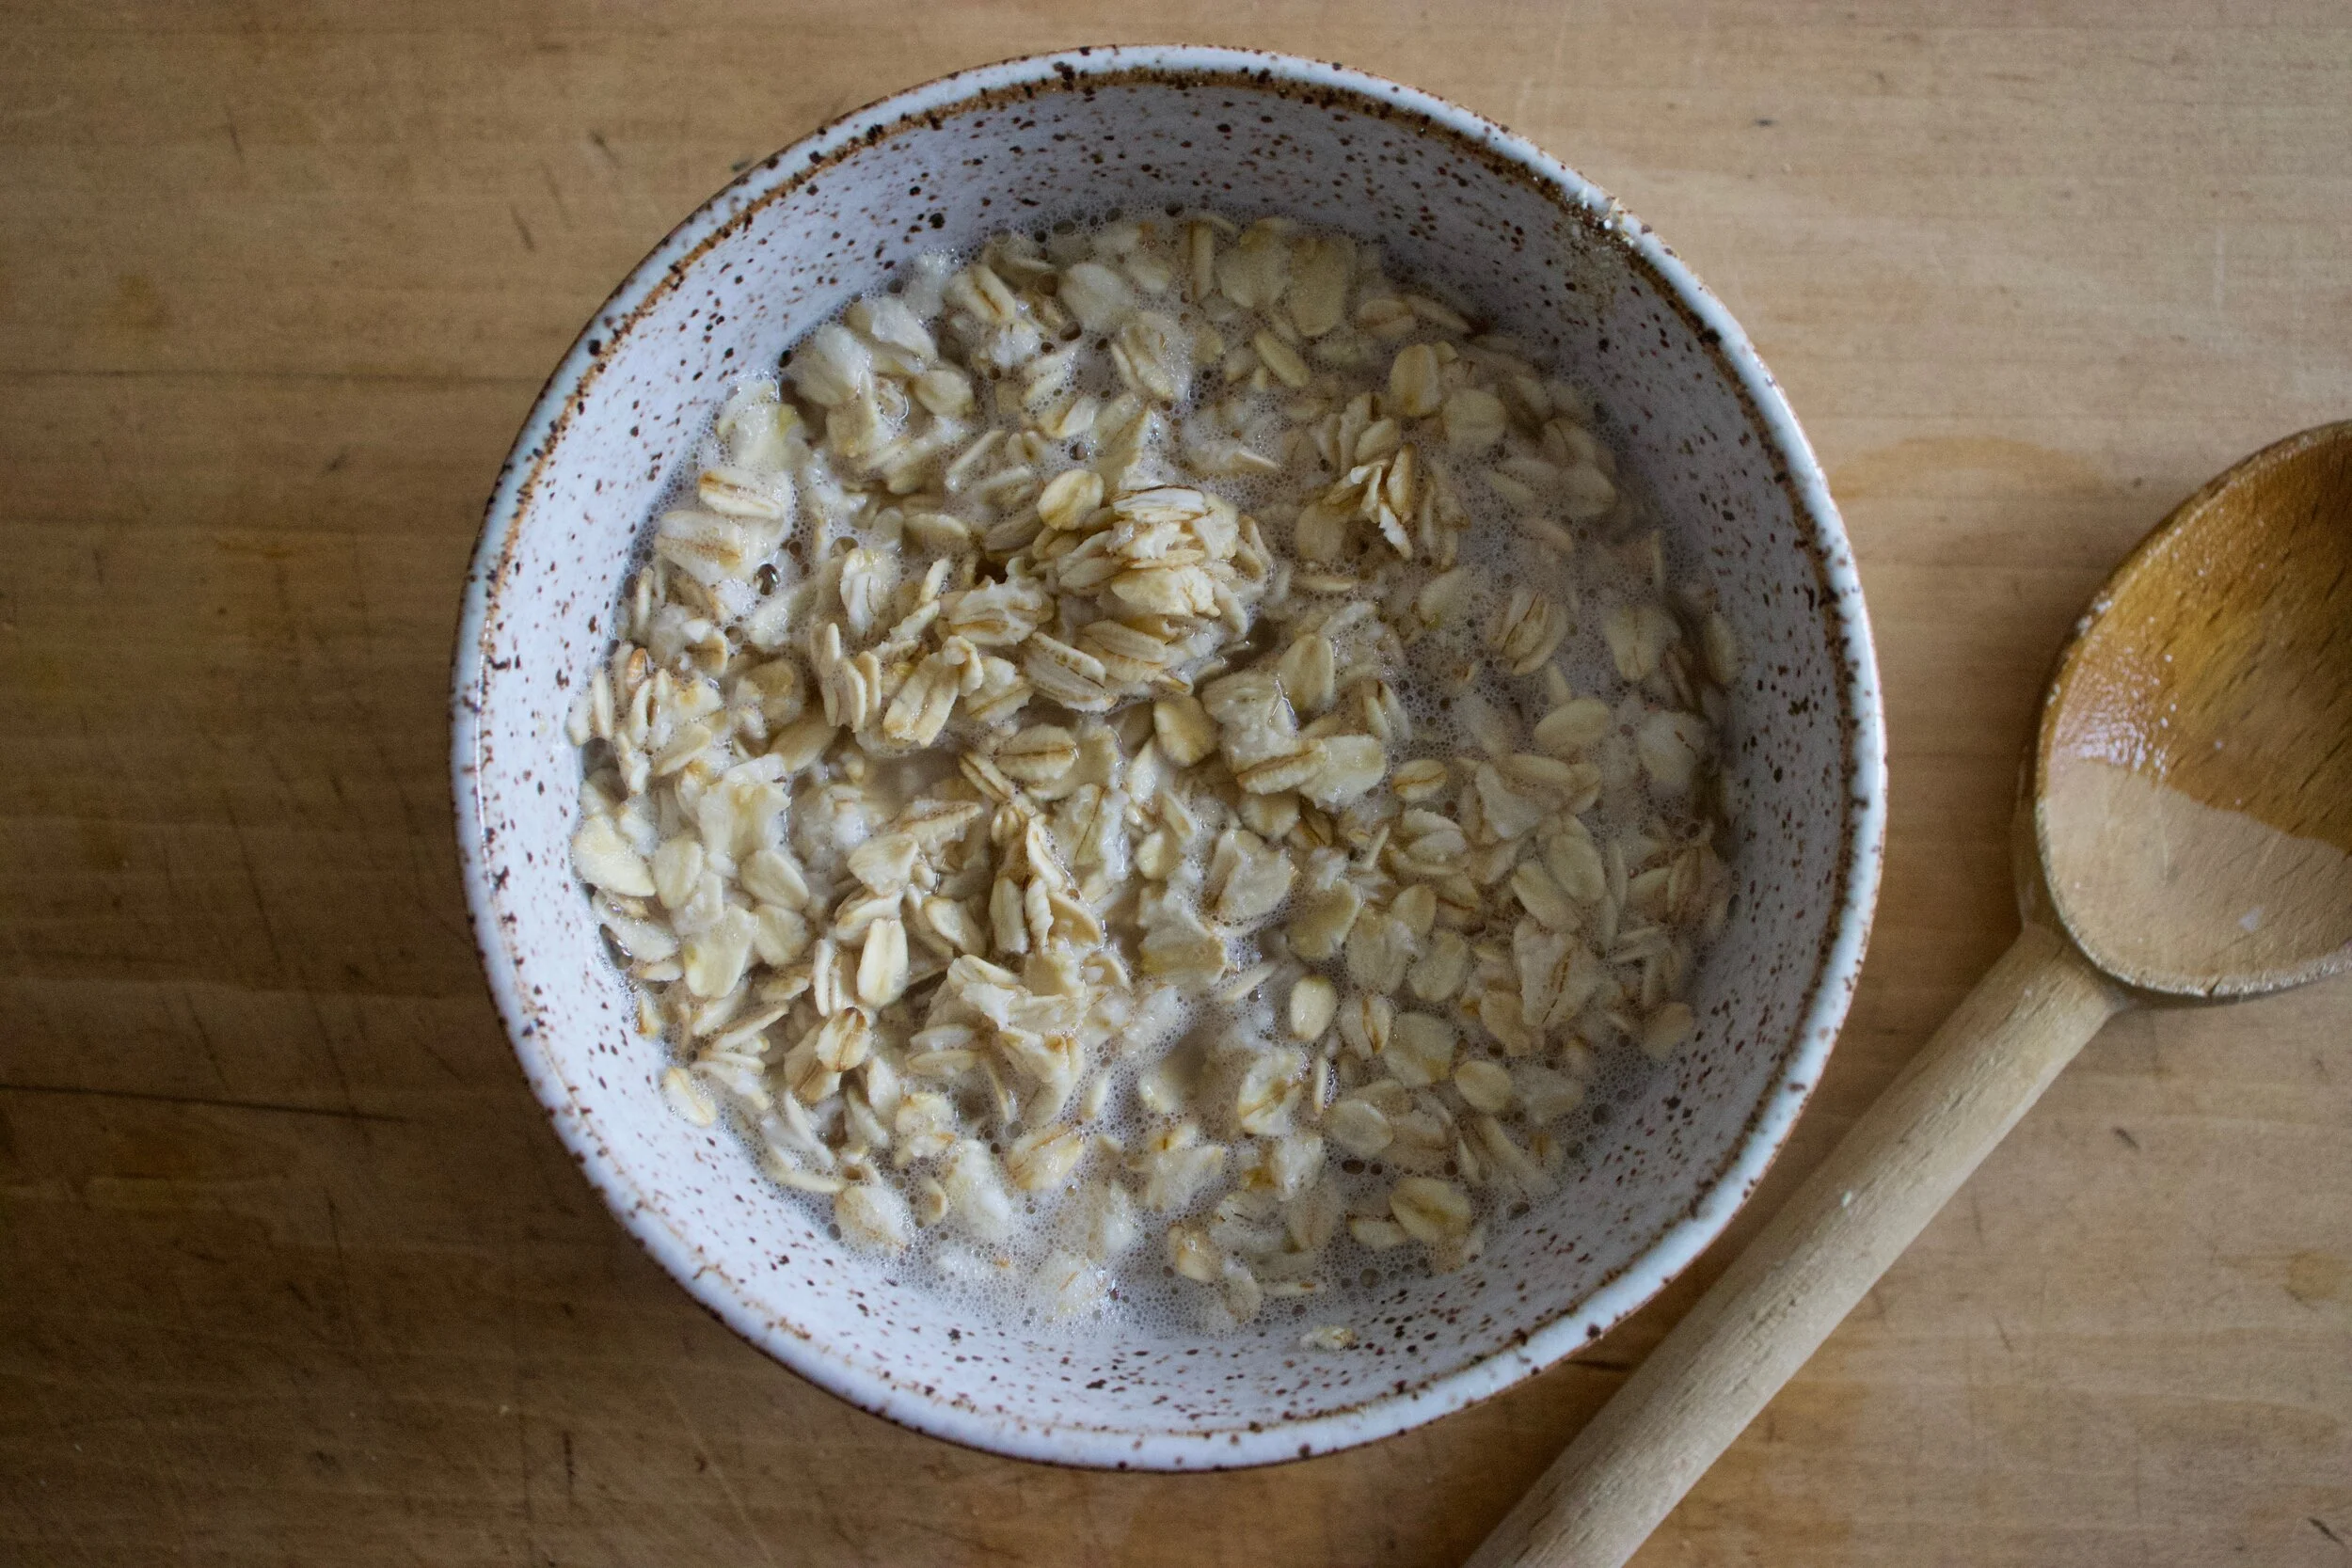
First, take the boiling water and pour it over the oats. Mix them and let them soak and cool for 10 or so minutes.
While oats are soaking, add the room temp water to a big bowl with the yeast. Once the oats are soft and cooled off a bit, add them to the yeast mixture along with the oil, and maple. Mix together. The add the flours and mix until combined.
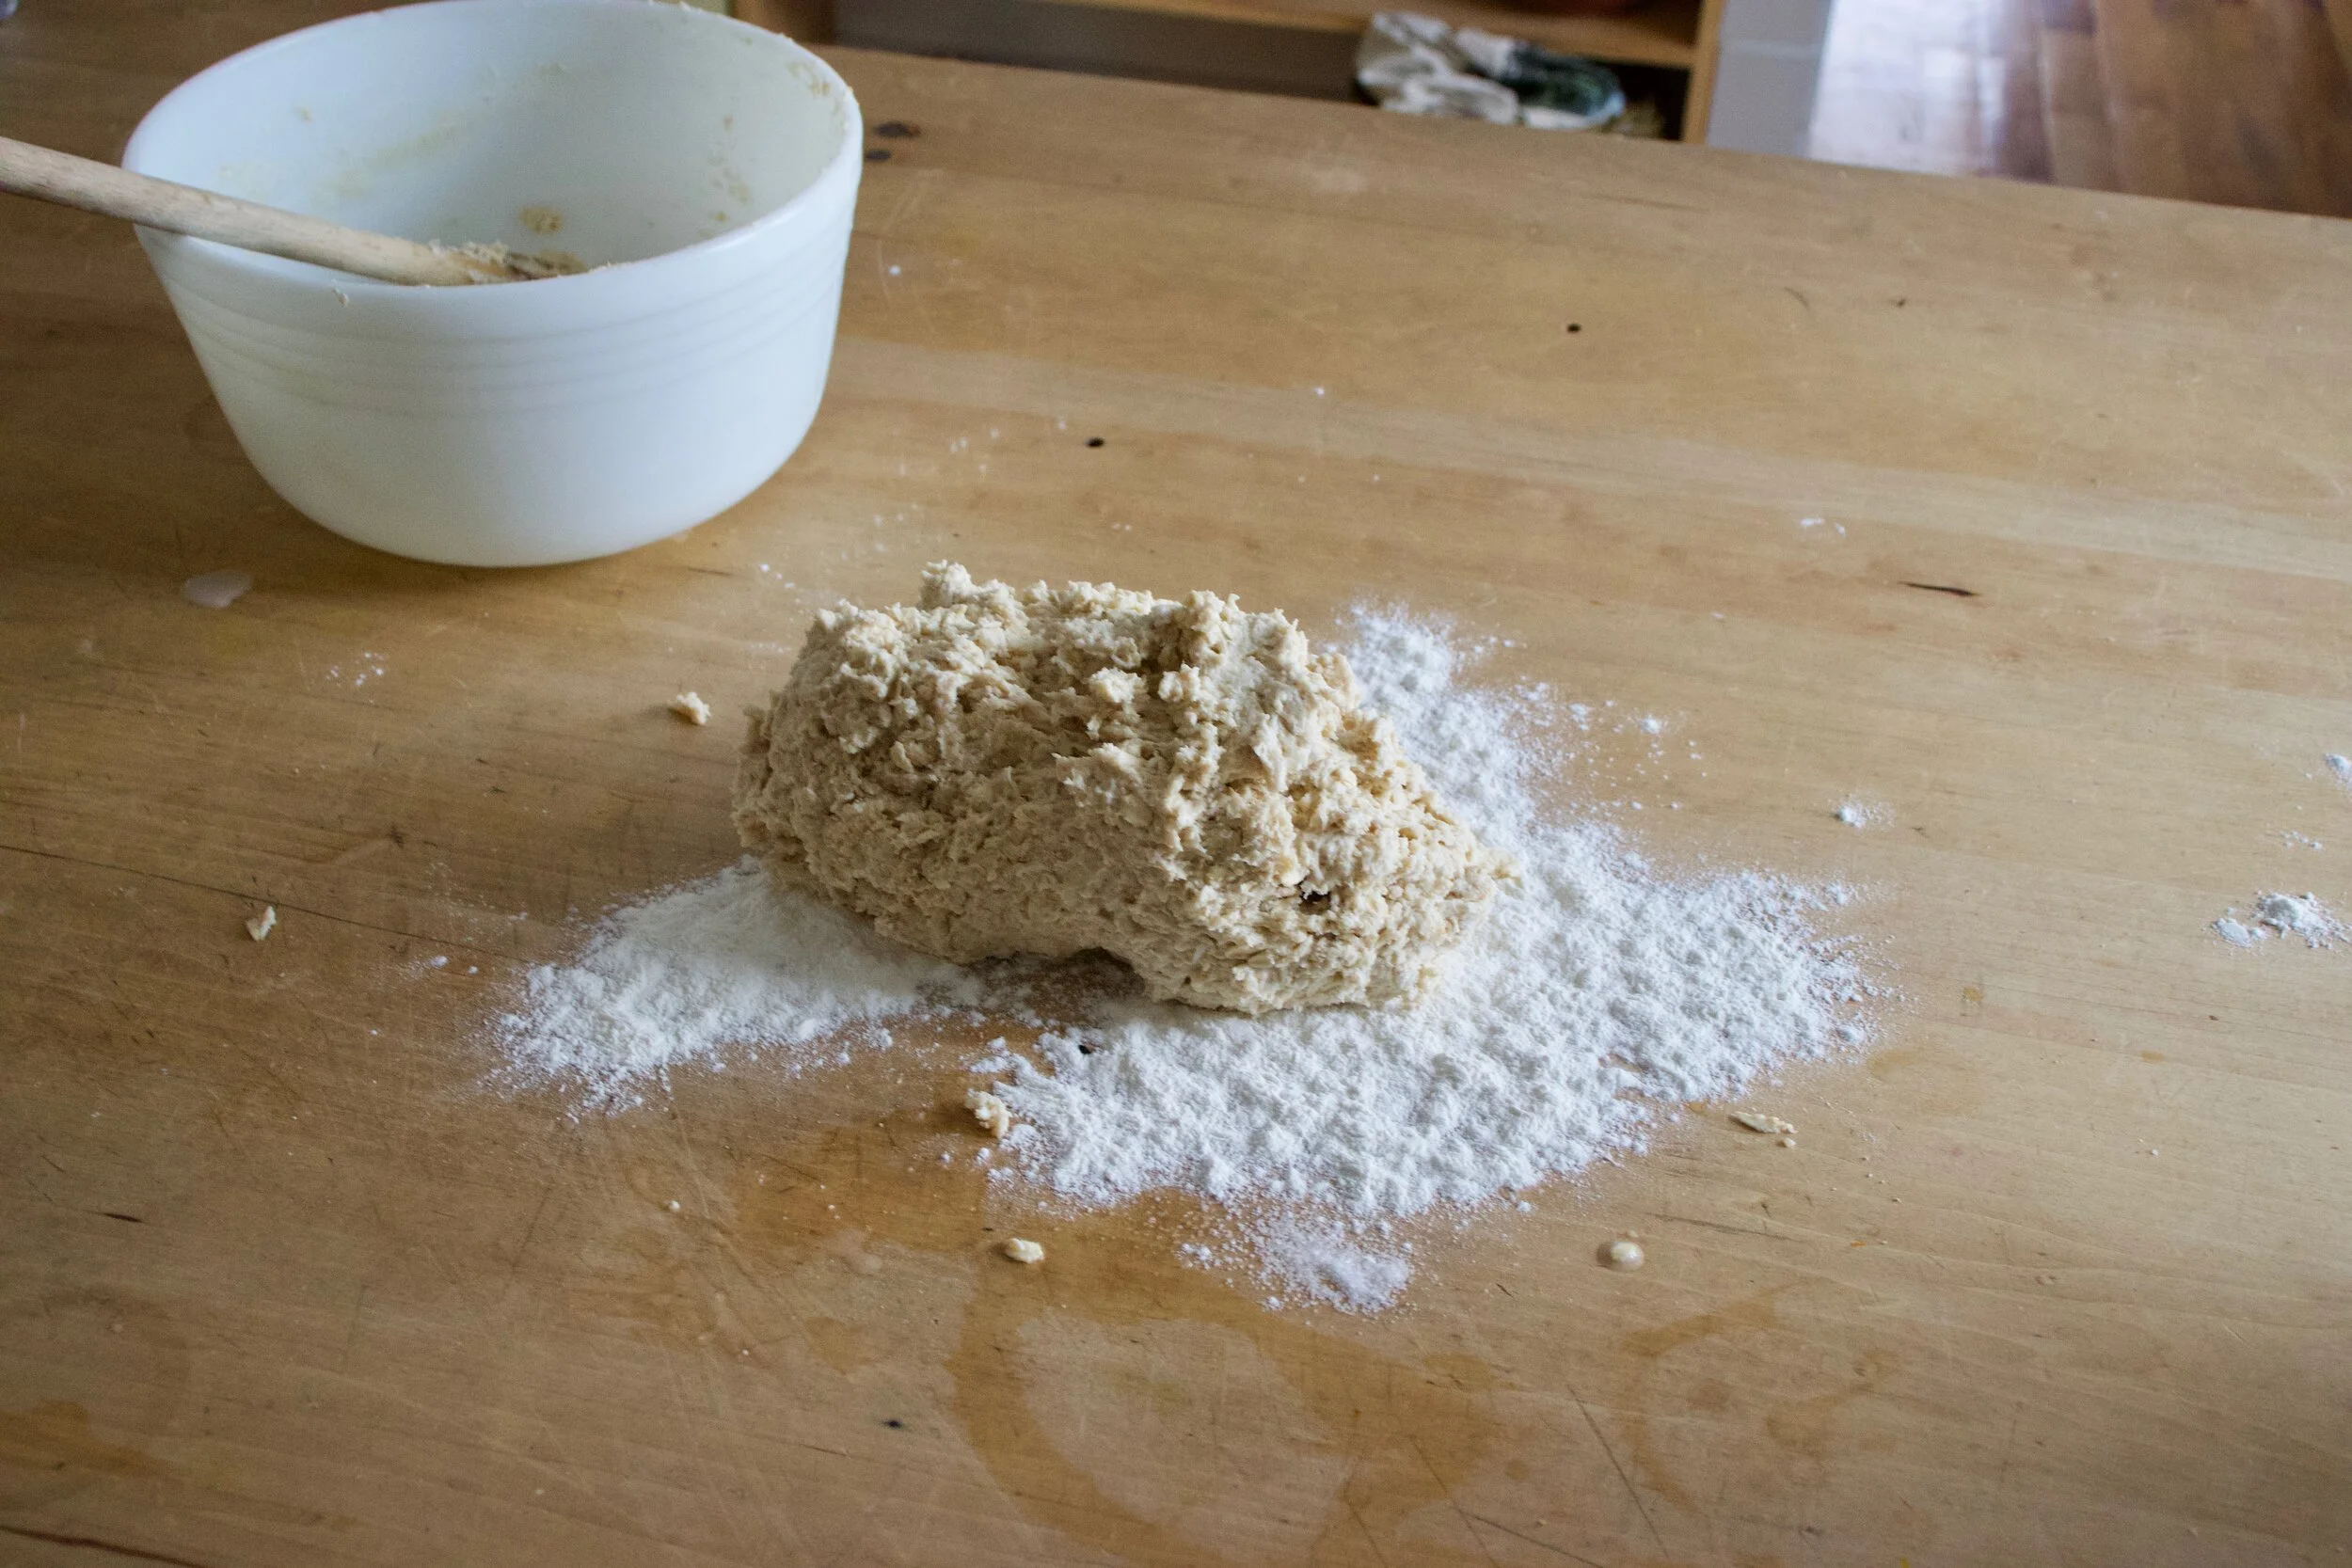
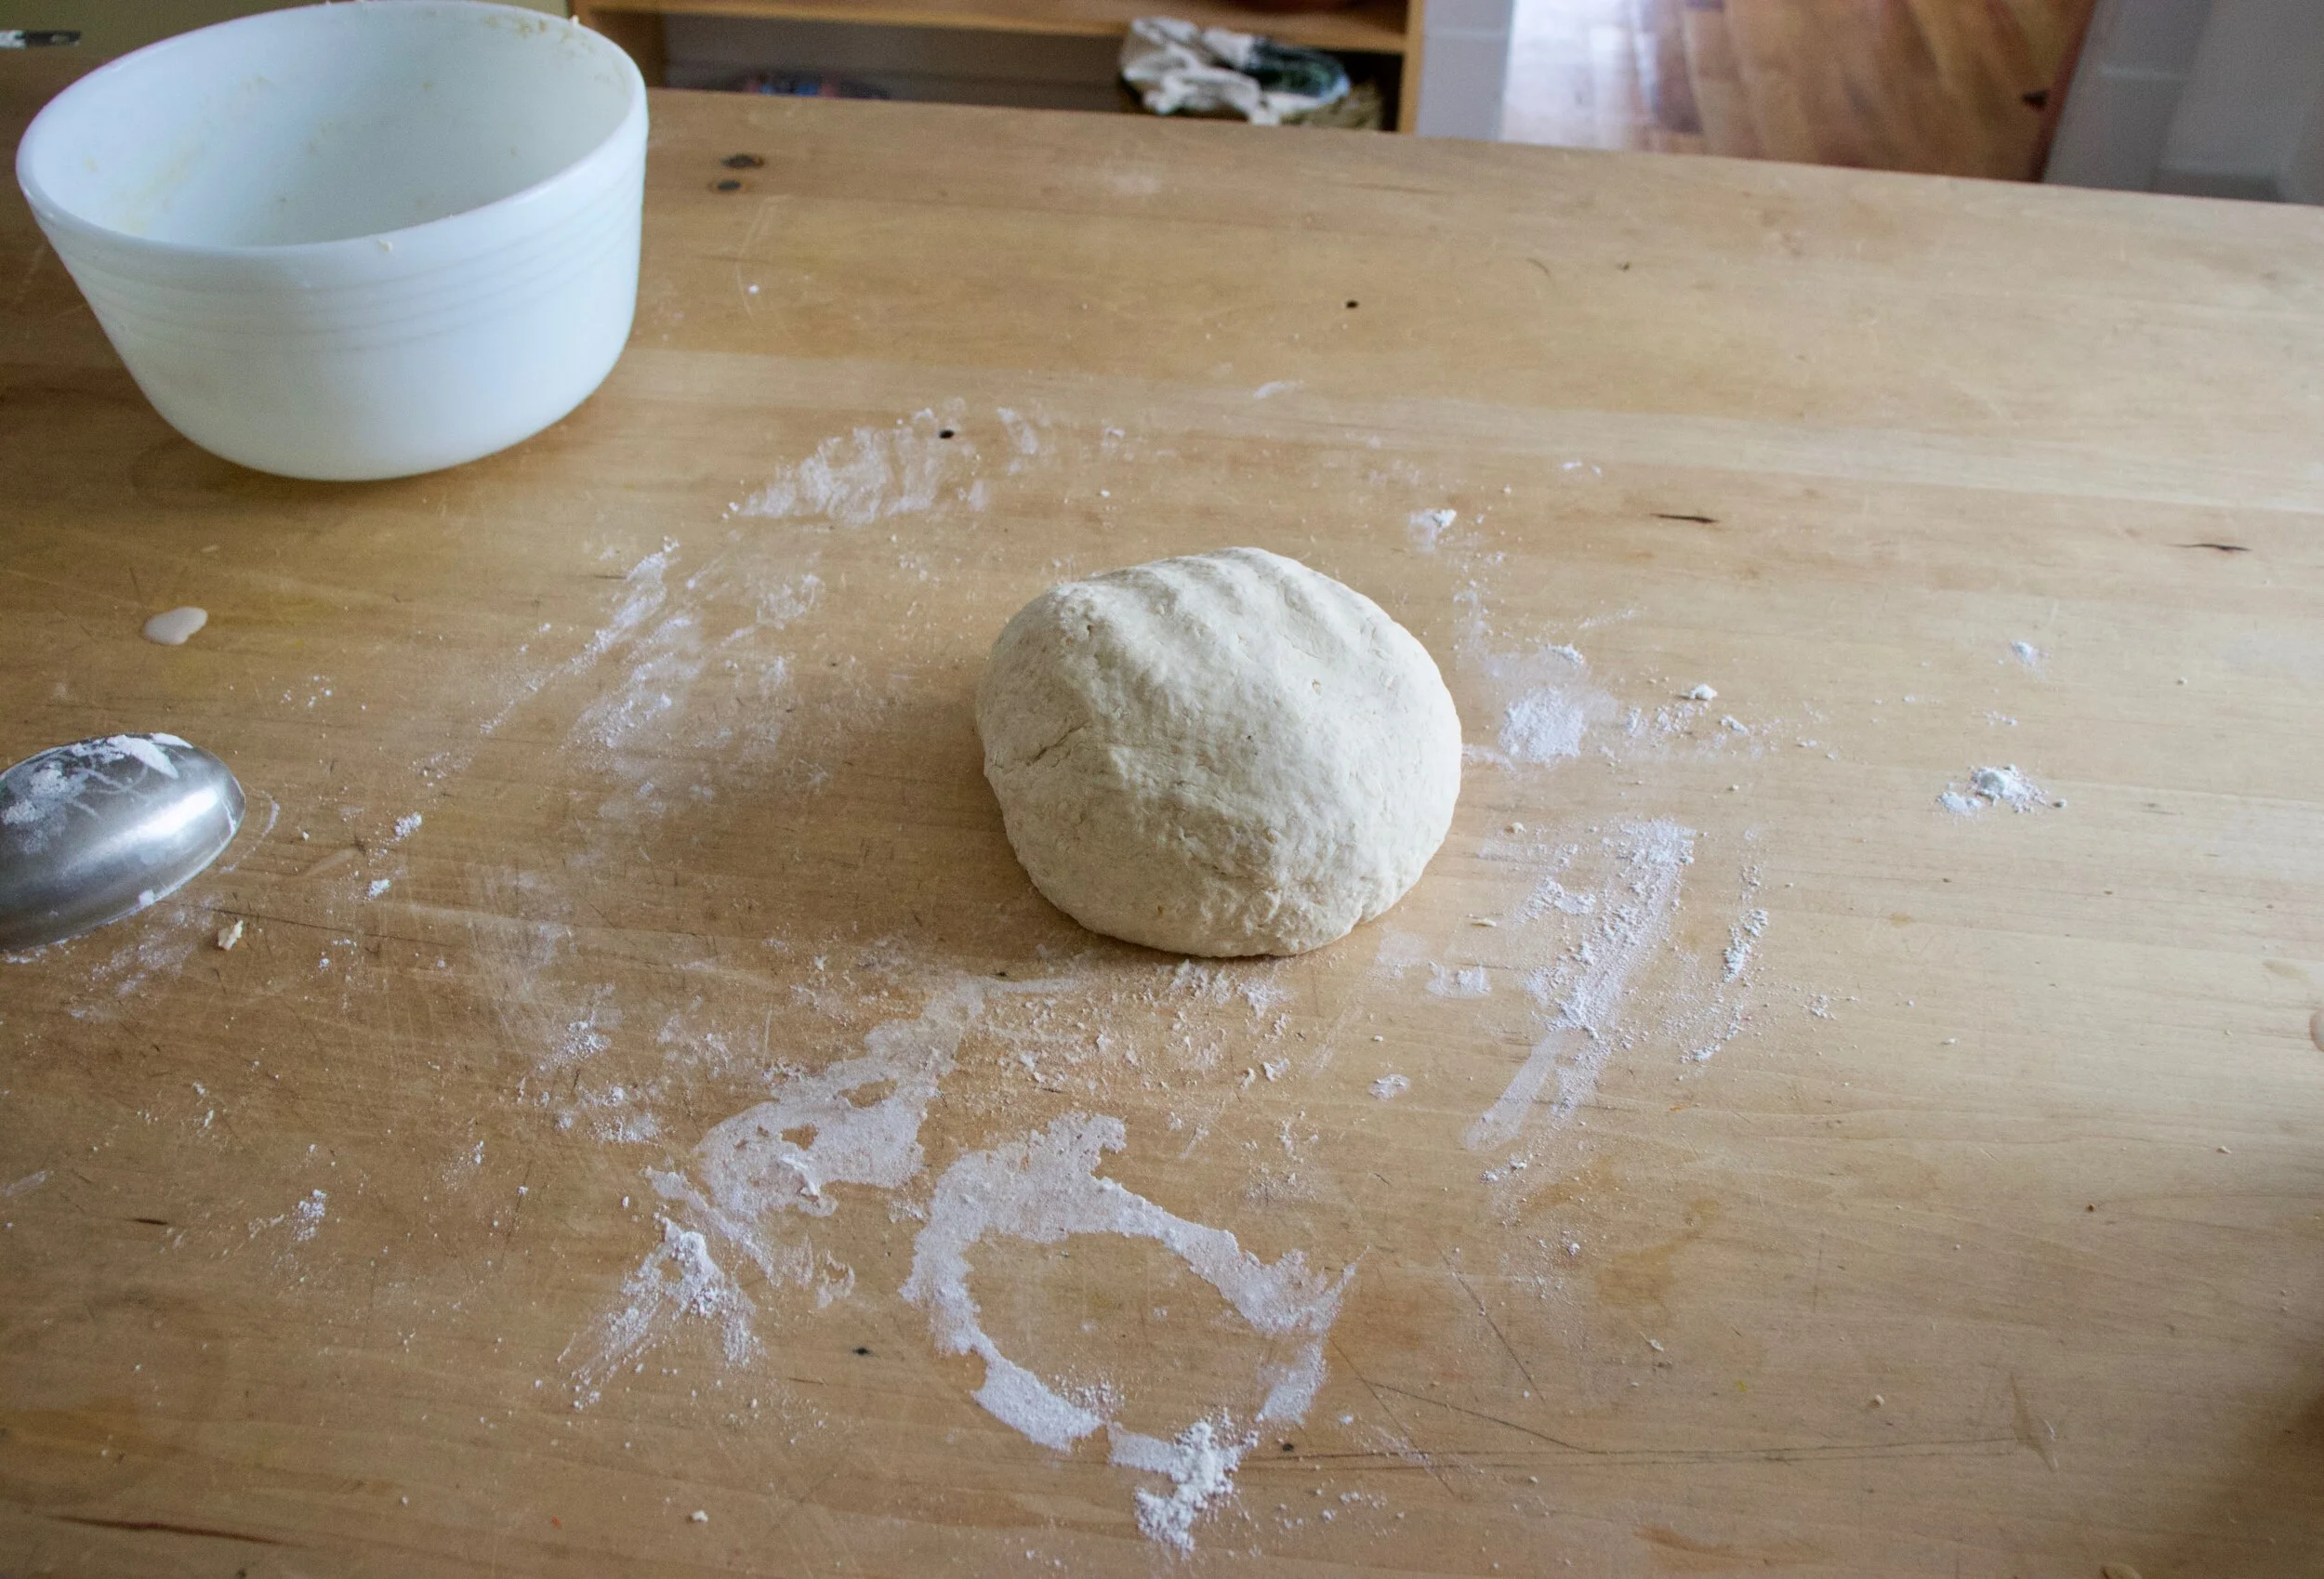
Dump dough onto a floured surface and knead for about 3-5 minutes, adding a little more four as needed to keep from being to sticky, but don%u2019t over flour. The dough is and should be a little tacky.
Soft and supple. Kneaded and ready.
Place the dough back into the bowl and cover with a damp towel. Leave alone and let rise for about an hour or until it doubles in size.
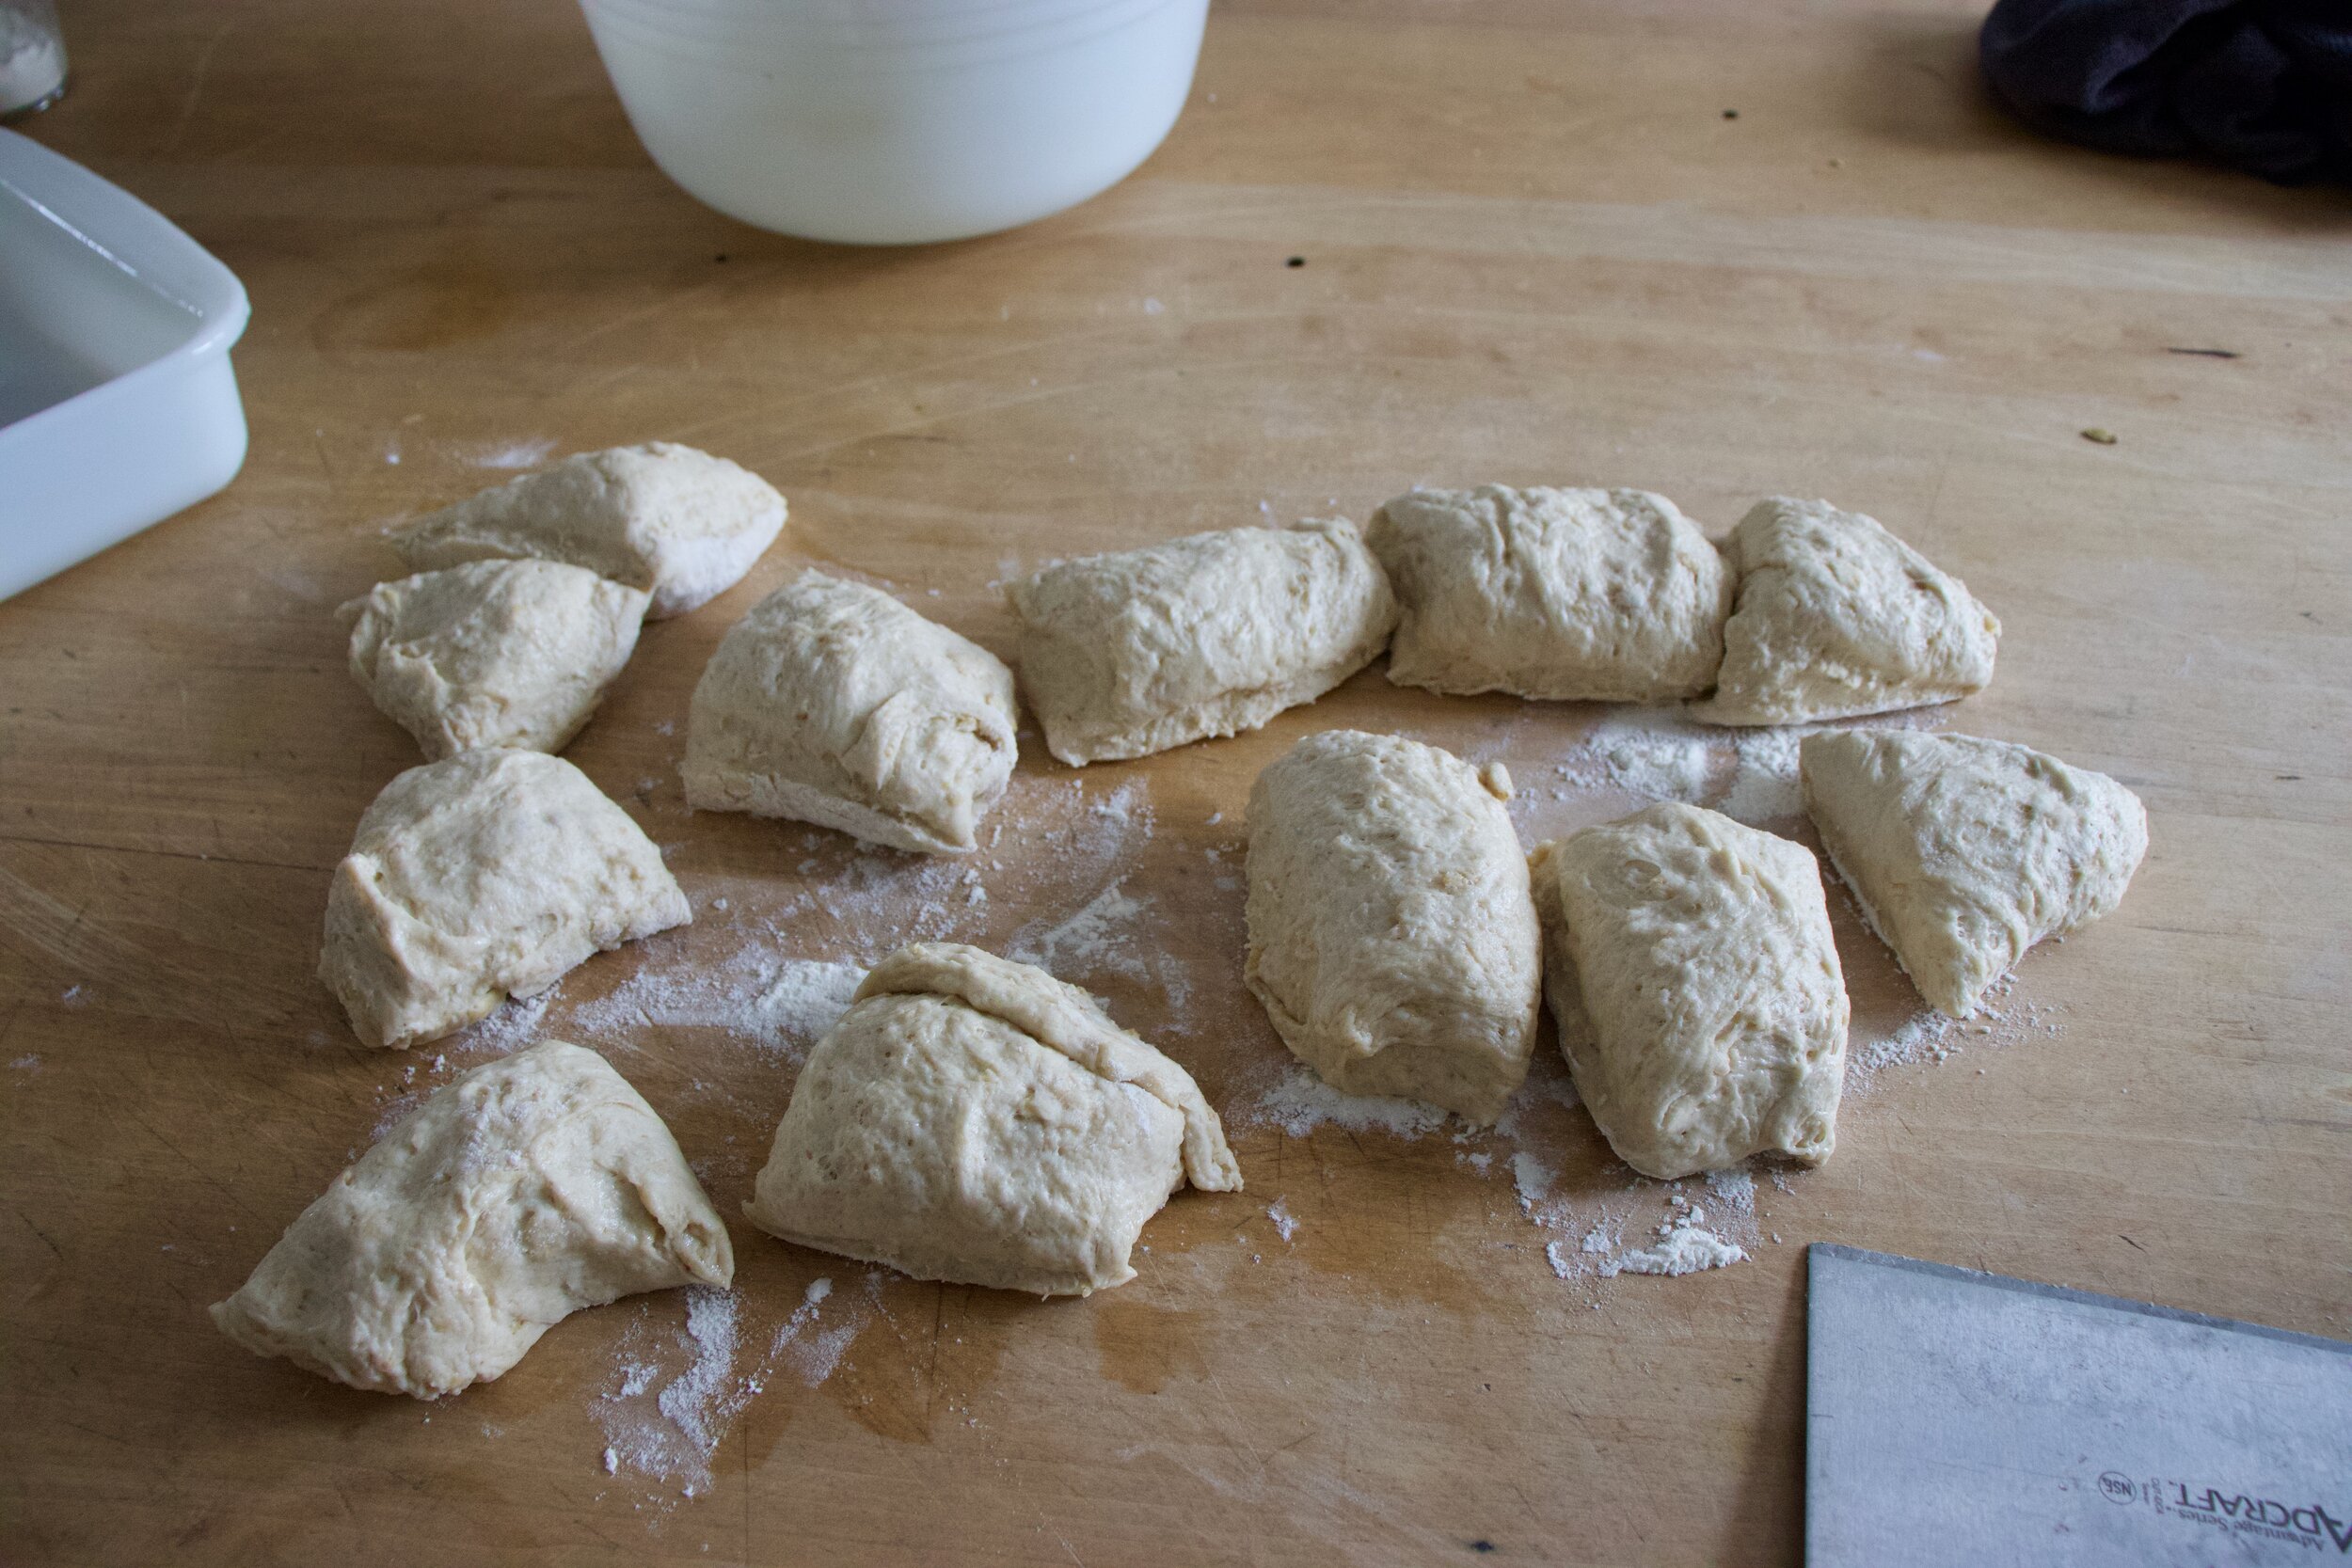
Once the dough doubles, dump out onto a lightly floured surface and cut into 12-16 equal sized pieces .
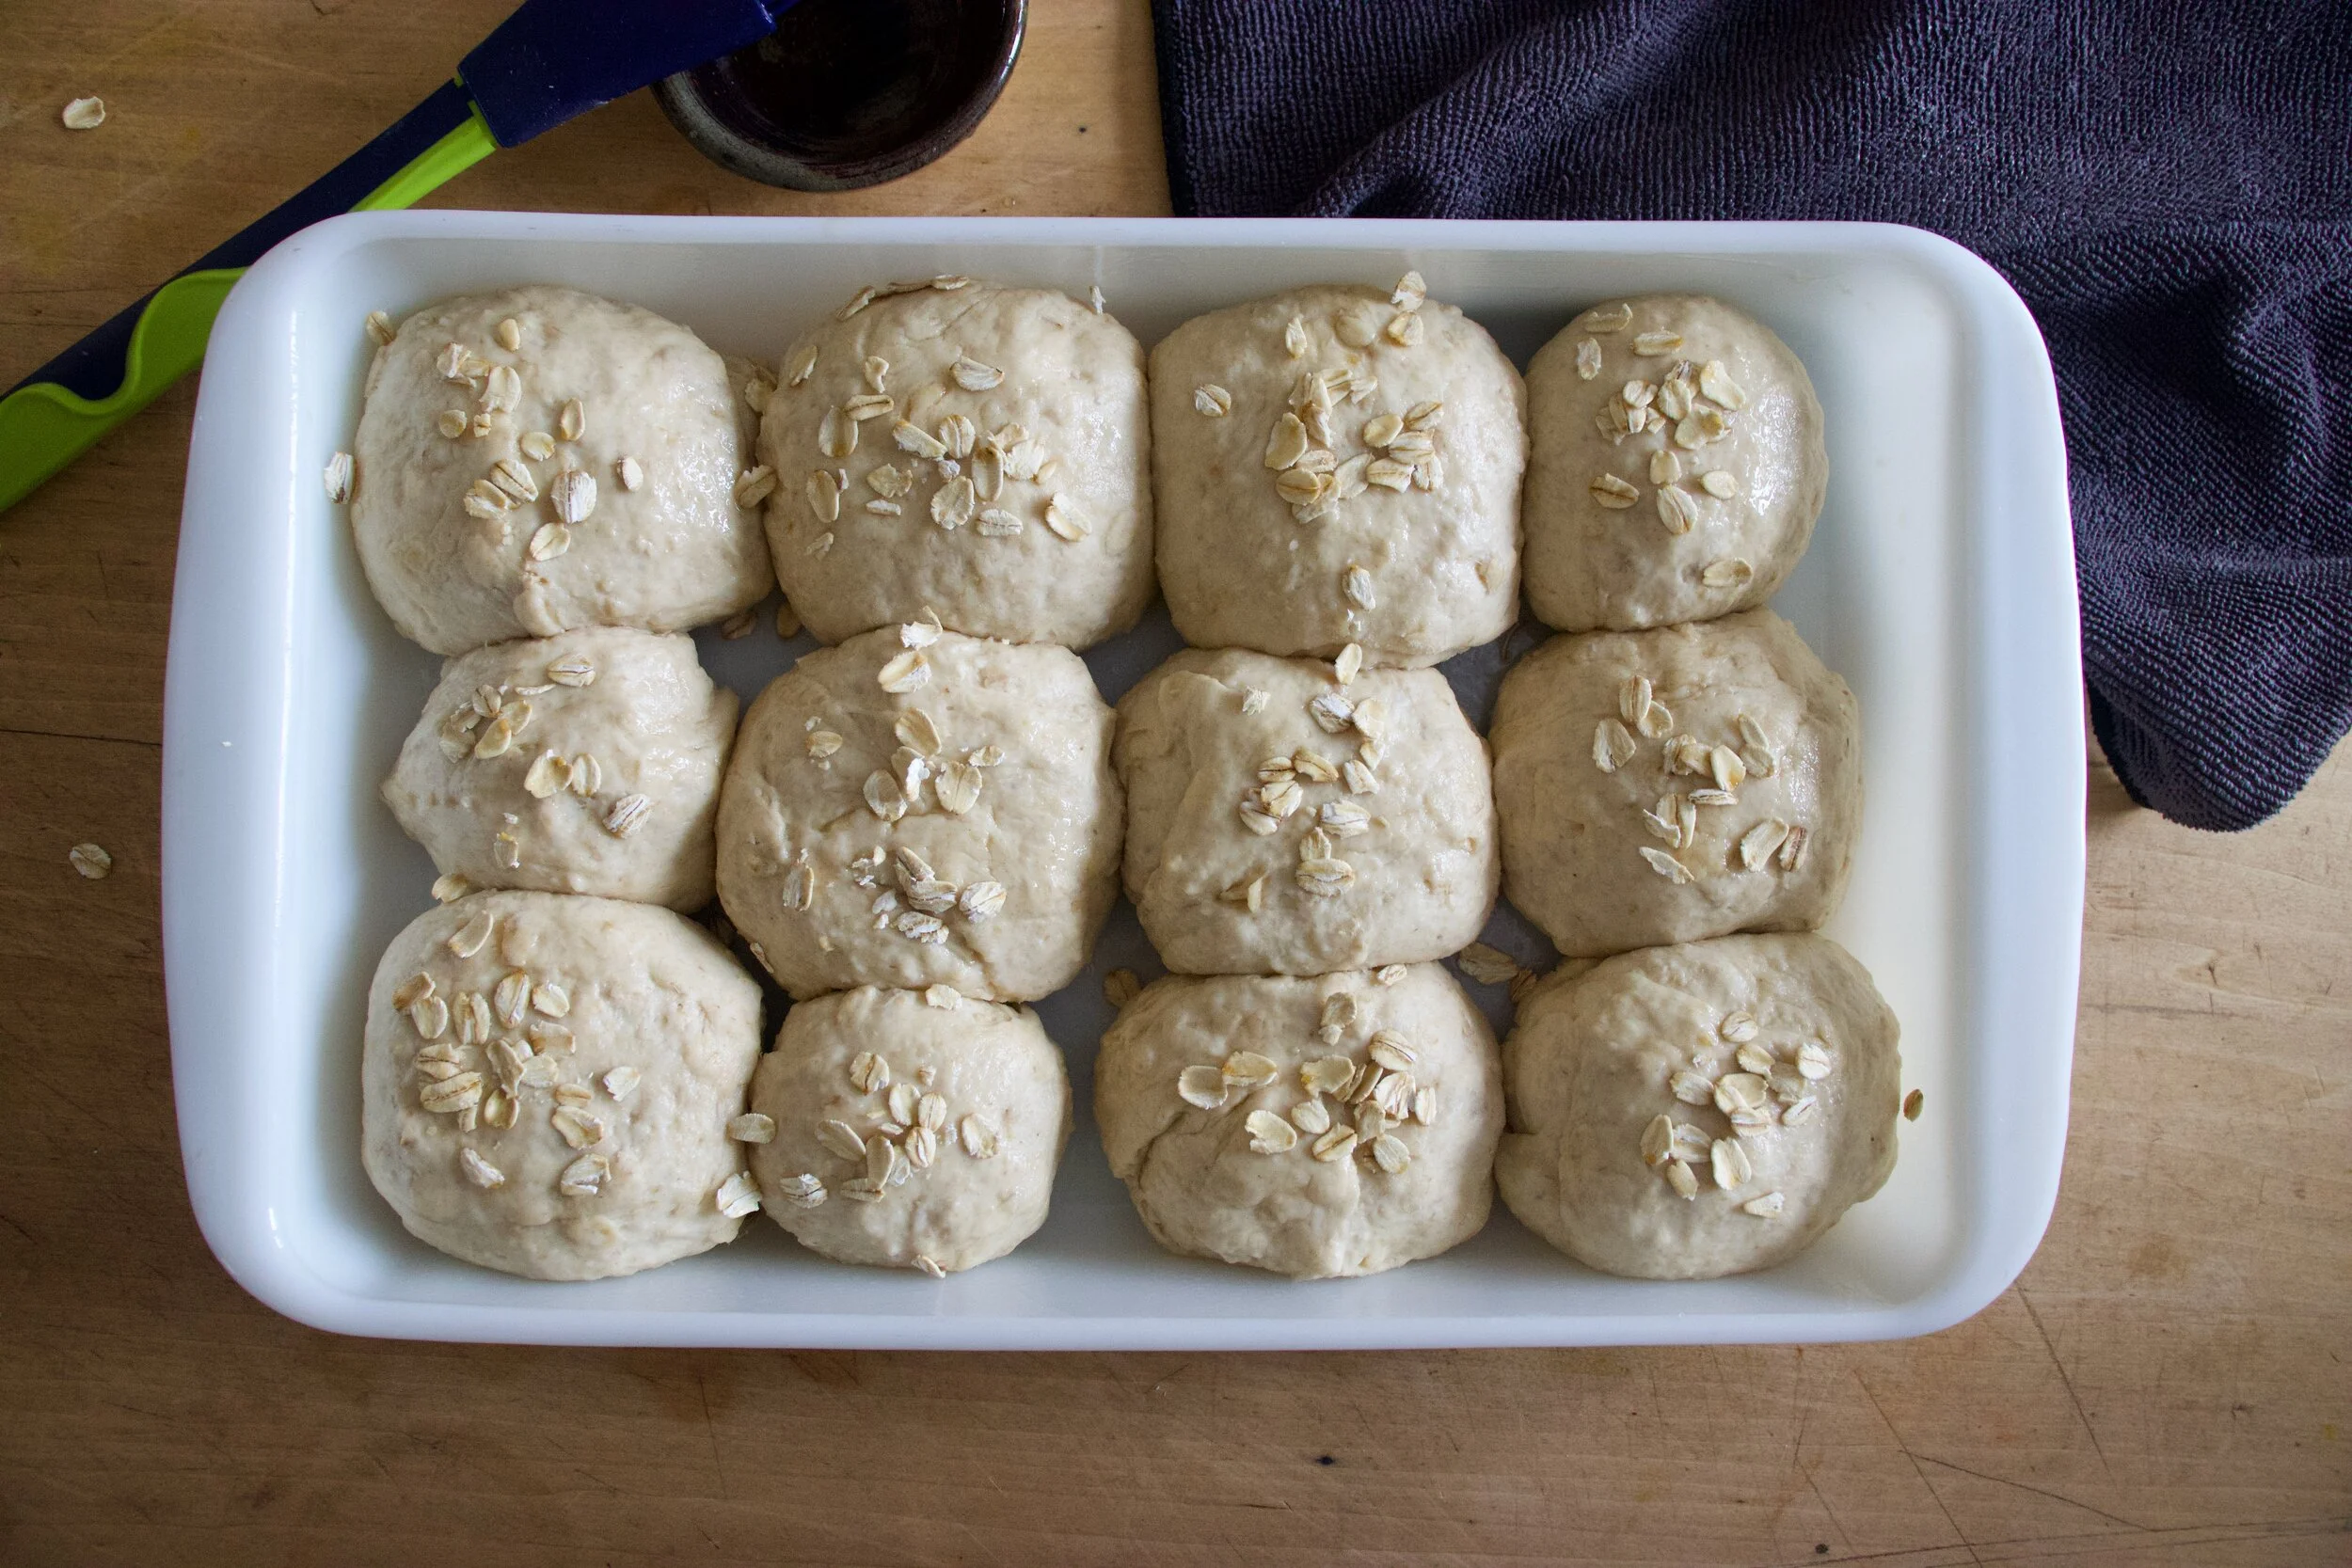
Roll each roll into a roll shape and place them in a lightly greased baking dish. Cover for another 15-20 minutes to let rest and rise a little more.
Rolls risen again, just a little plumper. And now right before you place them in the oven, brush tops with a maple/water mixture and sprinkle with a few oats. To look pretty. And into the oven they go, 30ish minutes, until nice and golden brown.
Baked to golden dinner roll perfection.
And there you have it. Soft and fluffy dinner rolls. Warm out of the oven, looking and smelling like all the good things that you want and need.
And can, and should, be made now and all year round.
-C
makes 12-16 rolls
1 1/2 cups old fashion oats
2 cups all purpose flour plus more for kneading
1 1/2 cups white whole wheat flour
2 cups boiling water
1 cup room tempature water plus 2 tablespoons for brushing tops
2 teaspoons salt
2 tablespoons maple or honey
2 teaspoons yeast
1/4 cup neutral oil
In a bowl, mix oats with boil water and let sit and soak for about 10 minutes. In the meantime, in a large bowl, mix the room temp water with the yeast and 1 tablespoon of maple and mix. Once oats have soaked and cooled to a point that they are not super hot, but still just warm, mix them in with the yeast mixture. Add the salt and oil and mix then and both the white and white wheat flour. Mix until combined. The dough is going to be sticky, but that how is should be. Dump the dough onto a lightly floured surface and knead for 3-5 minutes, adding a little flour as needed to keep from sticking too much, until dough is nice and uniformed in texture. Place dough back into big bowl (after you clean it out and lily oil it) and cover with a damp towel. Place somewhere warm for about an hour until it doubles in size.
Once dough has doubled, dump out onto a lightly floured surface and with a knife of dough cutter, cut into 12- 16 equal sized pieces. Roll each piece into a ball, pinching any ends together and place them into a 9×13 inch baking pan. Once all pieces are in, over and let rest for another 15 minutes.
While dough is resting again, preheat oven to 350.
After the dough has rested, and right before you place them in the oven, mix 1tablespoon of maple with about 2 tablespoons warm water and brush the tops of the rolls. Sprinkle with a handful of oats and then place them into the oven to bake. 30-35 minutes, until they are a nice golden brown.
Once baked remove from oven and let cool to a reasonable temperature and serve.
These can certainly be made a few days ahead of time of eating. Just remove baked rolls from pan and let cool completely then place the into an airtight bag. To reheat, just place on a baking sheet and stick in a hot oven until warm.