No it is not weird or gross or anything. I wouldn’t do that to you. These popsicles are down right deeee-lightful. Rich and creamy and sweet. Both the creamy coconut and the toasted coconut pair perfectly with the sweet corn flavor. They truly are delicious and I think that if you give them a try, you will think so too. And really, now that it is like almost summer, who doesn’t have a little extra corn laying around. So you might as well just make a batch.
And then you will thank me for introducing you to the goodness that is a toasted coconut and corn popsicle. Heck, the mr even ate one and he (still, after I have proven him wrong on a many occasions) says he hates corn. So if a corn hater likes these, imagine what a corn lover will think. HAHA. Corn lover.
To the popsicles!
The stuff. Corn, full fat coconut milk, shredded coconut, and maple syrup.
First, remove corn from cob and place on a baking sheet. Bake in oven for 10-ish minutes until corn is cooked and all nice and sweet.
And don%u2019t forget to toast the coconut. A few minutes in the oven is all it needs.
Now to blend. Corn and coconut milk go in first to blend until nice and smooth. Then add in the maple and coconut and blend until just combined. That will leave a little coconut texture. If you want it smooth, well just blend until completely smooth. Do what feels right to you.
Thick, rich and creamy popsicle mixture.
Now pour it into the molds and stick into the freezer. You could probably stick the sticks in now or wait a little while for the mixture to set a bit, but just don%u2019t forget to get sticks in those popsicles before they completely freeze. That would suck.
Pop those lovelies out of the molds and there you go.
The anticipation is over. Eat a popsicle
-C
makes 4 average sized popsicles
2 ears corn (about a cup of corn kernels)
1 cup full fat coconut milk (the canned stuff)
1/4 cup shredded unsweetened coconut
2- 4 tablespoons maple syrup
Note. If you have left over cooked corn, just use that. You don%u2019t need to recook it so skip the cooking corn step.
Preheat oven to 400
Remove corn kernels from cob and place on a baking sheet pretty evenly. Pop into the oven for 10 minutes of so or until the corn is cooked through and nice and sweet.
Remove corn and dump it into blender and set aside to cool for a few minutes. Place the coconut onto the baking sheet and pop into the oven for 3-4 minutes to just lightly toast. When the coconut is toasted, remove from oven.
Grab the blender with the corn and pot in the coconut milk. Blend until smooth. Add in the maple (start with 2 tablespoons and work your way up to the sweetness you like) and the toasted coconut. Blend quickly just to combine for a slightly more textures popsicle or blend completely smooth if you would rather a smoother popsicle.
Pour mixture into popsicles molds and place into freezer. After the mixture sets up (about an hour) pop sticks into molds. Continue to freeze until completely frozen. Usually 4-6 hours.
And then when it is popsicle time, remove popsicles from molds and eat them.
I have a bag of coconut flour that I need to use up so I have made coconut snack cake a few times the past couple weeks. Once with orange instead of lime. Once I added chocolate chips. This time I stepped it up made a little glaze action, toasted a little coconut for some extra coconutiness and took these here pictures and wrote down the recipe. Just. For. You.
Not that I don%u2019t know already that my snack cake creation is good, but I guess it was just super A+++. I threw this one together right before the mr and I headed down to PA to hang with my dad. As soon as he (and sister and nephews) started in on it, well the responses were more then average. My dad even snuck a piece off and hid it for later. They really, really, really were into it. Wanted me to make another right then and there. Normally I would but my dad doesn%u2019t keep coconut flour on hand and I don%u2019t make it a habit to travel with any myself. (I might have to change that.) Next time he will know to stock the coconut flour.
I didn%u2019t realize my people were such coconut people. Good thing for them that I like coconut people. As a matter of fact, I consider myself a coconut person. And coconut is not code for awesome, but I am that too. HA
Anyway enough about me. Coconut snack cake is what you want to know about. It is soft and dense. Moist, not overly sweet. Lots of lime and coconut flavor and is just perfect for snack time. Eat it with a fork on a plate with coffee or tea or grab an piece and eat it walking down the street while thinking about green leaves and warmer weather. Or wherever and whenever. If you make it then it%u2019s up to you when and where you eat it. That only seems fair.
Now to the snack cake of your coconut lime dreams.
The stuff. Gonna need all purpose flour, coconut flour, salt, baking soda, baking powder, a couple flax eggs, some warmed coconut oil, plant milk, brown sugar, vanilla extra, apple sider vinegar, a couple lime, some powdered sugar, and some lightly toasted shredded coconut.
Grab a big bowl. Add in the brown sugar, flax eggs, warmed coconut oil, apple cider vinegar, and vanilla. Mix it all up until evenly incorporated.
Dump in the flours, baking soda and powder, and salt. Zest in lime, squeeze in lime juice and start to mix. Add in the milk as you are mixing.
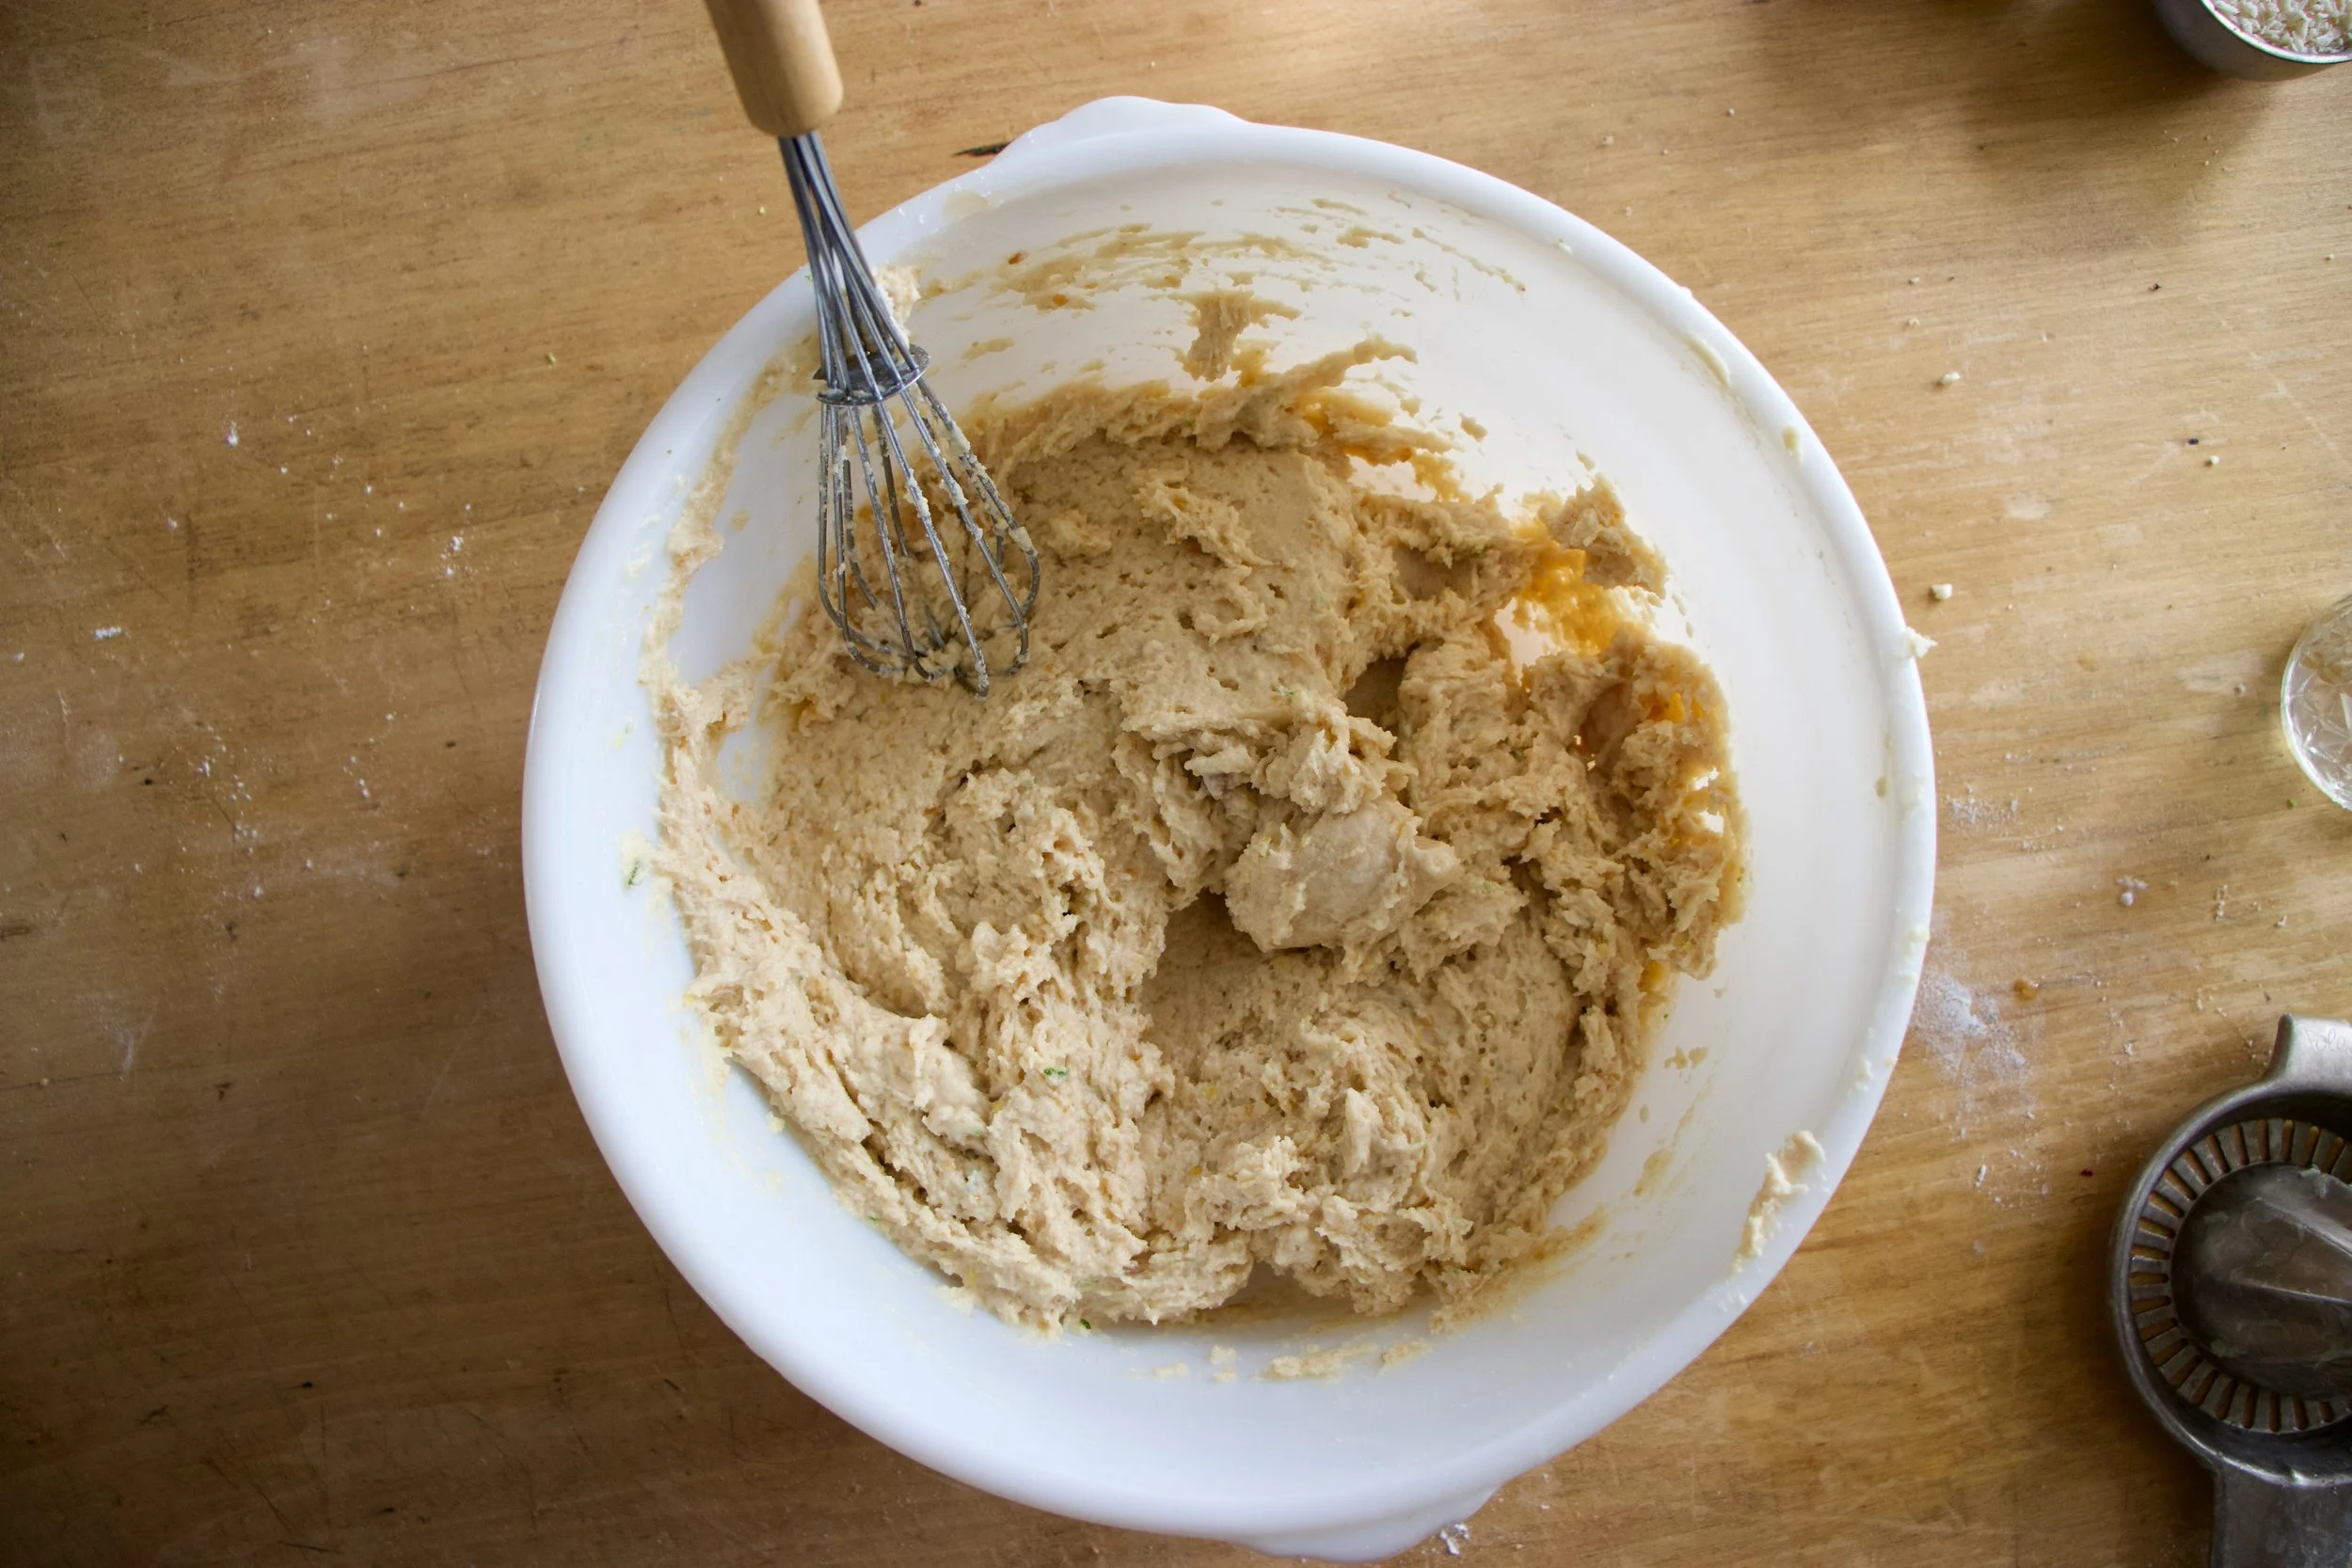
Cake batter mixed and done. Now to bake it.
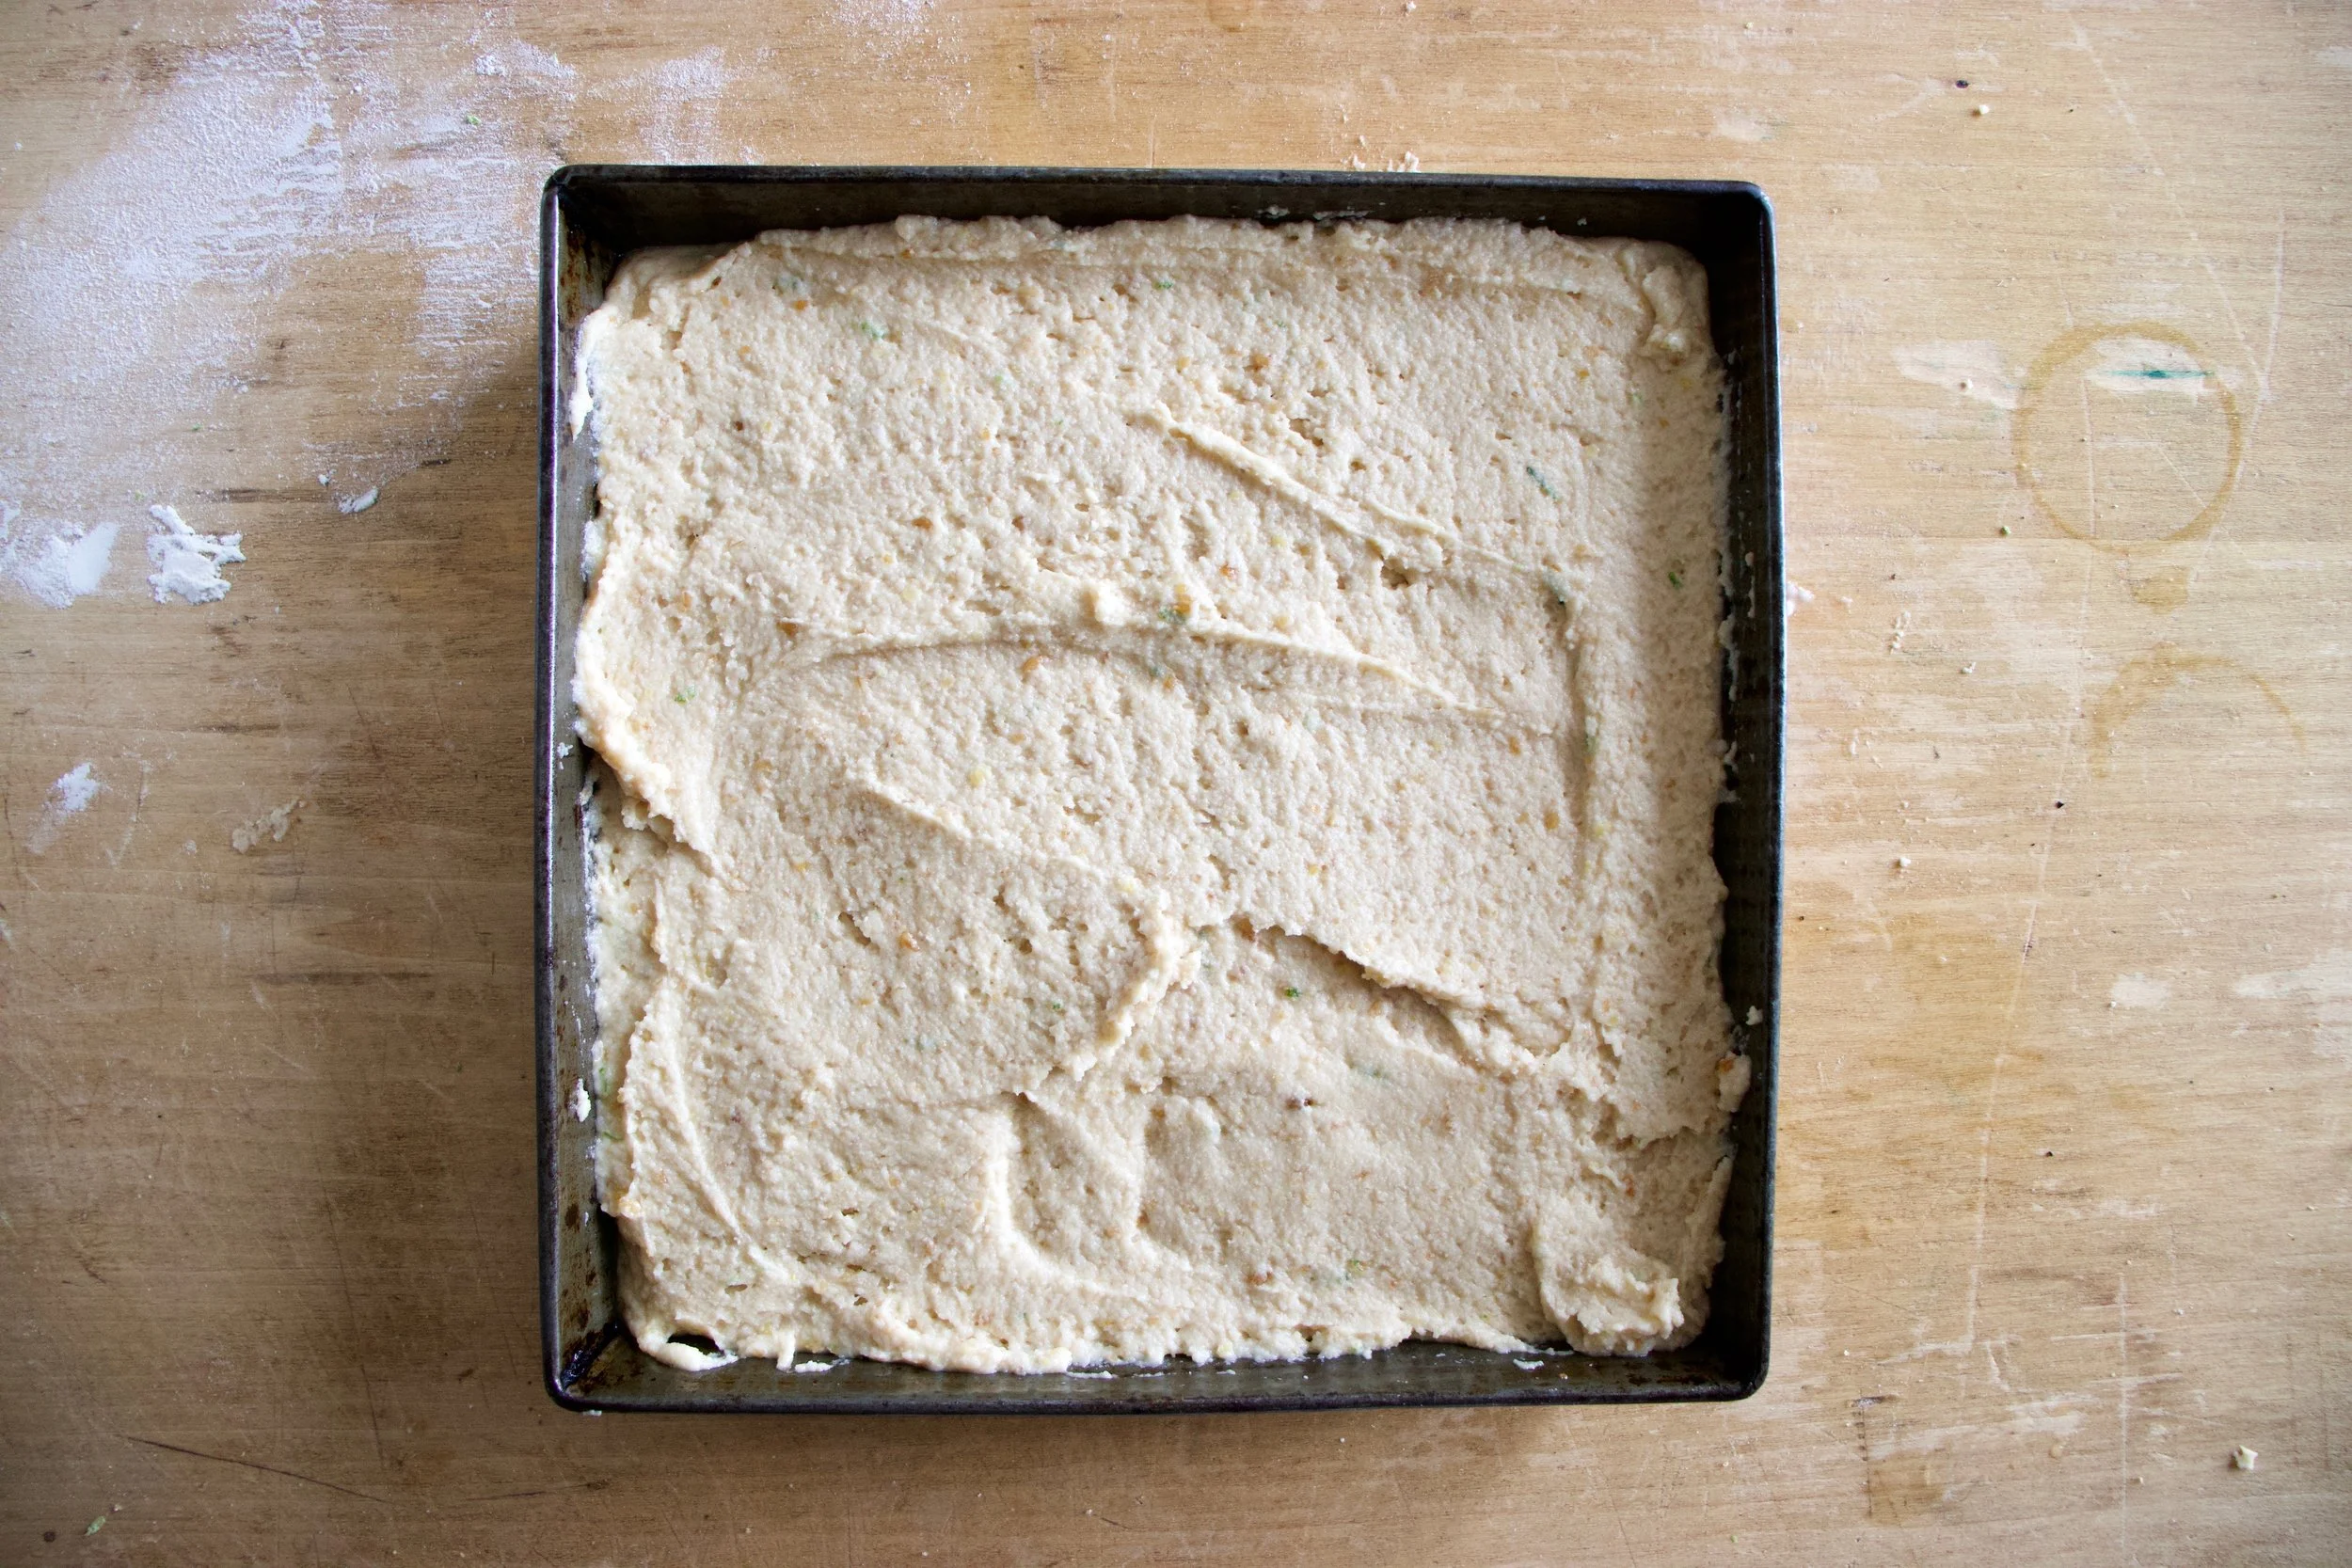
Dump the cake batter into a well greased baking pan and level it off with a spoon or spatula.
Now it%u2019s oven time to bake into a great and well cake.
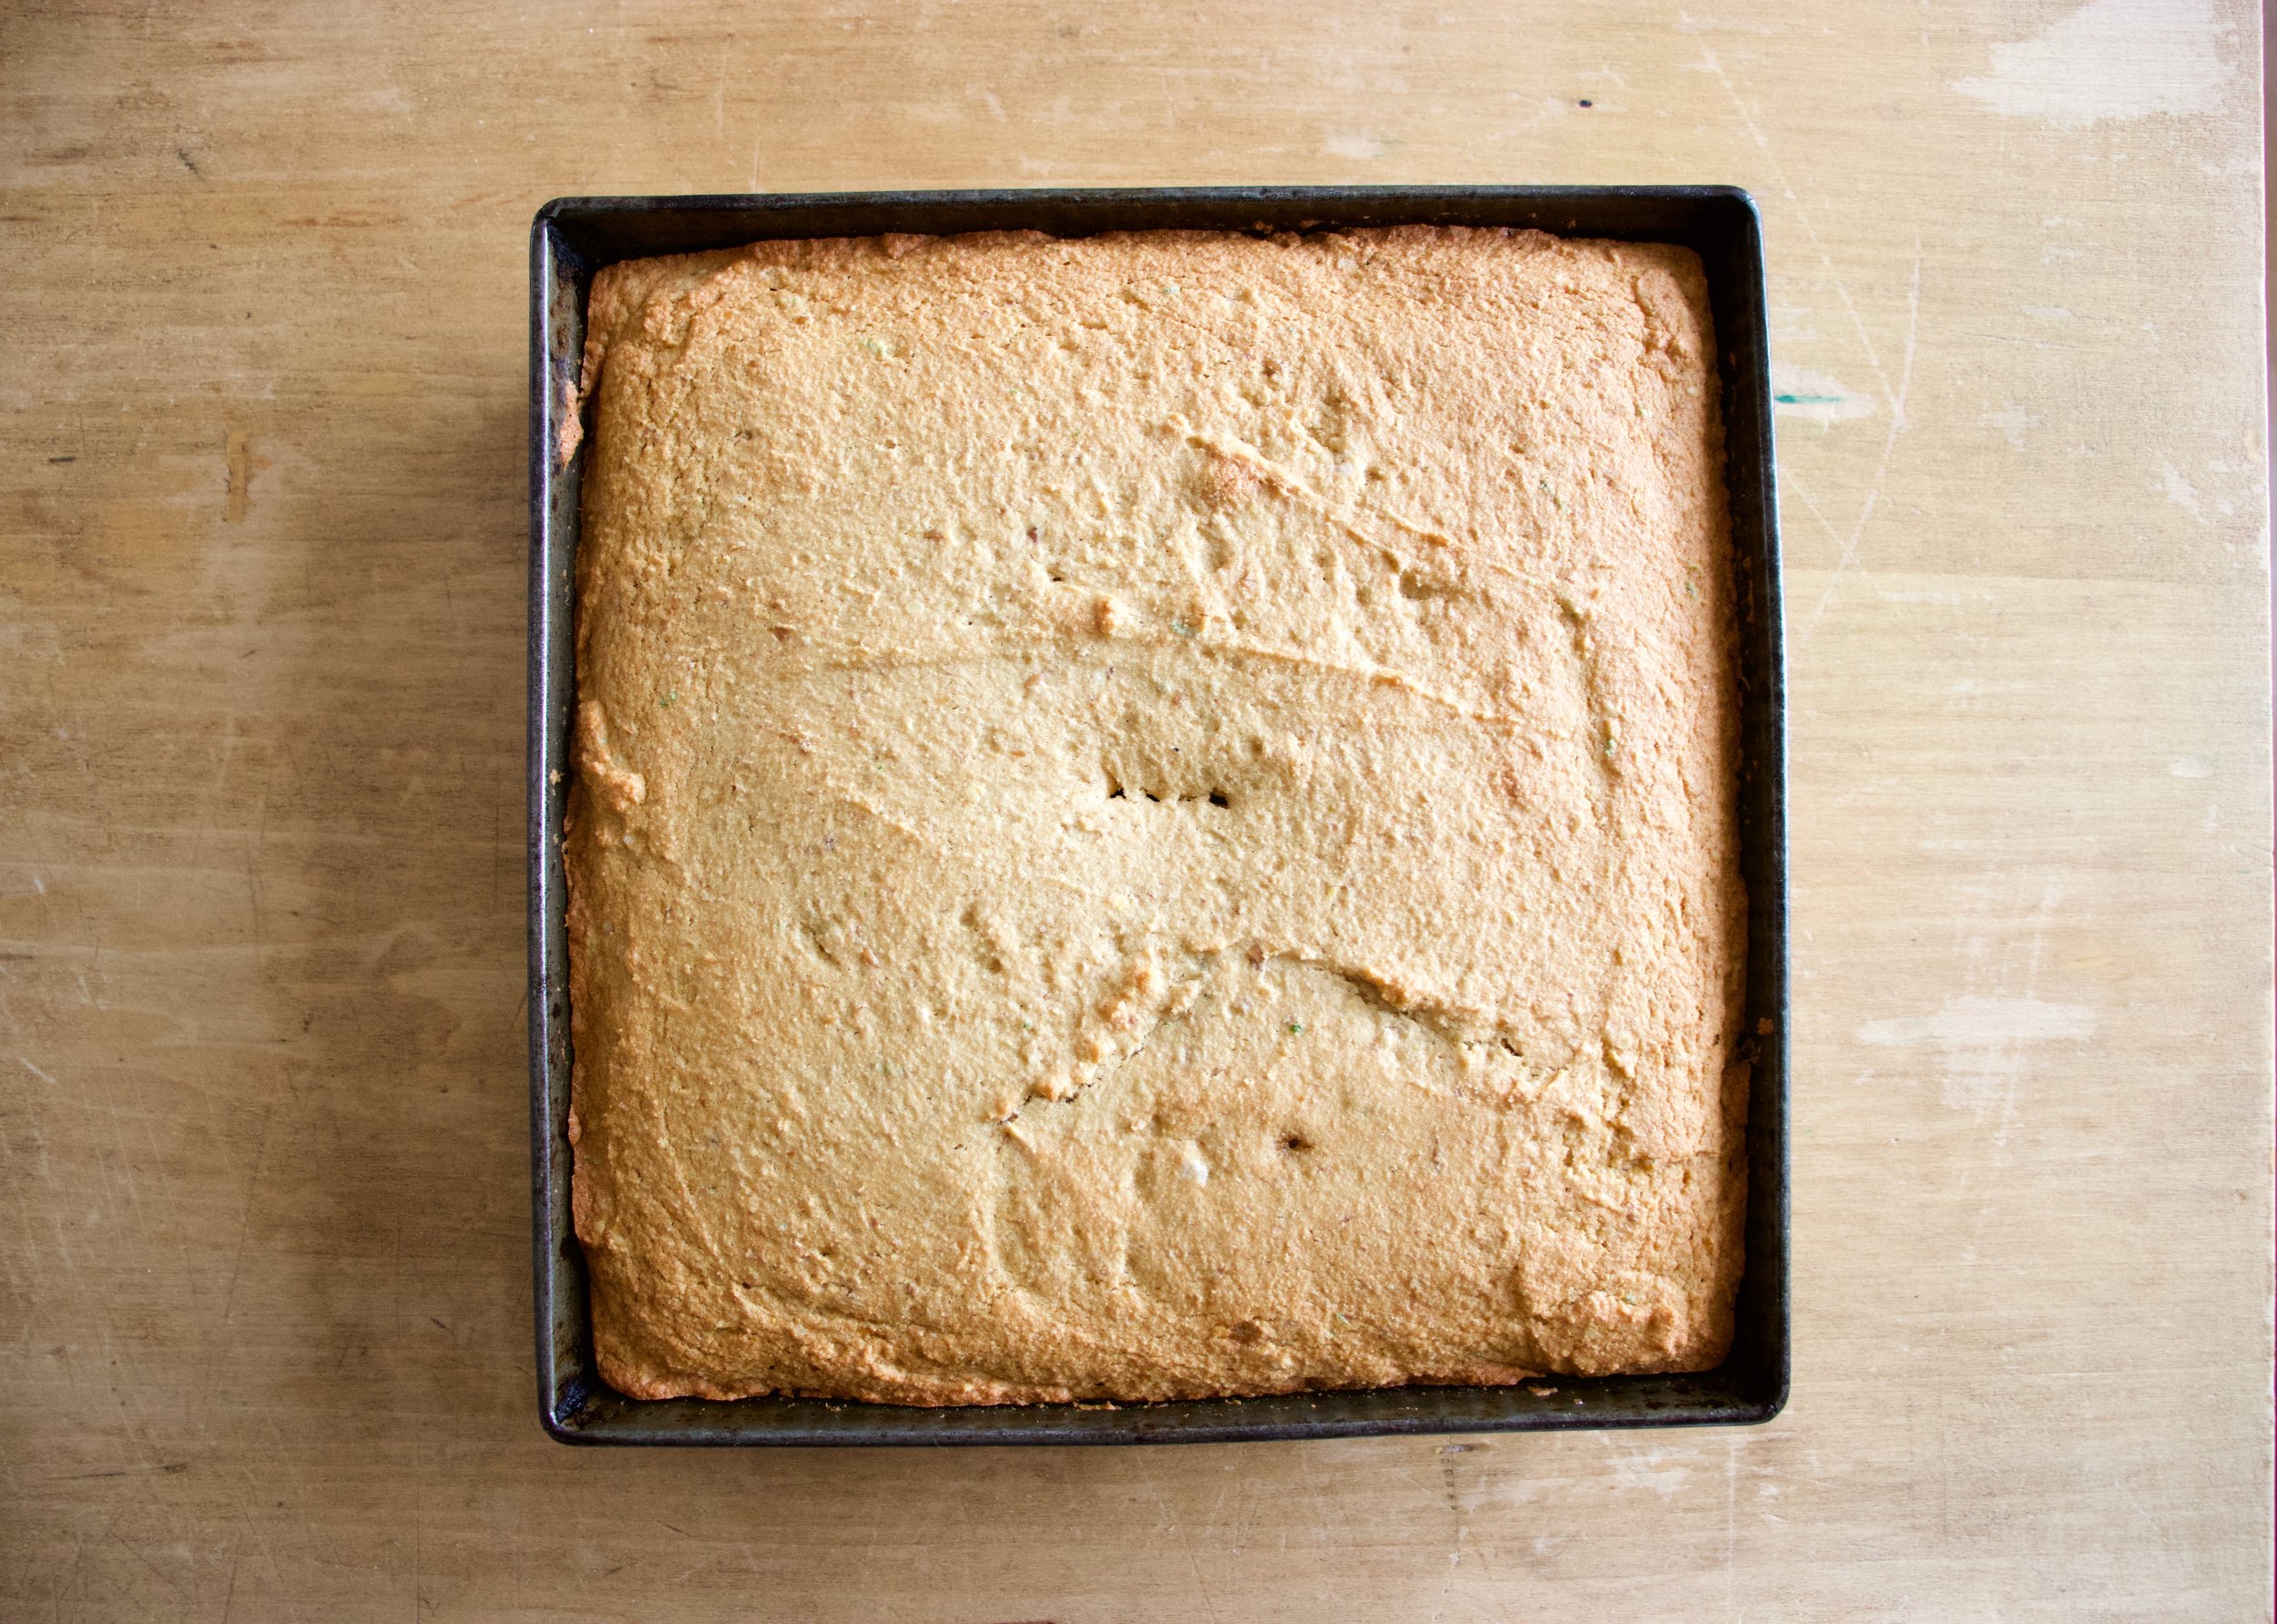
A cake out of the oven, great and well. Golden brown and smells of all the goodness that a coconut cake could possible smell.
While cake is cooling, which it should be now, make the glaze. Powdered sugar, lime zest, and lime juice. Mix until it%u2019s glazy.
Pour the glaze all over cooled cake.
Don%u2019t forget the shredded coconut. Get it on before the glaze starts to set.
And then it%u2019s just the matter of cutting cake%u2026%u2026.
You know once you cut it, that means snack time right? Coconut lime snack cake for all of your coconut time, lime time, hungry snack time needs.
Keep it good.
-C
Makes a 9×9 cake
1 1/2 cups all purpose flour
1/2 cup coconut flour
3/4 packed cup brown sugar
1 teaspoon salt
1 teaspoon baking soda
1 teaspoon baking powder
1/2 cup coconut oil (warmed to liquid)
1 1/4 cup plant milk (I used almond)
2 flax eggs (2 tablespoons ground flax seeds with 1/2 cup warm water)
1 teaspoon vanilla
1 tablespoon apple cider vinegar
A lime
For the glaze
3/4 cup powdered sugar
a lime
1/4 cup or so toasted shredded coconut to sprinkle on top (optional)
Preheat oven to 350
In a large bowl, mix together the bbrown sugar, flax eggs, warmed coconut oil, vanilla, and apple cider vinegar until completely incorporated. Next dump in the flour, coconut flour, salt, baking soda and baking powder. Zest the lime into bowl. Start mixing, adding in the juice of the lime and the plant milk. Mix it all together until completely incorporated.
Dump mixture into a well greases 9×9 baking pan and level off with a spoon or spatula. Place into oven and bake for 30-35 minutes or until golden brown and a tester stuck into the middle of cake comes out clean.
Once baked, remove from oven, let cool in pan for a few minutes then carefully remove cake from pan and let cool on a wire rack.
While cake is cooling, make the glaze. Just zest other lime into powered sugar then add the juice (or as much juice as you needed) of the lime until a pourable glaze forms. If your lime is not particularly juicy enough and the glaze is still really thin, just add a splash of water to thin out as needed.
And when cake is completely cooled, pour glaze all over cake and cover with toasted coconut flakes.
Now cut. And eat.
Store left over cake in a air tight container for 3-4 days. Individual pieces freeze well for all your future snacking needs.
Ok, I think I hit that wall. The wall that all of a sudden I am over it. I am ready for spring, like hella ready. I think what broke was the day I didn’t need my coat outside or to wear socks in the house. I just realized how sick of wearing a coat every time I leave the house. And the day I was walking around the house barefoot without socks. Let me tell you, my feet couldn%u2019t have been any happier. And then it got cold again and I am now, well, now I am done. Bring on Spring! (summer can wait, still not ready for that)
As for the week, it was up and down. It started off all good and well. Had a sister dinner at my moms house, we%u2019re getting ready to leave for the week to go see my Dad and Grandmother, but before we got a chance to go, Grammy passed away. Sucky sucky suck. We knew it was going to happen, the old broad was 98 for pets sake, but still. We just thought we were going to be able to get down there and see her before it did. So yeah it%u2019s been kind of a sad week. And because she passed we are waiting til next week to leave now because of funeral and all the jazz.
The rest of the went kind of unscripted and strange. We were all feeling sad and bummed. Also we didn%u2019t have a lot planned because we thought we were leaving, but we also had (have) a lot to do so we tried to get some stuff done. We did take some time to go see green stuff at the garden center, walk in some woods, and hang with the littles. But towards the weekend, we both started to feel like garbage. The mr especially. He was ok and then he was not. The littles slept over Friday night and after we got rid of them Saturday, he crashed and spent the rest of the day pretty much immobile and I still felt like trash. So basically I cleaned house, he slept on the couch, we ate some dinner, we walked around the block before the sun went down, came home and crawled into bed. We watched Waynes World because sheyeah, right, and fell right to sleep. Nothing but boring old us to make your life seem exciting right? Haha.
Today so far I am feeling ok. As for the mr, he hasn%u2019t woken as of yet (I am sure that he has since awaken while some of you are reading this) so I am not sure about him. I am hoping for a full recovery on his part and we can spend some of today doing that shit that we needed to do yesterday, like the chores, but maybe even a little hike or a little walk down by the lake. I need outdoors to wash the yesterday off me.
Links to stuff from the internet that don%u2019t suck.
–Recipe Introductions Matter. Here’s%u00a0Why. If you don%u2019t want to read what I write, well then don%u2019t.
-History and study about the neighborhood where I grew up. ONE NEIGHBORHOOD PROJECT
-You know what pisses me off? Going to the store and seeing that they are out of celery because it is now what everyone wants to drink. I just wanted to eat it. Is that allowed abymore> Actually, You Can Just Drink Some Water
-This is a thing and it is awesome. A New Book Explores the Wide Range of Charming Homemade Cat Ladders in Switzerland
-I love this TREE HOUSE
-30, no 60 (one for me, one for the mr) outfits that I need to make. AMAZING! HAHA 30 Laughable His-And-Hers Fashions From The 1970s You Wouldn%u2019t Wear In Public Today
-The mr and I were just talking about making artificial coffee for when the world goes to hell and we can not longer grow the bean. Someone also had the somewhat same idea. Atomo: We hacked the coffee bean – invented molecular coffee
–You Can Now Book a%u00a0Golden Girls Cruise, Complete with Cheesecake, Bingo and More!. A cruise I would take, just as long as I could still go to bed at 7pm. HA
-Poptarts? I guess so. In London, The American Food Aisle Is Filled With Nostalgia And Preservatives
-The dream. Sometimes. I bought a house%u2014and then moved into a van
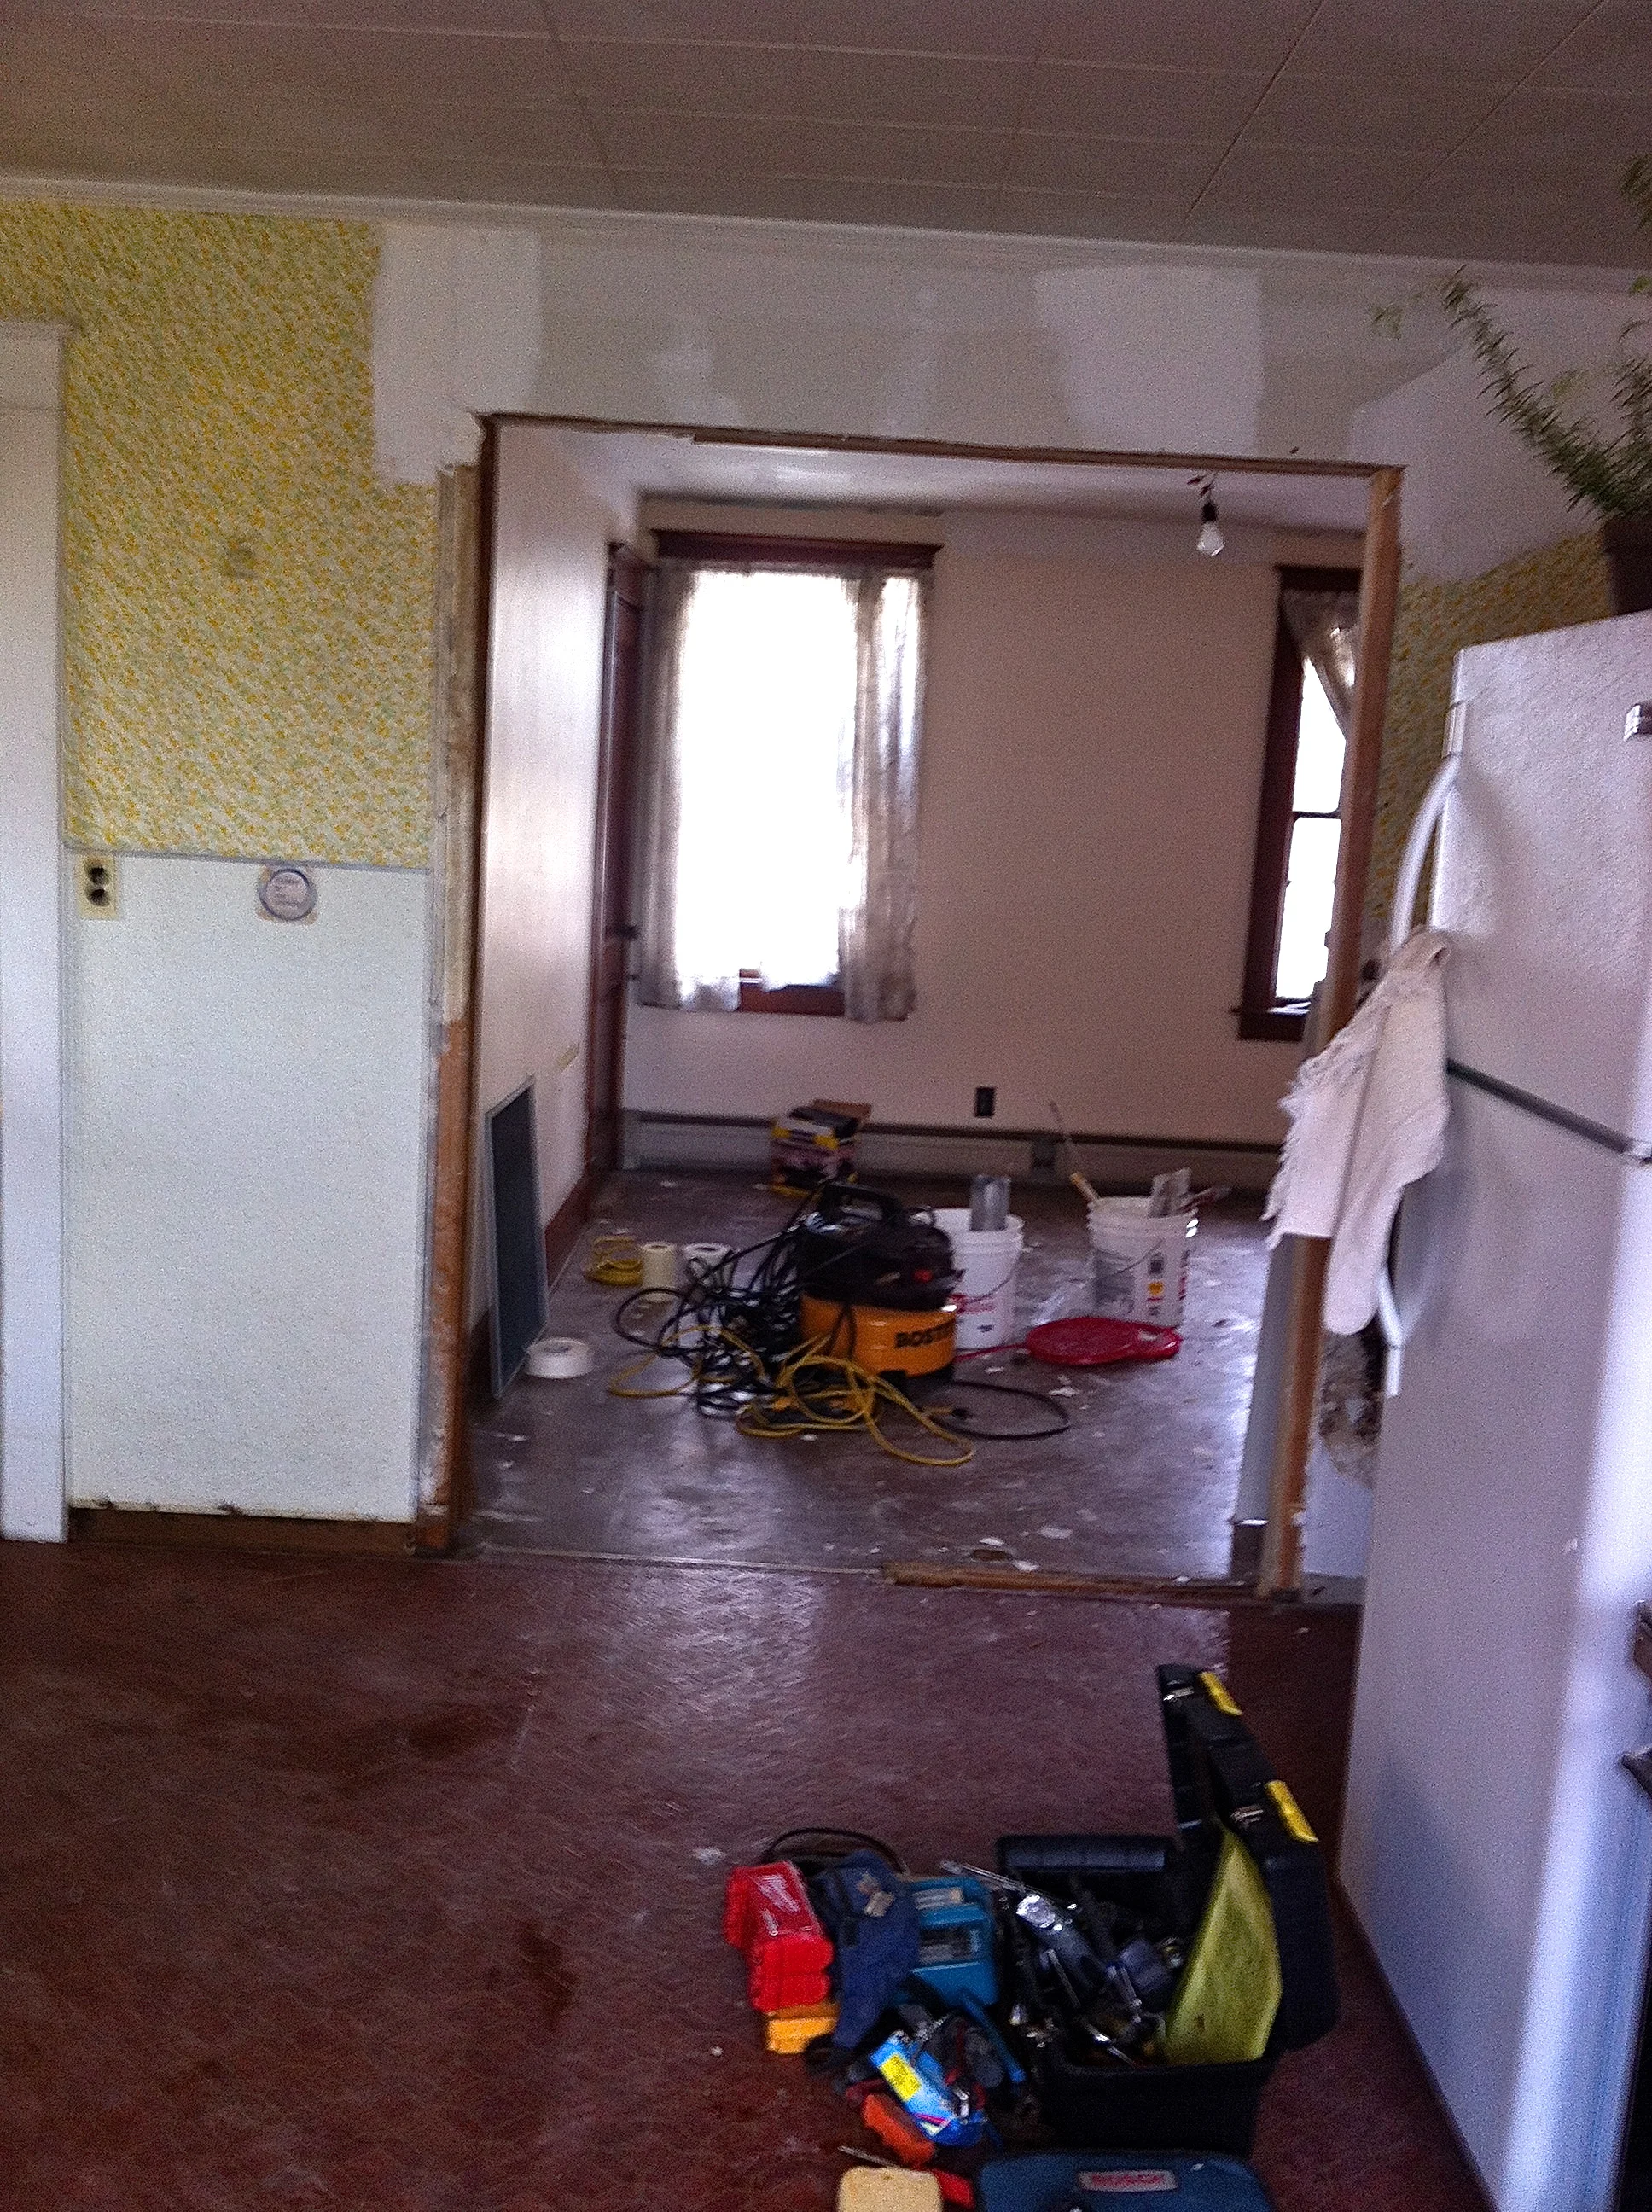
Yup. this is the current kitchen. Everything is ripped out (besides the floors… doing that on Monday)
And now the big question…What are we doing? Honest, I have no freaking idea. No that’s not true, I have way to many freaking ideas. The internet is driving me crazy with all of it’s pretty pictures and cool ideas, it’s so overwhelming. And then there is the budget. Did you know that everything is not free? I know, sucky, but we are on not in a position to spend away… Plus I like my things used or recycled with character and charm. (and free of cheap(but well made))
And it’s not like this isn’t like my 100th kitchen remodel, but this one is personal. Like has potential to me the kitchen of my (our, but mostly my) dreams. And that’s a lot of pressure. Here is the list of the big things we need to figure out. Soon.
Do I eat grass and dirt for a few months and save enough money to get a wolf gas range or do I get a way less expensivedecent stove that I will probably burn out within 5 years (I burn out ovens… I like to cook hot!)
Where does the fridge go ? Currently the old fridge is on the opposite wall, and it almost kinda works there, but I wanted that wall to be bare. so?
Dish washer? I could live without, but the mr wants one. He is probably right but we have been hand washing for so long now that I might miss it. (ok, probably not)
And the sink. Old farm sink or a newer 2 bay?
Do we do a tile back splash? And if yes, white subway or what ?(no color or anything trendy…)
The floor. We know that if the there is hard wood or any nice soft wood under the layers of shit on top, we will sand and keep. I am hoping for that, but it’s not looking good from what we see so far. So then what? I don’t think I want tile but should we really lay hardwood down?
Lighting. Actually not a big deal here cause I feel like lighting is so easily changed out for us that if we don’t like it,we’ll just change it.
And the biggy big big.. Cabinets and counter tops.%u00a0 I know no laminate and no wood countersbut I don’t want fancy or expensive or ugly. And the cabinets could possibly come from ikea and we face them ourselves or I find some cool old dressers!?
What we do know is that we are going to stick some type of french door situation here. The doors have to be cool, old, and be half, if not entirely made of glass. I have my heart set on a pair of antique garden doors that came from FranceI saw last year at a reclaim store which have sense been sold.. SO whoever bought them give them back. That’s not a lot to ask right?
Yeah. Just looking for the right set. We might even find cool doors we like and DIY something. We want the doors soon, but are not going to settle on anything mah… we will wait for the right ones.
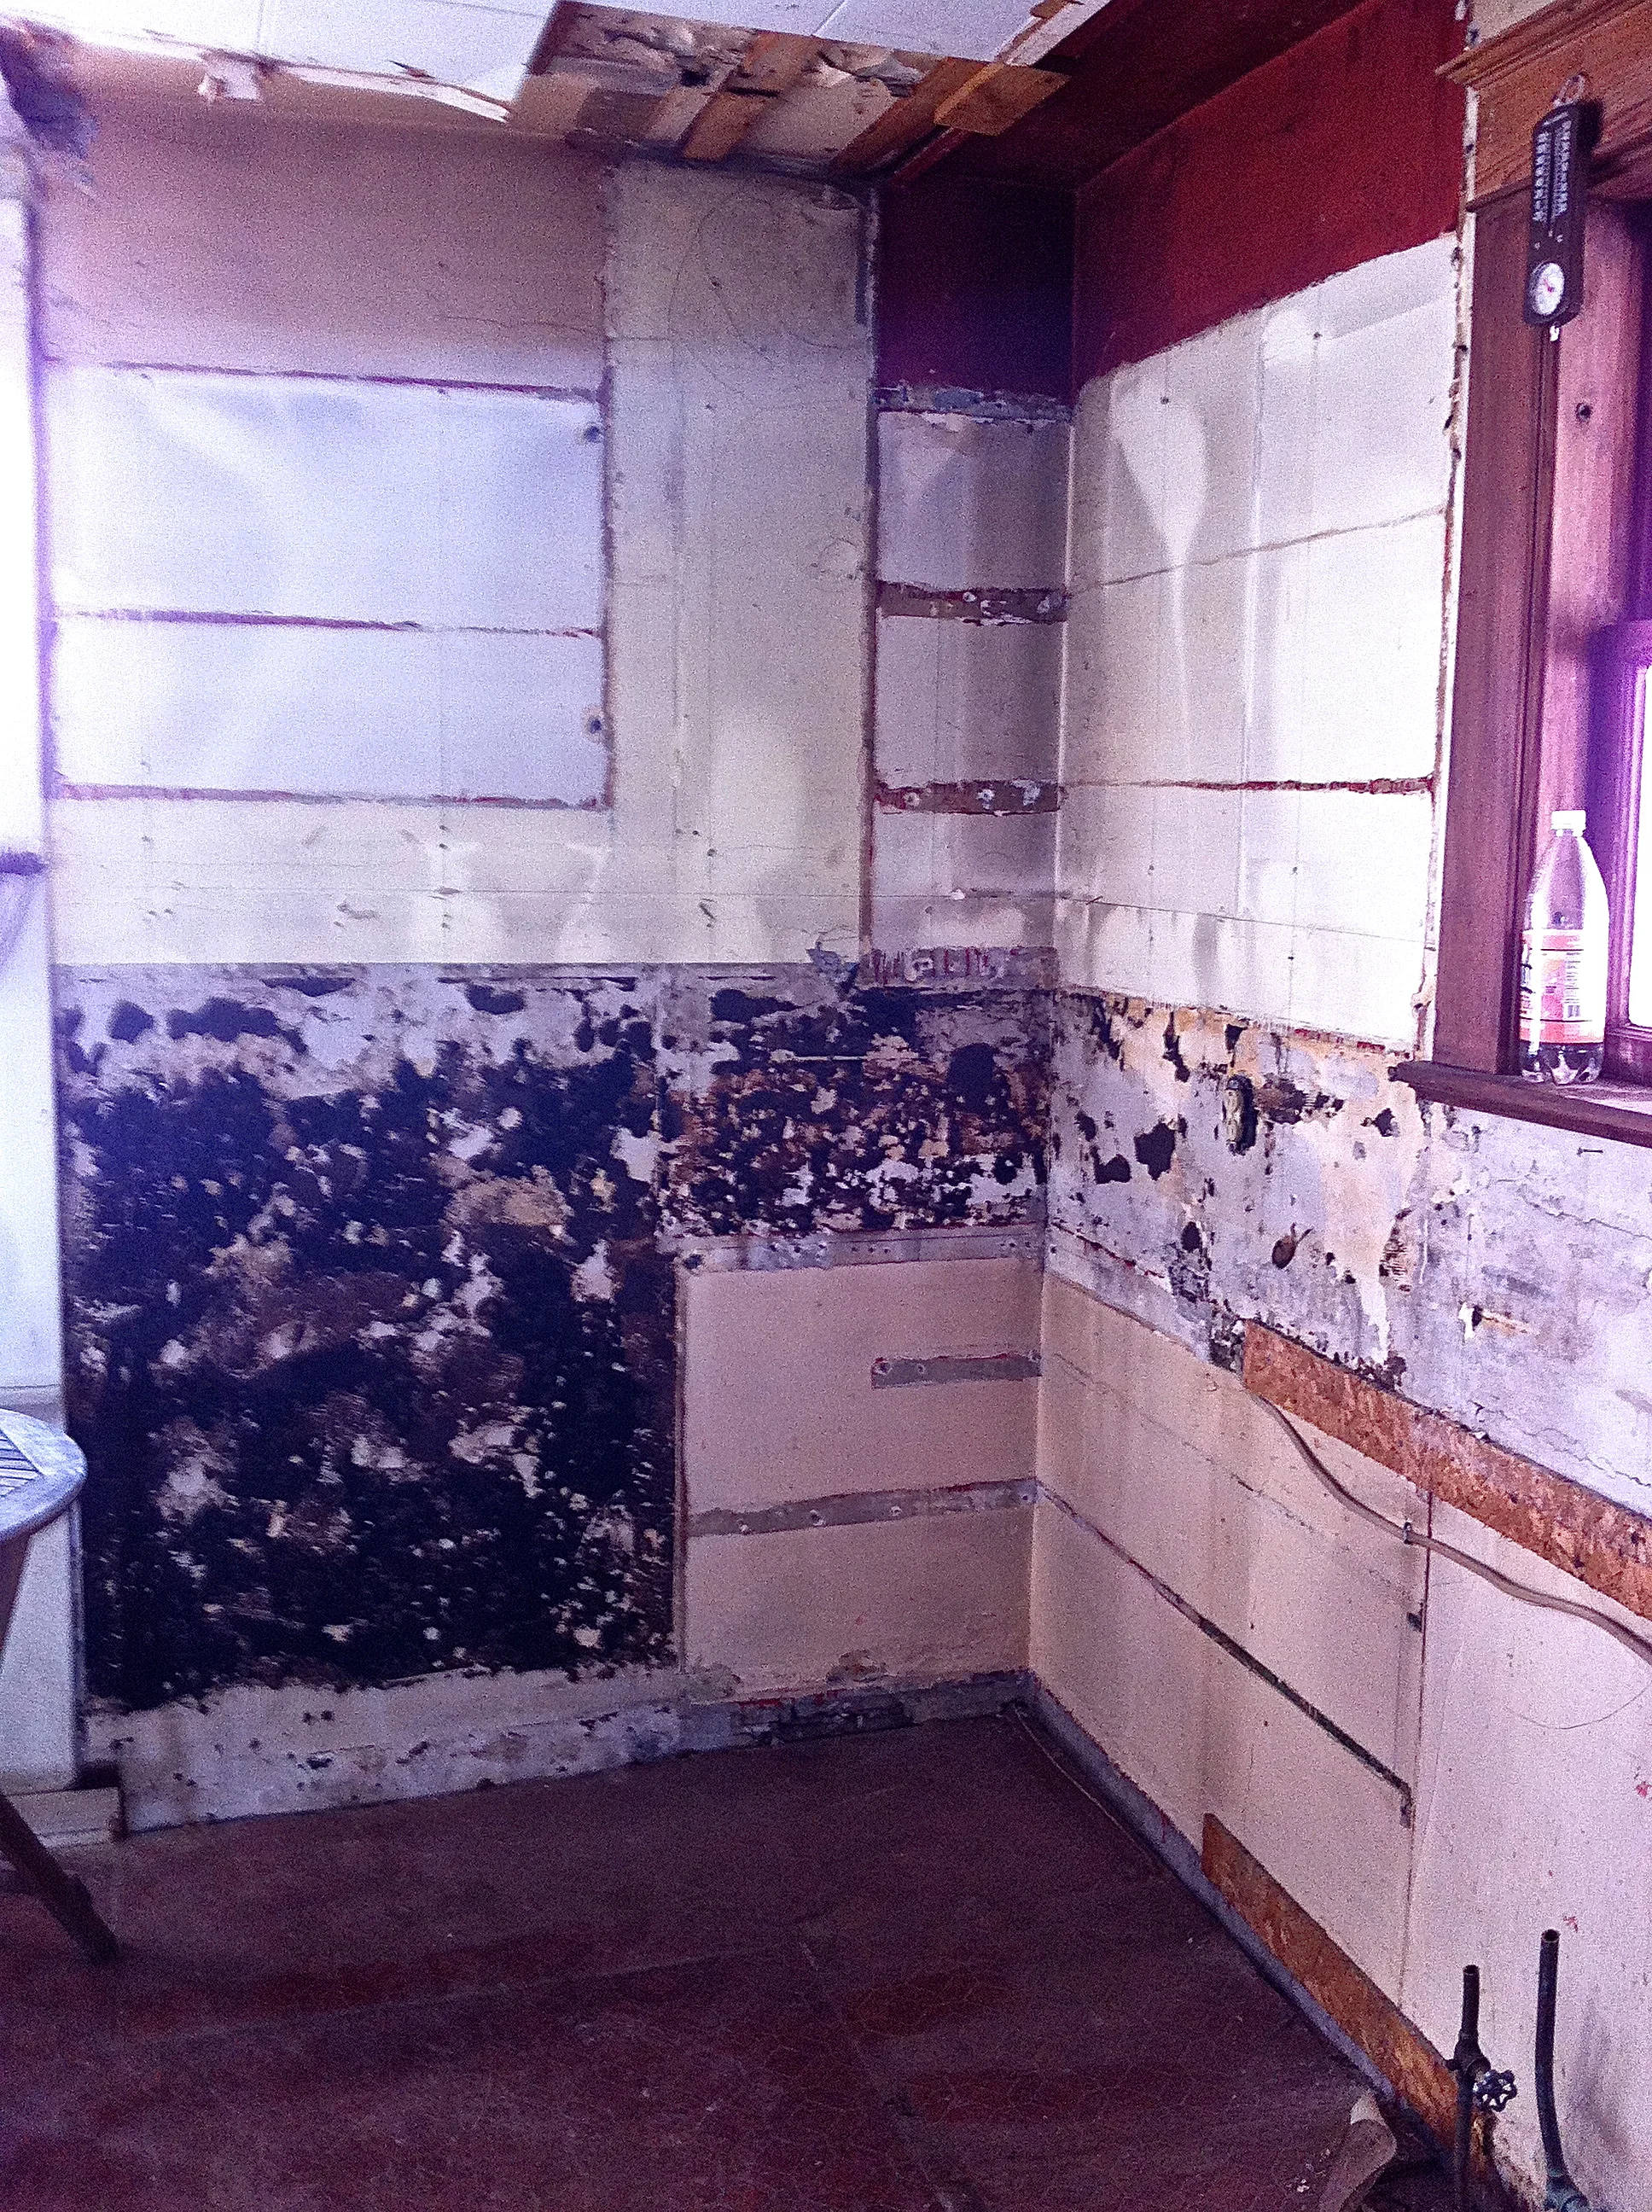
Thinking that the stove is going to go on the far wall where the black is. Have a little counter and a long counter against the opposing wall…. Still not 100% The sink is (was) in a good spot so it’s staying under the window.
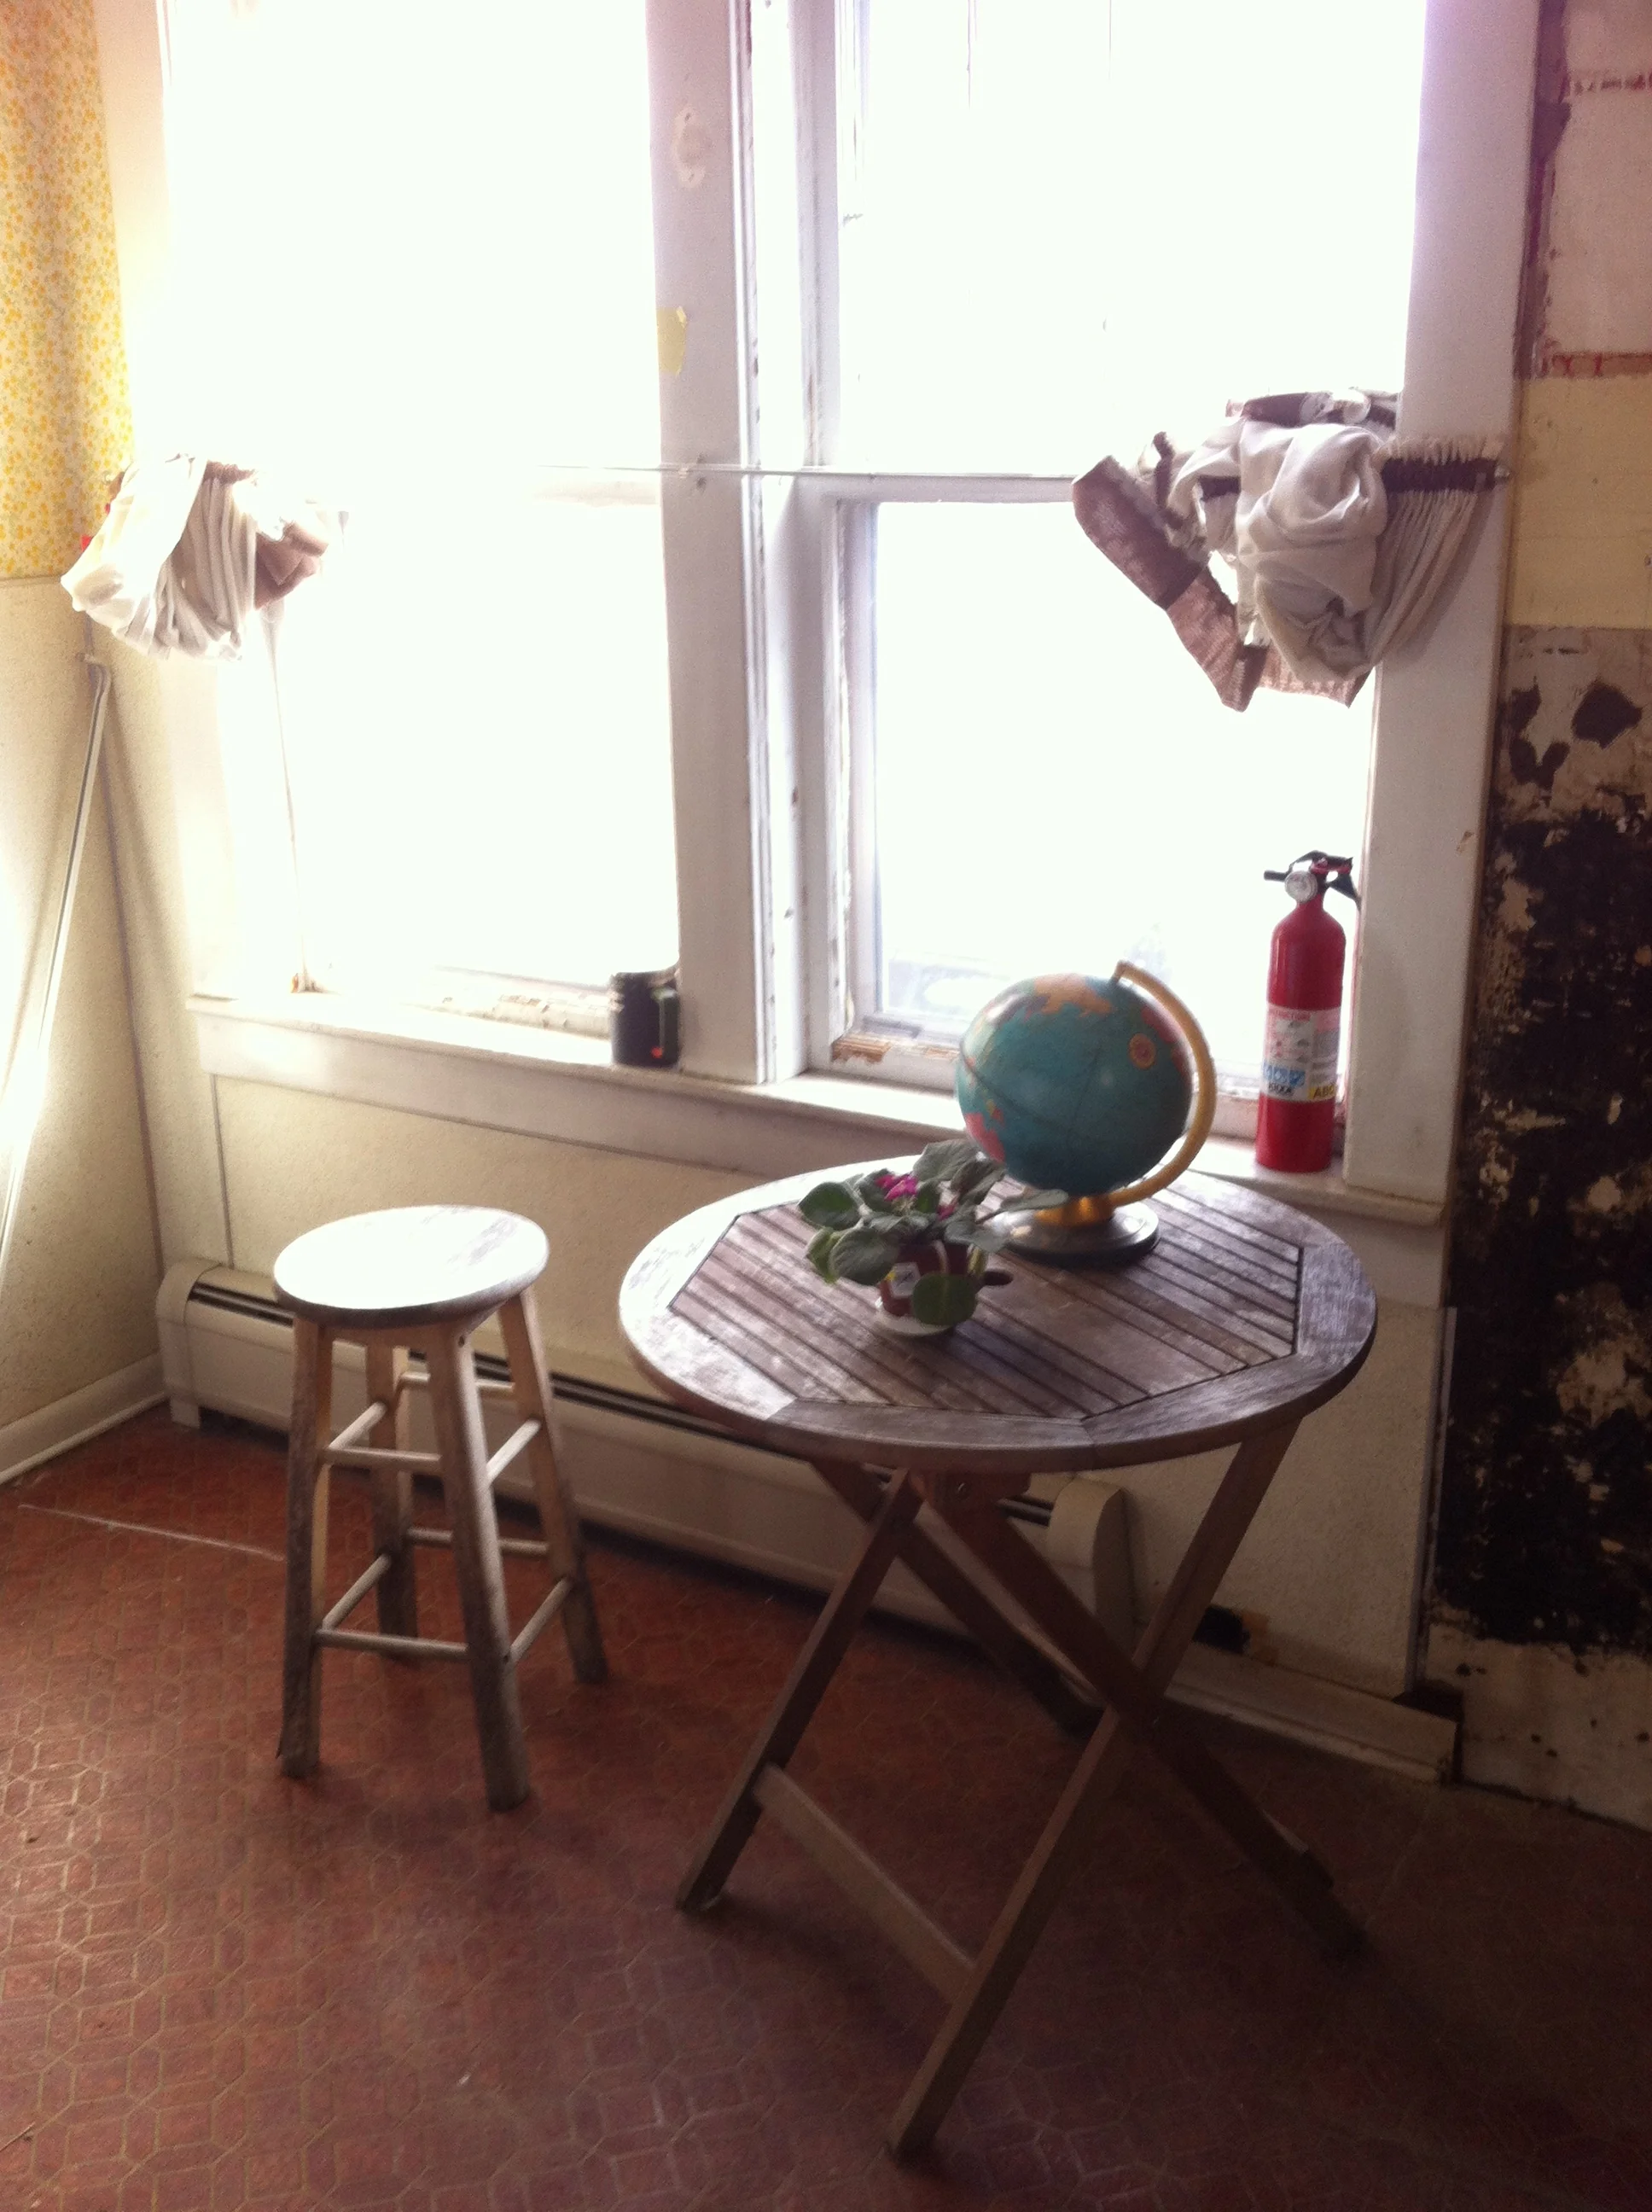
Definitely our favorite spot in the house. The heater is getting removed, but other then that, again, not sure. Just know that it has to stay a fantastic nook for coffee consumption.
So that’s where we are right now with the kitchen. We have a little more time, but soon all ofthese decisions have to be made and we will start putting it all back together (SO EXCITED!) Until then, I will continue to scour the internet for ideas , the salvage yards and craigslist for all the cool stuff, and all the vending machines for any left change.
Funny story. Our basement floods a little every year in the spring. I think that a lot of people around here have slight problem with basement water, the houses being so old and all. So when earlier this week we had a massive thaw and a bunch of rain, the mr preemptively set up the sub pump to keep the water away. All day he was checking the pump and all day it poured butthe basement stayed dry. He turned it off that night after it had stopped raining. We woke up to the most beautiful bright blue sky, the temperature so warm that I didn’t need to wear a jacket and to 3 inches of water in the basement. STUPID!!!!! But that happened and yeah. The mr spent a good few hours moving all of our stuff, (we store a lot of stuff in the basement) shop vac-ing and pumping up the water .He did such a good job that it was almost like it never happened. The only really wet thing was a big laundry basket of stuff. I wanted to wash itasap so it wouldn’t mold so when I got home,%u00a0 into the washer it went. (the washer is in the basement too)%u00a0 Go to change the load to the dryer and guess what.. the mr took the washer machine house out of the main drain to use it for the shop vac, and no, we forgot to stick the hose back in. We re-flooded the mother F-ing basement!!!!!AAAAAAAAHHHHHHHHHH!!!!!!!
But it’s kinda funny right?
Anyway the week has been heavy on the crazy. My Dad has been here so we have been spending a lot of time with the family doing family things all week. Over at the house we have pretty much gutted the kitchen (anyone want free kitchen cabinets?) and the mr is almost done muding the first floor. Once that happens we can move in (Just kidding… not even close) but we are well on our way. And the next project we tackle is going to be fun fun (rip the roof off!)
And the father of mine is leaving today, (which makes me a little sad)%u00a0 I have no kiddos in my care, the water from the basement is pretty much gone and I don’t want to do a damn thing that involves work. It’s a down day for sure. No people, no fuss. I have a new book on hold at the library, although I am kinda torn.%u00a0 Should I start a new book or binge watch Fuller House? (can I take more family drama?)%u00a0 Have you watched it yet? Do me a favor if you have, let me know if it’s going to ruin the Tanner family for me.
Hoping your day, as well as mine, is gong to be a good one!
Interesting internet stuff from the week.
-Are you a open broiler or a closed broiler. I am neither.. my broiler is the bottom draw of the stove and doesn’t work unless pushed in. Can You Leave the Oven Door Closed While Broiling?
I was planning on making pita bread this week and just happen to stumble upon this article. The 7 Rules of Perfect Pita Bread
-Holding a bag of enough powdered caffeine to kill several people… whoa. Caffeine For Sale: The Hidden Trade Of The World’s Favorite Stimulant
-What is the word for finally getting words for all he emotions I felt but couldn’t explain? %u00a0 40 Words For Emotions You%u2019ve Felt, But Couldn%u2019t Explain
-I know!!!!!. ARTISANAL WATER IS OUT OF CONTROL AND STUPID
-This article really hit home for me. To Anyone Who Thinks They’re Falling Behind In Life
-A tree inside.. yes, I would like one in every room please.
-I love cool (well done) street art.. Quirky New Chalk Characters on the Streets of Ann Arbor by David Zinn
-Maybe next knitting project Knit Fruits and Veggies by %u2018MapleApple%u2019
-I am not going to lie.. I love Chrissy Teigen and although I probably won”t cook any of the food in her book, I am still looking forward to giving it a read. Chrissy Teigen%u2019s %u2018Cravings%u2019 and the Search for Cookbook Credibility
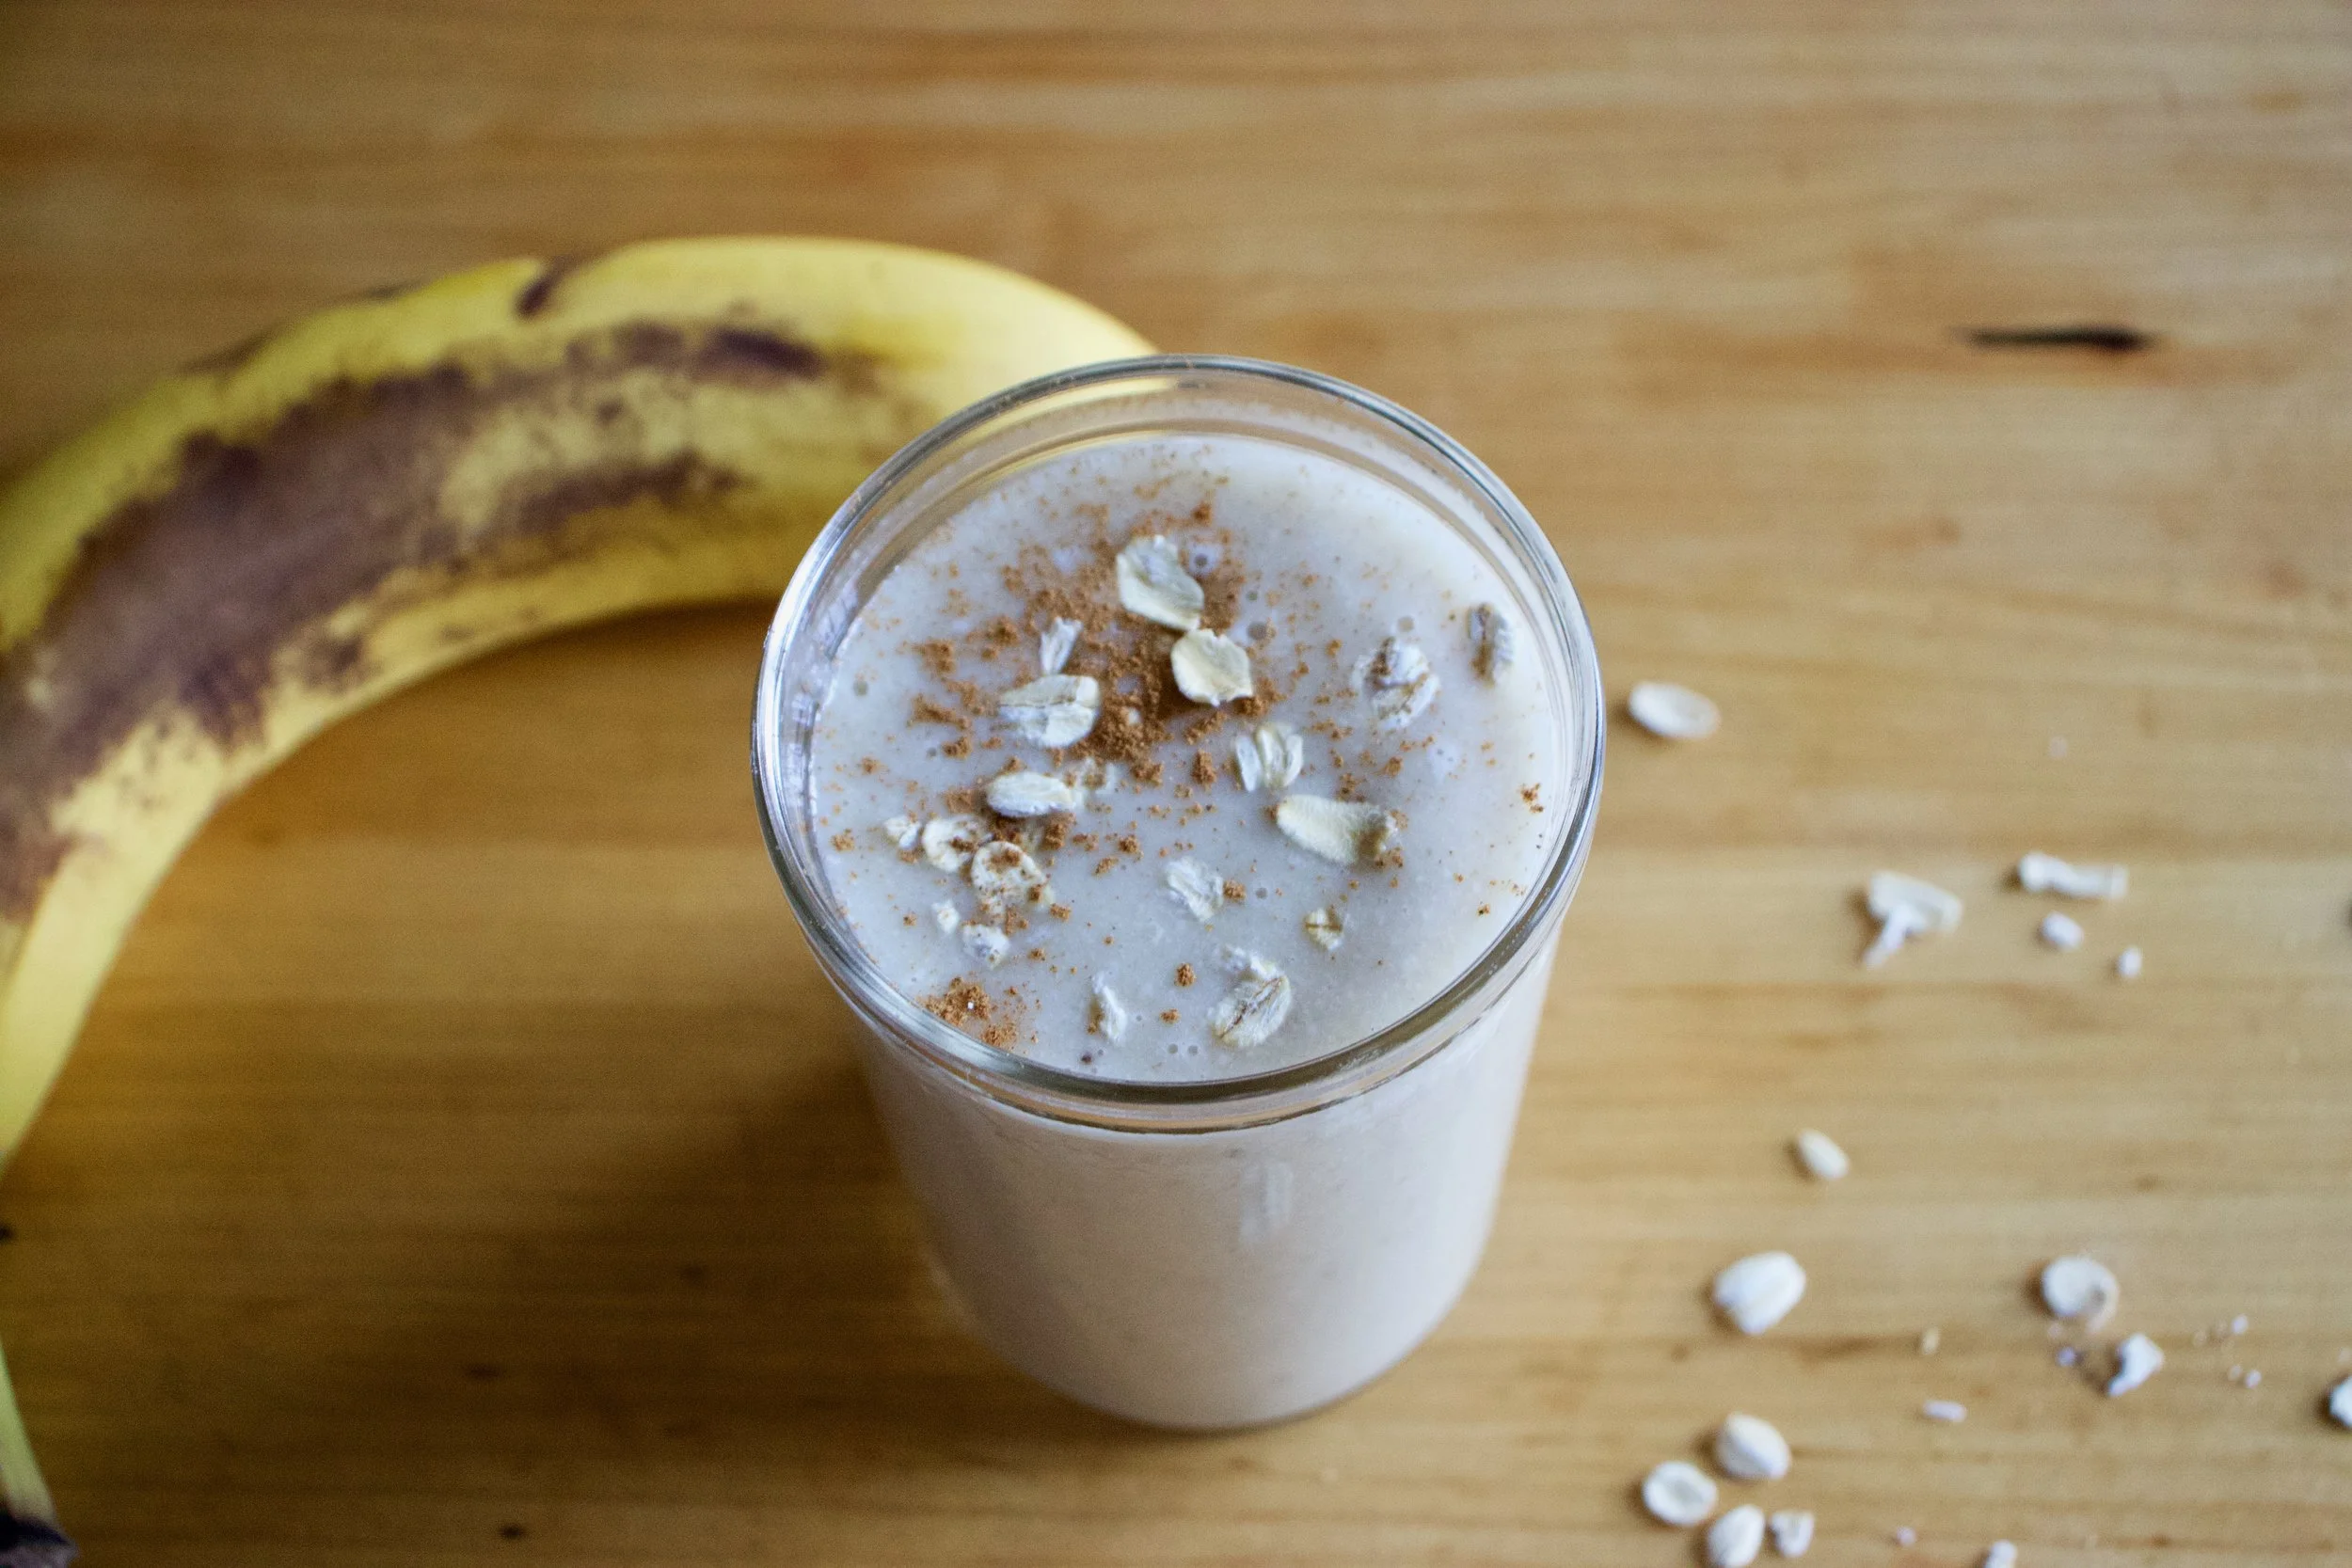
It%u2019s a smoothie. And no, we have never really been smoothie people in this house, but what can I say, sometimes smoothies happen, especially when you have about 20 ripe bananas in the fruit bowl with no room in the freezer and no need for 7 loafs of banana bread.
So I smoothied. And I like it (a lot).
This is a smoothie of simplicity. Nothing fancy. Simplest of simple. Straight to the point. And all sorts of good.
You might think, does this simple smoothie you speak of taste very good? Yes, yes indeed it does. It is all sorts of fantastic. Basically if you like creamy, nutty, oaty, bananery things, you will like this. And it%u2019s a perfect breakfast, snack, dessert, or just wanting a little treat like thing that is not garbage food. A smoothie of all smoothies with the most basic ingredients. And takes about 15 seconds to whip up. Can%u2019t complain about that.
To the smoothie goodness!
The stuff. A ripe banana, some old fashion rolled oats, a pinch of salt, water, and a smidge of maple syrup if you want it.
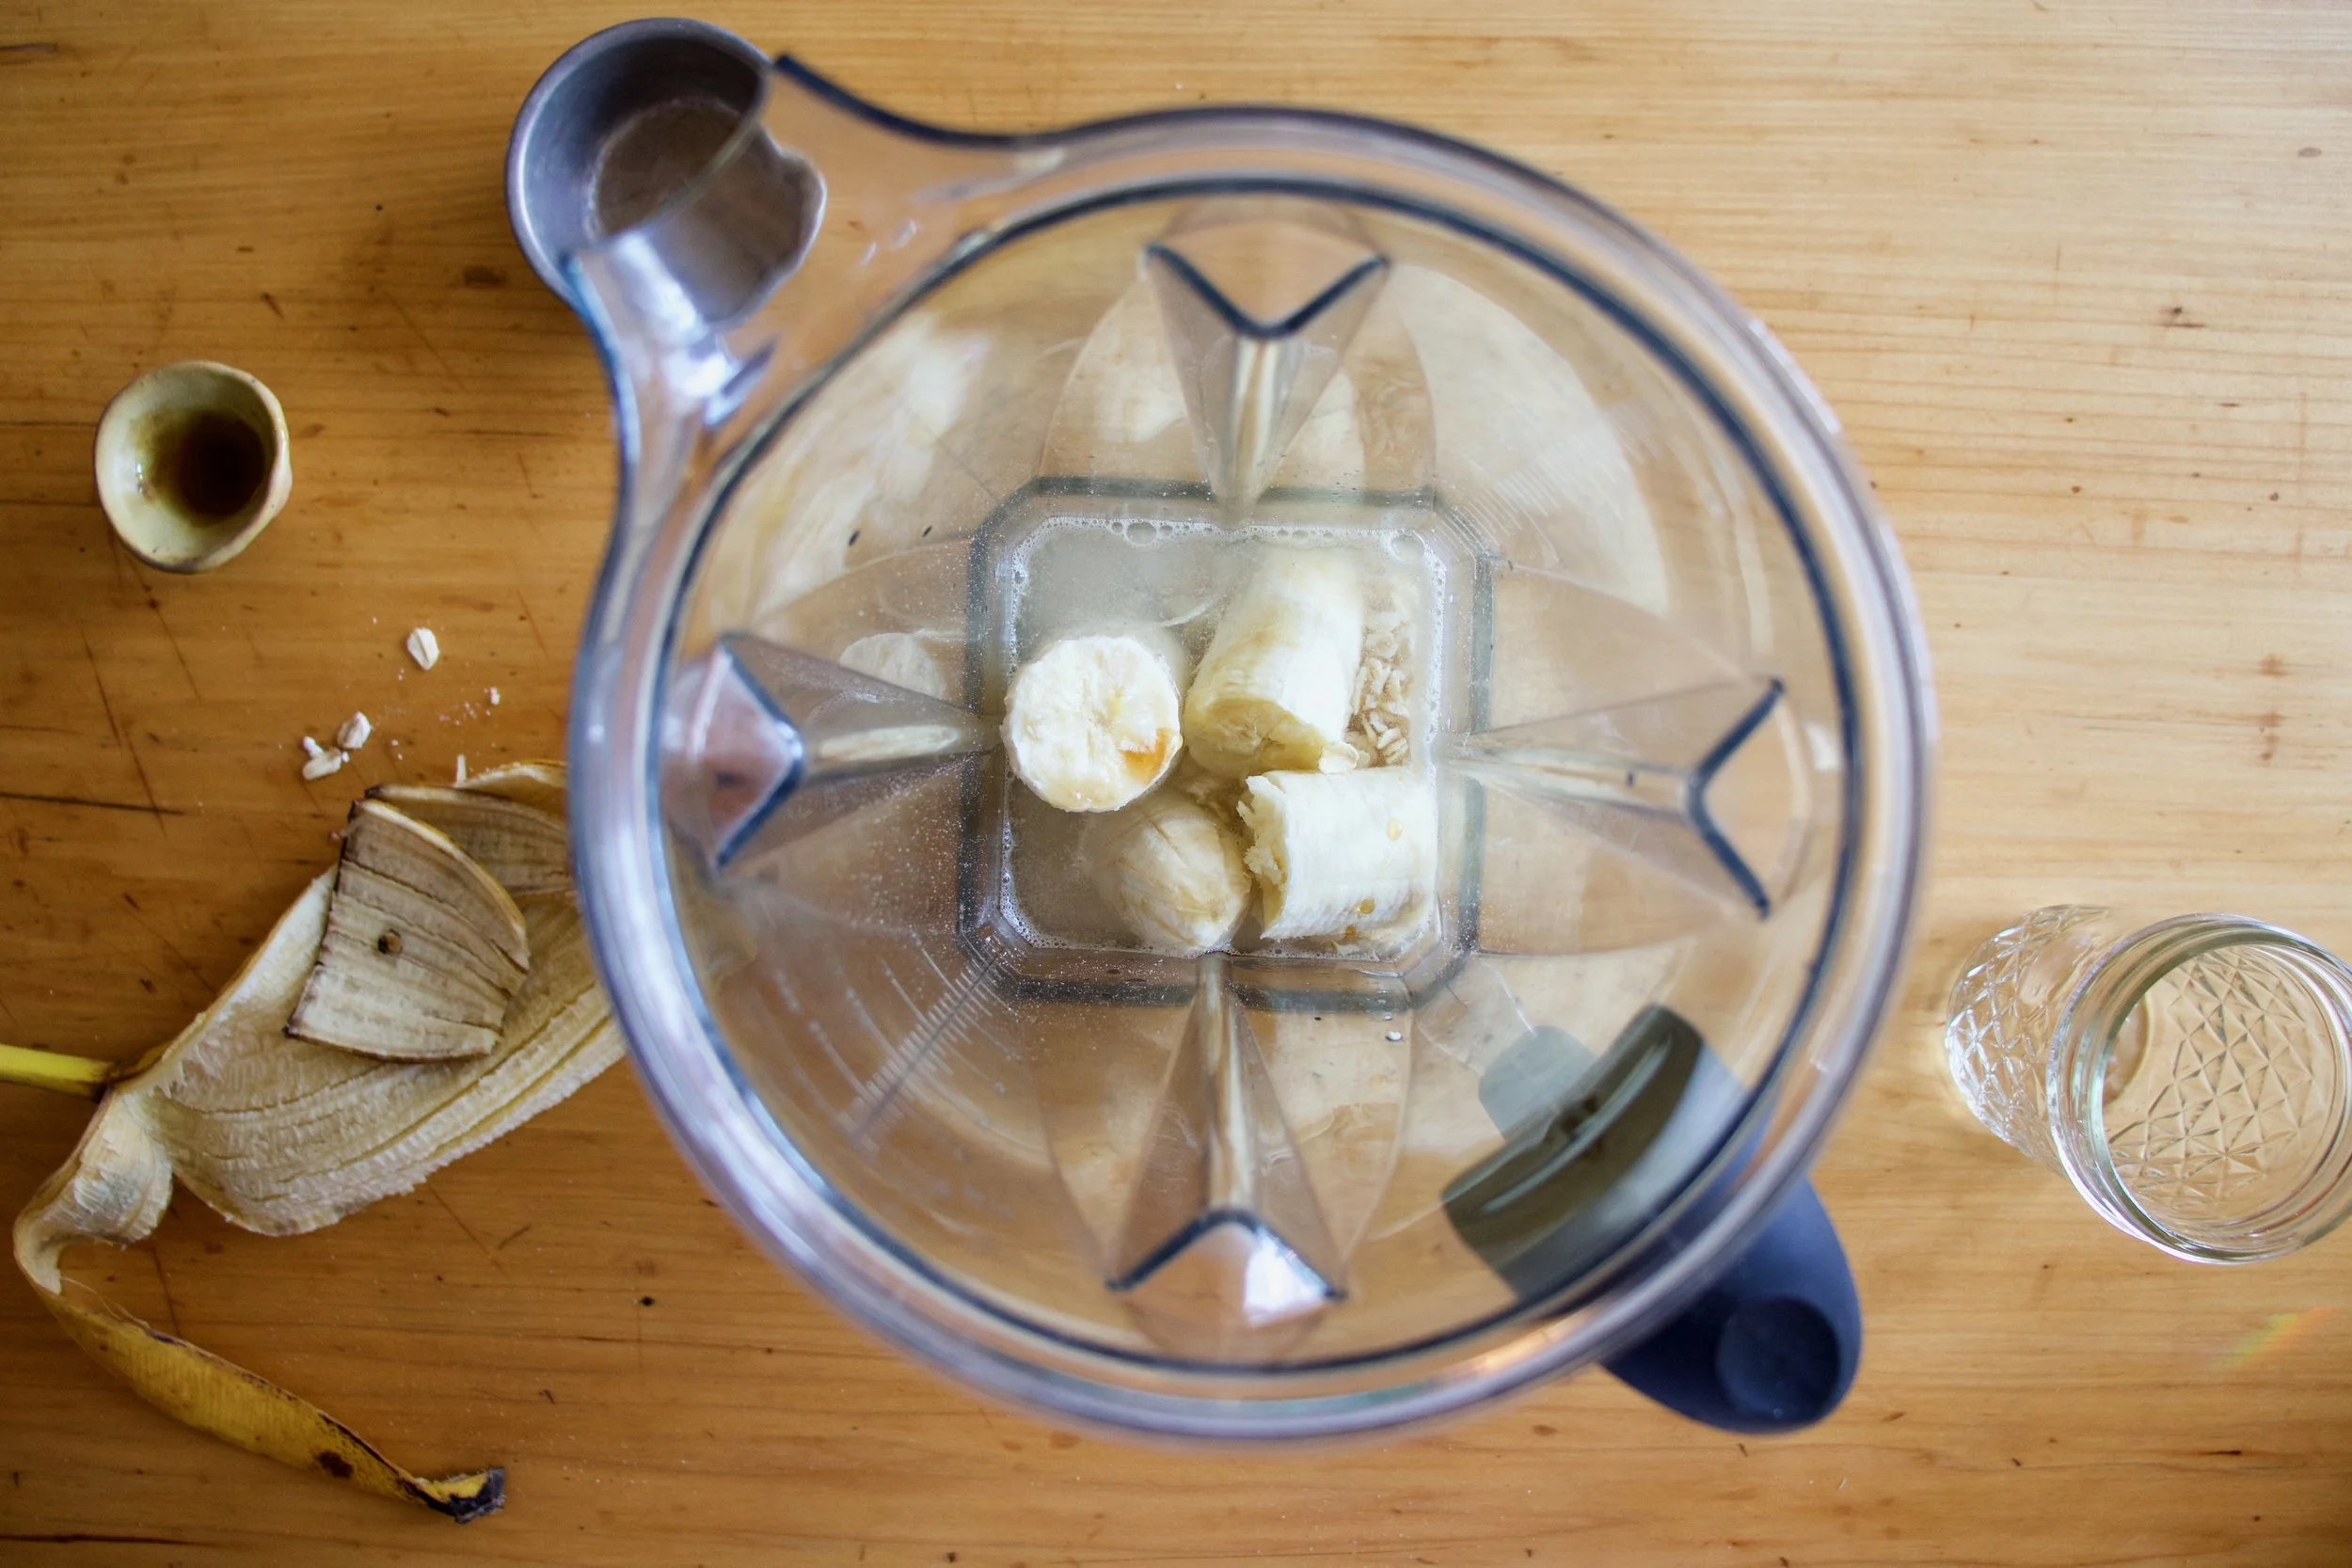
Everything goes into blender.
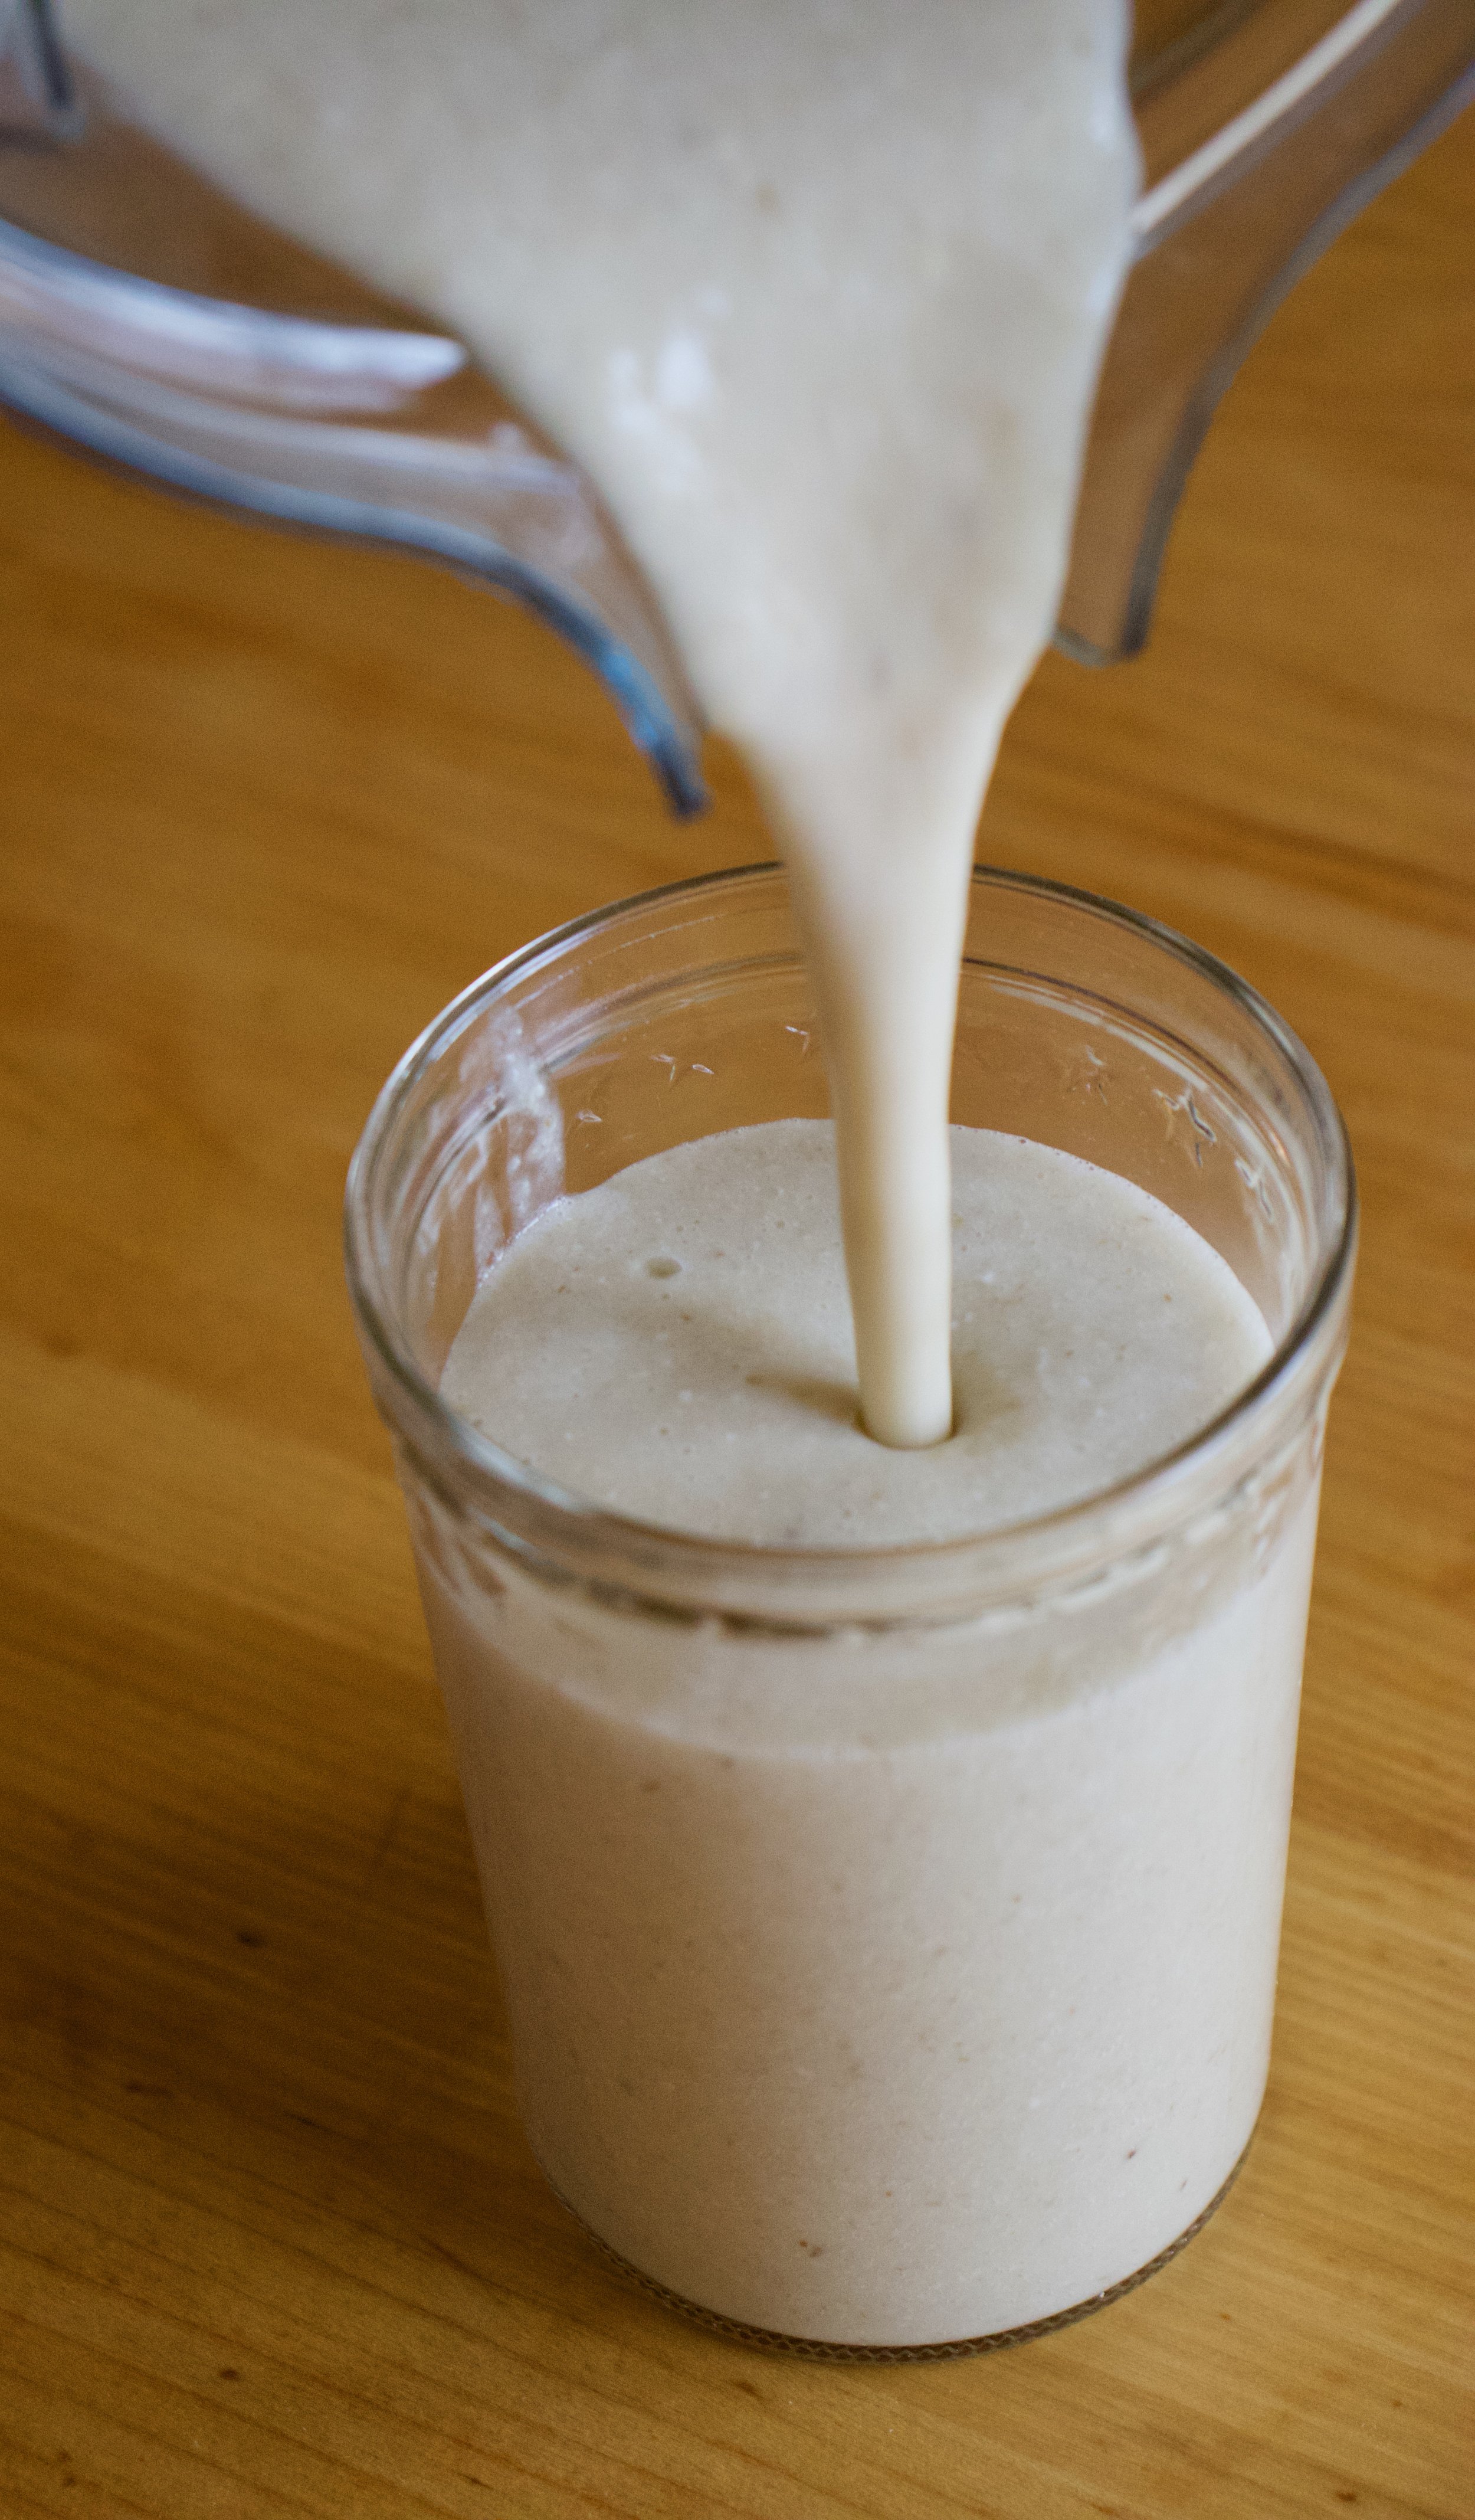
And blended until smooth. Hence the word smoothie.
Pour it into a cup (or if you are feeling primal, drink it straight from the blender%u2026 it%u2019s totally cool)
And done.
A banana oat smoothie.
Let the good time roll!
-C
makes 1 smoothie
1 very ripe banana
1/3 cup raw old fashion oats
1 1/2 cups water
pinch of salt
a tablespoon or two of any sweetener you like (optional)
a pinch of cinnamon (optional)
Place everything into a blender and blend until smooth. Pour into a cup, sprinkle with cinnamon if you wish, and drink right away.
A few month ago I read an article about NYC seltzer water (which I have still yet to have) and fell in love with those super cool glass seltzer bottles. (I really want to get my hands on a few). In the article, there was the mention of egg creams. Now at first I was kind of disgusted because who the hell drinks eggs, but then after doing super duper internet research (google) I found that egg creams are not actual egg.. It’s pretty much just bubbly chocolate milk.
Yesterday I was thinking of a non alcoholic beverage that people that are opting out of the alcohol can drink, something maybe a bit different and fun and I had that brain spark.. Egg creams! And I just so happen to be babysitting a gaggle of littles for the day and who better to serve a fun non alcohol drink too! (after that, save all he alcohol for me!) It was perfect cause these littles are down for anything with chocolate and it just so happened to be one of those littles birthday (HAPPY BIRTHDAY JUDAH BUG!) .so special party drinks were in order.
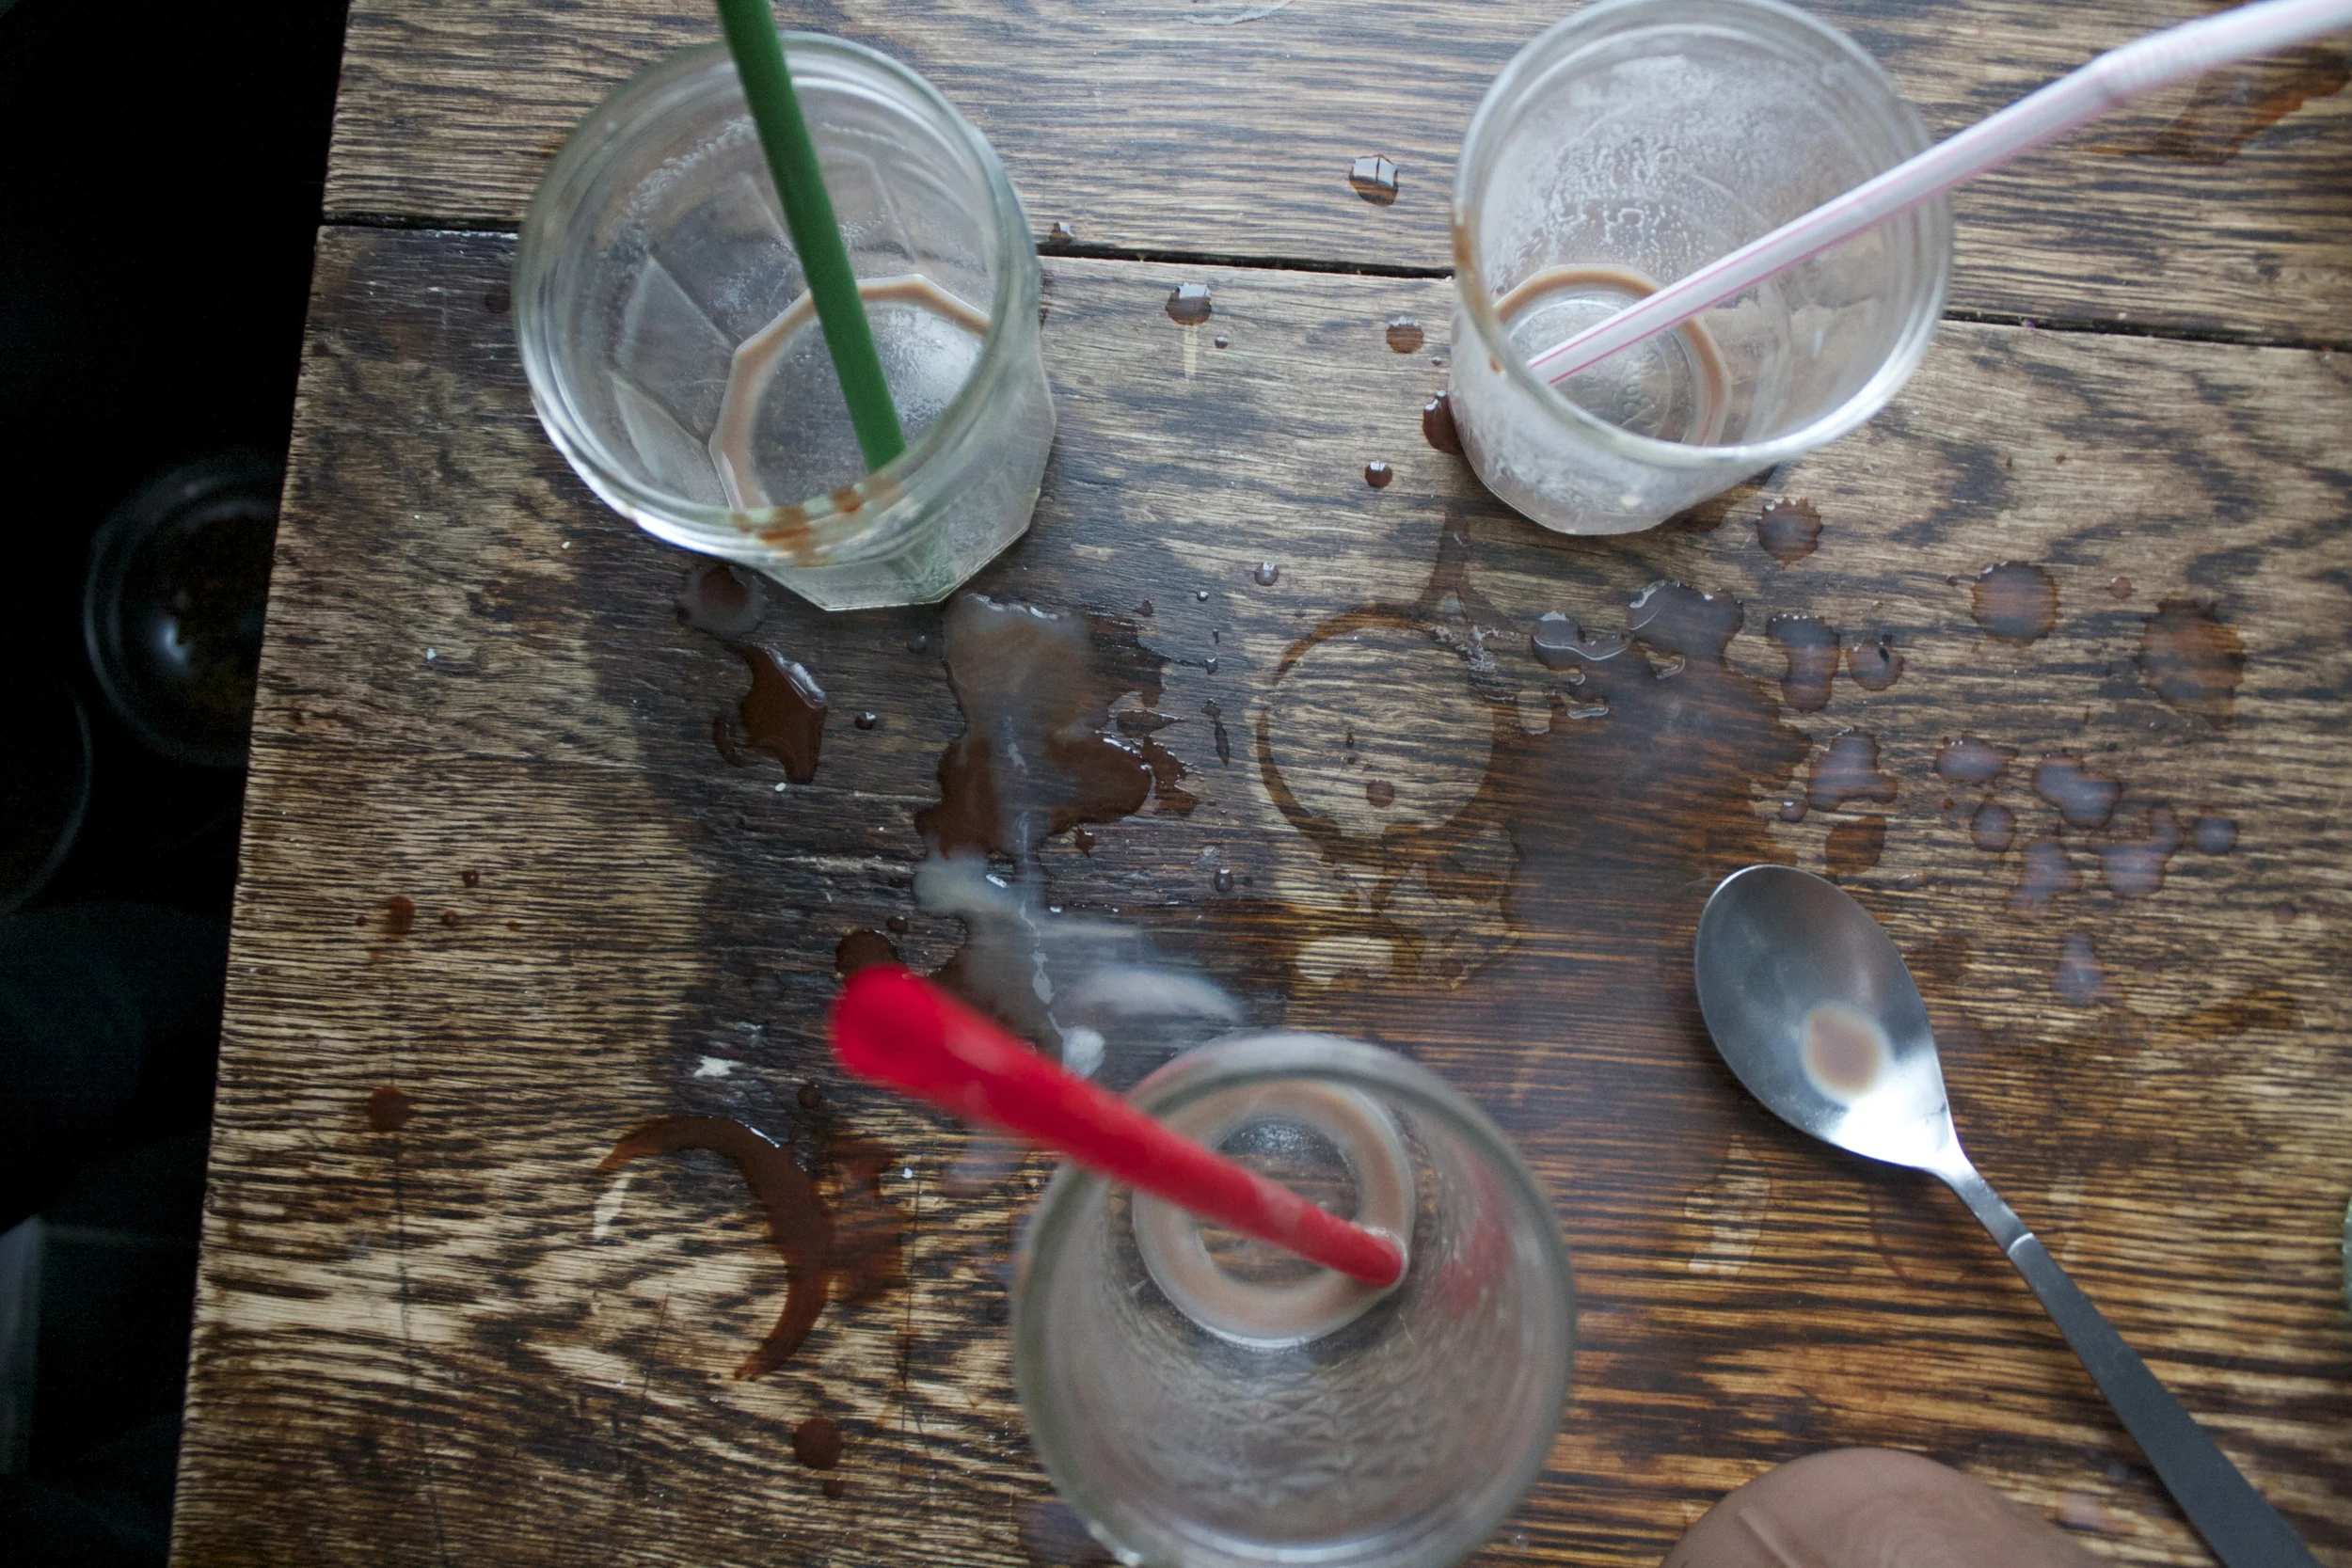
Here is how the egg creams when down. I made the chocolate syrup. The kids all loved it and where sticking there fingers in it. Then I assembled the egg creams. All the kids took a glass, drank some, and took off. I found 1/2empty cups of drinks around the house. But here is the thing. When I asked if they liked it, two said yes.,one said it was weird but good, and one little ran away from me with the bag of chocolate quinoa bark ! brought. (I didn’t run after her) The mr came by a few hours later and tried some of the dregs of one and he wasn’t into it at all , but then again he hates chocolate milk and it was sitting around for a while. So the verdict …. not sure.%u00a0 Kids like it if they like chocolate milk but treat it like they would treat any drink (drink half and abandon the rest). Adults could totally get into it if there is some nostalgia behind it or maybe a shot of vodka added.%u00a0 So yeah. I think anyone that is interested should definitely try it. And if you do, let me know. I am very curious what people think.
Oh, and to make the afternoon that much more interesting, I am currently still suffering from laryngitis (hahaha) So yesterday was some fun stuff.%u00a0
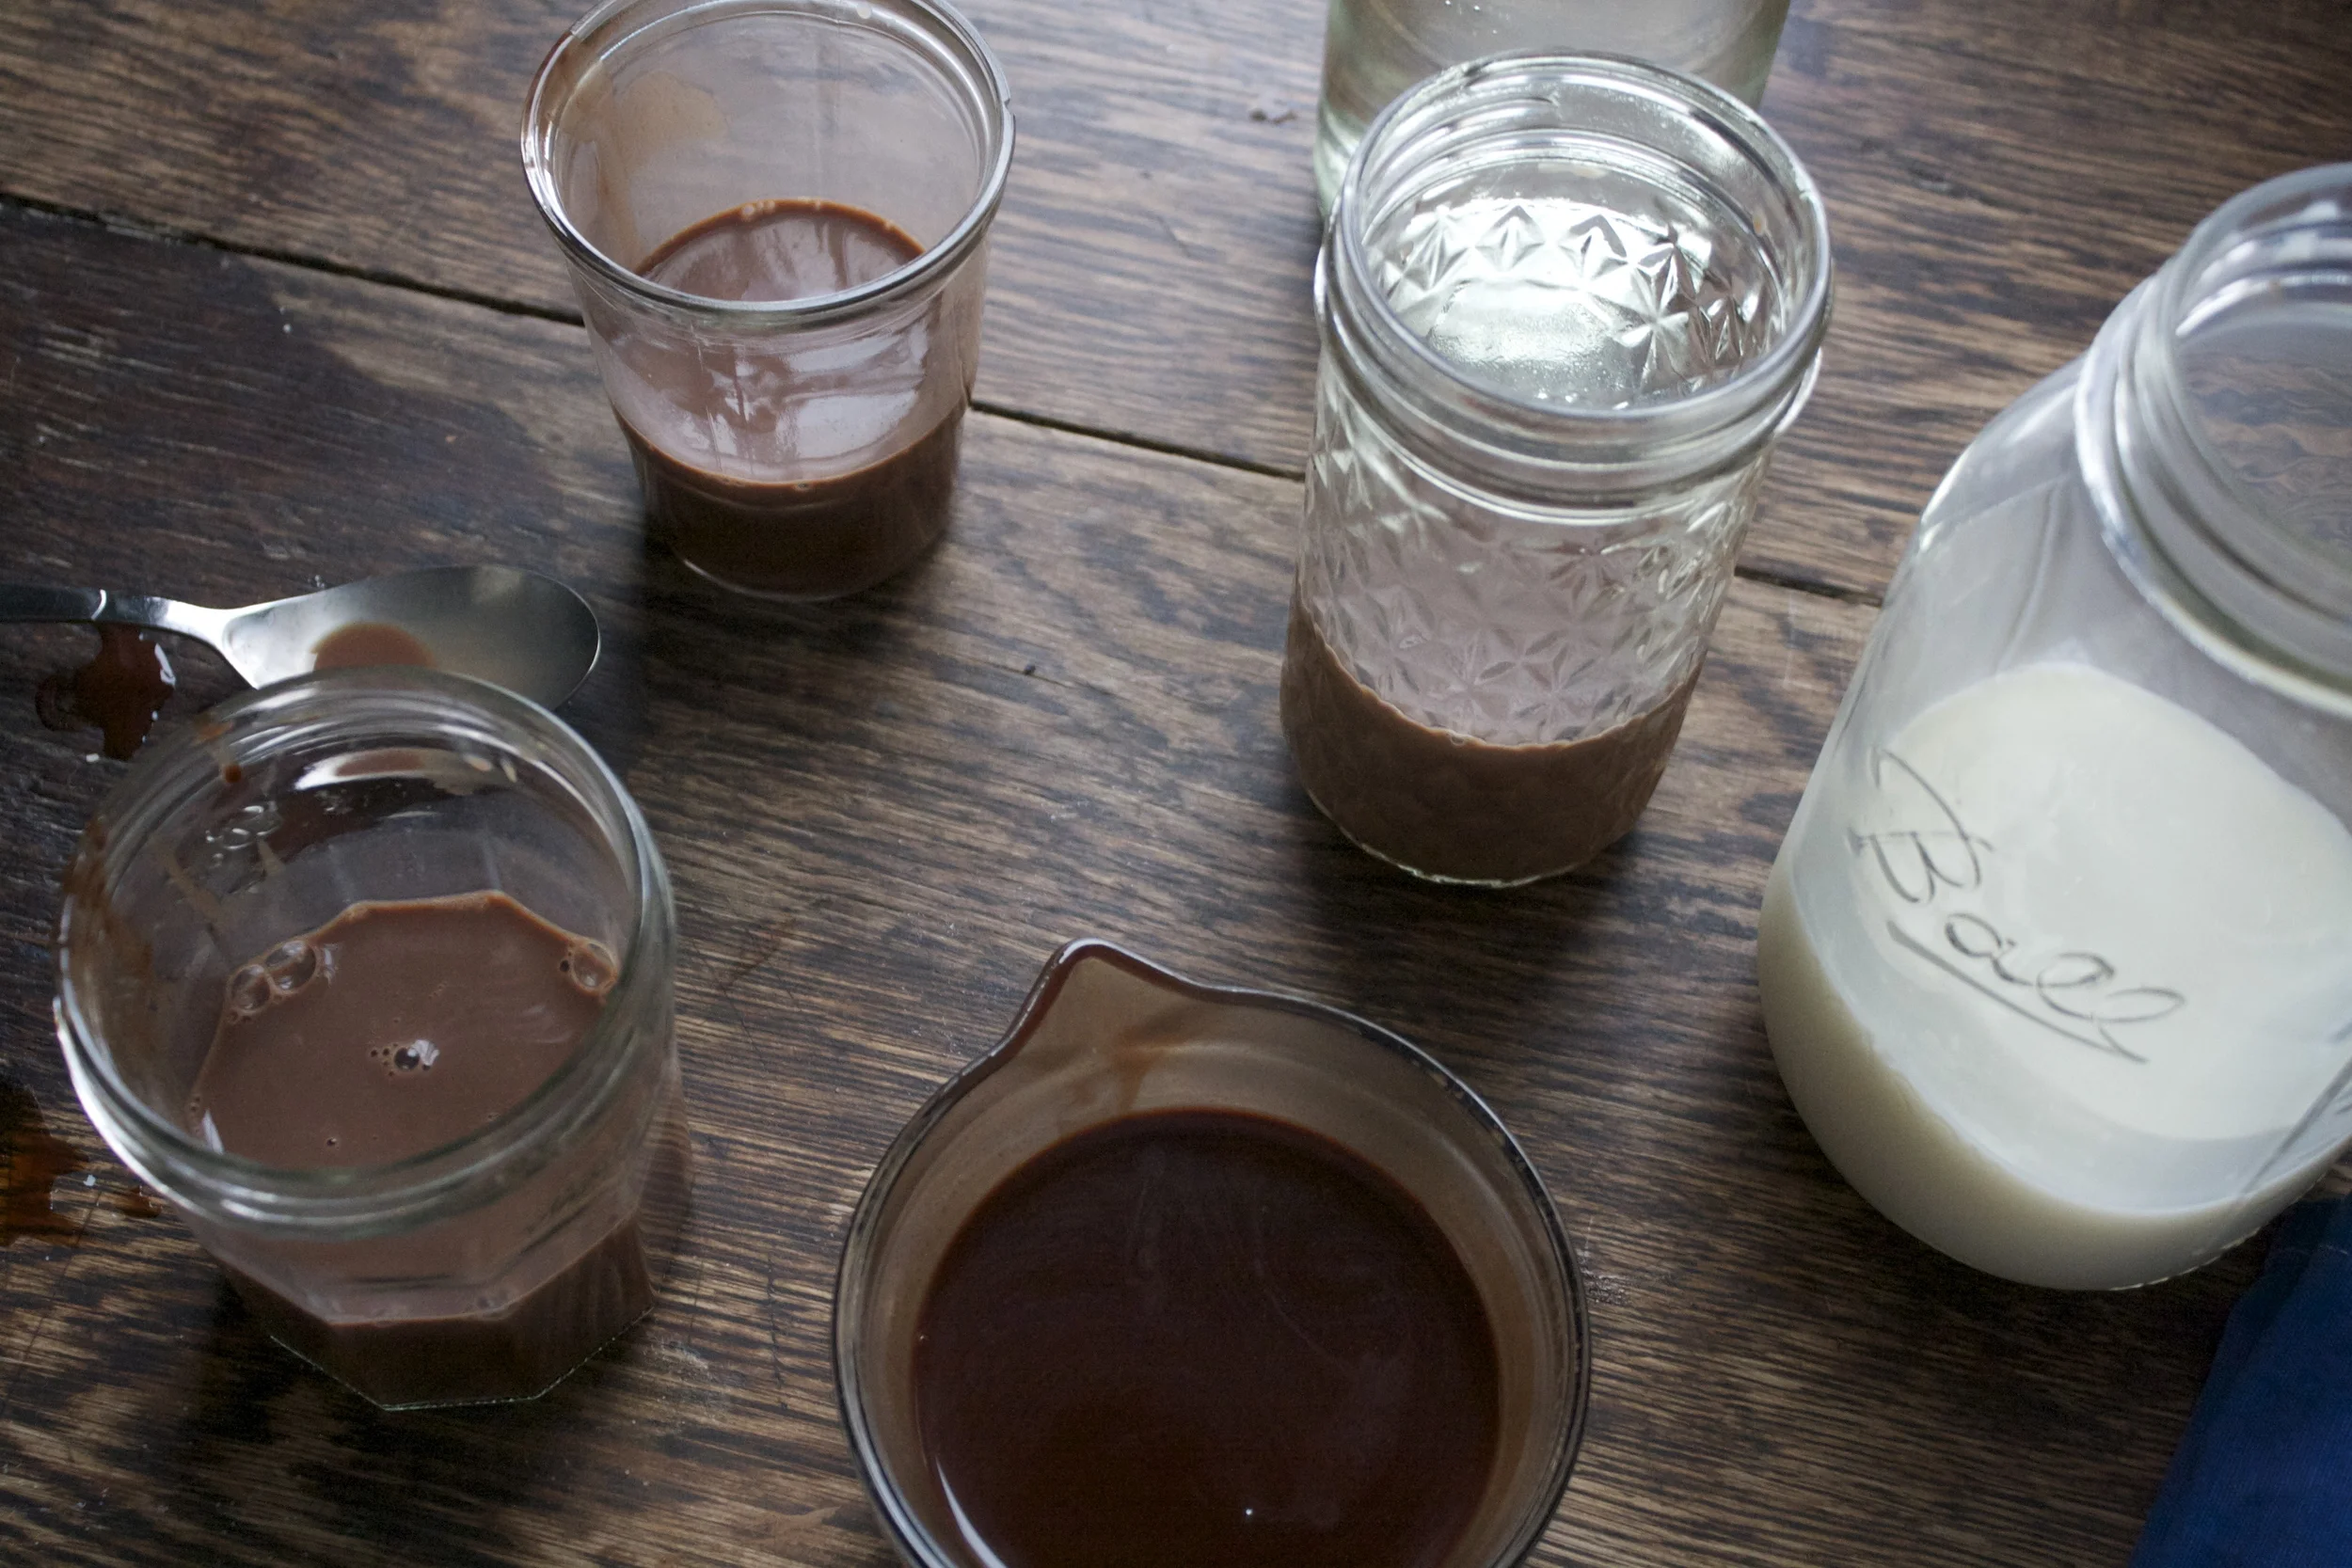
The stuff for the chocolate syrup. Cocoa powder, sugar, water, a pinch of salt and a little splash of vanilla. And for the actual egg cream.. milk (a plain plant, nut, or animal) and strawberry flavored seltzer water. (if you don’t like strawberry use any flavor or plain)
To make the syrup, combine the cocoa, sugar, water, vanilla and salt into a sauce pan and bring to a boil while whisking continuously. Keep whisking until sauce starts to thicken then remove from heat and pour into a jar and let cool.
Now for the egg cream assembly
Syrup goes into glass.
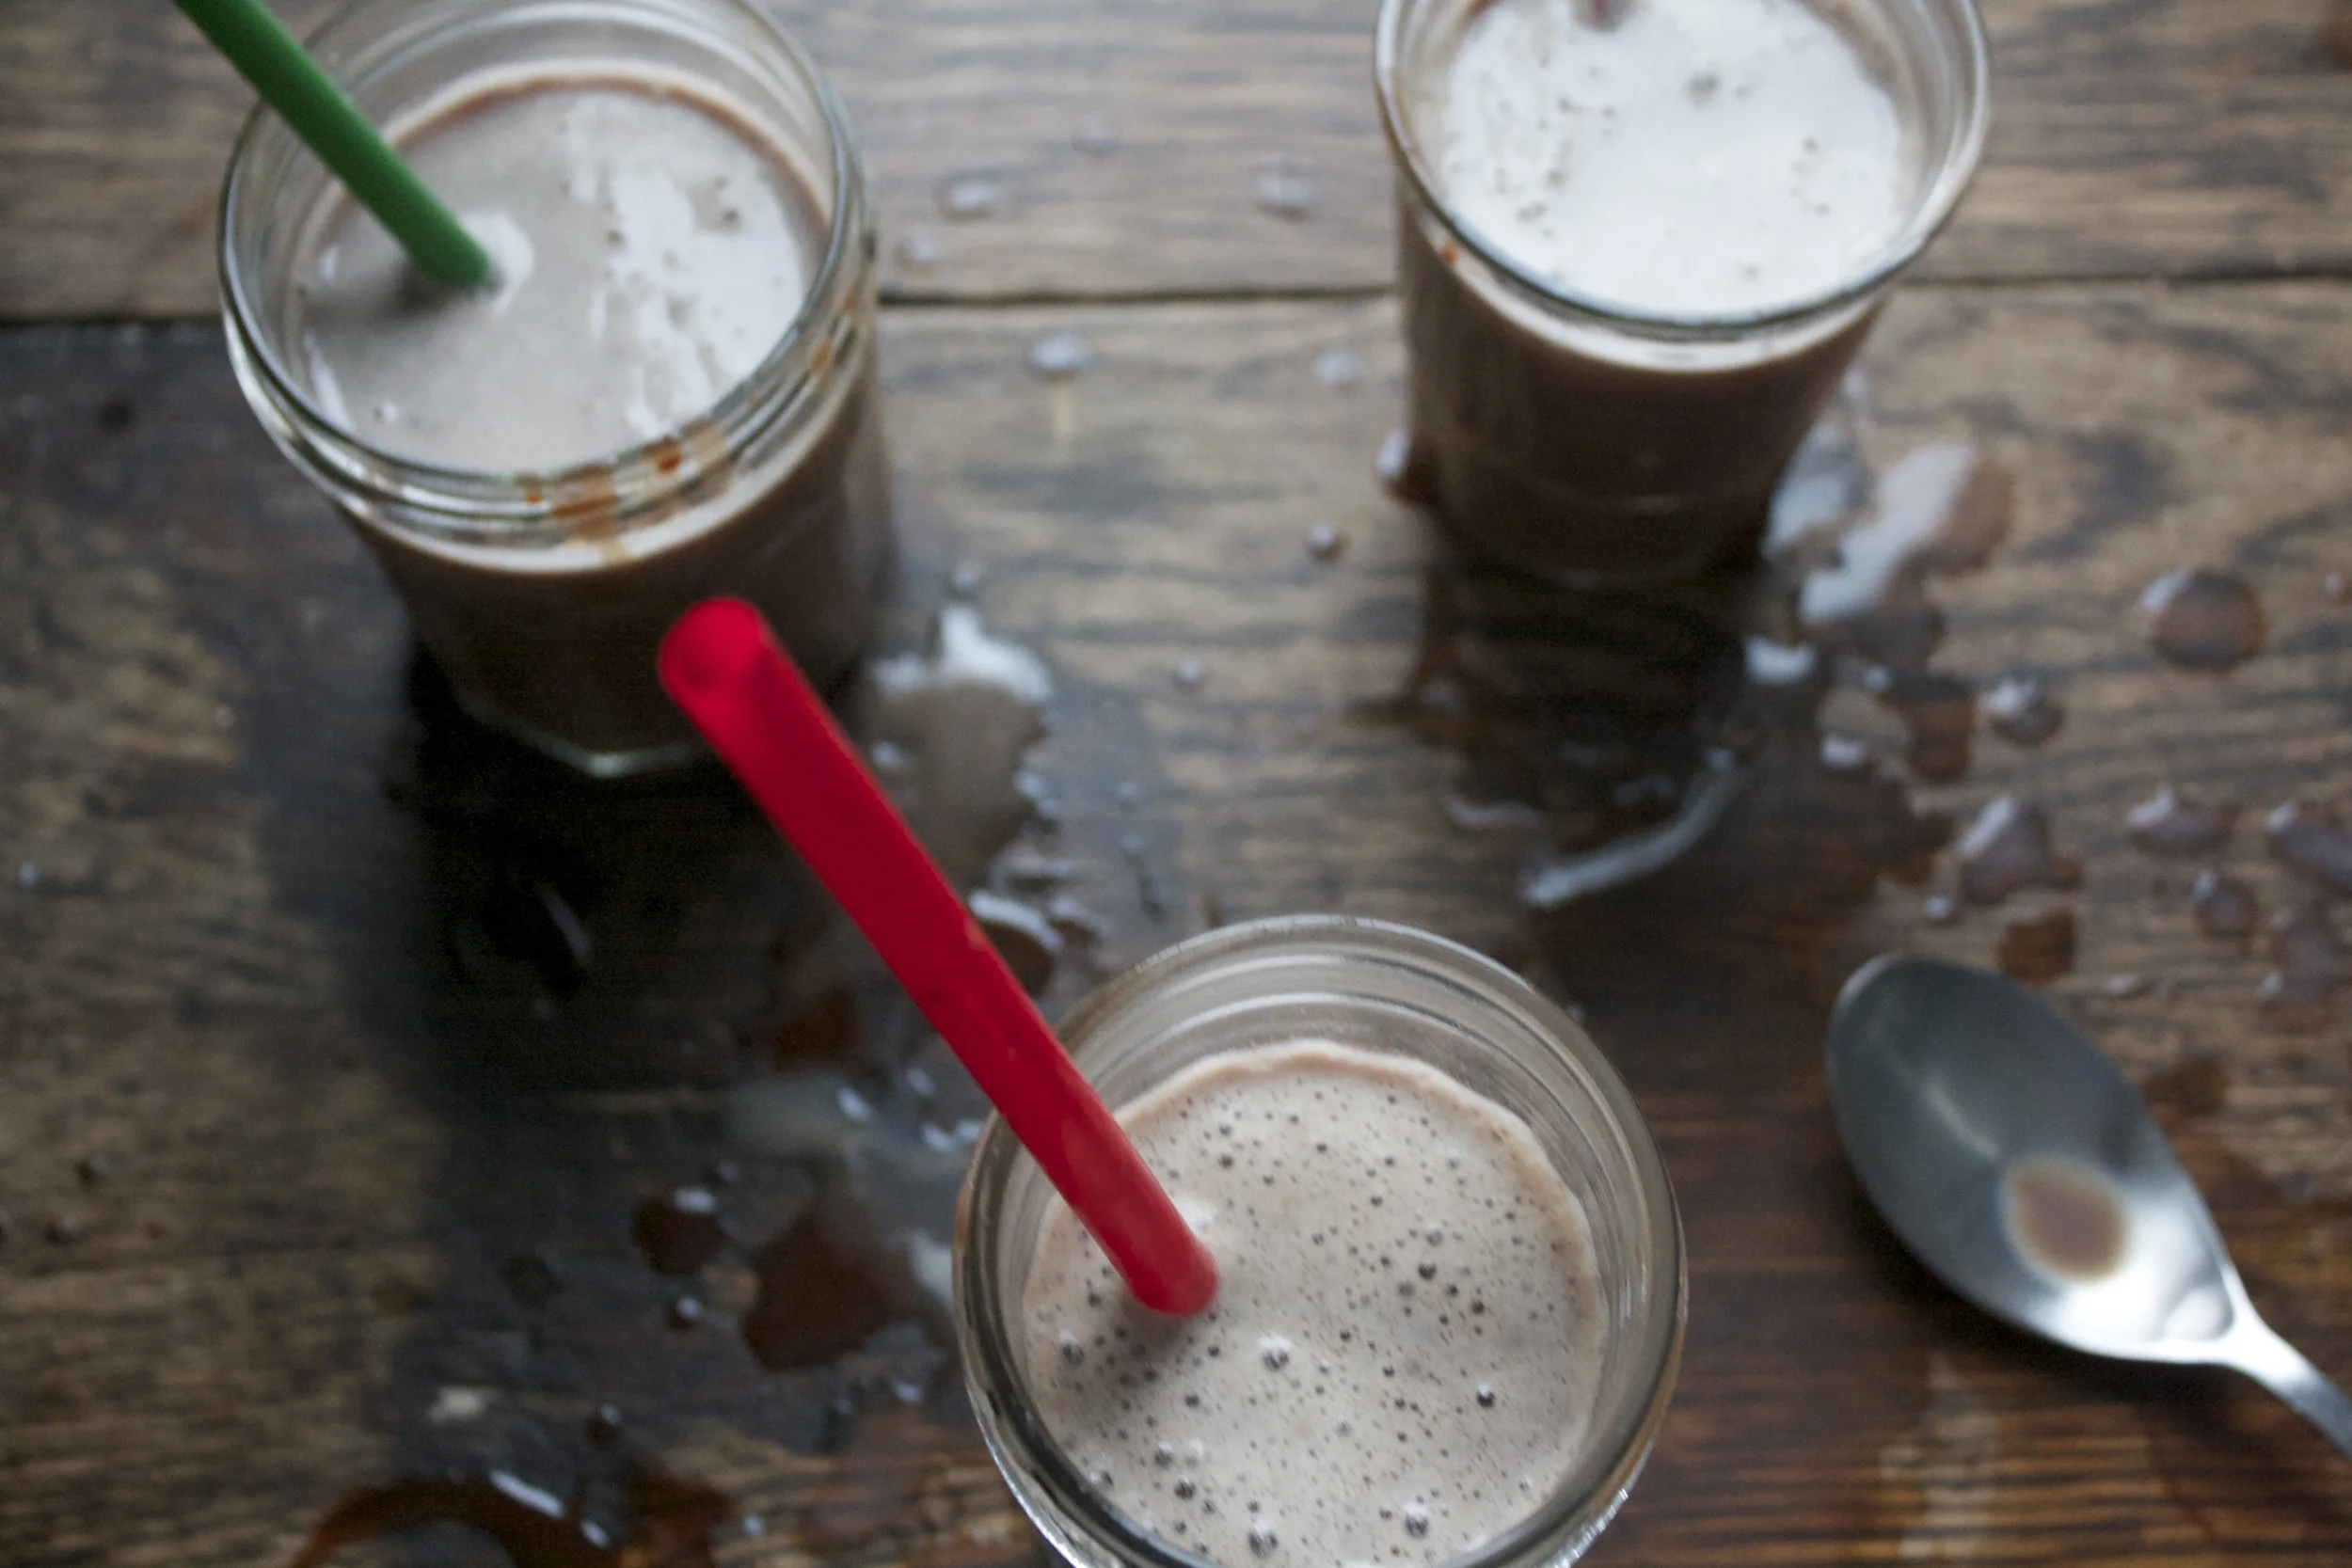
Milk into syrup and mix it all around.
Give it another little whirl with a spoon or straw and if you want a more bubbly head, blow into the straw(works the best!)
and get down to business.
HAPPY NEW YEARS!
-C
For the chocolate syrup (makes enough for a few egg creams but the syrup is good for anything calling for chocolate)
1/2 cup cocoa powder
1/2 cup sugar
1/2 cup water
pinch of salt
splash of vanilla extract
Stuff for one egg cream
1 cup cold strawberry flavored seltzer (can use plain or any flavor that you like)
1/2 cup cold, plan flavored milk (plant, nut or animal)
4-5 tablespoons chocolate syrup
To make the syrup, combine the cocoa, sugar, water, vanilla and salt into a sauce pan and bring to a boil while whisking continuously. turn heat down a little and keep whisking for another 2-3 minutes until sauce starts to thicken. Remove from heat and pour into a jar and let cool.
In a glass that holds are least 16 oz, add in the milk and the chocolate syrup. Mix together (can be shaken or stirred) then pour in about 1 cup of the seltzer water. Give the drink a good mix with a spoon and serve it on up. A straw is recommended to blow bubbles into drink!
Note.. I am aware that there are a few different ways to prepare an egg cream so if you know of a way that is better (milk in last. seltzer mixed with chocolate syrup..). then do it your way!
Spit peas are one of my go to%u2019s when camping. Besides taking up no room at all to pack, they are also super easy to make. Plus they only take about an hour to cook, which is the perfect amount of time to prepare the rest of the food for a meal and sit and chill out before eating. Not to mention that they are damn freaking tasty, especially after a day frolicking through woods and paddling on water. I mean, who doesn%u2019t like split peas? (If you say you don%u2019t, you probably should try again because I bet you would like these)
Constnaly thinking of our next hiking, kayaking, and camping adventure has got me with split peas on the mind. Especially now that the nights are getting a little cooler. Knowing that I am gonna have a hearty, protein pack and filling meal after a day of activity is just the greatest.
And collard greens. A green that gets overlooked a lot. No super popular, well, not around these parts, which is crazy because they are SO good! They have a more pronounced flavor (in a good way) then most greens. More pungent and earthy, and slitghy salty, if that makes sense. And hold up better then any green when cooked making them perfect to toss into pots with things like spit peas . Plus they travel well. I can bring a bunch camping with me and not worry that if I leave them out for to long they will turn into slimy green mush. If it is really hot, sure they might wilt up a bit, but stick the stems in a little water, they will last all day fine. And that is all you need them to do.
So yeah, this dish is perfect for camping, but also perfect for not camping and just making at home too. Again, super easy, fast and is just a great tasting dish.
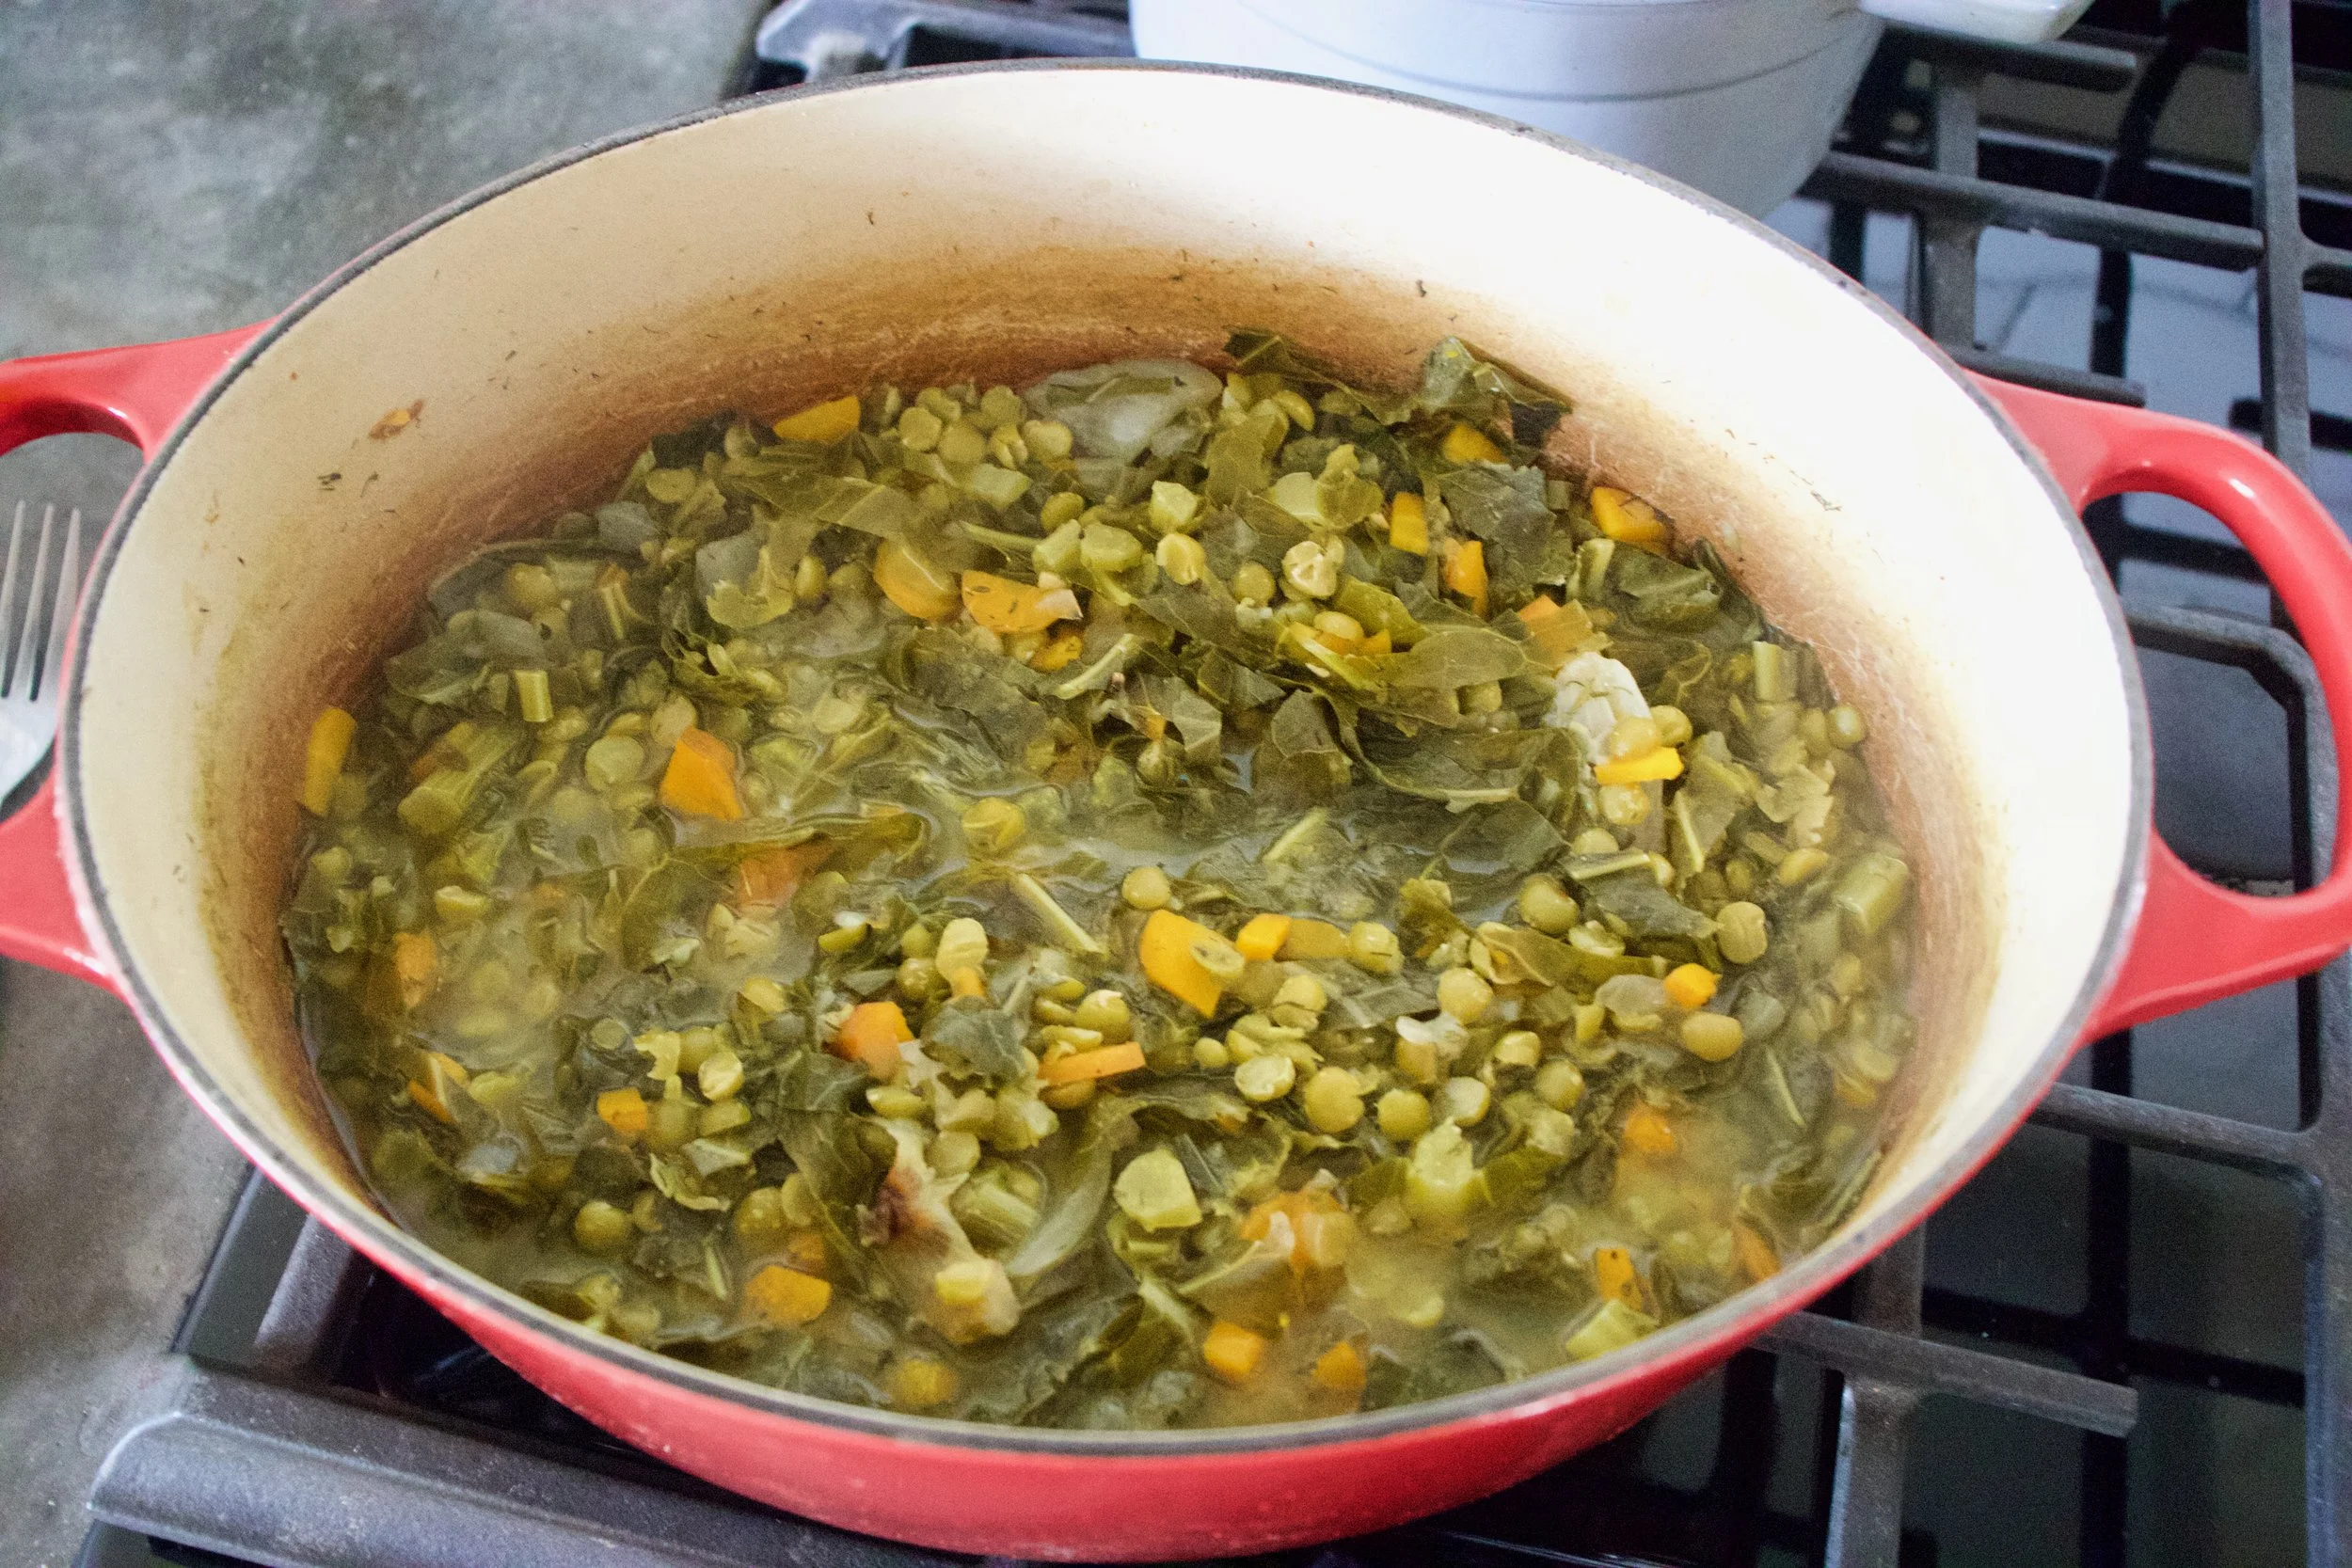
Split peas and collard greens. Topped off with mustardy cabbage slaw. Can%u2019t wait to make this again this weekend!
To the spit pas and collard greens!
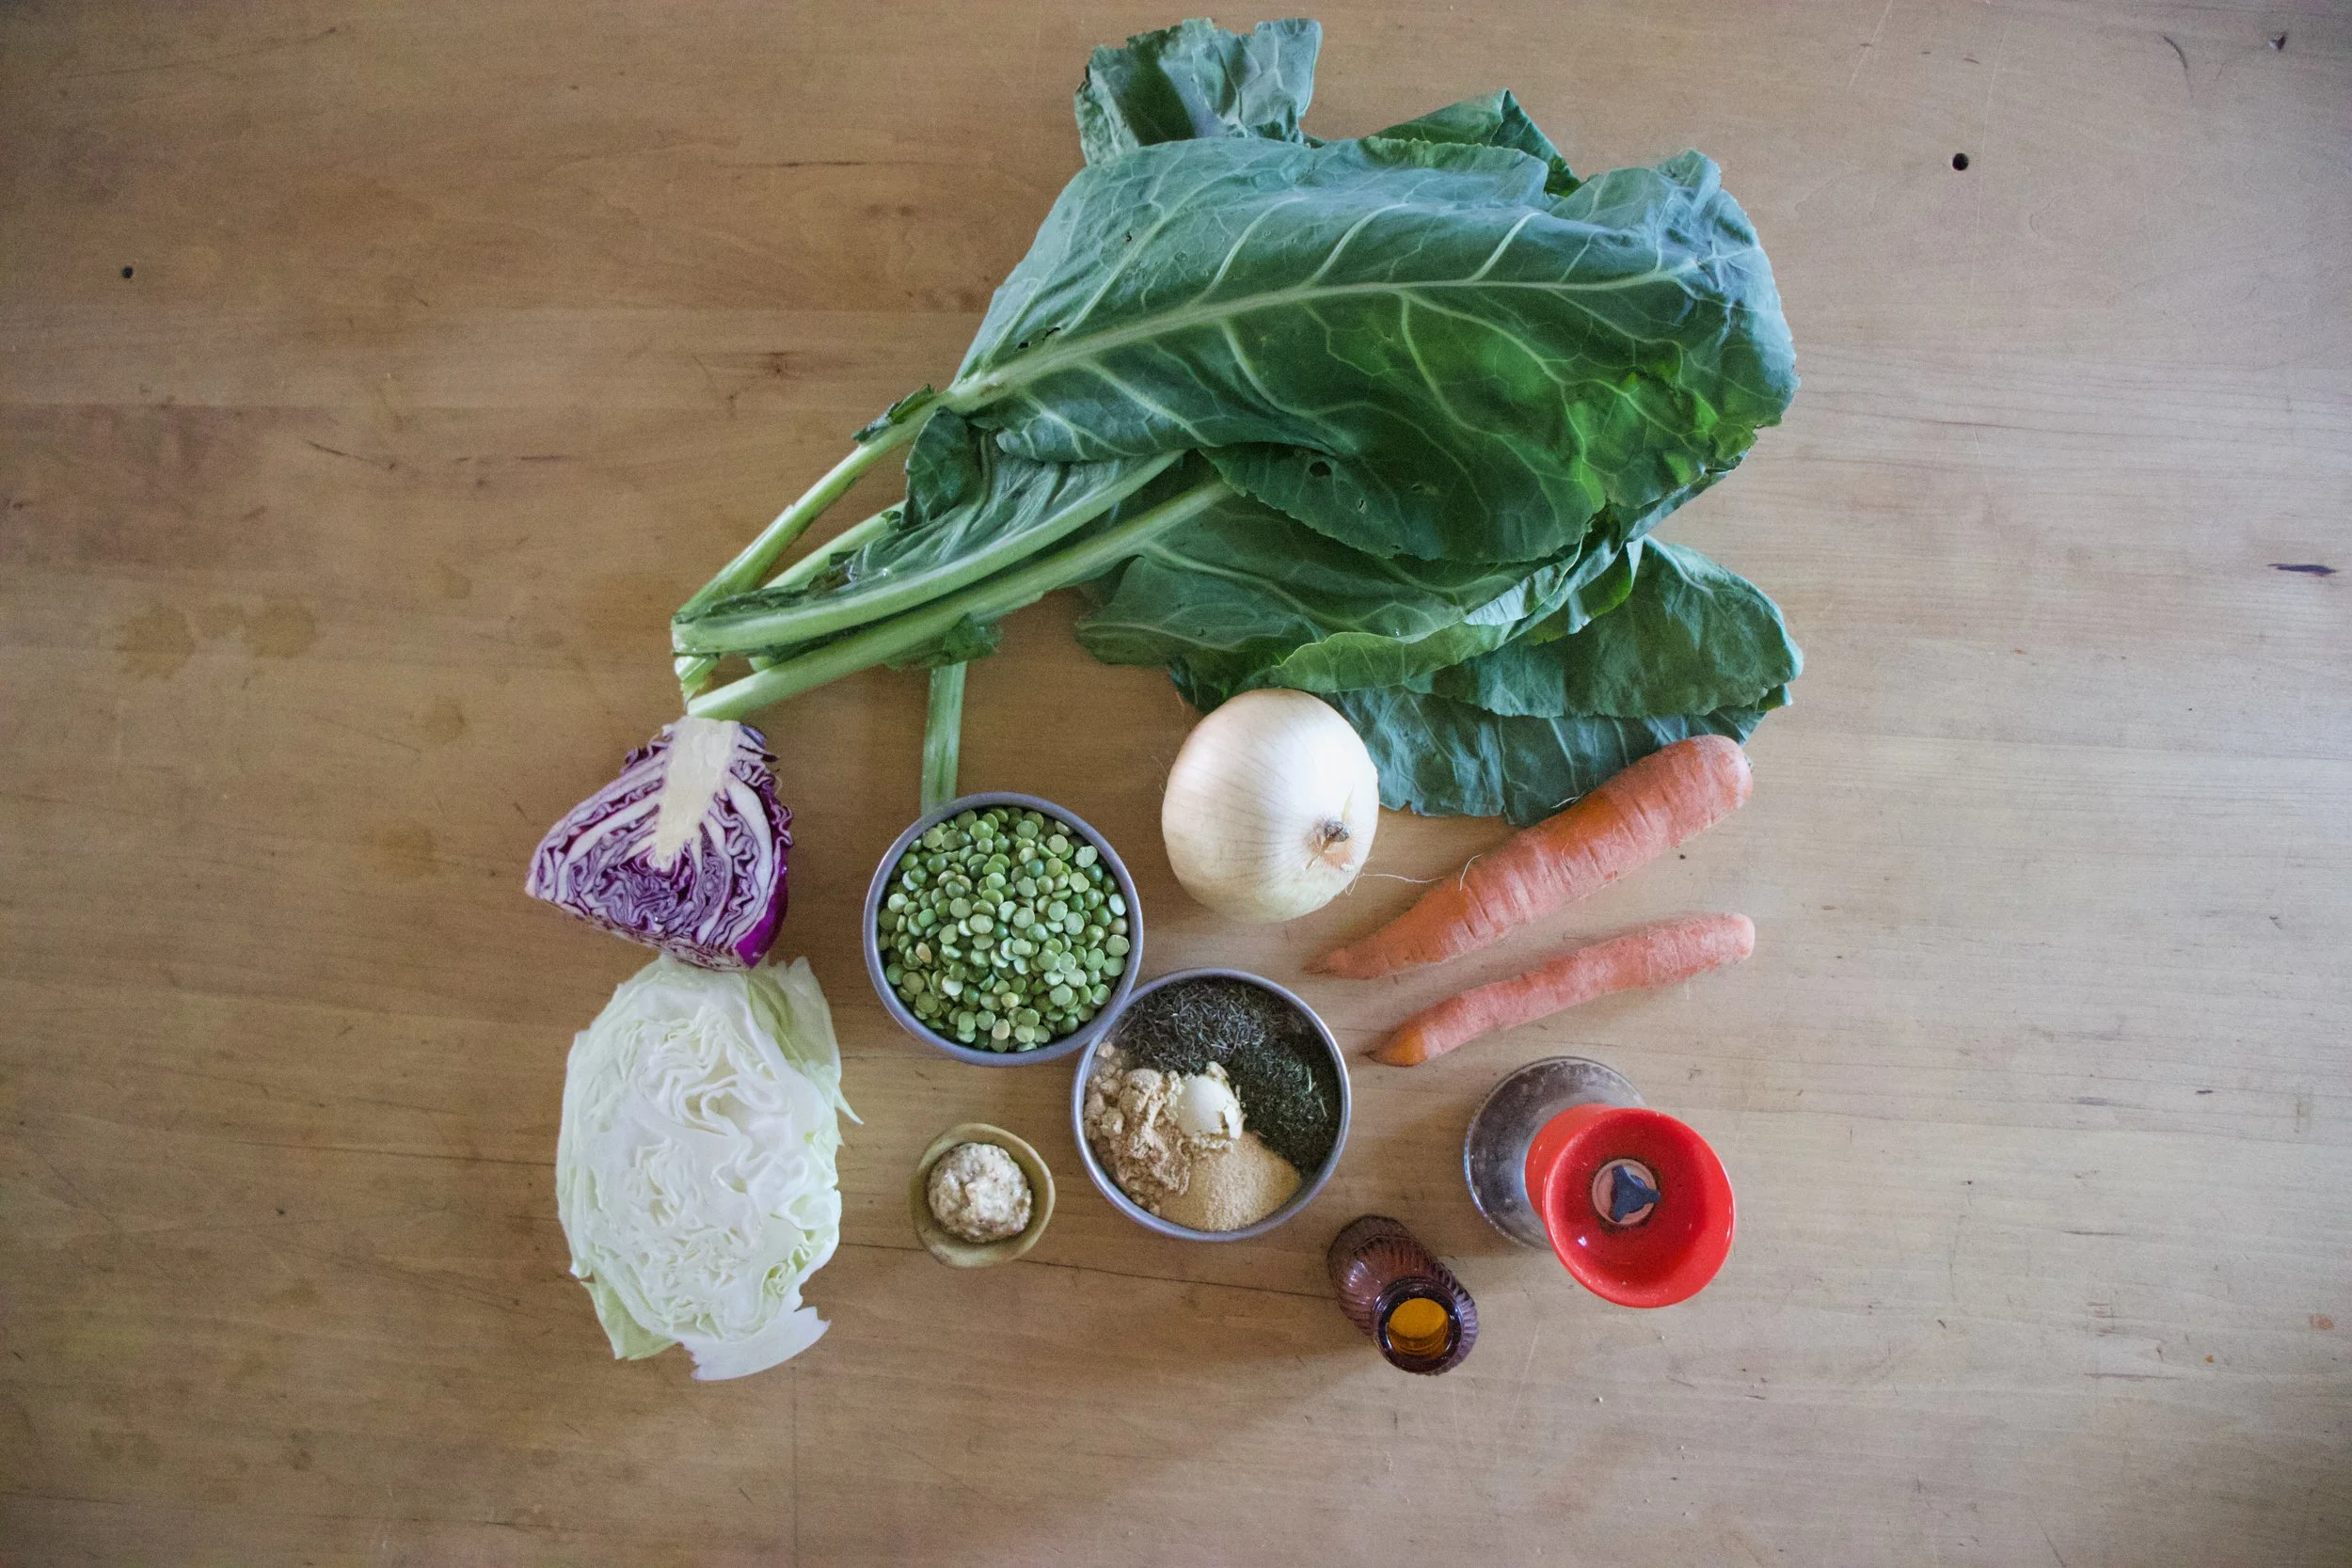
The stuff. A bunch of collard greens, some split peas, an onion, a couple carrots, some cabbage, stone ground mustard, spices which include garlic, ginger, dill, thyme, and ground mustard. And salt and pepper. And you are gonna need water too.
Start by removing the stems from the leaves of the collards. Then small dice up the carrots, the onion and the stems. Grab the collard leaves, roll them up together, then slice then into thin ribbons.
All that stuff you just cut up now gets tossed into big pot, along with all the spices.
Add in the dried peas and water. Lots and lots of water. Bring pot to boil, then reduce heat to low and loosely cover pot. Cook foe 45-50 minutes or so.
While the peas and greens are cooking, shred up some cabbage.
Add a good dollop or two of some good stone ground or Dijon mustard and mix.
Cooked until the split peas are tender and starting to fall apart. Taste and season with salt and pepper.
And then you eat. A big bowl full of the slpit peas and greens, topped with some mustardy cabbage slaw.
This is good food. Really freaking good.
-C
serves 4-6 folks
2 cups dried split peas
8-9 cups water
1 large onion
2 carrots
1 bunch collard greens (about 6-7large leaves)
1 teaspoon garlic powder
1 teaspoon ginger powder
1 tablespoon dill
1 tablespoon thyme
1 teaspoon ground mustard
salt and pepper
2-3 tabespppms Dijon or stone ground mustard
1/2 head of cabbage (red and or green)
Start by removing the stems from the collards. Grab the carrots and onion and dice them up small, along with the stems. Then take the leaves of the greens and stack and roll them up together. Slice the roll into thin ribbons. Place all of it, carrots onions stems, and greens, into large pot, along with all the spices, (don%u2019t add any salt until the end) and stick o the stove. Add in the split peas and 8 cups of water. Bring pot to a boil, then reduce to low and place a loose lid on pot. Let cook for 45 minutes to an hour, or until the spit peas are tender and just about to fall apart. If you think you might need to add more water to cook the peas through, then add another cup.
Once cooked, season with salt pepper to taste.
For the cabbage slaw,which you can make right after your start the peas, just shred up cabbage and mix it together with the mustard and set aside.
And once the split peas and collard greens are all cooked, scoop into bowls, top with some of the cabbage slaw, and eat to your face.
We have officially kicked off our summer camping adventures. And with camping comes all the greatness of all the things, including camping food.
Recently a friend asked me what it is that we do for camp food. So I told her. Camp food is basically aways the same and consists of a big pot of spiced warm lentils or split peas (both cook really fast and have lots of protein), a shredded summer squash in the summer, or pumpkin in the colder months, maybe fresh tomatoes or a bunch of kale to chop and mix in, and a side of cut up carrots, cucumbers, green beens or whatever else I have.. Then I’ll bring a hunk of bread for the mr to eat and me, usually a small head of cabbage to squirt mustard on and crunch into. (Always have the mustard on hand.) And I bring apples to snack on too, but that usually it. (Sometime I%u2019ll back a desert for the mr. If I am feeling nice.)
She was a little taken aback. Said when she (and basically everyone in the world, which I disagreed with) goes camping it is bags of chips, cookies, meat, and everything and anything that she (they) wanted. Basically that camp food was junk food and that she though we were weirdos. But cool weirdos so you know.
So our camp food%u2026 not like many others. But honestly it is everything that I want to eat and I love it so whatever whatever. As for the mr, he is happy with the food and when he is not, he brings along something else, but that rarely happens because my lentils be so good. HA!
But she got me thinking that I should have a few more snack options beside cut up carrots and apples. So that is why I made crackers. These chickpea chili lime, freaking amazing crackers. Because crackers are a very appropriate snack food, and these crackers in particular are even greater because they are made with the goodness of chickpea flour which is packed full of protein and is well received after a day of hiking or other fun outdoor camping activities. And how can you go wrong with chili lime? Well i%u2019ll tell you, you really can%u2019t
So the plan was to make a batch, eat a few, save the rest for this camping weekend. But guess what? I have to make another batch. They didn%u2019t make it. We ate them all. (not sorry) At least I know we will be liking our new camping snack addition well and right.
So if you like crackers, camping or elsewhere, you should really gives these a go. They will not disappoint.
Now to the crackers!
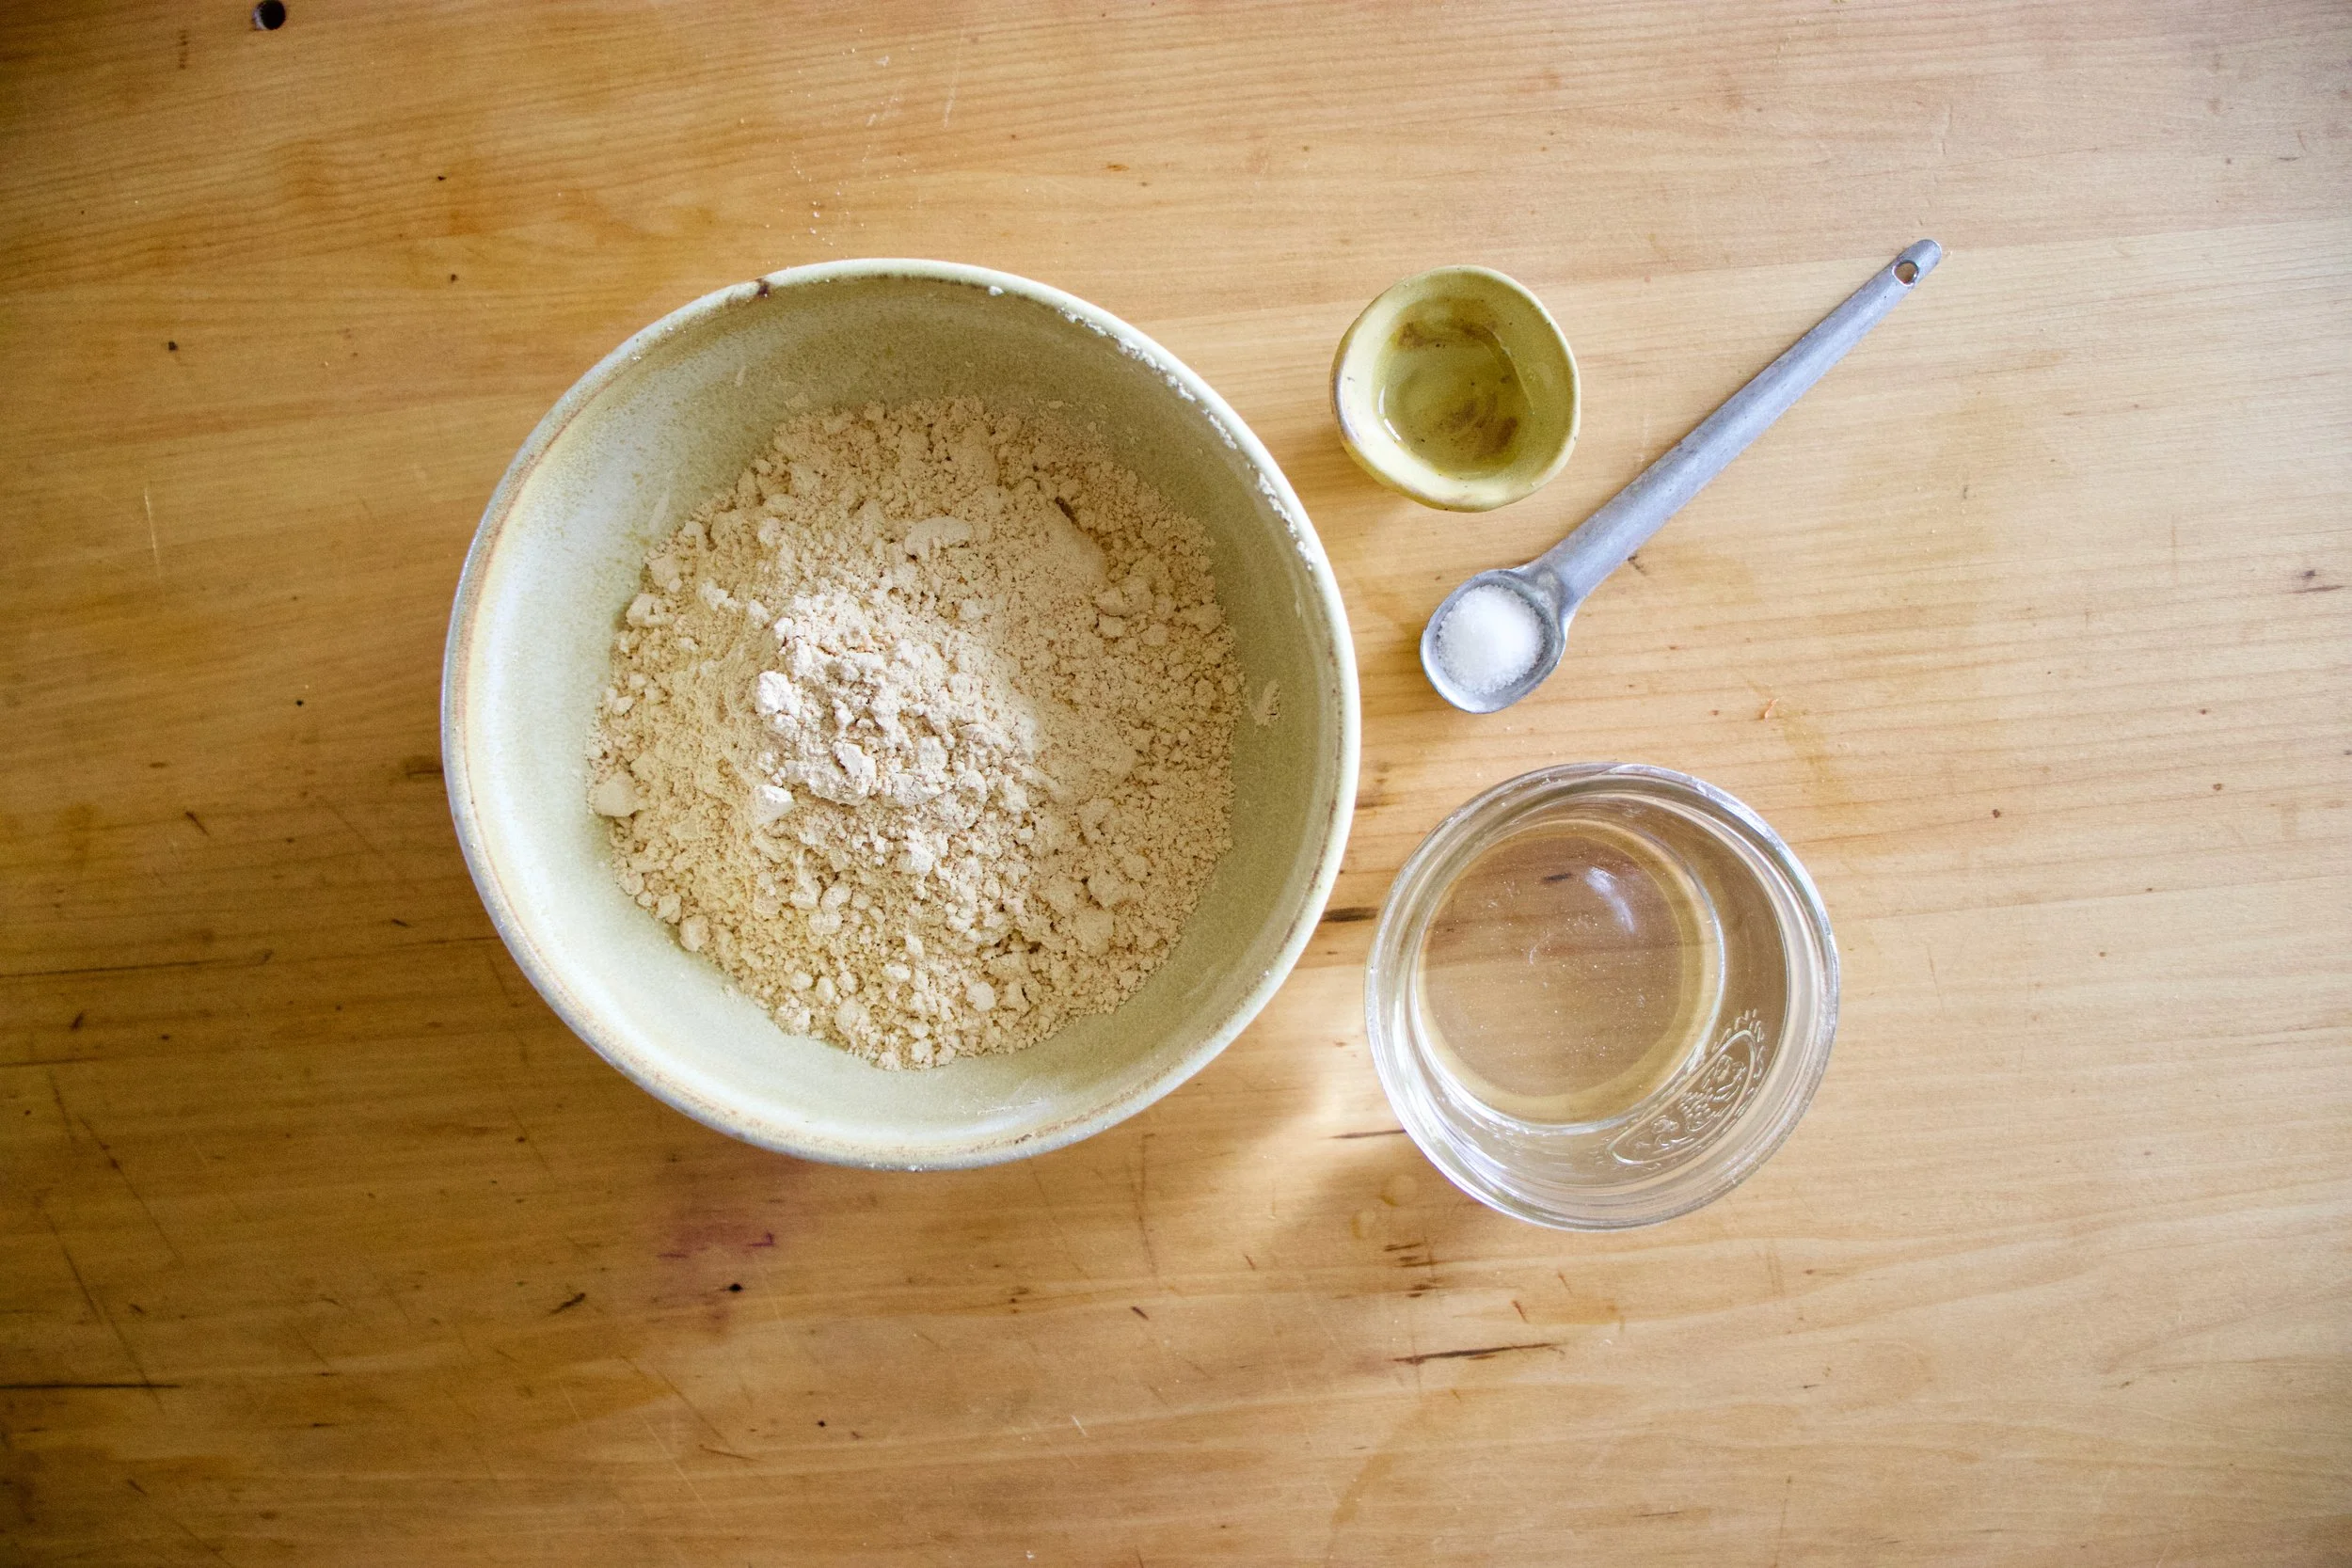
The stuff. Chickpea flour, chili powder, a lime, a little baking powder, olive oil, salt and pepper, and water.
Combine the flour, zest of the lime, half the chili powder and half the salt, and the baking powder and some pepper in a bowl. Mix until completely combined then add in the oil, water and the juice of the lime.
Mix until dough forms. It might feel a little sticky, if that is the case, just mix other tablespoon of chickpea flour.
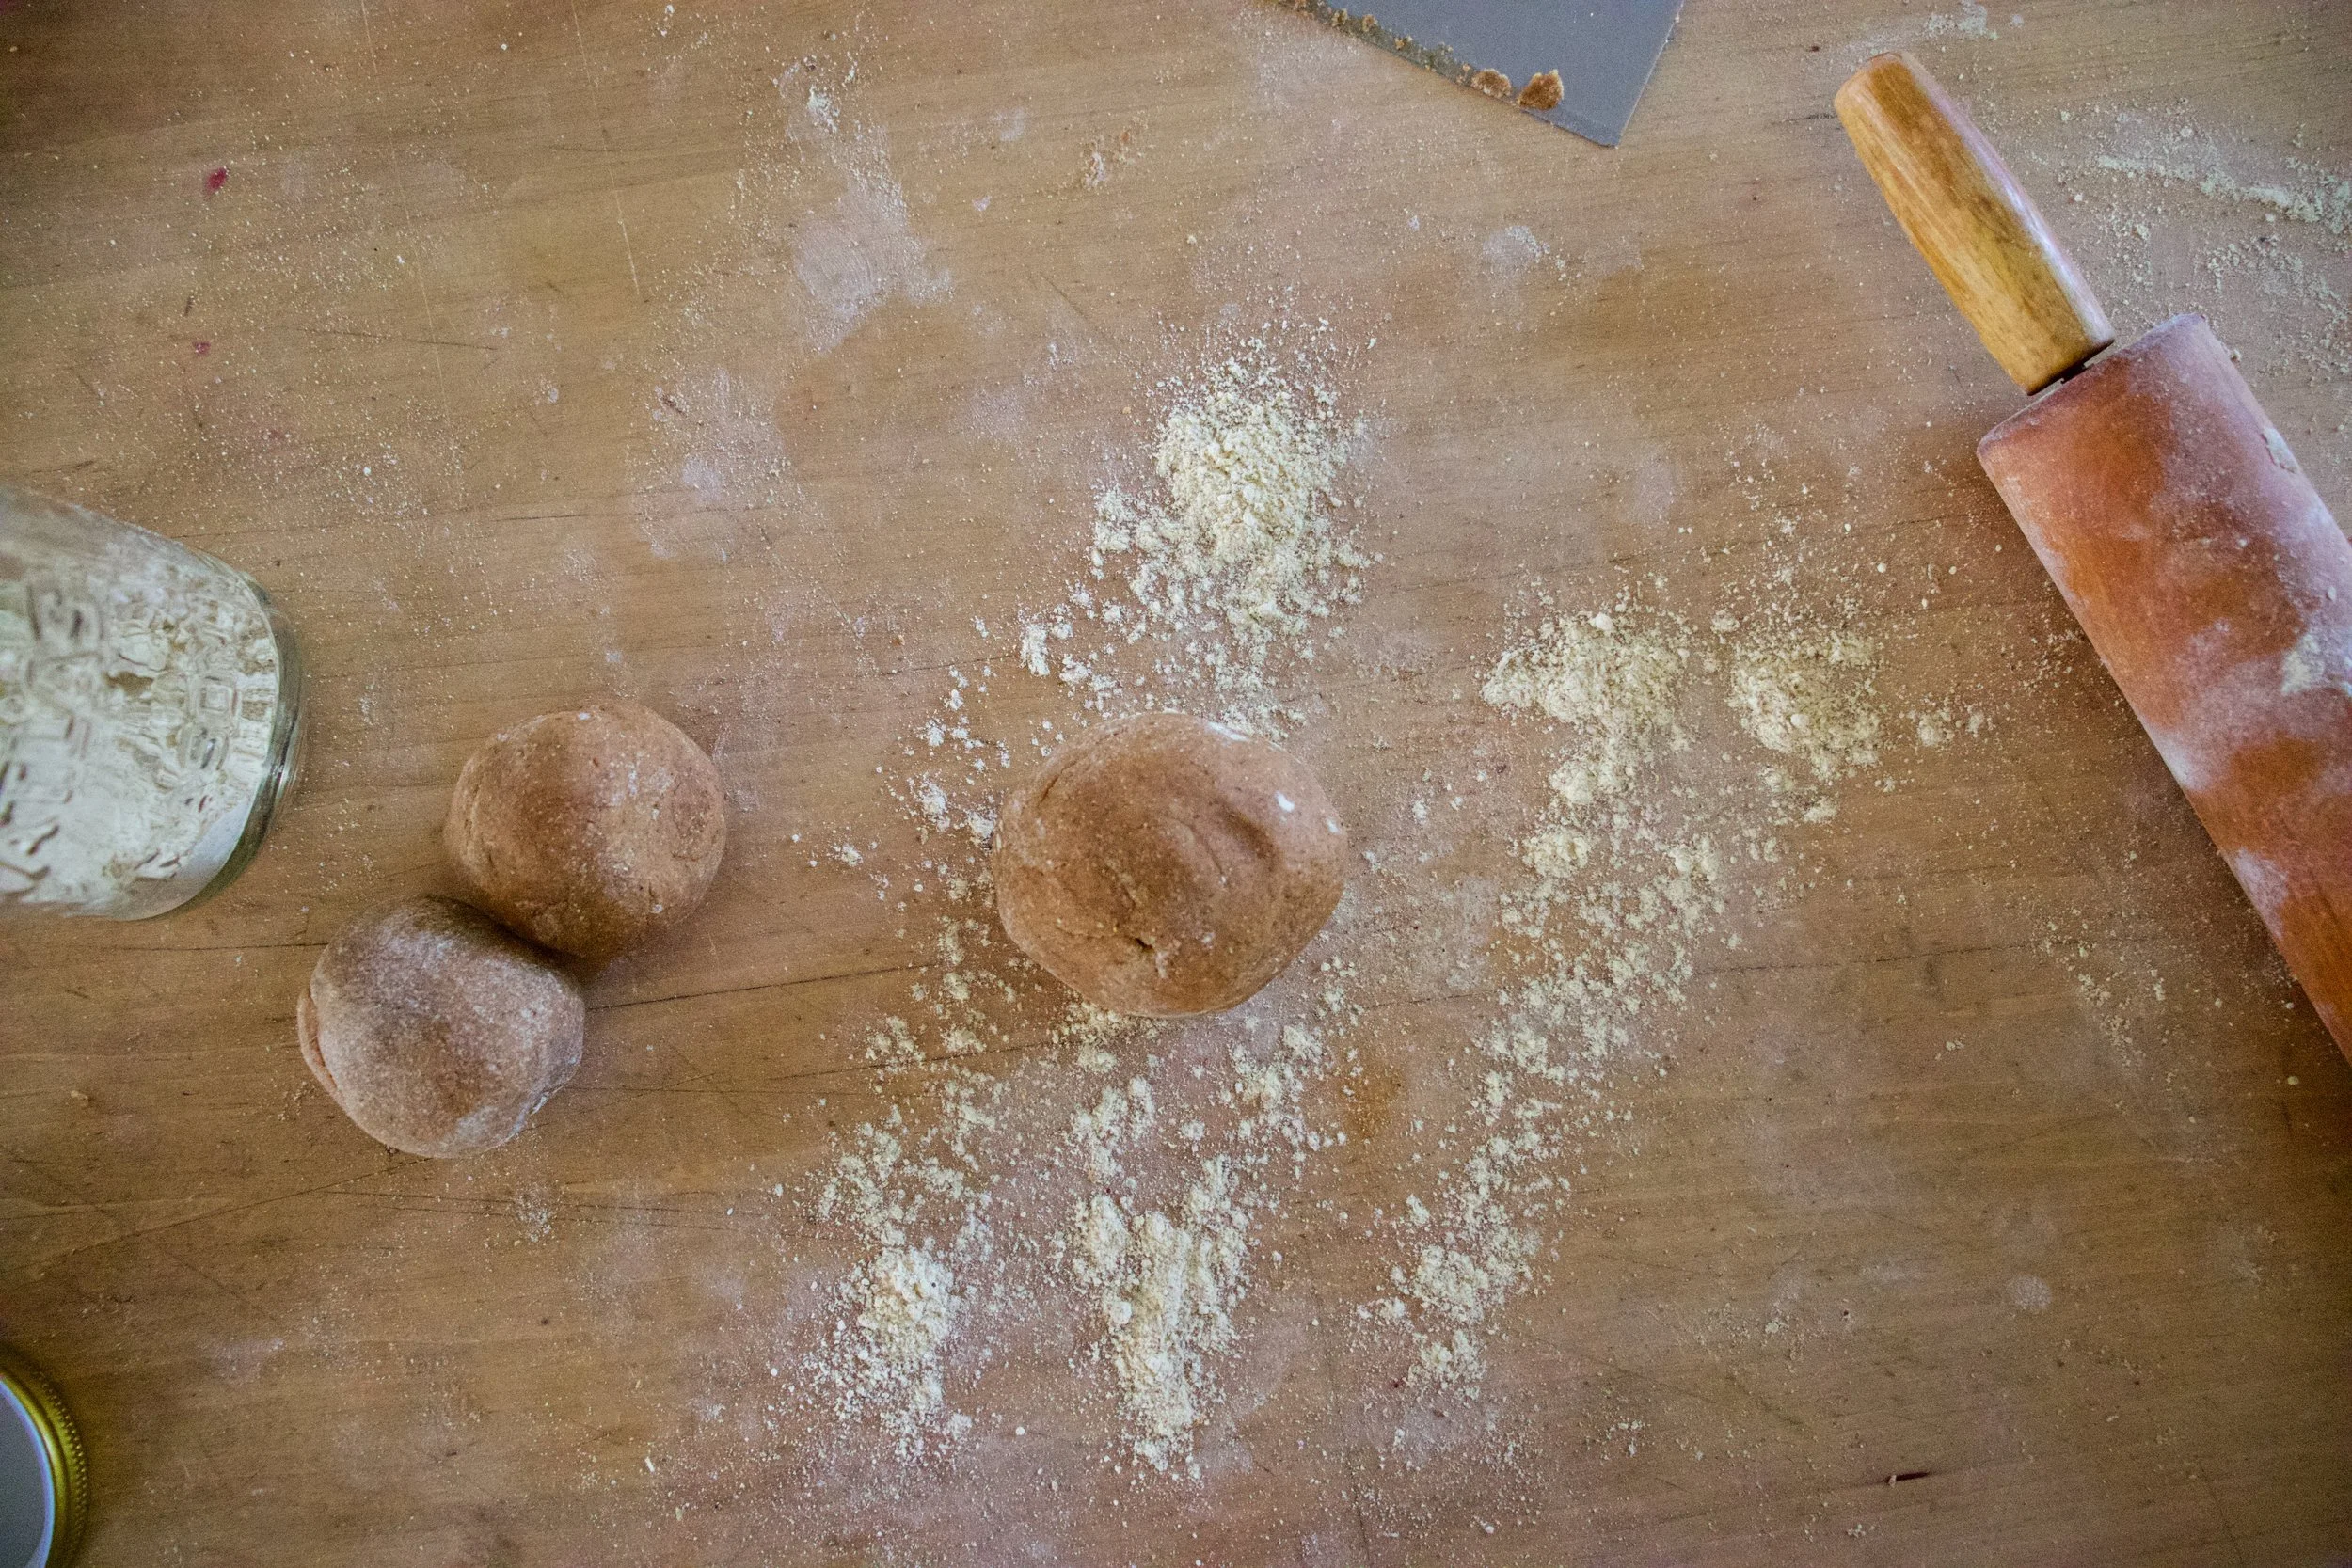
Knead dough on a well chickpea floured surface for a good minute until the dough is a even consistency then let it sit for a few minutes to rest. Once rested, cut dough into 2-3 pieces because working smaller is easier.
Roll out your first piece of dough about 1/8 inch thick. (Again, make sure to really flour your work surface and rolling pin.) Mix salt and chili powder together and sprinkle on top. Cut out your crackers (squares are nice but triangles would be nice too) then poke each cracker with a fork.
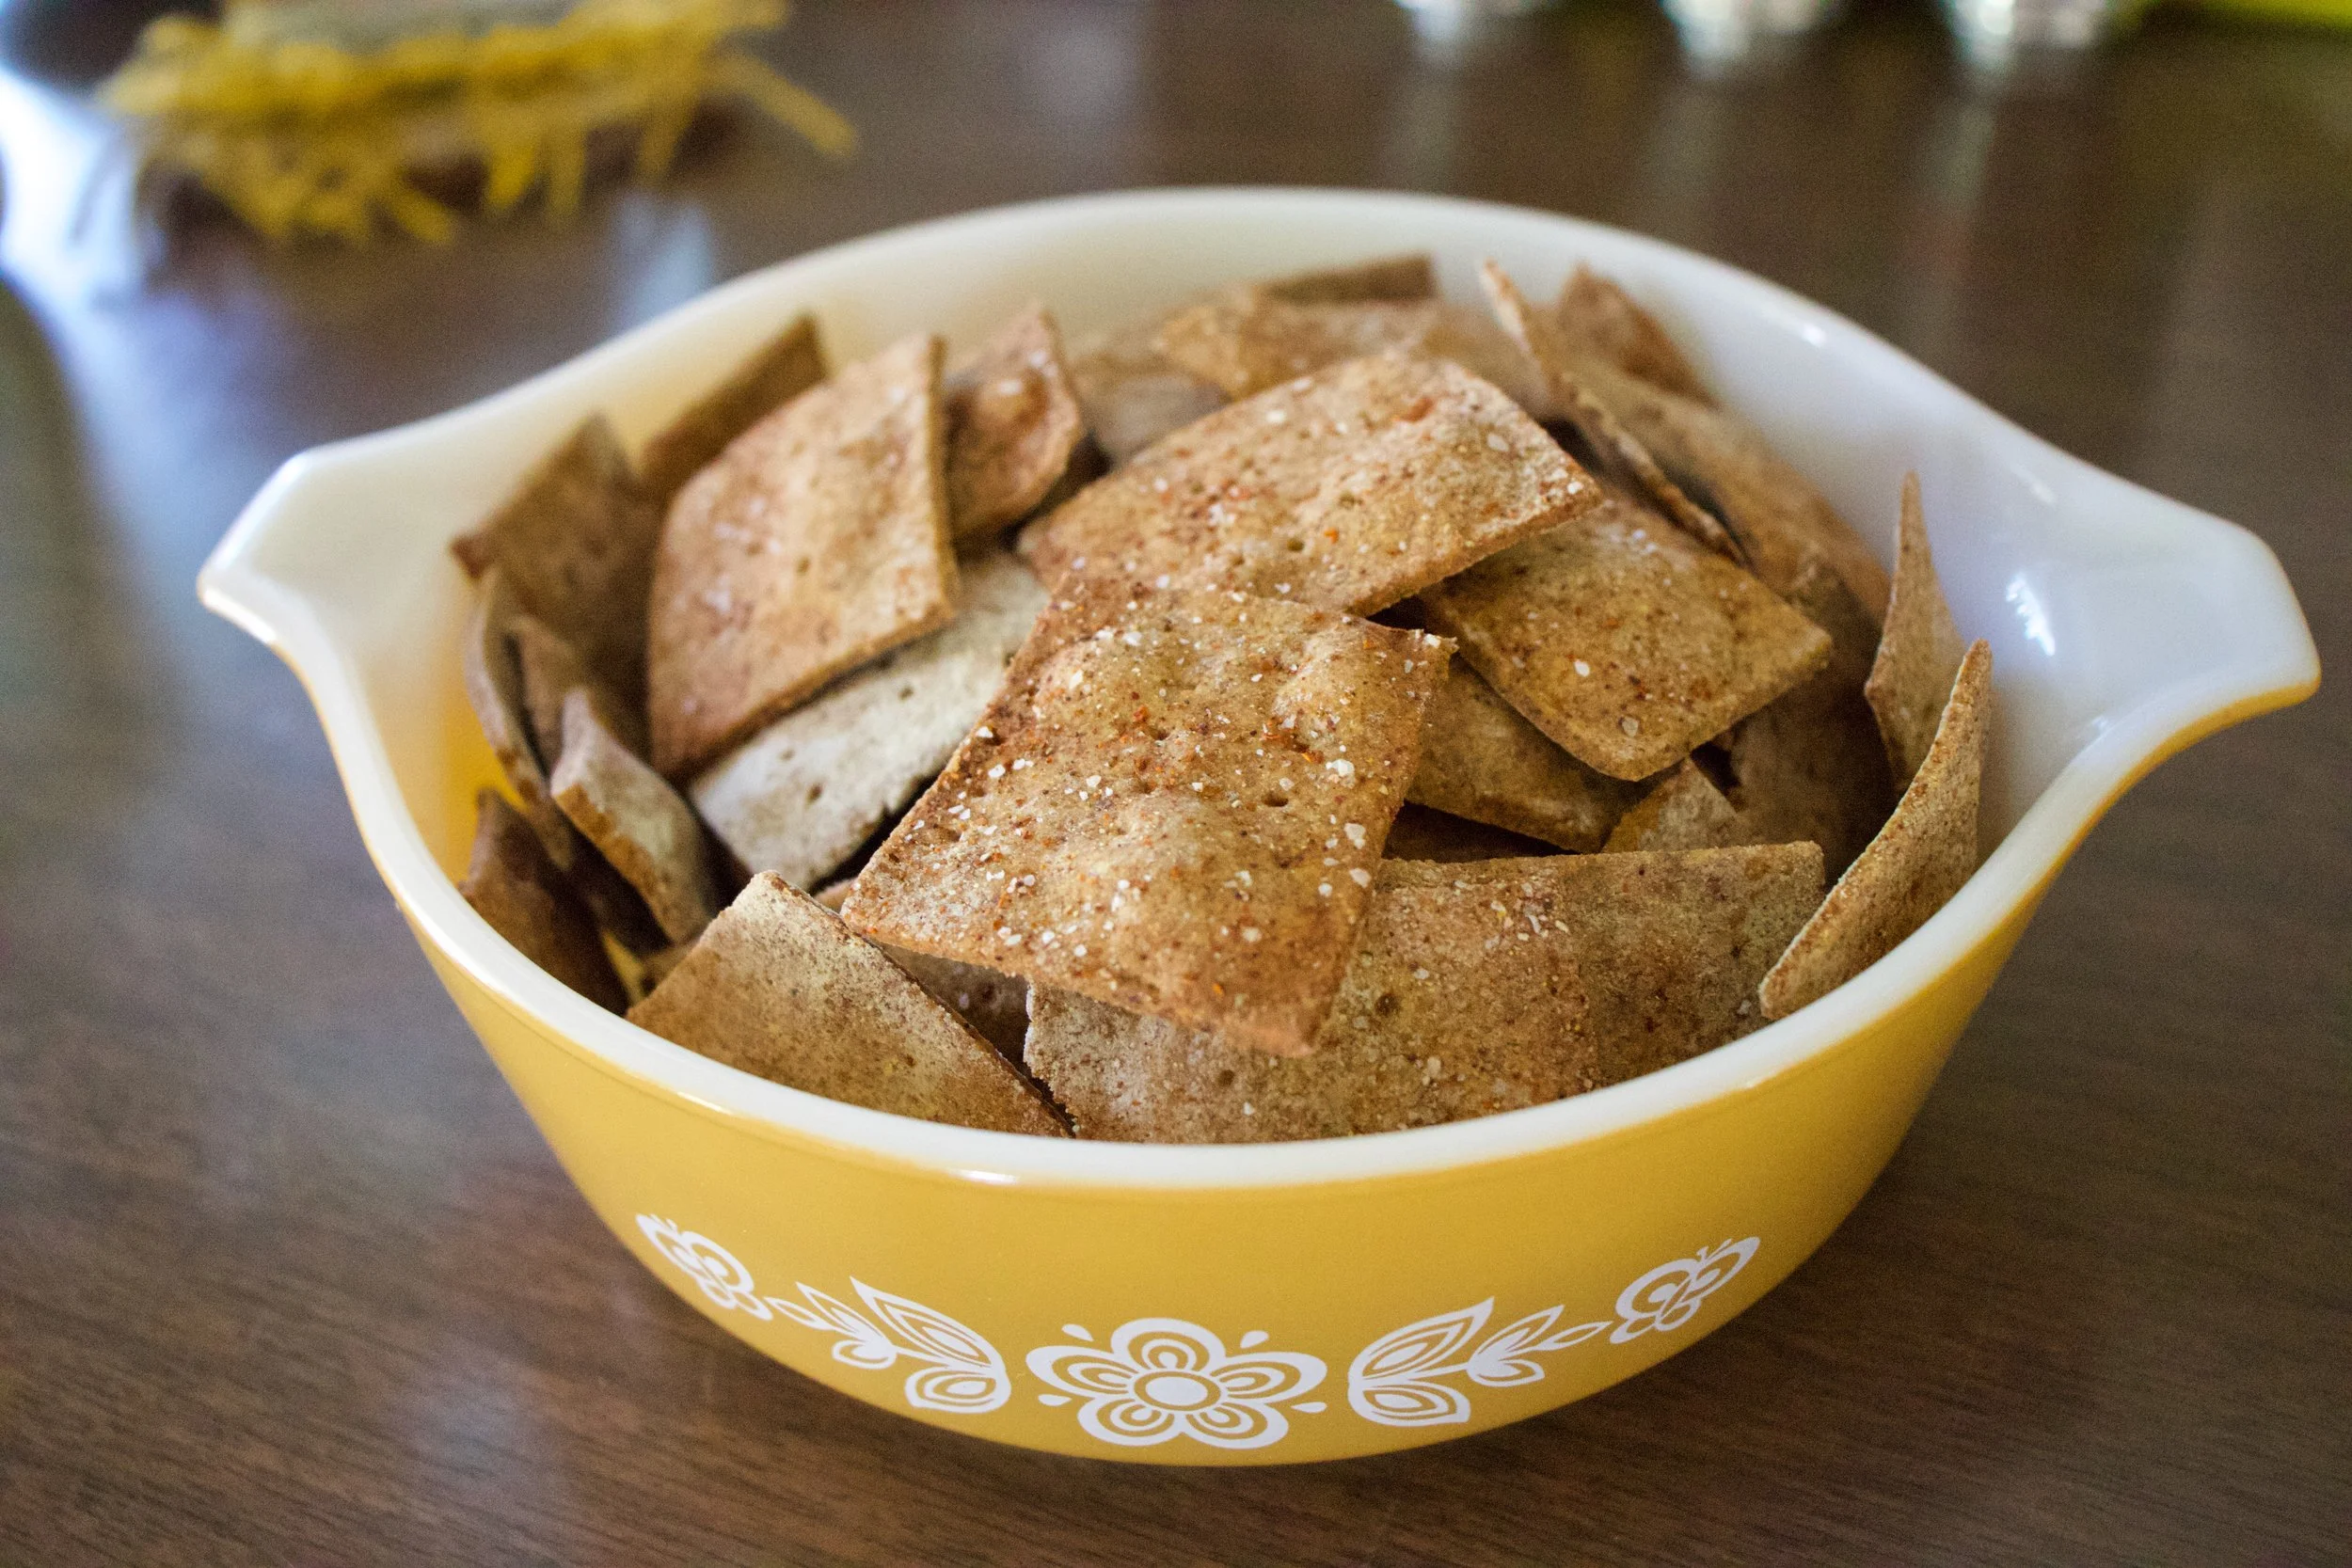
Crackers on a baking sheet before baking and after baking looking all crackery and delicious. And yeah, they shrink a bit.
And lastly, cool the crackers on a cooling rack. They will crisp up a even more. Then it%u2019s all you.
Ready to eat whenever you make the move. You can pack them away for later or place these delicious crackers in a very pretty bowl and eat them away. Or both.
A cracker win!
-C
make 75 crackers
1 1/2 cups chick pea flour plus about 1/3 more for dusting and rolling
1/2 teaspoon baking powder
1 tablespoon olive oil
1/3 cup room temp water
1 teaspoon chili powder split in half
1 lime
1 teaspoon salt split in half
1/2 teaspoon fresh crackers pepper
Preheat oven to 350.
In a bowl combine the chick pea flour, baking soda, pepper, 1/2 teaspoon chili powder, and half a 1/2 teaspoon salt. Mix until evenly incorporated. Add in oil, the juice of the lime, and and water and mix until a dough forms. Dump dough onto counter and knead until completely uniform in texture. Add more flour if the dough is really sticky. Set dough aside for a few minutes to rest.
To make the crackers, really dust the counter with chickpea flour. Cut the dough into 2-3 pieces and roll1 piece out at a time to about an1/8 inch thin. Again, really flour the surface and rolling pin or else the dough will stick Once rolled, combine the remaining chili powder and salt and sprinkle the top with it. And then cut the crackers. Take a knife of bench scrapper or pizza cattier and cut the dough into inch long strips vertically, then diagonally. Poke each cracker with a fork then gently place them onto a baking sheet. Repeat with remaining dough.
Bake crackers for 15-20 minutes or until a nice deep golden brown. Remove from oven and let cool on a wire rack.
And then eat.
Store uneaten crackers in an airtight container for about a week.
Summertime is in full swing. Hot ass days, garden fresh veggies, zucchinis as big as whales, and did I mention that hot ass heat? If you have been around here before, you know how well I handle the heat. (NOT WELL AT ALL!)
I think we are all hot these days. But really, lets just focus on the good things, like fresh summa veggies!
This sandwich is all about summertime and not having to turn on a single flame or heat source and takes all of 5 minutes to make. Zucchini because it is everywhere, beans for more substance and they are delicious, all mixed up in a creamy bean and tahini sauce. Super fast, fresh and oh so delicious. I made a big batch for sandwiches but also I was just eating it with a fork. It%u2019s a tasty one that will be on the summer rotation for sure for the next few months, or until the zucchini runs out and I dare to turn the oven on again. (Ok, I am being a whine ass. It%u2019s not THAT bad and I did turn the oven on, early morning, to bake bread. So yeah.) But for real. This is a great, super fast, throw together, fresh, light but filling, sandwich situation for any and all of your summertime eating needs. What more do we need? The mr said all he needed with the sandwich were chips. Chips and a nice cold drink.
Done sir. Done.
Now to the sandwich!
The stuff. White beans, a zucchini, and a fresh spring onion. Also some tahini, a lemon, a few cloves of garlic, a little vinegar and water, and salt and pepper. And to serve as a sandwich you need bread. lettuce, and tomato. Well you only need the bread, but you get what I am saying.
Fist off. Half the white beans go into blender or jar with the tahini, the juice of the lemon, garlic, vinegar and a splash of water. Blended unit nice and creamy smooth. And yes, it is basically hummus but whatever.
Julienne the zucchini and chop up the onion.
Note. You don%u2019t have a mandolin or done%u2019t want to julienne with a knife, well just chop the zucchini into small little chunks.
Bean, onion, and zucchini in a bowl. Add in the bean tahini mixture and mix. And ta da, all done. All of 5 minutes and no heat. Good for us.
Now here is the thing. This salad is ready to eat now. You can continue onto the sandwich path or just eat it like it is with a fork. What I really liked to do is scoop spoonfuls into lettuce cups with a slice of tomato and a squirt or mustard. So yes sandwich, but also whatever else you want it to be.
But as a sandwich%u2026. Bread. And lettuce and tomato and heck, whatever else you want to throw on there. (Again, mustard is A+)
Now stop. Sandwich time.
Stay cool!
-C
makes 3-4 sandwiches
1 medium sized zucchini
2 1/2 cups cooked and strained white beans (a can will do)
1 spring onion (or a small white or red onion)
3 tablespoons tahini
2-3 cloves minced garlic
1 lemon
1 tablespoon white or red wine vinegar
2-3 tablespoons warm water
salt and pepper
And to serve as a sandwich
bread or wrap of your choice
tomato slices
lettuce
anything else you want
Place half of the beans, tahini, garlic, juice of the lemon, and the vinegar into a jar and use a immersion blender or a regular blender and blend until creamy smooth. Add in a tablespoon at a time of water until the consistency is just slightly thinner then hummus.
Grab zucchini and using a mandolin or a knife and julienne it. (You can also just cut into small little cubes.) Dice the onion up into small pieces and toss with zucchini, onion, and the other half of beans into a big bowl. Dump the bean tahini mixture all over and veggies bean mixture and toss around. Add salt and pepper to taste.
To make it a sandwich%u2026 Place a scoop onto a bread situation, add some lettuce and tomato and whatever else you want, and eat it.
I am obsessed. For real. That might seem like a strong statement for a feeling about a food, but right now, it is truth. I spend more time then I want to admit thinking and drooling over Socca, which is, to those who do not know, the most basic chickpea flour pancake-y bread thing. Chickpea flour, water and salt. Cooked fast under the broiler in a screaming hot skillet. That is it. And it is amazing. Depending on how you make it, it can be creamy and soft or more cracker like with some crisp crunch to it. Either way, it is just so freaking good. Of course, what I am dreaming about regarding it is not just plan basic socca (which I have made 3 times in the past 3 days) but different flavored soccas (I have experimented with lot of seasoning, and they are all A+) with all sorts of different topping and using it in all sorts of different ways. But for now, I wanted to keep basic so we all know how good simplicity is. We will go from here.
There is no stopping me. There is no stopping the socca.
Now to my new favorite food, the socca.
Chickpea flour, salt and water. That is it. Mix it all up.
Batter all smooth and now in need of a rest. Half an hour or up to a day of rest is good.
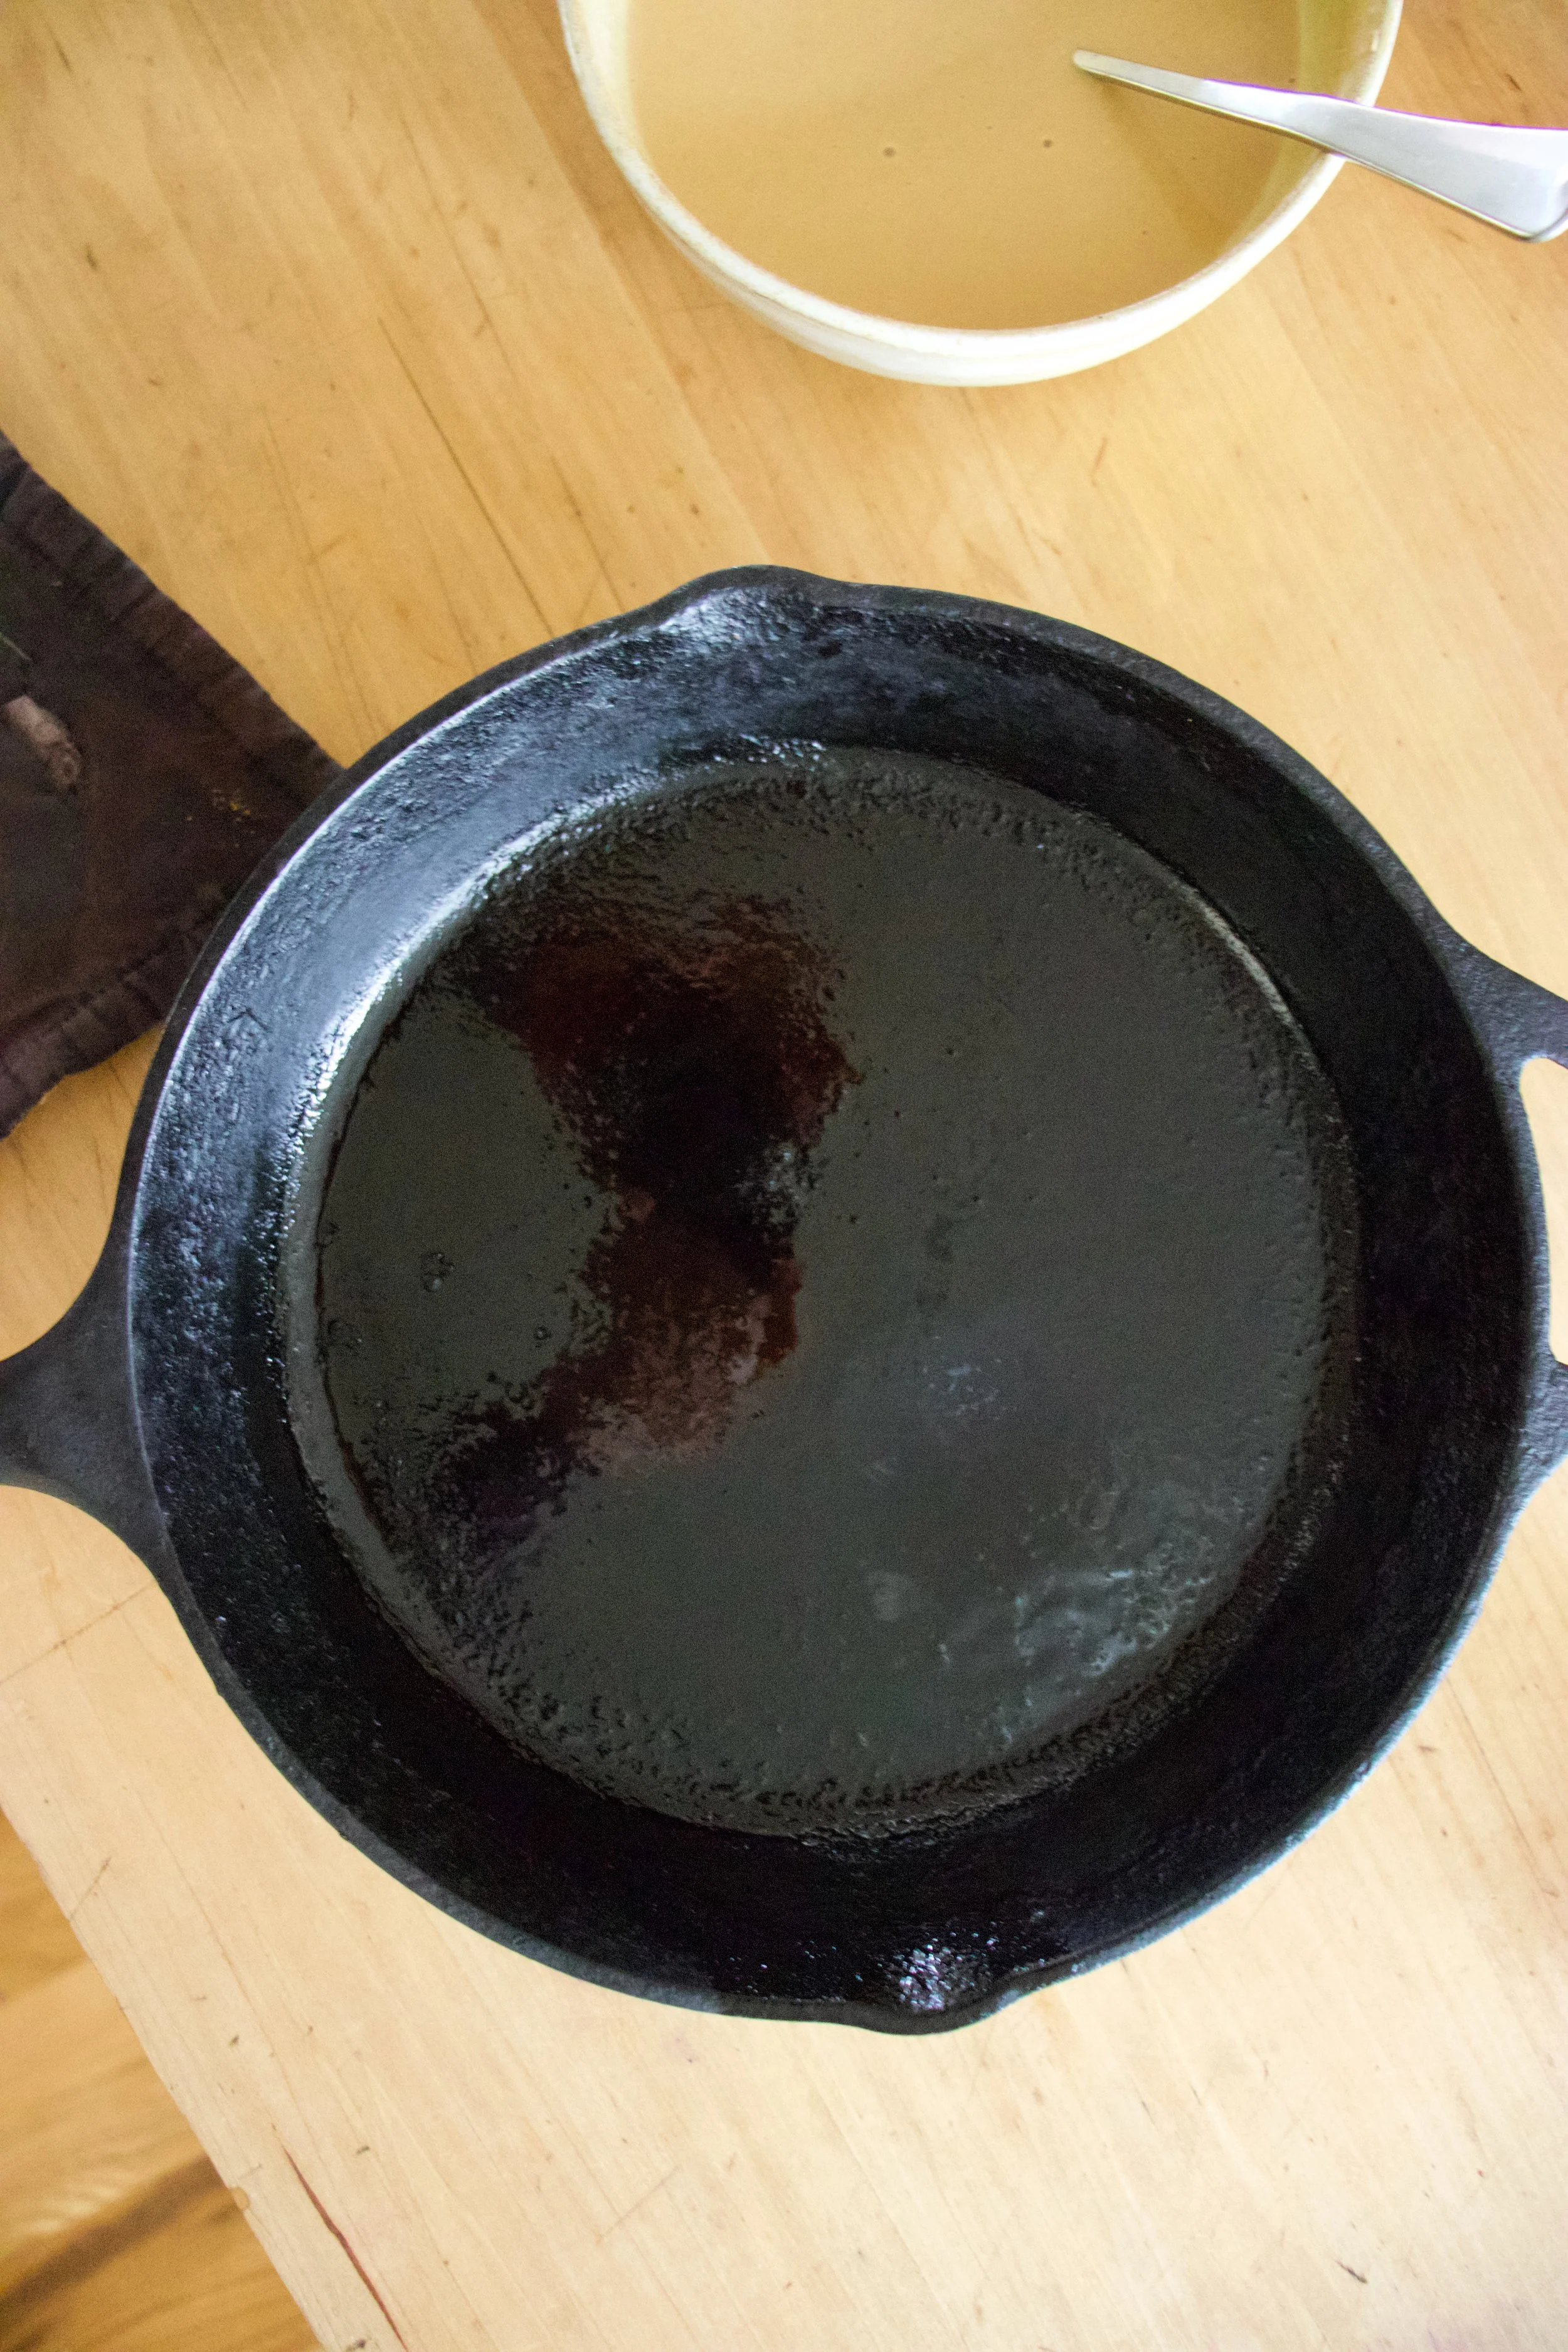
Now to cook the socca. You need to use something oven safe like cast iron. The trick here is to preheat the skillet while you are preheating the oven. Crank oven to 450 with the skillet in oven and once the oven reaches temp, turn oven over to a high broil. Let the skillet get really hot for another minute or two then remove skillet from oven (carefully!!!) and give it a splash of oil. Don%u2019t preheat the skillet with oil in it or else it will start to smoke and get gross.
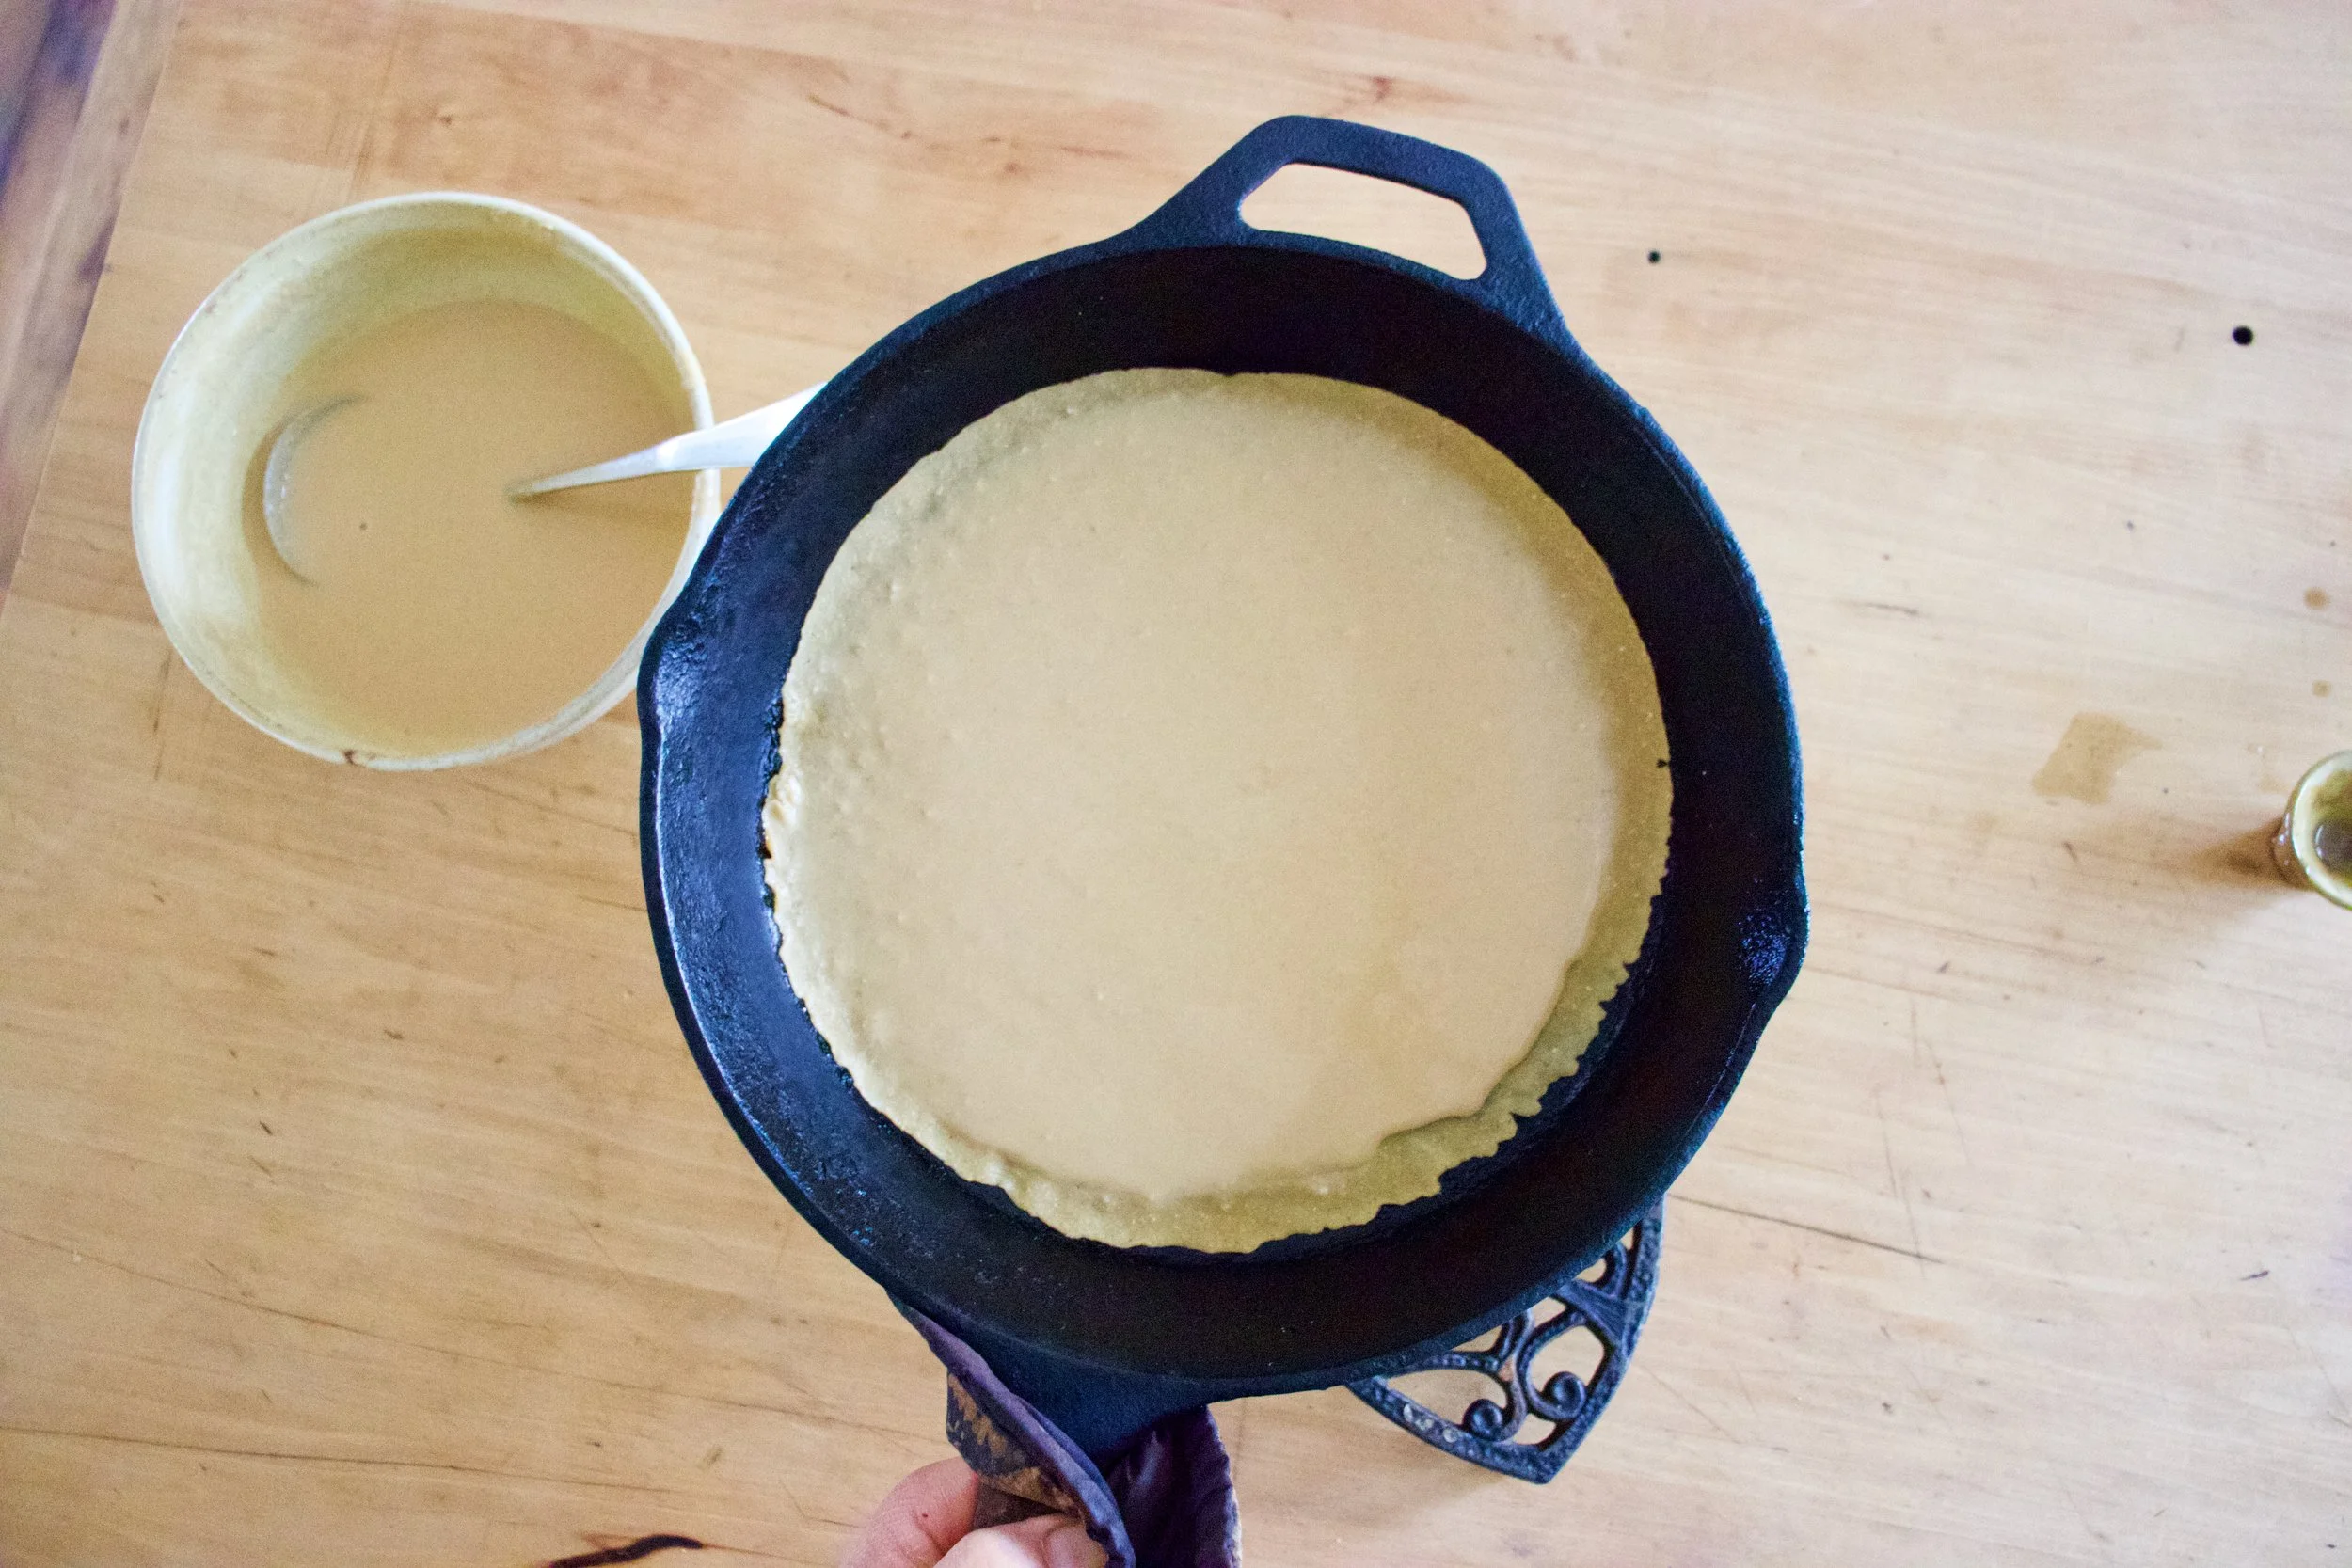
Now that you got a nice hot and oiled skillet, grab the rested batter and pour half of it in. Tilt skillet around to coat bottom then stick skillet back into oven under broiler and cook for 4-8minutes. ( It depends on your broilers strength and your preference for blisters)
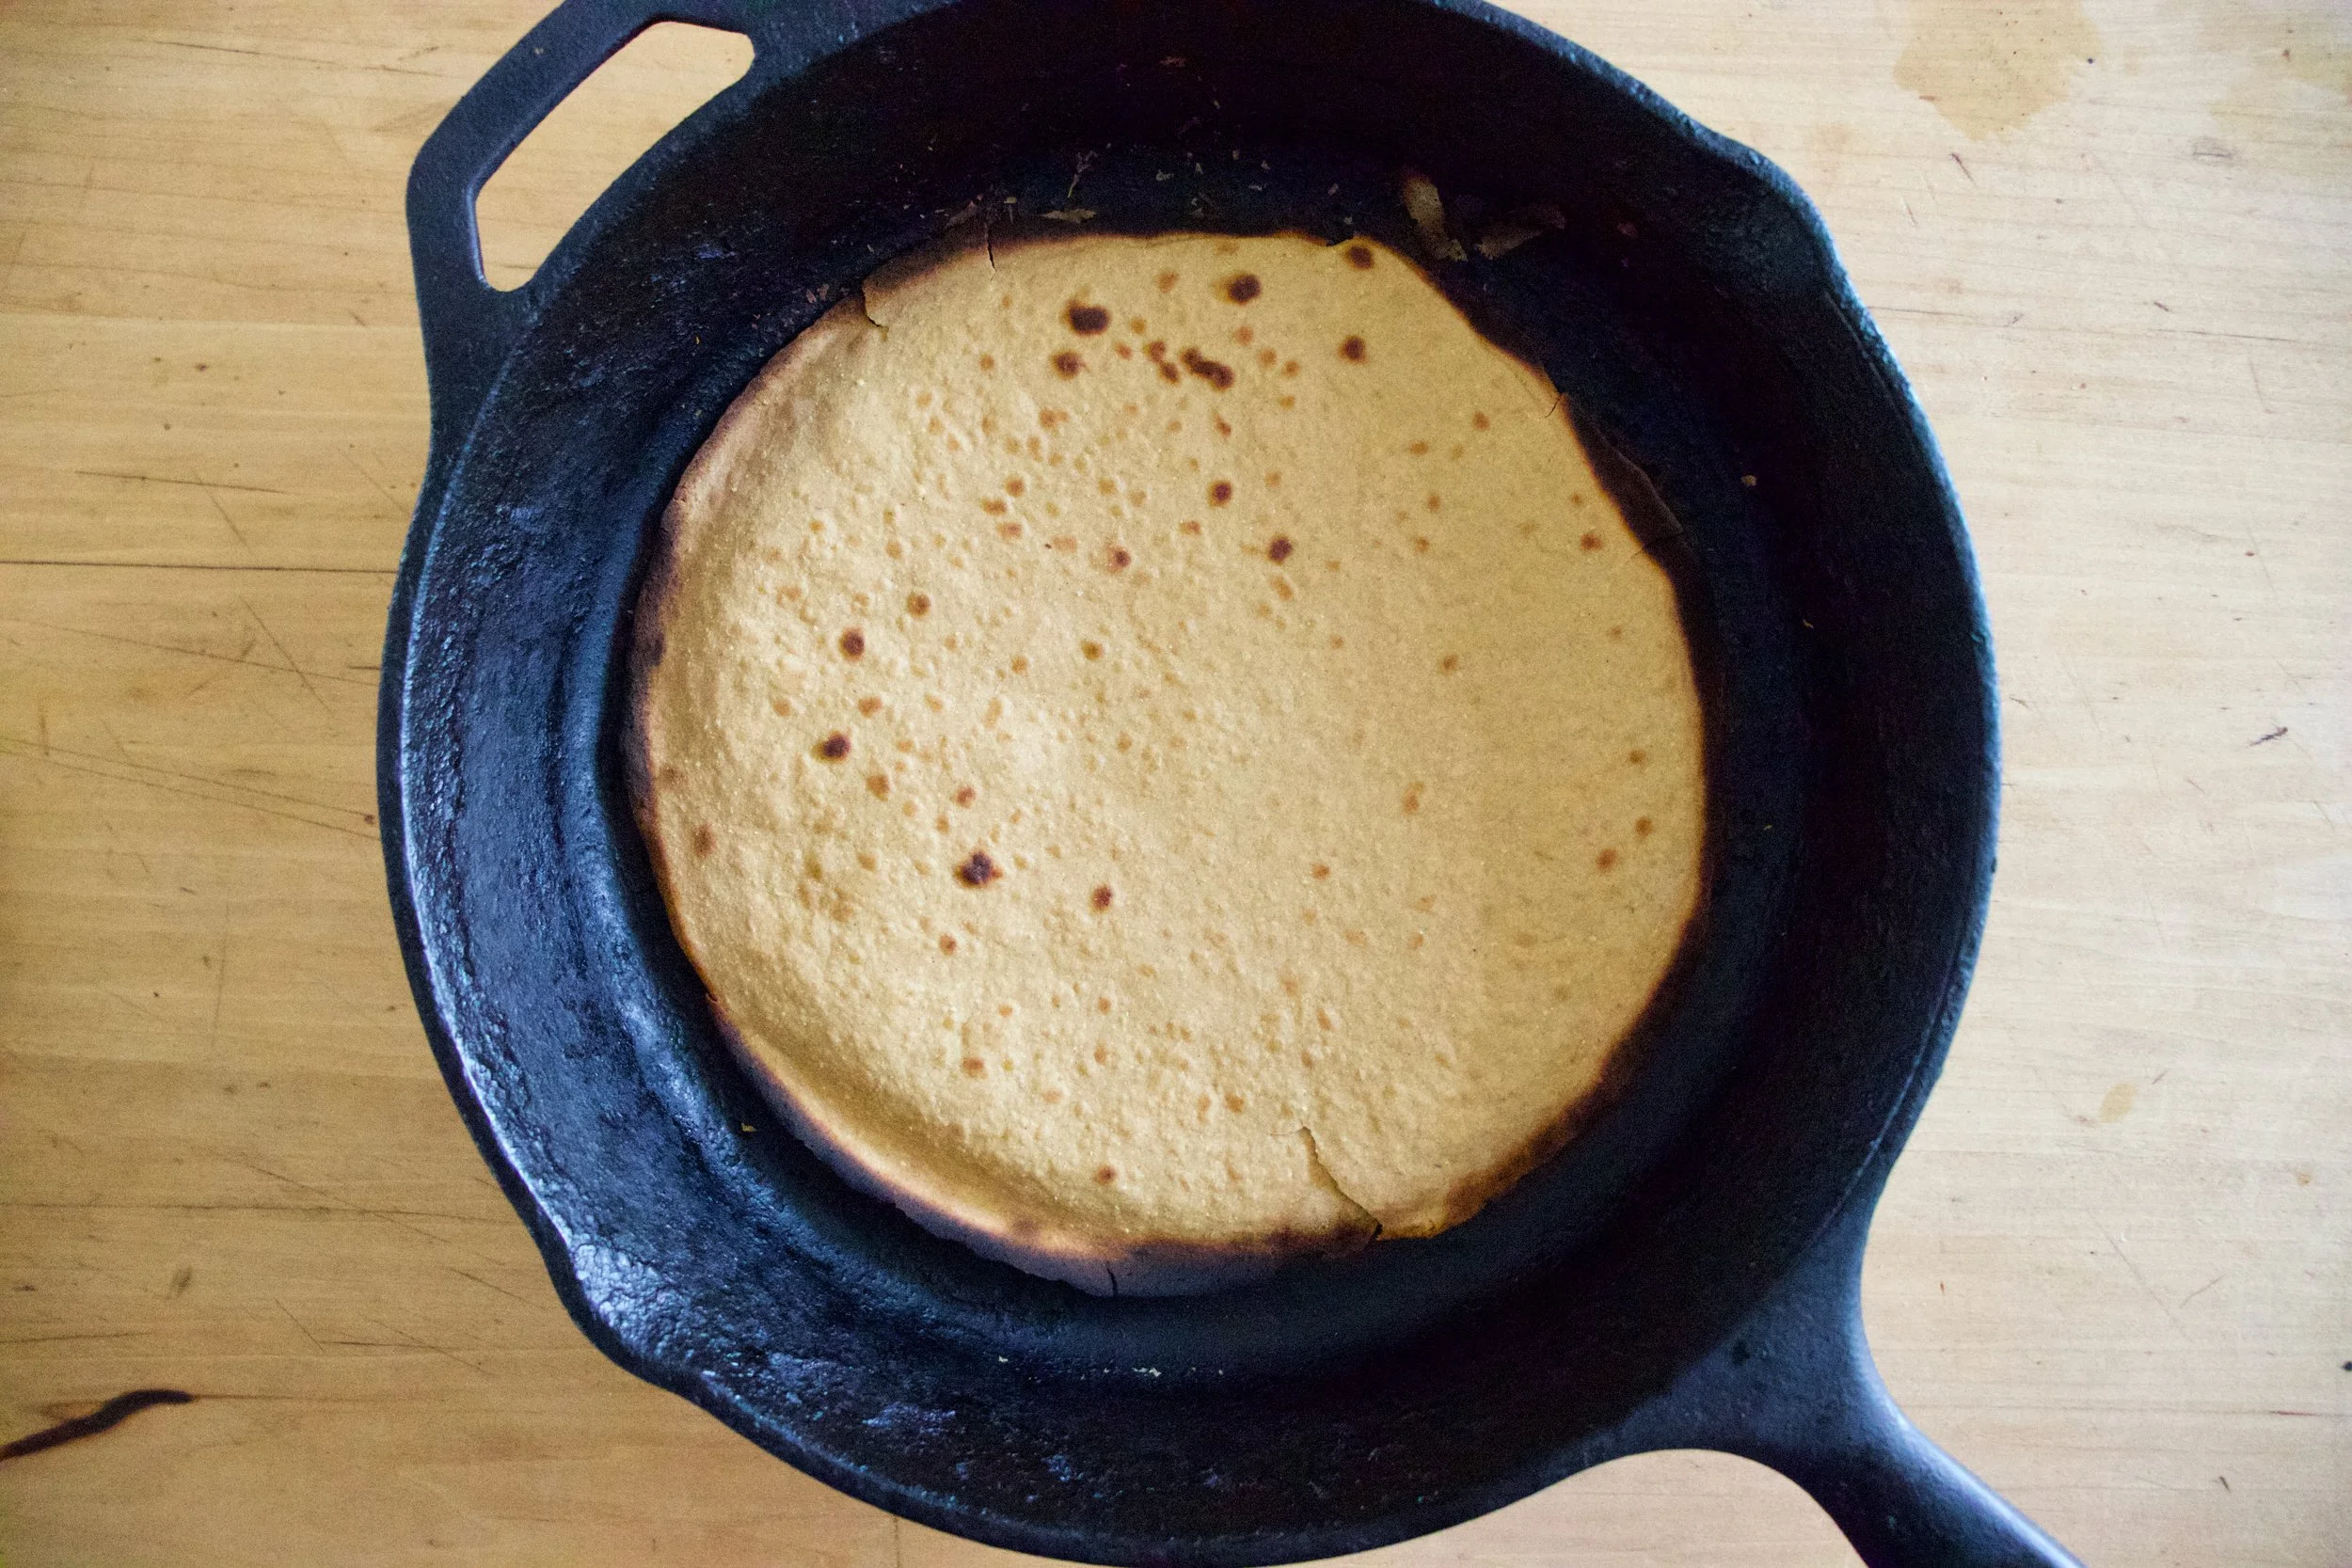
Out from the broiler. Cooked and slightly blistered. I went easy on this one. The next one got a few more blisters.
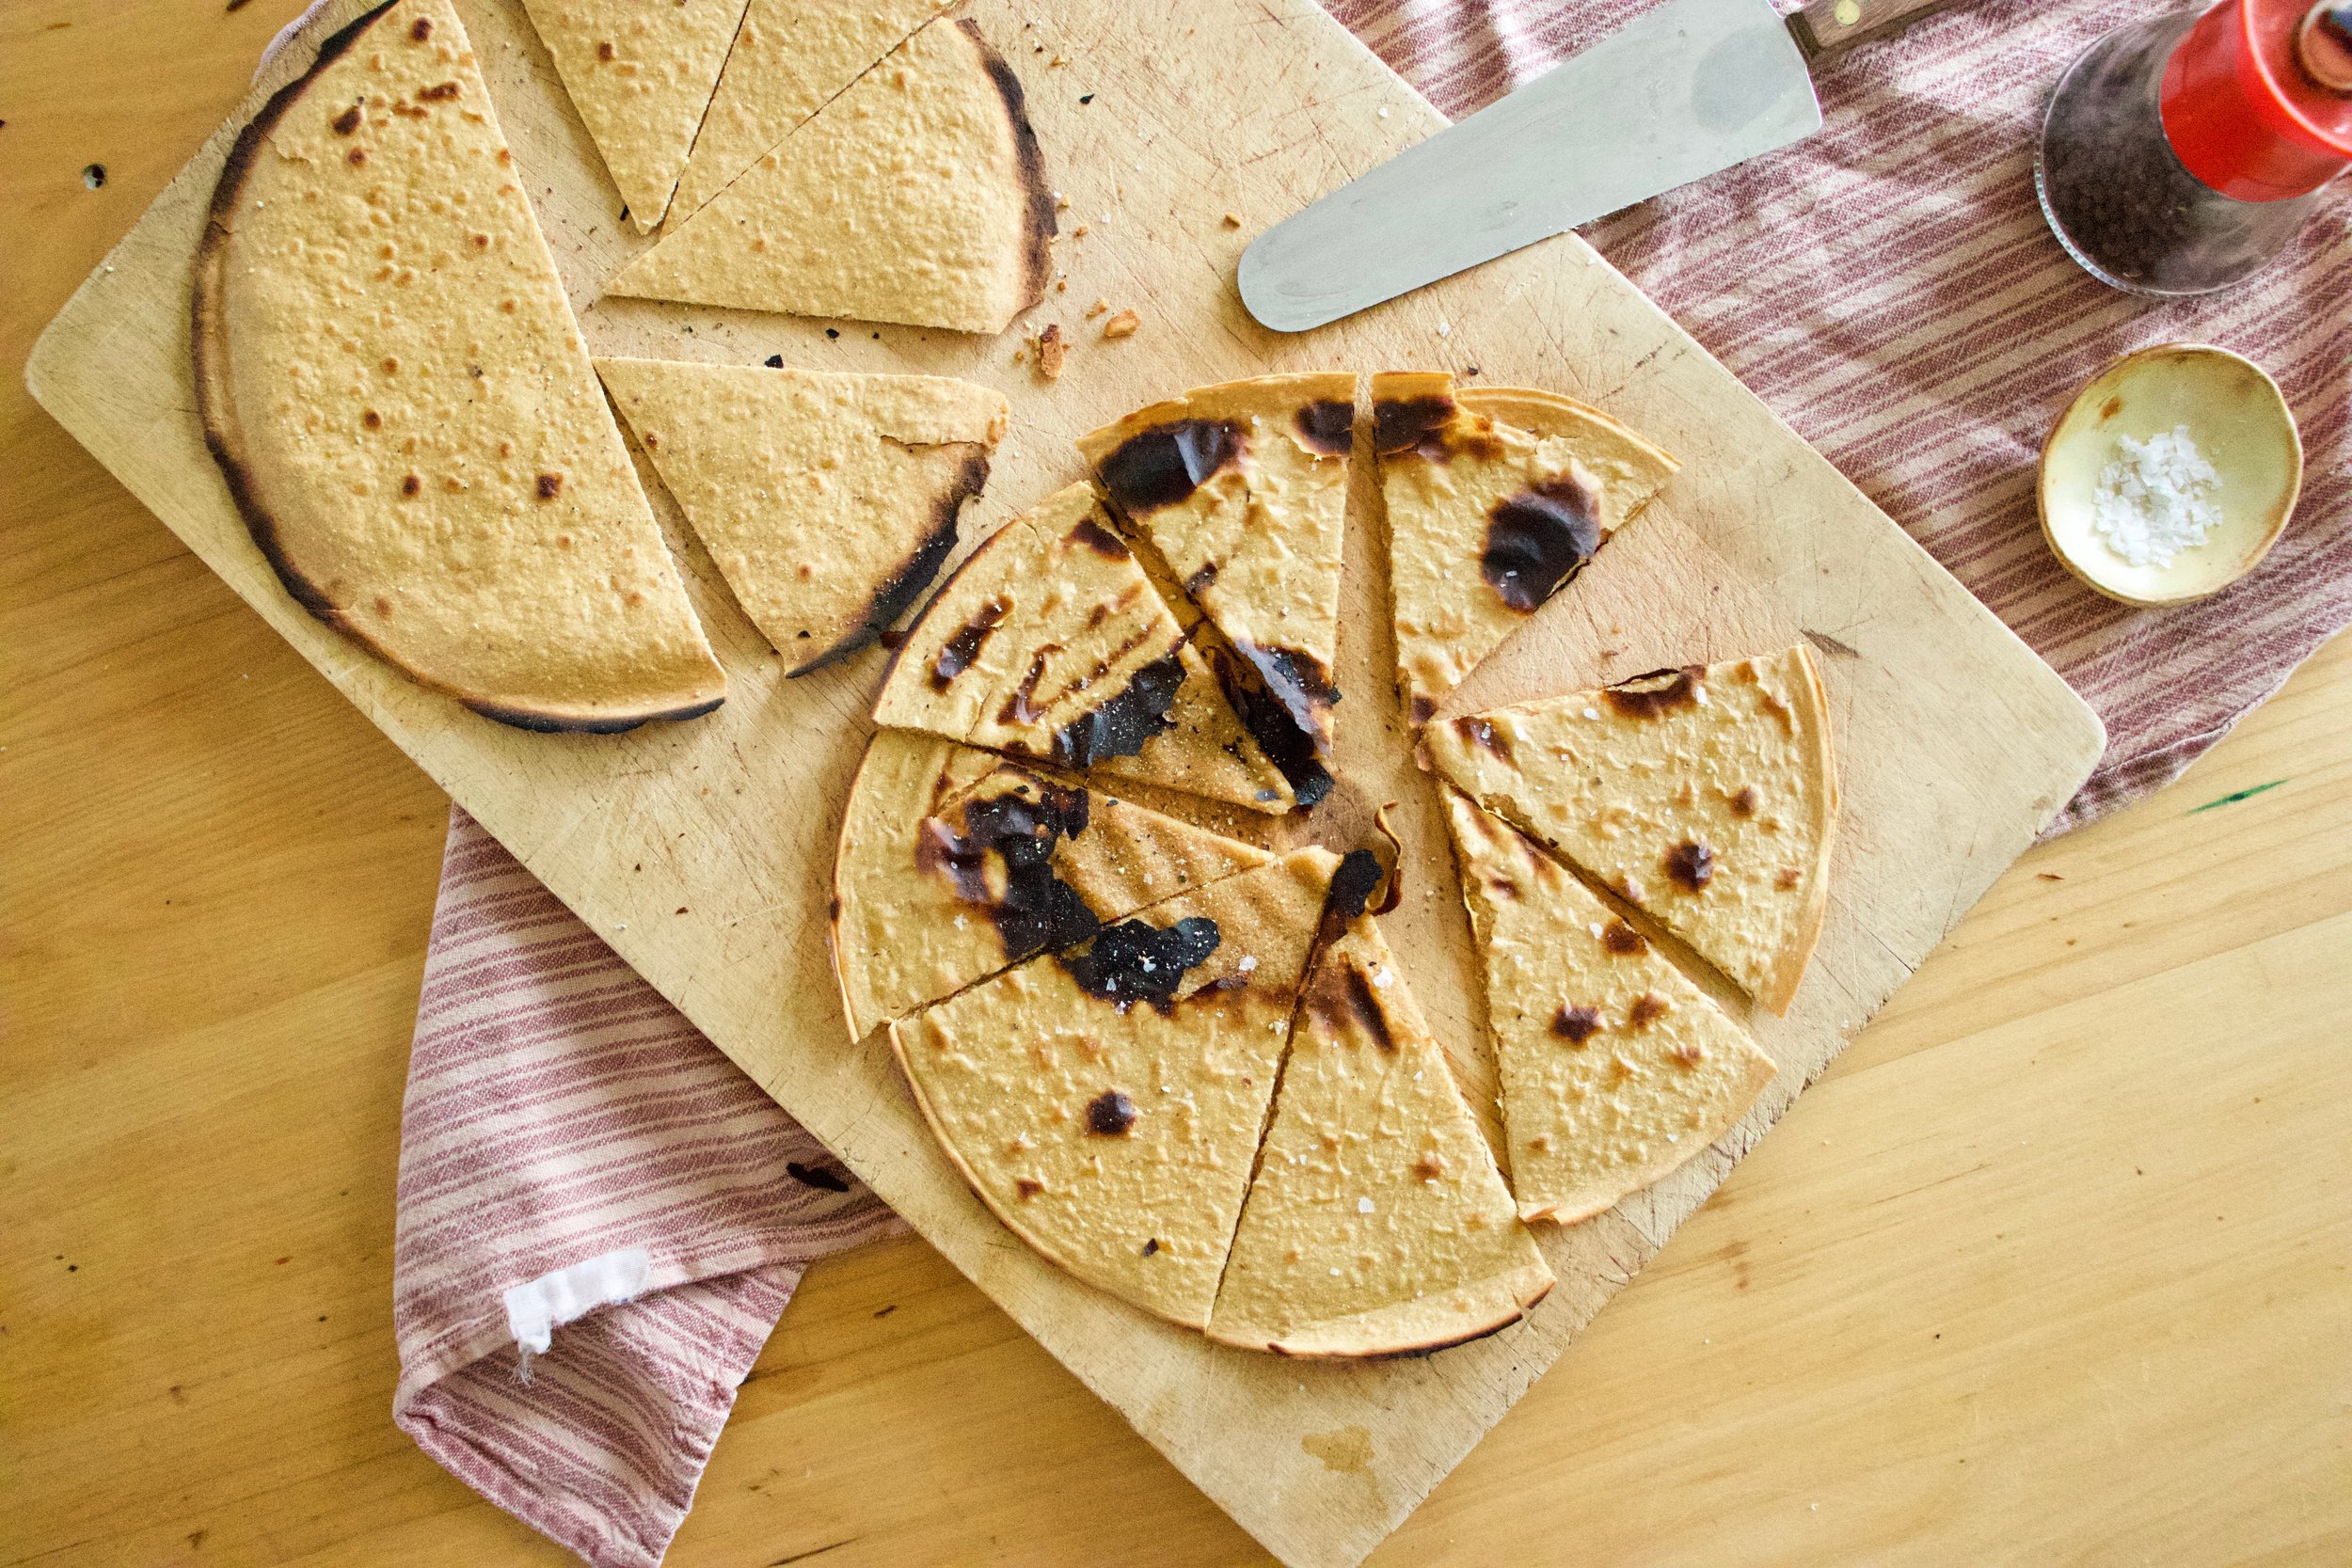
2 soccas, one a little thicker then the other. One a little more blistered then the other. Both in my belly.
So many Soccas to come.
So. many. Soccas.
-C
makes two 10 inch soccas
1 cup chickpea flour
1 cup room temperature water
1/2 teaspoon salt
olive oil for pan
Mix chickpea flour, salt and water together into a bowl until smooth. Let mixture rest for at least half an hour or up to a day.
When ready to make the socca, preheat oven to 450 with a 10 inch oven safe skillet (I used cast iron but any oven safe dish would work) in oven.
Once oven reaches temp, turn oven over to broil and place skillet under it for a minute to really heat the skillet. Carefully, with oven mitts, remove hot skillet from oven and brush or pour a smidge of oil into the hot skillet to coat bottom. Pour in half the batter and tilt around until bottom is coated then place skillet back into oven under broiler and cook for 4 -8 minutes or until the socca starts to blister. (it kind of depends on your broiler so keep a close eye on it) Remove from oven and slip socca onto cutting board. Sprinkle with salt and pepper. Drizzle with olive oil if you like. Then all you do is cut and eat.
Left over socca can be stored in fridge and reheated in oven or toaster.
Note. IF you want a slightly thicker socca, use a 8 inch skillet. For a thiner, more cracker like socca, pour in 1/3 of the batter at a time (you will end up with 3 instead of 2)
It is spring yes? I know it is officially spring but around here it has been more or less still winter which is to be expected but is, at this point, no longer welcomed. I, as well as everyone else I talk to, are over it. Enough snow. enough of the hats and jackets. Just enough.
But the bright side of the chilly, cold weather is that we can and still want to turn the oven on and cook things. And because I turned the heat off a little prematurely, I am cold so I really want the oven on.
One skillet, a little chop action, a stir, some good time in the oven and there you go, food for your belly. Not a ton of dishes to do, steps to fallow, thoughts to think (other then eating thoughts). A good old, hearty, simple to toss together, spicy, delicious skillet of goodness. Prepare it fast, pop into warm oven, sit in kitchen drawing up plans for the spring veggie garden, and then eat yourself warm. What more can we ask for?
We can ask for spring weather because seriously. But other then that.
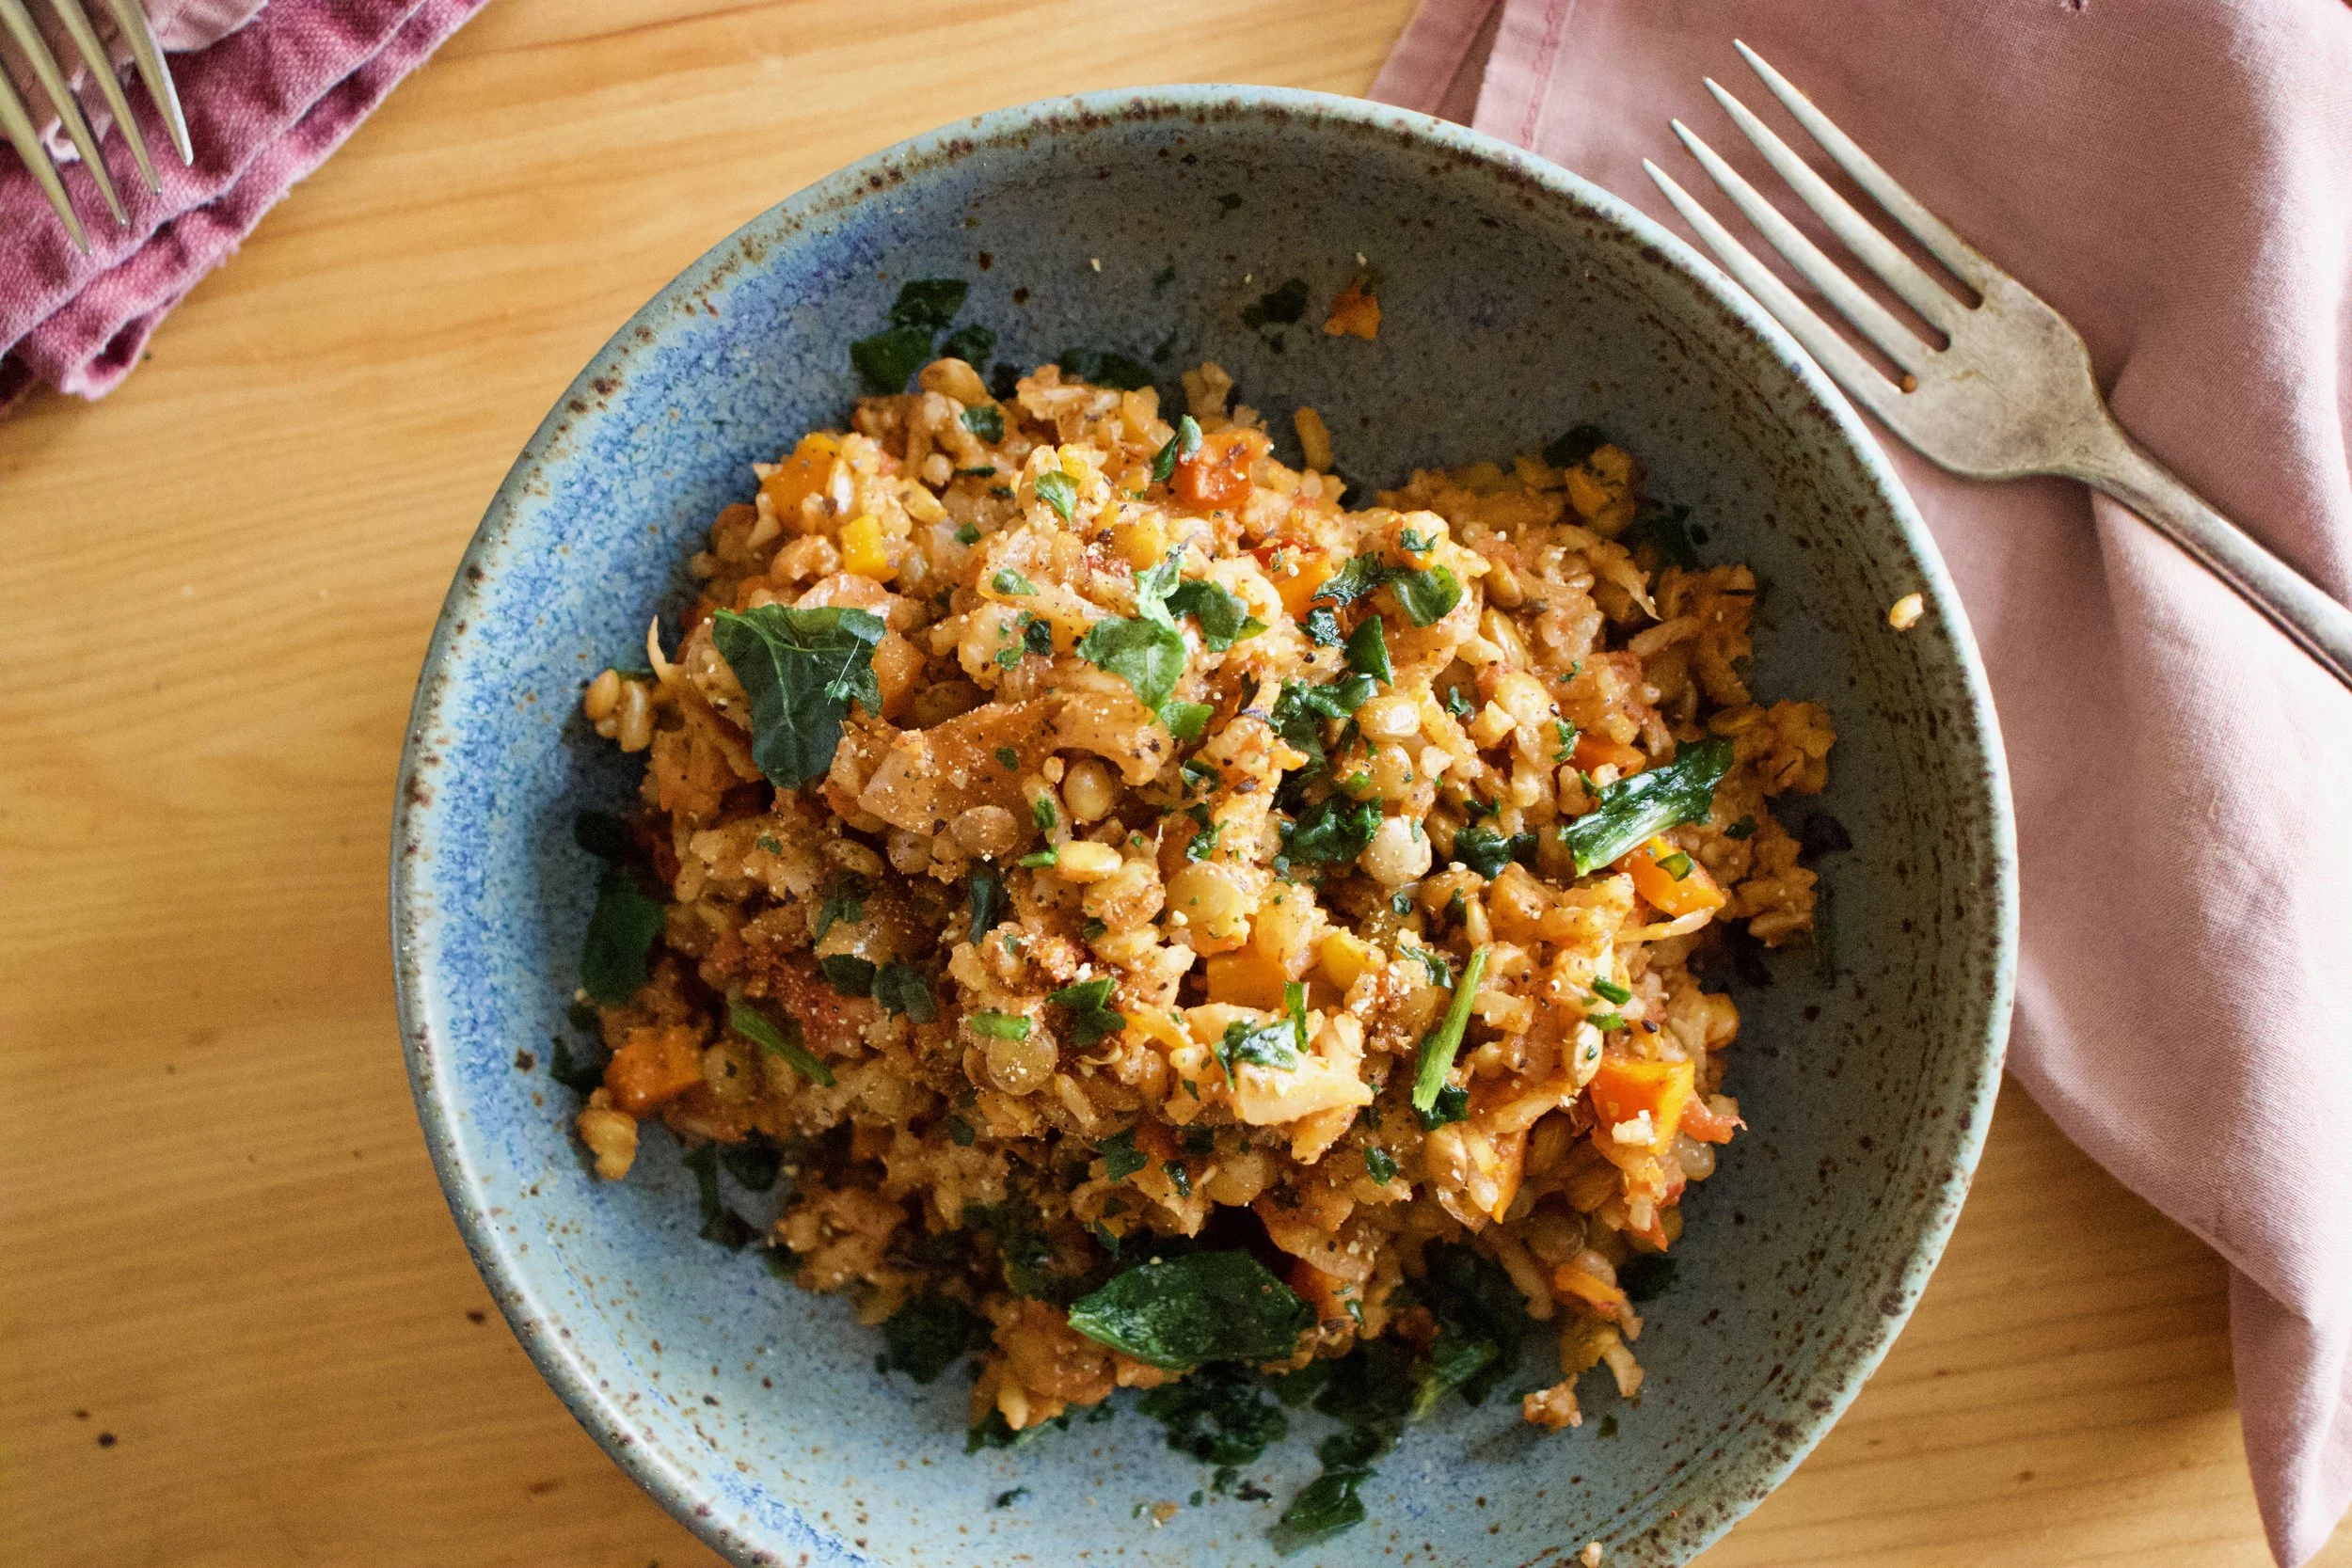
To the goodness of cajun lentils and rice!
The stuff. Lentils, brown rice, cajun seasoning, some crushed tomatoes, an onion, a carrot, a few cloves garlic, some cauliflower, water, oil, and salt and pepper.
First off, mince garlic and chop up the cauliflower, carrot, and onion into small pieces.
Toss it all into a good sized oven safe skillet with a splash of oil. Mix in the cajun seasoning too and stick o nth stove on medium heat for a few minutes.
Cook until fragrant and slightly tender. Taste it, it is good.
Dump in the lentils and rice. Then dump I the tomatoes and the water. Give it all a mix.
And after. All done. Now dinner.
Grab some green thing to chop and toss on for some color.
Now grab some bowls, a few forks, and get to eating.
-C
Serves 4-6
3/4 cup uncooked brown or white rice
3/4 cup dried green lentils
2 cups crushed tomatoes (preferably not salted)
2 1/4 cups water
3 tablespoons cajun seasoning (see note)
1 large carrot
1/4 head of cauliflower (about 2 cups chopped)
1 large yellow onion
2-3 cloves garlic
1 tablespoon olive oil
salt and pepper
Note. Store bought cajun seasoning usually contains salt and pepper so when seasoning, be aware of the amount of salt (if any) you choose to use.
Preheat oven to 350
Start by chopping the carrot, onion, and cauliflower into small pieces. Mince the garlic and toss it all into the skillet with the olive oil. Stir in the cajun seasoning and sprinkle in salt and pepper if it needs it. Place skillet on medium high heat and cook veggies until fragrant and slightly tender which should take about 5 minutes then remove from heat. Dump in the lentils, rice, water and tomatoes. Stir until mixed then either place a lid or foil over the top. Place into preheated oven for about an hour, removing the lid or foil after 40ish minutes and giving it a stir when you do. The bake is done when the rice and lentils are fully cooked, but if you are into a crispy top and crunchy sides, by all means, cook a little longer.
Remove from oven when fully cooked and you are happy with crispness. Let cool for a few minutes, toss on some chopped green something or another if you want, and serve it up.
Left overs store great in the fridge for a few day and freeze well too.
Barb has been bugging me for a few months to make her pierogi and I keep telling her I will. But for some reason I just kept forgetting and ever time she came over for dinner I would just end up making her lentils . I make lentils for people when I care about them because lentils are perfect and I always figure she could use the nutrients. But finally, FINALLY, I remembered and figured it was about time. Time for Barb to get her pierogi. I got the ingredients, made up a plan, and went about making them thinking she was coming over for dinner. But guess what. She didn’t come over. After all that, she decided it was better for her to go to her classes and then go to her shift at work, that it was not a good idea to skip out on all that just because I decided to finally make her pierogi. Well whatever I guess.
And full disclouse, I don%u2019t think I made actual plans with her for the particular day that I made these pieorgi. I might have just assumed she was coming over%u2026. So maybe my bad. Good thing these things can be made ahead and cooked whenever. So I saved her half for whenever she does come over (today I think). I did make them for her after all.
Anyway. Pierogi. Pretty much a stuffed ravioli I filled these with the potato, chickpea, and onion mixture, tossed a little dill in for the hell of it, and there they were. The mr got the first half, covered in cashew cream. But I bet these would be equally fantastic with marinara sauce. Or ketchup? I could see that if you are into that sort of thing. Ha.
Also have to note. I keep wanting to write pierogies but I think that is wrong. Pierogi is the plural for pierog.. I think.
To the pierogi.
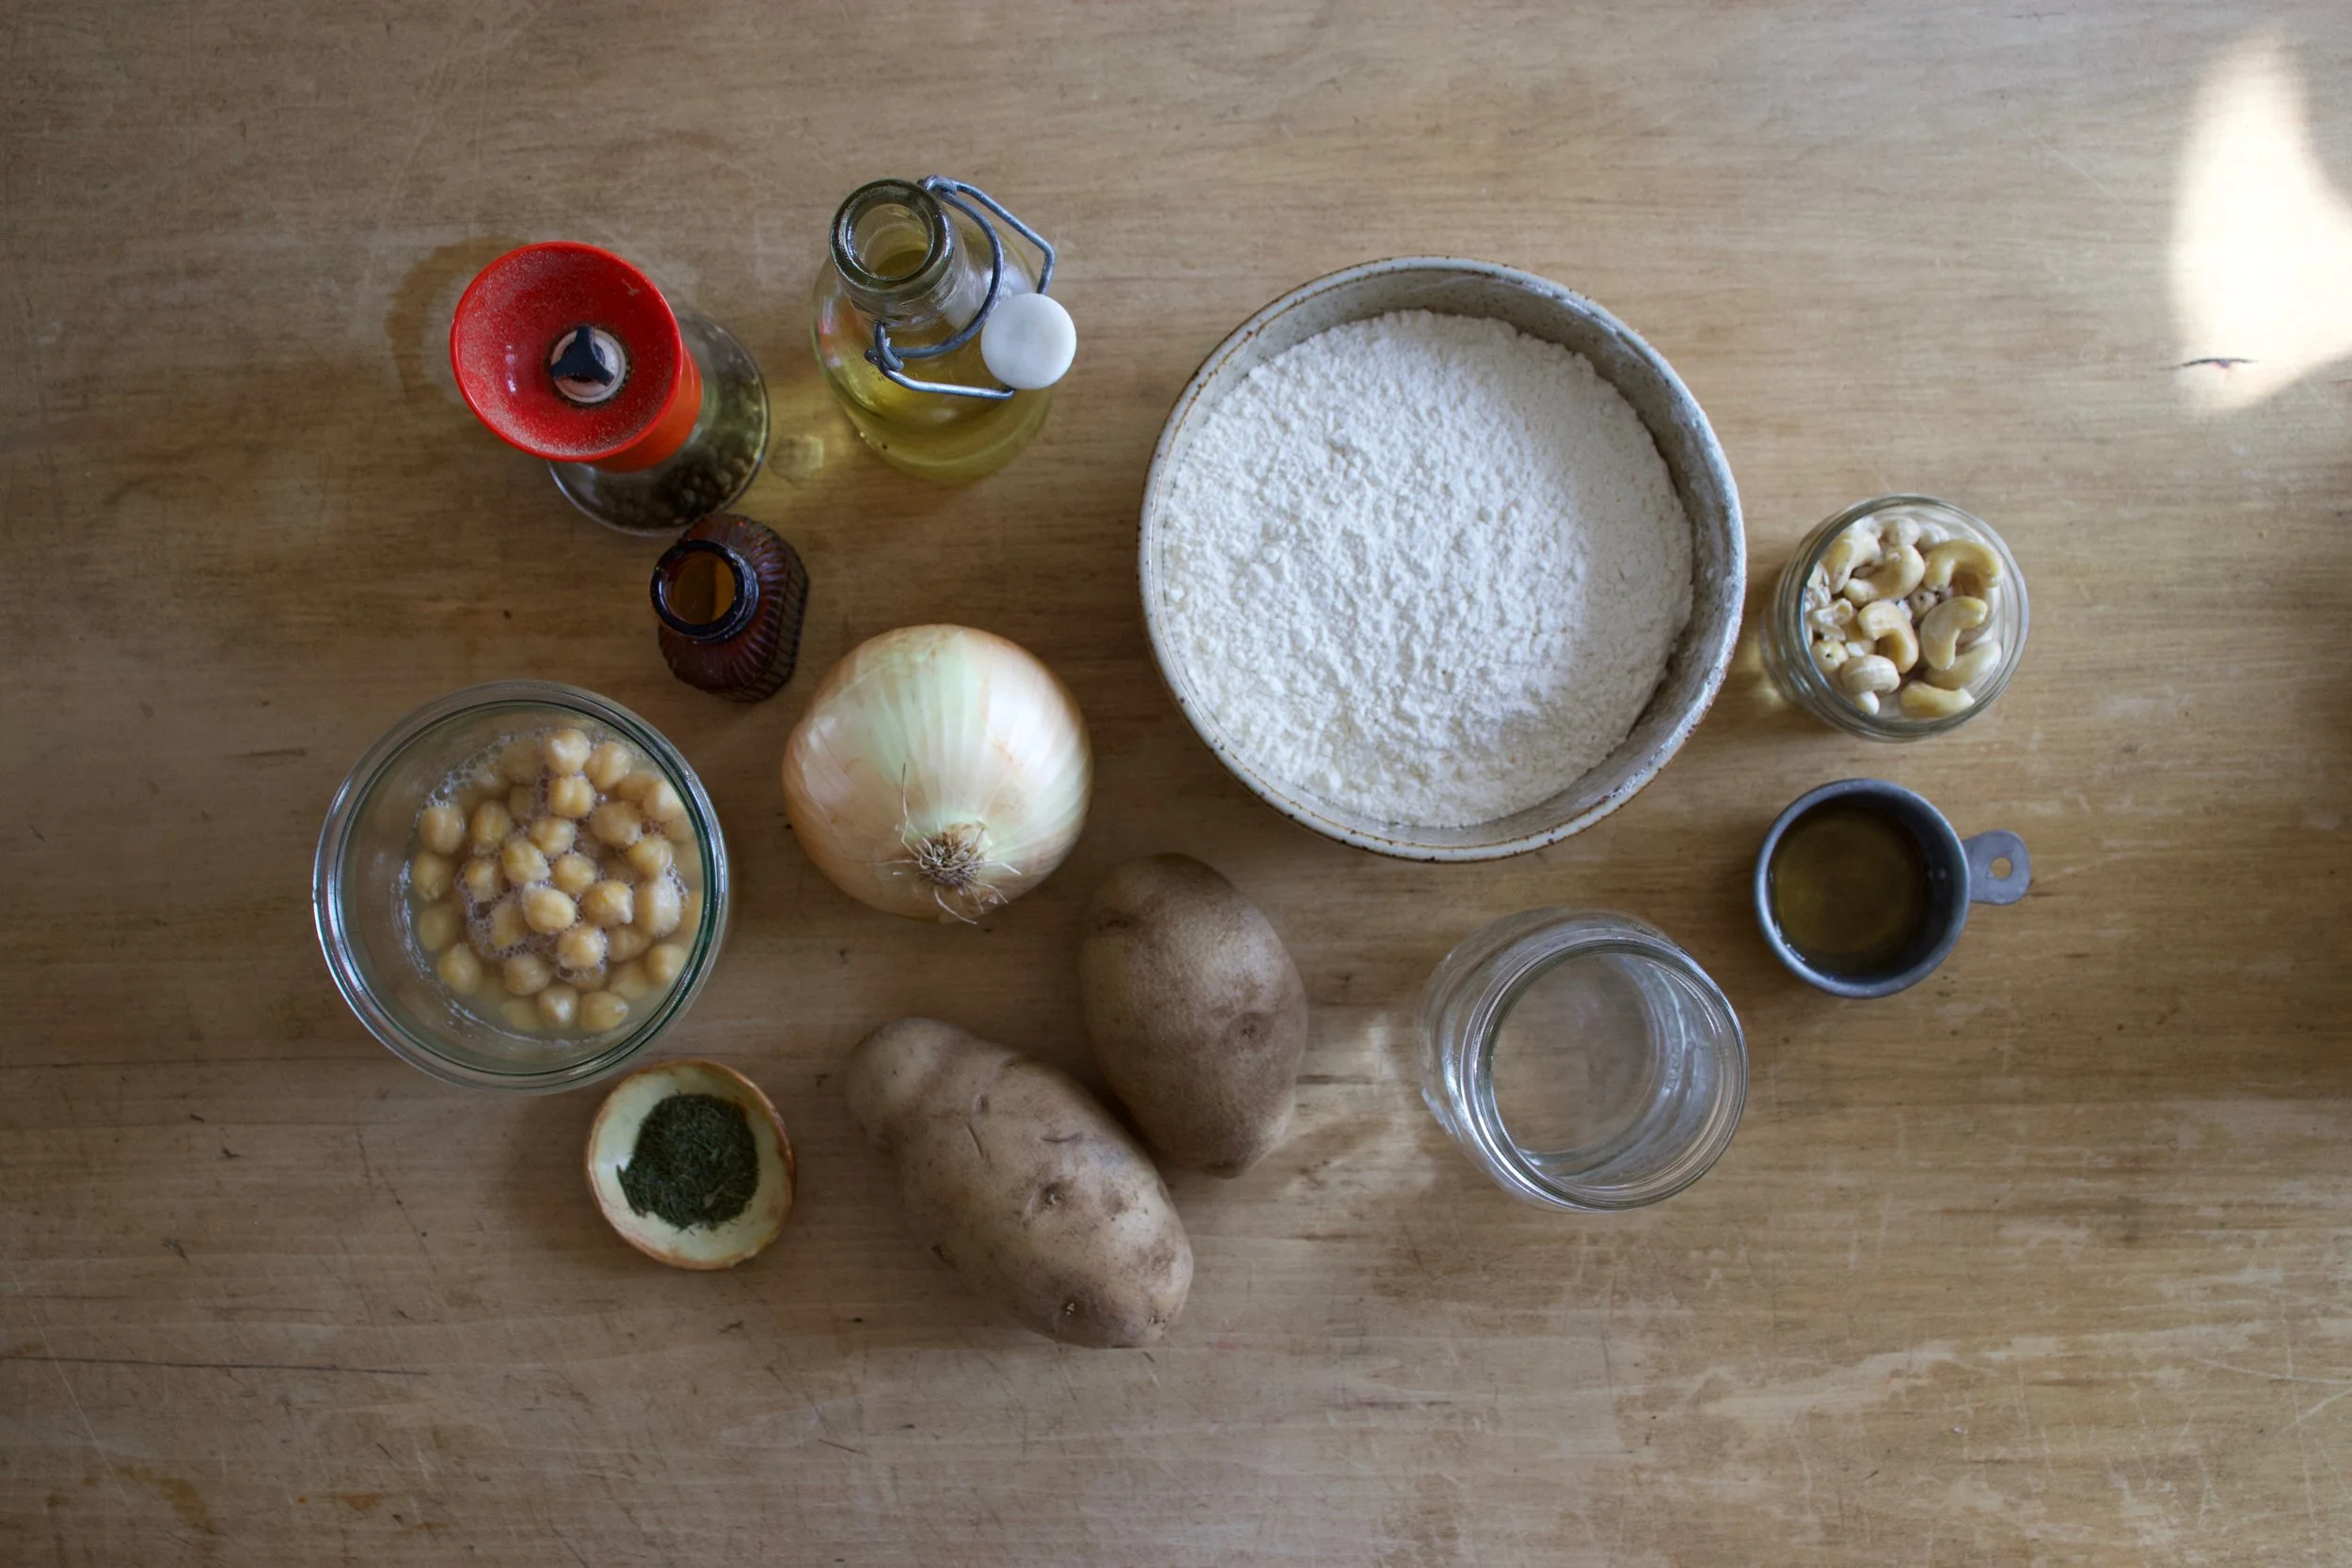
The stuff. Flour, oil, salt and pepper. Cooked chickpeas, a couple russet potatoes, a big onion, some dried dill (optional), warm water, soaked cashews, and a little red wine vinegar.
First make the dough. Flout, salt, water, and oil get mixed together until la shaggy dough is formed. Dump onto a floured surface ans give ut a good knead for a minute until lit comes together into a nice ball. Place dough back into the bowl (clean it out), cover it with a towel, and set aside to let the dough have little rest.
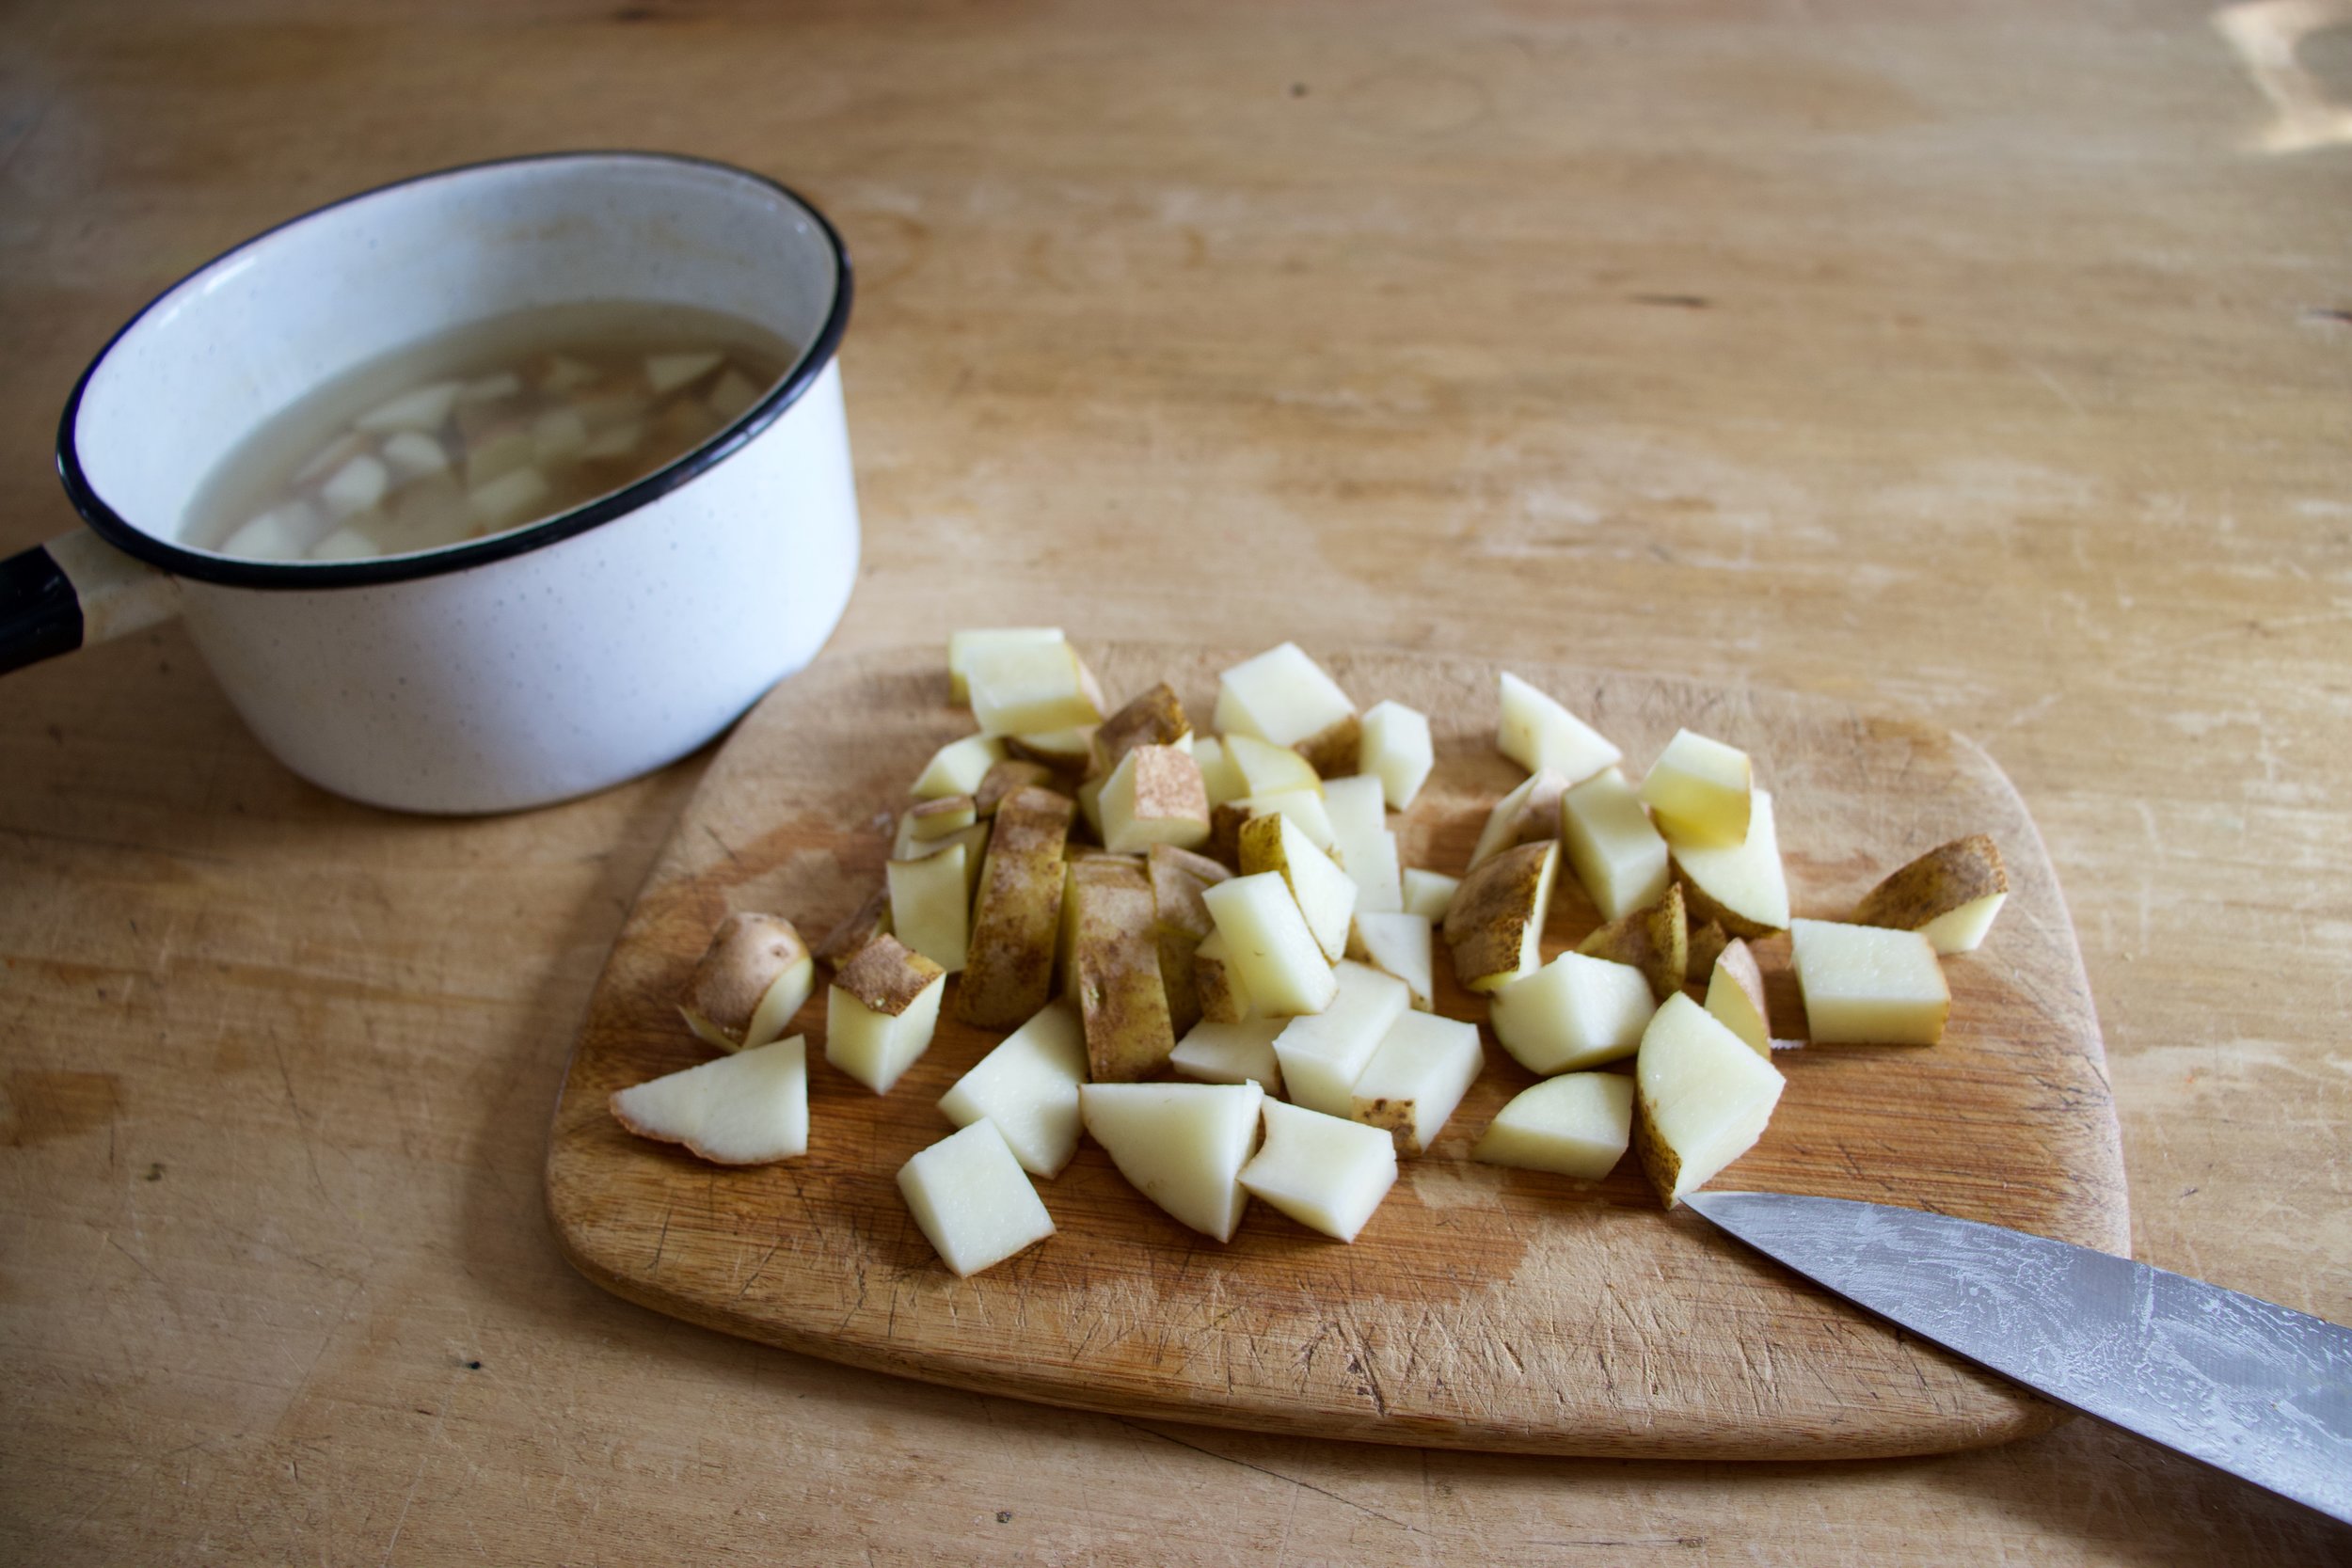
Meanwhile get the potatoes boiling. You are more then welcome to peel your potatoes but I don%u2019t. Chop the potatoes into small pieces, dump into a pot of cold water and cook them (boil until fork tender)
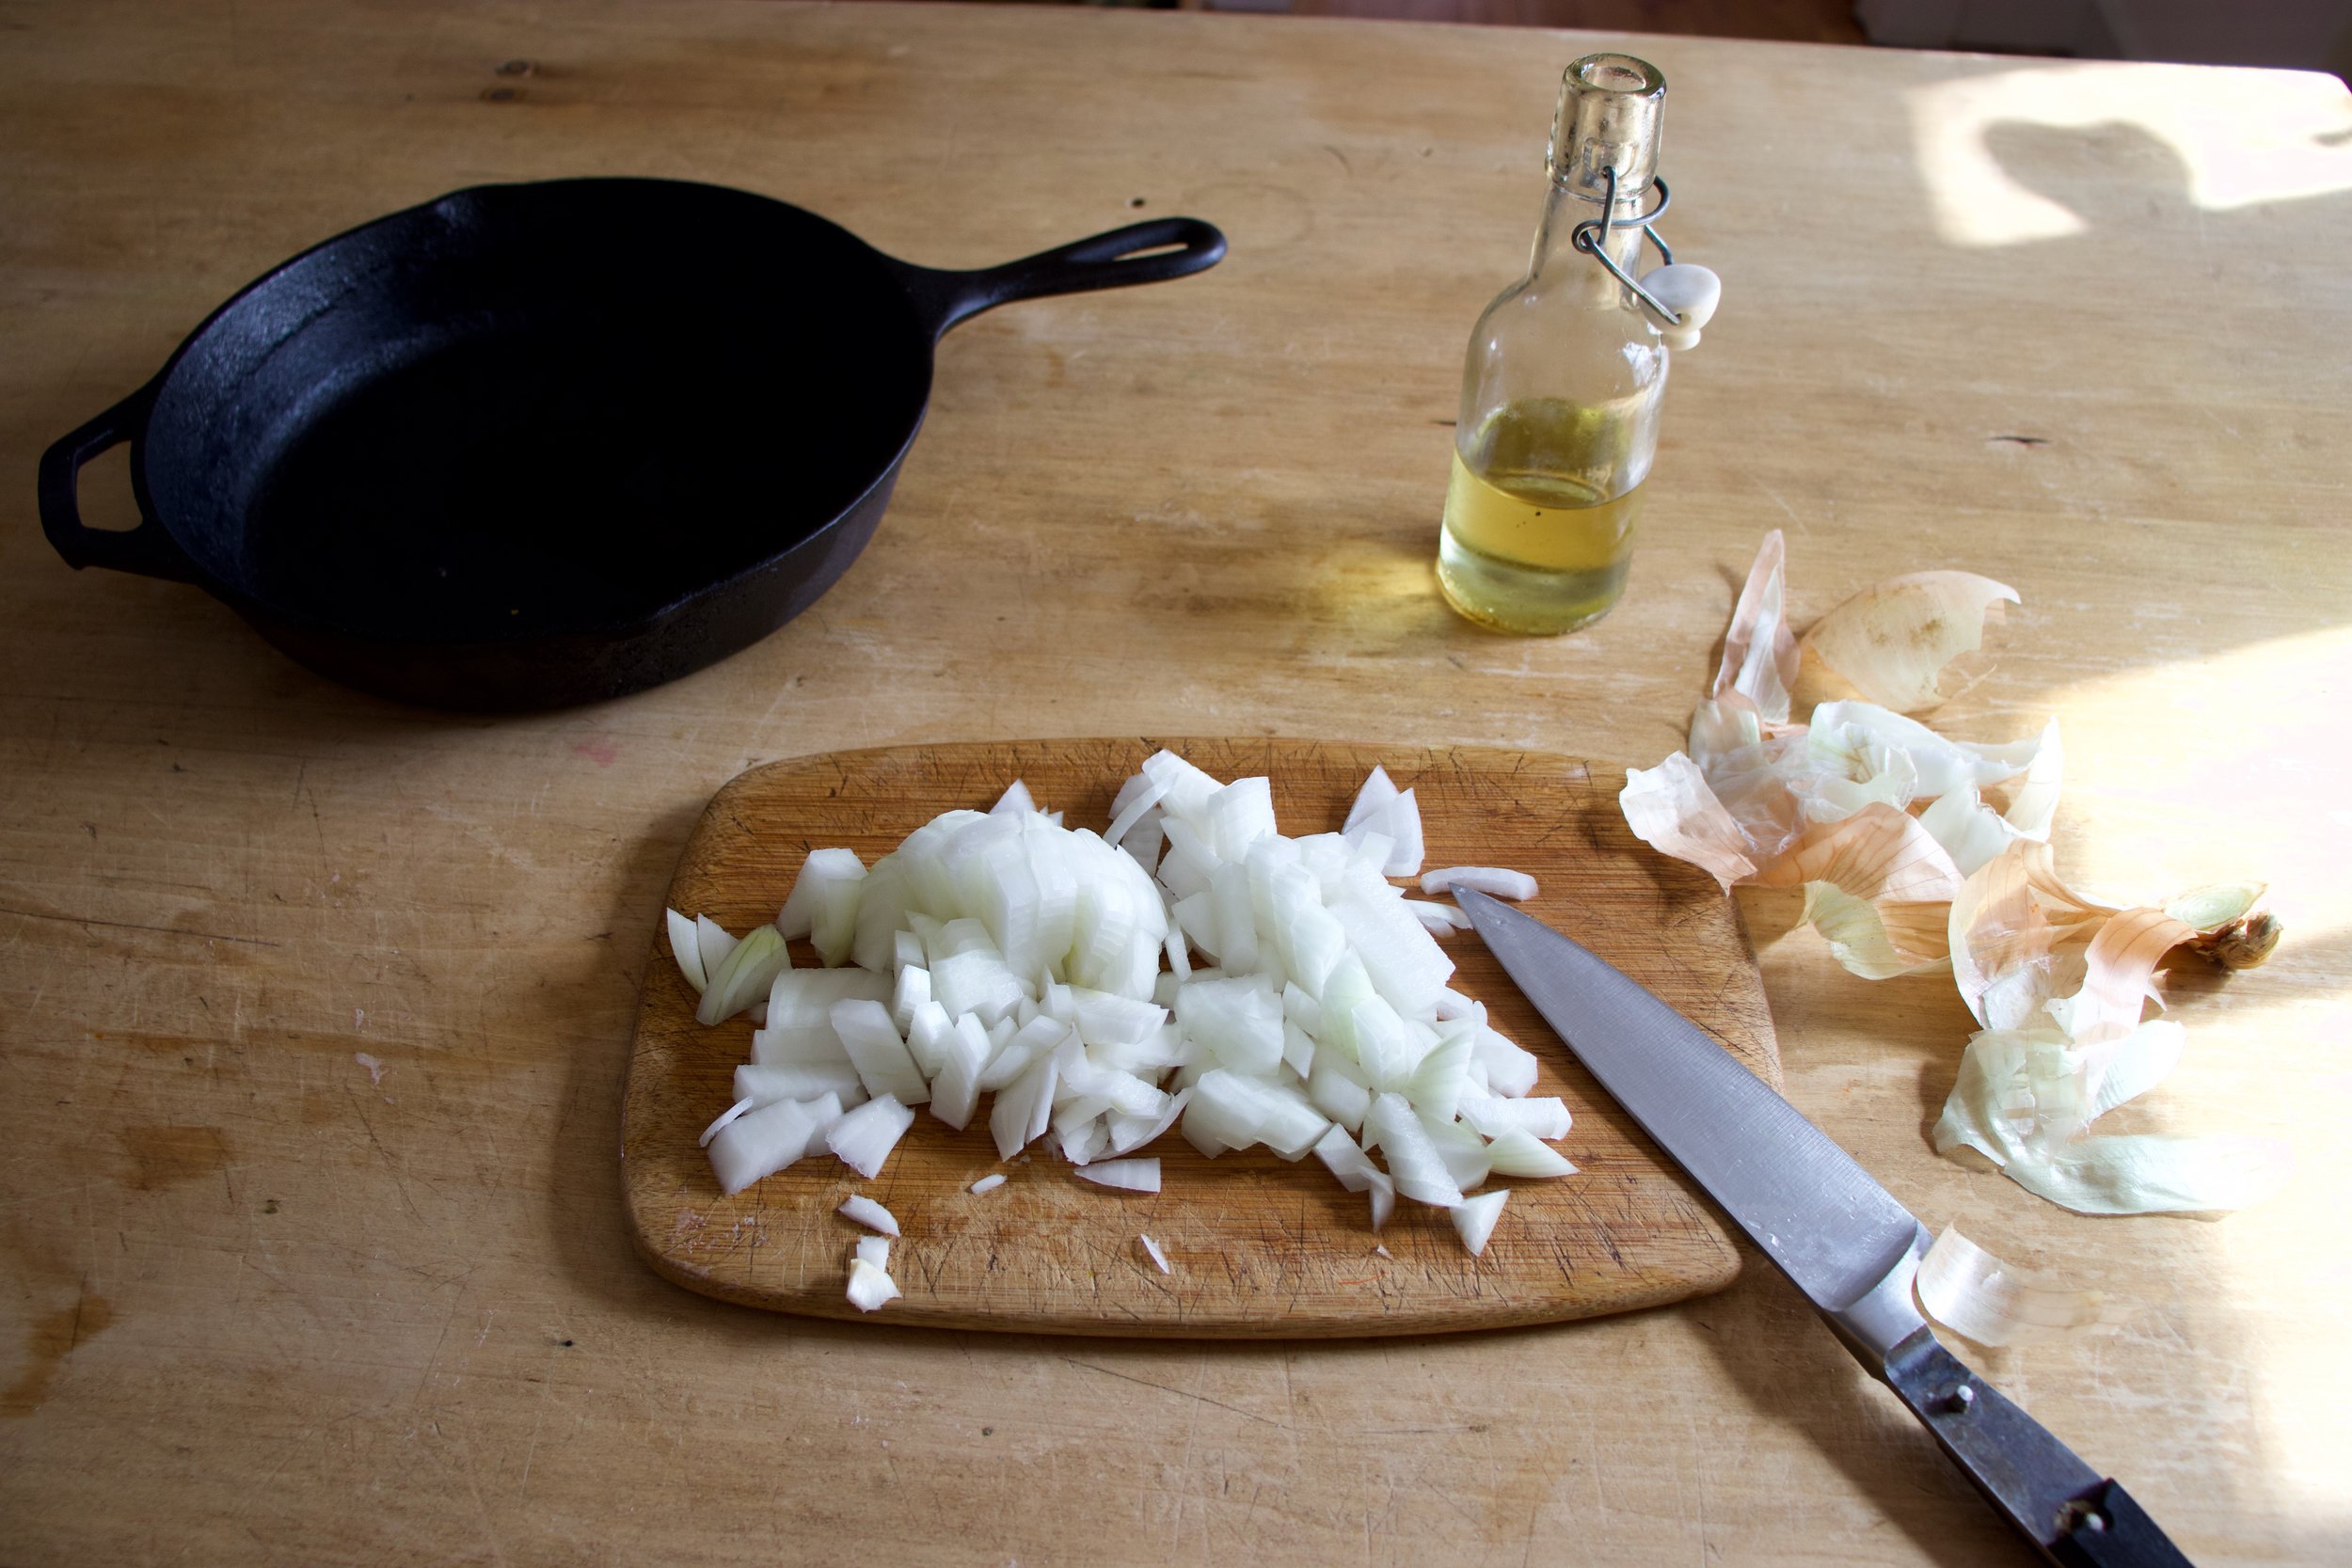
And cook the onions too. Chop the onion into small little bits and place in a skillet with a couple slashes of olive oil. Medium heat and a good stir until they are nice and golden brown.
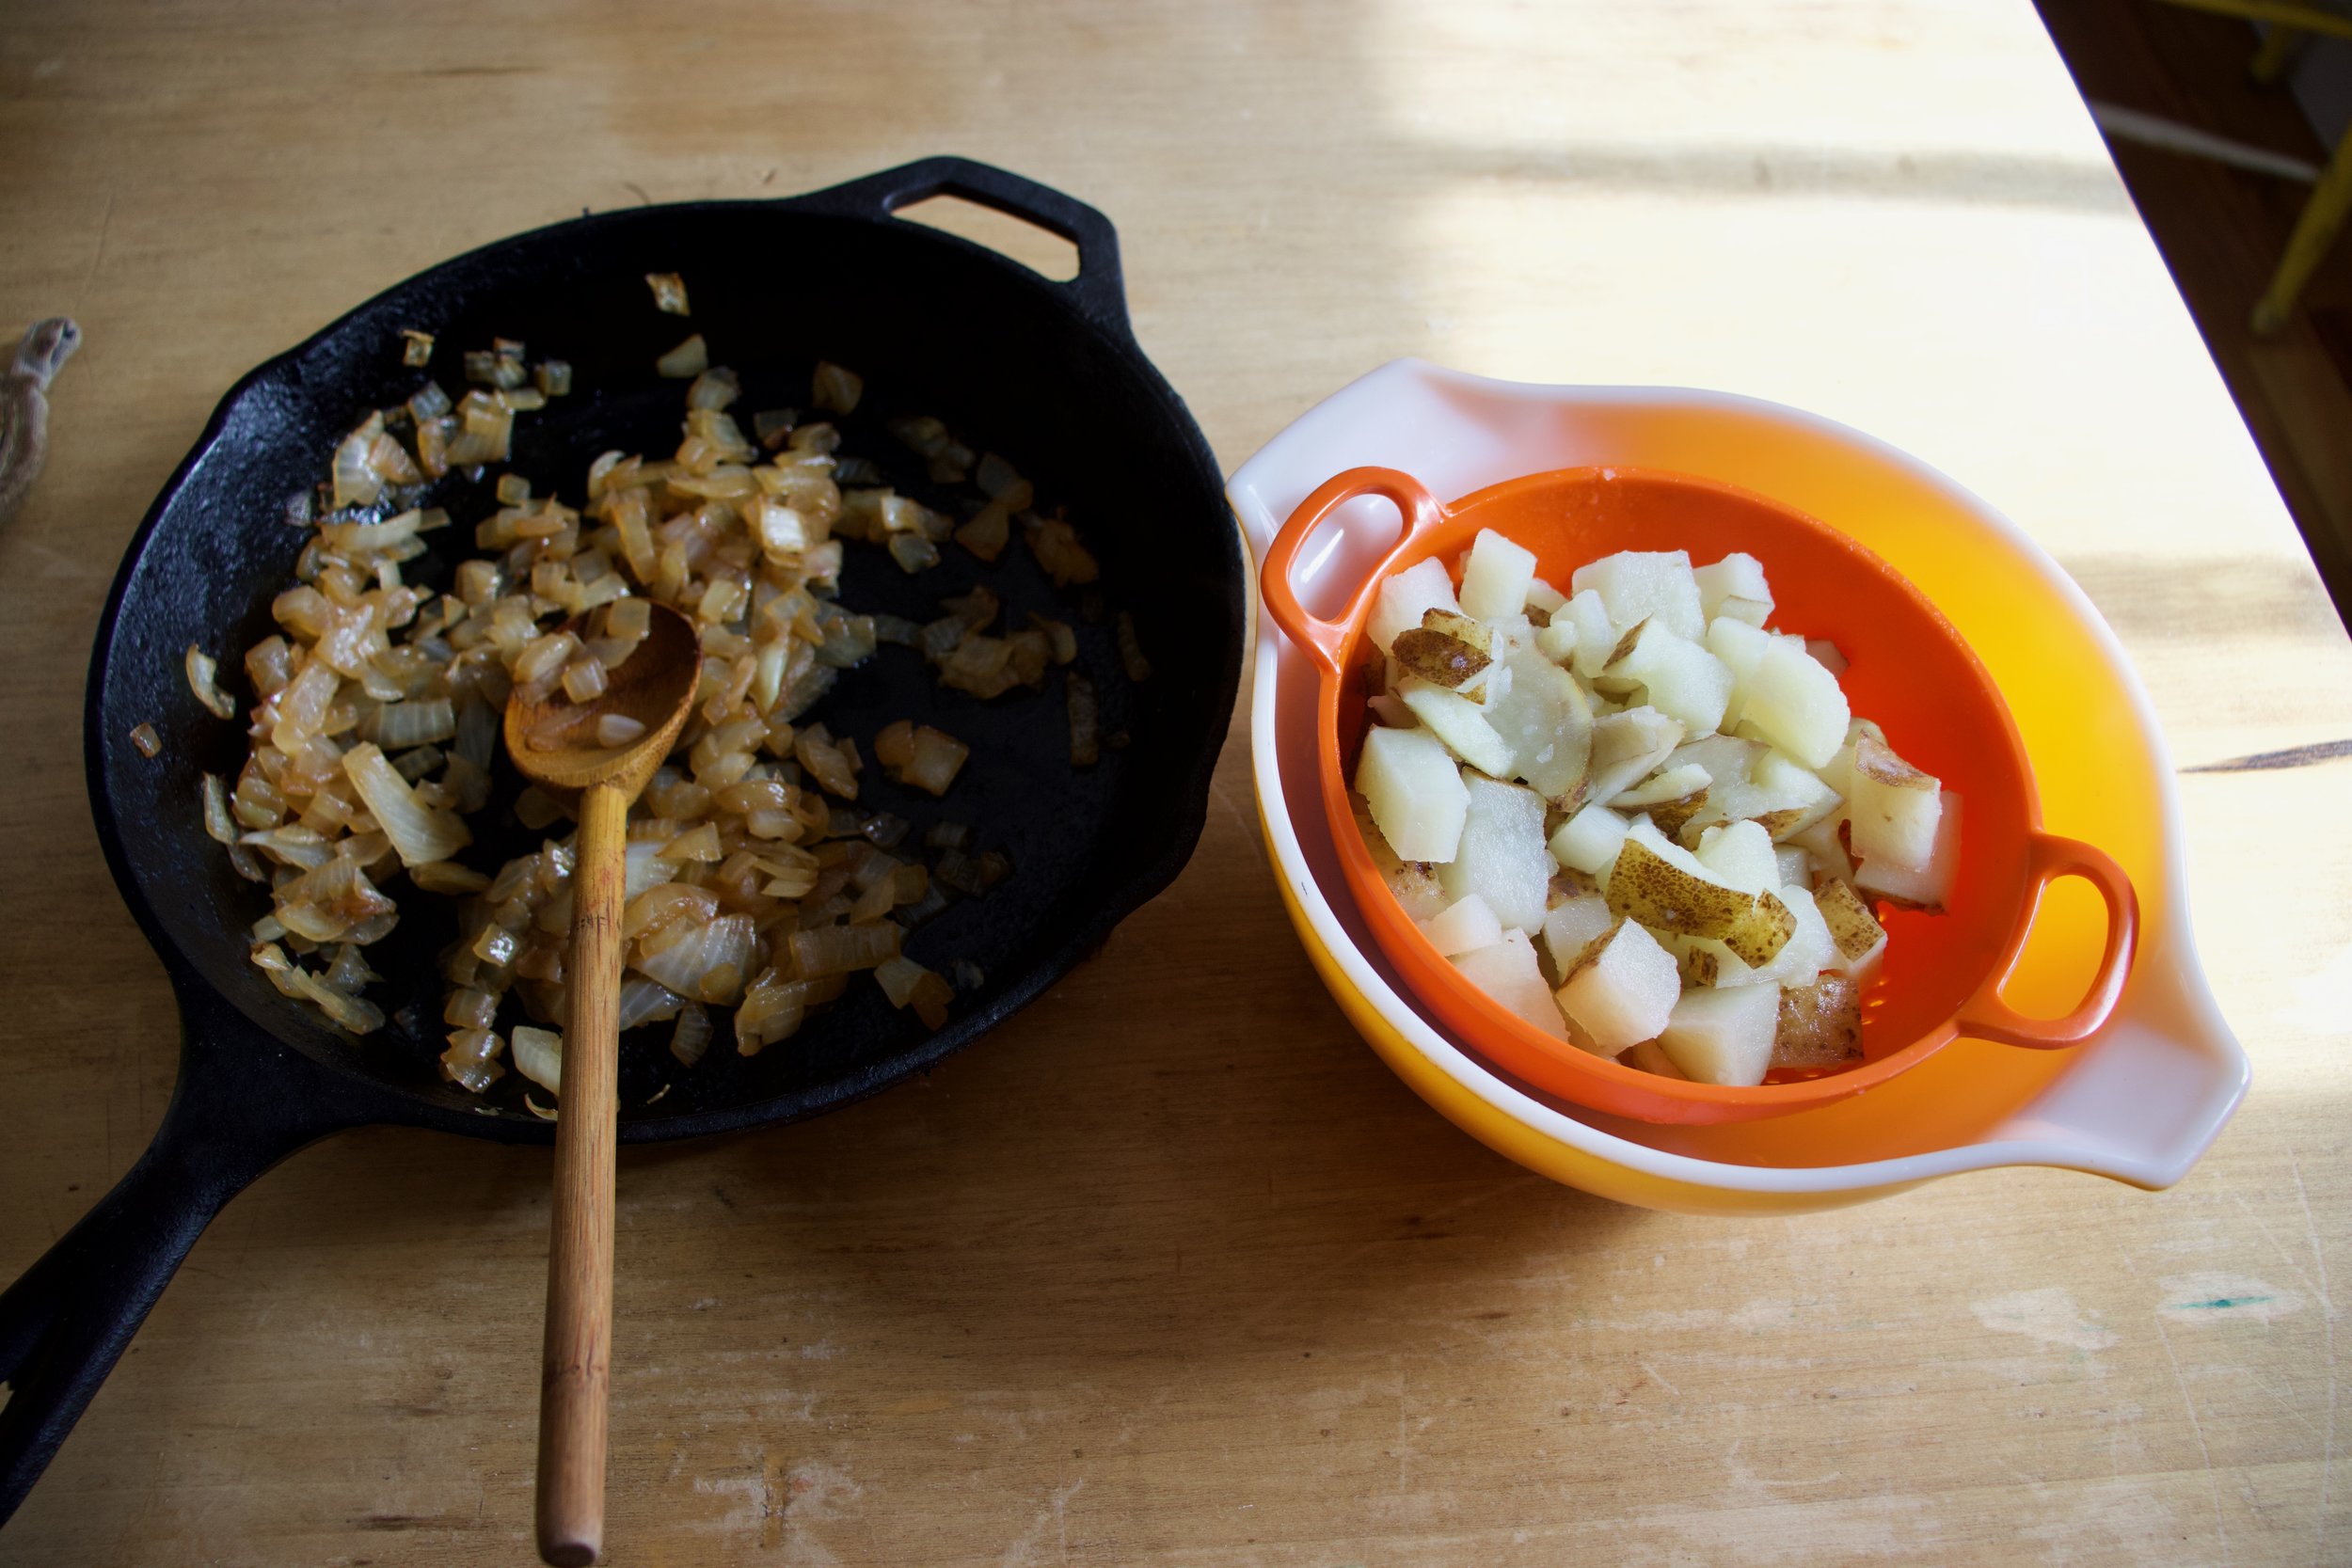
Cooked onions and cooked ans drained potatoes.
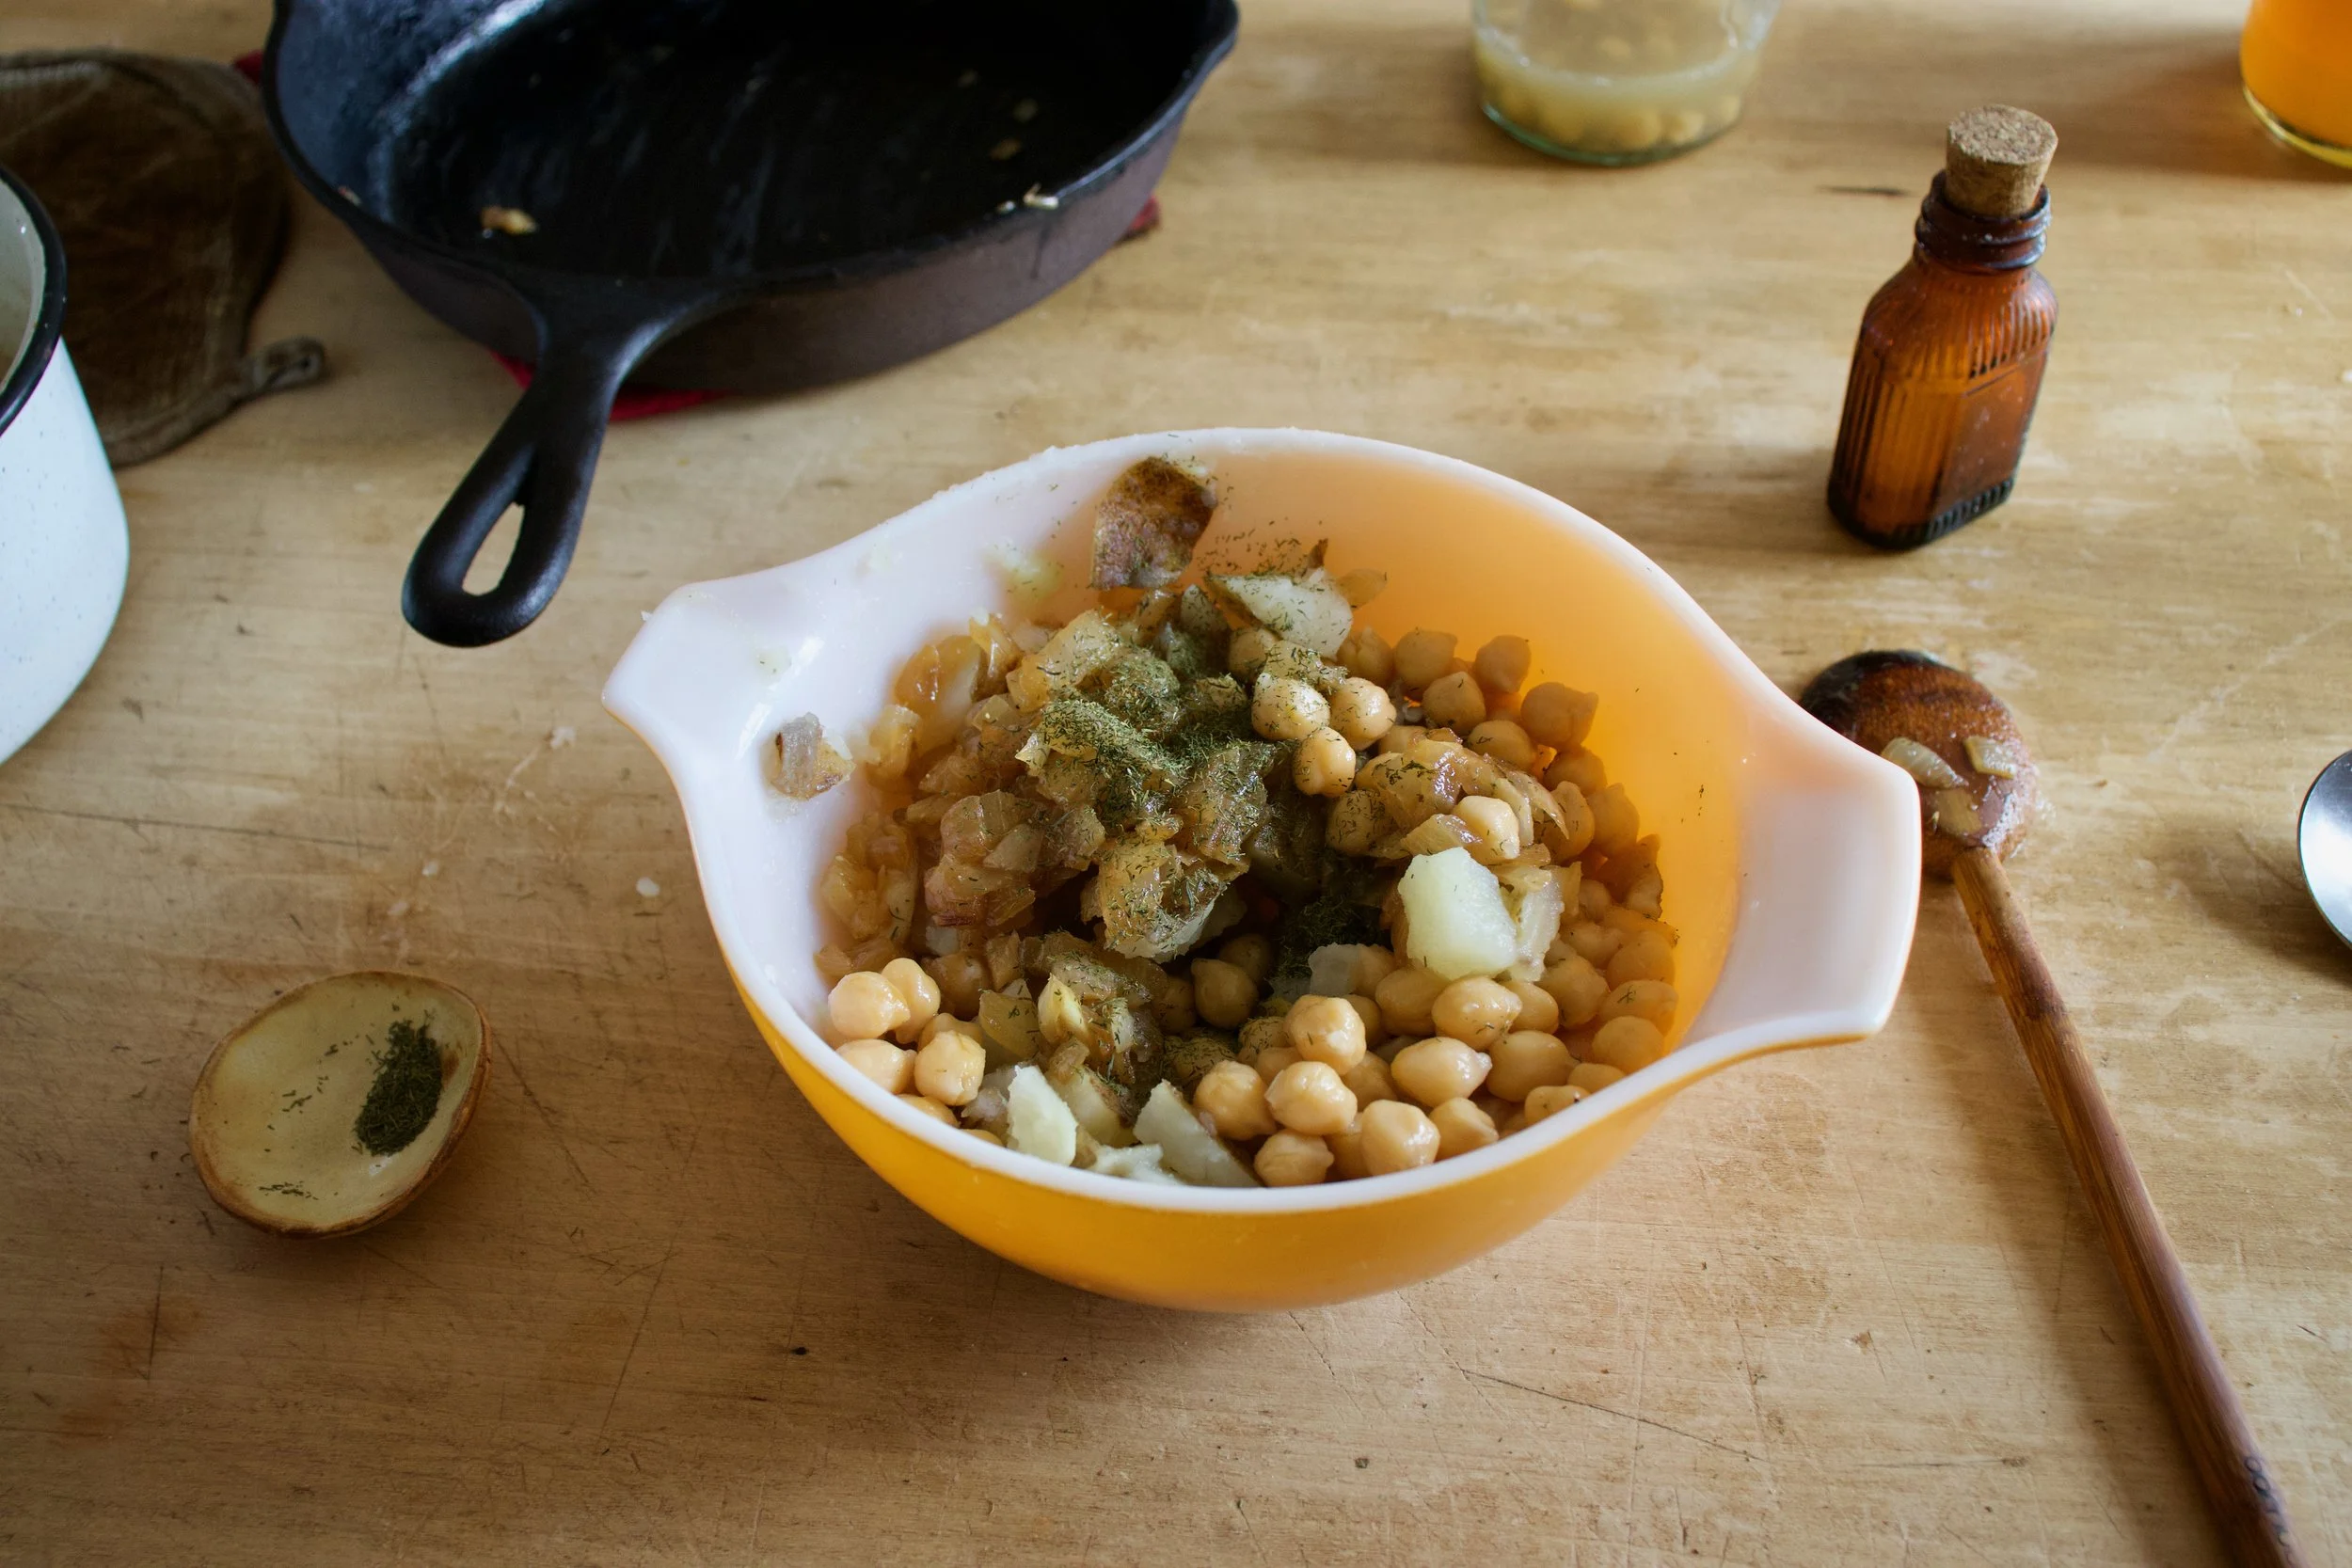
Now to make the filling. Add the potatoes, onions, chickpeas, and ill to a bowl. Sprinkle in salt ans pepper
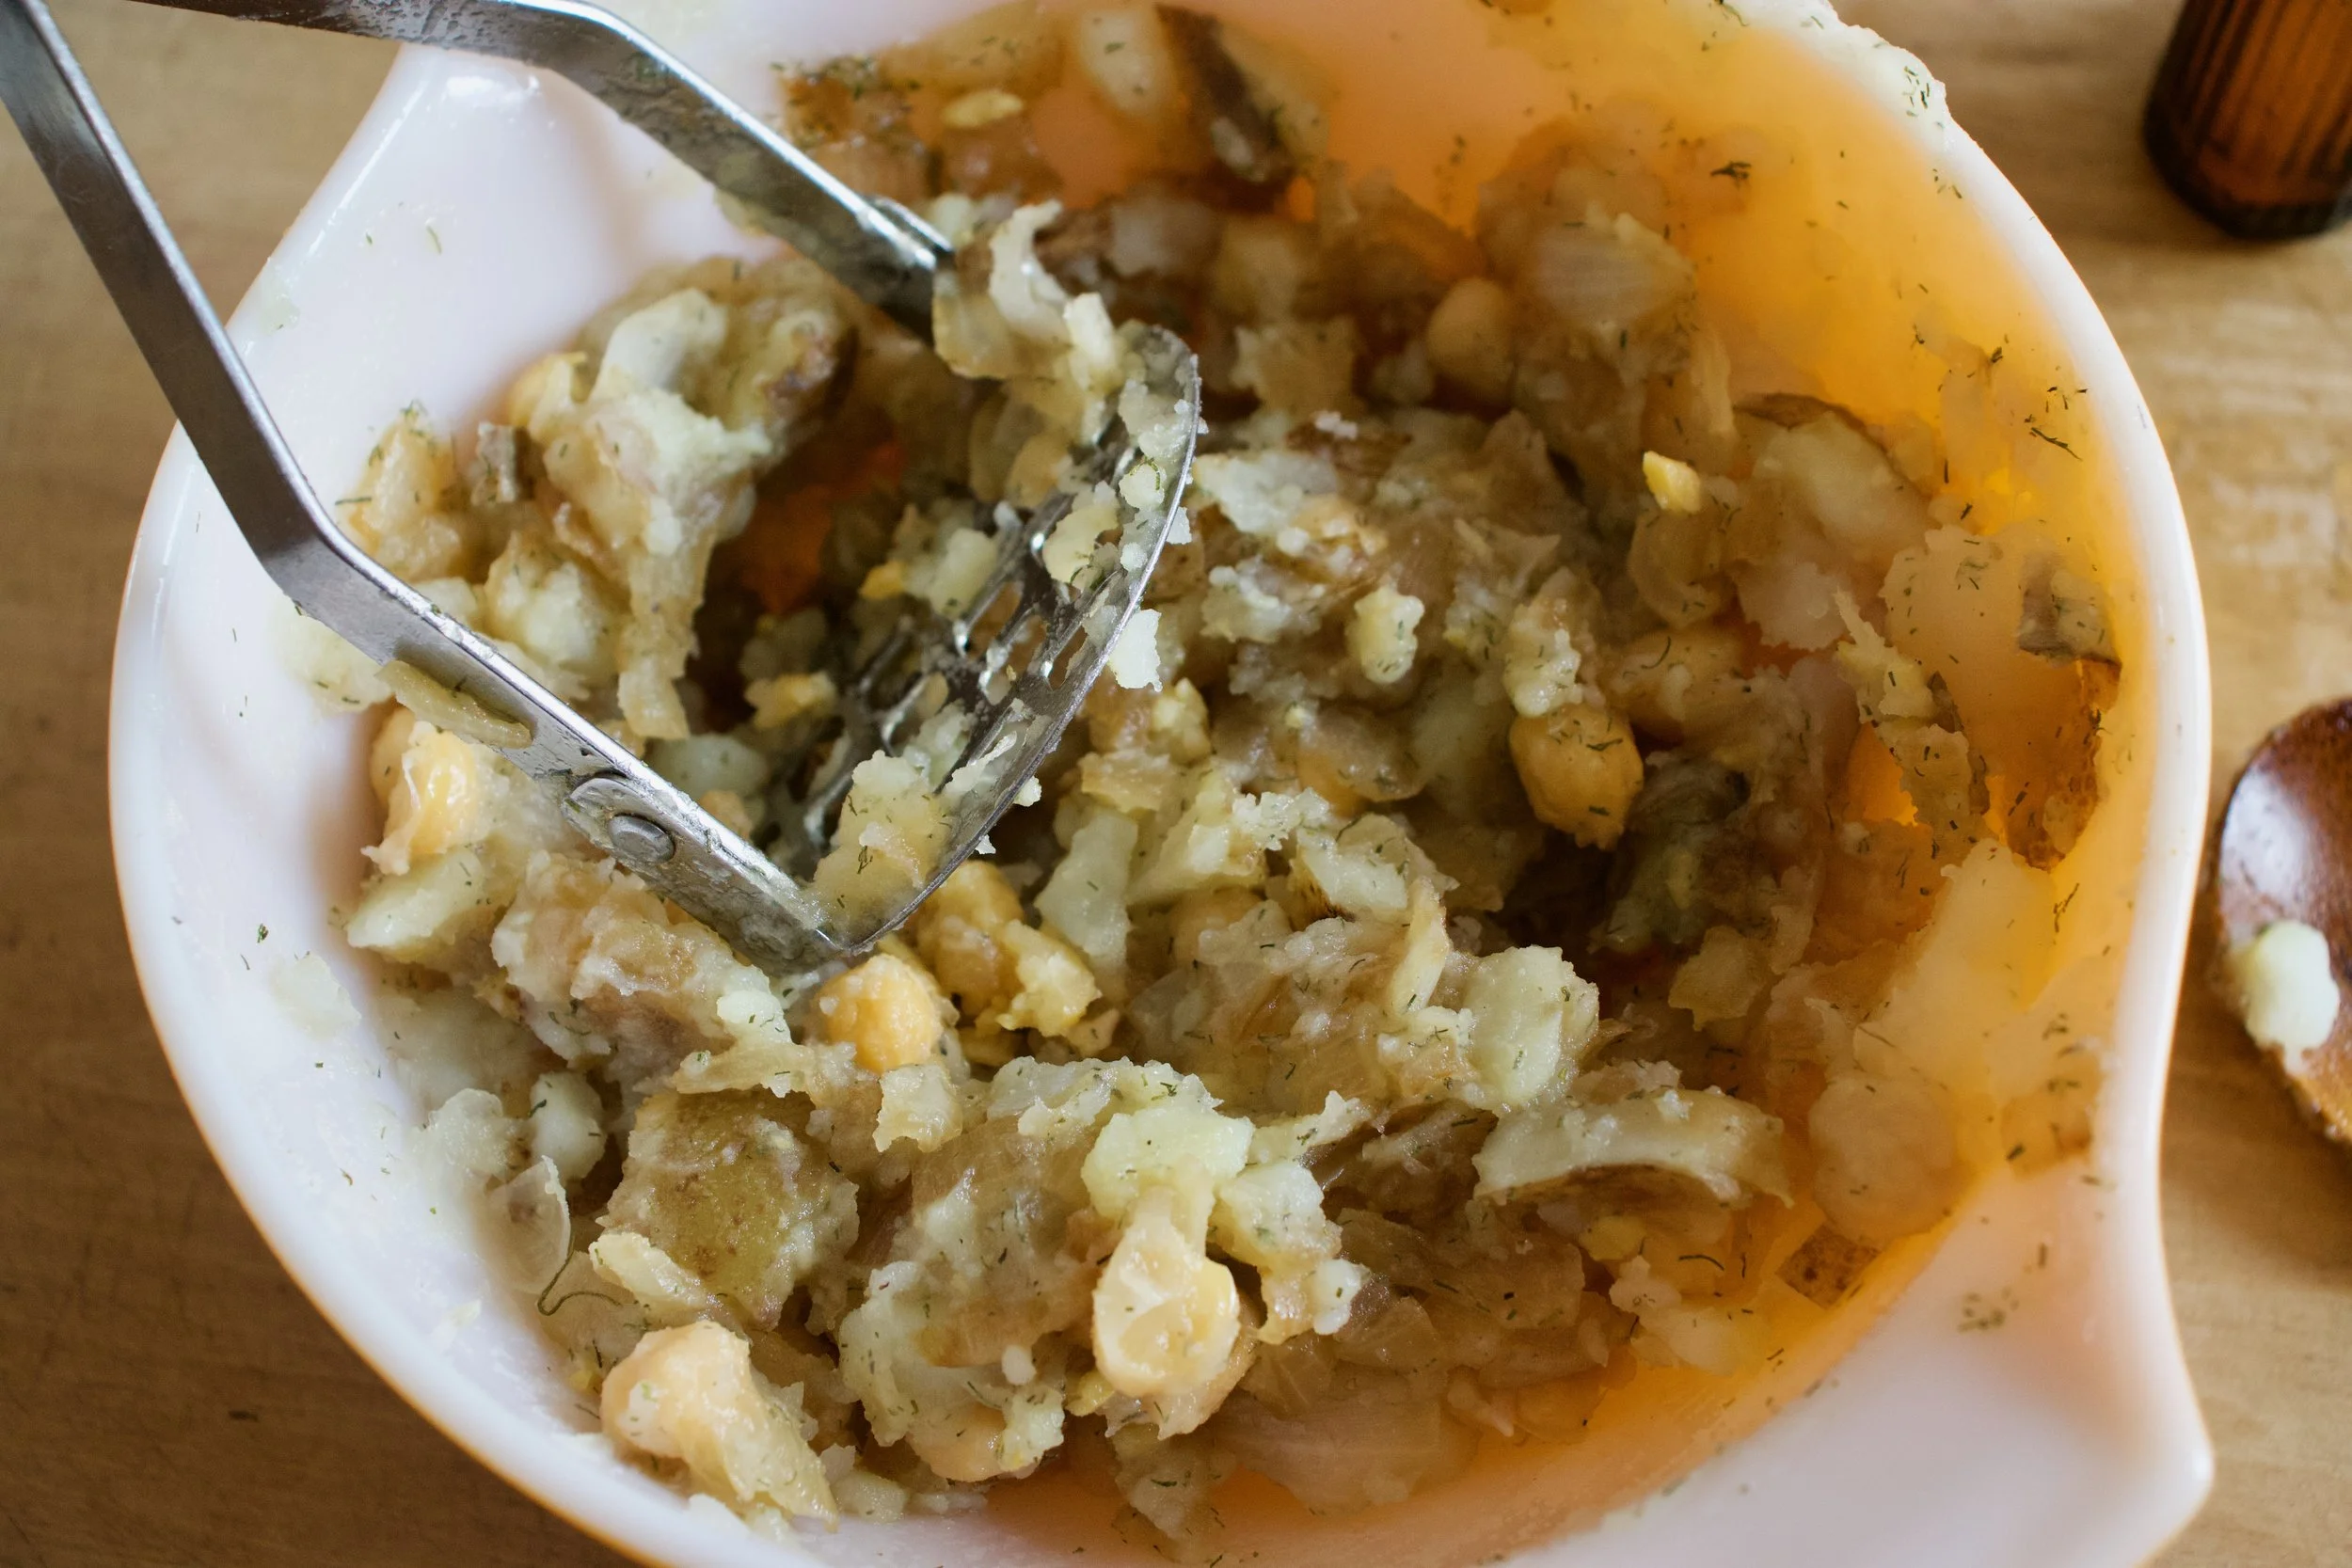
Mash it all together, small chunks are ok, but not big.
Taste and season with more salt and or pepper if needed. And stop eating all the filling, you need it.
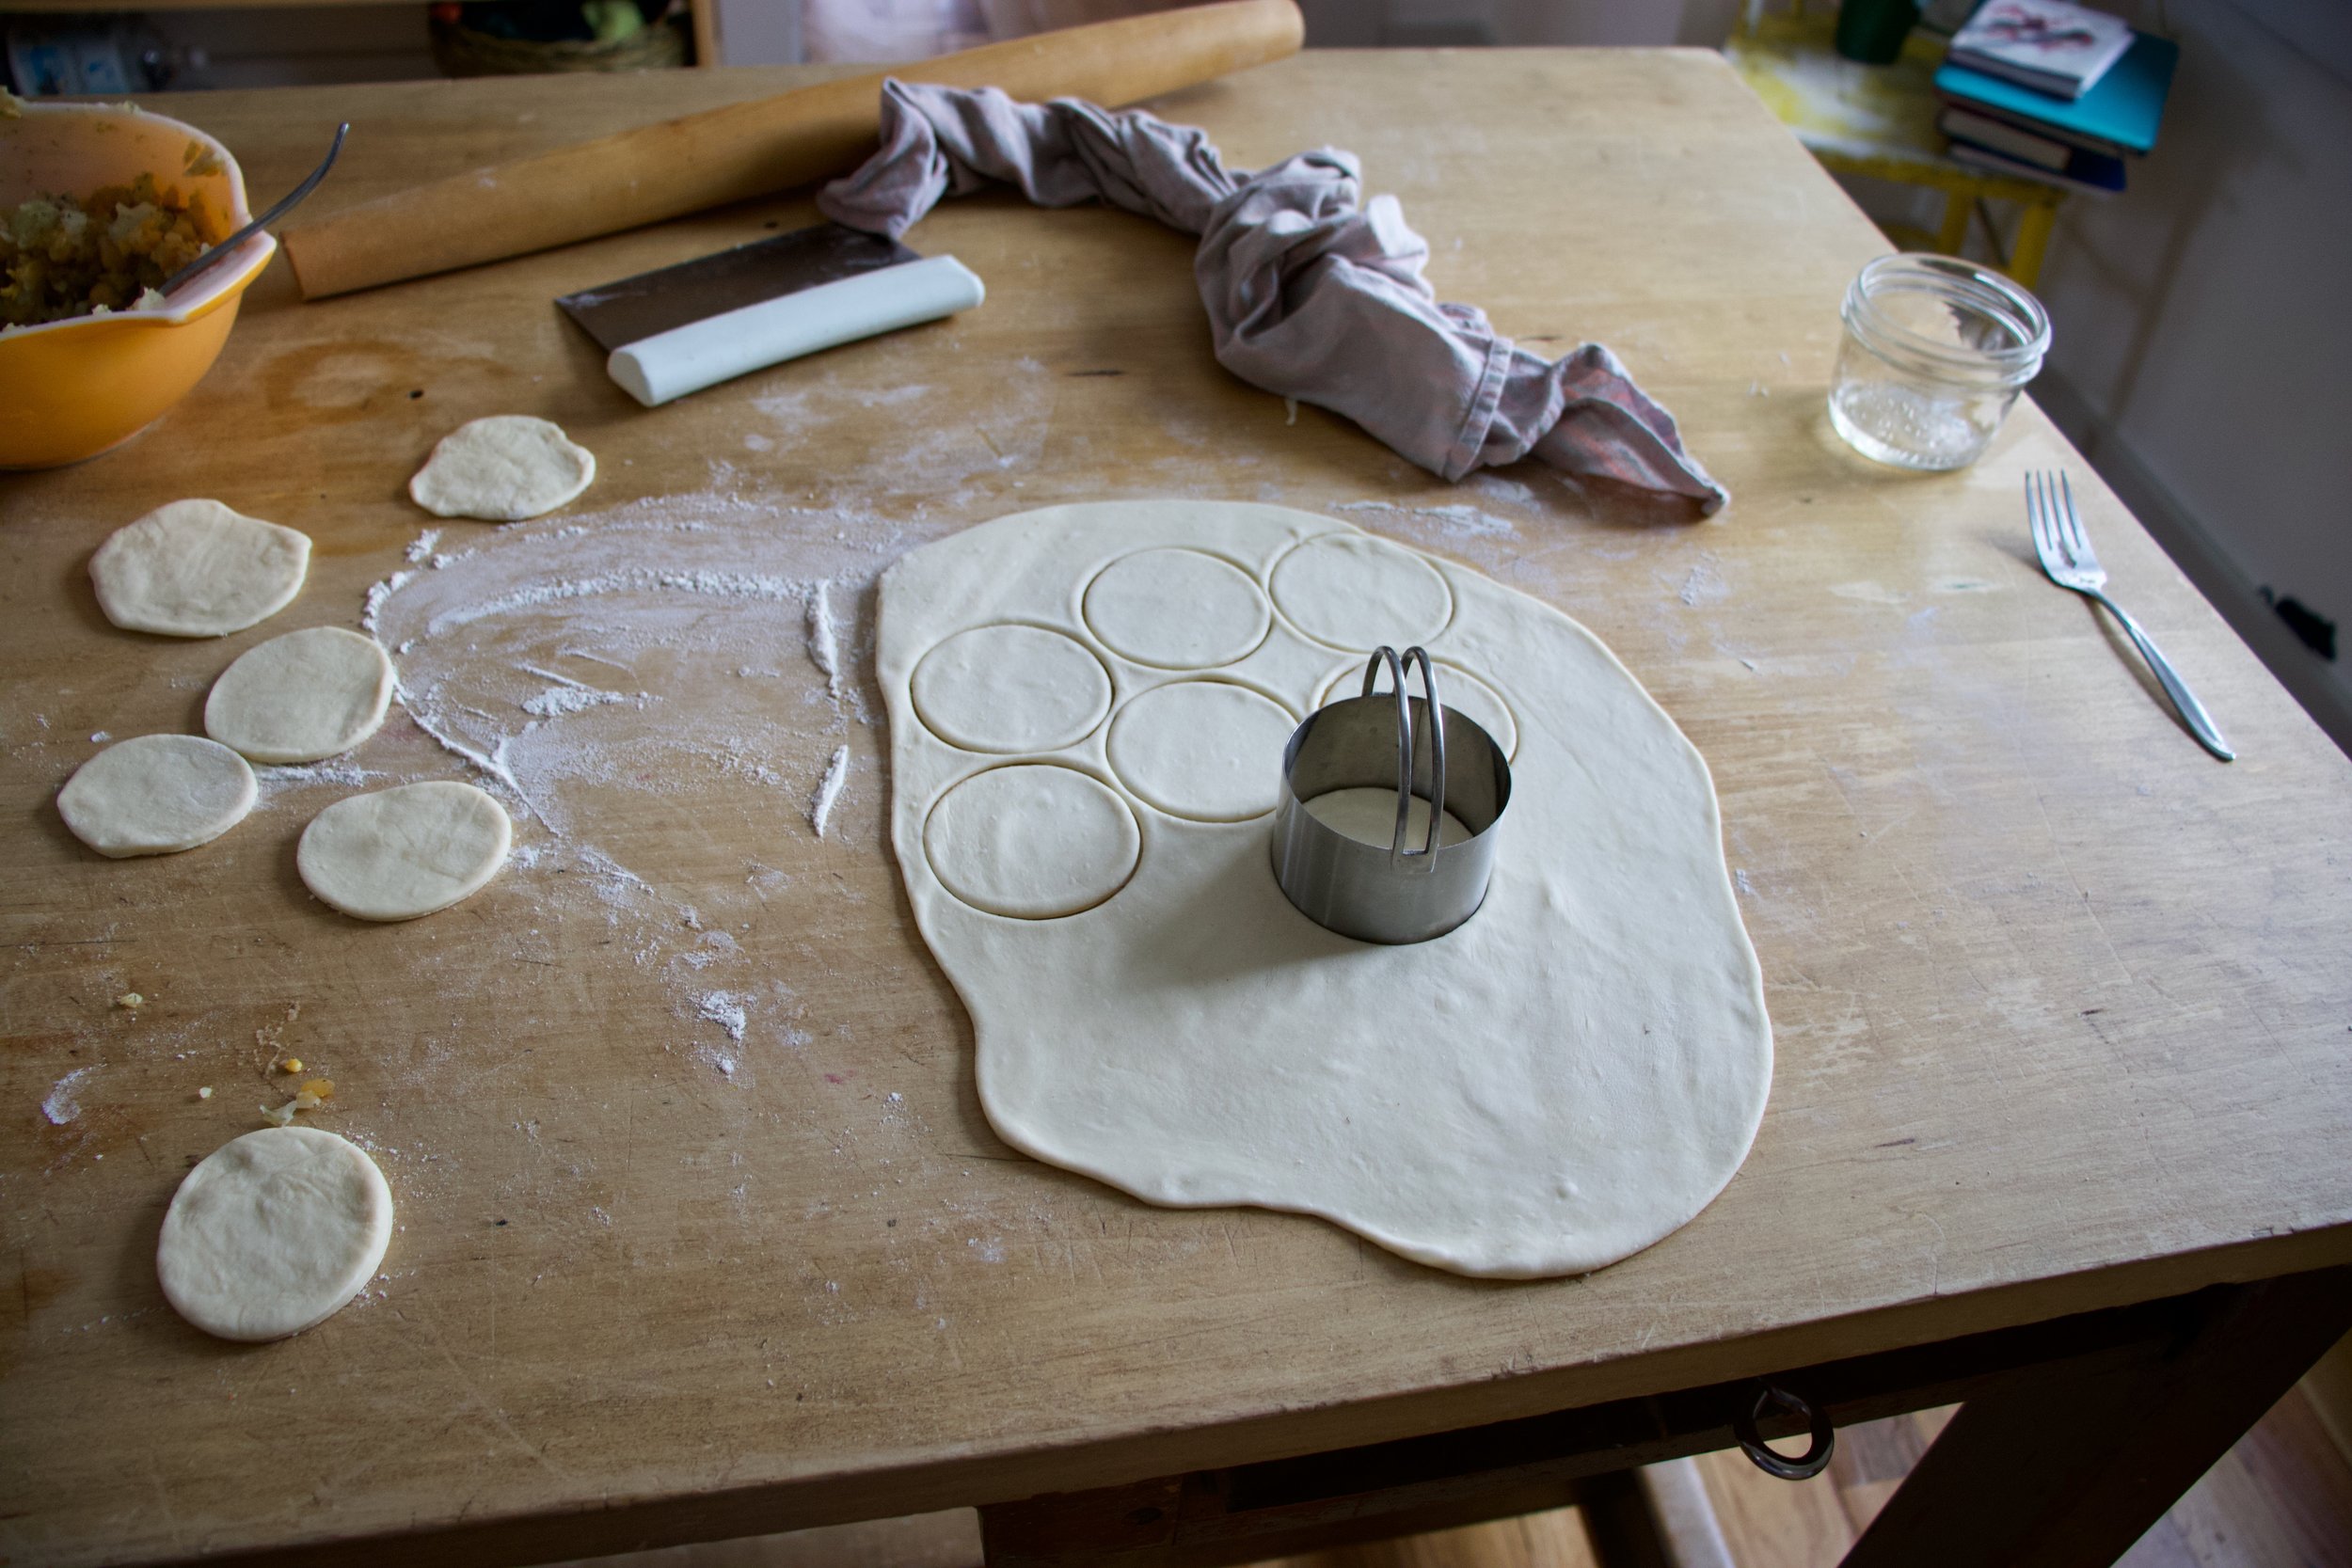
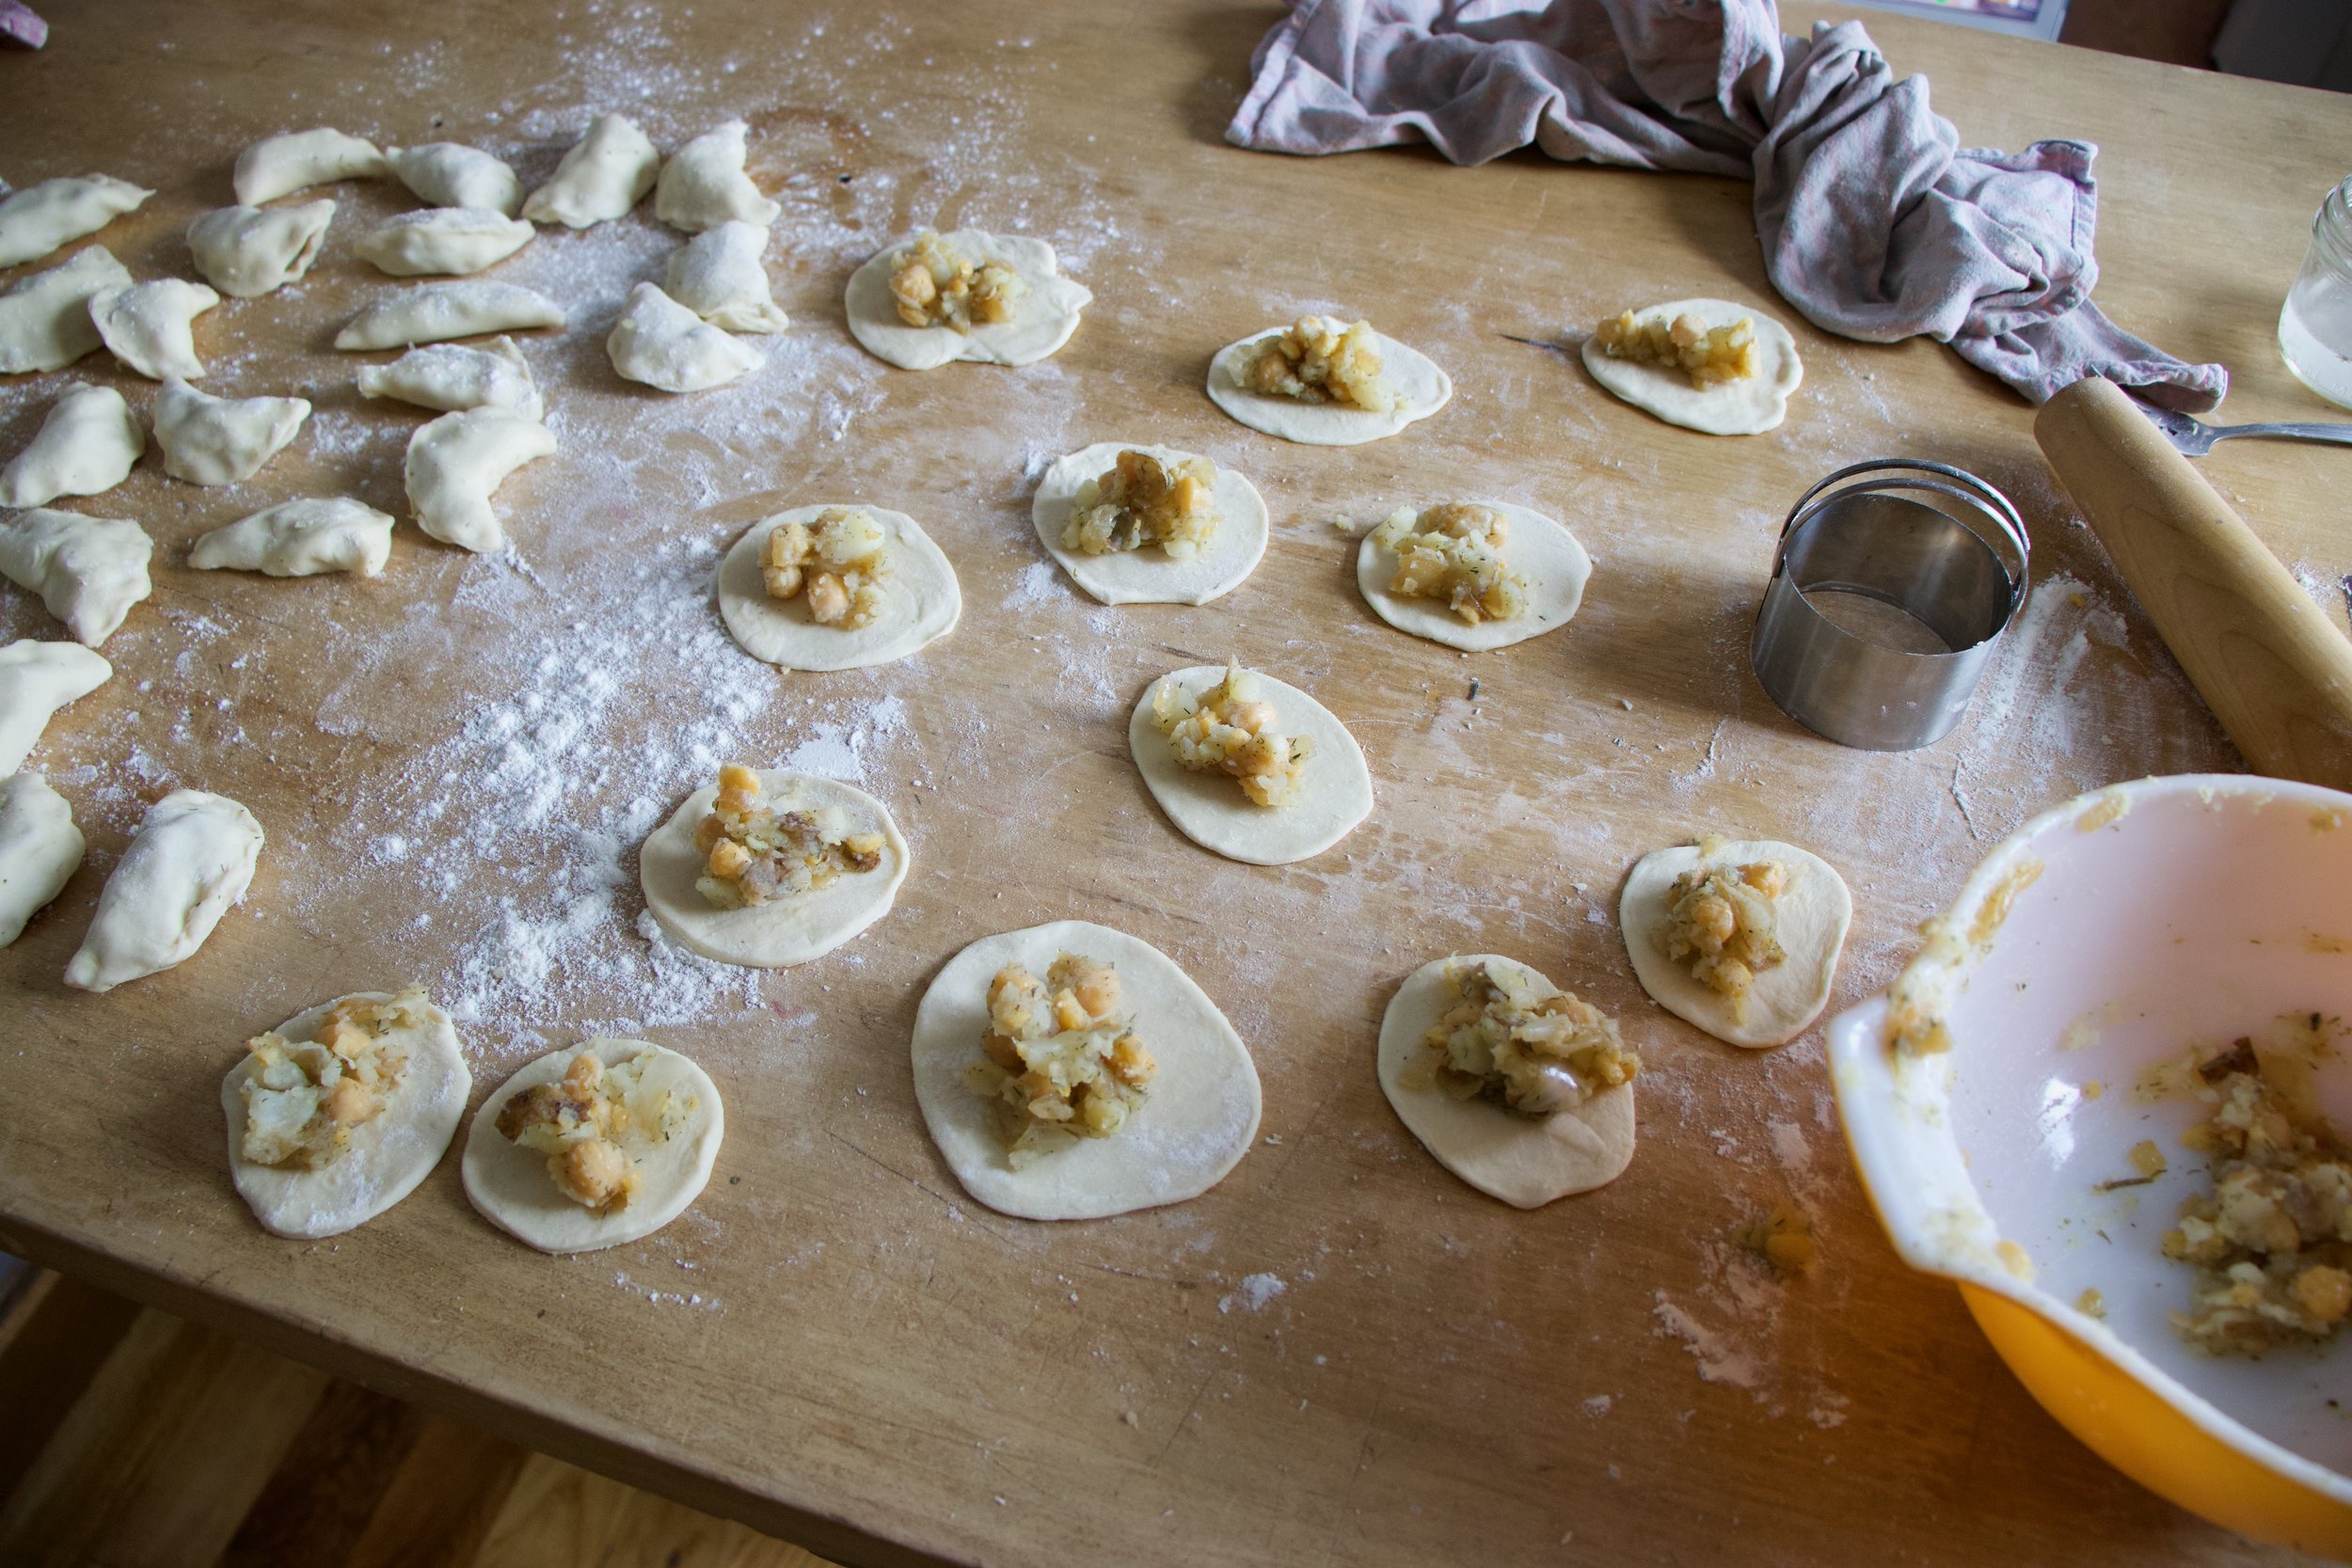
Wen the filling is made, grab the dough, rolling pin, and a large biscuit cutter or a cup.
Roll out dough, then cut out circles.
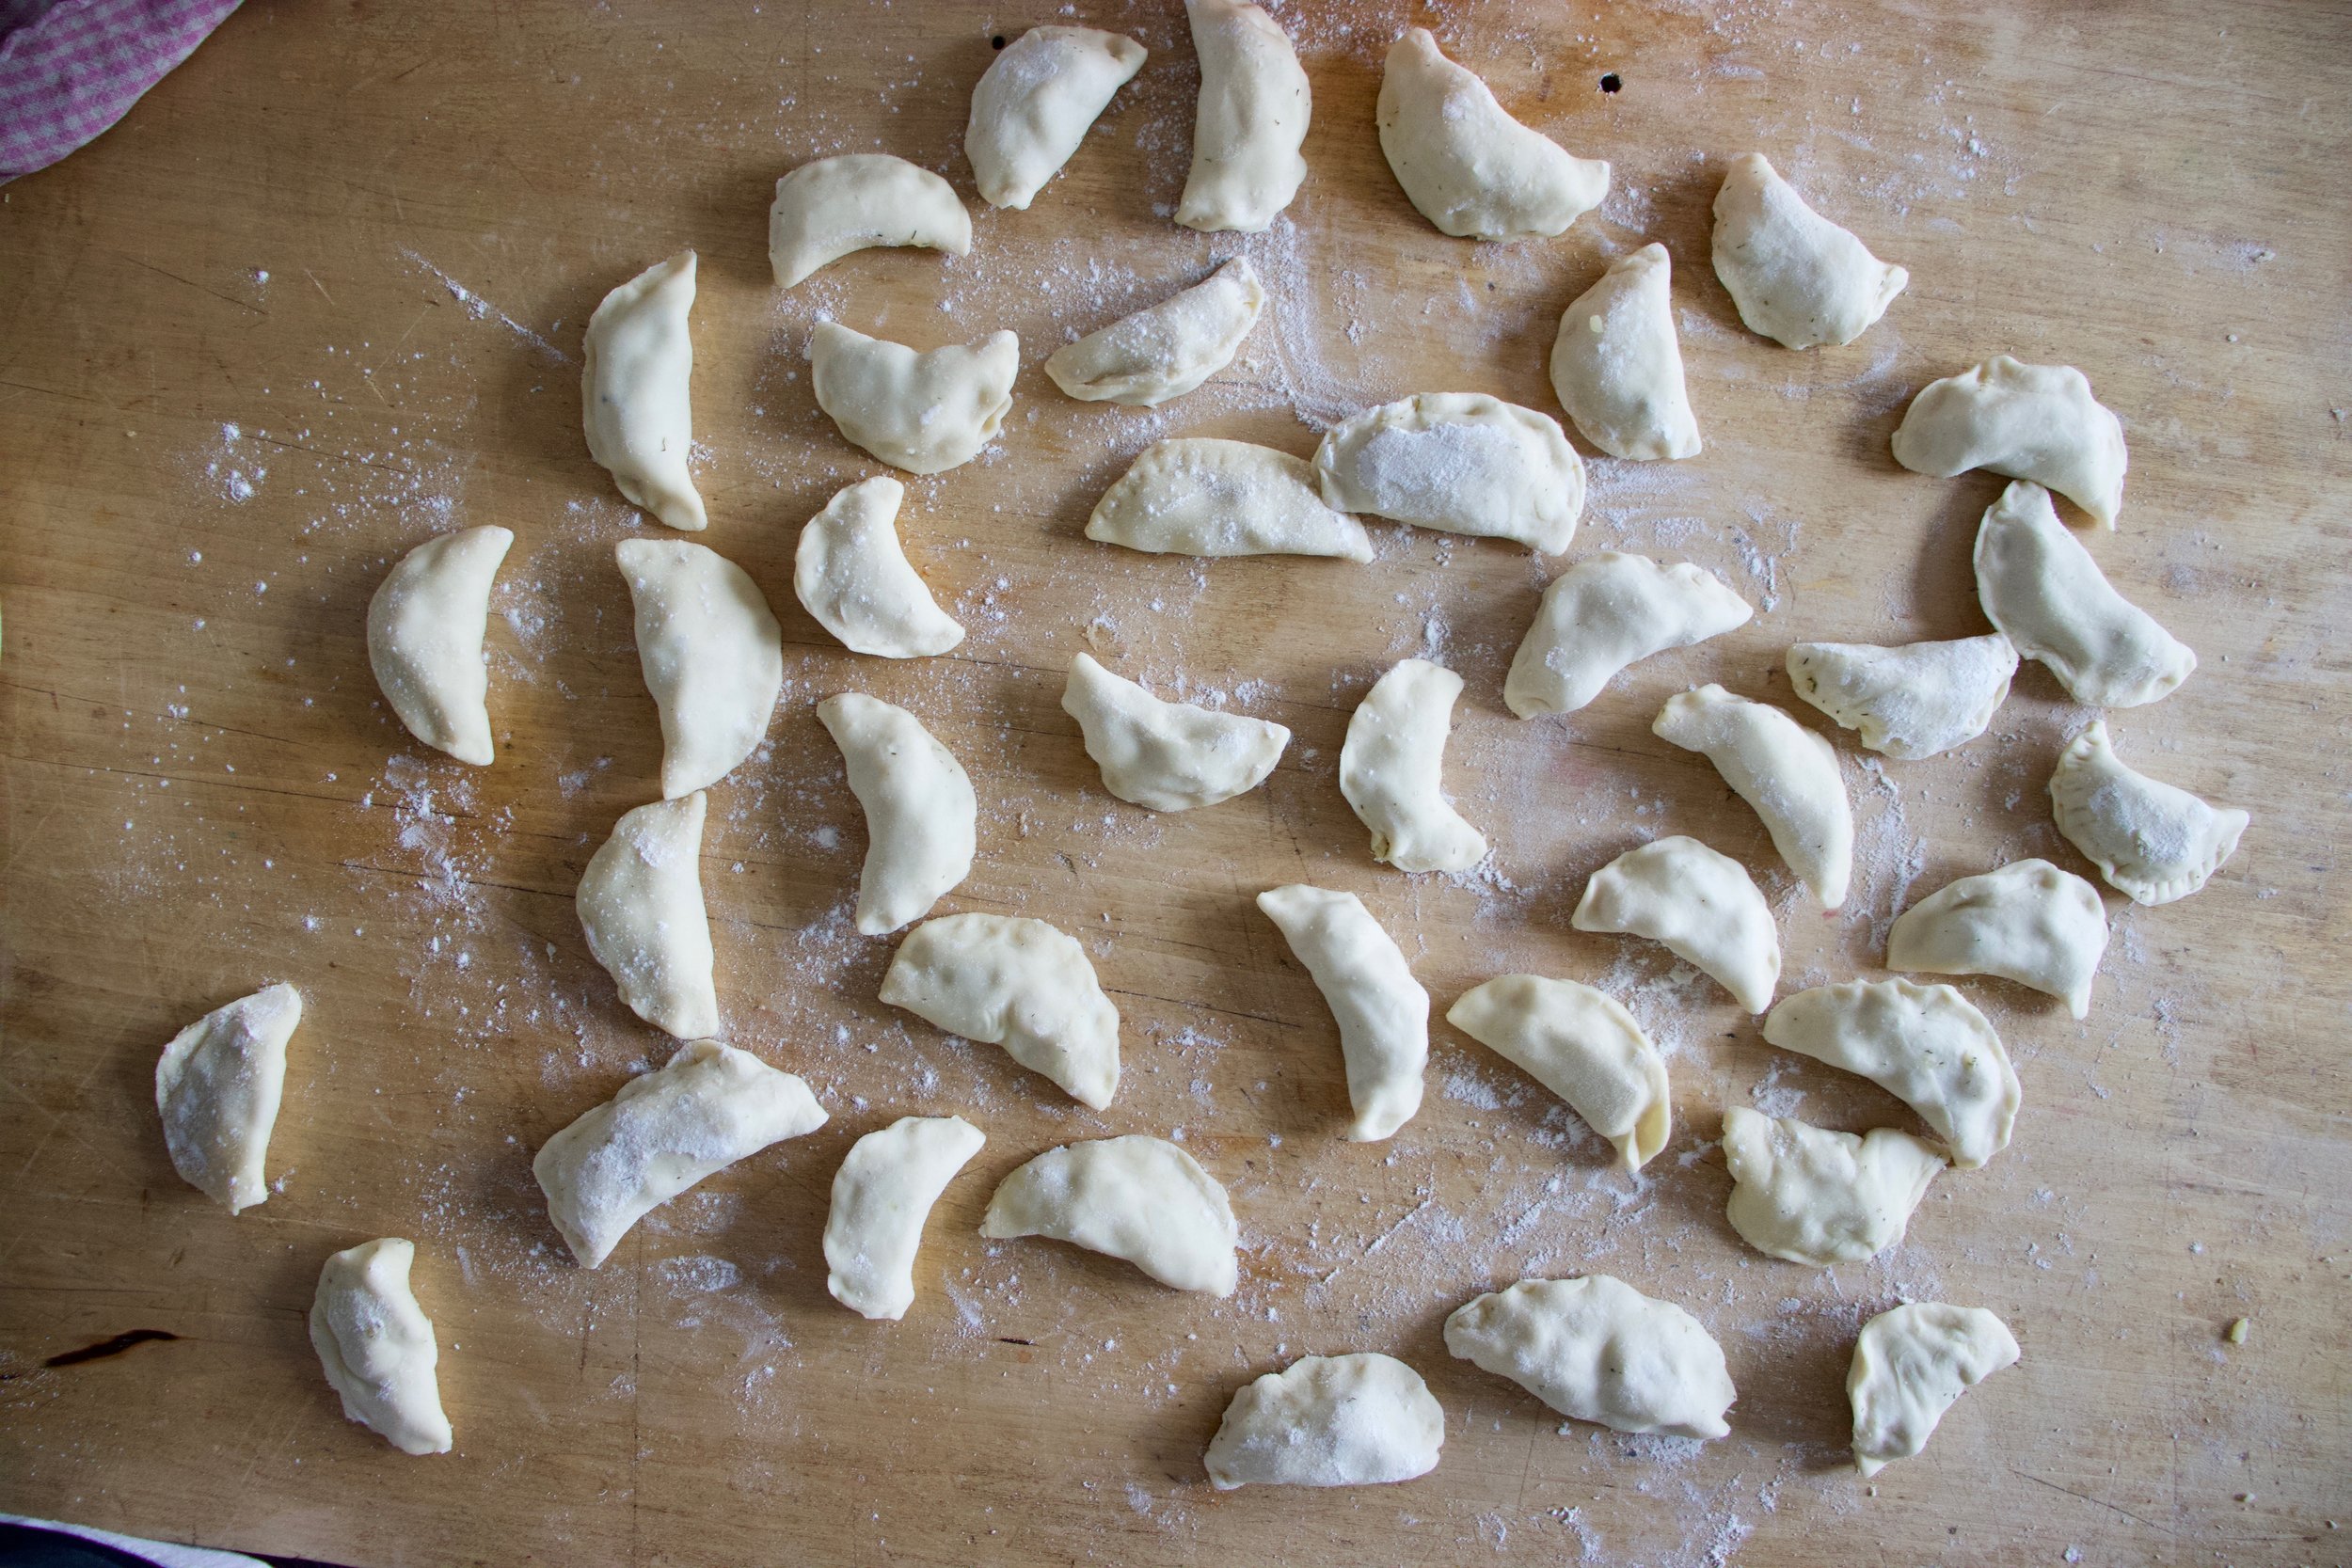
And to make a pierogi, grab a dough disk, add a mound of filling, then fold in half and pinch closed. Simple. IF the dough doesn%u2019t want to seal, run a wet finger around the edge of the dough. That will do the trick.
All made, and not perfect by any means but perfect to me. Once you have made them, they need a little rest before cooking. Just a half hour or so. Enough time to clean up the mess that you just made and ge ta pot of water boiling on the stove. This is also a good time to prepare some to save for freezing. Any that you do not plan on eating in the next few days, place on a lightly floured baking sheet and stick in freezer. Once frozen, remove from sheet and place in an airtight container or freezer bag and stash away for another day. They can also go I the fridge for 3-4 days without being frozen, just make sure that you give each one a good dusting of flour so they don%u2019t stick to each other.
Oh, and before you finish cooking the pierogi, make a the cashew cream. Place soaked cashews into blender with the vinegar and a splash of hot water. Blend into creamy and smooth. Season with salt and pepper and that is that.
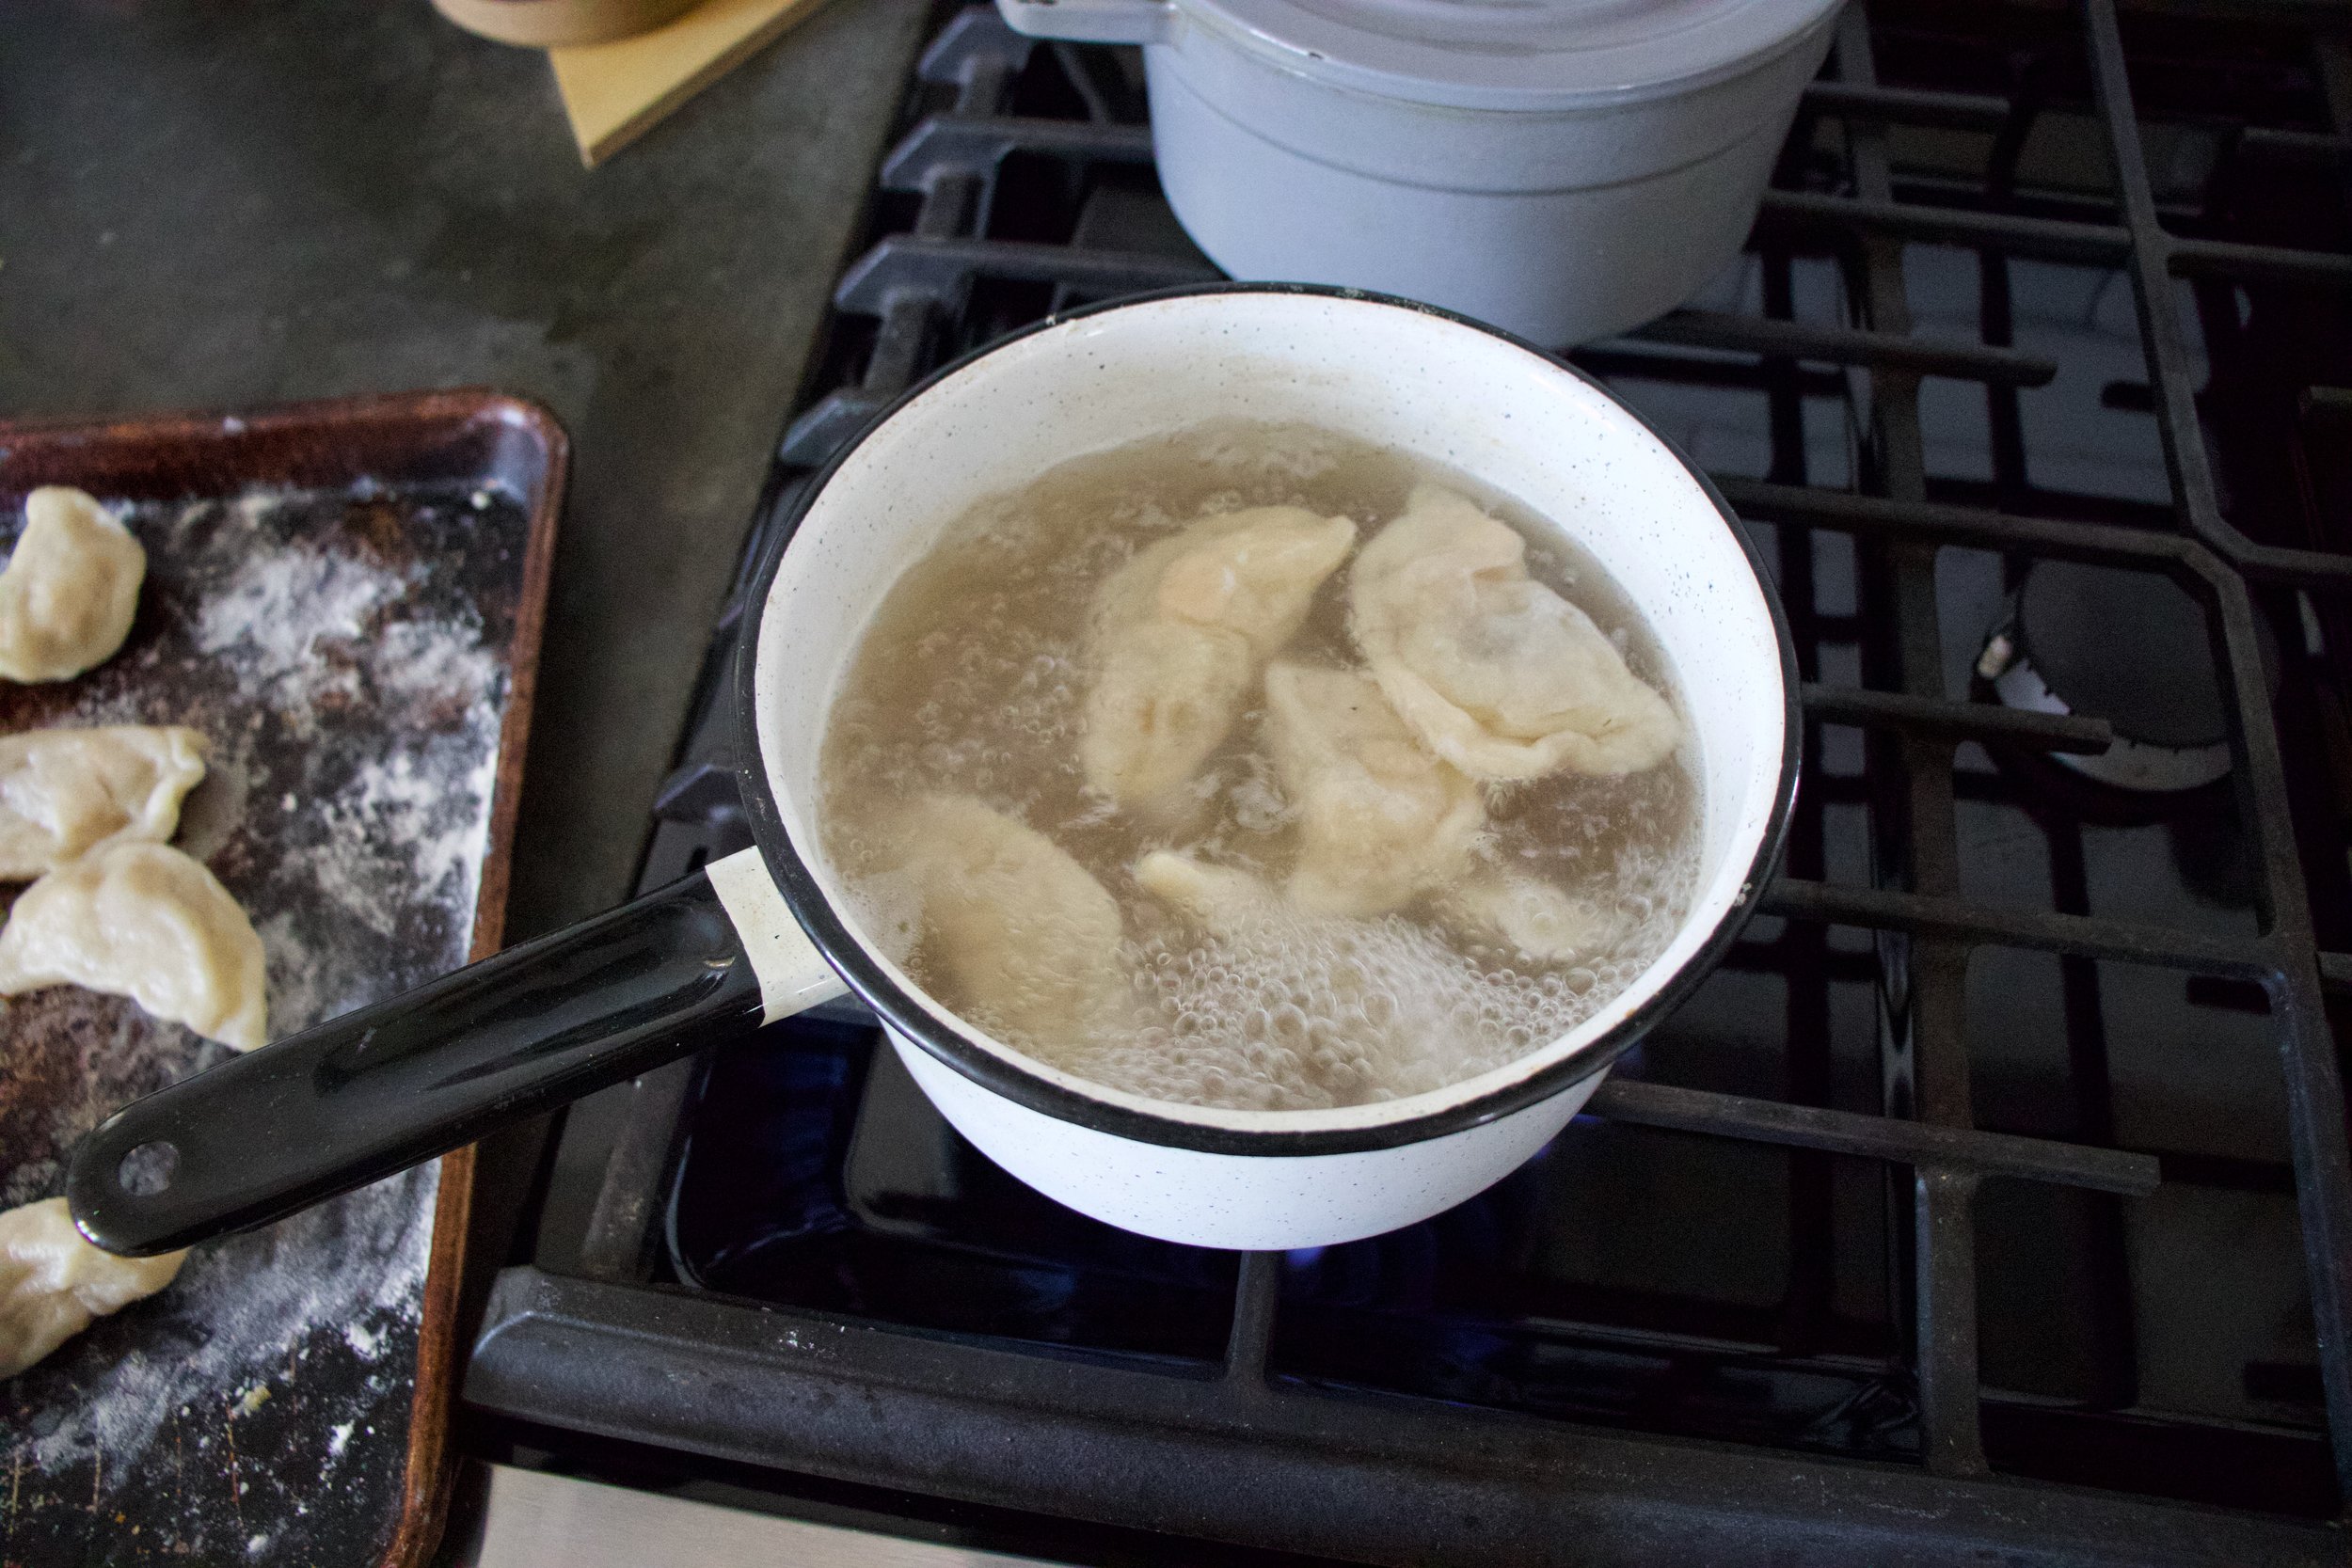
Now to cook those pierogies. Bring a pot of water to a rolling boil. Once boiling, drop (gently) the pierogies one by one into water. A few at a time as to not over crowed, boil until they start to float to the top, which should take 4-5 minutes. Once cooked, scoop them out and place them on a plate or pan while you boil more (if you are indeed cooking more)
After the pieogies had a boil, they then need a little crispness (you can skip this step if you don%u2019t want them crispy). Use the frying pan you cooked the onions in and add a splash more oil. Heat on medium and when pan is hot, add in the boiled (not sopping wet) pierogies. Cook each side for 3-5 minutes or until nice and and browned then flip and cook the other side.
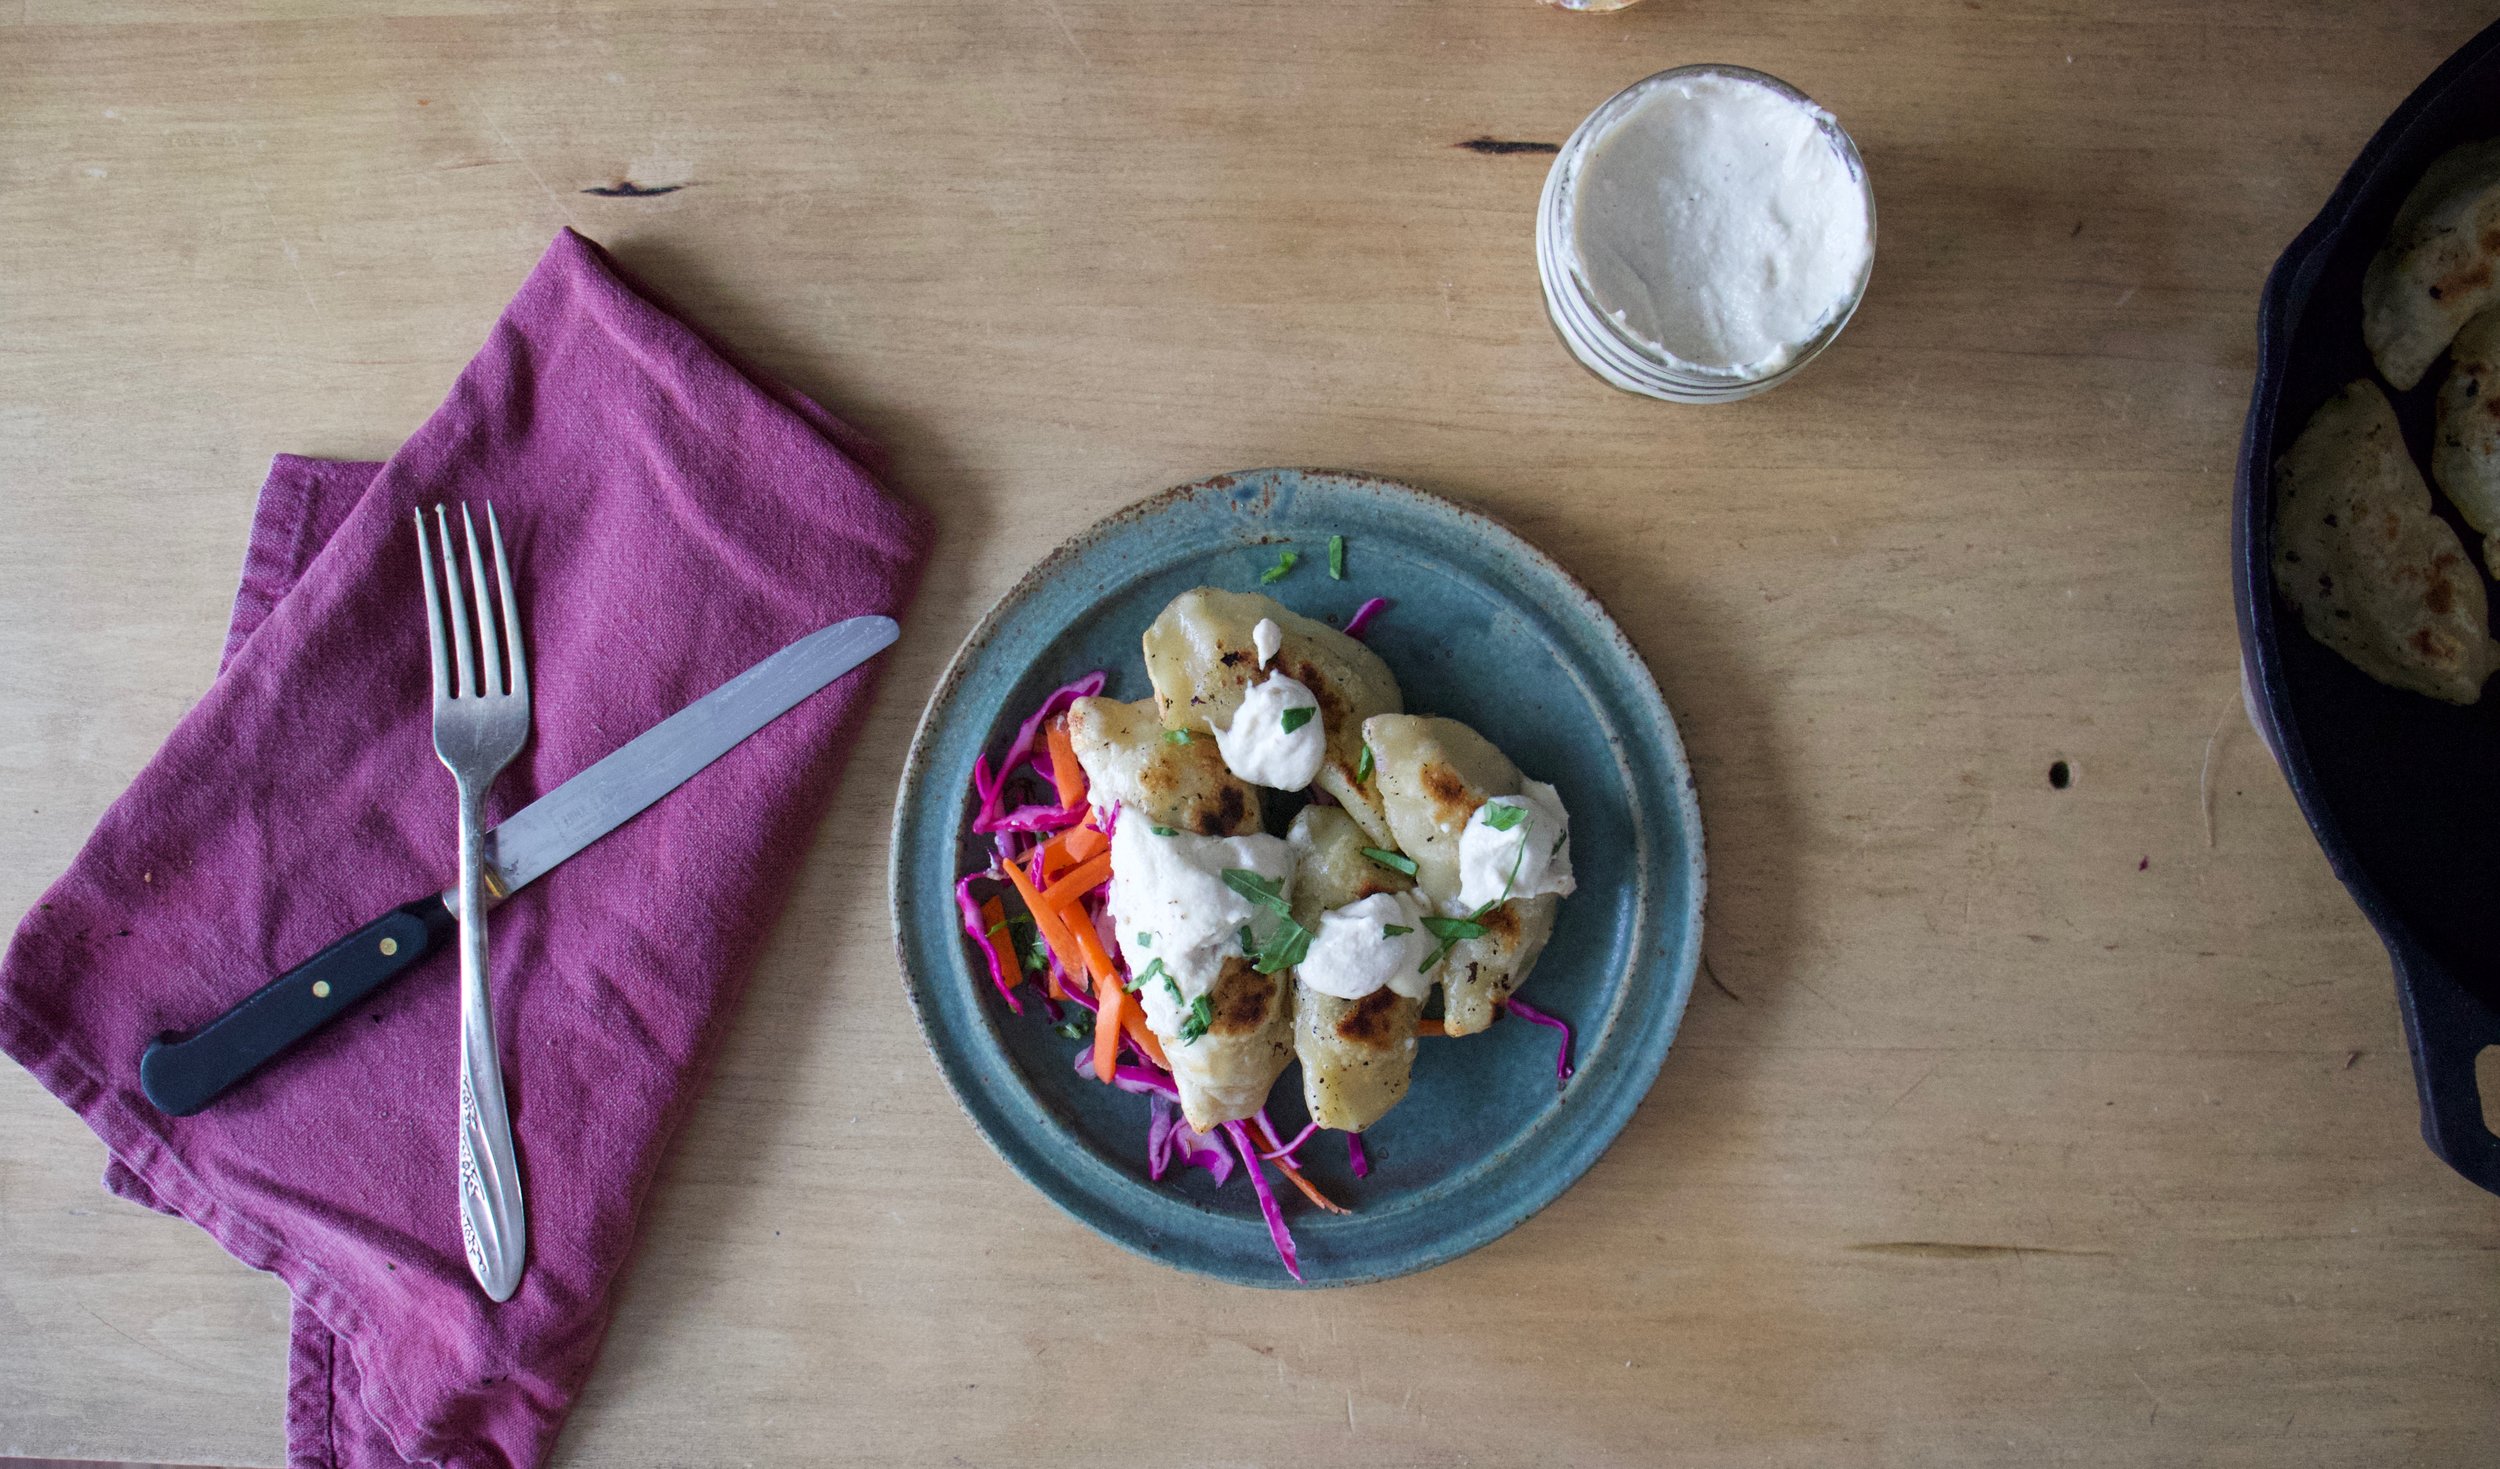
And then all is left is eating. layered on a bed of cabbage carrot slaw and dolloped with a good dollop of the cashew cream. Done and done and ready to for the face.
I don%u2019t know. Maybe Barb should have skipped school and work for dinner.. Just saying
-C
makes about 25
For the dough
2 3/4 cups all purpose flour plus more for dusting
1 cup warm water
1 teaspoon salt
3 tablespoons olive oil
For the Filling
1 large sweet or vidilla onion
2 medium sized russet potatoes
1 cup cooked chick peas
2-3 teaspoons olive oil
1 teaspoon dill (optional)
salt and pepper
For the Cashew Cream (Optional for serving)
1/2 cup soaked cashews (soaked for at least 1/2 hour)
2 tablespoons red wine vinegar
3 tablespoons hot water
salt and pepper
First off, make the dough. Mix the flour with salt then add in oil and water. Mix together until a shaggy dough forms then dump out onto a lightly flour surface and knead a few times to form a uniform ball. Place dough back into (cleaned) bowl and cover. Set aside to rest.
Once dough is made, chop onion into small little pieces and place in a large skillet with 2-3 teaspoons of oil. Stick on medium heat and cook until tender and browned. Also cook the potatoes. Chop the potatoes into small pieces (peel if you want but you don%u2019t need to) and place into a pot of cold water. Bring potatoes to a boil and cook until they are fork tender, almost falling apart.
Once potatoes are cooked, strain from water and place in a big bowl. Add in the cooked onion and the chickpeas. Sprinkle in dill if you are using and season with salt and pepper. Grab a potato masher or a fork and mash the mixture together. It can be a little chunky, but you don%u2019t want really big chunks. Taste and season if it needs it.
Filling is done so now grab the rested dough. Place dough on a lightly floured surface, cut in half, place one half back in bowl and roll the other out about 1/8 inch thin. Take a large biscuit cutter or a large cup and cut out circles. Gather remaining dough and re roll out. Do this until you can%u2019t. Repeat with second half of dough.
Once the circles are cut out, place about a tablespoon of filling into the center of each. Fold the dough in half and pinch closed. If the dough has dried out to much, brush a little water on the edge of circle to help it seal. Place the pierogi on a floured surface (so they don%u2019t stick) And don%u2019t worry if you have a little extra filling.. Just eat it.
When all the pierogi are made, let them rest for about 1/2 an hour. There are a good amount of pierogi here so if you want, stick some in a container and in the fridge to have in the next few days. Just make sure to flour them so they don%u2019t stick together. Or if you prefer, place however many you to want to save on a lightly floured baking sheet and stick in the freezer until frozen. Once frozen, place into a freezer safe bag or container. They will keep for a few months.
Also, before you finish cooking, make the cashew cream (if you want it) Just add soaked cashews to a blender with vinegar and the water. Blend until smooth and creamy then season with salt and pepper to taste. If the mixture seems to thick, just add a splash more water until it is a desired thickness.
To cook the pierogi, bring a large pot of water to a boil. Place pierogi, one at a time, into pot. 5-7 at a time as to not crowd them, and cook until they start to float. Remove the cooked ones with a slotted spoon and stick on a plate. Boil as many as you are going to eat. Grab a skillet and add a few teaspoons of olive oil. Heat to a medium heat and place the pirogies into pan. Cook each side for 4-5 minutes or until browned and crispy. Flip and cook the other side.
Remove form pan, place on a plate, dollop with cashew cream (if desired) and eat.
Potatoes in tomatoes. It just has a nice ring to it. And to tell the truth, that is the only reason I made this dish, because it sounds good.
Ok, not really the only reason, but it was the start, that and I have been sitting on some potatoes for a little while and it was time for them to be eaten. Enter in the tomatoes. I figures cooking the potatoes in tomatoes is alike to a ketchup and french fry situation. Not completely the same, but you get the idea. Add in chickpeas for good measure and onion because I wanted to and that is that. Nothing fussy, one pot, easy, hearty, and good.
Also not hurting anyone that these potatoes take a little while to bake. I could have made this dish in a way that made them cook faster (like parboil the potatoes) but I wanted the heat from the oven. It has been pretty freaking dang cold out so I liked having the heat, it adds another dimension to the term comfort food (as in me being comfortable hanging out next a hot oven).
Anyway, nothing too fancy, just all around tasty dish. It is just what you need to bake and eat on any given cold winter day. And it sounds nice too. Just say it aloud. Potatoes in Tomatoes. Right? Now you see, it had to be done.
To the potatoes in tomatoes!
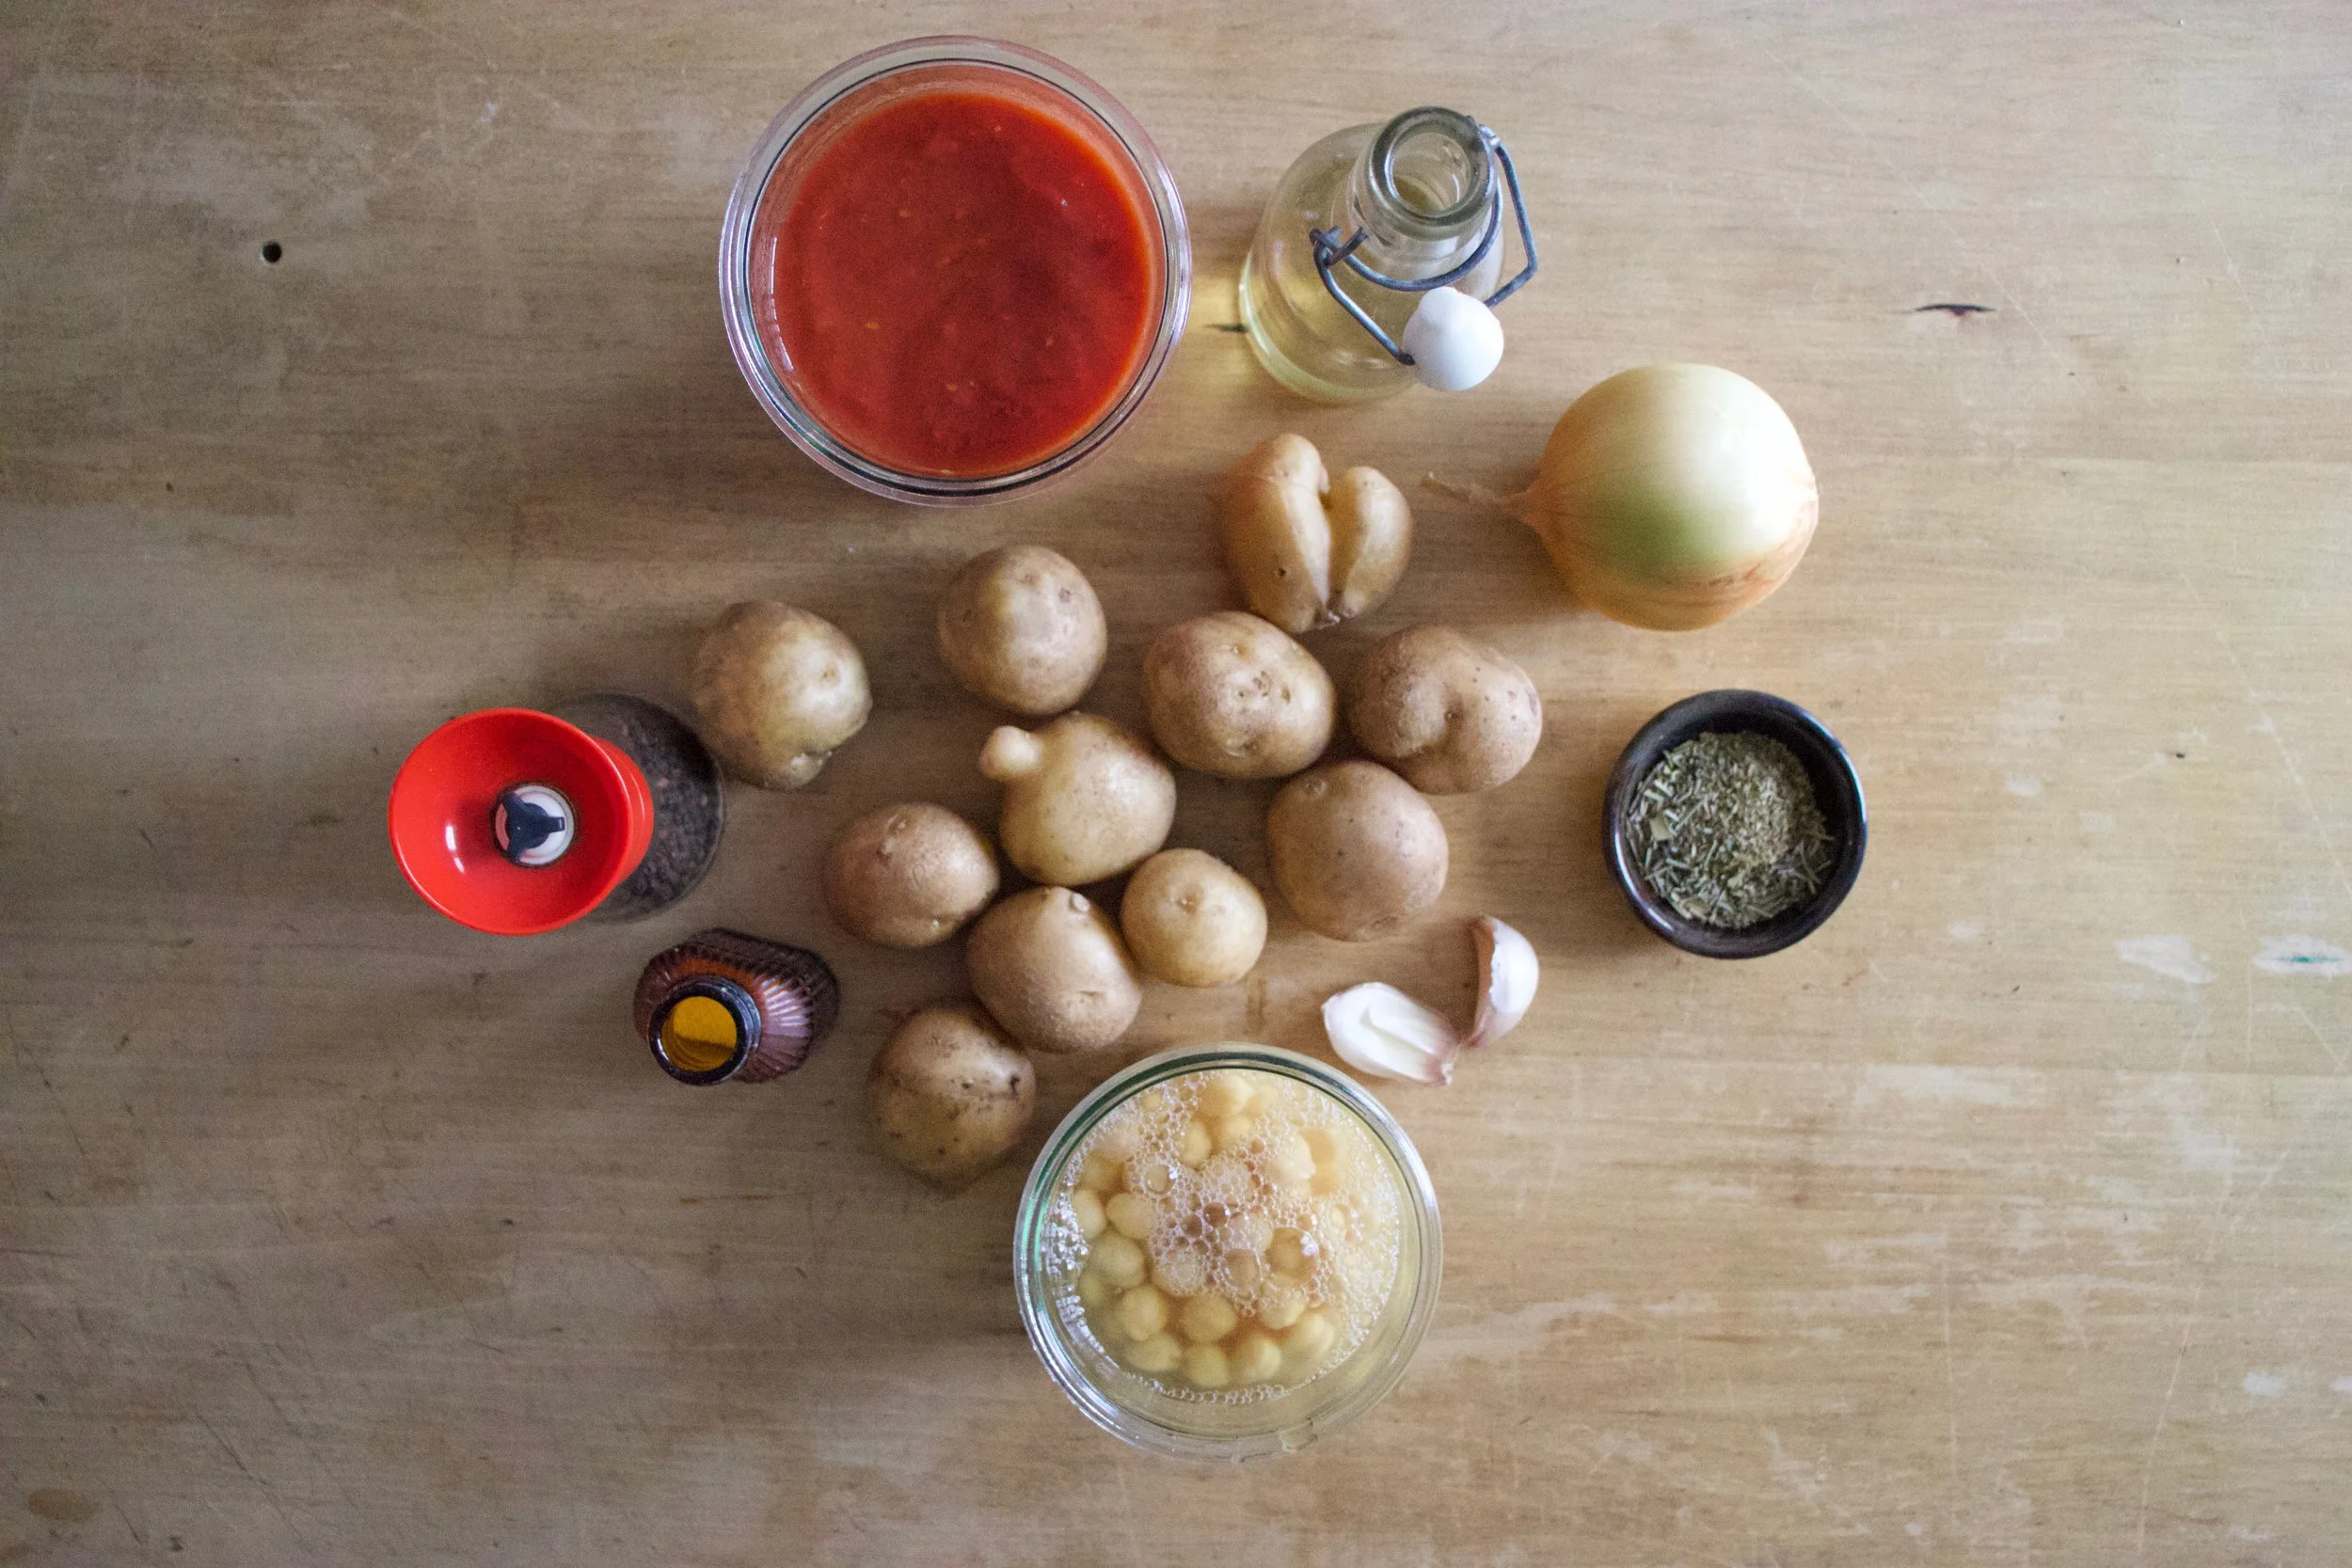
The stuff. Potatoes, crushed tomatoes, cooked chick peas, an onion, a few cloves garlic, Italian seasoning, salt and pepper and a bit of olive oil.
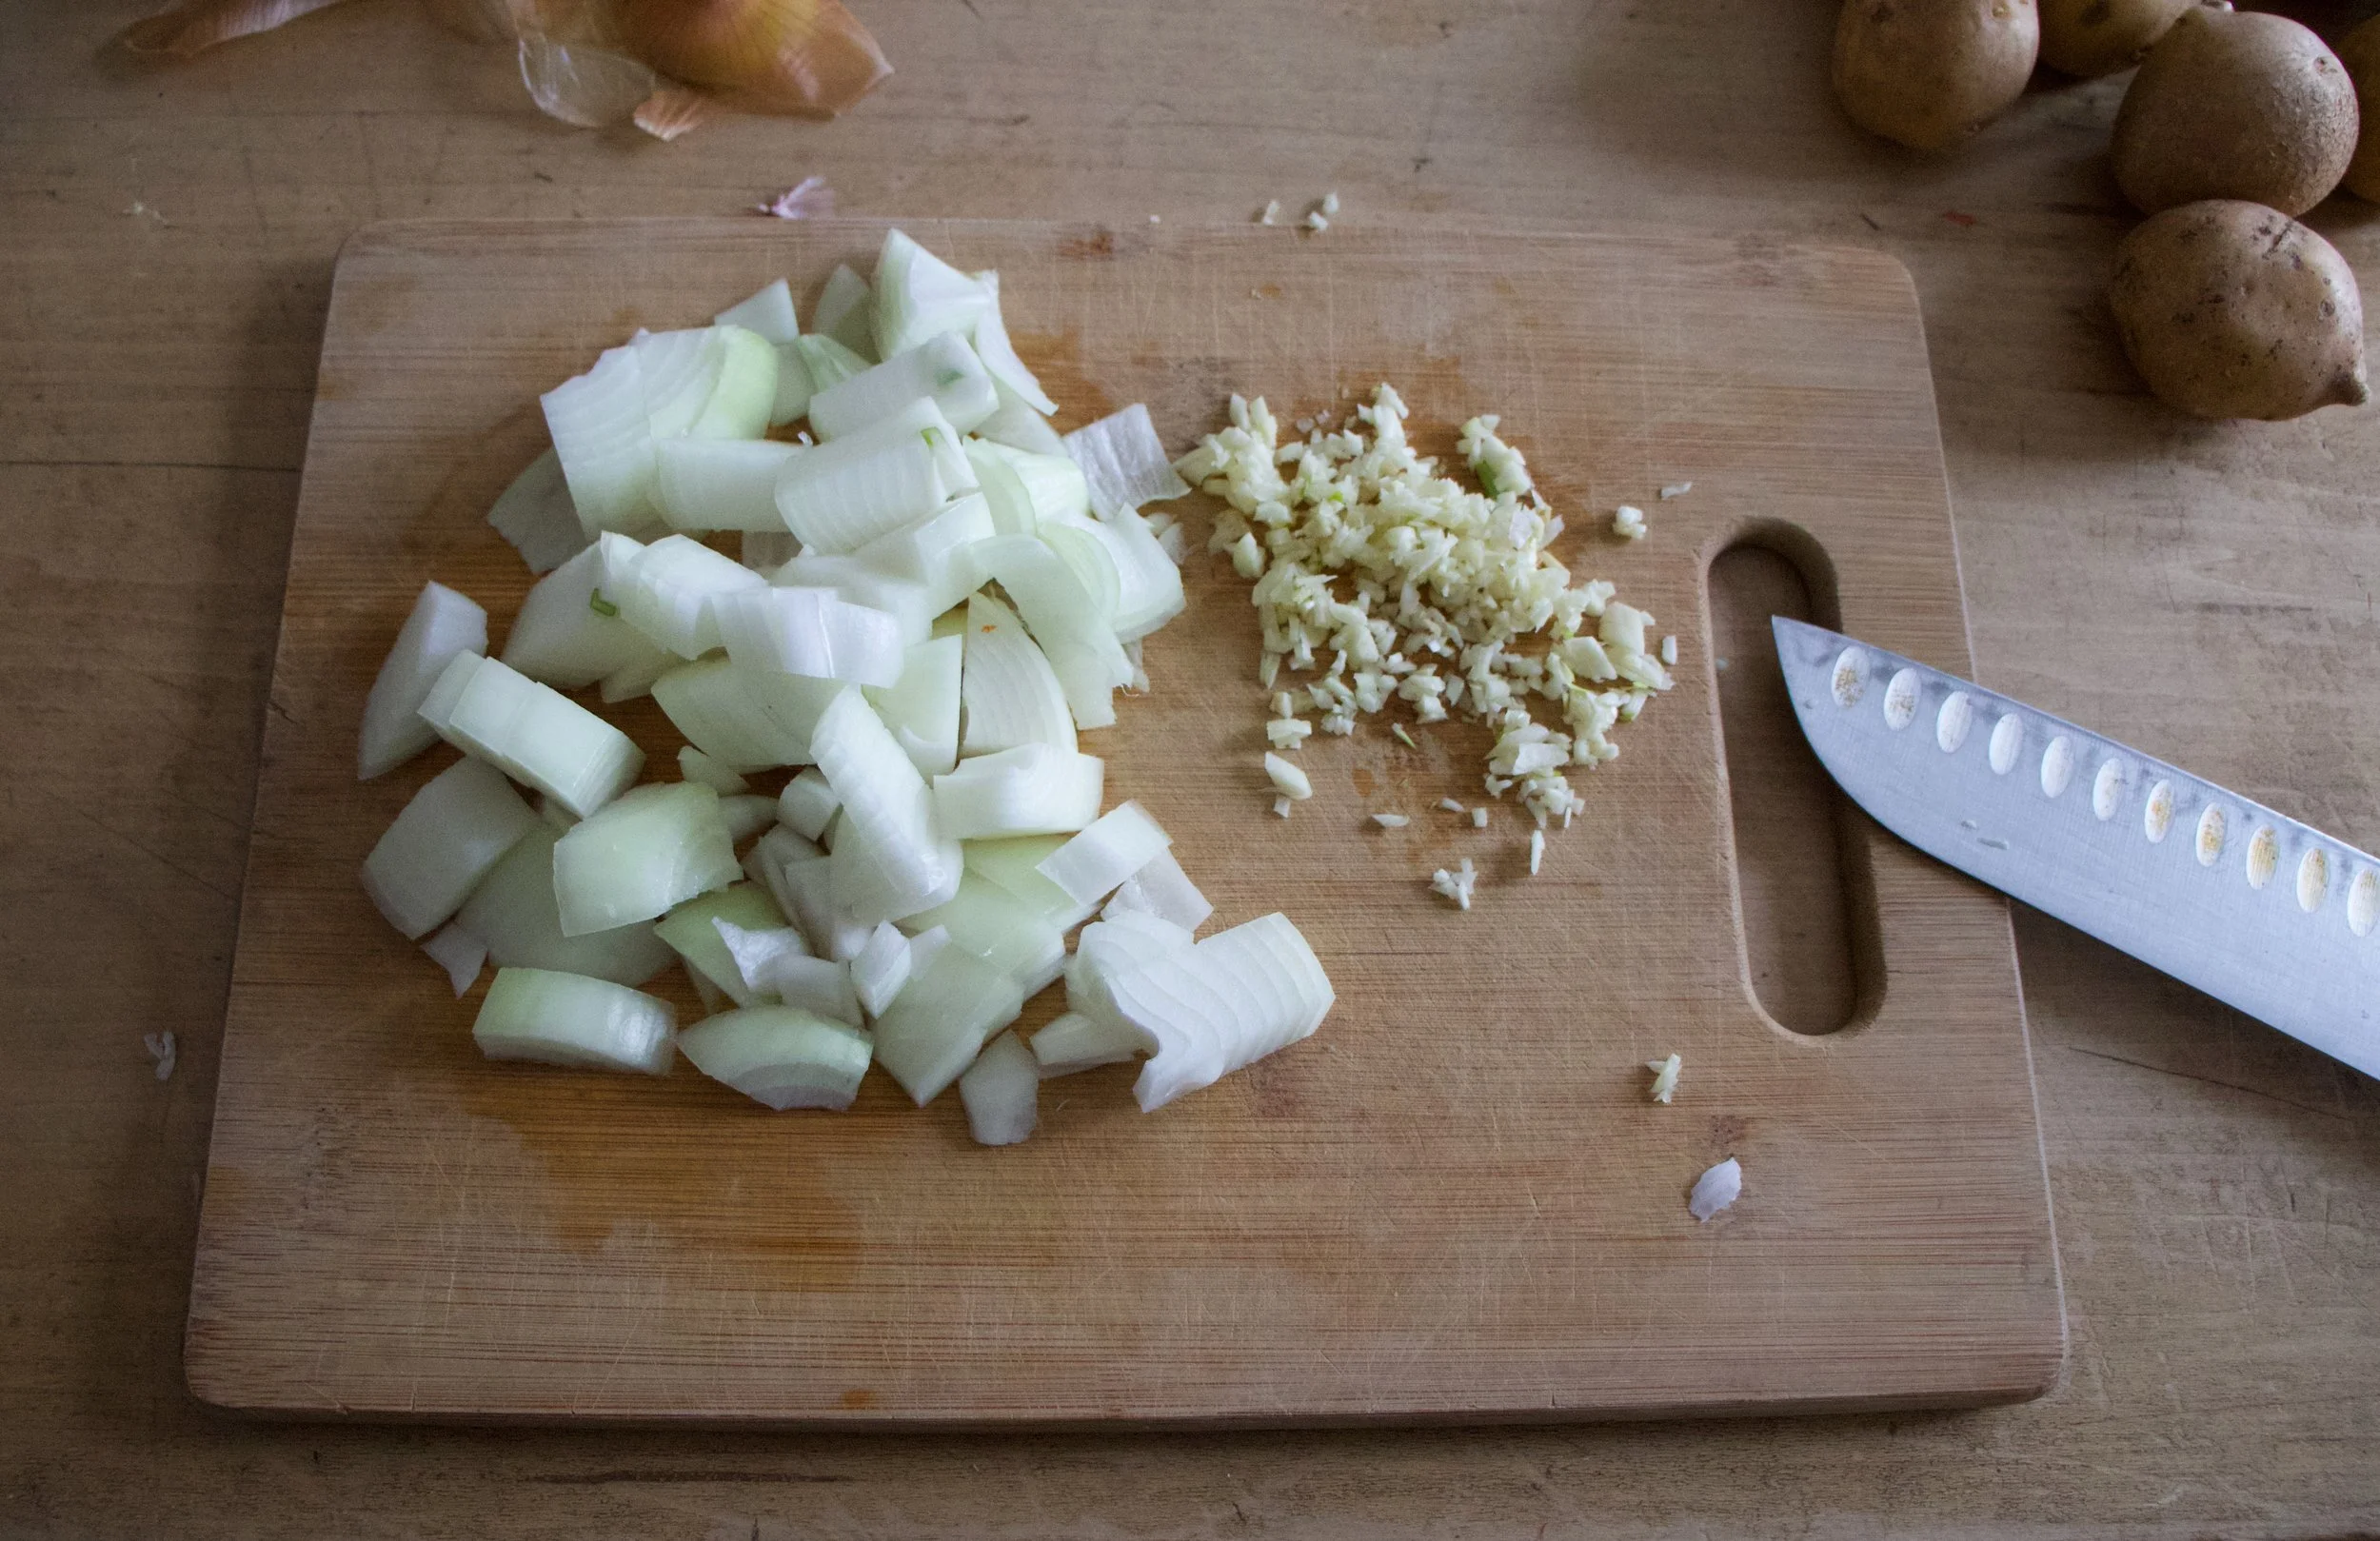
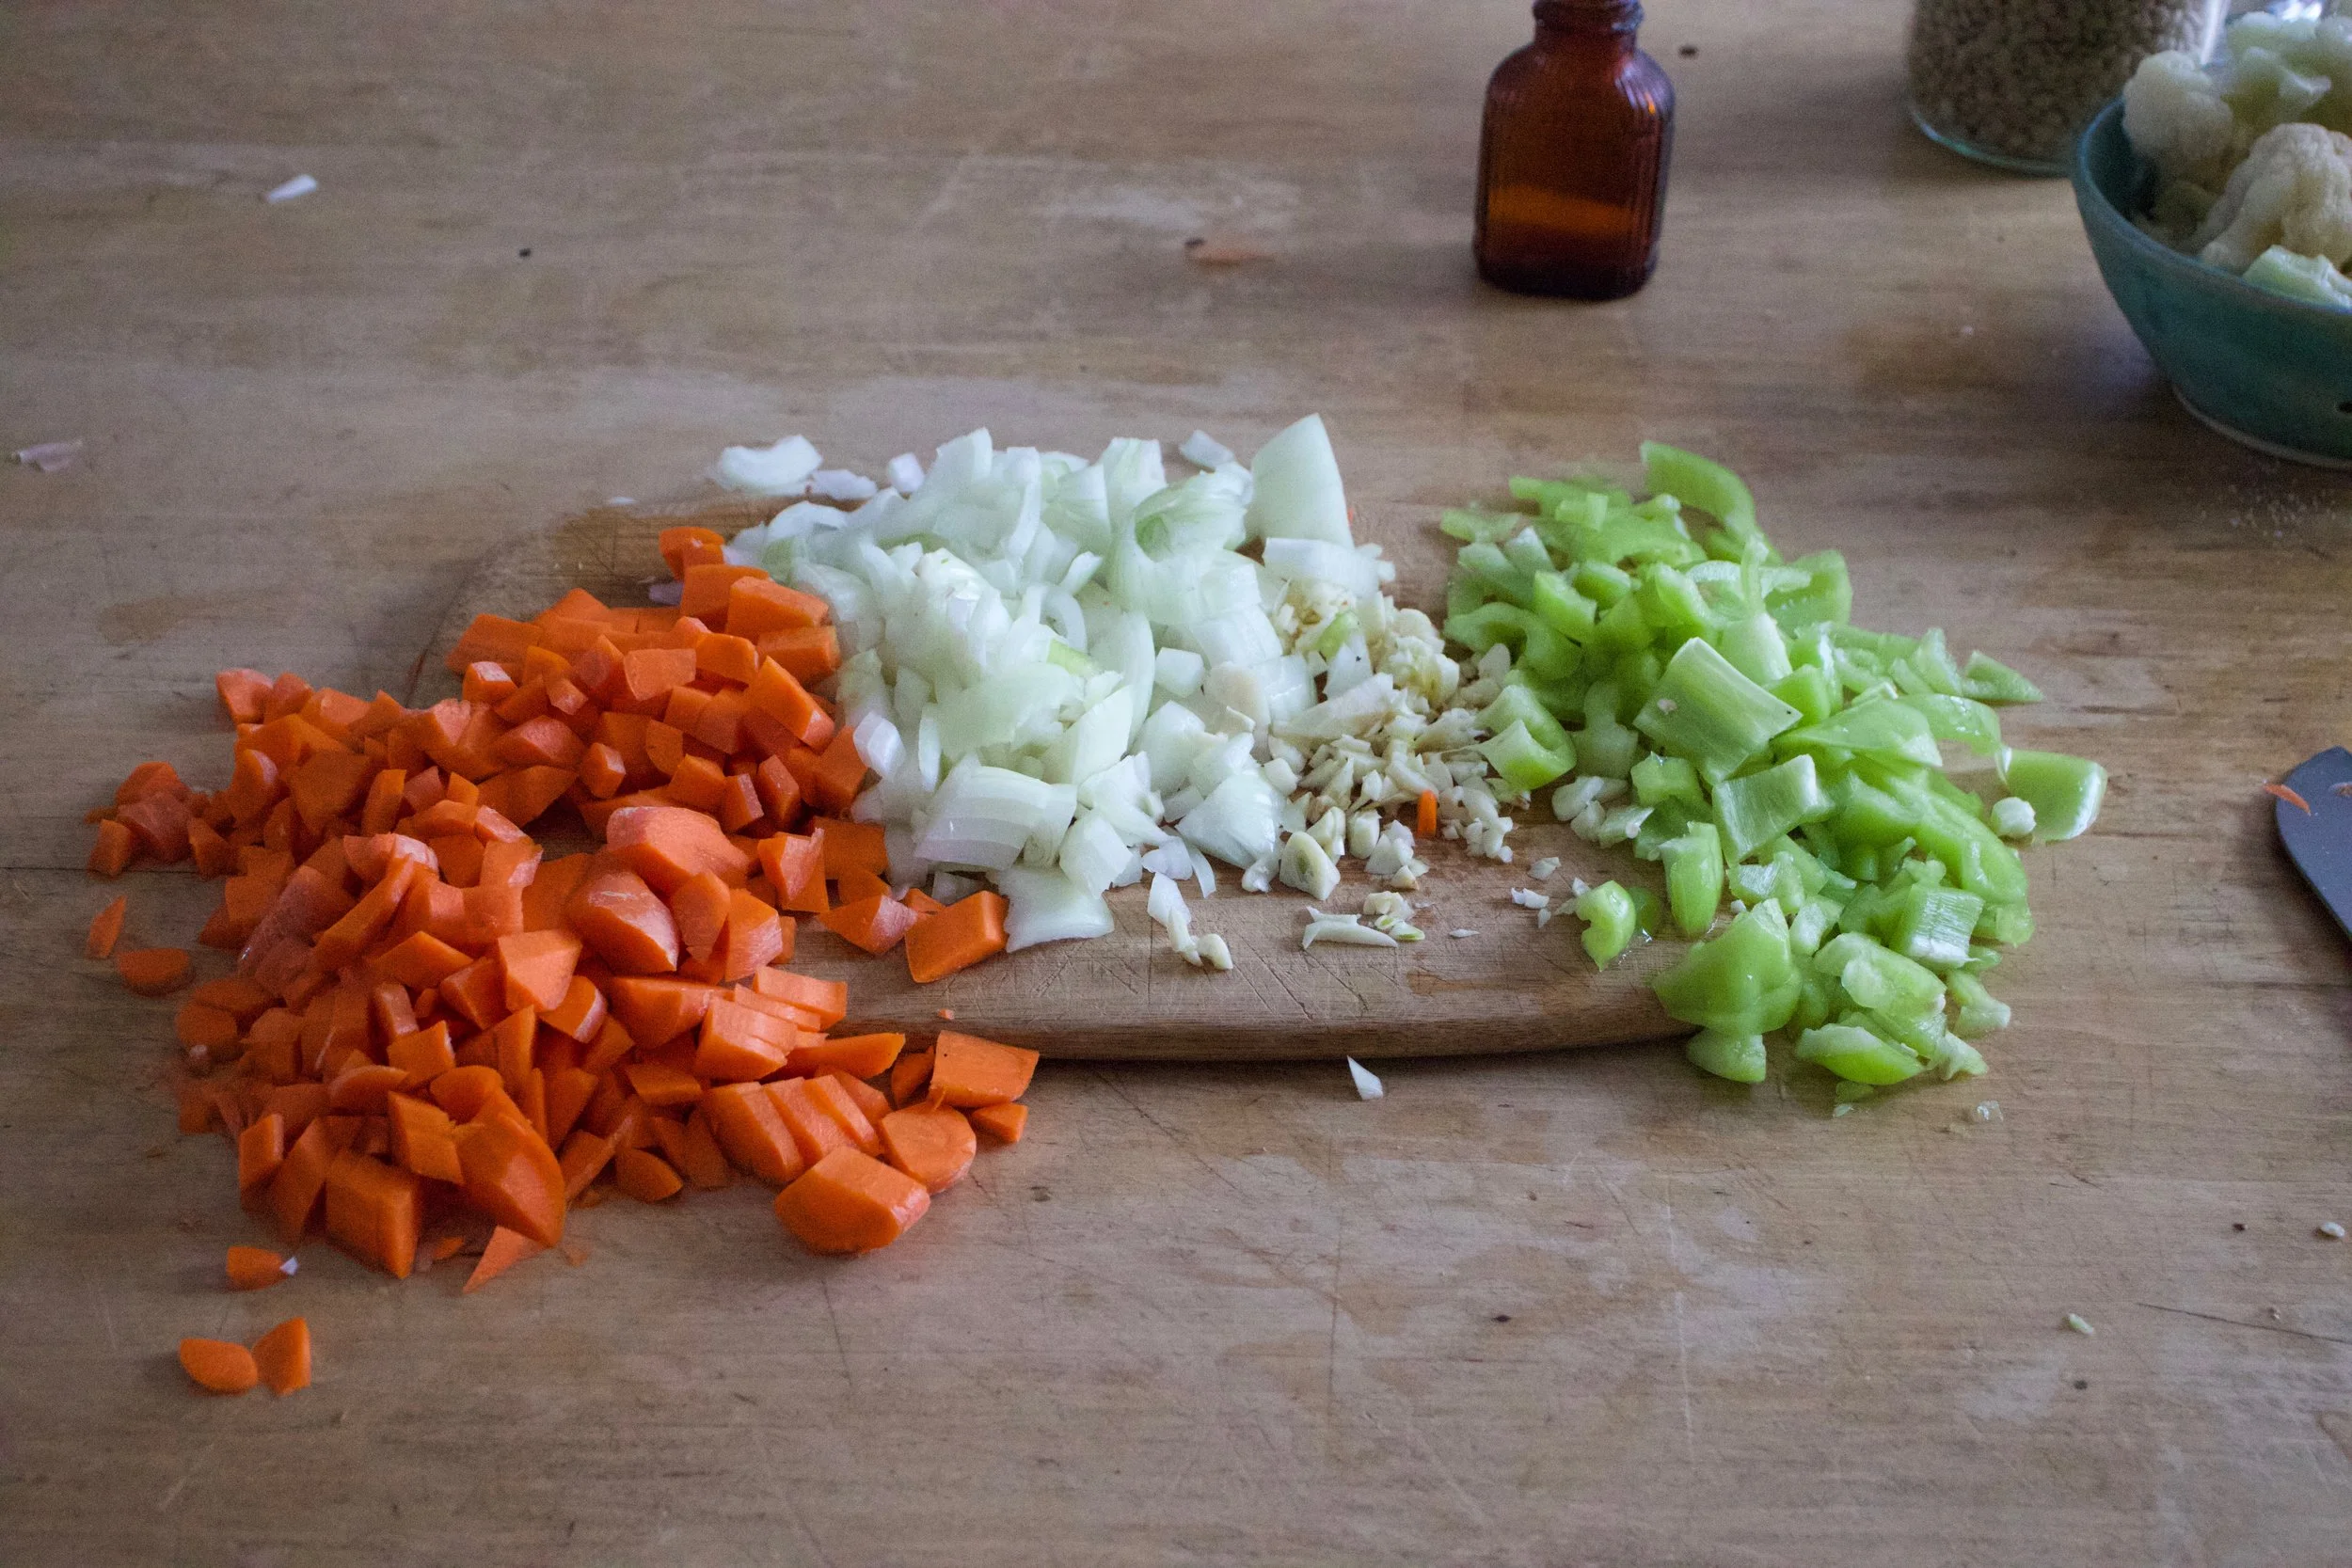
Start by chopping the onion and mincing the garlic.
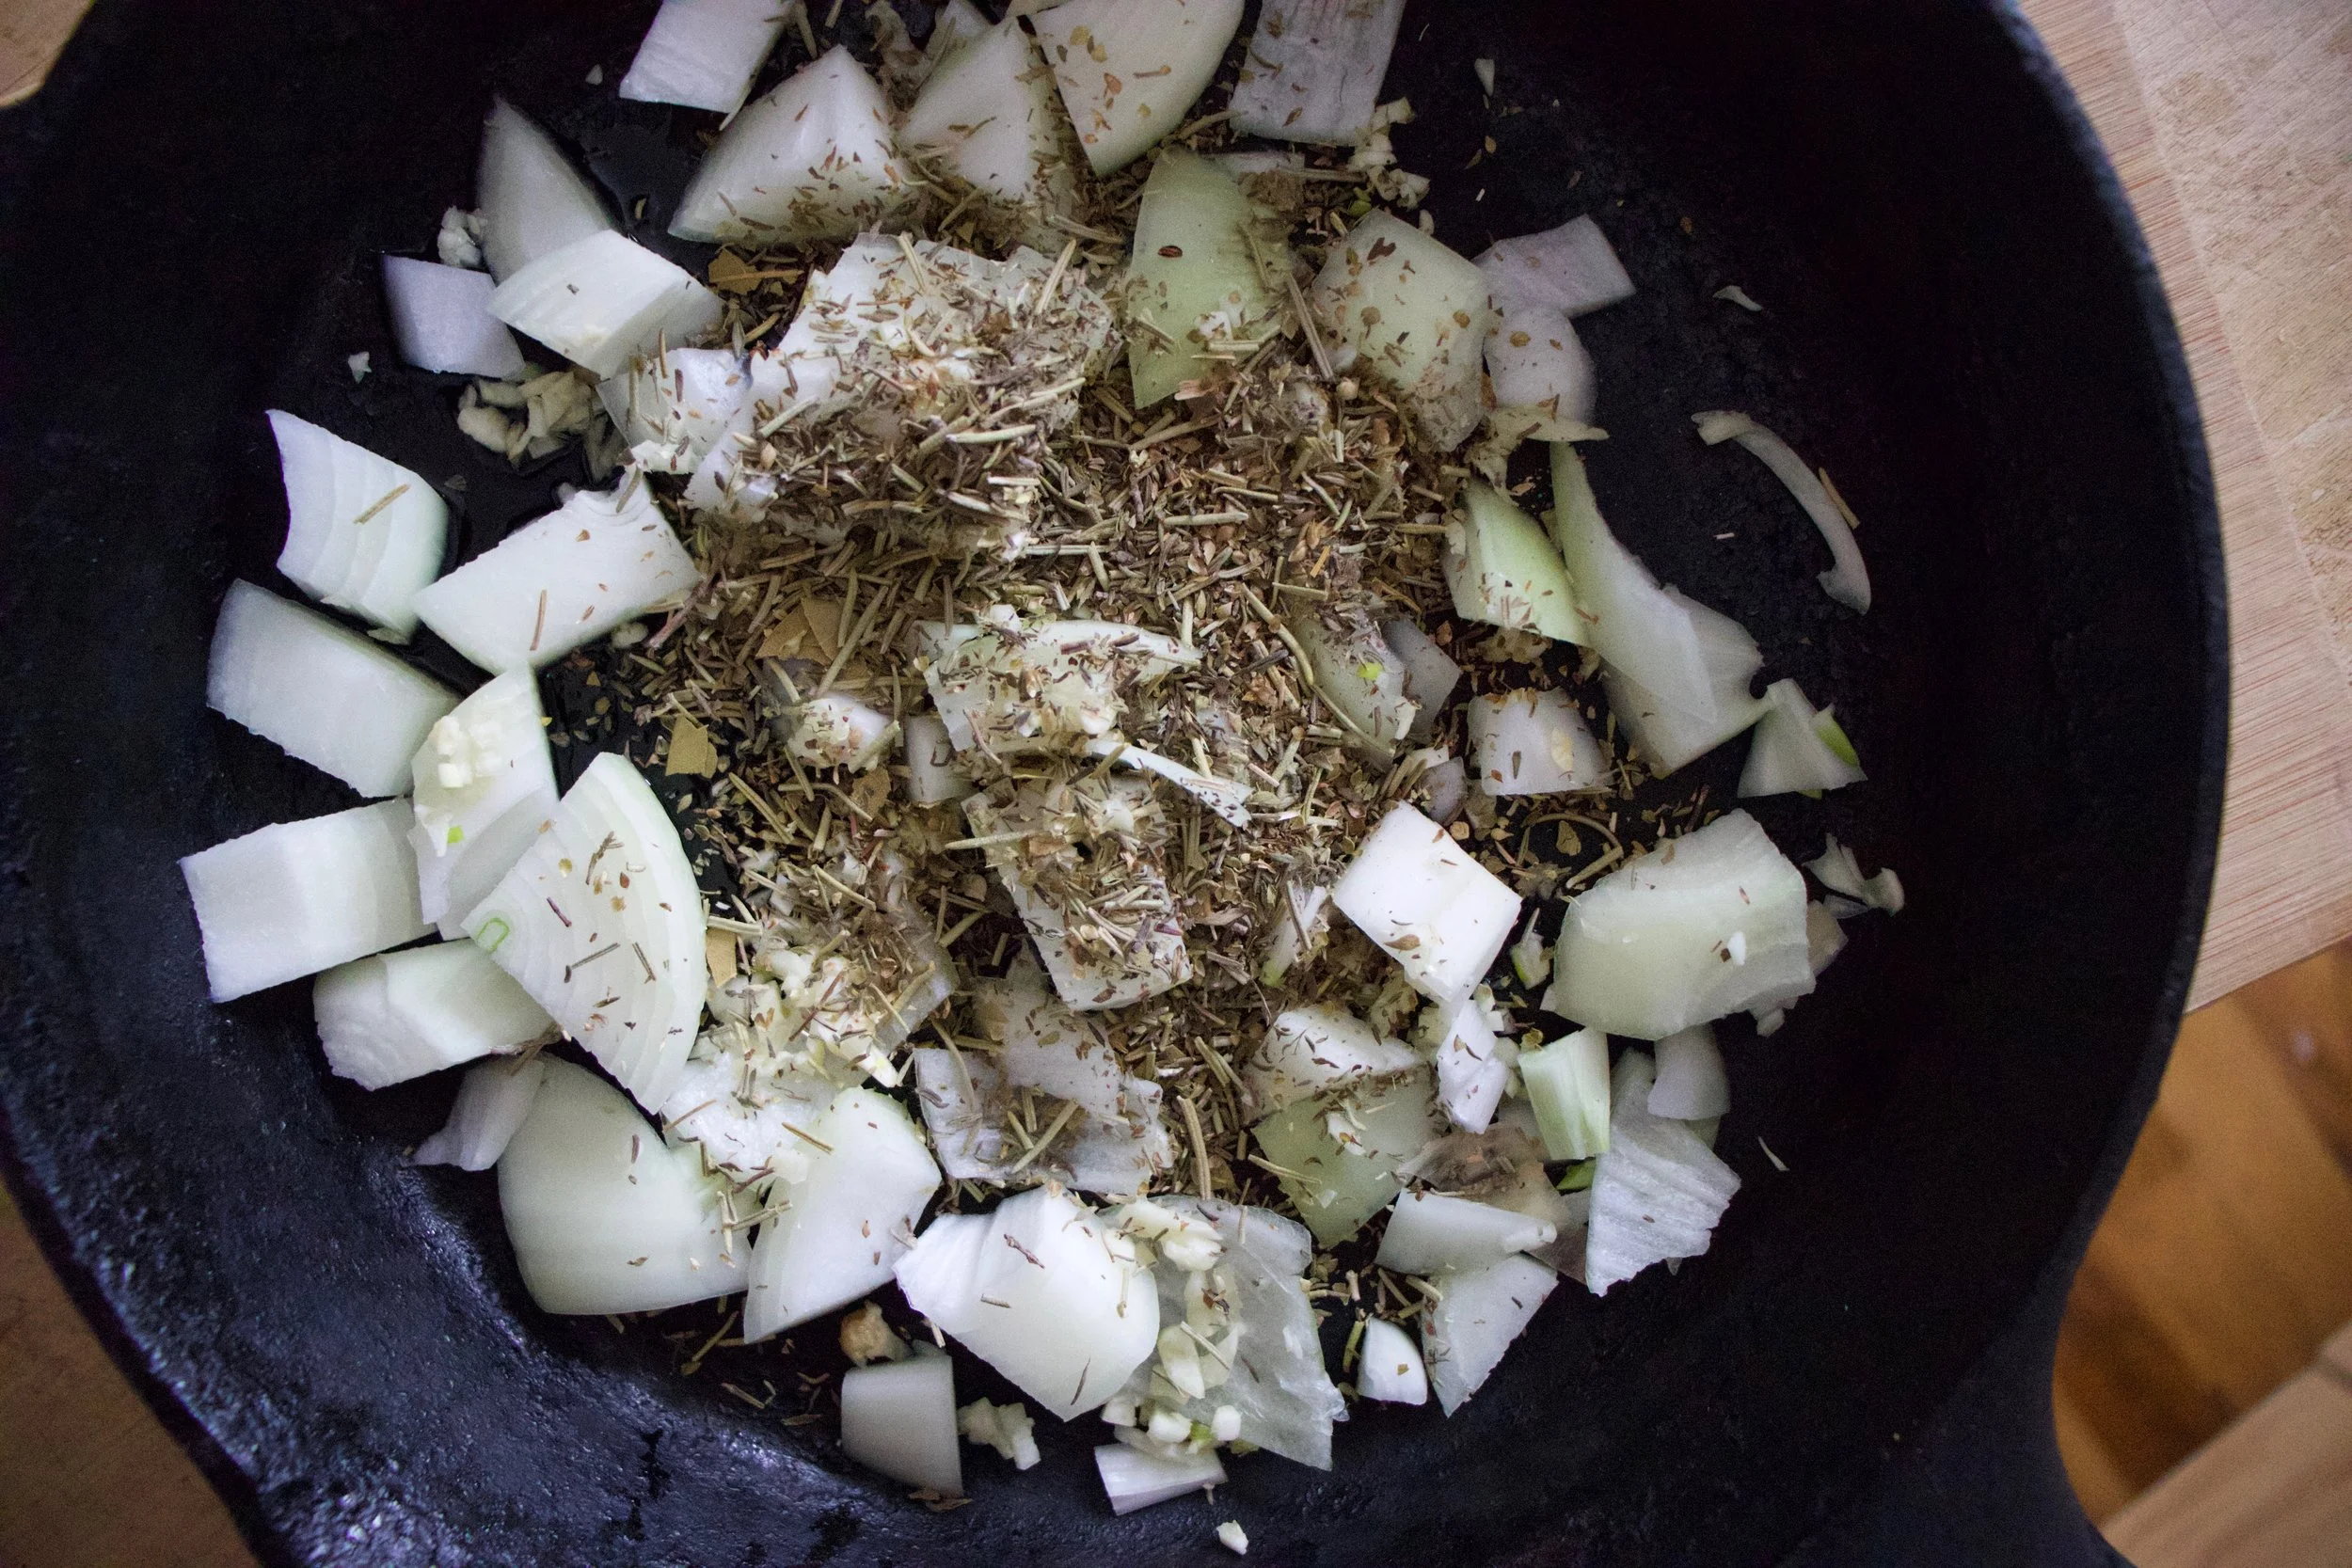
Get it all into a cast iron pan or oven safe skillet with a little olive oil. Add the spices and give it some heat on the stove top while you cut potatoes.
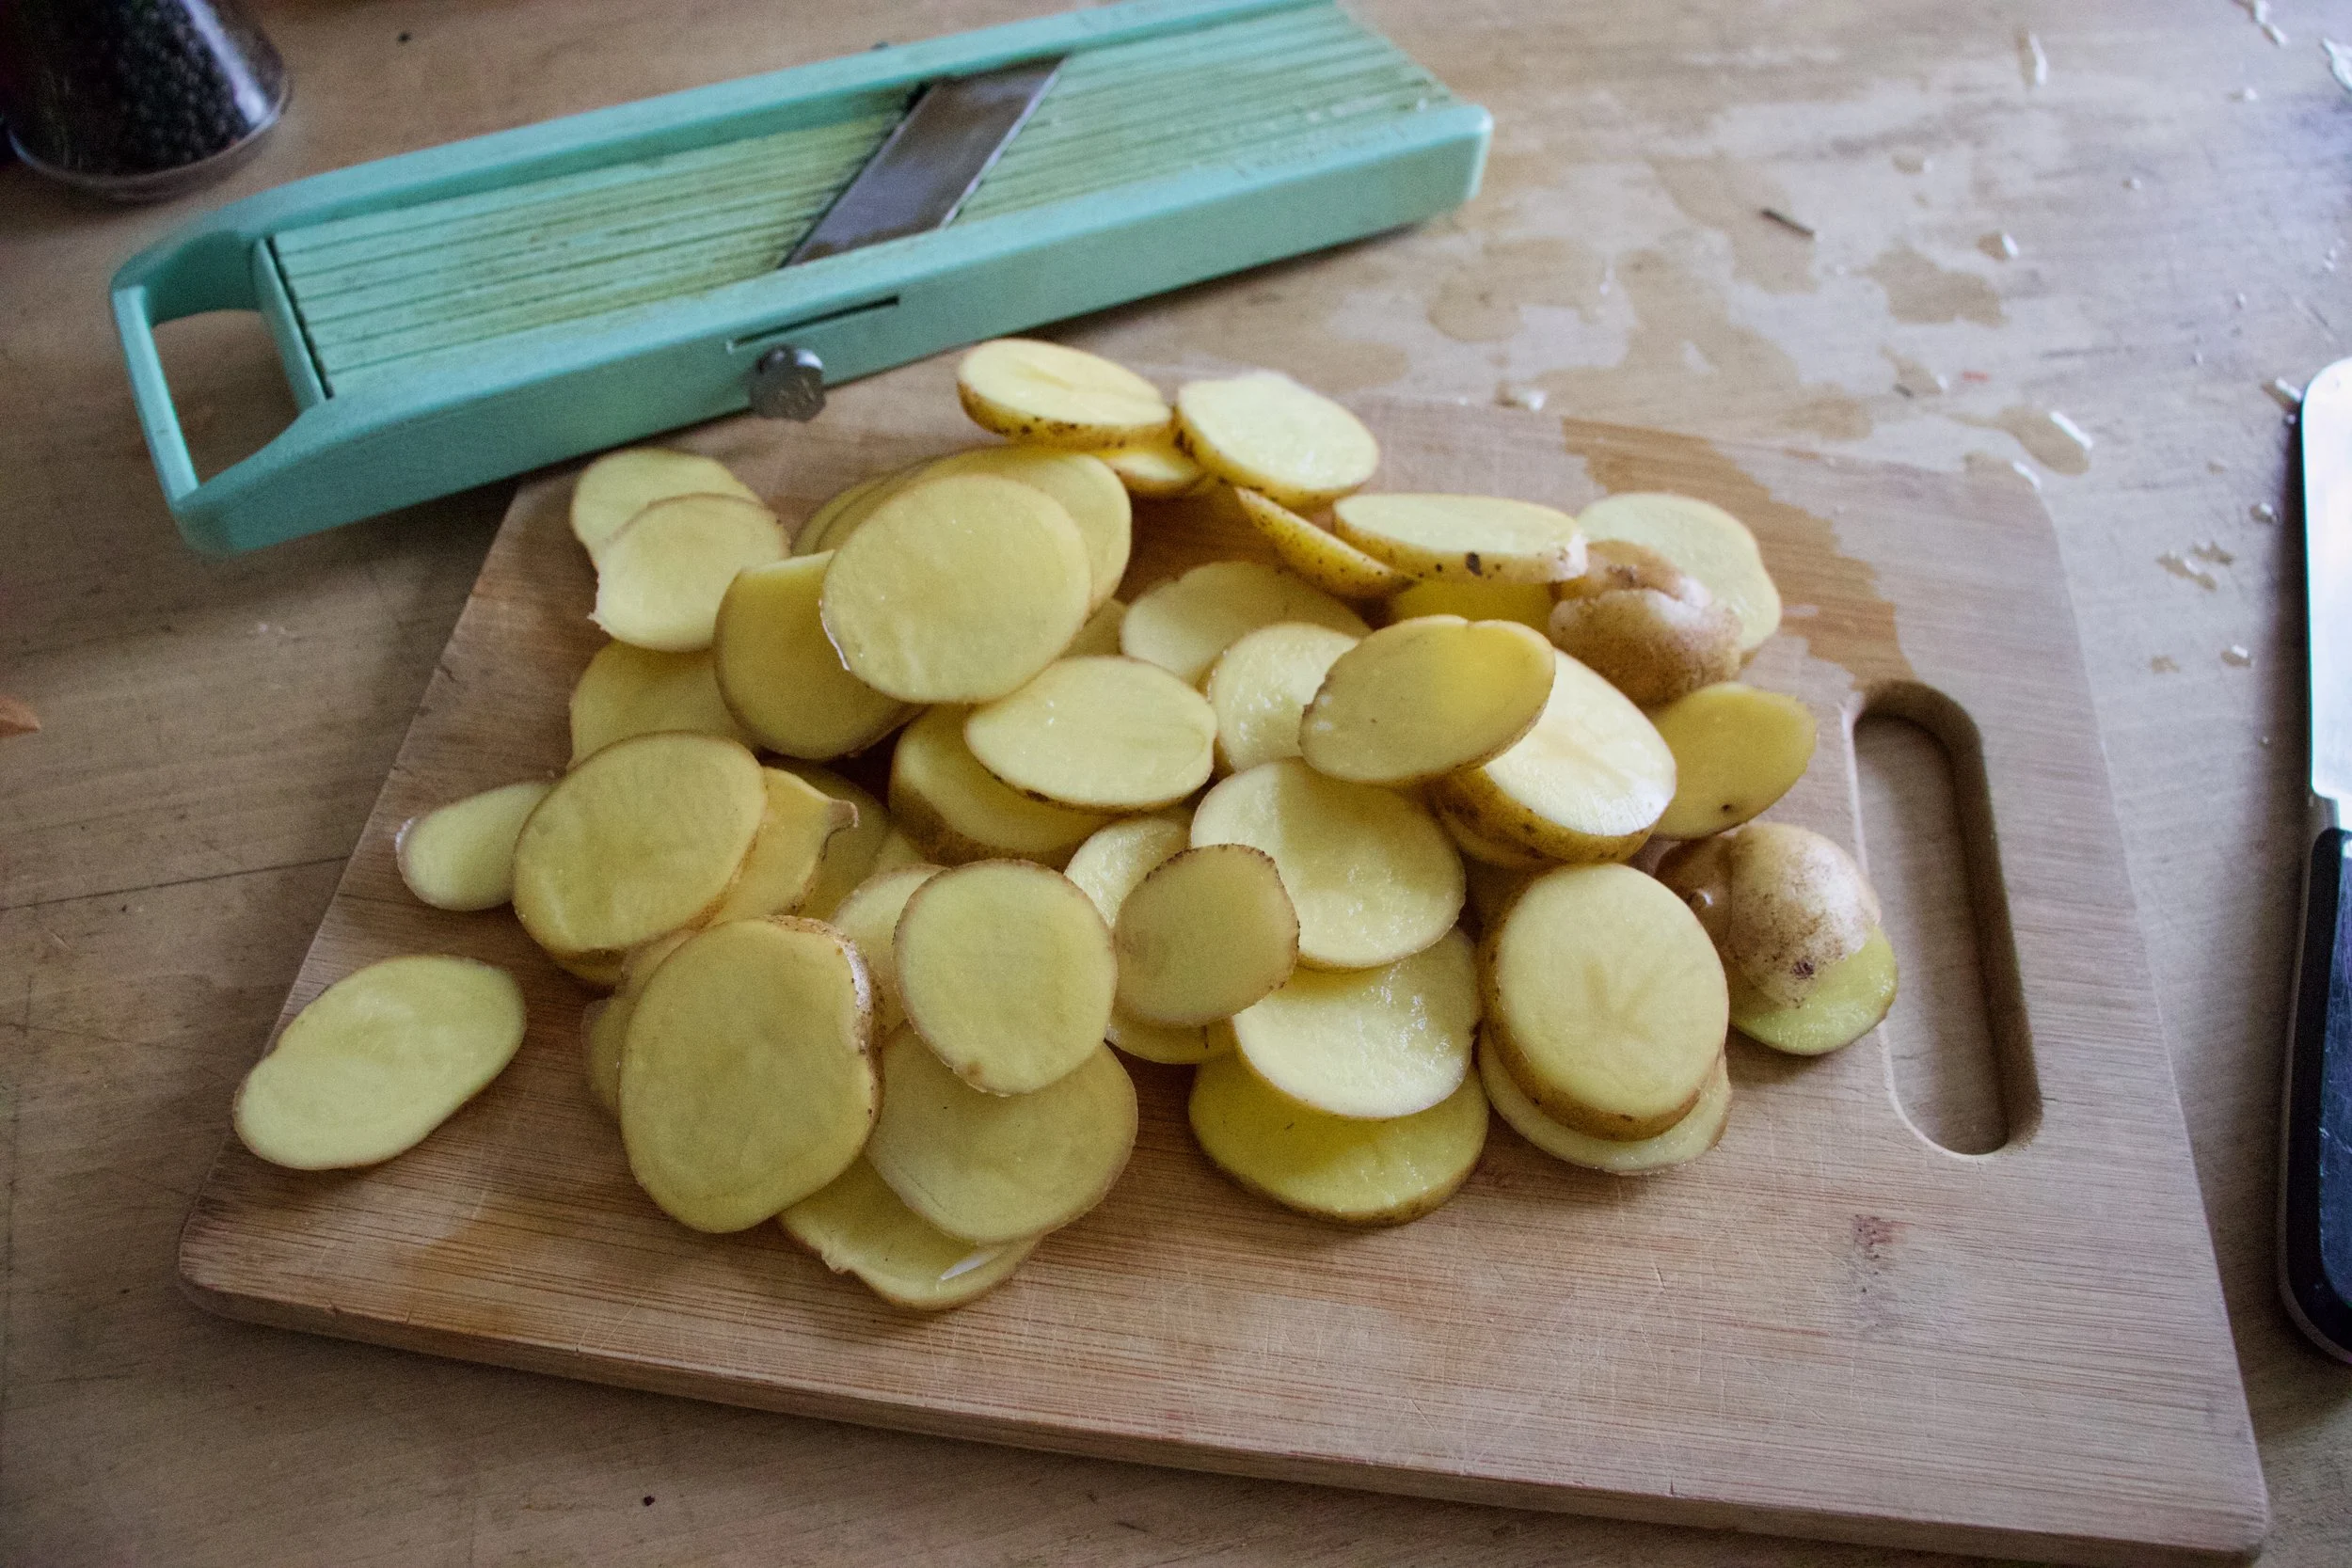
Now cut those potatoes nice and thin. A mandolin works wonders but a knife will do just as well, just try to keep the thickness all the same.
Potatoes are cut and onion mixture has sweated a bit so now you add in the chick peas (with liquid) and half the crushed tomatoes. Stir it all up.
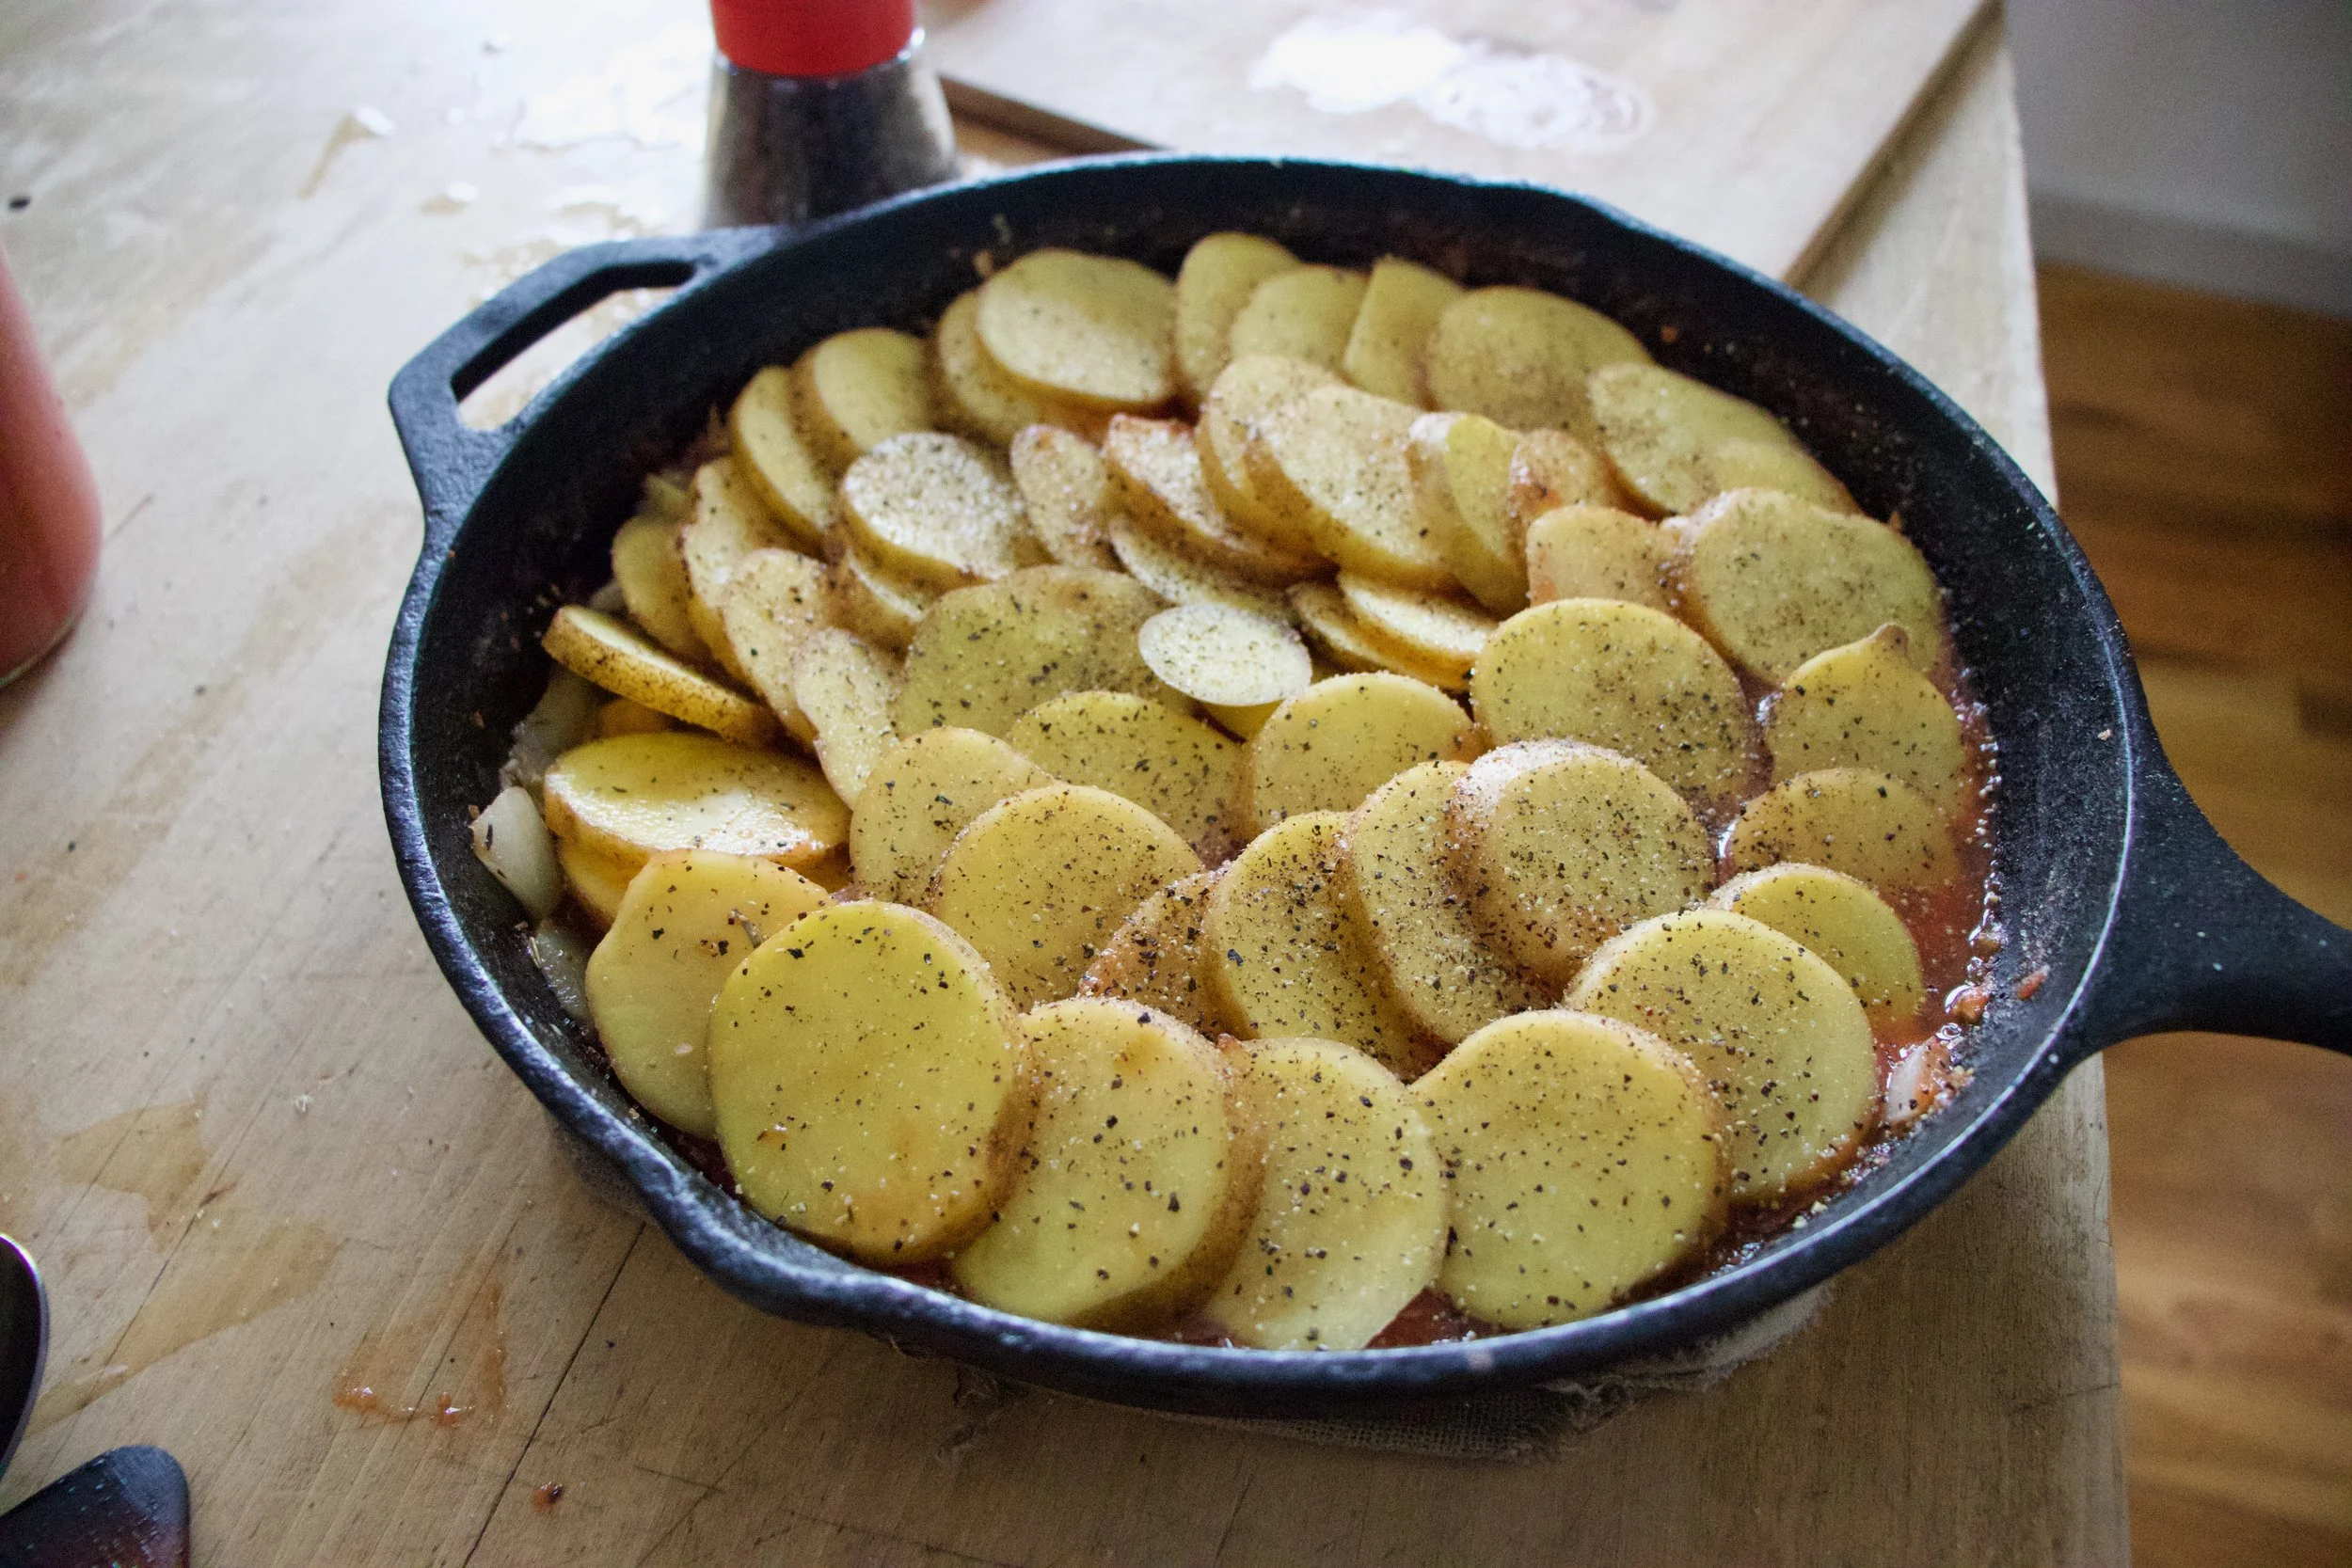
Layer on potatoes, drizzle with a tiny bit of olive oil and give them some salt and pepper love.
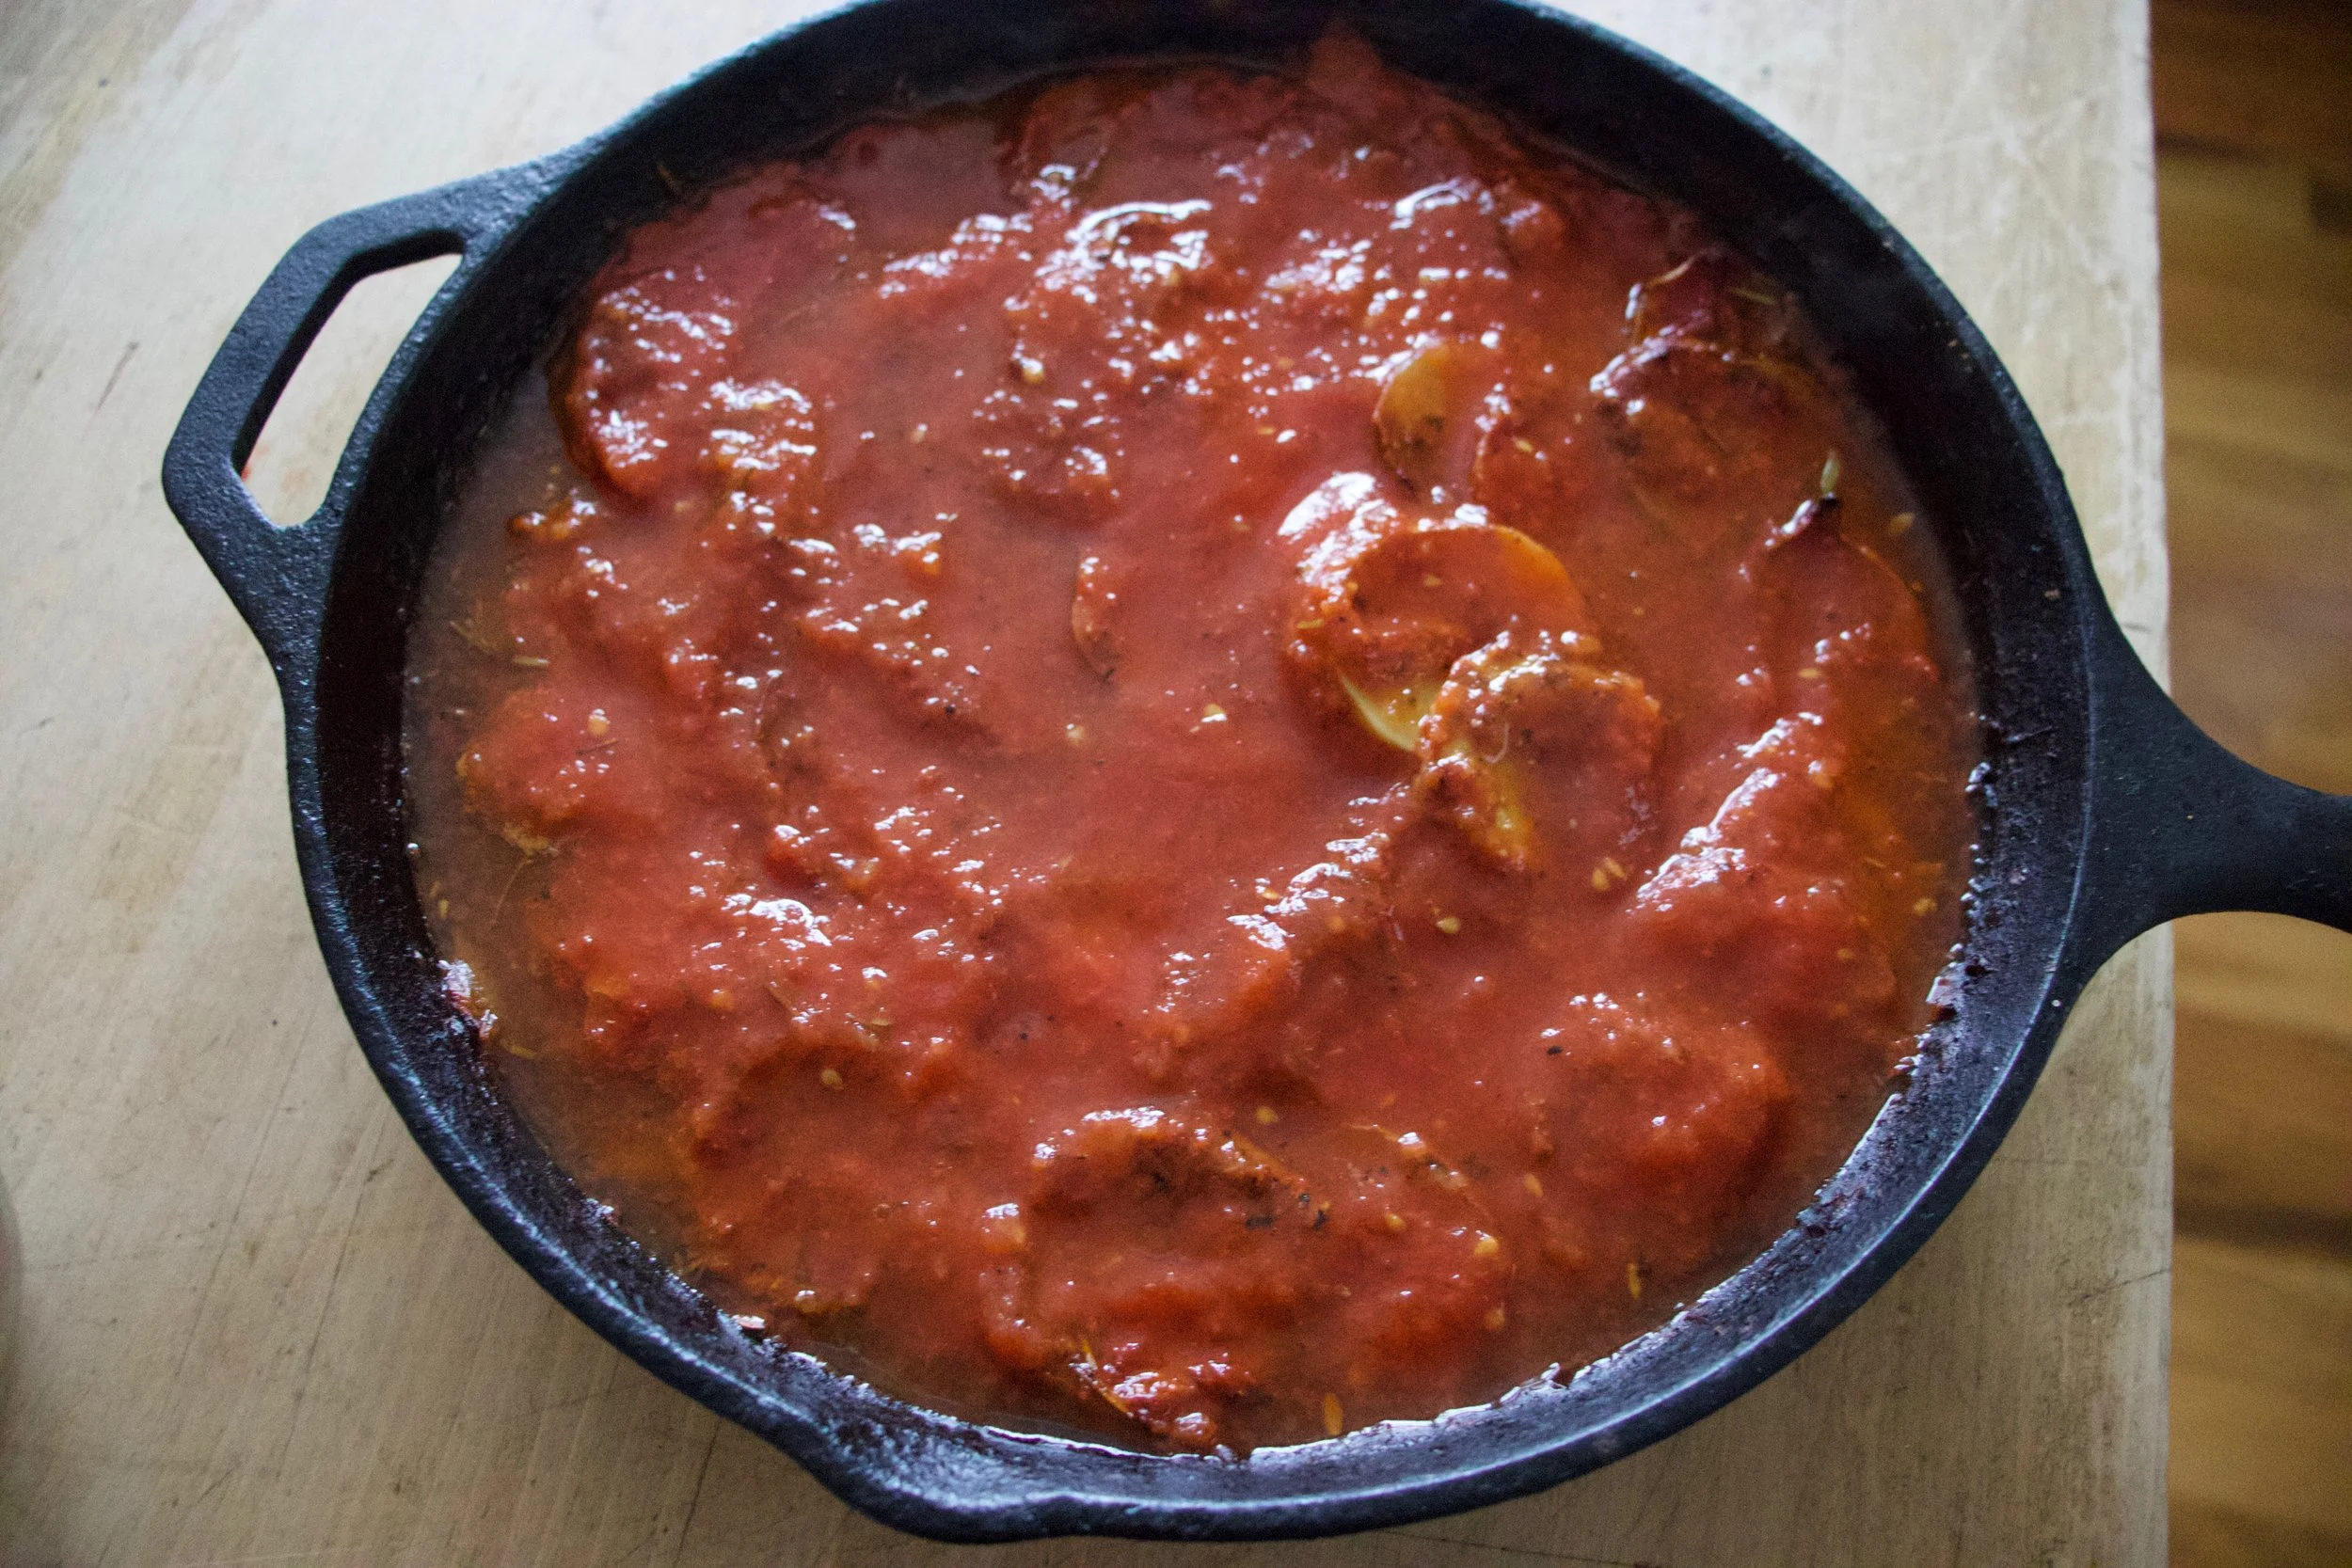
Dump the rest of the tomatoes on top then add in water, enough that all the potatoes are completely submerged.
Now into the oven they go.
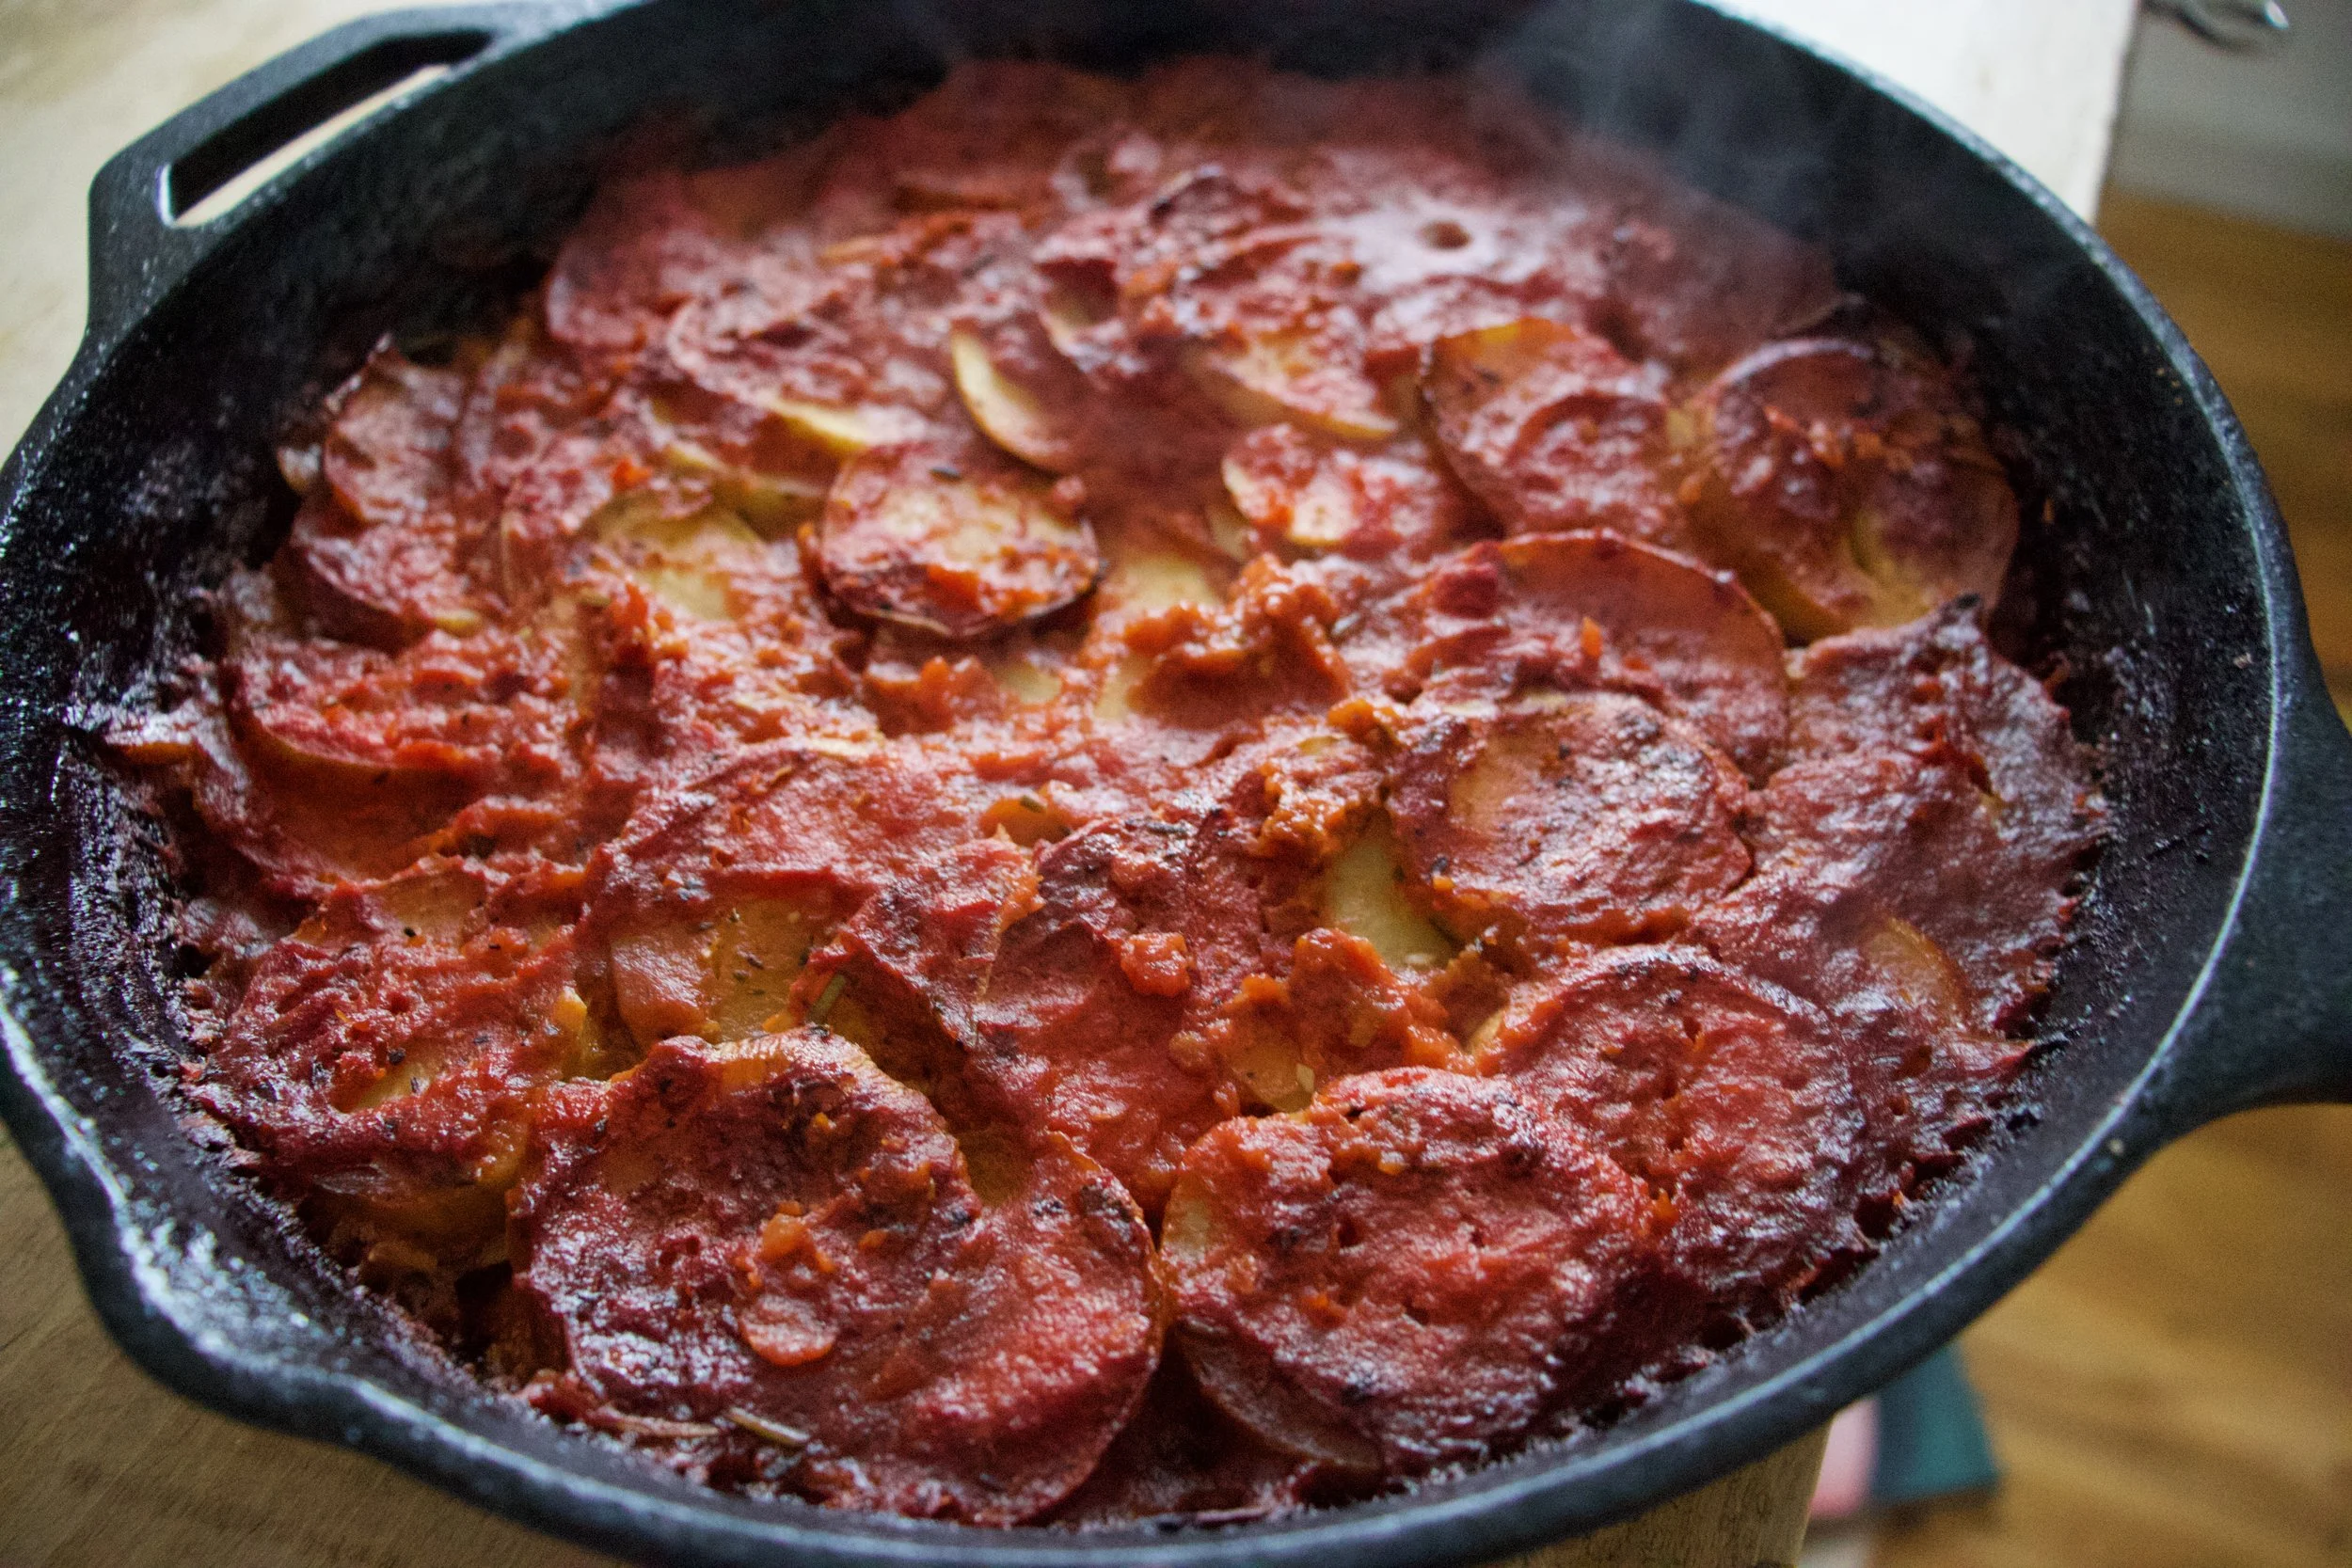
Doesn%u2019t that just look all fantastic? I mean really really , A+ good, no? If you are feeling extra crispy, you could even stick the skillet under the broiler for a few minutes right before you pull it out.
And that is that. Potatoes in tomatoes with chick peas and onions. A simple but very satisfying dish to keep your cold belly full of warm goodness.
Be well.
-C
About a pound or so of white or red potatoes
3 cups (or a 28oz can) crushed tomatoes
2 cups (or a 16 oz can) cooked chickpeas in liquid
1 large onion
2-3 close garlic
2 tablespoons Italian seasoning
2-3 cups water
olive oil
salt and pepper
Preheat oven to 400
Grab onion and dice into small pieces. Mince the garlic. Grab a medium sized oven safe skillet and toss the onion and garlic in with a tablespoon or so of olive oil and the seasoning. Place on medium heat and cook for a few minutes until the the onion is slightly cooked and fragrant. Remove from heat. Mix in the chick peas with liquid and half of the crushed tomatoes.
Rinse potatoes and slice into 1/4 inch thick rounds. Place tomatoes into the skillet, layering any way you want. Drizzle the top with like a teaspoon olive oil then sprinkle the tomatoes with salt and pepper. Spread the rest of the crushed tomatoes over the potatoes then pour the water in. If the potatoes are not completely submerged in water, add more until they are. Cover the skillet with a lid or tin foil.
Place skillet in oven and bake 40ish minutes then remove lid or foil and bake for another 25-30 minutes or until potatoes are fork tender and slightly crispy on the edges. Depending on the type of patotoes you use,(like a really firm and waxy yellow potato) you might need to add more water to the skillet and cook for longer. If that is the case, just pour more water over until the potatoes are submerged again and keep baking until cooked.
For extra crispy, when potatoes are done, place skillet under broiler for a few minutes until crisp to your liking.
Pull from oven, let cool a minutes or two then dig in.
I can%u2019t remember the last time I have gone a day without eating lentils. Seriously, even when we travel I buy or bring along a bag of lentils. Or when we are camping, its basically all we eat. So it is safe to say that I know my way around a lentil or two. They are probably my favorite food (I say that about all my favorites)
Other then lentils being amazing delicious, the are so versatile. I am sure I say it all the time, but there is nothing you cannot make with lentils, sweet or savory. And nutritional as all heck. So much iron and a super amount of protein. Lentils are basically the perfect food in tiny little coin shaped form. Take it from this vegan lady here. Lentils help keep me alive. HA.
But enough about how many lentils I eat, what we need to address is this chili. It doesn%u2019t matter if you are a lentil feen or not, you will very much enjoy yourself a big bowl of this hearty, slightly spicy, warming goodness. Especially now, when it%u2019s cold outside and the days are short and you just want to eat something filling and healthy and that is not left over holiday cookies. And big bonus, this is a chili that you could come home to start at 5 and basically have it ready to eat by 6. That is just one bit of the magic of lentils, they so cook so fast.
And it%u2019s chili and chili is the best so you really should just get it made. It%u2019s what you need, I can tell.
To all the lentil goodness!
The stuff. Green lentils, crushed tomatoes, a cubanelle pepper, an onion, a couple carrots, and some cauliflower. Also a few cloves or garlic, cumin, chili powder, ground ginger, a red jalape%u00f1o, and salt and pepper.
Get started by small choping the carrot, onion, and pepper. Mince up the garlic too.
Grab that jalape%u00f1o and remove steam (and seeds if you want heat) and dice into very very small piece.
Into a big old pot it all goes, along with the cauliflower and all the spices. Add a splash of water and a sprinkle of salt and pepper and stick it on the stove for a few minutes to warm up the veggies and spices.
Looking good.. So good I wanted to eat it all, but don%u2019t, it%u2019s for the chili.
Now add all the tomatoes and water and place back on stove on high heat until it starts to boil, then reduce heat to a medium and cook until lentils are tender.
Well look at that, chili.
And why not top with a little avocado while you are at it. It is a very good addition, to the spiciness.
Very little amount of works for such great rewards. Probably going to be your new favorite chili recipe just so you know.
Lentil chili. Grab a bowl, kick up your feet, and dig on it.
-C
makes a lot of chili, like 10-12 servings
1 pound green lentils
1 large onion
5-6 cloves or garlic
1 cubanelle pepper (or any green or sweet pepper)
2 large carrots
3 cups chopped cauliflower (fresh or frozen)
6 cups (two 28 oz cans) crushed tomatoes
2 hefty tablespoons cumin
1 hefty tablespoon chili powder
1 teaspoon ground ginger
1 jalape%u00f1o pepper
6-8 cups water
salt and pepper
diced avocado for serving (optional)
Remove steam and seeds from cubanelle pepper and small dice it along with the carrots and onion then place int all nto a large heavy bottom pot. Mince the garlic add into pot. Remove steam and seeds from jalape%u00f1o pepper and finely dice it and add to pot. Last but not least, add the spices to the mix. Add a splash of water and place on high heat and cook the veggies and spices until for 5 or so minutes, just to give them a little heads start and to activate the spices.
Once the veggies have had a few minutes of heat, dump in the dried lentils, the tomatoes, and 6 cups of water. Stir around and keep on high heat until it starts to boil then turn down to medium and continue to cook, stirring once in a while, until the lentils are tender and the chili has thickened, which should take about 35-40 minutes. If at any time you the lentils are not submerged in liquid but are not cooke through, add more water. And once the lentils are cooked you can thicken bu continuing to cooke does or thin it out by adding more water. Taste soup and season with salt and pepper as you see fit.
To serves, ladle into bowls and tope with diced avocado.
Left overs are fantastic hot or cold and will last in the fridge for about a week. Or if you want, you can freeze a few servings.
Sweet, sweet Vermont. Things around these parts he been oh so nice. Warm days (not hot) and cool nights. The colors are starting to show on the trees. People are starting to wear clothes again and eating apple things and drinking those darn pumpkin spice lattes. I still haven’t gone apple picking yet (I’ve been waiting for at least a good week of cool temps so the apples get nice and sweet) but I did eat a pumpkin this week. And the sky, the sky has been nothing but pretty. I have been loving it all.
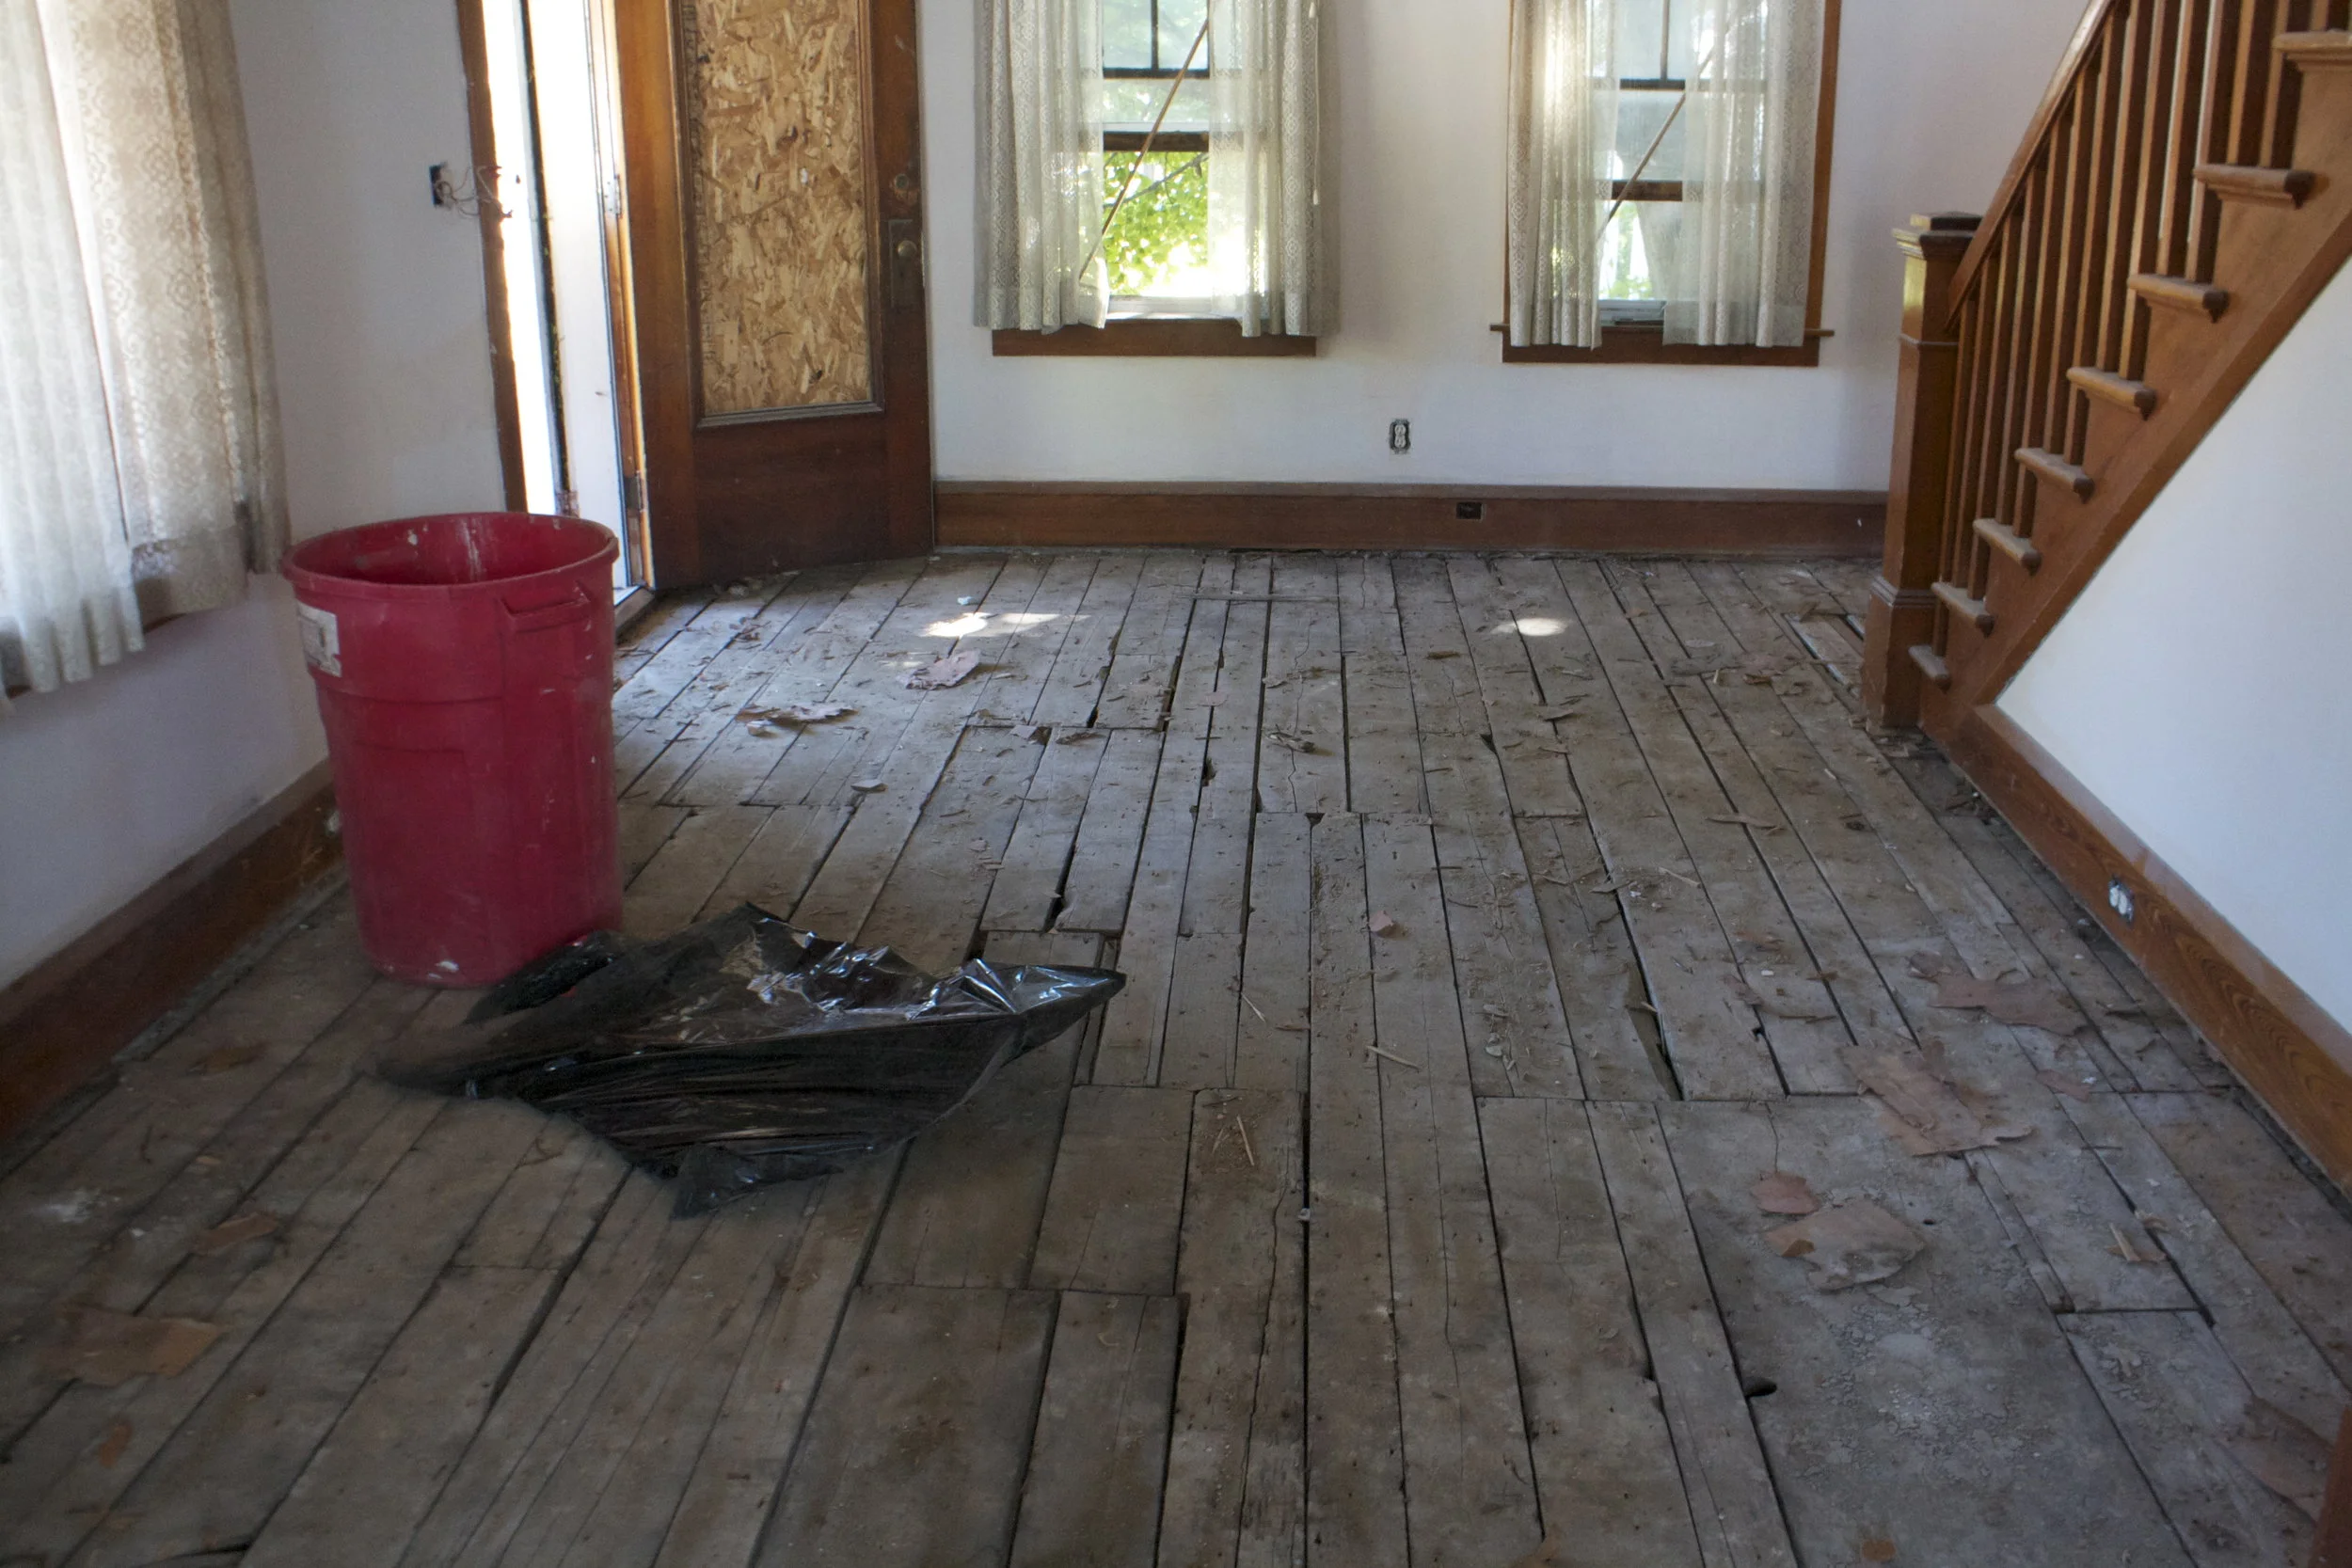
Straight up a crazy, full week.%u00a0 Lots of family dinners, bunk bed building, and mathematical problems solving in order to lay the tubes for heat in the floor. We went to a wedding (congrats Alex and Allison!) were we saw an eagle and I ate all the fresh figs from the cheese platter.(sorry, not sorry) Over at the house the mr and I made the decision to rip out all the old flooring on the first floor down to the sub floor so the radiant heat can go under the new floor instead of coming up from the basement. I know, I know, we need to stop ripping shit out and just finish putting it all back together. We are getting there. Lucky me I didn’t have to do to much of the floor ripping, more just the pulling of all the stupid nails left. Not the funniest job, but I have gotten pretty good at de-nailig floors. I could market my new de-nailing skills and make millions. Yeah, sounds about right.
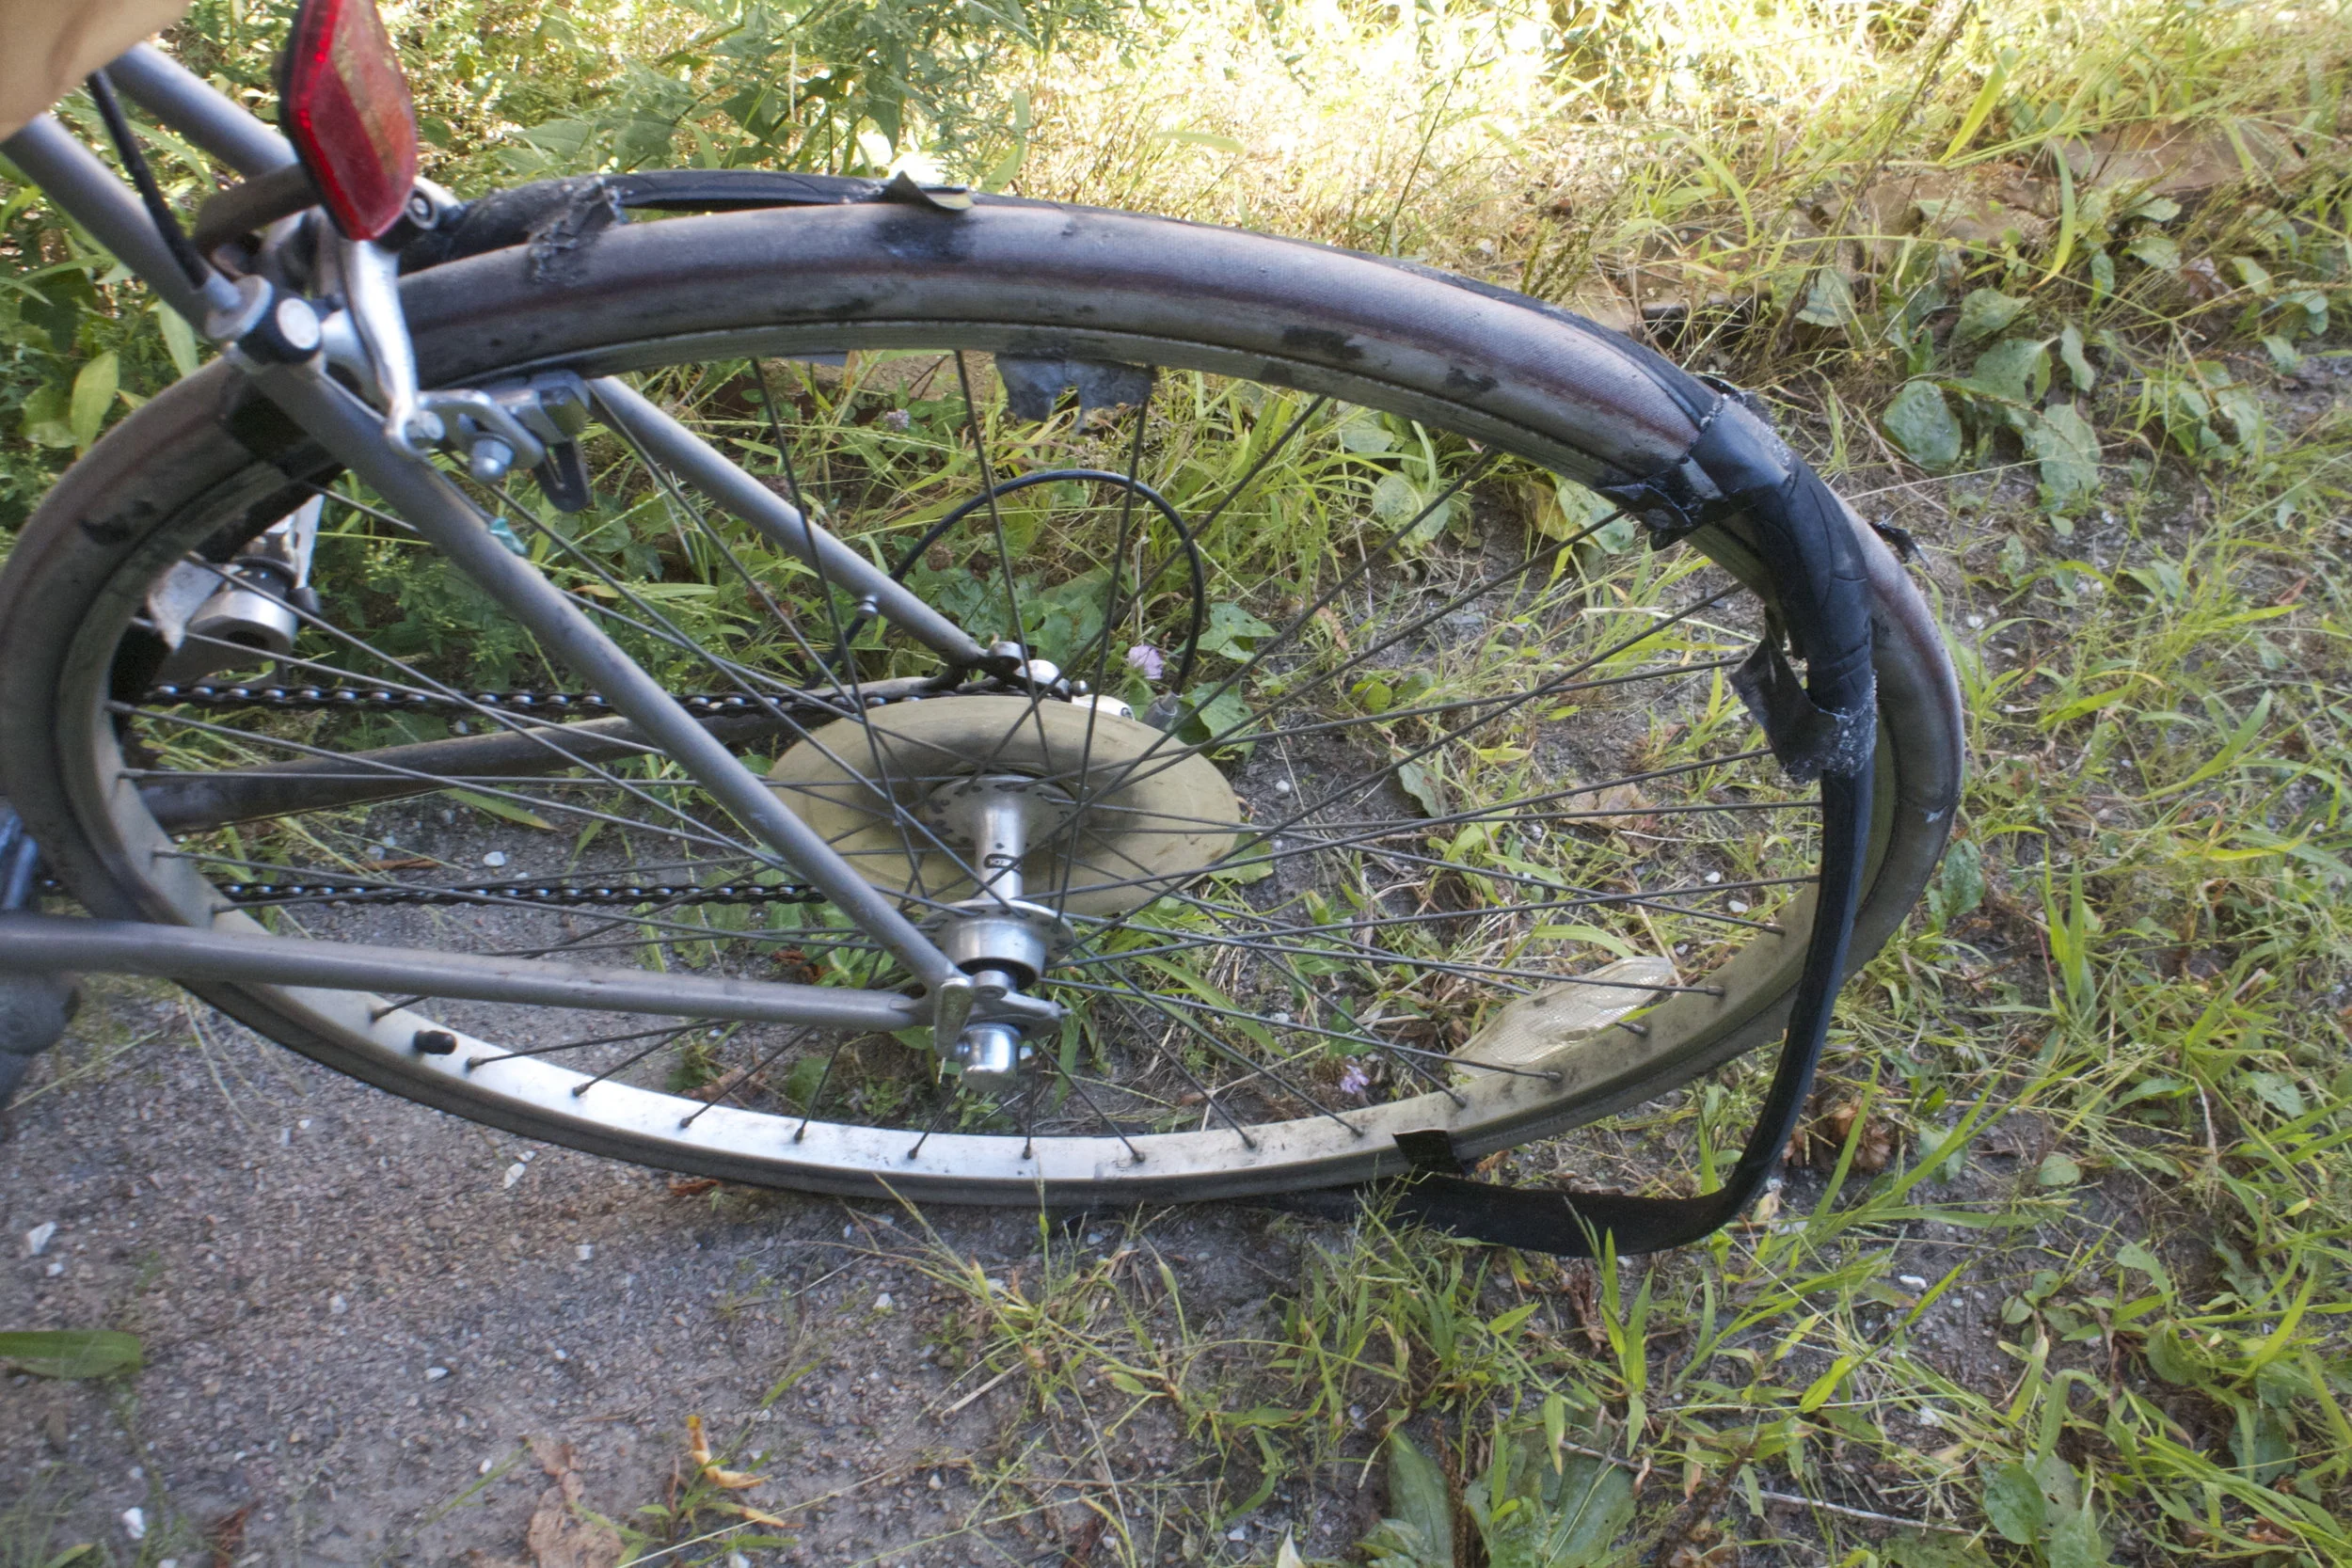
On a sad note, I killed another freaking immersion blender so now I have to pull out the big blender every time I want some smooth soup. Me being me, I almost burned my face off when I went to blend some boiling hot soupand the lid was not on tight and hot soup splashed my face. (I am fine, minor burn left on my ear) Lesson learned. Now I wait for soup to not be so hot and check the mother f-ing lid.%u00a0 Oh, and my bike tire finally fell off completely which really sent my life through a loop. I know I have been saying all summer that I was going to get a new tire but the duck tape was working oh so well (no, not really) And because I waited until the tire fell off and I wanted to save 20 bucks by ordering a new tire online, I had to ride around town all week on the mr’s bike which really sucked a big one. Thank UPS man for delivering me my new tire. All is well now(besides needing a new brake pad and handle bar tape, but that will happen in time) and I can go back to my own bike. I have missed it so much.
Today the mr and I are going to plug away some more with tube laying on the floor. He is starting to worry about getting a source of heat in the house soon. I say as long as we have some type heat by November, we are all set. And if the weather is decent and not pouring rain later, I am going to break in my new bike tire with a heavy trip to the library. My stack of returns is getting pretty ridiculous. (8 books high)
What I saw on the internet this week.
– Tricky tricky sons of bitches.. 50 Years Ago, Sugar Industry Quietly Paid Scientists To Point Blame At Fat
-These are some crazy photos. Winners of the 2016 British Wildlife Photography Awards
-Sad truths. Three Foods That Might Not Survive Modern Diseases
-I don’t know if I would do this but it’s pretty cool. Body Marbling Is A New Festival Trend That Turns Your Skin Into Art
-This is not a joke (I thought it was) Self-Driving Shopping Carts May Be the Way of the Future. I don’t think I like this, not one bit.
-We have our cat Only. We do nit snuggle him cause he is evil and likes to dig his claws in, so I am ok with this.%u00a0 Doctors Rudely Warn Public Not to Snuggle Kittens
-It has happened to me and it freaked me the f out. Ever wake up to a numb, dead arm? Here%u2019s what%u2019s happening.
-As a seltzer water drinker myself, this was all the right. A Millennial%u2019s Guide to Seltzer
-Researching siding for the addition. Think we are going with the Shou Sugi Ban method. We get to set stuff on fire!!!
–5 Ways to Tell If Your Knife Needs Sharpening. I try to keep mine sharpened not only because cutting food withsharp knife make sense but the danger is for real. The duller the knife, the more likely I am to cut my dang finger off.
Have I told you that my CSA is totally awesome? Well, if I haven’t yet, consider yourself %u00a0told. Anyway, one of the coolest thing that the farm does %u00a0for it’s members is they plant a variety of pick your own crops. There are strawberries, beans, tomatoes, herbs, flowers, and some other stuff. We also get to pick hot peppers.%u00a0%u00a0Yes. Lot and lots of hot peppers. And not just jalape%u00f1os. They have like 5 different varieties, inching habanero. And there are a ton.%u00a0%u00a0SO many, in fact, that I don’t even bother picking the amount that I am allowed. (15 hot peppers a week.. my butthole would kill me) But I did pick a bunch (I went with the red jalape%u00f1os which are mother f-ing HOT) and made me some hot oh hot sauce!
Note to anyone that is handling hot peppers. Watch where you stick your hands. I cut up jalape%u00f1os a lot, and most of the time I am pretty good about not touching anything, but once in a while I will cut up a pepper, not wash my hands, then maybe scratch my leg.. Then I might rub my eyes, or pick my nose (might to might not happened) And it’s not instantaneous. It starts low and slow, then all of a sudden, you shit is burning and your like “What the Hell!! I am on FIRE!. And then you might thick to yourself “Oh shit, do I have a flesh eating virus? %u00a0Should I be concerned?”%u00a0%u00a0(Me after a particularly itchy night,%u00a0making some salsa,. Good thing the mr was there ego tell me I was being a dumb ass and cutting up peppers at dinner) So yeah. not flesh eating virus, but never the less,%u00a0don’t touch!
Now lets make so Freaking HOT SAUCE!%u00a0
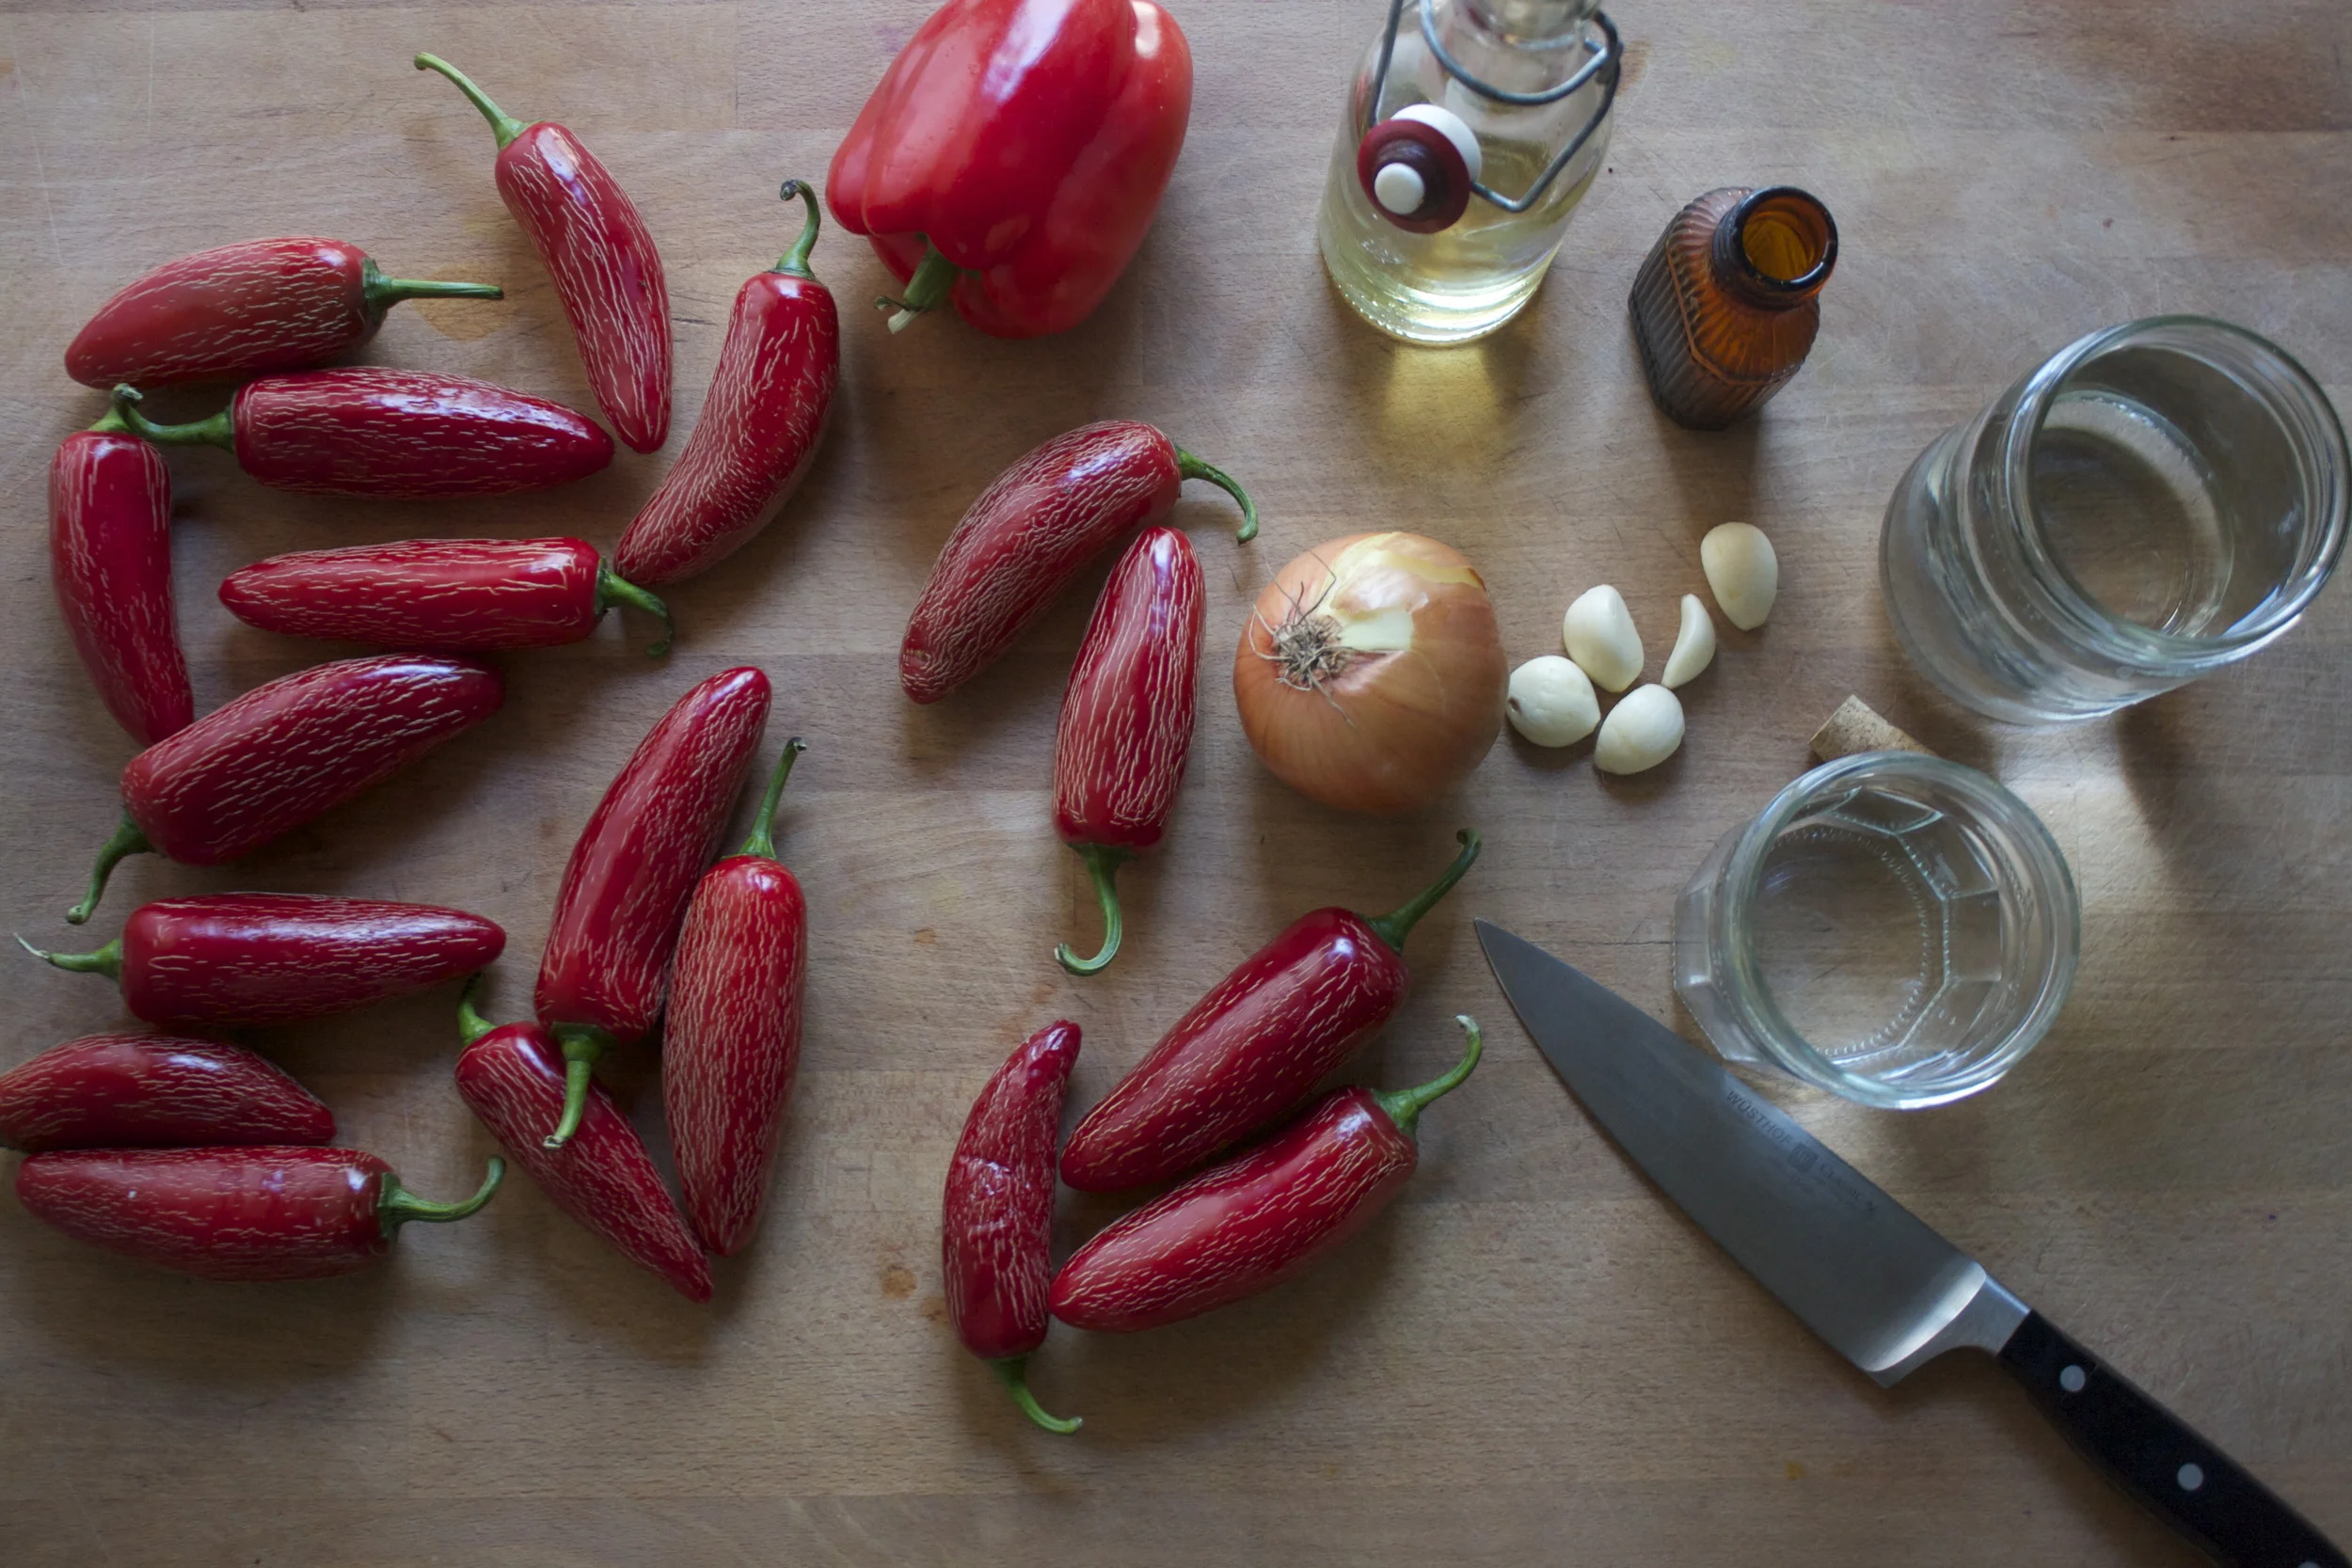
The stuff. ! butt load of red jalape%u00f1os (you can use green), a red bell pepper, an onion, a few cloves of garlic, salt, vinegar, oil and water.%u00a0
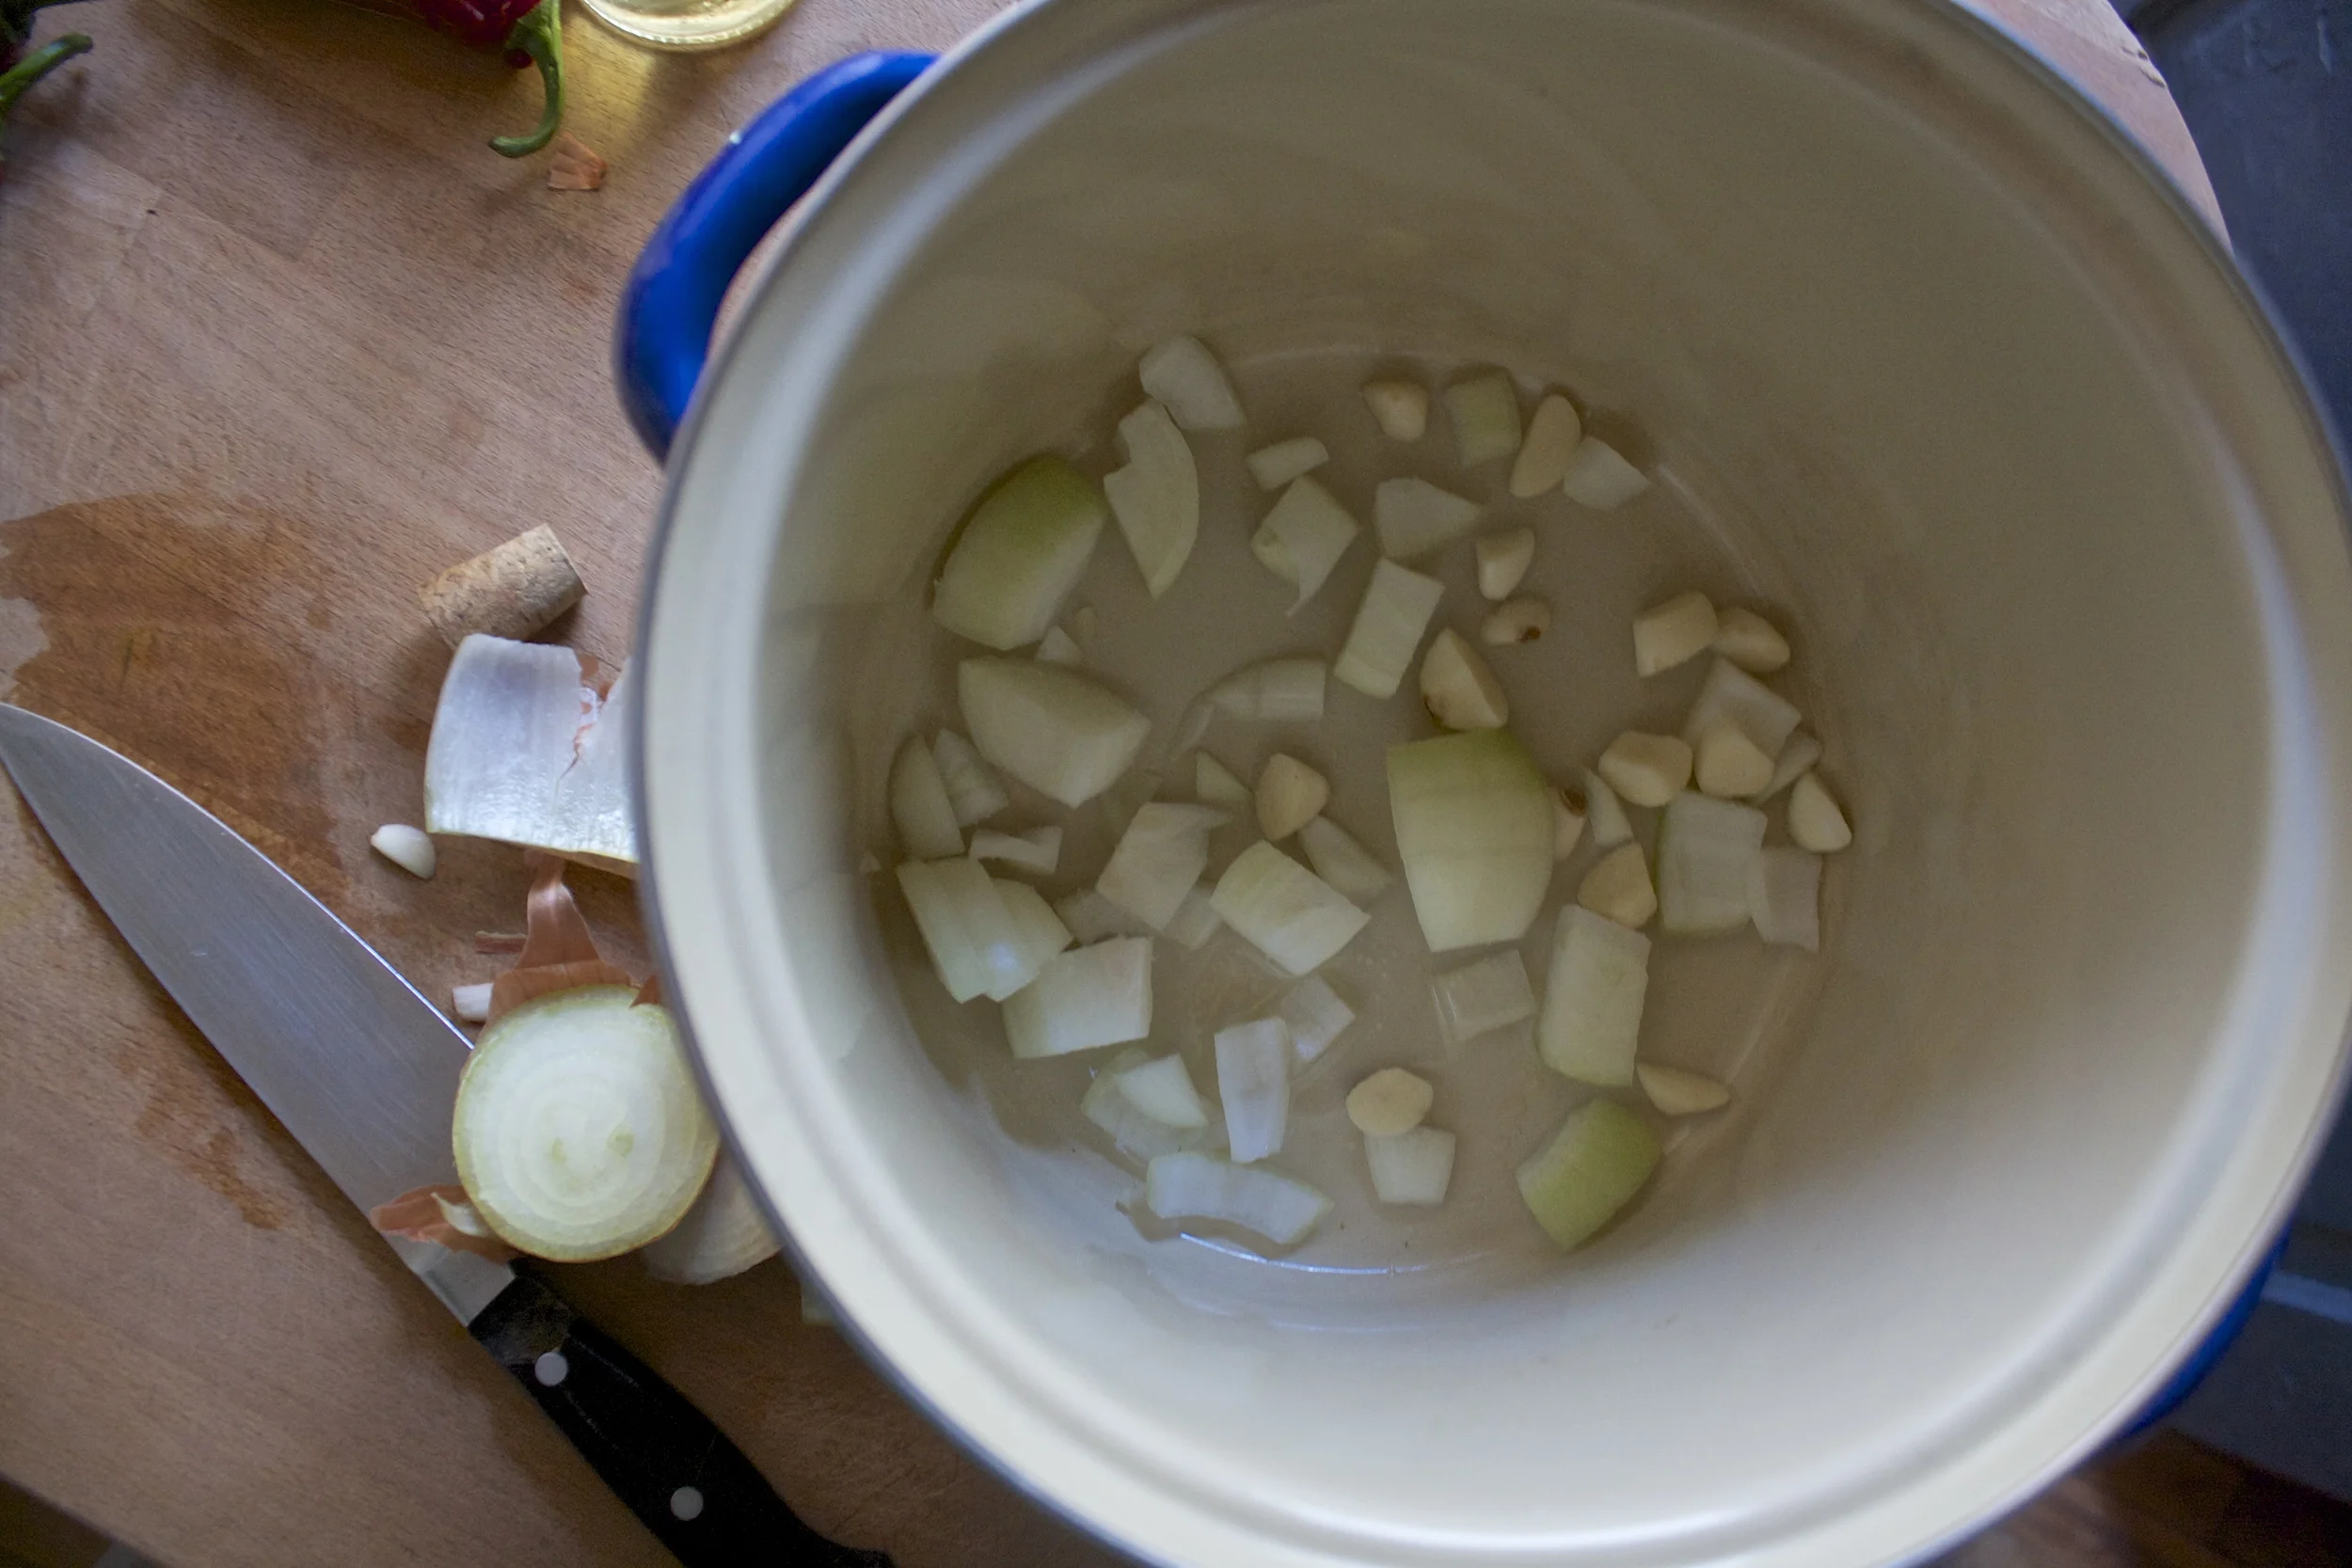
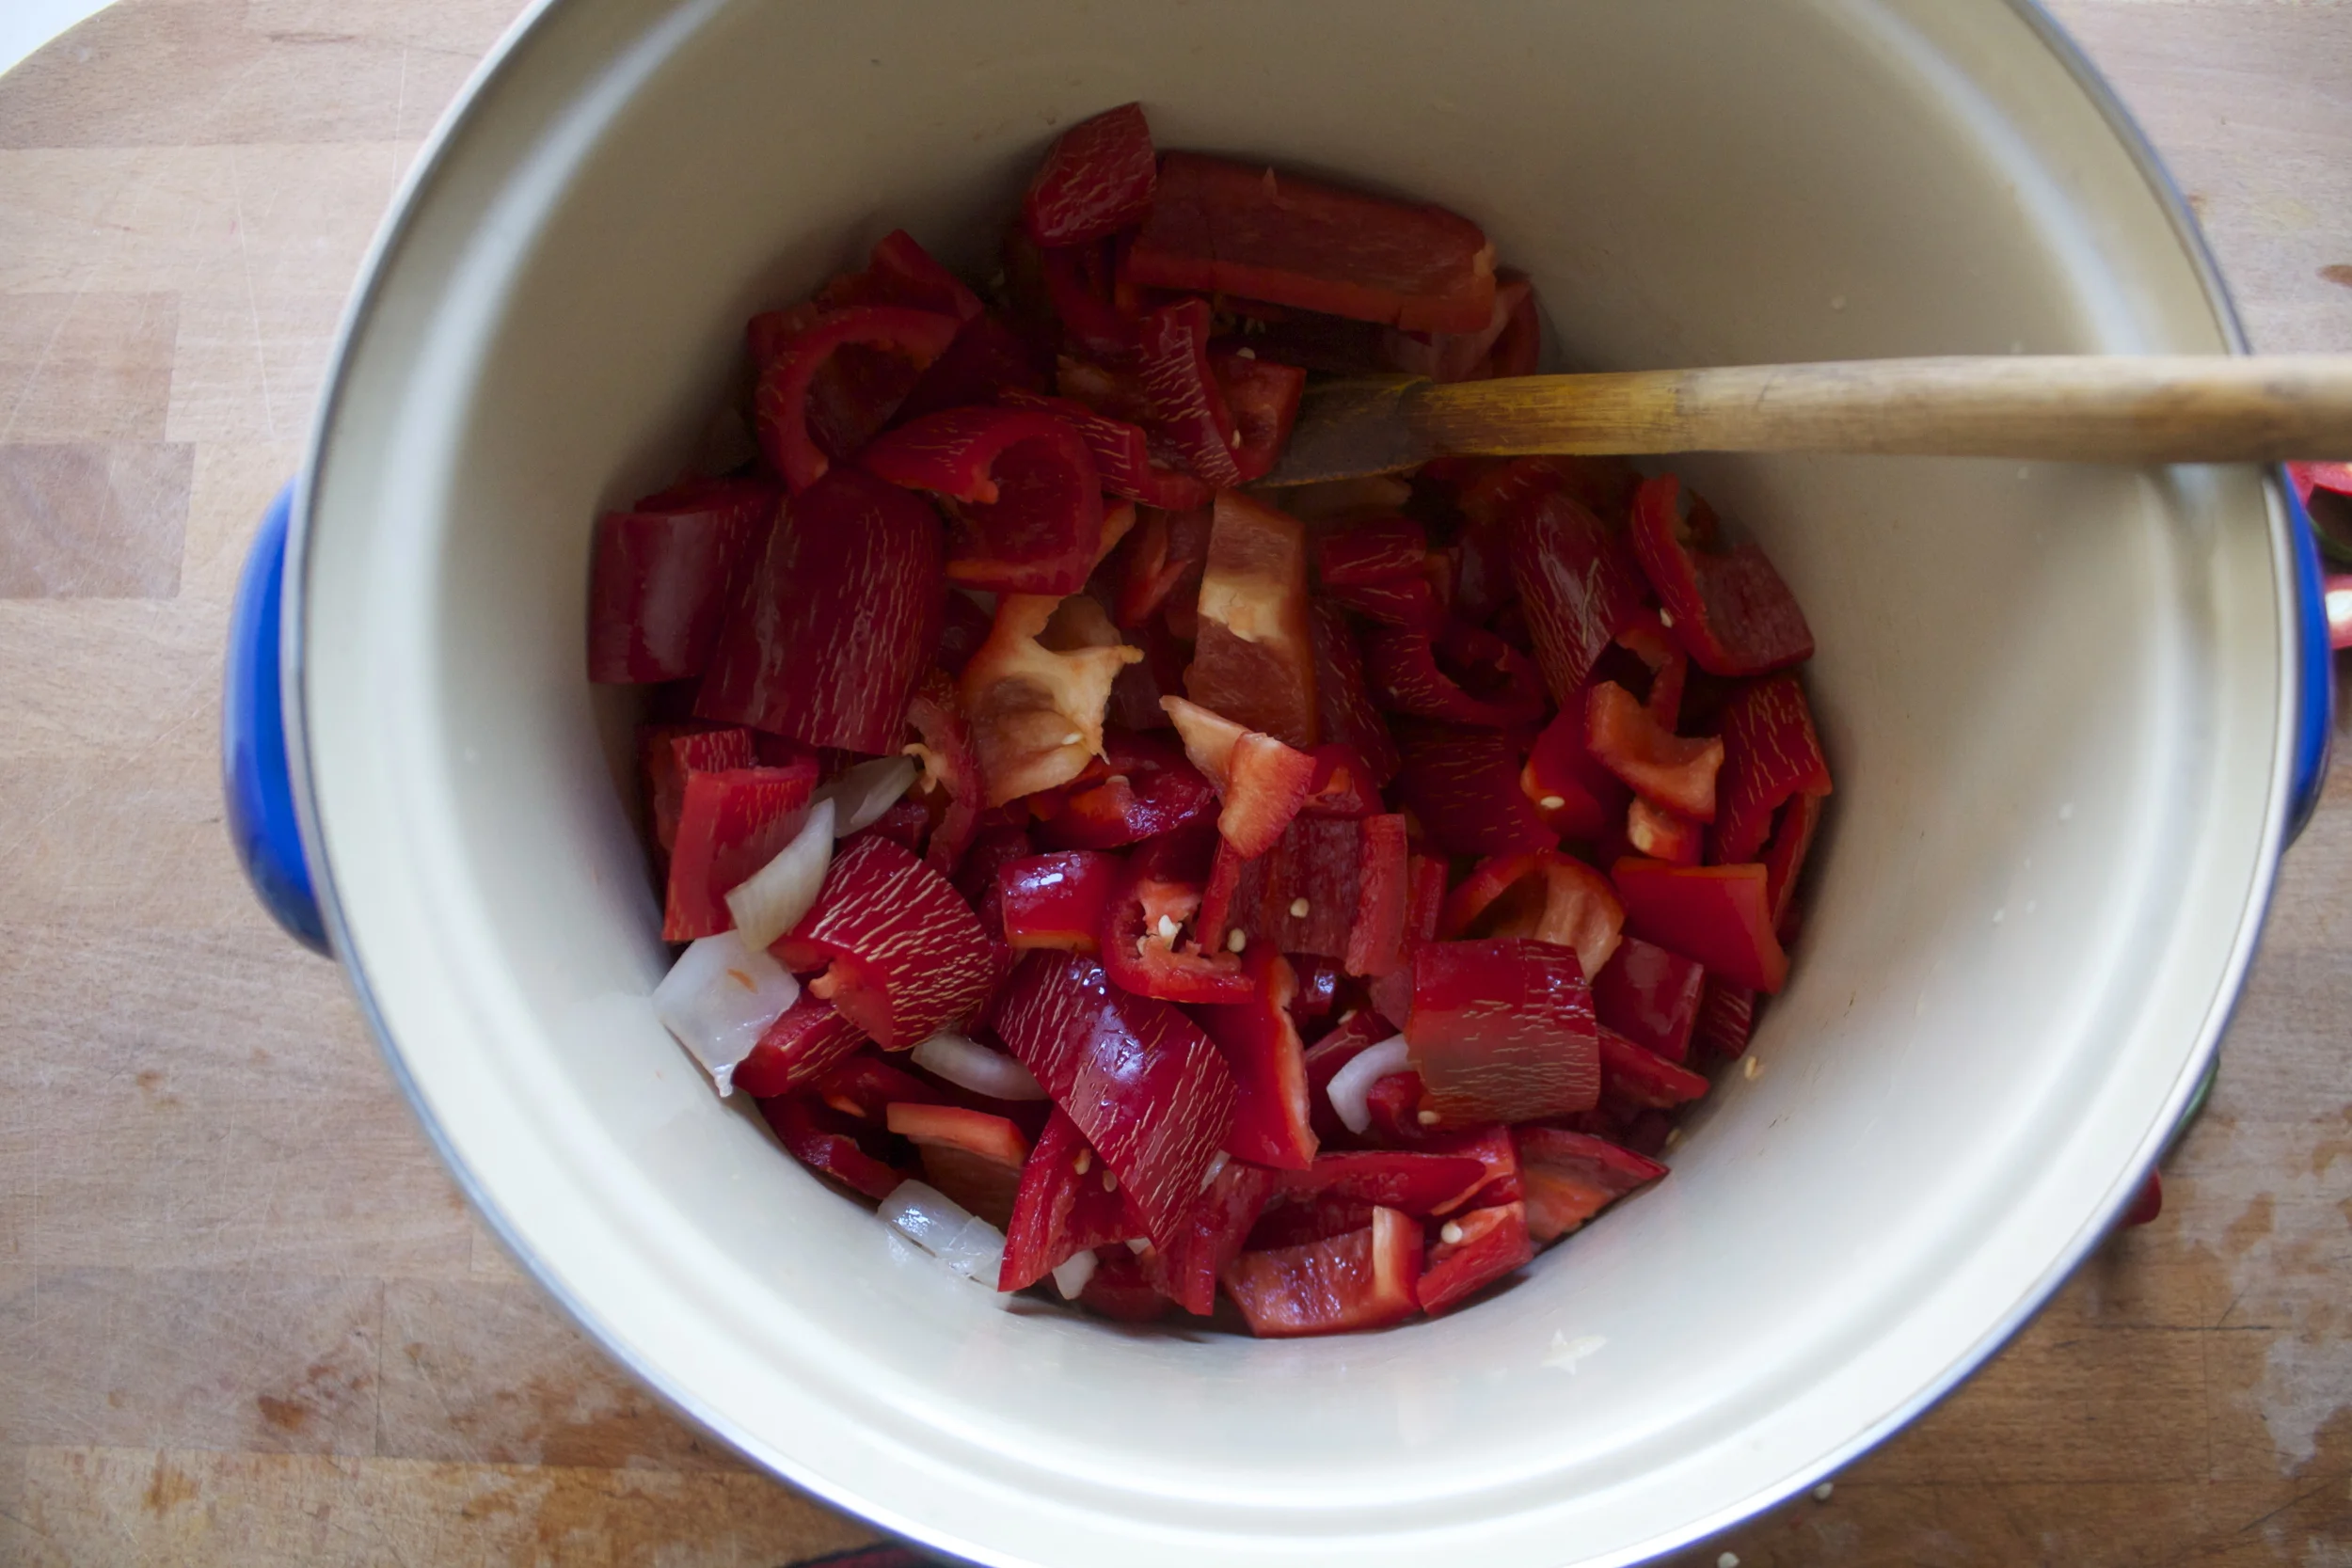
Grab yourself a big pot, roughly chop up the onion and garlic and toss it into that pot with a drizzle of olive oil and a few splsahes of water. Stick it on the stove on medium heat and let cook while you cut up the peppers.%u00a0
So the peppers. First thing first%u2026..Coat your hands with oil (or use gloves) and don’t touch anything on you body!%u00a0This is a critical %u00a0if you do not want you hands, then your face, probably part of you leg, and definitely behind you ears , to burn like a mother.
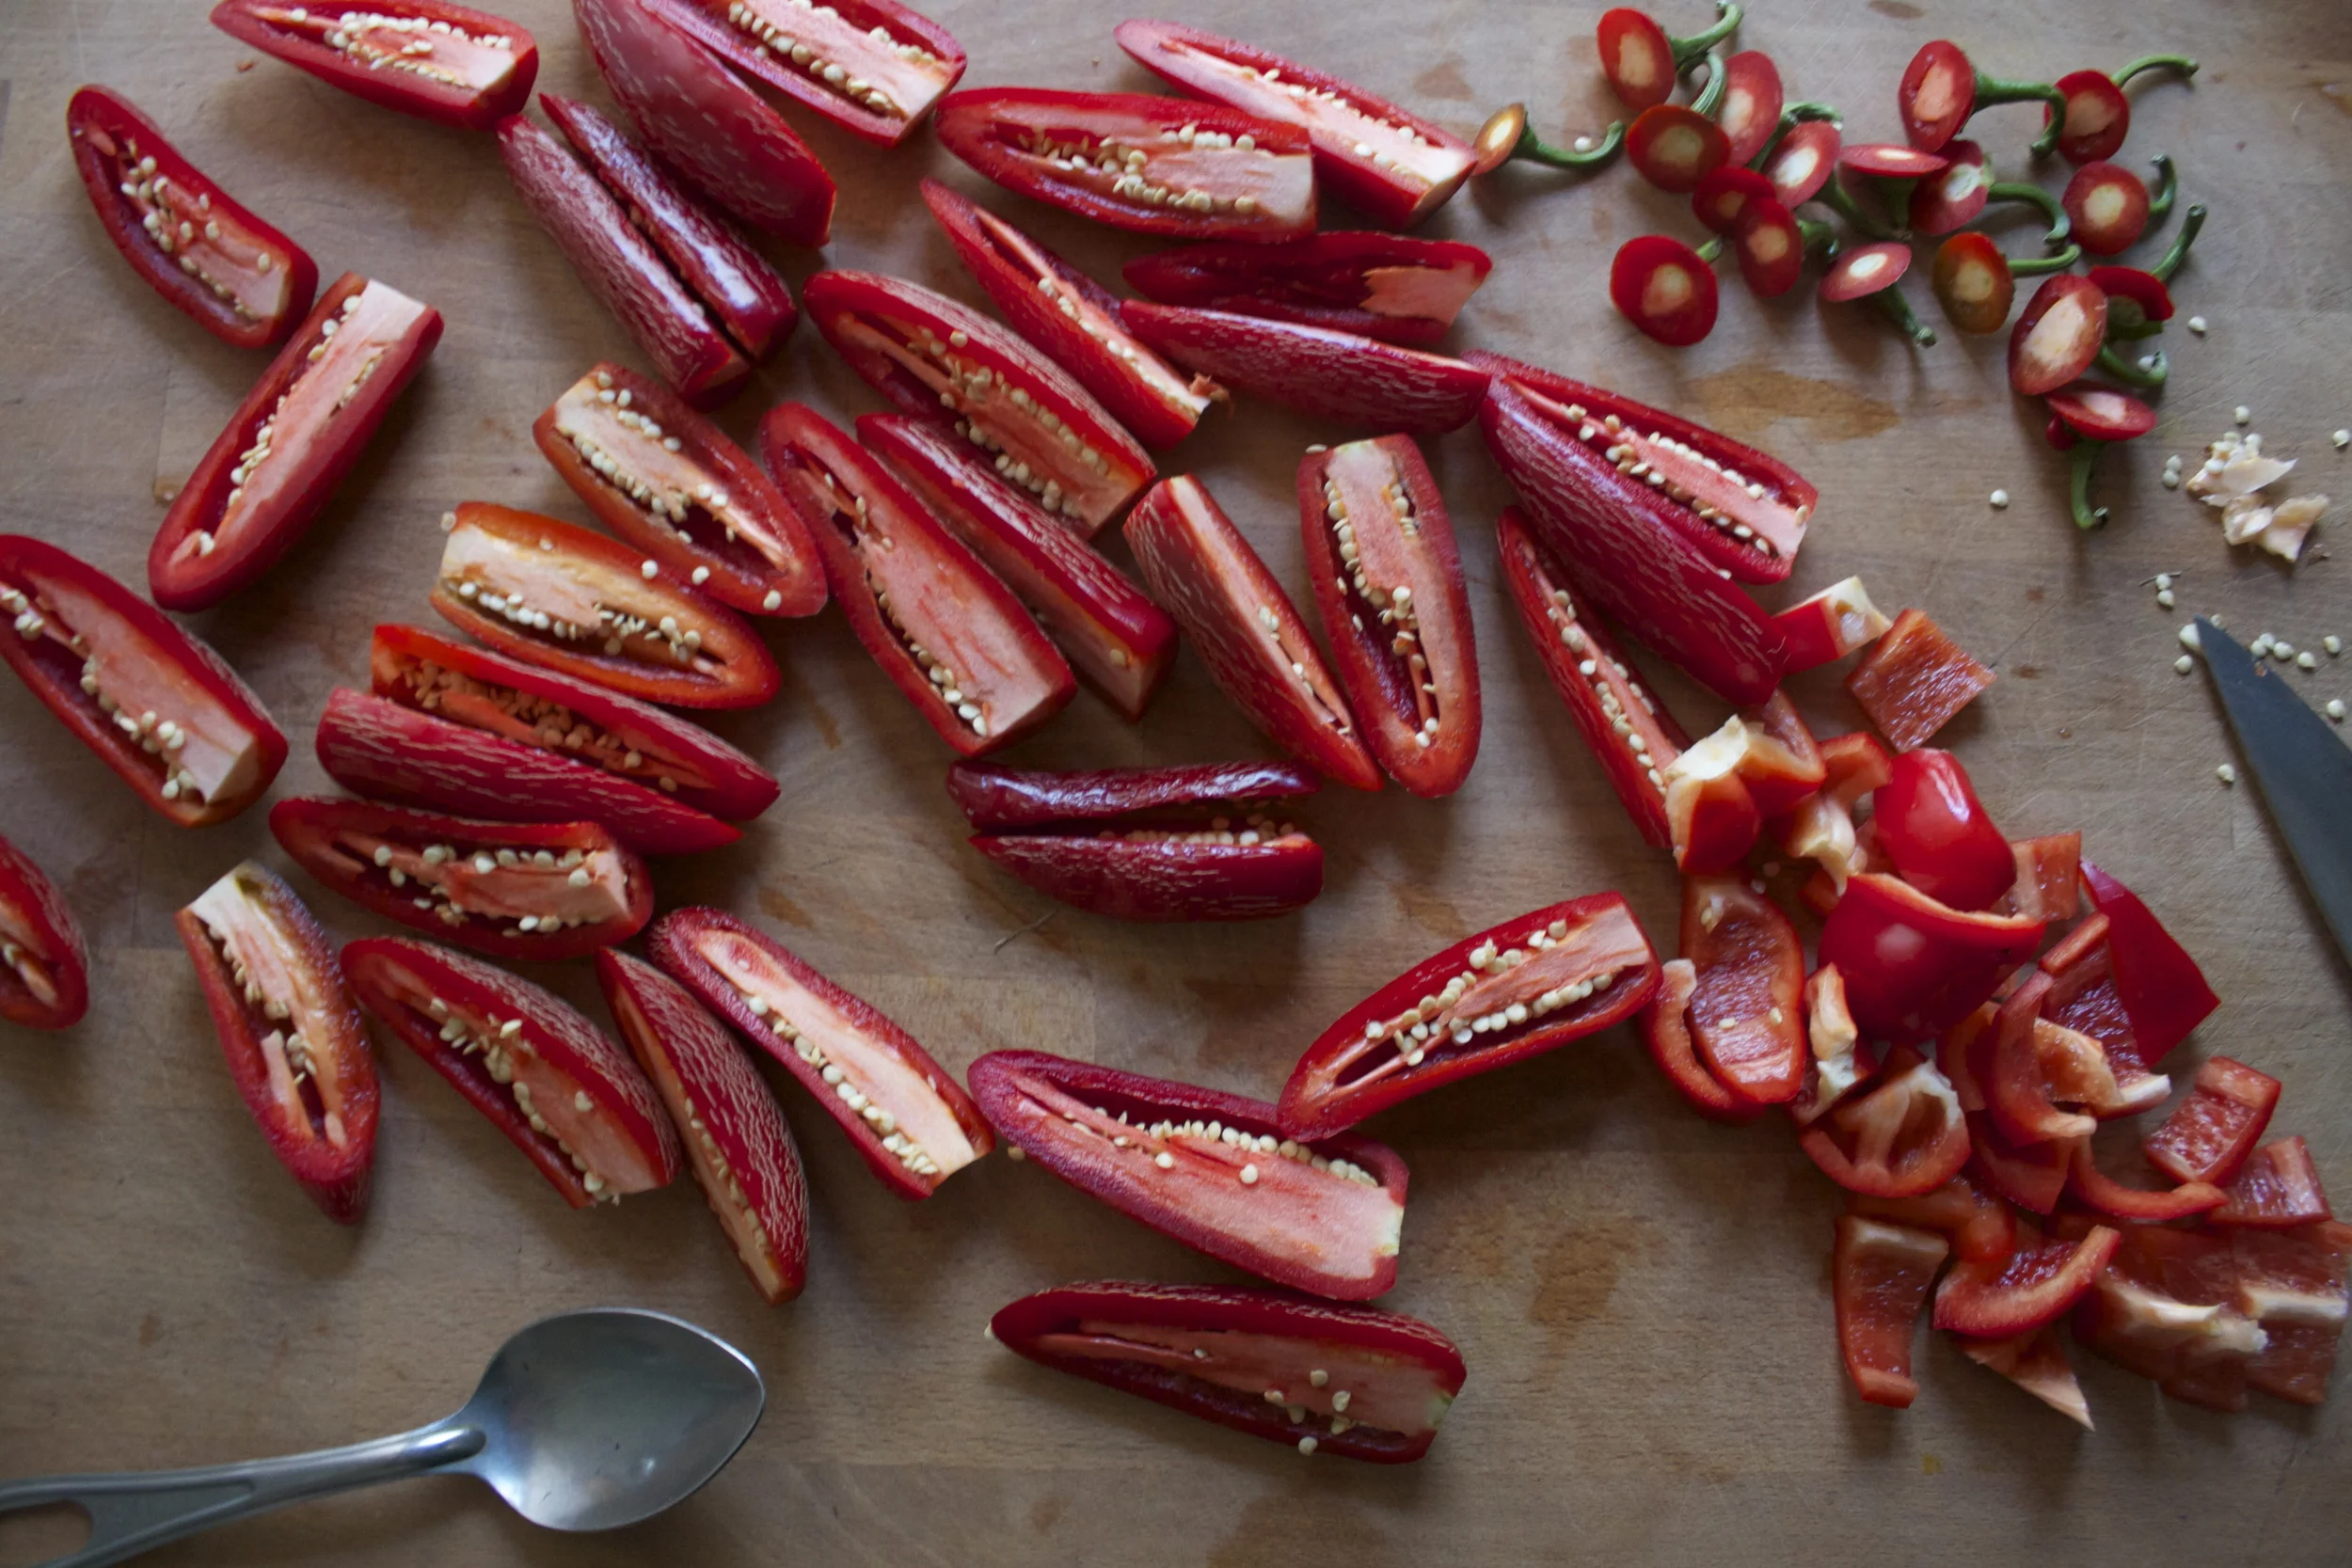
Now cut the stems off,%u00a0slice the peppers in half and remove the seeds and ribs.%u00a0I find using a big spoon to scoop and scrap the seeds and ribs out to work the best, but do it any way you please. Also leave the seed sin rips in if you want.. it just makes the sauce that much hotter. (I would usually but again, these peppers are fire f-ing hot!)
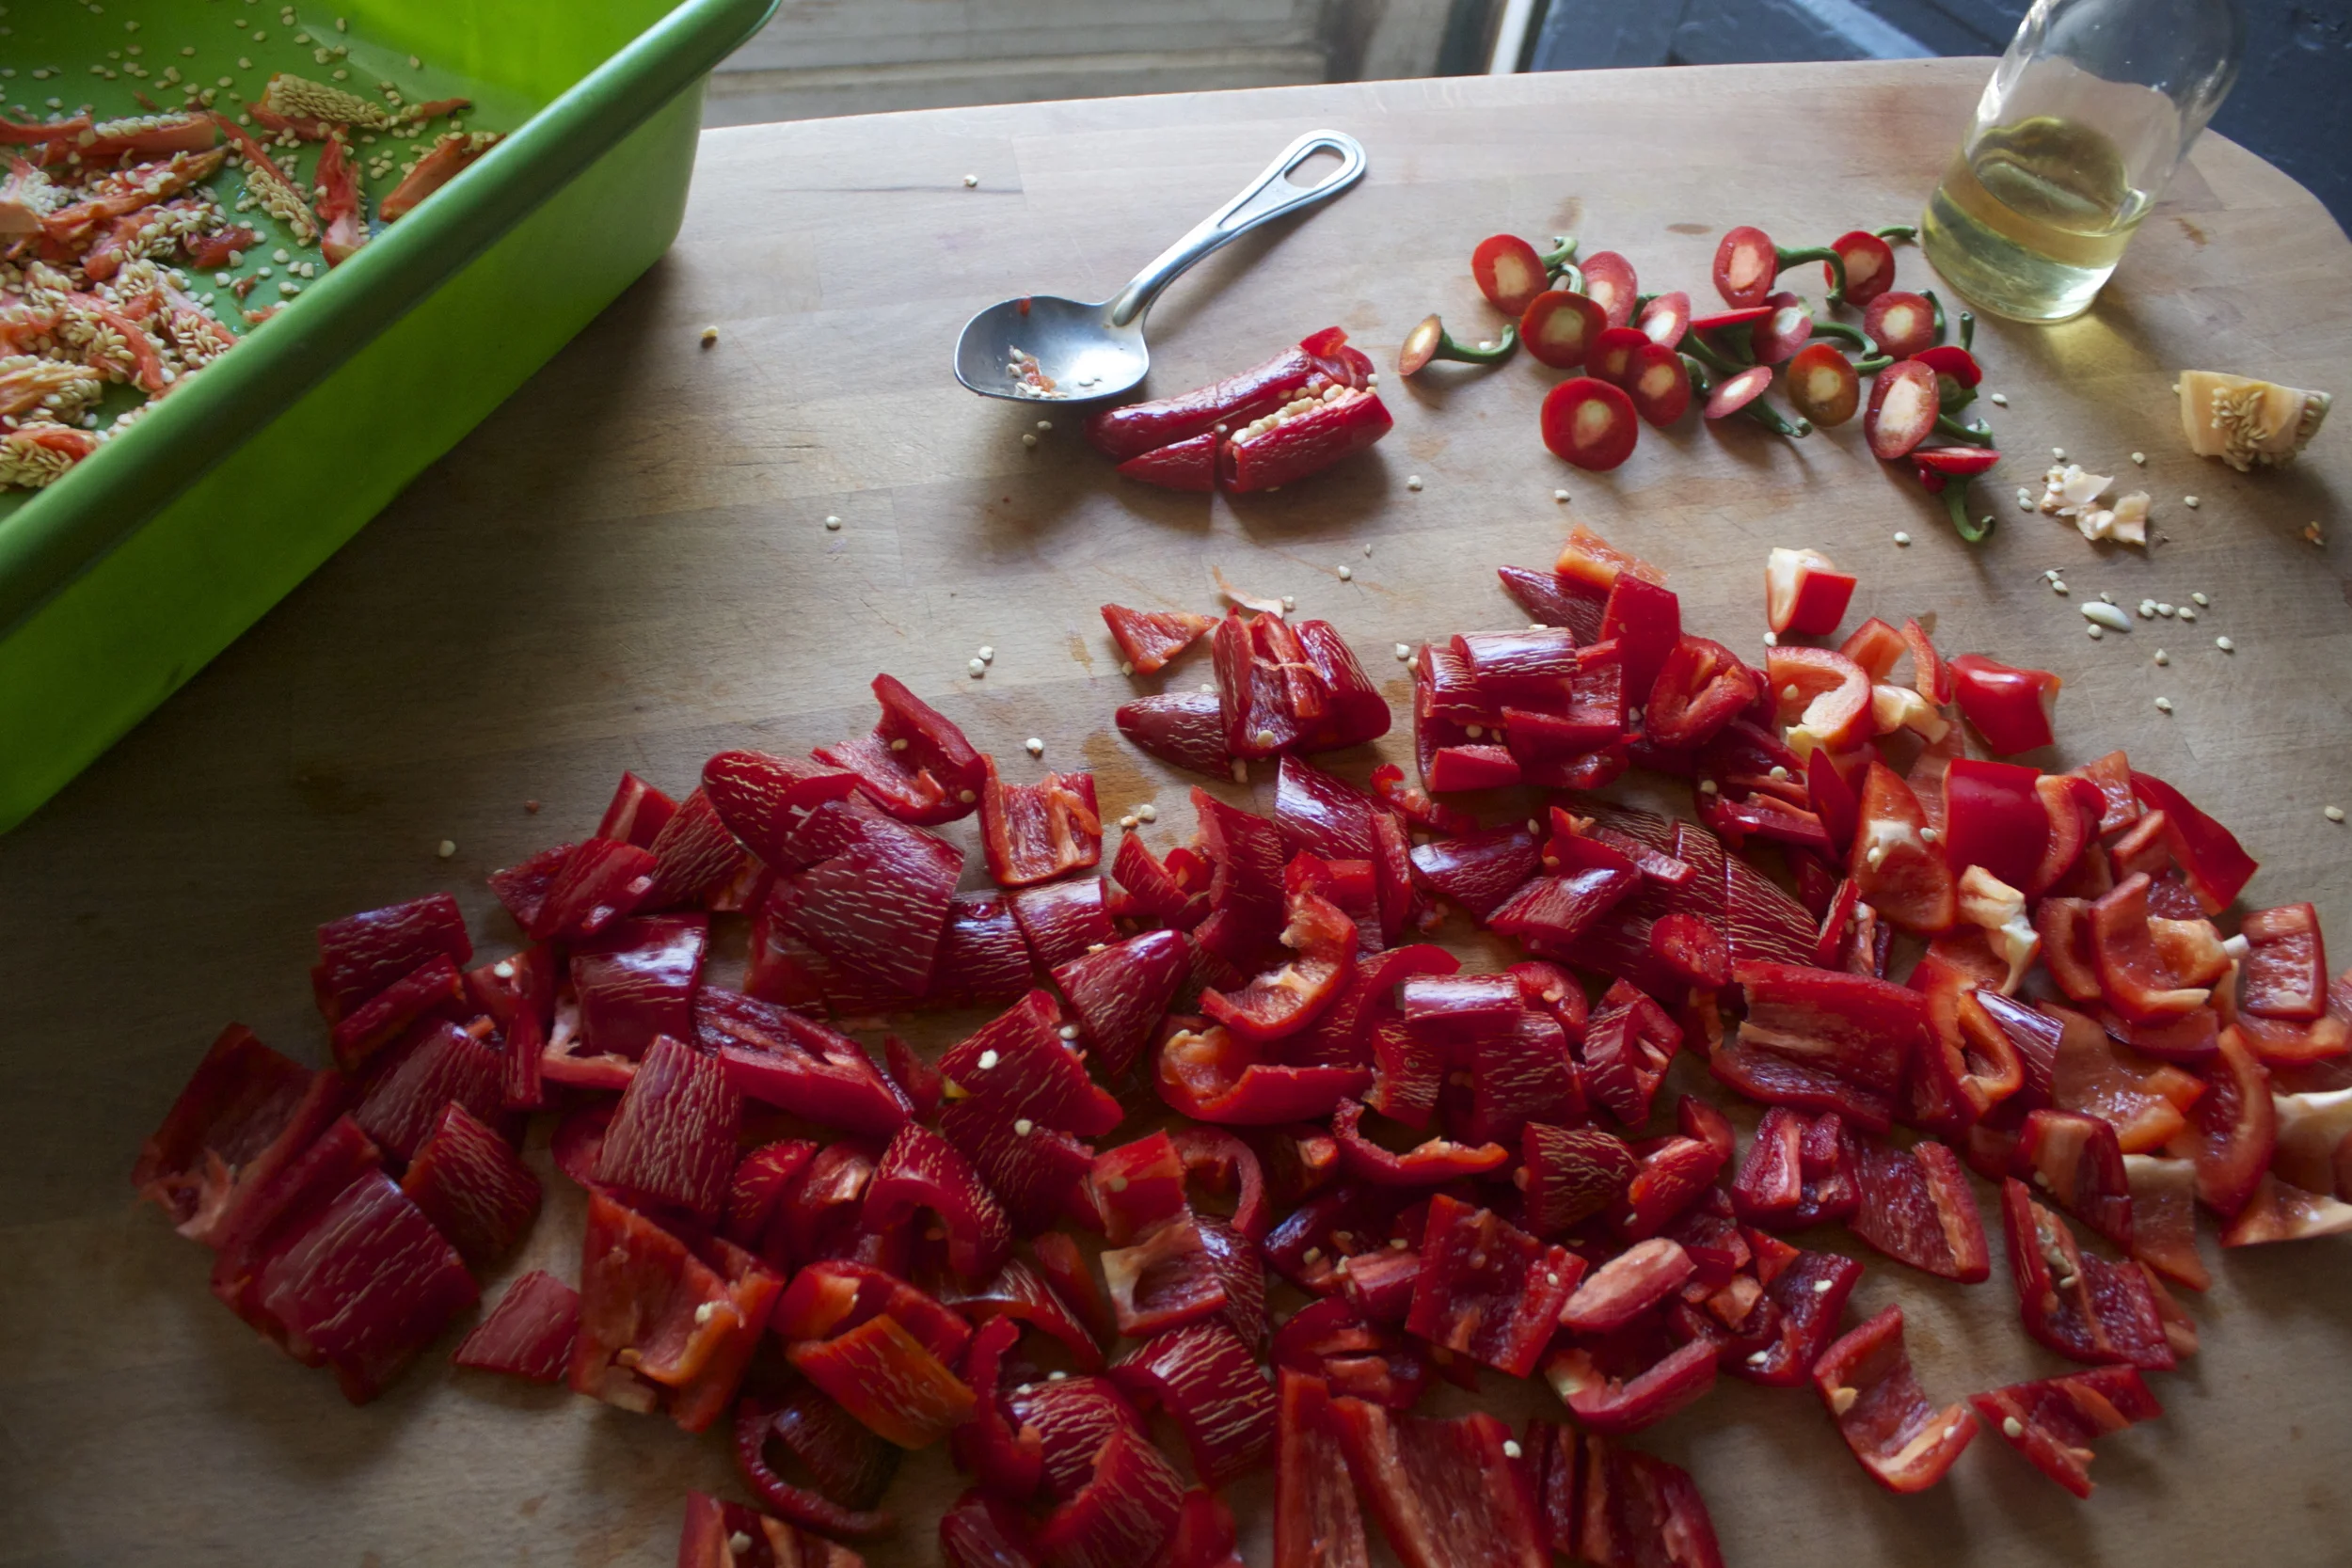
Once de-seeded and ribbed, chop up the pepper and the jalape%u00f1os into chunks.
Toss into the pot with the onions and garlic thats on the stove and add in water and a sprinkle of salt. Stick back on stove, bring to a boil then reduce heat to medium and stick a lid on pot.
After about 25 minutes or so, the peppers are soft and falling apart and the liquid has reduced to about 1/2%u2026 Thats when is time…
Note. Watch you face when you open you pot to check.. Don’t stick you face in the pot as soon as you remove the lid, or you will get a ace of spicy hot stem that will burn your eyeballs.
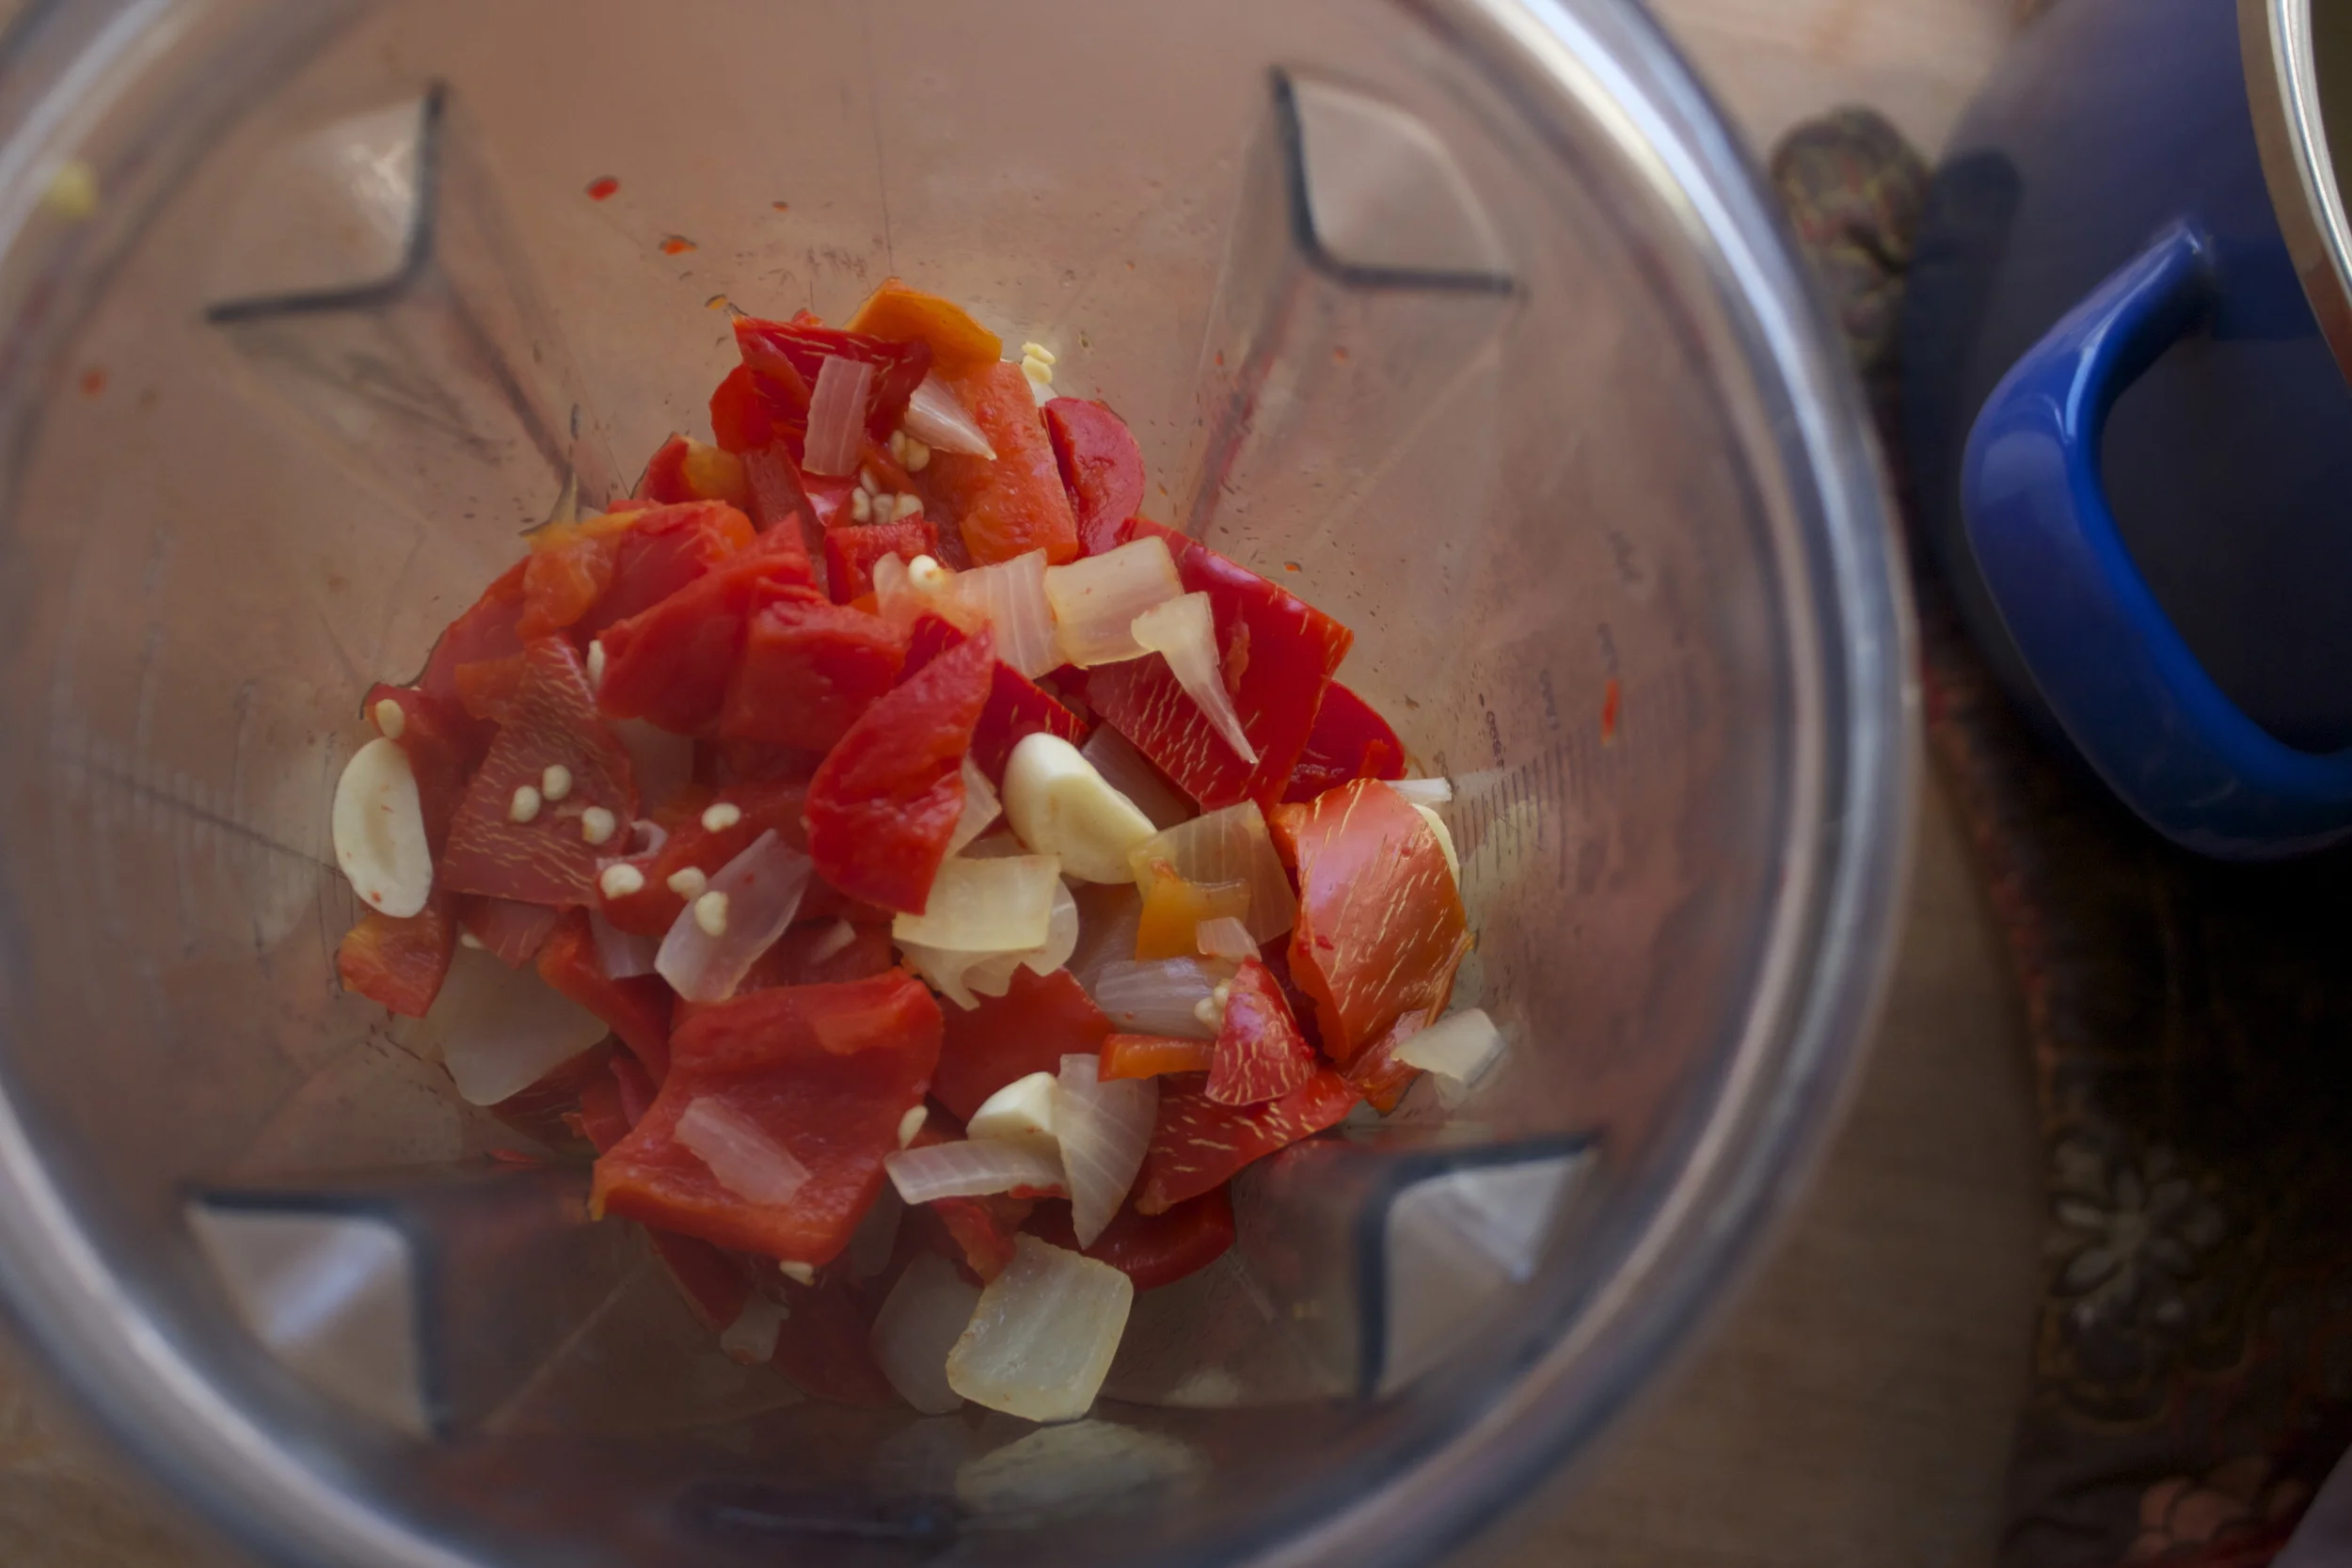
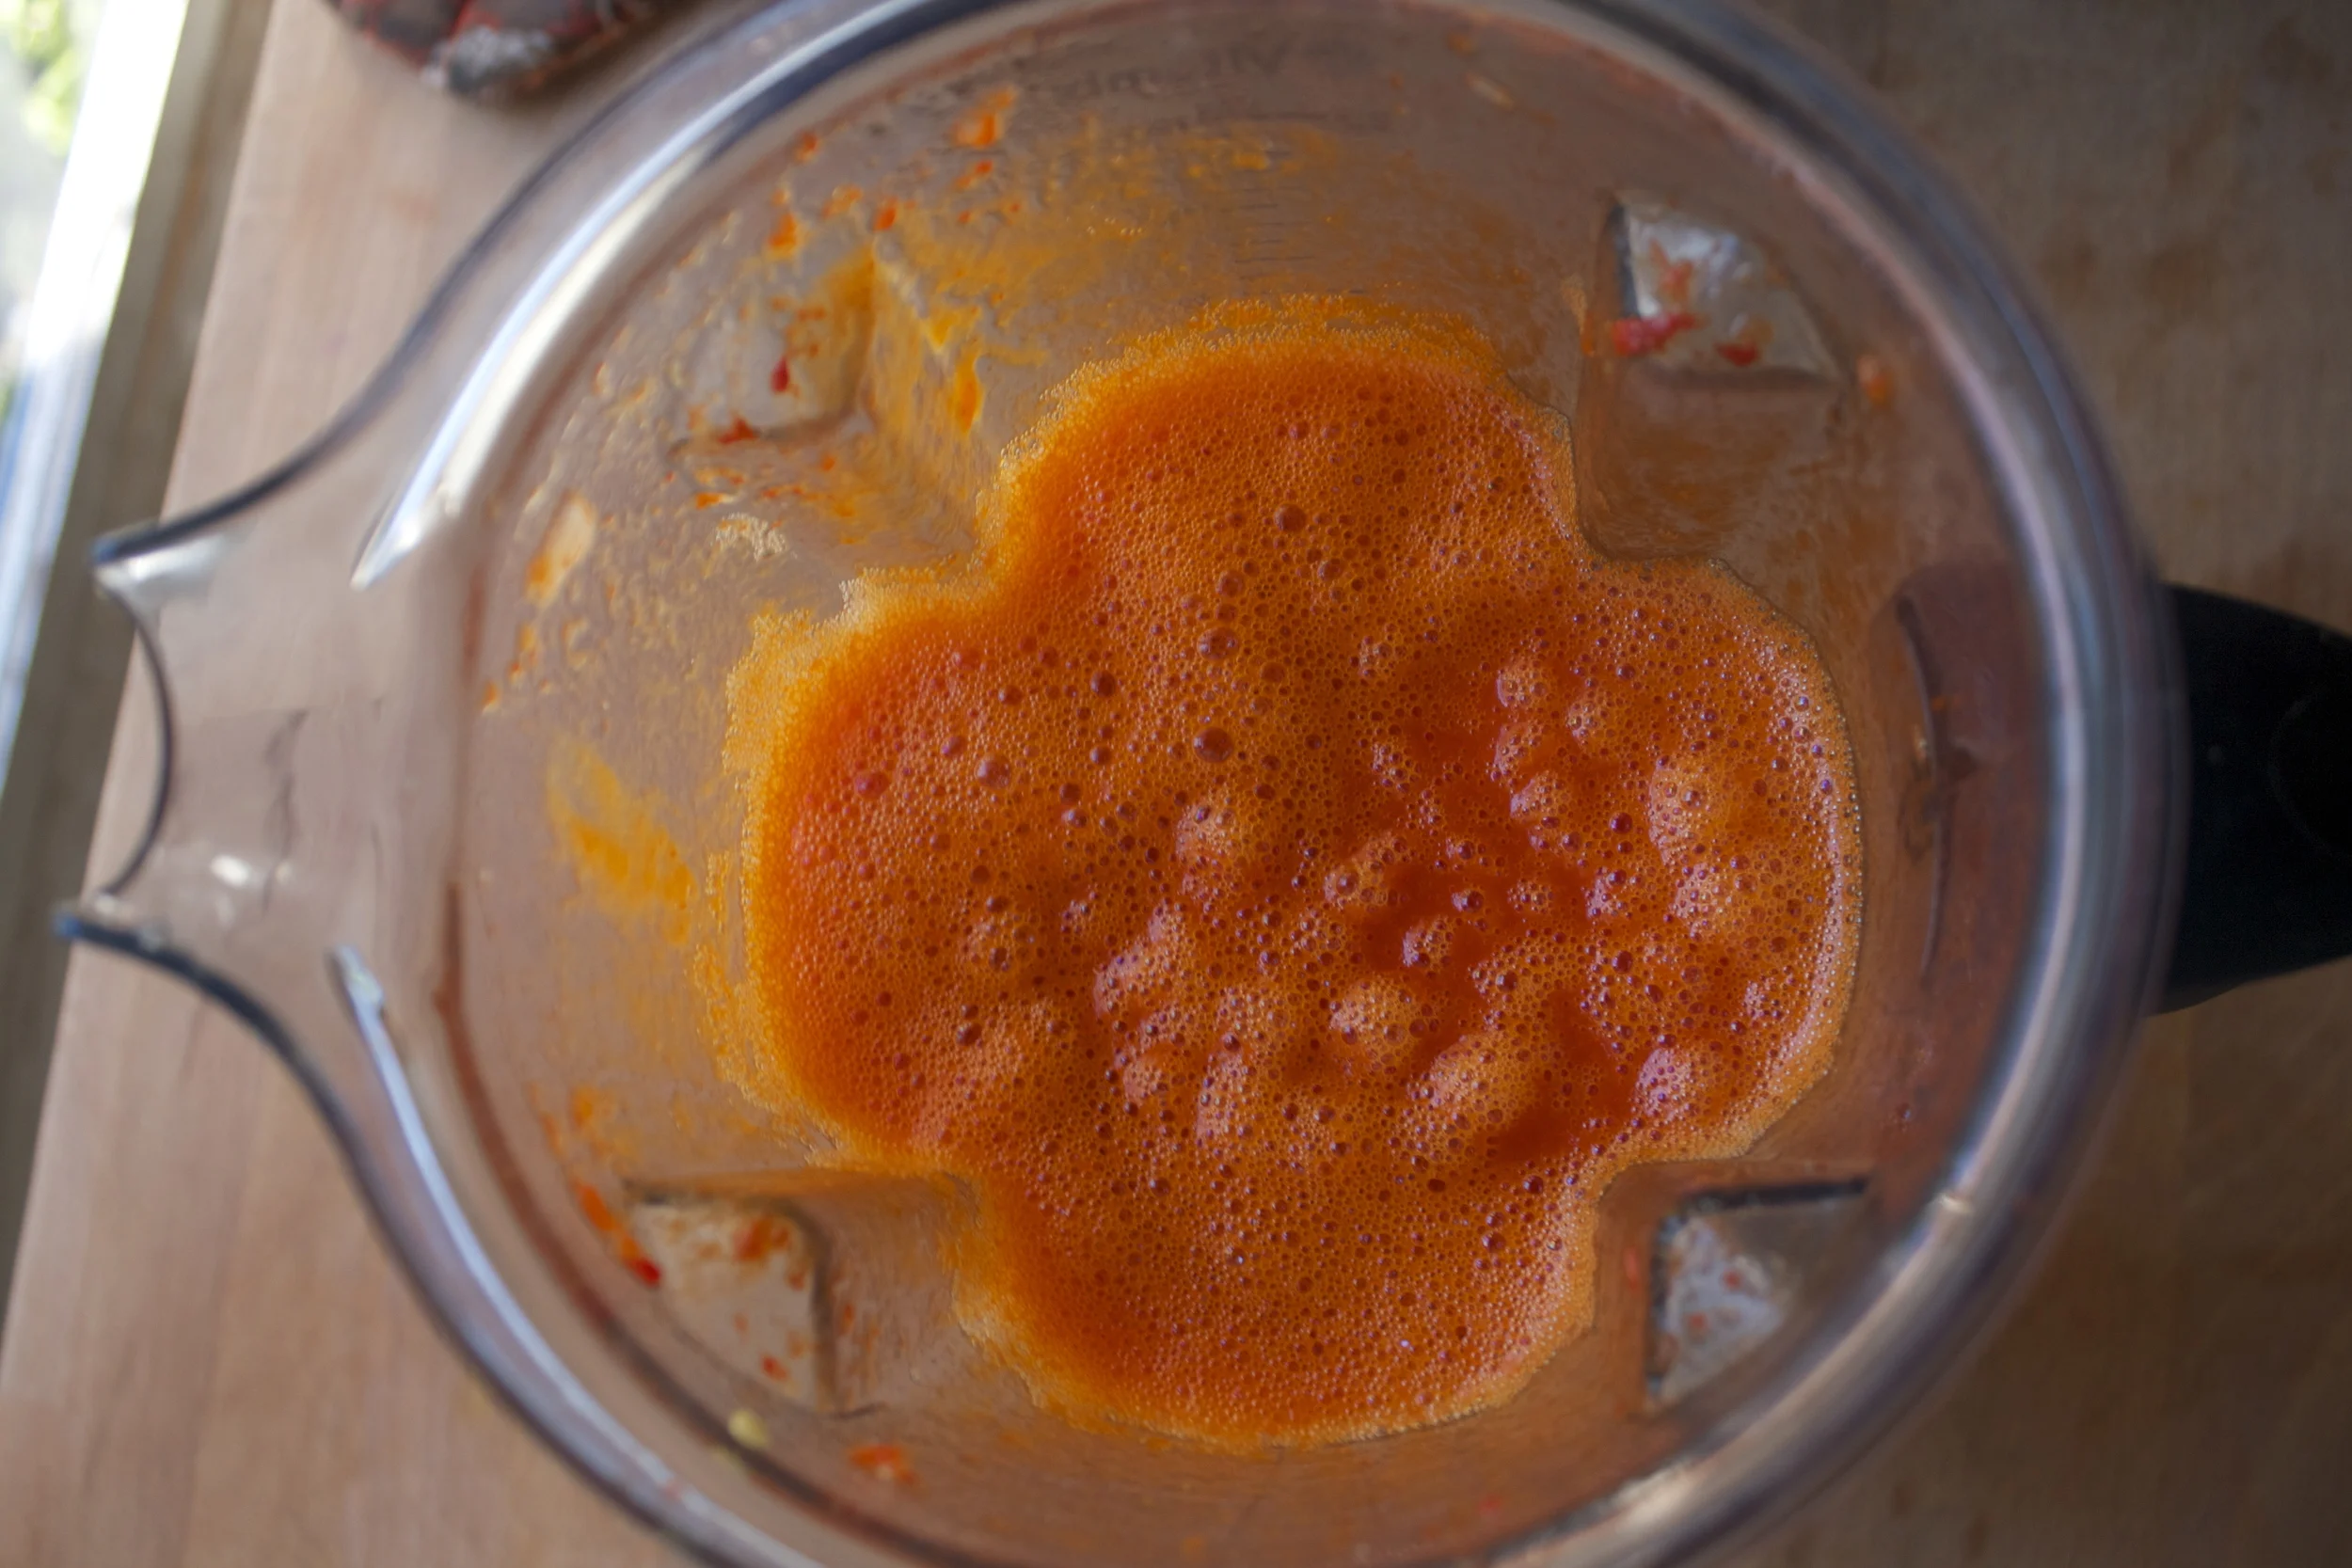
Now dump it all in,including liquid ,into a blender. Add in 1/2 cup of vinegar and a sprinkle of salt then turn it on.%u00a0(Make sure to have the lid on%u2026 no one wants to clean up a hot sauce mess!) Blend for however long it takes for the sauce to be smooth.
Super smooth and saucy.. Give it a taste. Does it need more vinegar? How about a little more salt? Are you wishing you had a little more sweetness to it? Add what you need.. More vinegar, more salt, or a teaspoon or two of some honey or sugar.. it is your hot sauce after all.
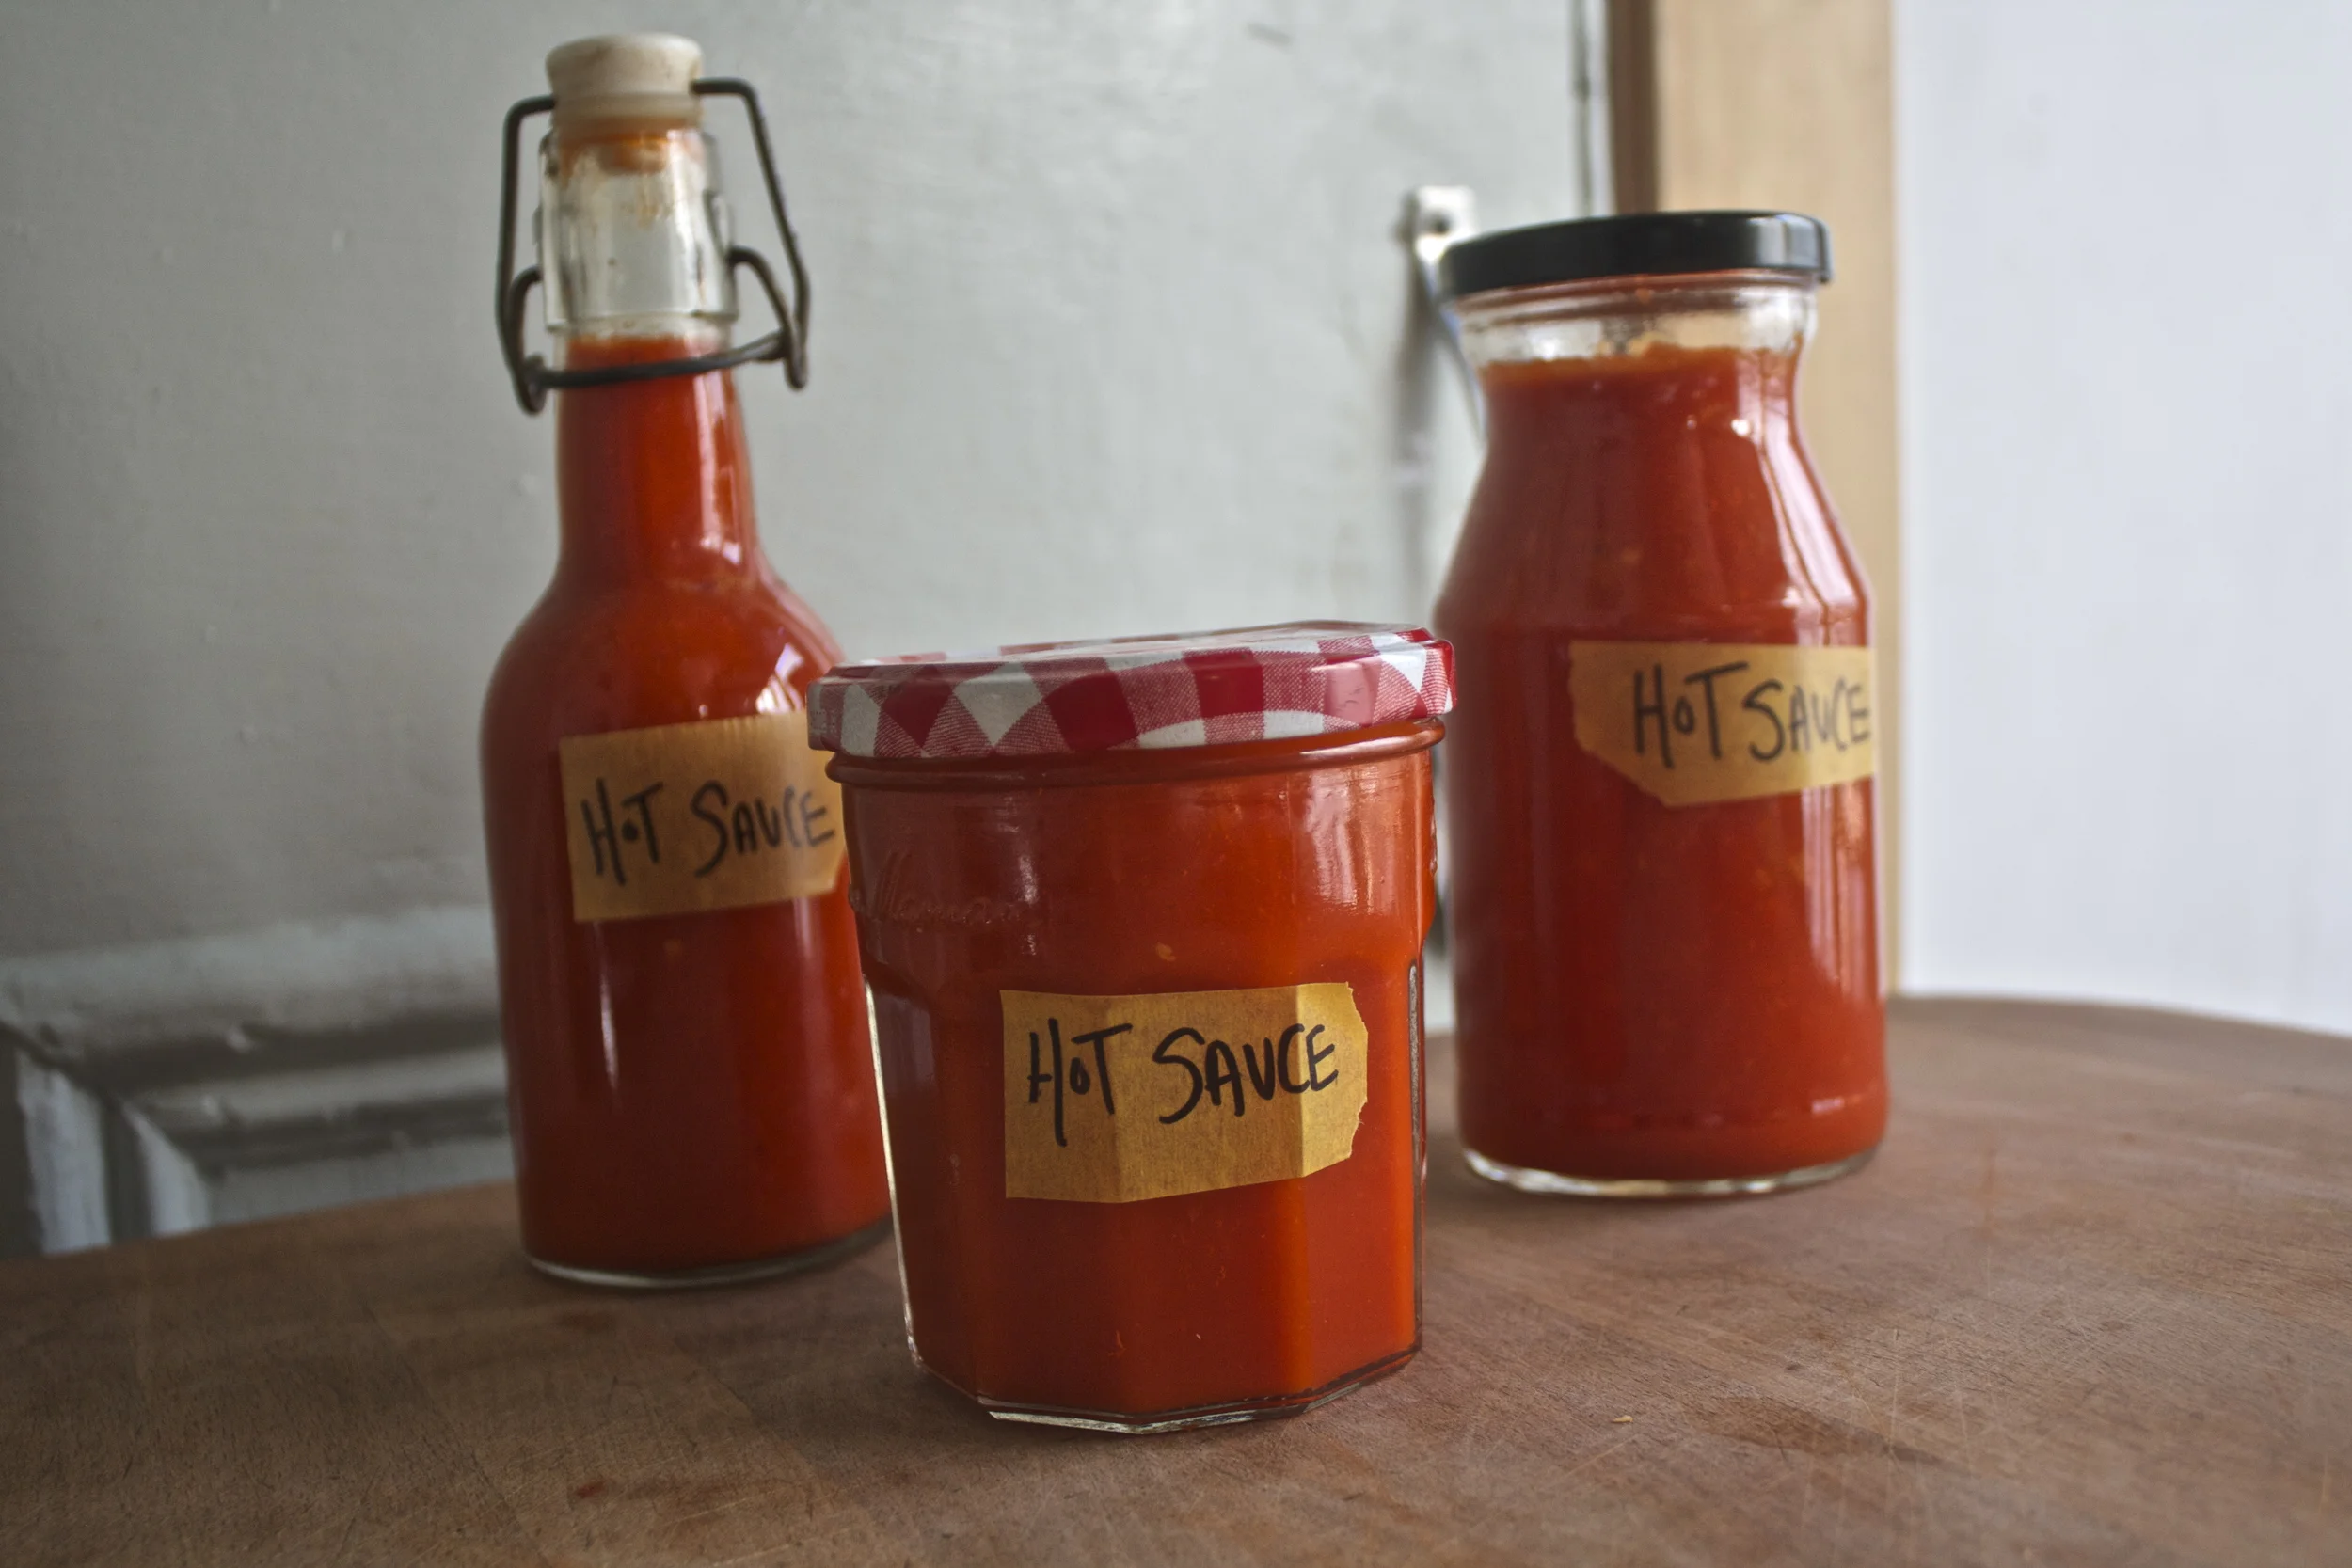
And when you are happy with the taste.. pour into bottles. And then pour in everything!
Happy Friday..Make it hot!
-C
Makkes about 4 cups
15-18 jalape%u00f1os
4-5 cloves galric
1 red bell pepper
1 yellow onion
1/2-1 cup white vinegar
2 cups water
salt (to taste)
oil or rubber gloves%u00a0
Dice the onion and garlic and stick not a heavy bottom pot with a drizzle of olive oil, a sprinkle of salt and a splash of water. Place on low heat and let cook.
After thats on the stove oil you hands, and de-stem the jalape%u00f1os and the red pepper, removing the seeds and ribs. IF you want, you can totally leave the seeds and ribs in if you want, it makes the sauce even hotter.%u00a0
Chop peppers into smallish chunks and toss into the pot writ the galic and onion. Add about 2 cups or so of water, bring to a boil, then let simmer for about 25-30 minutes, or until the peppers are nice and soft.
Dump peppers into a blender %u00a0with 1/2 cup of vinegar and blend.%u00a0Taste the sauce, and if you like it there, stop, or add in more if you taste wants it. You can also add in more salt, maybe some other flavor spices, or even a little honey to sweeten it a bit.
Pour into containers and enjoy!%u00a0
This sauce will last sat least 4 months in the fridge (If not eaten all by then)






































































THE LOVELY CRAZY
August 19, 2019 by maximios • Blog
Yes you read that right. Corn. In a popsicle.
What?
No it is not weird or gross or anything. I wouldn’t do that to you. These popsicles are down right deeee-lightful. Rich and creamy and sweet. Both the creamy coconut and the toasted coconut pair perfectly with the sweet corn flavor. They truly are delicious and I think that if you give them a try, you will think so too. And really, now that it is like almost summer, who doesn’t have a little extra corn laying around. So you might as well just make a batch.
And then you will thank me for introducing you to the goodness that is a toasted coconut and corn popsicle. Heck, the mr even ate one and he (still, after I have proven him wrong on a many occasions) says he hates corn. So if a corn hater likes these, imagine what a corn lover will think. HAHA. Corn lover.
To the popsicles!
The stuff. Corn, full fat coconut milk, shredded coconut, and maple syrup.
First, remove corn from cob and place on a baking sheet. Bake in oven for 10-ish minutes until corn is cooked and all nice and sweet.
And don%u2019t forget to toast the coconut. A few minutes in the oven is all it needs.
Now to blend. Corn and coconut milk go in first to blend until nice and smooth. Then add in the maple and coconut and blend until just combined. That will leave a little coconut texture. If you want it smooth, well just blend until completely smooth. Do what feels right to you.
Thick, rich and creamy popsicle mixture.
Now pour it into the molds and stick into the freezer. You could probably stick the sticks in now or wait a little while for the mixture to set a bit, but just don%u2019t forget to get sticks in those popsicles before they completely freeze. That would suck.
Pop those lovelies out of the molds and there you go.
The anticipation is over. Eat a popsicle
-C
makes 4 average sized popsicles
2 ears corn (about a cup of corn kernels)
1 cup full fat coconut milk (the canned stuff)
1/4 cup shredded unsweetened coconut
2- 4 tablespoons maple syrup
Note. If you have left over cooked corn, just use that. You don%u2019t need to recook it so skip the cooking corn step.
Preheat oven to 400
Remove corn kernels from cob and place on a baking sheet pretty evenly. Pop into the oven for 10 minutes of so or until the corn is cooked through and nice and sweet.
Remove corn and dump it into blender and set aside to cool for a few minutes. Place the coconut onto the baking sheet and pop into the oven for 3-4 minutes to just lightly toast. When the coconut is toasted, remove from oven.
Grab the blender with the corn and pot in the coconut milk. Blend until smooth. Add in the maple (start with 2 tablespoons and work your way up to the sweetness you like) and the toasted coconut. Blend quickly just to combine for a slightly more textures popsicle or blend completely smooth if you would rather a smoother popsicle.
Pour mixture into popsicles molds and place into freezer. After the mixture sets up (about an hour) pop sticks into molds. Continue to freeze until completely frozen. Usually 4-6 hours.
And then when it is popsicle time, remove popsicles from molds and eat them.