My winter farm share is coming to an end this week. One more pick and then a three week stretch until the summer share starts… WHAT AM I GOING TO DO!!!
Stock up as much as I can is what.
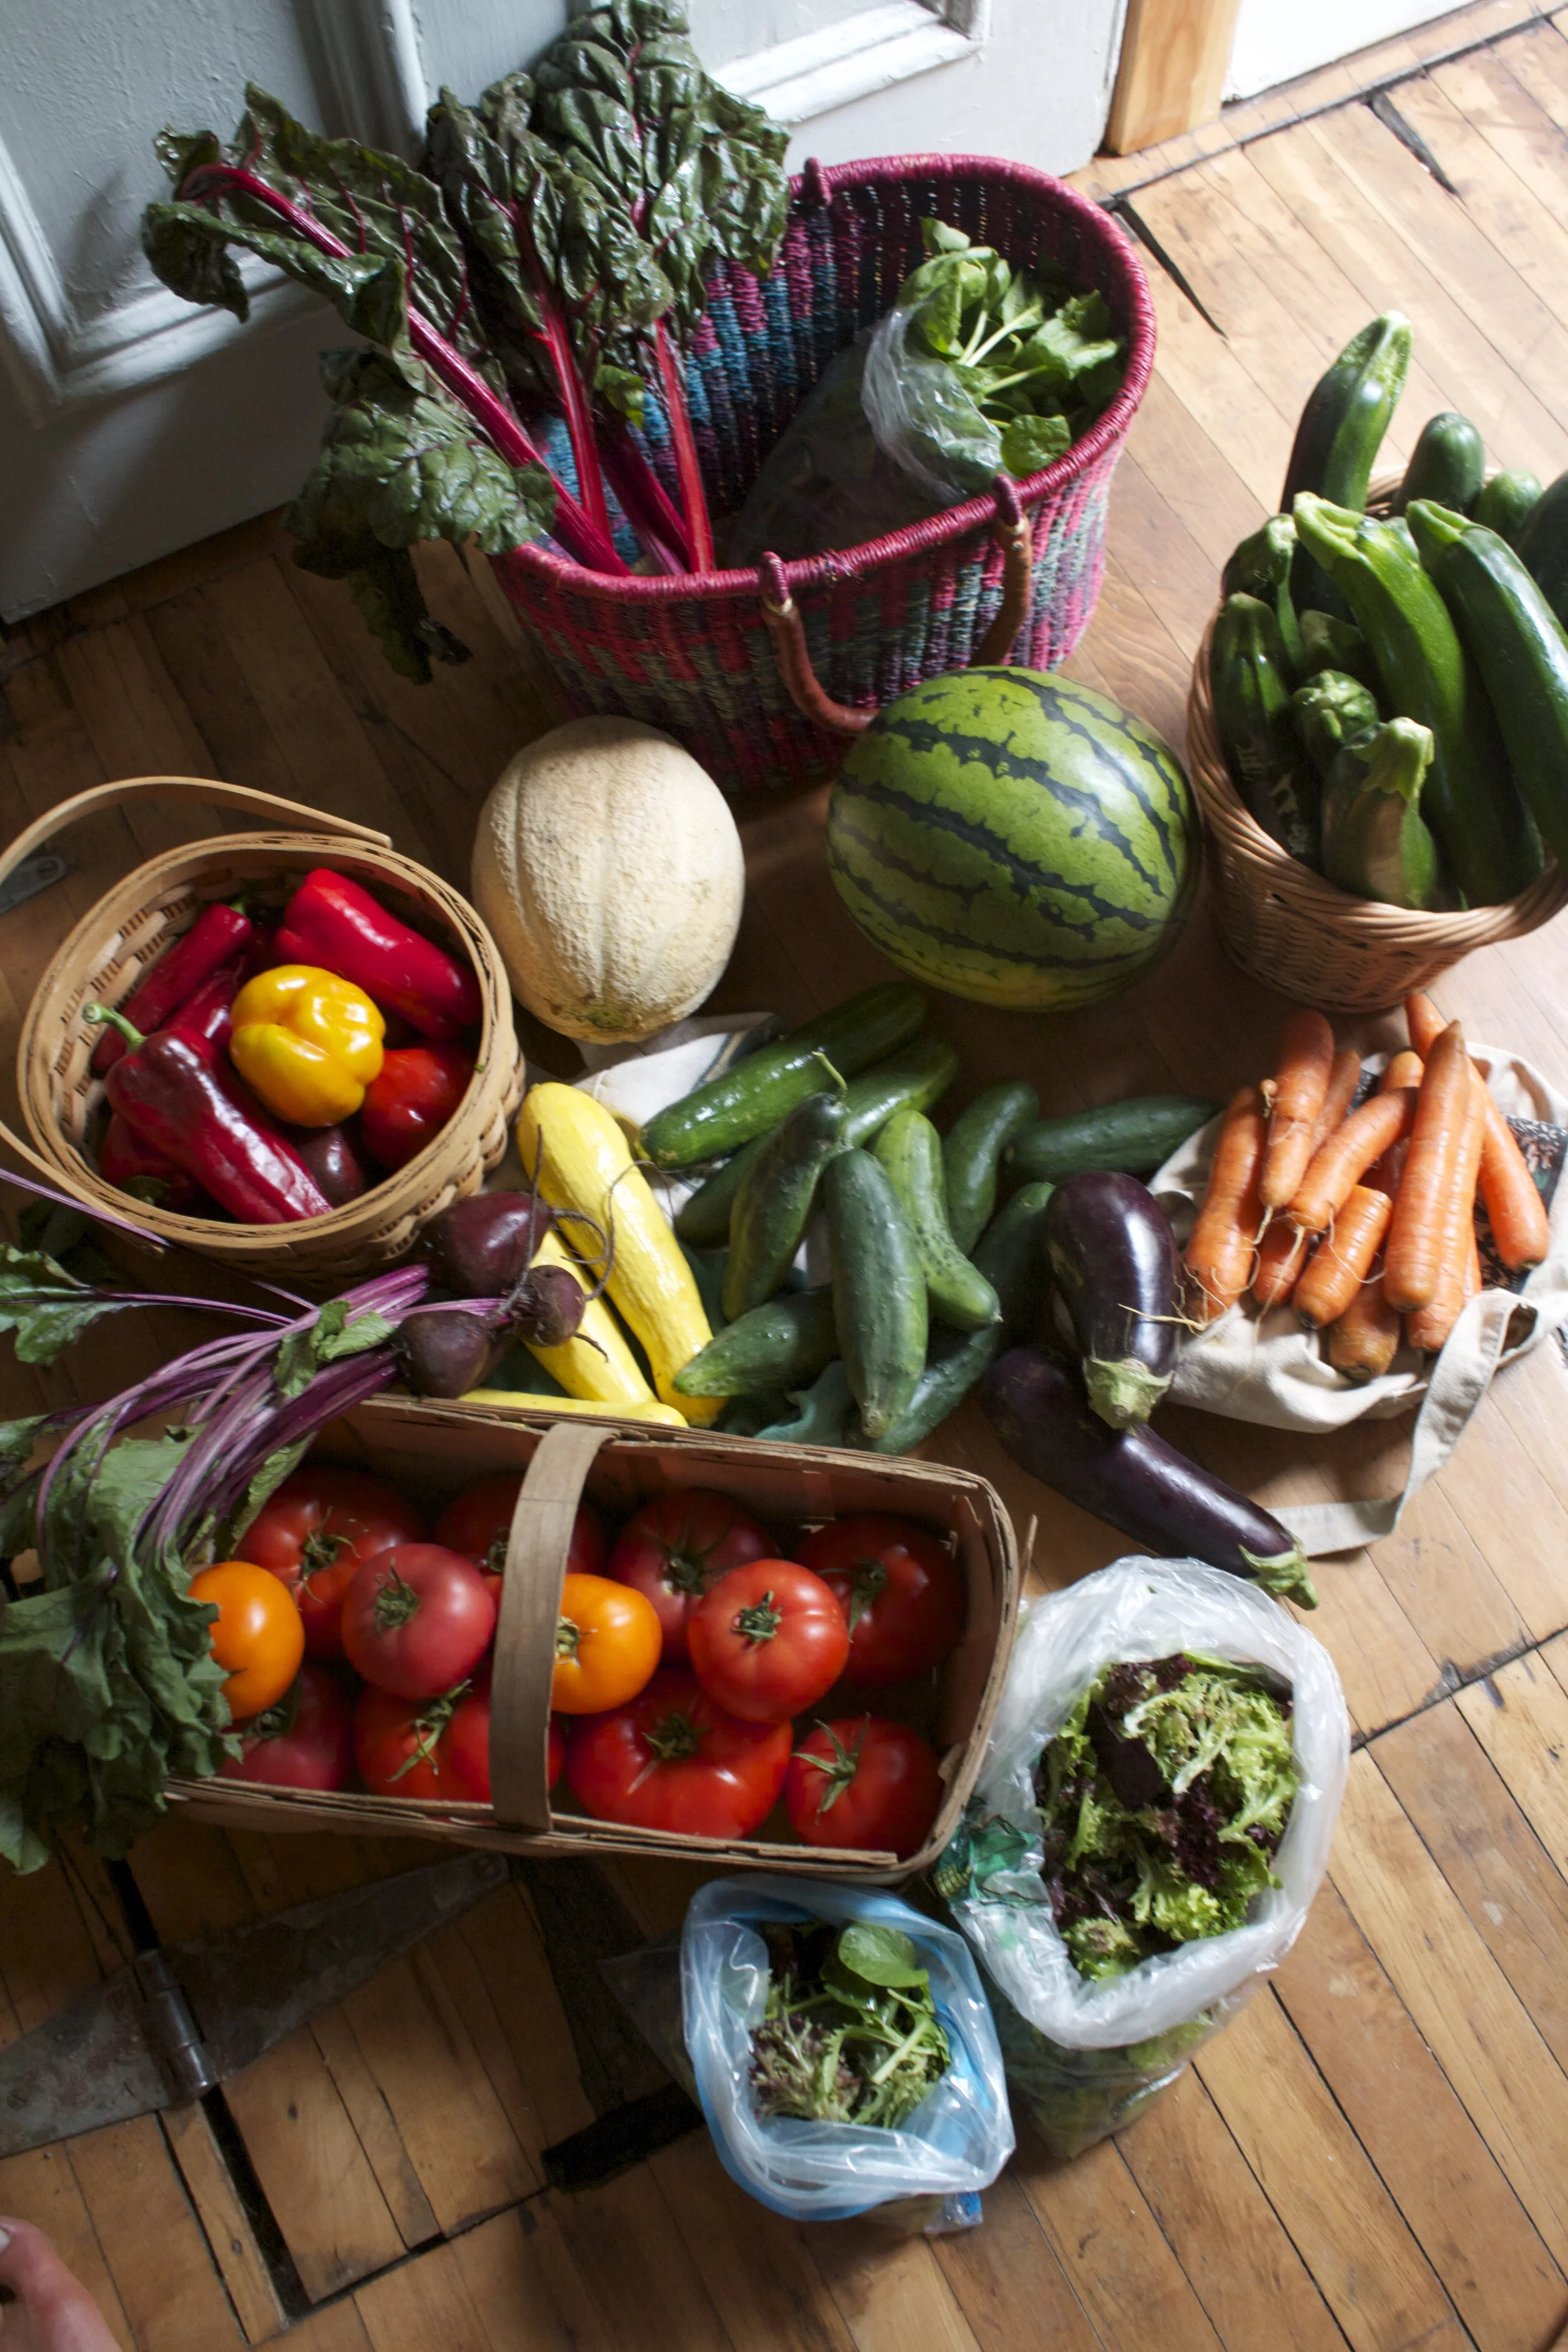
I have been strategic about the roots and veggies that I have chosen to bring home the past few weeks.(My farm lets you pick what you want) I know what I can buy at the store, things like carrots and potatoes, so I have been passing those up, but the roots like beets and celeriac… I have been bringing home baskets of those and hoarding them in the fridge and basement in preparation for the laps in farm fresh food and knowing that if I want to by these at the store it s going to coast me a million dollars a pound. (a for real million dollars)
Yup, lots of roots around here, especially celeriac root which is fantastic. I am kind of obsessed with celeriac, with its fibrous, knobby exterior, soft but almost meaty texture inside, and a flavor that is close to celery but so much better. I don’t know why it has taken me so long to do a posting featuring this amazing root vegetable (I eat it almost every day)
So here, an amazingly tasty, hearty but not heavy, celeriac recipe. Perfect for spring and the change into summer…. Mustard roasted celeriac with an fanatic split peas gravy that will have you licking you bowl clean.
The stuff….For the split pea gravy we have a carrot, a parsnip and a large onion chopped into small chunks. Salt, thyme, a bay leaf and of course the split peas. Then there is the celeriac root* sliced into 1/2 inch thick rounds and some plain old yellow mustard .
*Note. I don’t peel my celeriac root. I really enjoy the fibrous exterior but realize that some don’t(The mister does not like it) so peel it if you want.
Toss the chopped parsnip, carrot, onion and the spices into a pot on medium heat and let veggies sweat a few minutes until tender. Add in the split peas and enough water to cover everything. Turn pot on high and bring to a boil, then cover and turn to low. Make sure to give the pot a good stir ever few minutes and add more water if needed
While the gravy is cooking, take the celeriac rounds and brush each side with yellow mustard, sprinkle with pepper, and place on a baking sheet. Stick into the oven to roast for about 25 minutes, flipping the rounds after about 10 minutes.
Once the peas have soften, remove the bay leaf and puree until smooth and oh so creamy. Taste and add more salt and pepper if needed. If you find that the gravy seems to thick, just add in more water until it’s the consistency that you want. The gravy is made, the celeriac is roasted… now we are ready to eat!! Stick the celeriac on a plate and dump good amount of that gravy right on top. Feel free to add a bed of spinach, or a grain or anything you want, because why not, and also some chopped tomatoes for a little acid and prettiness.
Serve with the fanciest knife and fork you can find. Extra yellow mustard and sriracha sauce are great condiments to have close by.
Happy Tuesday!
-C
Mustard Roasted Celeriac with Split Pea Gravy
2 medium celeriac roots
6 tablespoons mustard
1 large carrot
1 medium parsnip
1 large yellow onion
2/3 cup split peas
2-3 cups water
1 bay leaf
2 teaspoons thyme or italian spice mix
salt and pepper
spinach (optional)
diced tomatoes(optional)
Preheat oven to 400 degrees
Small dice the carrot, parsnip and onion and throw into a large pot. Spinkle with salt and pepper, add in the thyme and bay leaf and add a splash of water. Stick on stove on medium heat and stir. Let cook until the veggies become soft and fragrant. Now add in the split peas and 2 cups of water. Bring to a boil then cover and turn heat down to medium low. Let cook until the split peas become tender (about 25 minutes) string on occasion and adding more water if the peas are not completely summered while cooking.
Once the peas are tender, let cool for a few minutes, remove bay leaf, and either dump into a blender or blend with an immersion blender until nice and creamy. If gravy seems to thick, add in more water.
Scrub or peel celeriac roots and slice them into 1/2 inch think rounds. Place on a baking sheet and brush mustard on both sides and spindle with pepper. Stick into oven for about 10 minutes, flip, then back into the oven for another 15 or so minutes, or unit the celeriac is tender.
When the celeriac is done remove from oven and stick a few rounds on a bed of spinach (or not, or any kind of grain or green you like) Top with a hearty helping of the gravy and toss on some chopped up tomatoes.
Let%u2019s talk about how soup is the perfect food. It can be light and fresh, hearty and deep, chunky or smooth. You can eat it with a spoon, or somtime a fork if warranted, or just drink it from a mug. It%u2019s usually a one pot meal, a small pot for one, a big pot for many. Make a pot of soup and eat some now and save some for later. It freezes amazingly well. Got a few extra sad carrots and wilted greens? Toss them into a pot with whatever you have on hand, maybe those veggies scraps and you got yourself a meal. Want something more filling, just add in some grains. Feeling sick, warm soup will make it all better. Feeling fresh and springy, well soup is there for you too. Seriously soup, you can do anything. If I could, I would marry you. %u2665%ufe0f
This soup is one of this velvety smooth, light but rich, delicious beyond delicious soups. A fresh spring time soup. Not to hearty or heavily spiced. Super rich and creamy and flavorful. Bright ass green which makes it amazing in itself, but then with a nice tangy sumac tahini swirl on top, well it is just about the most perfect soup. I made to share, which I did, (and everyone licked their bowls clean) but then hoarded the little bit left over and ate it cold for a late afternoon snack. That is another thing about soup, you can eat is cold and it is still amazing.
Tasty and delicious, and nutritious. This soup does it all.
To the soup!
The stuff. Peas, chopped broccoli, and chopped cauliflower which are all frozen and slightly thawed. You can totally use fresh here too, but I just so happen to have it frozen so you might as well save the fresh stuff for fresh eating. Also have a big yellow onion, a few cloves garlic, some tahini, a lemon, sumac, and salt and pepper. You need water which I did not picture here.
A pot, some water and a roughly chopped onion and the garlic start off this soup. Bring the pot to a boil, then turn to medium and let the onion and garlic cook until very tender. I have been making a lot of soups starting with this step lately. Boiling the onion and garlic until tender and fragrant really make for a super flavorful and clean soup base. Or soup in itself.
Now add in the broccoli and cauliflower to the pot and cook until tender.
Mid soup cooking time is a good time to make the sumac tahini sauce for the swirl. Basics here, just mix the tahini, the sumac, a pinch of salt and pepper, the juice of the lemon and a tablespoon of warm water together until smooth.
Last but not least, the peas. Add them in and they just need a few minutes to cook through.
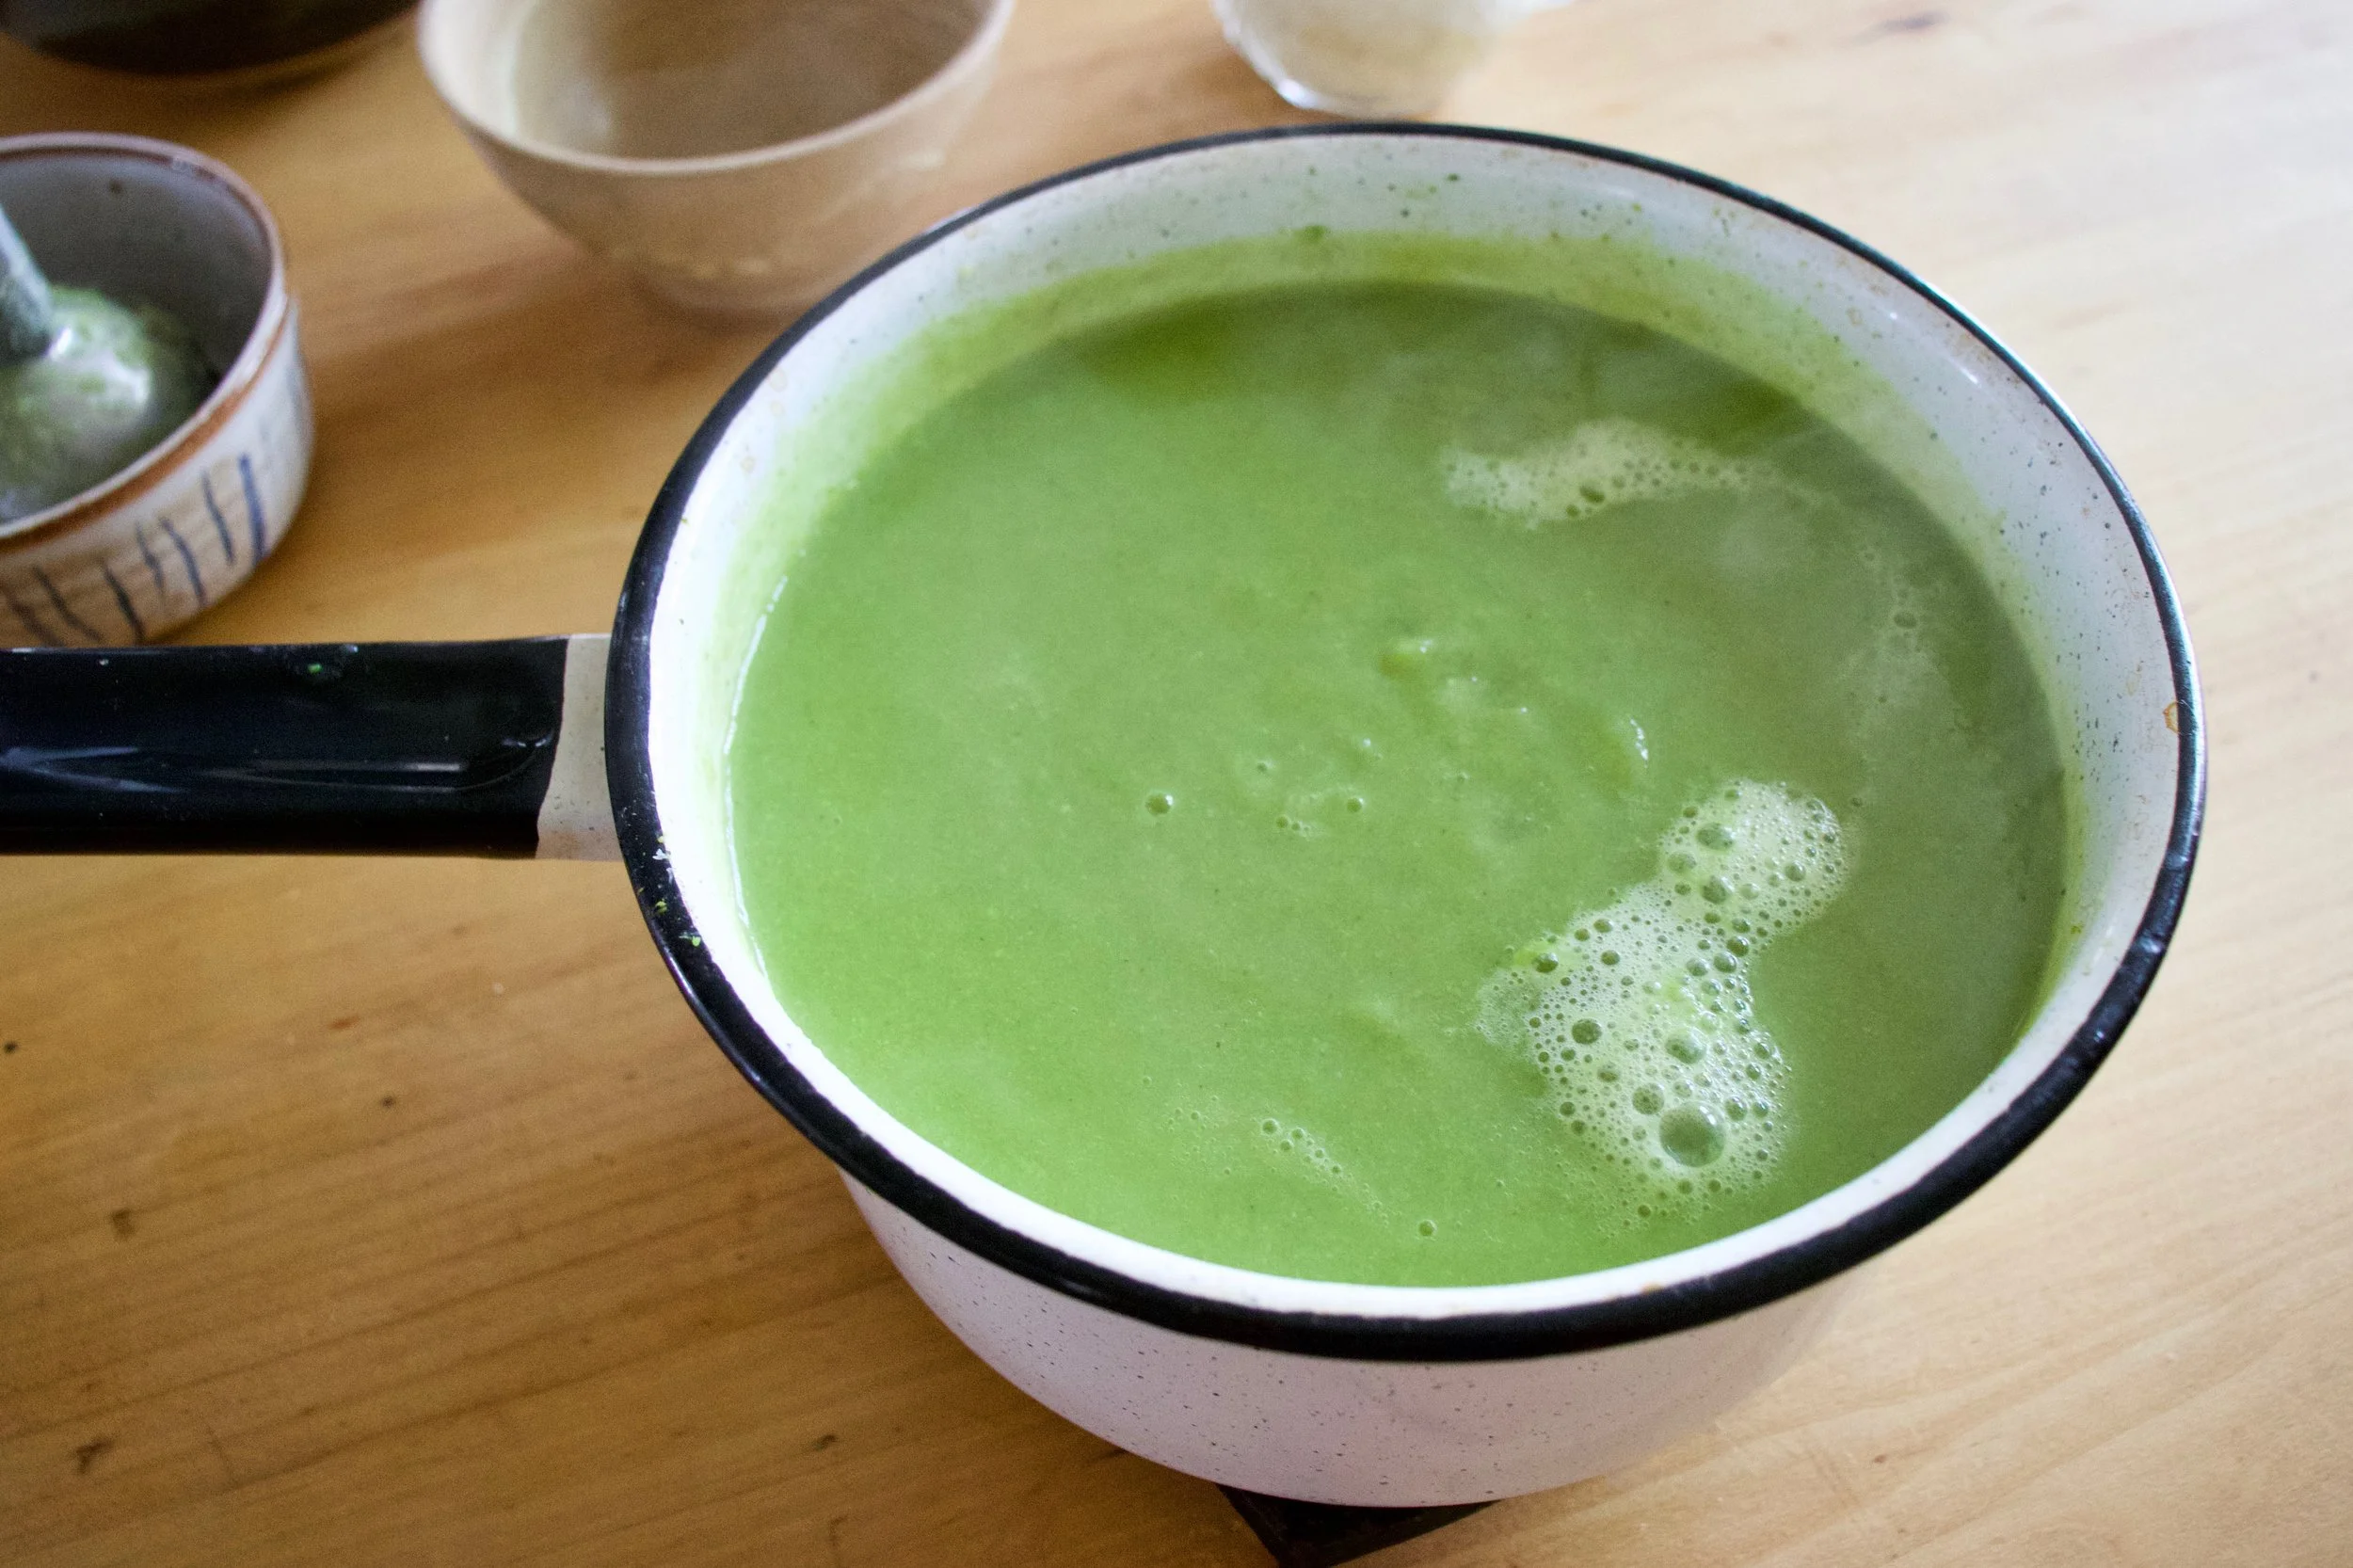
And then it all gets blended to become this green creamy goodness.
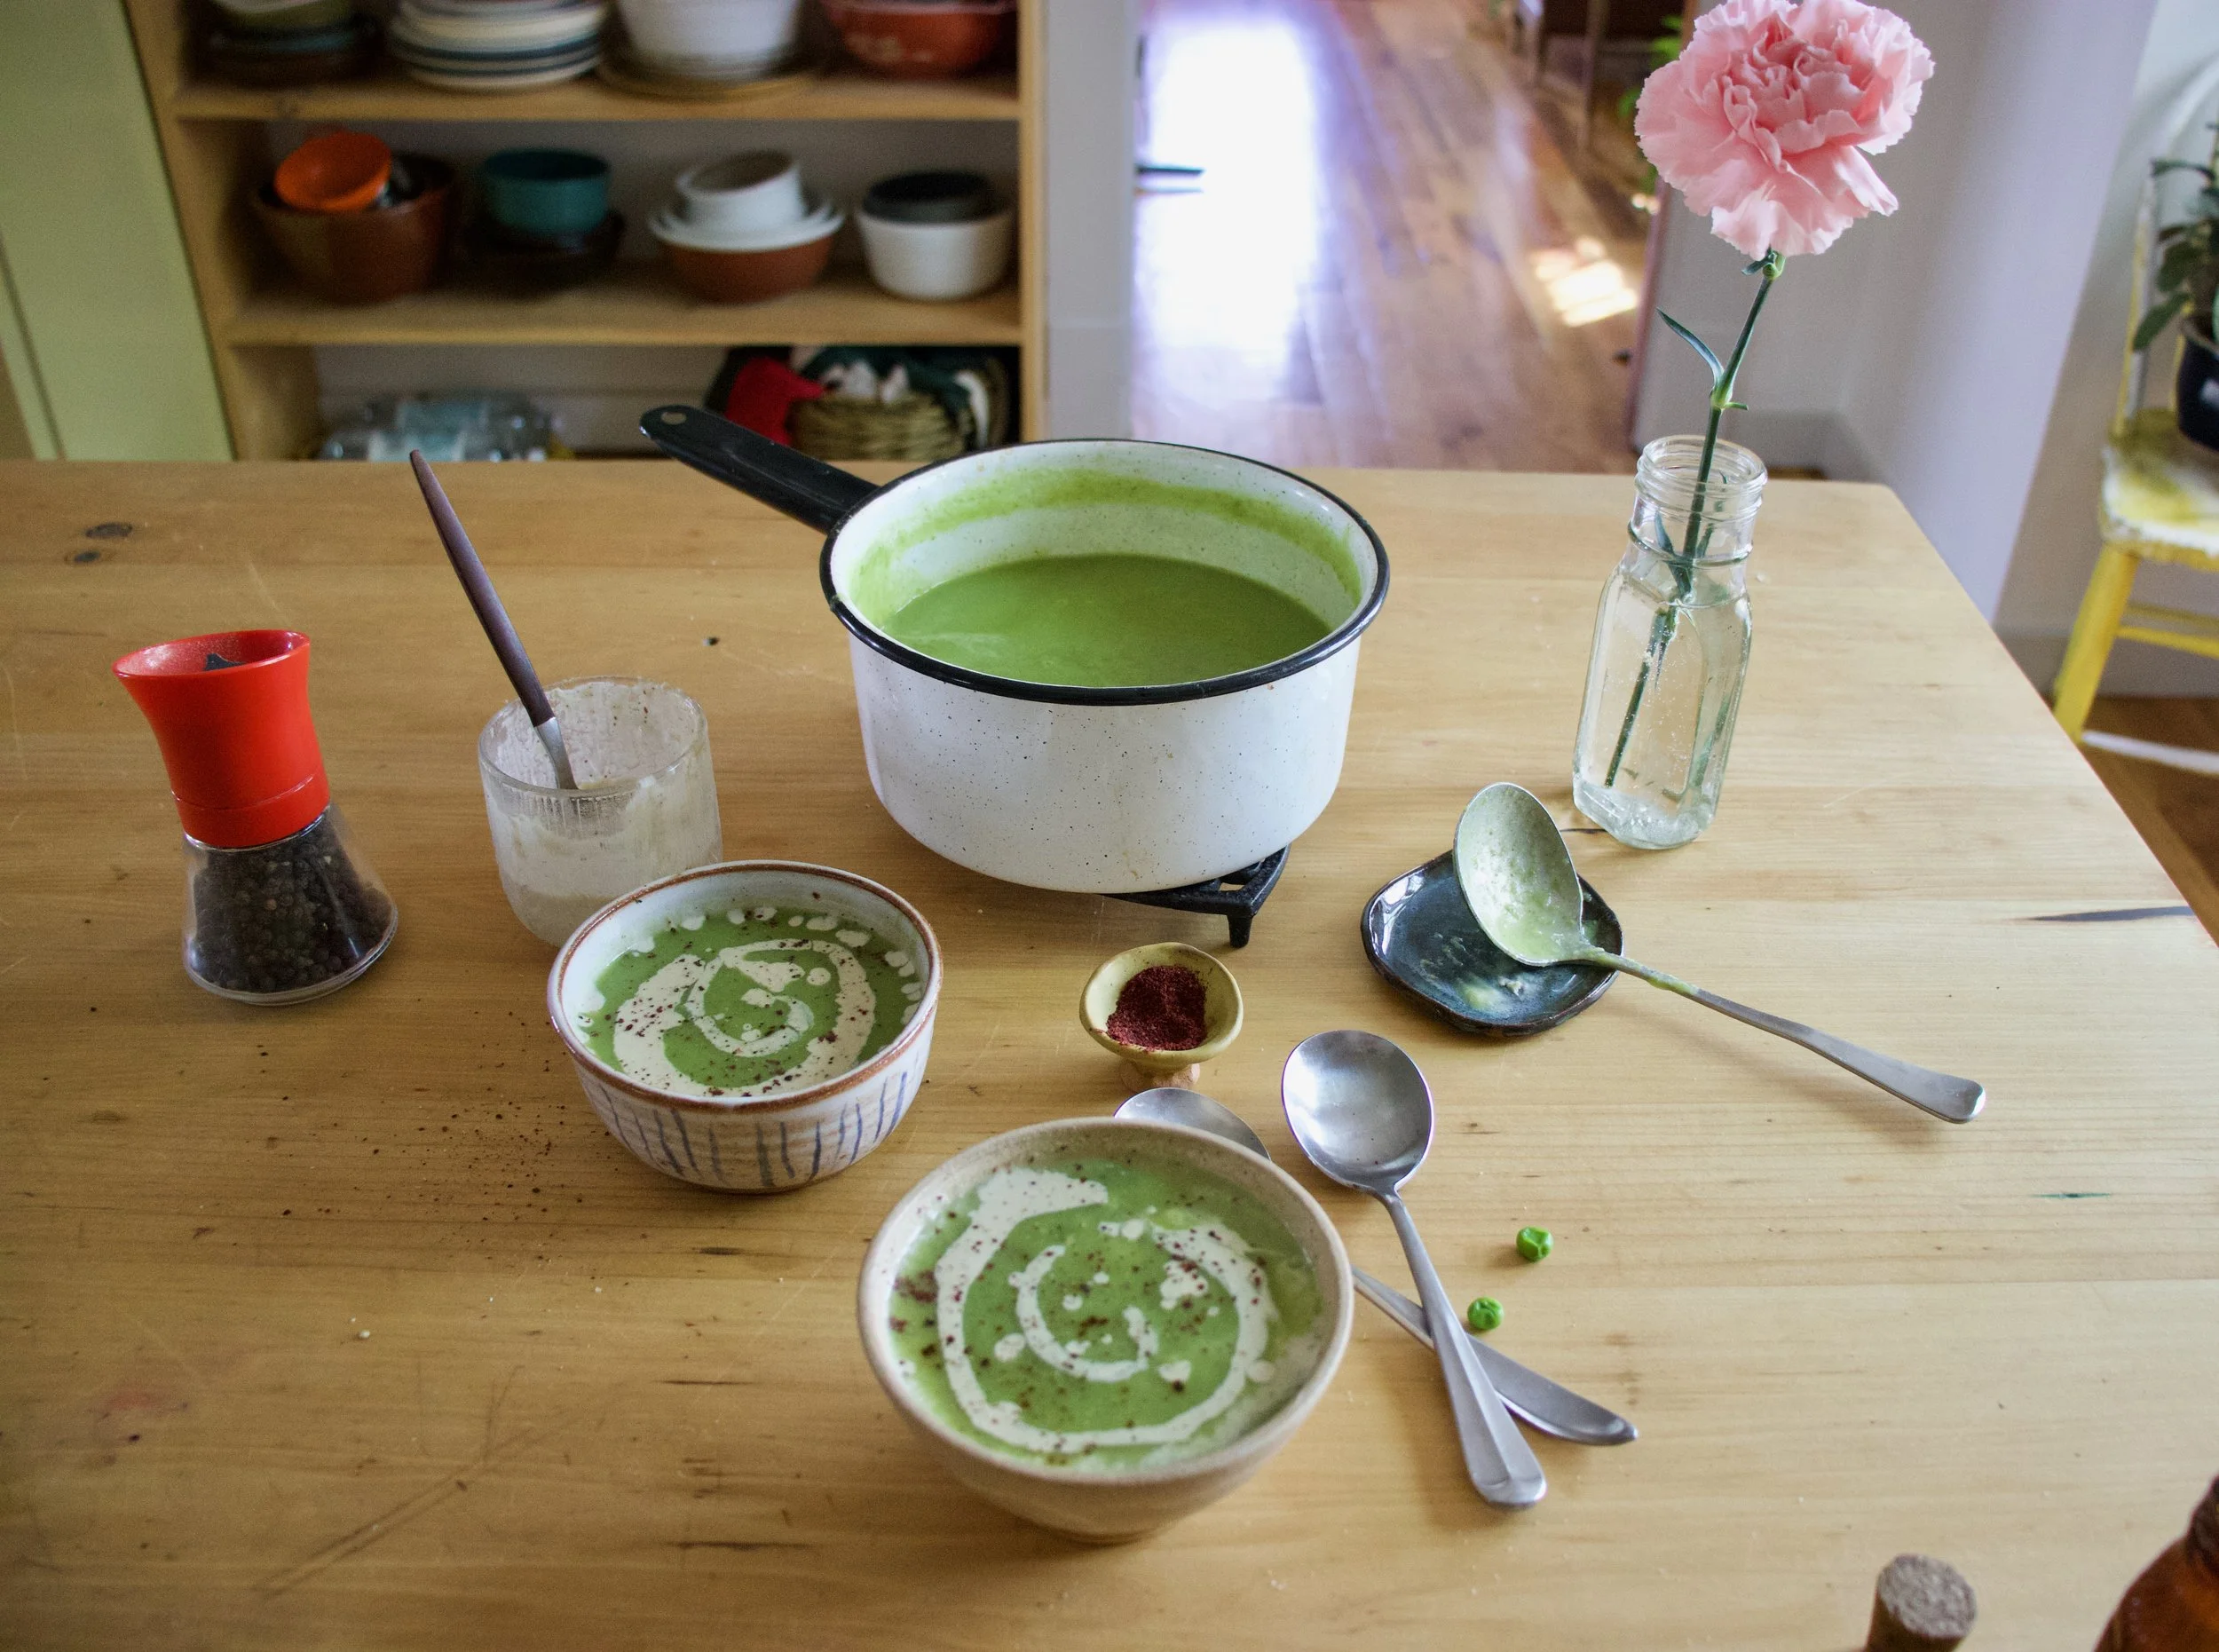
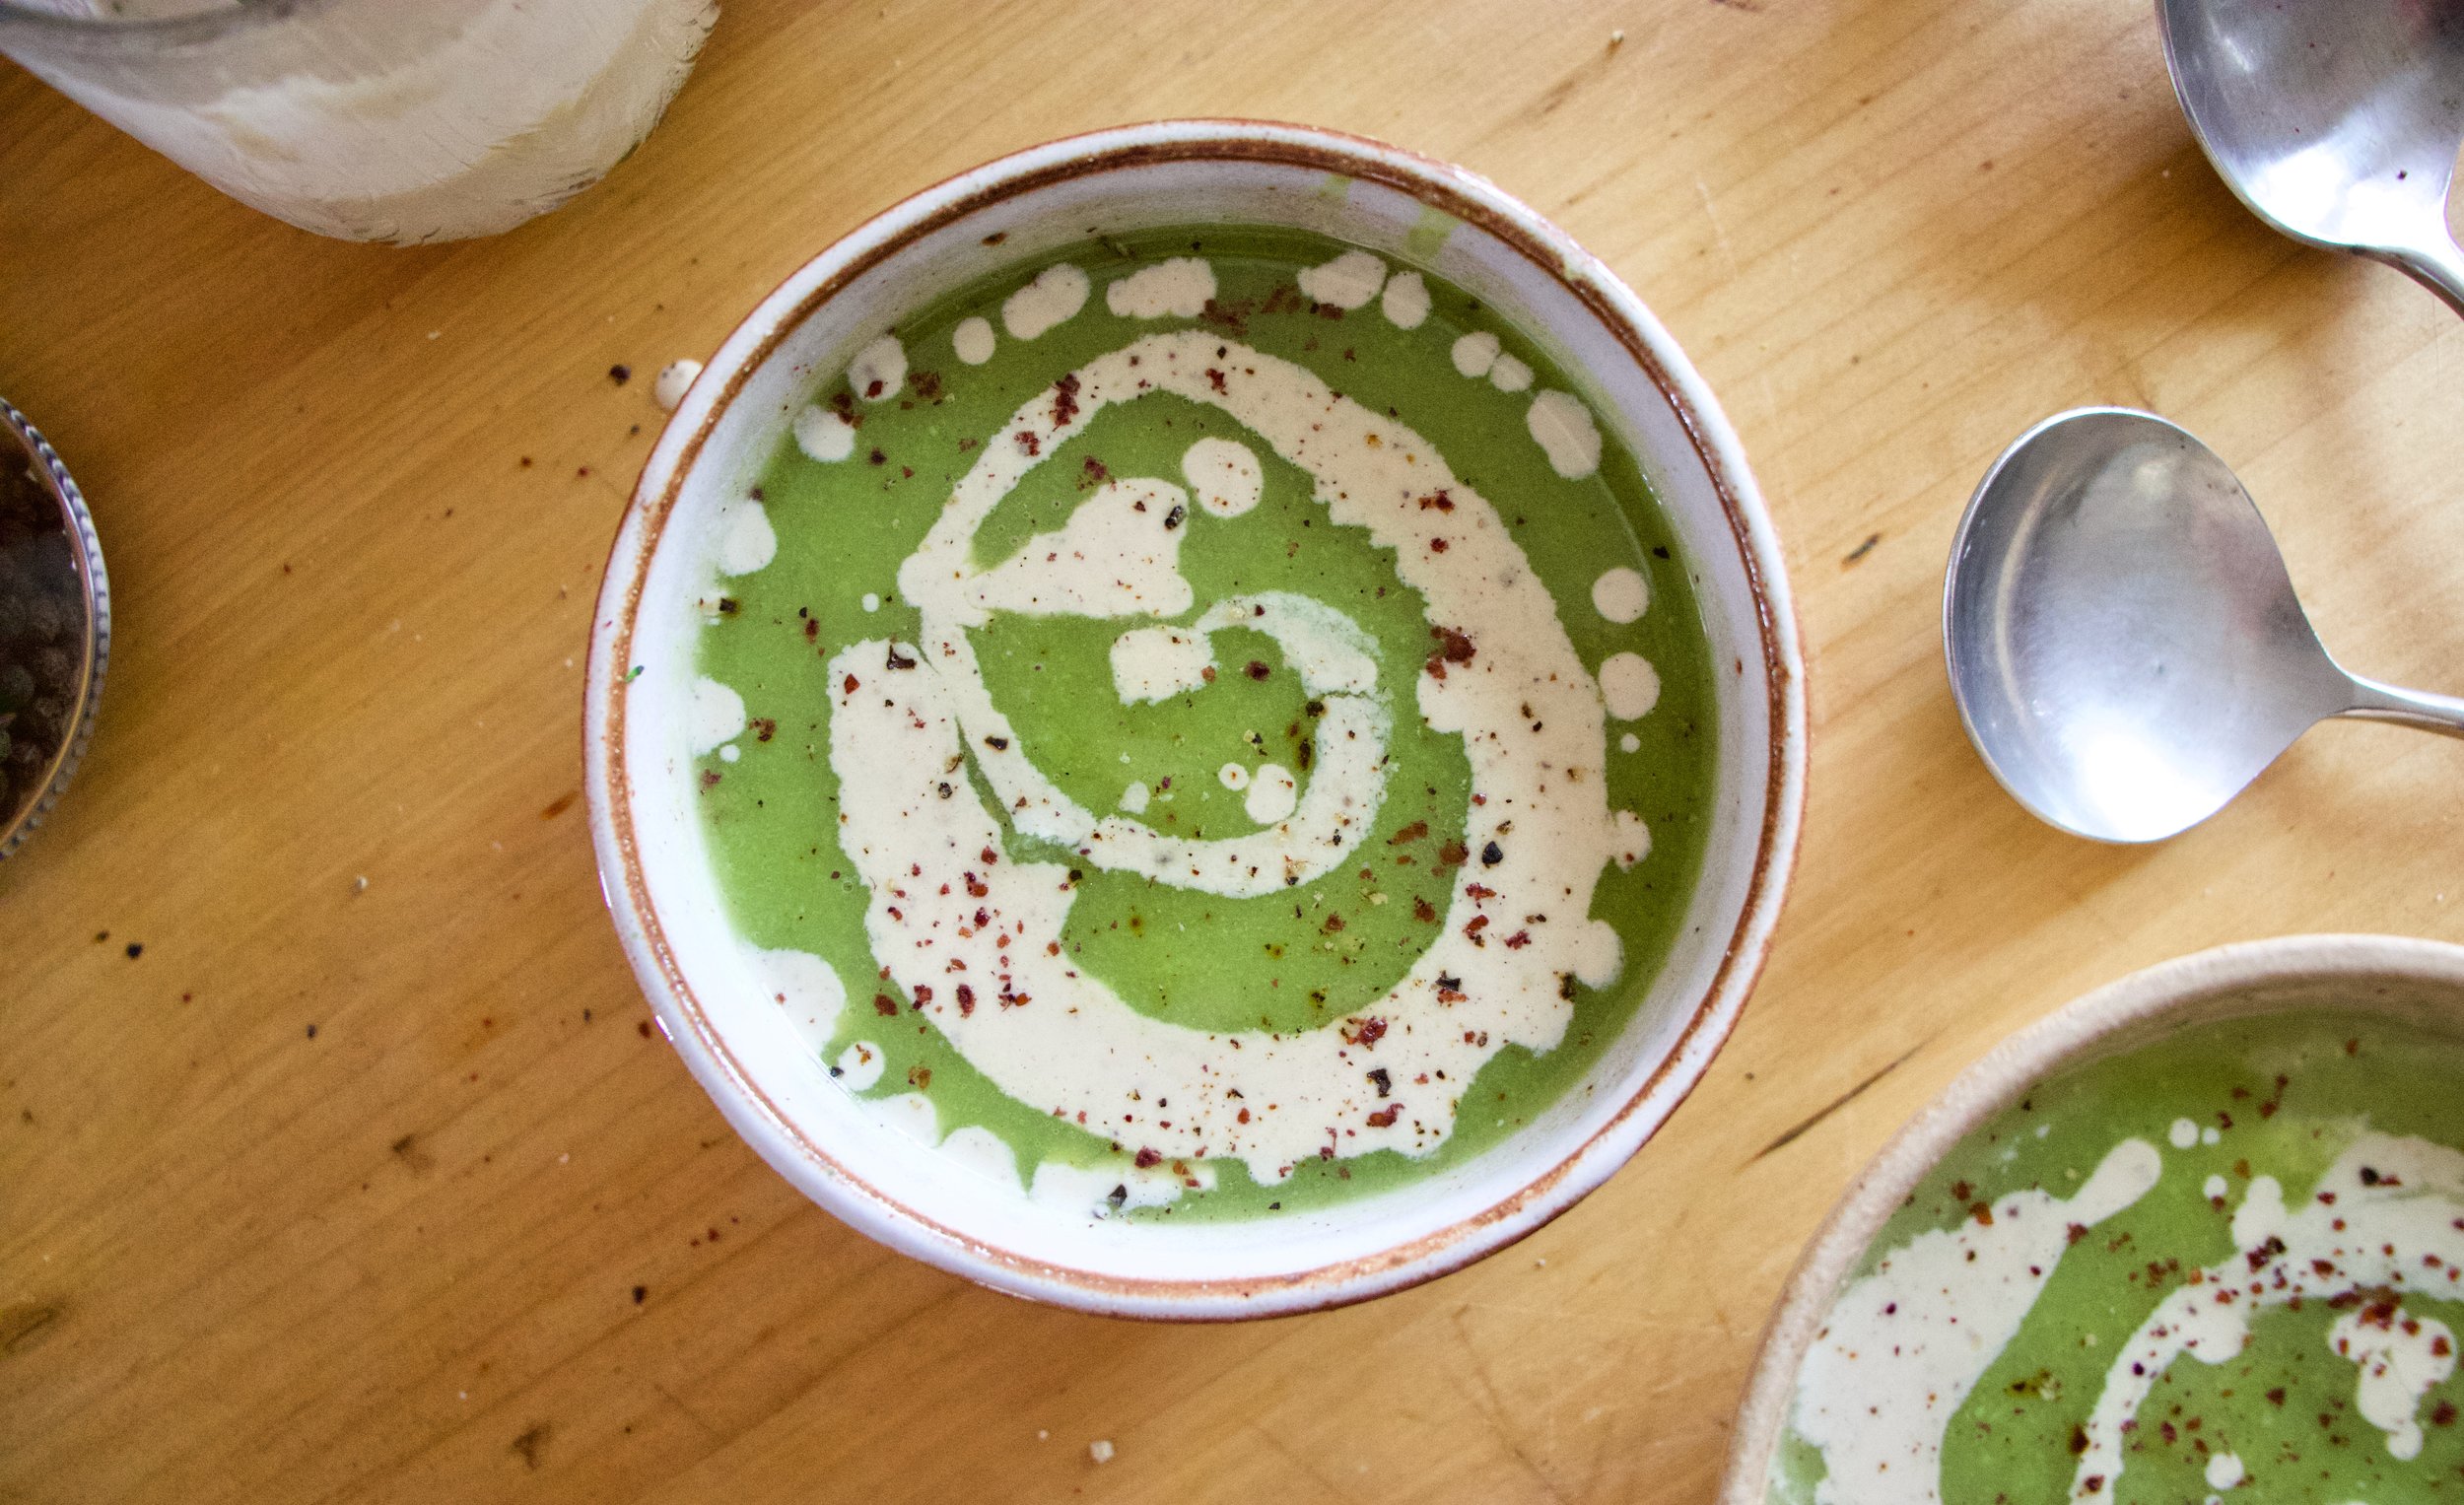
Ladle into bowls, grab the sumac tahini sauce and swirl it on in. A tablespoon or so is good. And don%u2019t forget a little more pepper and another pinch of sumac for good measure.
Just appreciate for a moment. That is one good looking bowl of soup. And it taste even better then it looks.
-C
Makes about 4 serving
1 1/2 cups fresh or frozen peas
1 1/2 cup chopped fresh or frozen cauliflower
1 1/2 cup chopped fresh or frozen broccoli
1 large onion
3-4 cloves garlic
4-5 cups water
Salt and pepper
1 teaspoon sumac
2 tablespoons tahini
2-4 tablespoons warm water
Start by removing the papery skin from the onion and chop into a few big chunks. Remove the skin from garlic too. Place into pot with 4 cups water. Turn heat on high and bring to a boil then turn heat to medium and let onion are garlic cook until tender which should take about 15-20 minutes
Once the onion is cooked, add in the broccoli and cauliflower. Turn heat back to high and bring to a boil again then turn back down to medium heat. Keep cooking until tender (another 15 minutes or so) then add in the peas. Keep on heat until peas are cooked through then remove the pot from heat and either transfer to a blender or use a immusrian blender to blend the soup until smooth. Add a little more water if needed to get to the right consistency to blend right. Or if you want a thinner soup.
For the tahini sumac swirl just mix the tahini and sumac together along with the juice of the lemon, two tablespoon warm water and a pinch of salt. Mix together until smooth. If the mixture is to thick, add another tablespoon of water.
To serve. Ladle or pour soup into bowls and drizzle and swirl the tahini sumac on top. Sprinkle with pepper and a pinch more sumac and you are good to go.
Kind of a spur of the moment cake situation. I was in the middle of doing some paper work and remembered that I had made plans with the littles to go bike shopping and do dinner. Usually when they come over for dinner I don%u2019t make a point to have a dessert (they are happy with a handful of chocolate chips if I have nothing) but I felt the need to have something special. I mean, bike shopping, that%u2019s a big deal and they were so excited so I wanted to have a little celebration cake thing. A, YIPPIE YOU GOT BIKES! cake. It just seemed like the right thing to do.
So I made cake. I running a little short on time (yet I still had time to take pictures%u2026.) so I went with my trusty one bowl, super easy chocolate cake. (This is everyone in my families favorite cake). Peanut butter frosting because it was right in from of me and really, it was for Coco the fat baby. He basically eats nothing but peanut butter these days. And of course because peanut butter and chocolate together are never going out of style. I cooked the cake in a loaf pan because I was just feeling loafy I guess. But This cake could totally be cooked into a cake round or square if you wanted to.
And that was that. I made that cake, they got the bikes (YEA!!!!, although I told them both that they sucked because they walked into a store and picked out bikes in less then an hour. I on the other hand have been bike shopping for more then a month and still haven%u2019t made a decision.) We then came back here to my house, biked around for a while, then ate cake (after dinner of course.)
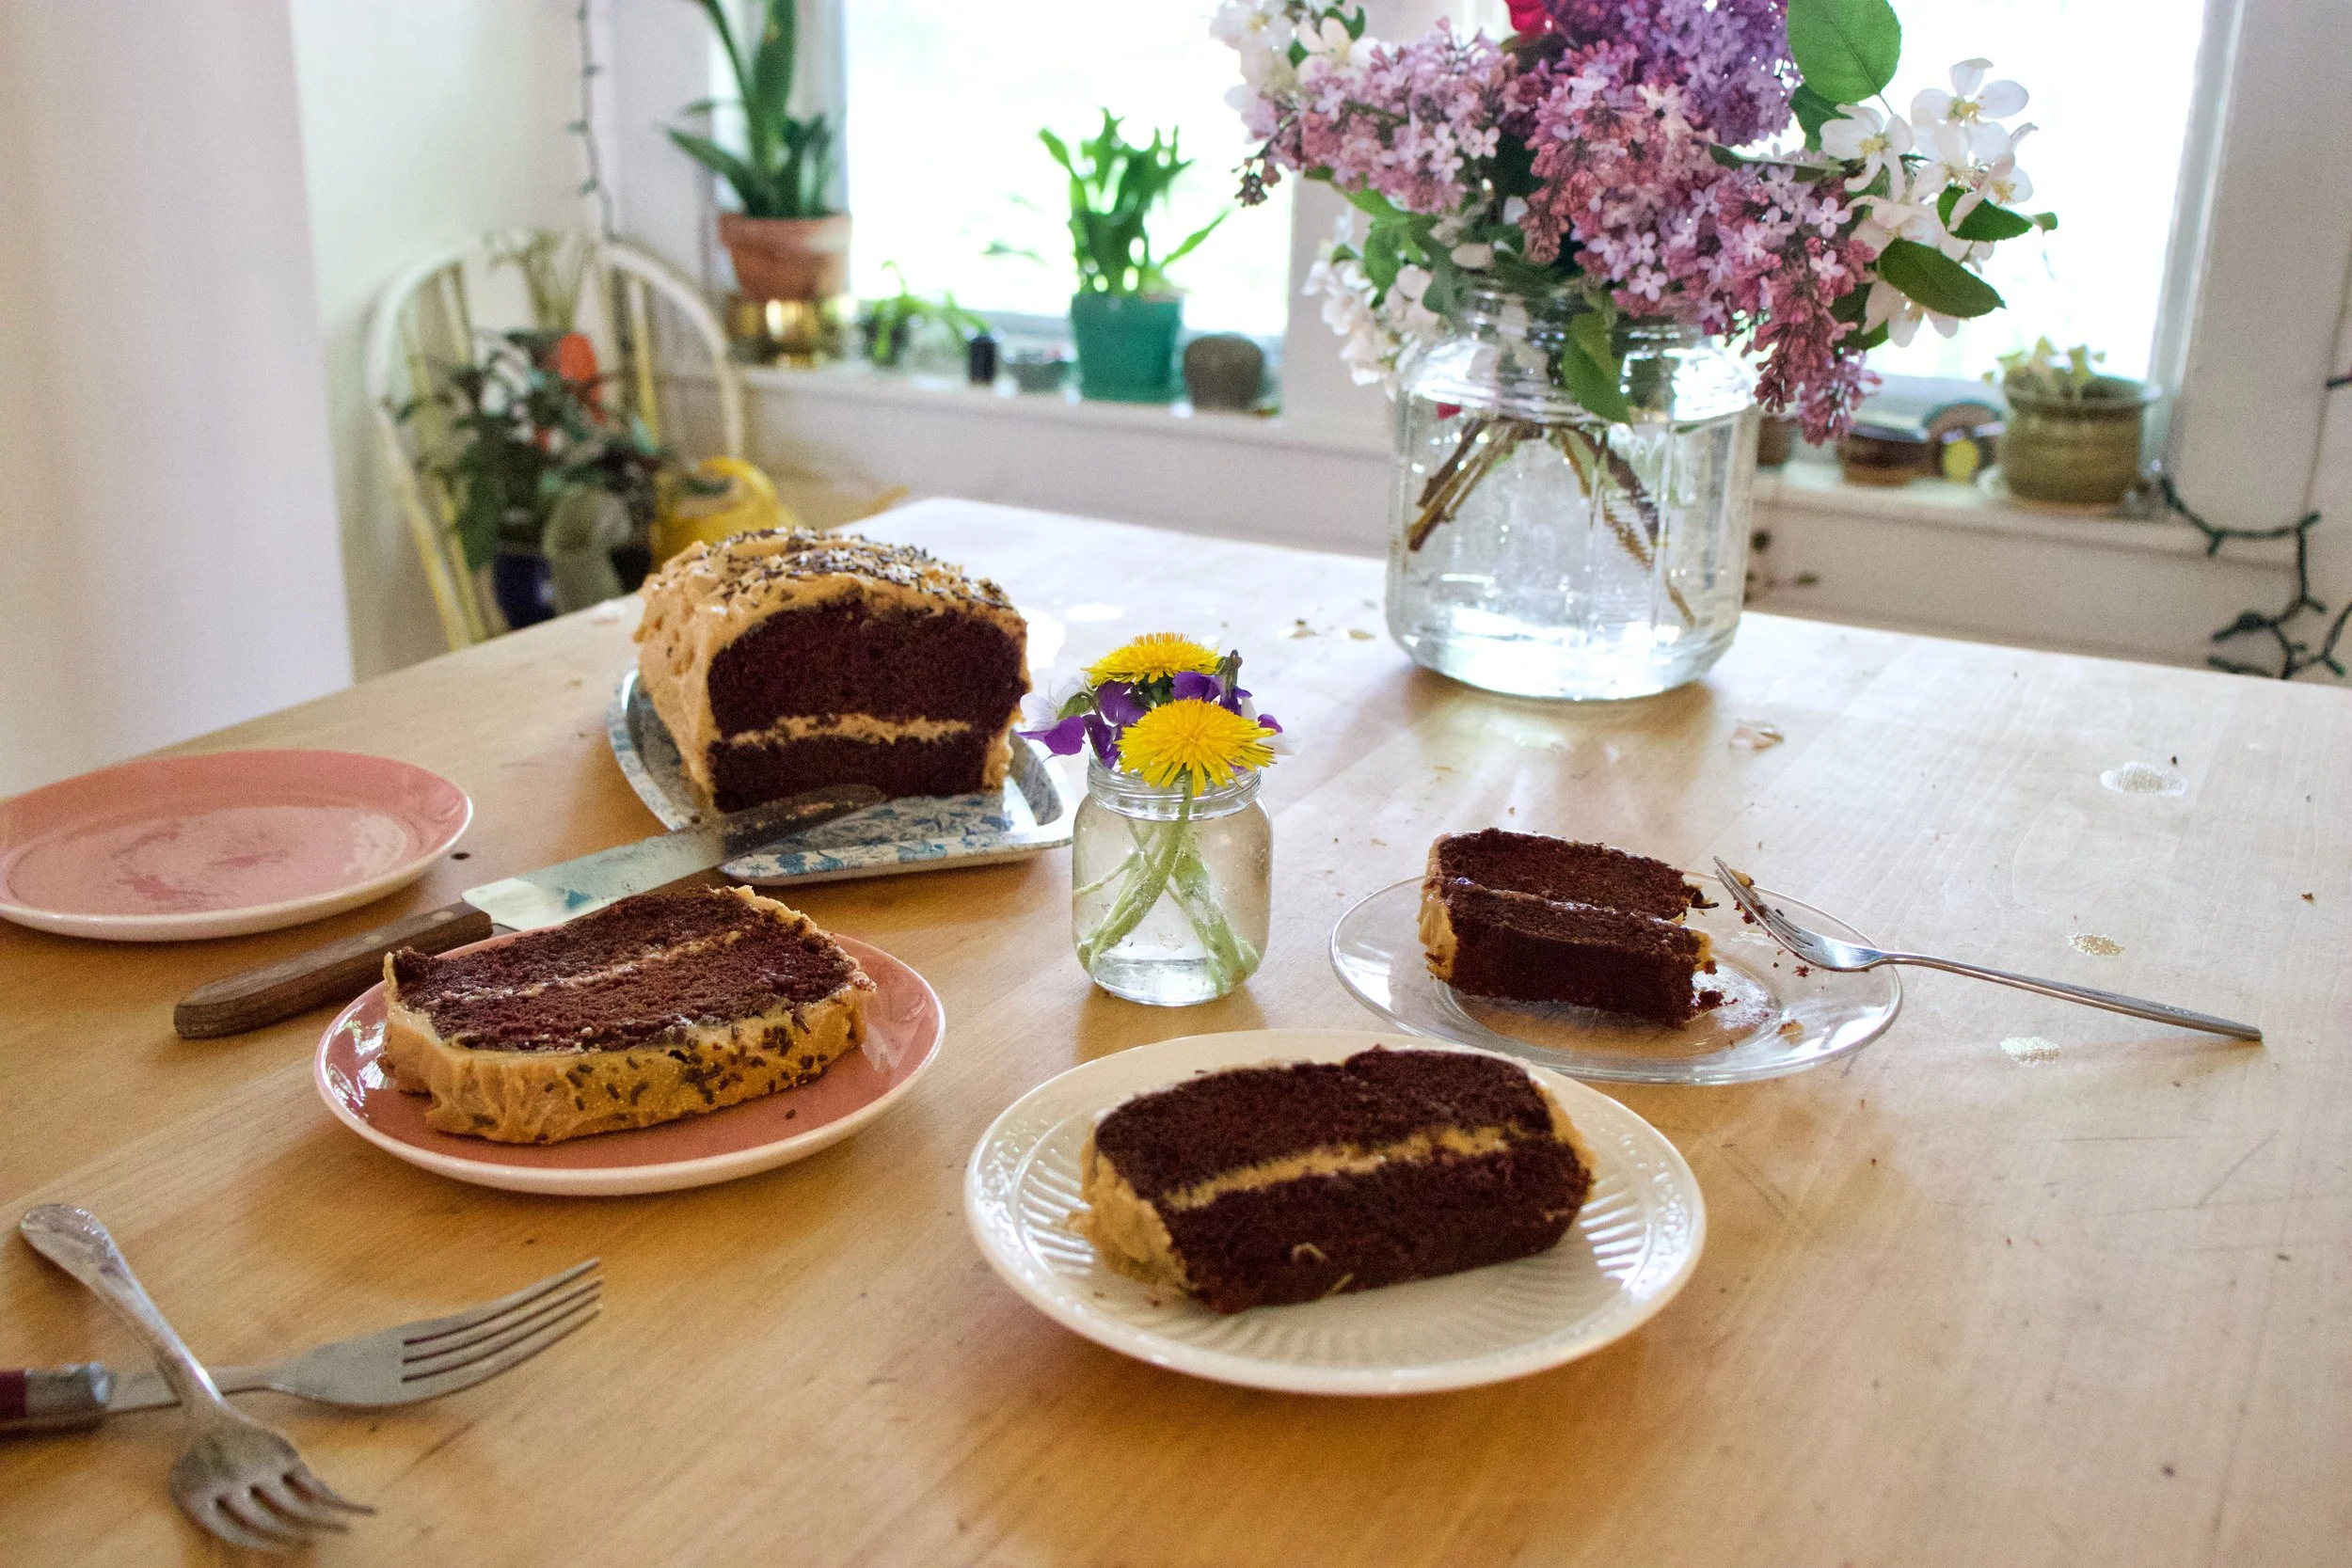
Anyways. This cake. Rich, dense, chocolatey peanut butter goodness. Has been described as the best cake ever and like a Reese peanut butter cup. If you are into any of that, well this is the cake for you.
To the cake.
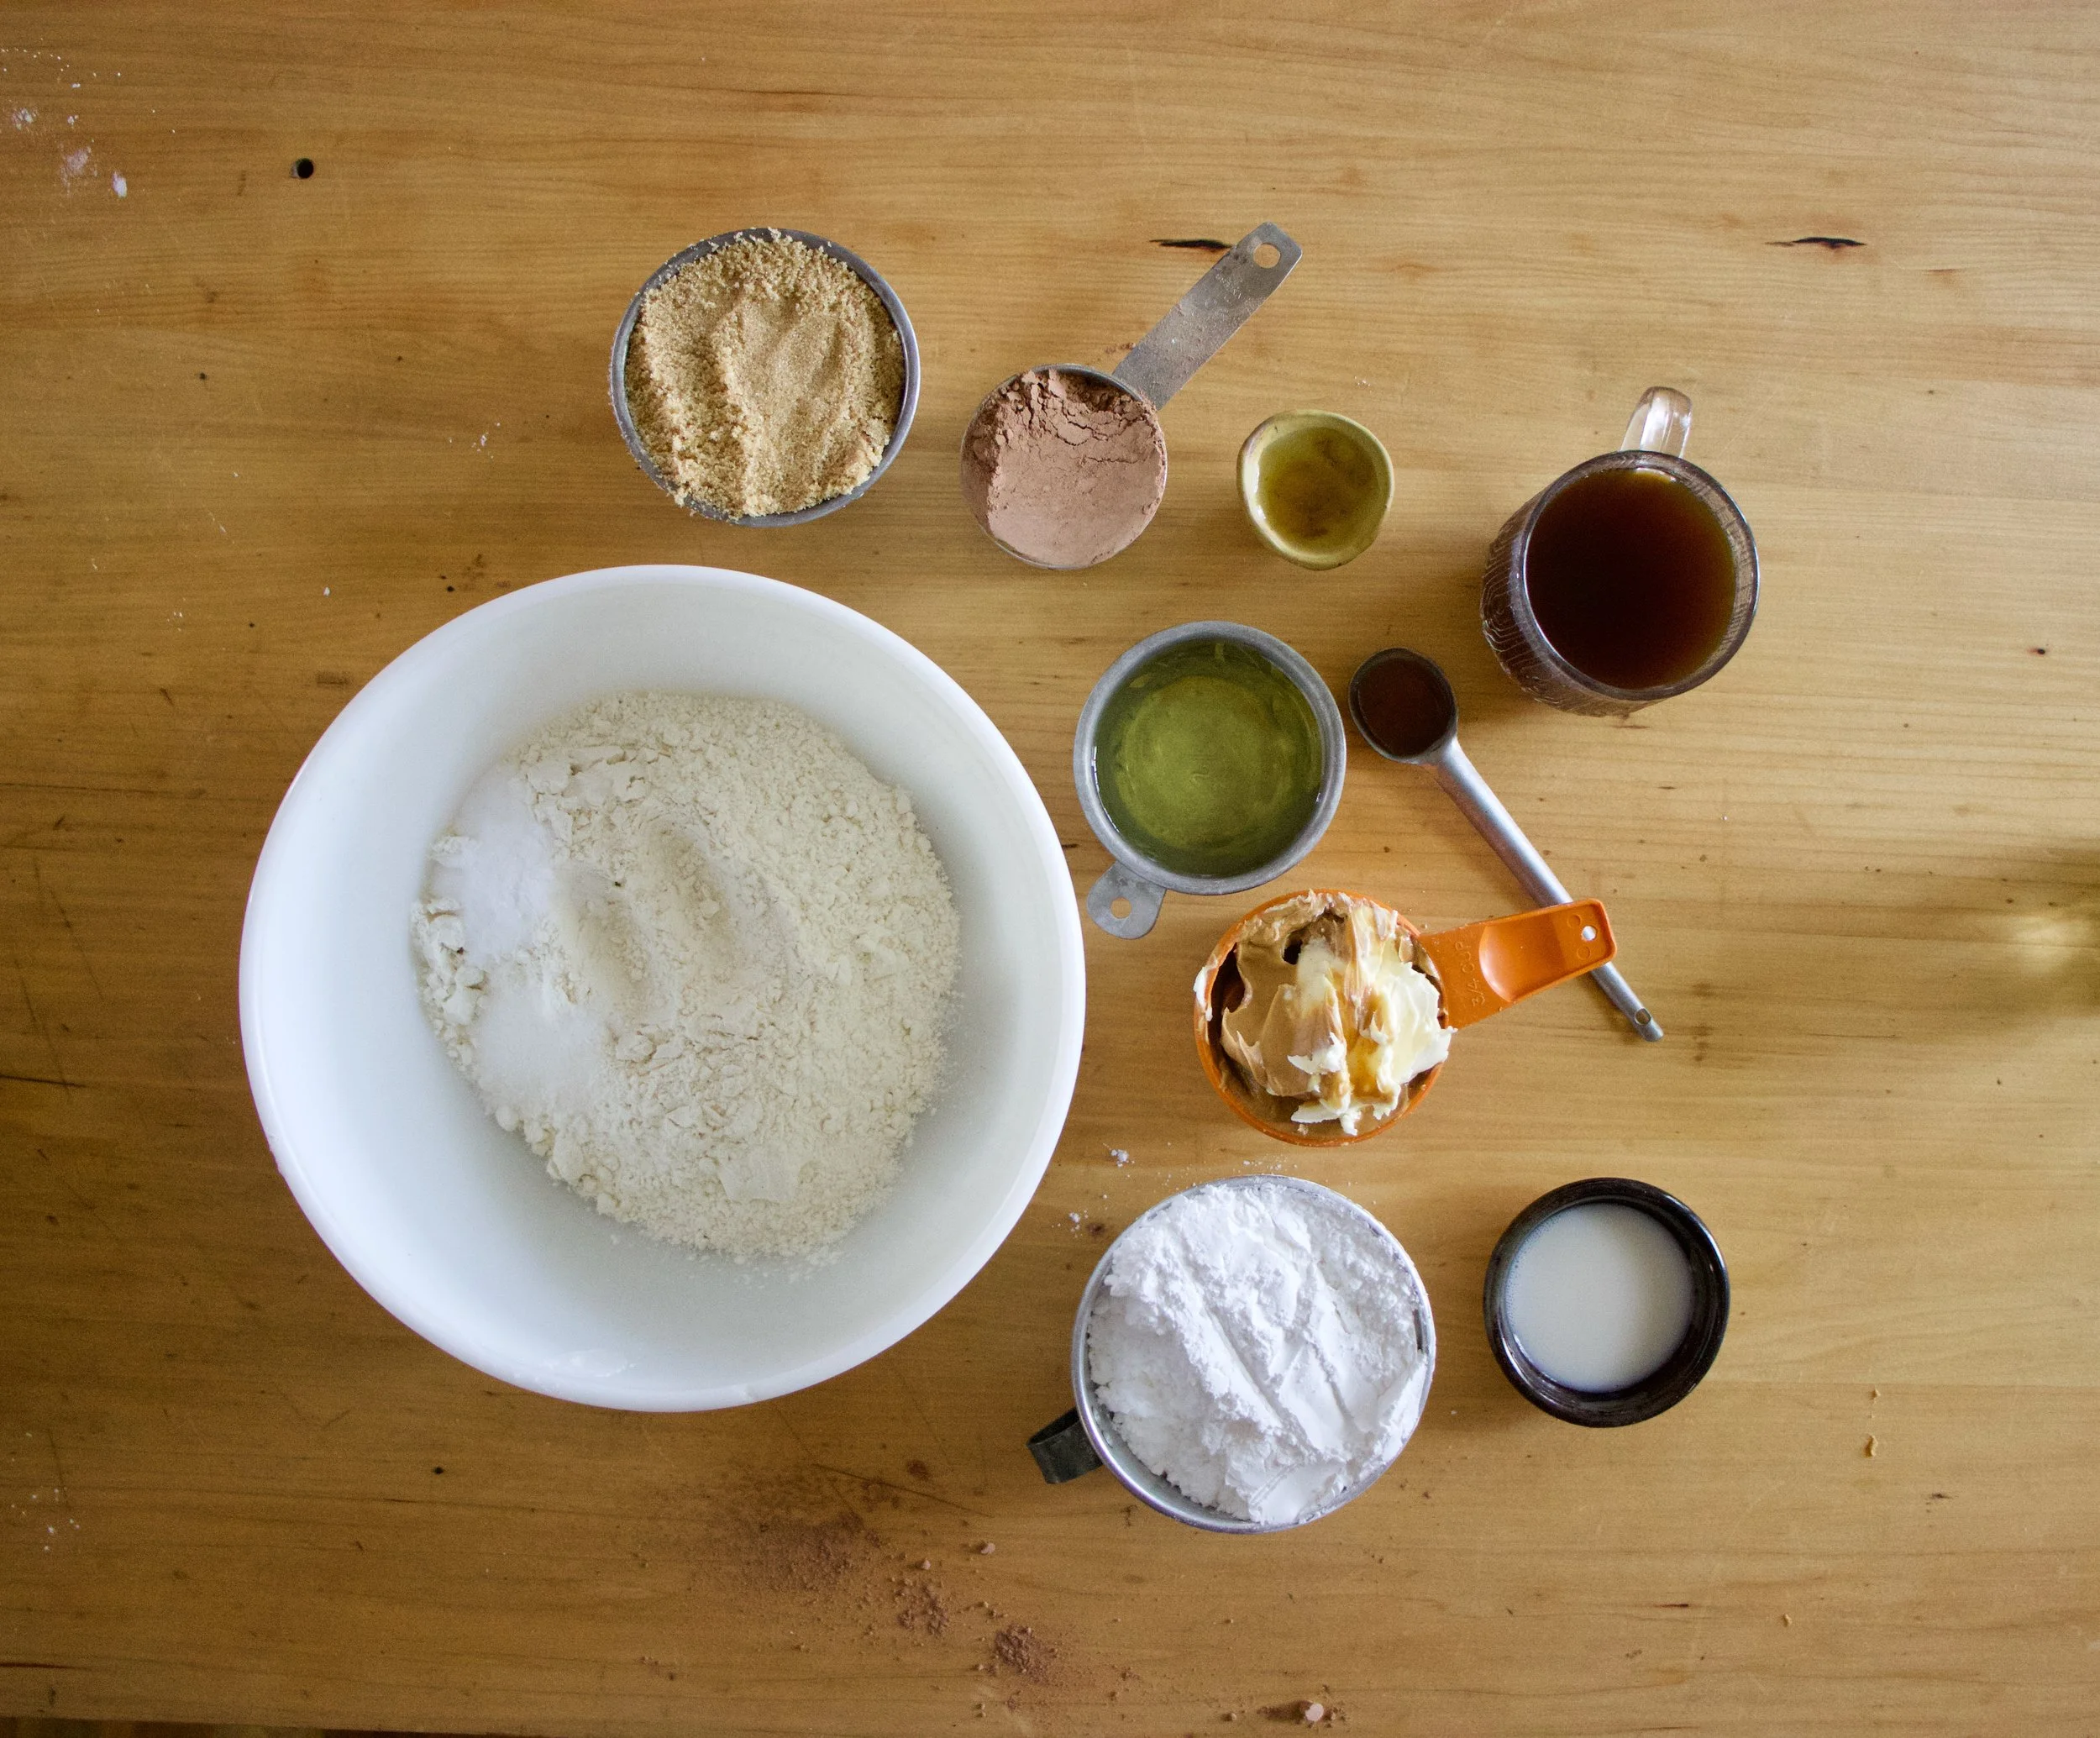
The stuff for the cake.. Flour, baking soda, salt, cocoa powder, oil, coffee, vanilla. brown sugar, and apple cider vinegar. And the stuff for the frosting. Peanut butter, butter, powdered sugar, and almond milk.
In a big bowl, whisk together the dry stuff, pinching and breaking apart any big clumps of cocoa or sugar. Then just dump in the wet.
Whisked until glossy and smooth. A perfectly perfect chocolate cake batter.
Pour batter into a greased and lined loaf pan and into the oven it goes. 50-60 minutes or so or until a tester poked in the middle comes out clean. Then pop the cake right on out. Remove cake from tin and let cool on a wire rack.
While cake is cooling, make frosting. Beat together powdered sugar, peanut butter, butter, and milk.
Fully beaten. Ready to frost a cake.
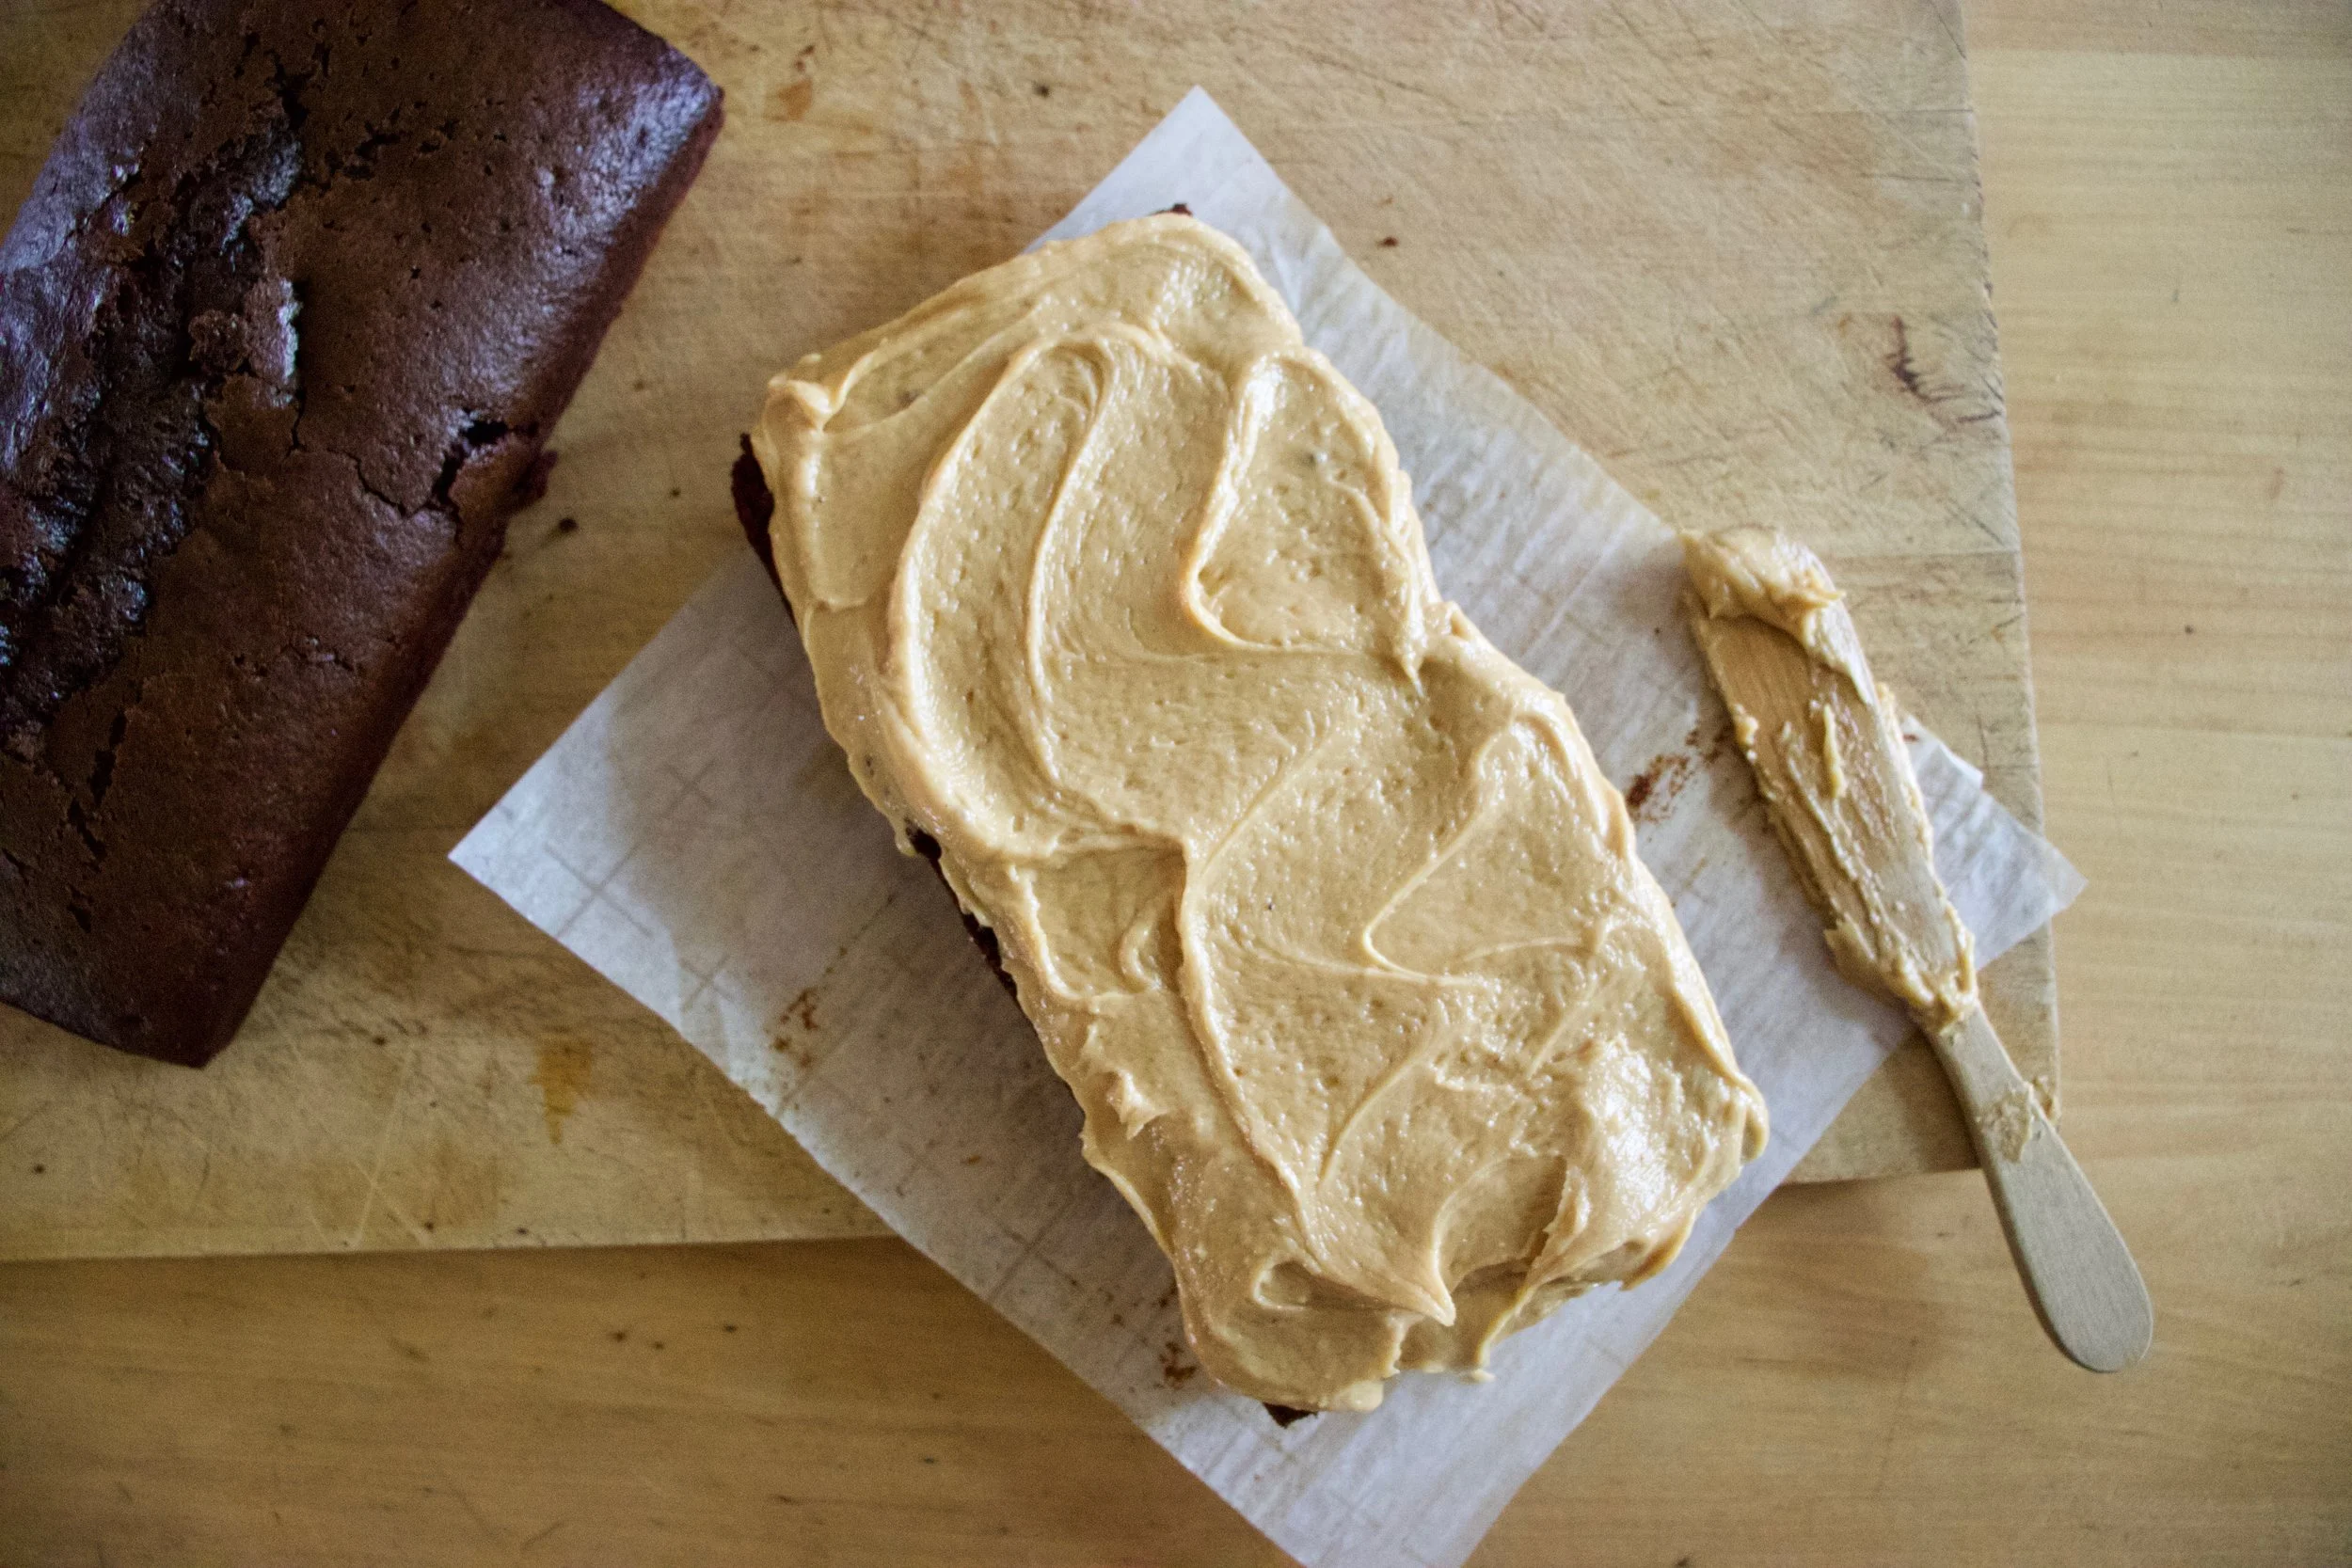
Once cake is cooled, cut in half down the middle, length wise. Then frosting the middle. (Make sure it is cooled in the middle before frosting. If it is still warm, let it cool)
Pop the top back on and frost the rest.
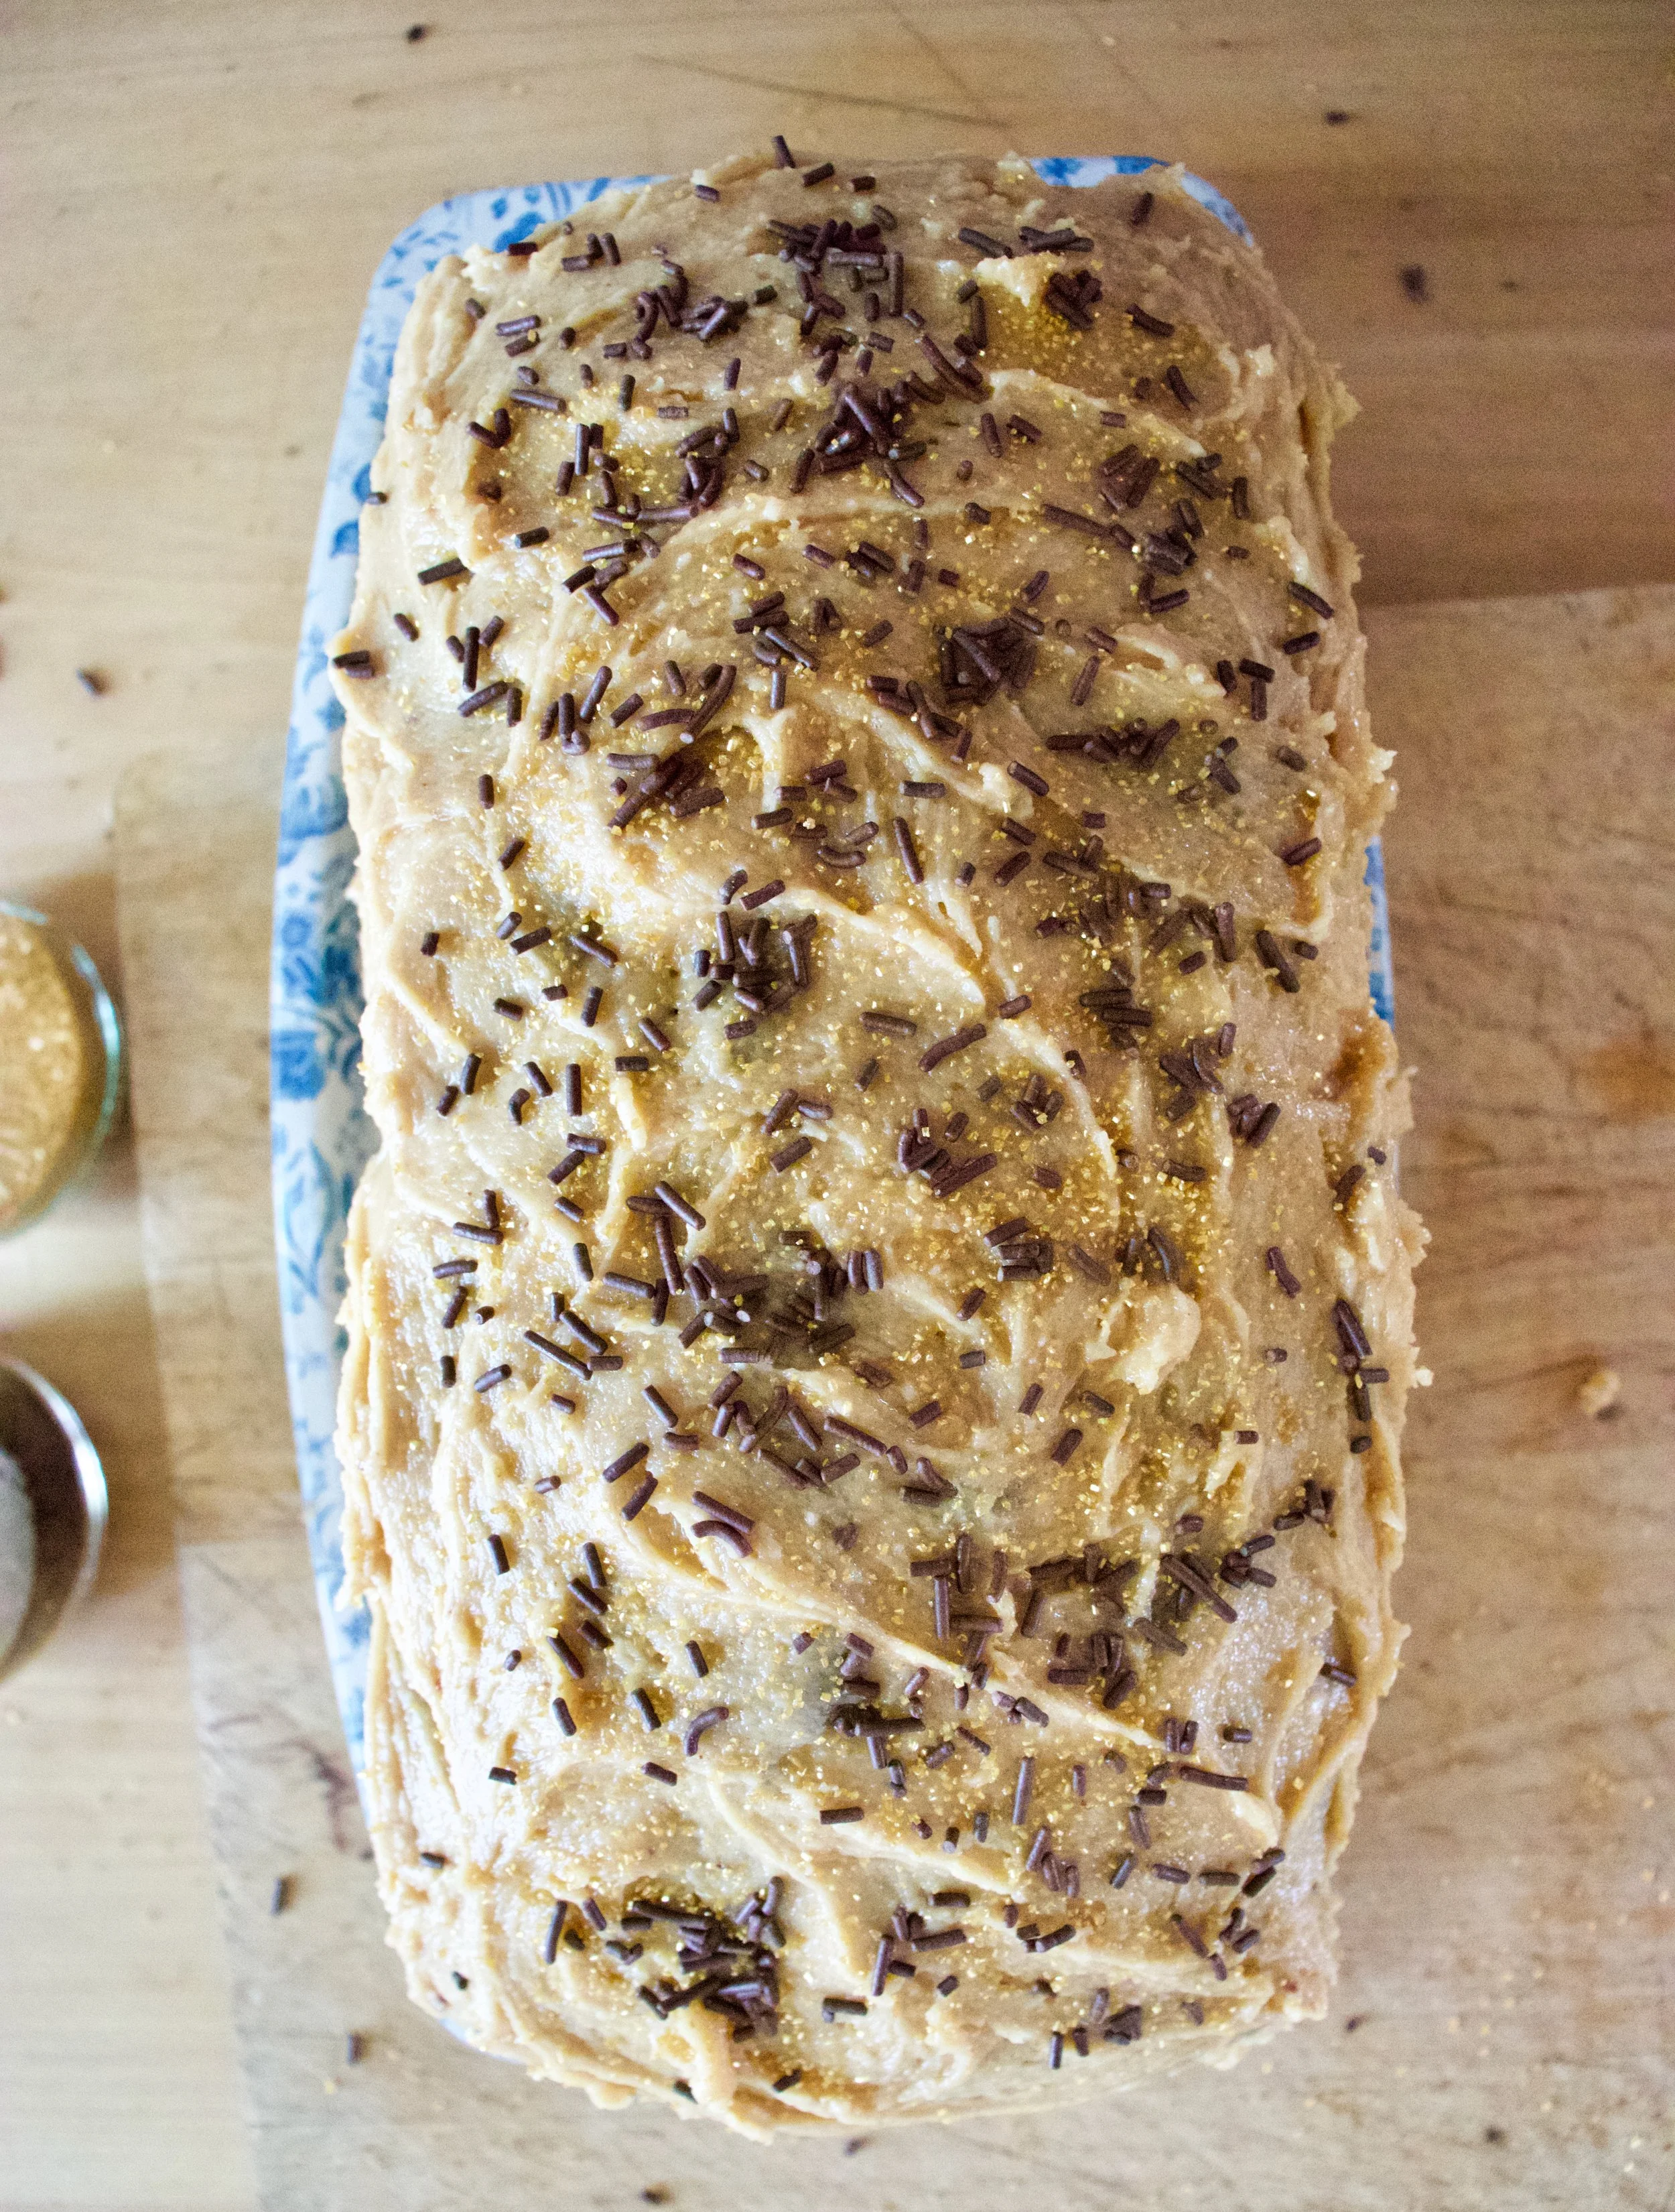
And don%u2019t forget the sprinkles. Went with chocolate and gold because. But you do you and use whatever sprinkles you want.
And then you eat the cake.
I ended up stick it in the freezer to hide for a while%u2026 I guess this cake cold or slightly frozen is just about the best thing ever. The littles damn near ripped my arm off trying to get seconds.
-C
makes 1 loaf cake
For the Cake
1 3/4 cup all purpose flour
1 cup packed light brown sugar
1/3 cup cocoa powder
1 teaspoon baking soda
1/2 teaspoon salt
1/2 cup neutral oil
1 1/2 cups warm coffee
1 teaspoon vanilla
1 tablespoon apple cider vinegar
For frosting
3/4 cup minus 2 tablespoons peanut butter
2 tablespoons vegan butter
1/4 cup plant based milk
1 1/2 cups powdered sugar
Preheat oven to 350 and grease and line a loaf pan.
In a large bowl mix together the flour, baking soda, salt, cocoa powder, and brown sugar. Break apart any big clumps of sugar or cocoa with your fingers. When that%u2019s mixed, dump in the wet and whisk together until just fully incorporated. Pour batter into the greased pan and stick into oven.
Bake for 55- 60 minutes or until a tester poked into the middle comes out clean.
Once cooked, remove from oven and carefully remove from pan. Place on a wire rack to cool.
While cake is cooling, make the frosting. Just beat together the butter, peanut butter, and milk until nice and creamy. If you find your frosting be too thin, add in more powdered sugar, too thick, a splash more milk.
When it is cooled, cut the loaf in half length wise. Make sure the inside is complete cooled as well. I totally stuck my cake in the freezer for little bit to speed up the cooling process%u2026..
When the cake is cut and completely cooled, frost it. Spread a little less then half the frosting on the bottom layer, stick top back on, and finish the frosting. Cover with sprinkles (if you want) and then that is it.
Serve room temperature or what my people really like is served slightly frozen, which is great because I just cut the cake up and froze individual pieces making for a perfect quick dessert.
No it is not weird or gross or anything. I wouldn’t do that to you. These popsicles are down right deeee-lightful. Rich and creamy and sweet. Both the creamy coconut and the toasted coconut pair perfectly with the sweet corn flavor. They truly are delicious and I think that if you give them a try, you will think so too. And really, now that it is like almost summer, who doesn’t have a little extra corn laying around. So you might as well just make a batch.
And then you will thank me for introducing you to the goodness that is a toasted coconut and corn popsicle. Heck, the mr even ate one and he (still, after I have proven him wrong on a many occasions) says he hates corn. So if a corn hater likes these, imagine what a corn lover will think. HAHA. Corn lover.
To the popsicles!
The stuff. Corn, full fat coconut milk, shredded coconut, and maple syrup.
First, remove corn from cob and place on a baking sheet. Bake in oven for 10-ish minutes until corn is cooked and all nice and sweet.
And don%u2019t forget to toast the coconut. A few minutes in the oven is all it needs.
Now to blend. Corn and coconut milk go in first to blend until nice and smooth. Then add in the maple and coconut and blend until just combined. That will leave a little coconut texture. If you want it smooth, well just blend until completely smooth. Do what feels right to you.
Thick, rich and creamy popsicle mixture.
Now pour it into the molds and stick into the freezer. You could probably stick the sticks in now or wait a little while for the mixture to set a bit, but just don%u2019t forget to get sticks in those popsicles before they completely freeze. That would suck.
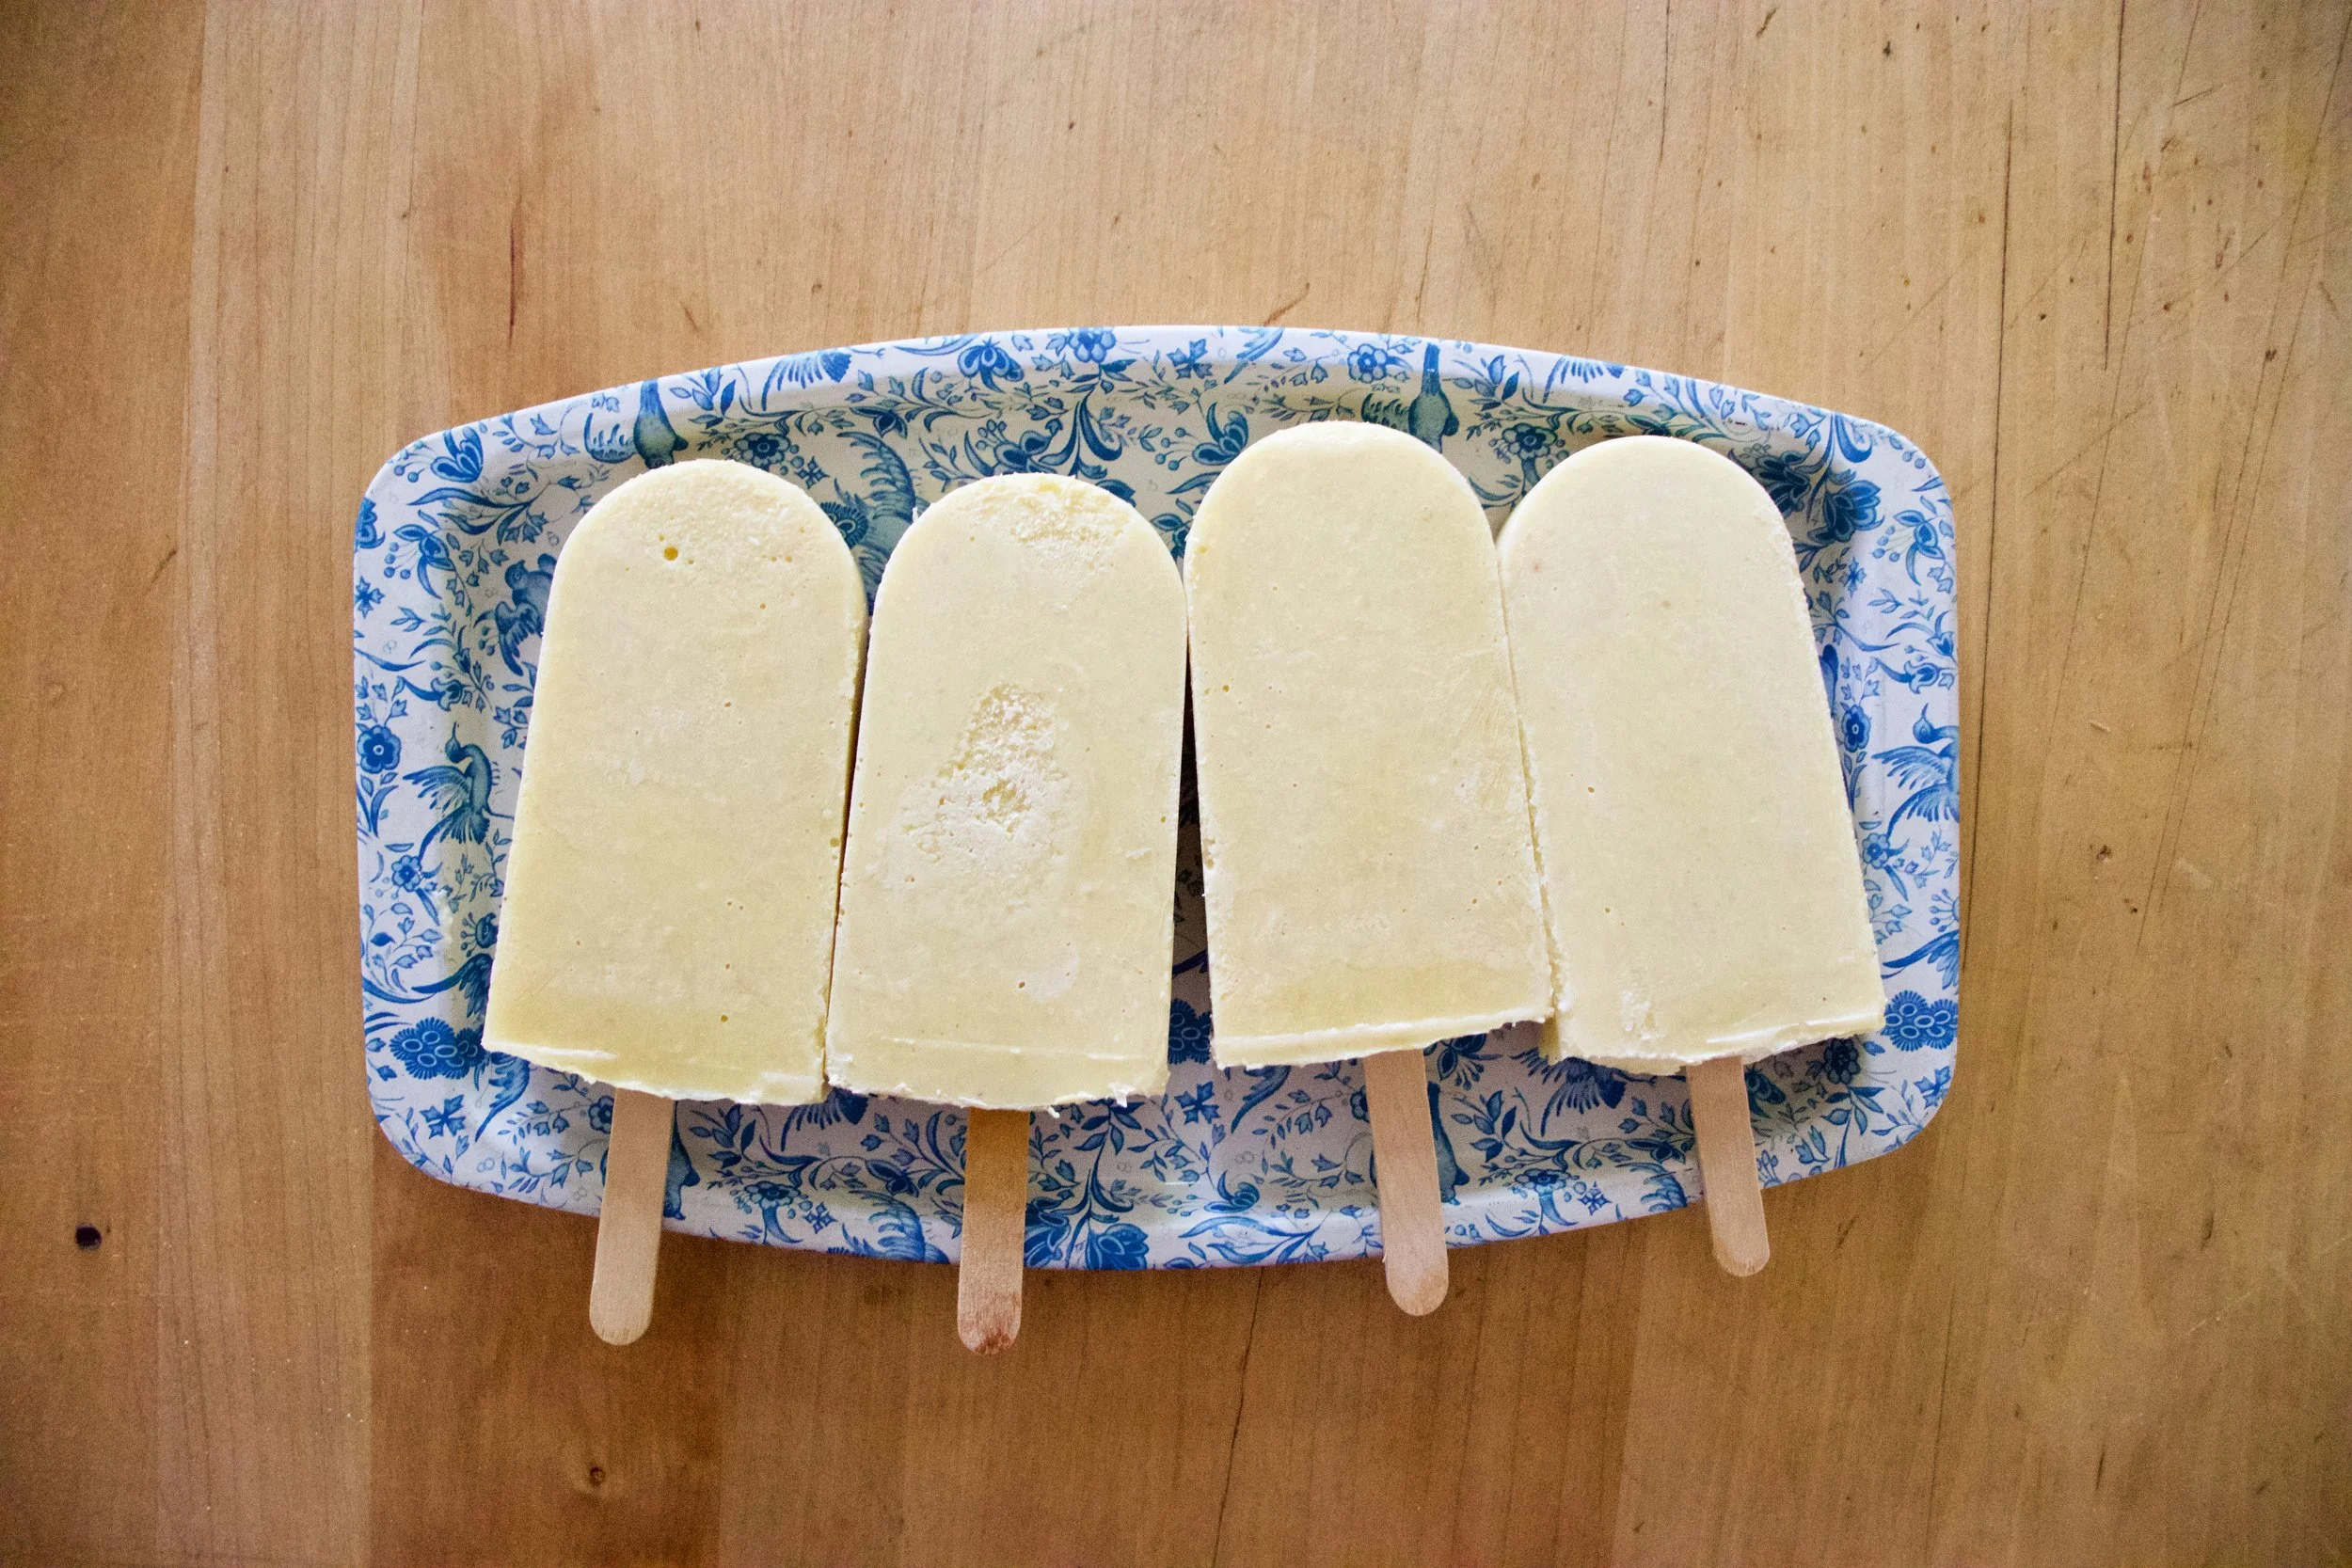
Pop those lovelies out of the molds and there you go.
The anticipation is over. Eat a popsicle
-C
makes 4 average sized popsicles
2 ears corn (about a cup of corn kernels)
1 cup full fat coconut milk (the canned stuff)
1/4 cup shredded unsweetened coconut
2- 4 tablespoons maple syrup
Note. If you have left over cooked corn, just use that. You don%u2019t need to recook it so skip the cooking corn step.
Preheat oven to 400
Remove corn kernels from cob and place on a baking sheet pretty evenly. Pop into the oven for 10 minutes of so or until the corn is cooked through and nice and sweet.
Remove corn and dump it into blender and set aside to cool for a few minutes. Place the coconut onto the baking sheet and pop into the oven for 3-4 minutes to just lightly toast. When the coconut is toasted, remove from oven.
Grab the blender with the corn and pot in the coconut milk. Blend until smooth. Add in the maple (start with 2 tablespoons and work your way up to the sweetness you like) and the toasted coconut. Blend quickly just to combine for a slightly more textures popsicle or blend completely smooth if you would rather a smoother popsicle.
Pour mixture into popsicles molds and place into freezer. After the mixture sets up (about an hour) pop sticks into molds. Continue to freeze until completely frozen. Usually 4-6 hours.
And then when it is popsicle time, remove popsicles from molds and eat them.
First official week of summer plus #popsicleweek means we all have to make popsicles. It is not a option, it’s a must. The question is what kind of popsicles to make.
Well here you go, I got one for you right here. Pineapple, cucumber, spinach popsicles.%u00a0I highly, highly recommend them because they are amazing and you and everyone will love them.%u00a0No joke. I had two littles tell me that they are the best popsicles they have ever eaten. Then Koko damn near ate my hand off when I was trying to slow the baby down while he was eating his so he didn’t get brain freeze. After he finished off his popsicle, he turned around and went after his brothers popsicle. It was crazy. Screaming, green faced, baby charging after a popsicle. It was like an animal planet episode.%u00a0
%u00a0And so there you have it, all the littles we into them, the mr was into his, and me, I might eaten one or two and maybe I was licking all of them in between taking pictures. Ha. And big plus, unlike a lot of popsicles,%u00a0there is no extra shit in these, like no added sugar. And there is veggies in them.%u00a0They are basically an all around, eat for breakfast, lunch, dinner, snack, or dessert popsicle.%u00a0%u00a0How can you even go wrong with that.%u00a0
You can’t.
Now it’s popsicle time!
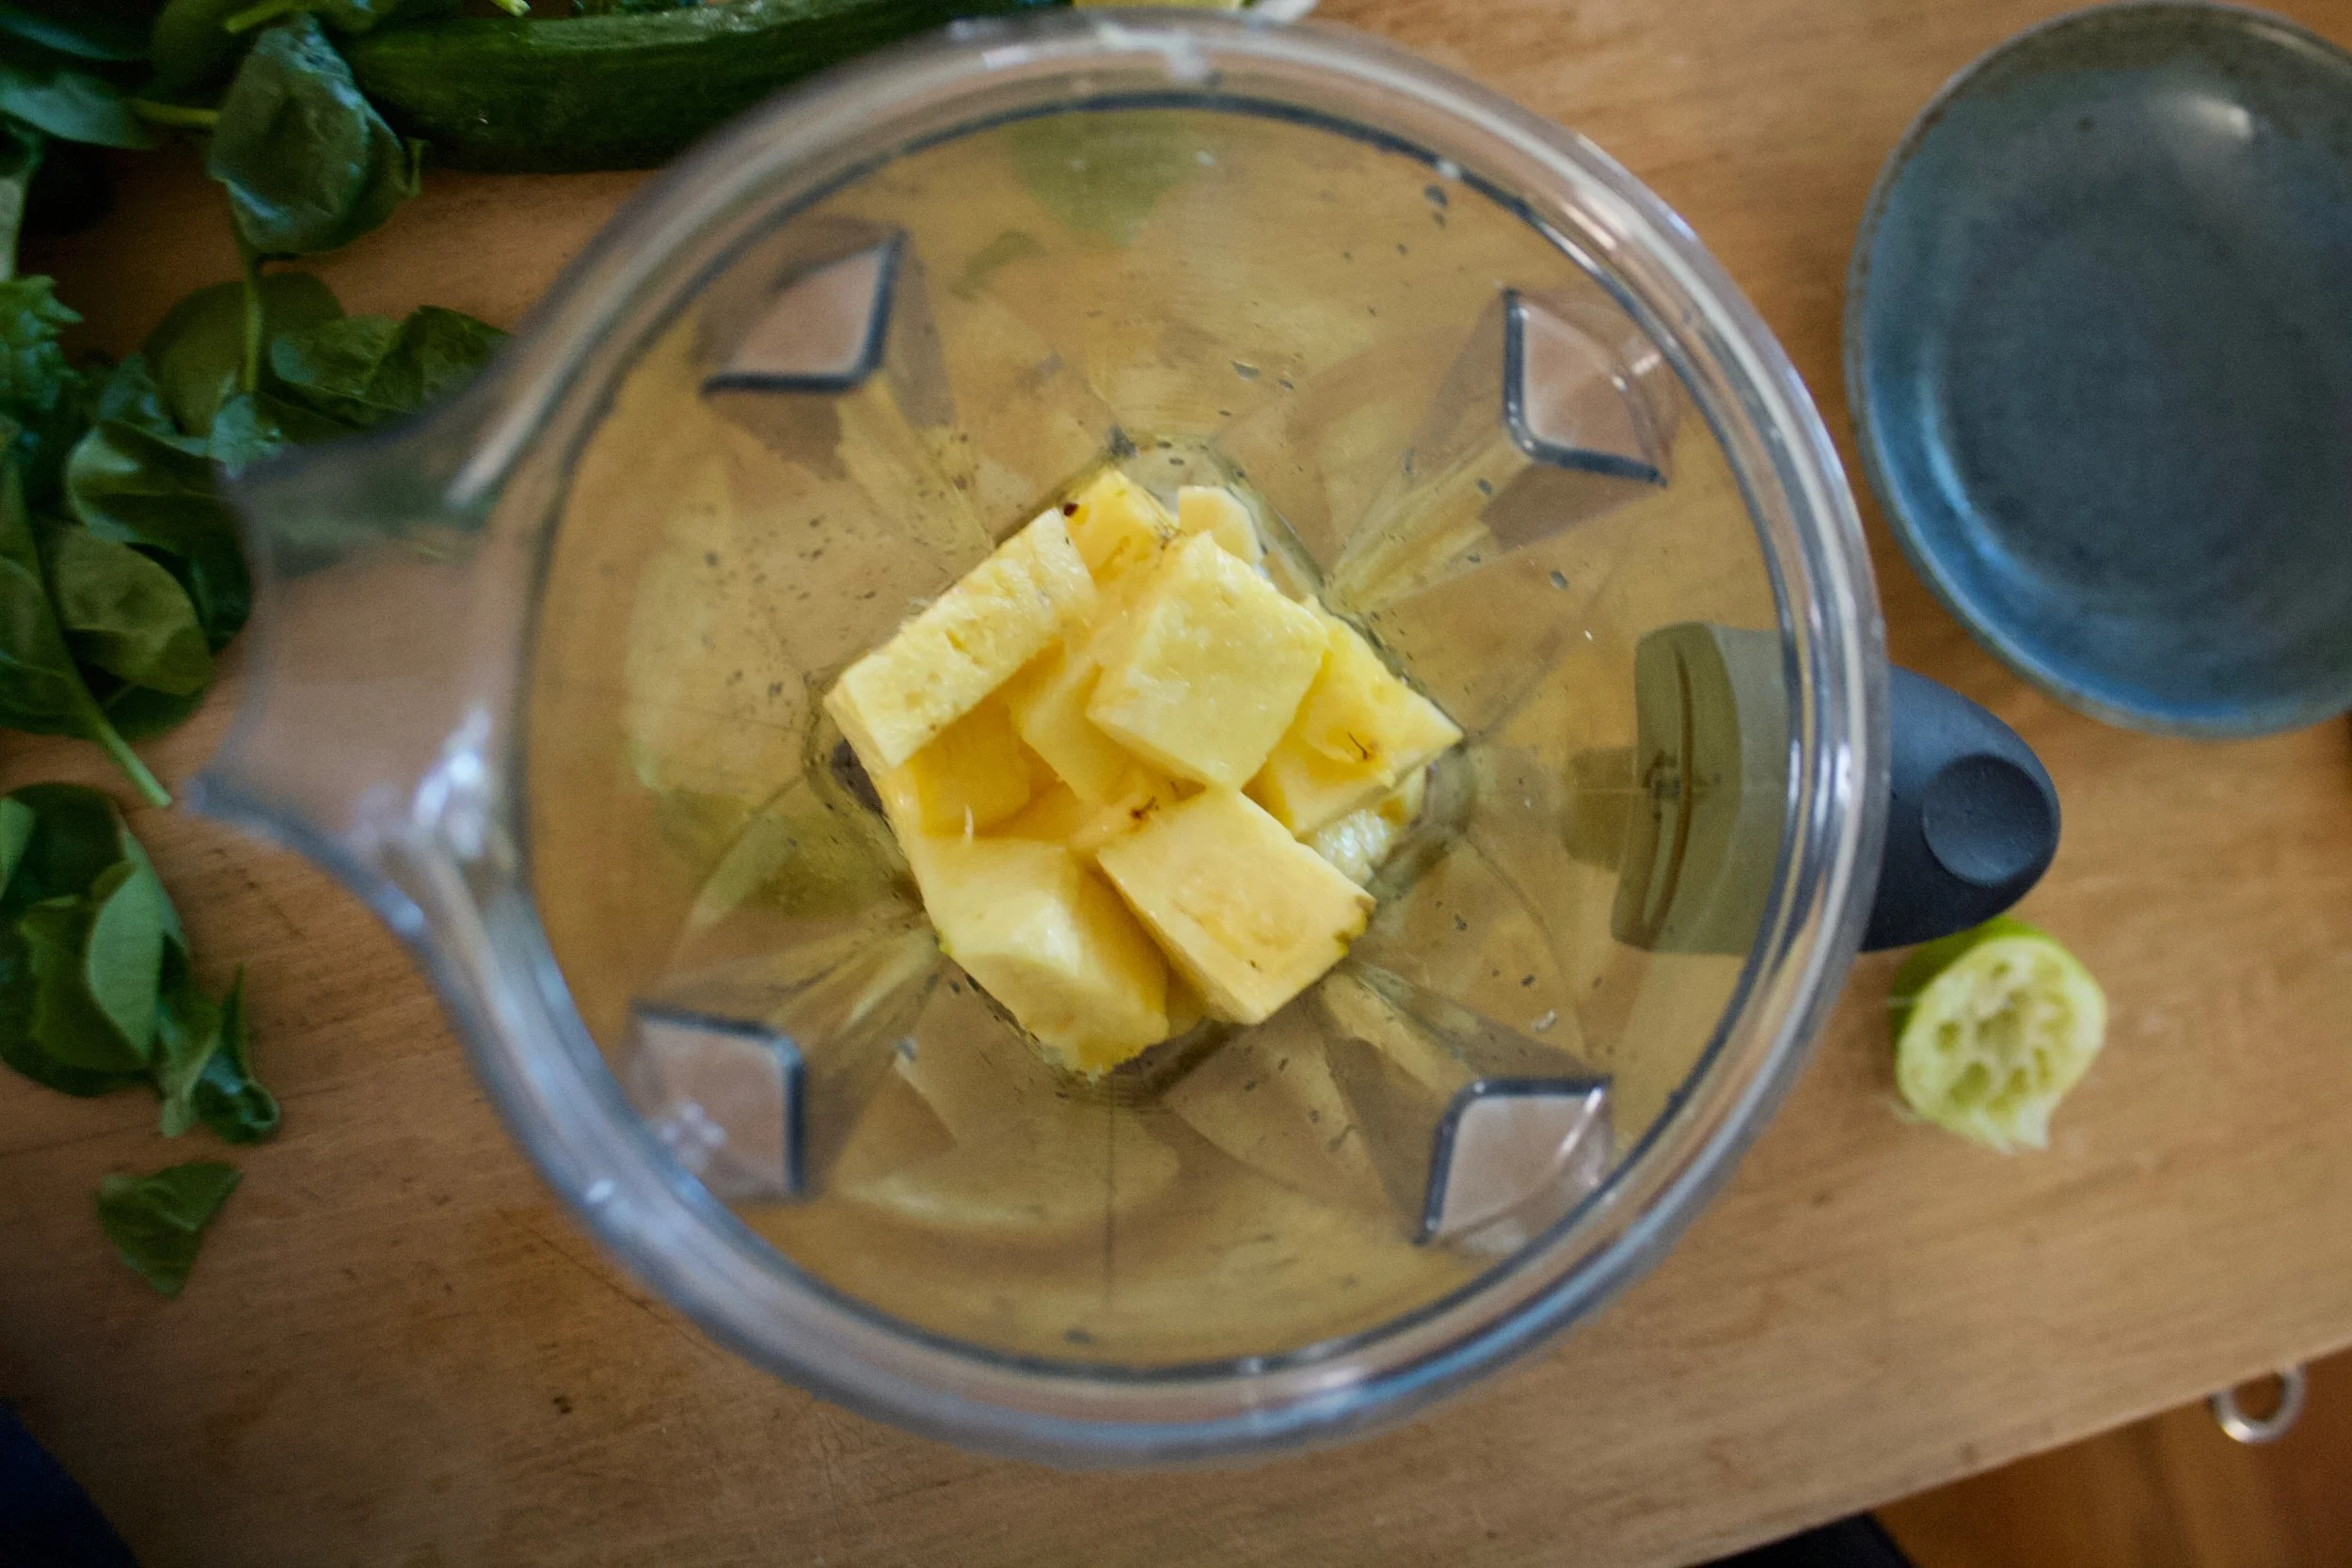
The stuff. Fresh pineapple, fresh spinach, a cucumber, and a lime. That’s it, nothing else.%u00a0
Pineapple and juice from lime into the blender. Blend until smooth.
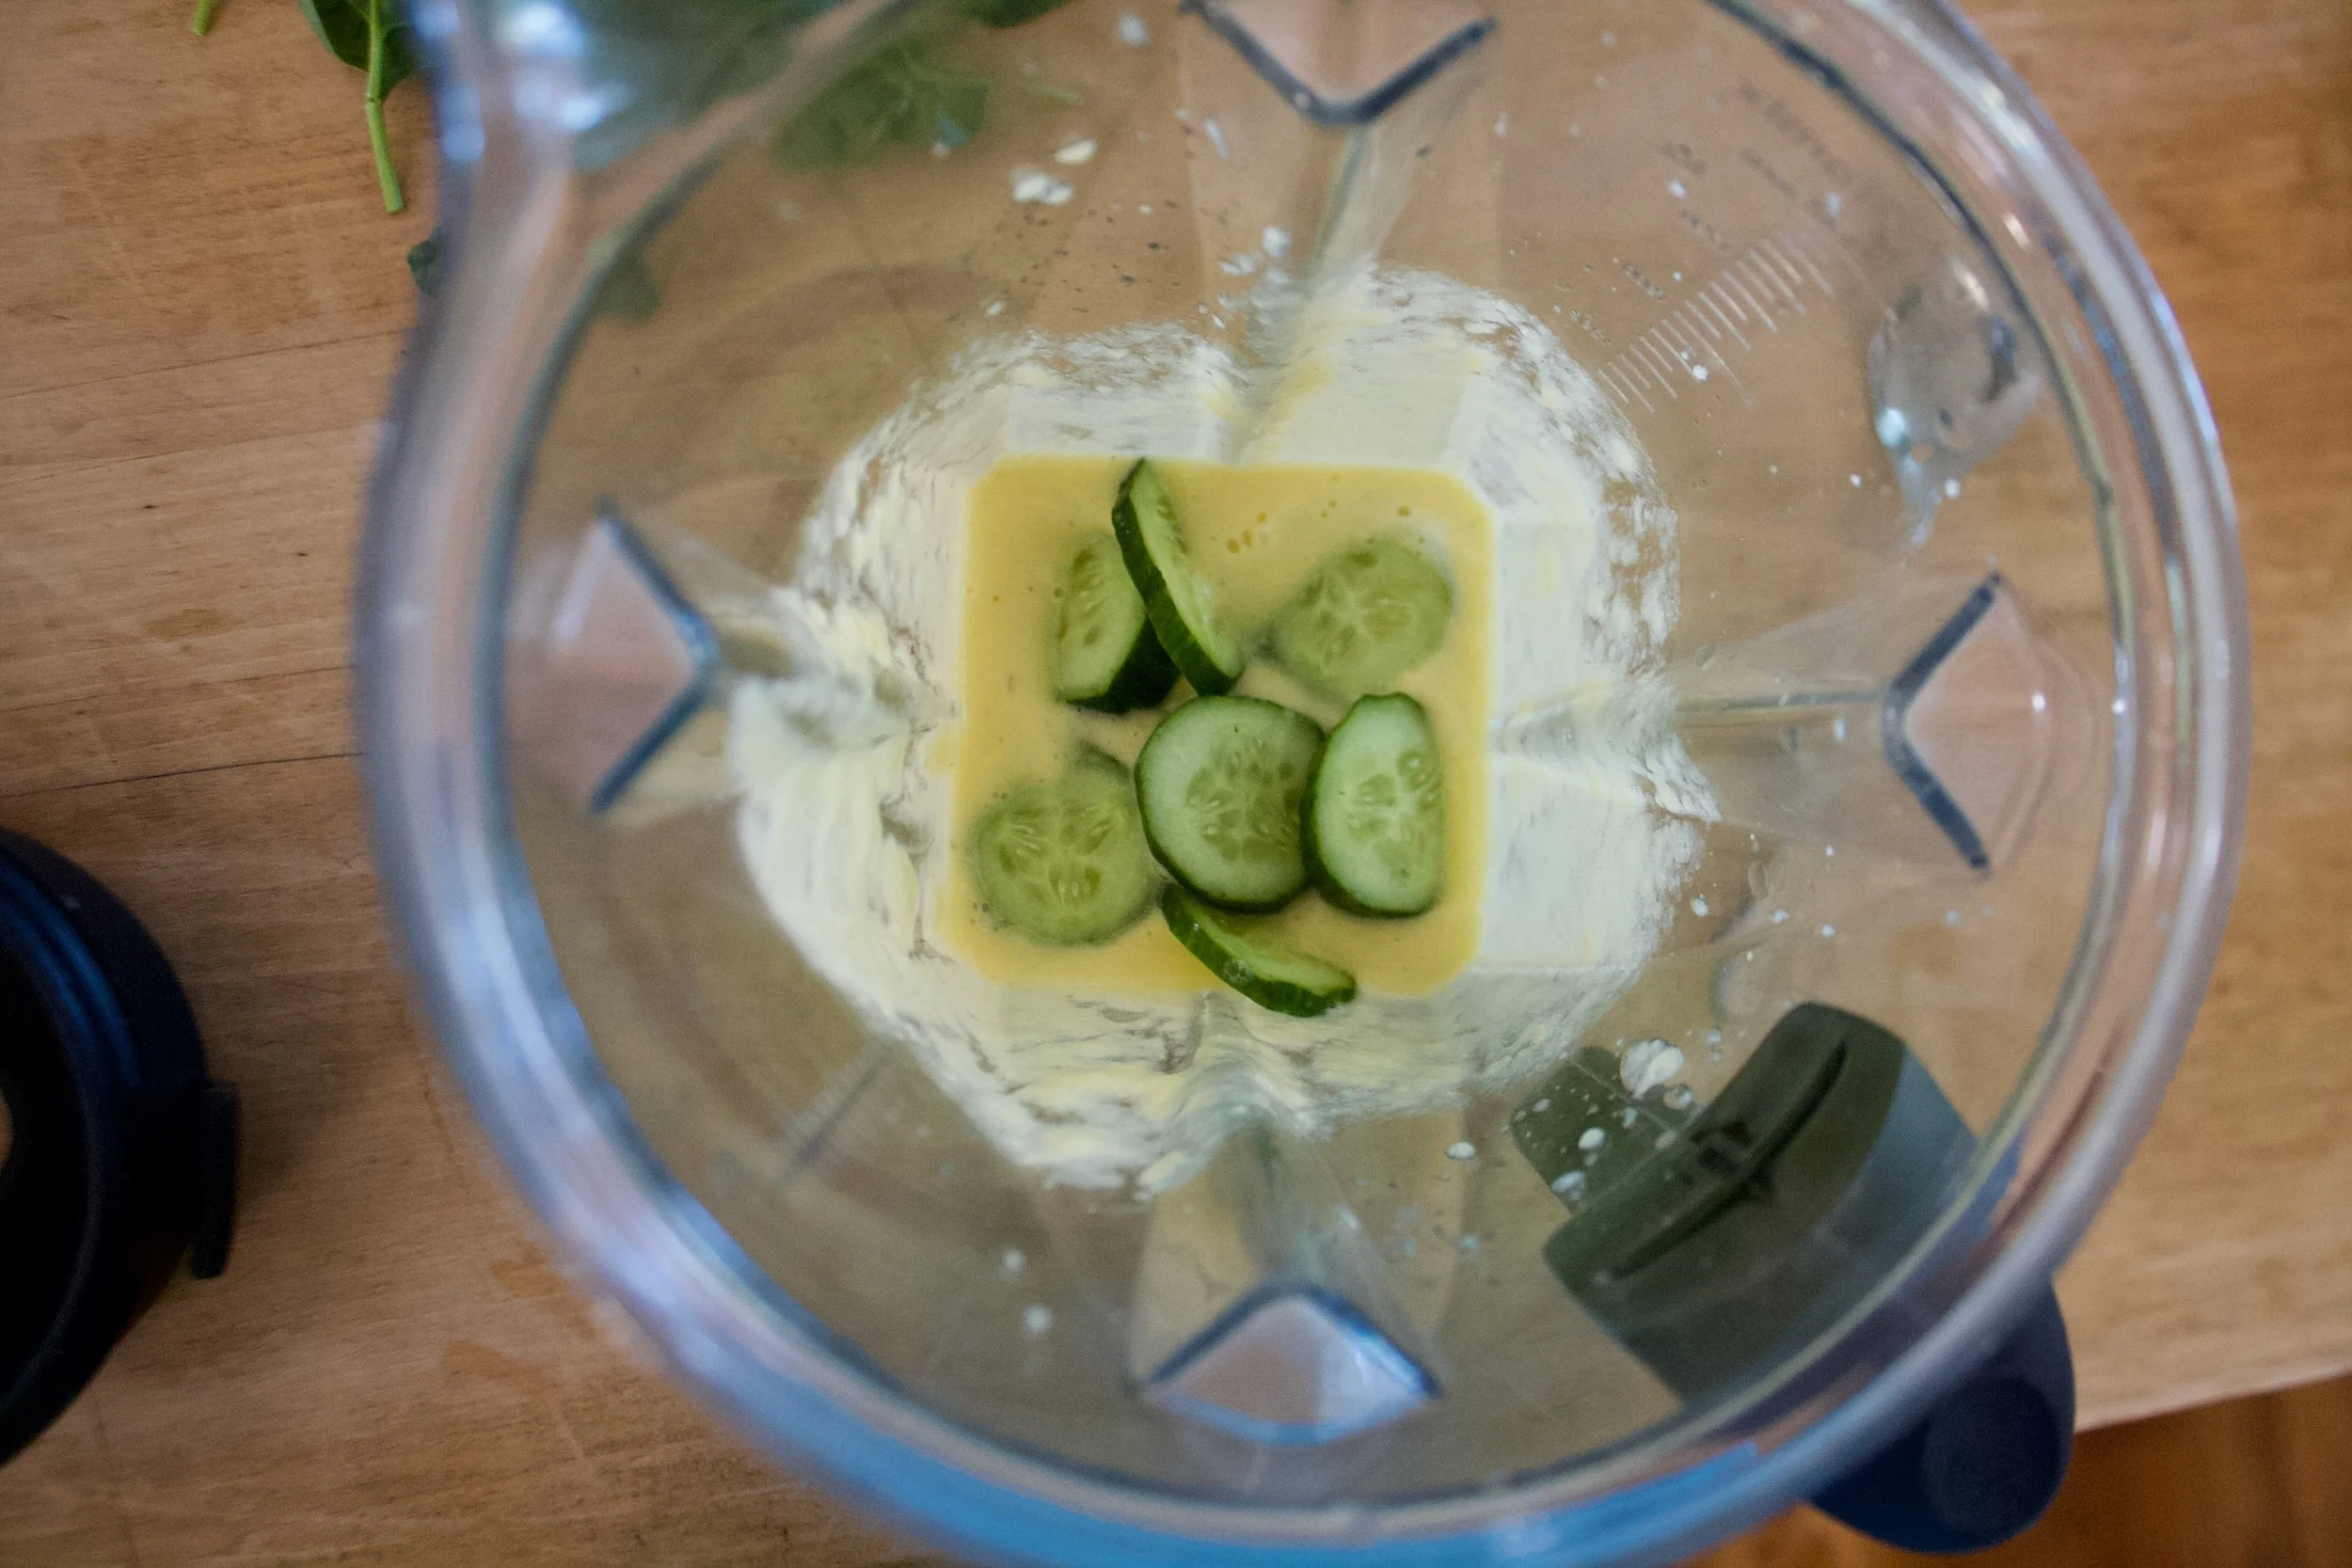
Add in the cucumber, blend until smooth%u00a0
Last but not least, add in spinach, blend until smooth.
Bright green goodness. And that’s pretty much it. And really, you could just stick it all into blender at once, I just blended the ingredients one by one for the sake of the pictures.
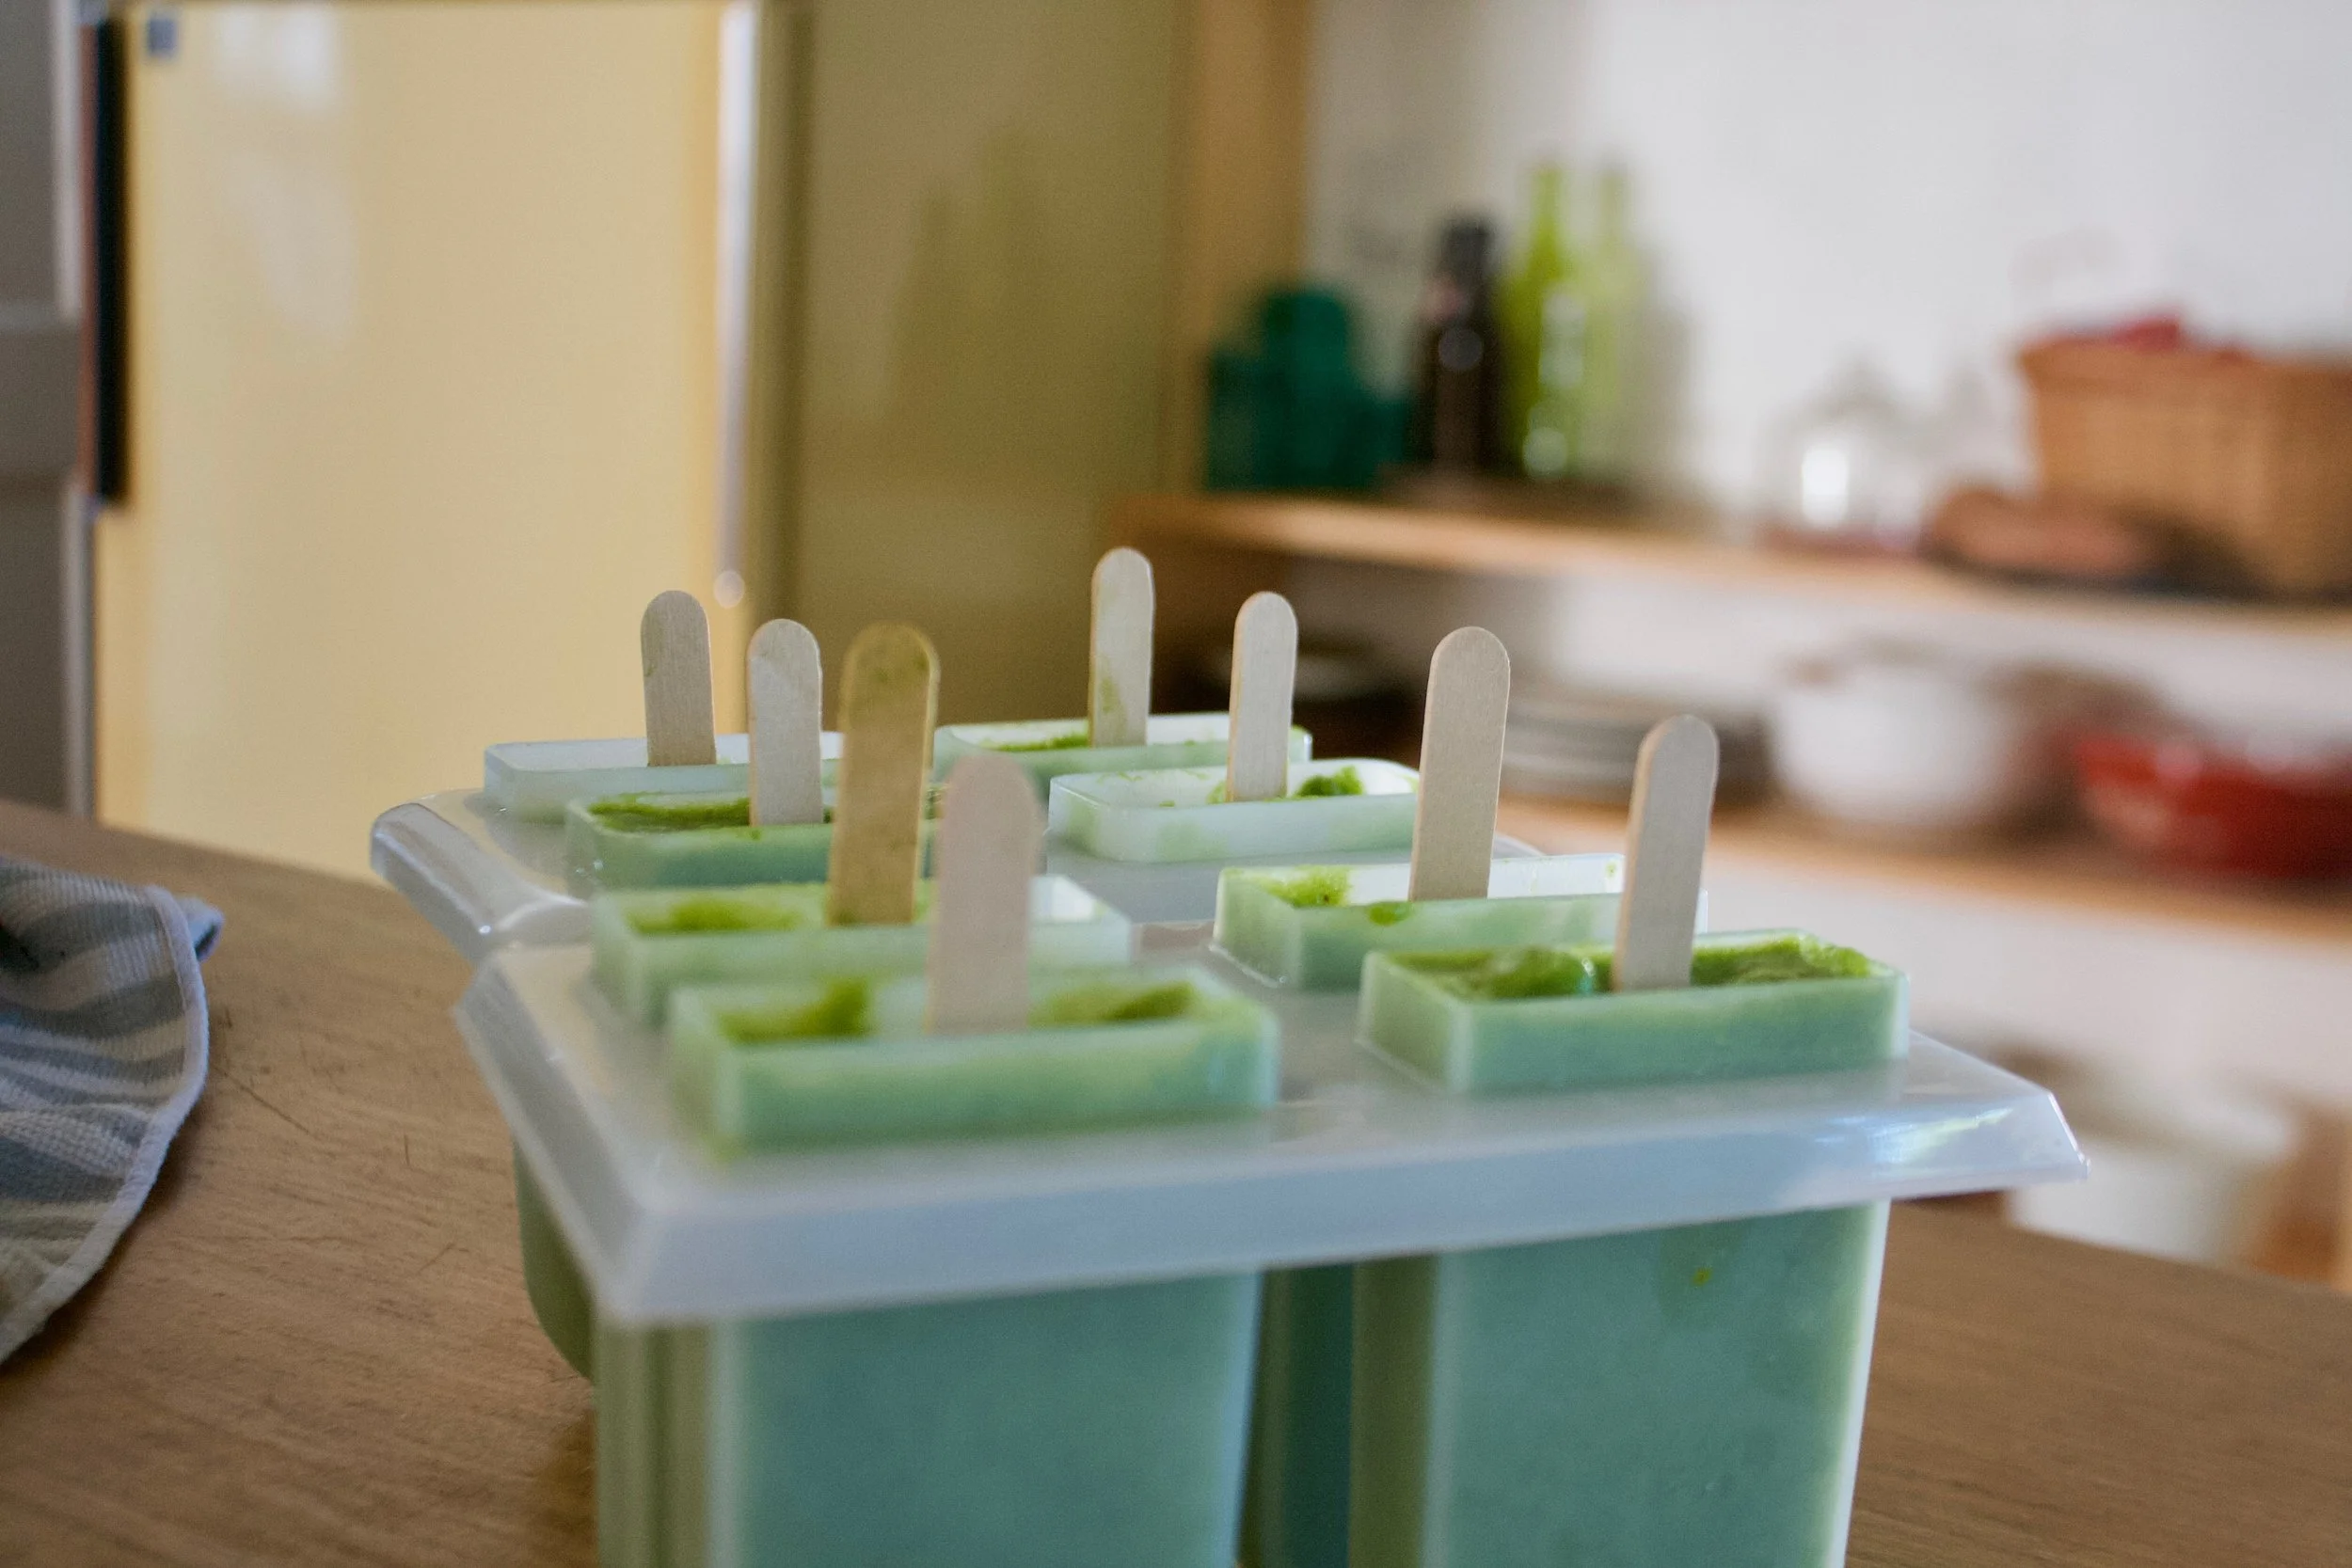
Pour that goodness into popsicles mold and either stick th sticks in now if they don’t sink or wait about an half hour after they have been in the freezer, just don’t forget the sticks (I almost did).
Mid freeze stick sticking.
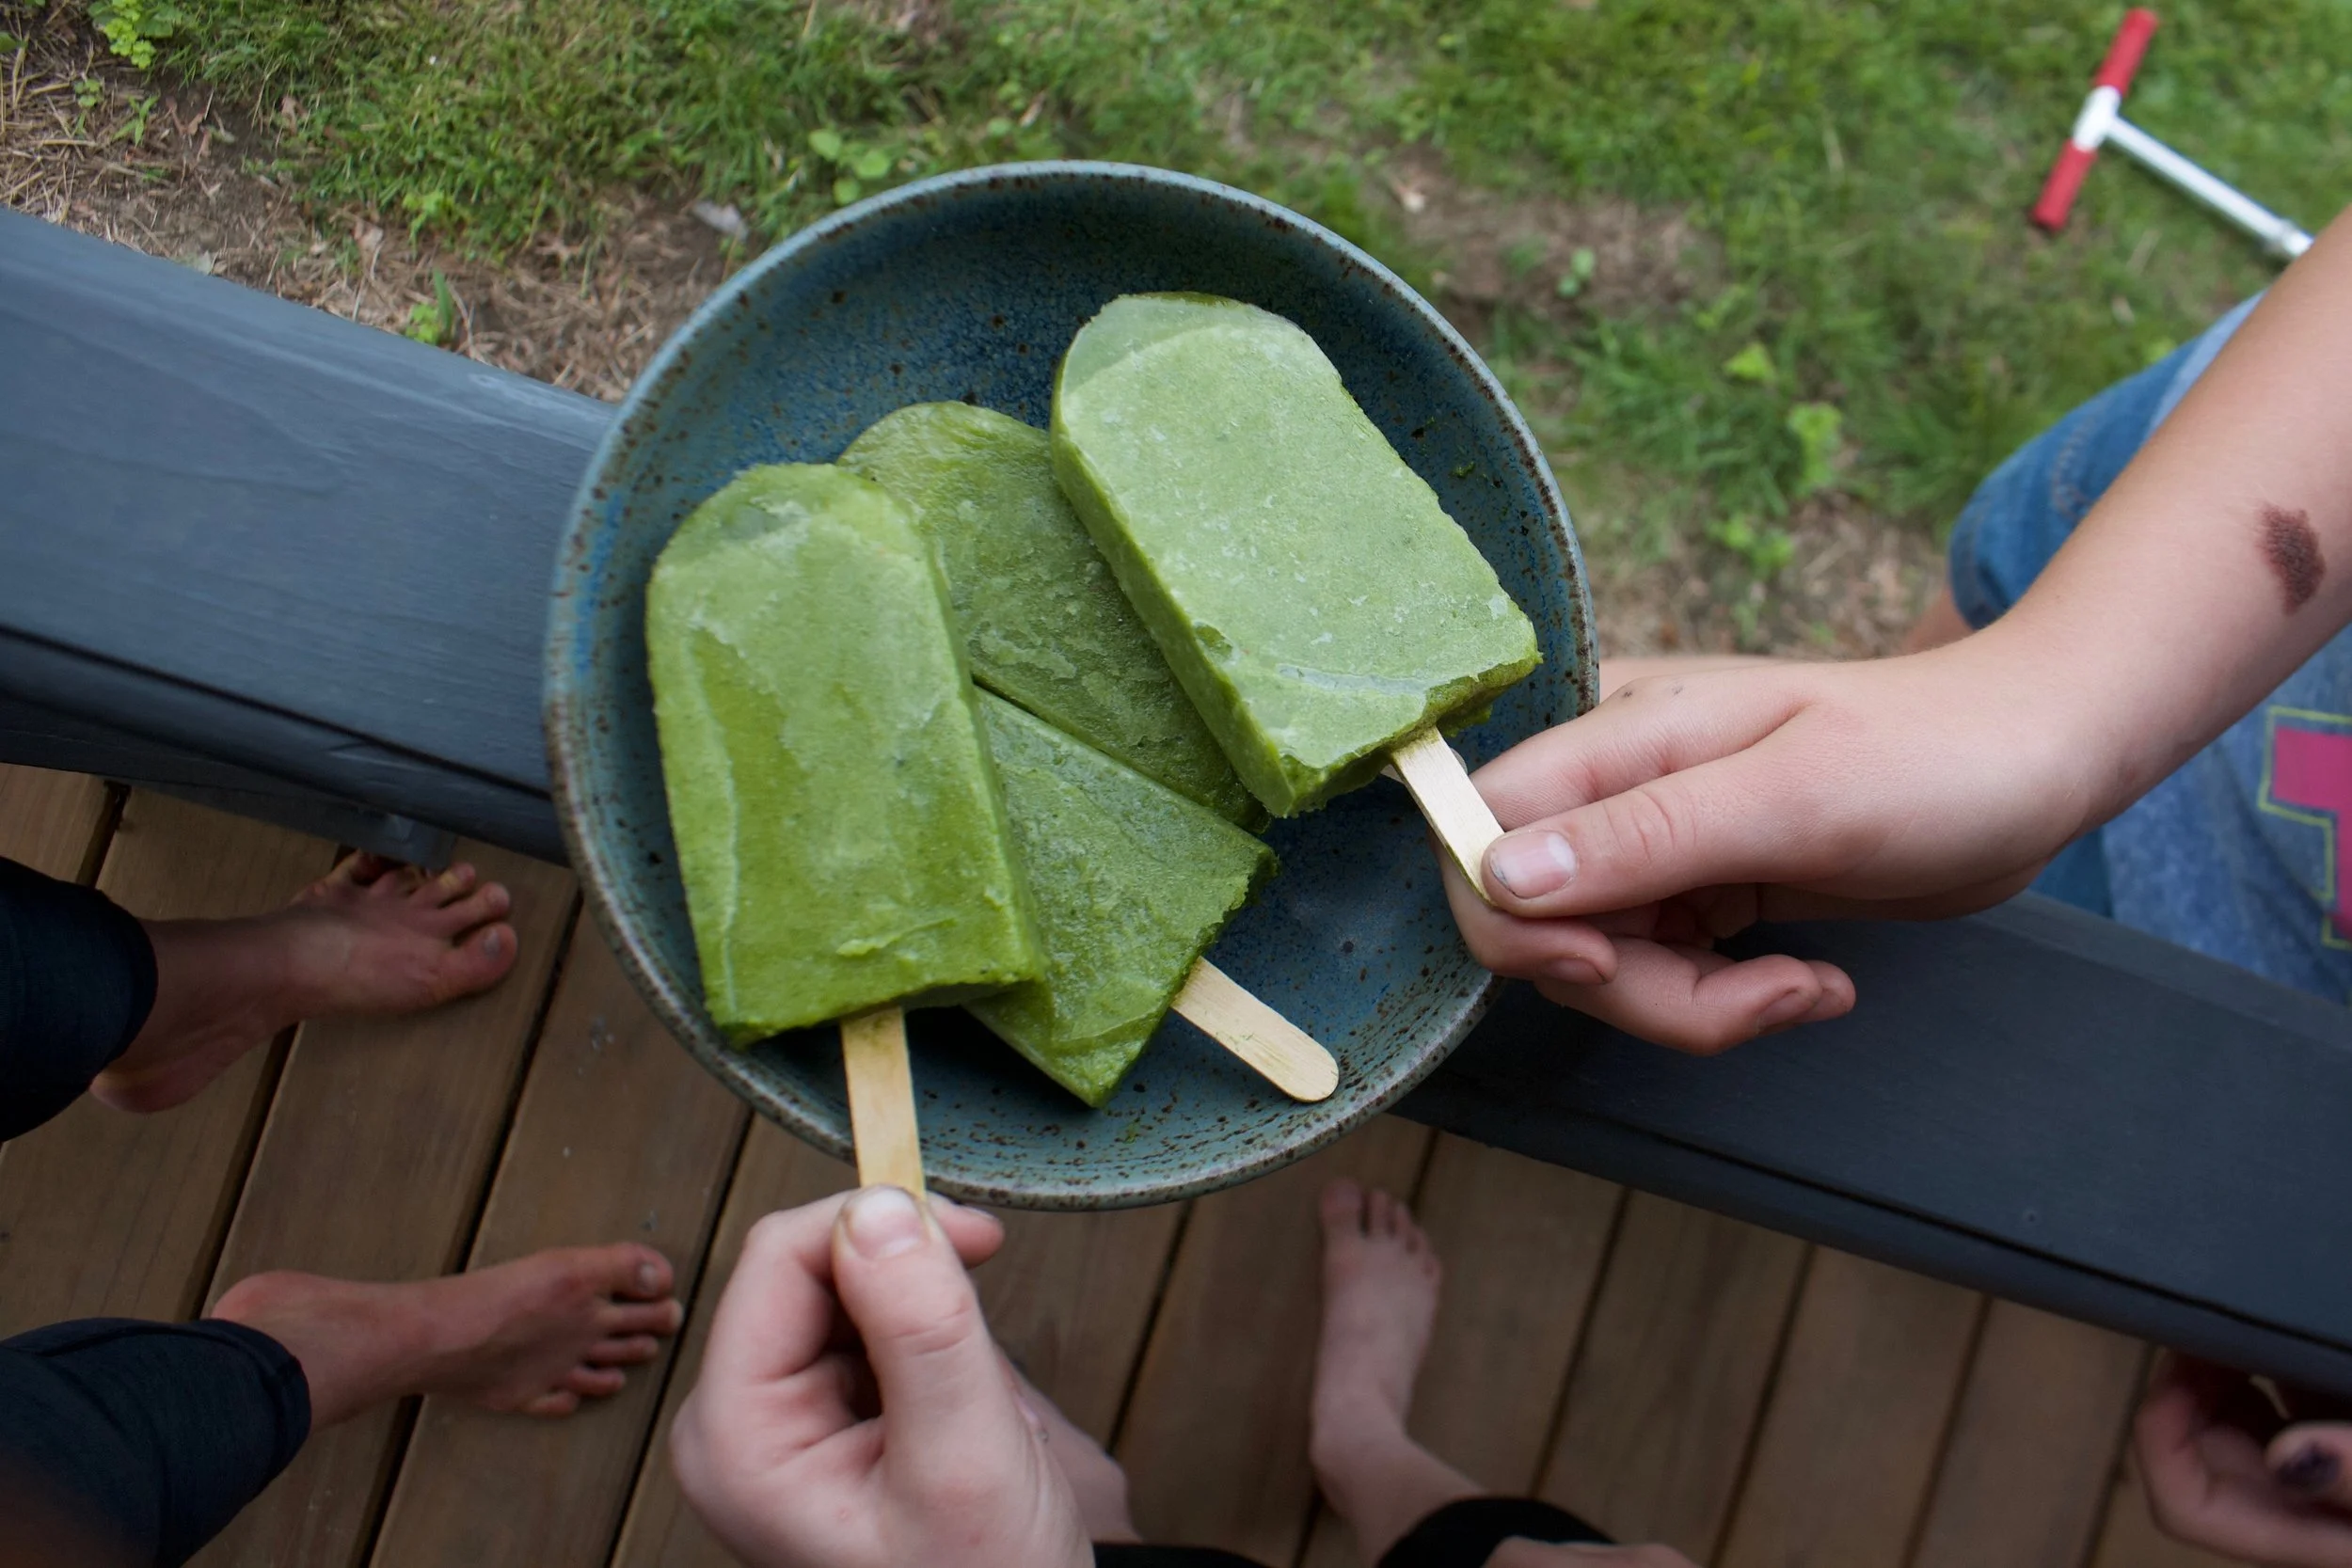
Once they are frozen and when it’s feeding time,%u00a0%u00a0you pop them out of the mold and feed the people. Watch your fingers.%u00a0
Happy summer, Happy #popsicleweek
-C
Make 8 3.5 onze popsicles%u00a0
2 1/2 cups fresh pineapple*
1 Lebanese %u00a0cucumber (or half of an English cucumber)
3 large handfuls of spinach%u00a0
Juice of a lime
*Note. You can use frozen pineapple, just thaw it out so it starts to release some of it’s juices. That way you don’t need to add water to the blender to blend everything up.%u00a0
Place all ingredients into a blender and blend until smooth. Pour puree into popsicle molds and stick into freezer. After about 1/2 hour, remove from freezer and stick the popsicle sticks into the molds. Place popsicles back into freezer until completely frozen (about 4-6 hours)%u00a0
Enjoy anytime.
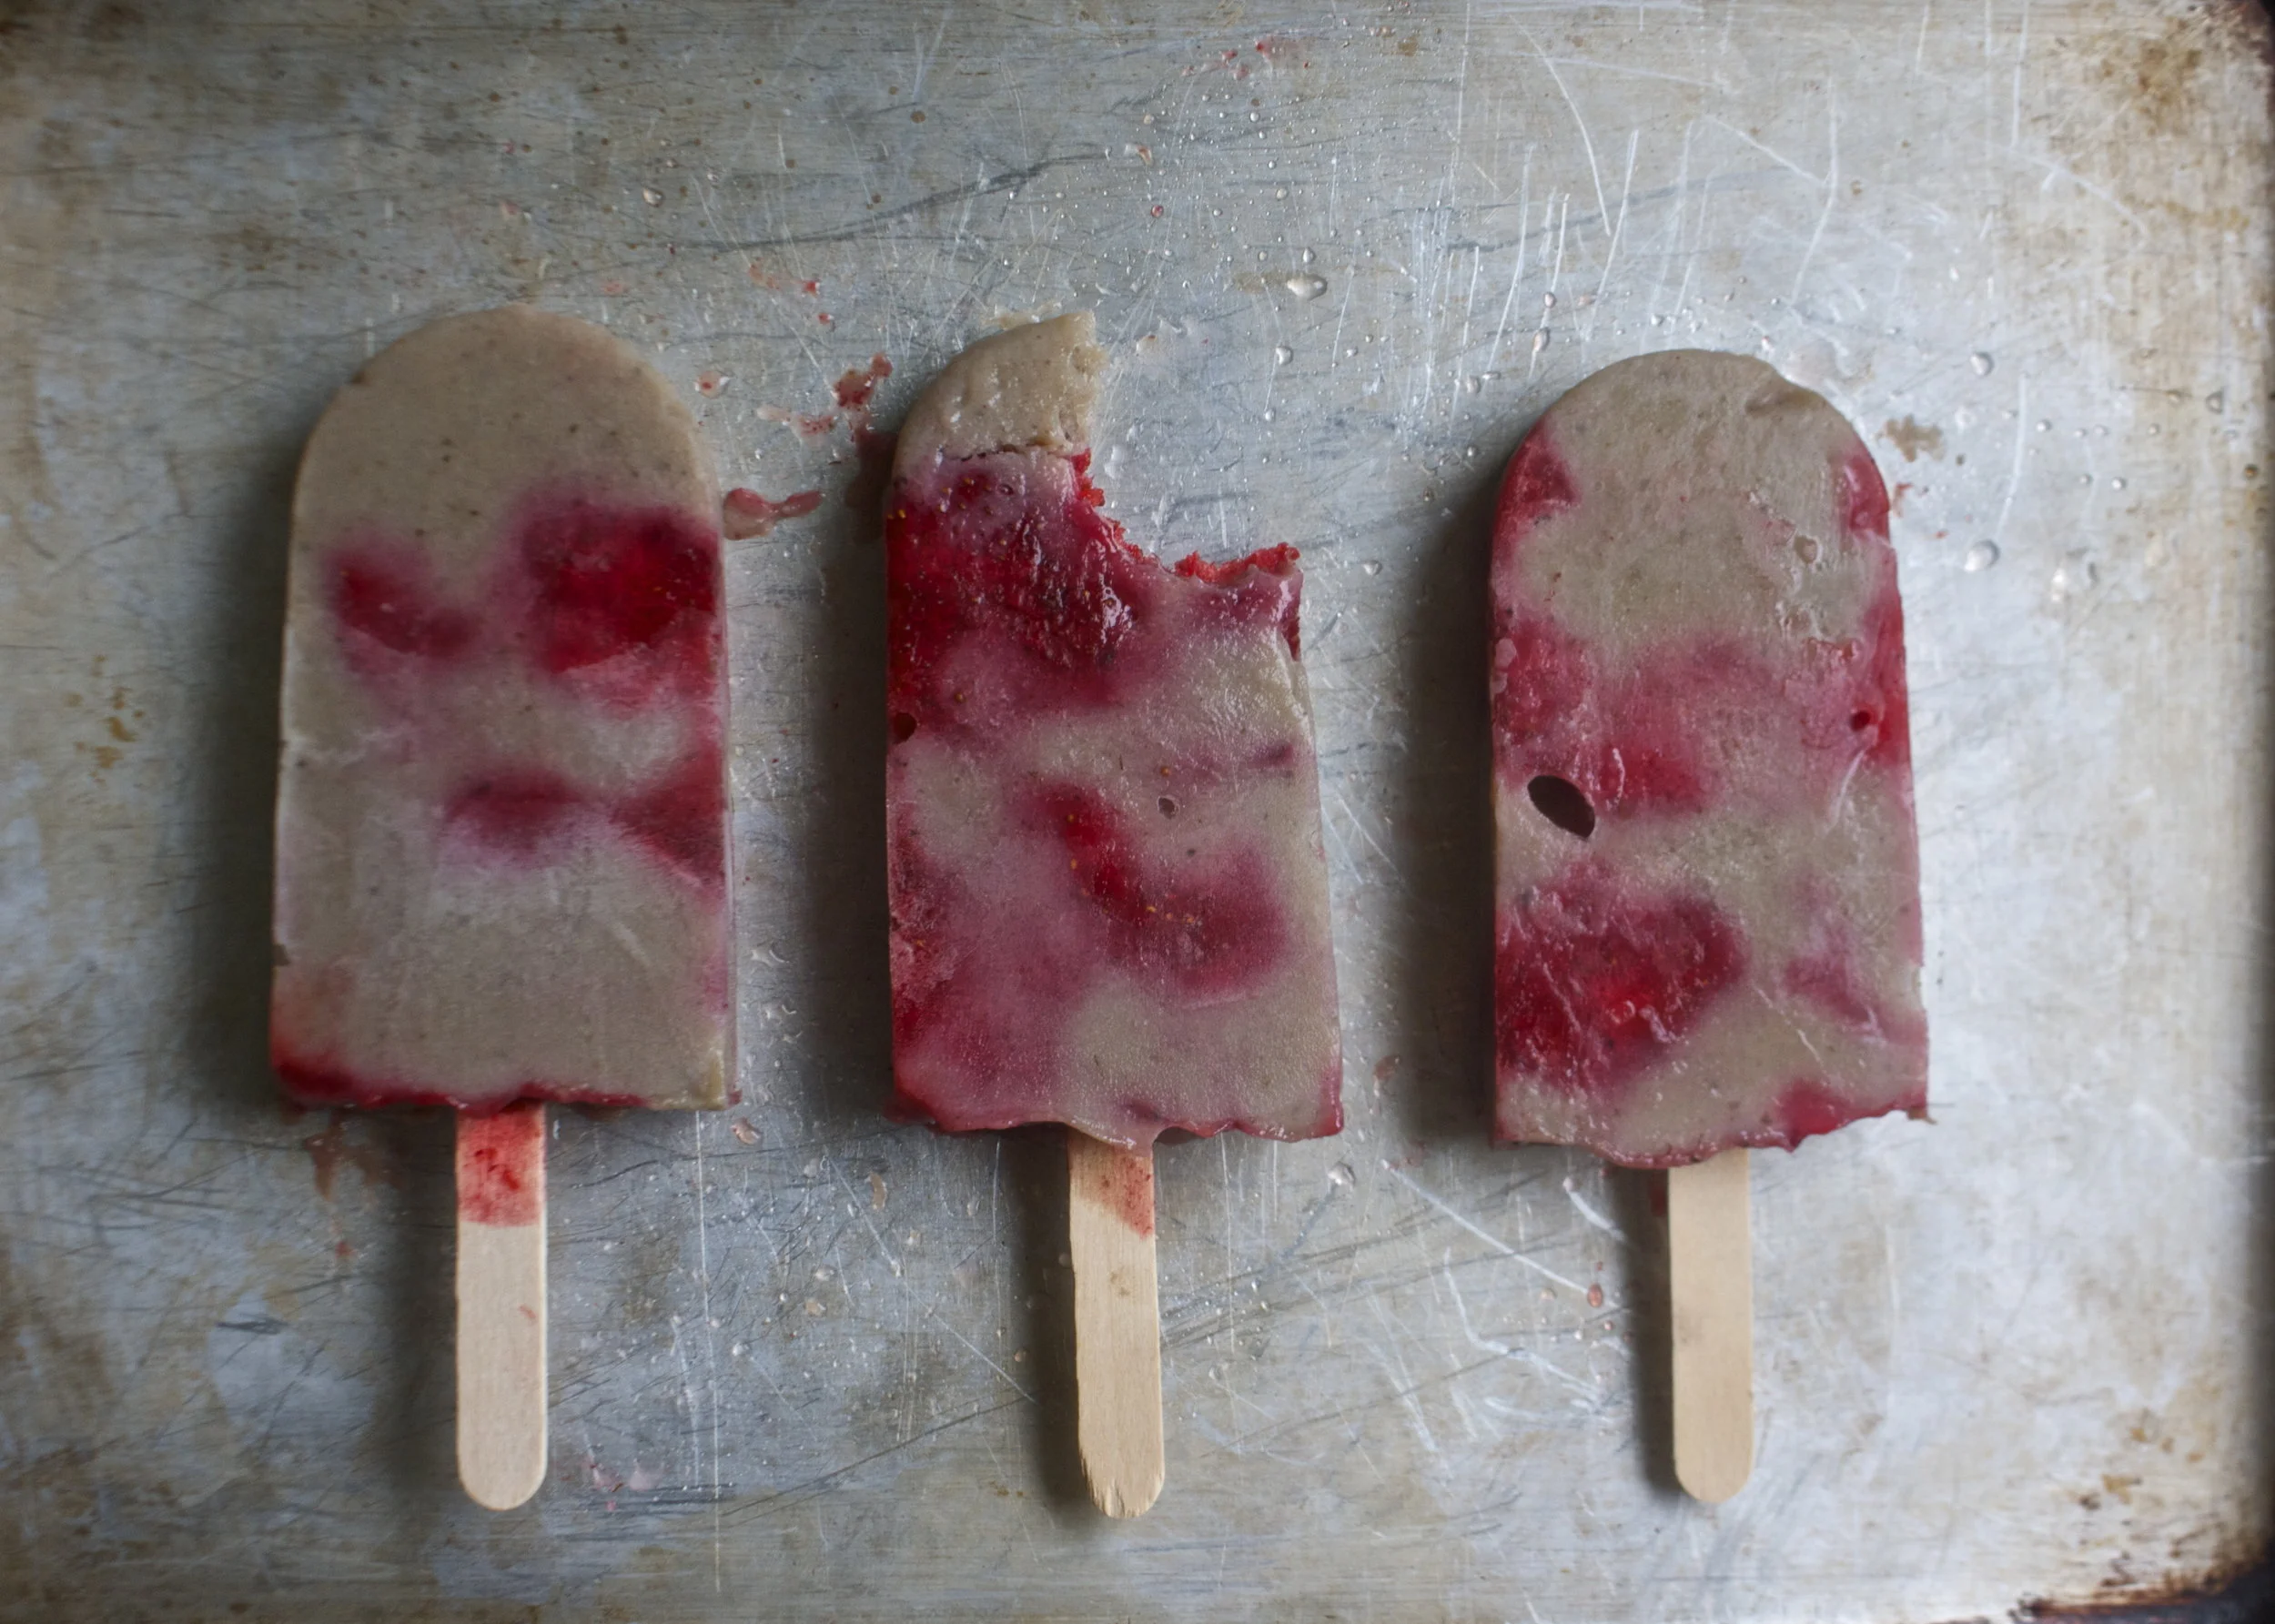
These popsicles are bananas!!!!! (pun intended) I forgot how much I freaking love roasted strawberries and don’t even get me started on roasted bananas.%u00a0 Then when they are all mash up and stuck into a popsicle mold… Just amazing. Rich, creamy and full of so much good flavor plus made with only good stuff. I mean you can’t get much better. This is now my new favorite go to frozen treats.
So a little confession. I made these popsicles with the intention to give them to the littles for a special popsicle breakfast but when I took the first bite of the first popsicle I changed my mind. These popsicles where too good and I wanted then all to myself. I know that makes me sound like a ass but really, they can’t miss something they didn’t know they were going to get.%u00a0 Don’t worry,%u00a0 we ended up at the store that night getting ice cream (for dessert) and a box of Captain Crunch with crunch berries for breakfast the next day instead (which they didn’t even eat because the mr made them with chocolate chip pancakes instead). They were happy, I was happy. Win win.
And lesson learned, make two batches for next time so I can share. I will share next time (maybe).
The stuff. 3 ripe bananas, ripe freshly picked strawberries (they don’t have to be freshly picked) cashew milk, and salt.
Chop bananas into chunks and strawberries in half ans place onto a greased baking sheet.
Pop into a hot oven to roast.
Roasted and all sorts of good (If you are prone to eating you roasted fruit before using it for popsicles, roast extra).
Scoop all the banana into a blending device (I used a hand blender so they went into a measuring cup) add in a pinch of salt ans the milk. Blend until creamy smooth.
For the strawberries just mash them up with a fork on the baking sheet.
Grab your popsicle mold and fill. Start bu scooping a bit of the banana in first, add in a little strawberry, then banana again. Keep layering until the mold is full. Then top off with a popsicle stick.
Into the freezer for the freeze.
And once frozen there are no rules. Eat a popsicle and be super happy.
Enjoy and stay all sorts of cool.
-C
Makes four 3.5 oz popsicles
3 ripe bananas
1 cup strawberries
1/4 cup plant milk (I used cashew, but any is good. Cow milk would work too)
pinch of salt
Preheat oven to 400
Grab a baking sheet and lightly grease it up. Peel bananas and cut into i inch pieces. and place on baking sheet. Remove stems from strawberries and cut in half. Stick those onto baking sheet as well then place the baking sheet into the hot oven.
Roast for about 20 minutes.
Remove from oven and let cool enough to handle. Place the roasted bananas into a blending device, add a pinch of salt and the milk. Blend until smooth. Take a fork and mash up the strawberries, which can be done directly on the backing sheet.
Scoop a bit of banana into each mold, then add a little mashed strawberry.. Continue layering until each mold is filled to the fill line. Add in popsicle stick then pop the filled molds into freezer,
Freeze for at least 4 hours, but 6 to 8 is safer.
Once frozen, pop from molds and eat. You can share but you don’t have too.
I was cleaning out the fridge and found that I had a good few really ripe avocados that were in need of eating ASAP. (I bought like 8 at once… super sale!) My first thought was I wish I could freeze these and save them for later. Then I thought well why the heck don’t I freeze them. So that’s what I did. I pureed them up, added a little lemon juice and stuck a jar of tangy green creamy goodness into the freezer and all throughout the week found myself standing in front of the fridge with a spoon scraping at the jar of avocado. It was so good. I even added a little fruit to it toward the end. Avocado and fruit = oh hell yes.
And now that is is officially spring we should be eating popsicles (right?!). I figured you guys are cool enough that I would share my new found love of frozen avocados and you would be down with it.
I know, some might think that plain old frozen avocado doesn’t sound amazing, but when you add a little sweetness and swirl it around with super sweet and creamy mango. Trust me, it’s freaking amazing. The flavors go perfectly together, and the texture, it’s almost like ice cream… SO GOOD! Anyway, I know that it might not be the perfect spring weather as of today, but the beauty of these is that you make them, freeze them and leave them until the perfect moment. Say a good long day of raking up all the cat poop that the neighbors cat has left in all your spring flower beds, or picking up all the recycling that has blow into the bushes all winter long. Maybe a day of cleaning out the closet or dusting the ceilings. Make these popsicles now and treat yourself to one after doing some kind of crappy spring chores, its what you need to do.. Or better yet, bribe a little with a popsicle to do your spring cleaning….. Yeah, I might just do that.
Or just make them and eat them… no spring chores required.
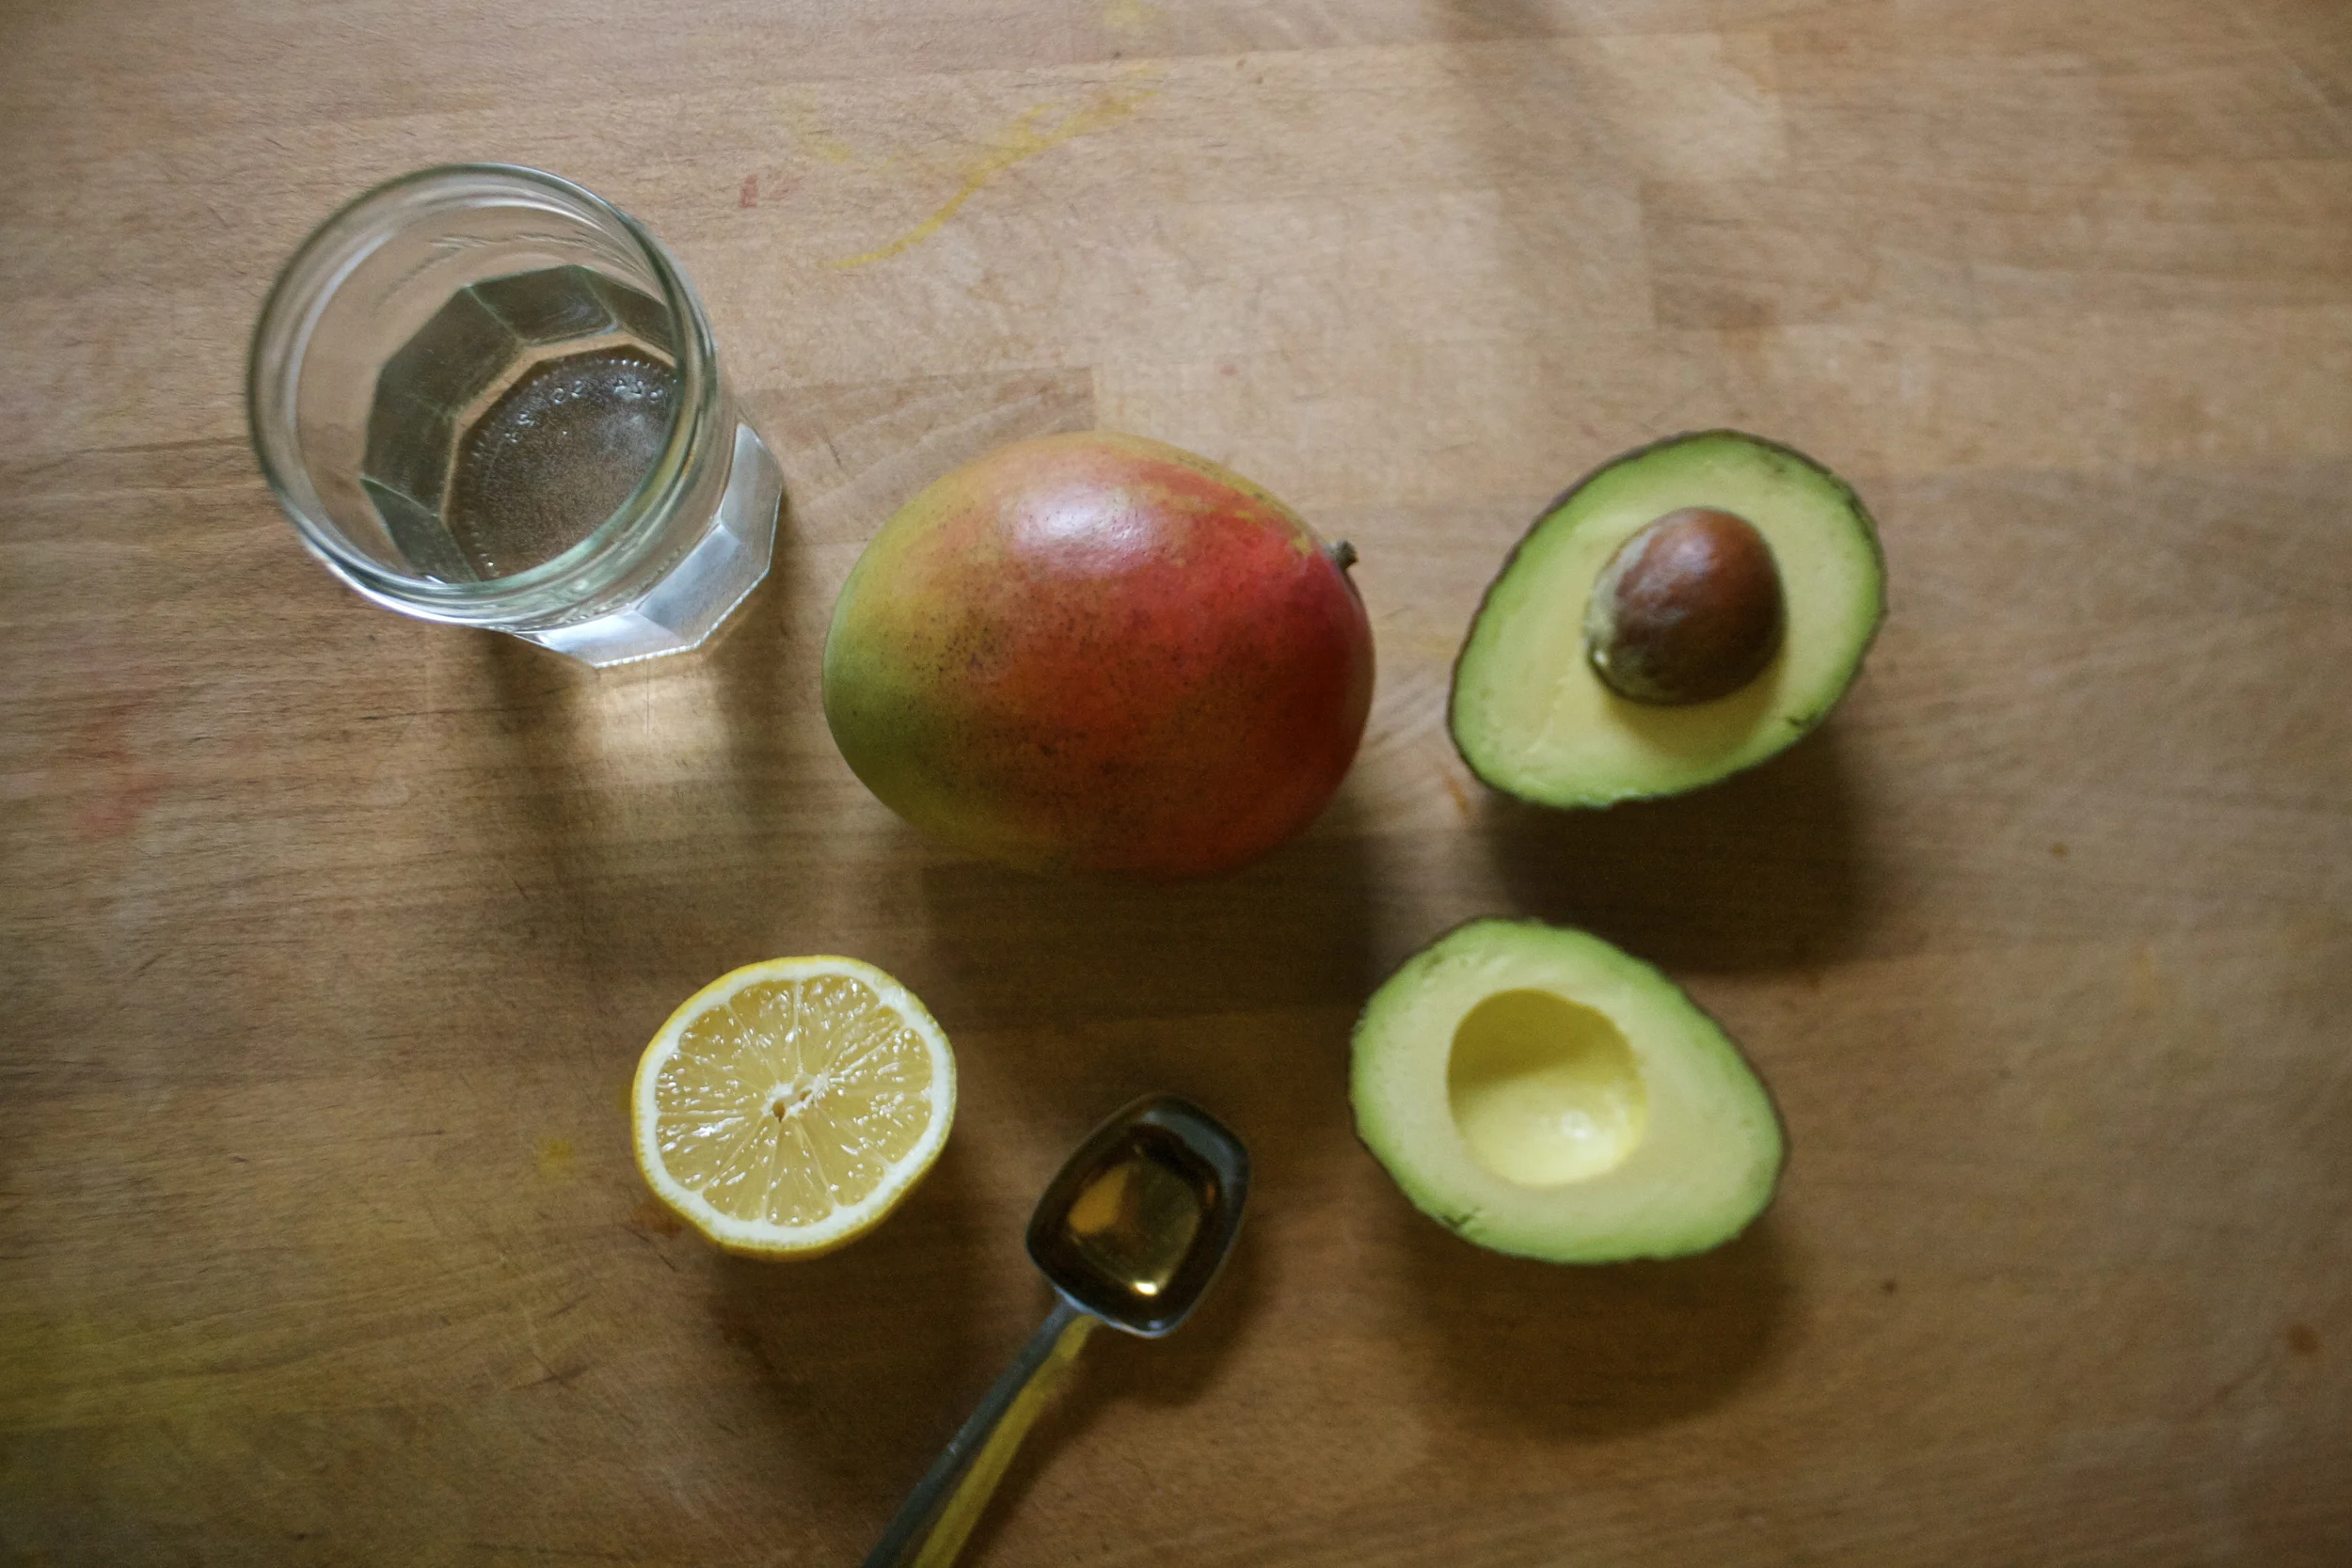
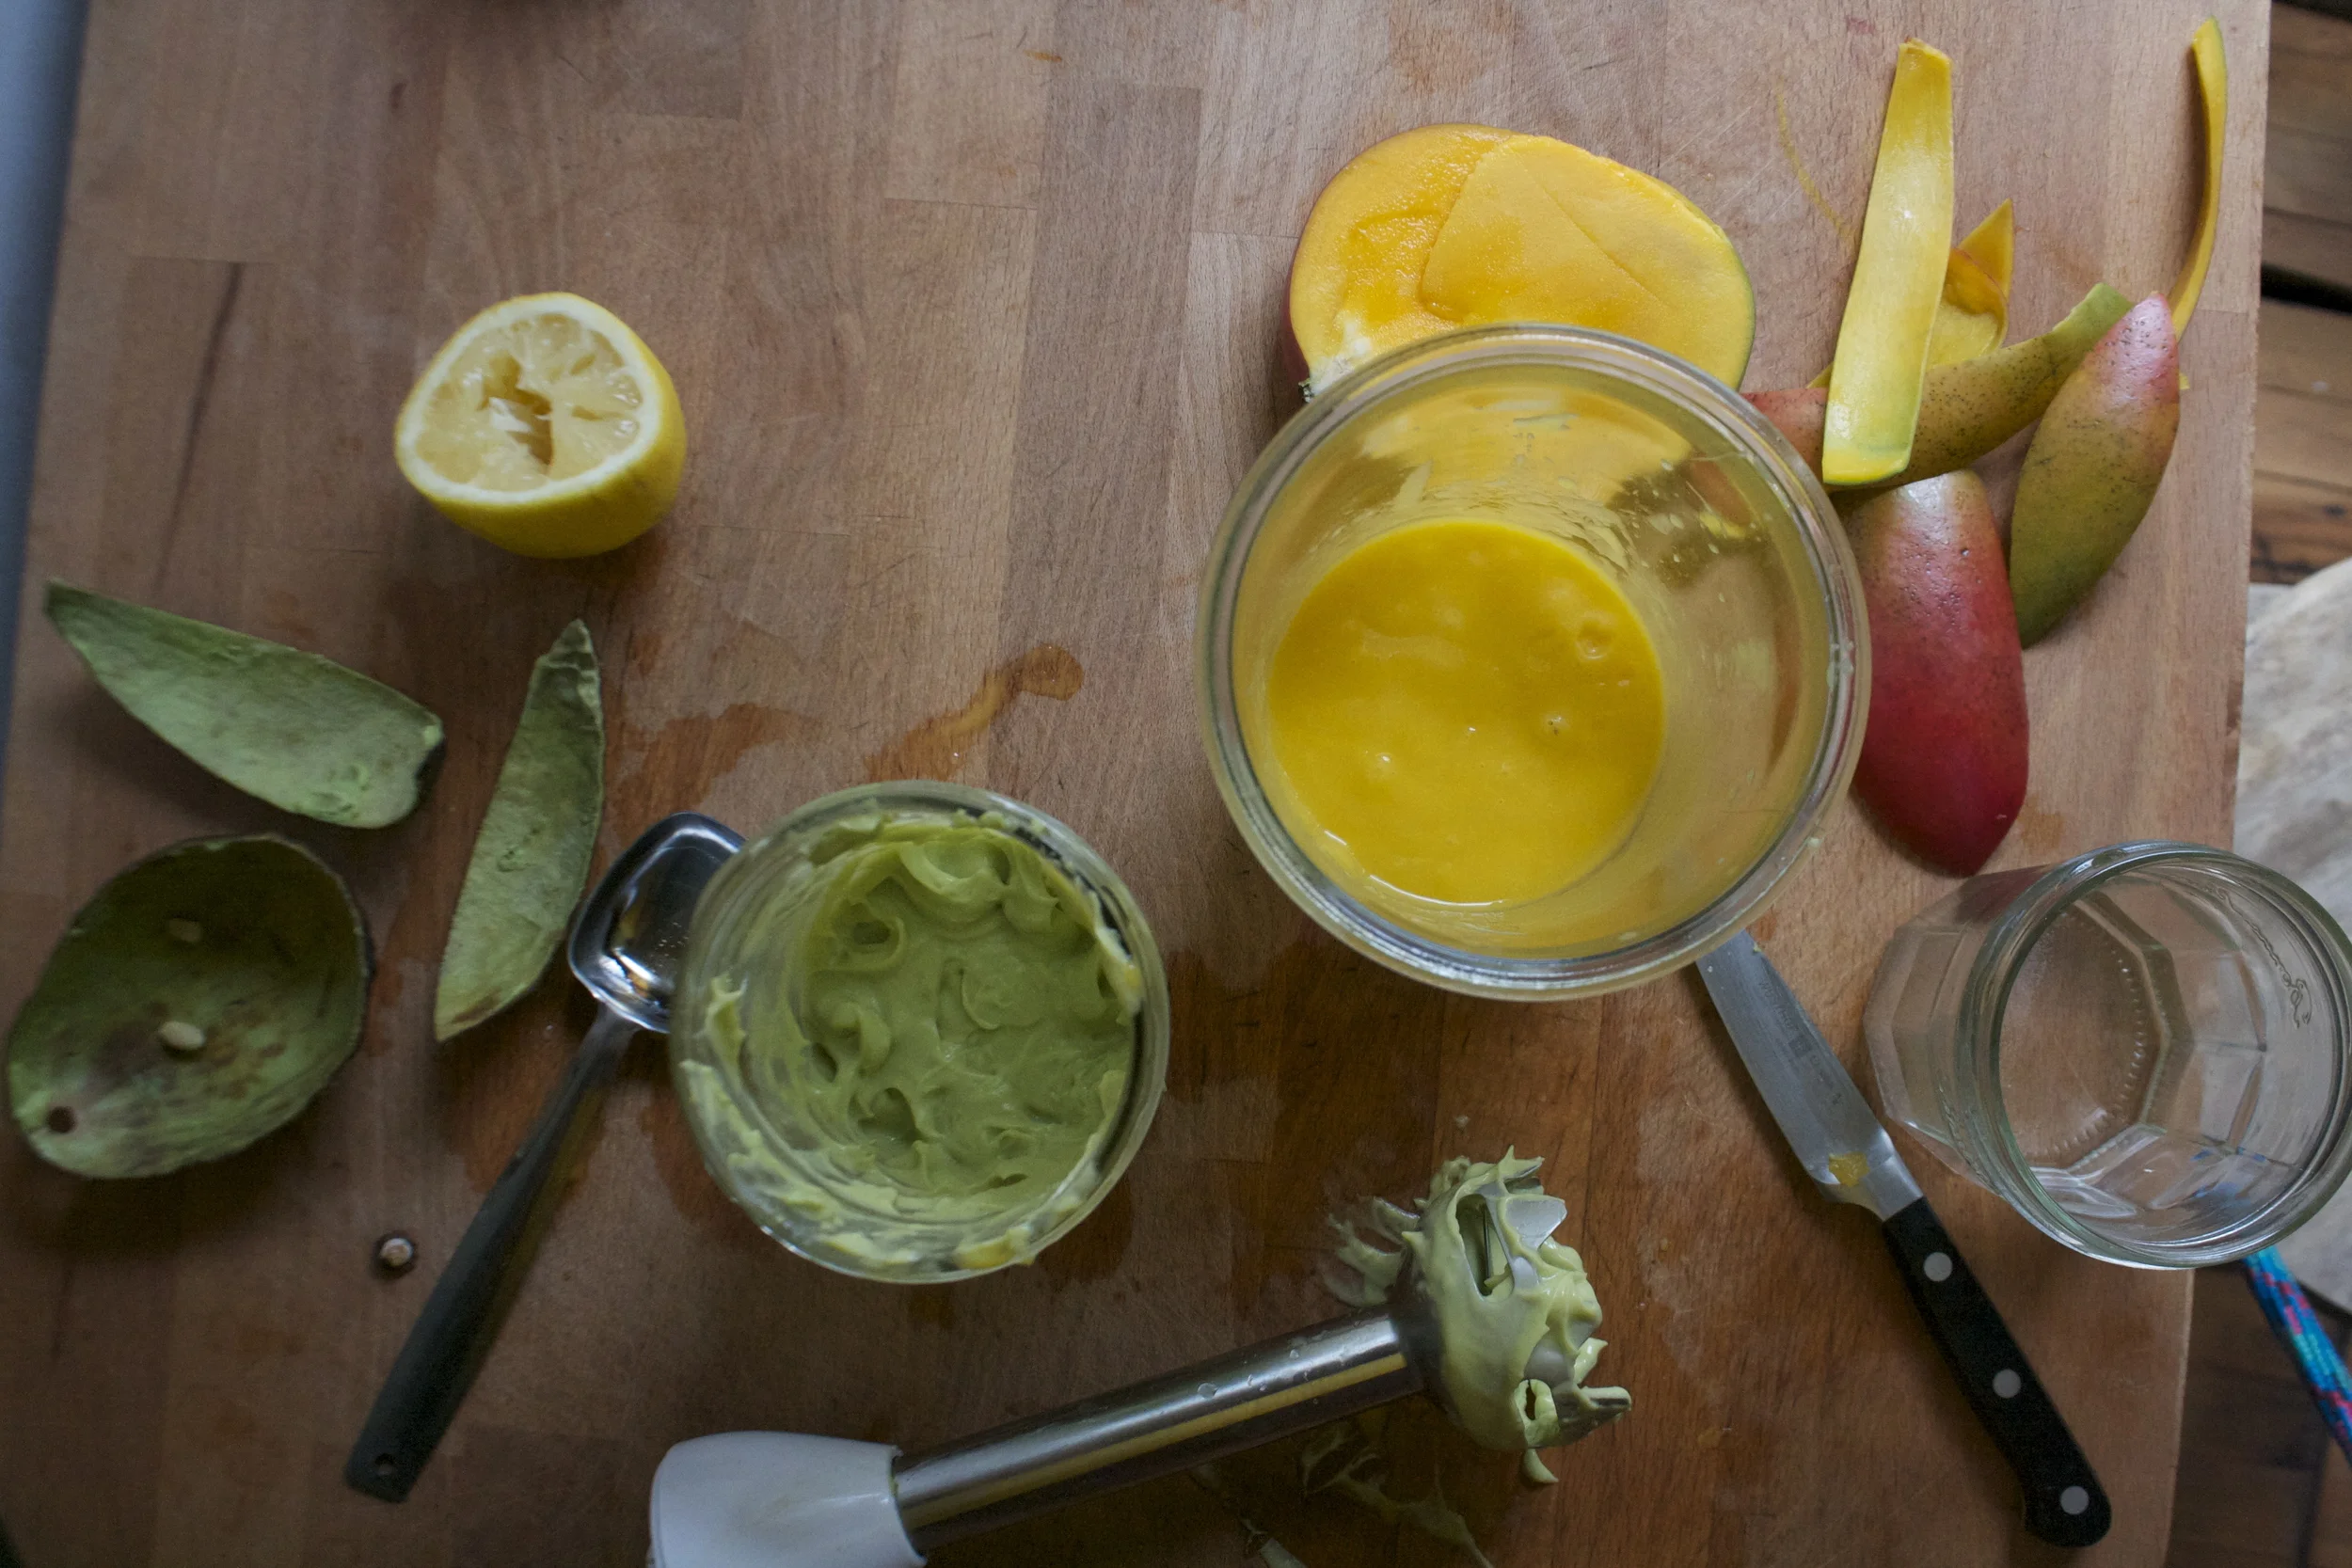
The stuff. A nice ripe mango and a nice ripe avocado. A bit of lemon juice (from half a lemon),%u00a0 a little maple syrup, and a some water.
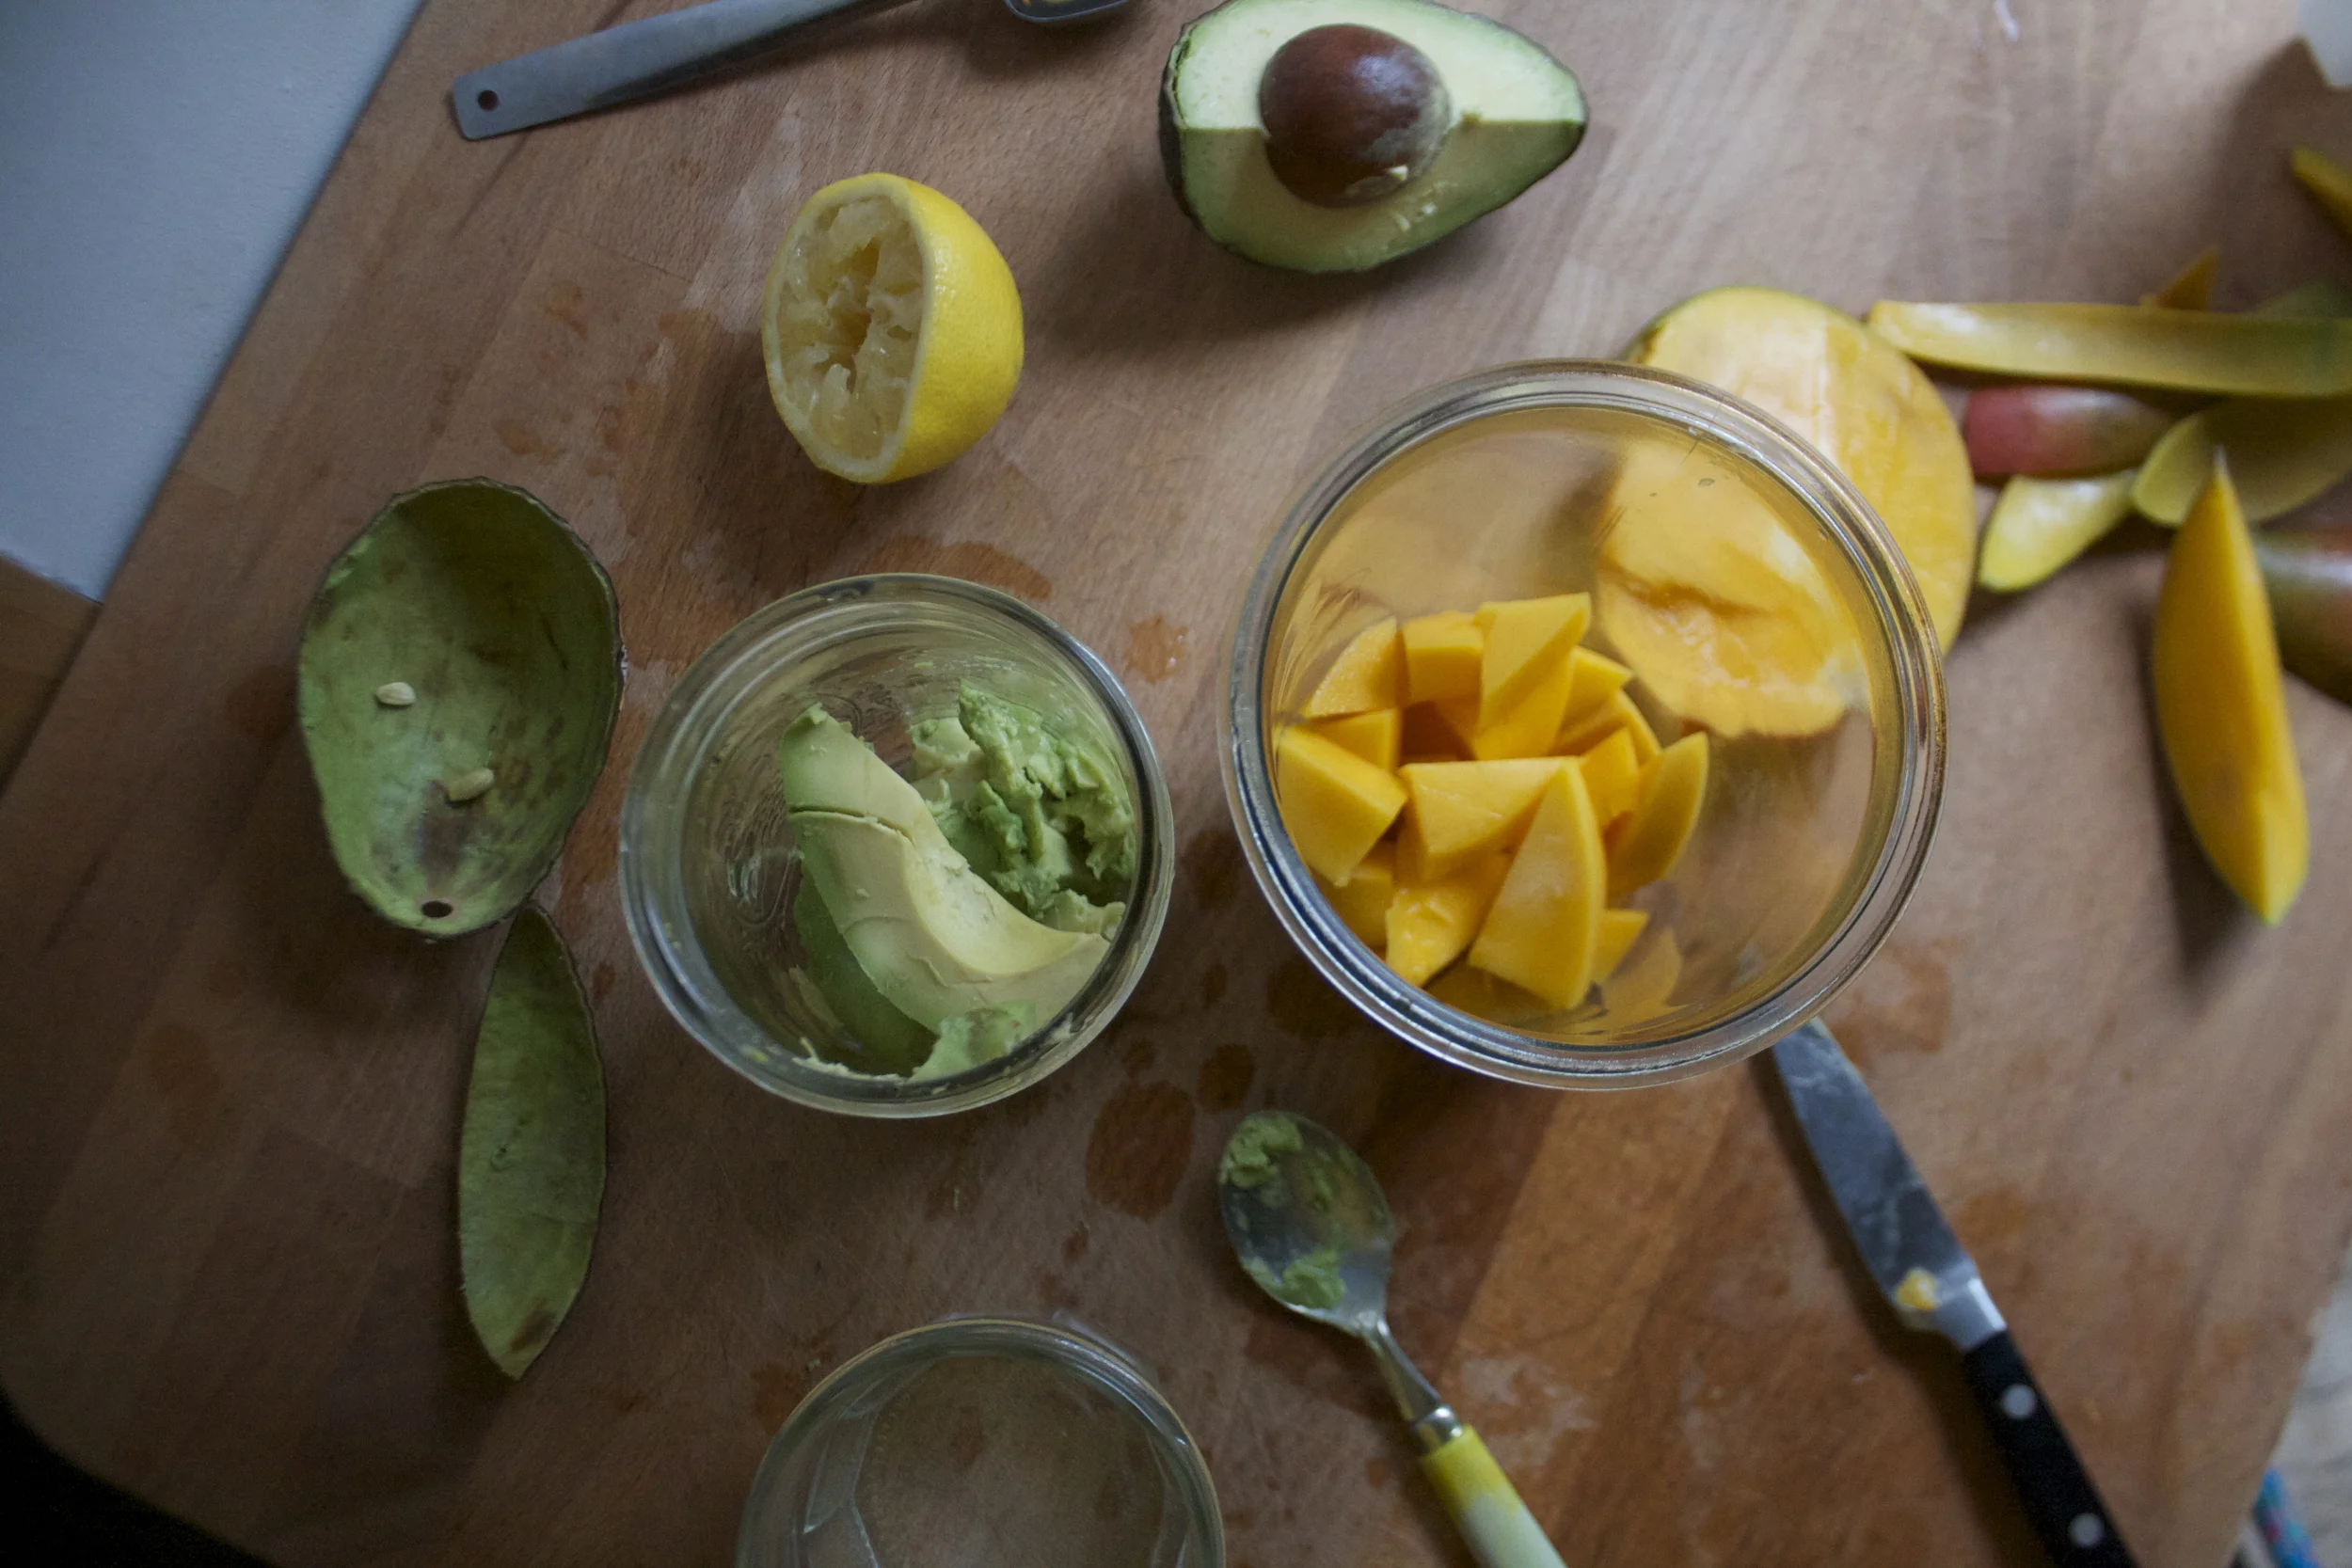
Scoop the avocado into a jar and cut up the mango ans stick into a jar…..
Splash a little water into each jar and blend them up. (I used my hand blender. but use the blending device of your choice) Add the maple syrup to the avocado.. as much as you need, and if your mango is not super sweet, you can add a little to that too.
Scoop the avocado puree into the mango and gently swirl it around
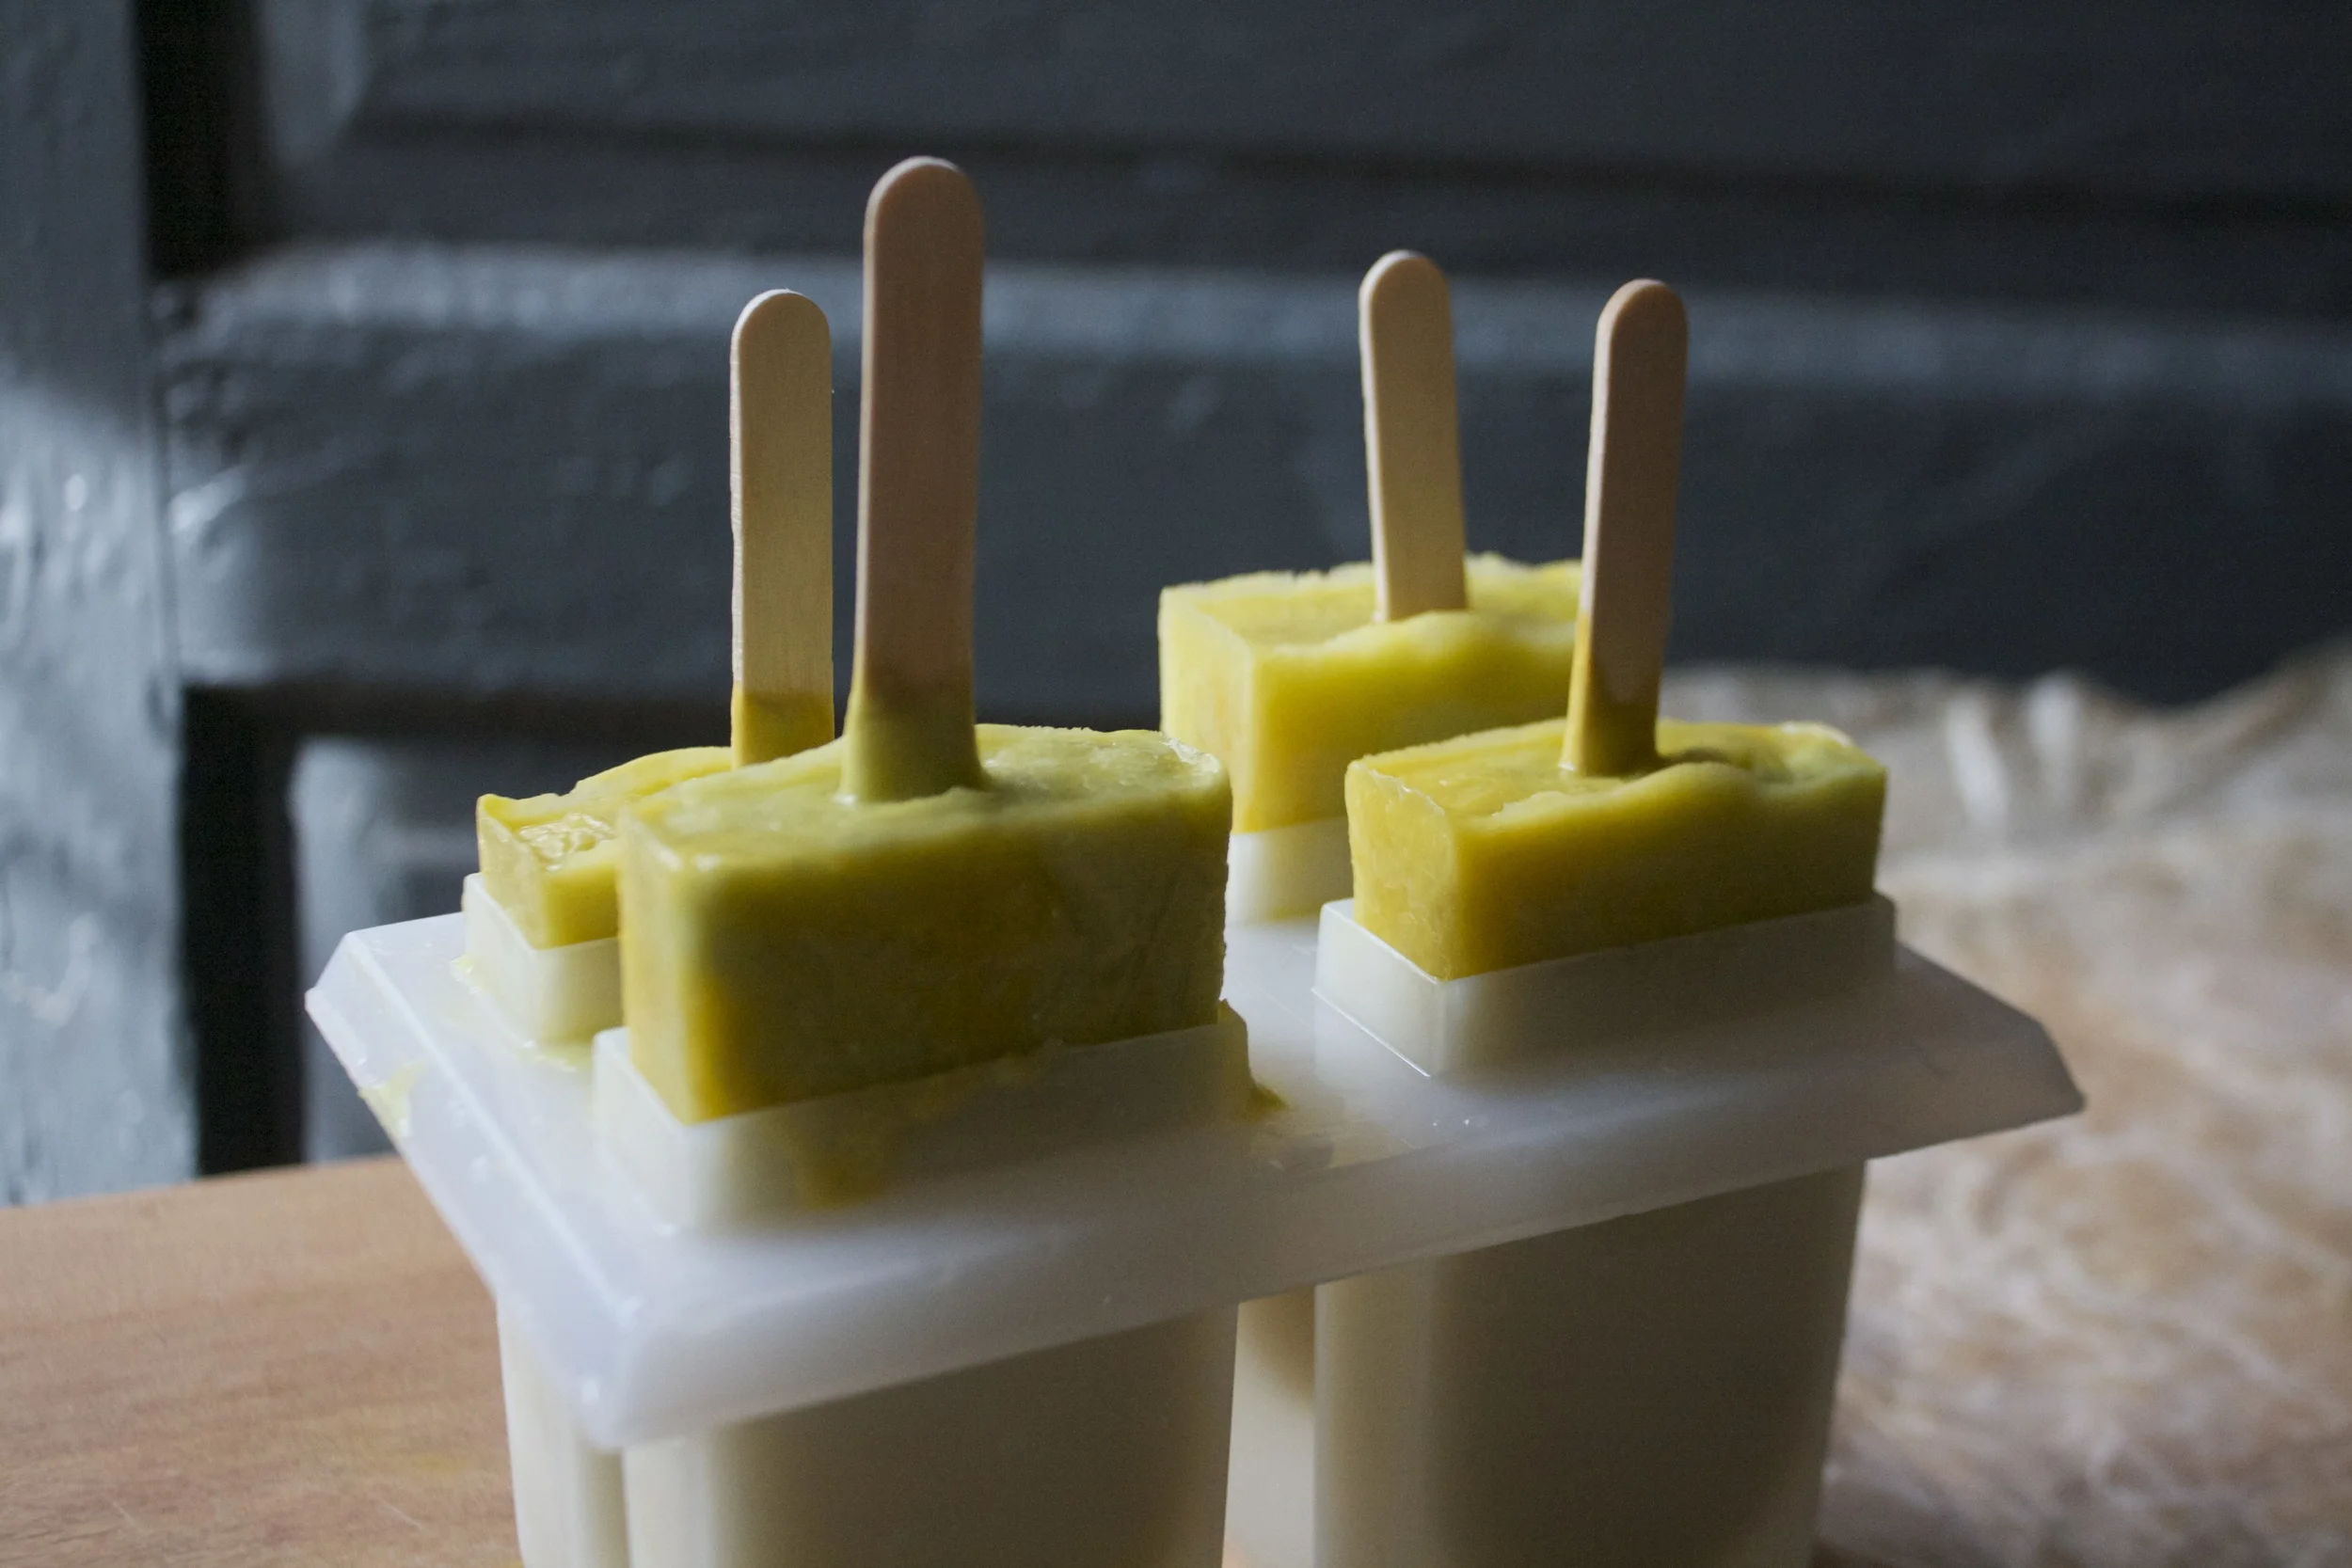
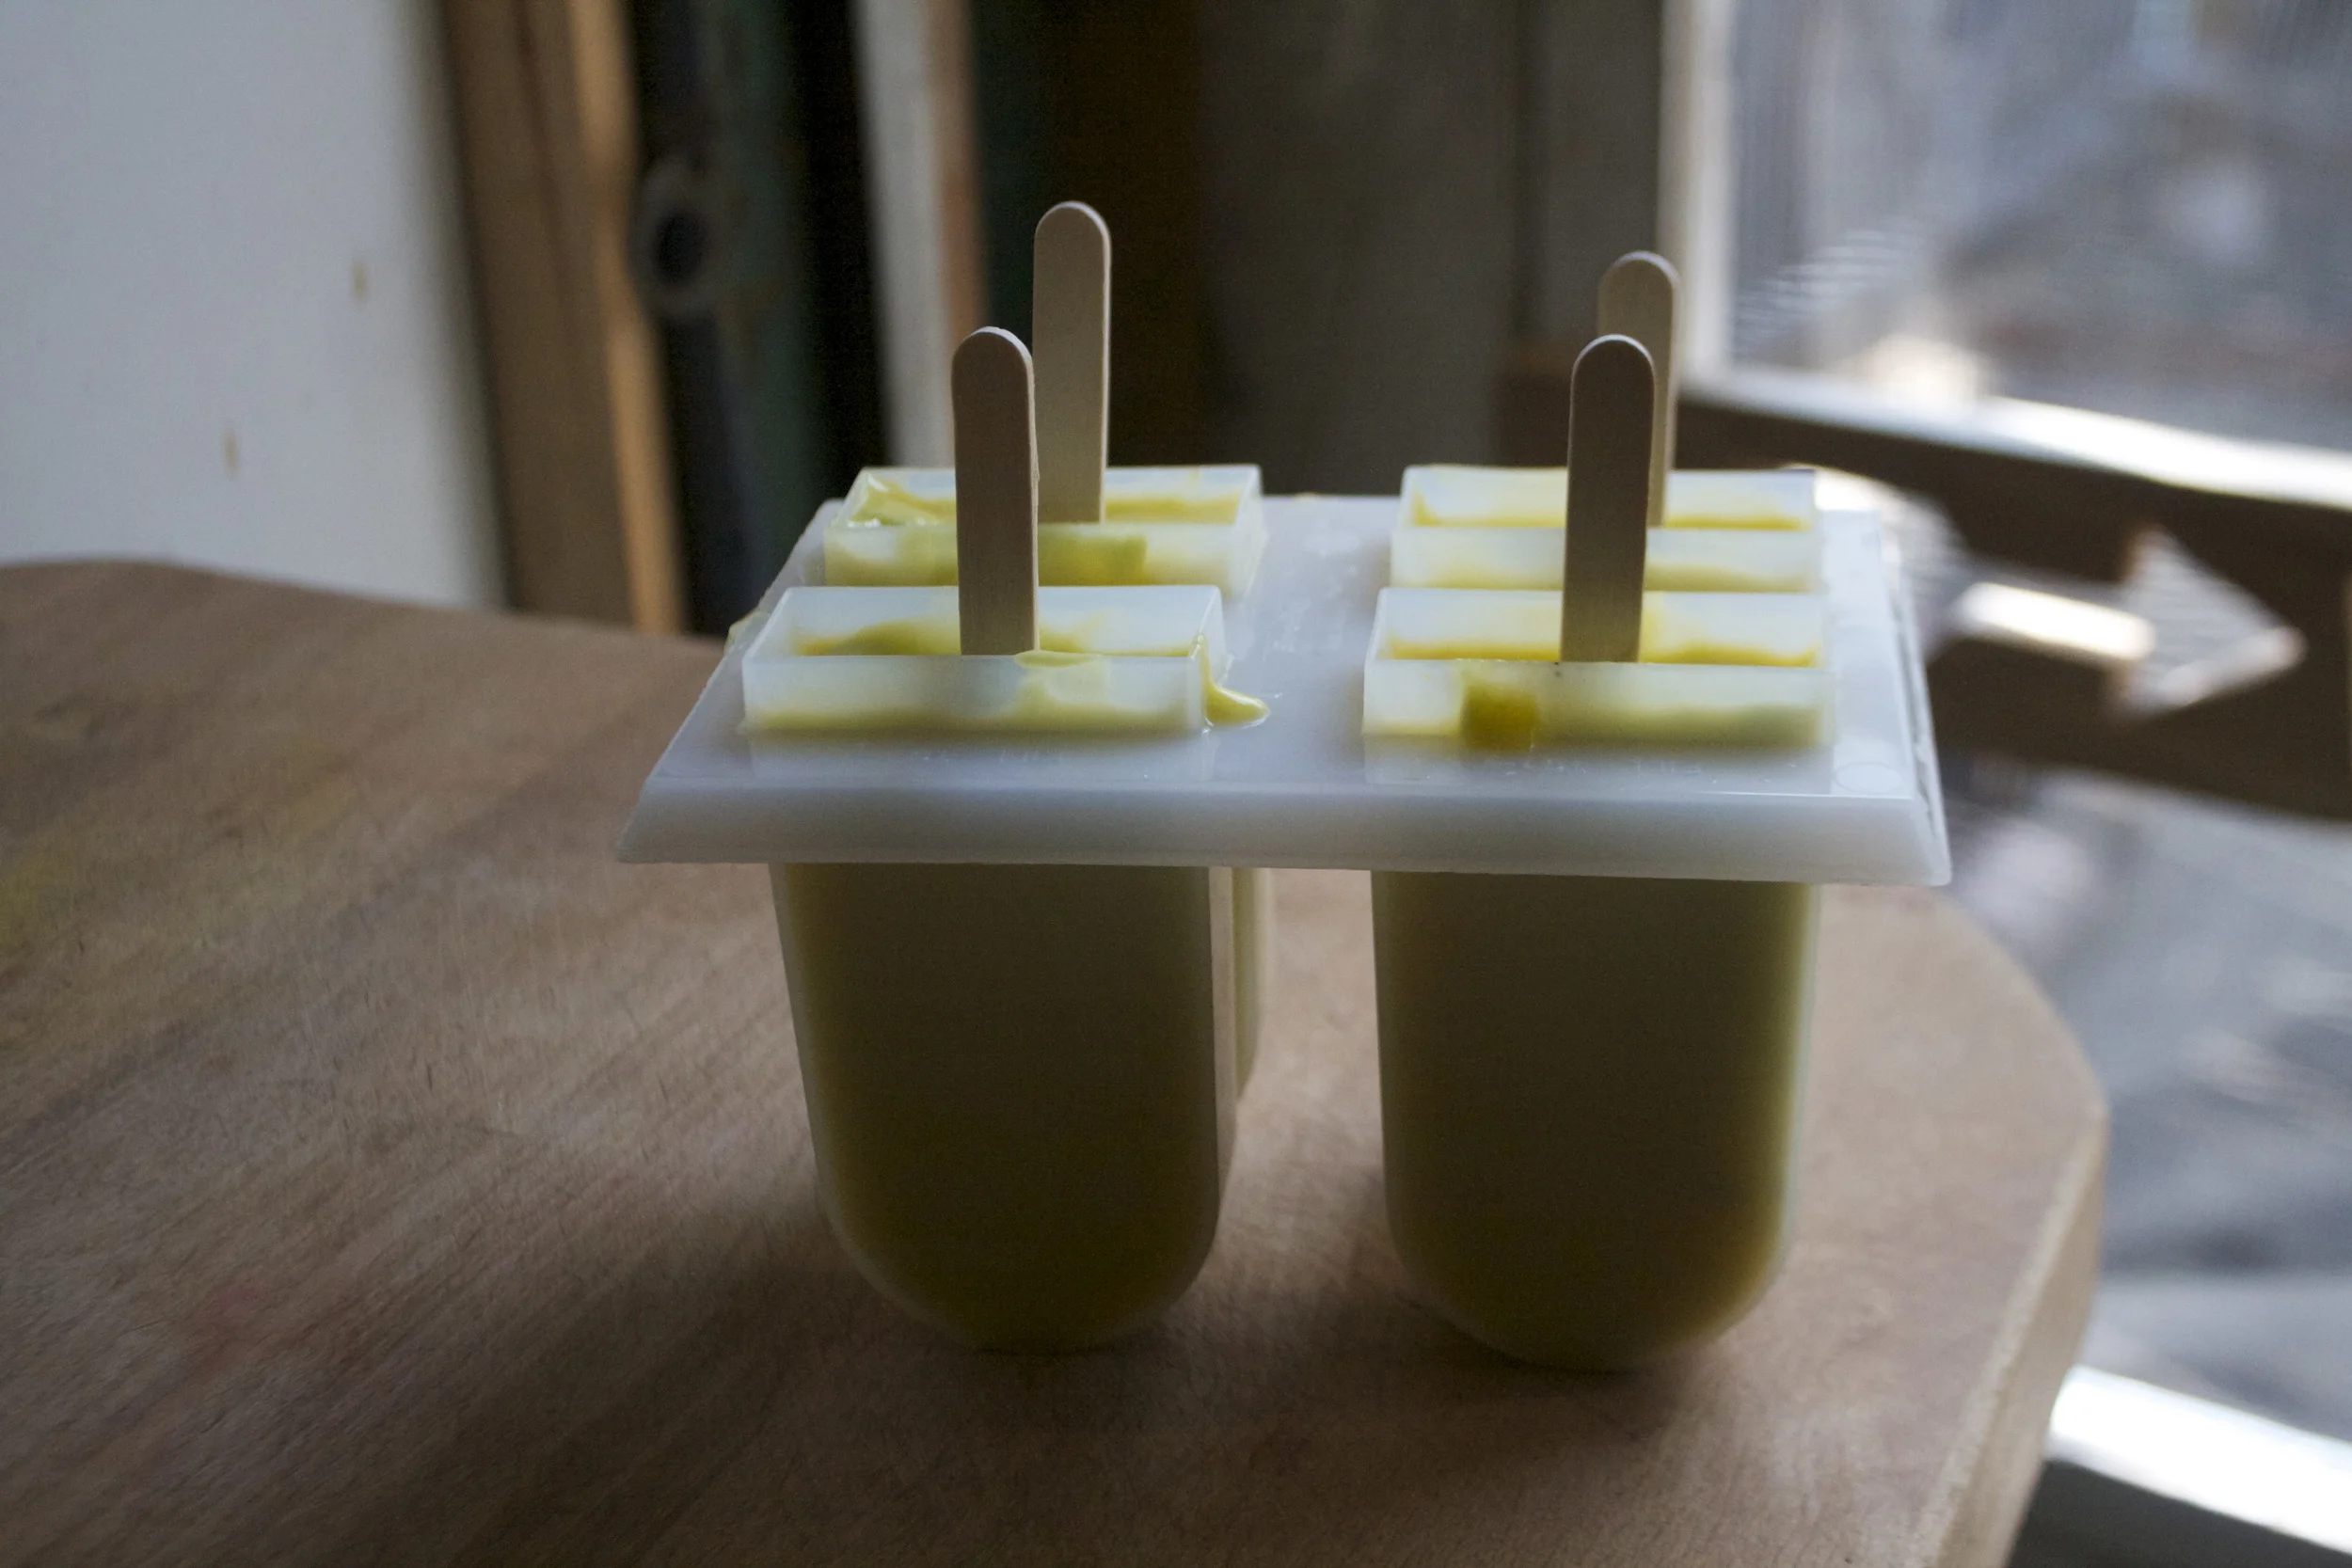
Now pour/scoop the mixture into your popsicle molds. And because mine was thick enough, I was able to stick the wood sticks without them sinking.
Noe get them quick into the freezer
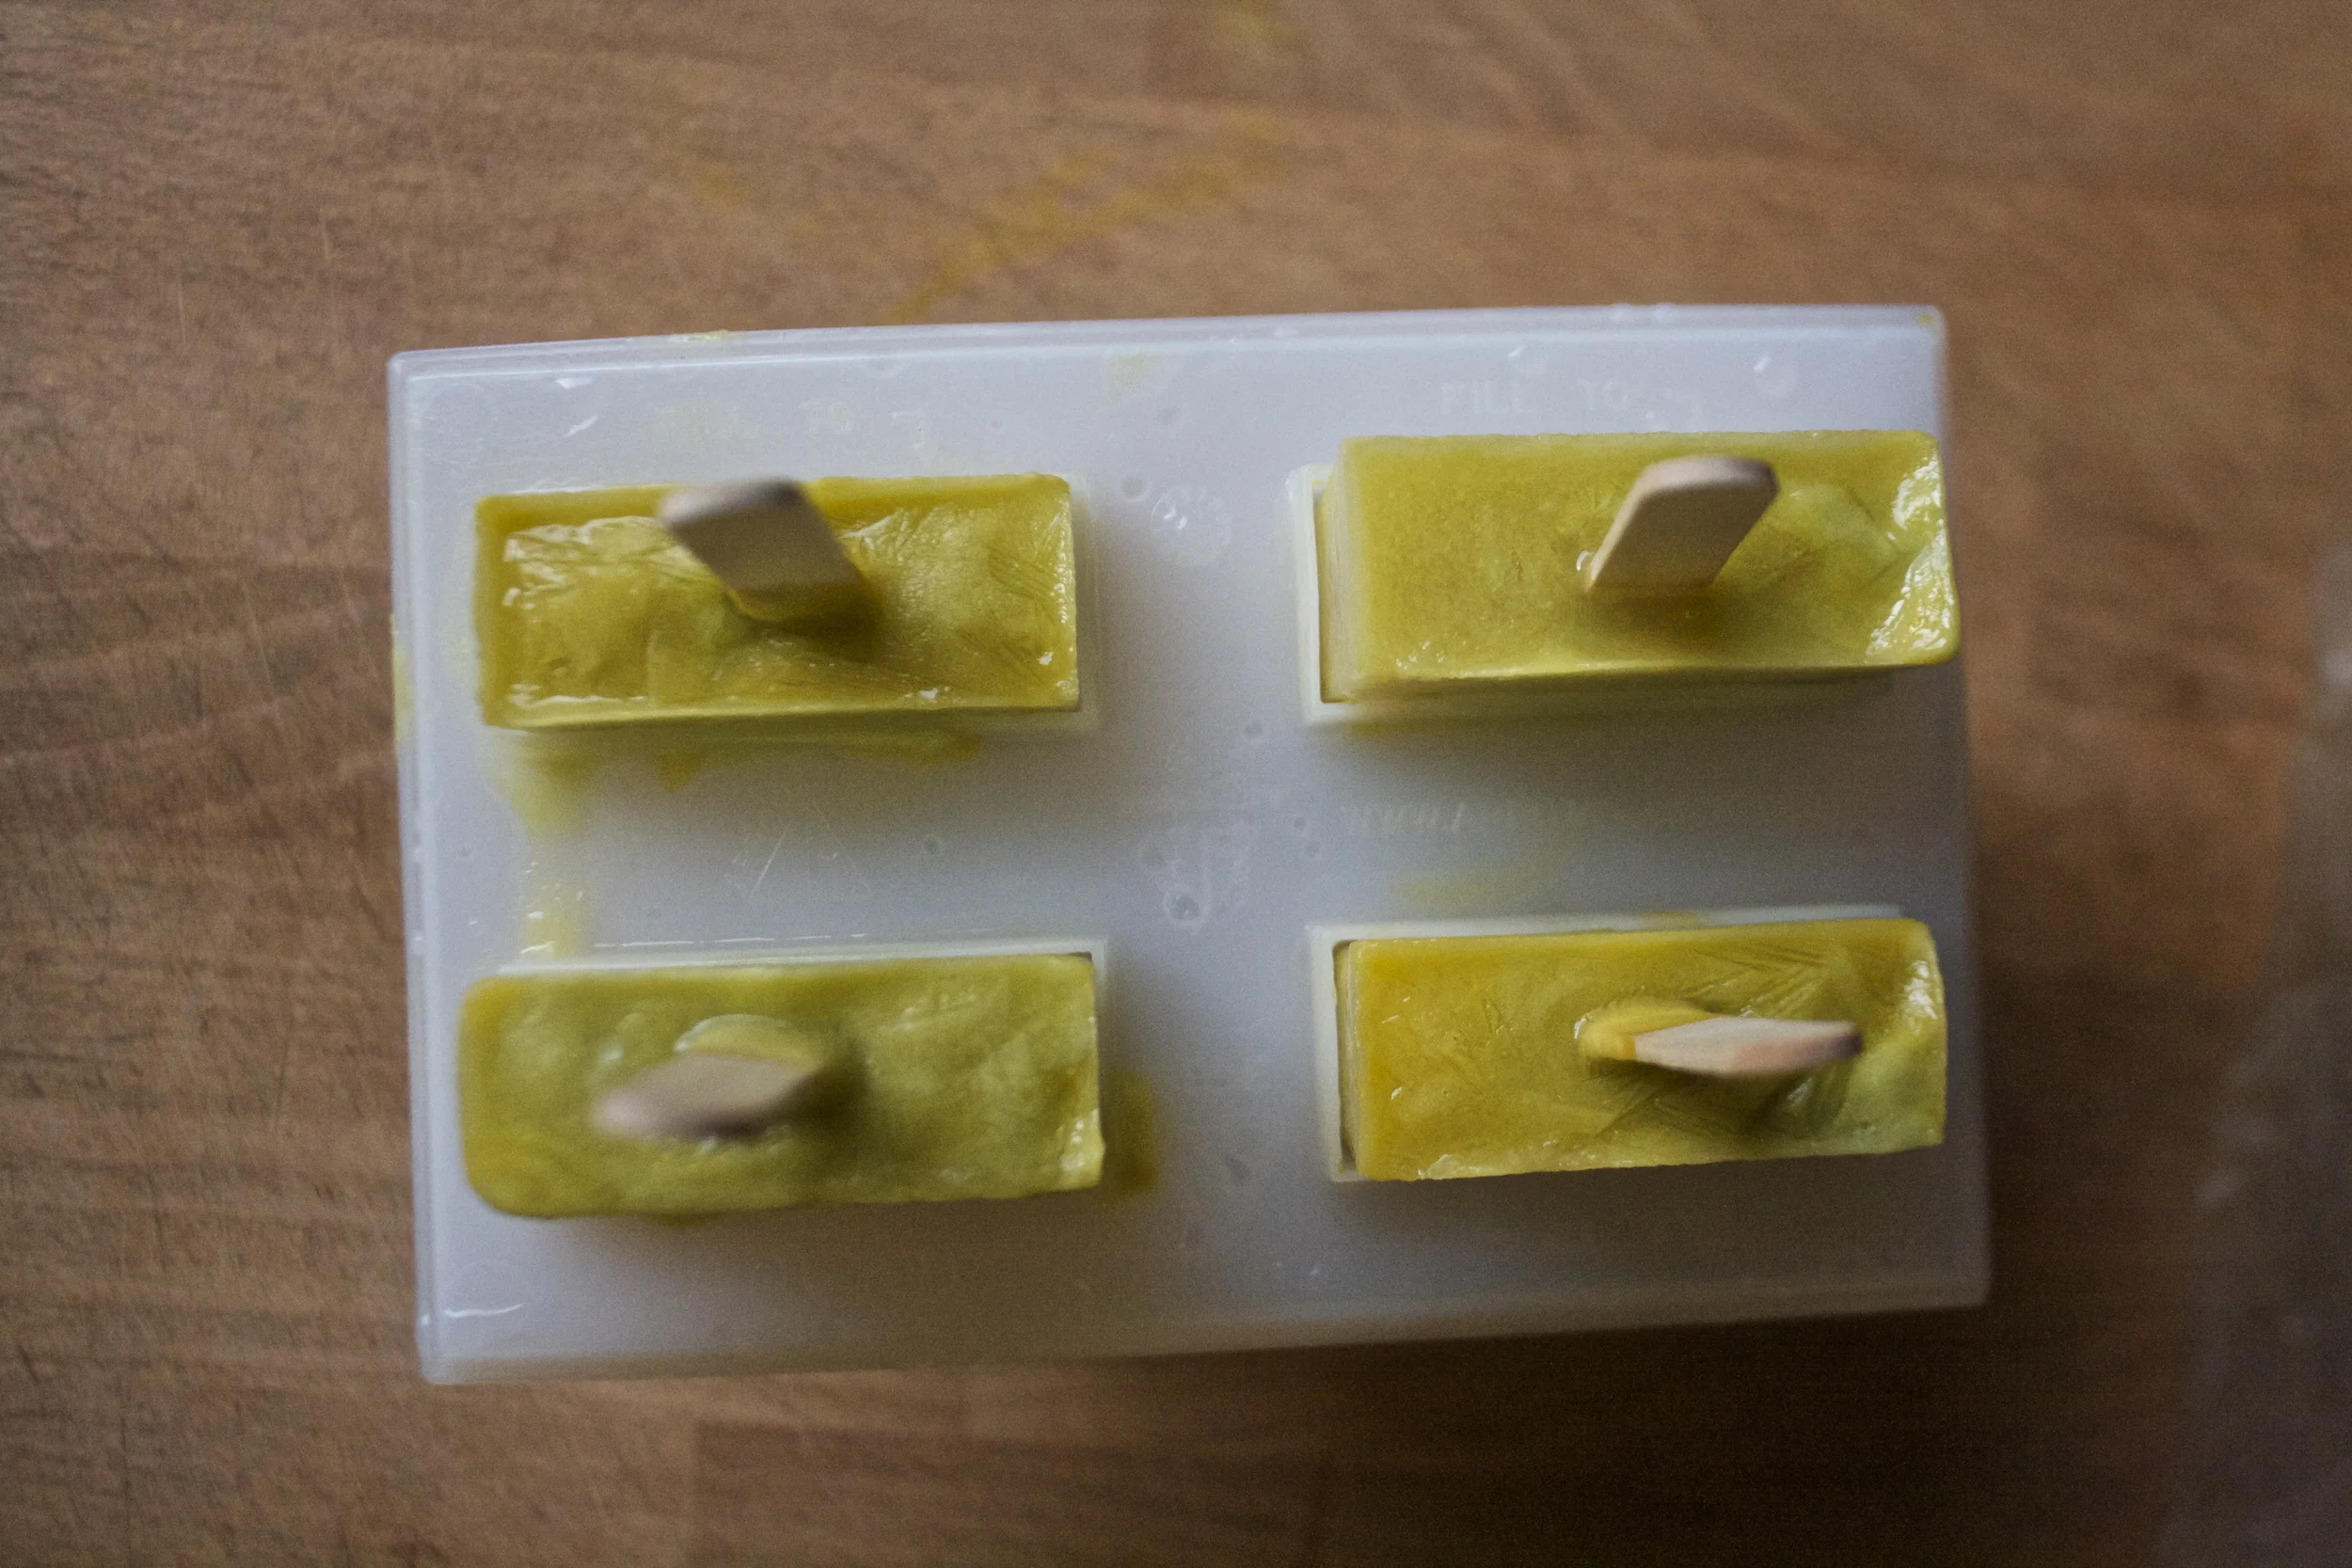
A good few hours (I didn’t even check until the next day but I bet 4-5 hours in a good freezer will do) the popsicles are nowposicles!!!!!
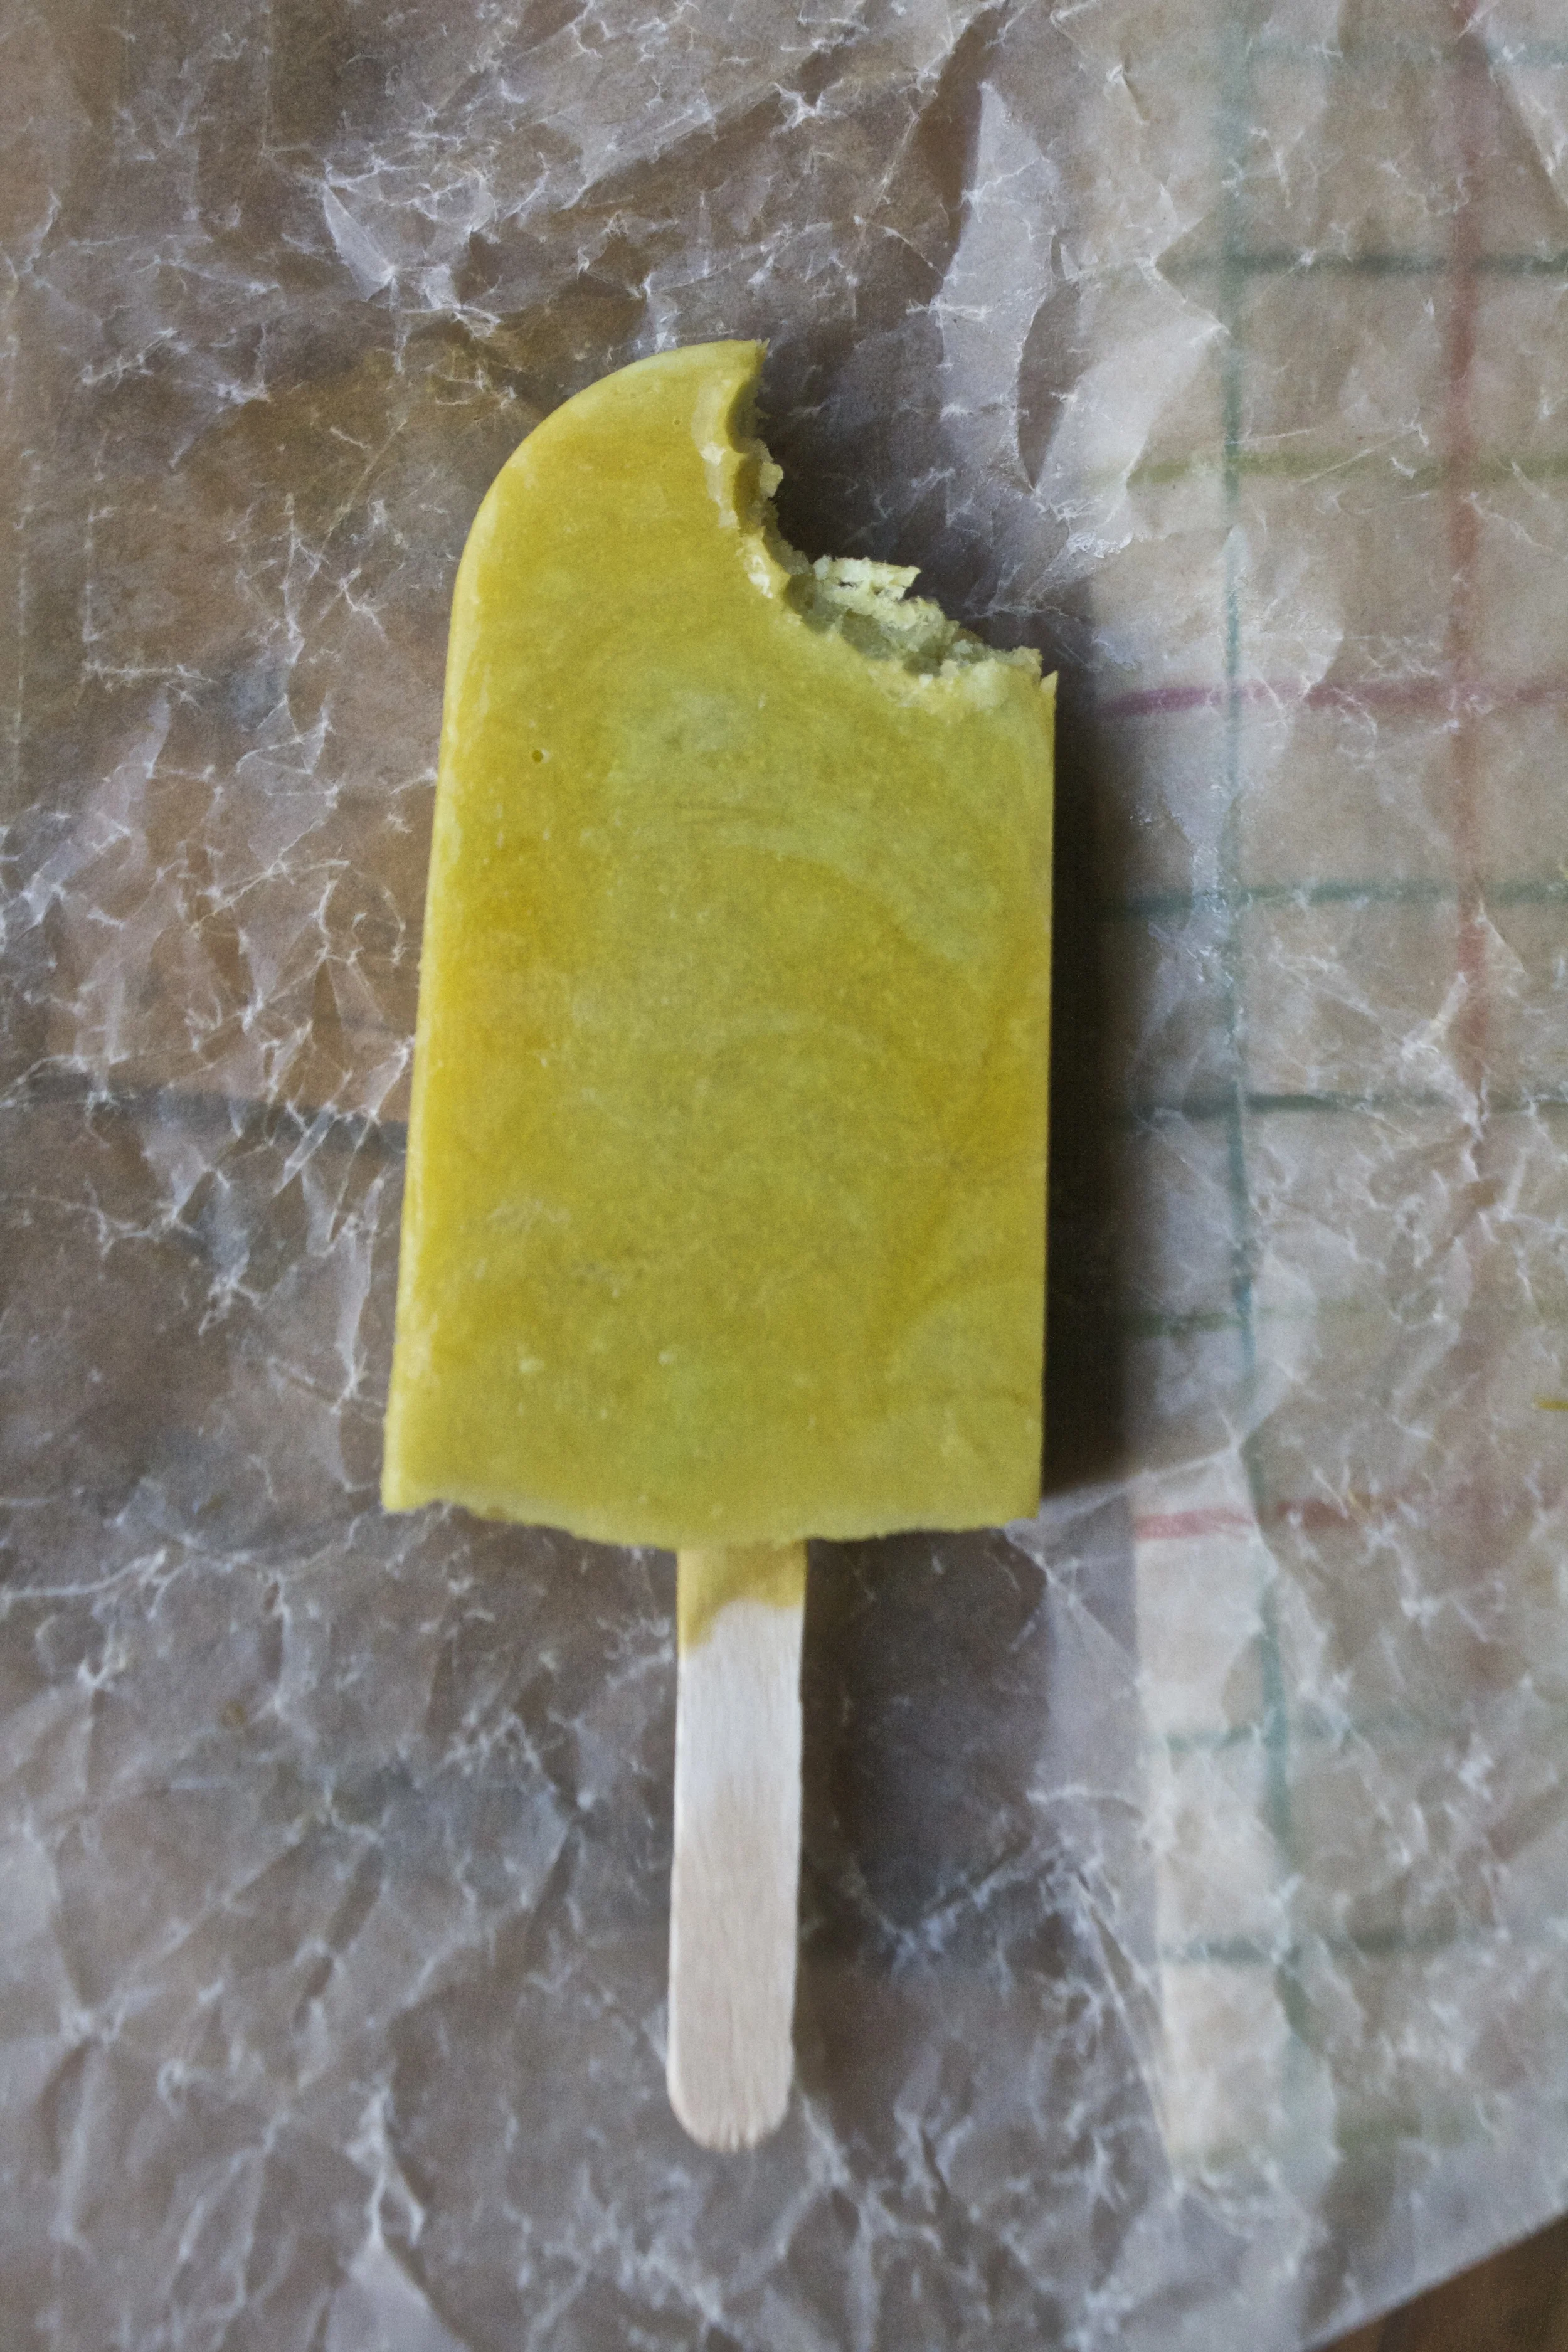
Pop them out of the mold (a few minutes on the counter and or a quick rinse under warm water) and do what needs to be done.
So creamy sweet and refreshing… This is a happy spring popsicle for sure.
Have a great day!
-C
Makes four 4oz popsicles
1 ripe avocado
1 ripe mango
1/2 a lemon or lime
1-2 tablespoons maple syrup (or any sweetener of you liking)
about 1/2 cup of water
Note.sIF your mango is not super sweet you might want to add a little maple syrup to thatto that as well. And depending on the actual size of your mango and avocado, you might find yourself with a little extra fruit puree…. so maybe an extra popsicle can be made or you can just eat it now.
Scoop avocado into a jar and cut and dice mango and place in a separate jar. Add maple to the avocado (and the mango if you want) and about 1/4 cup of water to each.%u00a0 With a hand blender, blend each until smooth ( or use a regular blender) Once both are blended, dump one into the other and gently swirl around. Pour mixture into popsicle molds, add the sticks and stick into the freeze. Keep freezing until frozen which should take at least 4-5 hours.
And once frozen, pop out of molds (run mold under warm water or just leave on counter for a few minutes) and eat them like it hot!
Holy shit is it hot out. My brain is all fizzy, my hair is all frizzy, and my over all being is just blah. I am not a fan of super hot weather (as some of you may know) and am getting more pissy as the days go %u00a0by and I continue to be a sweaty mess. I don’t want to feel like a big wet slob, I want to feel fresh and clean and wear clothes that are not drenched in sweat. I know, bitch, bitch, bitch, but seriously. Even the world around me is wilting, and in the nice, colorful fall foliage kind of way. It’s all crispy and brown.%u00a0%u00a0The garden is barely holding on, the flowers are shriveling in the ground, and a few plants are just plan dead.%u00a0It’s just too hot.
I think that only plus side of this past week of hot crap weather are these popsicles that I made. They were actually suppose to be a treat for the littles, but guess what, me and the mr ate them and didn’t share, and no, I feel zero bad about it. They were so good, so refreshing,%u00a0so cold(if only for a minute) and just so needed. %u00a0A few minute reprieve from being miserably hot. And bonus, a great use of all the watermelon and tomatoes that I have taking over the countertops (I have so much watermelon and tomatoes)%u00a0
And really, these probably (better freaking be) the last batch of popsicles for the summer so I think I am going to make another batch today, eat them, savor the flavors of summer, and move on from there.
.%u00a0Maybe I’ll even share them this time.%u00a0
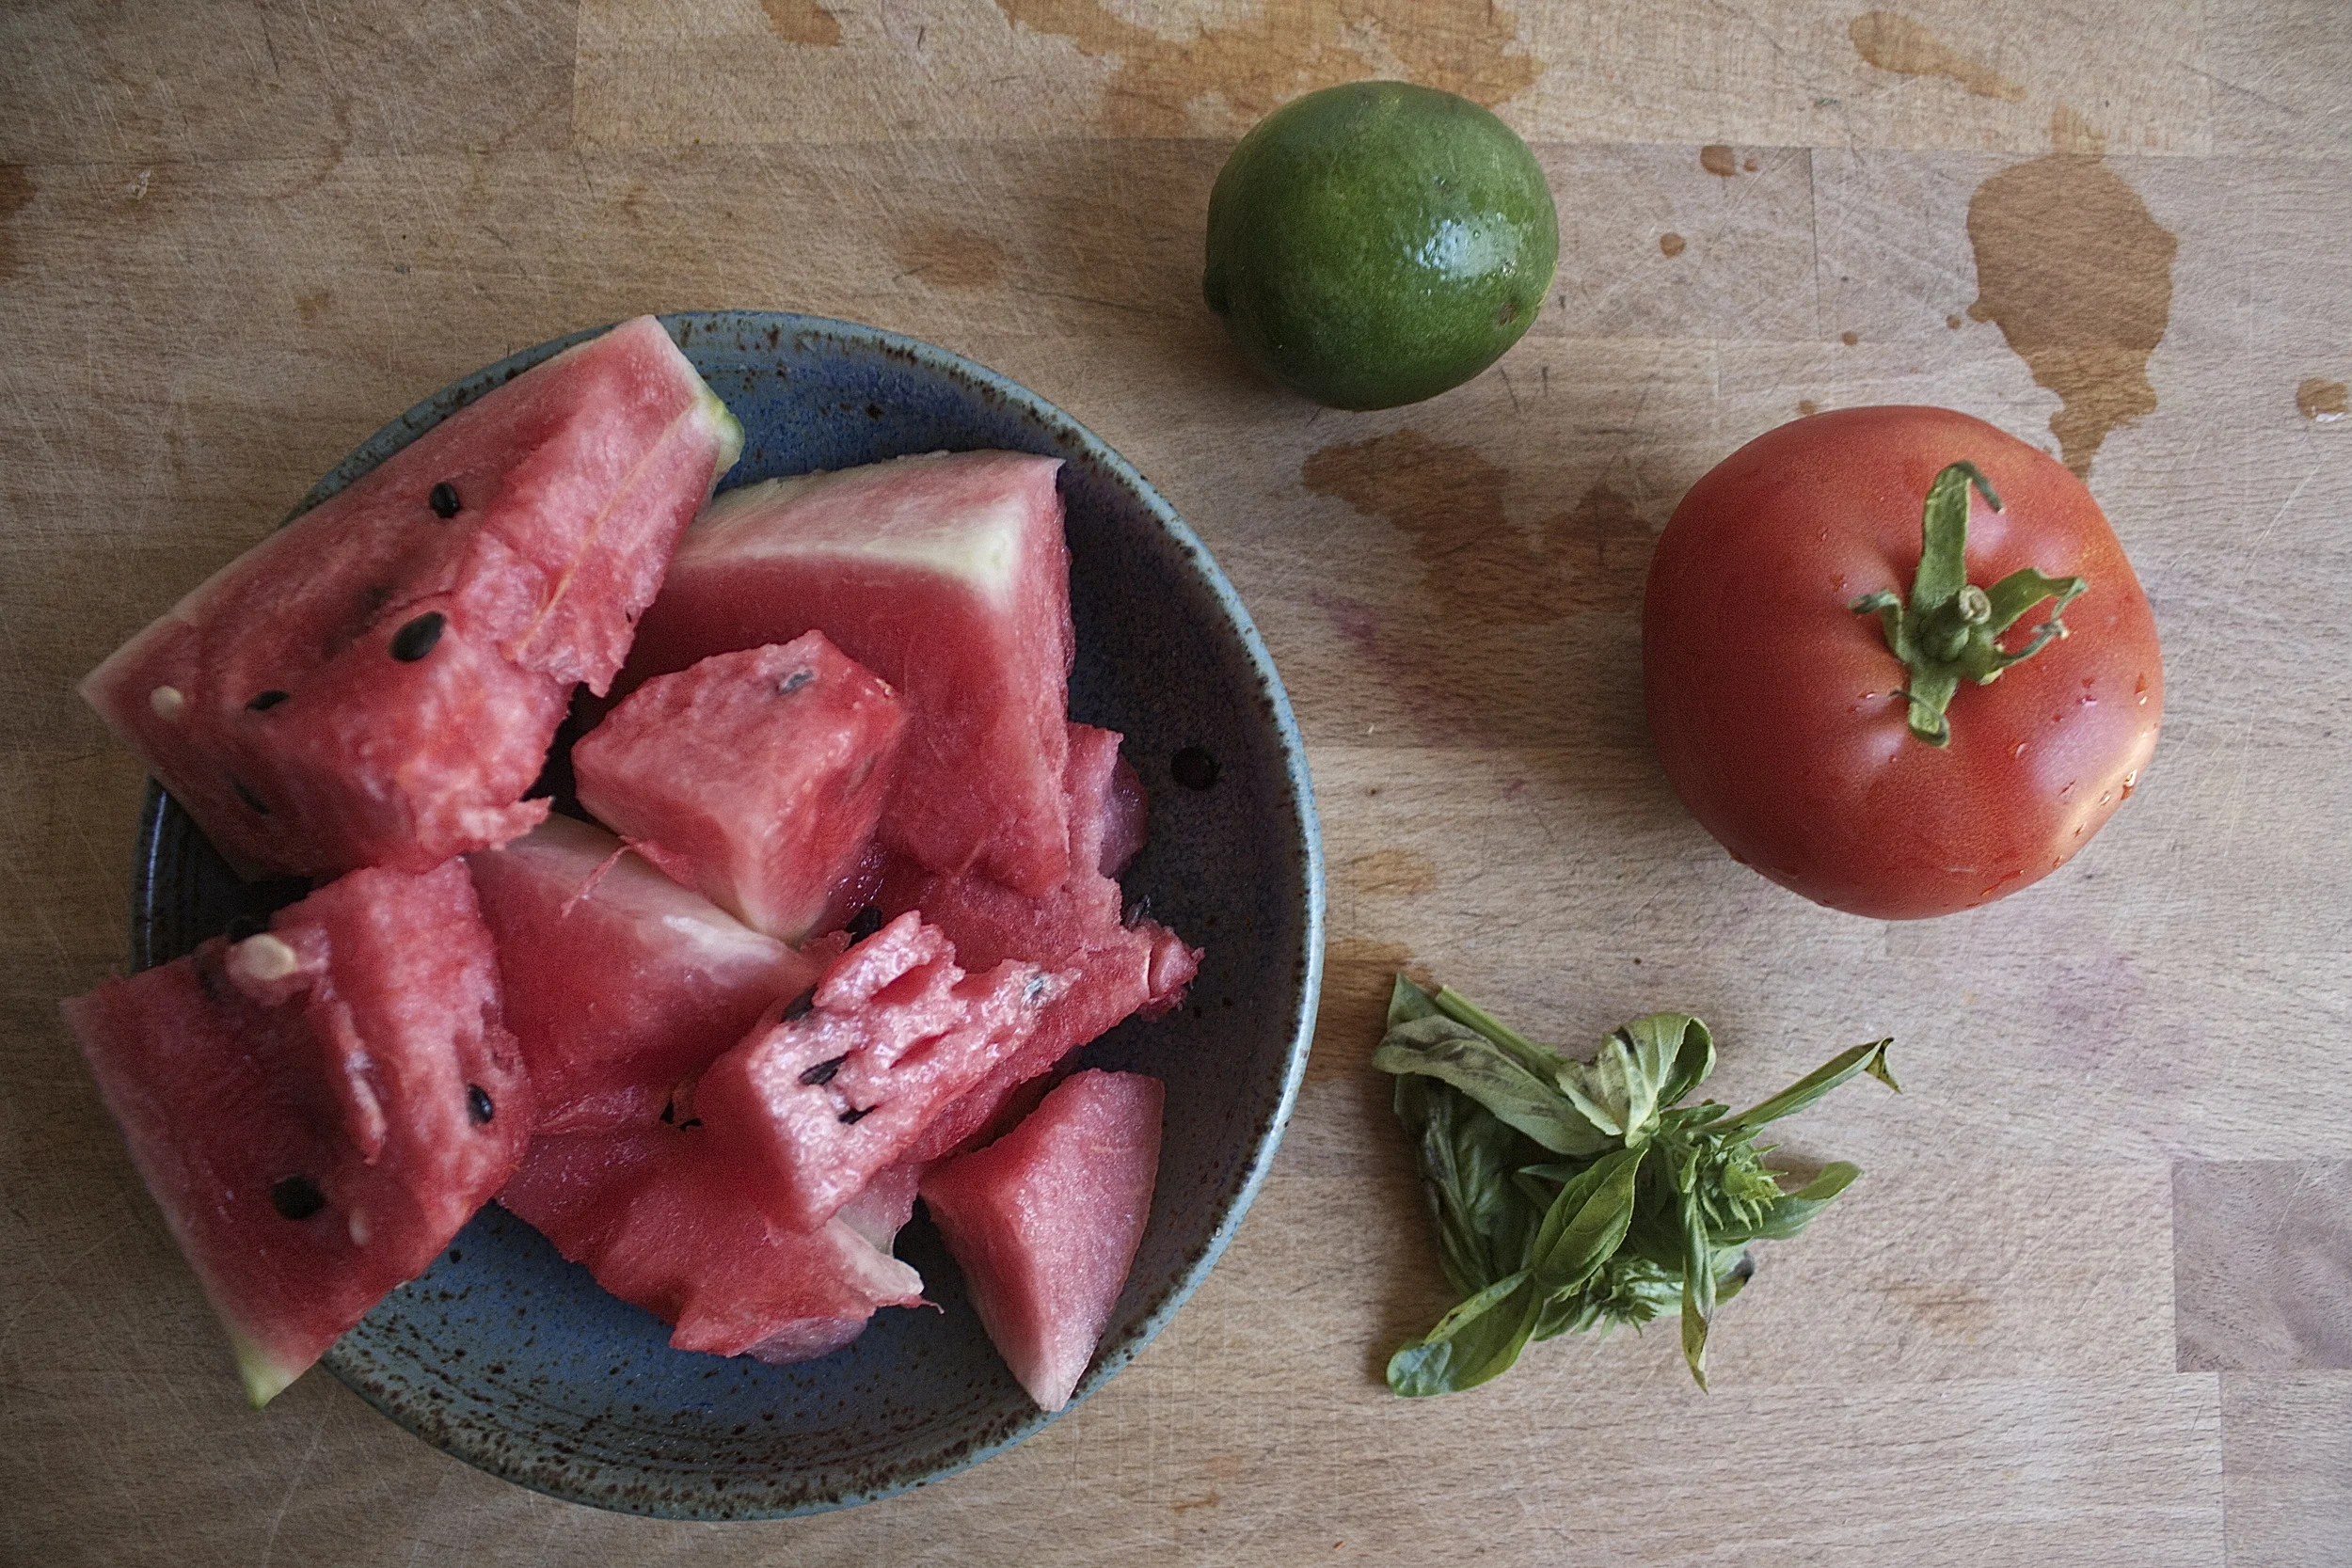
The stuff. Some watermelon*, a tomato, a handful of basil, and a lime.%u00a0
*My watermelon had seeds,%u00a0but you can use seedless. I also removed the green skin, but kept on as much rind as I could, although this particulate melon had very little white rind.
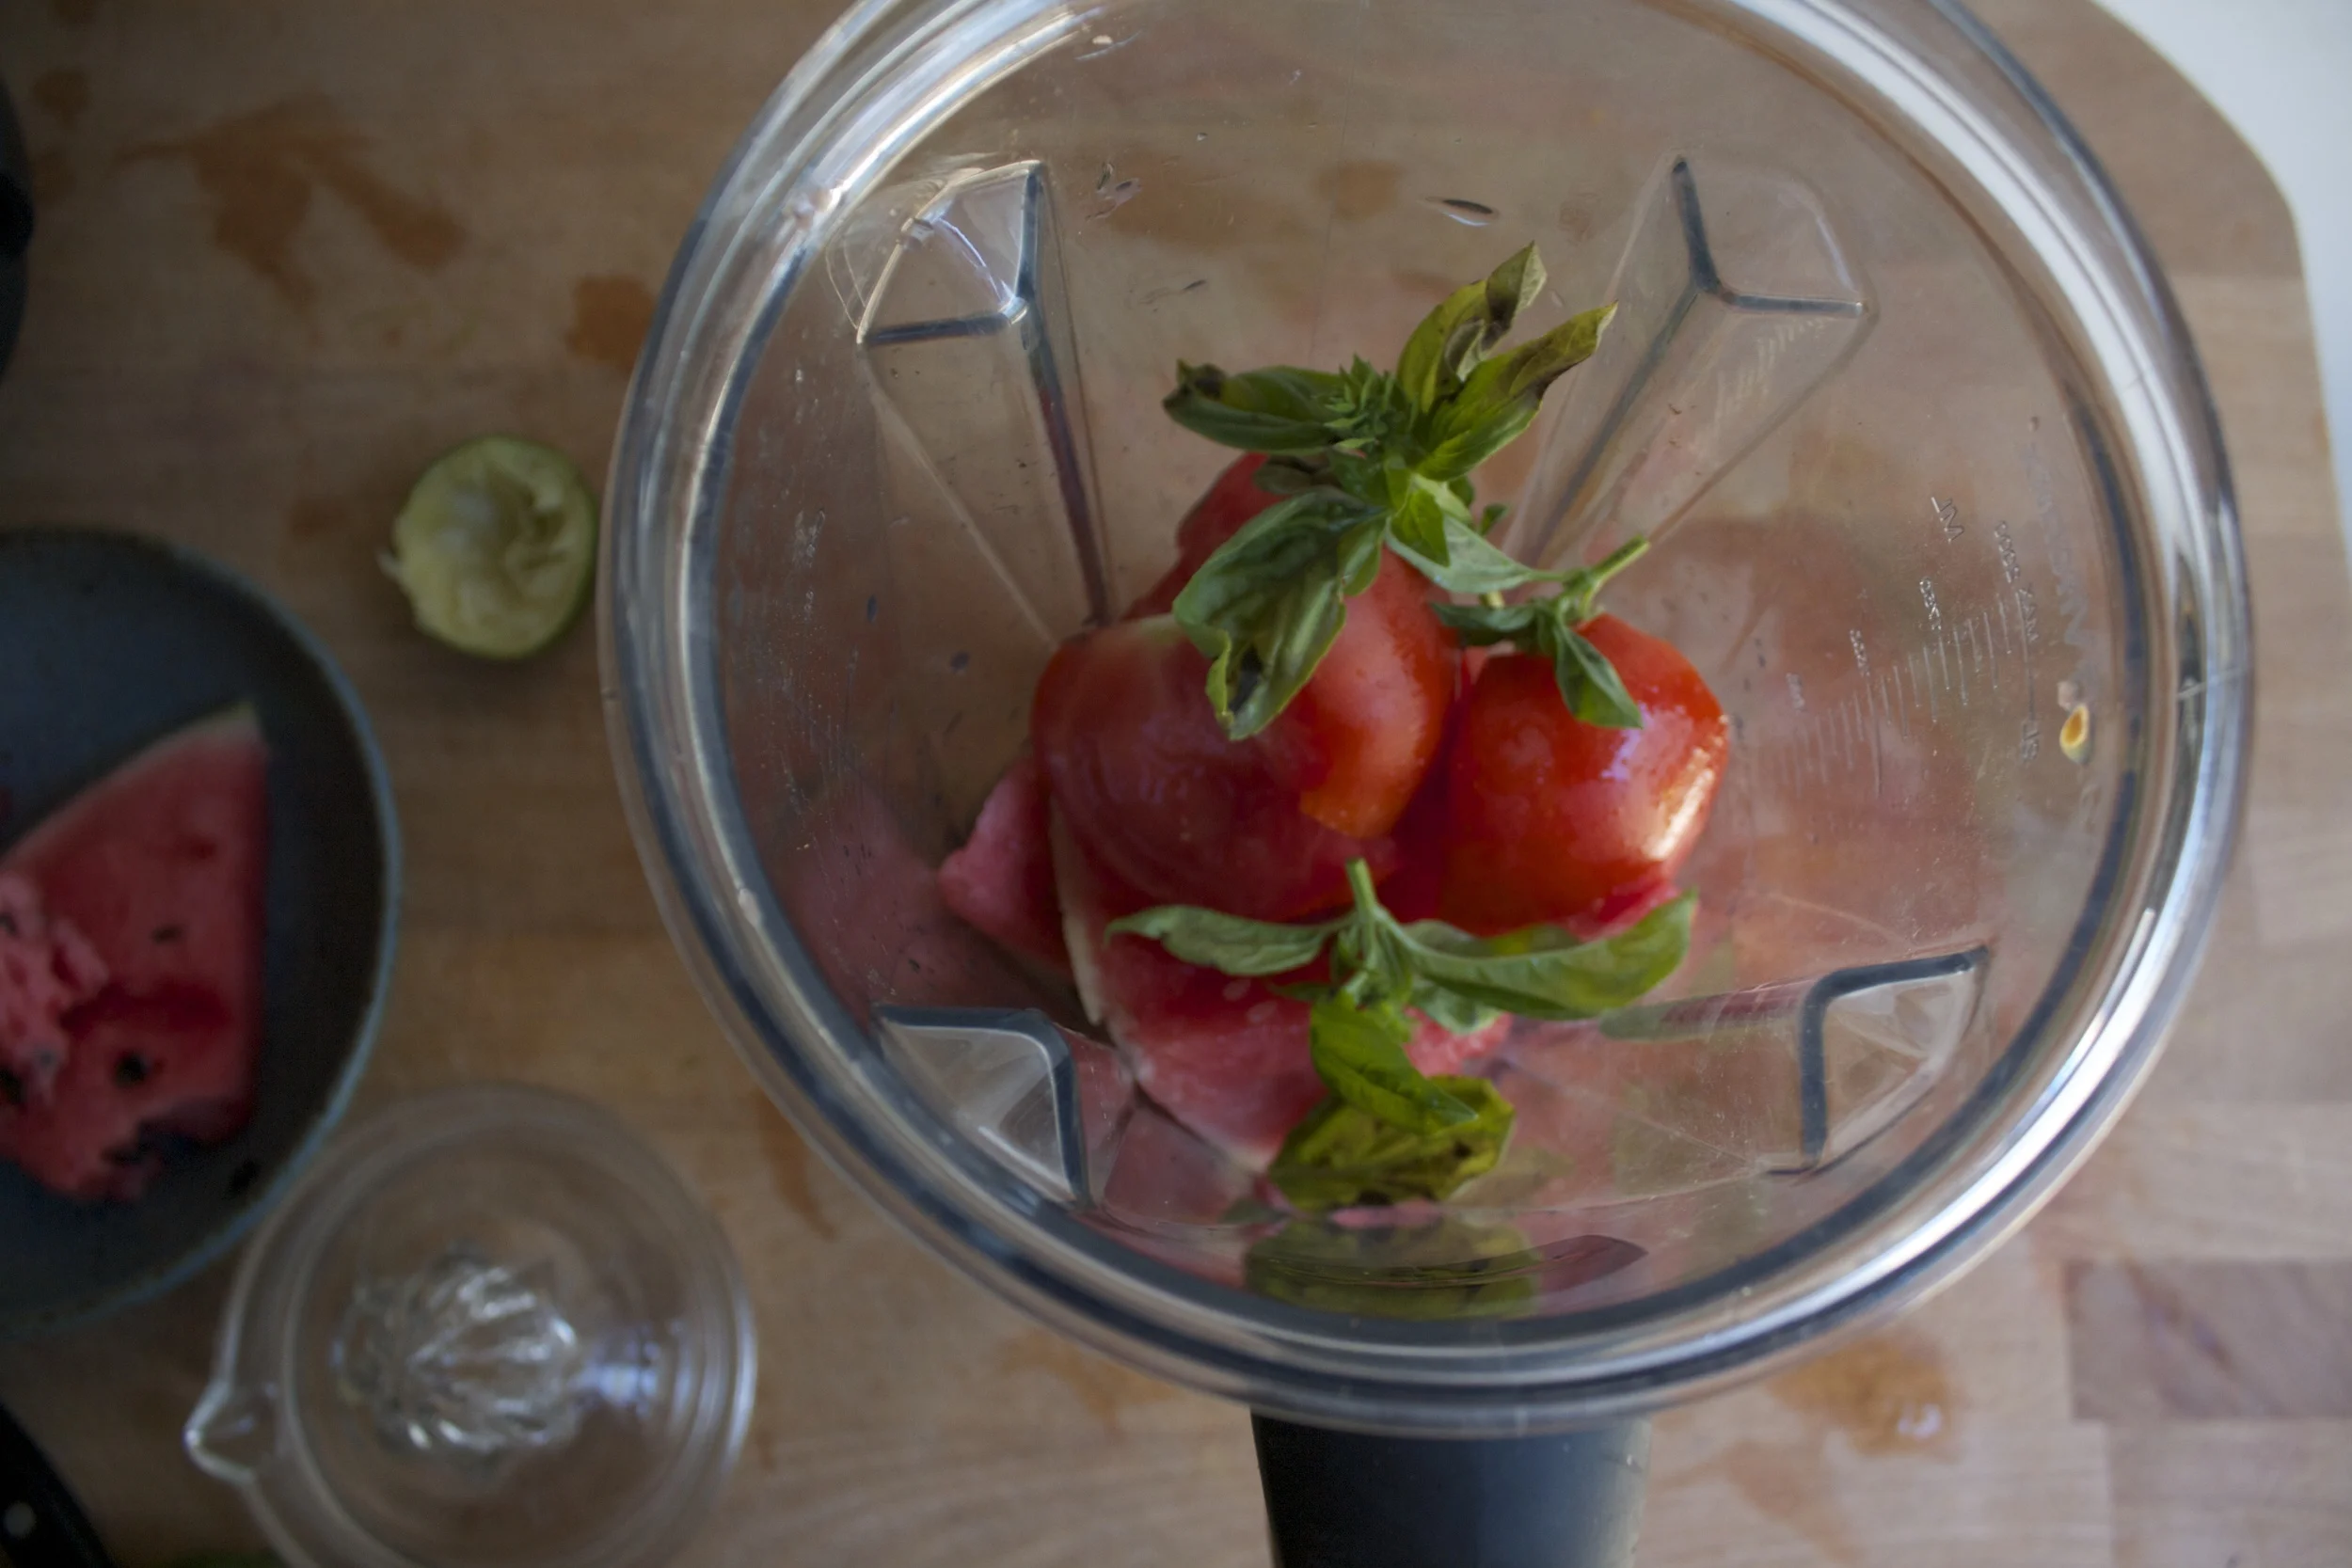
Dump the melon, tomato (cut in a few pieces, the juice of the lime and the basil into a blender. If your melon has seed, don’t worry about removing them.
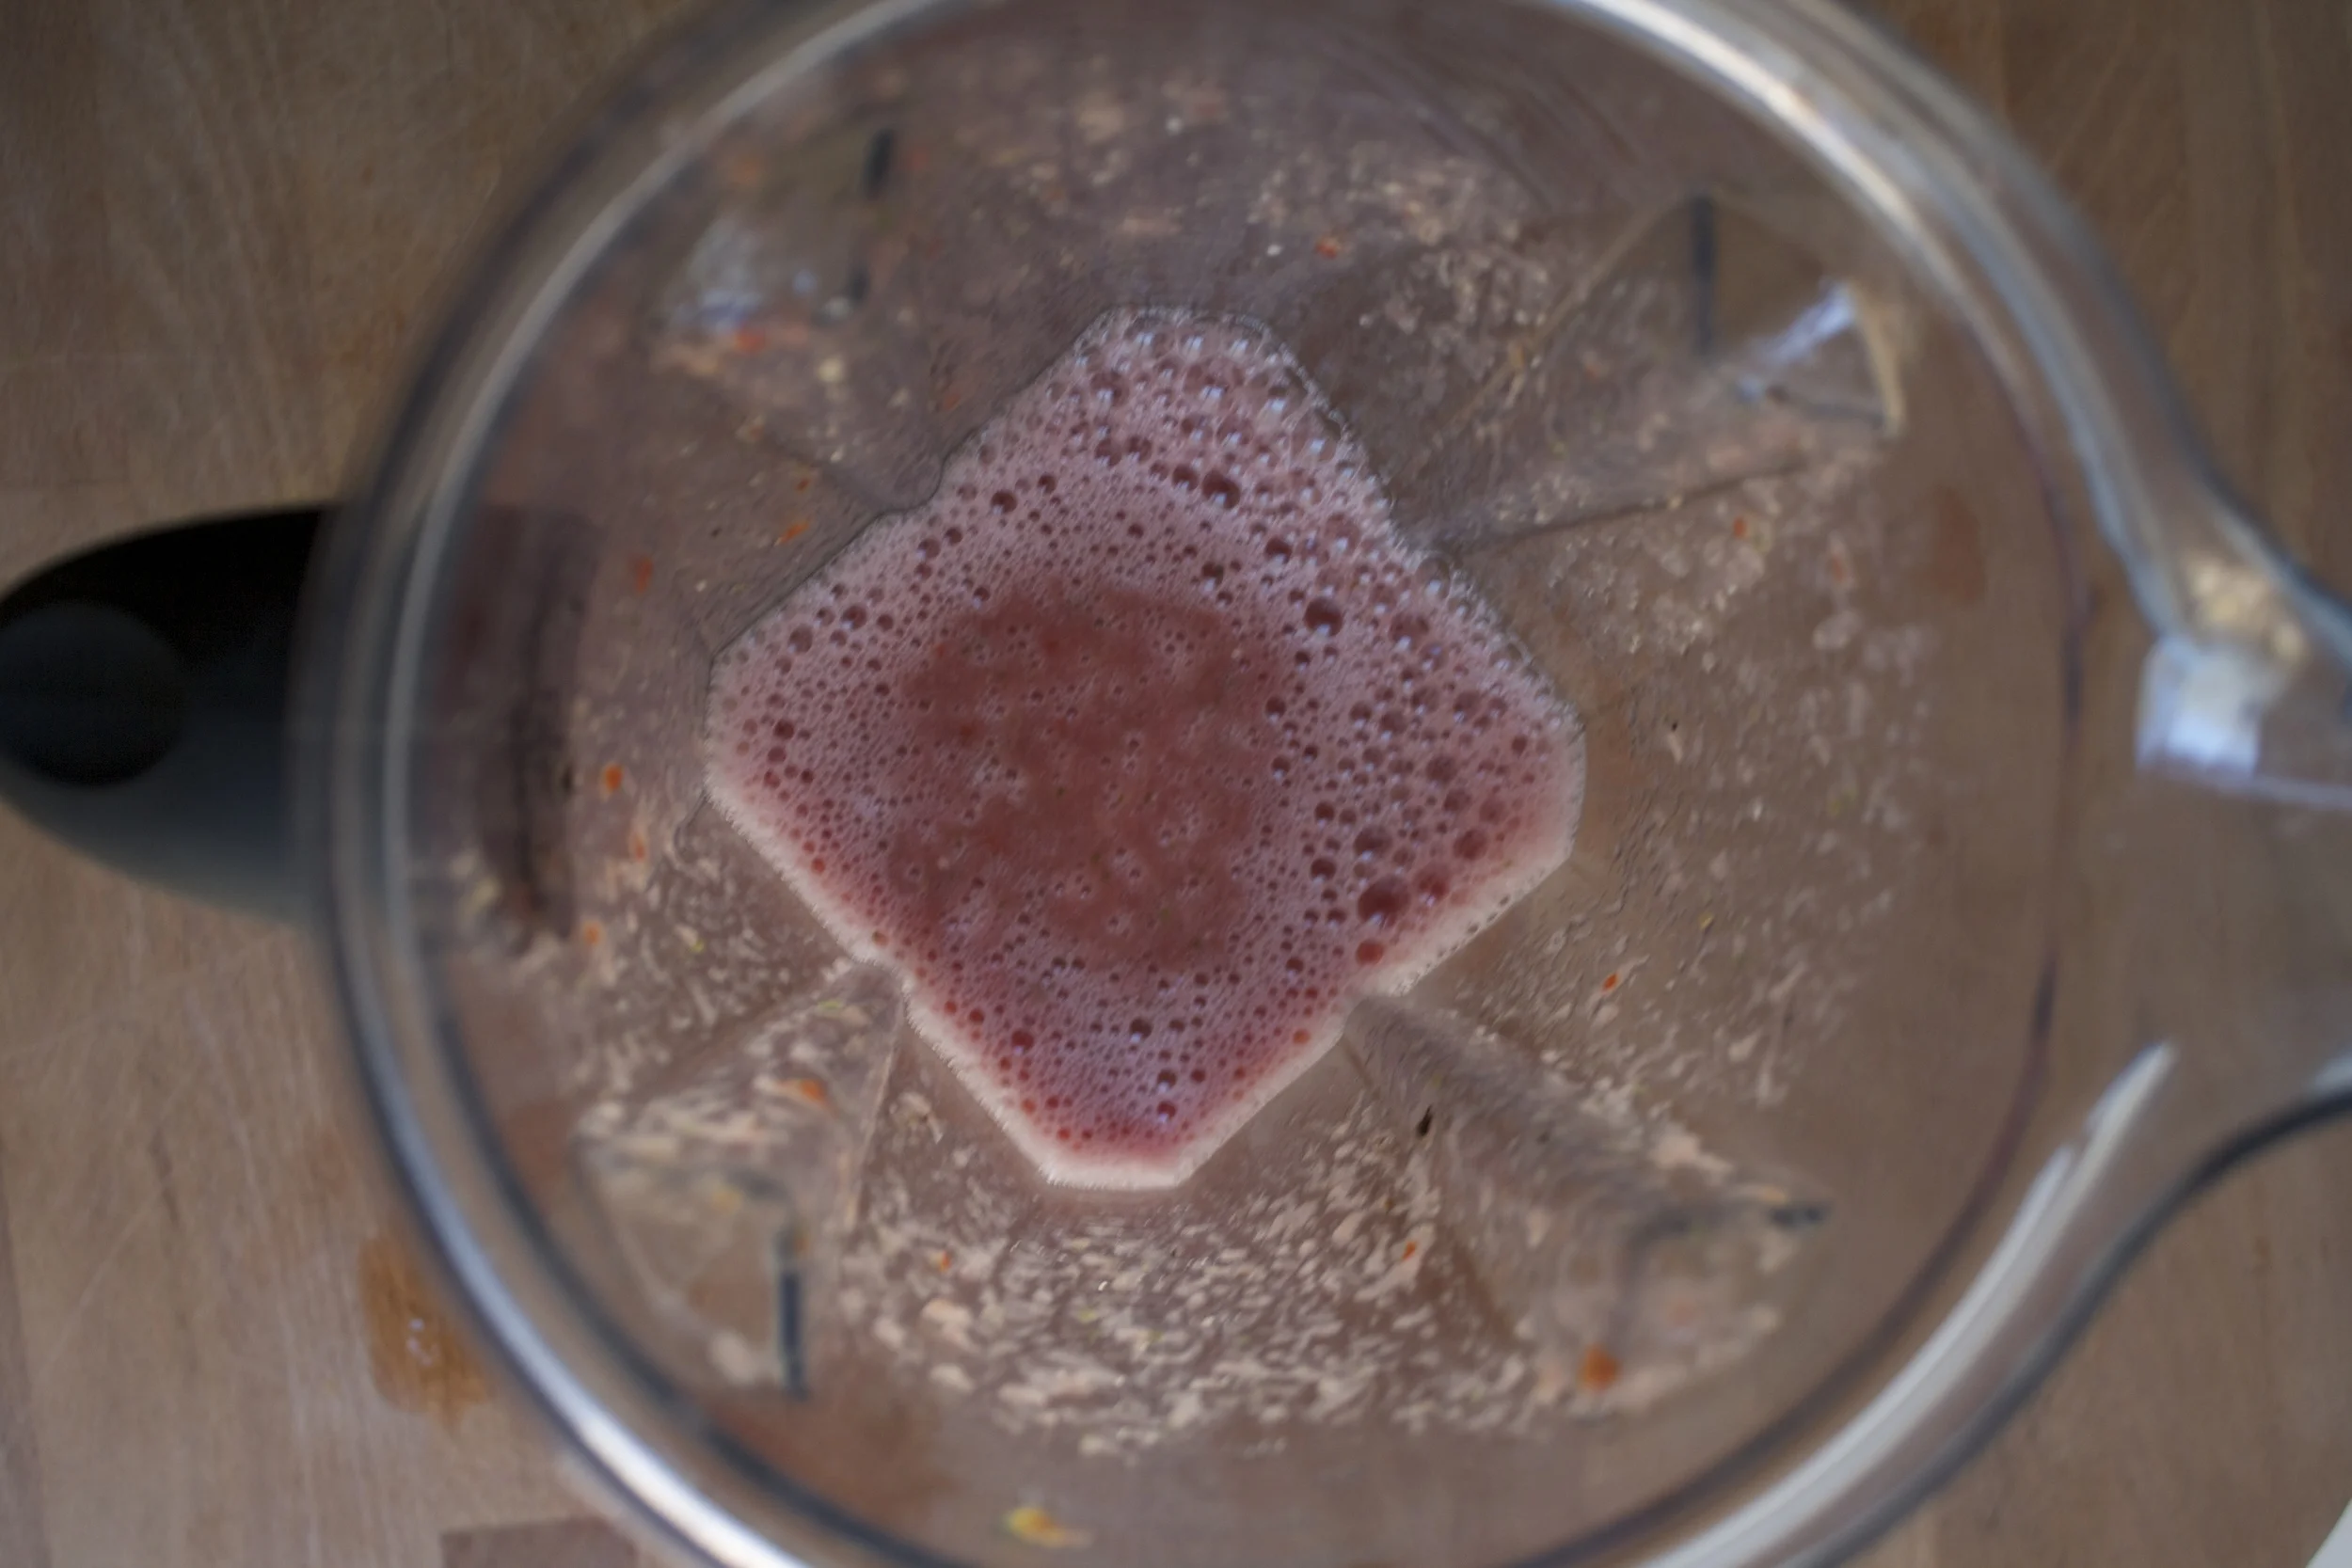
The stuff all blended up.
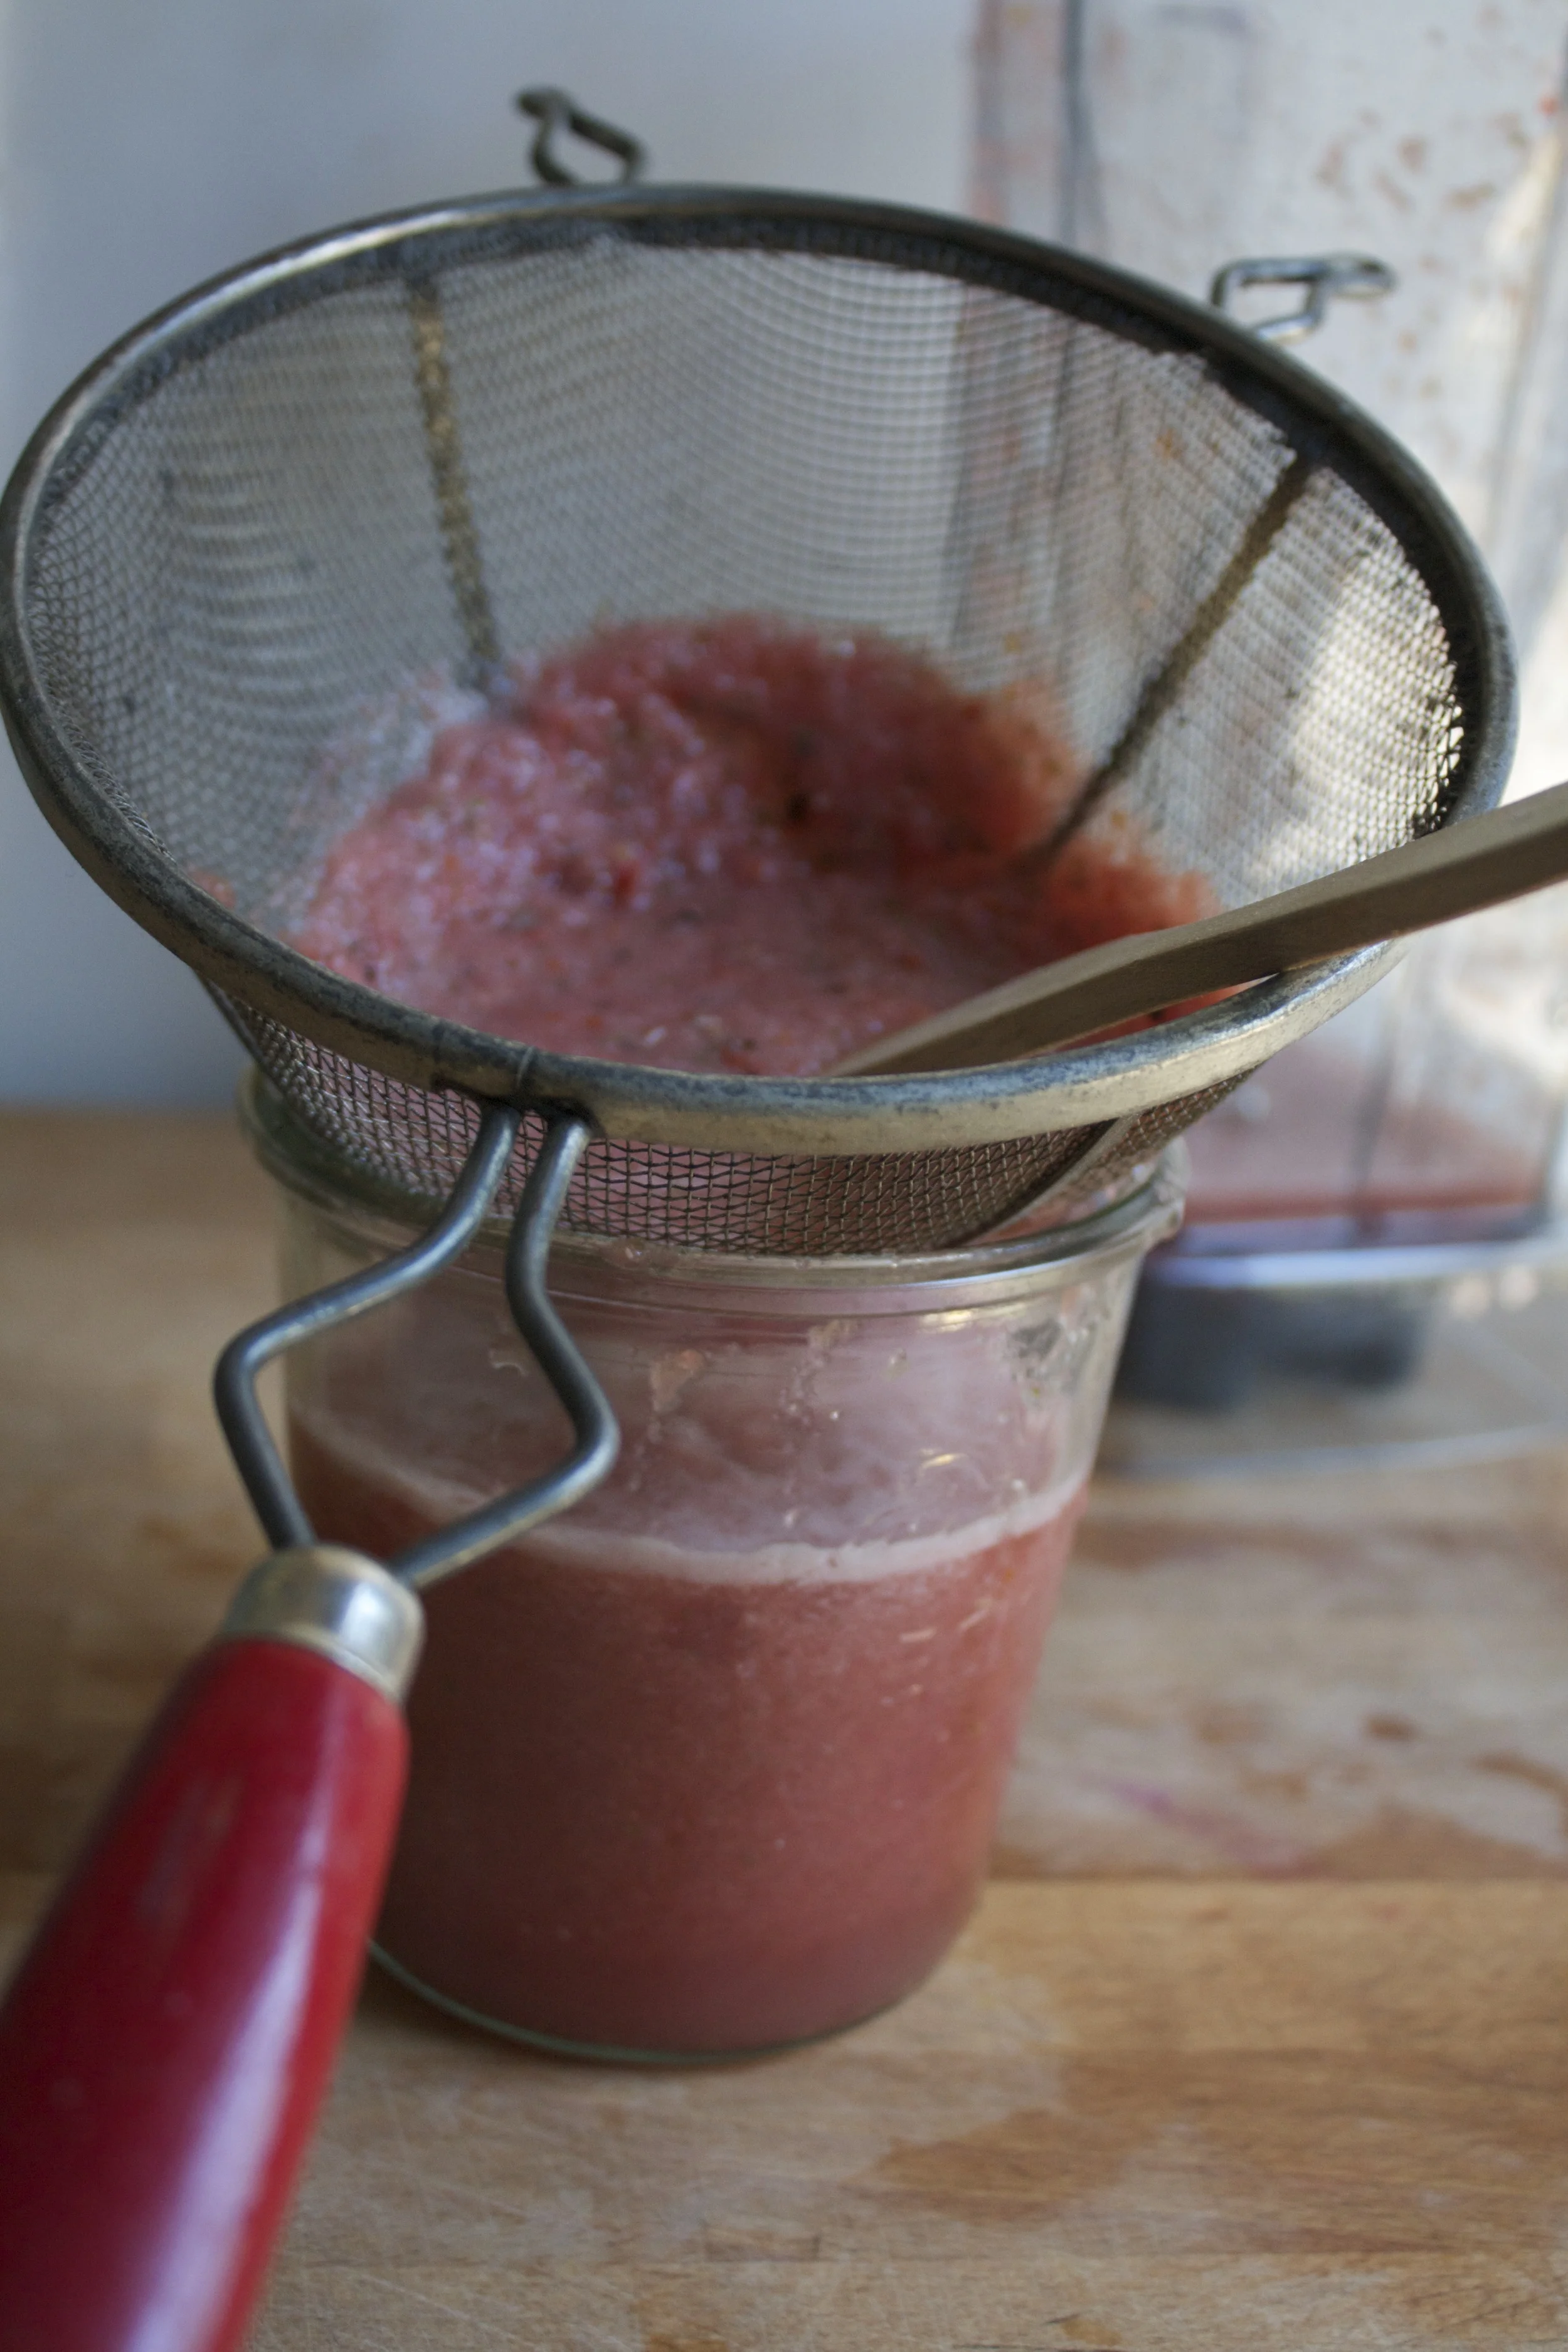
. This step is more necessary %u00a0if you melon is seeded, straining the mixture pretty much caught most of the seed chunks. You can skip this if your melon is seedless.
Now pour the juice into your molds and stick into freezer to freeze.%u00a0
After about 2 ish hours, remove and stick the sticks into the semi harder pops.
And a few more hours later%u2026…Frozen goodness.
And pop one of those suckers out of the mold and savor every frozen delicious bite.%u00a0
Happy Tuesday…%u00a0DON’T MELT!
-C
Make six 3.5 oz popsicles
1 ish cup watermelon (green skin removed.. rind is good)
1 large ripe tomato (about a cups worth)
a few sprigs of basil
Juice of 1 lime
Place all ingredients into blender and blend until smooth. Strain mixture through a fine strainer into a bowl or jar and pour into popsicle molds.%u00a0
Place in freezer for a few hours. About 2-3 hours in the freezer, take them out and stick in sticks (or fallow you popsicle molds instructions) Place back into freezer
Once completely frozen, remove from molds and eat with your mouth.
This little guy asked me to make him some%u00a0popsicles, and of course I said yes because, well look at him.%u00a0
So we made a date. A popsicle and playground date to be exact.
For these particular%u00a0pops, I decided to use watermelon, mainly because I had just broken into%u00a0one and once I open a melon, I have a race with myself as to how fast I can consume the in entire%u00a0thing. ( It’s a sick form of watermelon gluttony) But also because%u00a0the little was really really excited to hear that I%u00a0could in fact make%u00a0watermelon popsicles.%u00a0And the other stuff I added because I had it and it all tastes really good together.%u00a0
%u00a0I made the popsicles the day before %u00a0so they would be ready for our date.%u00a0%u00a0He came over, we ate lunch,(peanut butter sandwich and carrot sticks)%u00a0wondered around the neighborhood with the pup,%u00a0and made a quick stop at%u00a0the playground. (we only managed a couple runs on the%u00a0slide %u00a0before it was too hot and%u00a0our sweat had us sticking to the slide%u00a0and it was more of a painful scoot then a glide) We then%u00a0made our way home and rewarded ourselves for a walk well done%u00a0with these%u00a0amazing, super refreshing, and healthy frozen treats that I made just%u00a0for us. While we were eating the popsicles, our conversation turned to food. We talked about%u00a0all the different varieties of popsicle that we could make, and how we could eat them for breakfast, lunch or dinner because they are%u00a0made of only good things and are really healthy (he is really trying to eat healthy)%u00a0%u00a0It was the perfect ending to a fantastic afternoon with a five year old, or any human for that matter…
I would have a popsicle date with this kid every day
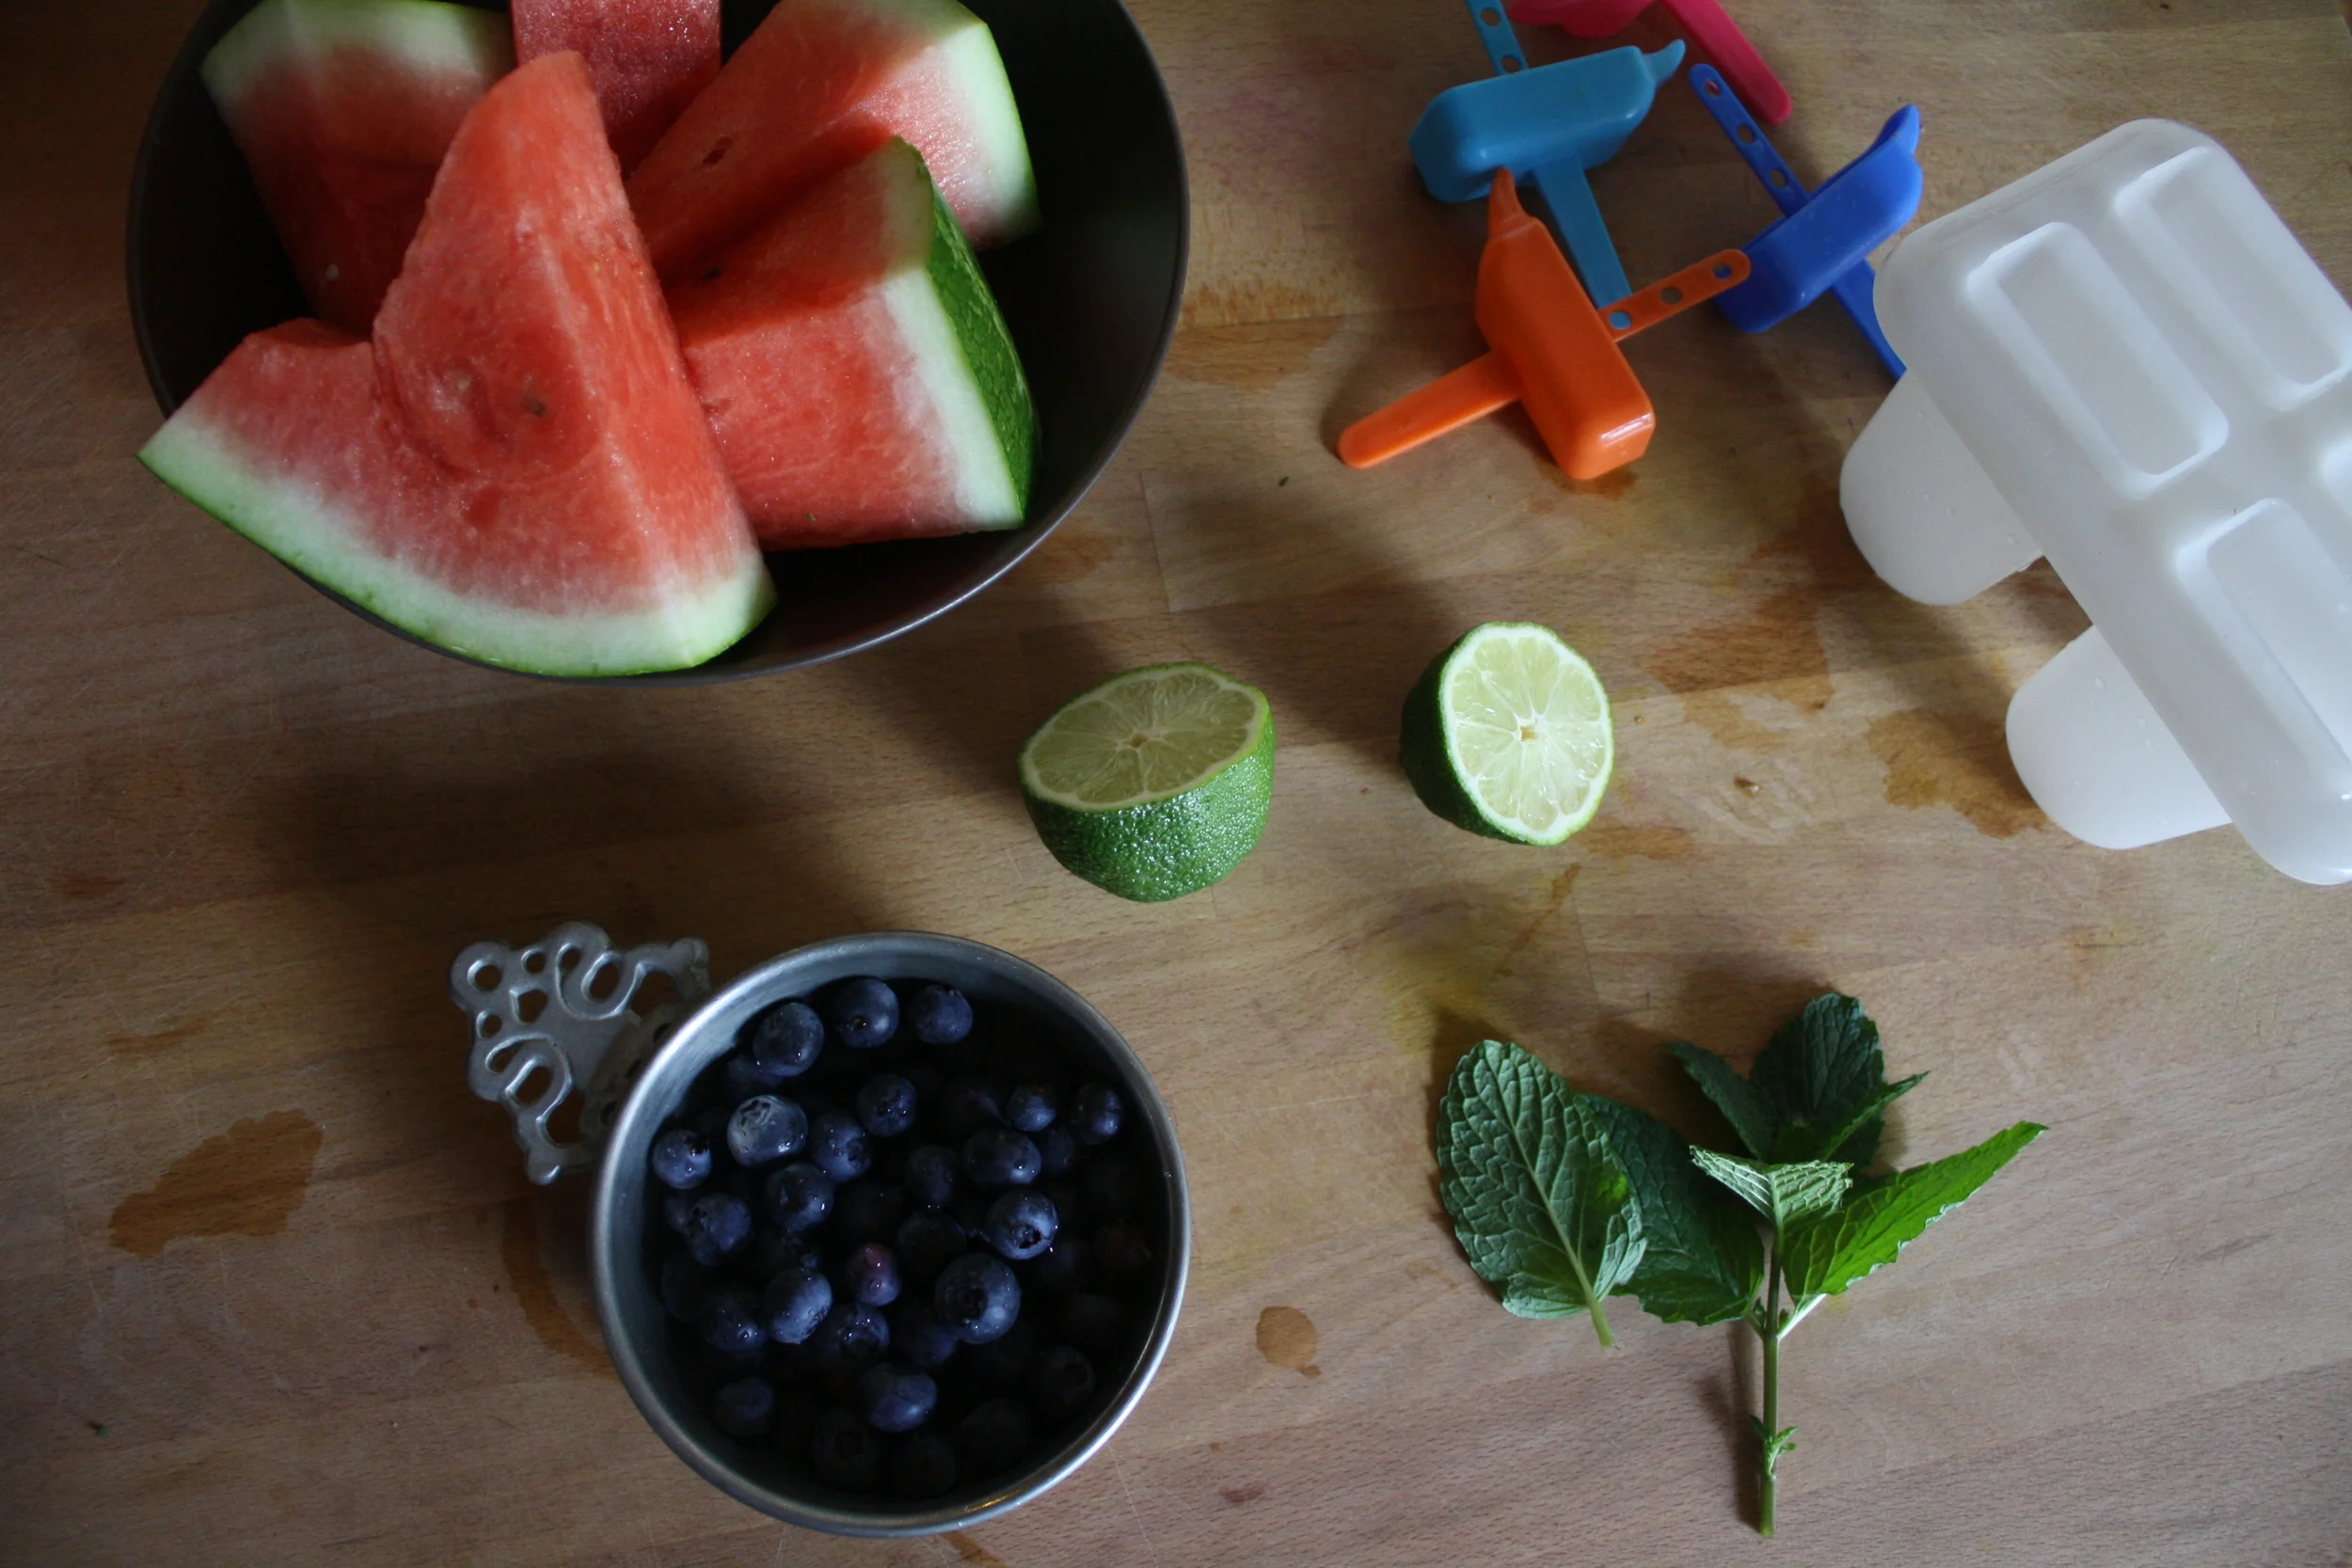
The Stuff. %u00a0Fresh seedless watermelon (make sure to have lots on hand cause you are going to be eating it as you make these), a fresh lime, a handful of blueberries and a sprig of fresh mint. And don’t forget%u00a0%u00a0a mold of some kind that form%u00a0the liquid into a popsicle (if you don’t have a mold, little paper cups work too)
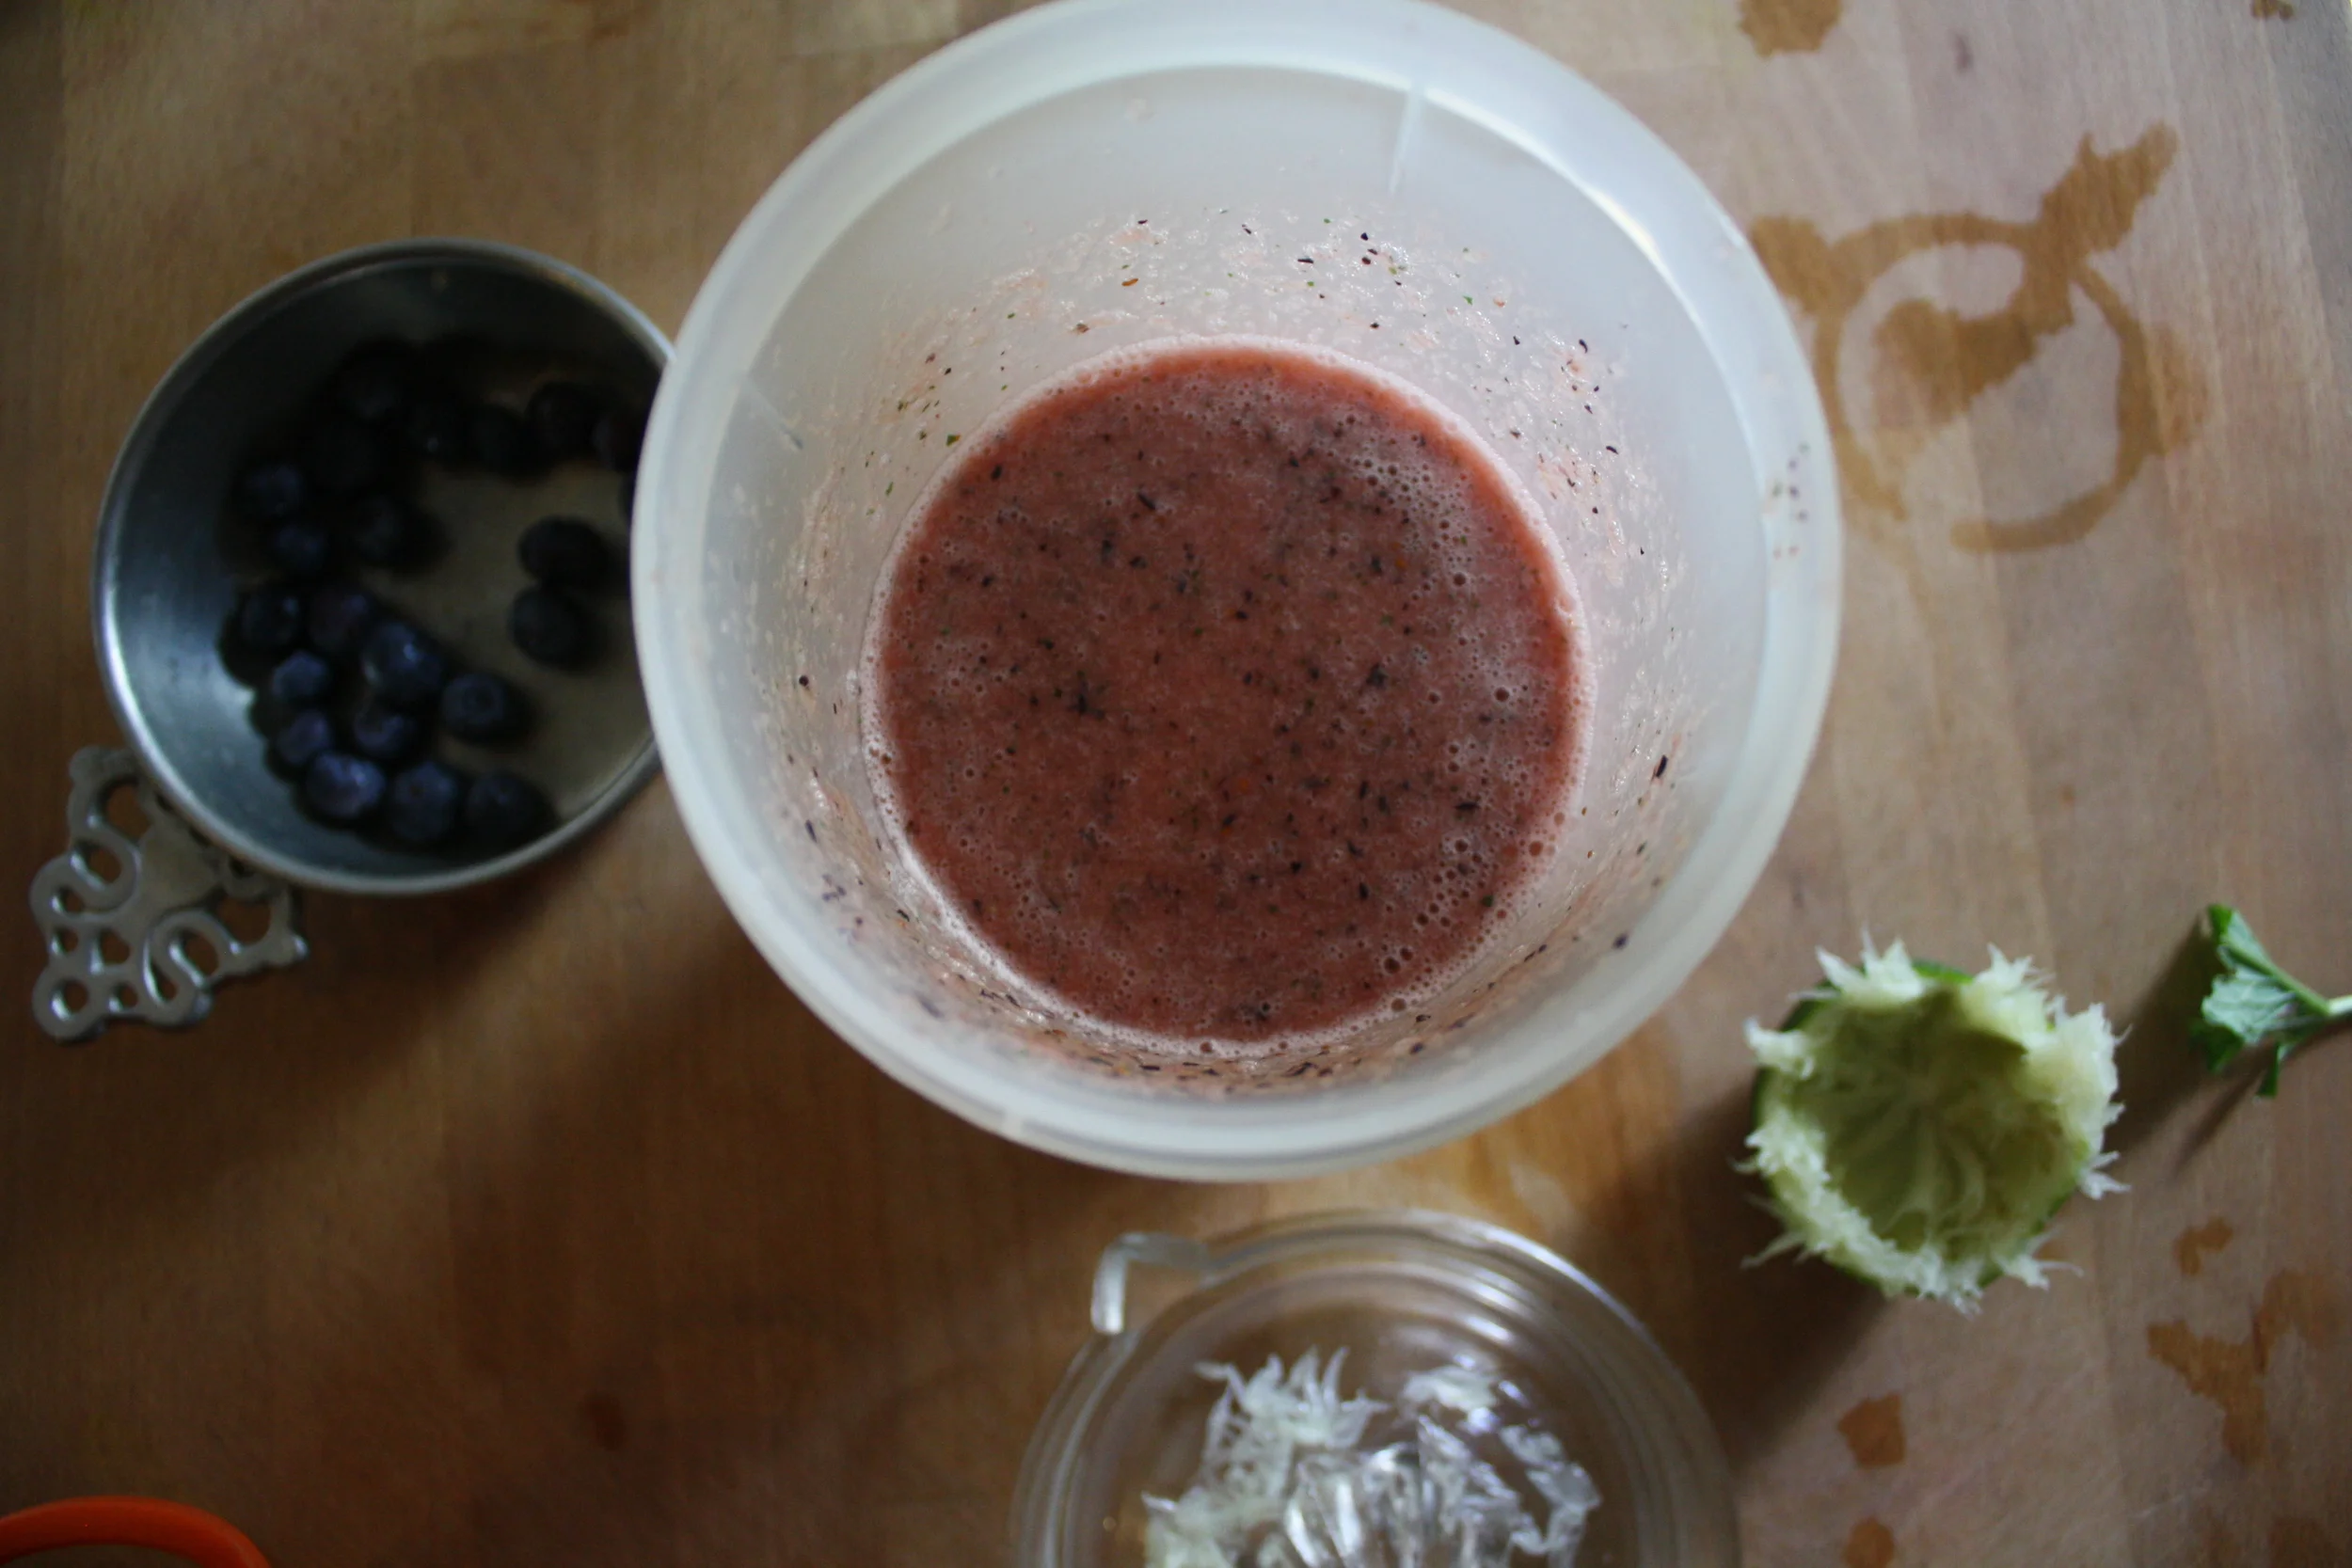
Remove watermelon from rind and cut into small chunks. Juice the lime and add that, the watermelon chunks, the mint and the blueberries to a blender or vessel if using%u00a0a hand blender) and blend everything%u00a0until smooth.%u00a0
Look at how pretty that is.%u00a0%u00a0And so tasty%u2026.%u00a0I am not going to lie and say that I didn’t make a little%u00a0extra to drink, cause I did.
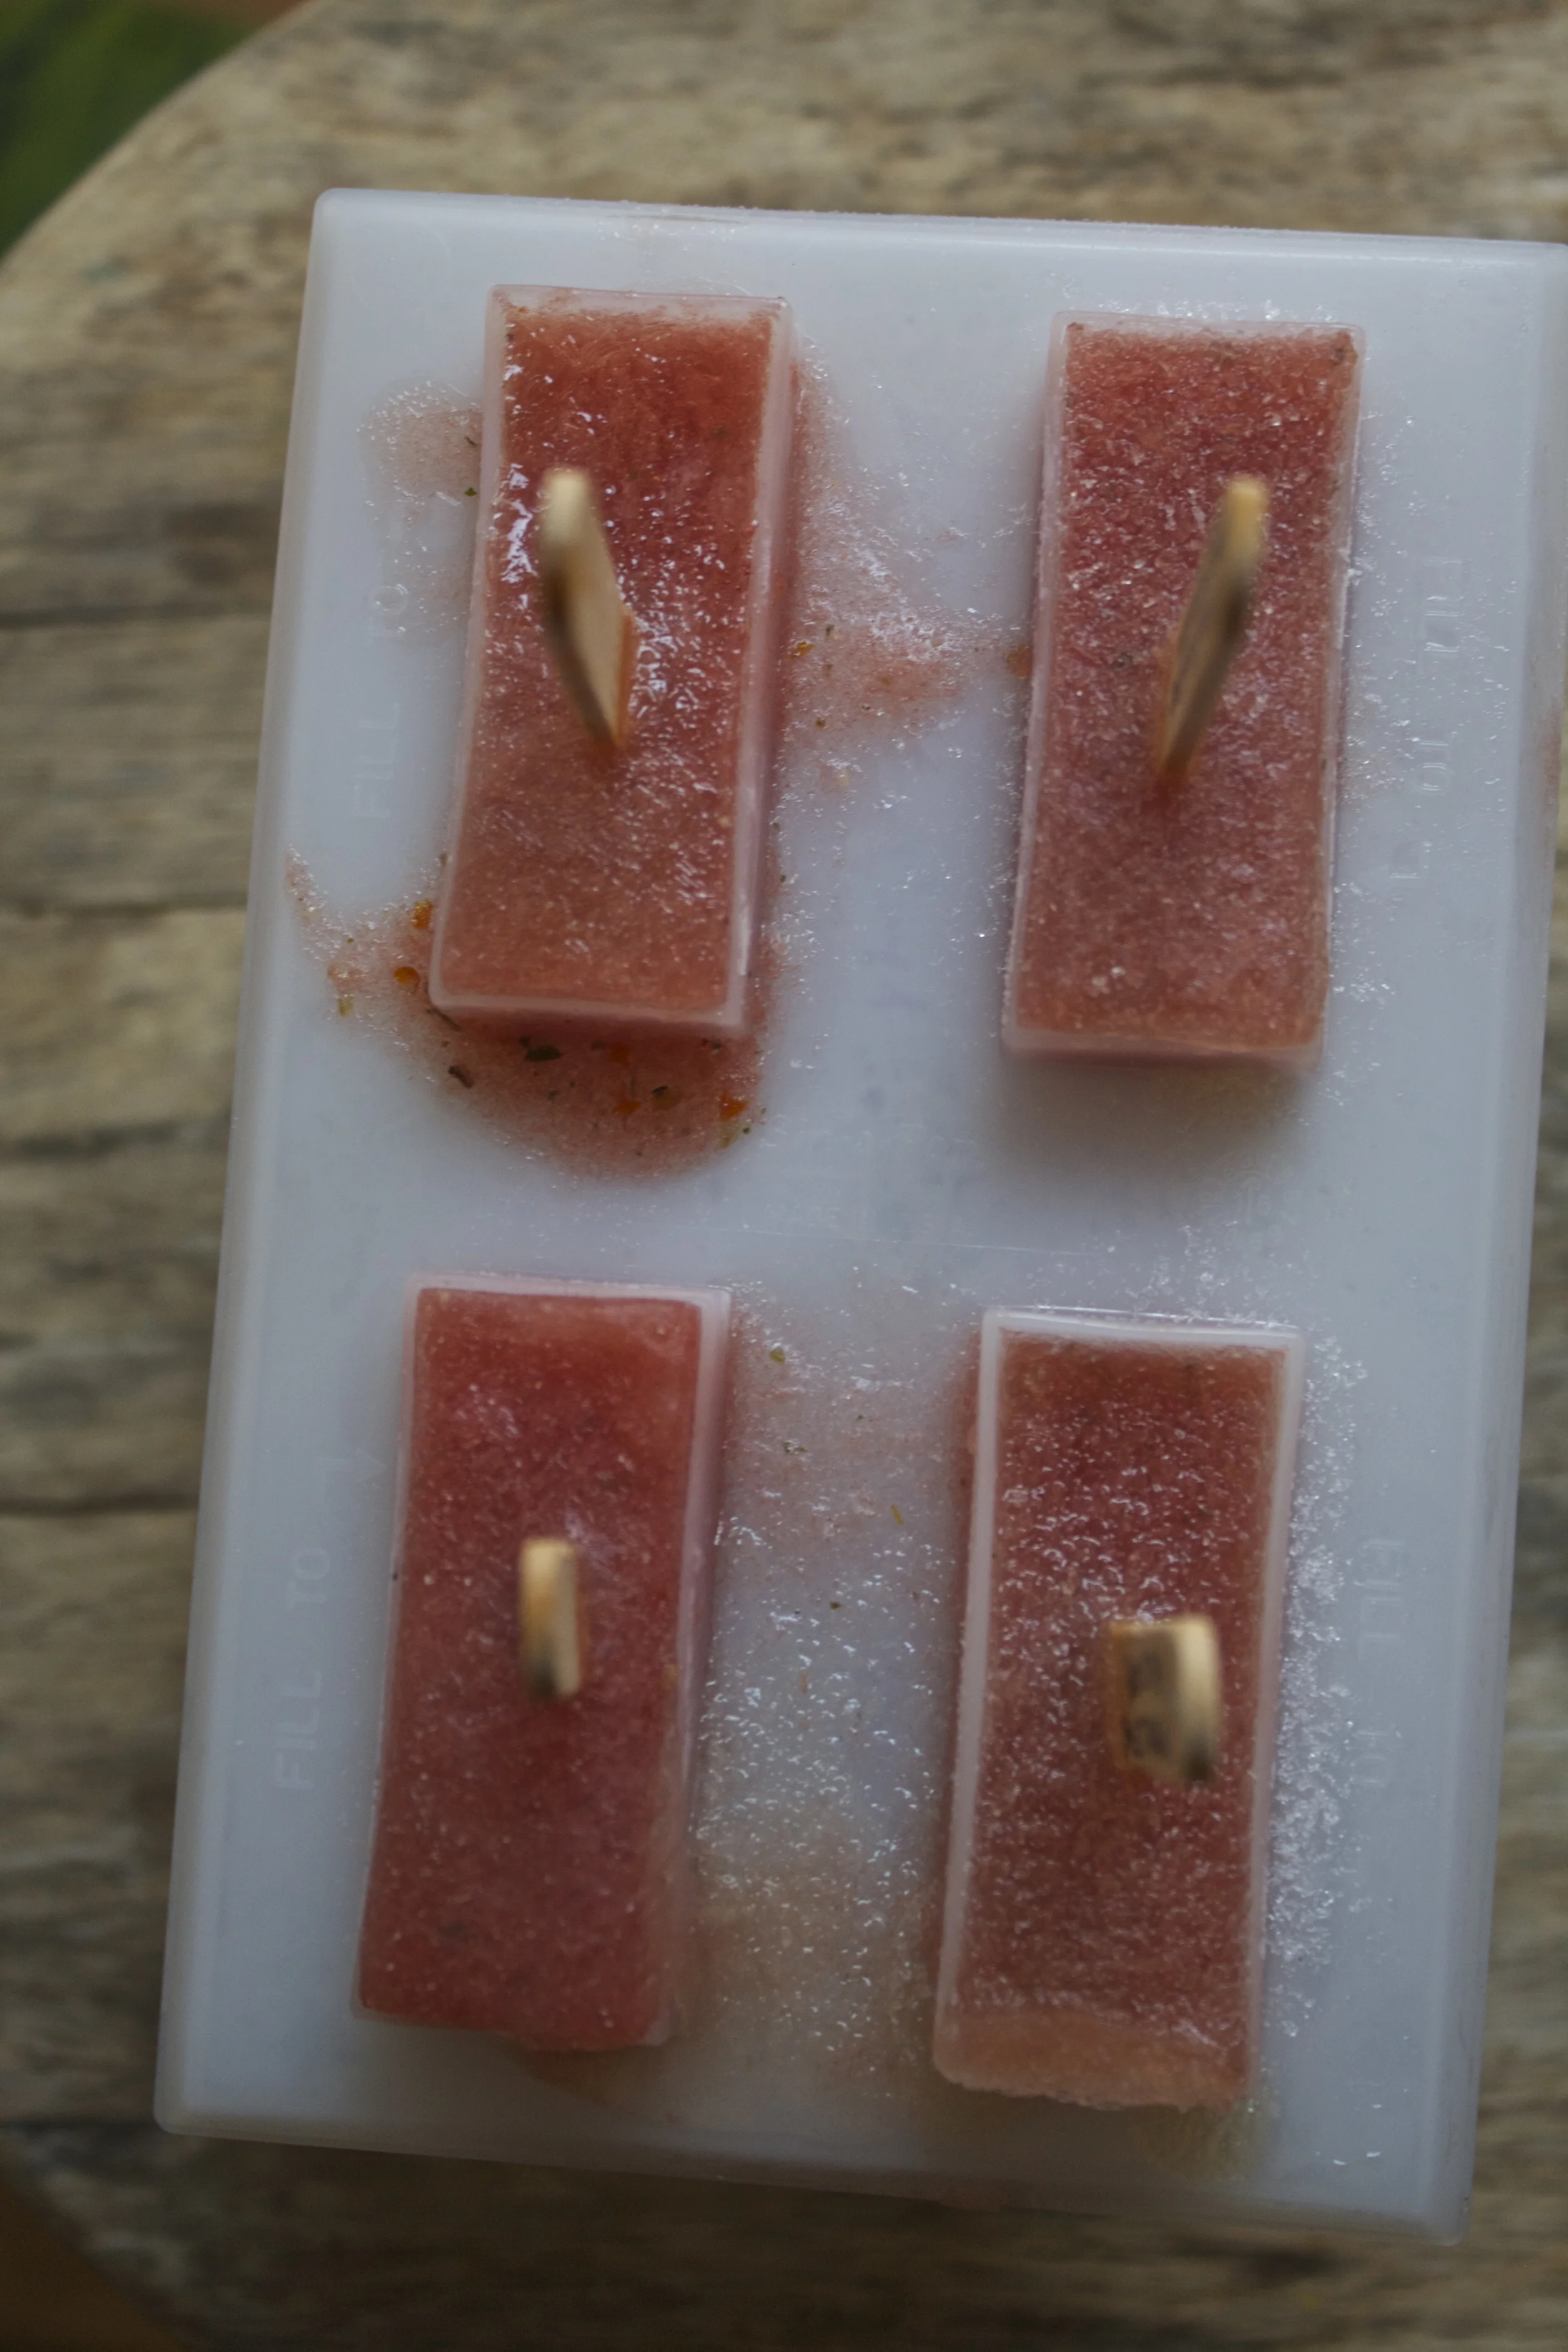
Now pour the puree into your molds to the fill line%u00a0(follow the%u00a0instructions that your molds give you) and place into the freezer.
And yes Shannon, these are in fact, your popsicle molds. Don’t worry, I’ll bring them back soon. (I am thinking some type of booze infused situation)
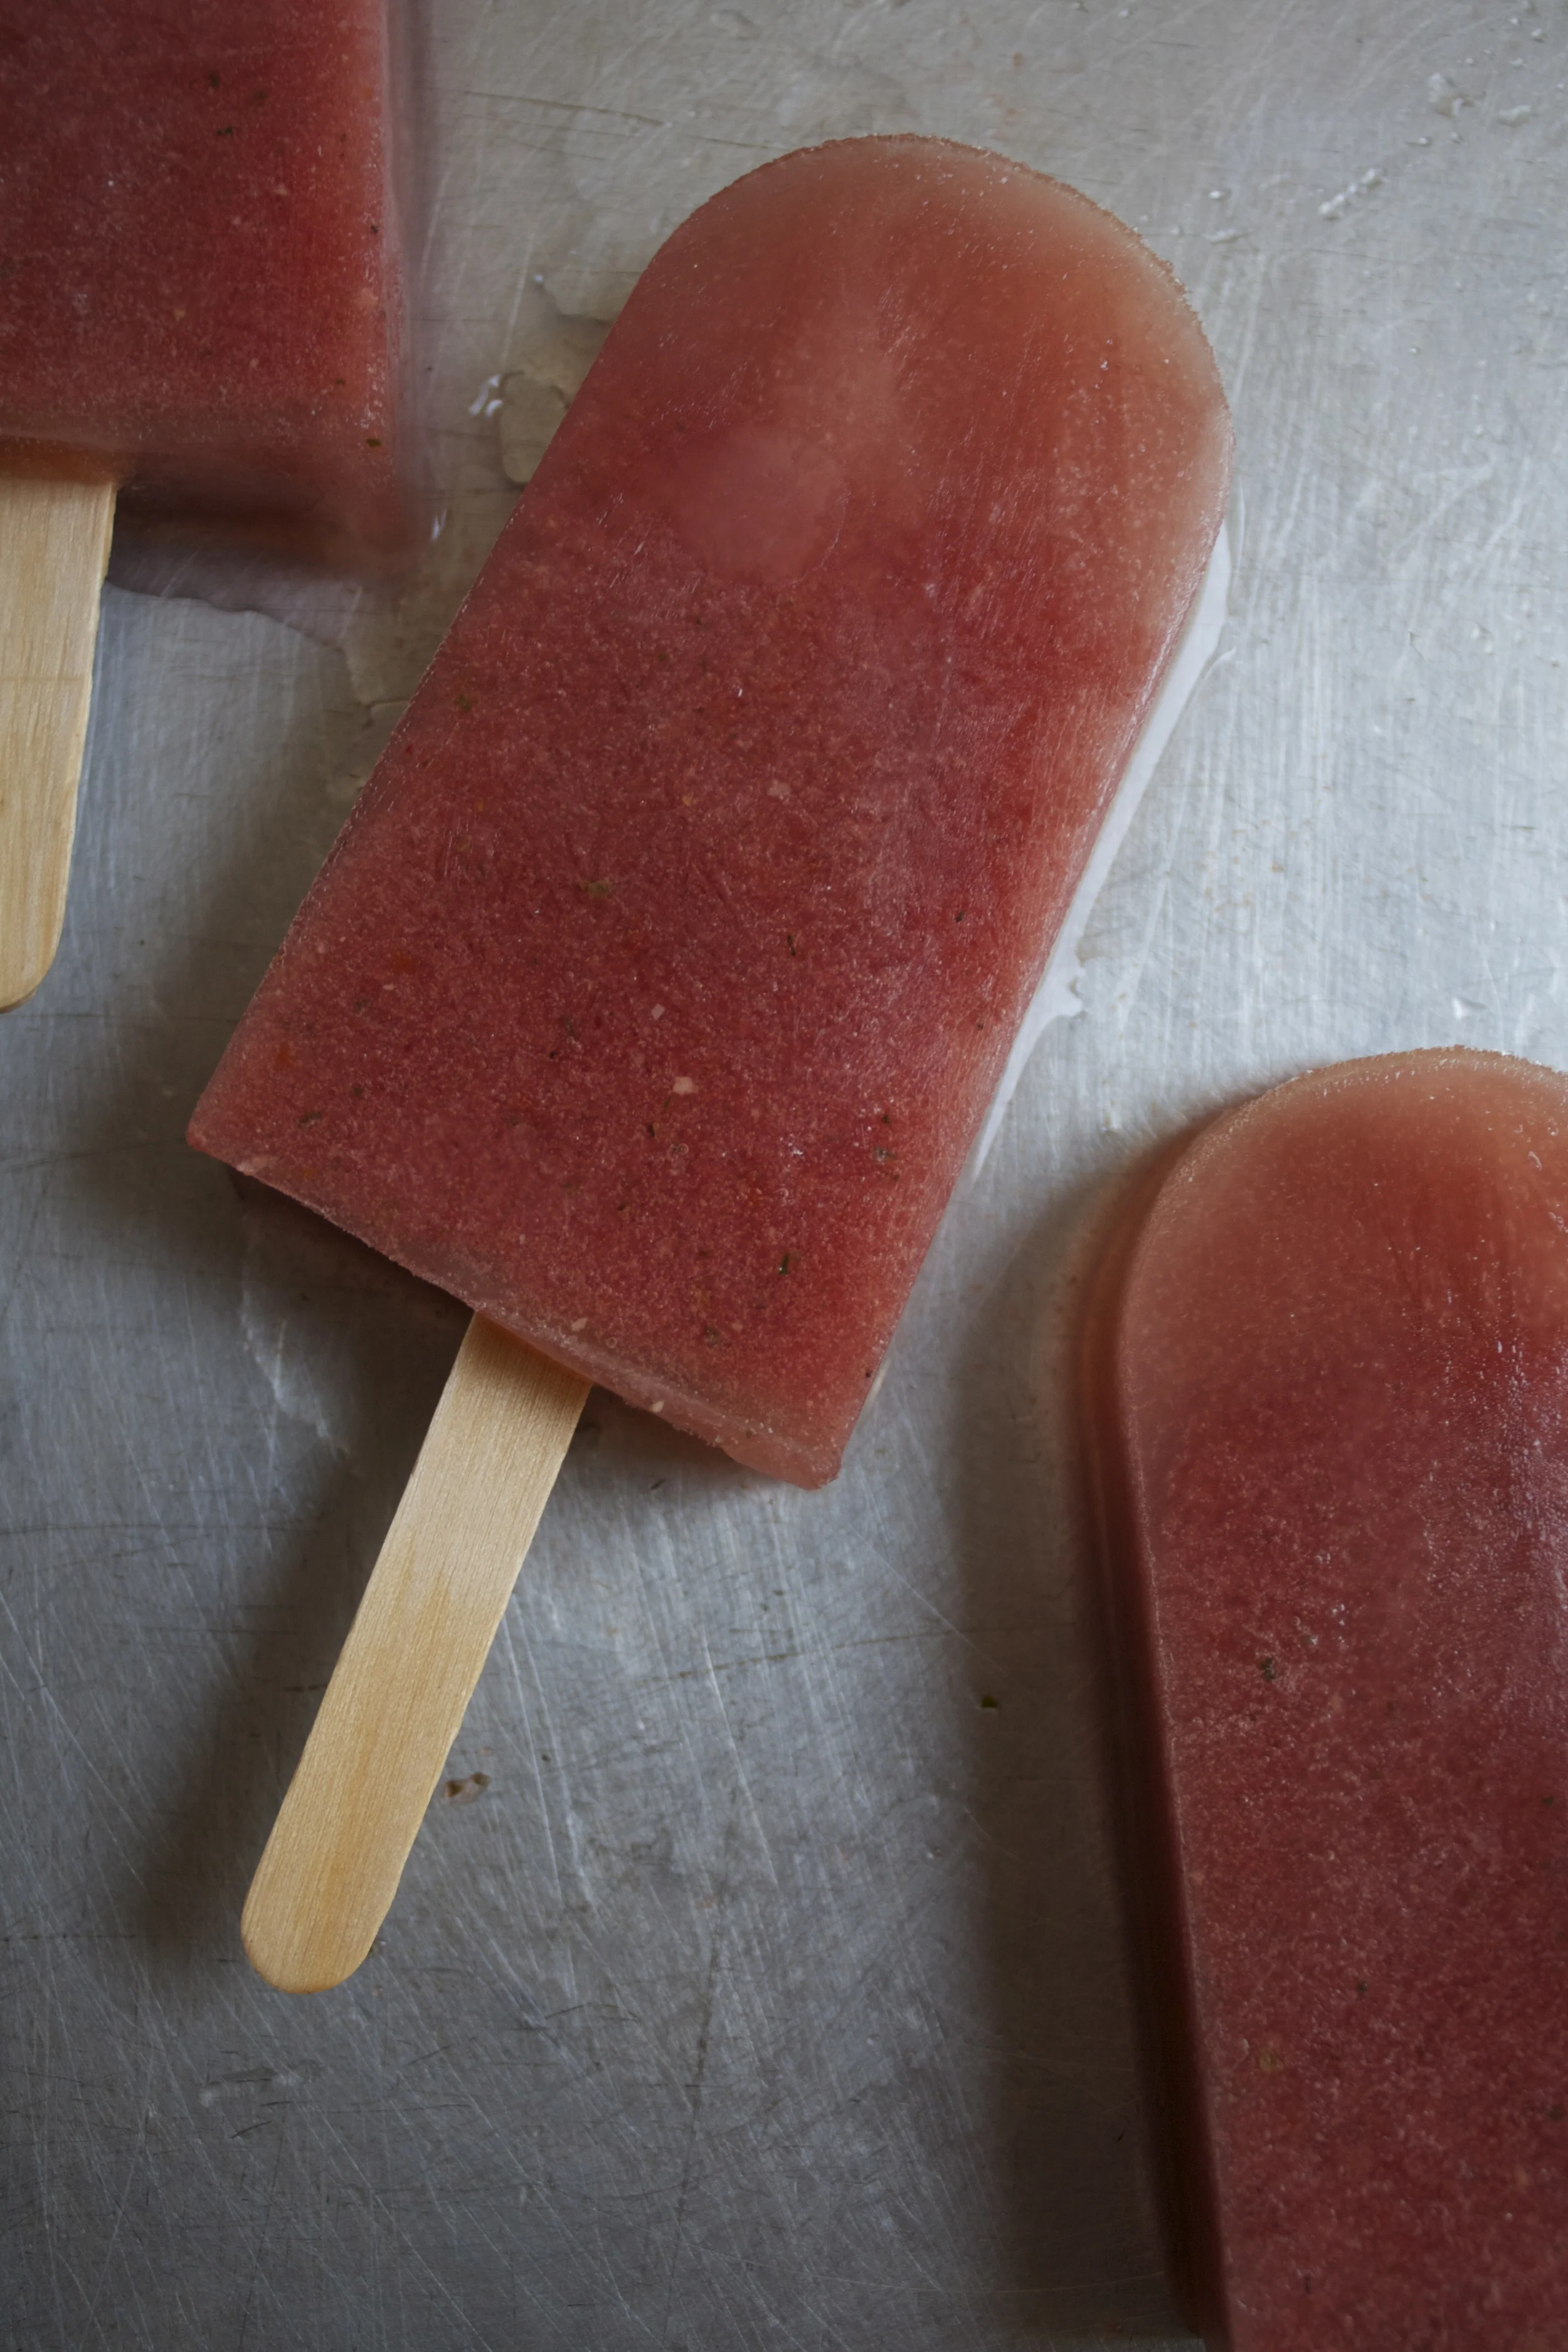
Once the freezer has done its job freezing%u2026 pop those suckers out.. (I let the mold sit on the counter for a few minutes so the popsicle pops out clean)
And heres to%u00a0the best popsicle date ever!
Happy Summer!%u00a0Happy Tuesday!
-C
A big chunk of seedless Watermelon (aboutt 11/2%u00a0cups)
1/2 ish cup of blueberries%u00a0(fresh or frozen)
Juice of 1 lime
a few fresh mint leaves
note. The popsicle mold that I used only needed 2 cups of popsicle juice. If you have a larger mold, just use%u00a0more of everything to get the amount you need
Remove rind from watermelon and add to a blender with the lime juice, mint and blueberries. Blend until eveytthing is pureed%u00a0and mixed all together. Pour liquid into popsicle molds and stick in freezer for at least 4 hours.
When ready to eat%u2026, pop those suckers out of there molds and%u00a0EAT!%u00a0
I can’t stop eating these. They are like little balls of crack and I am an addict.
Frozen peanut butter grapes%u2026 I mean, I just can’t stop.
So you say you have never frozen your grapes? Well you should. It’s the only way I like to eat them anymore. %u00a0I was never a huge grape fan, but one day long ago, I discovered the wonder that is the frozen grape and it is amazing, Now whenever grapes are on sale at the grocery store, I buy way to many and end up filling our tiny little freezer with jars and bowls of grapes. %u00a0Then whenever the mister goes to grab the bag of %u00a0frozen peas for his sore back or knees, there is almost always a frozen grape avalanche. Why I don’t put a lid on those containers is even a mystery to me. %u00a0Oh, now I remember.. I want easy access.Oopen the freezer, grab a few grapes, and go on my way%u2026 not having a lid to take off makes the process a little easier.
Then one day, the frozen grape game turned into something else, something a little more decadent and even more addicting. Where it came from, I do not know. Maybe it’s some subconscious throwback to a childhood full of peanut butter and grape jelly sandwiches, or maybe it’s just that fact that I think peanut butter can pretty much go with anything. But no matter why, I started dipping those frozen grapes into peanut butter and never looked back. And now when I have grapes, it’s all I want to eat.
I am warning you now, once you start making these, watch out, because before you know it, you will develop a frozen grape addiction too. And littles.. they are as easily %u00a0addicted to these as well. I have seen kids that hate grapes go totally bonkers for these. %u00a0Just so you know.
The stuff %u00a0you will need.%u00a0Washed and drained fresh grapes (green or red. I usually use red but the green were half the price and the red ones didn’t taste very grapie*) Creamy peanut butter, skewers, and a little bit of cinnamon or cocoa powder (optional)
*Note. When you are the store, try %u00a0before you buy. You know what I mean, eat a few while shopping aground. I say this because not all grape are created equal. Some taste way better than others. I have bought grapes before that didn’t taste like anything or that have really tough skins, and those just piss me off, so eating a few will guarantee that your money is being well spent and that the grapes won’t disappoint you.
Ok, so now let’s make these bad boys.
Simple simple. Two grapes per skewer (or toothpick) Lay on a wax paper covered dish or pan and stick them in the freezer until frozen. When the grapes are frozen, melt peanut butter. Take a big glob and stick in a tall skinny cup or bowl and stick in the microwave or heat in a sauce pan and then transfer to a tall skinny vessel. %u00a0Take frozen skewed grapes and, one skewer at a time, dip in the peanut butter. Cover with as much or as little of the peanut butter as you want and place on wax paper. If you are feeling feisty, add a sprinkle or cinnamon or even a dash of cocoa powder. Or, this may seem a little crazy, but garlic powder is so F*ing good.(it’s worth at least giving it a try) When all grapes are dipped, place back into freezer for another 10 minutes or so to let the peanut butter set up a bit.
Whenever your ready%u2026 Eat. And be so happy. And always keep a back stock of frozen grapes in the freezer. They are the best.
Keep it realz.
-C
Peanut Butter Freezer Grapes
the quantity is up to you, but I recommend making a shit ton!
Creamy Peanut butter (I use organic creamy from Trader Joes, or natural skippy)
Green or Red Grapes
Cinnamon and or cocoa powder (Optional)
Toothpicks or skewers
Wash grapes and skewer 2 grapes onto a stick. Place on a flat surface and stick into the freezer until frozen, which usually takes about an hour.
Once grapes are frozen, stick a big glob of peanut butter into a tall skinny vessel (Like a juice cup or a 4%u00a0oz ball jar) and warm to a liquid constancy in the microwave (about 30-45 seconds) or if you don’t have a microwave, stick in a sauce pan, warm on stove, and pour into a glass (what I do)
Remove frozen grapes from freezer and dip into melted peanut butter. Place on a wax paper line tray or pan and sprinkle with cinnamon and or cocoa powder, or not, or a few (whatever you want) and stick back into freezer for another 10 minutes.
Eat as many as you want%u2026 Make so many because you will become addicted!
Spring is happening, my plants are popping out of the ground, I found a gigantic rhubarb patch in the back yard of the new house…. Life is feeling fresh full of possibilities. And soon, so soon, ‘ll get some veggie plants in the ground and the farm share begins…. life will be filled with all the freshest yummy foods. I can’t wait.
But until then, I grocery shop. And this week has been a good week for shopping. Why, cause it CInco de Mayo this week ,which is one of my favorite holidays cause avocados, mangoes, and limes all go on crazy sale. I can buy 20 avocados for the price of what like 5 would normally cost. And I take full advantage of the sales (my fridge is currently housing a shit tone of avocados, mangoes, and limes) I will be eating like a queen for days!
And what does one make with all these good things? Well I made tostada! A tostada is pretty much a cross between a taco and a humngo, fully loaded nacho. Stuff all piled high onto a crispy (usually fried but I bake mine) corn tortilla. Its fantastic in all the ways and super simple to make. This particular tostada highlights all the good stuff on sale, Mango salsa , avocados cream with lots of lime, all onto a pile of the yummiest refried black beans. (my mouth is watering thinking about it),
And people, Cinco de Mayo is but once a year, but these tostada should be made all year round!
The stuff. Precooked (or canned) black beans, a sweet ripe mango, an avocado, some shredded red cabbage one red onion, one jalapeno, and a few limes. Also need a few cloves of garlic, at least 4 corn tortillas (mine are home made but you can get store bought) some coconut oil, slt ans pepper, and a bunch of fresh cilantro.
Start with making the mango salsa. Cut the mango into little chucks. ( I do this but halving mango, scoring each side into chunks then scooping the fruit out with a spoon..easy) Dice half of the red onion into little pieces as well as the seeded jalapeno. Toss it all into a bowl or jar, sprinkle with a pinch of salt and pepper, mix in the juice of a lime, and add in as much fresh cilantro as you like (or none if oyu don’t like)
There is it, mango salsa.
To make the avocado cream just place the avocado (peel and pit removed) into a bowl or blender with a clove of garlic, the juice of a lime, a splash of water, and a sprinkle or two of salt. Blend until smooth, adding more water until the consistency is to you liking.
That’s it.
And now for the beans. Start by tiny dicing up the other half of the onion and a few cloves of garlic and place into a skillet with a teaspoon or two of coconut oil. (can use any oil you like). Add in a splash of water and a sprinkle of salt an place on stove on medium heat and cook.
After the onions have gotten nice and soft, dump in the bean (liquid and all) Keep onheat and cook until the beans are hot and the liquid starts to thicken.
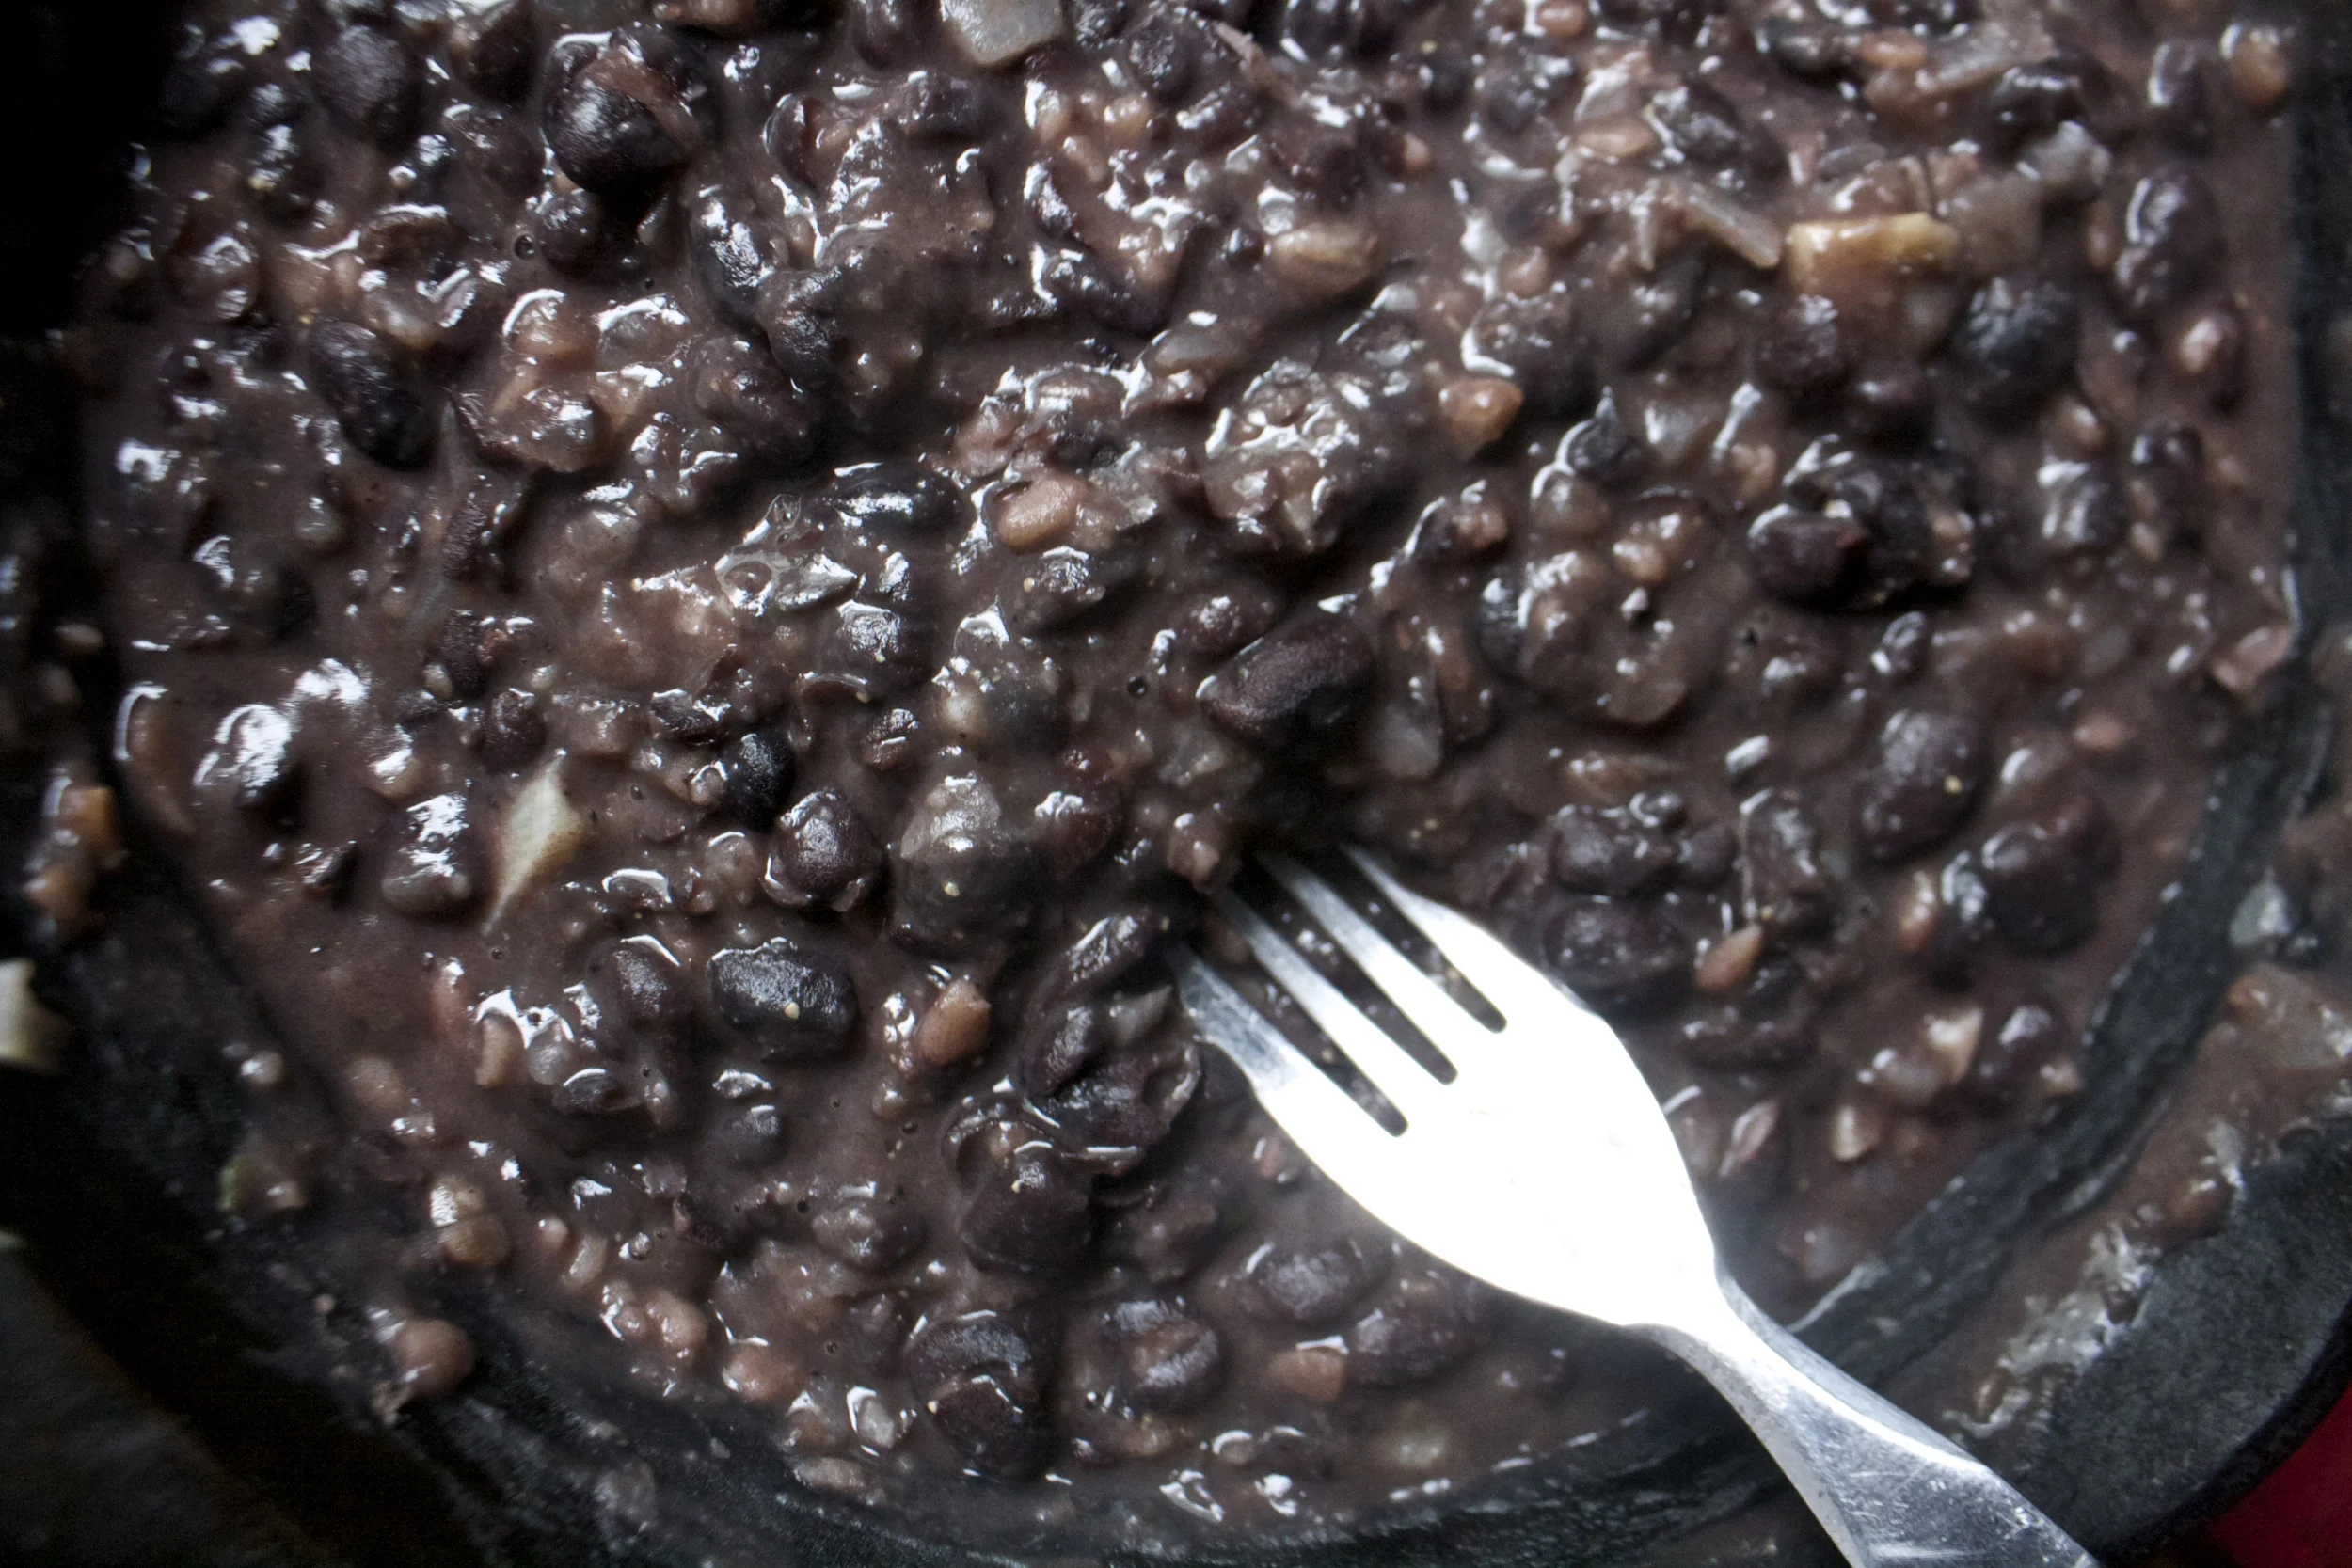
Grab a fork. Fork to beans. Mash’em up to make them officially refried.
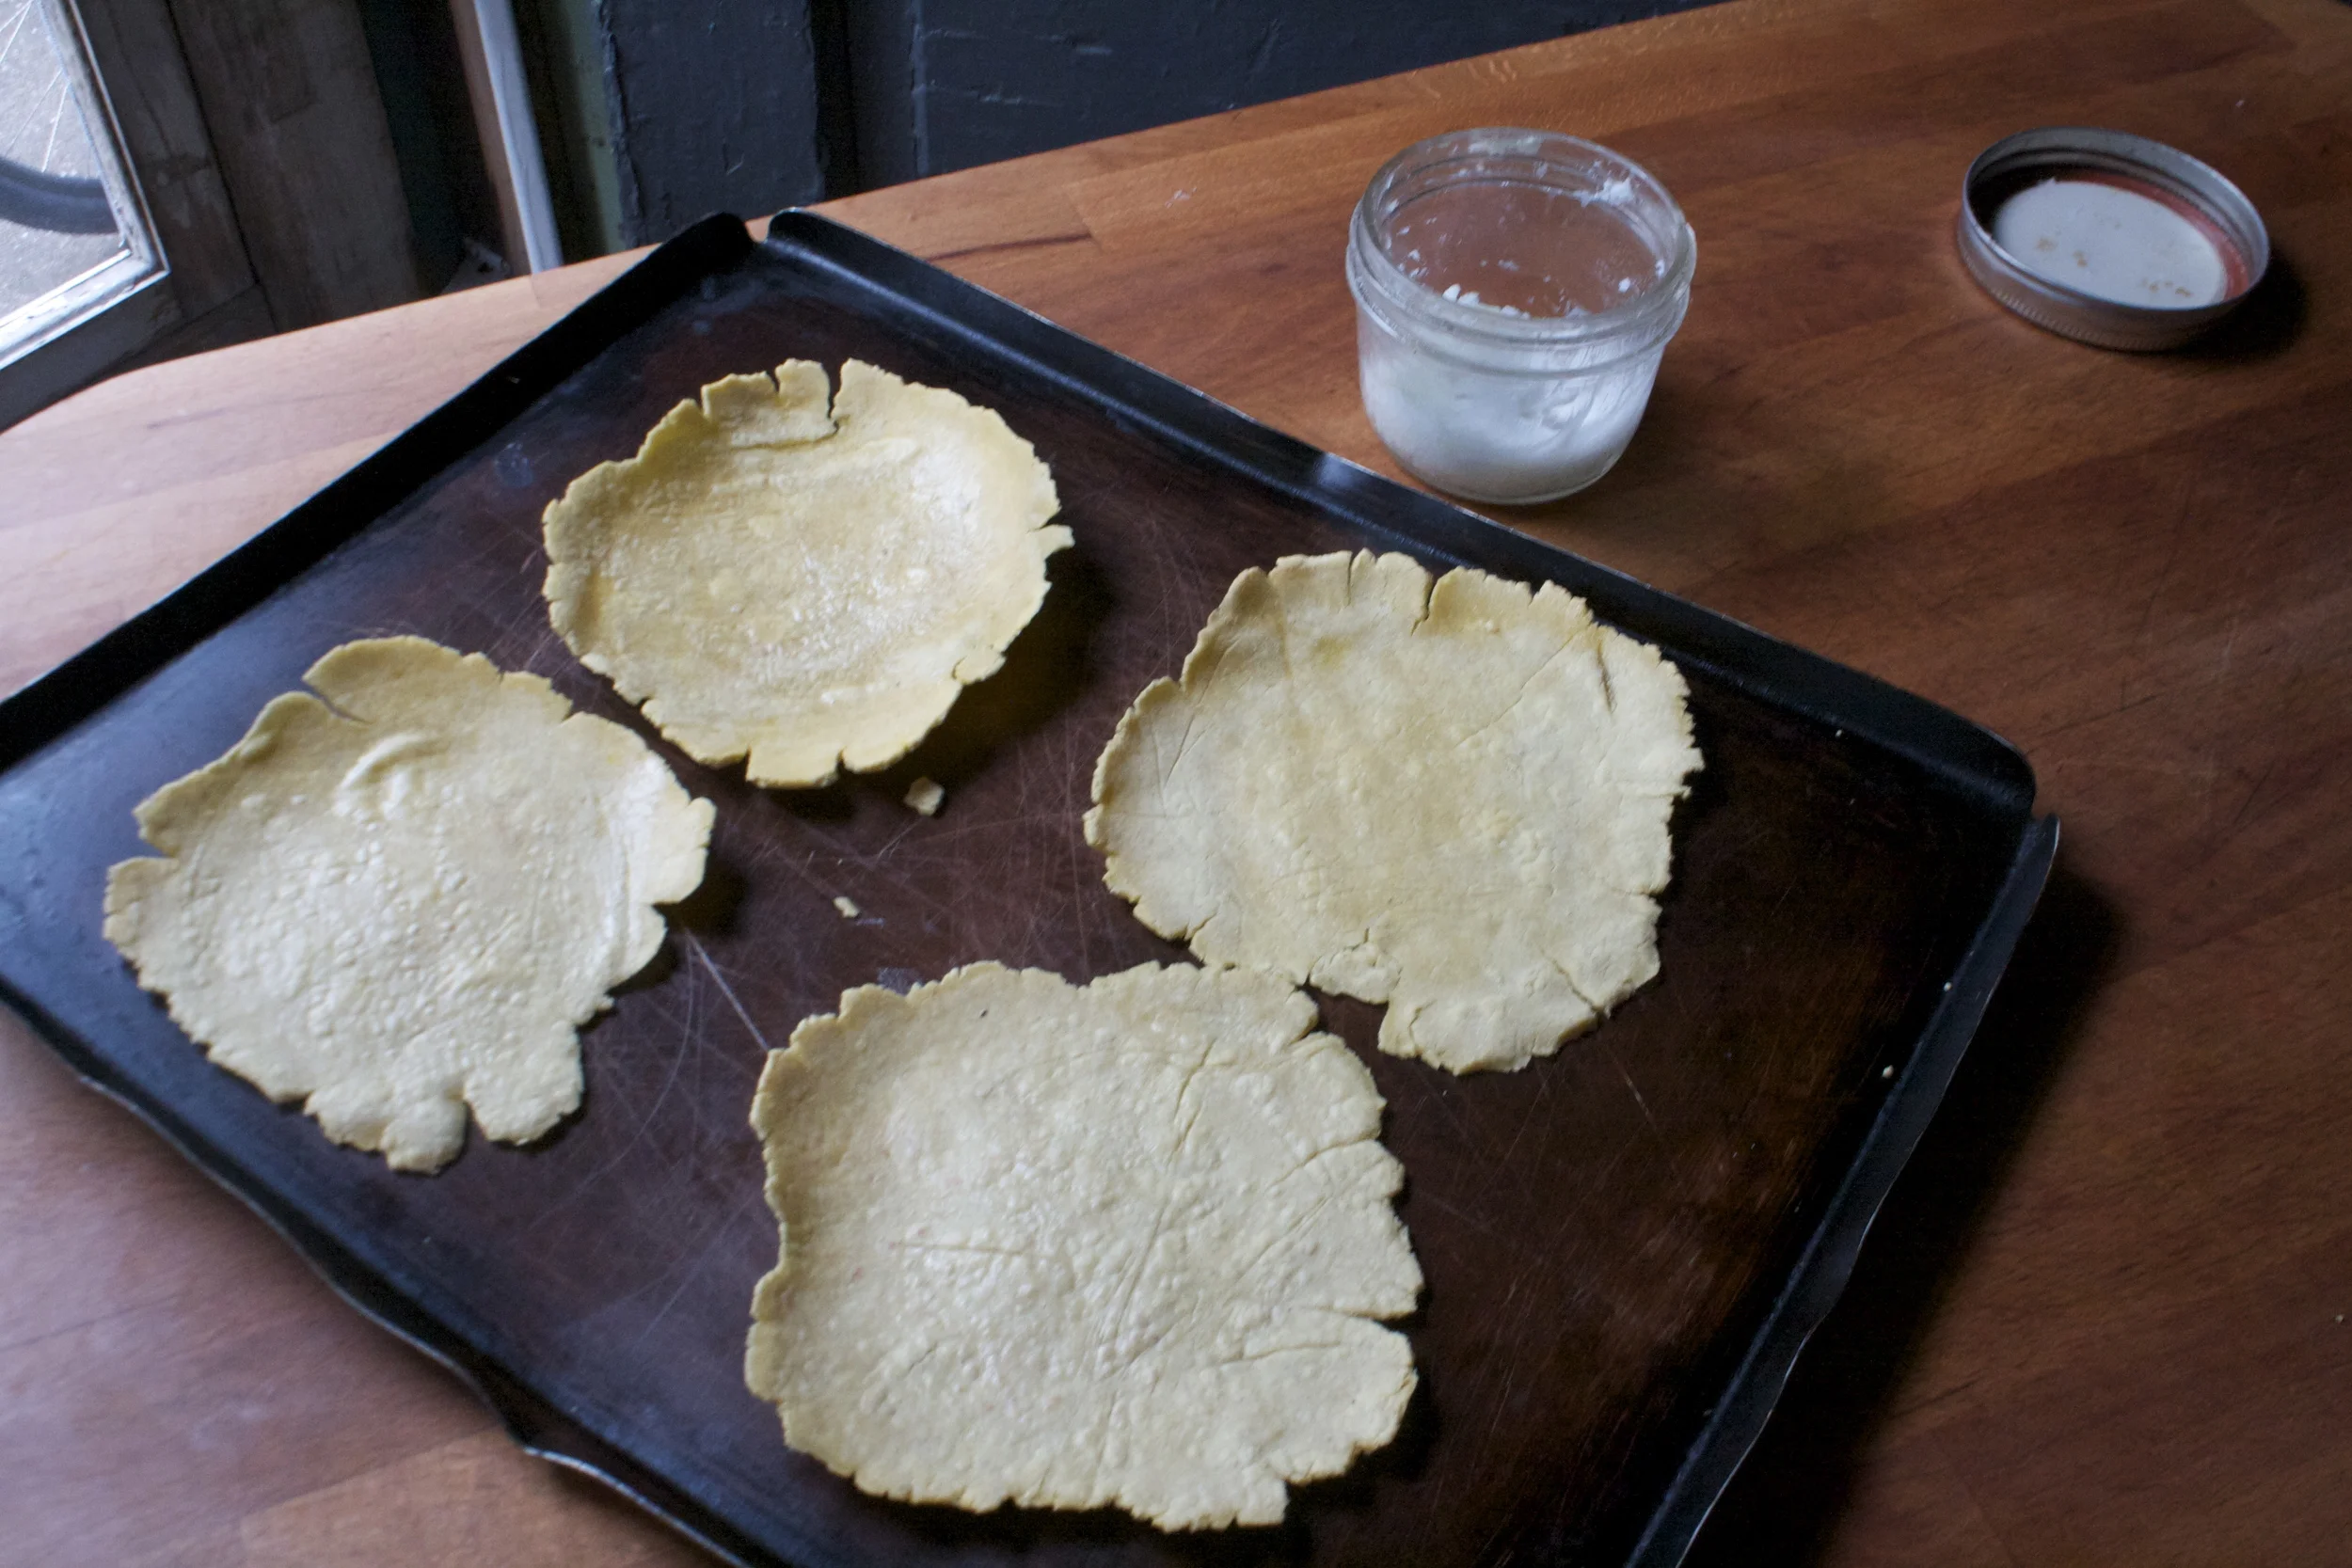
And lastly, a little oil rubbed onto the corn tortillas and then placed into a hot oven to get crispy.
All the stuff, ready to go…. And go there, go there NOW!!!
Beans, cabbage, mango salsa, and avocado cream, all piled onto a toasted, crispy tortilla. A few fresh sprigs of cilantro and a slice of lime… This is for real something all amazing.
Eat the greatness (and not just for Cinco de Mayo)
-C
Makes 4-6 tostadas
mango salsa stuff
1 ripe mango
1 jalapeno
1/2 a red onion
1 lime
salt and pepper
fresh cilantro*
for the refried black beans
2 cups (1 can) prepared black beans
2 cloves garlic
1/2 red onion
1-2teaspoons coconut oil (can use any oil you like)
%u00a0the avocado cream
1 ripe avocado
1 lime
salt and pepper
a tablespoon or two of water
and the following
4-6 corn tortillas
small bowl of thinly shredded red cabbage
a little extra oil for tortillas
fresh cilantro *
Note. Omit cilantro if you don’t like it.
Start with making the salsa cause the longer it sits, the better it tastes. Cut mango away form pit and score each half into cubes with a knife. Garb a spoon and scoop the mango meat away from the skin. Stick into a bowl. Finely chop half a red onion and de-seed the jalapeno and dice that up too and toss all that into with the mango. Sprinkle with a pinch of salt, add in the juice of a lime and add in as much or as little fresh cilantro as you like. Set aside. Also while your at it, toss the cabbage with a little salt and that that sit out as well.
Preheat oven to 400
Now on to the Avocado cream. Place avocado (sans peel and pit) into a blender (or a a bowl and use a hand blender) with the juice of a lime and a clove of garlic. Blend until smooth, adding about 2-3 tablespoons of water until nice ans creamy smooth. Add salt to taste and mix.
Next take the other half of the red onion and dice into very small little pieces. Mince up the garlic and toss both into a pan with a teaspoon or 2 of coconut oil and a few splashes of water. Cook on medium low until onion is nice and soft. Add in black beans (bean water and all) and mix together. Season with salt (if needed…canned beans are usually salty enough) and pepper. Continue to cook beans until hot and bubbly then take a fork or a potato masher and smash the beans until a the beans are all mushed and refried like. Feel free to make then smoother by sticking them in a blender if you want. Add more water to thin out as well.
And lastly, get those corn tortillas into the oven to crisp up. What I did is took a bit of coconut oil and coasted my hands with it then rubbed the tortillas on both side. Or you can brush on melted oil if you don’t want to do that. When lightly oiled, stick them into the oven and bake until crispy, flipping them after about 4 minutes and finishing after another 4-5. (you can gauge your liking on crispy)
Now compile the tostadas
Take a crispy tortilla, smother with refried beans, top with a little red cabbage then a big scoop (or two) or the mango salsa and a big spoonful of avocado cream. Add more fresh cilantro on top and serve with a slice of lime..
Yeah SPRING!!!!! Not officially, but we don’t need official.The birds are a chirping, world is bright and warm and green things are popping up all over. And the mud. THE MUD! So much mud, all over my house, tracked in by the mr and the dog. (not ever me) It’s a never ending battle of vacuuming and mopping (but II secretly kinda love all that mud.. yea, I am a werido)
So how was your week? Mine was good, mostly full of work stuff. Lots of papers and tearing up floors. The floors are going ok, except yesterday we got to the kitchen and found that the previous owner had installed a sub floor of wood slats that contain 8 million nails per inch. I have never seen so many freaking nails in a single piece of wood in my life and it’s making for a very slow and frustrating floor tearing up process. I thought for sure we would be done by now, but this super find has delayed us in a big way. So we were planning on putting in another full day of floor ripping up today but my waking up, my body is kinda telling me to stop of else body will break in half and my arms will fall of. Yeah, I am a bit beat up. You should see all the cuts and bruises on my legs and arms.. I look like I fell down a side of a cliff.. (that’s what I tell people if they ask) Hum, I wonder if they make a construction worker barbie?
Should we continue on with the hammers and crow bars and the floor of a million nails or take the day completely off, apply some ice, drink lots of coffee and nap? I am voting for the coffee and the naps (so happy for the extra hour of light, not so happy about having an hour taken away from me on a Sunday… take an hour out of Monday!) And I think that the mr will agree. Rest day today, get back to it tomorrow. Maybe if we take the day off I can enjoy some of this fantastical sunshine and ride my bike to the library.. Ah, that sounds so good!
You got any big plans for today? Whatever your plans, just make sure to take it easy and give yourself a break..and maybe a nap. you did lose an hour of after all.
Internet things from the internet.
-8 Weird Ways Daylight Saving Time Affects Your Health.
Be Amazed By This Marvelous Music Machine, Powered By 2,000 Marbles.. I am amazed
-It’s not always about the money. Urban Farms Fuel Idealism. Profits? Not So Much
-I don’t know how I stumbled on this, (so awesome) but here , Pee-Wee Herman’s blog... and peeps flavored milk.
-I am obsessed with my pens.. this lady knows what I like
– I need to stop looking at other peoples houses, like this one, or this one. I want them all.
– Allthe different types.. I did not know. All About Buttercream & How to Make 6 Different Types
-Lovely bird houses.%u00a0 3500 Birdhouses From Scrapwood
-Are your sheets getting in the way of your sleep? 9 truths about bedding
–Whole Foods Has Struck a Deal to Sell Ugly Produce. It’s great and all, but why do they gots to go and call it ugly?
And of course some pictures of stuff from the week
I think I am a salad wizard. Give me some greens and a few simple, maybe not conventional ingredients, and wa la.. A freaking amazing, yet simple salad to please and appease all us salad eating people.
Some might say that fruit in salad is not right (the mr says that… pa-lease dude) but those folks are wrong. Fruit for sure belongs and brings a whole new world of flavor combinations. For this bowl of salad magic, we are going with spicy arugula paired with sweet peach, a nice crisp bit and tangy onion, topped with creamy, nutty almond butter dressing It hits all the flavor note: sweet, spicy, creamy, and a little acidic with the help of a lemon. What more can you ask for? (I would like to ask for a million dollars and a pair of metallic gold high tops.. if we get to ask for more) This is another winner in the my salad game.
Sure,%u00a0 you are going to eat this for dinner, but as I am sitting here I am thinking this would make me happy to eat for breakfast. Think about that. (salad for breakfast is a thing)
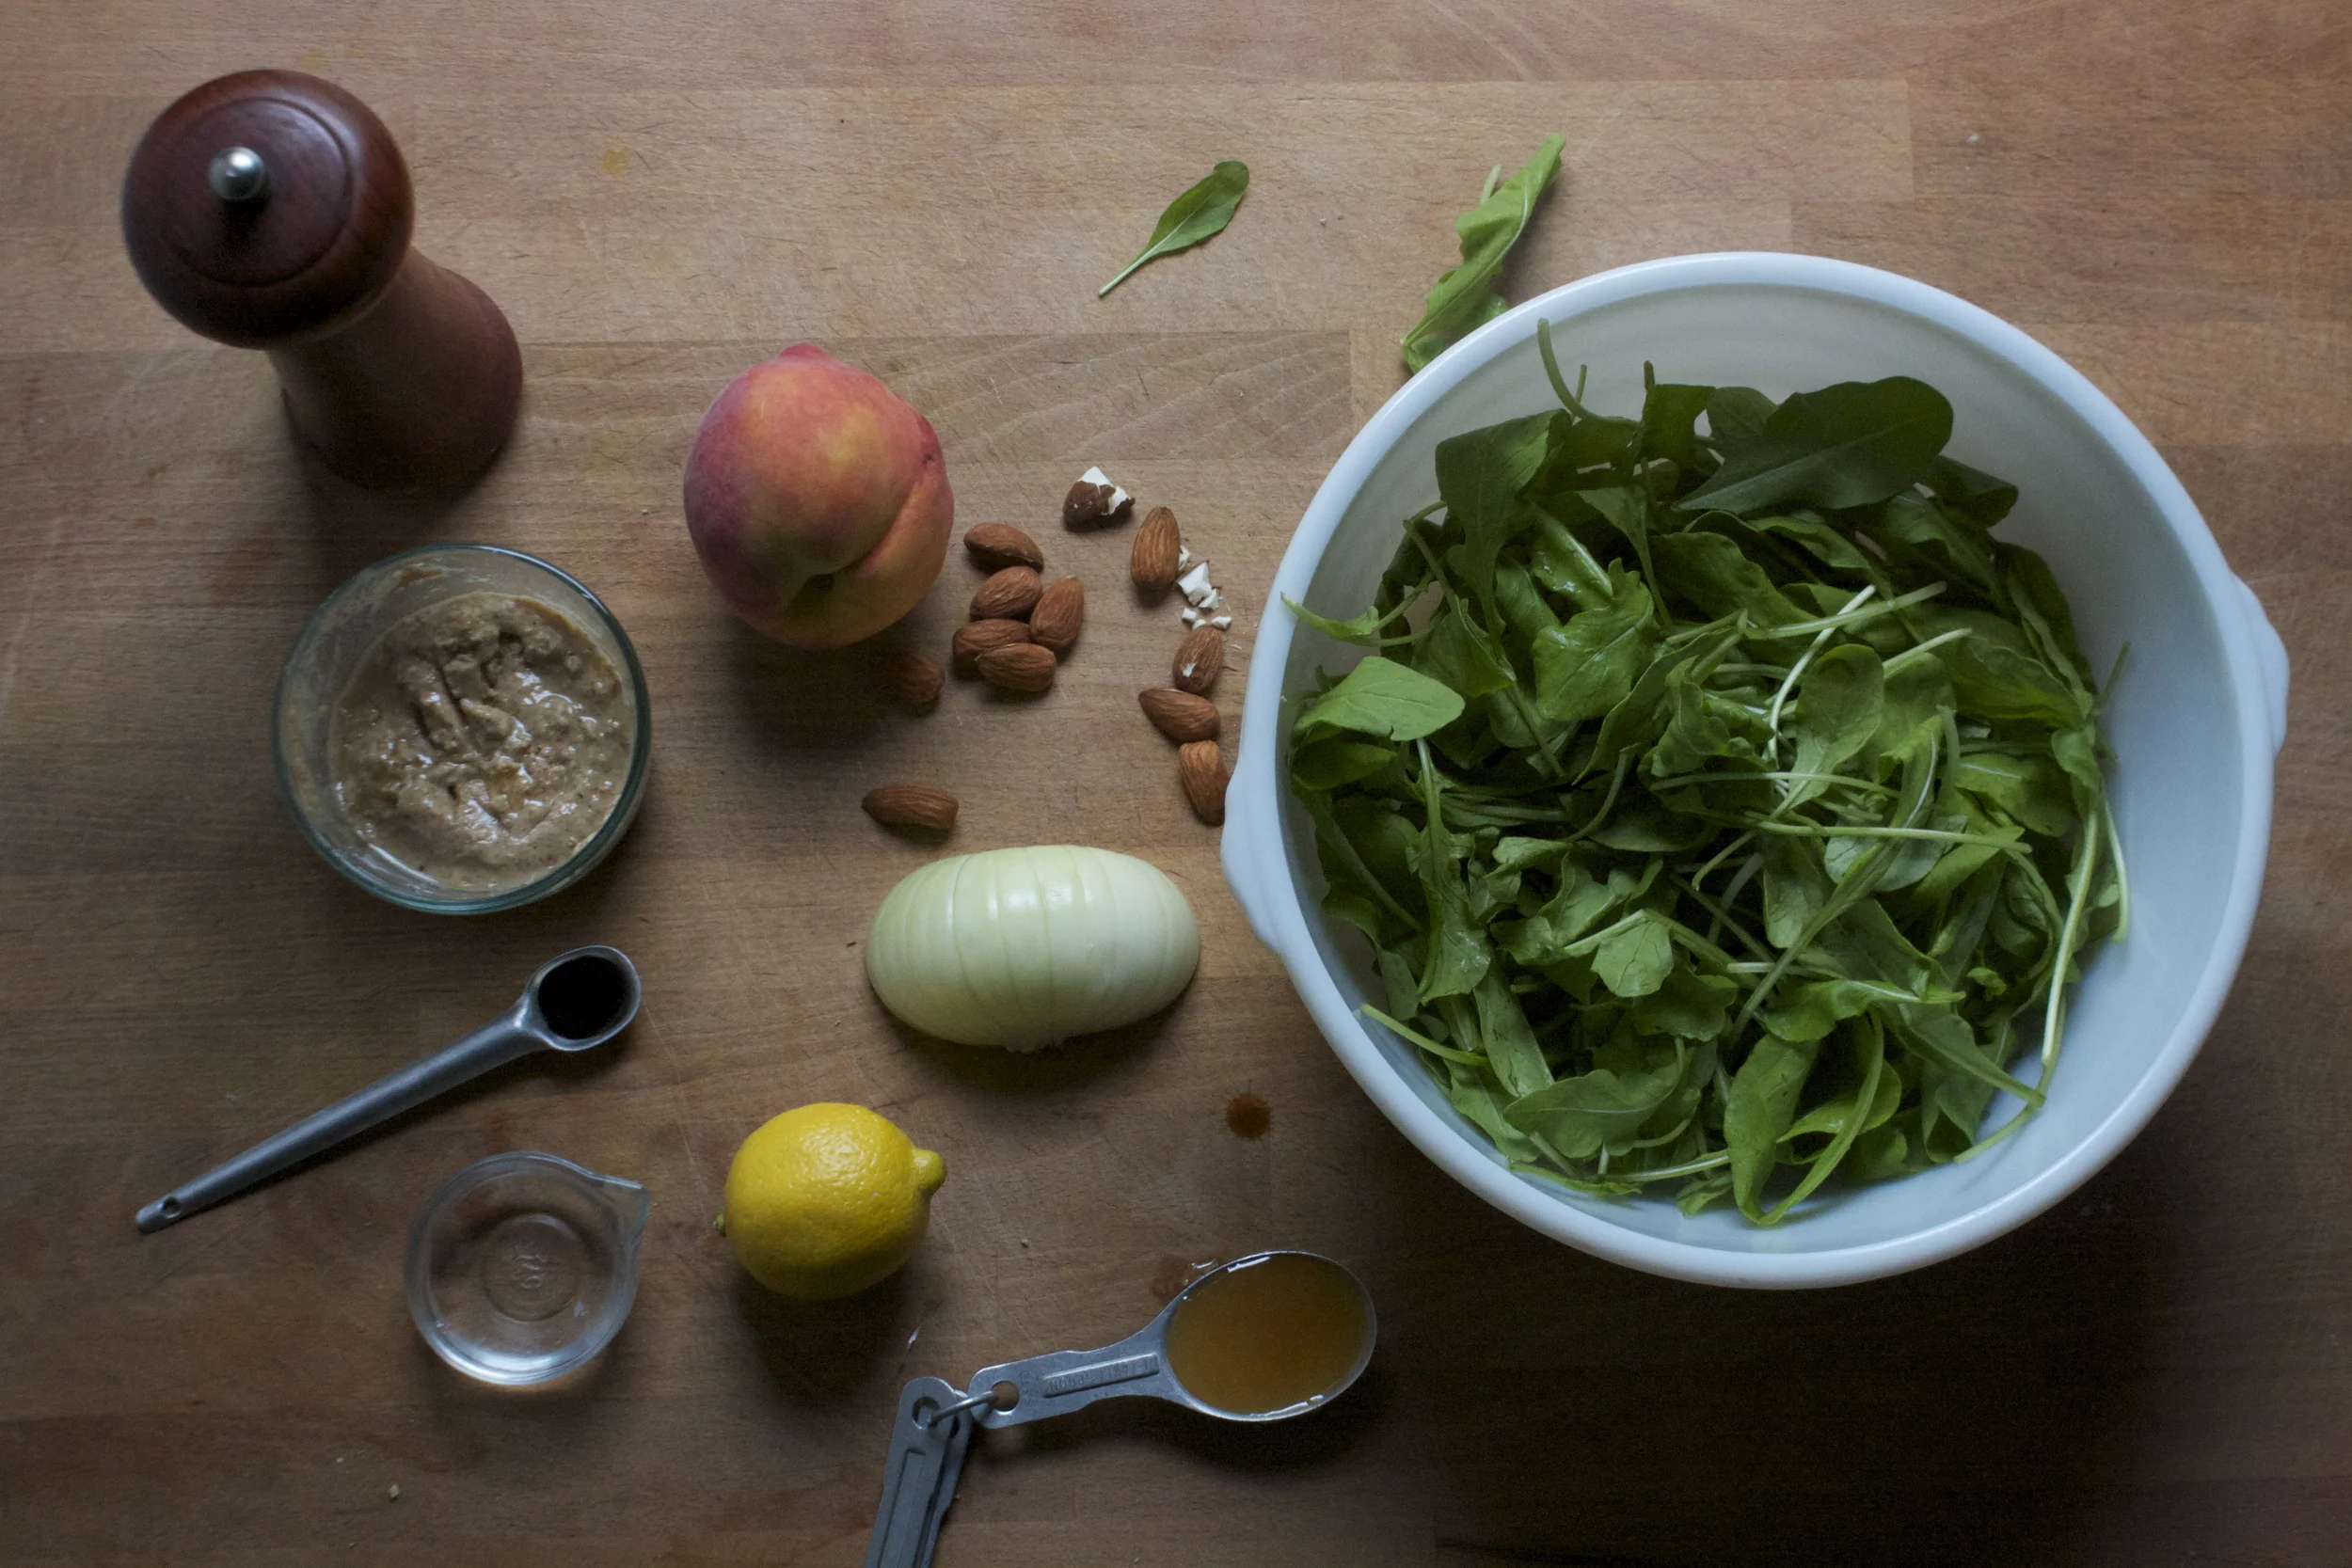
The stuff. A big bowl of fresh and clean arugula, a ripe, but firm peach, half a sweet onion, almond butter, a lemon, a little tamari, a bit of honey, pepper, a splash of water, and some almonds.
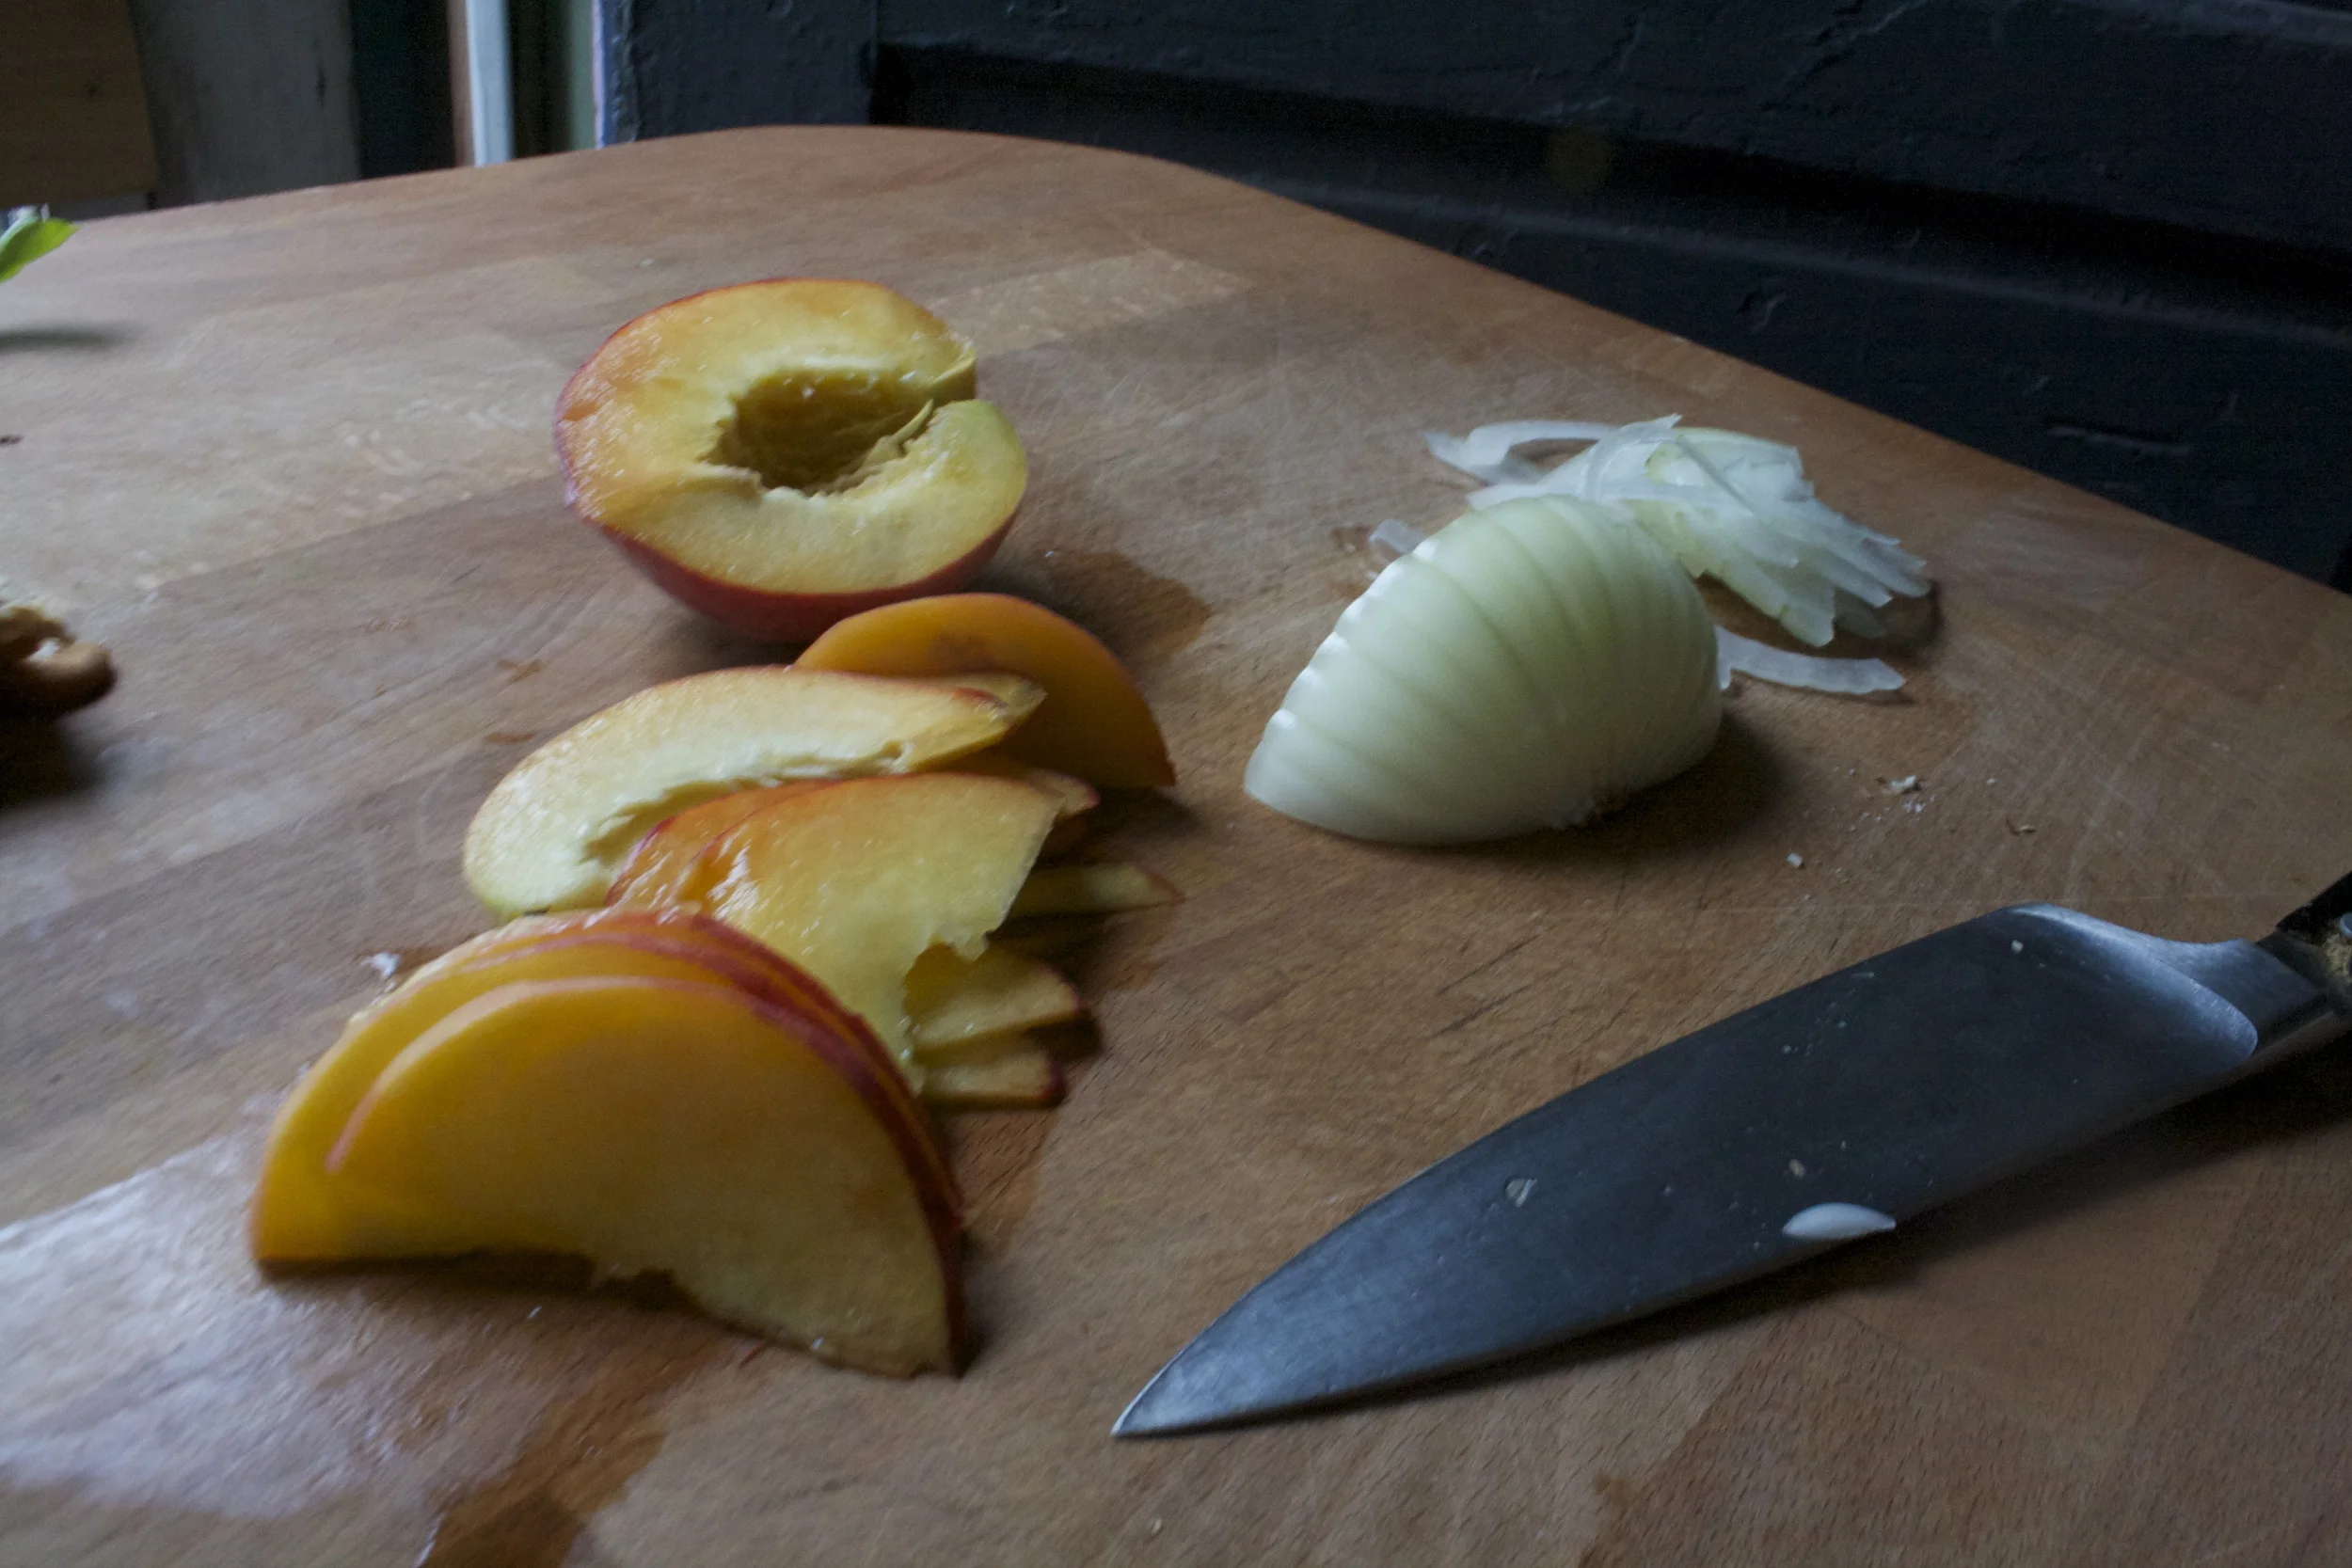
The peach and onion get sliced super thin
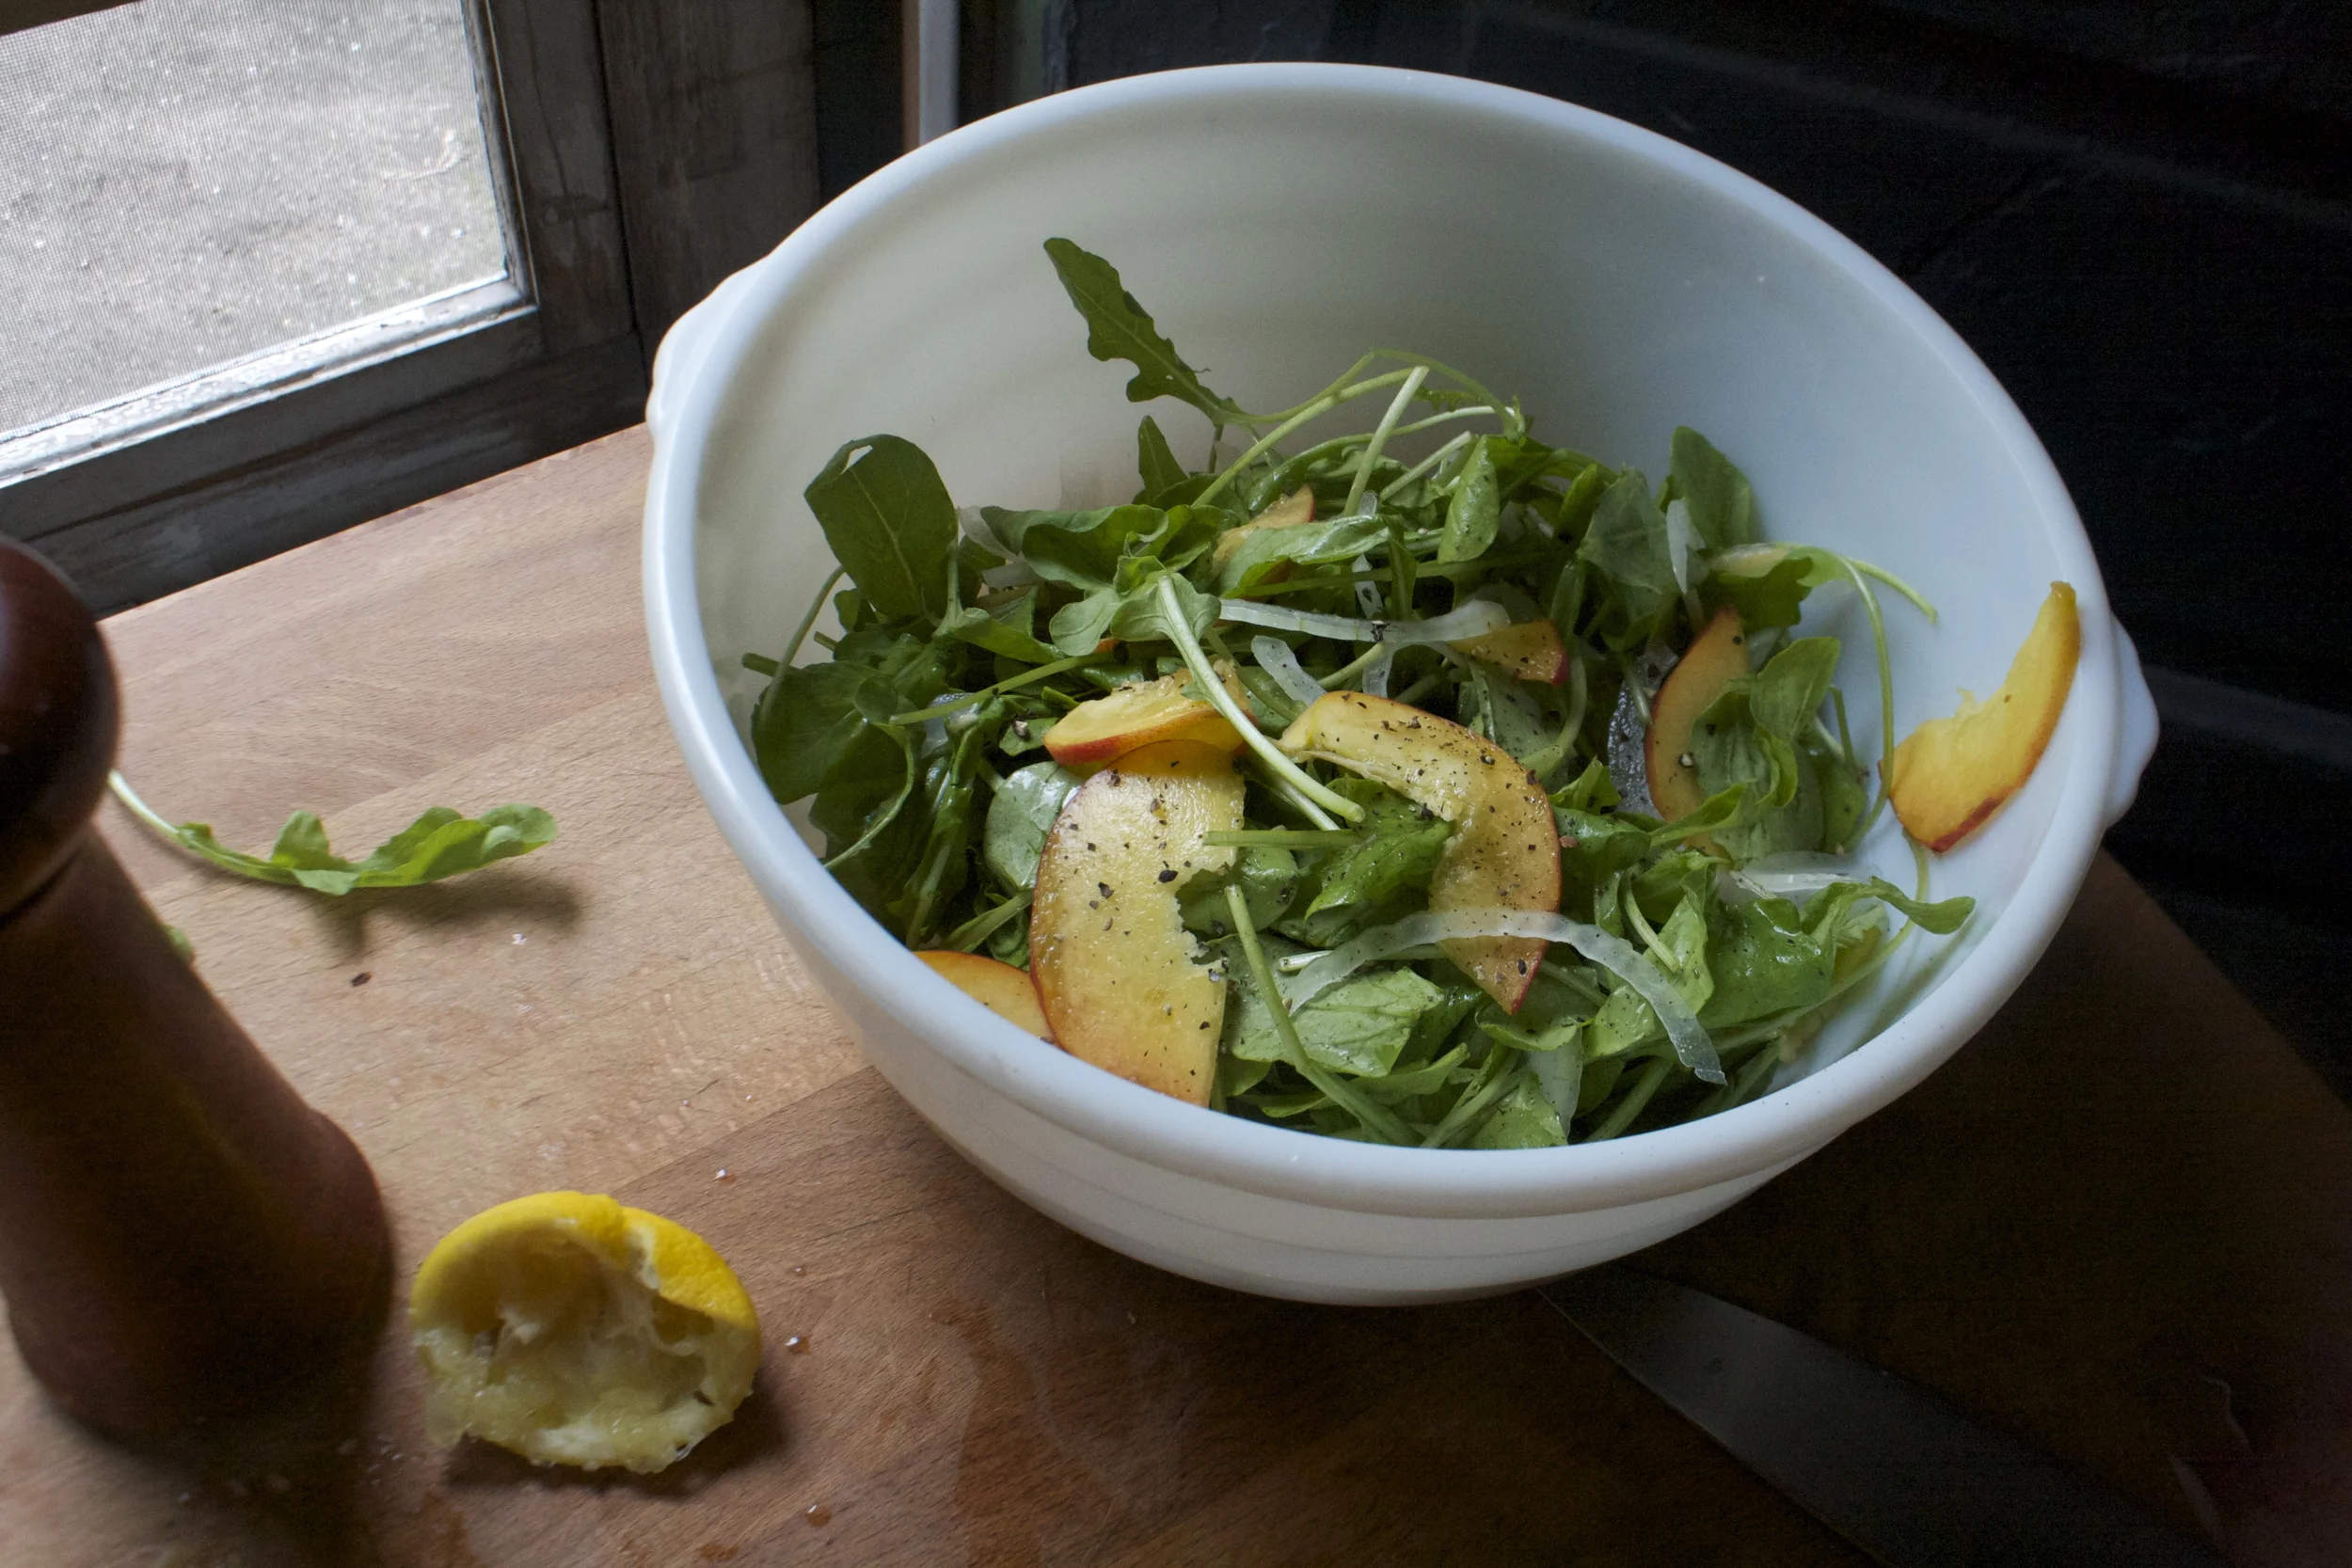
And tossed into the bowl with the arugula. Take half of that lemon and squeeze the juice all over and toss around with a good bit of cracked pepper.
And for the dressing, just mix together the almond butter ,the juice of the other half of lemon, the tamari, and the honey. Add in enough water to thin it out enough that you can drizzle it on to the salad
The drizzle it all over. And go ahead and chop up some almonds and toss those in as well.
Share it or don’t (I say don’t)
A fresh,sweet and spicy salad to get this summer started.
-C
serves 1 hungry person or 2 side salads
A few big handfuls of fresh arugula (about 5 oz)
1 ripe, but firm peach
1/2 a vidalia (or any sweet) onion
3 tablespoons almond butter
1 lemon
1 teaspoon tamari. (soy, or liquid amino’s work too)
2 teaspoon honey or maple
1-2 tablespoons water
cracked pepper
a few toasted almonds (optional)
Place clean greens in a big bowl. Thinly slice up onion and segment and thinly slice up peach. Toss into bowl with the arugula. Squeeze in the juice of the other half of lemon, crack in some pepper, and give it all a good toss.
Now for the dressing,. Grab a small bowl and mix together the almond butter, honey , tamari, and the juice of half the lemon. Once that’s all mix together, mix in a little water until the sauce is thin enough to drizzle. (start with a tablespoon and add more if needed)
And now dress the salad. Drizzle and toss the dressing all over the salad and toss in a handful of chopped almonds. More pepper if you like.%u00a0
No it is not weird or gross or anything. I wouldn’t do that to you. These popsicles are down right deeee-lightful. Rich and creamy and sweet. Both the creamy coconut and the toasted coconut pair perfectly with the sweet corn flavor. They truly are delicious and I think that if you give them a try, you will think so too. And really, now that it is like almost summer, who doesn’t have a little extra corn laying around. So you might as well just make a batch.
And then you will thank me for introducing you to the goodness that is a toasted coconut and corn popsicle. Heck, the mr even ate one and he (still, after I have proven him wrong on a many occasions) says he hates corn. So if a corn hater likes these, imagine what a corn lover will think. HAHA. Corn lover.
To the popsicles!
The stuff. Corn, full fat coconut milk, shredded coconut, and maple syrup.
First, remove corn from cob and place on a baking sheet. Bake in oven for 10-ish minutes until corn is cooked and all nice and sweet.
And don%u2019t forget to toast the coconut. A few minutes in the oven is all it needs.
Now to blend. Corn and coconut milk go in first to blend until nice and smooth. Then add in the maple and coconut and blend until just combined. That will leave a little coconut texture. If you want it smooth, well just blend until completely smooth. Do what feels right to you.
Thick, rich and creamy popsicle mixture.
Now pour it into the molds and stick into the freezer. You could probably stick the sticks in now or wait a little while for the mixture to set a bit, but just don%u2019t forget to get sticks in those popsicles before they completely freeze. That would suck.
Pop those lovelies out of the molds and there you go.
The anticipation is over. Eat a popsicle
-C
makes 4 average sized popsicles
2 ears corn (about a cup of corn kernels)
1 cup full fat coconut milk (the canned stuff)
1/4 cup shredded unsweetened coconut
2- 4 tablespoons maple syrup
Note. If you have left over cooked corn, just use that. You don%u2019t need to recook it so skip the cooking corn step.
Preheat oven to 400
Remove corn kernels from cob and place on a baking sheet pretty evenly. Pop into the oven for 10 minutes of so or until the corn is cooked through and nice and sweet.
Remove corn and dump it into blender and set aside to cool for a few minutes. Place the coconut onto the baking sheet and pop into the oven for 3-4 minutes to just lightly toast. When the coconut is toasted, remove from oven.
Grab the blender with the corn and pot in the coconut milk. Blend until smooth. Add in the maple (start with 2 tablespoons and work your way up to the sweetness you like) and the toasted coconut. Blend quickly just to combine for a slightly more textures popsicle or blend completely smooth if you would rather a smoother popsicle.
Pour mixture into popsicles molds and place into freezer. After the mixture sets up (about an hour) pop sticks into molds. Continue to freeze until completely frozen. Usually 4-6 hours.
And then when it is popsicle time, remove popsicles from molds and eat them.
First official week of summer plus #popsicleweek means we all have to make popsicles. It is not a option, it’s a must. The question is what kind of popsicles to make.
Well here you go, I got one for you right here. Pineapple, cucumber, spinach popsicles.%u00a0I highly, highly recommend them because they are amazing and you and everyone will love them.%u00a0No joke. I had two littles tell me that they are the best popsicles they have ever eaten. Then Koko damn near ate my hand off when I was trying to slow the baby down while he was eating his so he didn’t get brain freeze. After he finished off his popsicle, he turned around and went after his brothers popsicle. It was crazy. Screaming, green faced, baby charging after a popsicle. It was like an animal planet episode.%u00a0
%u00a0And so there you have it, all the littles we into them, the mr was into his, and me, I might eaten one or two and maybe I was licking all of them in between taking pictures. Ha. And big plus, unlike a lot of popsicles,%u00a0there is no extra shit in these, like no added sugar. And there is veggies in them.%u00a0They are basically an all around, eat for breakfast, lunch, dinner, snack, or dessert popsicle.%u00a0%u00a0How can you even go wrong with that.%u00a0
You can’t.
Now it’s popsicle time!
The stuff. Fresh pineapple, fresh spinach, a cucumber, and a lime. That’s it, nothing else.%u00a0
Pineapple and juice from lime into the blender. Blend until smooth.
Add in the cucumber, blend until smooth%u00a0
Last but not least, add in spinach, blend until smooth.
Bright green goodness. And that’s pretty much it. And really, you could just stick it all into blender at once, I just blended the ingredients one by one for the sake of the pictures.
Pour that goodness into popsicles mold and either stick th sticks in now if they don’t sink or wait about an half hour after they have been in the freezer, just don’t forget the sticks (I almost did).
Mid freeze stick sticking.
Once they are frozen and when it’s feeding time,%u00a0%u00a0you pop them out of the mold and feed the people. Watch your fingers.%u00a0
Happy summer, Happy #popsicleweek
-C
Make 8 3.5 onze popsicles%u00a0
2 1/2 cups fresh pineapple*
1 Lebanese %u00a0cucumber (or half of an English cucumber)
3 large handfuls of spinach%u00a0
Juice of a lime
*Note. You can use frozen pineapple, just thaw it out so it starts to release some of it’s juices. That way you don’t need to add water to the blender to blend everything up.%u00a0
Place all ingredients into a blender and blend until smooth. Pour puree into popsicle molds and stick into freezer. After about 1/2 hour, remove from freezer and stick the popsicle sticks into the molds. Place popsicles back into freezer until completely frozen (about 4-6 hours)%u00a0
Enjoy anytime.
These popsicles are bananas!!!!! (pun intended) I forgot how much I freaking love roasted strawberries and don’t even get me started on roasted bananas.%u00a0 Then when they are all mash up and stuck into a popsicle mold… Just amazing. Rich, creamy and full of so much good flavor plus made with only good stuff. I mean you can’t get much better. This is now my new favorite go to frozen treats.
So a little confession. I made these popsicles with the intention to give them to the littles for a special popsicle breakfast but when I took the first bite of the first popsicle I changed my mind. These popsicles where too good and I wanted then all to myself. I know that makes me sound like a ass but really, they can’t miss something they didn’t know they were going to get.%u00a0 Don’t worry,%u00a0 we ended up at the store that night getting ice cream (for dessert) and a box of Captain Crunch with crunch berries for breakfast the next day instead (which they didn’t even eat because the mr made them with chocolate chip pancakes instead). They were happy, I was happy. Win win.
And lesson learned, make two batches for next time so I can share. I will share next time (maybe).
The stuff. 3 ripe bananas, ripe freshly picked strawberries (they don’t have to be freshly picked) cashew milk, and salt.
Chop bananas into chunks and strawberries in half ans place onto a greased baking sheet.
Pop into a hot oven to roast.
Roasted and all sorts of good (If you are prone to eating you roasted fruit before using it for popsicles, roast extra).
Scoop all the banana into a blending device (I used a hand blender so they went into a measuring cup) add in a pinch of salt ans the milk. Blend until creamy smooth.
For the strawberries just mash them up with a fork on the baking sheet.
Grab your popsicle mold and fill. Start bu scooping a bit of the banana in first, add in a little strawberry, then banana again. Keep layering until the mold is full. Then top off with a popsicle stick.
Into the freezer for the freeze.
And once frozen there are no rules. Eat a popsicle and be super happy.
Enjoy and stay all sorts of cool.
-C
Makes four 3.5 oz popsicles
3 ripe bananas
1 cup strawberries
1/4 cup plant milk (I used cashew, but any is good. Cow milk would work too)
pinch of salt
Preheat oven to 400
Grab a baking sheet and lightly grease it up. Peel bananas and cut into i inch pieces. and place on baking sheet. Remove stems from strawberries and cut in half. Stick those onto baking sheet as well then place the baking sheet into the hot oven.
Roast for about 20 minutes.
Remove from oven and let cool enough to handle. Place the roasted bananas into a blending device, add a pinch of salt and the milk. Blend until smooth. Take a fork and mash up the strawberries, which can be done directly on the backing sheet.
Scoop a bit of banana into each mold, then add a little mashed strawberry.. Continue layering until each mold is filled to the fill line. Add in popsicle stick then pop the filled molds into freezer,
Freeze for at least 4 hours, but 6 to 8 is safer.
Once frozen, pop from molds and eat. You can share but you don’t have too.
Not only is it the first week of summer, it’s also popsicle week! Billy over at the sweet ass blog Wit and Vinegar hosts a little (actually quite large) bloggers party that share all sorts of fun and fantastic popsicle recipes and presents that list to the world. There are popsicle flavors up the wazoo…Pretty stinkin cool right.
So my contribution to the world of popsicle eaters is one of my all time favorites (maybe the absolute best one yet).. Carrot Ginger Orange.
For those who know me, this flavor combination should come as no surprise. Carrots are my thing. I eat them all day, every day. Sure I eat a shit ton of other stuff, but always carrots. Carrots are in my breakfast,lunch, and dinner. If I need a snack, I grab a carrot. There is just something so satisfying not to mention so easy about carrots. Eaten alone, with mustard or hummus, or dipped in peanut butter of cinnamon..Carrots can do just about anything. I mean I eat so many carrots that no shit, my skin is a slight tint of orange (seriously for reals. Something about an abundance of carotene) Crazy I know, but what can I say. I really like carrots. %u00a0%u00a0%u00a0%u00a0%u00a0%u00a0%u00a0 (that’s what I say when people ask me why I am glowing orange)
So naturally the carrot made it’s way into my popscile mold. And now it’s for real. Carrots really can do anything.
Another win for carrots everywhere.
And popsicles.. Just in time for that hot as shit weekend we are about to have.
GO POPSICLES CO!
The stuff. Carrots, an orange, some fresh ginger, and some water. Simple simple and no, I didn’t forget the sweetener… these pops have no need (although if you want, go ahead and add a smidge or splash of something sweet)
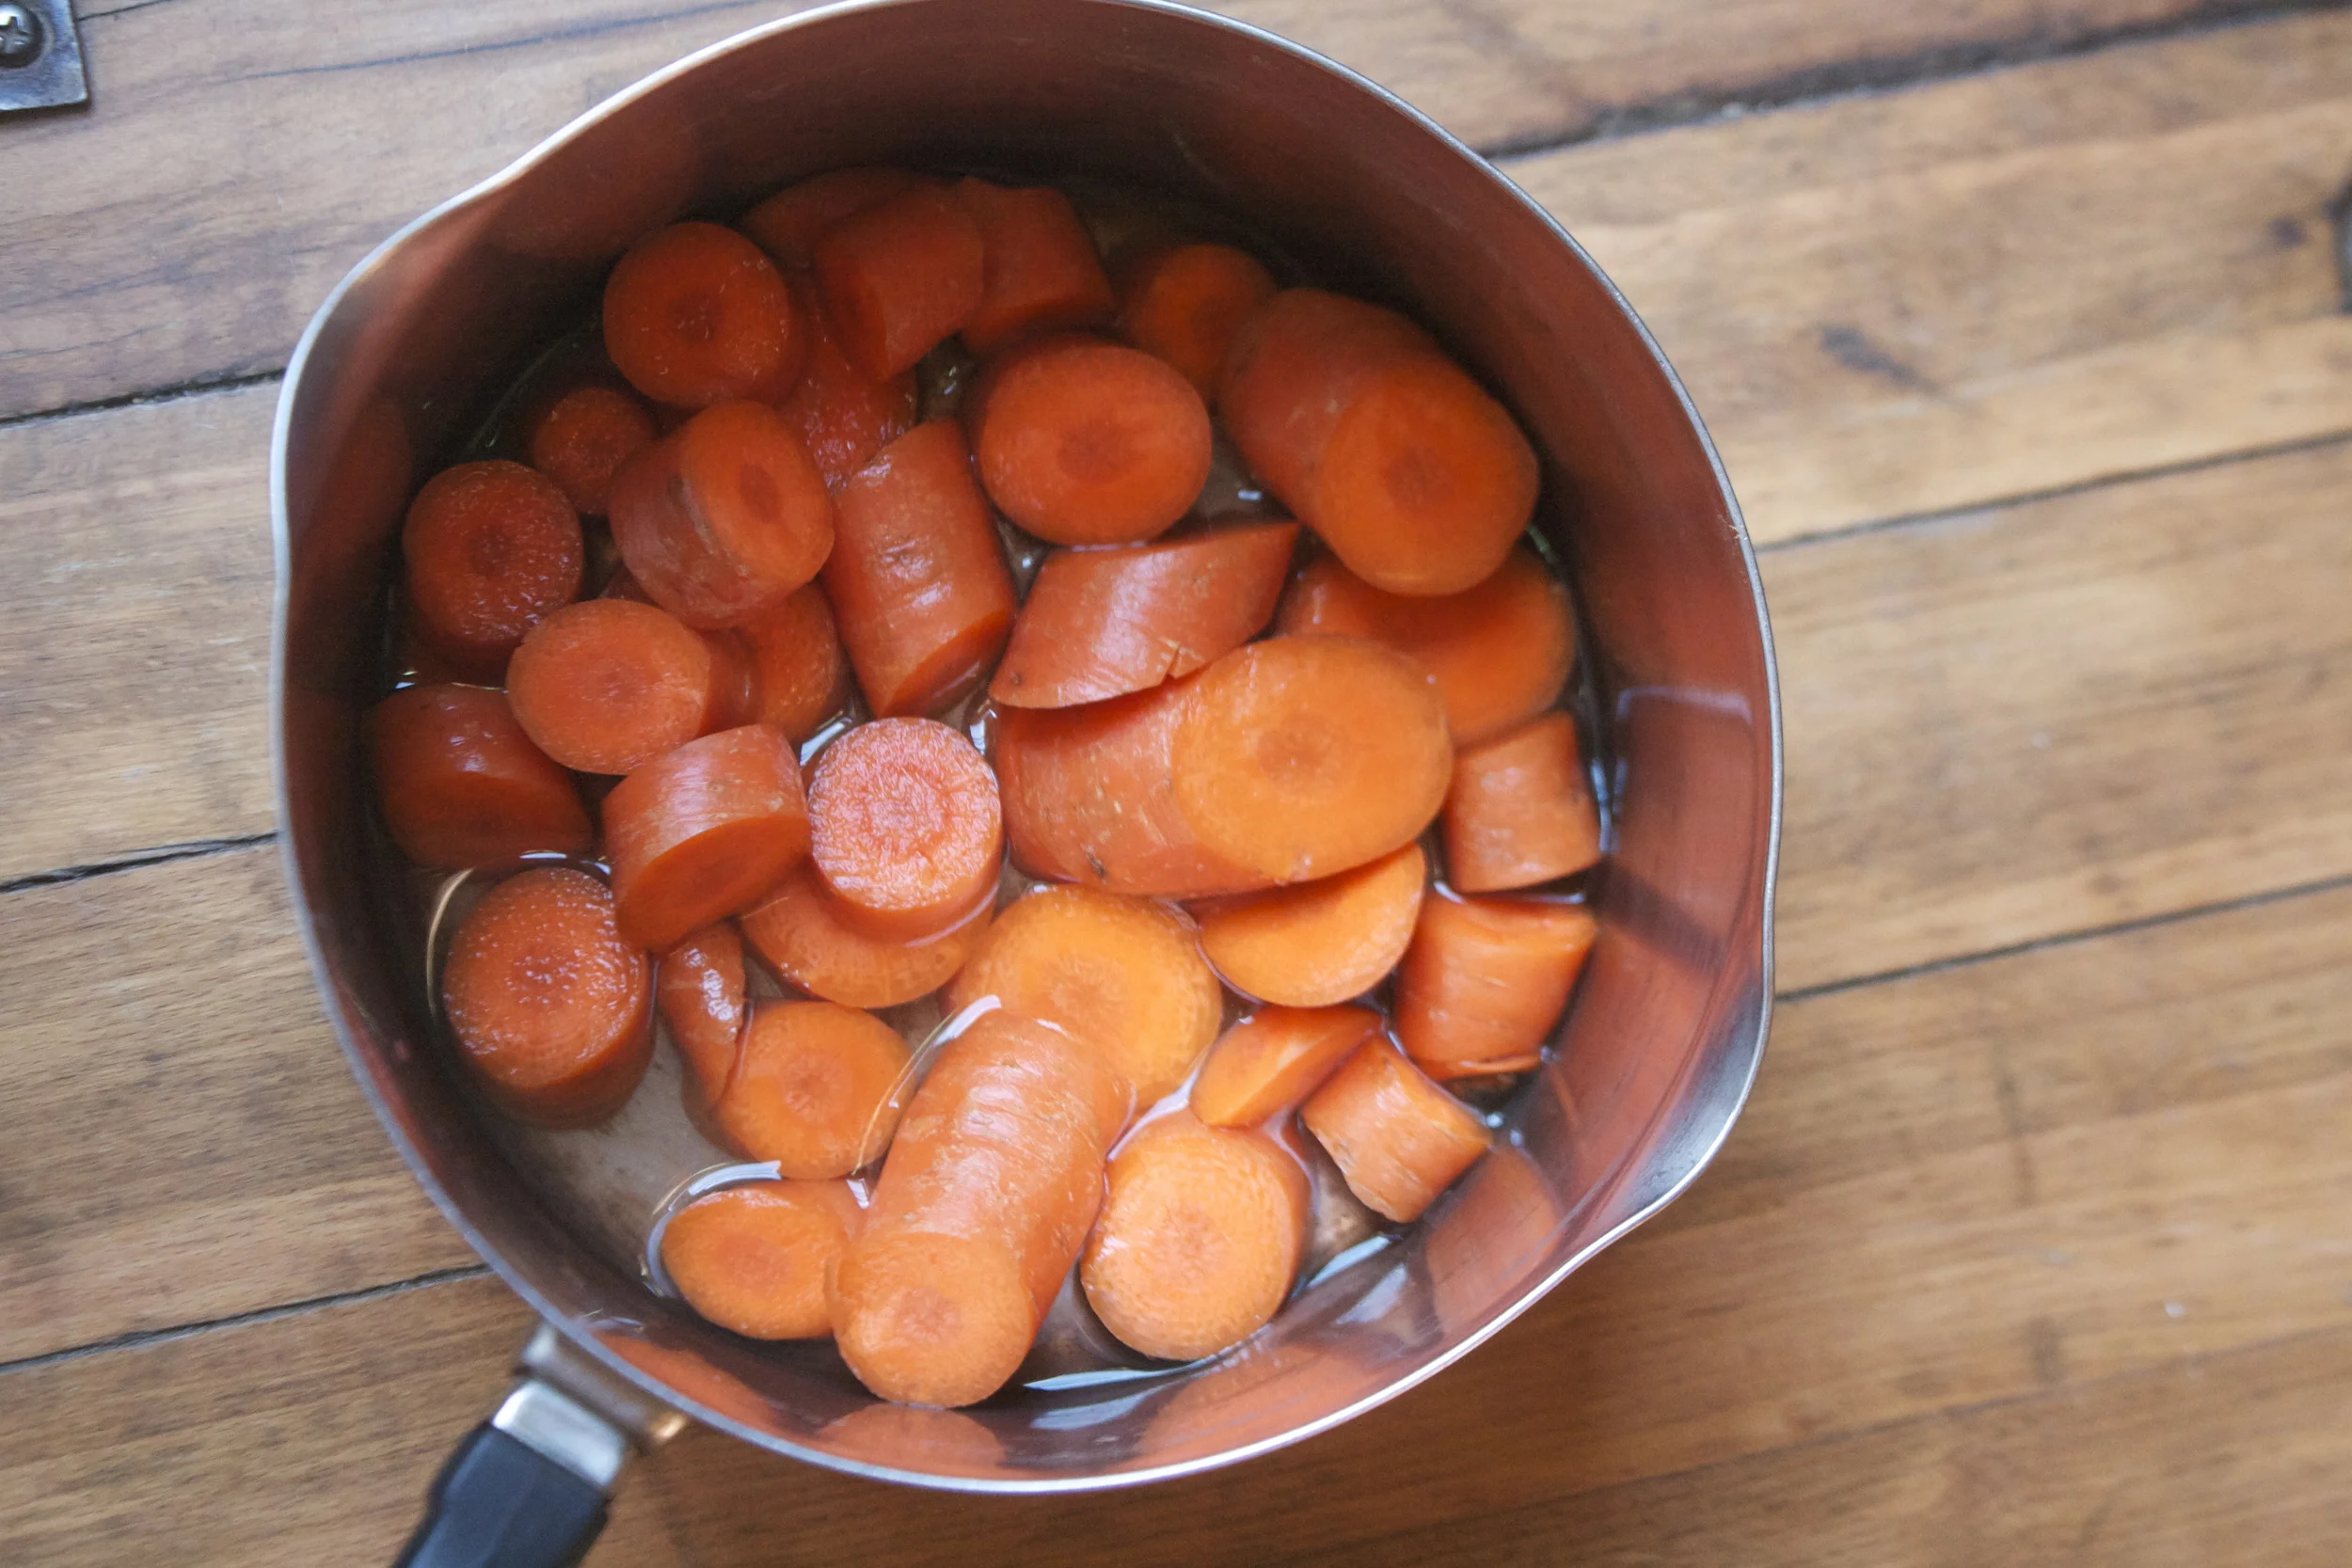
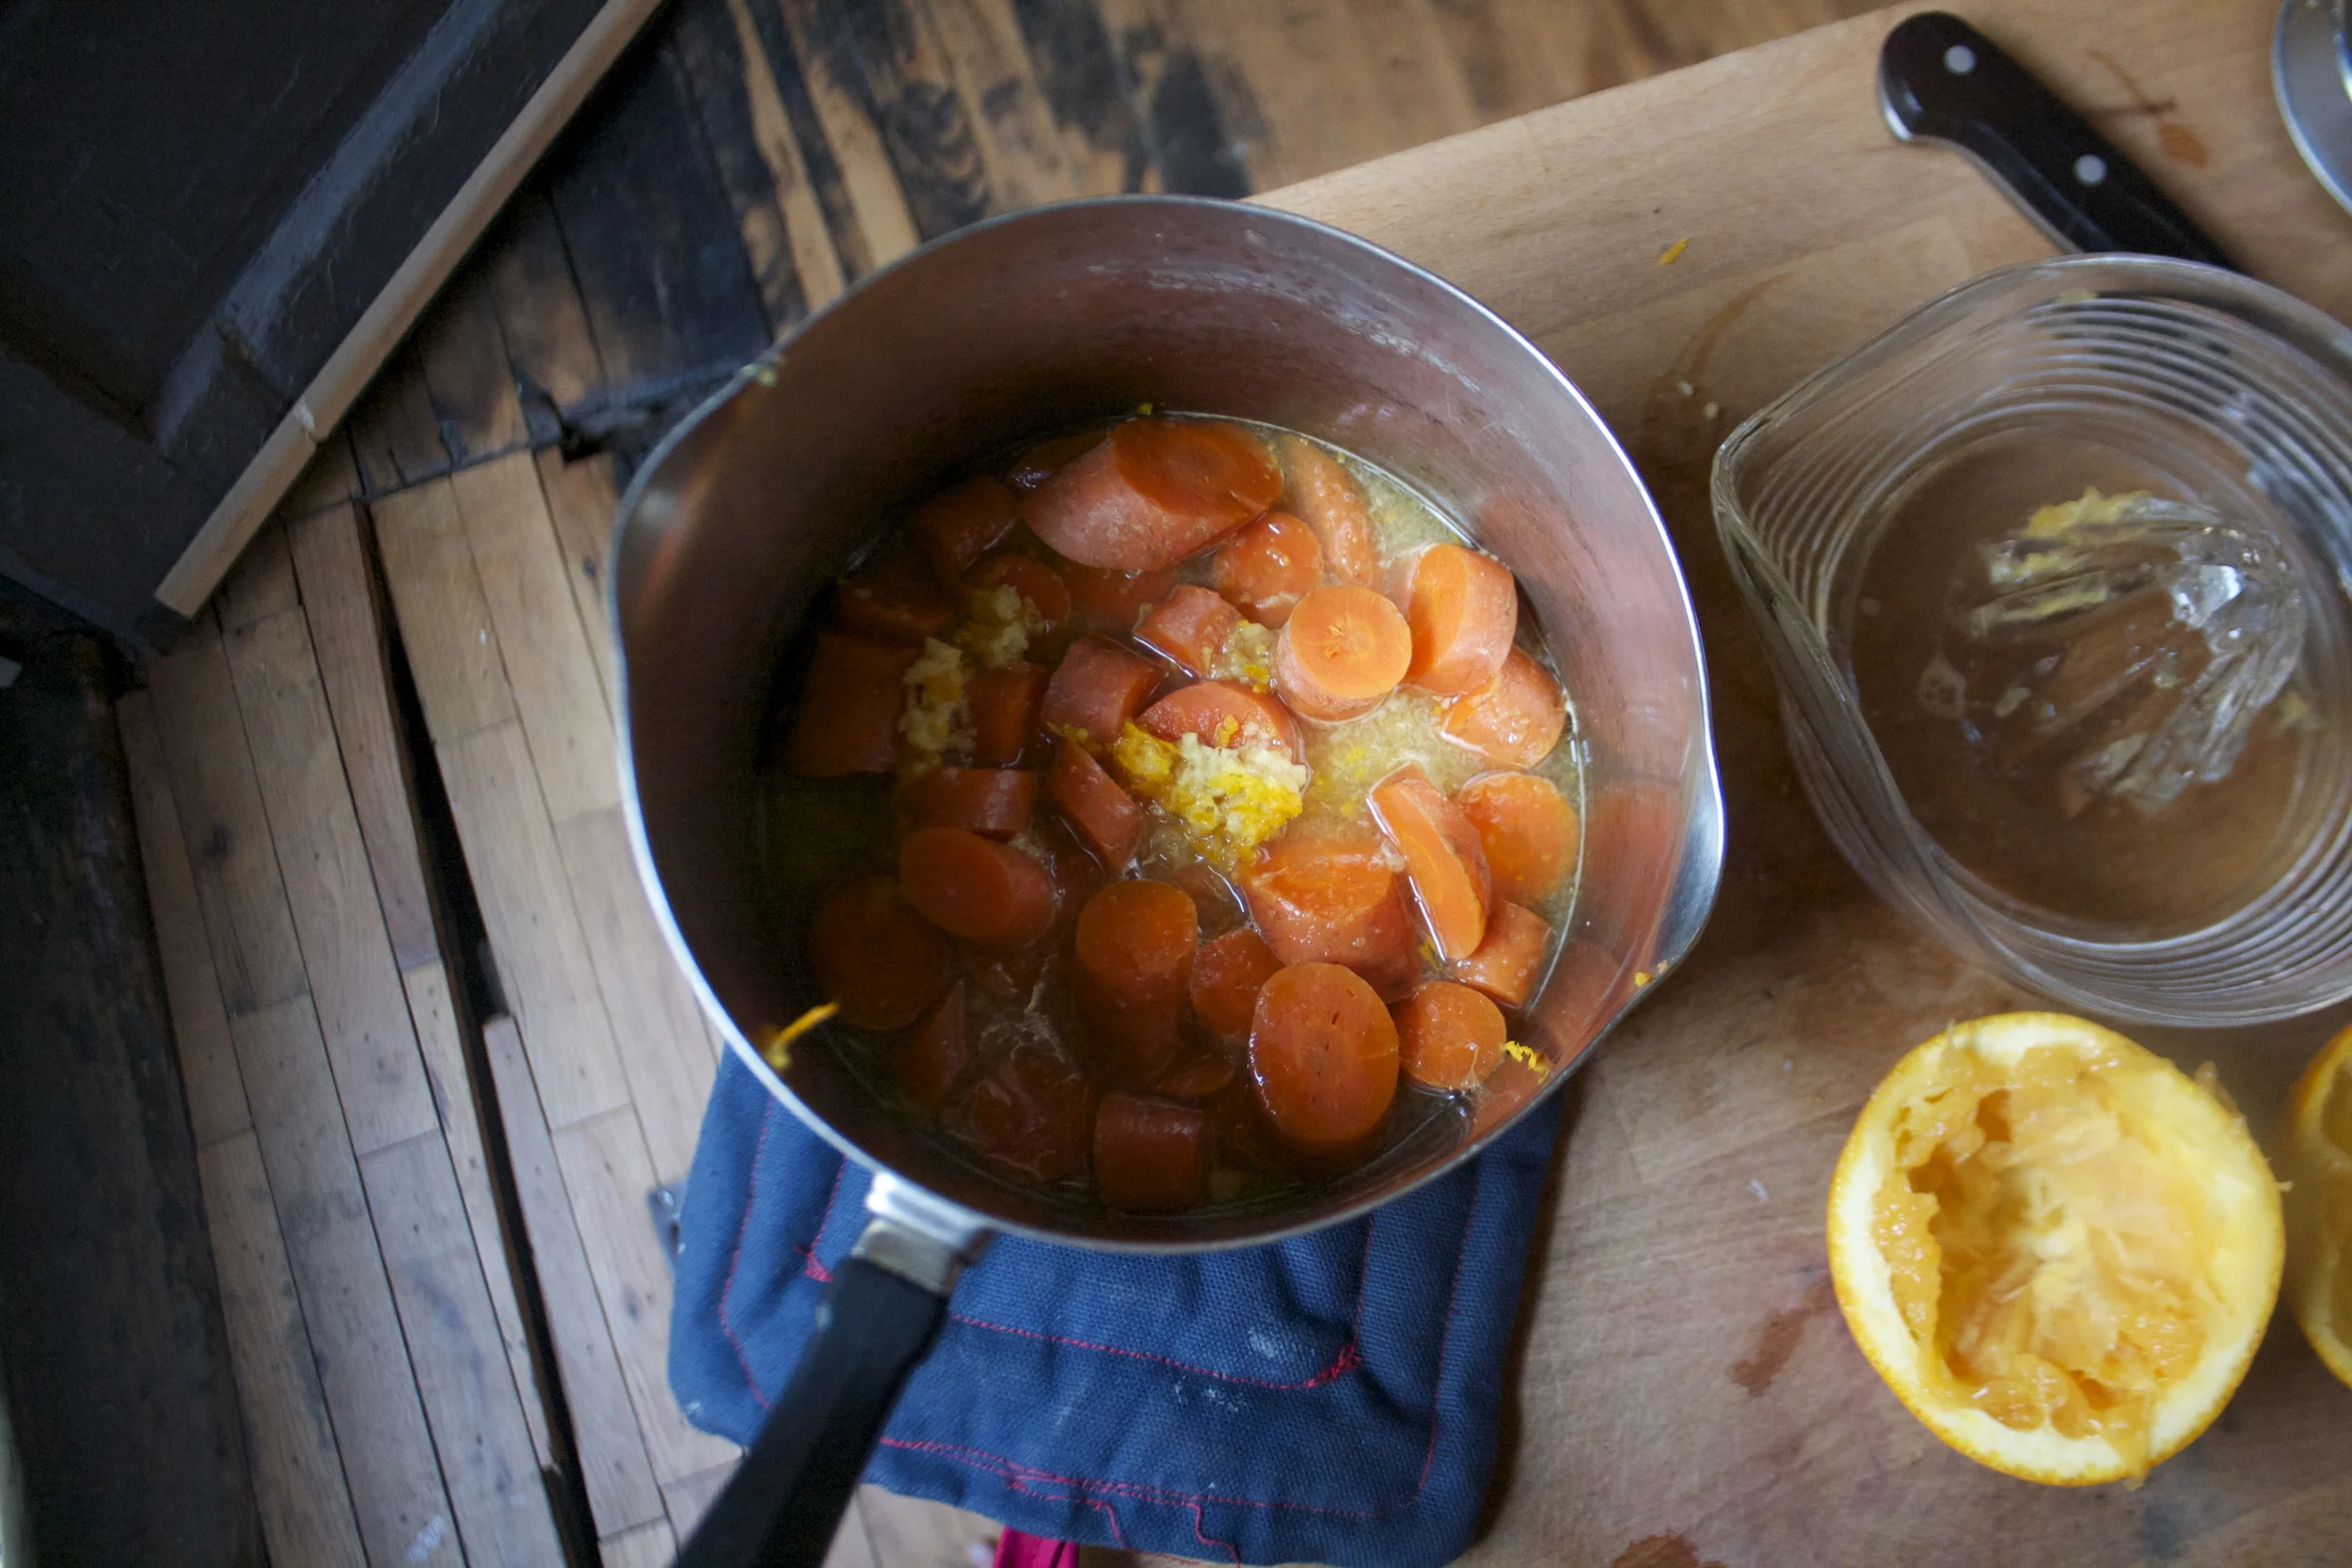
Start by chopping up the carrots and sticking them into a pot with some water. Not a lot, just enough that it almost cover the carrots, and stick that pot onto the stove, cover and cook on medium heat until tender. Make sure to check that the water doesn’t completely evaporate or you will have burnt carrots which taste just fine, but not as a sweet popsicle
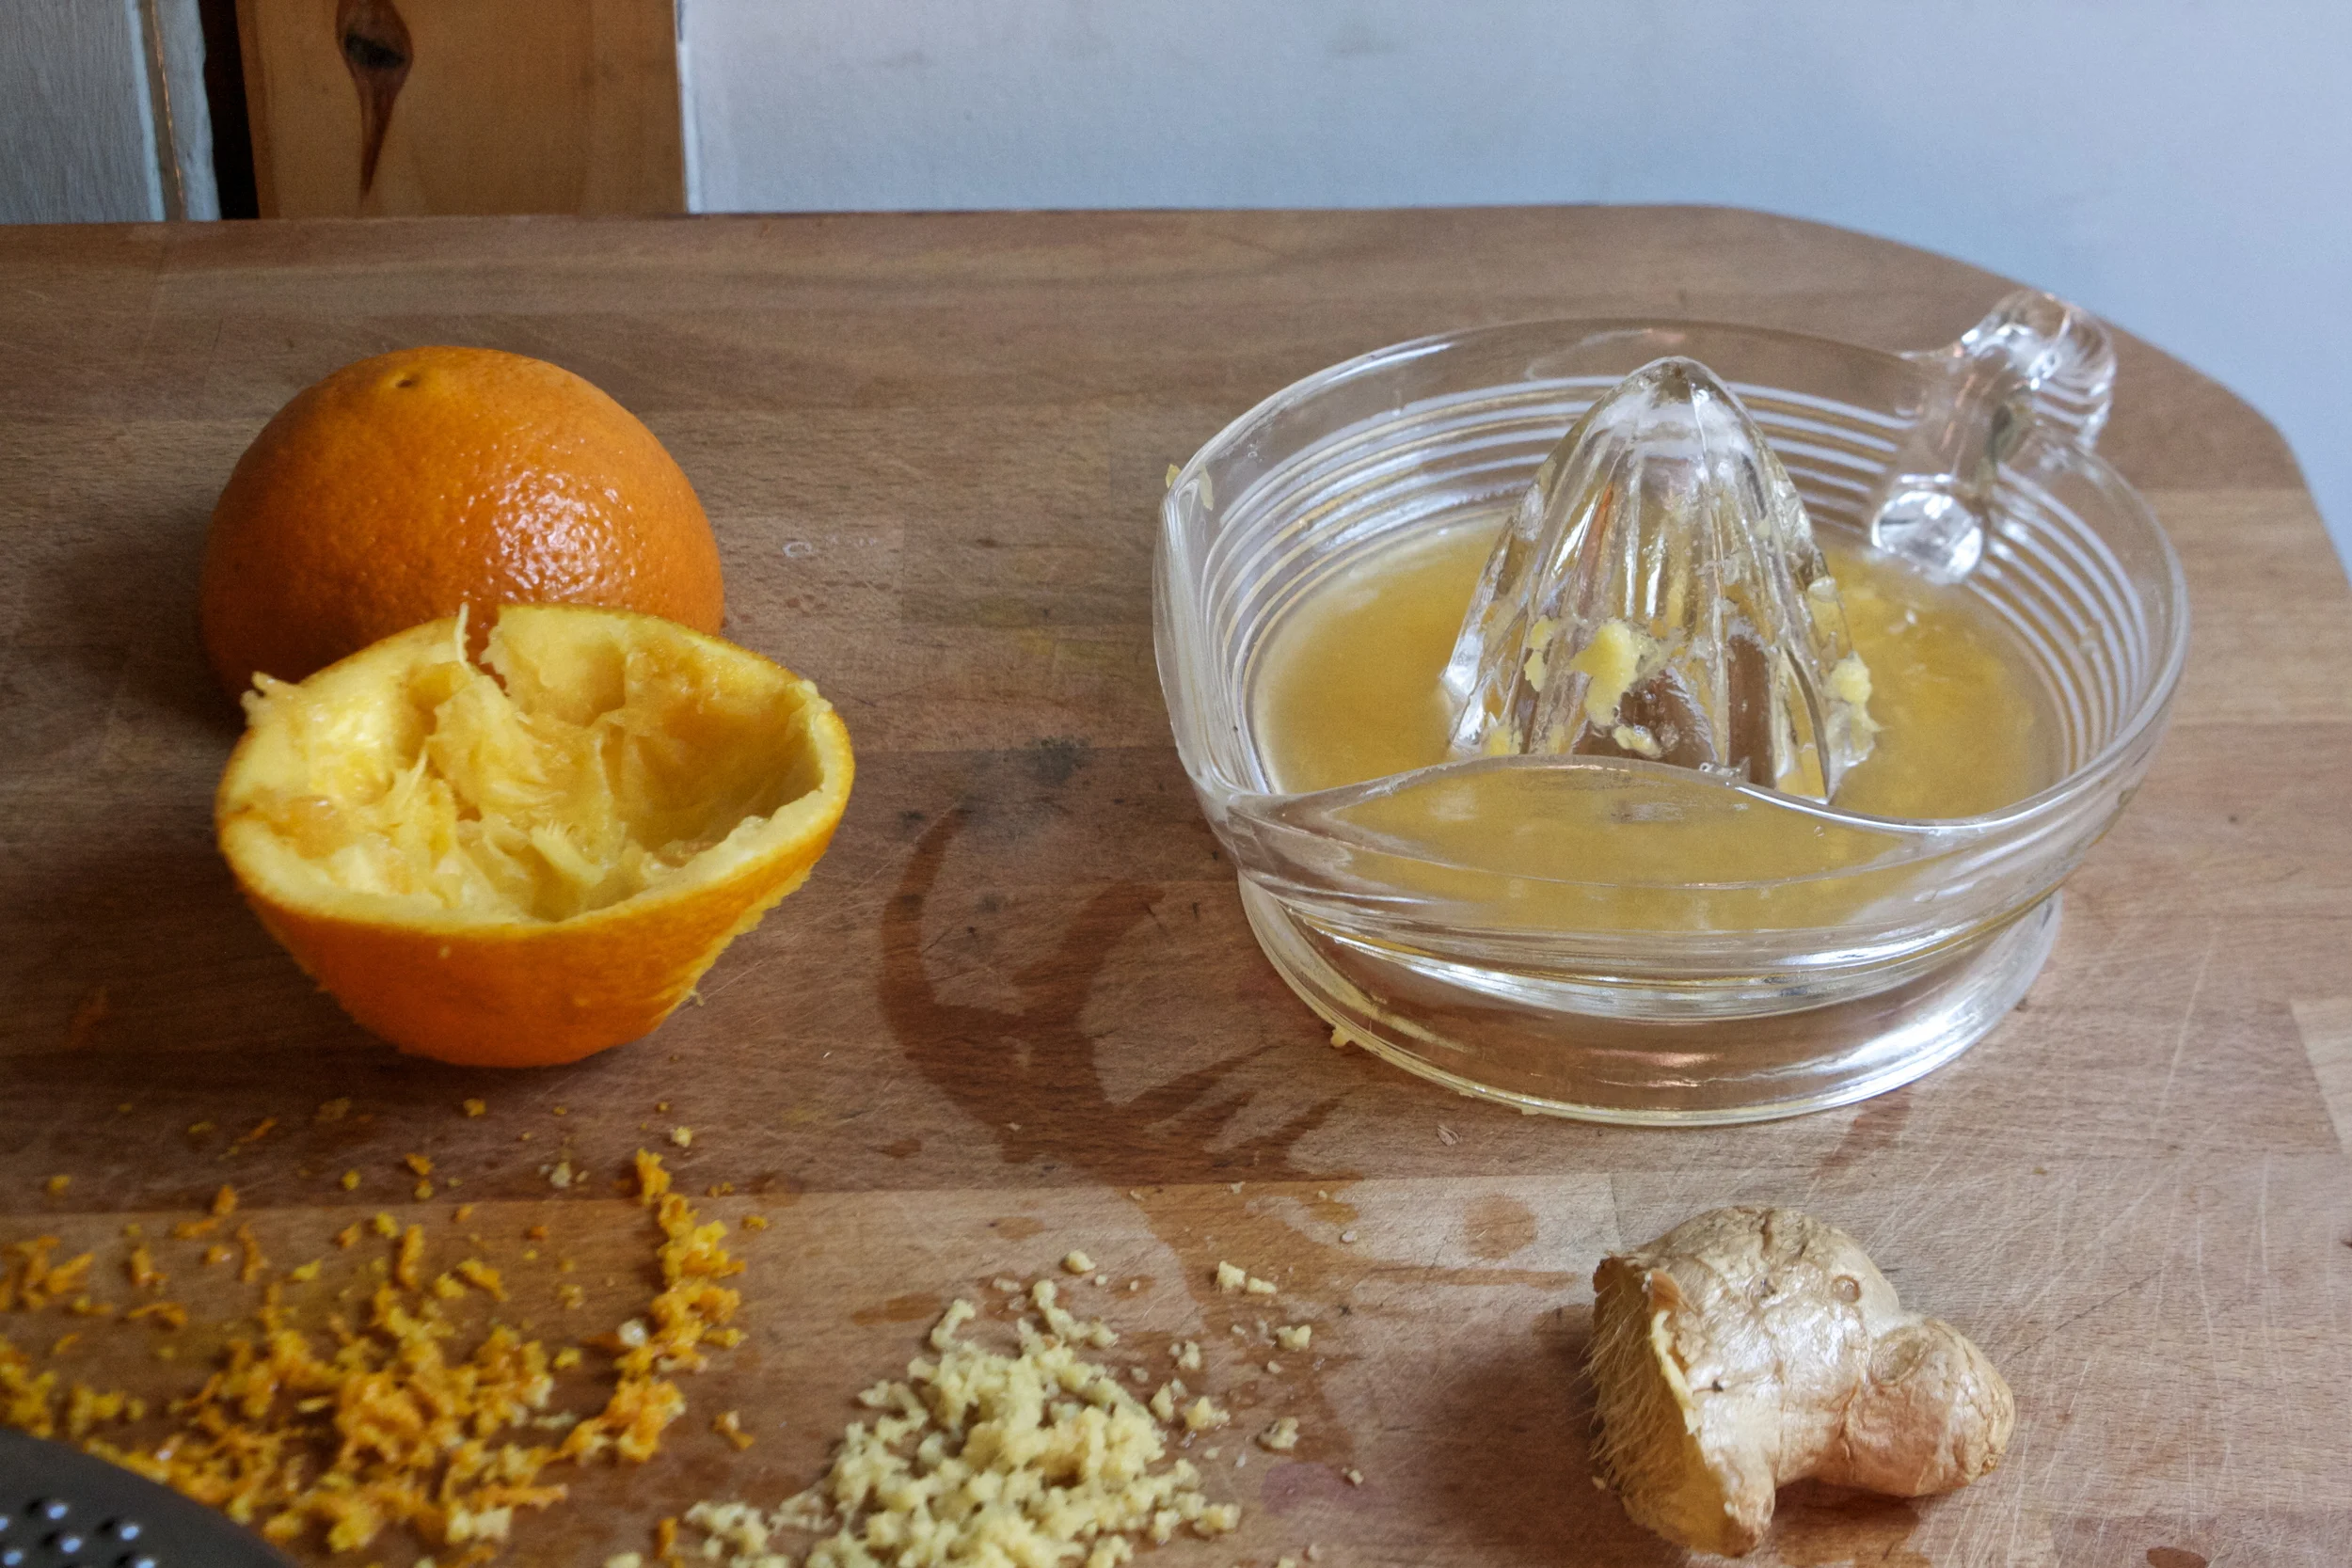
While the carrots are tenderizing, zest the orange then juice it and grate up some fresh ginger.
Once the carrots are fork tender, dump in the juice, the zest, and the ginger. Stick pot back on heat for just a few more minutes to meld the flavor together.
Dump the contents of the pot into the blender and blend blend blend until smooth.
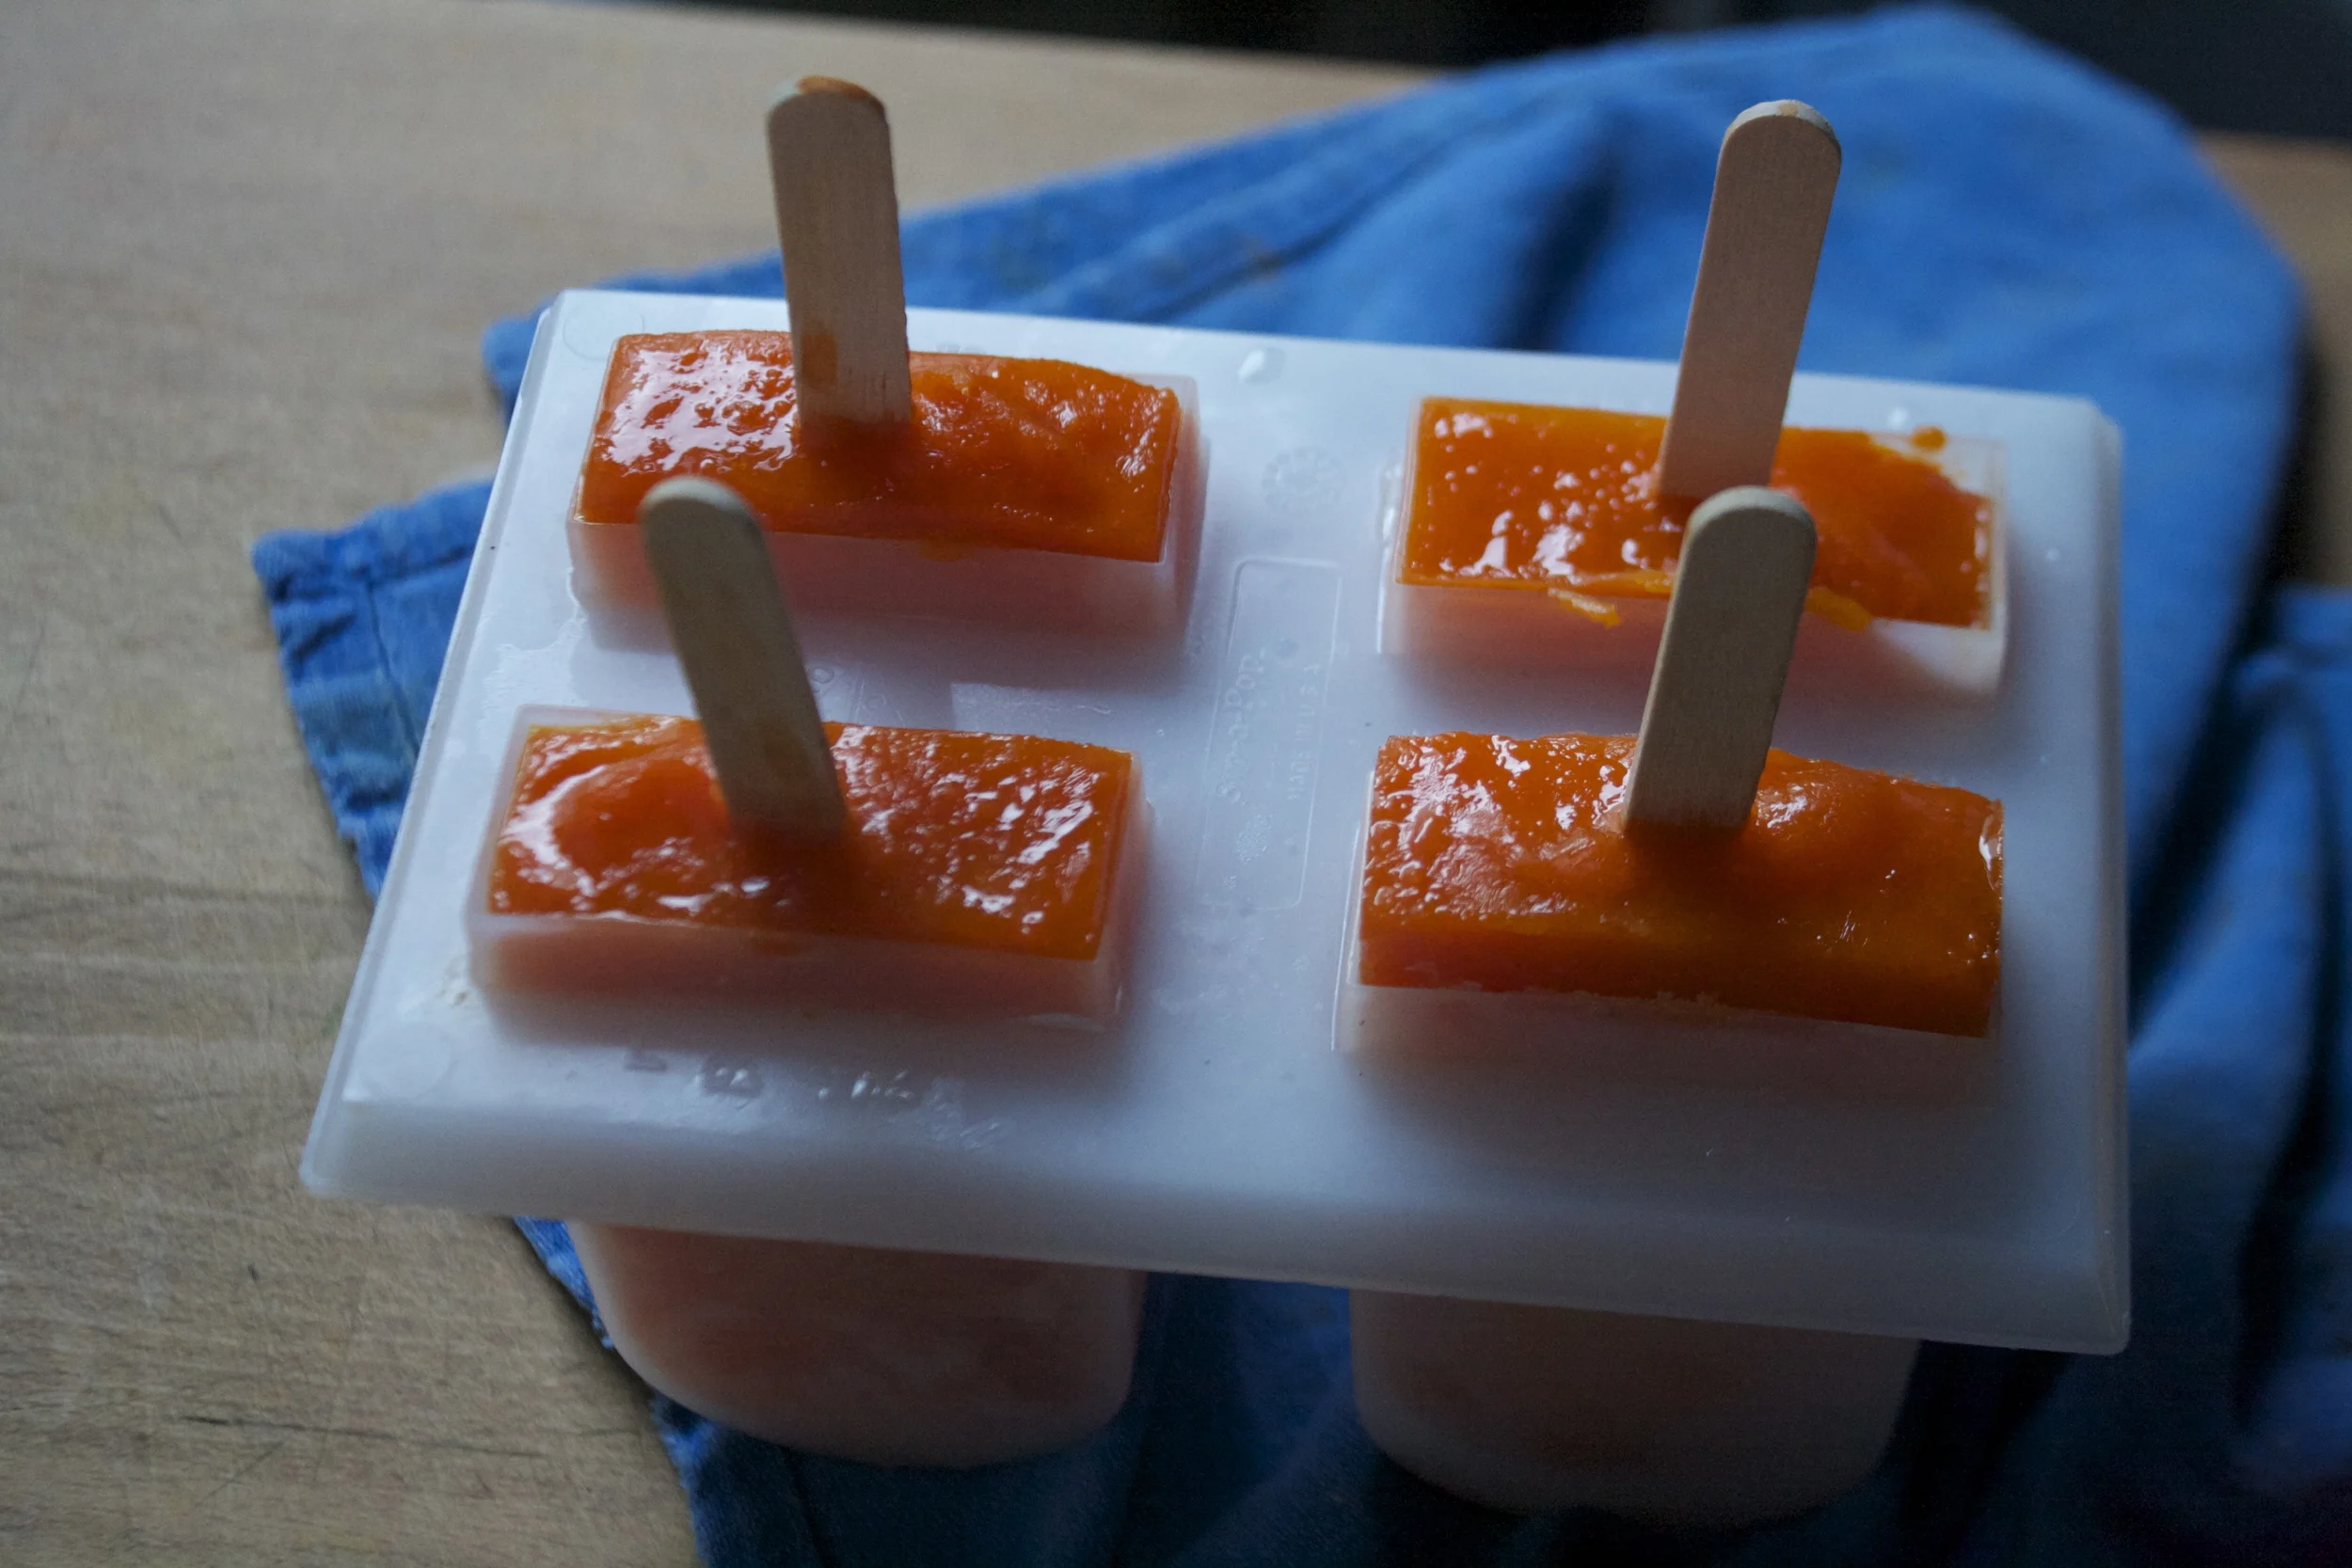
Grab your mold and pour blended mixture into it.. Because the mixture is thick, you don’t have to wait to stick the sticks in so go ahead and do that now.
And into the freezer they go!
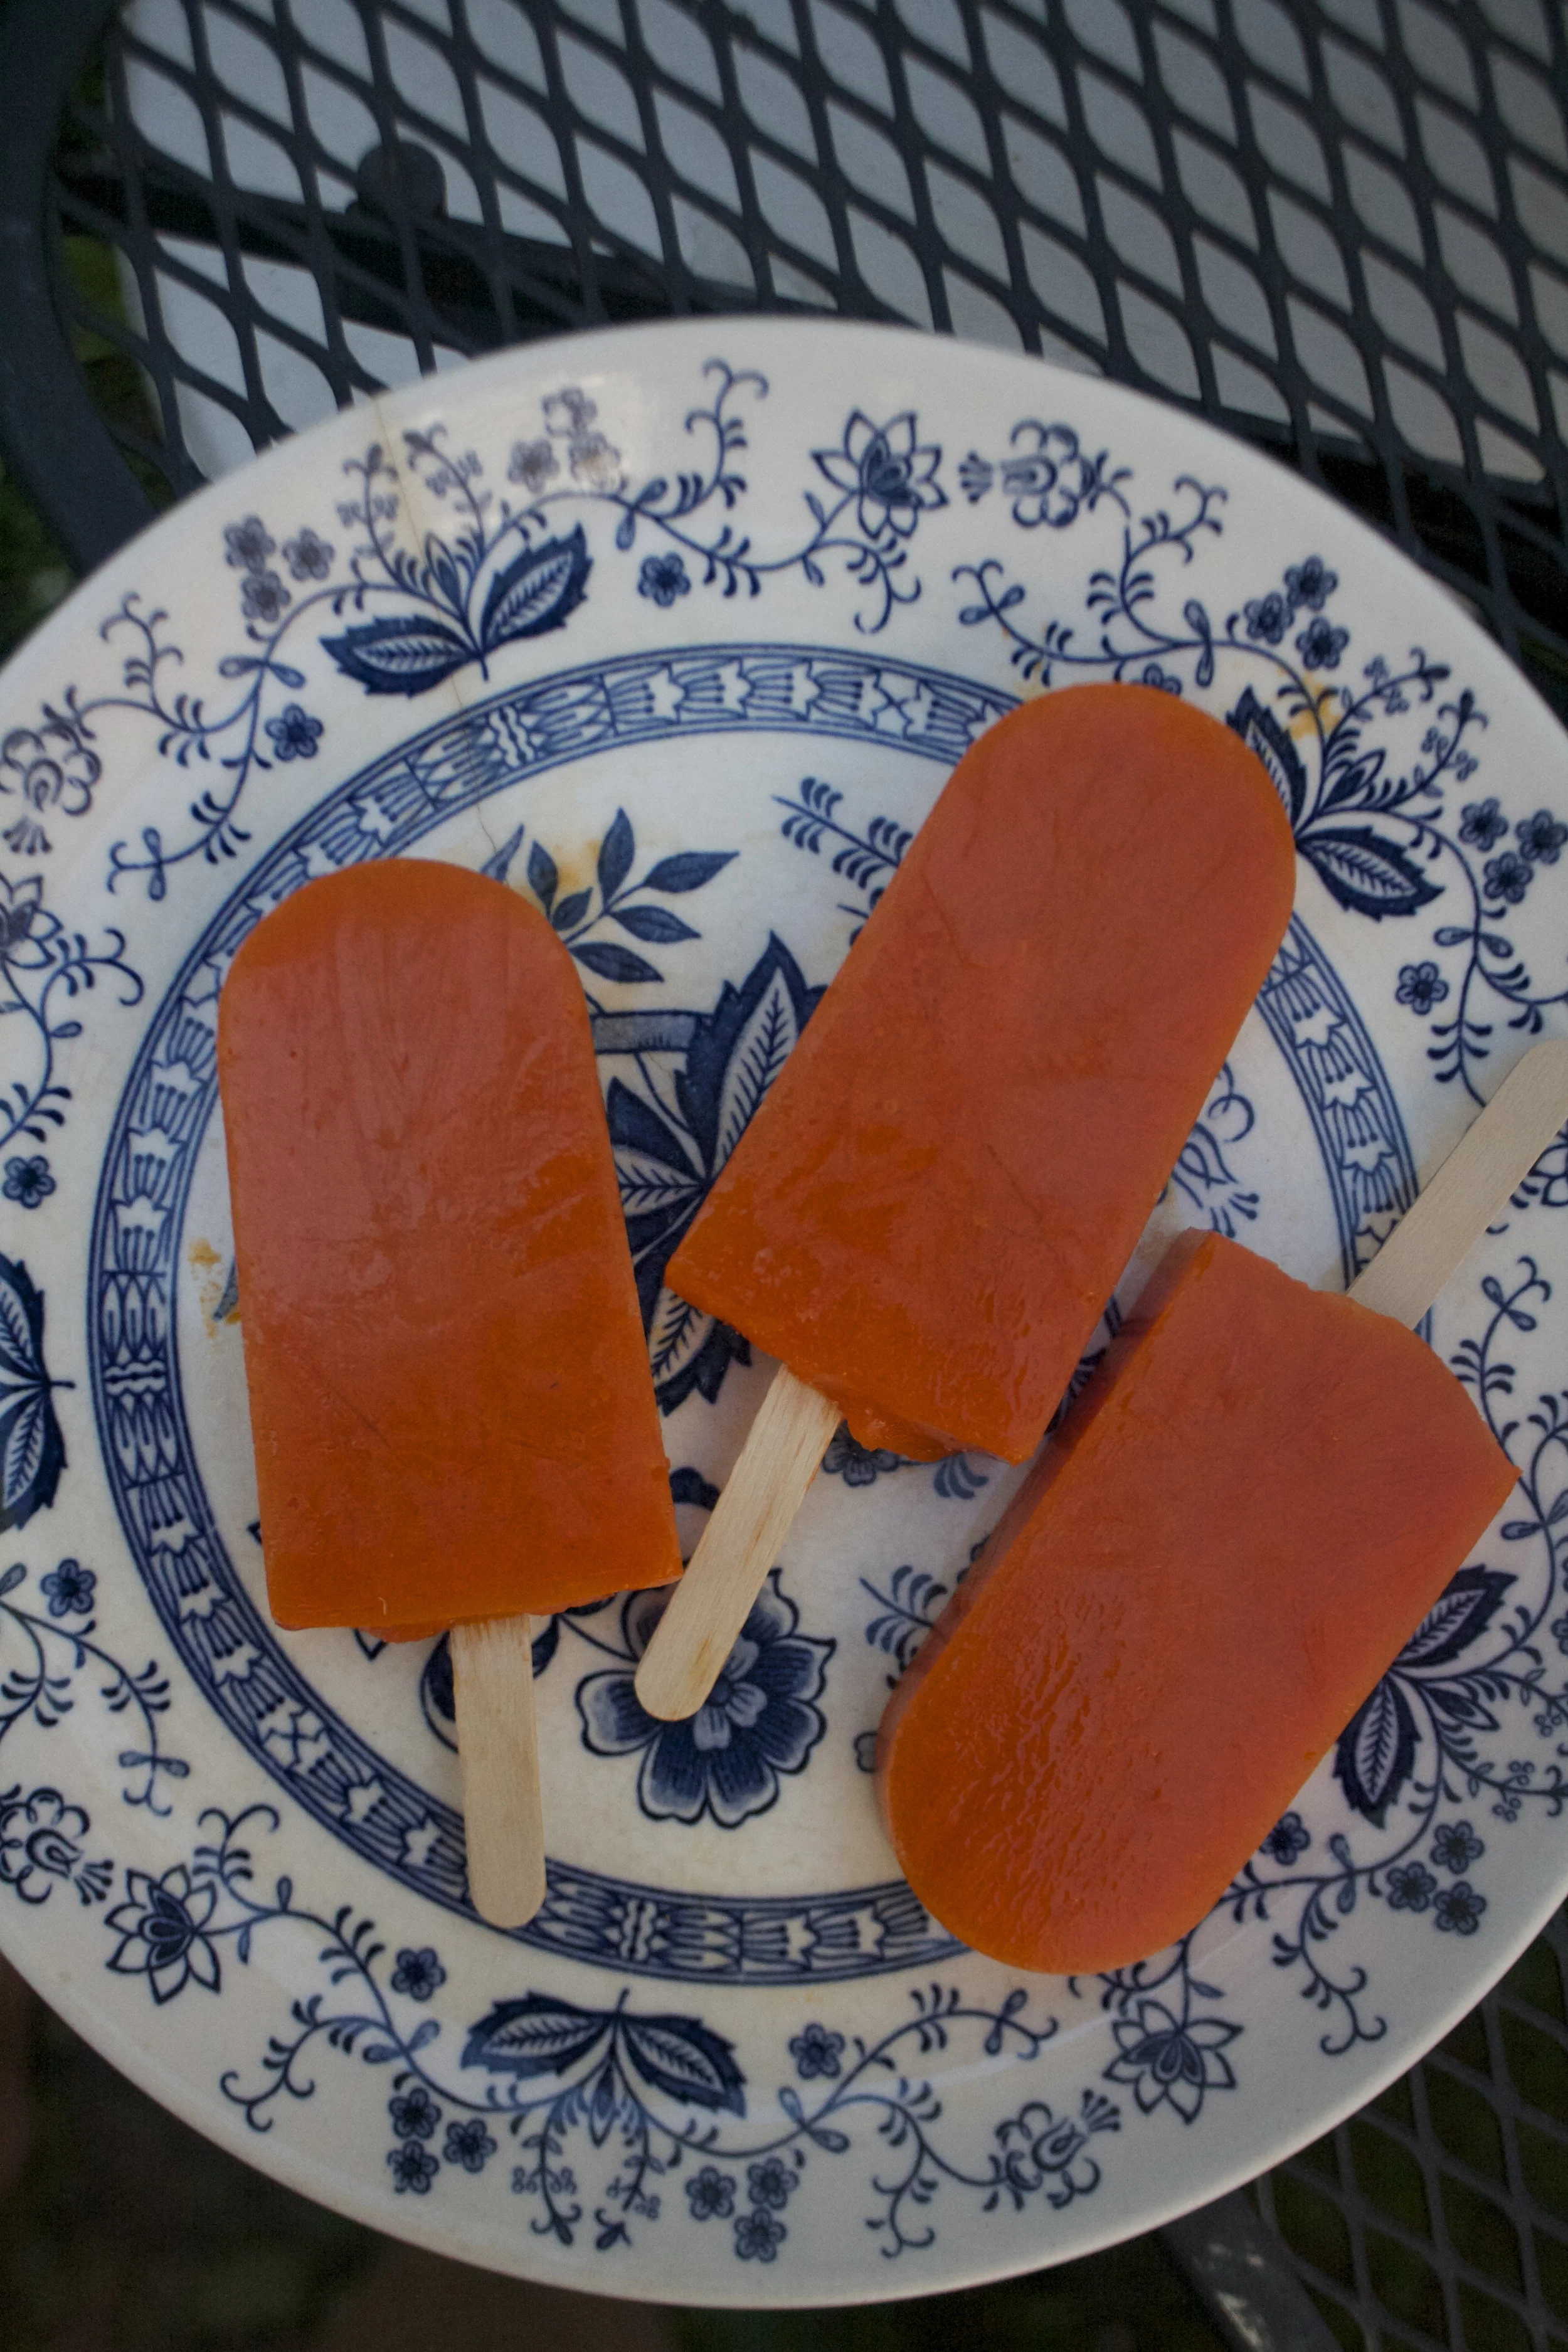
Serious popsicle goodness right there.
Happy Popsicle Week. Go ahead and make them all!
-C
Makes about four or five 3.5 oz popsicles
3 medium sized carrots
1 orange (zest and juice)
1-2 teaspoons fresh ginger
water
Note. I did not use and sweetener and did not miss it but if you really think you need it, add a little bit of honey or sugar. But really, they are sweet enough so maybe give them a chance without it.
Start by chopping the carrots up into coins and stick them into a pot with enough water to just about cover the carrots. Stick on stove on medium heat and place a lid on the pot. Cook carrots until tender.
While that’s happening, zest and juice orange and grate up the fresh ginger. (I used 1 teaspoon of ginger at first, but after I blended it, I decided that I wanted a little more so I added another teaspoon)%u00a0 Once the carrots are soft, dump in all the juice, zest and ginger. keep on heat for a few more minutes to let the flavors all meld together.
%u00a0And now dump the pot of carrot goods into the blender and blend the crap out of it until smooth. (add in a splash or two of water if needed. Taste your puree and if you want more ginger, add it it.( can also decide now if you want any sweetener..
Now pour the mixture into you popsicle molds and follow the mold directions on how to use it (add popsicle sticks and stick it in the freezer)
Freeze until frozen.
Remove from freezer and let sit until pops slip from mold.
Hey there people! How’s it going? Good right.. cause it’s SUNDAY!
Ok, so I know that some people don’t like sundays, but me, it’s my day. The one day of the week that I try to do as little crap as possible and relax, It also means the house is spotless, the fridge is stocked, (so so so stocked..a farm share and garden explosion!)%u00a0and the sheets have been changed on the bed%u2026. I LOVE clean sheets! %u00a0
This past week was for sure one of those dragging, nagging, just want it to be over type of weeks. Why? I am not exactly sure. We have %u00a0had us some good time;%u00a0a back to school dinner, banana ice cream cake, garden time and a few playground trips. But I think I am just feeling the pull towards fall and am just clicking the days away until %u00a0we have the crisp cold days full of apple,%u00a0pumpkins, cozy sweaters, and colorful leaves.%u00a0Call me crazy, but I can’t wait for the warm weather to GO AWAY!
Anyway, %u00a0today I am going to relax a bit. Maybe I’ll finish my book, restart my knitting (I have knitted about 3 hats and keep pulling them apart because I don’t end up liking them.. I have pattern commitment issues) or do a little more painting. (on canvas, not walls). %u00a0I hope to take the mr and the pup for a little hike and of course, drink a much coffee as my heart can handle.%u00a0
How about you? Got any plans for the day?%u00a0
Note about picture above%u2026. Saw the stuffed bear on a walk with the pup.. He went BATSHIT when he saw it. I don’t know how I even managed to take a picture cause he was barking like an ass at the thing%u2026. Thats my dog.
Here is internet stuff from the week
-No more squares on Instagram. I am not going to lie, haven’t noticed%u00a0
-Uh, no shit.%u00a0Turns Out Sarcastic People Really Are%u00a0Better at Everything%u00a0
-Can You Use That In A Sentence? Dictionary Adds New Words%u2026Awesomsauce!
-Plants all around!!!%u00a0
–%u00a0This house%u00a0and this house
-Why isn’t this happening everywhere?%u00a0Streamlined Berlin Grocery Store Creates No Packaging Waste
–If only I had a library.. These are tops!%u00a0
-The Complete Guide to Gluten Free Baking.%u00a0Thanks King Arthur Flour!
-Human Face Coffee Lids.. hahaha%u00a0
-Indiana Brewery Is Now Making a Beer for Dogs.%u00a0I know my pup would like one.
And a few pictures from the week (All taken with my I phone 4.. I kept forgetting my camera)
No it is not weird or gross or anything. I wouldn’t do that to you. These popsicles are down right deeee-lightful. Rich and creamy and sweet. Both the creamy coconut and the toasted coconut pair perfectly with the sweet corn flavor. They truly are delicious and I think that if you give them a try, you will think so too. And really, now that it is like almost summer, who doesn’t have a little extra corn laying around. So you might as well just make a batch.
And then you will thank me for introducing you to the goodness that is a toasted coconut and corn popsicle. Heck, the mr even ate one and he (still, after I have proven him wrong on a many occasions) says he hates corn. So if a corn hater likes these, imagine what a corn lover will think. HAHA. Corn lover.
To the popsicles!
The stuff. Corn, full fat coconut milk, shredded coconut, and maple syrup.
First, remove corn from cob and place on a baking sheet. Bake in oven for 10-ish minutes until corn is cooked and all nice and sweet.
And don%u2019t forget to toast the coconut. A few minutes in the oven is all it needs.
Now to blend. Corn and coconut milk go in first to blend until nice and smooth. Then add in the maple and coconut and blend until just combined. That will leave a little coconut texture. If you want it smooth, well just blend until completely smooth. Do what feels right to you.
Thick, rich and creamy popsicle mixture.
Now pour it into the molds and stick into the freezer. You could probably stick the sticks in now or wait a little while for the mixture to set a bit, but just don%u2019t forget to get sticks in those popsicles before they completely freeze. That would suck.
Pop those lovelies out of the molds and there you go.
The anticipation is over. Eat a popsicle
-C
makes 4 average sized popsicles
2 ears corn (about a cup of corn kernels)
1 cup full fat coconut milk (the canned stuff)
1/4 cup shredded unsweetened coconut
2- 4 tablespoons maple syrup
Note. If you have left over cooked corn, just use that. You don%u2019t need to recook it so skip the cooking corn step.
Preheat oven to 400
Remove corn kernels from cob and place on a baking sheet pretty evenly. Pop into the oven for 10 minutes of so or until the corn is cooked through and nice and sweet.
Remove corn and dump it into blender and set aside to cool for a few minutes. Place the coconut onto the baking sheet and pop into the oven for 3-4 minutes to just lightly toast. When the coconut is toasted, remove from oven.
Grab the blender with the corn and pot in the coconut milk. Blend until smooth. Add in the maple (start with 2 tablespoons and work your way up to the sweetness you like) and the toasted coconut. Blend quickly just to combine for a slightly more textures popsicle or blend completely smooth if you would rather a smoother popsicle.
Pour mixture into popsicles molds and place into freezer. After the mixture sets up (about an hour) pop sticks into molds. Continue to freeze until completely frozen. Usually 4-6 hours.
And then when it is popsicle time, remove popsicles from molds and eat them.



















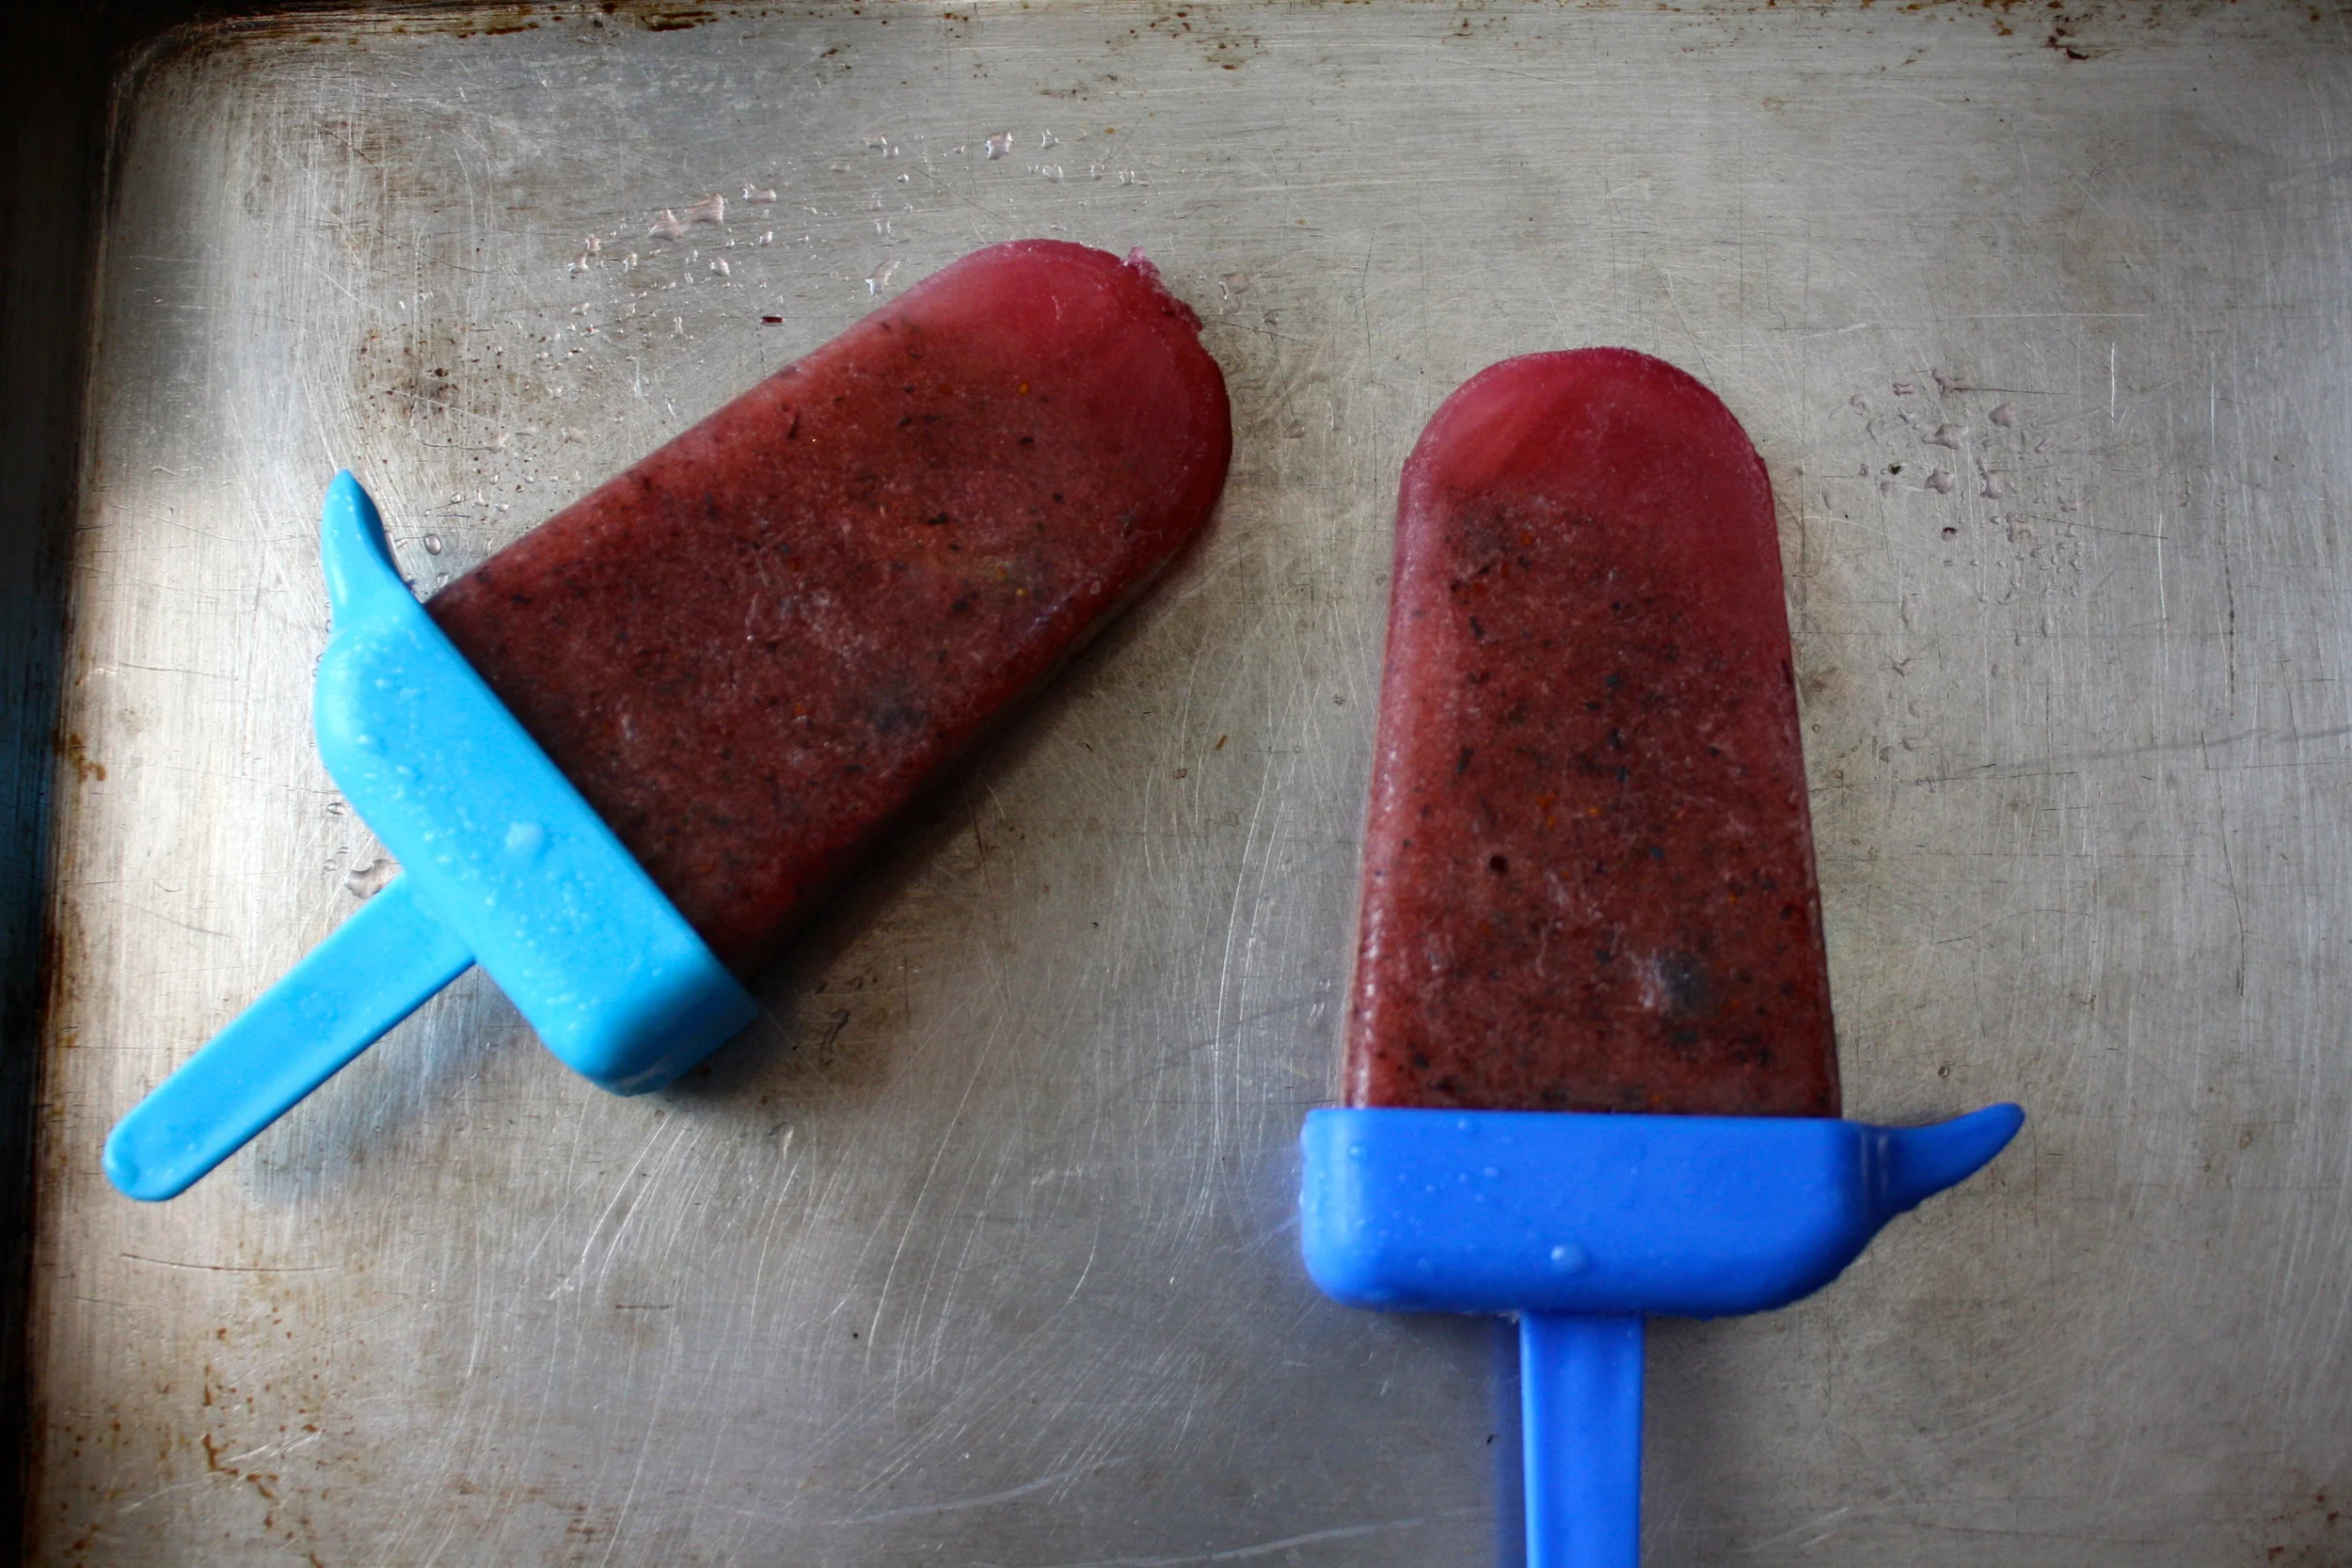
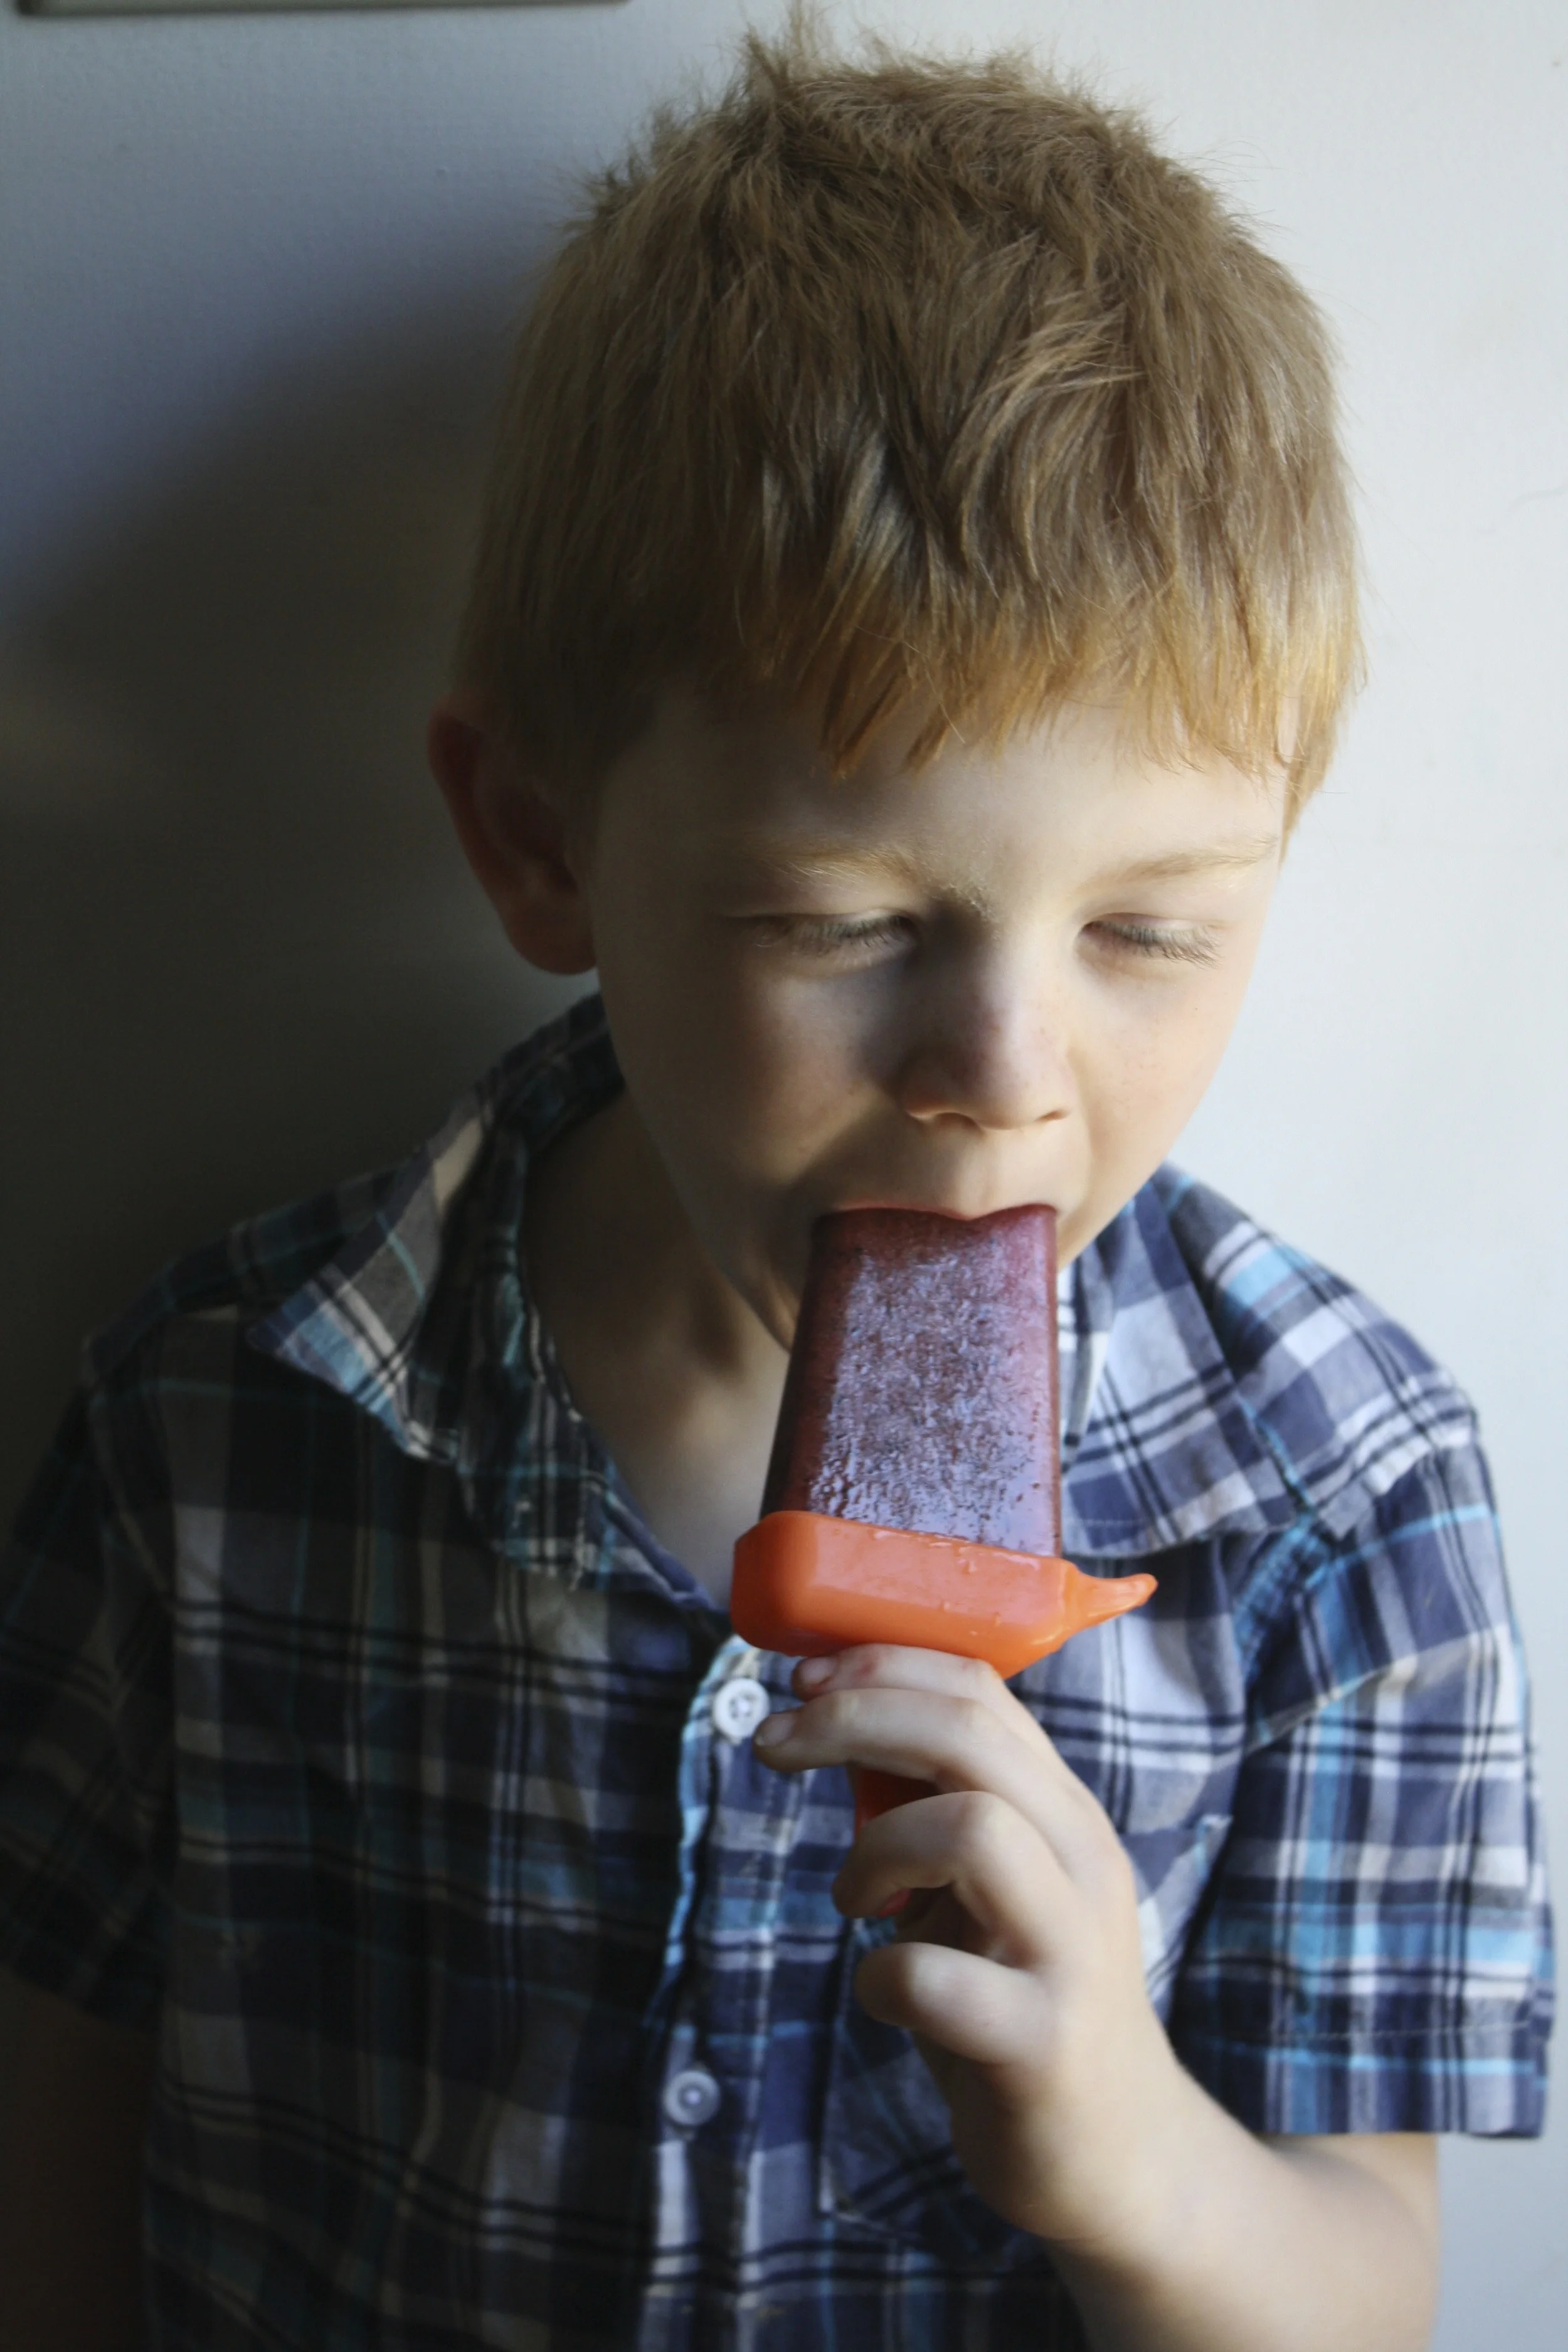
 I can’t stop eating these. They are like little balls of crack and I am an addict.
 The stuff %u00a0you will need.%u00a0Washed and drained fresh grapes (green or red. I usually use red but the green were half the price and the red ones didn’t taste very grapie*) Creamy peanut butter, skewers, and a little bit of cinnamon or cocoa powder (optional)
 When the grapes are frozen, melt peanut butter. Take a big glob and stick in a tall skinny cup or bowl and stick in the microwave or heat in a sauce pan and then transfer to a tall skinny vessel. %u00a0Take frozen skewed grapes and, one skewer at a time, dip in the peanut butter. Cover with as much or as little of the peanut butter as you want and place on wax paper. If you are feeling feisty, add a sprinkle or cinnamon or even a dash of cocoa powder. Or, this may seem a little crazy, but garlic powder is so F*ing good.(it’s worth at least giving it a try) When all grapes are dipped, place back into freezer for another 10 minutes or so to let the peanut butter set up a bit.
 Whenever your ready%u2026 Eat. And be so happy. And always keep a back stock of frozen grapes in the freezer. They are the best.

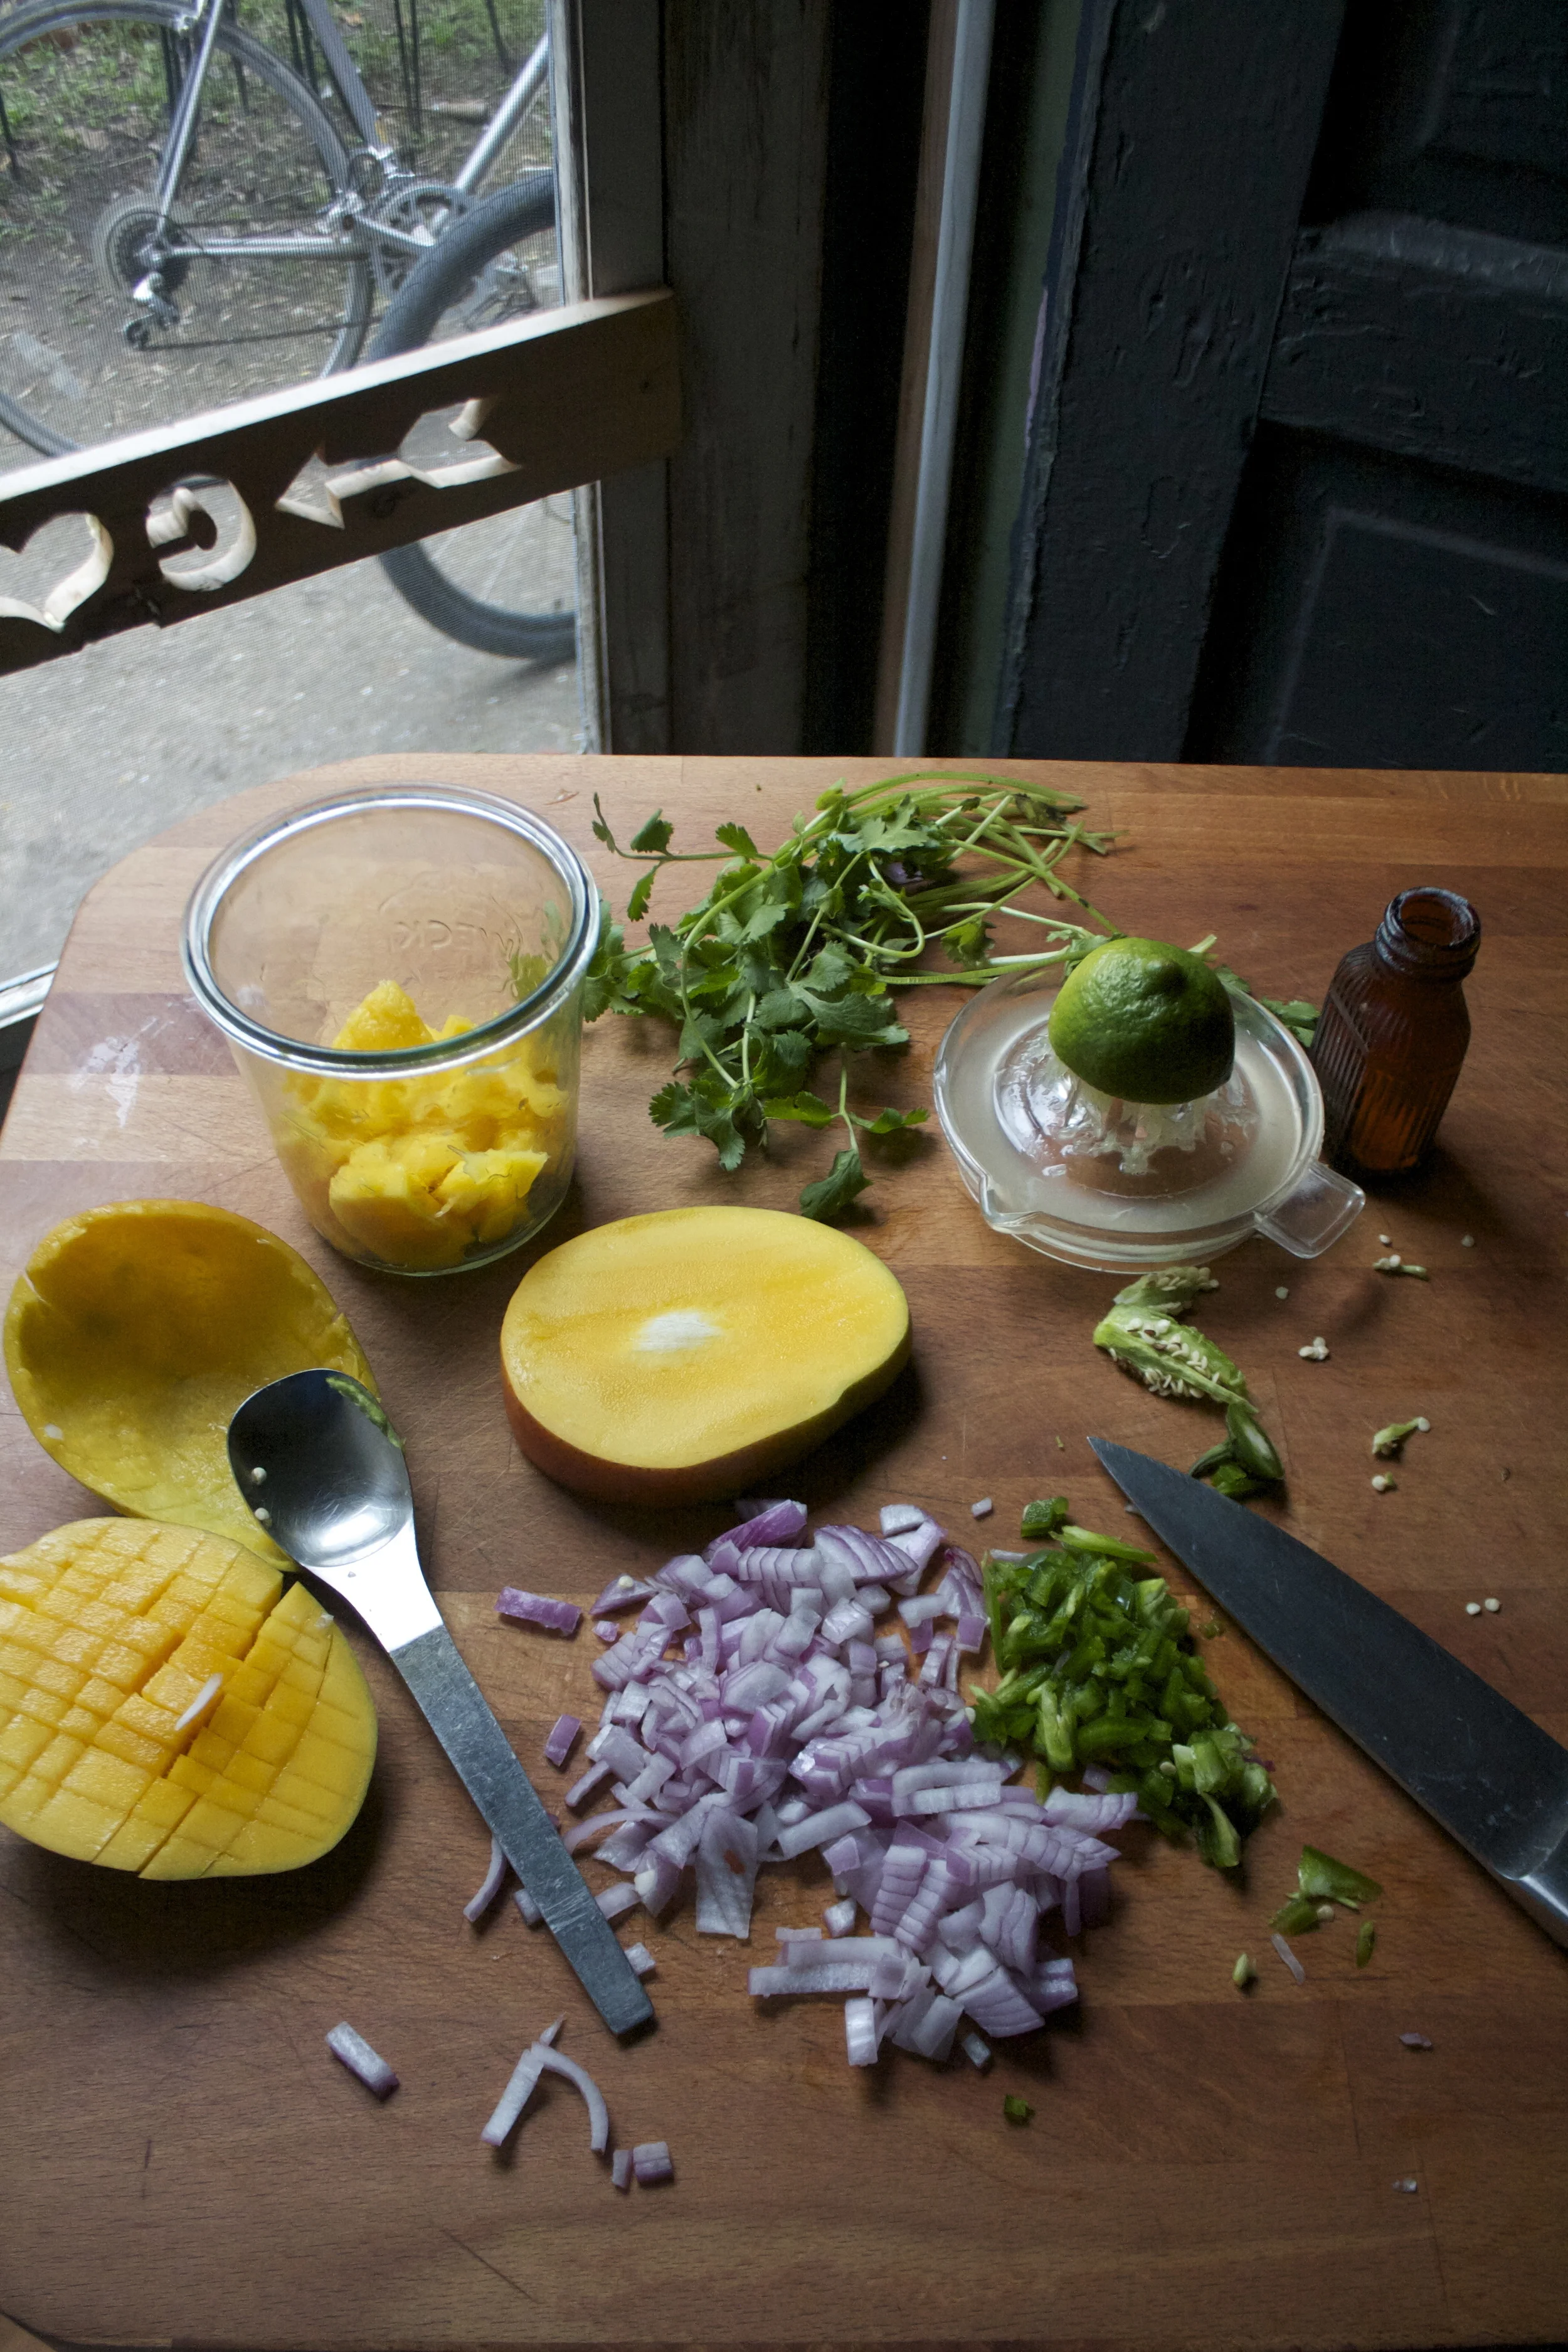


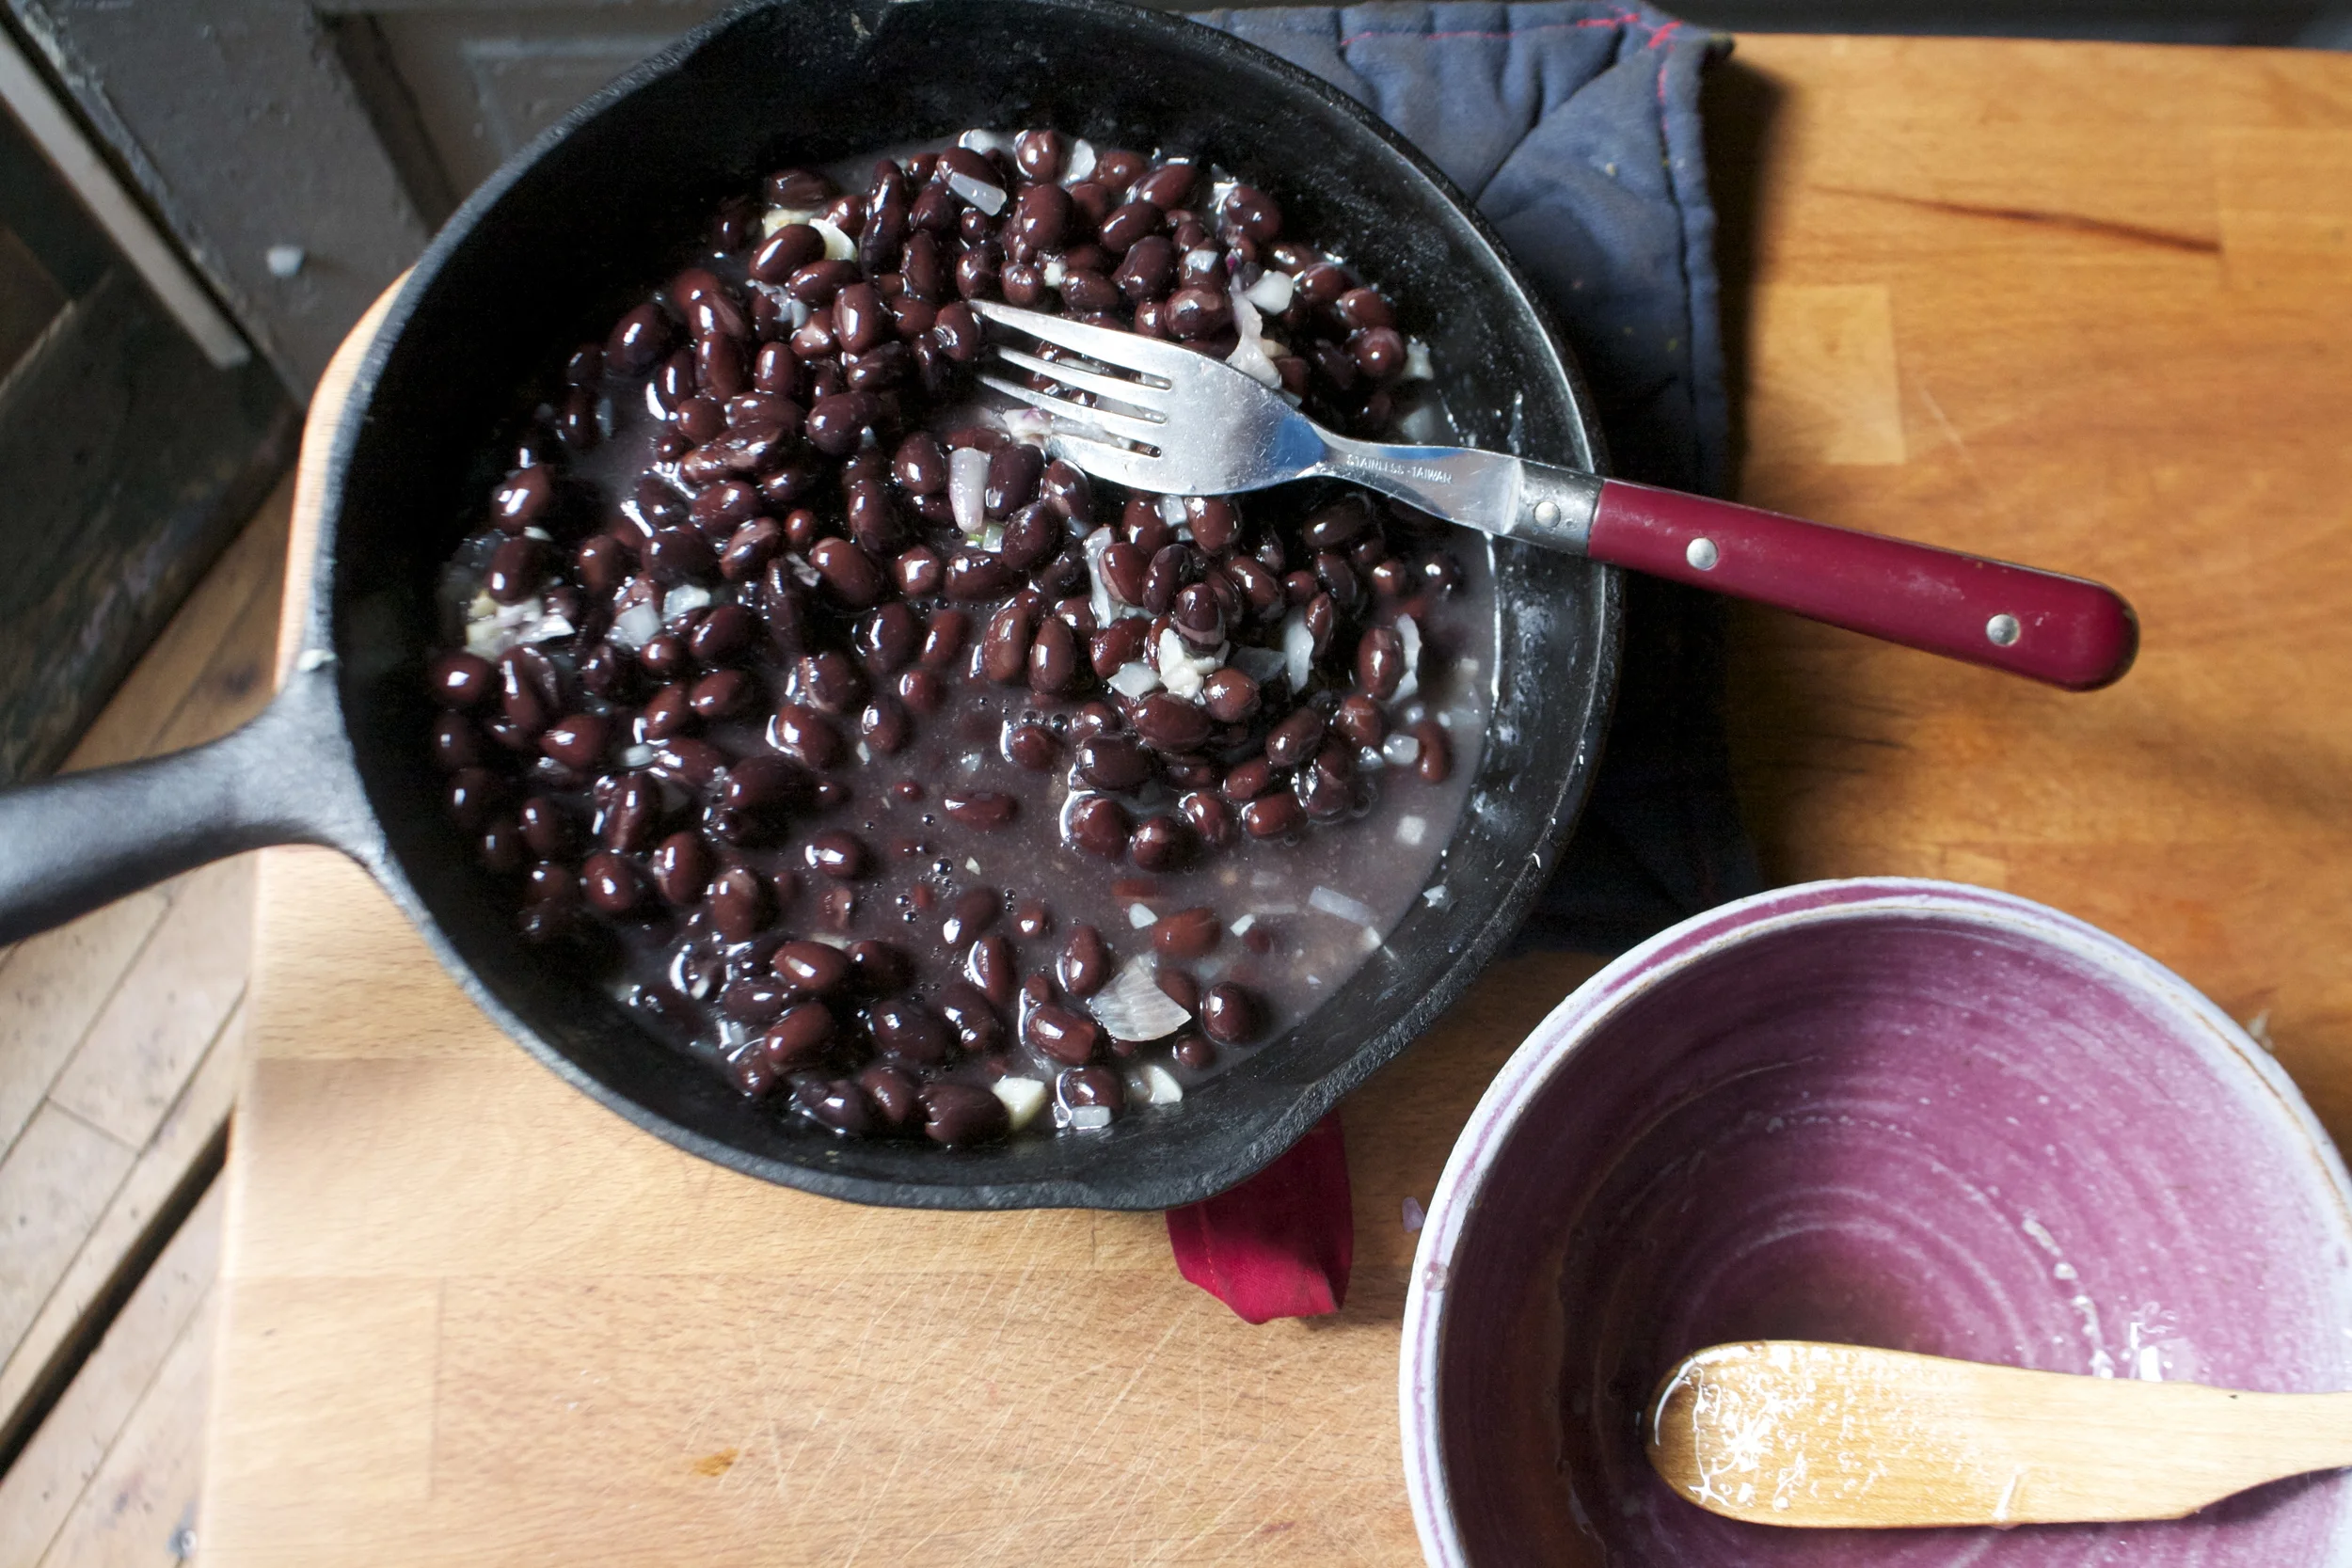
















OLD — The Lovely Crazy
August 19, 2019 by maximios • Blog
My winter farm share is coming to an end this week. One more pick and then a three week stretch until the summer share starts… WHAT AM I GOING TO DO!!!
Stock up as much as I can is what.
I have been strategic about the roots and veggies that I have chosen to bring home the past few weeks.(My farm lets you pick what you want) I know what I can buy at the store, things like carrots and potatoes, so I have been passing those up, but the roots like beets and celeriac… I have been bringing home baskets of those and hoarding them in the fridge and basement in preparation for the laps in farm fresh food and knowing that if I want to by these at the store it s going to coast me a million dollars a pound. (a for real million dollars)
Yup, lots of roots around here, especially celeriac root which is fantastic. I am kind of obsessed with celeriac, with its fibrous, knobby exterior, soft but almost meaty texture inside, and a flavor that is close to celery but so much better. I don’t know why it has taken me so long to do a posting featuring this amazing root vegetable (I eat it almost every day)
So here, an amazingly tasty, hearty but not heavy, celeriac recipe. Perfect for spring and the change into summer…. Mustard roasted celeriac with an fanatic split peas gravy that will have you licking you bowl clean.
The stuff….For the split pea gravy we have a carrot, a parsnip and a large onion chopped into small chunks. Salt, thyme, a bay leaf and of course the split peas. Then there is the celeriac root* sliced into 1/2 inch thick rounds and some plain old yellow mustard .
*Note. I don’t peel my celeriac root. I really enjoy the fibrous exterior but realize that some don’t(The mister does not like it) so peel it if you want.
Toss the chopped parsnip, carrot, onion and the spices into a pot on medium heat and let veggies sweat a few minutes until tender. Add in the split peas and enough water to cover everything. Turn pot on high and bring to a boil, then cover and turn to low. Make sure to give the pot a good stir ever few minutes and add more water if needed
While the gravy is cooking, take the celeriac rounds and brush each side with yellow mustard, sprinkle with pepper, and place on a baking sheet. Stick into the oven to roast for about 25 minutes, flipping the rounds after about 10 minutes.
Once the peas have soften, remove the bay leaf and puree until smooth and oh so creamy. Taste and add more salt and pepper if needed. If you find that the gravy seems to thick, just add in more water until it’s the consistency that you want. The gravy is made, the celeriac is roasted… now we are ready to eat!! Stick the celeriac on a plate and dump good amount of that gravy right on top. Feel free to add a bed of spinach, or a grain or anything you want, because why not, and also some chopped tomatoes for a little acid and prettiness.
Serve with the fanciest knife and fork you can find. Extra yellow mustard and sriracha sauce are great condiments to have close by.
Happy Tuesday!
-C
Mustard Roasted Celeriac with Split Pea Gravy
Preheat oven to 400 degrees
Small dice the carrot, parsnip and onion and throw into a large pot. Spinkle with salt and pepper, add in the thyme and bay leaf and add a splash of water. Stick on stove on medium heat and stir. Let cook until the veggies become soft and fragrant. Now add in the split peas and 2 cups of water. Bring to a boil then cover and turn heat down to medium low. Let cook until the split peas become tender (about 25 minutes) string on occasion and adding more water if the peas are not completely summered while cooking.
Once the peas are tender, let cool for a few minutes, remove bay leaf, and either dump into a blender or blend with an immersion blender until nice and creamy. If gravy seems to thick, add in more water.
Scrub or peel celeriac roots and slice them into 1/2 inch think rounds. Place on a baking sheet and brush mustard on both sides and spindle with pepper. Stick into oven for about 10 minutes, flip, then back into the oven for another 15 or so minutes, or unit the celeriac is tender.
When the celeriac is done remove from oven and stick a few rounds on a bed of spinach (or not, or any kind of grain or green you like) Top with a hearty helping of the gravy and toss on some chopped up tomatoes.
Eat with at knife and fork like a fancy person.