
THE LOVELY CRAZY
As I was sitting at the table making this simple little ode to spring salad, it started to snow outside. “Look away”, I told myself. “Pretend you didn’t see it.” Well, I saw it then, saw it before bed, and when I woke up this morning , there was (and still is)%u00a0 a few inches of fresh white covering up my hopes of a warm spring day. I have to admit that it is really very pretty, but what the hell.
This salad is all spring. Fresh spinach from the farm, asparagus in abundance every store I go to. Simple, crisp, refreshing. A nice change from a winter heavy with roasted roots and thick stews. I don’t know about you, but this is the time of year that all I want to eat are fist fulls of fresh green stuff. (I could insert a picture here of me sitting on the couch munching away from a bag of baby kale, but I won’t. You don’t need to see that)
Now if it would just stop snowing and be spring for real, that would be great.

The stuff. Fresh spinach. tender asparagus, a lemon, and salt and pepper..
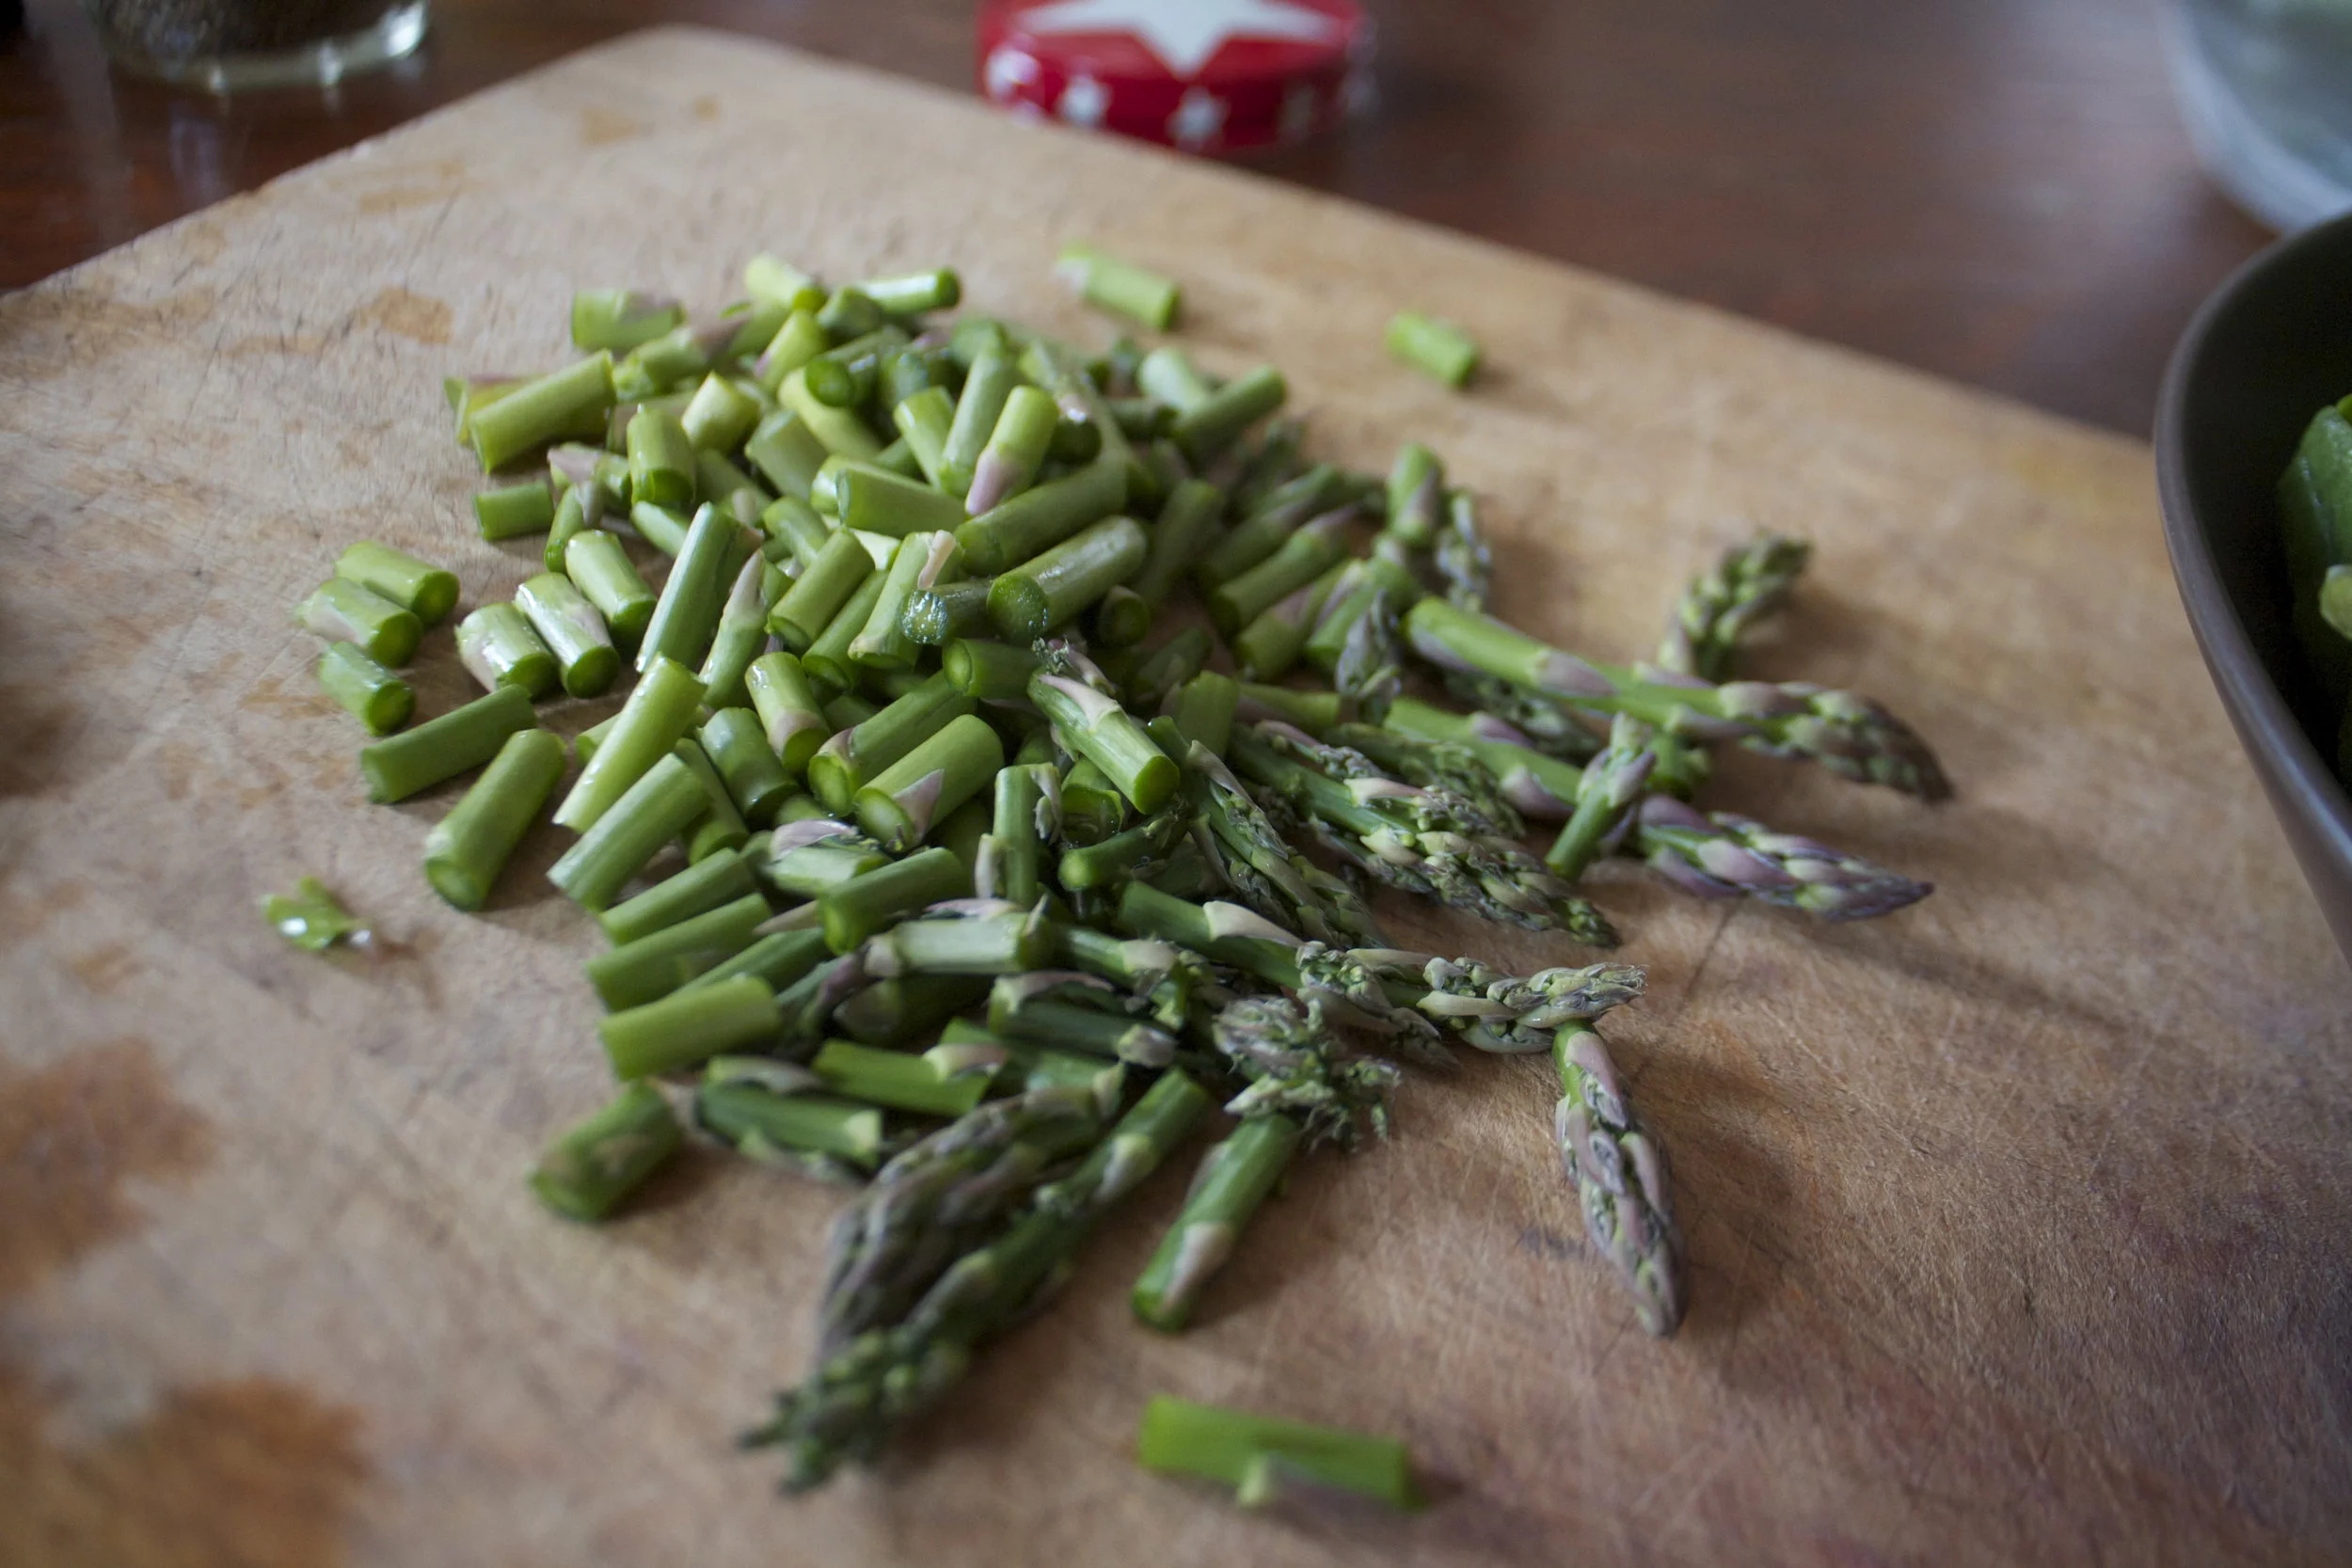
Snap off the woody ends of the asparagus then dice up the rest.
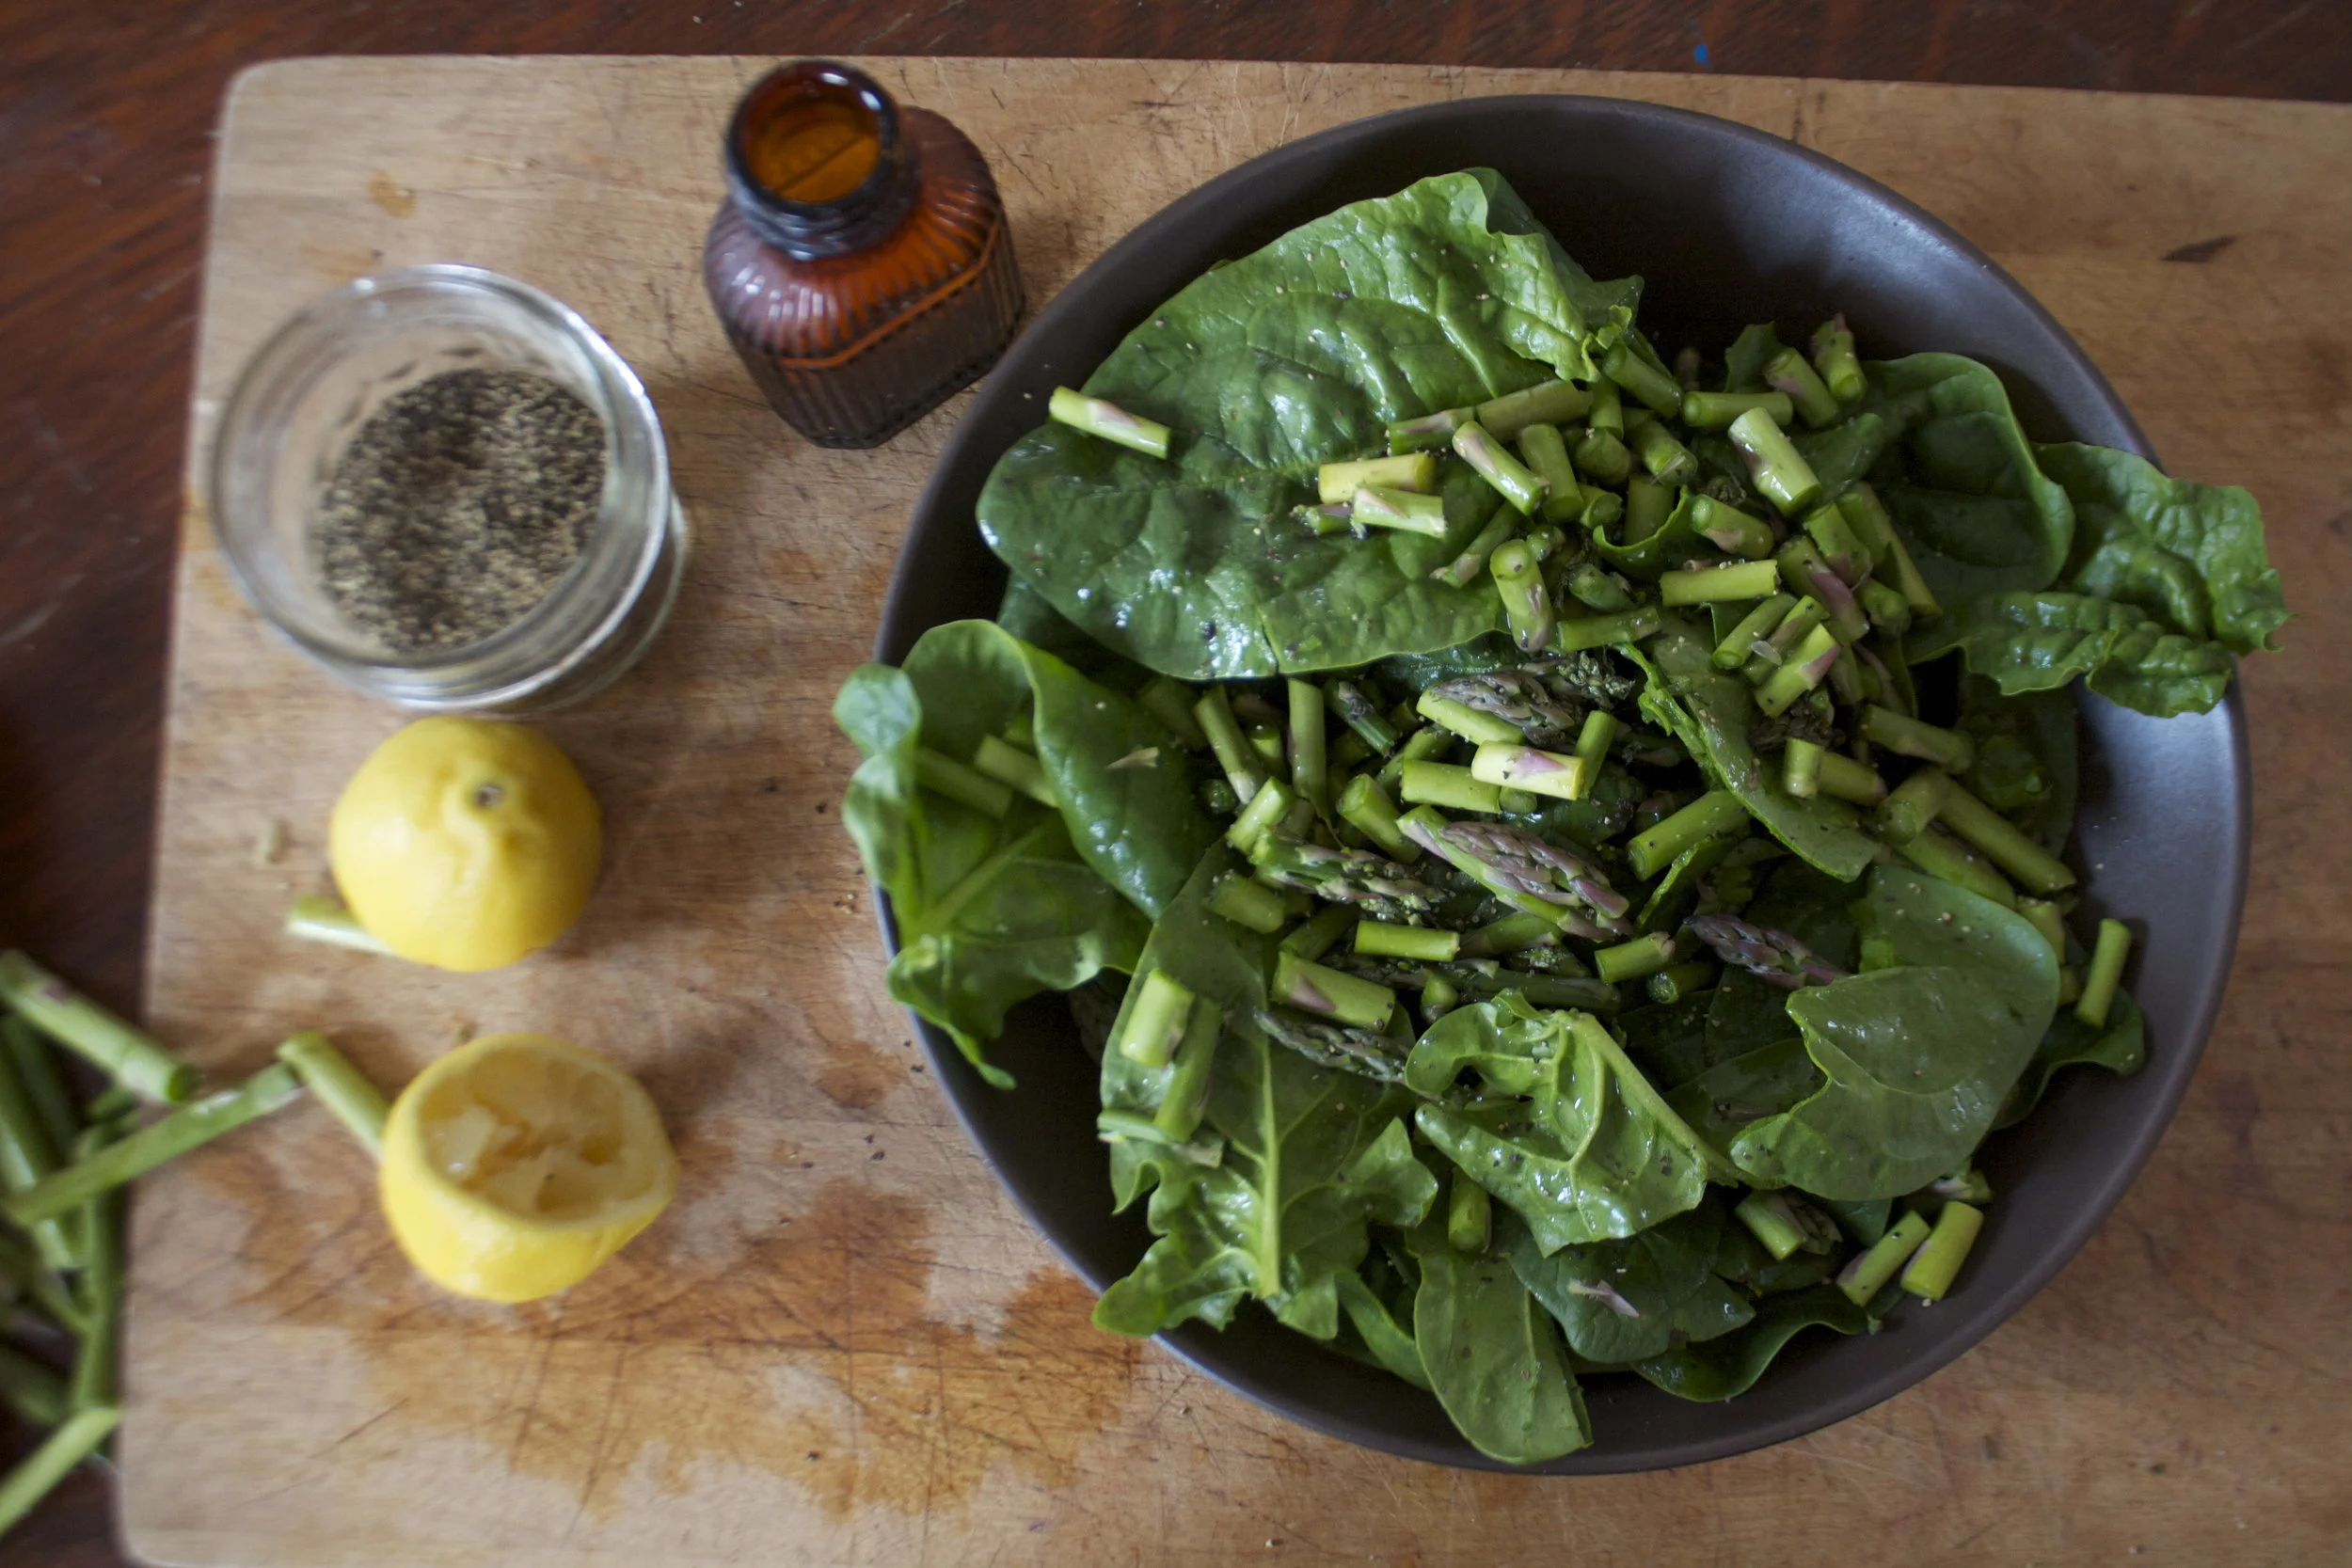
Toss the chopped up asparagus in a bowl with spinach. Squeeze the juice of the lemon all up in that and sprinkle with salt and pepper. That is it.

Fresh, green, springtime goodness in a bowl.
-C
- 2 large handfuls of fresh spinach
- 10 ish spears of fresh asparagus
- 1 lemon
- salt and pepper
Wash and dry spinach ans place in bowl. Snap off woody end of asparagus (I save this bits for soup) and chop up the rest into mouth sized pieces. Toss the chopped asparagus into bowl with spinach. Squeeze on the juice of the lemon and sprinkle with salt and pepper to taste.
Eat.
Winter squash season is in full swing. I have already started to hoard them in all the nooks and crannies around the house. There are sugar pumpkins on the stairs, buttercups on the floor and delicatas all over the counter. Ever meal, breakfast, lunch or dinner needs to have some squash. House rule.
This hear spaghetti squash has been sitting on a stool for about a week, looming in it’s size and just waiting for me to bake it off. The spaghetti squash at farm share have been bigger then a small child so I have been a little hesitant to bake it until the mr was down with eating it with me too.
What I love about this dish is that it is really simple and easy to make.We have been working later these past few days so when we get home, we really just want to eat and go to bed (not really….kinda really) The initial baking of the squash takes a little time, but its zero hands on and can be done ahead of time. And the rest, take like 8 minutes tops. Also a lot of time people forget that you can eat a spaghetti squash with things other then tomato sauce. (although that’s good too) But really, the sky is the limit. Squash goes with everything. %u00a0
So dinner. I had the squash and went with what I had in the fridge. Beans are great, fresh pico is amazing, all atop a big pile of some warm spaghetti squash. Well that is just what we call a winner. A winner dinner!!!

The stuff. A spaghetti squash (maybe go for a smaller sized one if you don’t want a lot of left overs) precooked or canned black beans, a red pepper, and some red onion. Also need garlic, cumin (crushed or seeds) salt and pepper, olive oil, and fresh cilantro. And lastly some home made or store bought pico de gallo or any of your favorite salsa.%u00a0

You don’t see it here, but the squash went into the oven about an hour ago to cook. I did nothing to it besides stab it once andjust stuck the entire thing right on in and cranked up the heat. Simple, easy.
Ok, so when the squash has been baking for a while, start getting the rest of thestuff ready. Small dice up the red pepper and the onion and toss it into a lightly oiled hot skillet to sweat down a bit.

Once the pepper and onion are nice and soft, toss in the cumin and minced garlic. Cook a little longer until the seeds and garlic are fragrant and cooked.

Add in the beans and mix it all around. Taste, add a little salt and pepper if it needs it, and set aside.

Spaghetti-ing the squash. I took it out of the oven when it was fork tender, sliced it in half on a baking sheet and let it cool off for just a minute. Scooped the seed out then scraped the cooked squash with a fork. Fun times, just watch you your hands, the squash is hot.
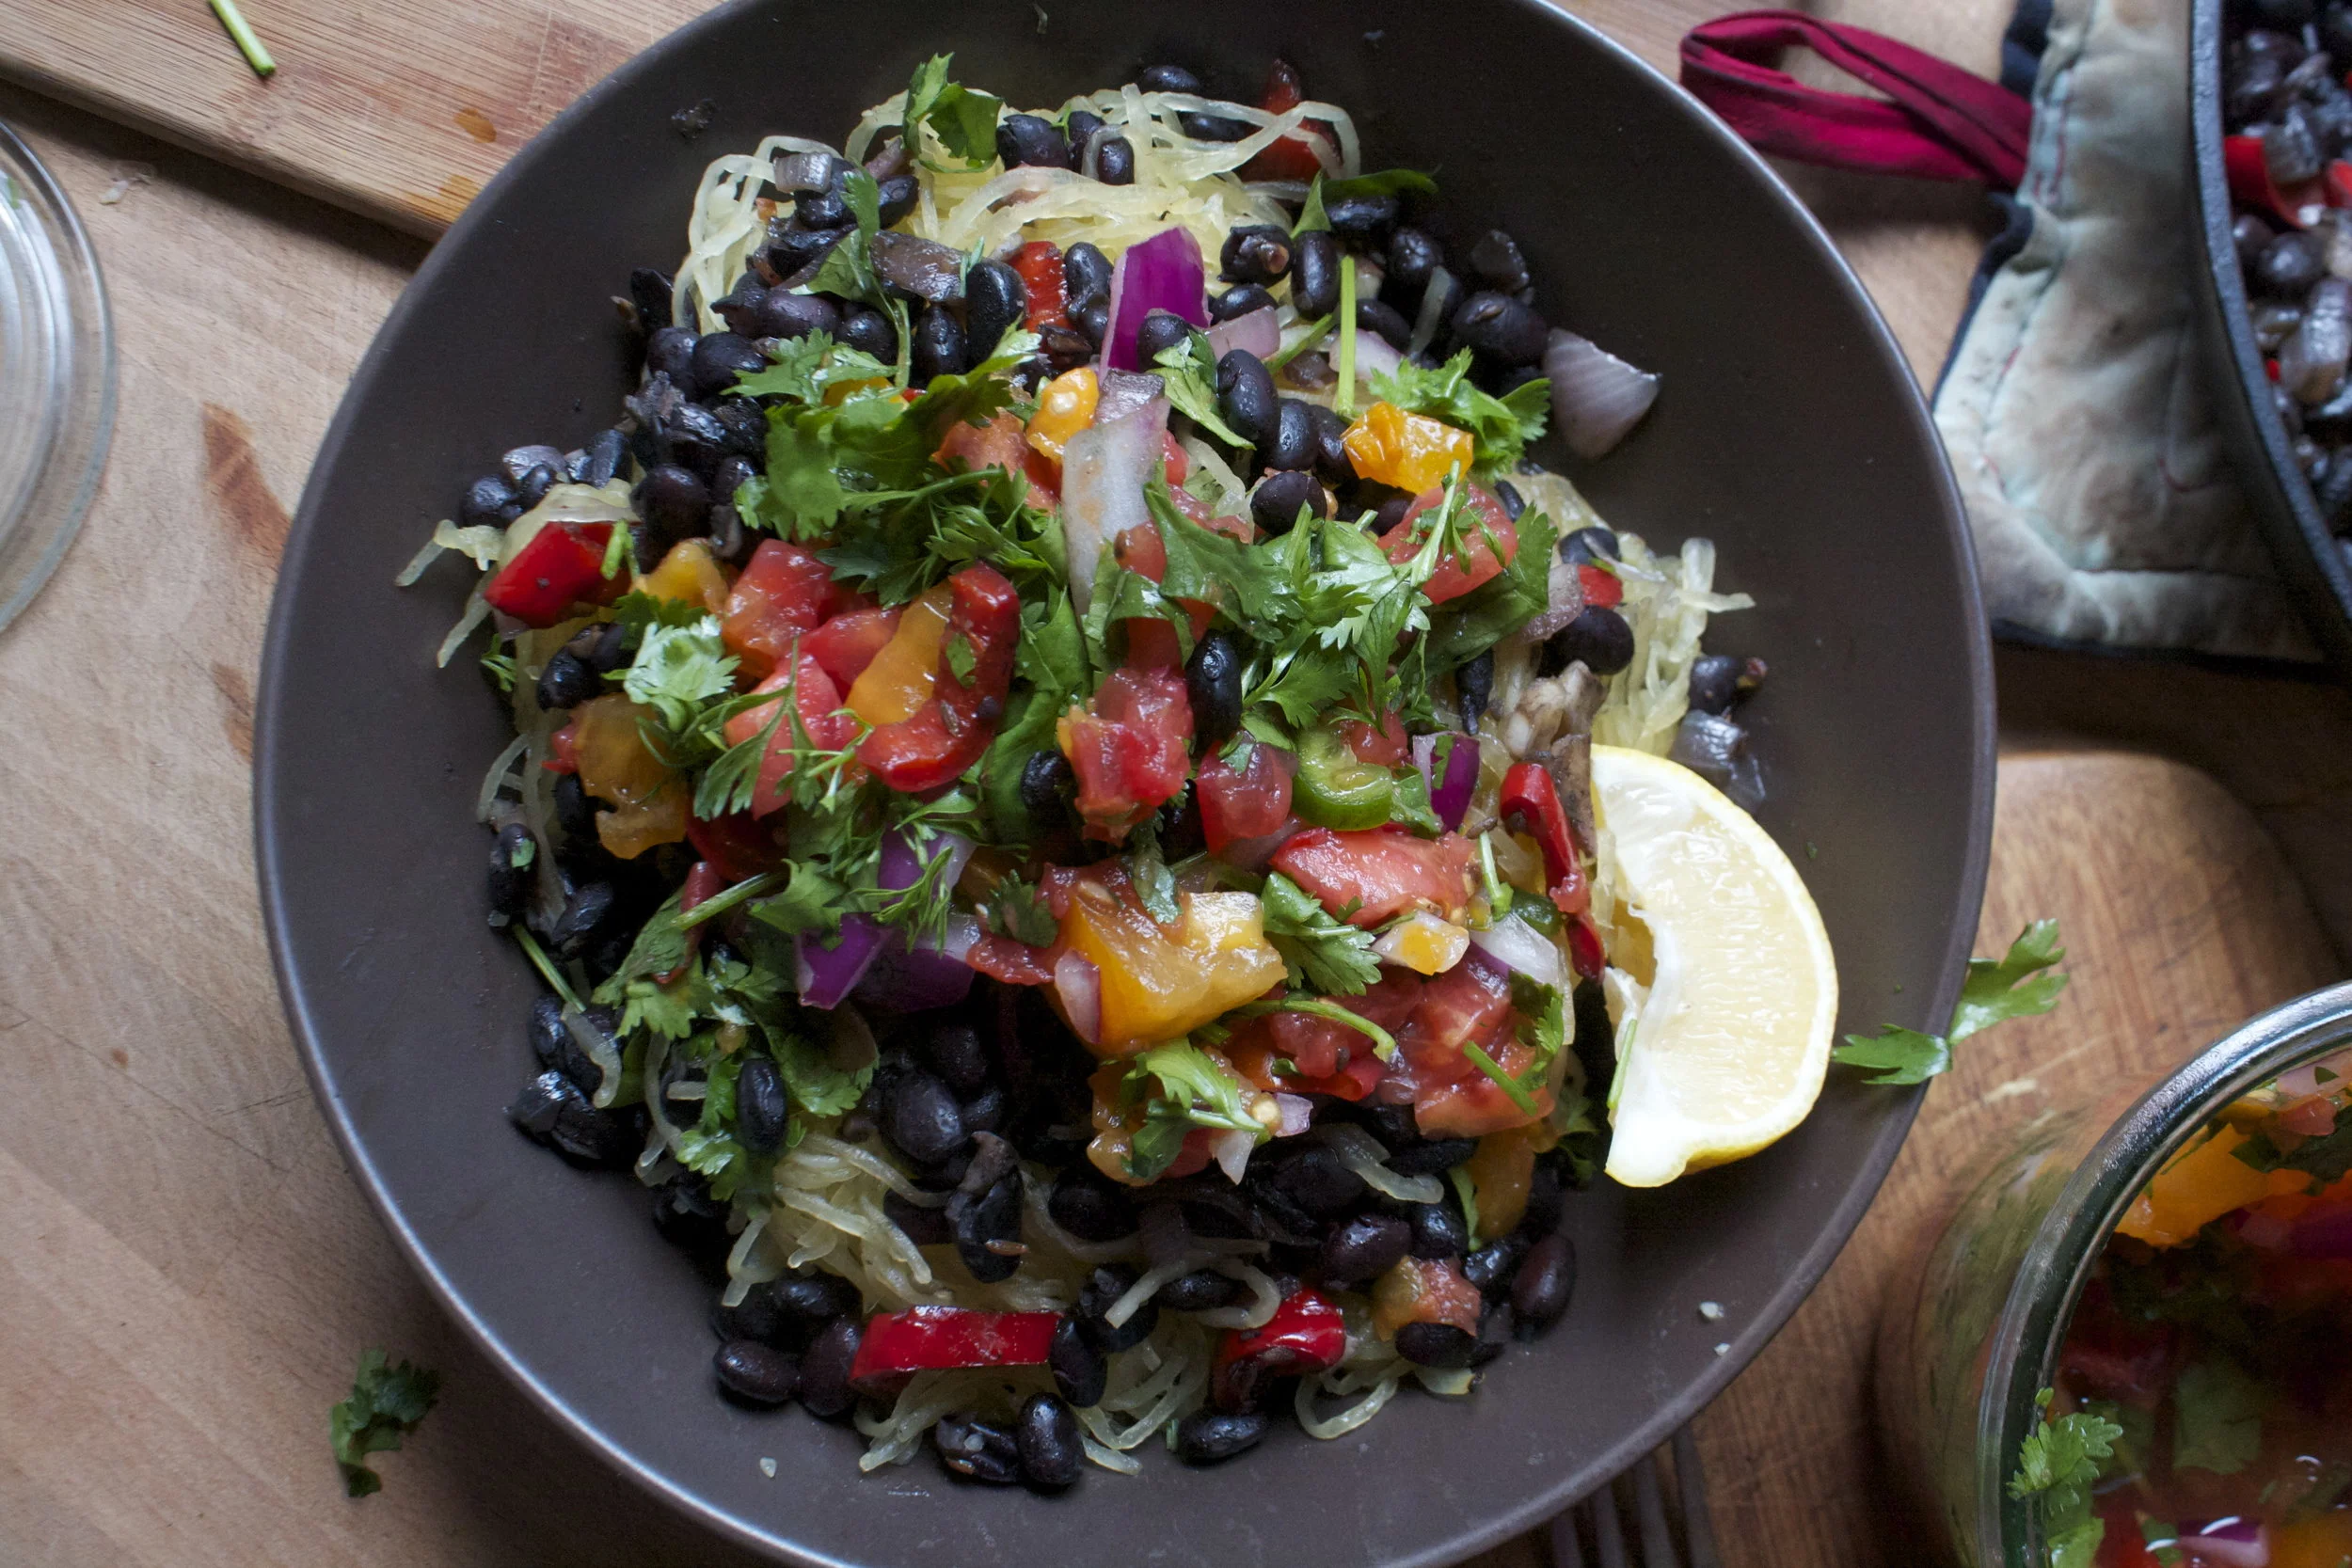
And your ready for food. Squash in a bowl, topped with some black bean mixture and a hearty amount of fresh pico. Serve it with lots (or none if you don’t like it) cilantro and a wedge of lemon(or lime)
This is some good stuff friends, some really good stuff.
Alright, now I have to get ready. We are taking a handful of the little pumpkin picking….A few more pumpkins to add to the stash.
-C
Serves 2-3
- 1 medium spaghetti squash
- 2-3 cups cooked black beans (or a can)
- 1 teaspoon cumin seeds (or crushed cumin)
- a red pepper
- a small red onion
- 2-3 cloves garlic
- olive oil
- 1 cup fresh Pico de gallo or any of your fav salsa.
- salt and pepper
- a lemon or lime
- fresh cilantro (optional)
To cook the squash. Preheat oven to 400. Grab squash a stab a small hole in it so when its baking it does bot explode (this has happened to me a few times) then stick the whole squash into the oven. Let bake for 45 minutes to an hour (depending on size) It is done when it is soft and fork tender. Once done, pull squash from oven, cut in half and let cool for a minutes. Once cool enough to handle, scoop out the seeds then start scraping the flesh with a fork to create spaghetti like strands.
For the beans. Small chop up the red pepper ans onion and toss into a hot skillet with a little splash of olive oil. Sweat the pepper and onion on medium heat and when they are close to done, mince up the garlic and toss that in along with the cumin seeds and a pinch of salt ans pepper (if needed) Keep cooking until the garlic is cooked and the cumin if fragrant.
To assemble. Grab a bowl and fill with a good amount of the cooked squash, top it with a big scoop of the black bean mixture and you desired amount of fresh pico or salsa. Add lots of extra cilantro and serve with a lemon or lime wedge to squeeze on top.
Now eat it.
Note….Any left overs make a fantastic cold salad or wrapped in a tortilla.
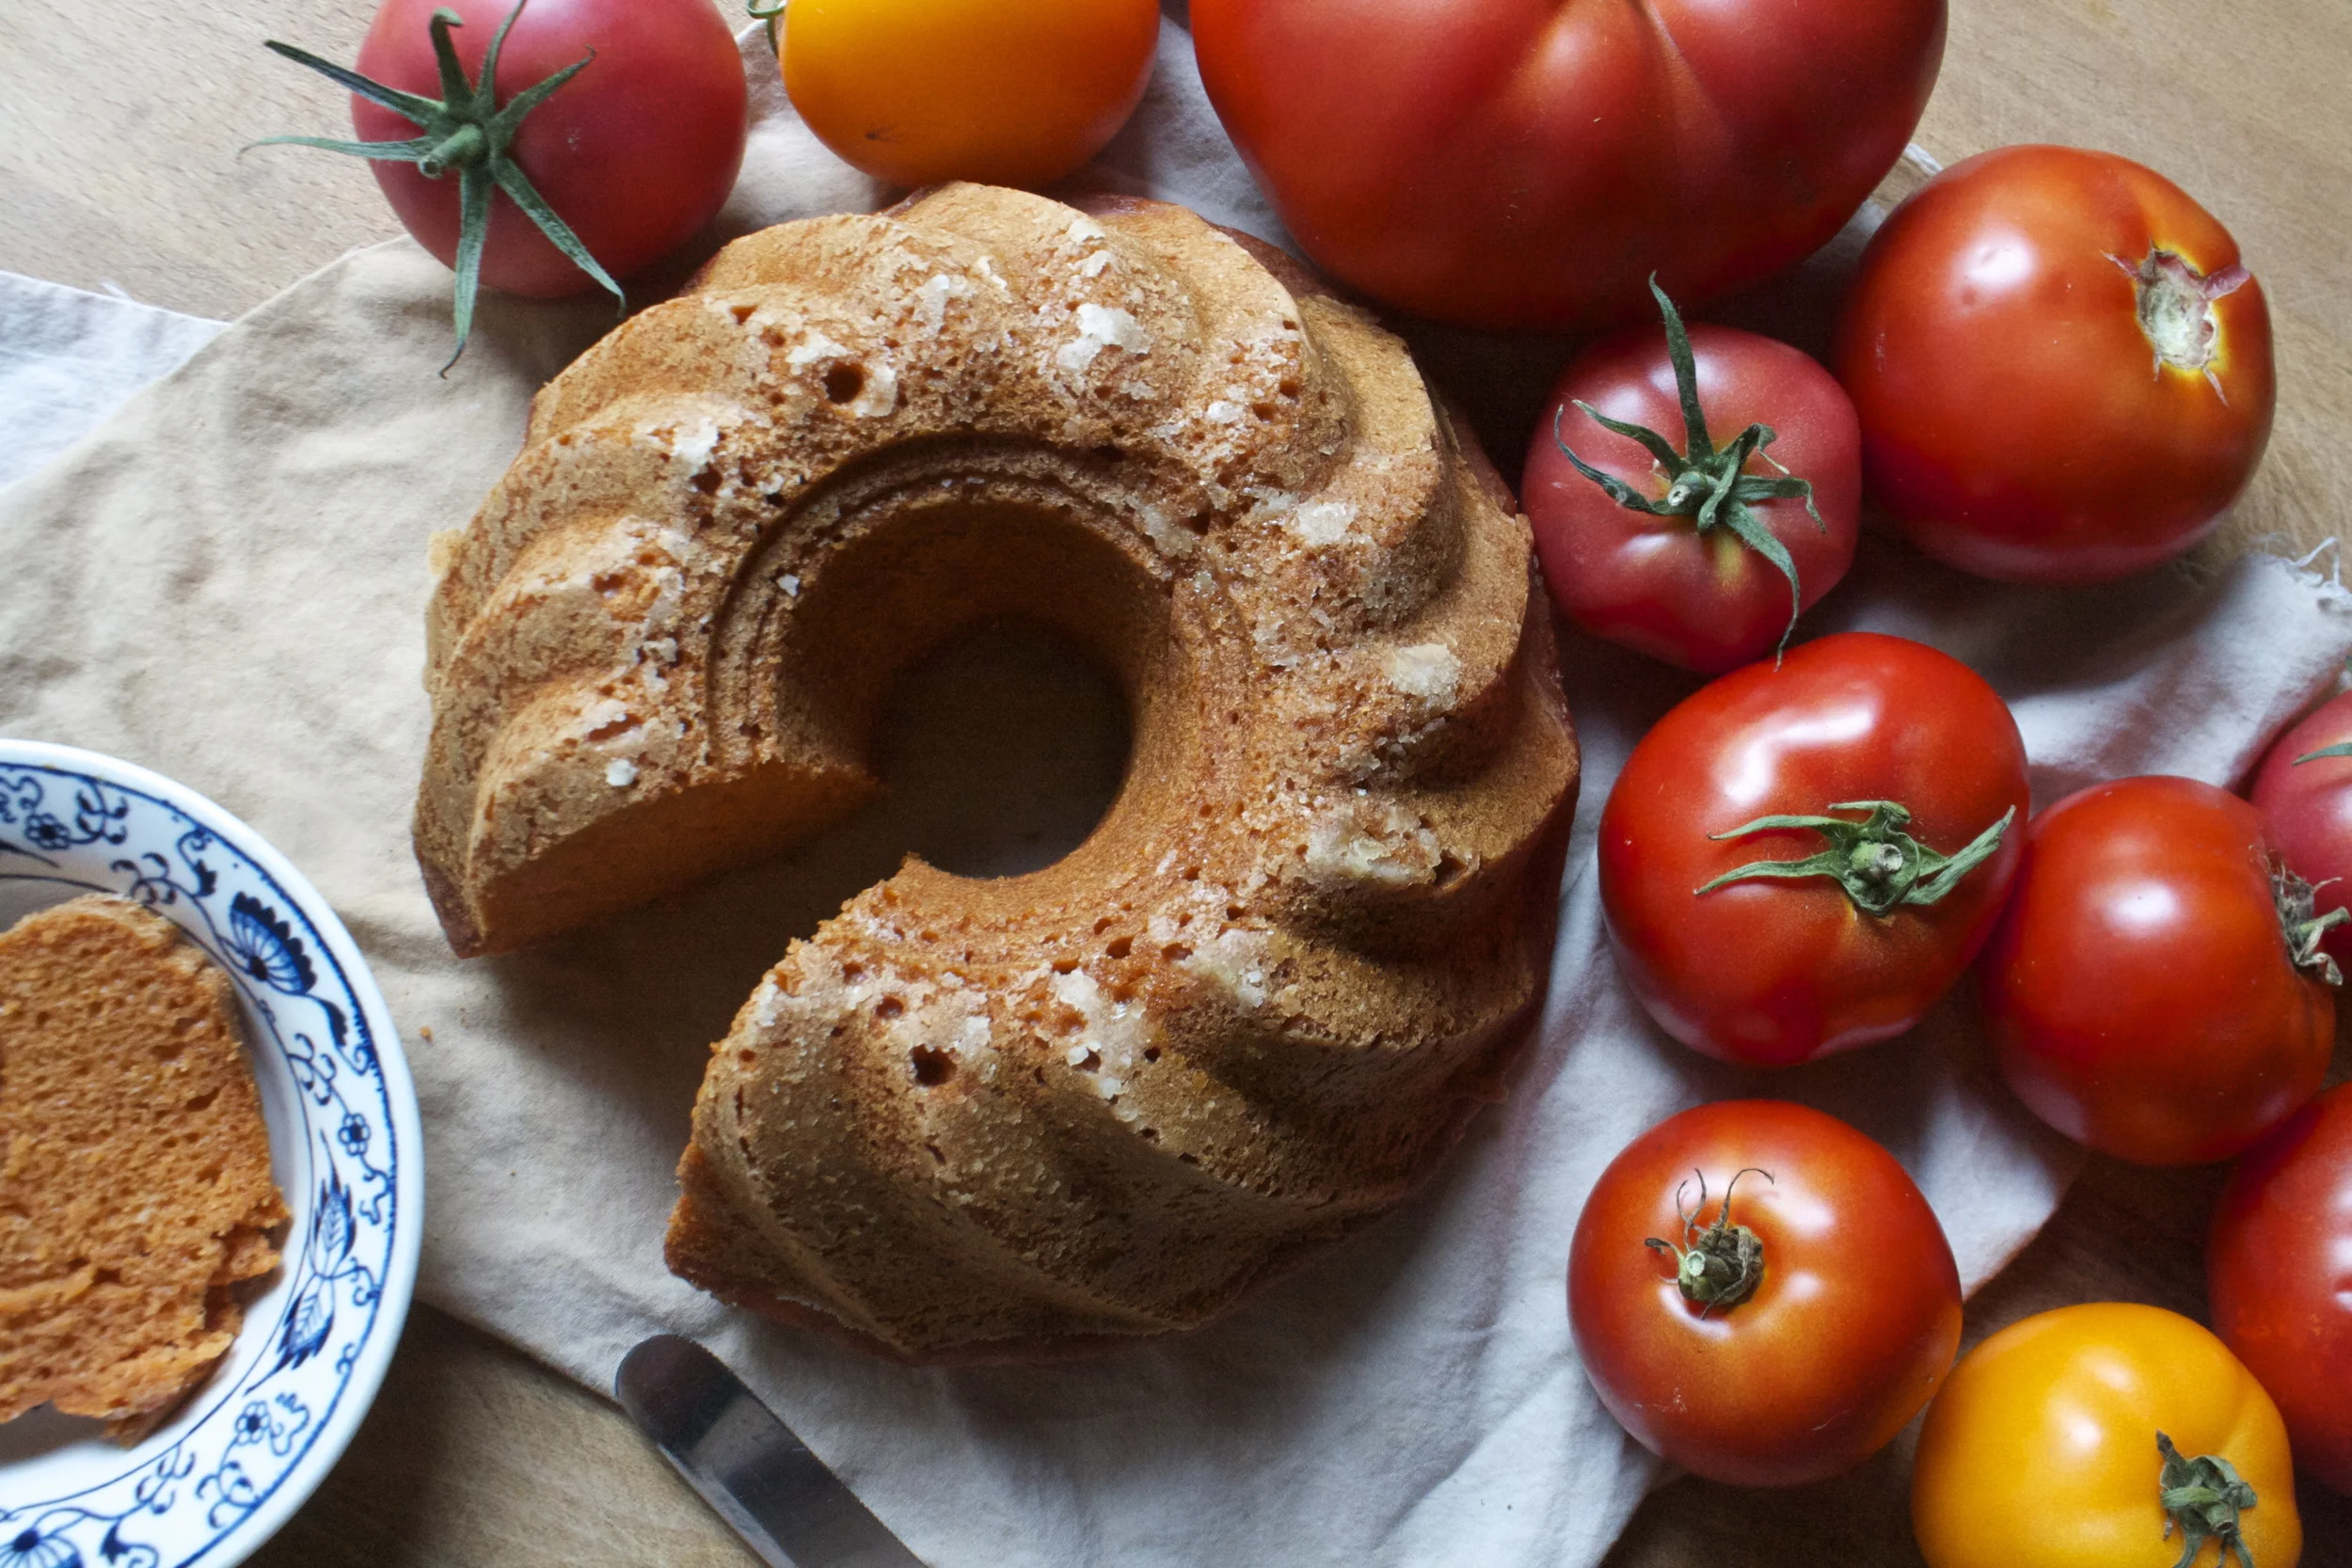
Do you have a gazillion tomatoes, like so many that they are practically coming out of your ears? Me too…. Me too. This year the tomatoes have been gang busters, a explosion of the sweetest and most delicious fruit and now I have tomatoes littered everywhere, tucked into all the corners and baskets all over the house. It’s getting kinda tomato crazy over here.
%u00a0I can only eat so many tomatoes a day before all I have eaten are tomatoes and I start to feel slightly sick. Same with the mr, he has been a tomato eating champ as well but I think he was getting a little bored with all the tomato salads that I have been making. So I thought I would try something new and make a tomato cake. I figured why the heck not, tomatoes are technically a fruit and fruit and cake are great together and yeah. So tomato cake is going to be fantastic. I also wanted to make something that the mr would eat for breakfast. I have been doing this new thing in the mornings for the mr. I have coffee ready, some breakfast food (its been zucchini bread for a while), and a little vase of fresh flowers that I pick on my morning walk, all set out on the counter for when he wakes up. I know, I am so great right. Really I do it cause I want him to eat something before working all morning and plus if I am all sweet in the morning, he can’t be an old man cranky pants (at least he tries not to be).%u00a0 Now for the next few days the tomato cake is breakfast cake and all is good.
Anyway, the cake come out great. Bright reddish orange, dense but fluffy and most, and smells so good. The mr tells me it’s amazingand I shared a chunk with some of my family and everyone (minus a little) where fans. I am for sure going to be making this again soon, although I have been toying with the idea of eggplant sweet bread (too far??) but I’ll get to that later.
Now for the tomato cake!
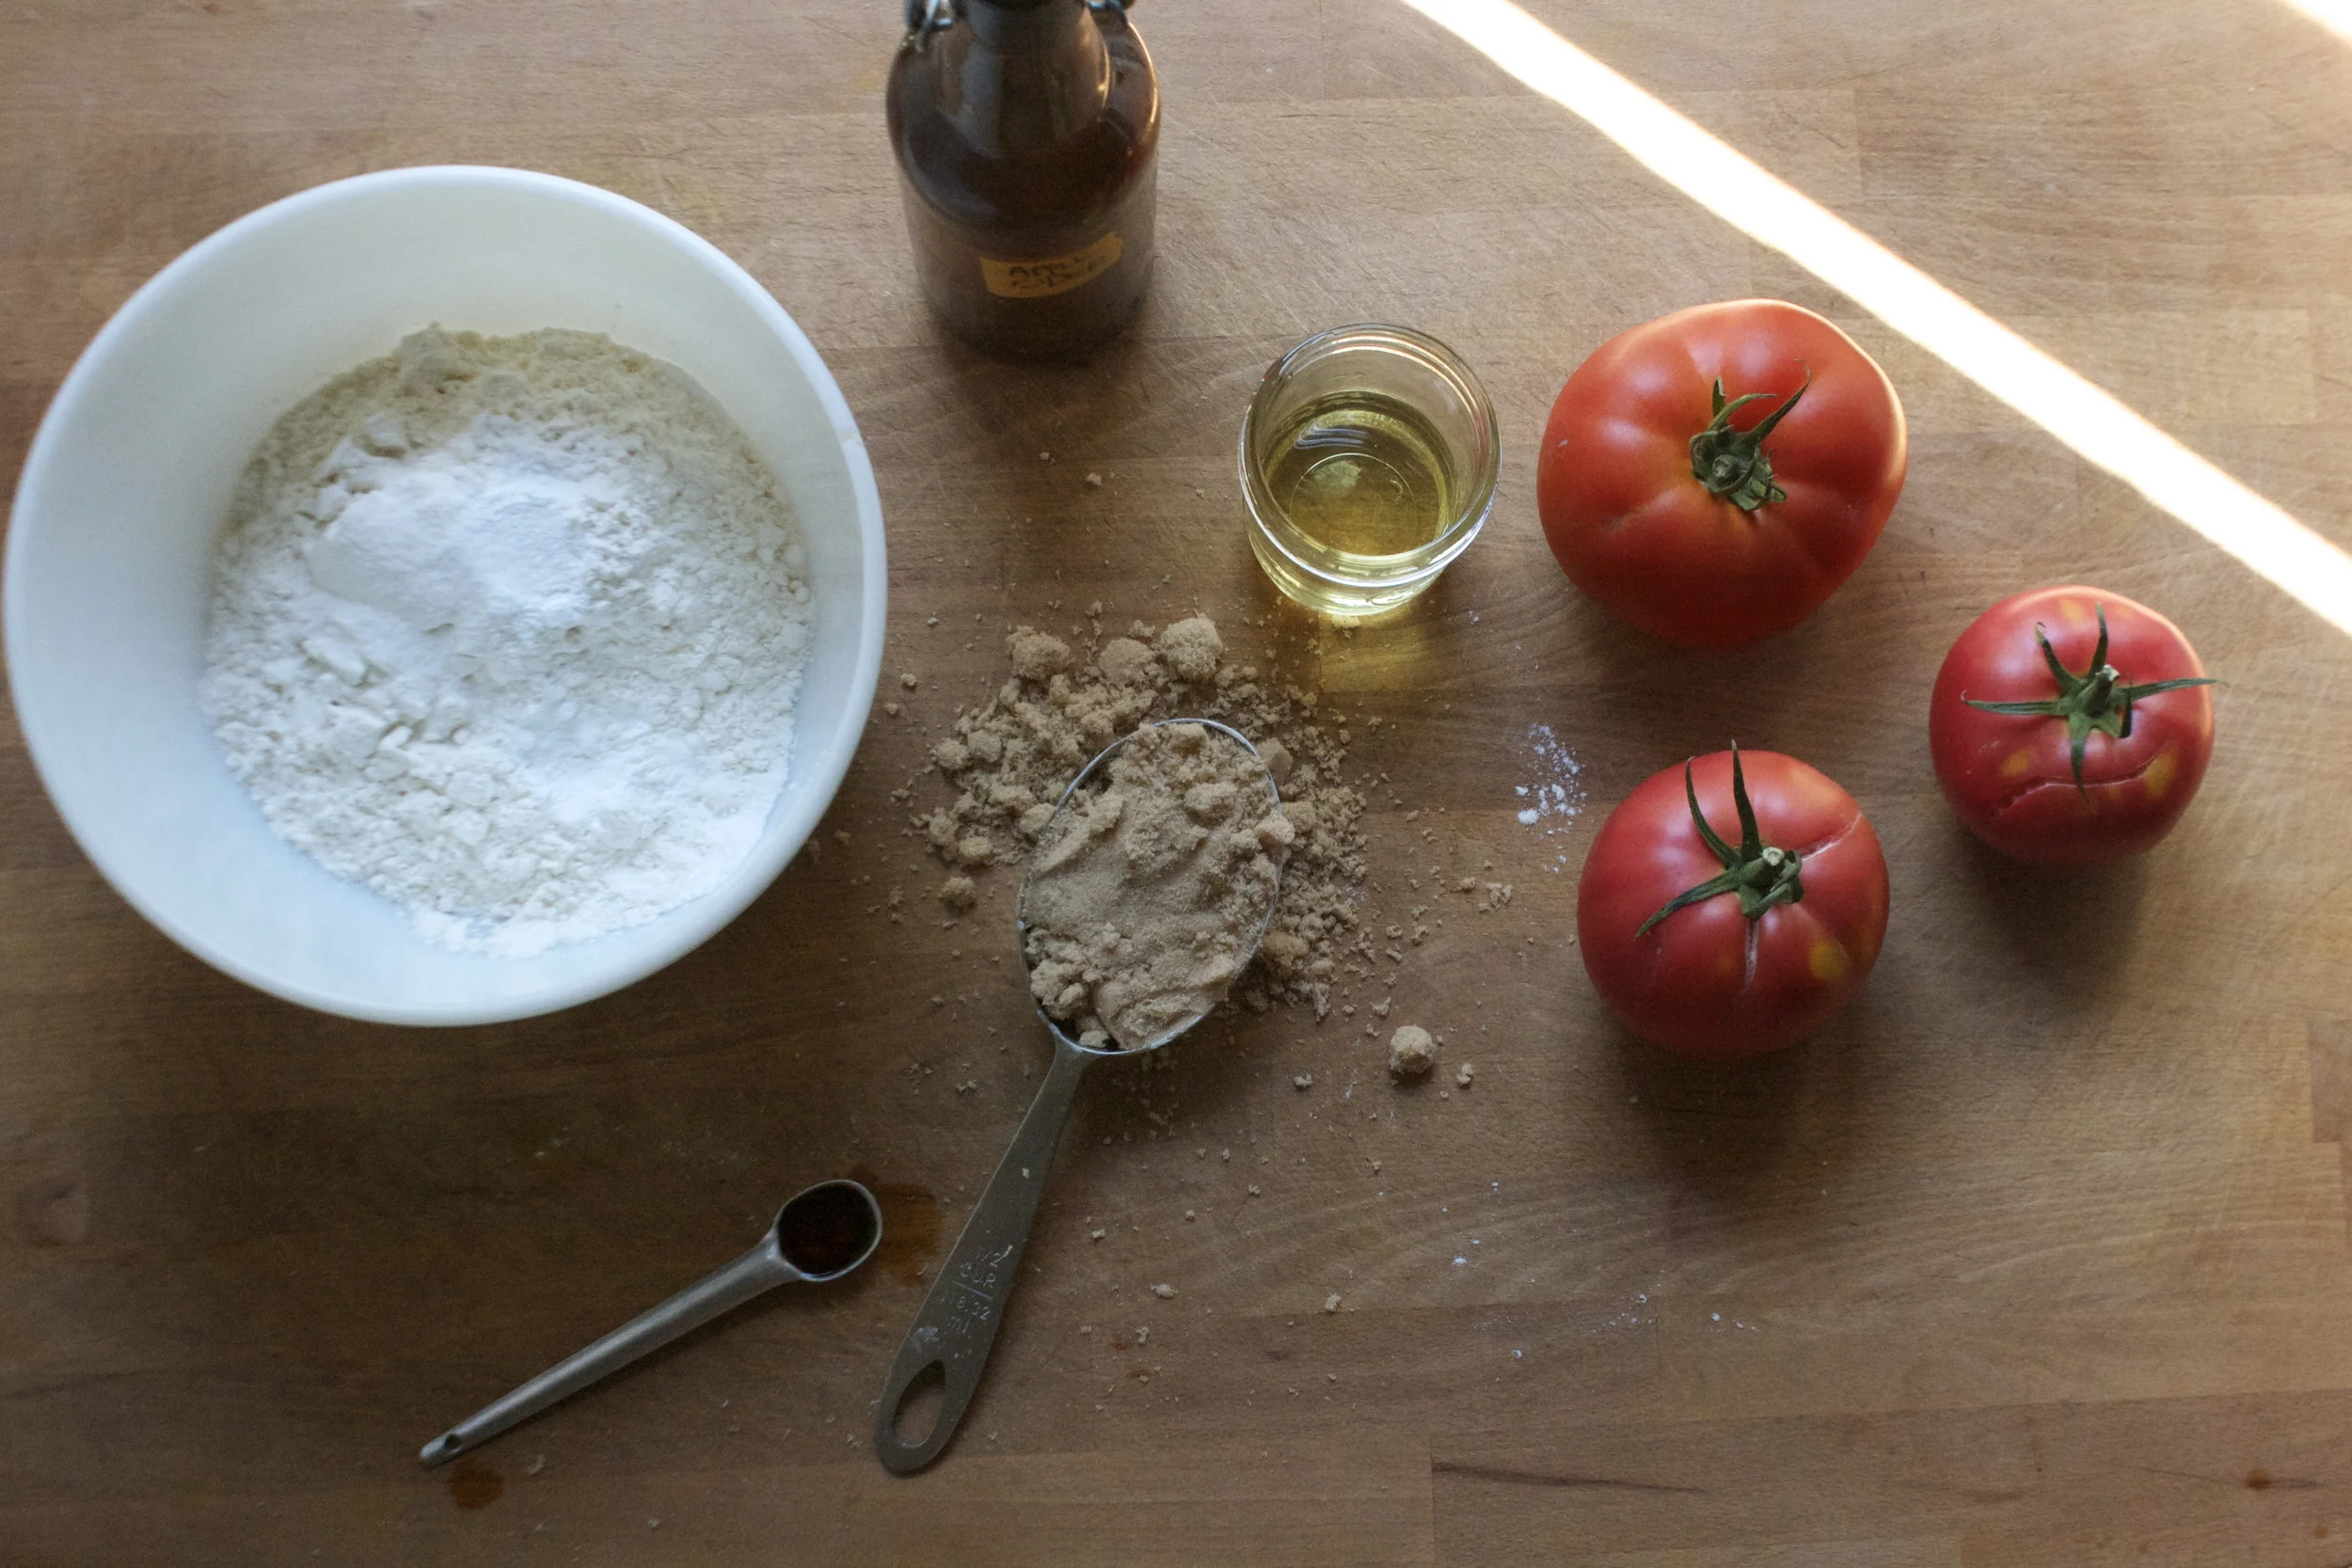
The stuff. Flour, baking soda, baking powder and salt (all in the bowl). Brown sugar, oil, vanilla, apple cider vinegar and a few nice and juicy tomatoes.
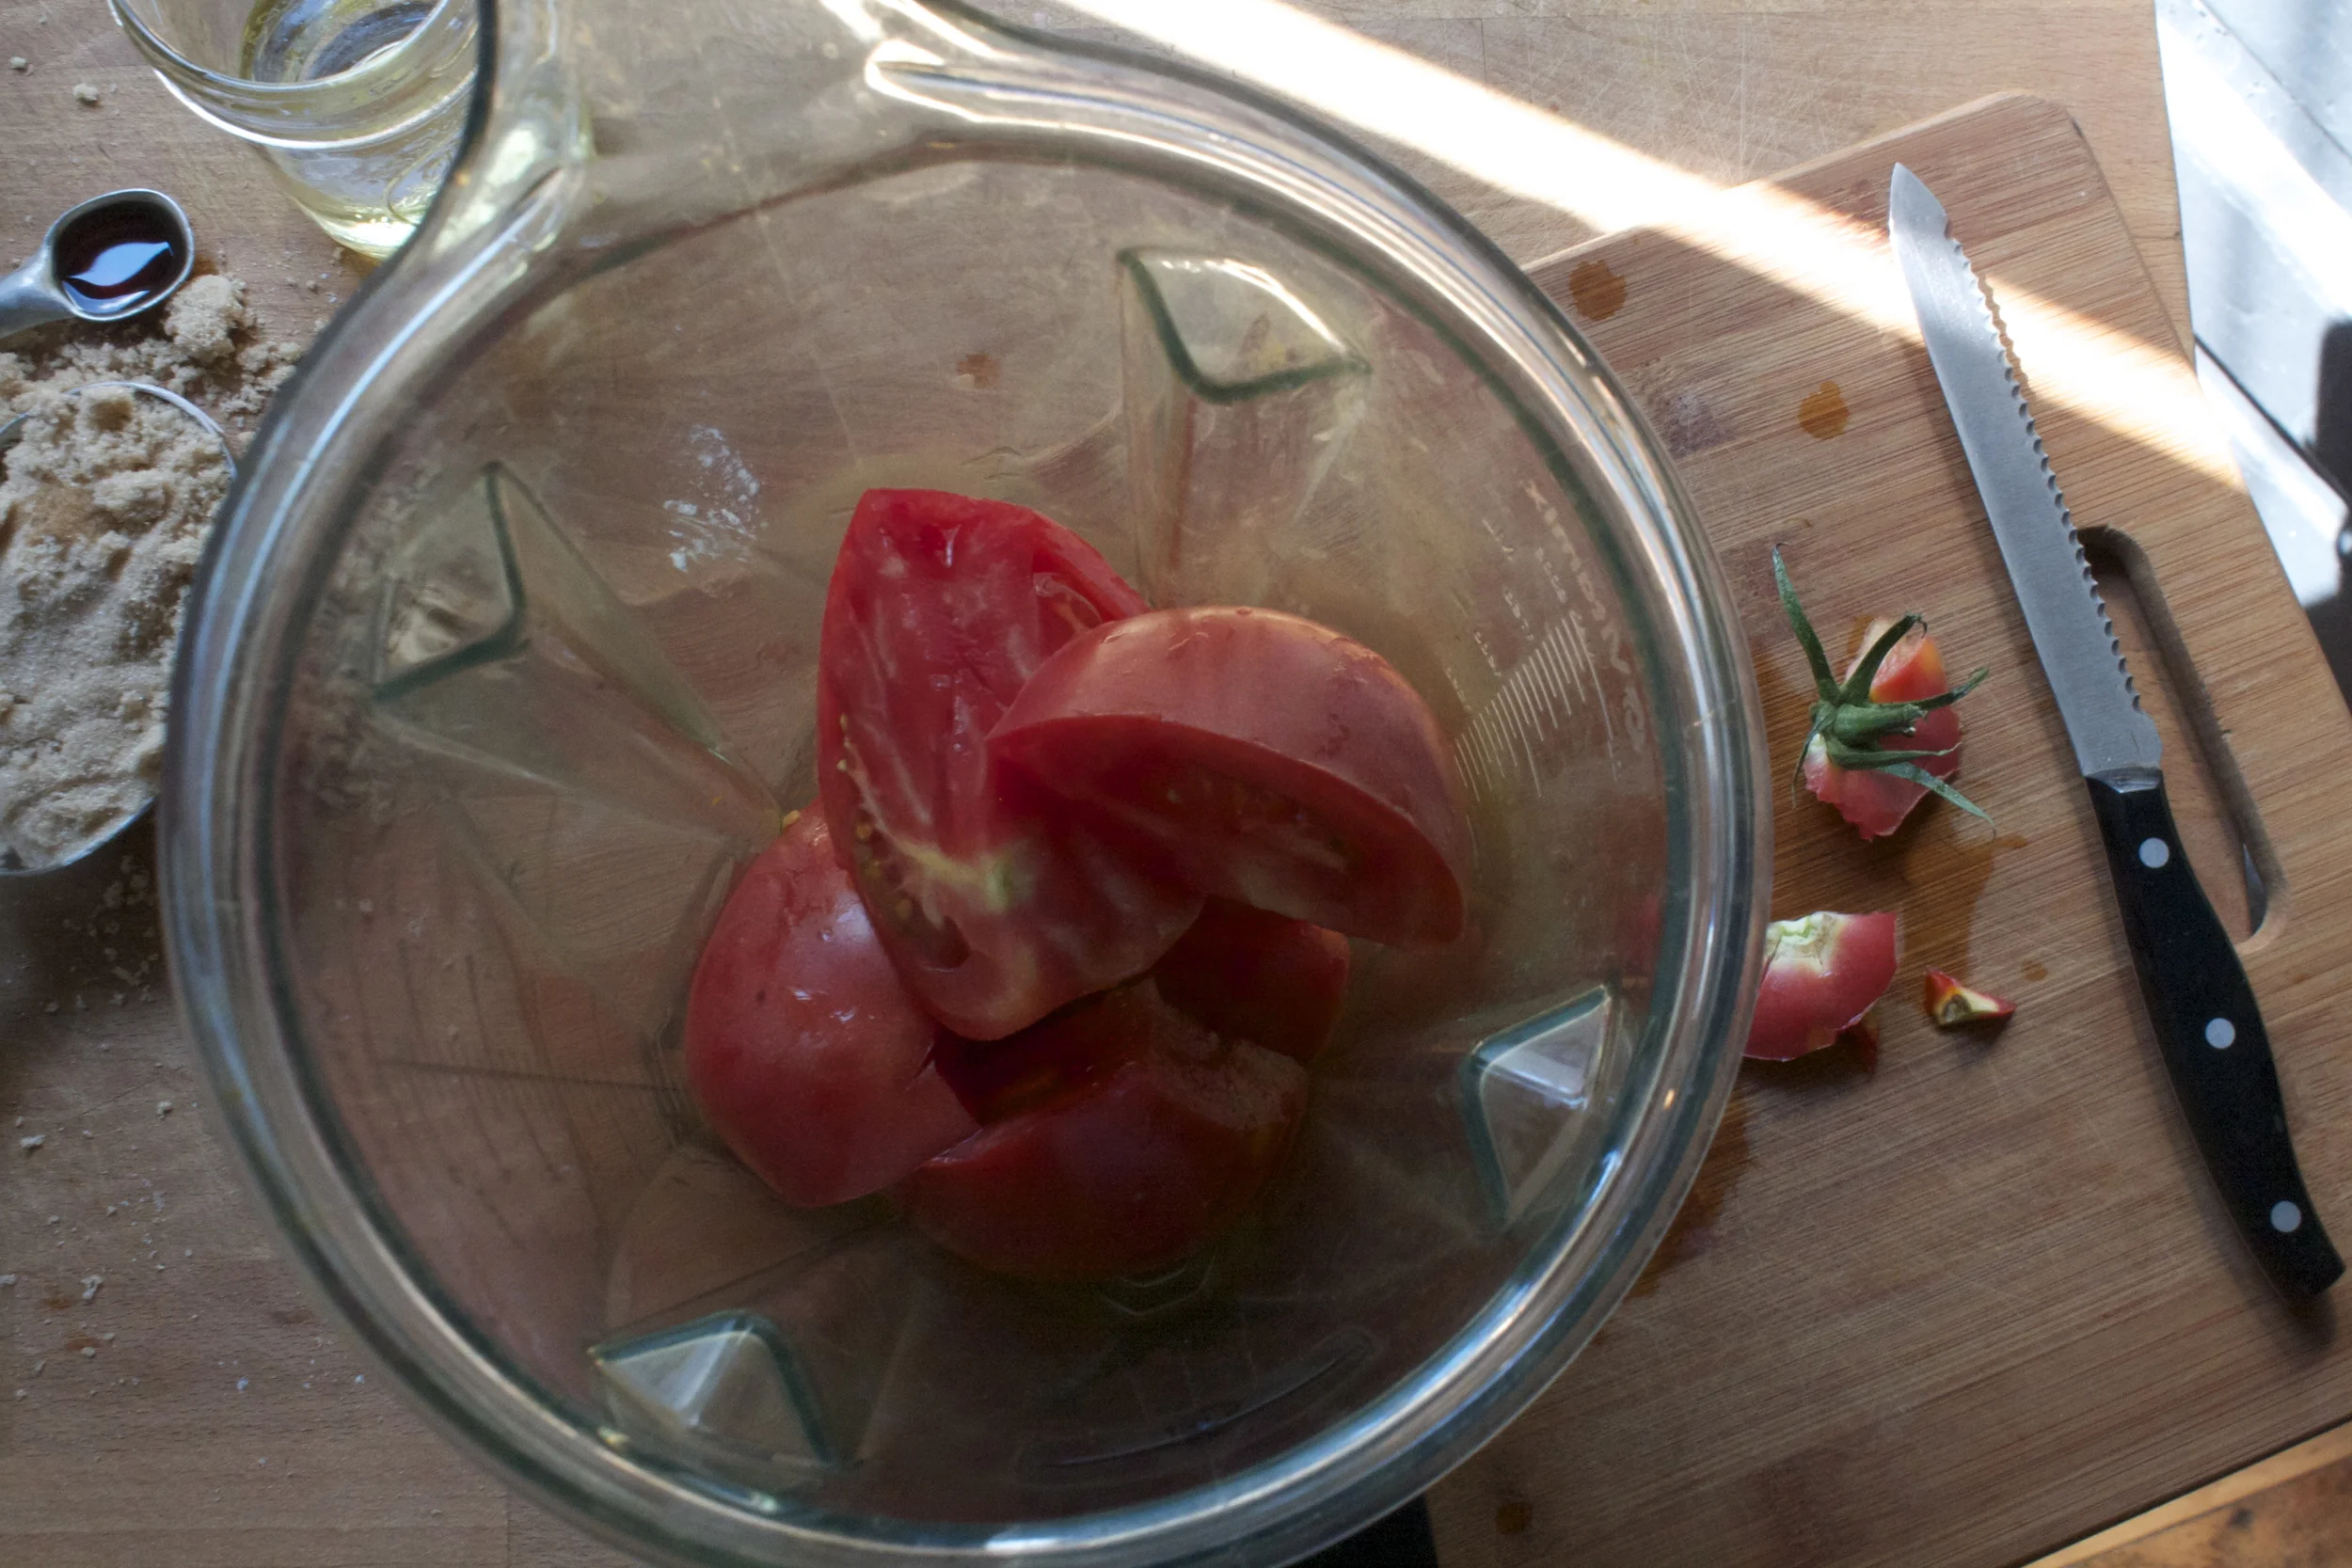
First off, remove the core from tomatoes and cut into some chunks. Stick the chunks into a blender and blend.

Fresh and smooth tomato puree.

Now just dump the rest of the liquid stuff into the blender now and give it a whirl to mix it all up.

And pour the blended wet into the dry and mix until incorporated.
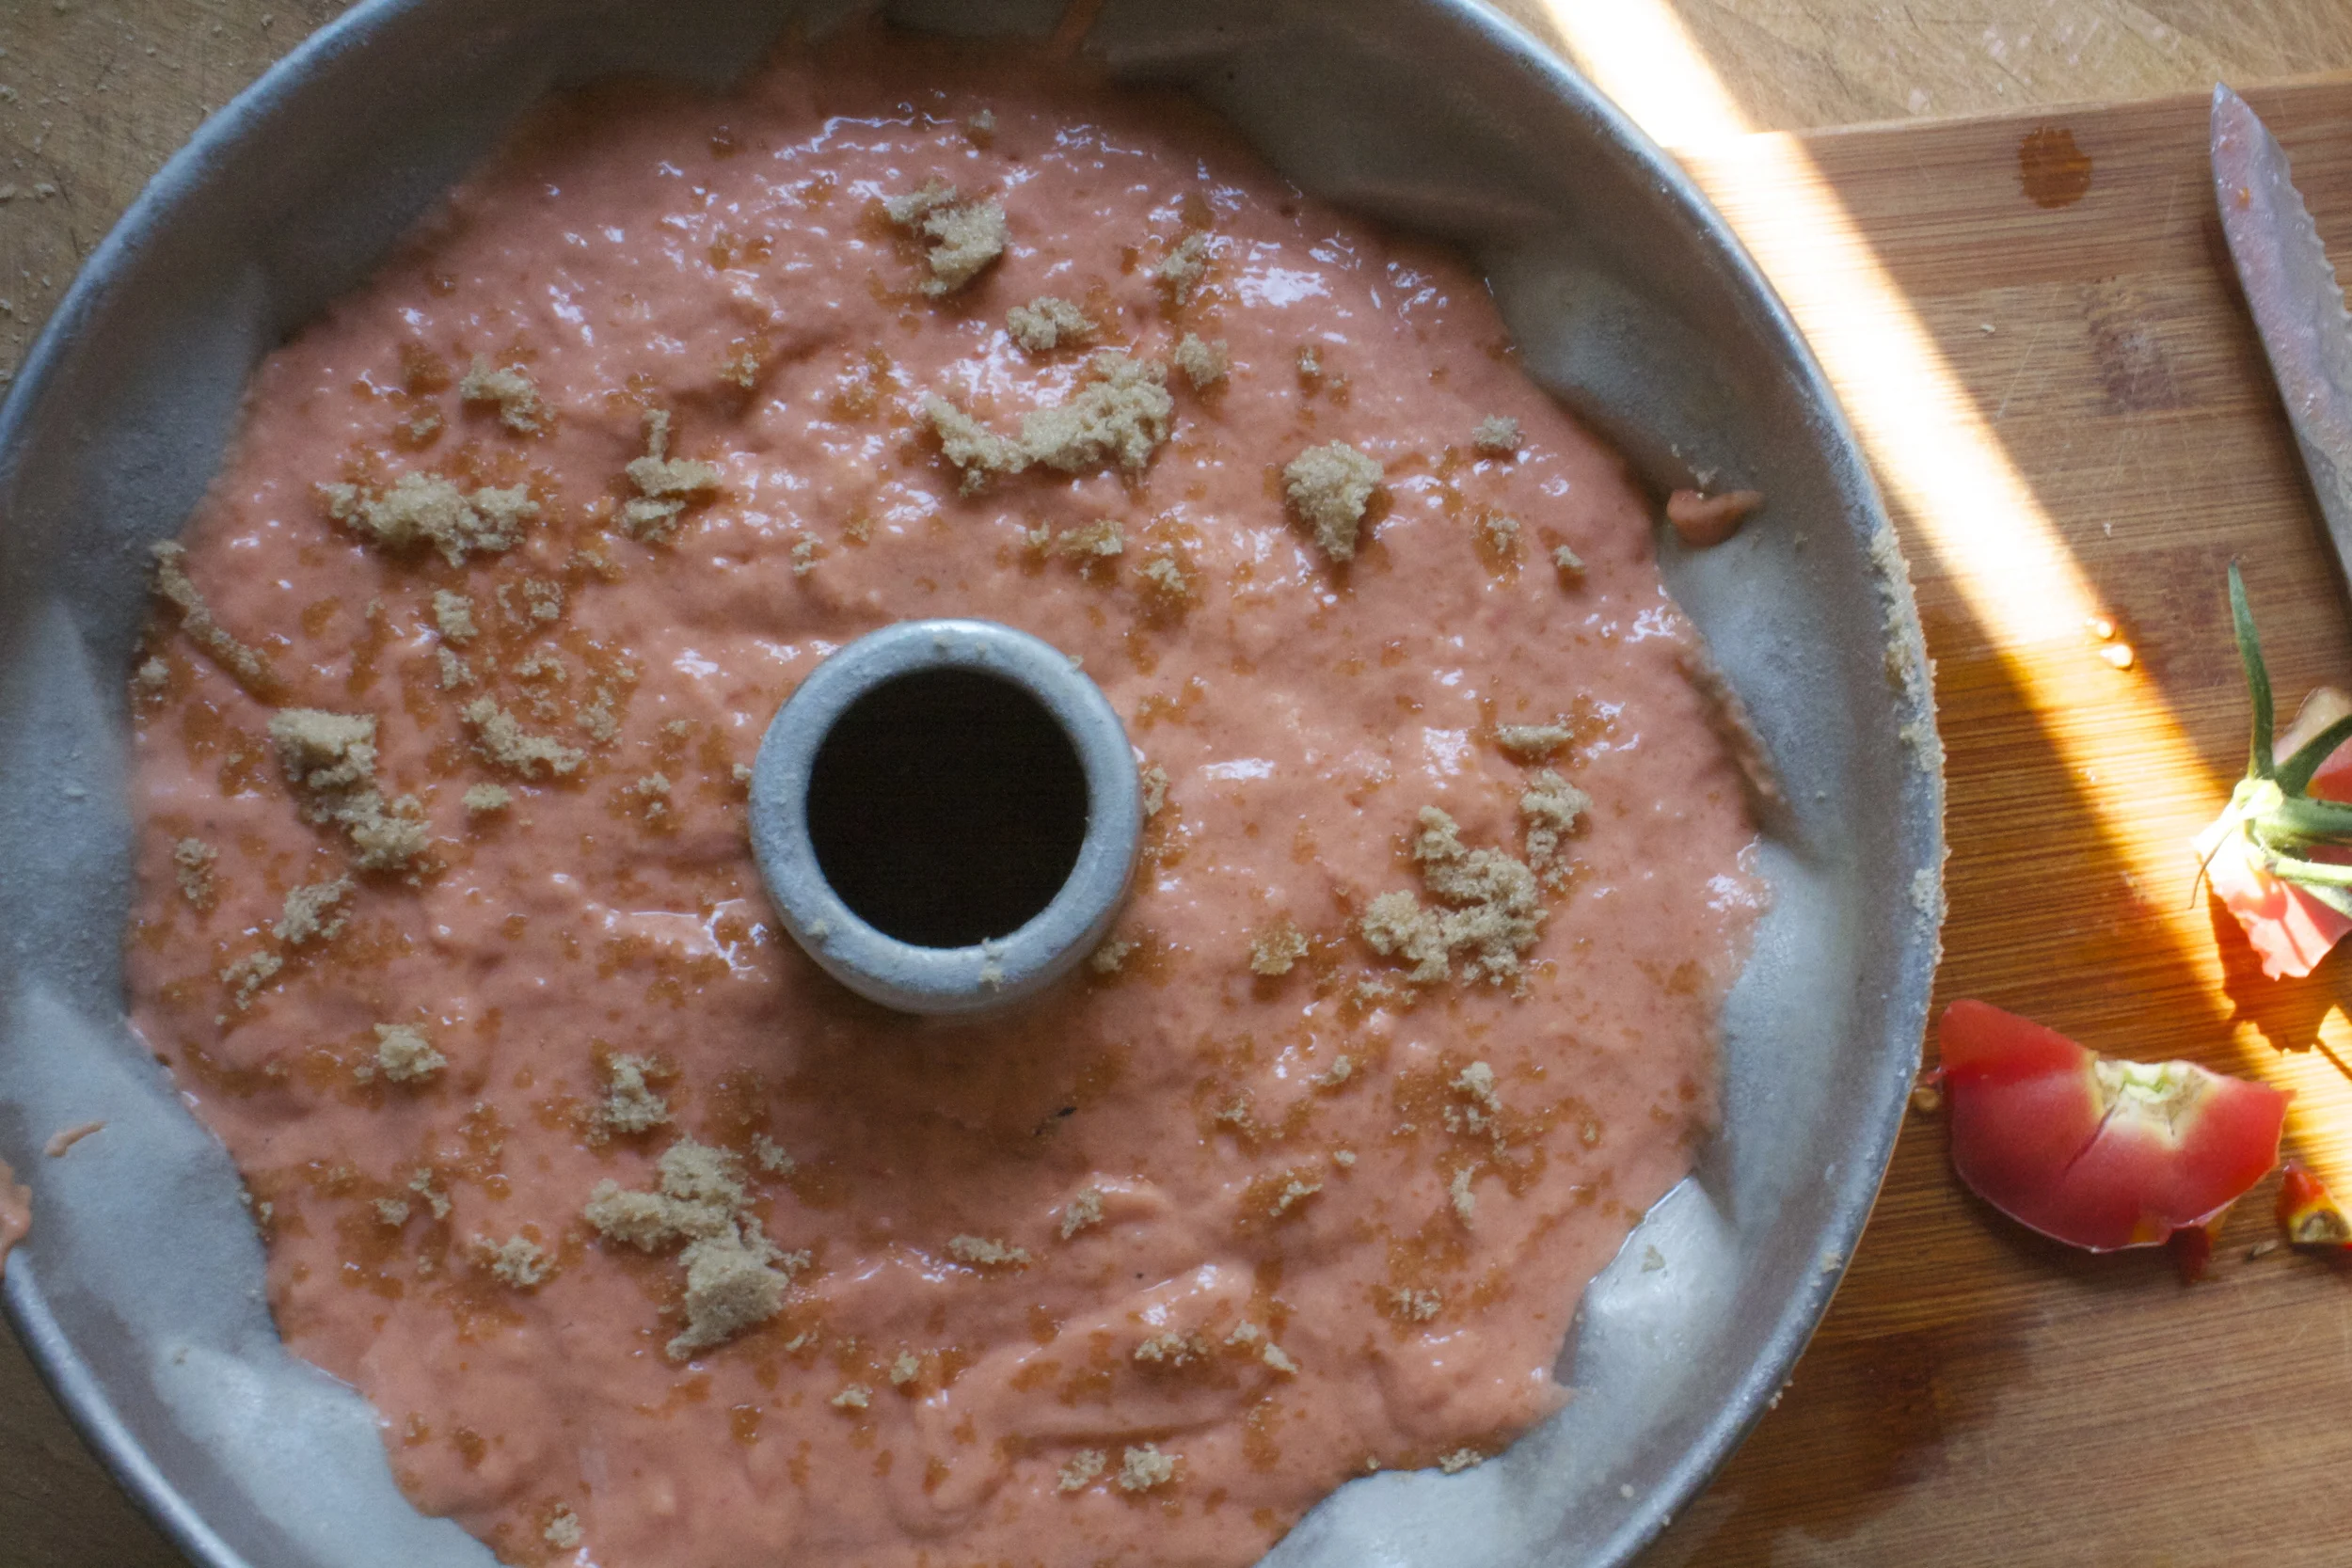
Pretty pink batter goes in a well greases bundt pan. I had got brown sugar everywhere while I was measuring it out and decided to just toss it on the cake as not to waste it…doesn’t hurt.
And now the batter goes into a preheated oven to bake .

A bit of time later you have yourself a cake.
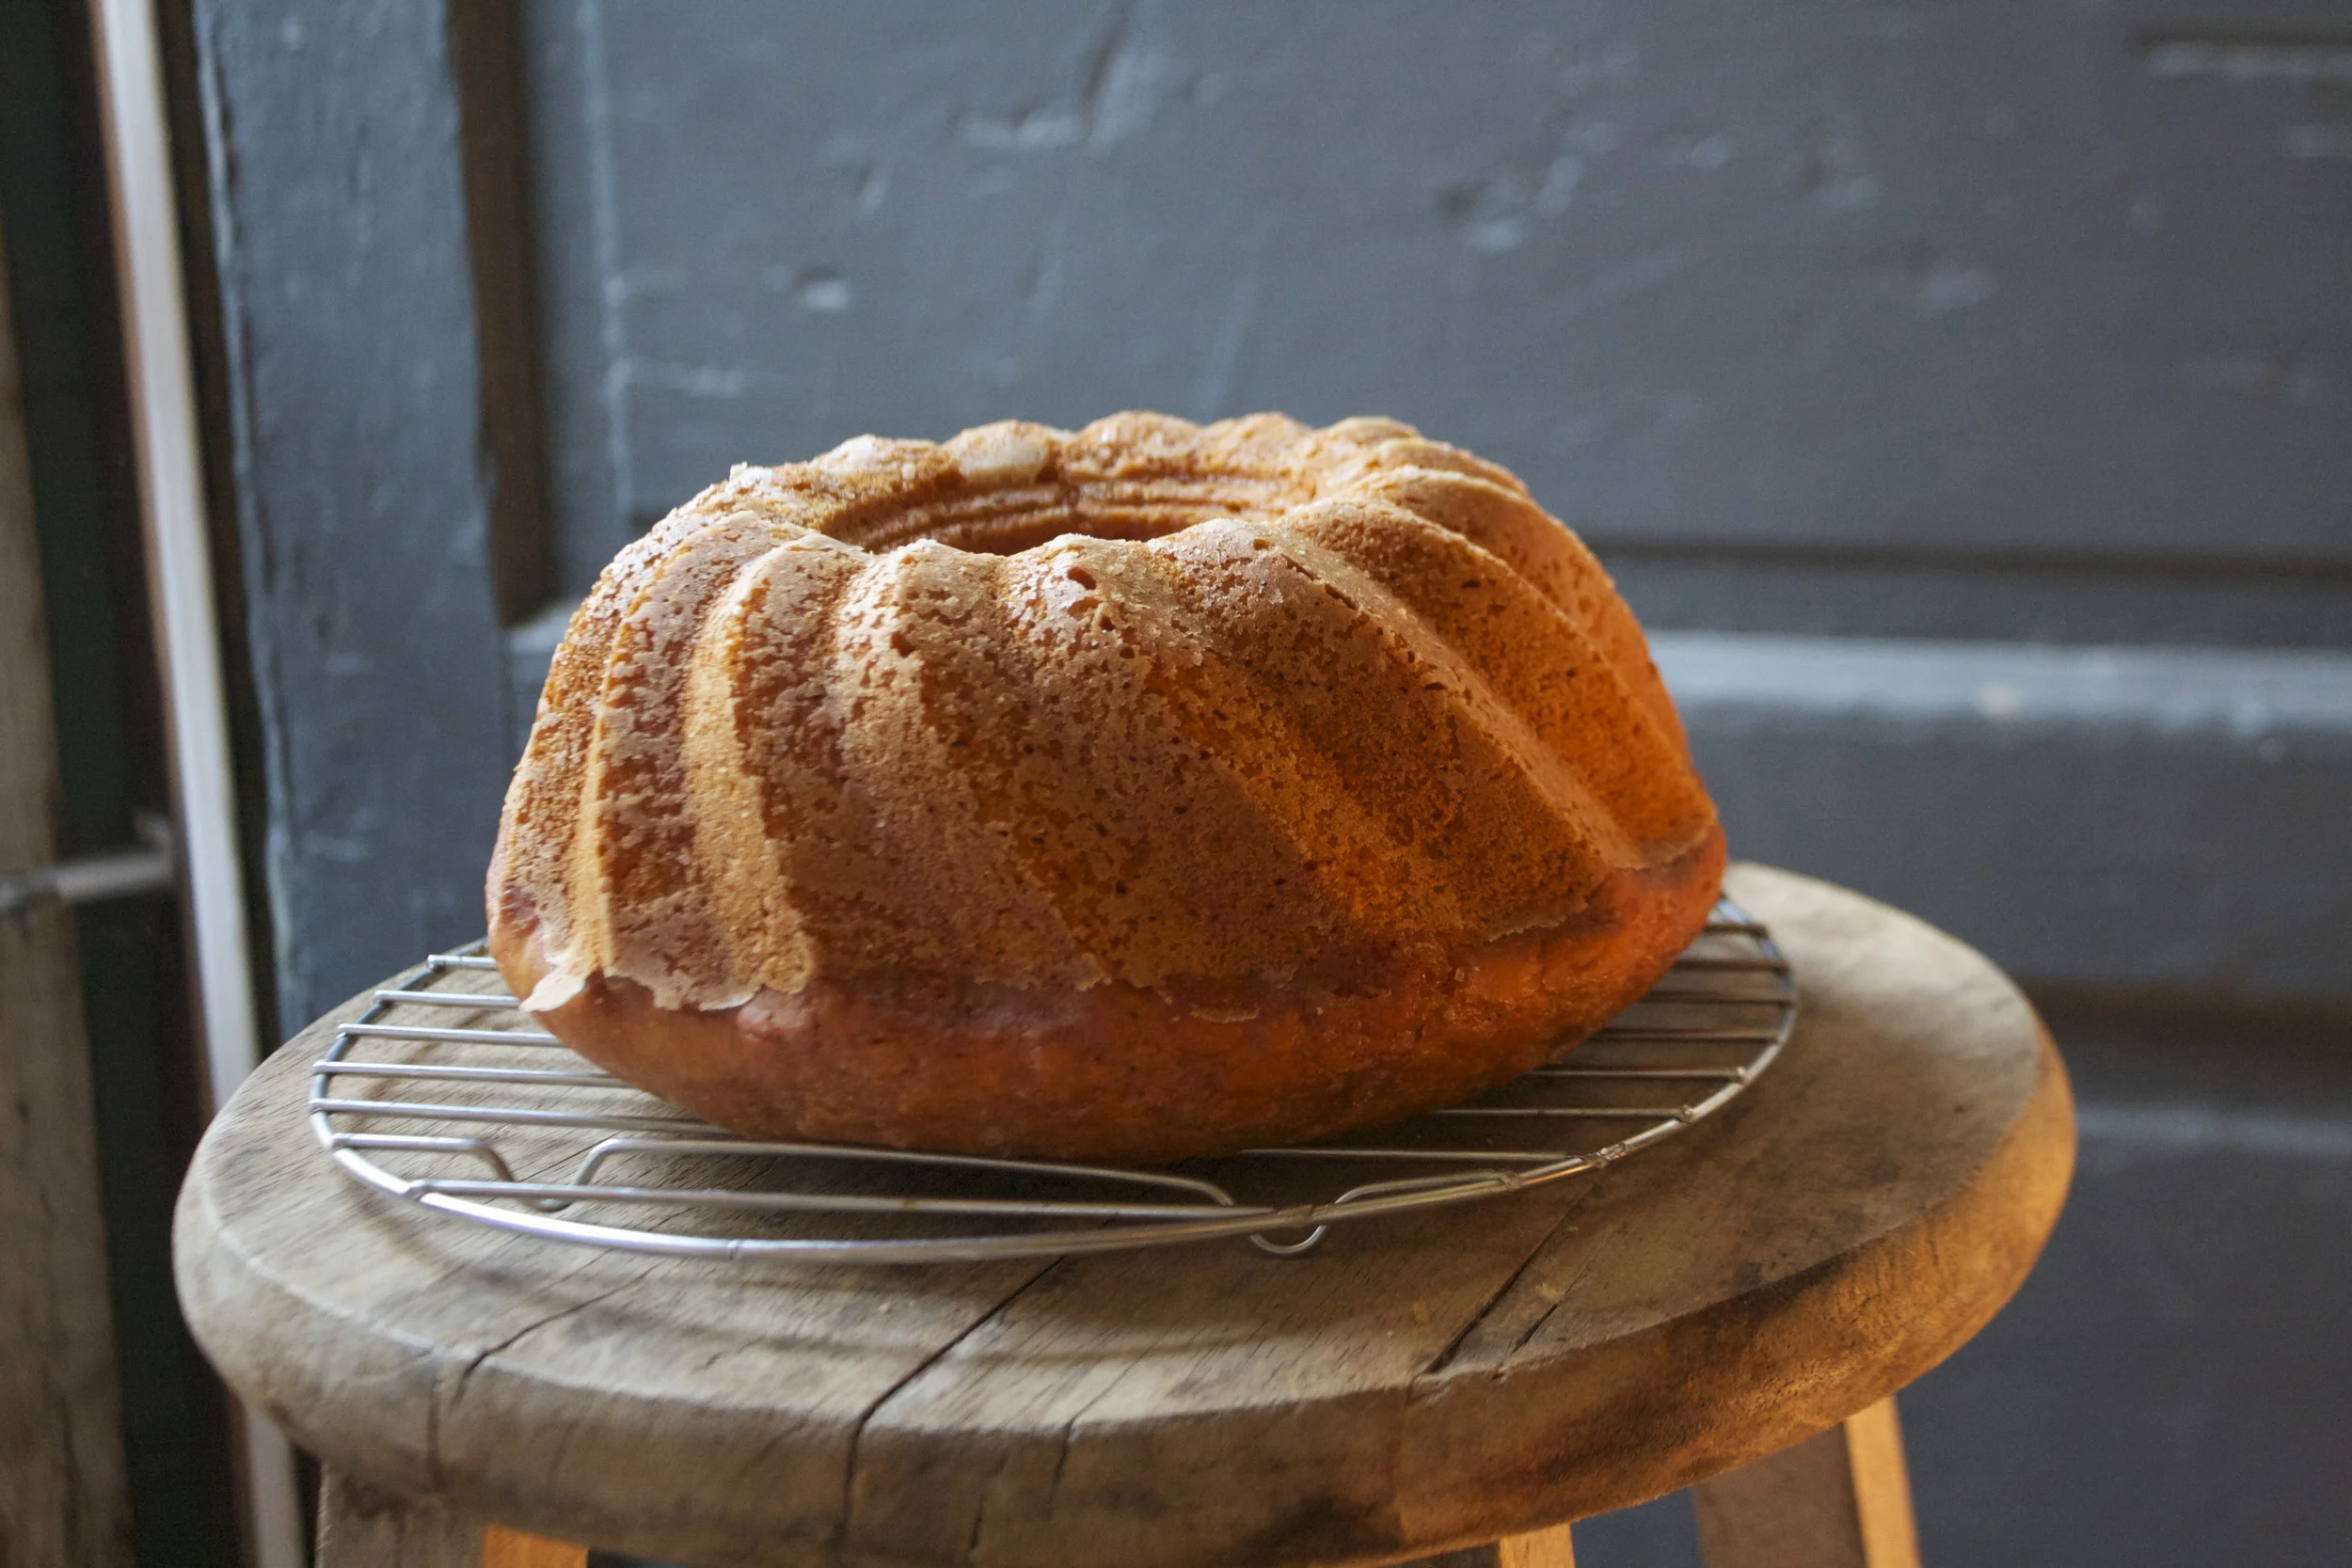
The scary part. Flip the pan and hope all that grease does it’s job and the cake pops out. Lucky me this one popped out like a champ.
One de-panned, let the cake cool for a bit before cutting into it.
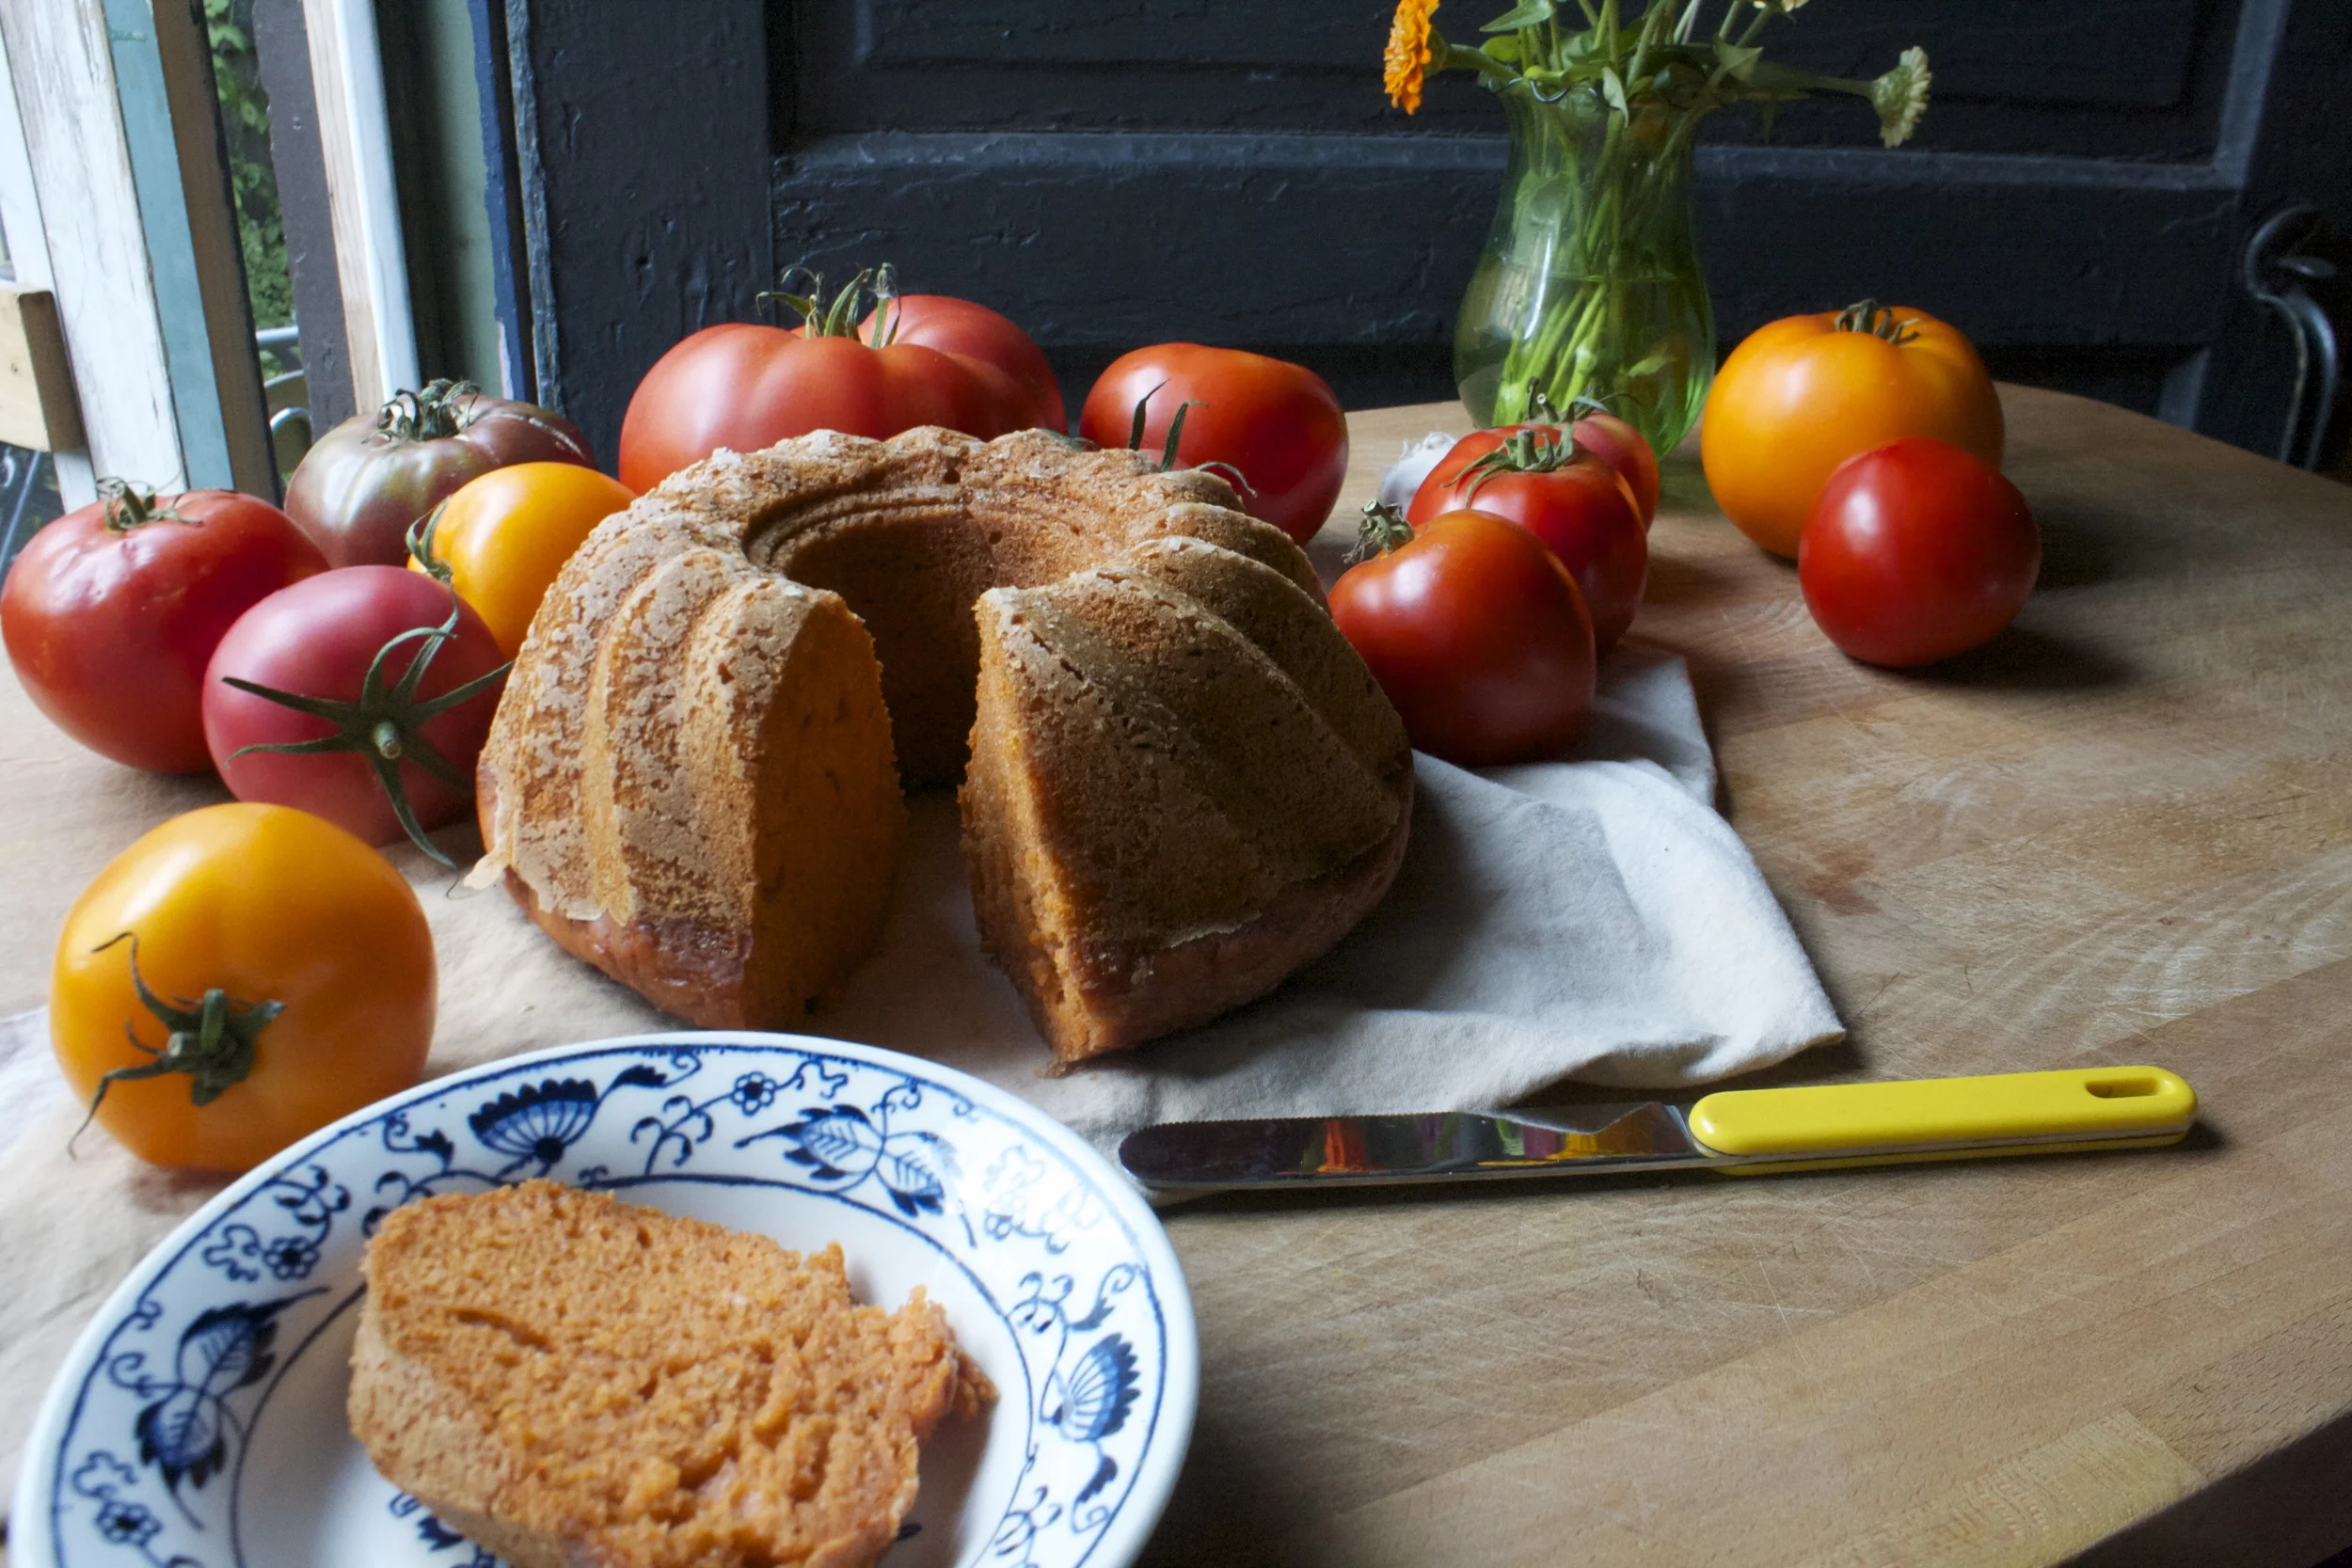
And now all you have left to do it eat it, so eat it.
Have a great weekend. Eat lots of tomatoes and make lots of cake.
-C
Makes one bundt cake
- 2 -1/3 cup all purpose flour
- 1 teaspoon baking soda
- 1 -1/2 teaspoon powder
- 1/2 teaspoon salt
- 2-3 large tomatoes (2 -1/2 cups after blended)
- 1/2 cup brown sugar (for a tad sweeter, add another 1/4 cup)
- 1/2 cup of any neutral flavored oil
- 1 teaspoon vanilla
- 1 tablespoon apple cider vinegar
Preheat oven to 350
Start by whisking together all the dry ingredients into a big bowl. Take tomatoes, remove core, chop into chunks, and place into a blender. Blend tomatoes until a smooth and frothy puree. Now add in the sugar, oil, vanilla, and apple cider vinegar and blend until incorporated. Pour wet mixture into dry and stir until combined.
Pour the cake batter into a greased (and floured if you want. I find it helps to make sure all the nooks are greases) and stick into preheated oven. Bake for 45-50 minutes until it’s a dark reddish golden brown and a tester (I use a fork) comes out clean when stabbed.
Remove from oven and let cool for a minute or two then invert cake, give the pan a few tap taps and hope that it comes out all nice and clean. (don’t worry if a piece gets stuck, you can just dust the top with some powdered sugar)
Let cake cool and when ready, cut a slice and eat it up. I was told no glaze, but I was going to make a simple lemon glaze (lemon juice and powdered sugar) for the top. The mr said it was perfect, but glaze would have been pretty.%u00a0 So glaze it up if you want.
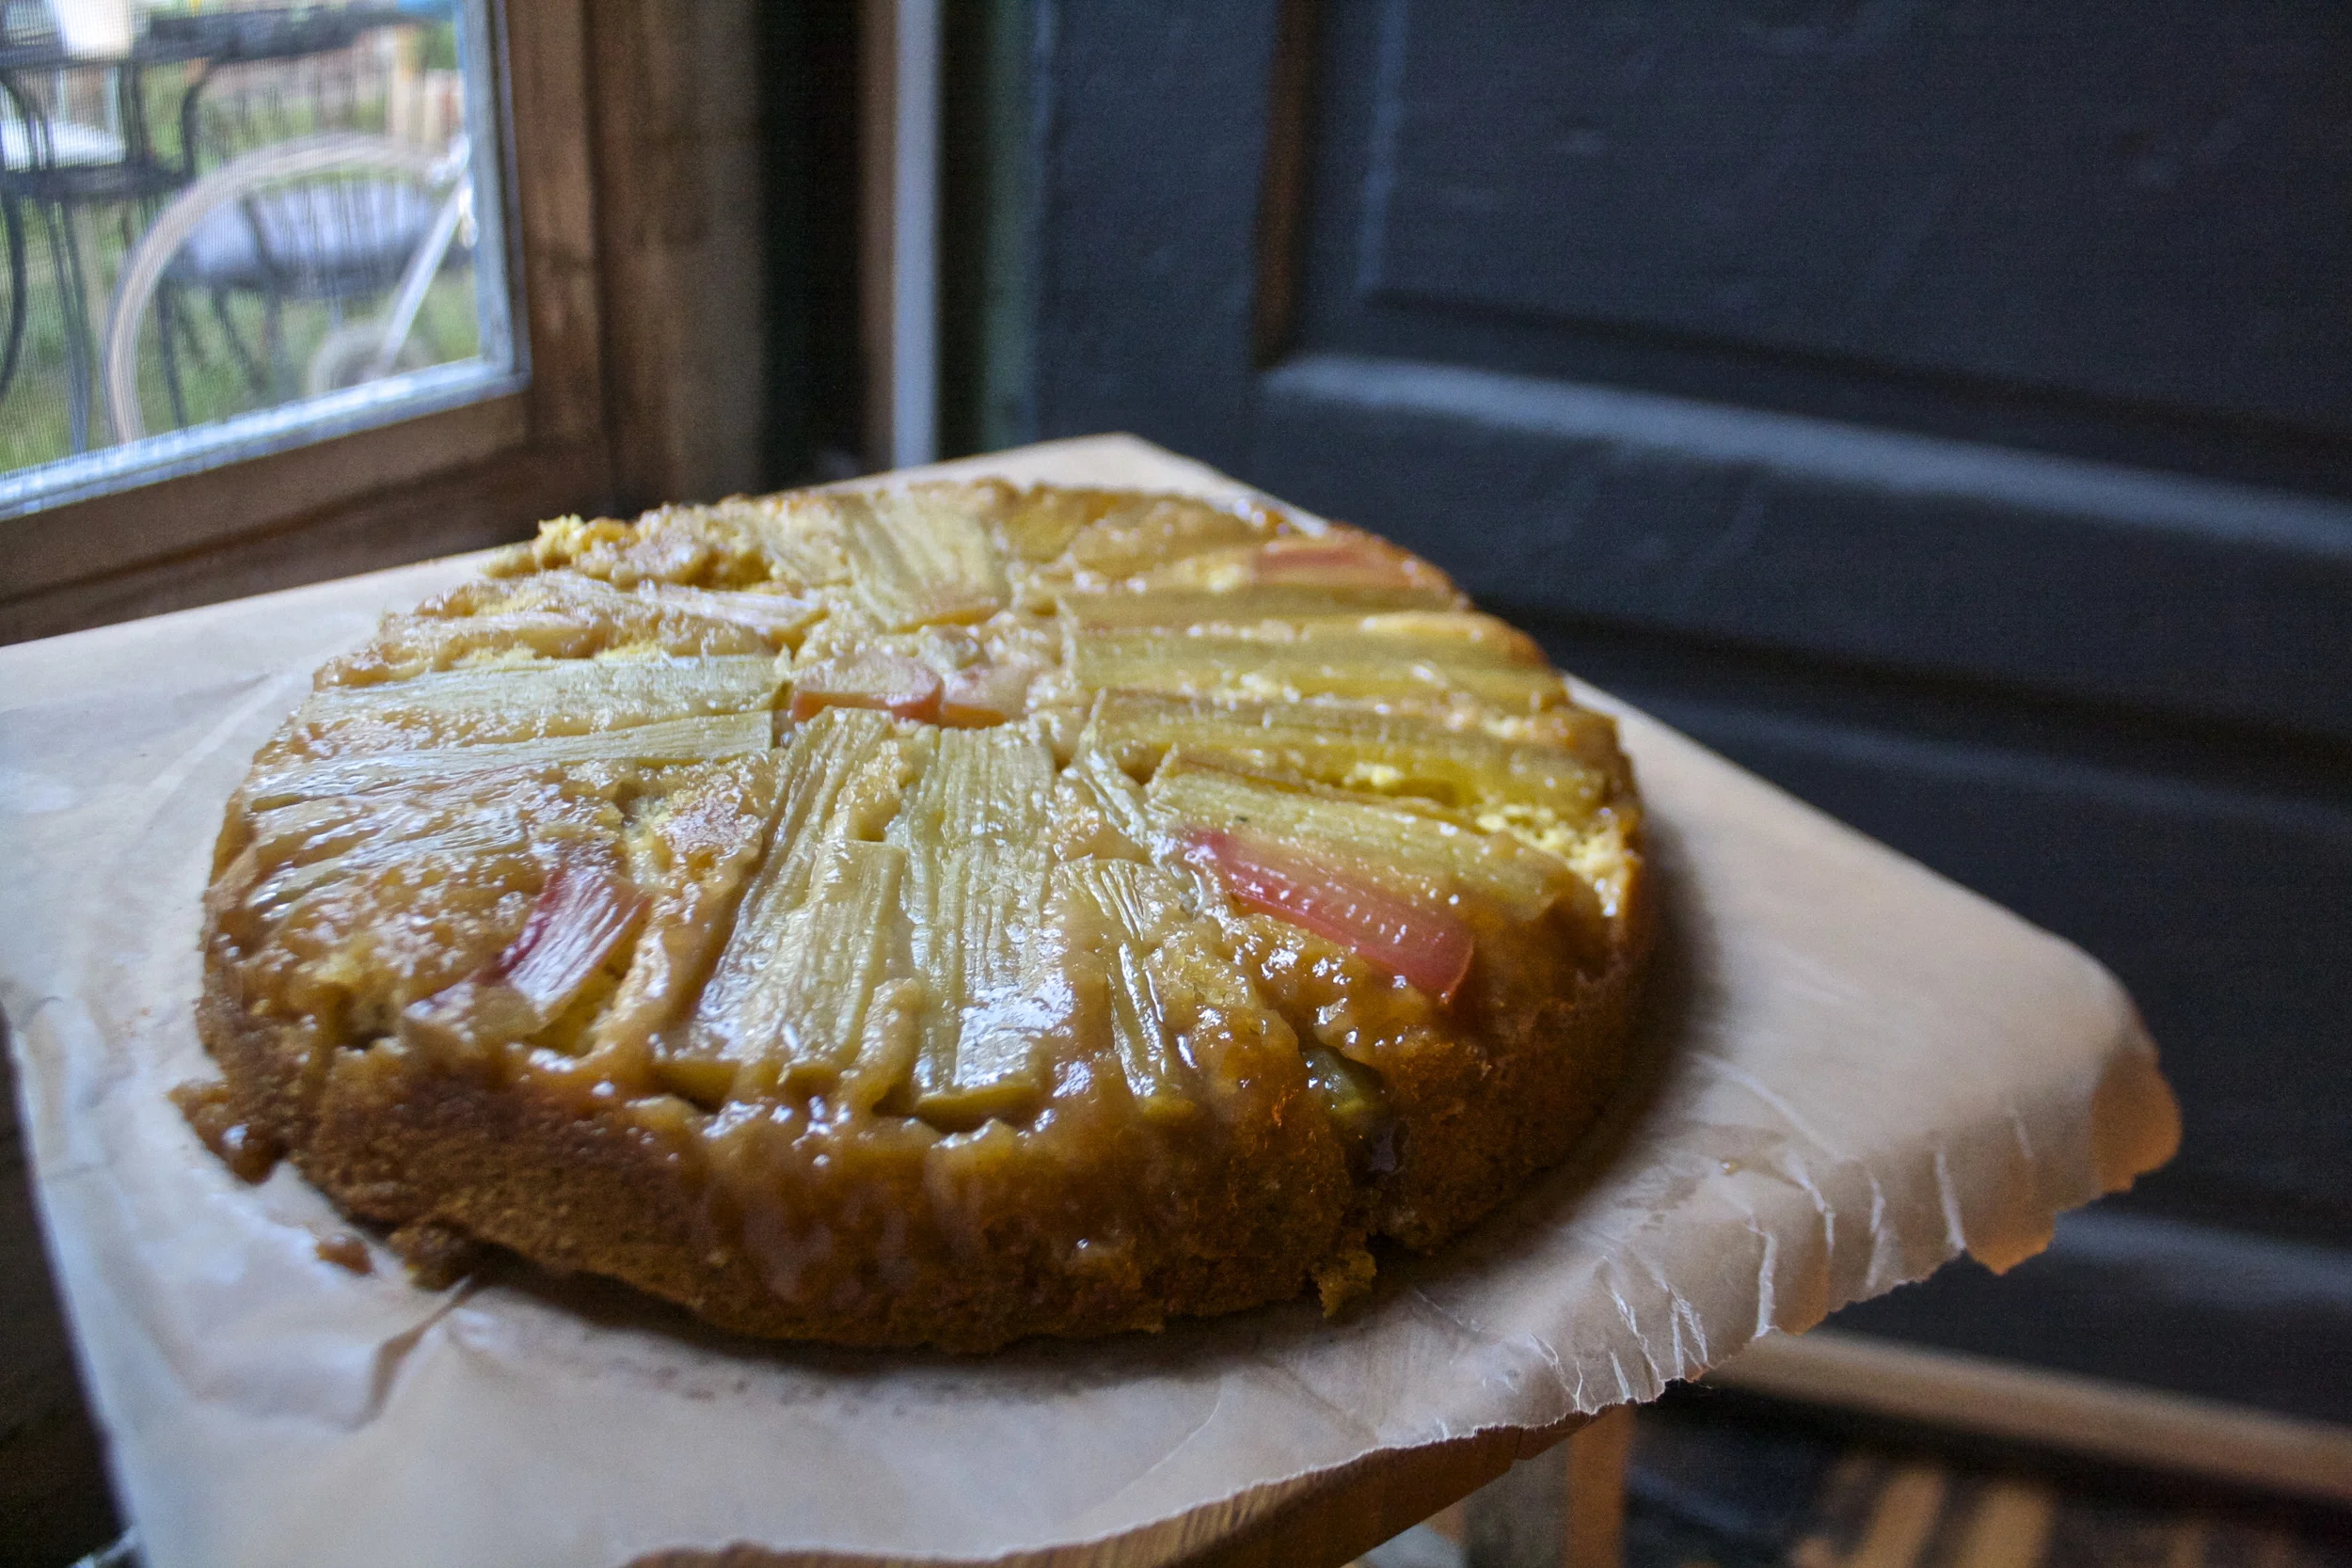
My rhubarb patch has turned into a rhubarb jungle and I couldn’t be happier. At the beginning of the spring I moved like 10 of the plants to the new patch location and was wondering if I would even get a small crop this year. Guess my soil is premo cause those plants be ginormous.
And now I am harvesting the stalks from that jungle and I have rhubarb coming out of my ears. (I will be eating rhubarb all summer long) It’s not really a problem per say, but there is so much, so it’s time to get a little crafty with the tangy sour veggie stalk.(rhubarb sword fight anyone?)%u00a0 One of the first things I made with some of it was a salad that consisted of roasted and slightly charred zucchini, onions, corn and rhubarb. I made it for the mr thinking that he was going to love it because he loves rhubarb so much. Well he didn’t love it because of all the corn. (Such a weird egg that boy) But me,I loved it, like ate it all and then some. Corn and rhubarb are such a good combination and if the mr wasn’t being such a weirdo, he should have liked that salad too. But it gave me the inspiration for the cake . A cornbread cake ( he loves cornbread) sweetened just the right amount with maple. Not exactly a rhubarb corn salad, but you get the idea. And this cake is totally multi purpose. Made as dessert and would go extremely well with a scoop of your favorite vanilla ice cream but would work equally as well served with a bowl of baked beans. I mean, can cake for dinner get any better?
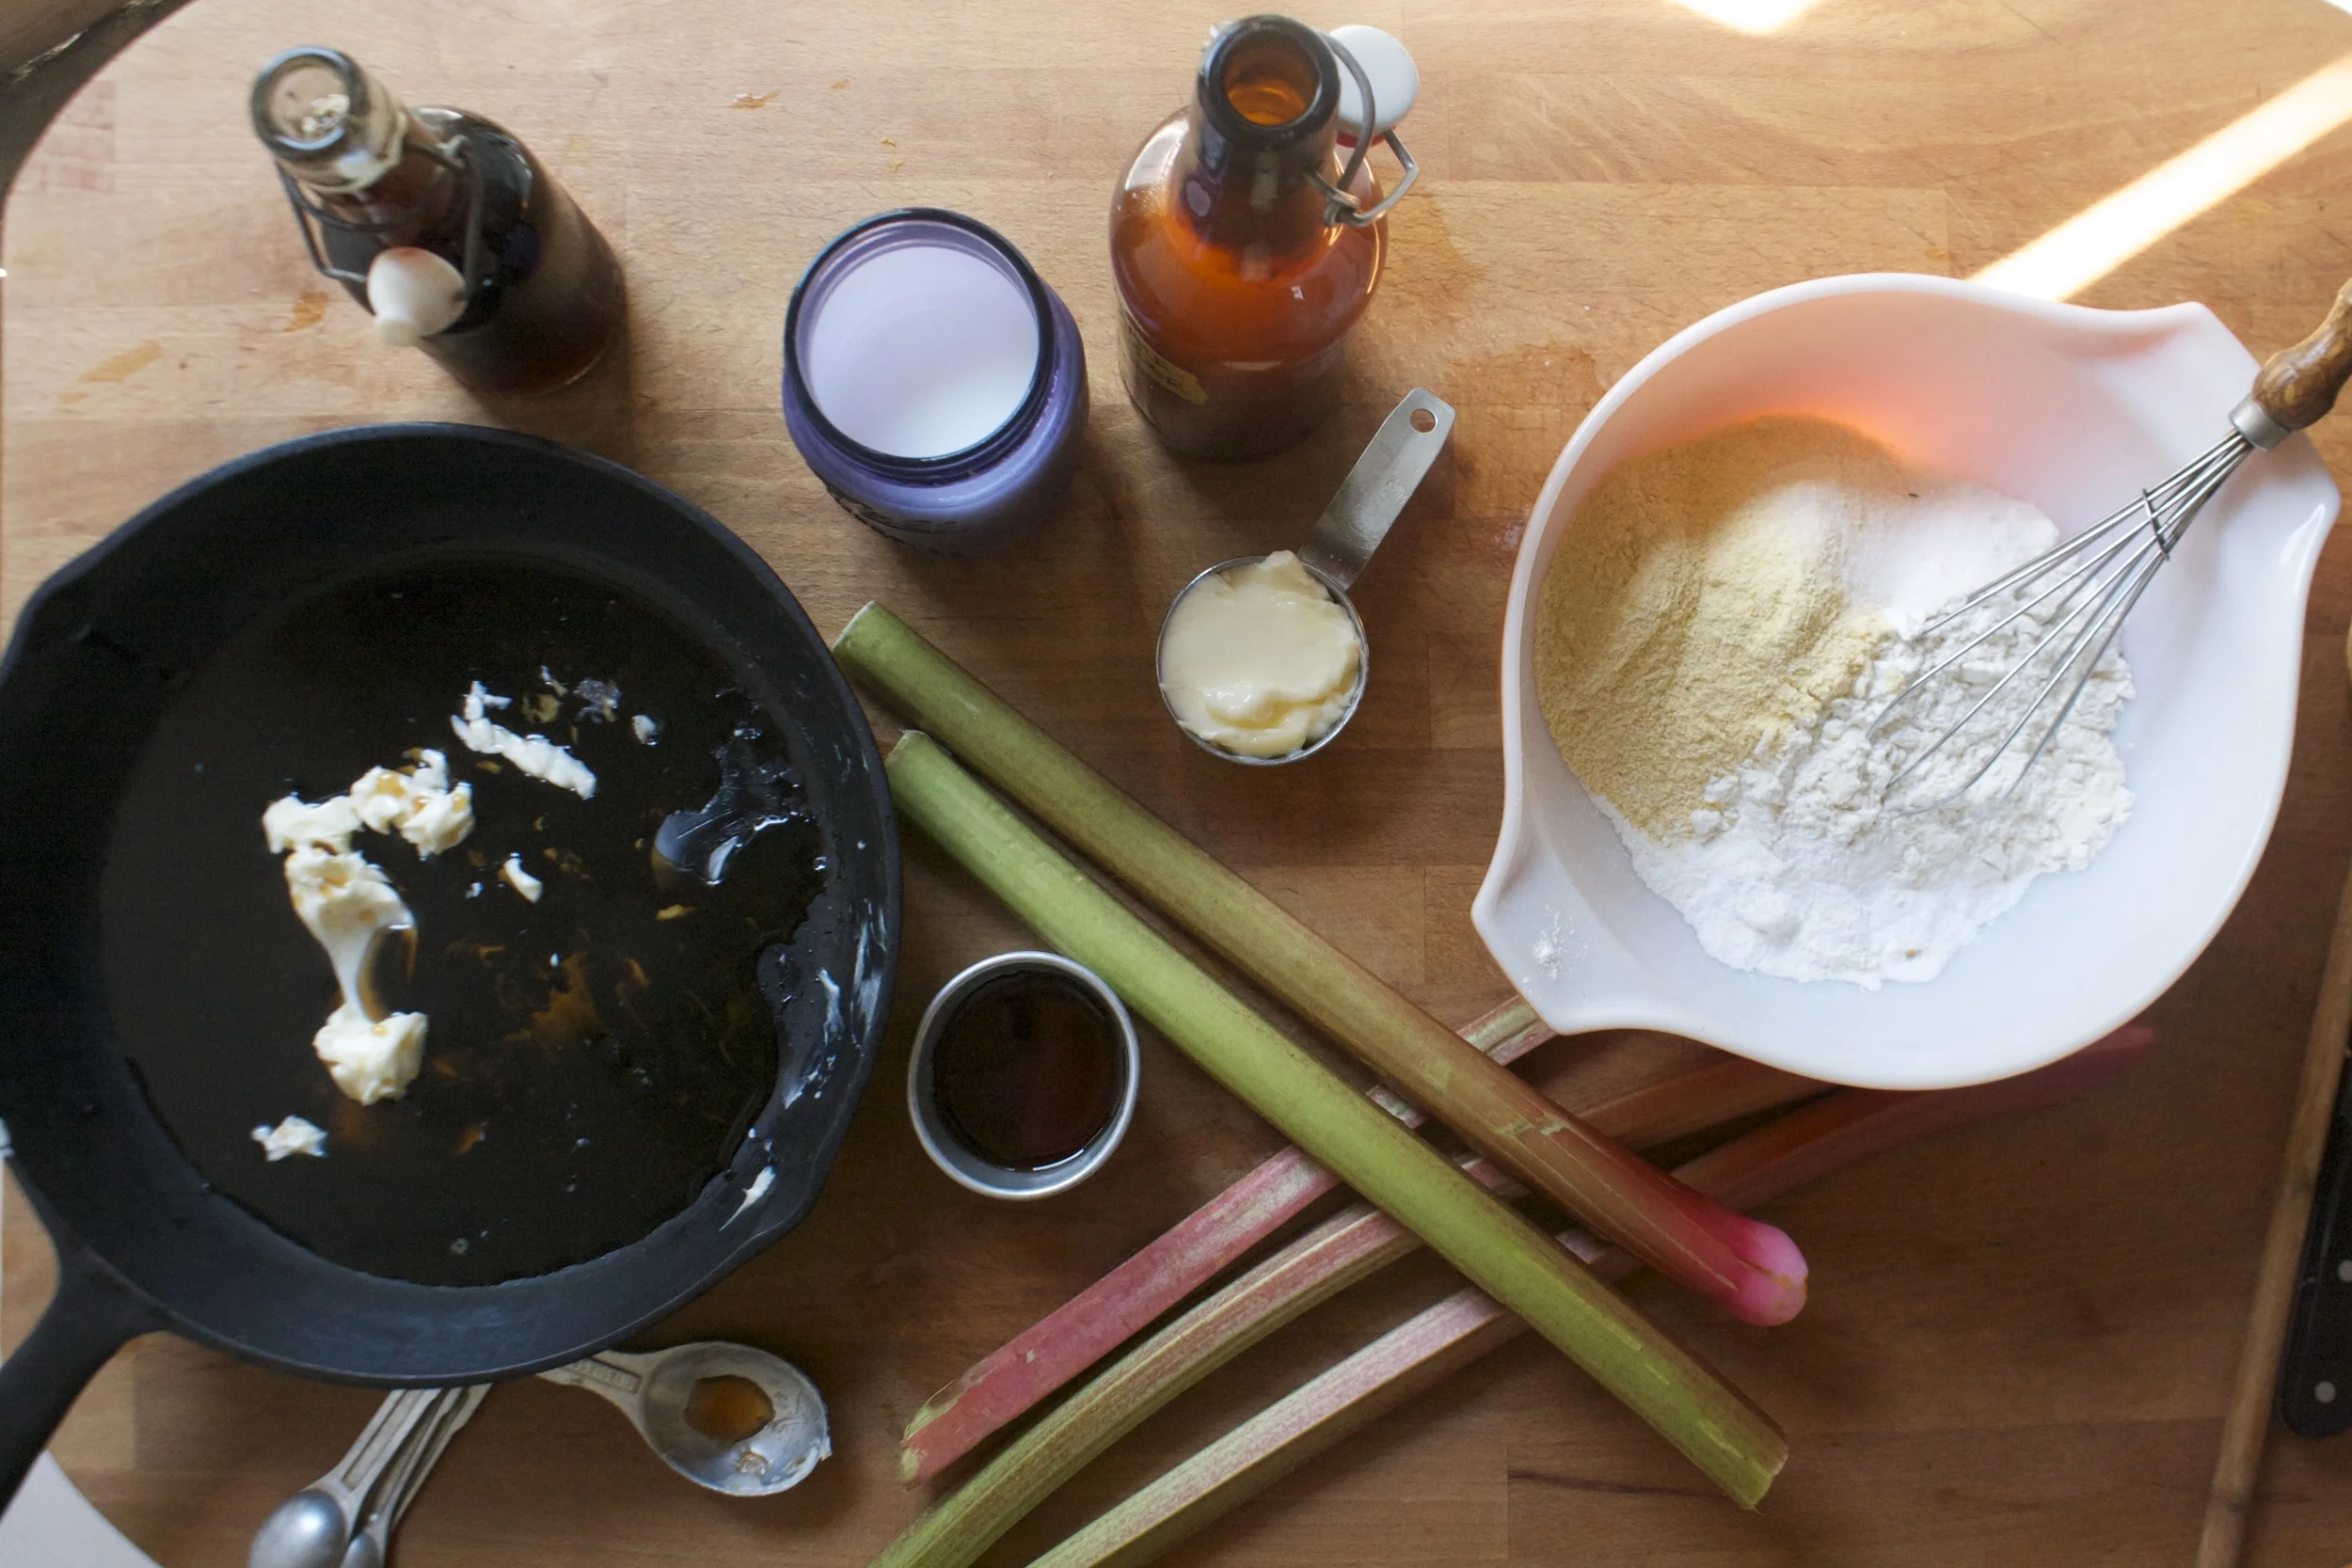
The stuff. A bowl with cornmeal, flour, baking soda, baking powder, along with a little salt. Also need some maple syrup, soy milk, earth balance and apple cider vinegar.And of course we have a few rhubarb stocks,

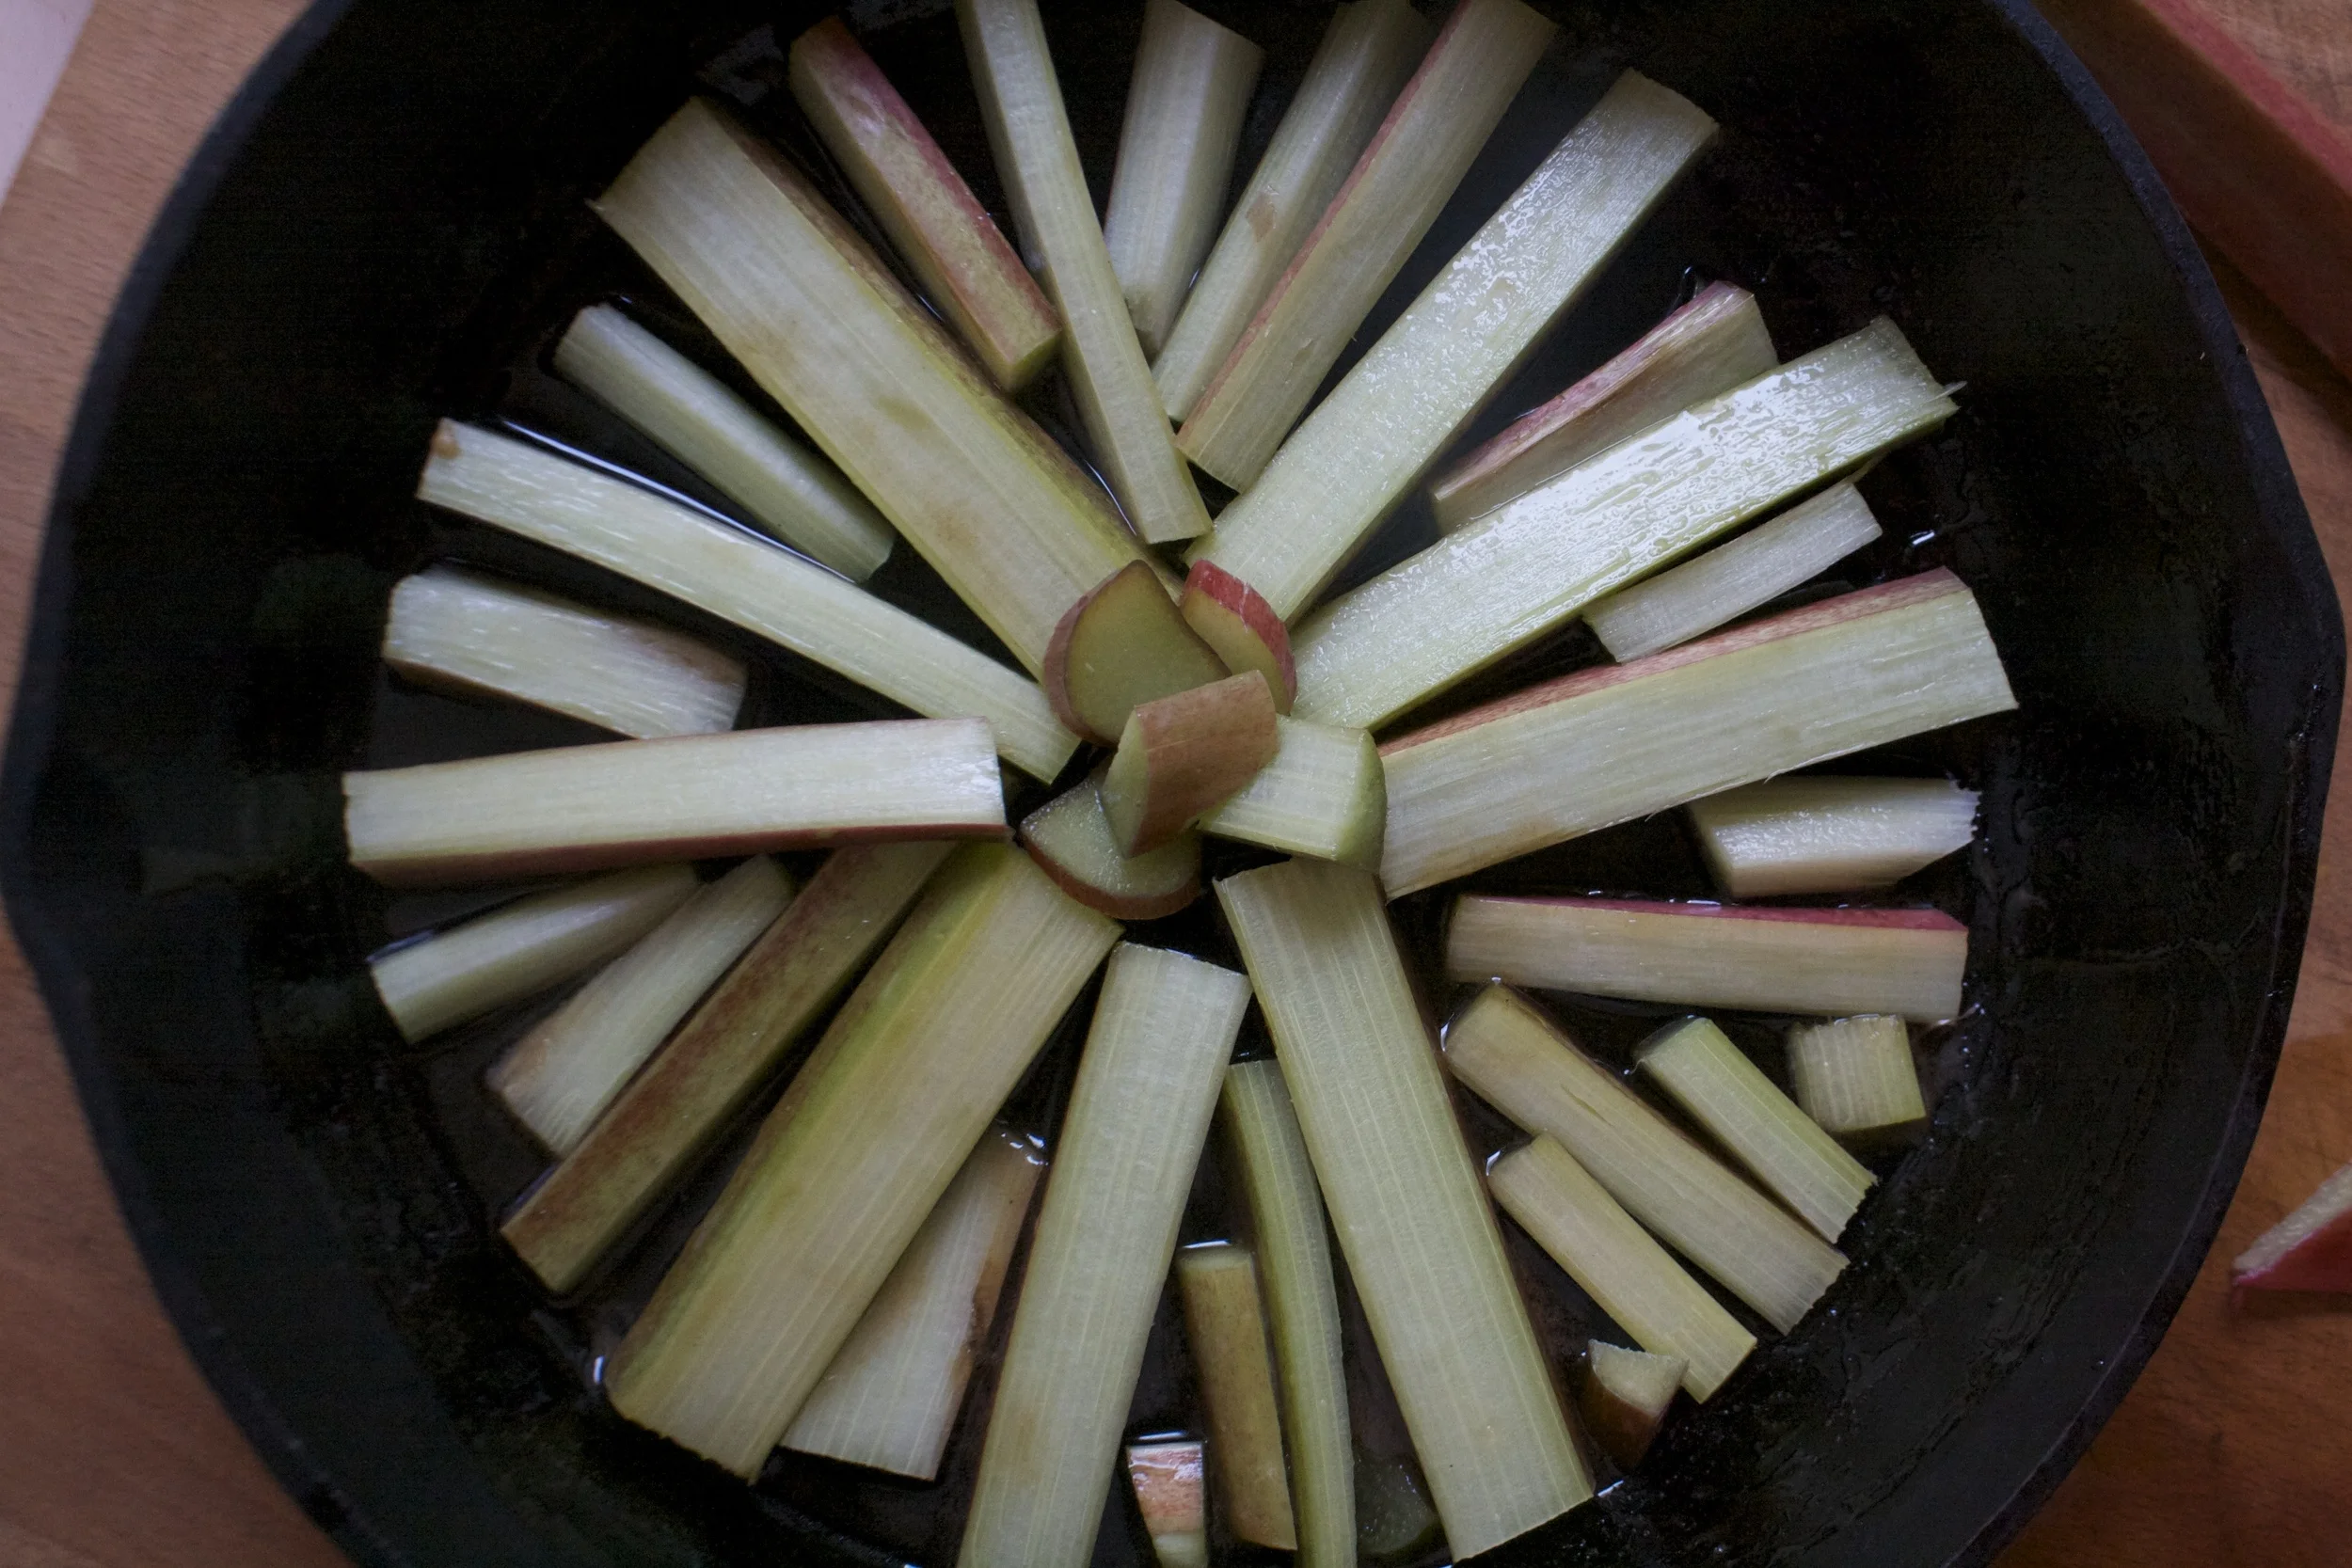
Start with melting the earth balance and maple syrup together on the stove and letting it thicken up a bit. While it’s thickening, think about the shape of you skillet and haw you want to layer you rhubarb, like the design of it.

Then when the maple is thickened and you know how you want to layer it, chop up your rhubarb and start placing in into the bottom of the skillet. Any way you do it, just make sure that the bottom is pretty much covered in rhubarb and that its only on stalk deep.
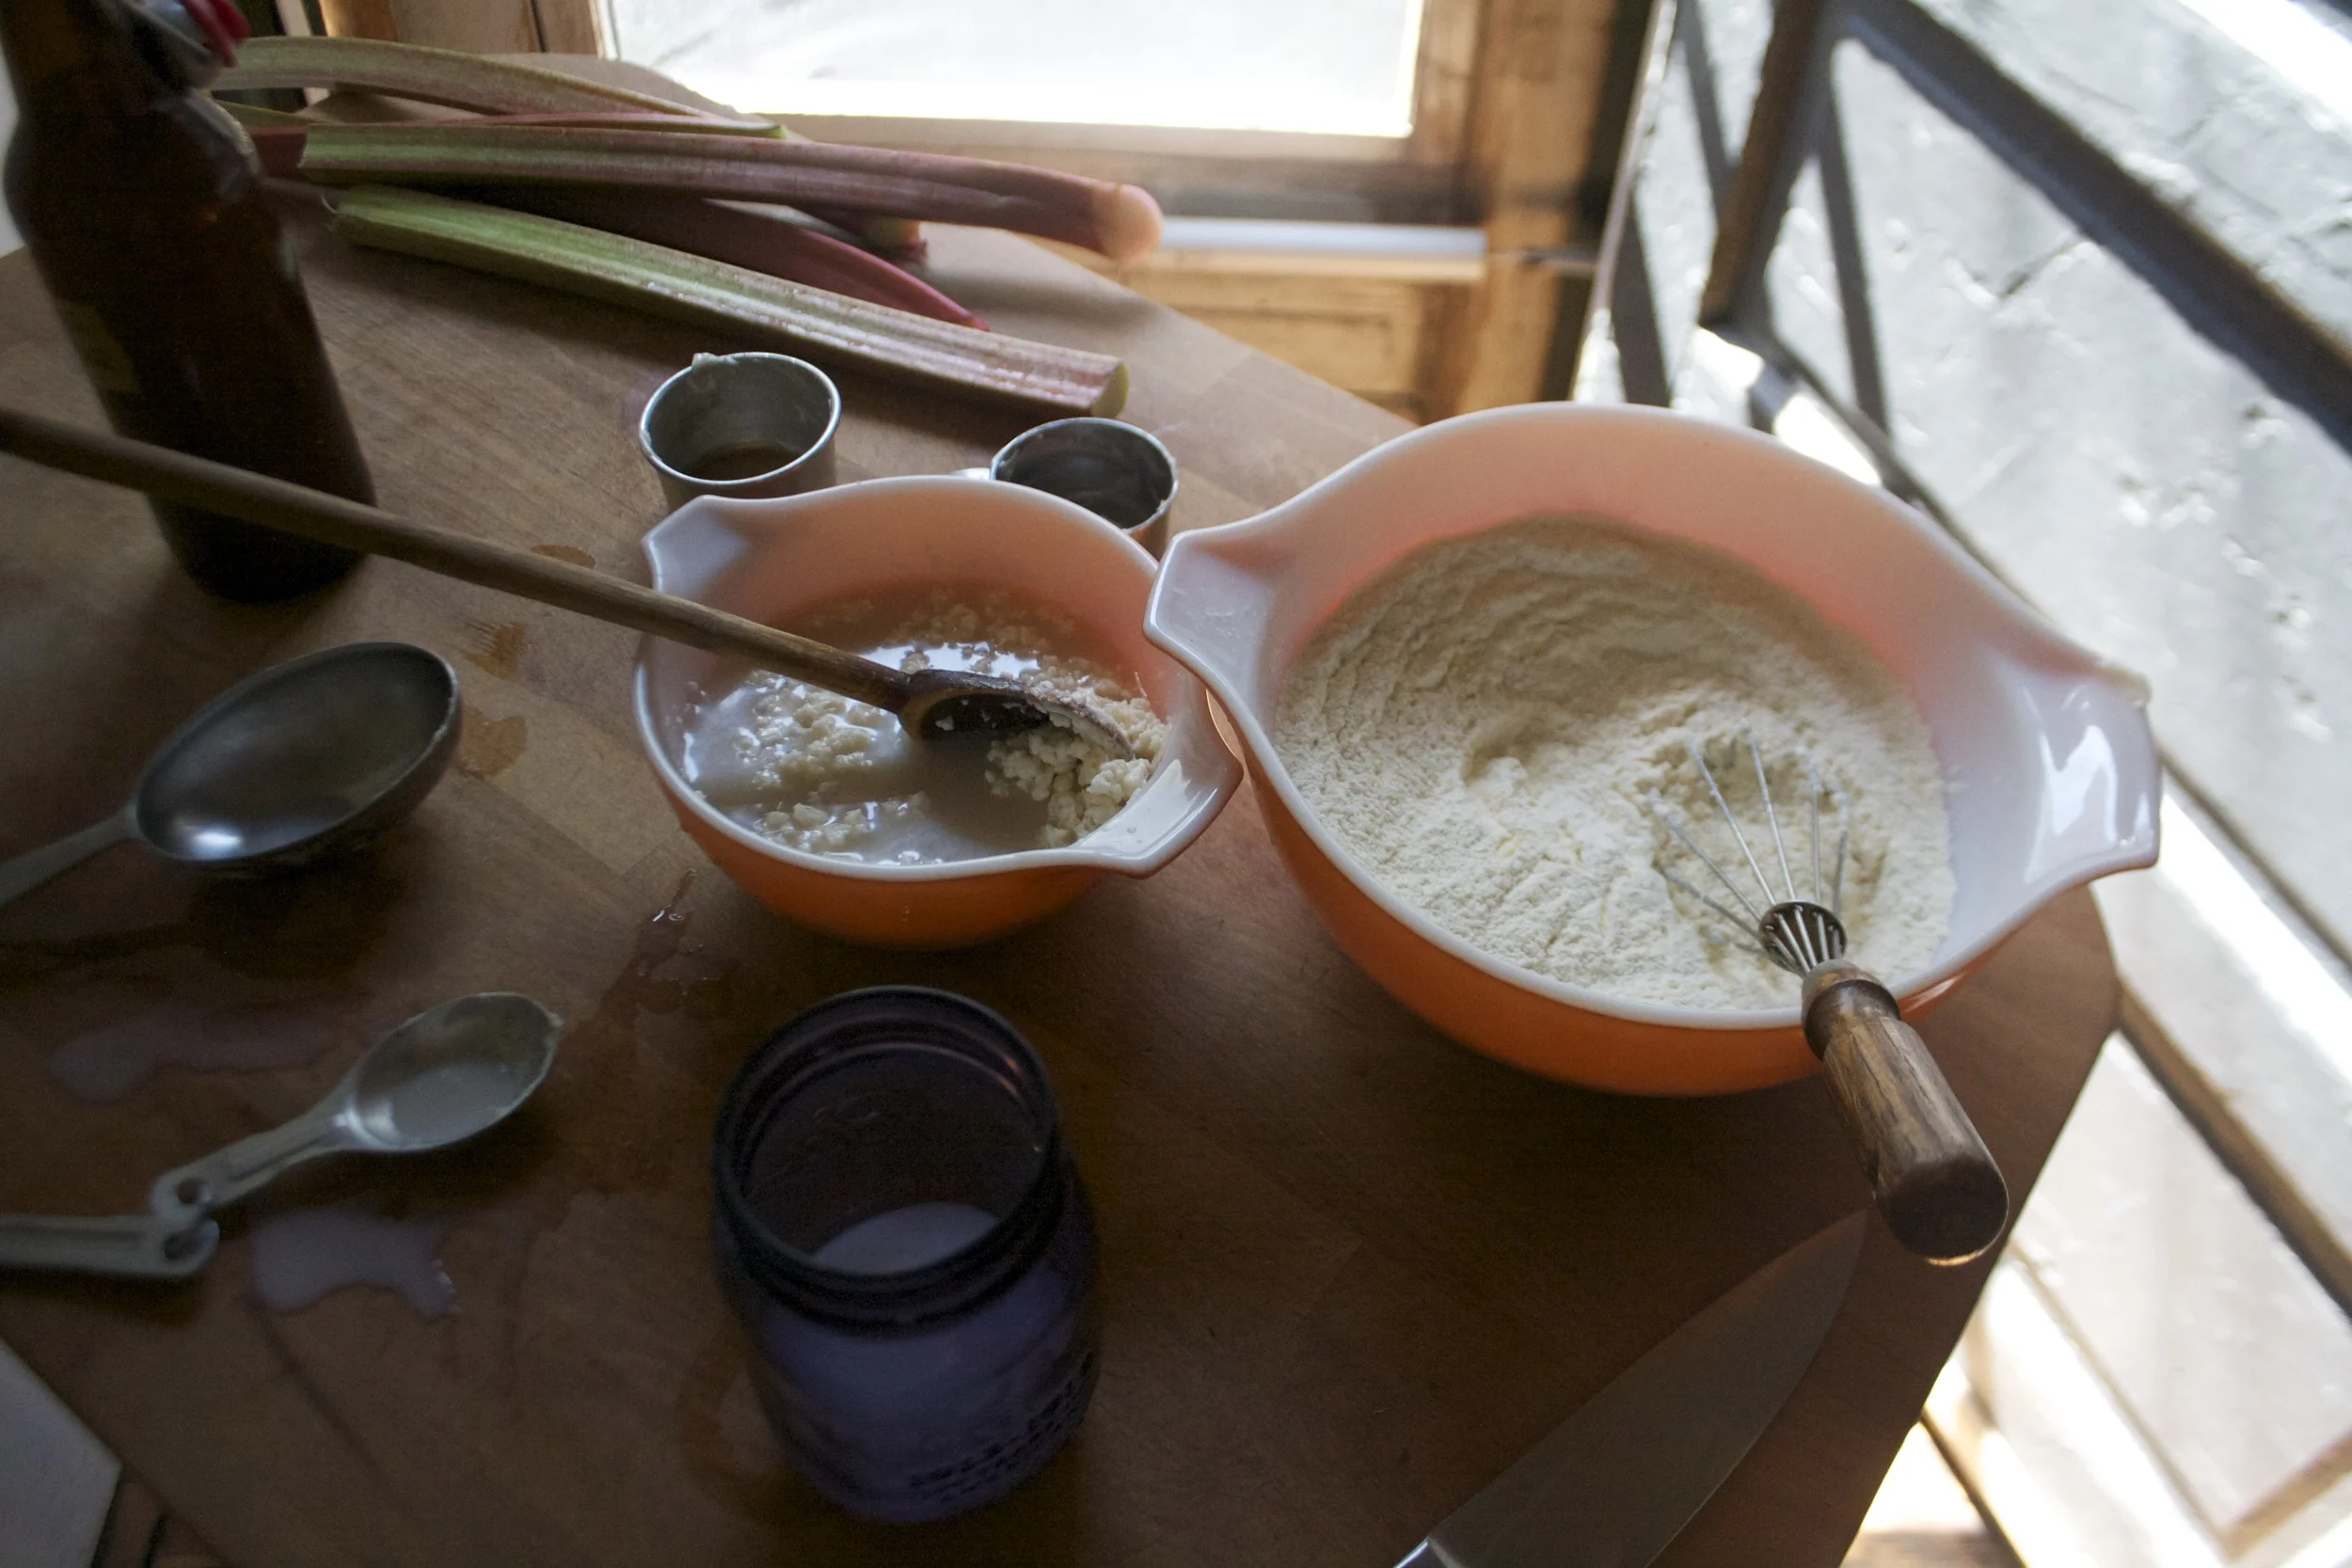
Now for the batter. Easy easy. Just whisk together the dry and combine all of the wet into a bowl.

Wet and dried mixed together.
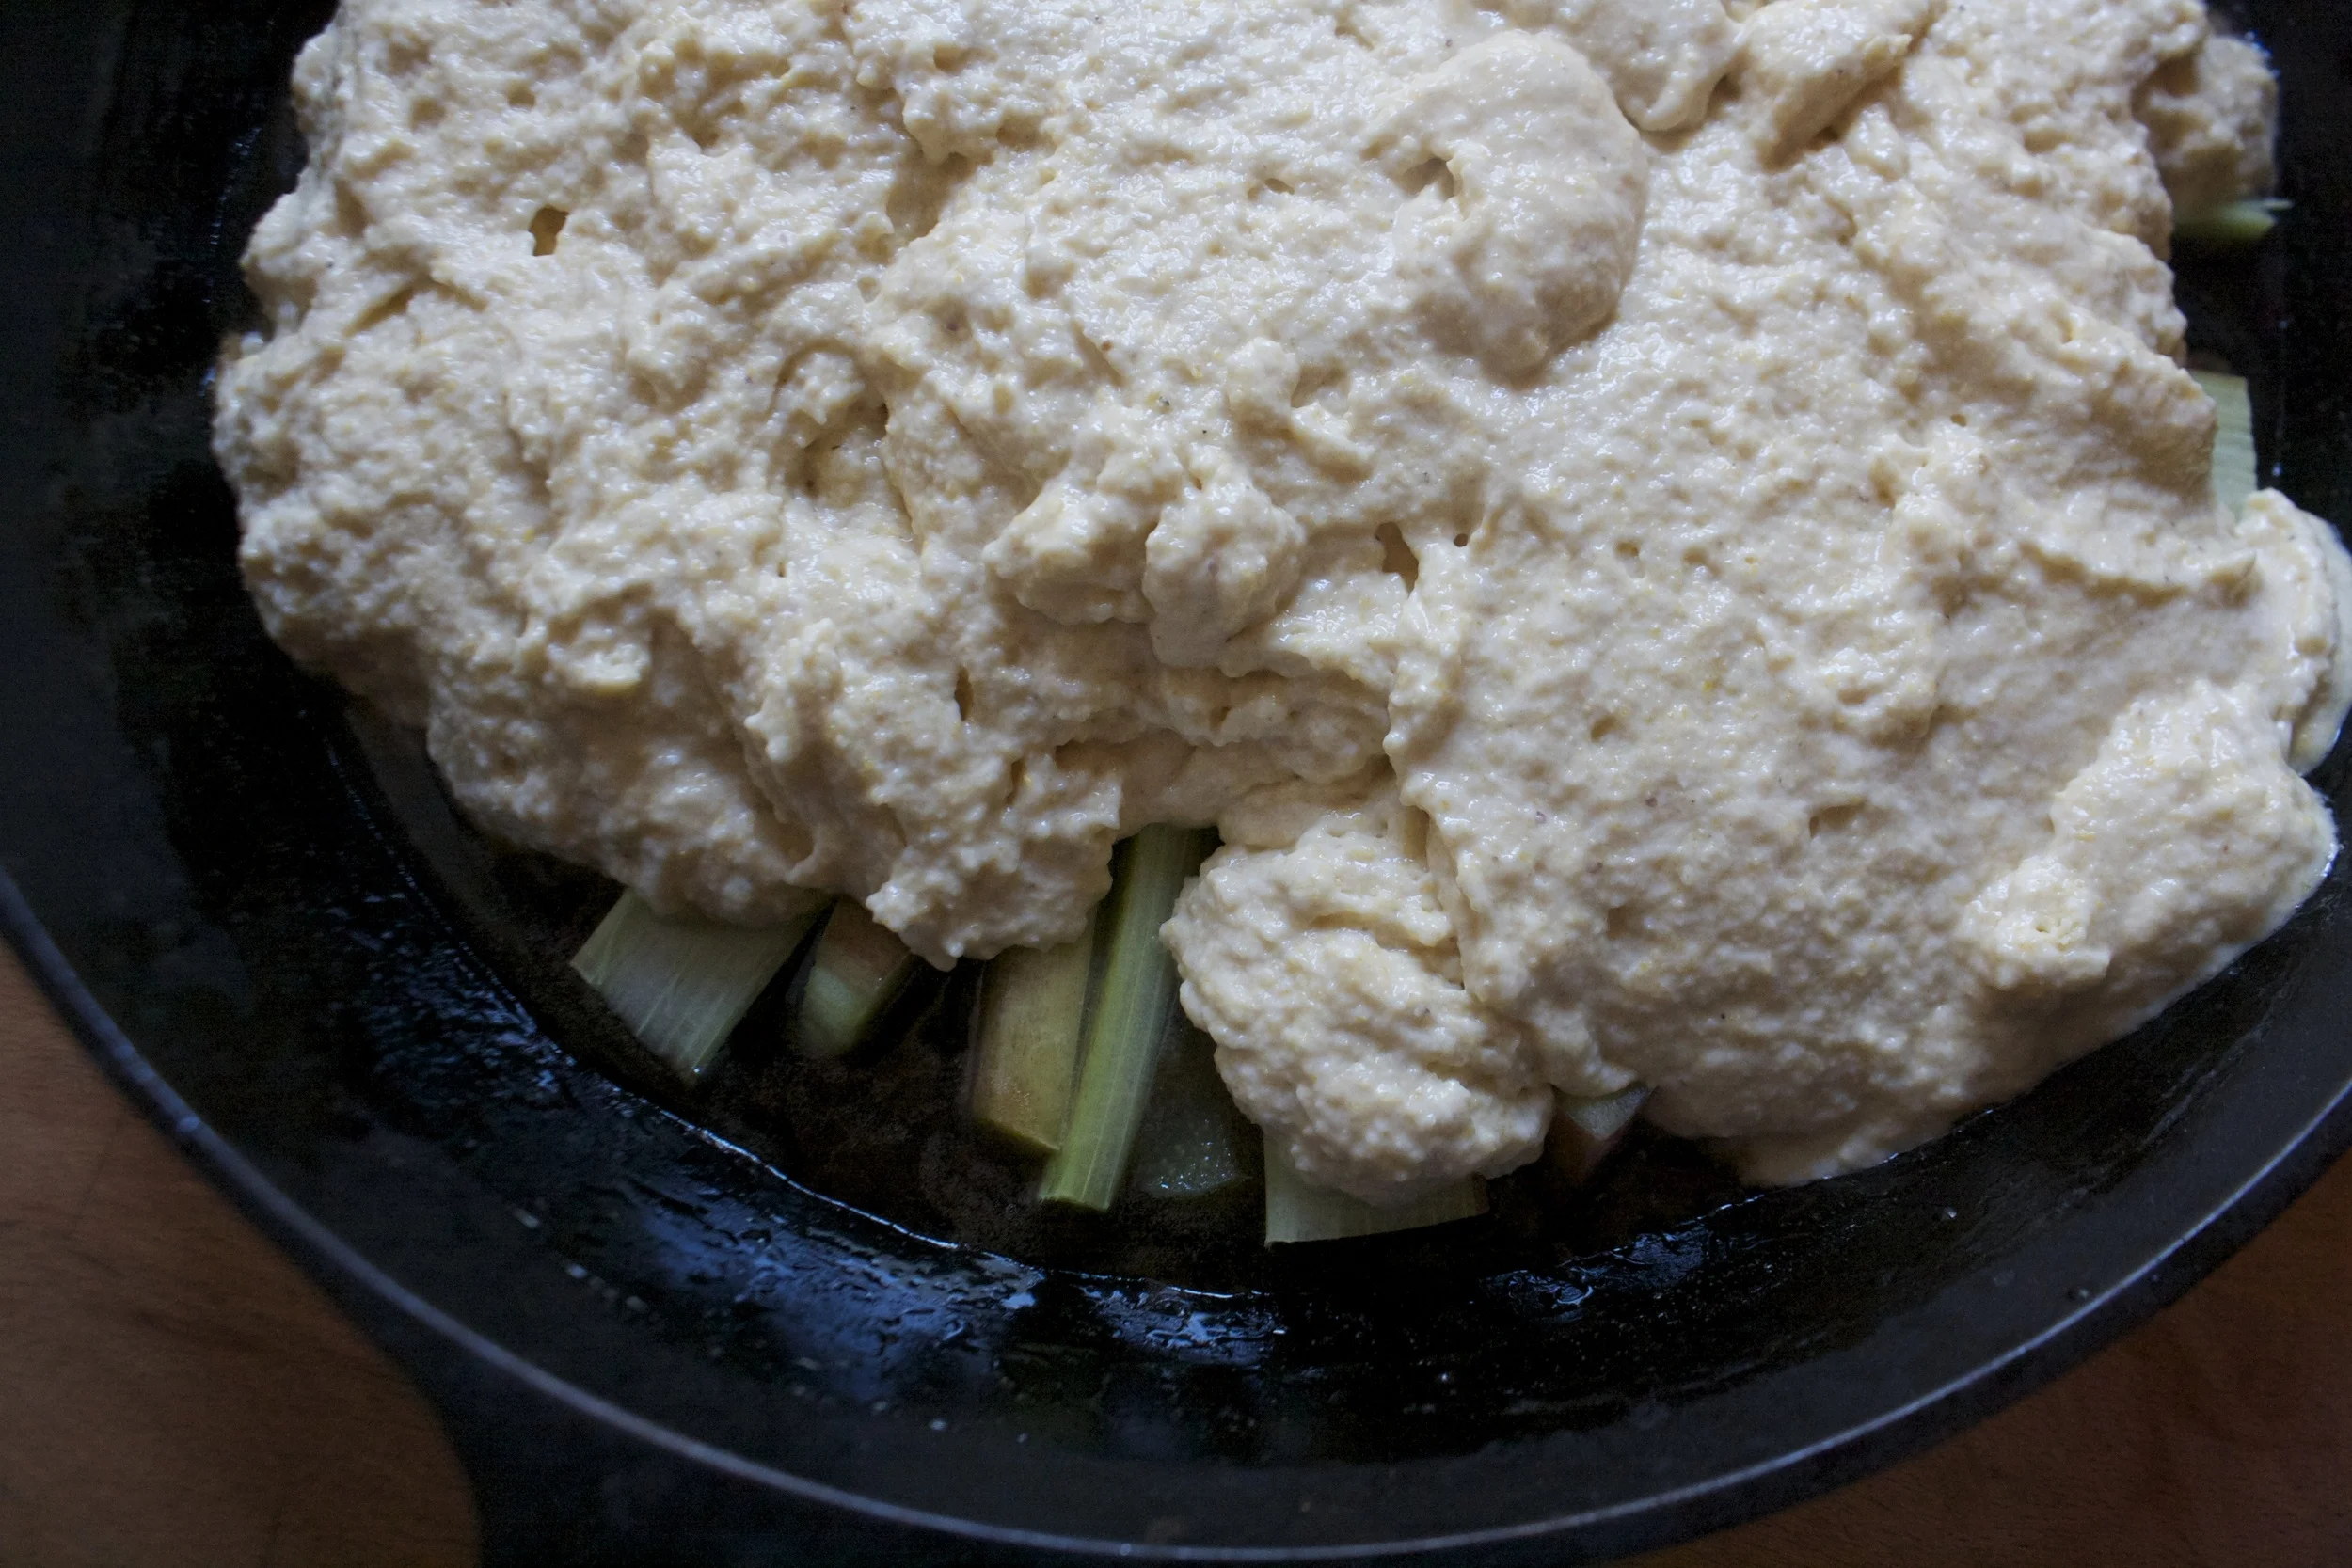
Pour the batter gently onto the rhubarb and smooth the batter out.
And into the oven it goes.
Pulled from the oven when the cornbread is golden brown and a tester stuck into it comes out clean. Let it cool just as it is for about 10 minutes… (give the maple time to cool and set up so it doesn’t just get sucked into the cake) then flip in. I flipped mine onto a piece of parchment and a cutting board . You could try to go directly onto a cake stand or plate, but It might get a little messy. I like to play it safe when flipping things and just use a big cutting board. Now get ready to cross your fingers…..
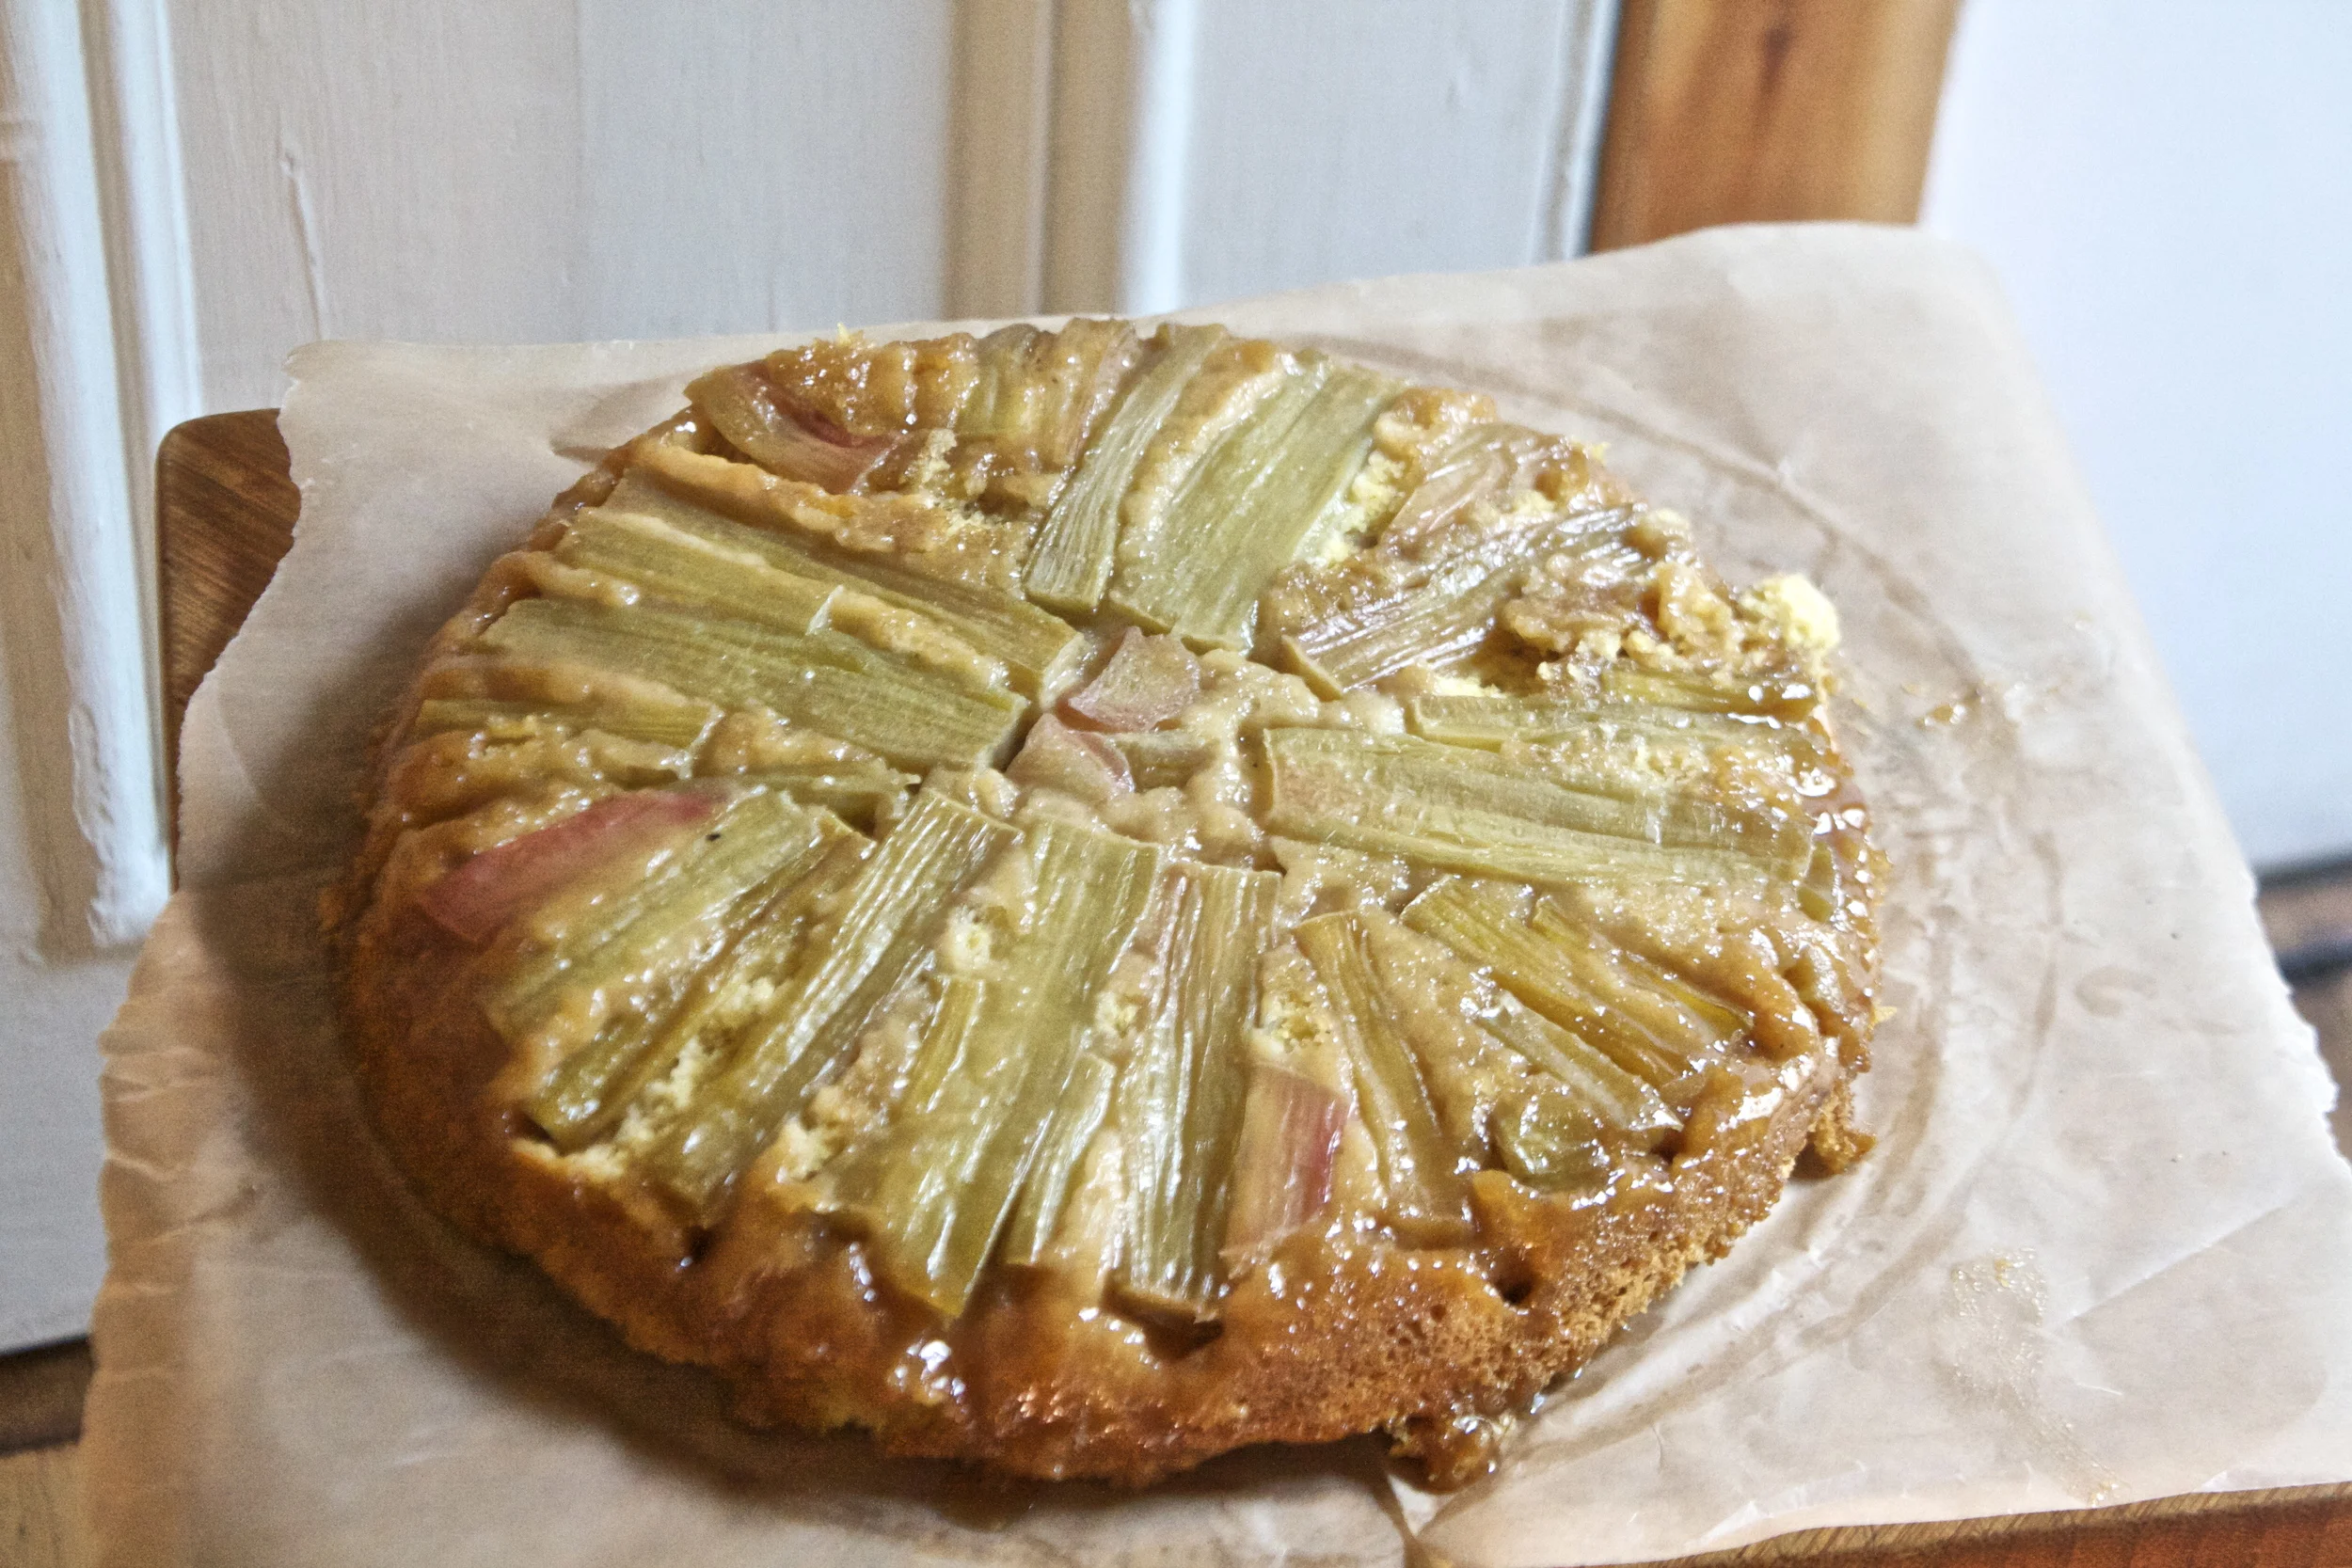
Ta da!. Ain’t it a beaut? And don’t worry if a little piece or two get stuck in the pan. Either scrape it out and place it back on the cake or consider it a little snack.
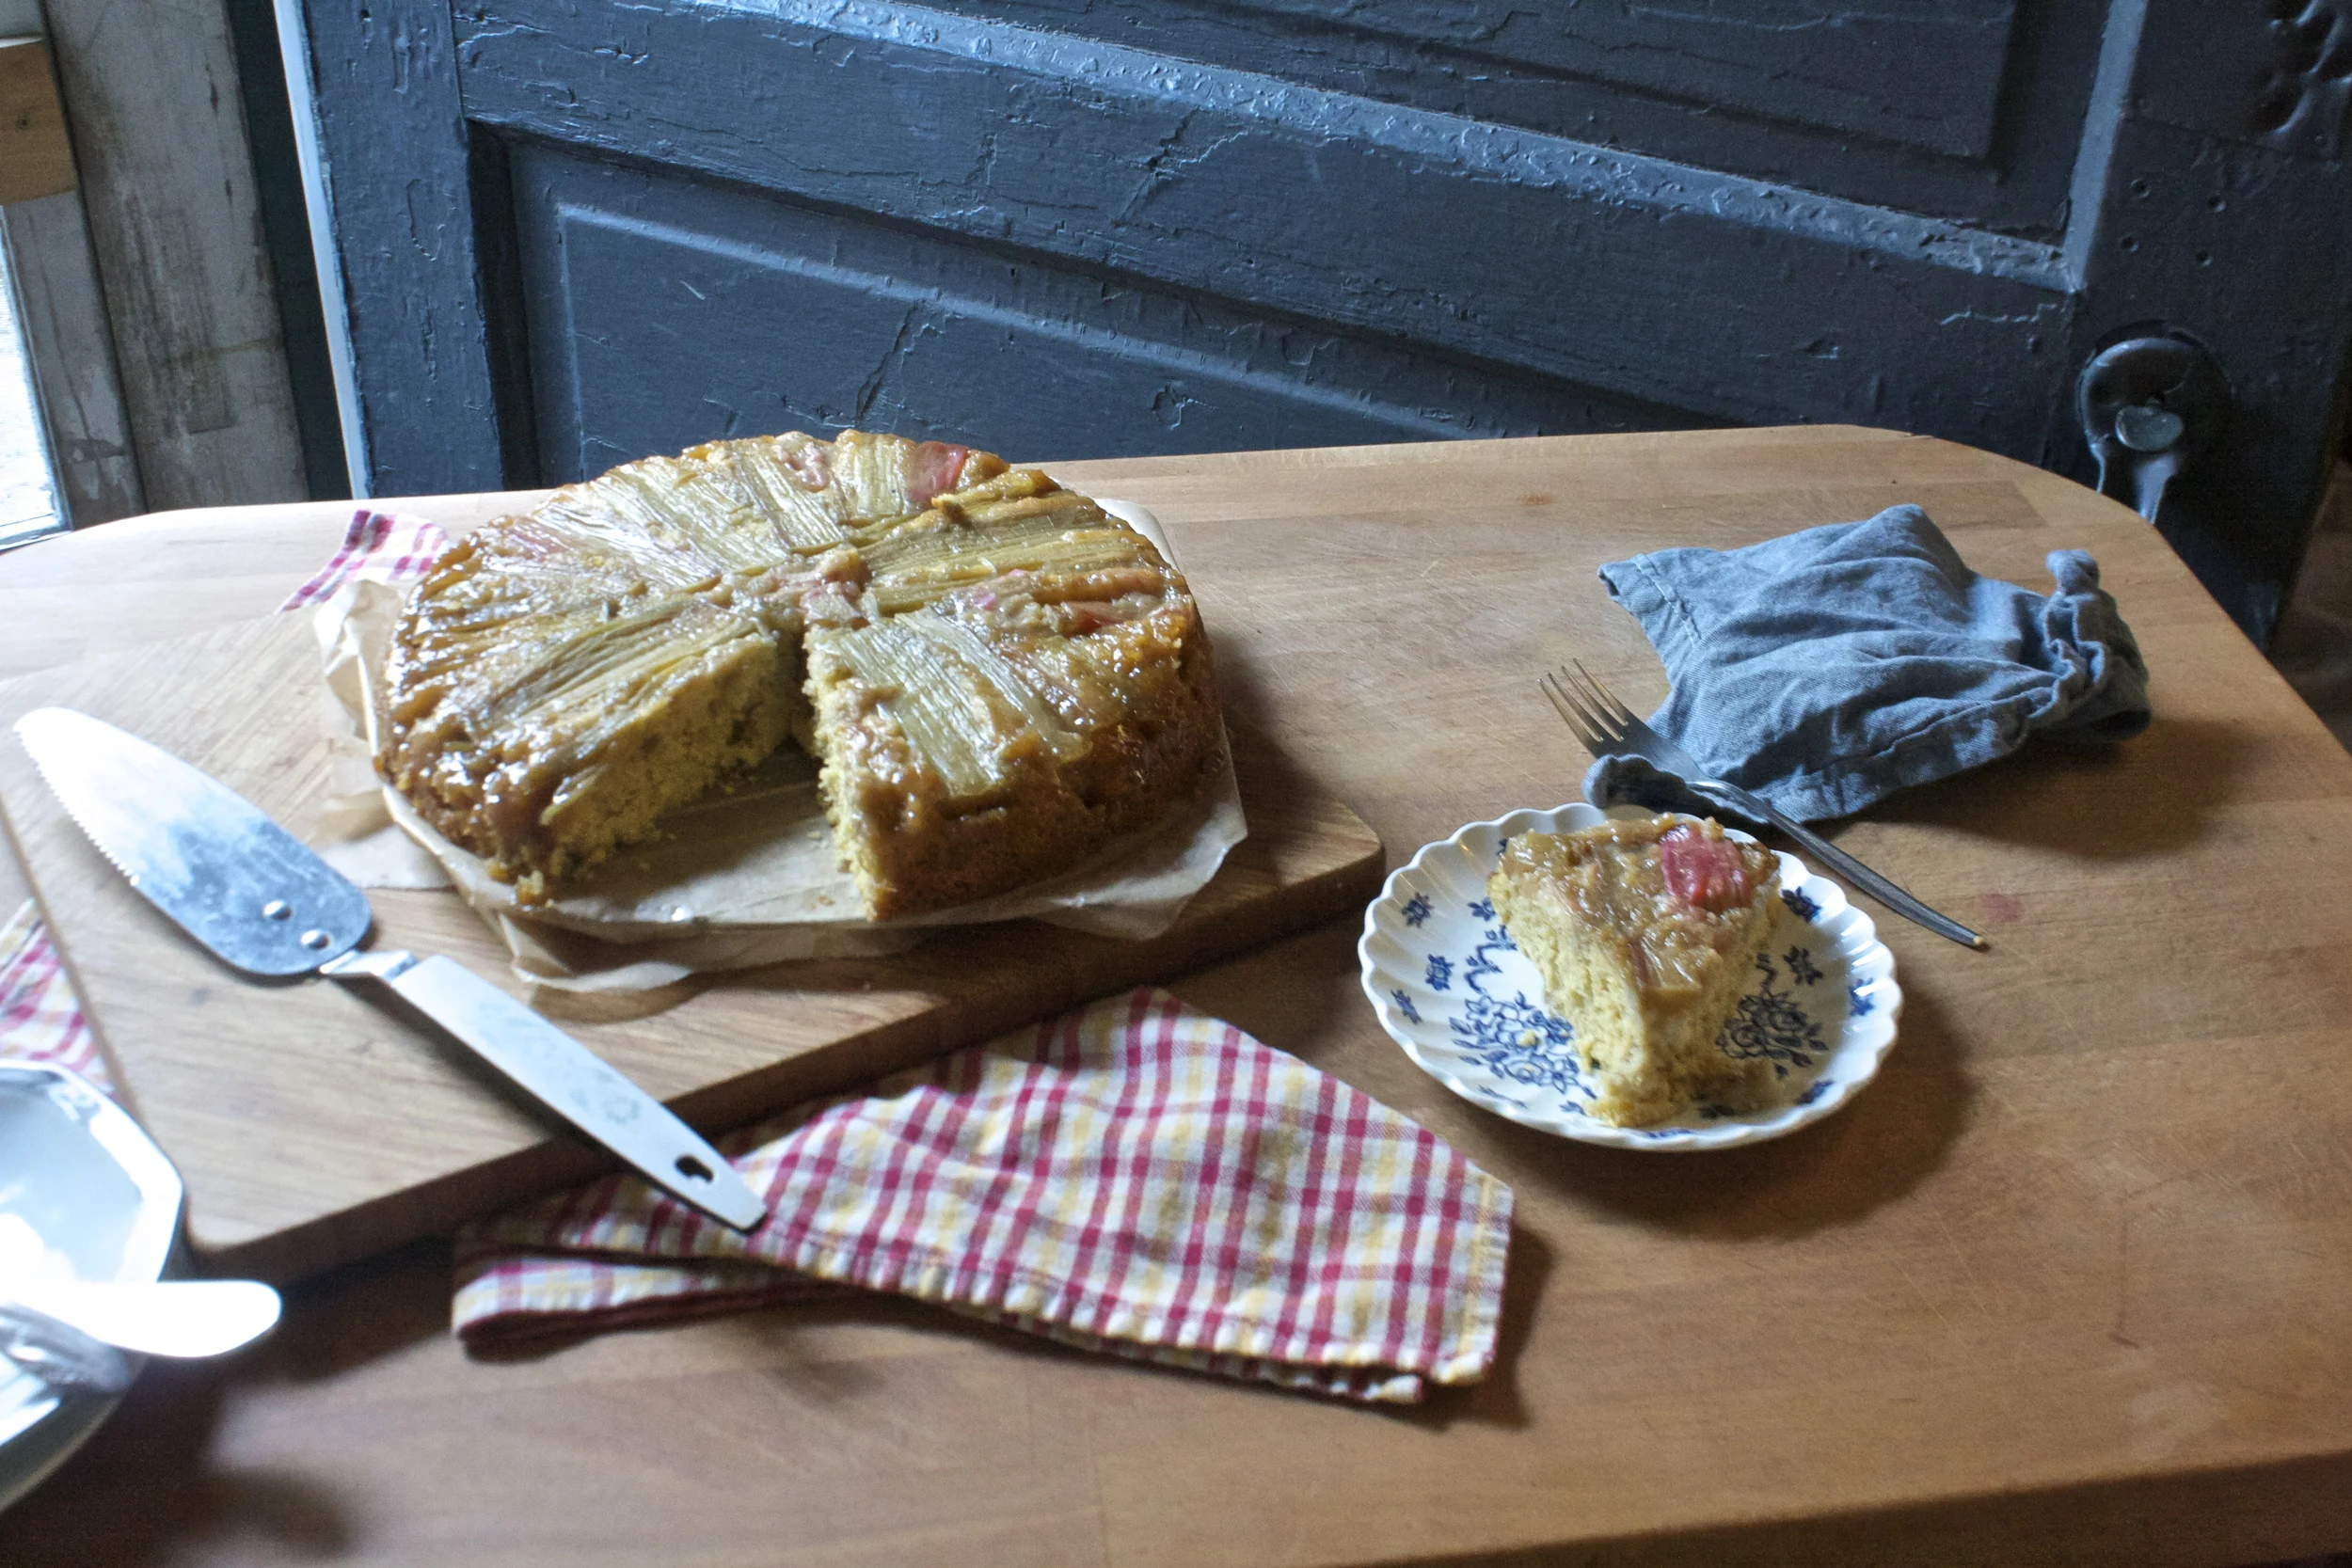
There you have it. A cake good to go for all your meal eating needs.
Go rhubarb GO!
-C
- 1 1/4 cup flour
- 1 1/4 cup cornmeal
- 1 teaspoon baking soda
- 1 tablespoon baking powder
- 1 teaspoon salt
- 1/3 cup melted earth balance + 2 tablespoons
- 1/3 cup maple syrup + 2-3 tablespoons
- 1 1/2 cups soy milk (or any plant based milk)
- 1 tablespoon apple cider vinegar
- 2-3 stalks rhubarb (enough to cover bottom of skillet)
Note. I baked this in a 10 inch cast iron skillet. If you don’t have one, a 9 inch circle or square pan will do the trick, you are just going to have to simmer the maple in a pot ans pour in into the pan you are using…and maker sure to grease it!
Preheat oven to 350.
Place the 2 tablespoons of earth balance and the 1/3 cup of maple into a 10 inch skillet and place on medium heat. Stir around until earth balance is melted and the maple starts to thicken. Remove from heat. Now grab rhubarb cut into pieces and layer it any way you see fit, making sure to cover the bottom of the skillet but not layering it in to thick.
In a large bowl mix together the flour corn meal, salt, baking soda and powder. Then In a separate bowl, mix together the apple cider vinegar, soy, melted and cooled earth balance and the remaining maple. Pour wet into dry ans mix until even;y incorporated.
Pour batter gently on top of rhubarb, leveling out if need be, then slide it on into the oven to bake for 25-30 minutes or until the cake is golden brown and a tester stuck into the middle come out clean.
Remove cake ans let cool for for about 10 minutes. This is really important,because flipping to soon and all the rhubarb maple will just absorb and soggy up the cake and if you wait to long, all that goodness willl harden up and get stuck. SO 10 minutes.
Now when your ready yo flip, think about size. I used a big cutting board that , but a plate would work to, just make sure it;s slightly bigger then the skillet. Then just do it flip and lift the skillet away. Any pieces that might have gotten stuck can be scraped off and placed back where they belong.
Now your cake is ready and waiting for you to eat. Sweet enough for dessert, not to sweet that you couldn’t serve it with dinner. Multi purpose cake.. the best kind!

I know what you are thinking, you are thinking “It’s Memorial Day weekend. Unofficial start of summer. Lots of BBQ’s now I have to make a potato salad!” (it’s a law right?) and “I want a pickle, dill to be specific”. Ok, maybe you weren’t thinking that, but I was. (I often think about pickles…)
Pickles. And potato salad. It only made sense to make a pickled potato salad. So make it I did. And oh boy oh boy, there is nothing better then a rich and creamy salad consisting of potatoes other then a rich and creamy and pickle tart salad of potatoes. I hit the nail right on the head with this one. The mr and I ate the entire salad all to ourselves and way to fast. Now it is gone and I didn’t get a chance to share with anyone. But it’s ok, cause this is definitely going into the summertime potato salad rotation.
Now you are thinking “creamy dill pickle potato salad.. this girl is a genius!” and to that, I say yes. I would have to agree with you on that. (hehe)
And to all who may not be a pickle fan, or need to make 2 potato salads, (it is always good to have a variety of potato dishes at any BBQ ) try this guacamole potato salad, another favorite.

The stuff. Potatoes of course and half a sweet onion, a cup or so of navy beans in the aquafaba ( bean water), left over pickle juice, fresh dill, dried dill, garlic, olive oil ,salt and a pepper.%u00a0
Yes there is a lemon pictured, but I was actually using that to squeeze into my water so yeah, not needed in the potato salad but you should grab a lemon and a big tall glass of water and drink it. Keep yourself hydrated.
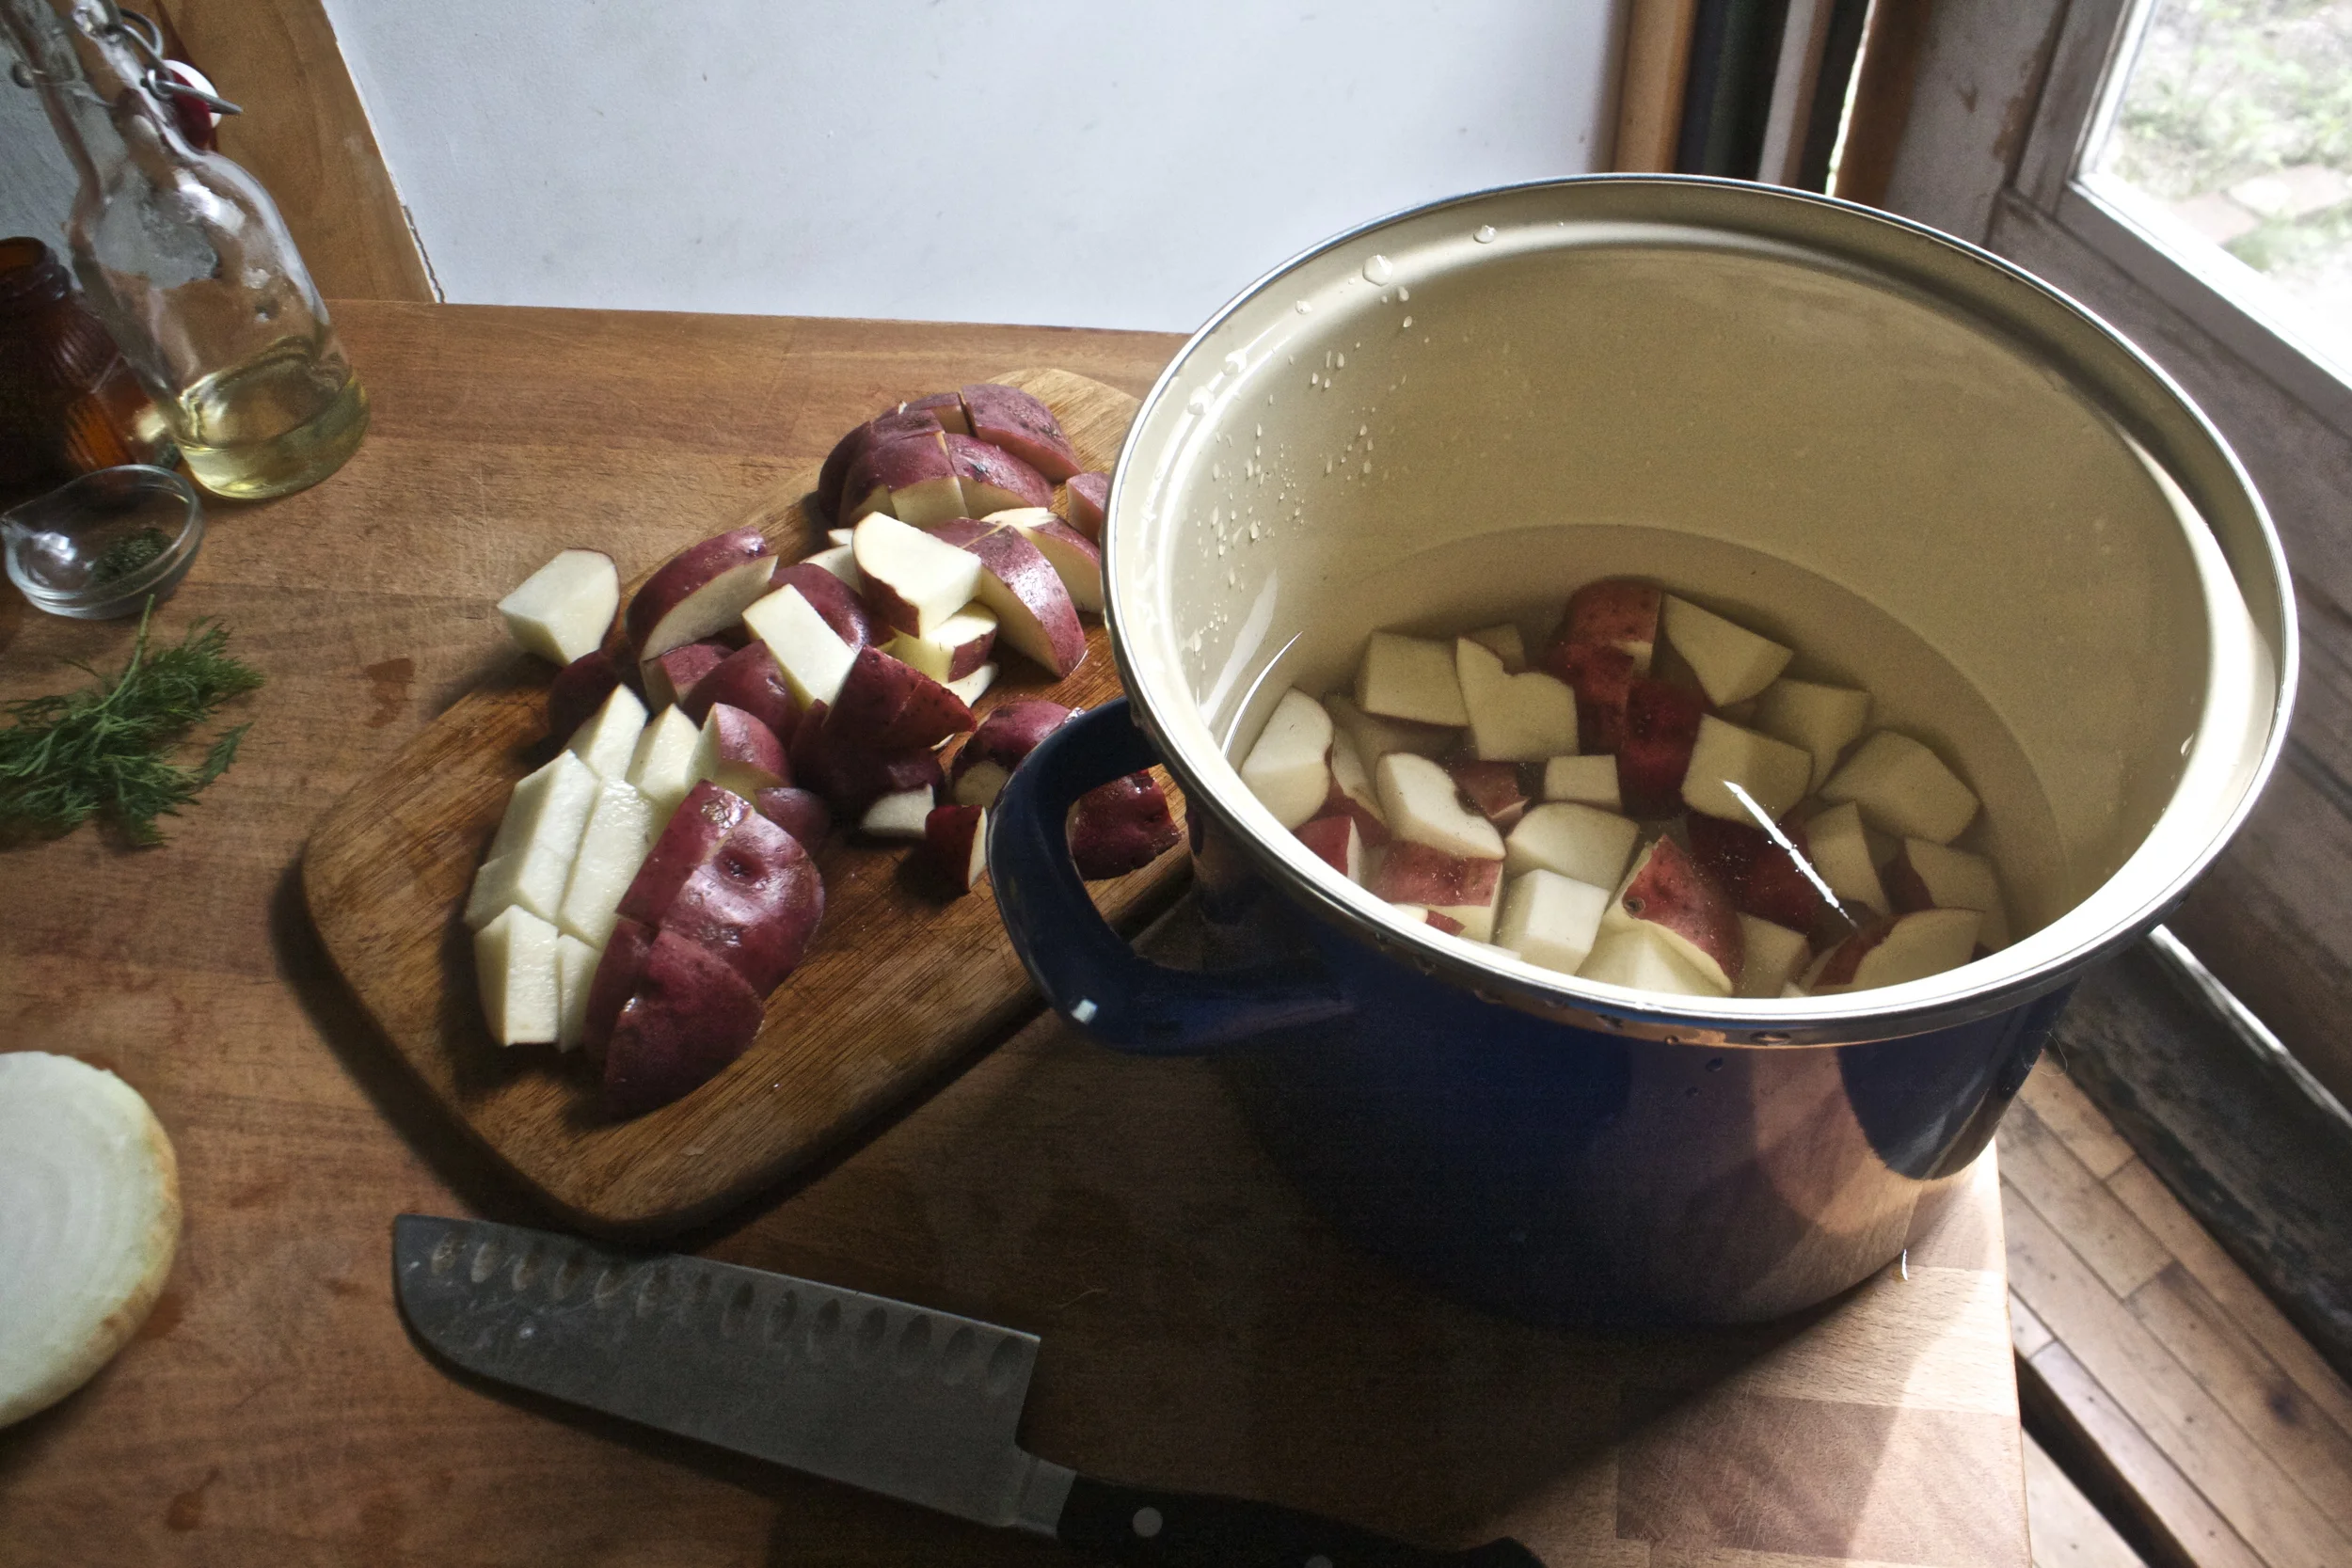
Get the potatoes going. Chop them up into small piece and place into a big pot. Cover with cold water and add in a good bit of salt. Stick the pot on the stove and boil those taters.
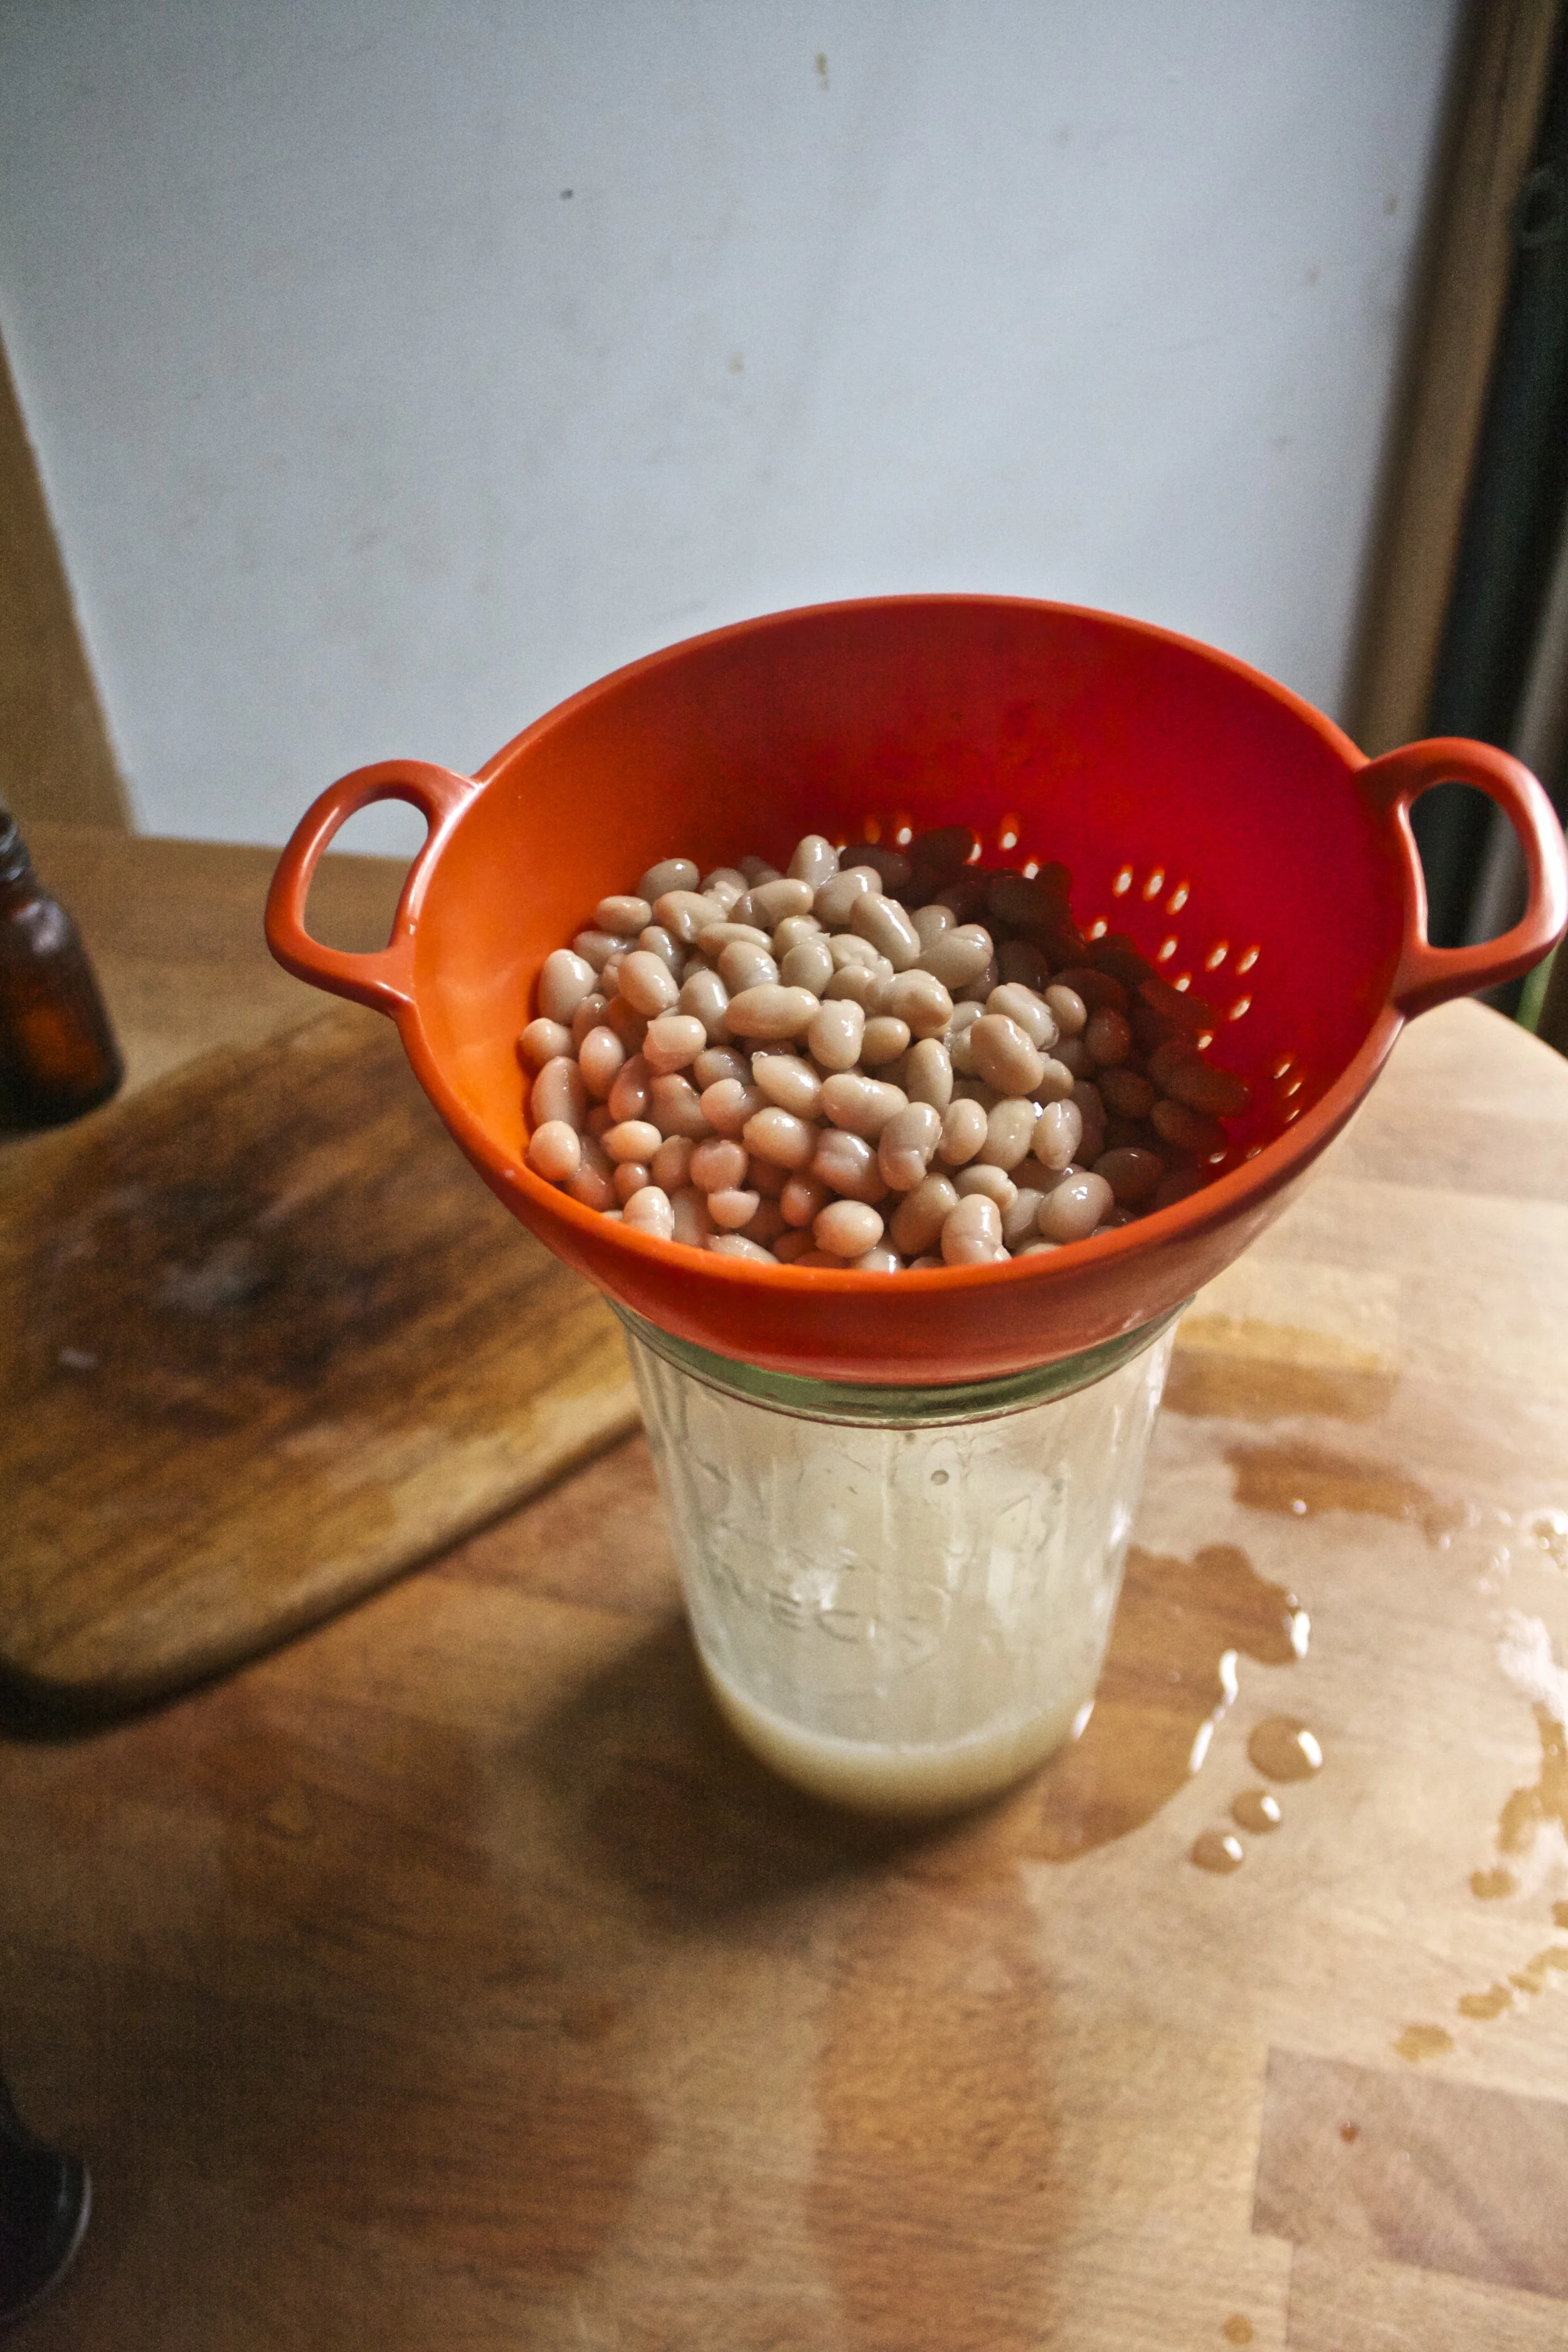
While potatoes are boiling, strain the aquafaba (bean water) from the beans.

And chop the onion into little pieces and stick into a big bowl along with the strained (and now rinsed) beans.%u00a0 Pour in half the pickle juice and give it a good toss then set aside and let the pickle juice do it’s thing.
Now it’s the sauce time. Blend up aquafaba, garlic,%u00a0 dried dill, a little pickle juice and pinch of salt. As your blending, pour in olive oil until the sauce becomes rich and creamy dill sauce (vegan mayo my friends)
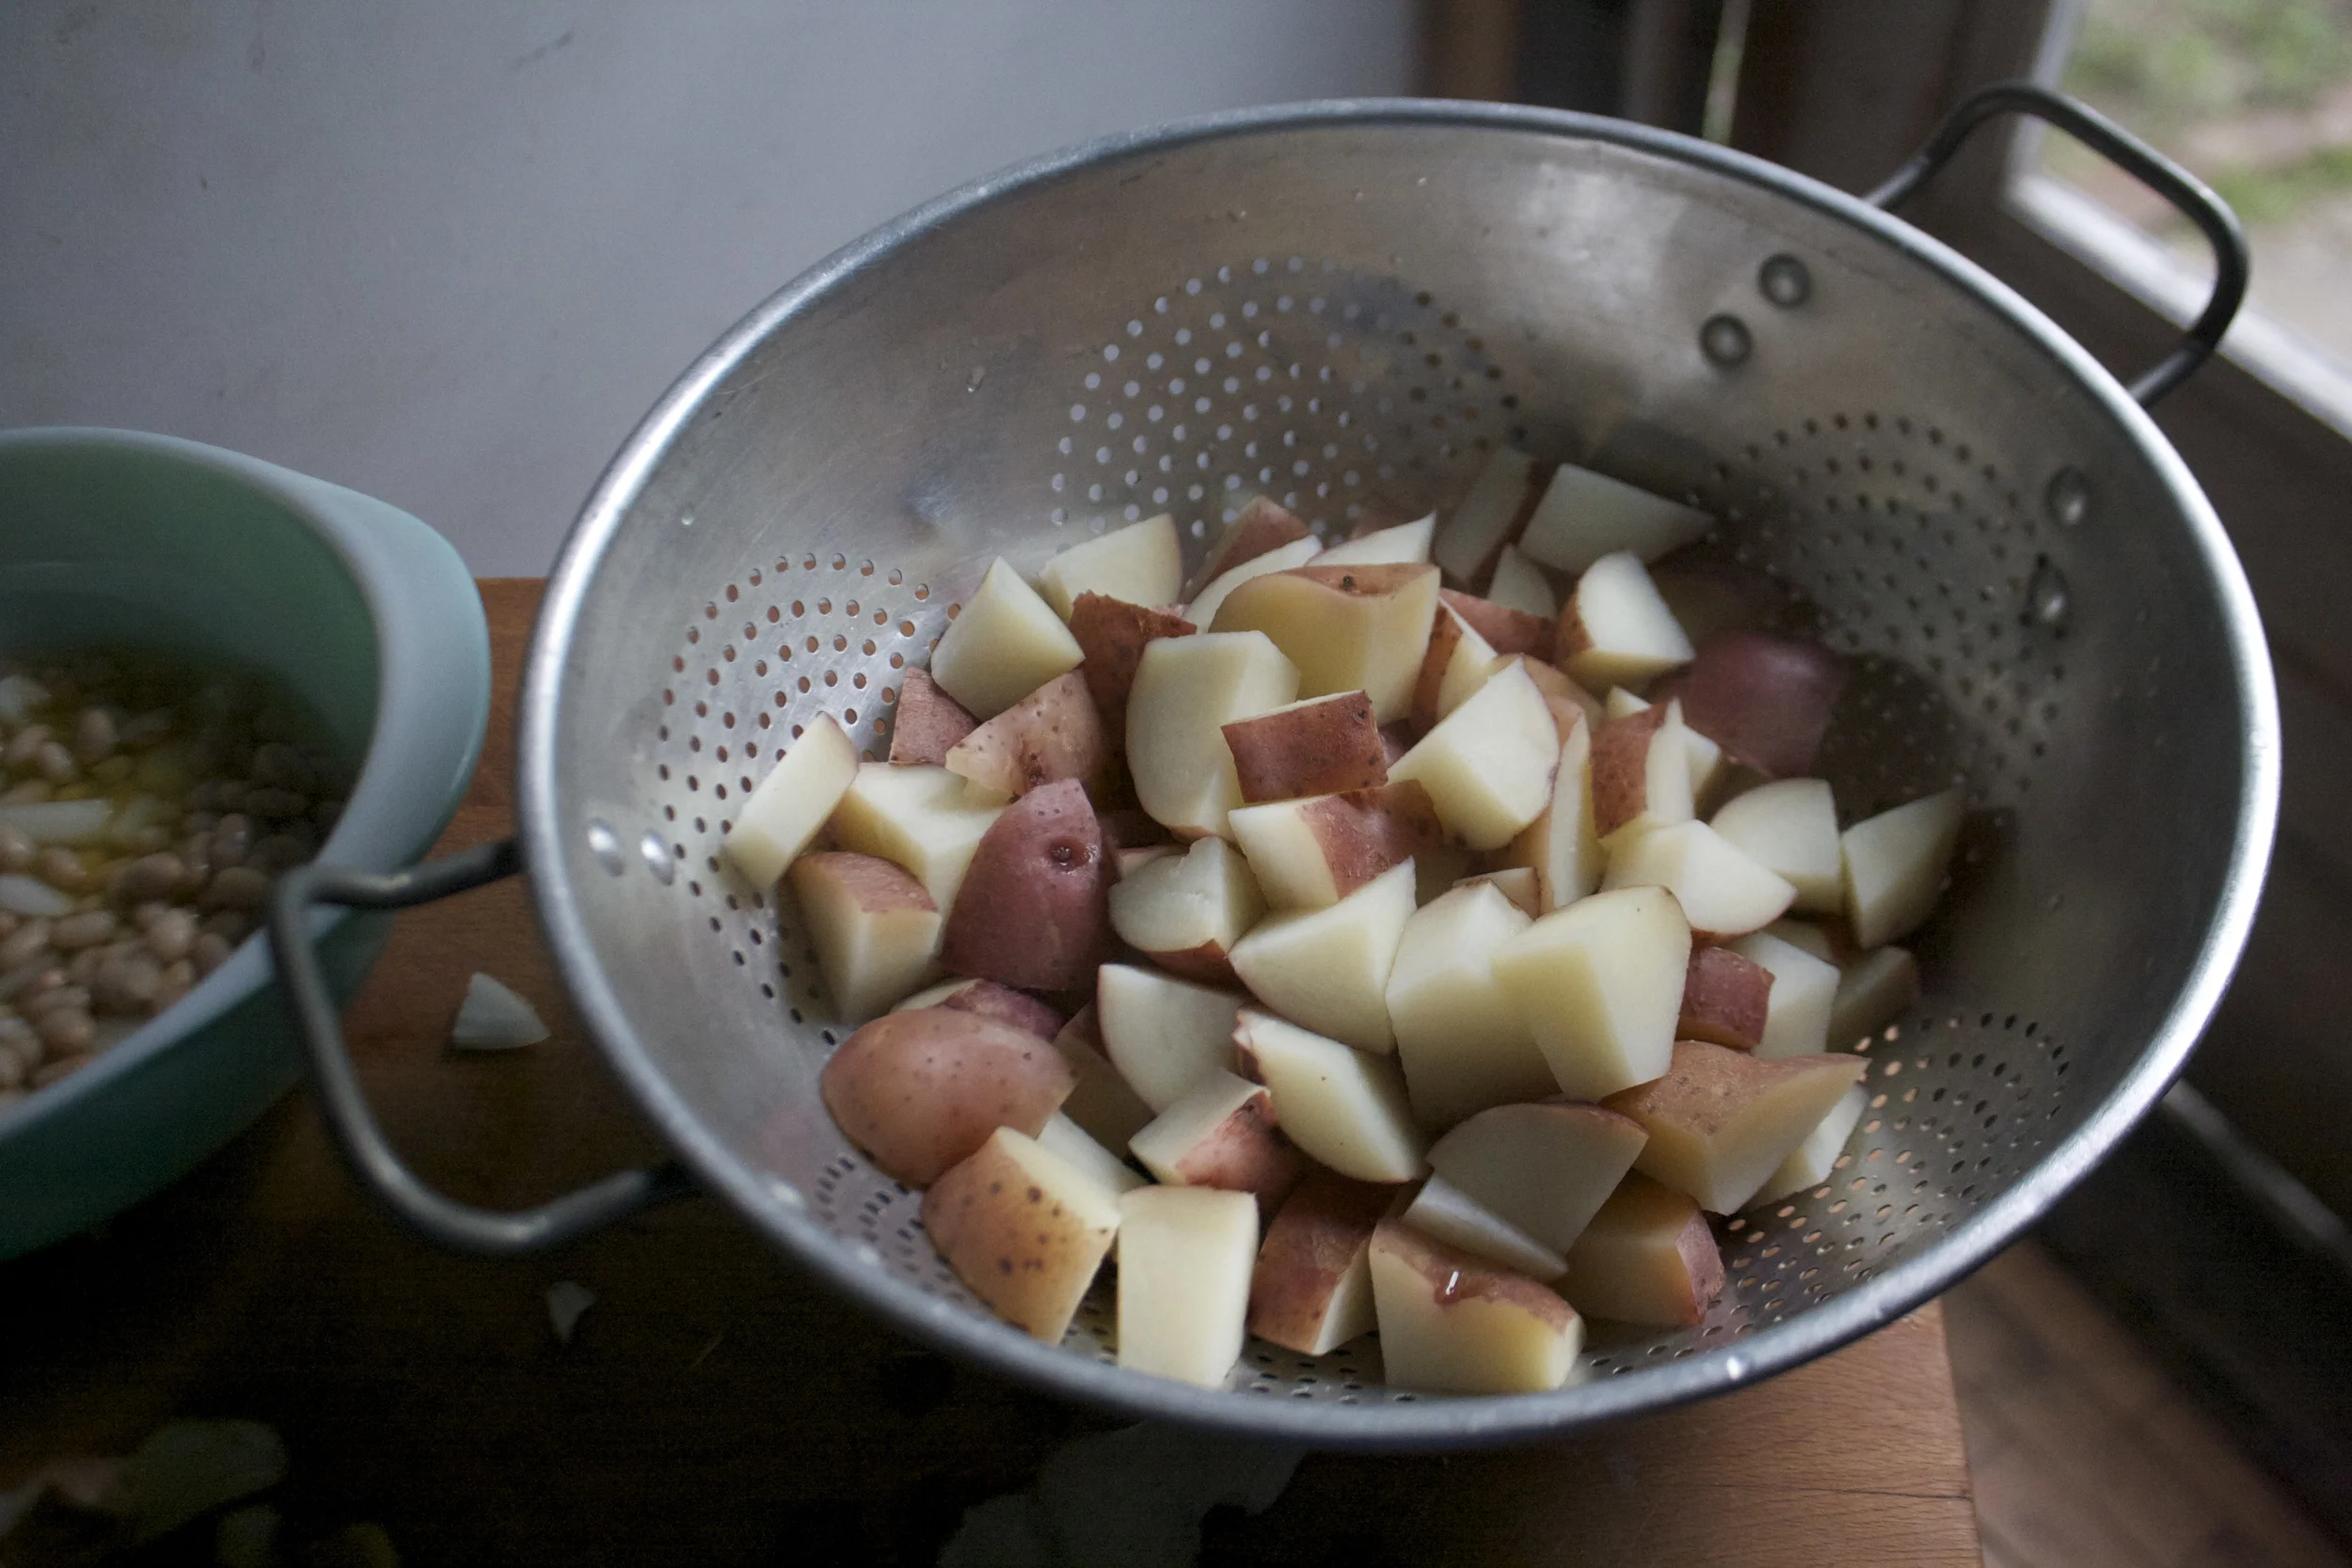
The potatoes are boiled until fork tender and drained..

Toss the strained potatoes back into the pot and add in the bean/ onion mix and the rest of the pickle juice. Give it all a good toss and stick the pot into the fridge for about an hour until the potatoes are cool.

And now we assemble. The cooled off pickle juice infused potatoes, beans, and onions are stuck into a bowl (or just leave in the pot if you want) and slathered with the creamy dill sauce and mixed with as much fresh dill as you want and lots of freshly cracked pepper
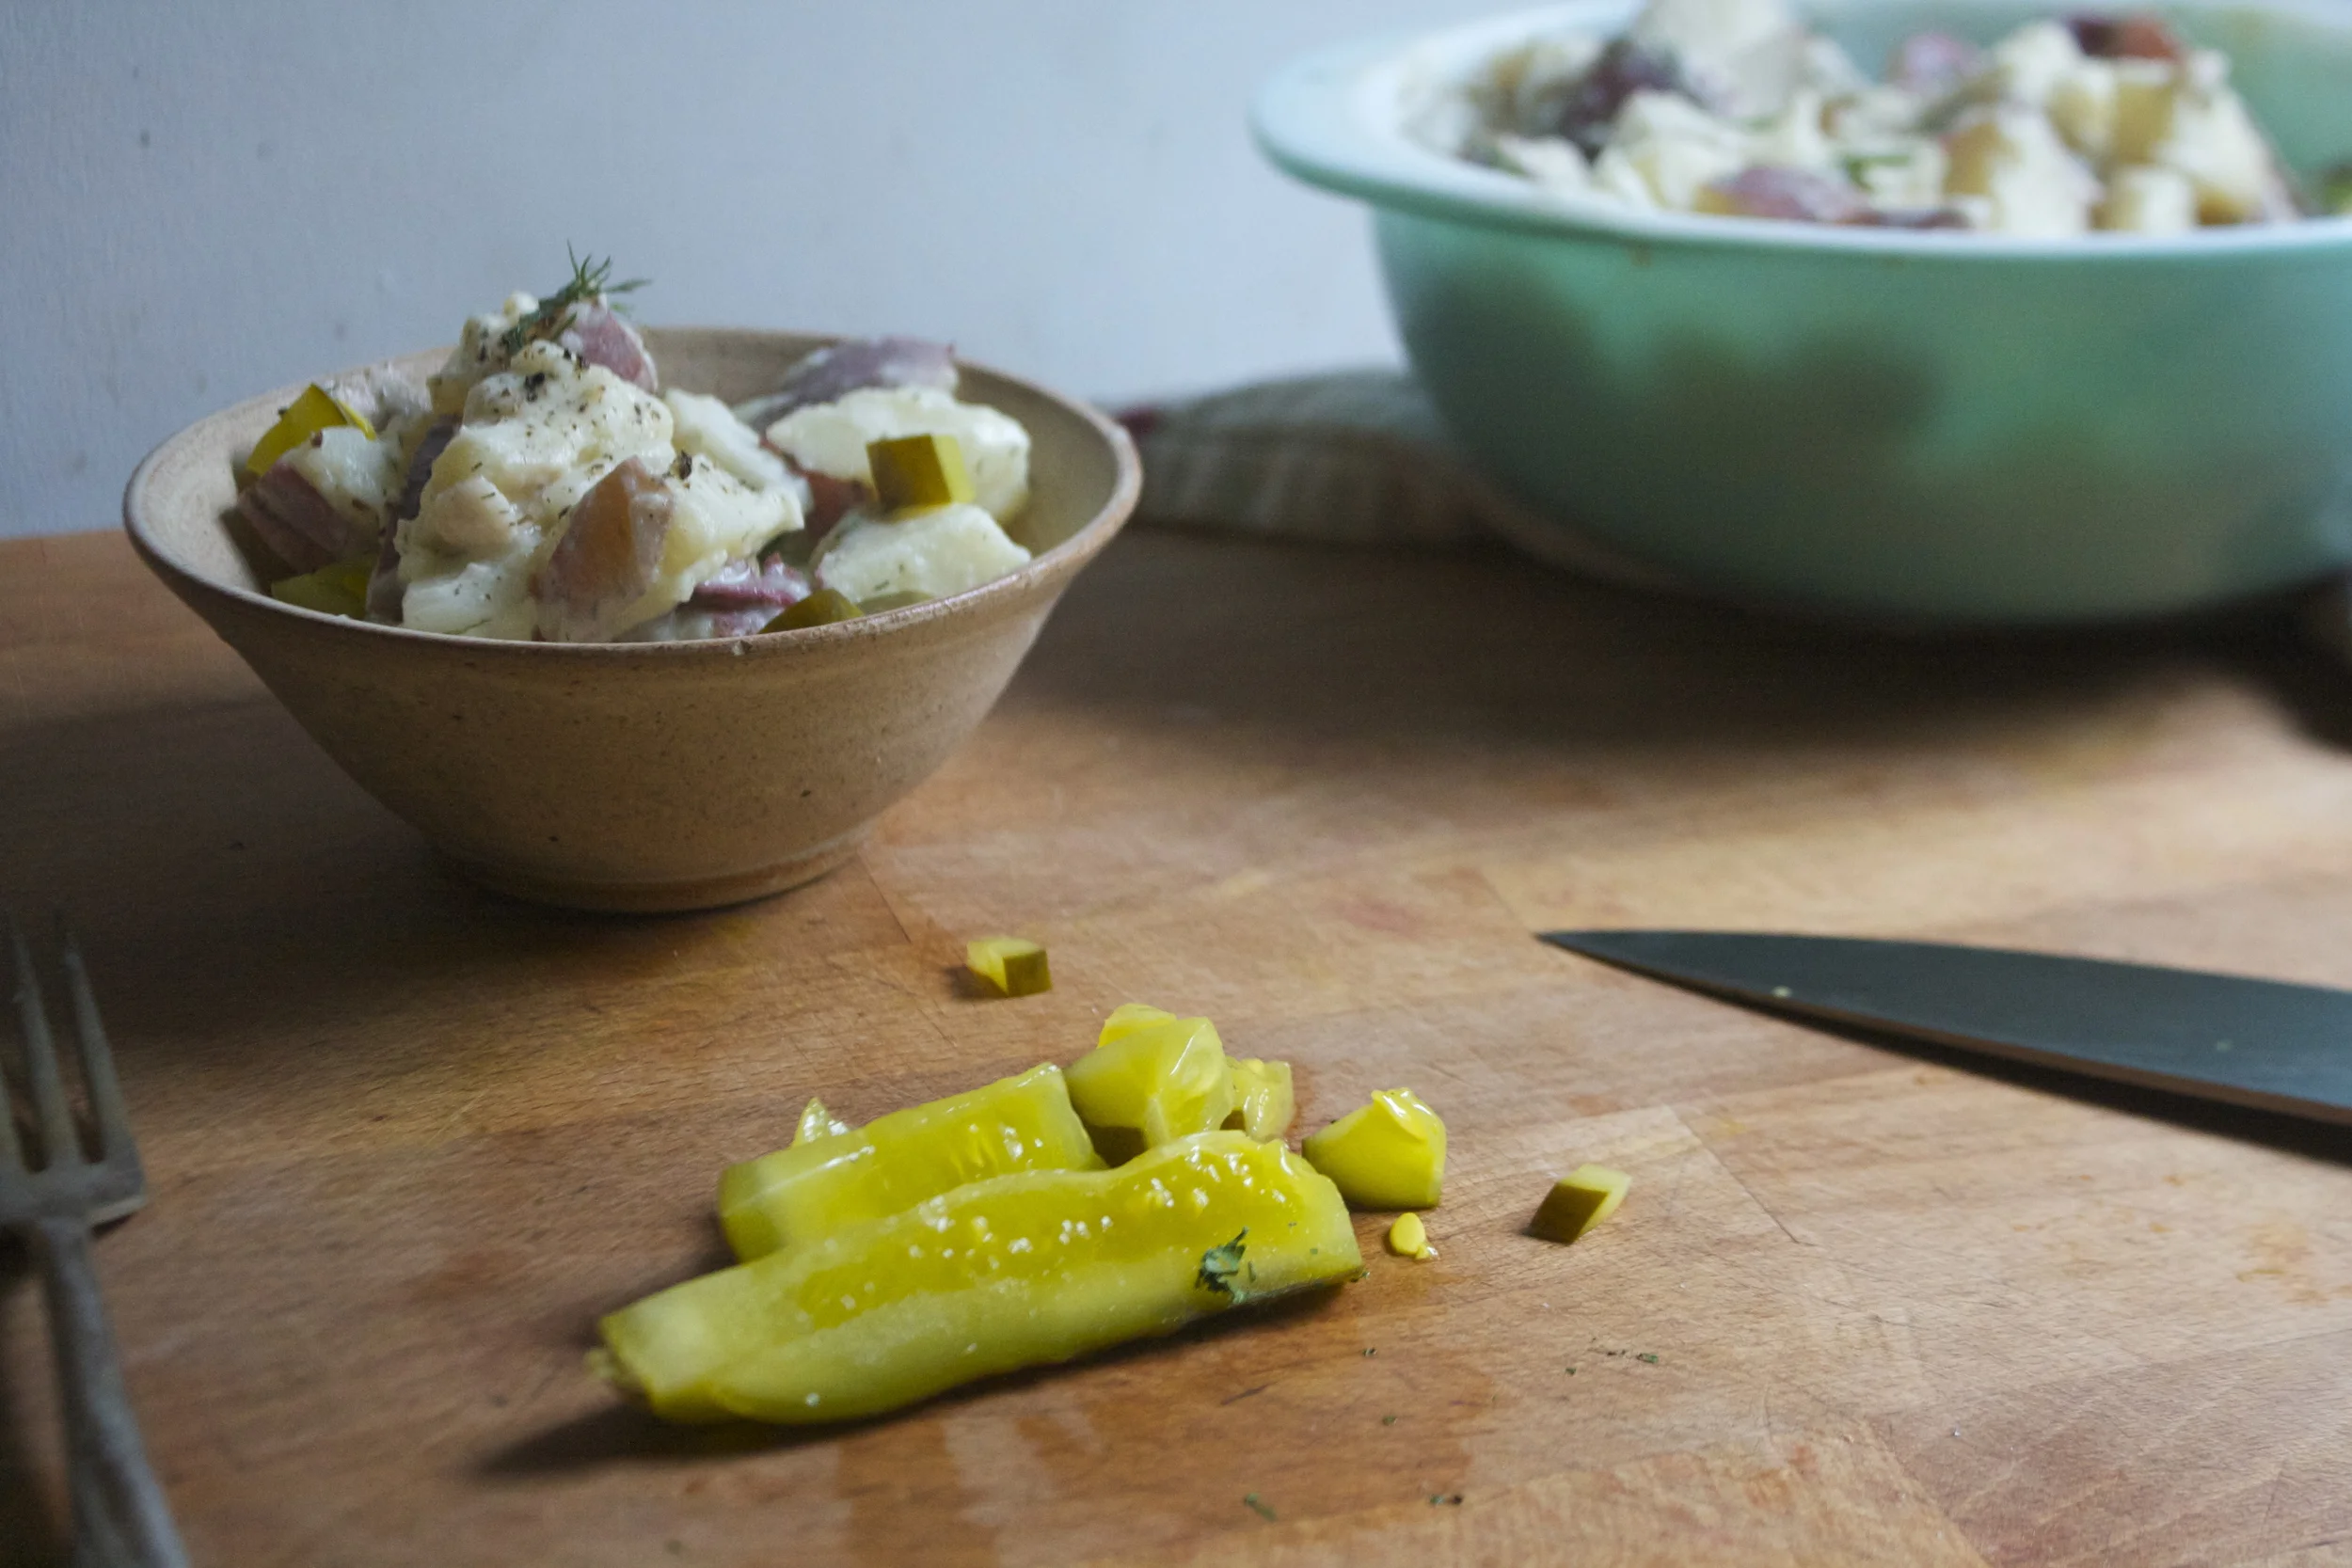
And a pickle. If you have one, I highly, HIGHLY, recommend chopping one up and adding it… I mean it is a pickled potato salad after all.
So now you have a great,%u00a0 fantastic, knock your socks off, salad to make for any of your weekend BBQ needs.
Your welcome.
Now have a great, extra long weekend!
-C
Serve 4-6
- 5-6 red potatoes
- 1 cup pickle juice (use a good pickle juice that you like the taste of)
- A small sweet yellow onion (or half a big one)
- 1 cup navy beans
- 3-4 tablespoons aquafaba (bean water)
- 1/2 cup olive oil
- 2-3 cloves garlic
- 1 tablespoon dried dill
- a handful of fresh dill
- salt and pepper
- pickles (optional)
Chop up the potatoes into mouth little chunks ans place into a pot . Rinse them and them cover about with about an extra inch of cold water, Ad d in a a good sprnkle of salt (like a tablespoon) and stick on the stove. Bring the pot to a rapid boil then turn heat down a bit to a low boil and cook until the potatoes are fork tender.
While potatoes are boils, strain you beans away from the aquafaba, and keeping about 3-4 tablespoons of the liquid. Rinse the beans and place into a big bowl. Chop the onion into little pieces and add that in with the beans and about 1/2 of the pickle juice. Set aside
Now grab the strained bean juice, about a tablespoon of pickle juice, the garlic, and the dried dill,%u00a0 Either with a hand blender or regular blender, start blending all that together while slowly pouring in olive oil (about 1/2 a cup ) until the sauce is thick and creamy. Season with salt and pepper to taste and place in fridge to hang until you need it.
And once the potatoes are cooked, strain them then add them back to the pot along with the bean/onion mixture and the rest of the pickle juice. Toss around to coat evenly and place into the fridge to cool. After about a half hour its a good idea to give it a toss to make sure the juice is getting to all the potatoes.
Once potatoes are cooled, dump into a serving bowl. (or just keep in pot) It’s ok if there is a little remaining liquid.. it will get sucked up by the potatoes. Get the sauce from the fridge and pour it and toss it around to evenly coat all those yummy potatoes. Chop up fresh dill and toss that in too (as much fresh dill as you like.. more is better!) And lately, if you have a spare pickle or two, chop it up and add it on in (or place in a bowl on the side for people add in themselves)
I added the pickle. You should add the pickle. It is so good with the pickle
Like any potato salad, serve with your favorite foods and keep in the fridge when not being eaten.

Yesterday we had a few pieces of really log ass metal roofing delivered to the new house so we can finish the little side parts of the roof off. The funny thing is we ended up with way more wood then metal. The roofing is super light and flexible so it has to be strapped to a super long wooden structure. And it was perfect. The mr and I have pretty much finished the fence except for the gate from the driveway which sucks because we still can’t bring Washer over to play without it ans we pretty much fenced the yard in for him. But the long ass wooded palette things.. IT was perfect. Well a perfect for now solution. A Already constructed tall and long (too long, we had to cut it down) wooded wall that is now our temporary gate.What a score! And now the pup can spend all day long laying around outside and not getting into any neighborhood fights with the other dogs. And look at us making use of all the scraps. We are so awesome.
Ok, so besides our awesomeness and the new temp gate, let talk about this greenest freaking soup that there ever was. It is probably the best green soup that I have ever tasted. (I know,%u00a0 I have habit of proclaiming all of my soups as the best soup ever, mostly because they are.) It’s one of those soups that is super fast and so simple to make and is perfect for all the spring and summer time eating that will be going on. Eaten hot or cold and out of a bowl or a drank out of a glass. A soup for any time, any place. The mr even liked it and he says he doesn’t like peas. (but he so does). Who doesn’t like the best soup ever?
Now here is how to make it.

The stuff. A big bowl of fresh spinach and a bowl of peas (fresh or frozen.. mine were frozen) Also need an onion, a carrot, a few cloves or garlic, water, olive oil, and salt and pepper.
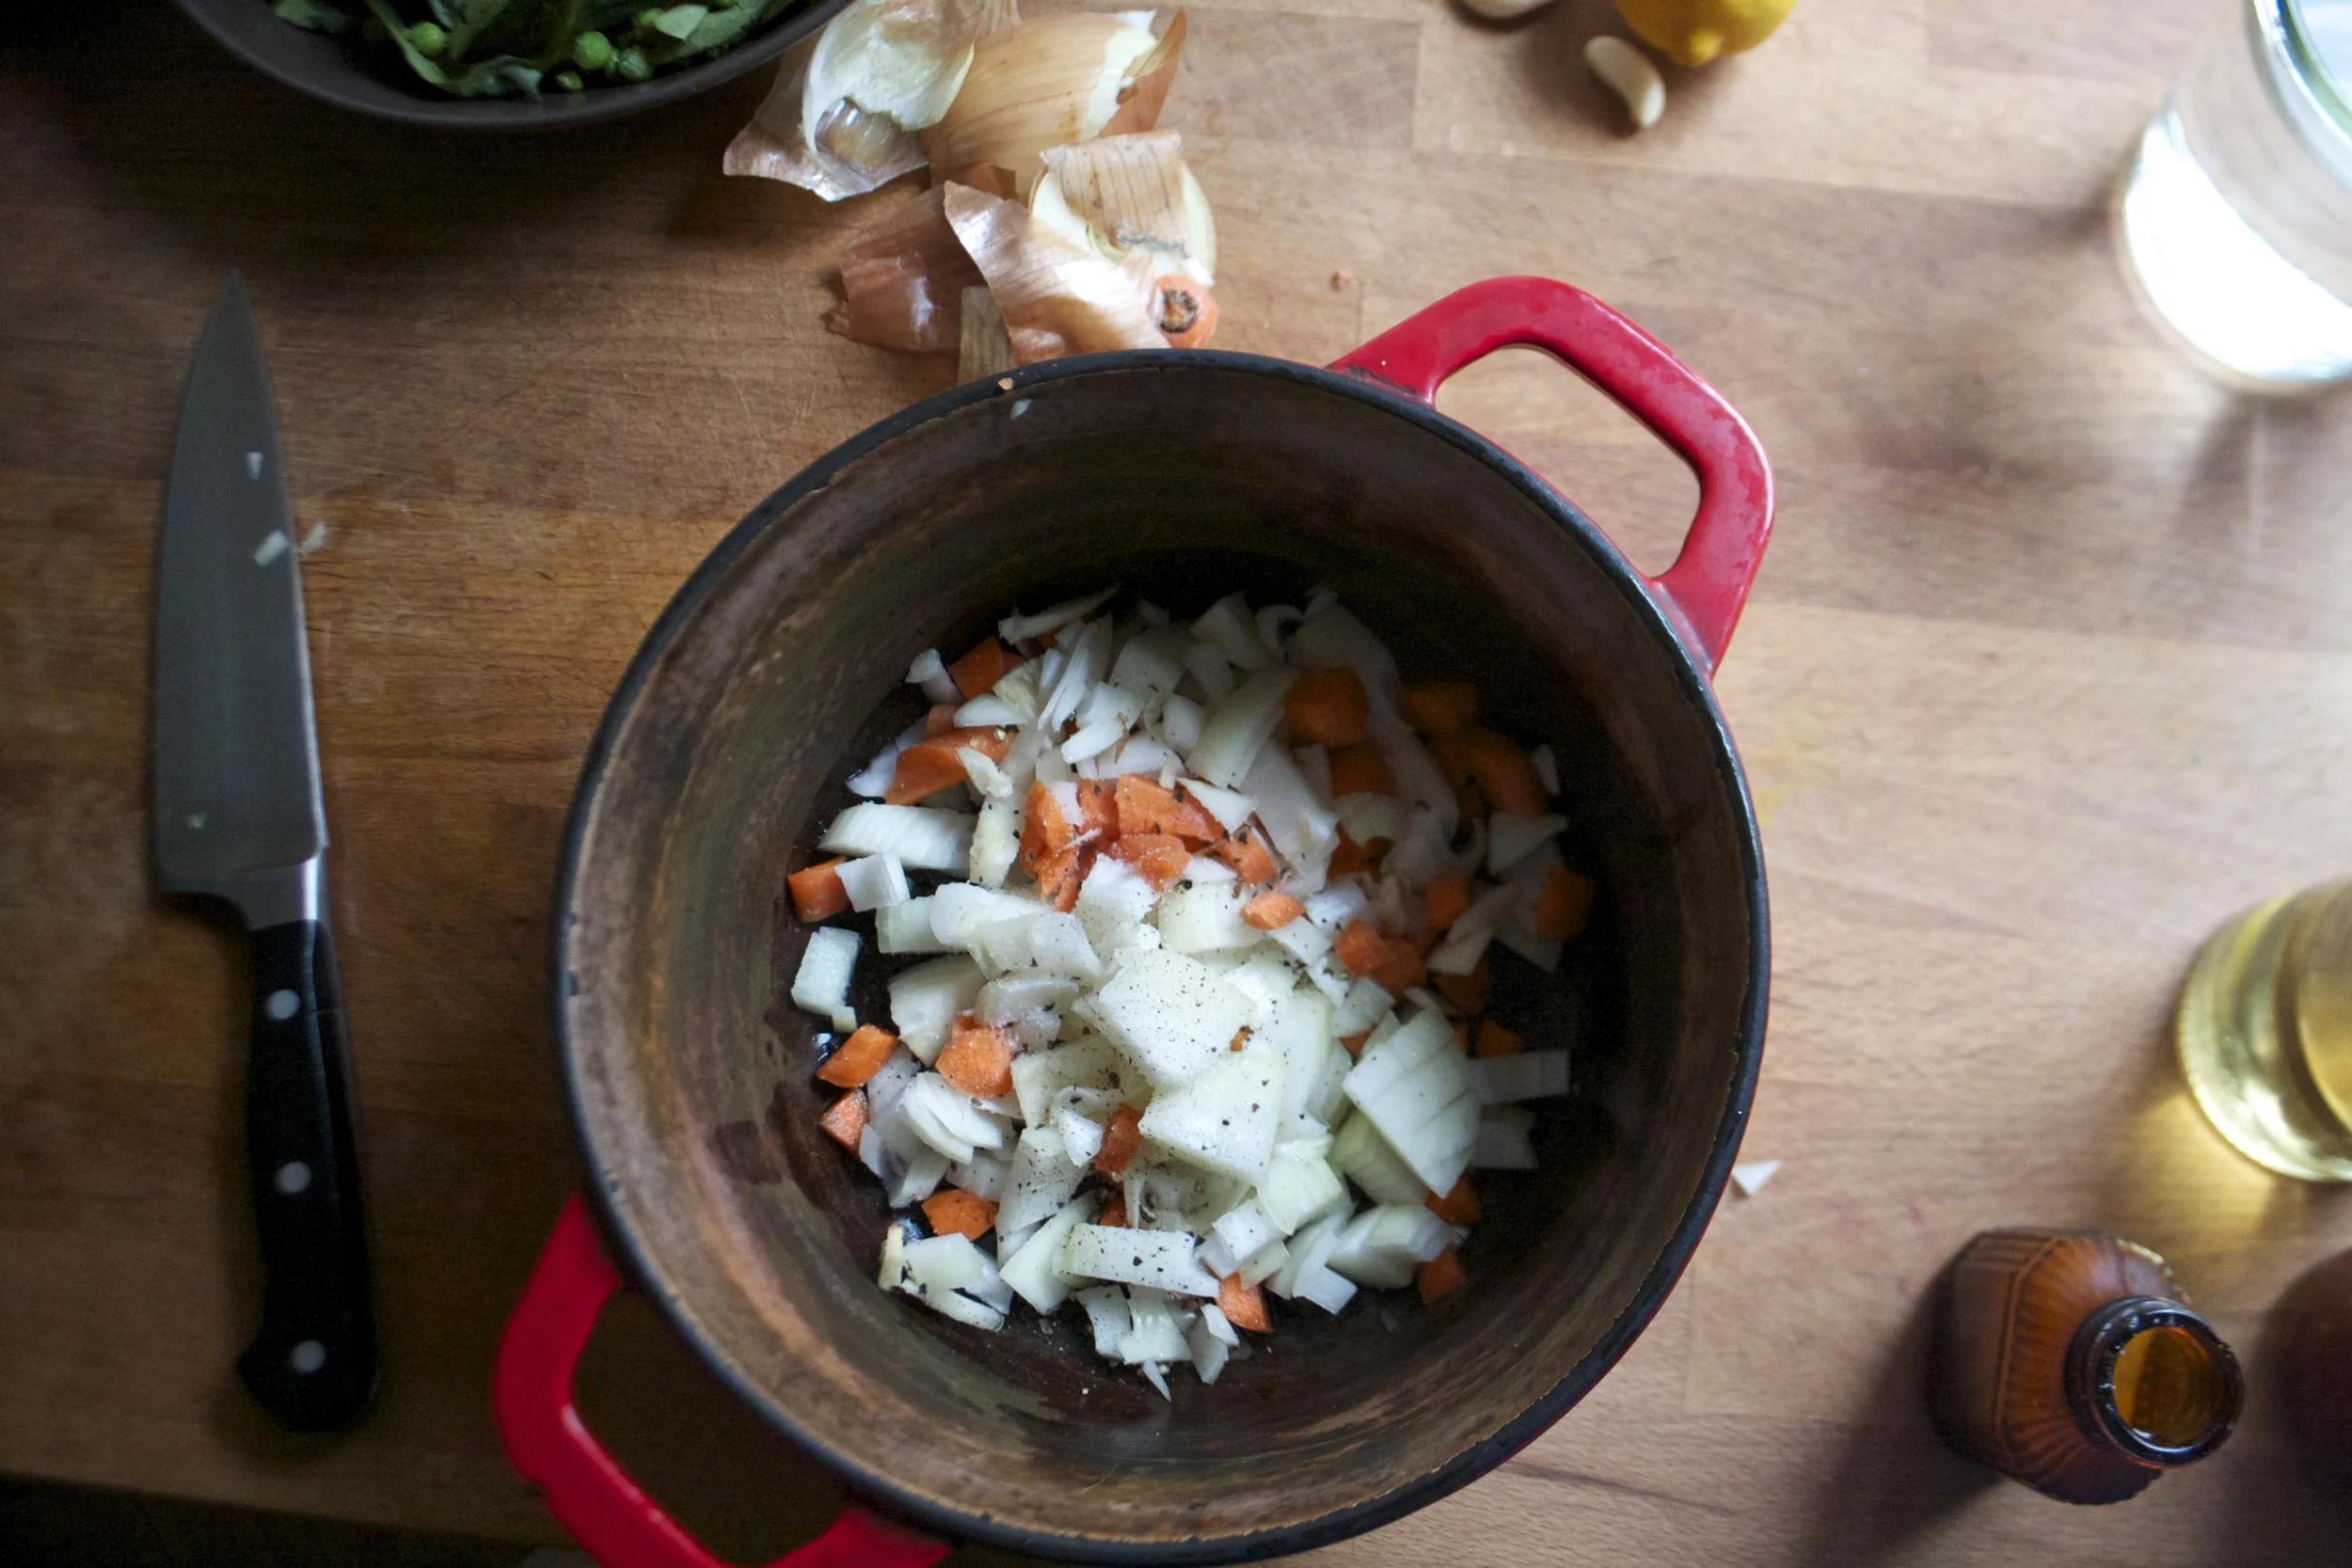
First thing first. Get the onion and carrot all nice and chopped up and tossed into a big pot with a drizzle of olive oil, a little splash of water,and salt and pepper. Stick that pot on the stove on medium high heat and start to cook cook.
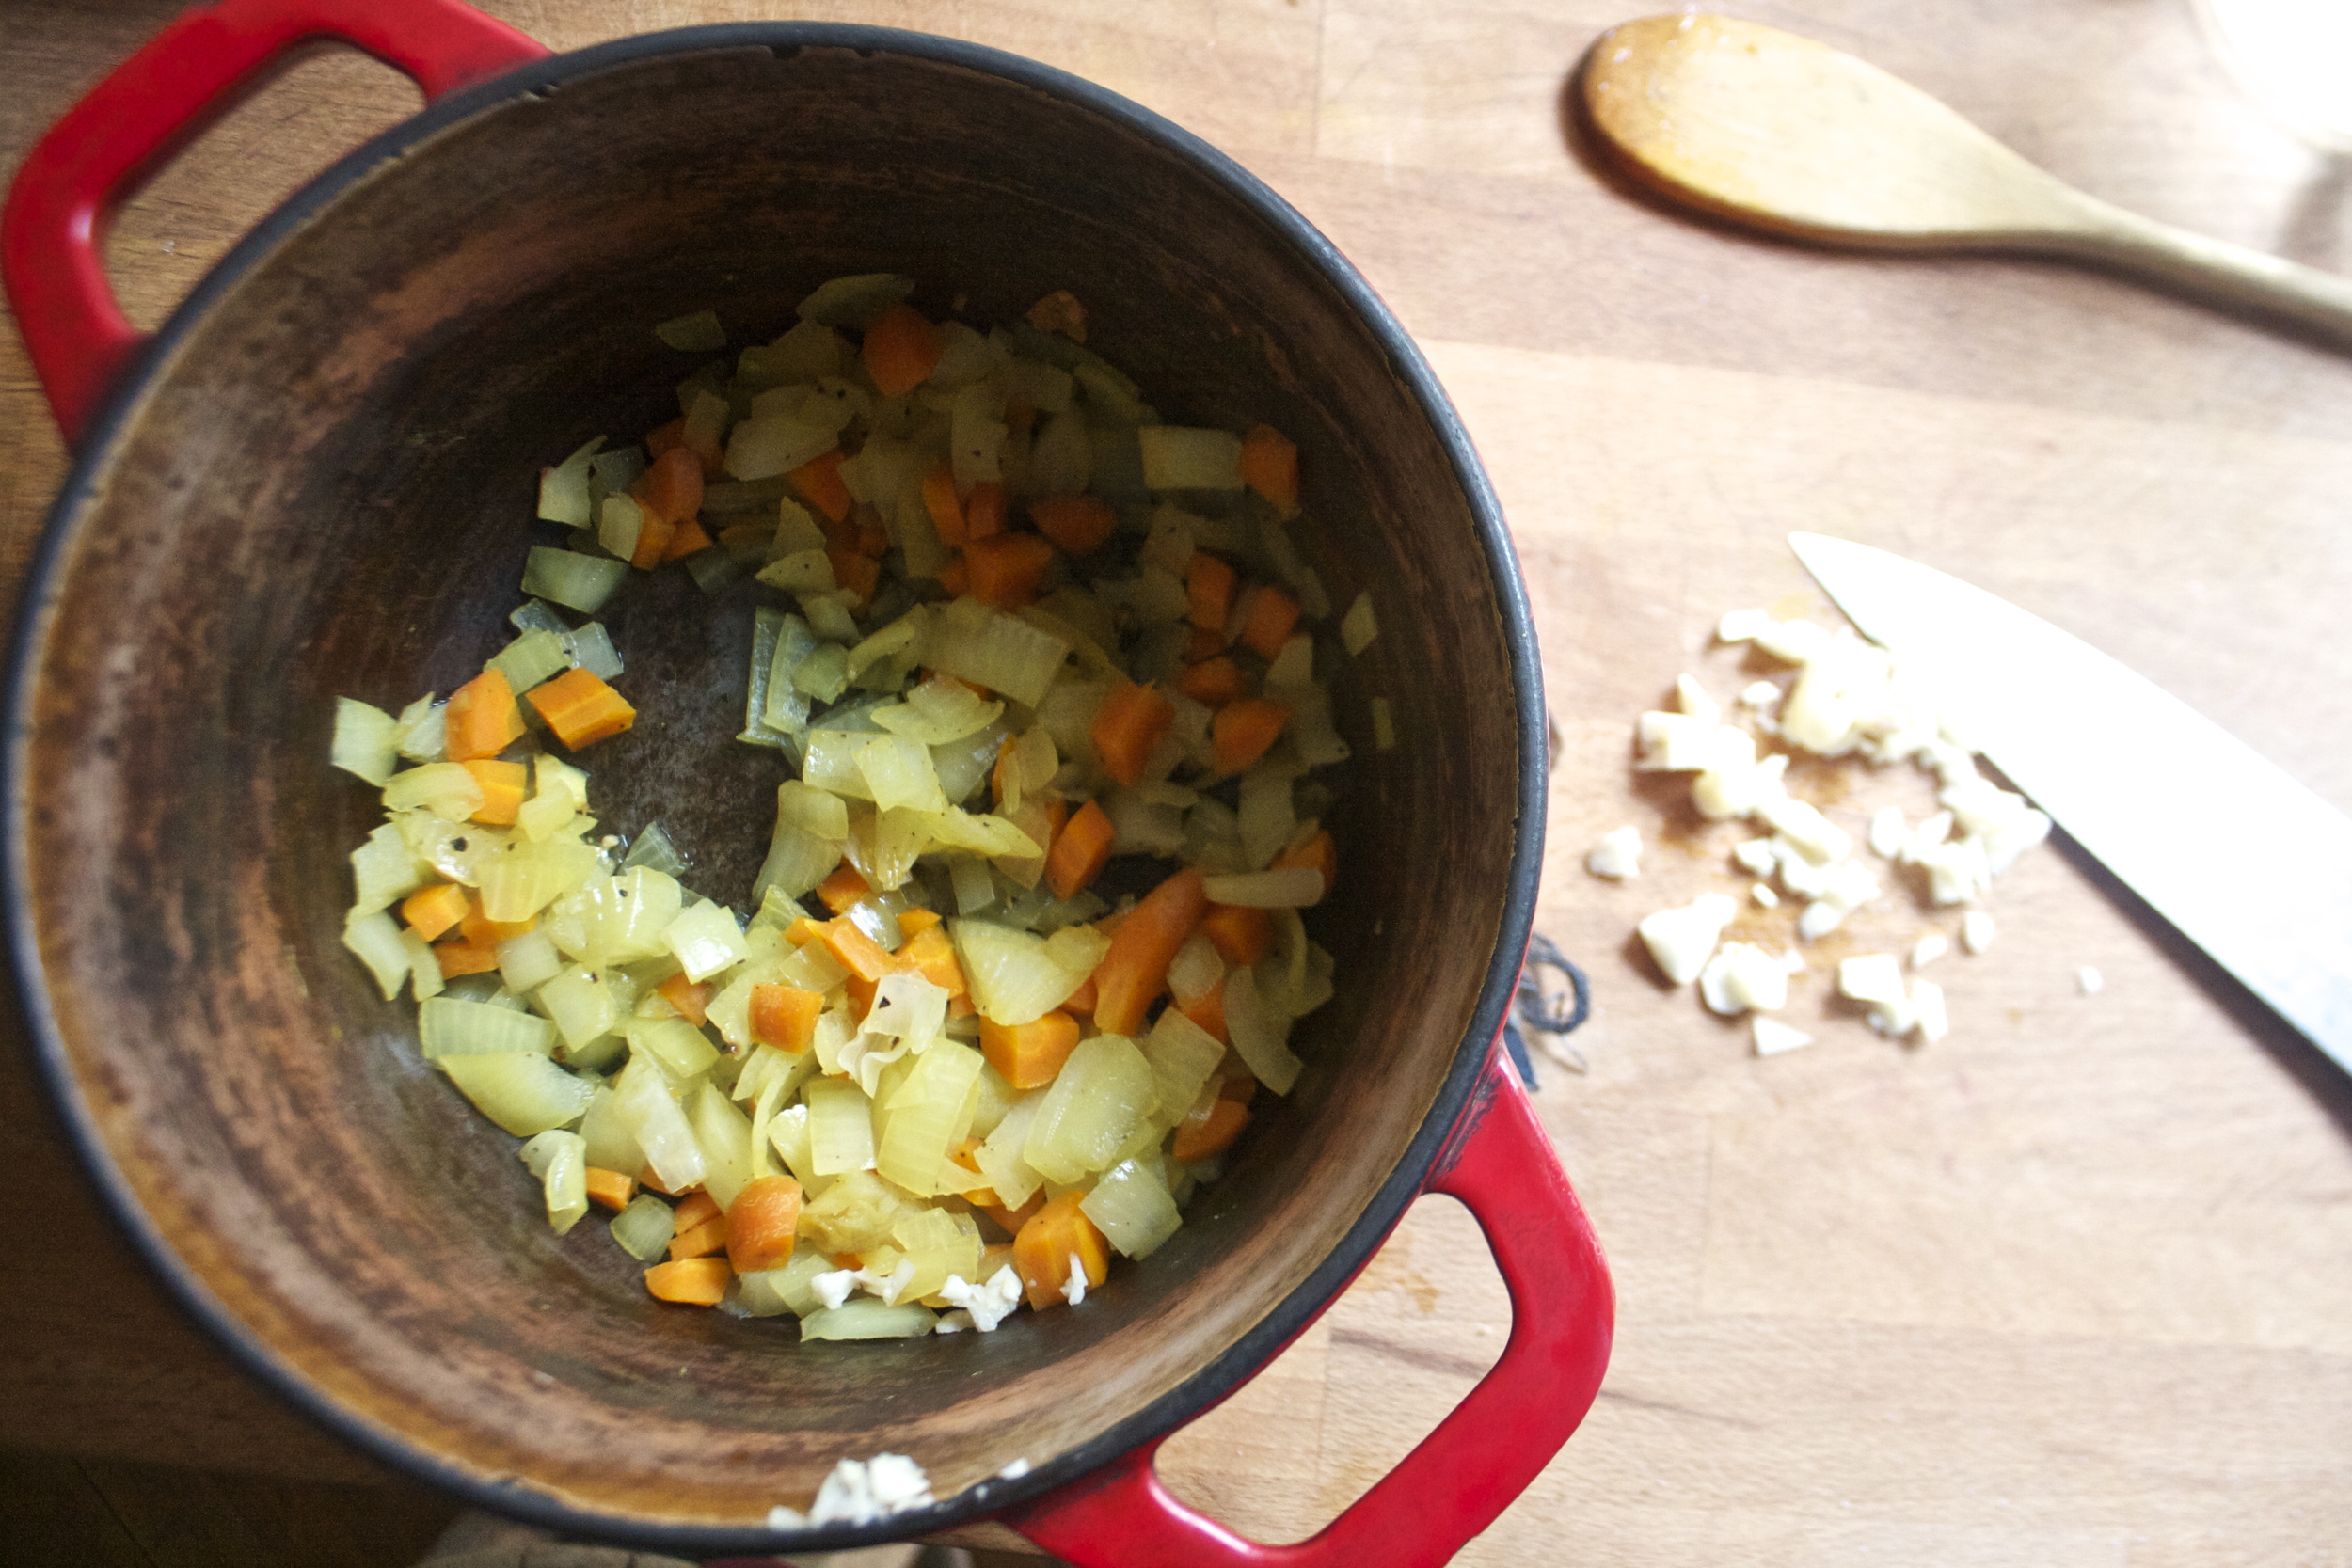
Soften and yummy carrots and onion. I am not exactly sure if my carrots turned the onion orange or if my pot because it is so stained with turmeric that it turns everything yellow. Keep the pot on low heat and mince and stir in the garlic.
And for magic. The pot is sill on low and you are going to pile all the fresh spinach right on in to the pot. Add a few splashes of water and a lid and let it cook for a few minutes. And when you go back and remove the lid..Ca bang ! All the spinach is gone (not really, it just wilted).
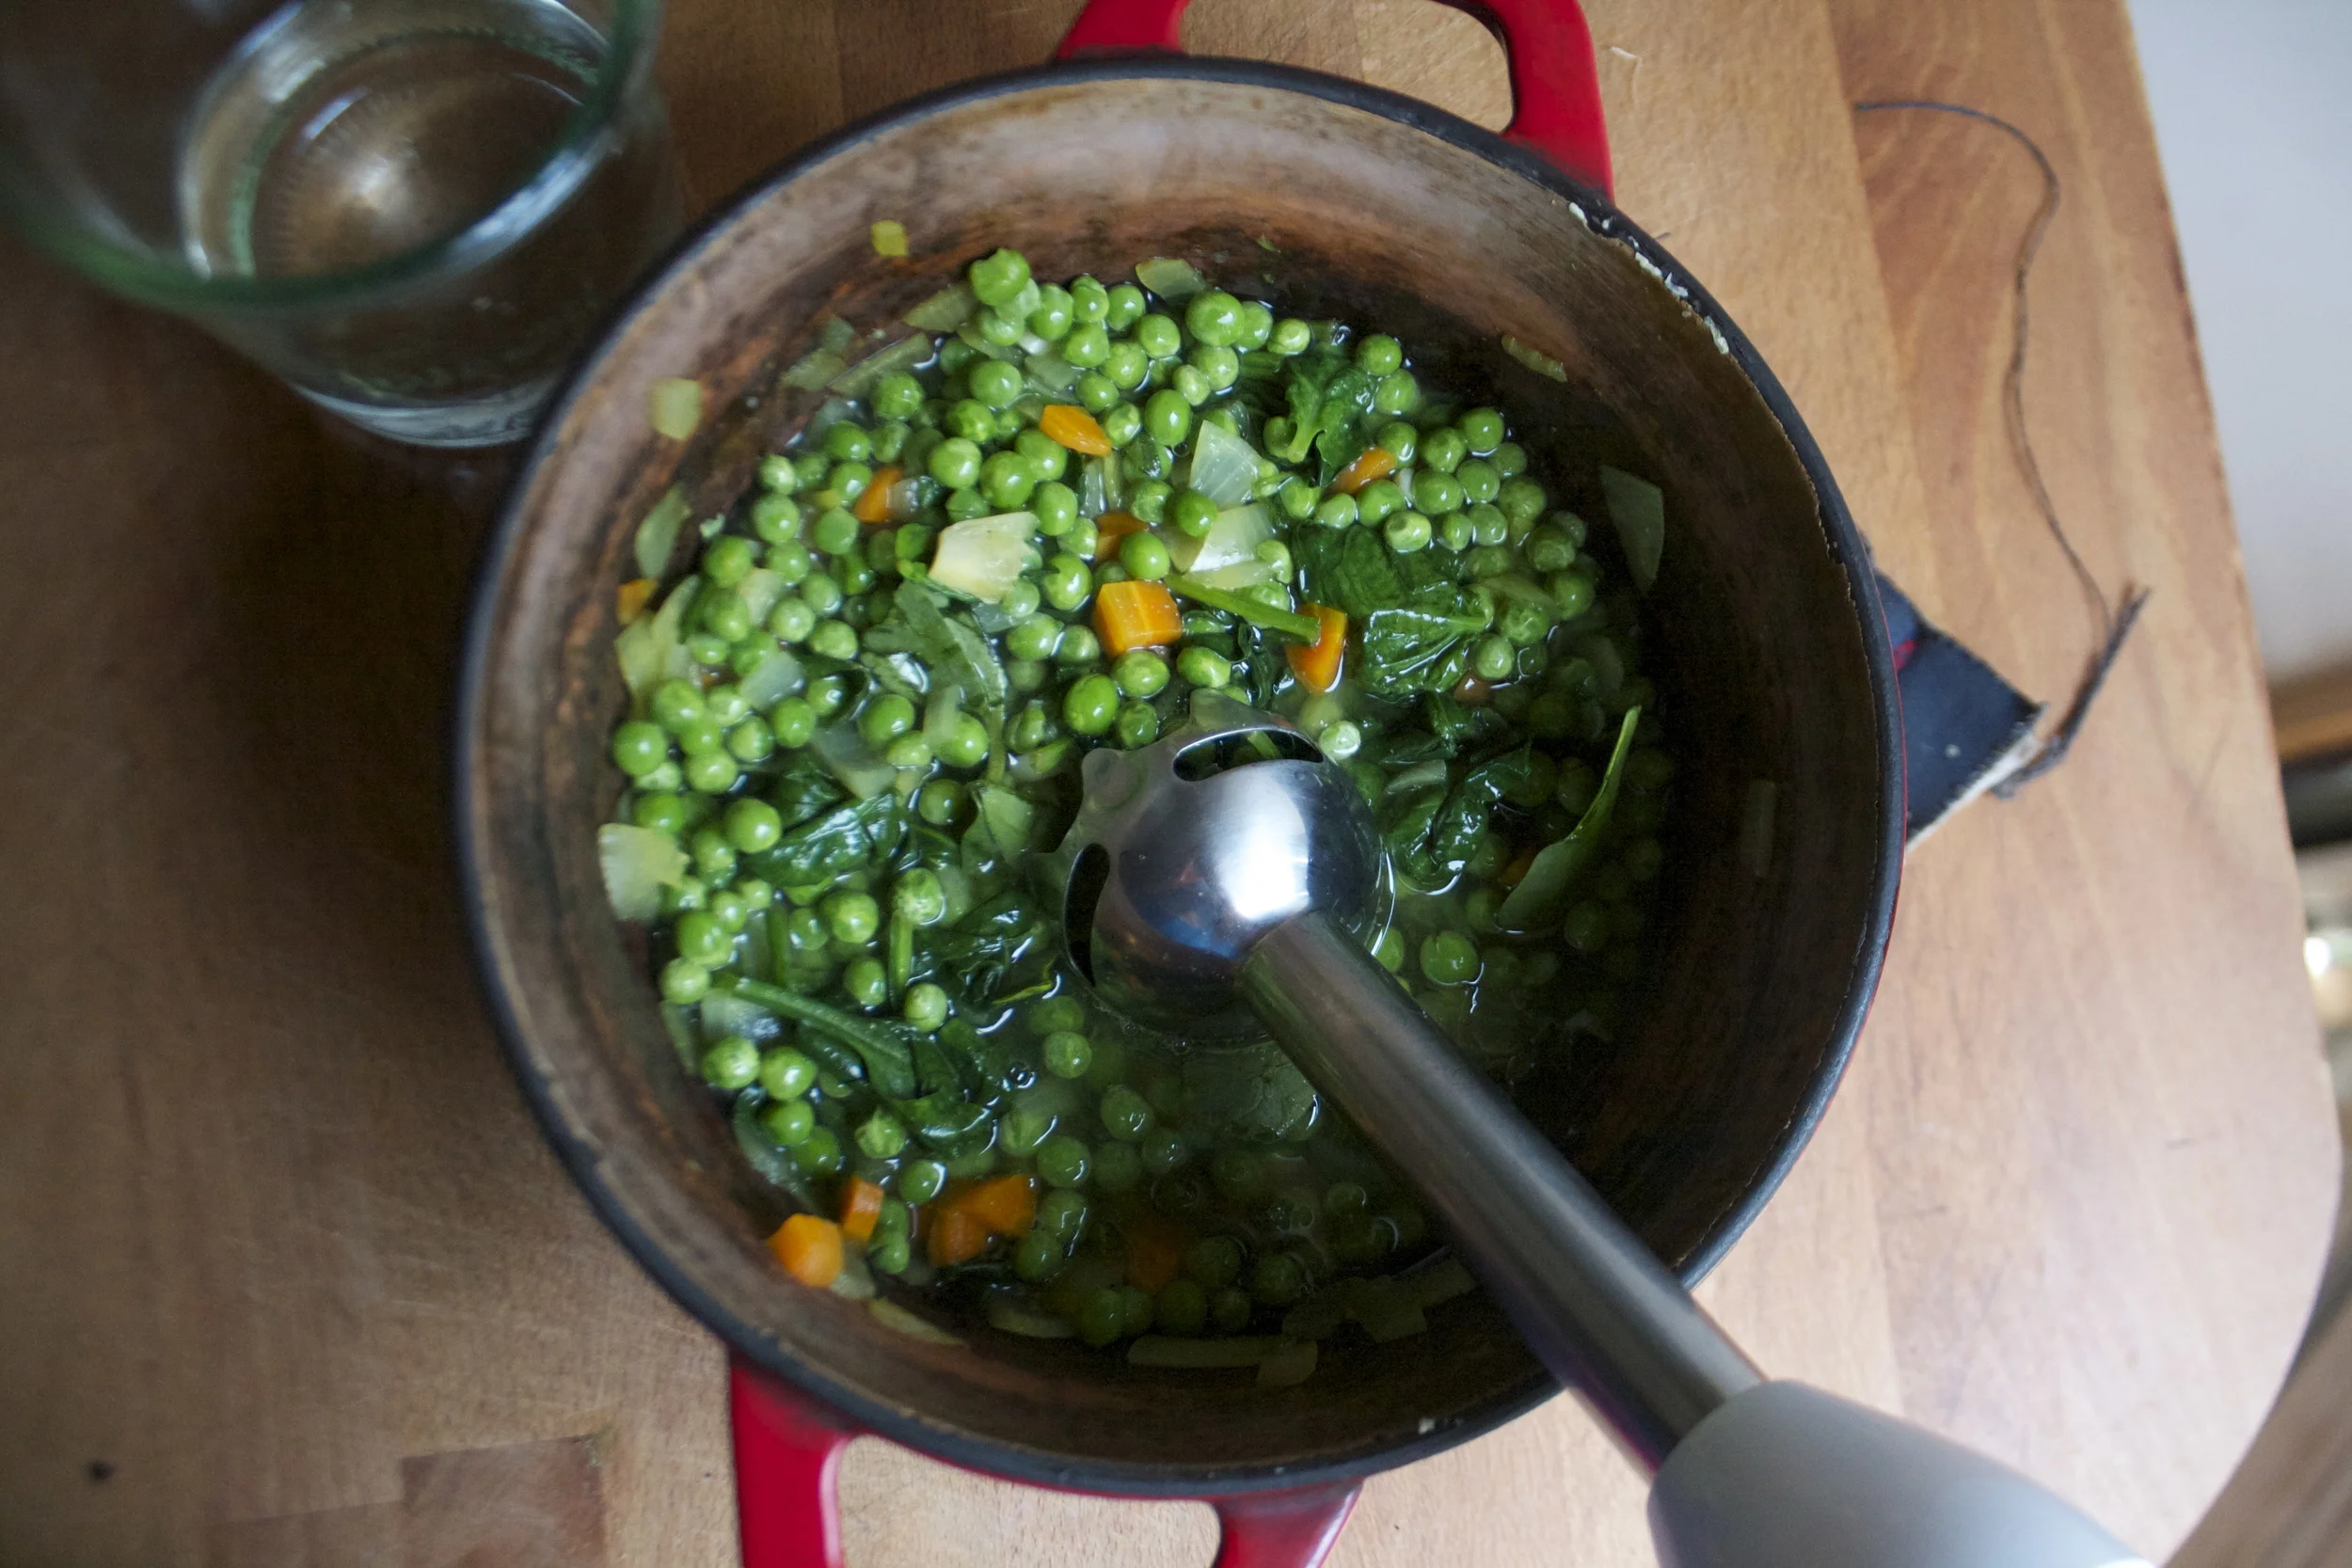
It’s time for the peas and water to be added.The blender comes out and the soup gets blended until super smooth.

So green, so good.. This soup is all ready to go. But here is the thing, you can eat it at any temperature and it will be amazing so if you want to heat it up a little more, go for it. Cold soup shooters, just stick it in the fridge for a while and wait until its chilled. Or both. I ate a bowl warm then had cold soup for dessert.

And to finish, you must serve with fresh lemon and if you have it, a pretty little mint plant. I love the flavor of a little fresh mint added, but not all do. So mint if you like( it really is so good) but lemon in a must!
Enjoy all the green things!
-C
serves 3-4
- 2 cup peas (fresh or frozen.. I used frozen)
- 3 packed cups fresh spinach
- a few sprigs of fresh mint (optional)
- 3 cups water
- 1 small onion
- a carrot
- 3 cloves garlic
- 1 lemon
- olive oil
- salt and pepper
Small chop onion and carrot and toss into a big heavy bottom pot with a drizzle of olive oil and salt and pepper. Stick on stove on medium heat and cook until it becomes soft and fragrant. Now mince garlic and add that it too. Stir and cook for another minute or two then add in all the spinach and a splash of water. Place o lid on pot and let until cook until spinach is all wilted. (give it a stir to get it all cooked down). Once wilted, add the peas and the water. Stir all together and let simmer for a few minutes then remove from heat. Now blend the crap out of it until silky smooth.(use your blending device of choice).
And it’s done. You can either serve right away as a hot soup or sick it in the fridge and serve cold! Just remember that you need to serve it with cracked pepper, a squeeze of fresh lemon and some chopped up fresh mint(mint it optional but so good)
Eat with a spoon or forget the spoon and slurp out a a cup like the cool kids.
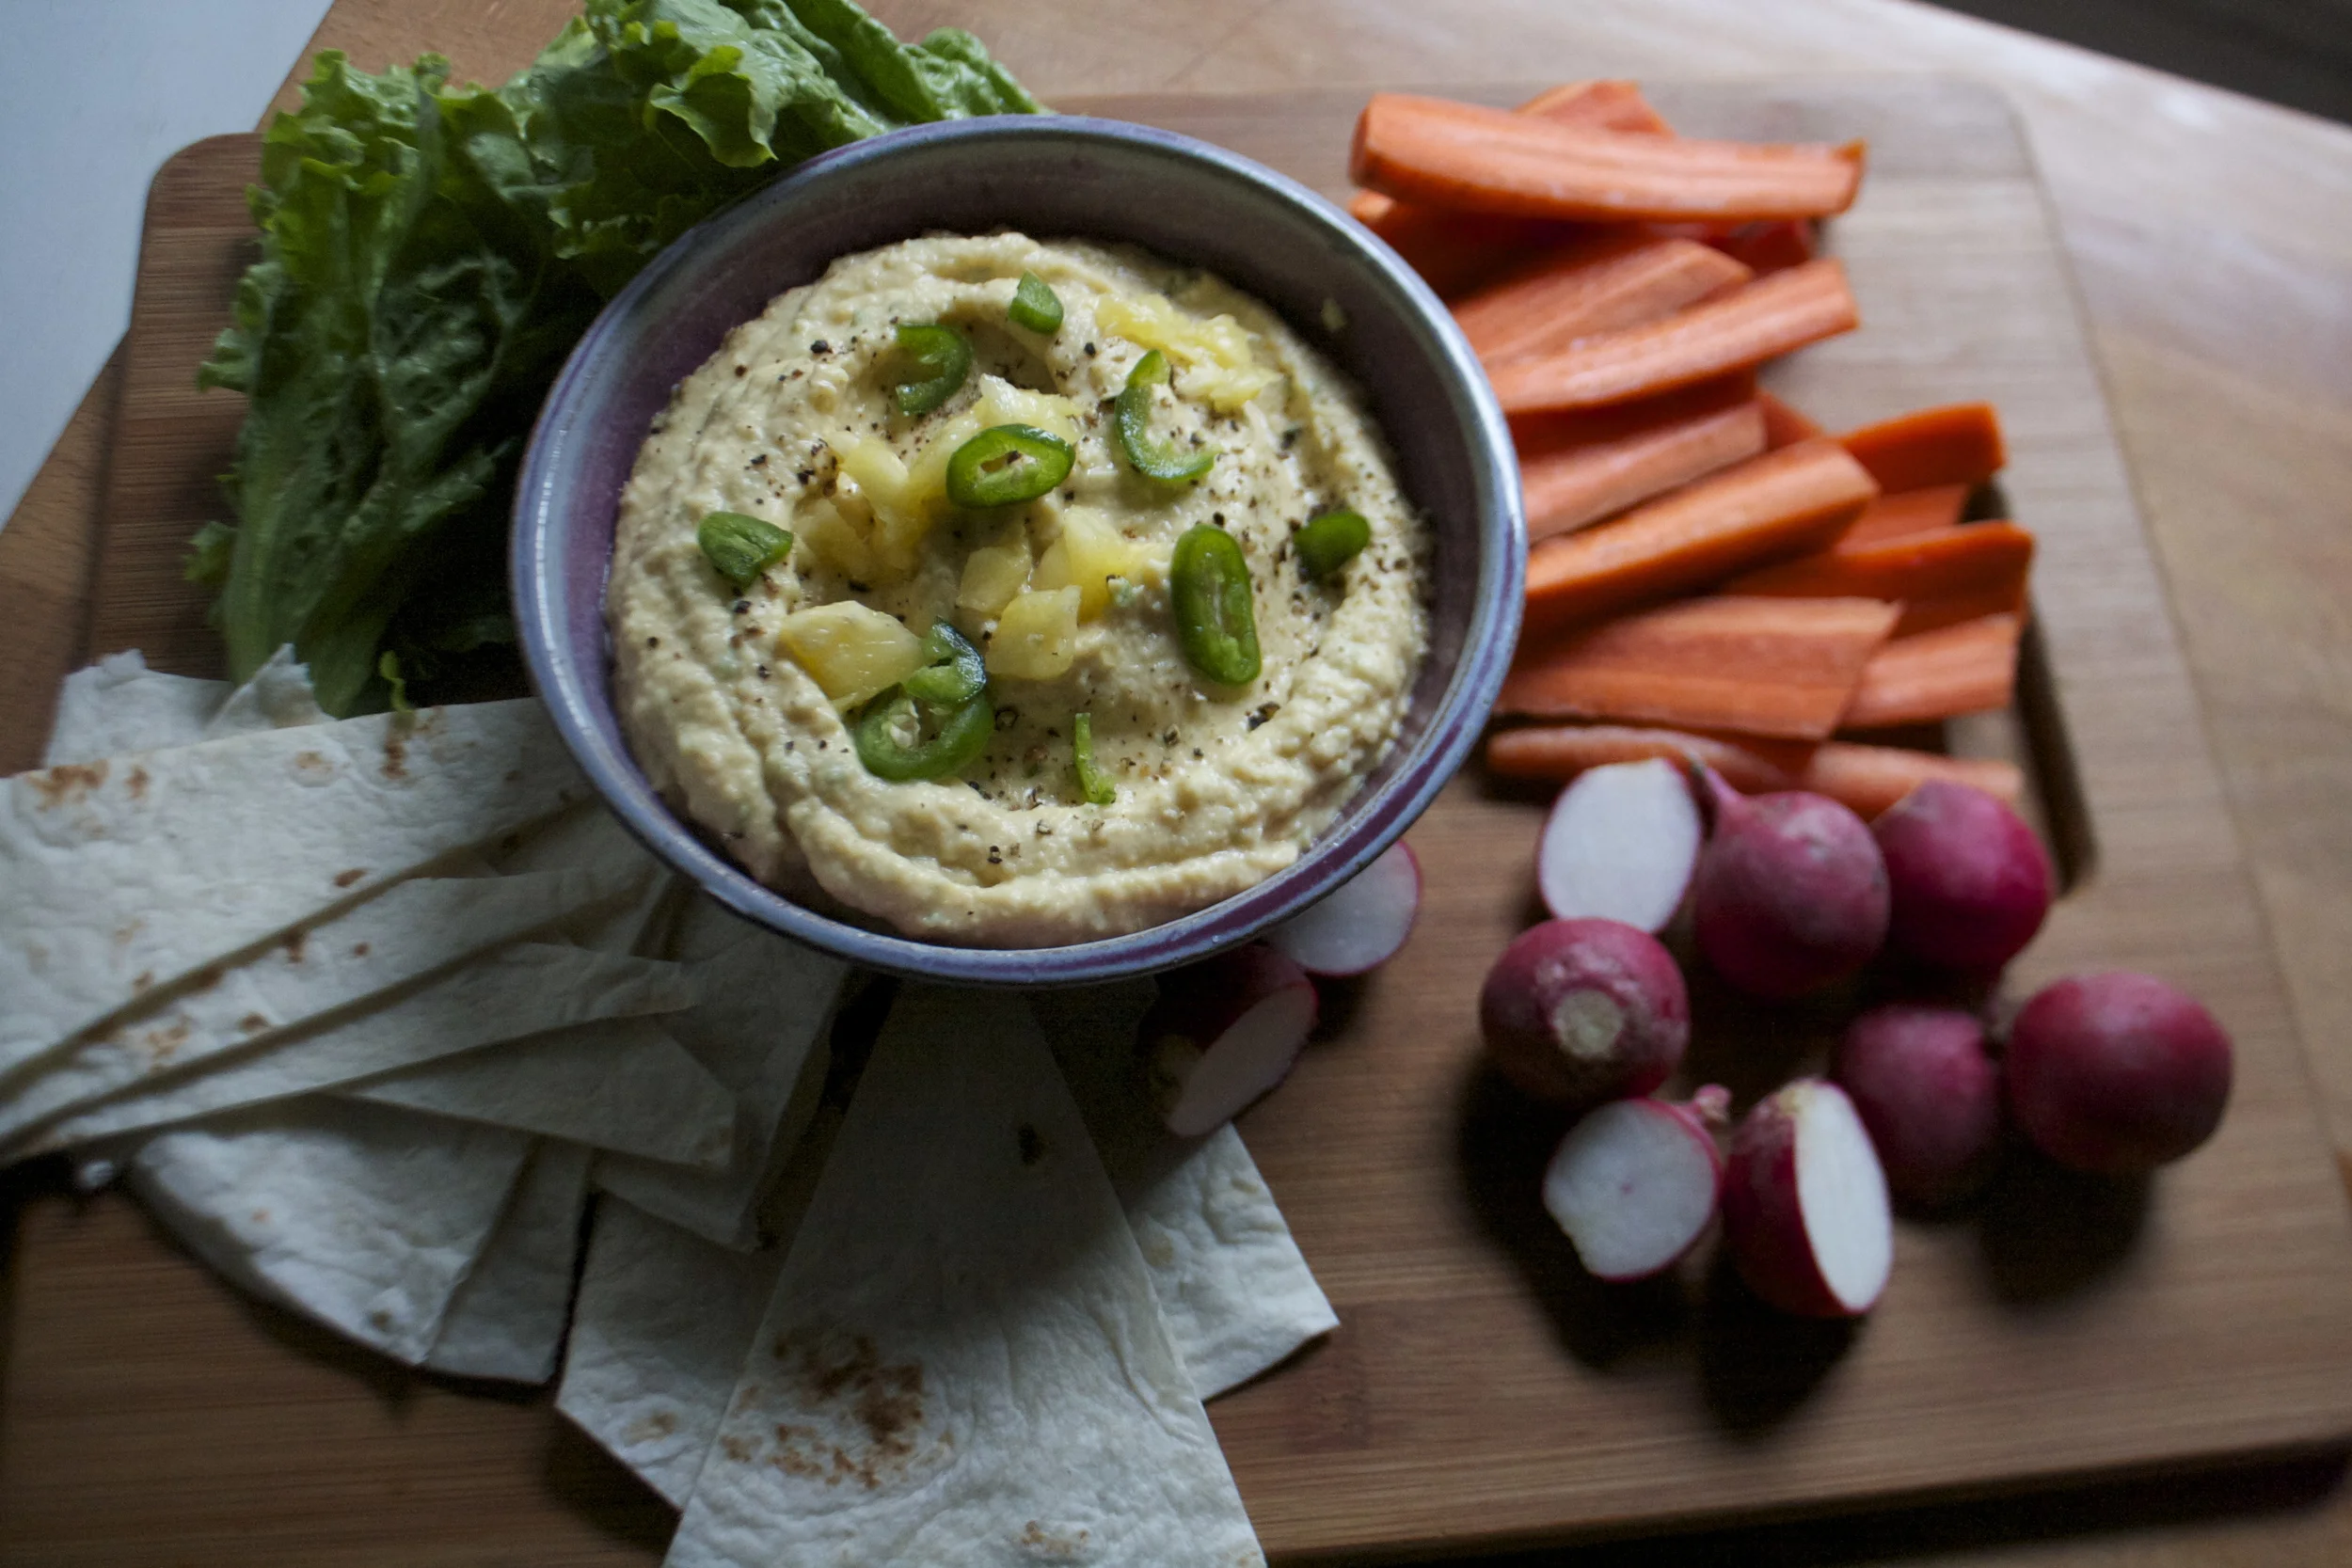
I eat a lot of hummus. Like a lot. Every day, all day long. (seriously, I am always snacking on veggies dipped in hummus) So I am sorry to all around me that my breath always smells.. (I blame all the garlic in the hummus.)
Recently, during a particularly browsey grocery shop, I ended up in the hummus case (I always end up there) and found a new hummus flavor.%u00a0 Pineapple jalapeno, WHAT.%u00a0 I grabbed it right then and there, convinced that hummus gods were rewarding me for all of my hummus eating and have made me my very own flavor.
Got home, tossed all the groceries into the fridge and busted open the new hummus, a bag of carrots, and went at it. Oh man, it was good.(to often the store bought hummus flavors are not so great) The flavors were all there, sweet and spicy, and creamy.%u00a0 It was fantastic, I ate almost all of it and I knew I had to make my own.
And I did and you know what, it was even freaking better! (Fresh it the best!)
So If you are a hummus person of any kind, this is a fantastic exciting flavor that will make you all sorts of happy.
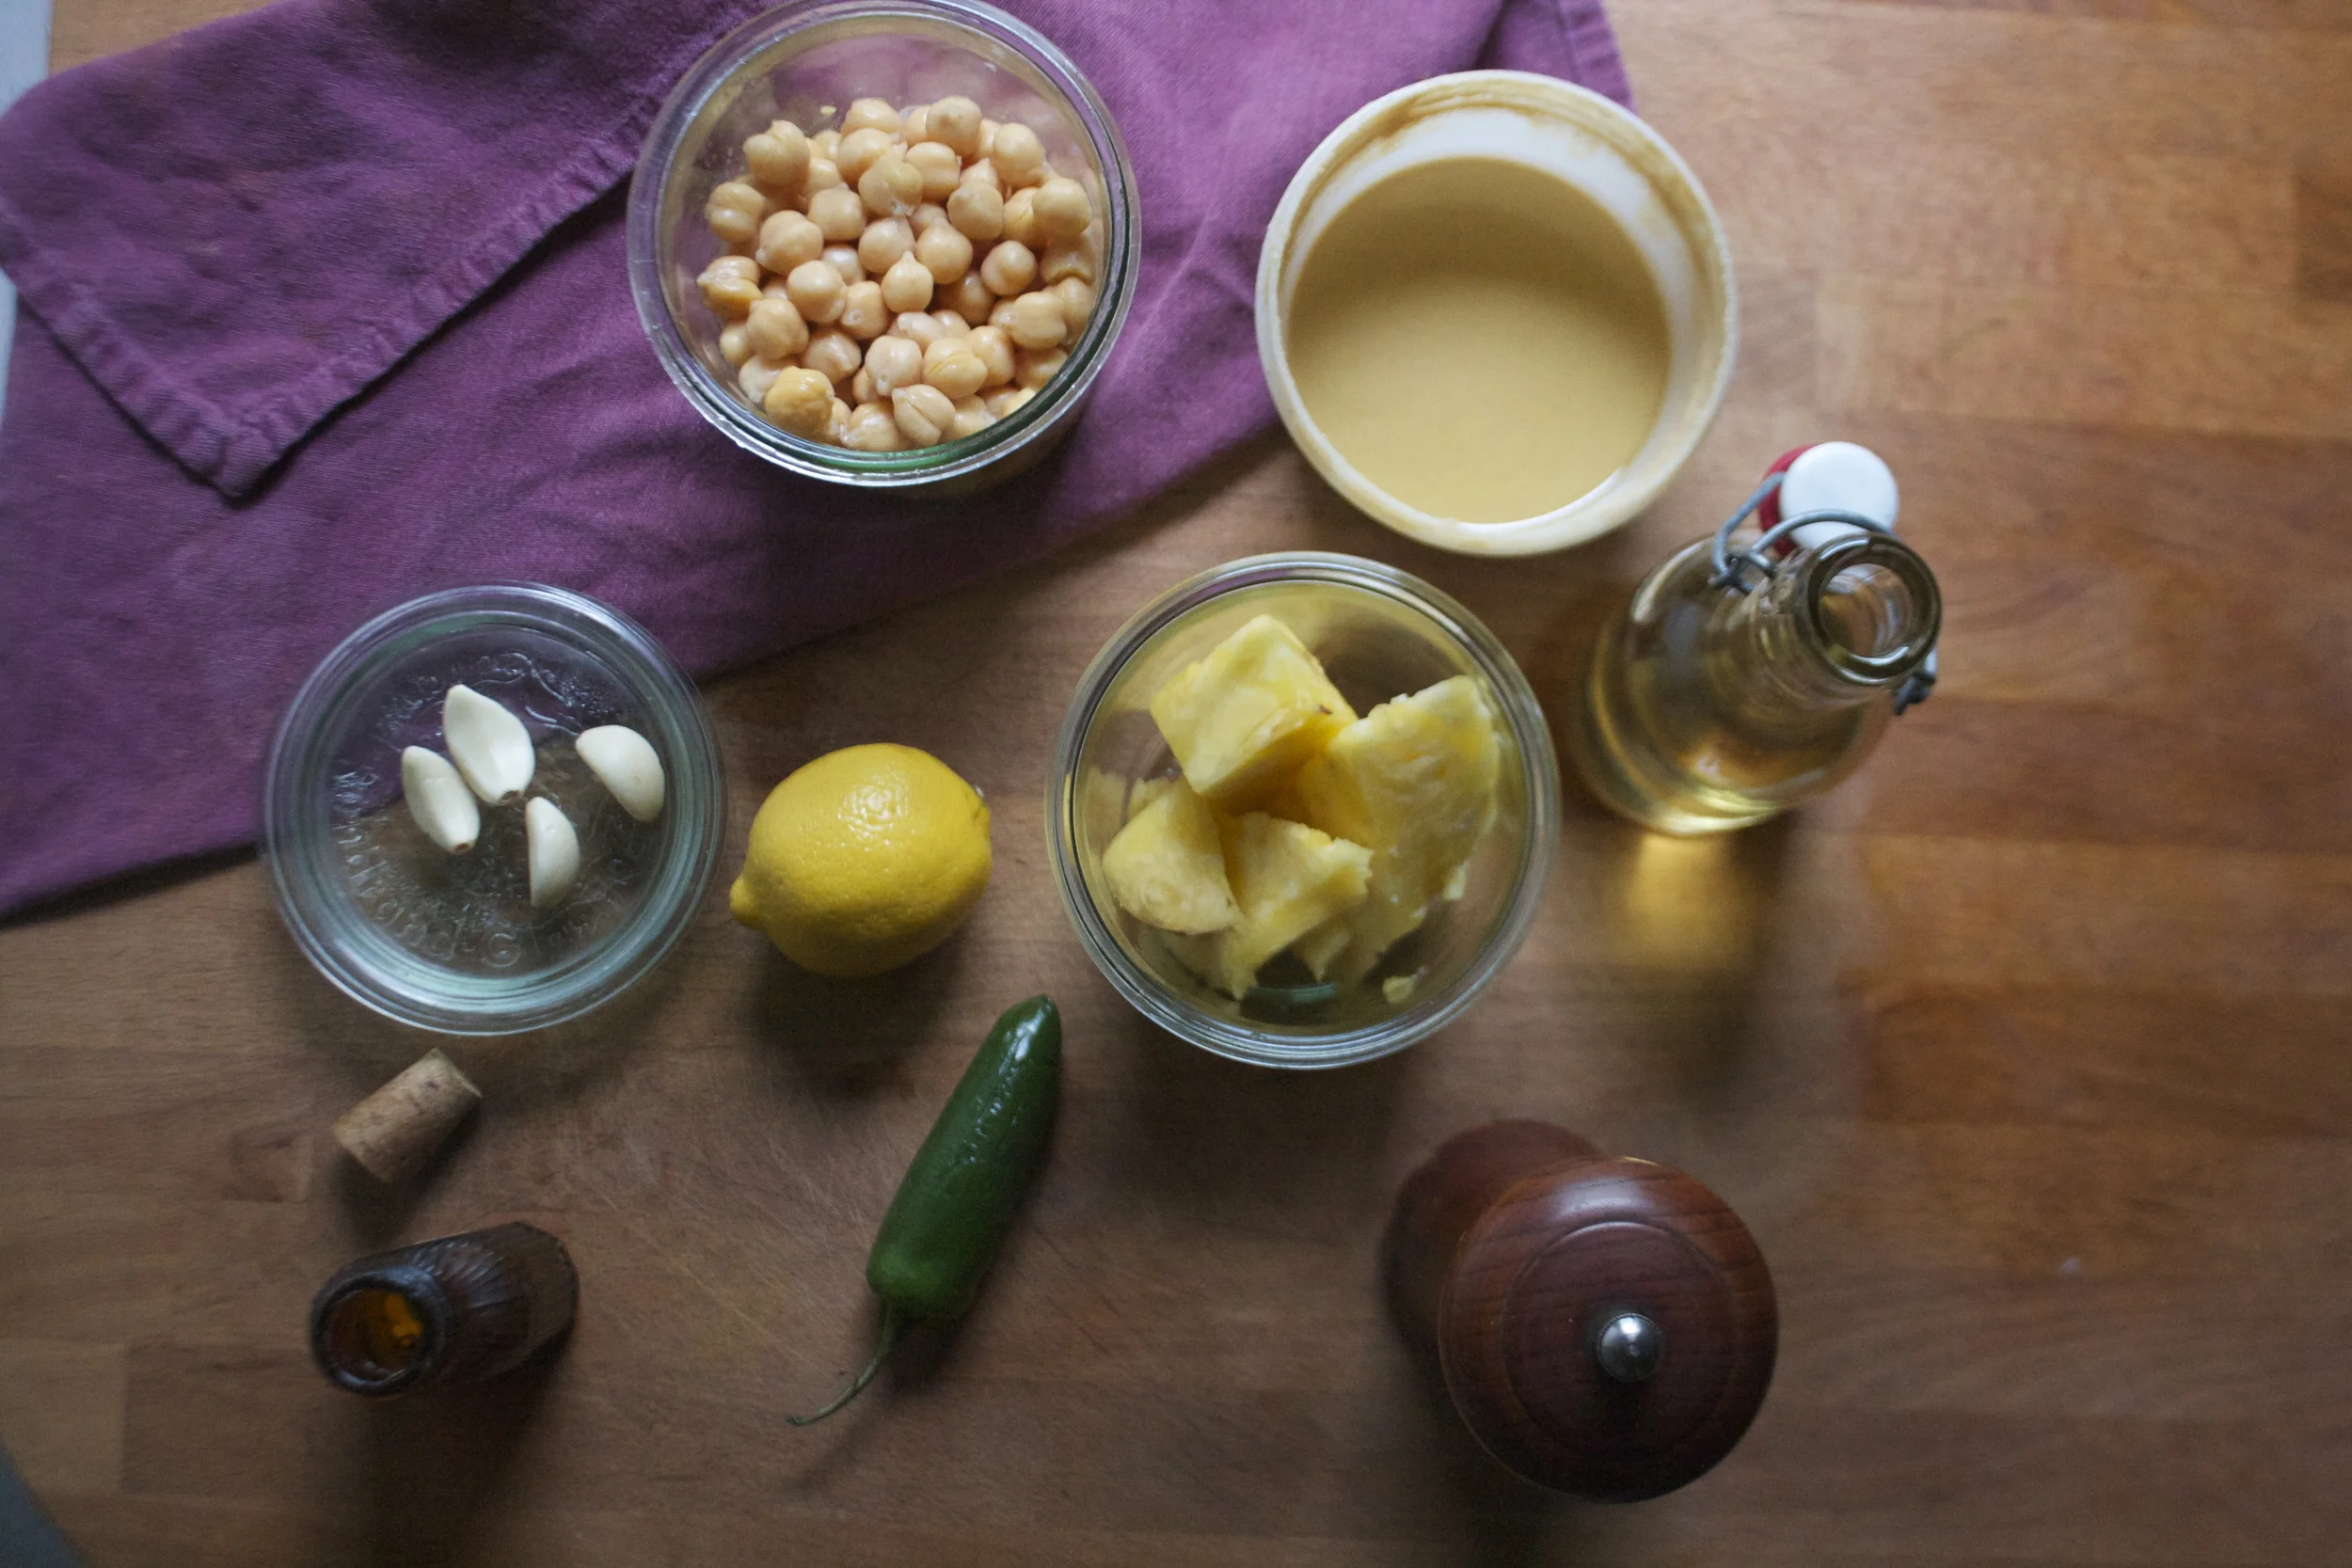
The stuff for the hummus:%u00a0 chickpeas, tahini, olive oil, garlic, and salt and pepper. And for flavor add ins,%u00a0 fresh pineapple and a jalapeno pepper.
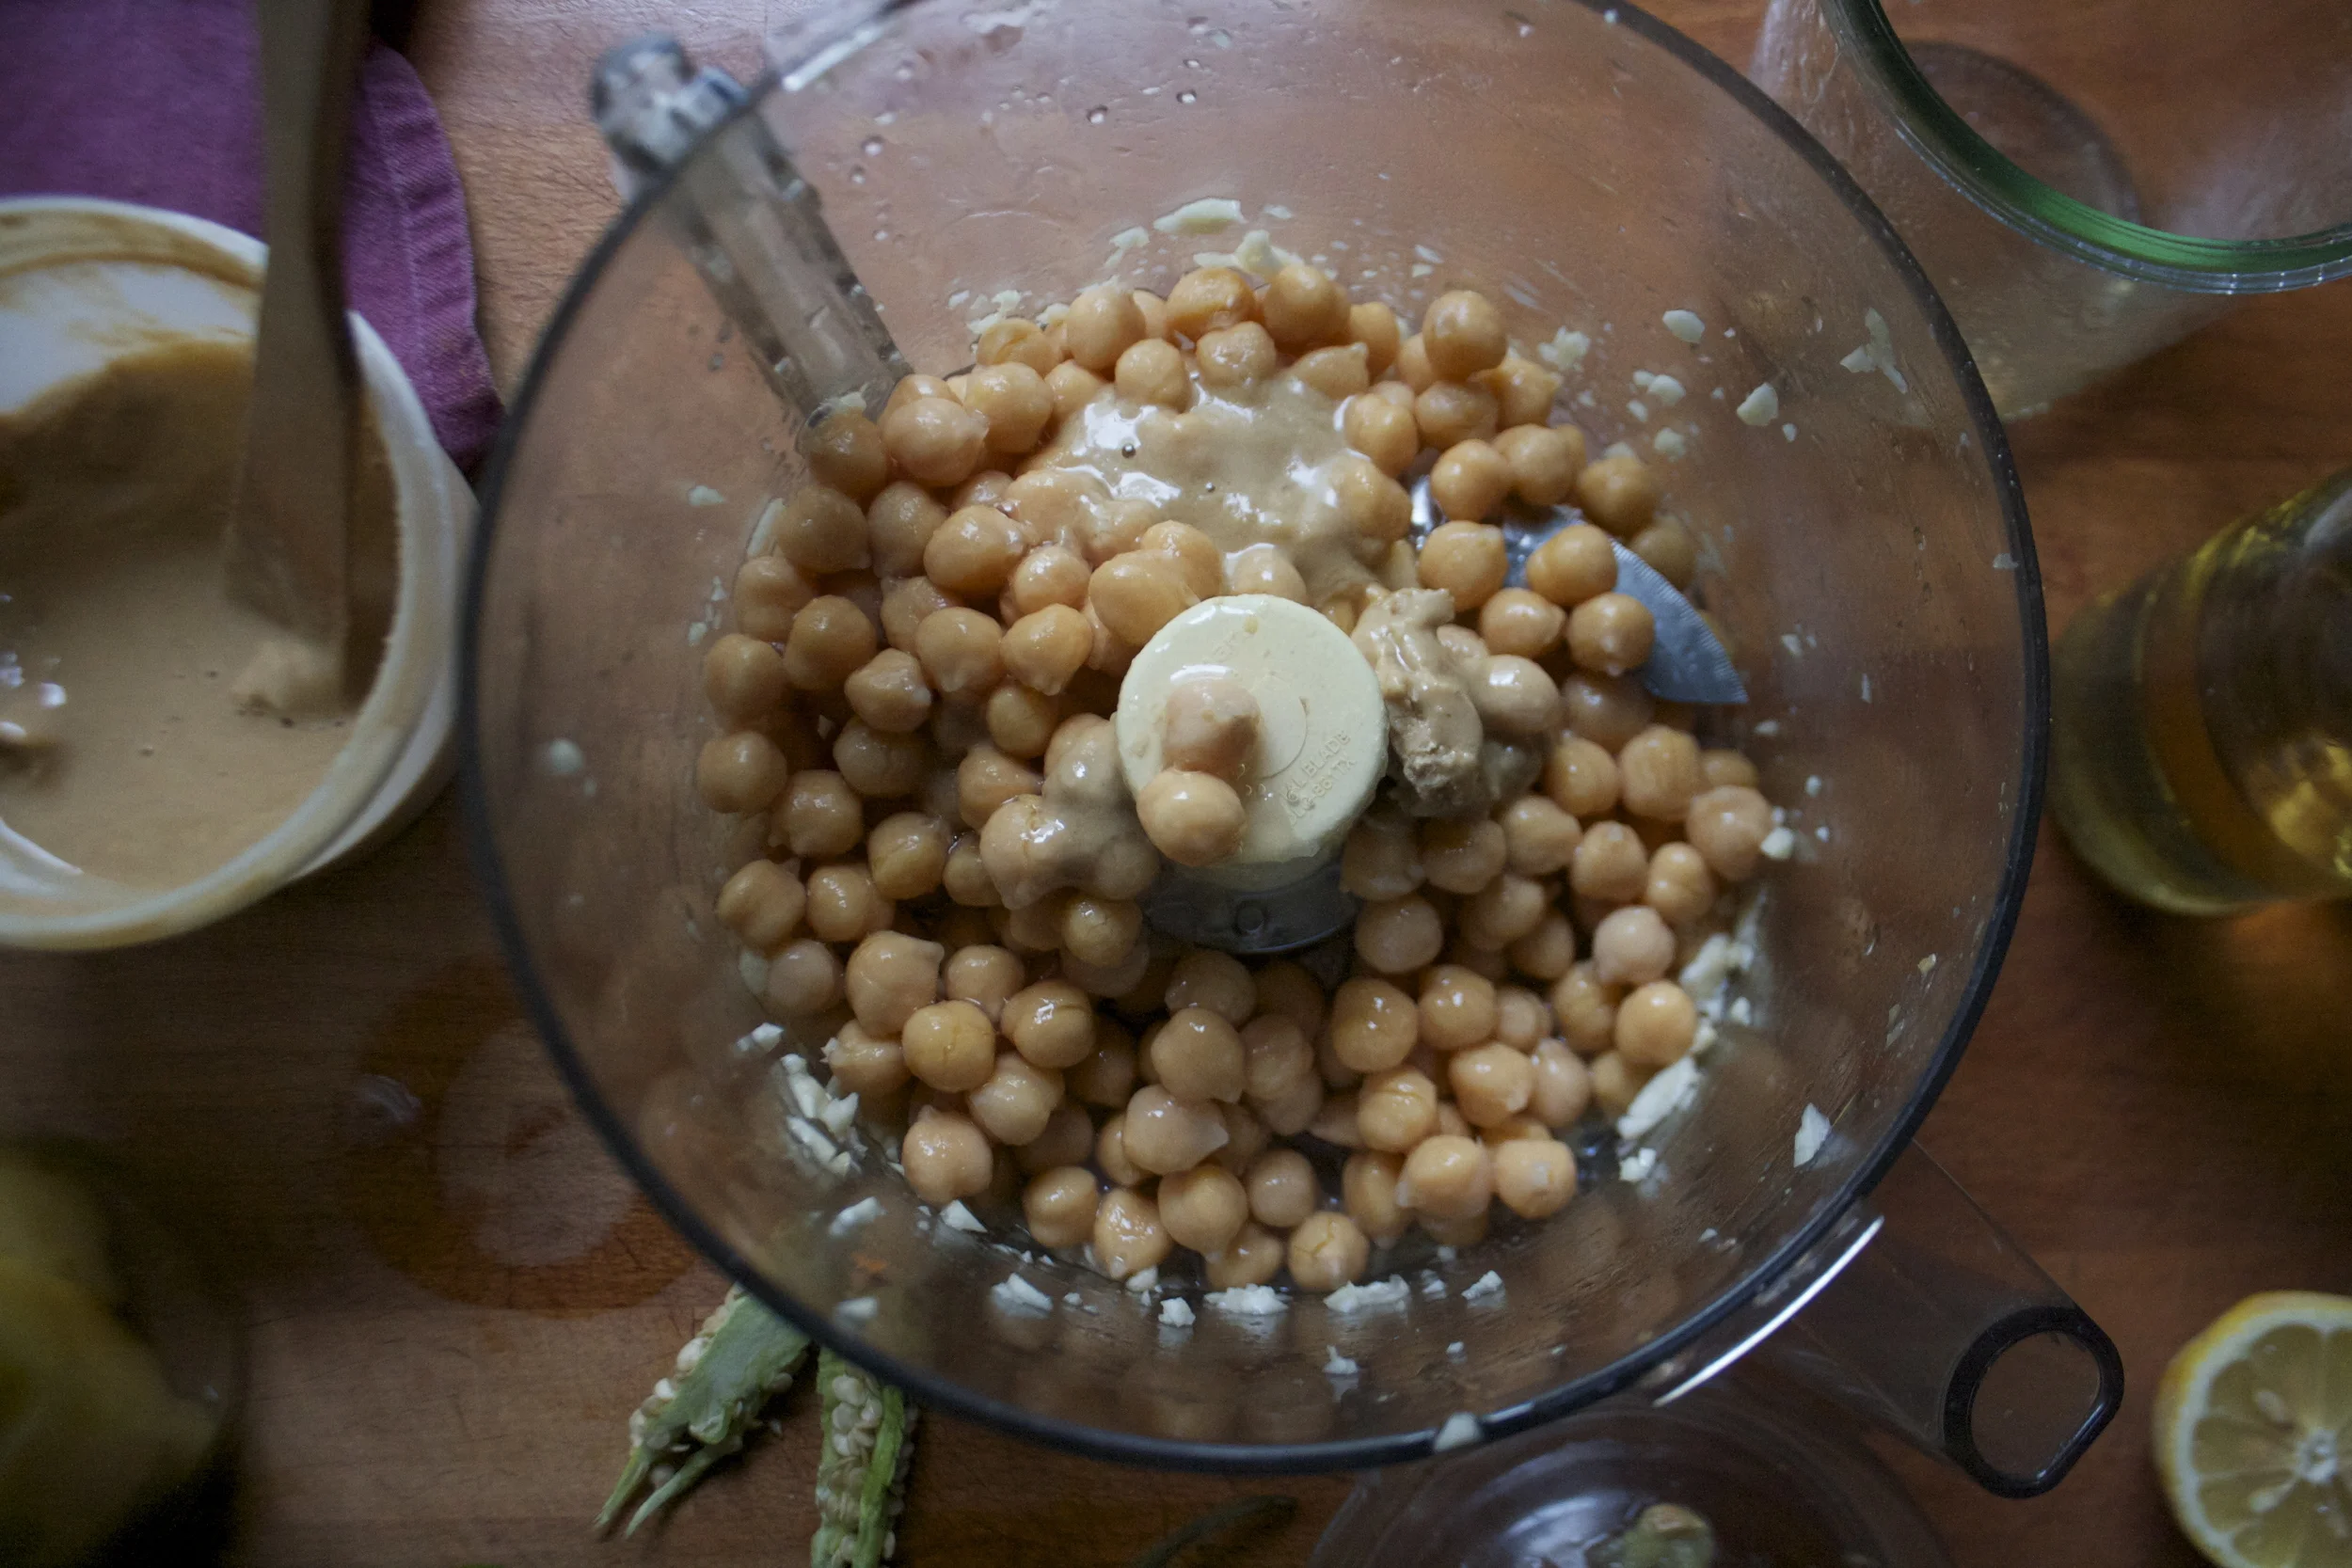
Chickpeas (rinsed and drained) go into the food processor with some tahini, the juice of the lemon and salt and pepper.. The garlic I actually pulsed in the processor first (to avoid big raw hunks) and some olive oil are also going in on this.
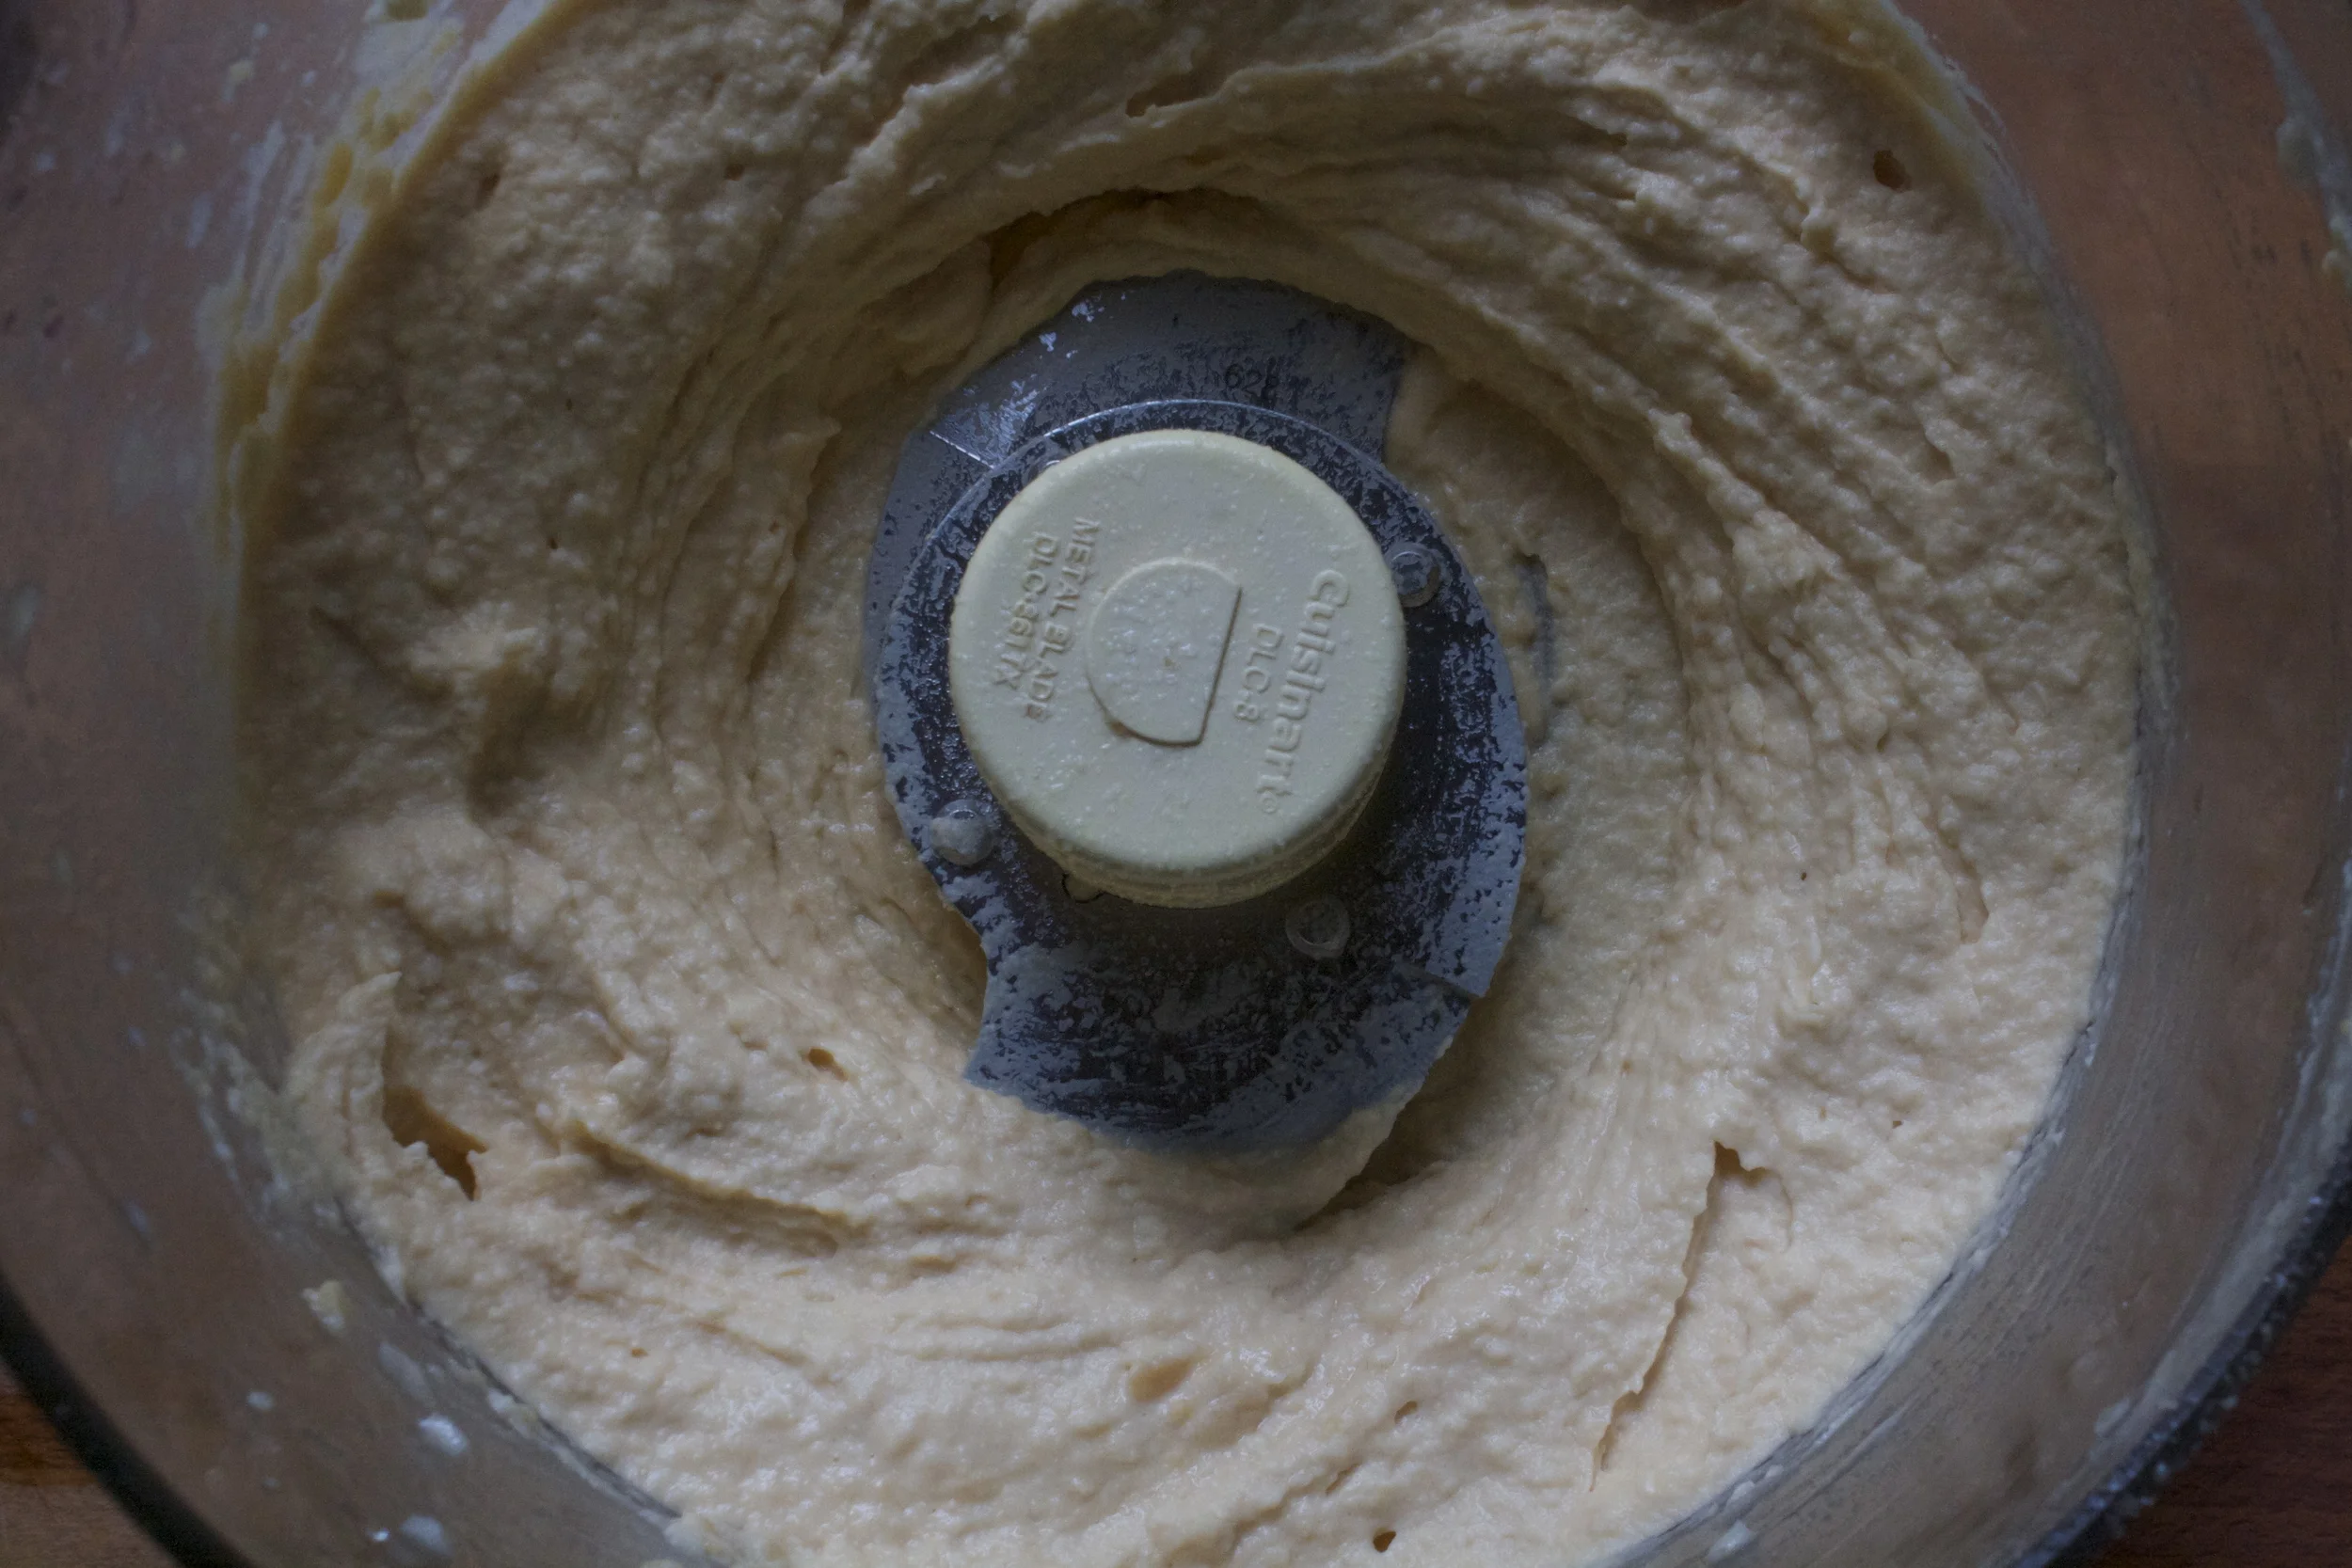
Blended until a smooth, creamy perfection.

Now for the fun stuff. Dice up the pineapple and remove seeds (or not) from the jalapeno and dice that up too
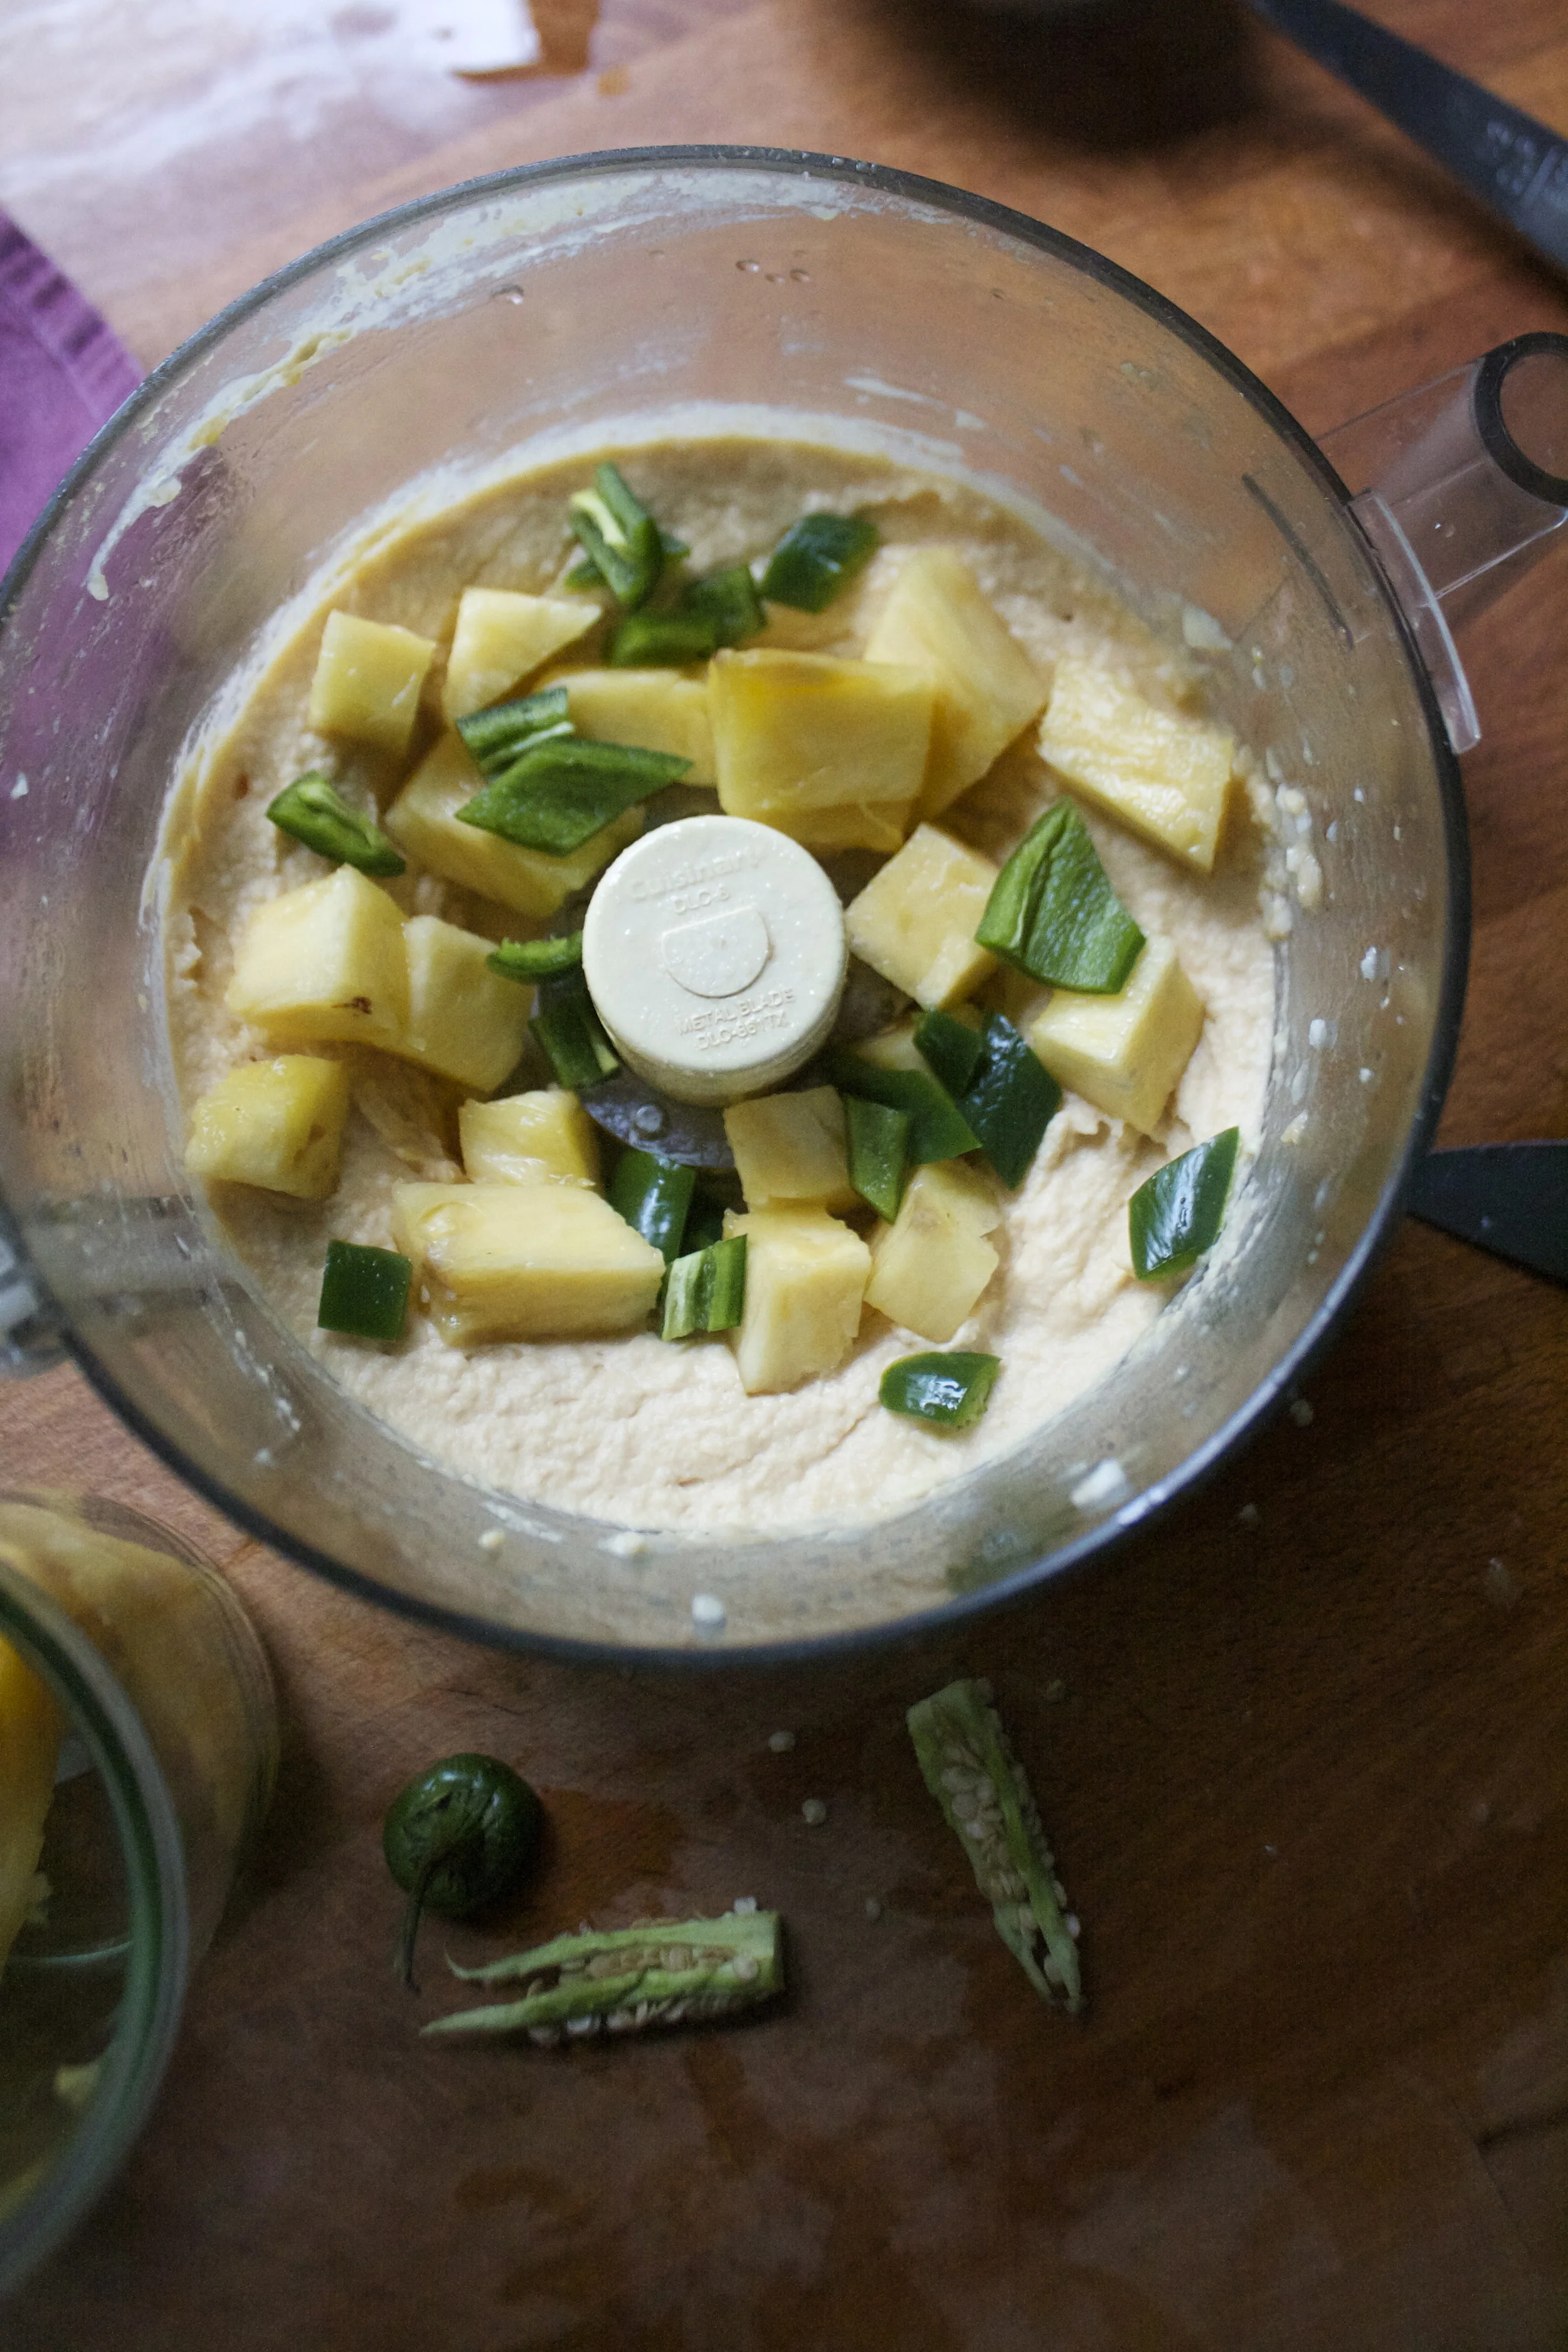
Toss it all (minus a few little pieces of garnish if you want) into that creamy dreamy hummus.

Pulse pulse pulse until the chunks of stuff are all incorporated . Make it super chunky or super smooth, up to you. I like mine kinda chunky, but not too chunky, if you know what I mean.
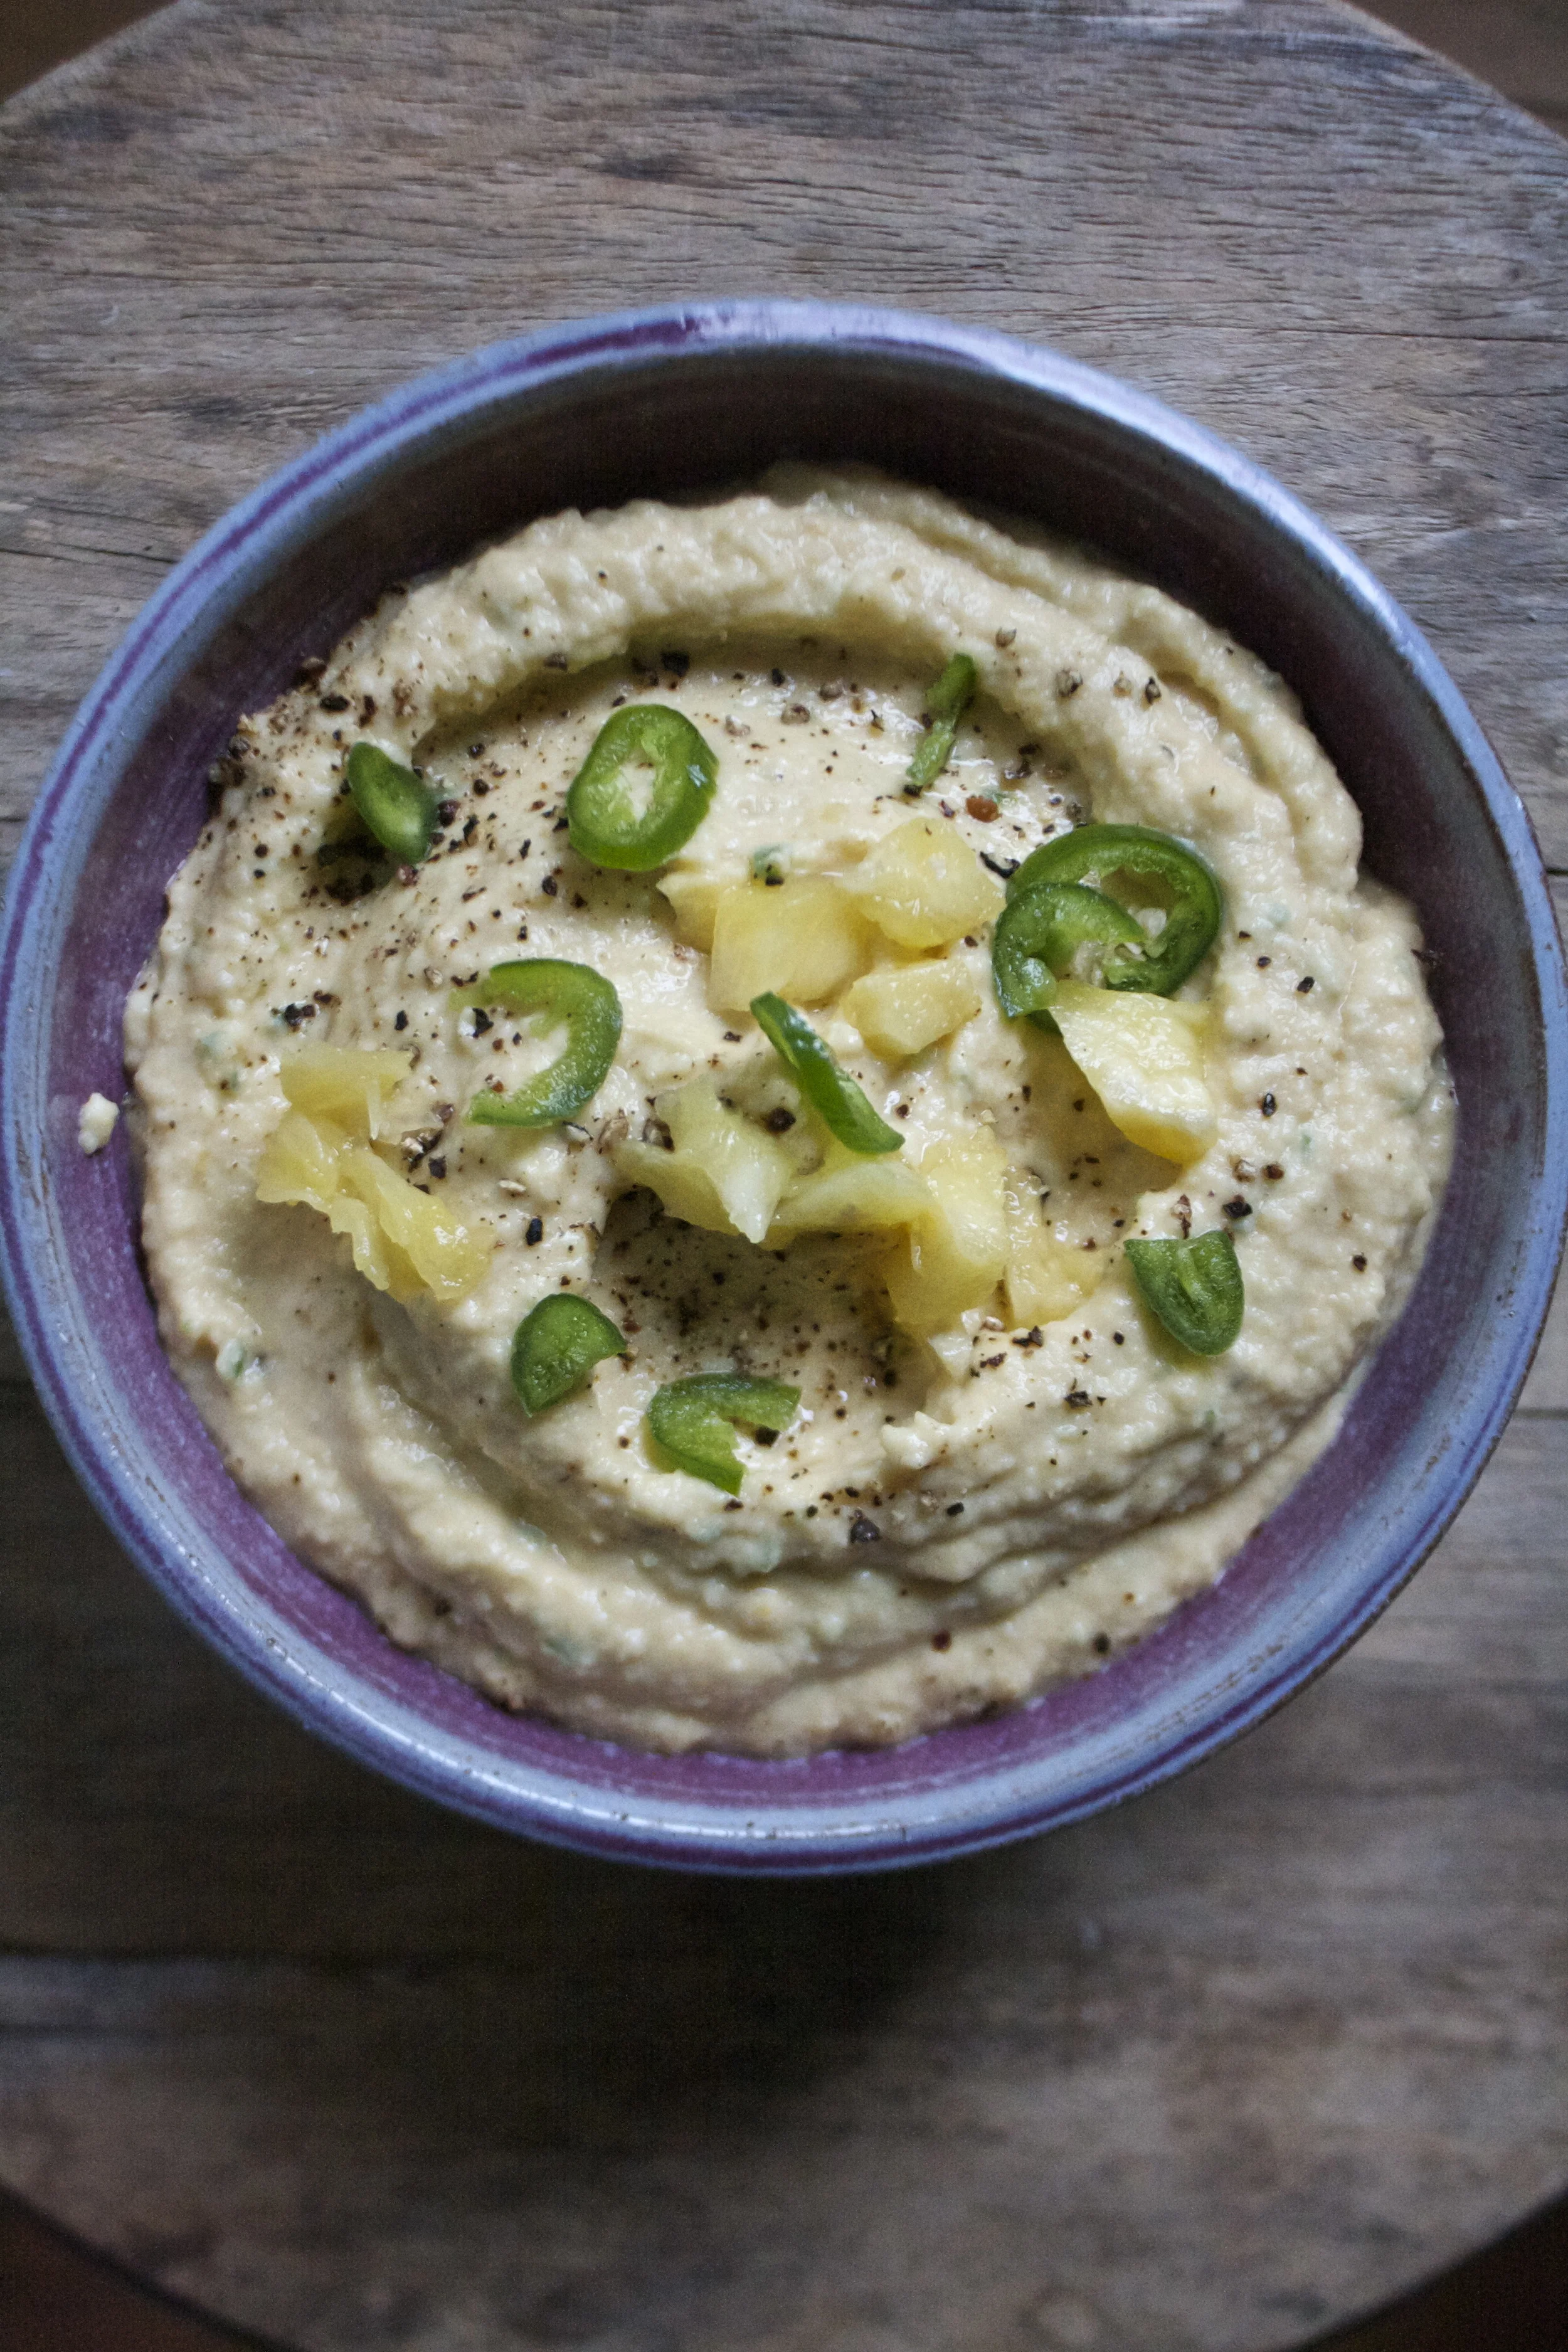
Into a big bowl, topped with a few little diced up pieces of jalapeno and pineapple, you know, for prettiness. And lots of cracked pepper.. Lots.
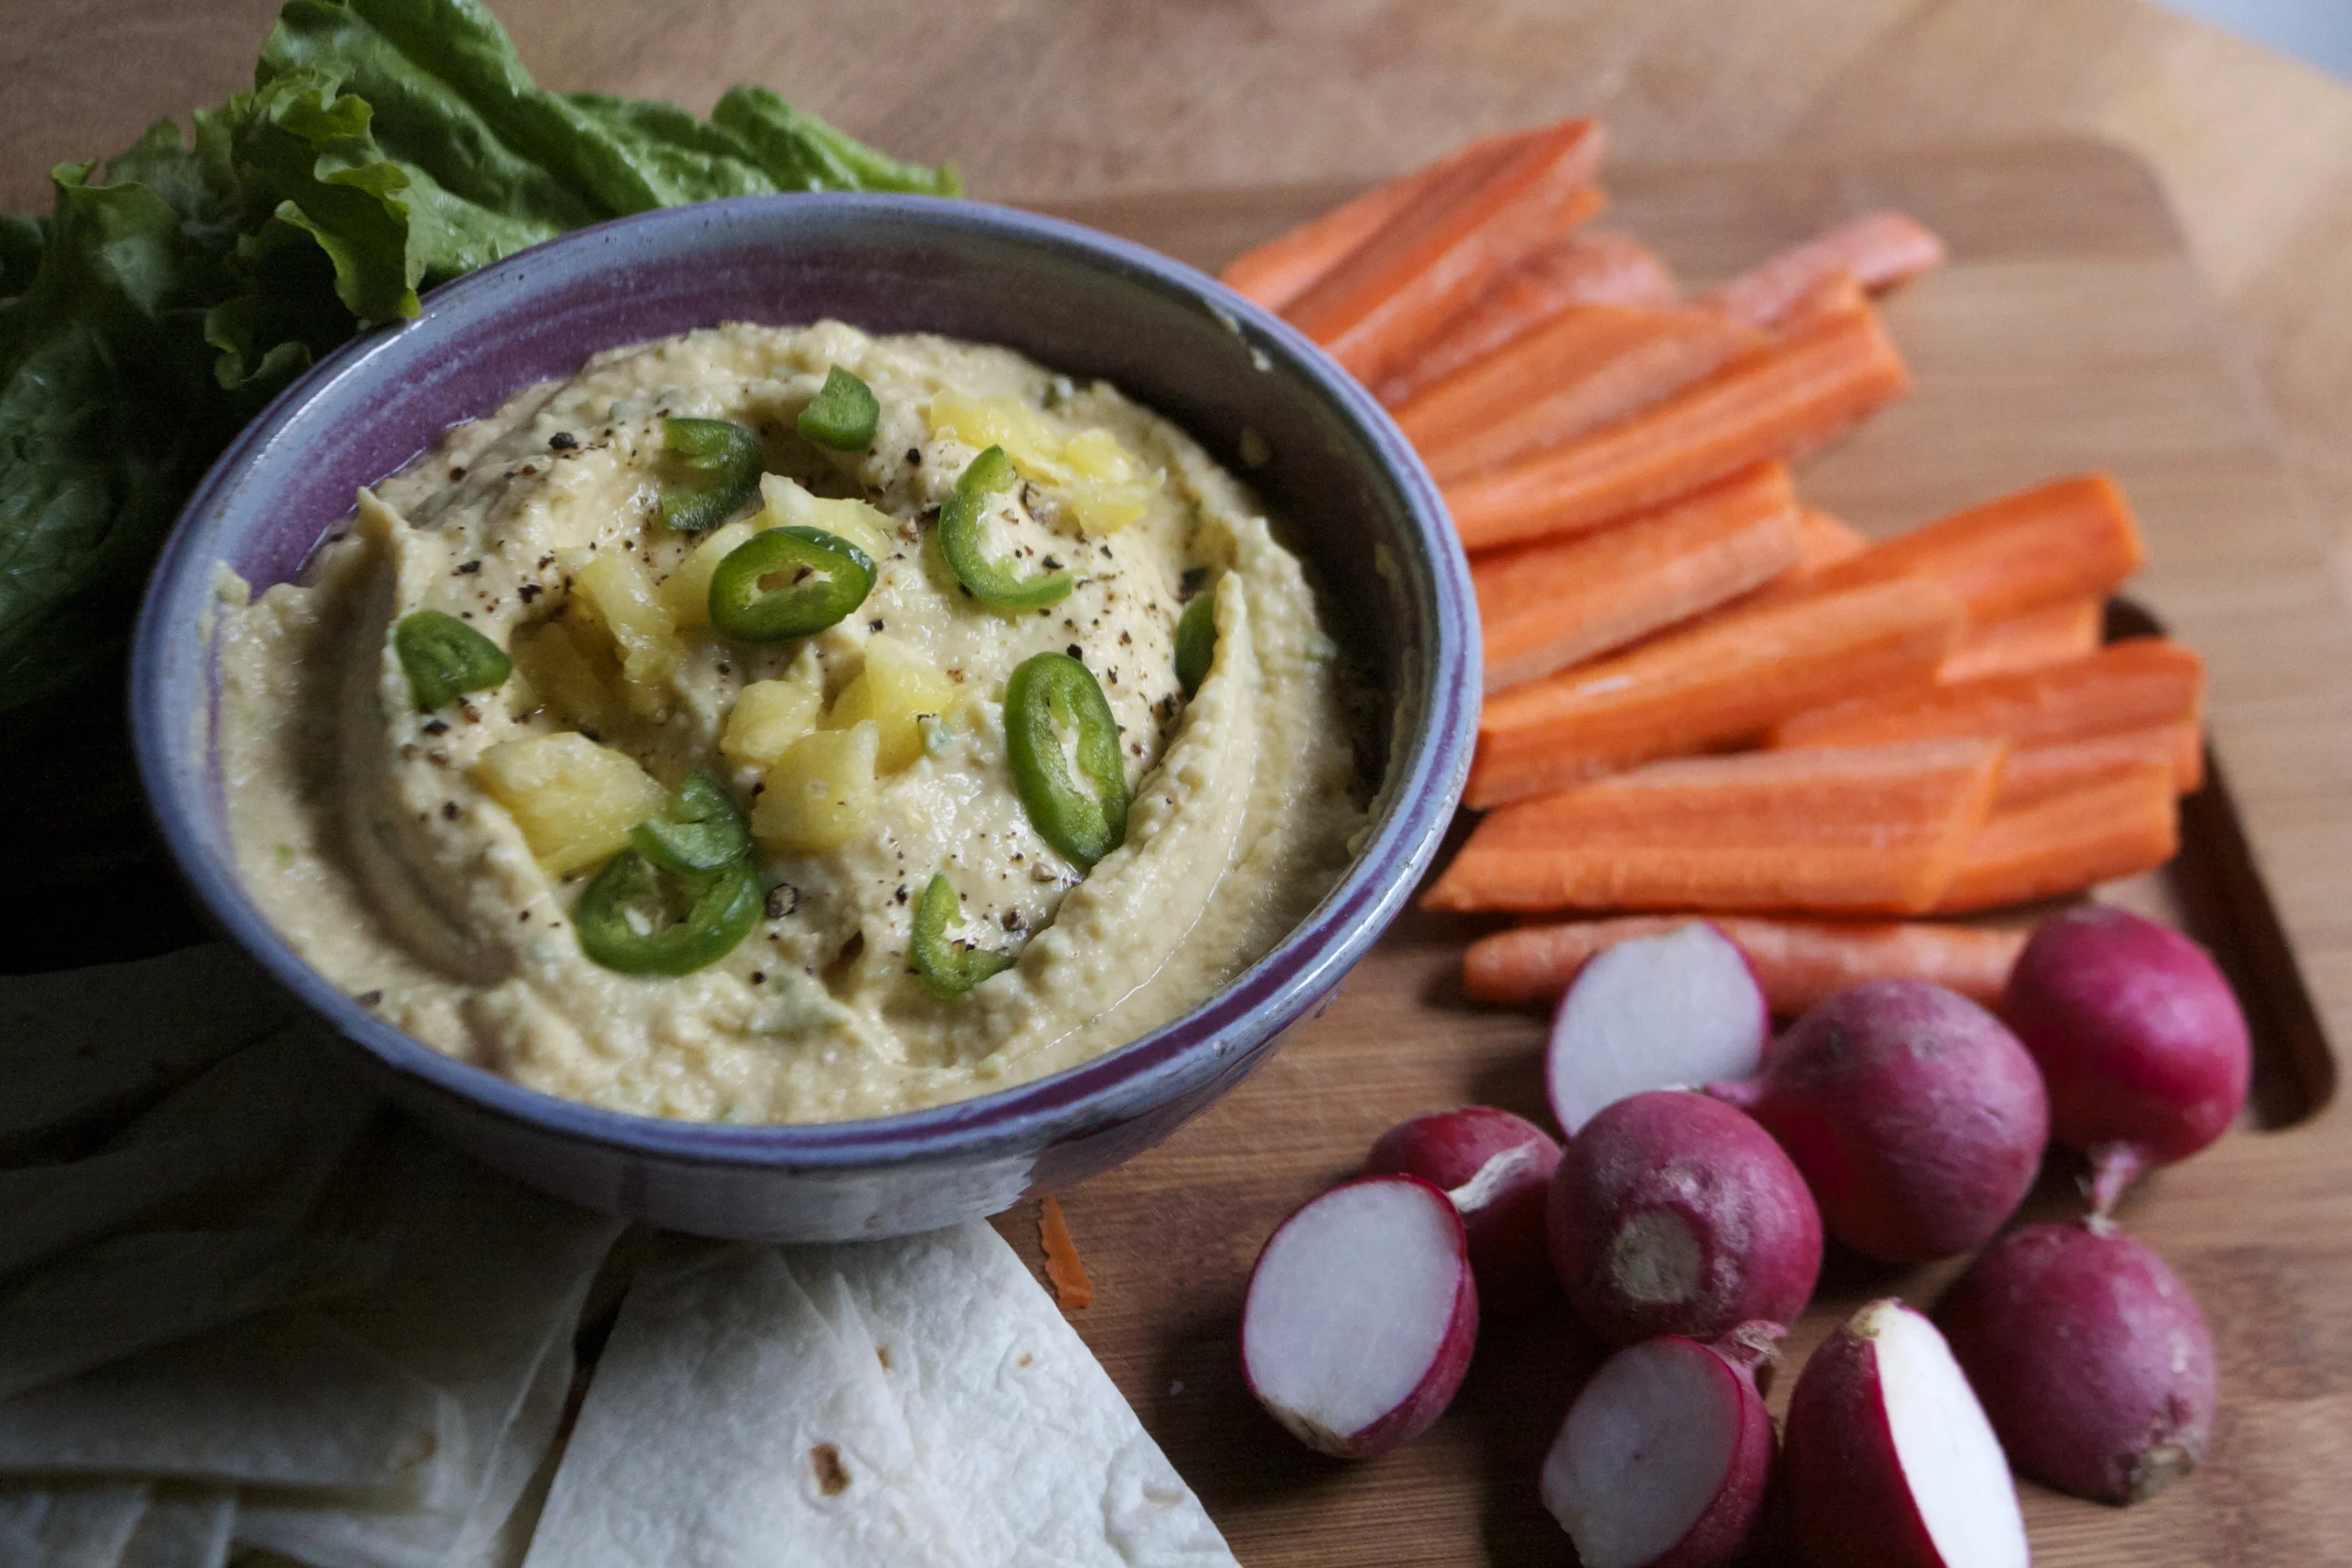
Now eat. With whatever ( I like veggies or just give me a spoon, Ican eat hummus all by itself)
Hummus for life!
-C
Makes about 2 1/2cups
- 2 1/2 cups cooked chickpeas (one can)
- 2-3 cloves garlic
- 2 tablespoons tahini
- 1 lemon
- 2 tablespoons olive oil
- 3/4 cup fresh pineapple
- 1-2 jalapenos
- salt and pepper
Rinsed and drain chickpeas. Add garlic and a little olive oil to the food processor and pulse until the garlic is a little minced. Add in the drained chickpeas,%u00a0 tahini, a sprinkle of salt ans pepper, the juice of the lemon and another tablespoon of olive oil and blend until smooth.
Dice up pineapple into smaller chunks and remove seeds (if you want) from the jalapeno and chop that into smaller pieces . Add to the hummus and pulse until combined. You can leave it chunky or blend until smooth. Just stop blending when you reach you desired consistency . Garnish with more chopped pineapple and jalapeno and lots of freshly ground pepper.
Serve with whatever you eat your hummus with.
Store left over (there probably won’t be any) in a container in the fridge.
Every year I play this game with myself.. Is it allergies or am I sick. The past few days I have been feeling kinda crappy, waking up with itchy, gunky eyes. My throat hurts, my head is like a balloon, and I am just feeling beat..%u00a0
I think it’s that I am sick (because I don’t want to have allergies) but whatever it is, it sucks, but usually goes away after a week (like every year because its really allergies). Blah.
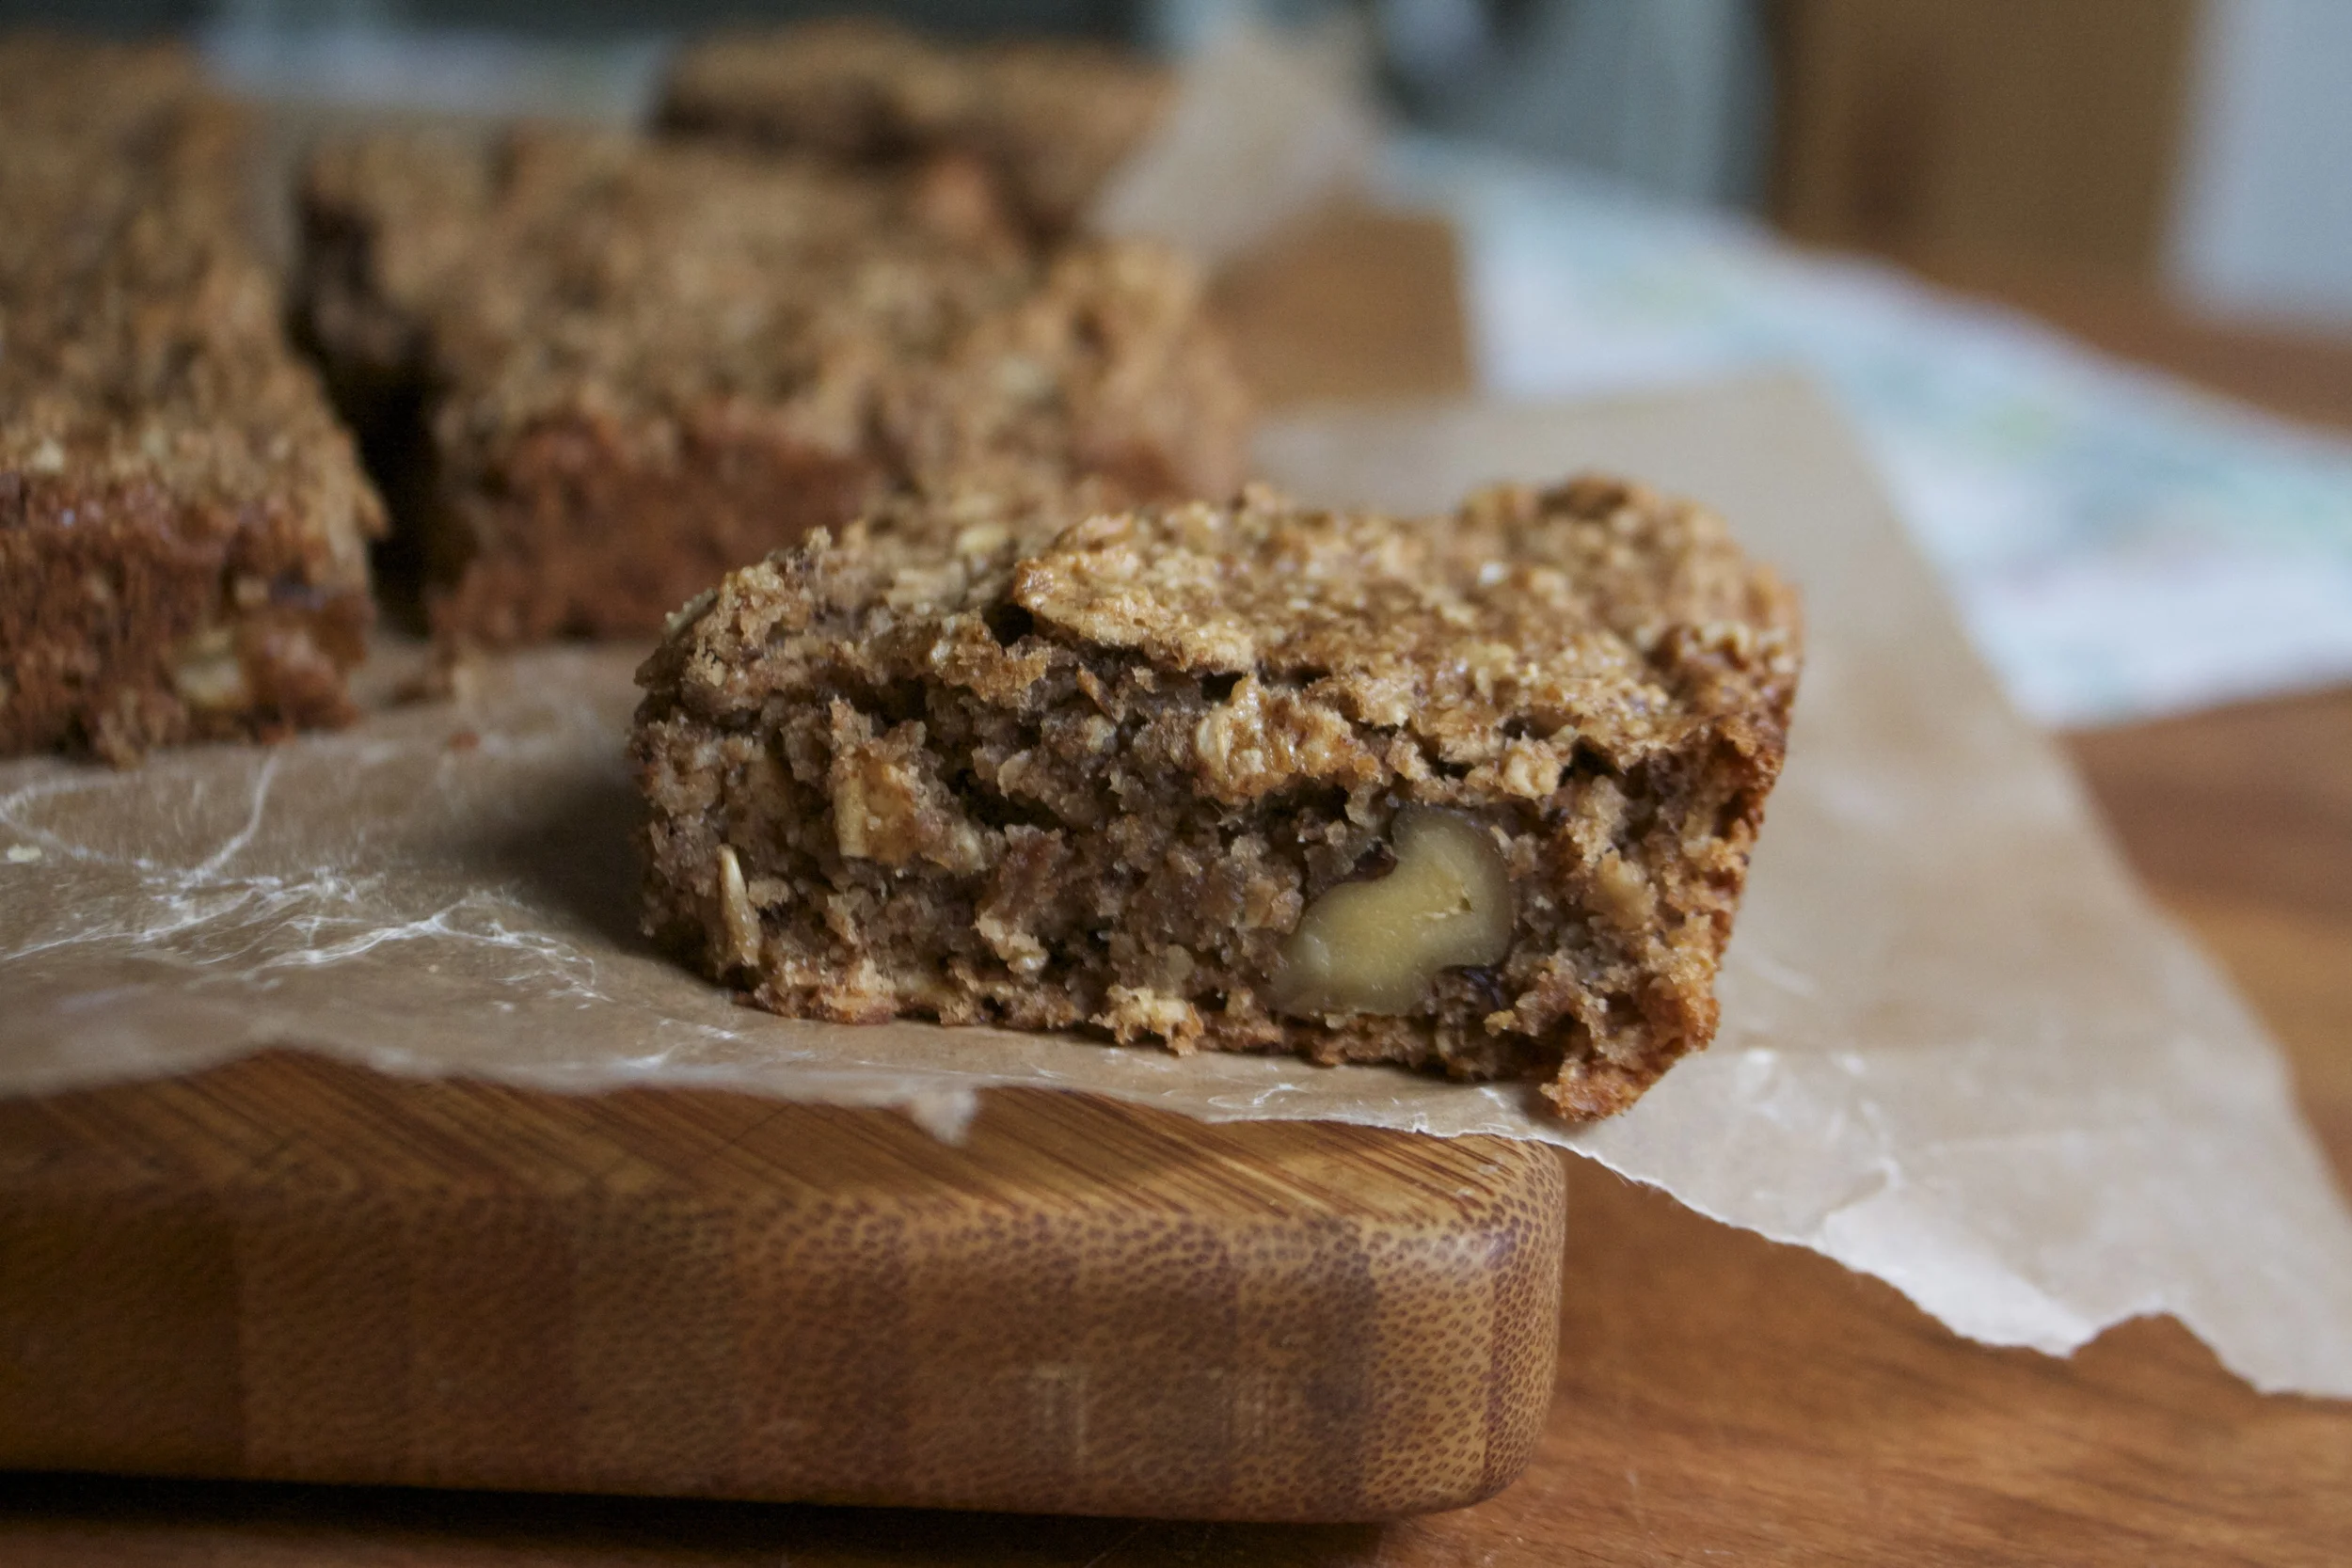
But enough about my balloon head, lets talk these maple banana walnut oat squares. These yummy gems of the oat square world are just what you need in your life. Healthy, protein packed, nutty, and a touch sweet. No junk, just good stuff all made with little to no effort. If you like banana bread, you will be all into them. I was inspired to make these by the extremely ripe bananas that need to be eaten asap and the mr’s lack of eating a healthy breakfast (I want him to eat, and I want it be oatmeal). I know him well enough that if I make a snack like thing and leave it out to eat, that he will eat it. For breakfast.
So weather or not you are looking for a good way to get in some good stuff into your tummy or just want some good tasting stuff in your mouth, this is the breakfast/dessert for you.

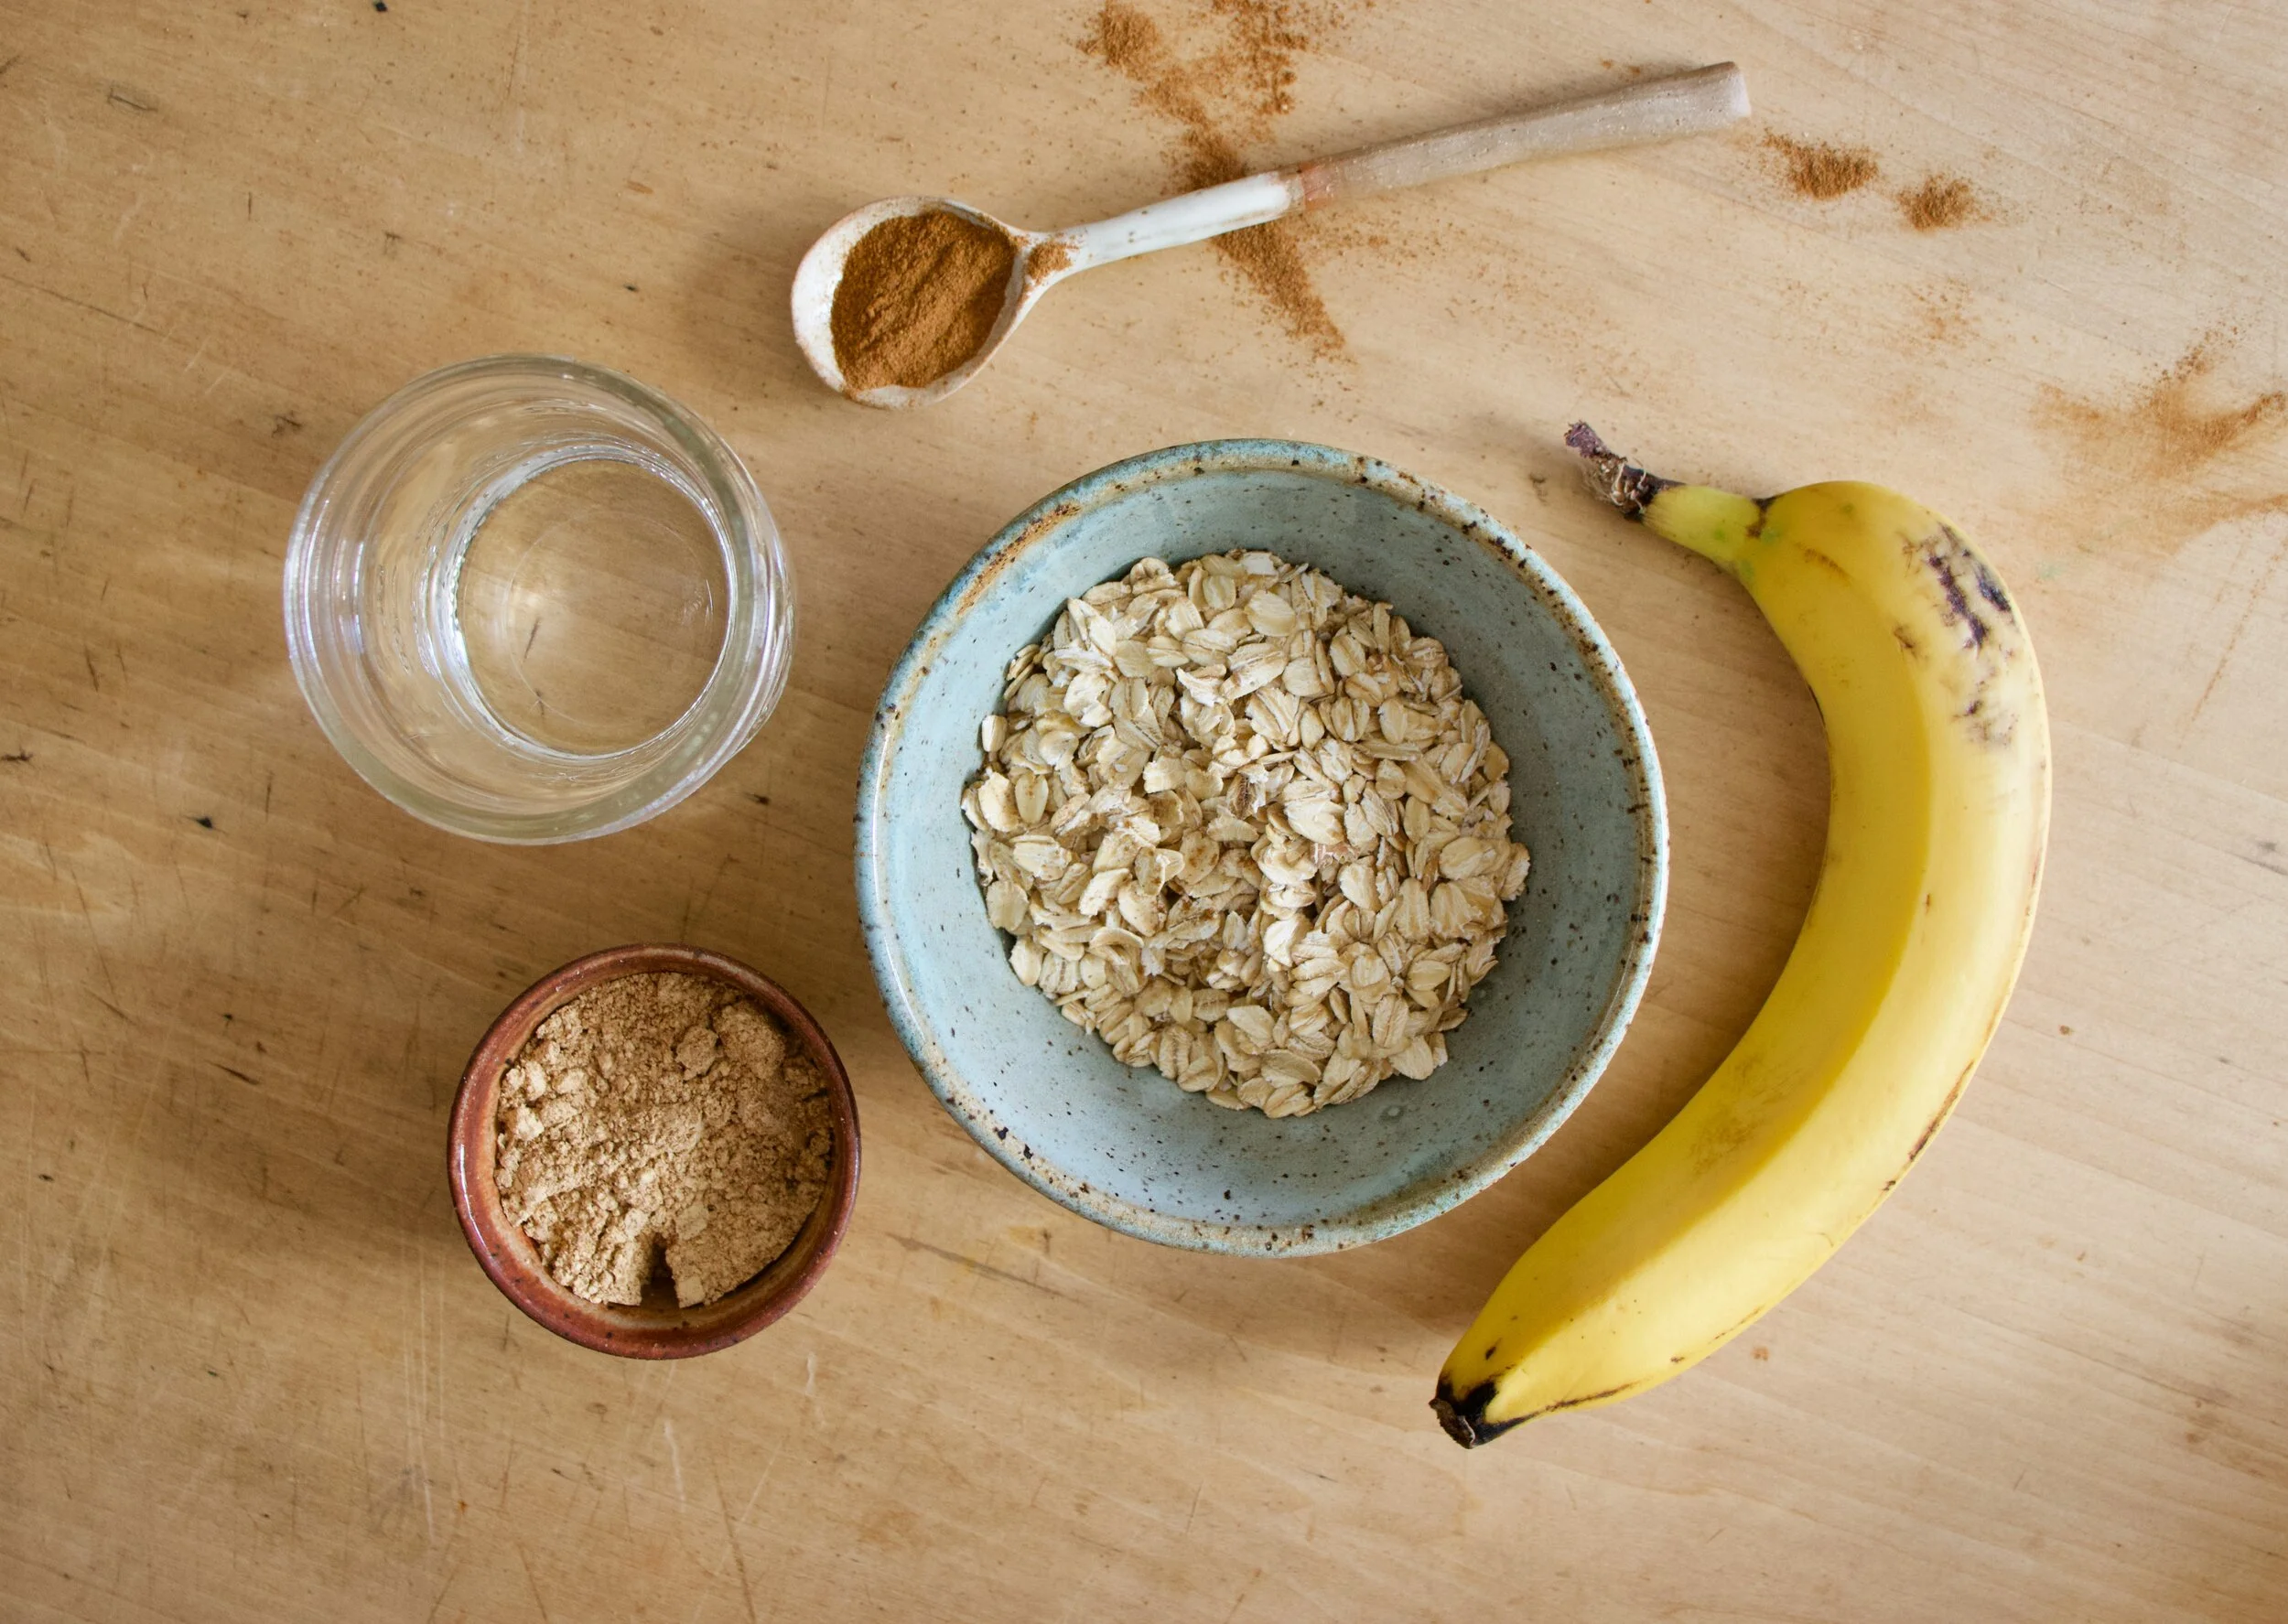
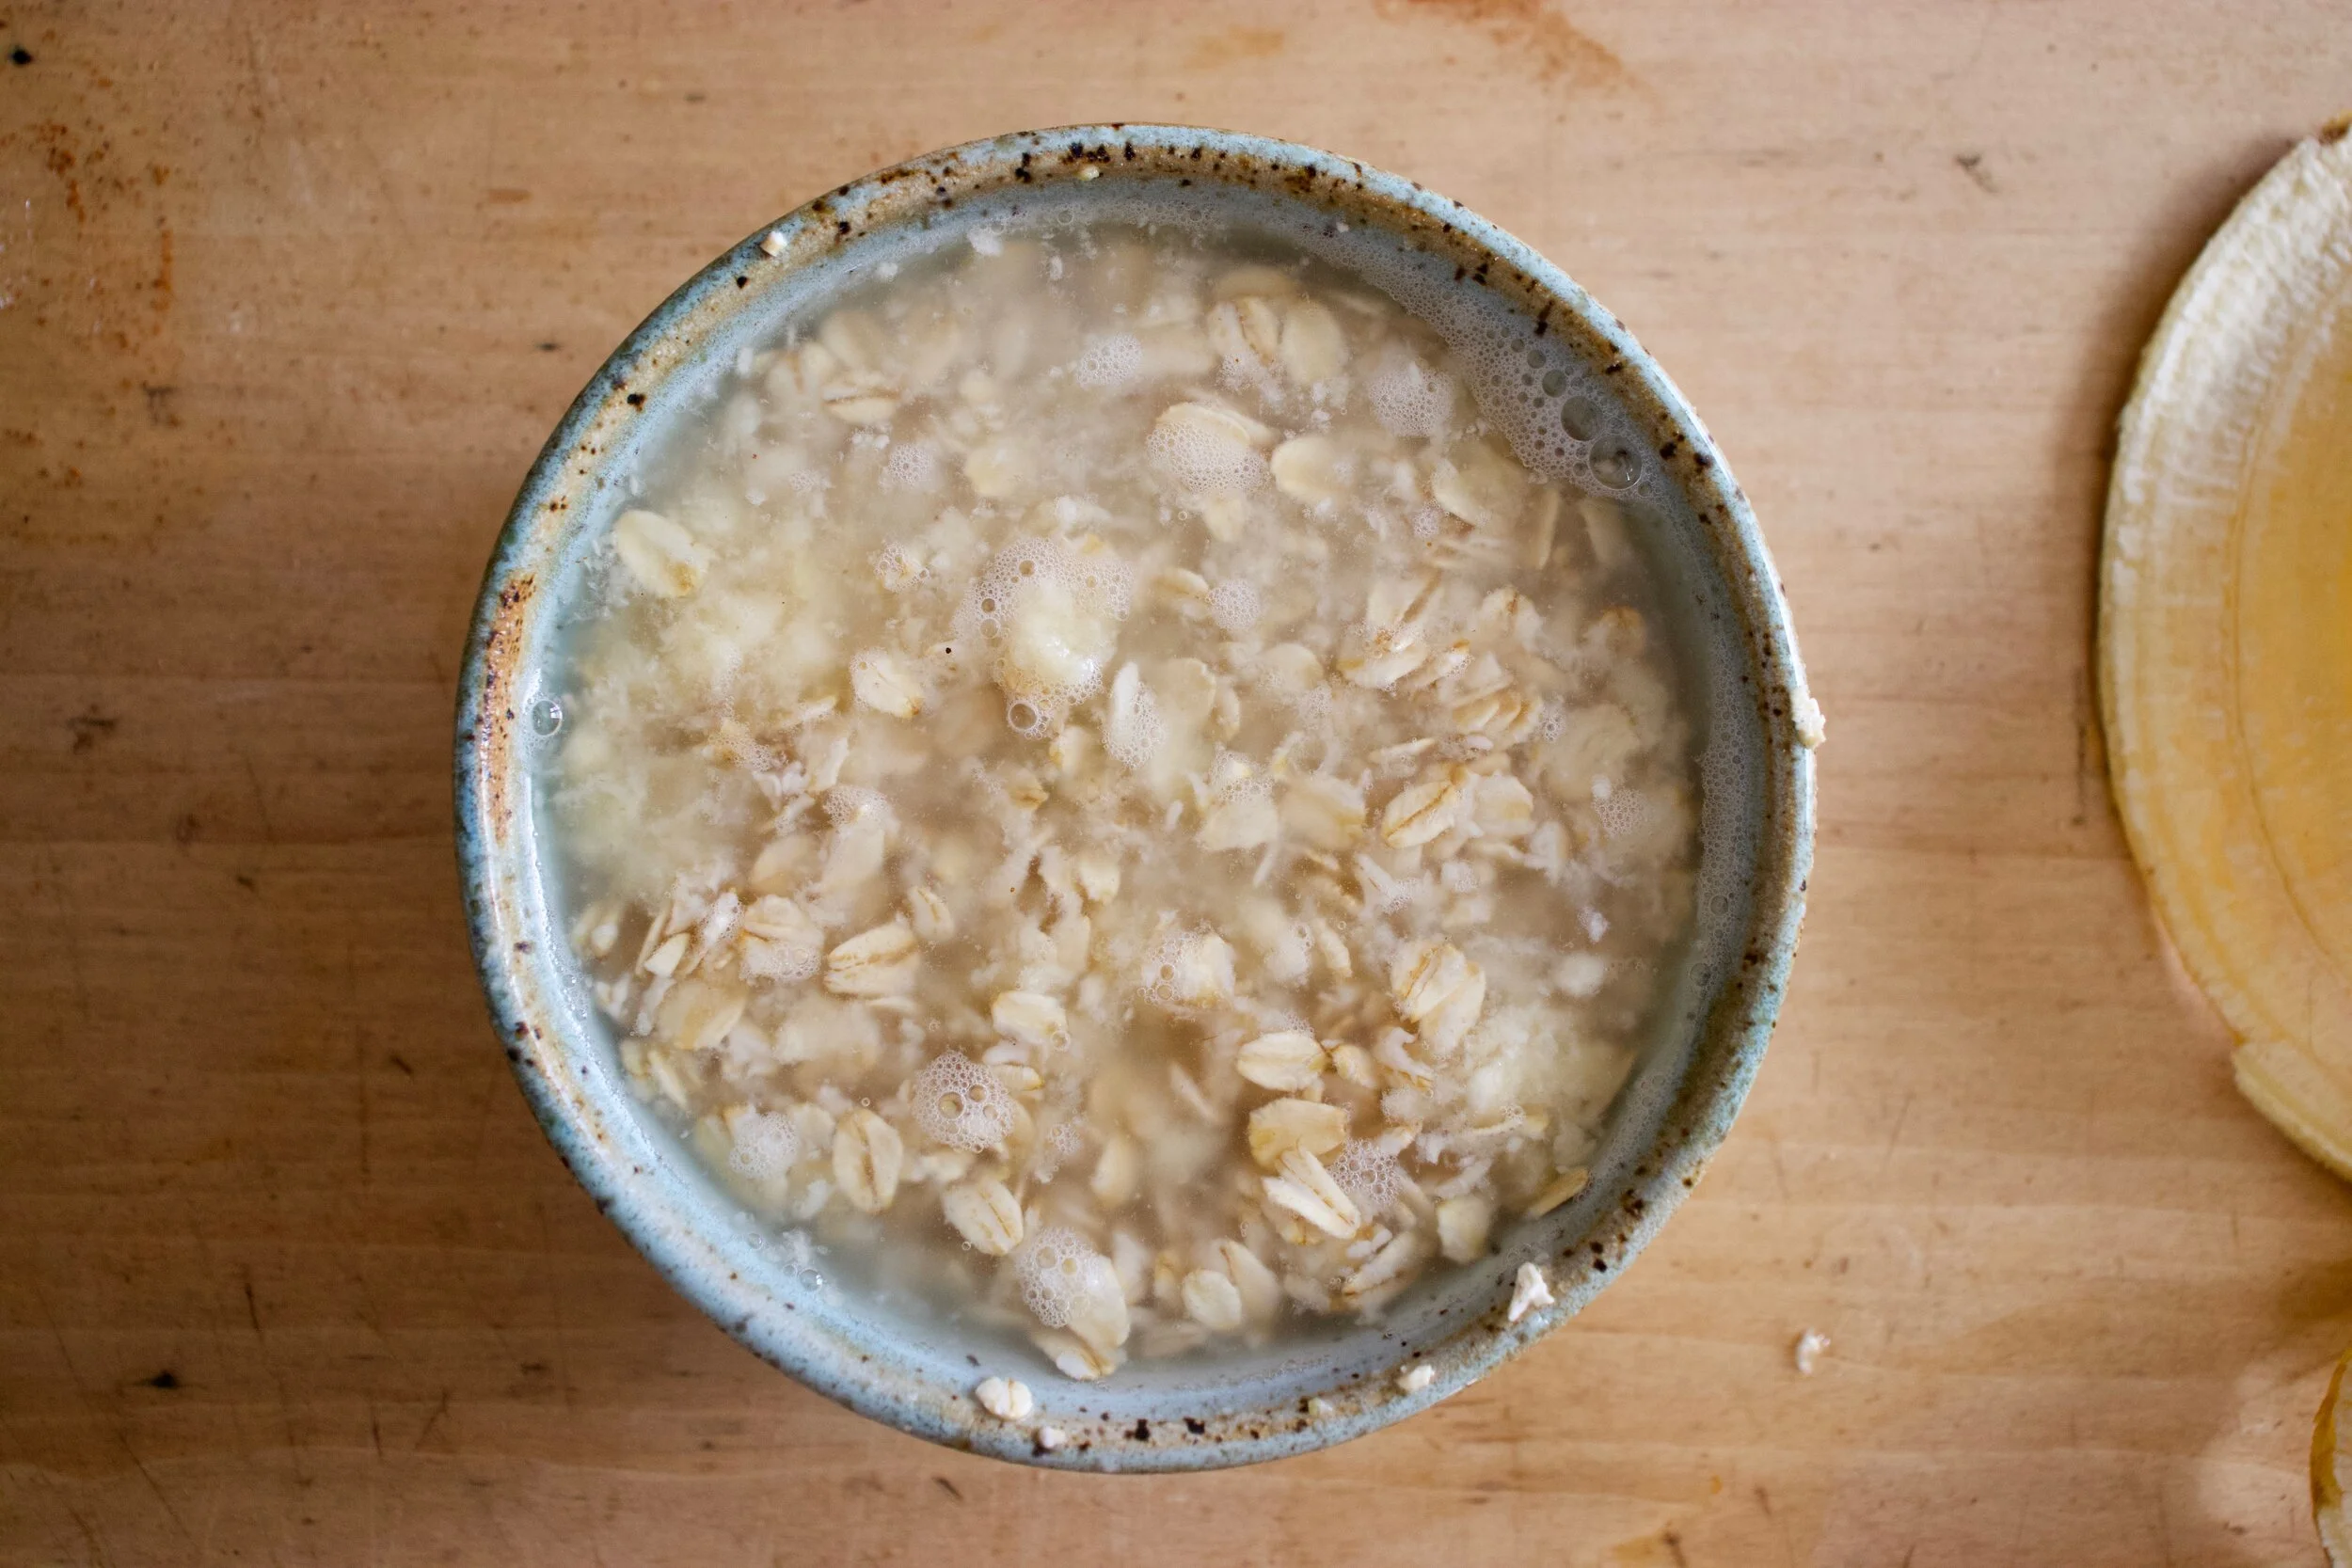
The stuff. A couple of ripe bananas, a bunch of rolled oats, some yummy walnuts, real maple syrup, cinnamon, baking soda and a wee bit of water.
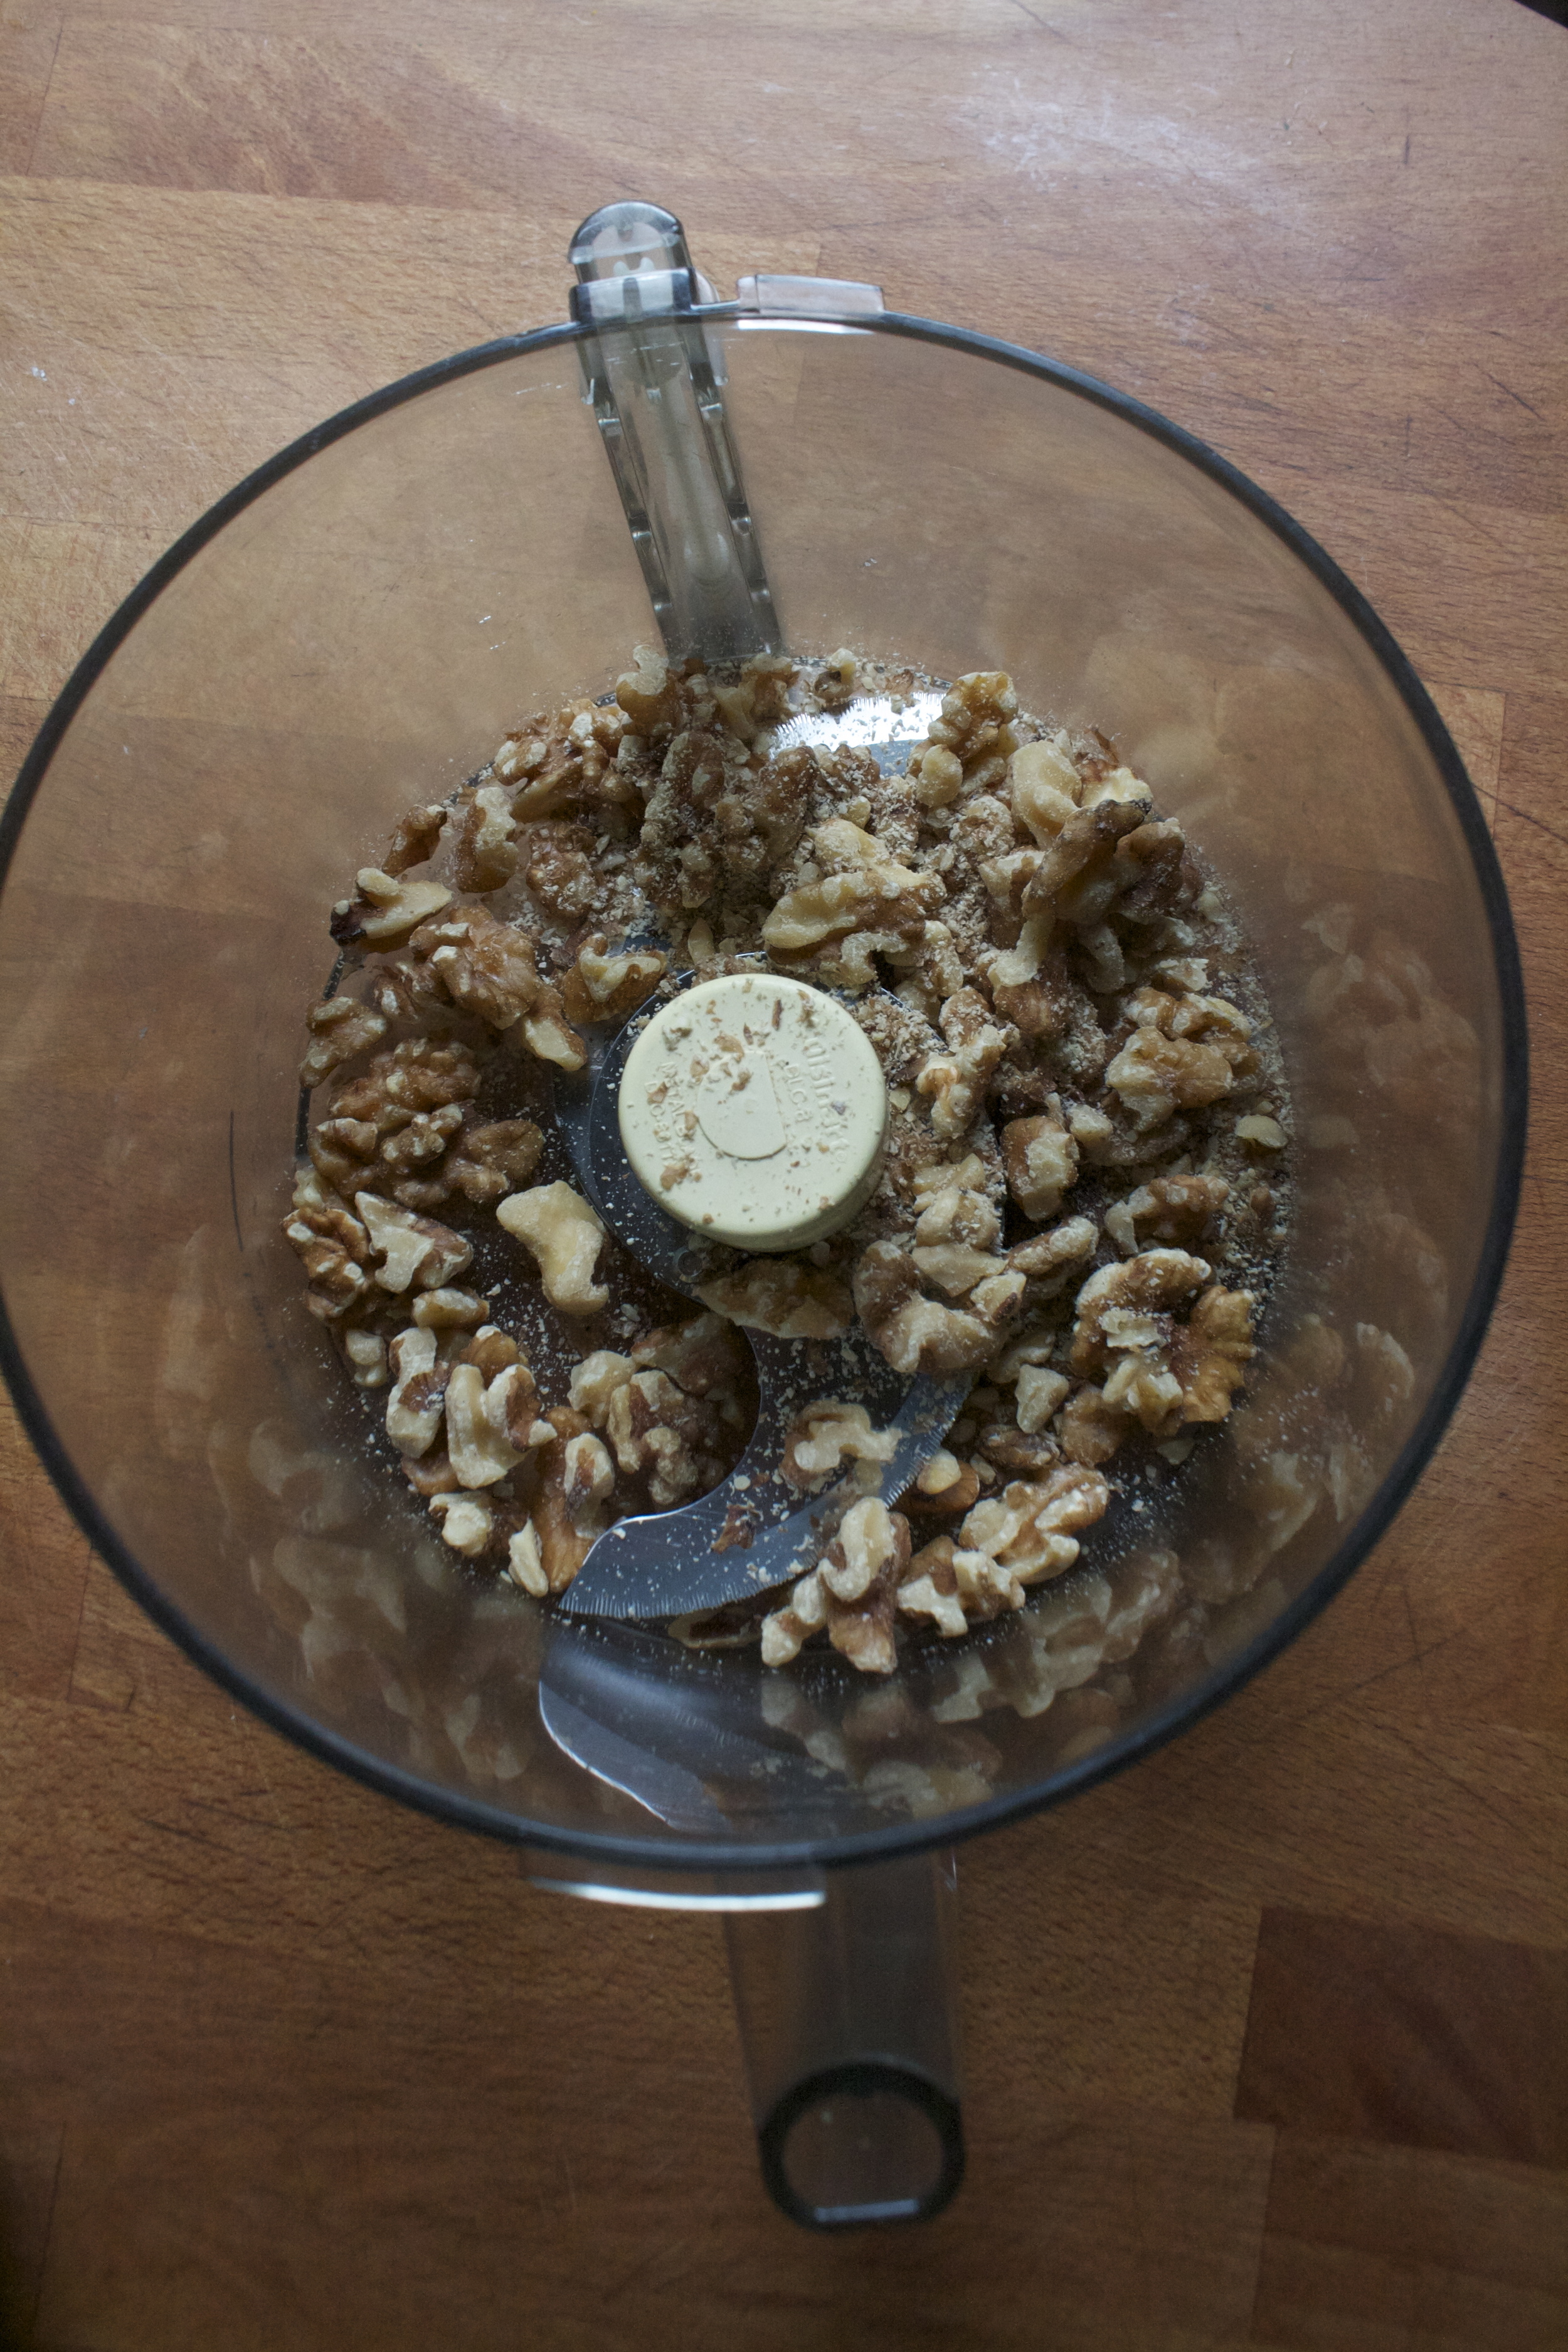
Start with the walnuts in a food processor. Turn it on and process until….
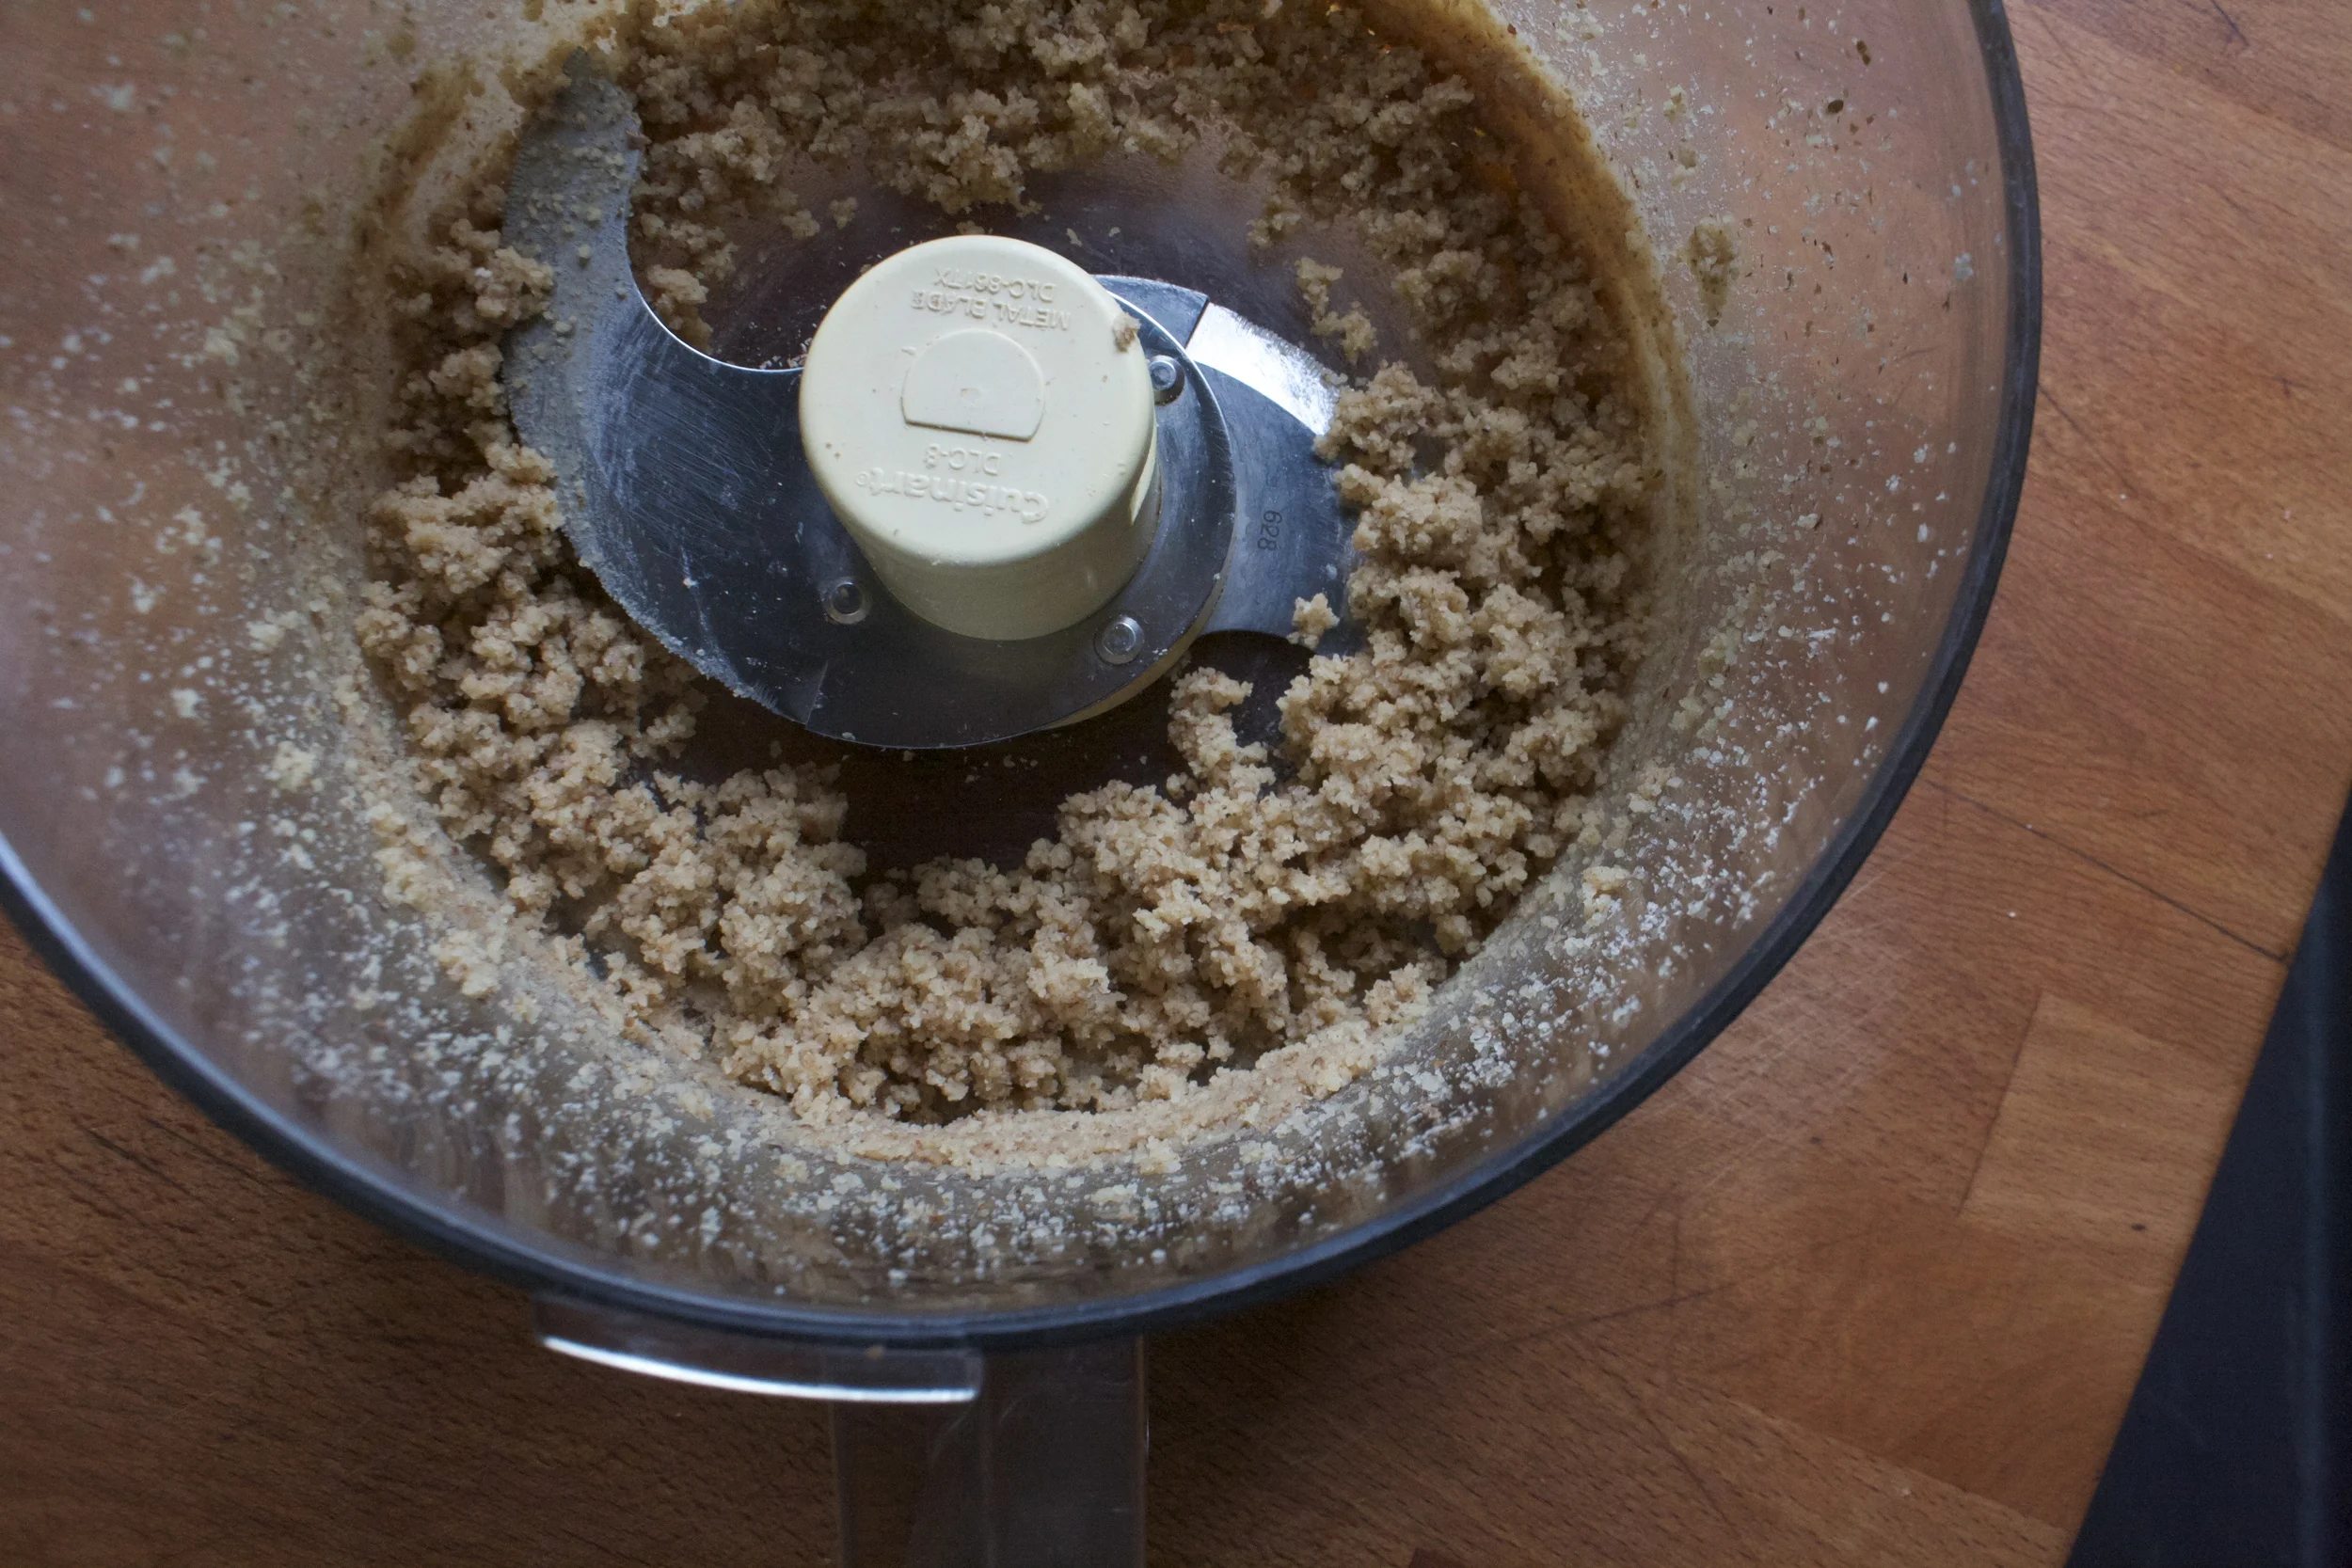
You got this walnut butter. Do not eat it, it’s for the squares (it is so good).
Add in the oats, cinnamon and baking soda and turn the processor back on until you get a nice unified crumbly mixture.

Now in goes the bananas and the maple syrup. And you guessed it, blend some more. While you are blending, if the mixture seems to dry, add in a splash of water, to wet, just toss in another handful of oat. The mixture should be like a muffin batter consistency.

And that’s it. If you want some nut chunks, add in a handful more of walnuts (do it) and pulse just to get them mixed into batter.
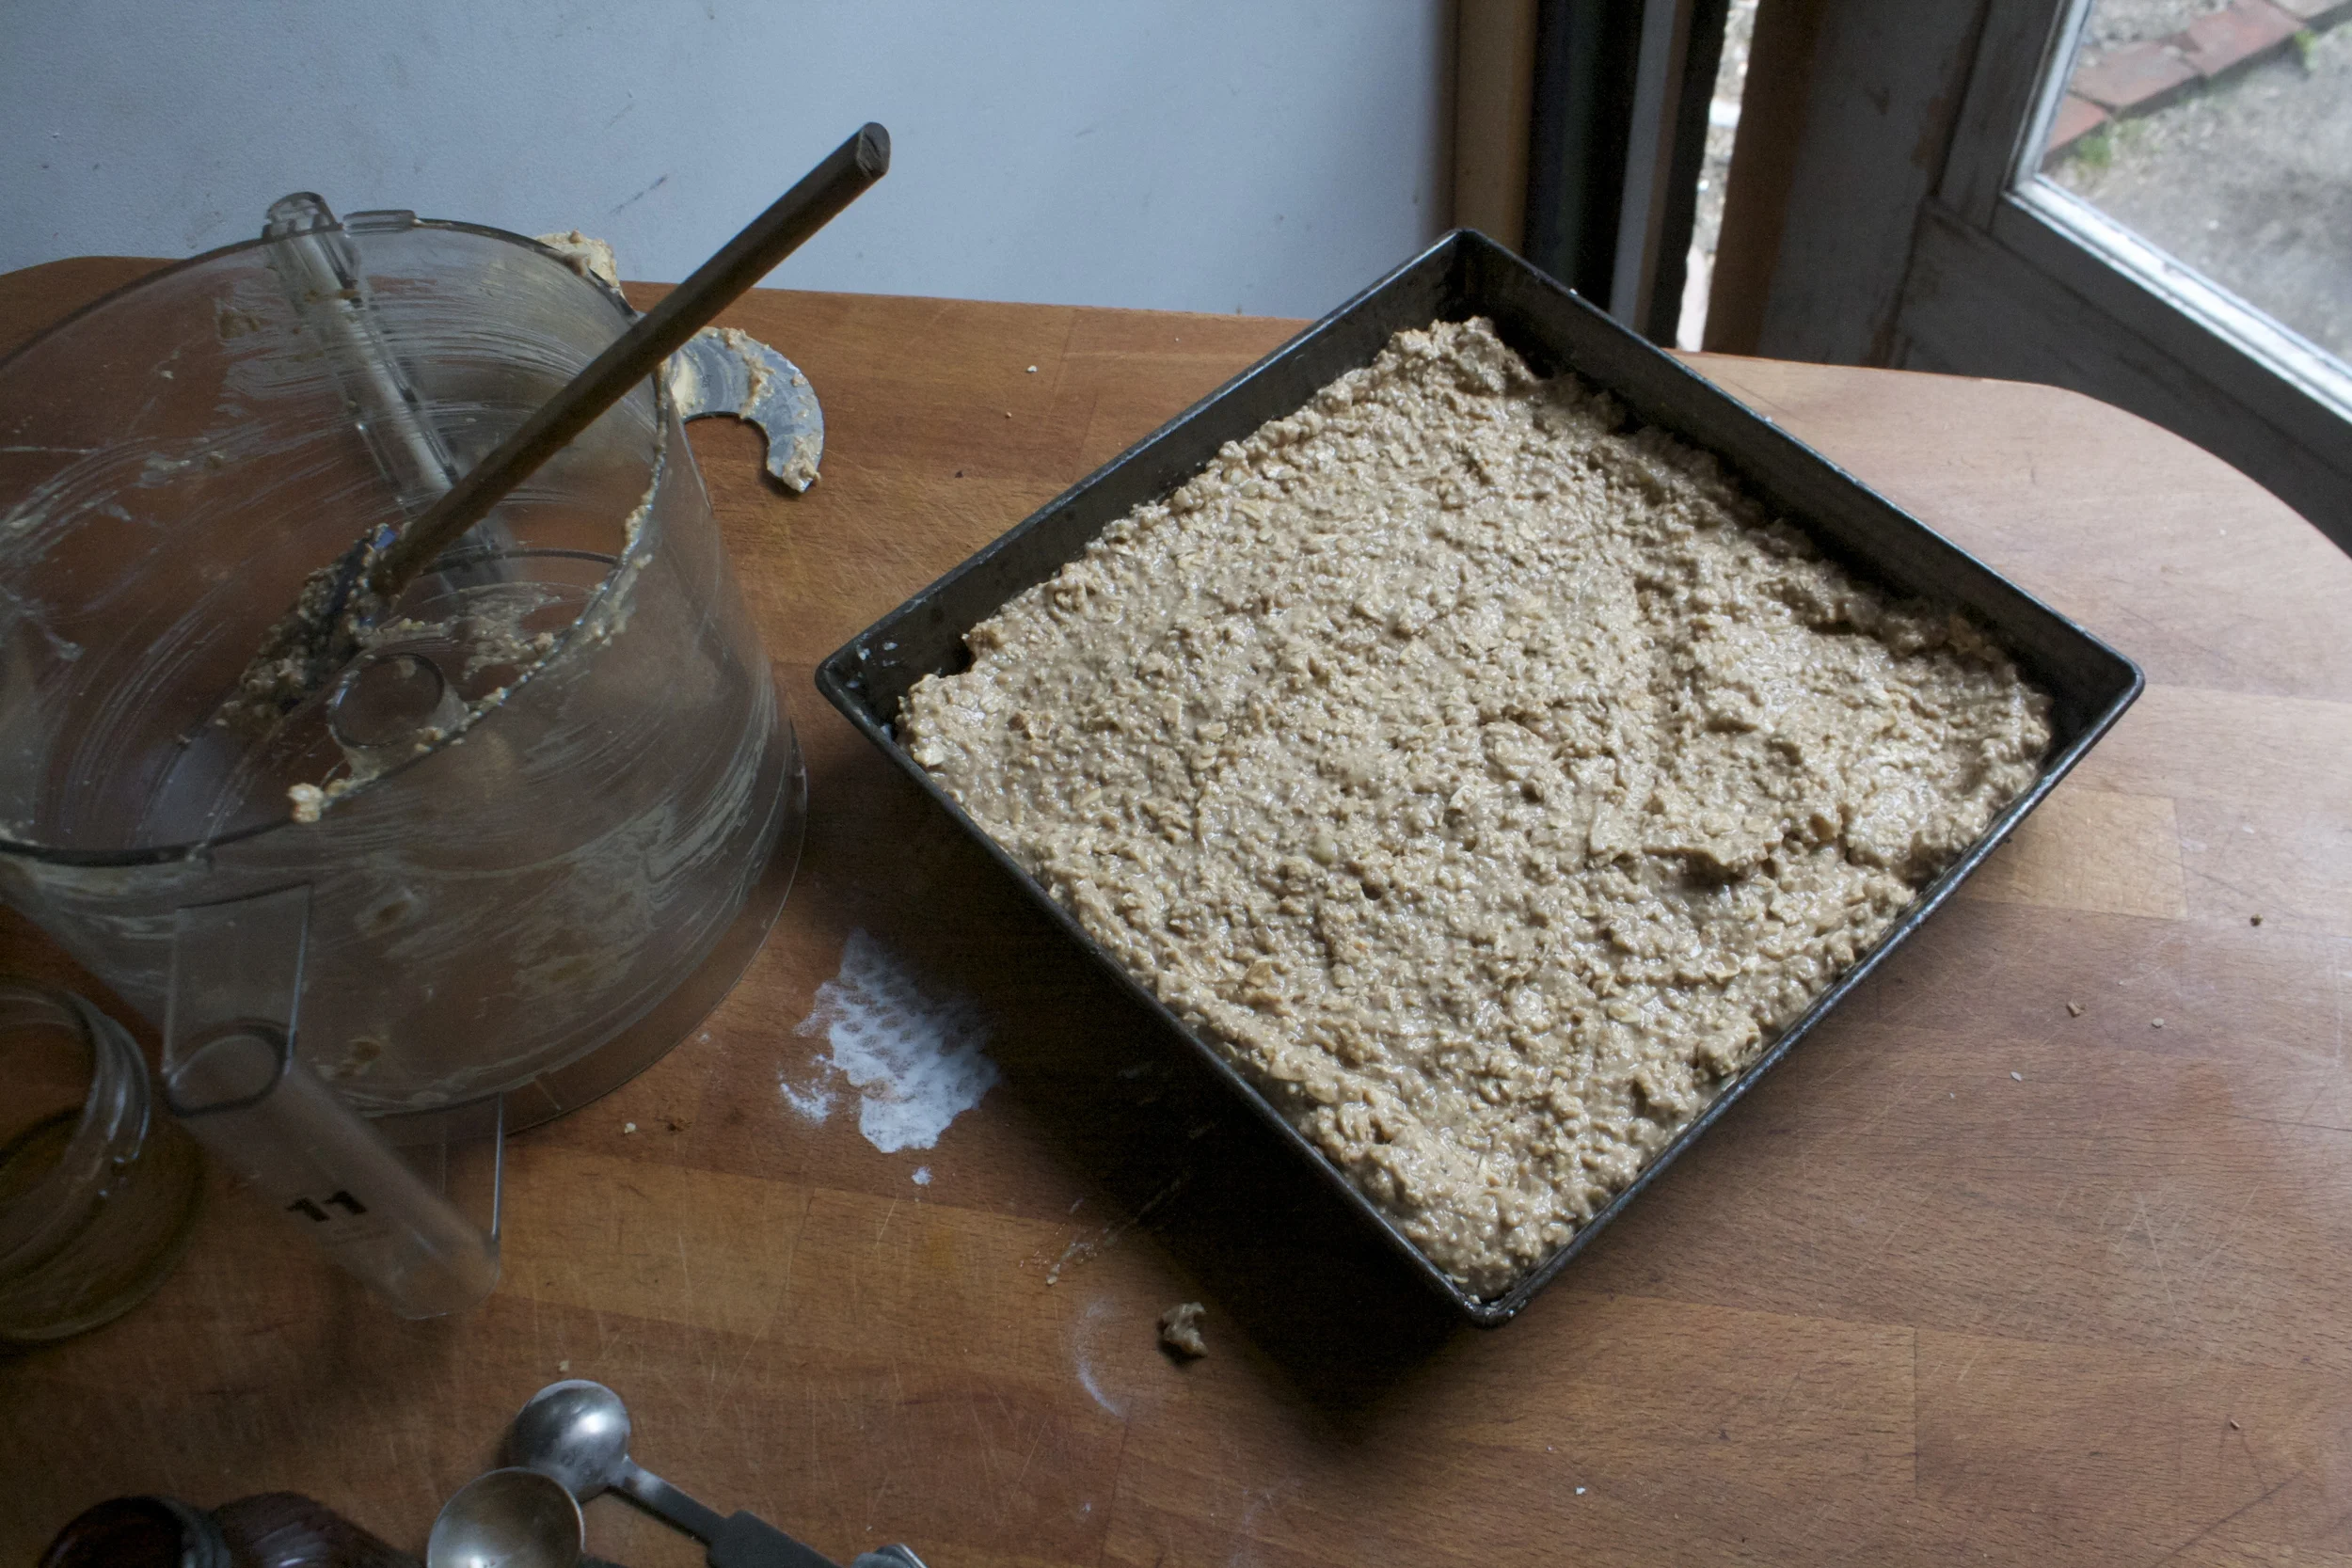
Then pourthe mixture into a well greased 9×9 baking pan and spread out evenly. Toss those suckers into the oven to bake.

Oh so good bananas give off the best smell when baking. After about a 1/2hour, these bars are nice and golden brown and a fork stuck in the center comes out clean, which means, they are done.
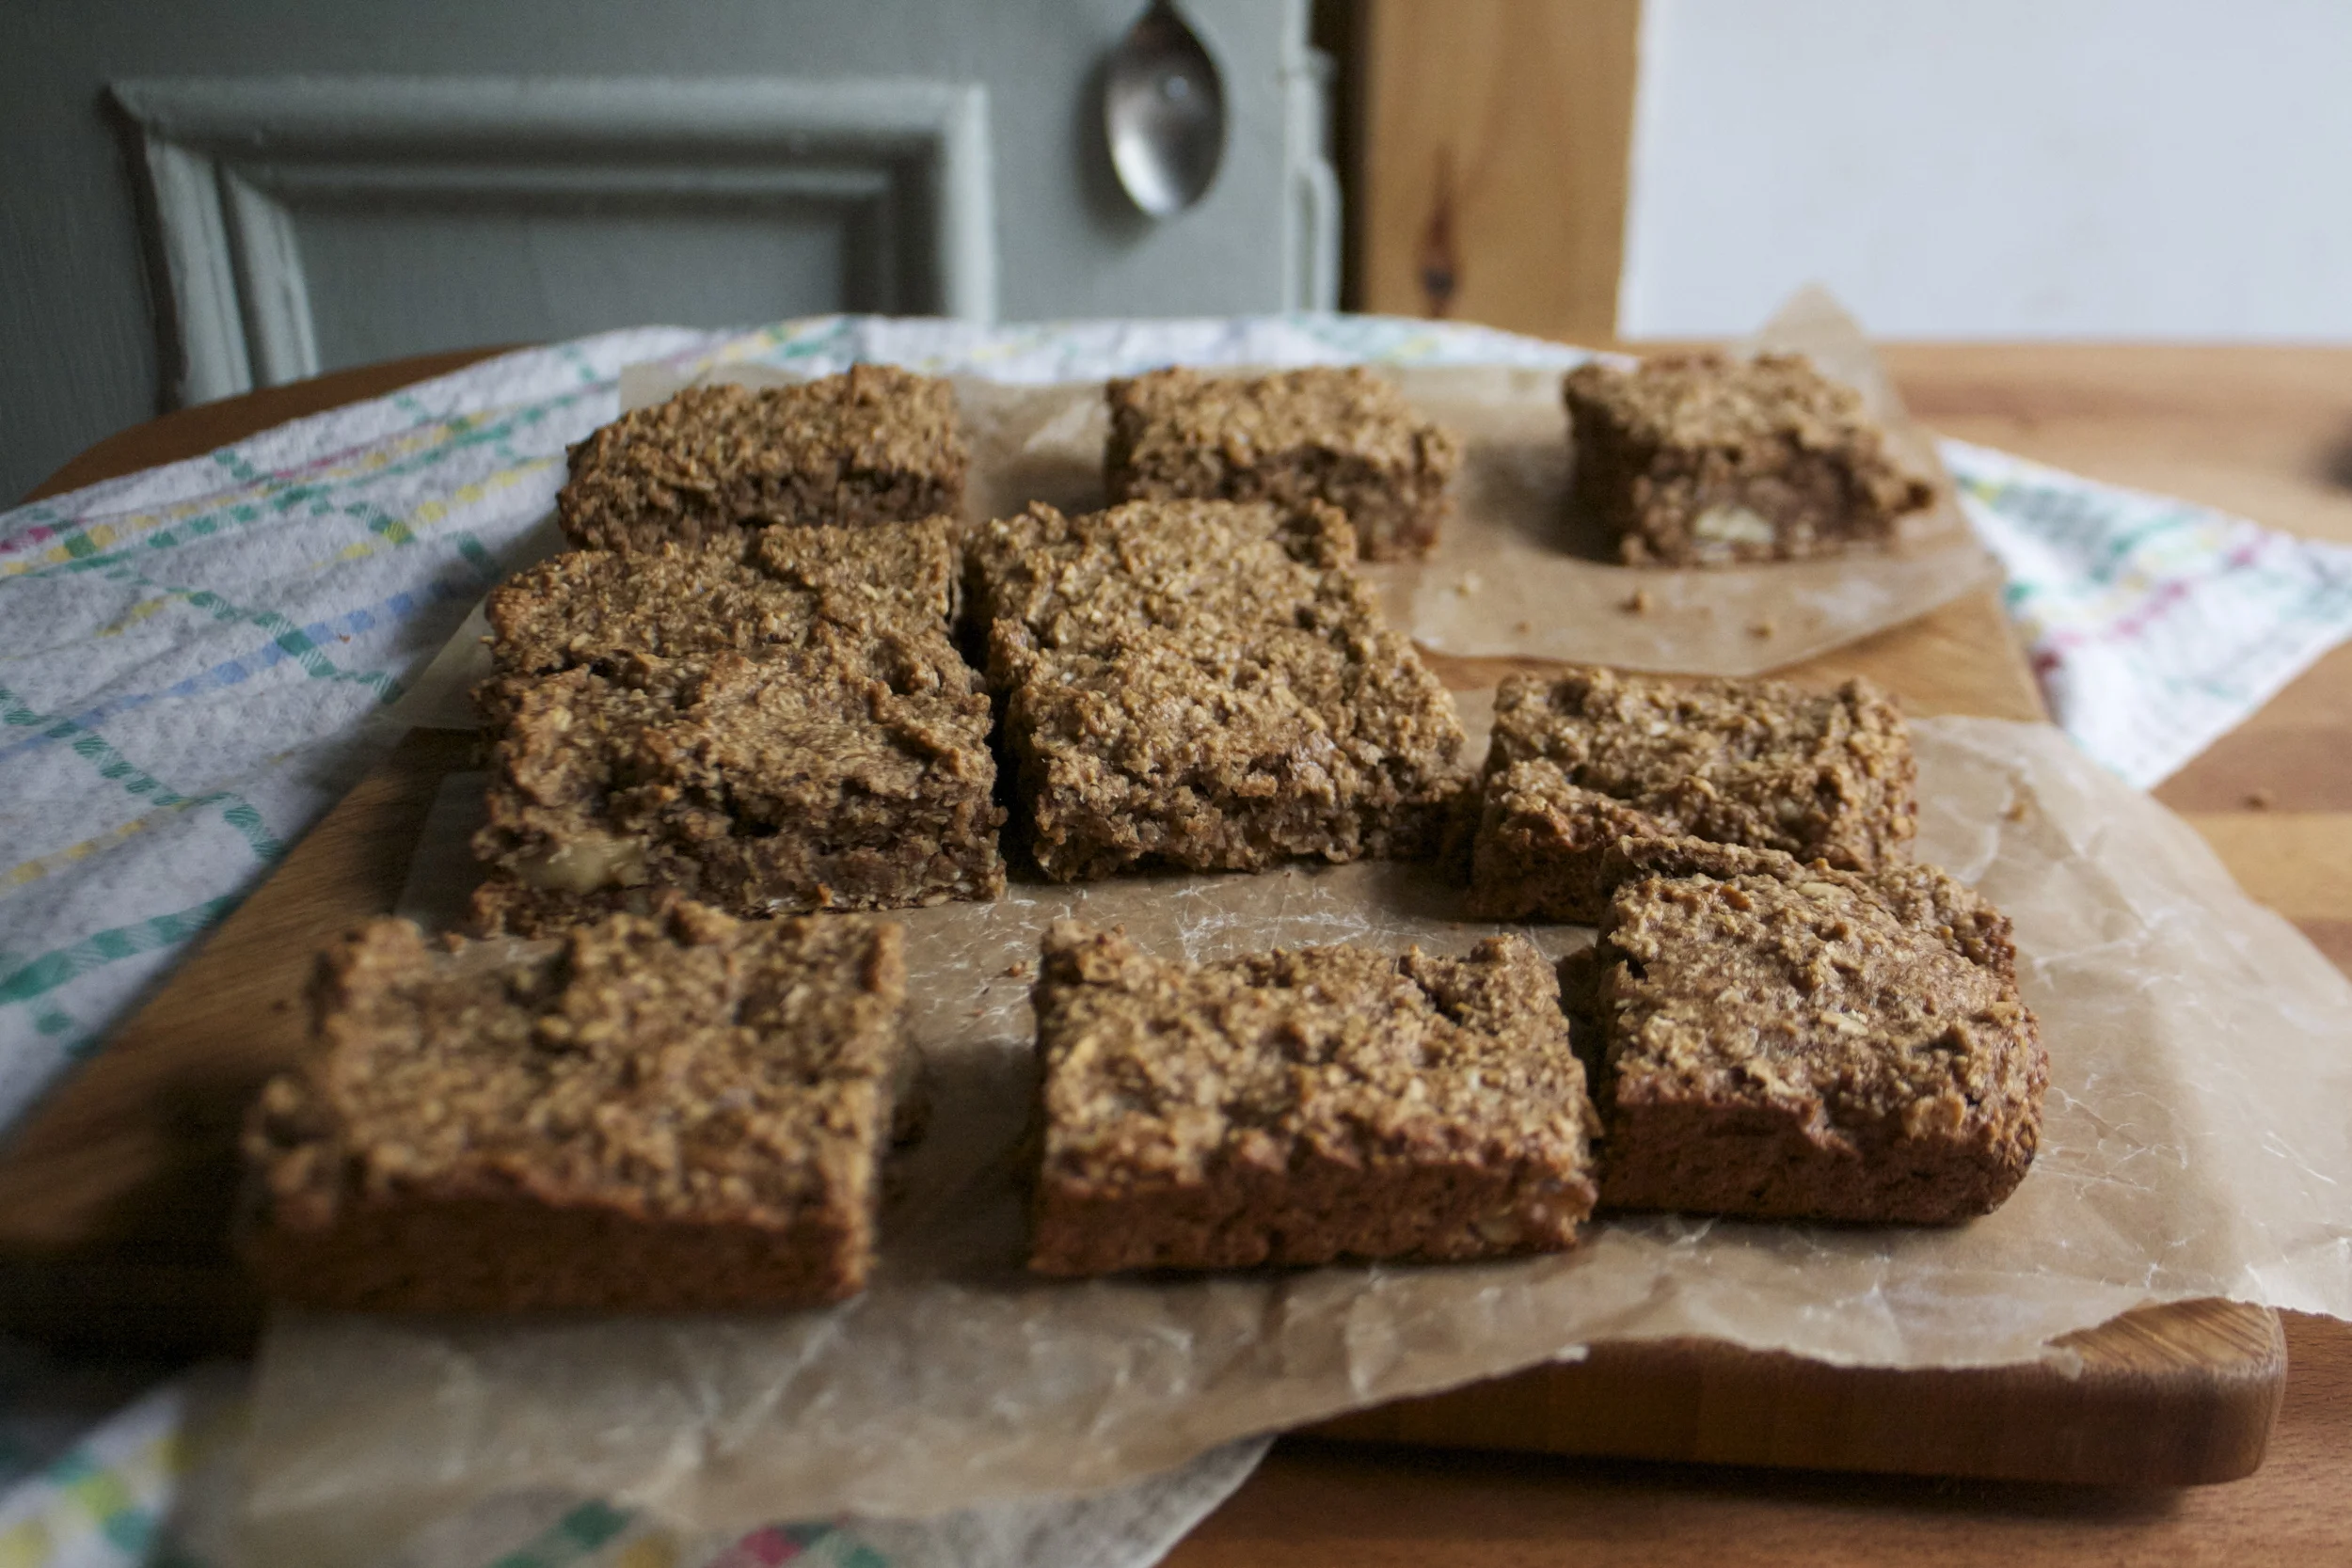
Cut into square , eat one or two, and save the rest. Eat for breakfast, as a snack, or for dessert. And a smear of peanut butter on top is aces too!
Later dudes.
-C
- 3 cups old fashion rolled oats (gluten free ones to keep in GF)
- 1 cup plus a a small handful walnuts
- 1/2 cup maple syrup
- 2 rip bananas
- 1 /2 teaspoon baking soda
- 1 teaspoon cinnamon (optional)
Place 1 cup of walnuts into a food processor and blend until it turns into walnut butter.. about 3 minutes. Add in the oats and blend together until it becomes a crumbly mixture. Add in the maple, baking soda, cinnamon and the bananas (break into chunks) and blend until incorporated. If the mixture seems lie its too dry, add in a splash of water, and if to wet, add in another handful of oats. The batter should resemble a muffin batter.%u00a0 Once blended, mix in the remaining walnuts and pulse just to mix them in.
Pour mixture into a well greased 9×9 baking pan and stick into the fridge for 10ish minutes and preheat oven 350
And after the time in the fridge, remove the pan and slide them into the oven. Bake until golden brown and a tester stuck into te middle comes out clean. (about 30 minutes)
Remove and let cool. Pop out of pan, cut into square, and eat to you face.
Squares will last 3-4 days in a airtight container or freeze them and they will last until you eat them.


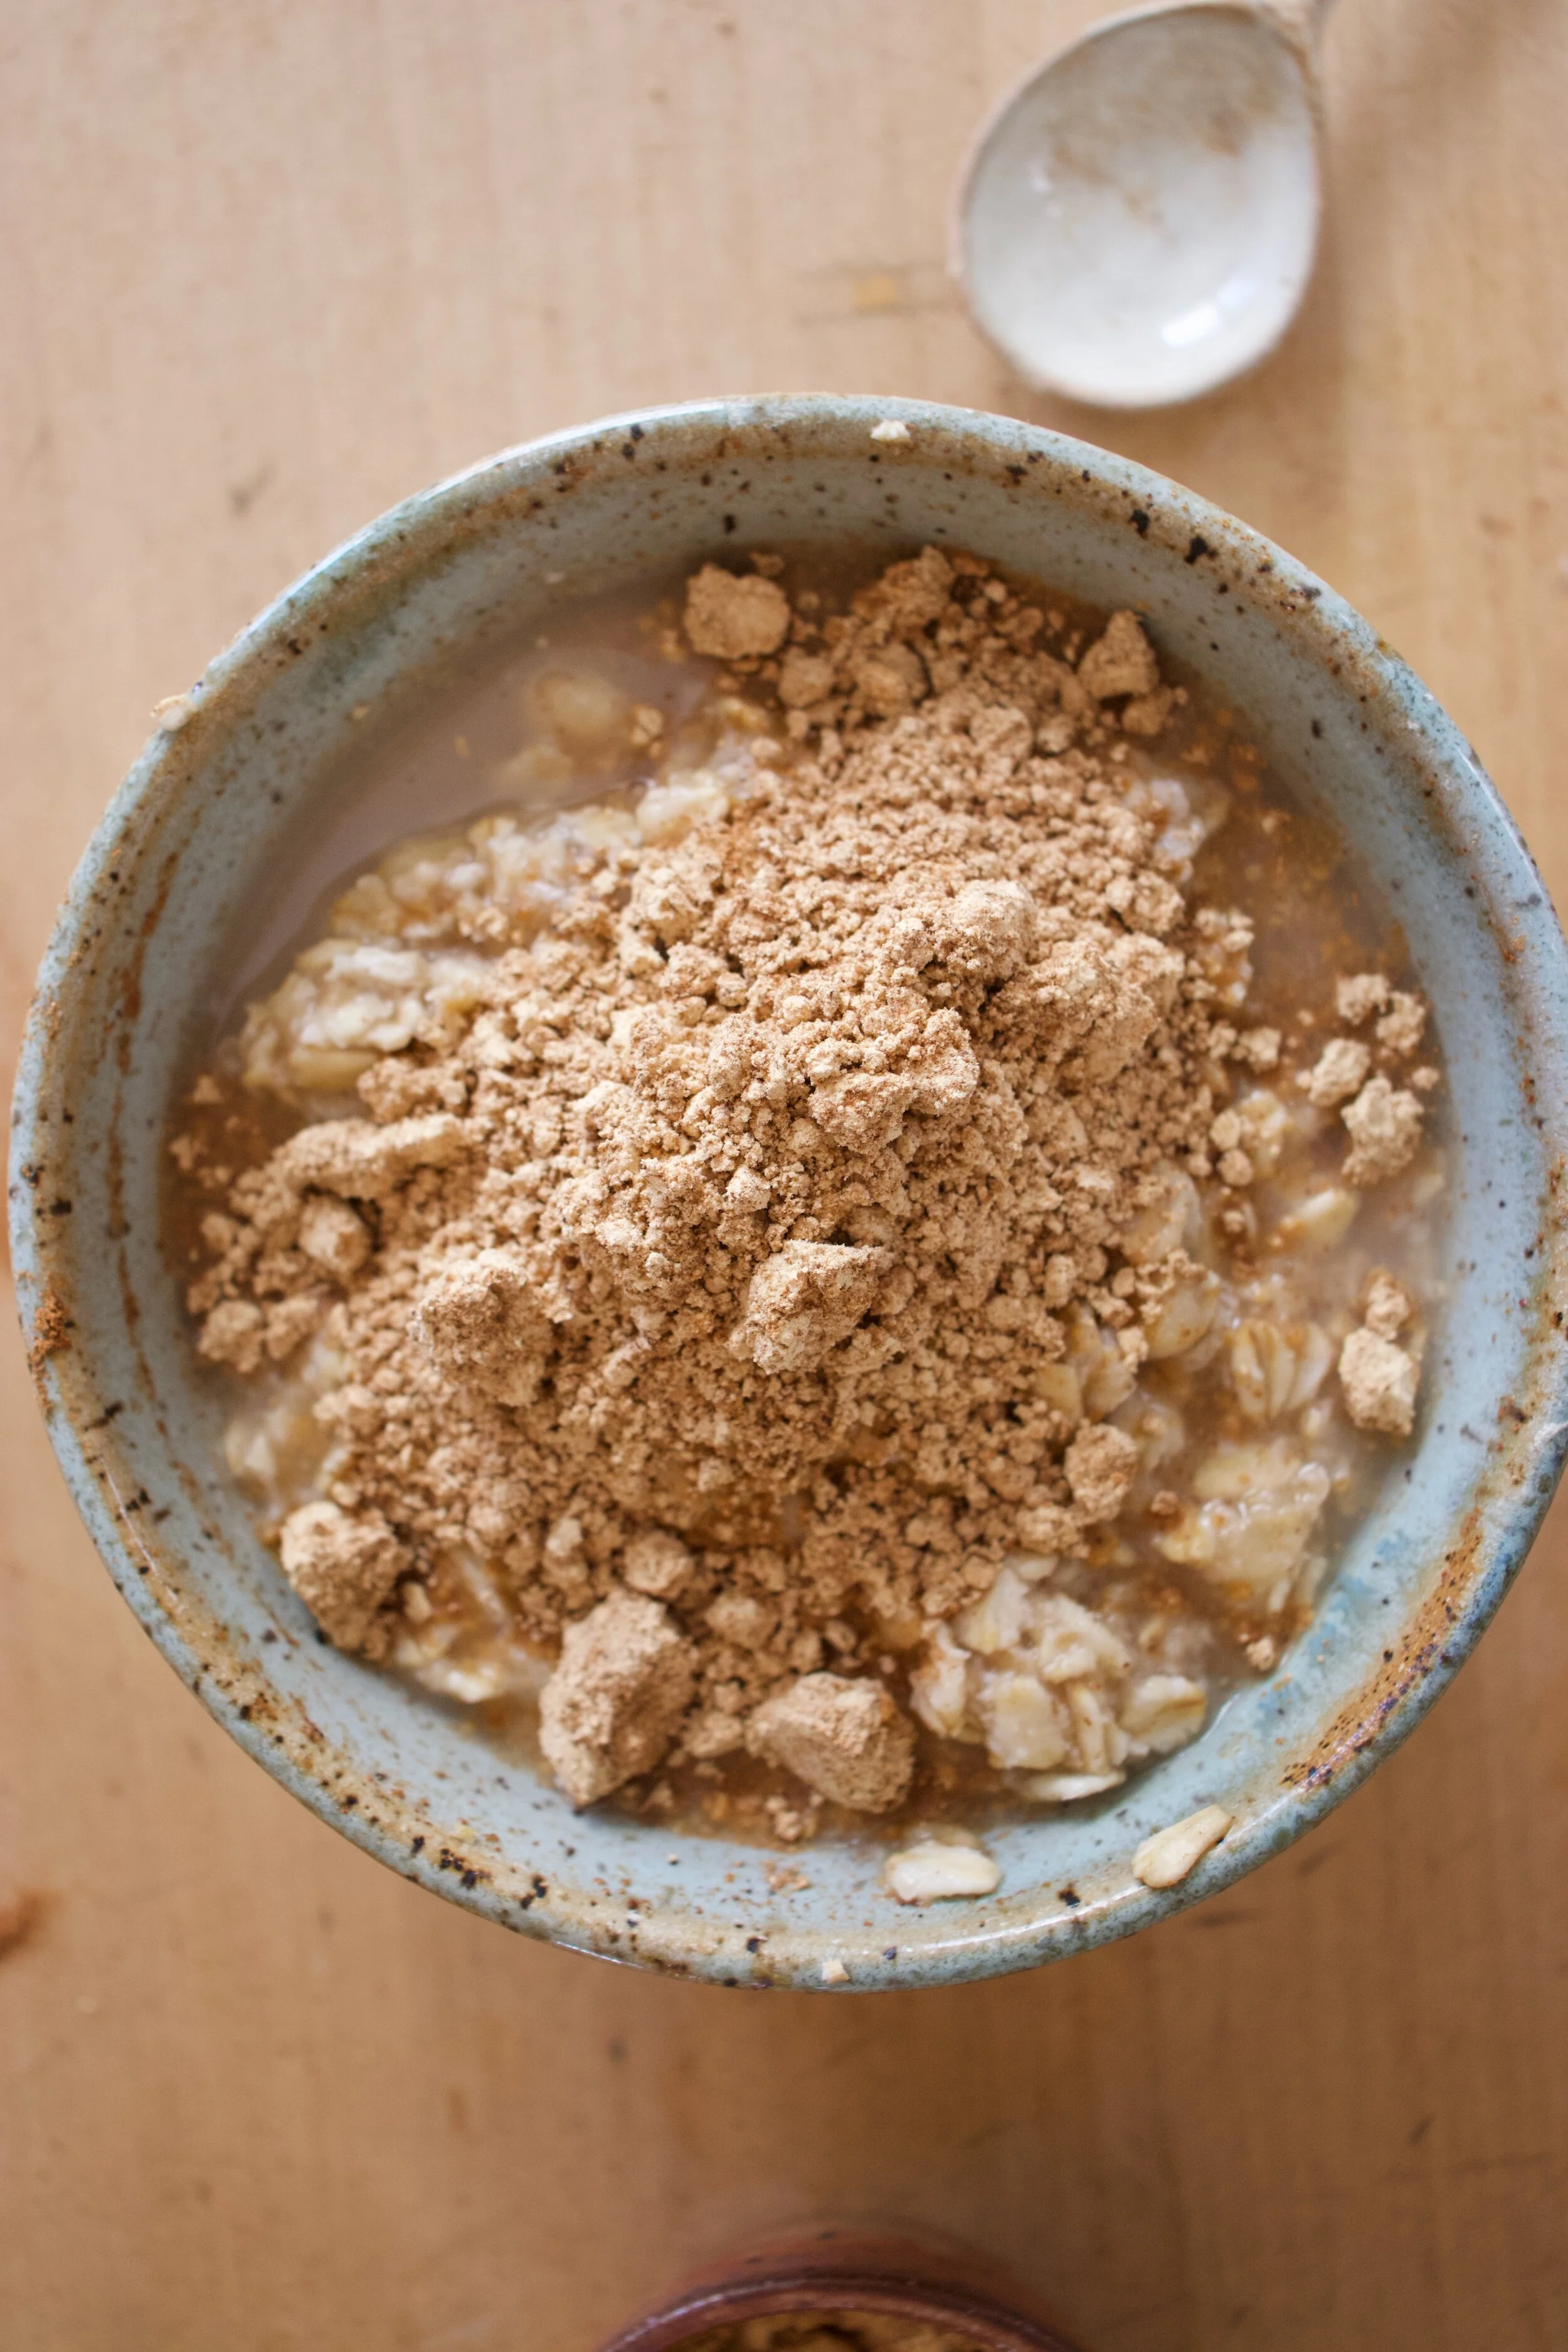
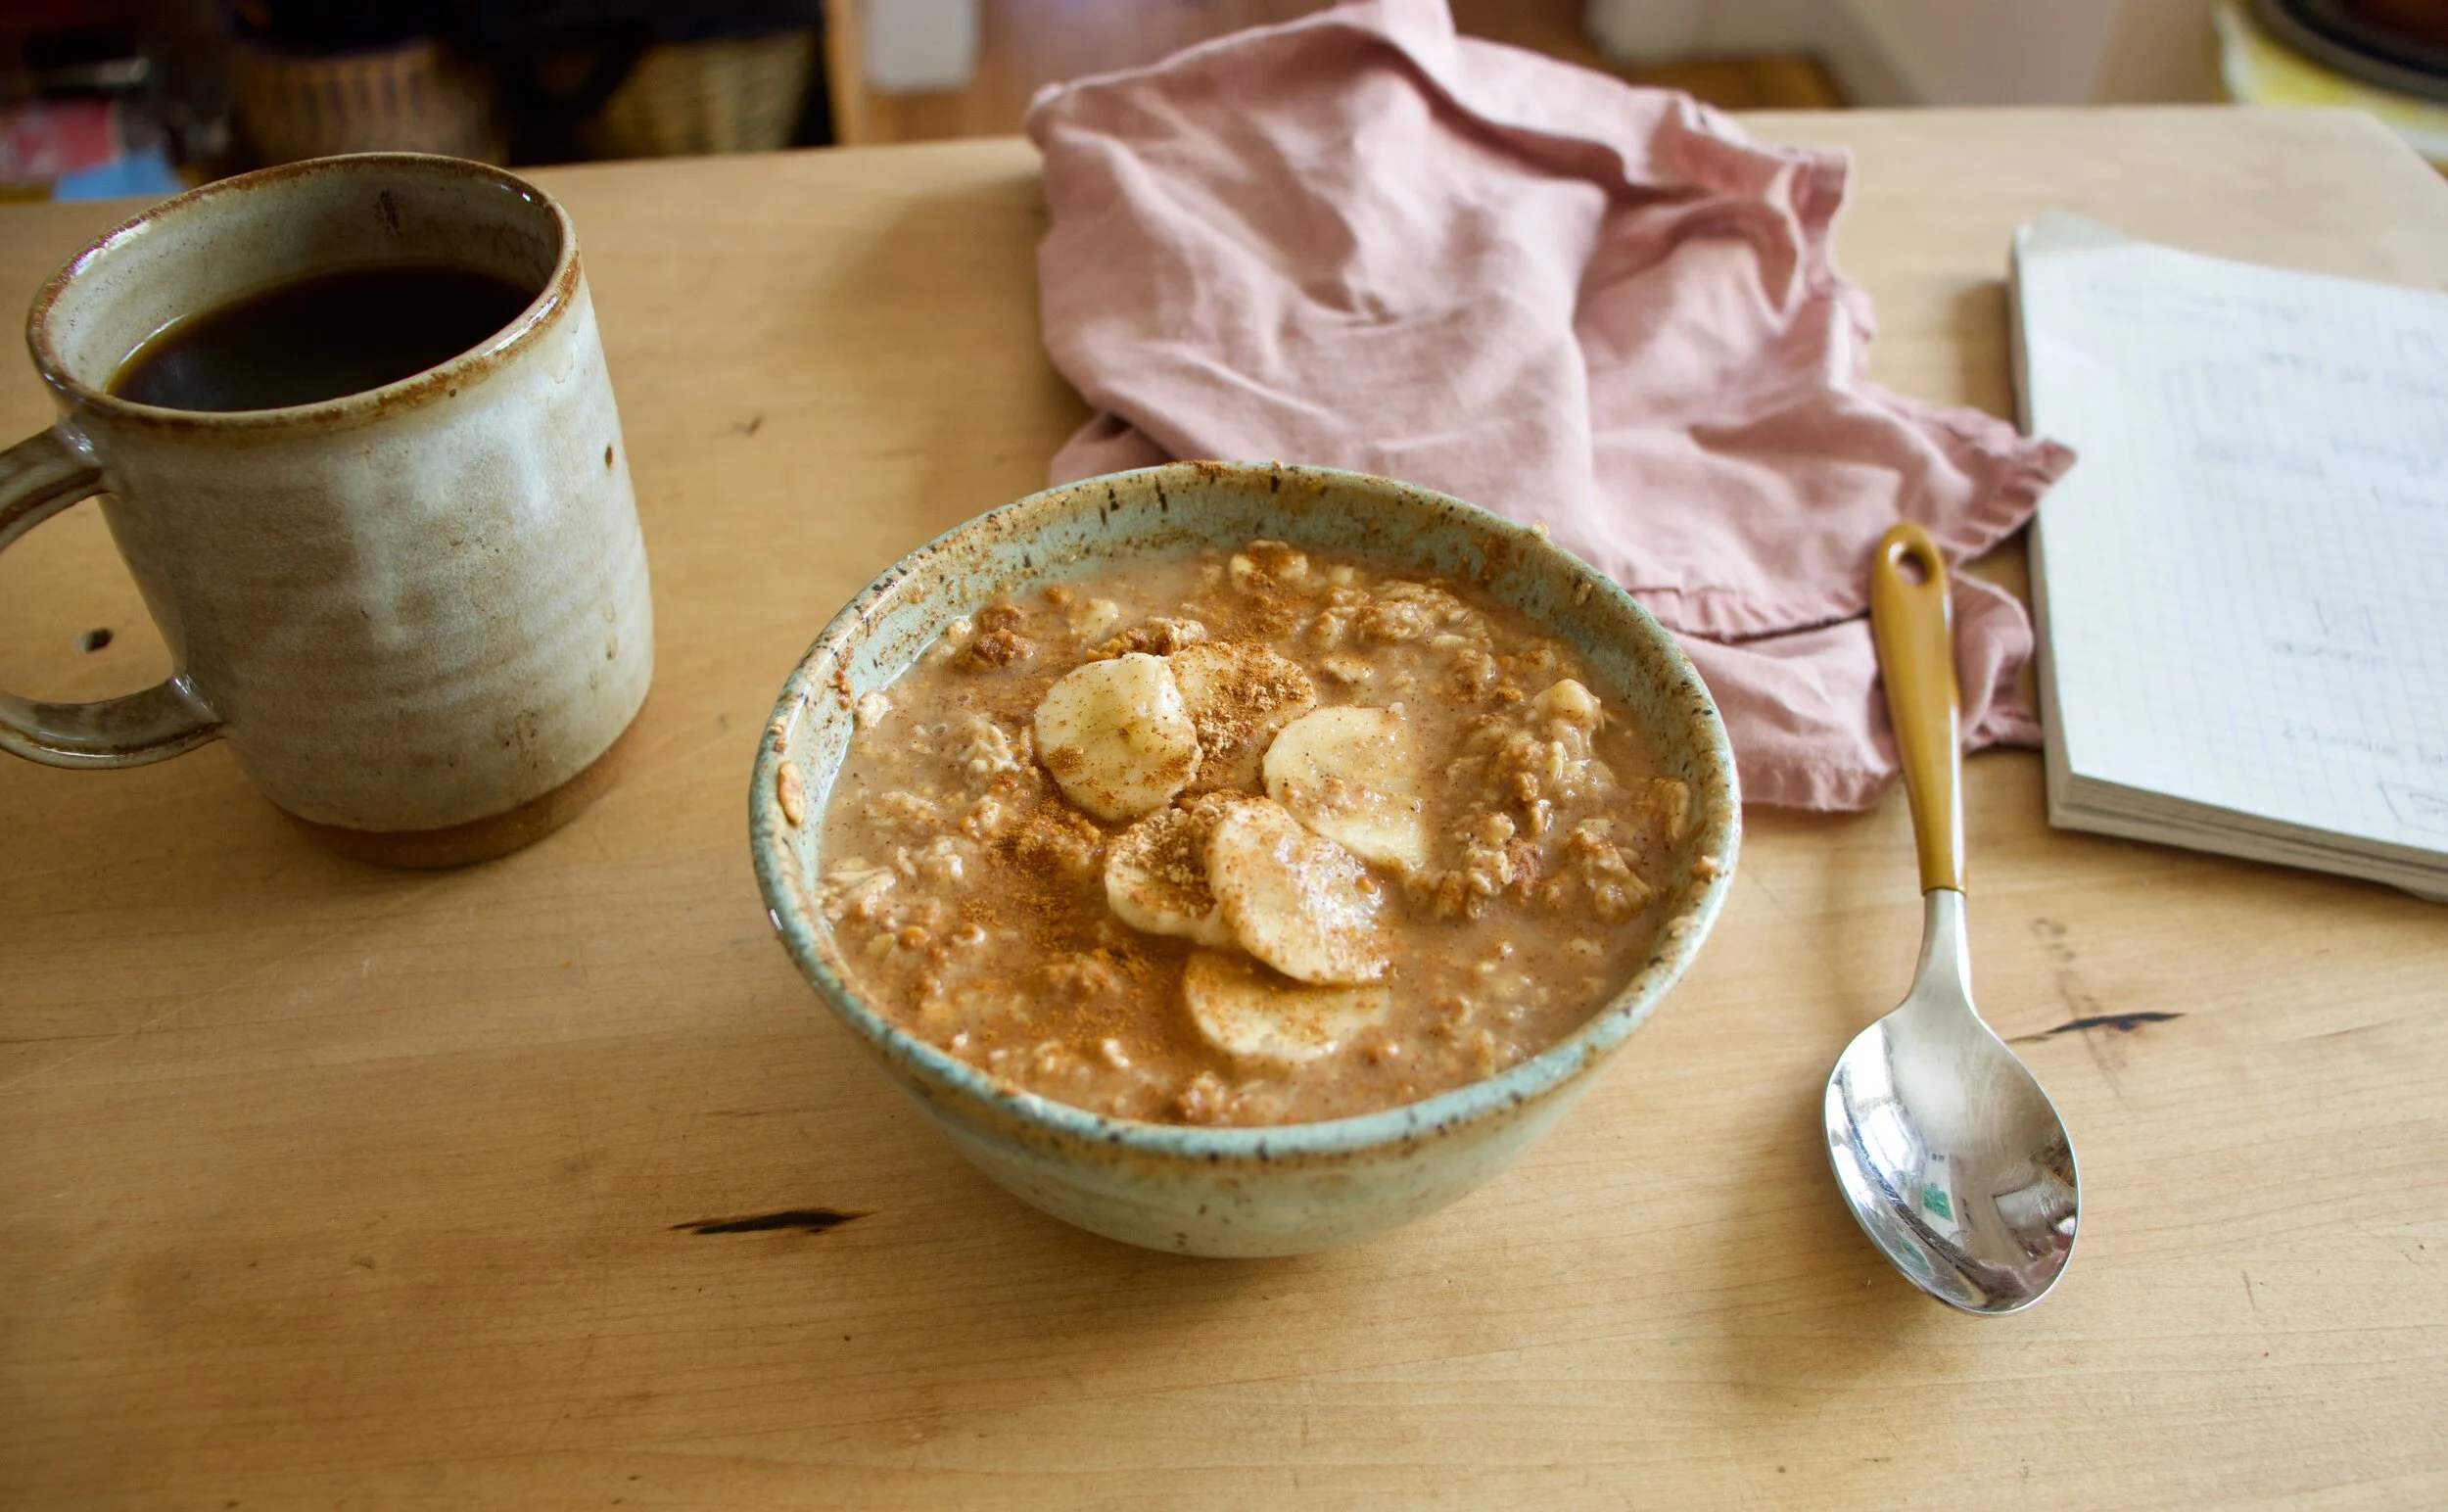
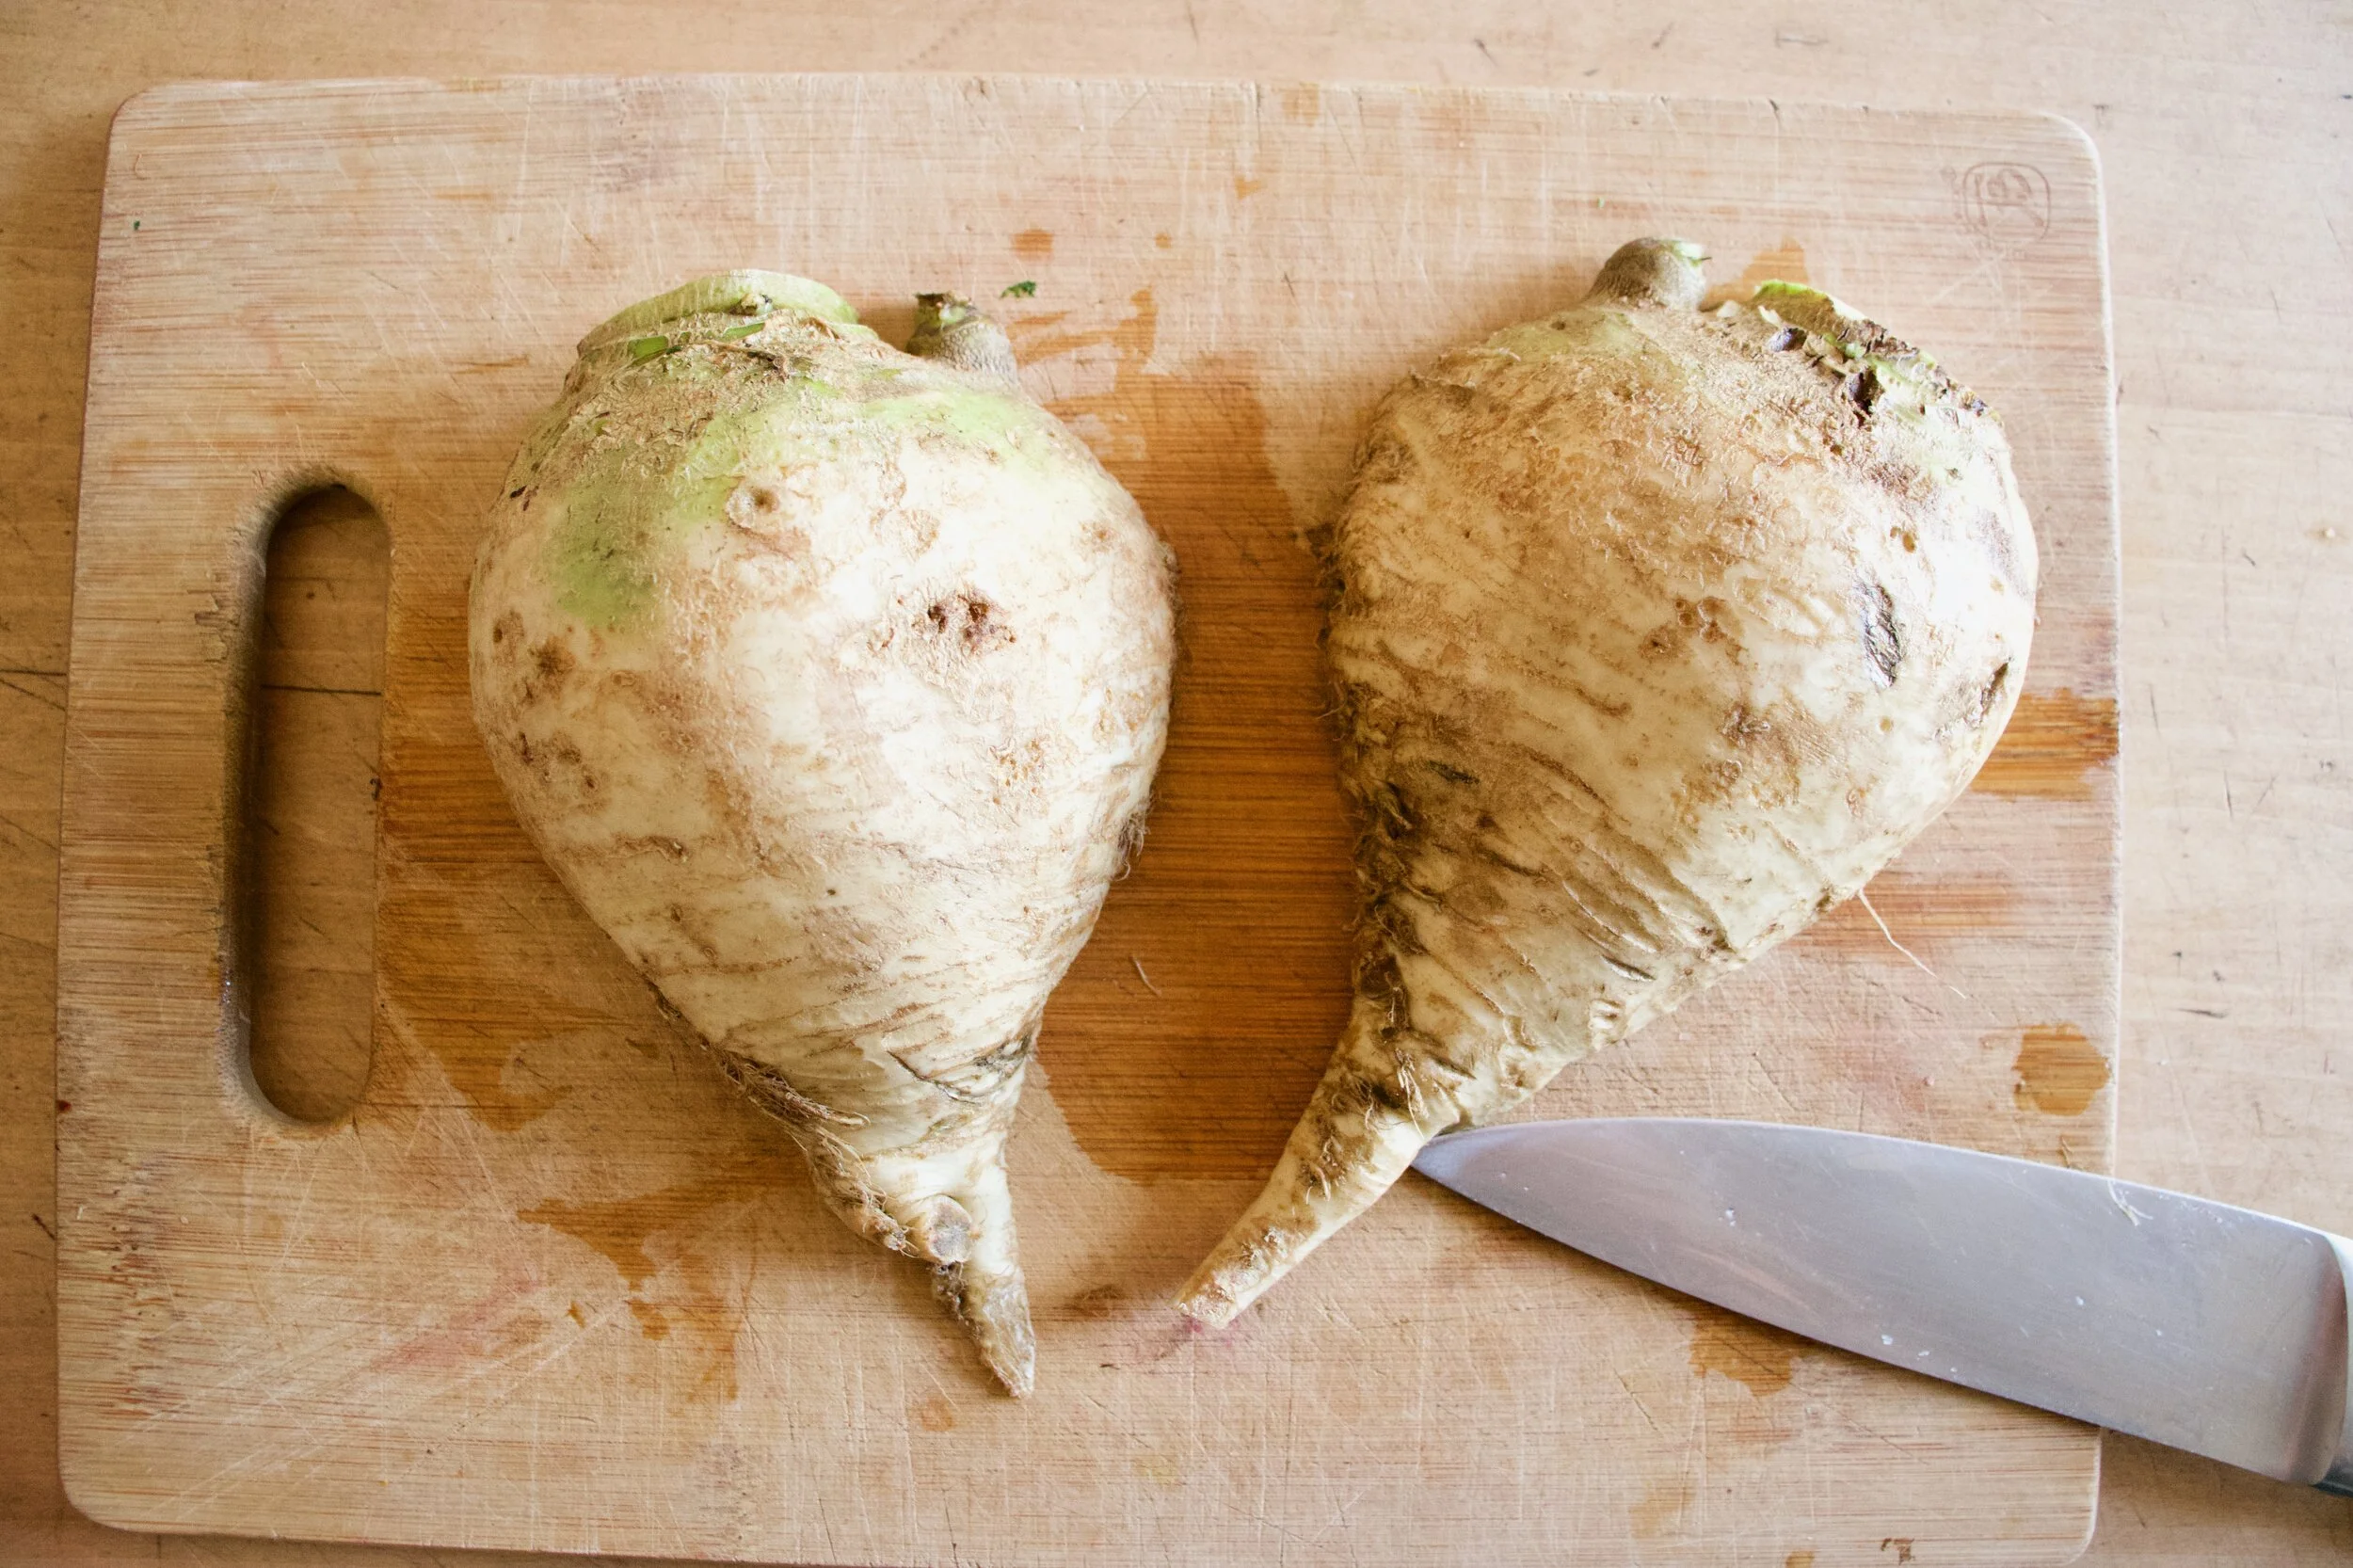
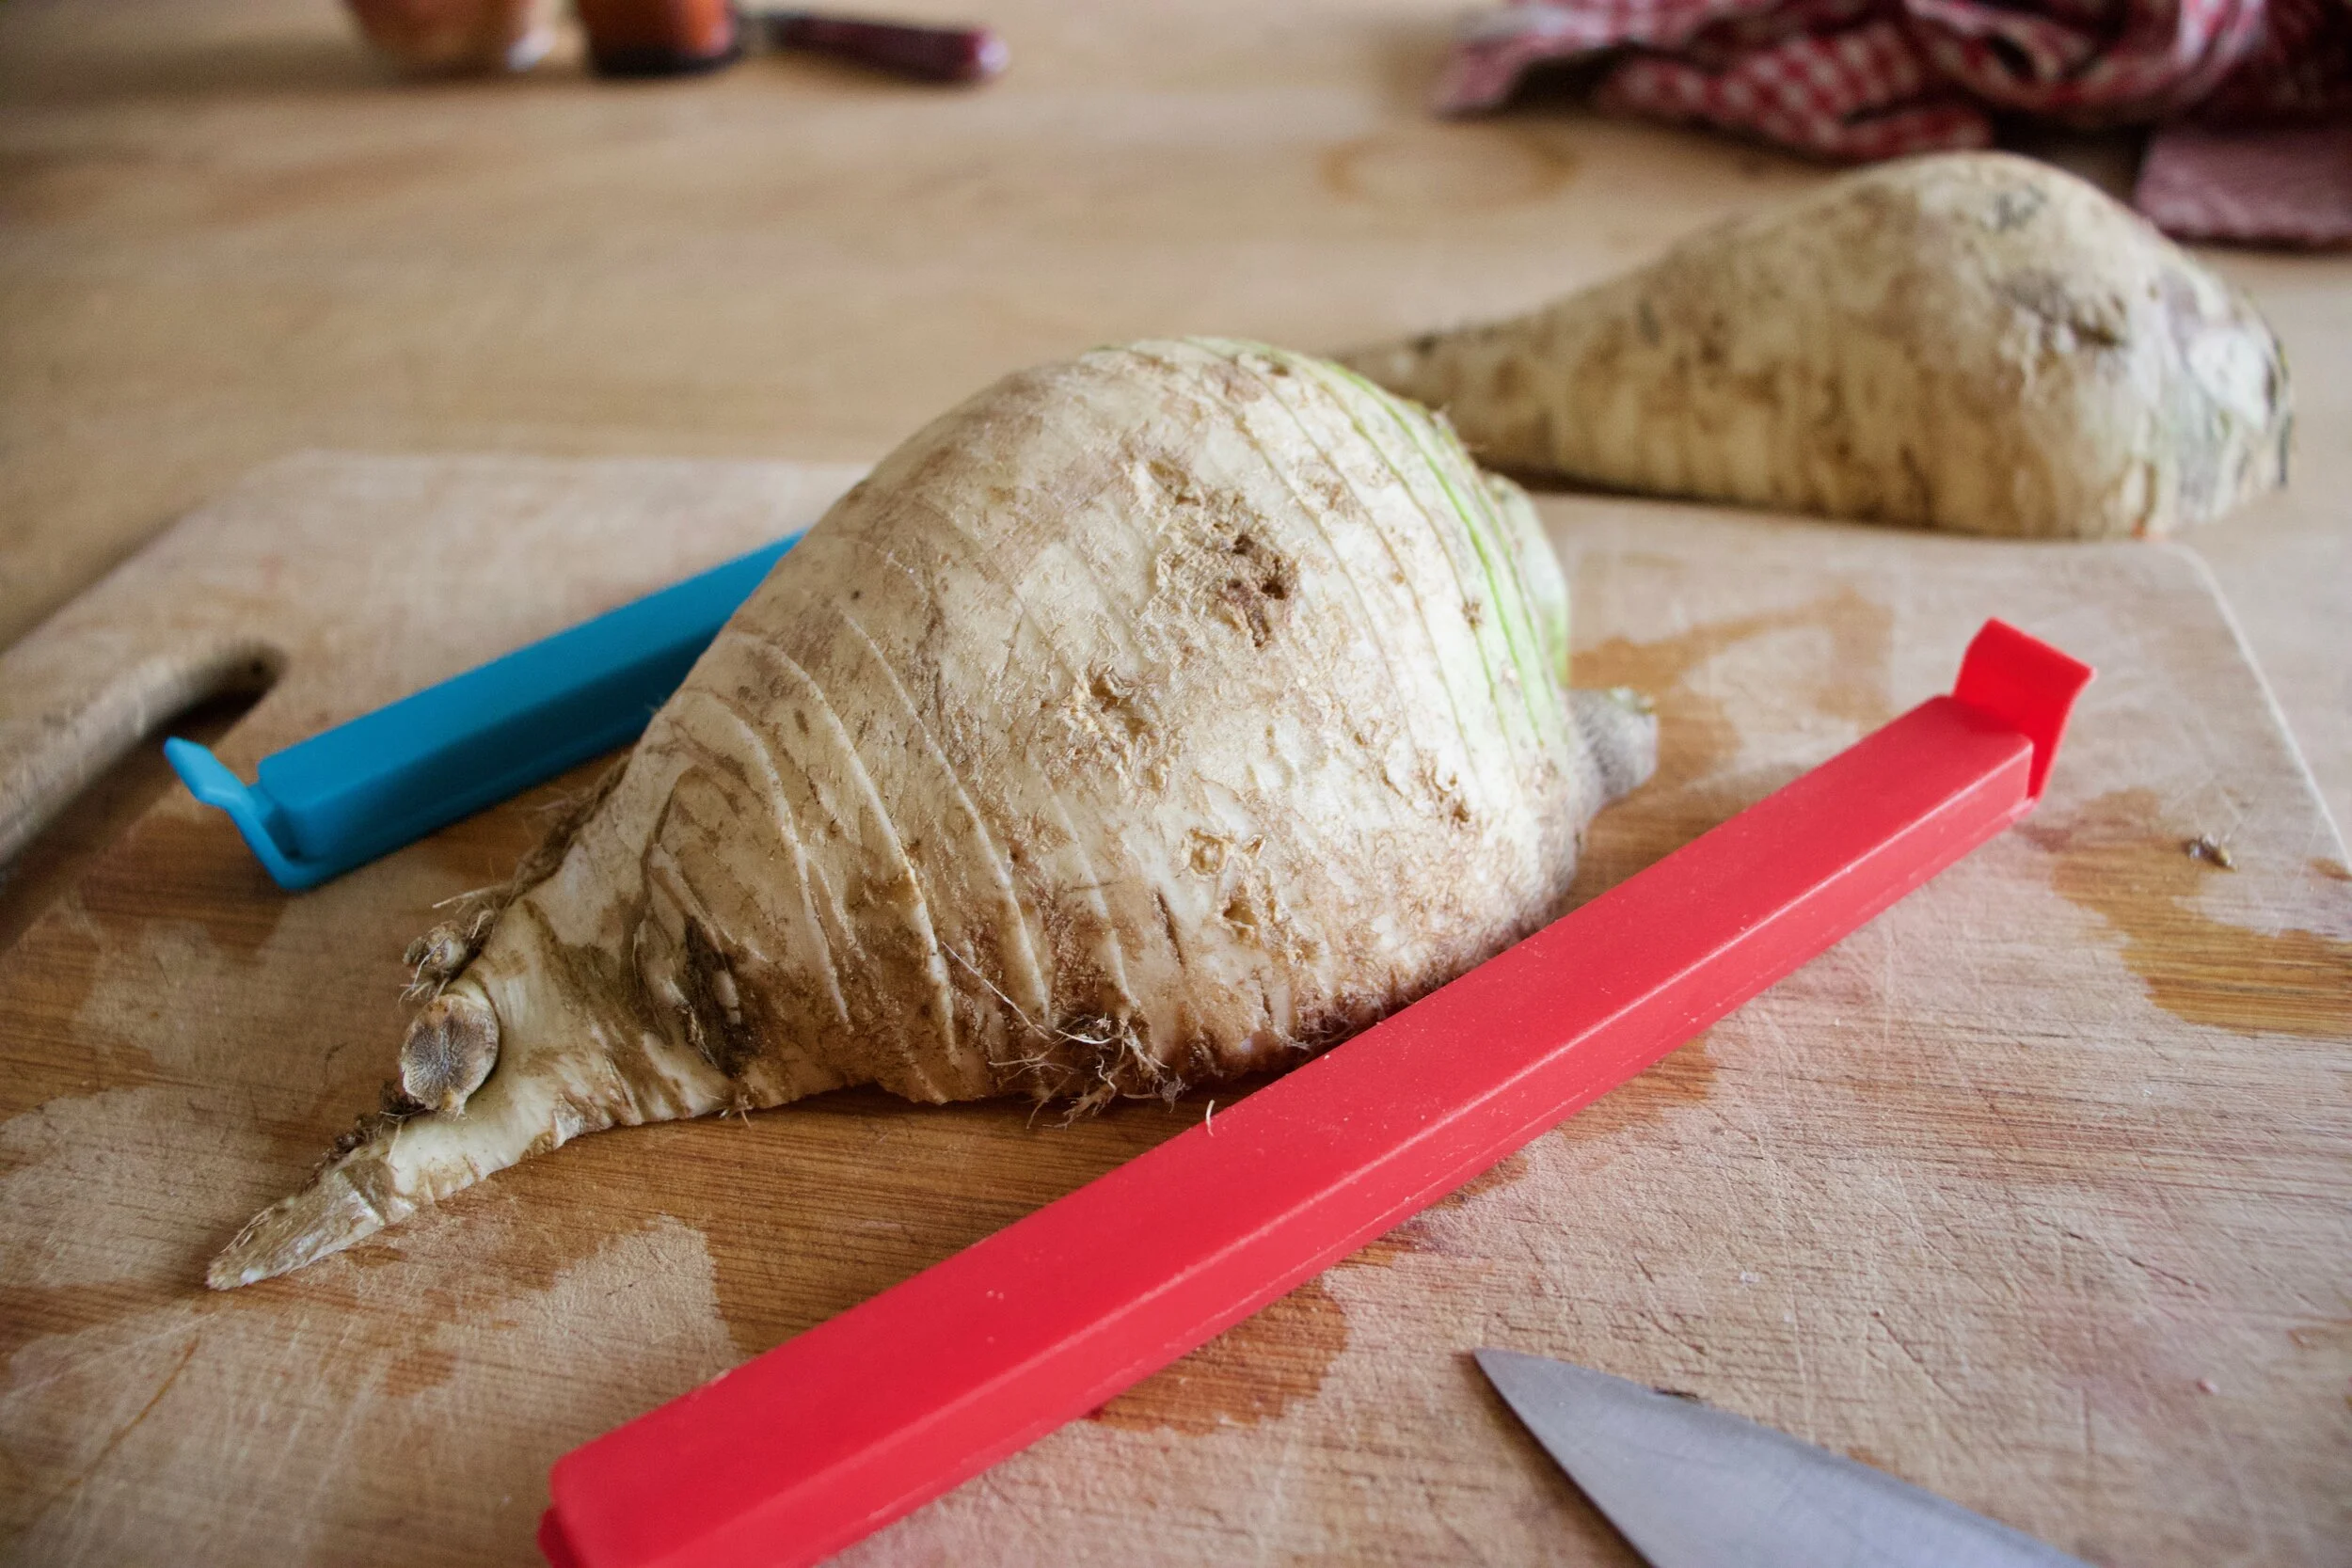
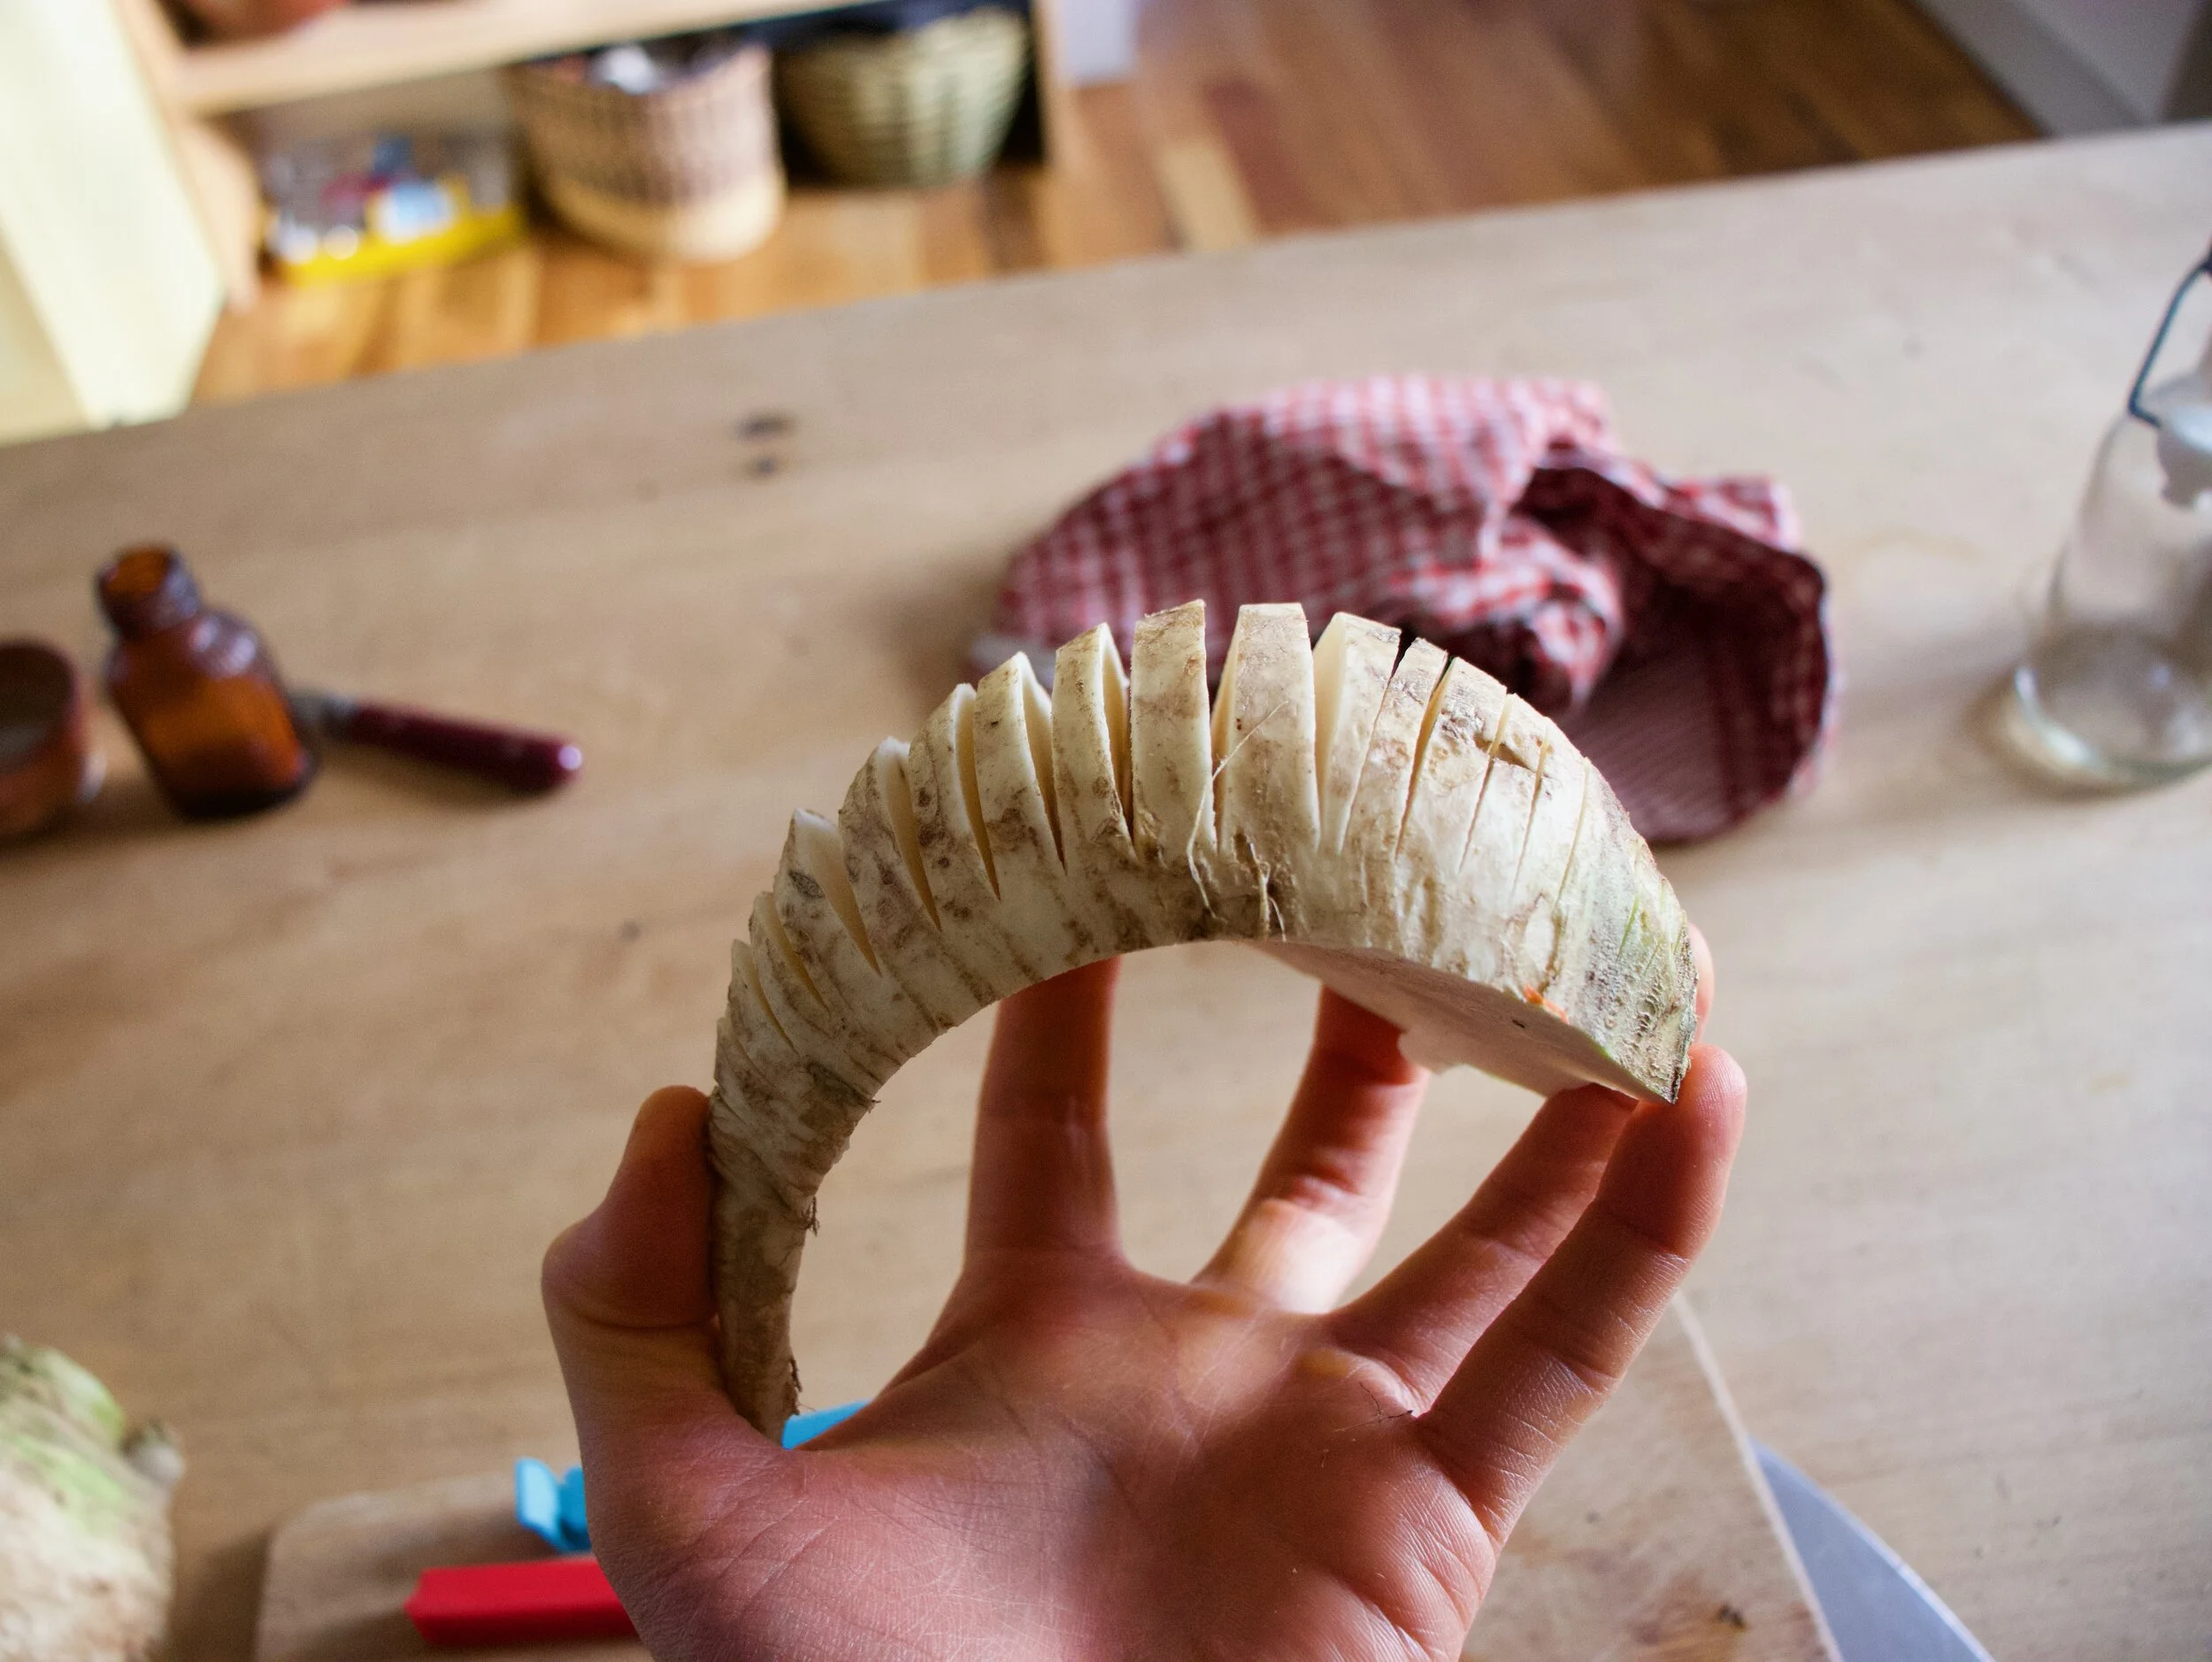
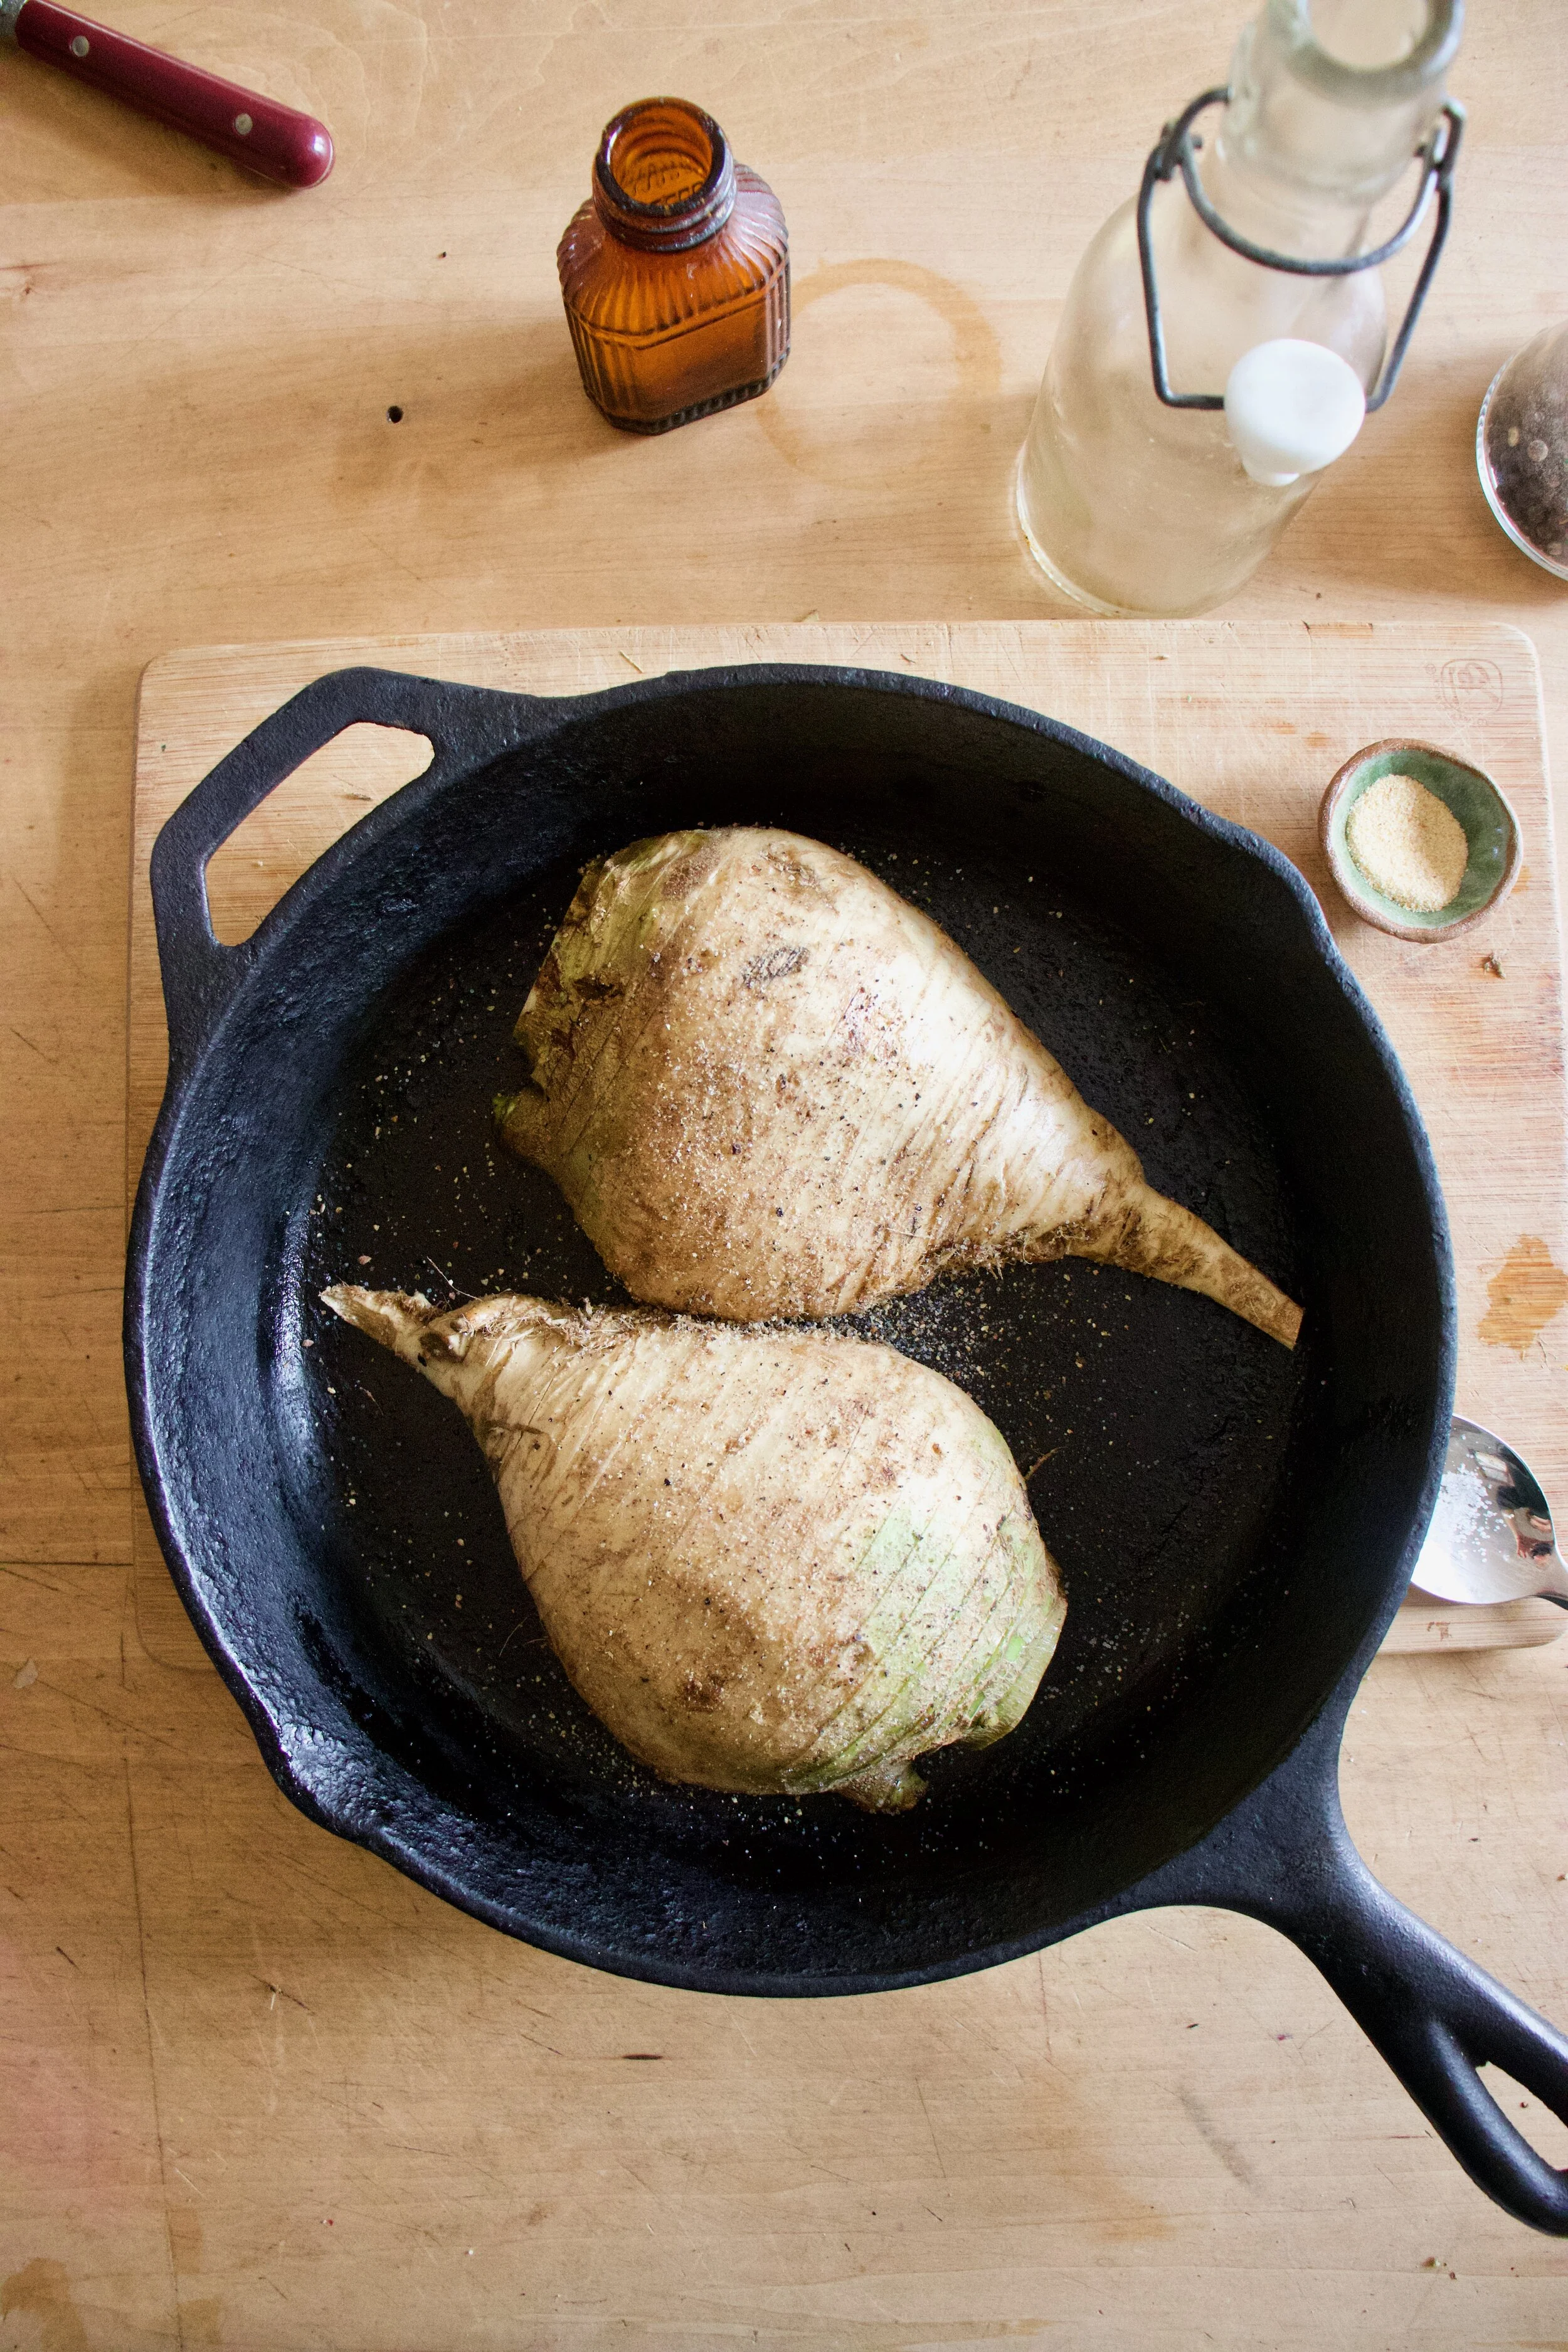
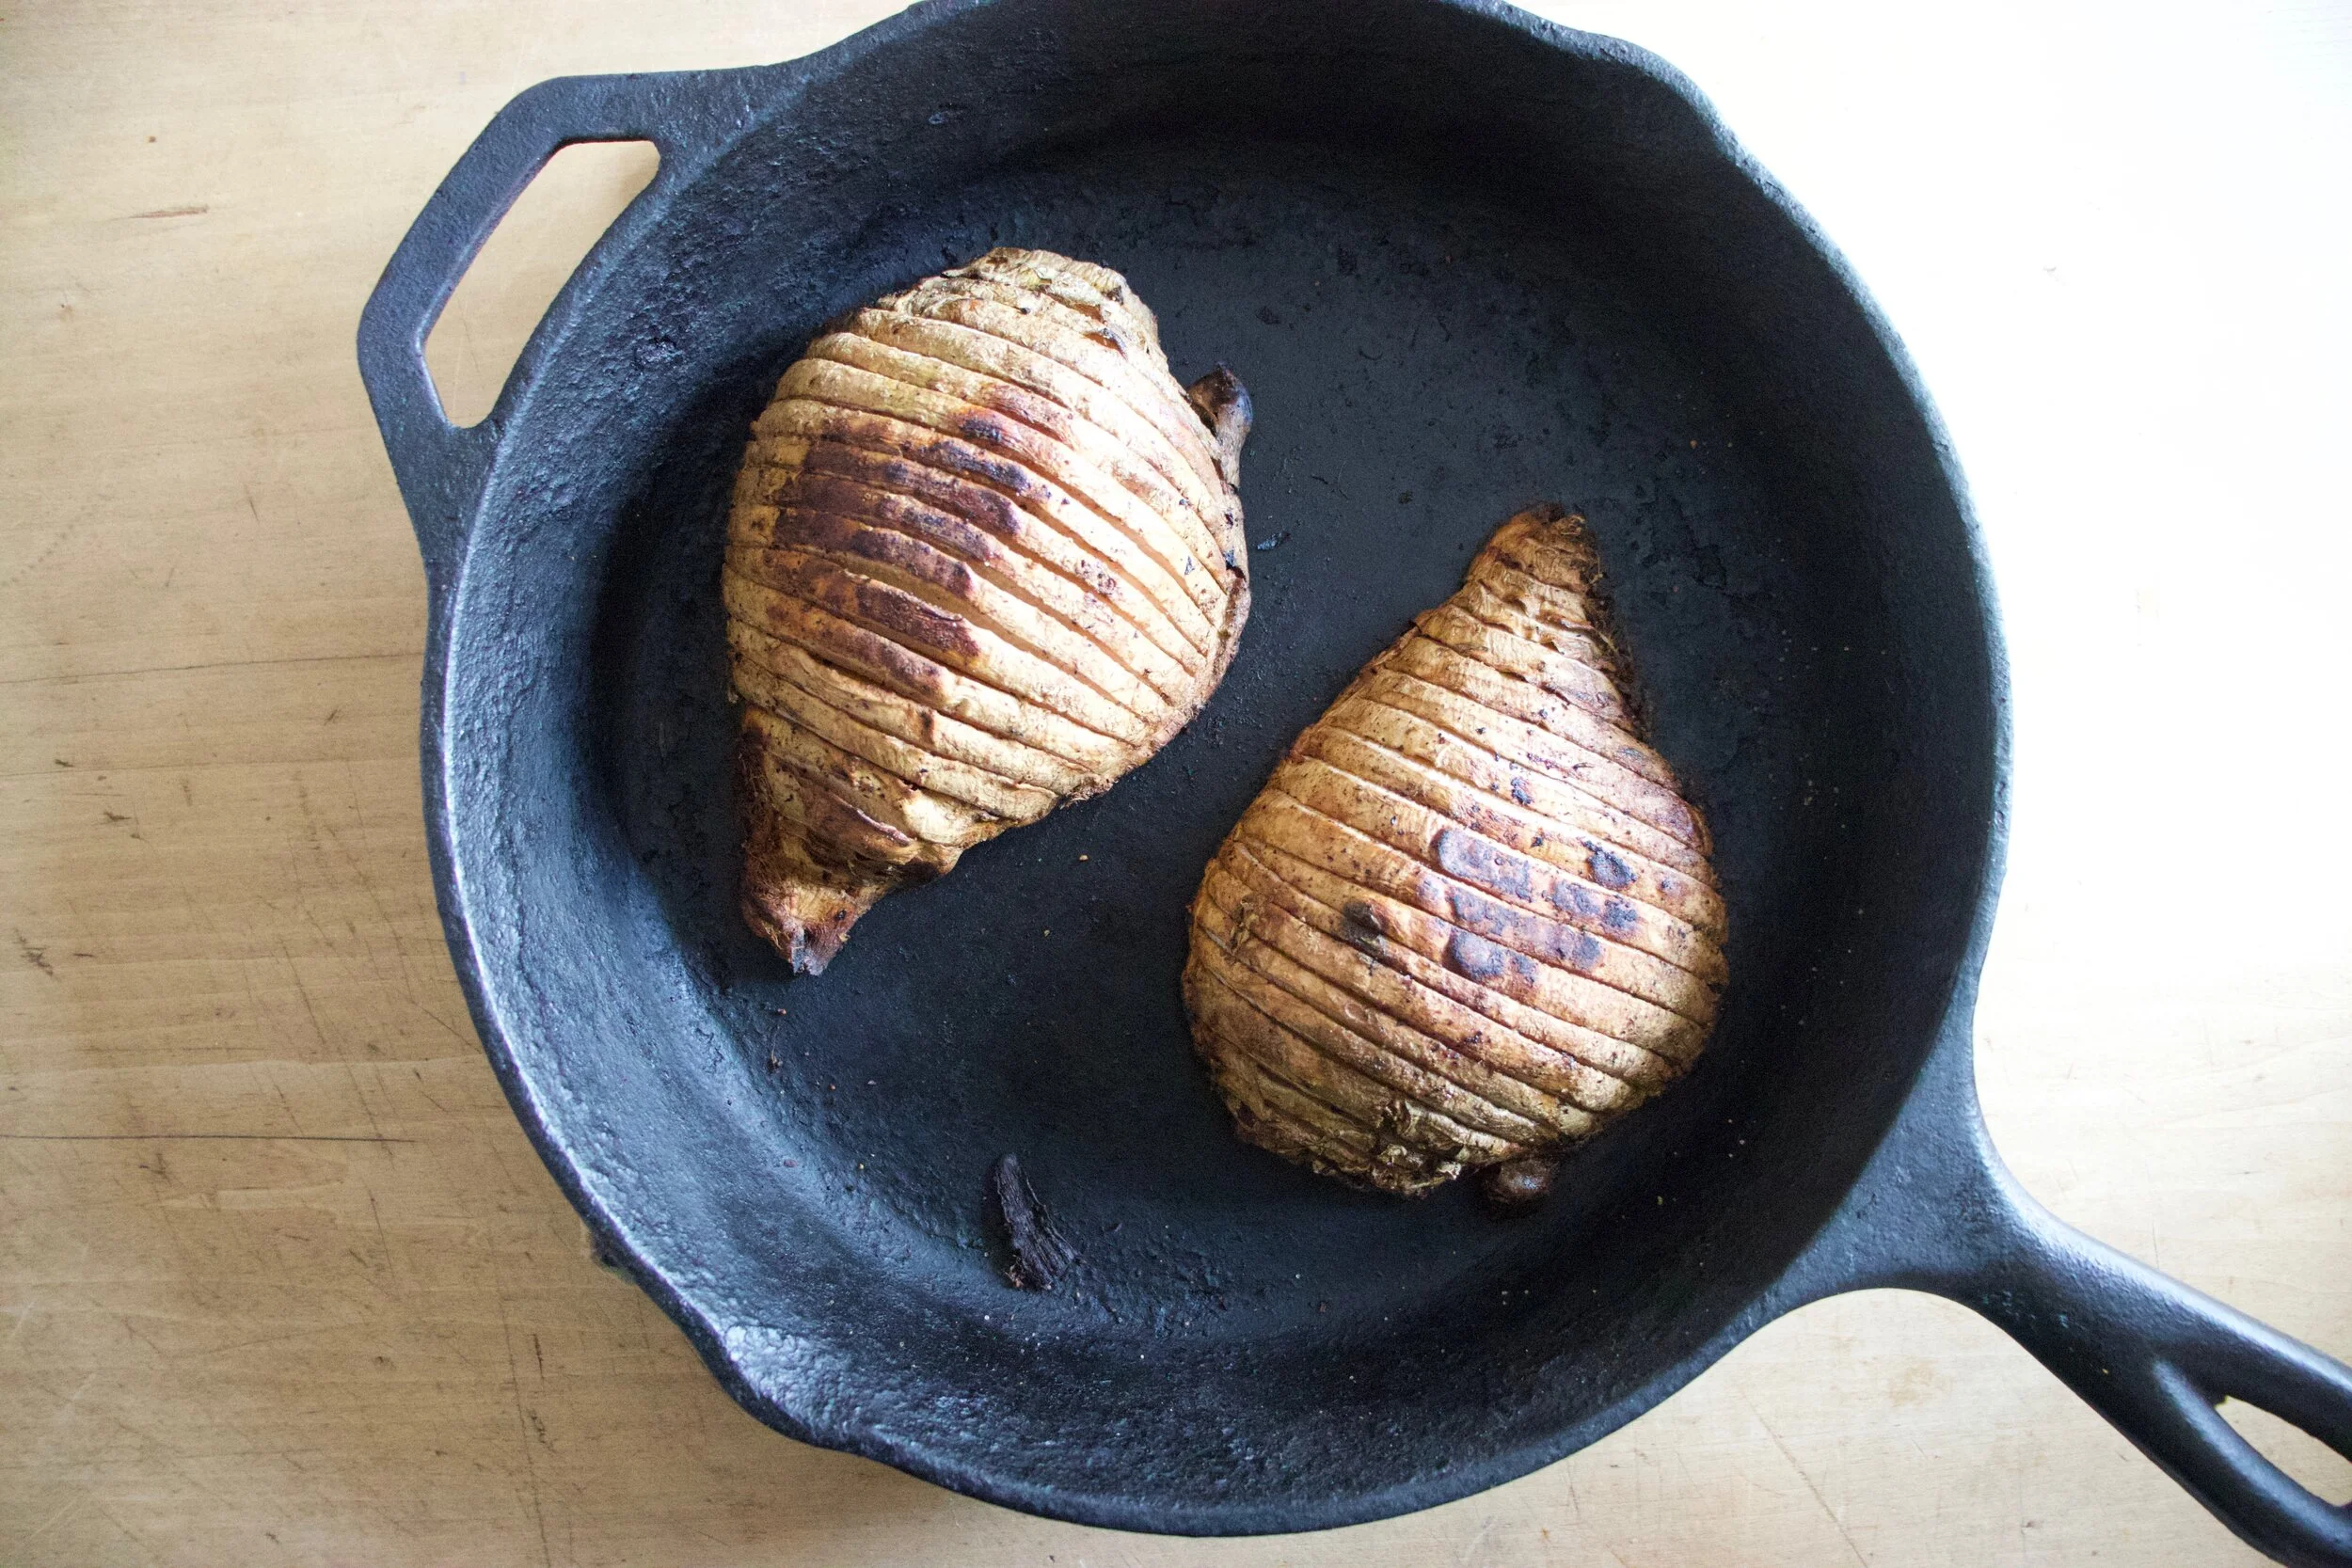

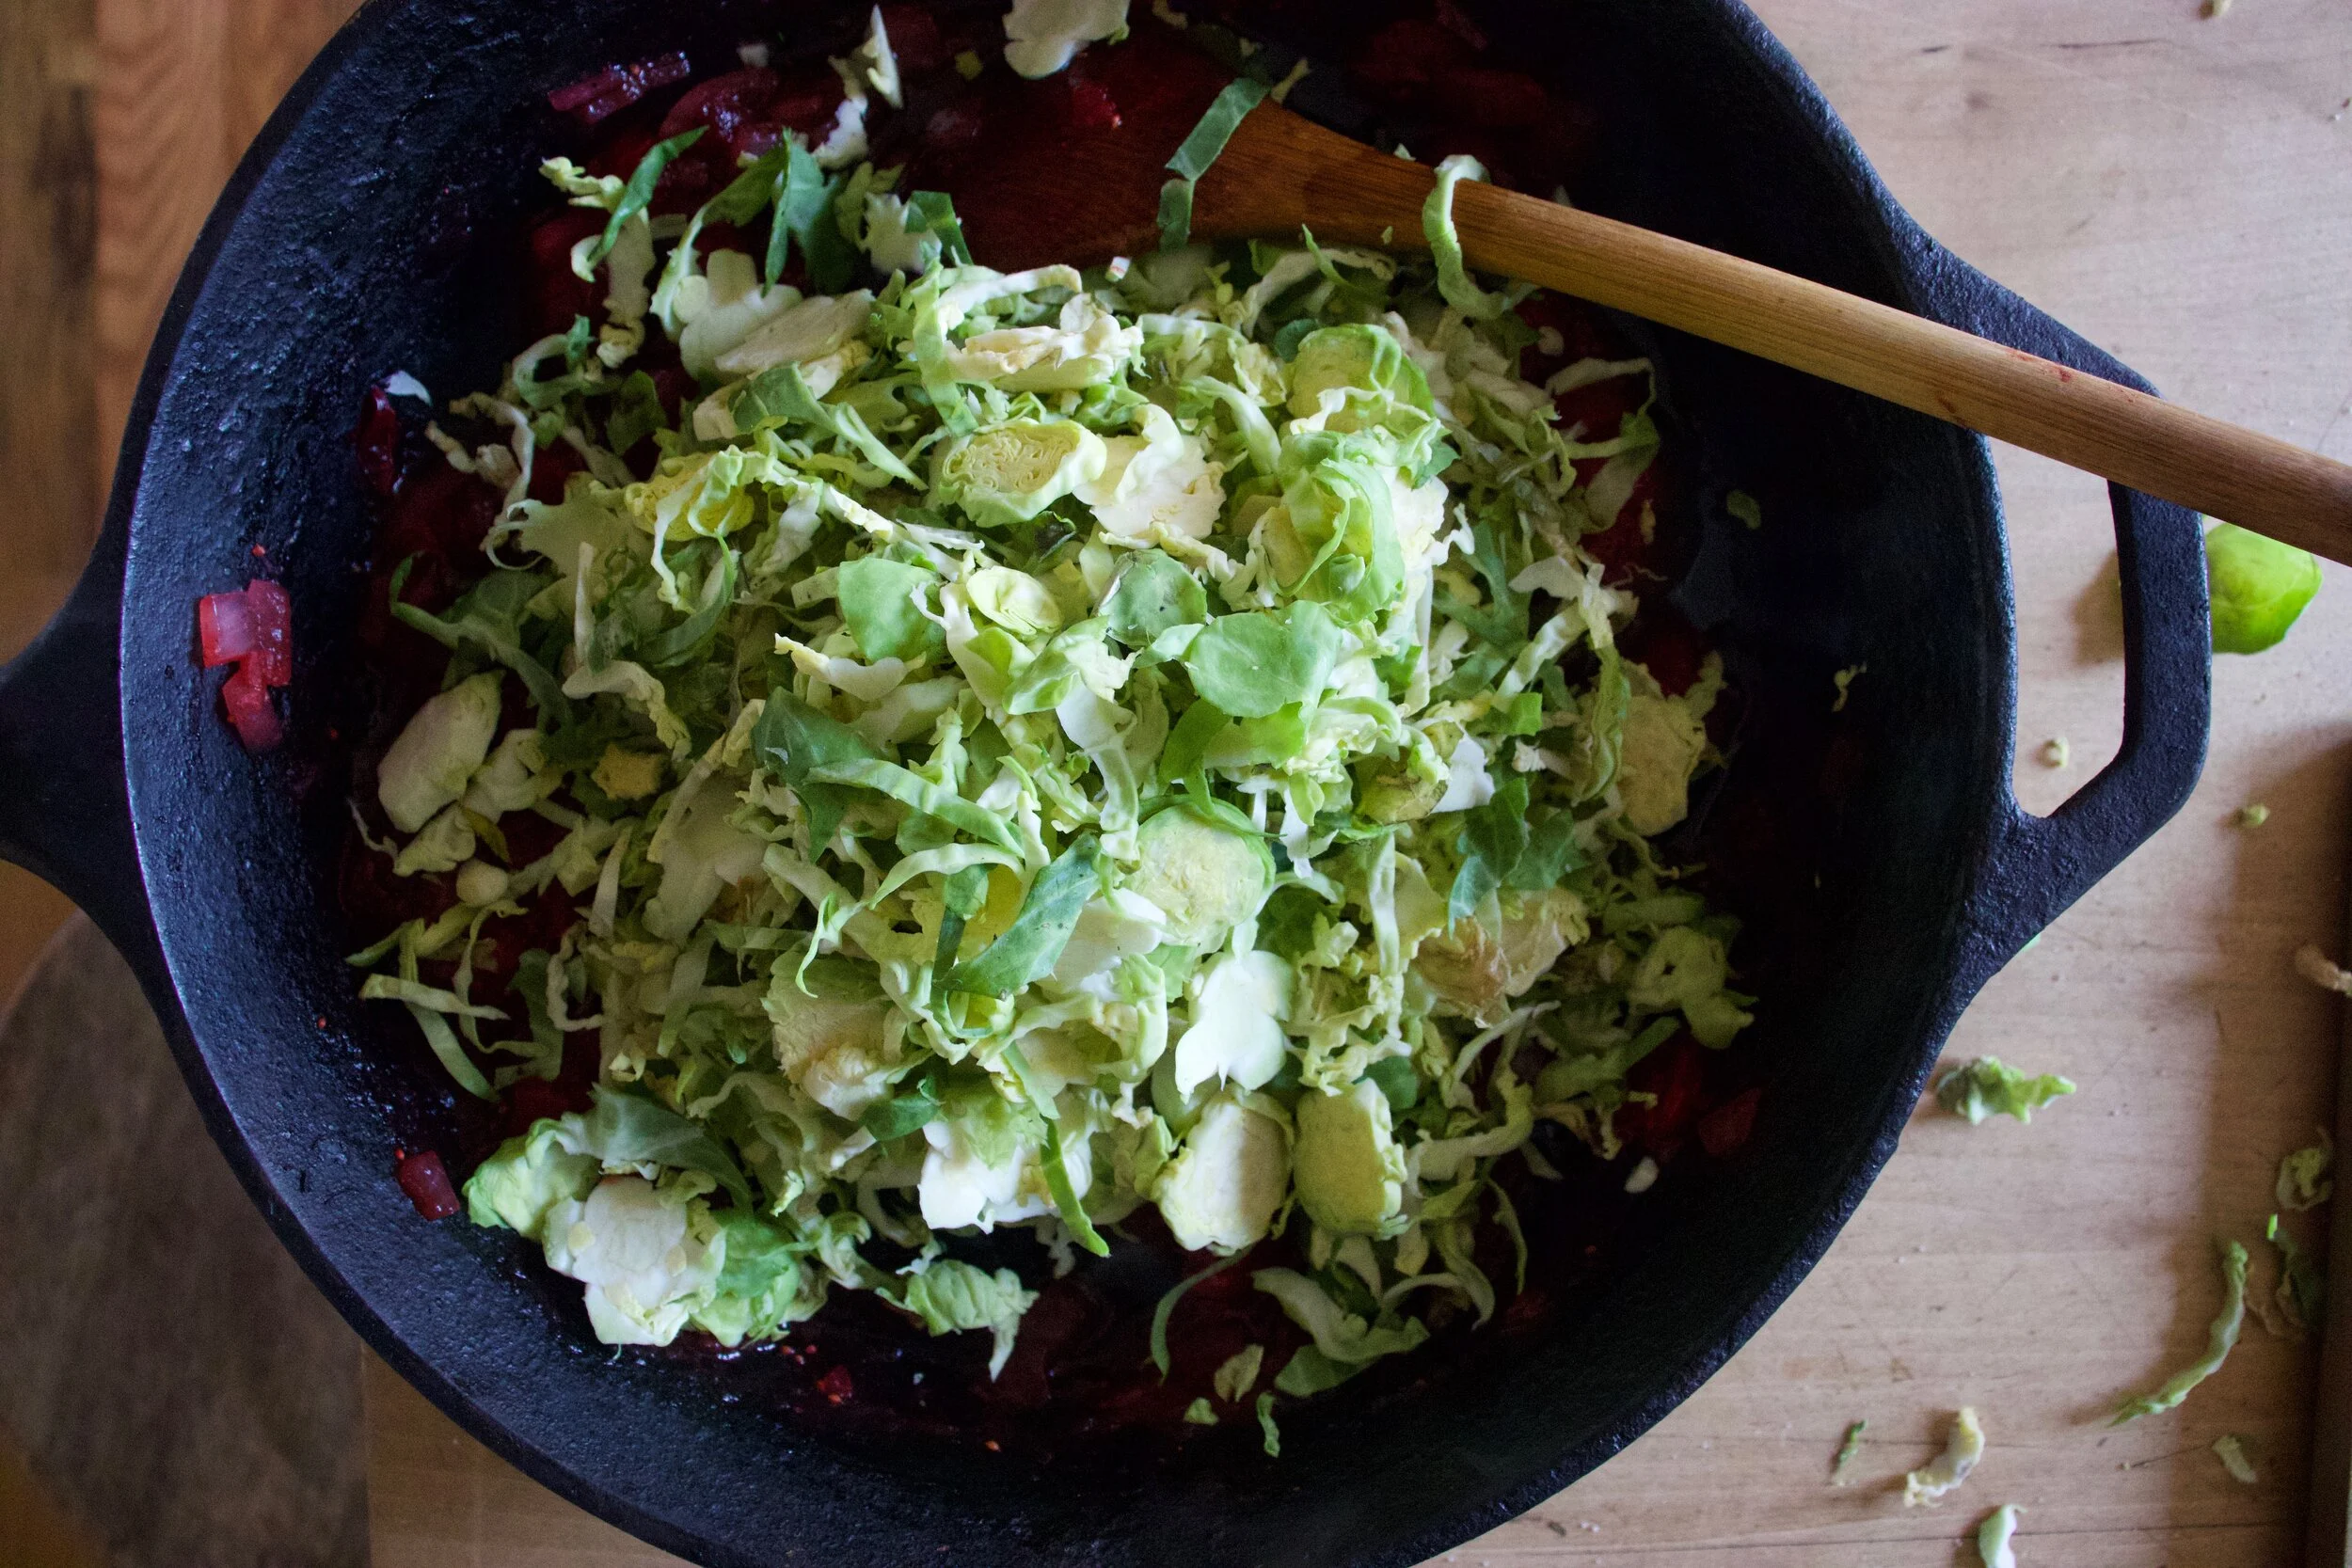
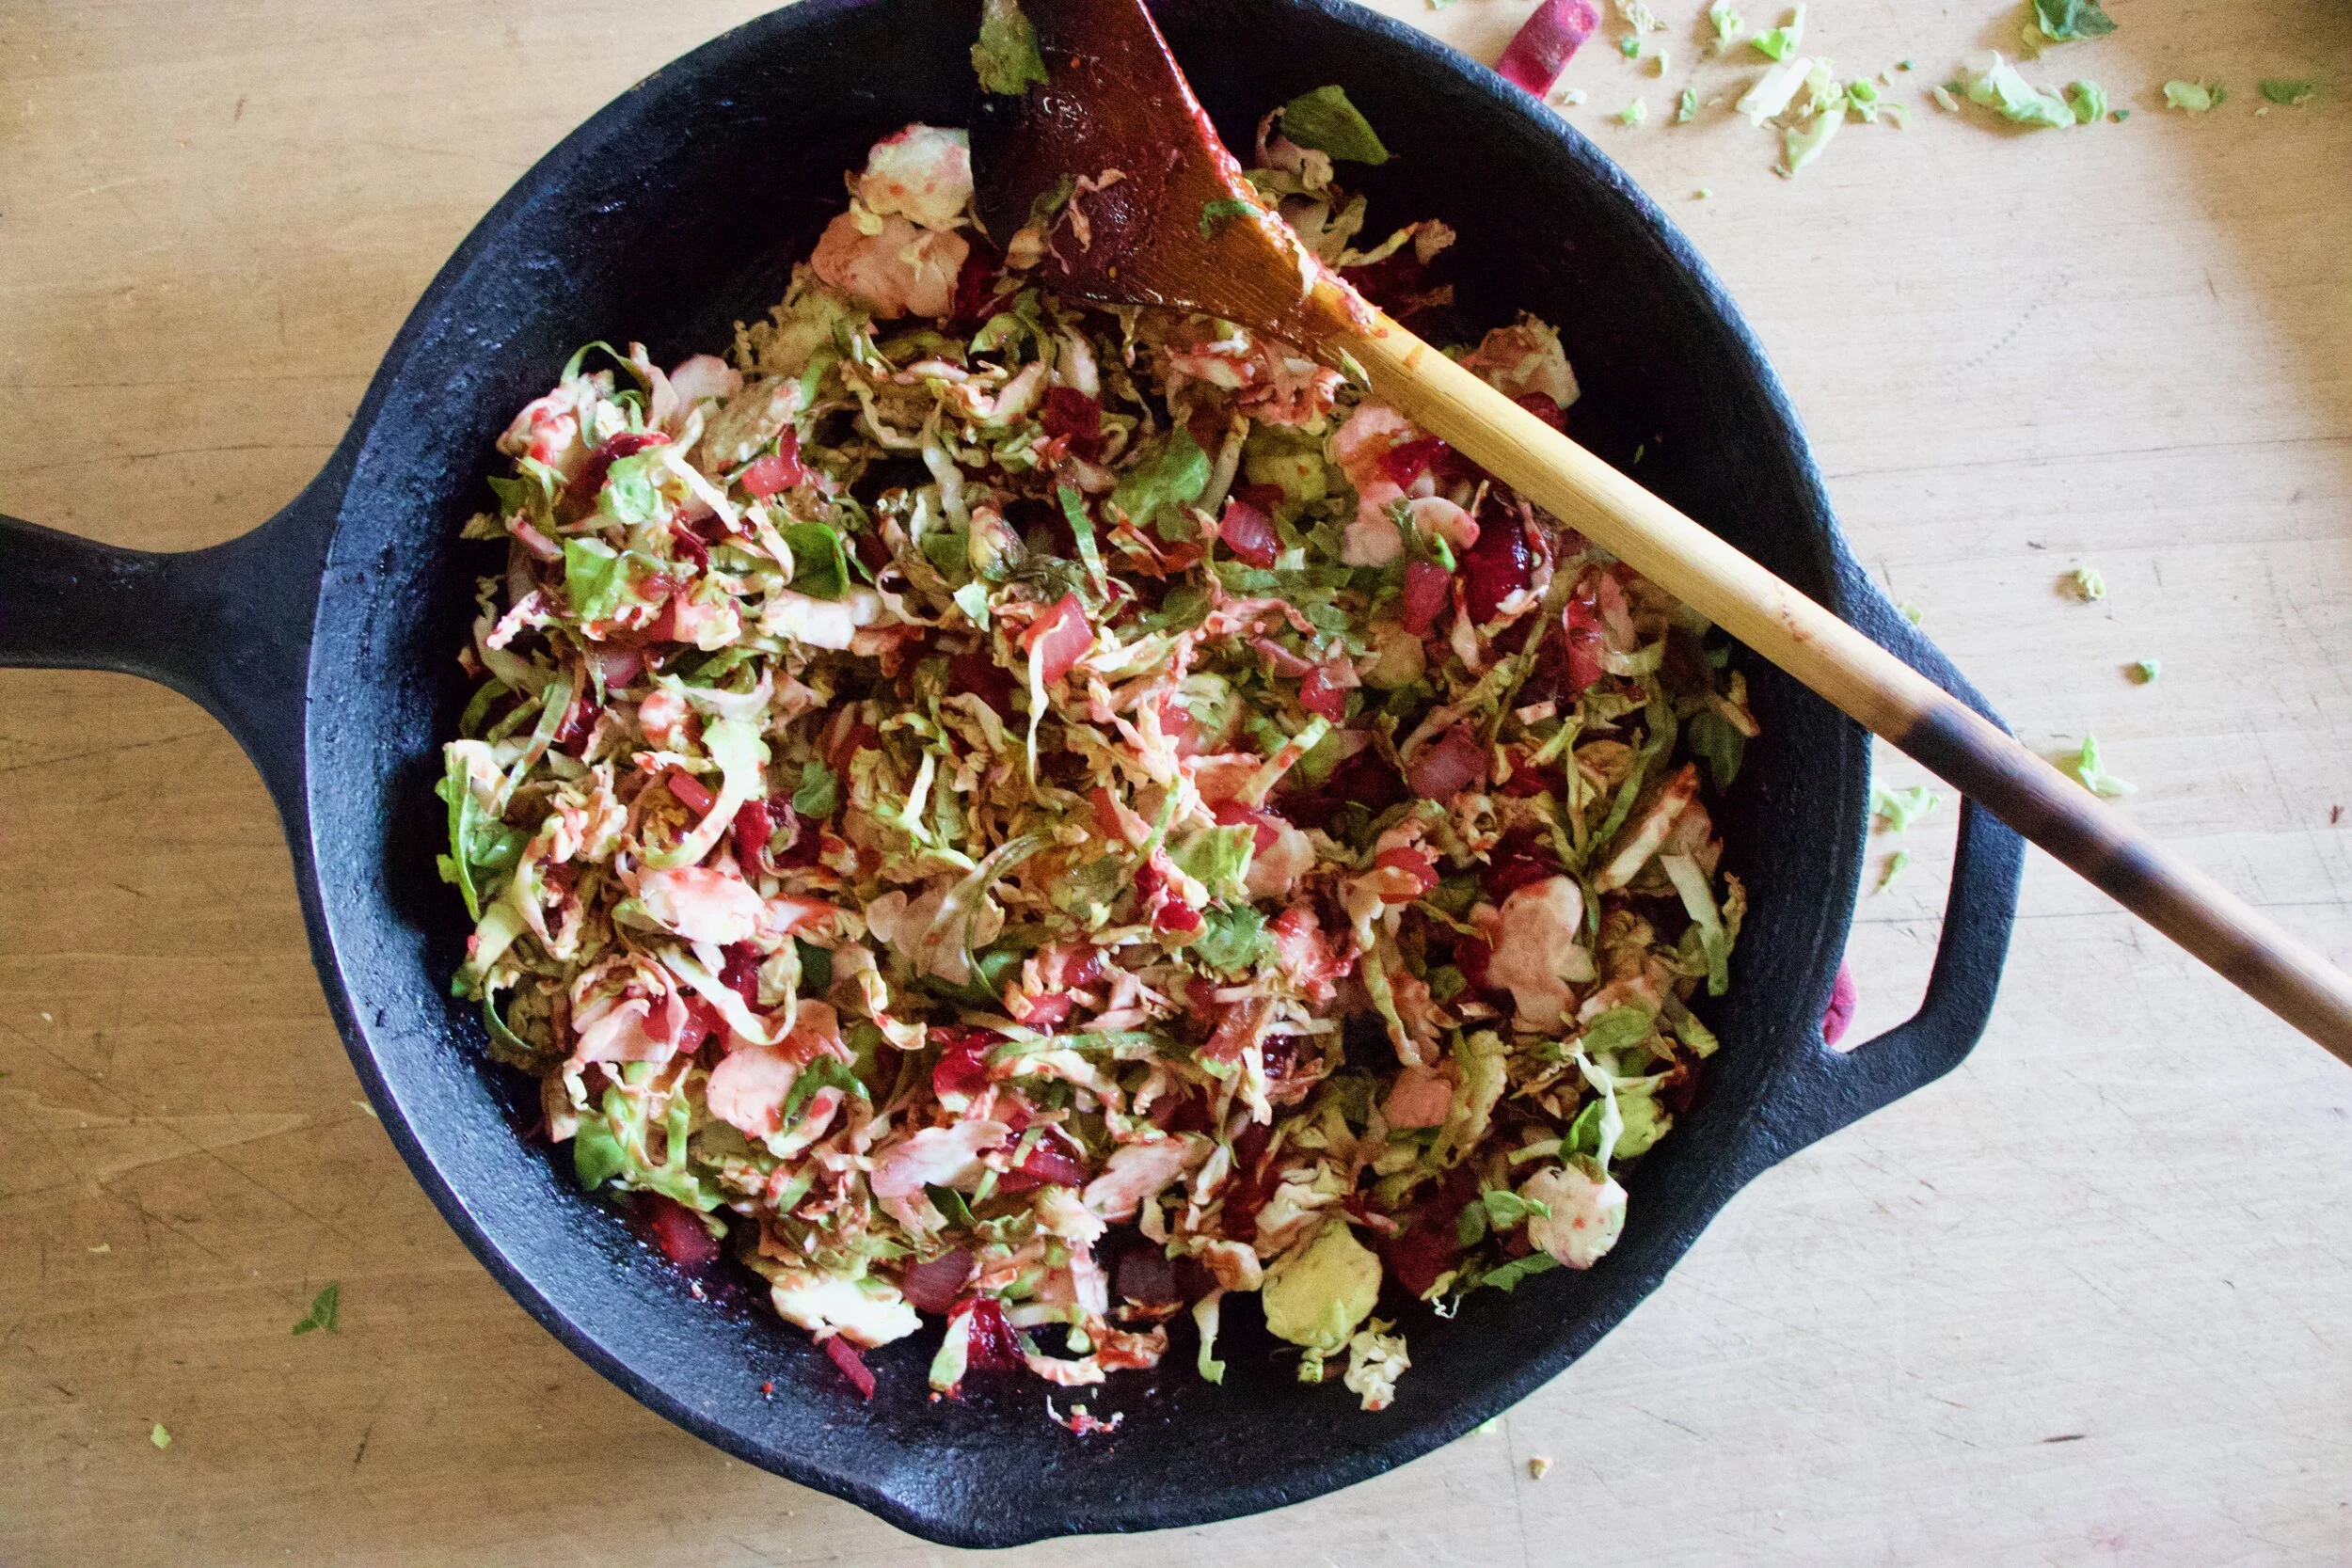
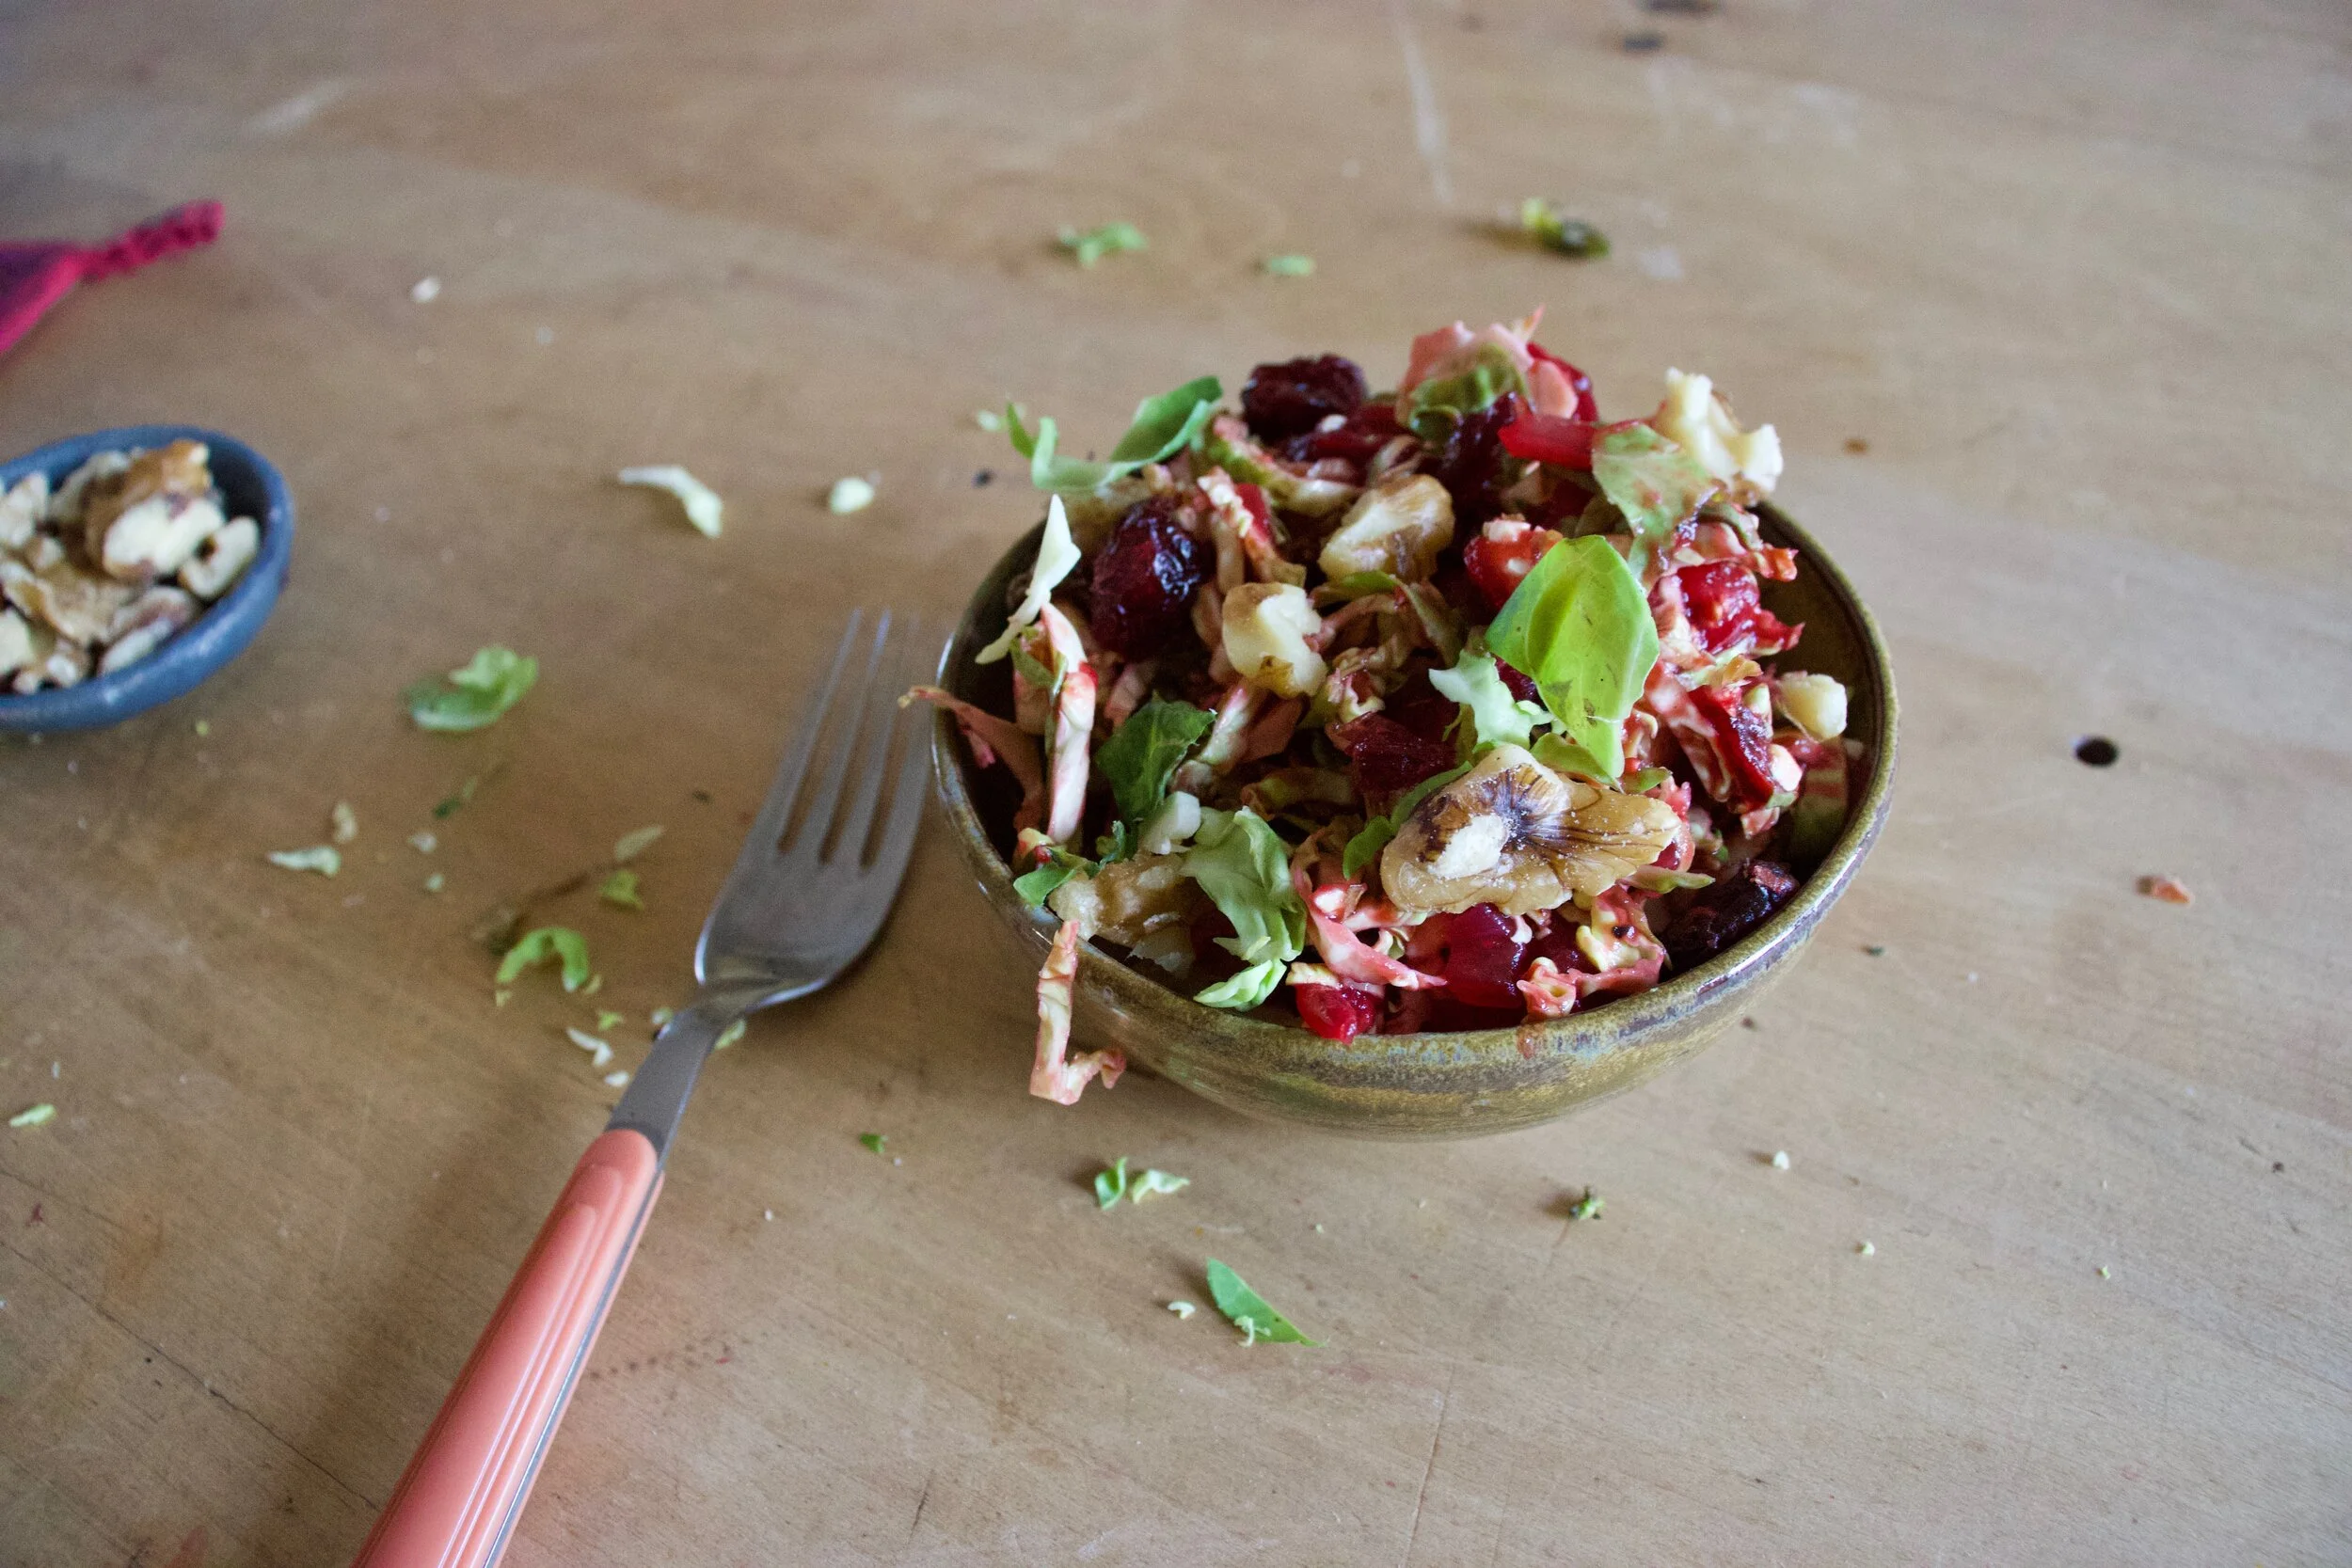
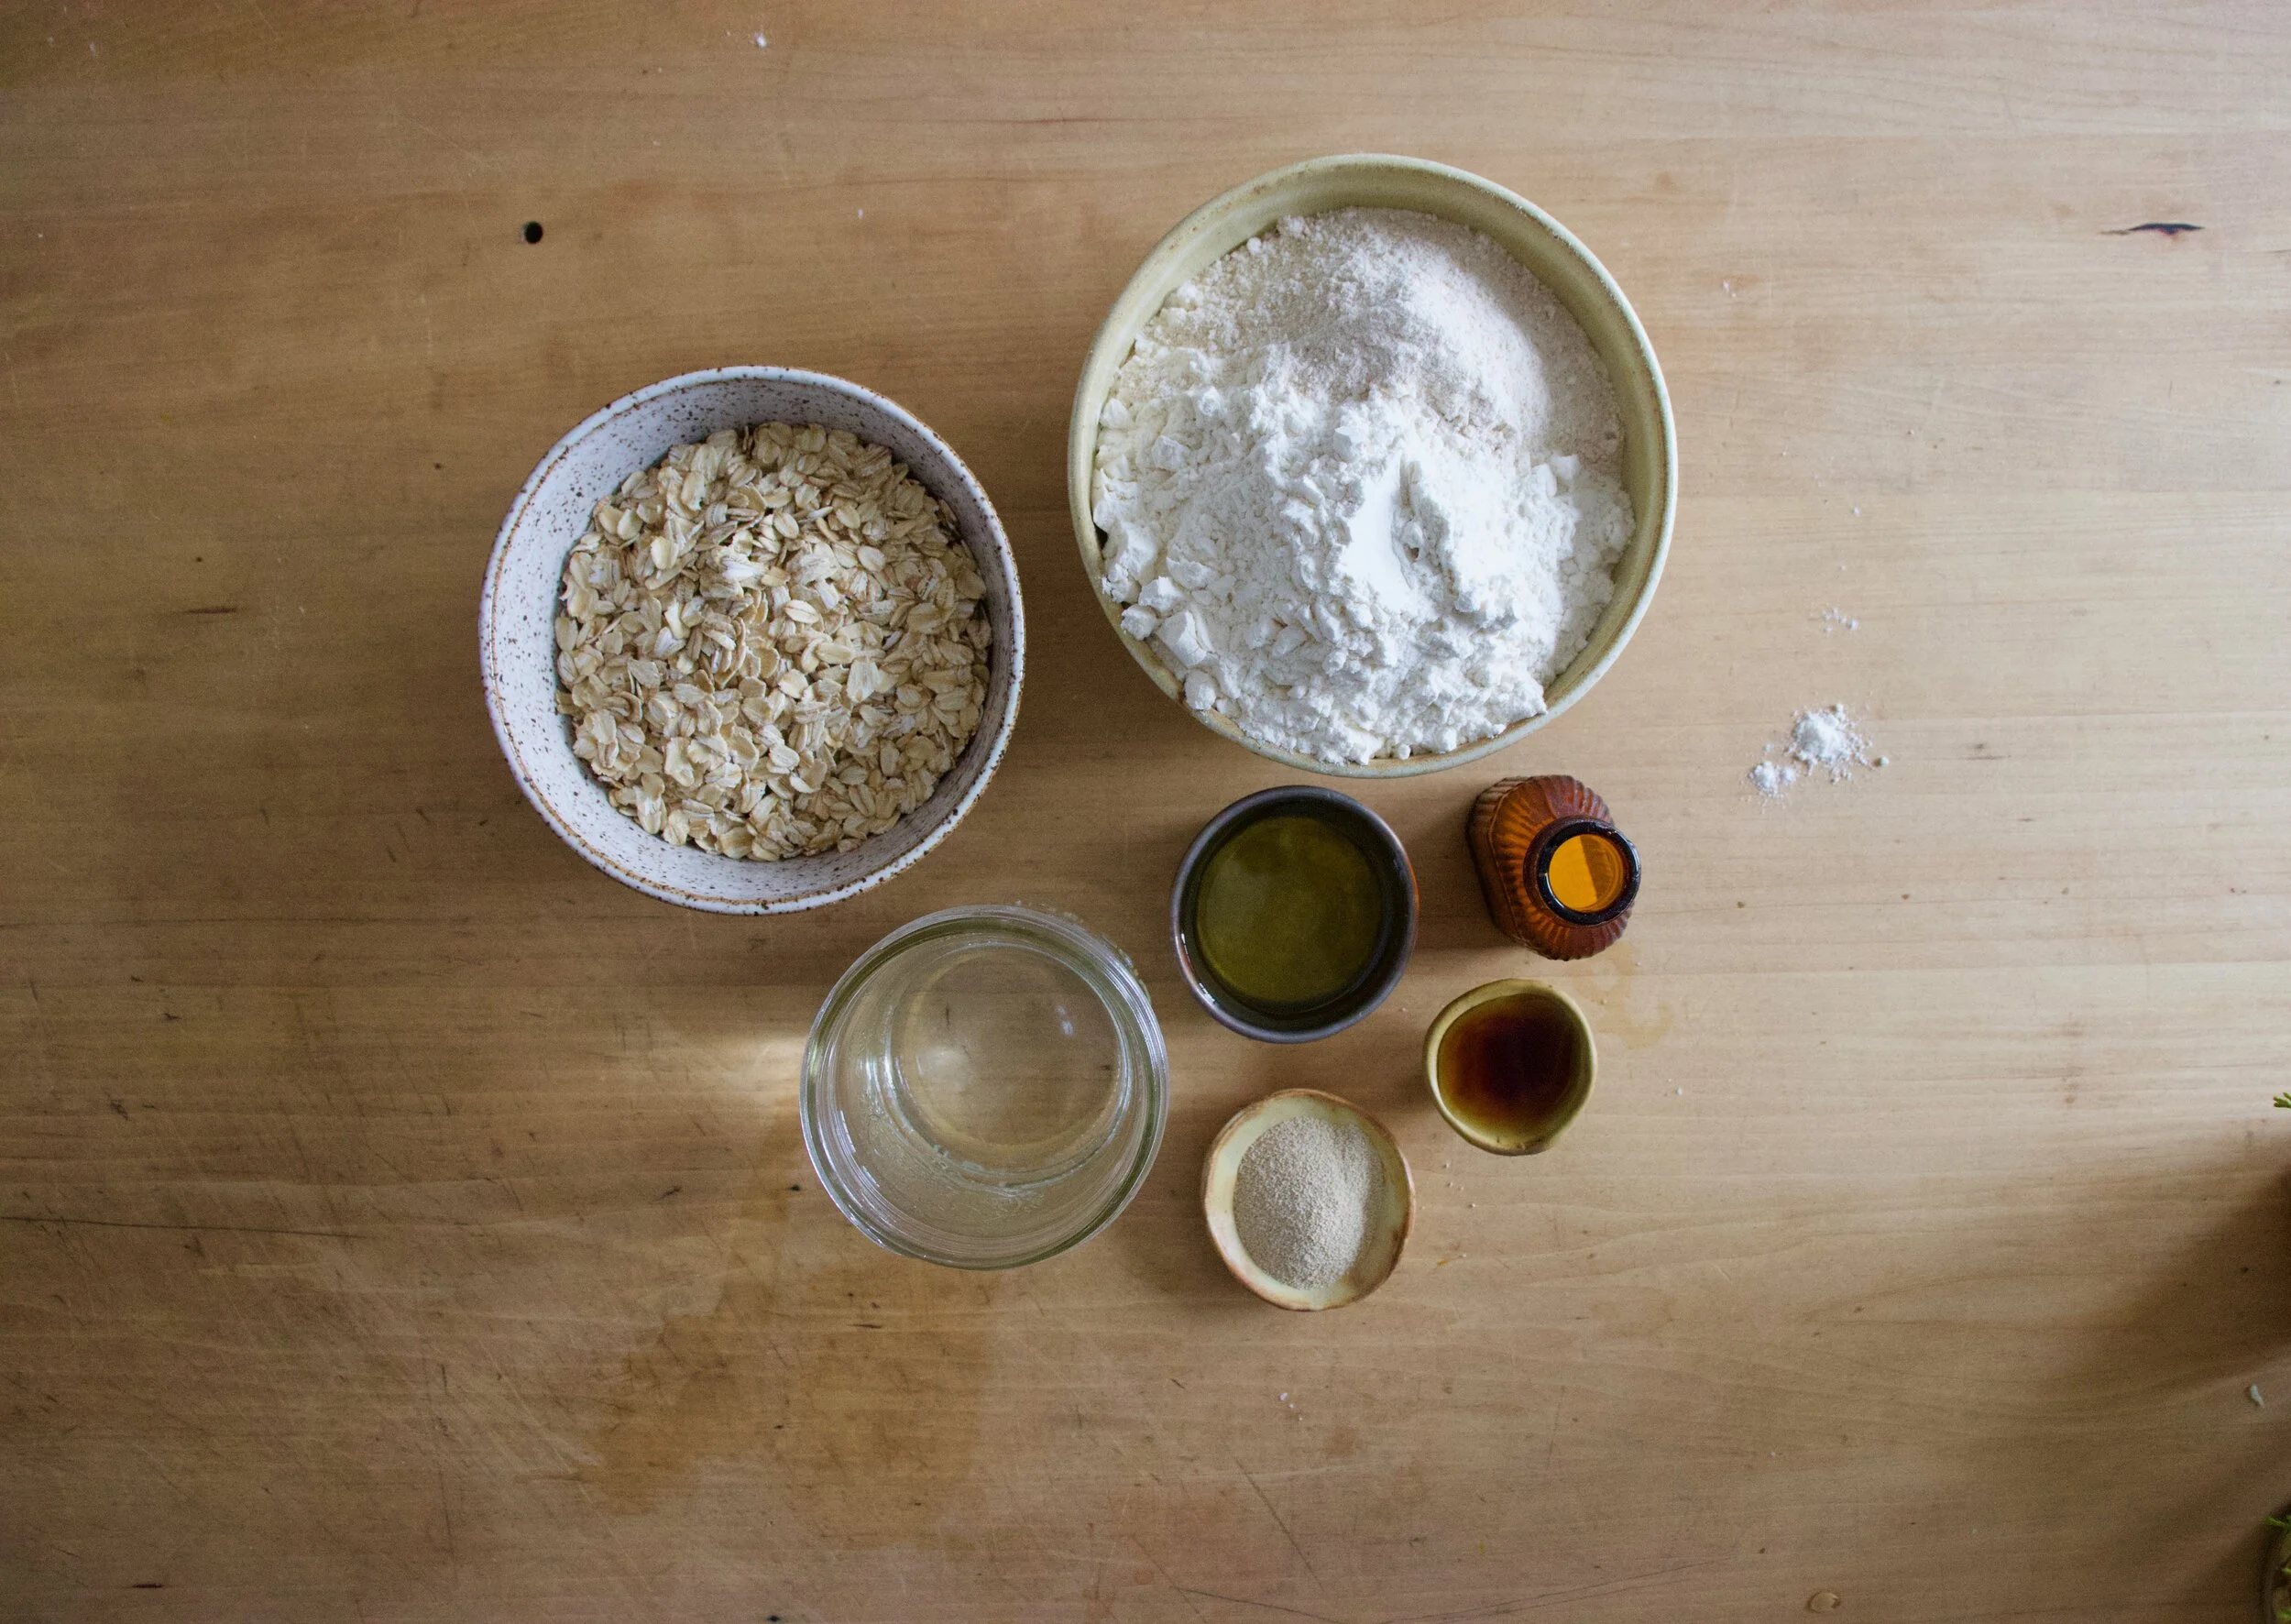



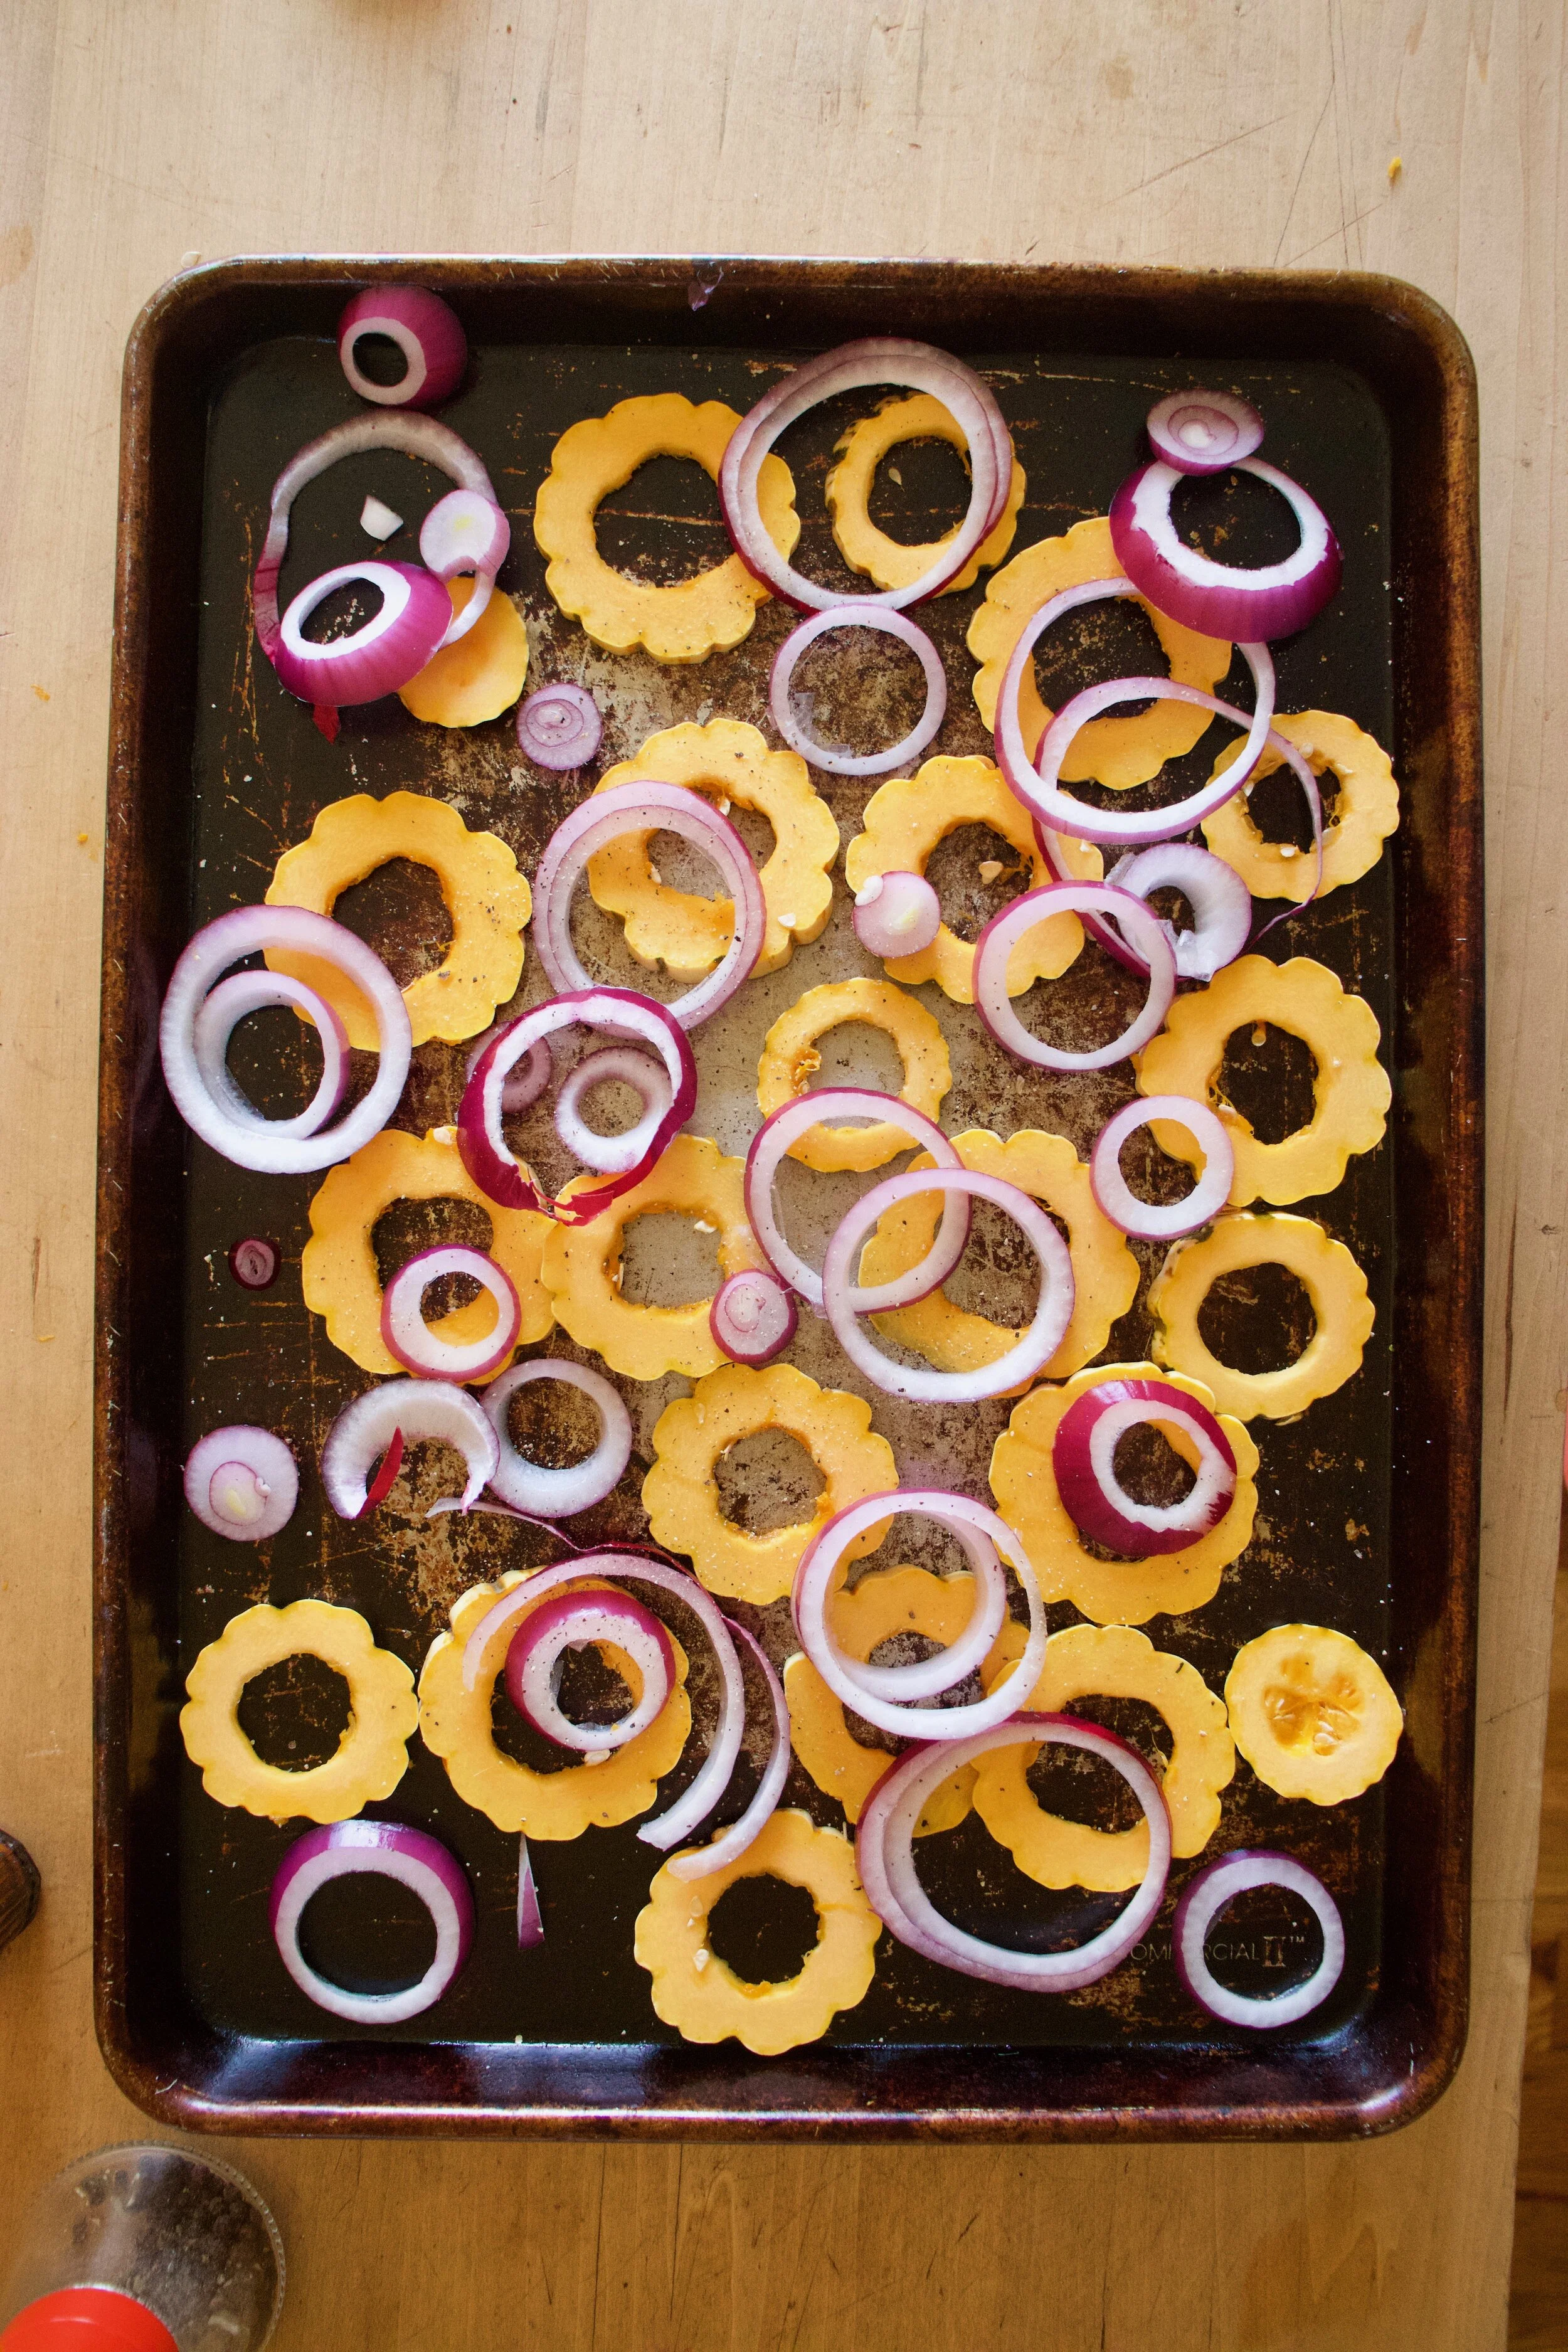

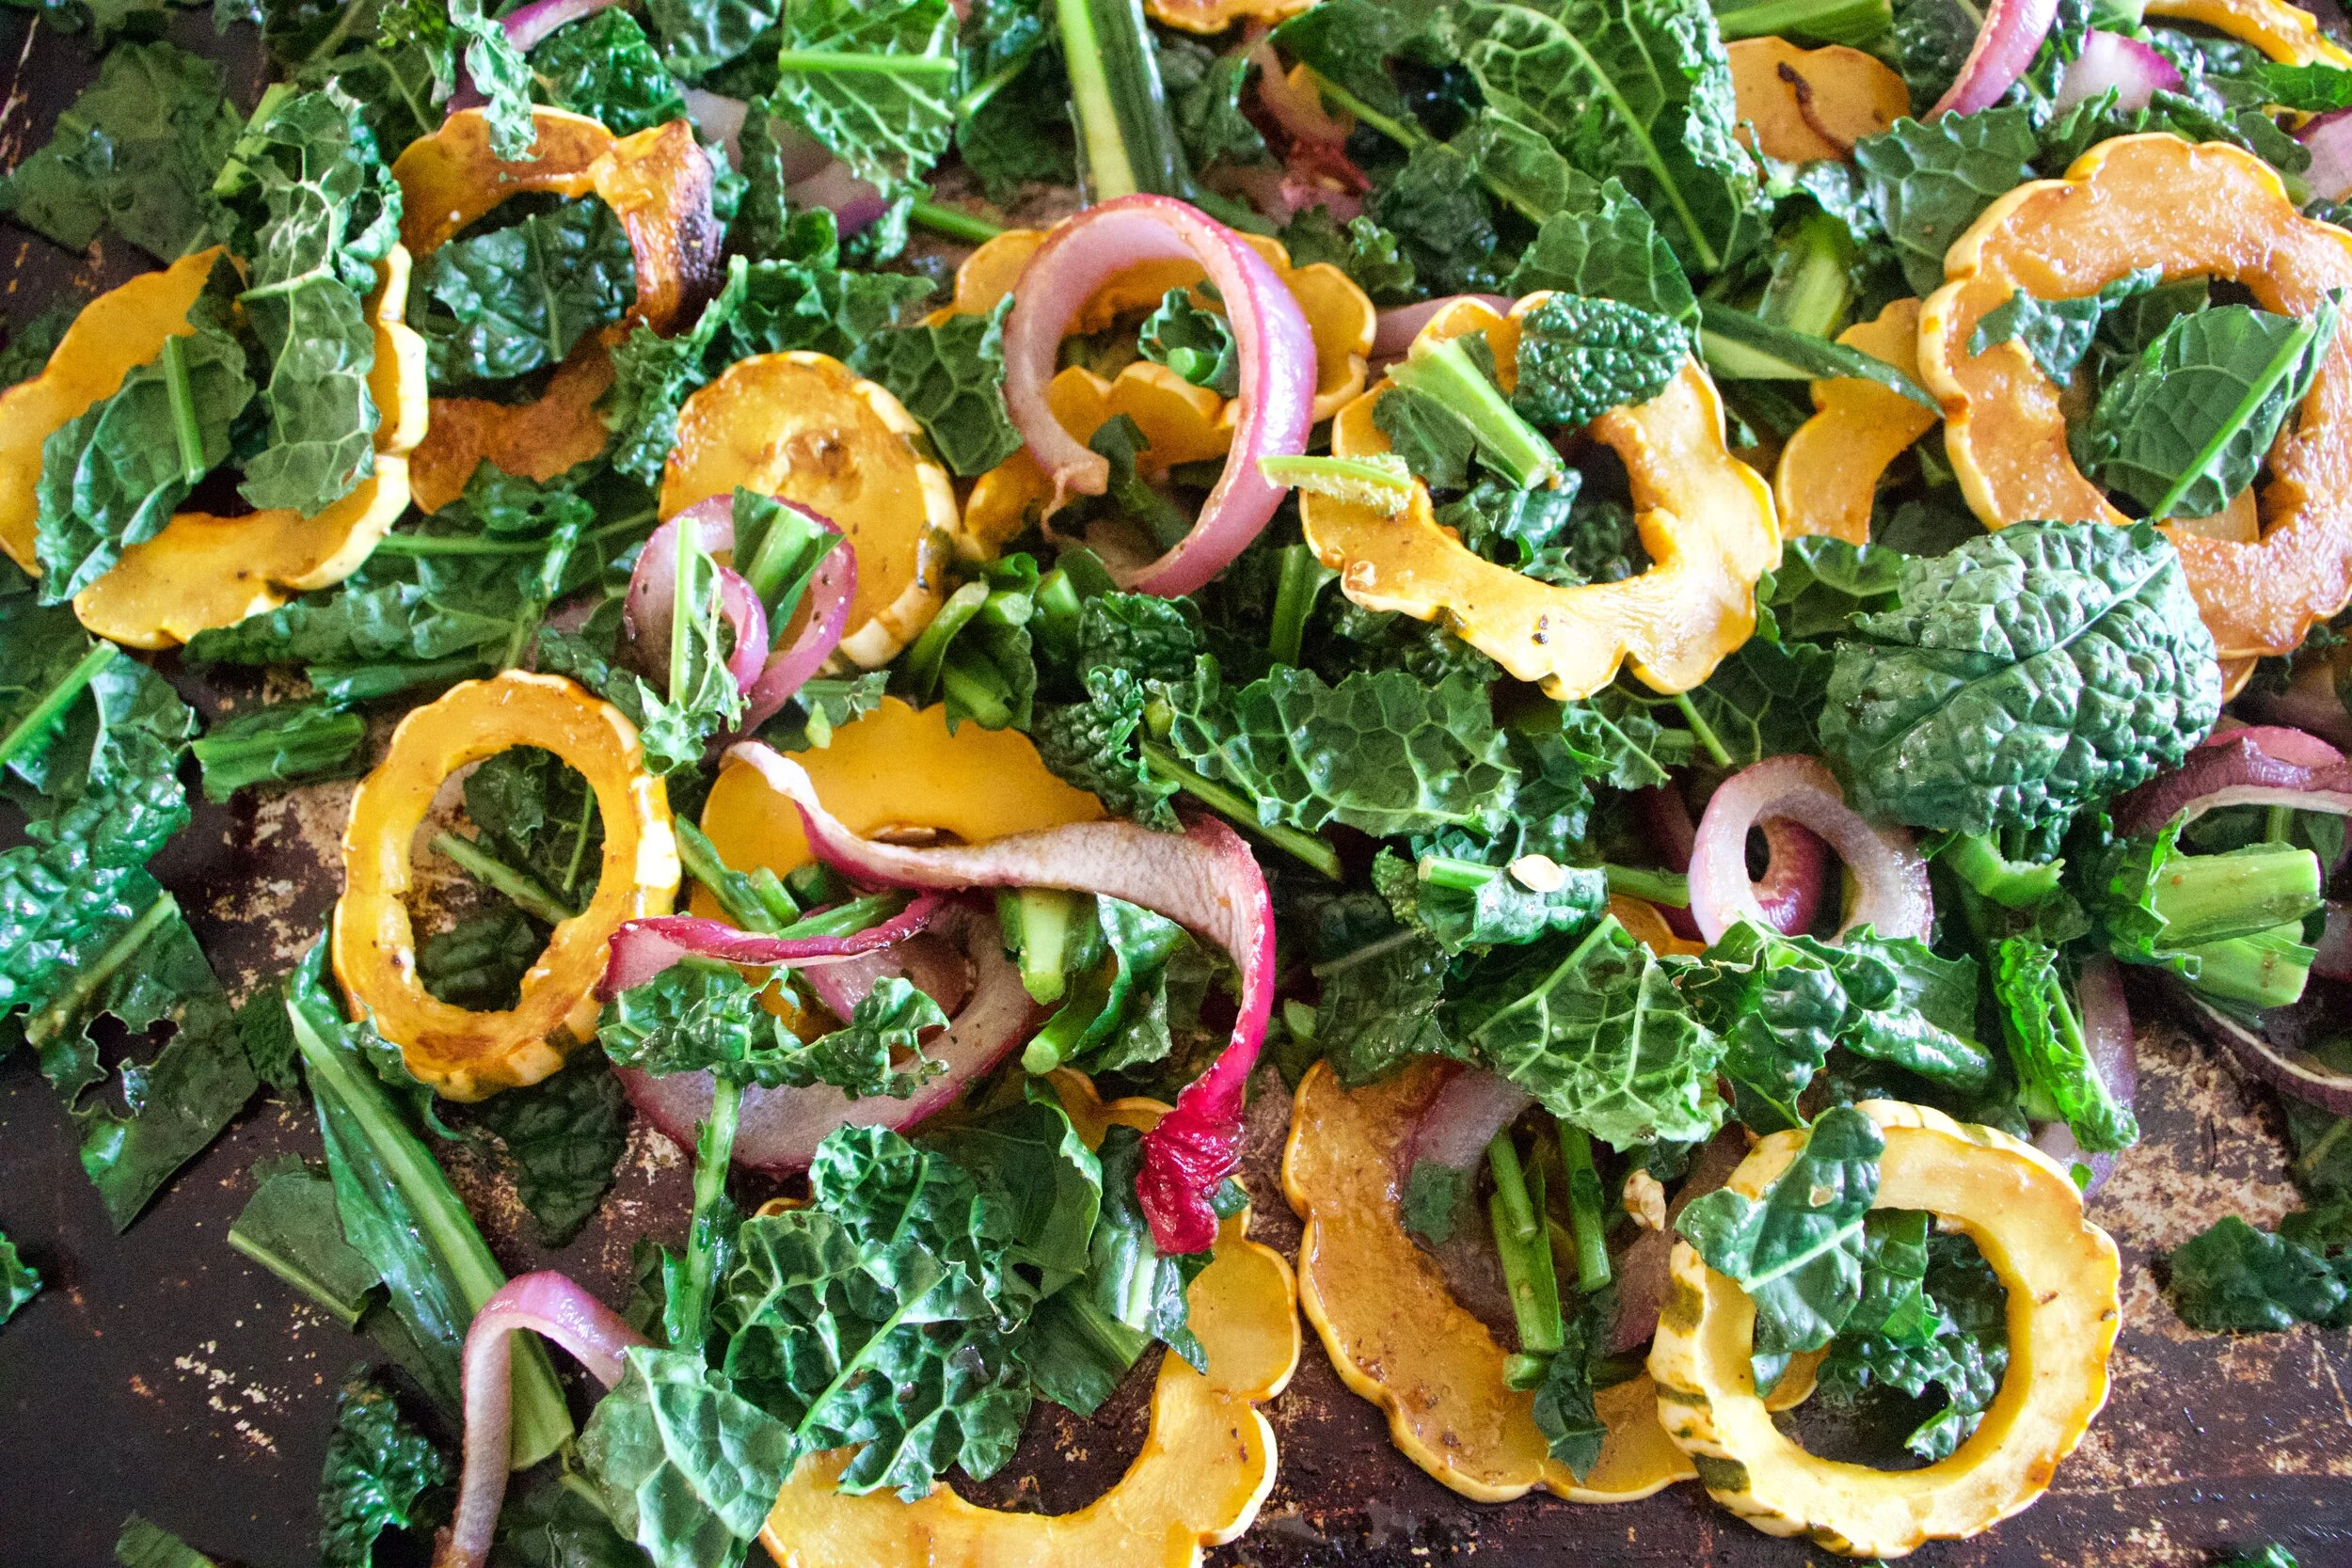
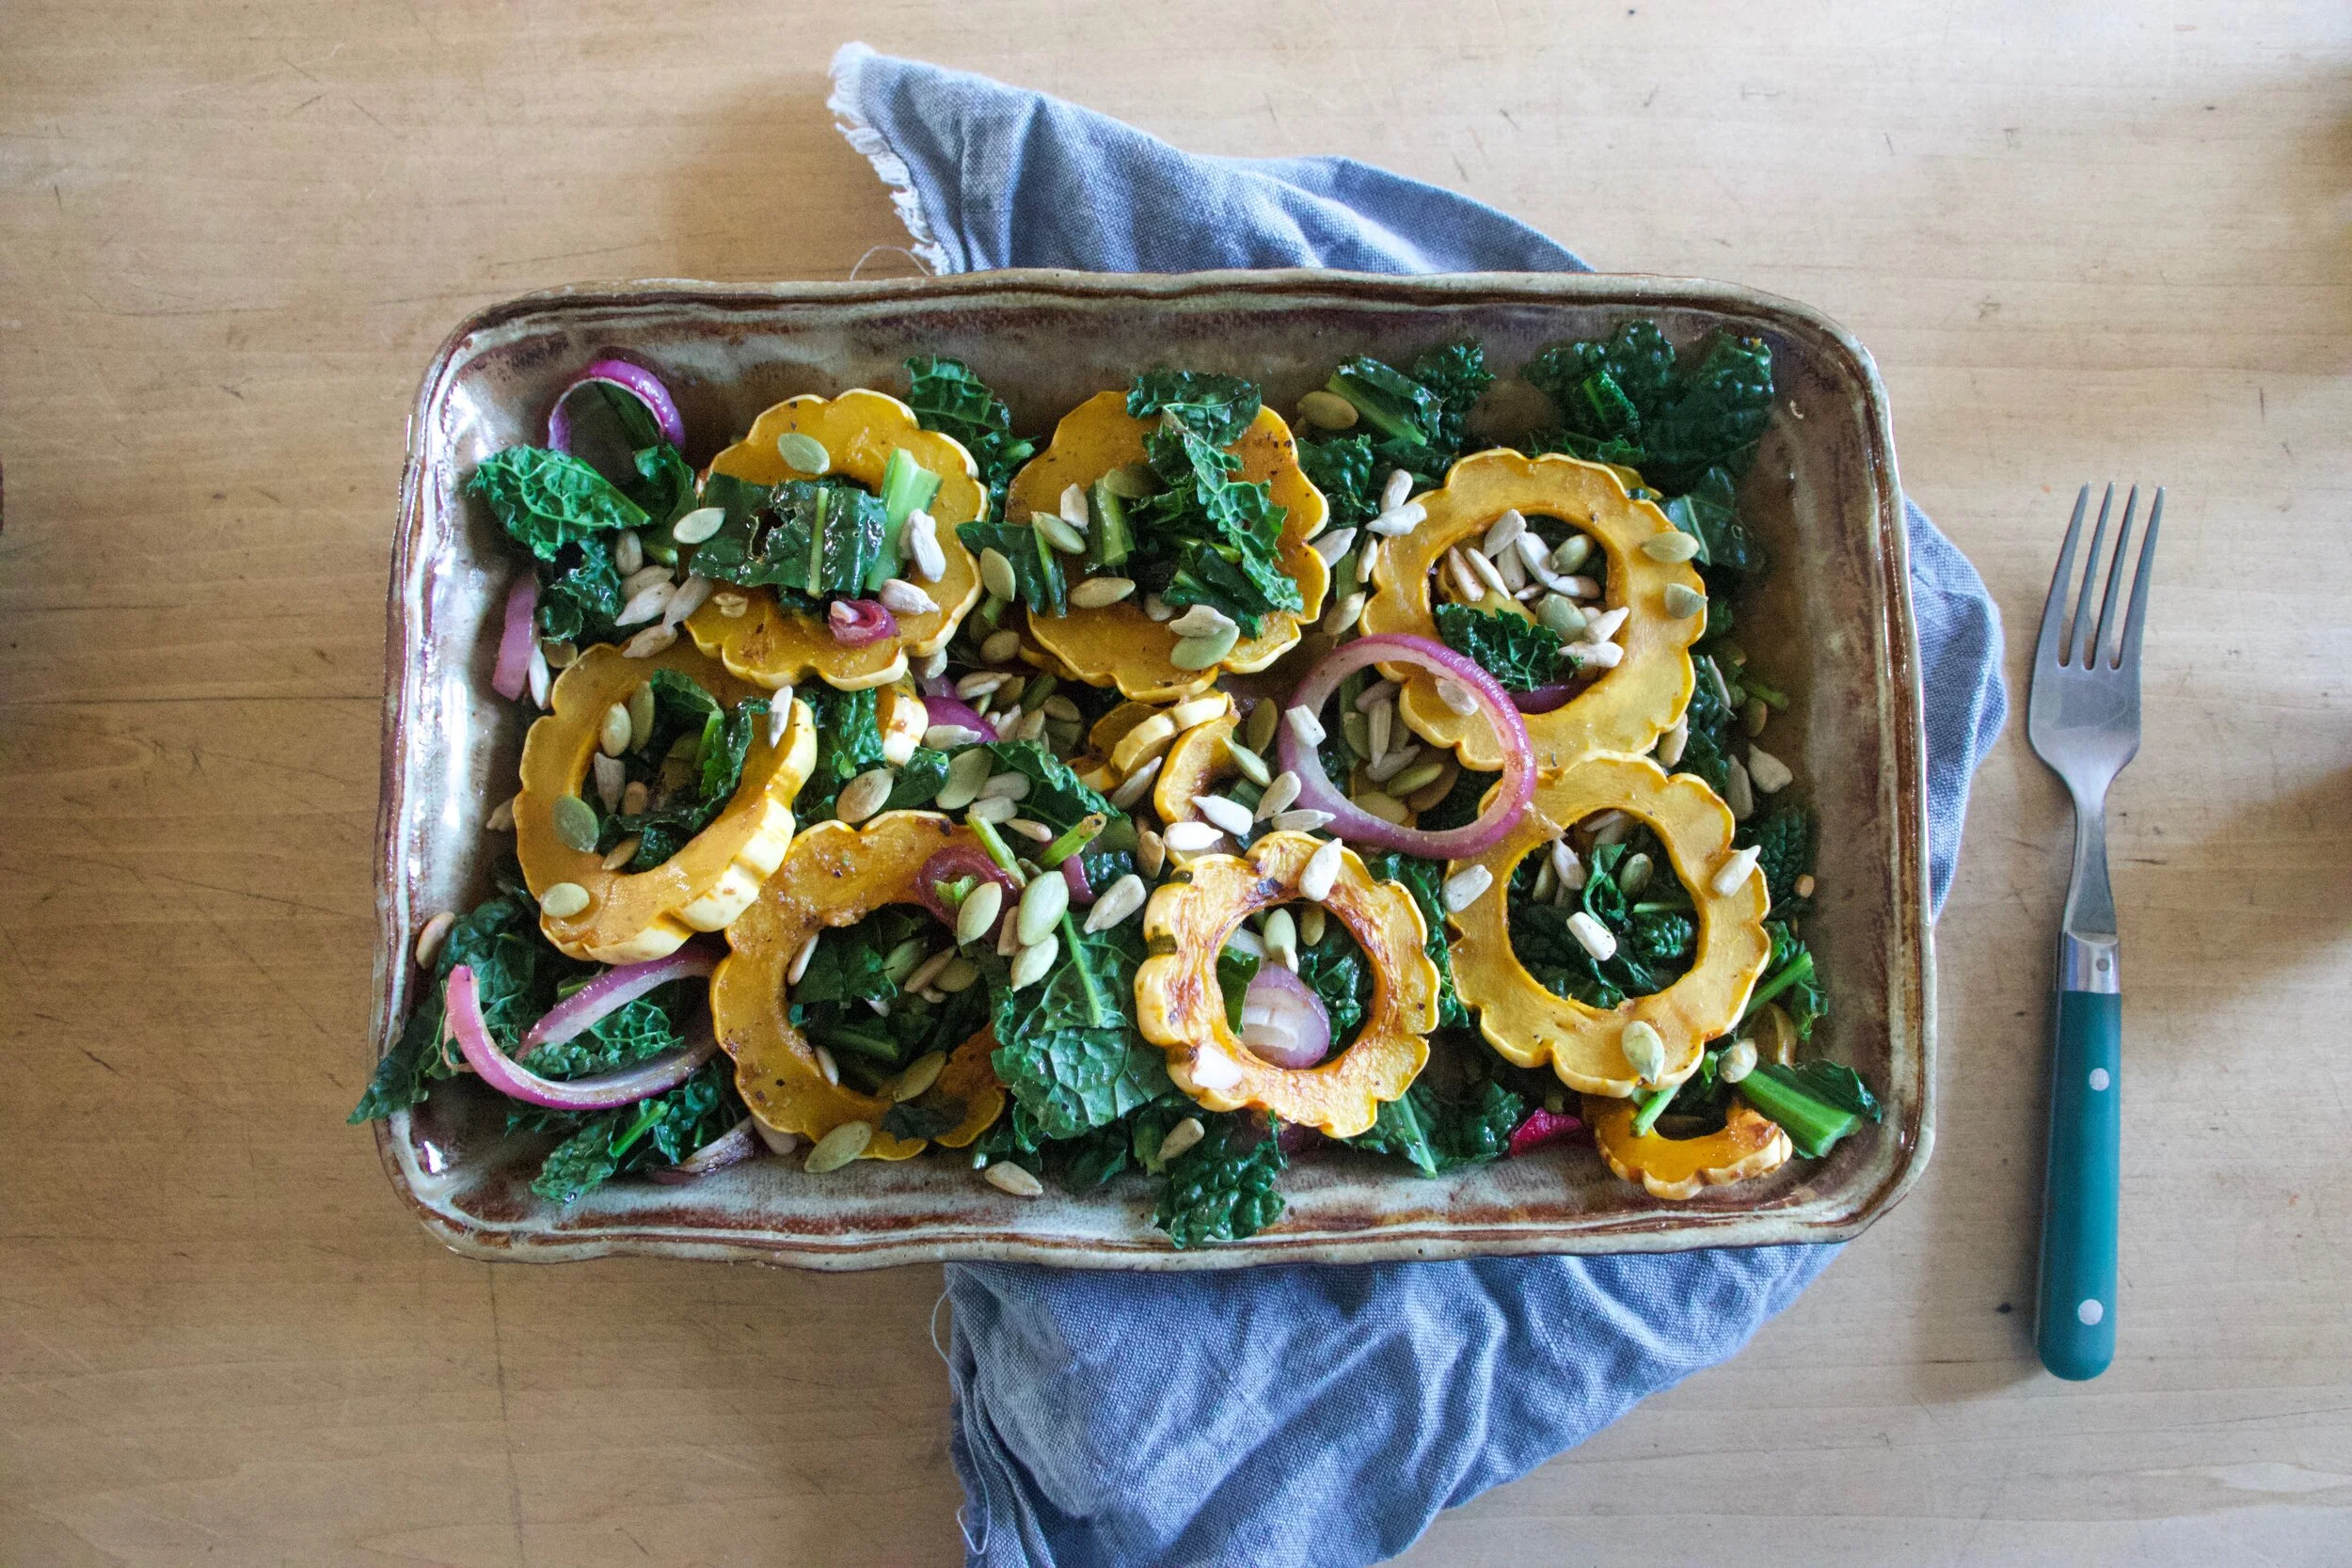
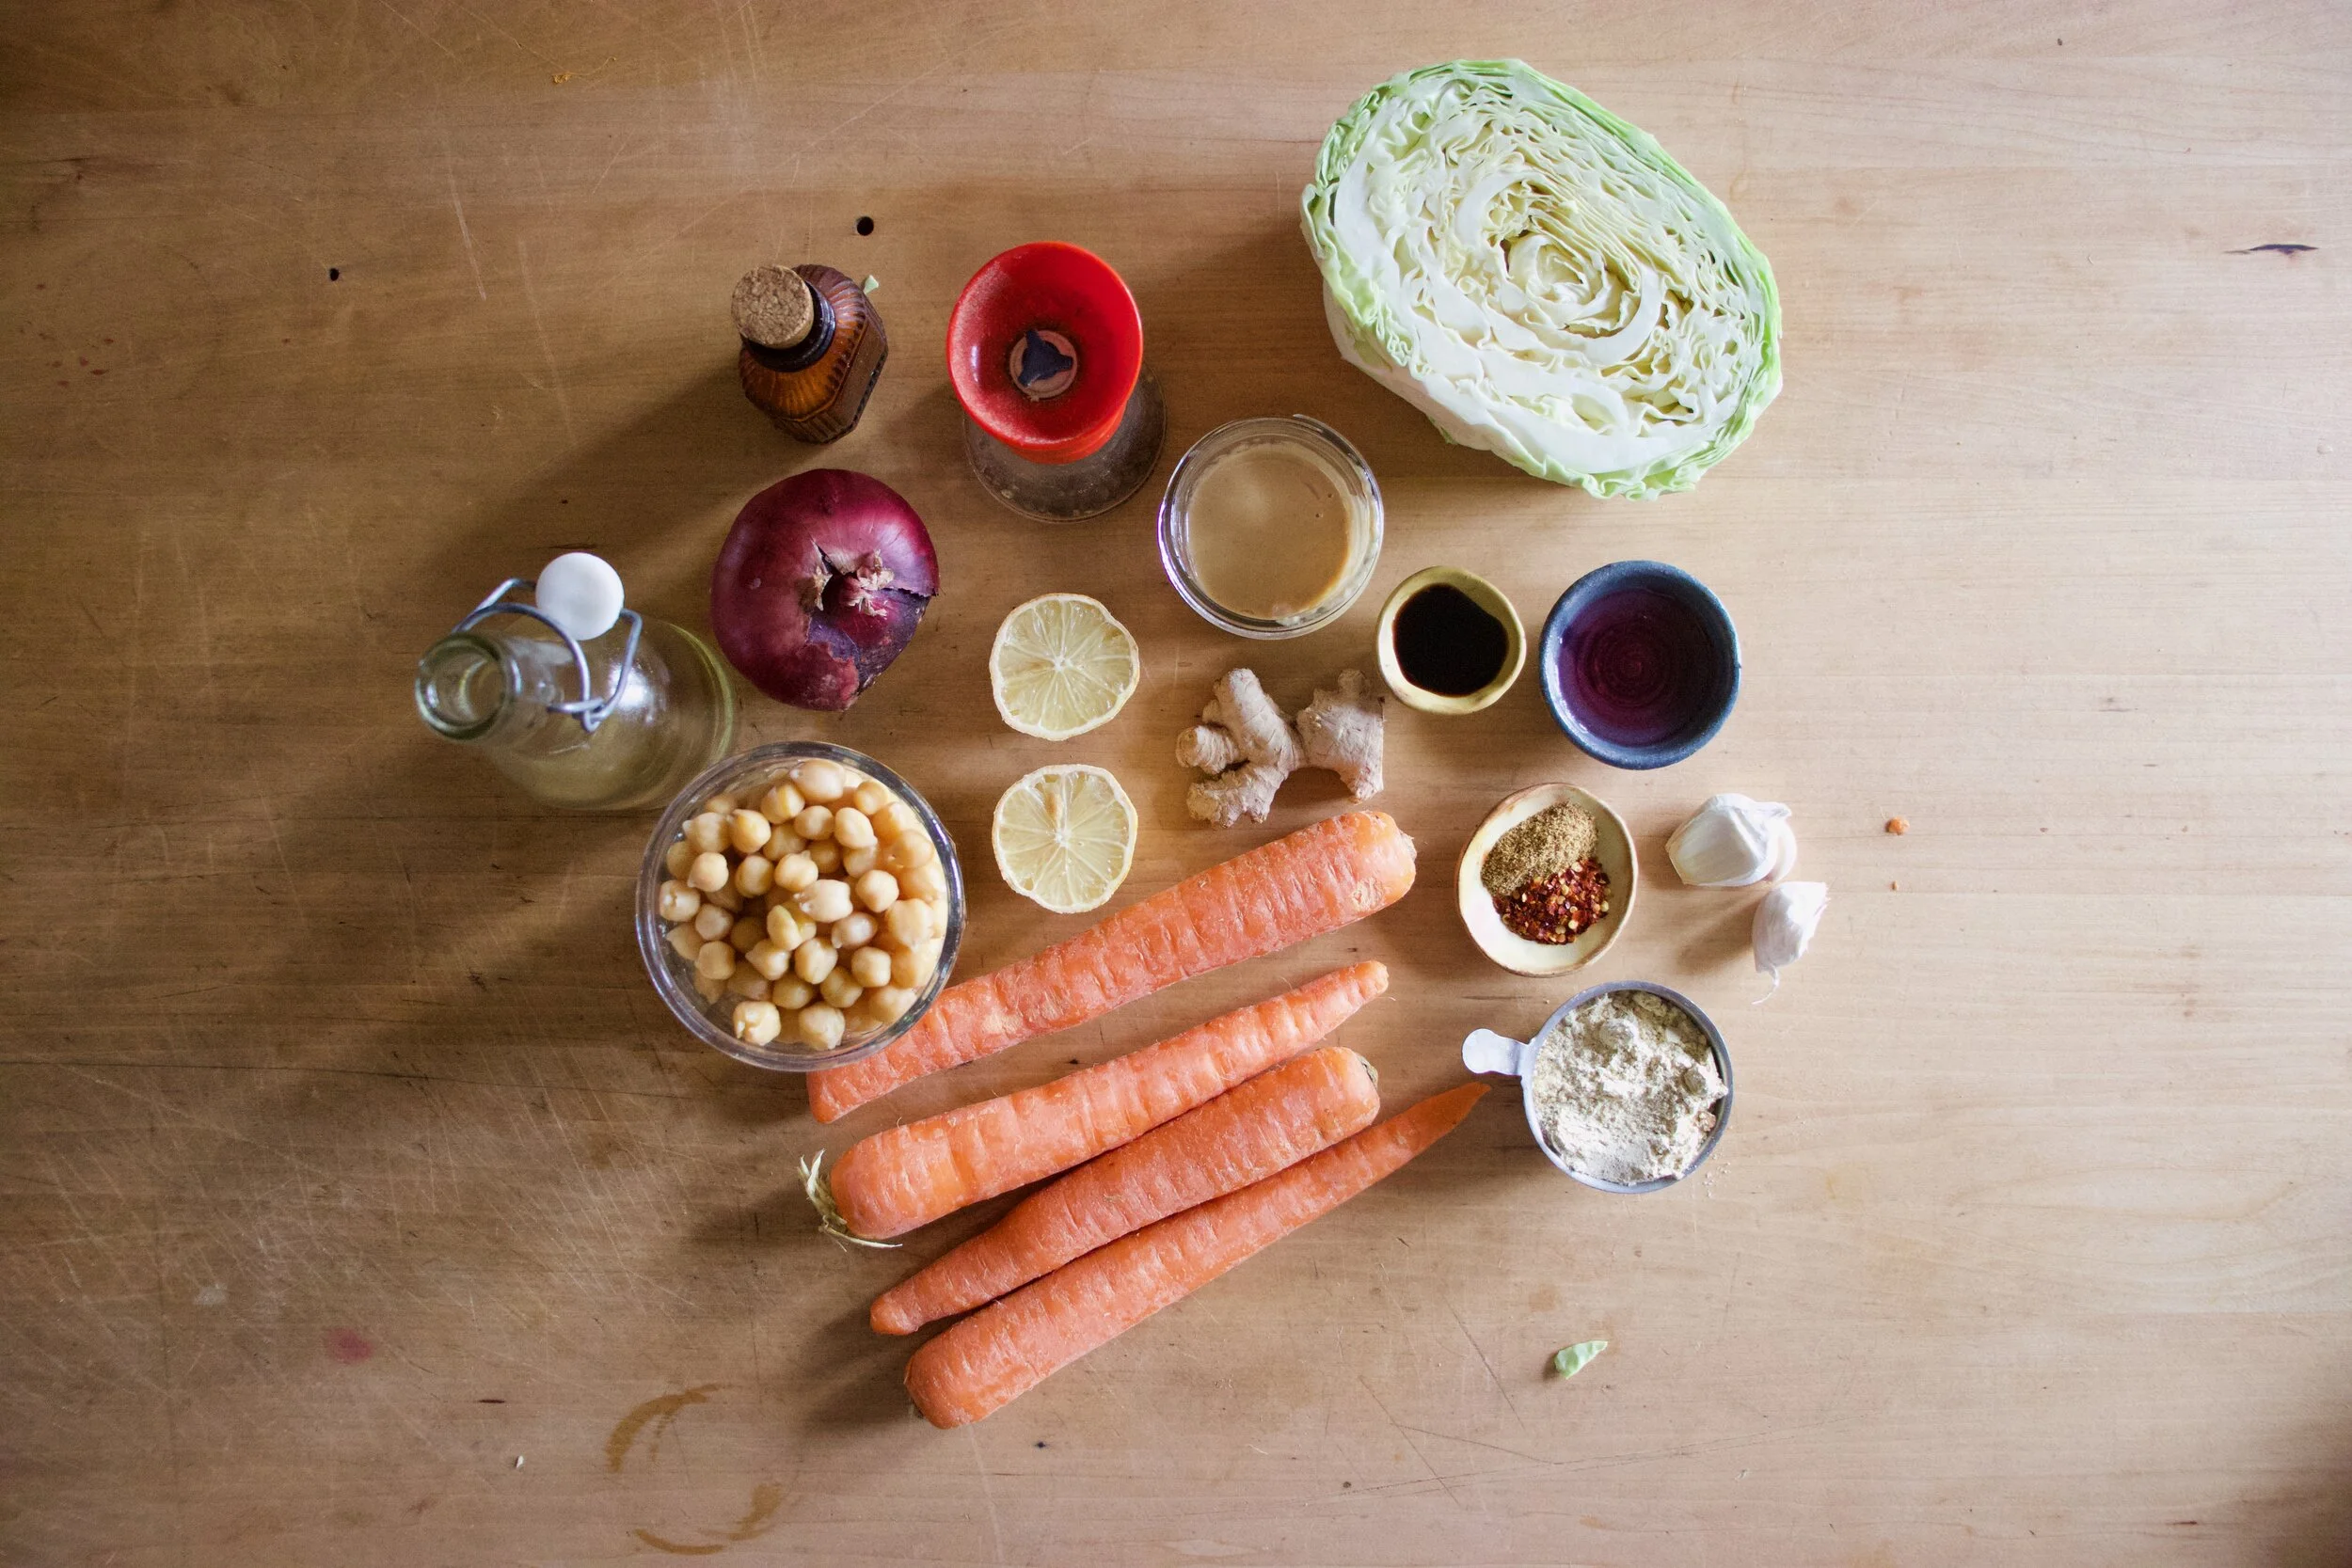





 I’ll let you know now, I am a make and eat soup all year long person. I can think of few things better then sitting outside, basking in the sun, hopefully with a light wind, a book in hand, enjoying a nice big cup of some good homemade soup. (Doesn’t that sound so freaking lovely?) This soup right here is perfect for just that. Parsnips are the best, kind of like a big white sweet, yet starchy carrots. And cooked together with a little bit of light and lemony thyme, rich earthy turmeric and a couple more chopped veggie….. you got yourself a nice thick and fragrant bowl of happiness that fills you up without weighing you down. It’s food you can eat that fills you up, leaves you feeling cozy, yet still wanting to hop on a bike or lace up the running shoes. Hearty without the feeling of all the heaviness.
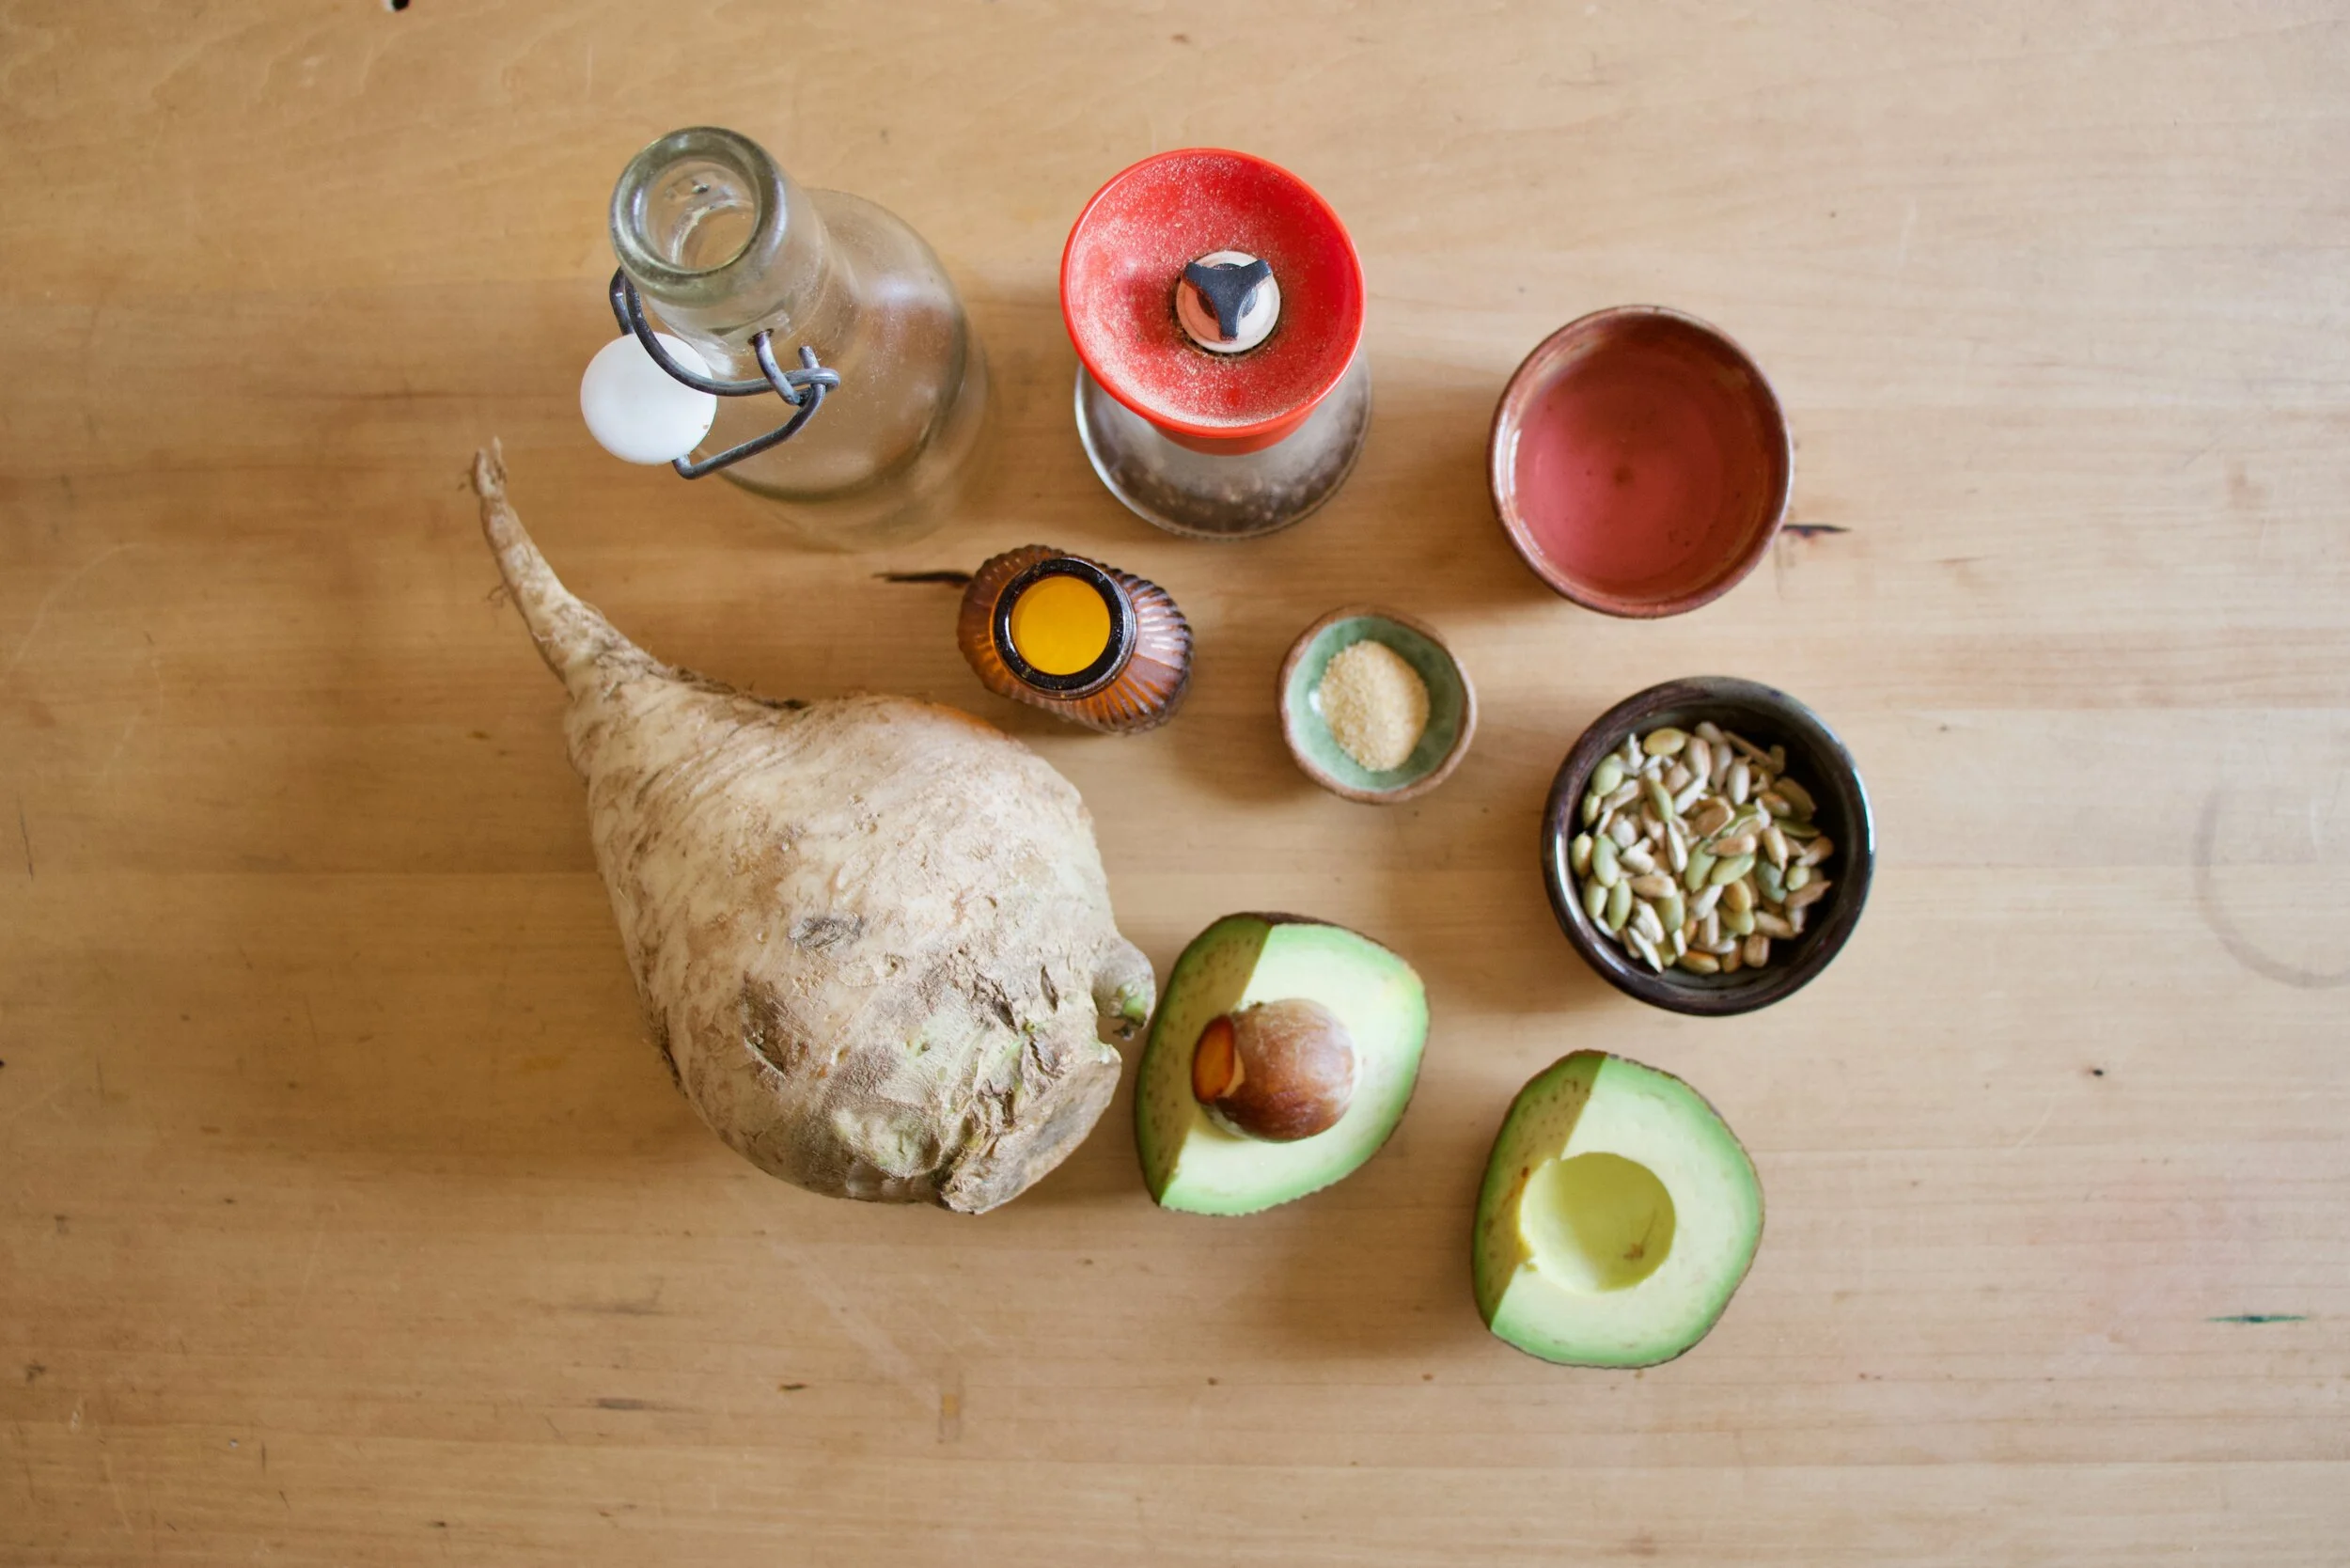
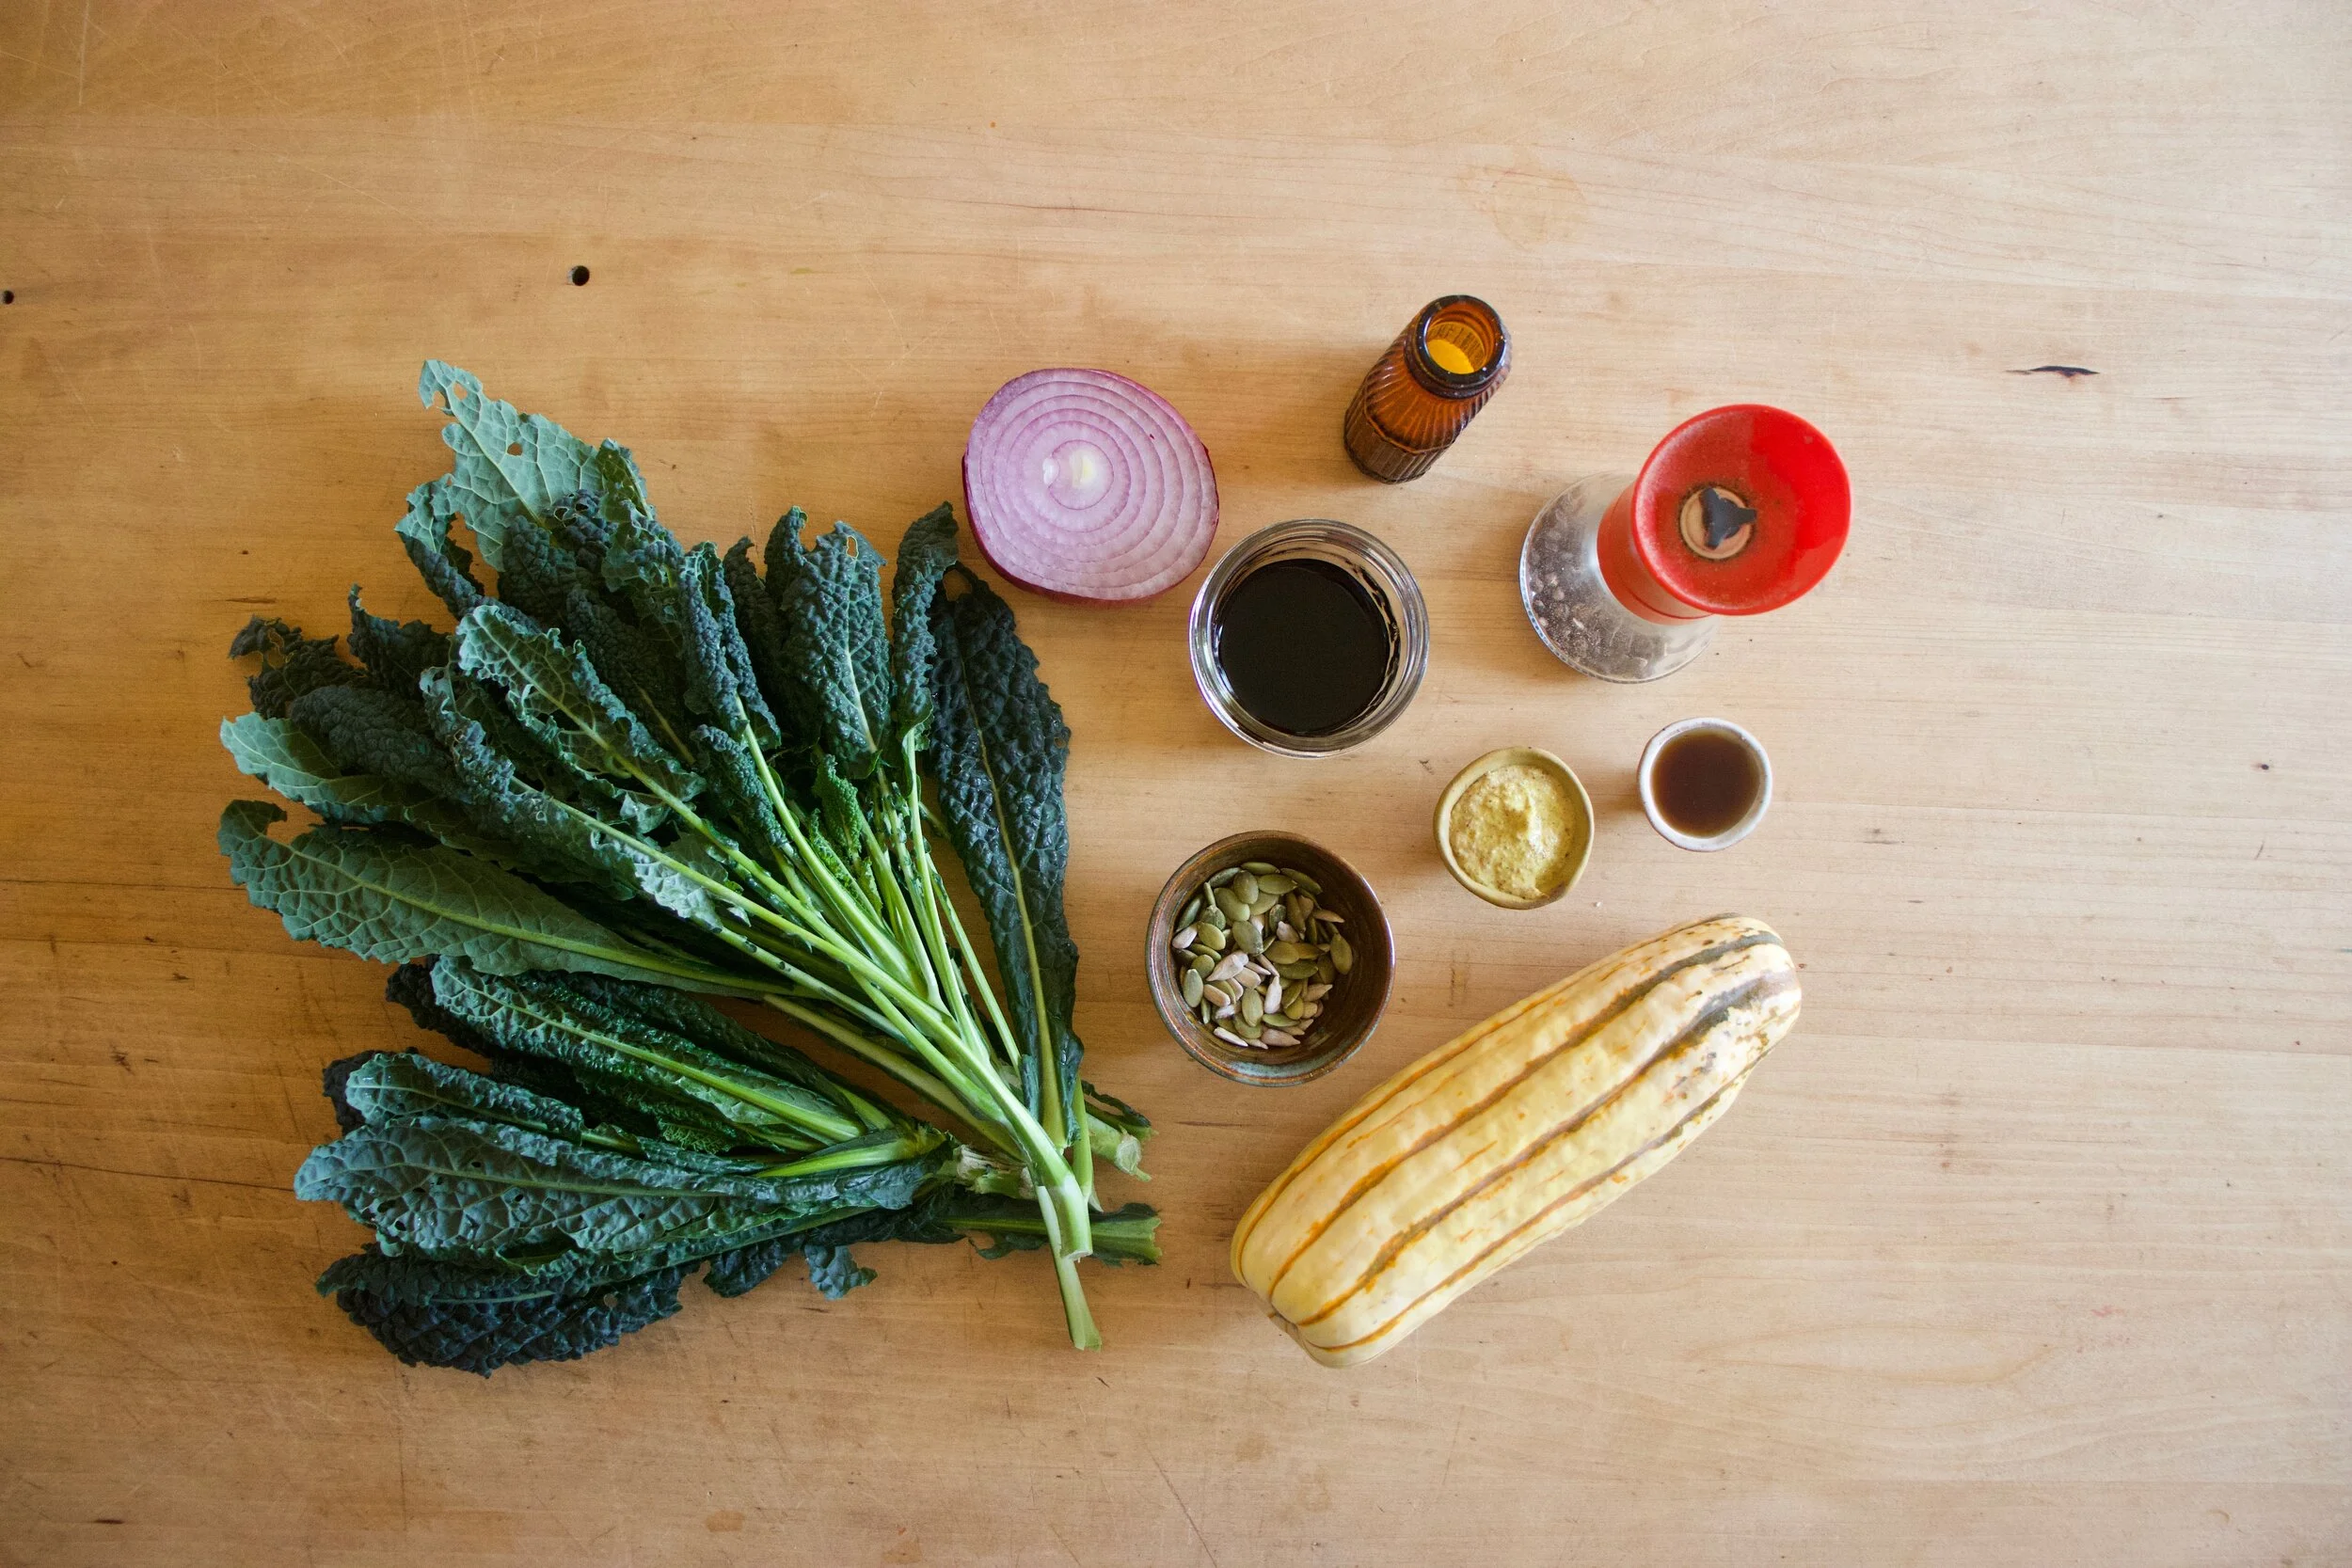
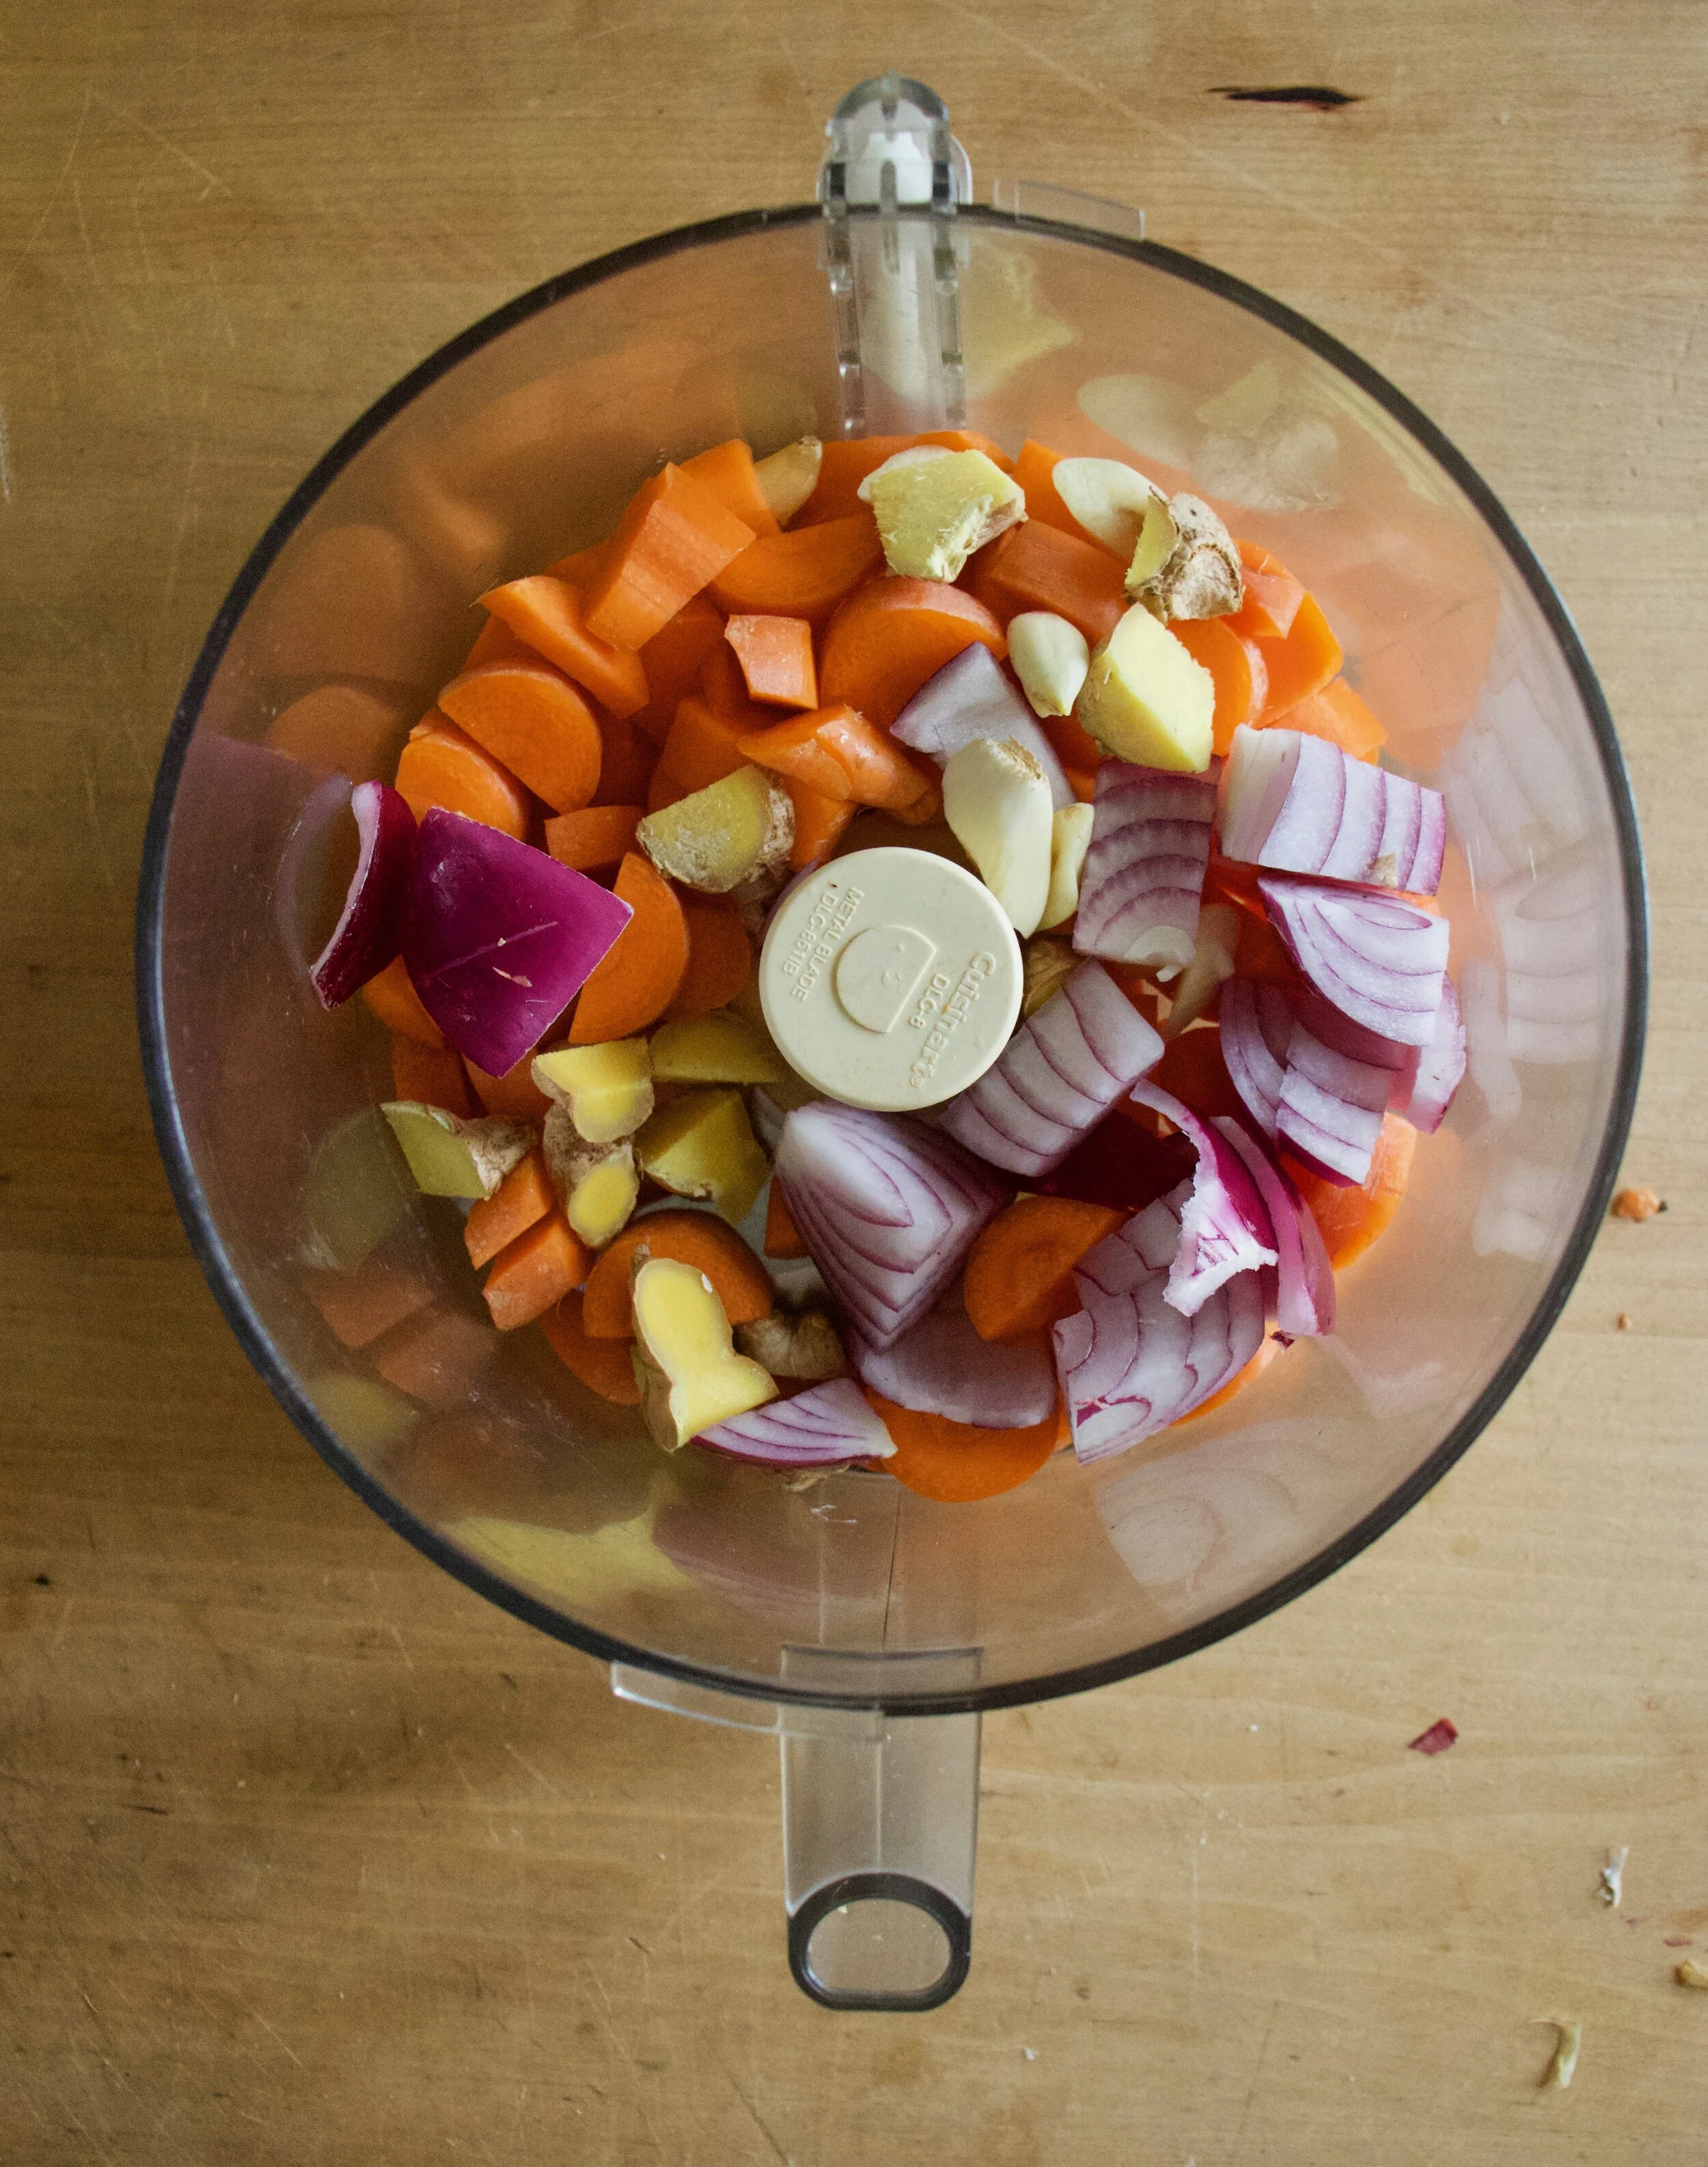
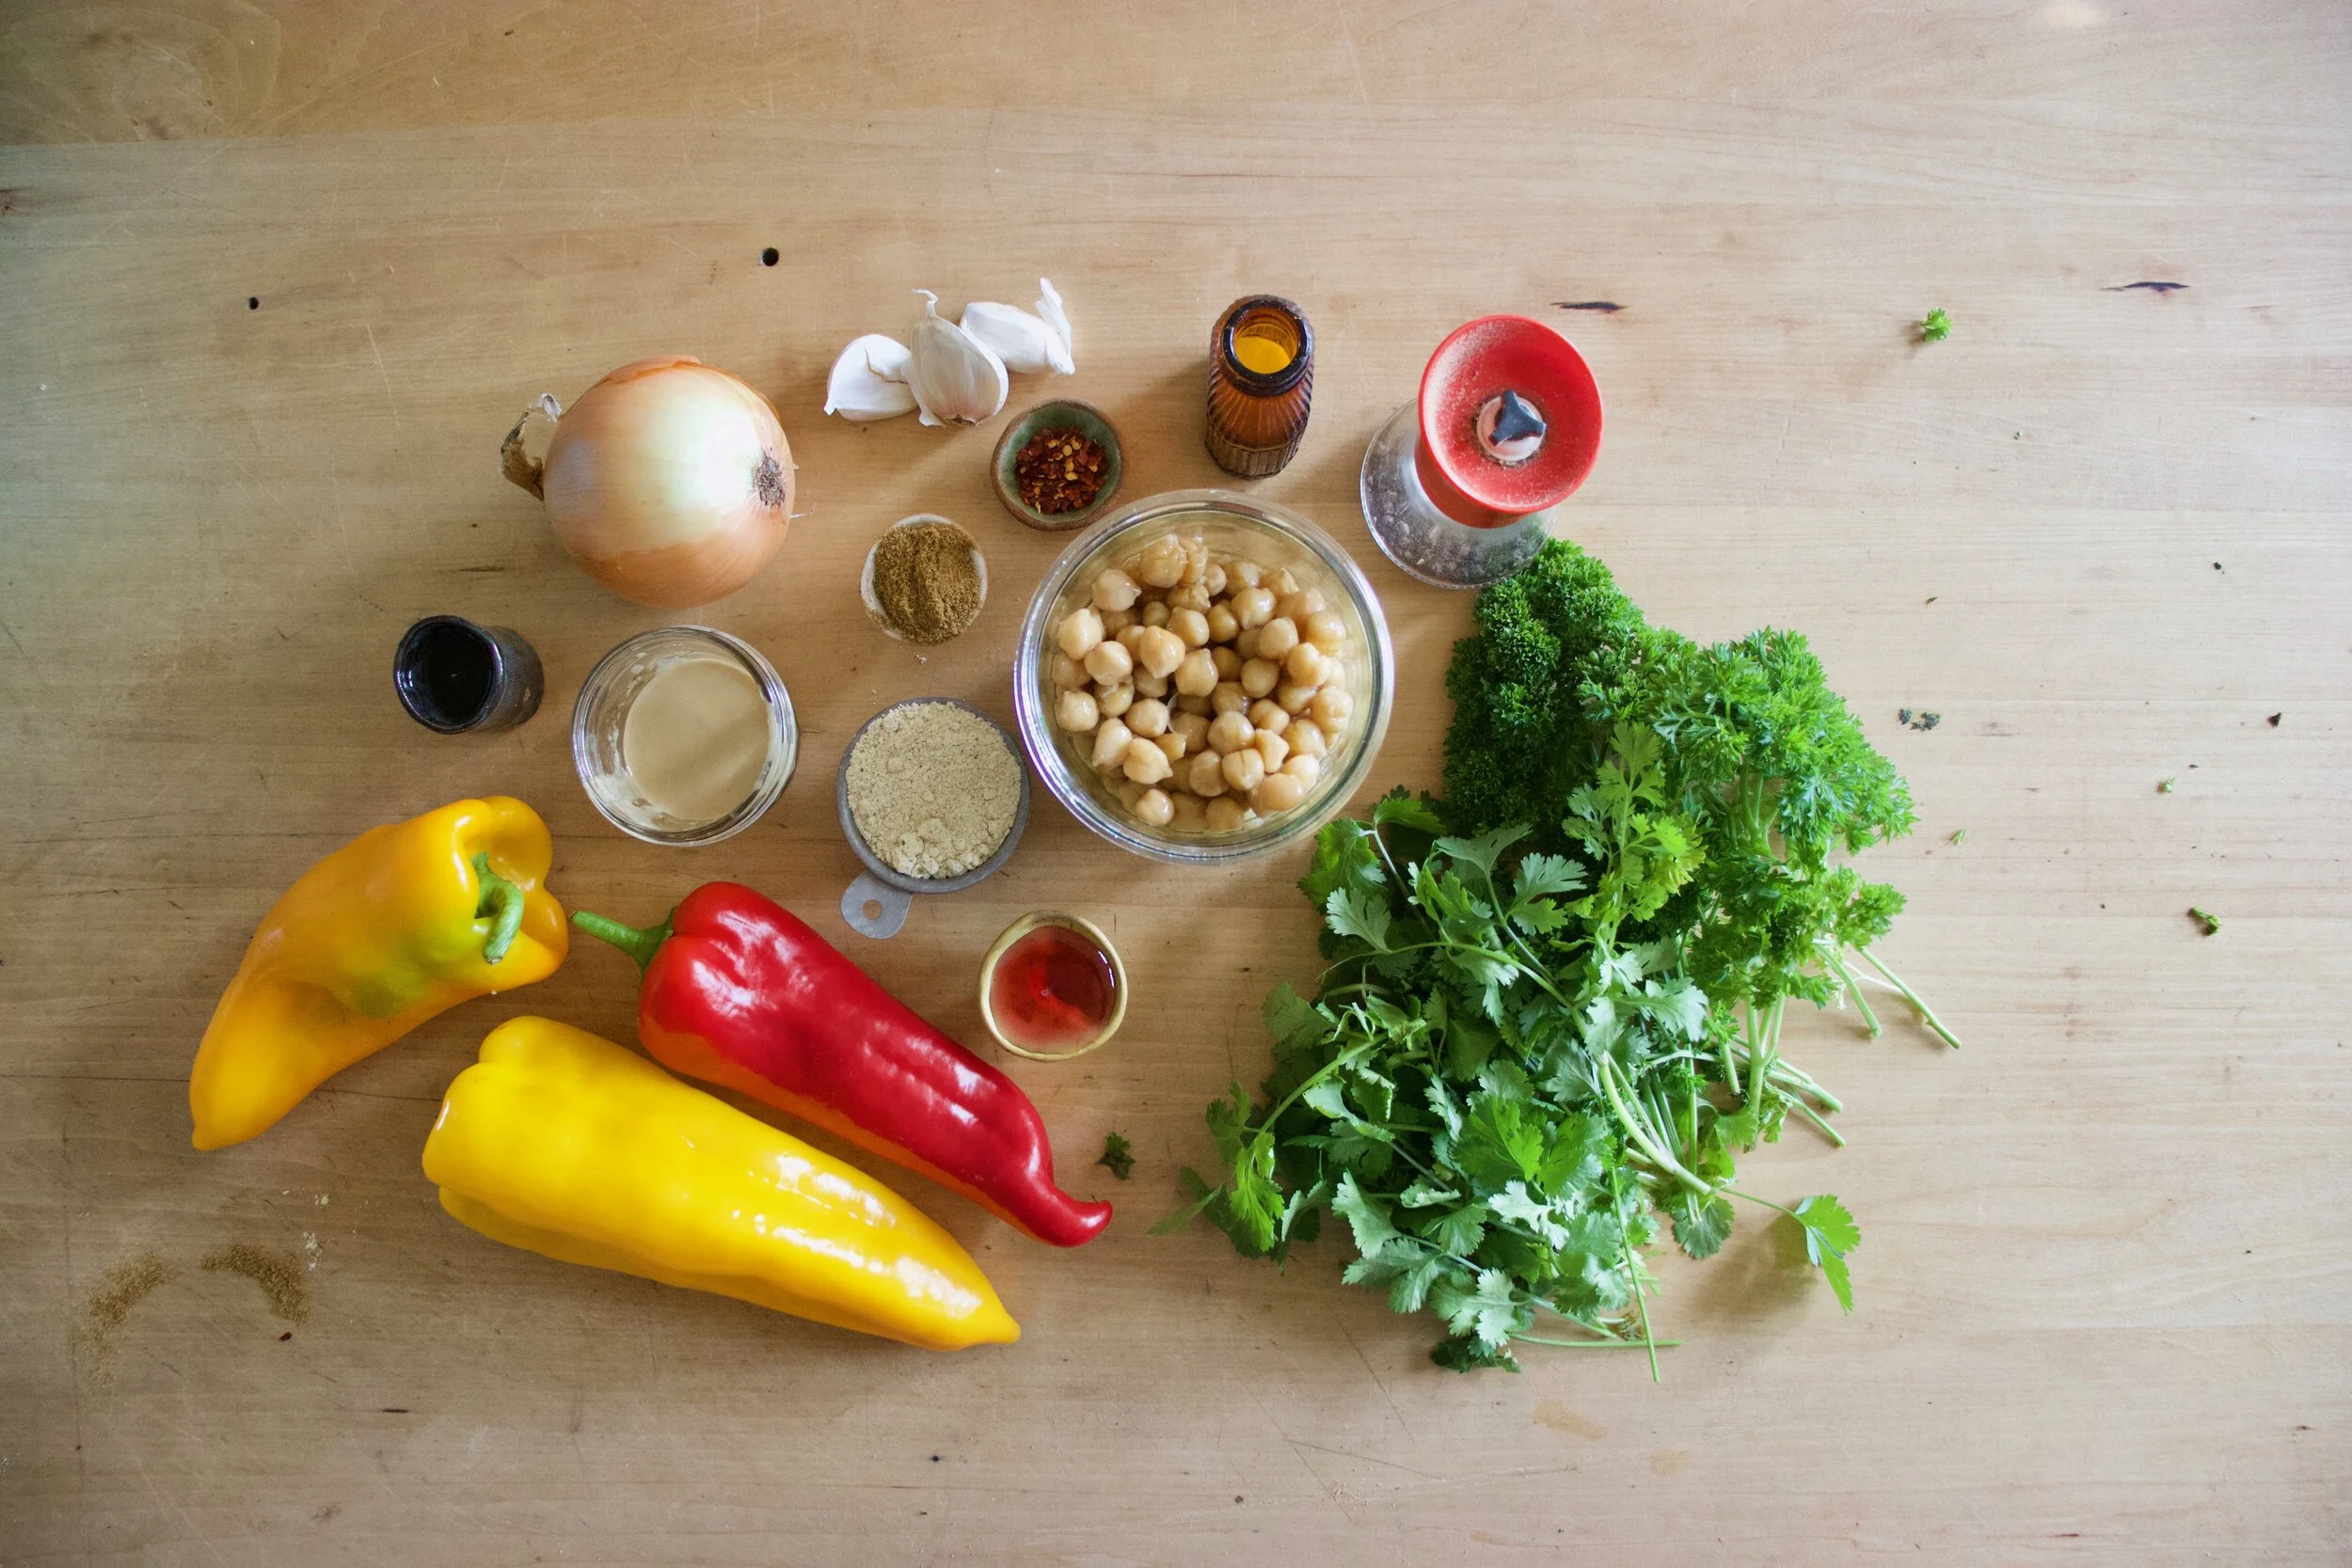
 The stuff. Parsnips, carrots, onion and garlic. Thyme and turmeric, salt and pepper. the tinniest bit of oil and water (water not shown)
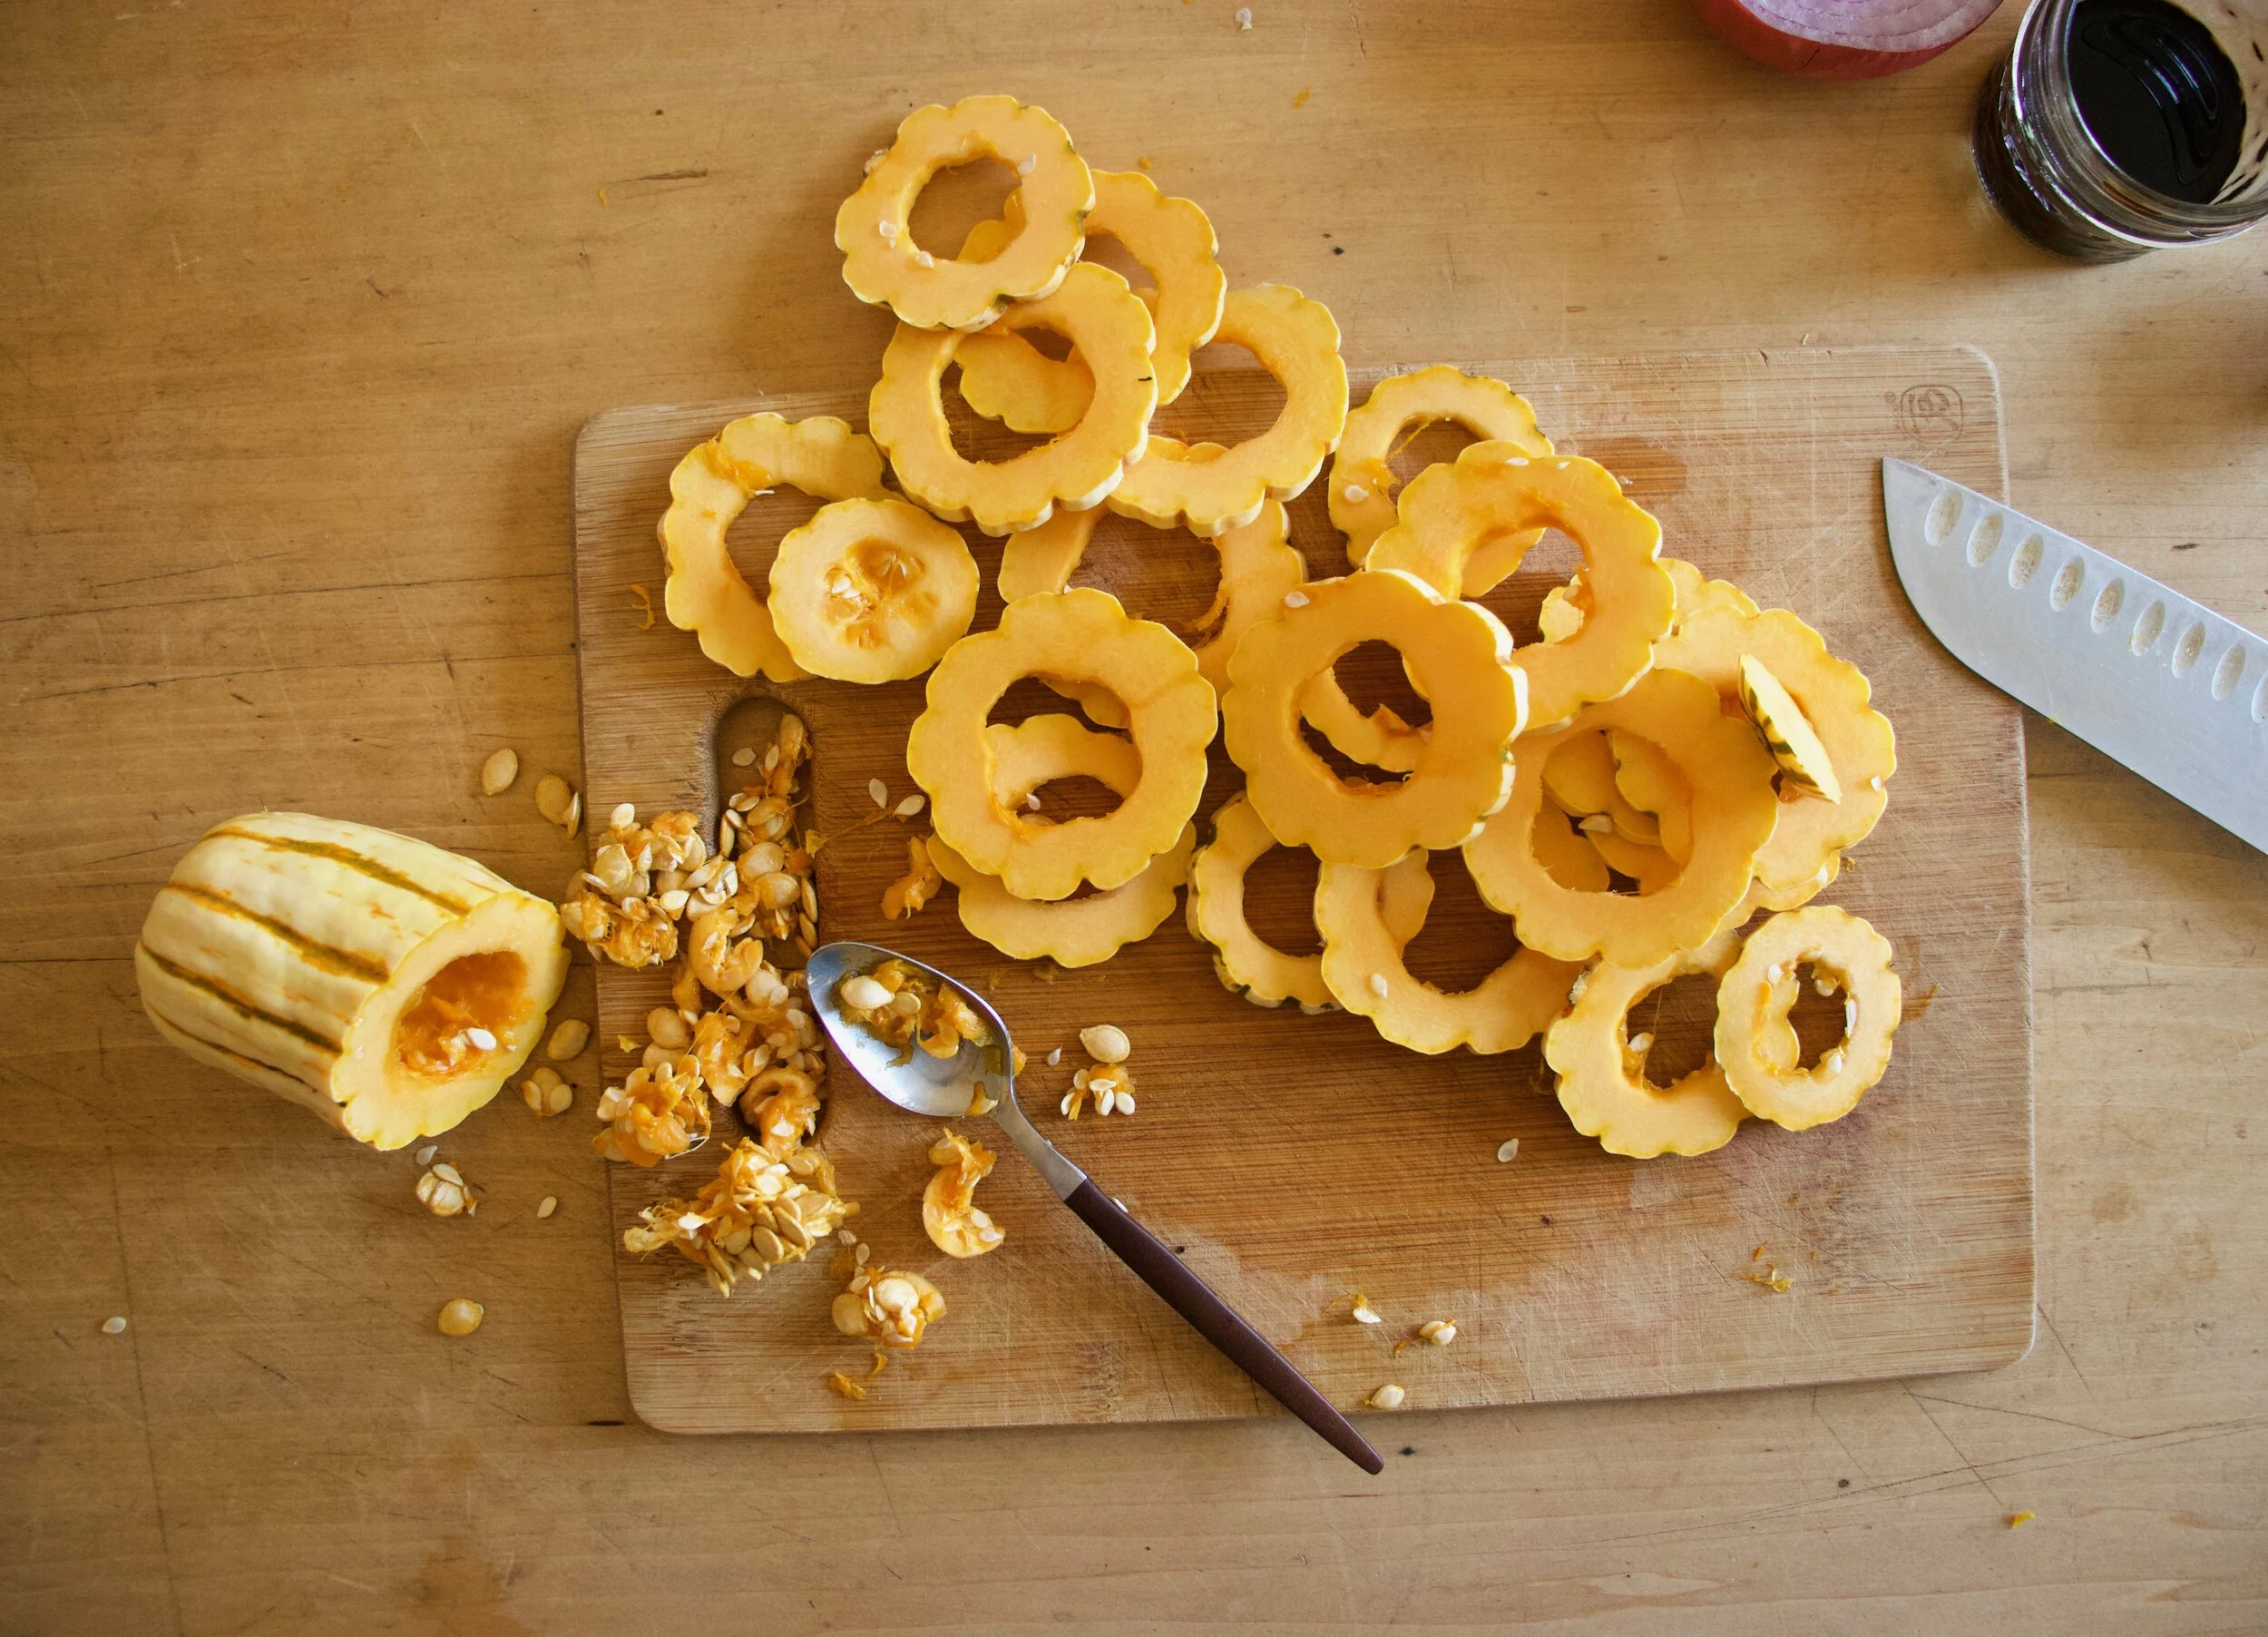
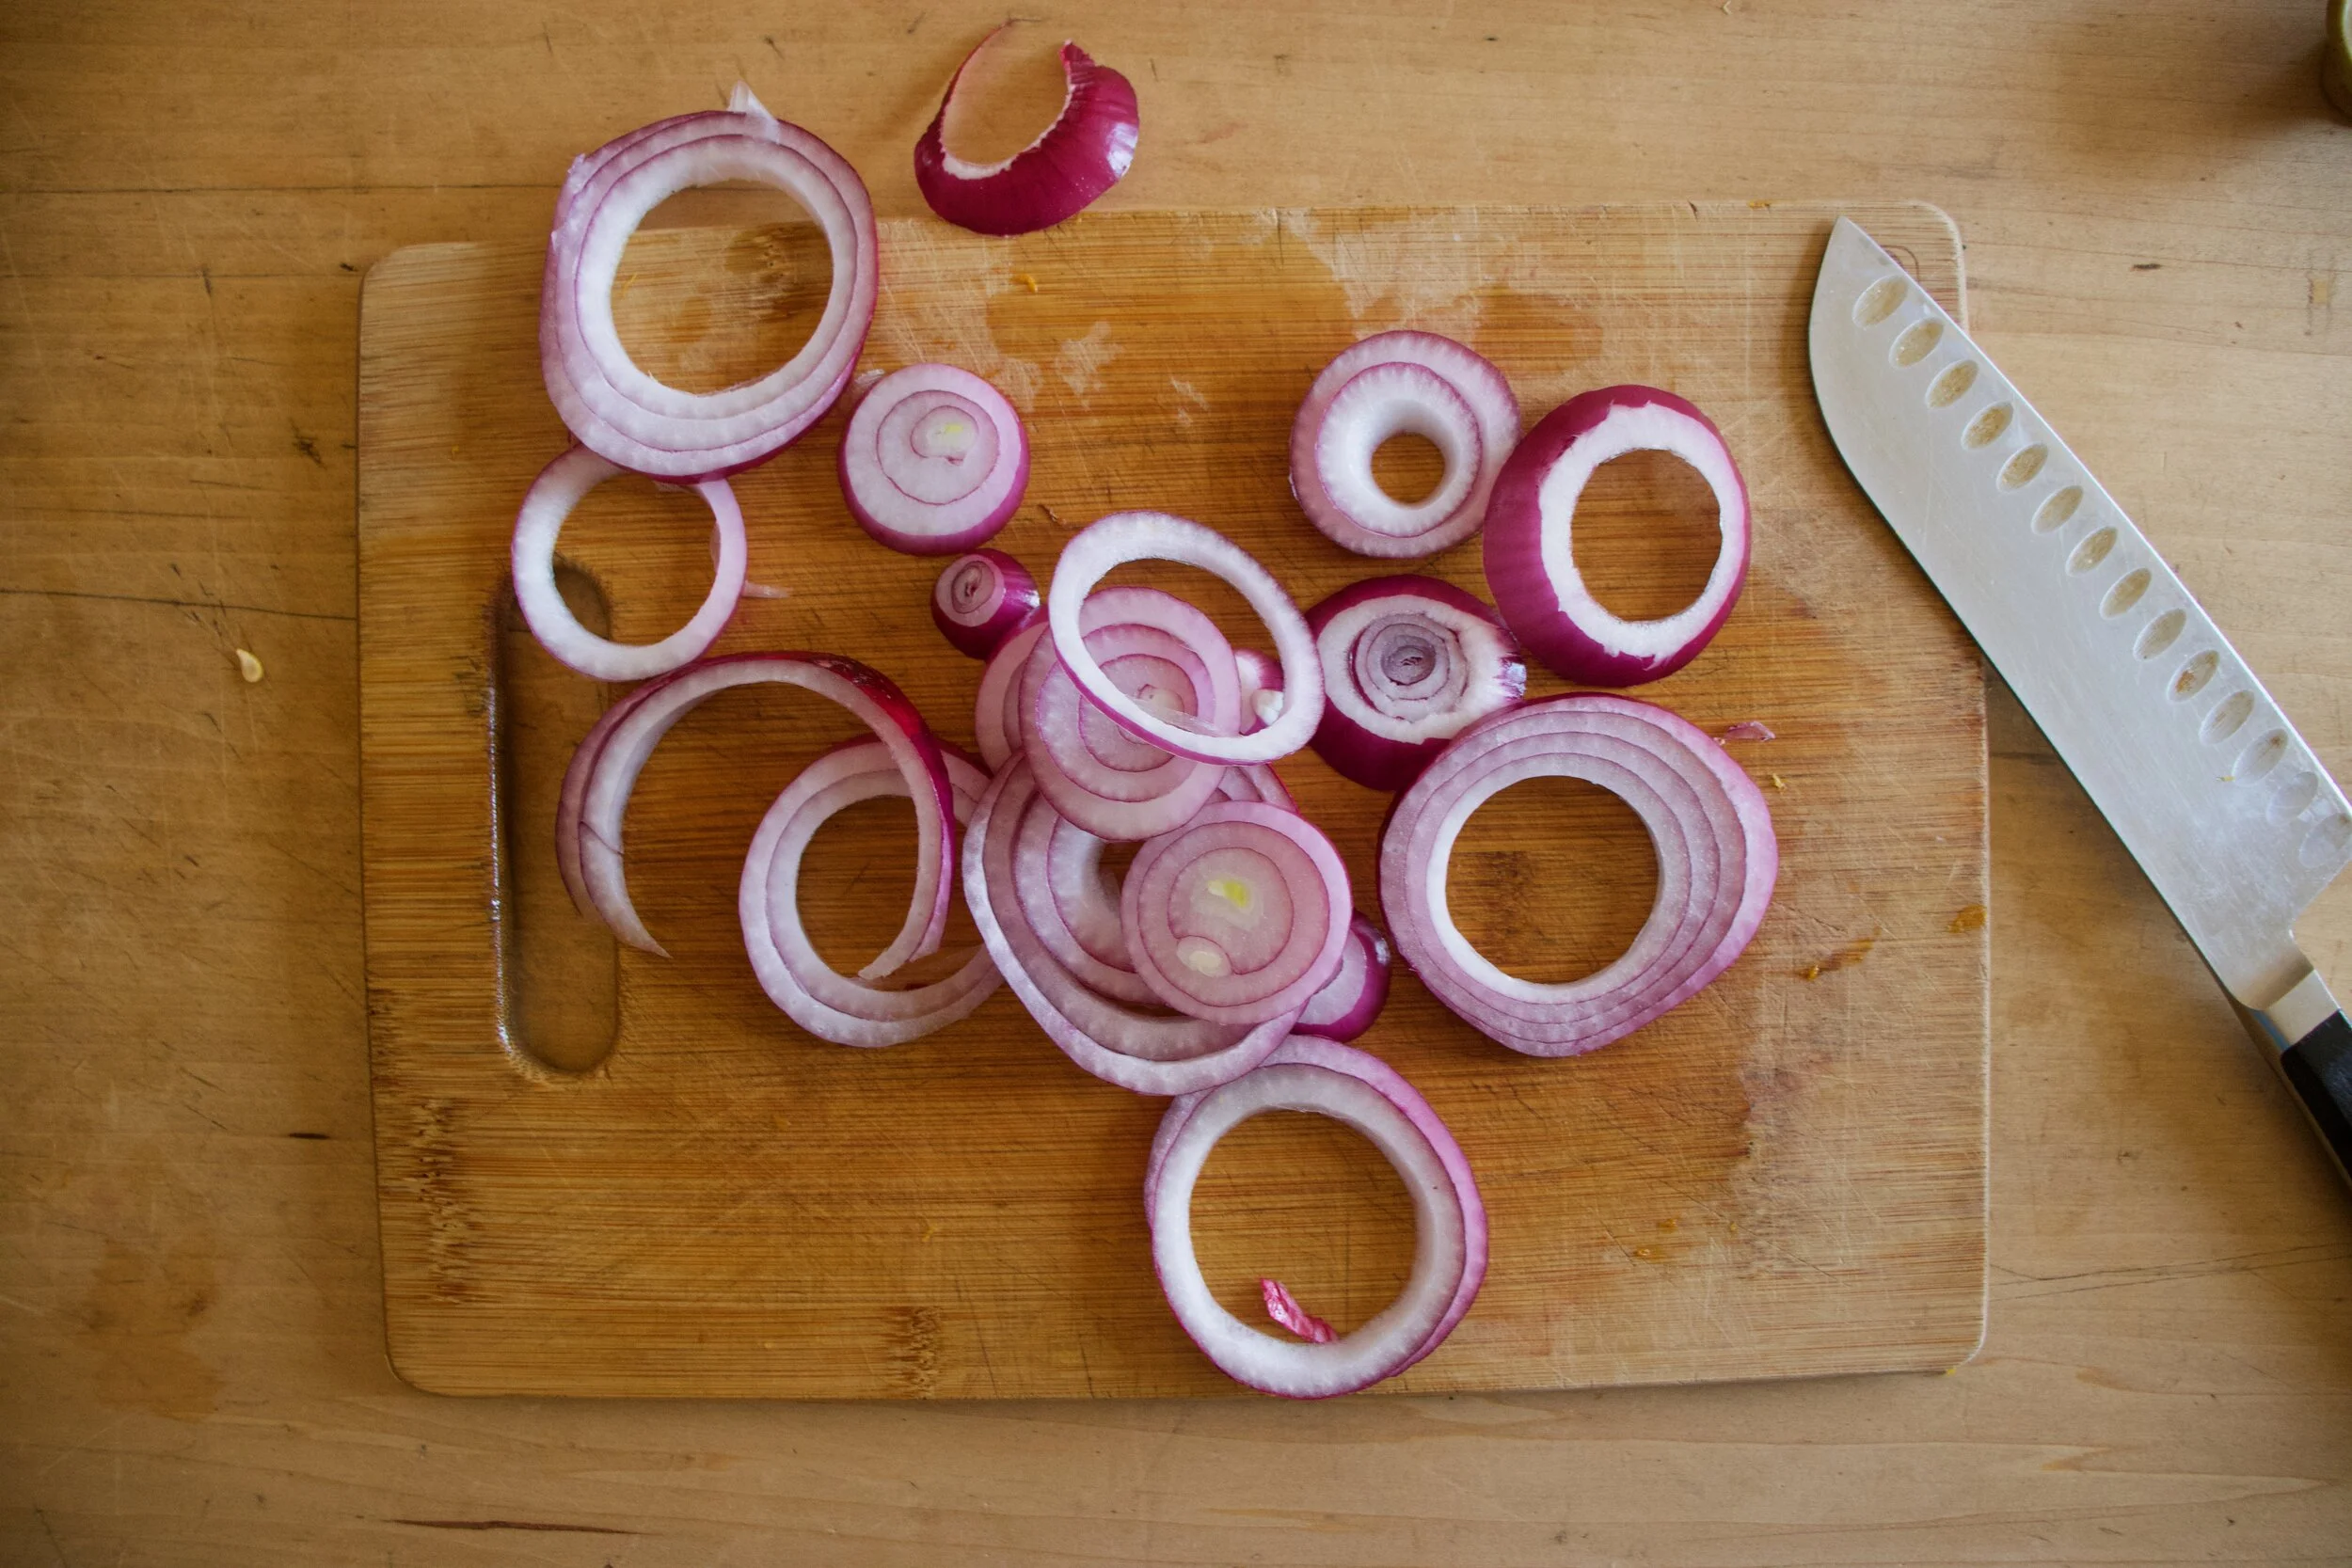
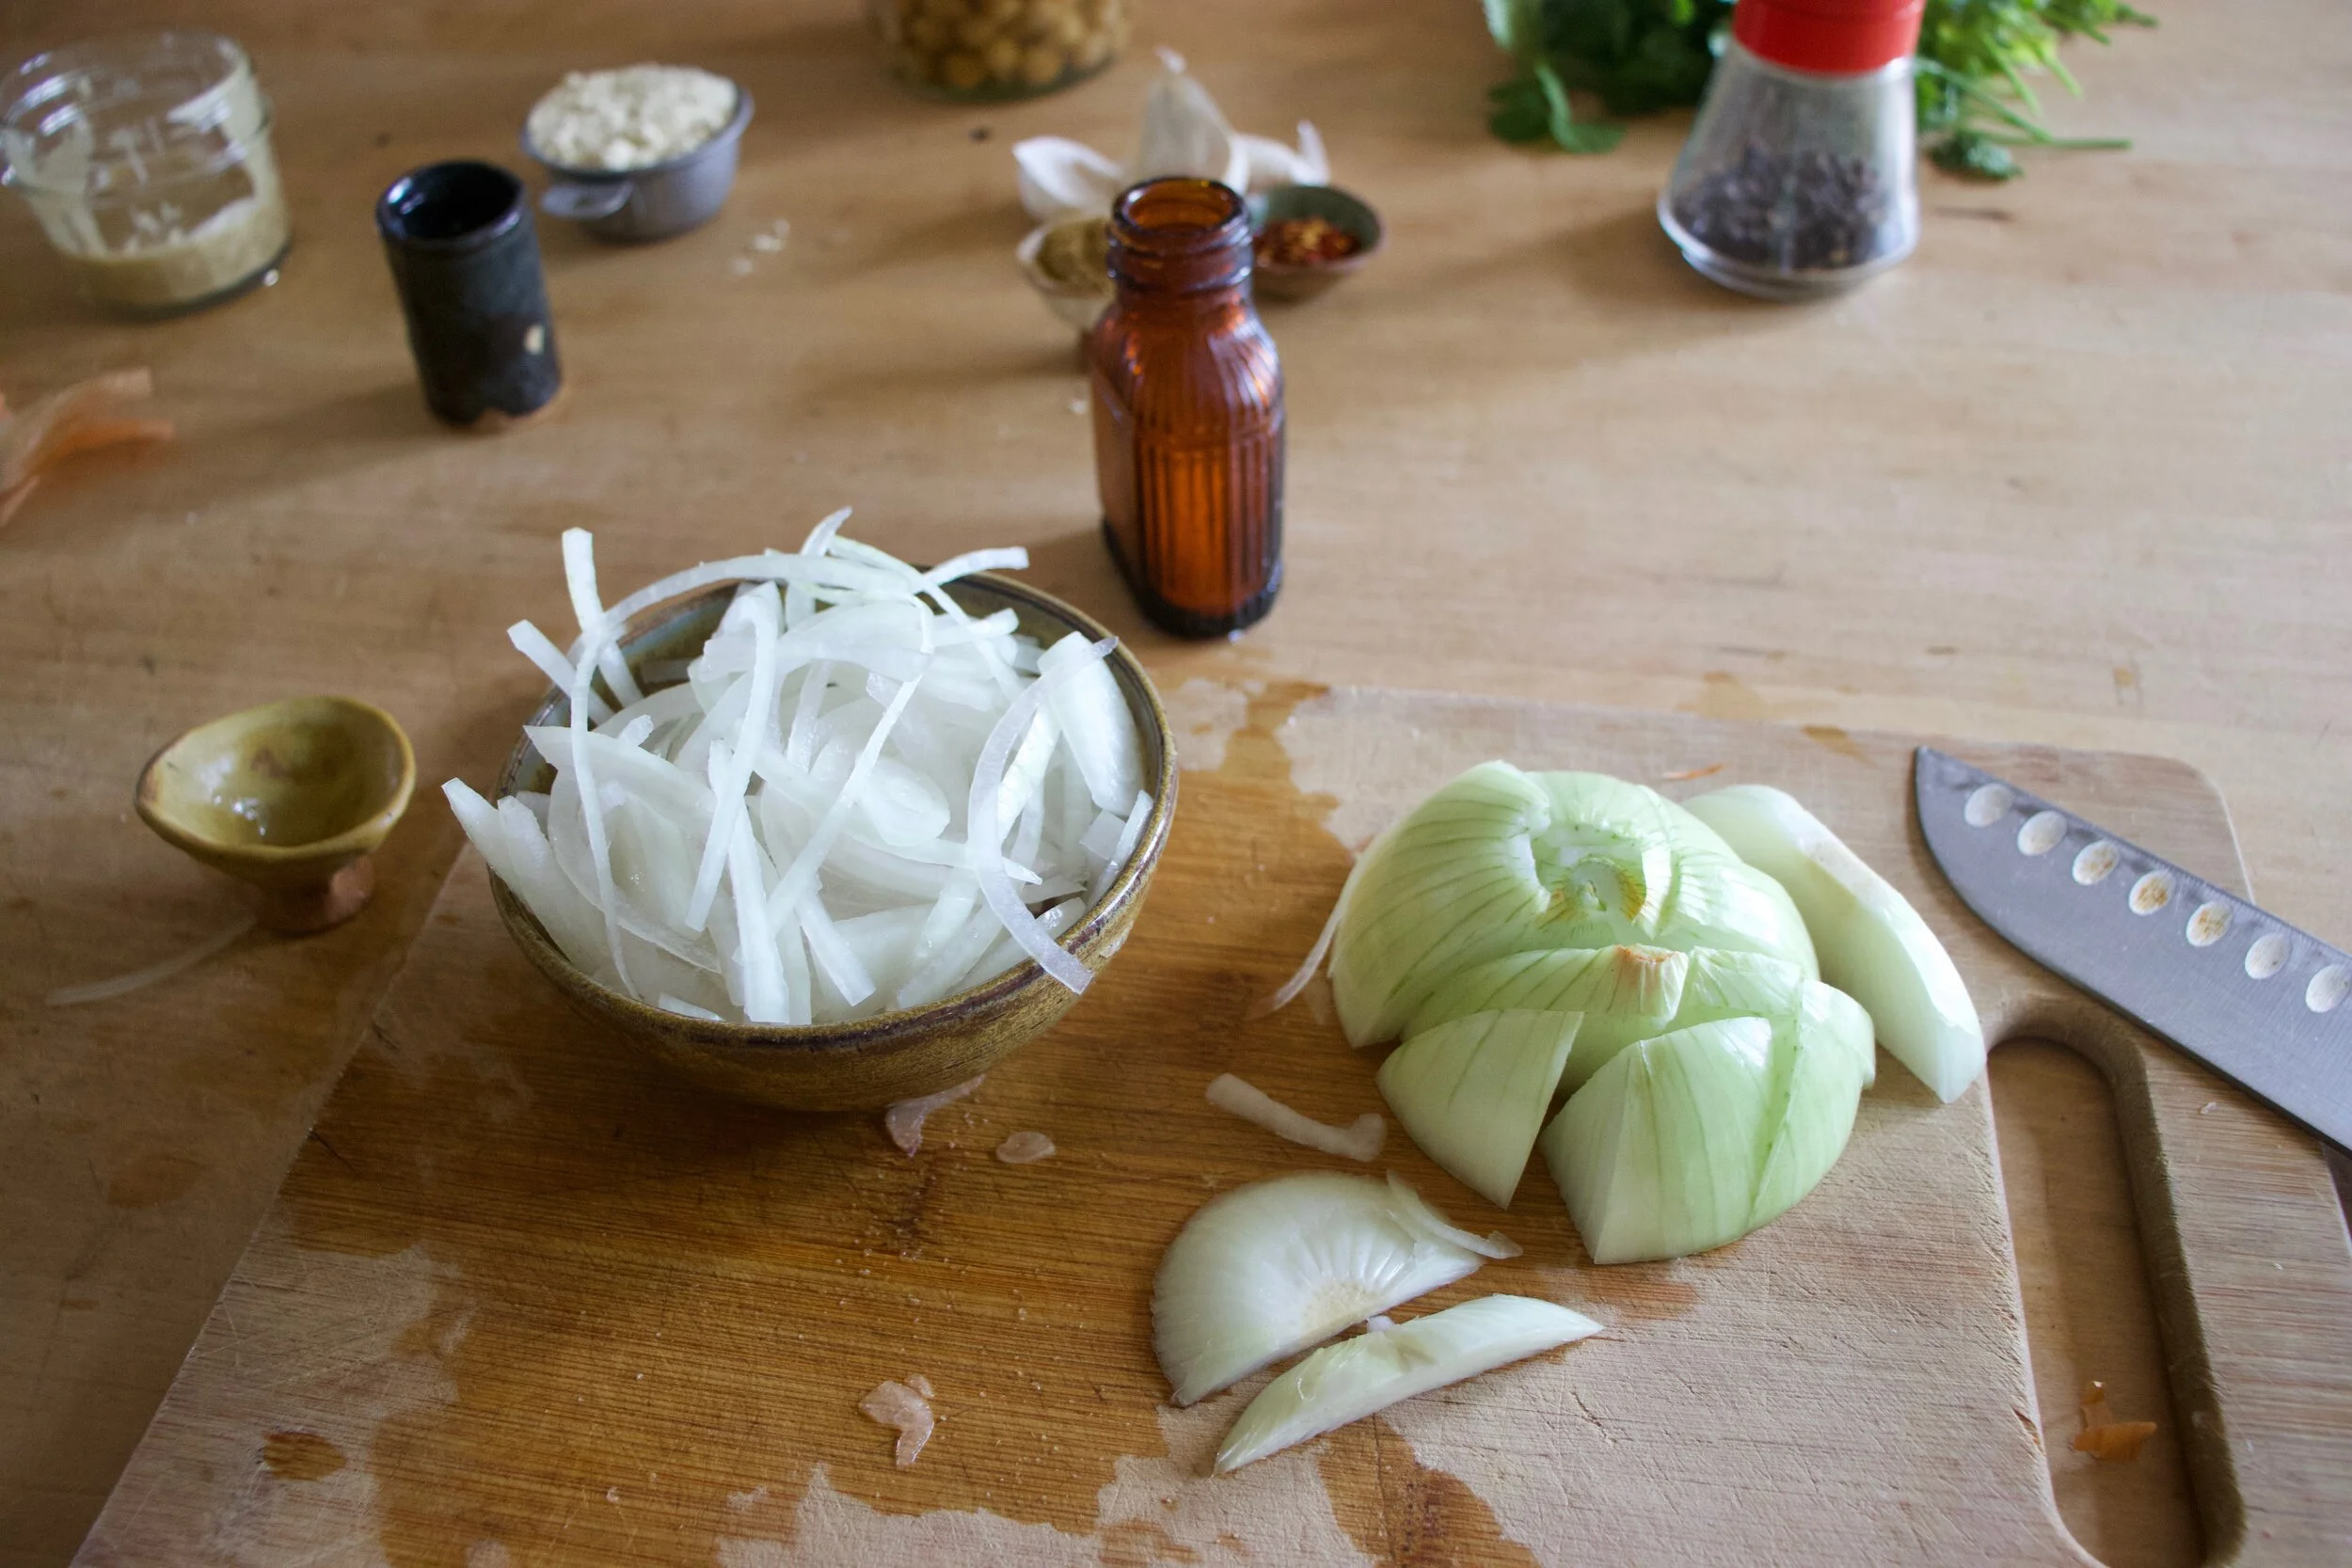
 Chop all the veggies and the garlic, drizzle a dutch oven or a pot with oil, toss in the veggies. Add the turmeric, the thyme, and 1/2 cup of water.
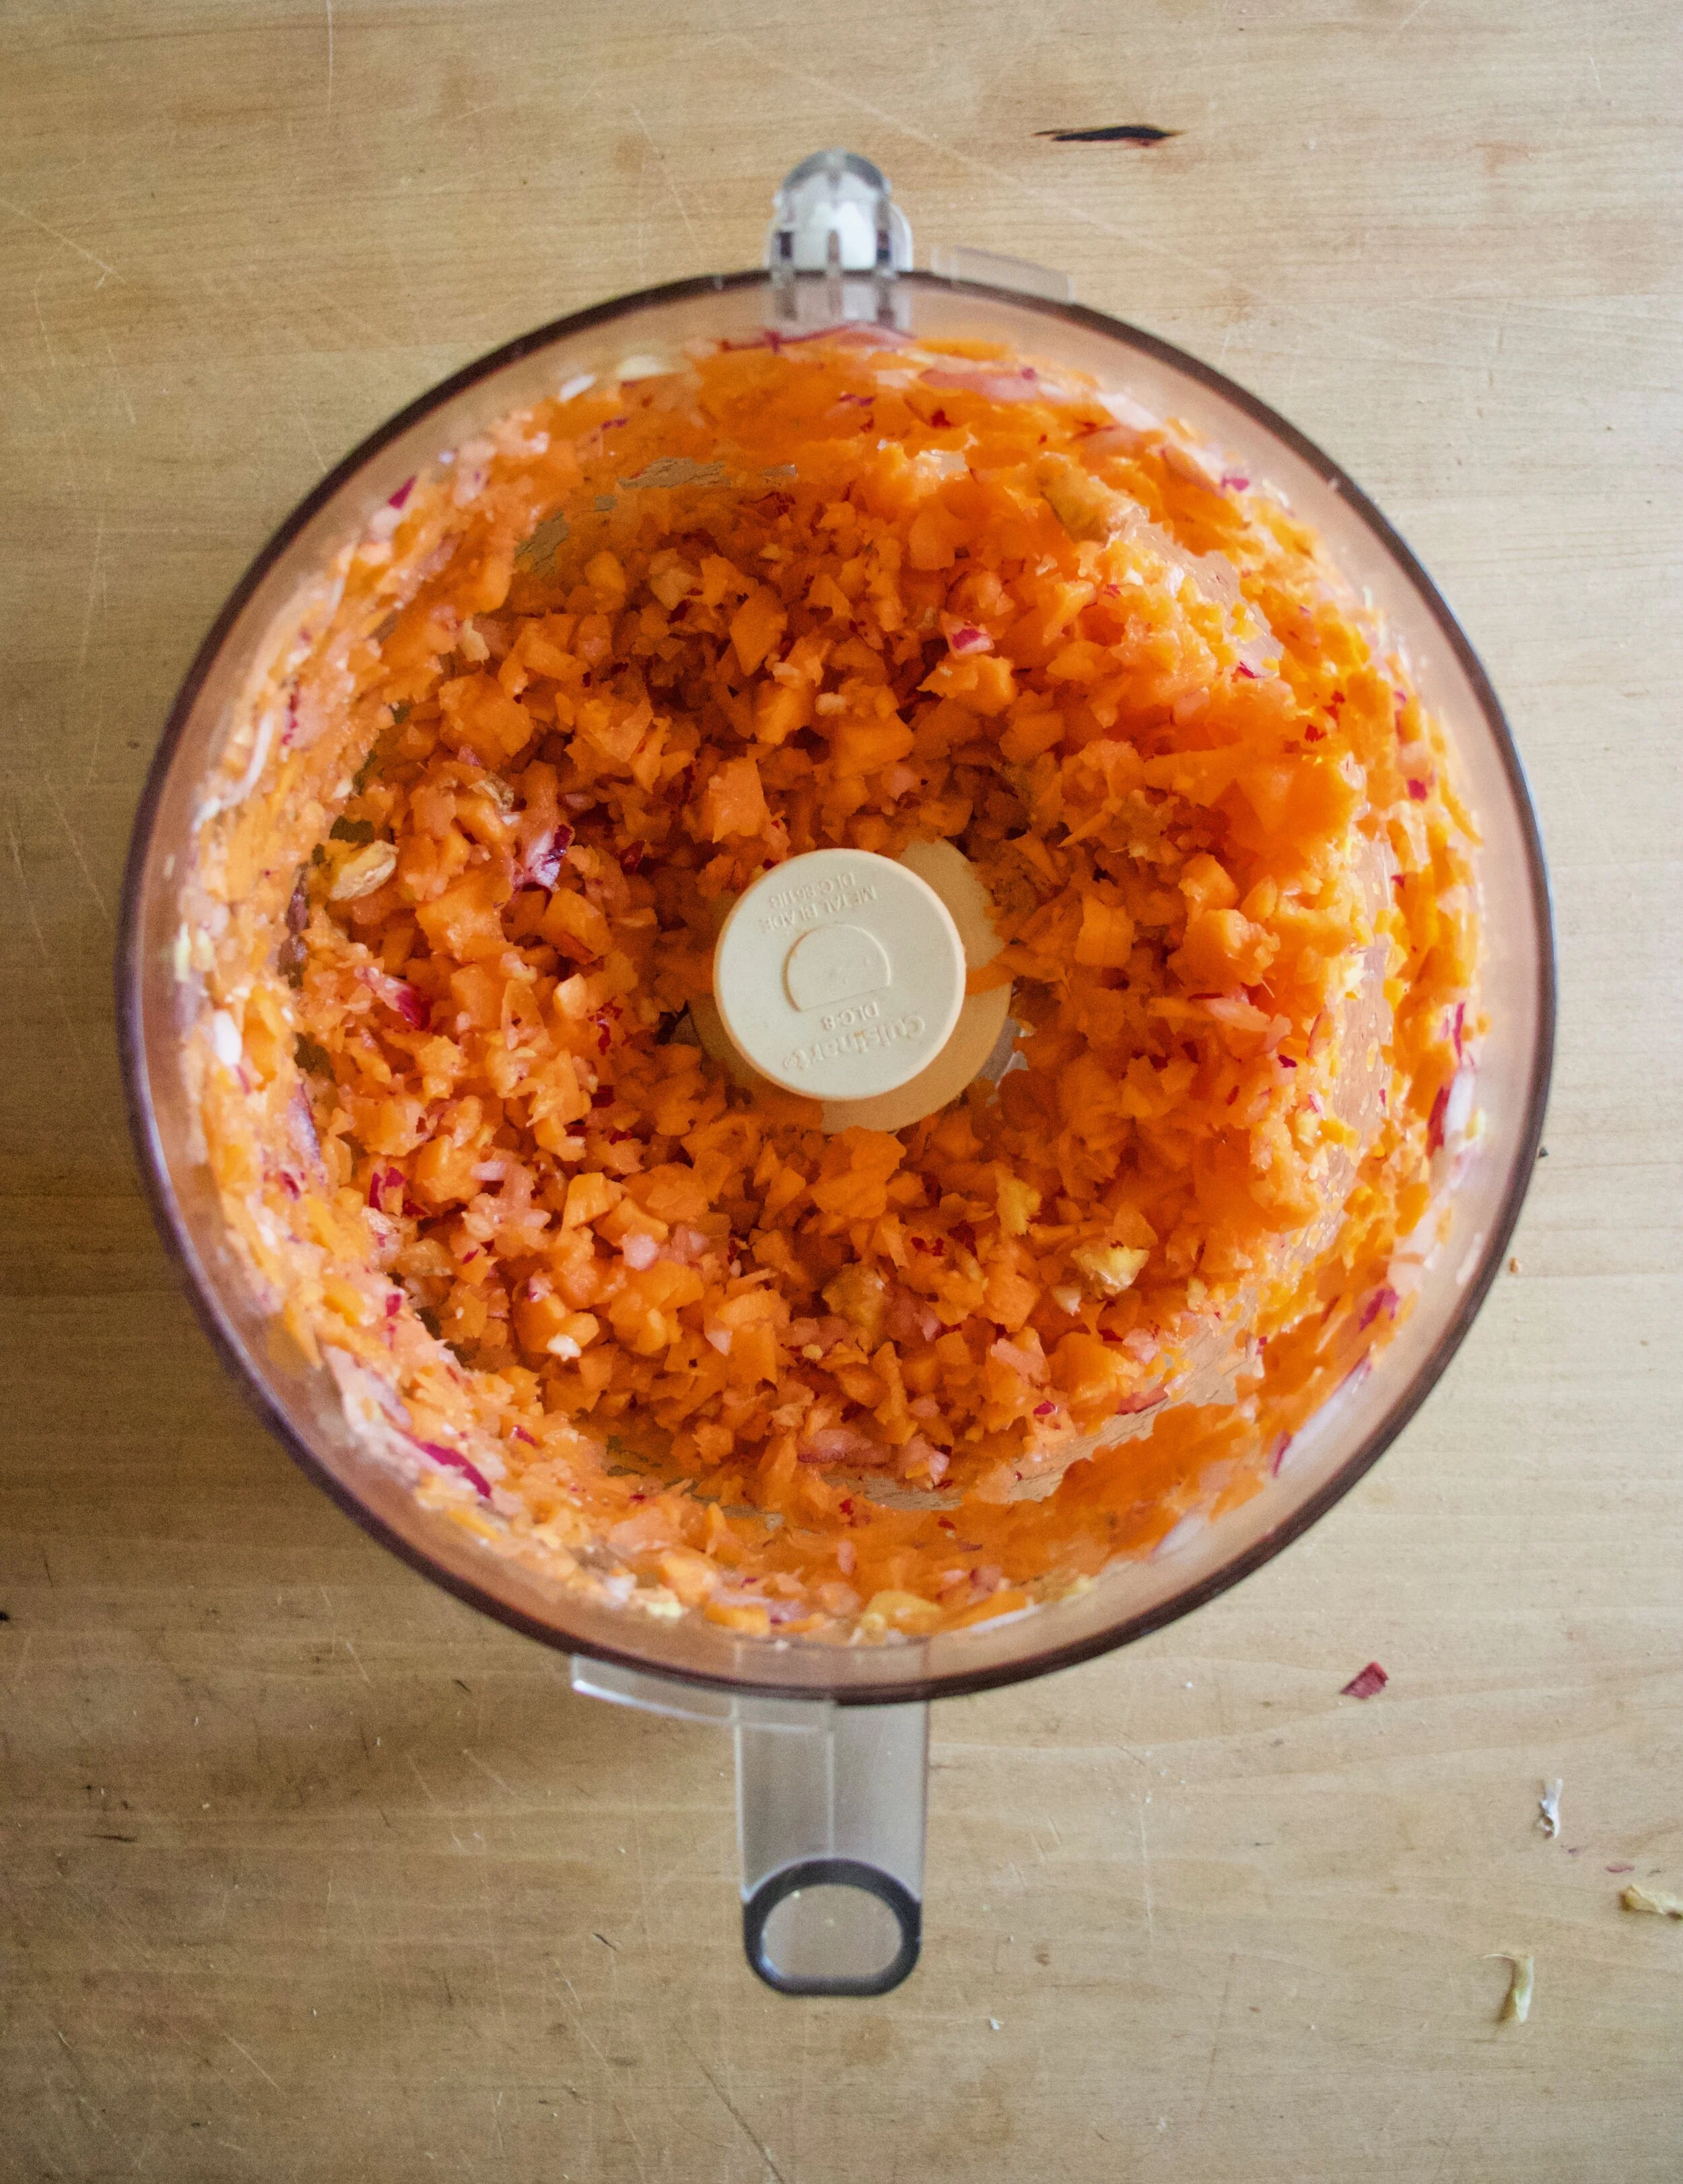
  Sweet sweating the veggies. Turn pot on medium and cook until the water completely cooks out. When the veggies start to brown and stick to the pot, deglaze with water. Give a good stir and keep cooking. Repeat the deglazing process until the veggies are super soft and ready to blend. (I did this 4 times.. it only took 10 minutes)
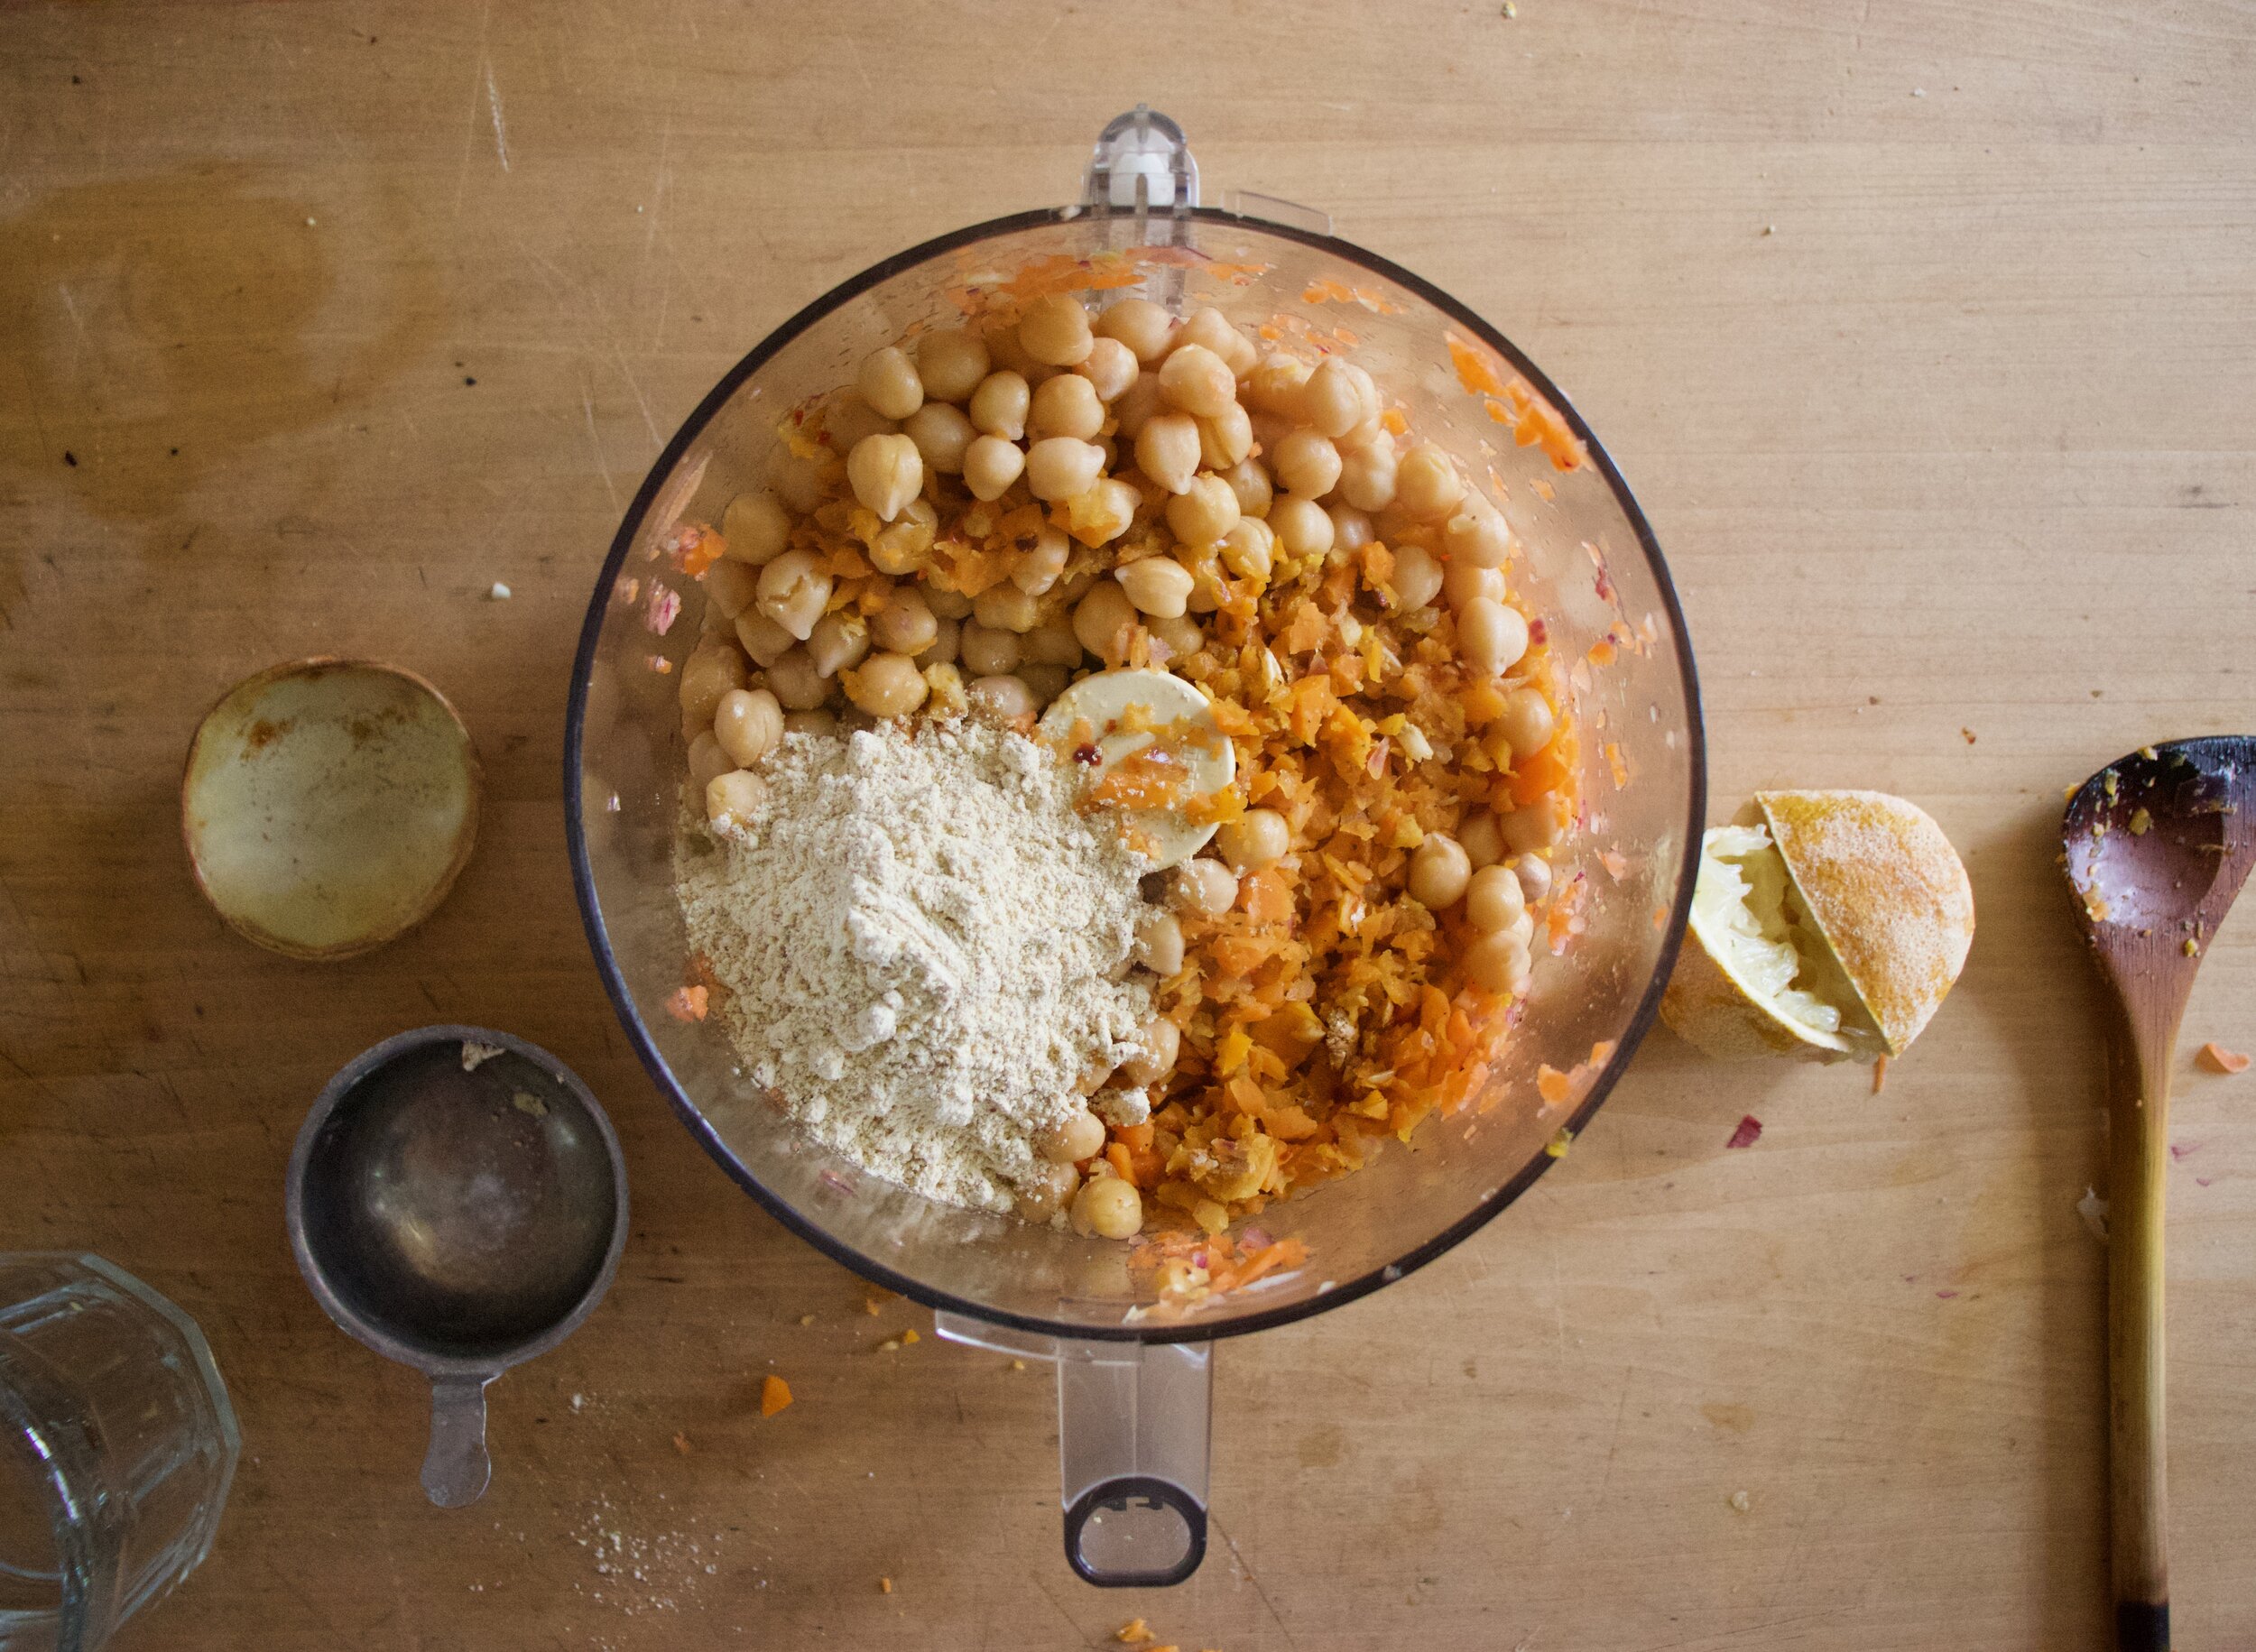
 Add enough water to cover the cooked veggies.
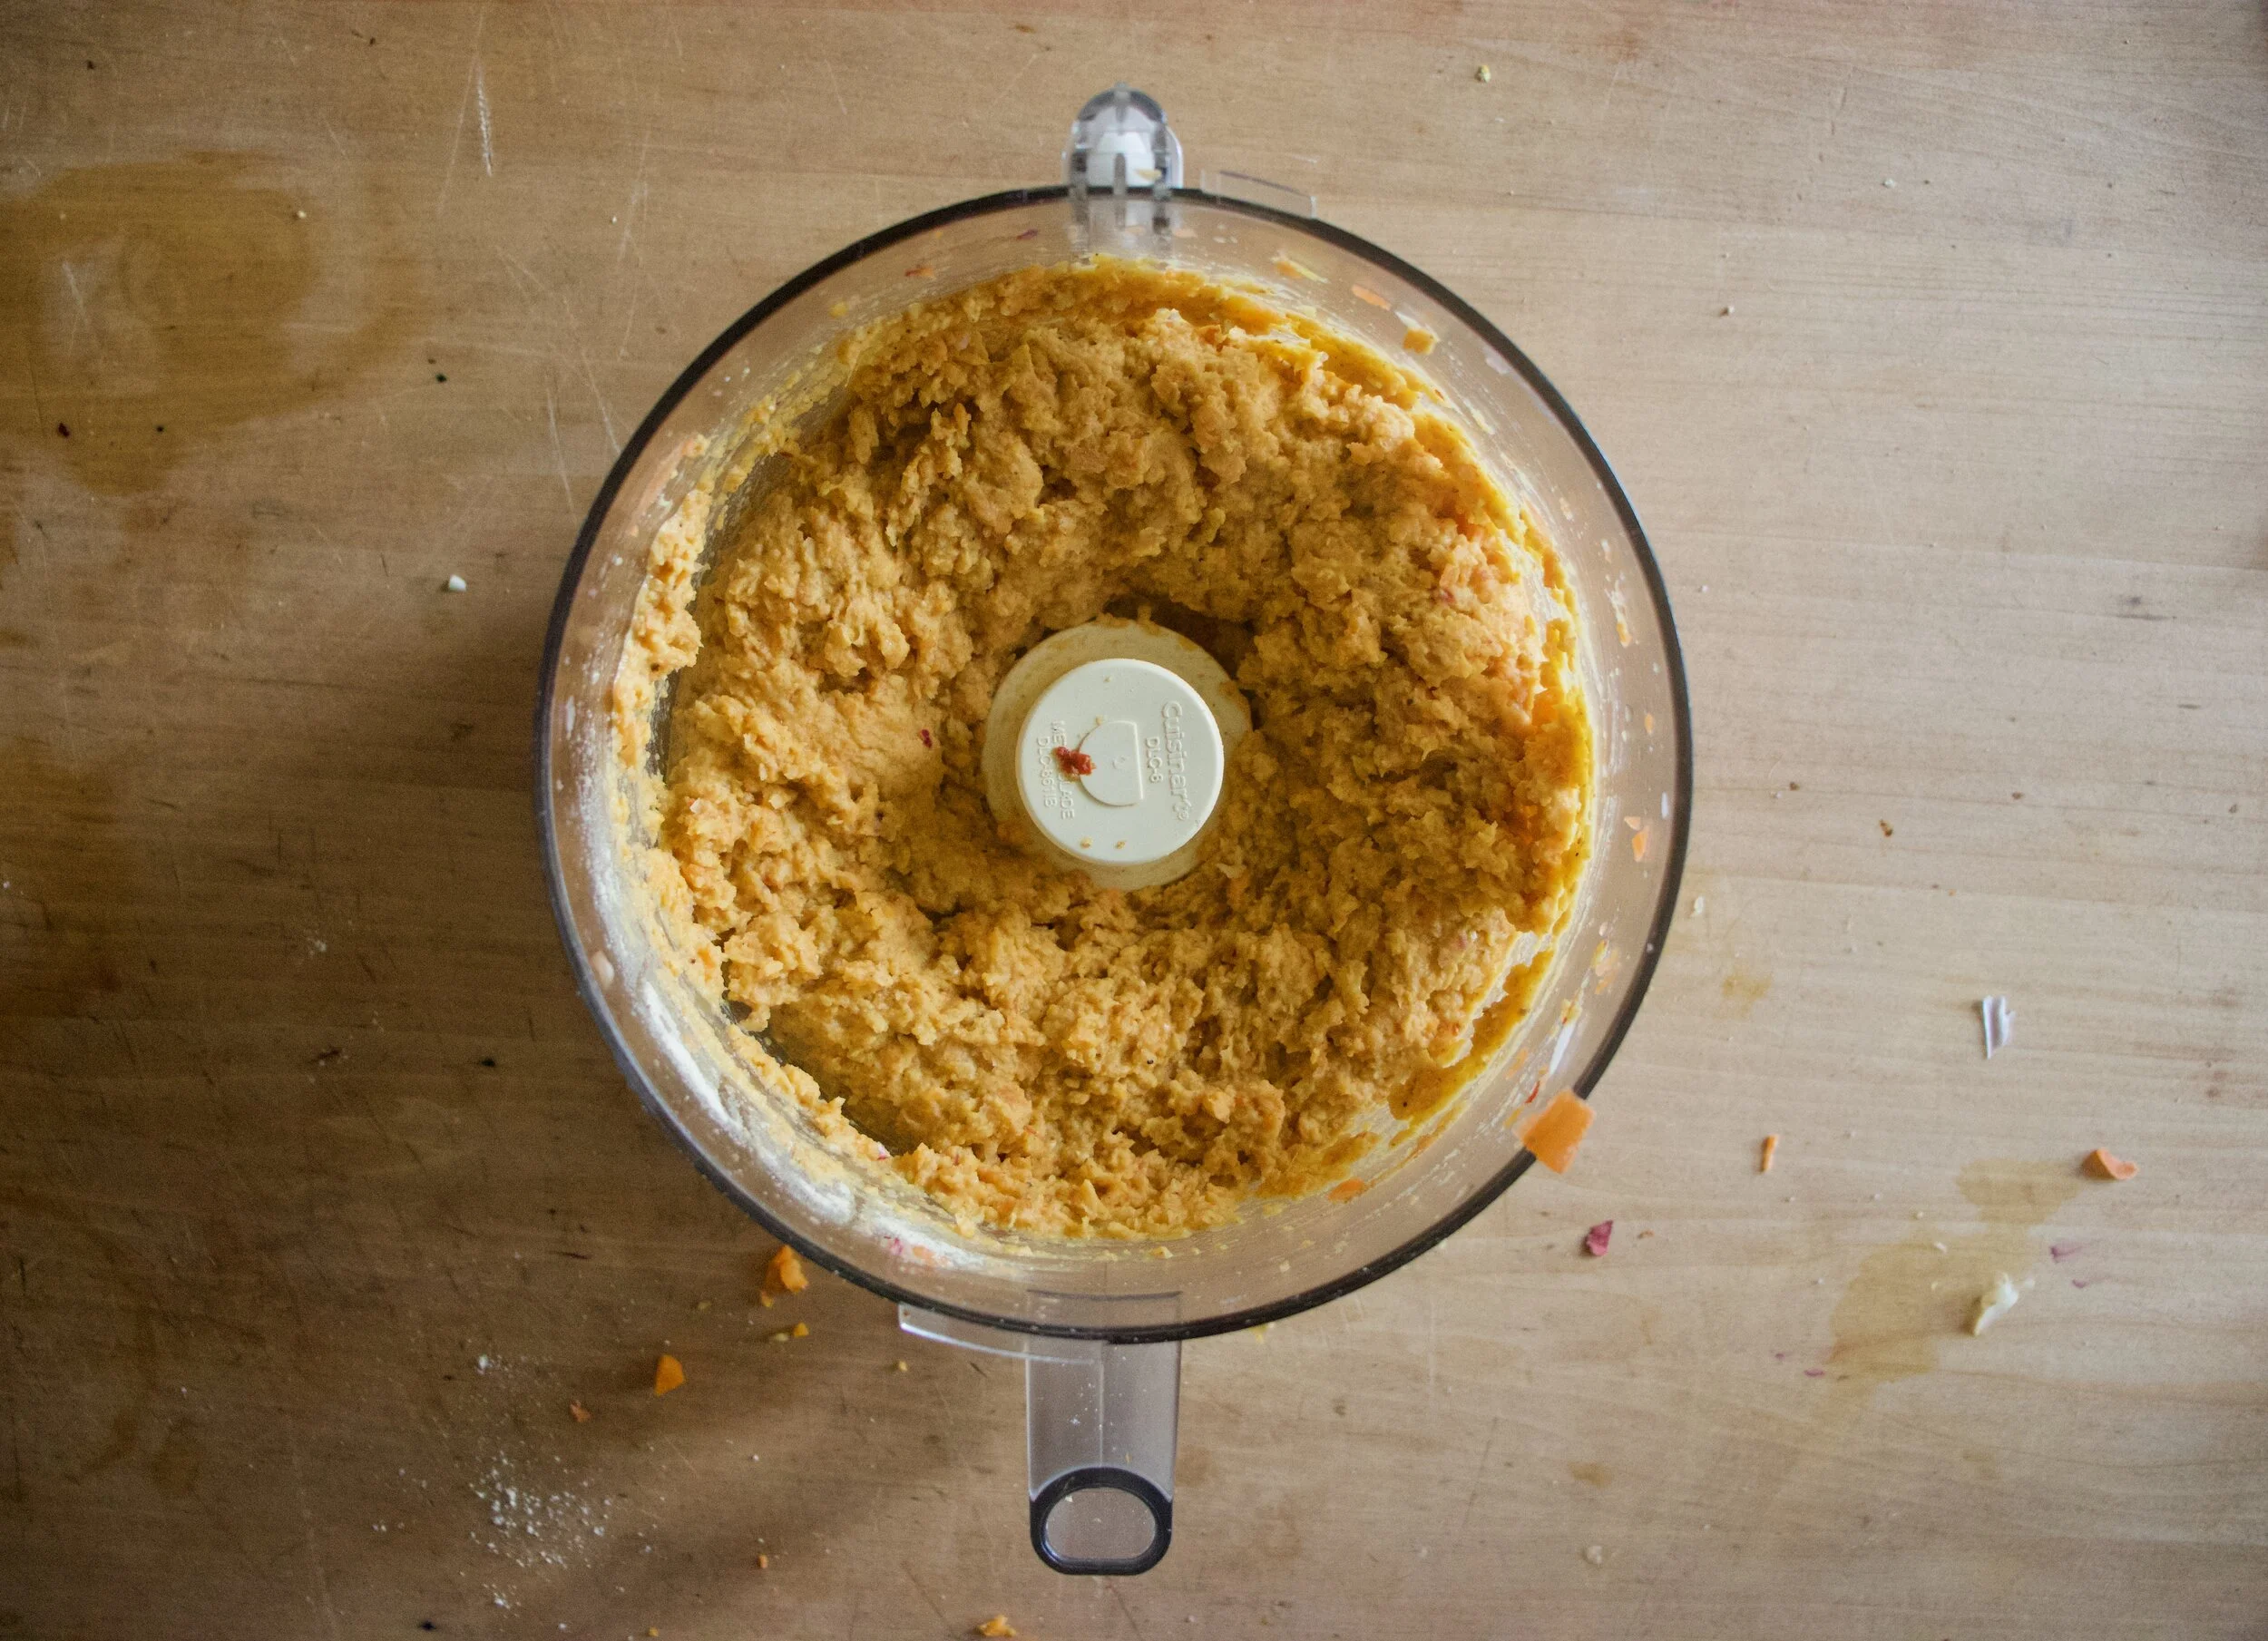
  And now blend the heck out of it.. Go as smooth or chunky as you want. I blended as smooth as I could get with this crappy immersion blender. (Blender on loan until I finally decide on, and buy a new one)
 And there you have it. Scoop into bowls, add lots of cracked black pepper, and go to town. I made enough to save a bowl for later… it didn’t last for later.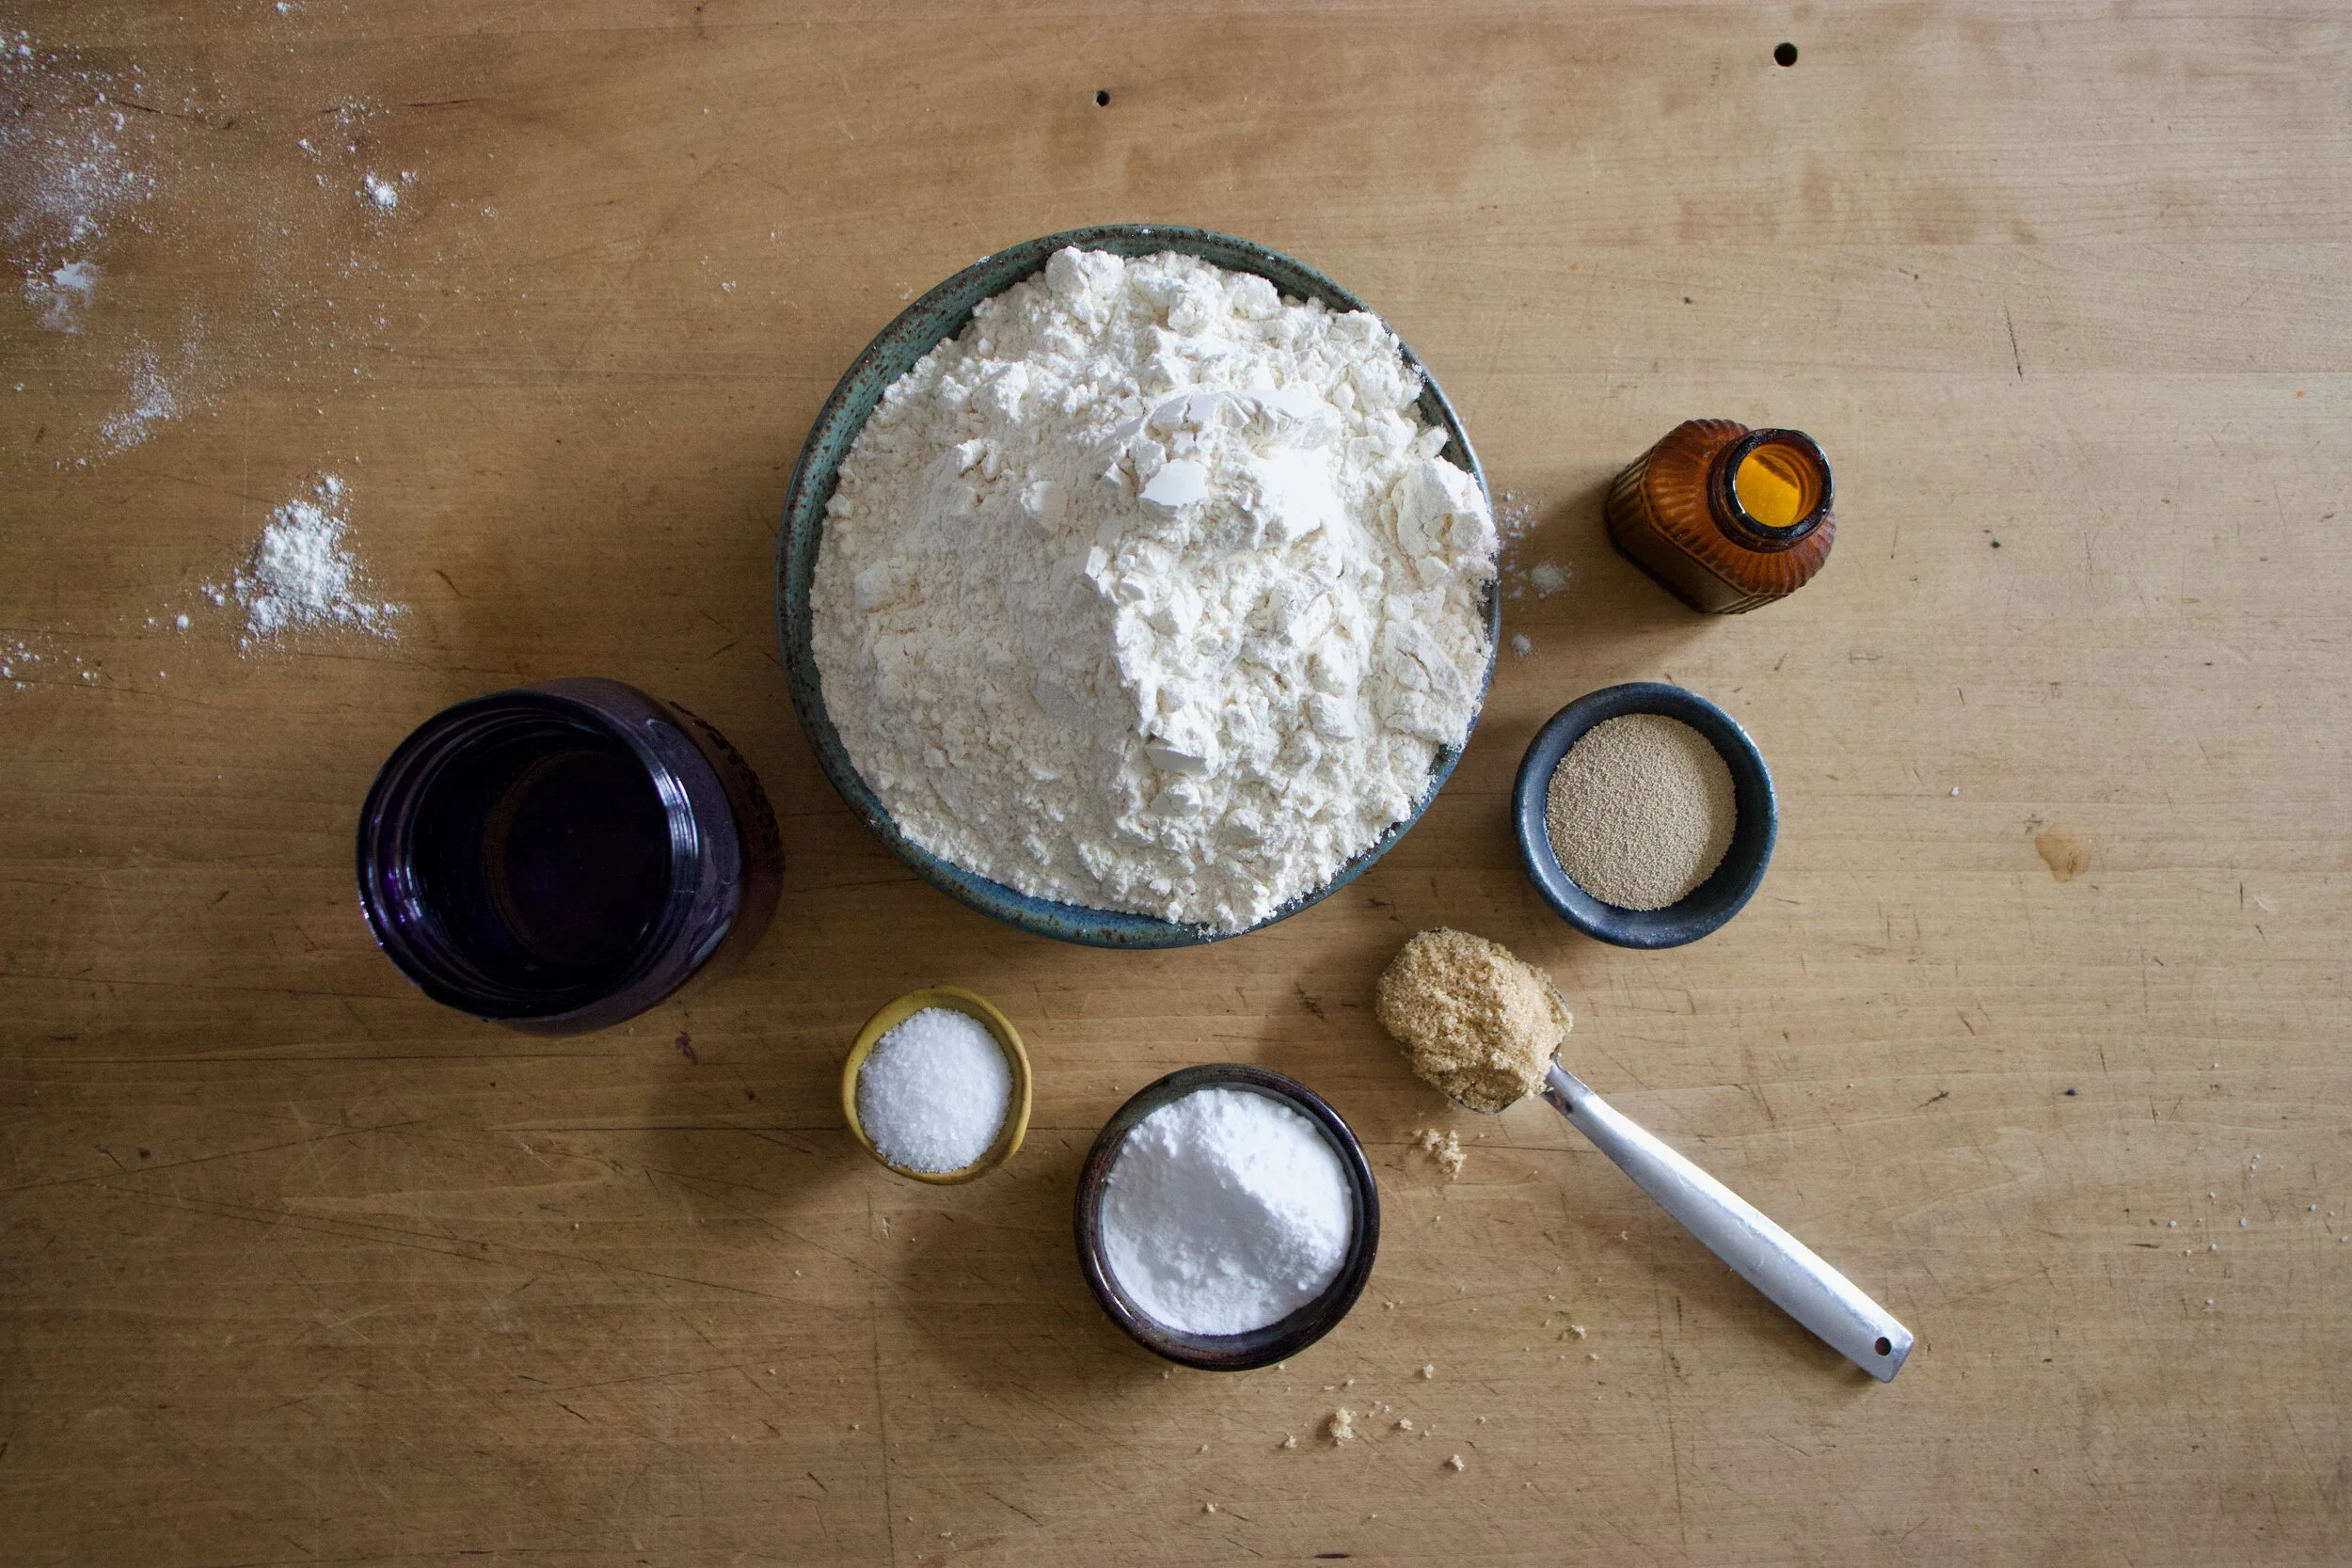

























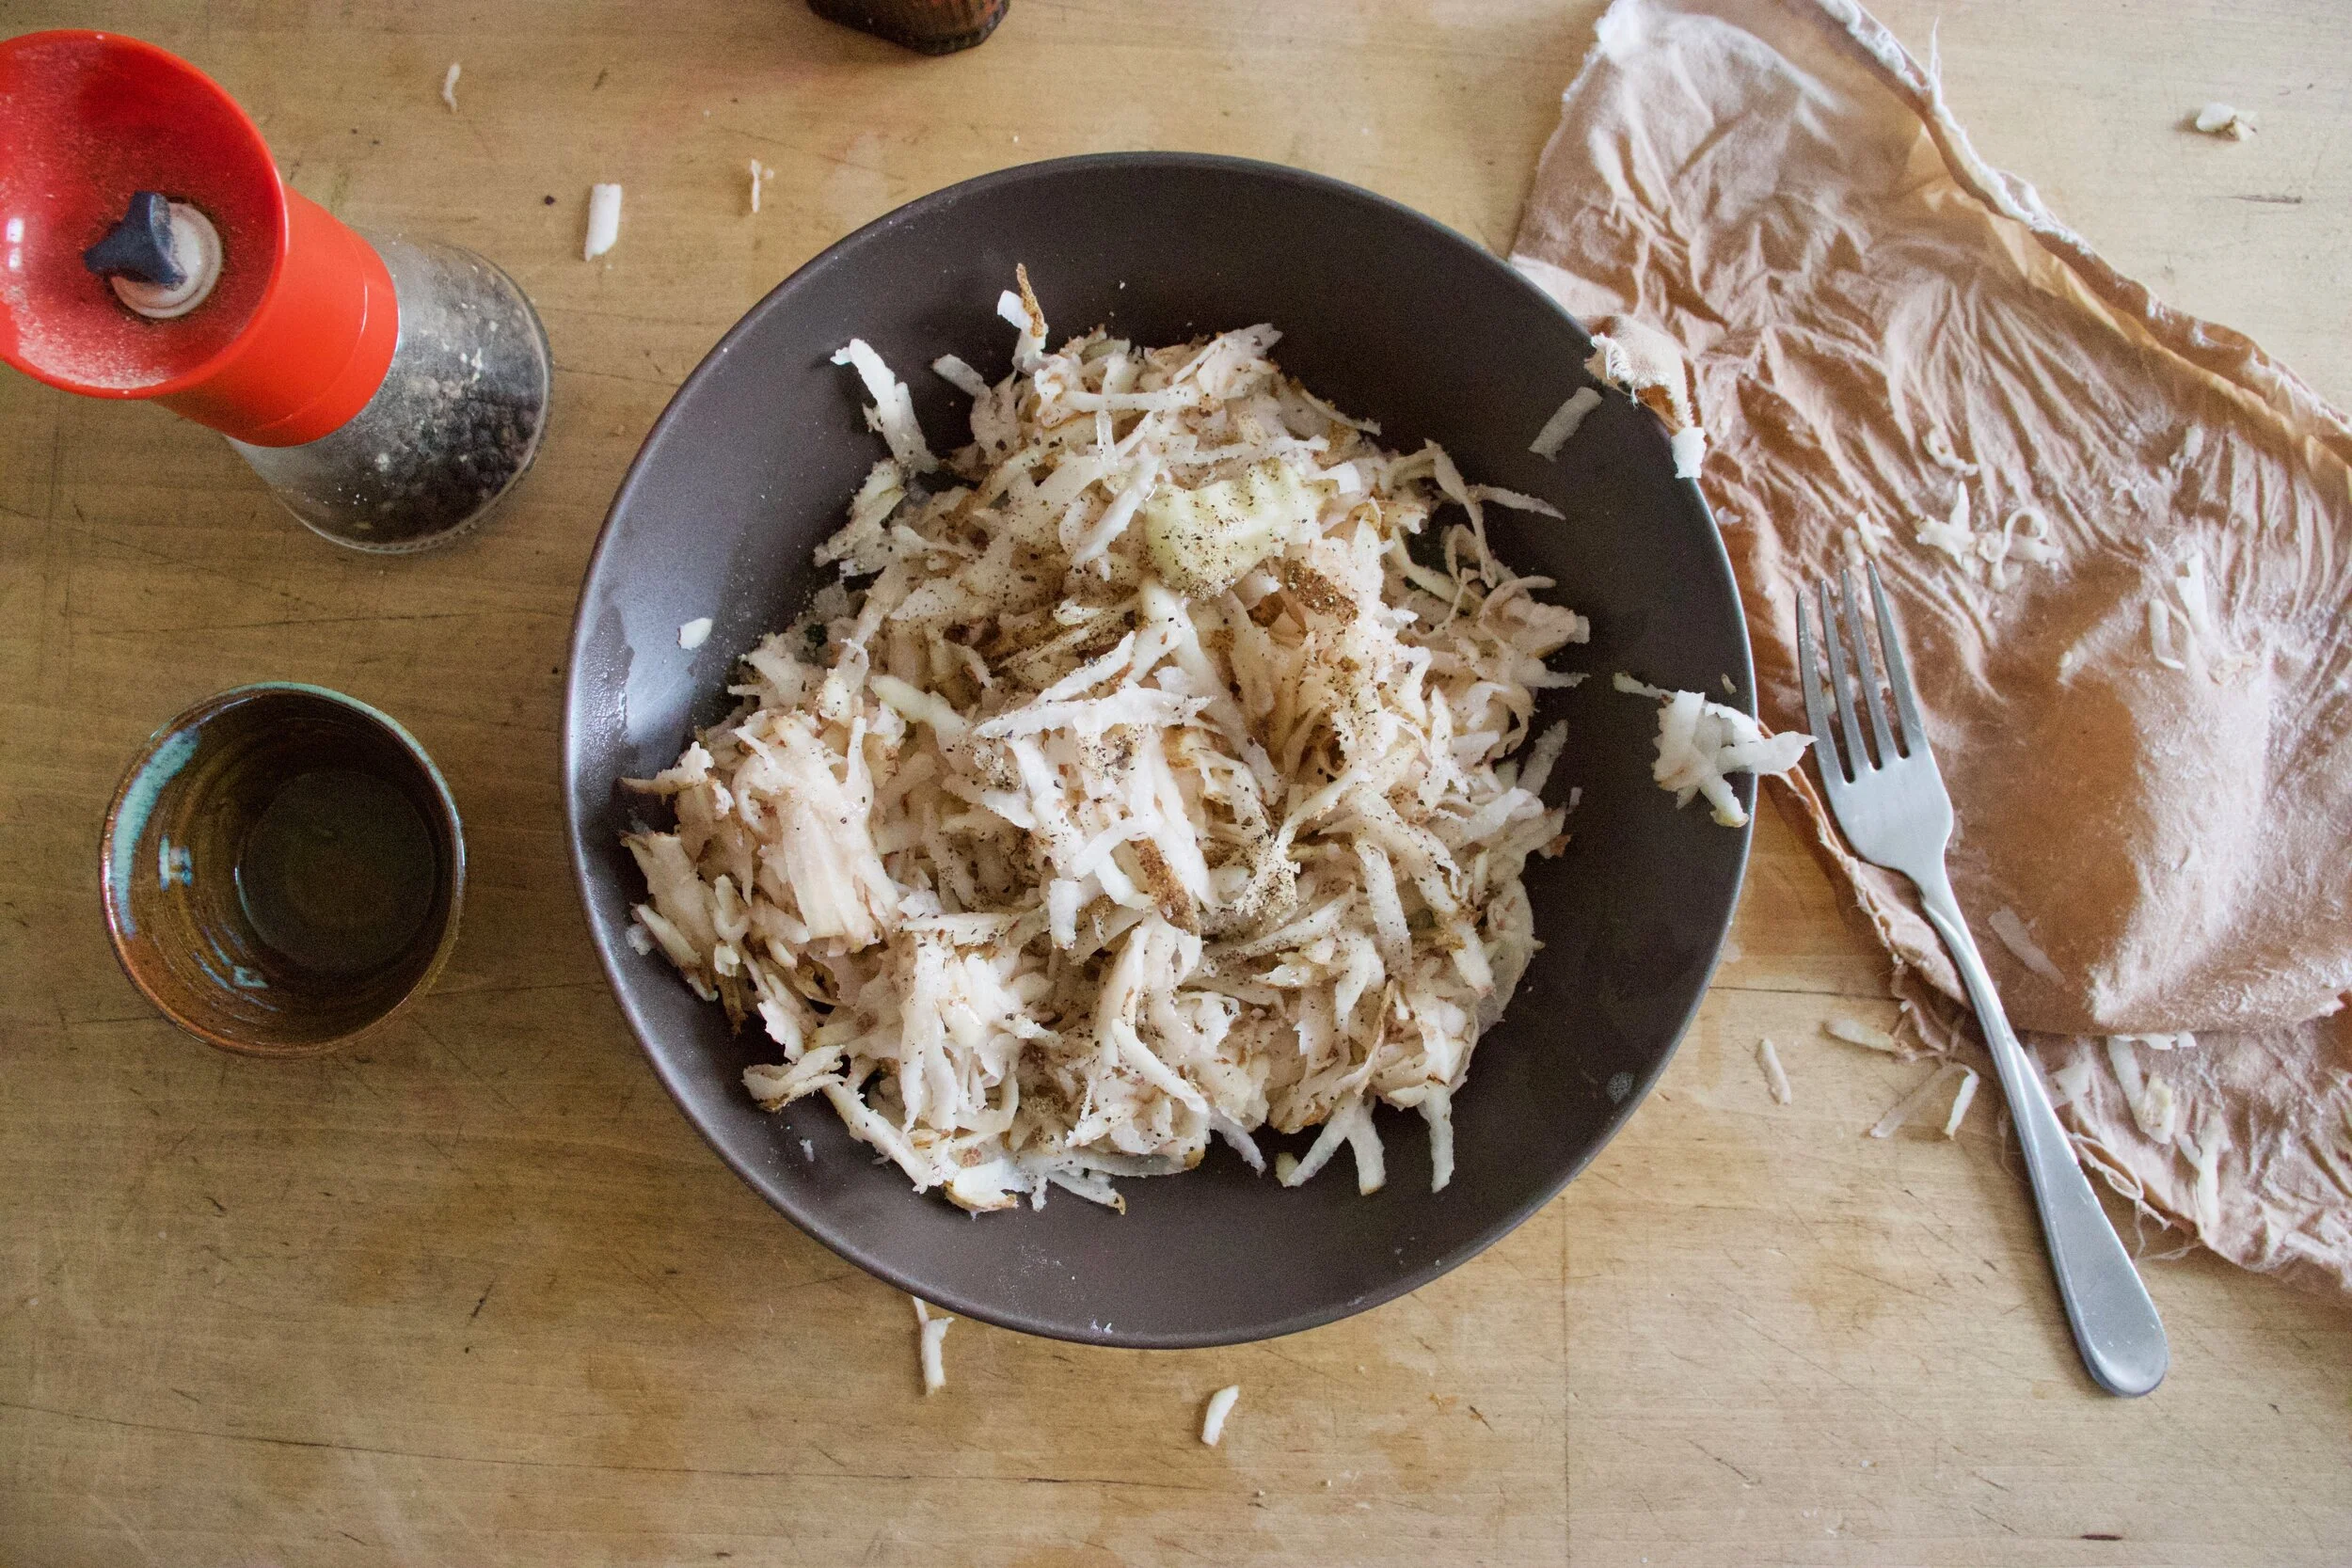
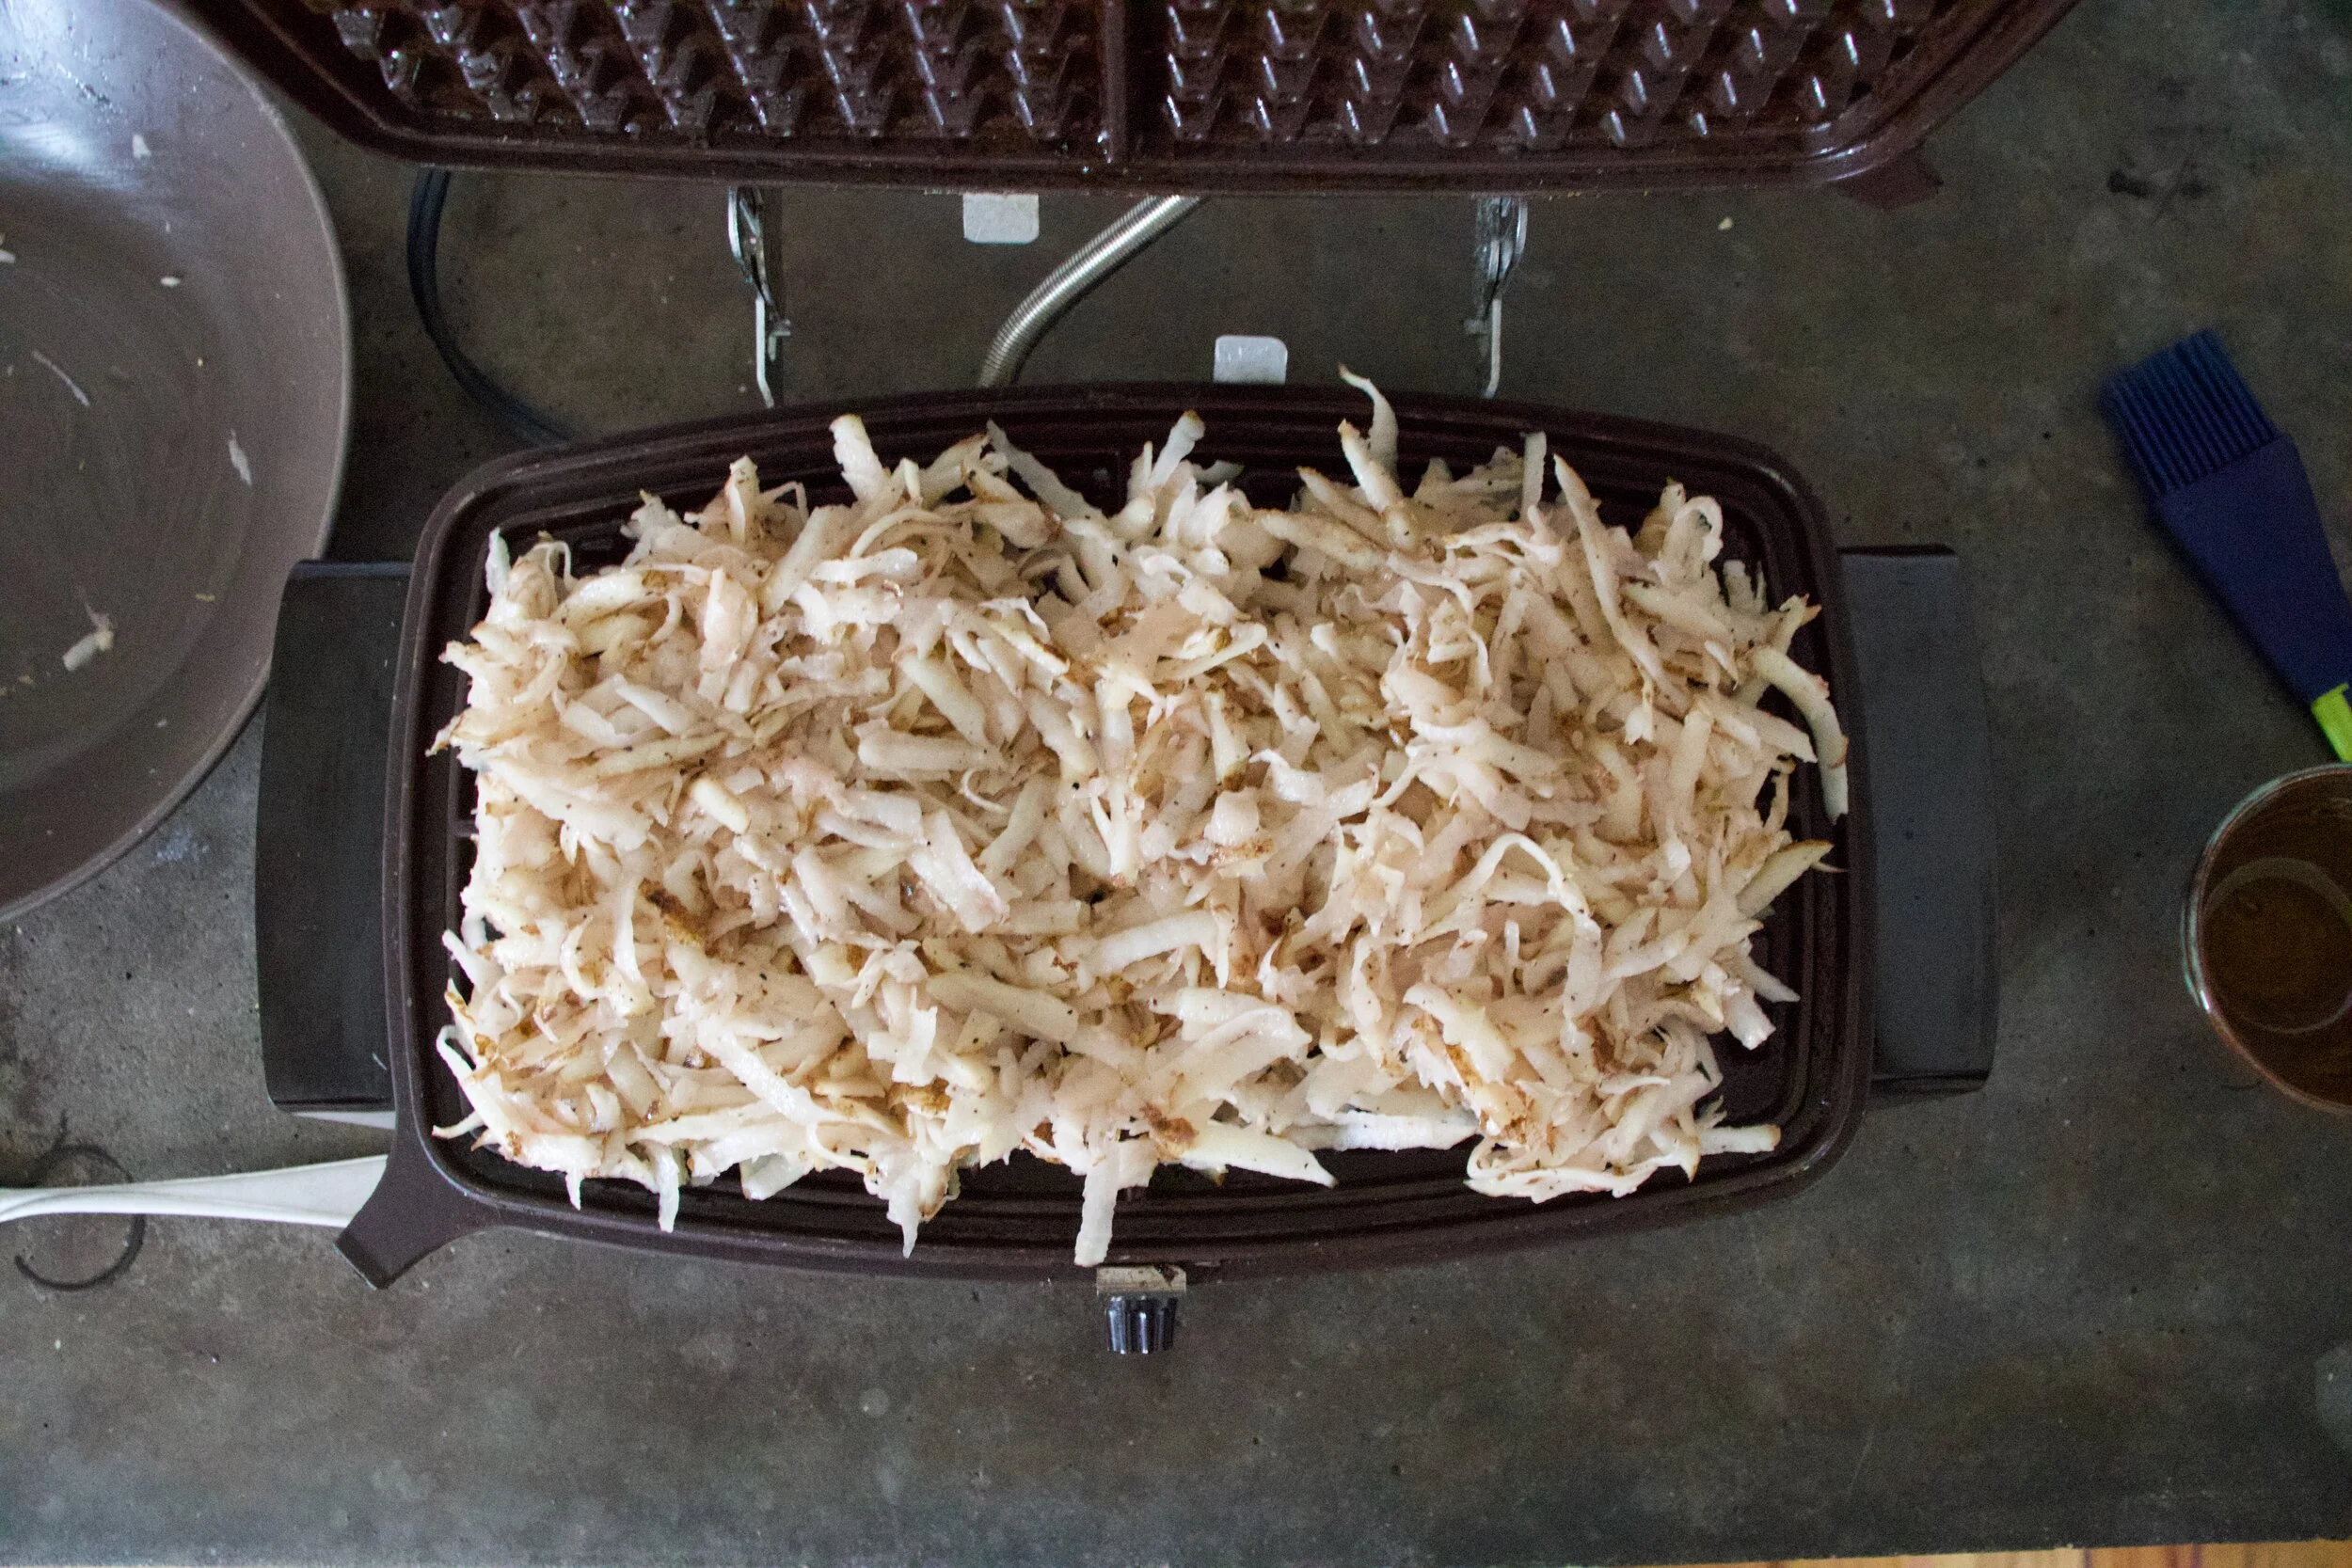

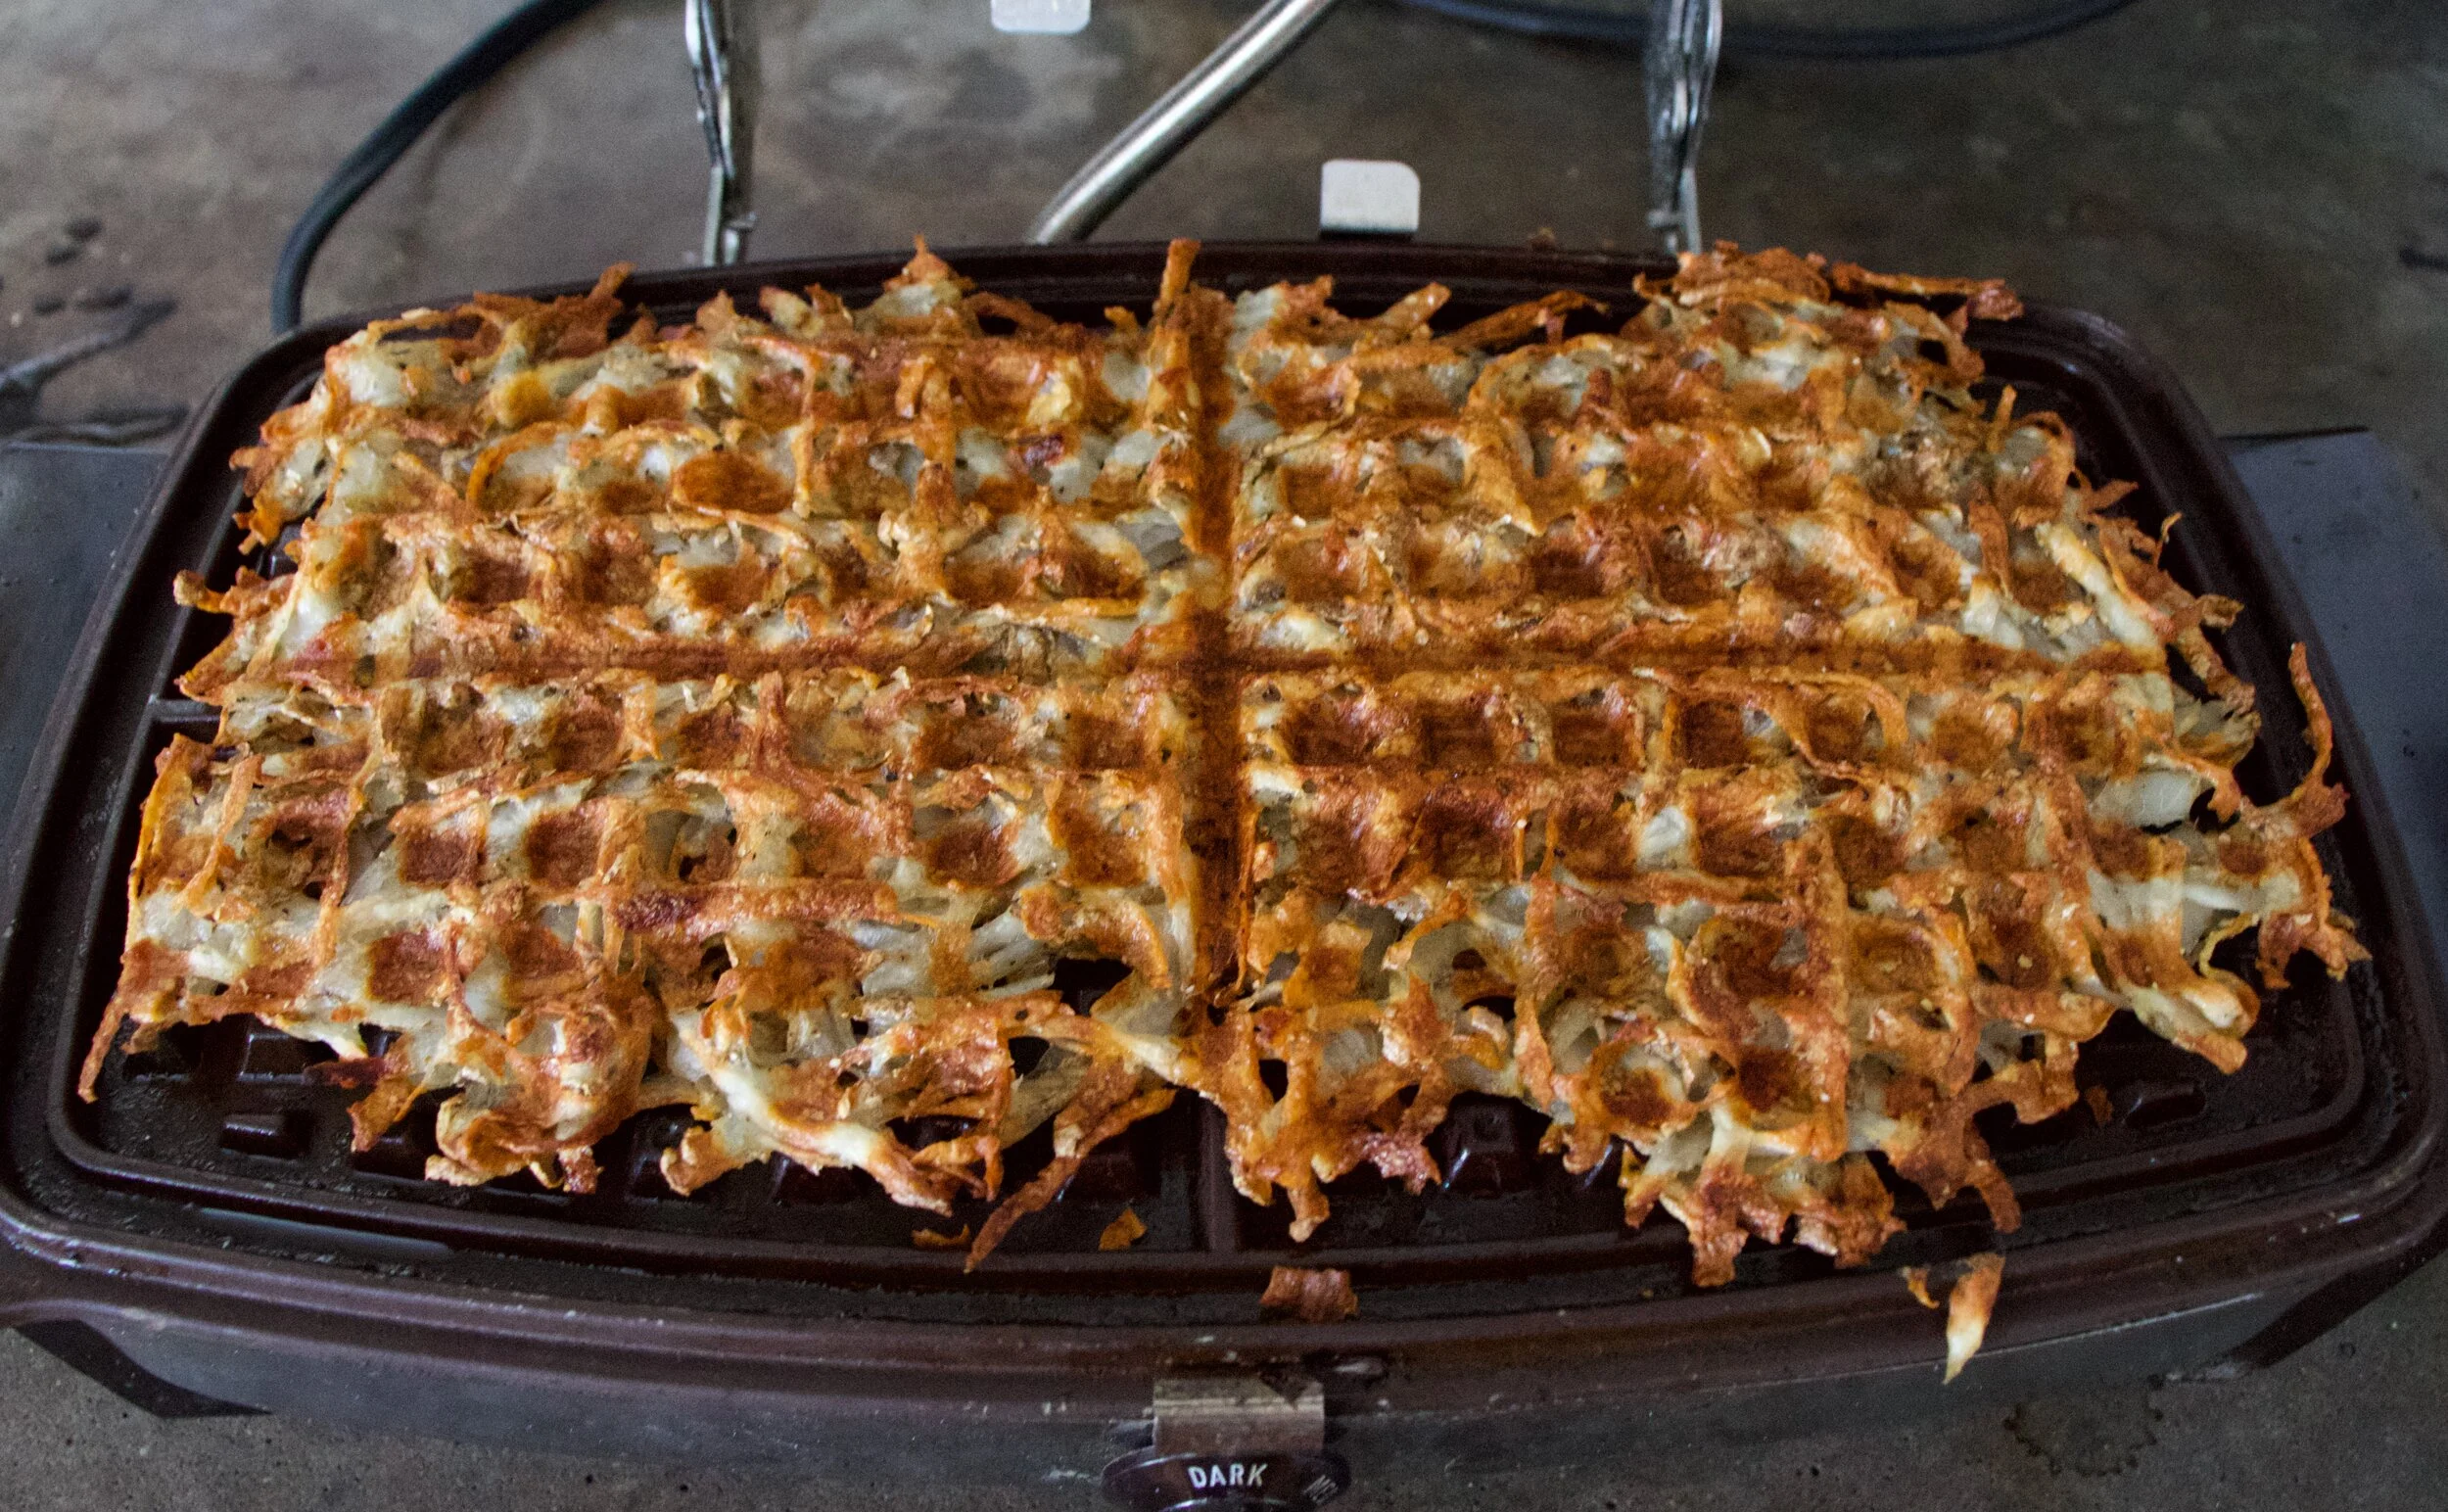
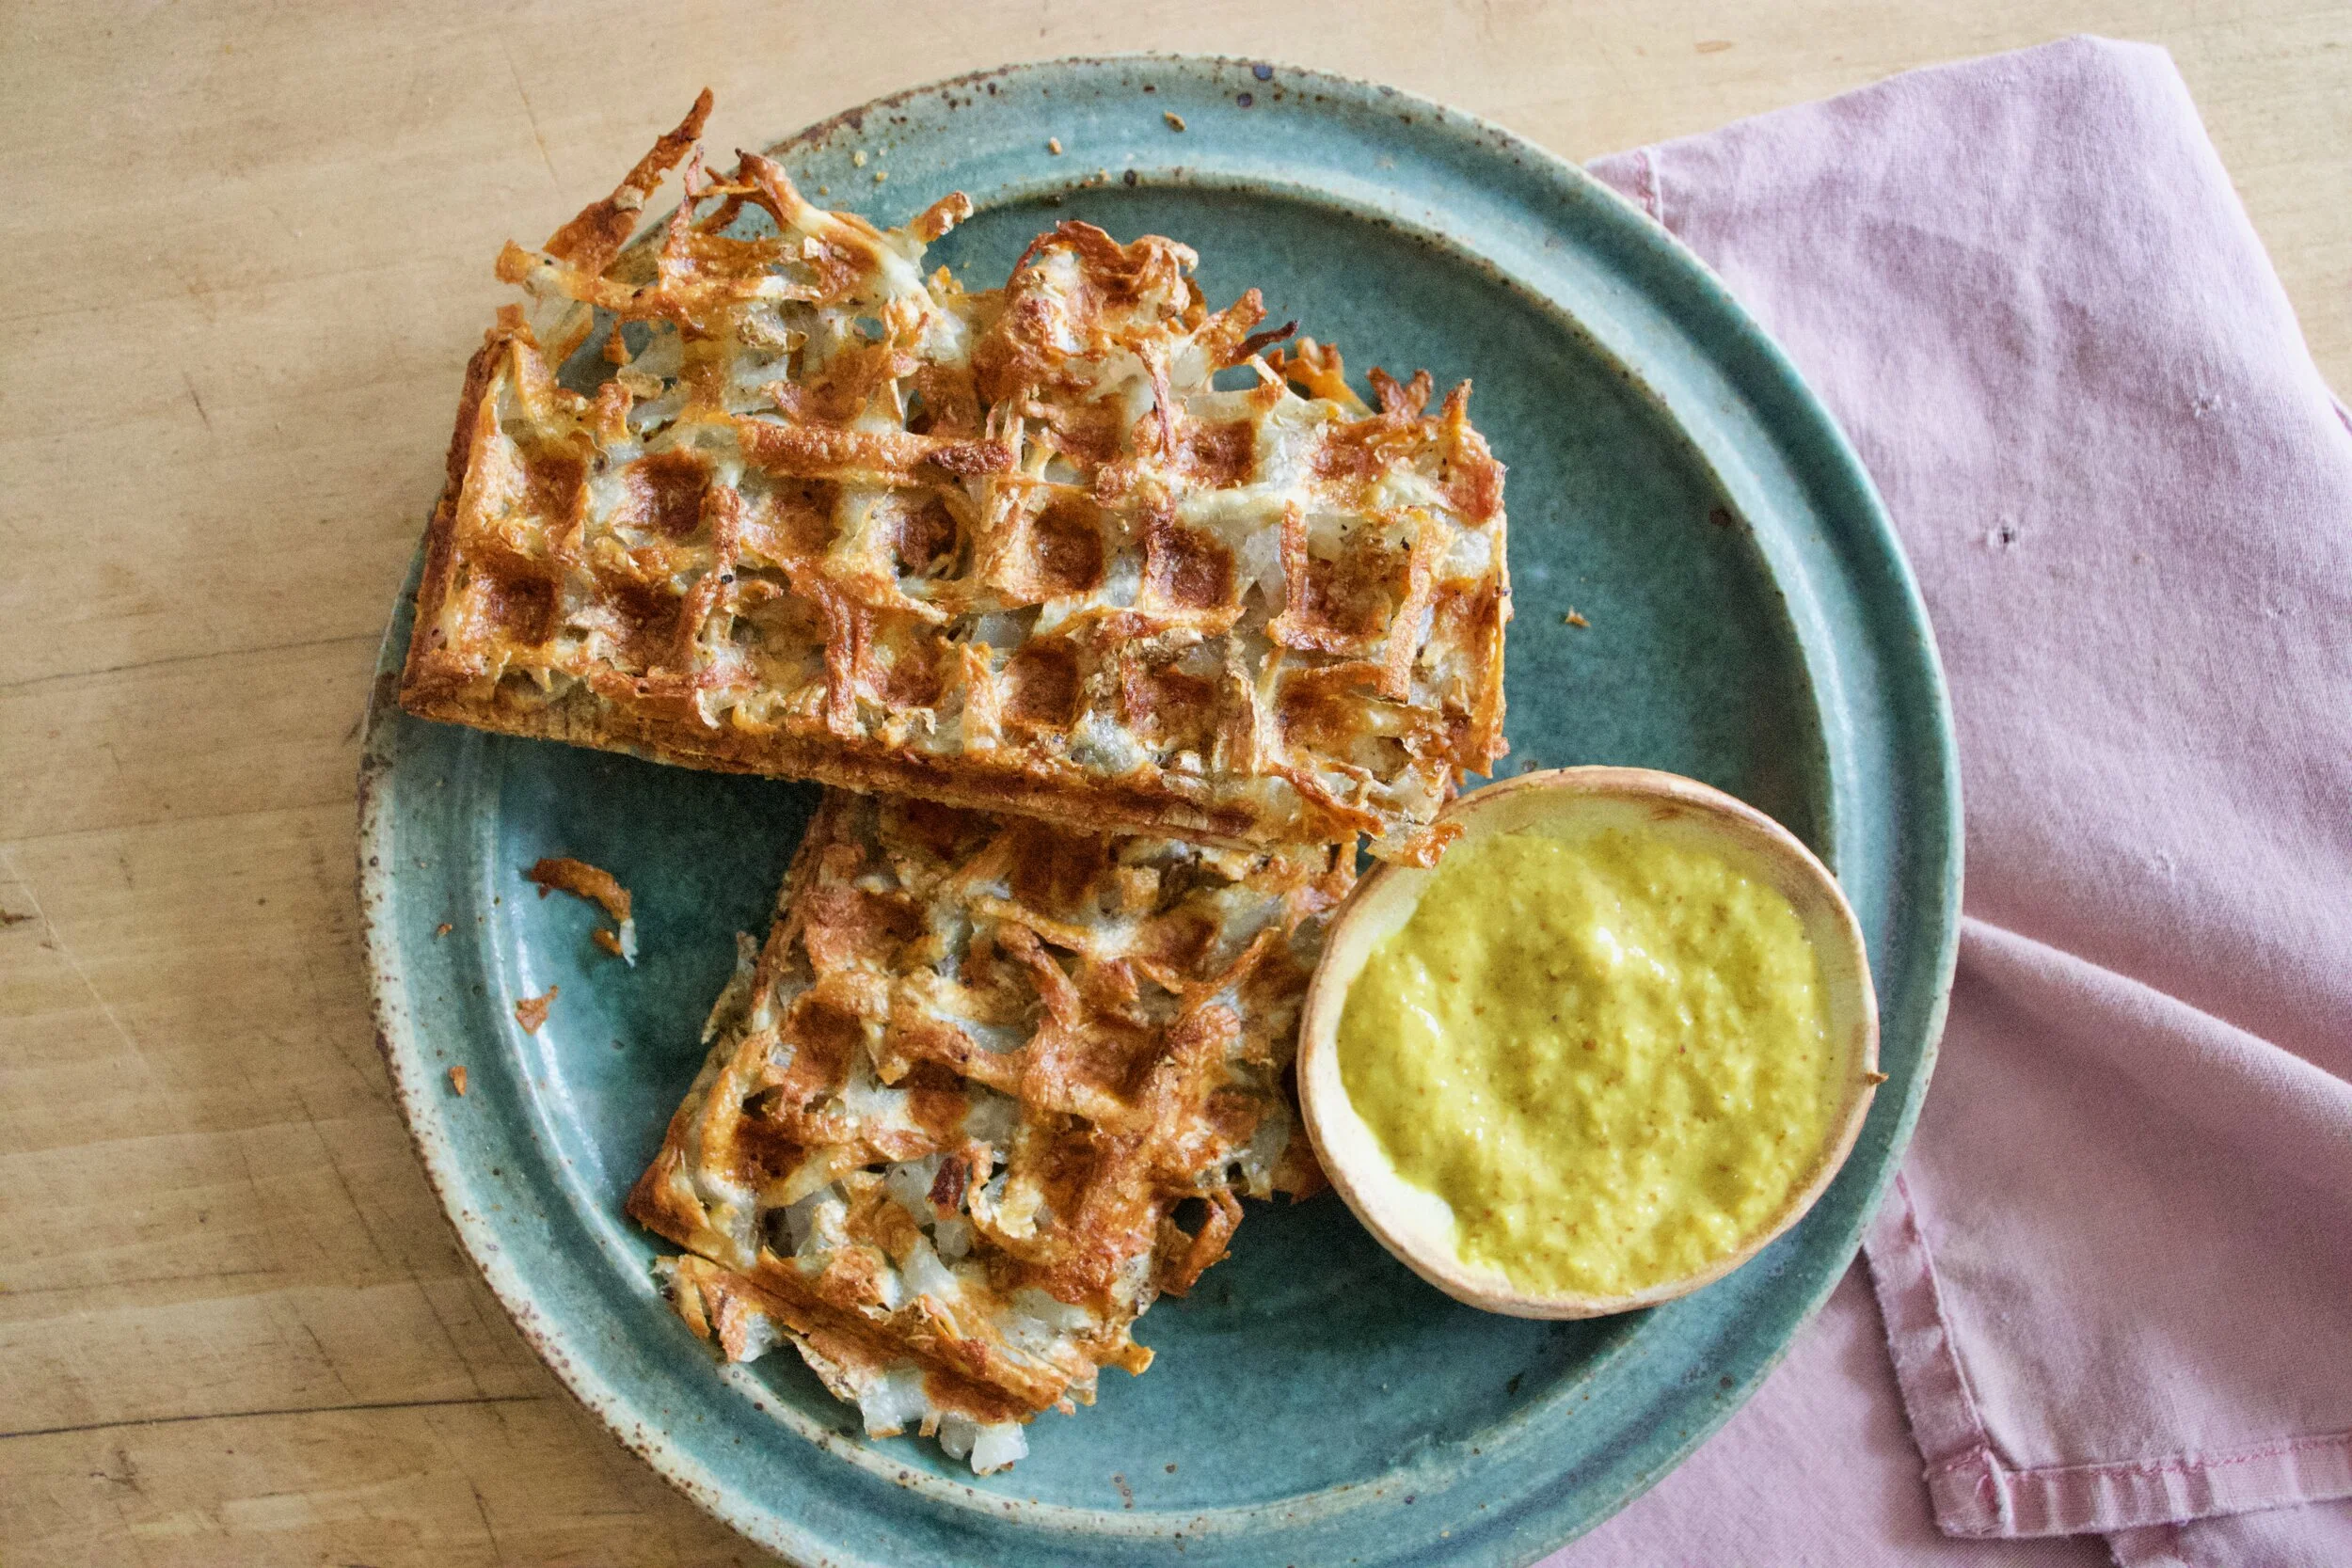
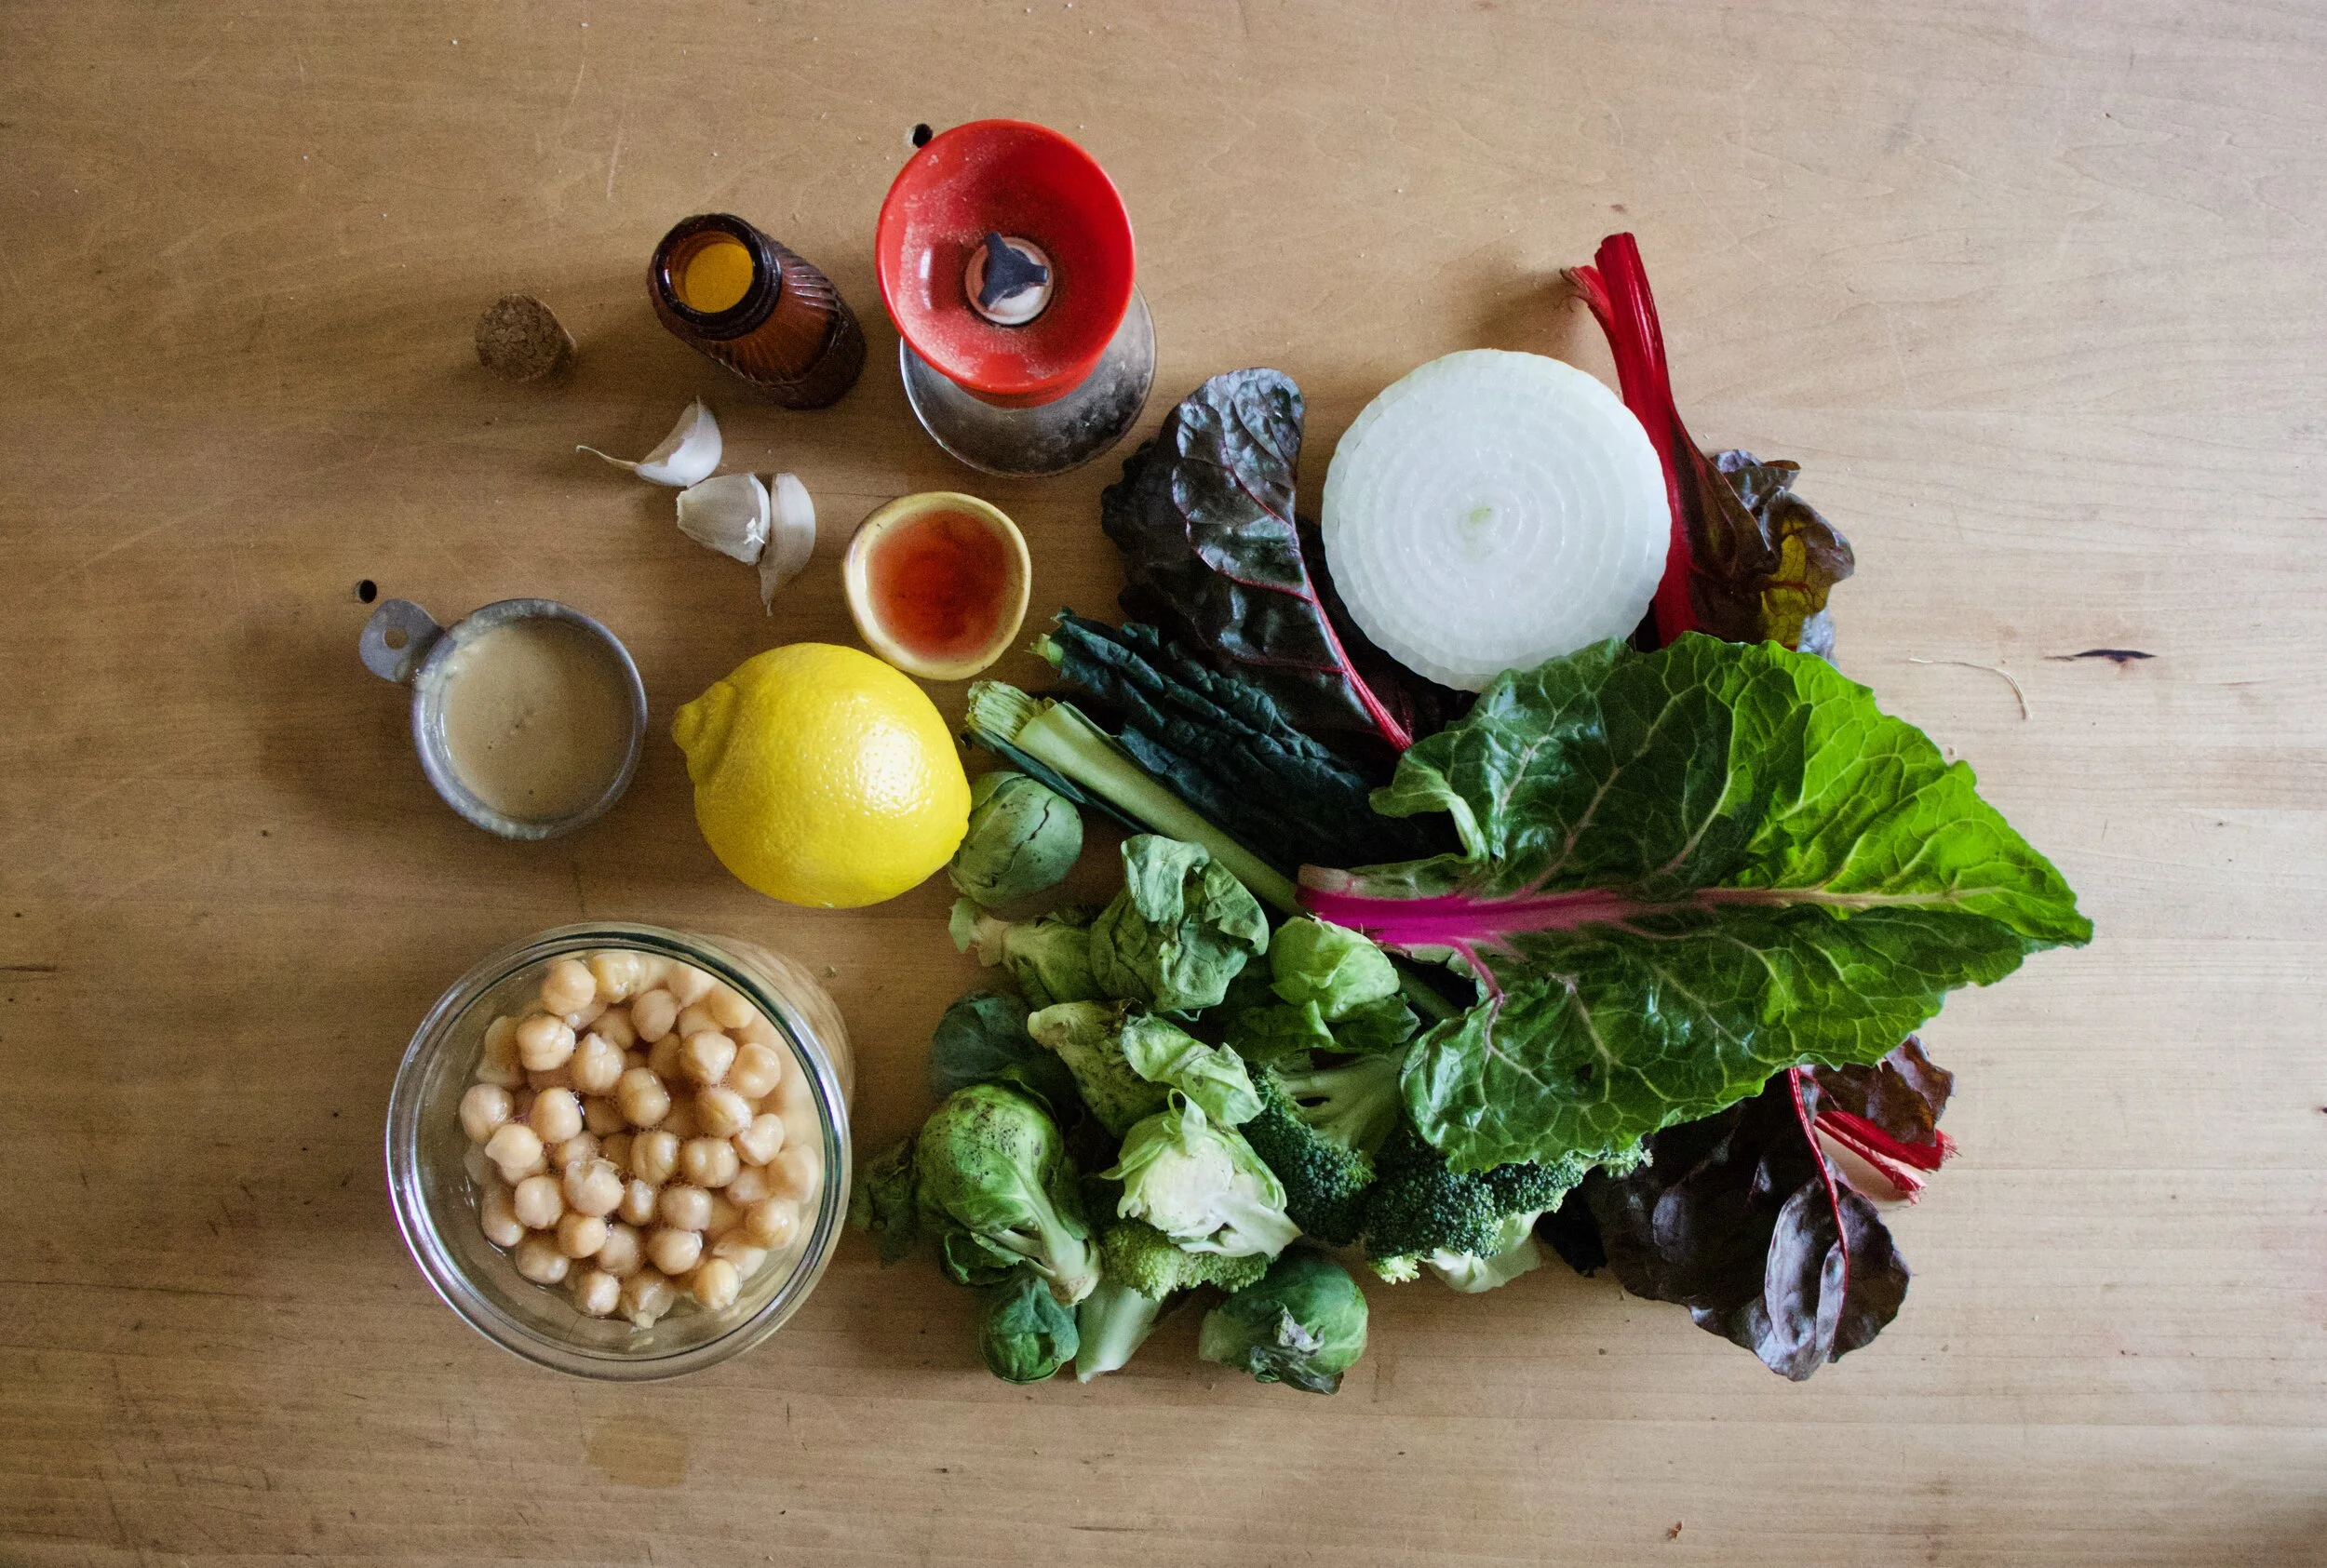
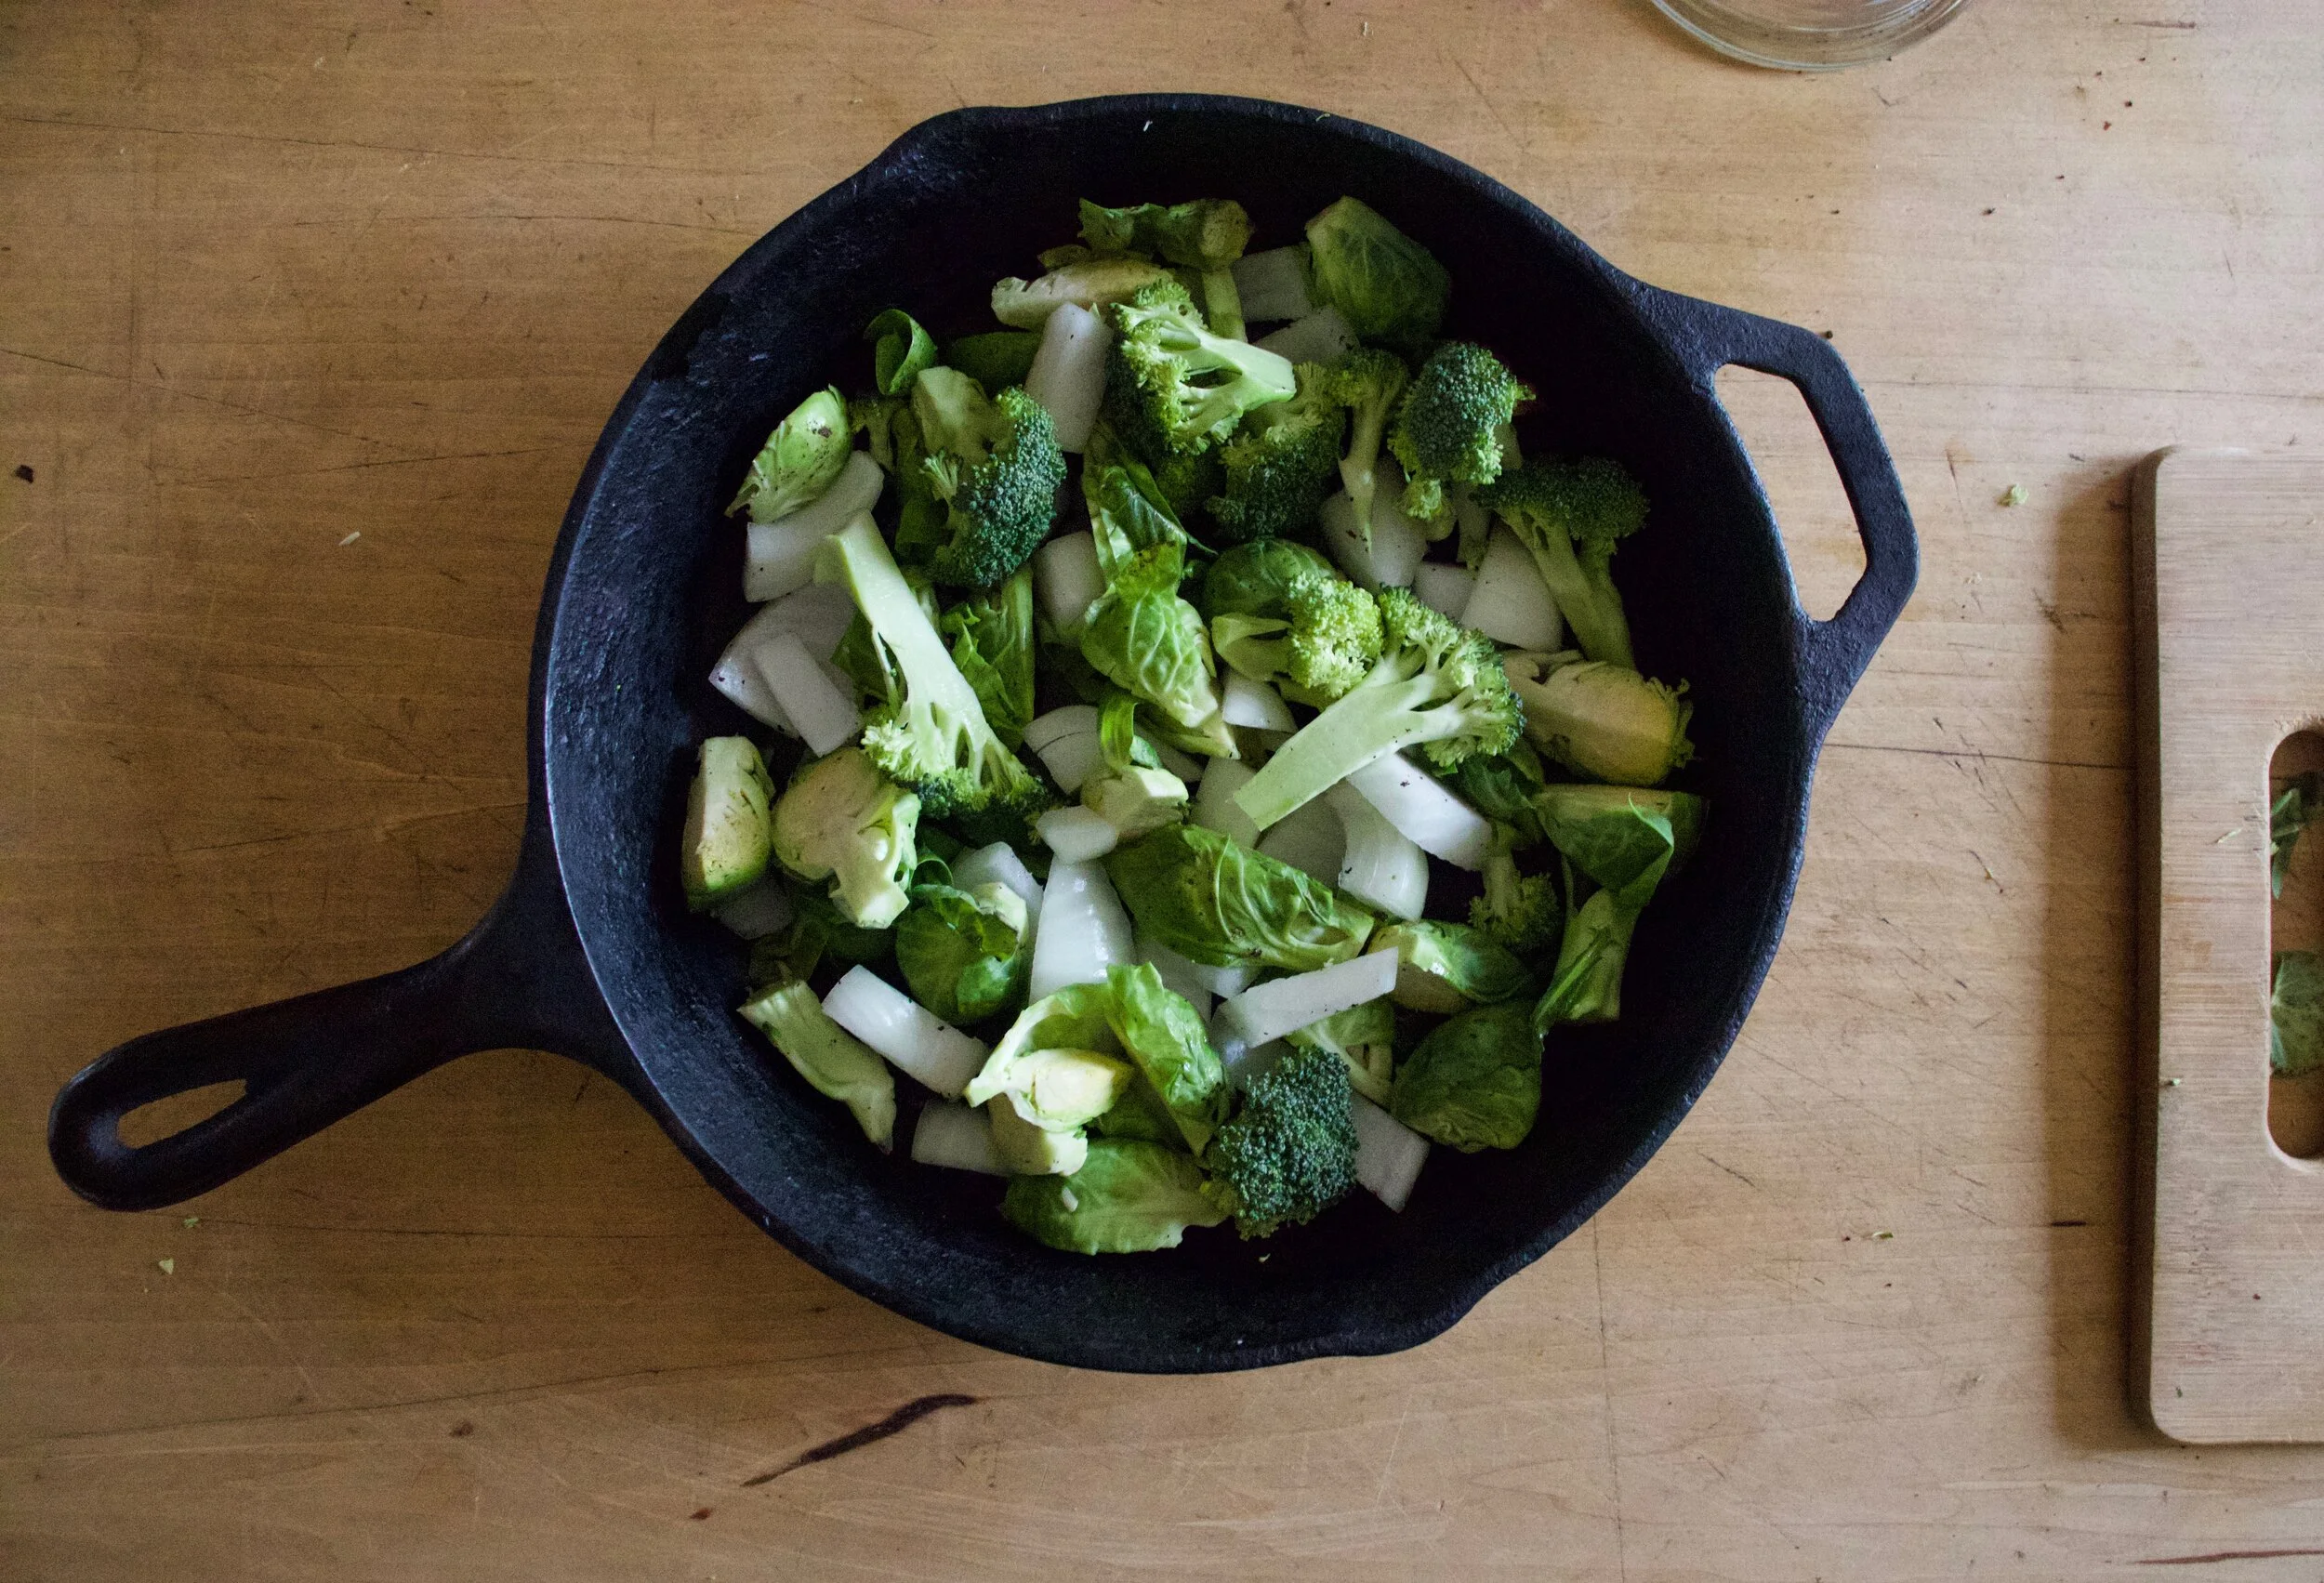
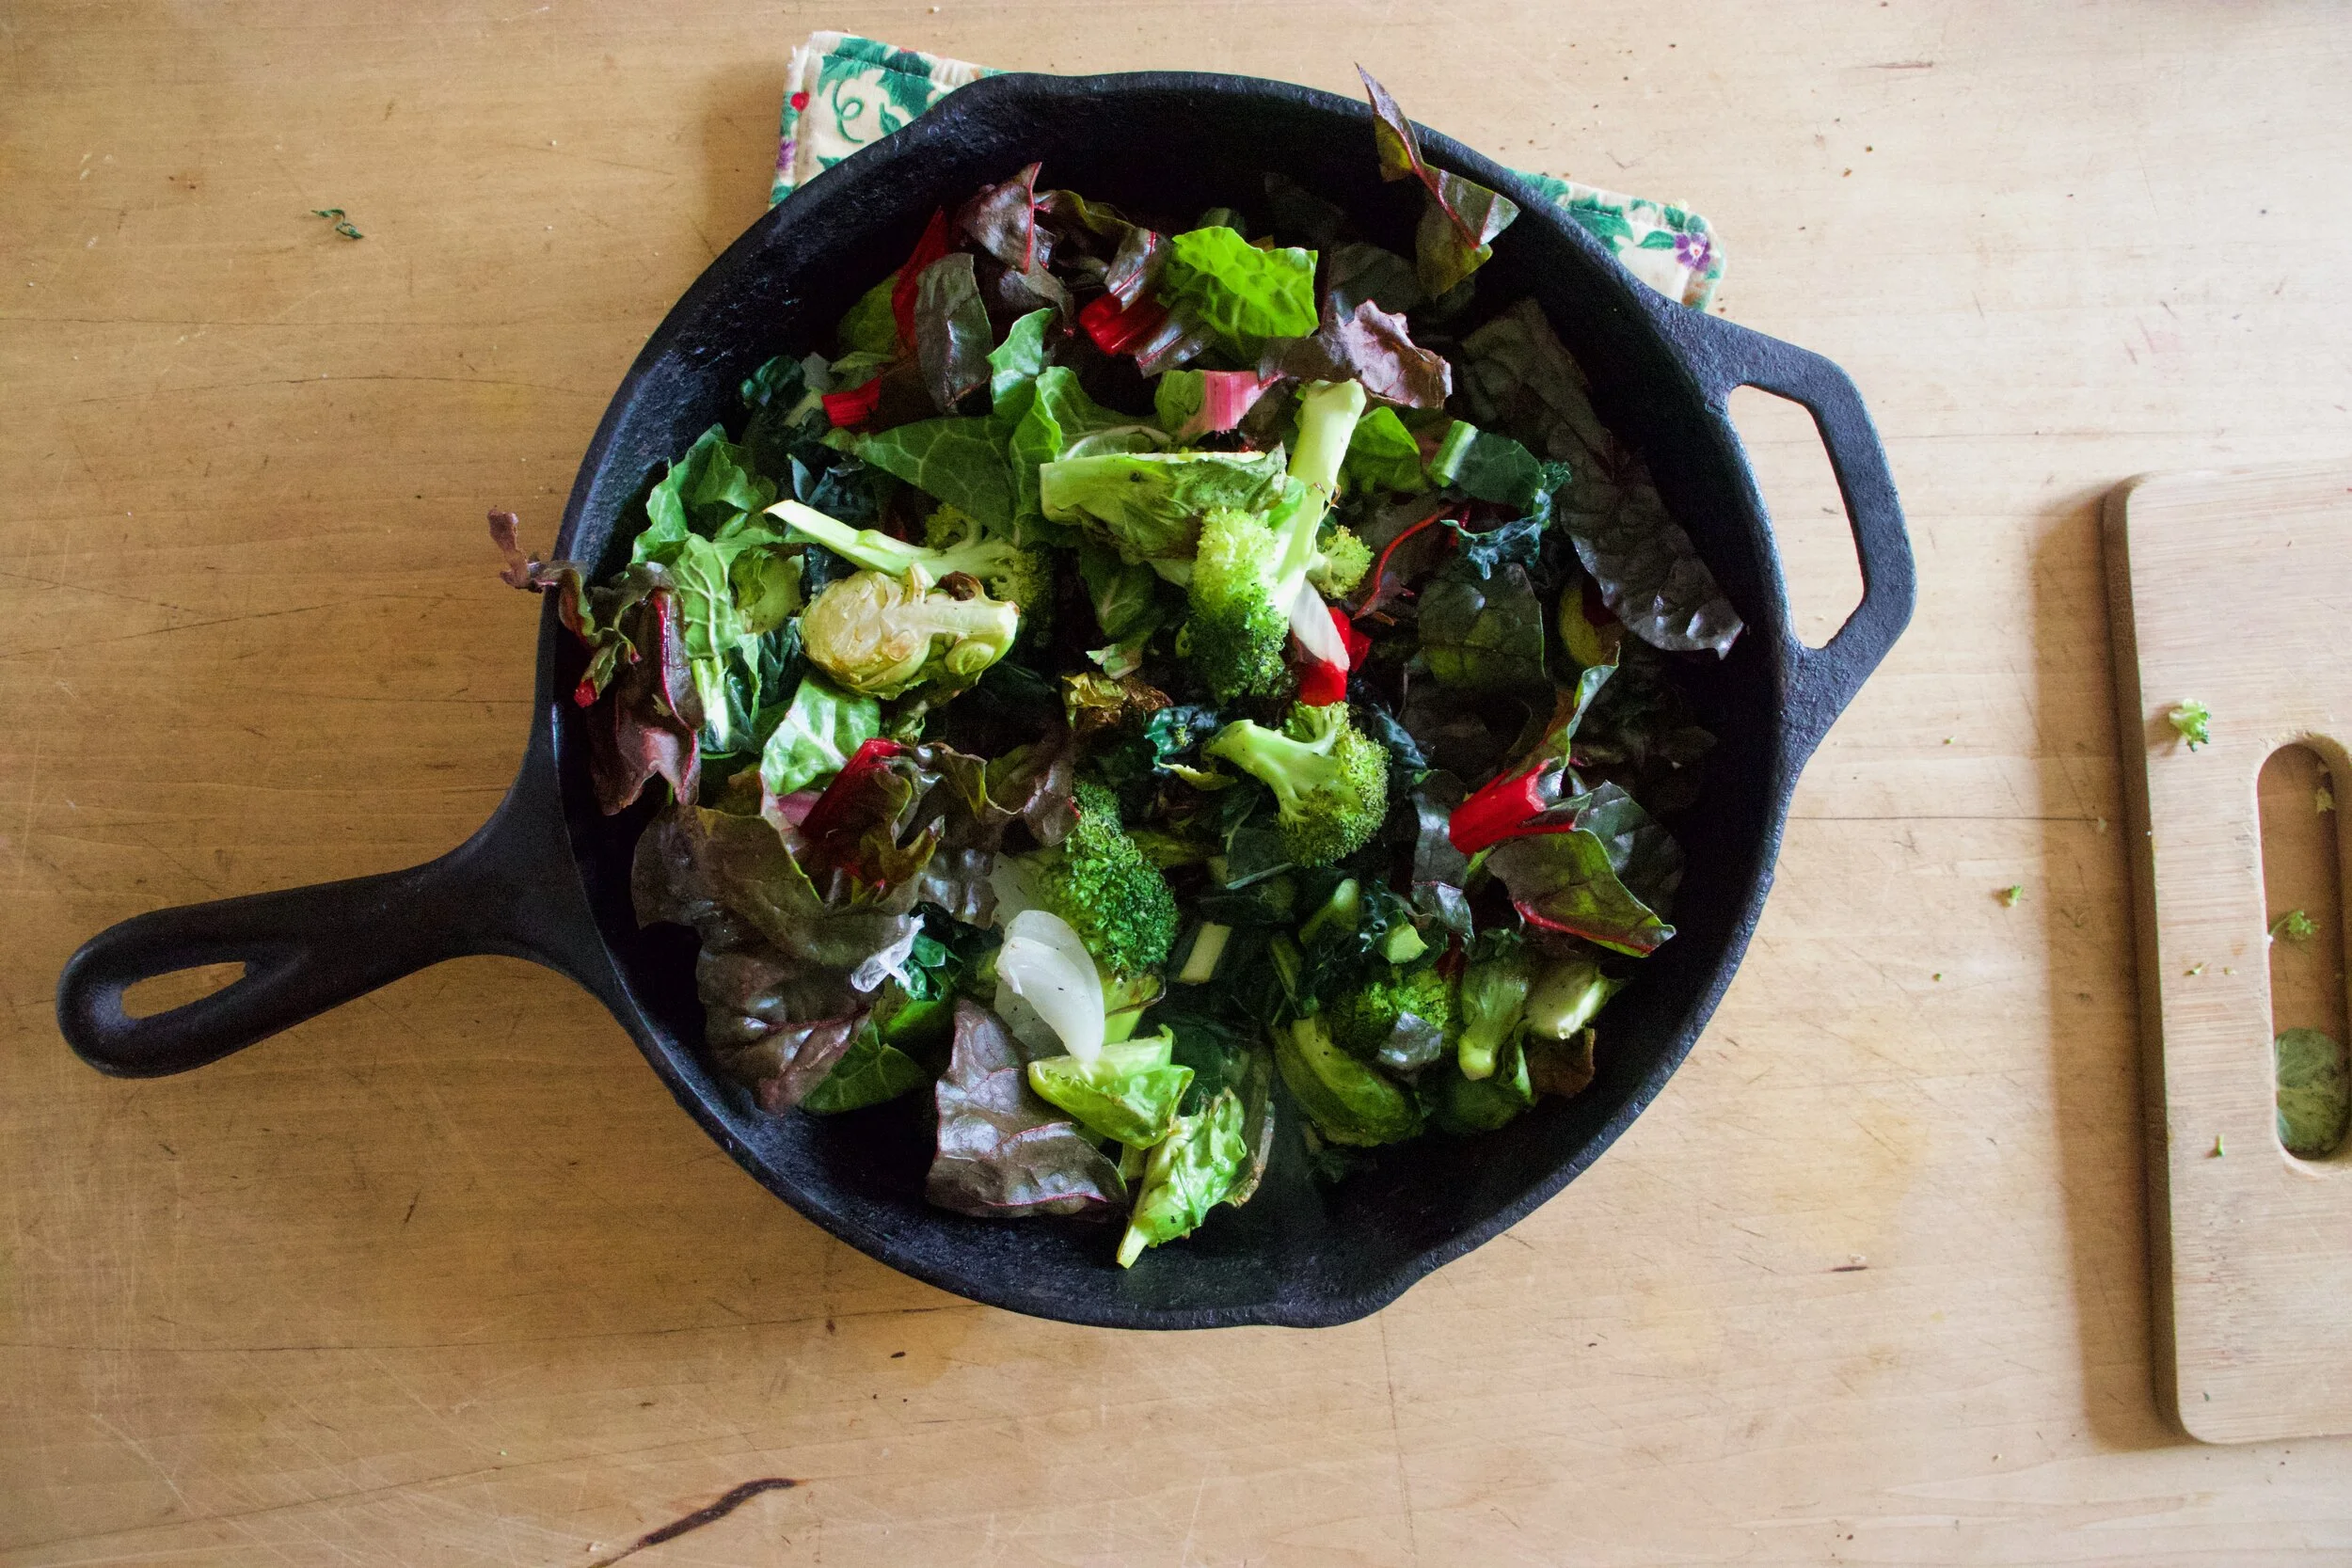
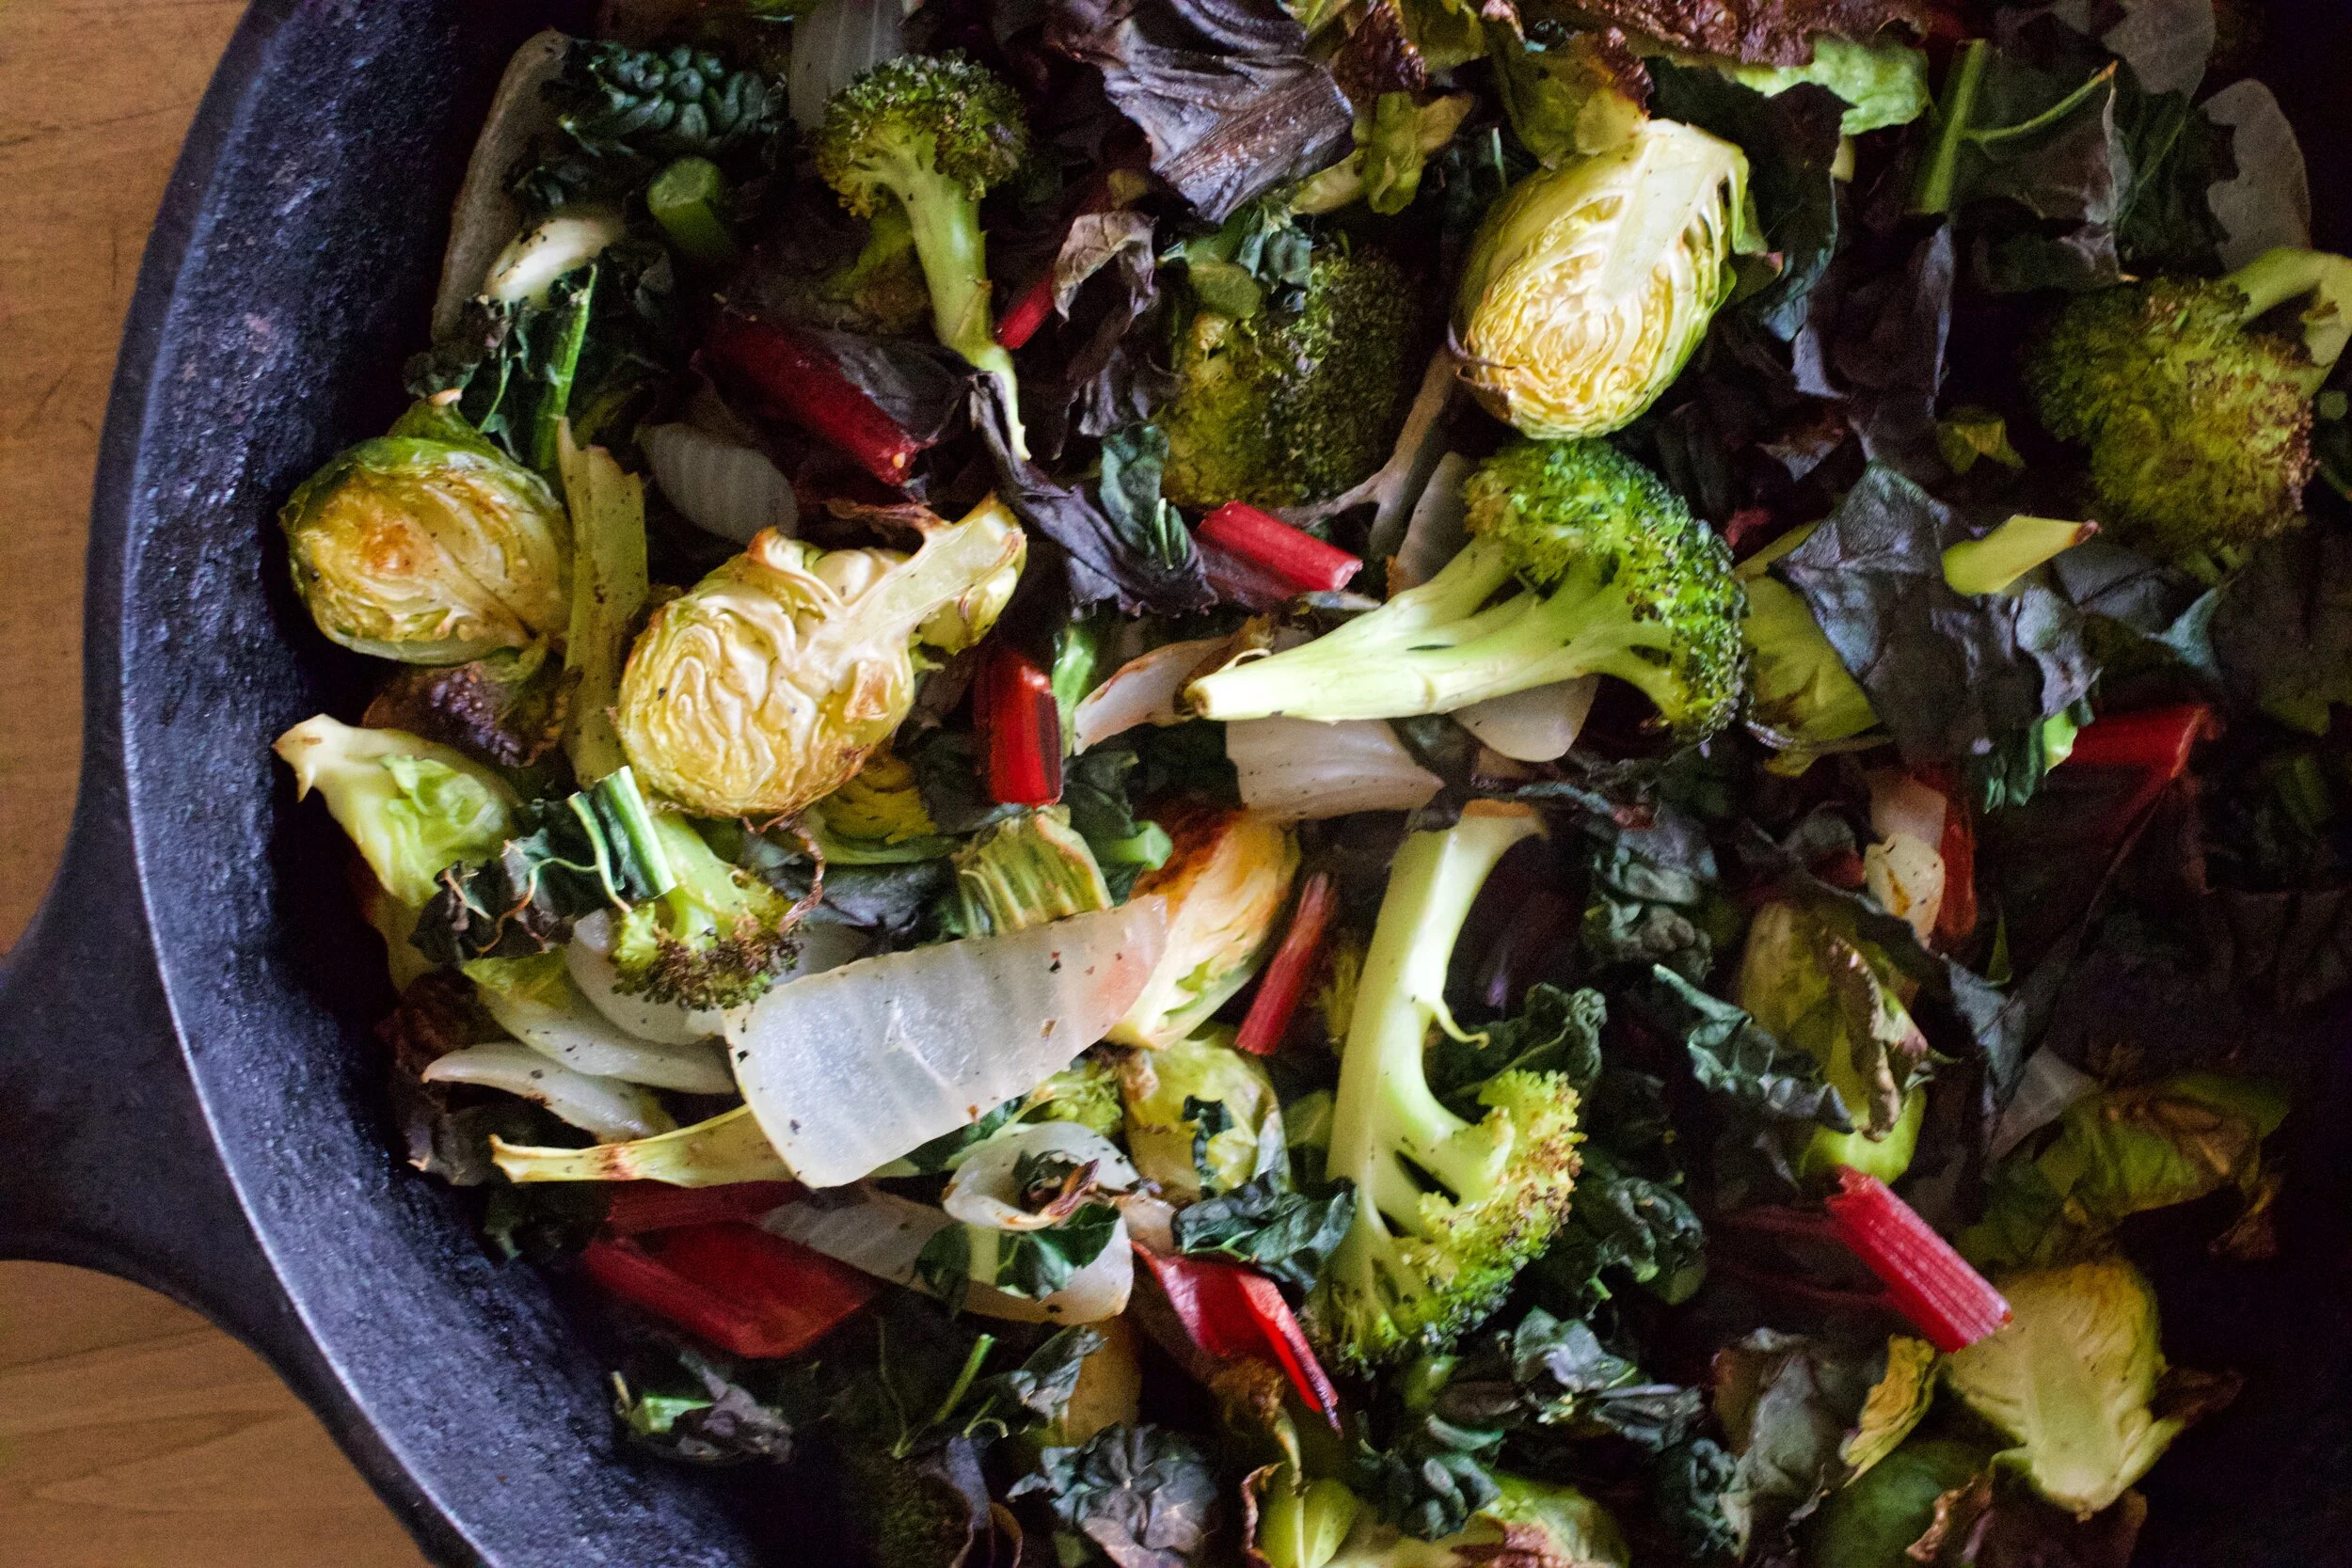







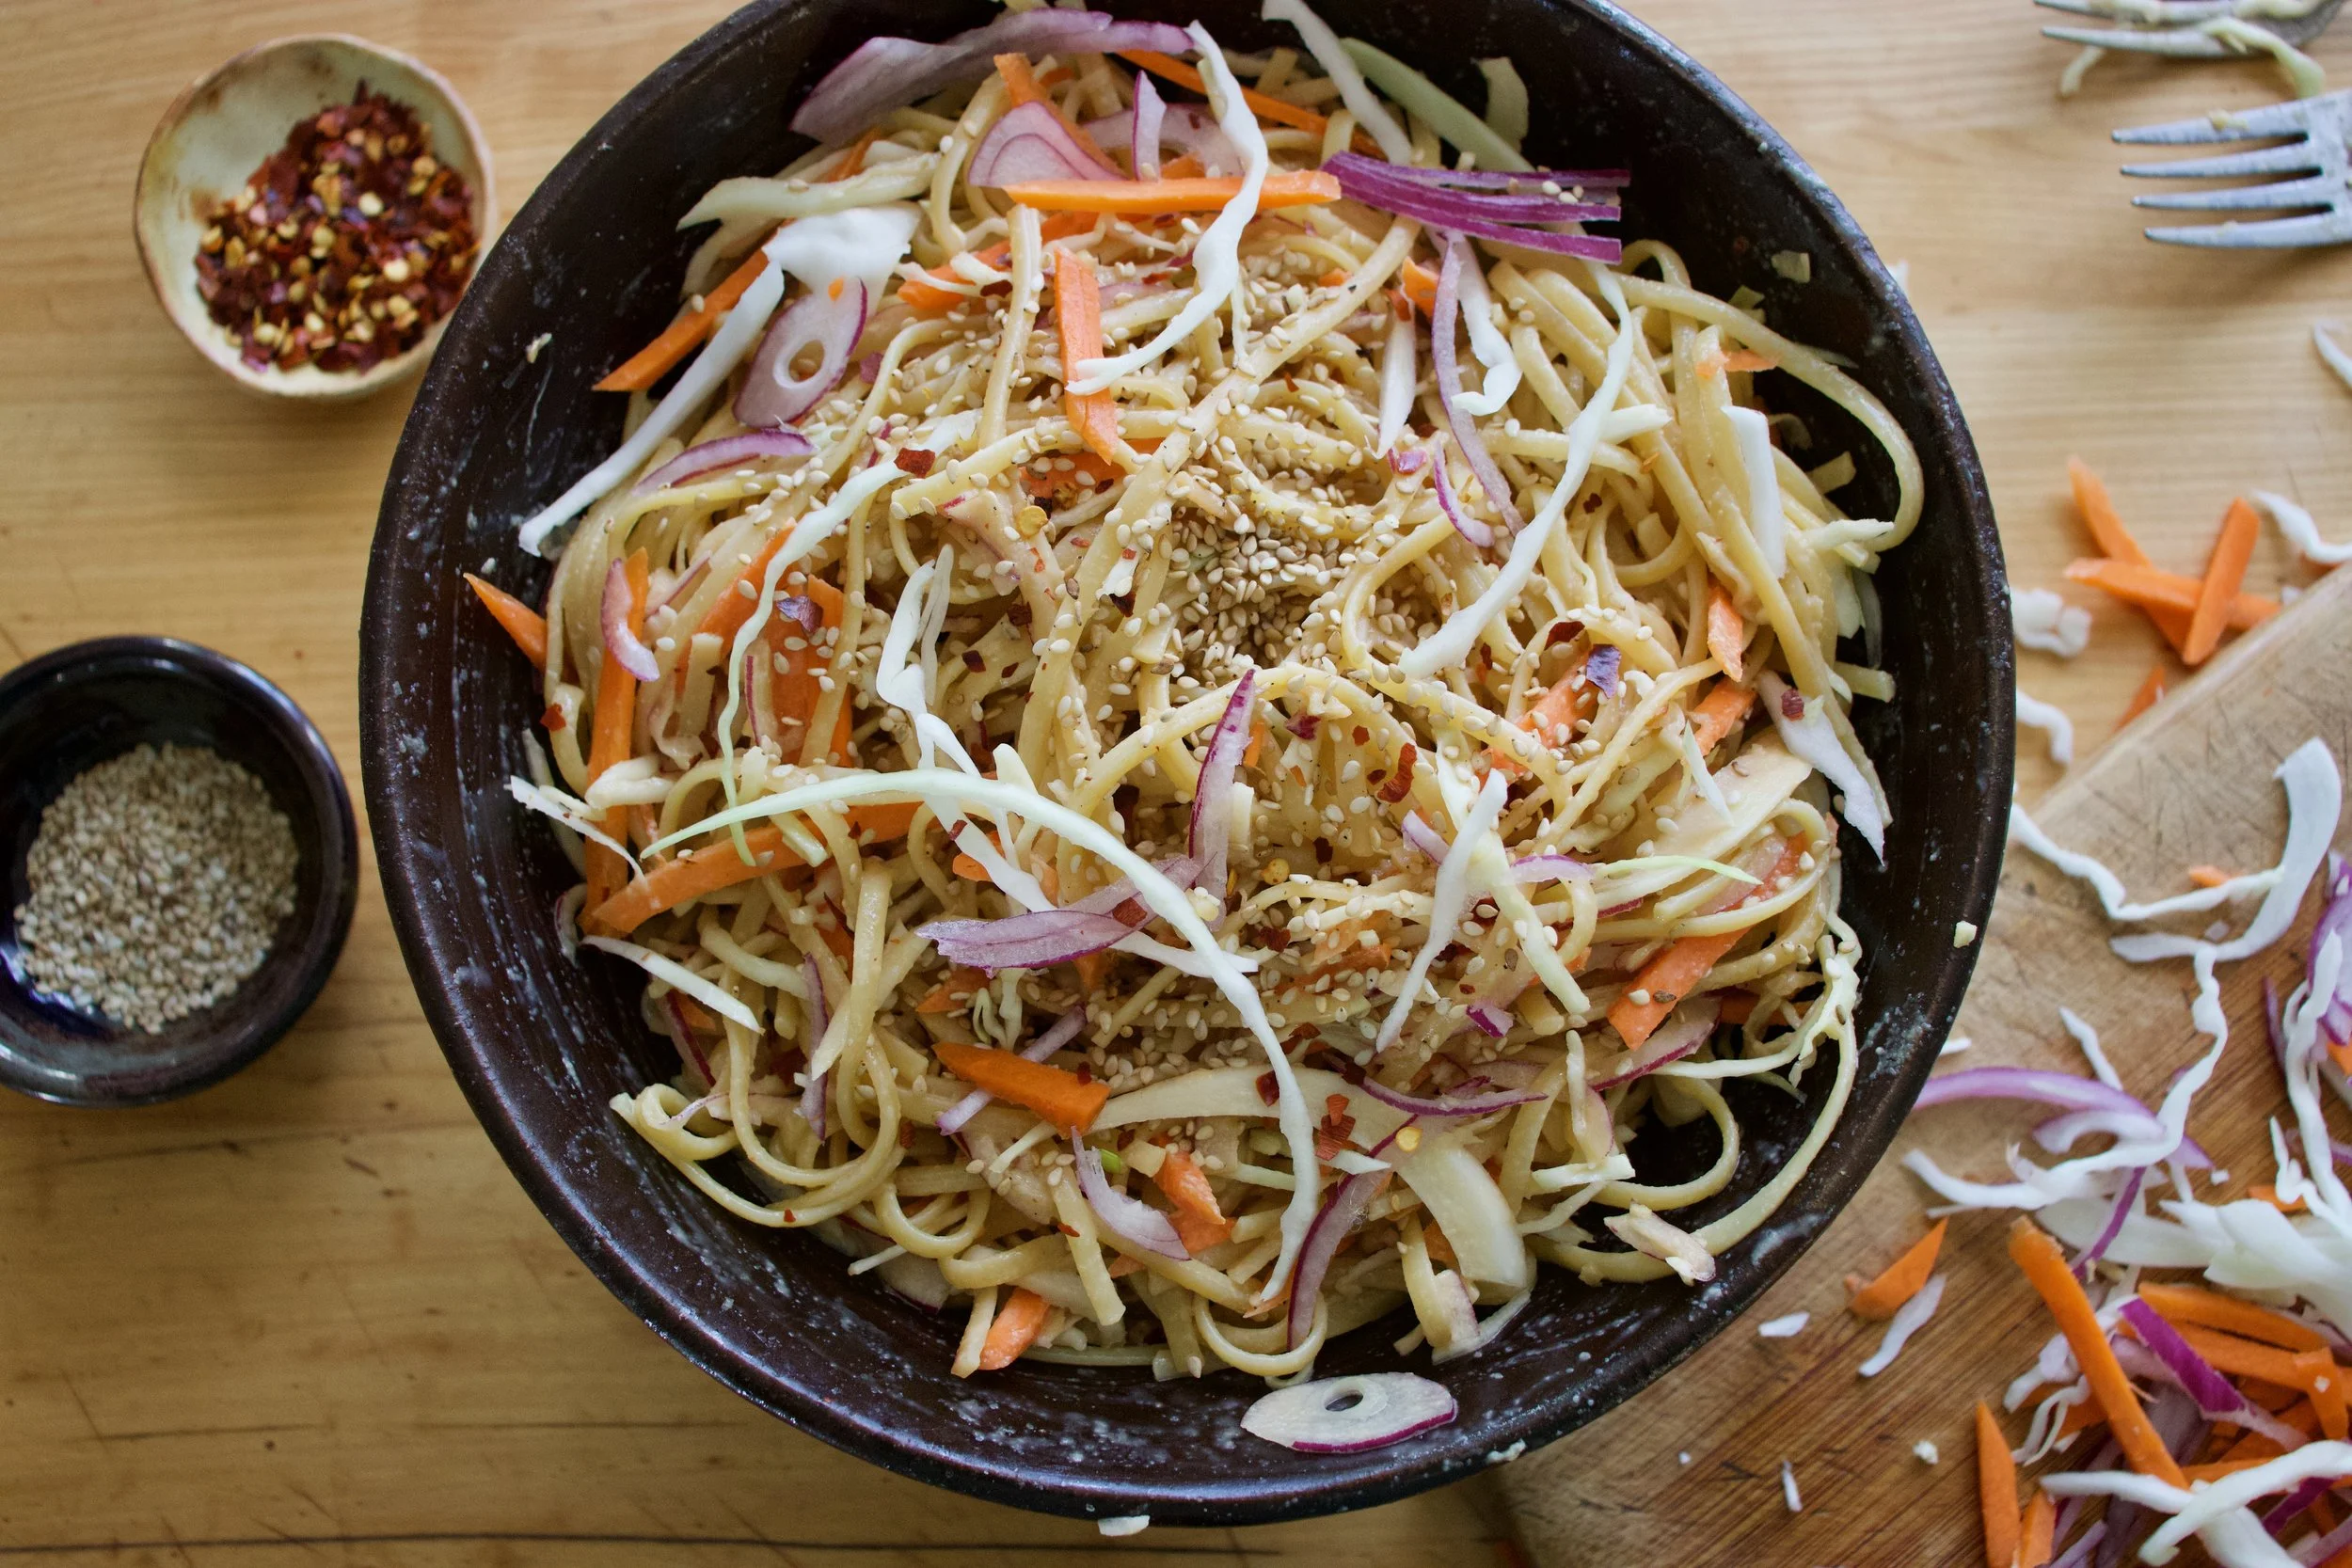


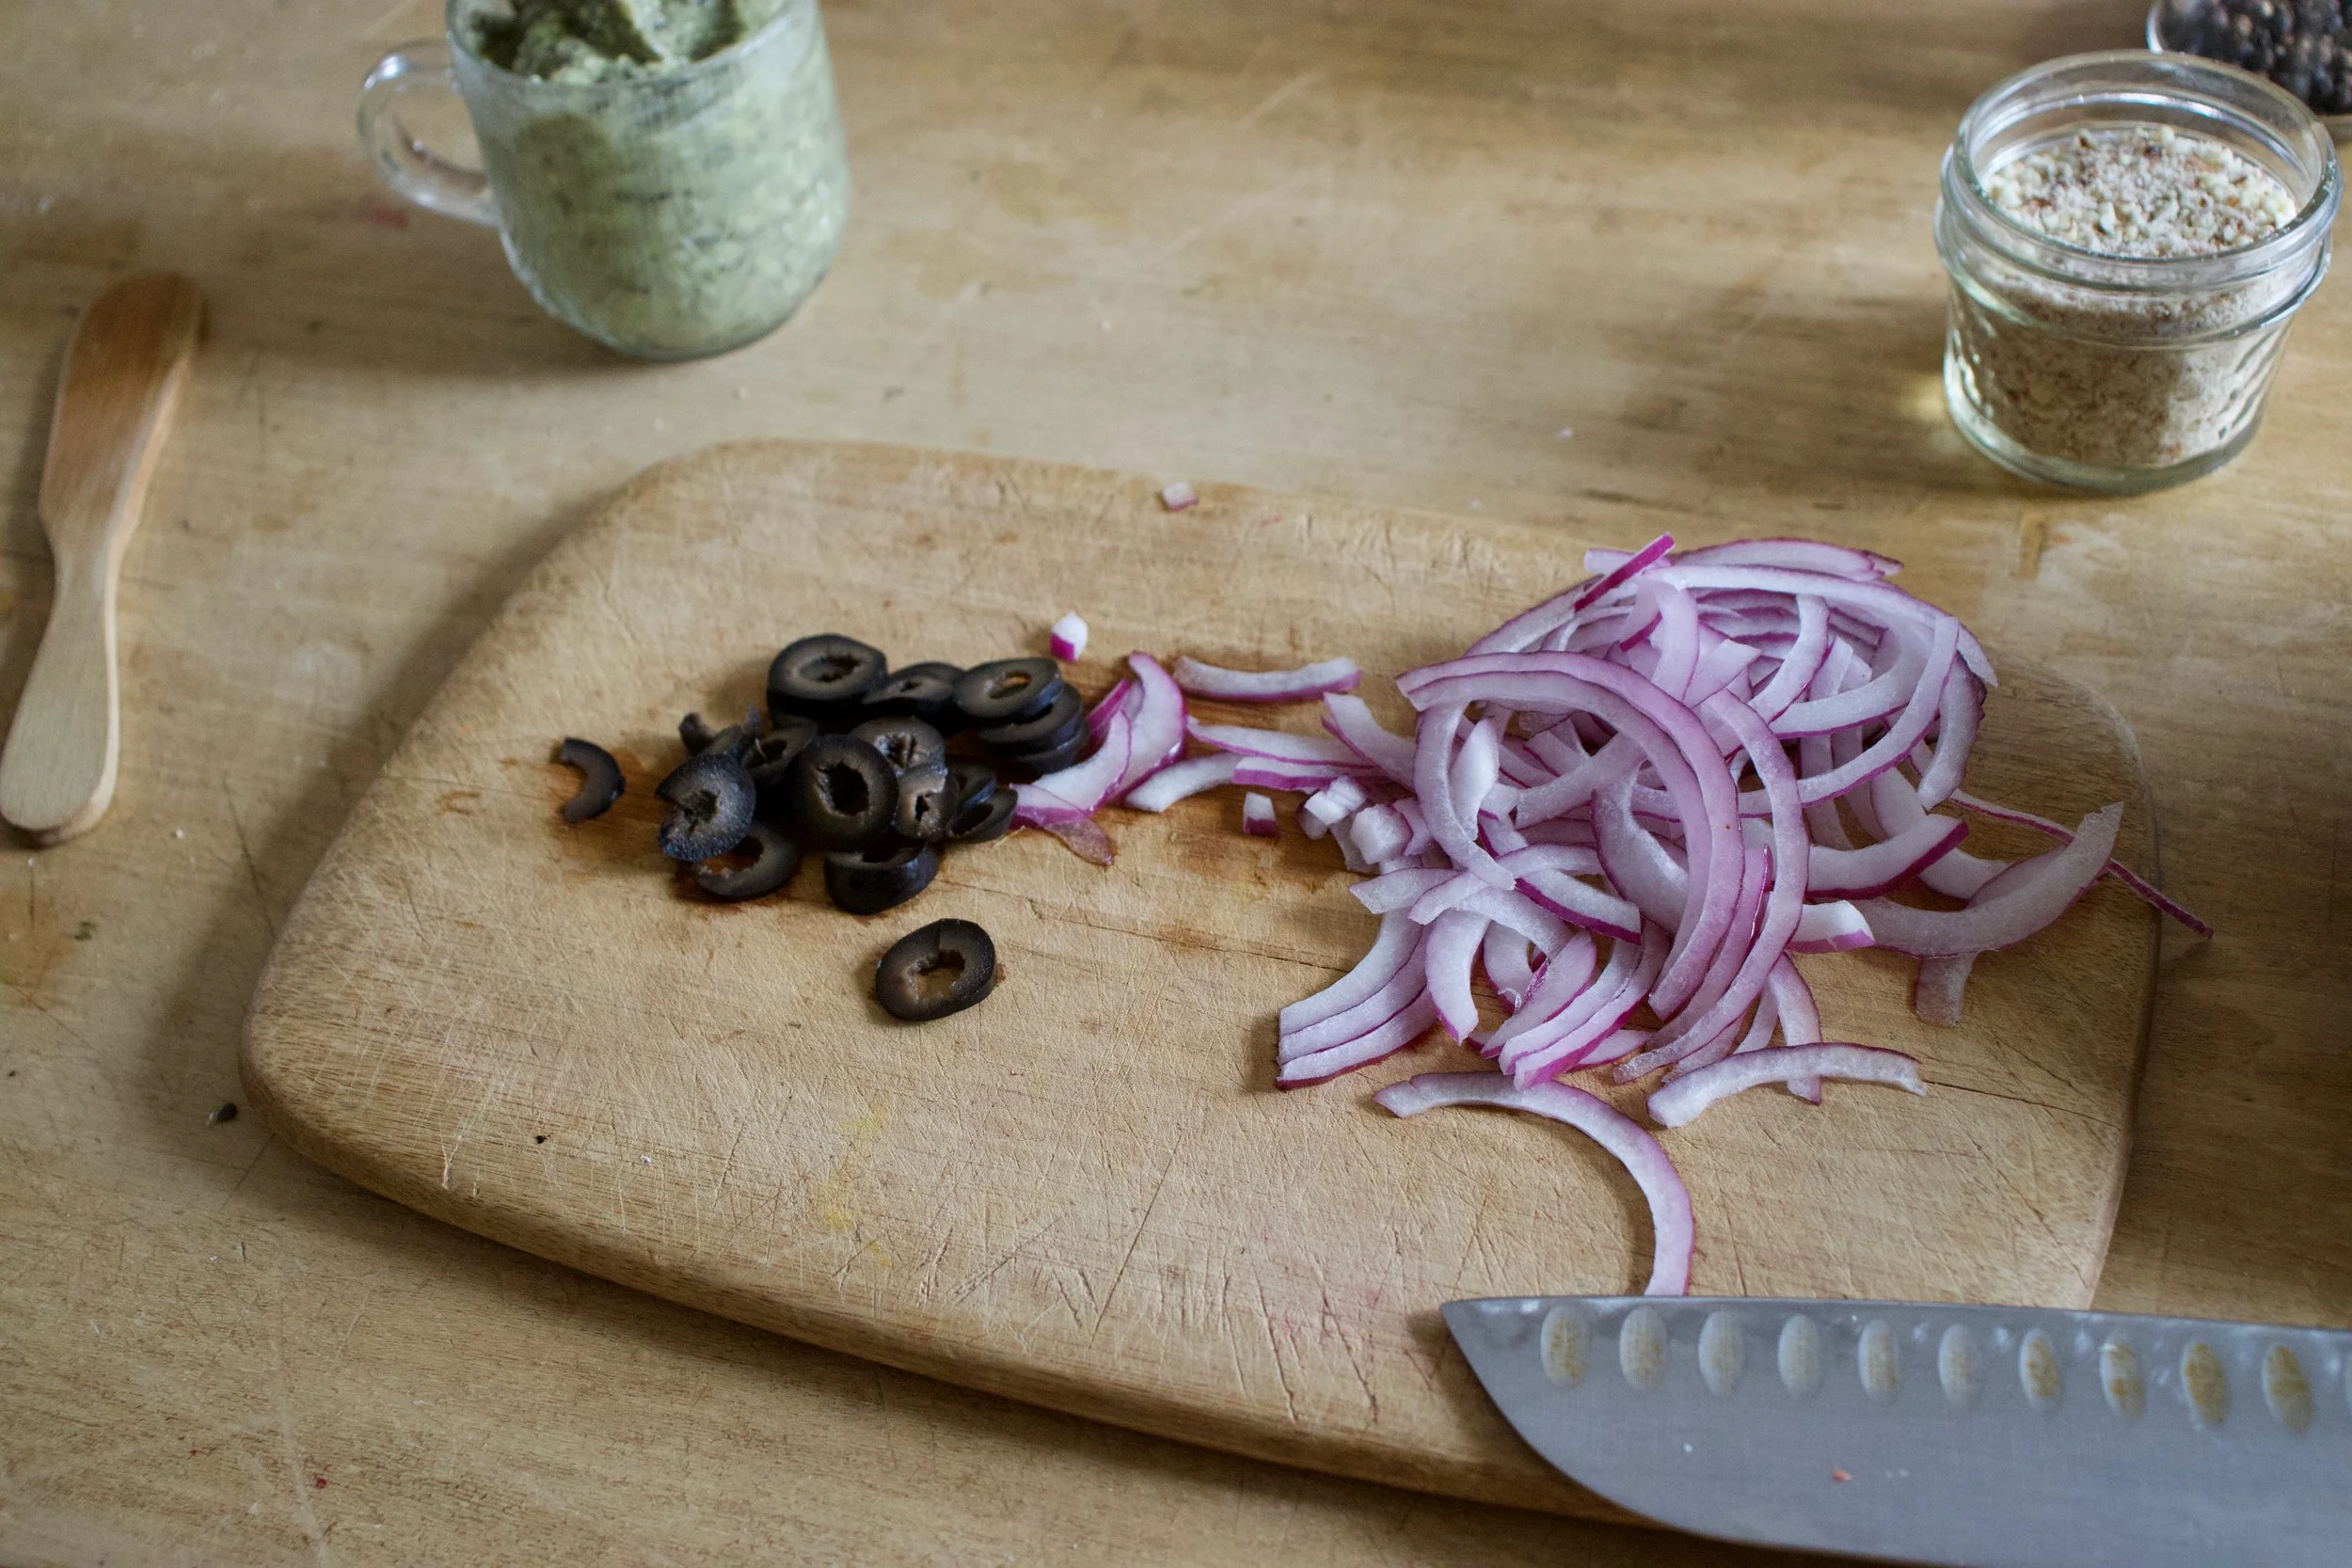


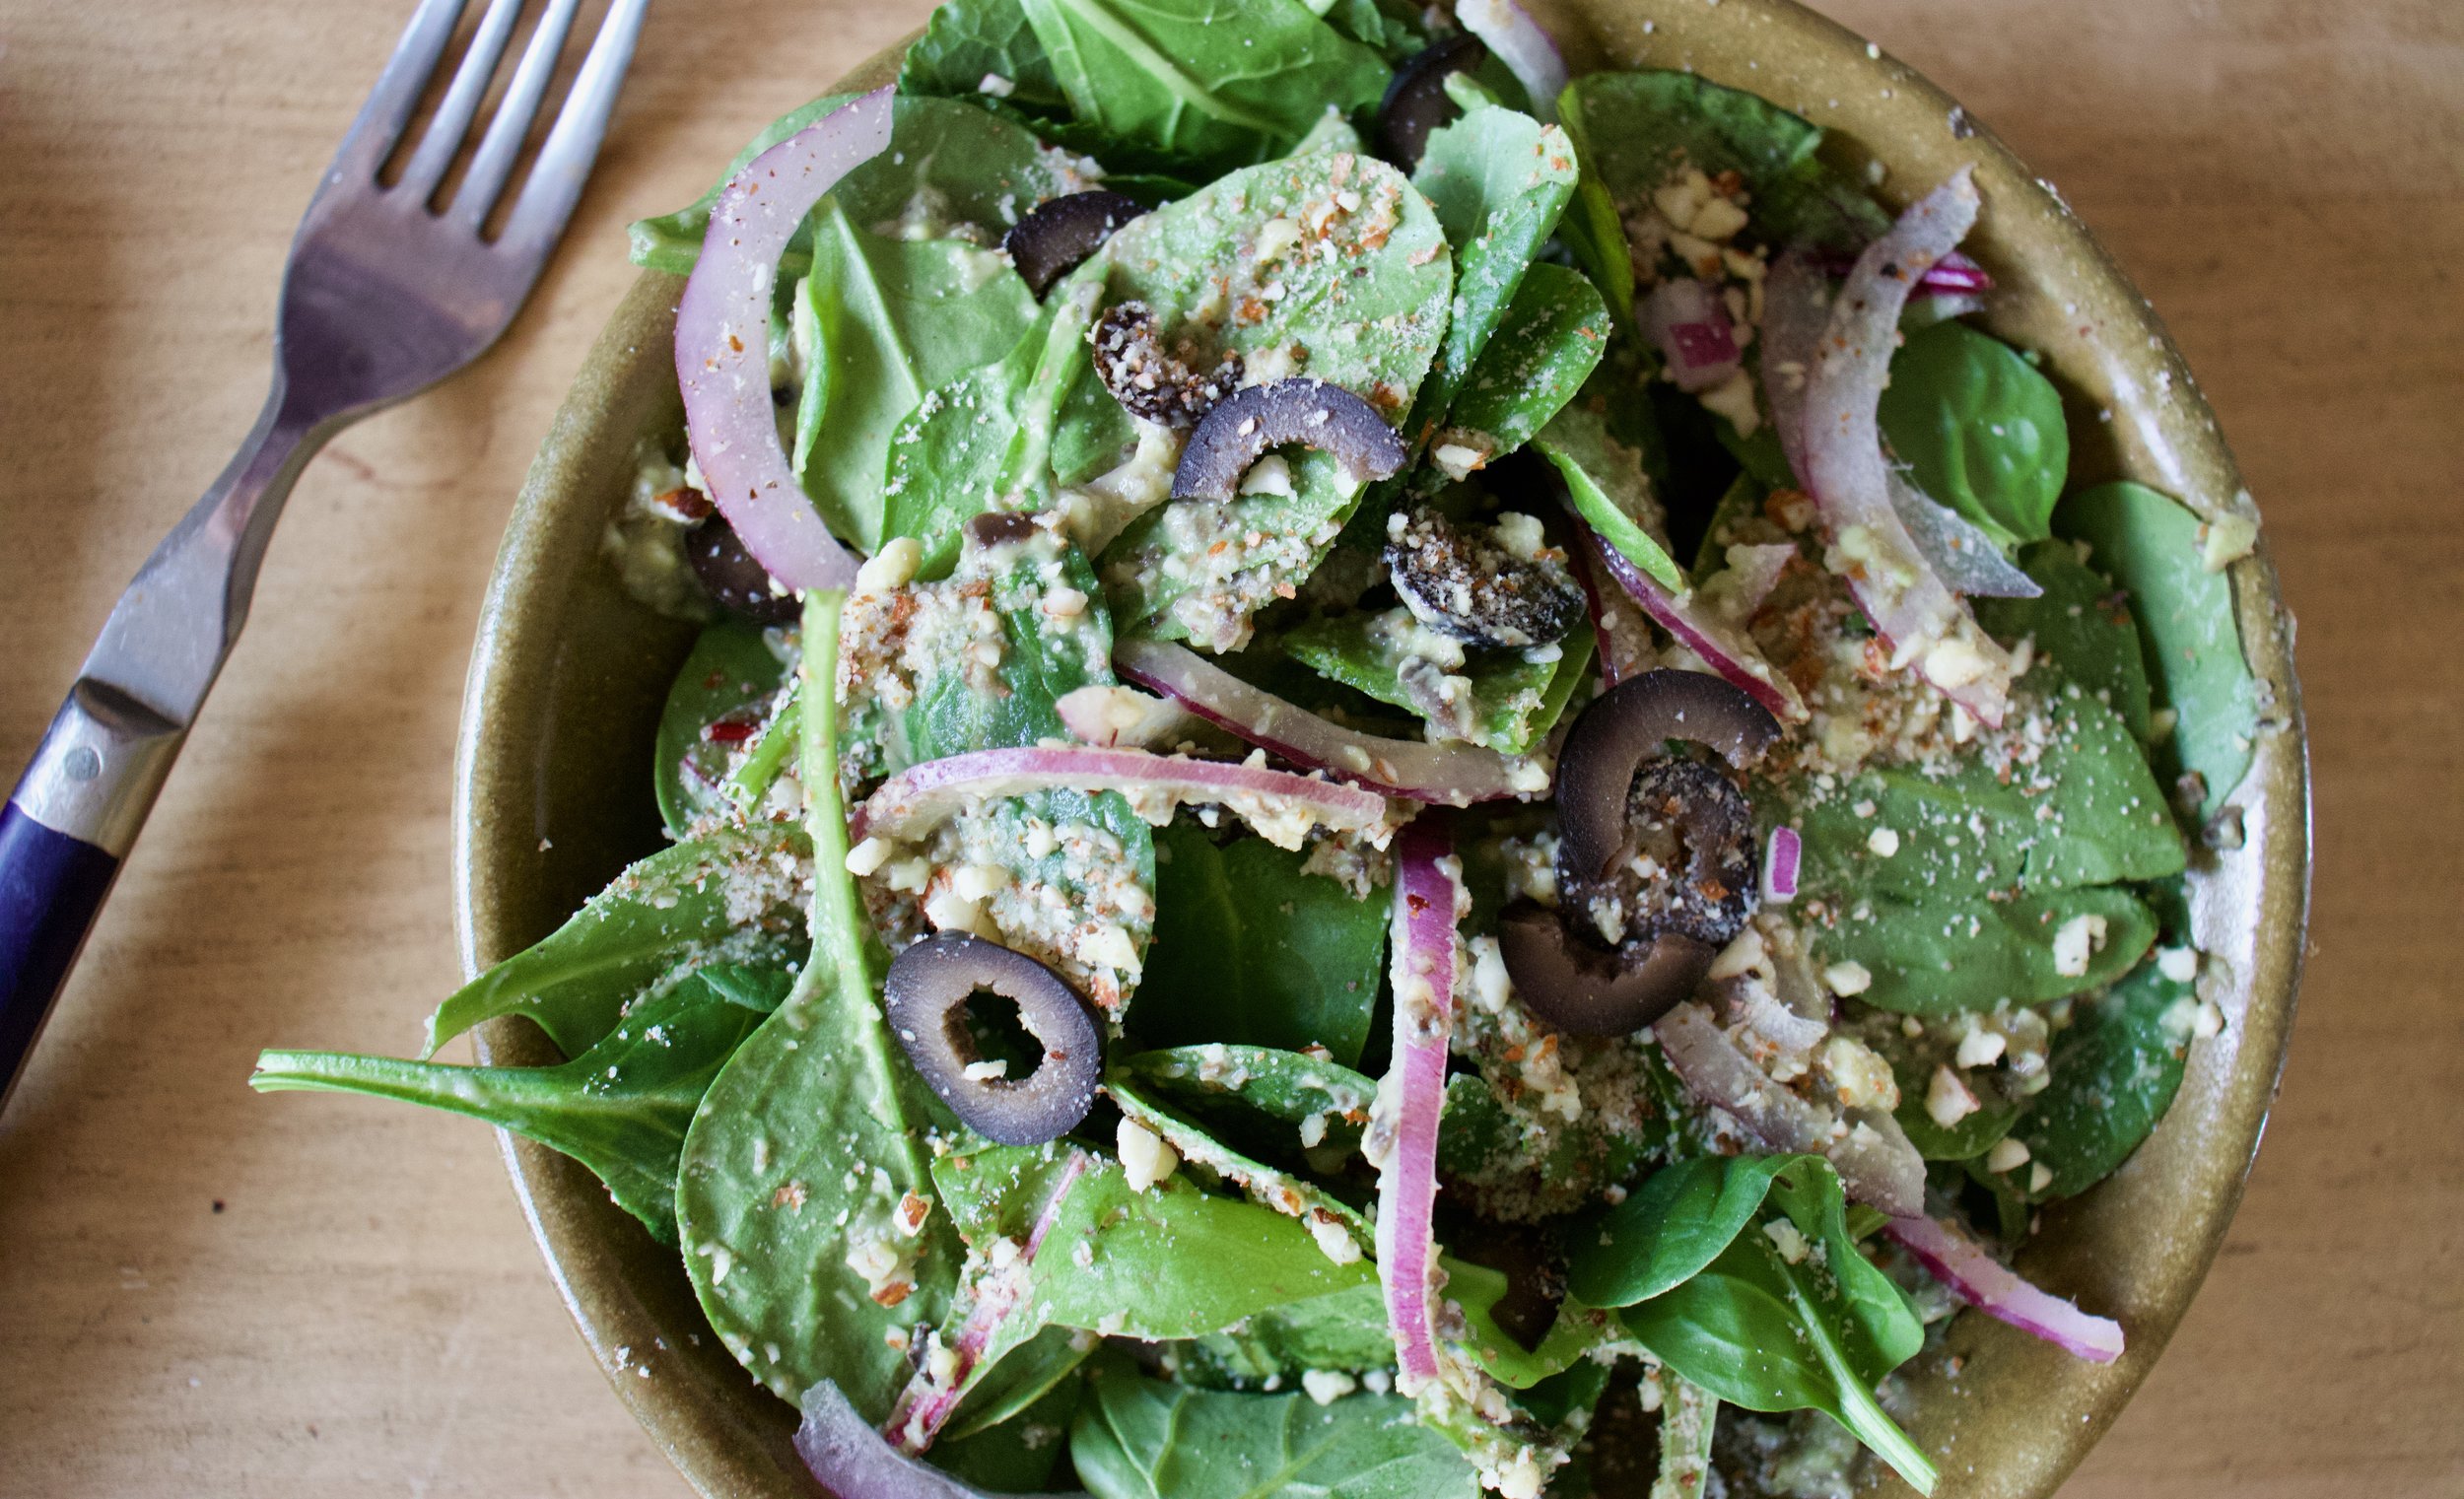
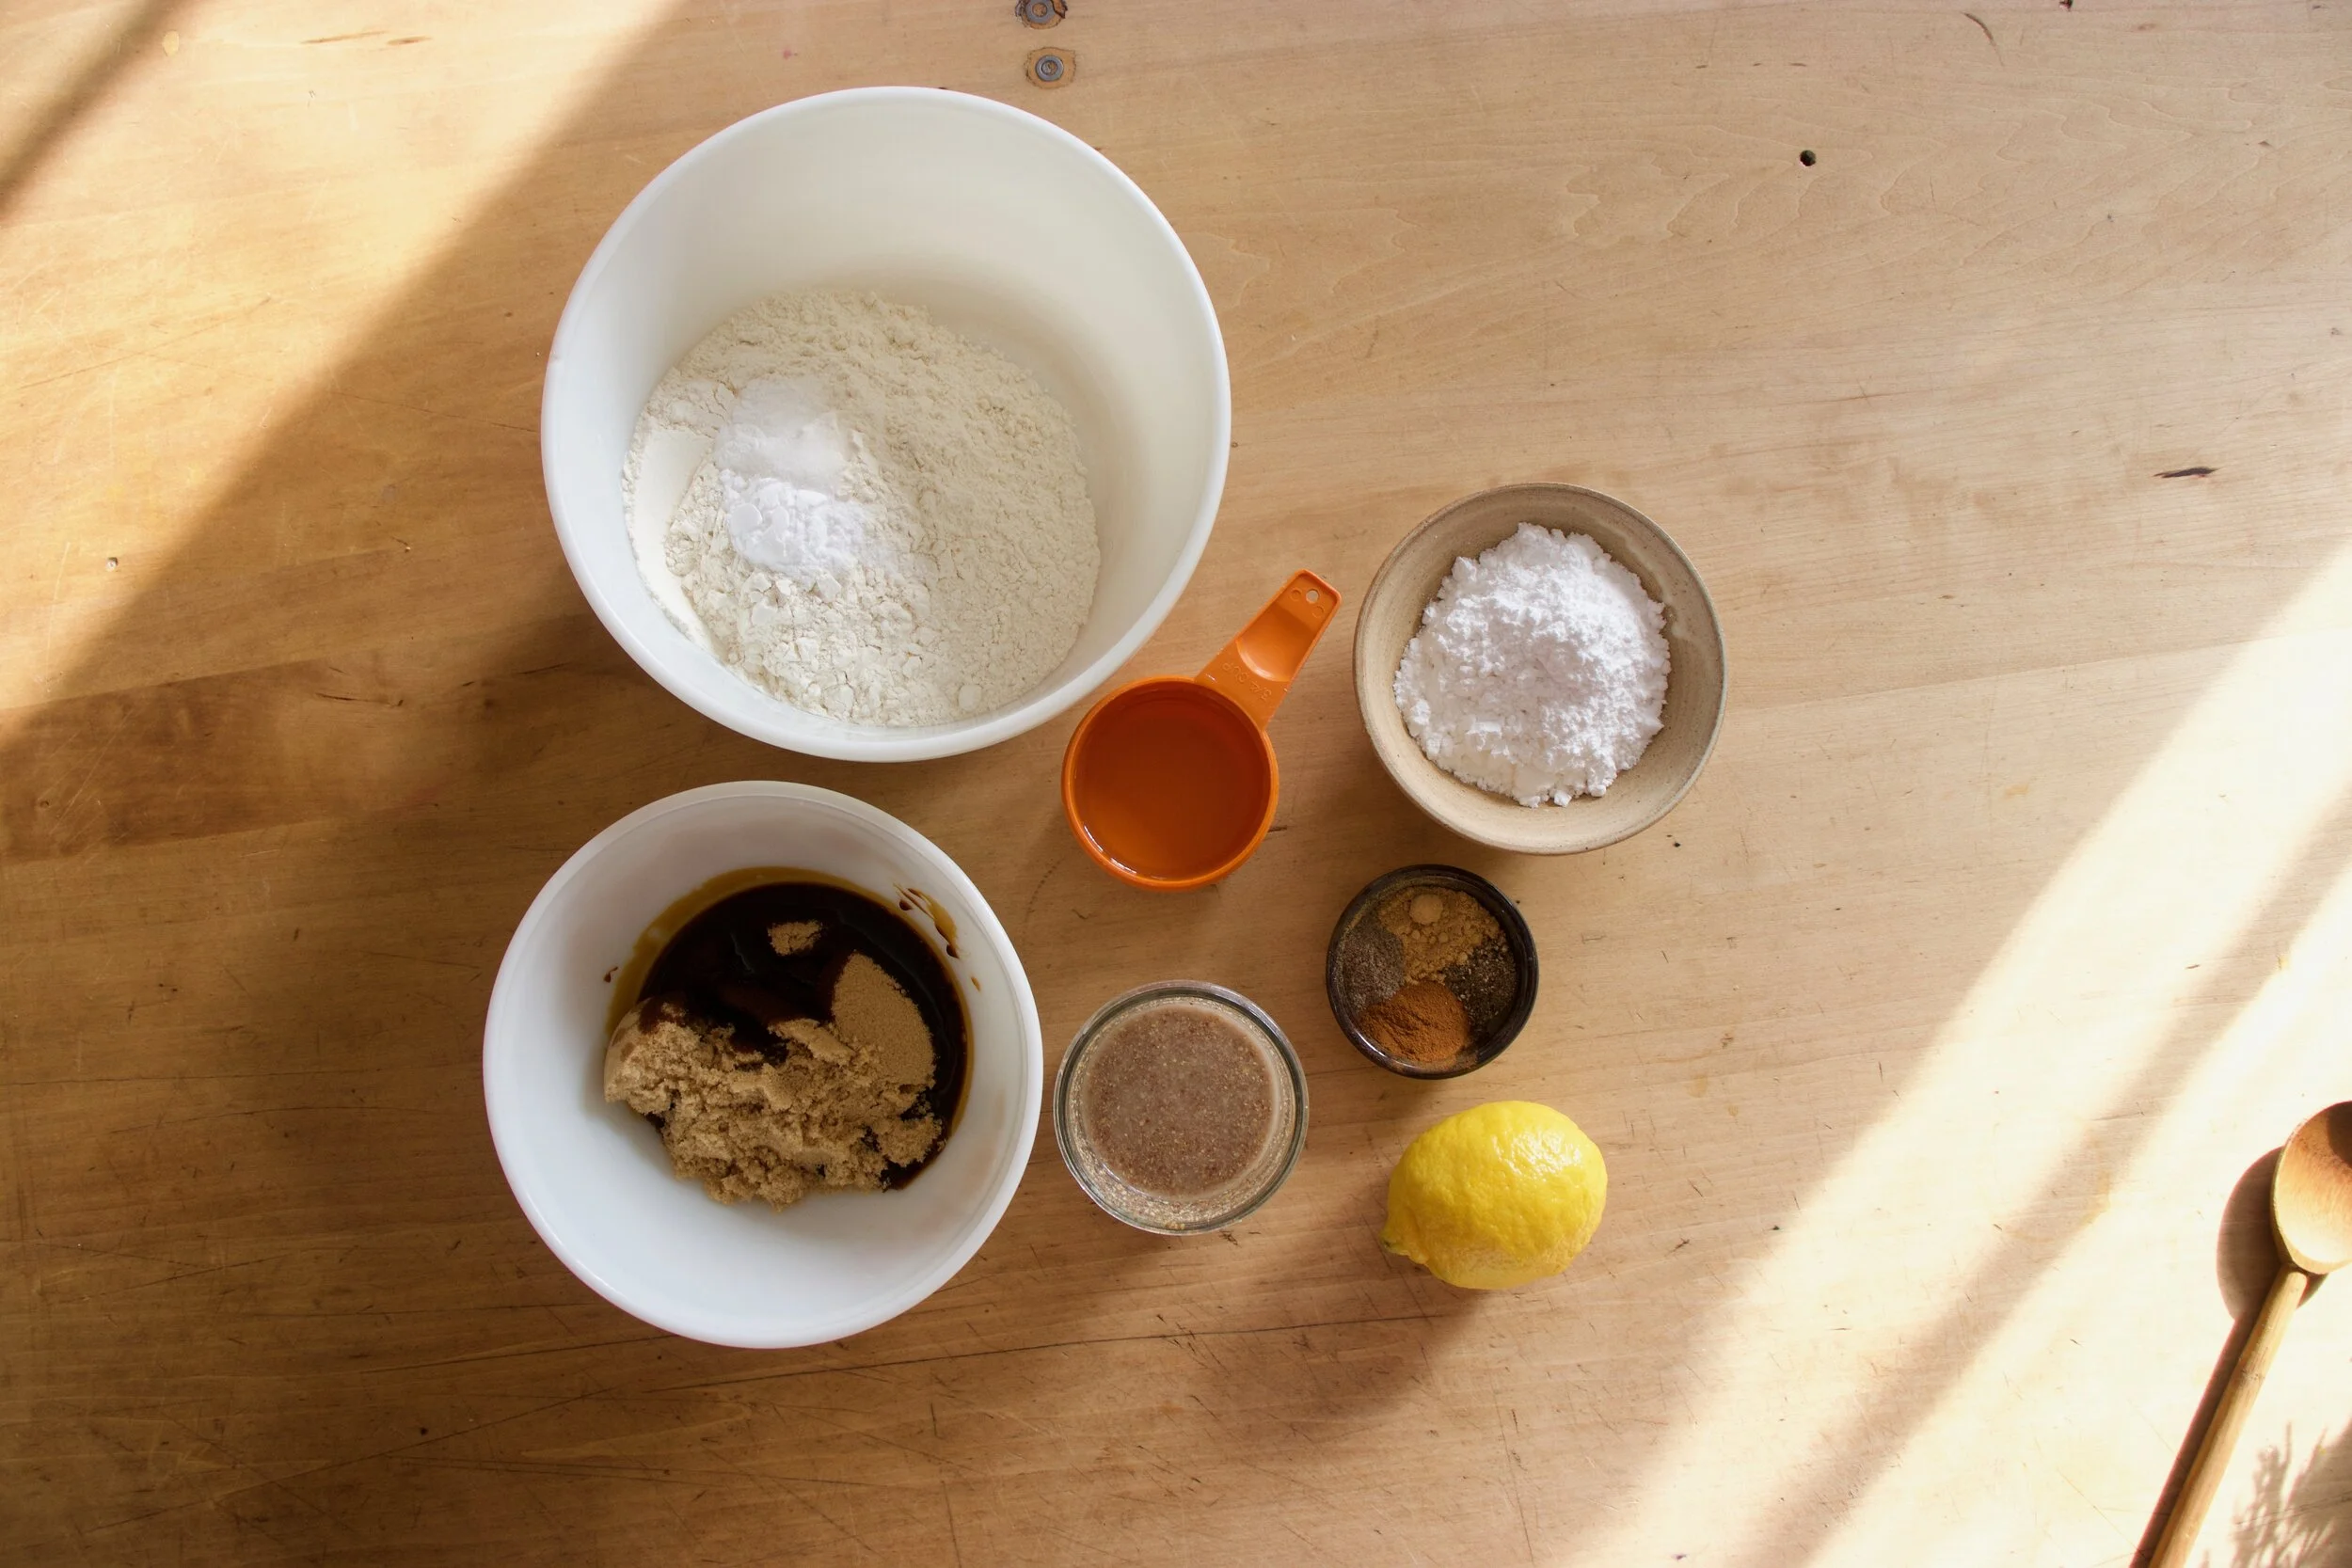




























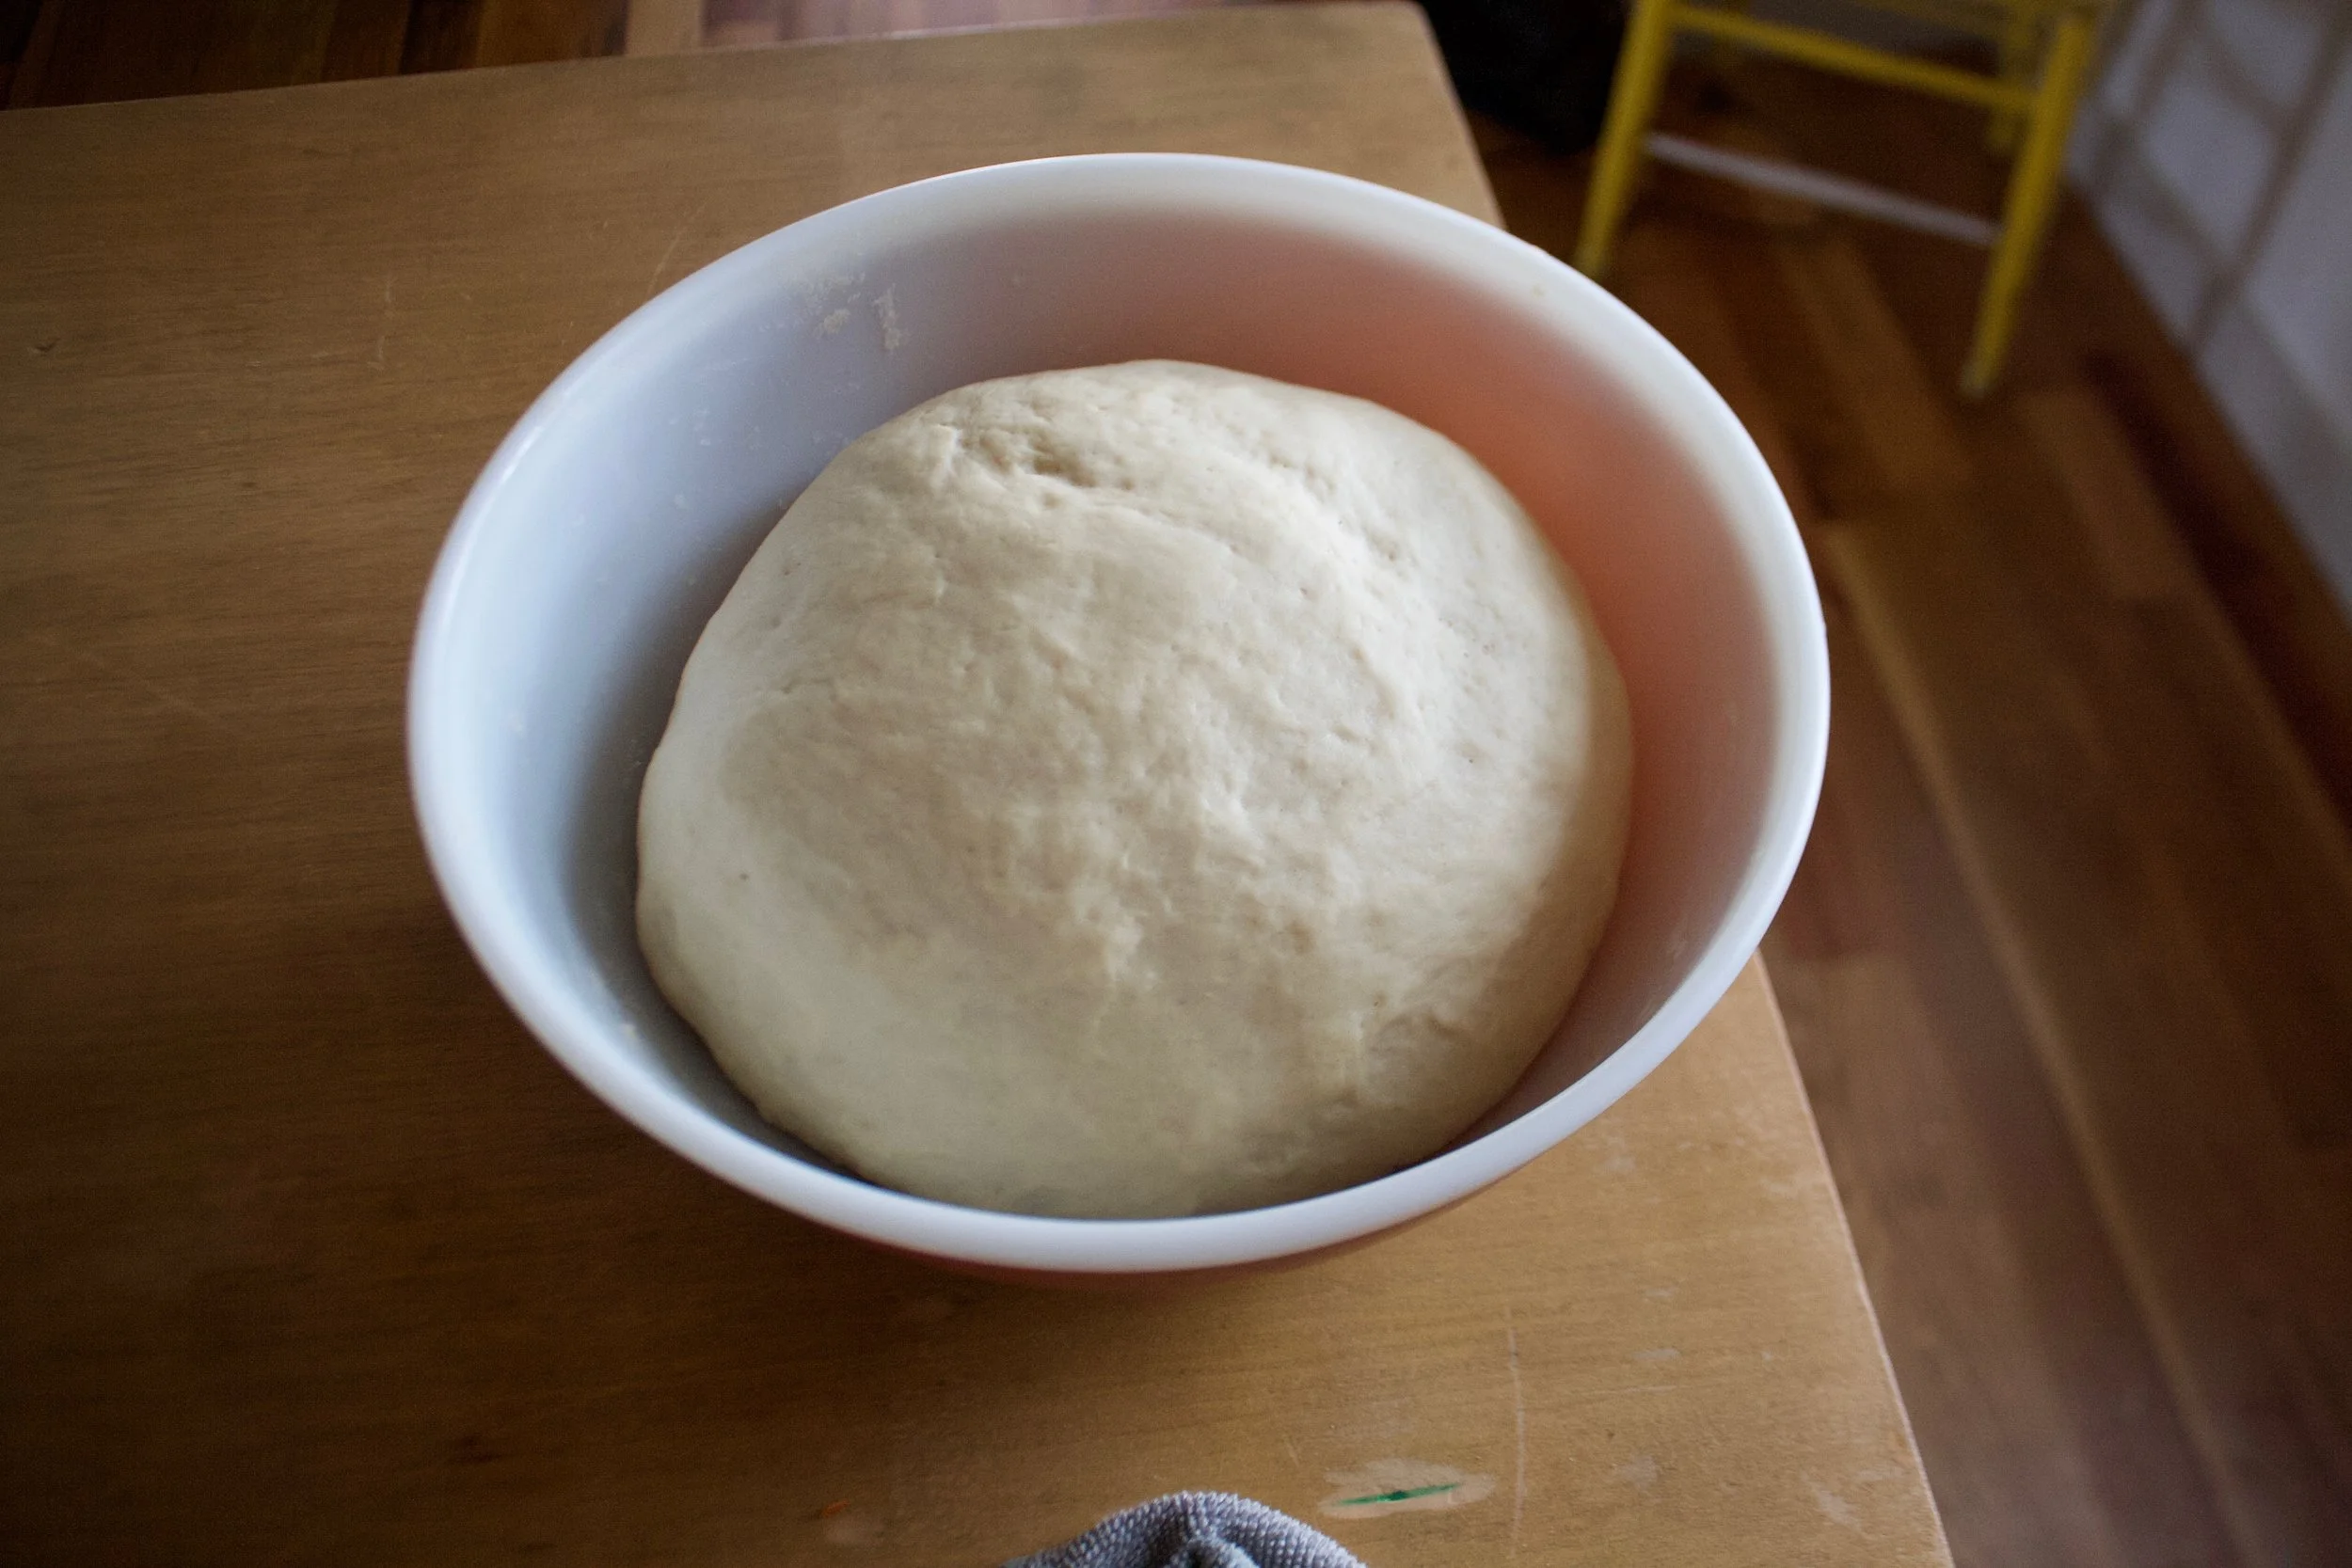

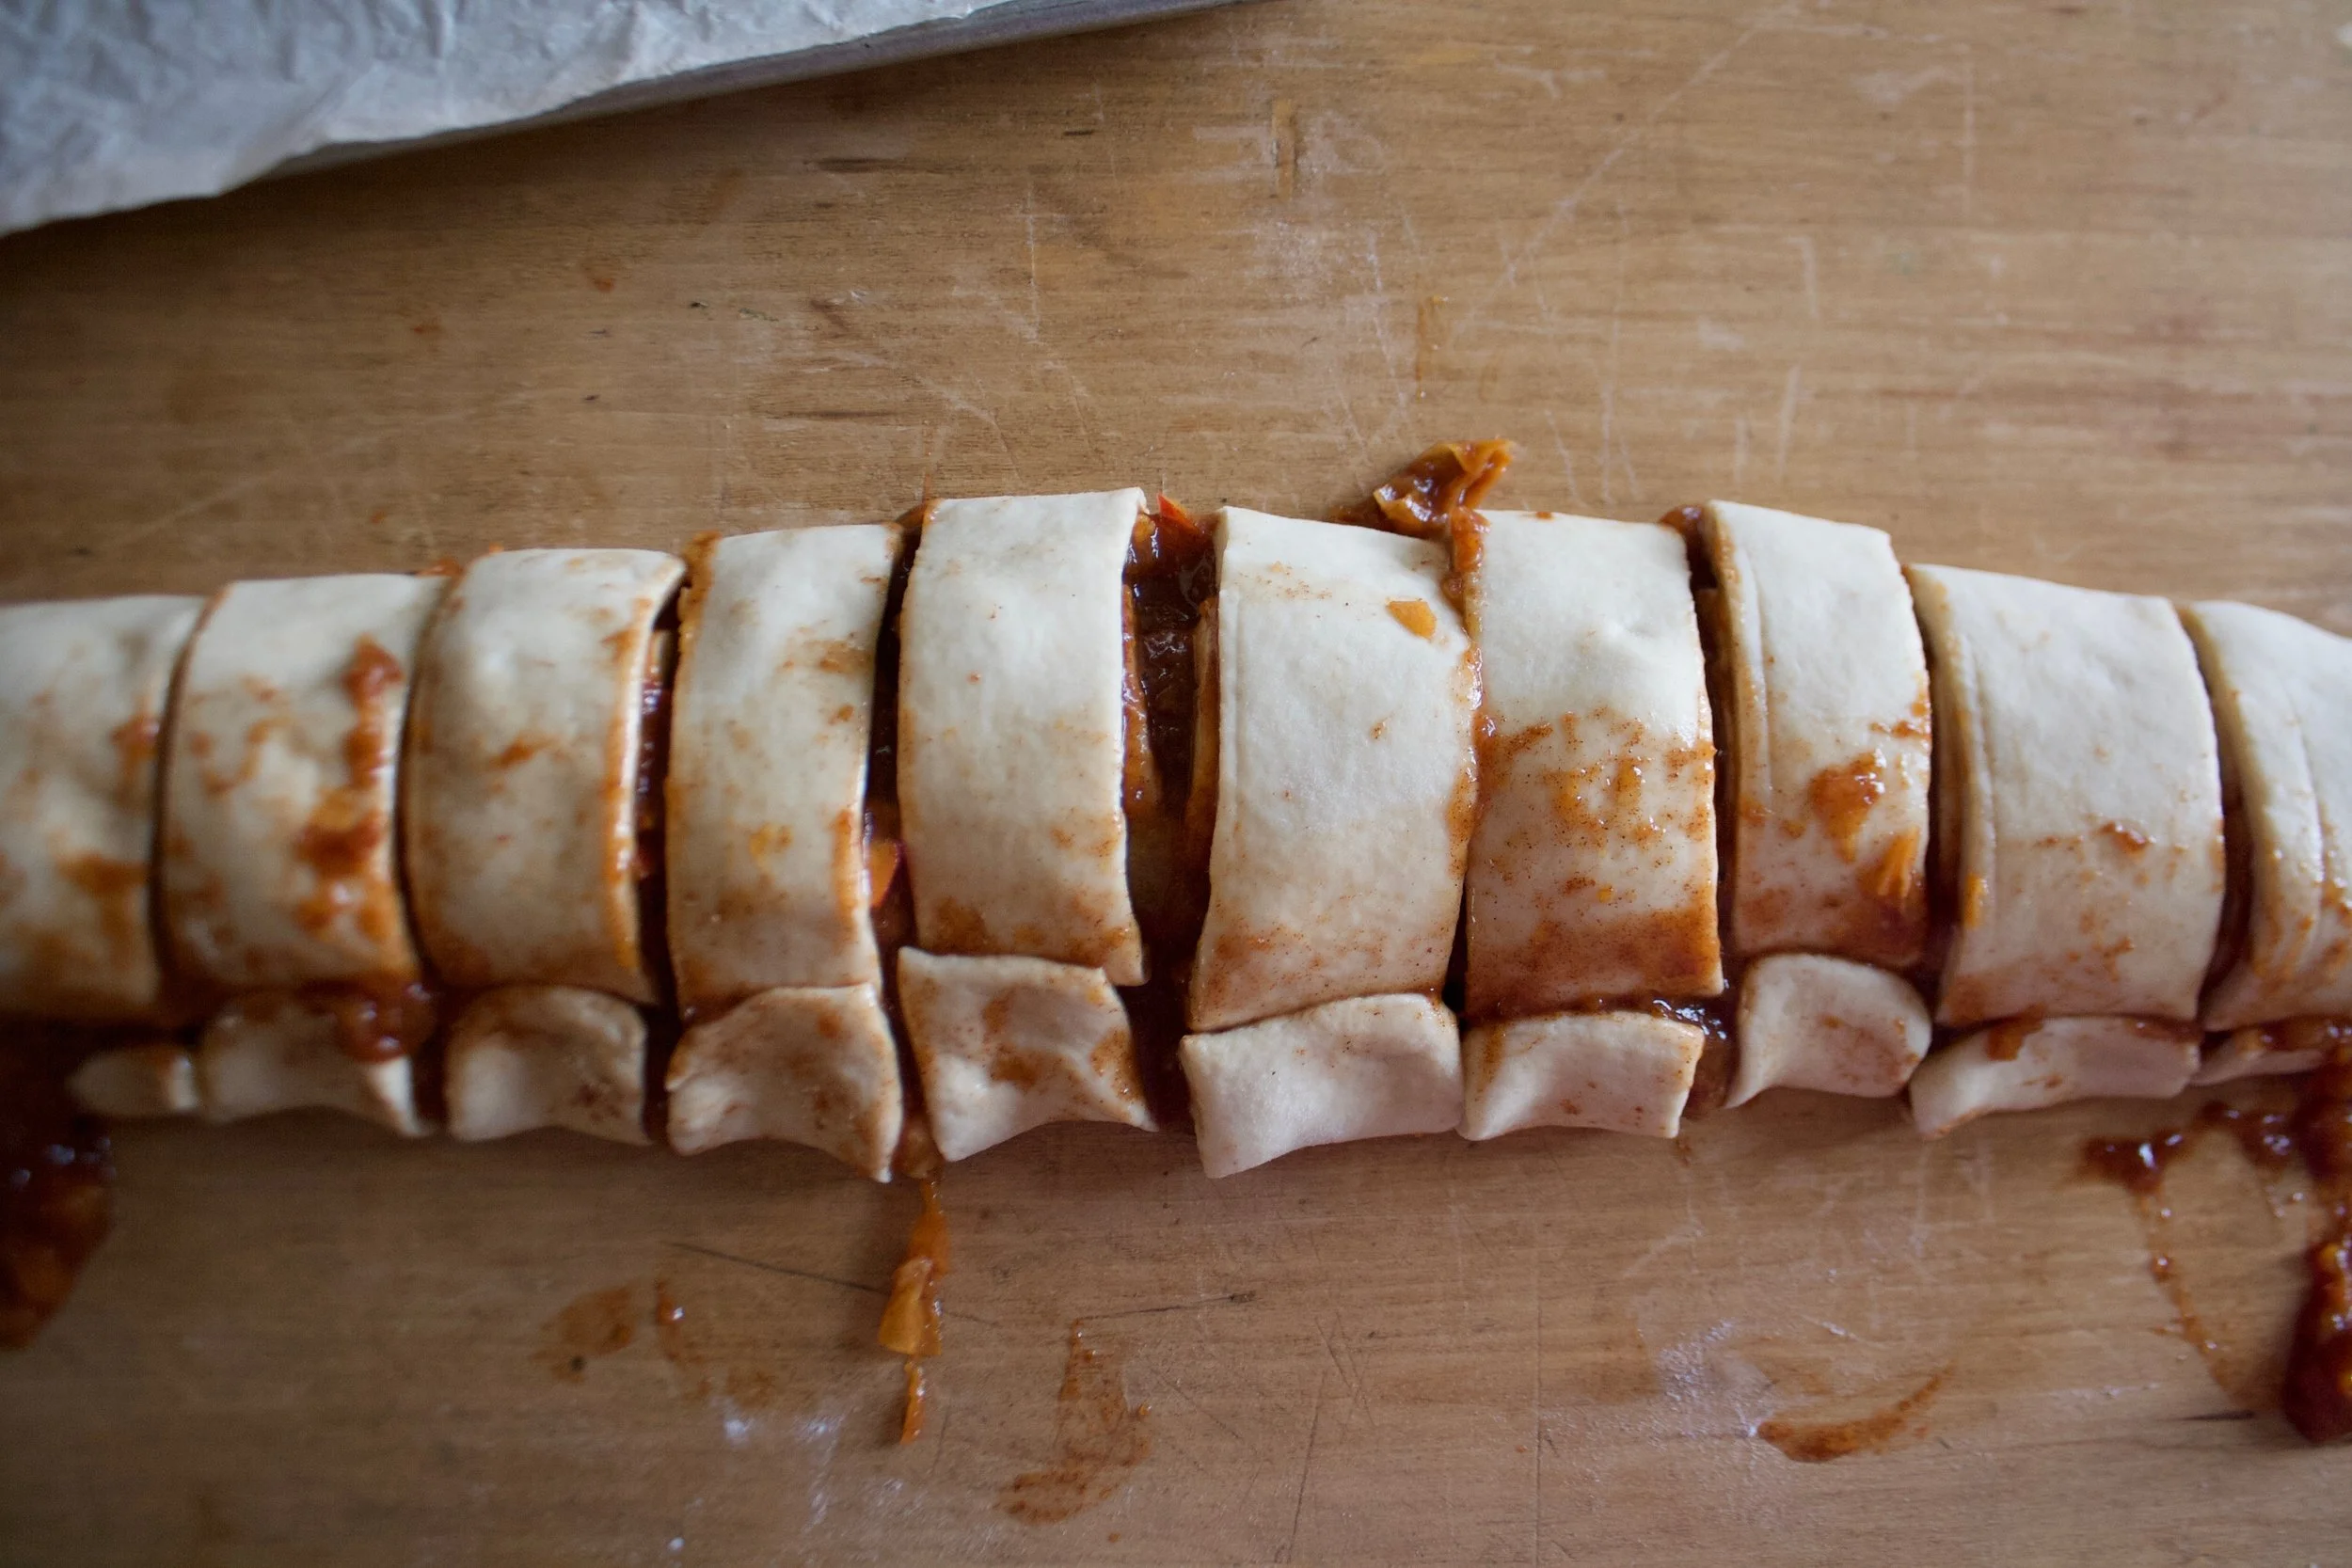




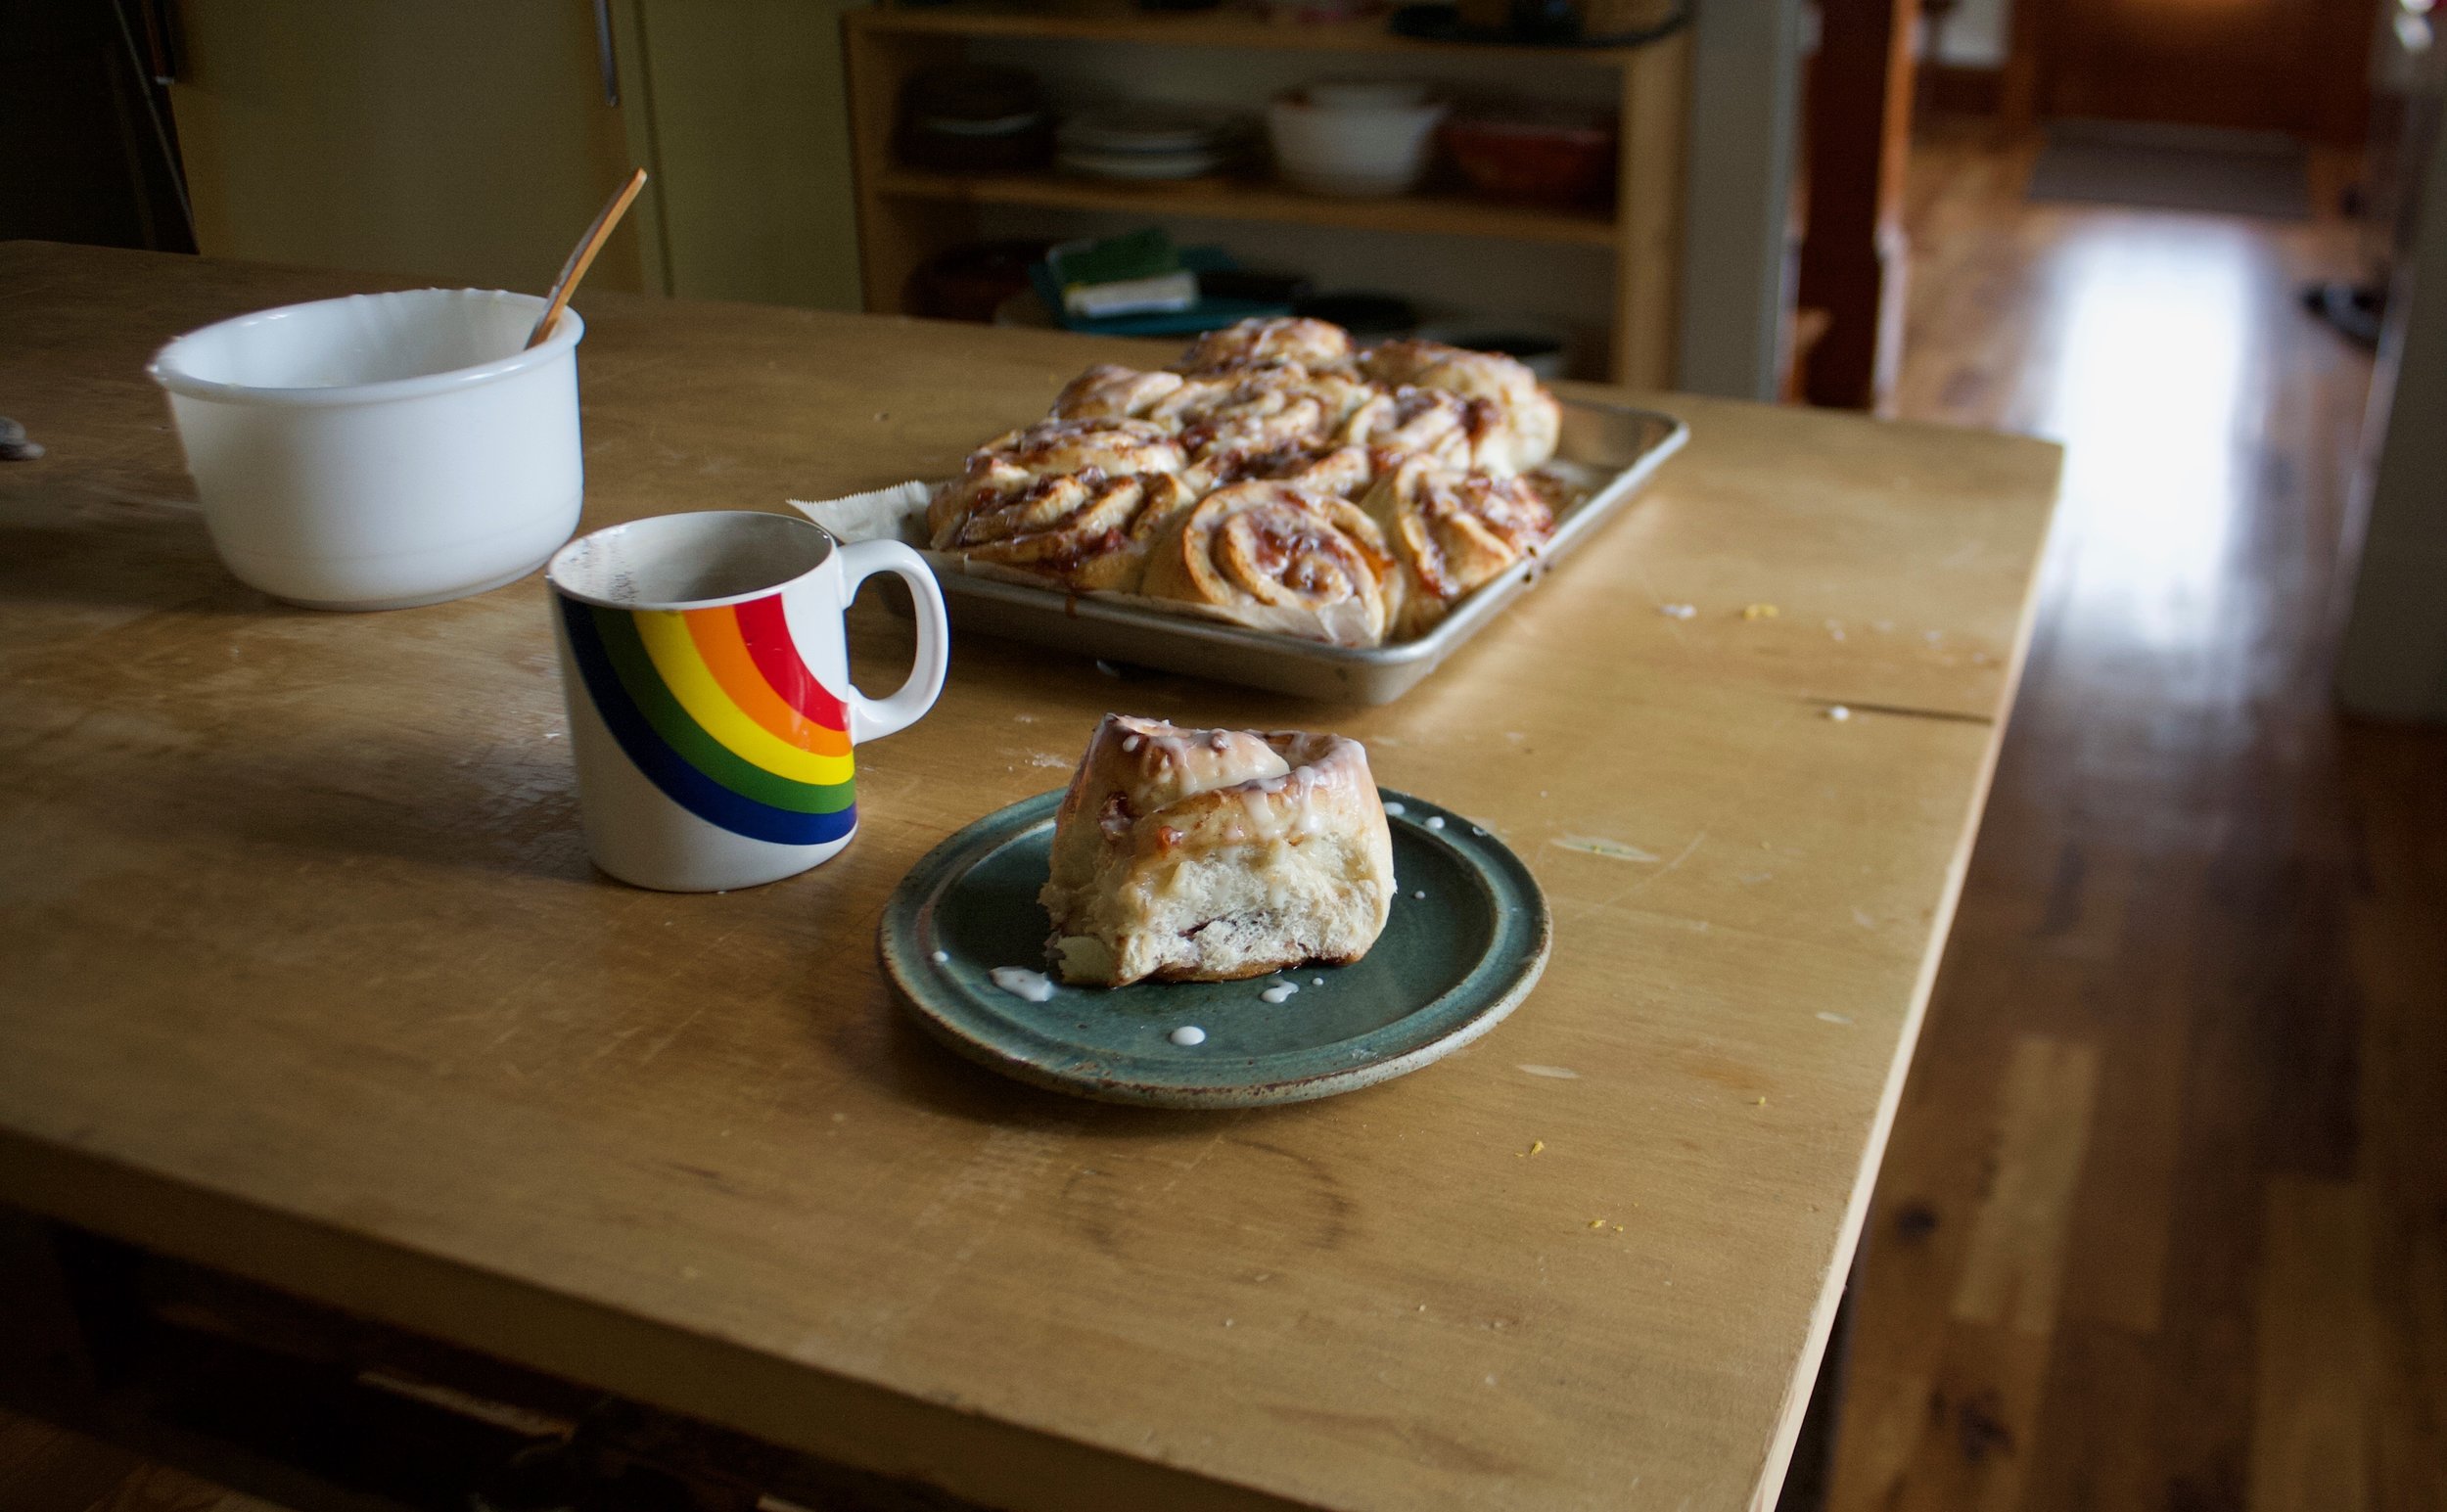






 The other day the mister and I started reminiscing about some of our earliest memories of what our parents fed us or what they used to eat when we were growing up. One of the dishes that we both remember eating was the classic creamed beef on toast, or as my mom use to call it, shit on a shingle. Yup, shit on a shingle. (who ever started calling creamed meat on toast is a freaking genius) I think that as a kid, I liked the dish just for the mer fact that I could say the word shit and get away with it. I think my mom liked it for few reasons; she could make a big butt load of it really fast, for a crap load of kids, on the super cheap. And I think that she just really like it.
  The shit….. A few mushrooms, a bit of onion, cooked lentils, flour, milk, oil, salt and pepper, and garlic powder. And the shingles.. 2 pieces of thick white country bread.
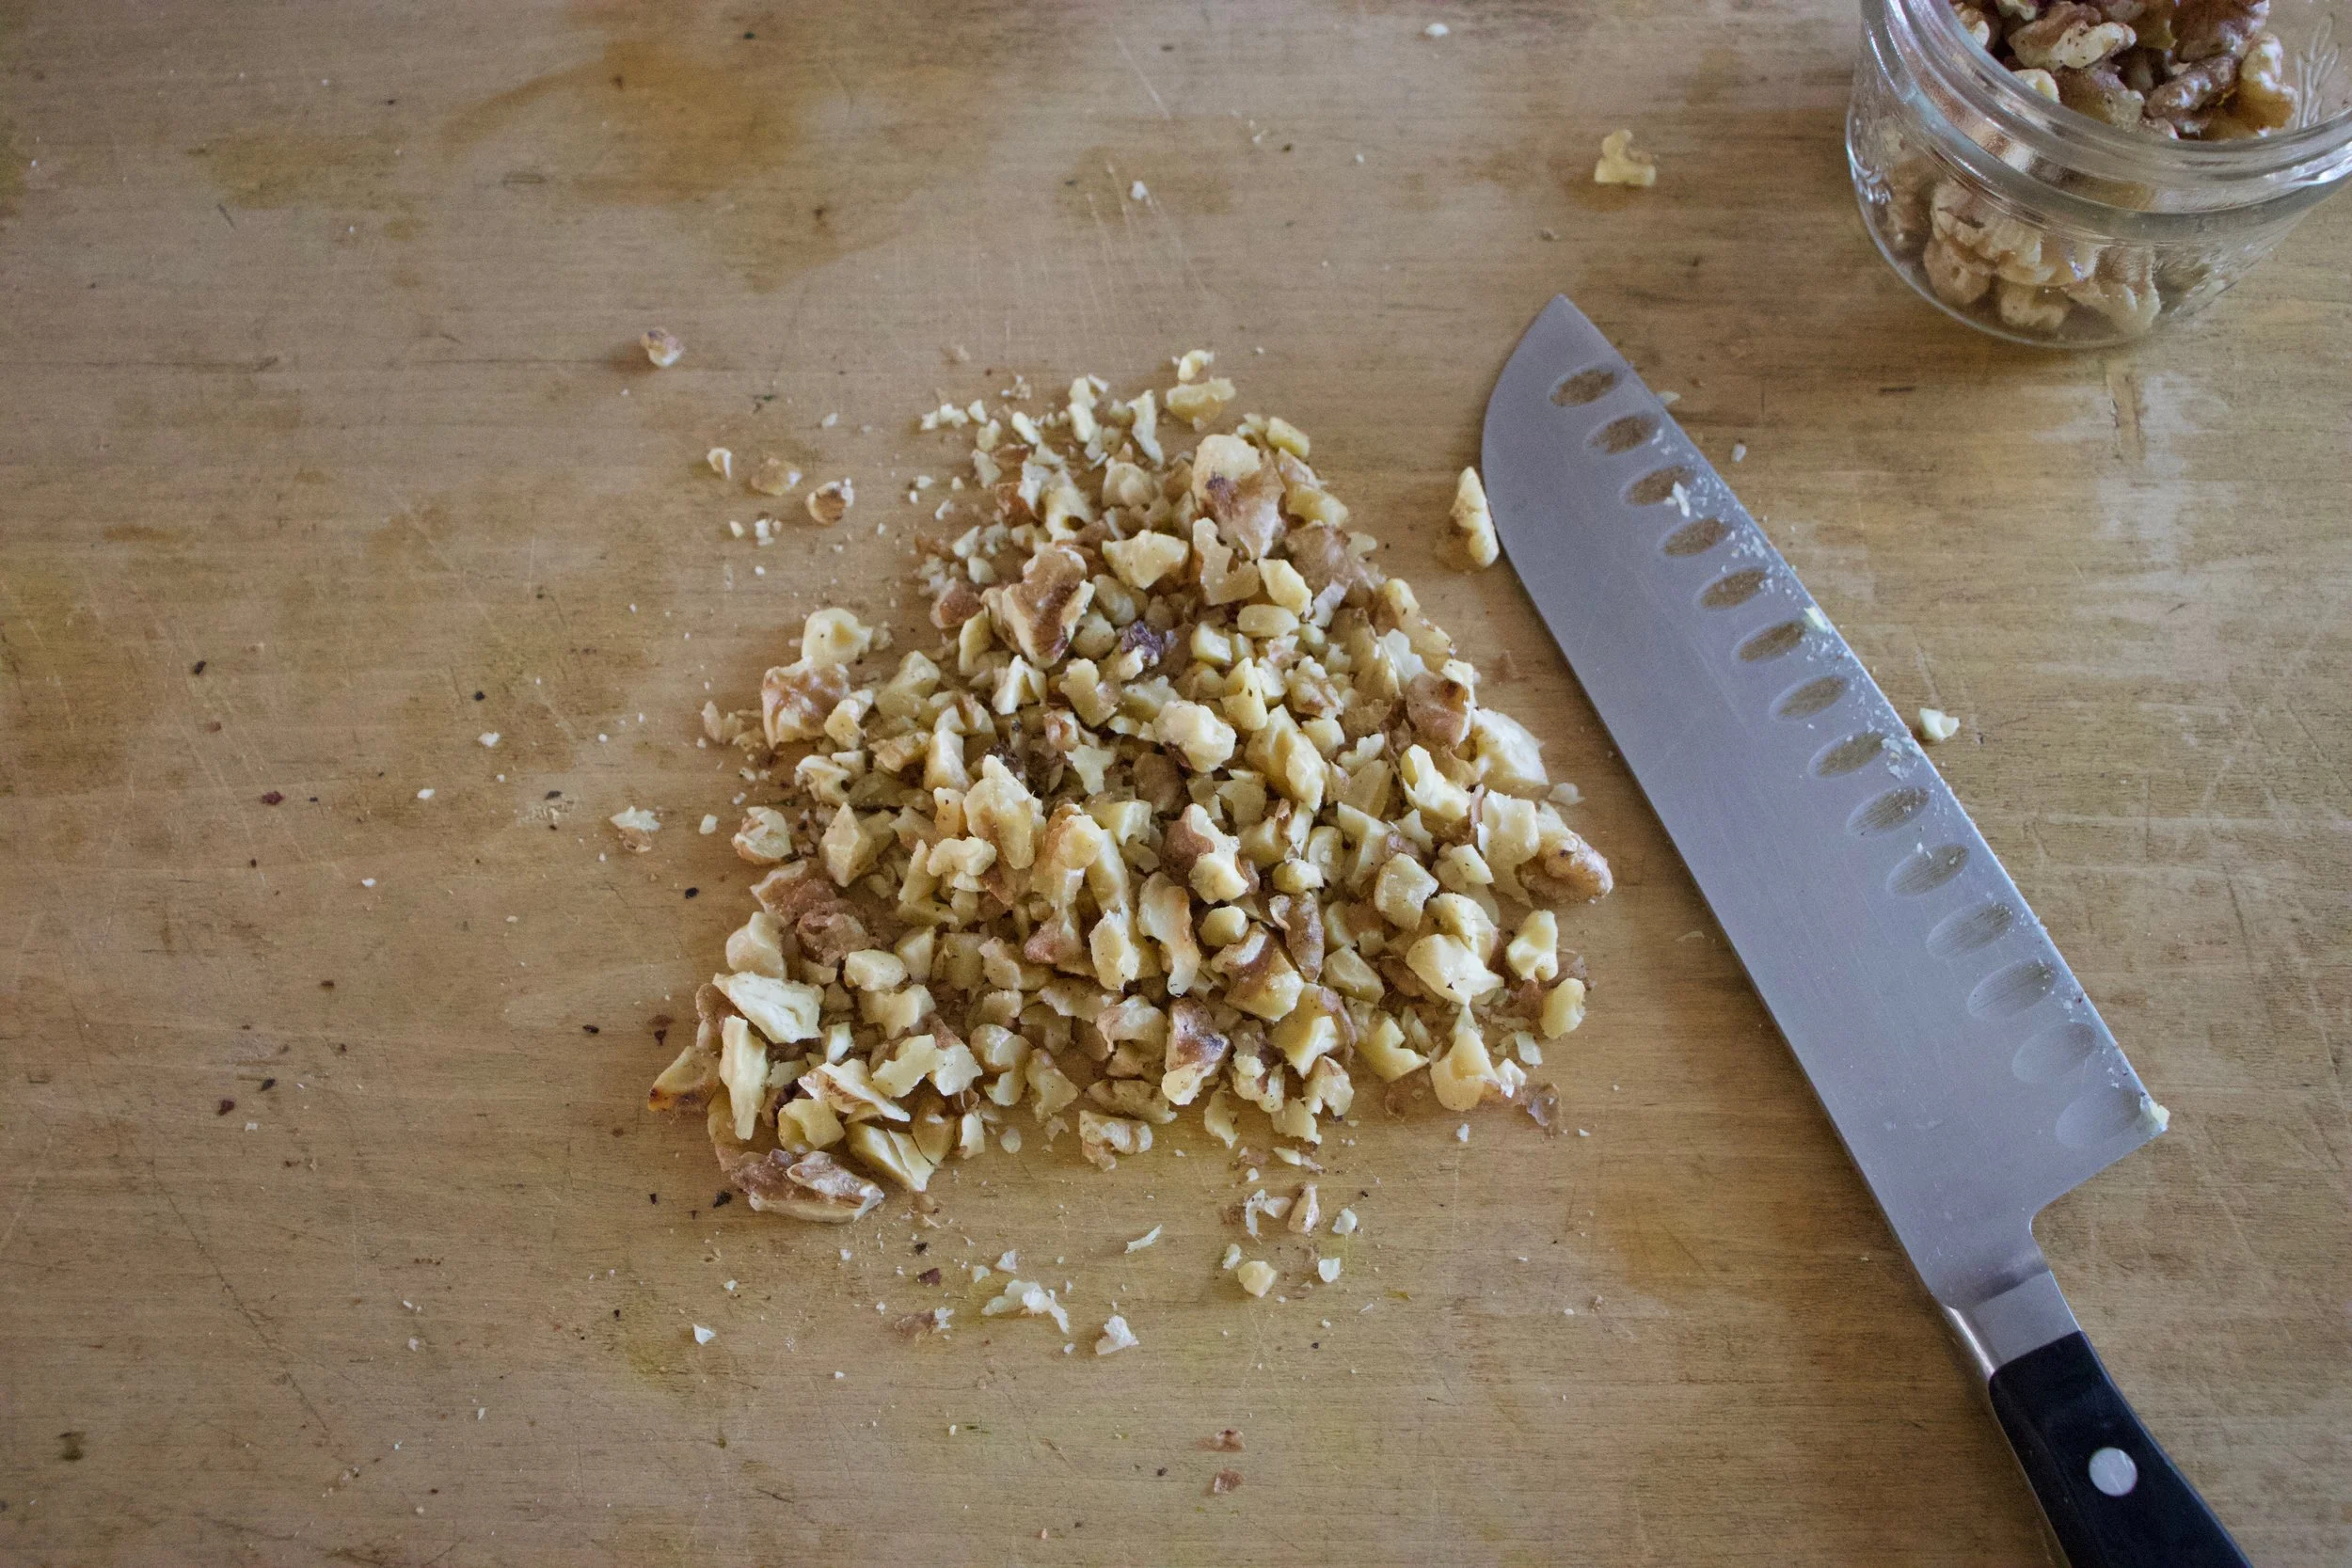
  Slice the mushrooms and the onion and toss into a skillet with a drizzle of oil. Cook on medium heat until browned and fragrant..Remove from pan.
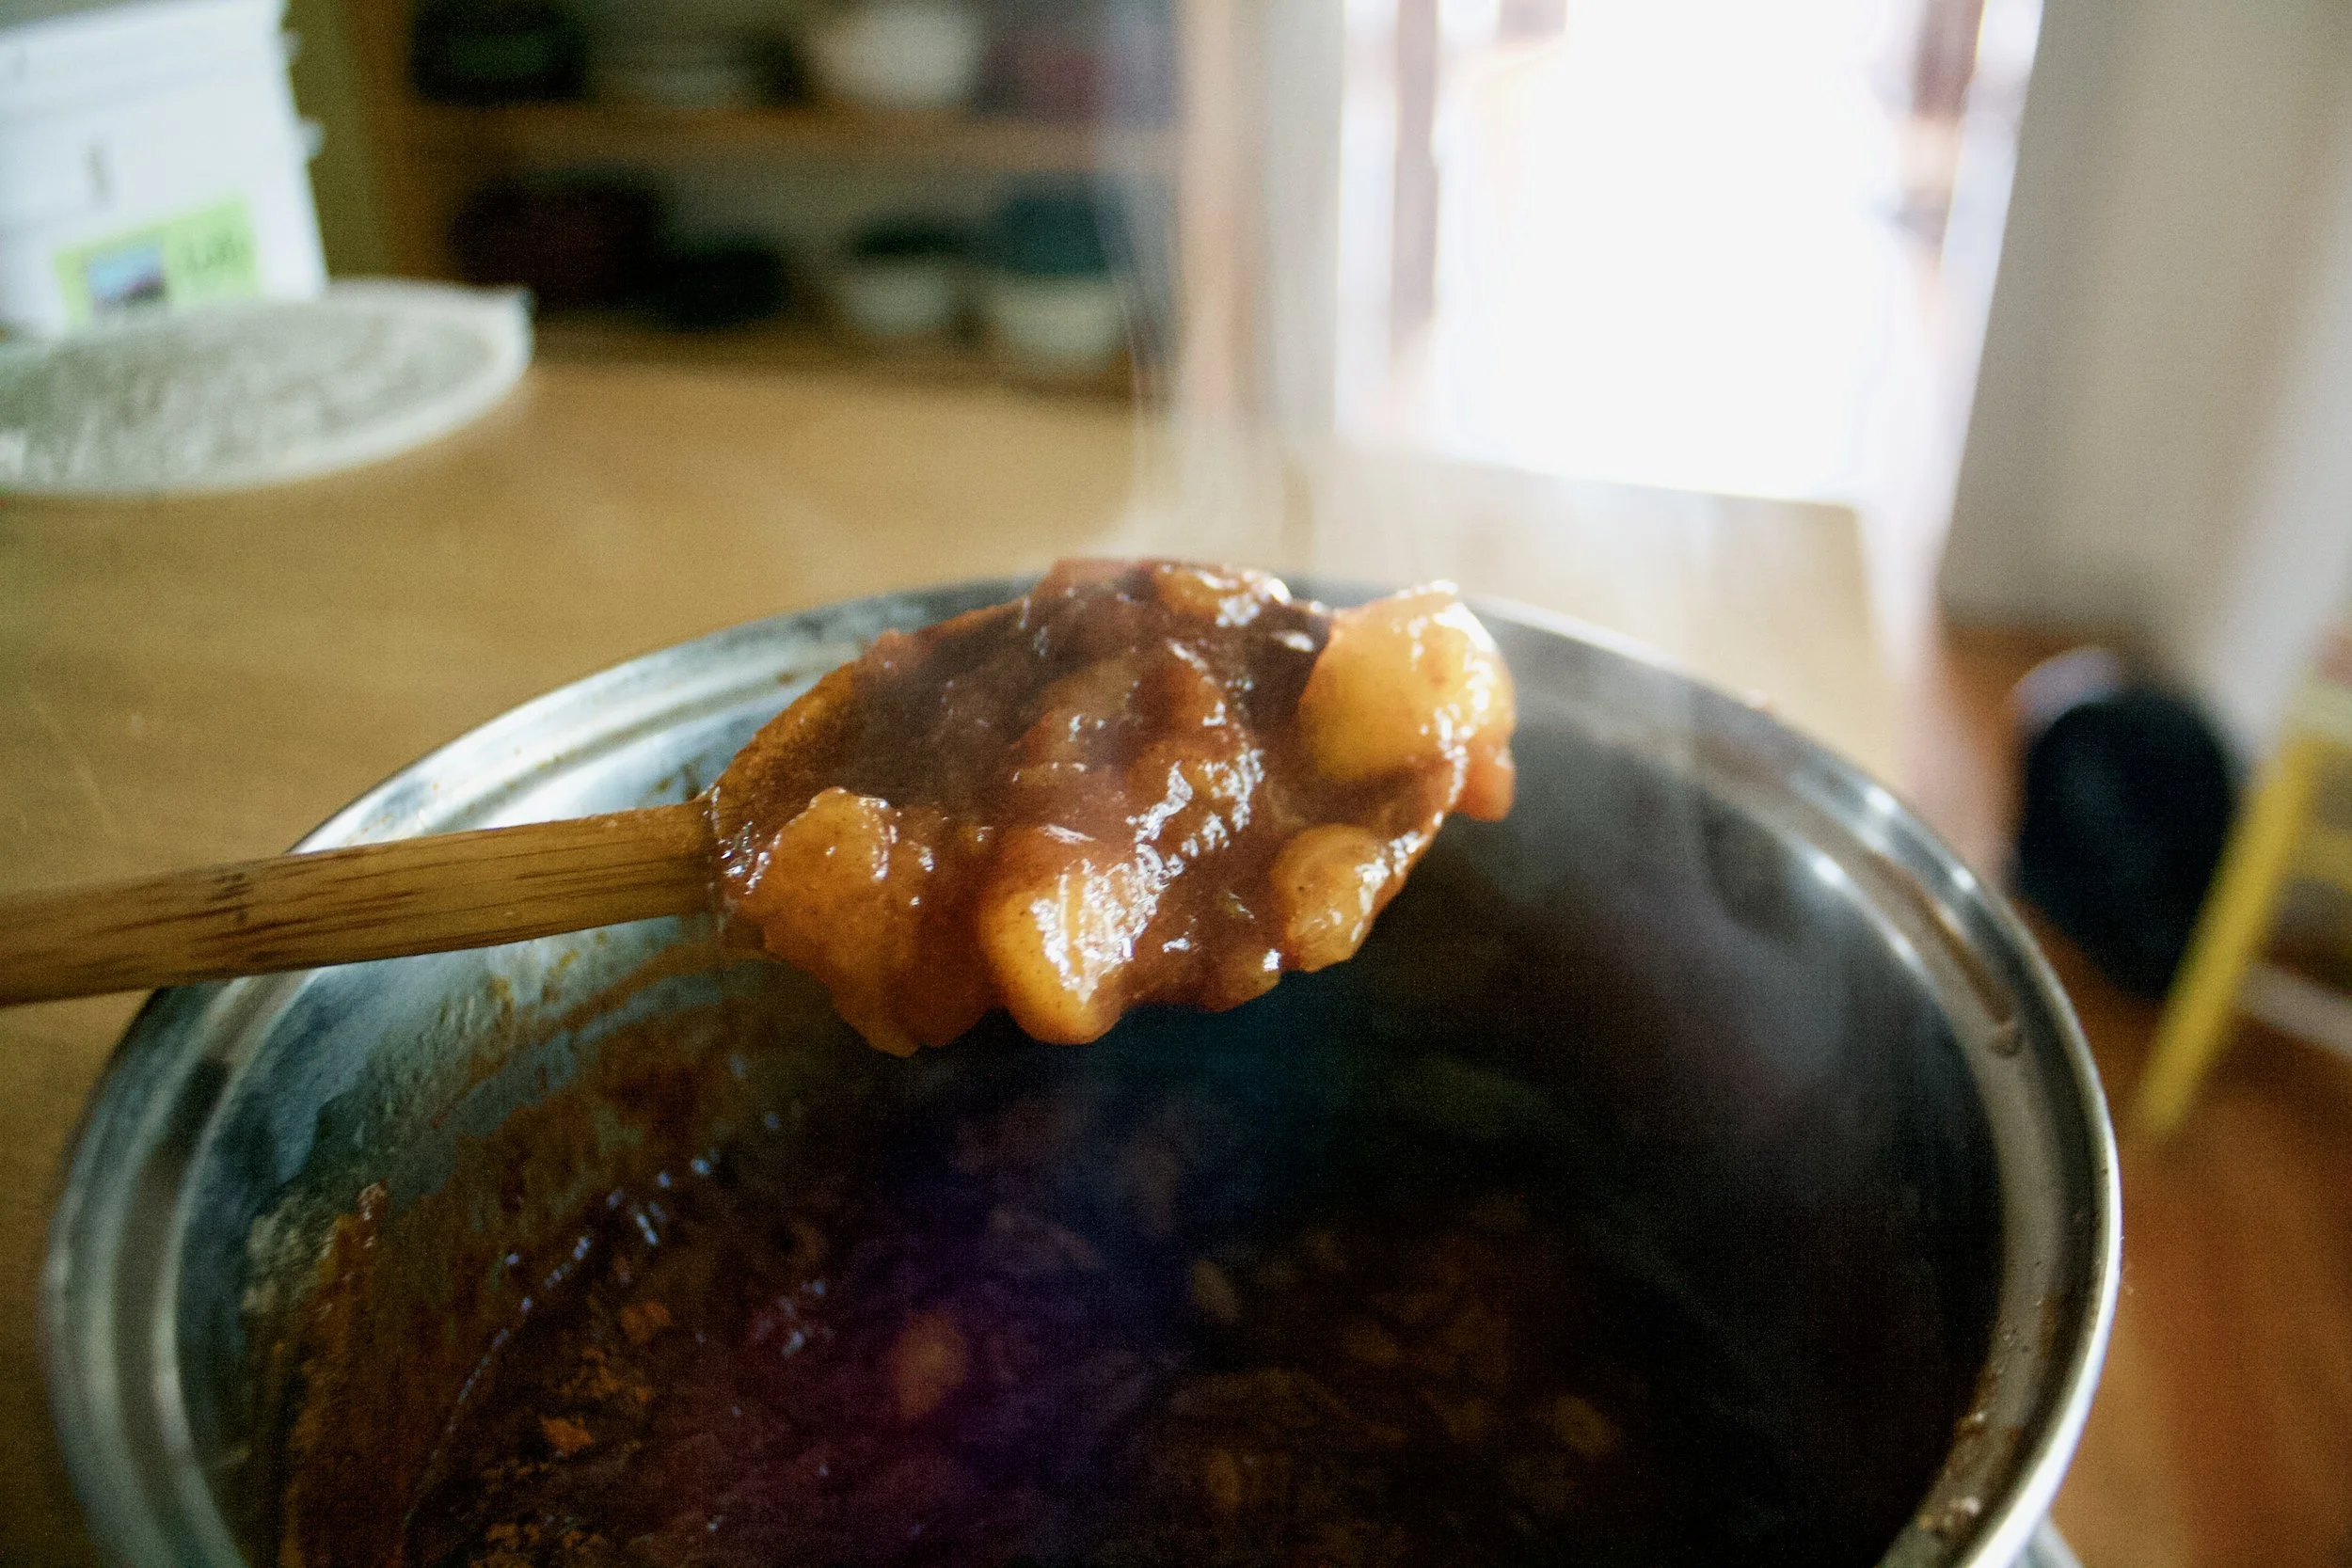
 In the empty pan still on medium heat, add in the olive oil and the flour. Whisky constantly, slowly add in the milk. Keep whisking until sauce thickens. Remove from heat. Add in salt, pepper, and garlic powder.
 Add the mushrooms and the lentils into the sauce and give it a good mix. Oh, and don’t forget to toast up the bread.
  Now dump that shit all over those shingles! Oh the memories.
THE LOVELY CRAZY
February 23, 2020 by maximios • Blog
Pot pies. I grew up on them. But not real pot pies, no, it was those little frozen, single serve, terribly terrible nasty things. Yup. All you needed to do was turn on the oven or better yet, open the microwave, poke a few holes in the frozen pie, and 10 minutes later, food. The ultimate in afterschool snacks. Oh those days. What the heck was I thinking? But my best or, most vivid memory of those pies was when I was like 10 and was stabbing one of those frozen pot pies with a very sharp knife (again, the directions stated to add a vent hole) that went threw said pie and right into the palm of my hand. I remember screaming, blood everywhere, and thinking I just cut my hand off. Luckly, it was just a big gash and the knife didn%u2019t go all the way threw my hand so that was good. And I think that was the last time I made a pot pie. Ha.
This pot pie is nothing like those pot pies. First off, it is not frozen which is good because you won%u2019t accidentally stab a hole into your and. Secondly, it is not nasty. And third, it is freaking awesome. There are other things that make them vastly different, but you get the idea. This pot pie is full of good veggies and tofu that are nicely spiced with a creamy oat sauce that is alll wrapped up in a easy hot water pastry crust. Everything and more a real pot pie should be. Sure, it is definitely not as quick and easy as opening a cardboard box, stabbing, and tossing the contents into the microwave but screw that, we are here for the good stuff.
To the pot pie!
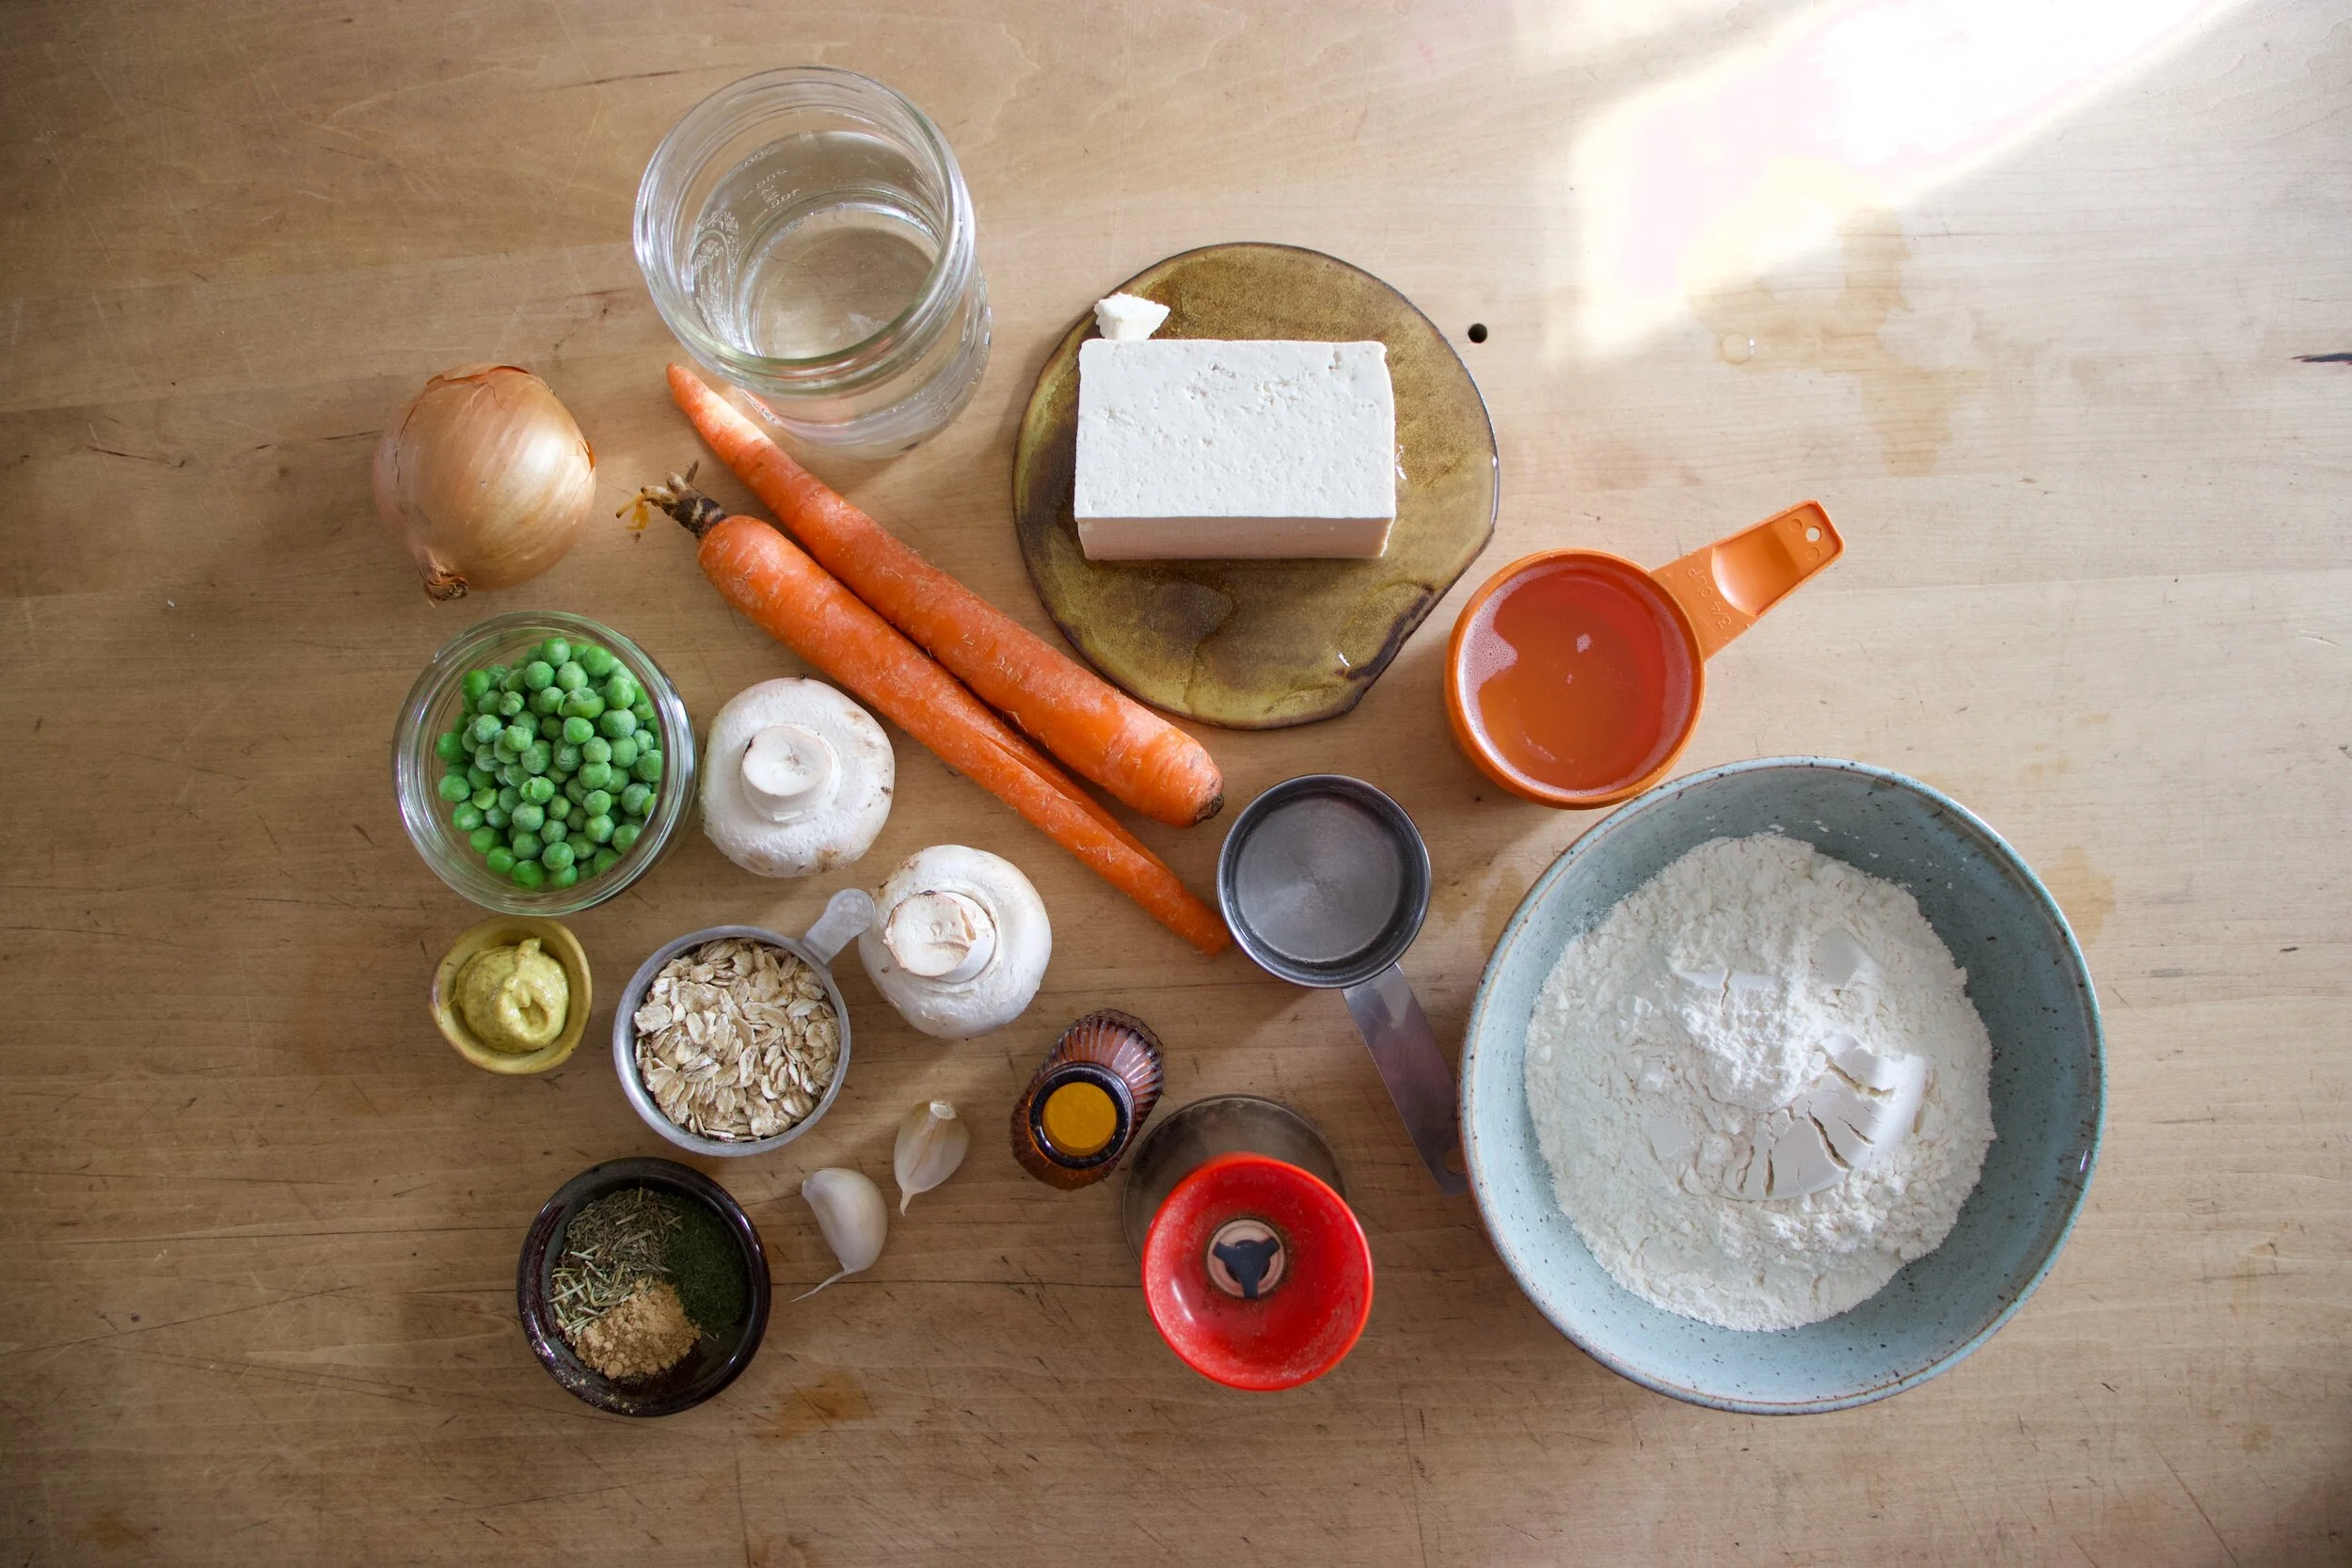
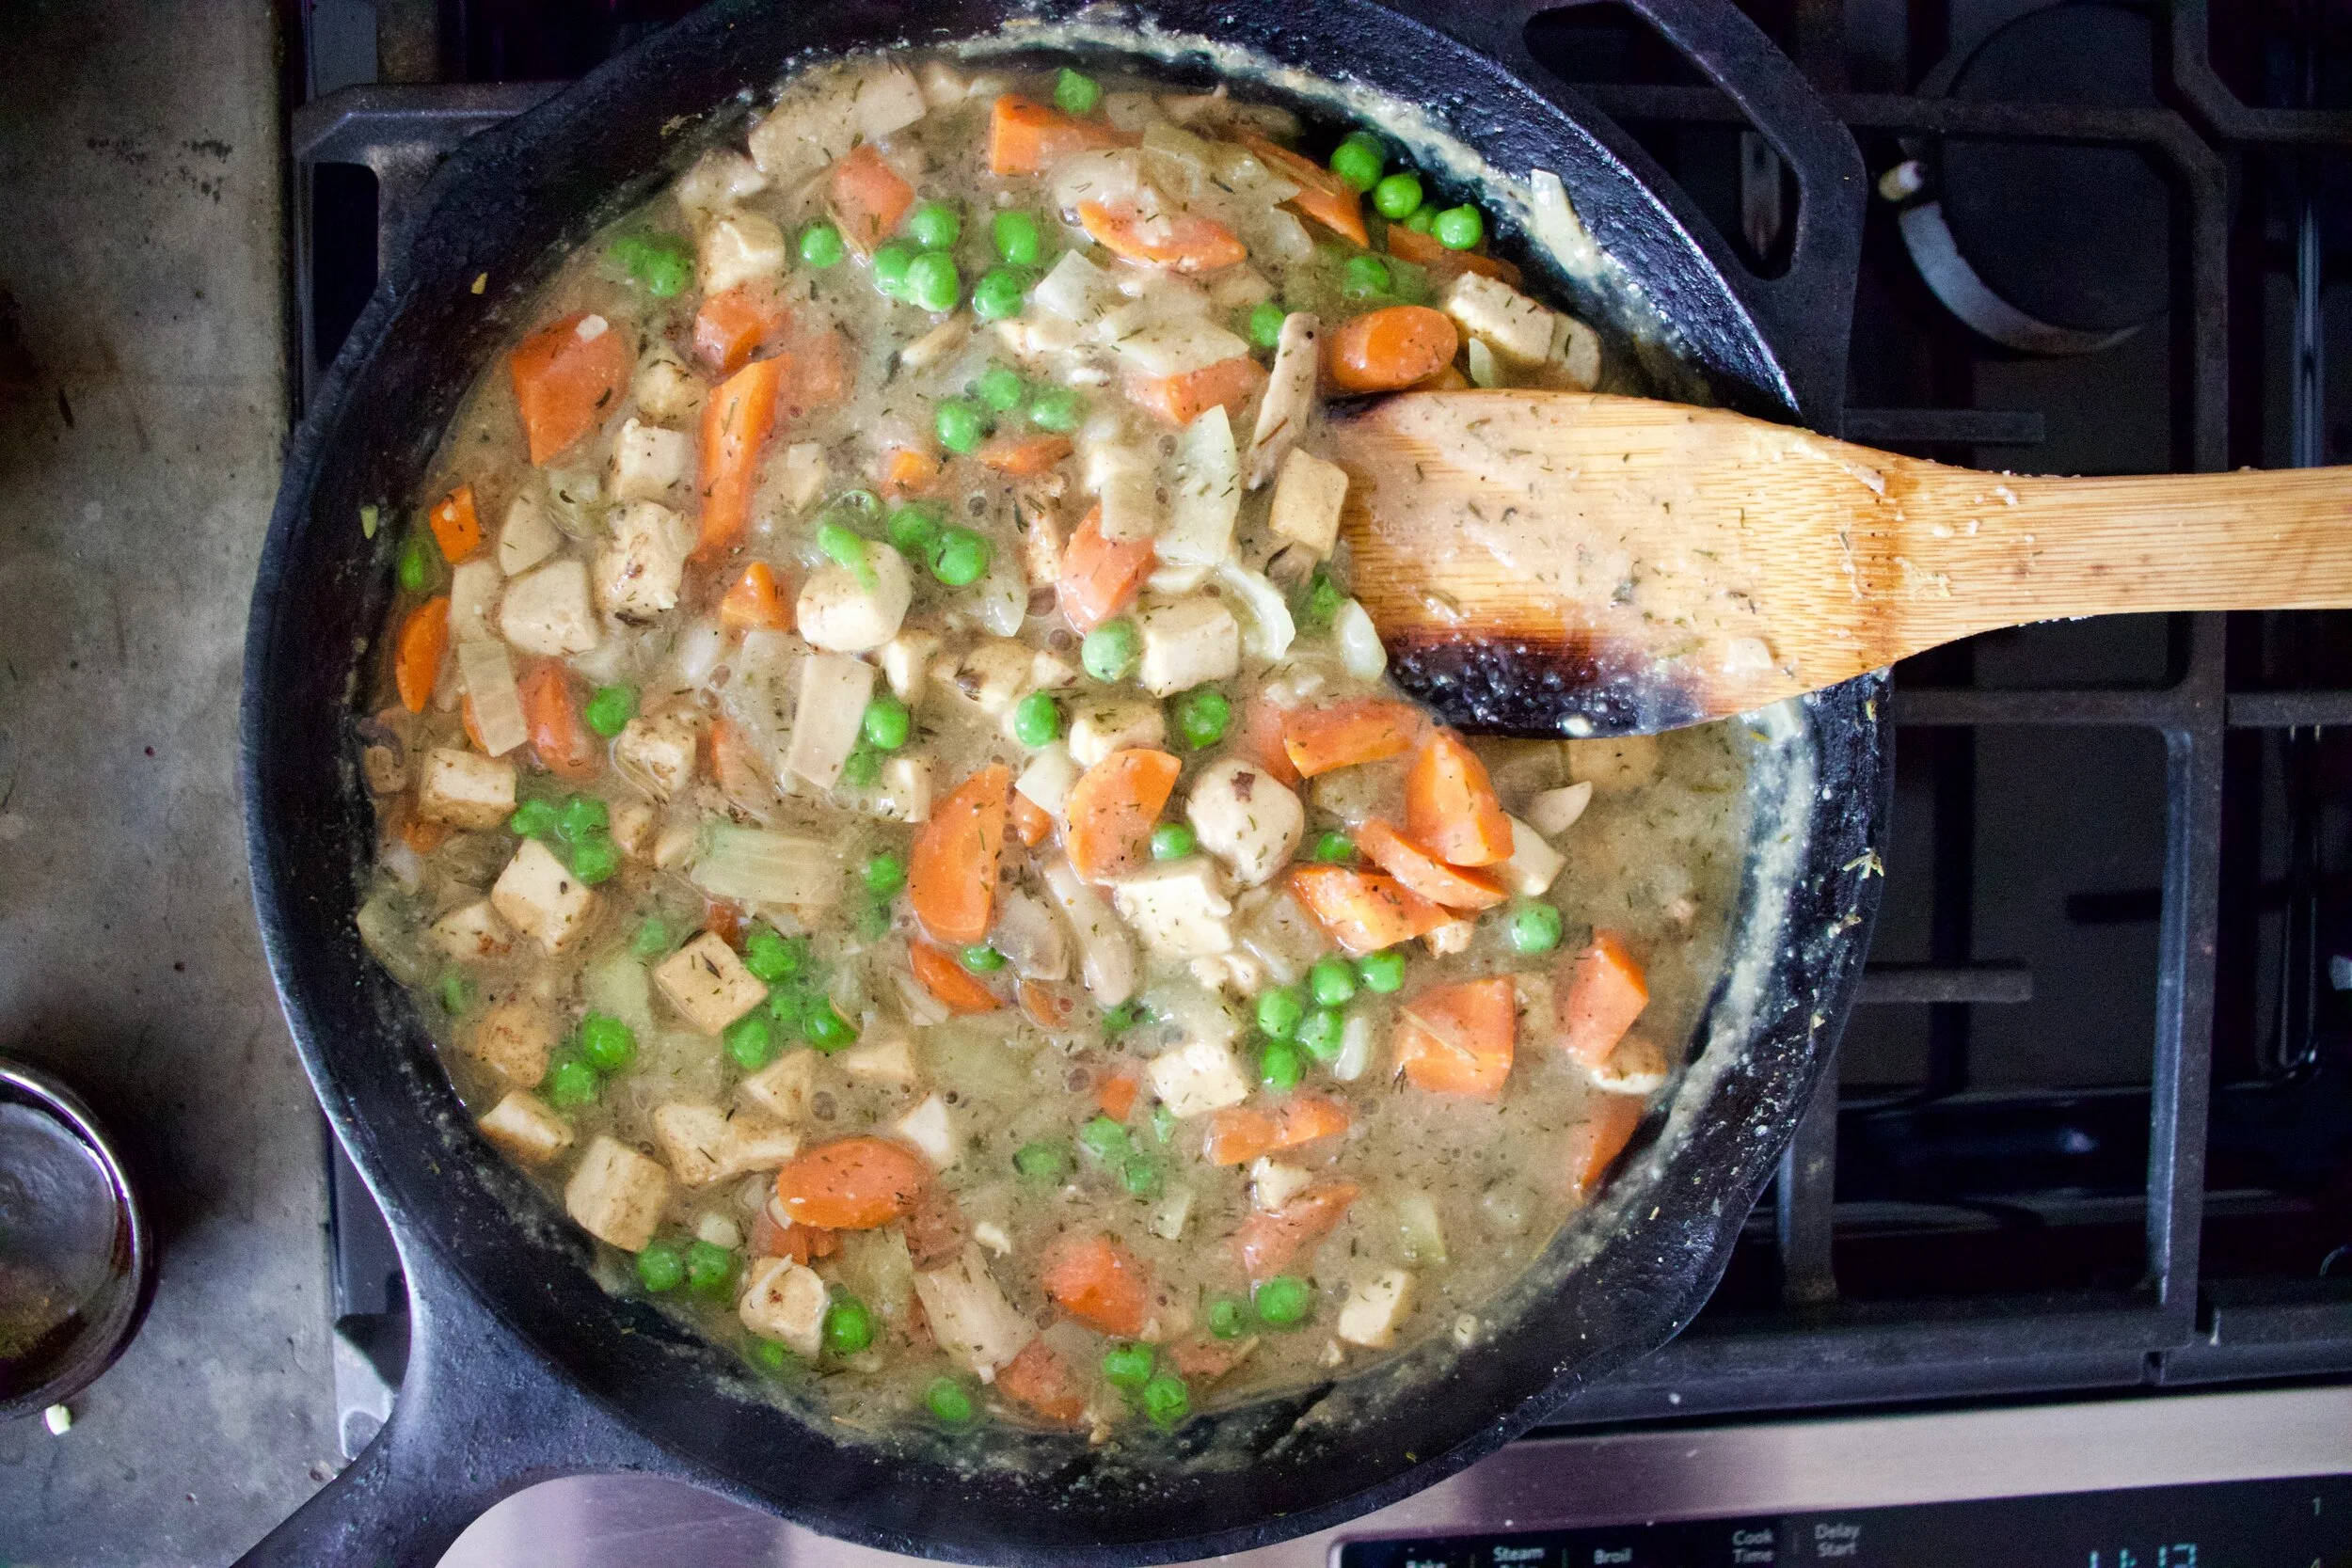
The stuff. Tofu, an onion, a couple carrots and a couple mushrooms, some frozen pies, garlic, oats, spicy mustard, and spices. Also salt and pepper, oil, flour, and some boiling water.
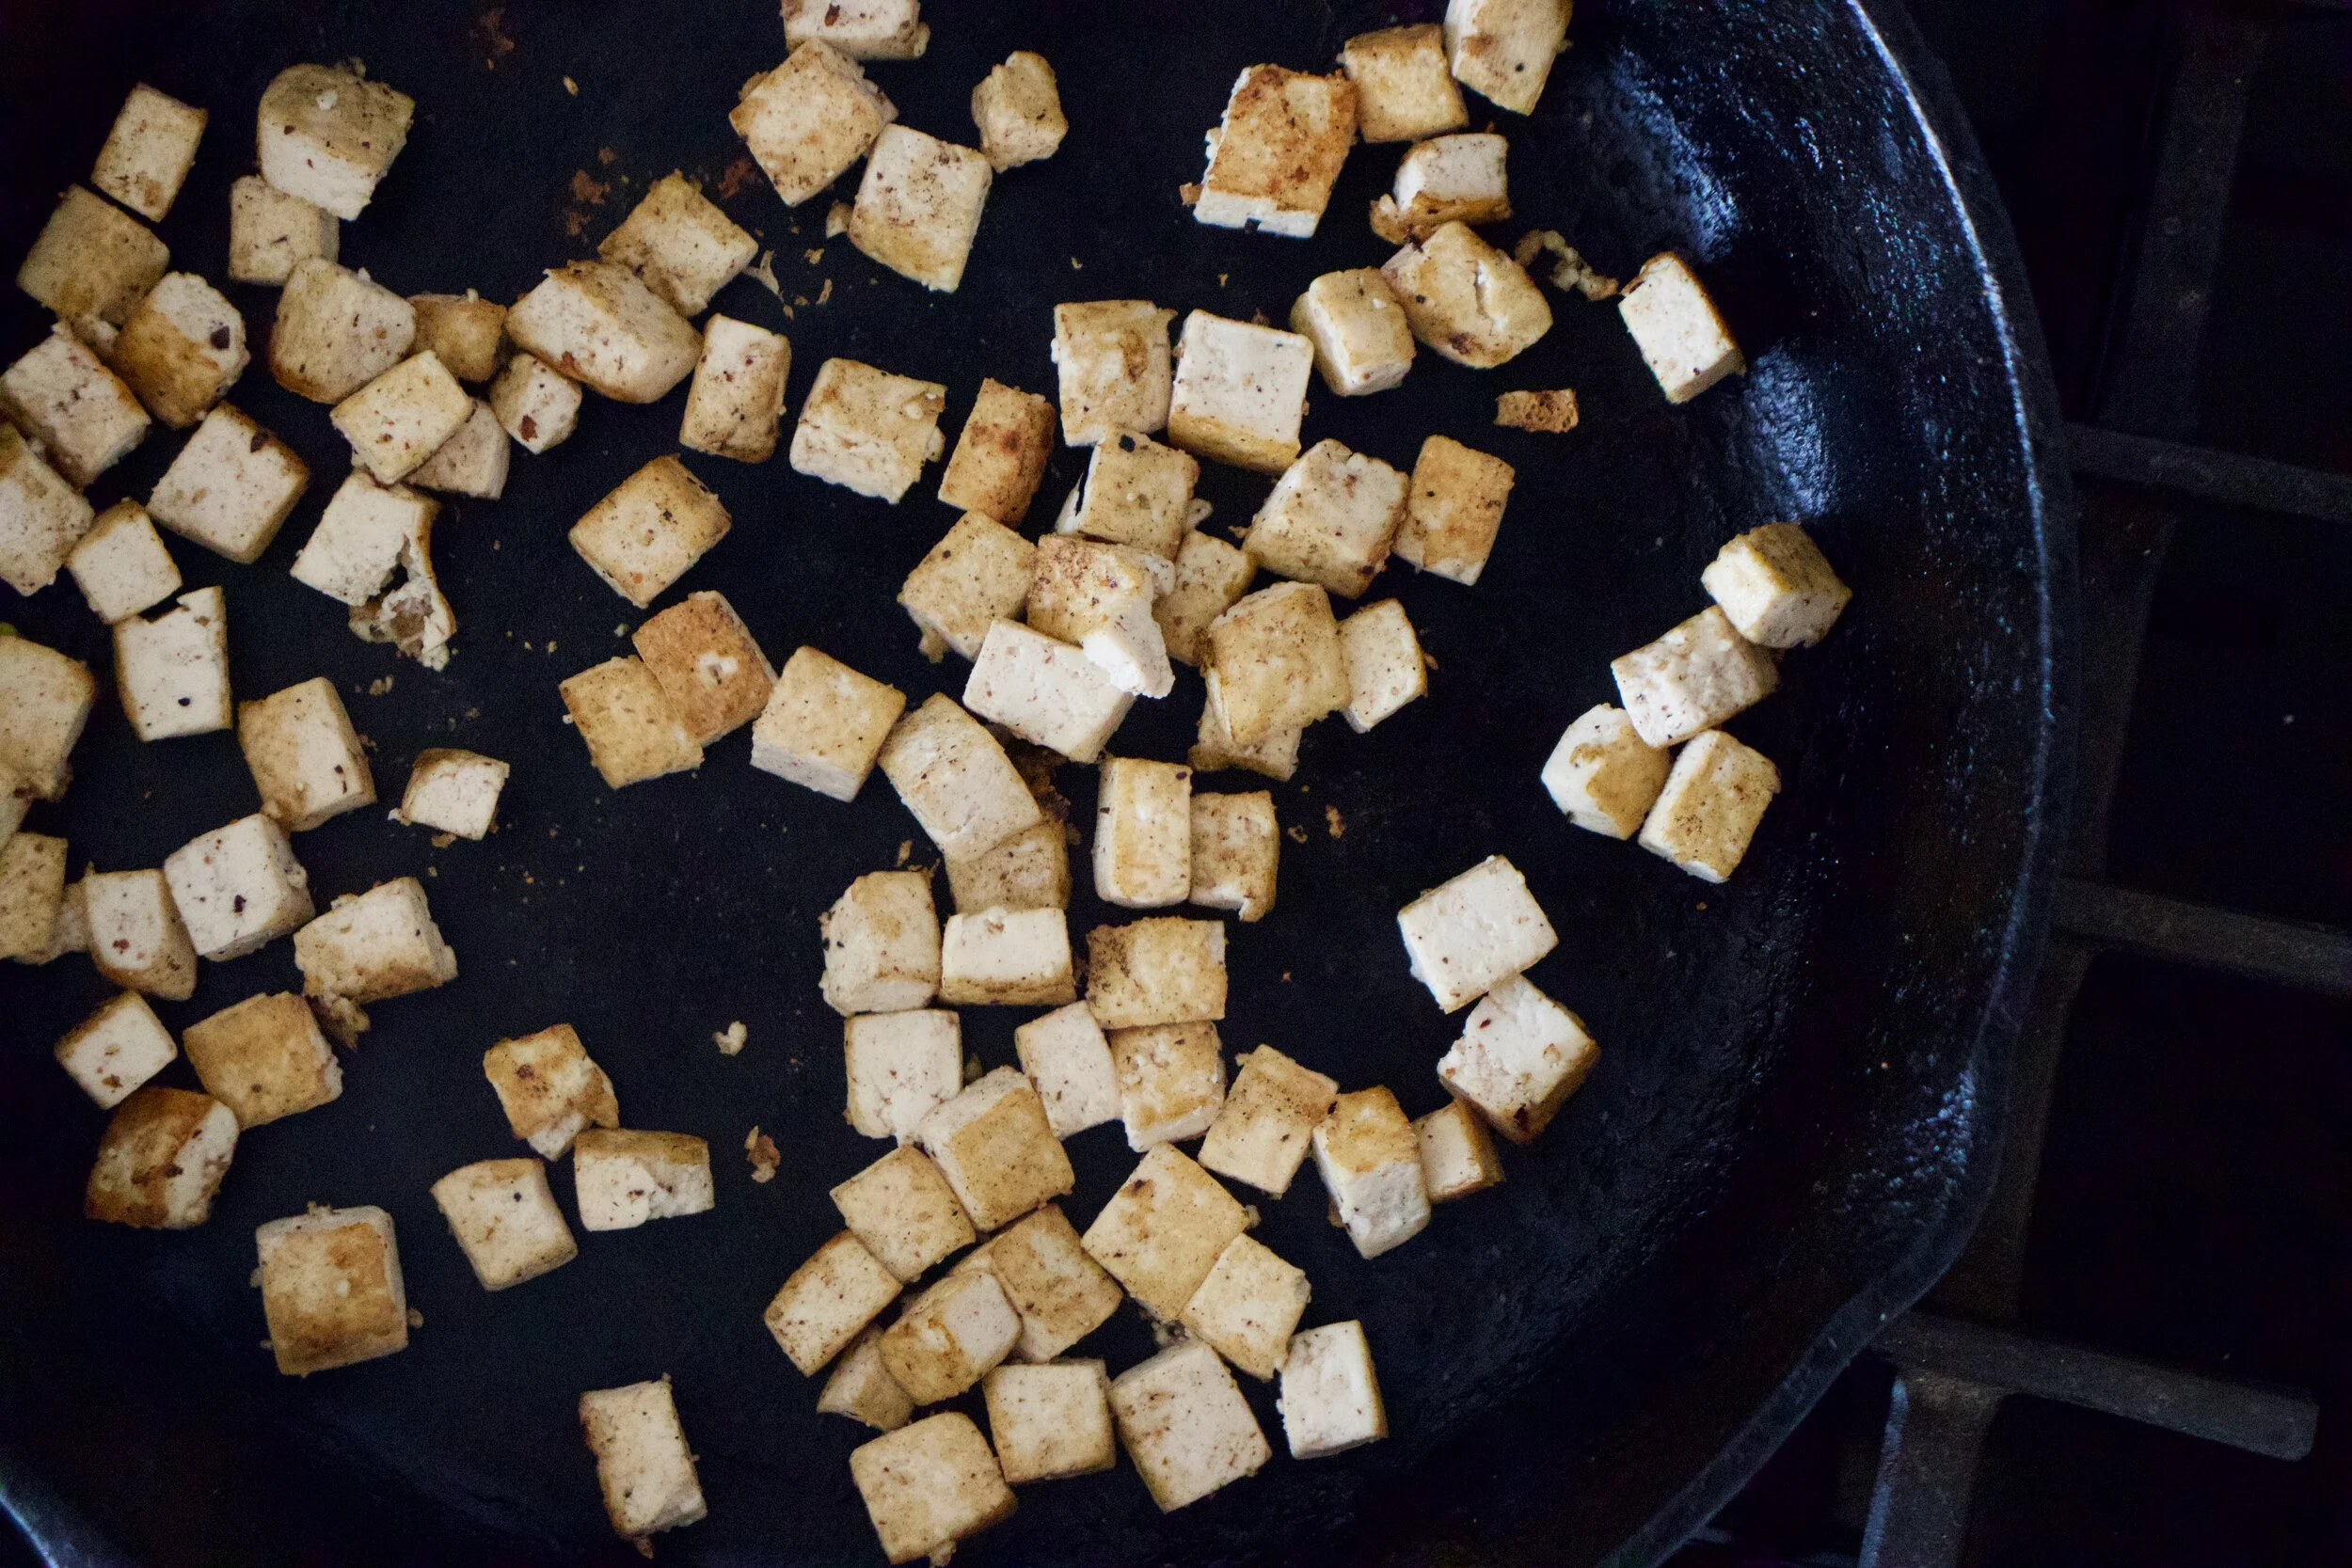
Start with the tofu. Grab a skillet, add a dash of oil and set o the stove on median heat. Cut the tofu into small cubs and pat as much of the liquid out as you can. Place tofu into skillet, sprinkle with a little salt, and let cook.
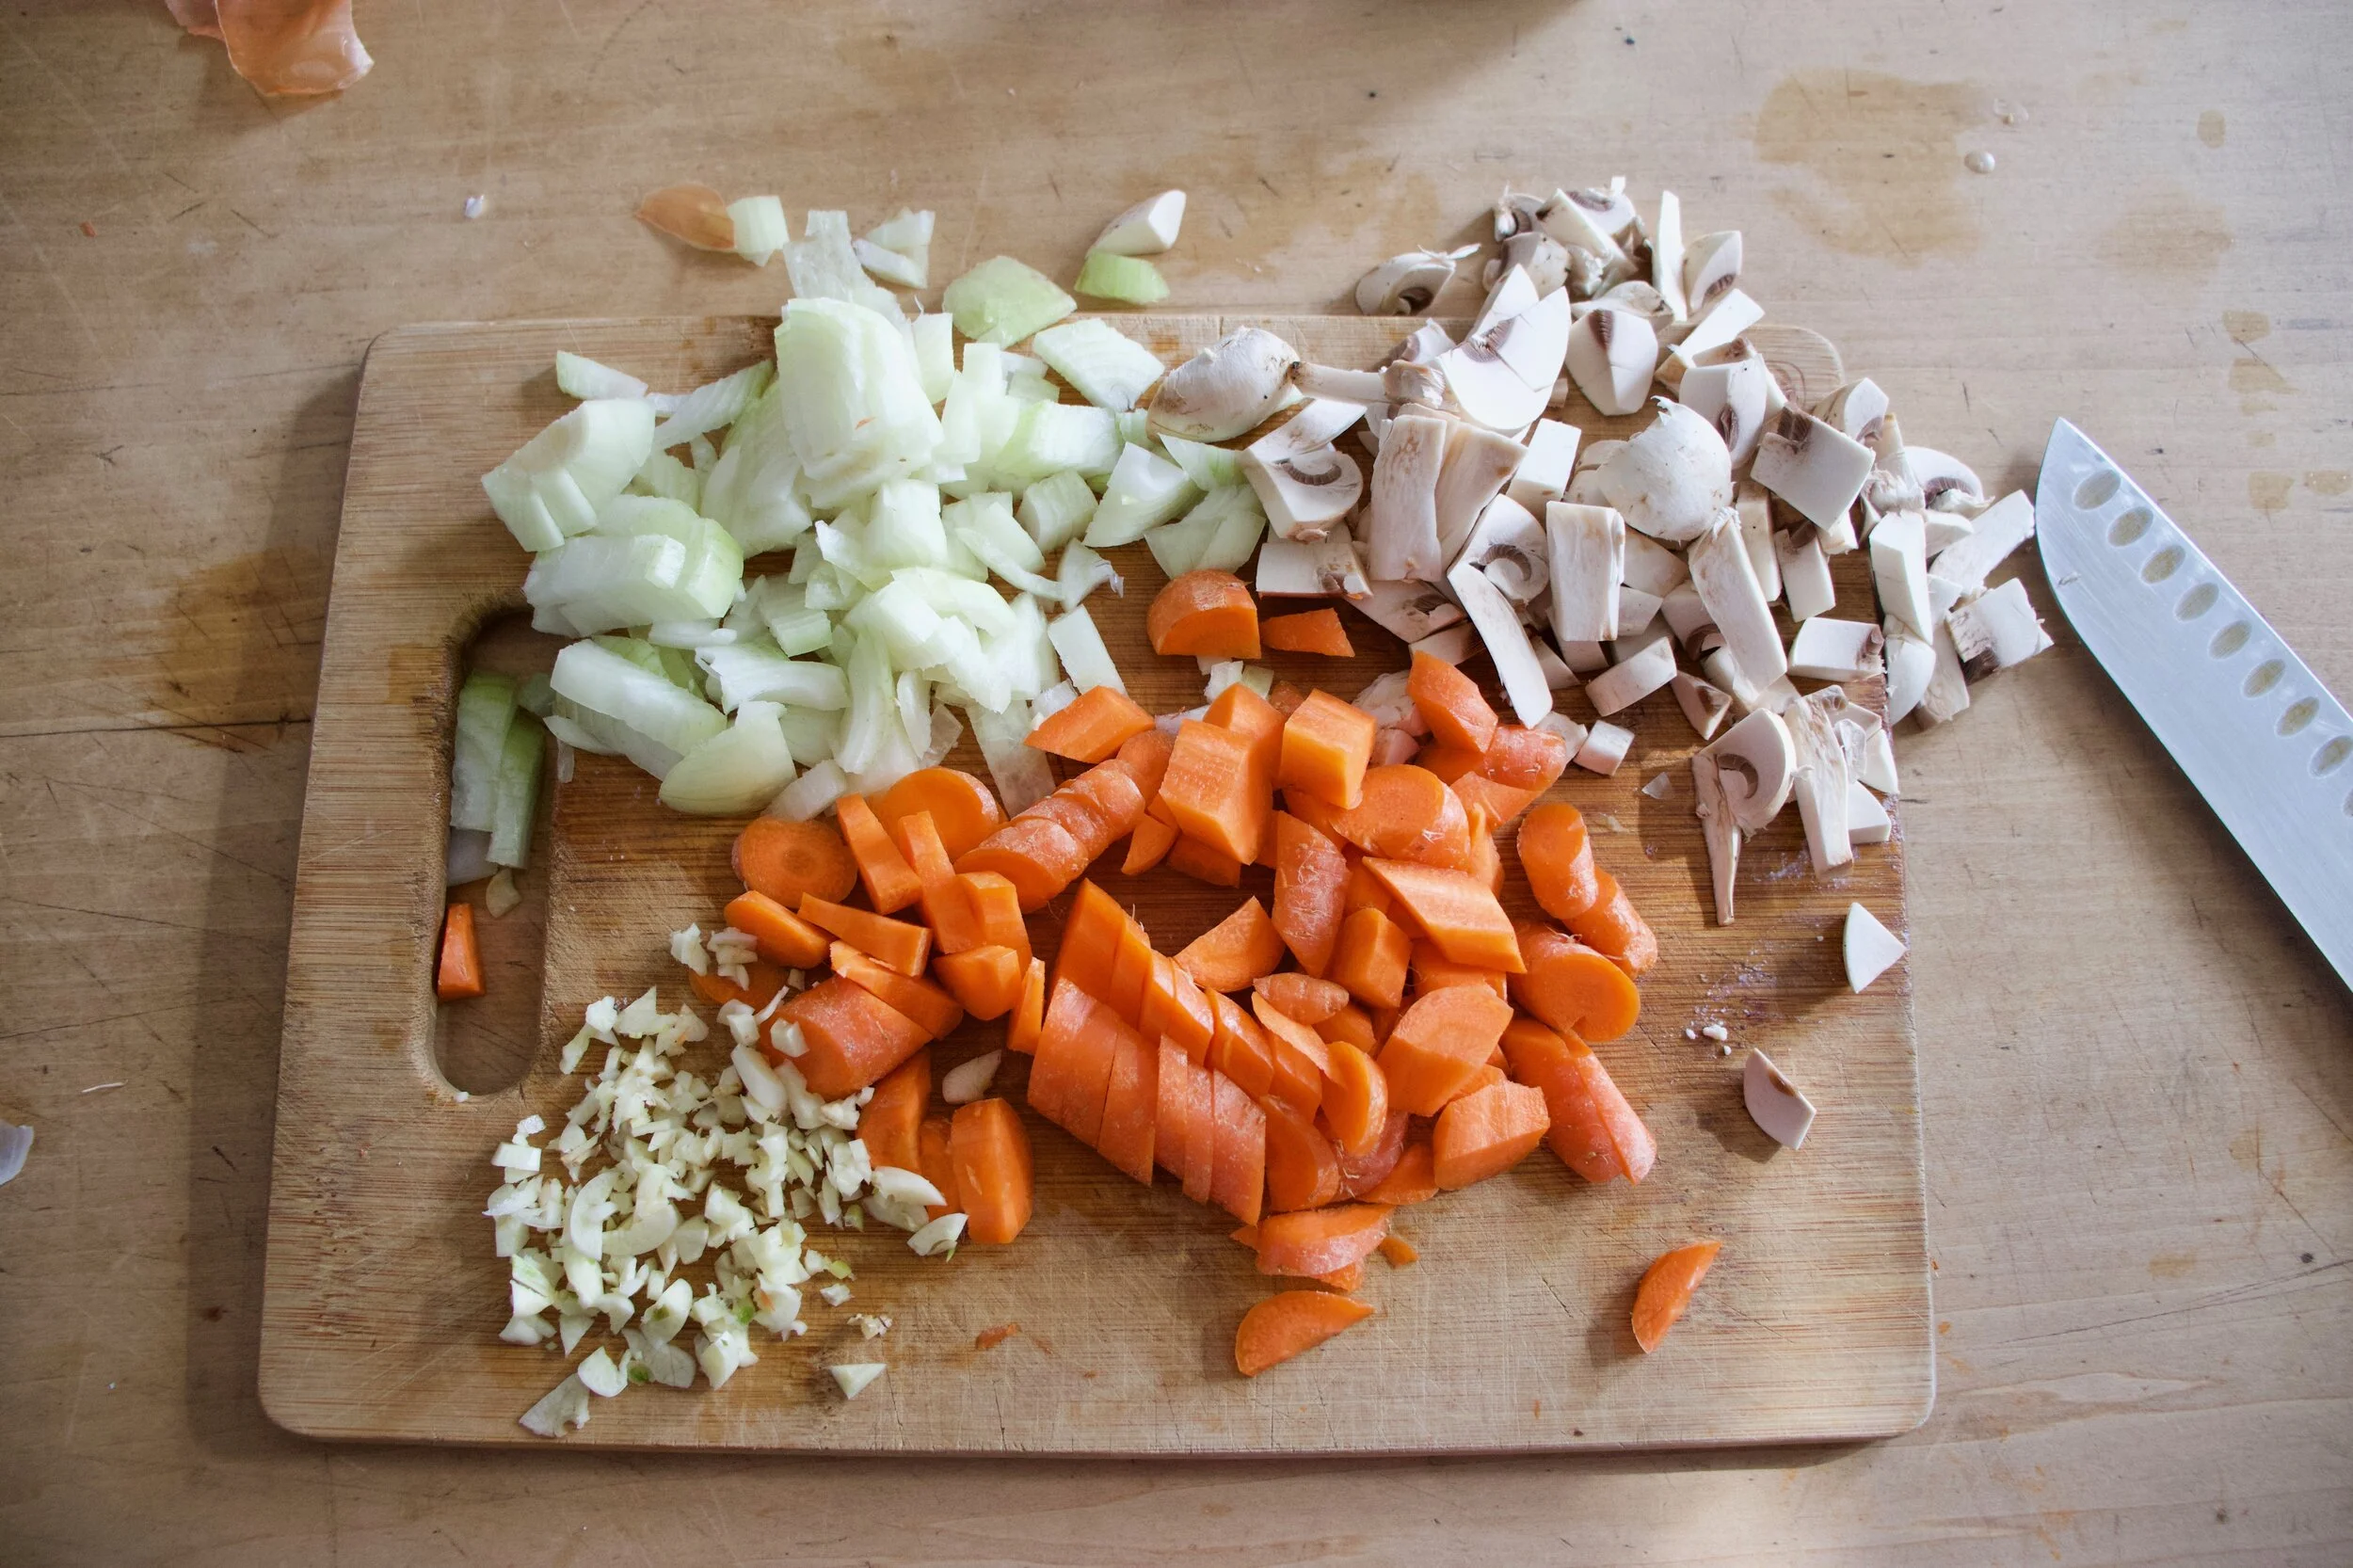
Whle tofu is cooking, cut up veggies into small, not tiny, pieces. And mince the garlic too.
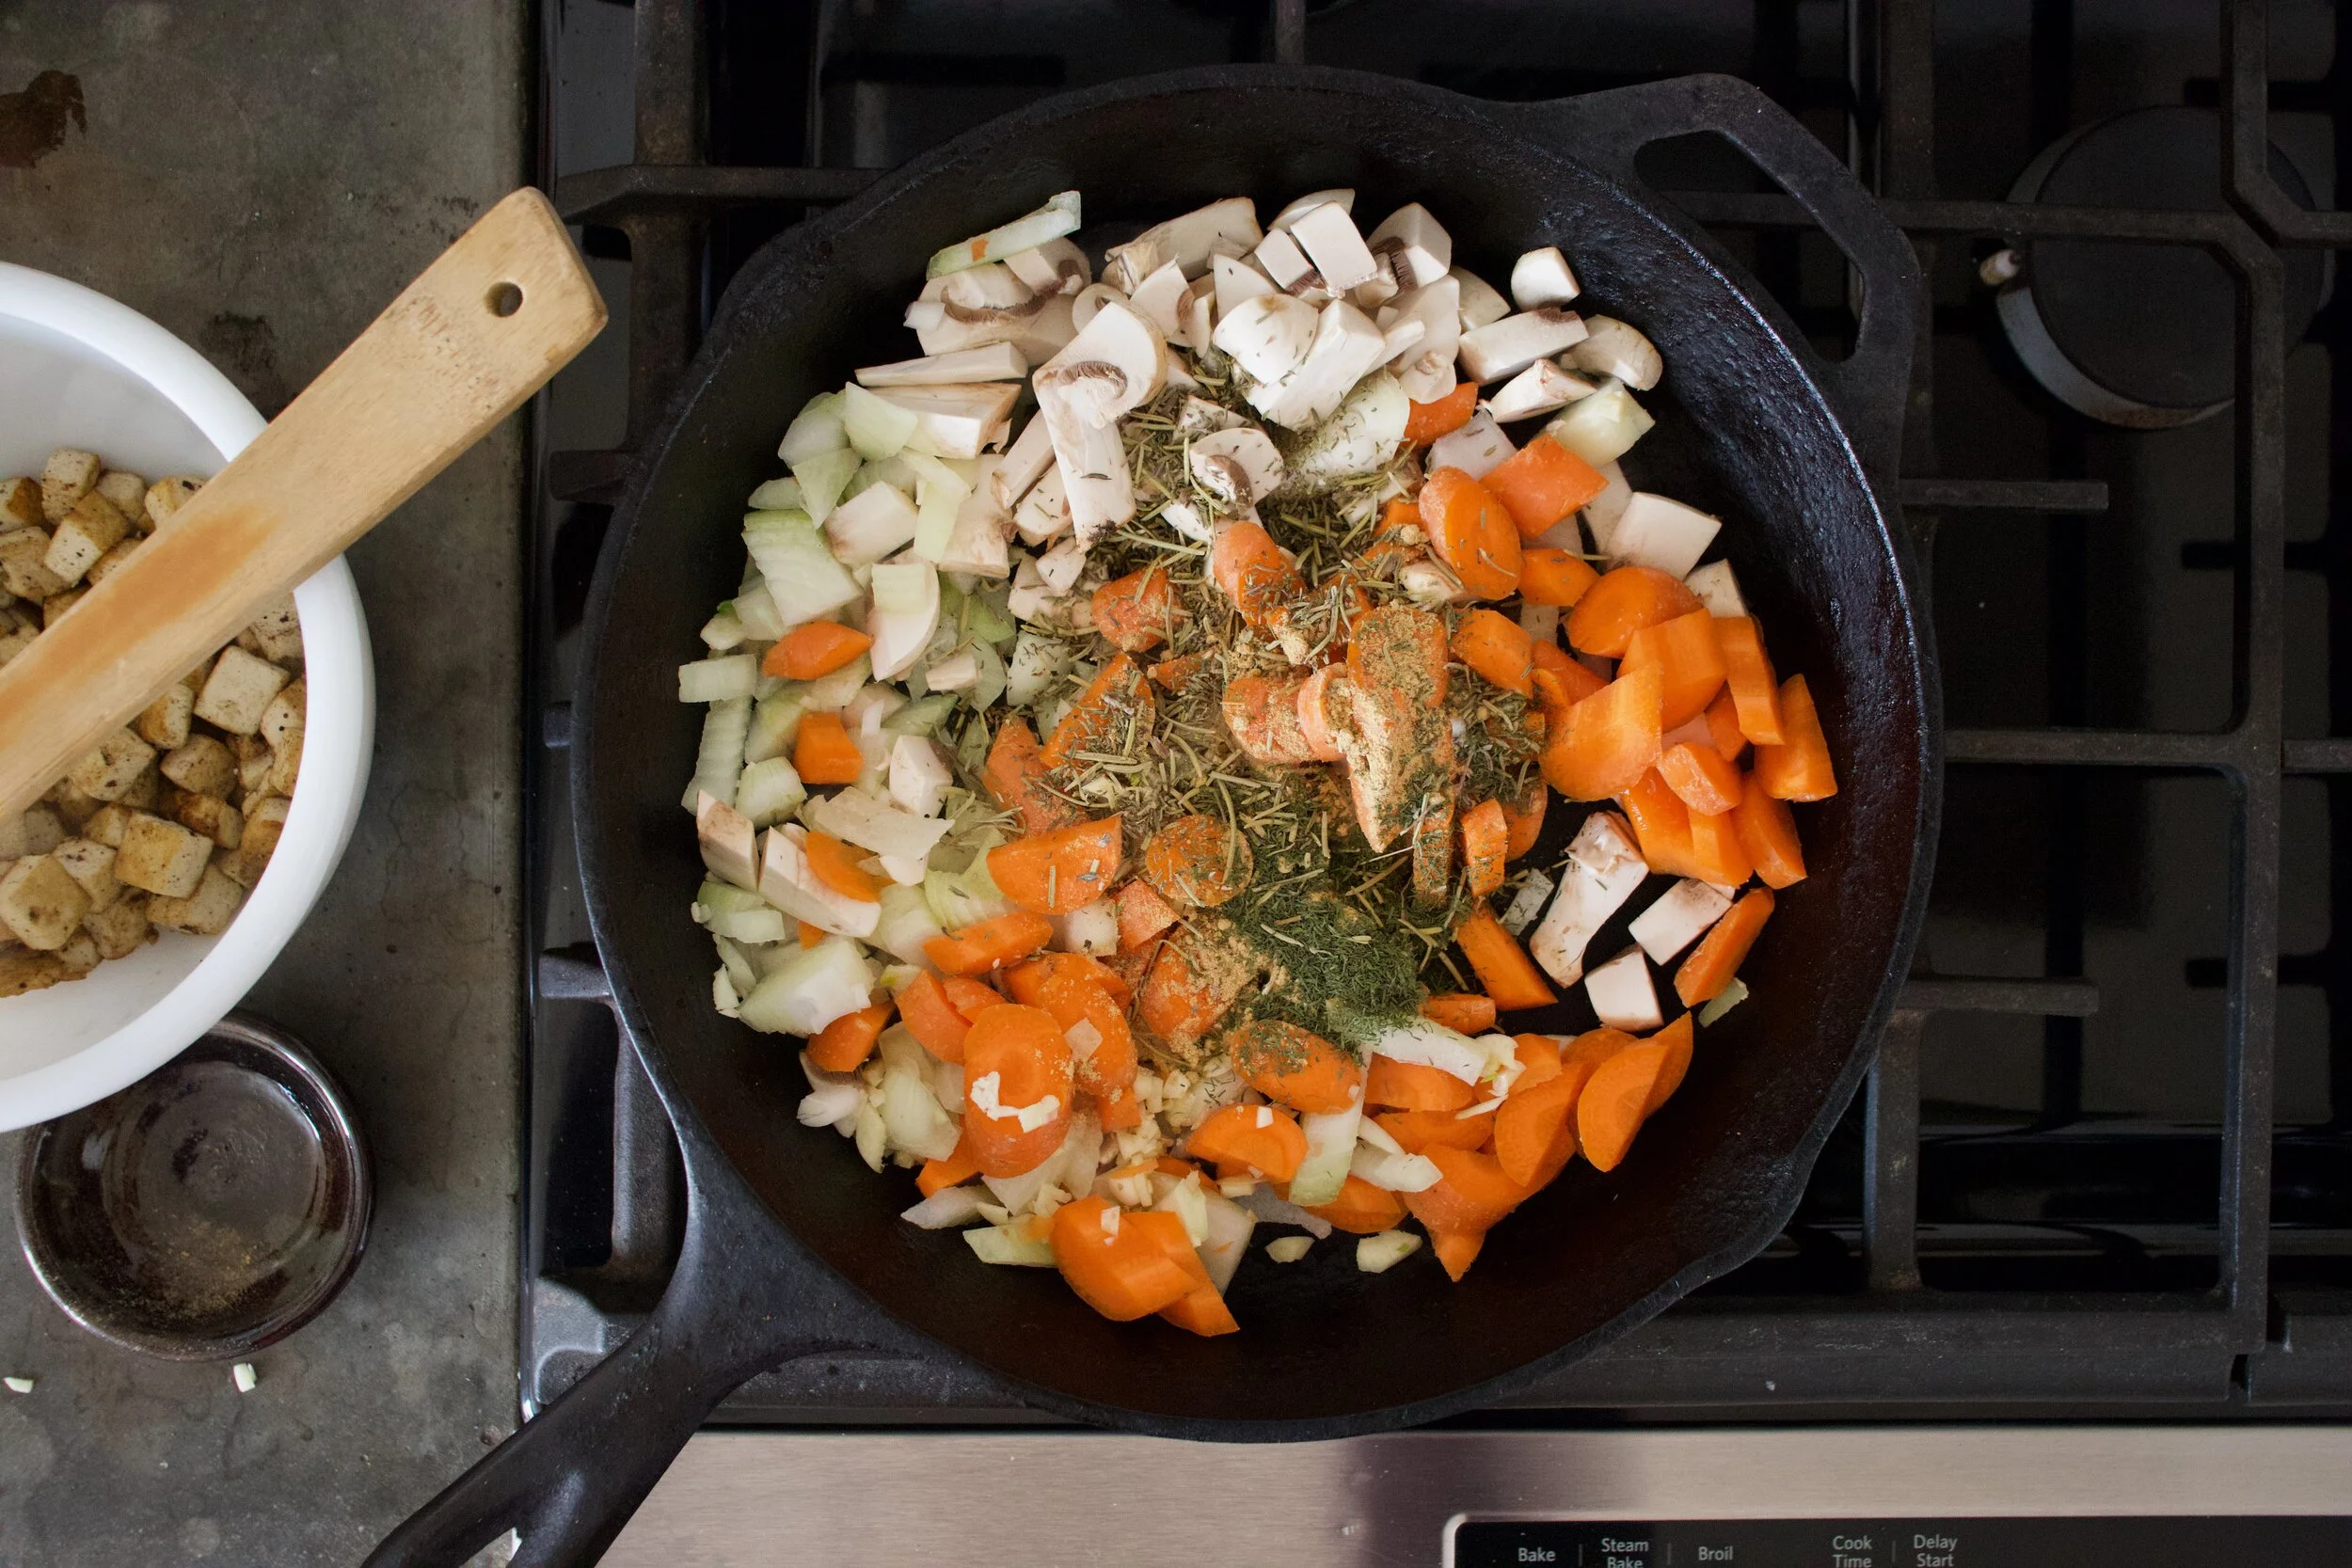
Remove tofu from skillet and place into a bowl. Add all the veggies you just cut up into the skillet along with the spices and another pinch of slat ans lots of pepper. Keep on heat and cook.
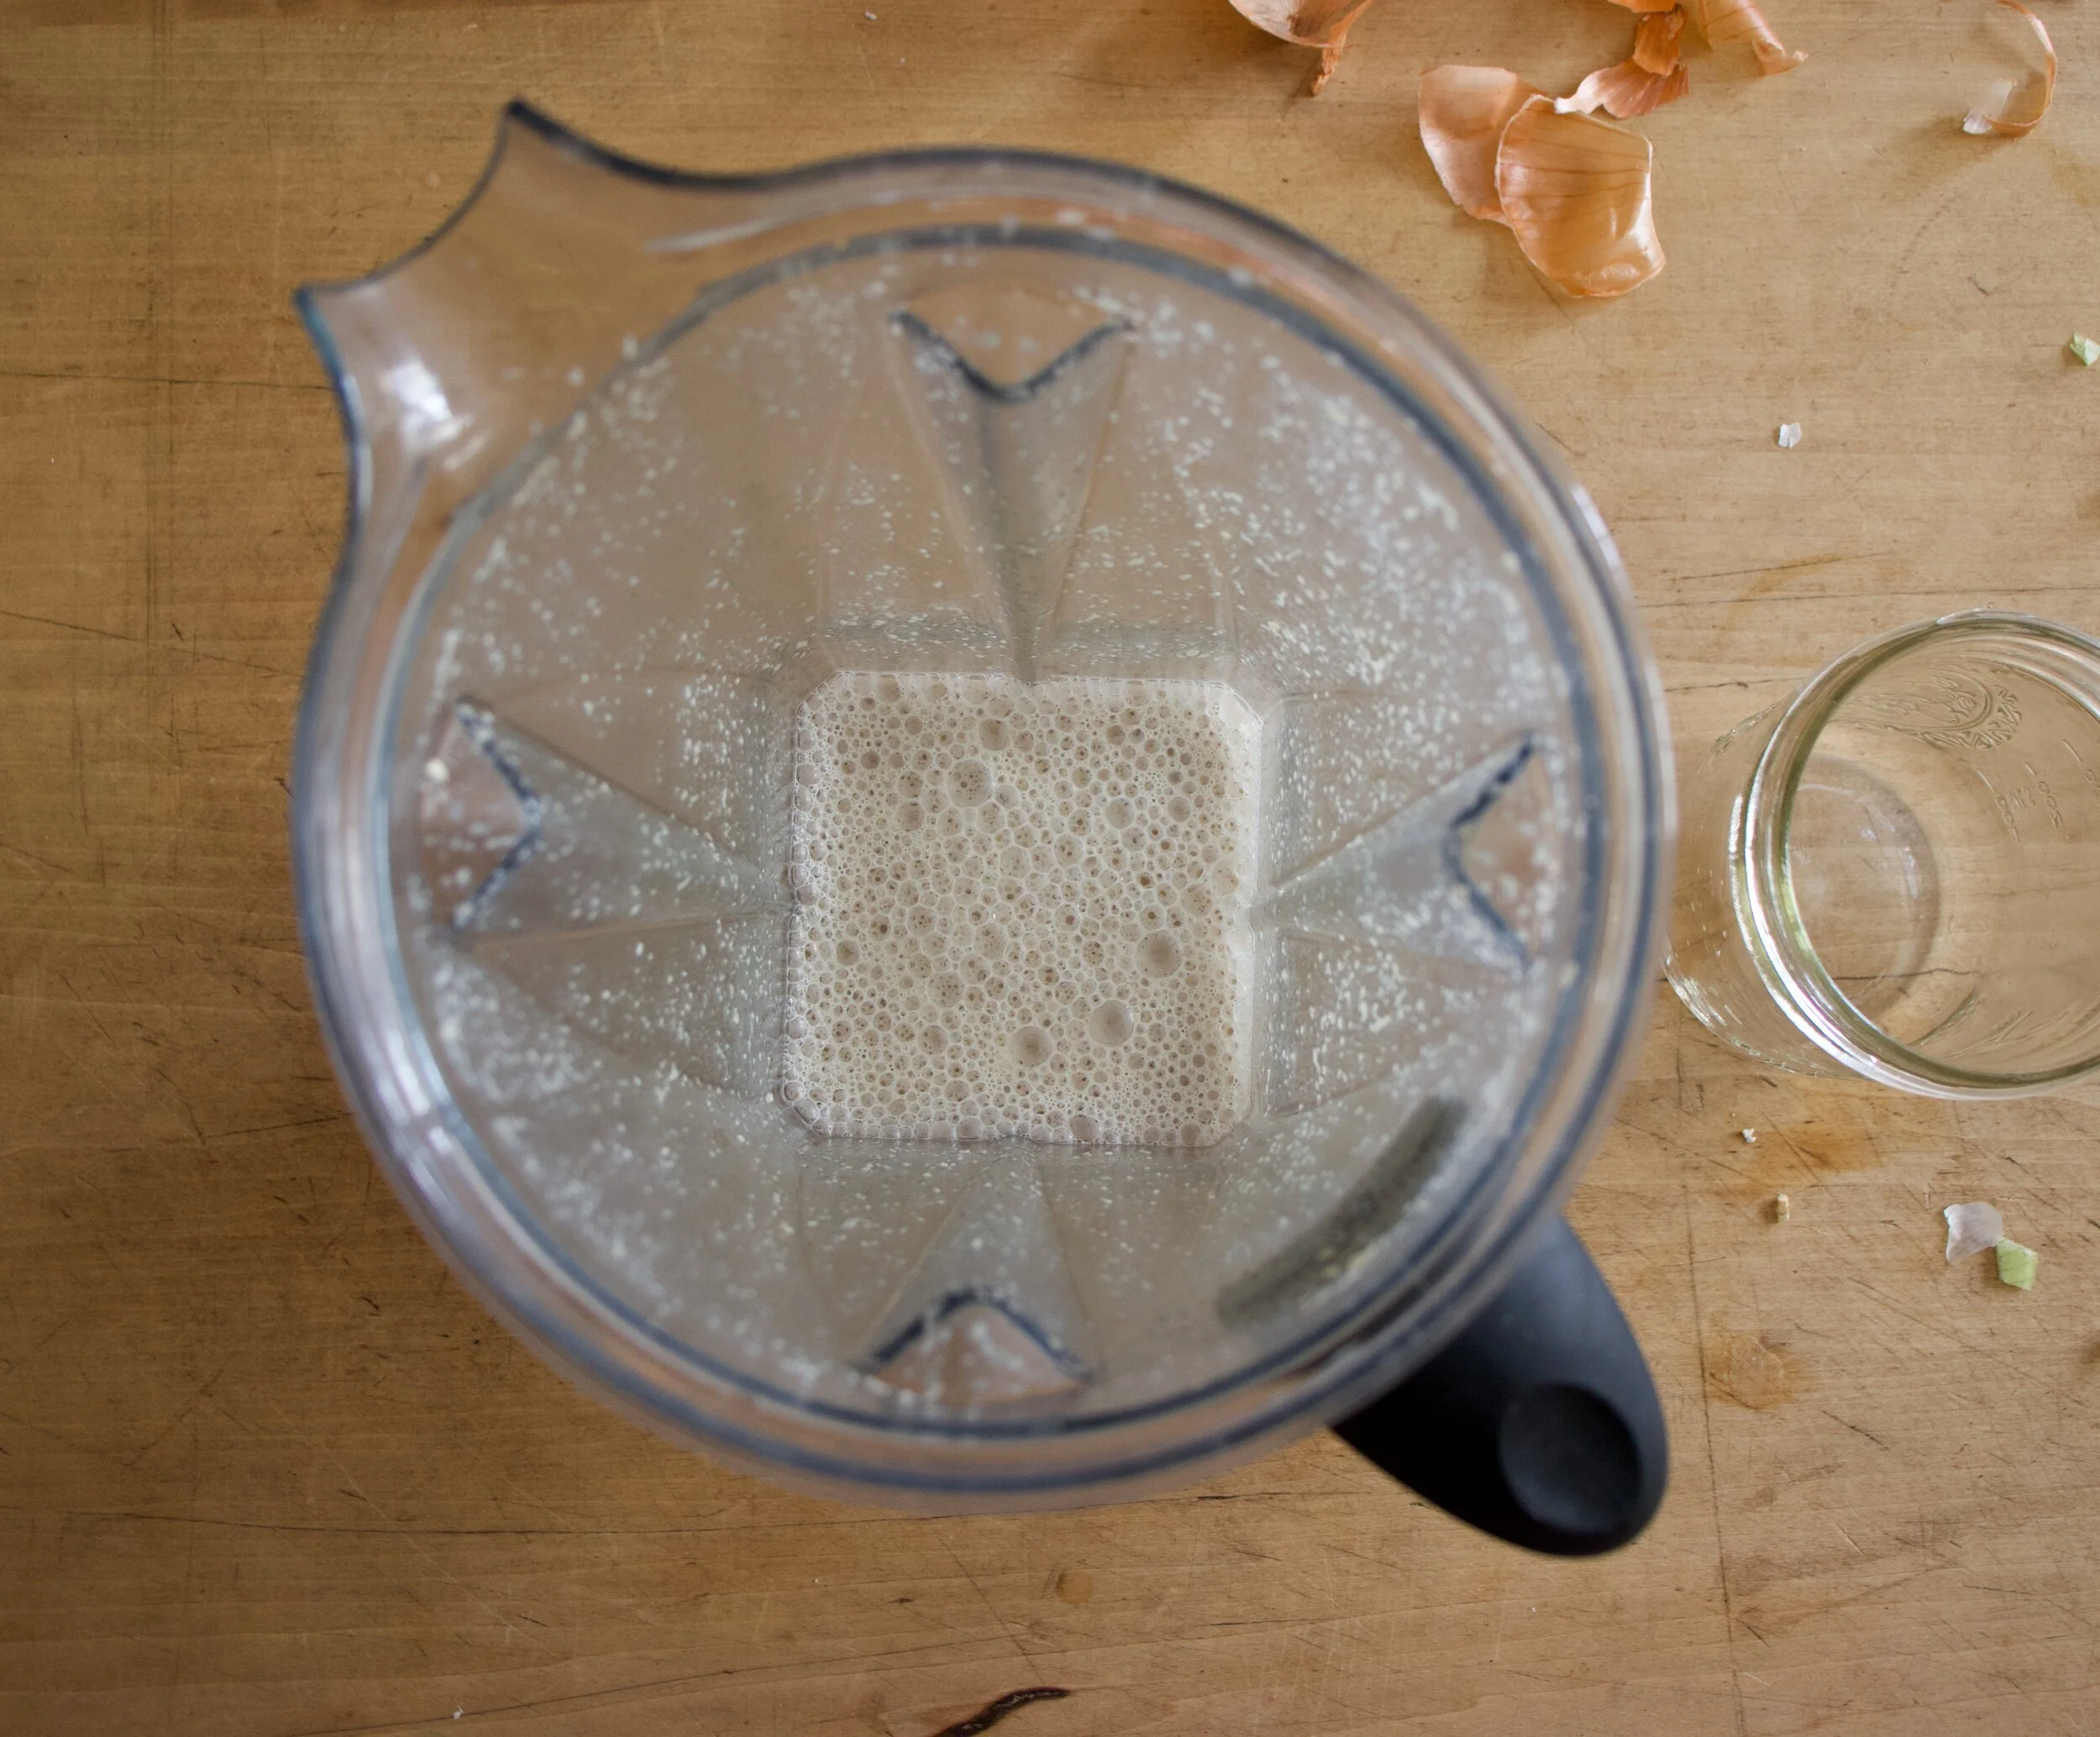
While veggies are cooking, place water and oats into blender and blend until smooth. Making oat milk to thicken the whole shebang.
Once the veggies start to soften just a bit, add the tofu back in and add the mustard too. Then dump in the oat mixture you just blend up. Mix it al up and cook for a until it just start to thicken.
Now add in frozen peas, mix, and remove from heat. Set aside. It%u2019s now time to make the crust.
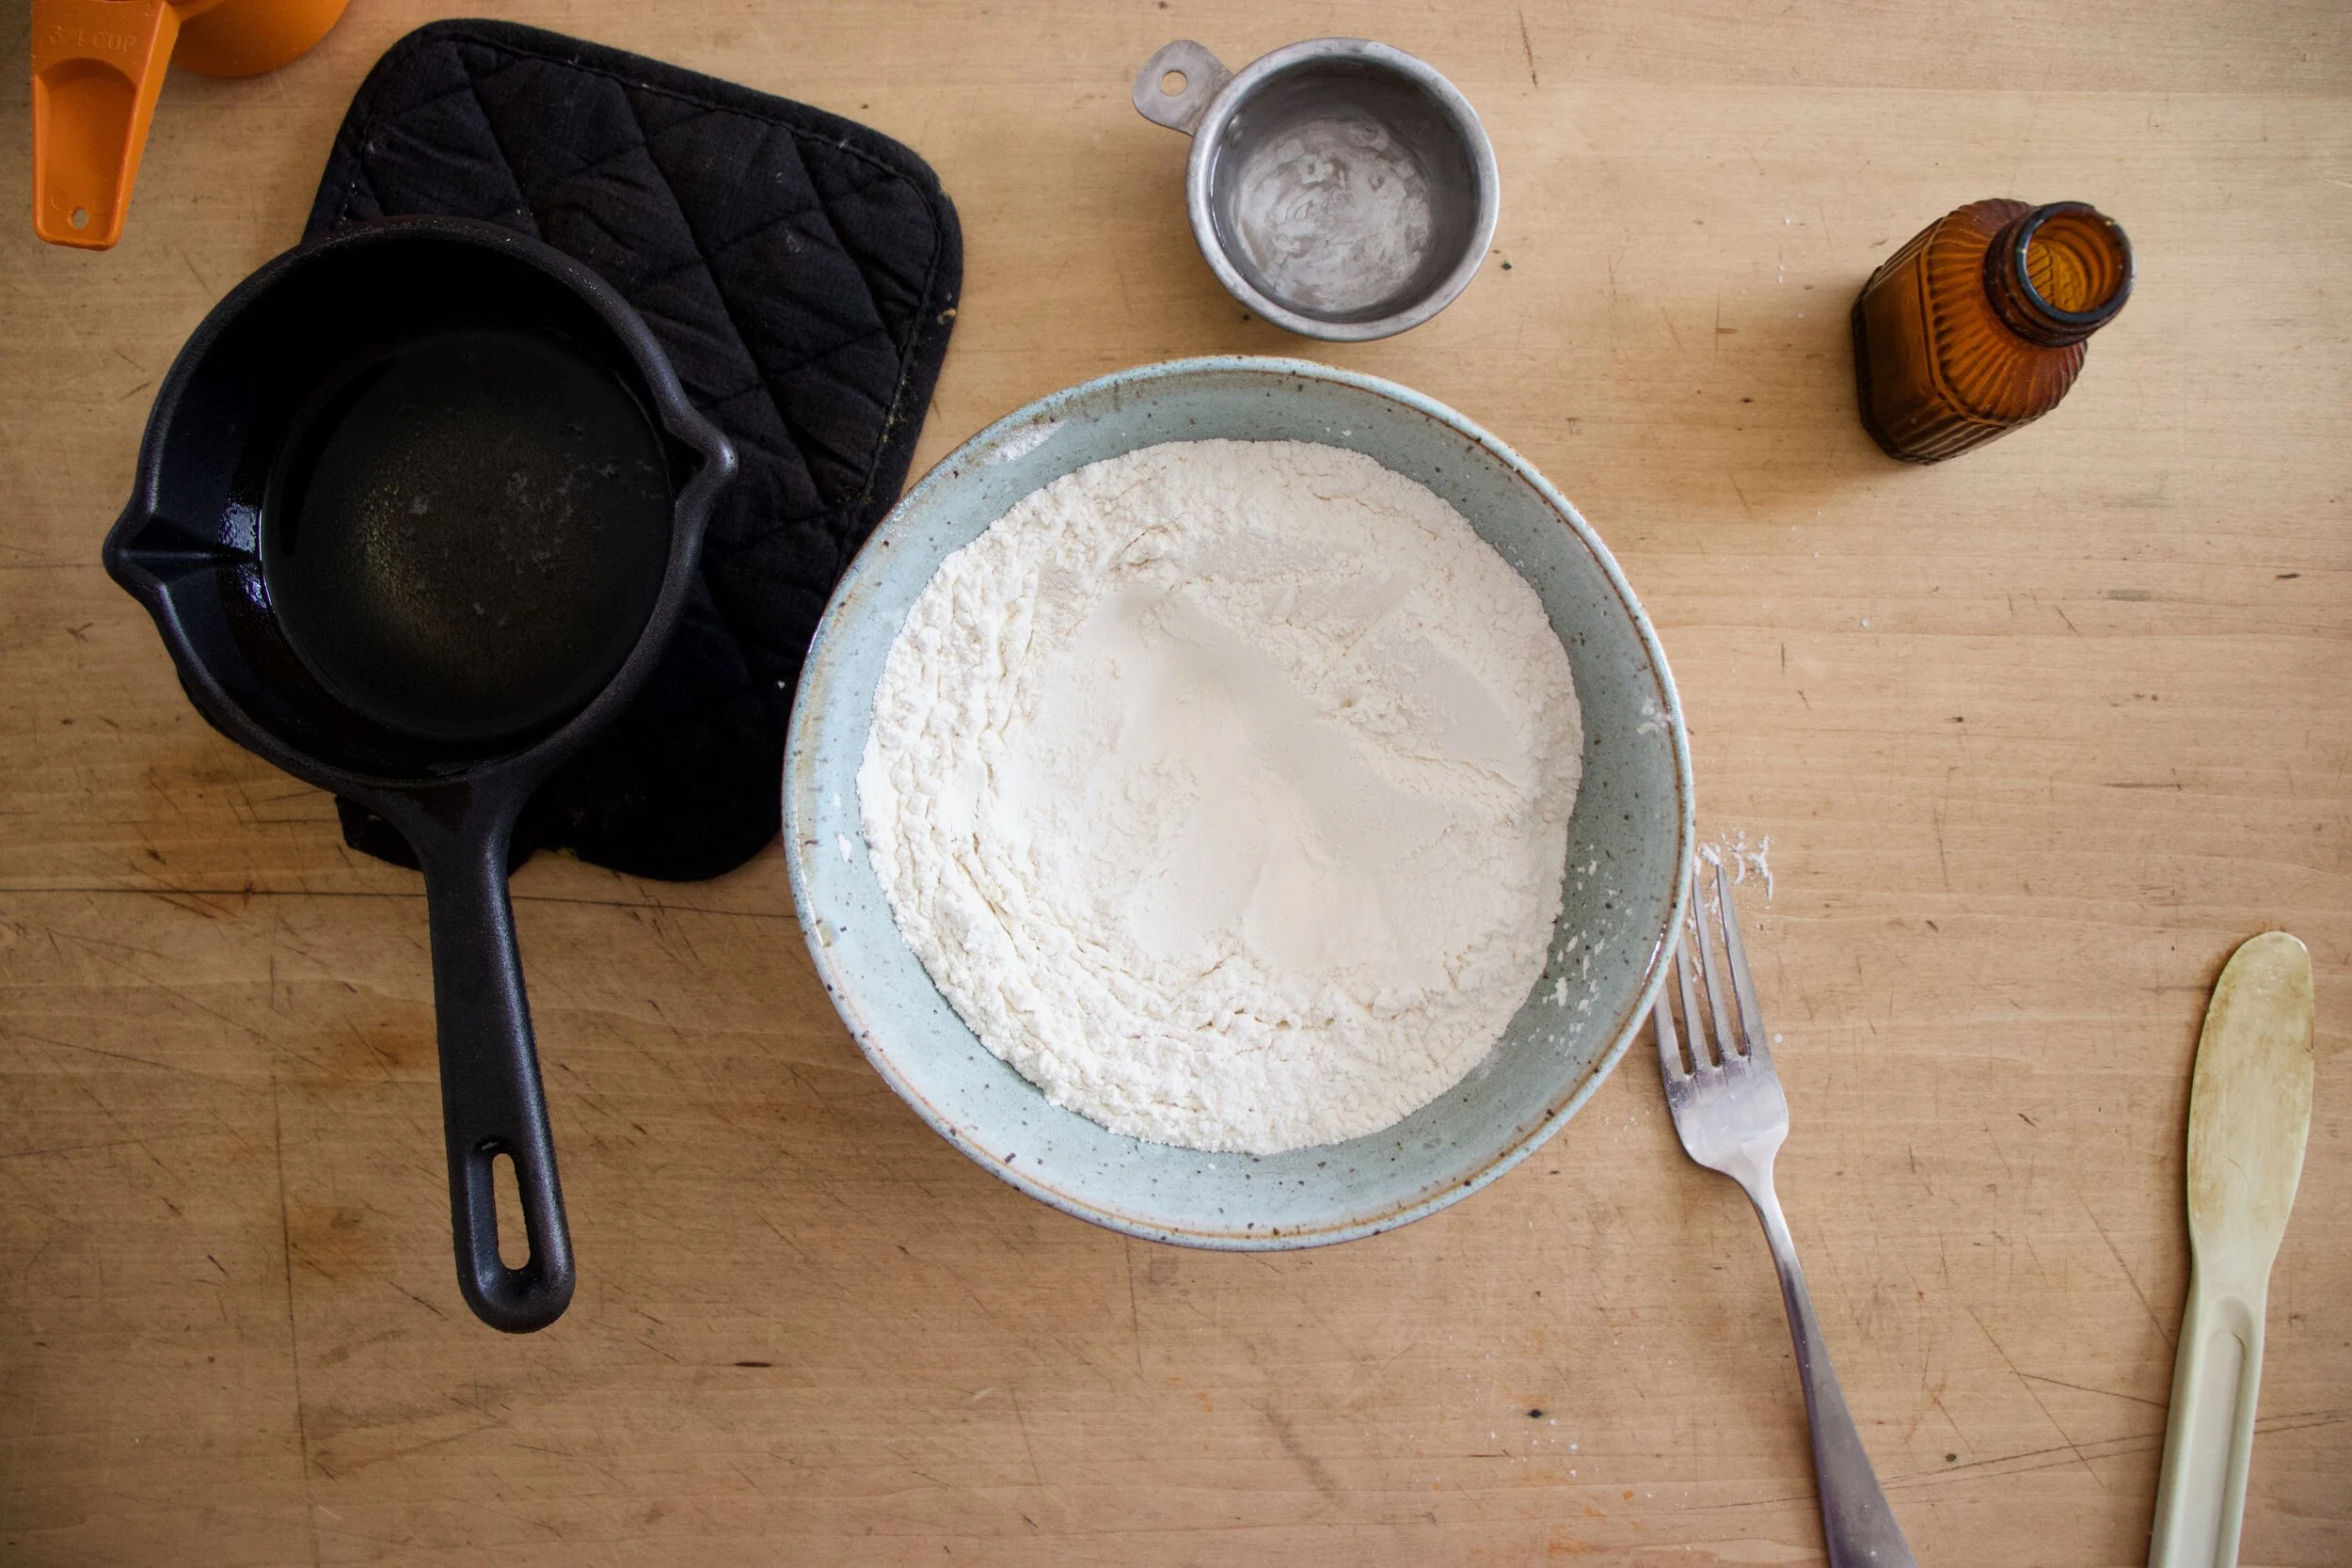
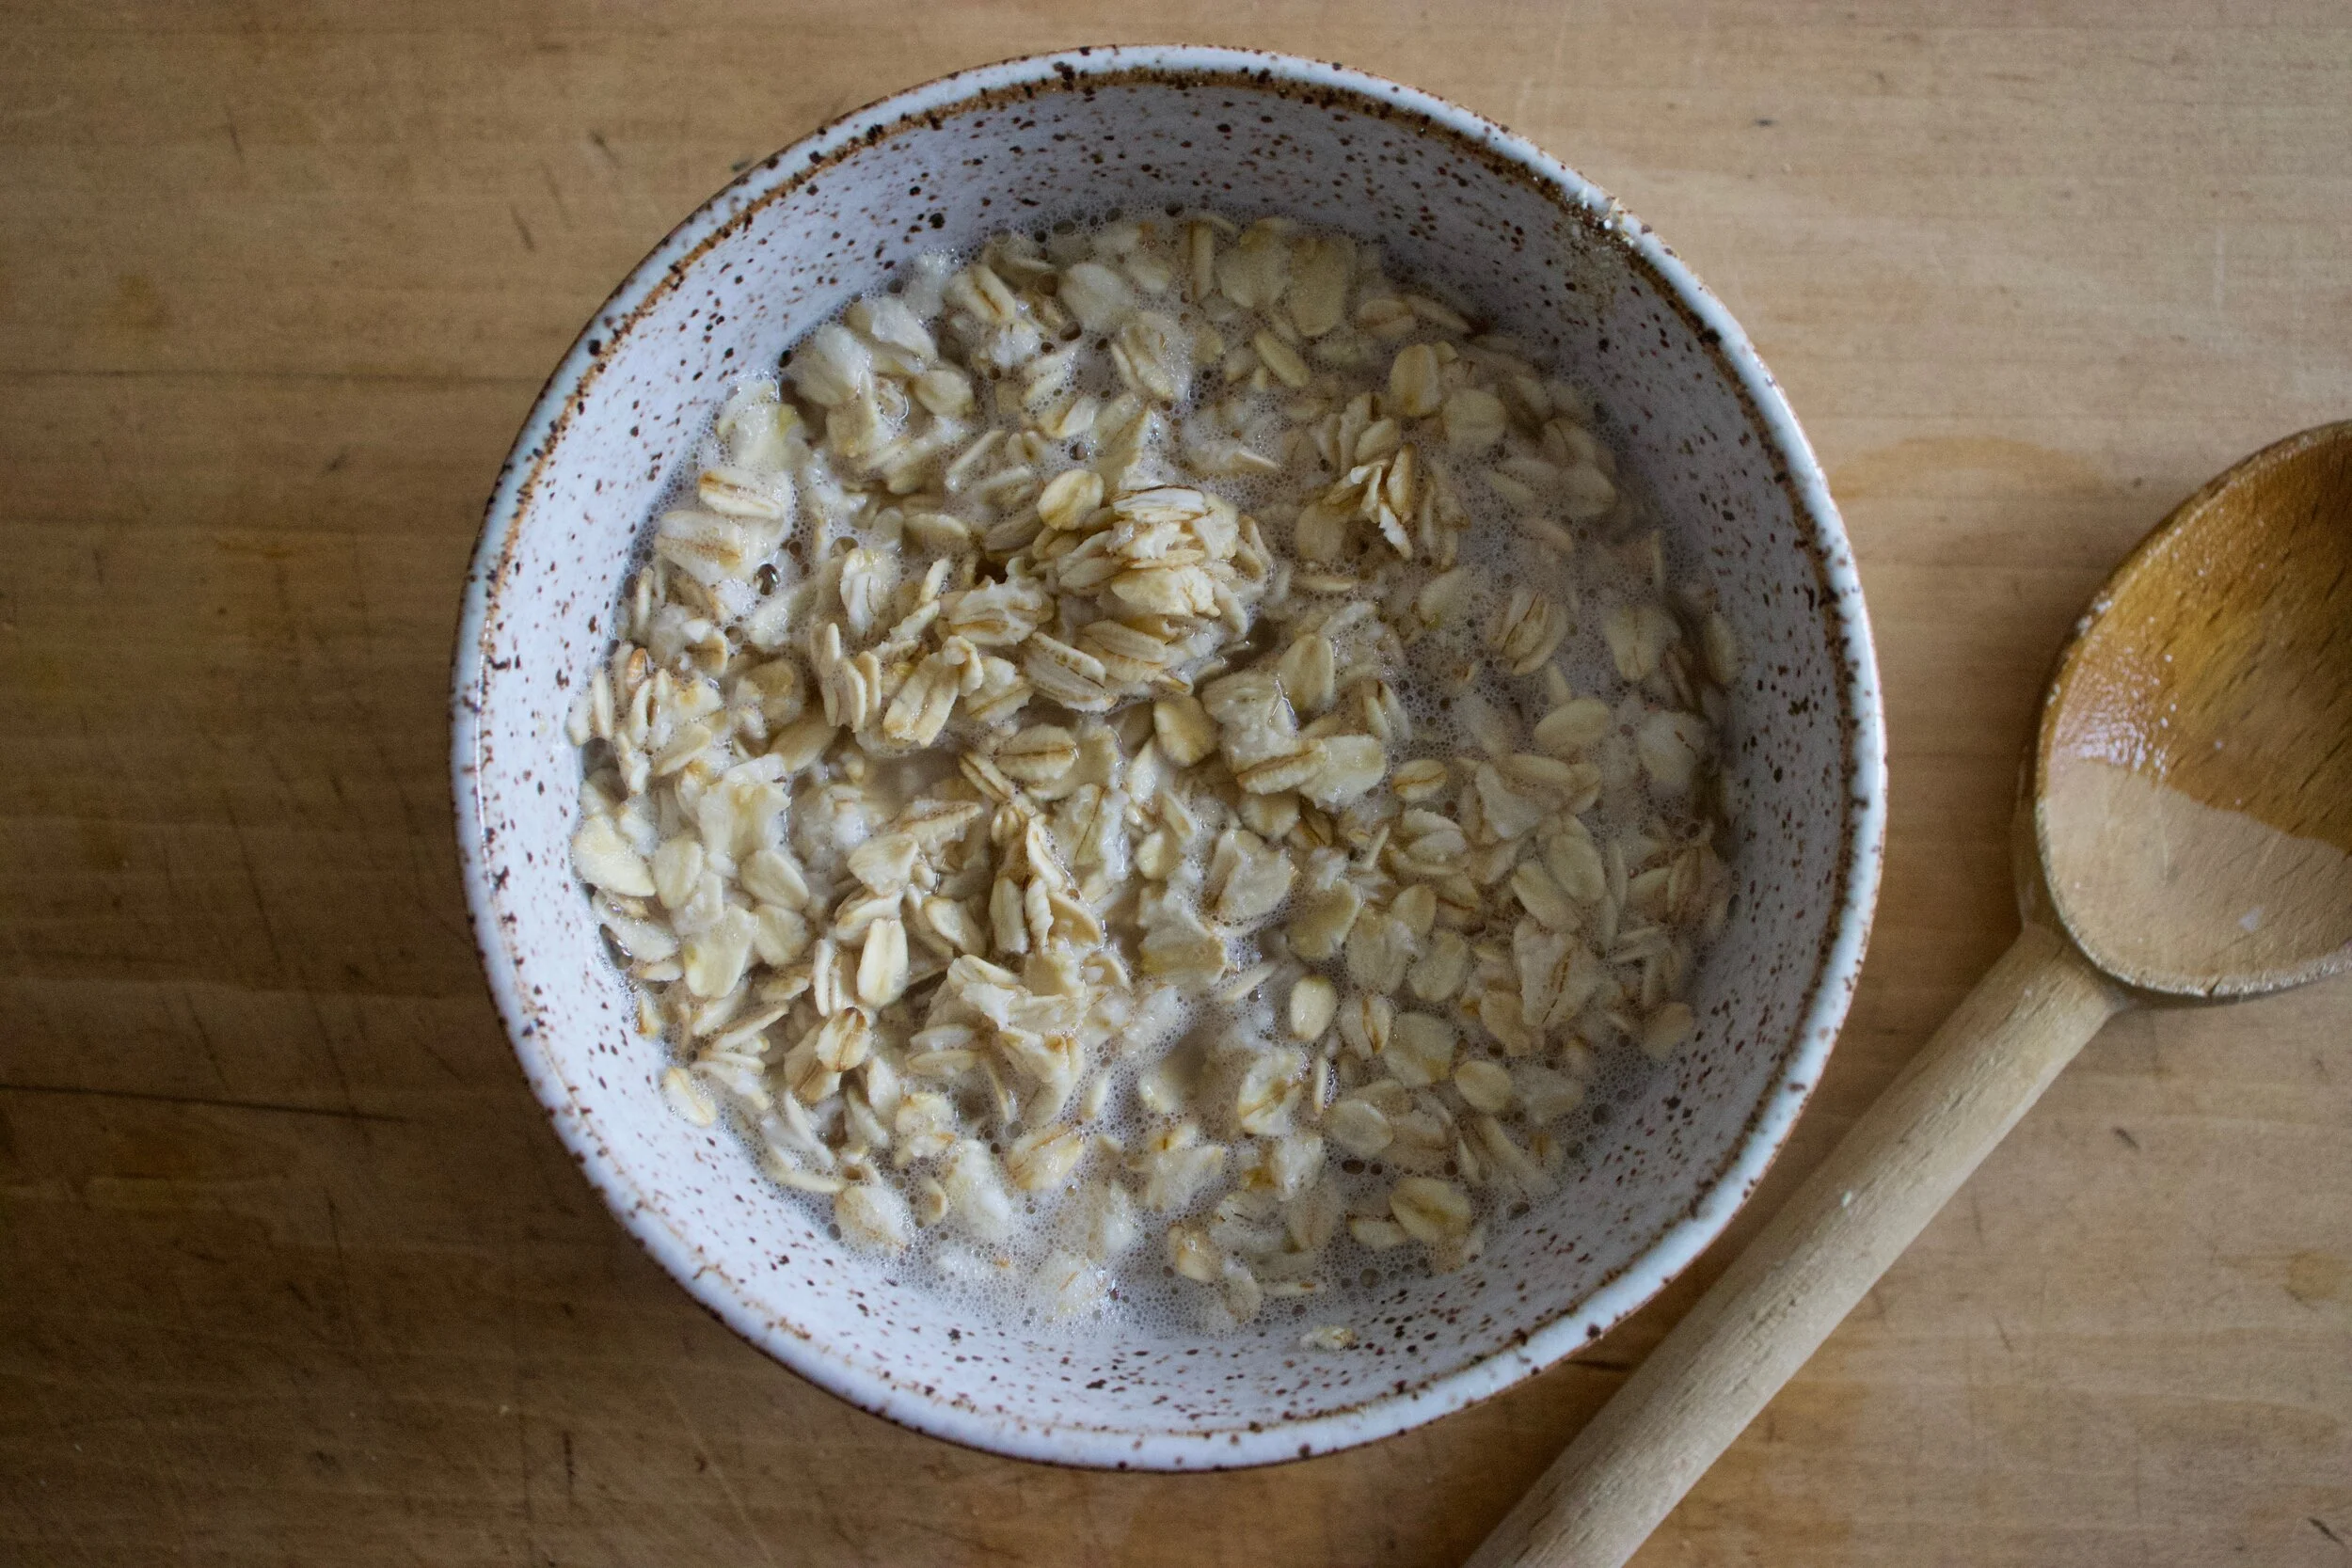
FLour, hot oil, boil water and salt.
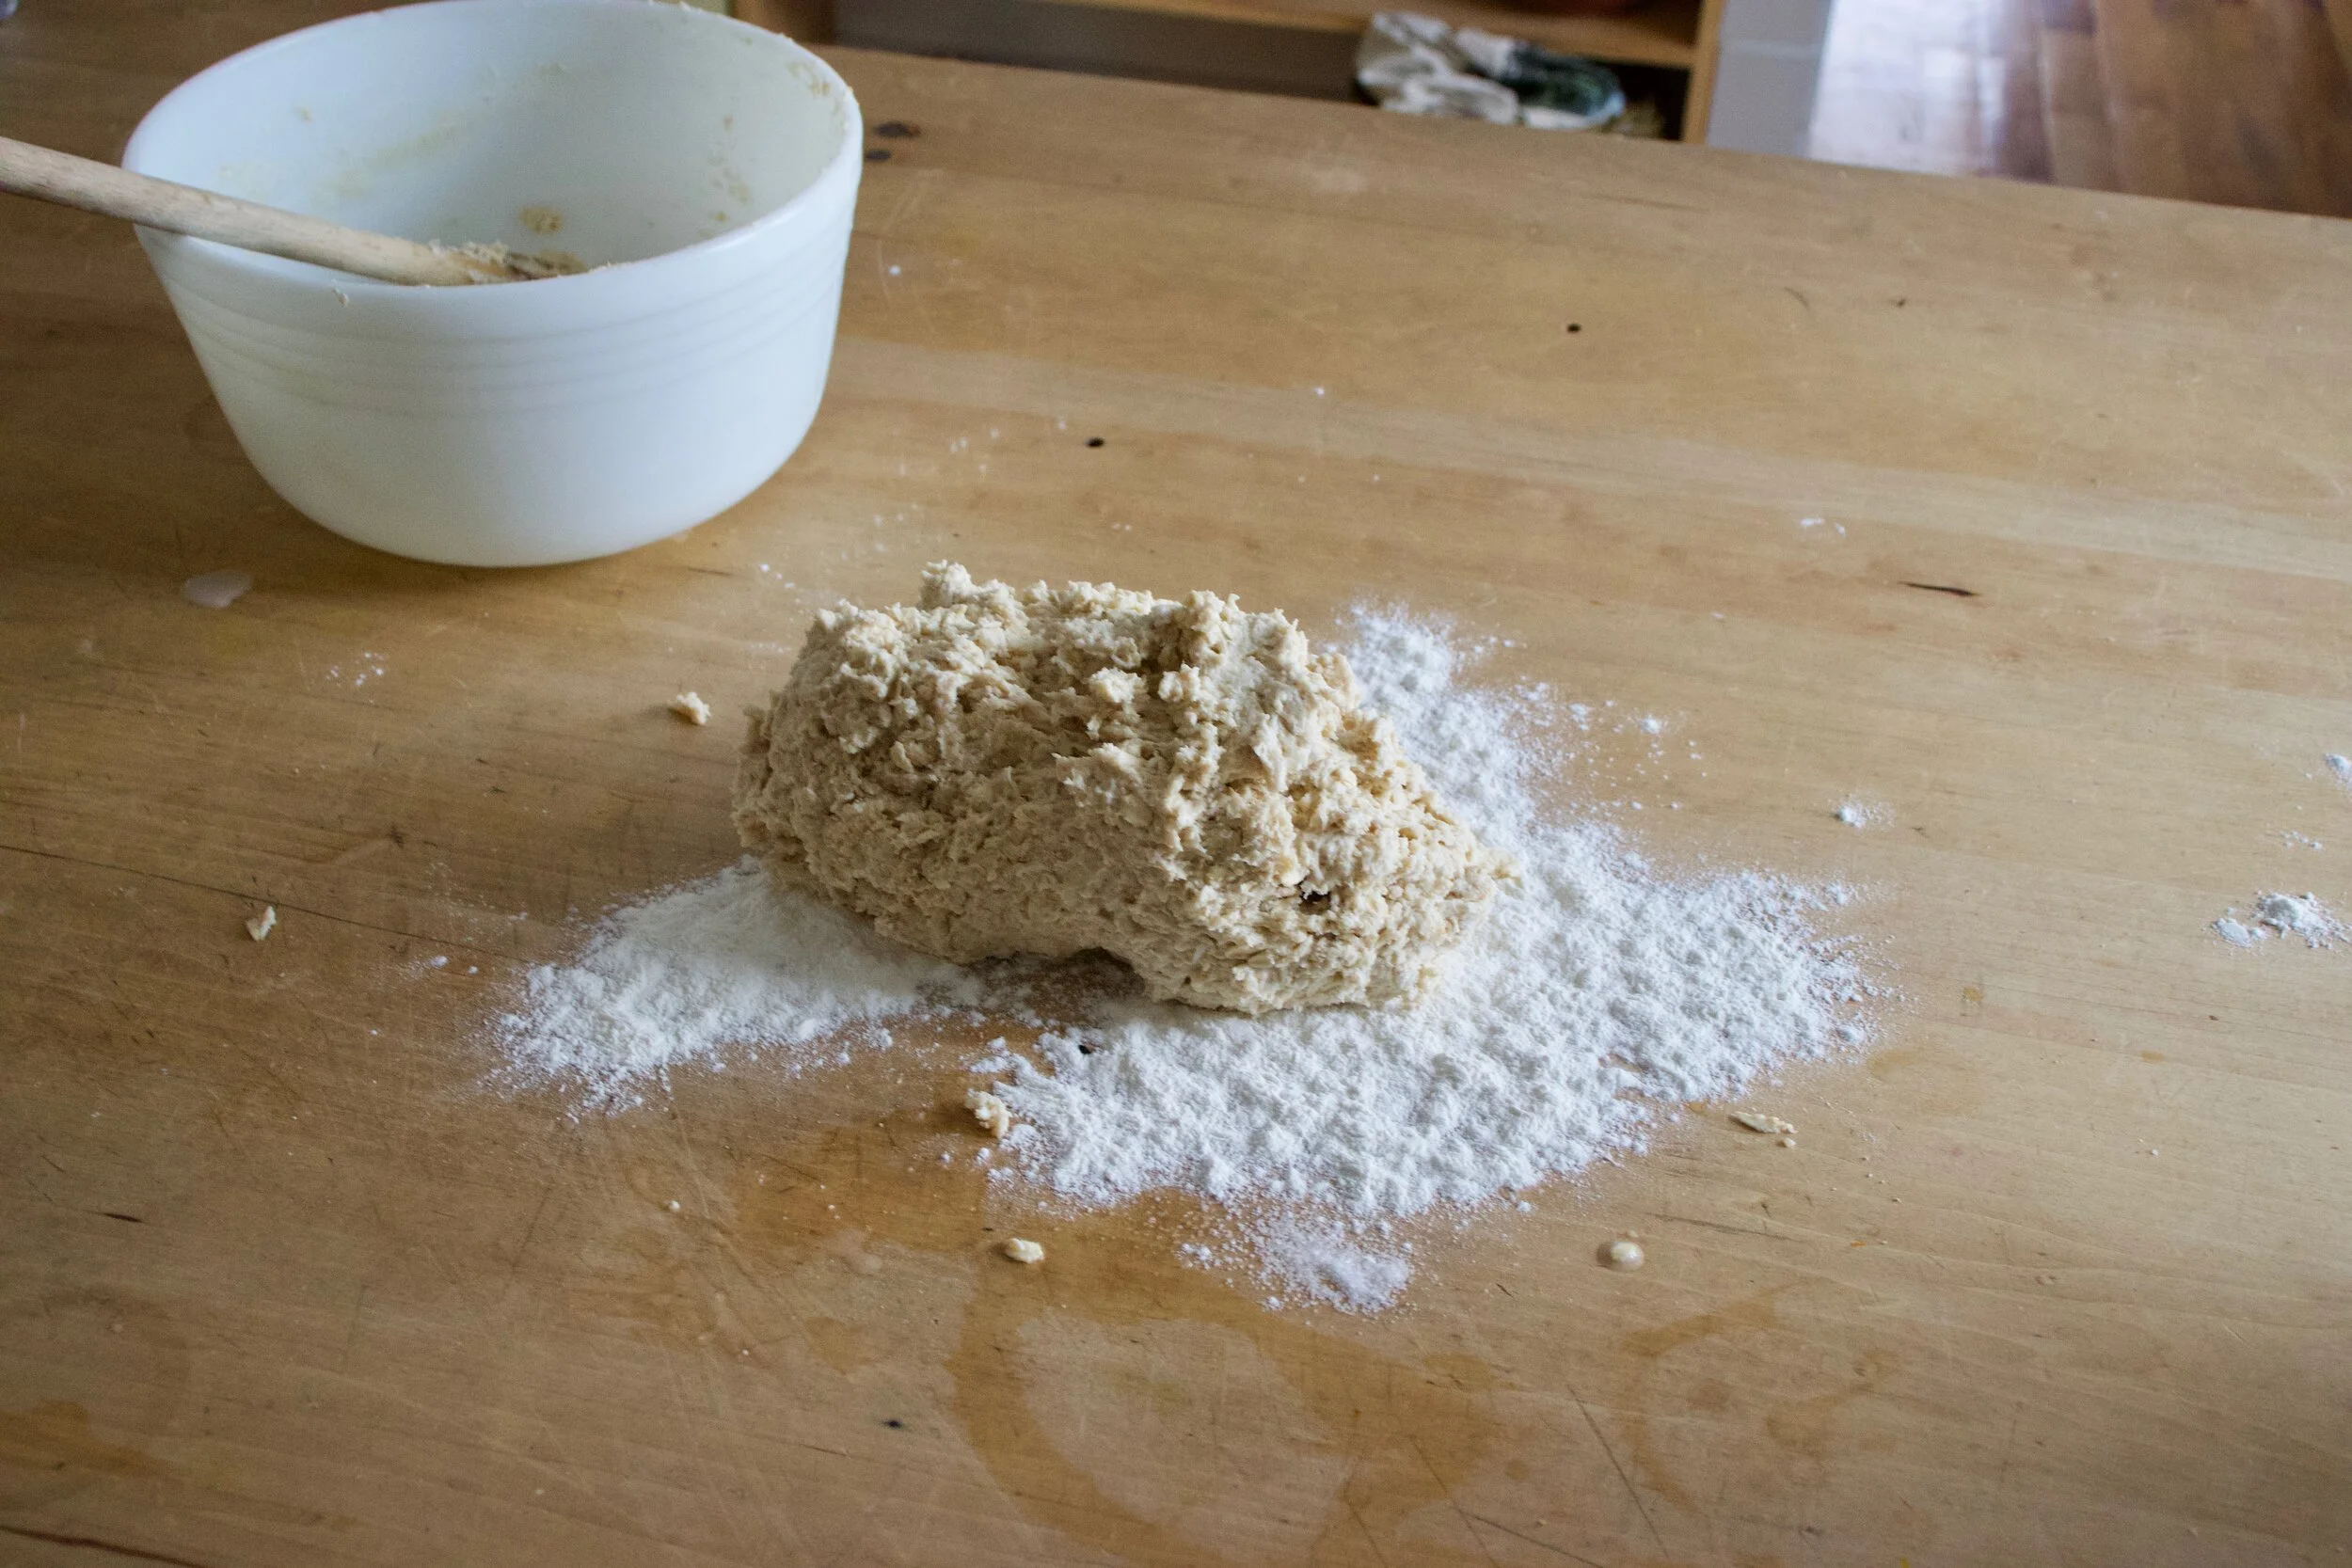
Add all the stuff together and mix until dough forms.
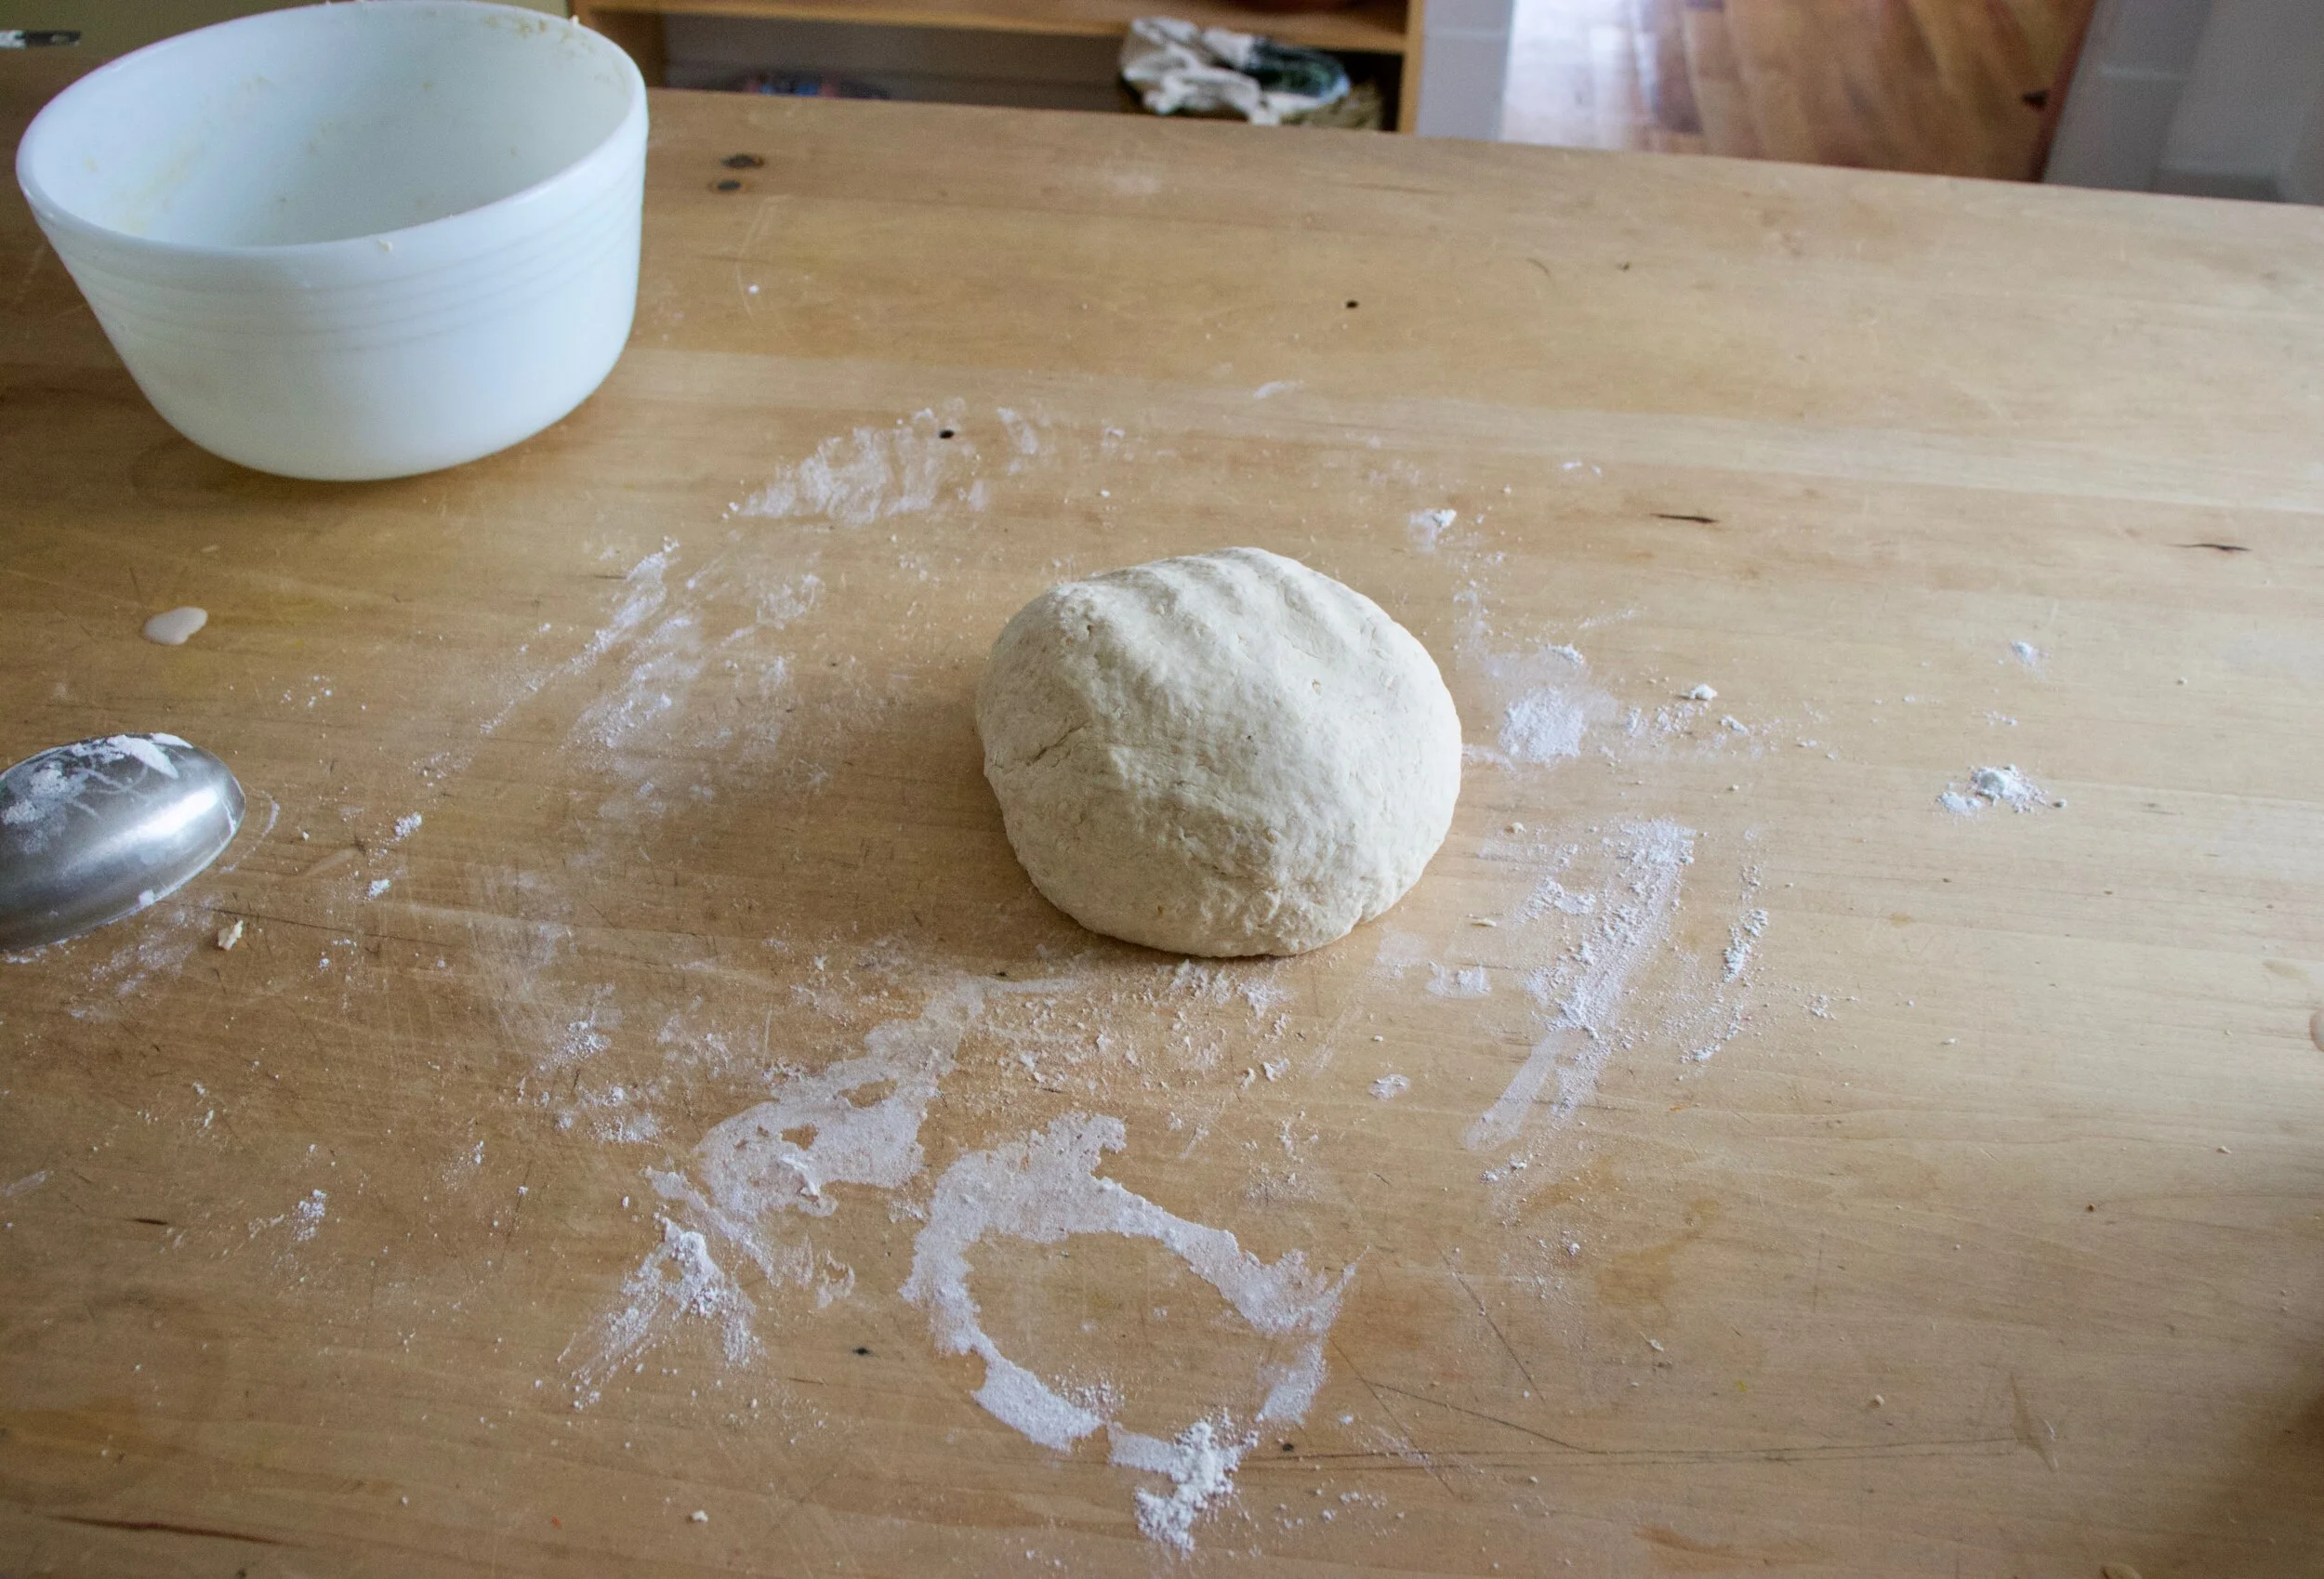
Dump hot dough onto counter and kneed for a minute of two. It shouldn%u2019t be too hot to handle, but if it is, just wait a minute.
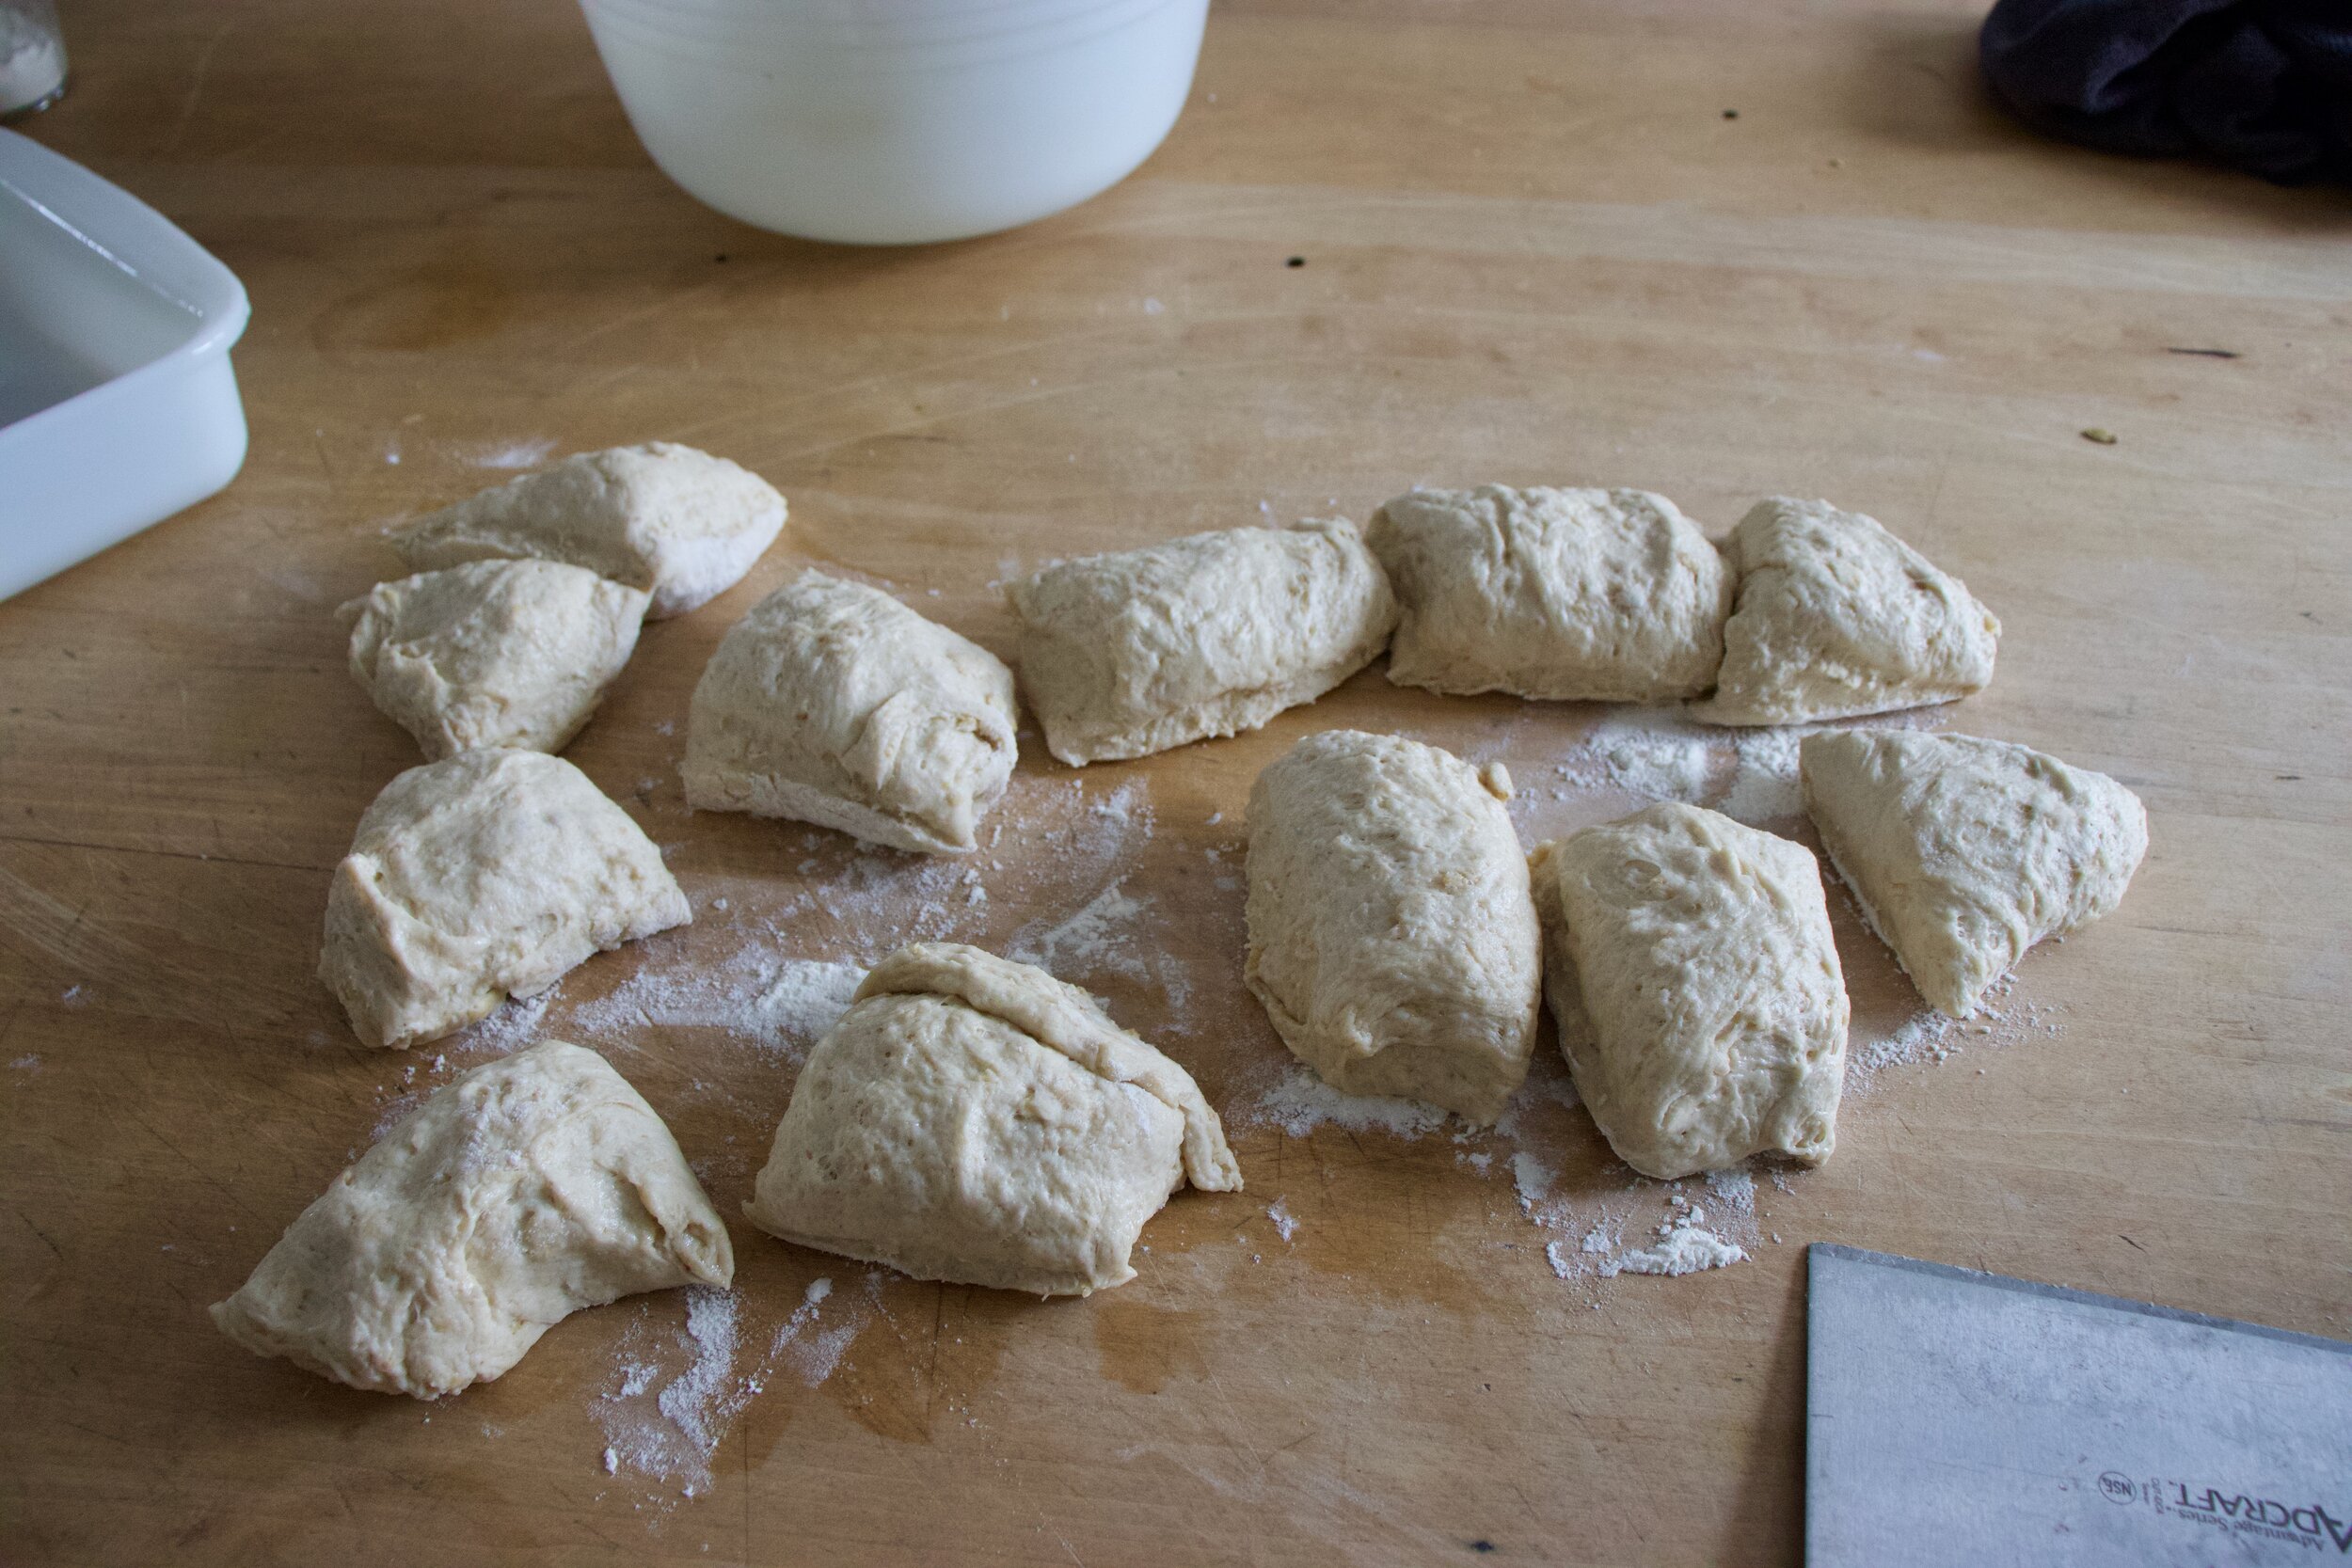
Once kneaded and unicorn. cut 2/3 of dough off and roll out about 1/8 inch thick either on a piece of parchment or a splat mat. IT is way, way easier to deal with then trying to roll it directly on the counter.
Place rolled out dough into spring form pan. It is going to rip and tear but guess what, no big deal. Just mush and patch the holes. That is the beauty of hot water crust. Once crust is all nice and uniform and all in the pan, dump in the filling.
Place top on, seal it up, add some vent hole and make a few little hearts with any scraps you have (only if you want too!) Now into the oven this baby goes, about and hour, until a nice golden brown.
Done and beautiful and yeah, it sprang a little leak, but thats quite all right with me.
Remove he spring form. And probably do it on a pan. Any little leaks will well, leak out a bit. But again, it%u2019s all good.
And now all you heave to do is eat it.
A pot pie in all its glory!
-C
makes one 8 inch, 2 inch deep, pie
For the filling
1 medium sized yellow onion
a few white button mushrooms (about a 1/2 cup diced)
1/2 cup frozen peas
2 small carrots
1/2 block (8oz) firm tofu
1 teaspoon each thyme, dill, rosemary, and ground ginger
2-3 cloves garlic
2 heaping tablespoons spicy brown or dijon mustard
1/4 cup old fashion oats
1 1/2 cups water
salt and pepper
a splash of oil
For Hot Water Crust
1 3/4 cups flour
1/2 teaspoon salt
1/3 cup coconut oil,warmed
1/3 cup neutral oil,warmed
1/3 cup boiling water
Before you start cooking know that you need to make the filling first and can even make it ahead of time. The crust needs to be used right away so don%u2019t make that in advance!
Start with tofu. Cut into small 1/2 inch cubes then press as much liquid out as you can. Place a drop of oil into a large skillet and turn onto medium heat. Drop in cubed tofu and sprinkle with a pinch of salt. Cook until browned.
While tofu cooks, dice up carrots, onion, and mushrooms. Mince the garlic. Once the tofu is browned, dump it in a bowl then add the veggies and garlic to the skillet. Also add in all the spices and another good pinch of salt and lots of pepper. Stir and then cook until veggies are slightly tender.
While veggies cook, place the oats and 1 1/2 cups water into blender and blend until smooth.
And after the veggies are slightly soften, add the tofu back in, along with the mustard and the oat mixture. Stir it all around and keep on medium heat for another few minutes until the oat milk just starts to thicken. Add in the frozen peas, stir, then remove from heat. Give it a taste and season with more salt and pepper if needed.
Preheat oven to 375
Now for the crust. Place flour and salt in a big bowl and mix. Then add in warm oil (either heat on stove or in microwave) and boiling hot water. Mix unit it all comes together. Dump dough onto counter and knead for couple minutes until dough is uniform and smooth.
Cut 2/3 of the dough off and roll out in between parchment paper or on a splat mat to about 1/8 inch thick. Place into a spring form pan. It%u2019s going to fall apart a bit but that is ok, just mush and patch up all the rips and tears so there are no holes. This dough is like play dough, very easy to manipulate. Once bottom crust is in, dump in the filling. Take the remaining dough and roll out the same way you did bottom and place on top. Seal the bottom and top crust by pinching it together. You want to try and avoid any holes so the filling doesn%u2019t leak out. Once the crust is sealed, cut a little vent hole into the middle of the top then place pie into oven. Bake for an 60 -70 minutes or until crust is a nice golden brown.
Once baked, remove from oven and let cook for a few minutes. Then remove from pan by place pie on something like a bowl or cup that fits underneath the bottom of pan. Unlock the pan and slip ring down while the pie stays perched on cup. You can even pop the bottom of pan off if you feel like you can, but I say, why risk it. That is up to you. And sure, the pie might have sprung a little leak, but that is very much ok.
Now basically all you need to do is eat it so place pie on a big plate, grab a knife, and fork, and cut yourself a big ass piece of pot pie.
Leftovers store great in the fridge for a few days.
When your sister drops off 50 lbs of beets, on top of the 50 lbs that you have to harvest that are growing in your garden, what do you do?
Well chips of course.
Yeah, chips. That%u2019s right. When I got home from camping on Monday and there was a humongous pile of beets sitting next to my front door, I am not going to lie, I was a little shocked. I mean there wasn’t just a few little ones. These beets were freaking huge, like the size of my arm, and so many. But pretty much right after my initial shock I knew what needed to be done. First, eat a few roasted, second, roast extra to freeze for later, and lastly, make a few bunches of chips.
Have you ever had beet chip? They are amazing. Crispy, crunchy, tasty as all heck. If you like beets, even in the slightest, you will love these. If you hate beets, well maybe don%u2019t? Either way, beet chips are the best chip. Wha’t%u2019s not to love? Pink, and chippy. Sweet, and salty. And then you add the fact that making beets into chips is a good way to get your veggies in and that you can eat a whole bowl full and feel zero guilt because you are just eating beets. Plus making beets into chips is a good way to use up any extra beets you might have laying around or that have been dropped off at your front door.
These chips, once they are made, will not last long. So when you do make them, know you will probably be making them again soon there after. Me, I have still have to harvest all my garden beets so beet chips are happening again soon. Real soon (like this afternoon!)
To the beets!
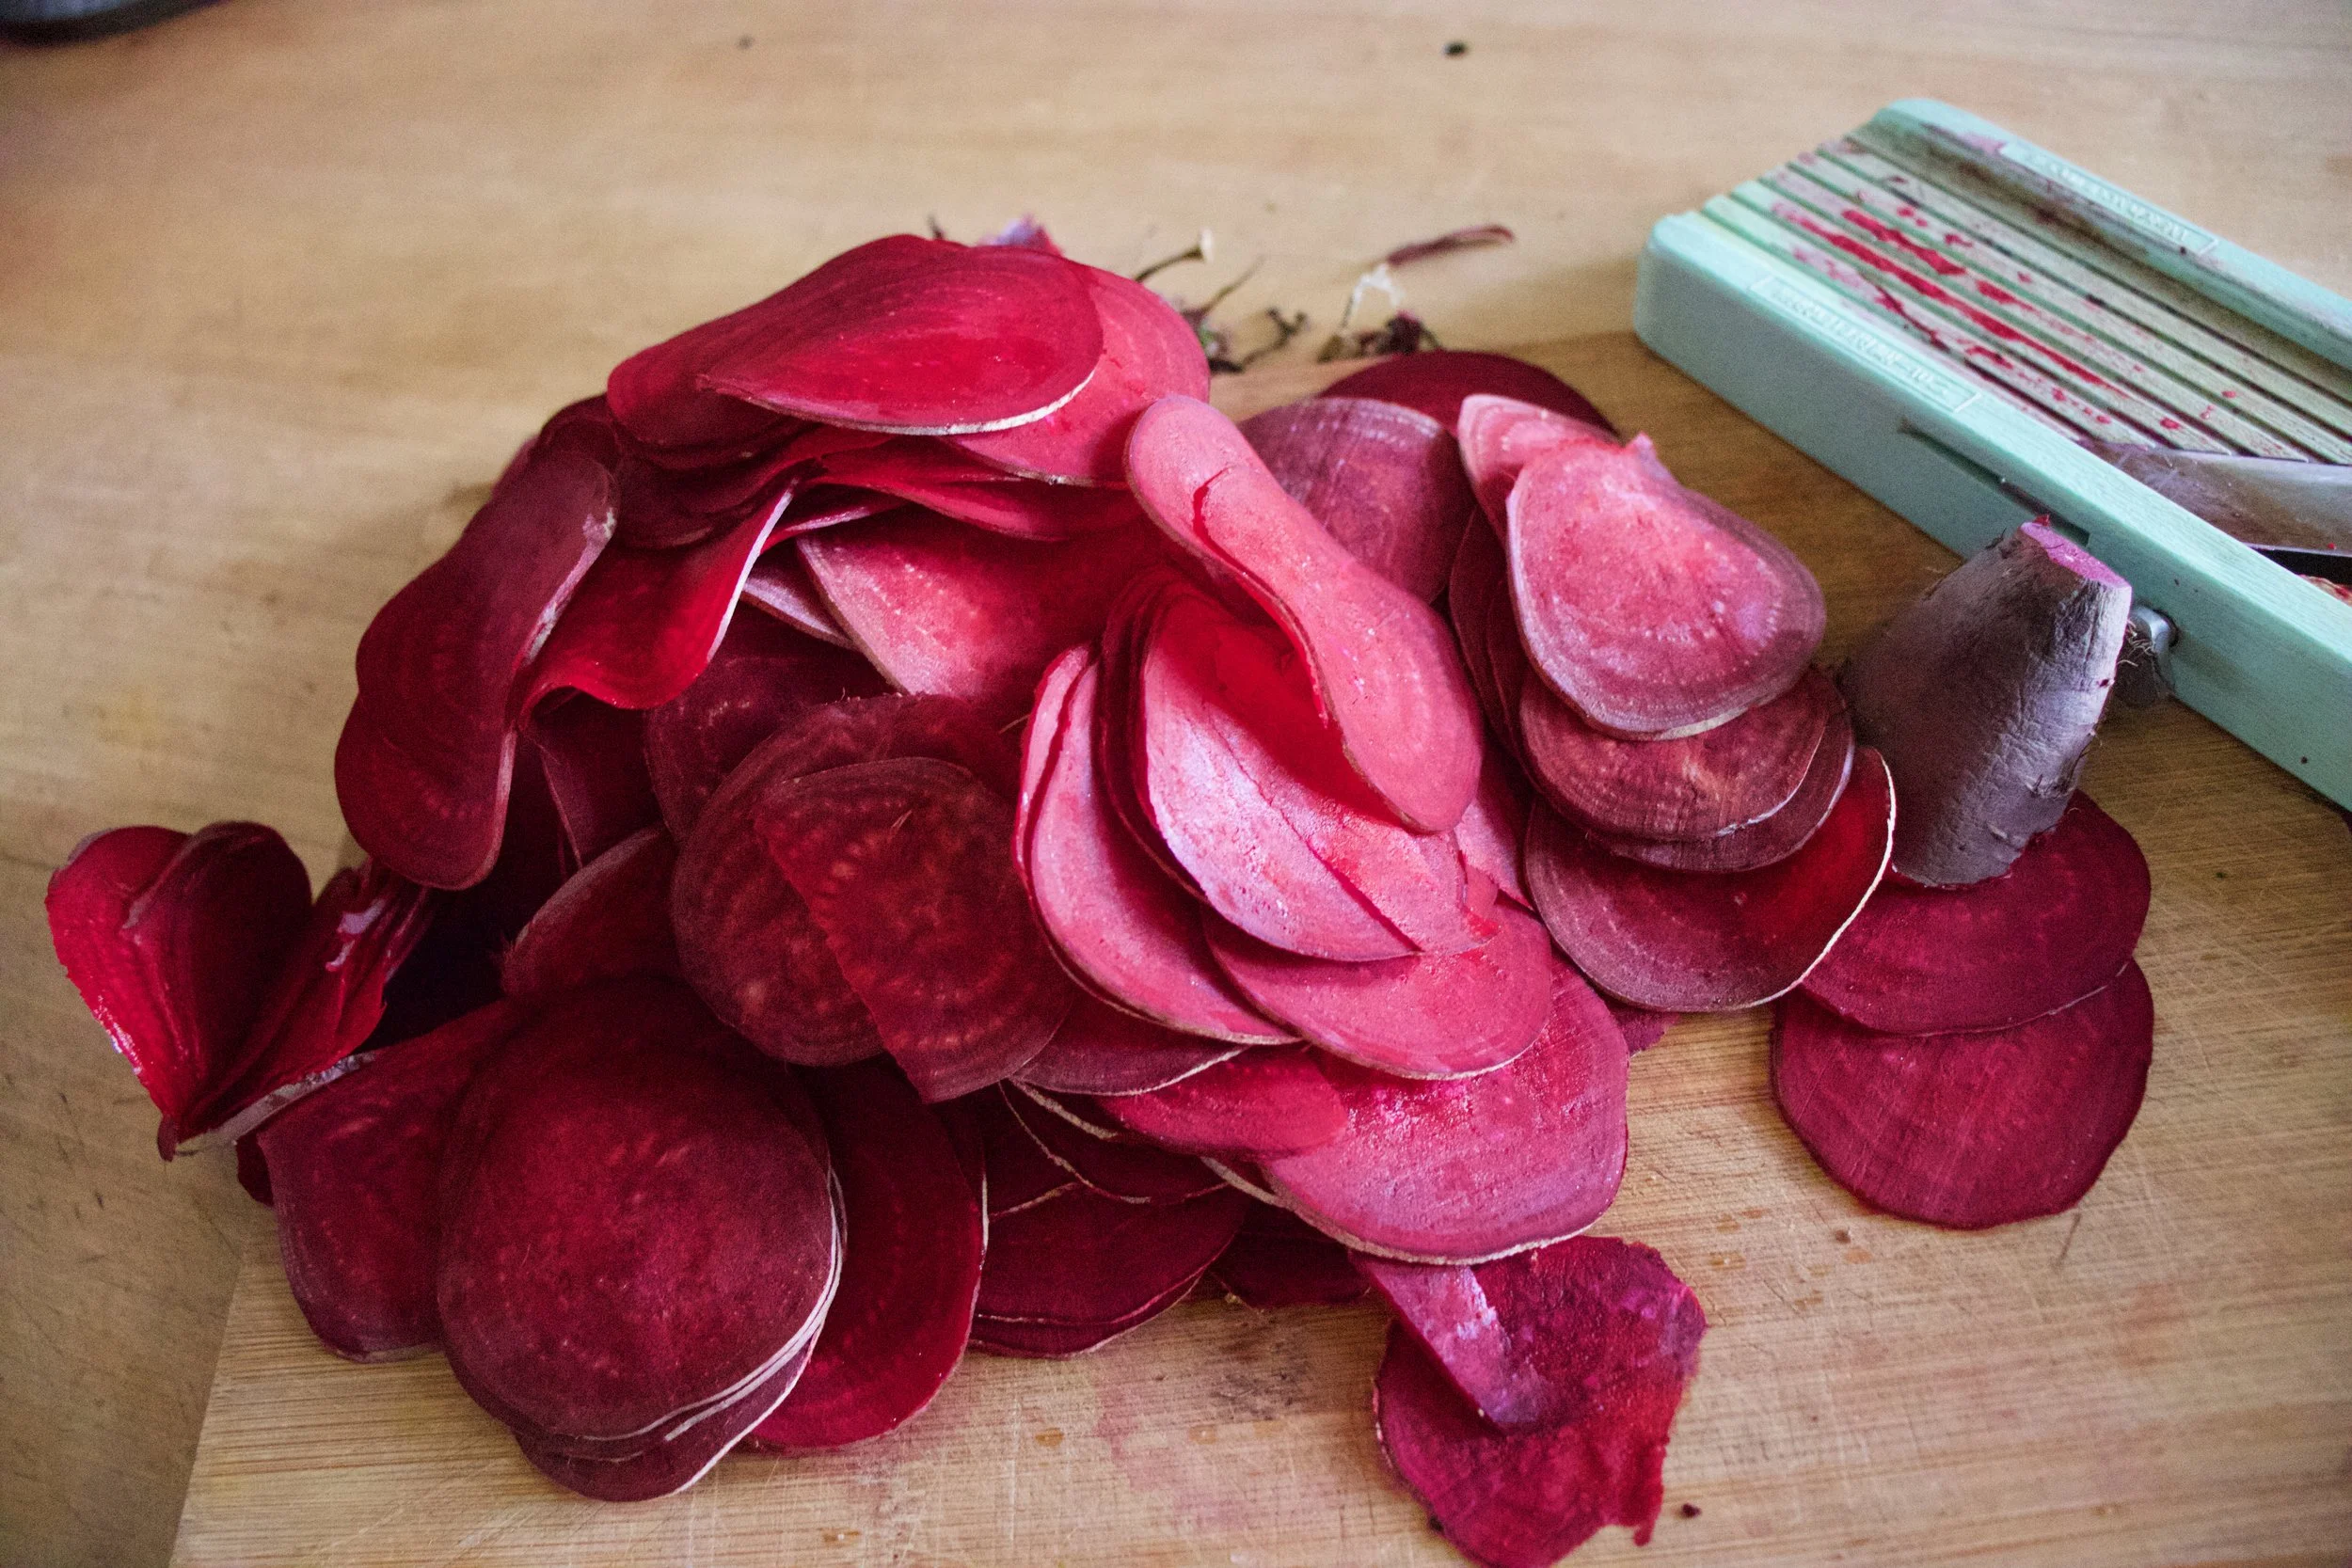
The stuff. Beets (these are Formanova beets but any variety works) salt and pepper ,and oil.
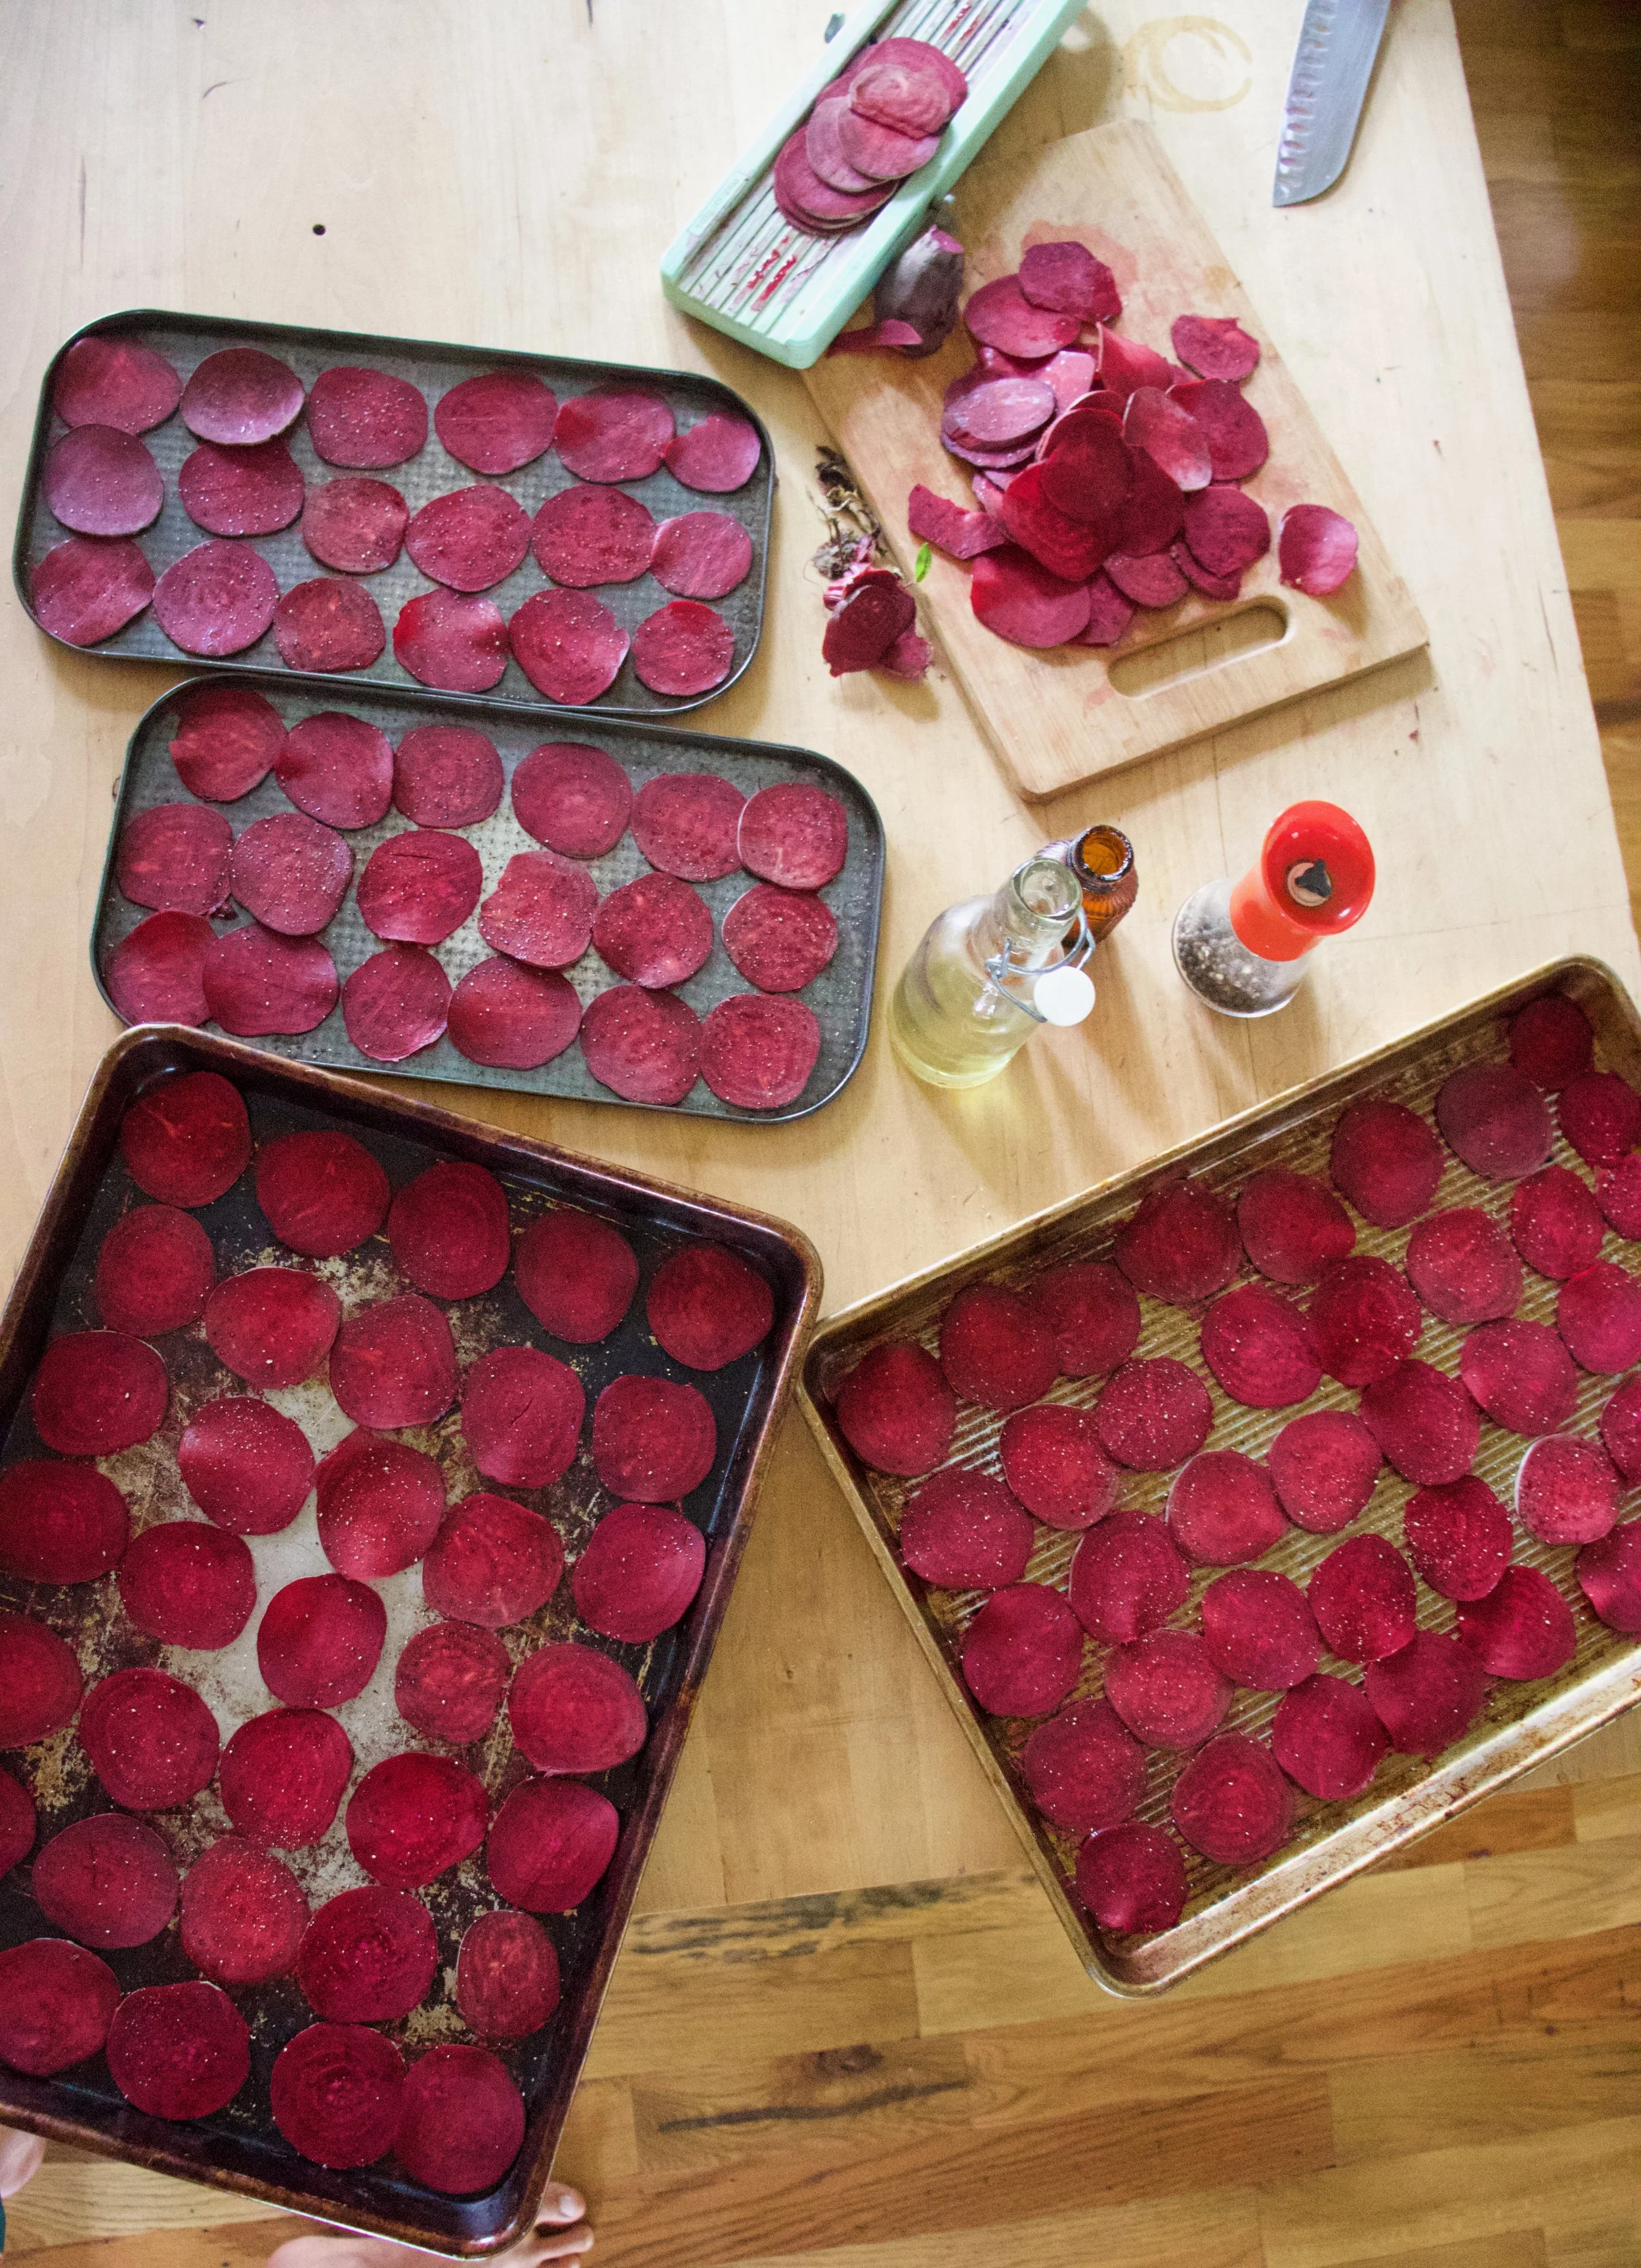
Grab baking sheets, oil, and salt and pepper. You can either dump the oil directly onto the pile of sliced beets and really toss to make sure each one has been coasted or do what I did which was I drizzled oil into my hands and rubbed each sliced beet between my oiled hands before placing on the sheet.
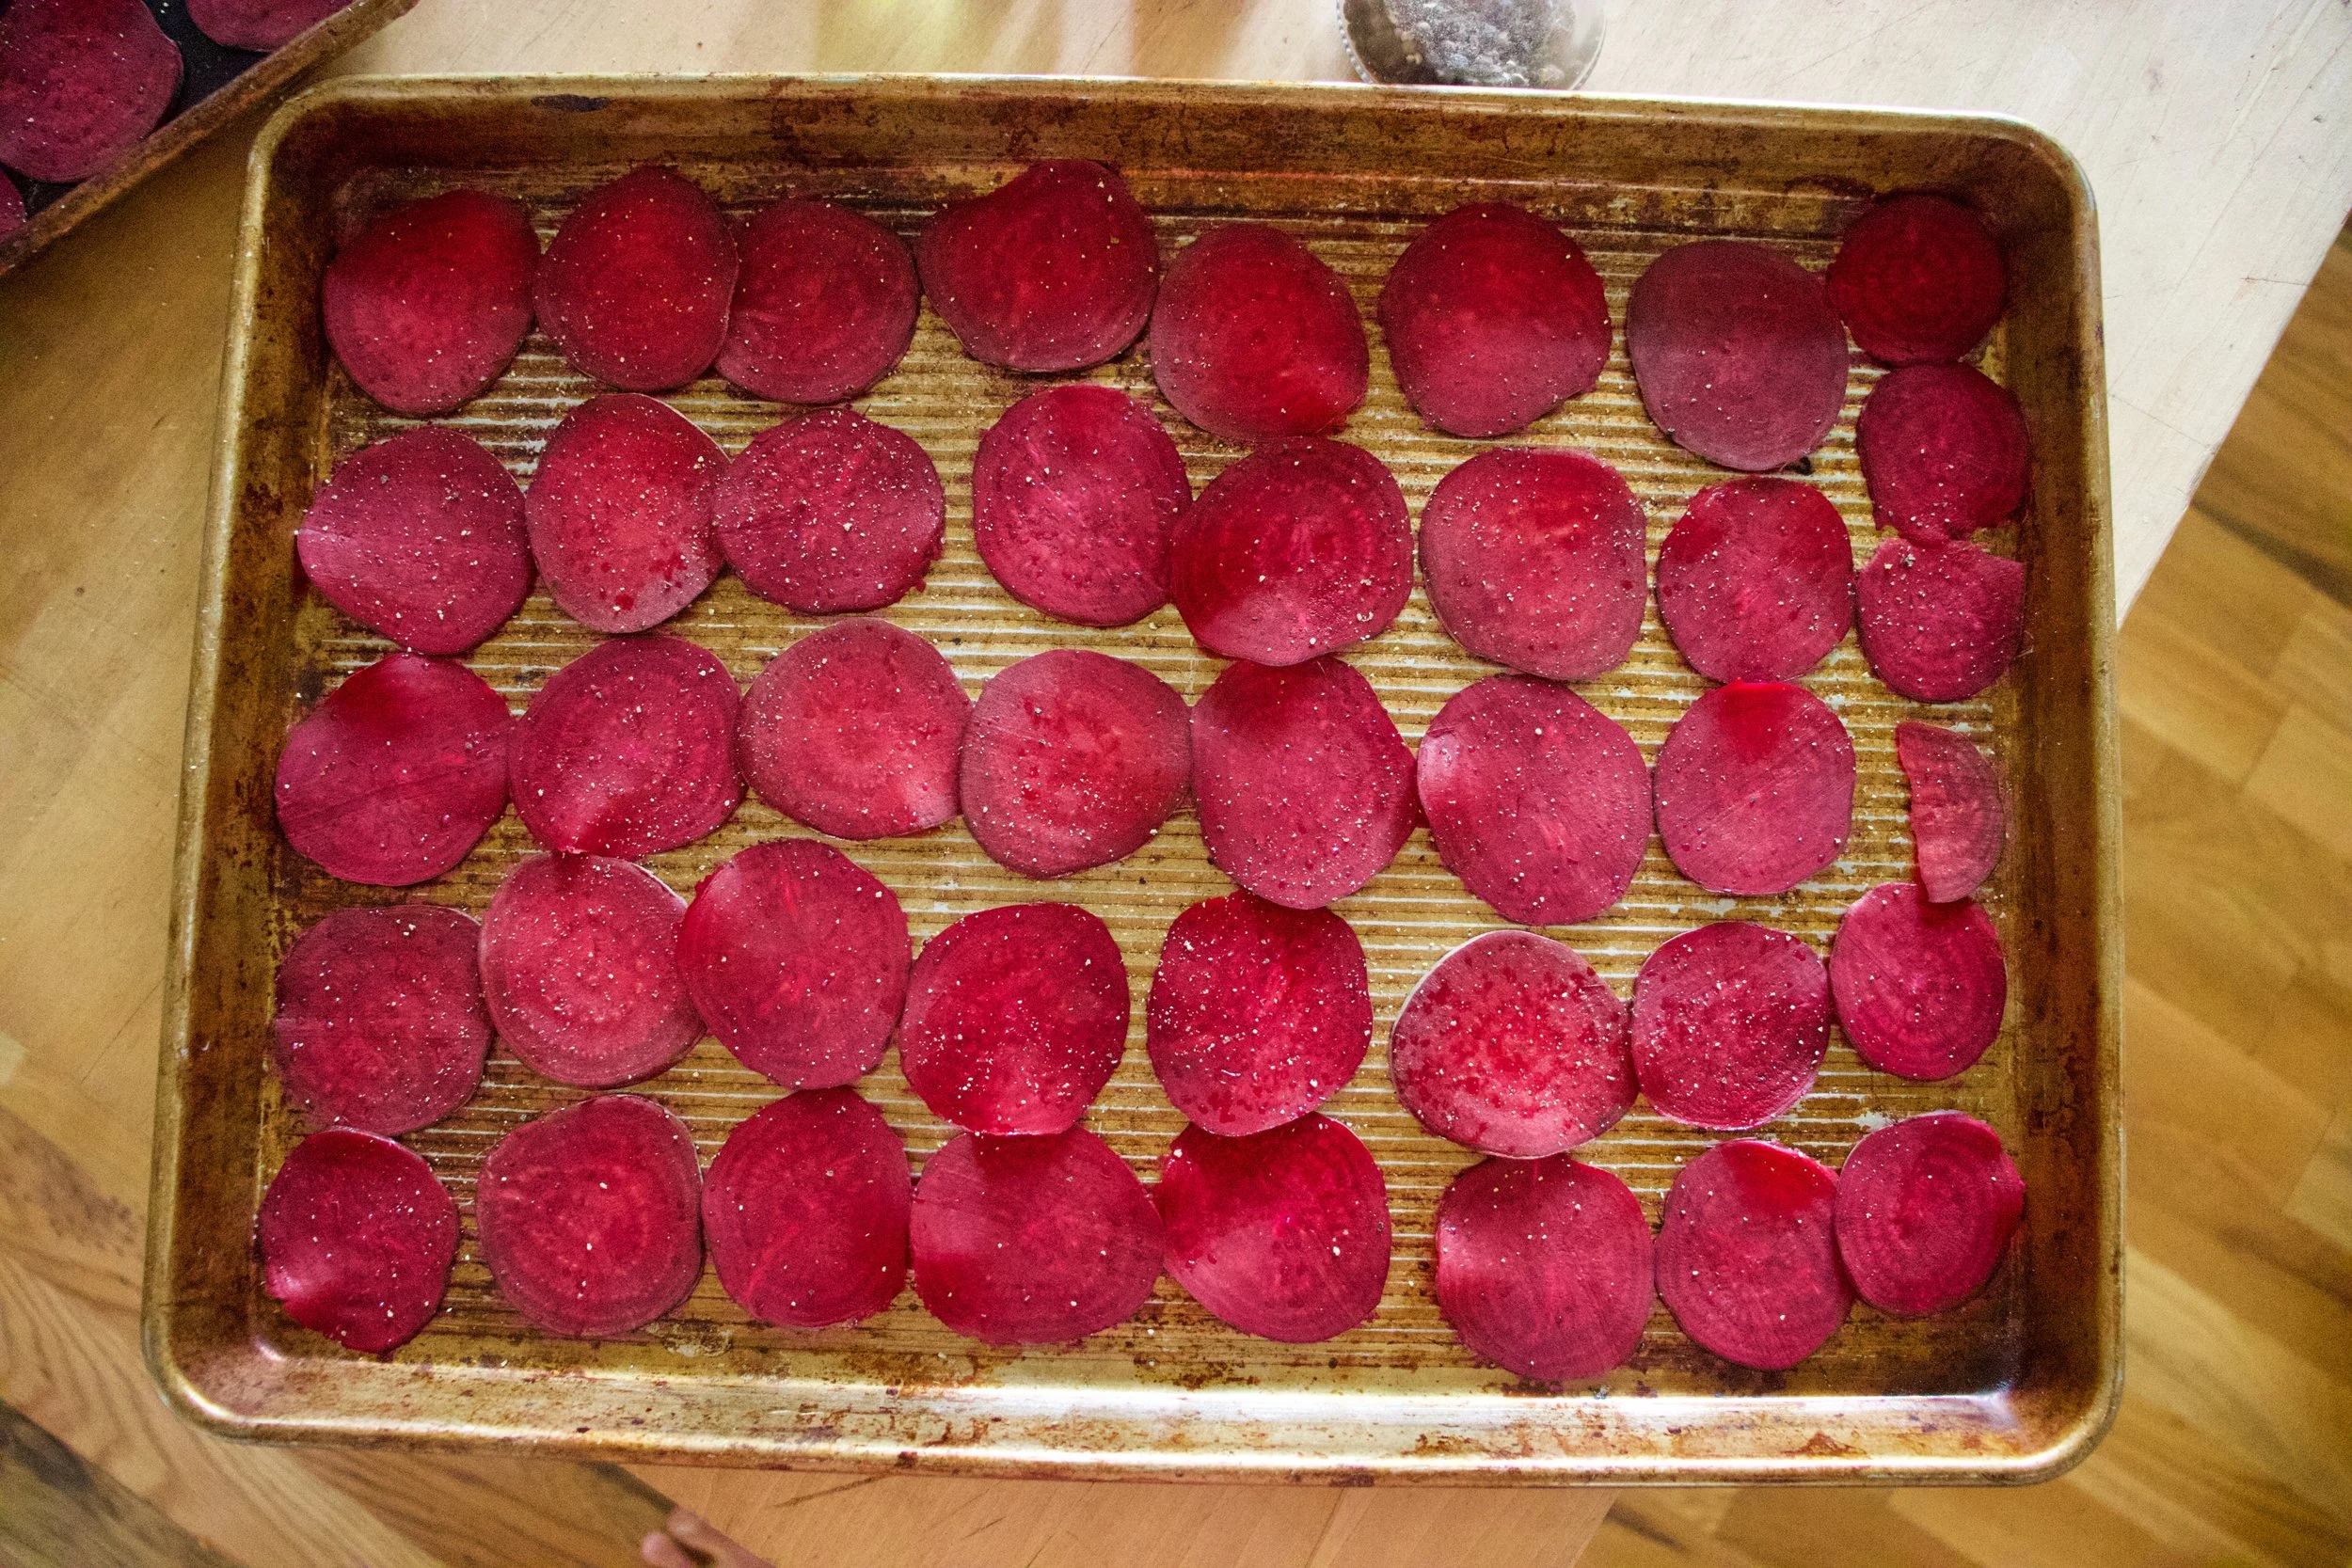
After you get them on there, single layered with no overlapping, sprinkle tops with a pinch of salt and pepper.
On the way into the oven.
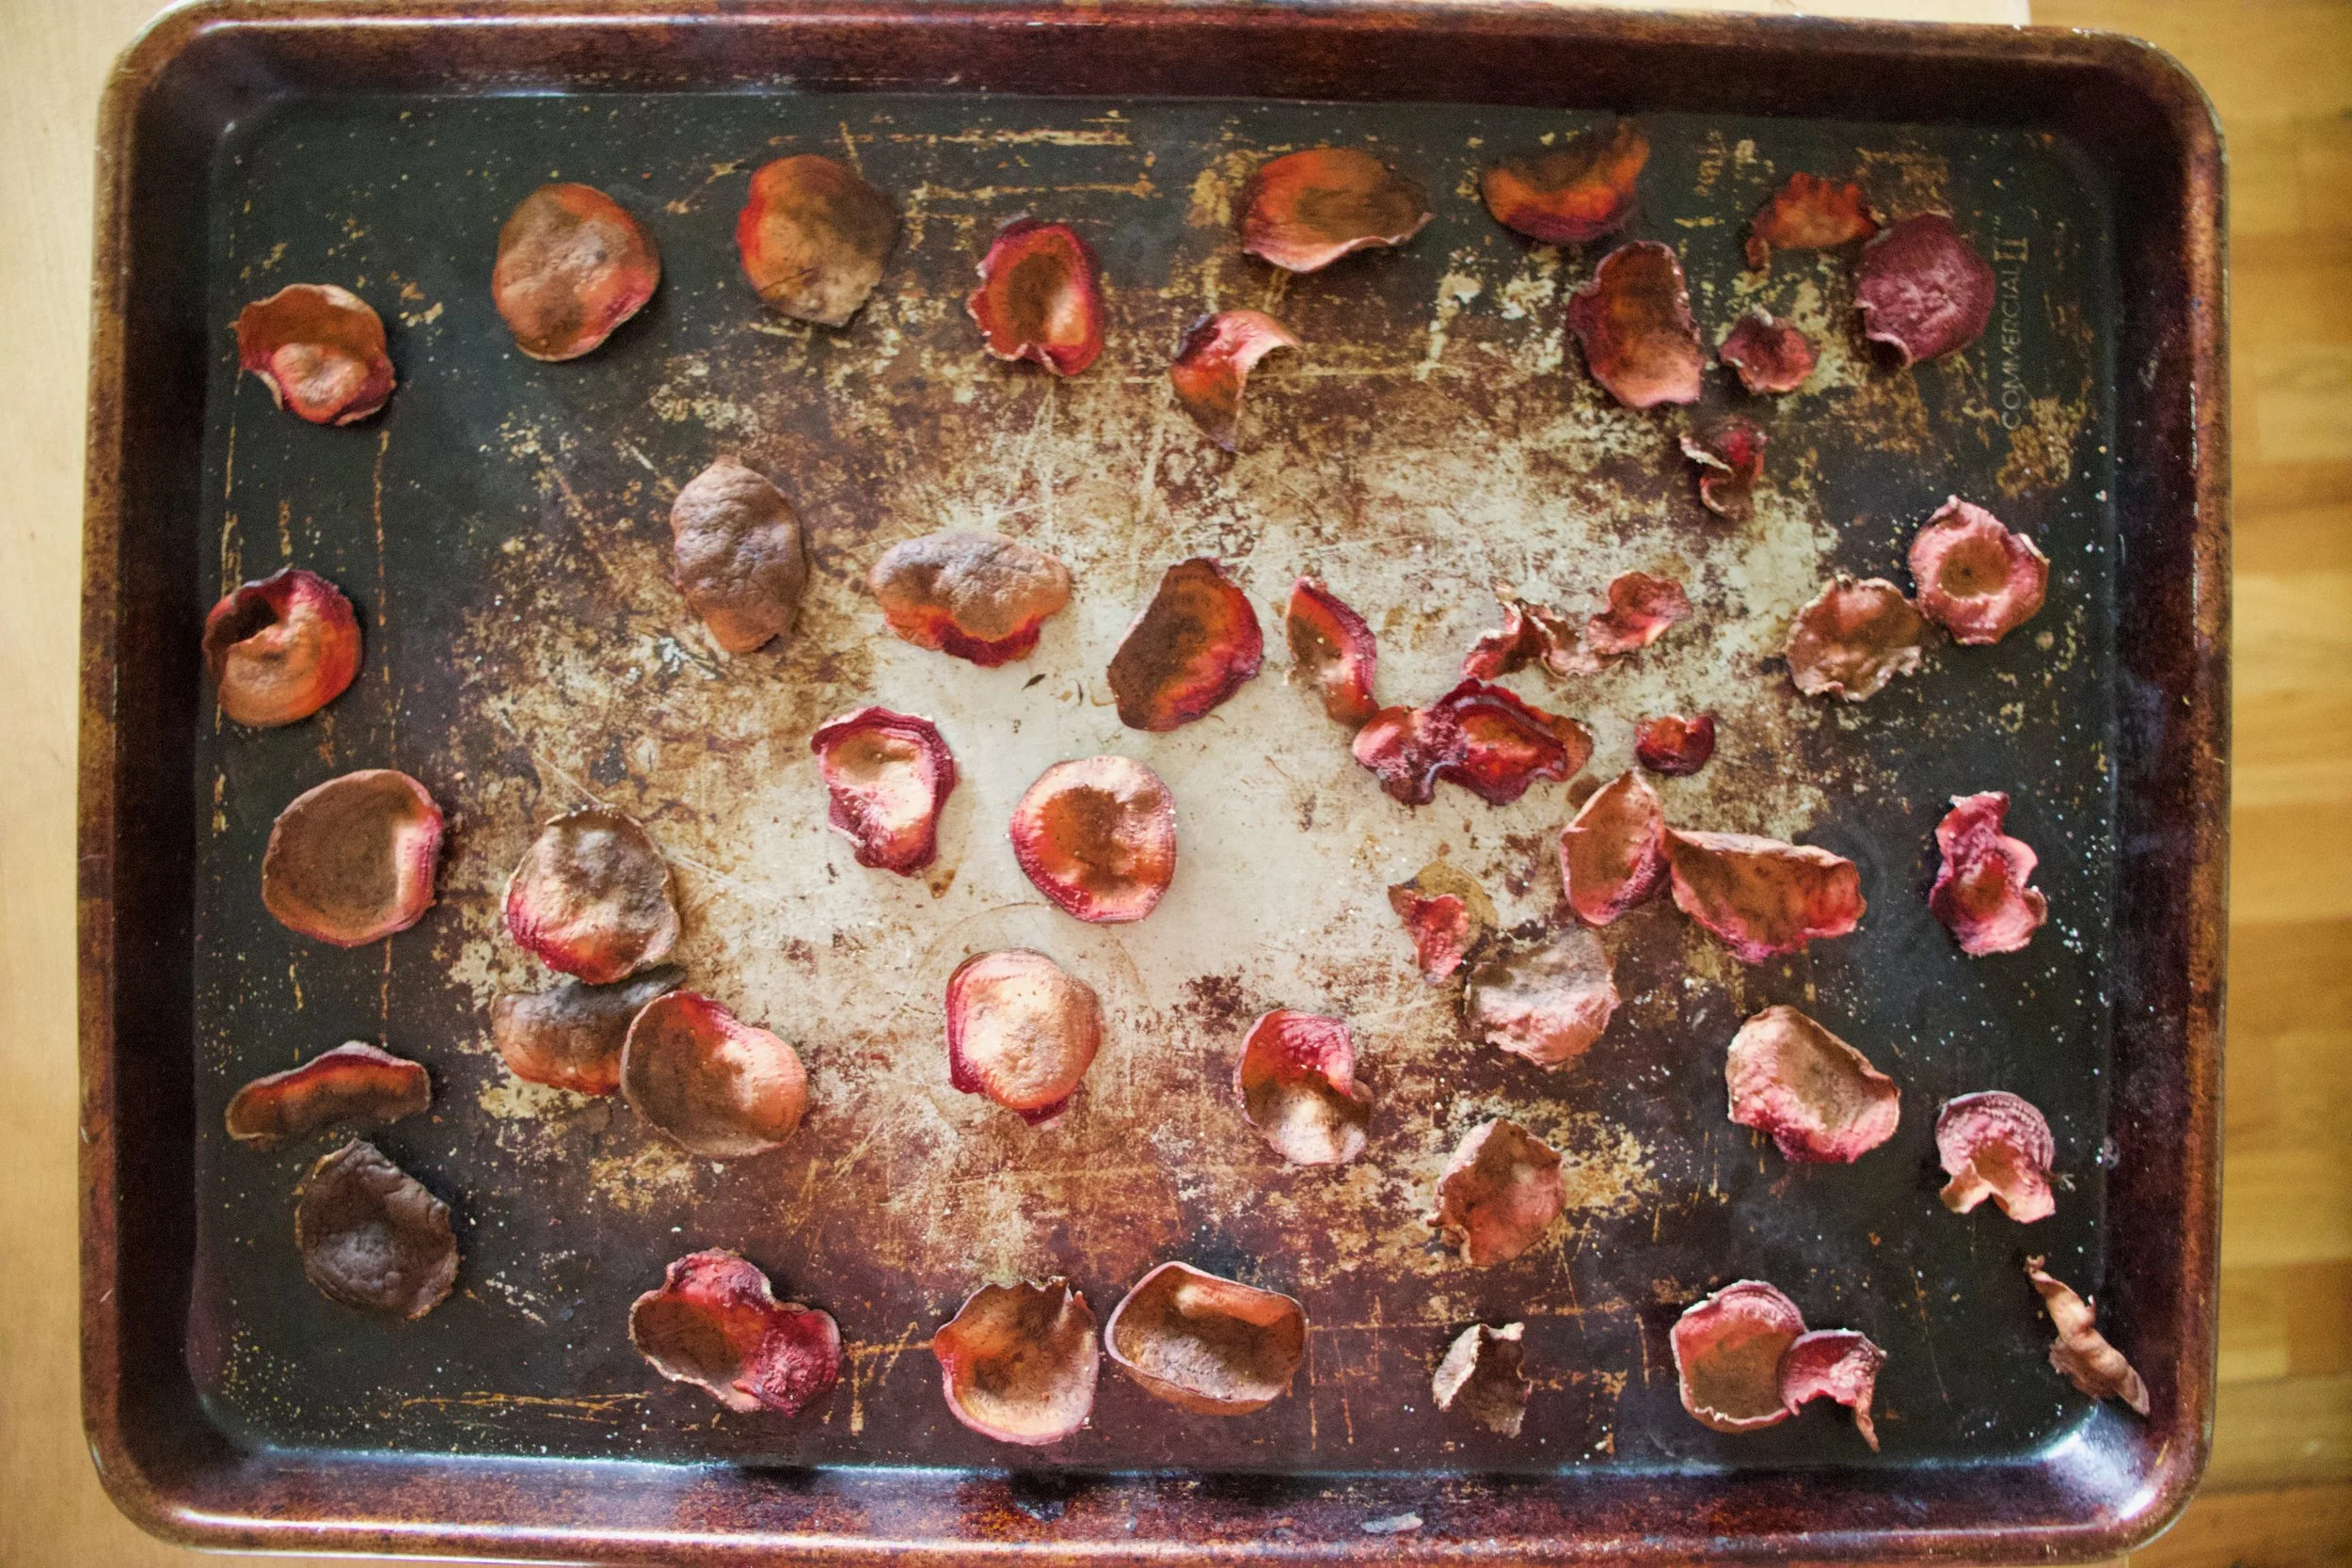
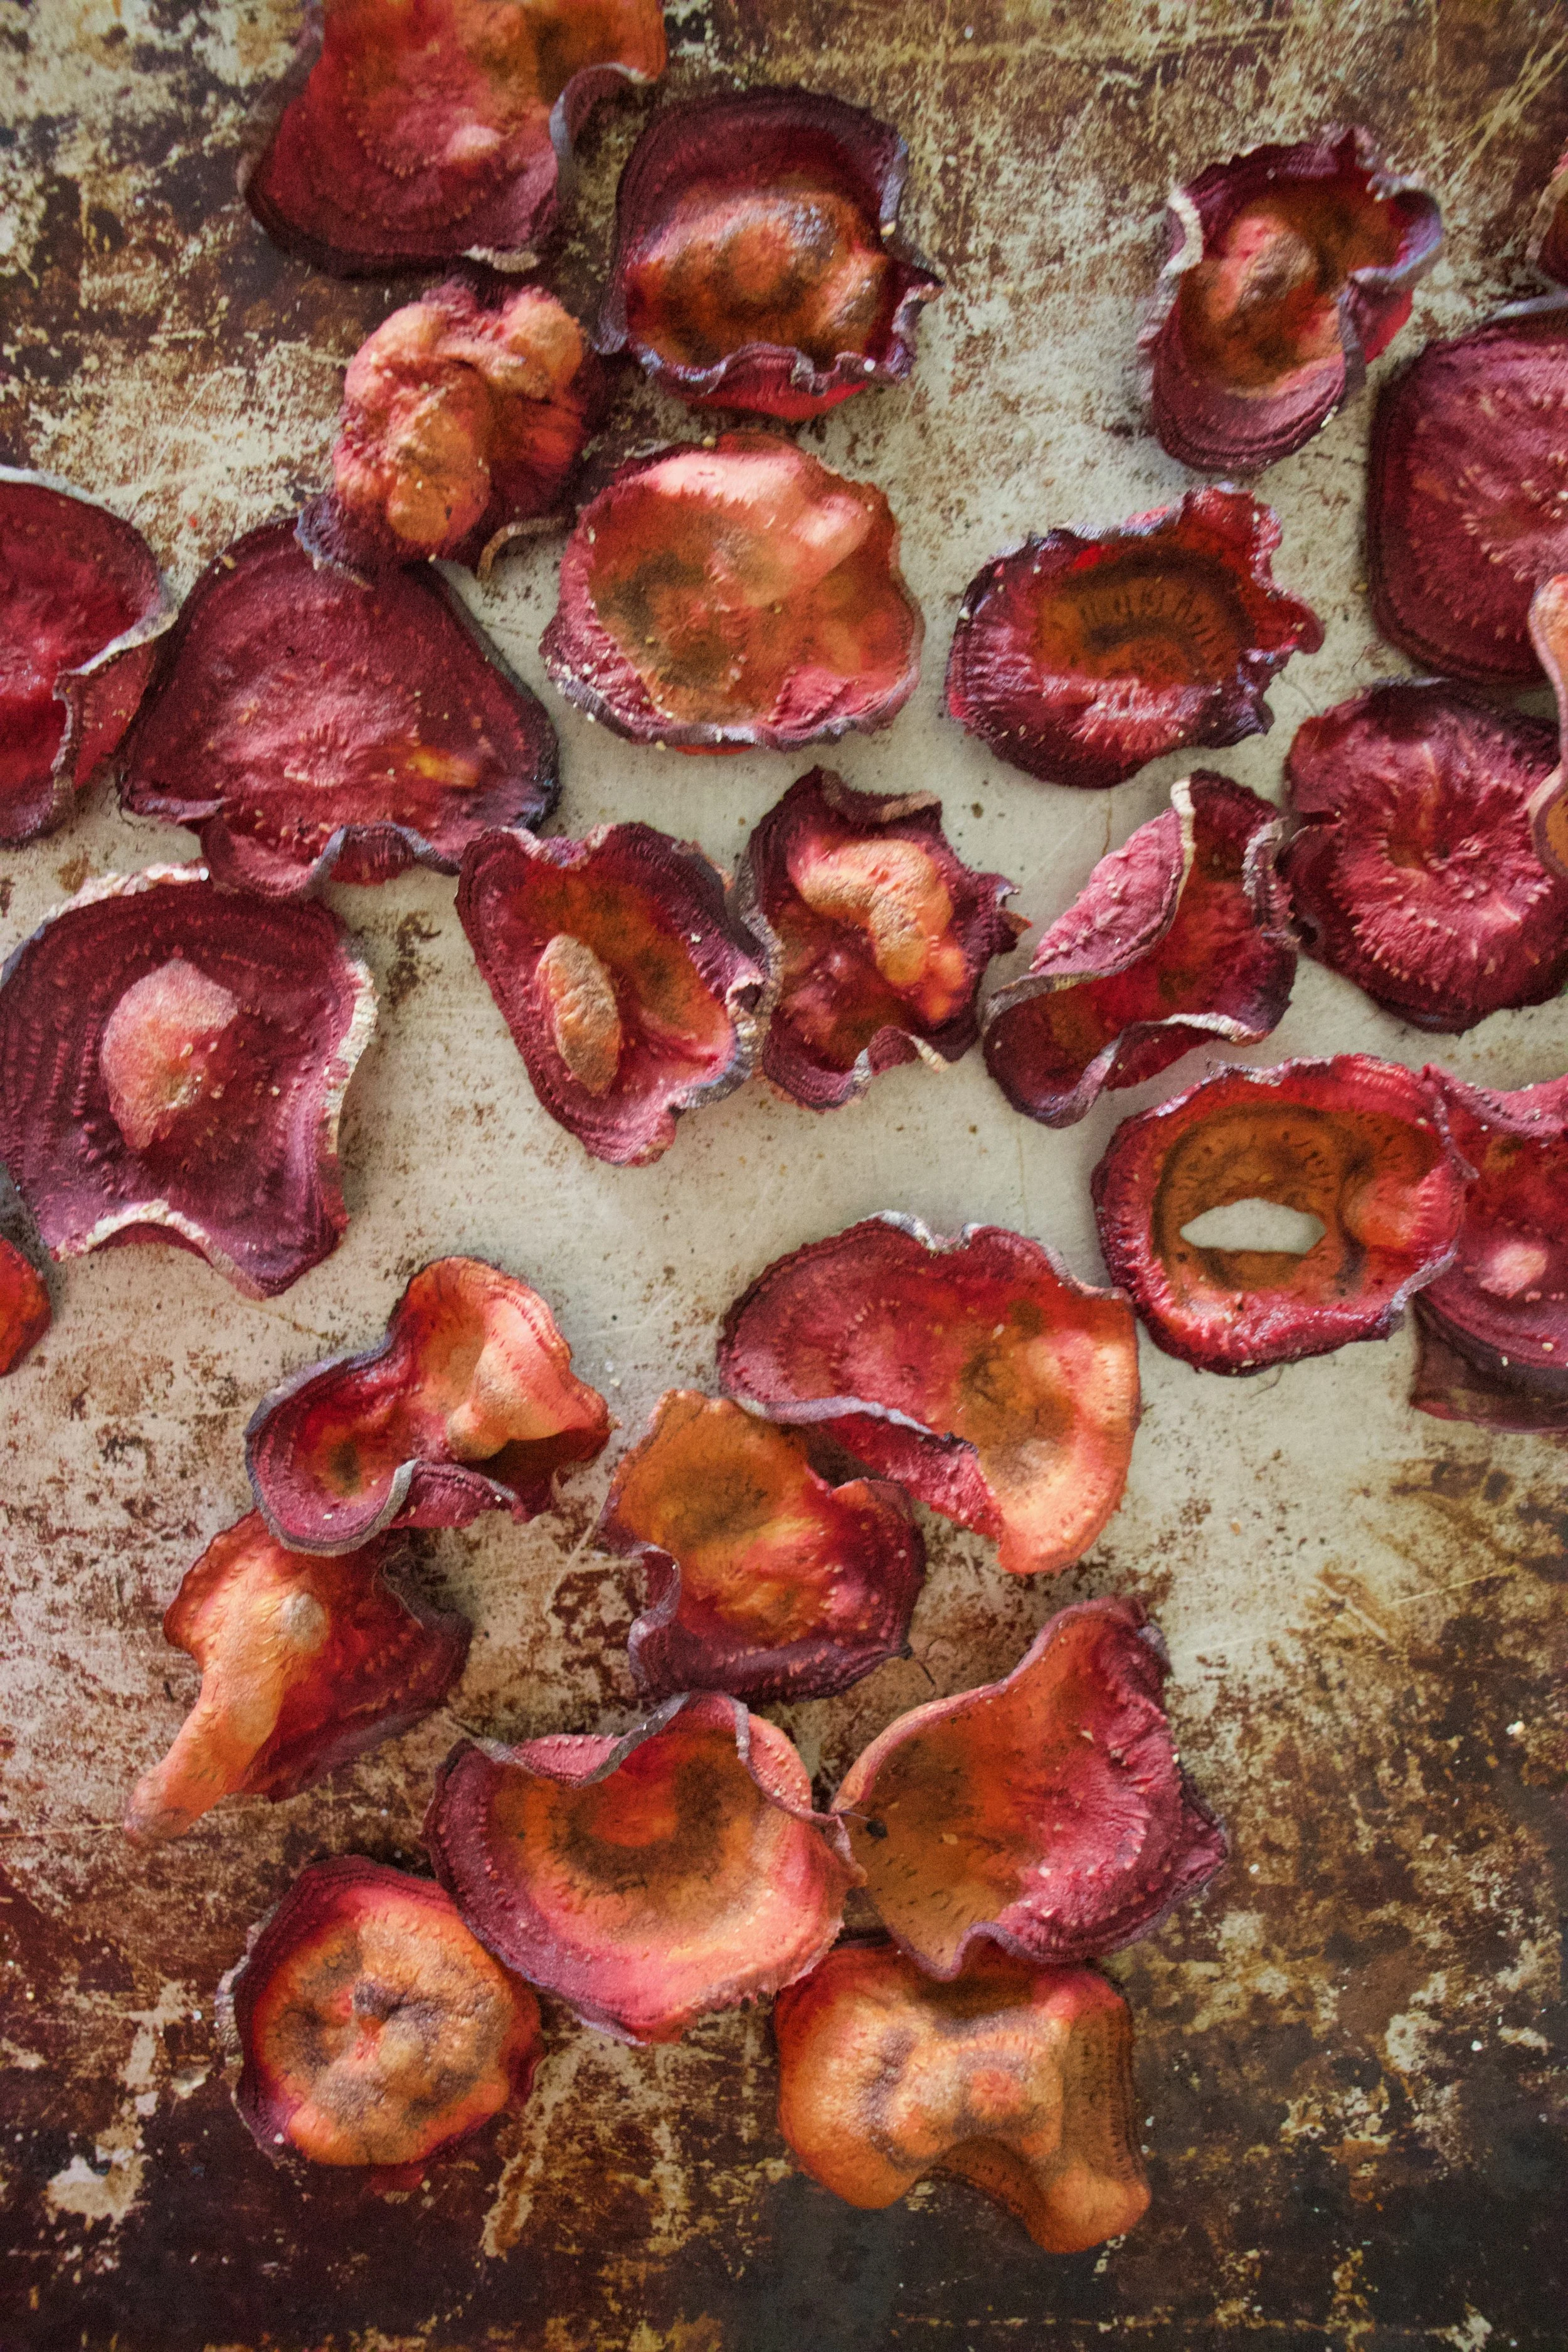
After the oven. Baked for about 18 minutes. You really have to watch after the first 13 or so minutes to make sure you catch them at the perfect time. Crispy, but not burnt.
A side by side shot. Crazy shrinking will happen!
Oh man, so delicious. And so pretty!.
Let the chips cool before eating, you know, so you don%u2019t burn your tongue. Plus they crisp up a wee bit more.
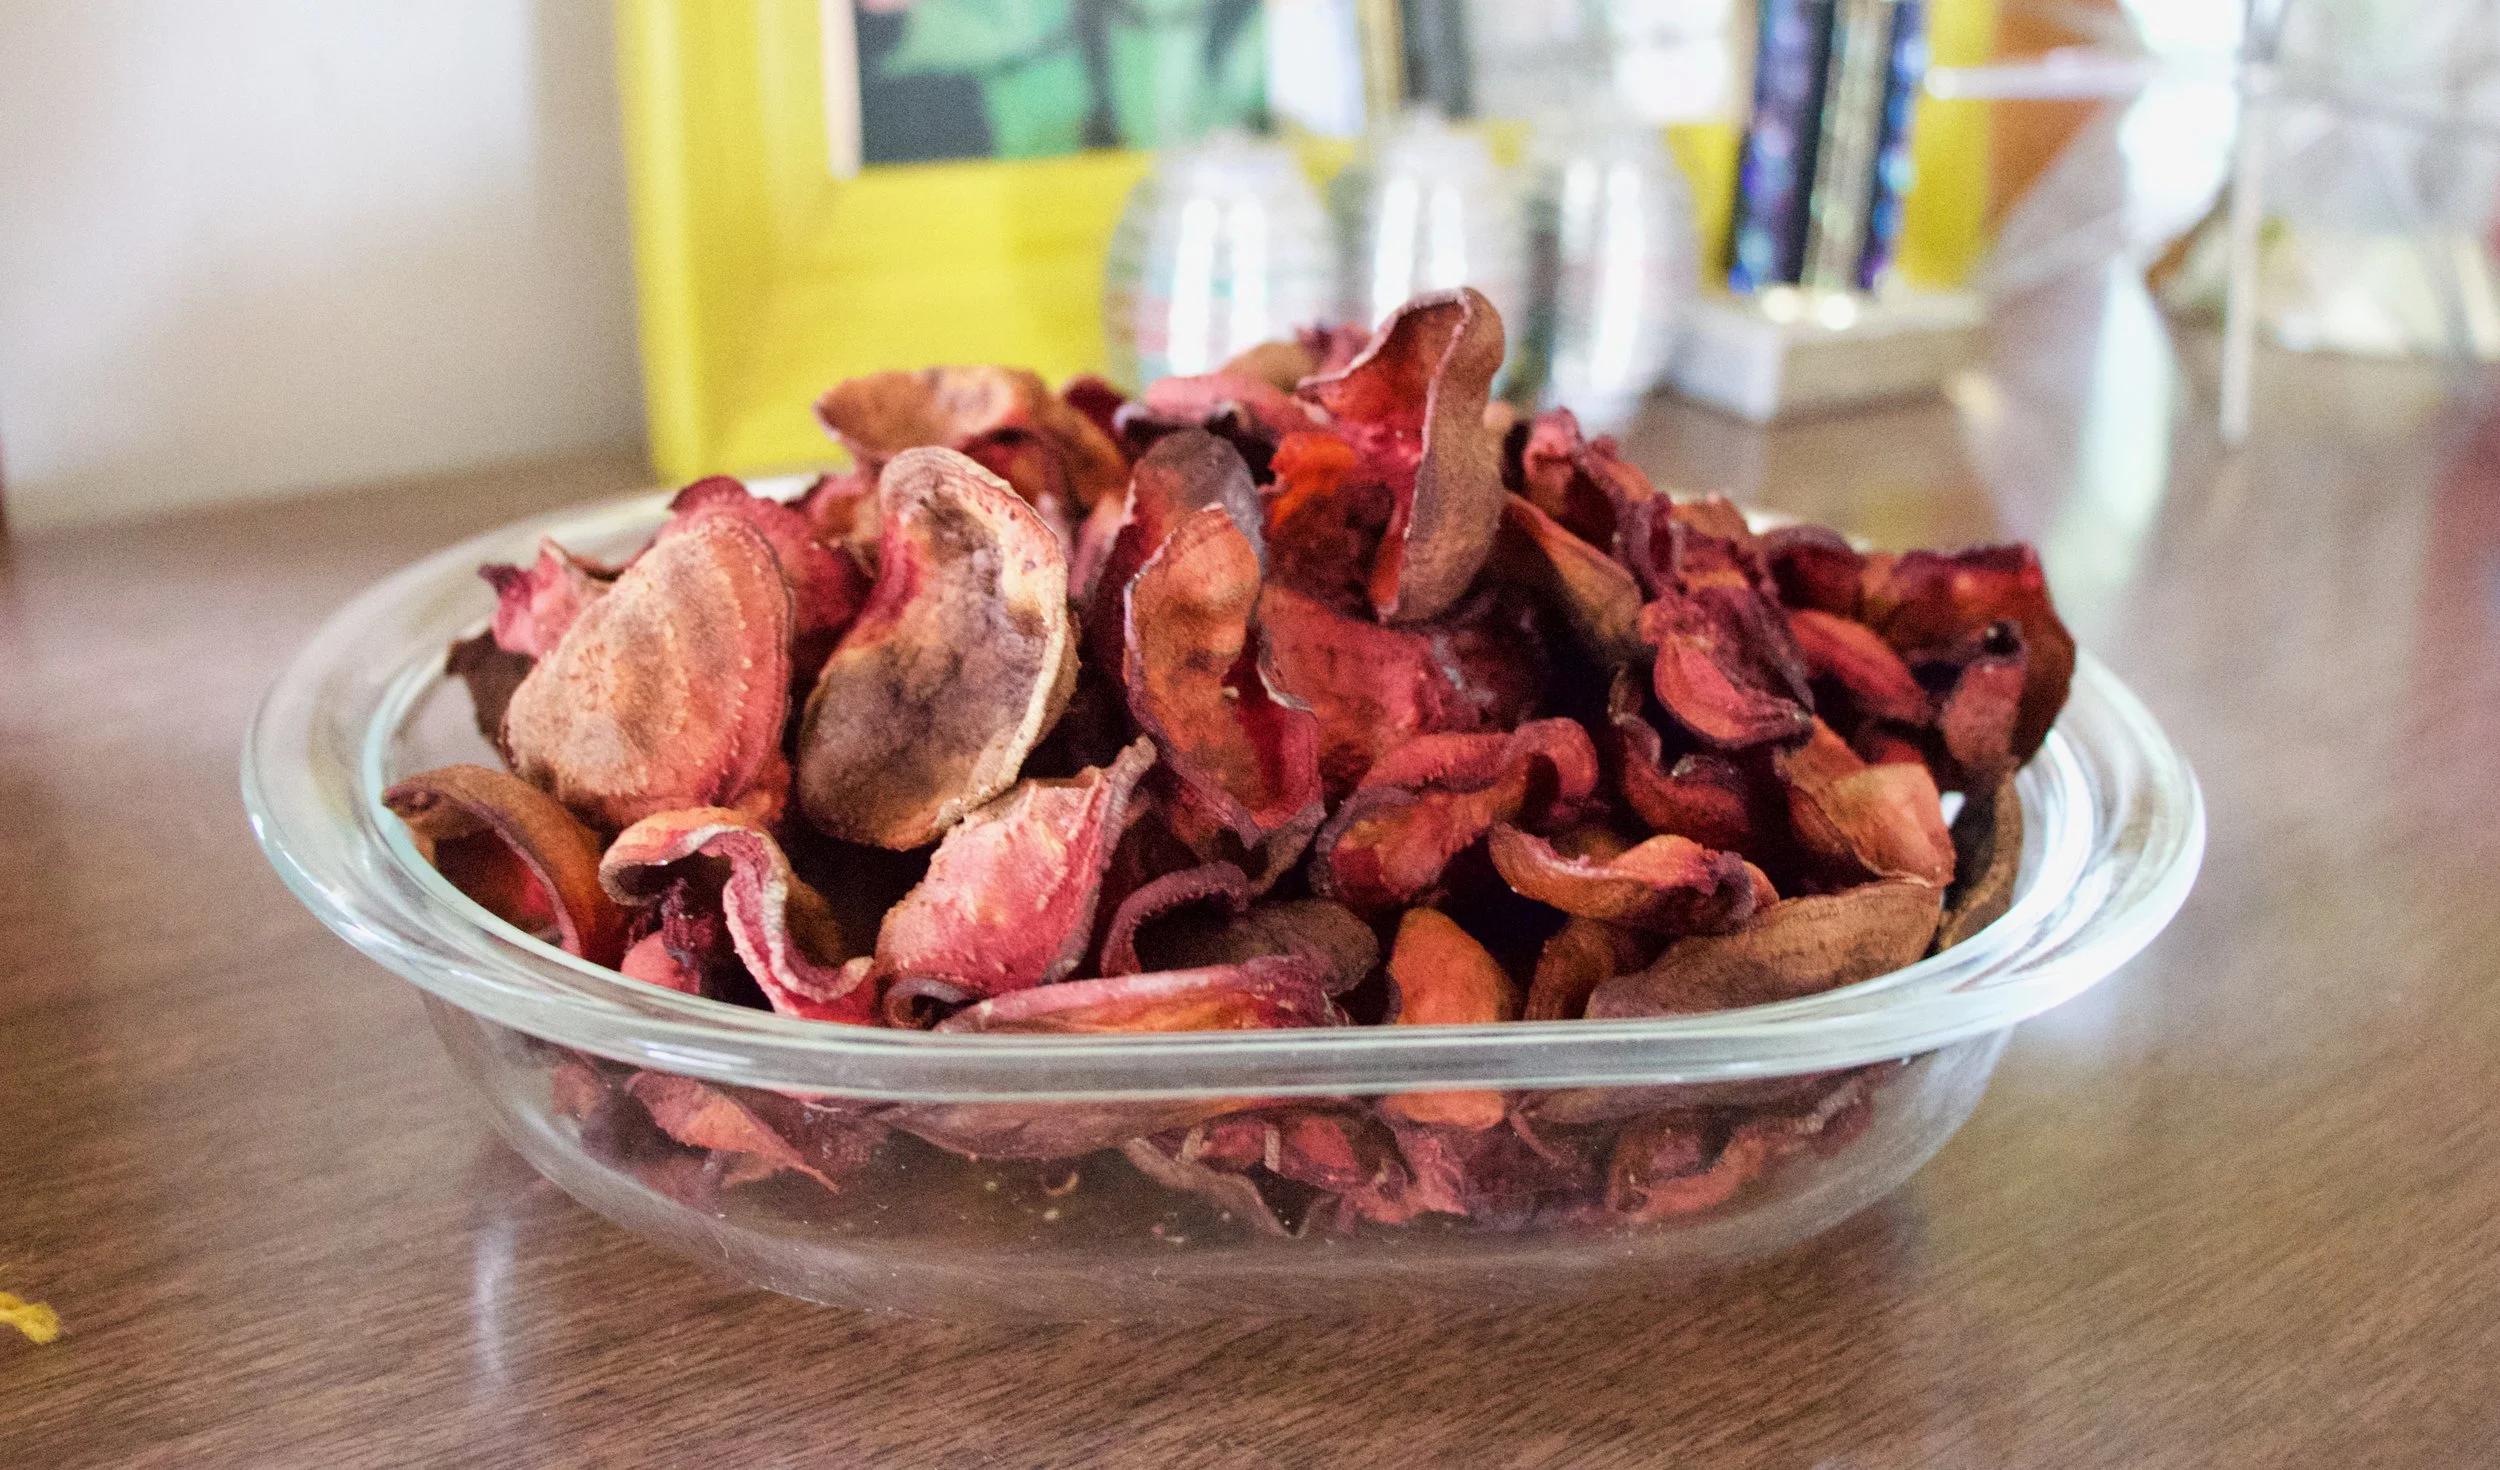
Once cooled, pile them into bowl, and then eat them. And eat them all. They are only beets after all. And you won%u2019t be able to stop yourself anyway. Ha
-C
Makes enough for an evening of chip eating for 1-2 people
2 Large beets (think softball sized)
a tablespoon or two of oil (I used grape seed but really any would work)
salt and pepper
Note. Making these without cutting with a mandolin will be a pain in the ass. It can be done, but if you have a mandolin, use it.
Preheat oven to 350
With a mandolin, slice the beets about 1/15 inch thick. (No need to peel the beets unless you want to.) Once beets are all sliced, either drizzle them all with a tablespoon or so of oil and toss until all are coated. OR what I did and found worked really well was drizzled oil into my hands and rubbed each beet between my oiled hands as I was placing them on the baking sheets. Either way.
Now place oiled beets, single layered, without overlapping, on baking sheets. Sprinkle with a pinch of salt and pepper and place into oven. Bake for about 13 minutes without worrying then start to check every minute or so until the beets are a deep golden brown and crispy ,which will be between 15-20 minutes. Also, even though you cut them all the exact same thickness, some might crisp up faster so you should remove done chips as they happen. Once they are done, place on a rack to cool. And then do another batch. And not, they do crisp up a tiny bit more as they cool.
Once chips are cool and crisp, eat.
Store uneaten (how did you not eat them all?) chips in an air tight container. If you notice that they turned a bit chew, just place them back into oven while preheating oven to 300 then turn oven off and let sit in there for a few minutes.
It is spring yes? I know it is officially spring but around here it has been more or less still winter which is to be expected but is, at this point, no longer welcomed. I, as well as everyone else I talk to, are over it. Enough snow. enough of the hats and jackets. Just enough.
But the bright side of the chilly, cold weather is that we can and still want to turn the oven on and cook things. And because I turned the heat off a little prematurely, I am cold so I really want the oven on.
One skillet, a little chop action, a stir, some good time in the oven and there you go, food for your belly. Not a ton of dishes to do, steps to fallow, thoughts to think (other then eating thoughts). A good old, hearty, simple to toss together, spicy, delicious skillet of goodness. Prepare it fast, pop into warm oven, sit in kitchen drawing up plans for the spring veggie garden, and then eat yourself warm. What more can we ask for?
We can ask for spring weather because seriously. But other then that.
To the goodness of cajun lentils and rice!
The stuff. Lentils, brown rice, cajun seasoning, some crushed tomatoes, an onion, a carrot, a few cloves garlic, some cauliflower, water, oil, and salt and pepper.
First off, mince garlic and chop up the cauliflower, carrot, and onion into small pieces.
Toss it all into a good sized oven safe skillet with a splash of oil. Mix in the cajun seasoning too and stick o nth stove on medium heat for a few minutes.
Cook until fragrant and slightly tender. Taste it, it is good.
Dump in the lentils and rice. Then dump I the tomatoes and the water. Give it all a mix.
And after. All done. Now dinner.
Grab some green thing to chop and toss on for some color.
Now grab some bowls, a few forks, and get to eating.
-C
Serves 4-6
3/4 cup uncooked brown or white rice
3/4 cup dried green lentils
2 cups crushed tomatoes (preferably not salted)
2 1/4 cups water
3 tablespoons cajun seasoning (see note)
1 large carrot
1/4 head of cauliflower (about 2 cups chopped)
1 large yellow onion
2-3 cloves garlic
1 tablespoon olive oil
salt and pepper
Note. Store bought cajun seasoning usually contains salt and pepper so when seasoning, be aware of the amount of salt (if any) you choose to use.
Preheat oven to 350
Start by chopping the carrot, onion, and cauliflower into small pieces. Mince the garlic and toss it all into the skillet with the olive oil. Stir in the cajun seasoning and sprinkle in salt and pepper if it needs it. Place skillet on medium high heat and cook veggies until fragrant and slightly tender which should take about 5 minutes then remove from heat. Dump in the lentils, rice, water and tomatoes. Stir until mixed then either place a lid or foil over the top. Place into preheated oven for about an hour, removing the lid or foil after 40ish minutes and giving it a stir when you do. The bake is done when the rice and lentils are fully cooked, but if you are into a crispy top and crunchy sides, by all means, cook a little longer.
Remove from oven when fully cooked and you are happy with crispness. Let cool for a few minutes, toss on some chopped green something or another if you want, and serve it up.
Left overs store great in the fridge for a few day and freeze well too.
I feel like this salad is kind of a summery salad, or better yet, a salad that highlights all the best of what summer has to bring. All the fresh tender dill that is still growing (but not for long) , all the brightly colored and amazing veggies that are being harvested and are nearing the end (bye fresh cucumbers.) This salad might just be my little last hurrah of summer cooking before it is all root veggies and dried herbs and hot and hearty food. And not going to lie and say that I am sad to see summer go because I am so so ready for it to be over, but I will miss all the fresh fresh produce. And I will especially miss all the fresh dill because fresh dill is seriously the best.
Eat up what is left of summer now before it%u2019s too late!
The stuff. Quinoa, a bunch of dill, a cucumber, a pepper, an onion, and some cherry tomatoes. Also a clove of garlic, some salt and pepper, and red wine vinegar.
Mince the garlic, chop the onion, mince the pepper and the cucumber, half the tomatoes, and last but noblest, rough chop the dill.
All that goodness goes into. big bow, along with a sprinkle of salt and pepper, and the vinegar Tossed around and left to meld.
Uncooked quinoa with water turns to cooked quinoa
Quinoa meets the bowl of veggies
And after a good mix, viola!
You got yourself a yummers fresh dill and veggie quinoa salad.
-C
serves 3-5 as a side or 2 as a meal
1 cup uncooked quinoa
2 cups water
I bunch fresh dill (like a 1/3 cup chopped%u2026 But use as much as you want)
1/2 a small red onion
1 clove garlic
1 small Persian cucumer
1/2 of a sweet red or yellow pepper
handful or two of cherry tomatoes
4 tablespoons red wine vinegar
salt and pepper to taste
Start by cooking the quinoa. Place the water and the uncooked quinoa into a medium sized pot. Place on high heat until sorts to boil, then reduce heat to a simmer and place lid on the pot. Let cook for about 15 minutes, checking at 10 minutes, to see if all the water has absorbed. When it has, remove from heat and let sit for a few more minutes then fluff with a fork.
While the quinoa id cooking, mince the garlic and chop all the veggies into small little pieces. Place into a big bowl. Chop up the fresh dill and toss into bowl too, along with the vinegar and a good sprinkle of salt and pepper. Mix it all around and let sit on the counter for a little so the veggies get nice and vinegary. Once quinoa is cooked and fluffed, dump into the bowl and mix around. Season with more salt and pepper if needed. Eat warm or refrigerate and eat cold. It%u2019s defiantly one of those salads that taste great right away but tastes even better the next day.
%u00a0Cabbage is probably the number one eaten food in my house. It is not uncommon for us to go through a very large head a day. And I get that it may seem odd to you, but it’s true. We are cabbage people, so much so that we will probably turn into cabbage patch people. I can see it now.
One of the reasons that we eat so much cabbage is that it is so versatile.. Raw, steamed, roasted, the possibilities are a plenty, not to mention that cabbage is pretty dang cheap. And not to far around the corner it is St Patrick’s day when cabbage is basically given out for free. During this time I stock up, buy 100 lbs and ferment, roast, and peel my way through all of it. Is it sick that I am kind of excited about that ? (there are worse things to be excited about)
This cabbage dish is one of those dishes that can be eaten on it’s own, as a side, or as a condiment. Topped on a salad, stuffed into a sandwich, or shoveled into the mouth. You really can’t go wrong eating it anyway.
The stuff. Cabbage, onions, caraway seeds, salt and pepper, and some apple cider vinegar. (I accidentally grabbed the oil)
Shred up the cabbage and onions. Thin is good, but some bigger pieces are good too.
Into a big pot sprinkled with caraway, salt and pepper. A splash of water helps to get things started. Stickon a low heat topped with a lid.%u00a0 And just let it be for a while butgive it a stir ever 10-15 minutes or so.
About an hour it’s all cooked down and sweet and tasty as can be. A splash of vinegar finishes it off.
This batch was destined for the mr’s open faced cheese sandwich. I thought I made enough to pack some for lunch, but
I ended up just eating the left overs for a snack. I don’t know why I didn’t make more.%u00a0 Next batch I’ll make it a double.
Happy day to you.
-C
makes about 2 cups
Thinly shred the cabbage and thinly slice the onions. Dump the now shredded cabbage and onion into a large dutch oven or heavy bottom pot that has a tiny drizzle of olive oil. Sprinkle with caraways seeds and about a teaspoon salt, a good splash or water then mix around. Place pot on a low heat and cover. Let cook down for about 45 minutes to an hour , stirringever 10 minutes or so, until the mixture has shrunk to about 1/3 it’s original size and is soft and tender. When just about done, mix in a tablespoon of the vinegar . Taste and season with more vinegar, salt and pepper if you like.
Eat as is or is or on salads, sandwiches or wraps.
It’s strange to think that only a few years ago I was not a big eggplant fan. Before I started to experiment with cooking it myself, the only time I had ever really had it was when I was young and it was deep fried, like eggplant parm style. It just wasn’t for me.
So when I started doing my farm share 5years ago and were getting lots of eggplants, I knew I had to figure something out and try new ways of eating it. Well it turns out that I actually love eggplant, like a lot.%u00a0 I went eggplant crazy and for a while was eating a eggplant a day, either roasted or tuned into soup or cooked crispy into chips. And lots of baba ganoush, or what I think of as eggplant hummus (all the hummus stuff minus the chick peas). Smooth, creamy, rich and tangy. I have been know to make a batch and eat it all to my face in a sitting.( there is absolutely nothing wrong with that) It’s that good. And bonus. Being so super busy busy, this is just so dang fast and easy to make. 25 minutes and 20 of those minutes are the eggplant roasting, and you got yourself something tasty to eat. Plus if you have a few eggplant in the fridge that might have seen better days, turning them into the baba ganoush is a great way to go.
Baba ganoush, The name just says it all cause how could something called baba ganoush be anything other then awesome.
The stuff. A couple (or three) eggplants, a lemon, some tahini, garlic, olive oil and salt.
Eggplant get sliced in half and stuck onto a baking sheet to go into a super hot oven to roast. Some people oil it, I don’t, but you can if you want.
Brown and tender. Roasted to perfection.
Toss the roasted eggplant and the garlic into a blender. Add in the juice of the lemon, tahini, olive oil and a pinch of salt.
Blend.
So silky smooth. Taste and add any more tahini, salt, lemon that you want until it taste like it should taste to you.
And into a bowl it goes. Baba ganoush all up in your face. I highly enjoy a good dusting of some zataar on top, but even just a sprinkle of pepper, or sumac, sesame seeds or even thyme is nice. Or nothing, you don’t need anything.
A big bowl of baba served with some chippers (for the mr) and cut up veggies (for me!) I wanted to make pitas but just didn’t have the time. Oh well, next time.
Be careful, this stuff is addictive!
-C
Make about 2-1/2 cups
Crank up the oven to 450
Slice eggplants in half and place on a cooking sheet and into the oven they go.
Bake for 25ish minutes, flipping over after 15 or so minutes, until the eggplant browned is nice and tender then remove from oven.%u00a0 Take the cooked eggplant and dump into a blender.(skin and all)%u00a0 Add in the juice of the lemon, the tahini, the olive oil, and a pinch of salt. Blend it all together until smooth. Taste and add more tahini and or salt if needed.( can even add more lemon too) Once you are happy with the taste, scoop into a bowl and serve with a good pinch of zataar seasoning (if your into it) and a butt load of veggies, pitas, chips or whatever you dip into you baba ganoush.
Do you have a gazillion tomatoes, like so many that they are practically coming out of your ears? Me too…. Me too. This year the tomatoes have been gang busters, a explosion of the sweetest and most delicious fruit and now I have tomatoes littered everywhere, tucked into all the corners and baskets all over the house. It’s getting kinda tomato crazy over here.
%u00a0I can only eat so many tomatoes a day before all I have eaten are tomatoes and I start to feel slightly sick. Same with the mr, he has been a tomato eating champ as well but I think he was getting a little bored with all the tomato salads that I have been making. So I thought I would try something new and make a tomato cake. I figured why the heck not, tomatoes are technically a fruit and fruit and cake are great together and yeah. So tomato cake is going to be fantastic. I also wanted to make something that the mr would eat for breakfast. I have been doing this new thing in the mornings for the mr. I have coffee ready, some breakfast food (its been zucchini bread for a while), and a little vase of fresh flowers that I pick on my morning walk, all set out on the counter for when he wakes up. I know, I am so great right. Really I do it cause I want him to eat something before working all morning and plus if I am all sweet in the morning, he can’t be an old man cranky pants (at least he tries not to be).%u00a0 Now for the next few days the tomato cake is breakfast cake and all is good.
Anyway, the cake come out great. Bright reddish orange, dense but fluffy and most, and smells so good. The mr tells me it’s amazingand I shared a chunk with some of my family and everyone (minus a little) where fans. I am for sure going to be making this again soon, although I have been toying with the idea of eggplant sweet bread (too far??) but I’ll get to that later.
Now for the tomato cake!
The stuff. Flour, baking soda, baking powder and salt (all in the bowl). Brown sugar, oil, vanilla, apple cider vinegar and a few nice and juicy tomatoes.
First off, remove the core from tomatoes and cut into some chunks. Stick the chunks into a blender and blend.
Fresh and smooth tomato puree.
Now just dump the rest of the liquid stuff into the blender now and give it a whirl to mix it all up.
And pour the blended wet into the dry and mix until incorporated.
Pretty pink batter goes in a well greases bundt pan. I had got brown sugar everywhere while I was measuring it out and decided to just toss it on the cake as not to waste it…doesn’t hurt.
And now the batter goes into a preheated oven to bake .
A bit of time later you have yourself a cake.
The scary part. Flip the pan and hope all that grease does it’s job and the cake pops out. Lucky me this one popped out like a champ.
One de-panned, let the cake cool for a bit before cutting into it.
And now all you have left to do it eat it, so eat it.
Have a great weekend. Eat lots of tomatoes and make lots of cake.
-C
Makes one bundt cake
Preheat oven to 350
Start by whisking together all the dry ingredients into a big bowl. Take tomatoes, remove core, chop into chunks, and place into a blender. Blend tomatoes until a smooth and frothy puree. Now add in the sugar, oil, vanilla, and apple cider vinegar and blend until incorporated. Pour wet mixture into dry and stir until combined.
Pour the cake batter into a greased (and floured if you want. I find it helps to make sure all the nooks are greases) and stick into preheated oven. Bake for 45-50 minutes until it’s a dark reddish golden brown and a tester (I use a fork) comes out clean when stabbed.
Remove from oven and let cool for a minute or two then invert cake, give the pan a few tap taps and hope that it comes out all nice and clean. (don’t worry if a piece gets stuck, you can just dust the top with some powdered sugar)
Let cake cool and when ready, cut a slice and eat it up. I was told no glaze, but I was going to make a simple lemon glaze (lemon juice and powdered sugar) for the top. The mr said it was perfect, but glaze would have been pretty.%u00a0 So glaze it up if you want.
As a kid, my favorite holiday was Easter. Every year my parents would fill up brightly colored plastic baskets with handfuls of neon colored plastic “grass” and top it with all sorts of candy, coloring books, bubble, and sidewalk chalk. They were beautiful and amazing.%u00a0 It was like getting a basket of fun and a bunch of sugary candy to keep you going to have all that fun all day long. And the egg hunts. Plastic eggs full of candy hidden all over the house ans yard. We would all have our emptied out baskets running around full of excitement, ready to take out any sibling in our path just to be the one to get the next egg. We were ruthless and I am pretty sure every year someone would end up crying. Now, as an adult, I am not allowed to participate in the egg hunt. (but I still try to make my sibling cry)%u00a0 Nope, now I get to hide the eggs and sit back and watch the new generation of littles tripping each other and stealing eggs from one another. The carnage!
And also at Easter there is cake. Is there a rule that says you have to make carrot cake for Easter? I think there must be because it is when everyone and their moms busts this cake out. And everyone’s carrot cake it the best because they made it the right way, like with raisins or pineapple or walnuts. There are so many things that can be added to this cake that it’s a little overwhelming. So I made a carrot cake that was mainly about the carrots. Nothing added, no nuts raisins or coconut (although you could add i if you wanted) and it’s made into a pretty bundt cake, which in turn makes mine the best.
This here cake was destined for tomorrows Easter table. I made it with no nut produces cause the nephew has the deadly nut allergy. But when I went and made the date sauce, I kinda let that slip and used almond milk. Oops. So now I have a whole big carrot cake sitting on the counter with it’s destiny shattered. So sad, but I think its will survive cause the mris really into it and has already eaten a few pieces. I figure that because it’s a carrot cake, he can eat a few more. It’s almost like eating a vegetable….almost. And now I need to make a new cake to bring over or I might just stop at the store and buy some oreos on my way over tomorrow. The littles will like that.
The stuff. A bowl containing flour, salt, baking powder ans baking soda.%u00a0 Also need a few really big carrots, a bit of brown sugar, and ground up cinnamon and ginger. Coconut oil, soy milk, an orange (for it’s zest) and a little apple cider vinegar are going into this cake too.
Start by chopping up 2 of the biggest carrots and tossing the into a pot with about an inch of water. Stick the pot on the stove and cook until the carrots are nice and tender. Then blend those tender carrots up.
I had a hard time not eating all of the carrot puree, so maybe if you want, cook up a few extra carrots ans have yourself a pre-carrot cake carrot snack.
And while the carrot puree is still warm, add in the coconut oil and the sugar. Mix it until the oil is melted ans it’s one cohesive mixture.
And take that last carrot ans grate it up into the flour. Also add in the spices and the zest of the orange.
Note. I used a small holed grater so that the carrot shreds would be small and add texture to the cake but not make it too chunky. But use a normal grater..it’s all about your carrots chunk prefernce here.
Now dump the wet carrot mixture into the dry and start to mix
Adding in the soy and the vinegar to complete the batter.
And scooped that batter into a oiled bundt pan and get it into the (preheated) oven to bake.
After about an hour, the cake is ready, golden brown and smelling like any good carrot cake should. Remove from the oven and turn the cake out from the cake pan and stick on on a rack to cool. This cake is waiting for me to decide what, or if I want to frost, drizzle, or sauce it up….. I think it wants as little something.
Ok, I figured it out. Date sauce.
The stuff. Fresh medjool dates, almond milk and sea salt.
Date (pits removed) into the food processor along with the milk and a good pinch of sea salt.%u00a0 Blend until it turns into a nice smooth, fluffy sauce.
Take that sauce and spread it all over the cake. As much or as little as you want (you might have left over date sauce but its ok, you can just eat. It will last for about a week in the fridge and goes great with just about anything) Once fully sauced, sprinkle the cake with flaked sea salt.
Sliced, plated, and ready. It’s carrot cake time.
Have a great weekend, eat all your candy at once!
-C
Makes a bundt cake (but could be made into a 9×13 sheet cake)
Salted Date Caramel
Start by chopping up 2 of the biggest carrots and placing them into a pot with water about an inch of water. Stick on stove and bring to a boil then reduce to a simmer until the carrots are fork tender. When done, puree them with any means nessasary (hand blender, regular blender, food processor) Add the coconut oil and sugar to the warm carrot puree and mix until oil is melted.
Preheat oven to 350
In a large separate bowl, mix together the flour, baking soda and powder, salt, and the spices. Grate the smallest carrot in with the dry.
Take the wet carrot mixture and dump into the dry and mix, adding in the soy milk and the vinegar as you mix. Once everything is completely incorporated, pour mixture into a well oiled bundt pan and stick the cake into the preheated oven
While the cake is baking, make the date sauce. Just take the dates, remove pits if they have any and place in a food processor with a good pinch of sea salt and the almond milk. Pulse a few times, scrap down the sides, and keep blended, stopping to scrap sides if needed, until a nice thick smooth sauce is formed. If you want a thinner sauce, just add more milk til you get your desired consistency.
Now check cake. Once it’s golden brown and a tester comes out clean (between 50 minutes to an hour) remove from oven. Let cool for a few minutes in pan the then turn it over onto a wire rack to finish cooling off. Once the cake is cool, dump the date sauce all over it then sprinkle with another good few pinches of the sea salt.
And now eat it. This is a cake that needs no fork, but you can go ahead and use one if you must.