As a reward to ourselves for finishing the floor laying week (what a freaking week, I will share some pictures soon) I stayed home for a little while yesterday morning and made some donuts for the mr ( I got to bake and do a little knitting and he got donuts.) Initially I was gonna make a cake, had it on my agenda for a cake at some point this week, but last minutes I felt the need to use my unused donut pan. I think it was a good call. Donuts don’t require as much pumpkin puree.%u00a0 I roasted a pumpkin a few days ago for the purpose of baking a cake with it but have slowly eaten most of it (on accident) so that there was just enough left to make the donuts. I have no willpower when it comes to roasted squash, I can’t stop eating it.
Anyway,%u00a0 I had me a mighty fine morning of trashing the kitchen, using my pretty mixing bowls, basking in the glory of the residual heat coming from the oven, and making the house smell all nice and fall spicy. And now there are donuts in the house with lots of sprinkles and only the mr to eat them. He really really likes them, like a lot. (me “don’t eat all those f*ing donuts dude, save some for later!”)
Another reason donuts were a good call, they are easy to share. Maybe I should go drop off a few to a friend. Any takers?
The donut stuff. Flour, baking soda, baking powder, and salt are in that bowl. Then we have pumpkin puree(homemade or canned) soy milk(or any milk), brown sugar, cinnamon, oil, and apple cider vinegar
All the wet stuff gets mixed together and the dry stuff plus the cinnamon gets whisked together too.
Wet into dry and mixed until combined.
Scoop batter into well greased donut pan and don’t do what I did and overfill (I always forget not to overfill). My fist batch came out a little bit bigger the expected with holes. No biggie.
Once pan is filled,%u00a0 pan goes into preheated oven. Bake until golden perfection (about 15-18 minutes or until a tester comes out clean)
Slightly overflown donuts cooked to all the goodness and popped out of the pan to cool on a cooling rack.
Glaze stuff. Powdered sugar, cocoa powder, a pinch of salt, a splash of vanilla, and a bit of soy milk….Mix it all together and that’s that.
Completely cooled donuts (very important to be completely cooled) go heads down into the bowl of glaze.
All glazed and looking good but I think somethings missing…..
Pumpkin, chocolate, sprinkles. BOOM!!!
Happy Friday!!!!
makes 10 donuts
For donuts
1 1/4 cups all purpose flour
1 teaspoon baking powder
1 teaspoon baking soda
1/2 teaspoon salt
1 tablespoon cinnamon
1/2 cup pumpkin puree
1/2 cup brown sugar
1/2 cup soy milk (any milk works)
3 tablespoons neutral oil like canola
1 tablespoon apple cider vinegar
For the glaze
7 heaping tablespoons powdered sugar
2 tablespoons cocoa powder
2 tablespoons soy milk
splash vanilla
pinch of salt
sprinkles!!!!…optional
Preheat oven to 350
In a big bowl, mix together the flour, baking powder and baking soda, salt, and the cinnamon. In a separate bowl mix together the pumpkin puree, sugar, soy milk, oil and the apple cider vinegar. Dump the wet mixture into the dry and mix until combined.
Ready the donut pan by really making sure it is well grease. Fill each donut mold about a 3/4 way full. I use a spoon but you could transfer that batter to a piping bag if you want. Place pan into oven and bake for 15-18 minutes or until the donuts are golden brown and a fork stabbed into one comes out clean. Pop donuts out of mold and let cool completely on a cooling rack.
Note. I have one pan that does 6 at a time. I had to wash, dry and re-grease the panto bake all the donuts.
Once donuts are cooled, gather the glaze ingredients. In a shallow bowl whisk together the sugar, cocoa, and salt. Add in a splash of vanilla and then the soy. Mix together until a glossy not to thick but not to thin consistency . If its too thick, add in another splash of milk, to think, more powdered sugar.
To glaze, take each donut and place face down in glaze and give it a little twirl.%u00a0 Remove and place back on cooling rack (glaze size up) and cover with sprinkles. (optional)
Then eat the donuts
Any uneaten can be placed in airtight container for 2-3 days or can be stuck into freezer.
I am sadly at my last few bags of frozen garden foods from last season. As of now I have a bag of tomatoes, a couple bags of shredded zucchini, and a bag of rhubarb. Well, had a bag of rhubarb. I think I have eaten almost all of it already. My rhubarb patch better get up and producing stalks soon. And as for the rest of the veggies that I will require. Guess I am going to be surviving mostly on roots from farm share (we are getting a lot more greens though!!!!) and probably doing a bit more grocery shopping then I care too. A few more months. I can do it.
Anyway, enough about my freezer and lack of fresh produce problems.
Here in Vermont maple season is well on it%u2019s way making it a perfect time for anything maple. And rhubarb. Yeah I am using my frozen rhubarb from last year, but any time now (after the snow melts) there will be plenty of stalks for the taking. There will be so much maple and so much fresh rhubarb which are the perfect taste combination. Exciting times! And when added to oatmeal, things just get more gooder. (I know gooder is not a word but I think it should be) Oatmeal, especially baked, is the stuff where all gooder things start.
Have you had baked oatmeal yet? It truly is fantastic. Not at all gummy and gloopy like stove topped cooked oatmeal (but I like it like that too). It still has a good bite to it while still being soft and creamy and boy oh boy is it just the bees knees. With the addition of some crunchy almond friends, well even better. Trust me. If you are a oatmeal eater, you must try it baked. Best part is that it can be eaten as breakfast but also I have been serving it to the mr for dessert with a healthy drizzle of more maple. It%u2019s that good friends. From breakfast to dessert. Everyone is happy.
To the baked oatmeal.
The stuff. Old fashion oats, cinnamon, salt, baking powder, rhubarb (fresh or frozen), REAL maple syrup, some plant milk, a few flax eggs, a bit of tahini, and some almonds.
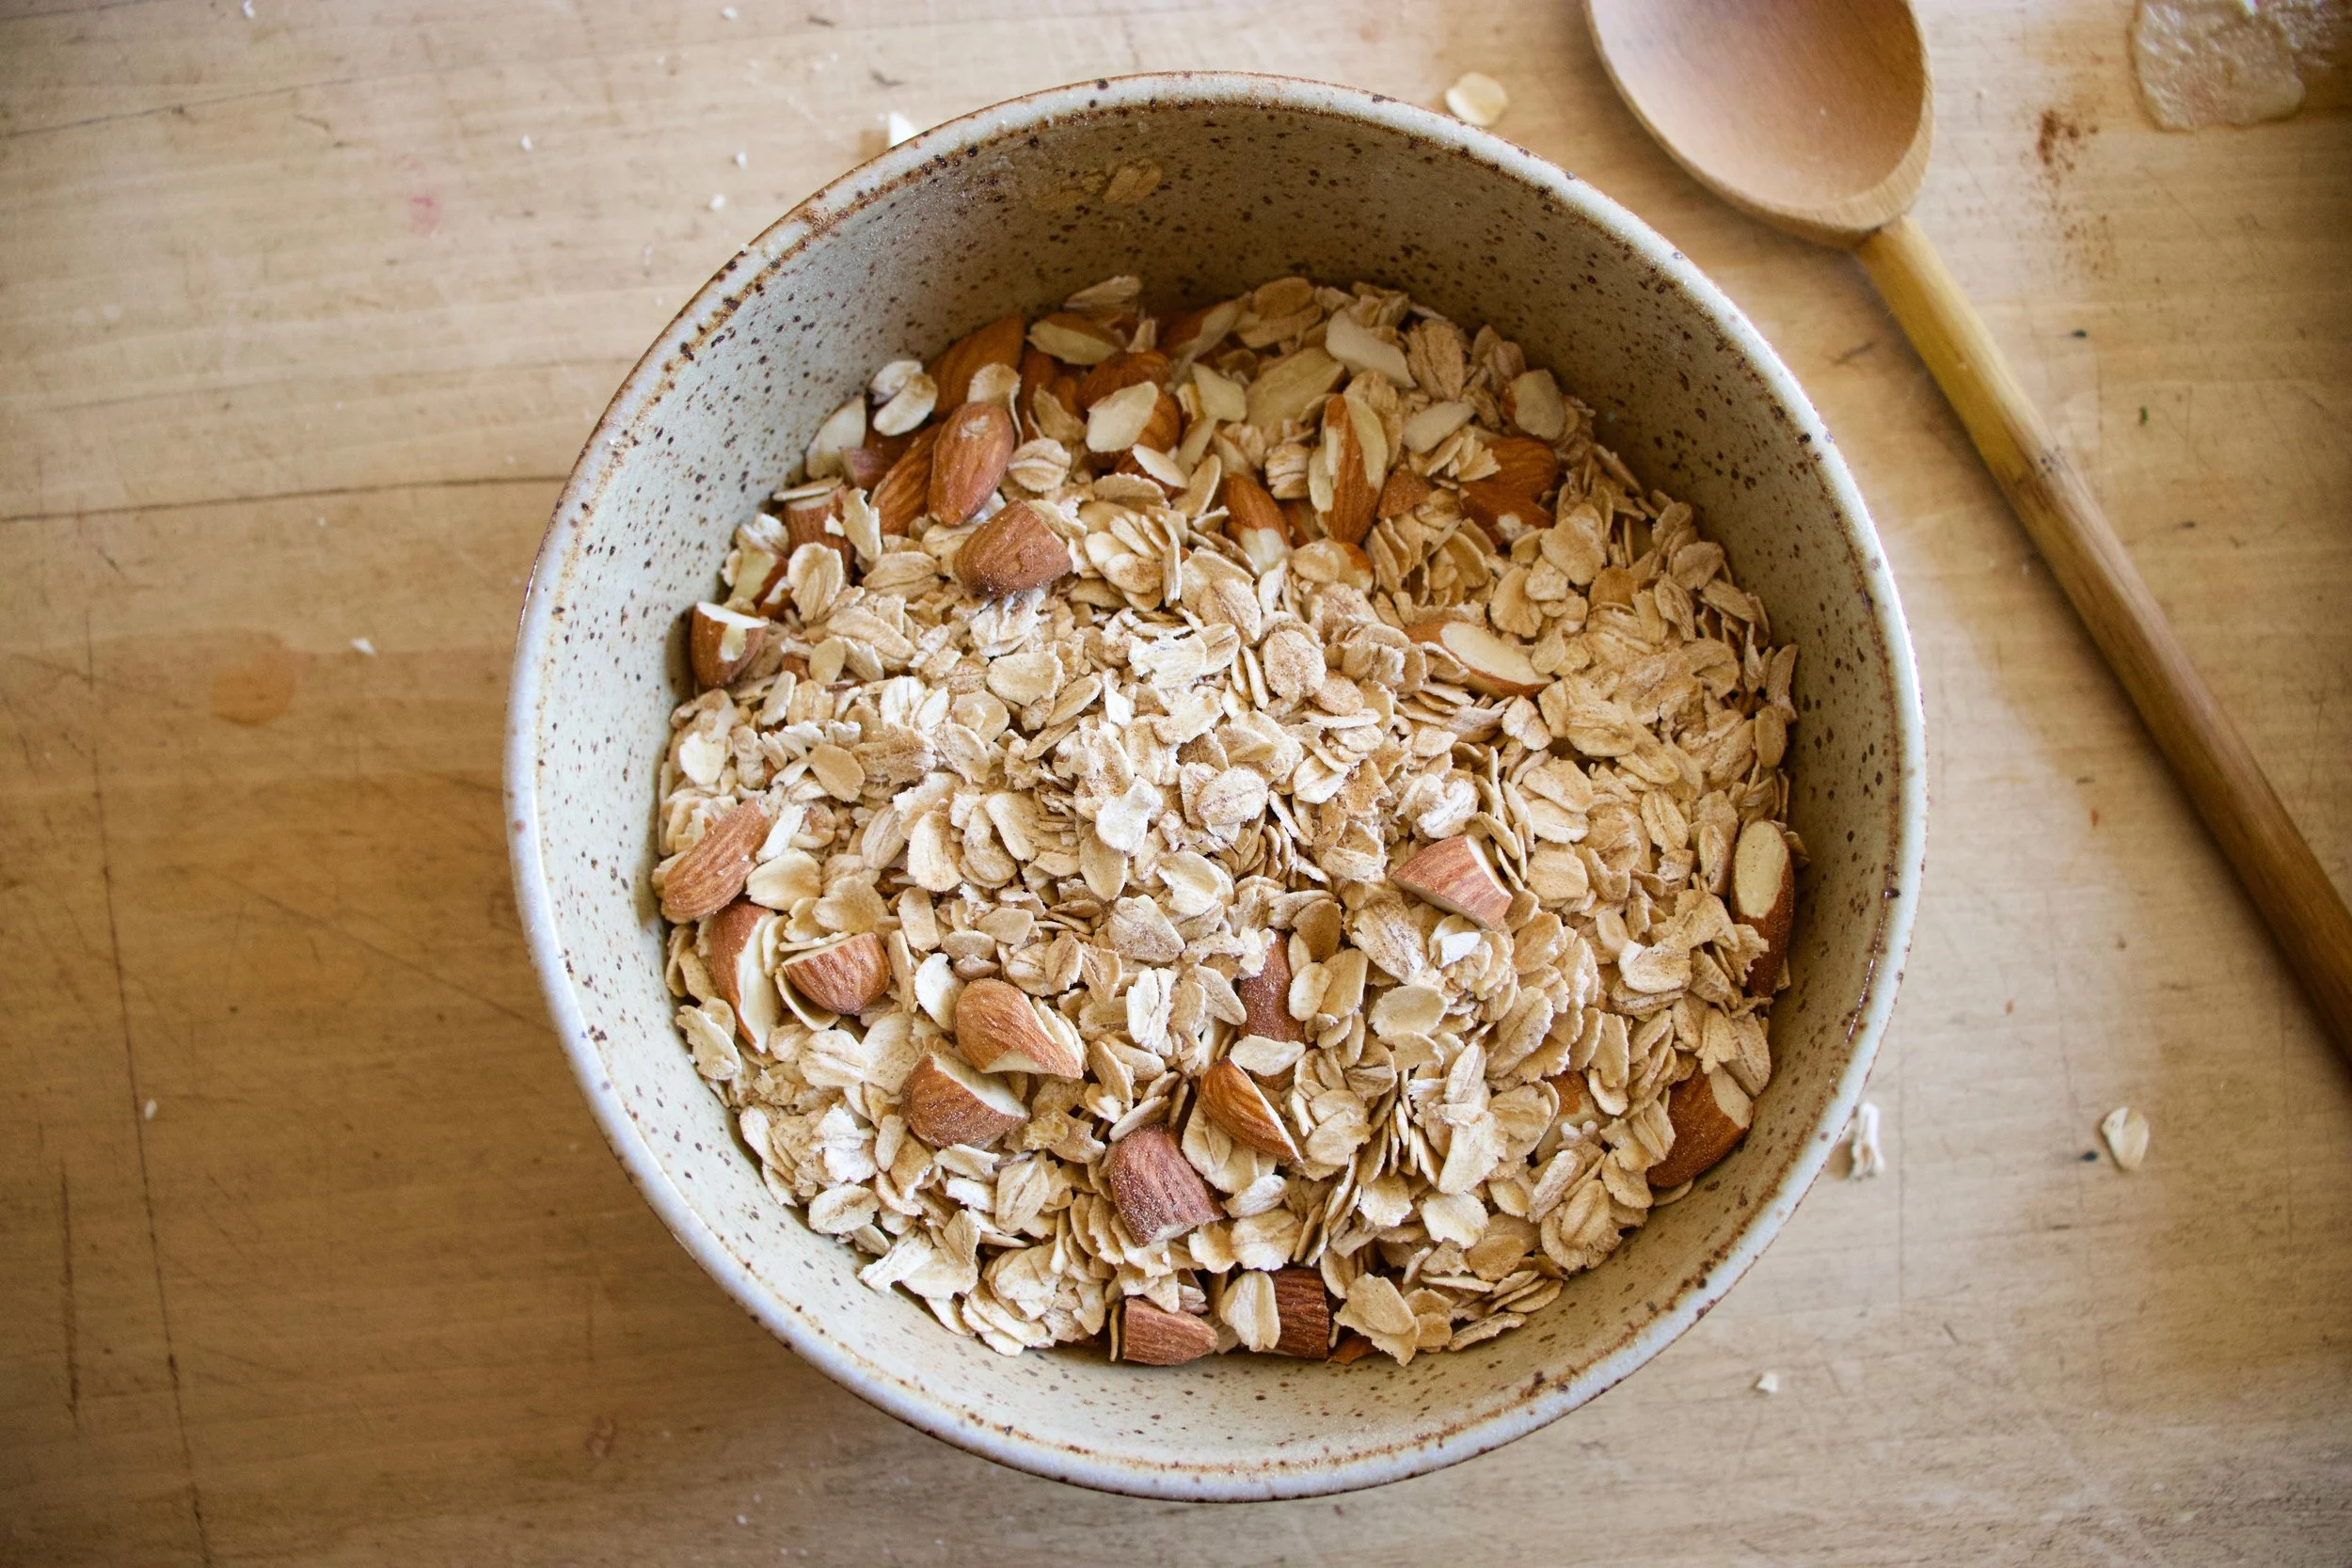
To start. Oats, cinnamon. salt, baking powder and almonds get a quick toss together in a big bowl.
If you rhubarb is not already chopped up into inch long pieces, do that. I already did before freezing it so yea me. Once its chopped, layer almost all of it (reserve a few small needful to toss on top) into a lightly greased 9×9 inch baking dish then cover evenly with the oat mixture.
In now empty bowl mix together the milk, the flax eggs, the tahini, and the maple until evenly incorporated.
Pour the wet mixture all over the oats and let it absorb.
Once the liquid is all absorbed , top with any left over almonds and the left over rhubarb. For good looks.
Pop into a hot oven to bake.
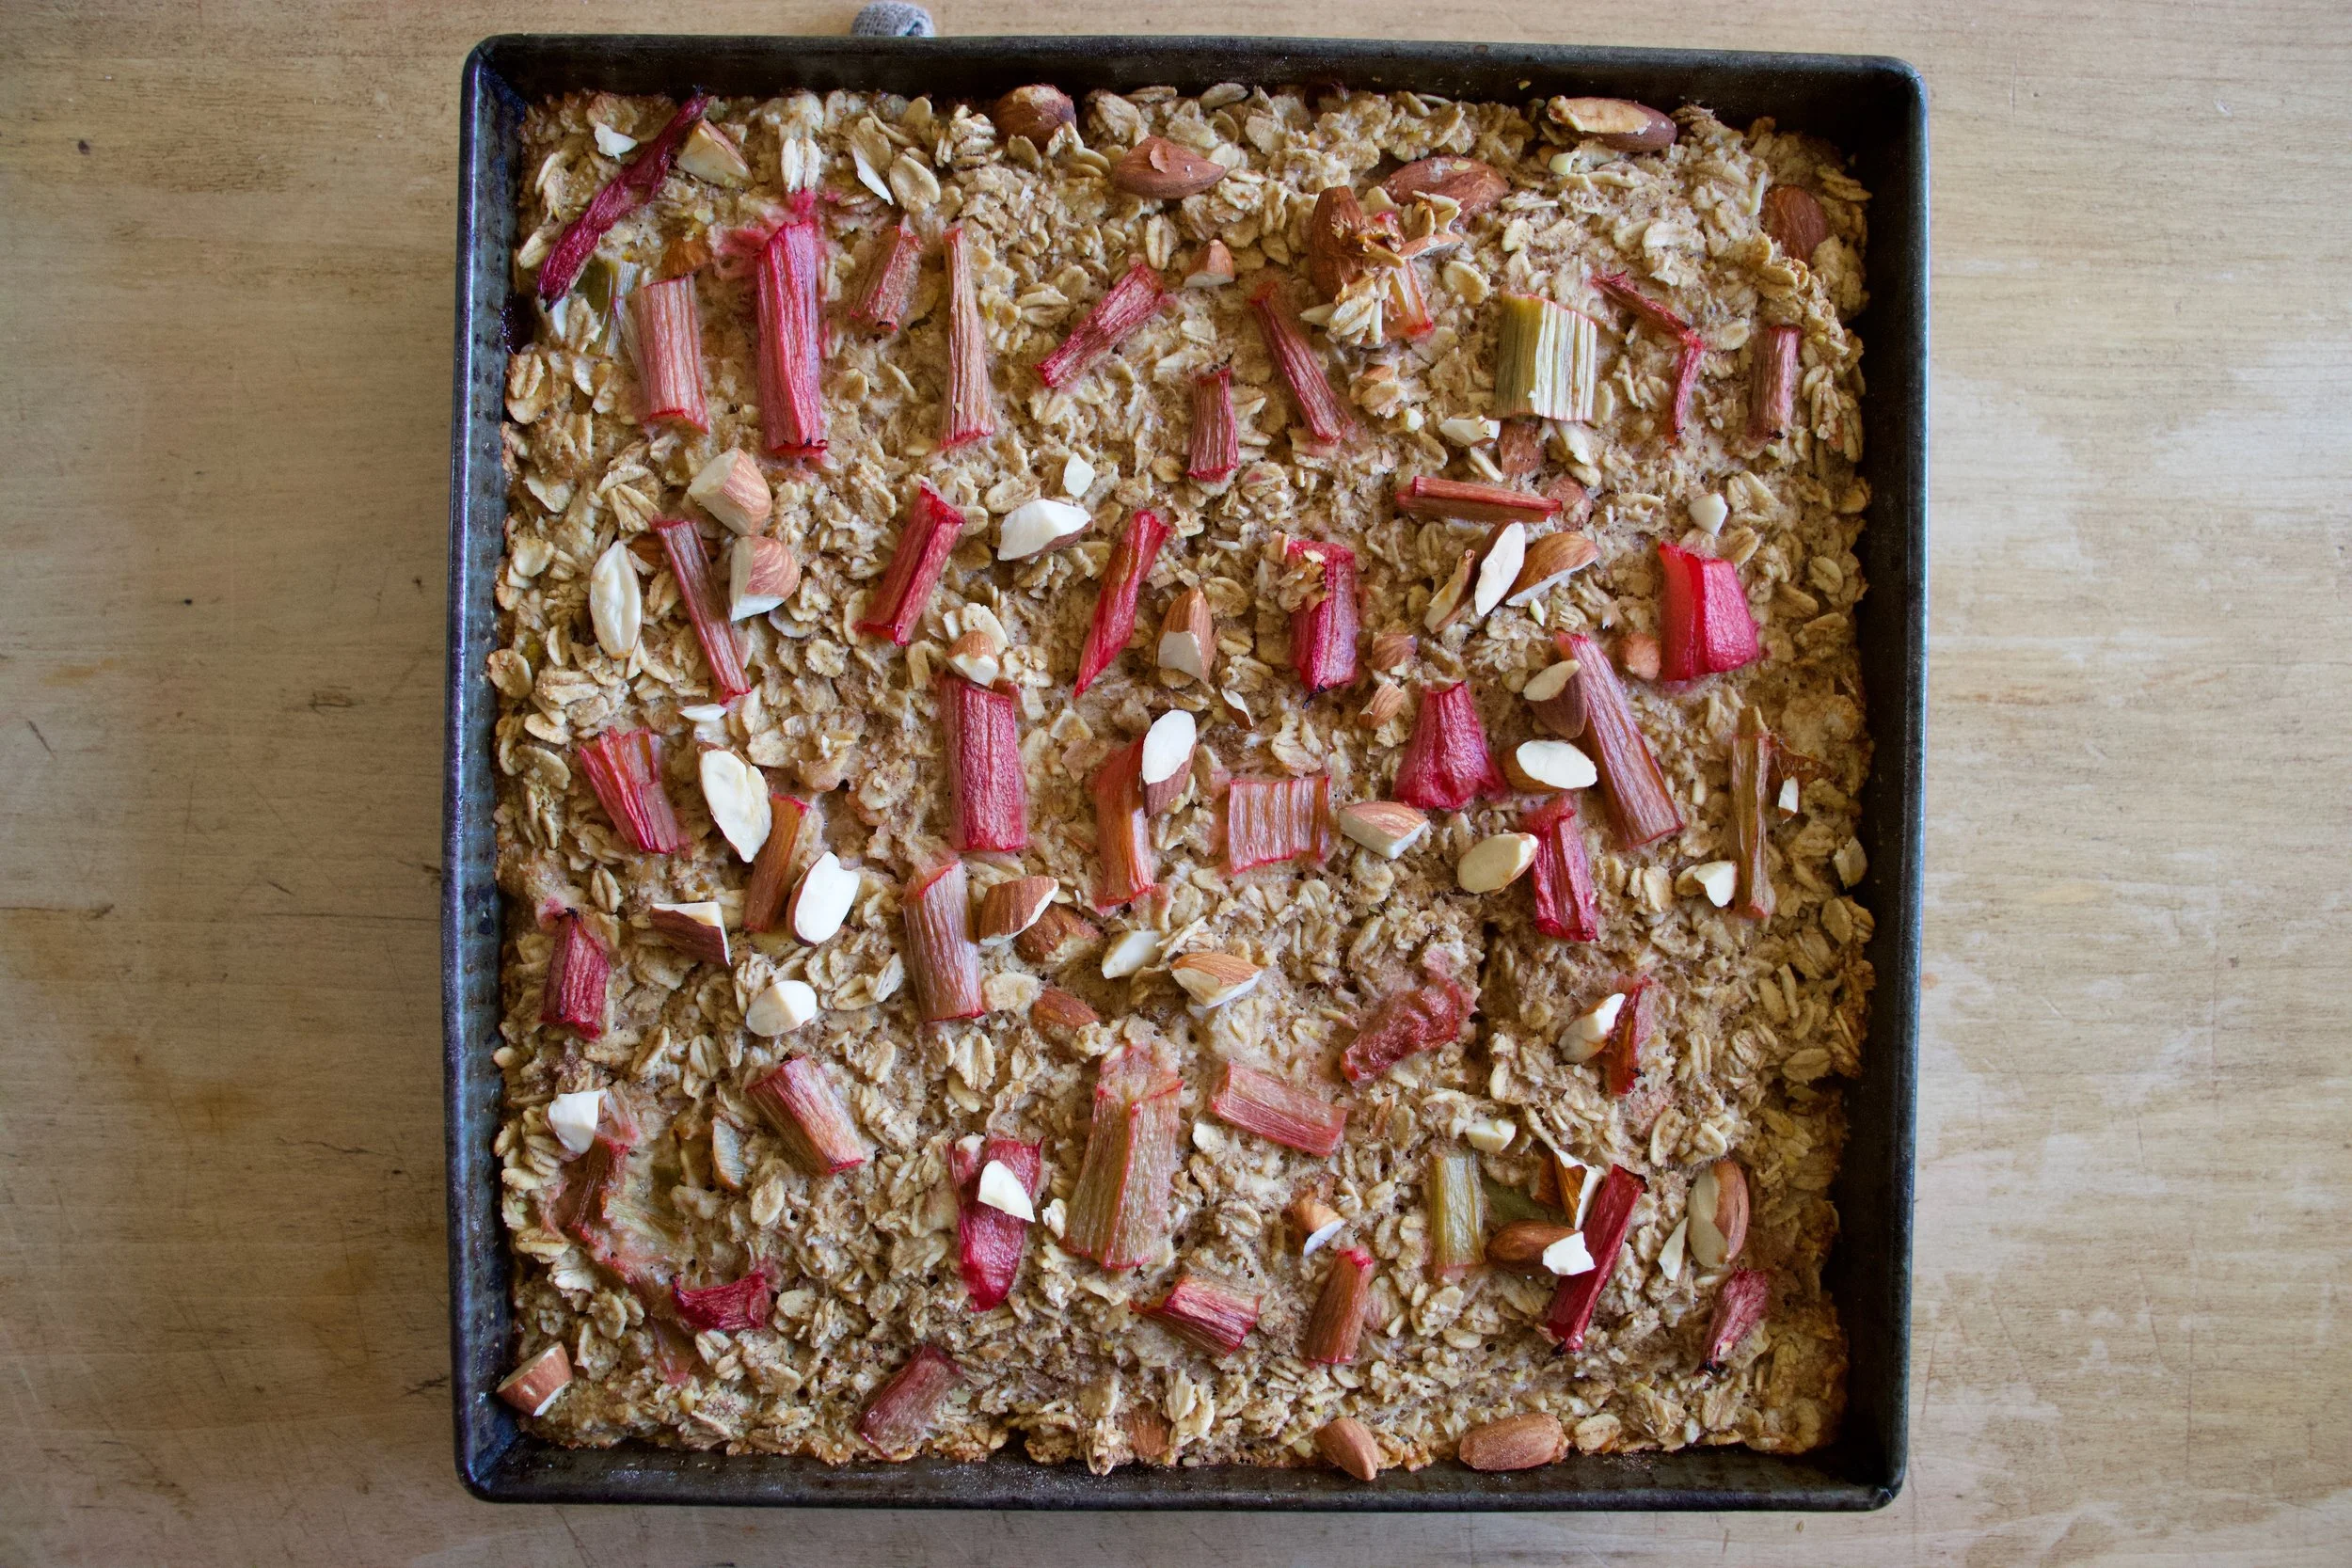
Golden brown with crispy edges. Rhubarb and maple baked oatmeal for all your maple, oaty and rhubarbie needs.
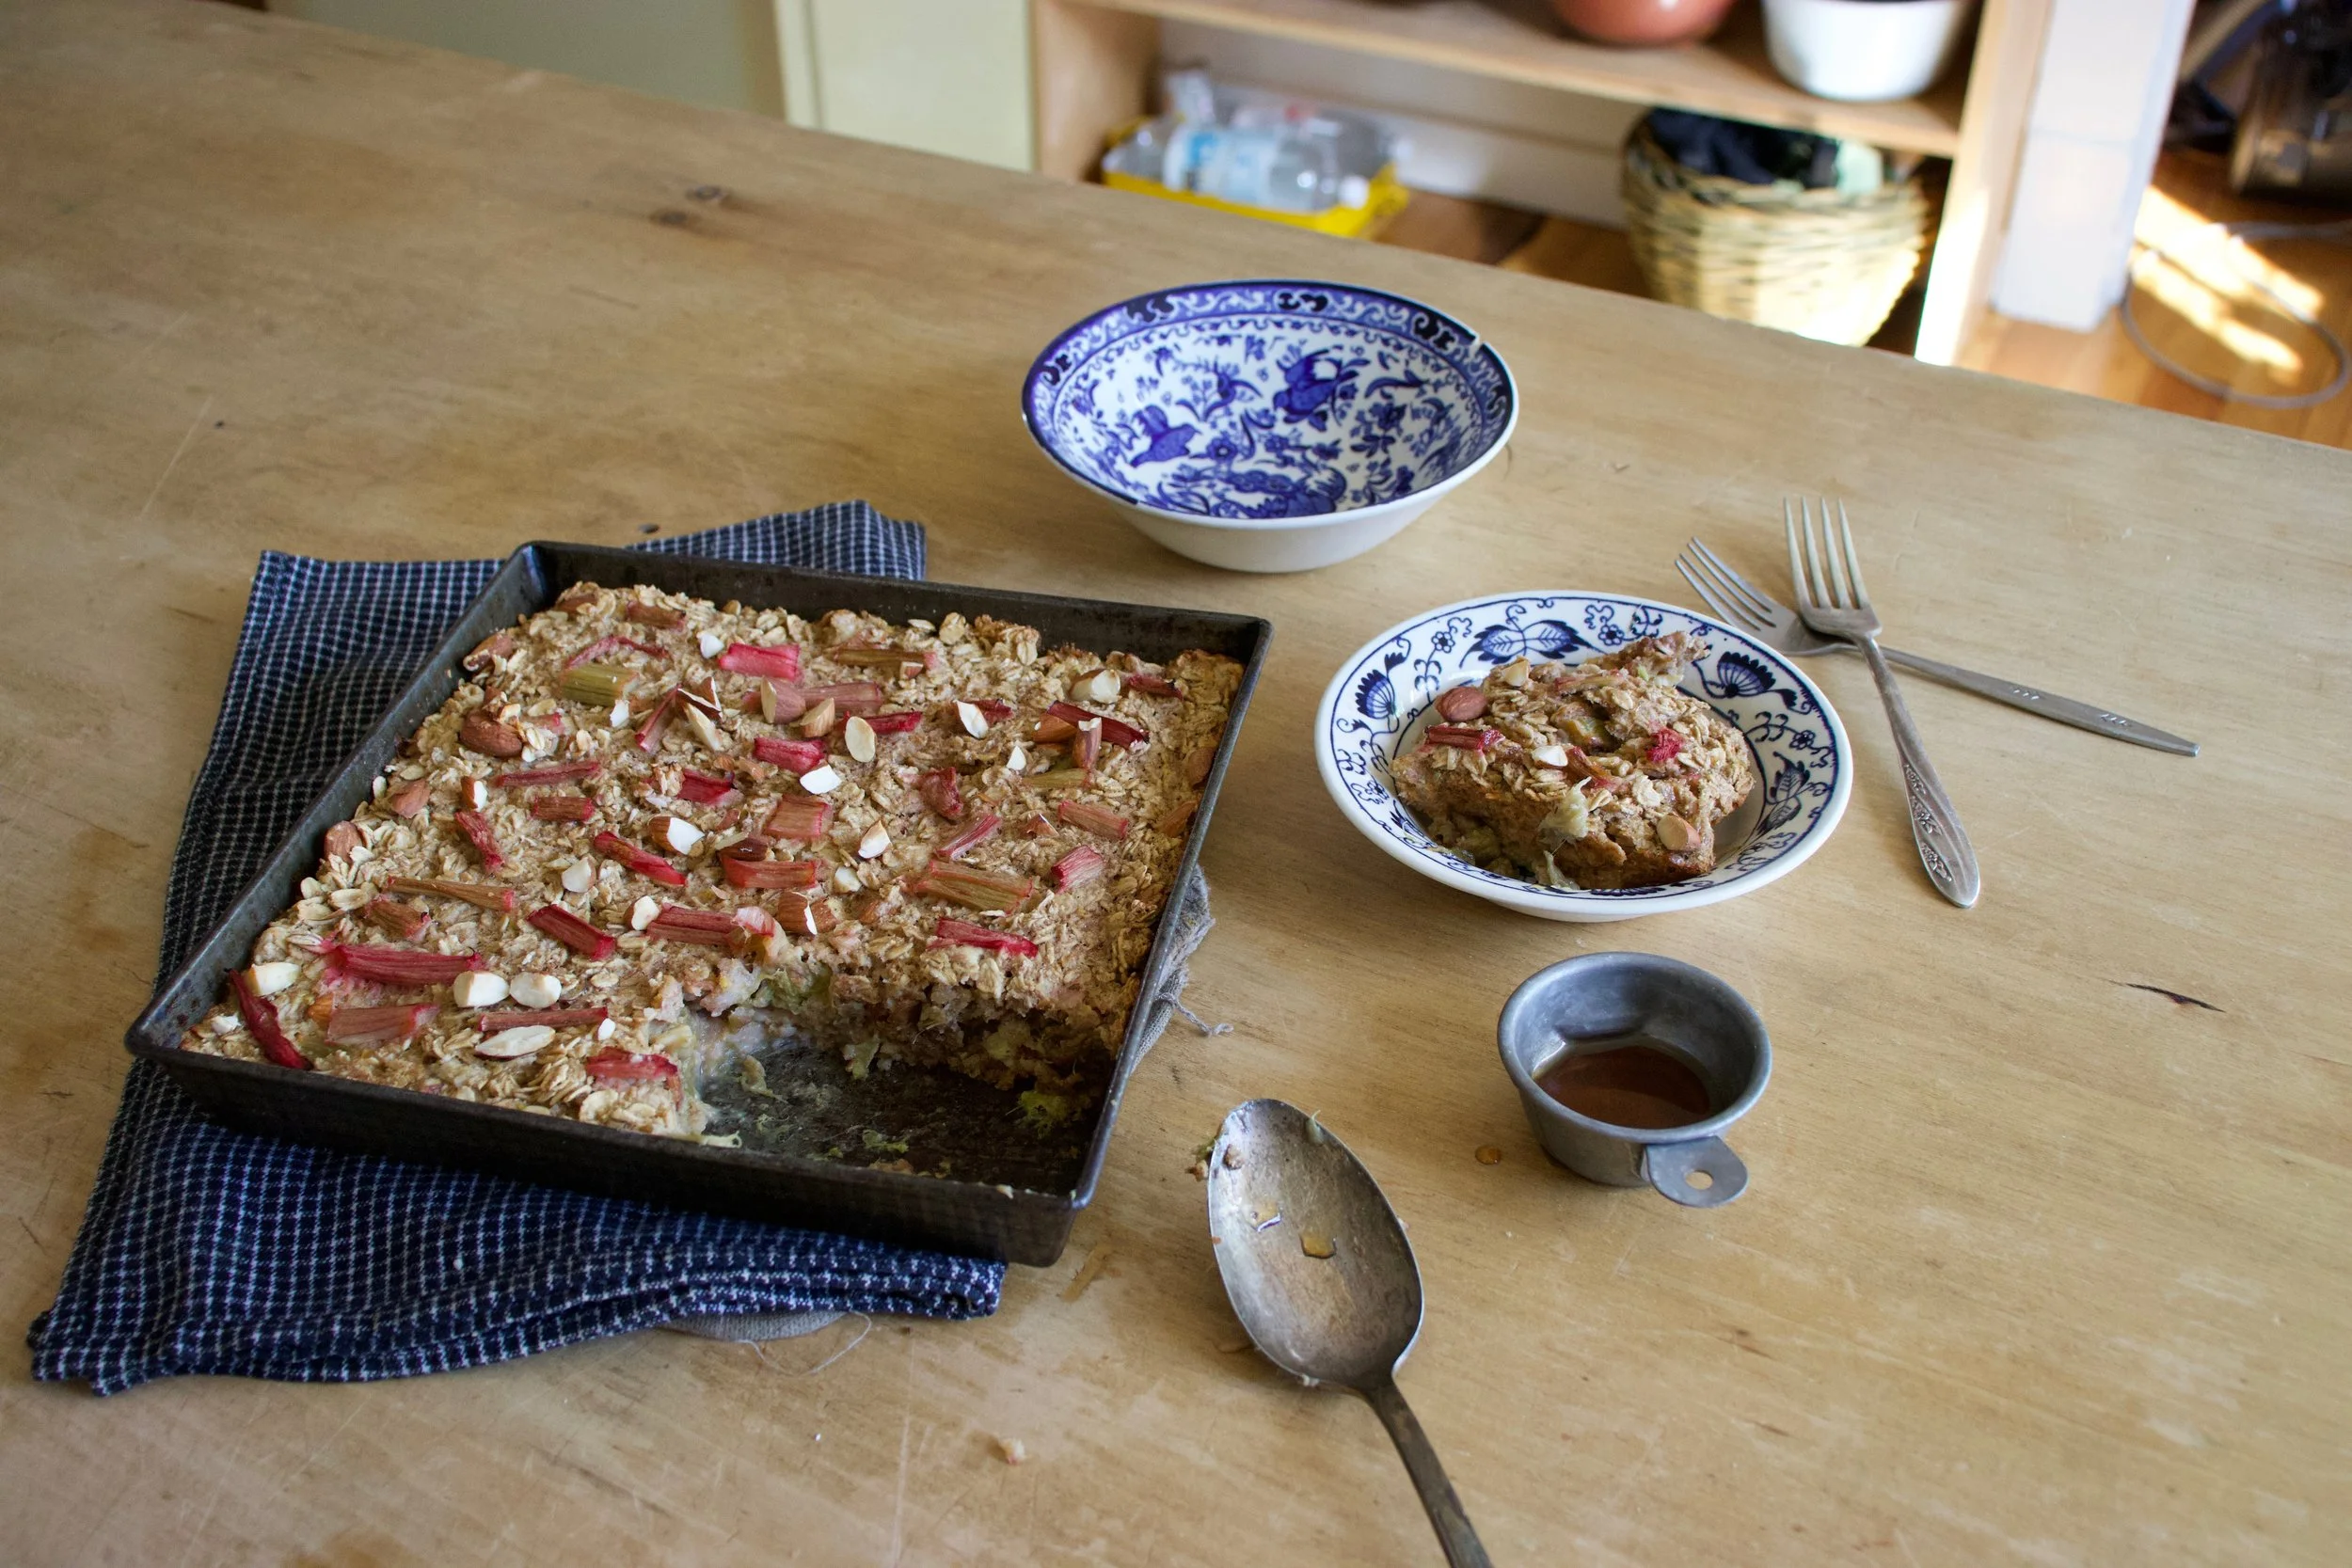
Fresh from the oven scooped warm into bowls. Top with extra maple if thats what you should want do.
Enjoy and happy maple season!
-C
Make a 9×9 pan of oatmeal
2 1/2 cups old fashion oats (make sure gluten free if need be)
2 1/2 cups fresh or frozen rhubarb chopped into inch long pieces
1 1/2 cup plant milk (water works but it won%u2019t be as creamy)
1/2 cup chopped almonds (optional)
Preheat oven to 375
Lightly grease a 9×9 inch baking pan (I used metal because it makes for crisper edges but glass works too) and dump 2 cups of the rhubarb in and evenly distribute on the bottom. In a large bowl mis the oats, the baking powder, salt, and cinnamon together. Mix in chopped nuts if you are using. Evenly cover rhubarb with oat mixture. In now empty bowl mix together the milk, flax eggs, maple syrup, and tahini until evenly incorporated. Pour mixture over oats. Let the mixture sit for a few minutes until the oats have abosbed all the liquid. Toss the rest of the diced rhubarb and a few more chop nuts to the top and pop into the oven to bake.
Bake for 30-40 minutes (shorter time for a wetter oatmeal, longer for a denser crispier oatmeal)
Once baked to your likeness, remove from oven and let cool for a few minutes just so it is not super hot. Scoop into bowls and serve warm with extra maple and milk or whatever you might want to serve with it.
Left overs last great in fridge for 3-4 days or individual portions can be frozen for a month or two. Just pop into microwave for a couple minutes to warm up.
I sometime struggle with certain veggies, not like in a eating way (I have no snuggle eating any veggie)%u00a0but in a making something with that certain veggie kind of way,%u00a0like I don’t make anything out of them, I just eat them raw as they are. (That was terribly long winded and does it even make sense?)%u00a0I don’t find this to be a problem most of the time, but sometime I think I need to be less lazy about eating and maybe prepare a dish for a meal rather then just eating raw beans out of the garden for lunch…..I mean, I am not going to stop doing that but I am going to start being a little more creative and planning meals with a little more substance. Adding nuts is more substance right?
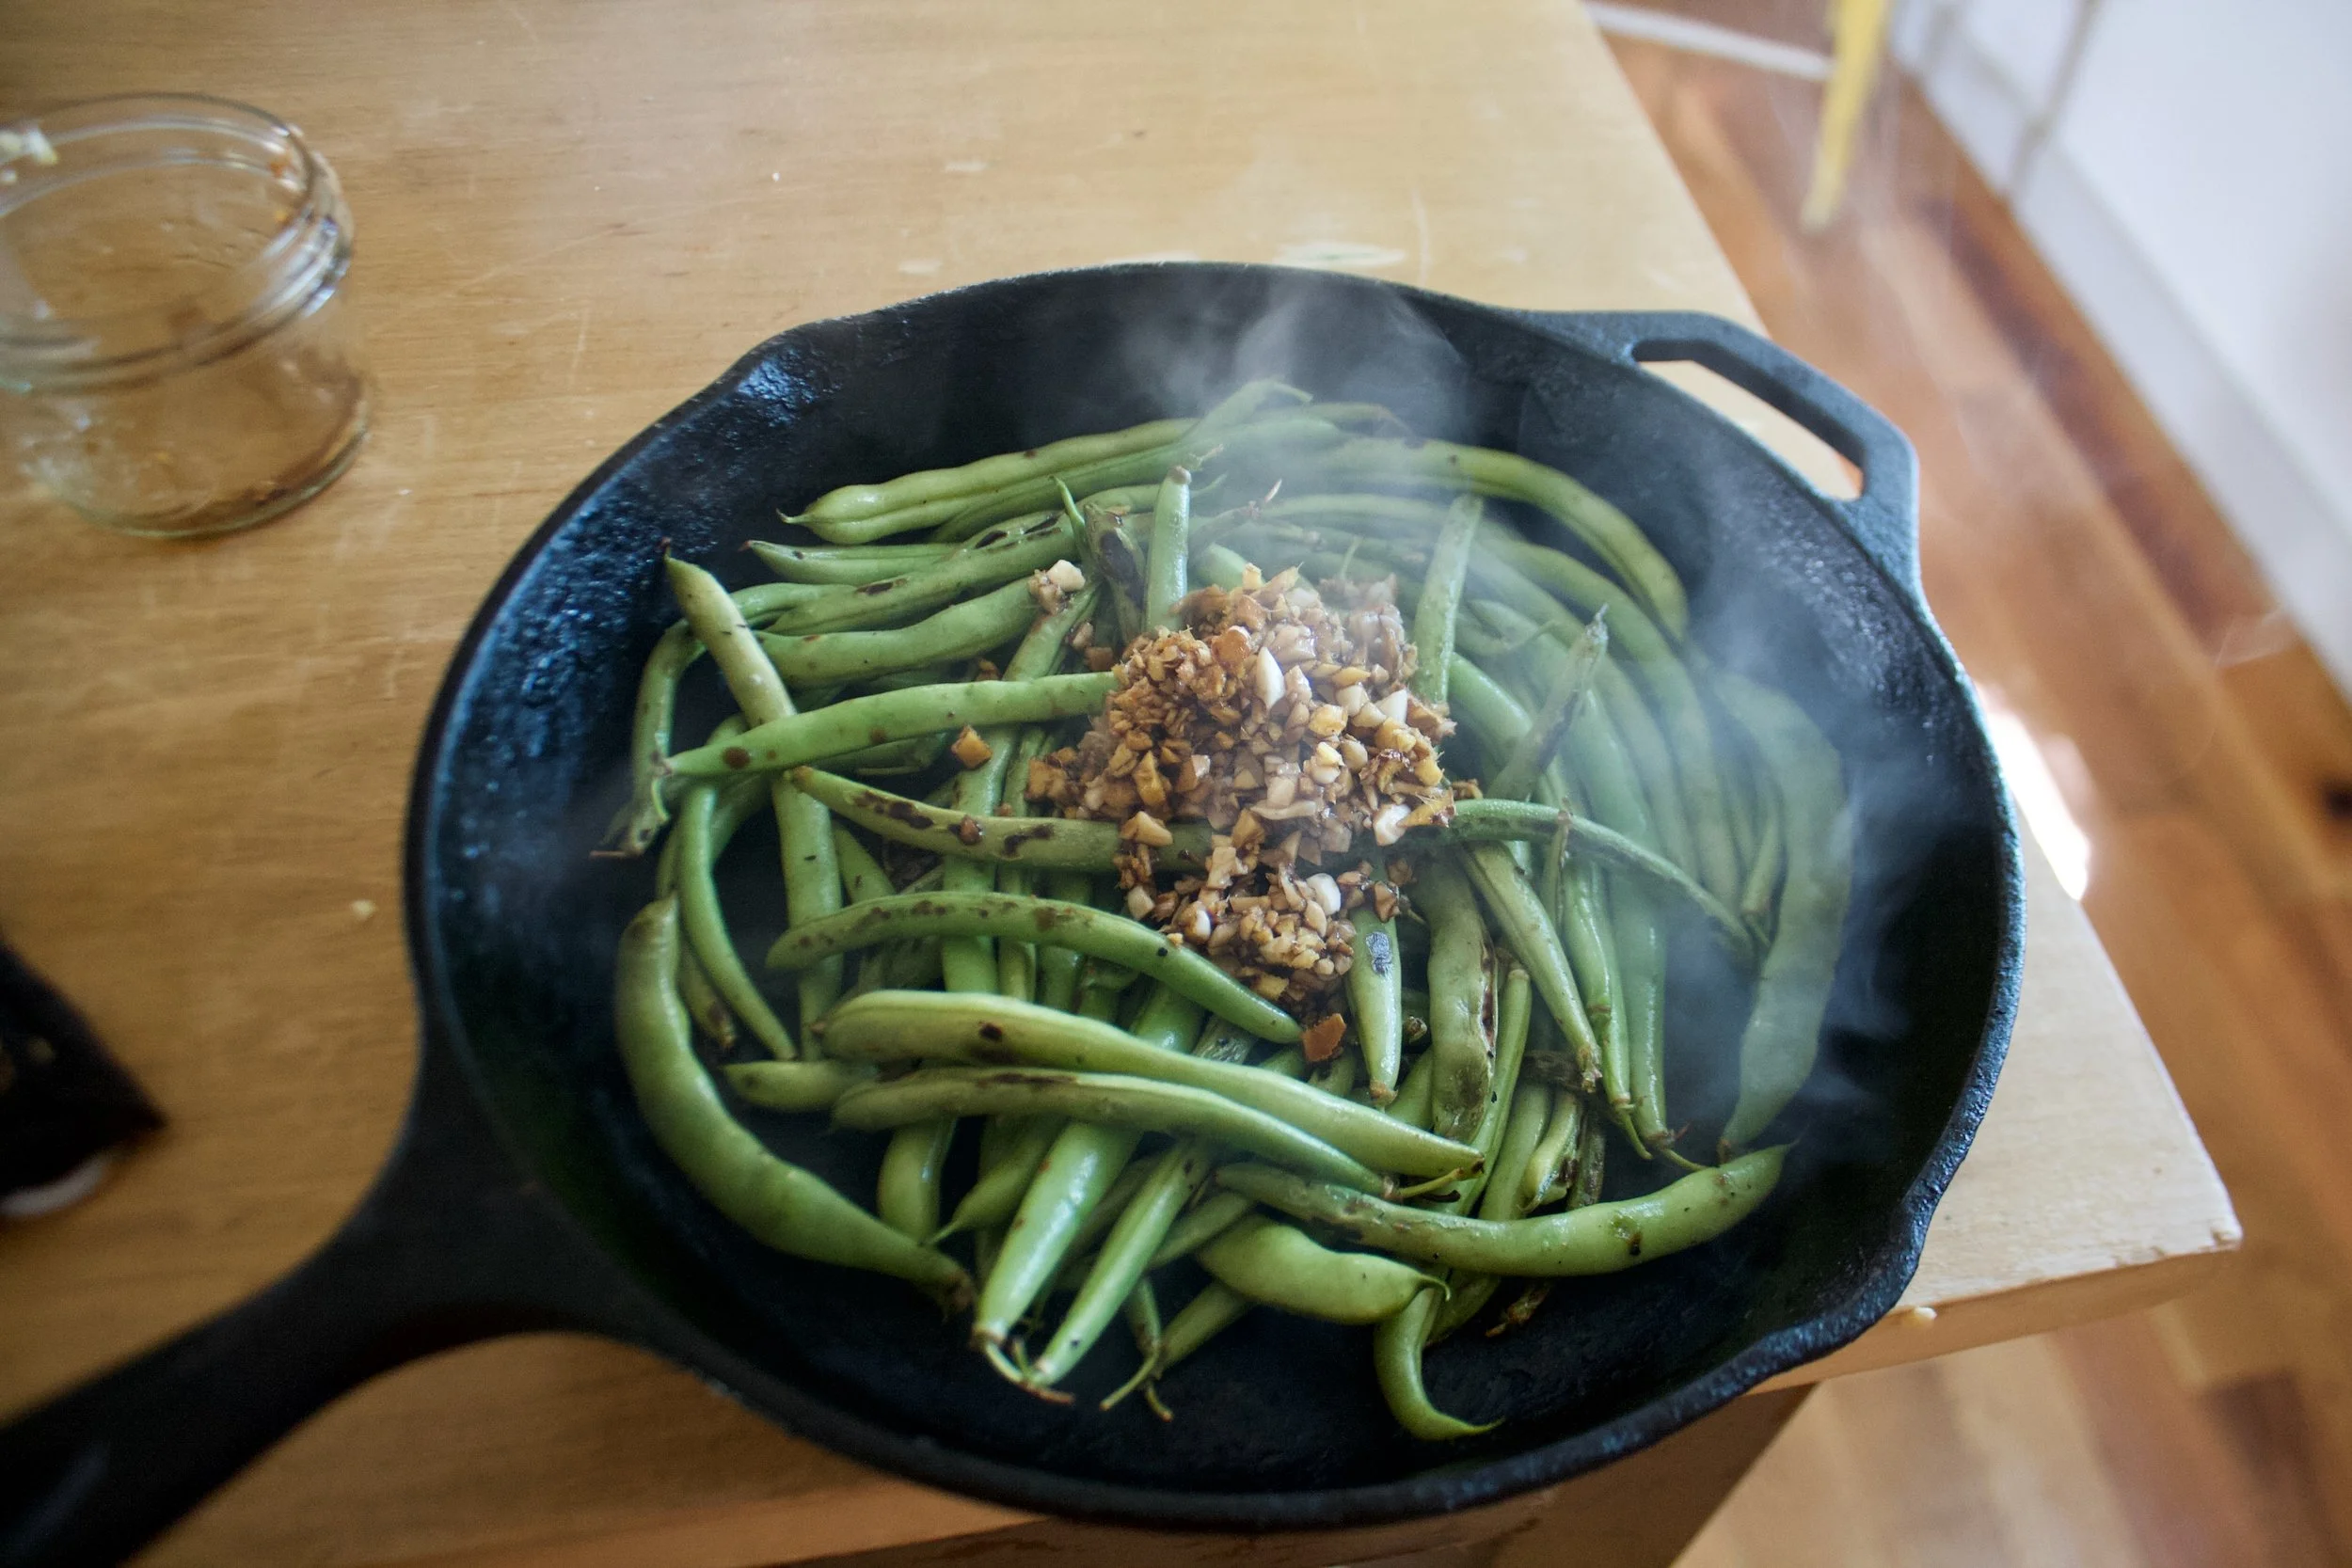
These beans were freaking fantastic. %u00a0Blistered and charred, and not soggy and soft. They were perfect.%u00a0(I like my veggies either raw or burnt)%u00a0I made them late morning and was going to save them for dinner but the mr, Barb, and I ate them all just on snacking on them. %u00a0Just a really good, A+%u00a0veggies situation here. Highly recommended, hot or cold. Almost beats a bean lunch in the garden. Almost.%u00a0
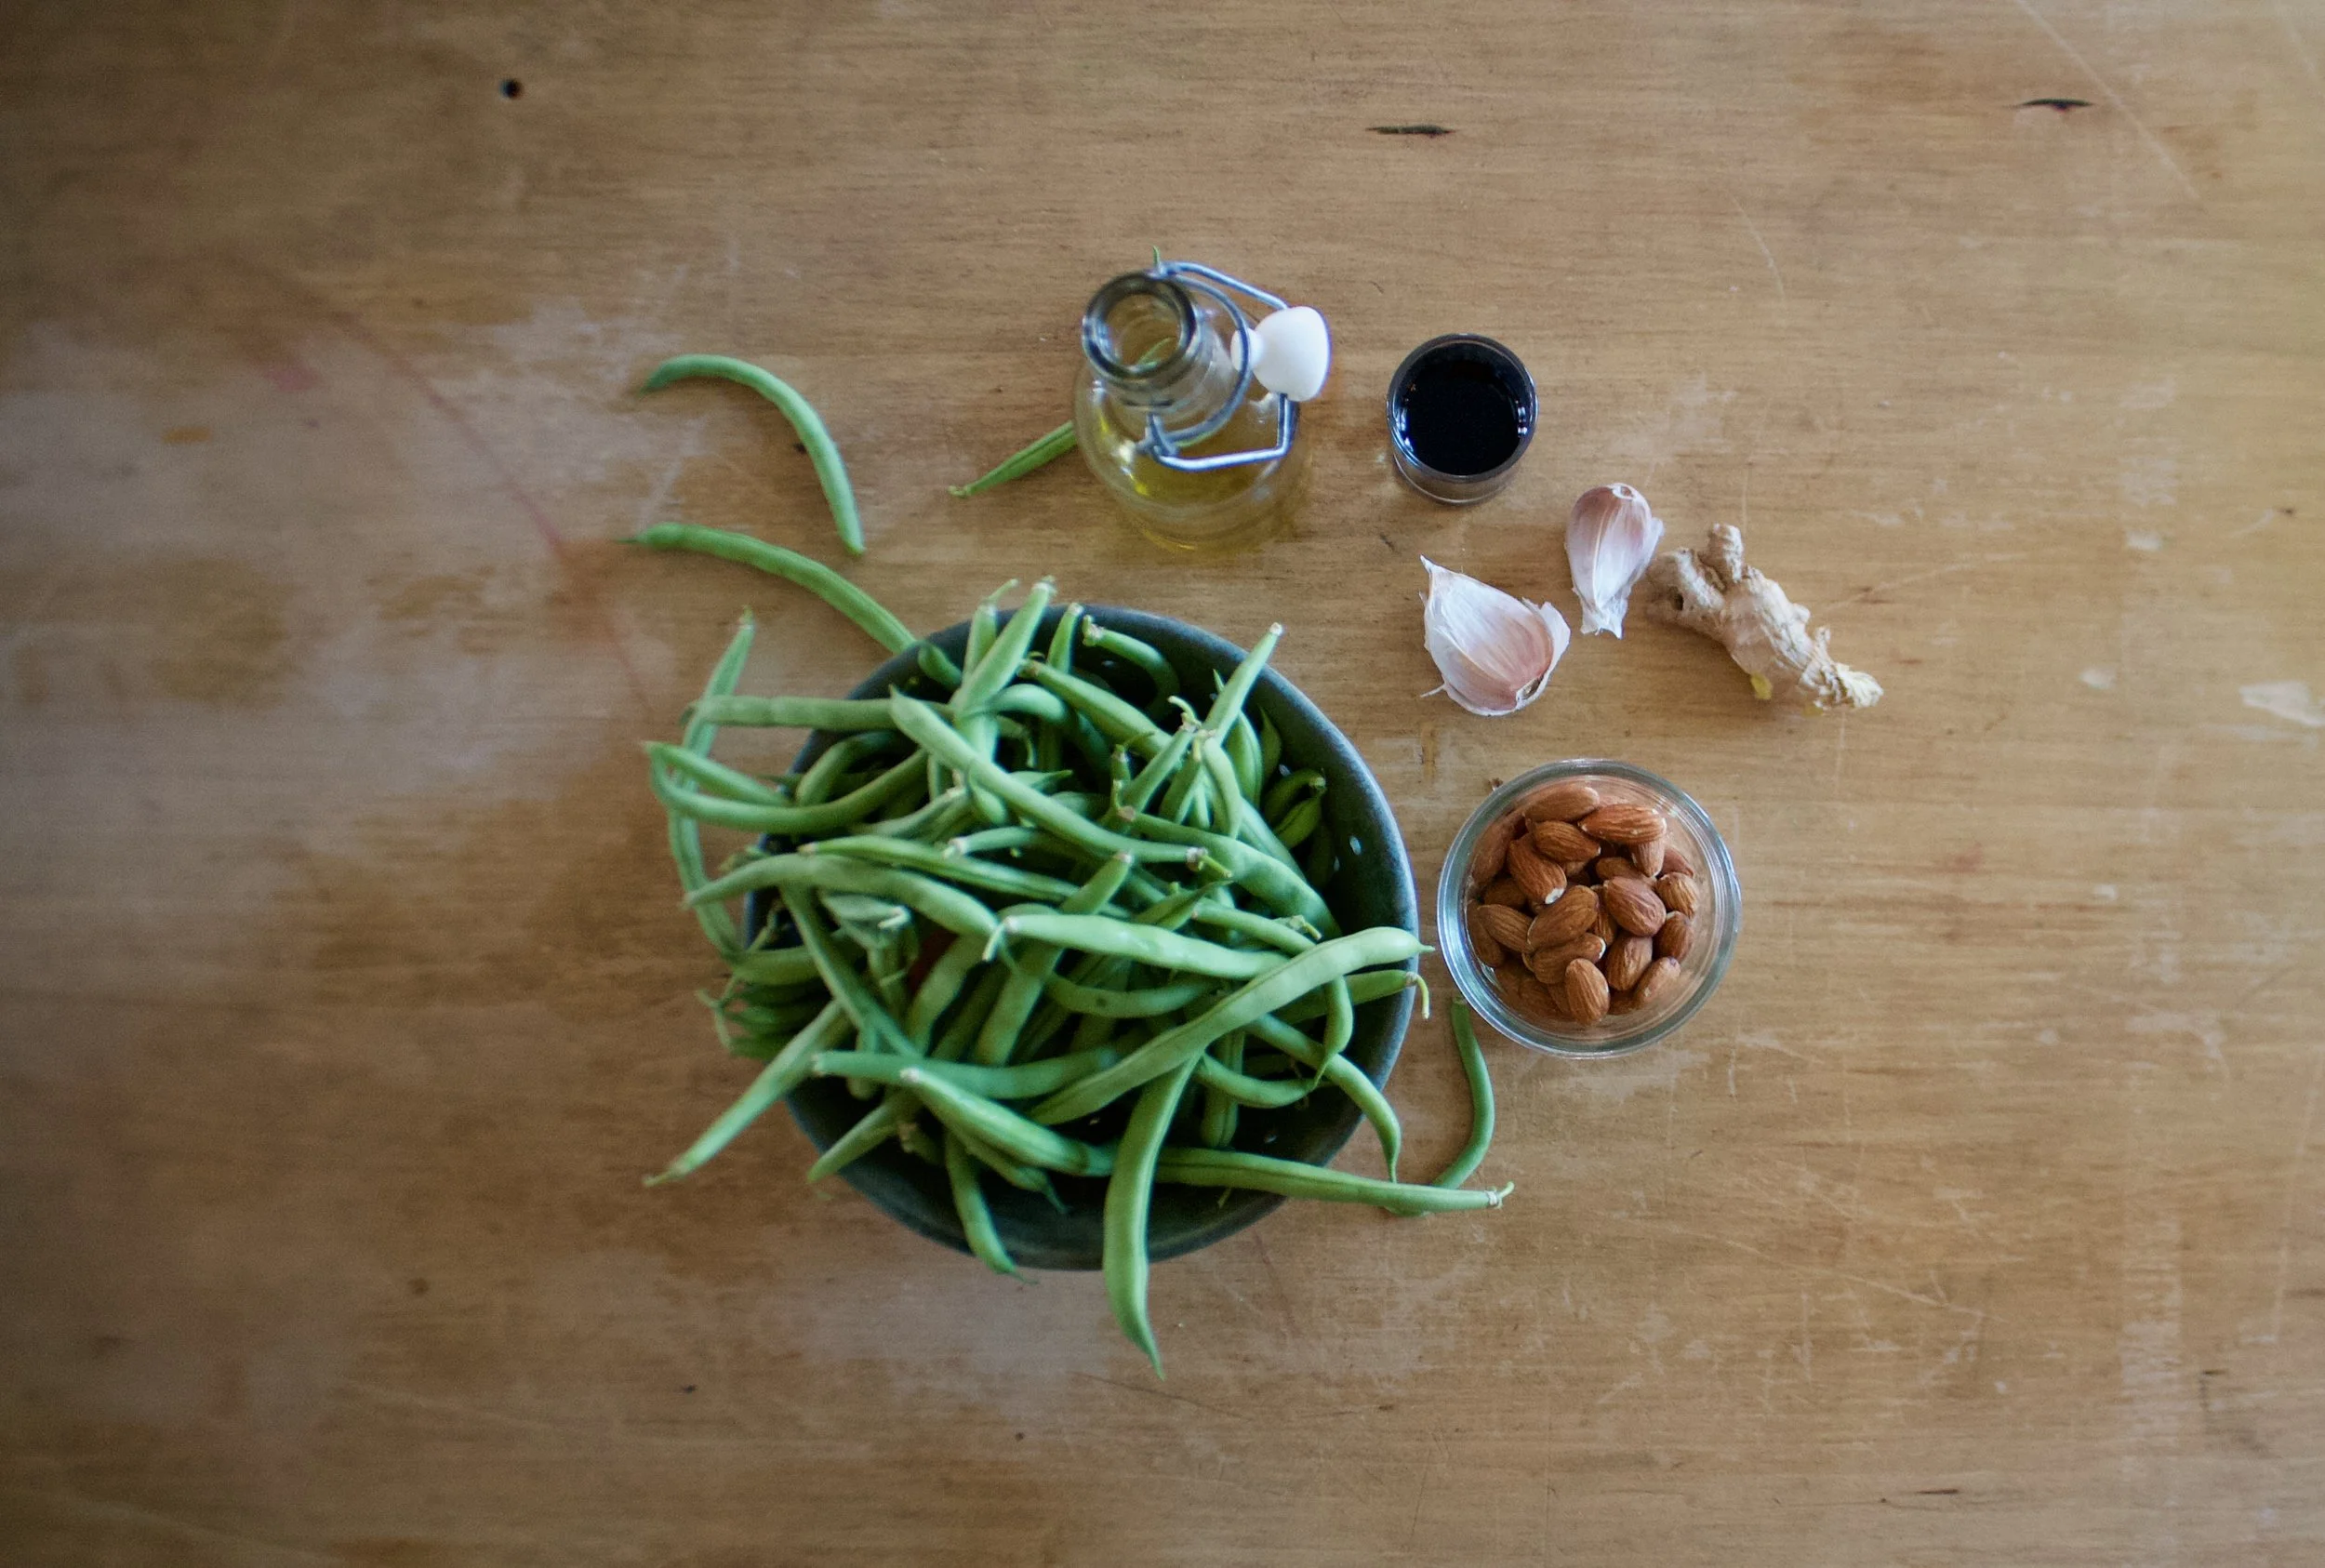
The stuff. Green beans, almonds, garlic, ginger, soy, and a little oil.%u00a0
Quick fast, rough chop the almonds and give them a toast in a dry skillet (you can skip this part if you have already toasted almonds)%u00a0
And here would be the time to trim the beans if you are a person that does that. I am however, not a bean trimmer. But you must wash them, so give them a good rinse , and keep them a little wet. The moisture will help them cook.%u00a0
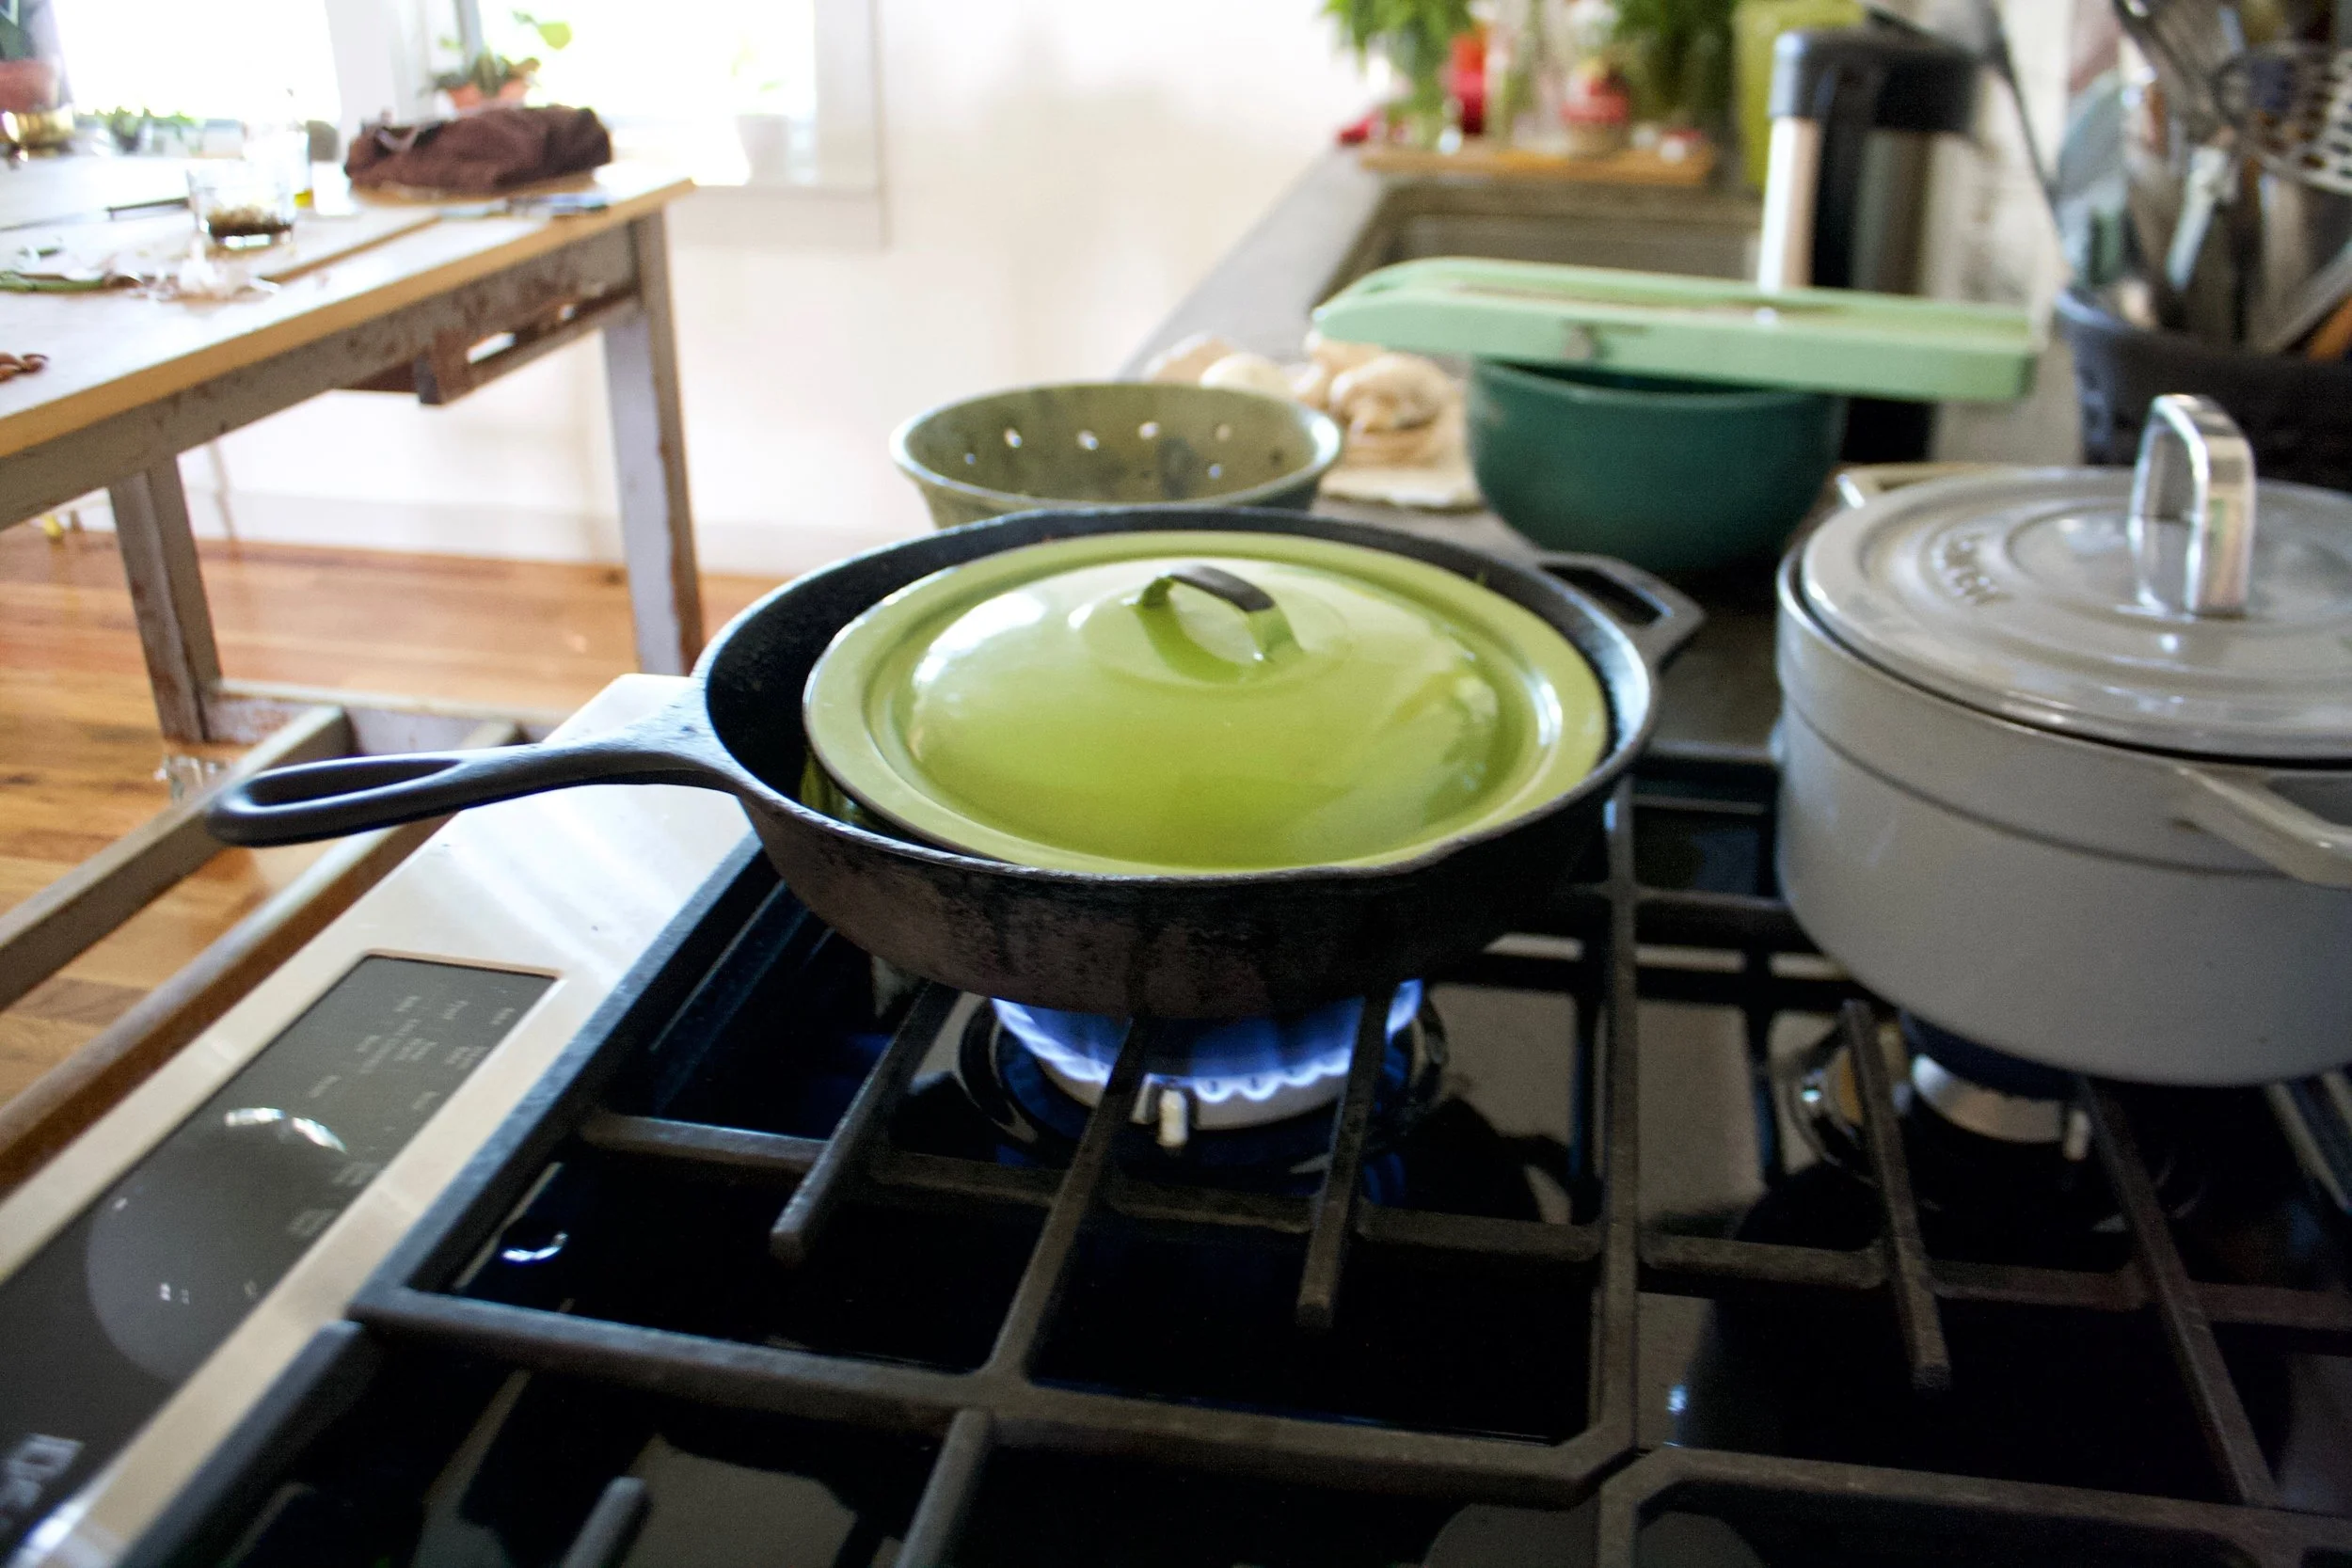
Just washed beans go into a medium high hot skillet (add in a tablespoon of oil) and get a nice little cover to start the cooking process. %u00a0Leave them alone for a few minutes, then remove lid and toss them around. Do that ever few minutes.%u00a0
While the beans start cooking, mince the garlic and the ginger and add to the soy sauce.
Smells so good!
Beans have cooked for about 10 minutes here and are all nice and blistered and just about done so now add in the ginger garlic soy mixture and toss around. Keep cooking for a minute or two.
And now don’t forget those almonds, mix those in too. Then it’s into a bowl they go.%u00a0
Green beans so good. Can’t go wrong with these.
Have a marvelous weekend, maybe go pick some green beans!
-C
About a pound of green beans (trimmed if you want to trim them)
2-3 cloves garlic
2 tablespoons freshly grated ginger%u00a0
1/4 cup almonds
3 teaspoons soy sauce
tablespoon oil
Rough chop almonds into small pieces and place in a dry skillet (meaning no oil). Turn heat on to medium high heat to toast for about 5 minutes or until you can start to smell the almonds and they are slightly browning. (you can skip the tasting %u00a0part if your almonds are already toasted, jus chop them into small pieces)
Dump the almonds into bowl and set aside. Keep skillet on heat and add in the oil. Rinse beans off, keeping them damp,%u00a0and very carefully, dump the damp beans into the hot skillet. Place a lid on beans and let cook about 4-5 minutes. In the meantime, mince garlic and ginger and combine with the soy sauce. After a few minutes, remove the lid from beans and toss the bean around. Keep doing this for another 8-10 minutes or until the beans are cooked though and blistered in places. Once the beans are cooked,%u00a0%u00a0dump the garlic ginger soy mixture into pan. Toss around and leave in pan for another minutes then stir the toasted almonds in. Transfer the whole bit of it into a big bowl or plate.%u00a0
Eat right away or.. They taste freaking fanatic cold too.%u00a0
Let%u2019s talk about how soup is the perfect food. It can be light and fresh, hearty and deep, chunky or smooth. You can eat it with a spoon, or somtime a fork if warranted, or just drink it from a mug. It%u2019s usually a one pot meal, a small pot for one, a big pot for many. Make a pot of soup and eat some now and save some for later. It freezes amazingly well. Got a few extra sad carrots and wilted greens? Toss them into a pot with whatever you have on hand, maybe those veggies scraps and you got yourself a meal. Want something more filling, just add in some grains. Feeling sick, warm soup will make it all better. Feeling fresh and springy, well soup is there for you too. Seriously soup, you can do anything. If I could, I would marry you. %u2665%ufe0f
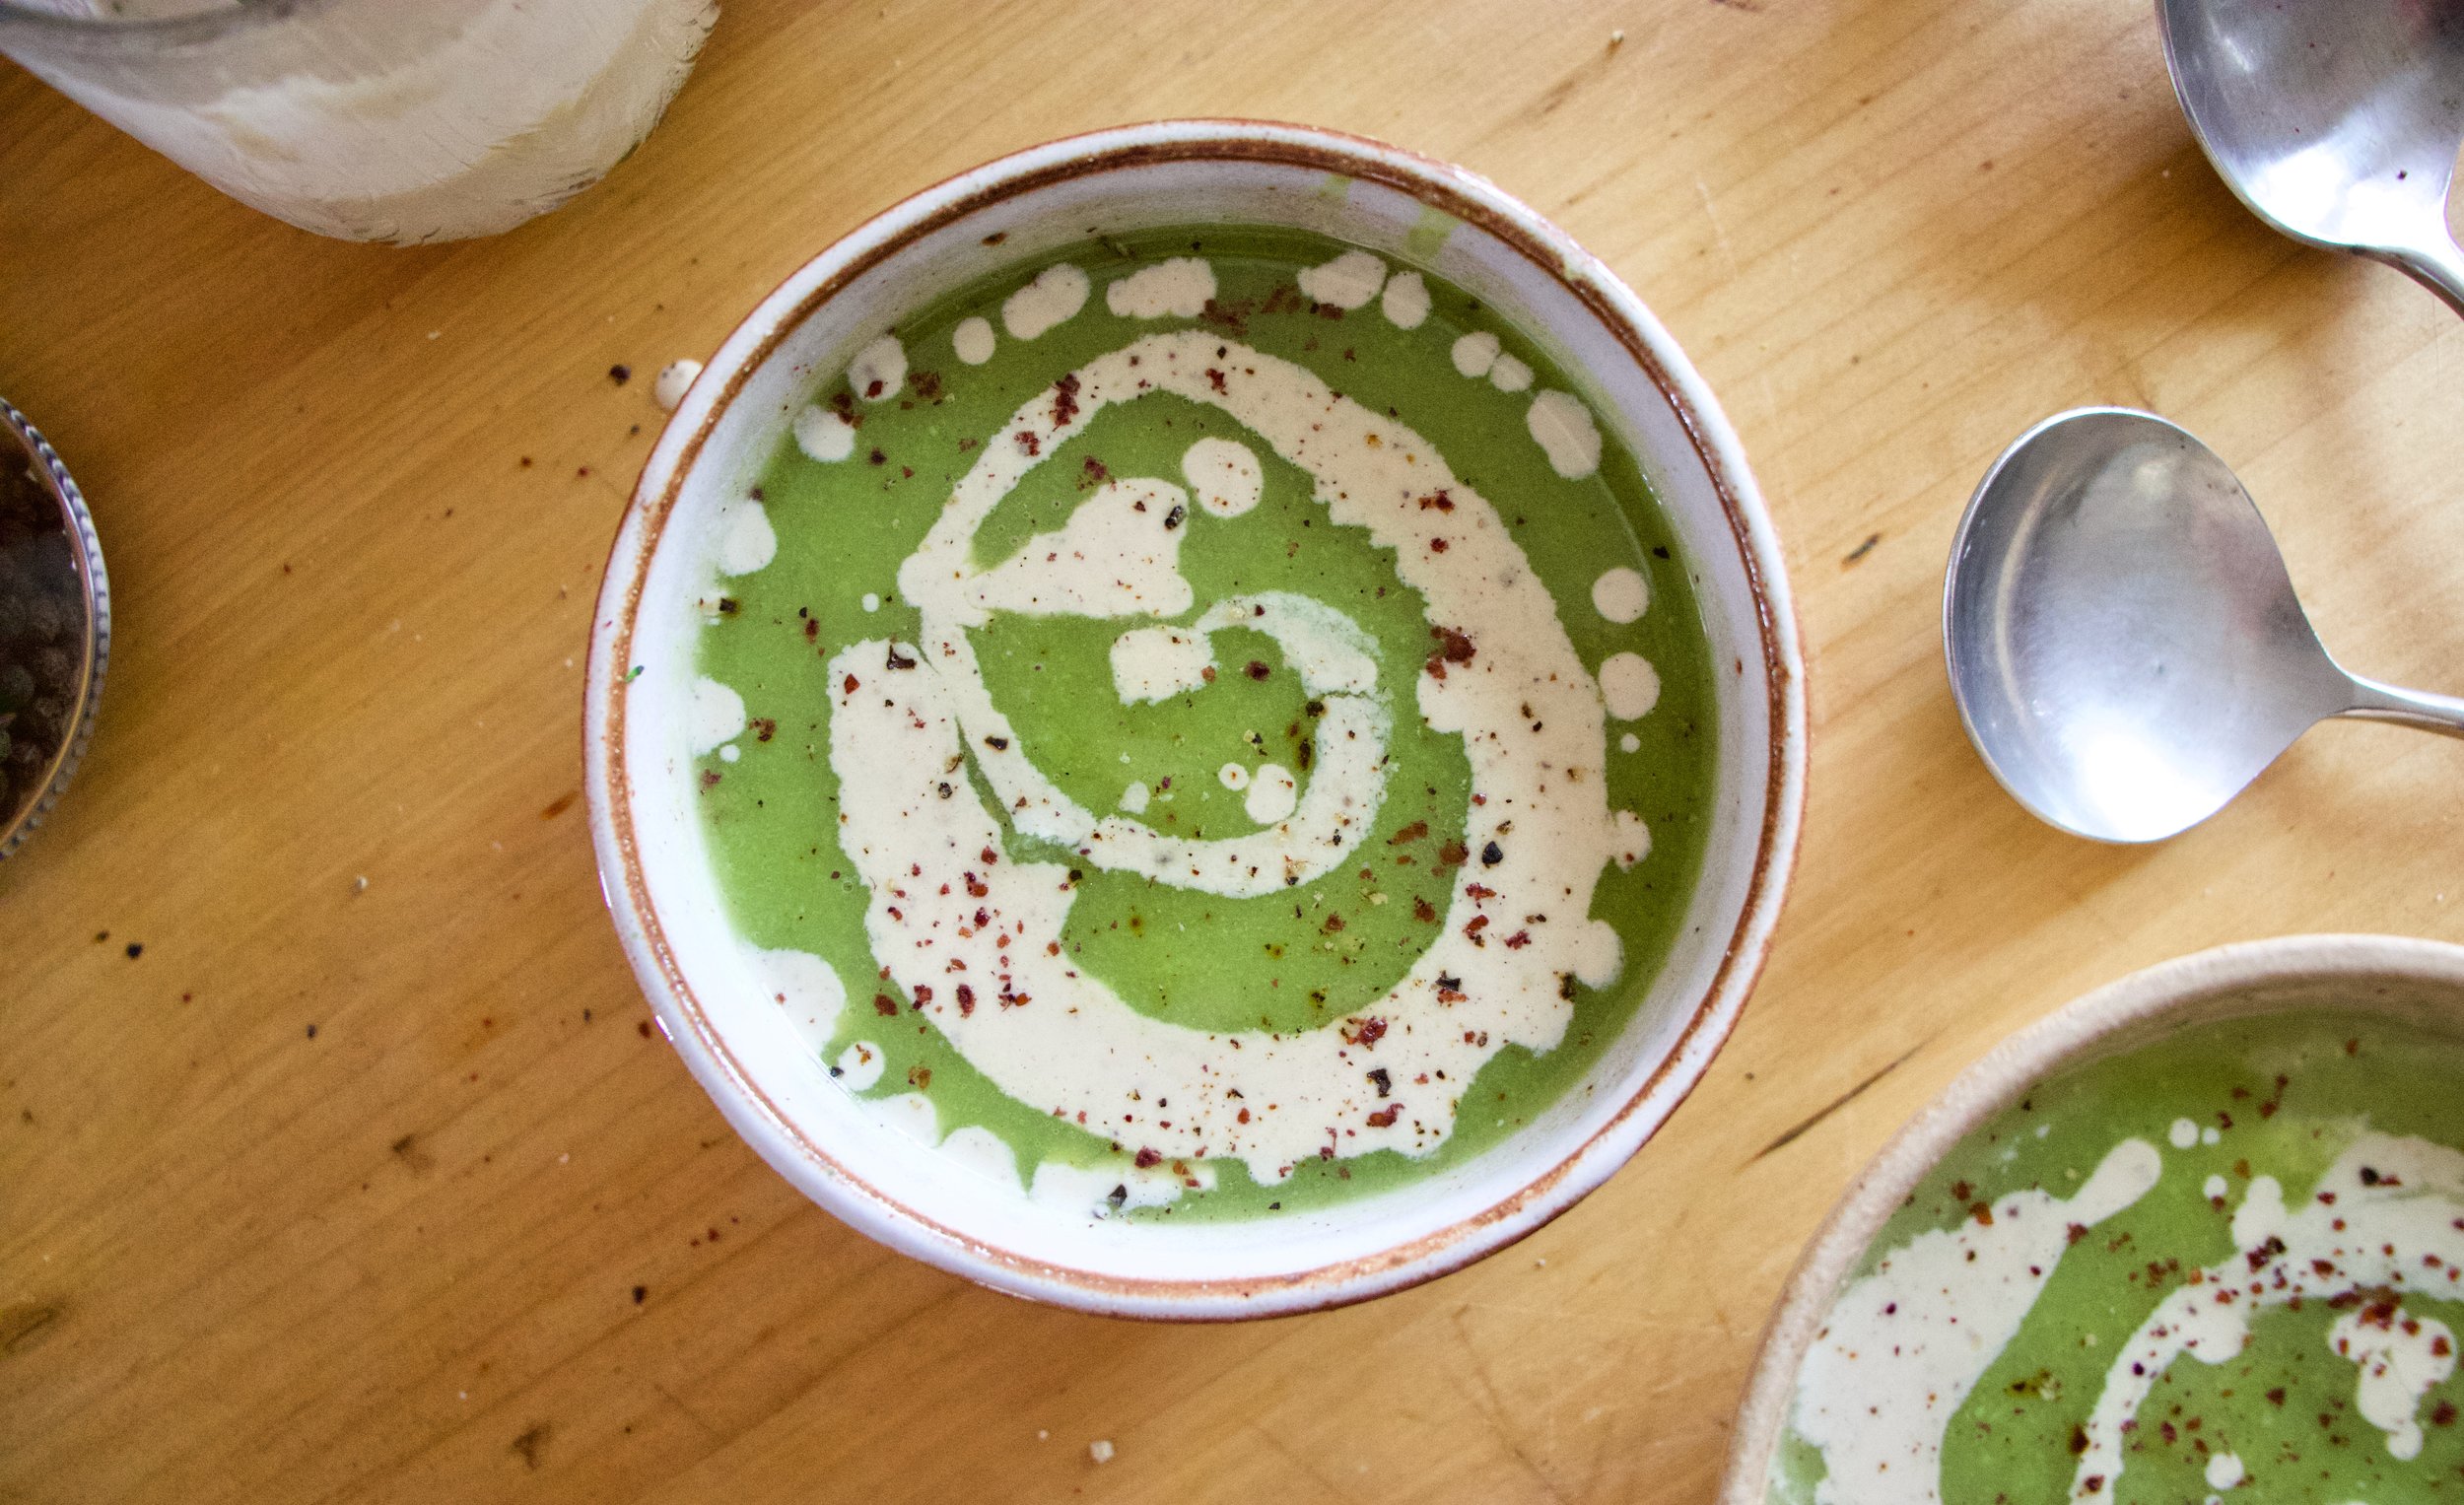
This soup is one of this velvety smooth, light but rich, delicious beyond delicious soups. A fresh spring time soup. Not to hearty or heavily spiced. Super rich and creamy and flavorful. Bright ass green which makes it amazing in itself, but then with a nice tangy sumac tahini swirl on top, well it is just about the most perfect soup. I made to share, which I did, (and everyone licked their bowls clean) but then hoarded the little bit left over and ate it cold for a late afternoon snack. That is another thing about soup, you can eat is cold and it is still amazing.
Tasty and delicious, and nutritious. This soup does it all.
To the soup!
The stuff. Peas, chopped broccoli, and chopped cauliflower which are all frozen and slightly thawed. You can totally use fresh here too, but I just so happen to have it frozen so you might as well save the fresh stuff for fresh eating. Also have a big yellow onion, a few cloves garlic, some tahini, a lemon, sumac, and salt and pepper. You need water which I did not picture here.
A pot, some water and a roughly chopped onion and the garlic start off this soup. Bring the pot to a boil, then turn to medium and let the onion and garlic cook until very tender. I have been making a lot of soups starting with this step lately. Boiling the onion and garlic until tender and fragrant really make for a super flavorful and clean soup base. Or soup in itself.
Now add in the broccoli and cauliflower to the pot and cook until tender.
Mid soup cooking time is a good time to make the sumac tahini sauce for the swirl. Basics here, just mix the tahini, the sumac, a pinch of salt and pepper, the juice of the lemon and a tablespoon of warm water together until smooth.
Last but not least, the peas. Add them in and they just need a few minutes to cook through.
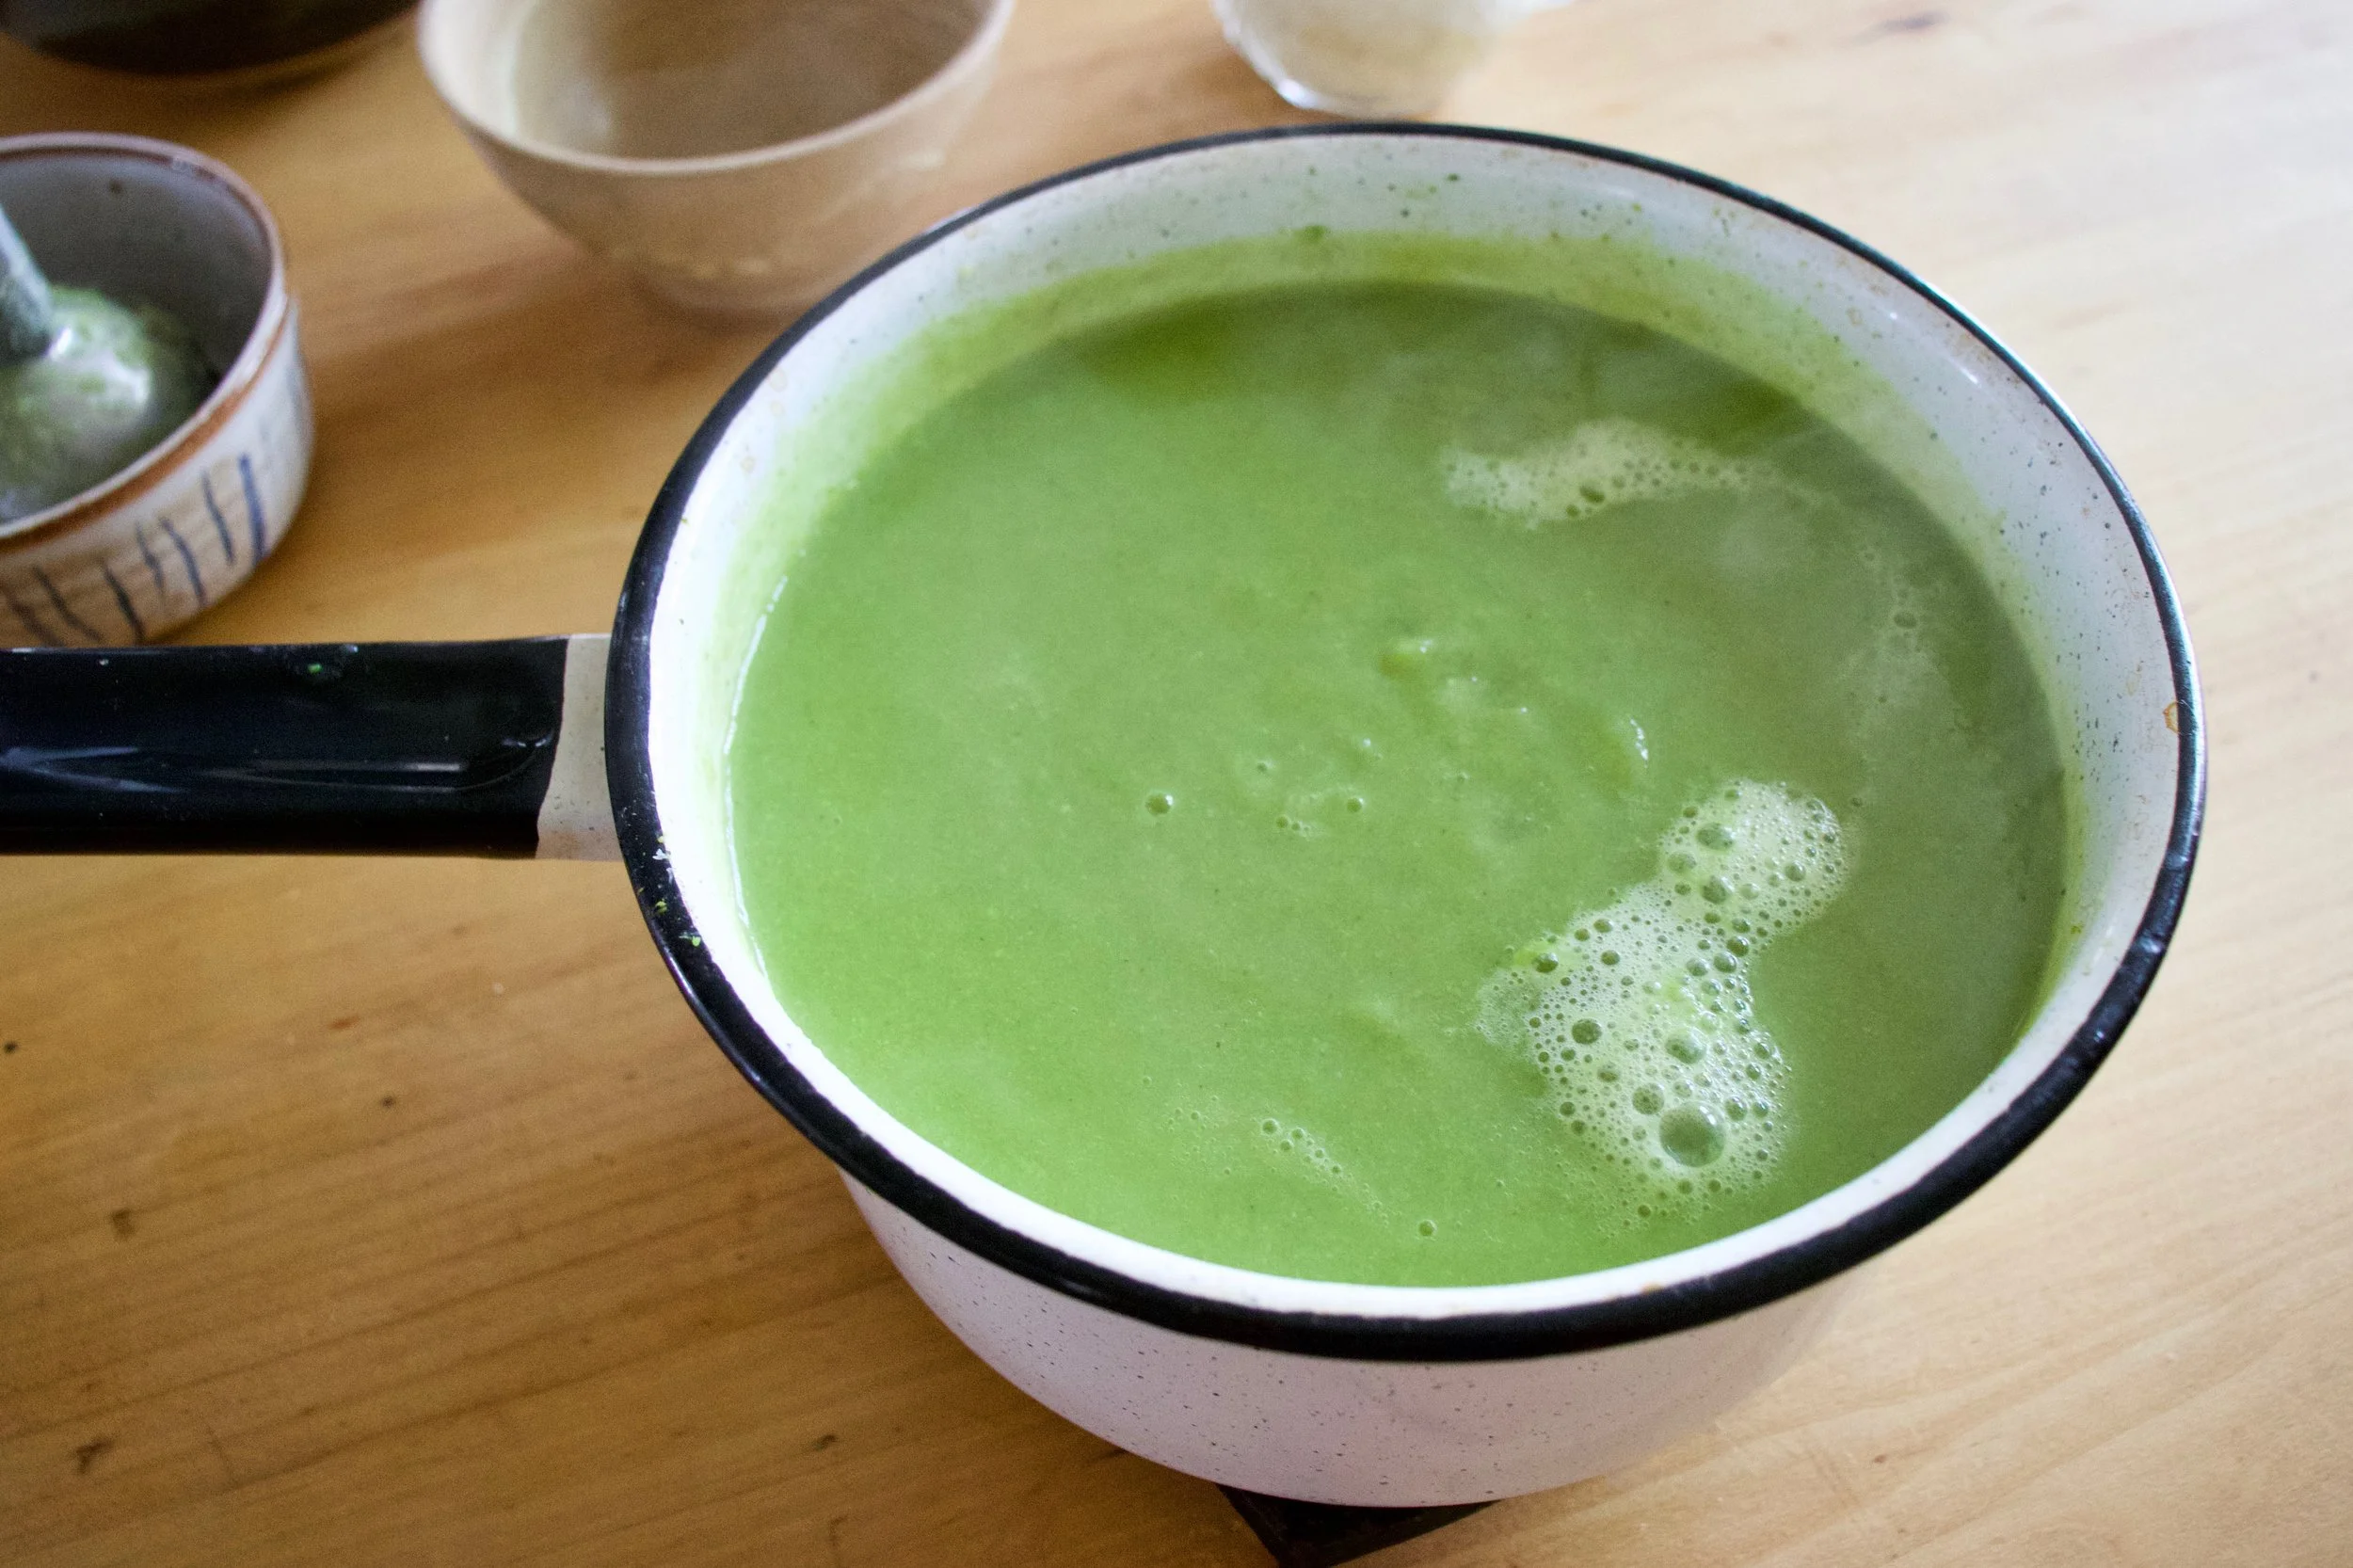
And then it all gets blended to become this green creamy goodness.
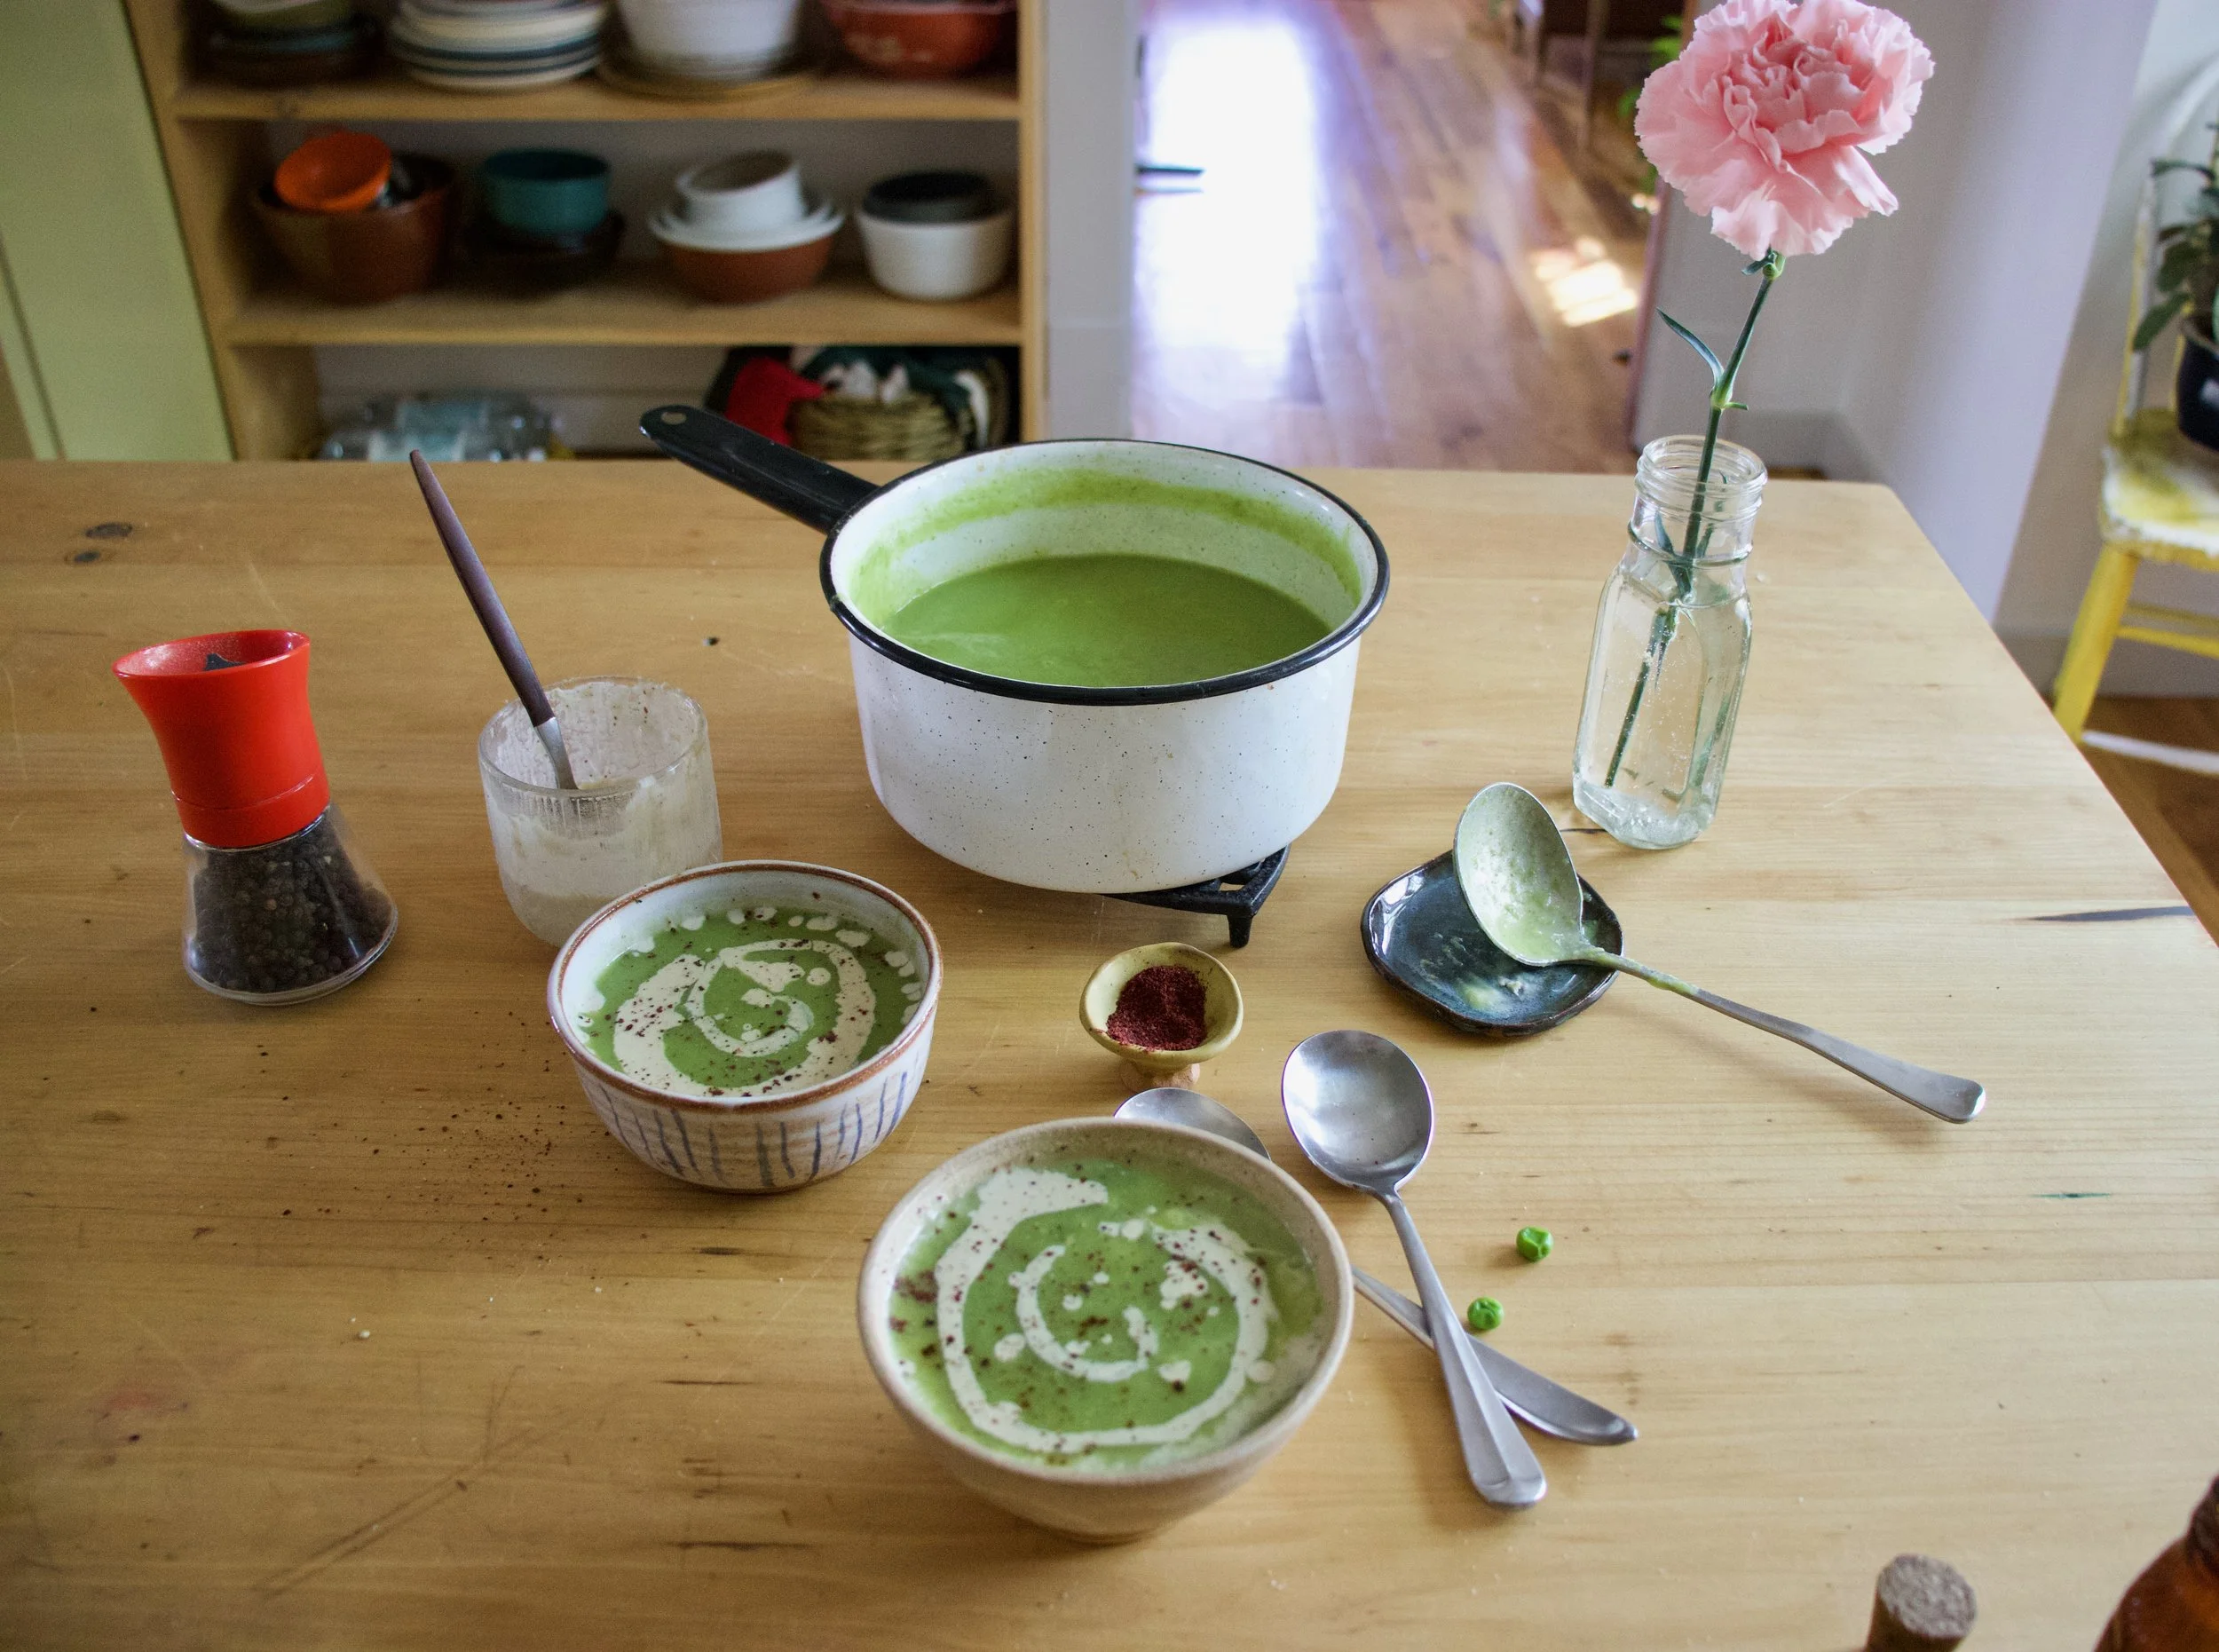
Ladle into bowls, grab the sumac tahini sauce and swirl it on in. A tablespoon or so is good. And don%u2019t forget a little more pepper and another pinch of sumac for good measure.
Just appreciate for a moment. That is one good looking bowl of soup. And it taste even better then it looks.
-C
Makes about 4 serving
1 1/2 cups fresh or frozen peas
1 1/2 cup chopped fresh or frozen cauliflower
1 1/2 cup chopped fresh or frozen broccoli
1 large onion
3-4 cloves garlic
4-5 cups water
Salt and pepper
1 teaspoon sumac
2 tablespoons tahini
2-4 tablespoons warm water
Start by removing the papery skin from the onion and chop into a few big chunks. Remove the skin from garlic too. Place into pot with 4 cups water. Turn heat on high and bring to a boil then turn heat to medium and let onion are garlic cook until tender which should take about 15-20 minutes
Once the onion is cooked, add in the broccoli and cauliflower. Turn heat back to high and bring to a boil again then turn back down to medium heat. Keep cooking until tender (another 15 minutes or so) then add in the peas. Keep on heat until peas are cooked through then remove the pot from heat and either transfer to a blender or use a immusrian blender to blend the soup until smooth. Add a little more water if needed to get to the right consistency to blend right. Or if you want a thinner soup.
For the tahini sumac swirl just mix the tahini and sumac together along with the juice of the lemon, two tablespoon warm water and a pinch of salt. Mix together until smooth. If the mixture is to thick, add another tablespoon of water.
To serve. Ladle or pour soup into bowls and drizzle and swirl the tahini sumac on top. Sprinkle with pepper and a pinch more sumac and you are good to go.
When the mr got home from work last night, her got himself a super great dinner suprice
Pizza, on a Monday. Woo Hoo! (I am so awesome, my sister even texted to congratulate him on his unexpected pizza dinner)
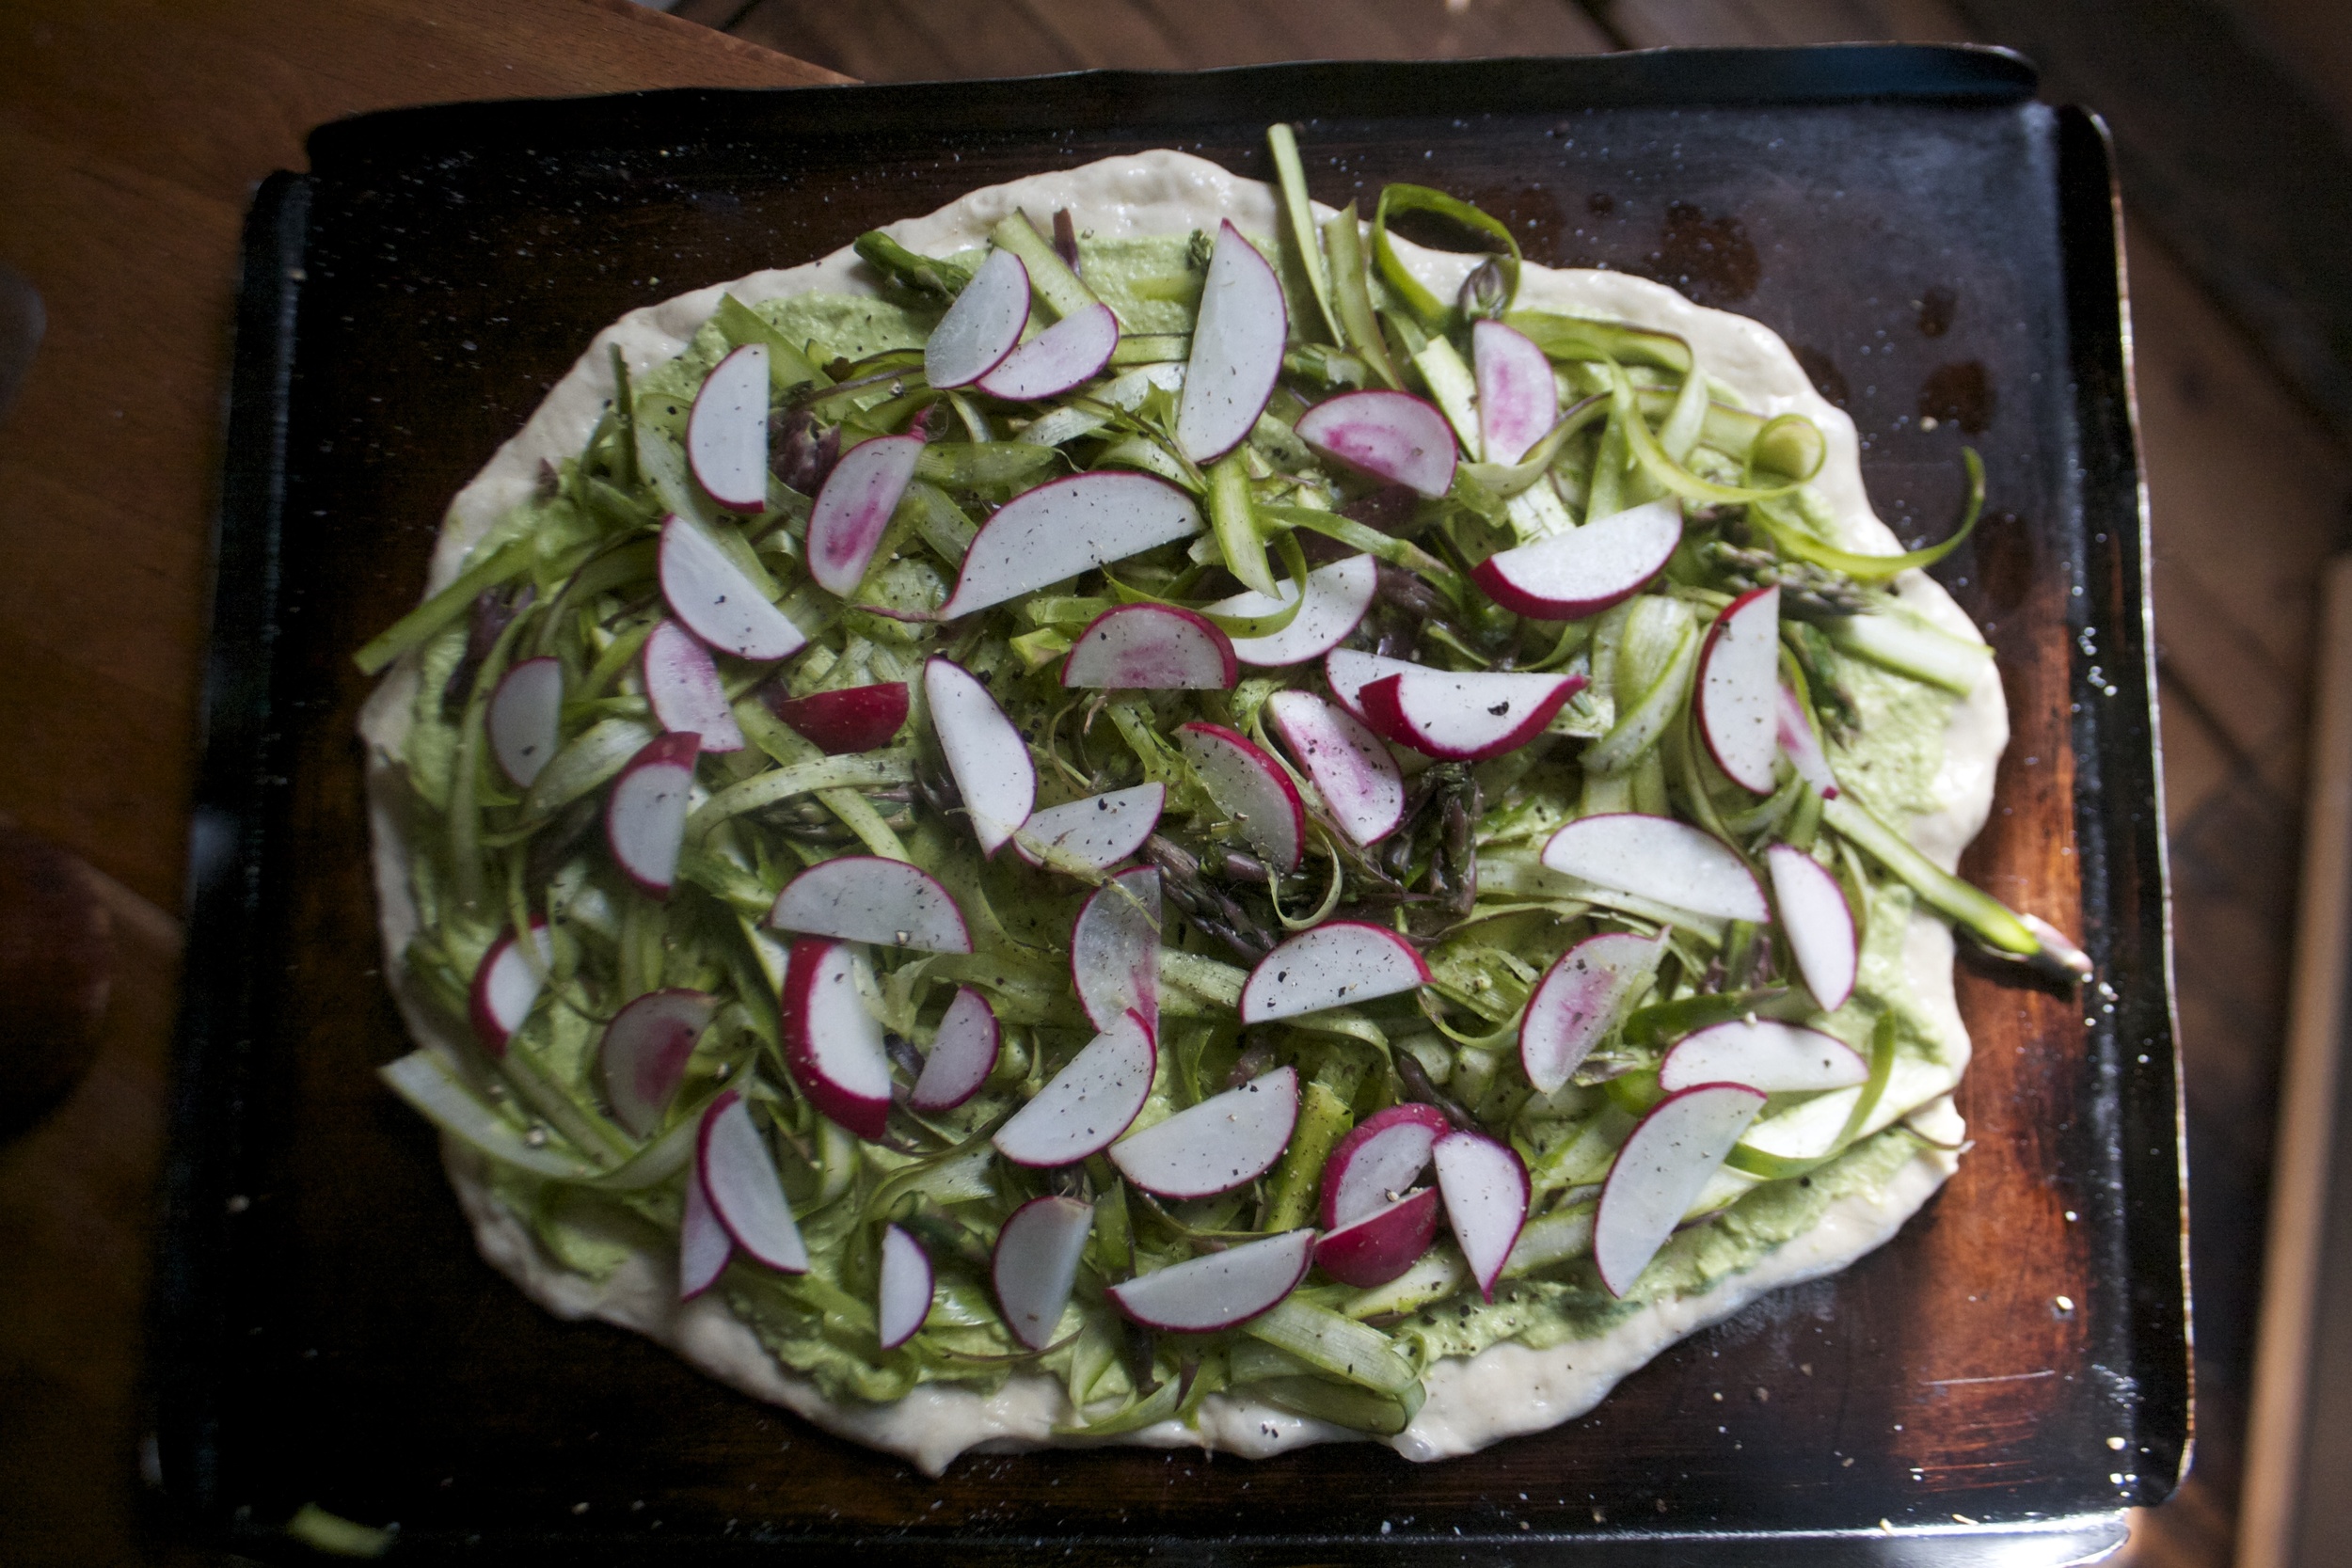
But here is the thing. I think pizza is a completely acceptable dinner any night of the week just as long as it is not covered in a shit tone of greasy cheese or any other kinda heavy and not so good stuff.%u00a0 This is a not one of those types of pizzas. This pizza is light, the crust rolled slightly thin, covered in a creamy sweet pea and cashew cream, (which is really pretty) and topped off with a tons of shaved asparagus and sliced radishes.It’s a celebration of spring time veggies and tastes so f*ing good. Sweet and creamy from the peas cashew cream, a nice crispy freshness from the asparagus, and a nice little spicy kick from the radishes. All the flavors that make me happy. It’s oh so good. .
And really, It’s almost like eating a big salad with a piece of bread. Not a bad dinner right? So do yourself a favor and make that salad and bread into this kick ass pizza.
You can, you should, you, must.
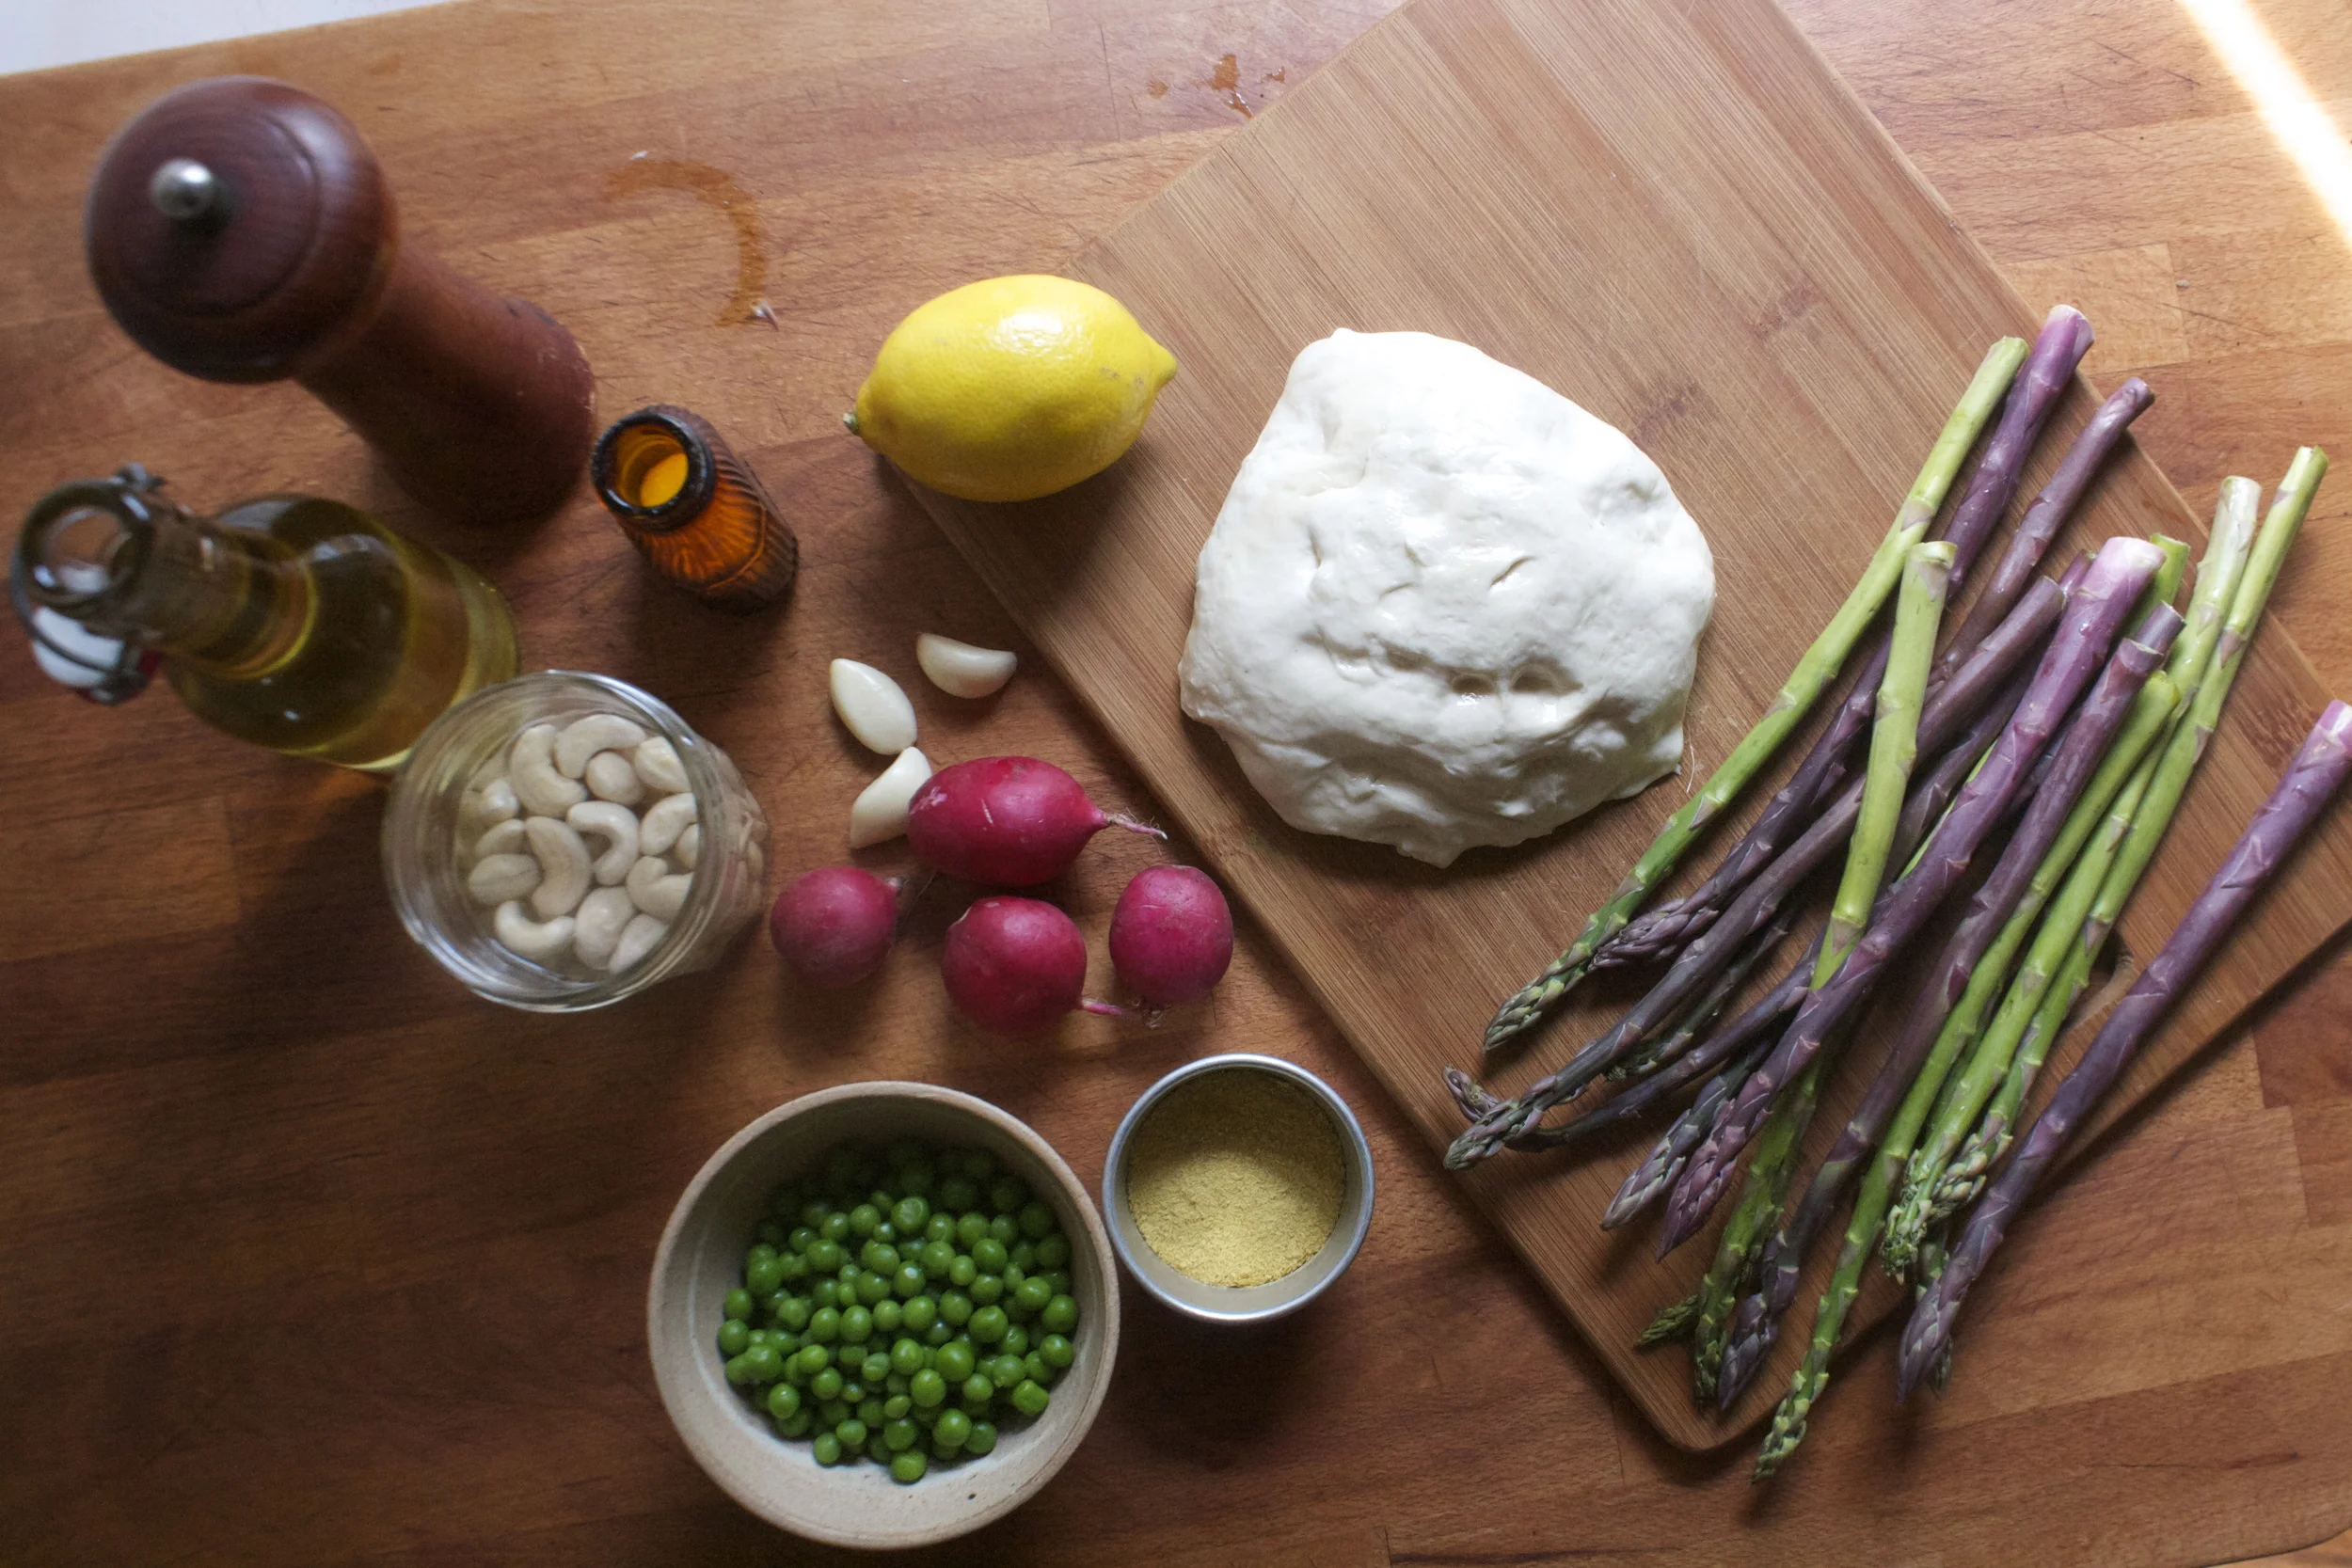
The stuff. Peas (fresh or thawed out frozen.. my were frozen) some cashews soaking in water, a bunch of asparagus (I had purple but you can just use green) ans a few radishes. Also need a lemon, some nutritional yeast, a few coves of garlic, salt and pepper, and a little olive oil. Oh, and a pizza dough.
To get the cashew pea cream going, strain the water from the cashews and dump them into a blender along with the peas, garlic, nutritional yeast, juice of half of the lemon, and a pinch of salt. Turn blender on and slowly add in a bit of water, just enough to get the stuff to start blending. Keep on blending until nice and smooth.
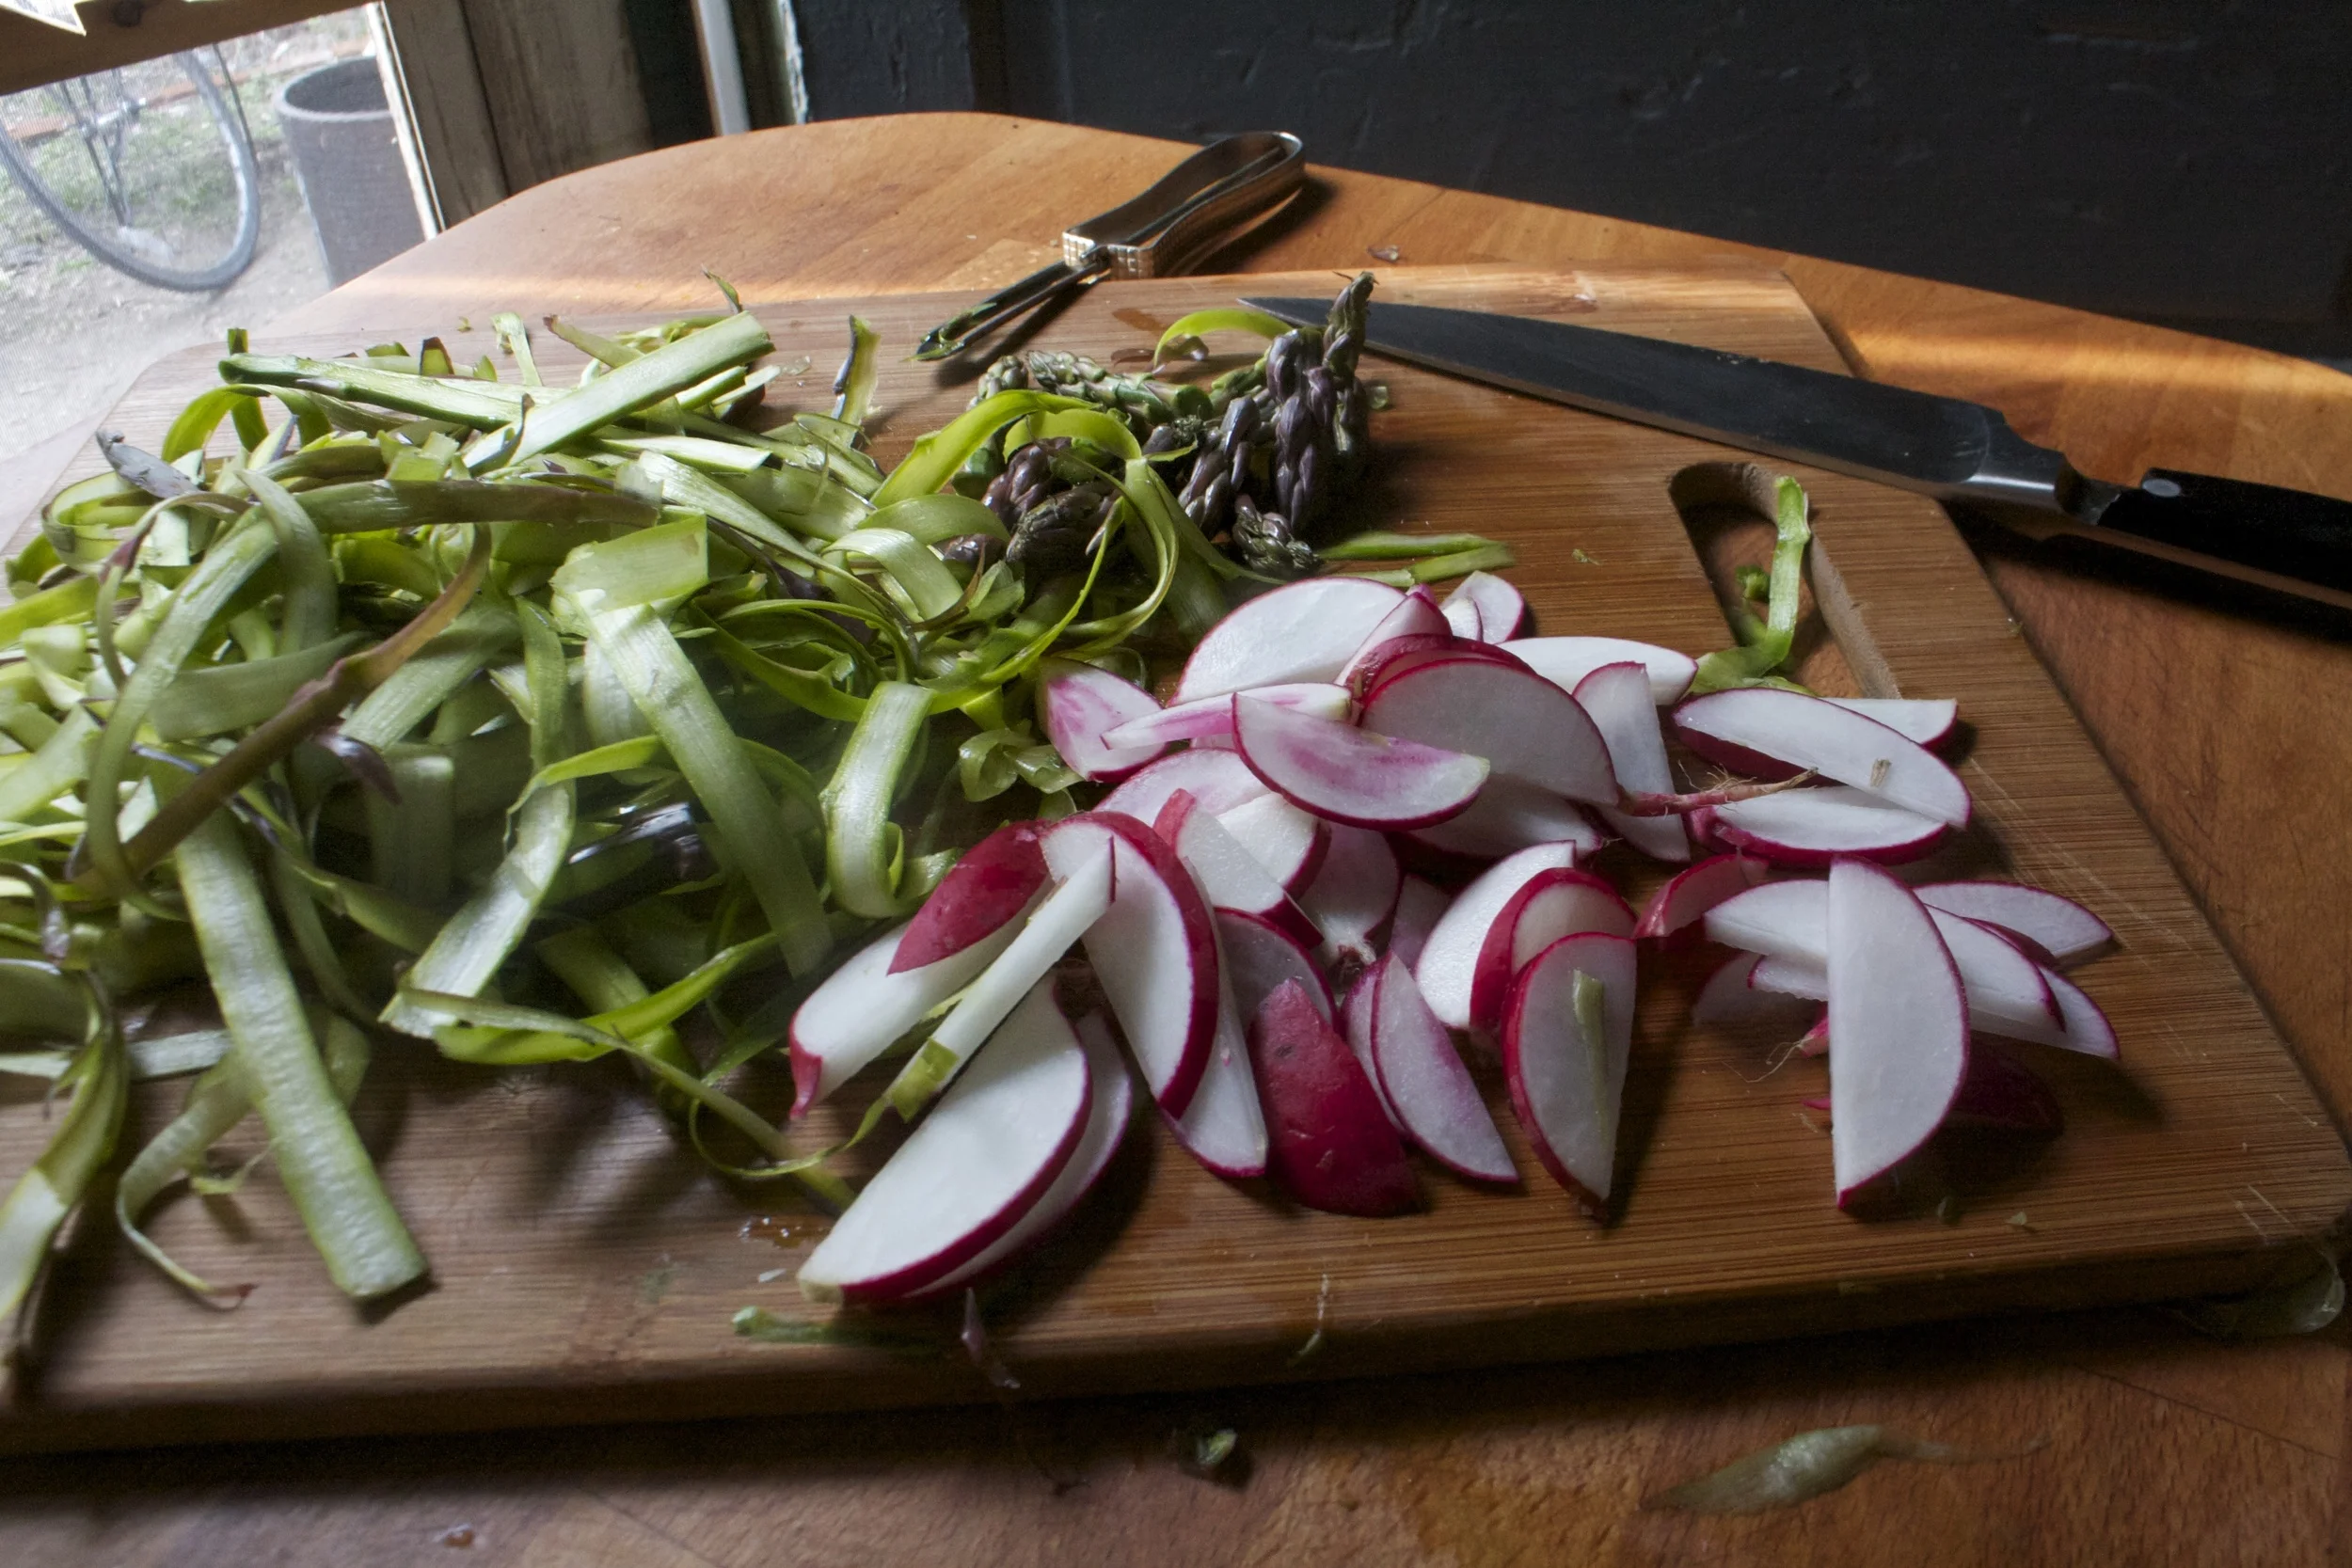
And now shave the asparagus down. I found the easiest way to do this is to chop op the crown part then place the stock on the counter and peel away from you. Not all peels are going to be uniform and perfect, which is good for a textured pizza. Any pieces that break off or shave off weird, keep them too, it;s all going on the pizza. If you asparagus is not super fresh, they might have woody ends.%u00a0 When done shaving just toss those into a bag and save for a soup later.
And now that the asparagus is done, thinly slice the radishes up.
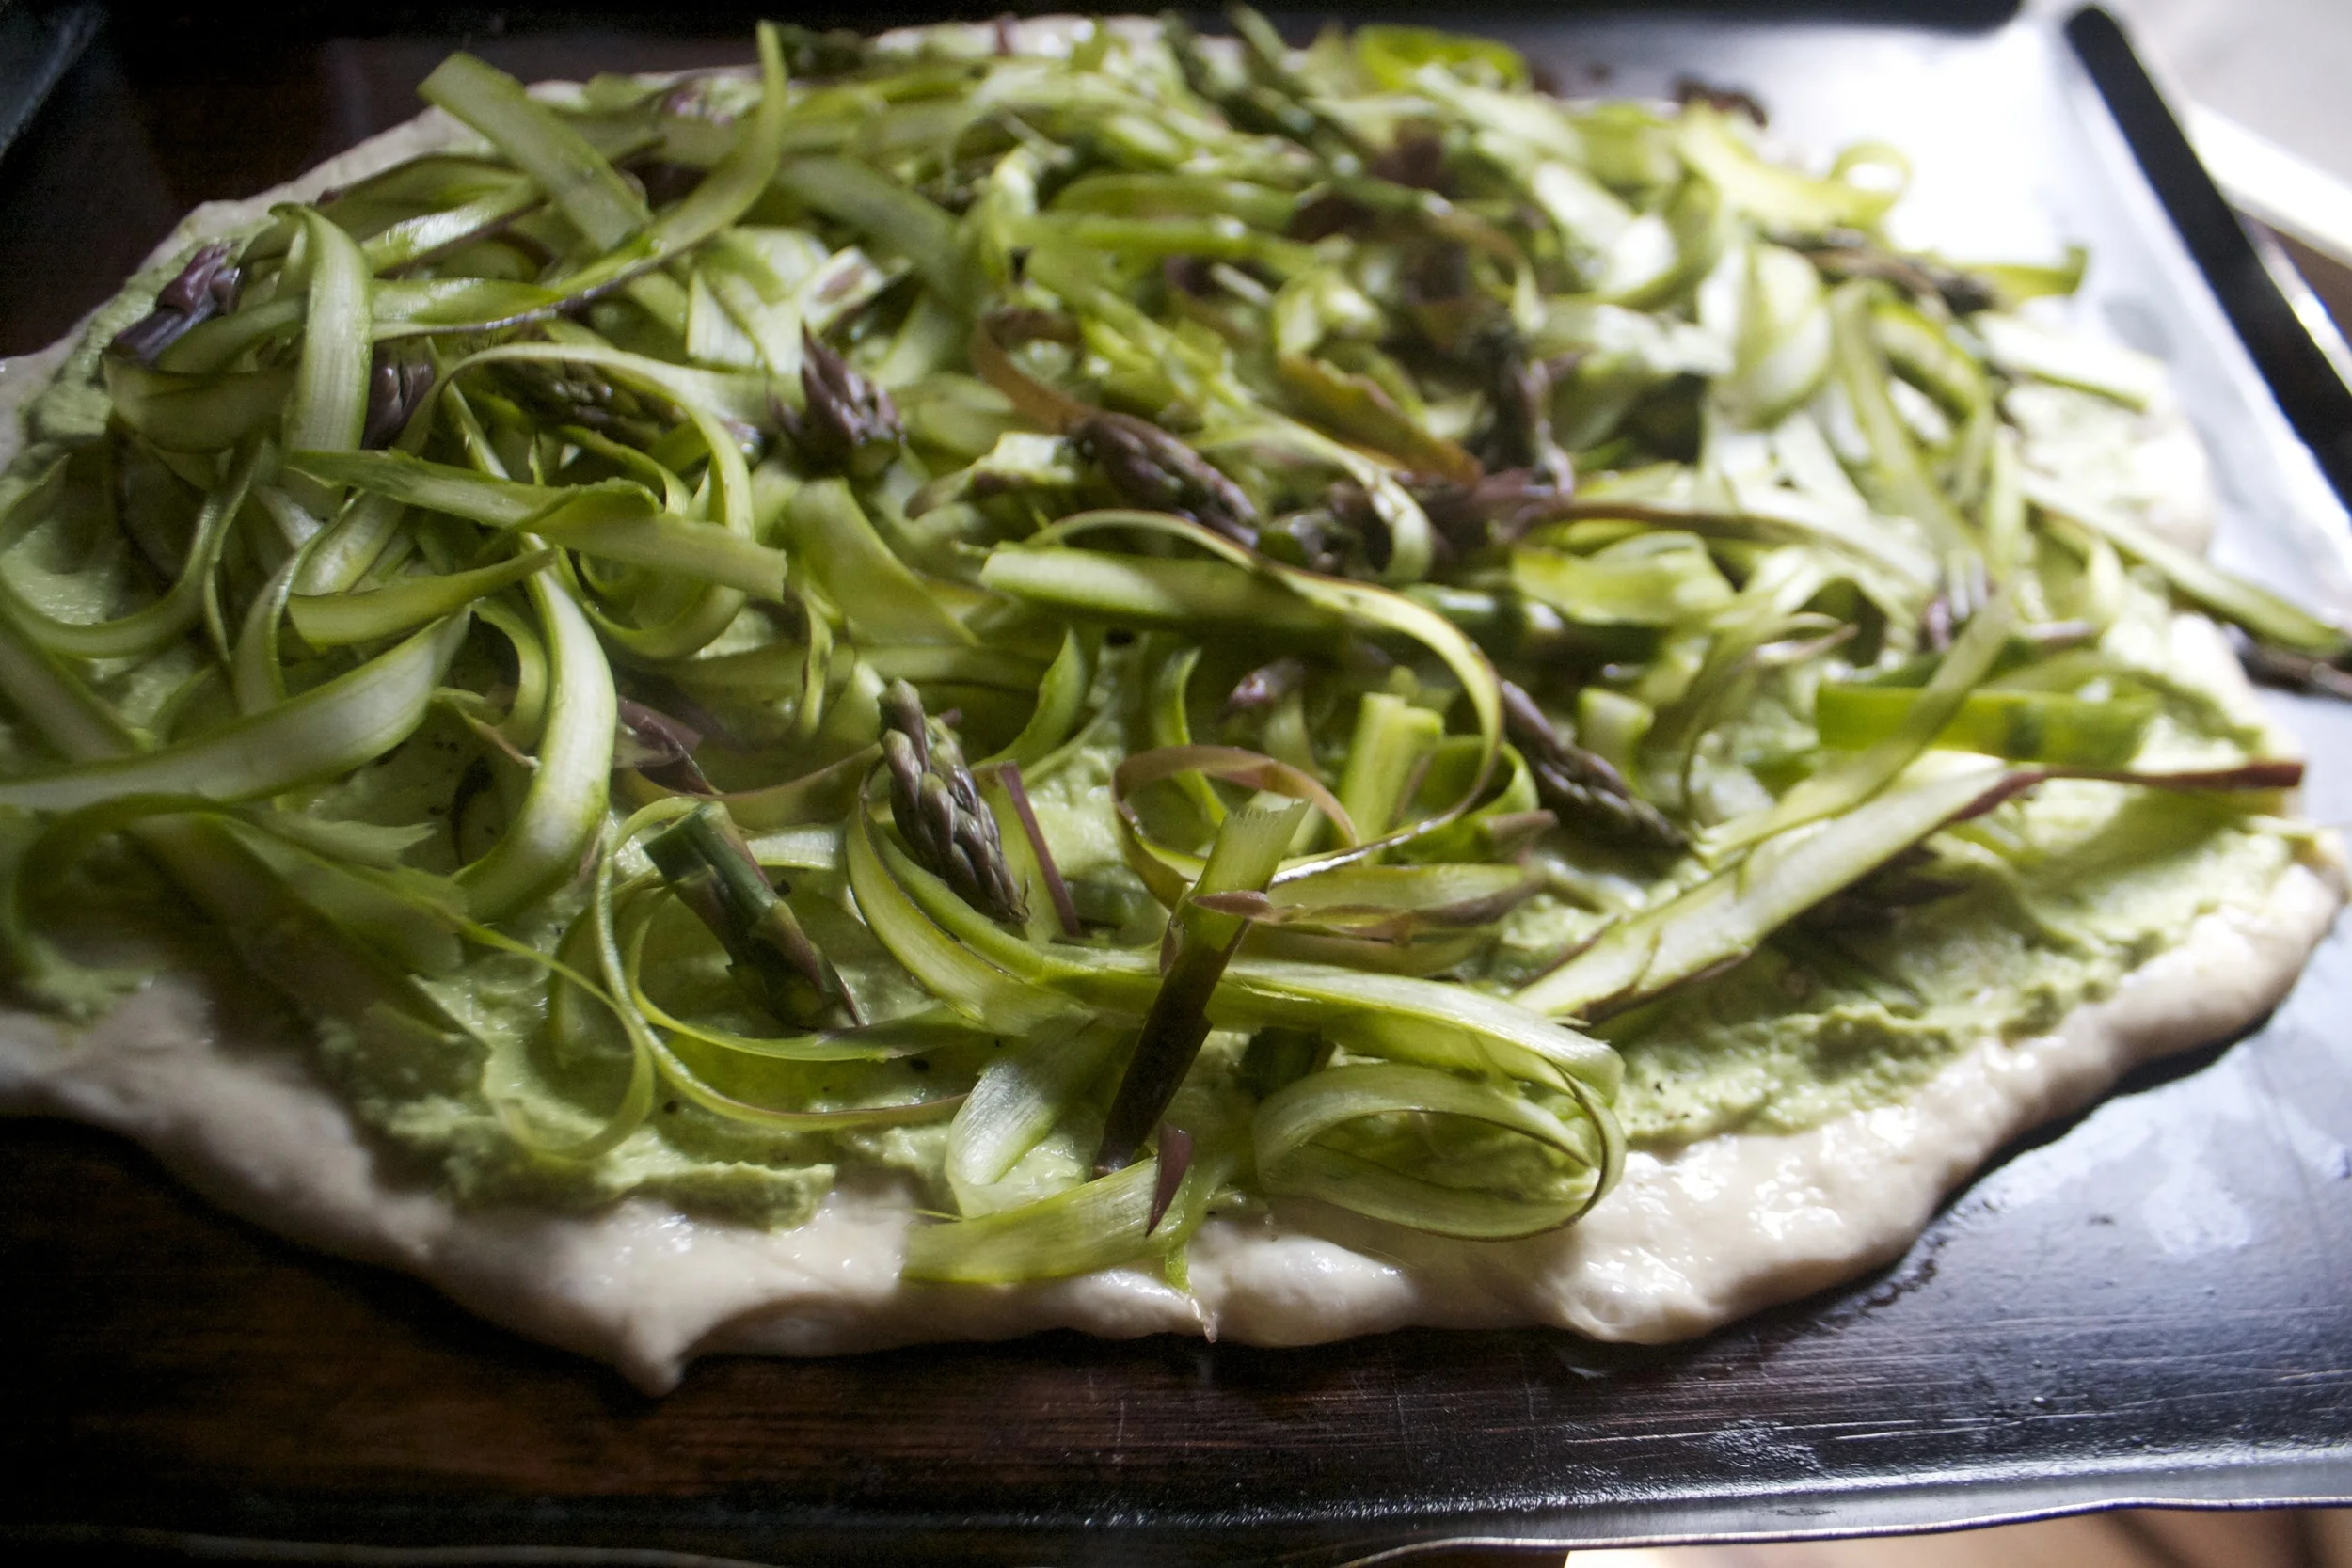
Get that pizza dough onto a baking devise (use a baking sheet, pizza stone, or whatever you usually make pizza on. I used a lightly oiled baking sheet)%u00a0 and smear lots of that cashew pea cream all over it.
Pile on the shaved asparagus and all the ends and tips that we cut off or broke off.
Top with the radishes and a good pinch of salt and lots of fresh cracked pepper.
Into the oven it needs to go.
Pulled from the oven, looking all pretty and springy and smelling so amazing.
Drizzled with a little of the left over cashew pea cream and a few squeezes of fresh lemon.
Your good to go!
Pizza on a weekday, it’s what you need in your life.
-C
1 12oz pizza dough (use this recipe, your own, or store bought)
10-15 or so stalks of asparagus (about 1/2 a pound)
3-4 big radishes
1/2 cup peas
1/2 cup cashews (soaked for about 1/2 an hour)
2-3 cloves garlic
3 tablespoons nutritional yeast
1/8-1/4 cup water
A lemon
olive oil
Salt and pepper
Preheat oven to 450
First off, prepare your pizza dough or remove it from the fridge to come to room temperature.
Strain the water from the cashews and add them to a blender with the peas, the juice of half a lemon, 1/8 cup of water, the nutritionalyeast, and a sprinkle of salt. Blend until smooth. If you need to, add in another splash or two of water to thin it out.
Grab your asparagus stalks ans chop off the top crown parts. Take the remaining stalks and peel them. Do this by holding the stalk flat on the counter and while holding to the end, peel the stalk away from you.%u00a0 I(f your asparagus is not super fresh ans had woody ends, use those to hold on to and when done shaving, just toss them into a bag and save for a soup later)%u00a0 Shave each piece until you cant shave any more. Some pieces are going to be super thin, some kinda thick… that’s totally cool, it add dimension to the pizza.
%u00a0 And now, as thinly as you can, slice the radishes.
To assemble pizza- Roll out dough kinda thin and place on a lightly oiled baking sheet.(you can bake your dough any way or on any thing that you usually do)%u00a0 Smear a good amount of the cashew pea cream on dough. You will probably have a little left over which you can either water down a little as a drizzle for the done pizza or just save for a sandwich or a veggie dip for later.%u00a0 Topthe smeared dough with all the shaved asparagus and chopped off crowns then layer on the radishes .Sprinkle with salt and pepper and stick into the oven. Bake for 15ish minutes or until your crust golden brown and done to your liking.
When you remove the pizza from the oven, feel free to drizzle the remaining cashew pea cream all over and definitelytop with a squeeze of more of fresh lemon.
Cut into pieces (square, triangles or what have you) and serve to your open mouth!
Happy Spring Eating!
Yesterday was kind of a shit show as far as the weather was concerned.%u00a0 I woke up early to a lovely light blanket of snow, the temperature hovering around 32 degrees. The air was nice and crisp, the sky was a light grayish blue. The neighborhood was quite. I walked the pup and then took off for the morning. It was so nice.
How that changed fast. Walking home a few hours later I was a hot , drenched, cold and damp mess. All that snow turned into slush and gigantic puddles and it was raining a good steady soaking rain. And I had to walk my butt home. So that was great.
But you know what these weather make me think of… Spring!!!! Yes, warmer, slushy, mushy weather. Mud all over the house and a wet smelly dog All the things that should not be happening right now but are. And now I have the springtime feels hard.
With things all springy, I was thinking of spring veggies and just wanting something bright and pretty and tasty. Peas! Peas are a good spring veggie, and where there is peas, there carrots. (or should be)%u00a0 But not plain, run of the mill peas and carrots. First off I got the prettiest colorful purple, white, and orange carrots because I needed some color. Right there that made me super happy, Then instead of just steaming them with some peas, I did roast those carrots to bring out all the sweet juicy flavors. Then those pea. Not really in season yet, so I went with frozen (I love frozen peas)%u00a0 and made the brightest, most amazing creamy pea sauce infused with garlic lemon, and dill. (all spring time flavors)
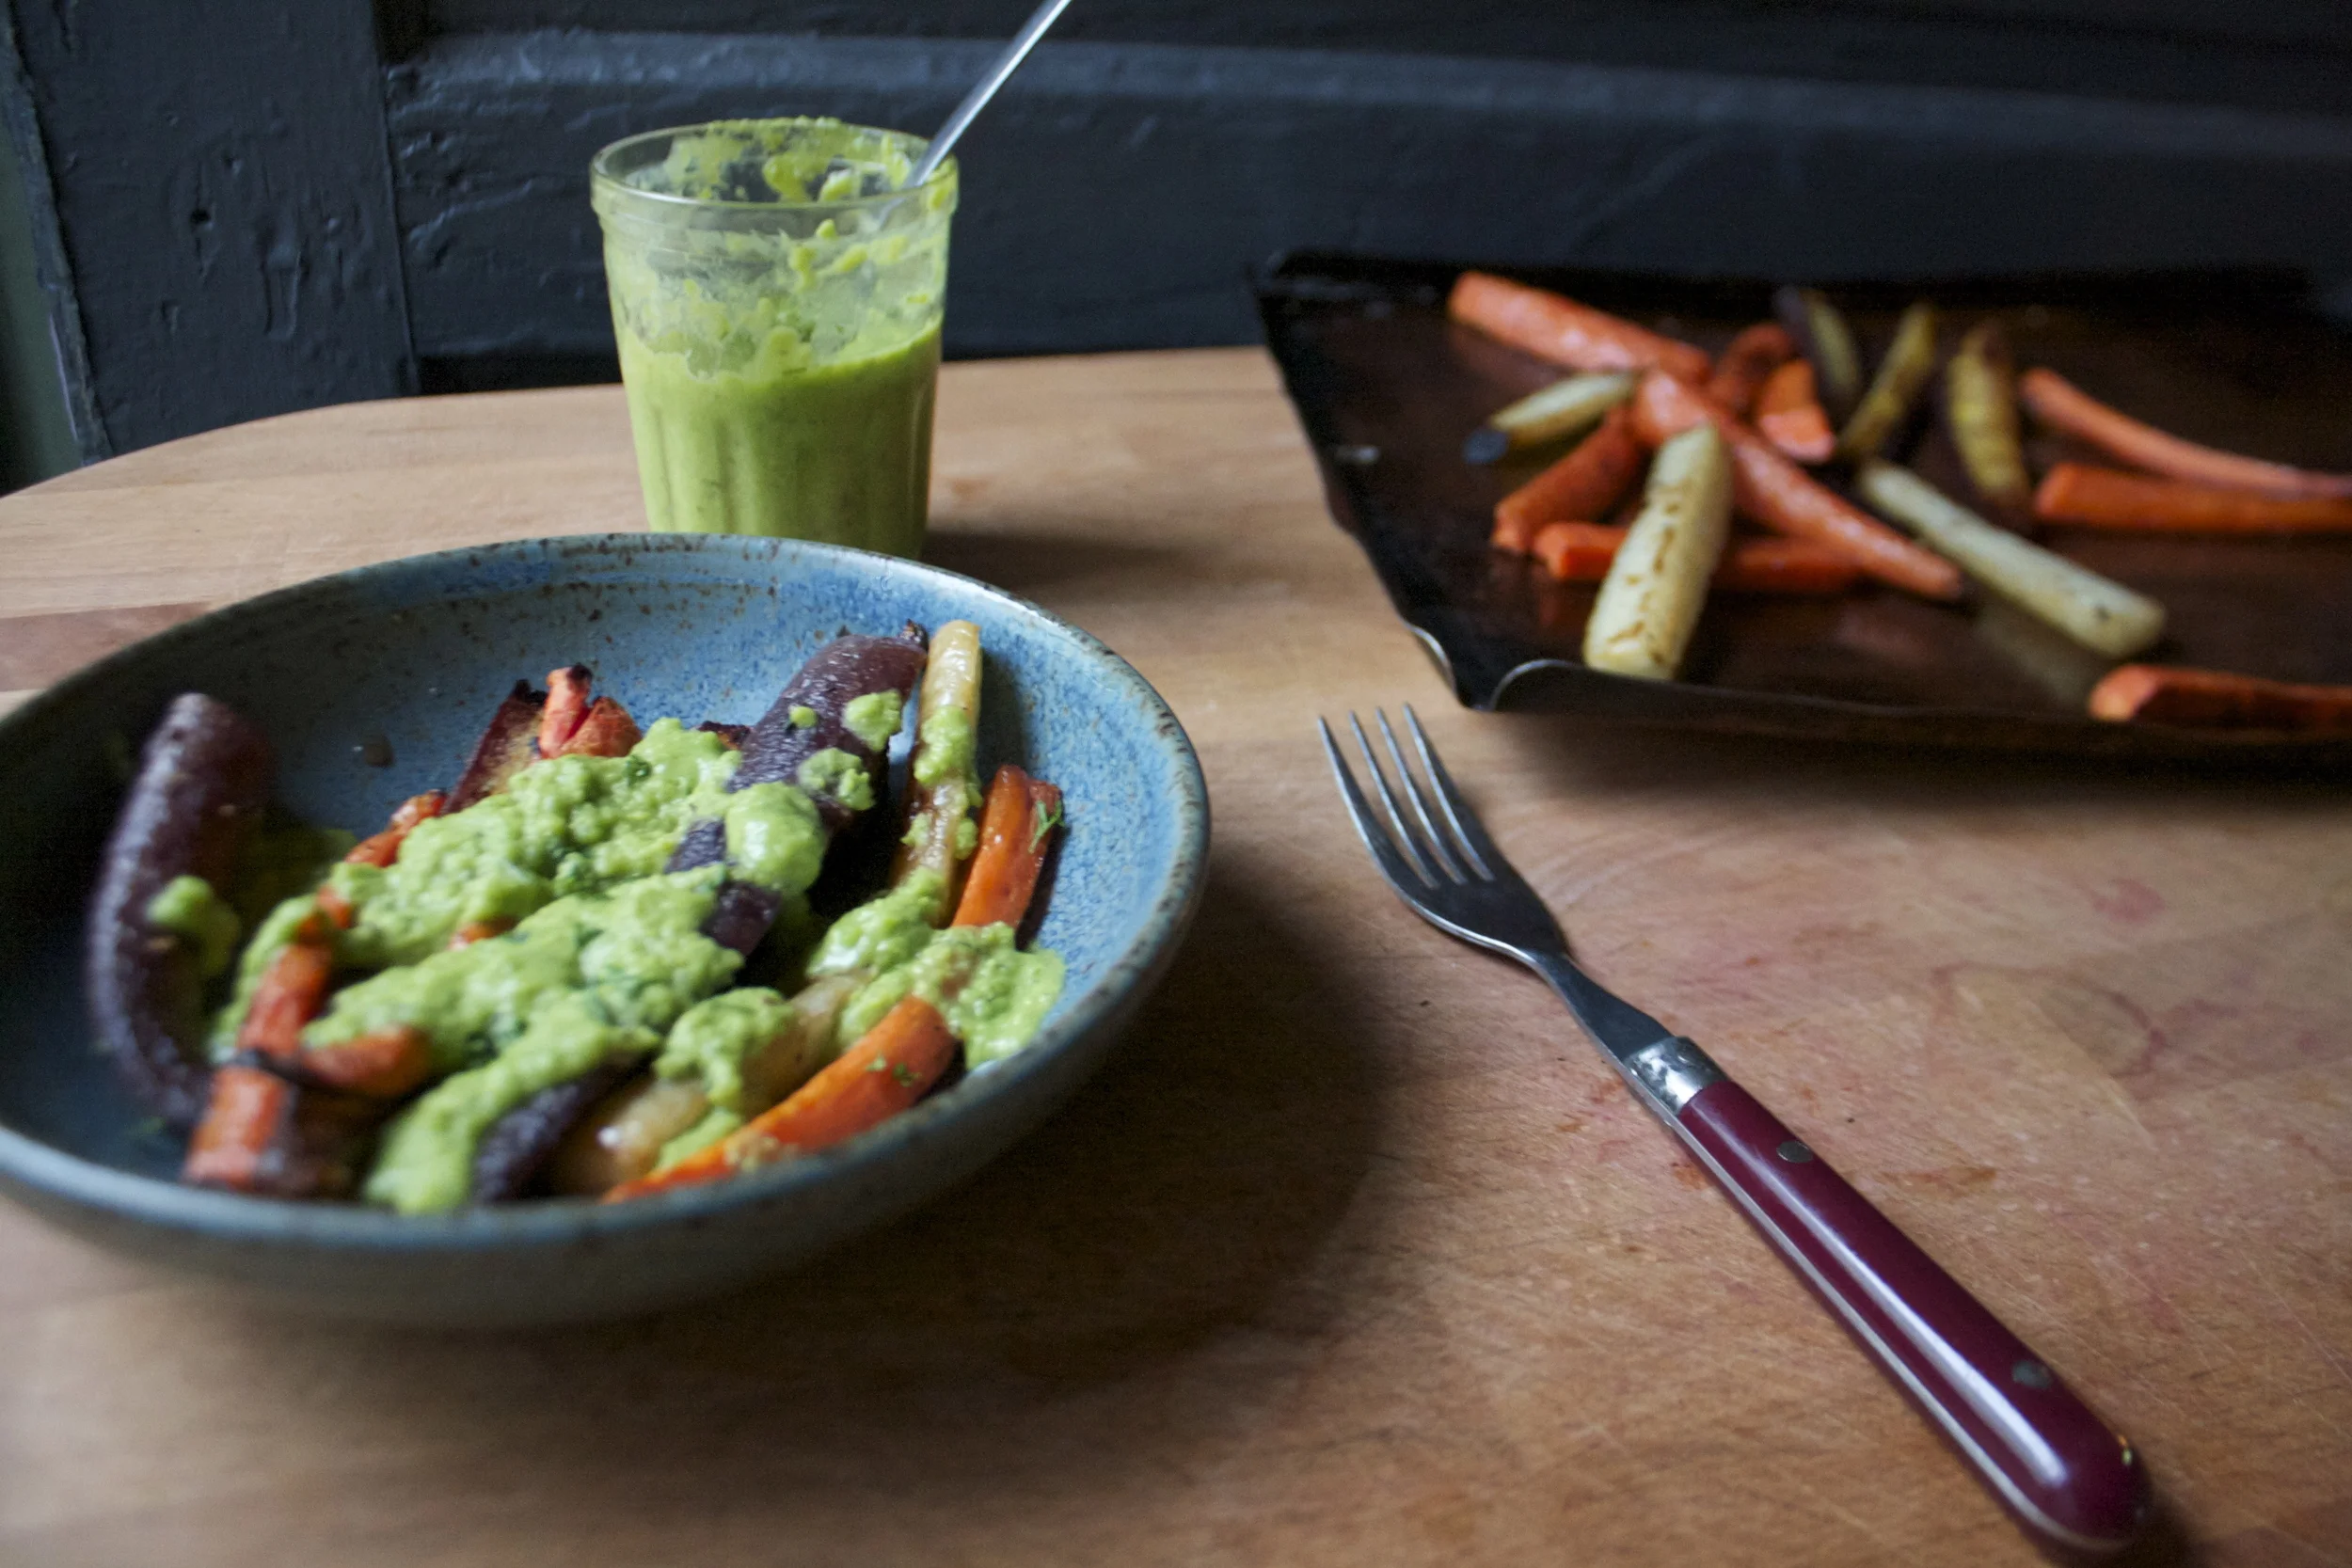
The results… I love roasted carrots so no surprise there but the creamy peas…KA-POW amazing!!!! My mouth has never been so happy to eat peas. and it really loves peas. Fresh, clean, tangy…I made, I ate, I though about them all night. And of spring and all the peas and carrots I am going to plant…and eat.
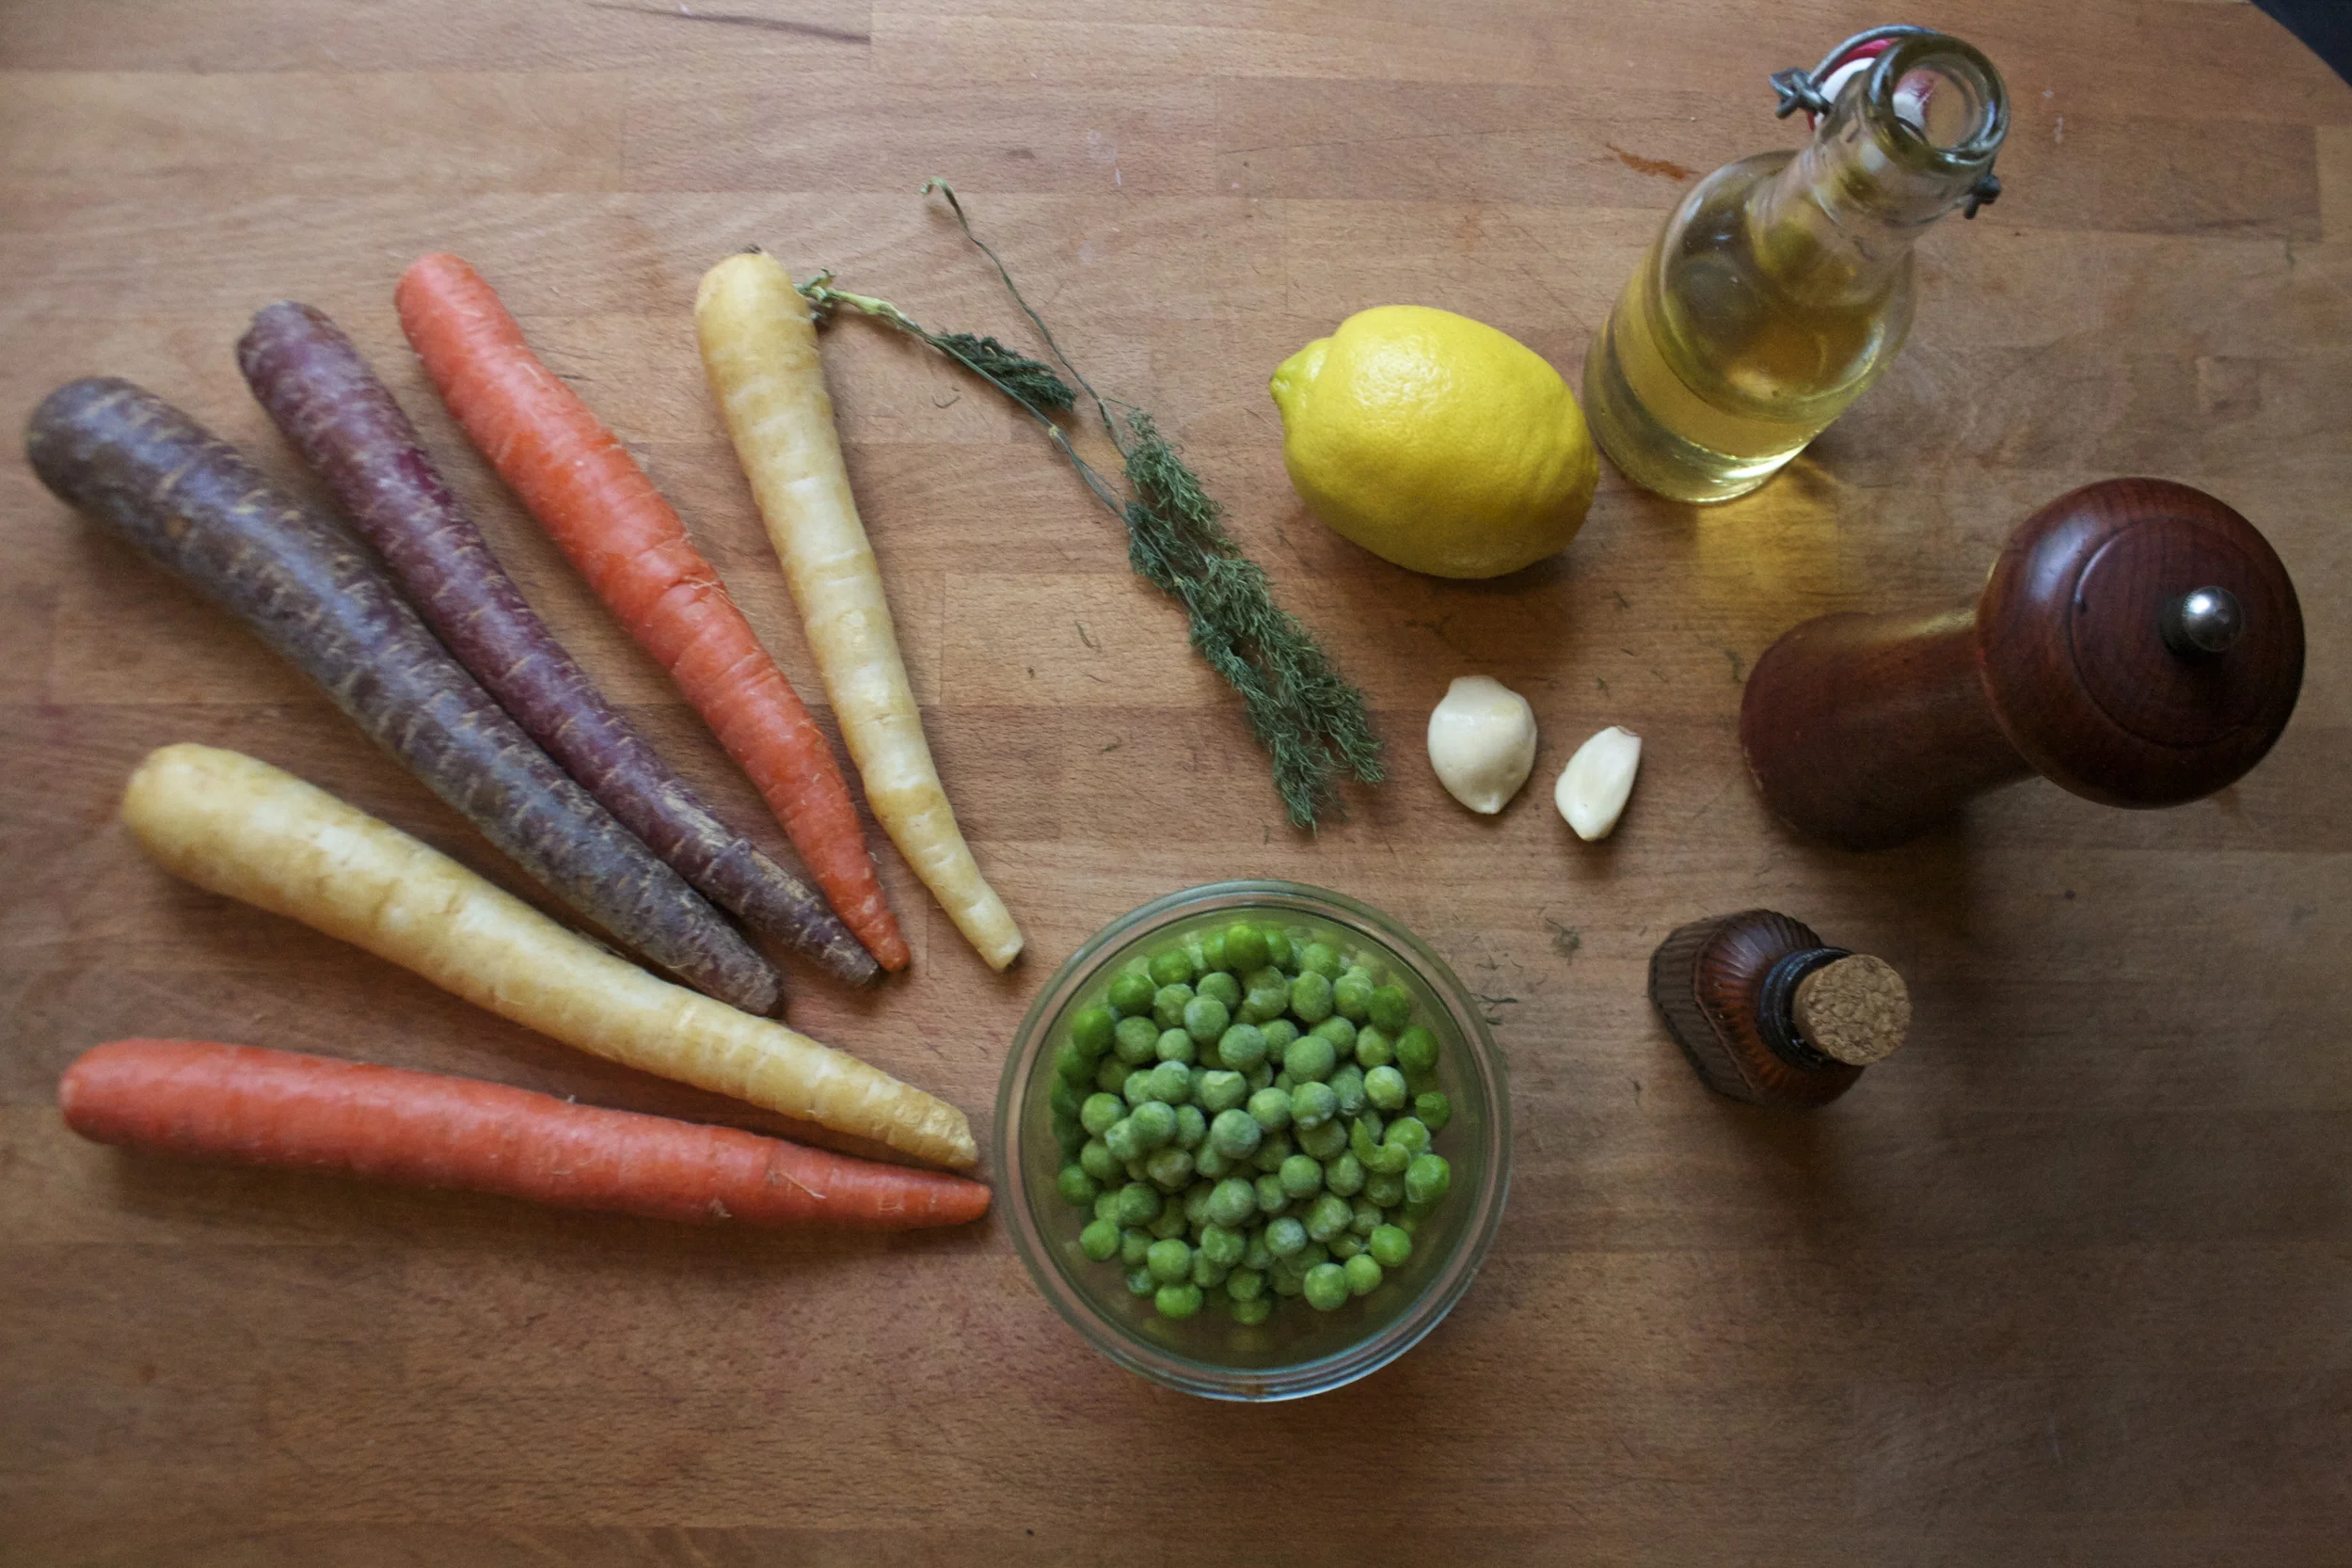
The stuff. The prettiest bright and colorful carrots and some green as can be frozen peas. Dill, garlic, and lemon to add to the peas and some olive oil, salt and pepper to roast up the carrots.
Chop up the carrots and tossed with salt and pepper and a drizzle of oil. And onto a baking sheet and into the oven to roast.
Dump those peas into a pot with water, garlic, and the dill. Stick the pot on the stove ans bring to a boil for a few minutes then remove from the heat.
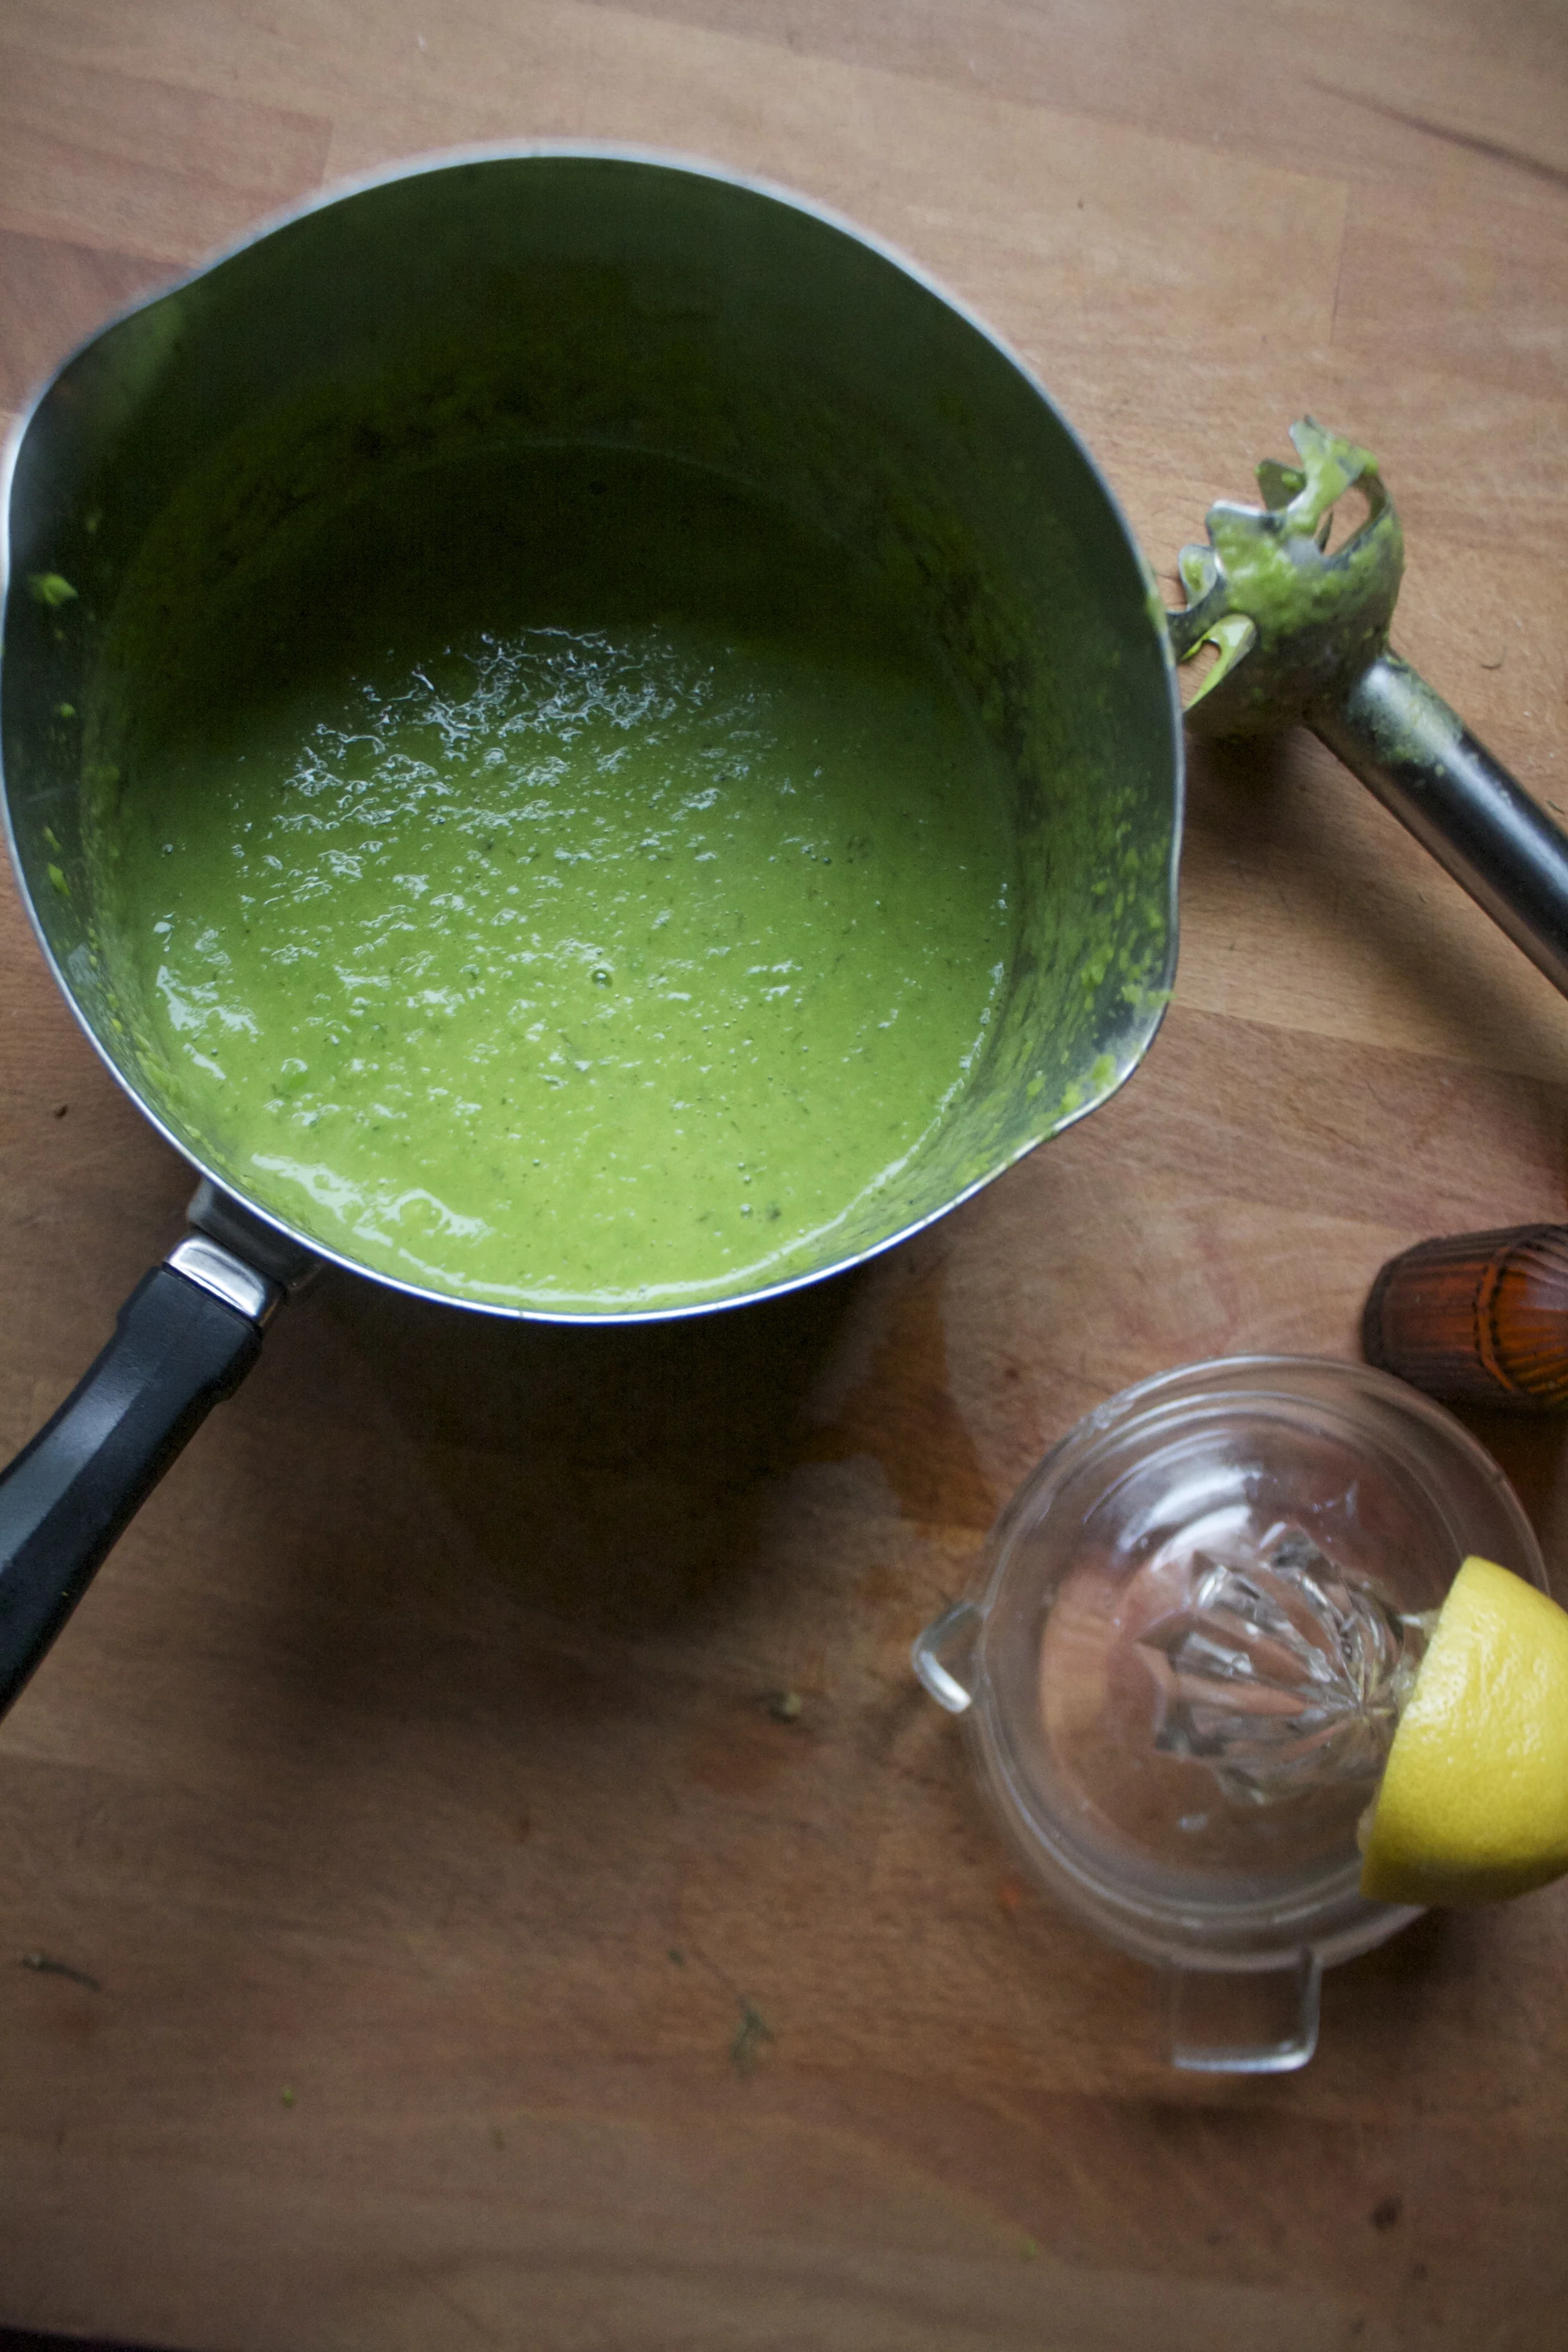
You see that? It’s amazing . Its gets blended until smooth and seasoned with salt, pepper, and the juice if half a lemon.%u00a0 Give it a taste but don’t eat it all. (I almost ate it all) and pour into a nice little cup or jar and wait for the carrots.
Oh roasted lovely colored carrots.. So good all on your own.
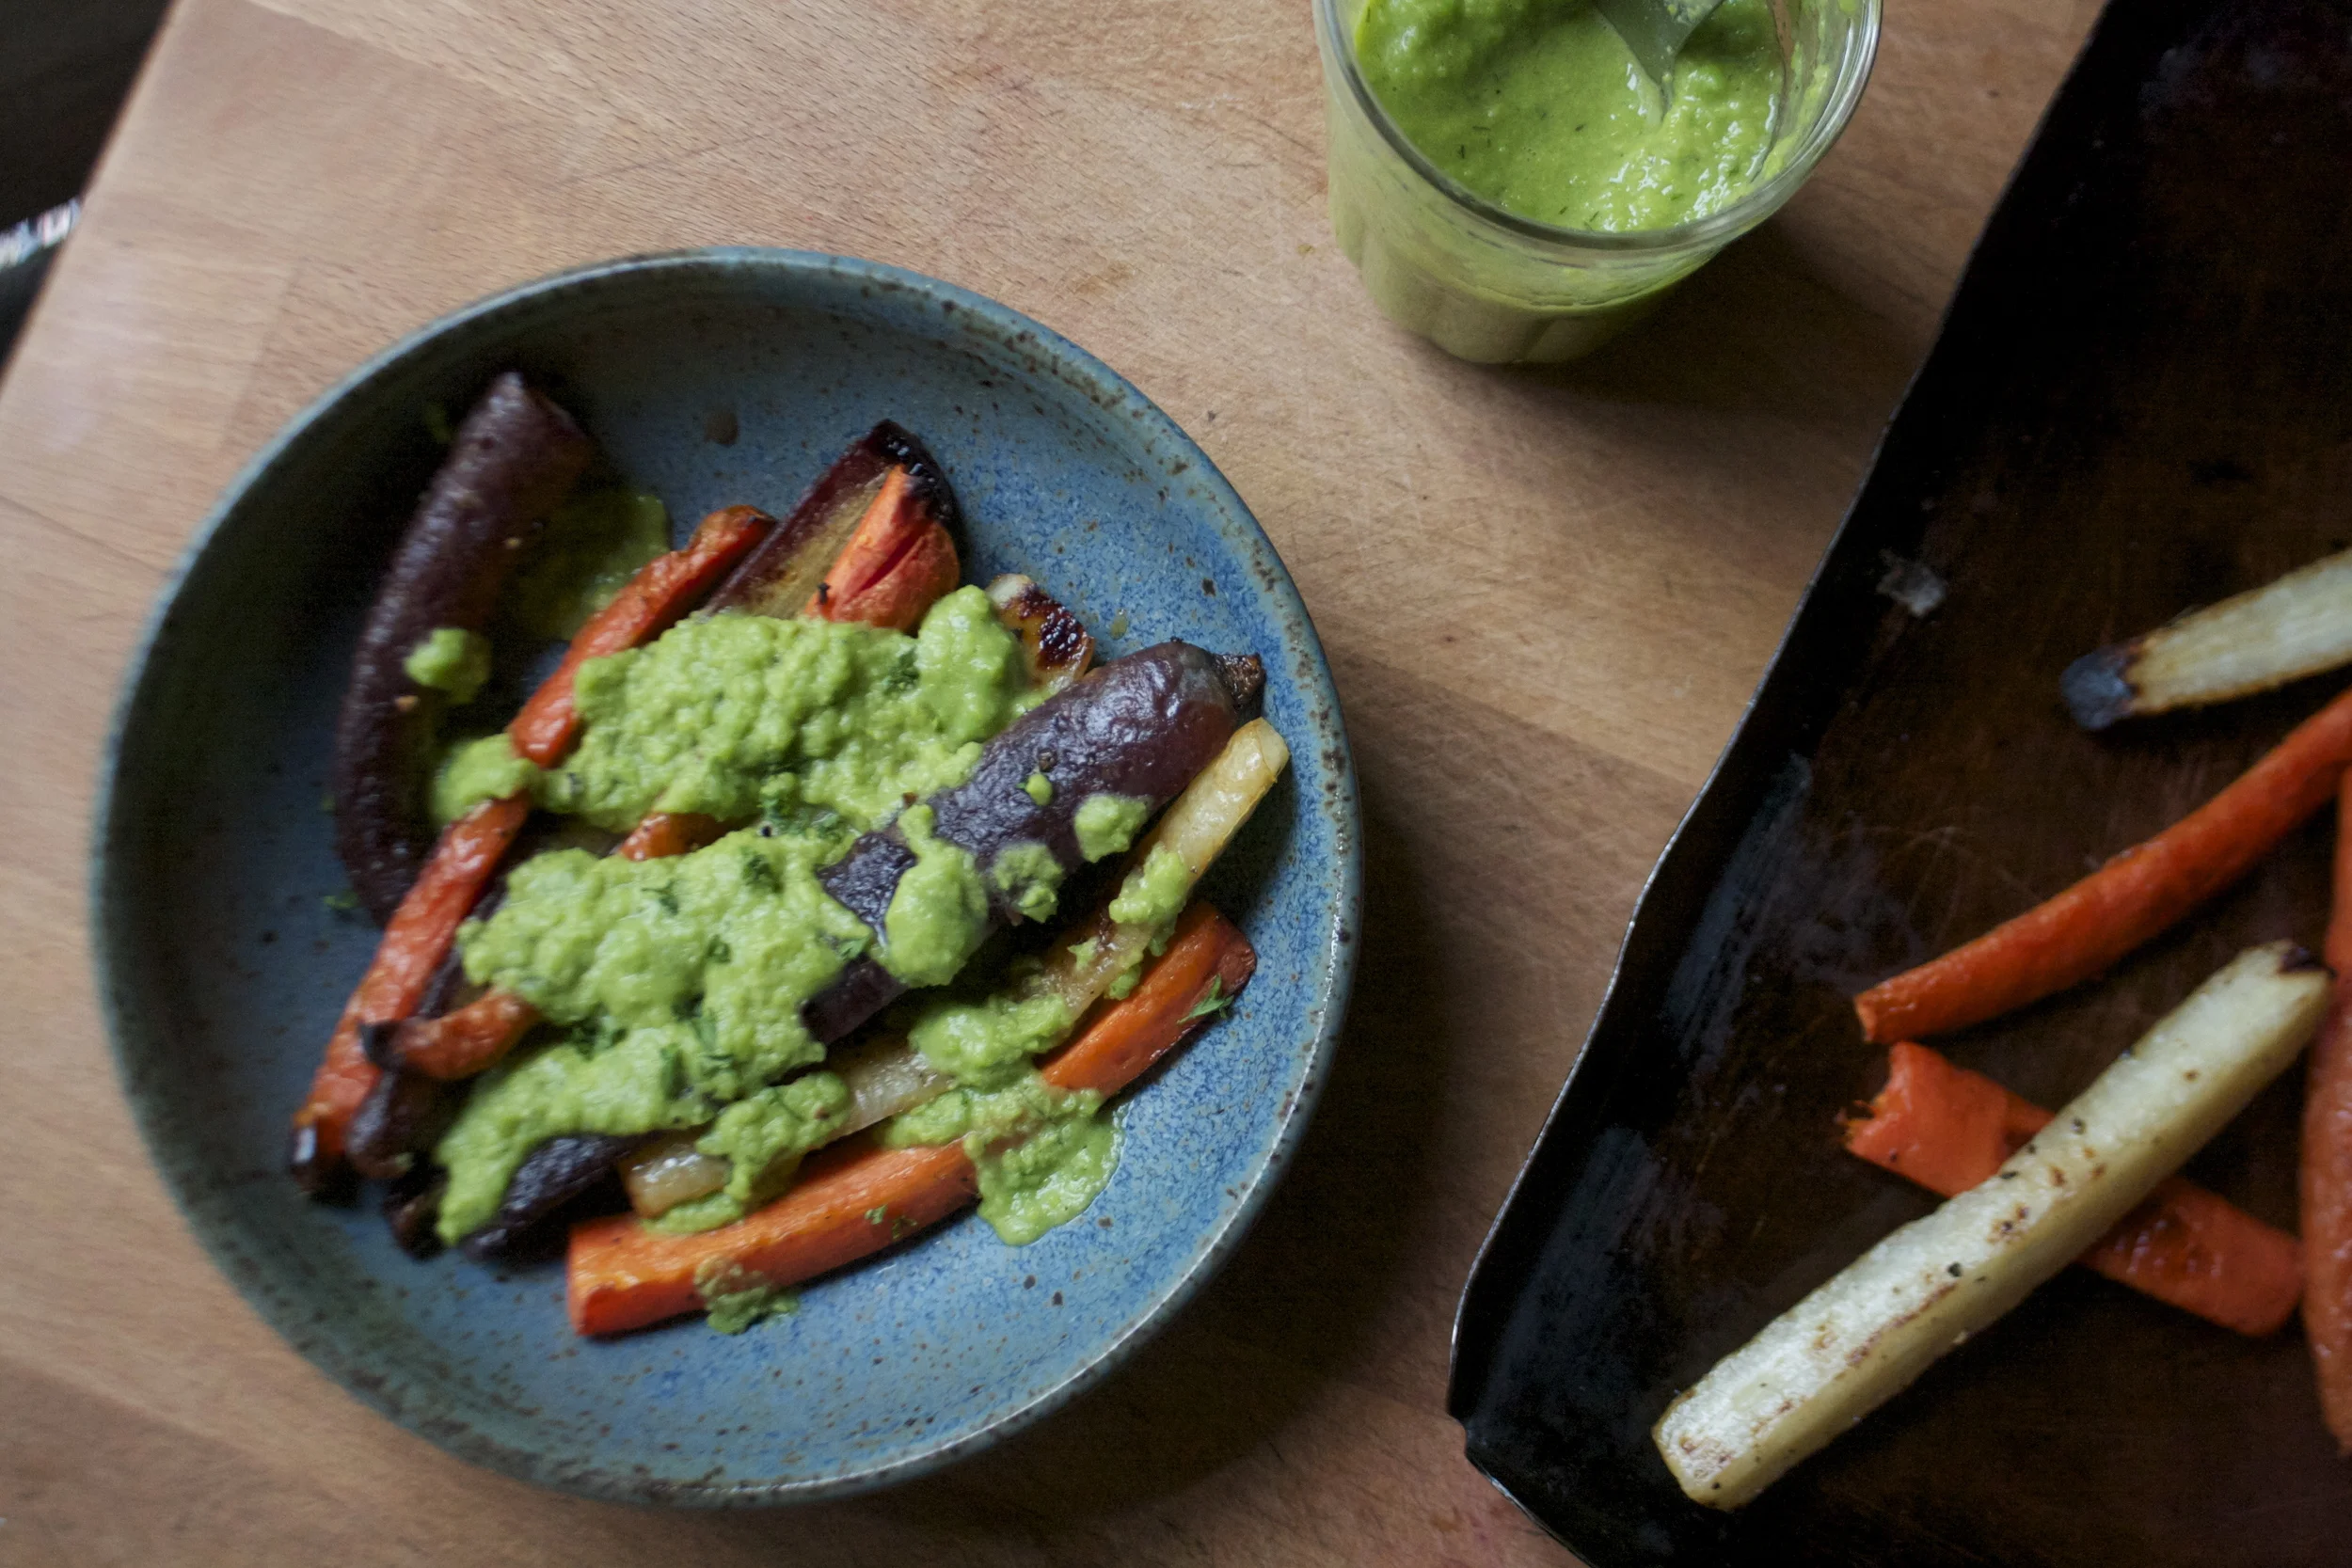
But slathered with this pea sauce…. Always and forever. I am in love.. could eat all day every day.
I wish my stomach was big enough to eat all the peas and carrots….. All!
Lots of spring thoughts… It’s going to be official soon.
Have a great day. Stay dry!
-C
serves 2-3
1 lb carrots (I used a variety of colored carrots but plain old orange carrots are always fantastic too!)
2 cups frozen peas
3/4 cup water
1-2 cloves garlic
2 tablespoon dill
1/2 a lemon
olive oil
salt and pepper
preheat oven to 450
Cut carrots into quarter and in half (can cut in any size and shape you want)%u00a0 Place the carrots on a baking sheet and drizzle with a wee bit of olive oil. Sprinkle with salt and pepper and toss it all around. Stick the carrots into the oven to roast.
Now grab those peas and stick them into a pot with the water, the dill, and the garlic. Stick on the stove and bring to a boil. Let boil for 2-3 minutes, then remove from heat. Either with a hand held blender or a regular blender…. blend until smooth. Add in the juice of half a lemon, season with salt and pepper, and then try not to eat it all before the carrots are roasted.
Once carrots are tender and browned and yummy looking (about 30 minutes) remove from oven and slather on the pea sauce.
The other night I made Megan’s birthday dinner which consisted of pizza and salad. The pizza was pizza and everyone loved it and ate it, but what surprised me was how everyone was really into the salad. A big ass bowl or fresh greens with onions and I think carrots and cabbage and some cranberries I pulled form the freezer and candies almonds. Simple and not fussy, and everyone was just so happy to eat it. I felt like a salad genus and now I am full on into making fun awesome spring salads. (I have to keep reminding myself that yes, it is indeed spring.%u00a0So what we got snow yesterday, it will melt, right????%u00a0)%u00a0
So I bring to you a a bowl of fresh crispy spring greens with crunch and bite and creaminess and flavor. A salad that will bring you joy and satisfaction and maybe even anticipation for your next salad adventure.%u00a0Not to mention a salad that looks so dang pretty.%u00a0
Get into the green. You will be as happy as a rabbit in a garden.%u00a0
The stuff. Greens, red onion, an avocado, almonds, blueberries, and a lemon. Also need some maple syrup, olive oil, red wine vinegar, and salt and pepper.%u00a0
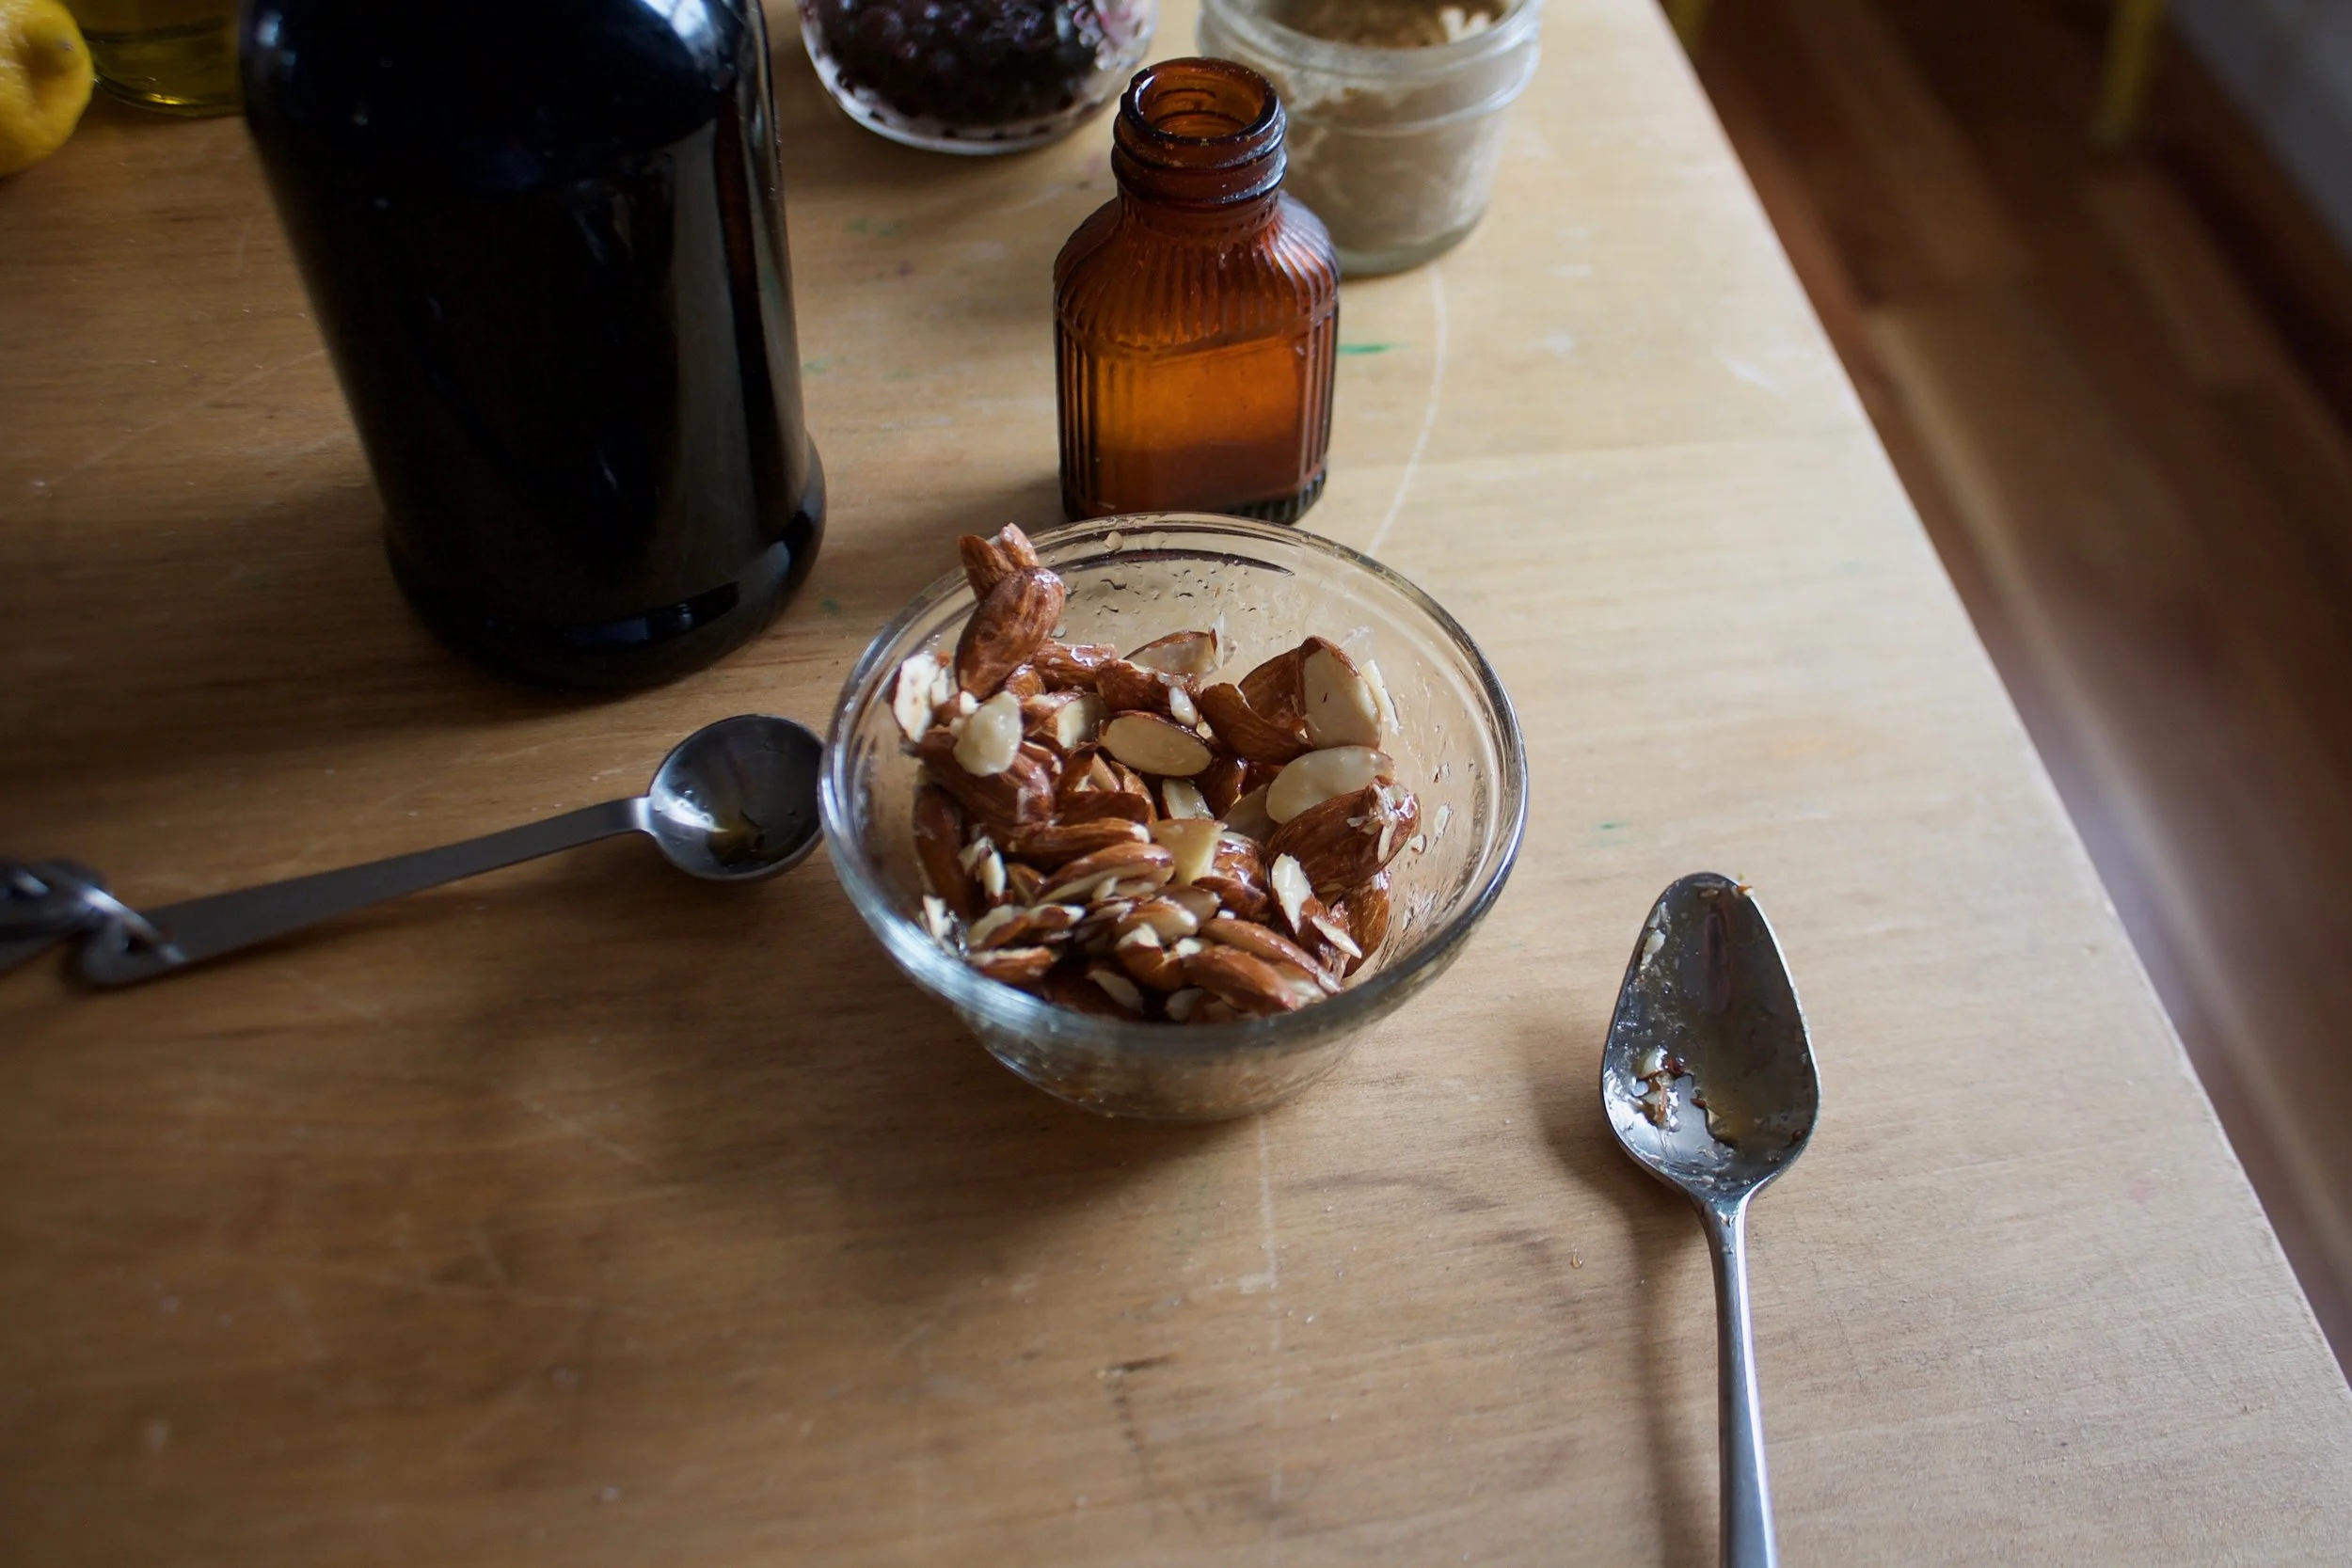
A couple teaspoons of maple %u00a0go in with the almonds. Really toss make sure they are all coated.
Place the almonds into a hot skillet cook for about 5-7 minutes or until the maple has become sticky and the almonds no longer raw.%u00a0
When they are done,%u00a0dump them onto a piece of parchment to cool. Don worry if they clung a little, you can break them apart once they are hard.%u00a0
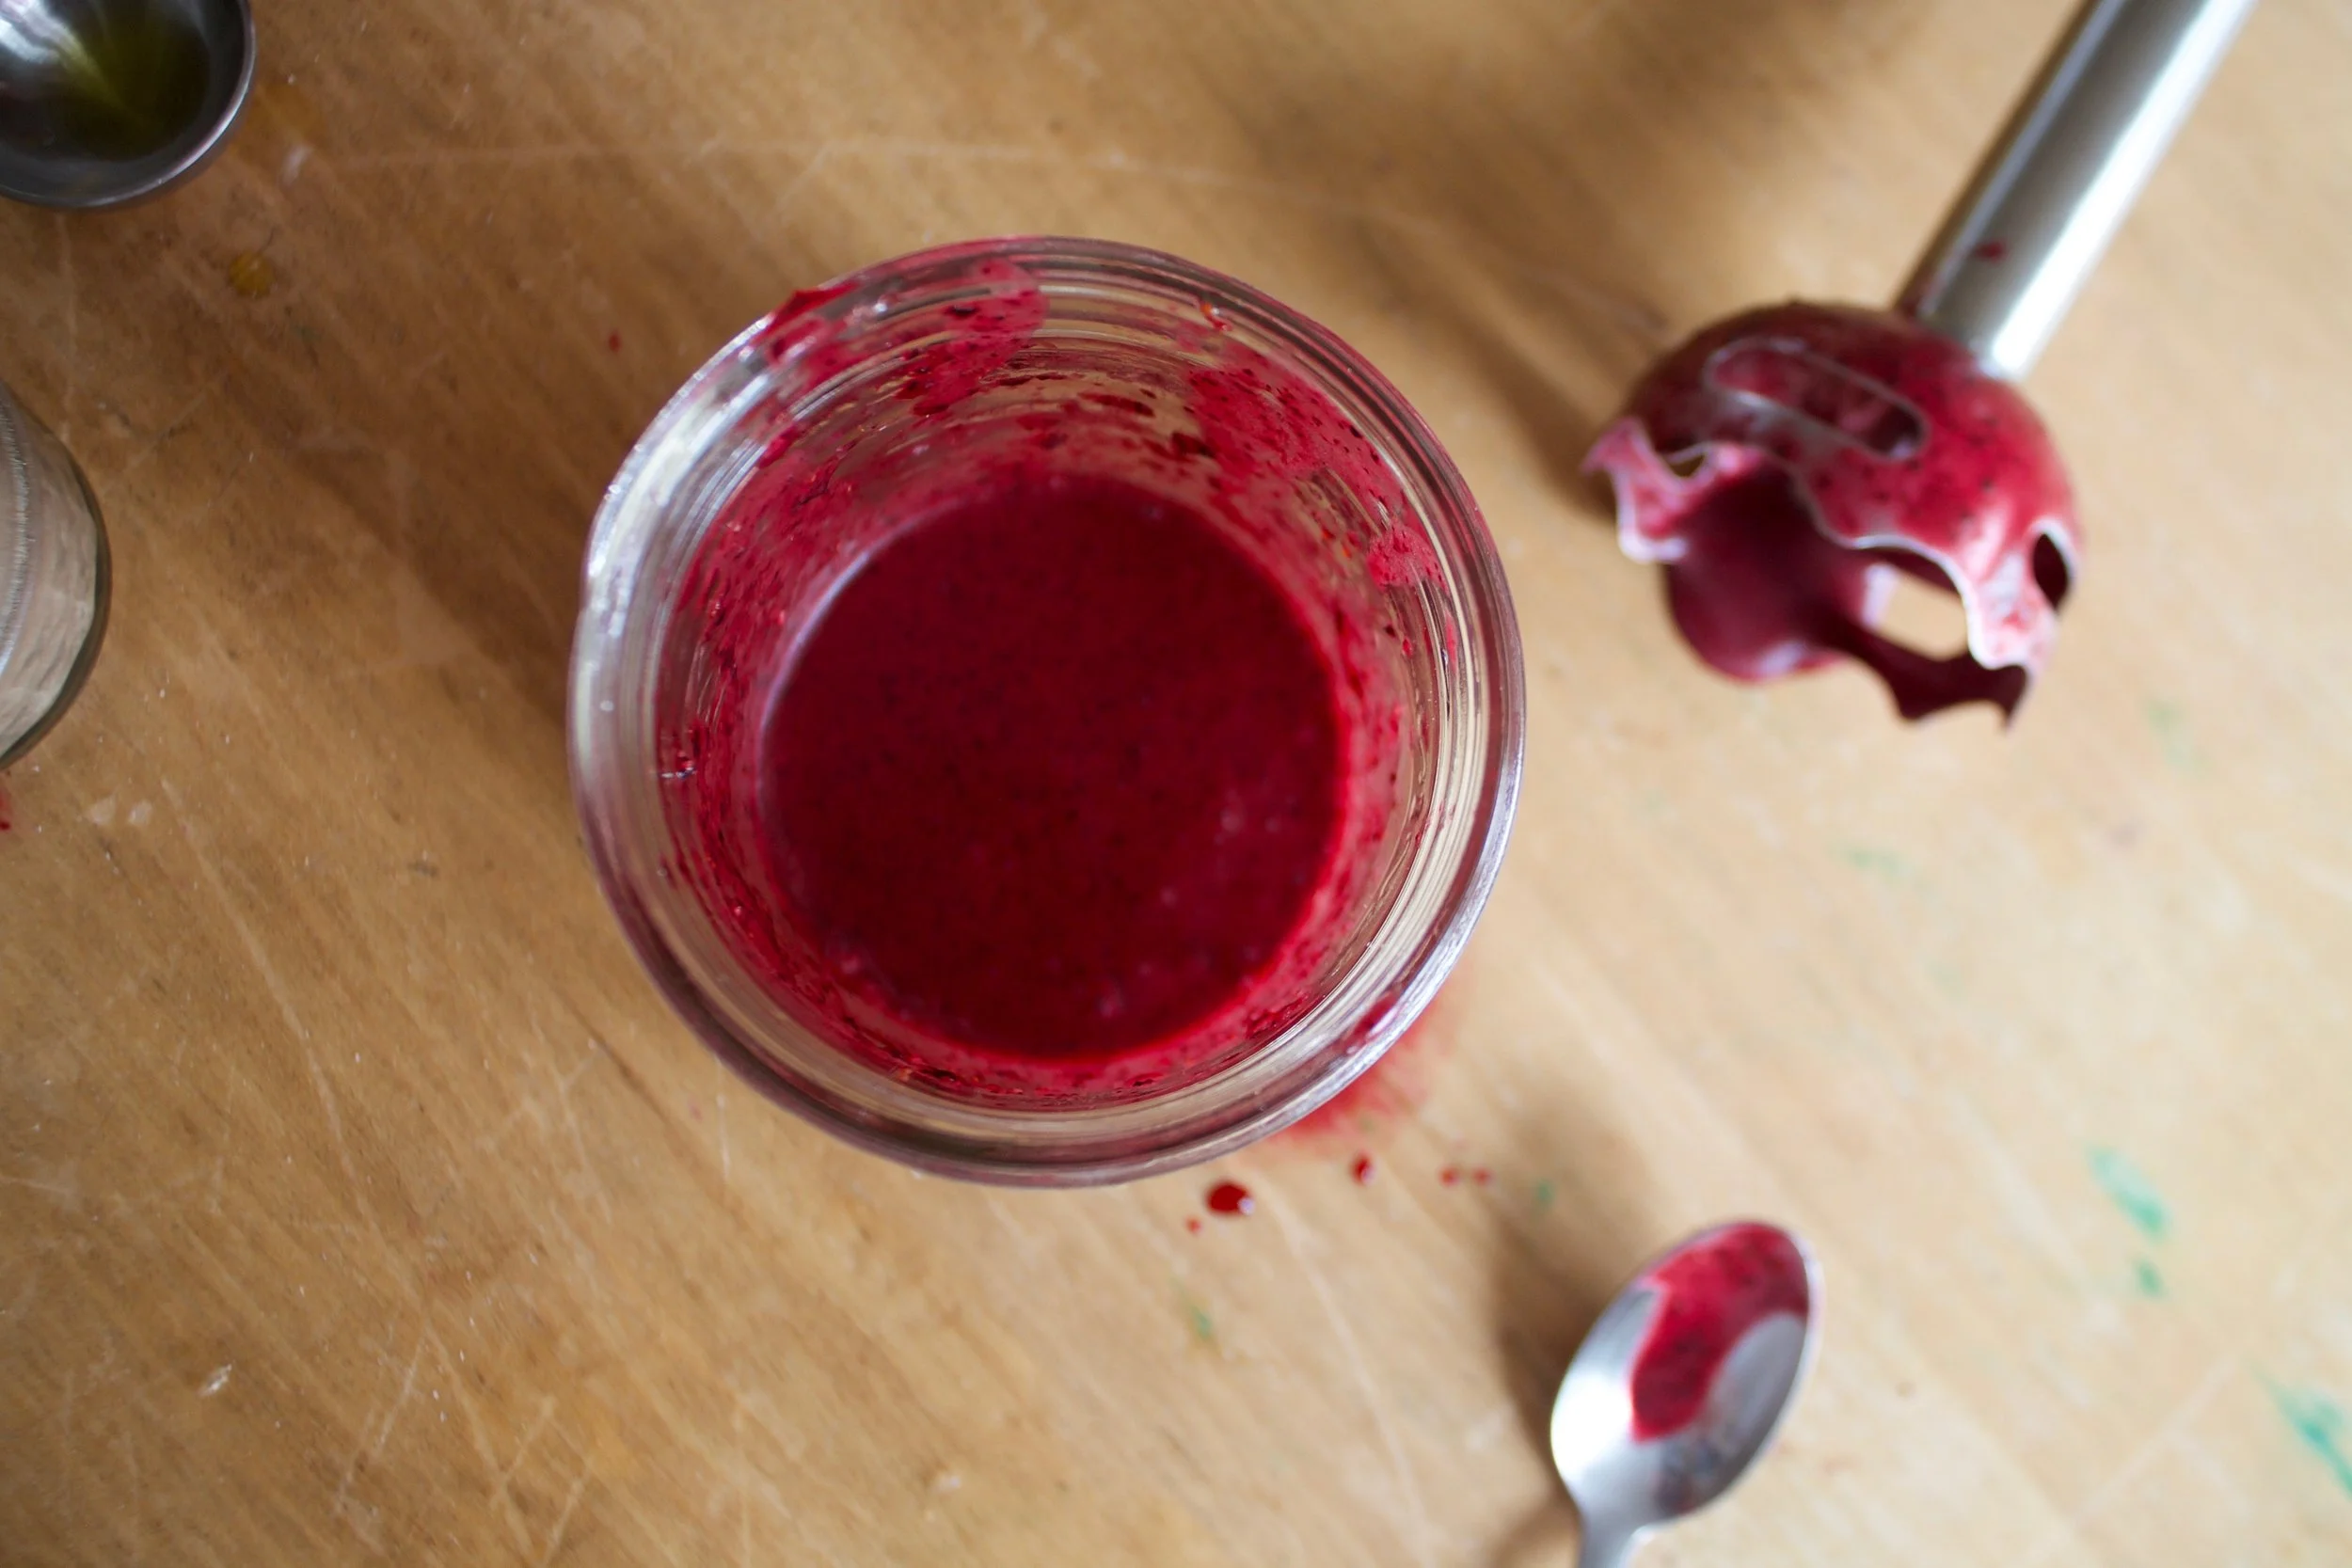
Easy ass dressing. Blueberries. juice from the lemon, olive oil, vinegar, a tiny splash of maple, and a good pinch or pepper.%u00a0
Blended then done. Taste and season with salt if needed.%u00a0
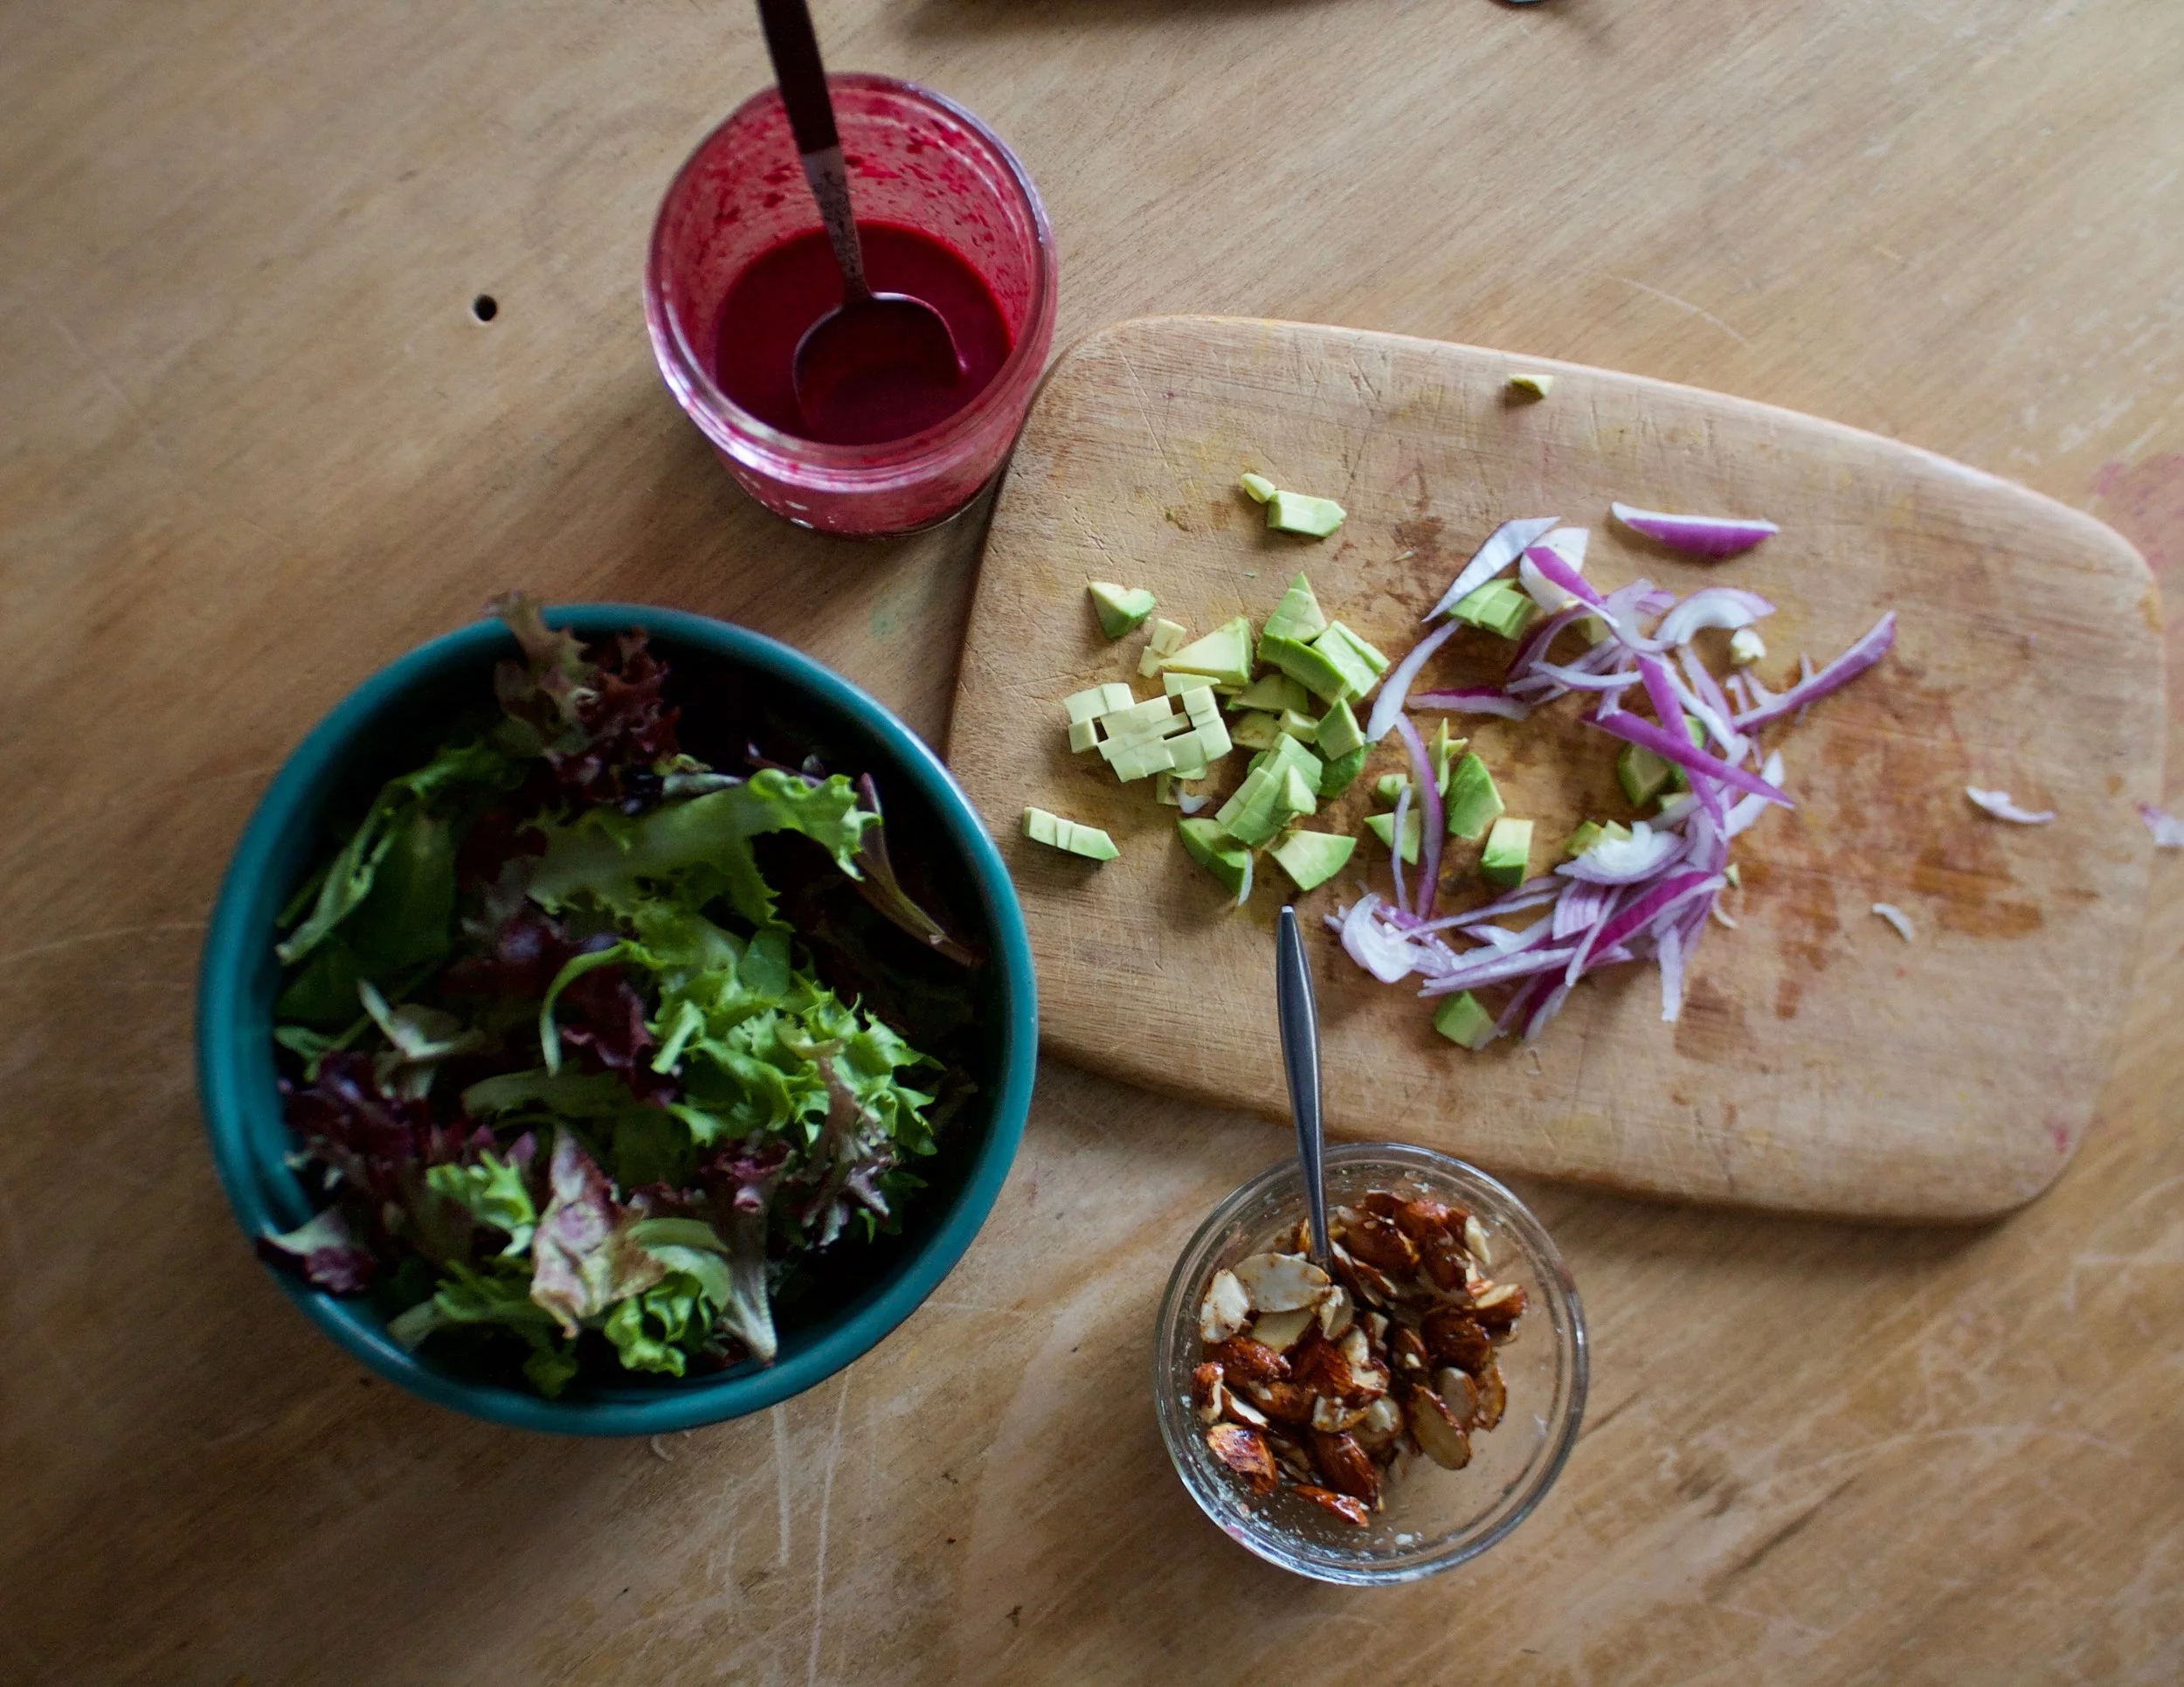
Avocado gets cut into small chunks and the onion get s thinly sliced.
It’s all ready, so now make a salad
Makes 2-3 %u00a0salads%u00a0
1/4 pound greens ( I used spring mix but mesclun mix or spinach is good too)%u00a0
1/2 %u00a0red onion
1 avocado
For the Almonds%u00a0
1/3 cup raw halved or slivered almonds
2 teaspoons maple syrup%u00a0
For the Blueberry lemon Vinaigrette%u00a0
1/3 cup blueberries (I used %u00a0frozen)
1 lemon
1 Tablespoon olive oil
2 Tablespoon red wine vinegar
1/2 teaspoon maple syrup
pinch or salt
pinch or pepper
To make the %u00a0candied almonds, preheat a skillet to on medium heat on top of the stove.%u00a0Place almonds into a small bowl and drizzle with maple syrup. Stir to coat. When the pan is hot, dump the maple covered almond into it and spread them out. Cook for a 3 minutes, then give a stir and cook for a 3 or so more minutes or until the maple has evaporated and the almonds are starting to brown. Dump the almonds directly onto a piece of parchment paper to cool and hardened. Do worry if they stick together a bit, you can break them apart after.%u00a0
To make the vinaigrette,%u00a0place the berries into a jar (if using stick blender) or blender with the juice of the lemon, olive oil, vinegar, maple, and a pinch of pepper Blend until smooth. Taste then add a very small pinch of salt or more to taste.%u00a0
For salad. Thinly slice the onion and dice the avocado. Place greens into bowl(s) and toss with onions and avocado. Top with %u00a0candied almonds and drizzle all over with the vinaigrette. Grab a fork and eat.
Any left over dressing will last in fridge for about a week and left over almonds will be good for.a few weeks in a airtight container.%u00a0%u00a0%u00a0
My family is big. And my family is crazy. This makes for interesting gift giving.Over the years as we have all gotten older and started having littles, our gift giving has evolved. We use to buy each other presents, but then that got a little to intense and expensive. Then we started coming up withweird gift games where we had to buy 10 things made out of wood or glass and did a kind of white elephant things, which was fun, but we all ended up with wooden spoons and shot glasses.%u00a0 Or the stockings. We did stockings for a few years where we all stuffed something into each of the stockings, but that got kinda lame when everyone started stuffing packs of gum into them….It was getting to be kinda ridiculous. So this year we decided to give secret Santa a try. The deal is that the 9 older siblings drew names and then the 9 cousins drew names, all with a spending limit of $25. It works out for the best because the littles get to have a little fun and participate, and the adults don’t have to go and blow stupid money for kinda stupid shit.%u00a0 Everyone is responsible for one persons gift of happiness….. And they better make it good!
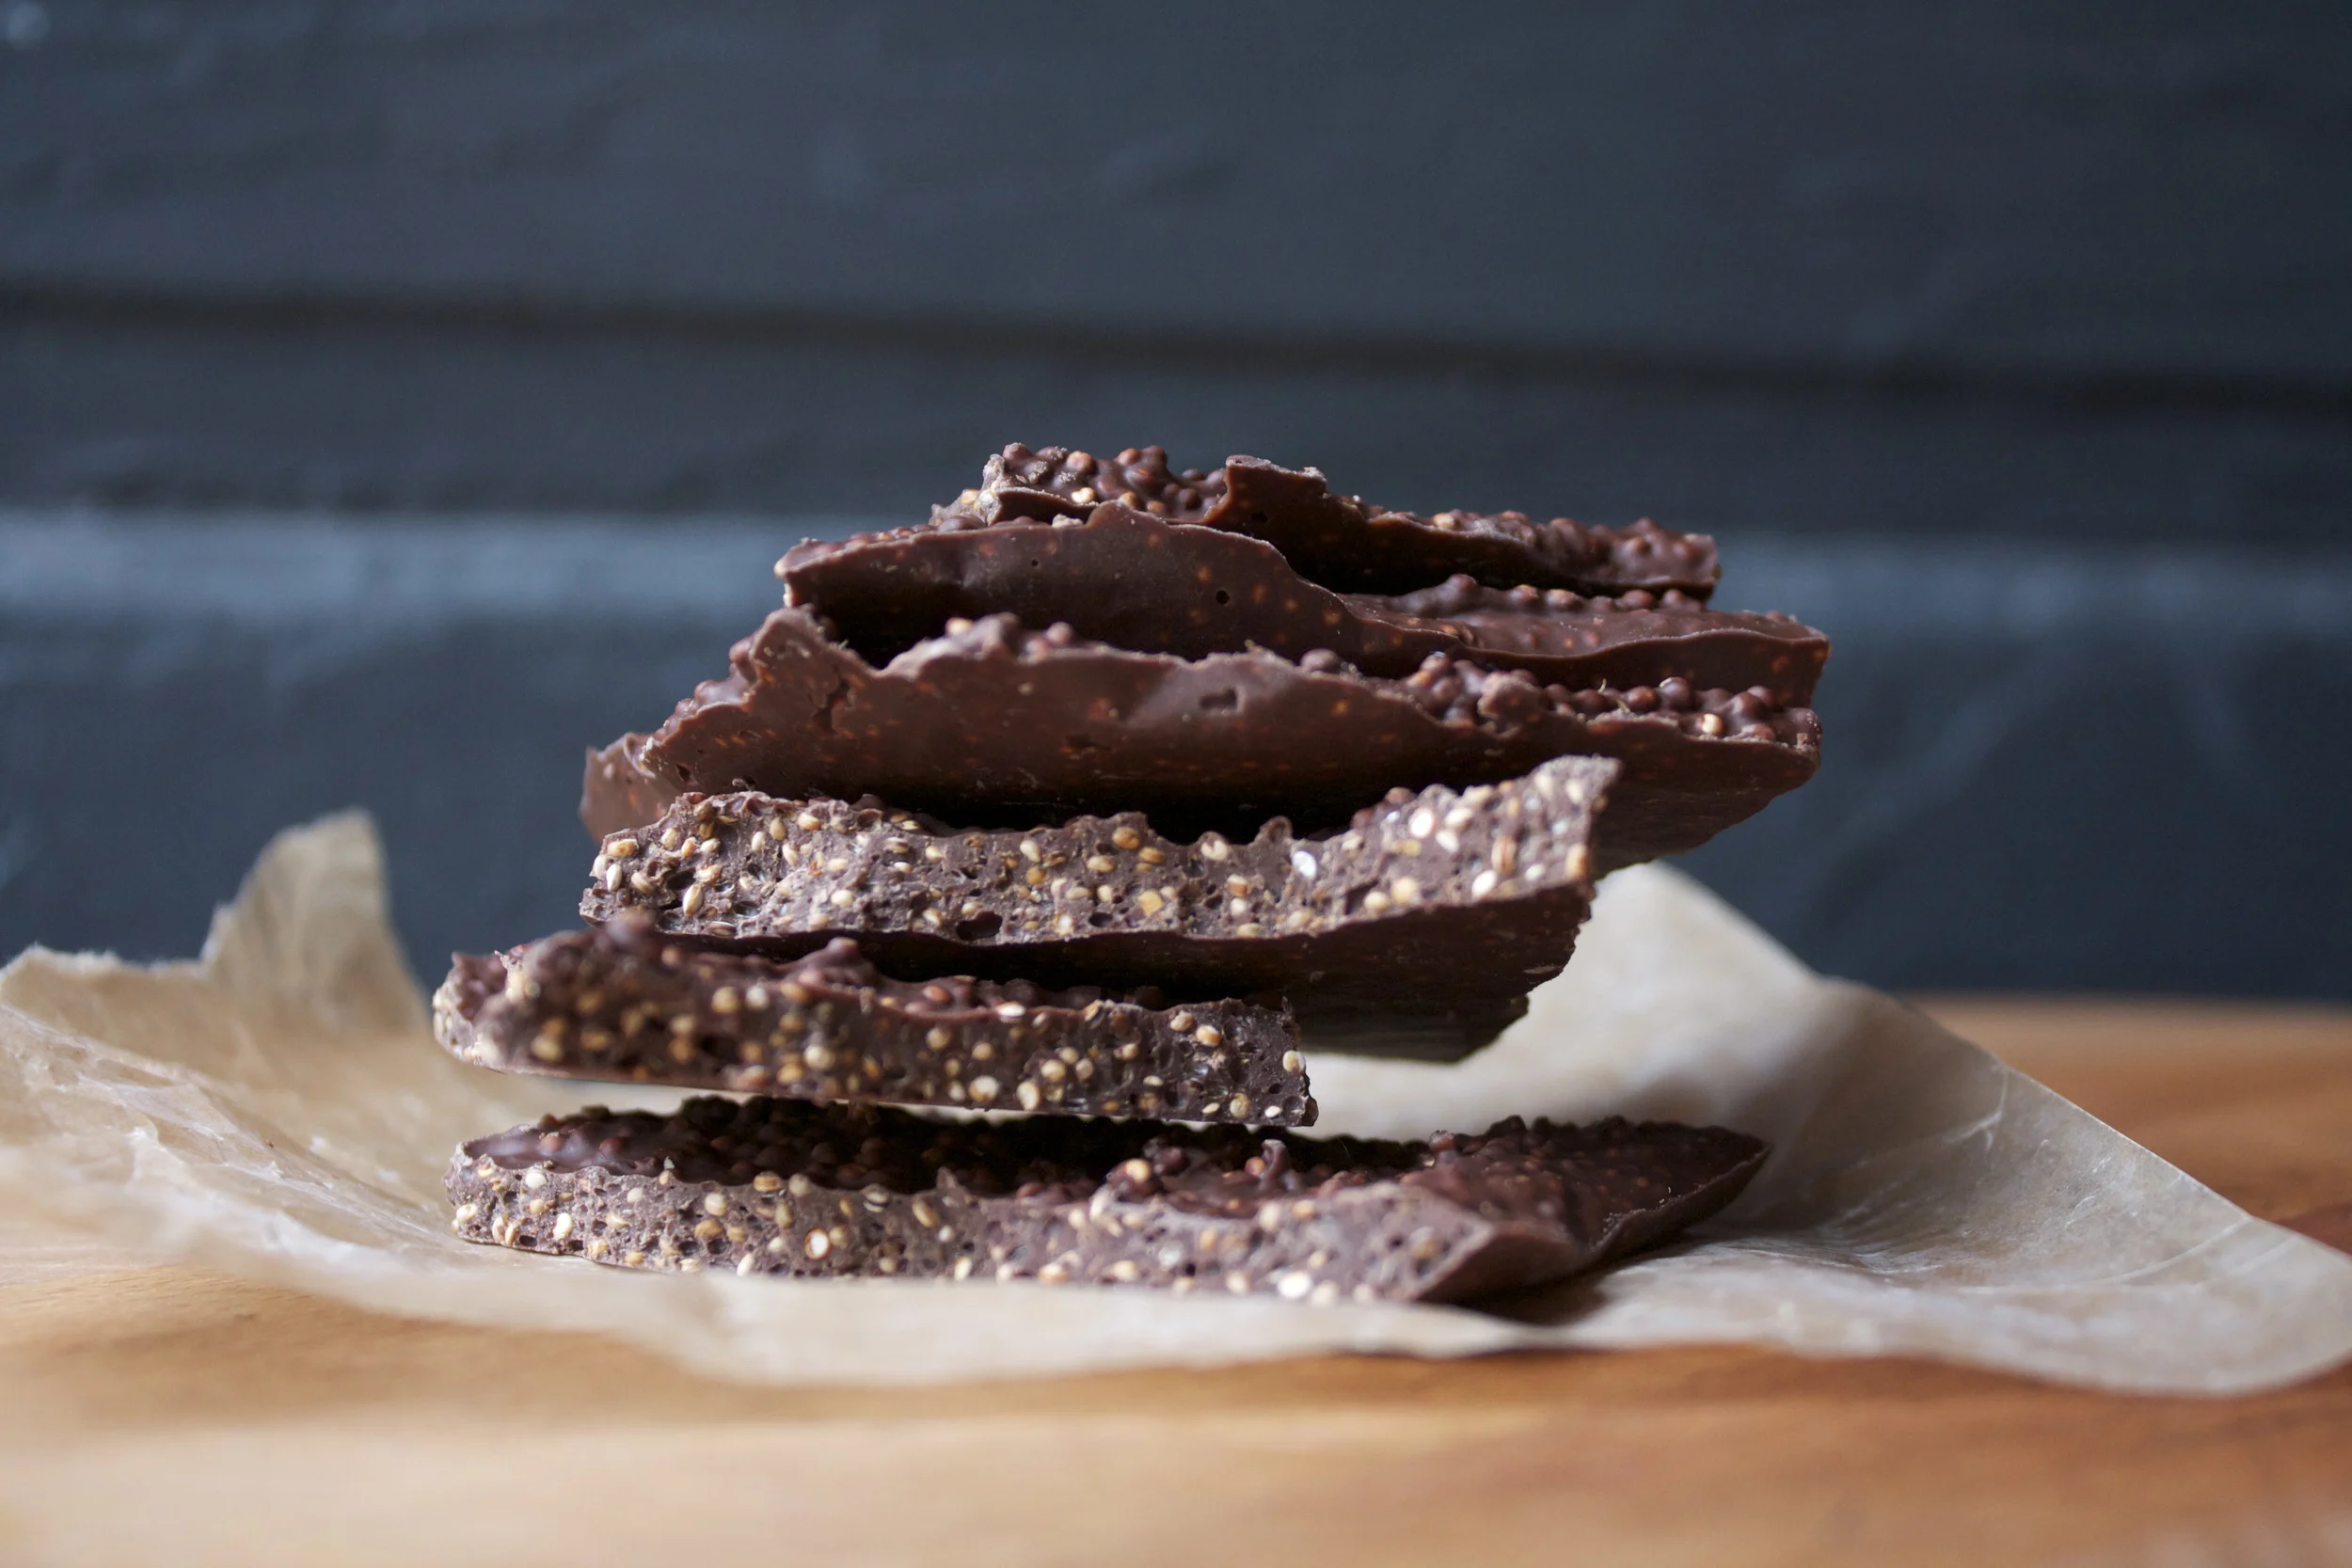
But one of the things that I love about Christmas is making all the little something. One year I made them each a veggie shaped pillow, and another they each got a hand made box. (I love to give handmade gifts.)So this year I still wanted to give each of the littles a little something too. And not anything to crazy, just something small. And now that we are not stuffing stockings with gum, I figured it wouldn’t hurt to give them each a little candy.%u00a0 They all like chocolate so chocolate it was.%u00a0 And to zaz it up a little, I popped some quinoa to add some crunch and dear I say, a bit of healthy protein, to the candy. ( sneaky sneaky)
And bonus. this bark can be made in like 5 minutes (1/2 hour to cool) . Wrapped into little wax paper packages with a cute little string, its a super simple, easy, but sweet gift that almost anyone would enjoy (even if you make it and give it to yourself)%u00a0 And no, you don’t have to make it specifically for the holidays, this is just a great little bit of chocolate snack that can be made whenever you damn well please to make it!
The stuff. Chocolate chips (milk, semi sweet, dark, or a mixture) and uncooked quinoa.
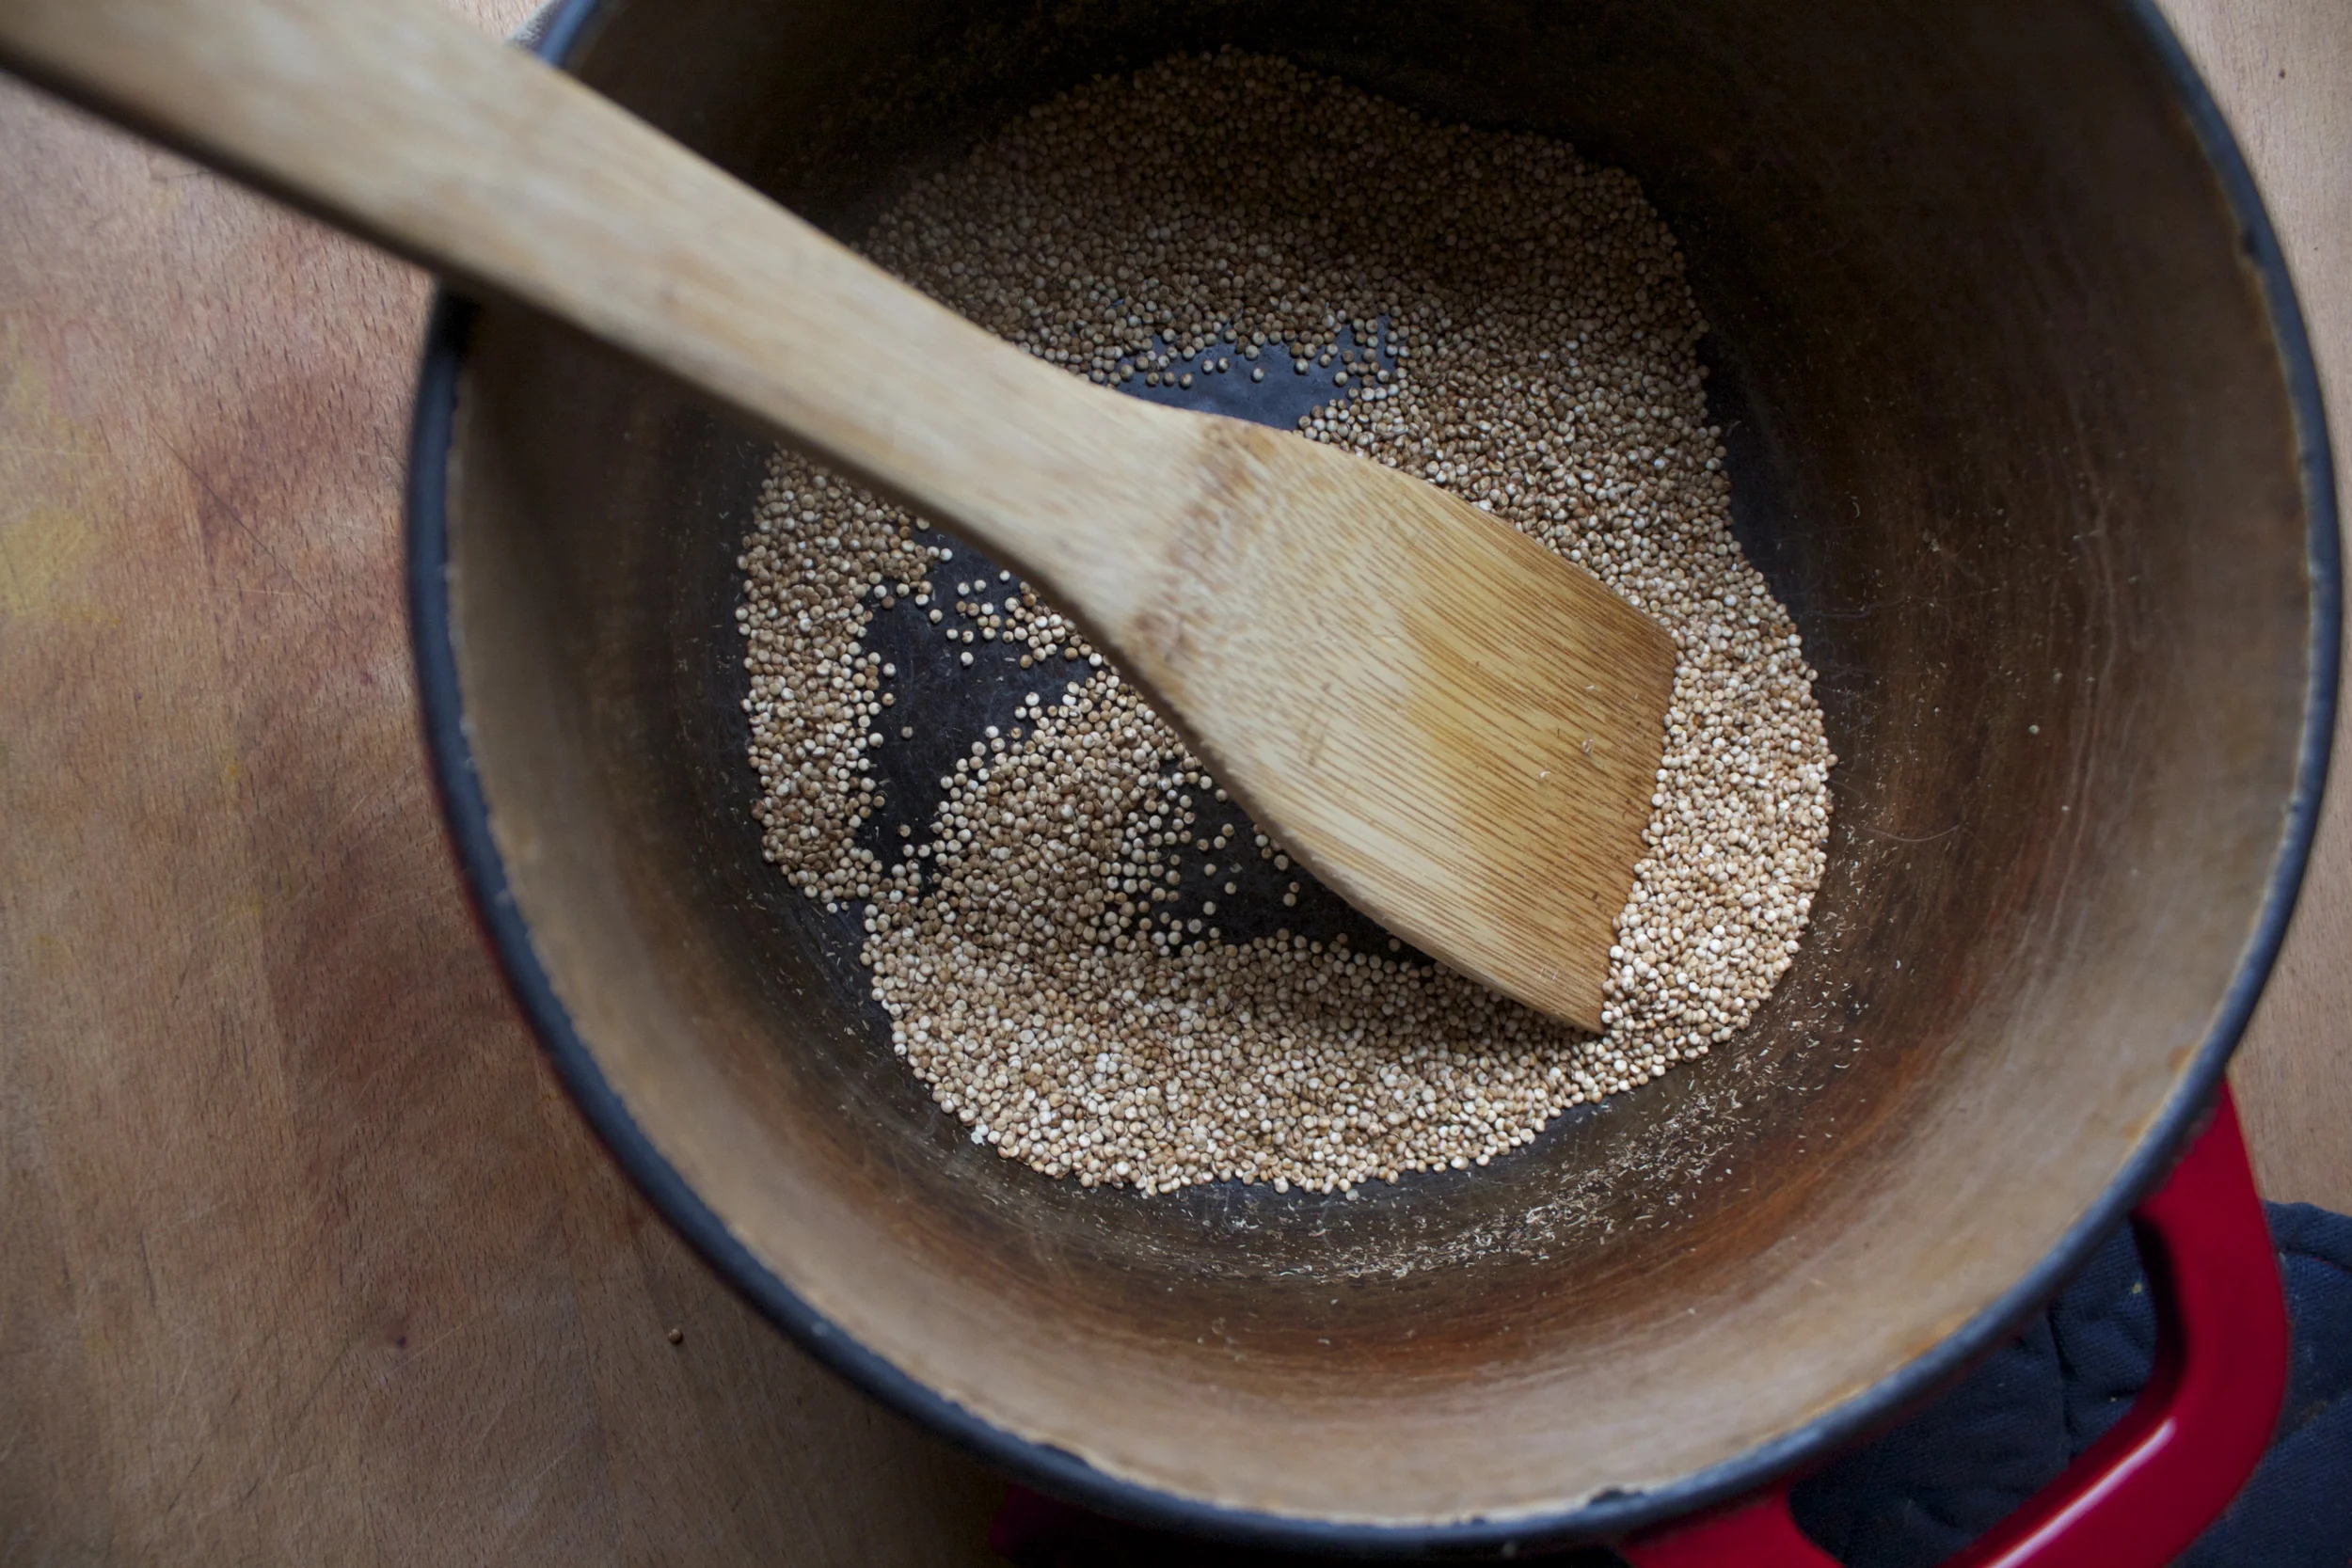
Popped quinoa. Fun stuff. Working in small batched,%u00a0 all you need to do is stick the a layer of uncooked quinoa into a heavy bottom pot, turn heat onto high, grab a spoon and mix the quinoa constantly until it starts to pop. (The seeds will pop up, but as long as you pot is big, they should stay inside) When it starts popping, turn heat down to medium low and continue to stir until the quinoa is golden brown and stops popping as frequently. Don’t over pop it our else you will burn it!
Dump the popped quinoa into a holding vessel and pop some more.
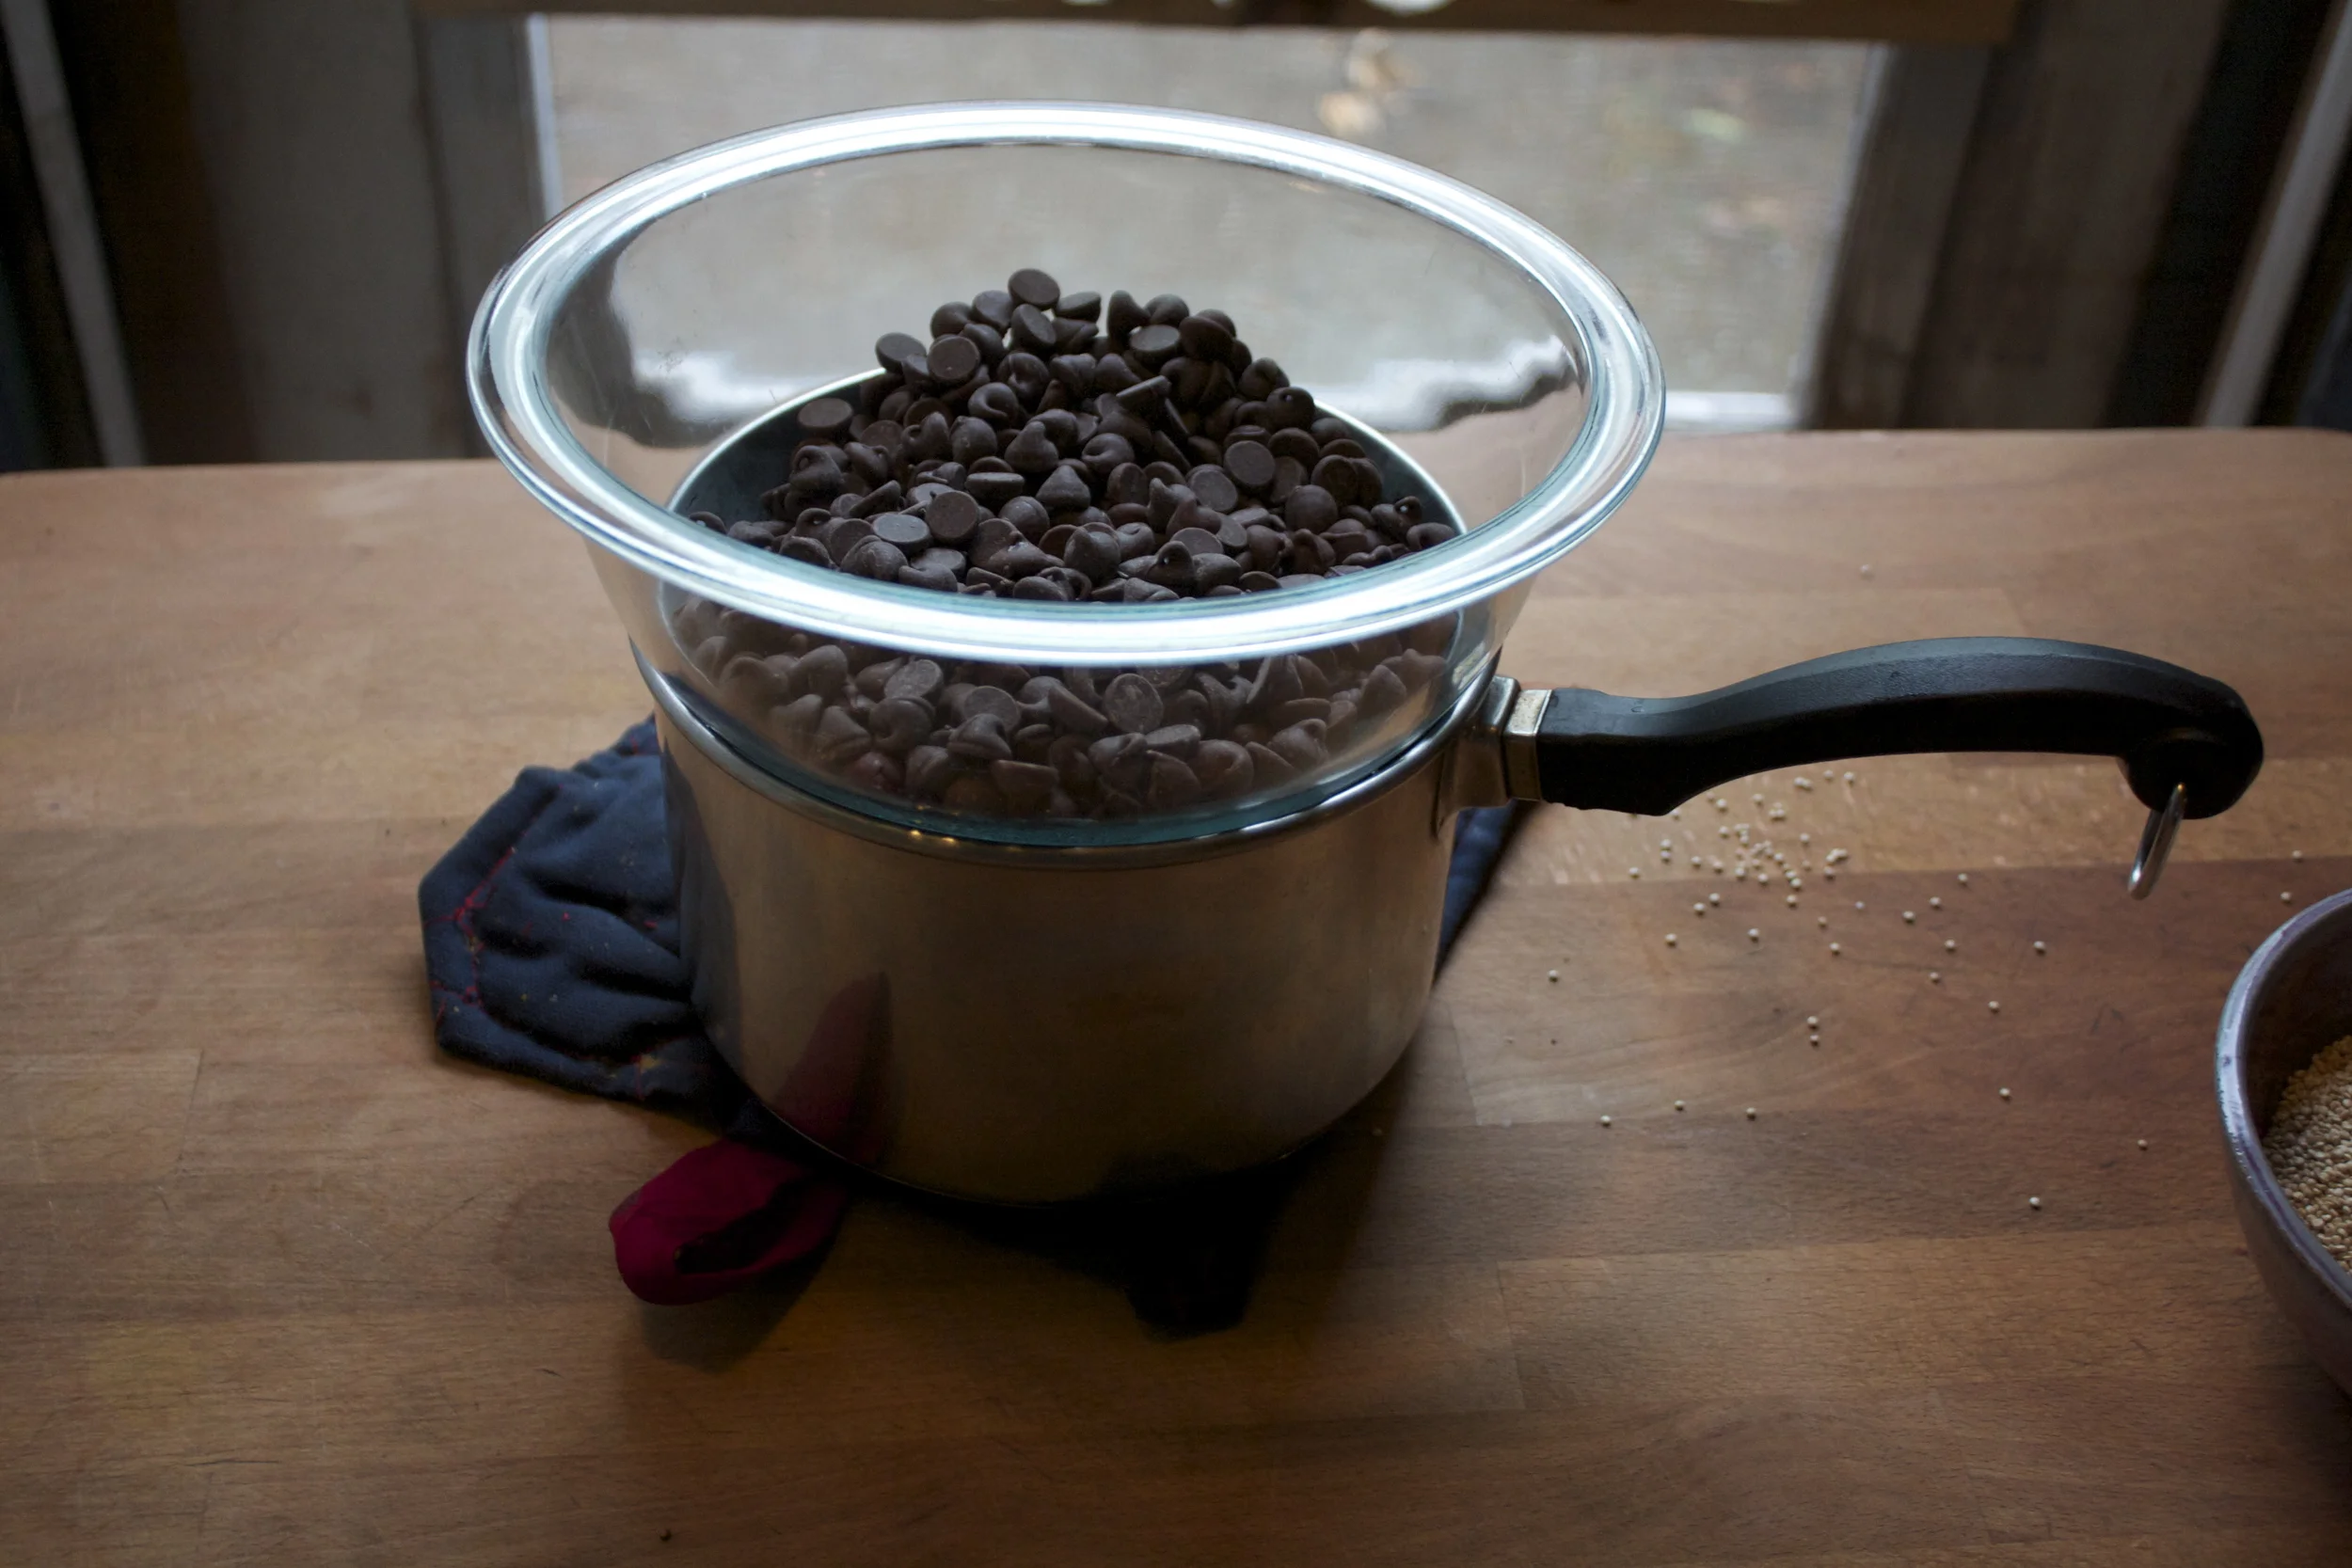
Now melt the chocolate. I used the double boiler method (pot of simmering water and a glass bowl) but if you have a microwave, go ahead ans use it.(chocolate in a glass bowl, microwave for 30 second intervals until melted)
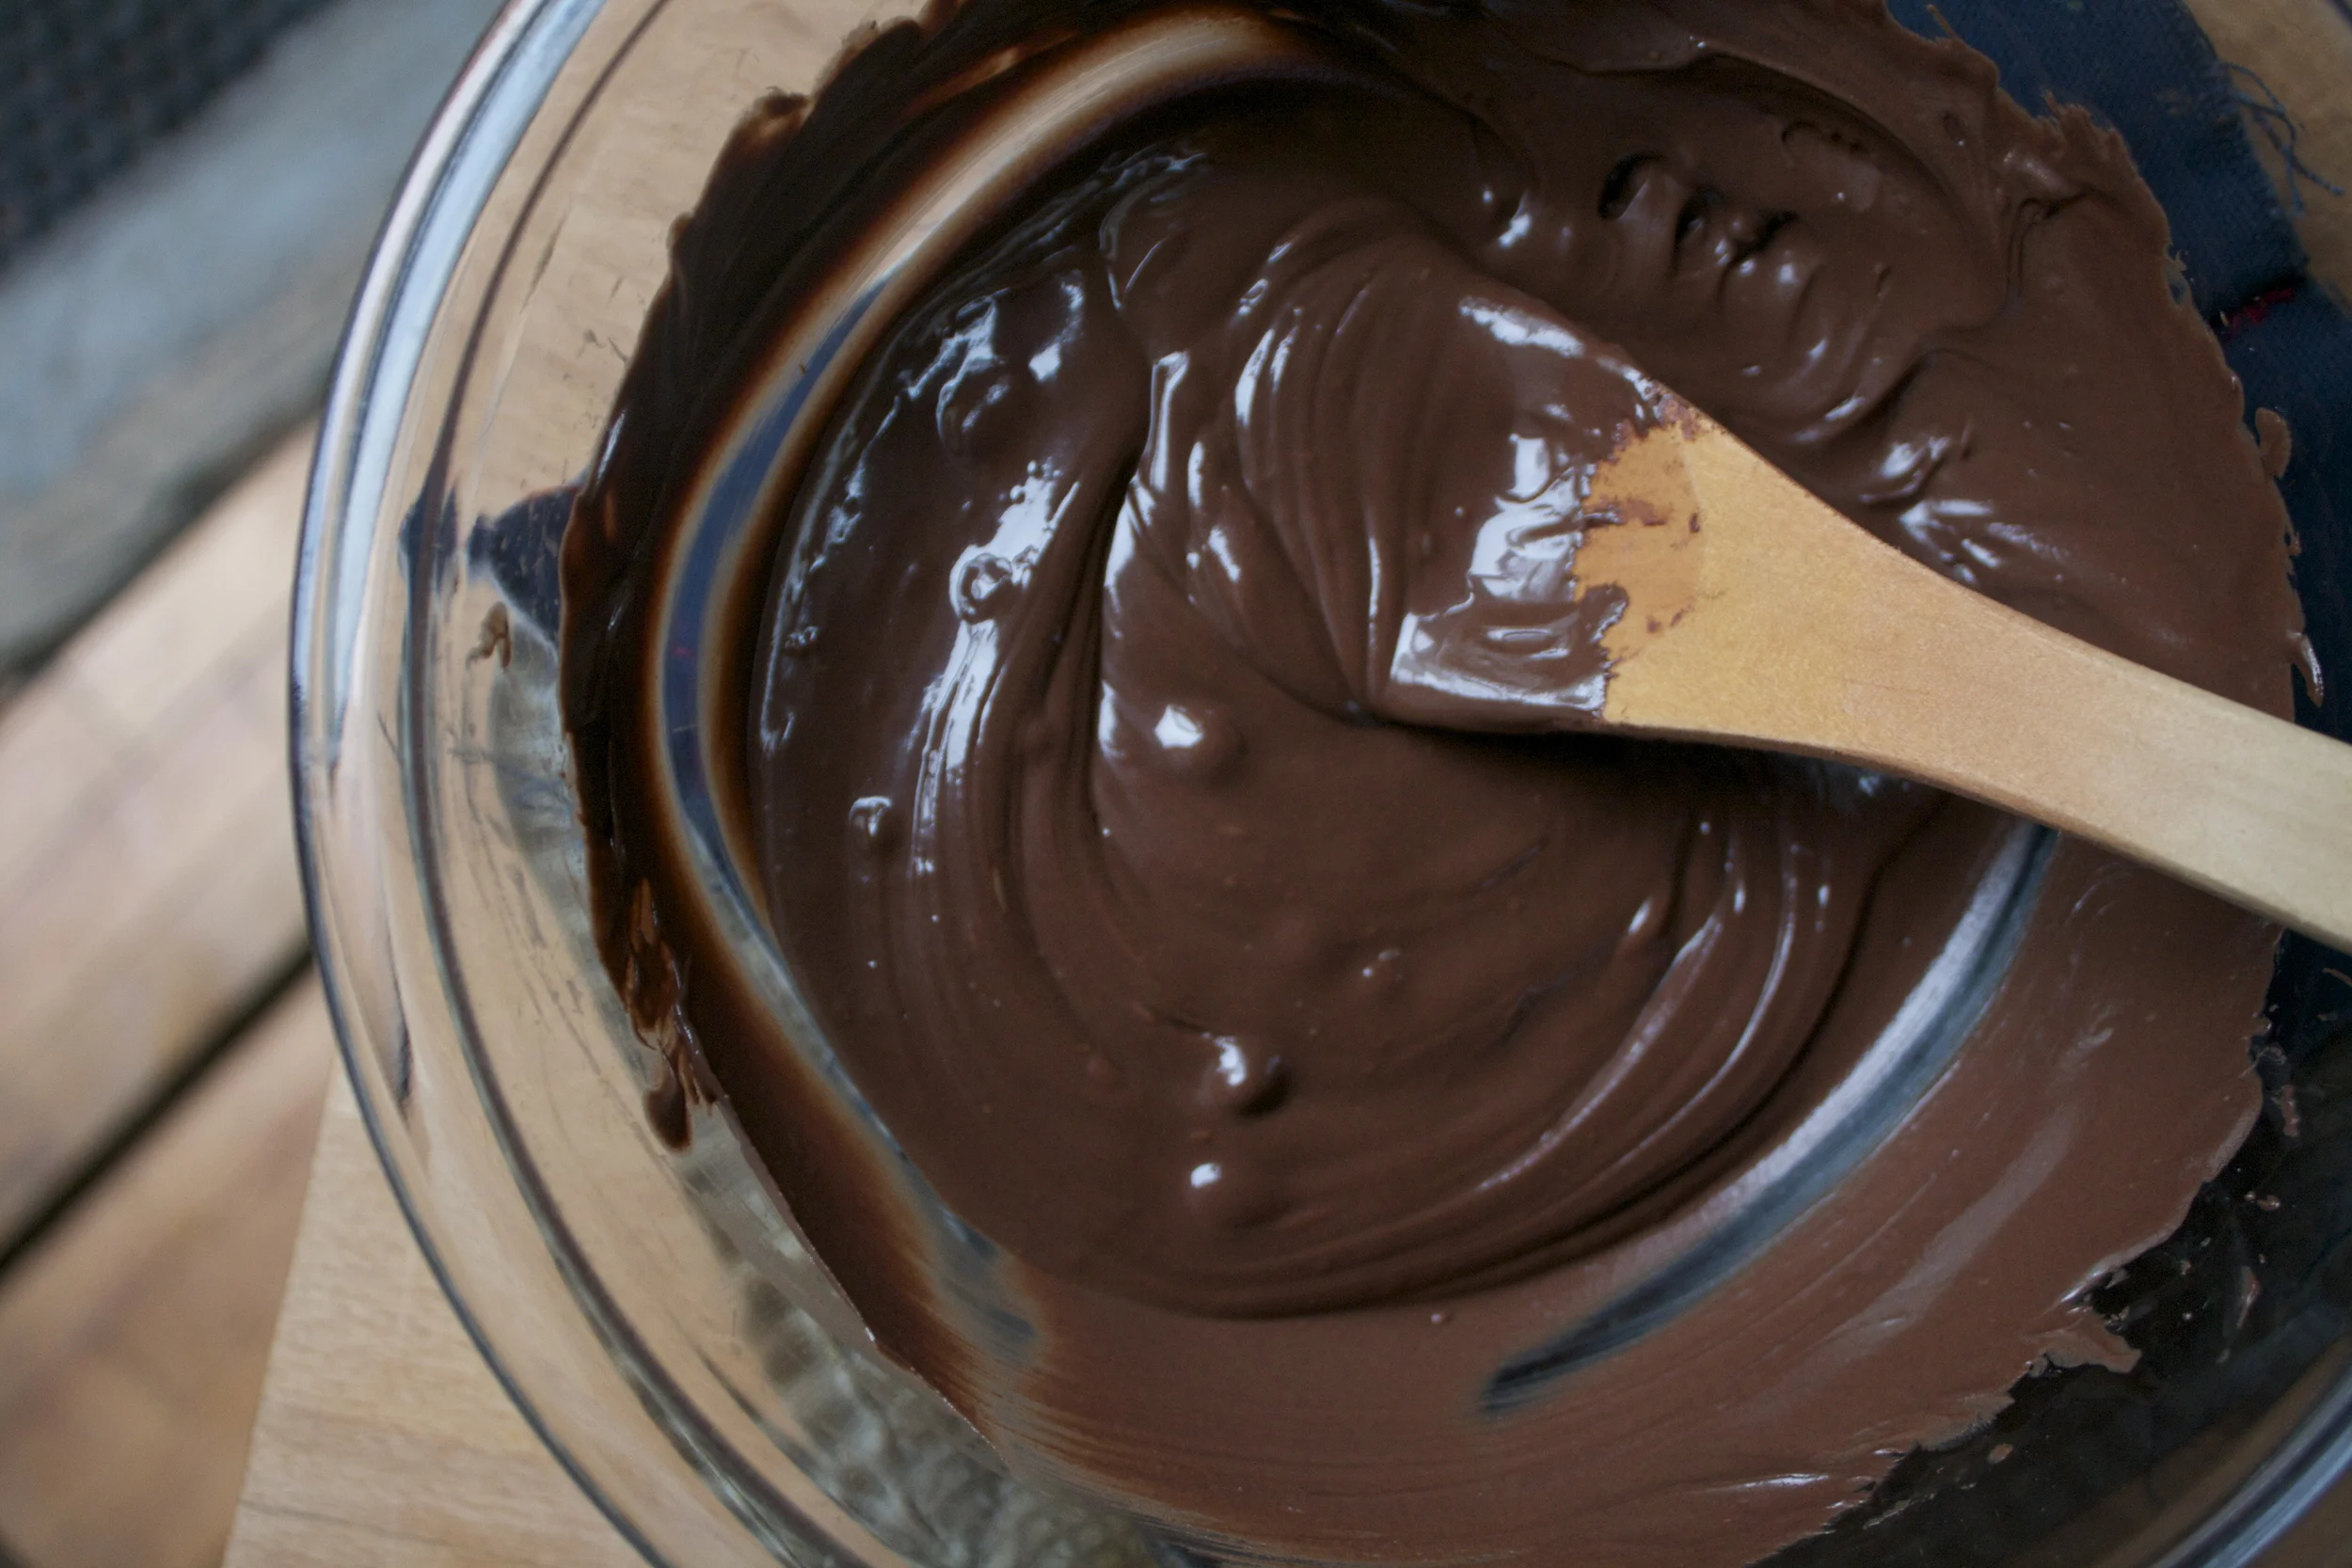
Either way you choose, just melt down the chocolate until nice and silky smooth.
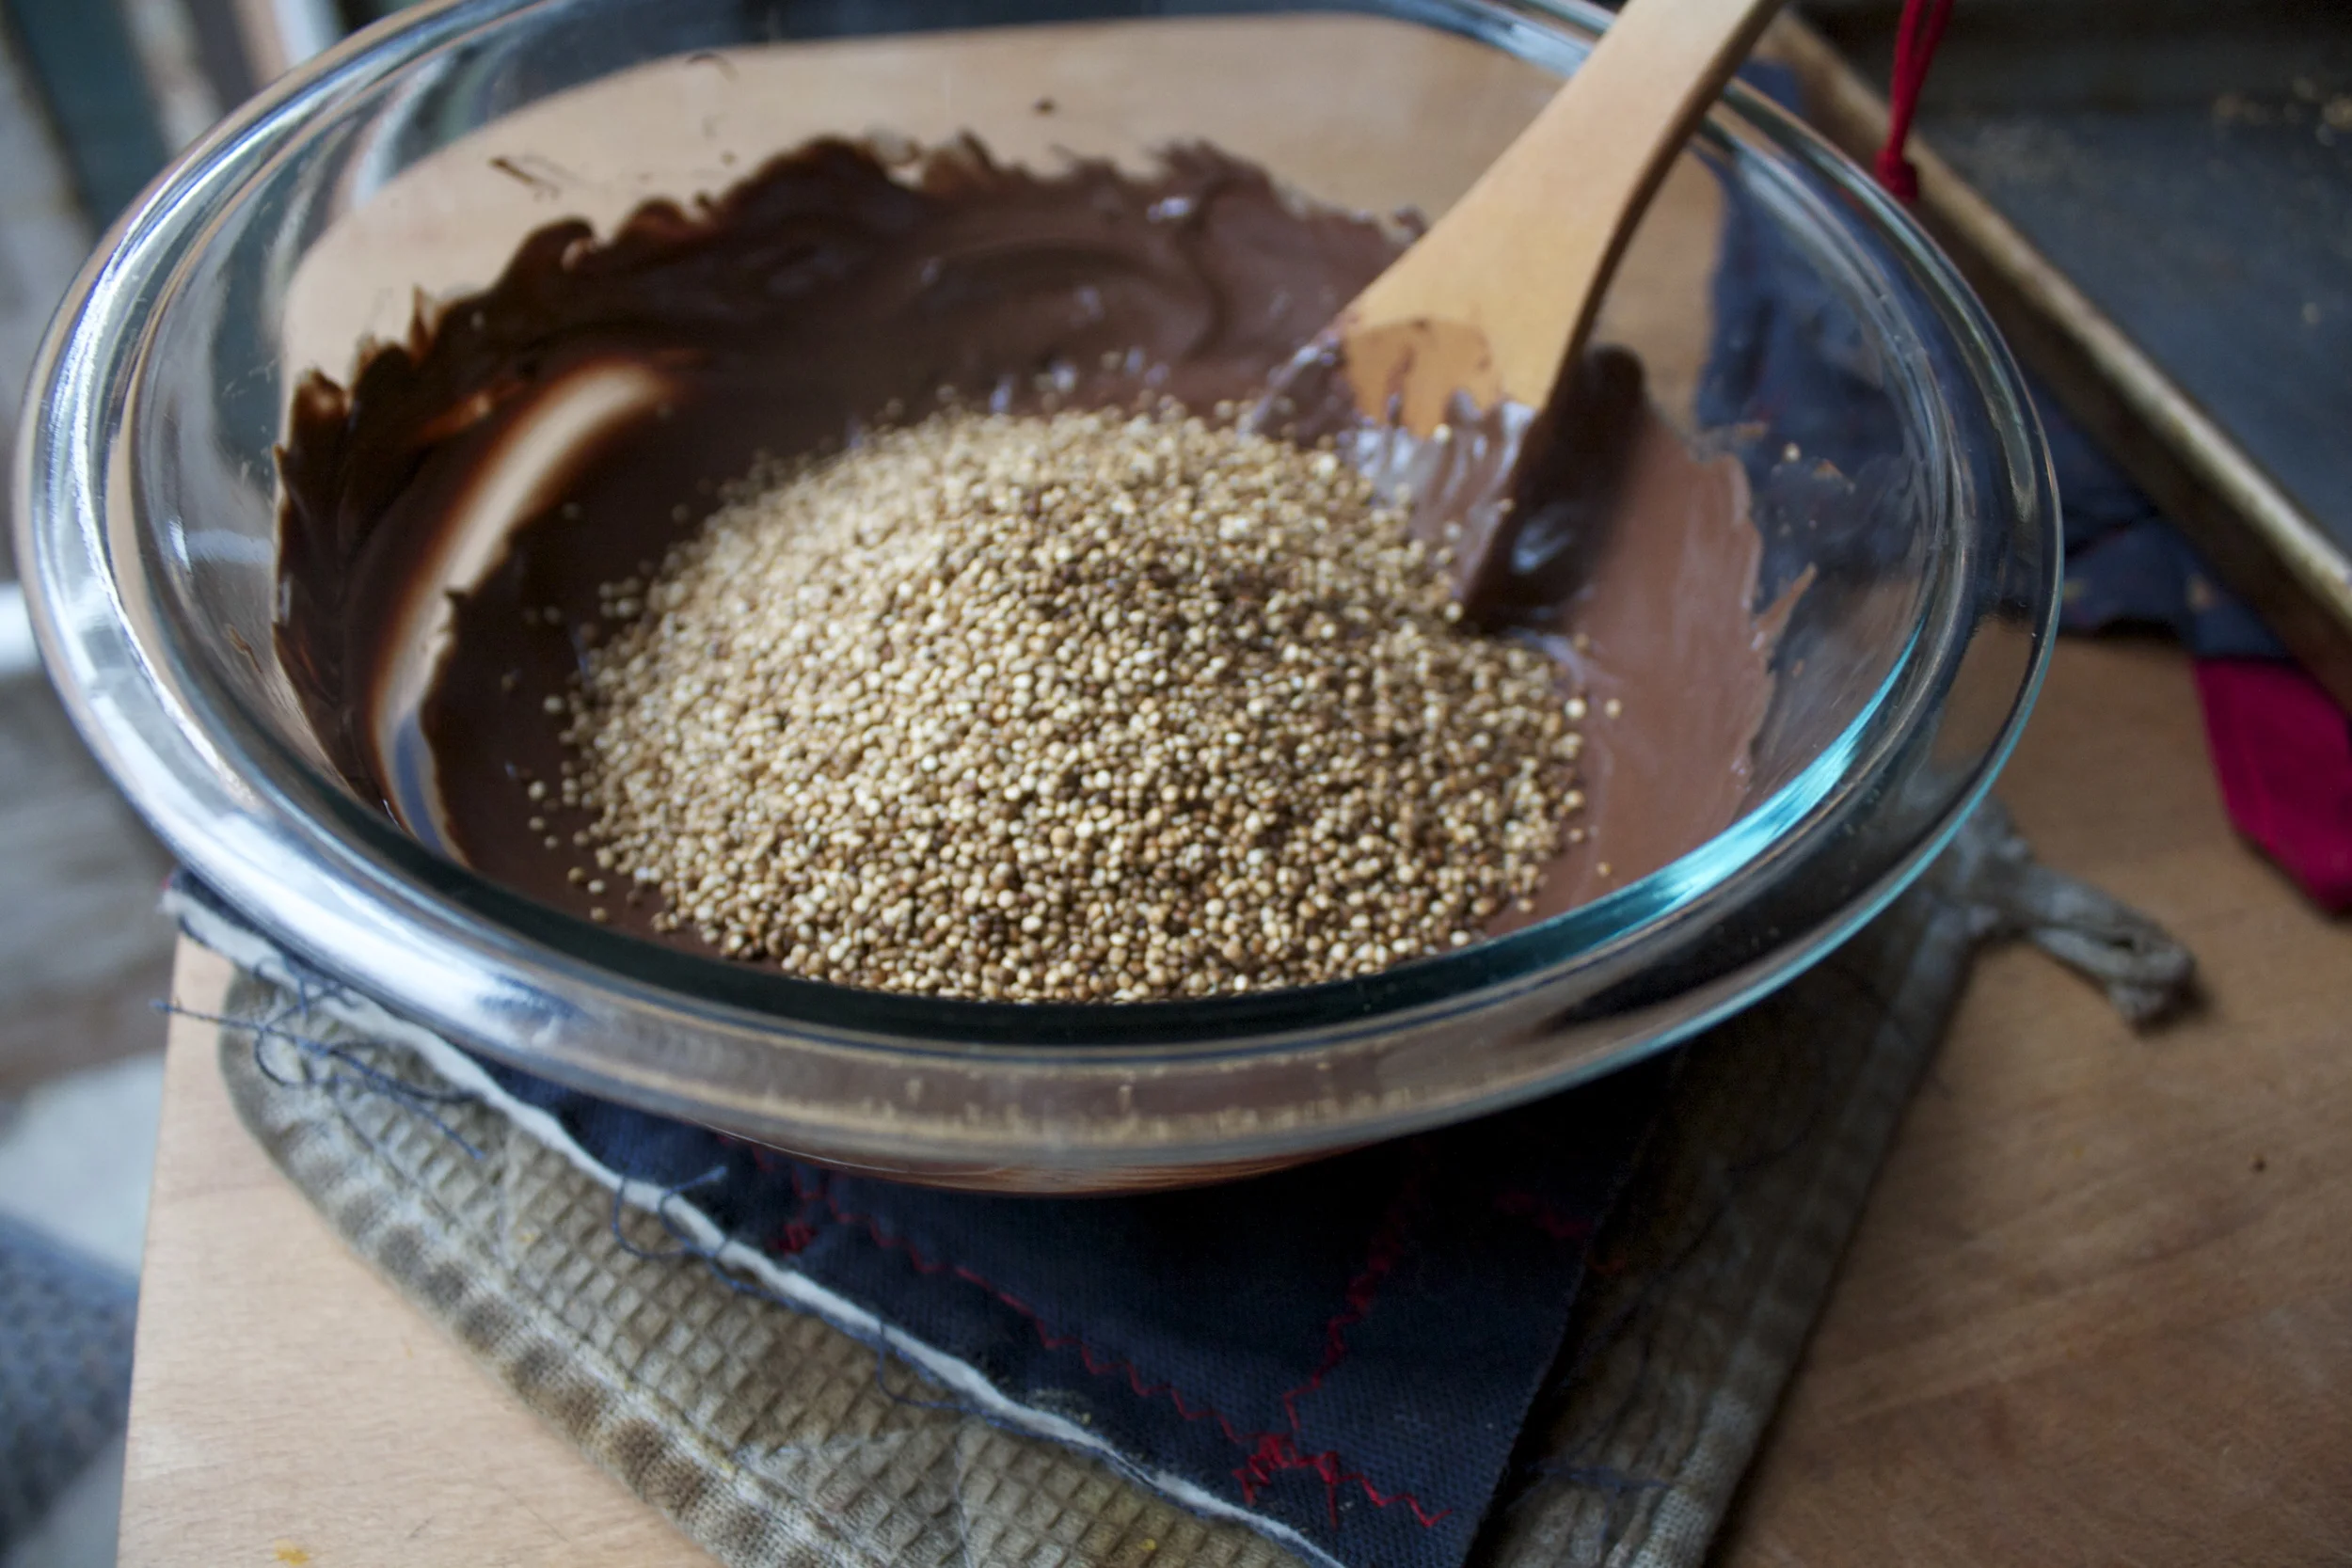
Mix the popped quinoa into the melted chocolate…
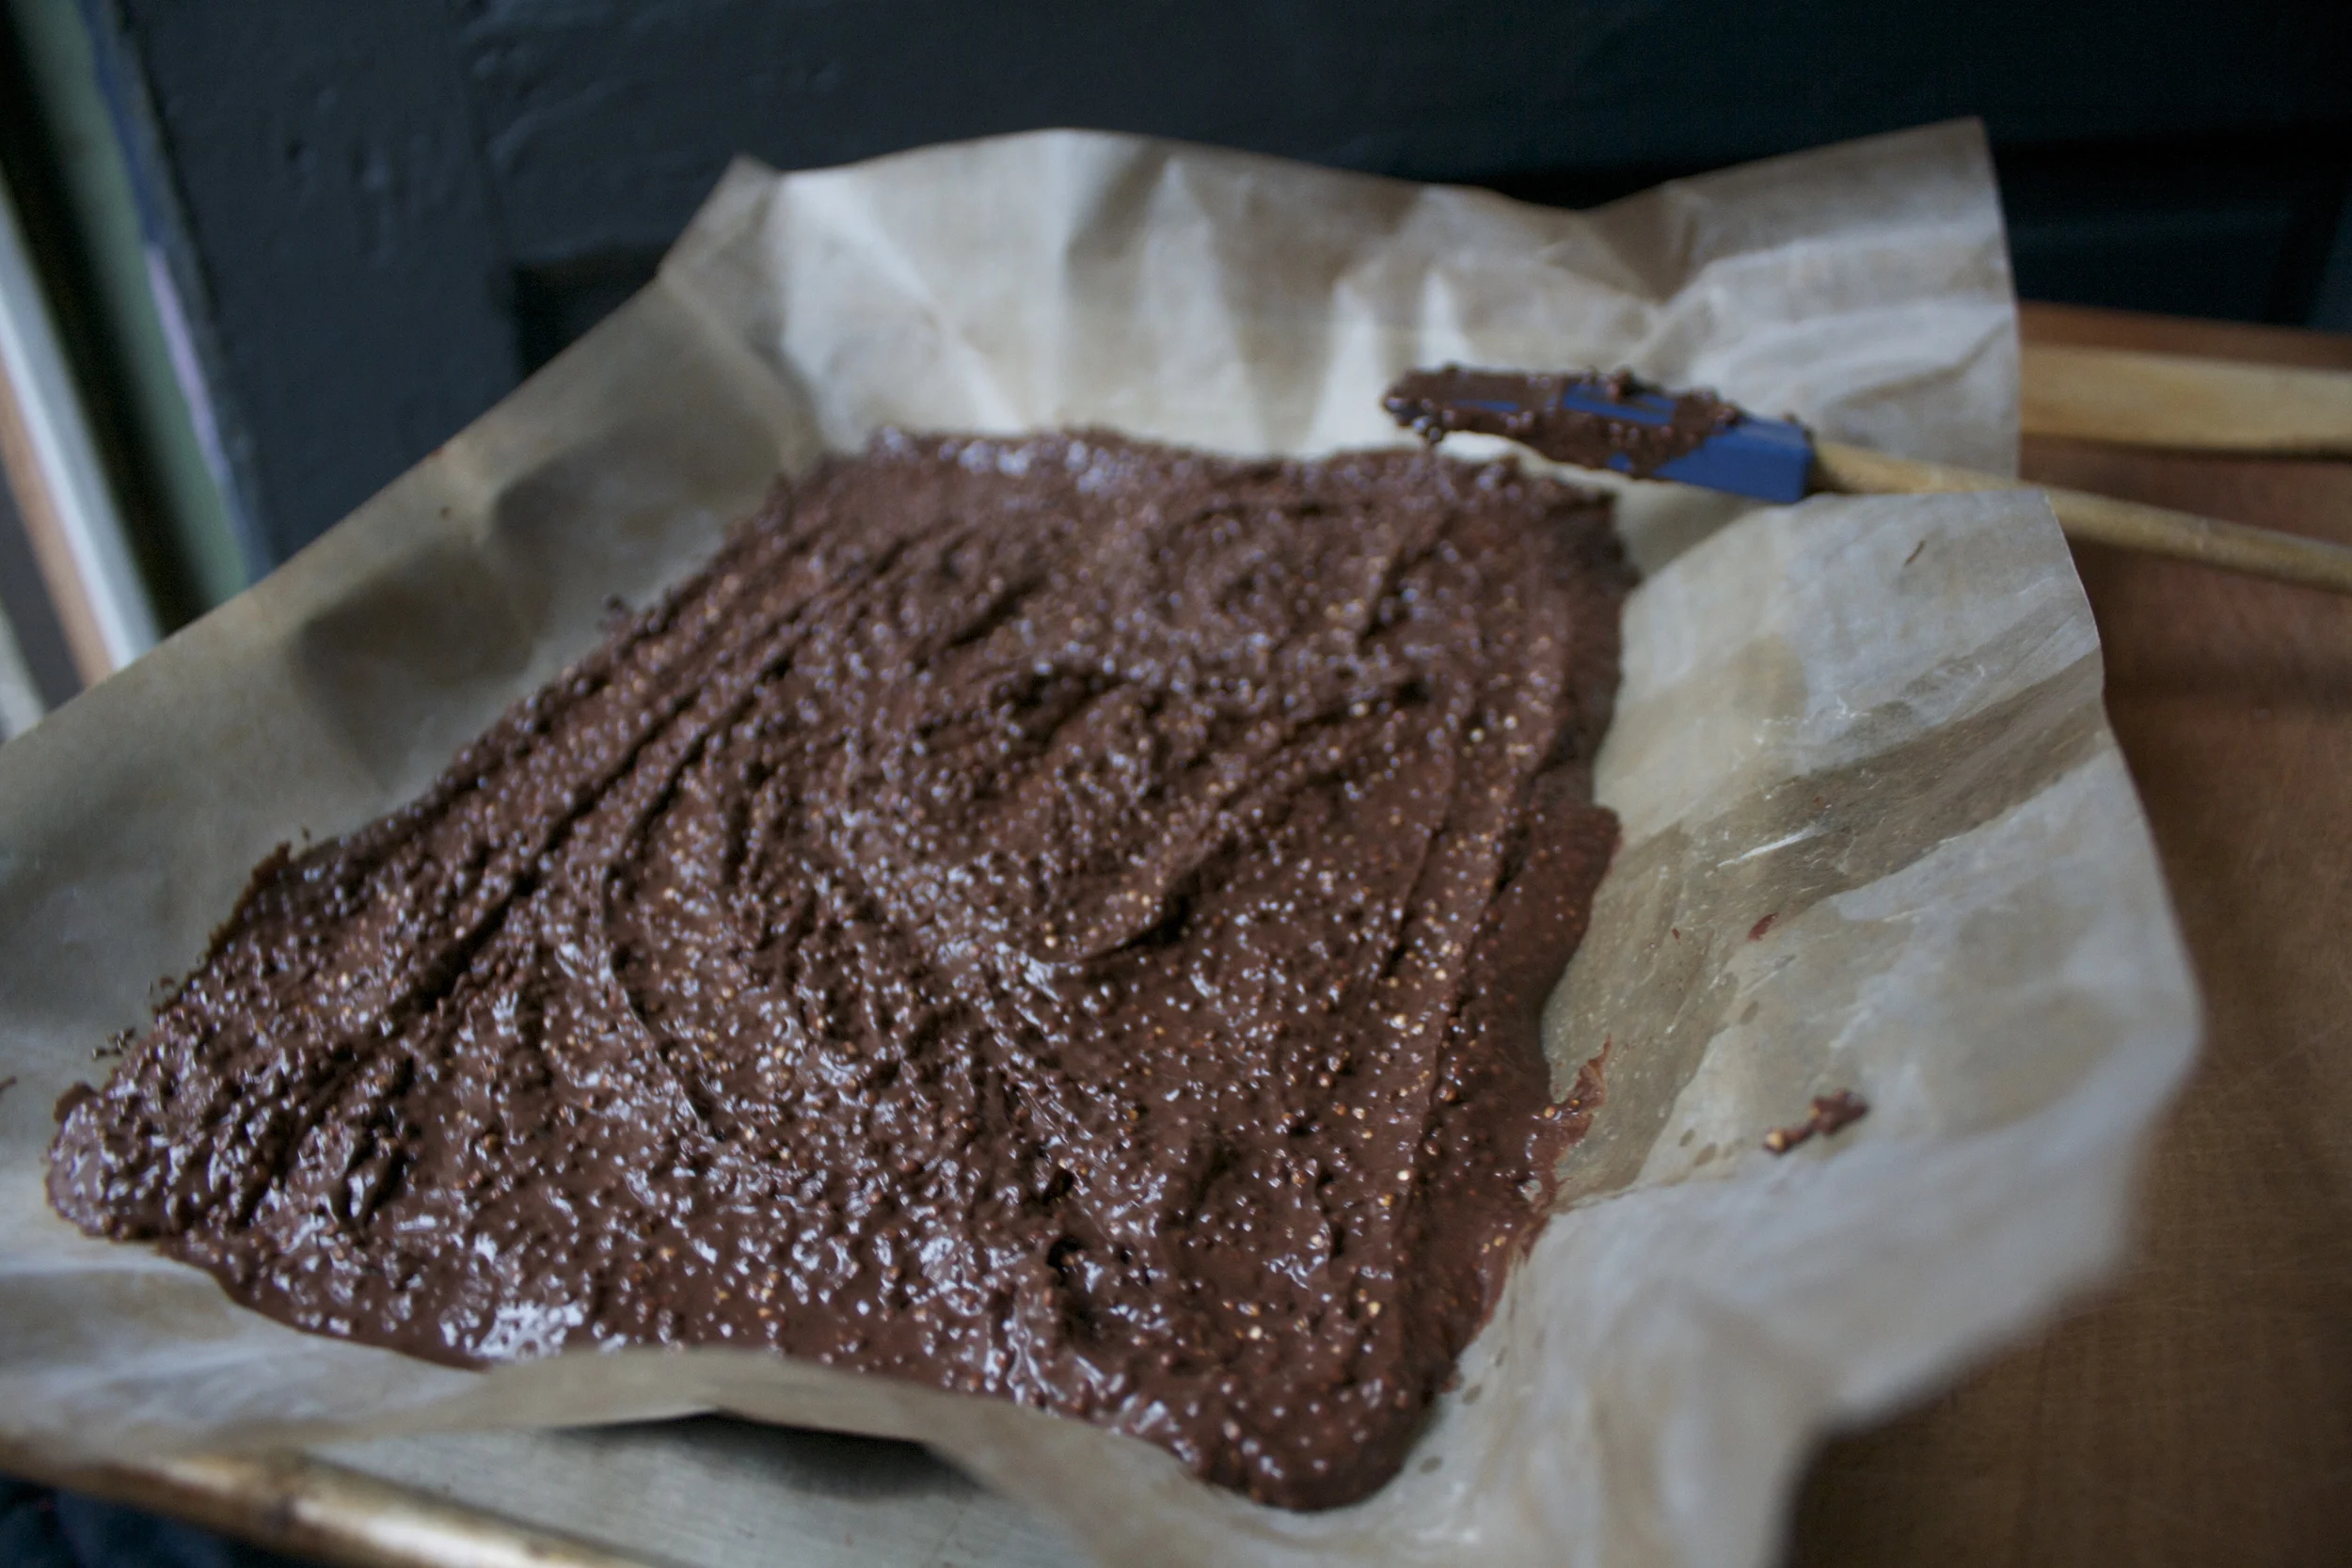
Then scrap onto a wax paper lined baking sheet and spread out to about 1/4-1/2 inch thick.
Place in the fridge to set up
Once the chocolate has harden, break that shit apart! Big pieces, little pieces. All up to you.
And do what your going to do with it. (wrapped in wax paper with a sting looks so nice if you giving it as a gift)
So simple, so good, so the perfect heartfelt, maybe a little last minutes, gift. Or just a nice little sweet snack with a healthy little kick to it.
And I probably won’t be posting until after the holiday so…
Merry Christmas, Happy Holidays, blah!!!!!
Bye!
-C
makes 3 cups of bark
2 cups chocolate chips (any kind you like)
1 cup dried quinoa
To pop quinoa, add enough quinoa to cover the bottom of a heavy bottom pot. Turn heat on high and slowly stir the quinoa until it starts to pop. Once it’s popping, turn down to low and continue to stir until all the quinoa is nice and golden brown and the popping isn’t as frequent. Dump the quinoa into a bowl ans continue on until you have popped all of it.
To melt chocolate, either use a double boiler (glass boil on top a low boiling pot of water. Add chocolate to bowl and mix until melted) Or use the microwave. (Heat in glass bowl at 30 second intervals until melted)
Combine the popped quinoa to the melted chocolate, mix until combined then pour out onto a wax paper lined baking sheet. Spread the chocolate to about 1/4 inch to a 1/2 inch thick with a spatula and place in he fridge to set.
Once chocolate is hard, remove from fridge and break into chunks.
Who doesn’t like a good bun, right? %u00a0And just because this is where my mind wonders, peachy sweet buns. Doesn’t that sound like a pick up line or something you say to your significant other. Like, “Oh hey peachy sweet buns, you are looking good. Woo hoo”…….. Anyway, this is not about anyones peachy sweet buns, it it about actually sweet buns so u-hum, yeah.%u00a0
I am not trying to float my own boat here, but I am really really good at making buns, and you know what, I bet that you are too. They may seem a little intimidating, but really, it’s quite easy. I think what throws some people off is the yeasted dough and having to knead and waiting for the dough to rise,%u00a0but don’t let that stop you from sweet sweet buns. They are no harder to make then a boxed cake (maybe a little harder) and the results are by far more amazing and delightful (we don’t use the word delightful enough around here) then any old box or pre-made thing will ever be. Ever. Freshly made buns are what is right in this world.
If you are awesome and decide to make buns like any good person with a baking itch or a need for some sweet bun goodness does, make them peachy because its peach season and how can a peach bun not be that much more amazing? %u00a0Just think. Soft sweet dough, jammy cinnamon peaches, covered in a sweet lemony glaze……
Go on now, go and get yourself some peachy sweet buns.
The stuff. Flour and salt in the bowl, melted earth balance, brown sugar, yeast, warm soy milk, cane sugar, cinnamon, powdered sugar, a couple of lemons, and af course, peaches.
Warm (not hot) soy milk, yeast, cane sugar, an melted (but again, not hot) earth balance go into a big bowl and get whisked around. Then add in the flour and salt ans mix around until you just can’t.
Time to knead. Dump the dough ad all the little bits onto a flour surface. Gather it all together and knead away, for about 5-8 minutes, or until the dough looks like….
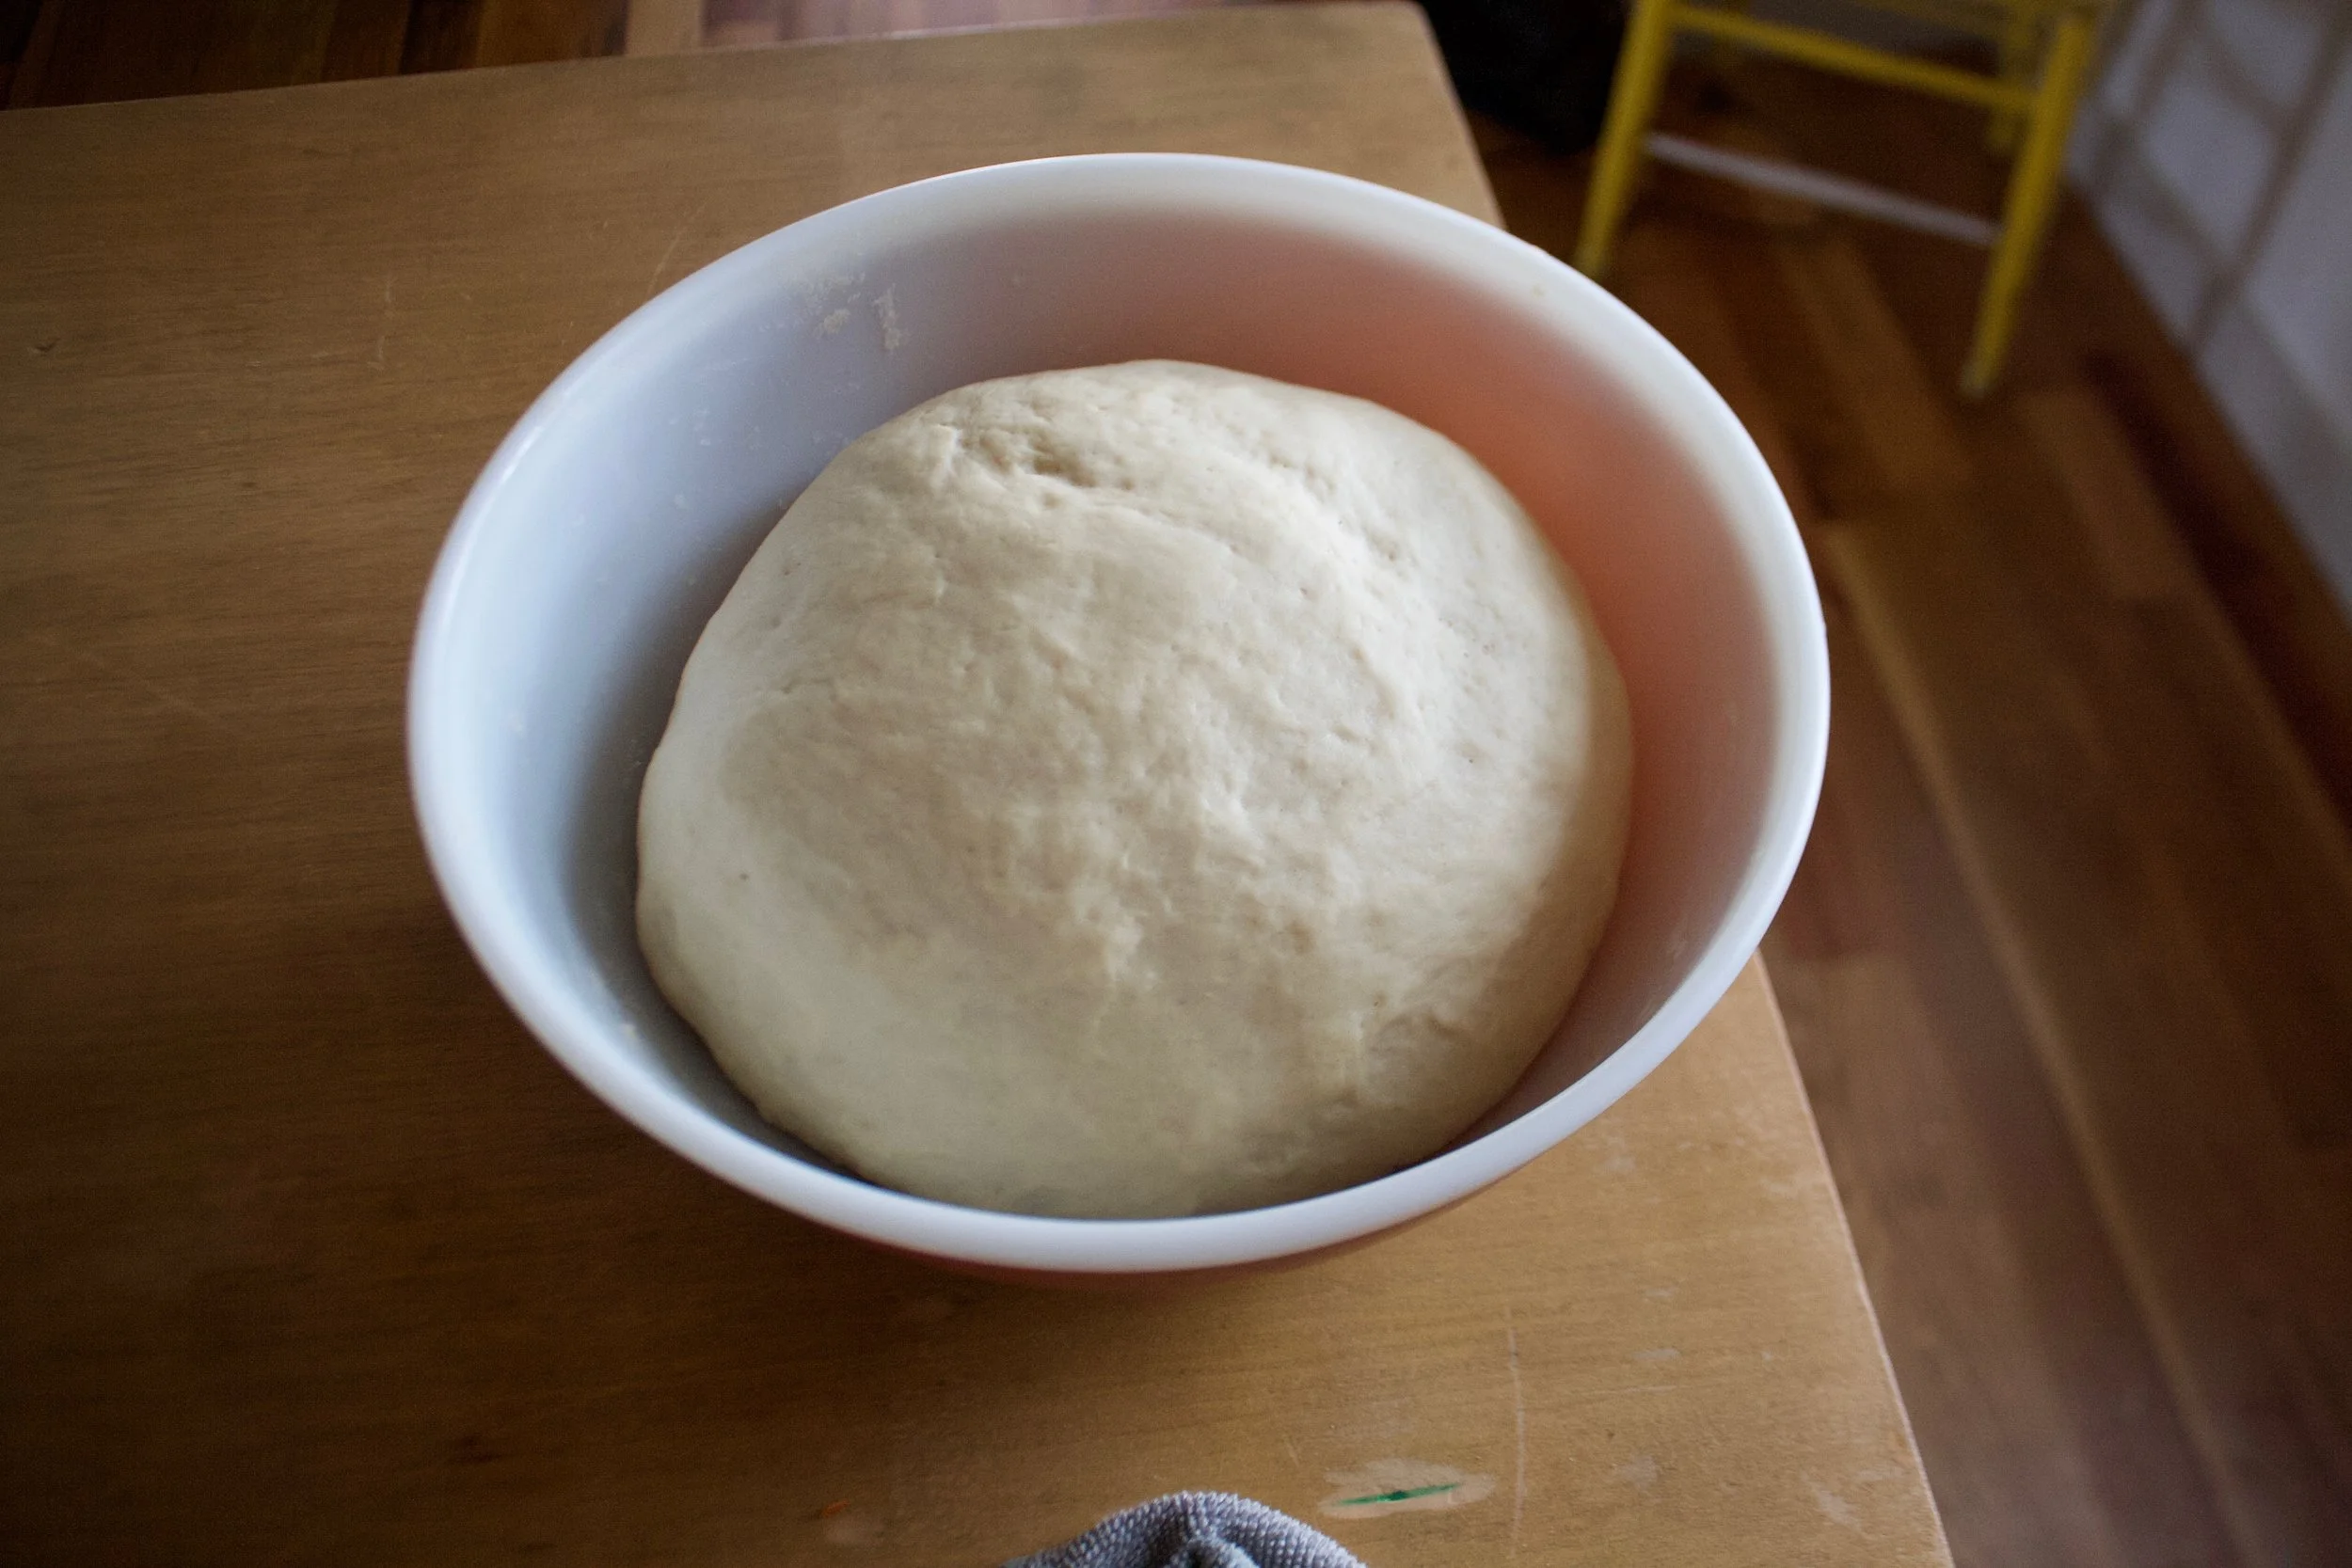
This. Nice and soft and glossy. %u00a0Lightly grease the bowl ans stick the dough back into it, covered with a towel, and set for about 1 hour to rise and double in size.%u00a0
As soon as the dough is set ti rise, start on your peach filling. Chop up enough peaches that you have about 2 1/2 cups of chunks.
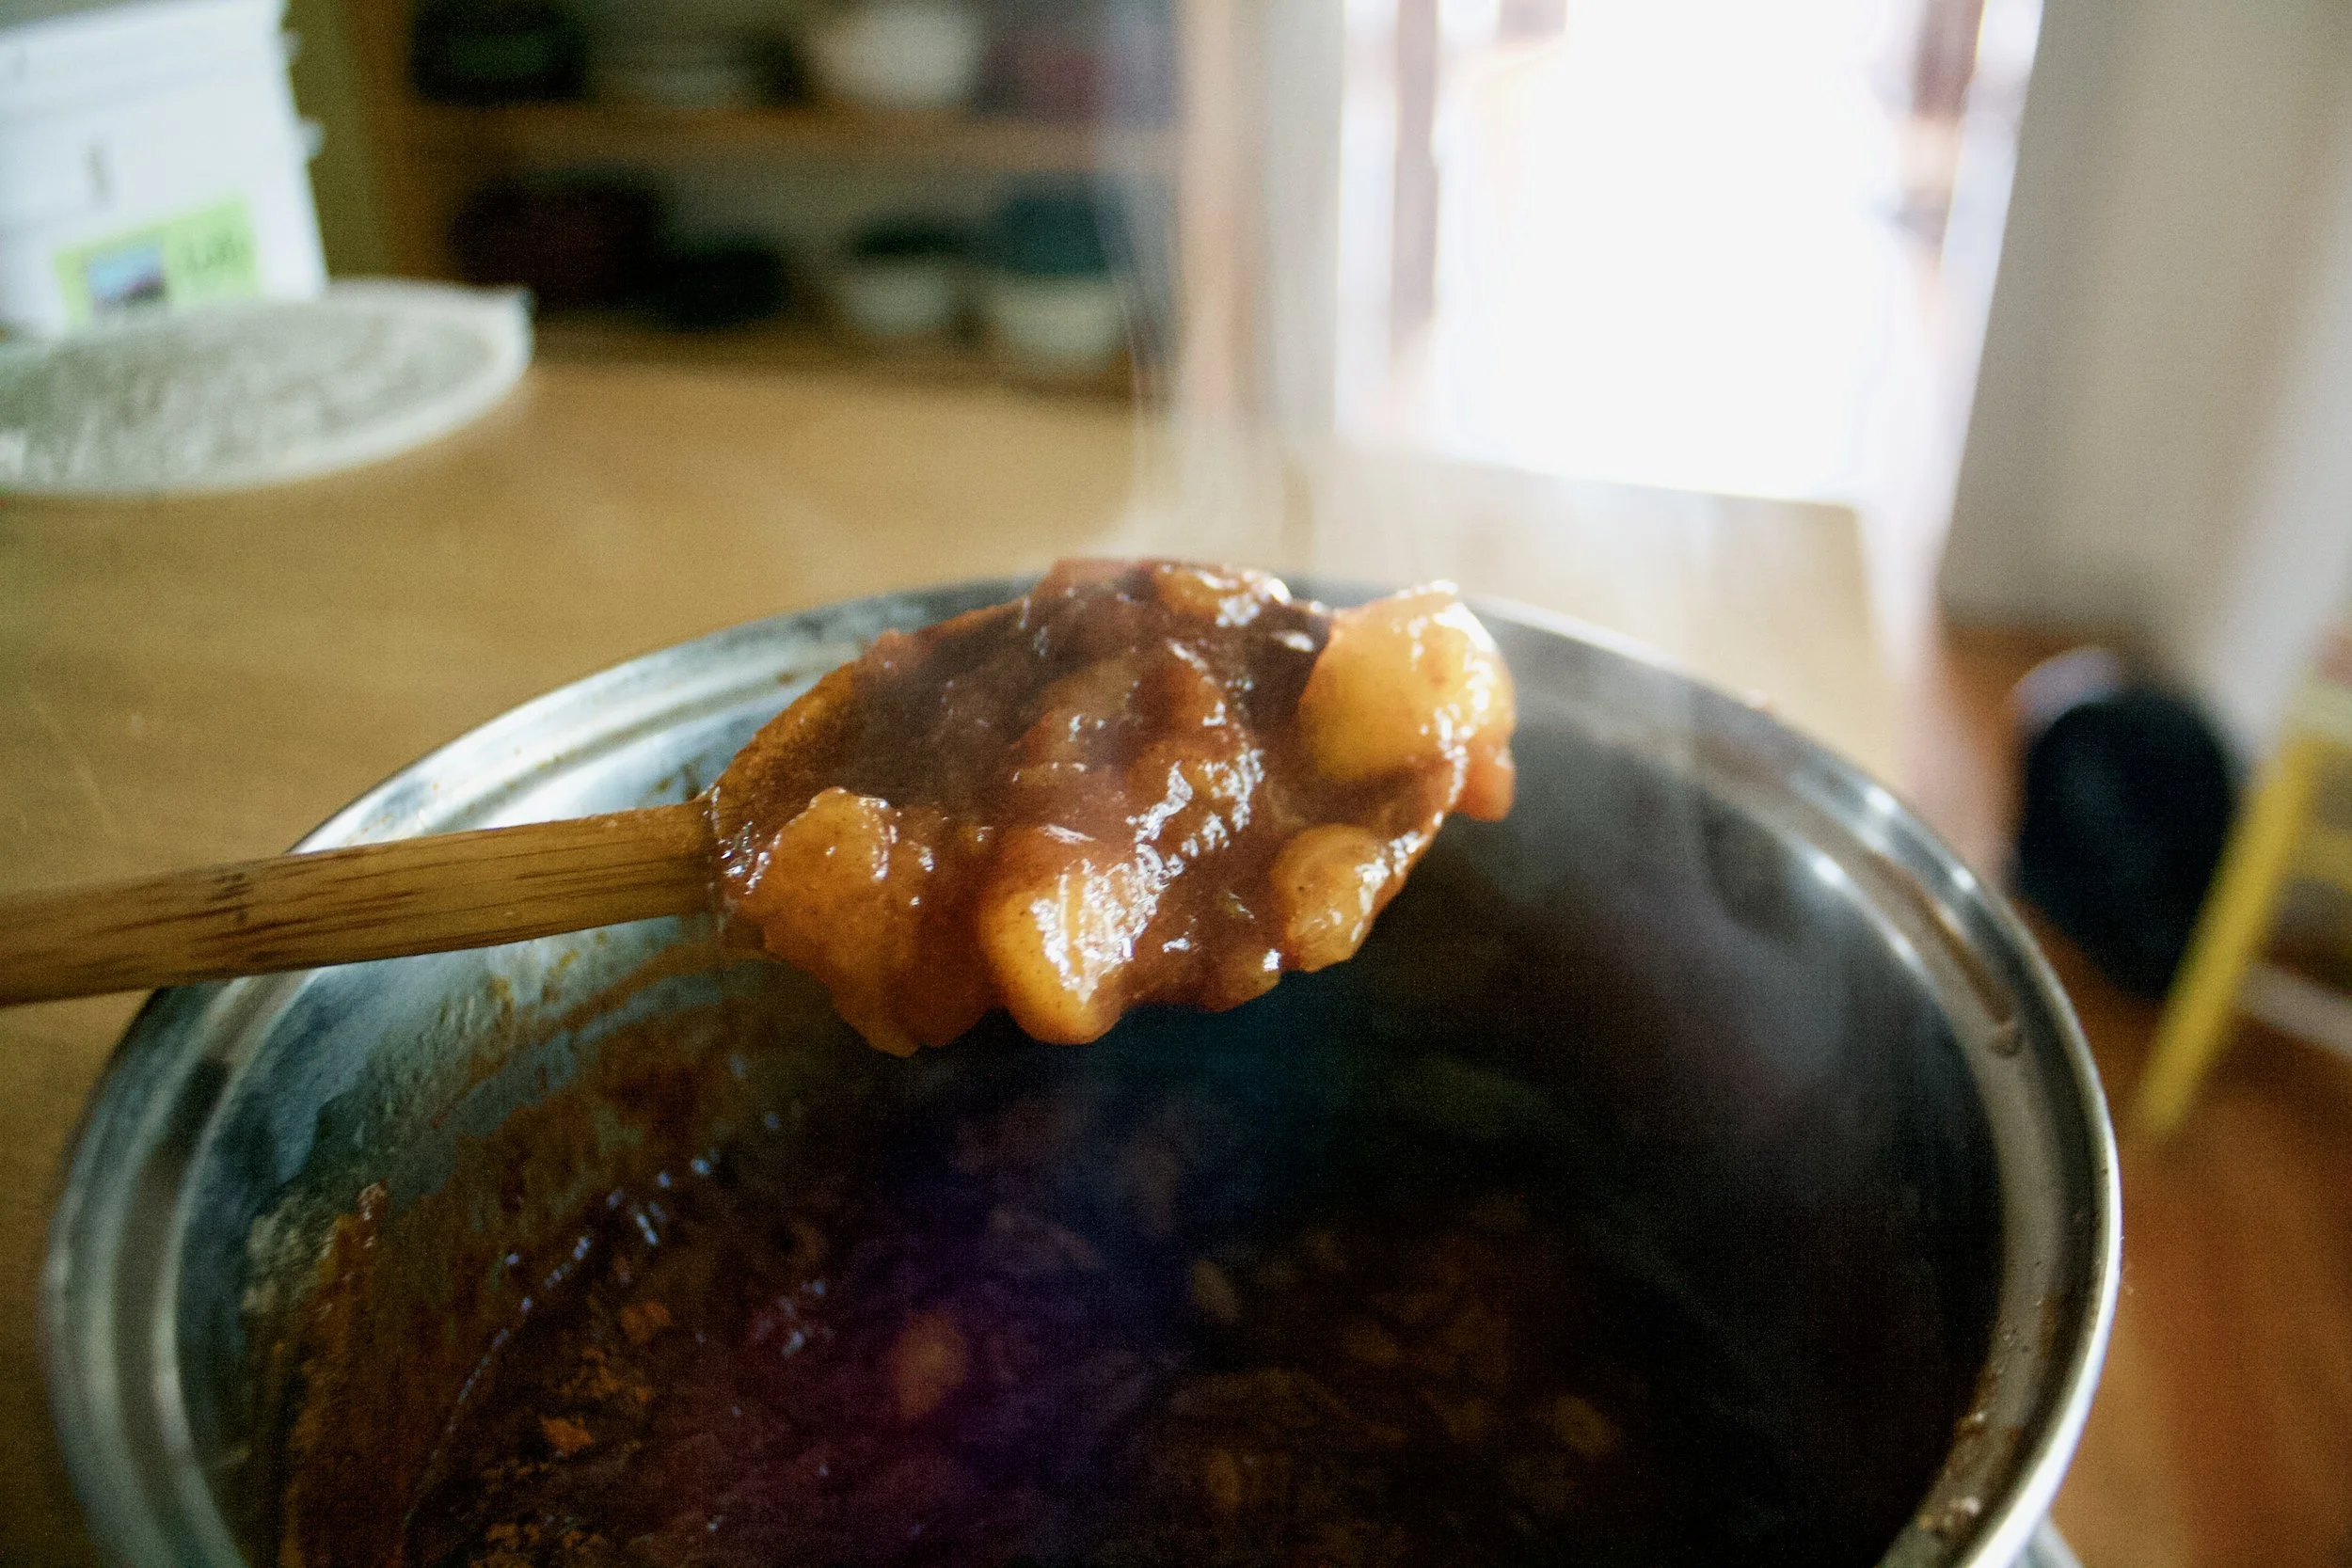
Brown sugar and peach chunks go into a pot and stuck on a medium heat until they start to bubble then set to a low simmer for about 20 minutes or until the peaches all break apart and reduce by half.
Add in the cinnamon and stir.. Peachy goodness. Now quick and stick that shit in the fridge or freezer to cool down.
BOOM. Dough did what it’s job and doubled. Time o make the buns.%u00a0
Place the dough on a lightly floured surface and roll our into a rectangle of sorts that is about 1/2 an inch thick%u00a0
Cover the surface with all the peachy jammy goodness, and sprinkle on the remaining finely chopped peaches.
And roll, as tightly as you can, without squeezing all the filling out. I roll towards me, but roll away from you if it is easier. %u00a0It might get a little sloppy… it’s ok, just lick your fingers and keep going.%u00a0
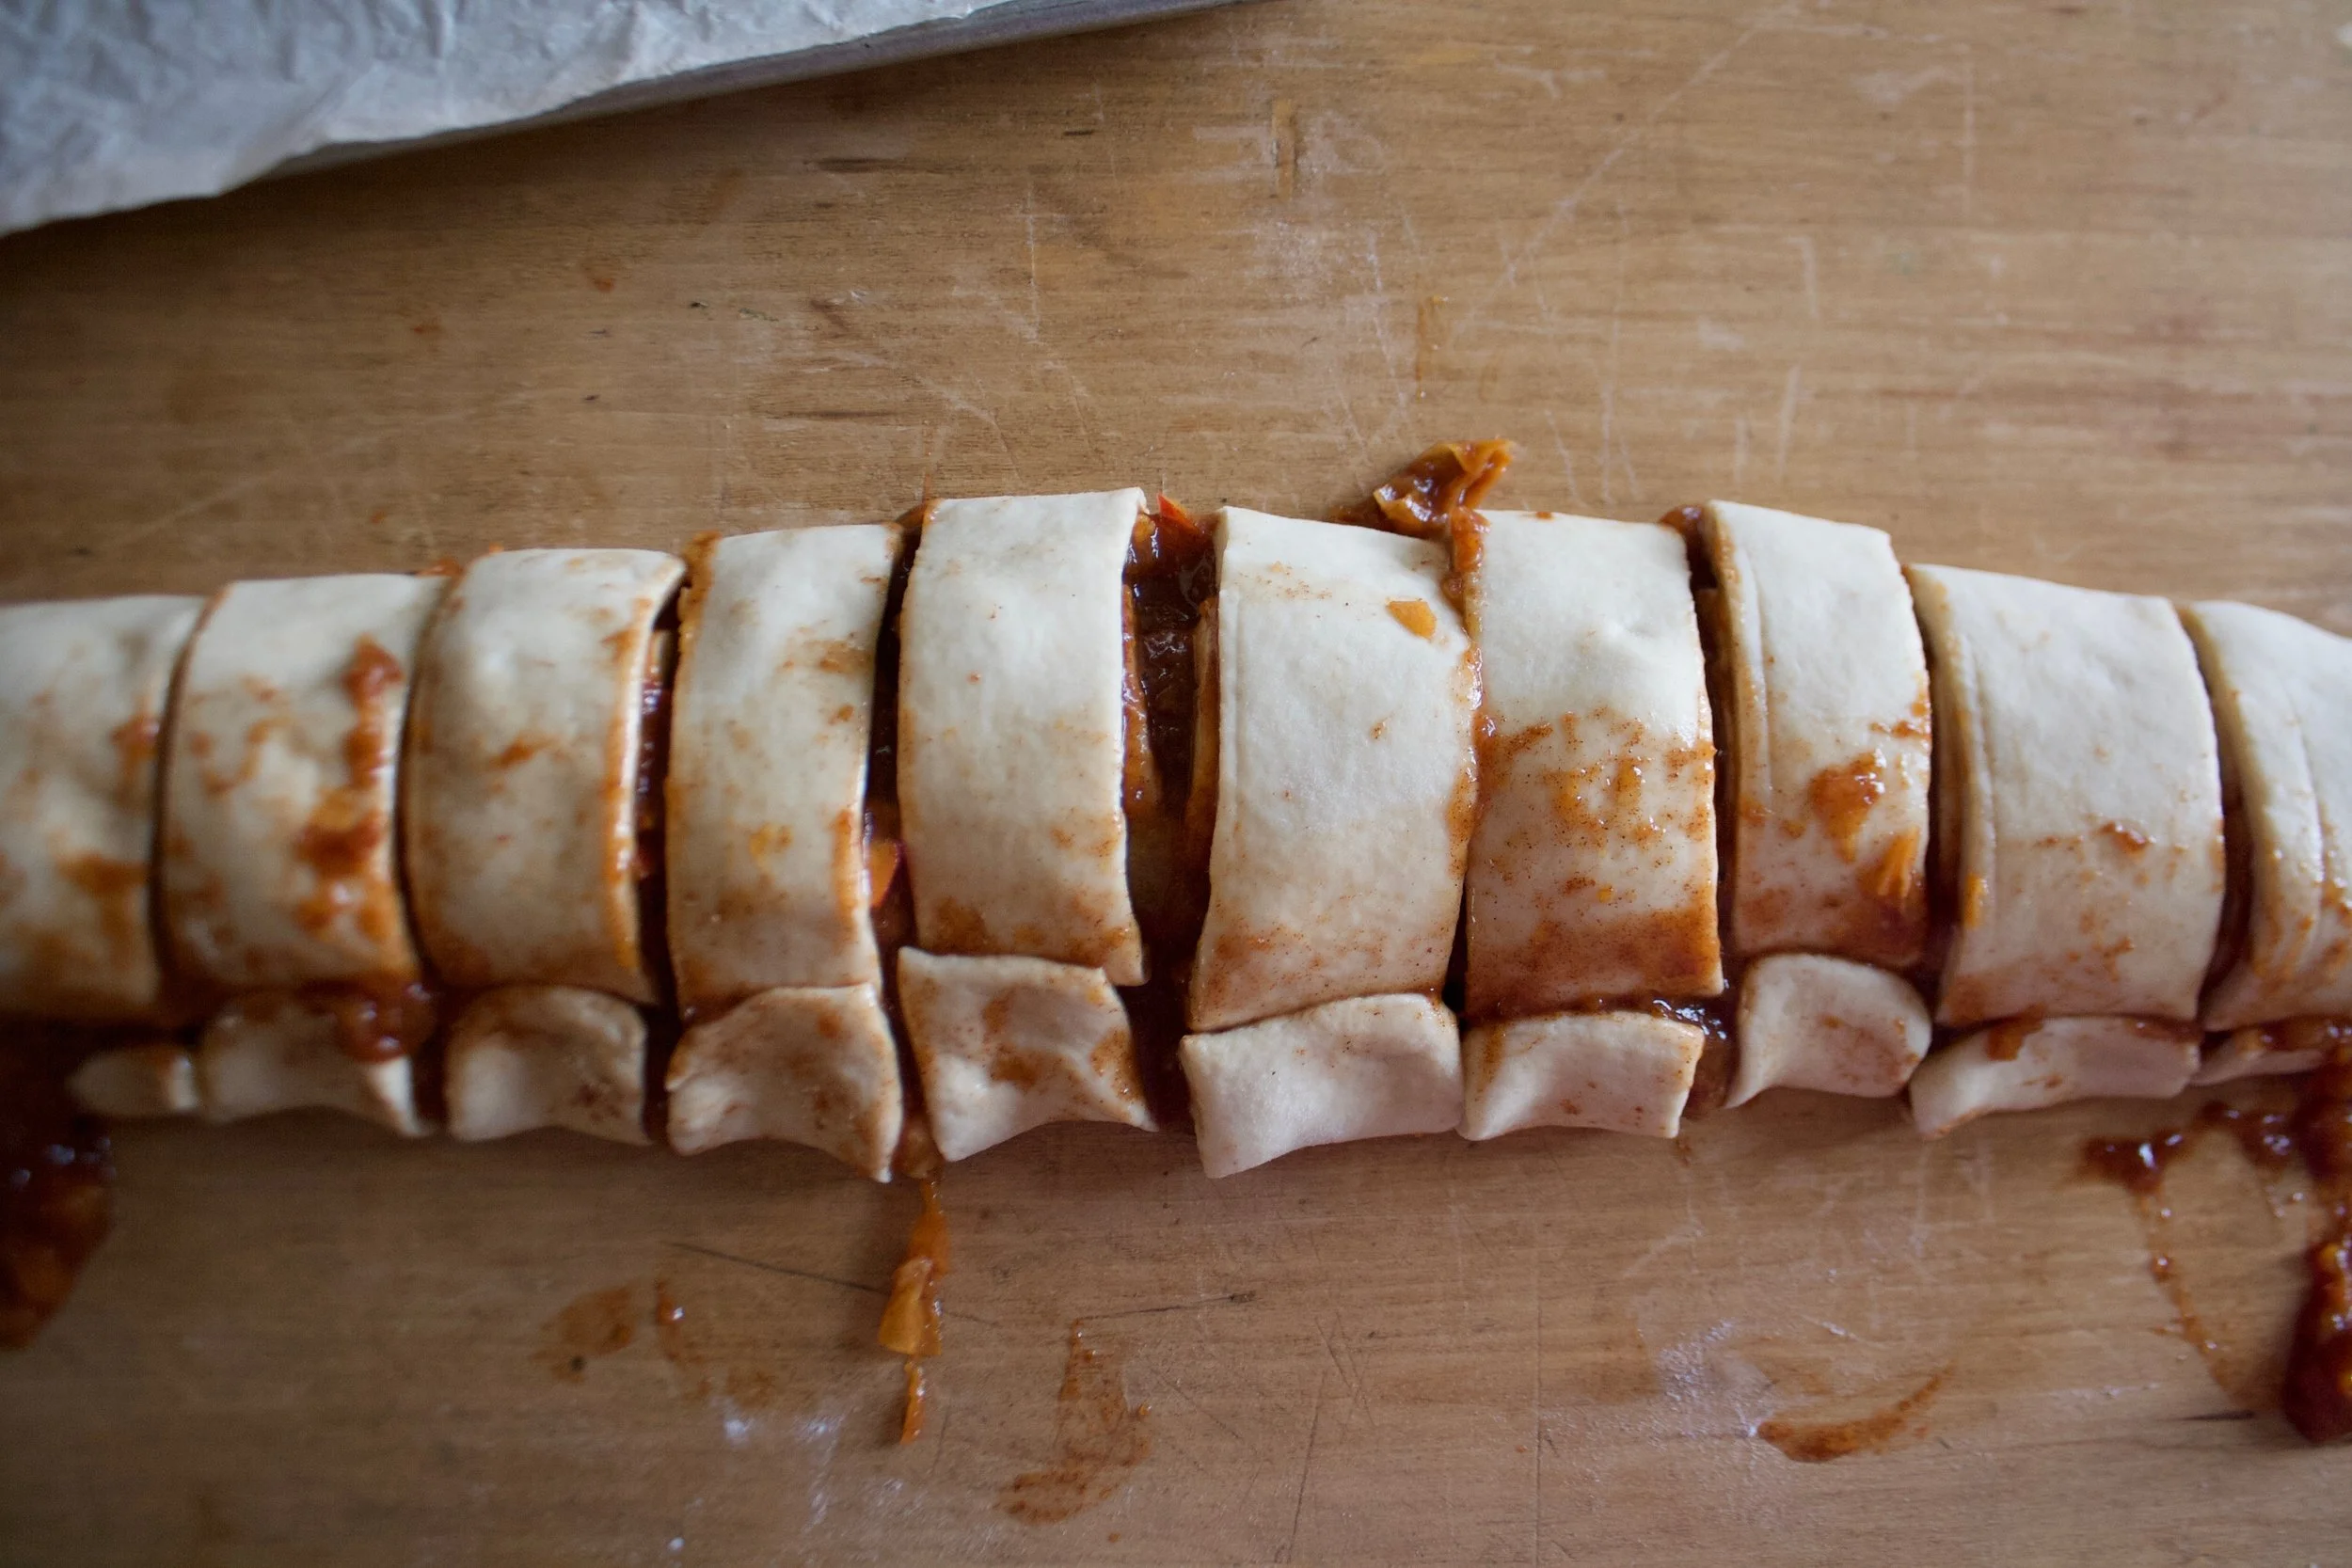
Rolled and cut into 12 pieces.
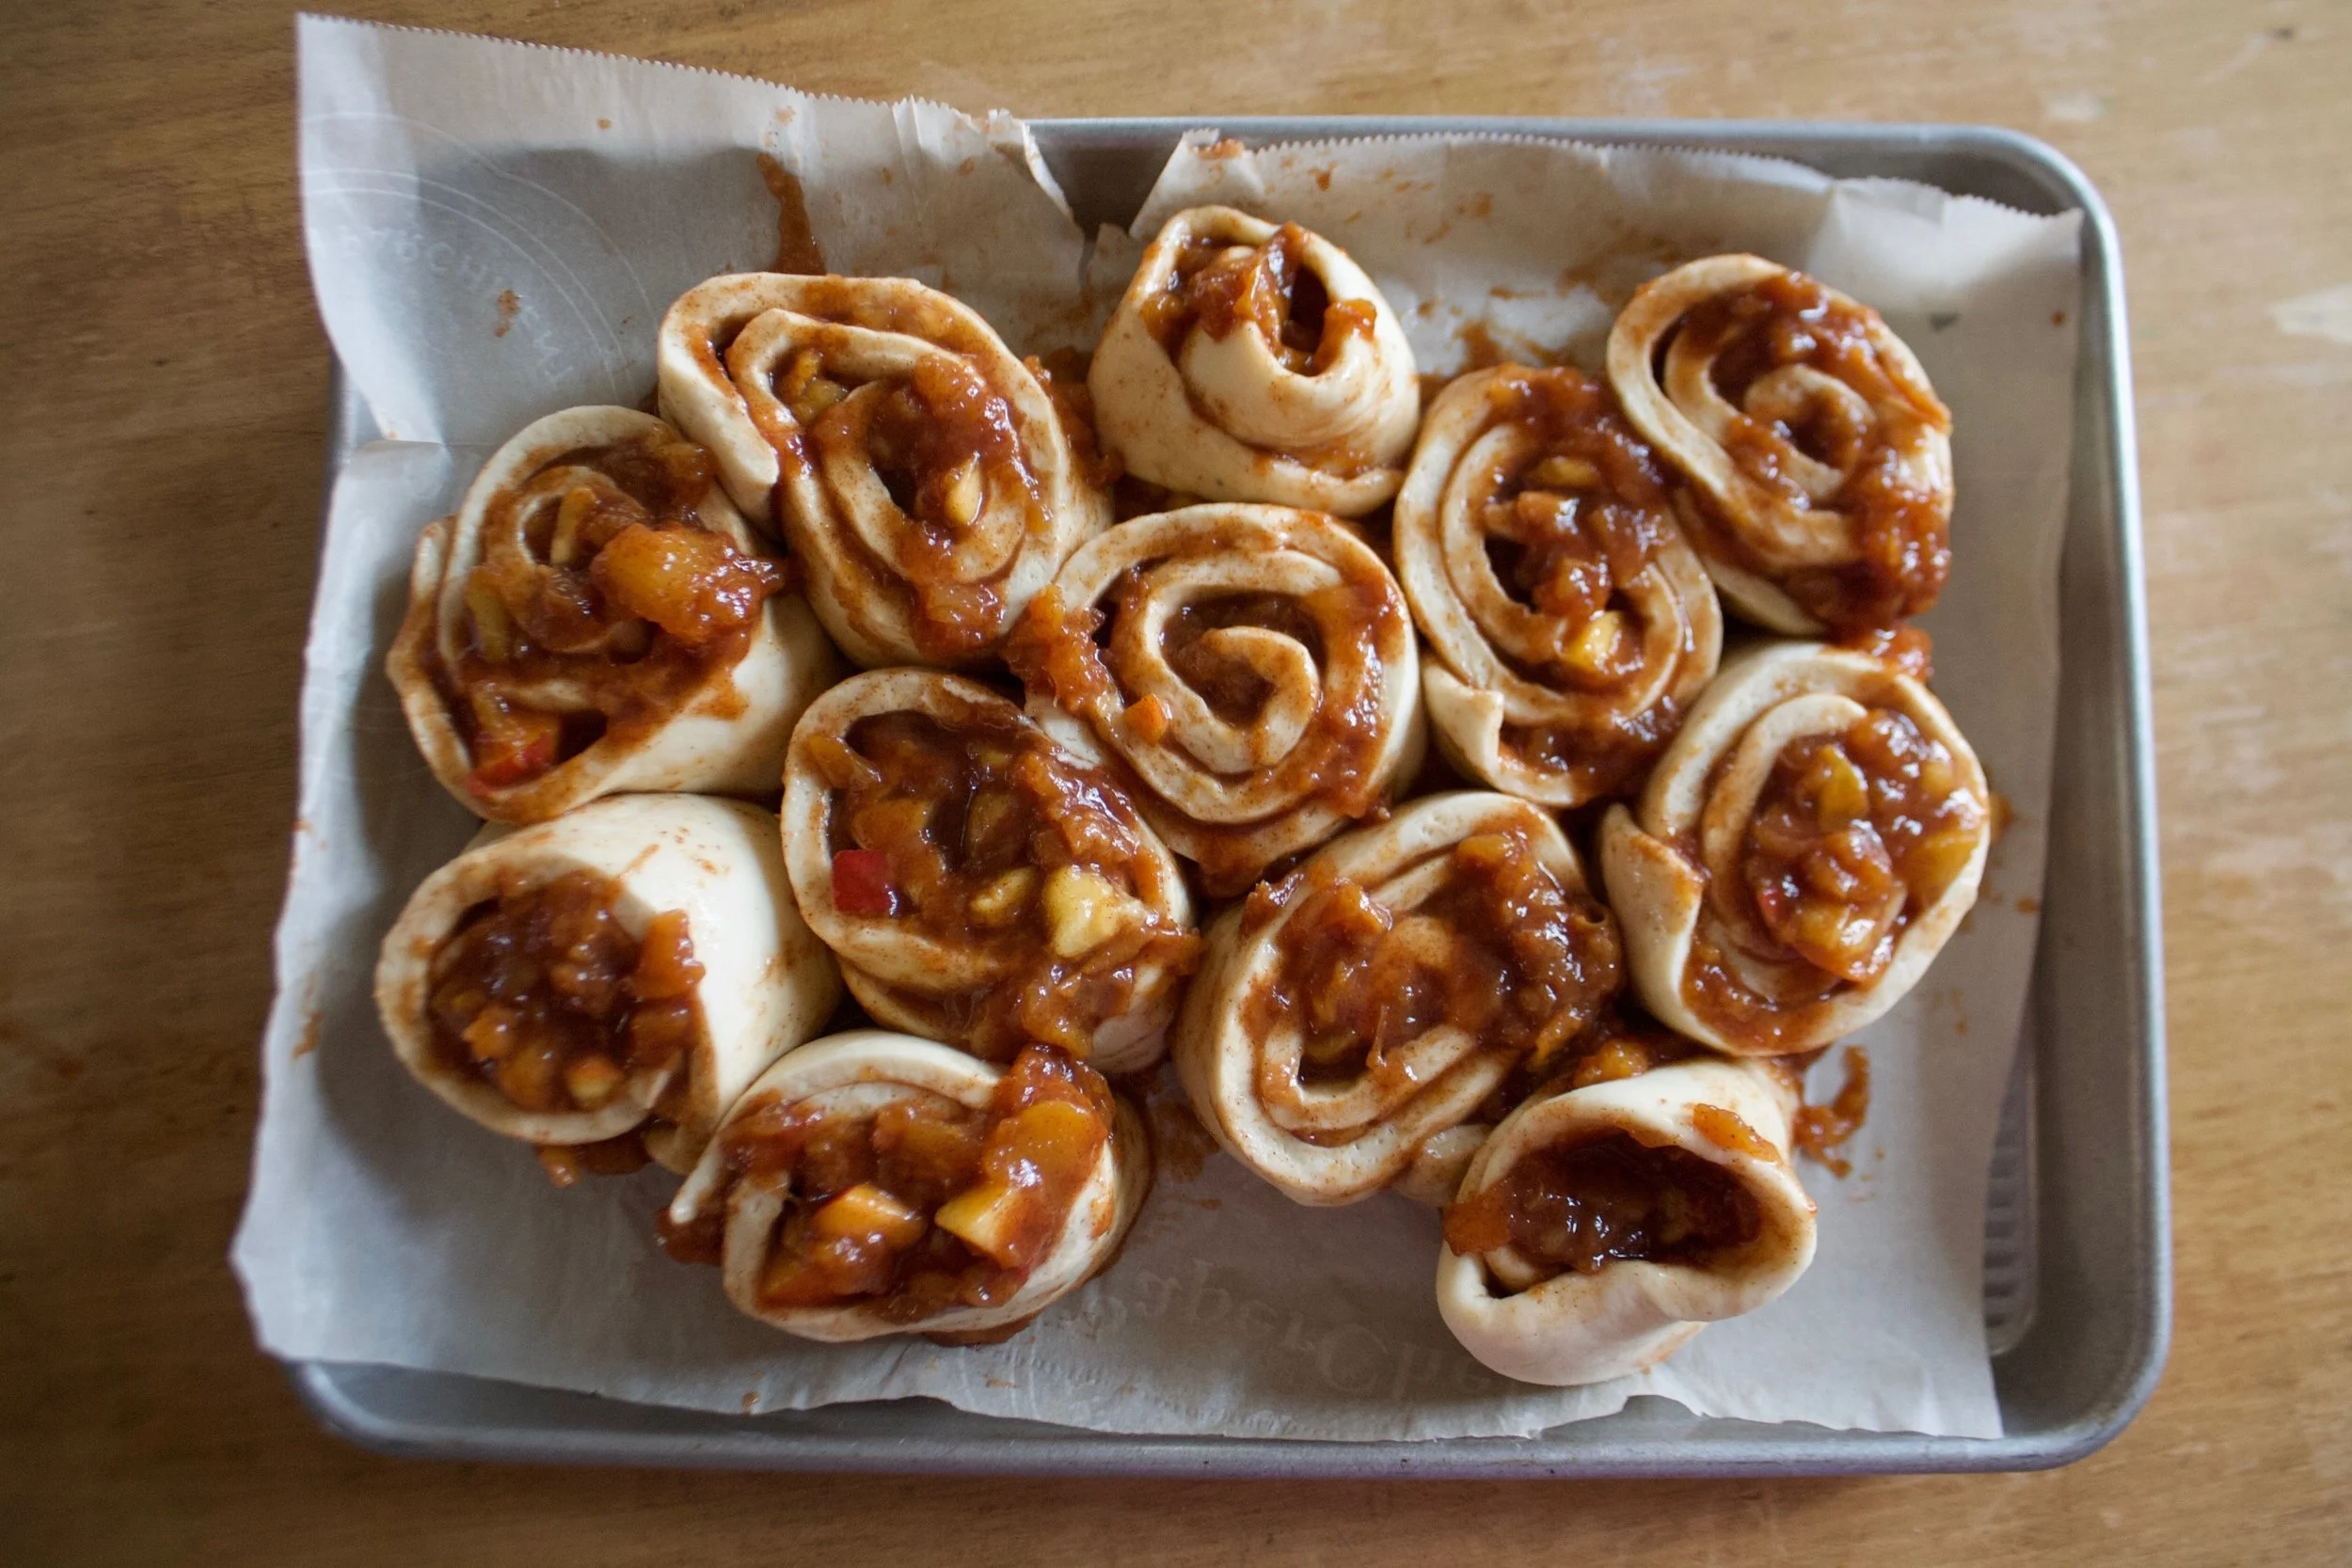
Place the rolls carefully onto a grease and parchment lined baking 9×13 baking dish. In my picture I used a baking pan, which was not what I wanted to do, but I wasn’t thinking properly and so that’s what I did. Something with sides is preferable, but the baking pan did the job so really, your call.%u00a0
When you place the buns in the dish, place them toughen a bit, it helps then bake up high instead of out. %u00a0And any remaining go on jam that spilled out can get scraped right on top of the buns,%u00a0if you didn’t already eat it.
Now into the preheated oven these %u00a0babies go.
Look at those beauts. And they smell. A-MAZ-ING!!%u00a0
Right away get that glaze made. Powdered sugar, lemon zest, ans lemon juice. Super easy, just add the zest and juice to sugar and mix until smooth and glaze.%u00a0
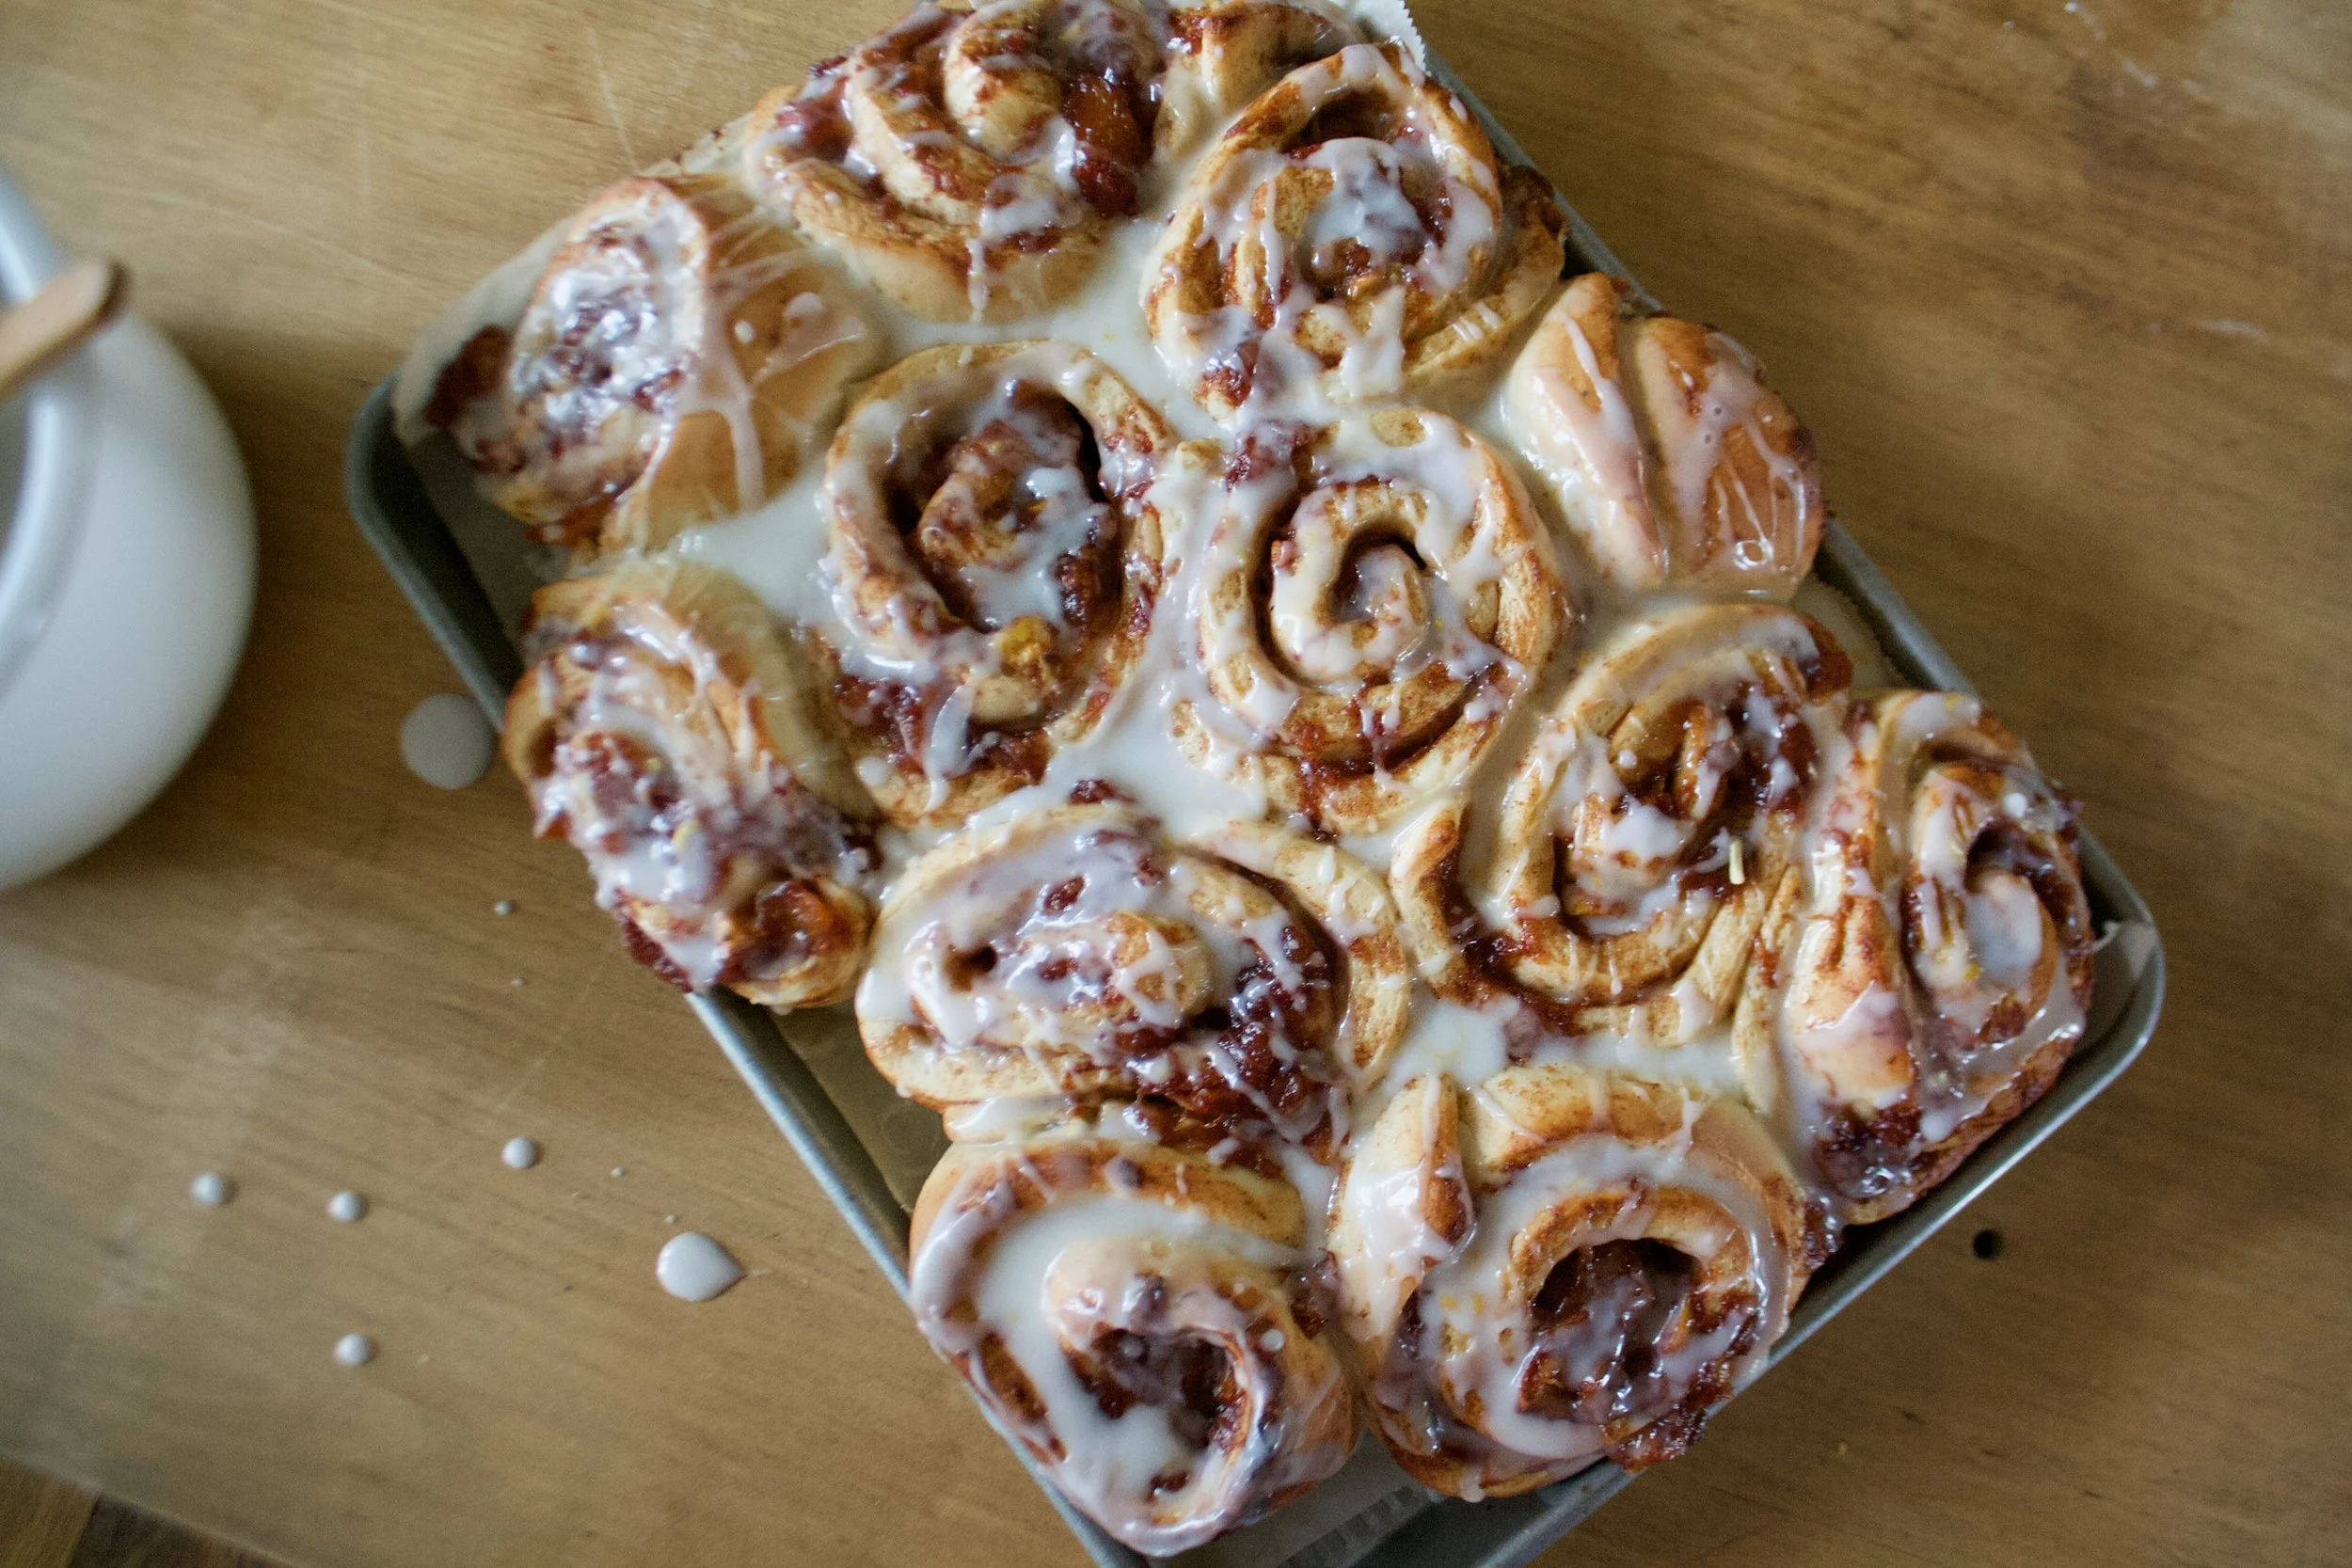
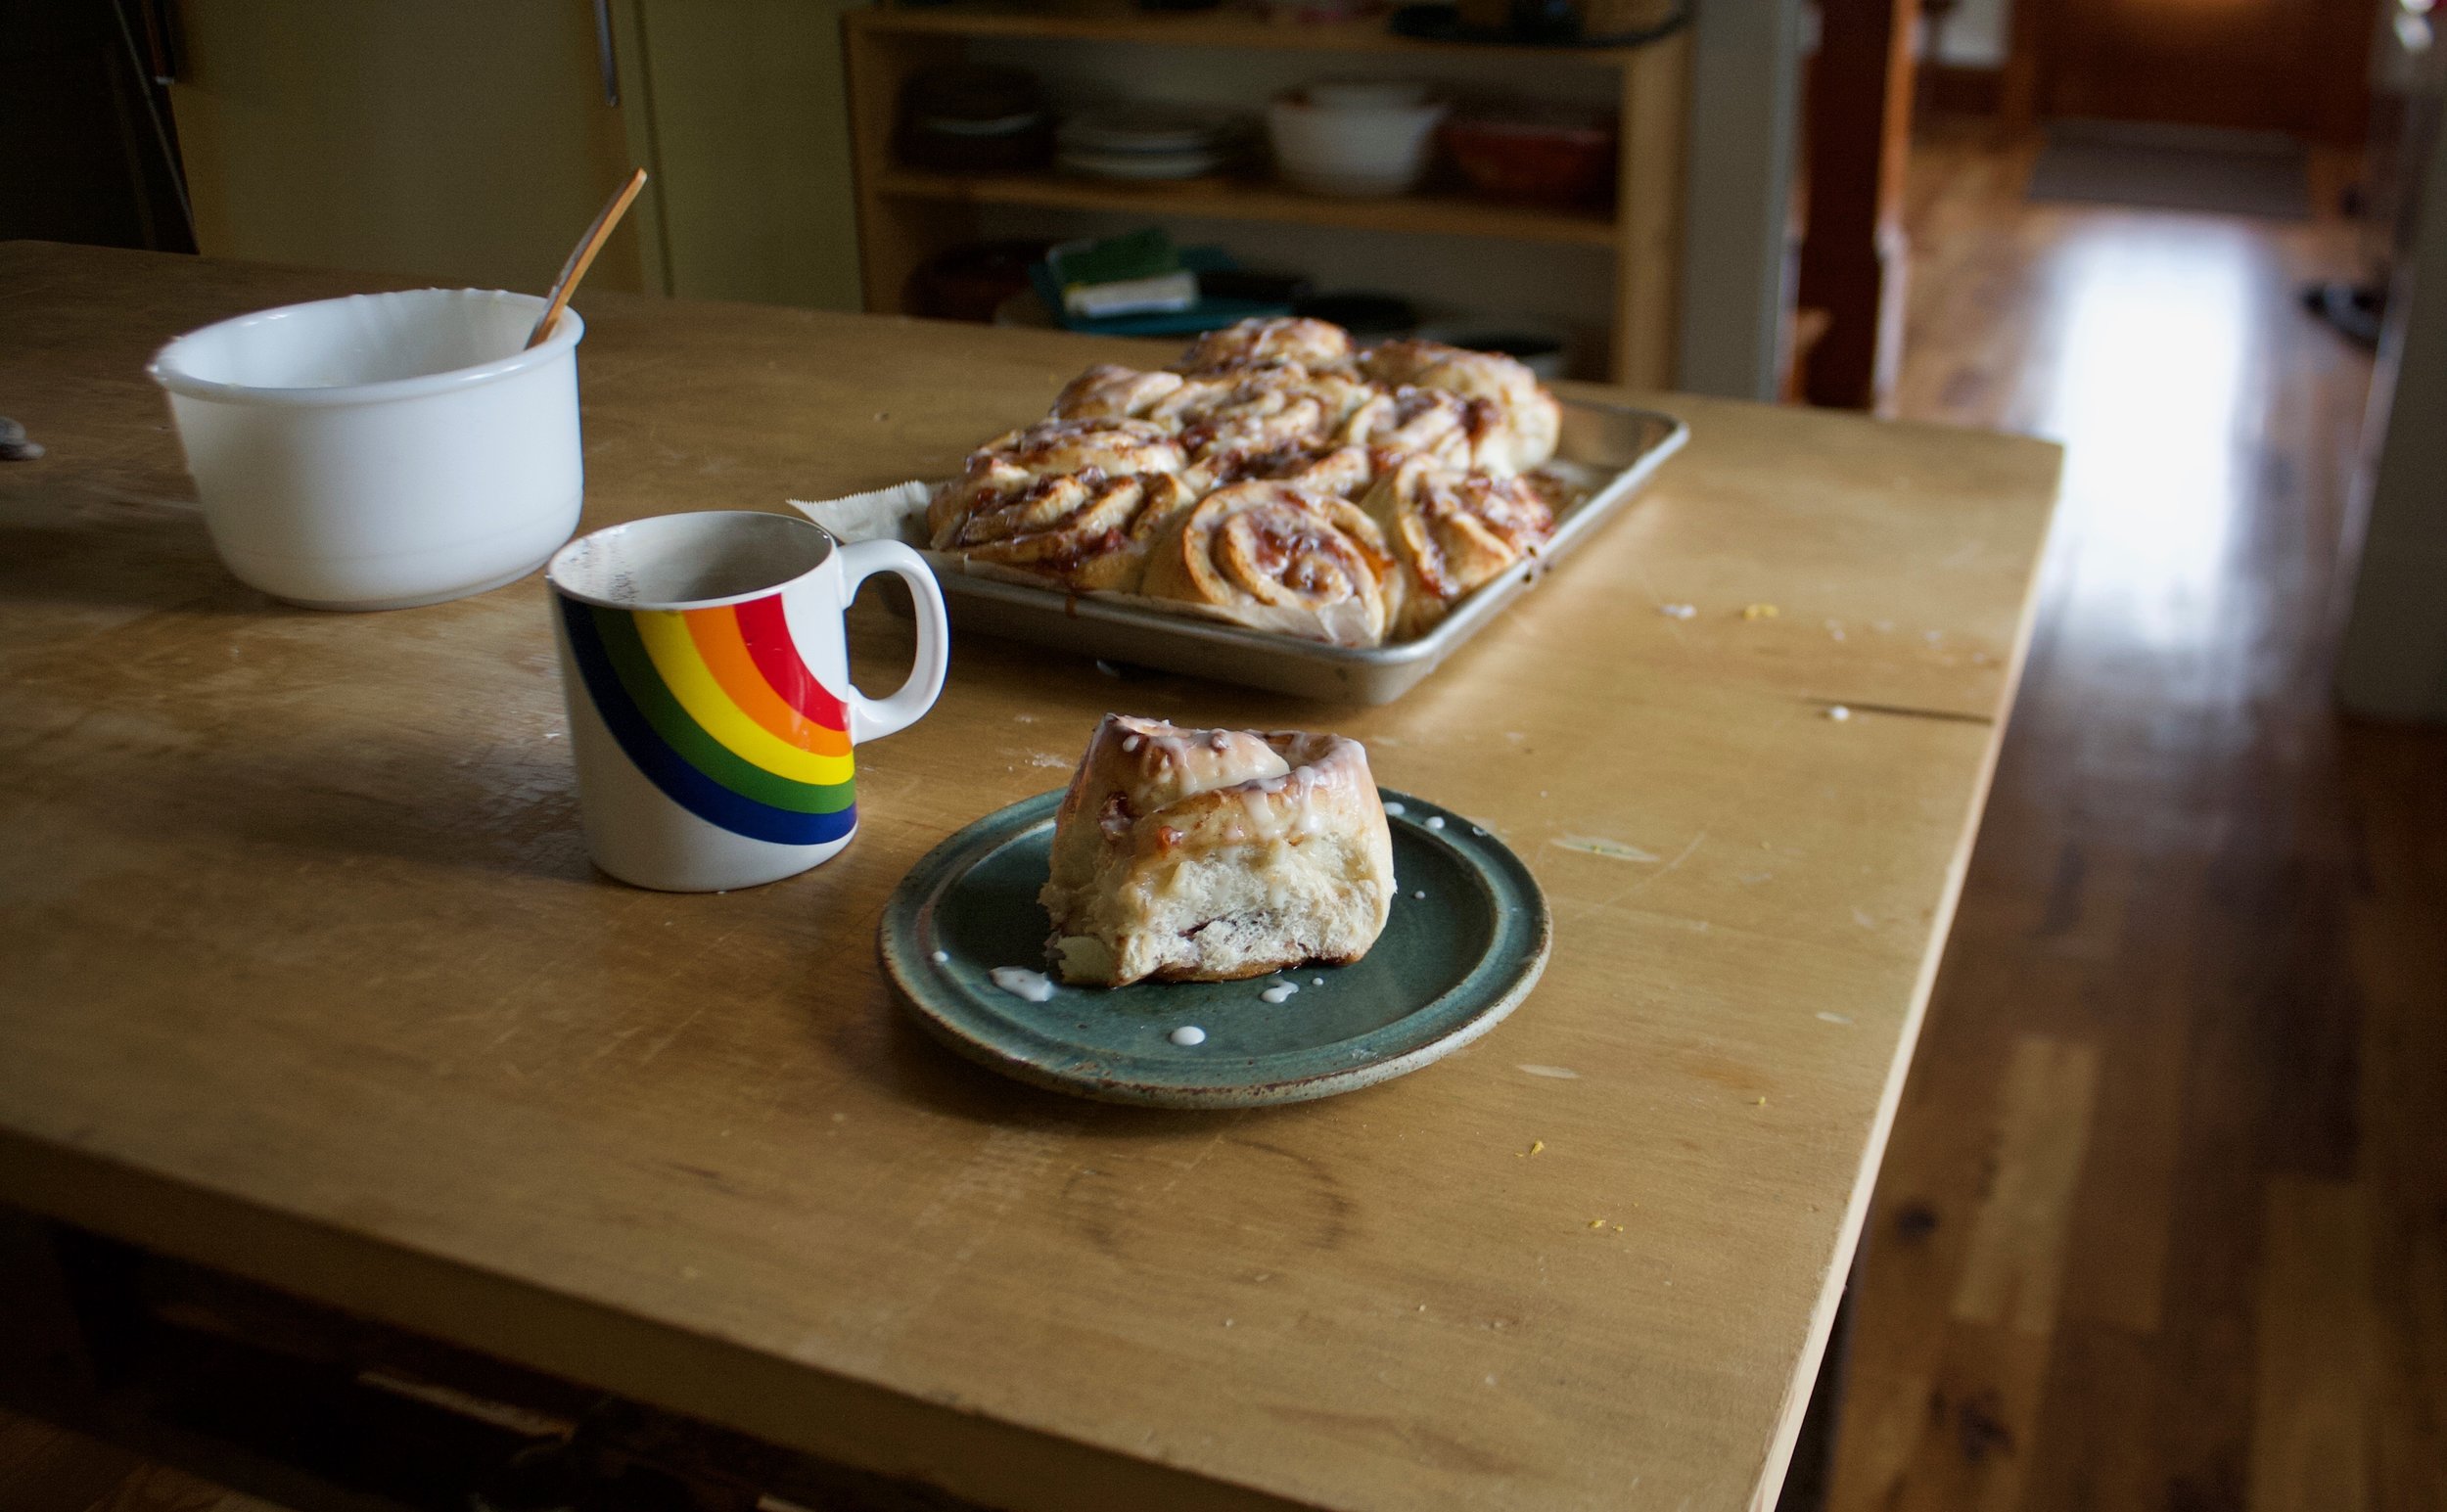
Pour glaze over warm buns. Make sure to hit them all or someone is going to be pissed they didn’t get enough glaze…..%u00a0
Then it’s really just up to you whether you wait for coffee or tea or not, but really, just eat right away. There should be very little time between newly glazed buns and a bun in your face.
Enjoy the peaches!
-C
Makes 12 Buns
For the Dough%u00a0
3 1/2 cups all purposes flour
1/4 %u00a0cup cane sugar
1 cup warm soy milk
2 teaspoon or 1 packet yeast
4 tablespoons melted vegan butter%u00a0
1 teaspoon salt
For the Filling%u00a0
3-4 good sized ripe peaches (about 3 cups chopped peaches)
3/4 cup brown sugar
1 tablespoon cinnamon
Juice of half a lemon
For the Glaze
1 lemons
1 1/2 cup powered sugar
In a large bowl mix together the yeast,%u00a0warm (not hot) soy milk,%u00a0sugar, and melted but cooled butter. Now add in %u00a0the salt and the flour. Mix until it’s too hard to mix then dump it all onto a lightly floured surface and knead for 7-10 minutes until the dough is %u00a0soft, elastic-y,%u00a0and smooth. Place dough back into a clean lightly greased bowl and drape with a damp towel. Let dough rise for about 1 to 1.5 hours or until it has doubled in size.
While the dough is rising, chop the peaches up until you have about 3 cups.%u00a0Place 2 1/2 cups of the %u00a0peaches into a medium sized pot with the brown sugar and lemon juice and stick on medium heat. Set the rest aside. Cook for about 20 minutes, stirring and mashing with a wooden spoon every few minutes,%u00a0until mixture has become thick and reduced by about 1/2. Remove from heat, stir in cinnamon,%u00a0%u00a0and place in fridge to cool.%u00a0
Once thee dough has doubled, dump onto a flour surface and roll our into a retacnge that is about 1/2 inch thick %u00a0Grab your peach mixture and spread the mixture evenly over the dough. Evenly distribute %u00a0the remaining chopped peaches over jam. %u00a0And then it’s the to roll.
Start from the long side and start to roll toward the other end, keeping it as tight as possible without squeezing out all the filling. %u00a0Once rolled, slice into 12 even sized buns.
Place on a lightly greased and parchment lined 9×13 inch baking sheet or pan and let rest and rest for another20 minutes or so. OR if you want to wait to bake them off,%u00a0cover them with plastic and set into the fridge for up to 24 hours. When you are ready to bake, remove from fridge and let the buns set on counter to come to room temperature before baking.%u00a0
Preheat oven to 350.
Place rolls into oven. Bake for 30-35 minutes or until all the buns have gotten a nice golden brown on top, and if you want to take the internal temp, that the temp has reached 190.%u00a0
Once the buns are done %u00a0baking, mix together the zest and juice of the lemon and powdered sugar. If the glaze seems to thick, add more juice or water, to think, add more sugar. Pour glaze all over warm (but not hot) buns.
And now all you need to do is serve up those buns right away, nice and warned.
Any left overs should be stored in the fridge for 3-4 days but should definitely be warmed up in the microwave for a minute or two before serving. They also freeze well too.%u00a0
Yesterday we had a few pieces of really log ass metal roofing delivered to the new house so we can finish the little side parts of the roof off. The funny thing is we ended up with way more wood then metal. The roofing is super light and flexible so it has to be strapped to a super long wooden structure. And it was perfect. The mr and I have pretty much finished the fence except for the gate from the driveway which sucks because we still can’t bring Washer over to play without it ans we pretty much fenced the yard in for him. But the long ass wooded palette things.. IT was perfect. Well a perfect for now solution. A Already constructed tall and long (too long, we had to cut it down) wooded wall that is now our temporary gate.What a score! And now the pup can spend all day long laying around outside and not getting into any neighborhood fights with the other dogs. And look at us making use of all the scraps. We are so awesome.
Ok, so besides our awesomeness and the new temp gate, let talk about this greenest freaking soup that there ever was. It is probably the best green soup that I have ever tasted. (I know,%u00a0 I have habit of proclaiming all of my soups as the best soup ever, mostly because they are.) It’s one of those soups that is super fast and so simple to make and is perfect for all the spring and summer time eating that will be going on. Eaten hot or cold and out of a bowl or a drank out of a glass. A soup for any time, any place. The mr even liked it and he says he doesn’t like peas. (but he so does). Who doesn’t like the best soup ever?
Now here is how to make it.
The stuff. A big bowl of fresh spinach and a bowl of peas (fresh or frozen.. mine were frozen) Also need an onion, a carrot, a few cloves or garlic, water, olive oil, and salt and pepper.
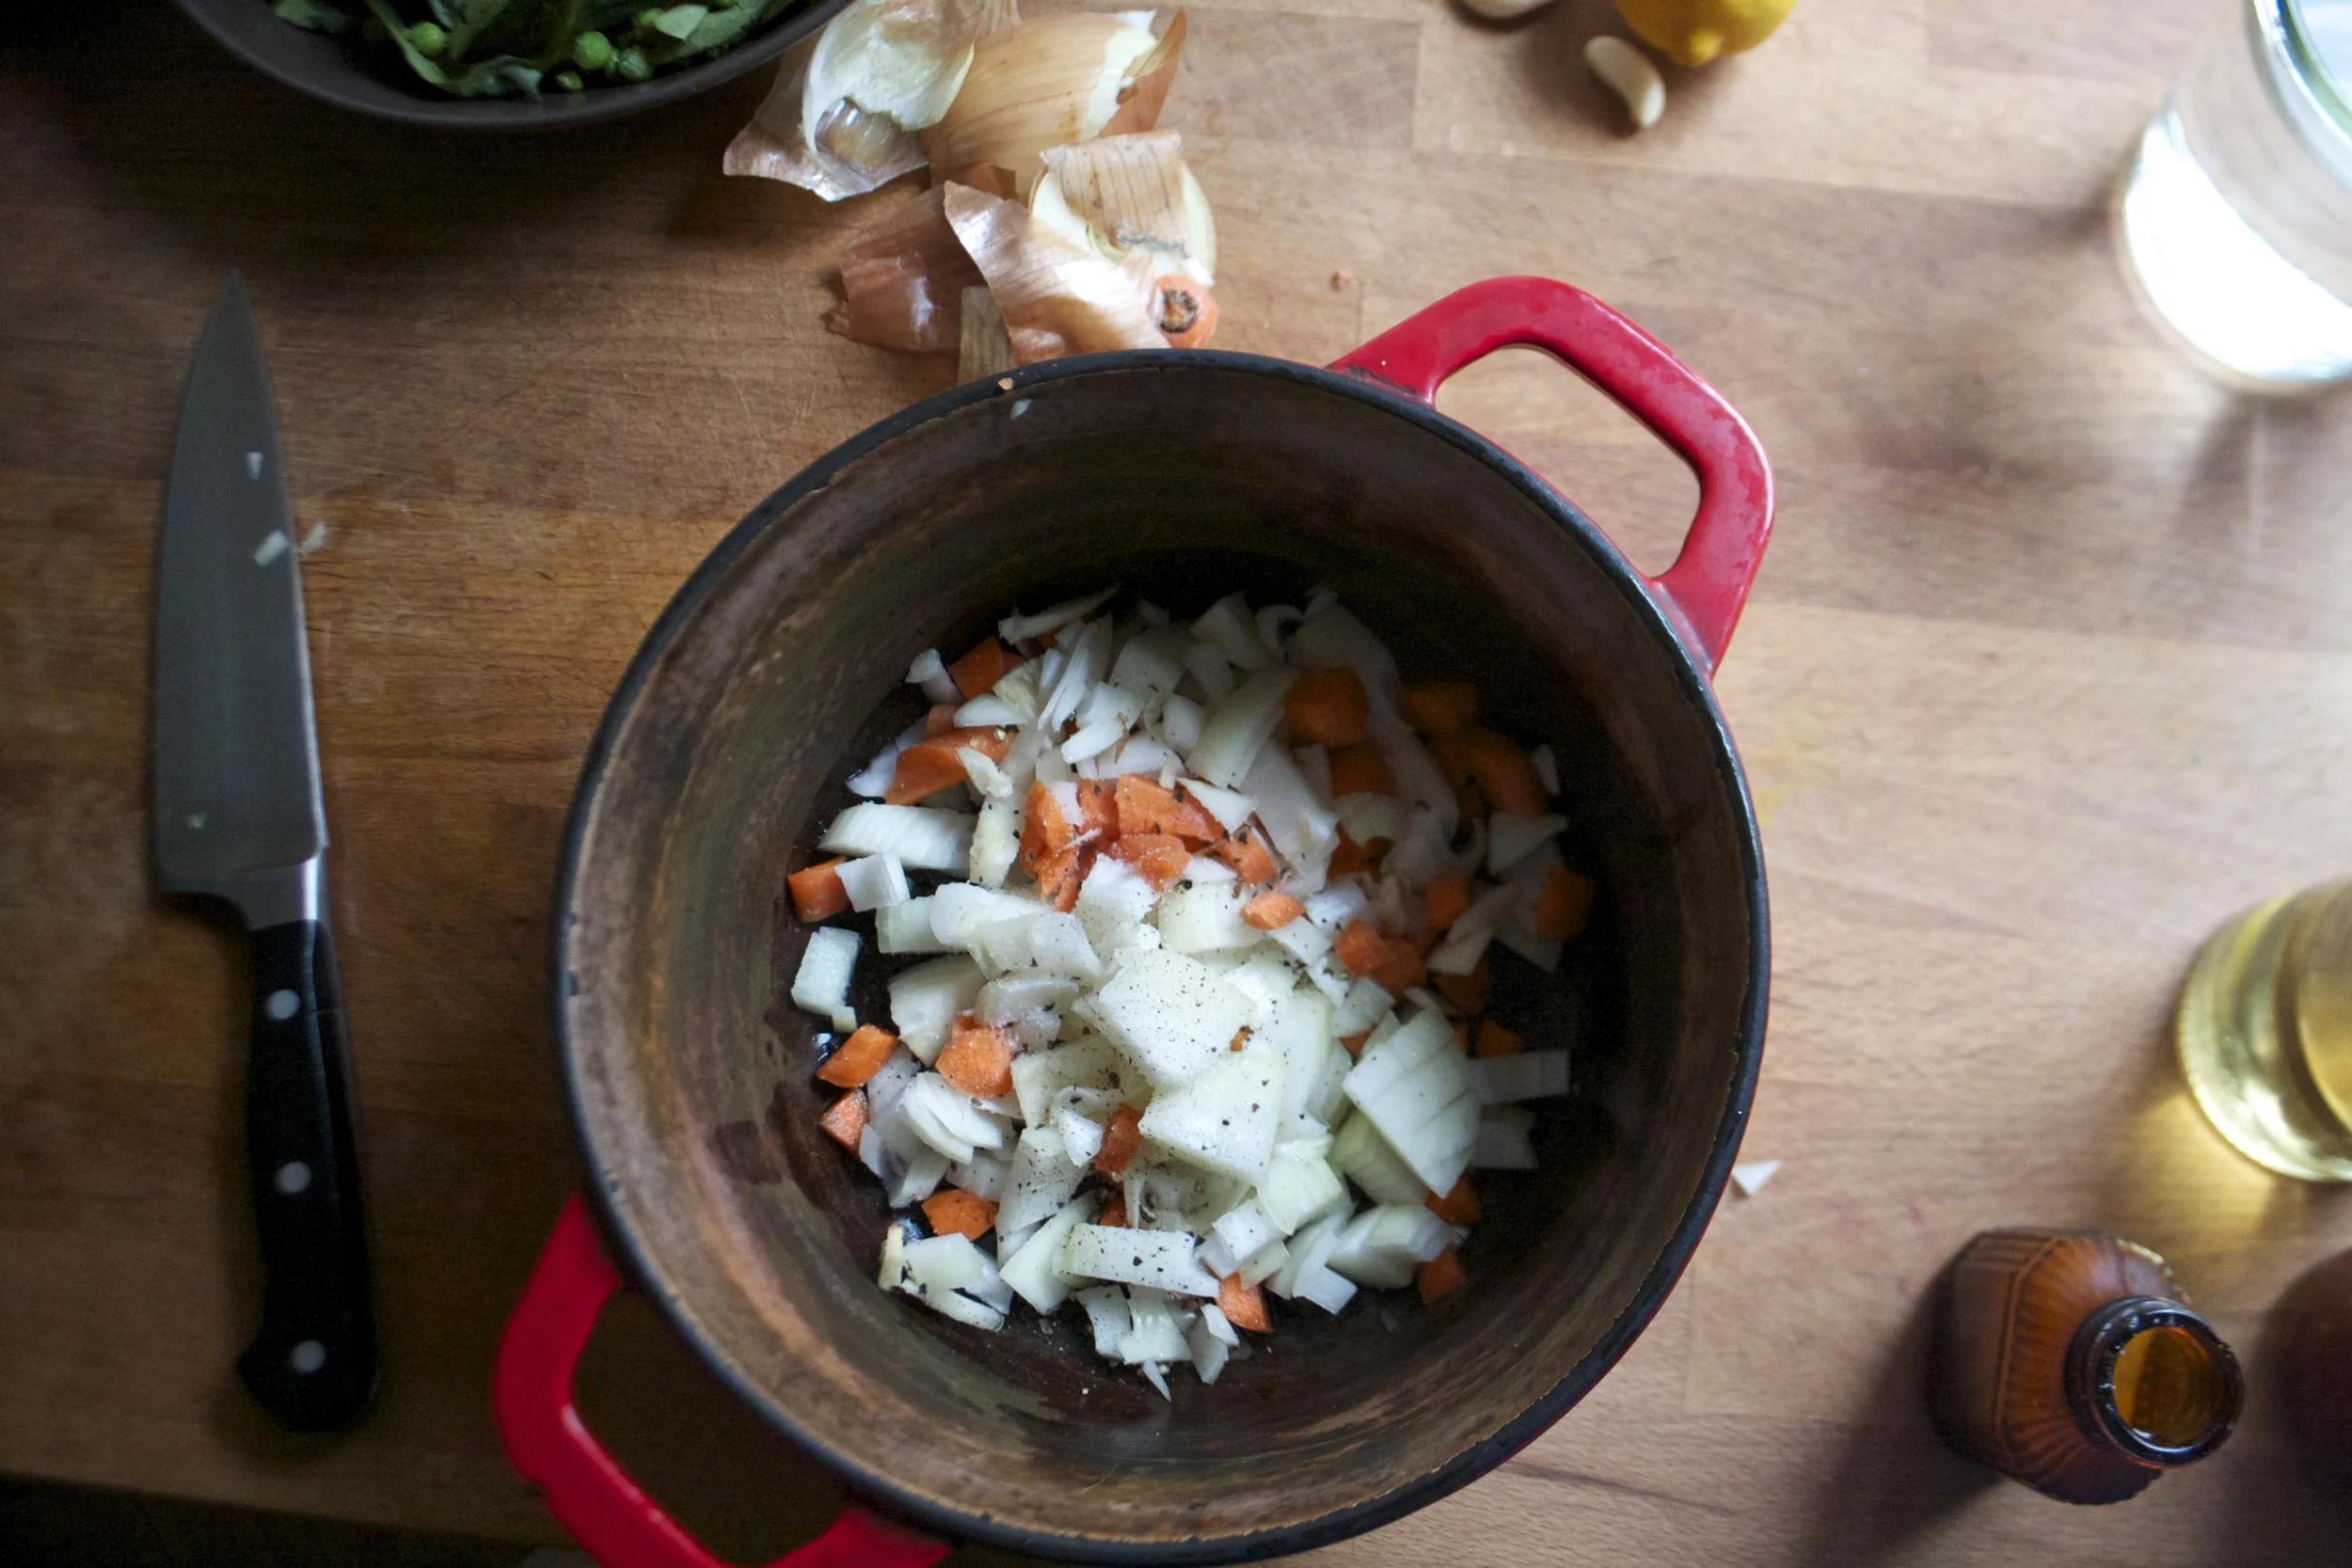
First thing first. Get the onion and carrot all nice and chopped up and tossed into a big pot with a drizzle of olive oil, a little splash of water,and salt and pepper. Stick that pot on the stove on medium high heat and start to cook cook.
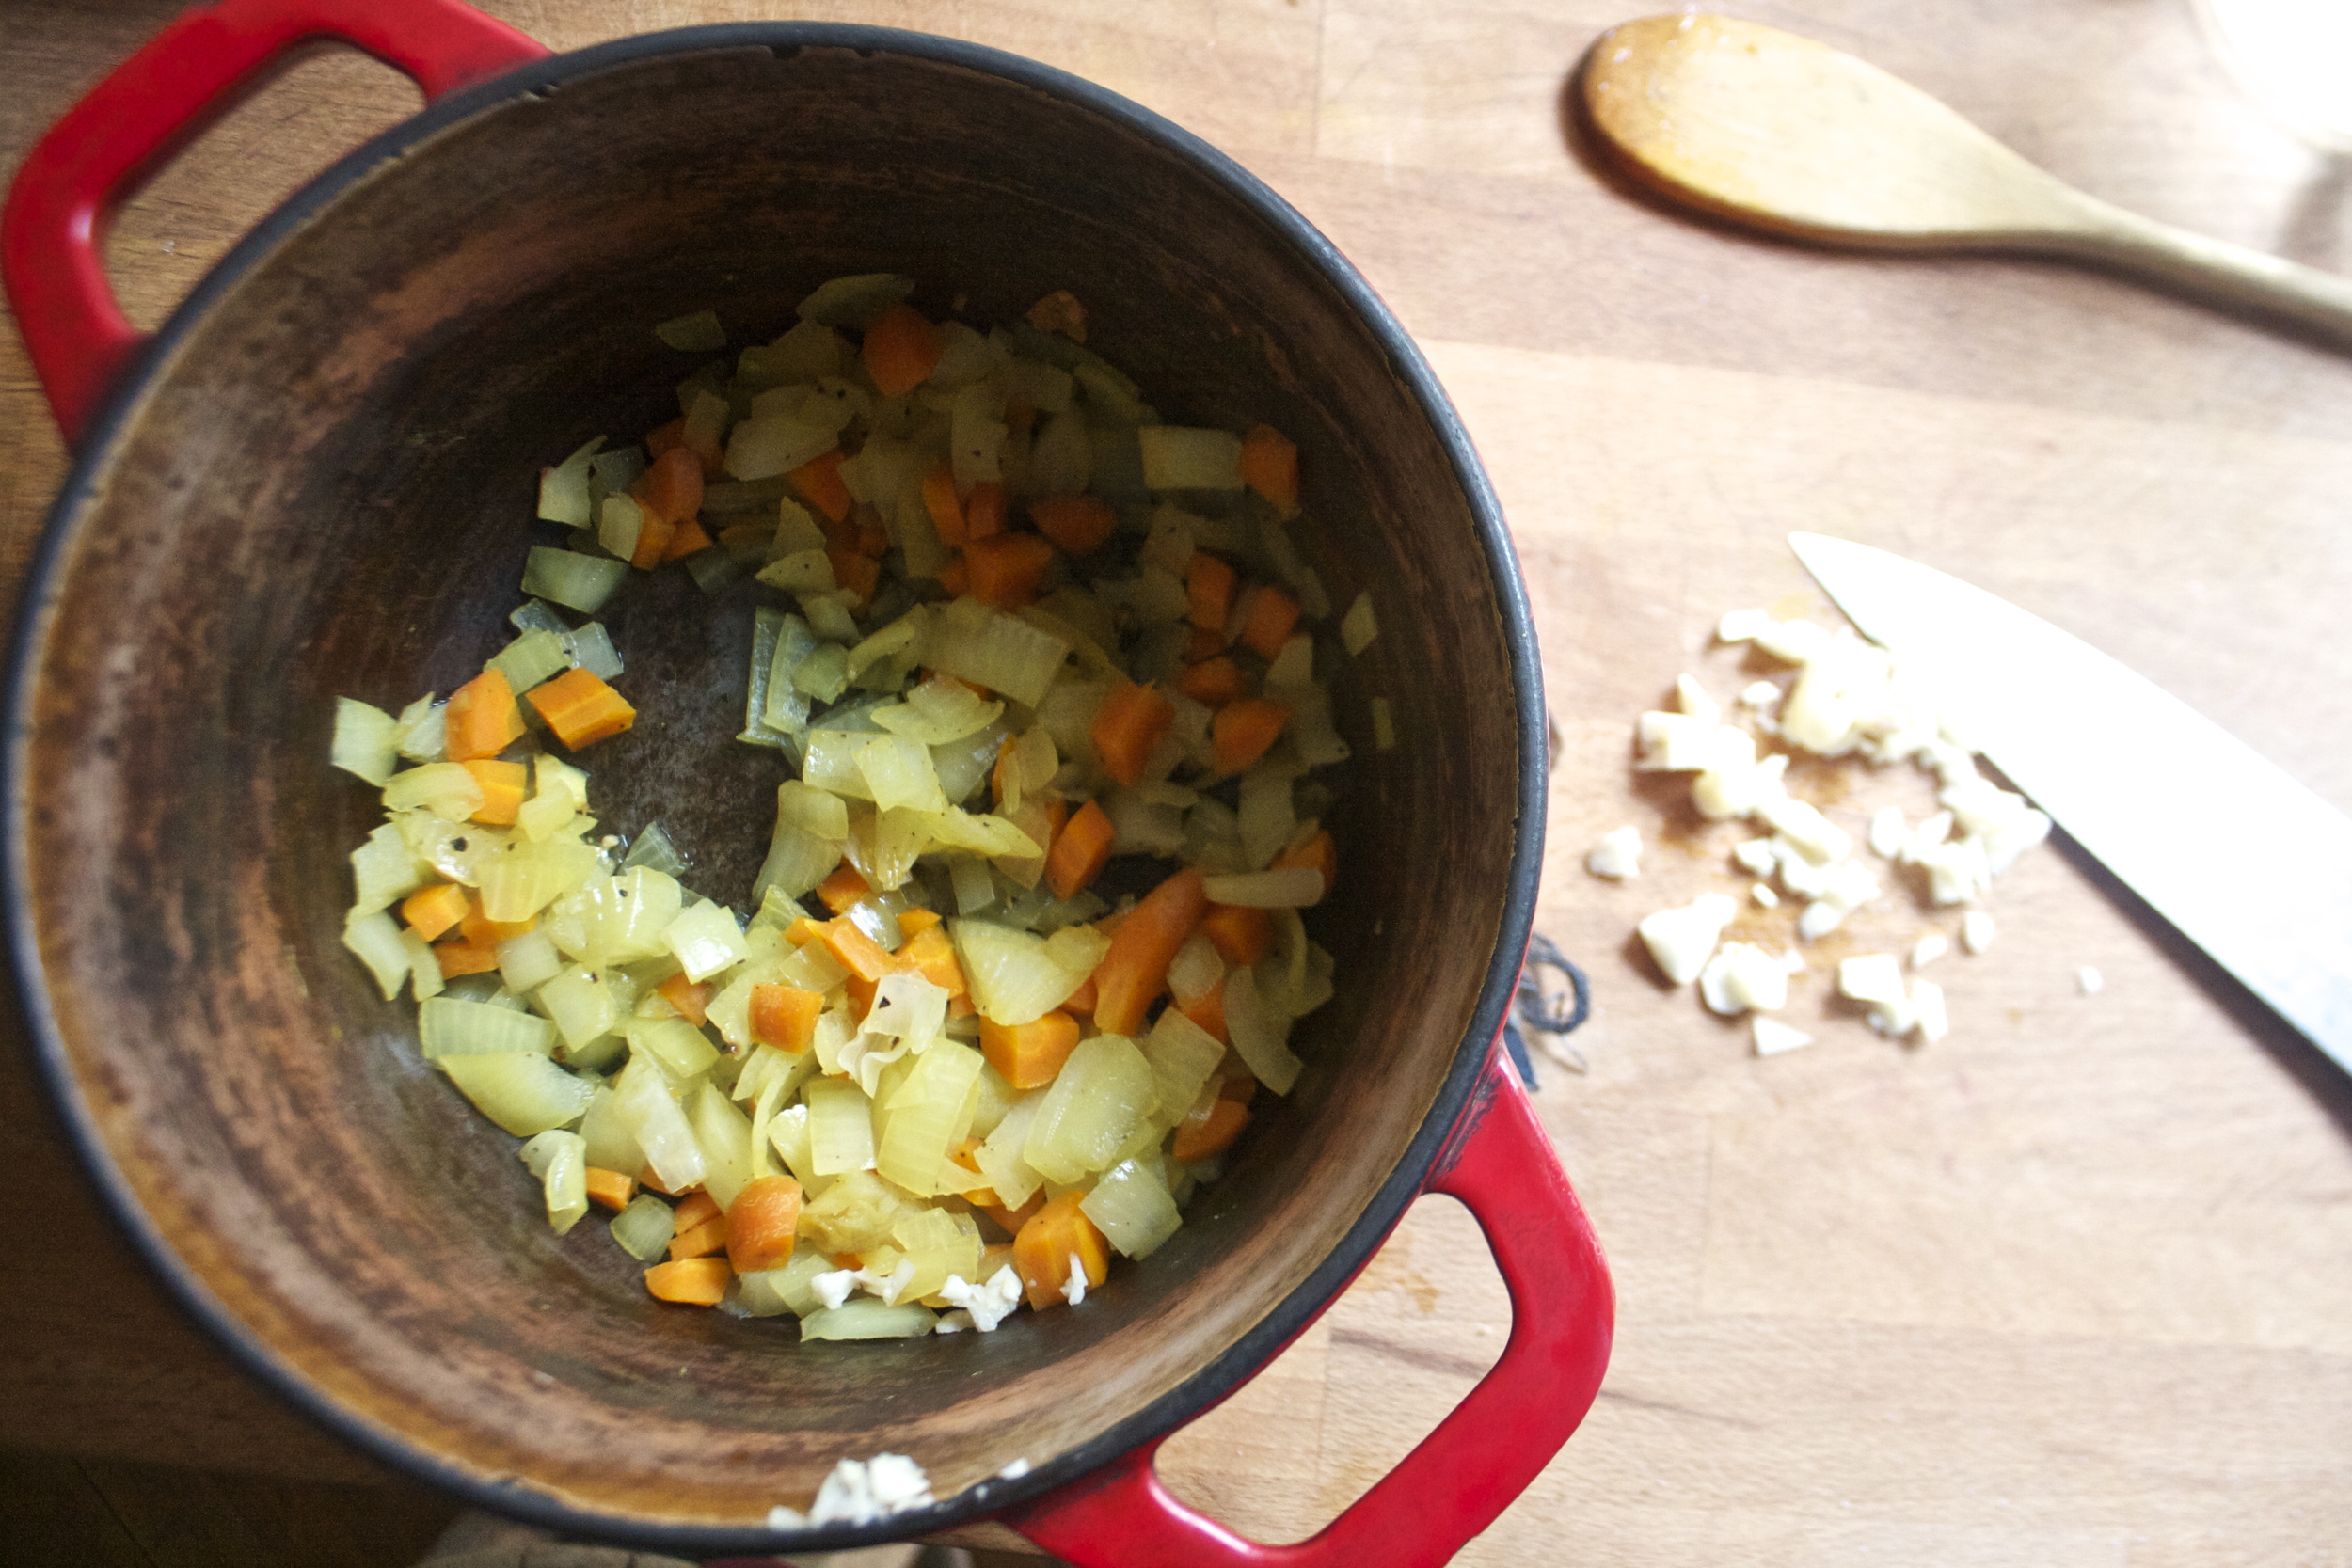
Soften and yummy carrots and onion. I am not exactly sure if my carrots turned the onion orange or if my pot because it is so stained with turmeric that it turns everything yellow. Keep the pot on low heat and mince and stir in the garlic.
And for magic. The pot is sill on low and you are going to pile all the fresh spinach right on in to the pot. Add a few splashes of water and a lid and let it cook for a few minutes. And when you go back and remove the lid..Ca bang ! All the spinach is gone (not really, it just wilted).
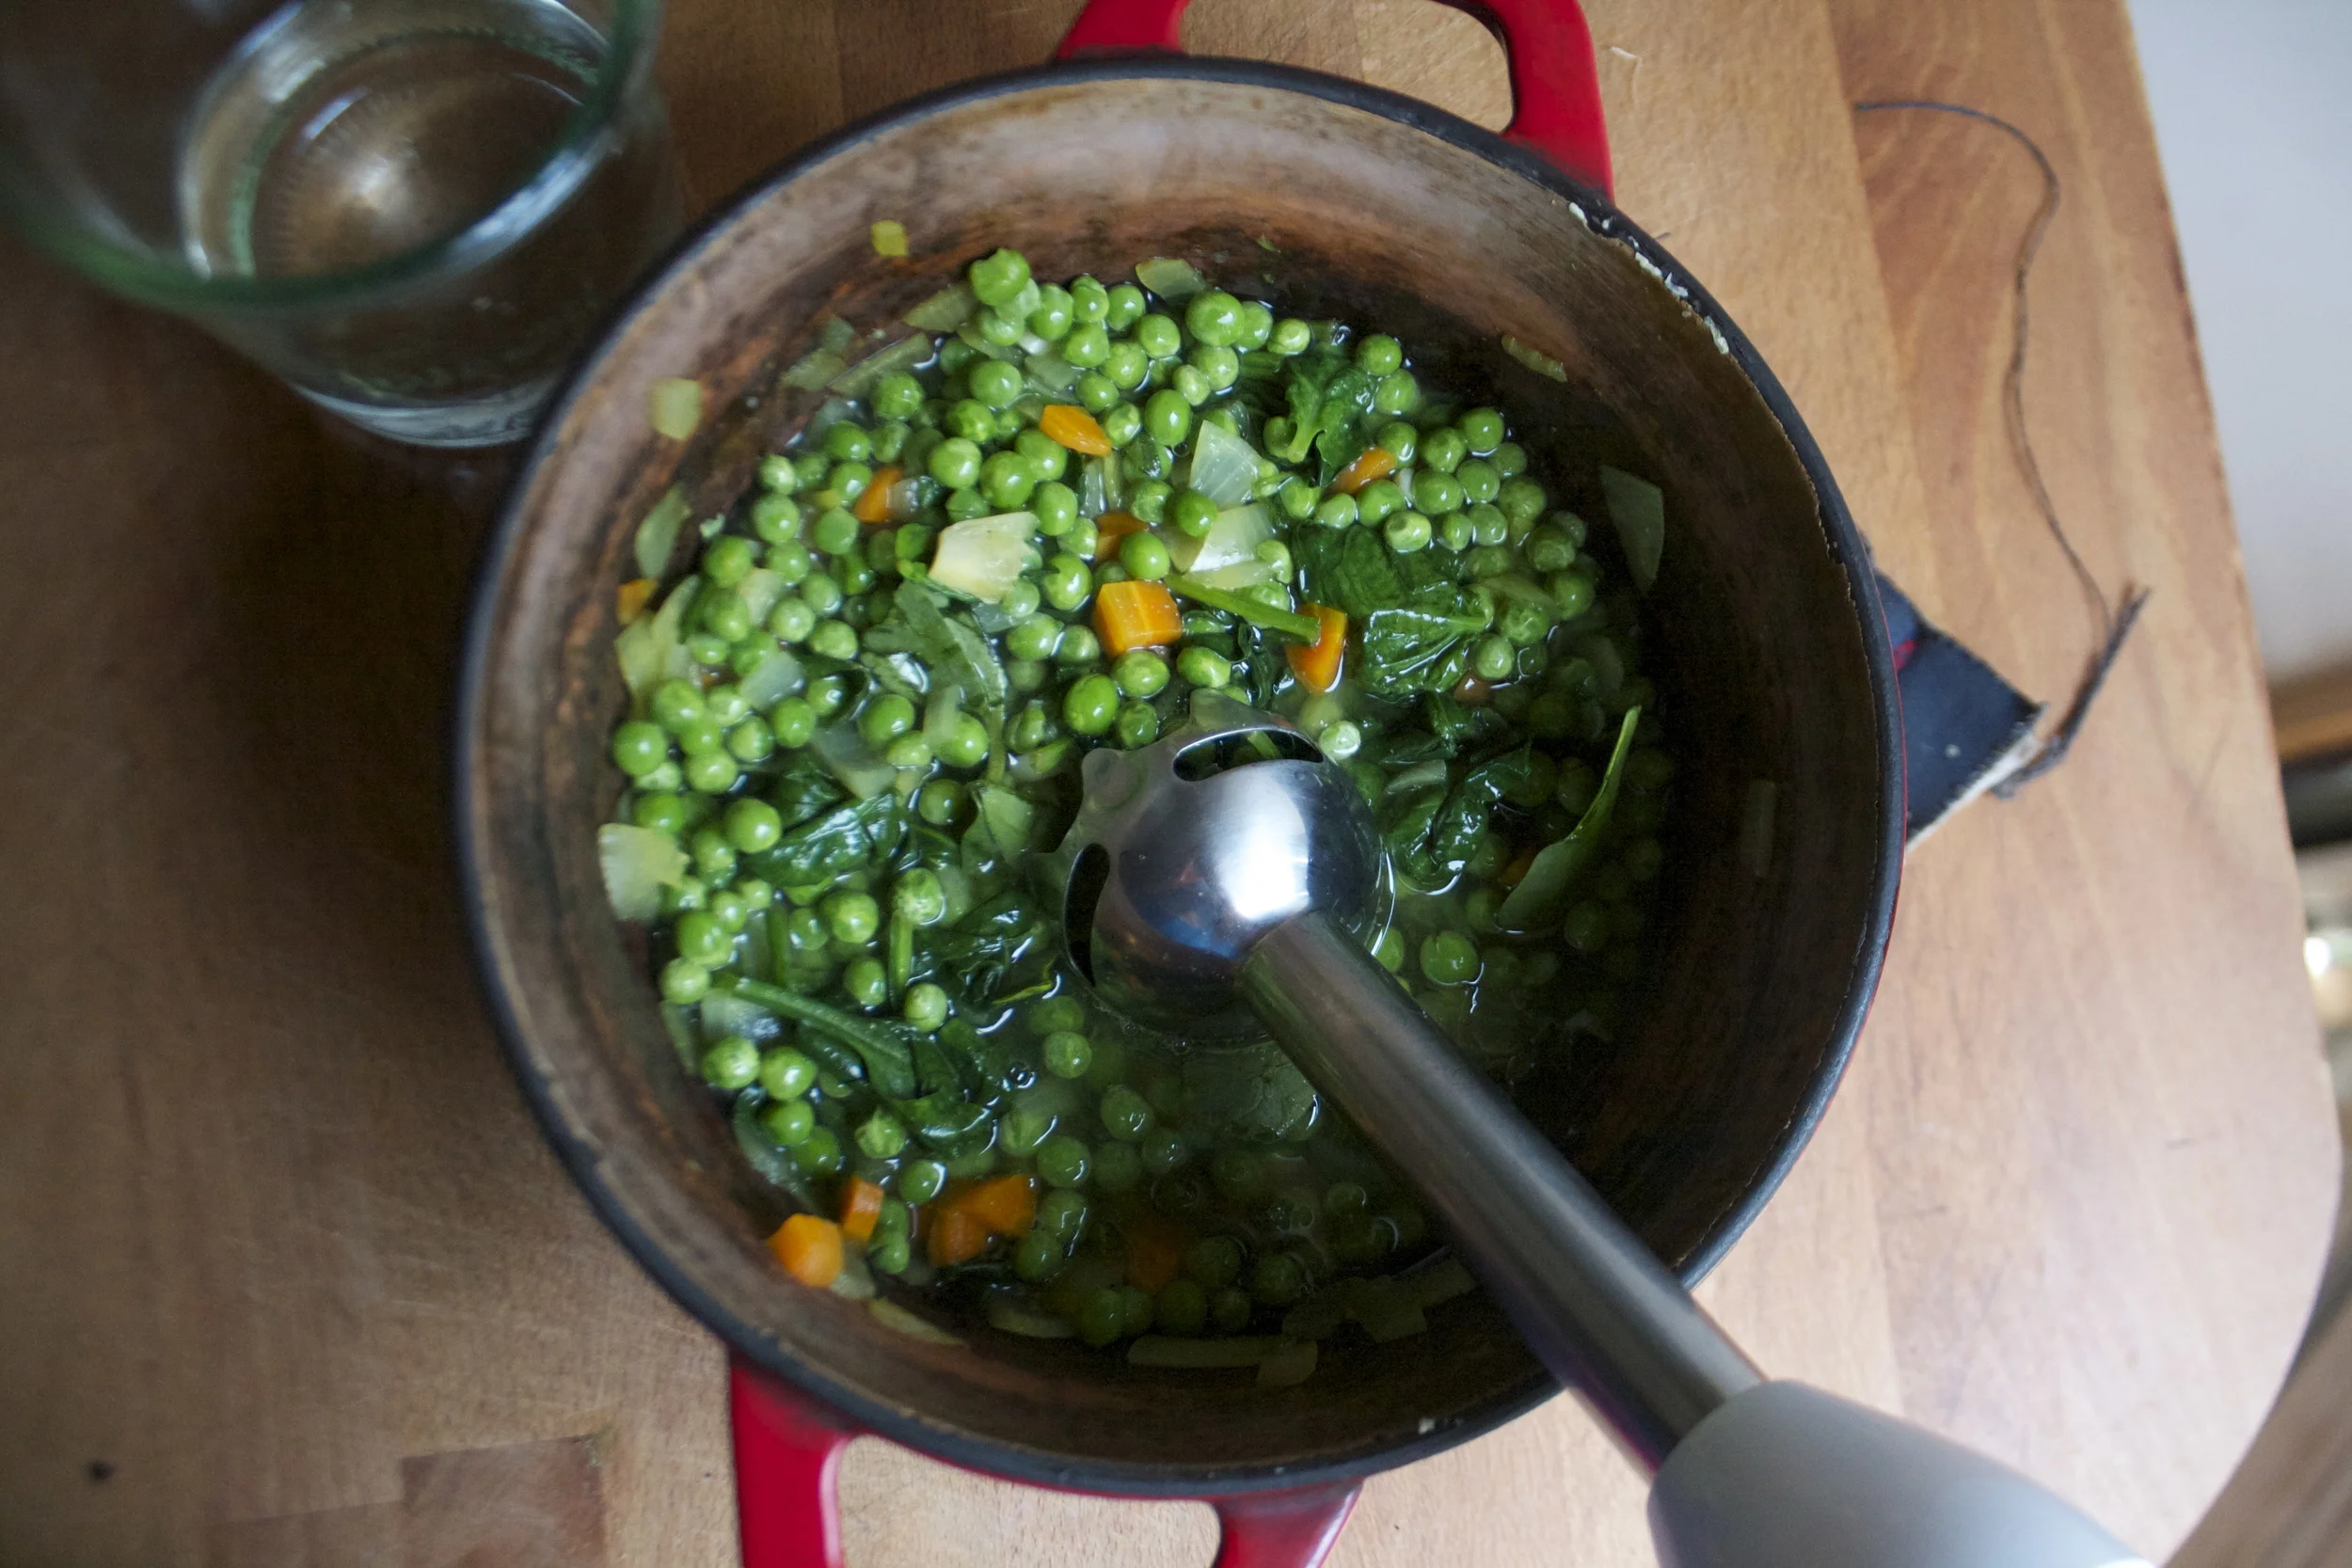
It’s time for the peas and water to be added.The blender comes out and the soup gets blended until super smooth.
So green, so good.. This soup is all ready to go. But here is the thing, you can eat it at any temperature and it will be amazing so if you want to heat it up a little more, go for it. Cold soup shooters, just stick it in the fridge for a while and wait until its chilled. Or both. I ate a bowl warm then had cold soup for dessert.
And to finish, you must serve with fresh lemon and if you have it, a pretty little mint plant. I love the flavor of a little fresh mint added, but not all do. So mint if you like( it really is so good) but lemon in a must!
Enjoy all the green things!
-C
serves 3-4
2 cup peas (fresh or frozen.. I used frozen)
3 packed cups fresh spinach
a few sprigs of fresh mint (optional)
3 cups water
1 small onion
a carrot
3 cloves garlic
1 lemon
olive oil
salt and pepper
Small chop onion and carrot and toss into a big heavy bottom pot with a drizzle of olive oil and salt and pepper. Stick on stove on medium heat and cook until it becomes soft and fragrant. Now mince garlic and add that it too. Stir and cook for another minute or two then add in all the spinach and a splash of water. Place o lid on pot and let until cook until spinach is all wilted. (give it a stir to get it all cooked down). Once wilted, add the peas and the water. Stir all together and let simmer for a few minutes then remove from heat. Now blend the crap out of it until silky smooth.(use your blending device of choice).
And it’s done. You can either serve right away as a hot soup or sick it in the fridge and serve cold! Just remember that you need to serve it with cracked pepper, a squeeze of fresh lemon and some chopped up fresh mint(mint it optional but so good)
Eat with a spoon or forget the spoon and slurp out a a cup like the cool kids.
I have been making at least one cake, if not 3, a week for the past month. Last week I did not have a cake that I needed.to make, so what did I do? I made a cake.
I might have an alternative motive here, I have started my winter squash stash, and already it is looking pretty impressive. I have delicata, acorn, kombucha, and sugar pumpkins littered all over the house. As of now I think I have a count of about 27. Some came fro the garden, some from (and still coming, all winter long) from farm share, and some came from when they went on sale at the grocery store and I filled the shopping cart up. The cashier checking me out thought I was crazy, but I get that a lot. (Like when I buy 20 heard os cabbage.. it%u2019s like I scare them) The alternative motive is that some of the squashes don%u2019t have the shelf life of some of the others so I need to get on to eating the ones that don%u2019t last as long, like the delicata and pumpkins, which I am doing, gladly might I add. So while I am eating those, I figured I would use up an acorn squash for cake because well, I don%u2019t want to have a million acorn squash laying around and I am just too busy eating the pumpkins to get the acorn. And this is why I made an acorn squash cake.
What does acorn squash cake tase like? Basically like pumpkin cake. Every time I make any sweet thing with any squash other then pumpkin, no one really seems to notice the difference, but that is not to say there isn’t one. I would say that acorn has a slightly sweeter and nutter flavor then pumpkin so you might get a more flavorful flavor out of an acorn squash. And really, if you like pumpkin, your gonna like the acorn. And people love them some maple frosting so smothering that along with walnuts on this cake, well I know made some people really really happy.
That%u2019s the real reason why I made this cake. To make some people happy. Jeeze, I am just so nice. Ha HA!
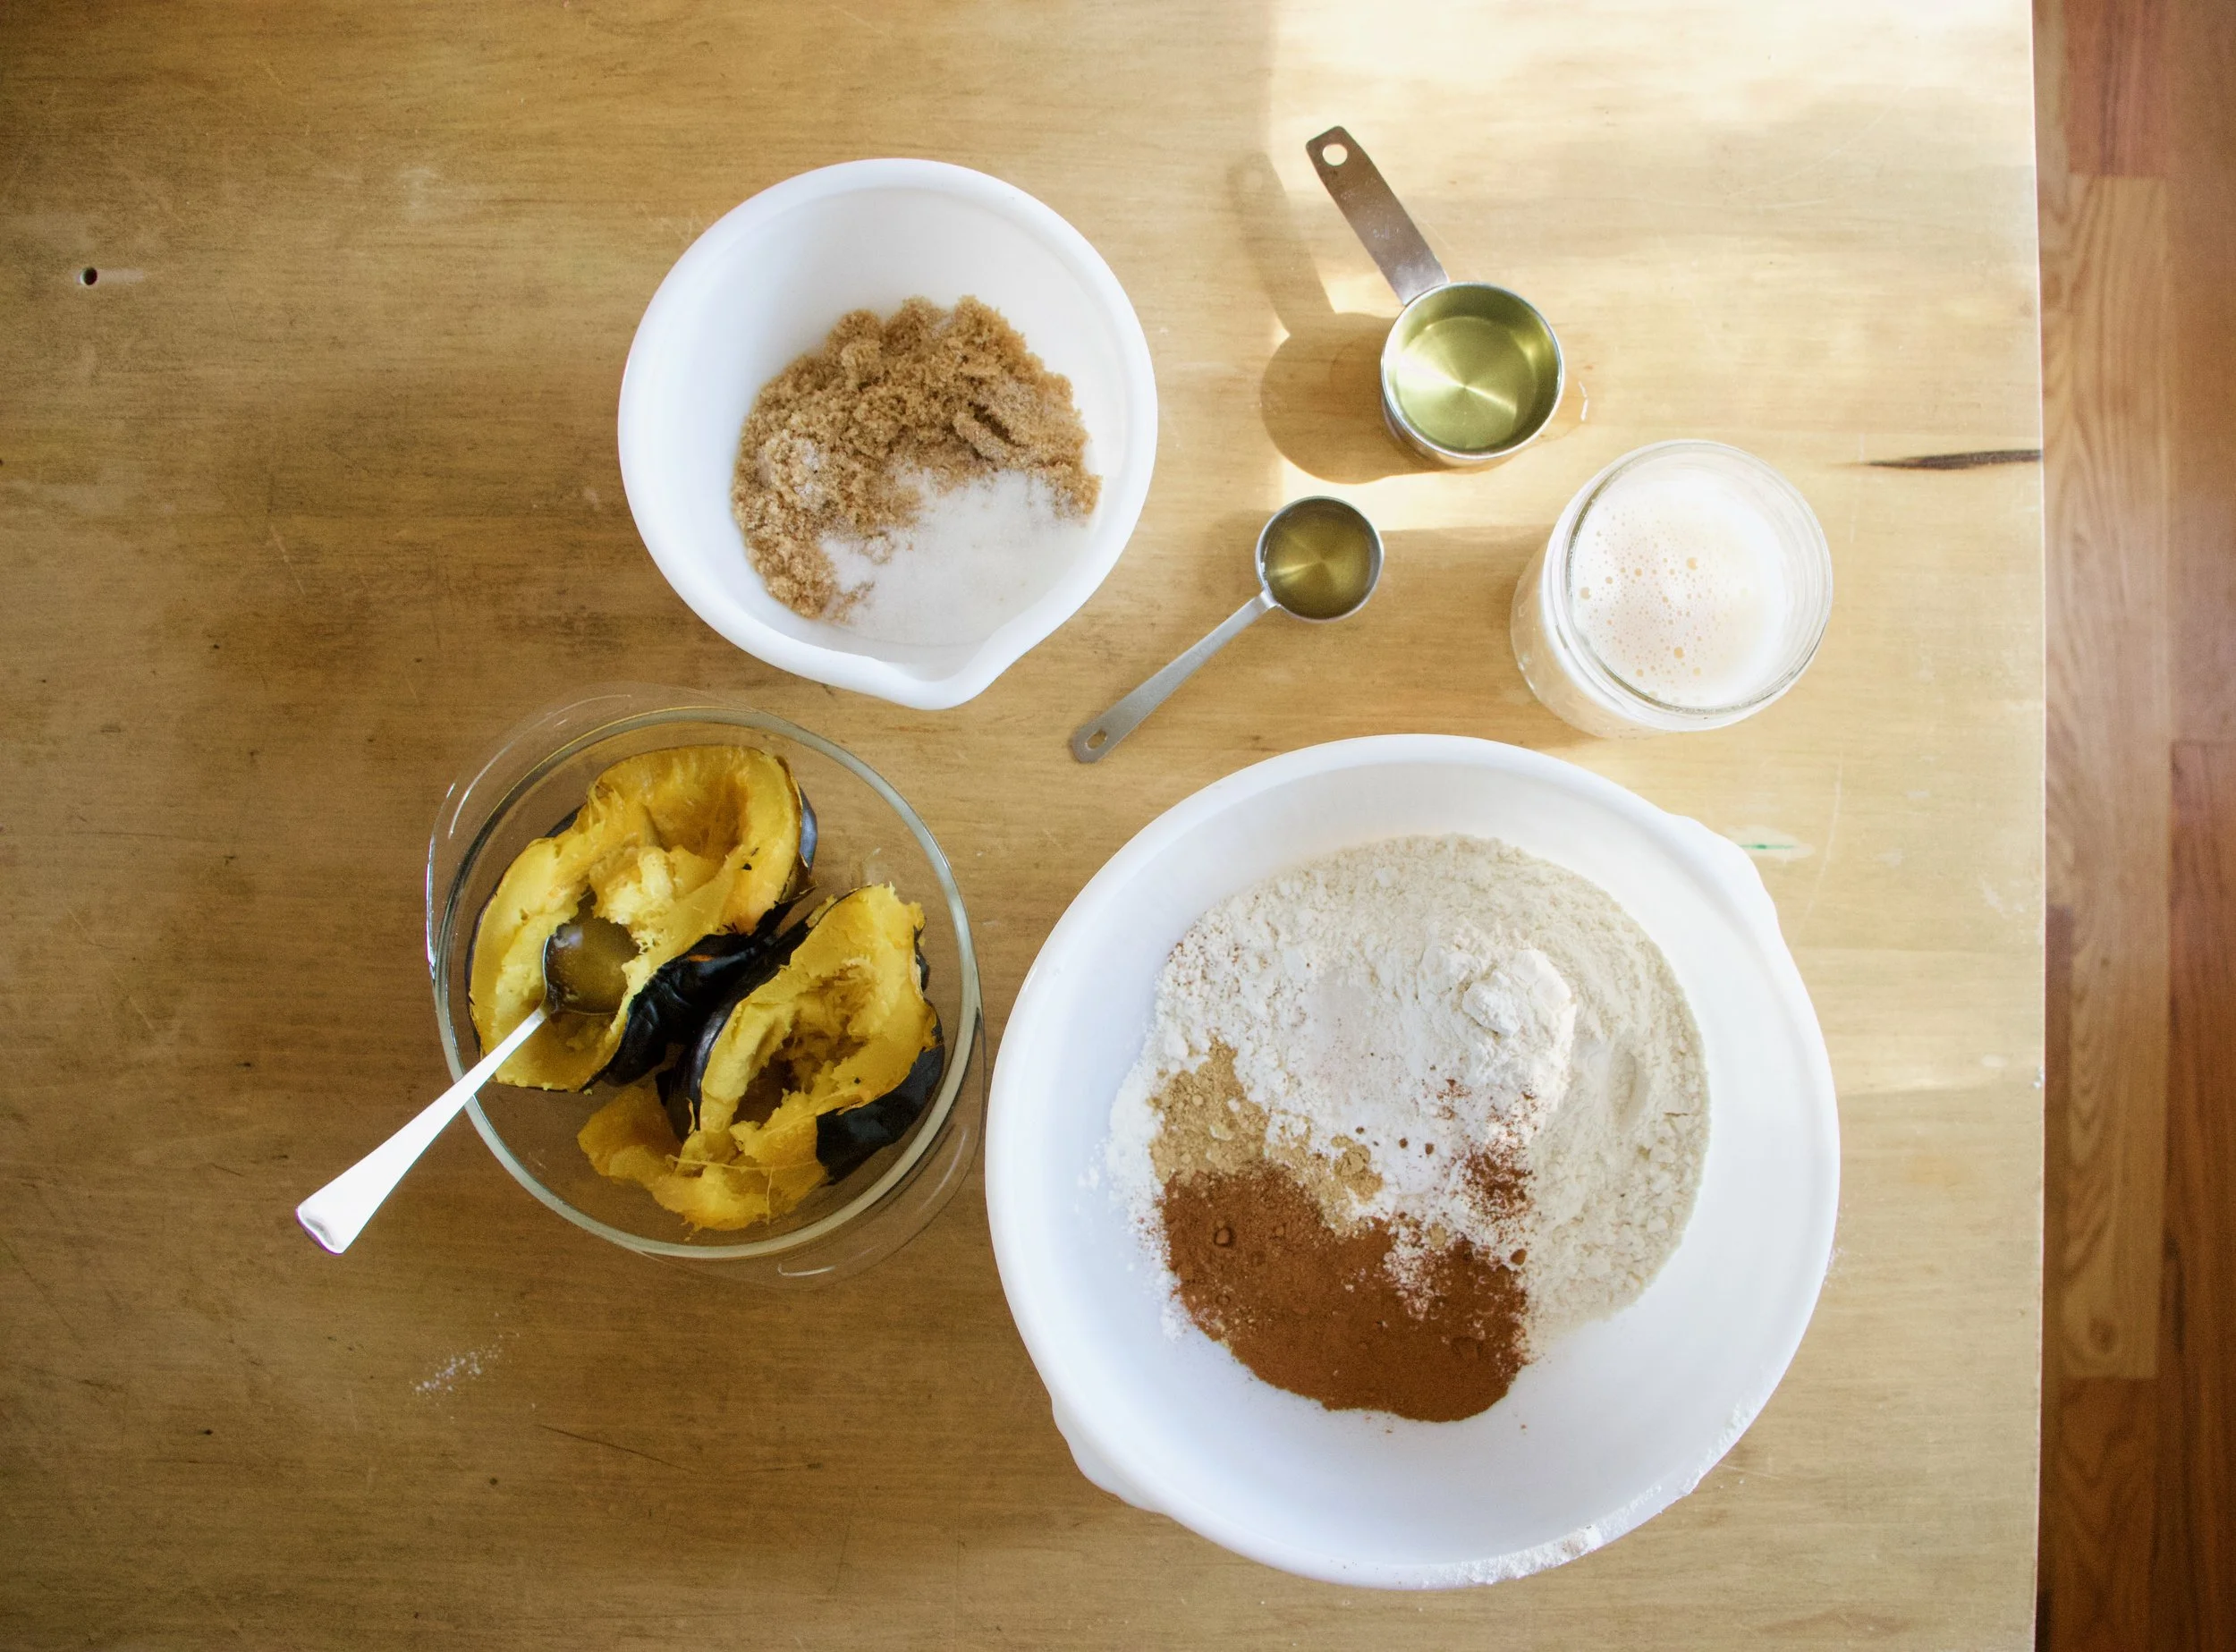
The stuff. A roasted acorn squash. flour, baking soda and baking powder, spices of cinnamon, ginger and a pinch of nutmeg, salt, oil, soy milk, brown sugar, white sugar, and a little apple cider vinegar.
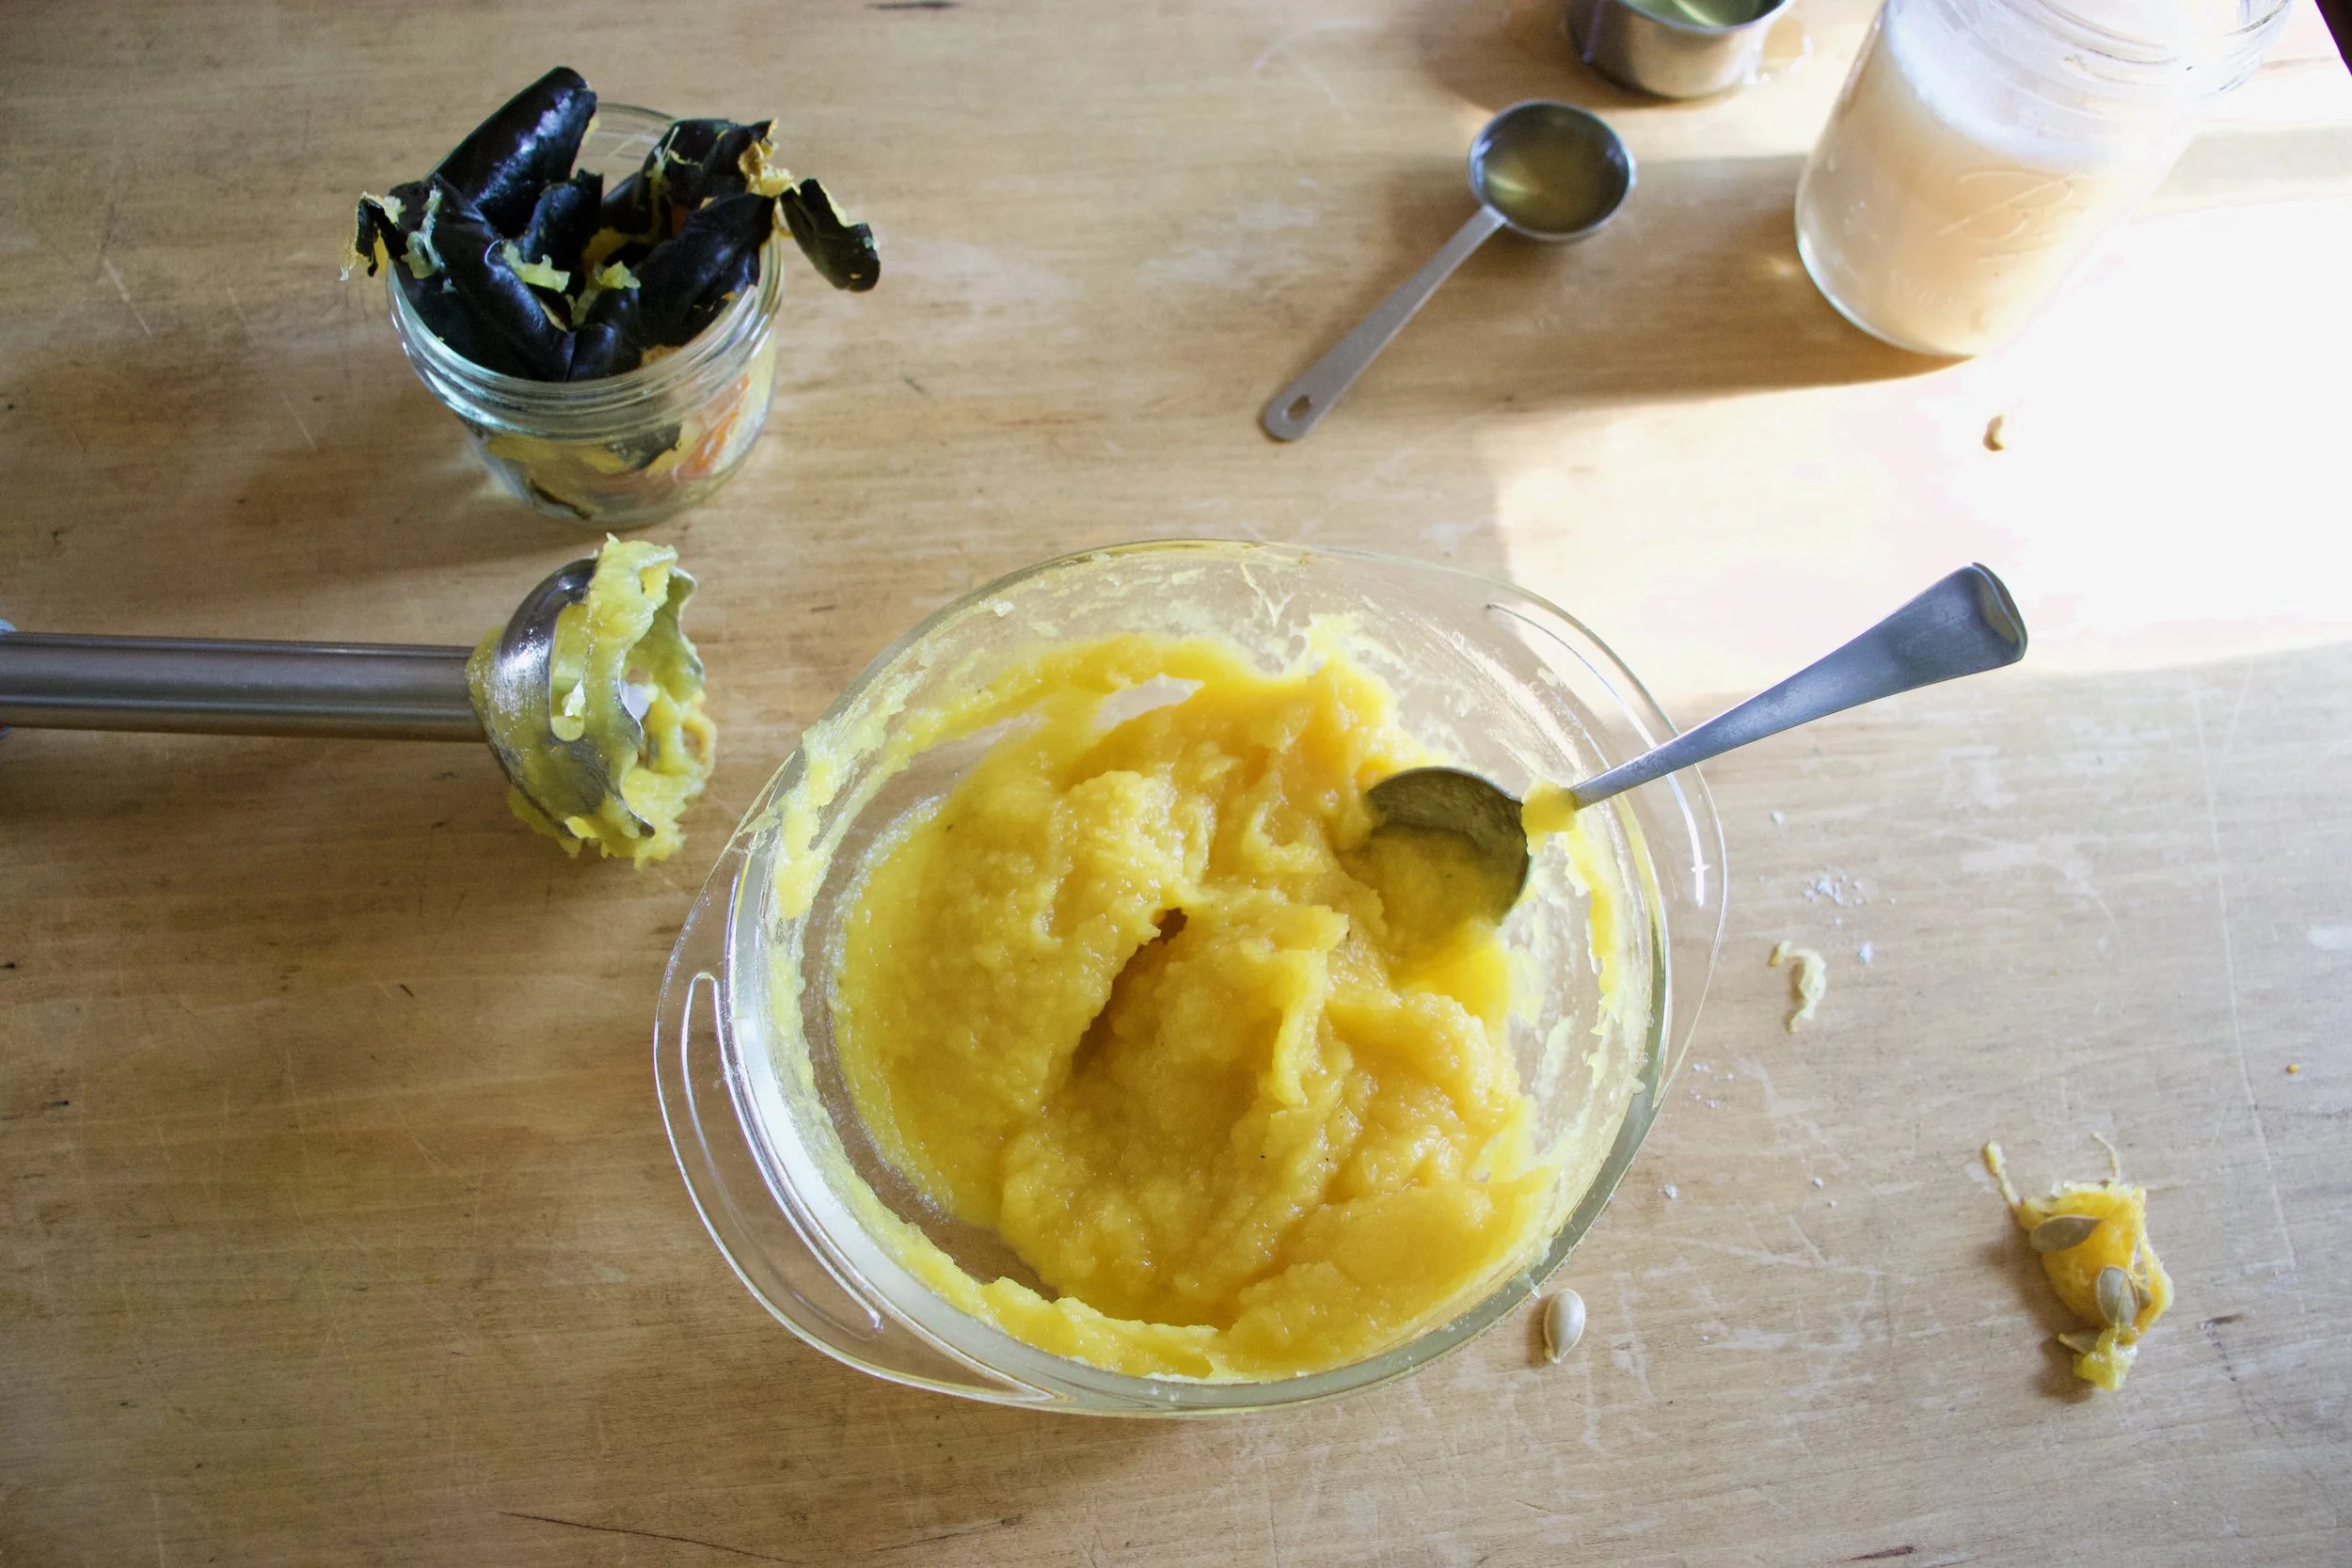
Start by pureeing your squash If you haven%u2019t already which basically involved removing seeds and skin (save seeds to rest, eat skin, it delicious) and blending the squash until smooth.
You are now ready to cake. Add squash puree and oil into bowl with the sugars and mix until completely combined. Whisk together all the dry ingredients then add in the sugar, squash, oil mixture to the wet along with the milk and apple cider vinegar. Mix until just combined then stop mixing so you don%u2019t over mix.
Batter then gets poured evenly into two greased and lined cake pans.
And into the oven they go.
Golden brown and smelling all nice and cozy. A tester in the middle making sure that they are cooked completely.
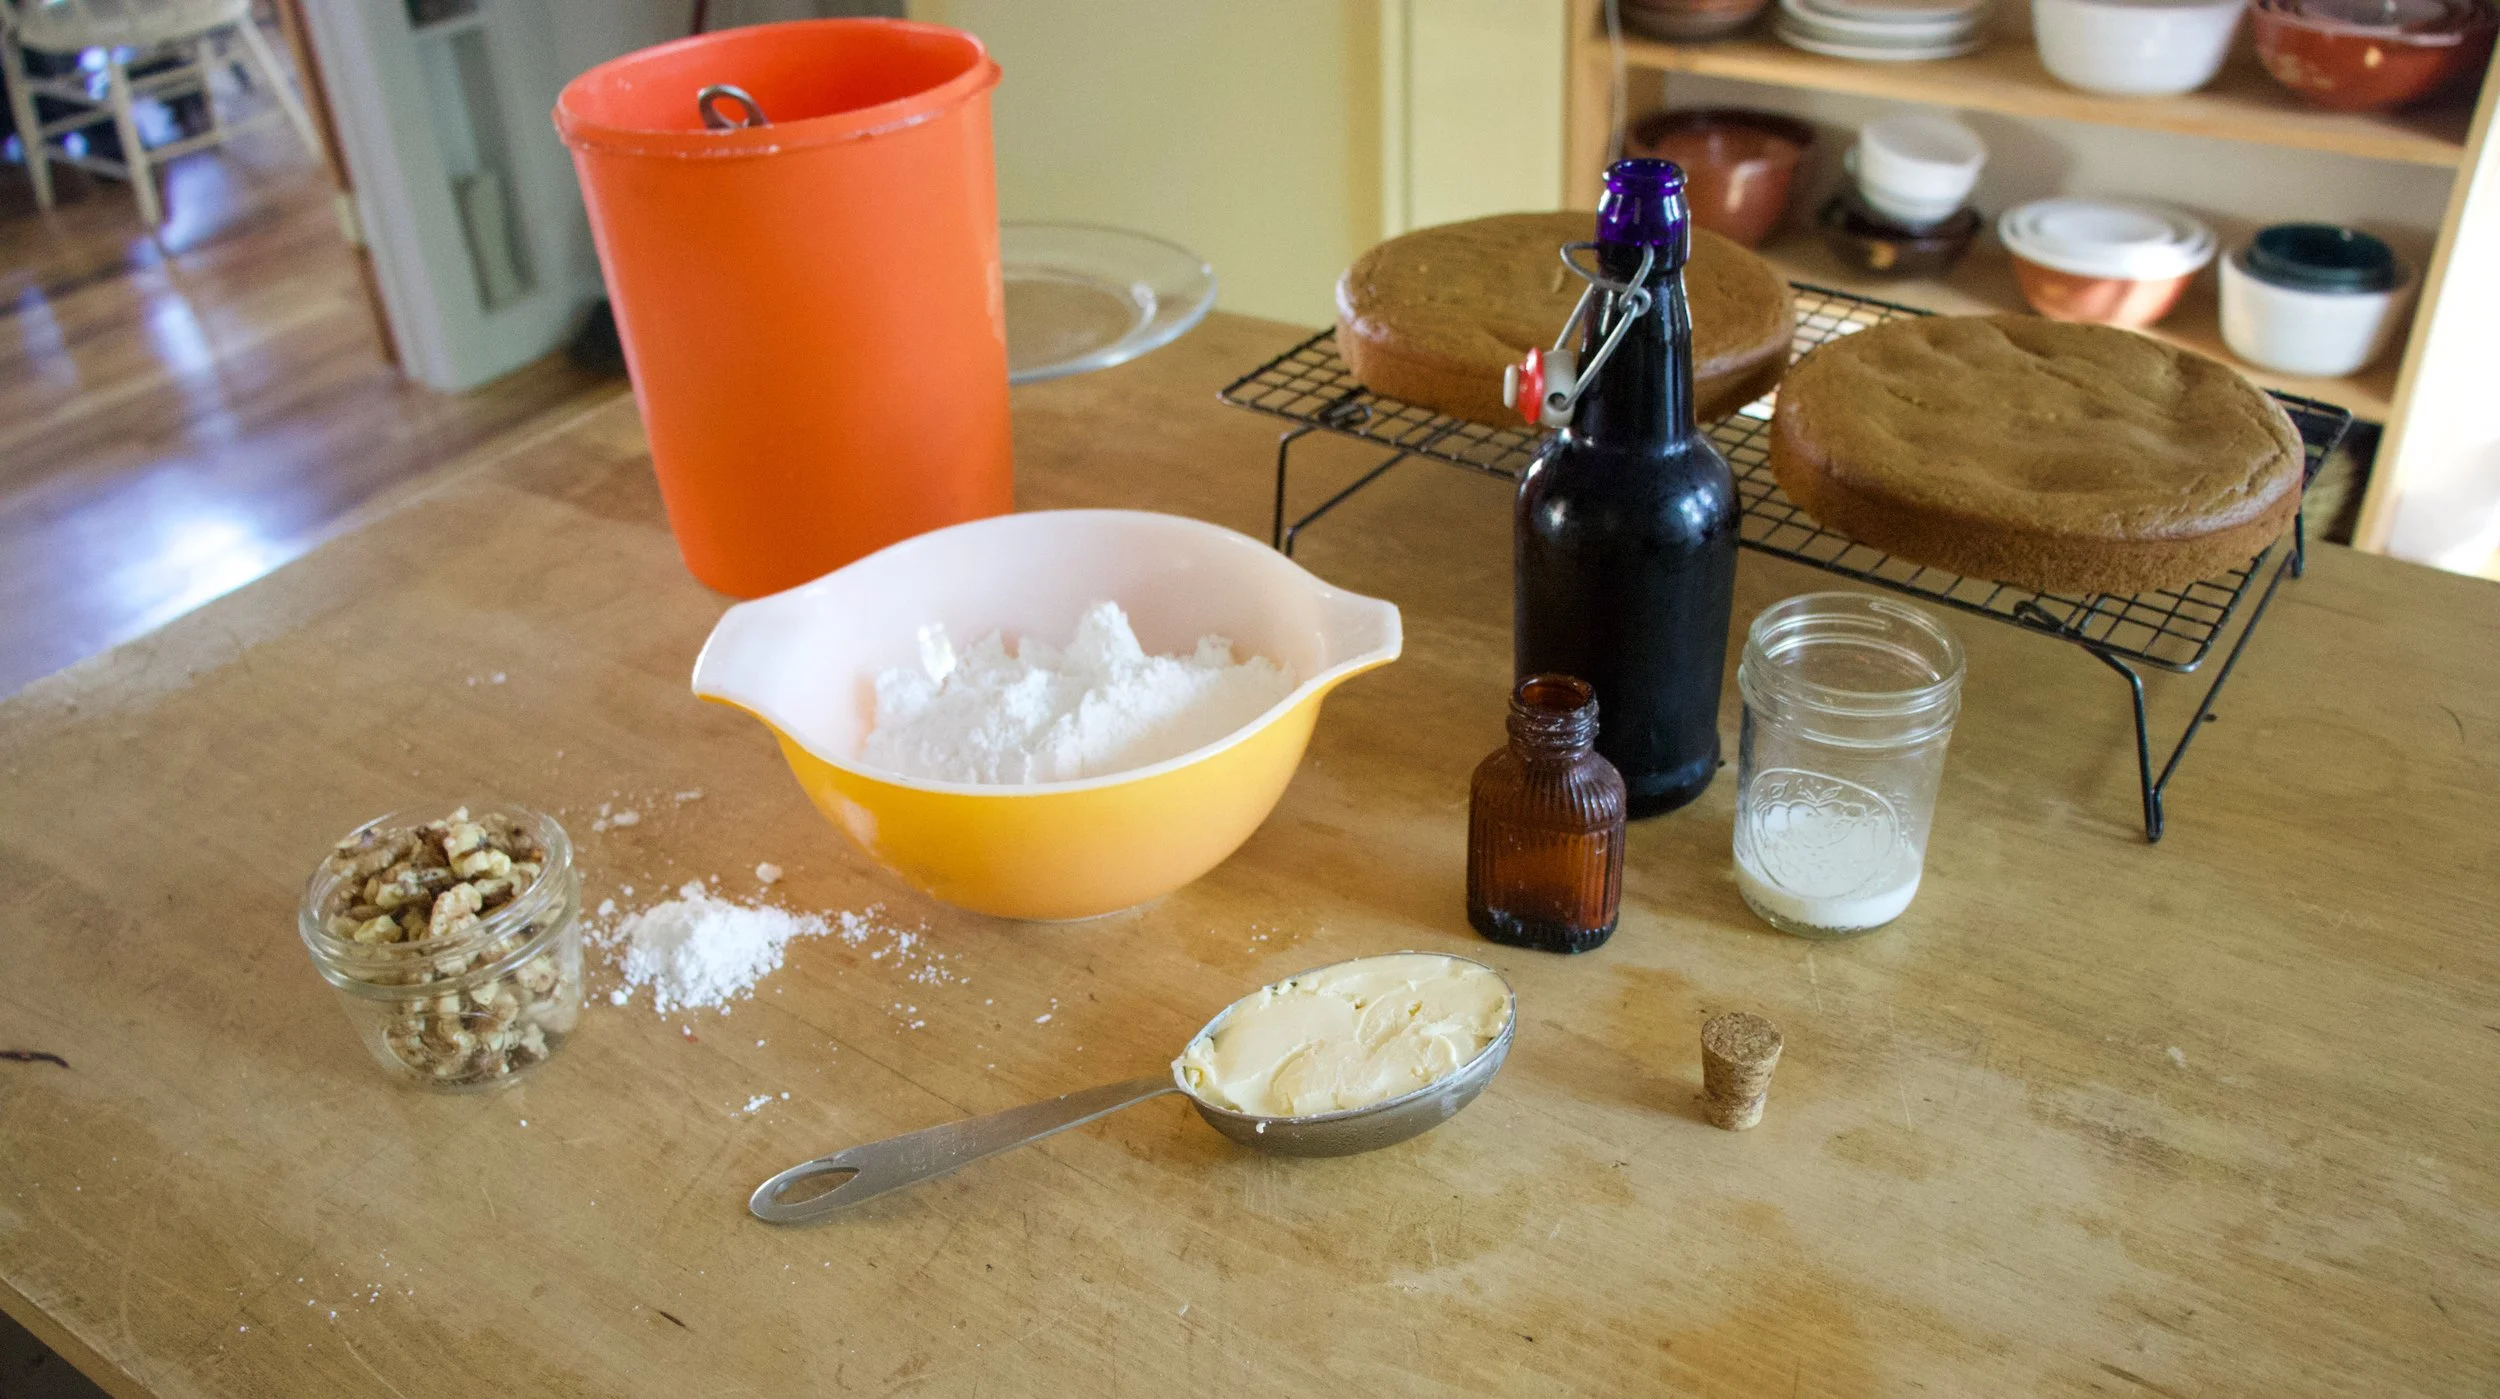
Cakes get popped out of pans and and placed on a rack to cool completely. In the mean time, make the frosting. Powdered sugar, salt, vegan butter, maple syrup, and maybe a splash of soy milk (you might or might not need it). And don%u2019t forget the walnuts.
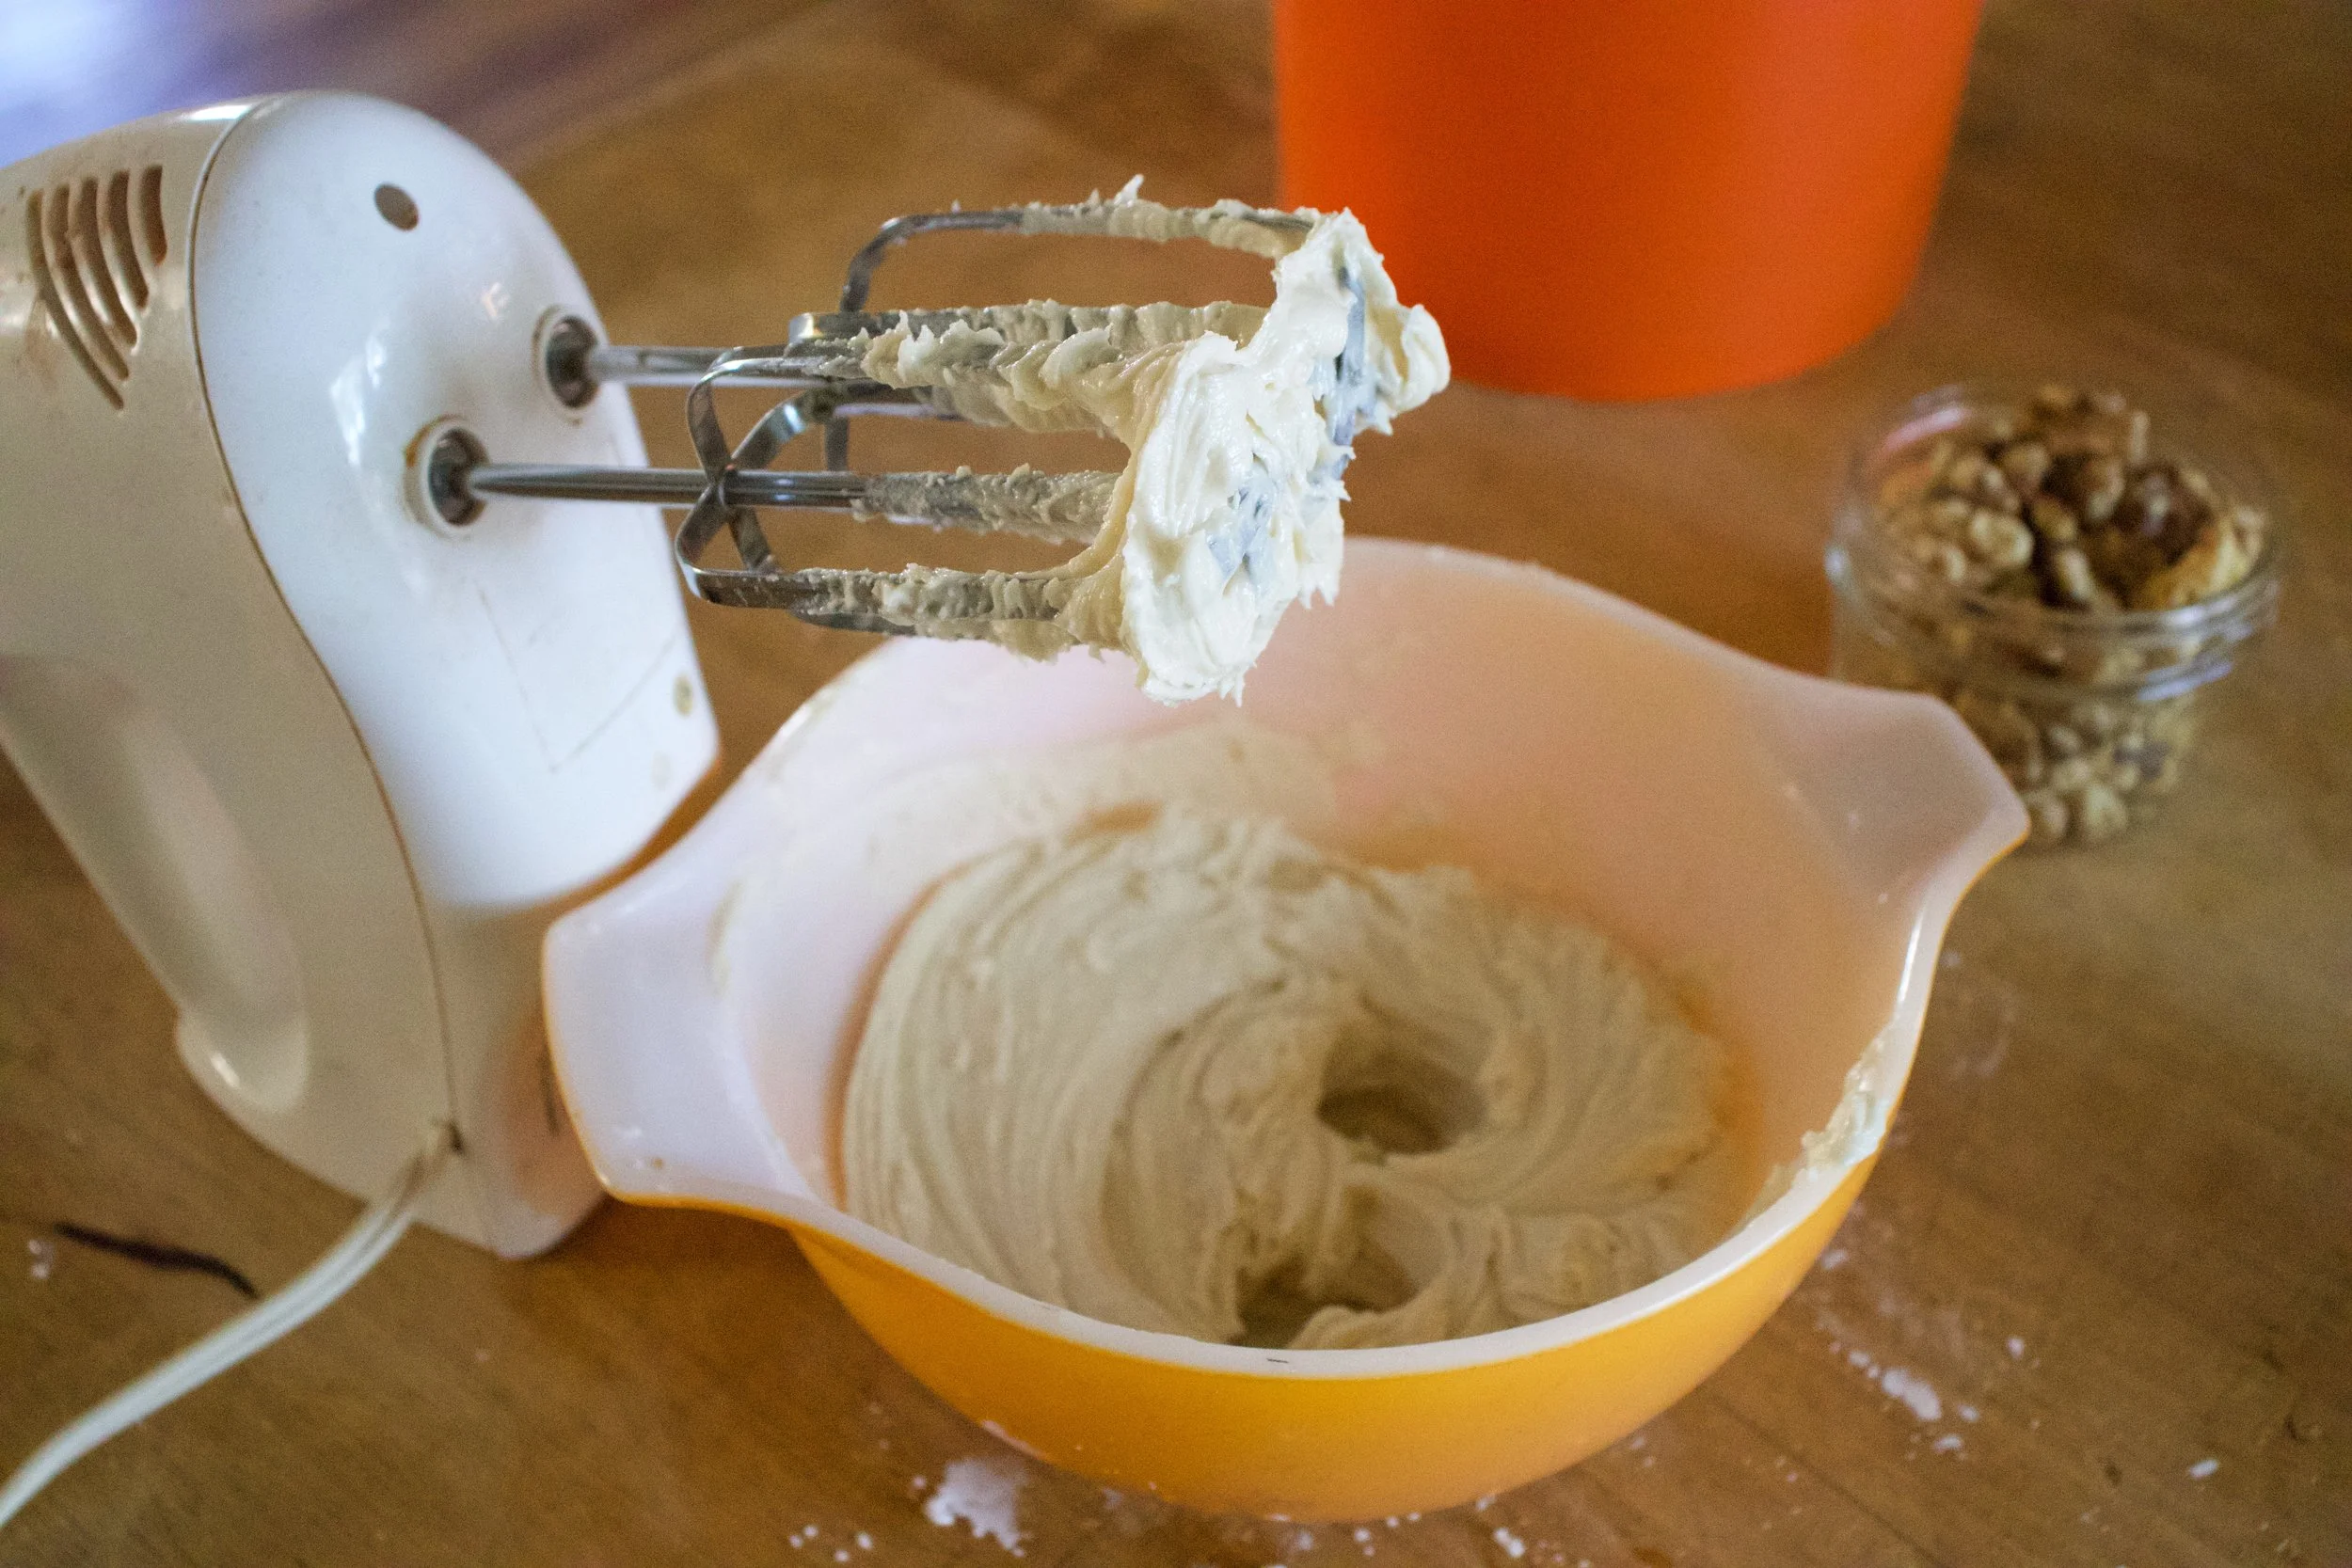
Sugar, salt, butter, and maple get beaten together until creamy and smooth.
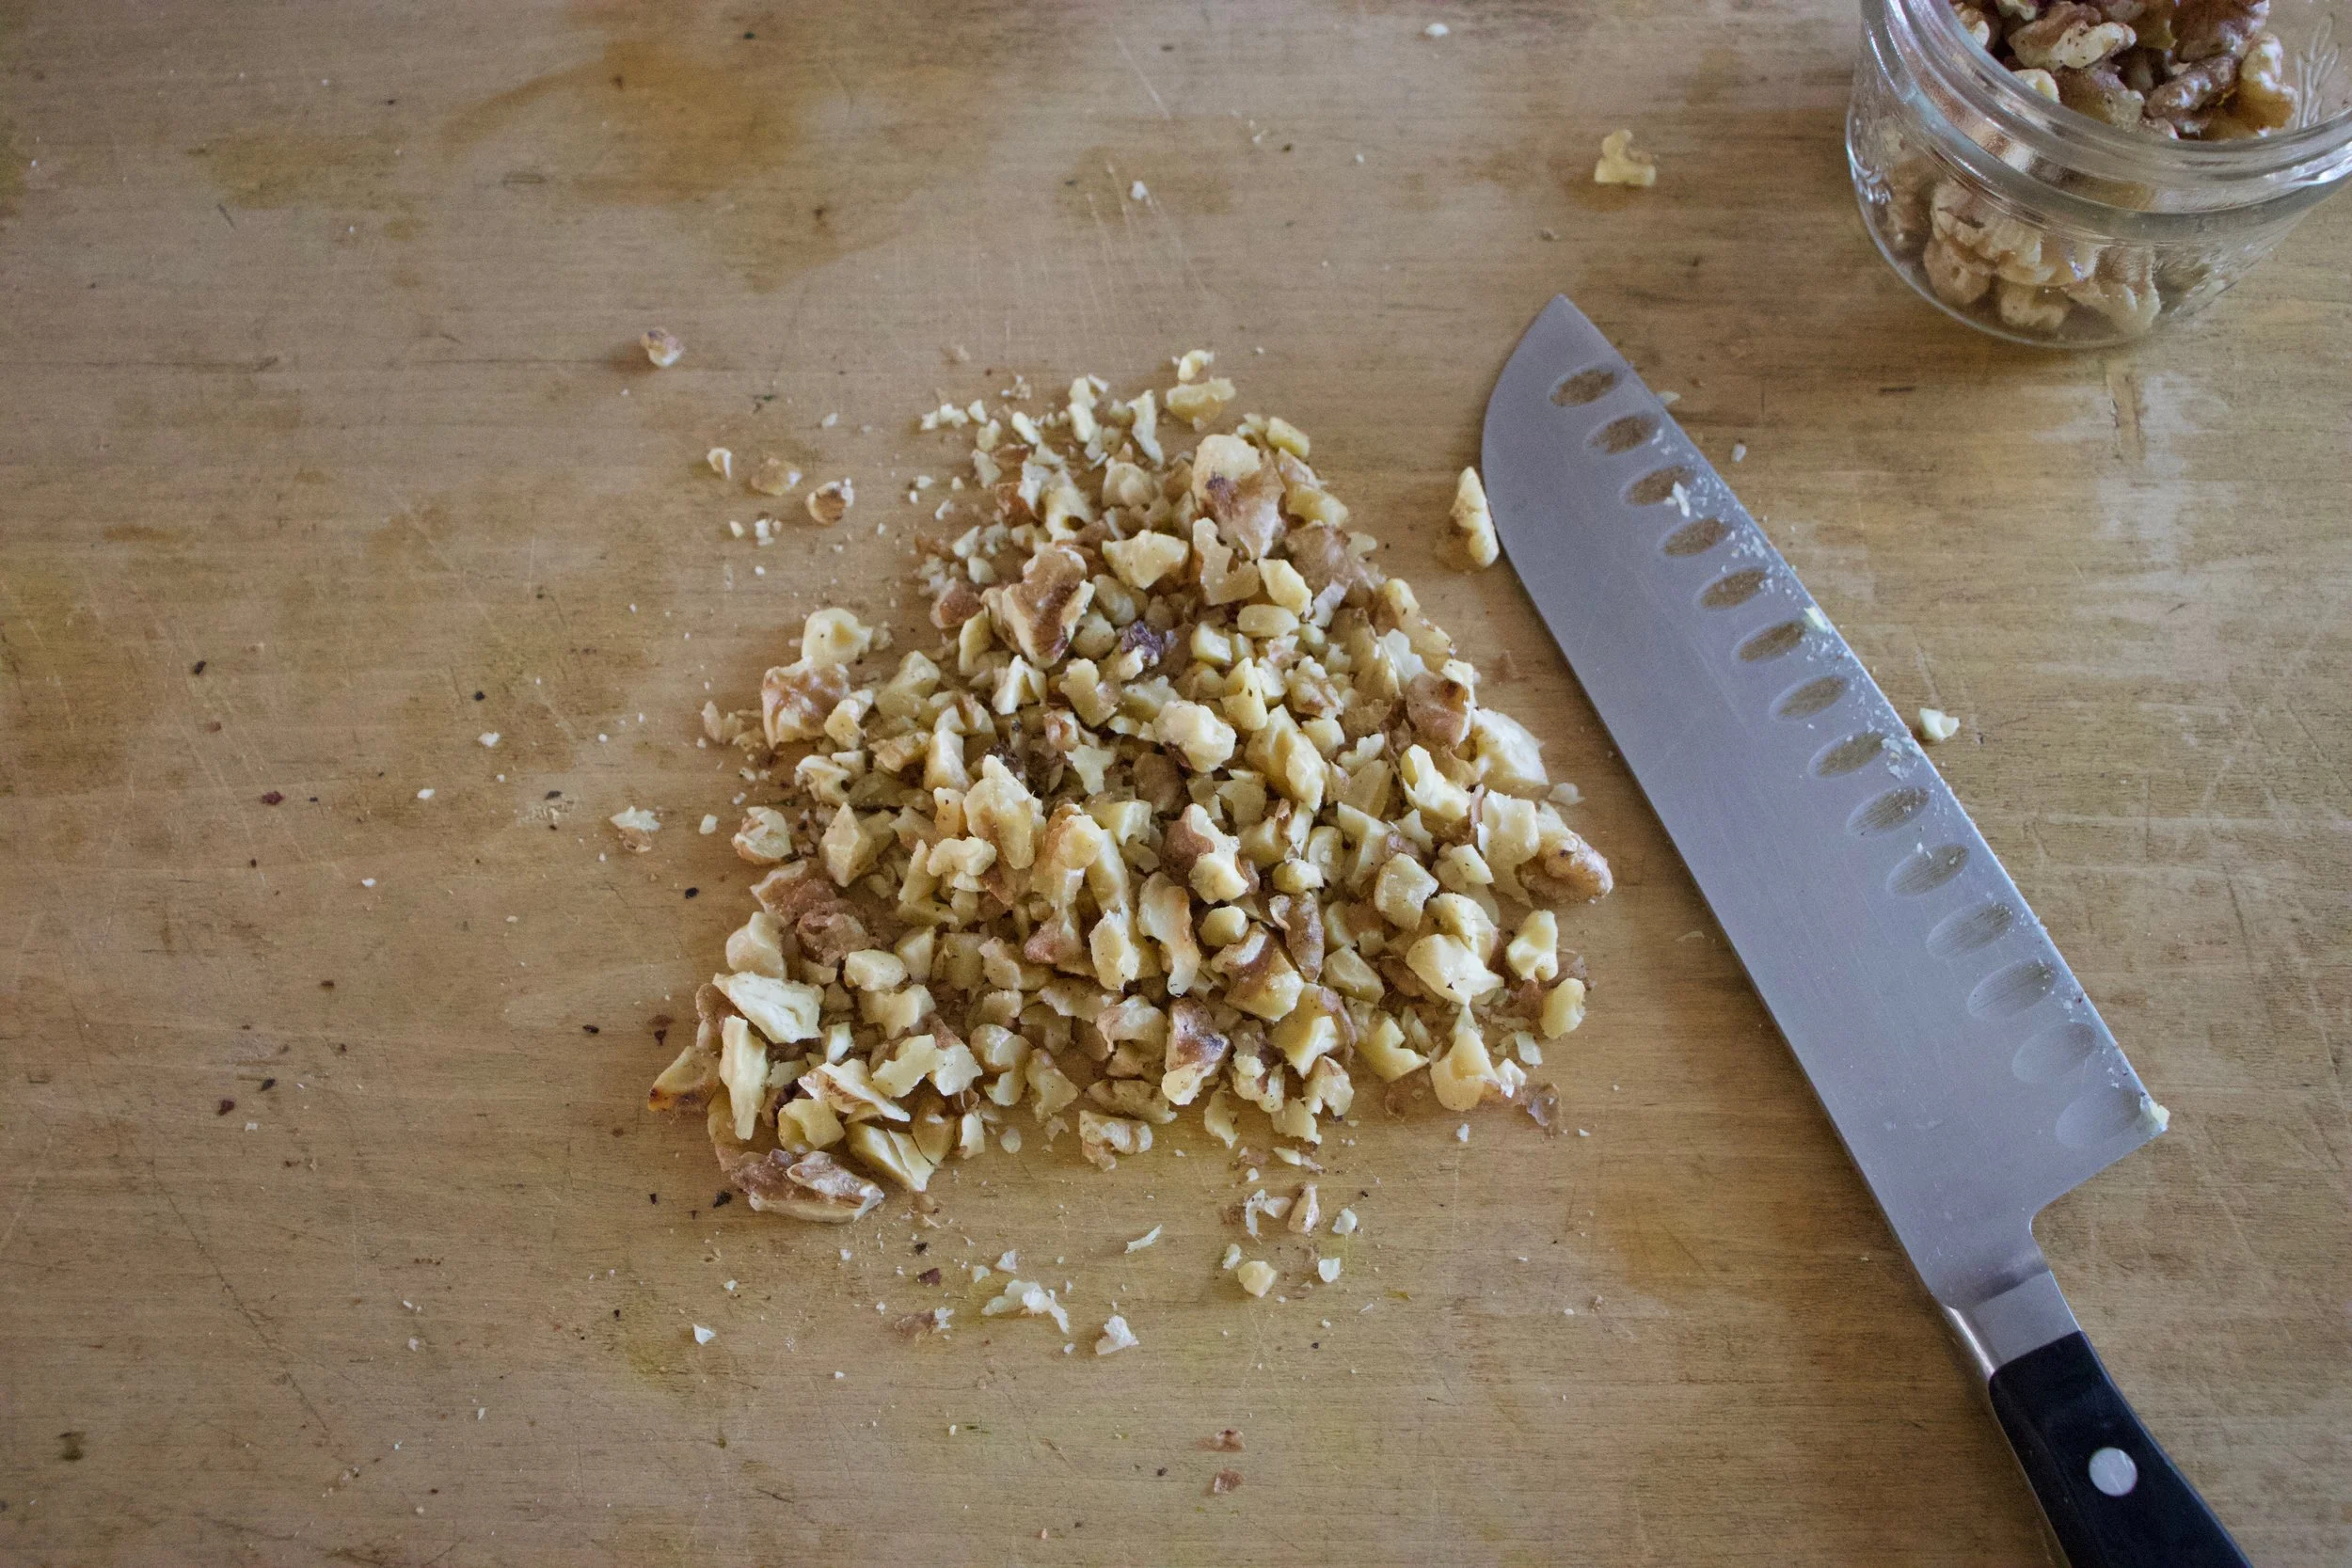
Toasted walnuts get chopped into bits.
And now it%u2019s cake assembly time. Place one completely cooled layer on a cake plate and spread half the frosting on top. Sprinkle with half the chopped nuts. Place second layer on, spread rest of frosting on top, and sprinkle with the rest of the nut.
Now eat.
Enjoy the fall weekend and all the squash.
-C
makes and 8 inch 2 layer cake
For the Cake
2 1/4 cups all purpose flour
1/2 cup white sugar
1/2 cup brown sugar
1/3 cup neutral oil
2 cups acorn squash puree*
1 1/2 teaspoons baking powder
1 teaspoon baking soda
1 teaspoon salt
1 tablespoon cinnamon
1 teaspoon ginger
pinch of nutmeg
1 1/2 cups plant milk (I used soy)
1 tablespoon apple cider vinegar
For the frosting
3 cups powdered sugar
1/2 cup earth balance or any vegan butter
1/2 cup real maple syrup
1/4 teaspoon salt
1-2 teaspoons plant milk (if needed)
1 cup toasted walnuts
Note. For acorn squash puree. roast an acorn squash by place entire squash into oven at 425 degree for about 1/2 hour or until fork tender. Once cooked, cut in half, let cool a few minutes, then scoop out all the seeds. Remove skin and blend the squash until smooth.
Preheat oven to 350
Place brown and white sugar into bowl along with the oil and squash puree. Mix until completely incorporated. In a larger bowl, mix together the flour, baking soda and powder, salt, and spices. Pour wet mixture into dry almond with the soy milk and apple cider vinegar. Mix until just completely incorporated then stop to prevent over mixing.
Grease and parchment line two 8 inch cake pans. Pour batter evenly between pans then place into oven for 30-35 minutes or until Depp golden brown and a tester stuck into middle of cakes comes out clean. When it%u2019s done, remove from oven, let cook a few minutes, then remove from cake pans. Place on a wire rack o cool completely.
While cake is cooling, make the frosting. Beat together the powdered sugar, salt, maple, and earth balance until nice and creamy. If the frosting seems to thick, add a splash of milk, to thin, add a 1/4 cup more of powdered sugar.
Chop walnuts into small bits if they are not already.
Once cakes are completely cooled, assemble. Place first layer on cake plate and spread 1/2 the frosting onto first layer and sprinkle on half of the chopped walnuts. Place on second layer, spread the rest of the frosting on top, and sprinkle on the rest of the nut. And that is it. Now you just need to eat it.
Store any left overs in for a day on the counter, but any longer place in an airtight container in the fridge. I even froze a few pieces and the mr loved them frozen to if you like frozen cake%u2026..
Have I told you how amazing my farmshare is? I am sure I have, but if I haven%u2019t lately, well let me just tell you, it is. All summer long we (the members) get to pick a bunch of fresh herbs every week. Basil, scallions, dill, parsely, and cilantro. Planted every few weeks to keep us in the herbs all summer long. And every few weeks there is a herb free for all. Pick unlimited amounts of whatever herb is plentiful. Last week it was unlimited parsley. Yeah there was unlimited basil and that was nice too, but the parsley, the underrated, overlooked herb. That was what I wanted and I picked the shit out of it.
Parsley. No I is not just a green sprig that garnishes your plate at a restaurant. It is a great spicy, fresh, clean tasting herb that plays so well with everything. I really think parsley can, and should, make it%u2019s way into almost any dish. It adds a touch more brightness to any spice blend. And there is just something about munching on some fresh parsley, it just works for me. Parsley is good friends. No. Parsley is great.
So now we match said parsley with another bright herb, mint, and blend it up into a pesto. Magic on the tongue. And a no brainer for pesto is pasta, although this pesto would make a great spread or smothered on grilled veggies or scooped into soup.
A summery pesto pasta salad dish situation. Perfect for all the times that you are hungry and need food.
To the pesto pasta salad!
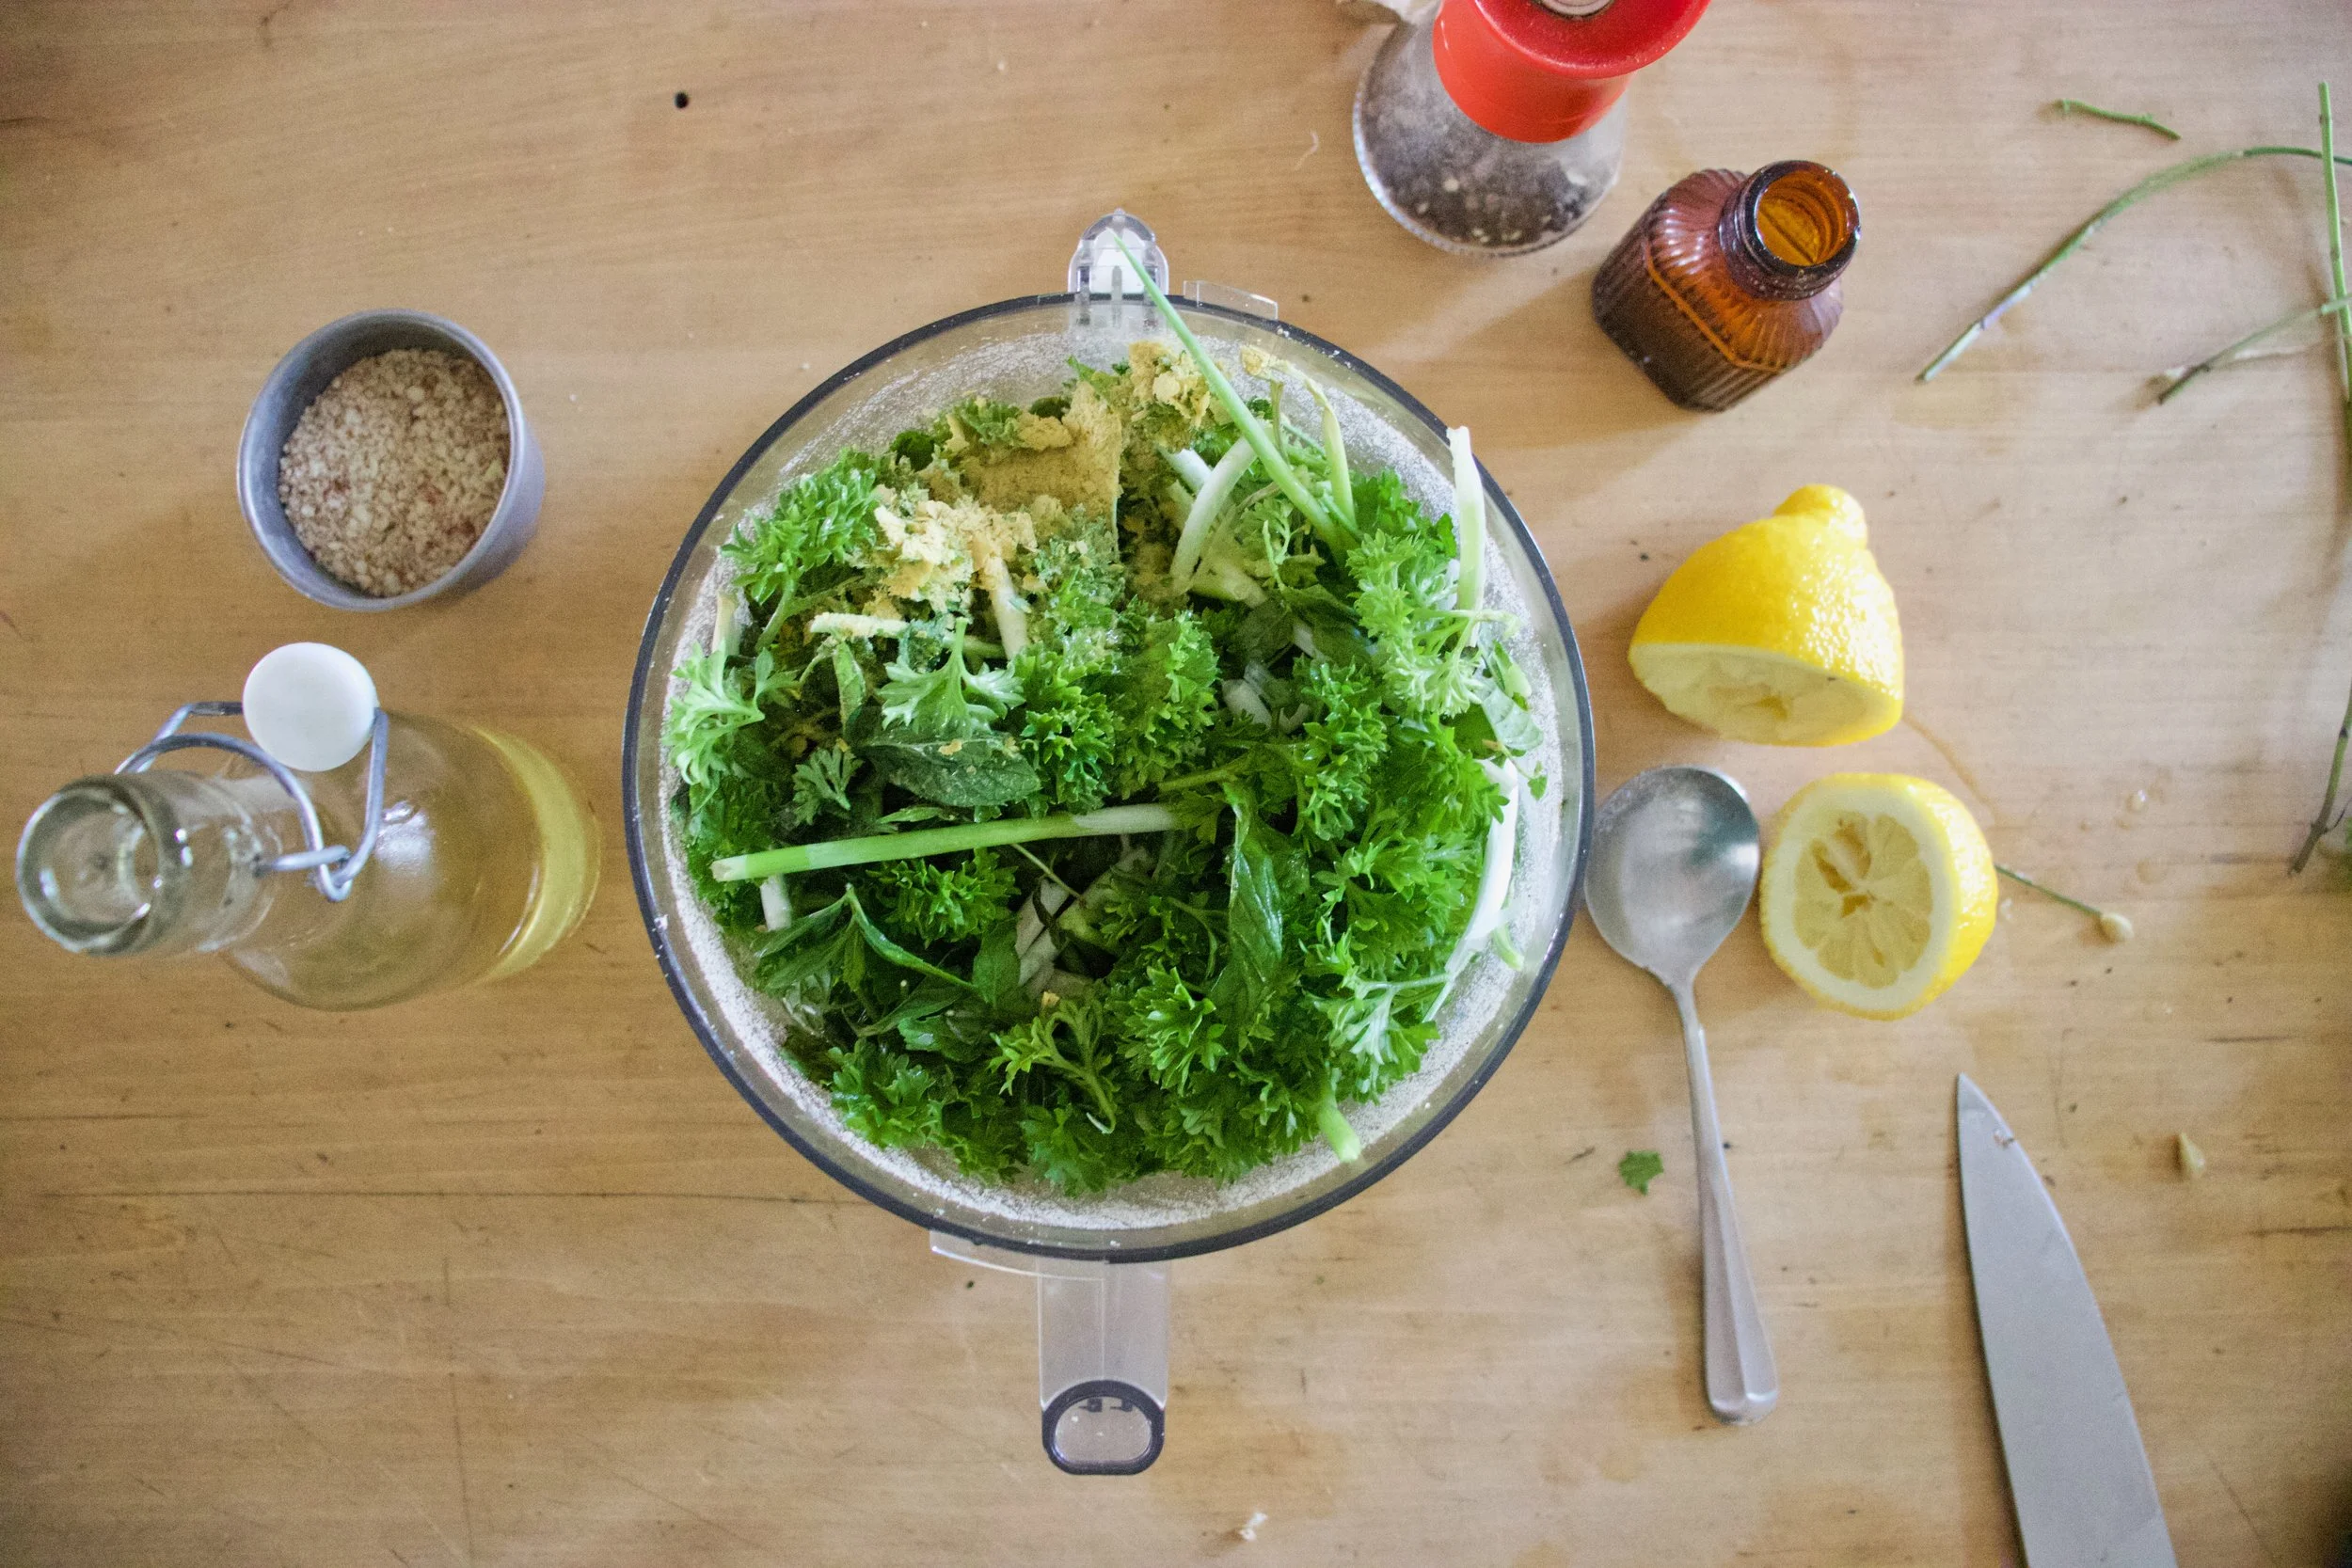
The stuff. Parsley. mint, a few scallions, toasted almonds, garlic, a lemon, nutritional yeast, salt and pepper, and olive oil. Also pasta, a cucumber, and a big handful of cherry tomatoes.
First for pesto. Start by pulsing the almonds in a food processor until they become a nice crumb. Remove about 1/4 cup and set aside.
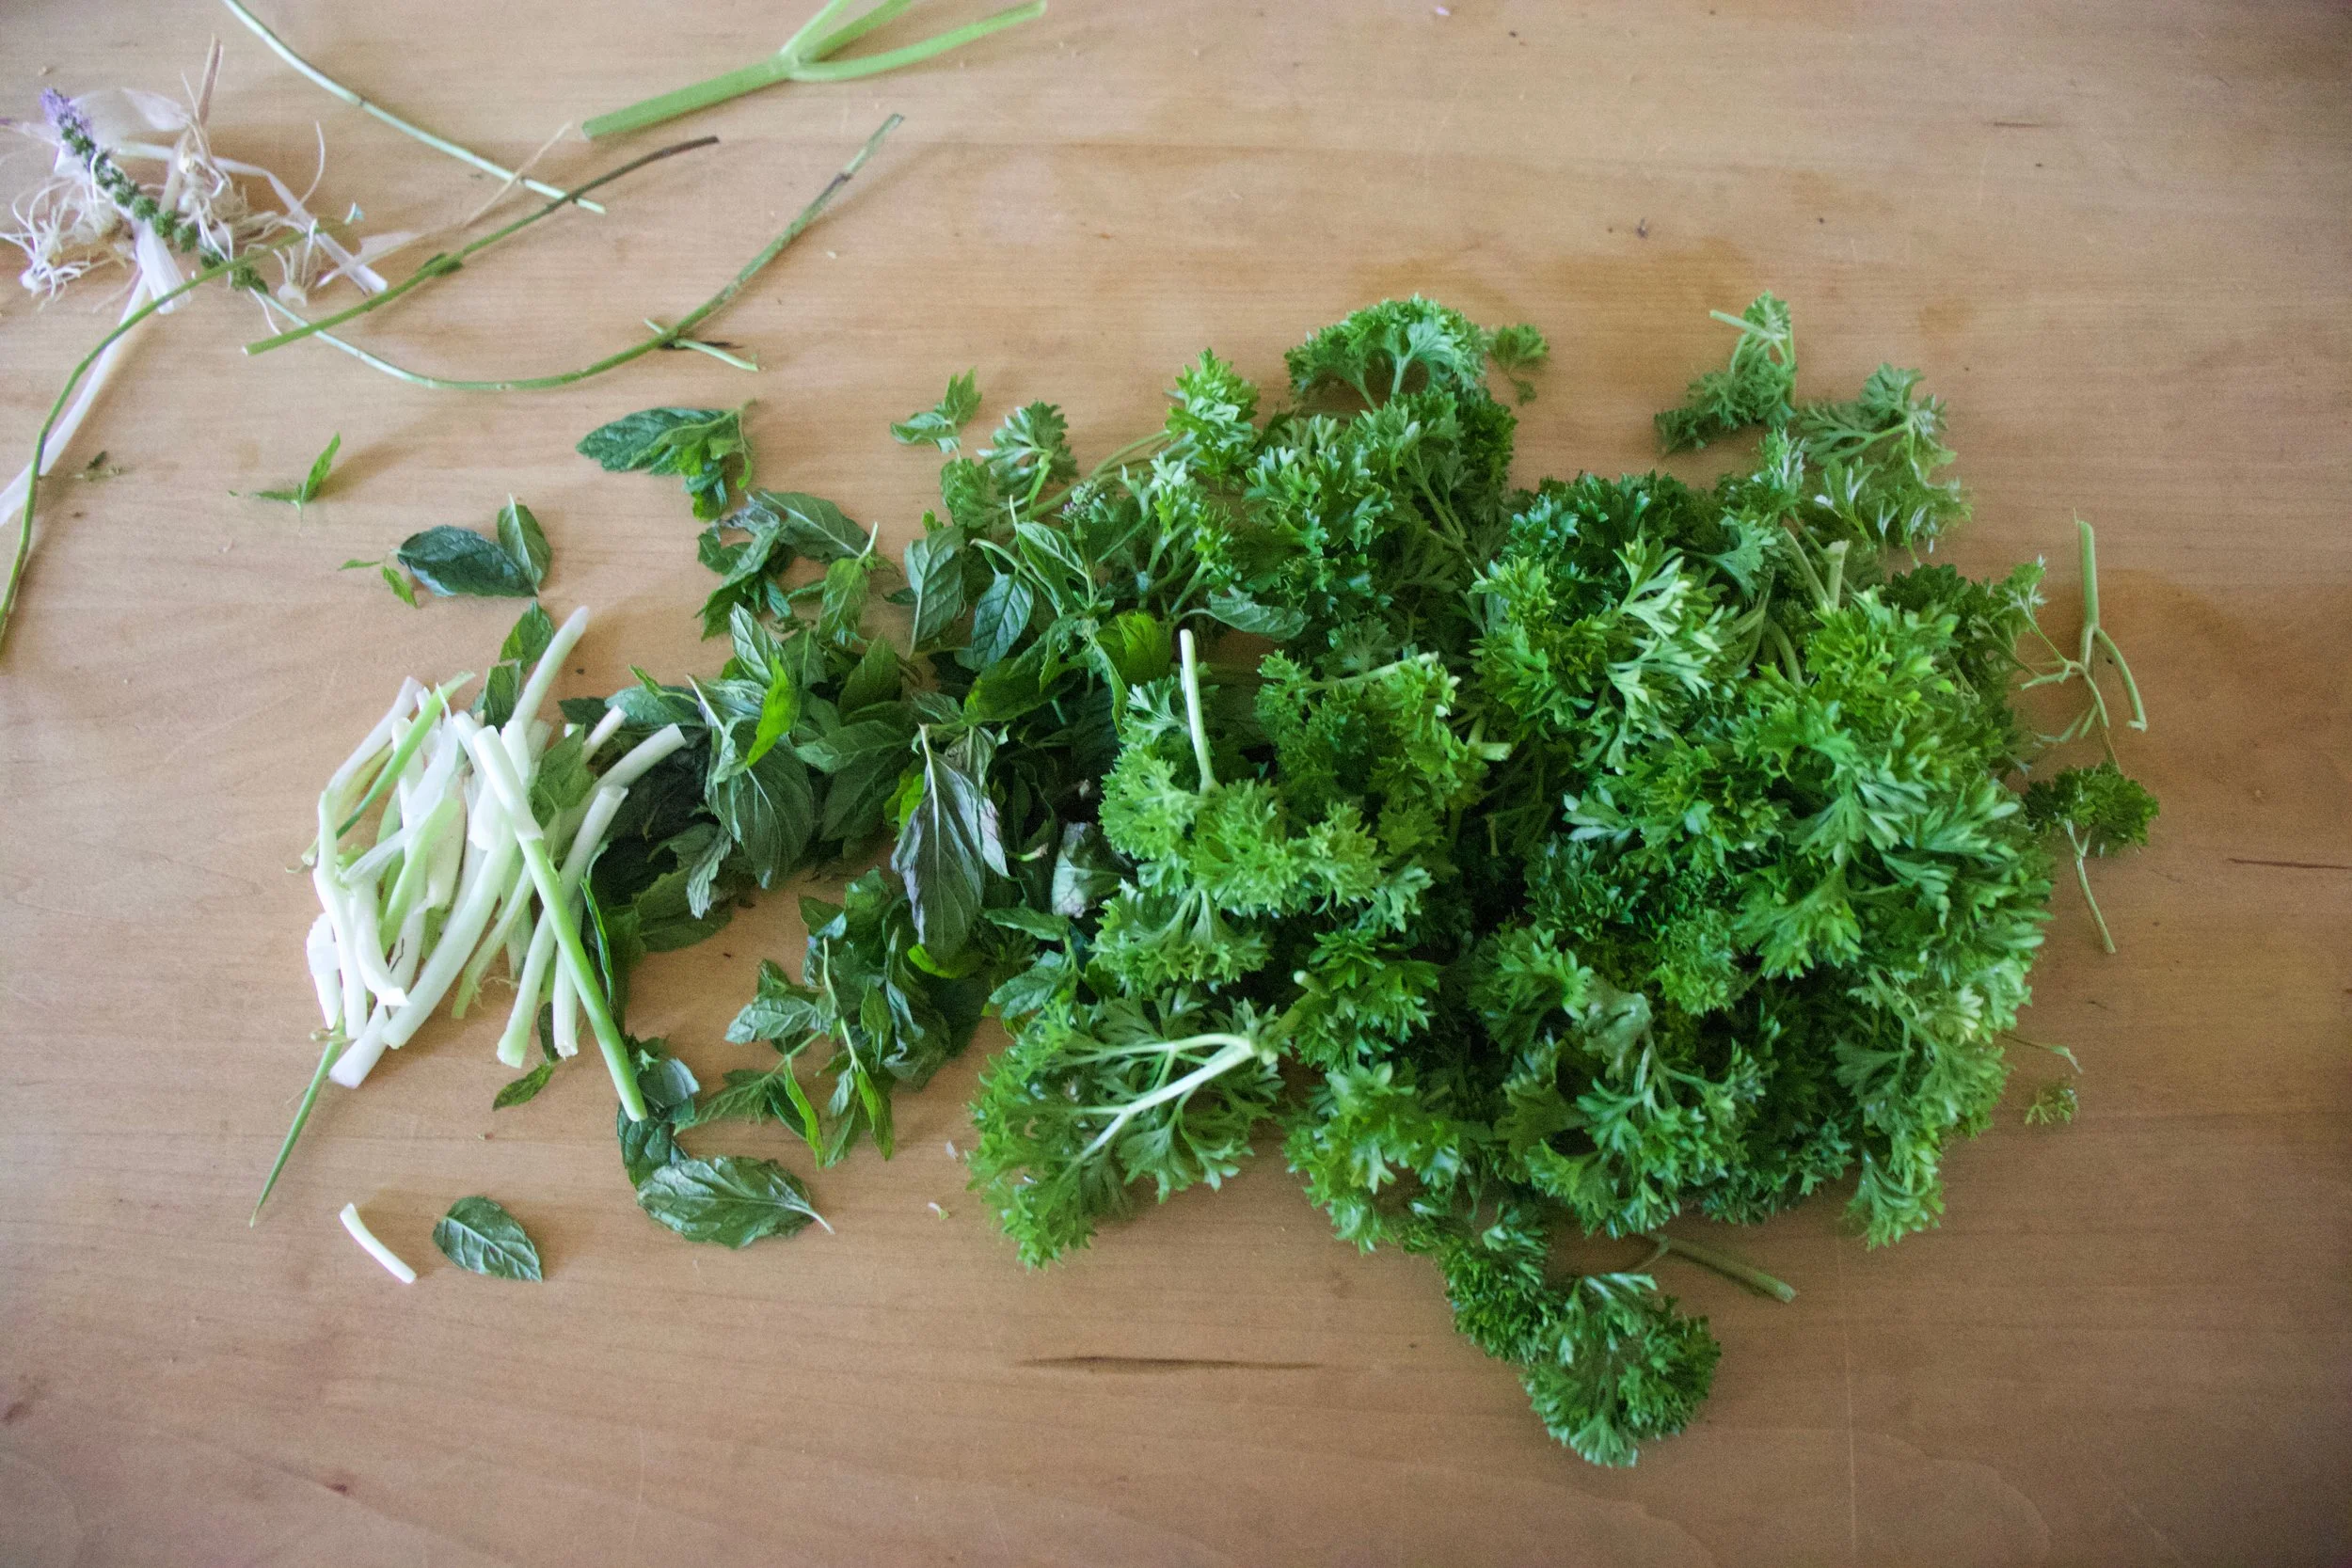
Grab the herbs and scallions and remove any really wooden stems (keep the more tender ones) and rip the herbs into smaller pieces.
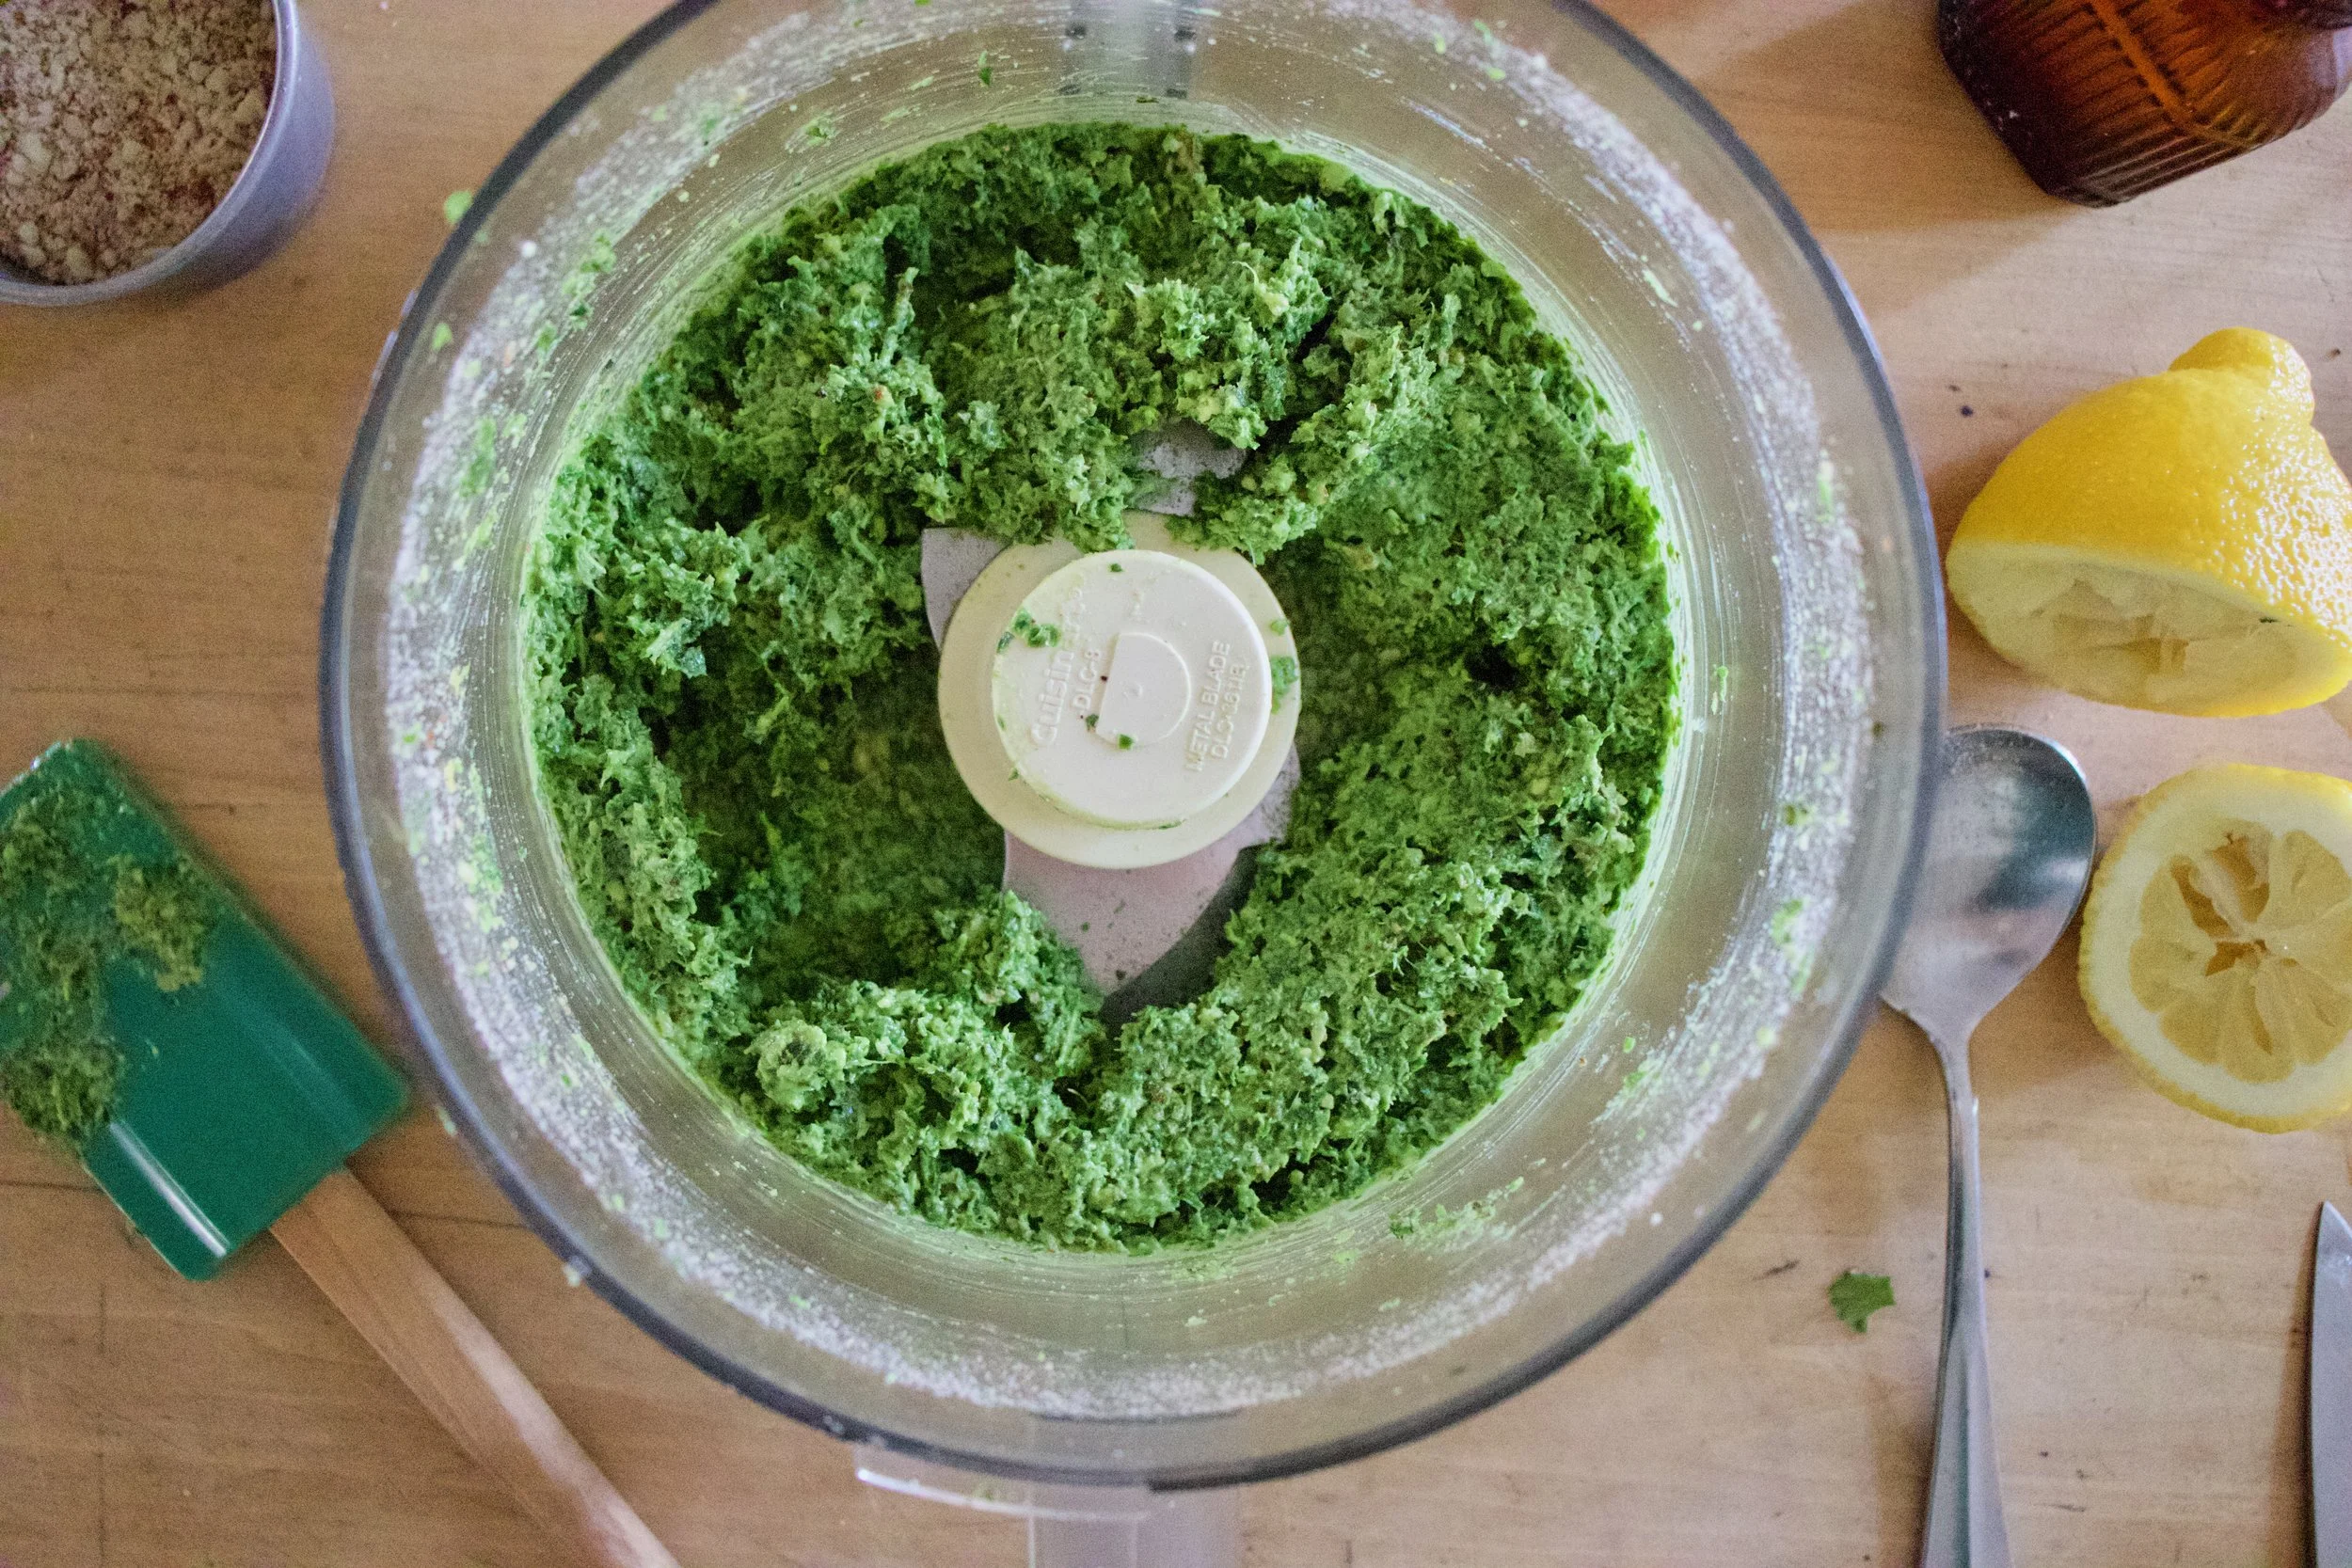
All the parsley, mint, and scallions now go into food processor with almonds, along with the garlic, nutritional yeast, the juice of the lemon, and a pinch of salt and some crack pepper. Pulse the food processor and stream in the olive oil until everything comes together. You might need to stop and scrape the sides a few times.
Now you need pasta. Cook it to the directions on the package you got it from. Cook it all the way through then when you strain it, rinse it with a little cool water.
Chop up the cucumber into small chunks and half or quarter the cherry tomatoes.
And to put it all together. Pasta goes in a bowl. Add in the pesto. If the pesto seems a little on the thick side and not easily mixes, add in a little warm water to thin it out a bit.
Add the cucumber and tomatoes.
Mix some more, sprinkle on lots of the crumbled almonds you set aside, maybe a few more springs of parsley and a few more leaves of mint for good measure and call it done.
Be ready to eat cause this salad is ready to be eaten.
-C
Makes a pound of pasta
2 cups packed parsley (Curly or flat. I used curly)
1 cup packed mint
a few scallions if you have them
3/4 cup roasted almonds
3 cloves garlic
a lemon
1/4 cup nutritional yeast
1/2- 3/4 cup olive oil
salt and pepper
1 pound bow tie pasta
Big handful cherry tomatoes
a tender skinned cucumber
Note. This recipe makes a big batch of pesto and big pasta salad. You can totally make the all the pesto and only use half and only boil half of the pasta. Just stored left over pesto in a jar in the fridge for about week or so or stick it in the freezer for a few months. And you can use it for all sorts of great things like sandwiches, salads, as a dip%u2026 whatever you want.
To make the pesto. Place almonds in food processor and pulse until crumbly then remove about a 1/4 cup and set aside. Add in the garlic and pulse a few times. Then grab the parsley, mint, and scallions. Remove any tough stems and rip the herbs into smaller pieces. Add them to food processor along with the nutritional yeast, the juice of the lemon, and a good pinch or two of salt and lots of pepper. Pulse while slowly adding in the olive oil. Stop, scrap sides, then pulse until smooth. Taste and add more salt if needed.
Half or quarter cherry tomatoes and cut cucumber into small chunks
Cook the pasta. Big pot of boil water with a pinch pf salt. Cook until fully cooked, then drain. Give it a quick rinse of cool water. Dump the pasta into a big bowl.
To make the pasta salad. Scoop pesto into bowl with the pasta and mix it until all the pasta is evenly coated. If pesto is really thick, just add a little warm water to thin it out. Add in the cut up tomatoes and cucumber, mix, then top with the reserves ground up almonds and a handful more of chopped fresh mint and parsley.
Eat.
Left overs should be stored in fridge for a a few days. Left over pesto a week or so and or in the freezer for a few months.
We need fresh, we need green, we need color.
We need salad. %u00a0
The other night I made Megan’s birthday dinner which consisted of pizza and salad. The pizza was pizza and everyone loved it and ate it, but what surprised me was how everyone was really into the salad. A big ass bowl or fresh greens with onions and I think carrots and cabbage and some cranberries I pulled form the freezer and candies almonds. Simple and not fussy, and everyone was just so happy to eat it. I felt like a salad genus and now I am full on into making fun awesome spring salads. (I have to keep reminding myself that yes, it is indeed spring.%u00a0So what we got snow yesterday, it will melt, right????%u00a0)%u00a0
So I bring to you a a bowl of fresh crispy spring greens with crunch and bite and creaminess and flavor. A salad that will bring you joy and satisfaction and maybe even anticipation for your next salad adventure.%u00a0Not to mention a salad that looks so dang pretty.%u00a0
Get into the green. You will be as happy as a rabbit in a garden.%u00a0
The stuff. Greens, red onion, an avocado, almonds, blueberries, and a lemon. Also need some maple syrup, olive oil, red wine vinegar, and salt and pepper.%u00a0
A couple teaspoons of maple %u00a0go in with the almonds. Really toss make sure they are all coated.
Place the almonds into a hot skillet cook for about 5-7 minutes or until the maple has become sticky and the almonds no longer raw.%u00a0
When they are done,%u00a0dump them onto a piece of parchment to cool. Don worry if they clung a little, you can break them apart once they are hard.%u00a0
Easy ass dressing. Blueberries. juice from the lemon, olive oil, vinegar, a tiny splash of maple, and a good pinch or pepper.%u00a0
Blended then done. Taste and season with salt if needed.%u00a0
Avocado gets cut into small chunks and the onion get s thinly sliced.
It’s all ready, so now make a salad
Makes 2-3 %u00a0salads%u00a0
1/4 pound greens ( I used spring mix but mesclun mix or spinach is good too)%u00a0
1/2 %u00a0red onion
1 avocado
For the Almonds%u00a0
1/3 cup raw halved or slivered almonds
2 teaspoons maple syrup%u00a0
For the Blueberry lemon Vinaigrette%u00a0
1/3 cup blueberries (I used %u00a0frozen)
1 lemon
1 Tablespoon olive oil
2 Tablespoon red wine vinegar
1/2 teaspoon maple syrup
pinch or salt
pinch or pepper
To make the %u00a0candied almonds, preheat a skillet to on medium heat on top of the stove.%u00a0Place almonds into a small bowl and drizzle with maple syrup. Stir to coat. When the pan is hot, dump the maple covered almond into it and spread them out. Cook for a 3 minutes, then give a stir and cook for a 3 or so more minutes or until the maple has evaporated and the almonds are starting to brown. Dump the almonds directly onto a piece of parchment paper to cool and hardened. Do worry if they stick together a bit, you can break them apart after.%u00a0
To make the vinaigrette,%u00a0place the berries into a jar (if using stick blender) or blender with the juice of the lemon, olive oil, vinegar, maple, and a pinch of pepper Blend until smooth. Taste then add a very small pinch of salt or more to taste.%u00a0
For salad. Thinly slice the onion and dice the avocado. Place greens into bowl(s) and toss with onions and avocado. Top with %u00a0candied almonds and drizzle all over with the vinaigrette. Grab a fork and eat.
Any left over dressing will last in fridge for about a week and left over almonds will be good for.a few weeks in a airtight container.%u00a0%u00a0%u00a0





































THE LOVELY CRAZY
August 18, 2019 by maximios • Blog
As a reward to ourselves for finishing the floor laying week (what a freaking week, I will share some pictures soon) I stayed home for a little while yesterday morning and made some donuts for the mr ( I got to bake and do a little knitting and he got donuts.) Initially I was gonna make a cake, had it on my agenda for a cake at some point this week, but last minutes I felt the need to use my unused donut pan. I think it was a good call. Donuts don’t require as much pumpkin puree.%u00a0 I roasted a pumpkin a few days ago for the purpose of baking a cake with it but have slowly eaten most of it (on accident) so that there was just enough left to make the donuts. I have no willpower when it comes to roasted squash, I can’t stop eating it.
Anyway,%u00a0 I had me a mighty fine morning of trashing the kitchen, using my pretty mixing bowls, basking in the glory of the residual heat coming from the oven, and making the house smell all nice and fall spicy. And now there are donuts in the house with lots of sprinkles and only the mr to eat them. He really really likes them, like a lot. (me “don’t eat all those f*ing donuts dude, save some for later!”)
Another reason donuts were a good call, they are easy to share. Maybe I should go drop off a few to a friend. Any takers?
The donut stuff. Flour, baking soda, baking powder, and salt are in that bowl. Then we have pumpkin puree(homemade or canned) soy milk(or any milk), brown sugar, cinnamon, oil, and apple cider vinegar
All the wet stuff gets mixed together and the dry stuff plus the cinnamon gets whisked together too.
Wet into dry and mixed until combined.
Scoop batter into well greased donut pan and don’t do what I did and overfill (I always forget not to overfill). My fist batch came out a little bit bigger the expected with holes. No biggie.
Once pan is filled,%u00a0 pan goes into preheated oven. Bake until golden perfection (about 15-18 minutes or until a tester comes out clean)
Slightly overflown donuts cooked to all the goodness and popped out of the pan to cool on a cooling rack.
Glaze stuff. Powdered sugar, cocoa powder, a pinch of salt, a splash of vanilla, and a bit of soy milk….Mix it all together and that’s that.
Completely cooled donuts (very important to be completely cooled) go heads down into the bowl of glaze.
All glazed and looking good but I think somethings missing…..
Pumpkin, chocolate, sprinkles. BOOM!!!
Happy Friday!!!!
makes 10 donuts
For donuts
For the glaze
Preheat oven to 350
In a big bowl, mix together the flour, baking powder and baking soda, salt, and the cinnamon. In a separate bowl mix together the pumpkin puree, sugar, soy milk, oil and the apple cider vinegar. Dump the wet mixture into the dry and mix until combined.
Ready the donut pan by really making sure it is well grease. Fill each donut mold about a 3/4 way full. I use a spoon but you could transfer that batter to a piping bag if you want. Place pan into oven and bake for 15-18 minutes or until the donuts are golden brown and a fork stabbed into one comes out clean. Pop donuts out of mold and let cool completely on a cooling rack.
Note. I have one pan that does 6 at a time. I had to wash, dry and re-grease the panto bake all the donuts.
Once donuts are cooled, gather the glaze ingredients. In a shallow bowl whisk together the sugar, cocoa, and salt. Add in a splash of vanilla and then the soy. Mix together until a glossy not to thick but not to thin consistency . If its too thick, add in another splash of milk, to think, more powdered sugar.
To glaze, take each donut and place face down in glaze and give it a little twirl.%u00a0 Remove and place back on cooling rack (glaze size up) and cover with sprinkles. (optional)
Then eat the donuts
Any uneaten can be placed in airtight container for 2-3 days or can be stuck into freezer.